2017 – Planing Ahead

As we go deeper into January 2017, its time to plan this years sewing.

Yay!

This year I did things a little differently then usual (where I just pic ALL the things), because having a small baby really eats away of your sewing time 😉
So, this year I picked All the things I want to sew..

…and then I removed half of them.
All costumes with lots of pieces/decorations/complicated (and time consuming) elements had to go. Sorry, Not sorry.

Then I took a hard and “realistic” (yeah right) look at what was manageable with approx 1-3 hours sewing a week (more, if I could use nap time at its fullest but that’s hardly likely).

Then I took a look at my stash (because after half a year of maternity leave you really need to cut back on the excesses, like fabrics) and added that account into the ekvation.

And lastly I run everything through the eyes of the “Historical sew monthly” and possible events to come, and tried my best to match everything up.

So, after lots of forth and back, here is what i plan to make during 2017:
(Presented through the HSM17 lineup)

 The Historical Sew Monthly 2017:
(January-July)

January:
Firsts & LastsCreate either the first item in a new ensemble, or one last piece to put the final fillip on an outfit.

8b05963d5ee97df4f28e42f9f5f09e09
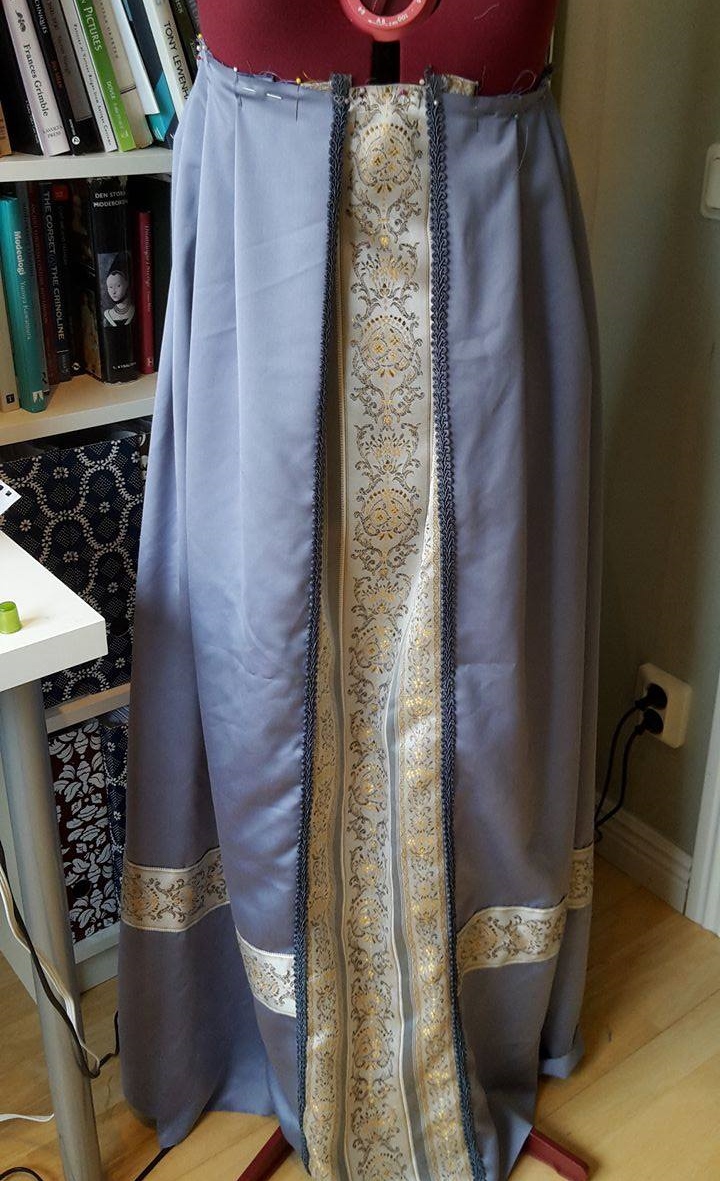
I begun the work on the apron on this fashion plate back in December and it will be both my first entry into 1810-20s (late Regency), and possibly the last piece of this ensemble I can finish this year (even though I would love to make the dress and bonnet as well).
And for the purpose of this challenge the apron will be the first item on this ensemble and the last ting to put on before leaving the home.

February:
Re-Make, Re-Use, Re-Fashion
Sew something that pays homage to the historical idea of re-using, re-making and re-fashioning.

For this one I have two dresses that I would love to re-make to a better fit and perhaps even a better design.

IMG_2031 
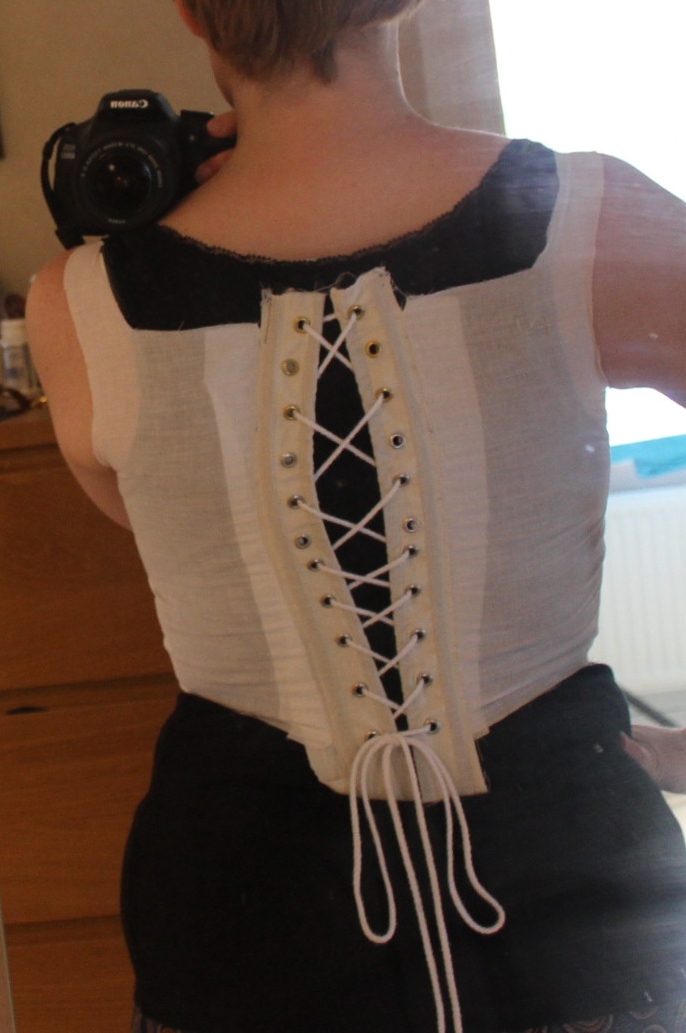
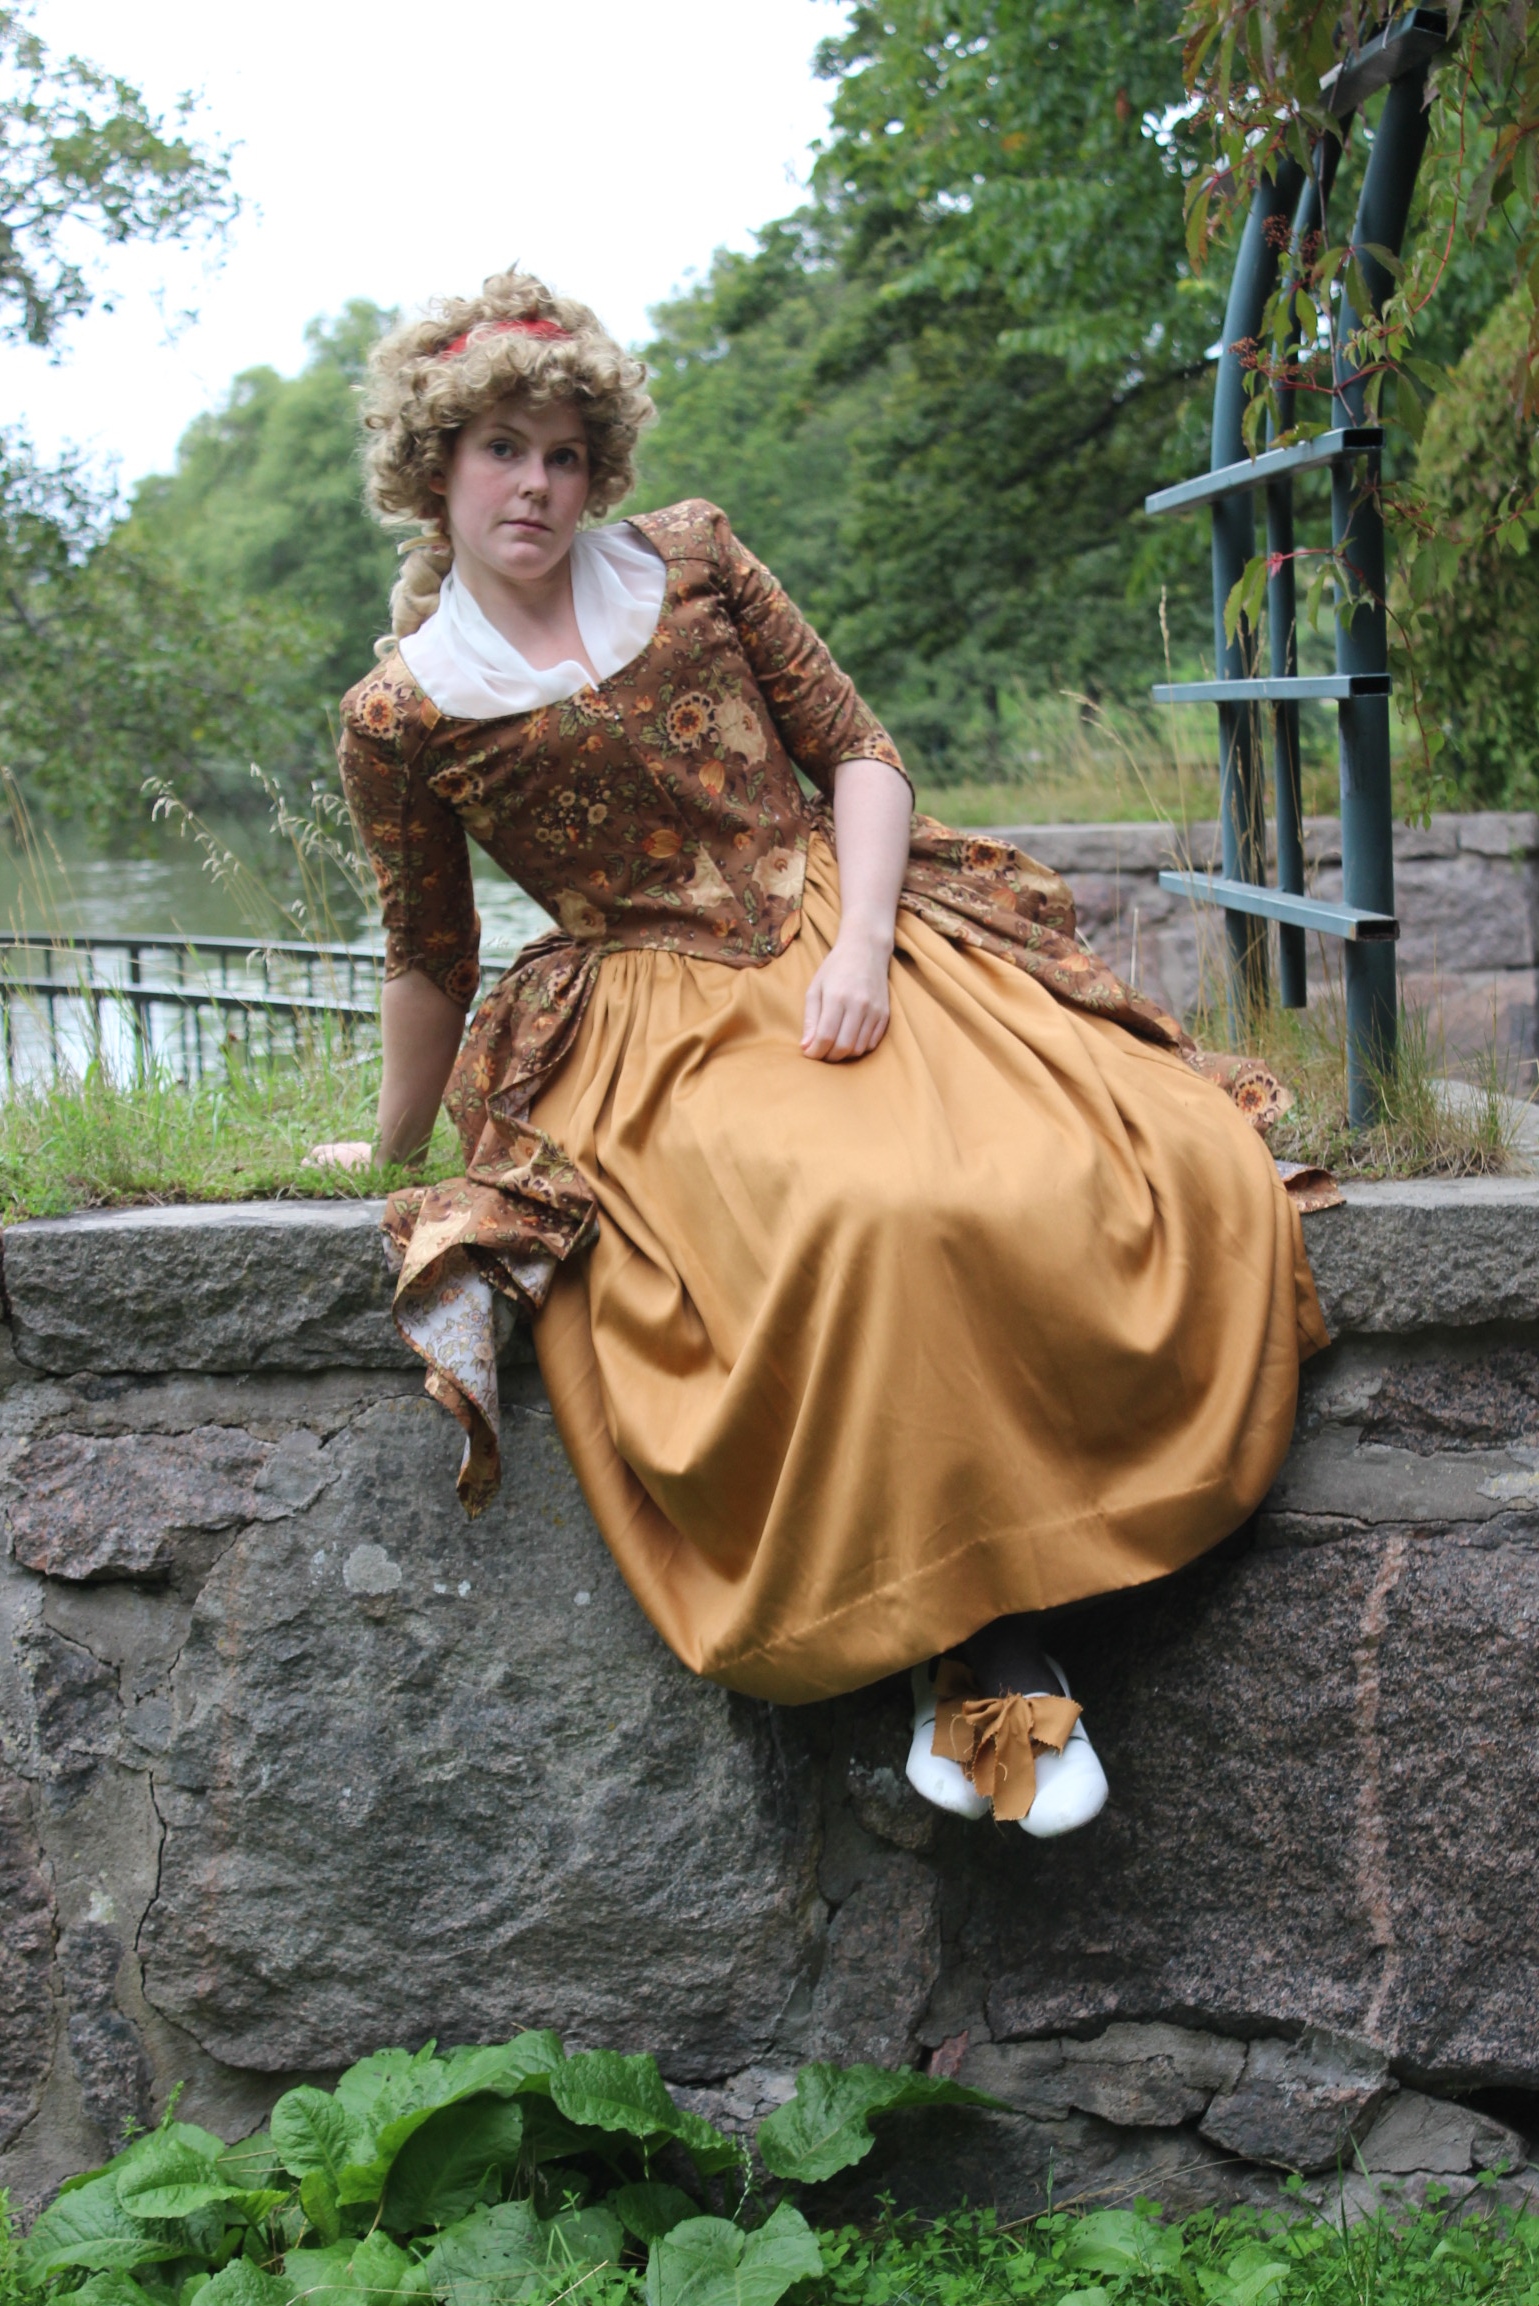
This 1780s Robe needs to be fitted better over my “new” stays, and perhaps let out a tad in the sleeves.

IMG_0522
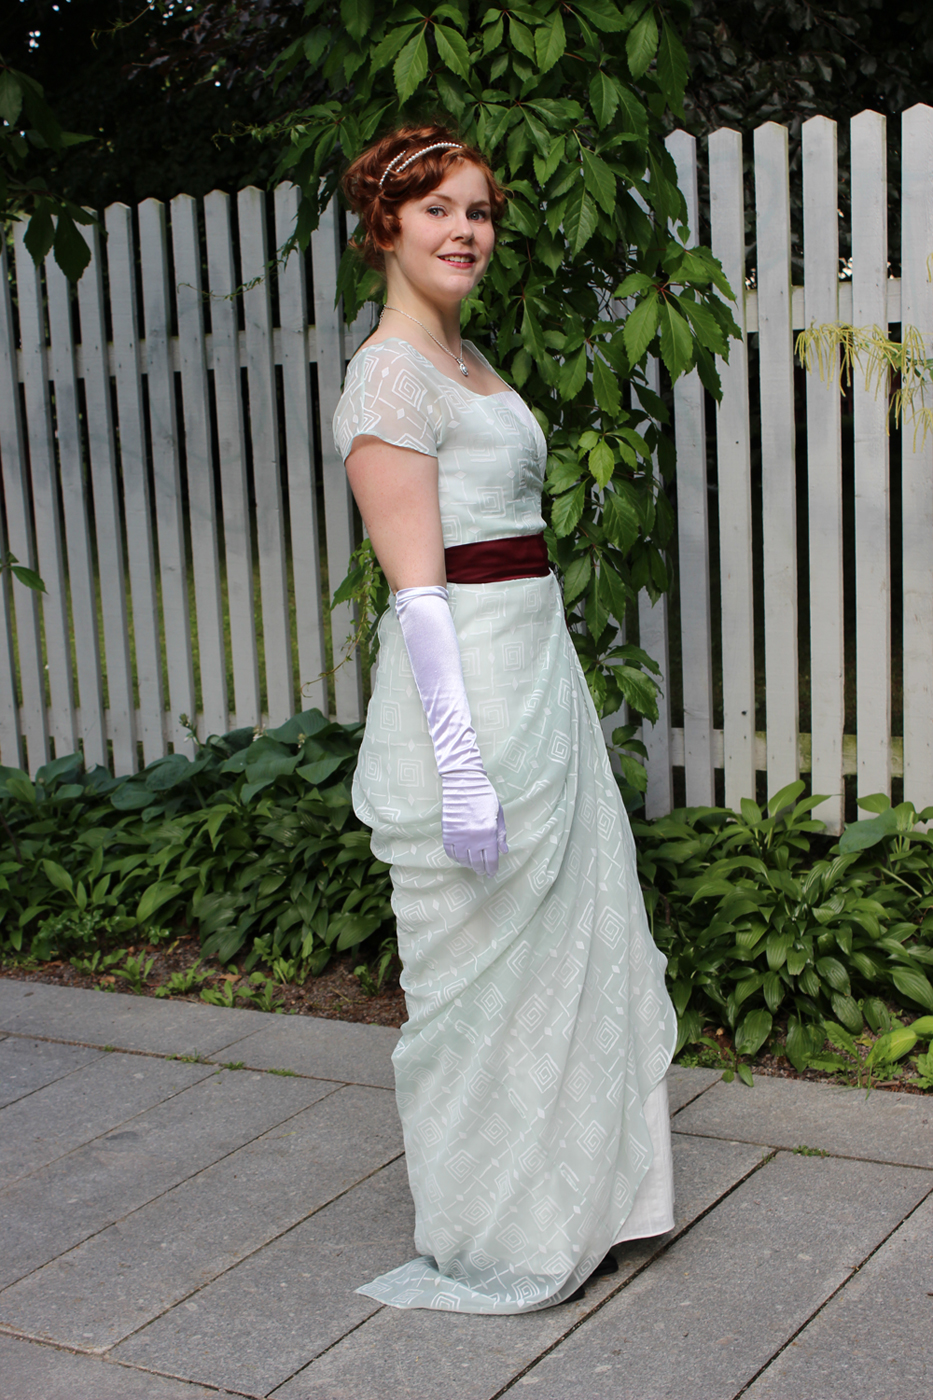
This 1910s evening gown needs a nicer back closure, and I think it would look better with the draping a bit more stitched down and controlled.

March:
The Great Outdoors
Get out into the weather and dirt with an item for outdoor pursuits.

I’m not quite sure on what to make for this one yet, but I would love to make either a Regency Spencer
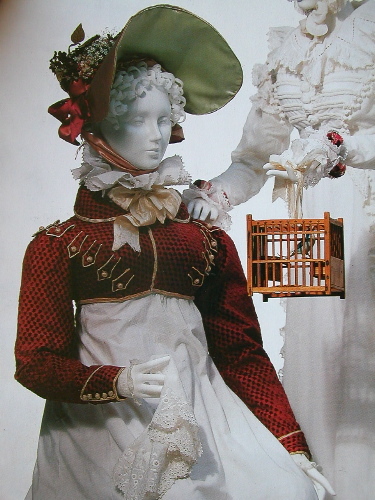
empire2

Or this 1910s wrap cape.4208693c640de62d4b97f0ac6ec639fdBeautiful, Isn’t it?

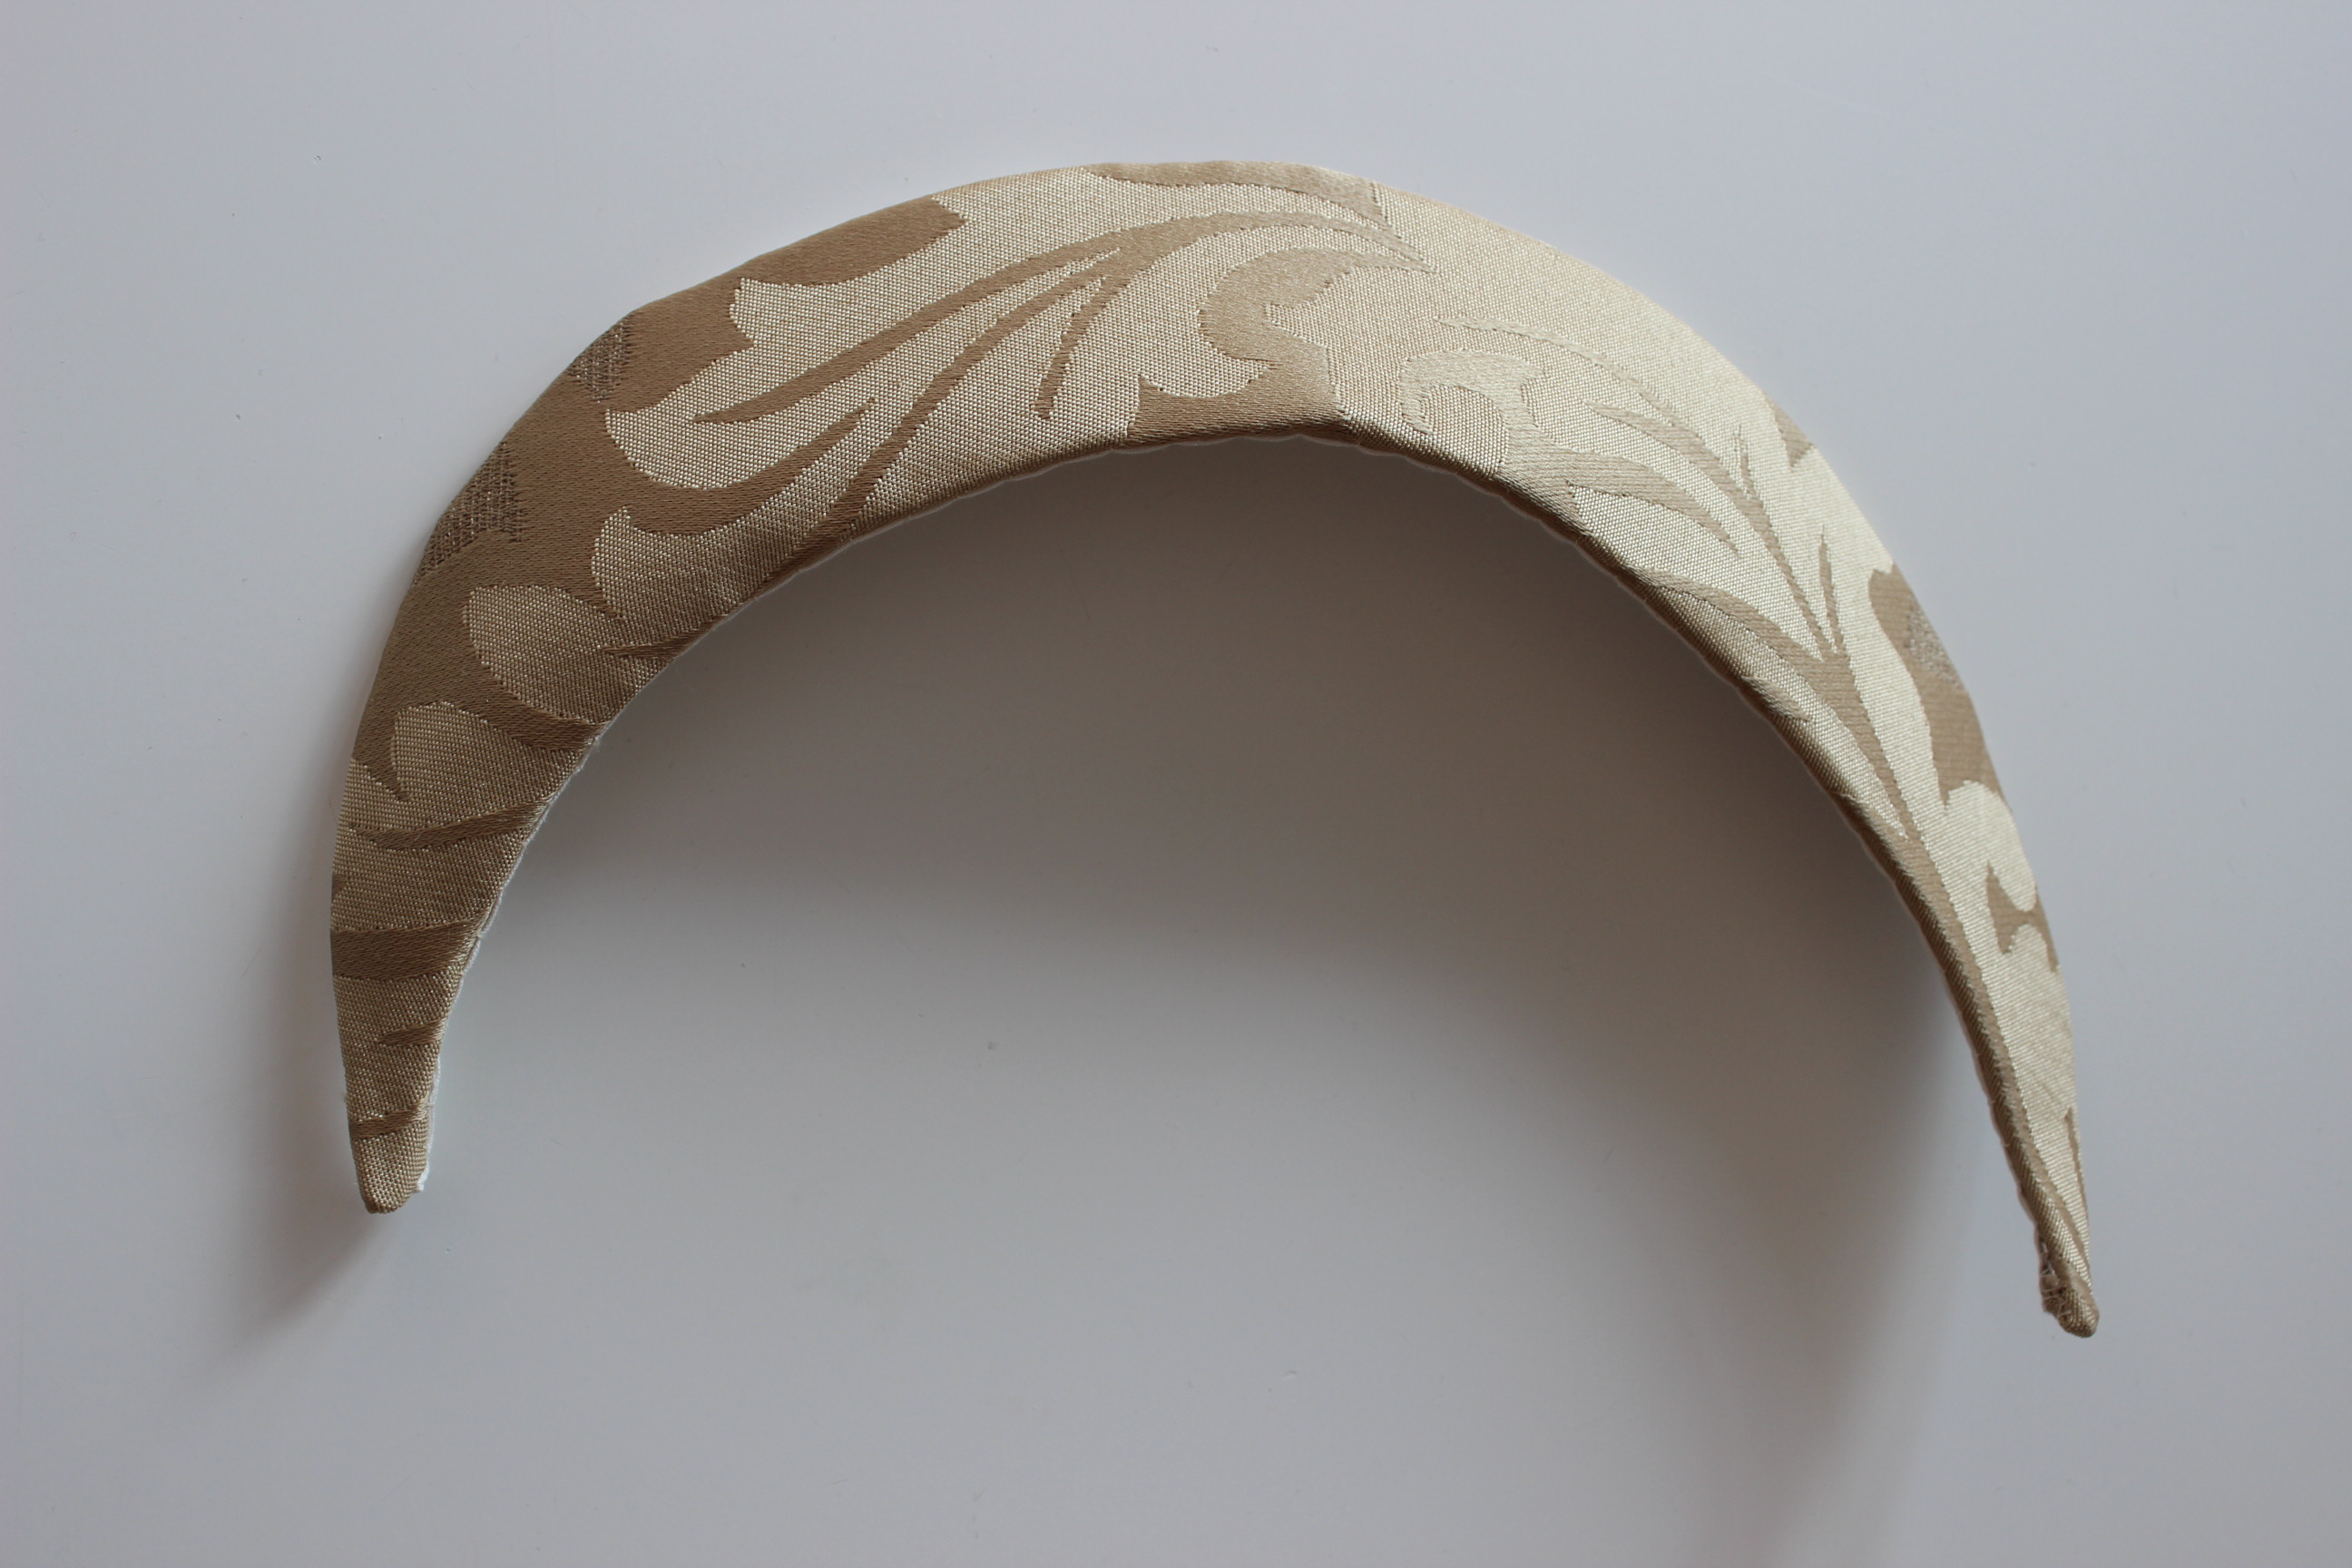
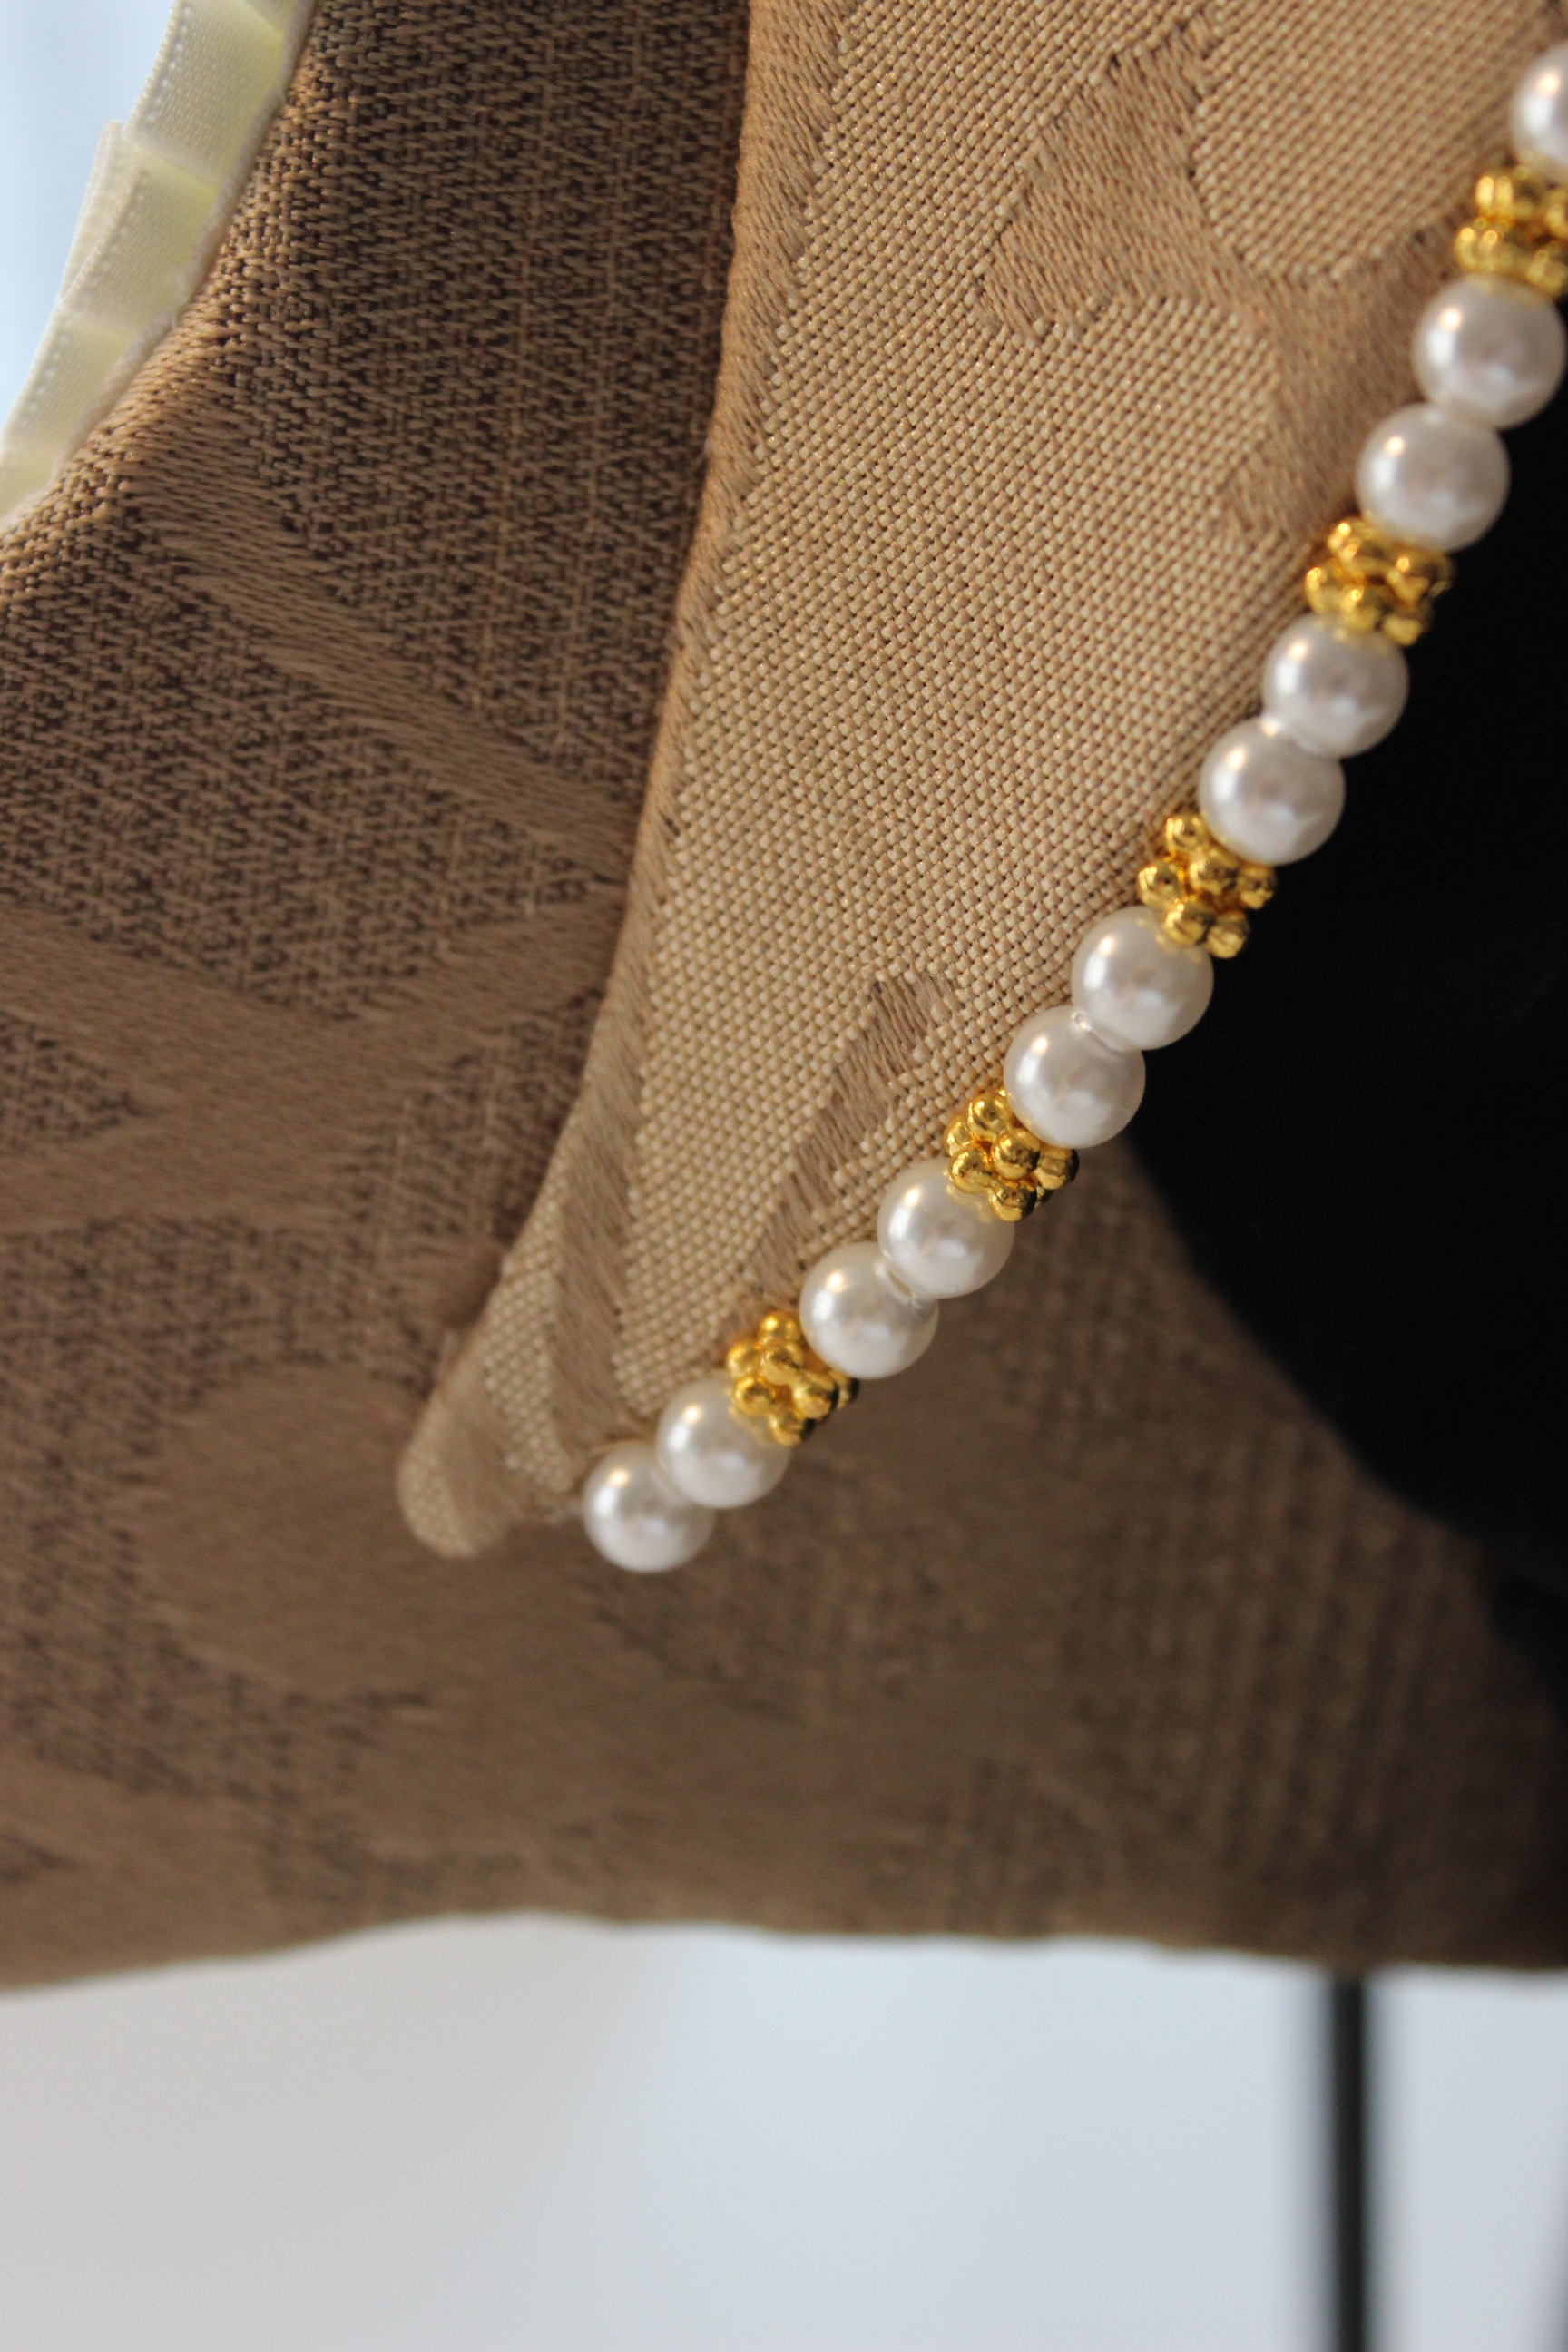
Another thing I’m contemplating is to make a 18th century hair decoration to match the brown Robe Anglaise above. fbac9dca5d32b7a9e85ab39e839c26ea 650e2205c62d97b75a2e1ba7ad3e4a16
Something like these two mixed up

April:
Circles, Squares & Rectangles
Make a garment made entirely of squares, rectangles and circles.

1237560510215538790warszawianka_chiton_clothing-svg-hiOn this one I plan to keep it simple with a Greek Chiton or Peplos made from one/two big rectangles of fabric.

I might also get time to make the frilly 1820s bonnet from January’s fashion plate.

May:
Literature
– Make something inspired by literature.

Also not sure on this one.
I would love to make a new Edwardian evening gown (if some of my fabrics speaks to me)mode1910-2

Or a green Regency day dress (or maybe a Pelisse) out of a pretty cotton fabric I’ve been sitting on for a few years now.5880ee0d1aa5d43db828e03caa587e55

Or I might just take this opportunity to finish my Robe a la Franchaise (begun in 2014)
21b6904ef6a12a9a9d65e486ef558bfd

The literature reference won’t be hard to find on either of them.

June:
Metallics
make something in silver, gold, bronze, and copper, whether it be an actual metal, cloth of gold or silver, or lamé.

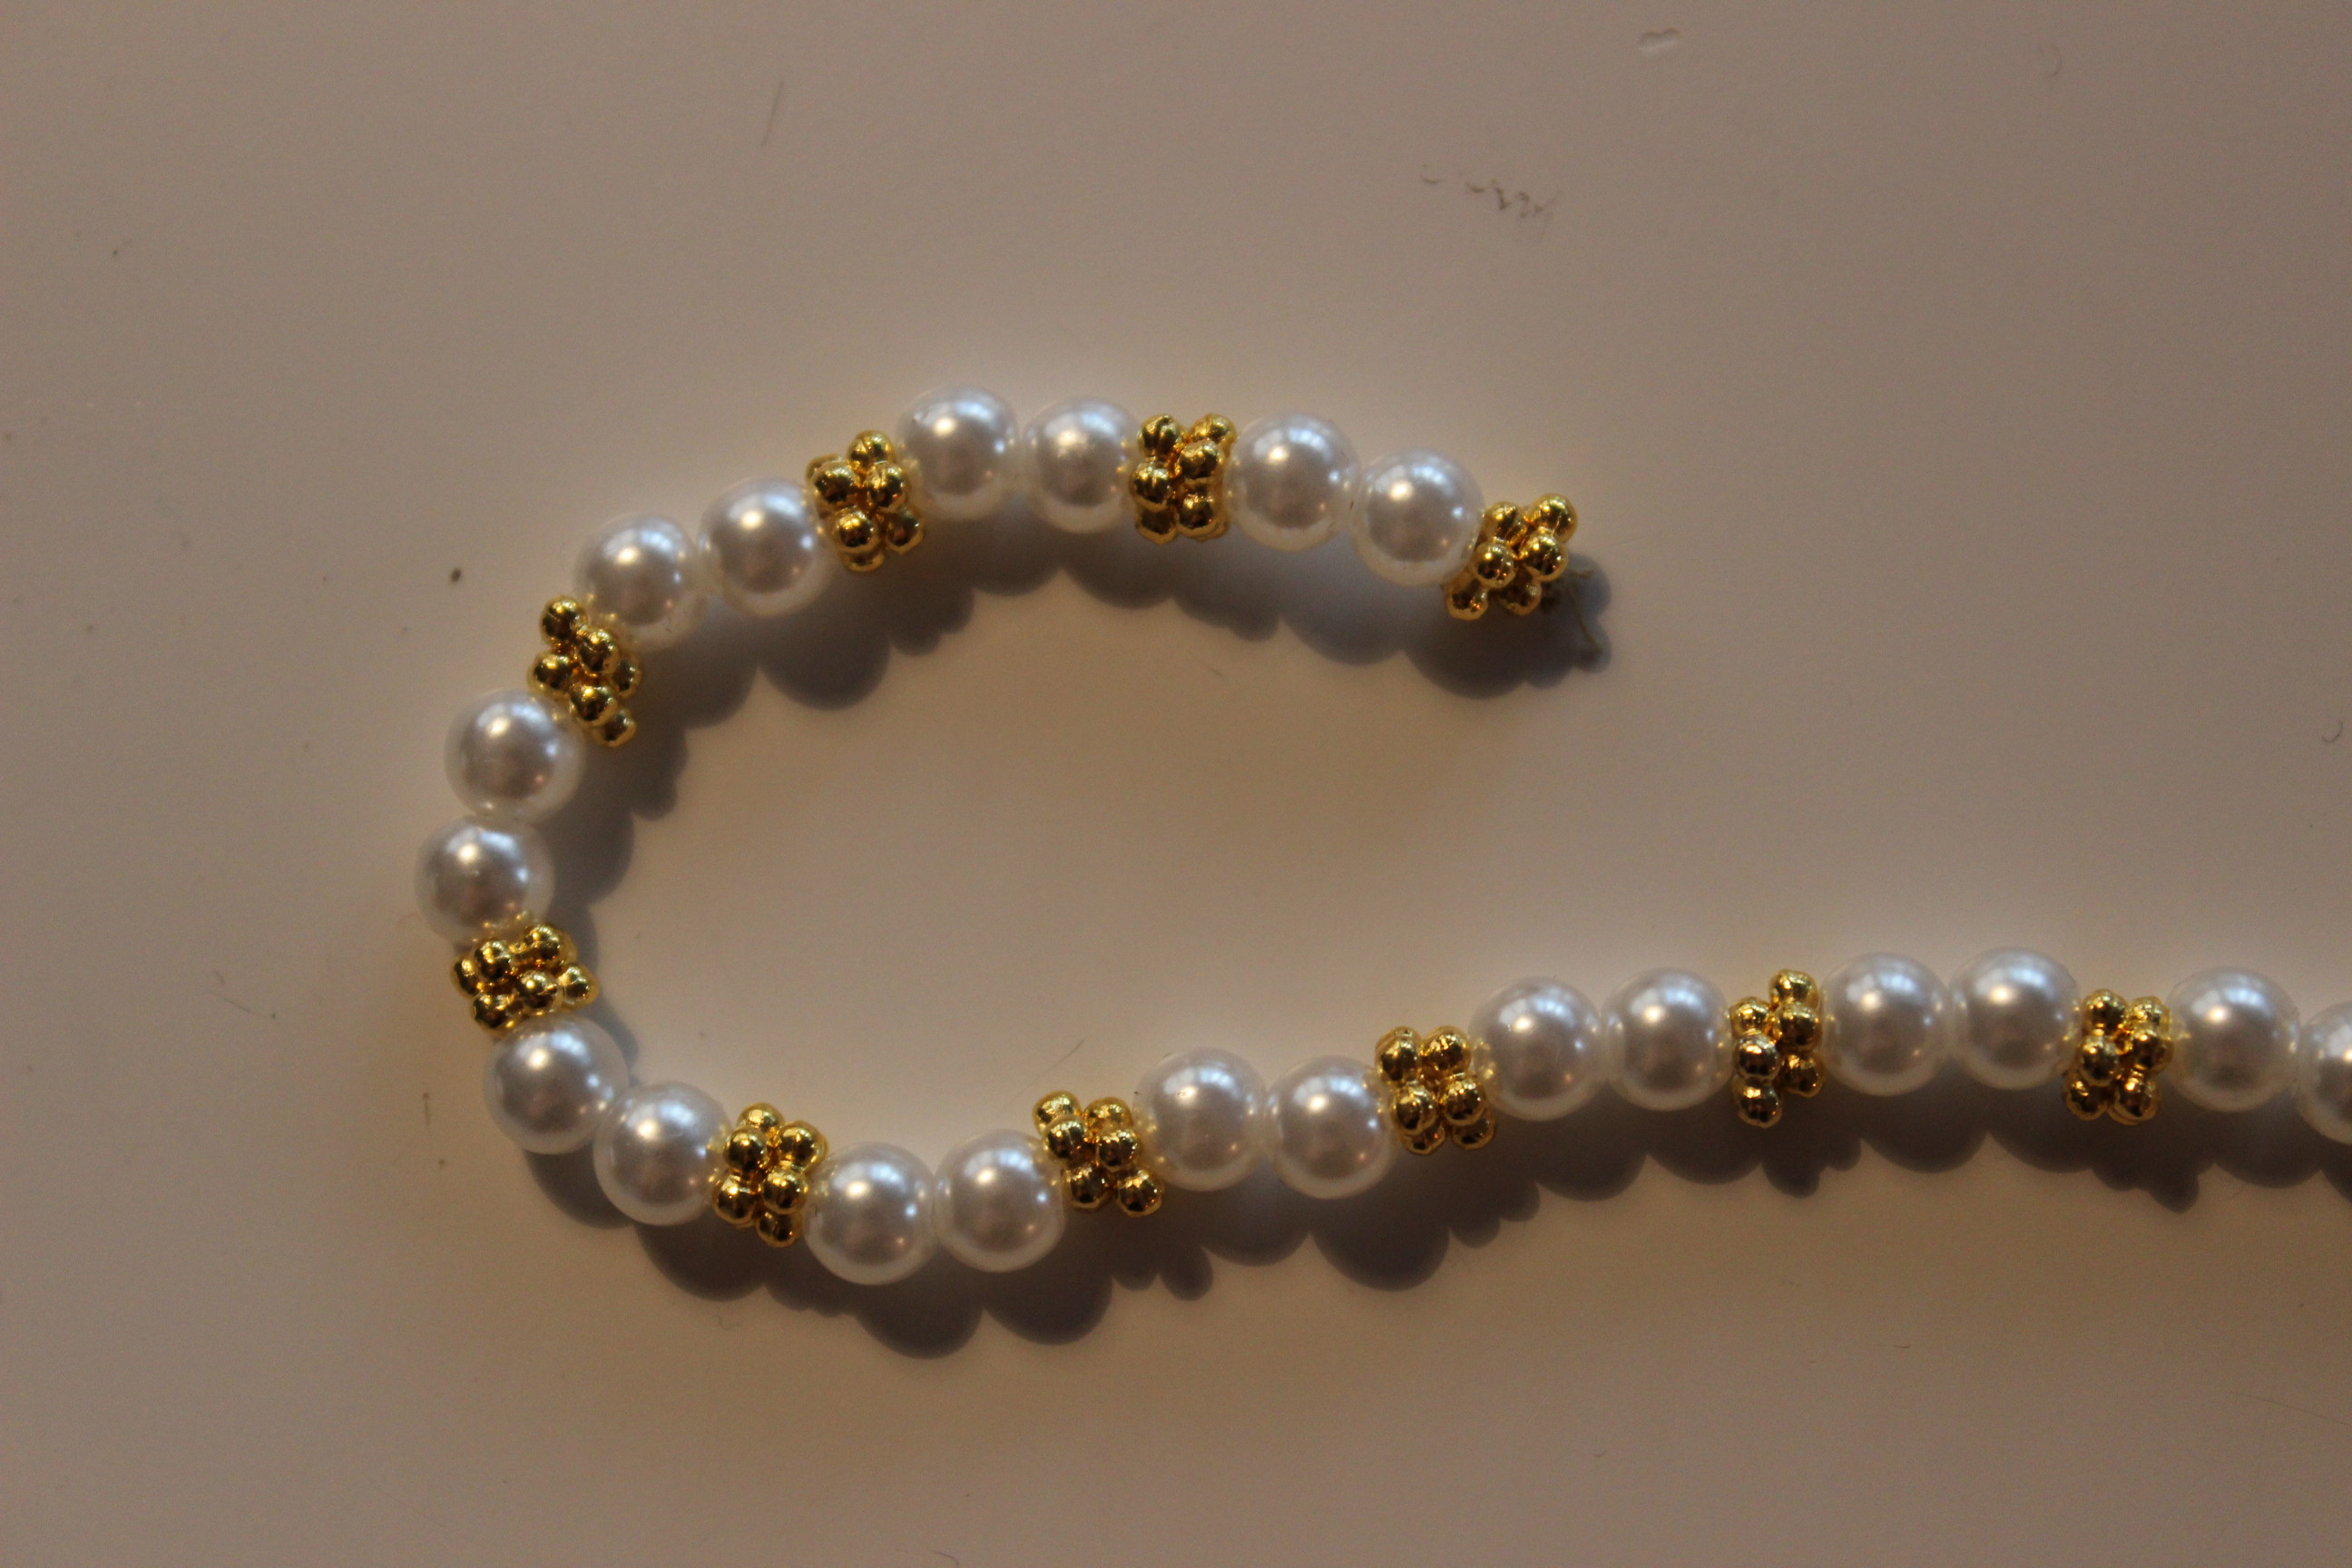
I was planing on making one of these 1-hour dresses from the 1920s in a lovely turquoise jewel toned fake silk, but now that I read the challenge description again I realize that won’t do.ladda-nedPerhaps I can add some sparkle or a nice piece of jewelry to go with the dress, to make it fit the challenge criteria better.

July:
Fashion Plate
Make an outfit inspired by a fashion plate, whether it is a direct replica, or a more toned down version that fits the resources and lifestyle of the character you are portraying.

Another Regency piece I’ve been coveting for a while is a greek inspired over robe like his one.eveningfulldresslabelleassembleeapril1811

For the rest of the year (Aug-Dec) I want to wait a bit to decide what to do, since life and priorities change depending on sewing time/up-coming events or new interests.

So the last 5 challenges will be decided later this spring/summer.

AugustRidiculous 

SeptemberSeen Onscreen

OctoberOut of Your Comfort Zone

NovemberHSF Inspiration

DecemberGo Wild

Here is however some of the things I’m thinking about

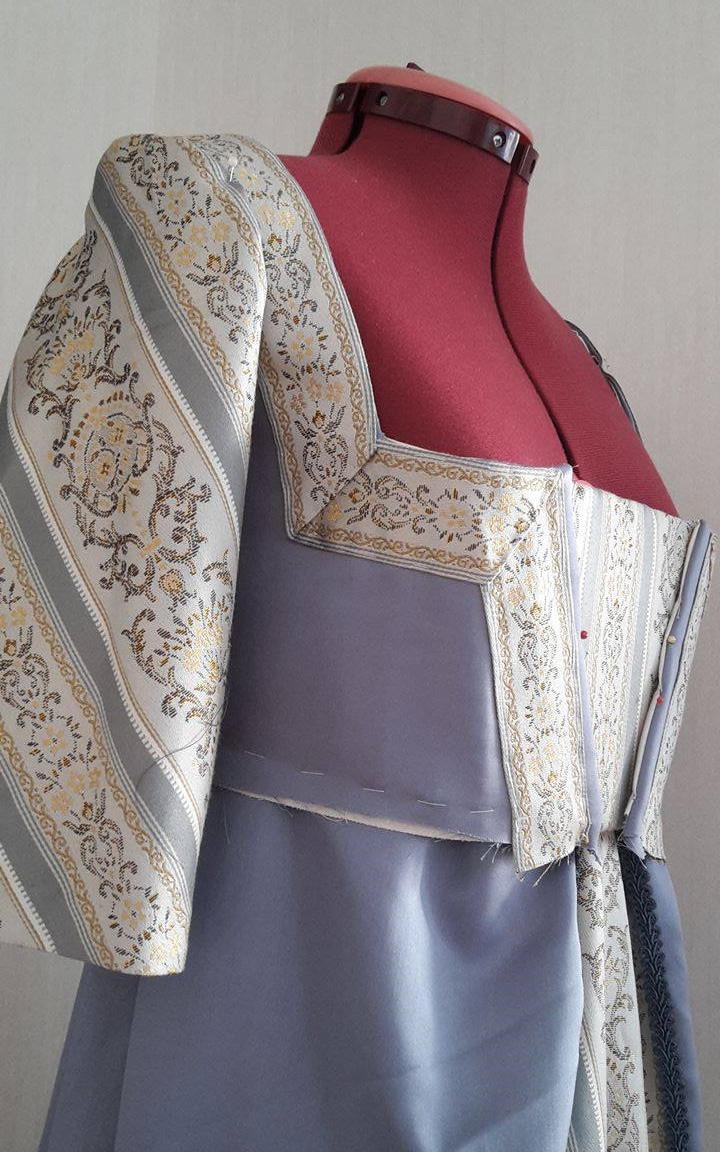
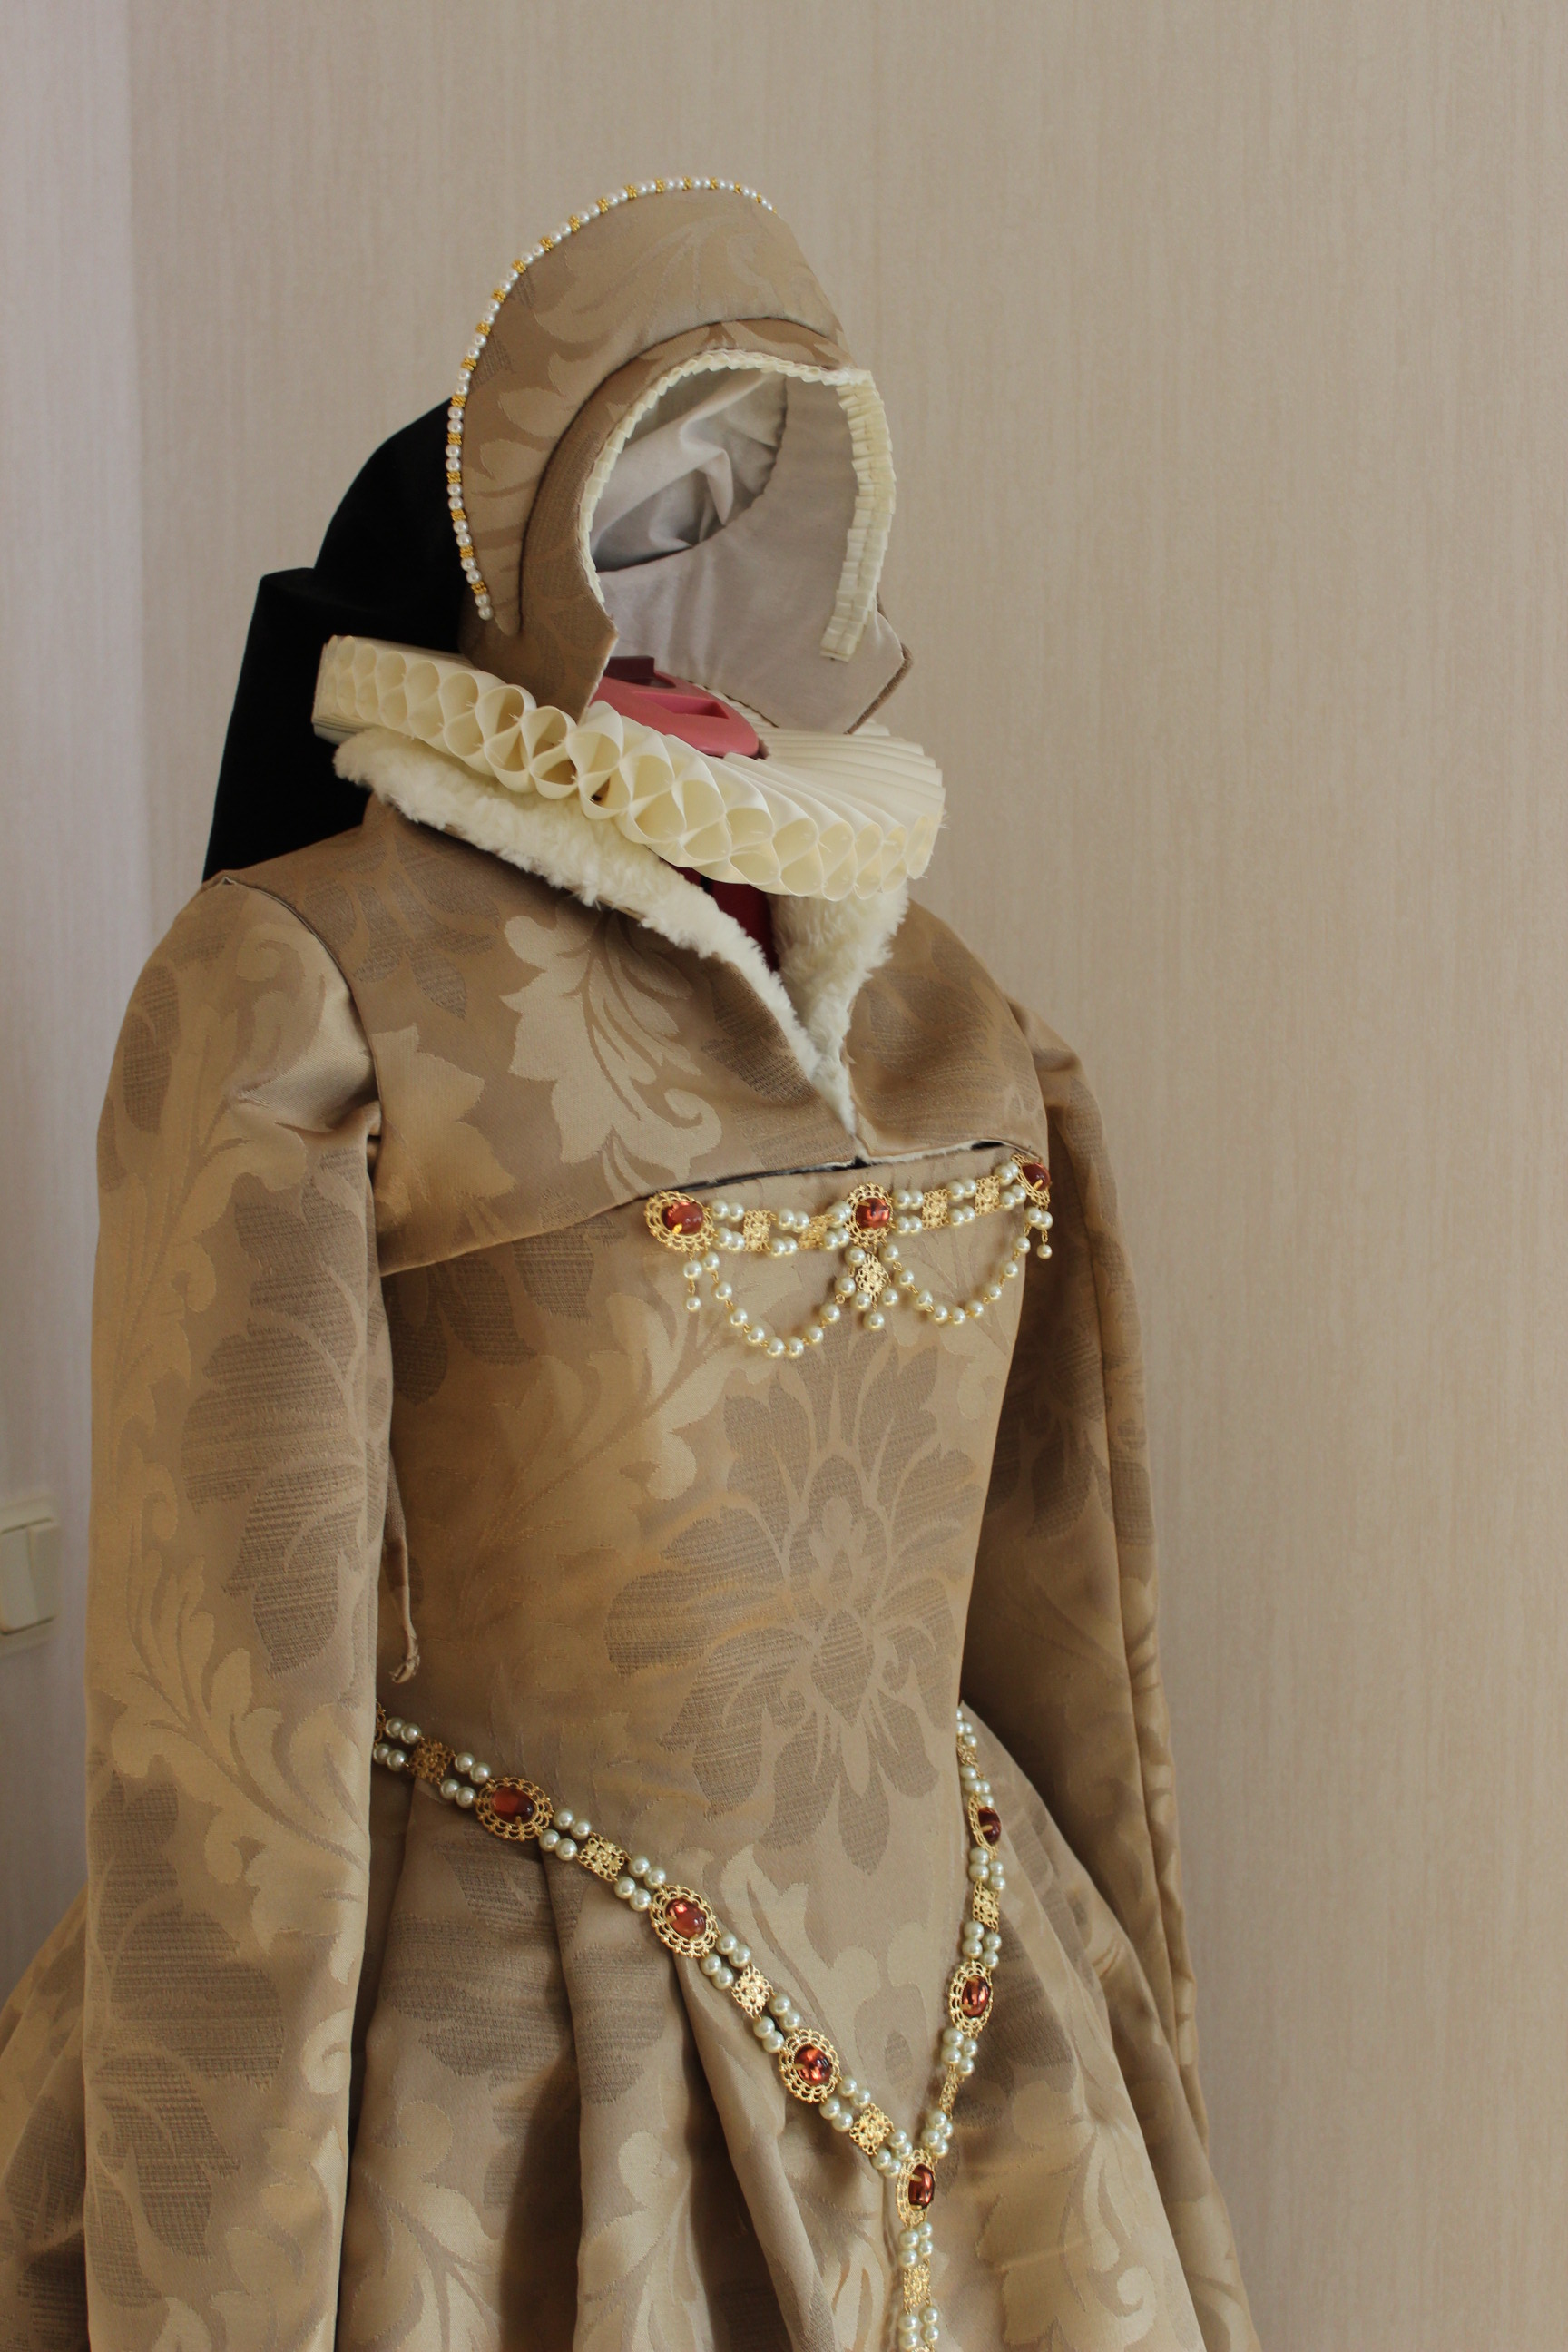
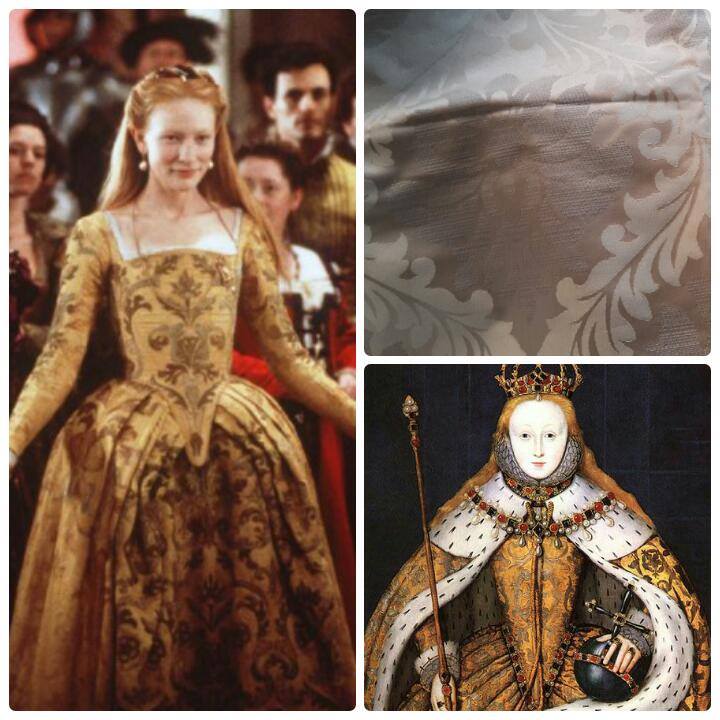
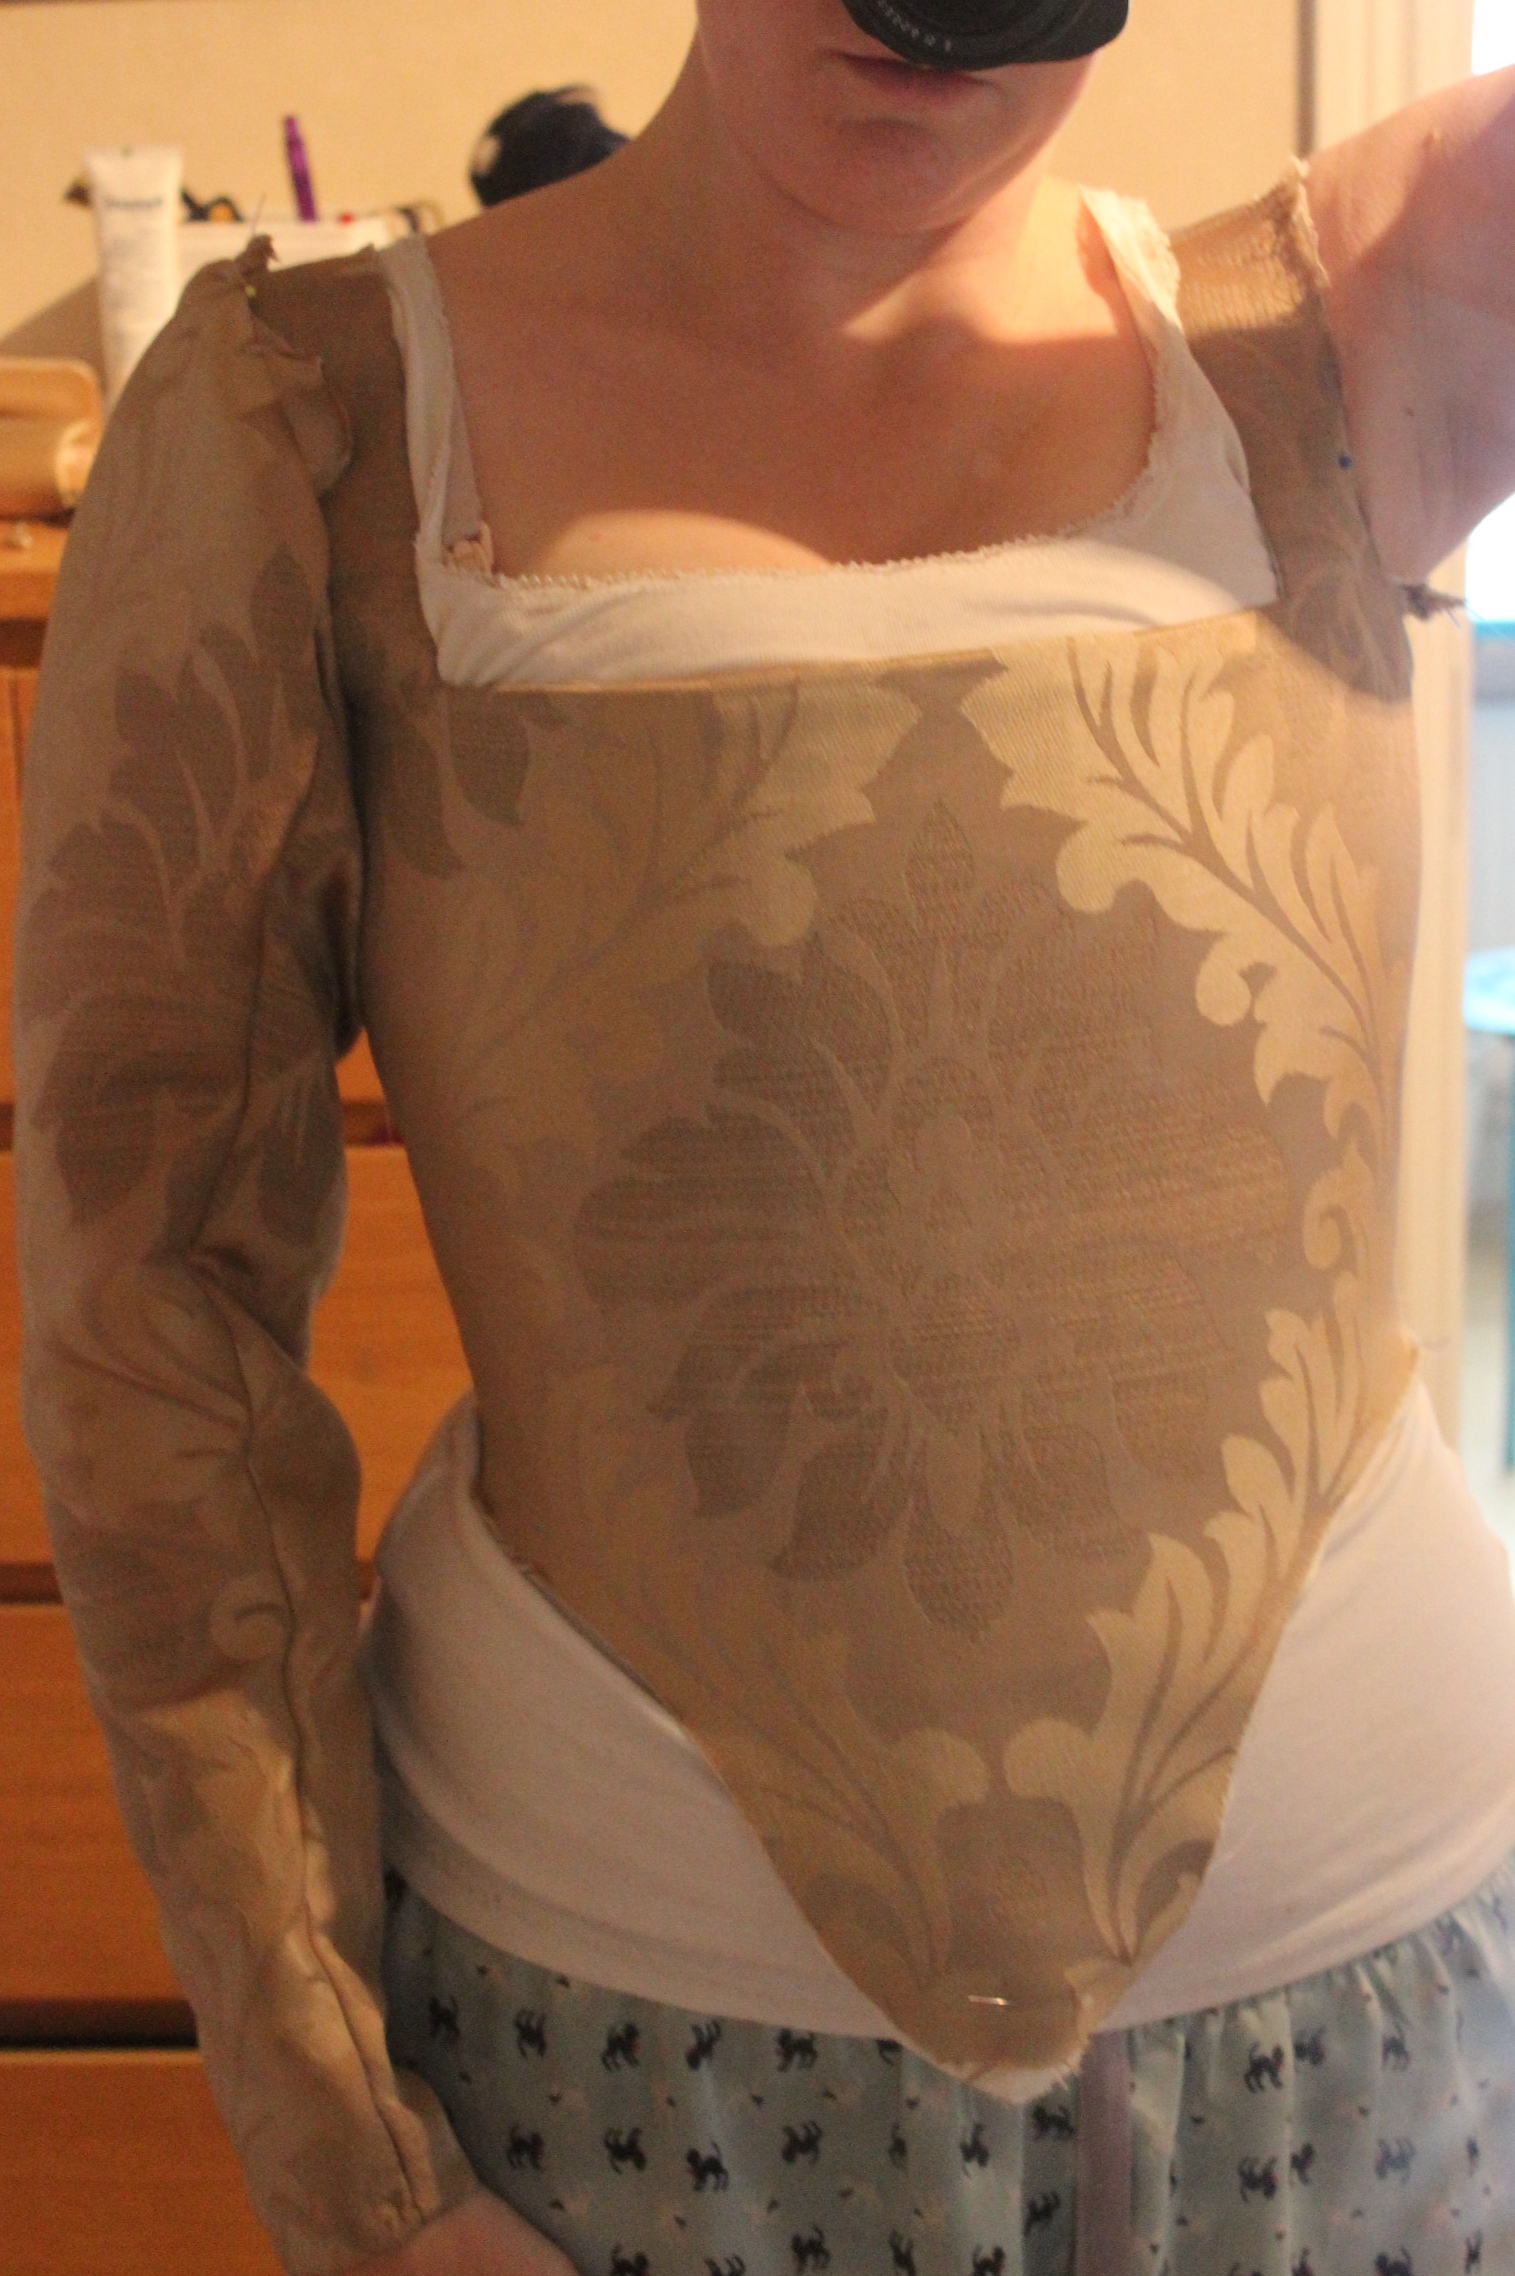
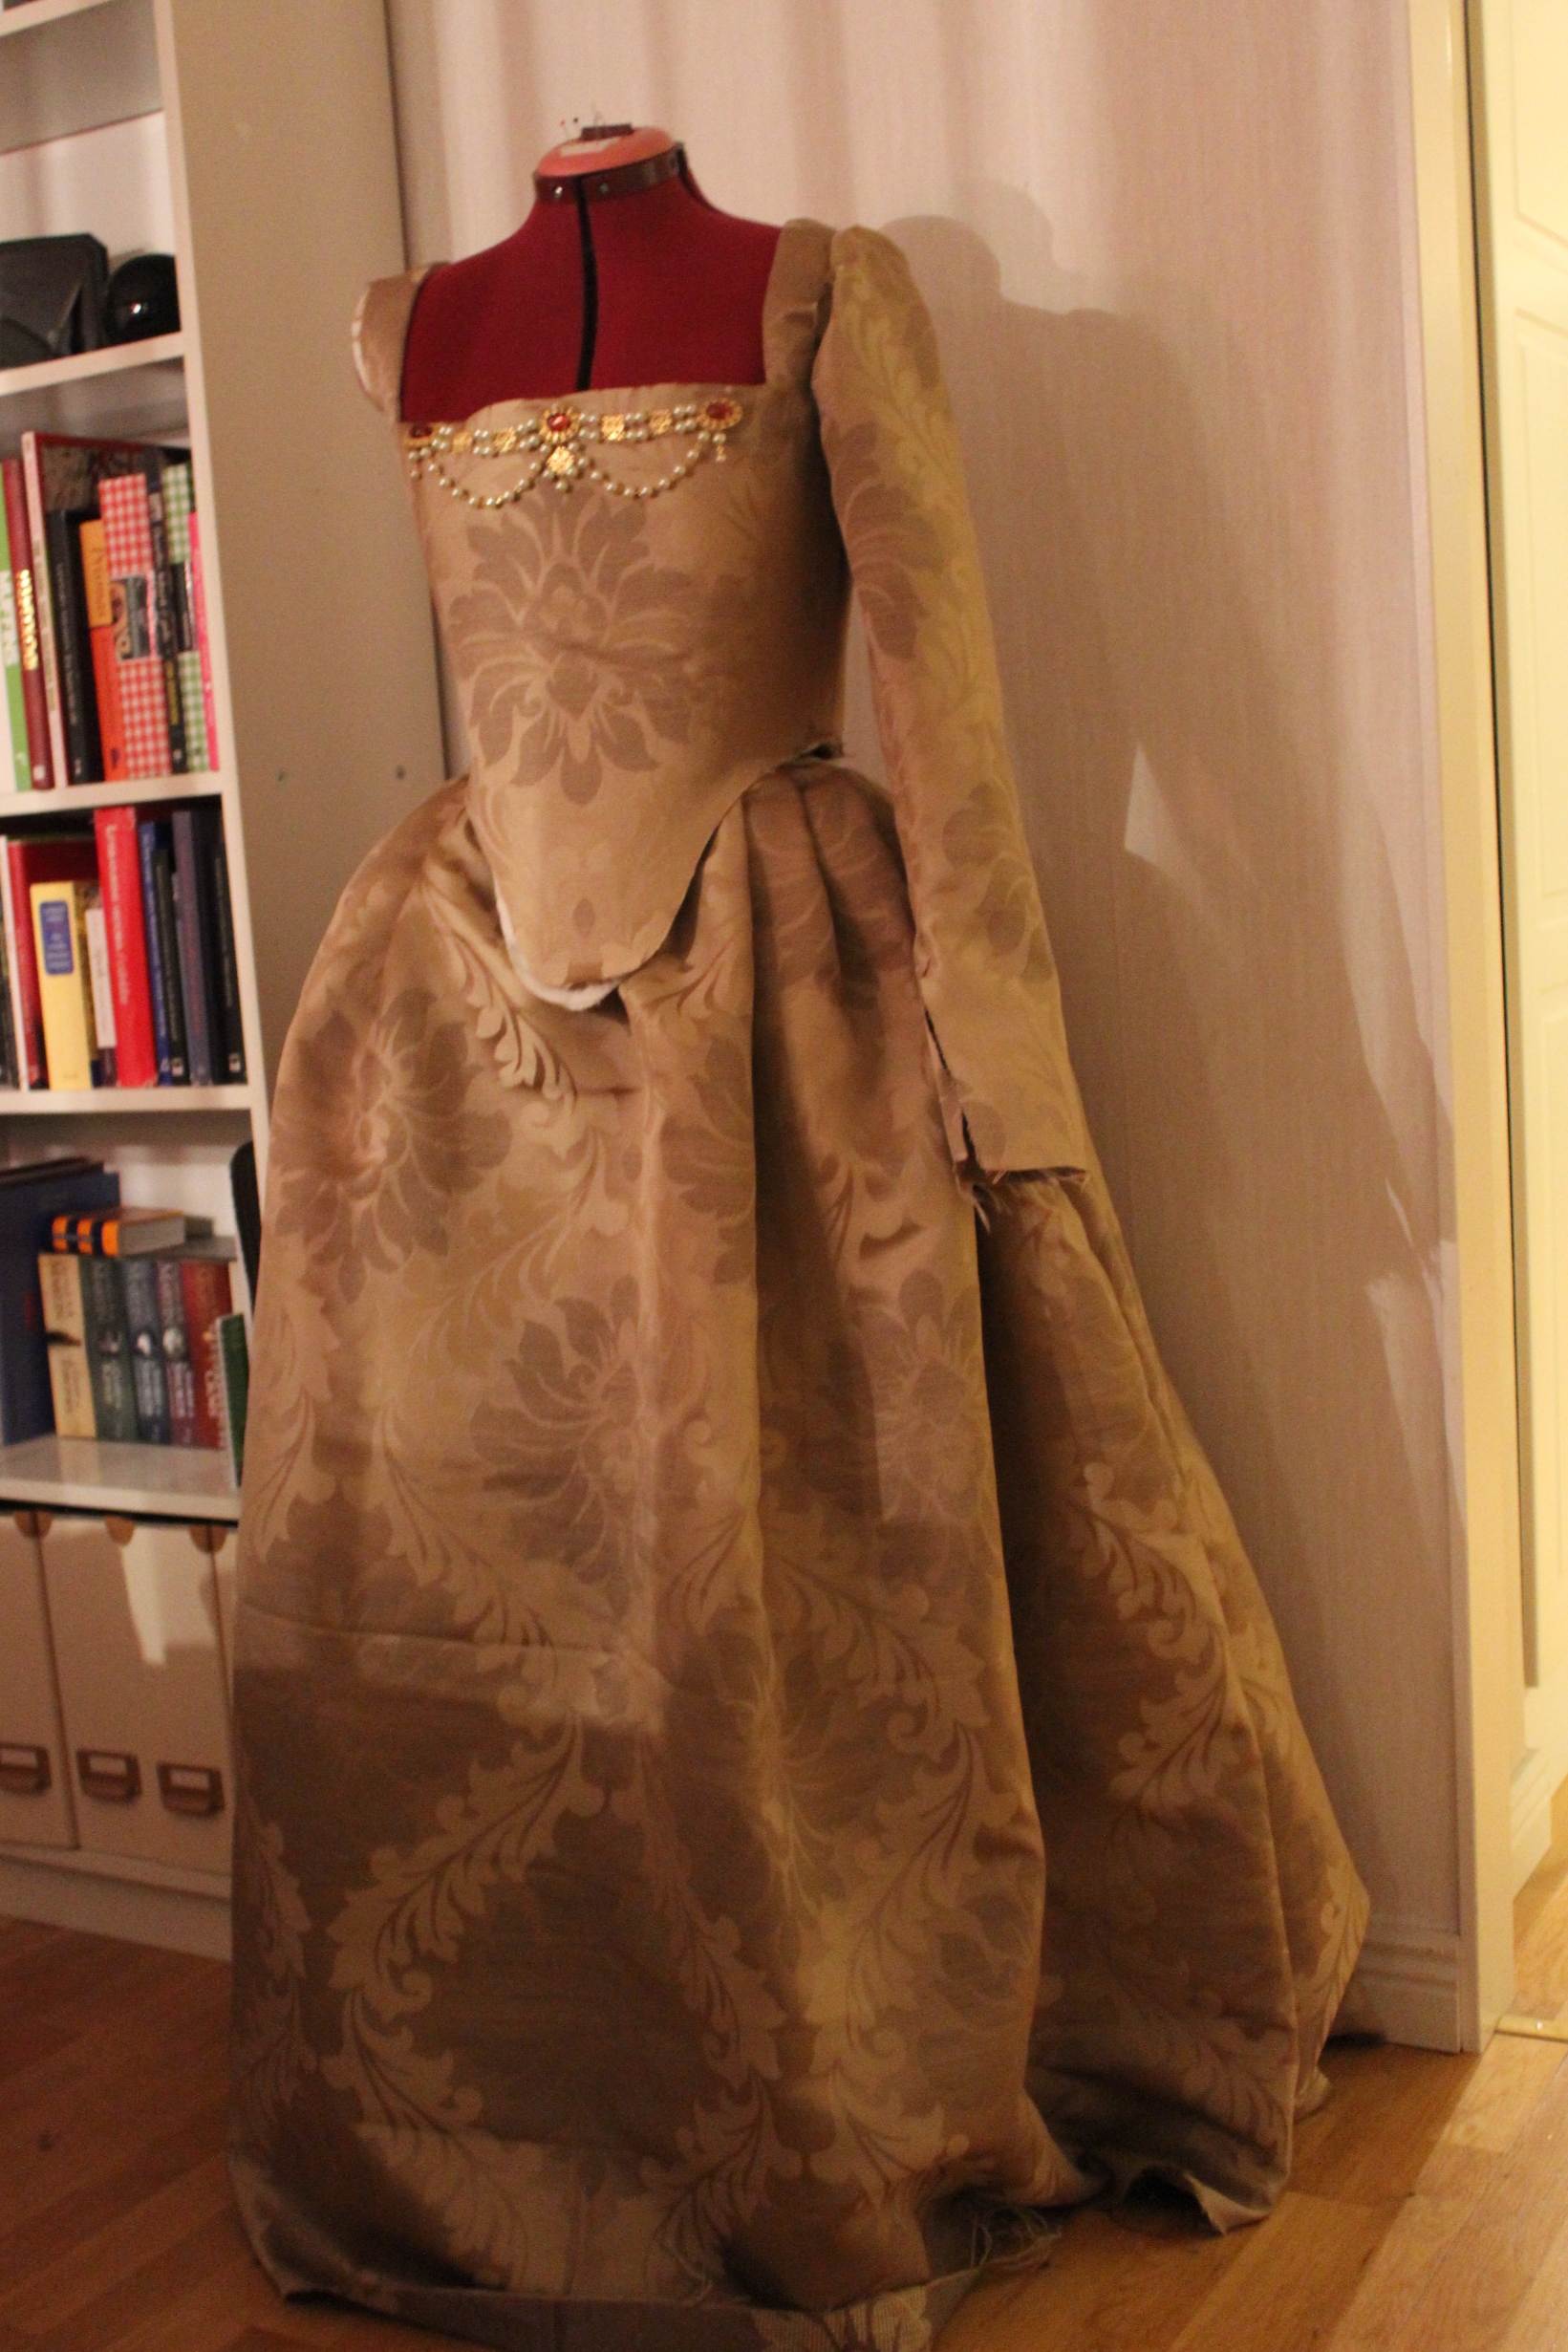
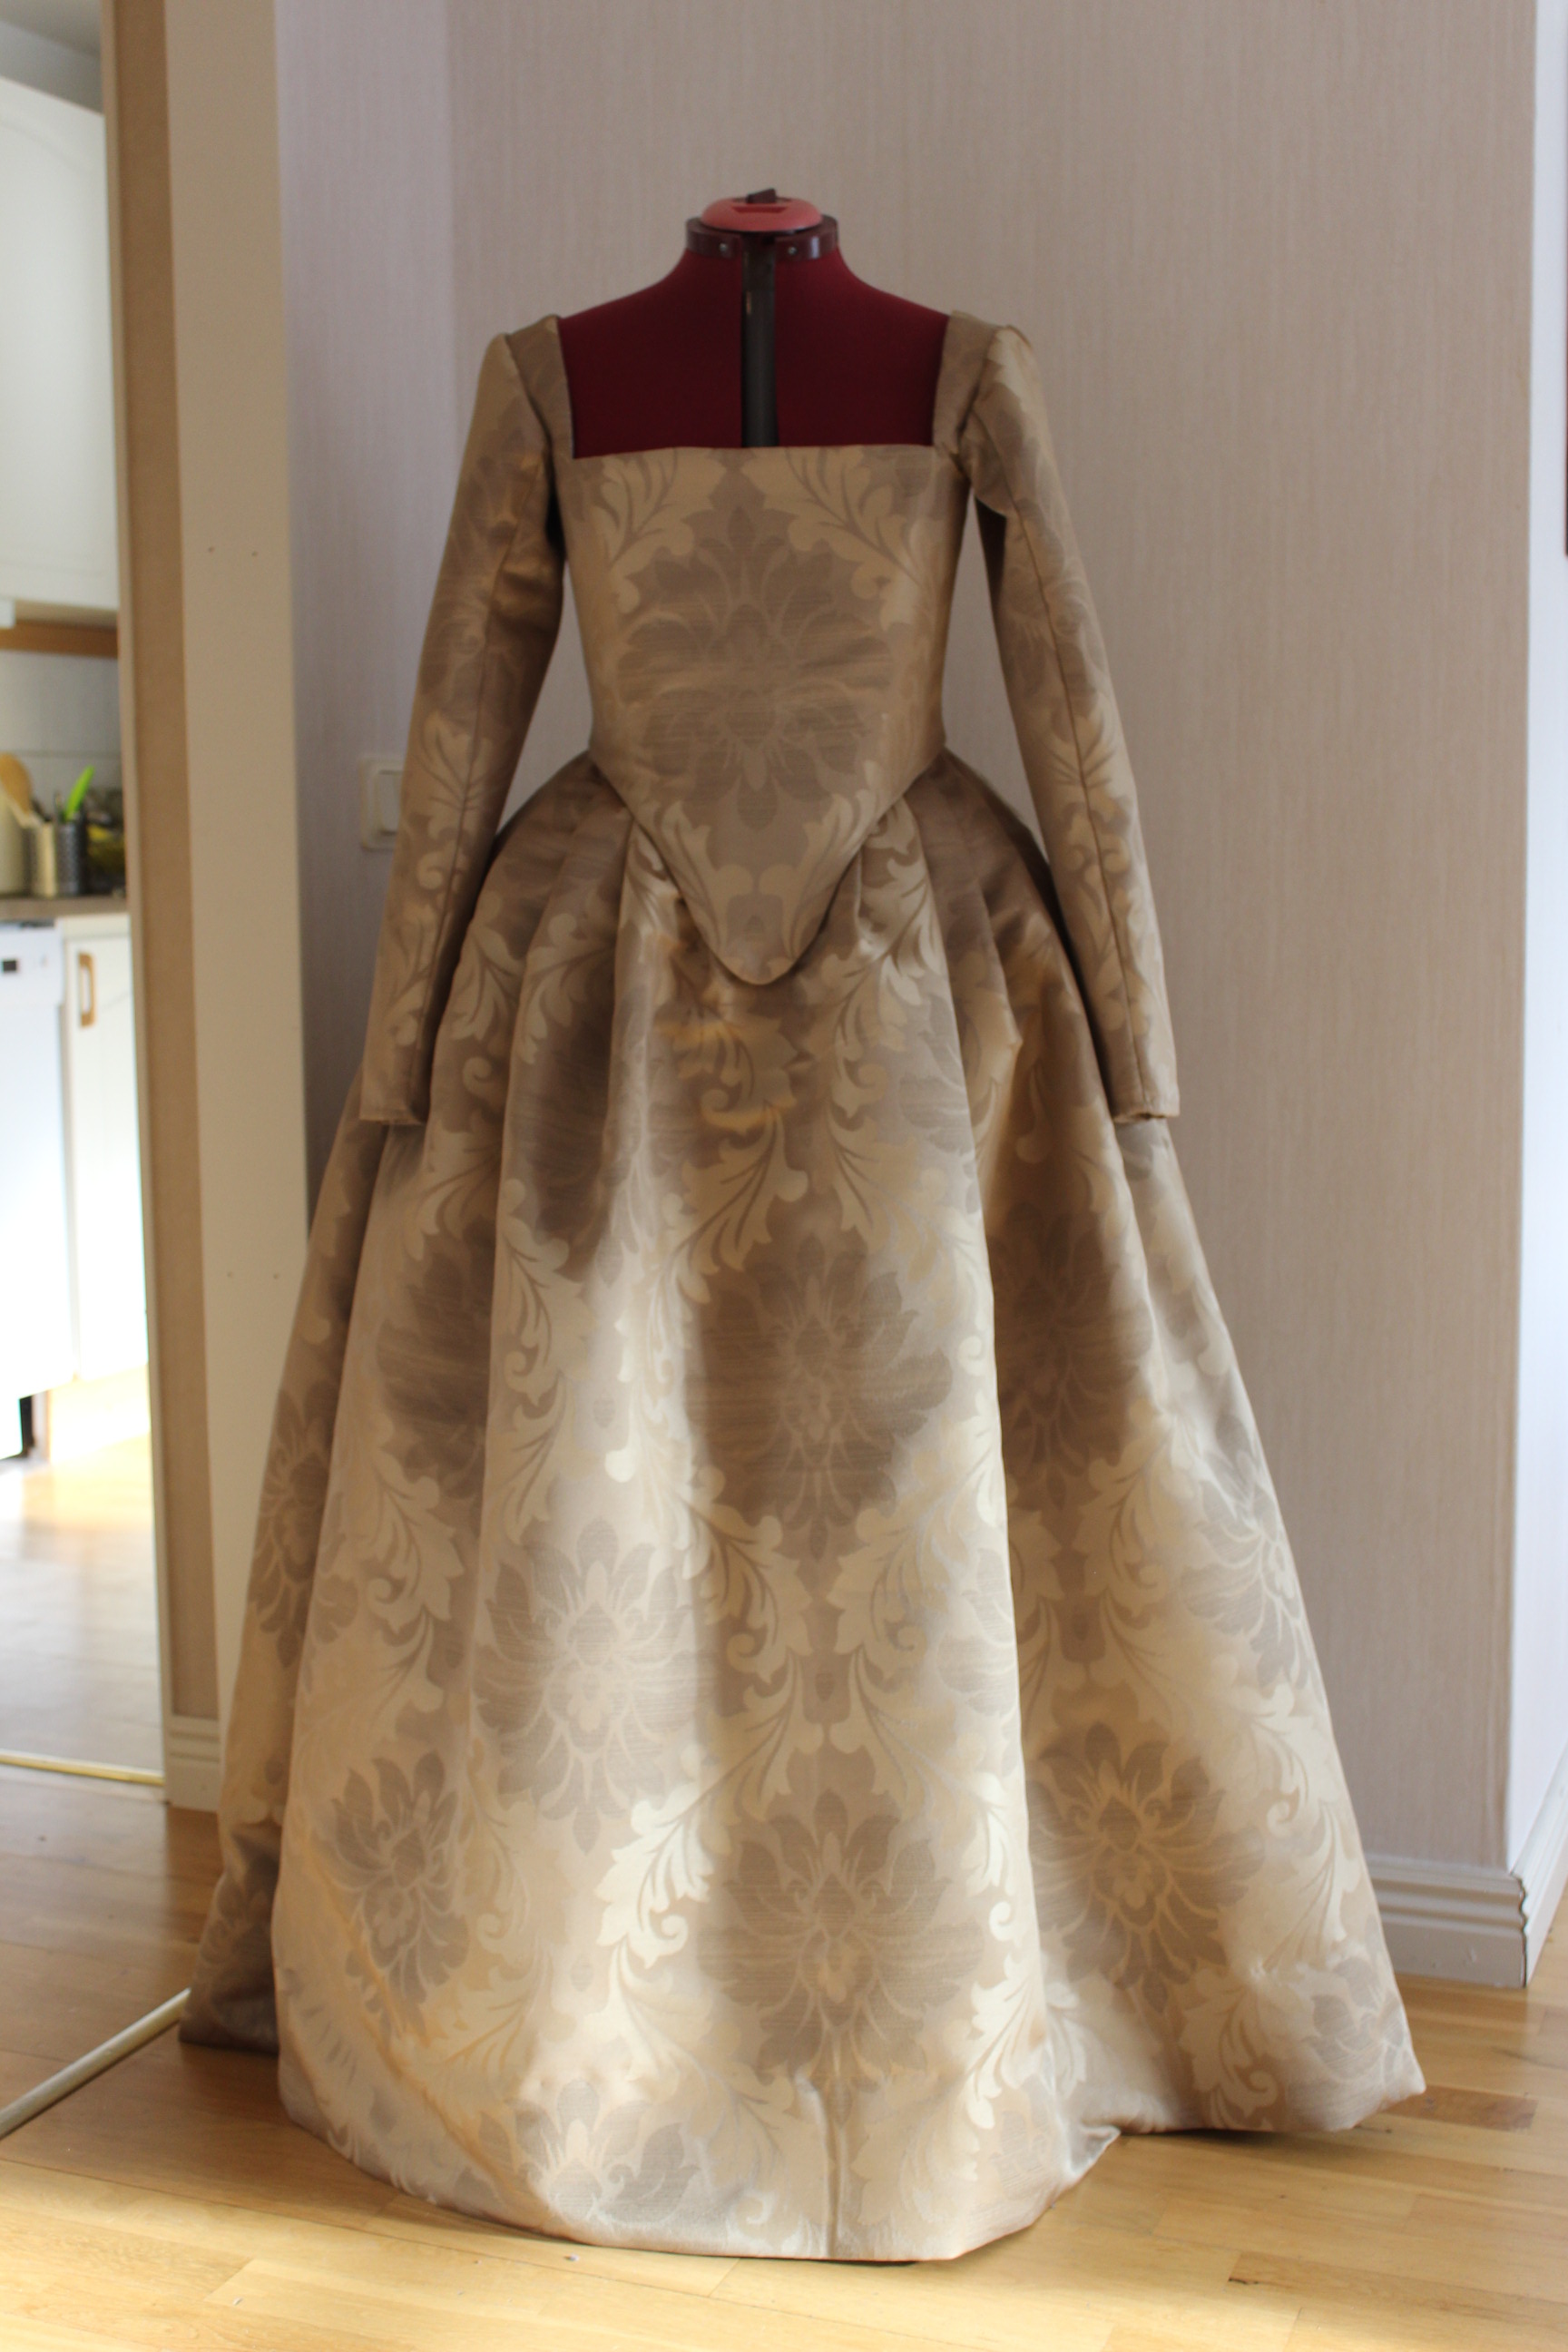
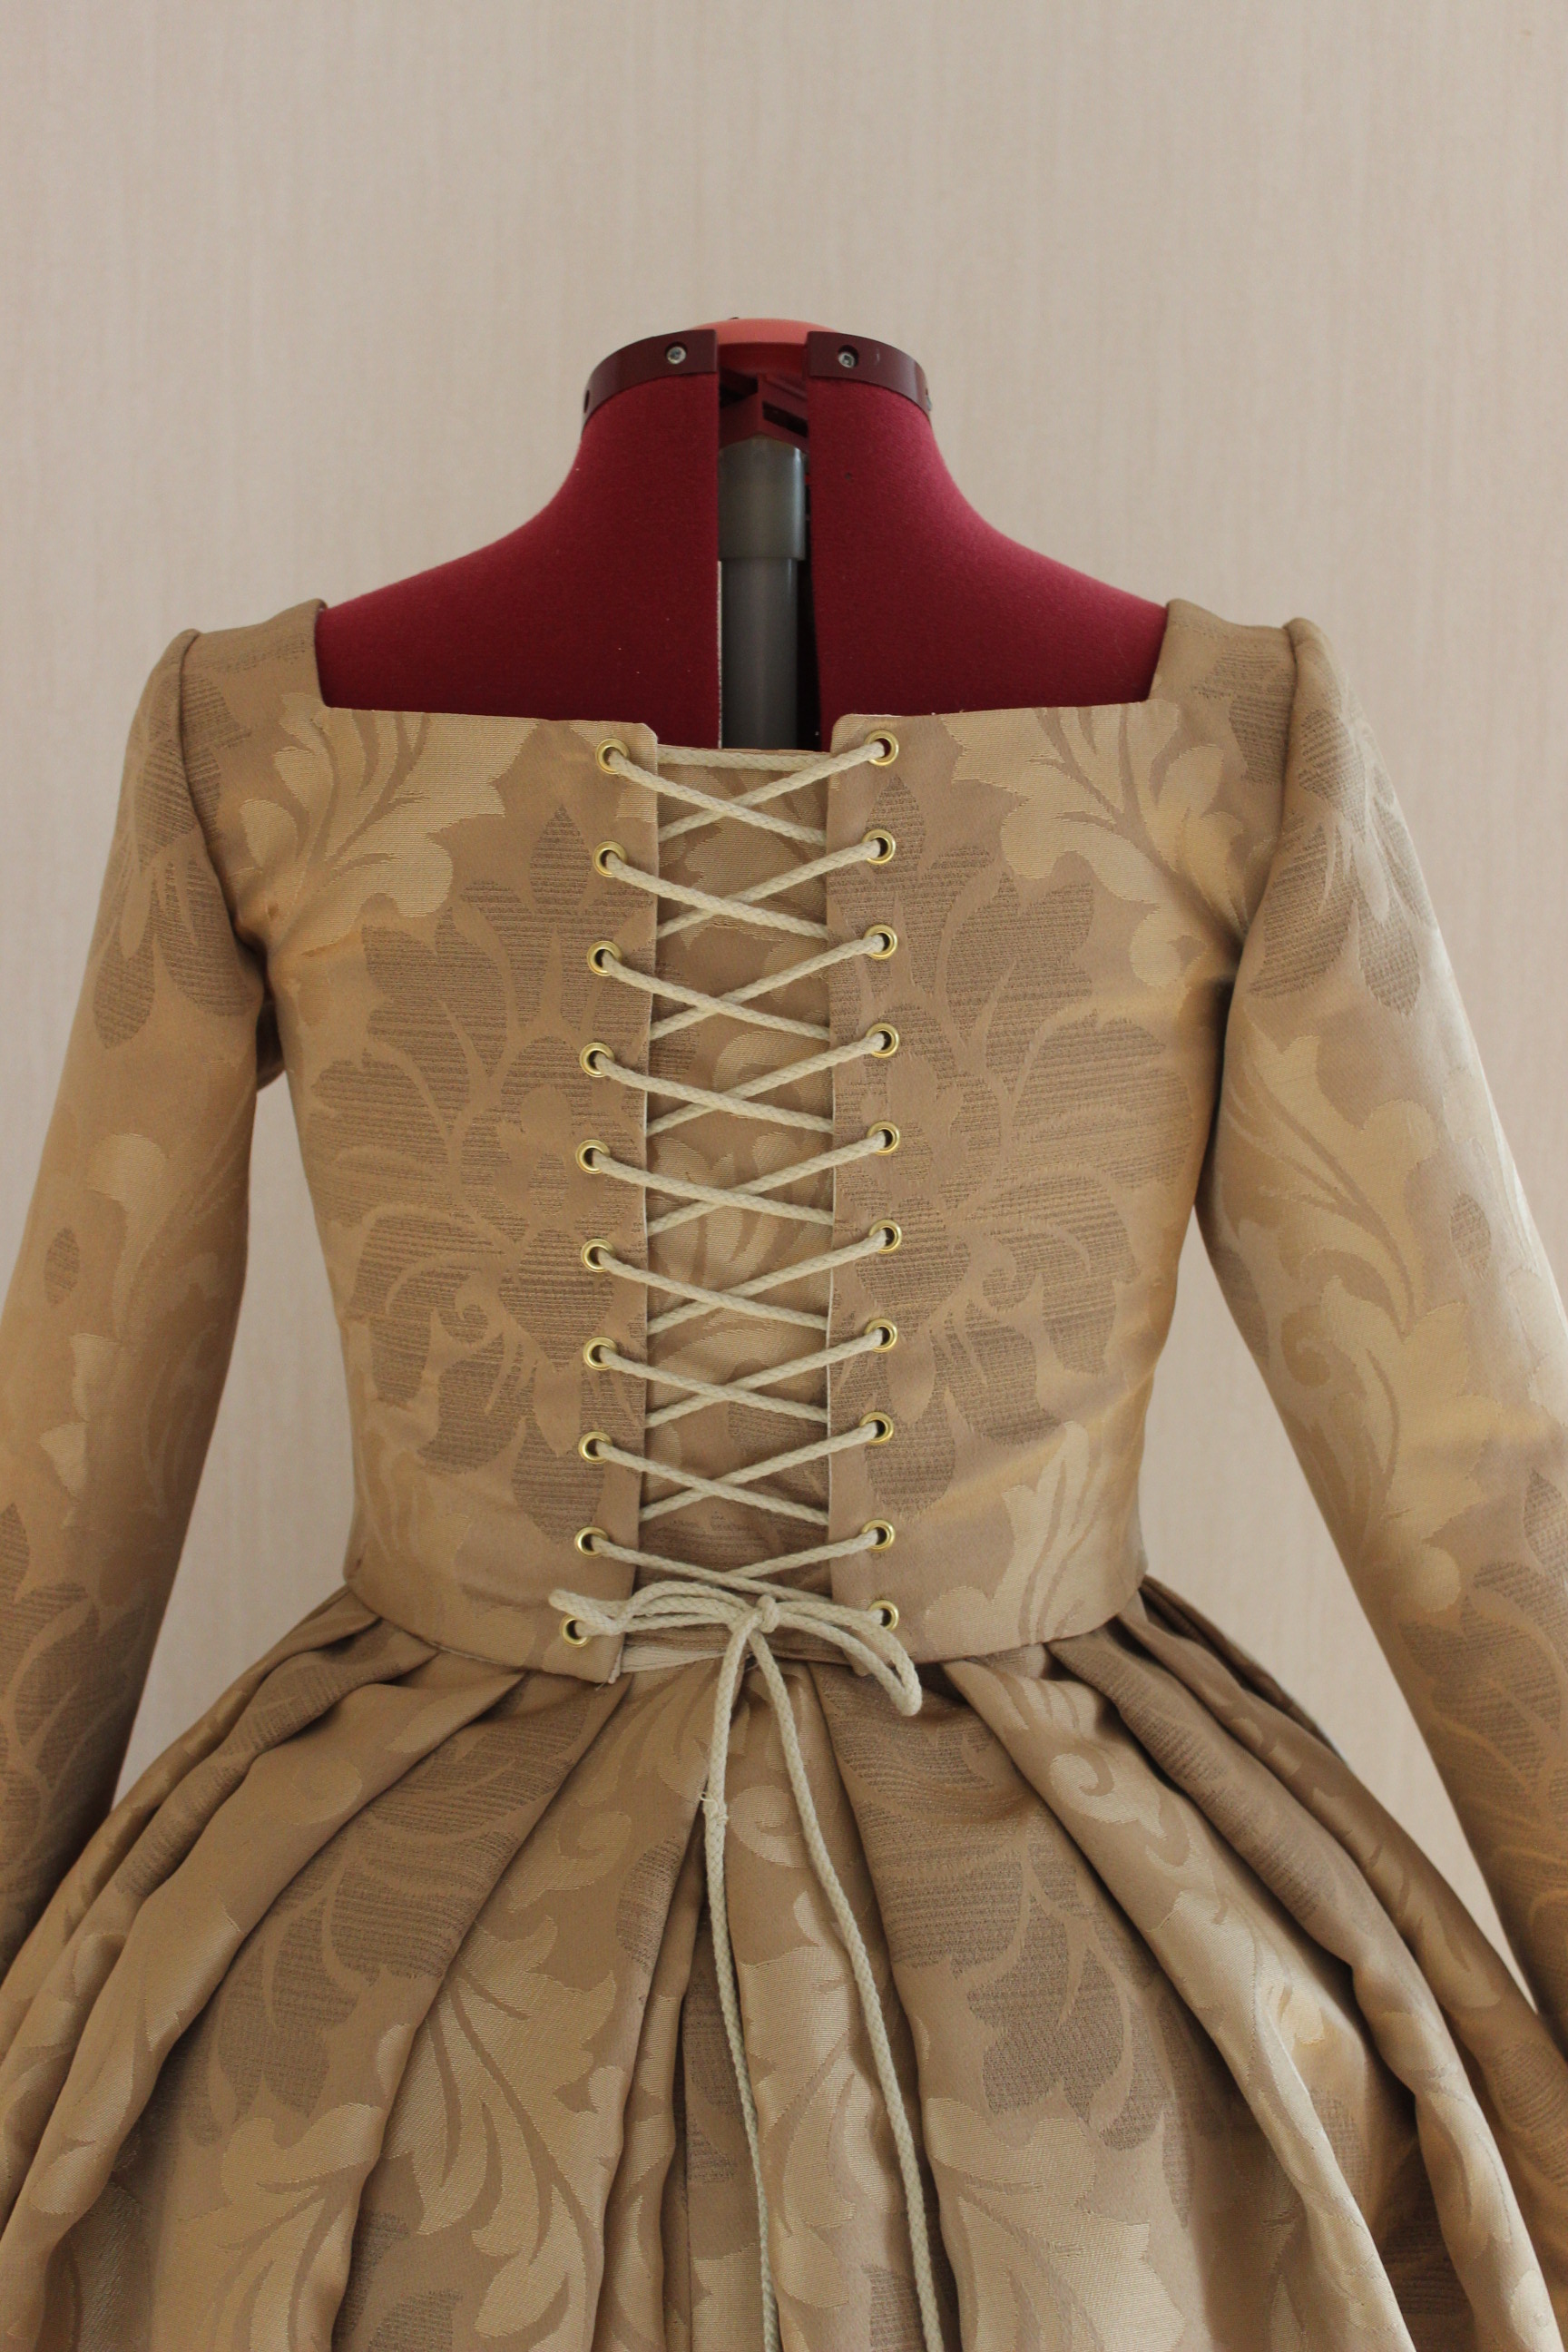
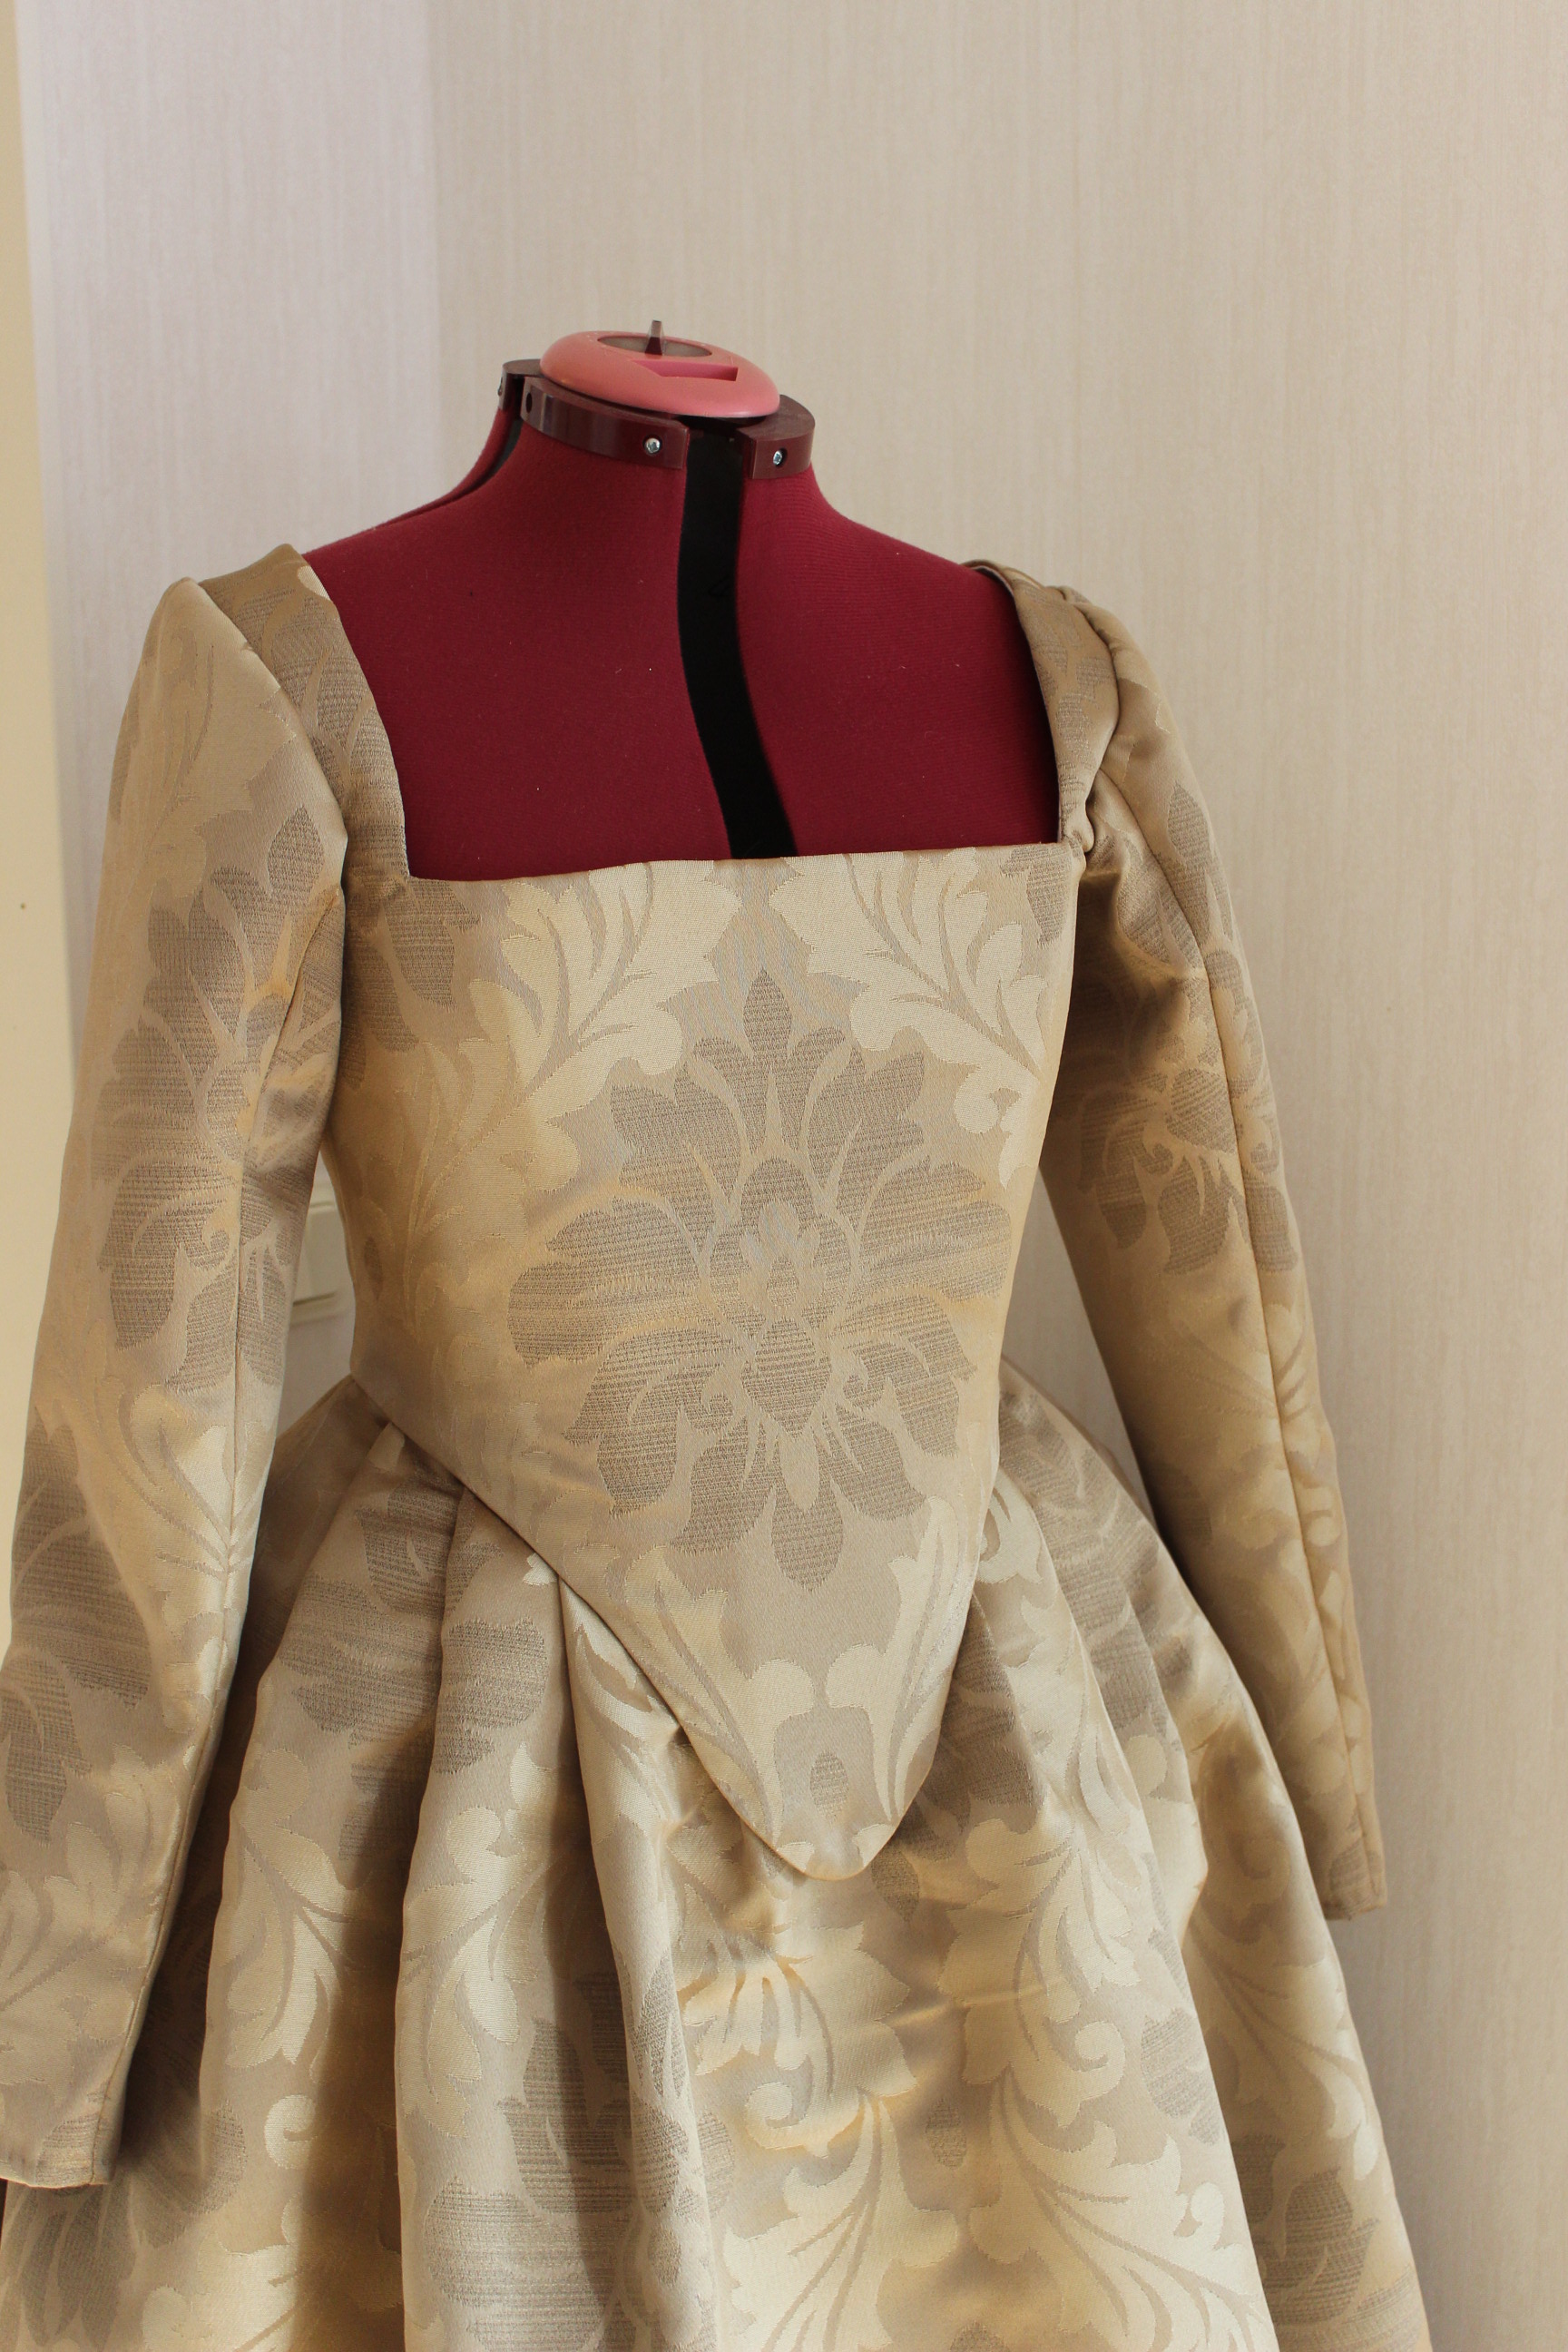
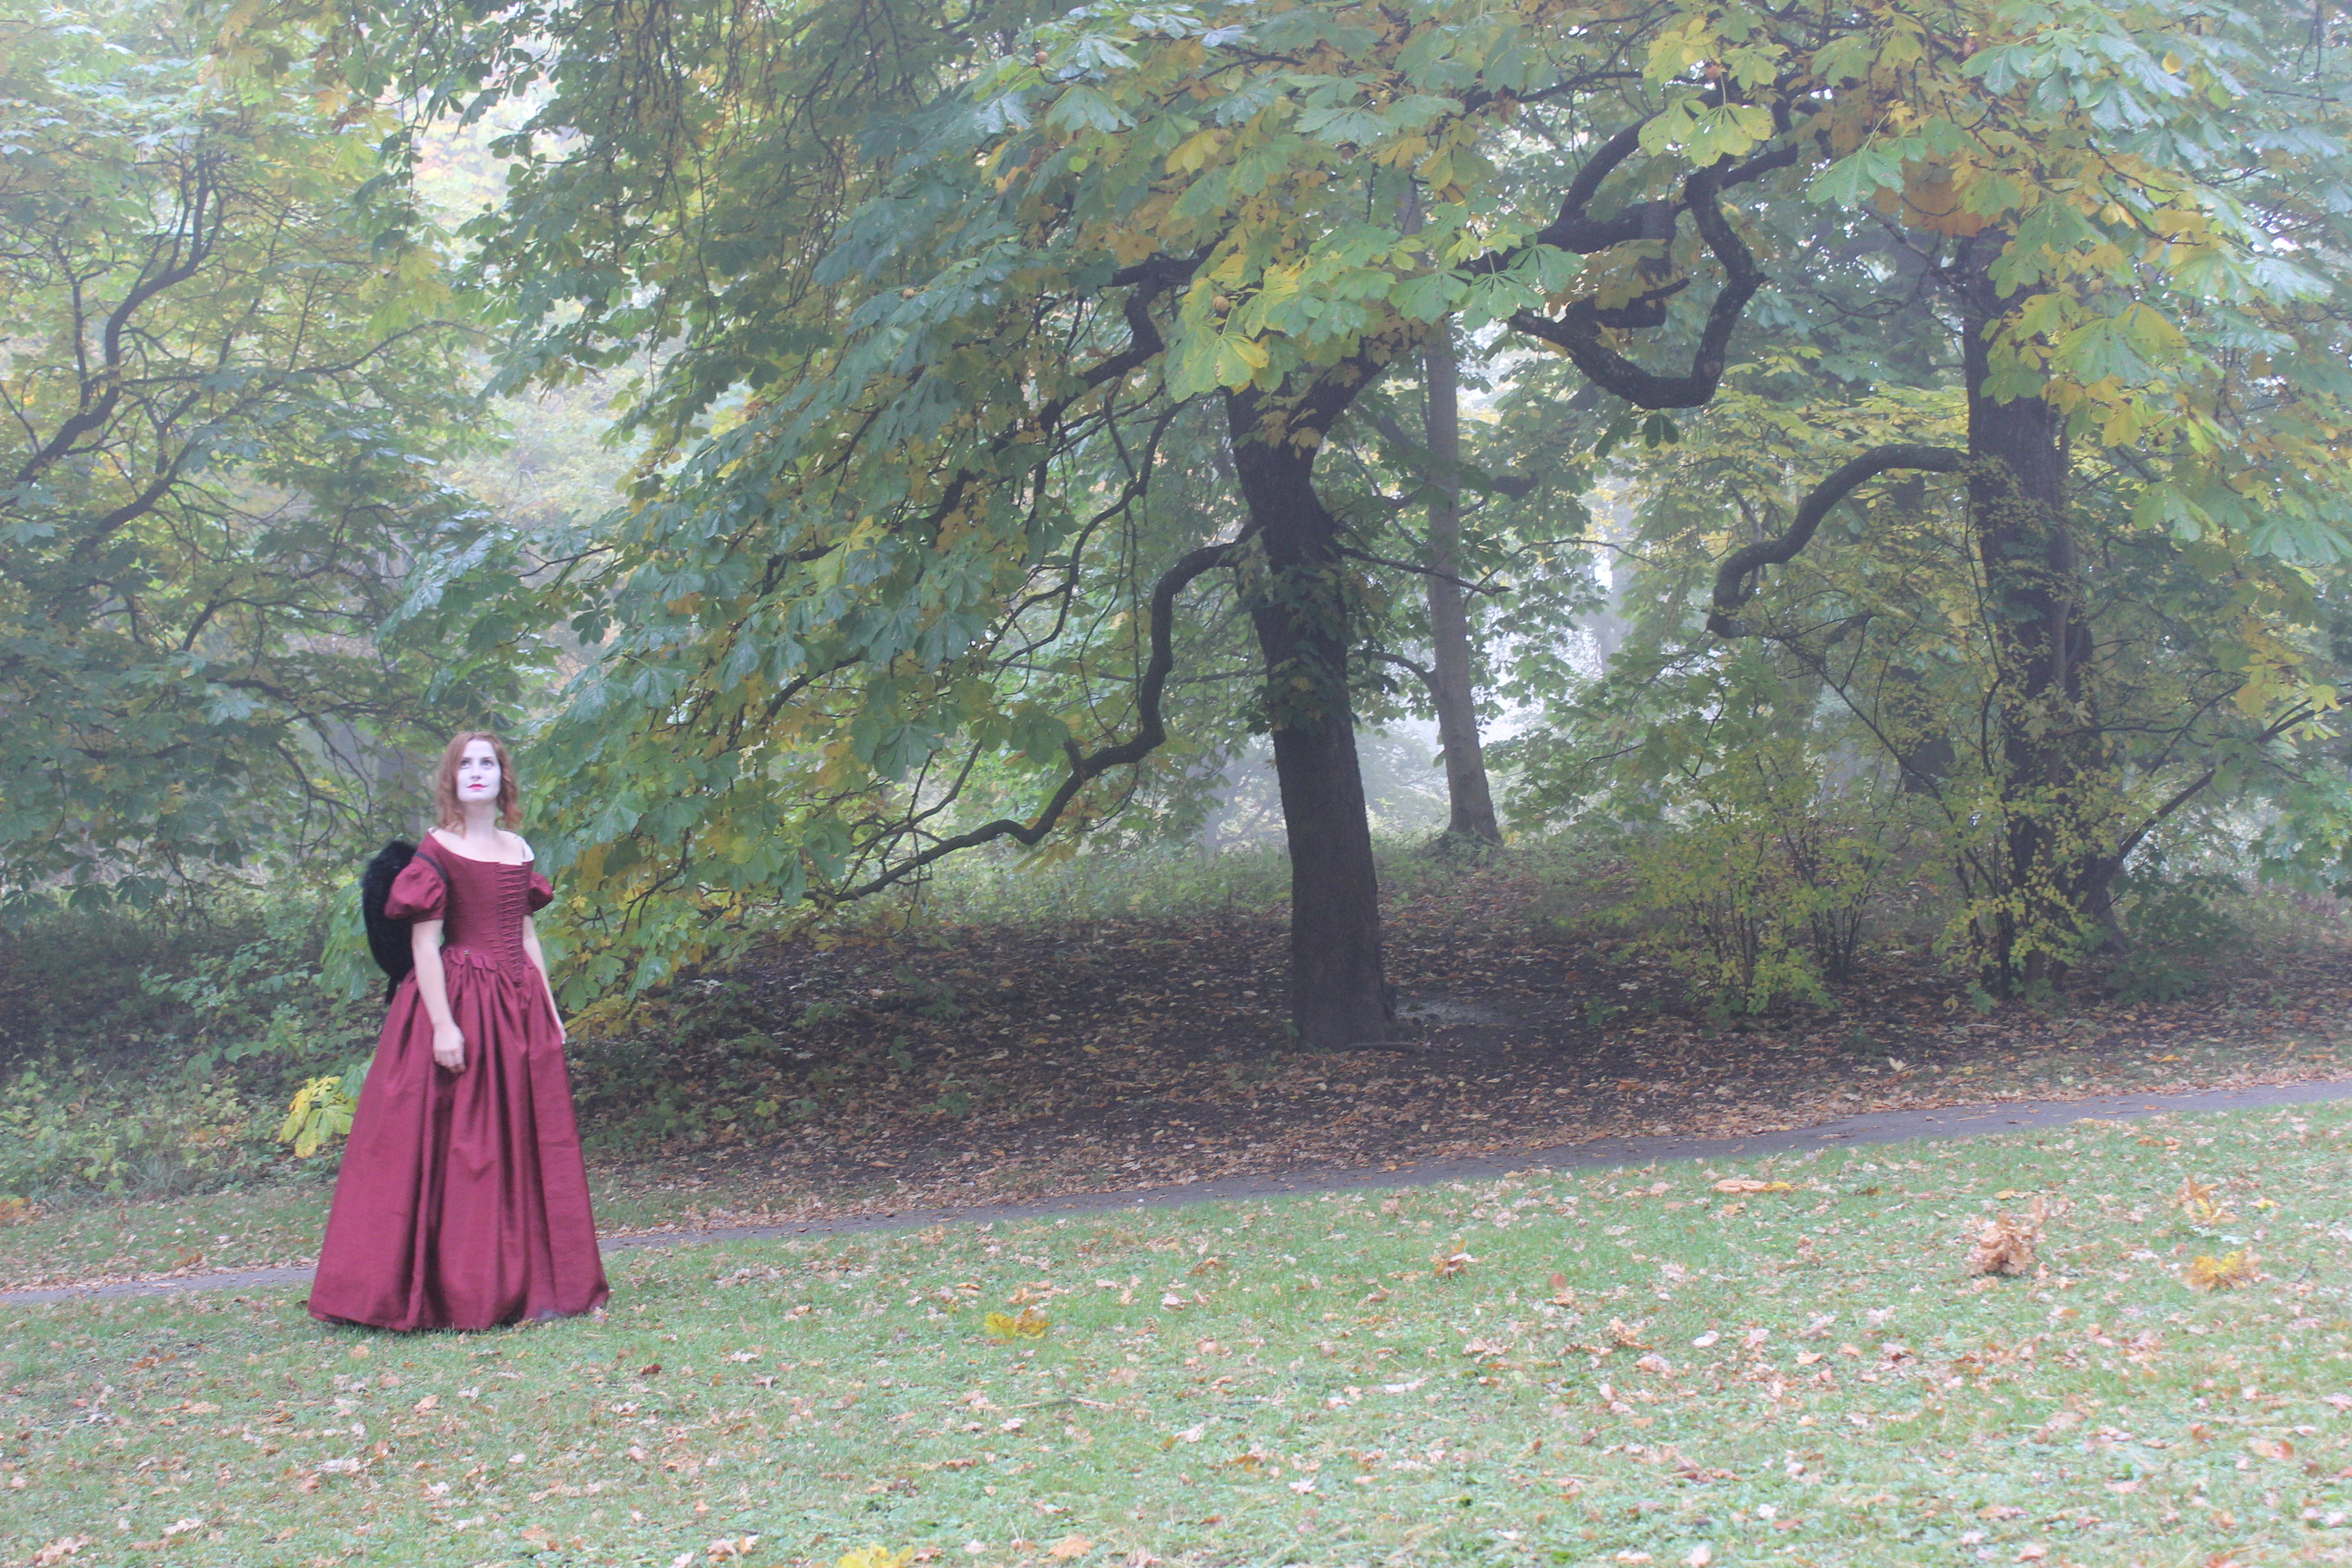
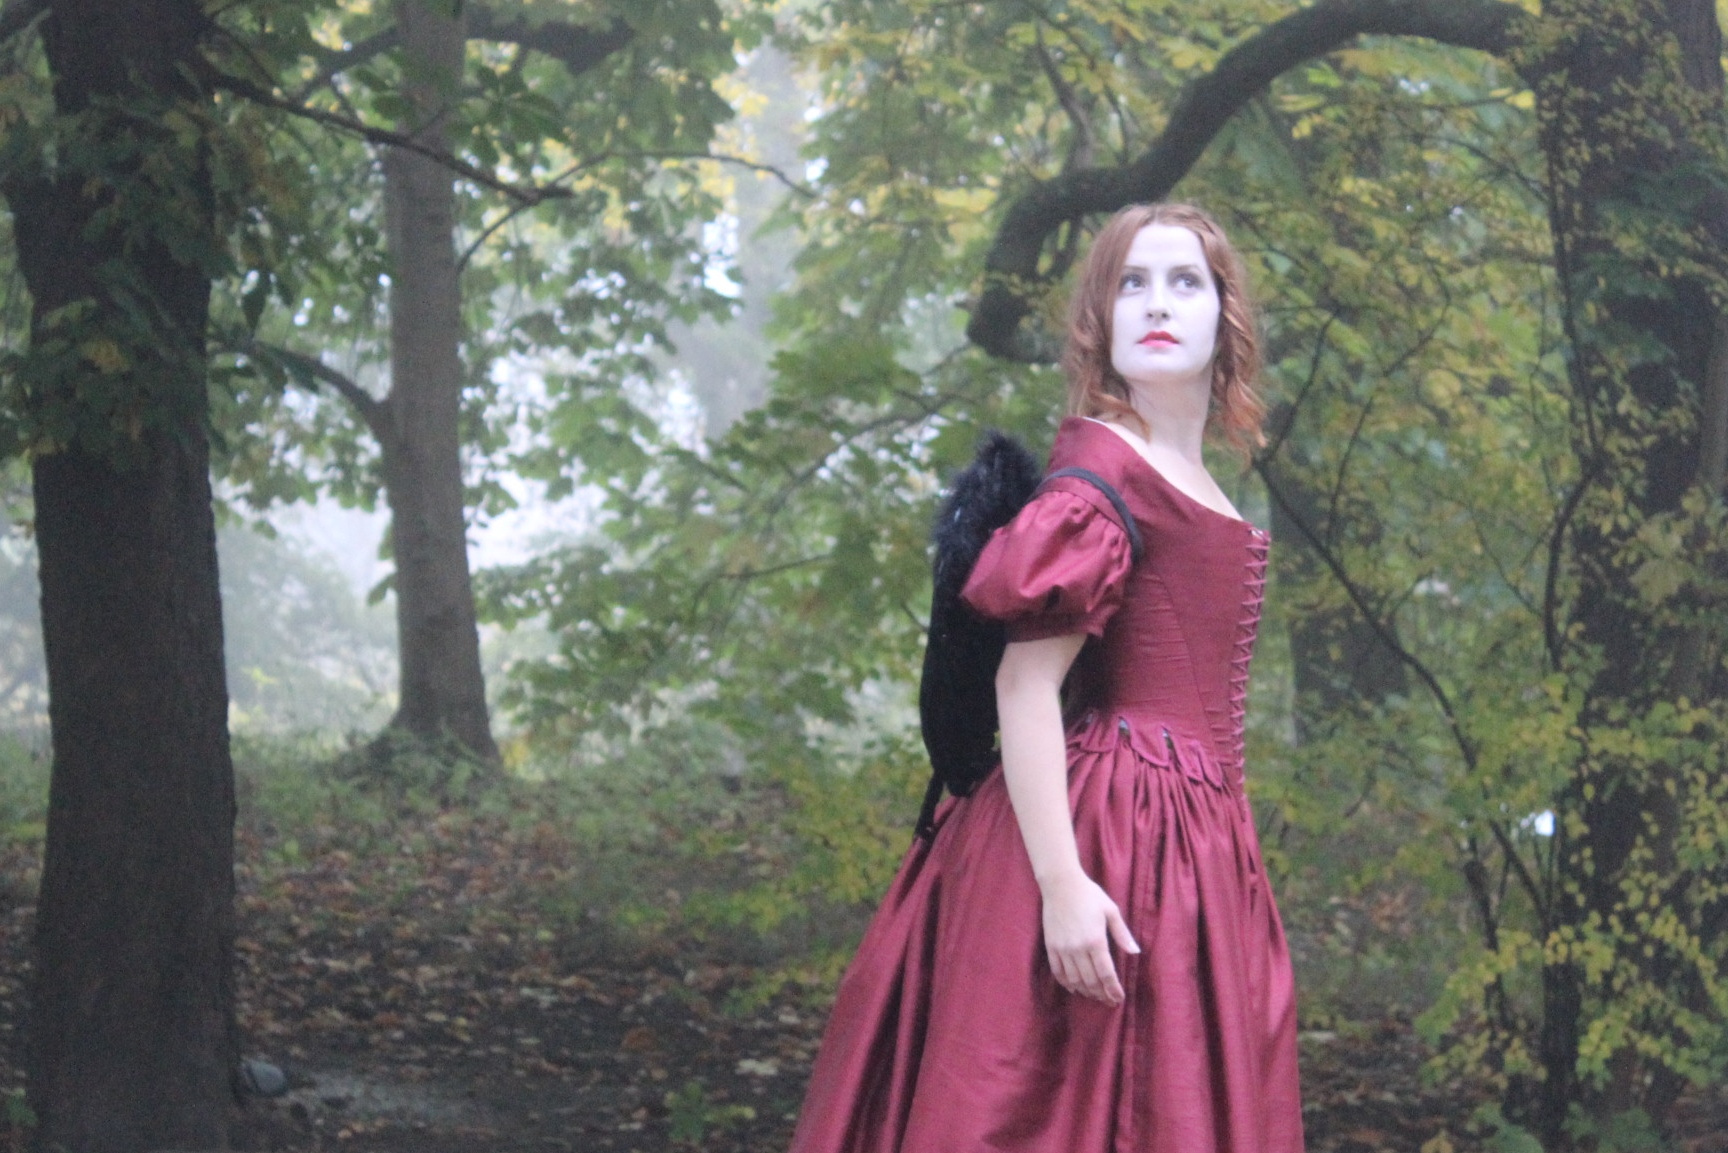
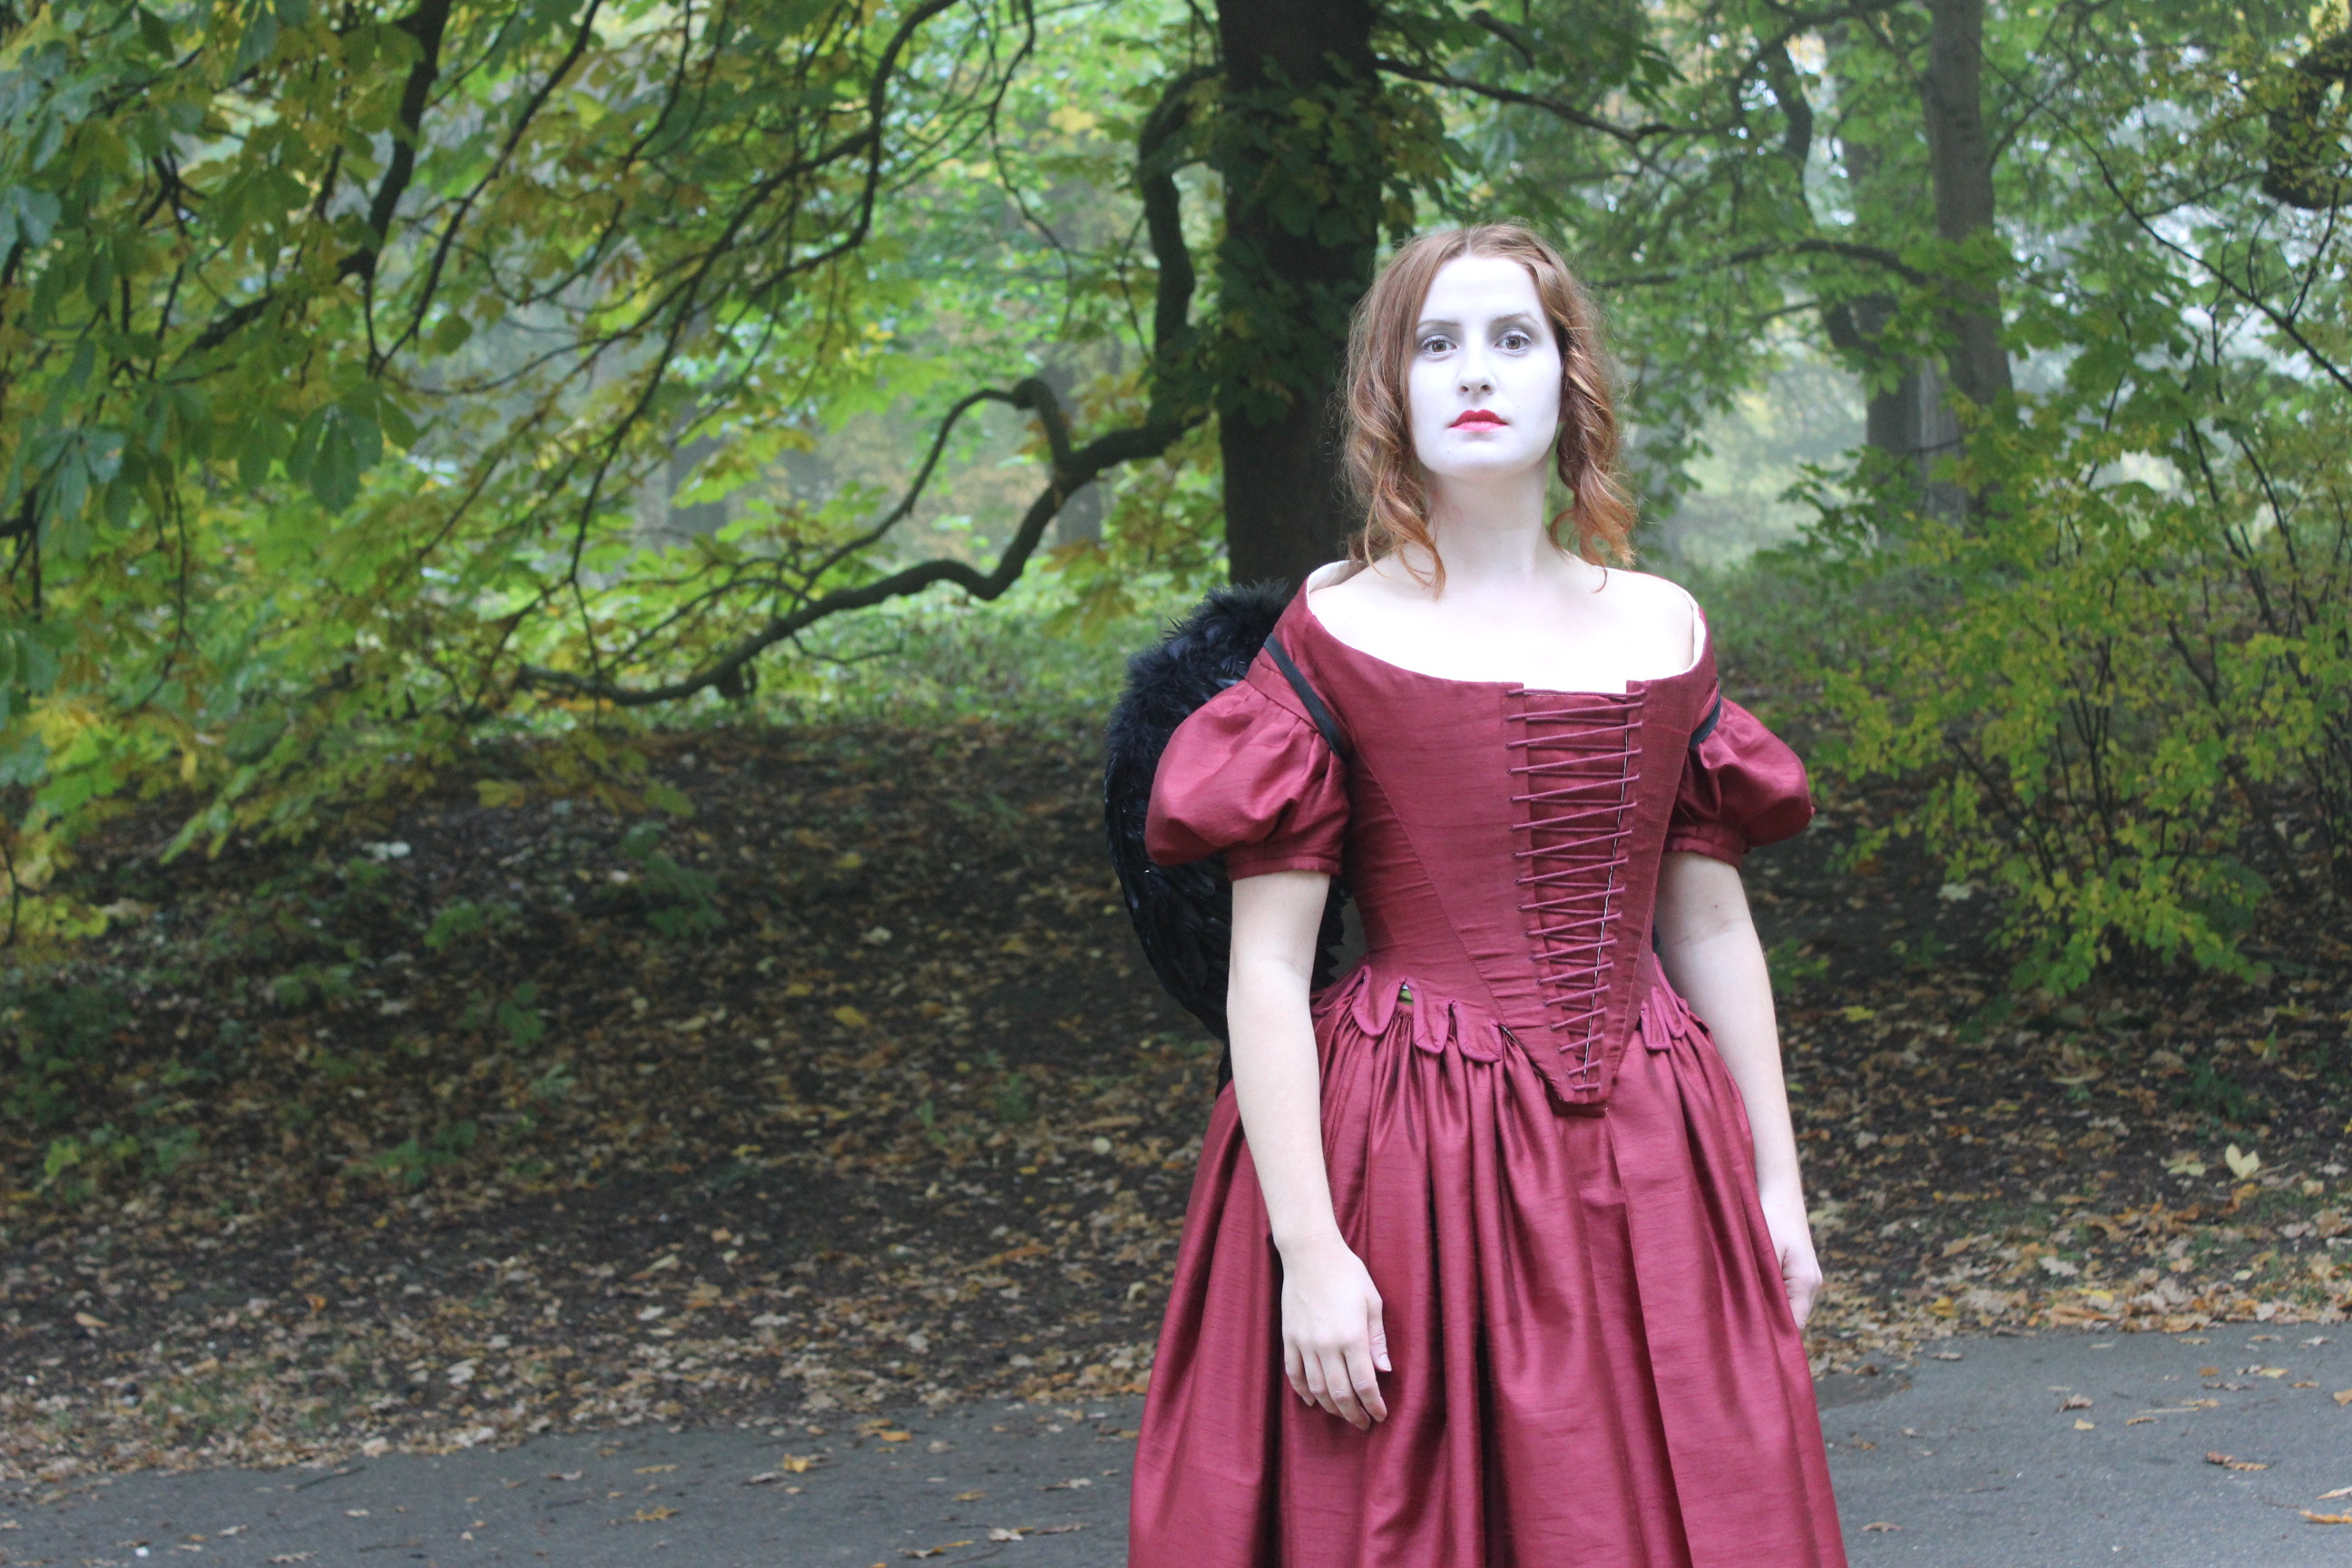
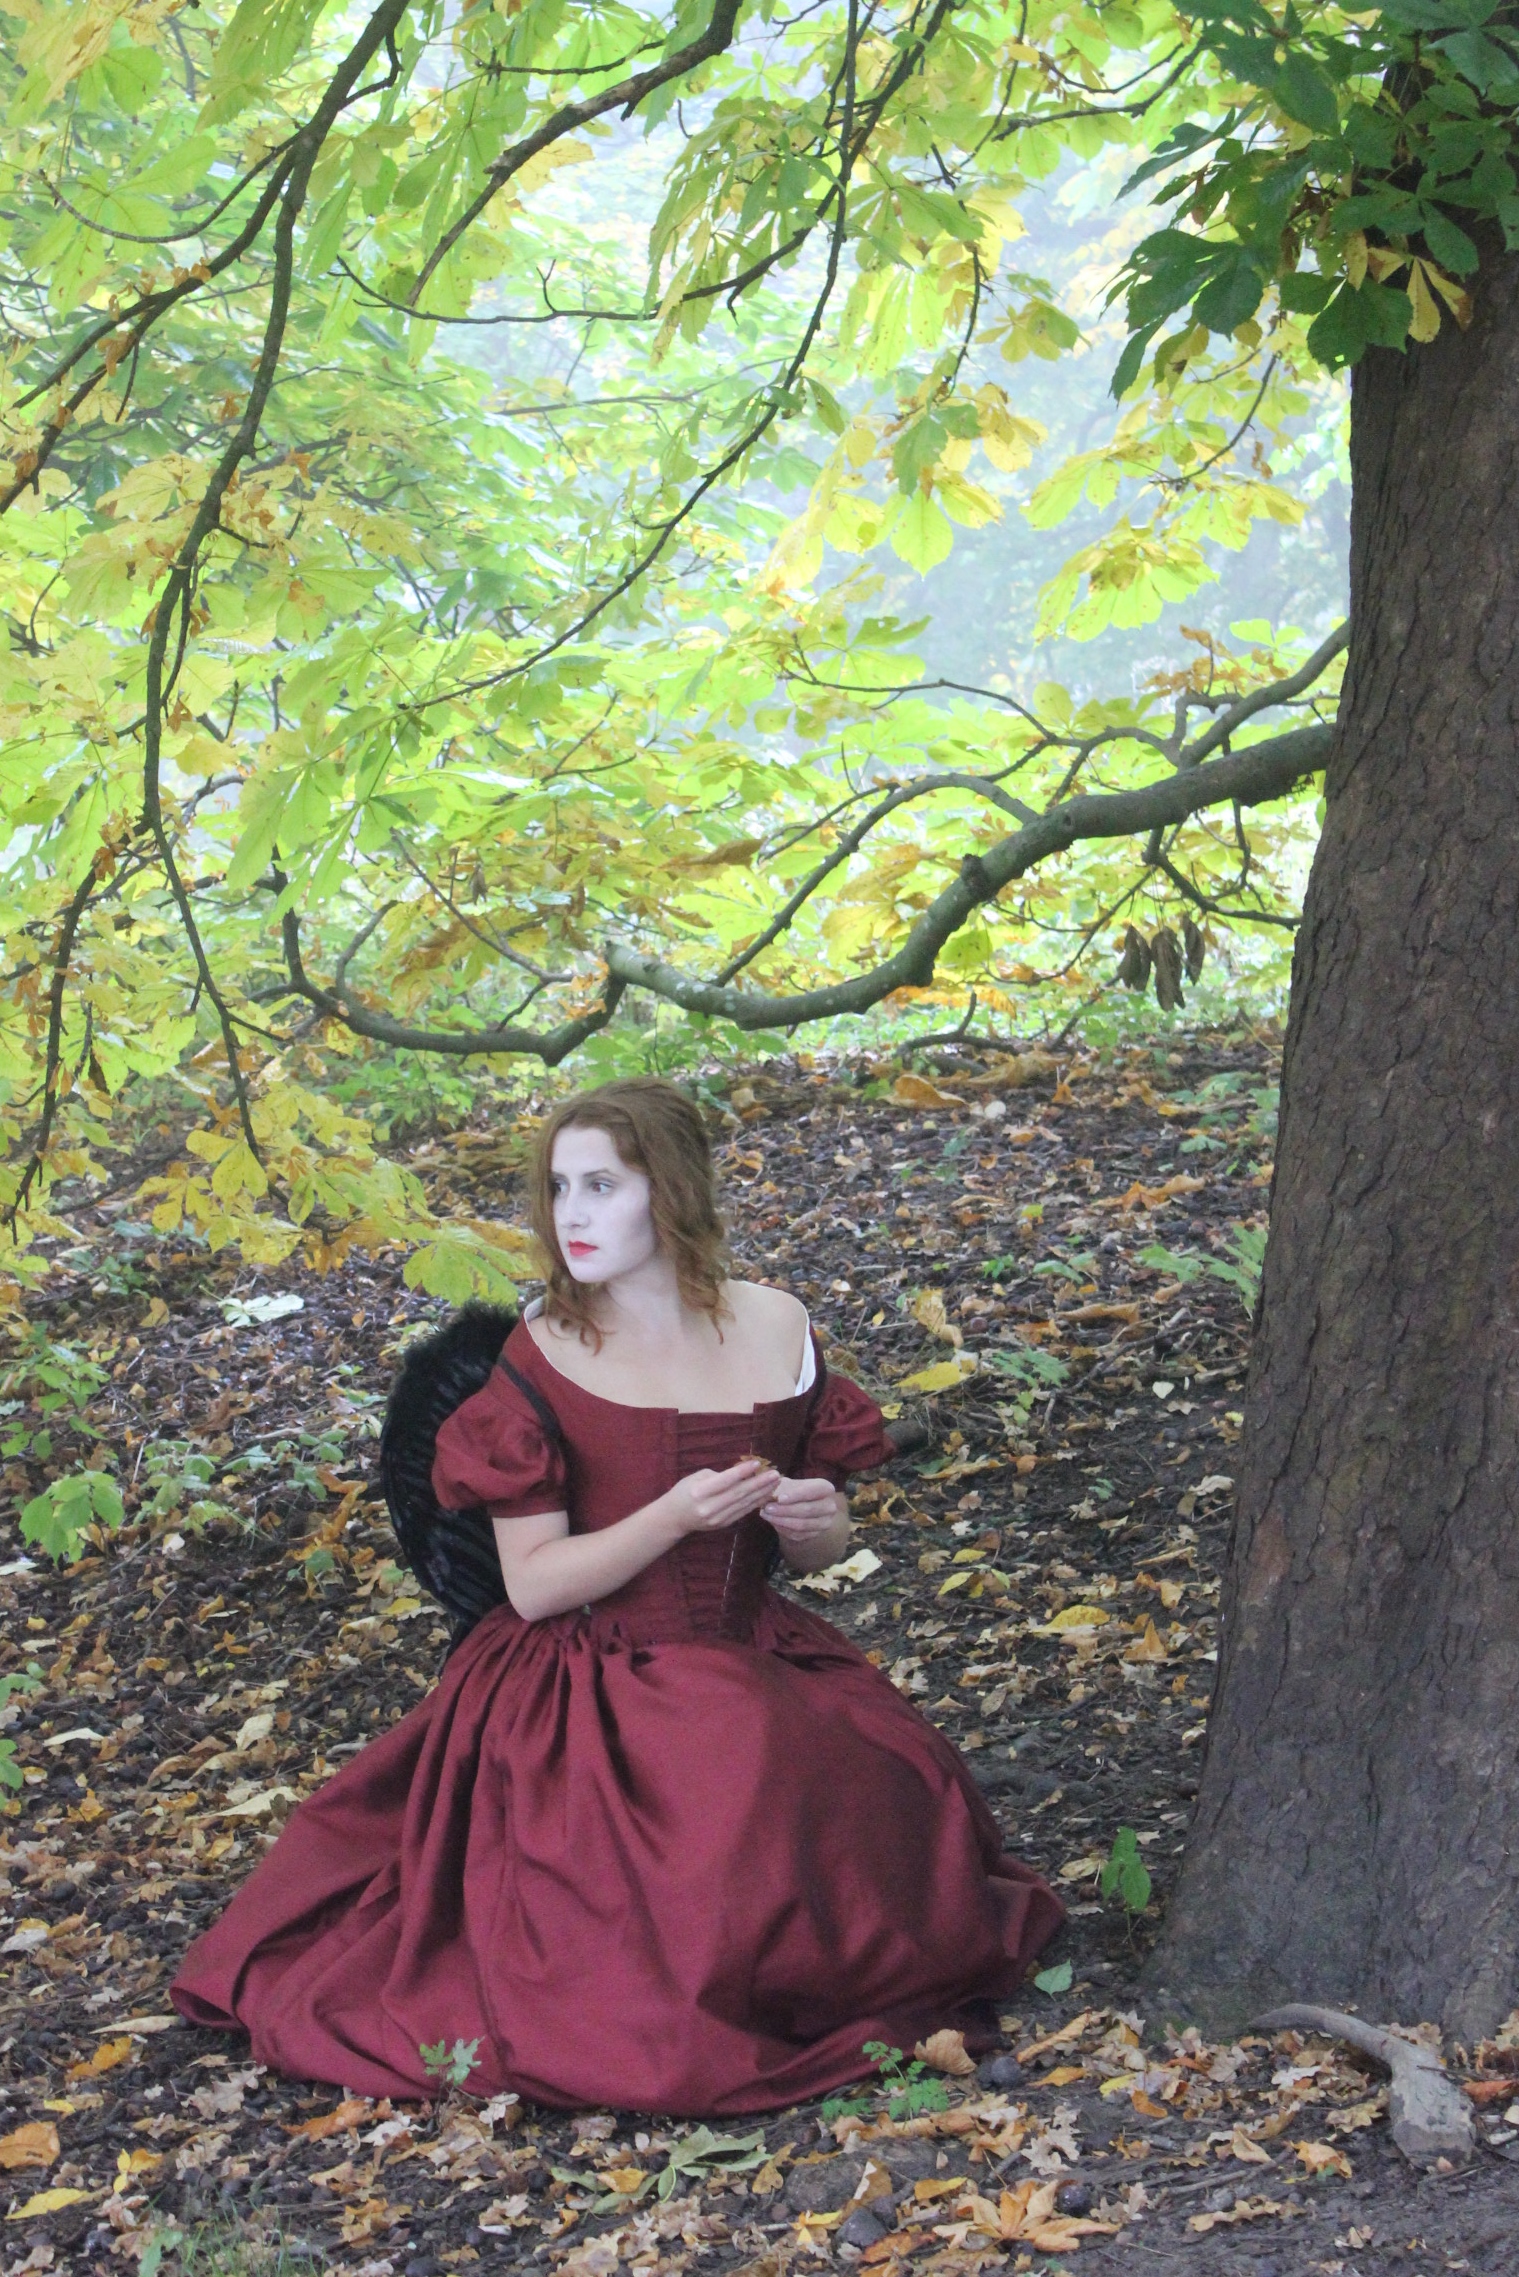
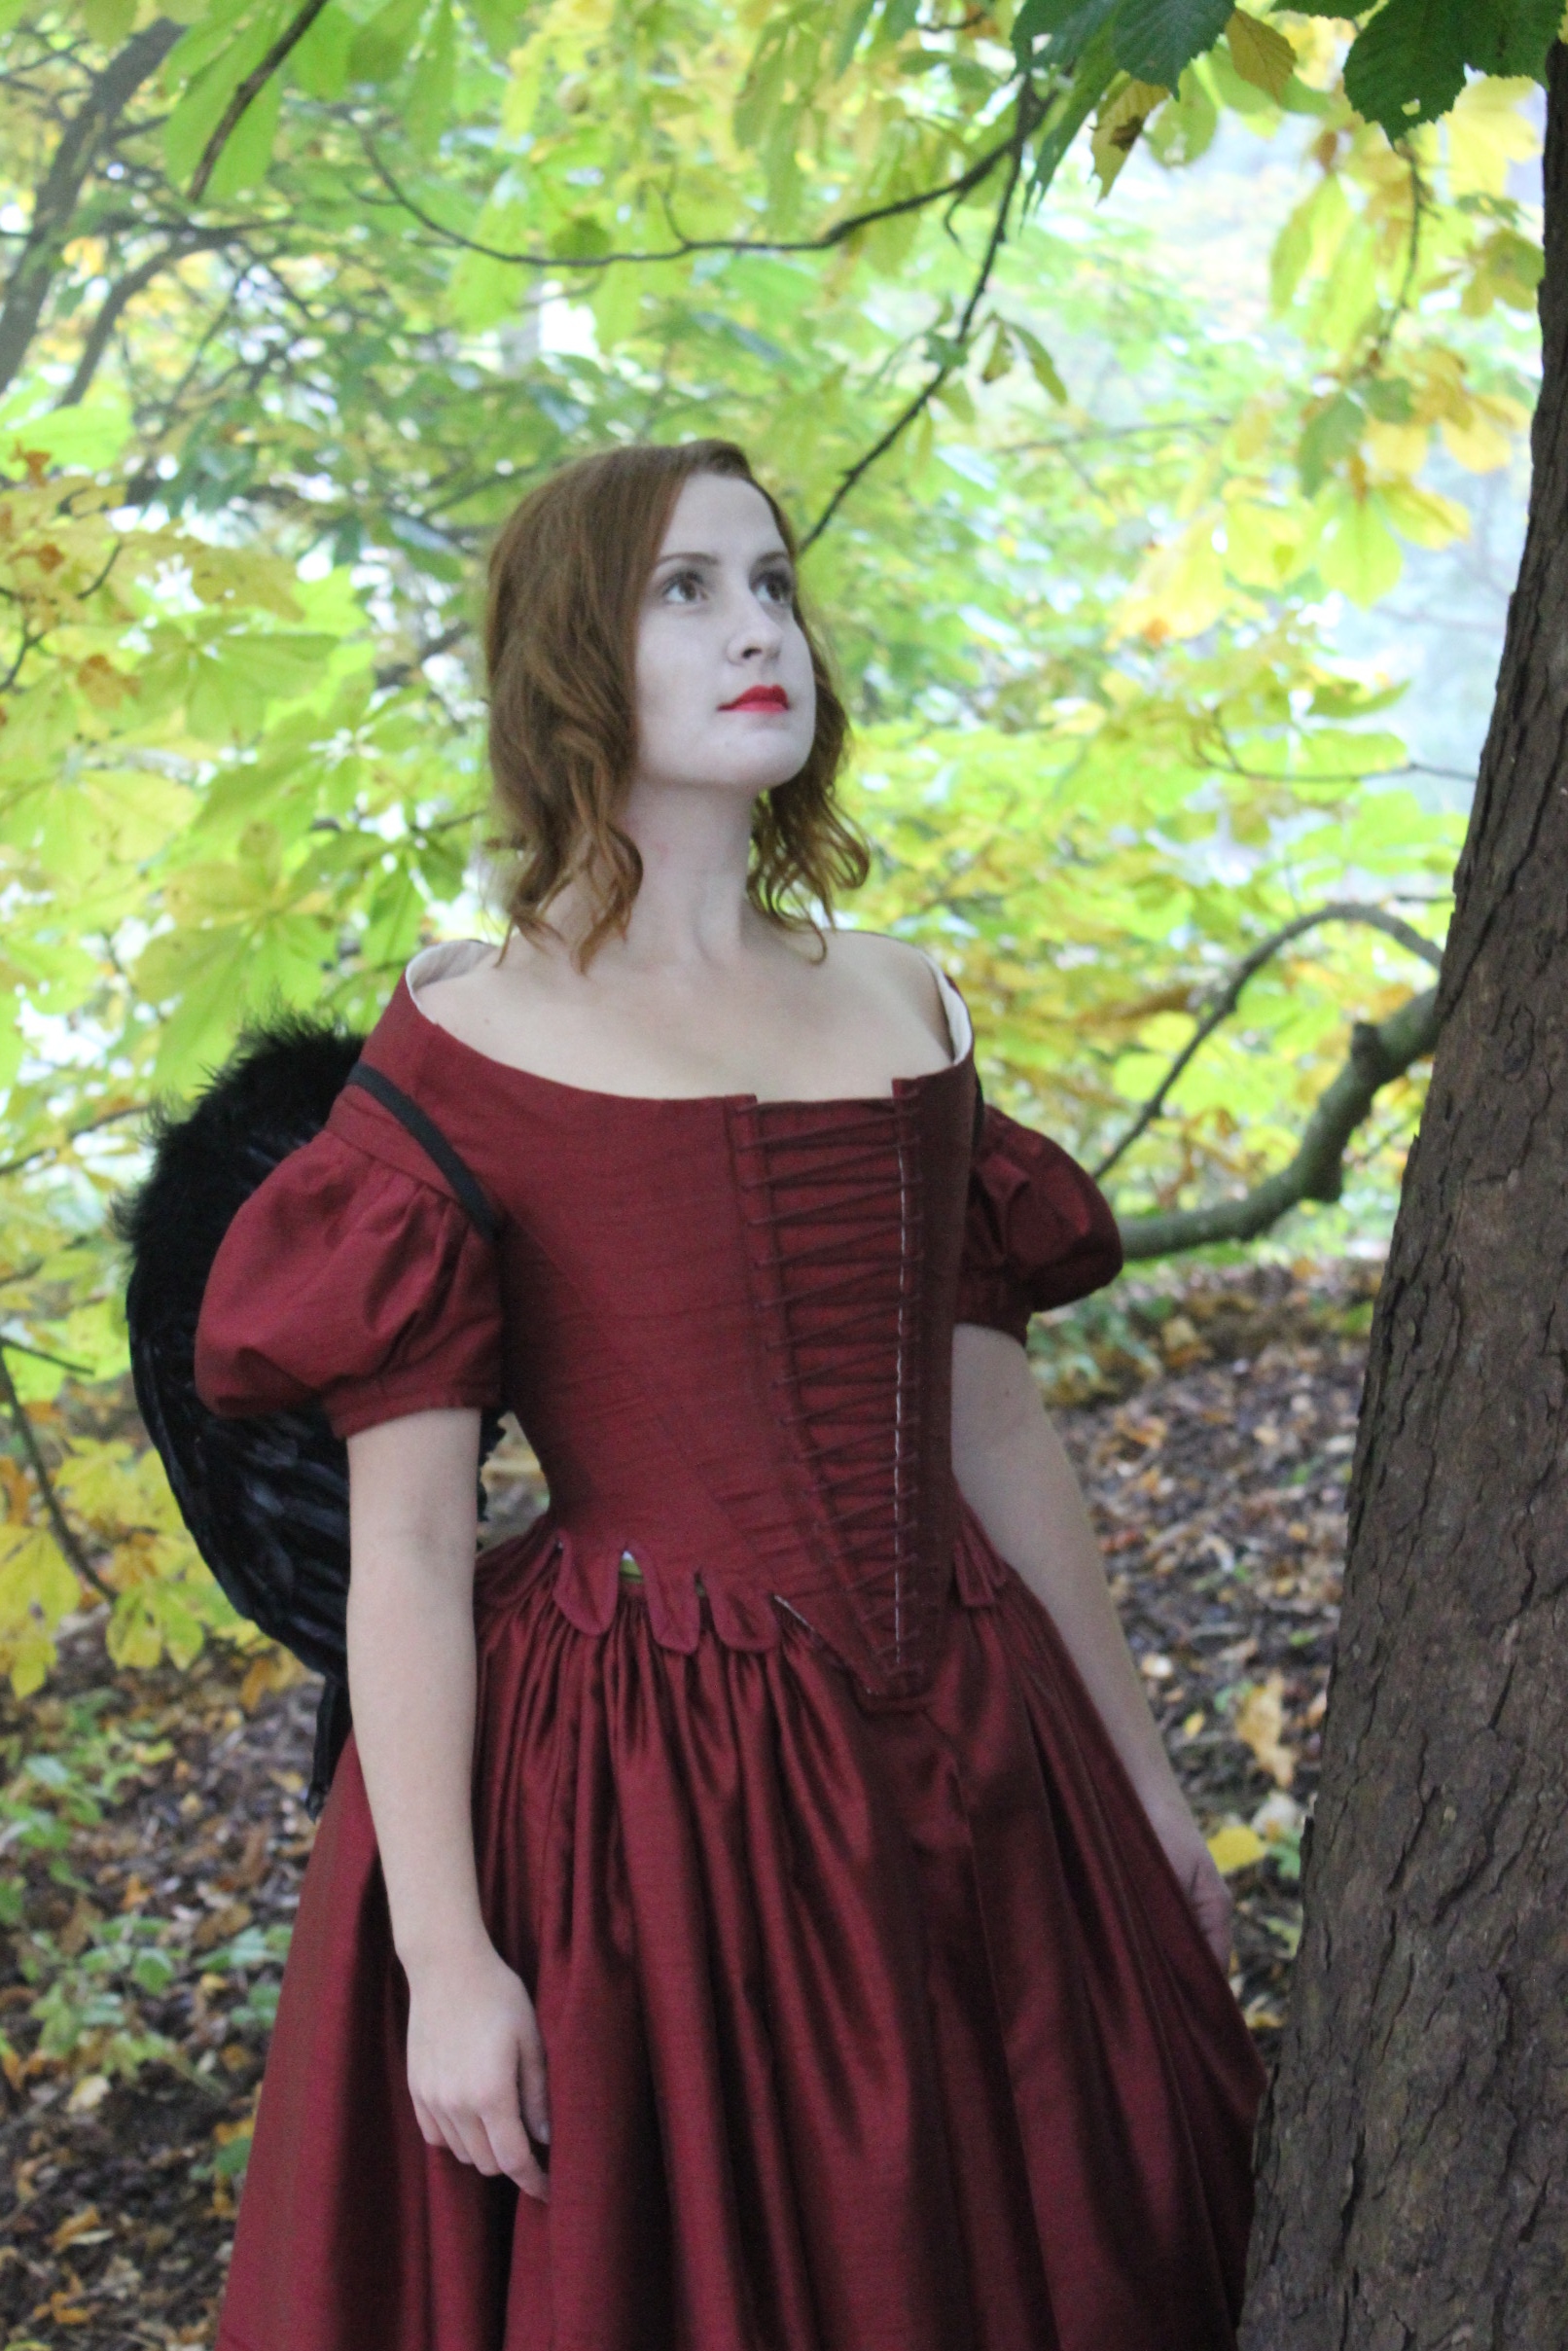
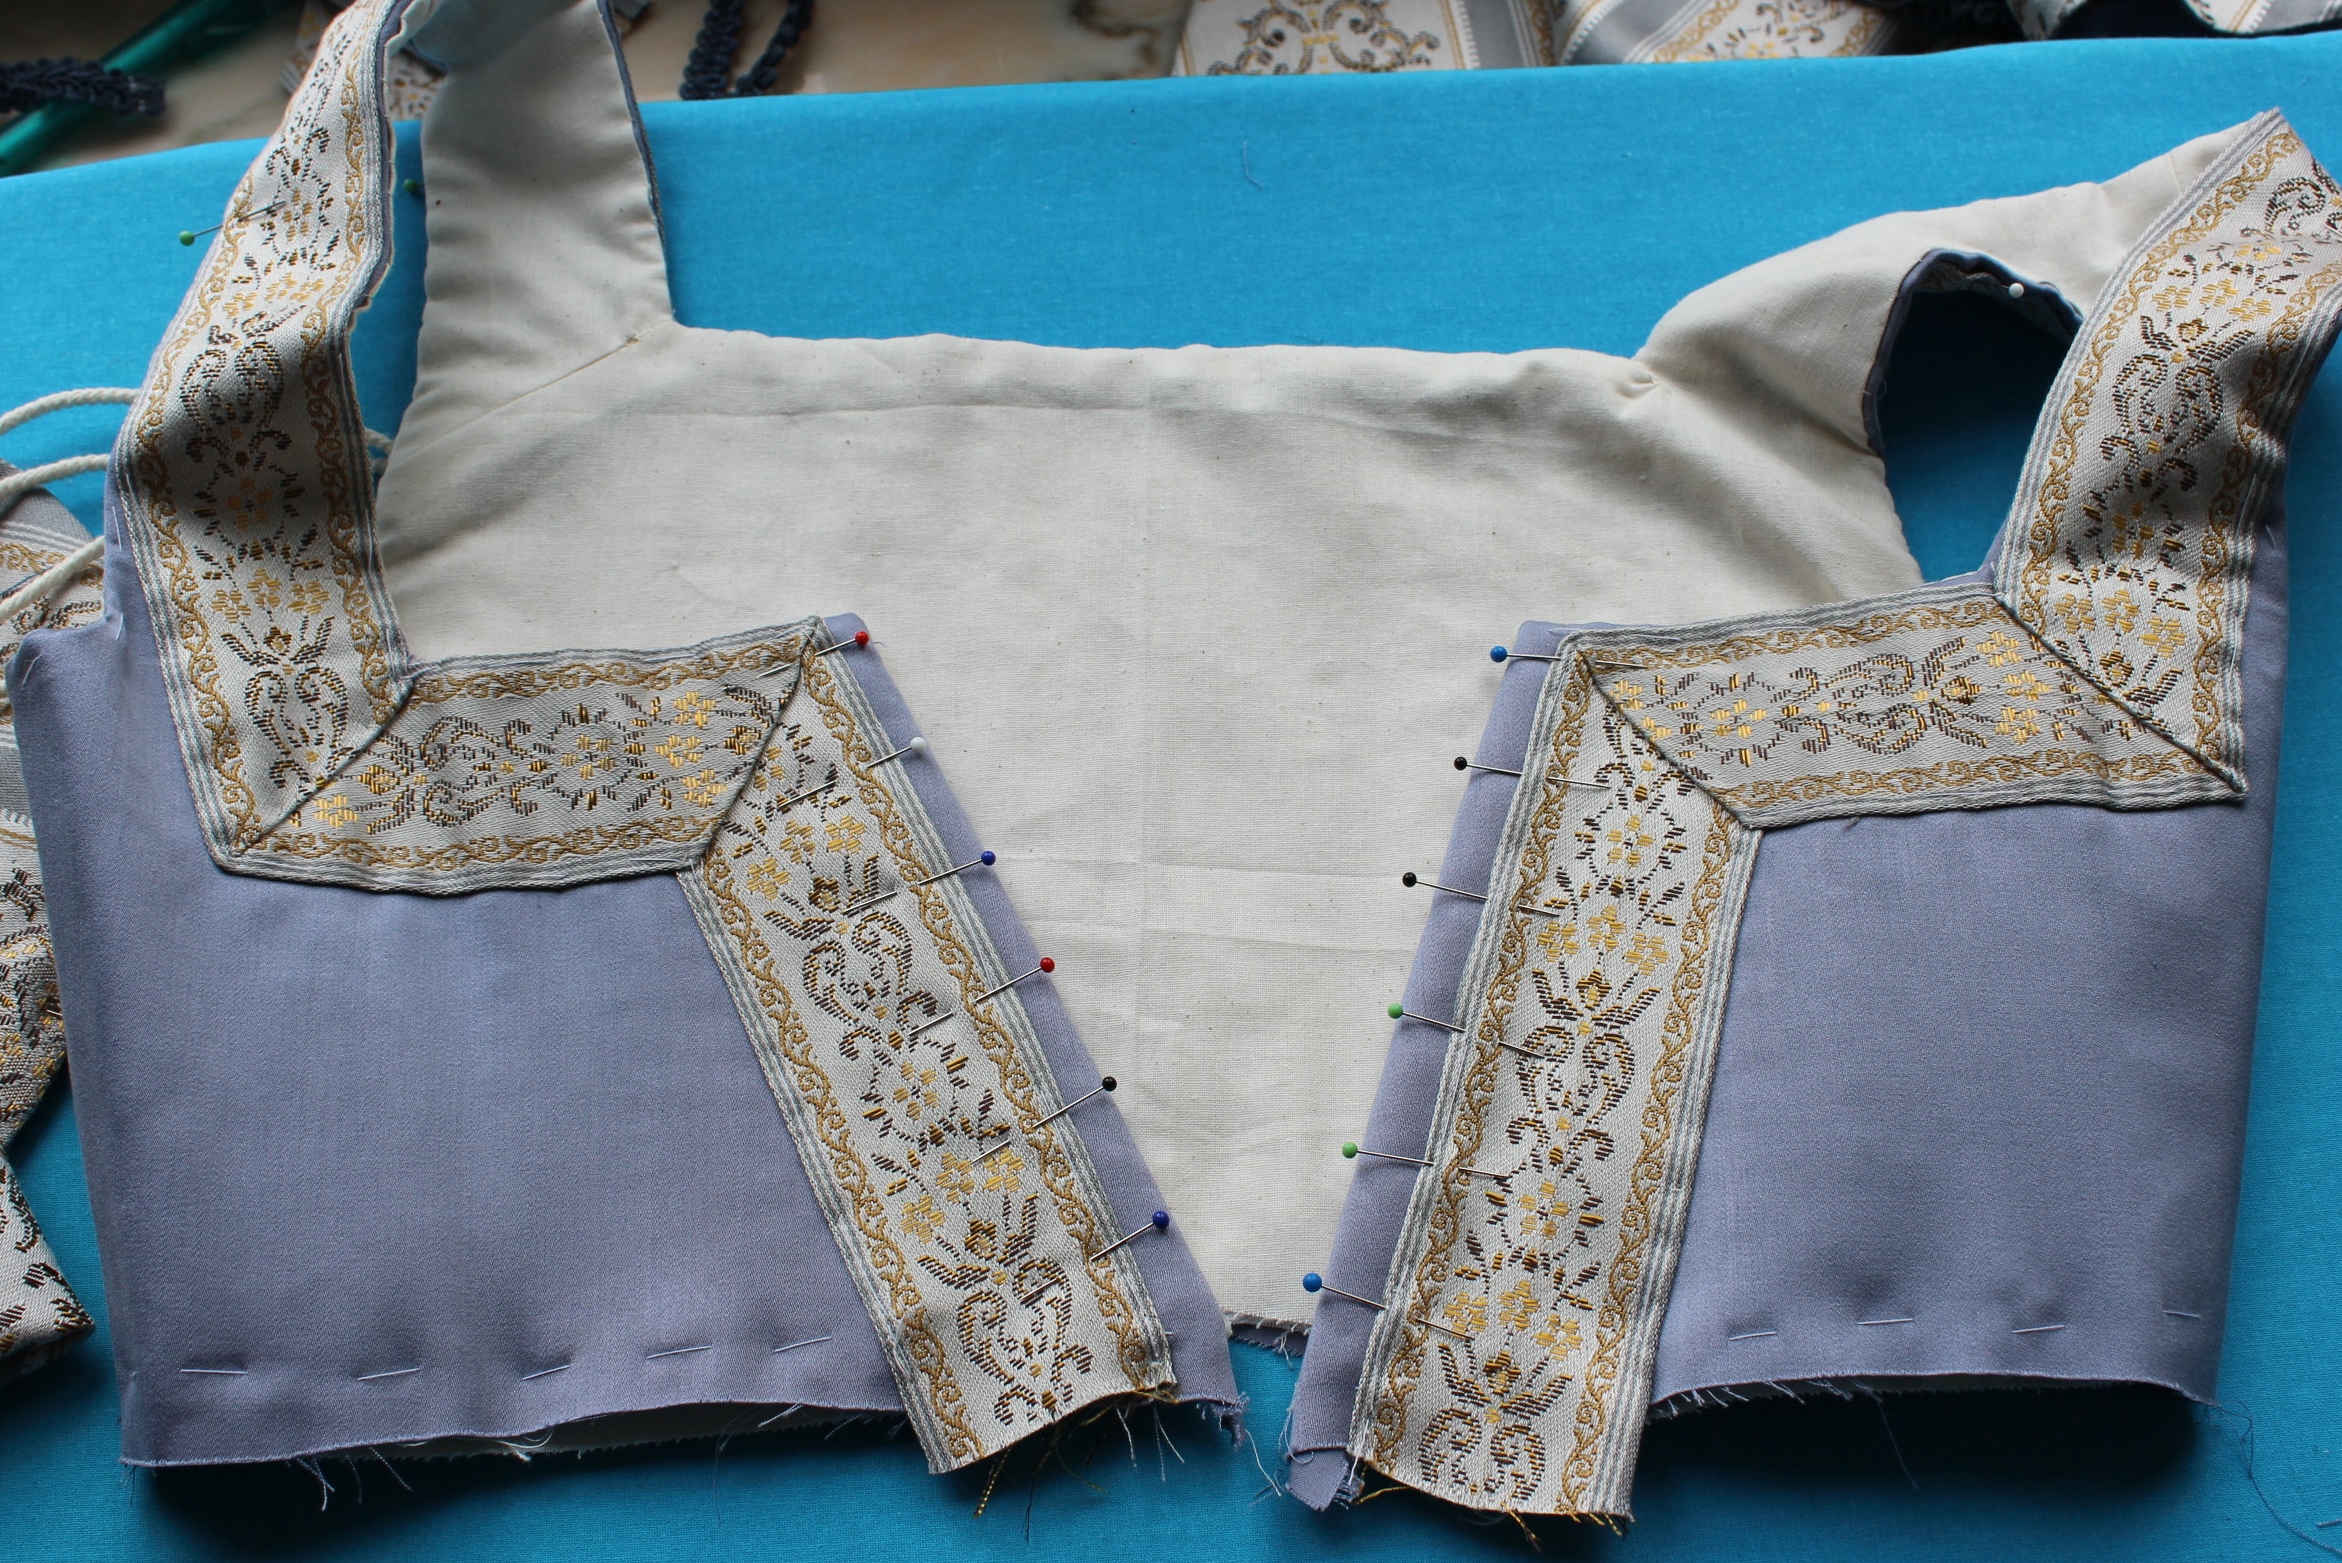
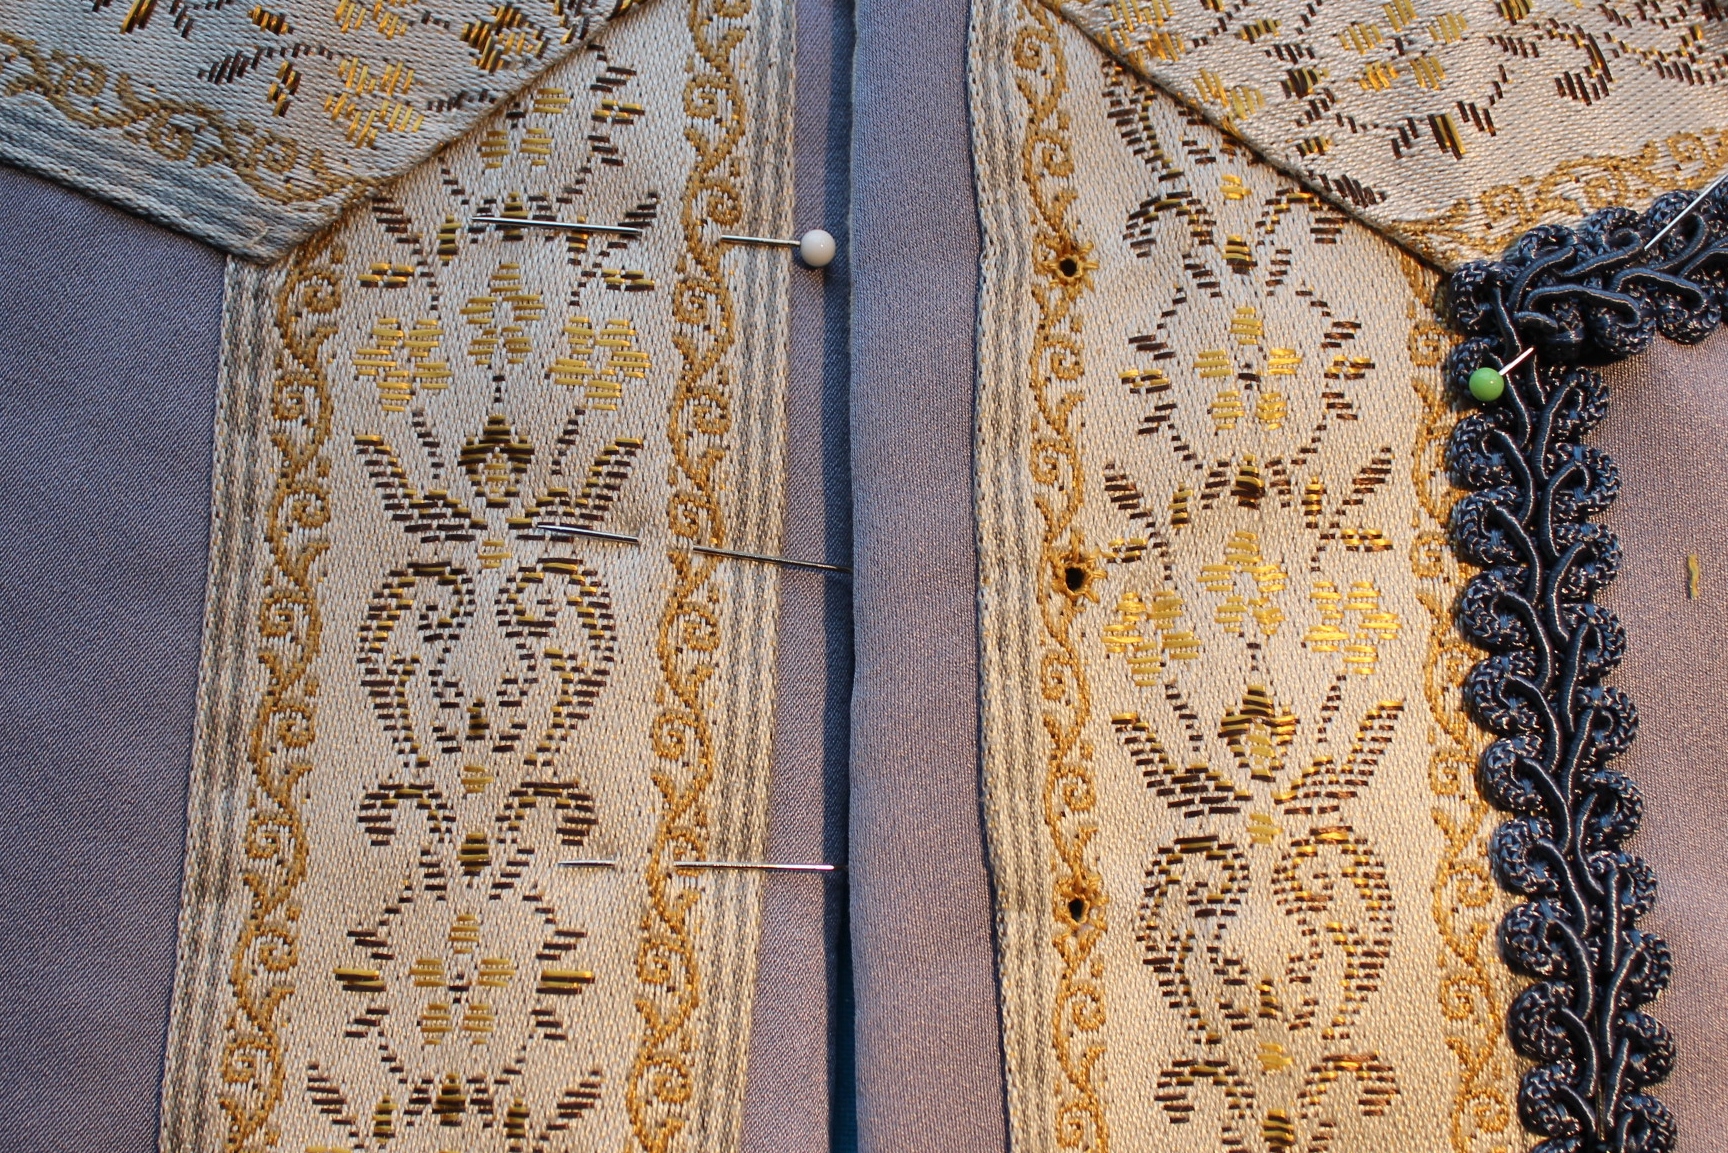
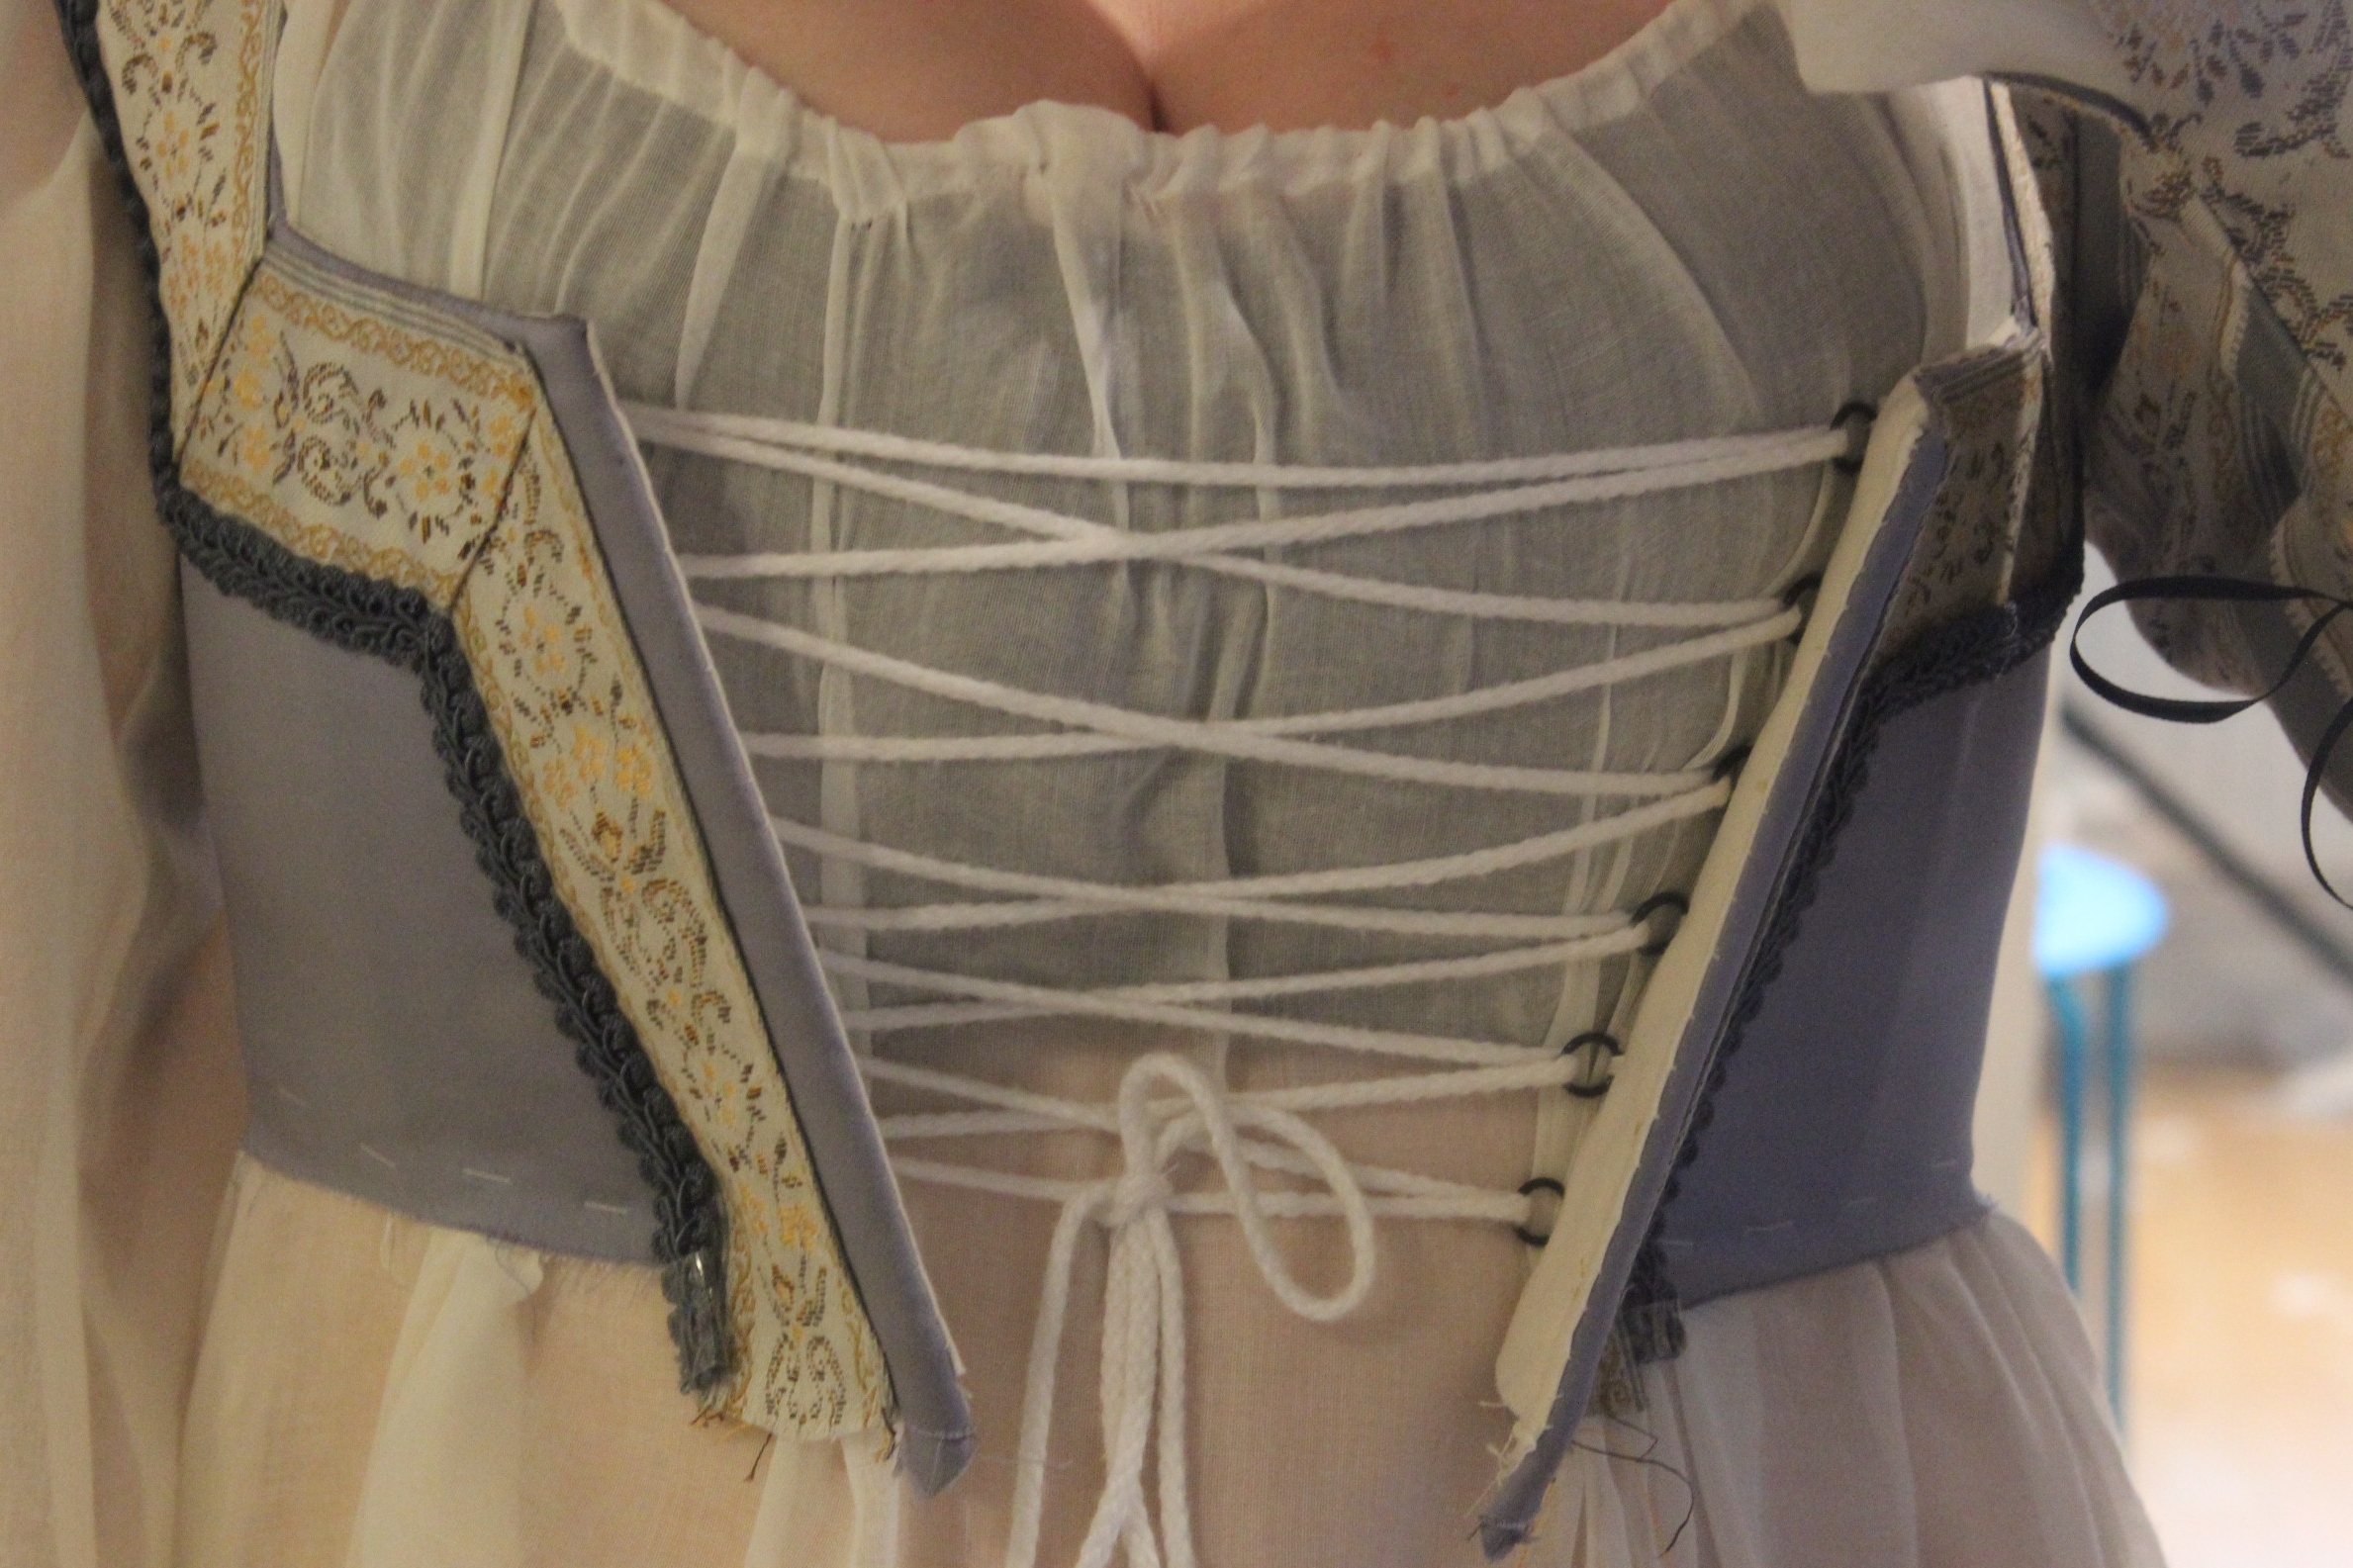
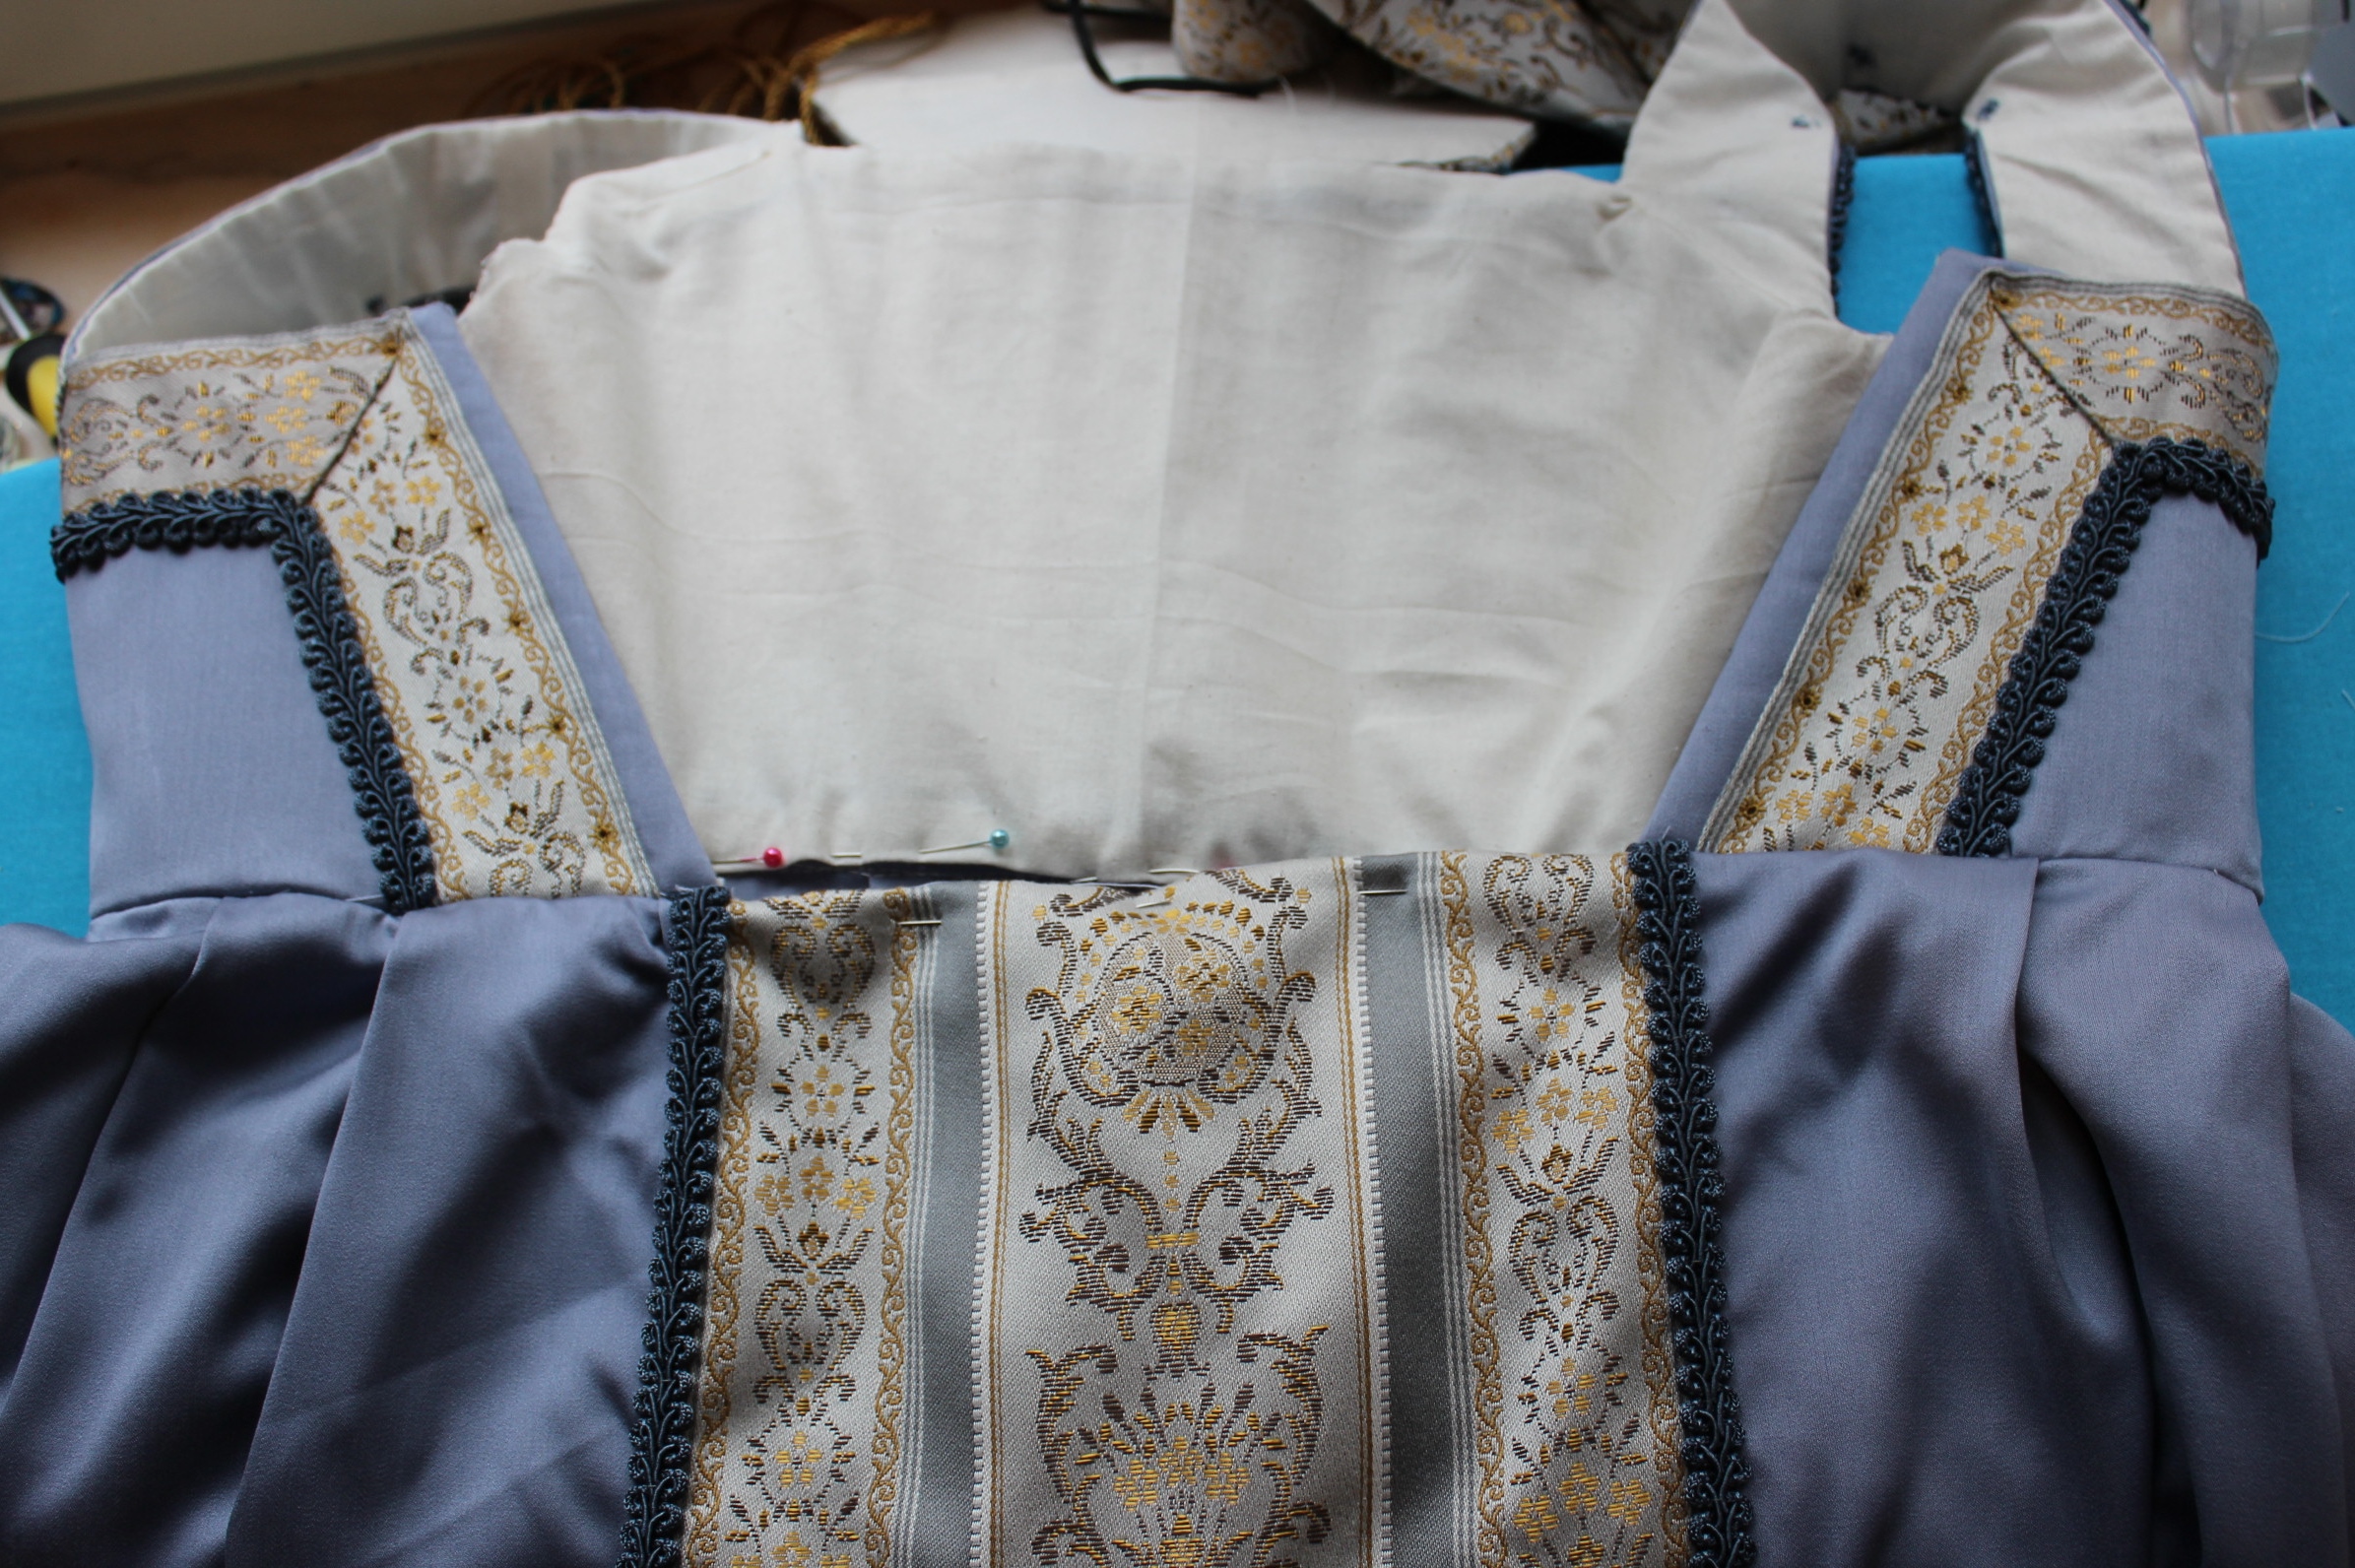
A new 17th century evening bodiceelizabeth-capell-countess-of-carnarvon-ca-1665-sir-peter-lely

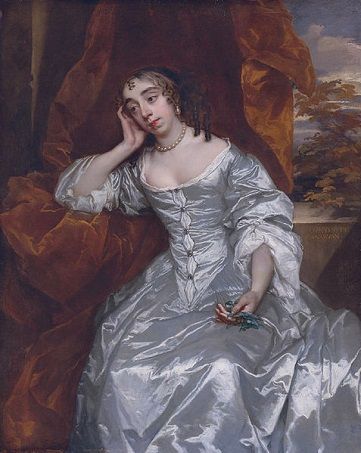
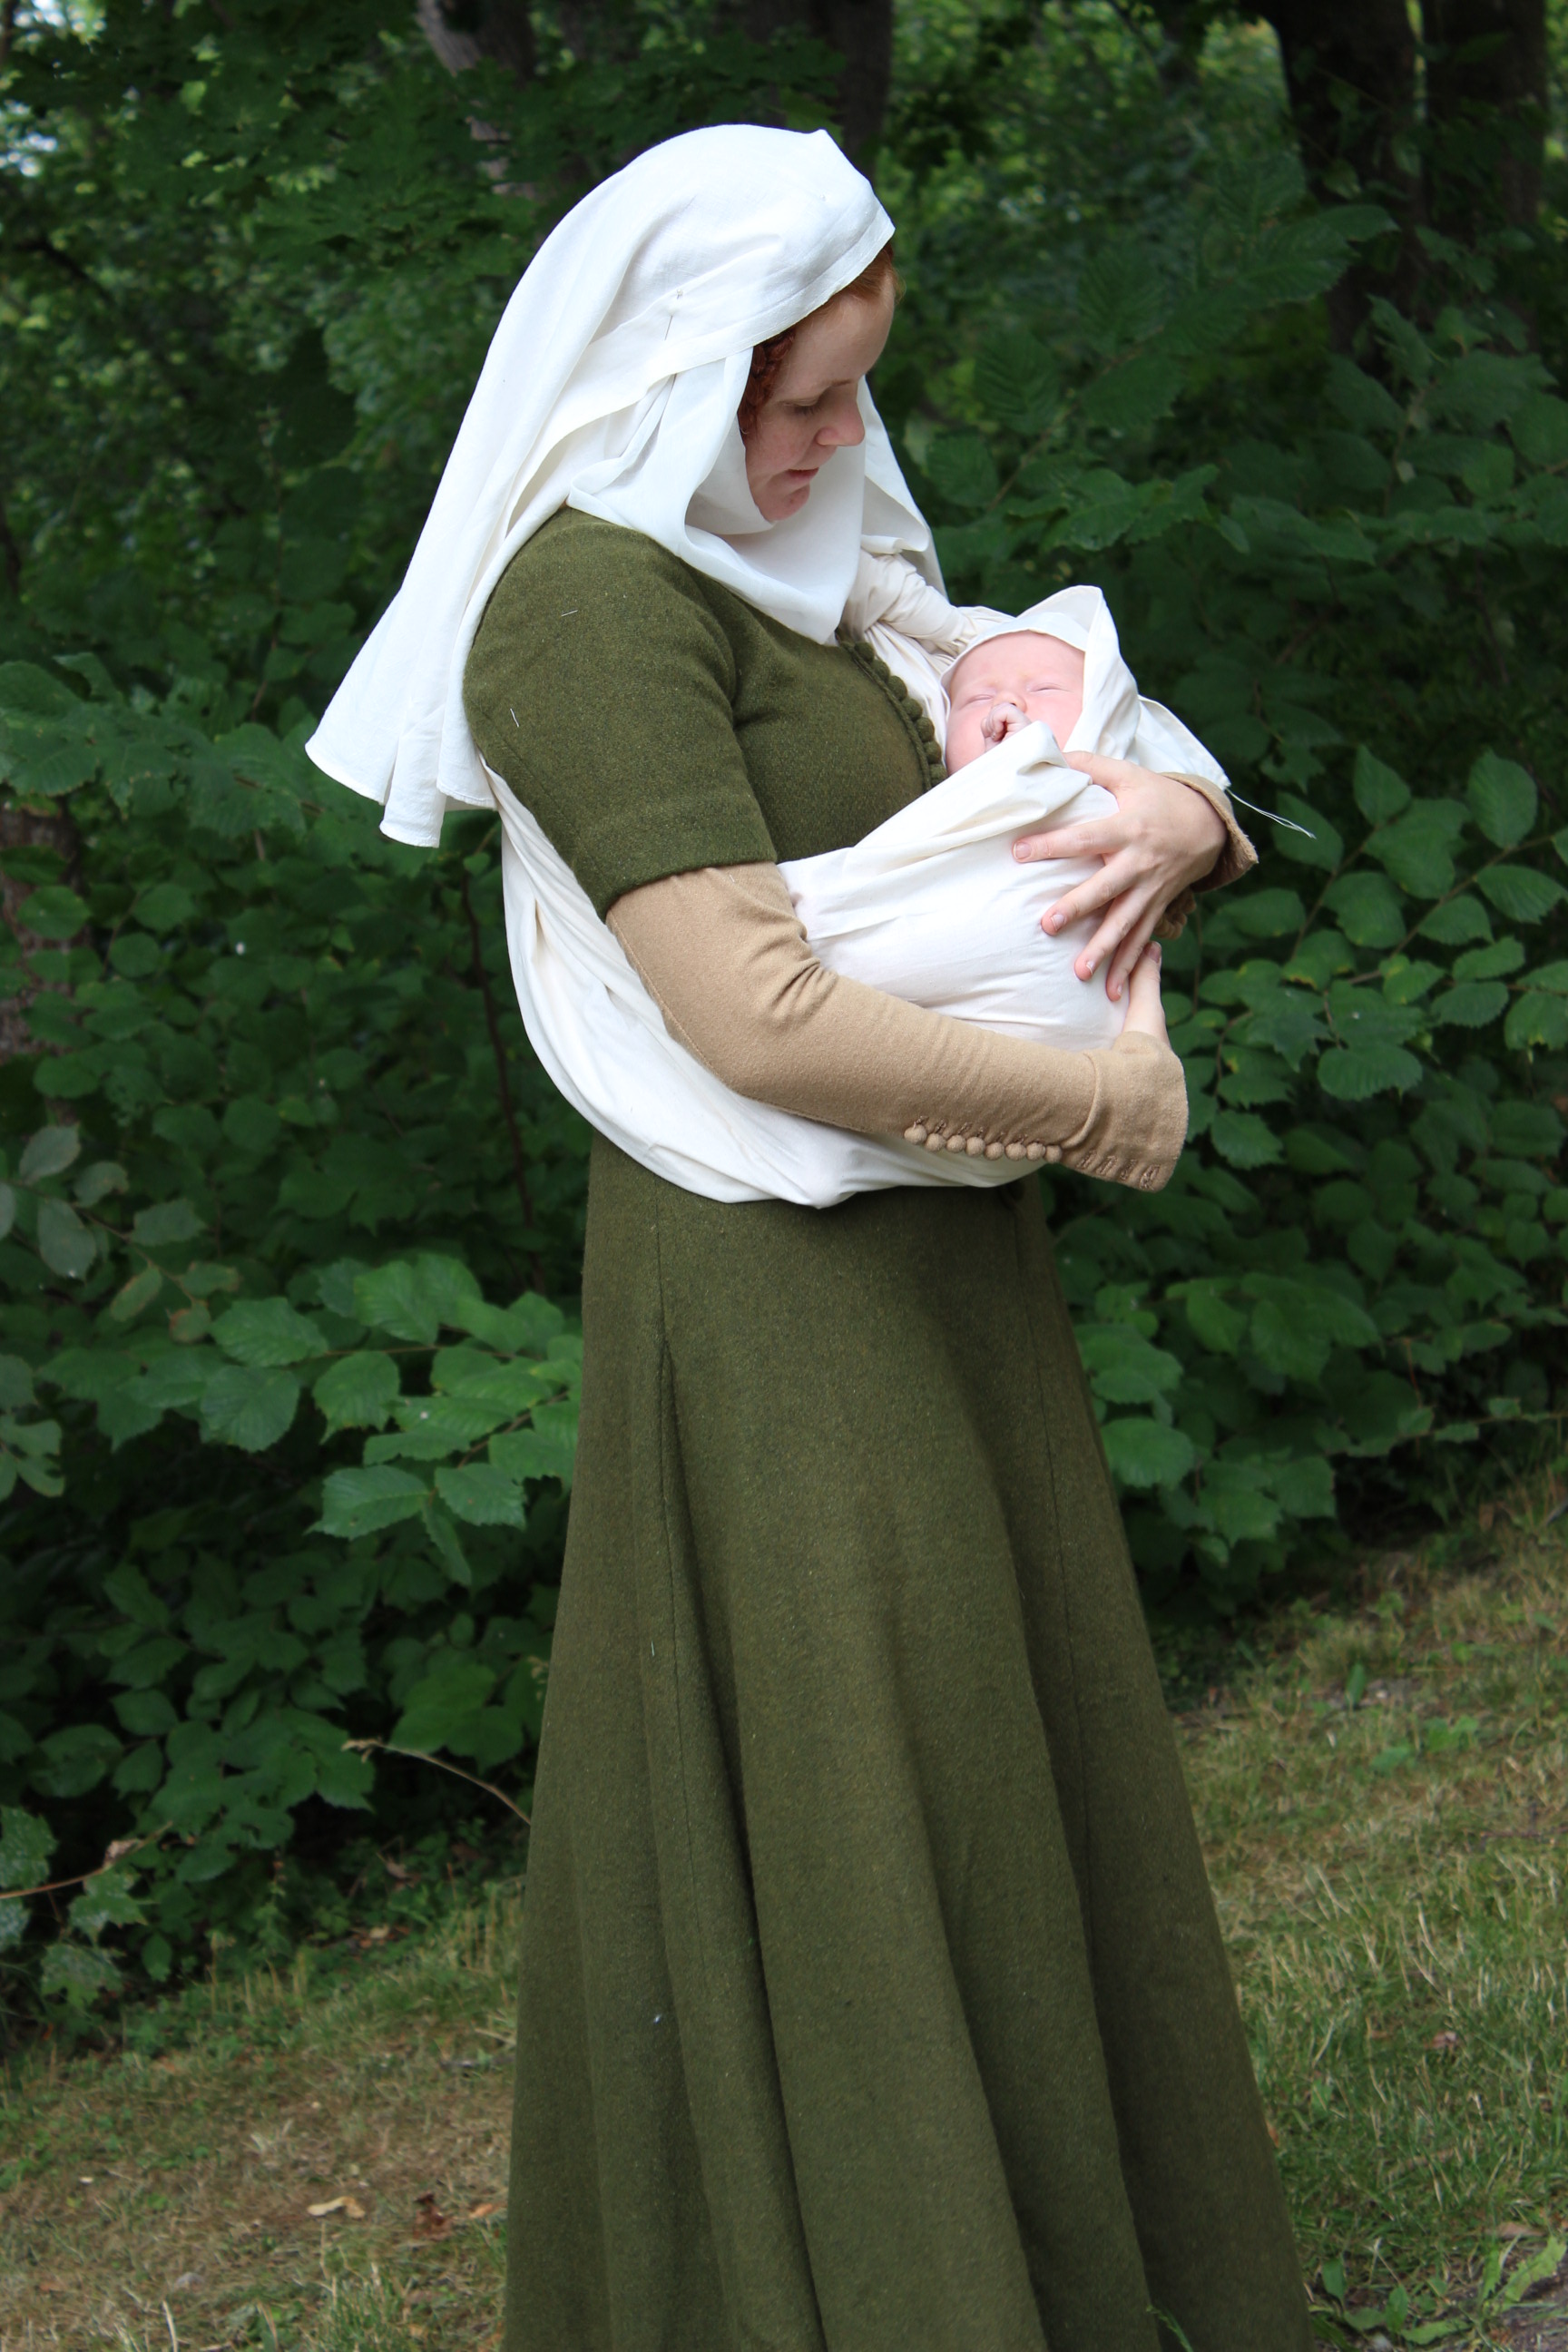
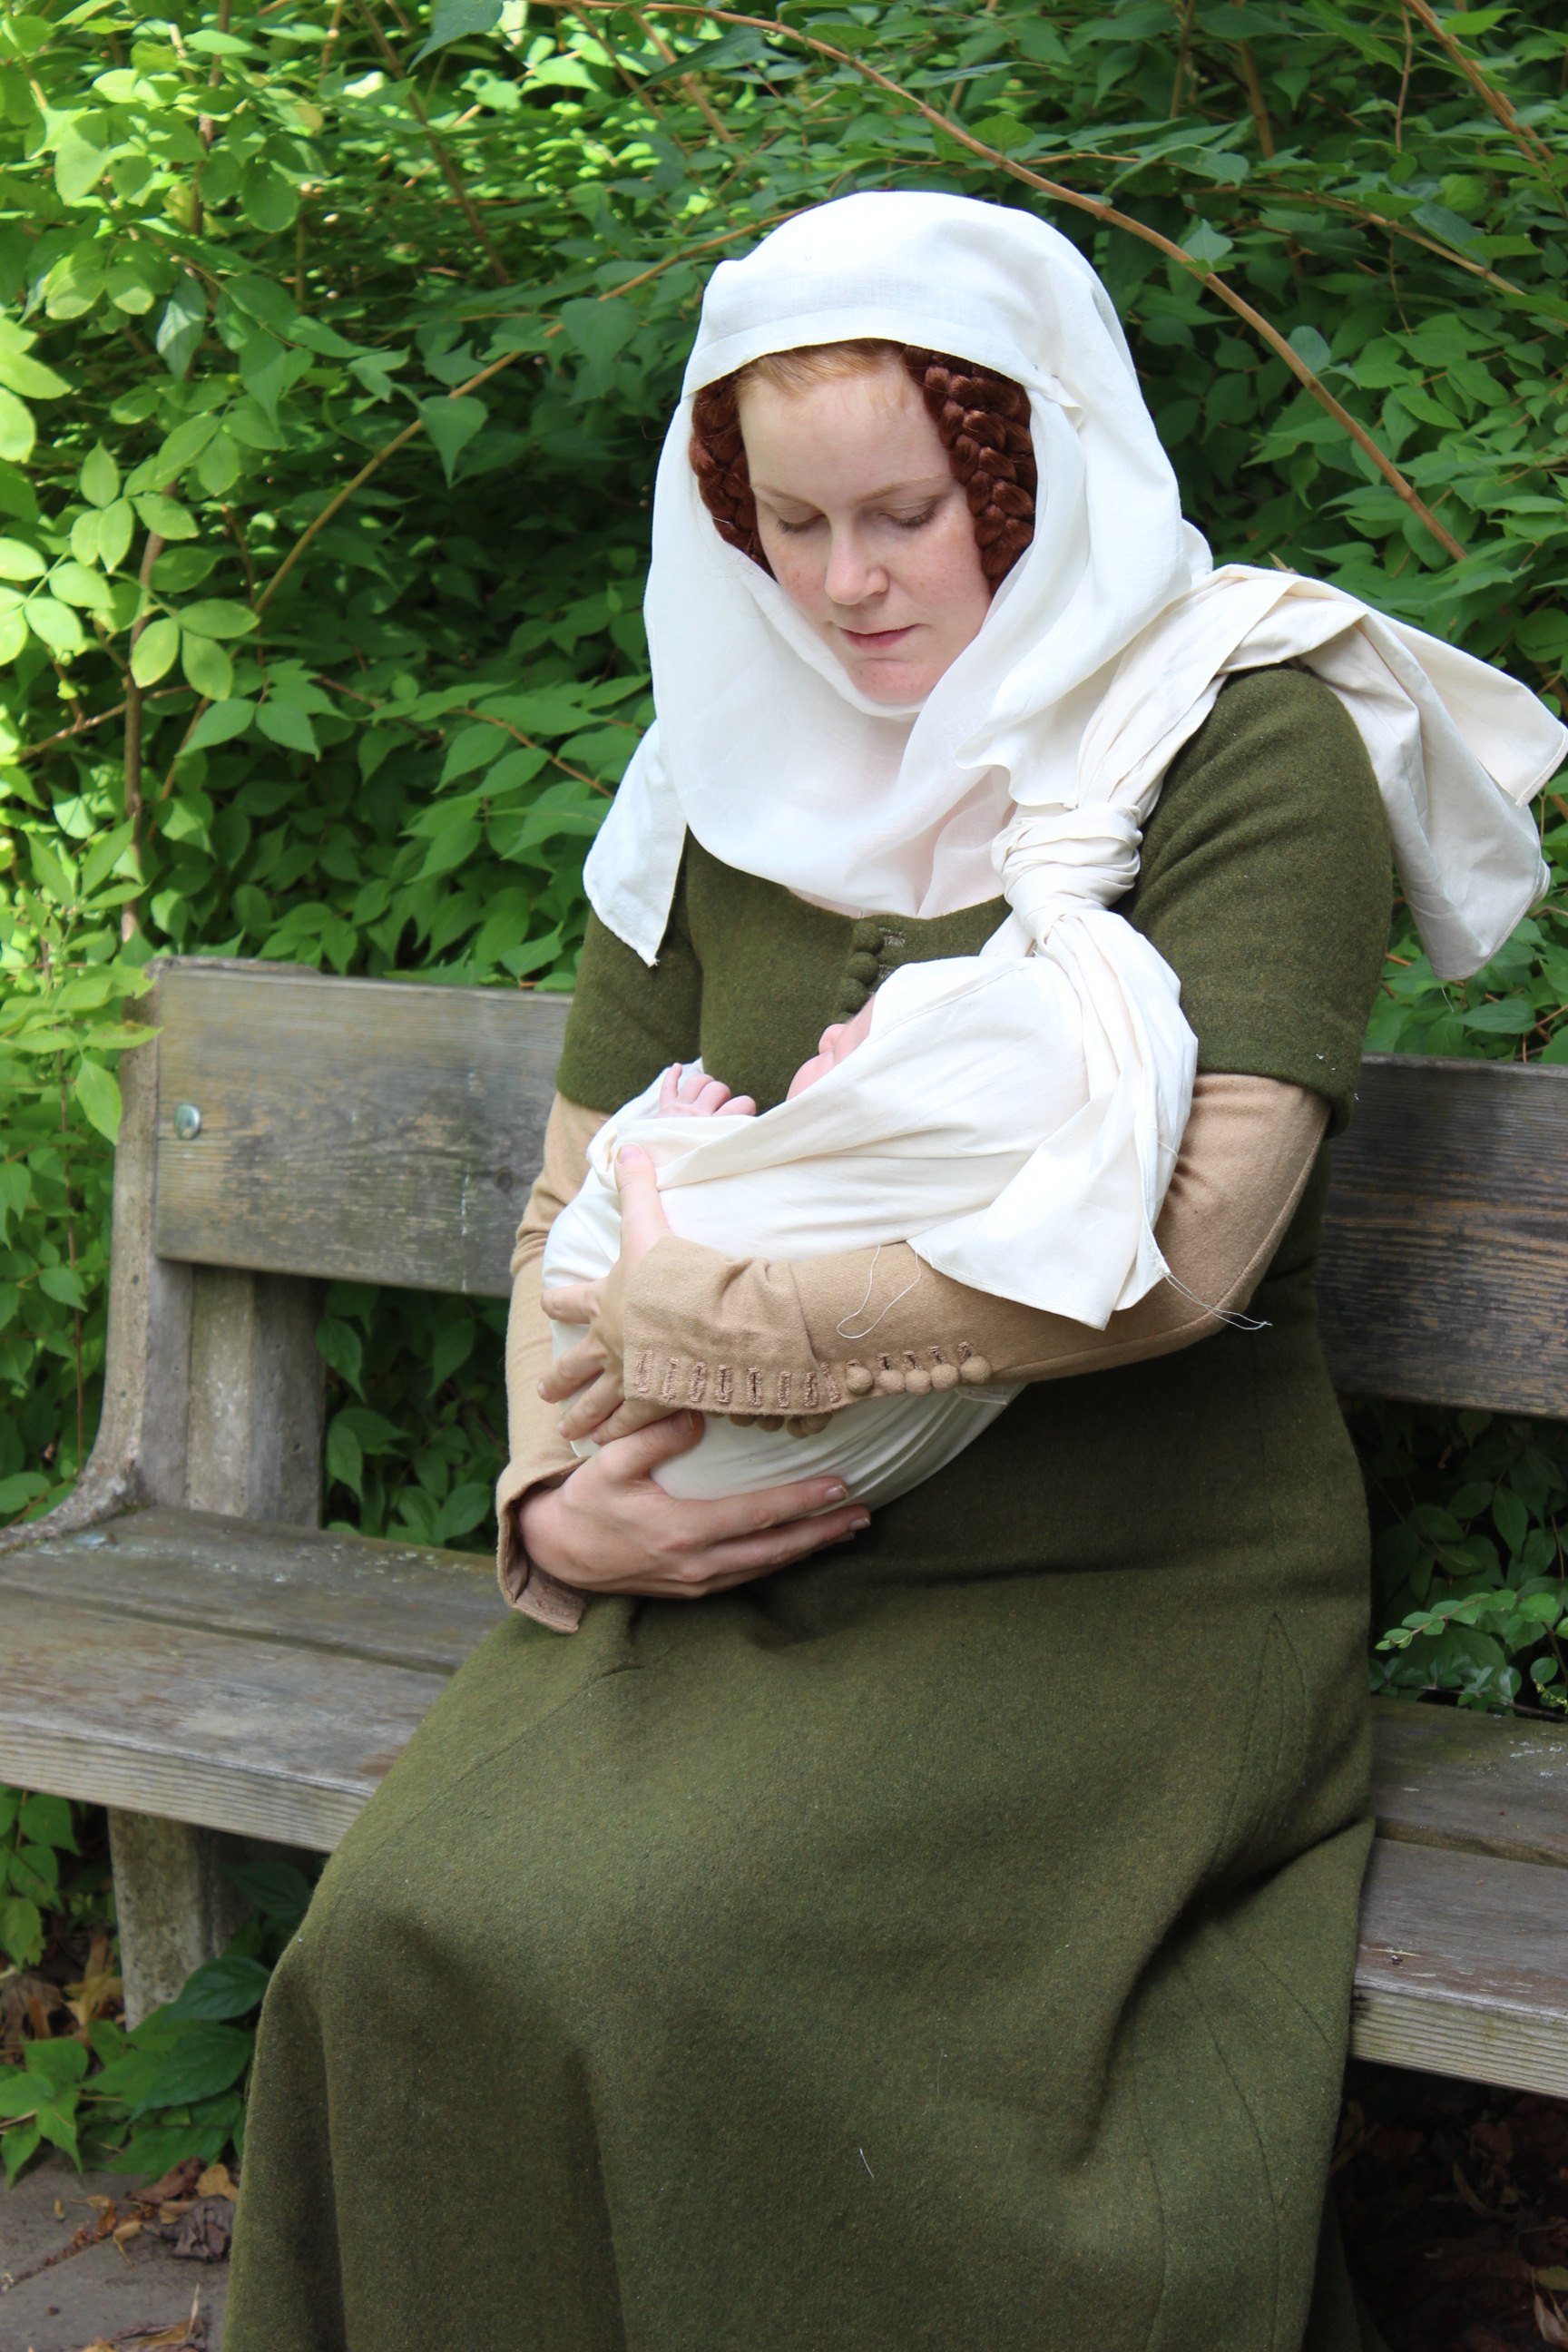
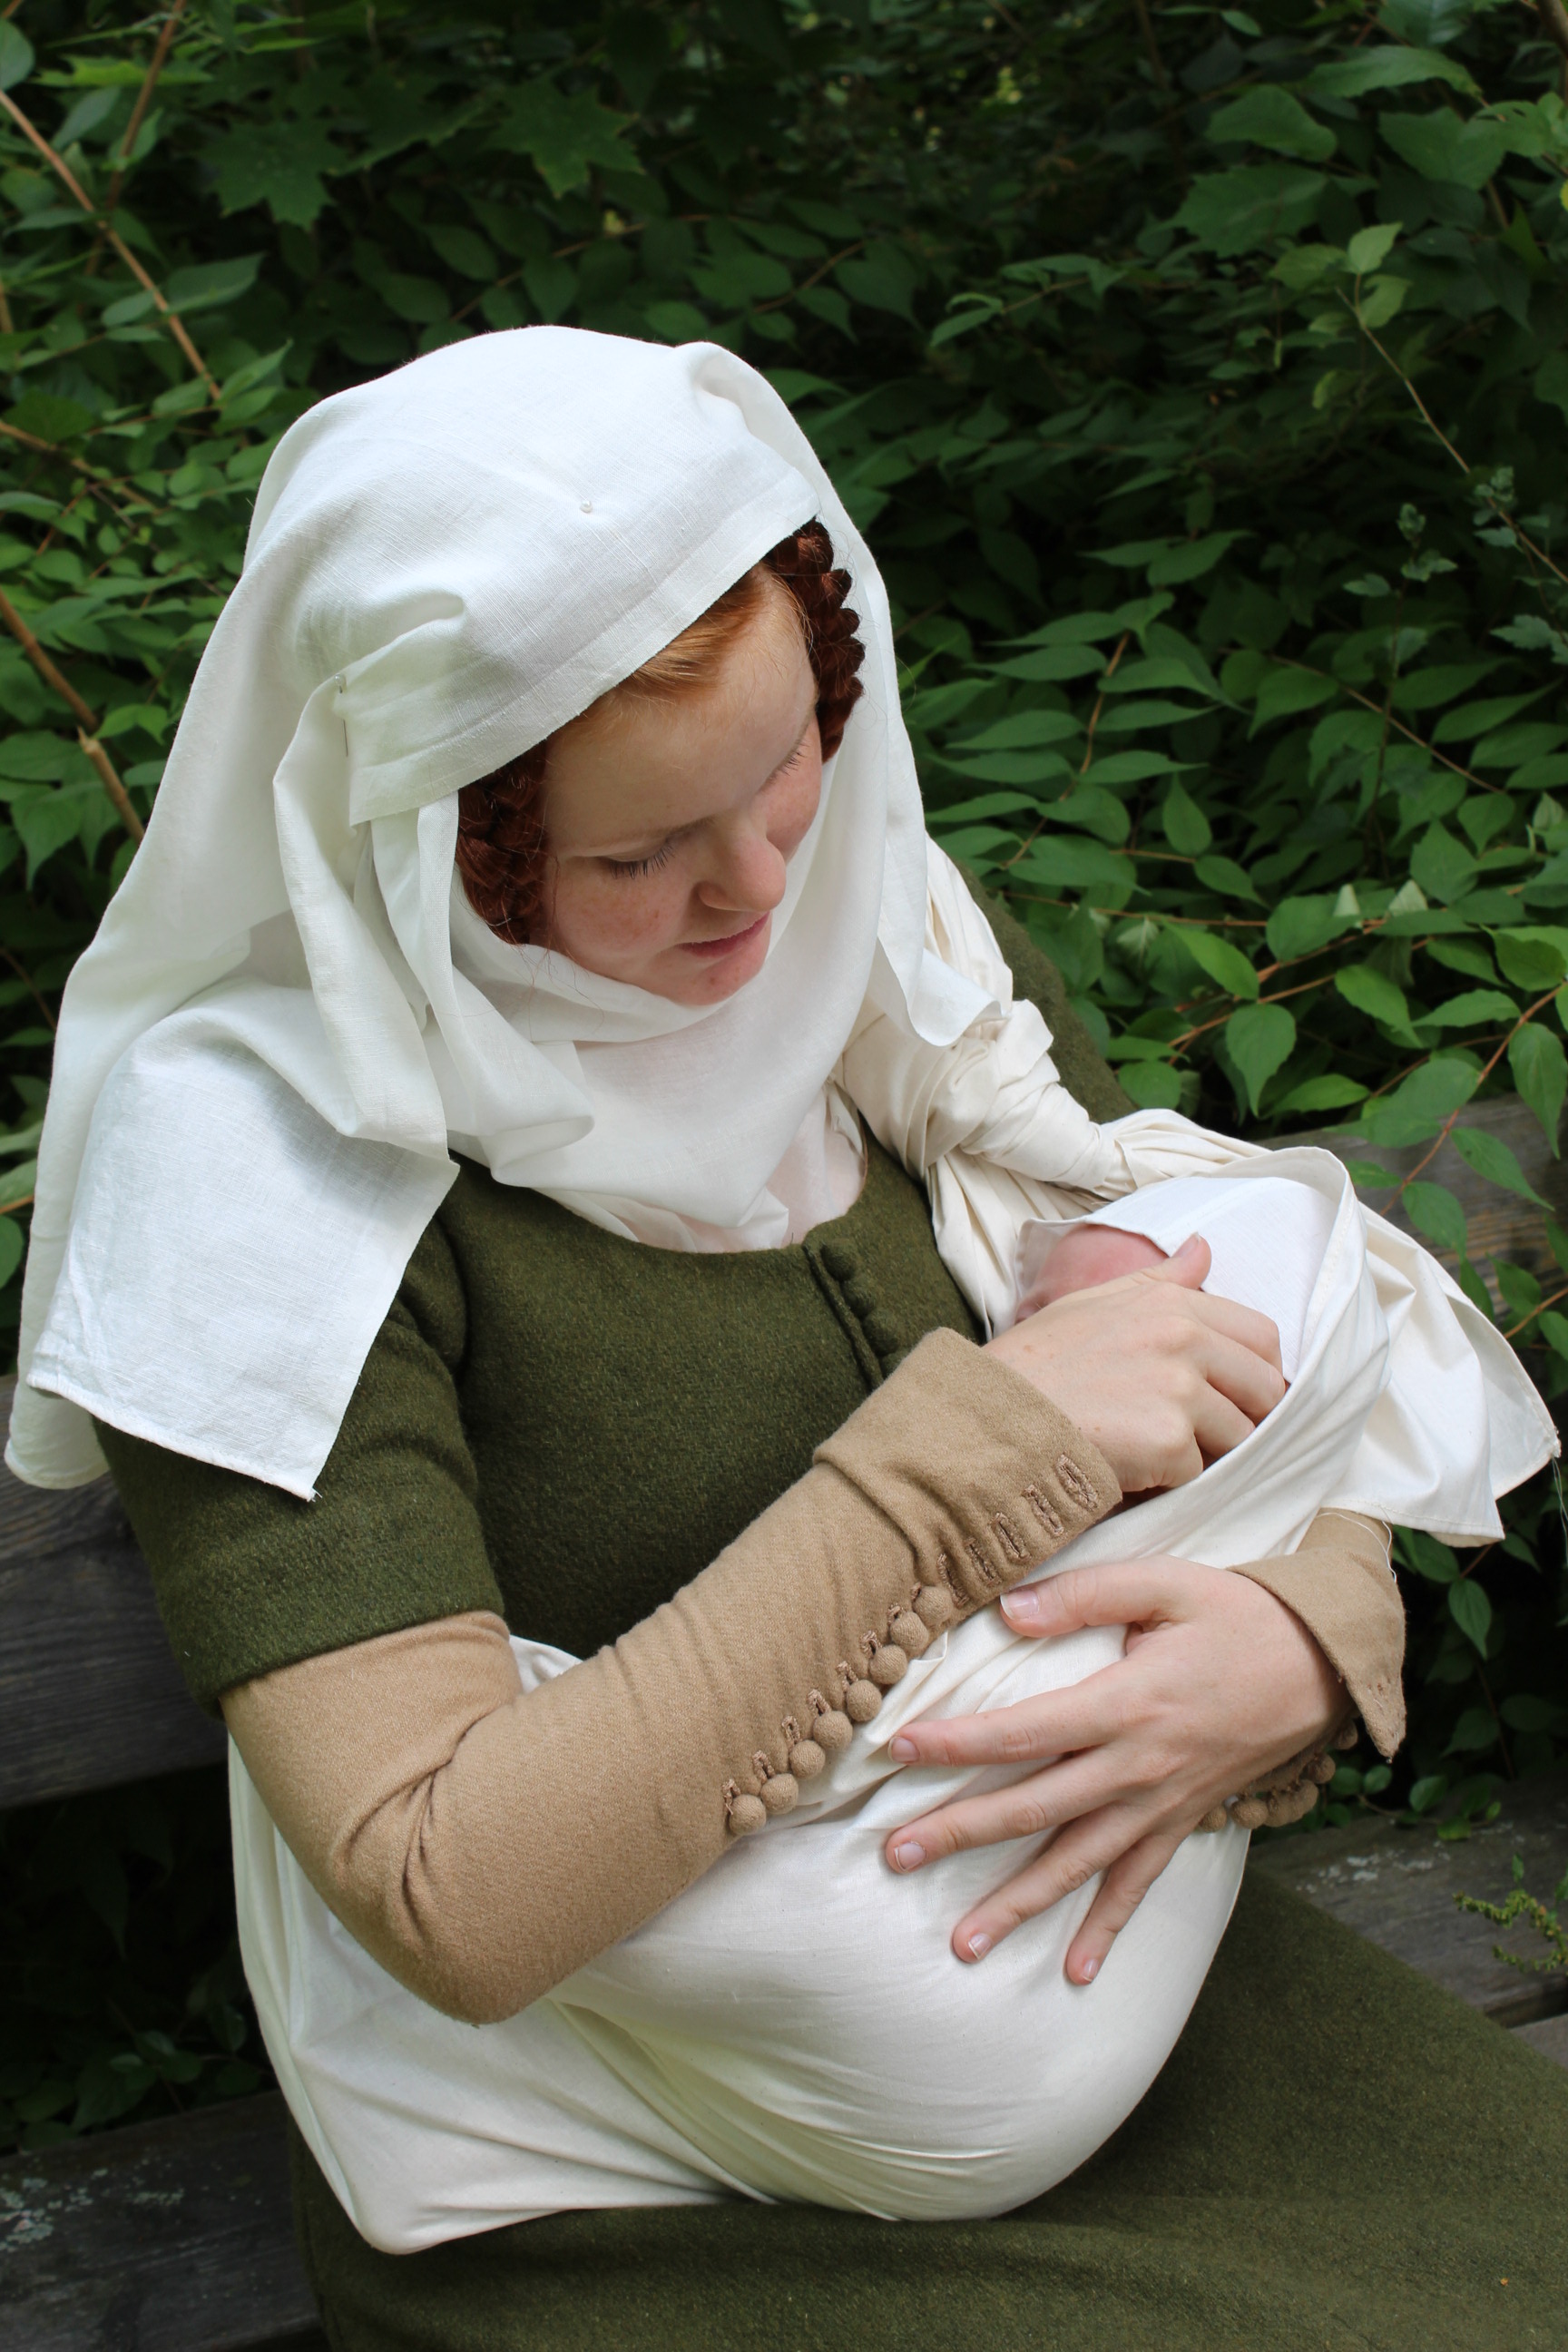
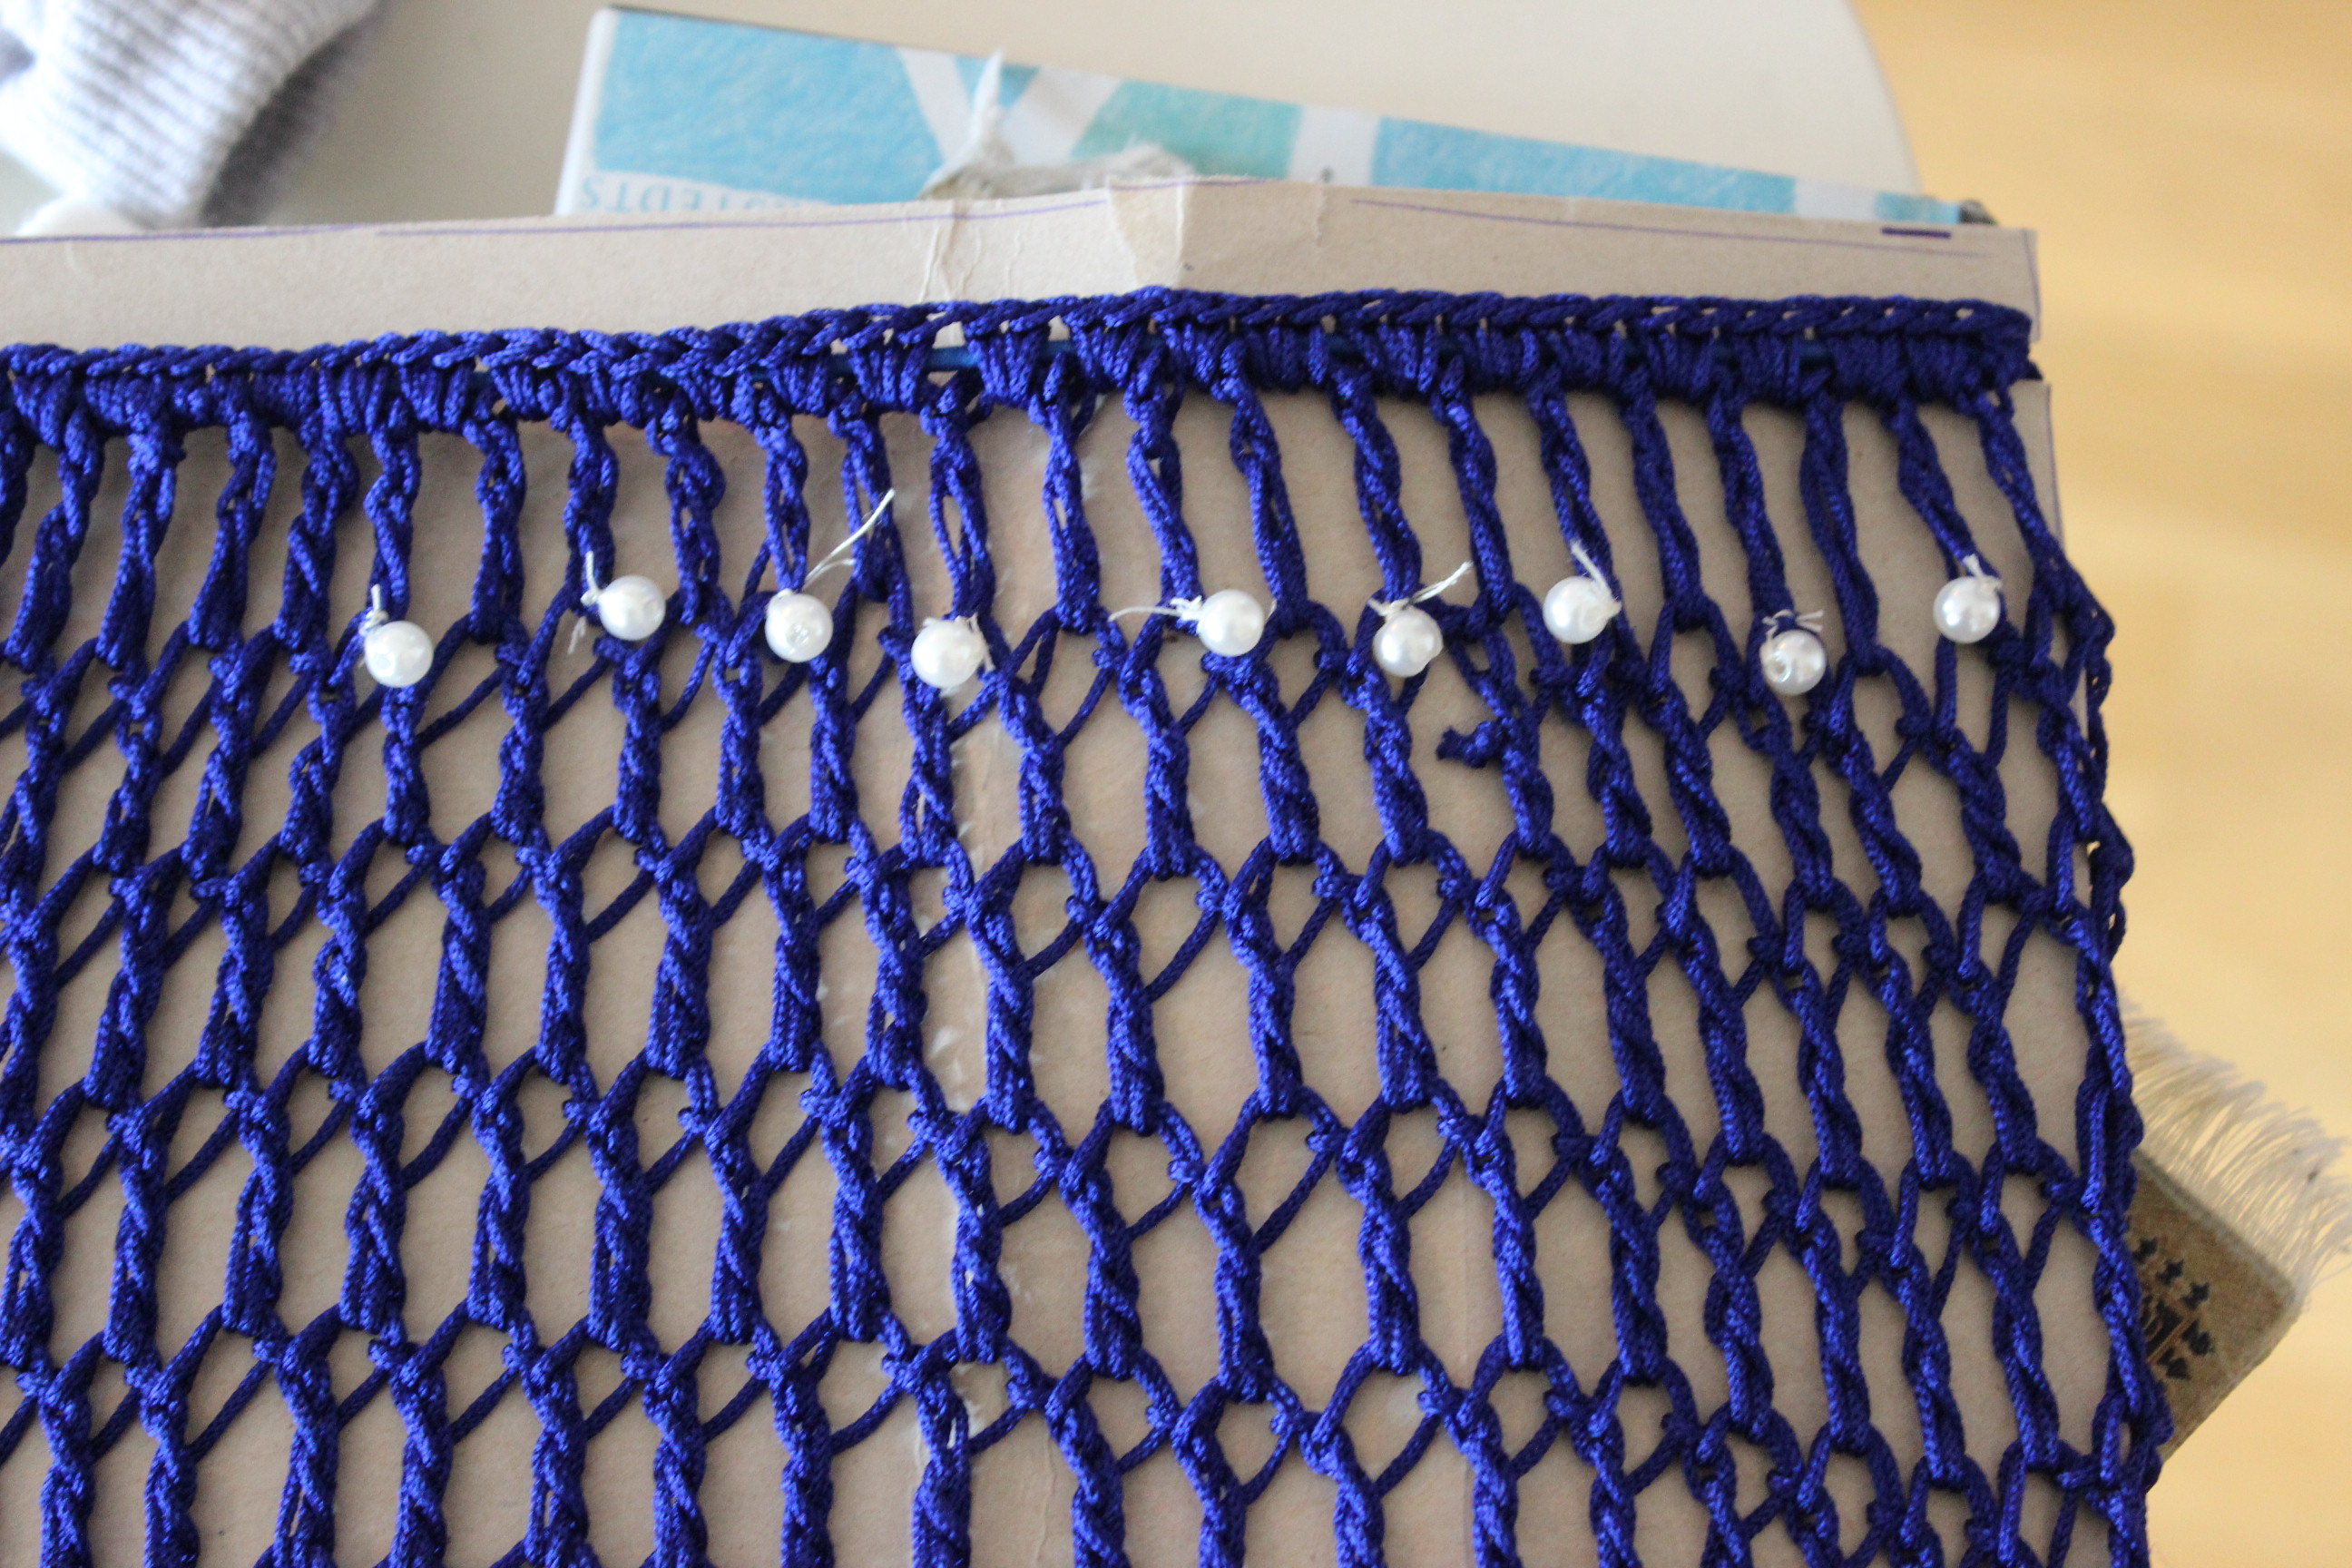
A 15th century Burgundian gownspinning-women1

A sheer Regency gown to dress up/down depending on occasion. 28187ad2219cb5718f1b8e6e7609ab73

A man’s Regency waistcoatk4202drw

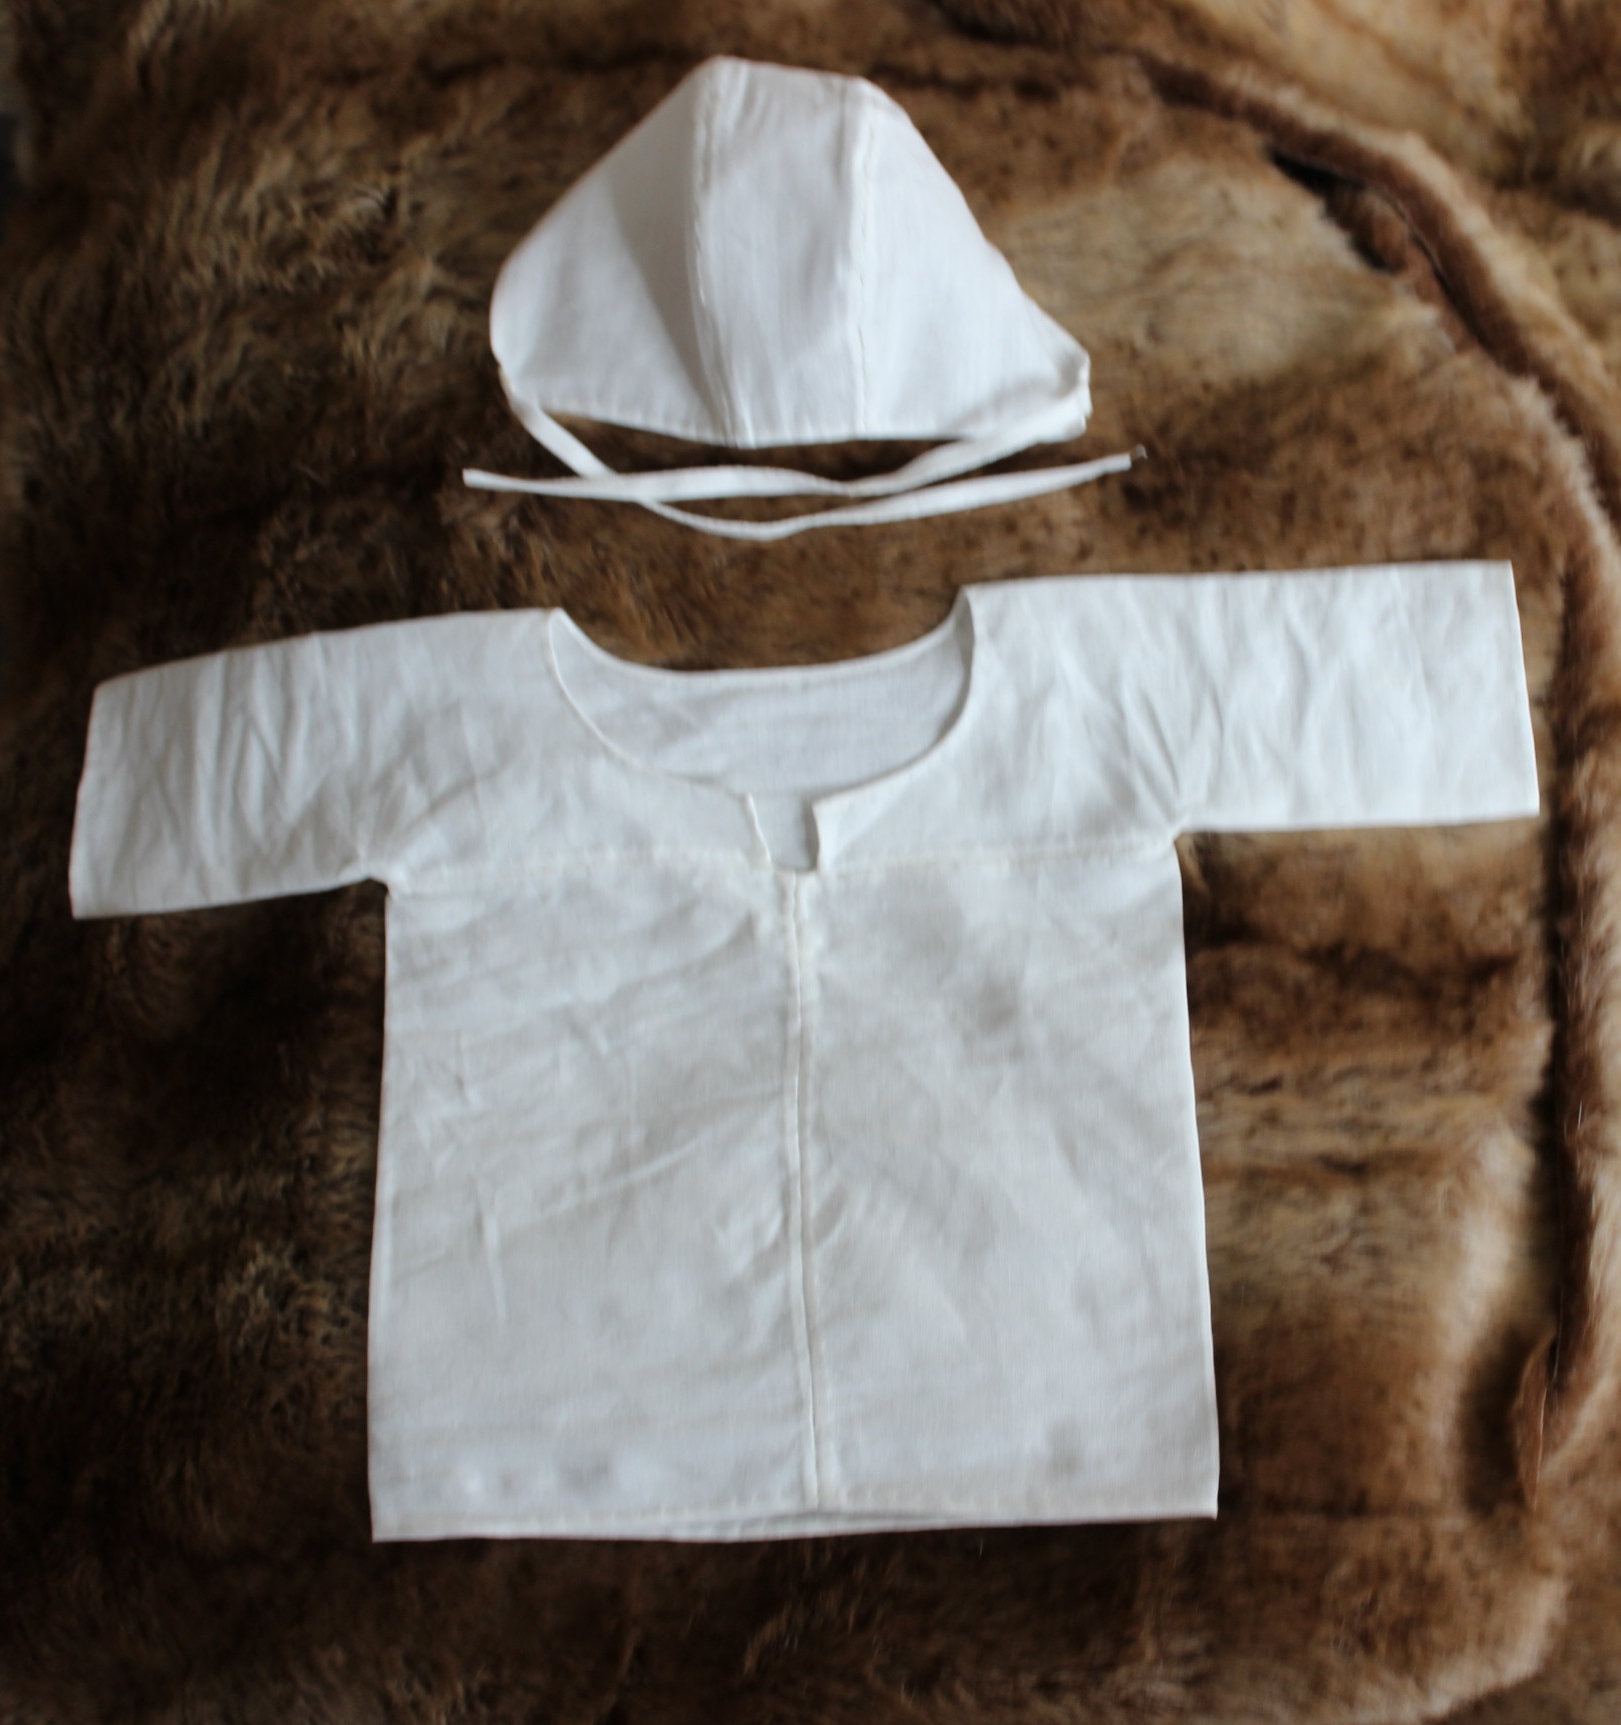
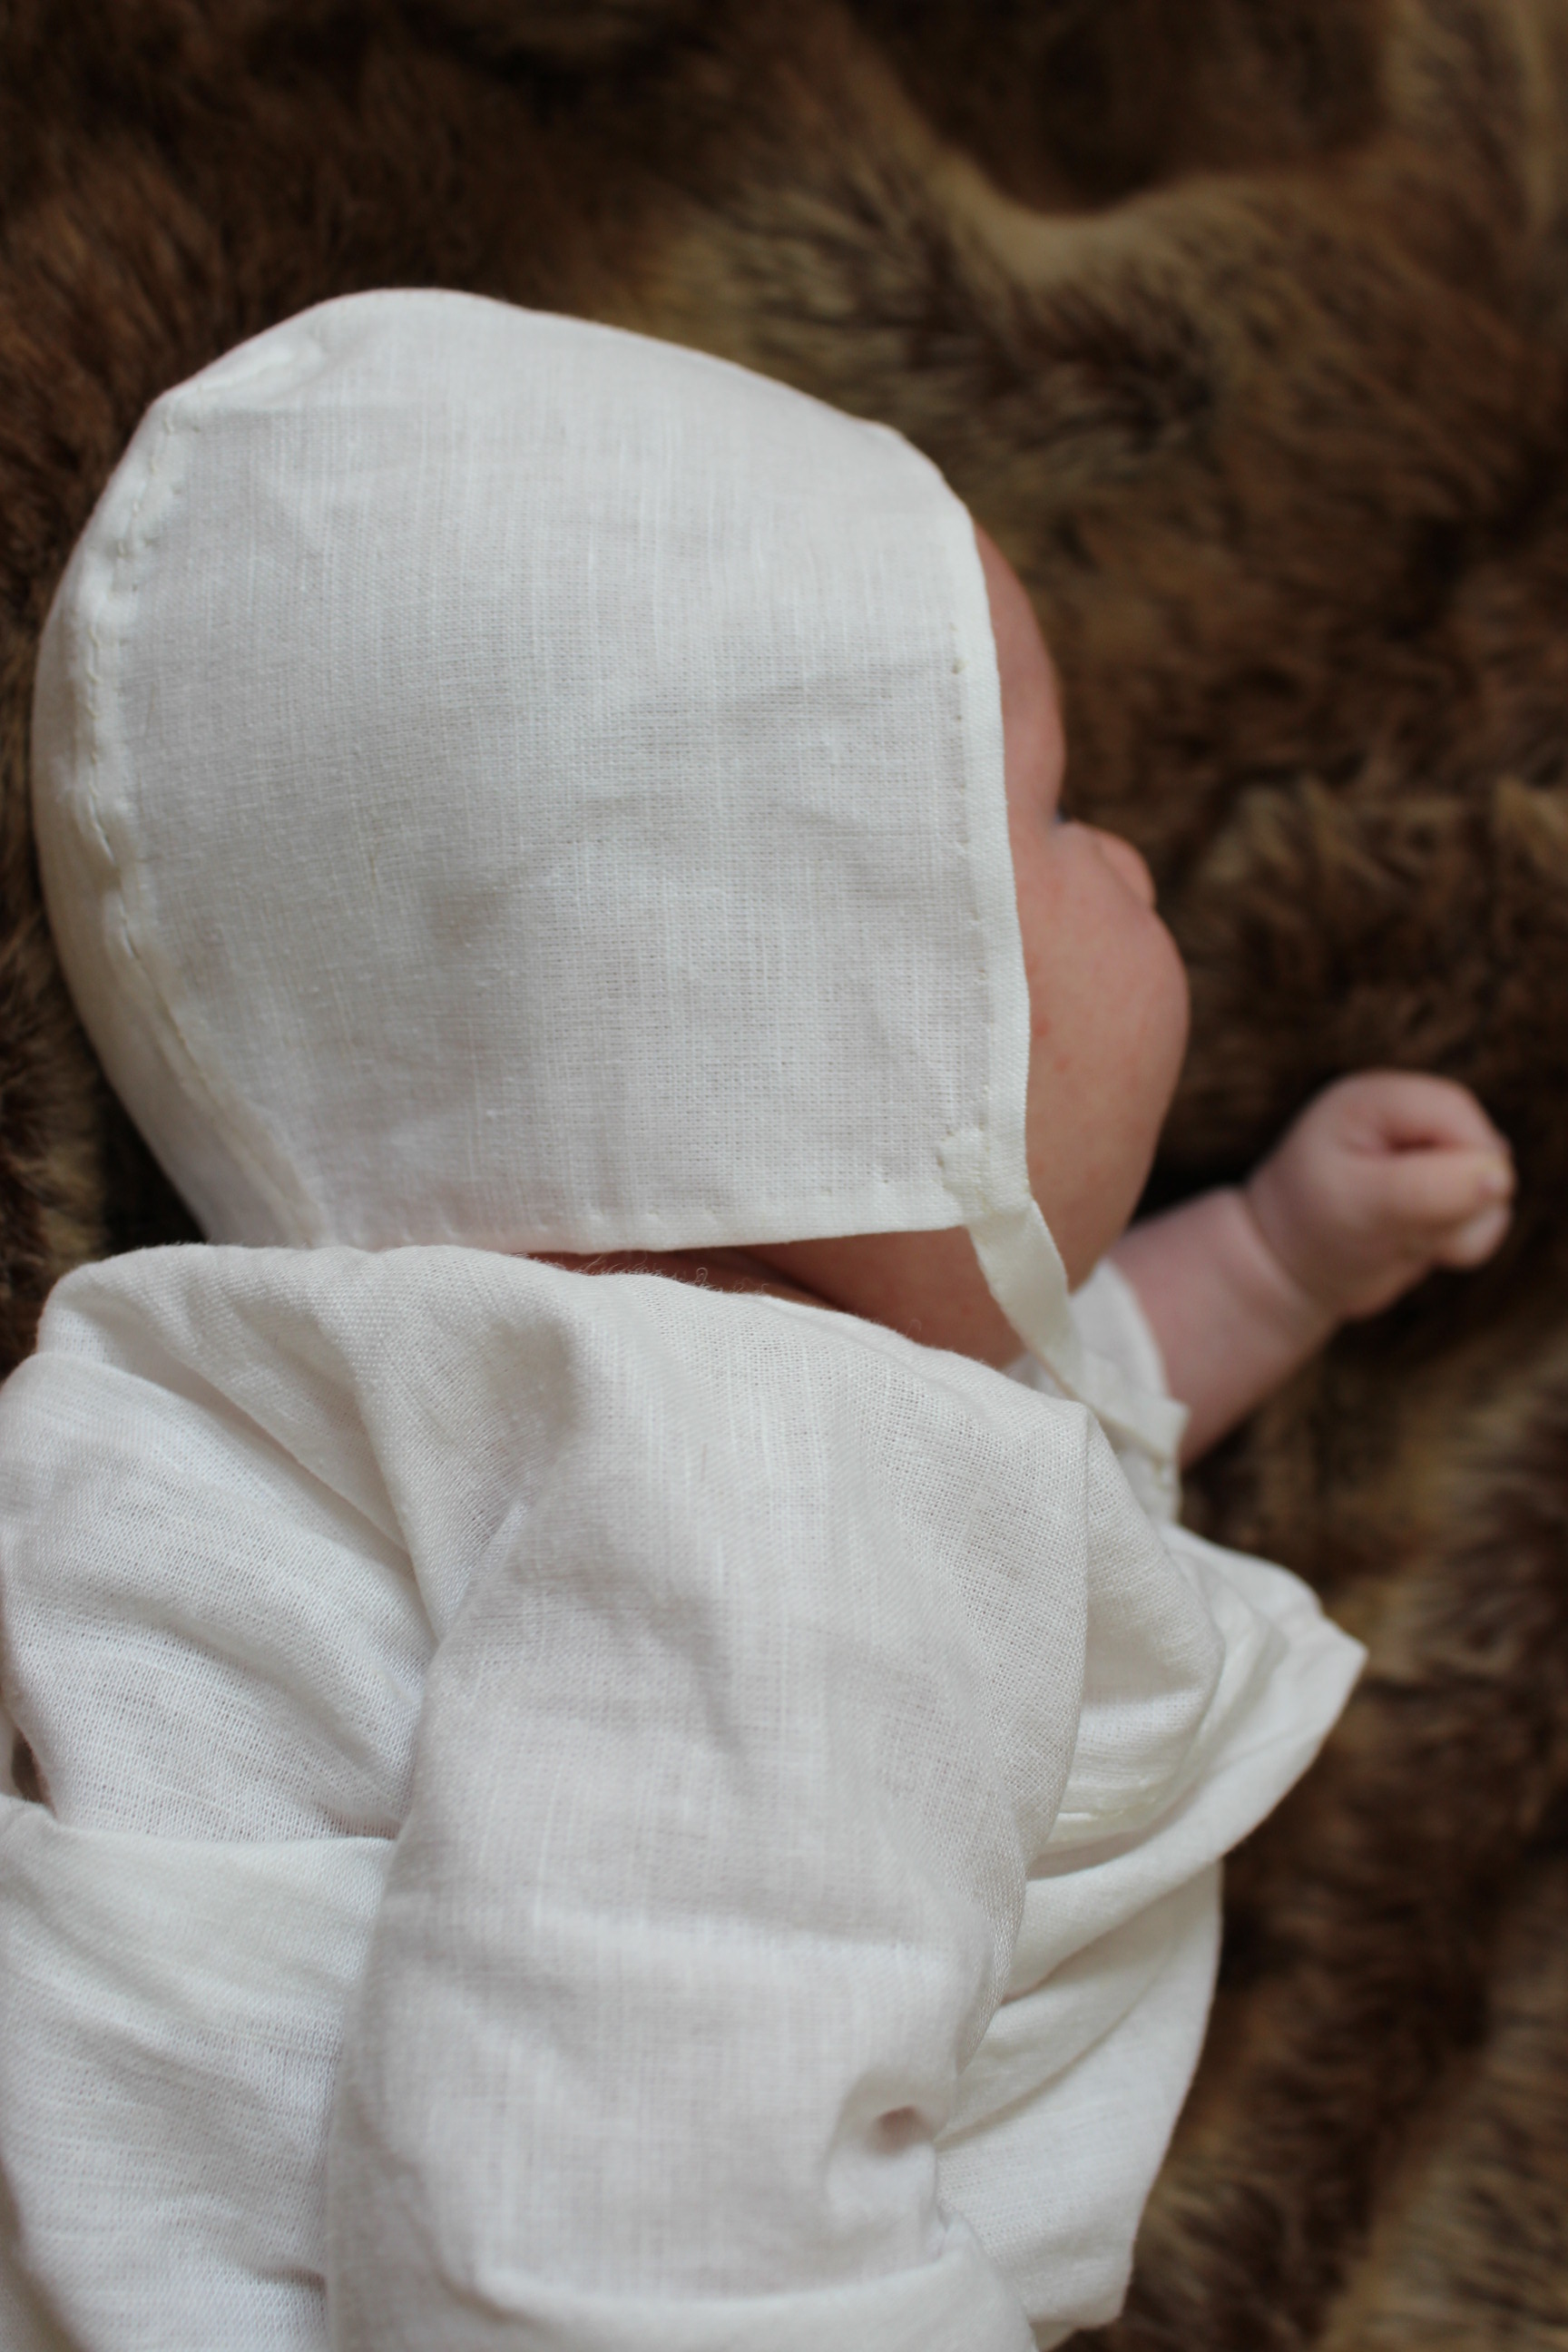
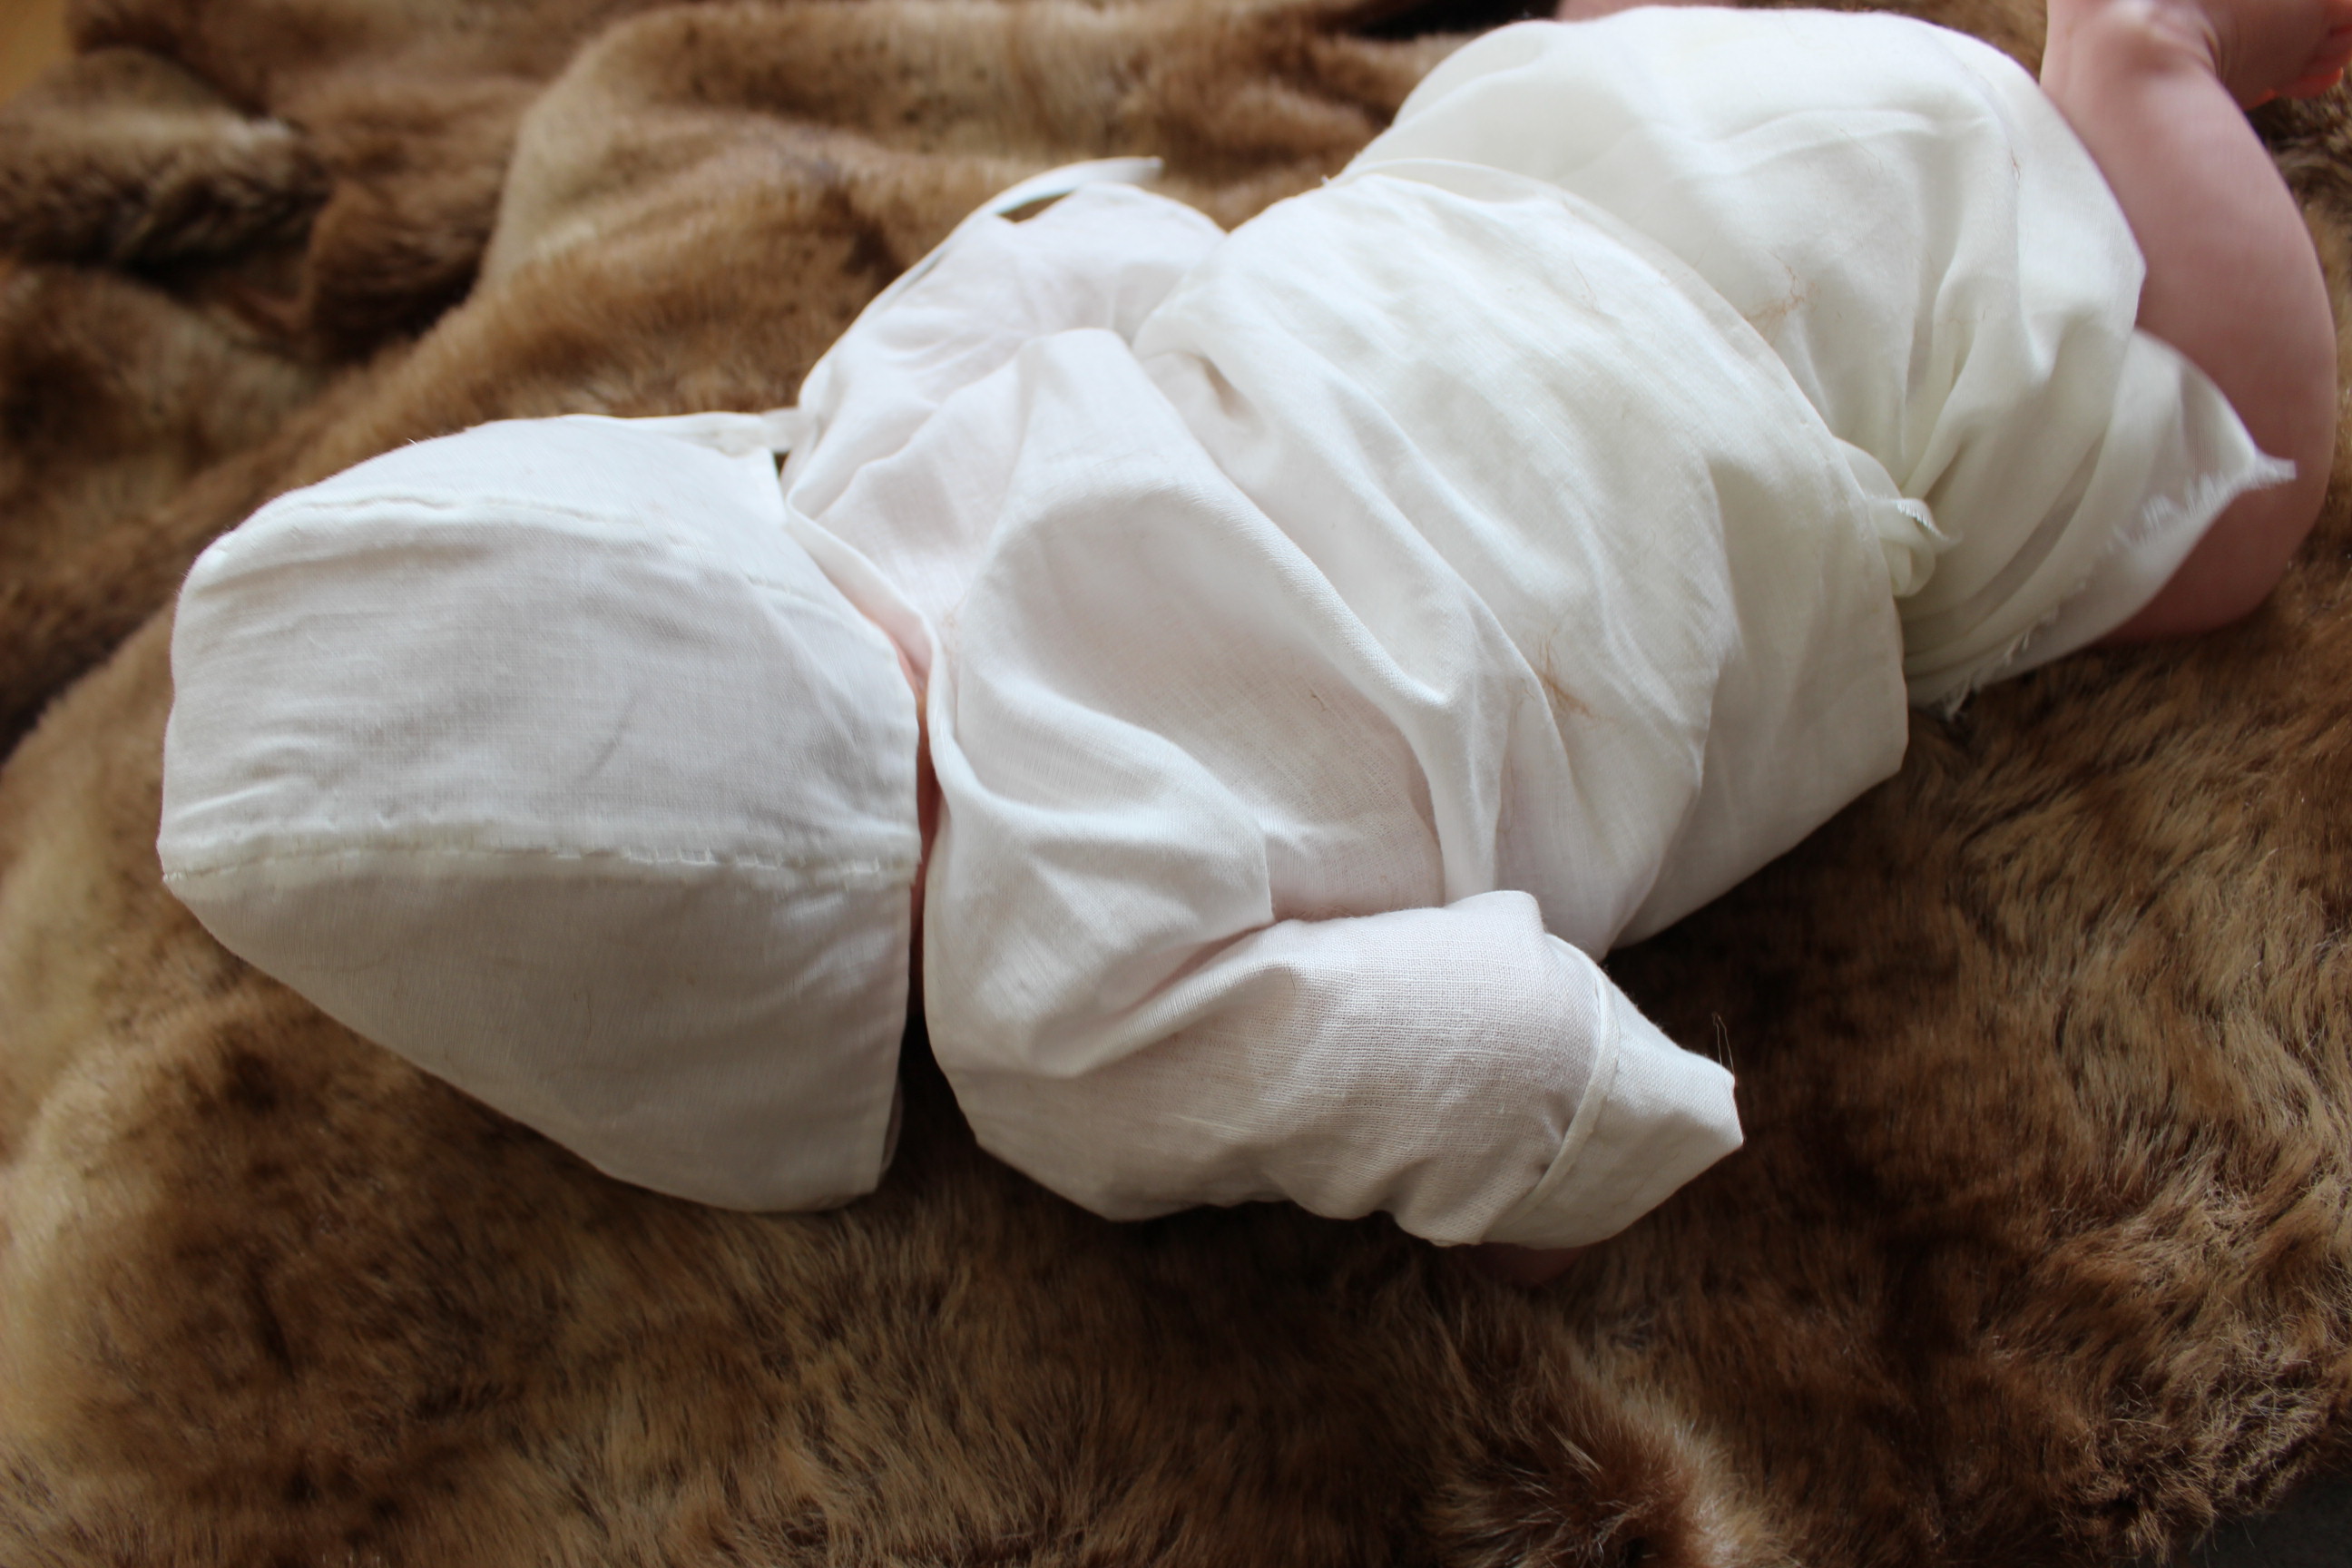
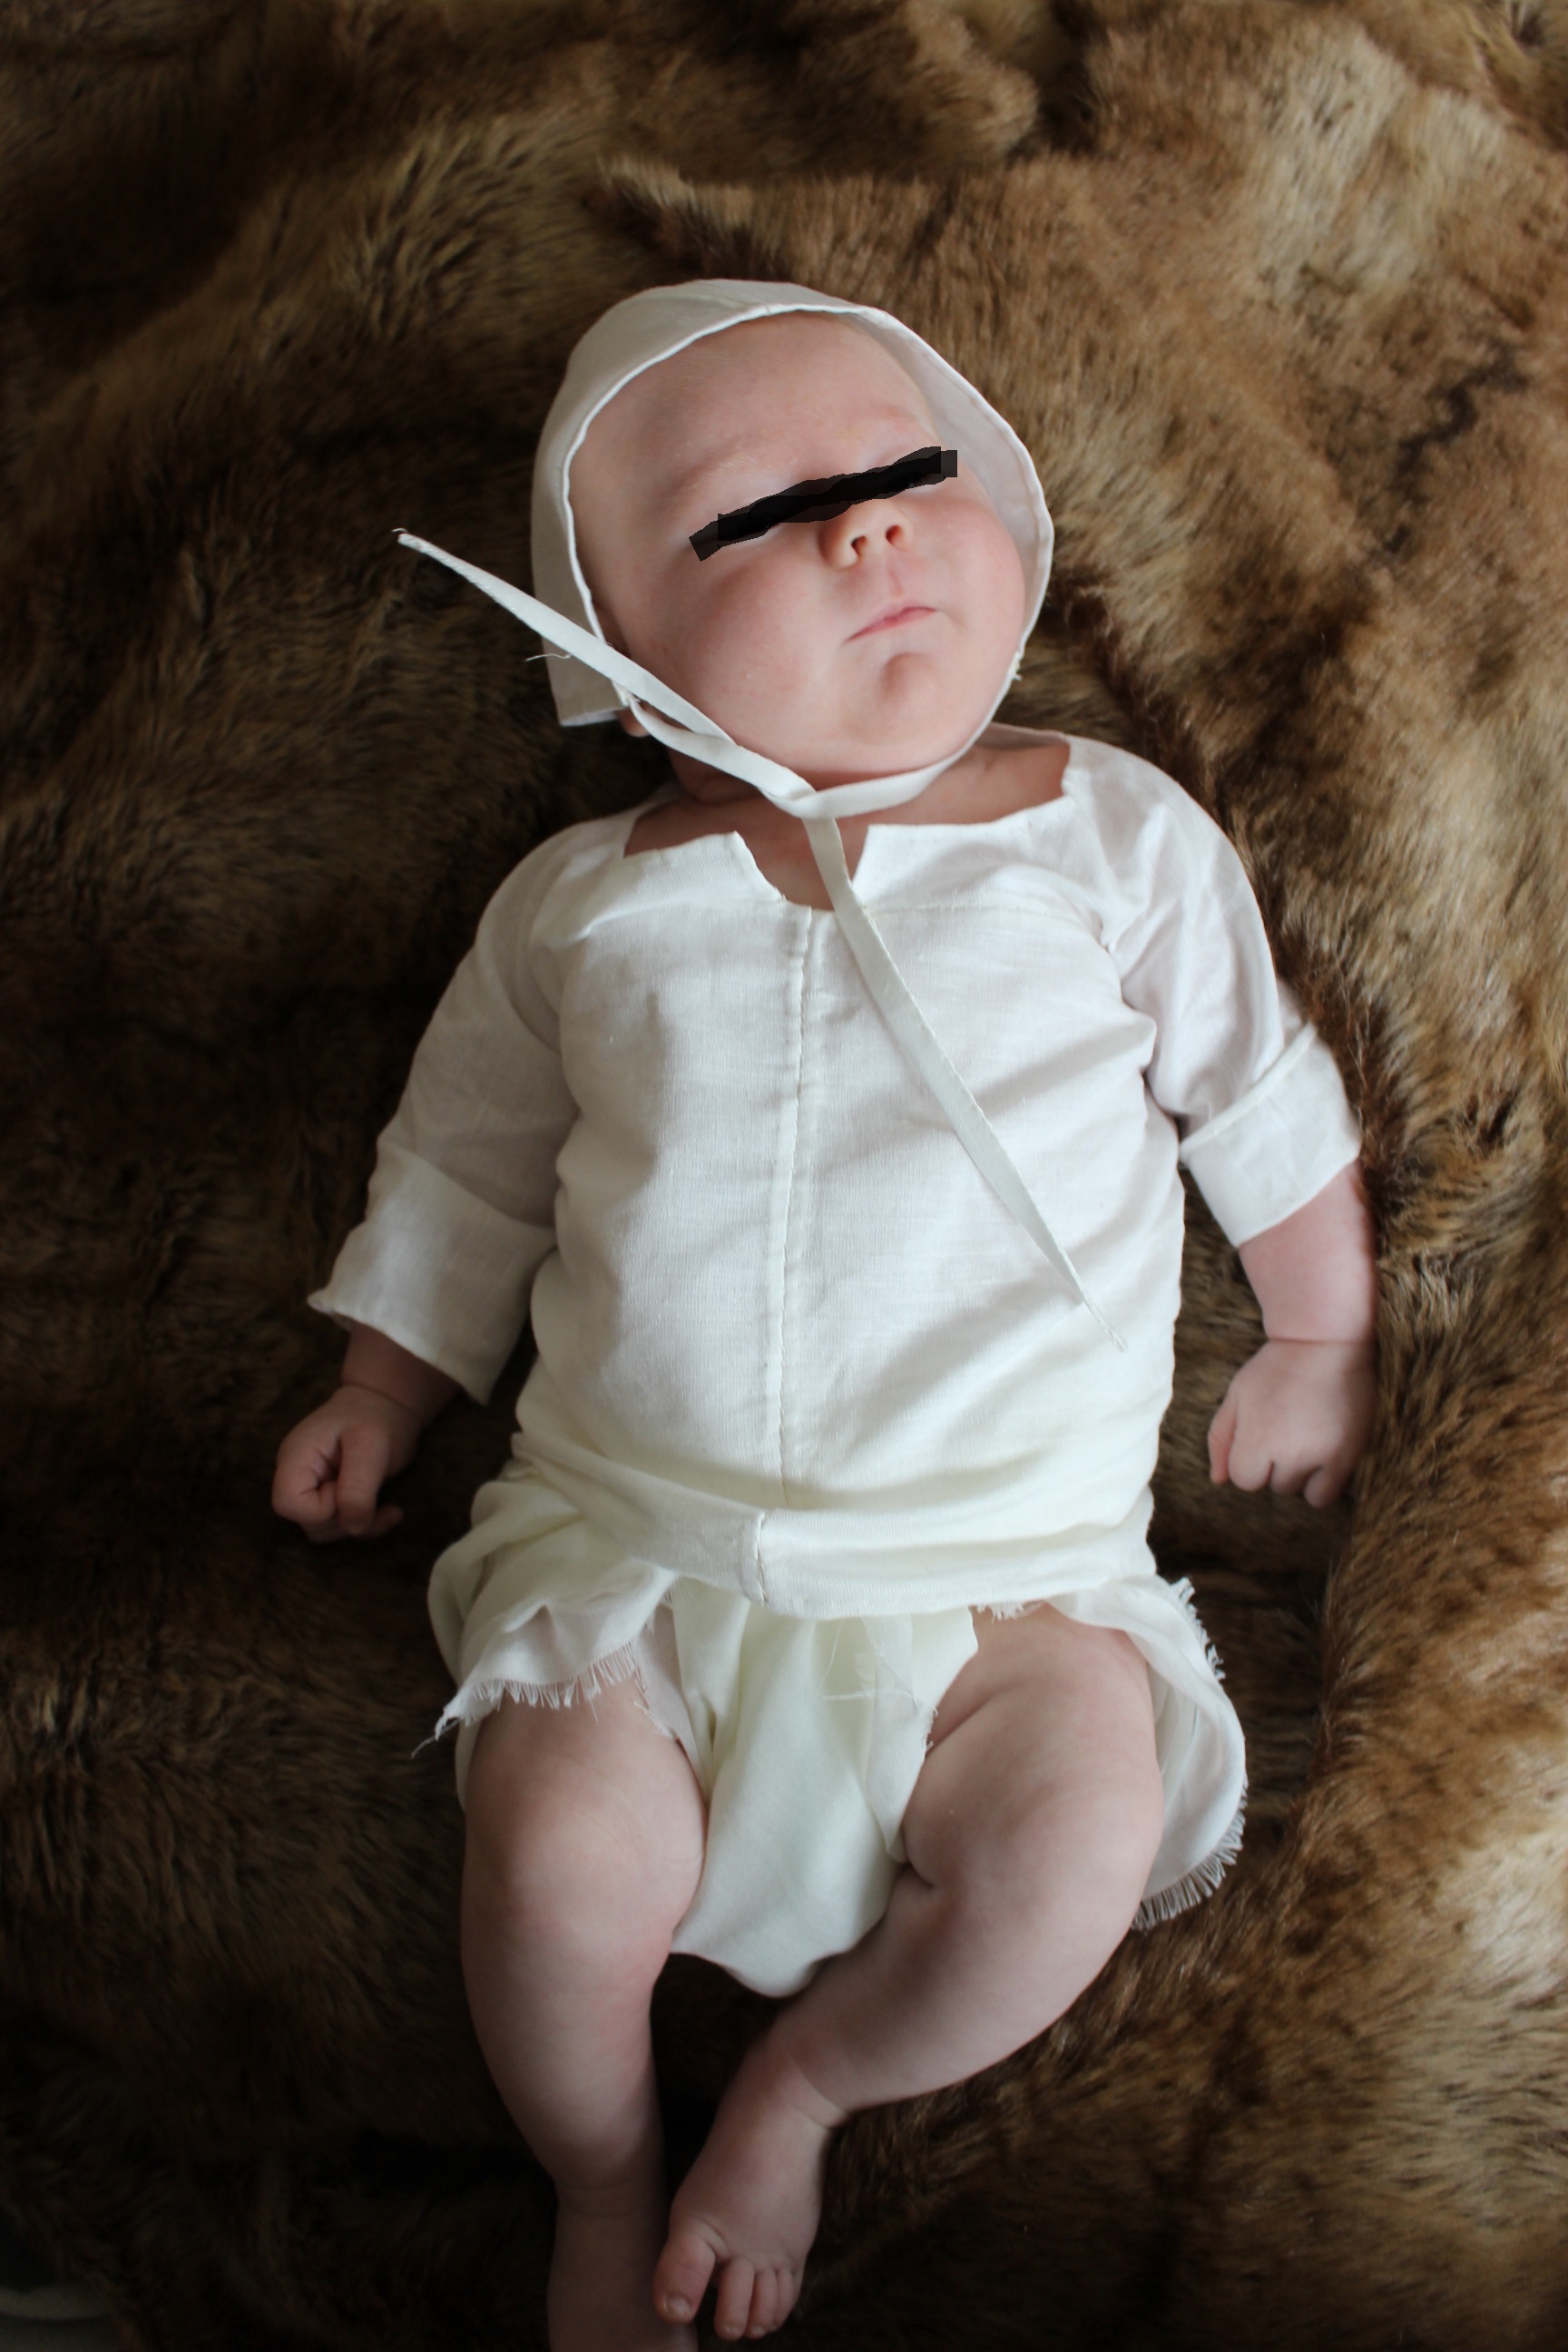
Of course I also plan to make lots of new baby clothes and perhaps one or two modern dresses/shirts for myself.

Lets see what I can get done 🙂

Elizabeth I – Photoshoot (Historic)

Before the first snow fell last week I manage to get some nice autumn photos of my new “Elizabeth I” Dress.

I’m wearing the Tudor/Elizabethian dress, on top of several layers of petticoats, bumpad and shift, and accessorized with  the new partlet,  french hood, an old neckruff and the amazing jewelry from “Evil and og“(link to blogpost). (Excuse the modern hair but its just impossible to get a nice center part with a short side bangs.)

img_1545

img_1542

img_1560

img_1581

img_1553

img_1556

img_1586

img_1587

img_1593
img_1597

img_1645

img_1614

img_1571

img_1659

img_1676 Photo: Elin Evaldsdotter

Elizabeth I – Construction part 3 – French Hood

The next thing that I needed to make to complete the Elizabethan look was some kick as headwear.
And what is more associated with this time period then the french hood.

Bildresultat för elizabeth french hood
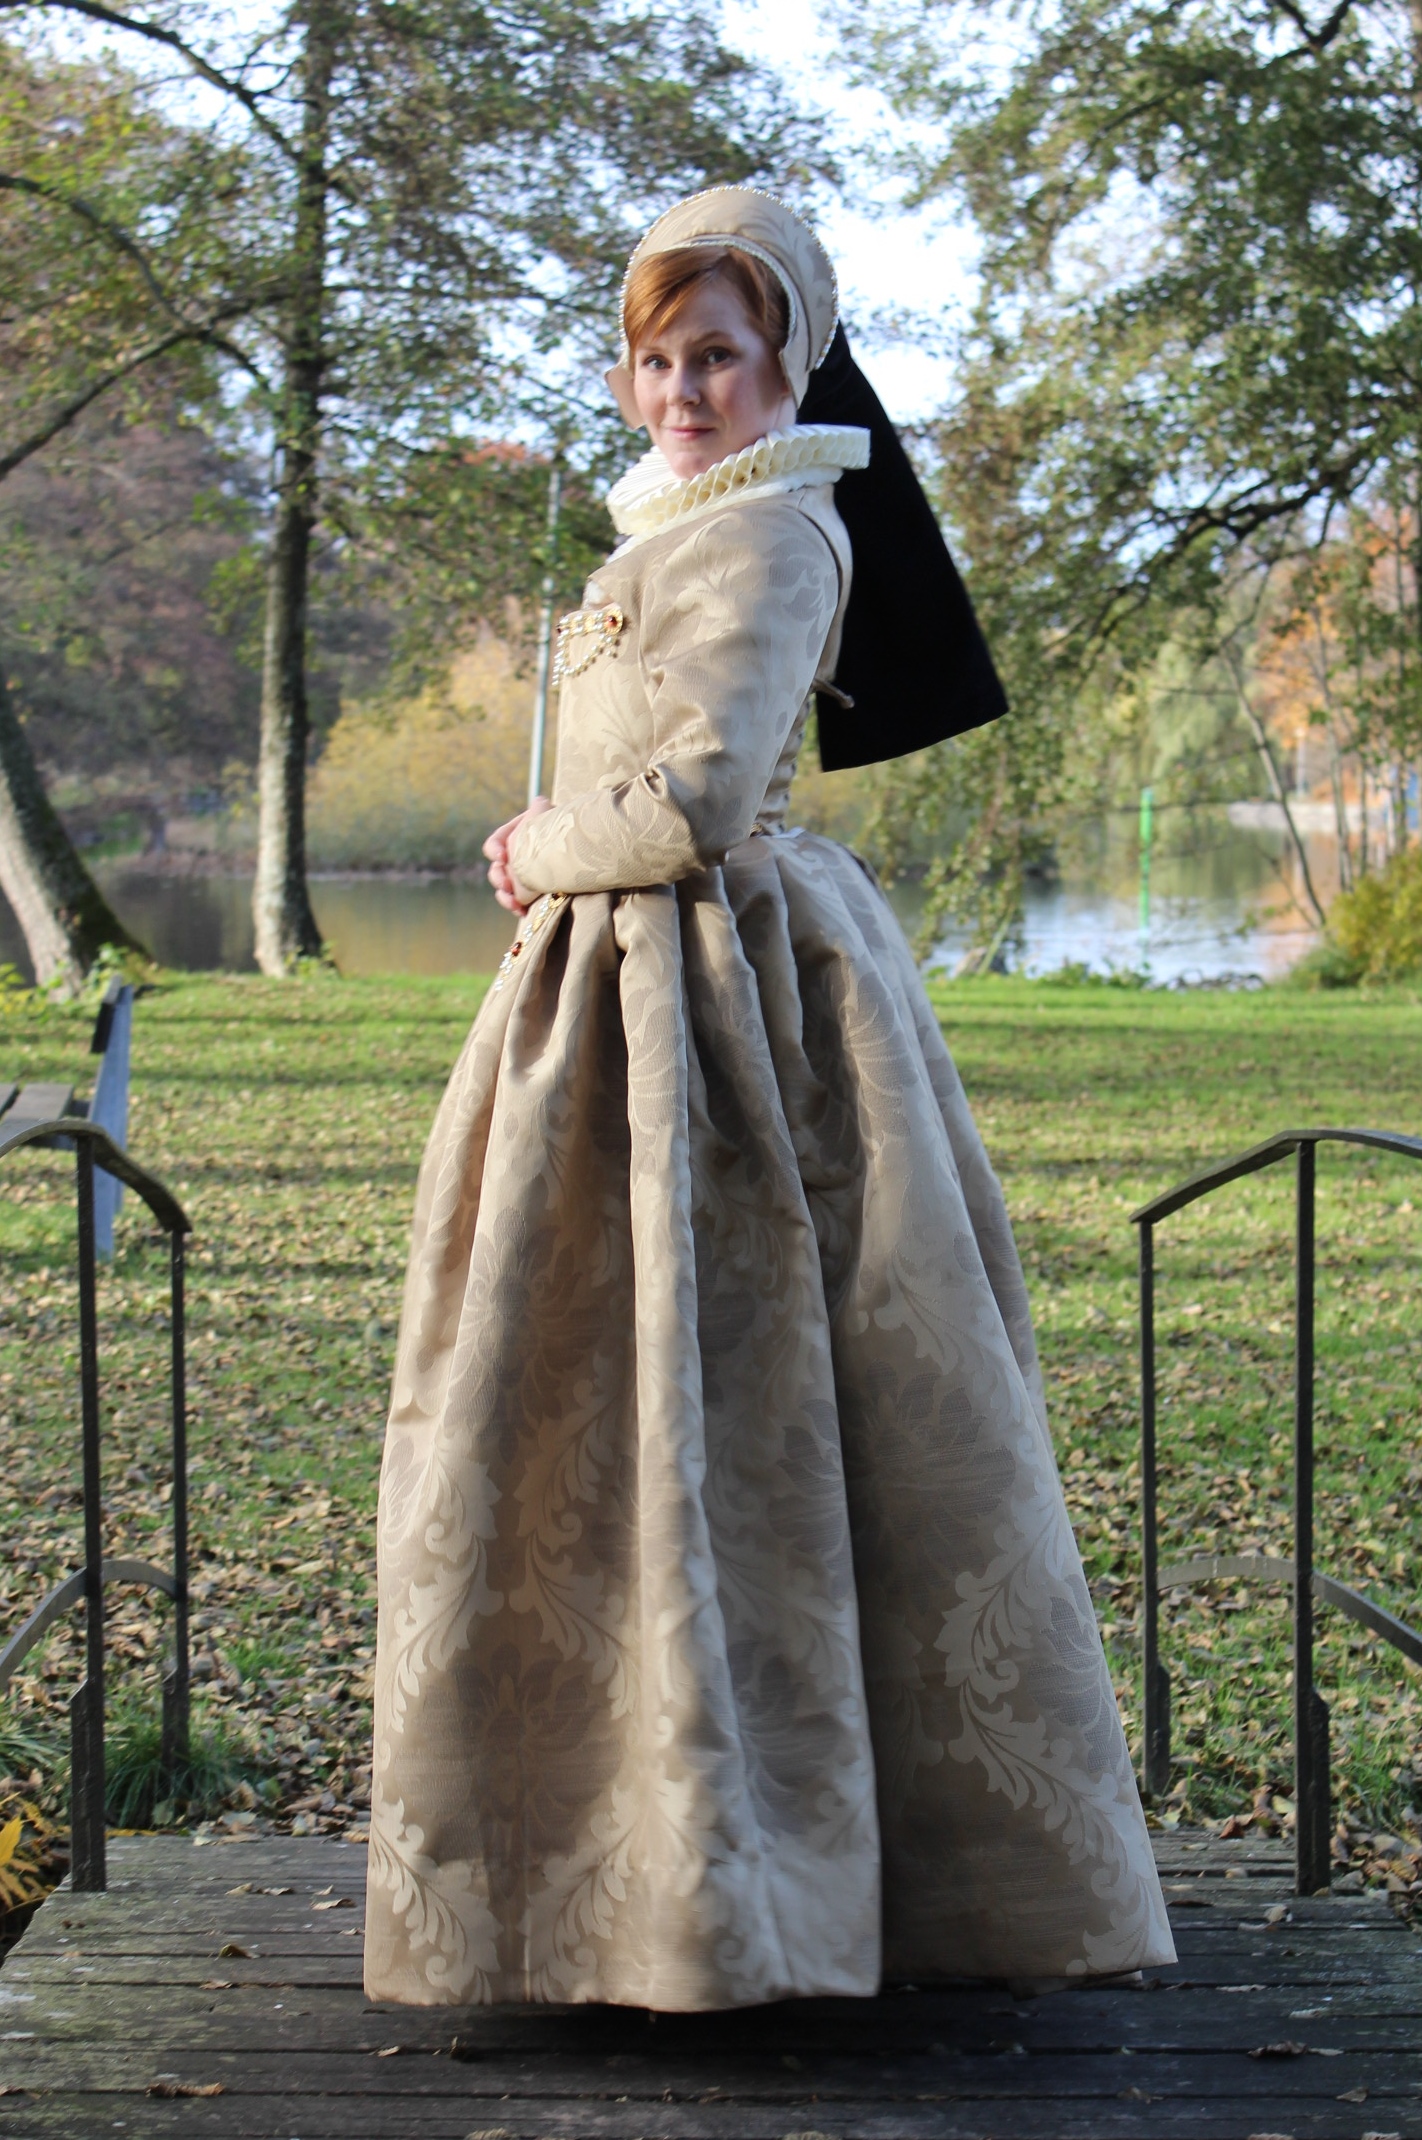
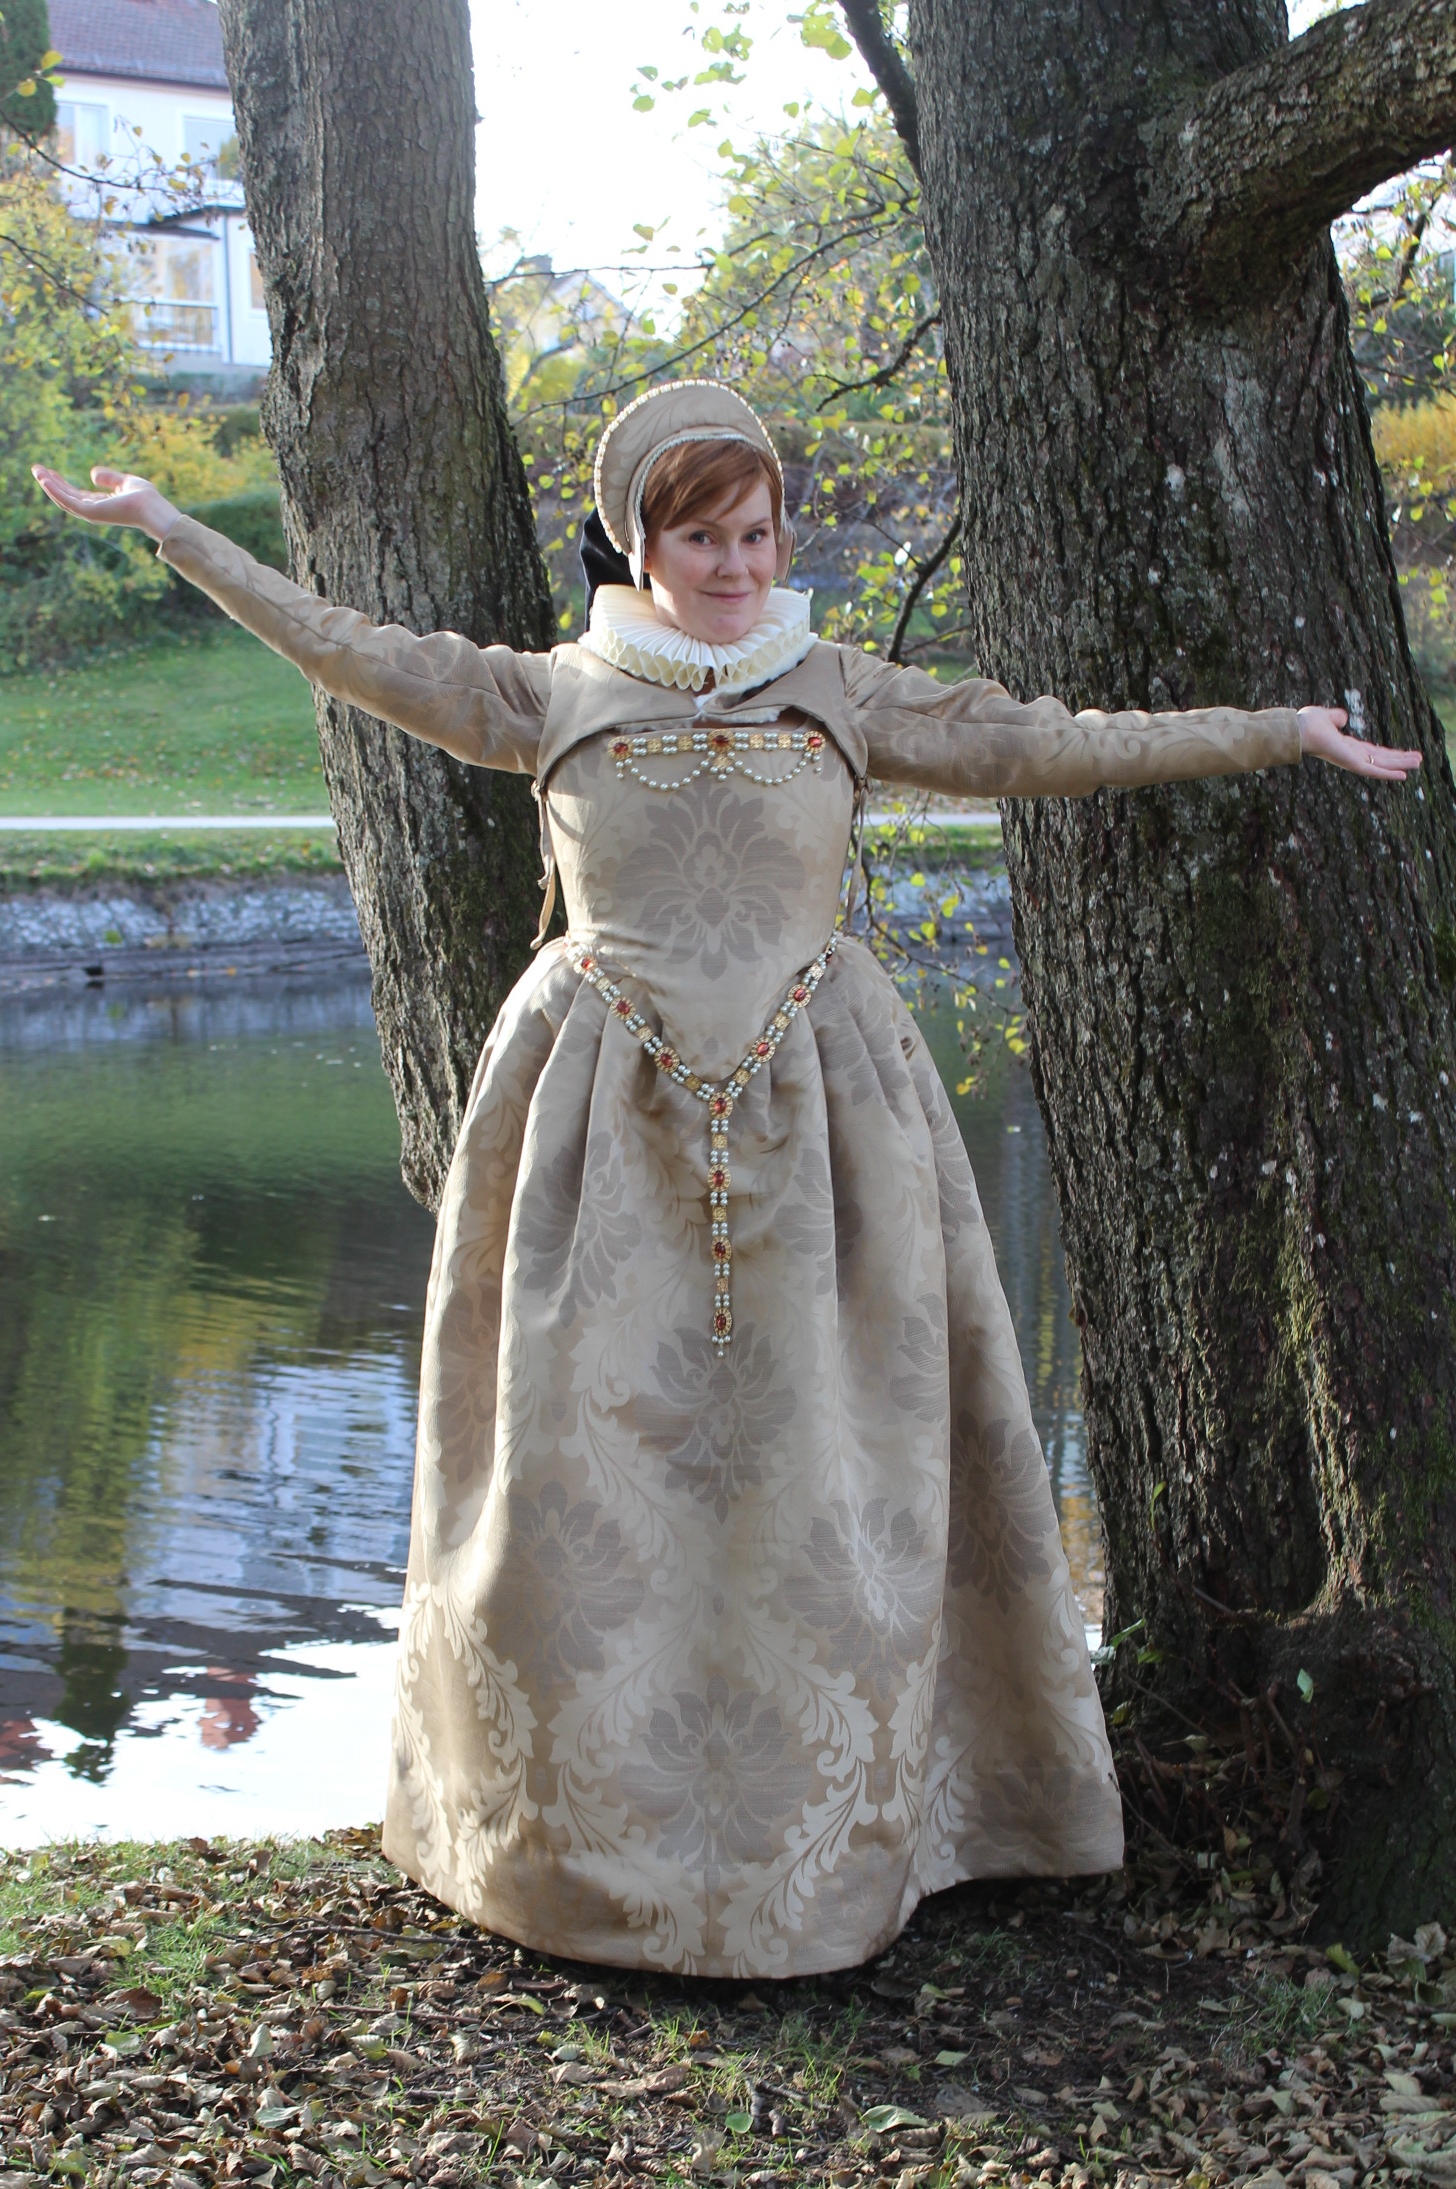
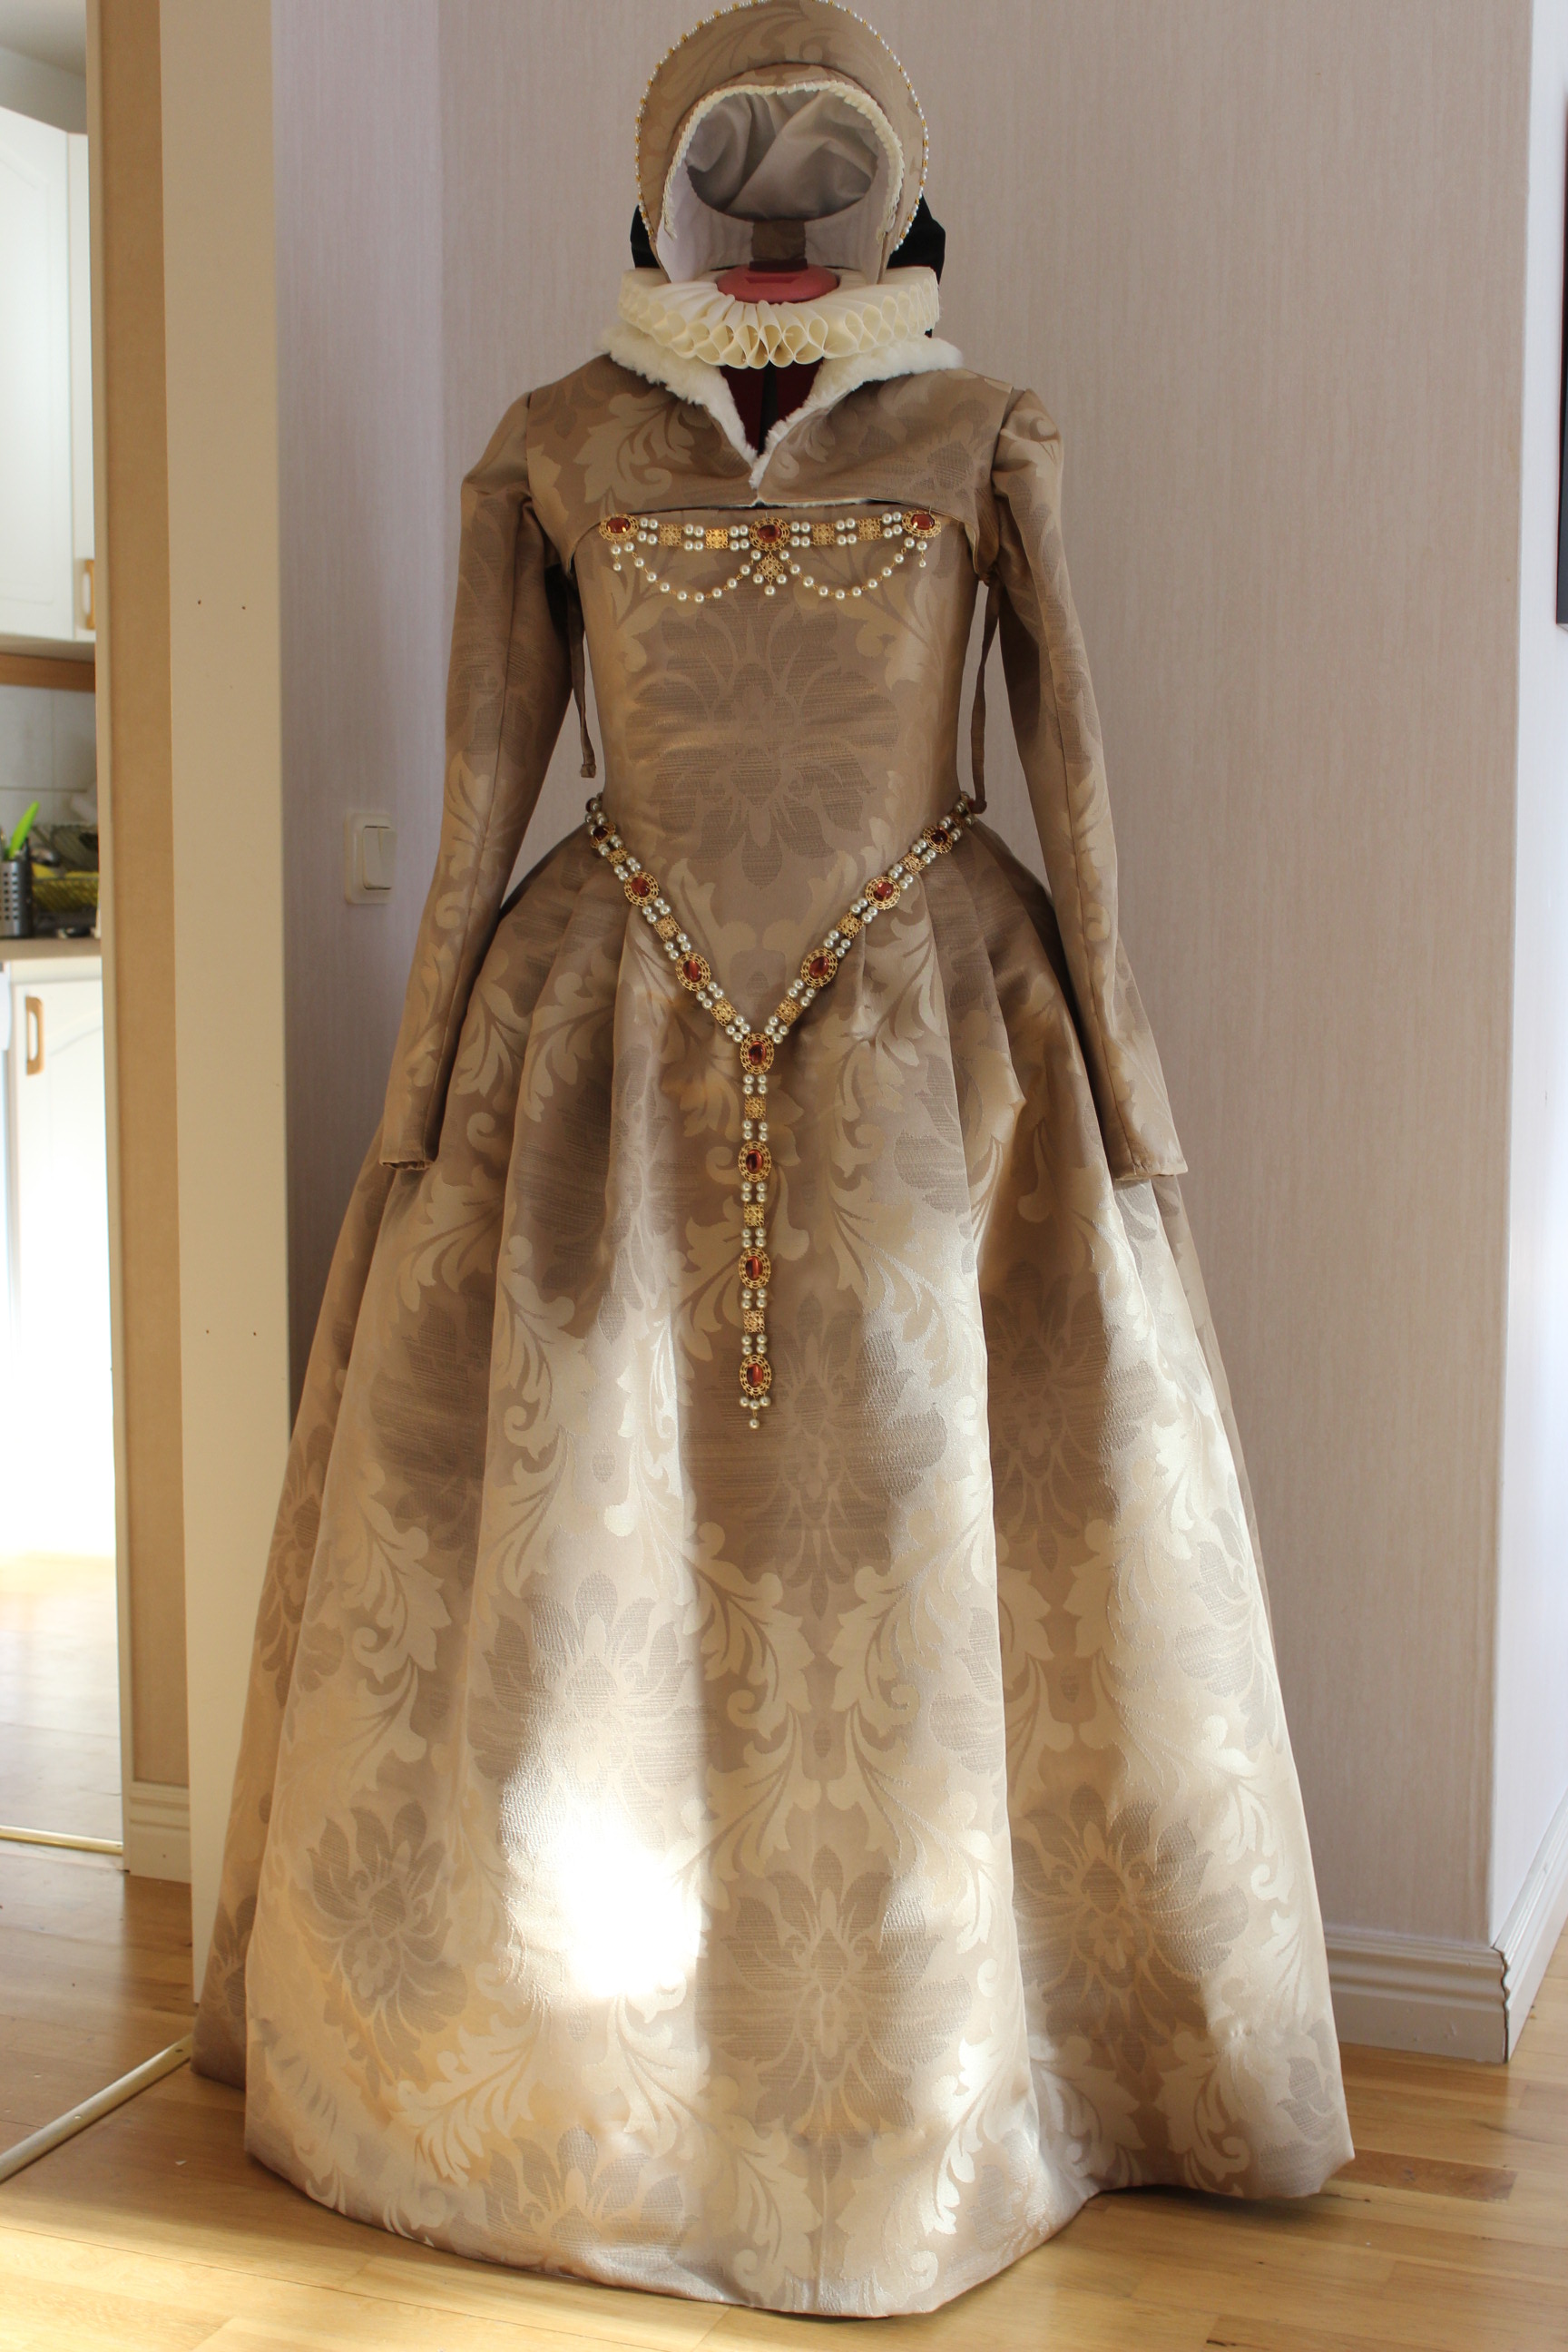
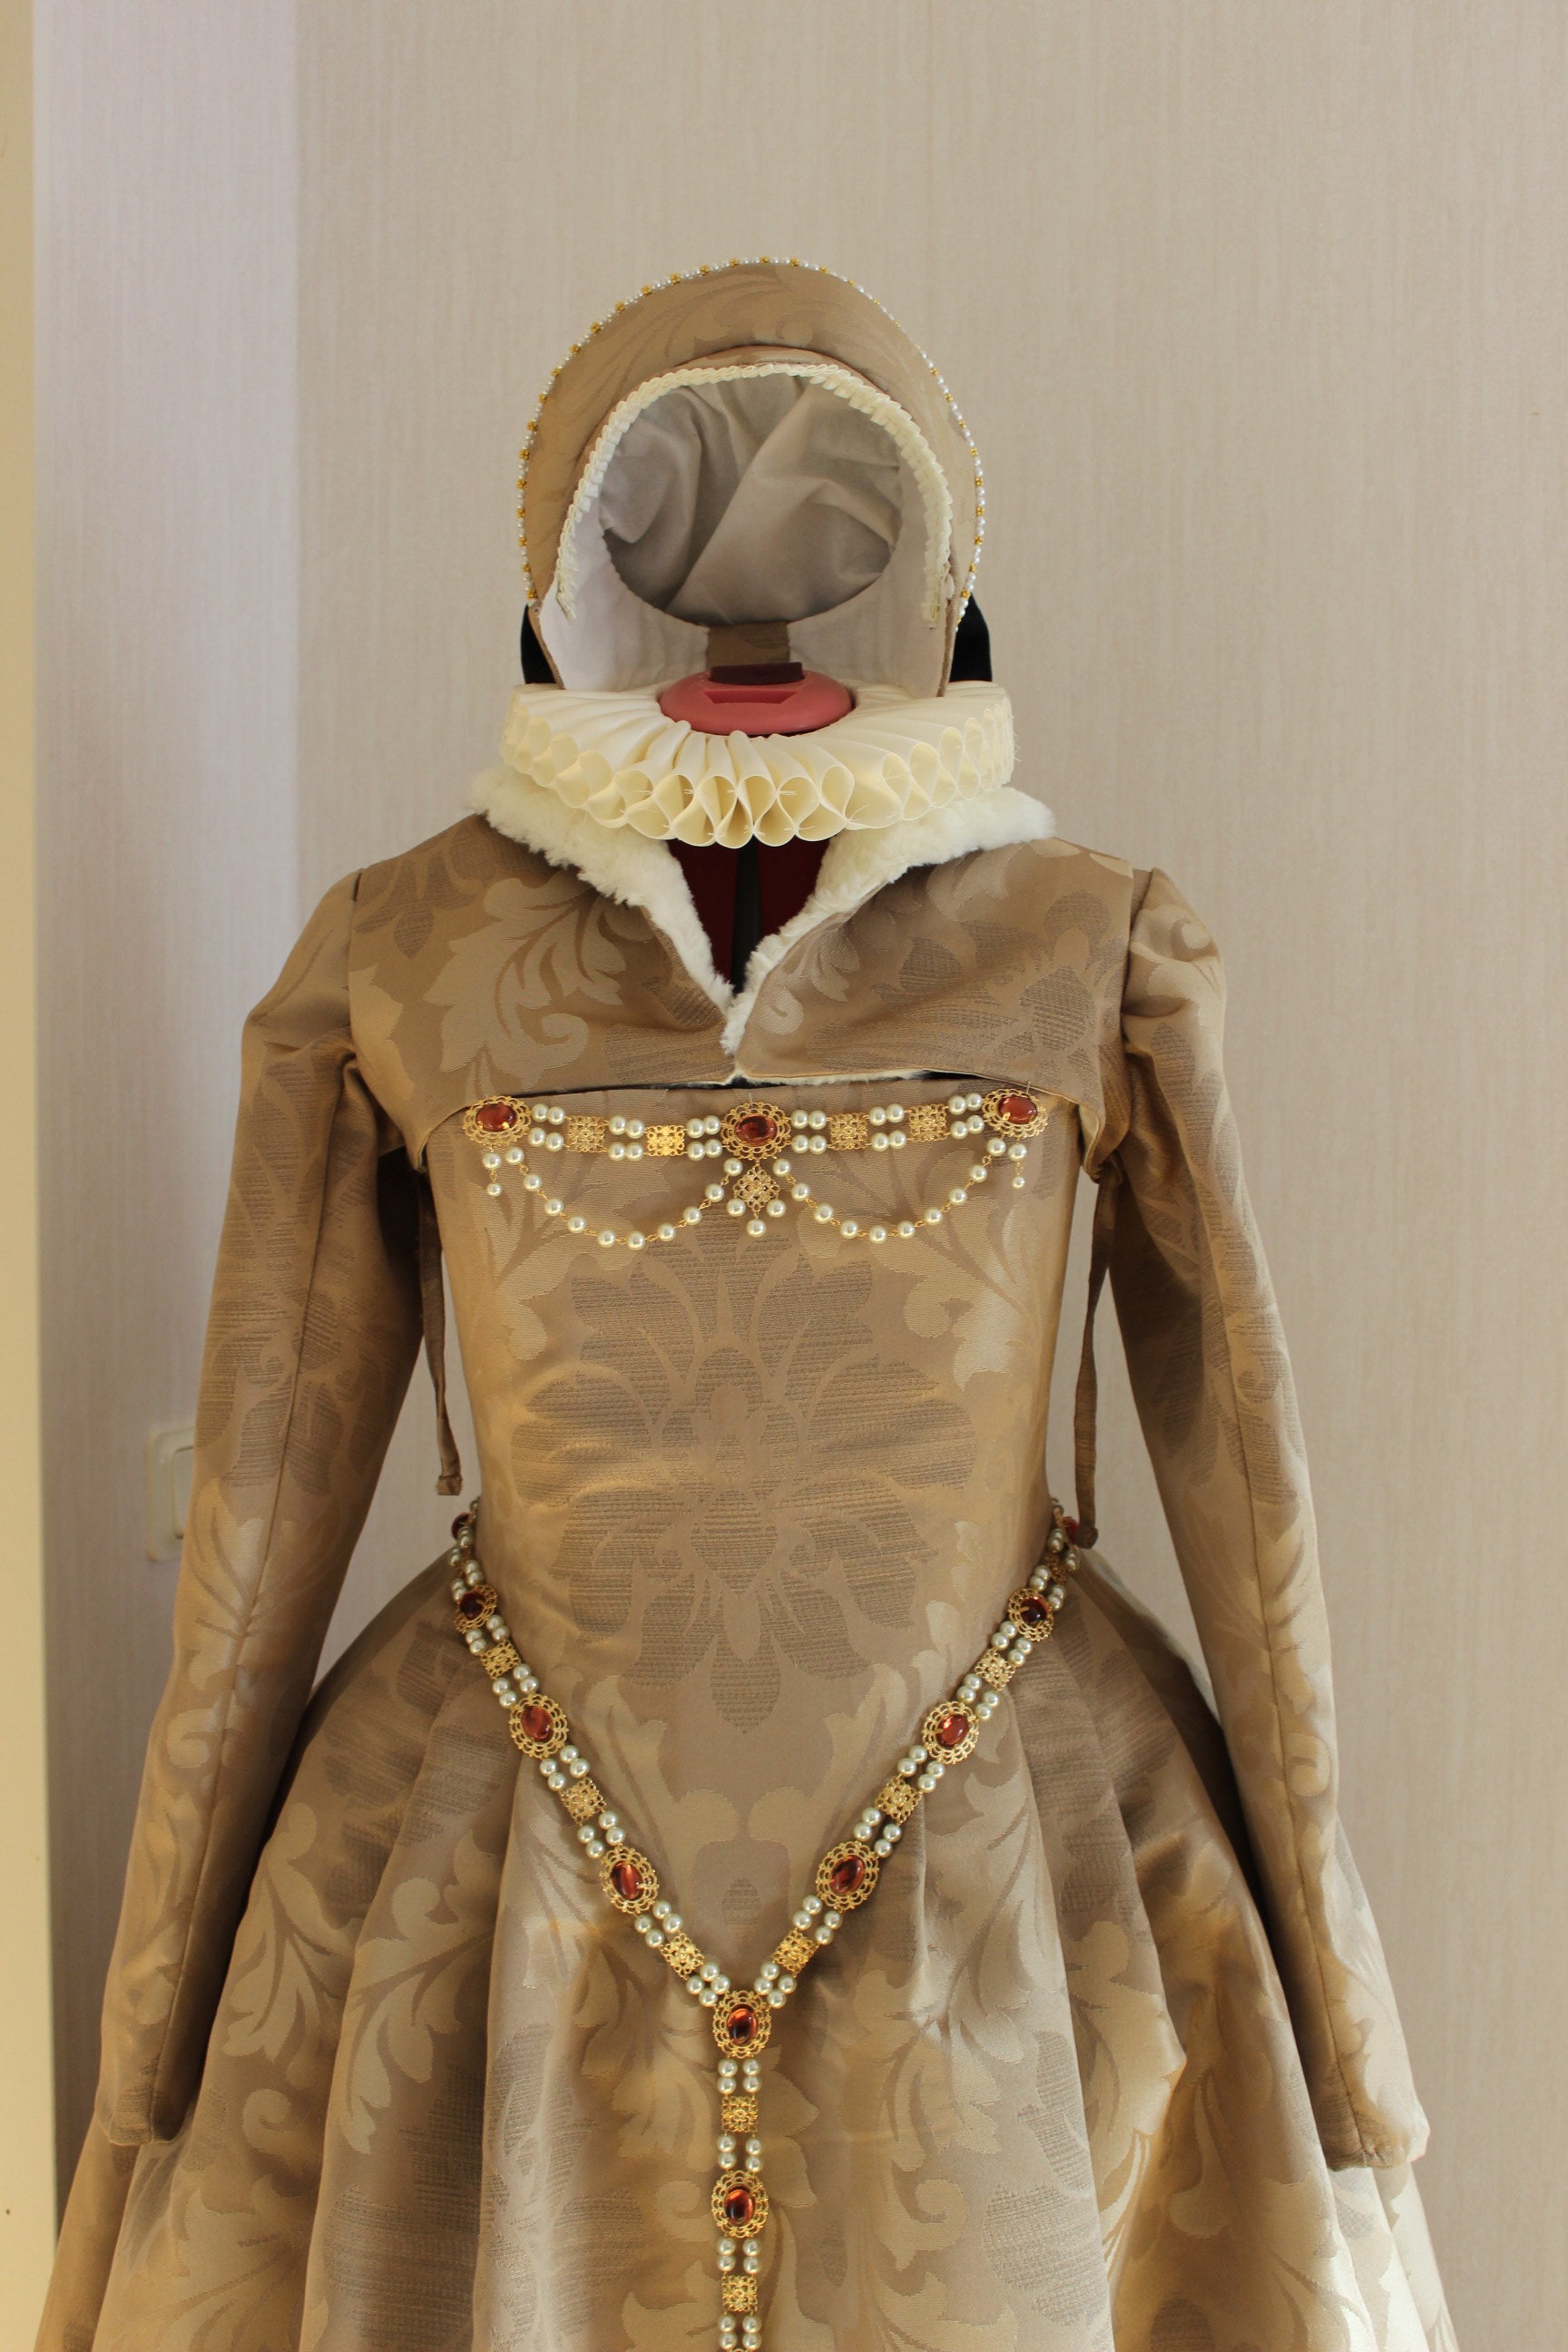
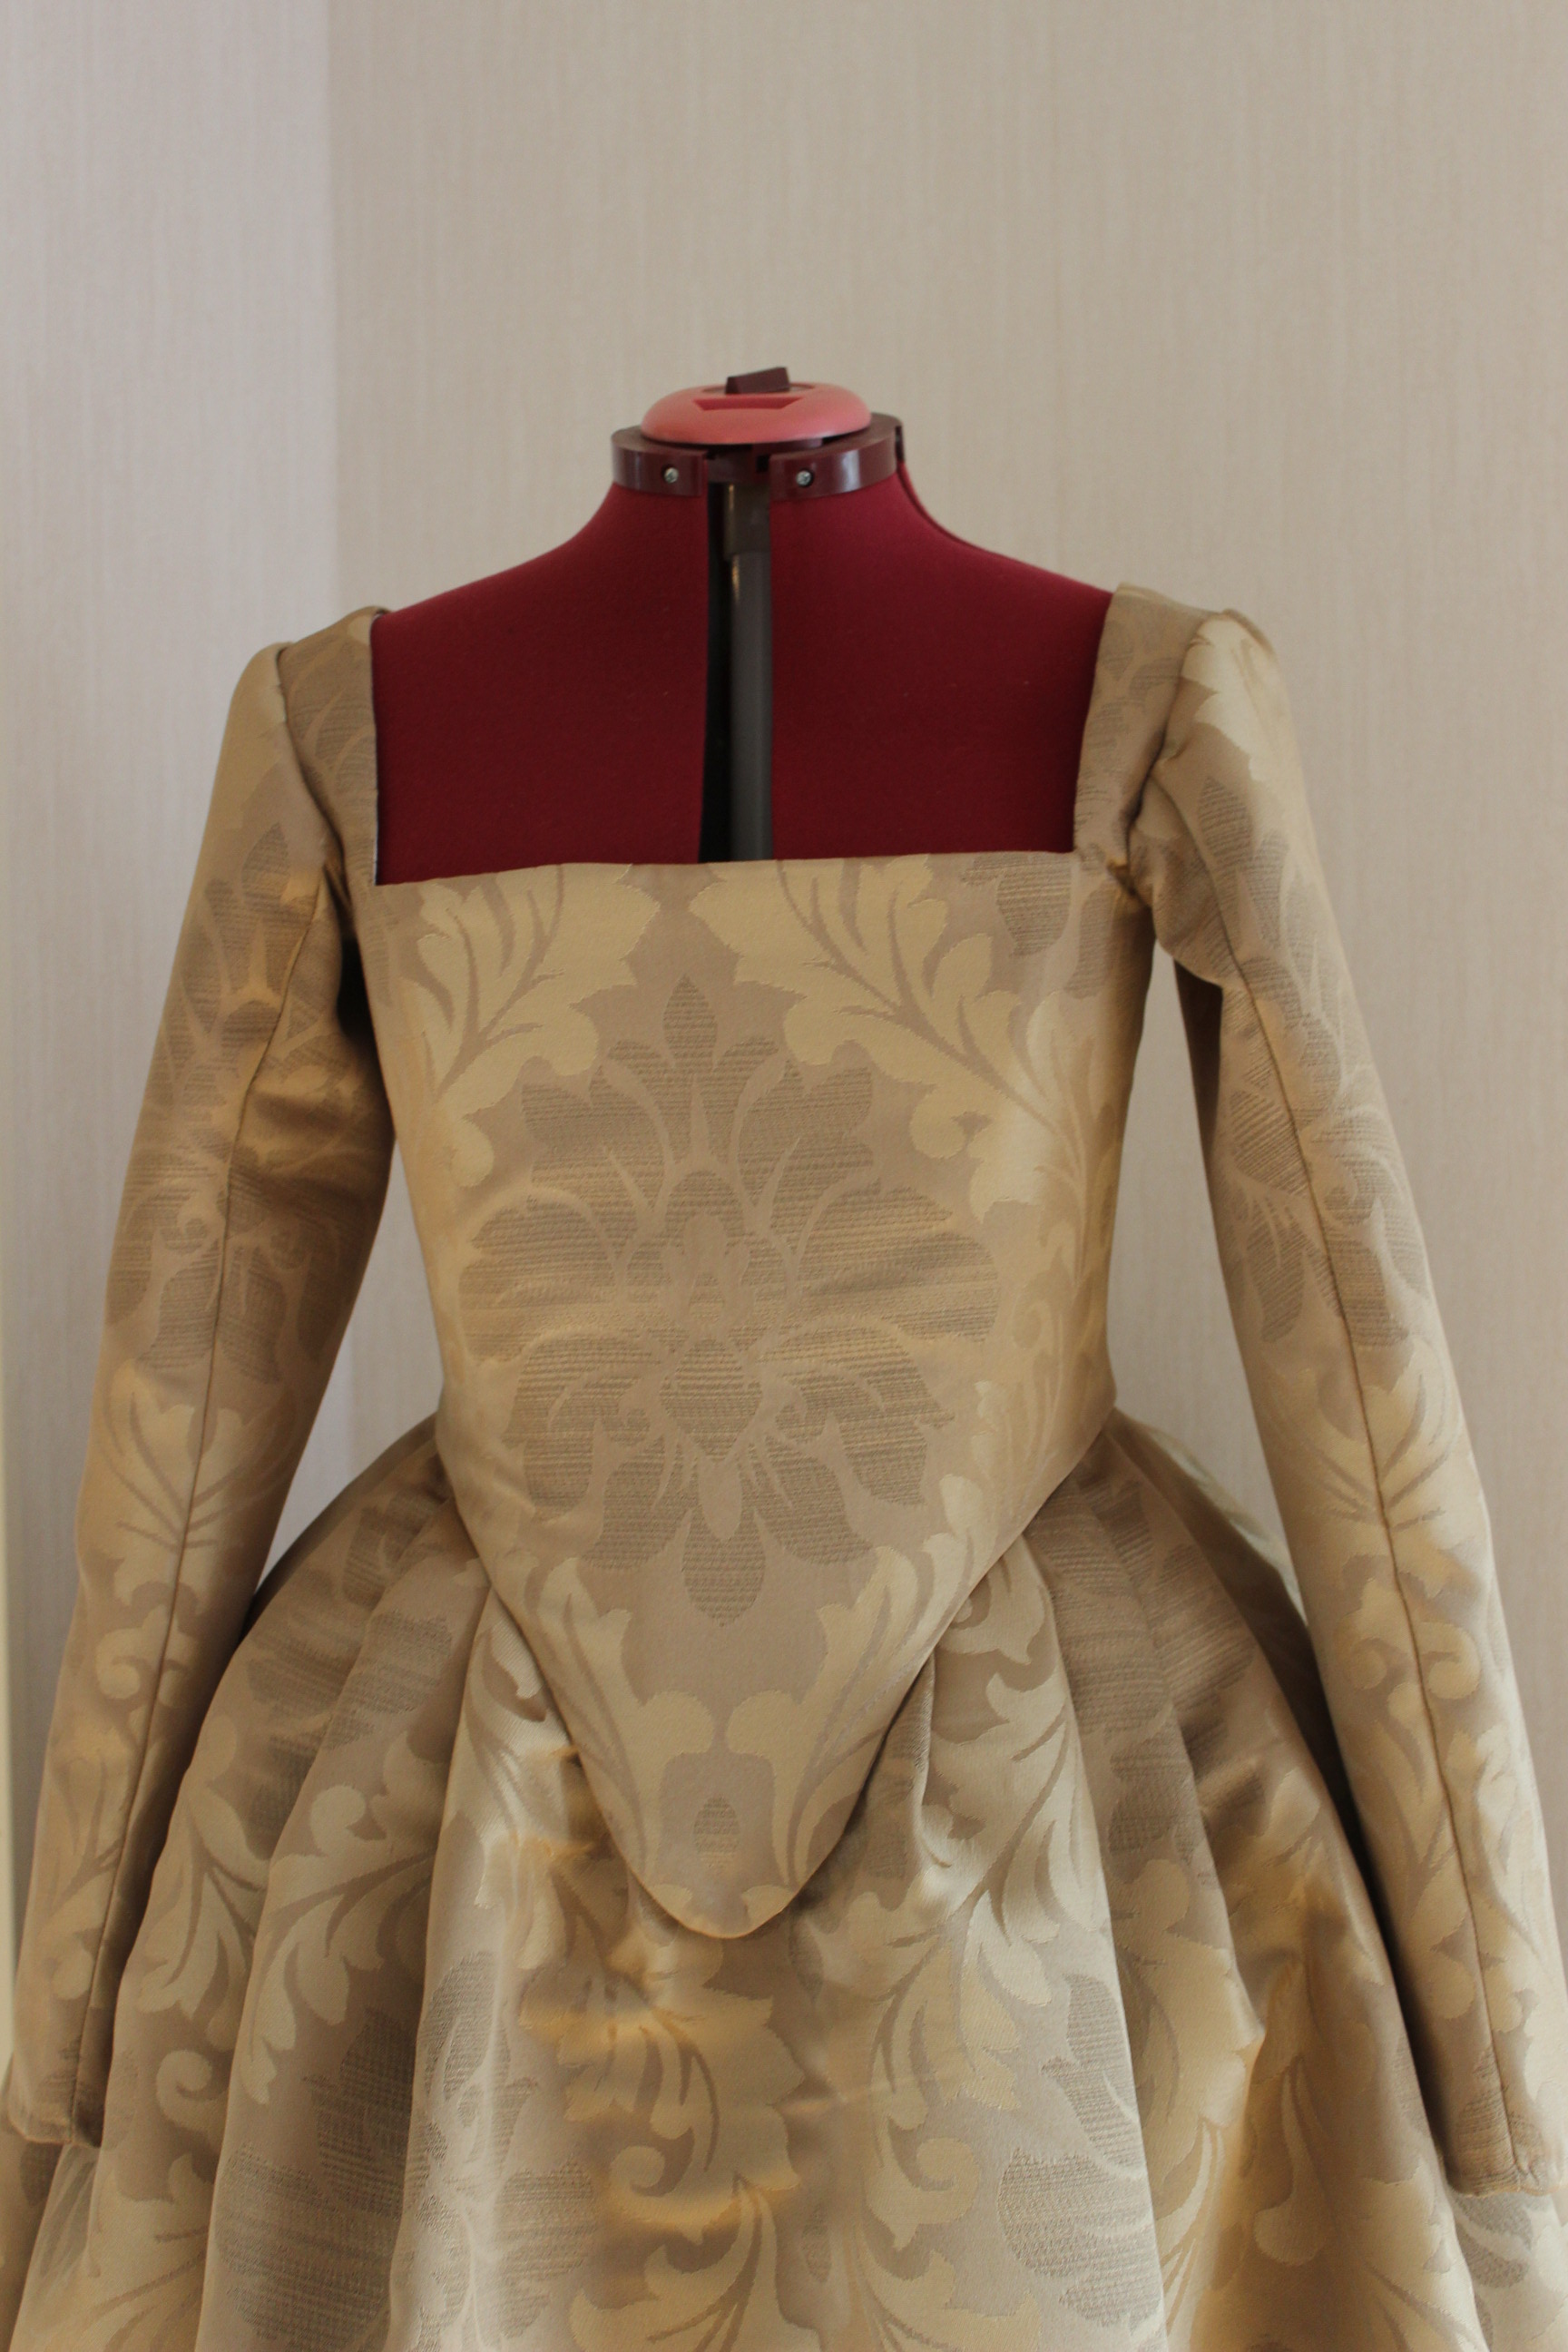
Elizabeth I in “power suit” and crazy perm – and some kind of french(isch) hood.

I used the pattern from “The Tudor Tailor”, and “A Damsel in this Dress” great tutorial for the construction.

Starting by cutting the fabric from the (by now VERY limited) scraps of the golden brocade I used for the dress, cotton sheet for lining and buckram.
img_0996 I used the version with the pointed font edge, to make it a it later in style then the regular ones you often see.

Then I stitched the millinery wire to the buckram and the brocade to the now even stiffer pieces. 14215737_10210265177447468_1049756619_oAttaching the outer fabric by stitching over the piece again and again.

Then I added the lining.img_1004

And steamed the pieces into shape. img_1025Side piece/headband seen form the side.

Despite careful measuring and testing of the pattern it ended up a bit to small, causing me to eliminate the seam allowance and stitching the the back seam edge to edge. img_1026Which I then covered with another scrap piece of fabric.

Then it was time to make the billiment, using plastic and golden pearls. img_1085

img_1087Attaching the string of pearls to the edge of the cresent.

Another piece of billiment was pleated using satin ribbon and attached o the front edge of the hood.img_1303

Then I added the cresent to the baseimg_1305

and stitched the lining/bag to the back.img_1309 
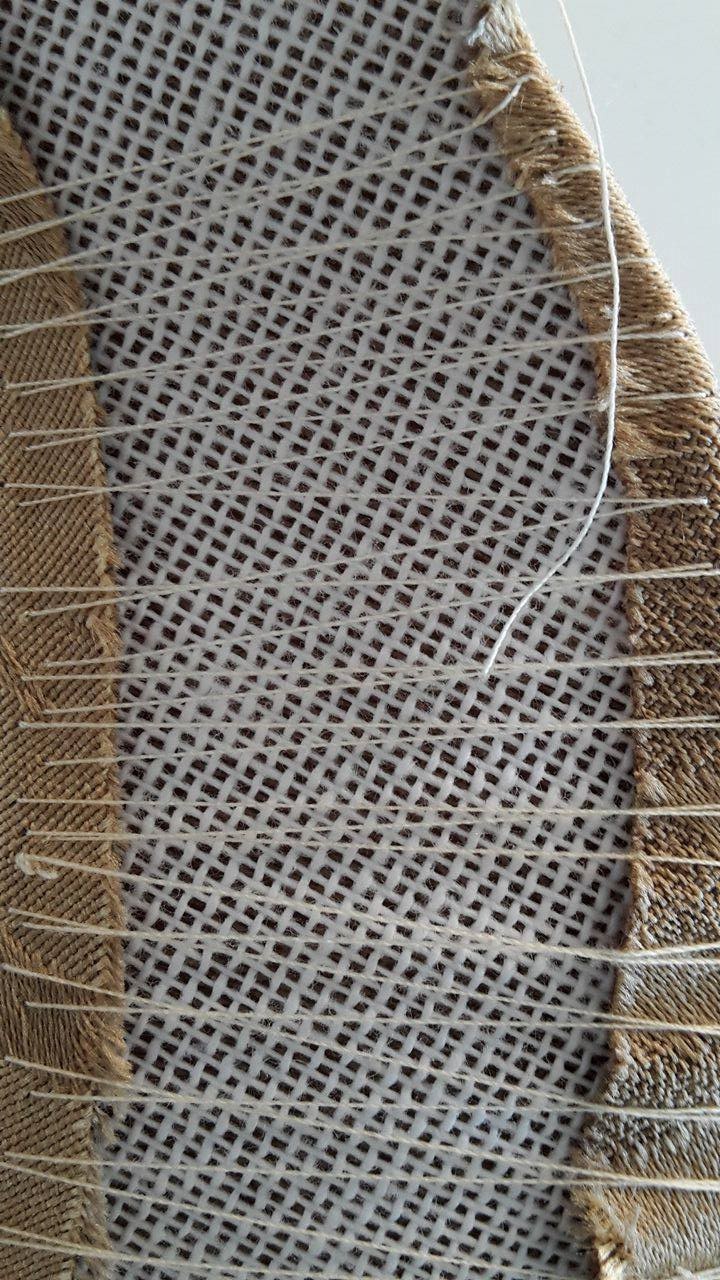
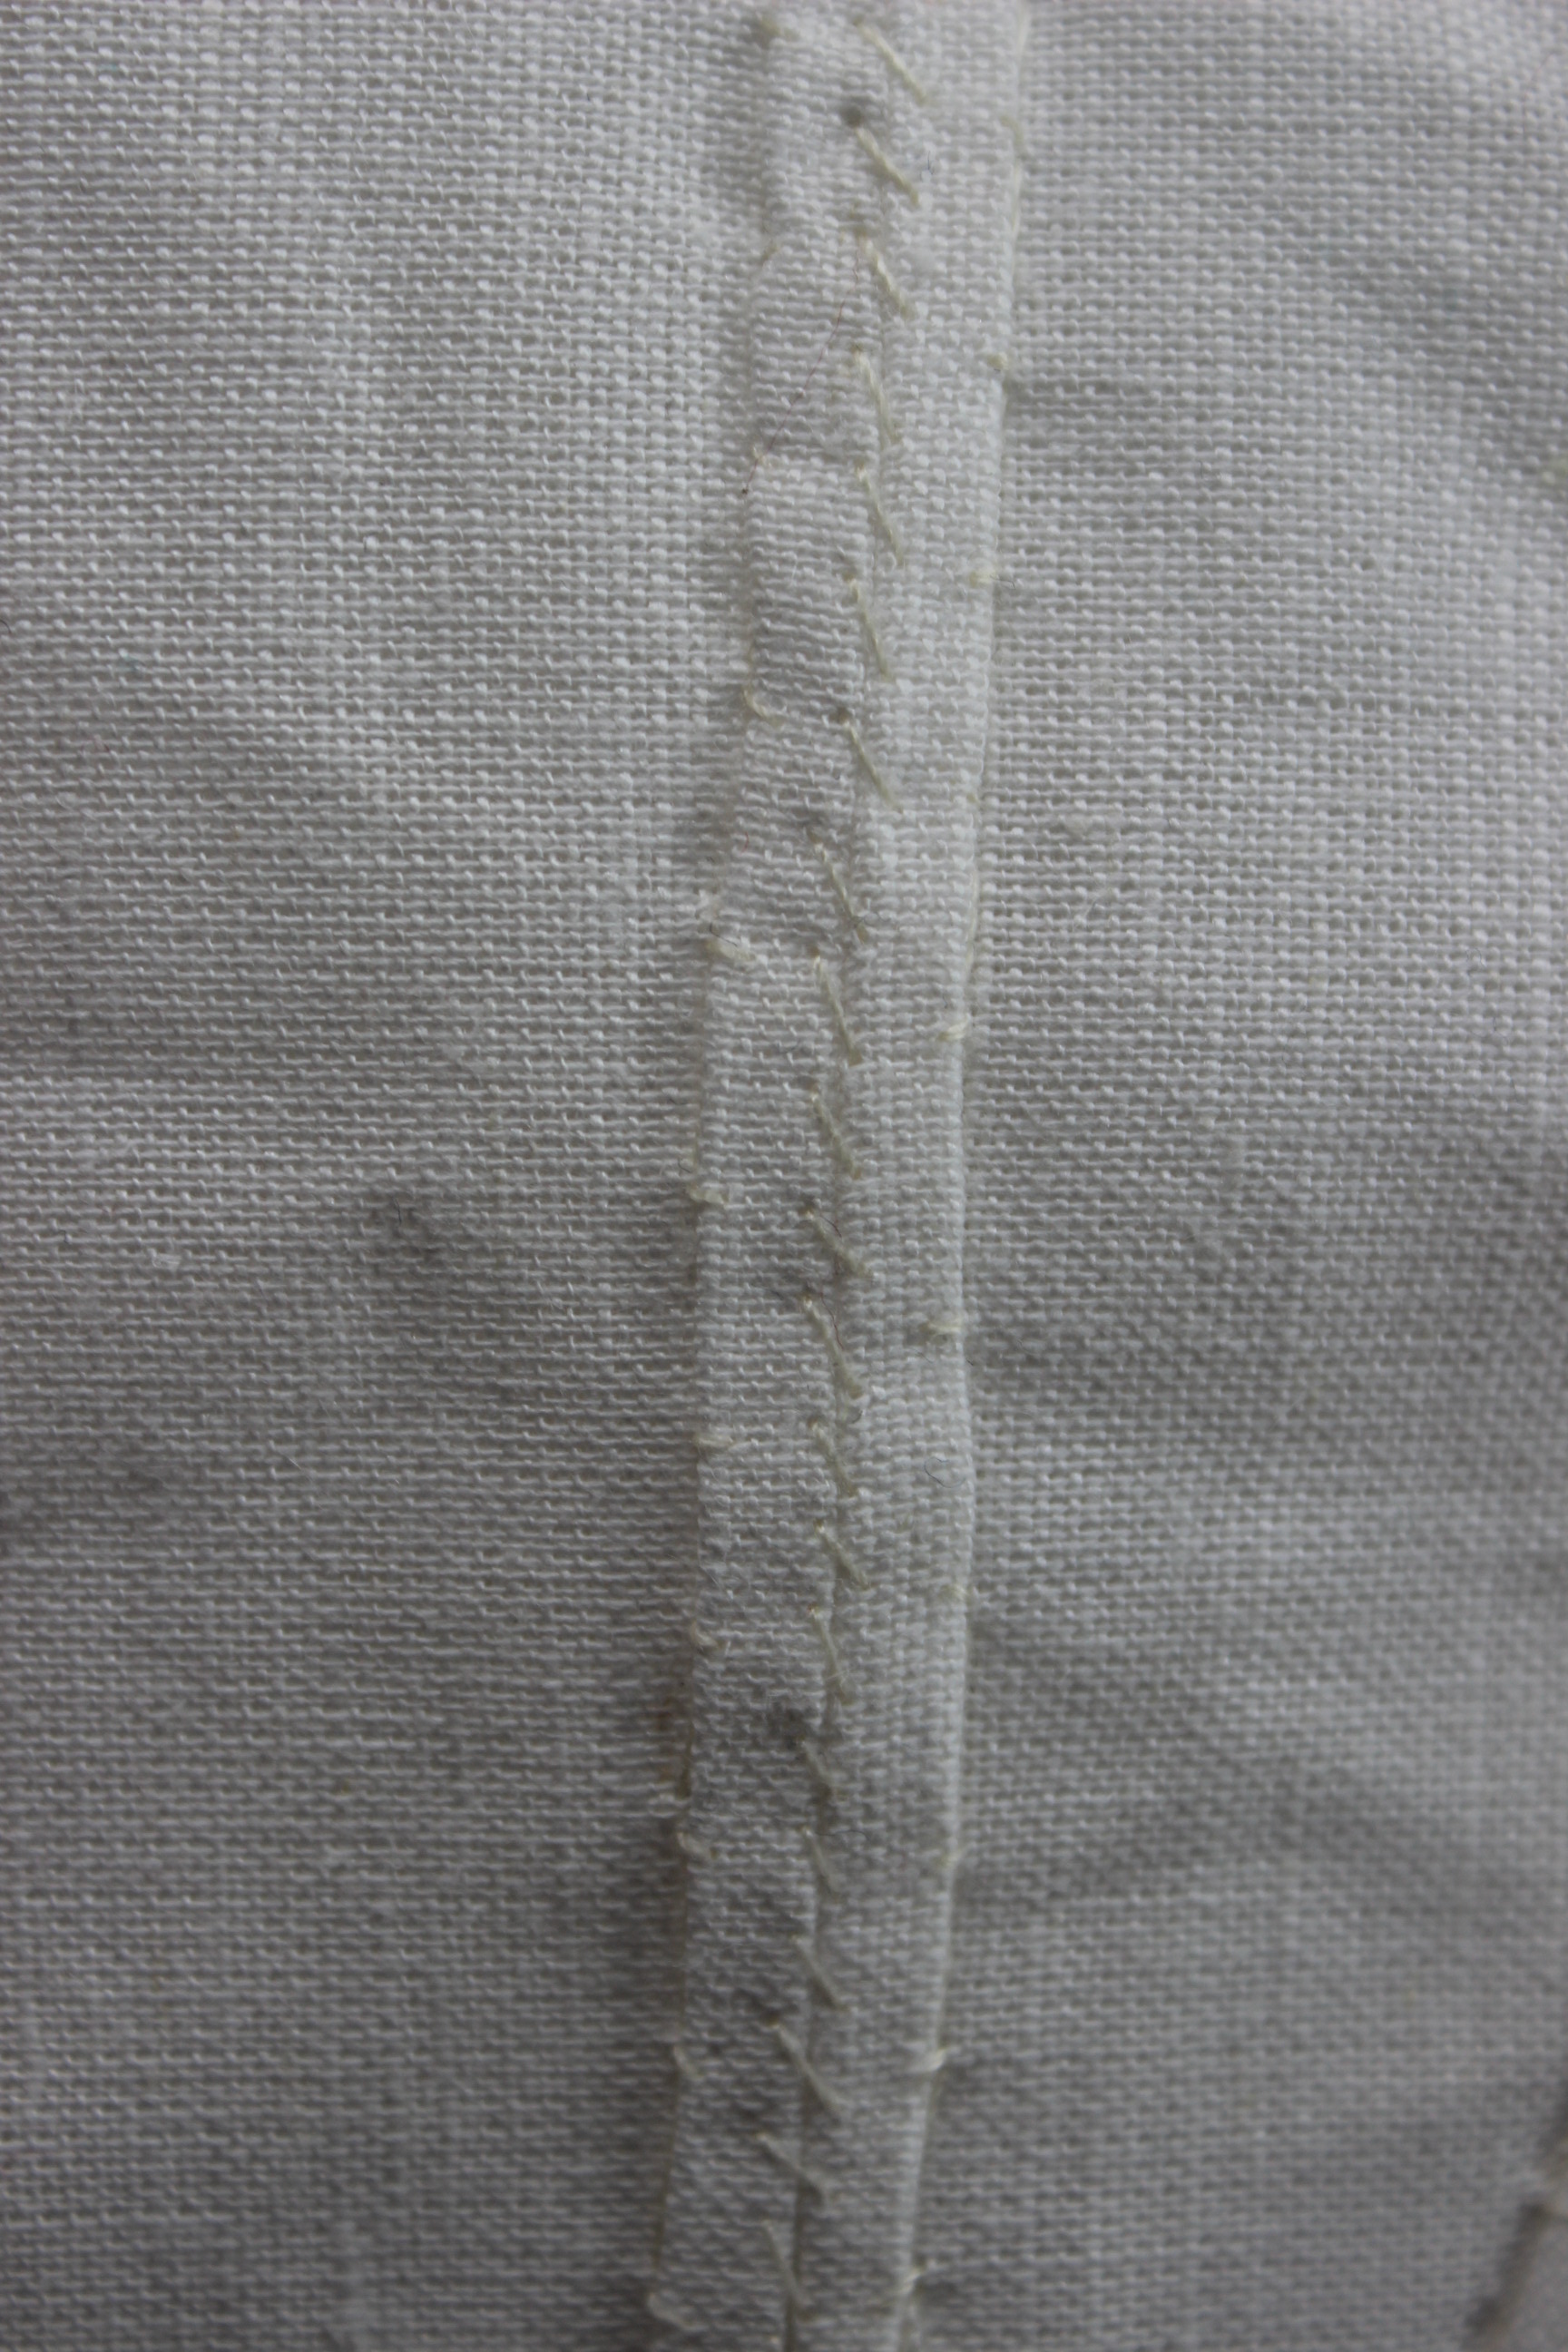
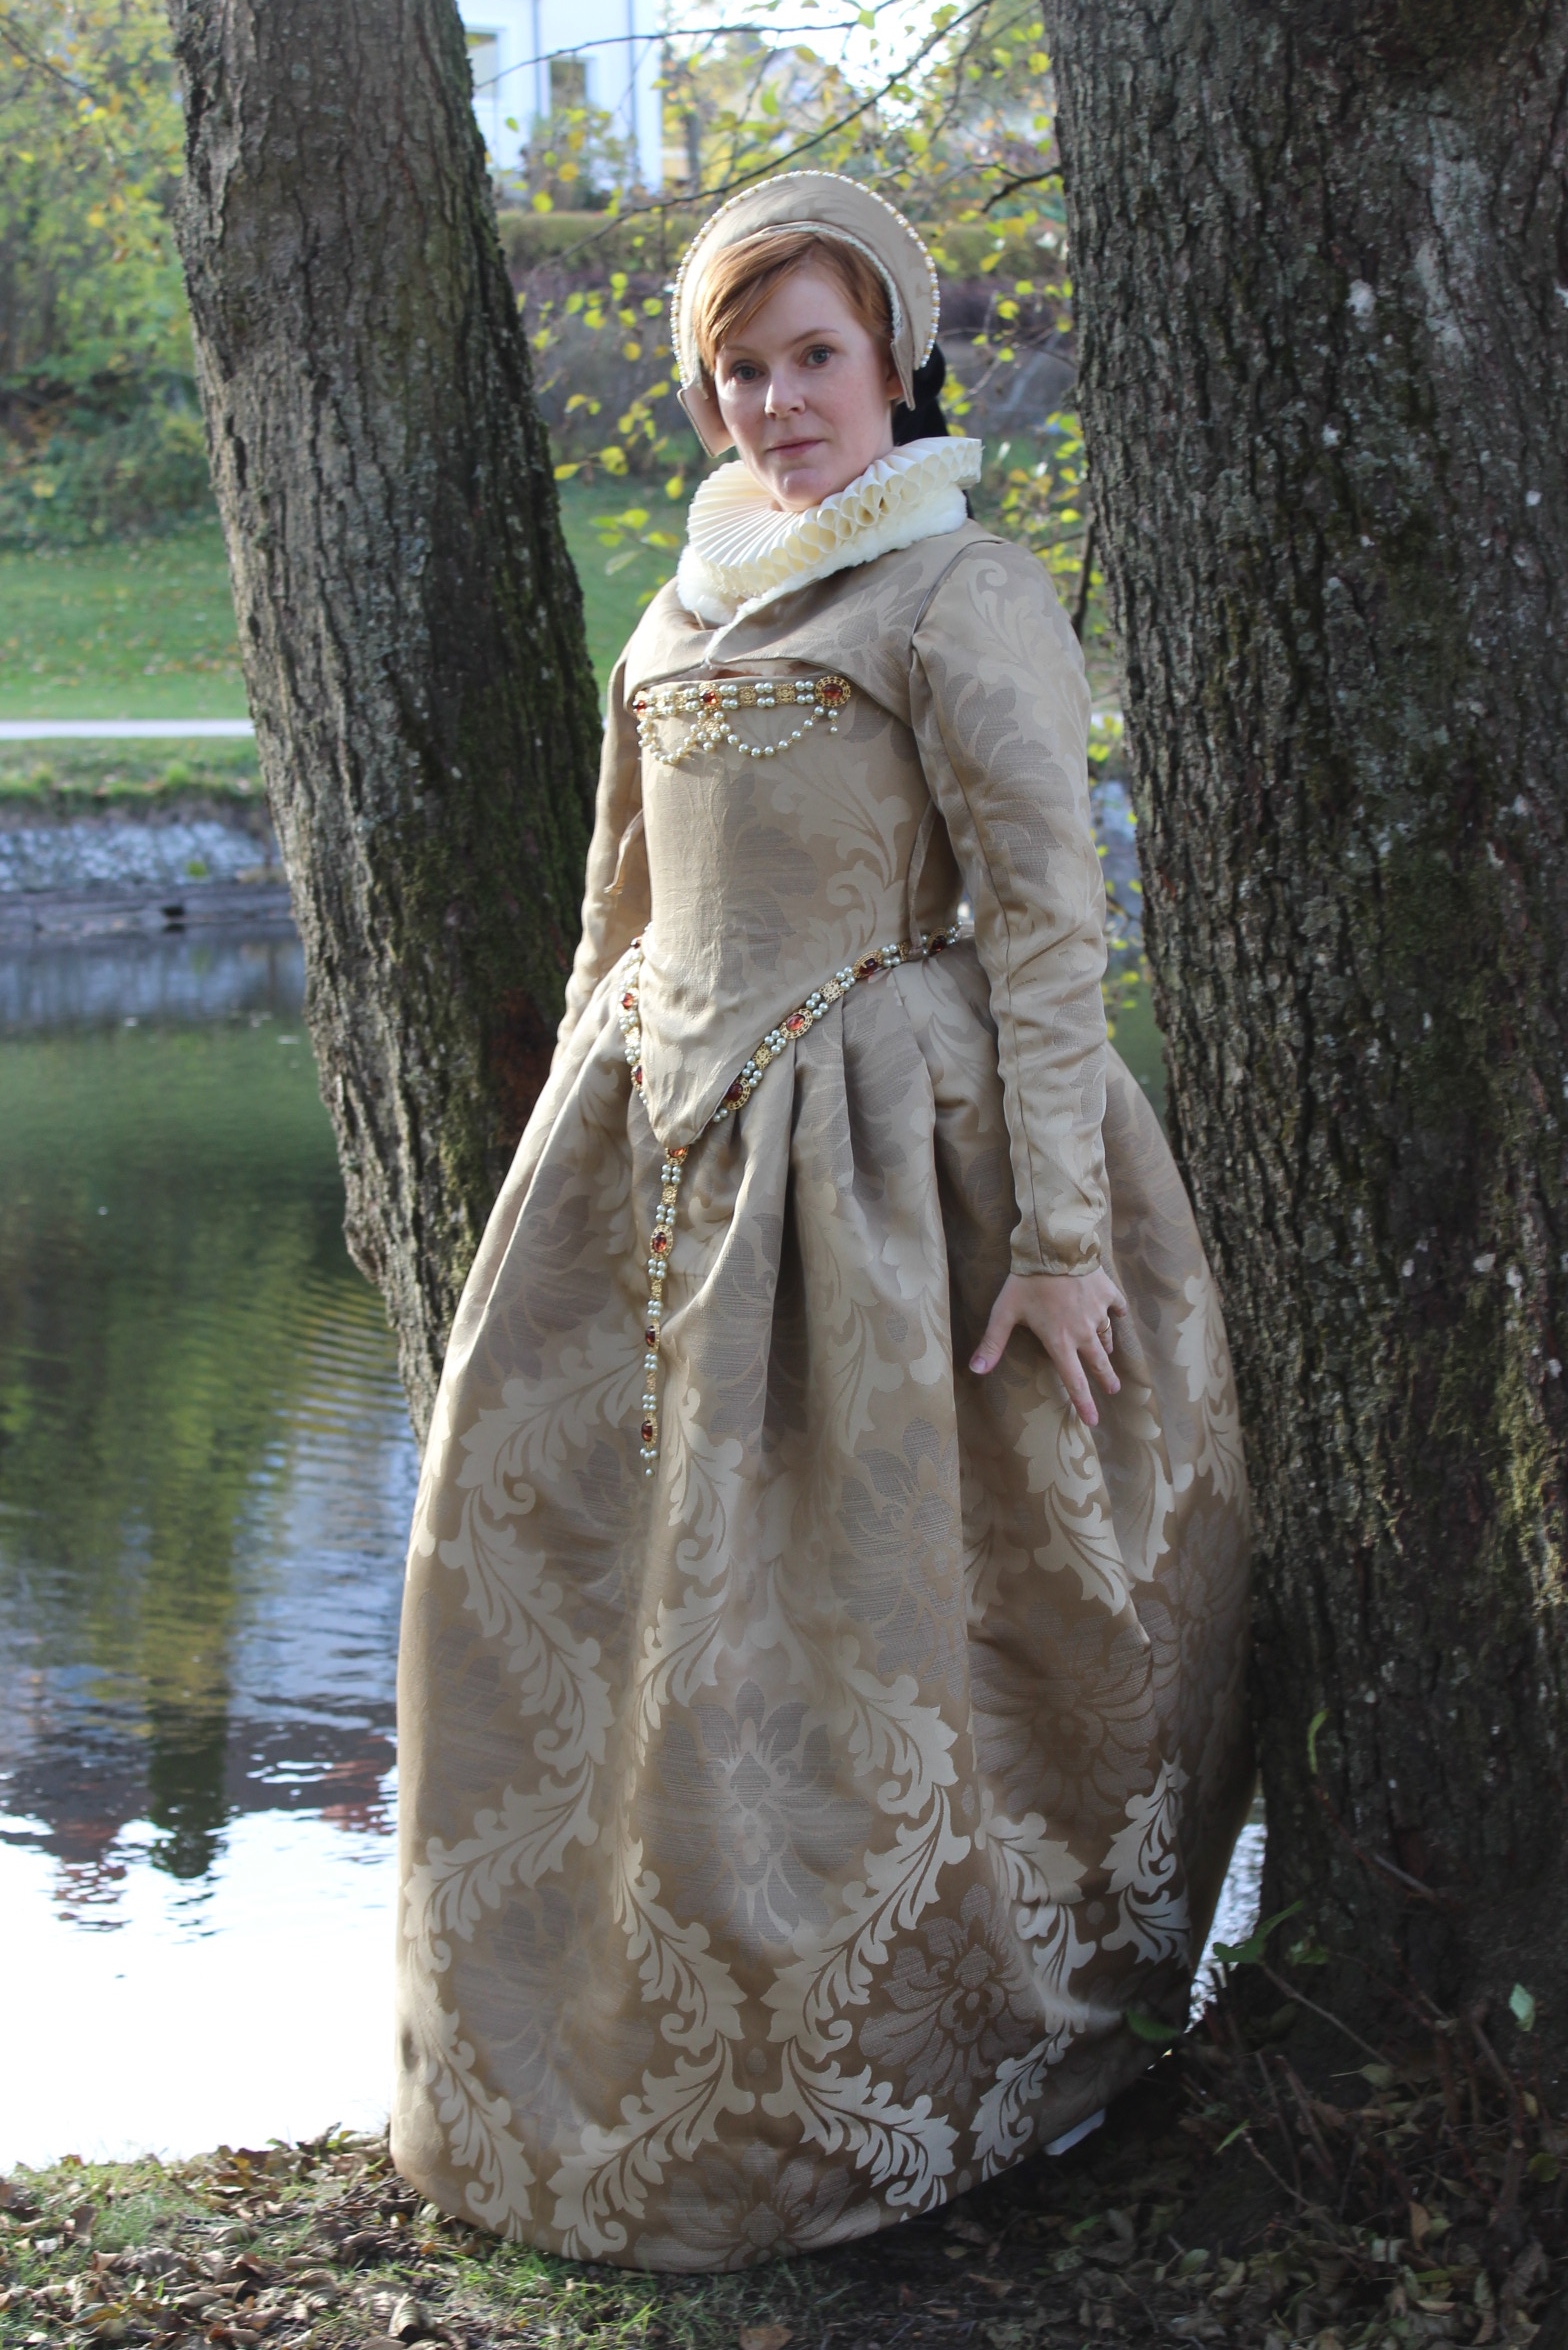
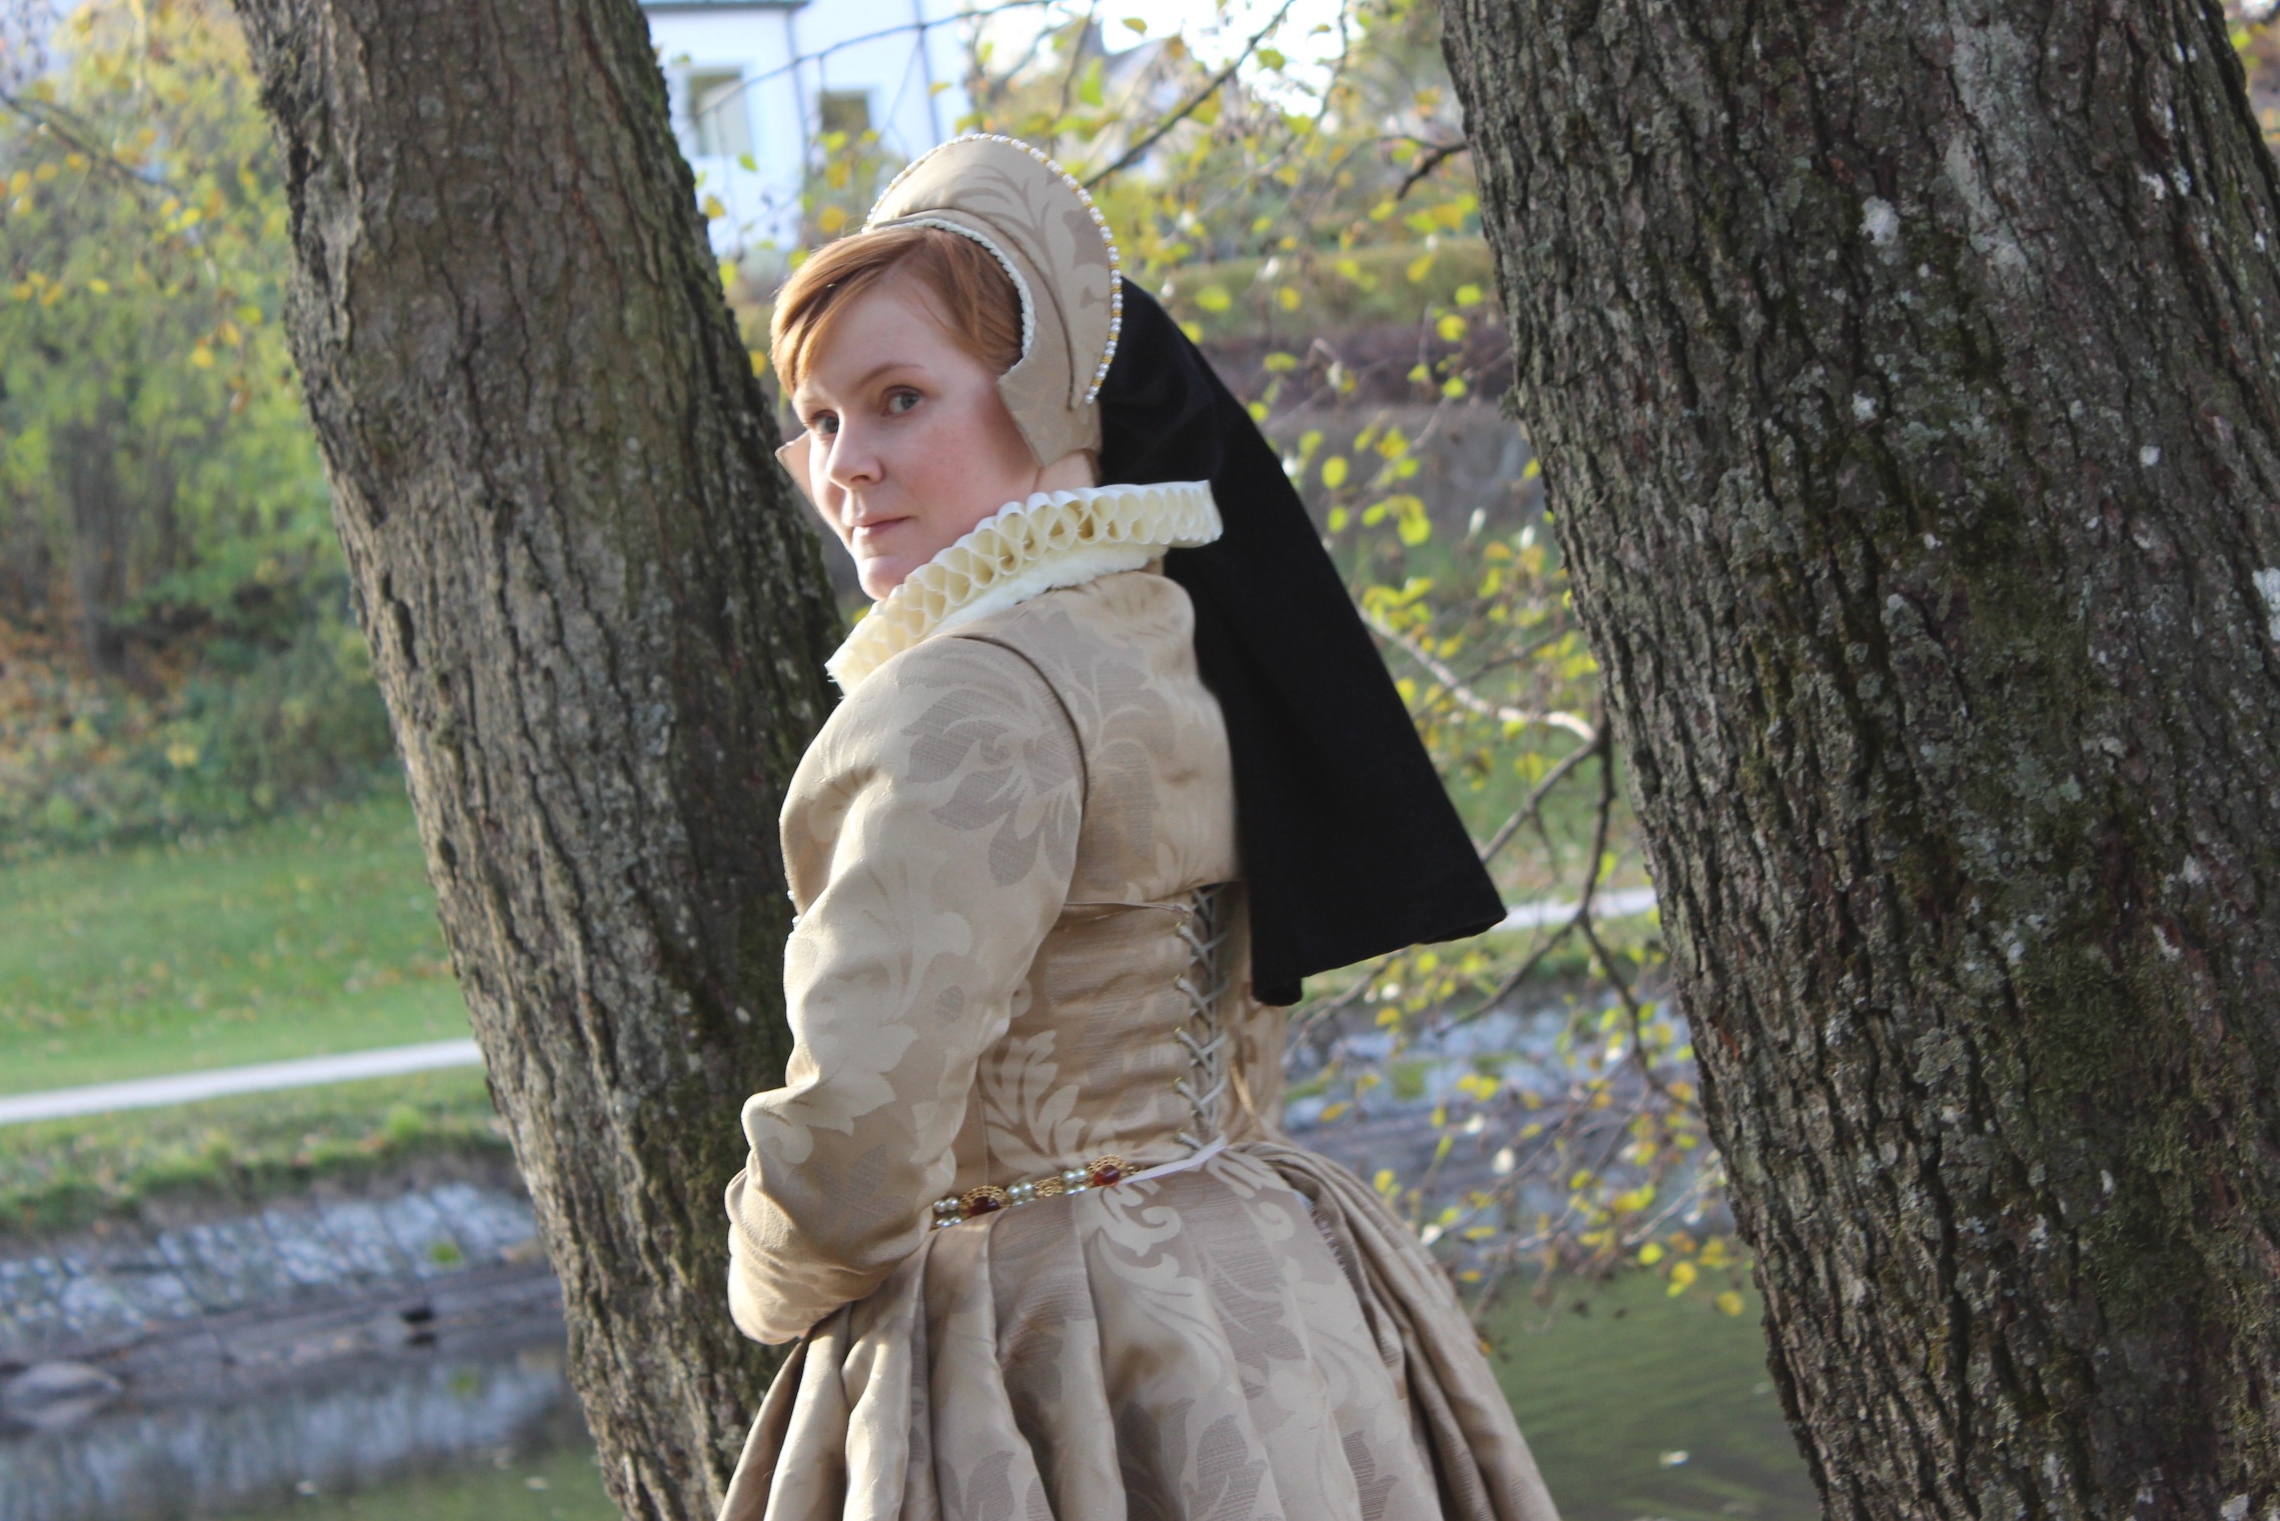
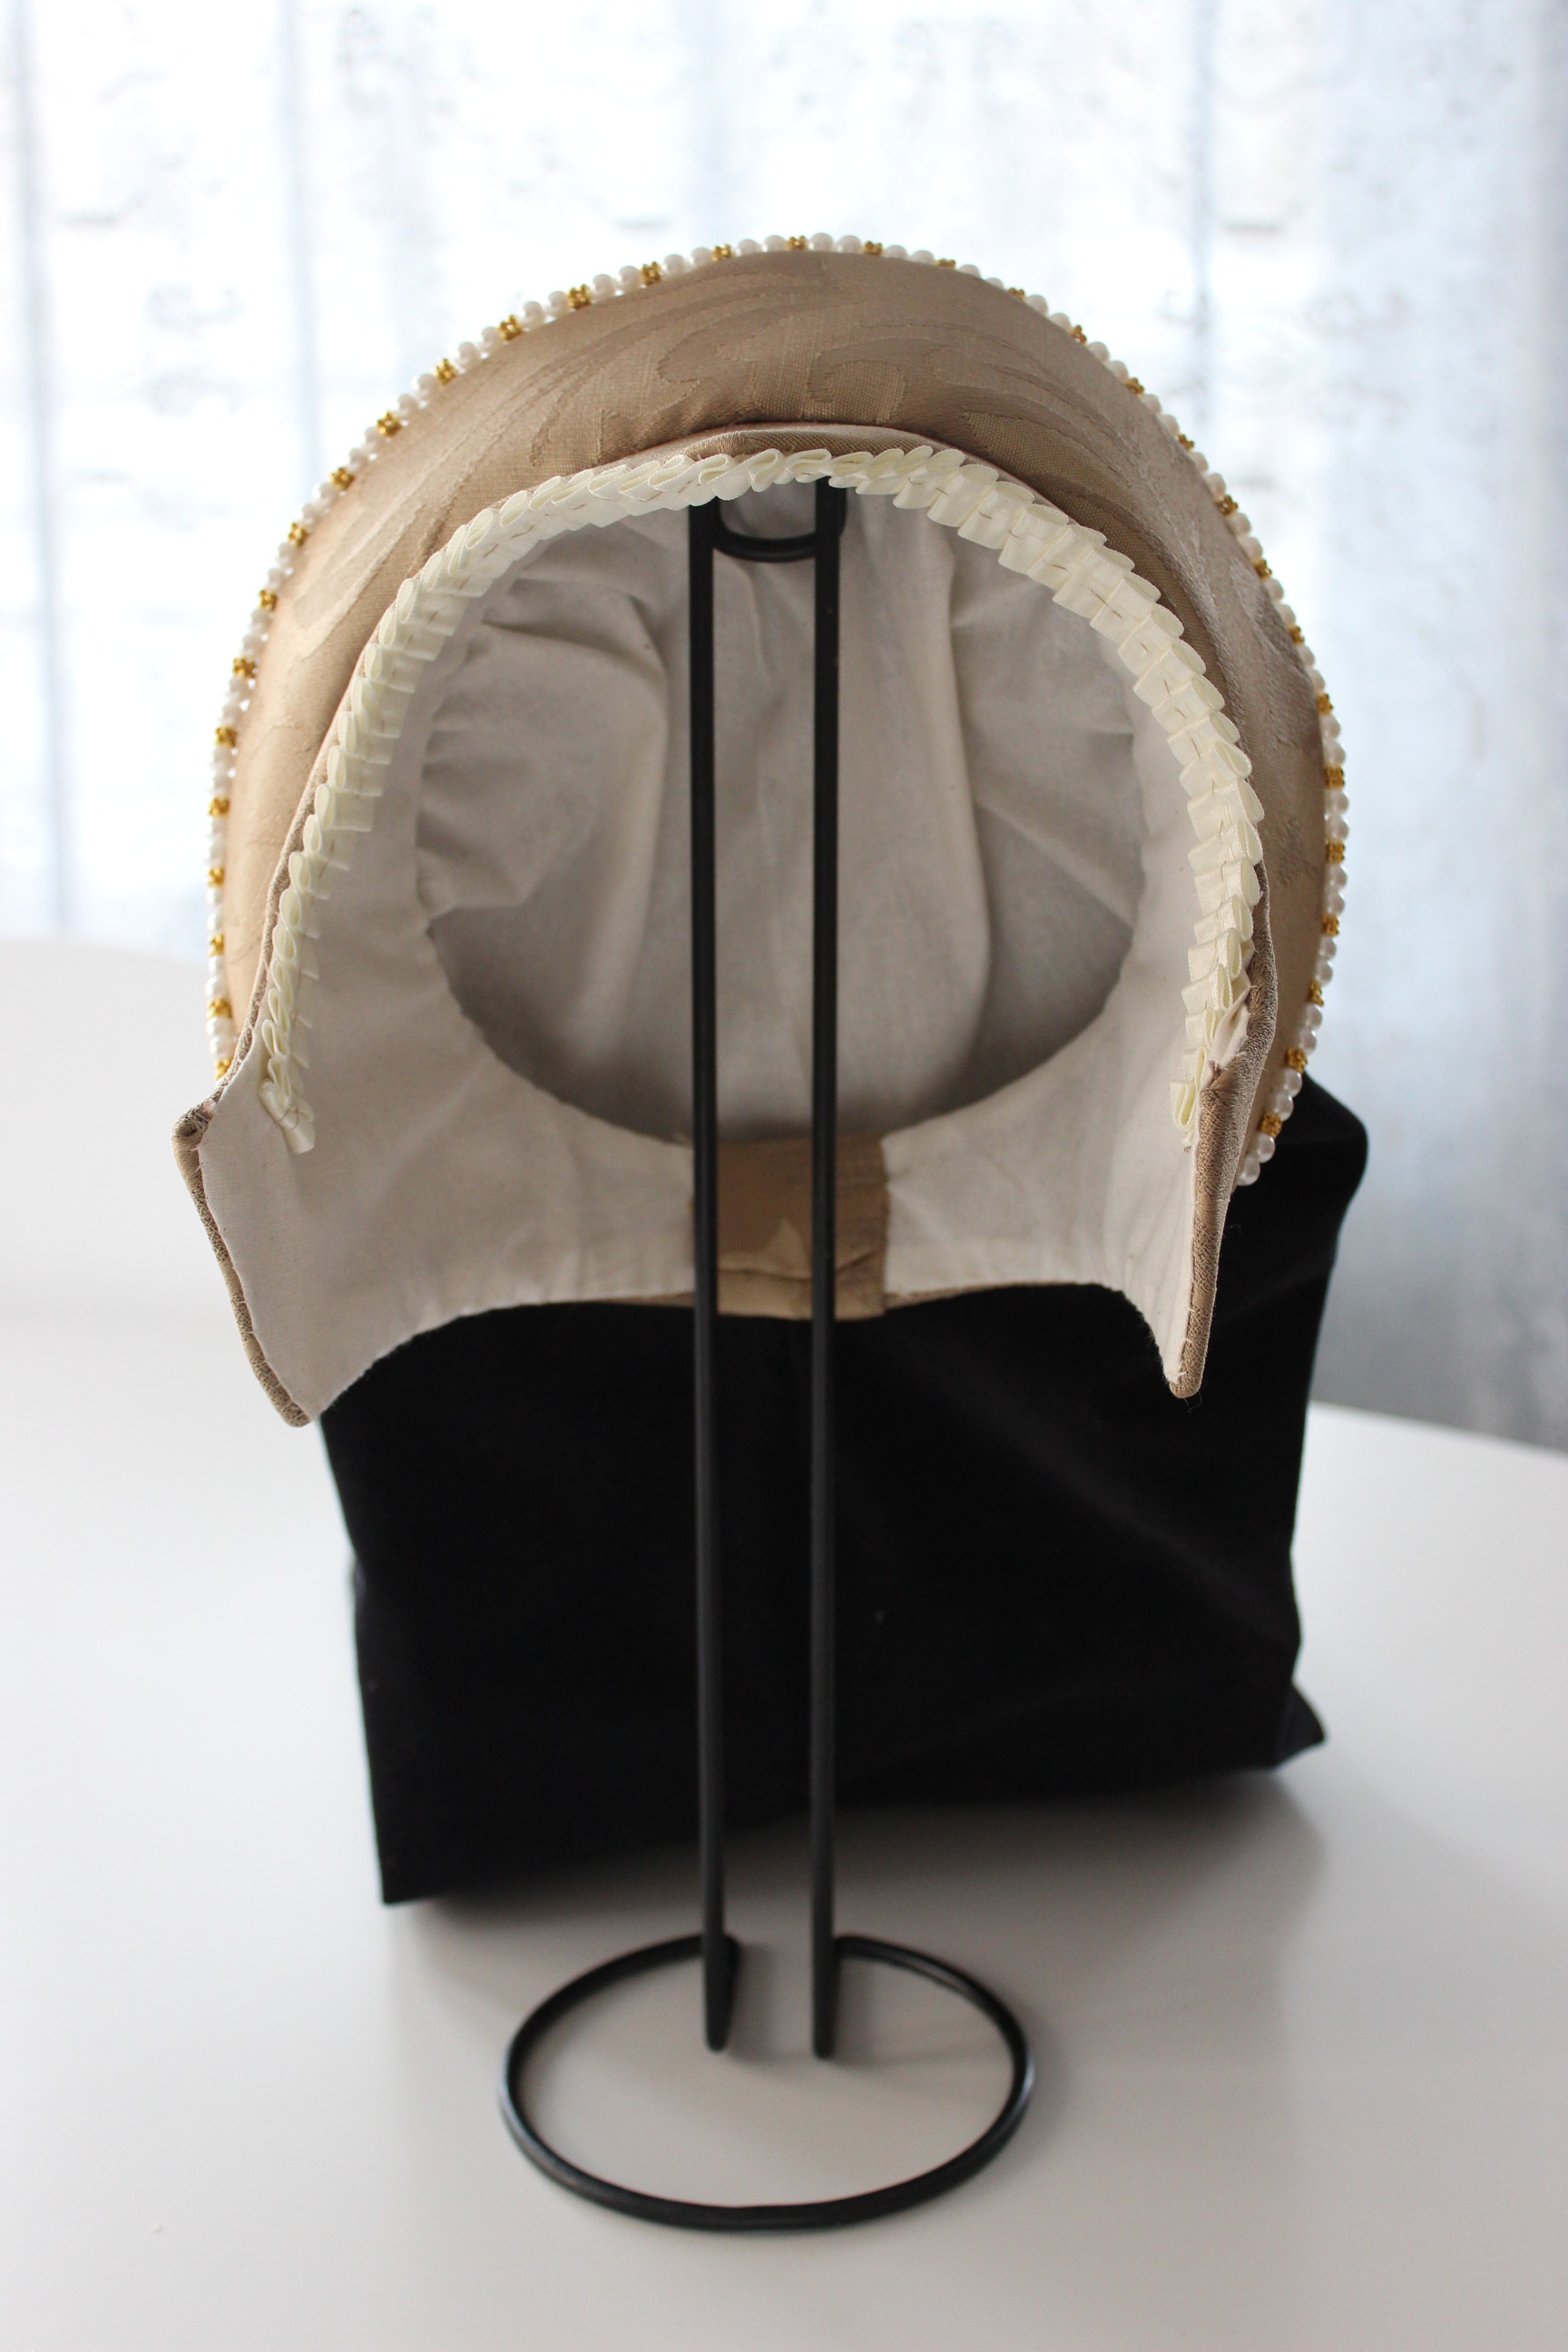
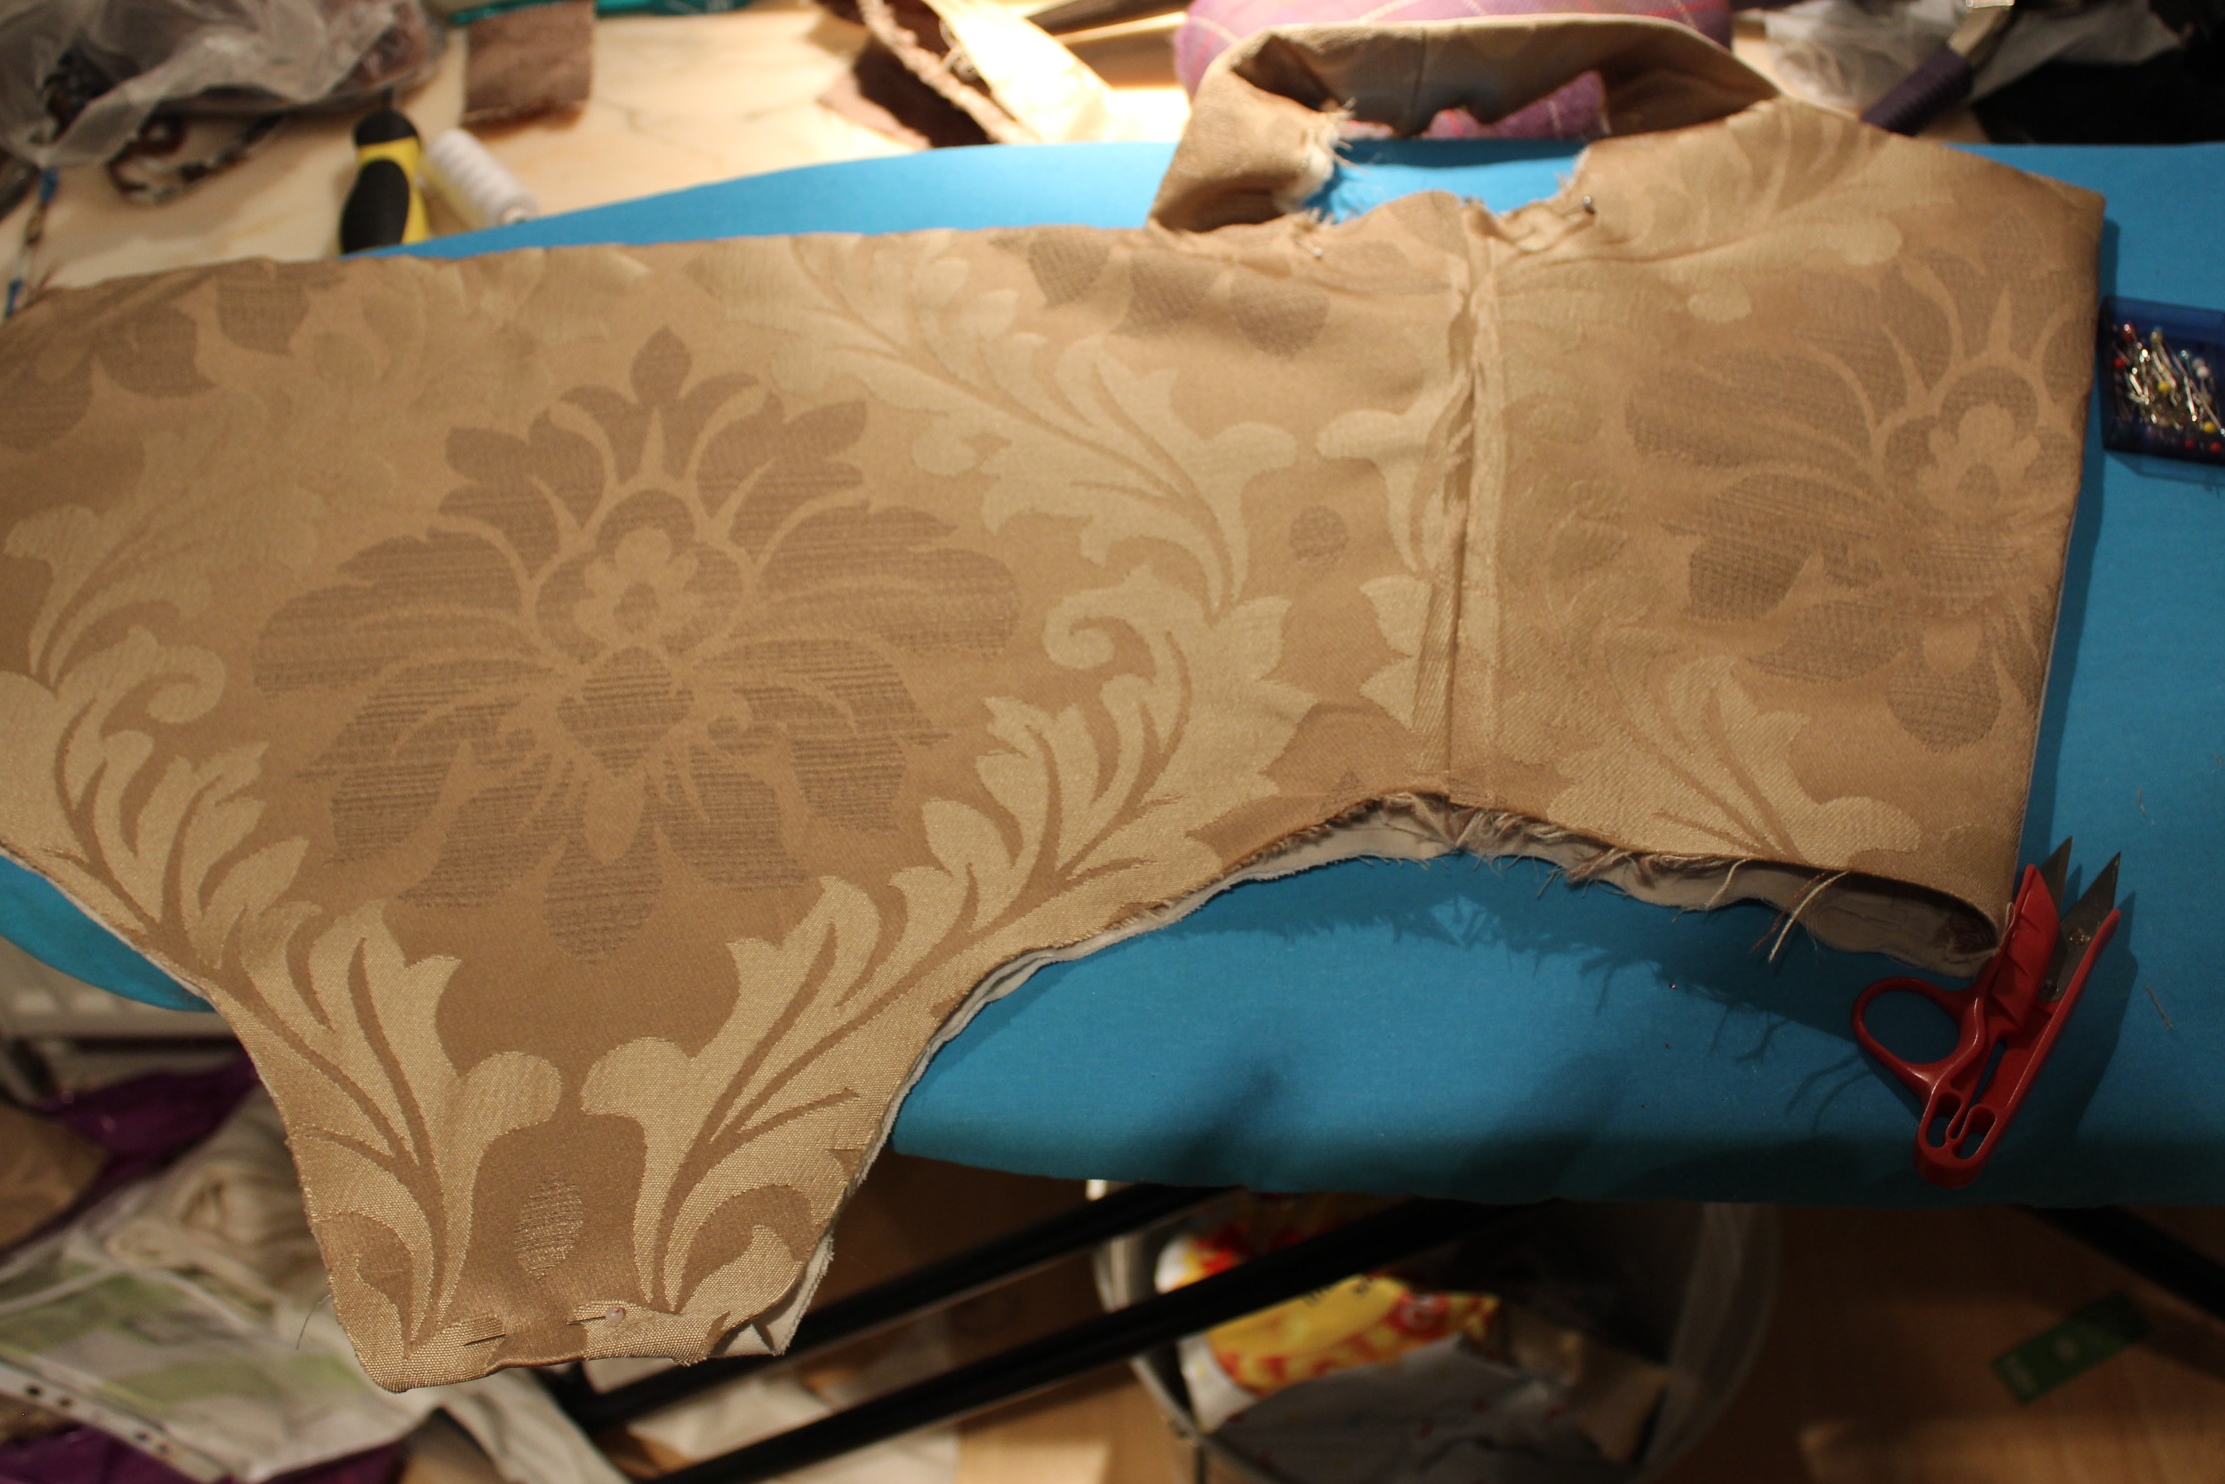
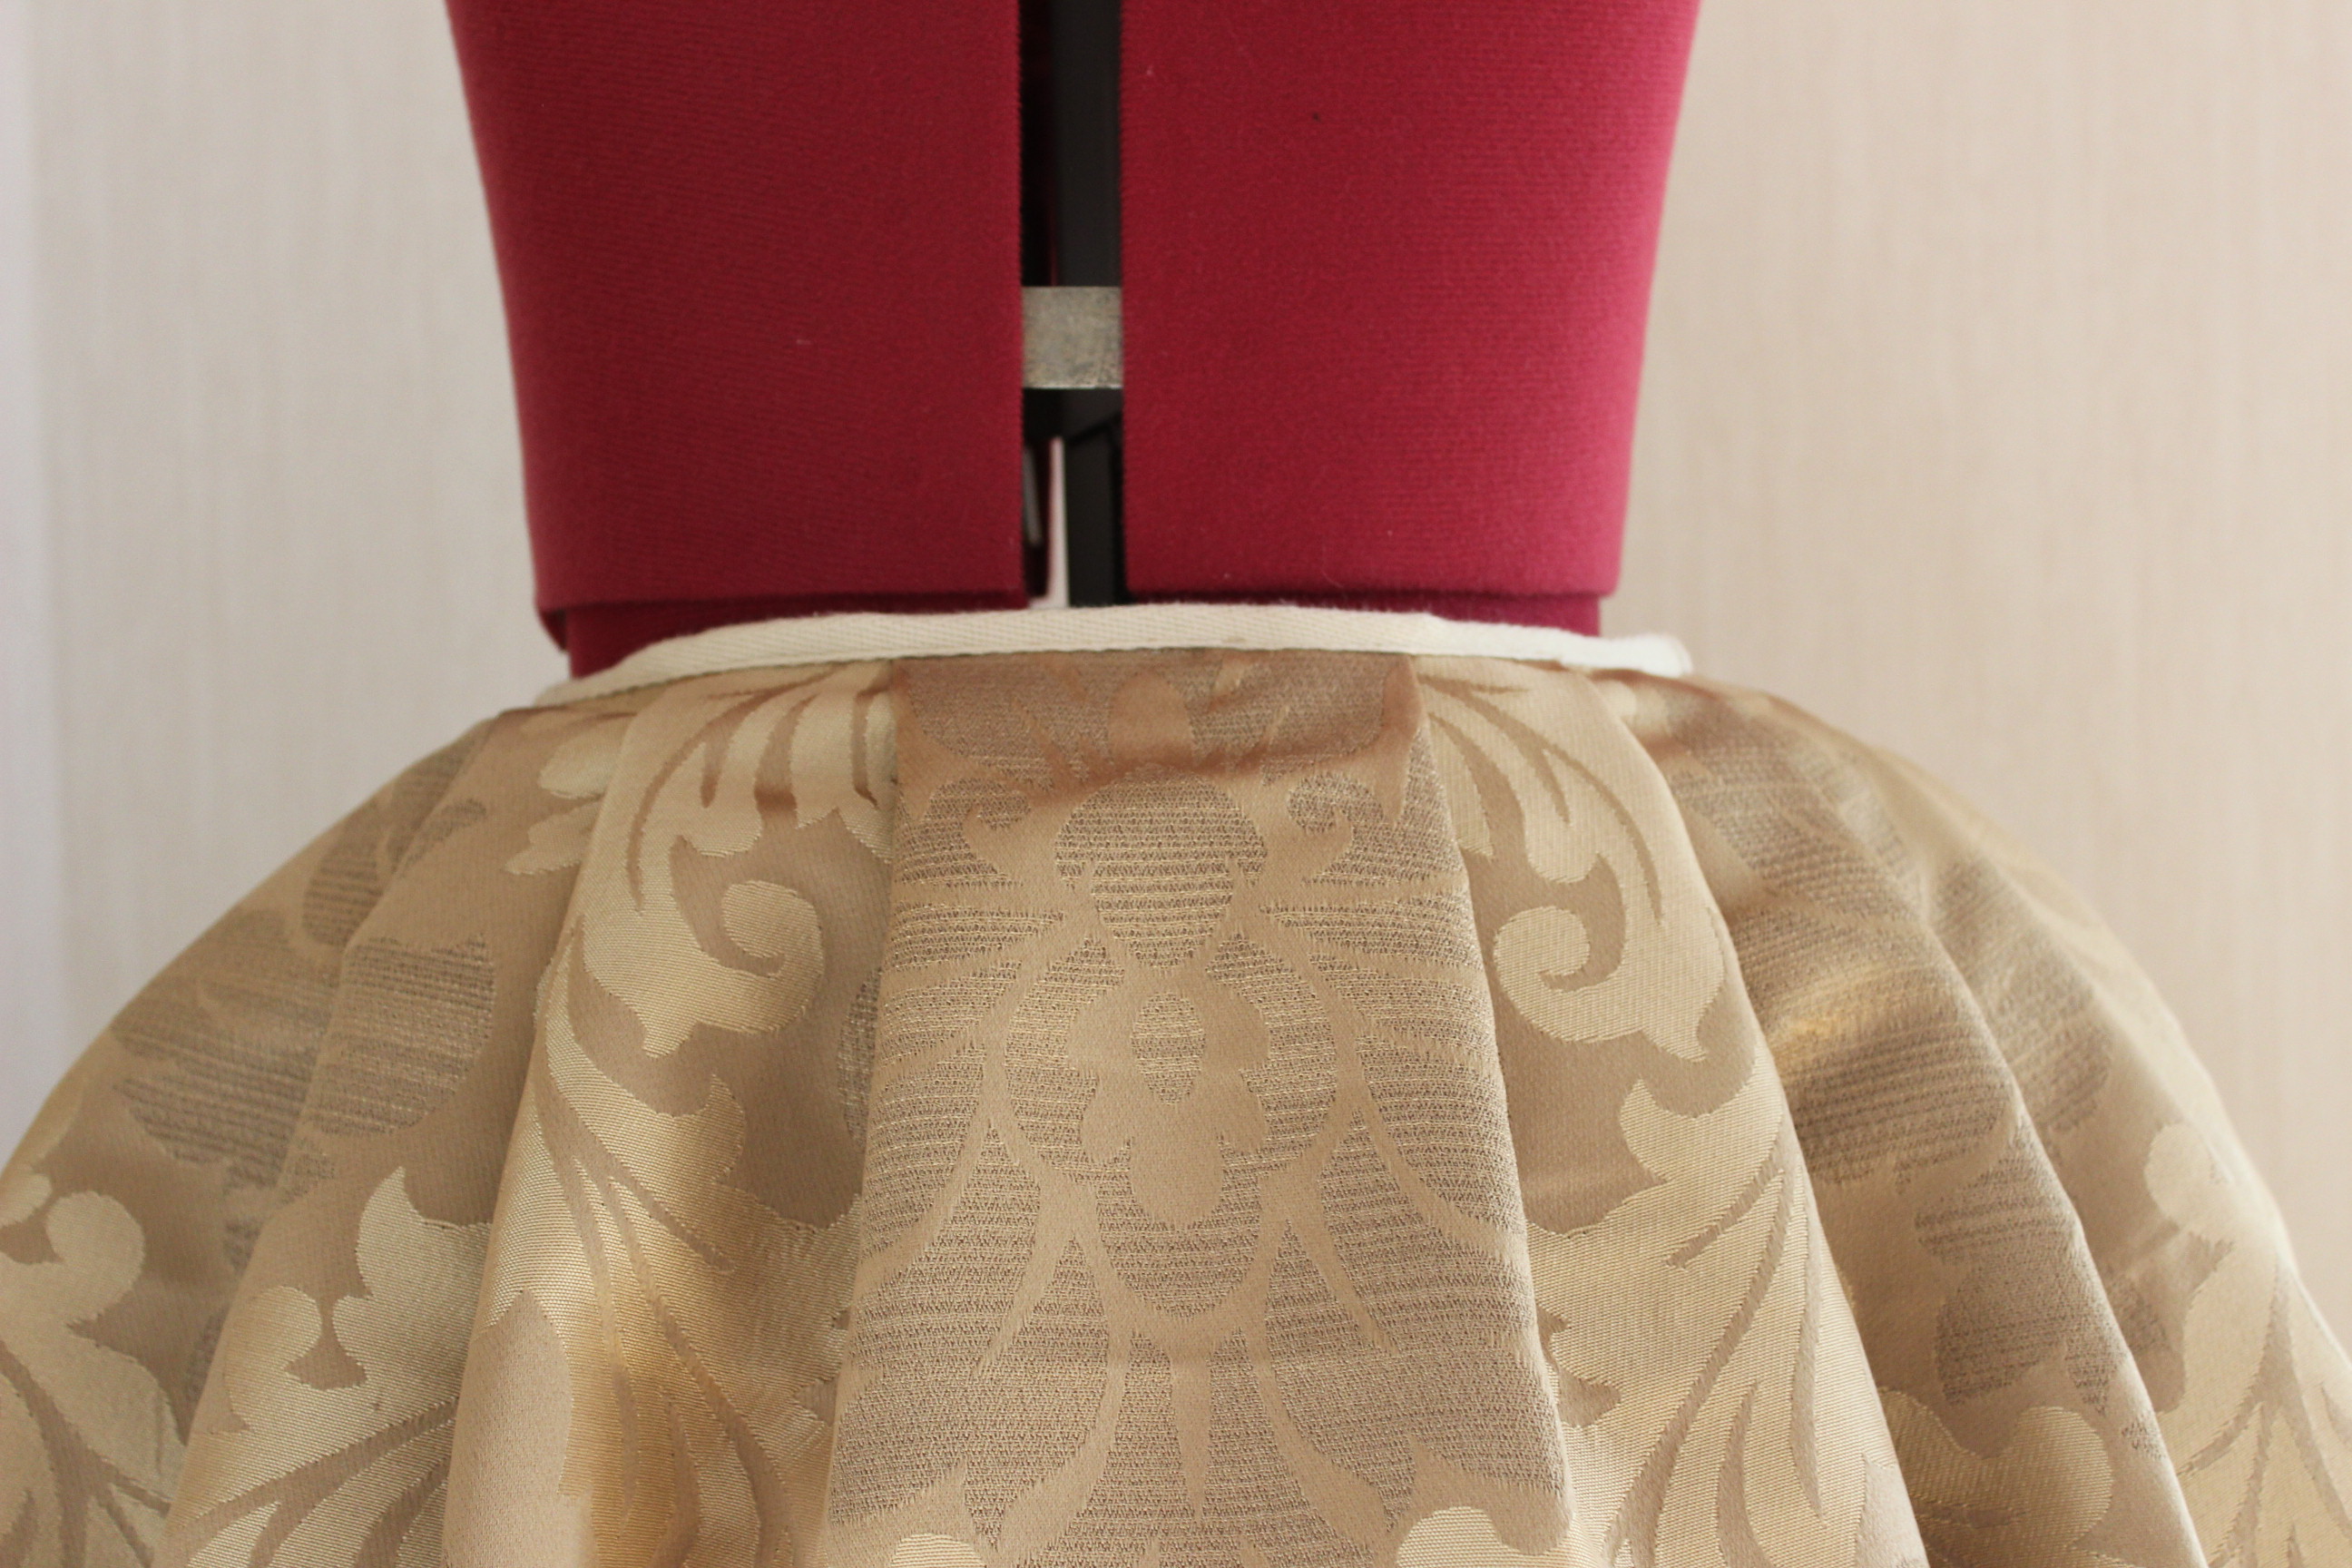
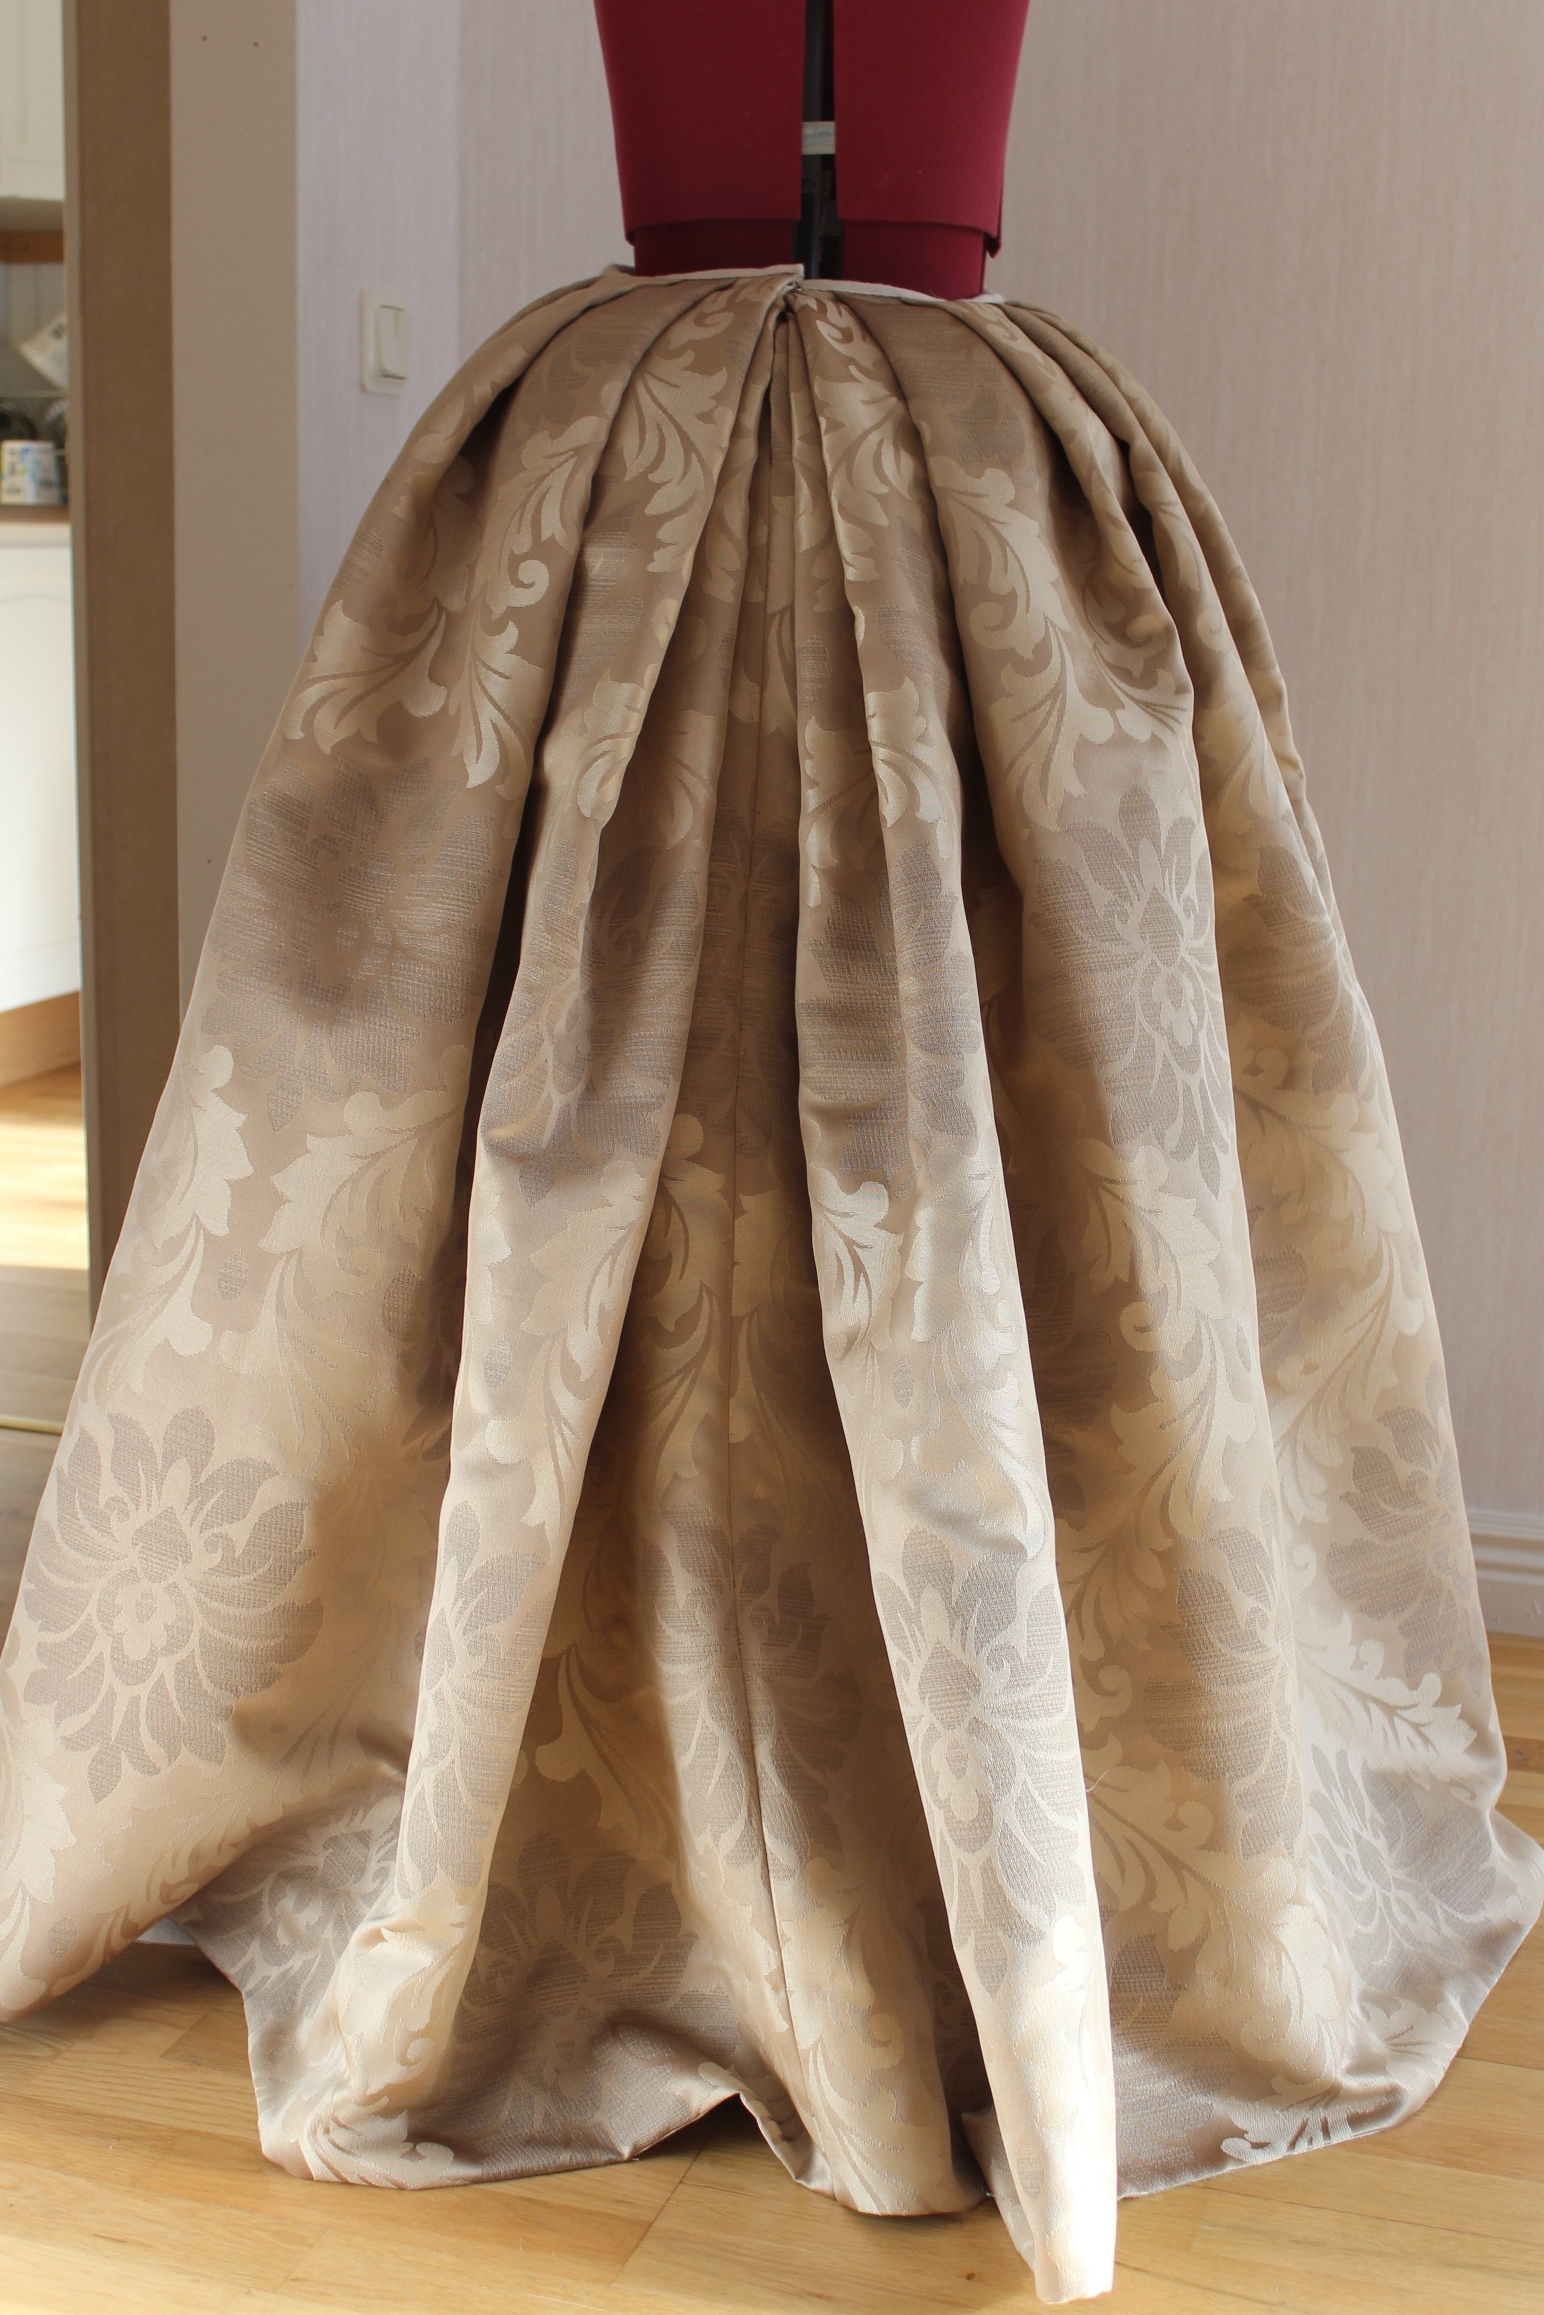
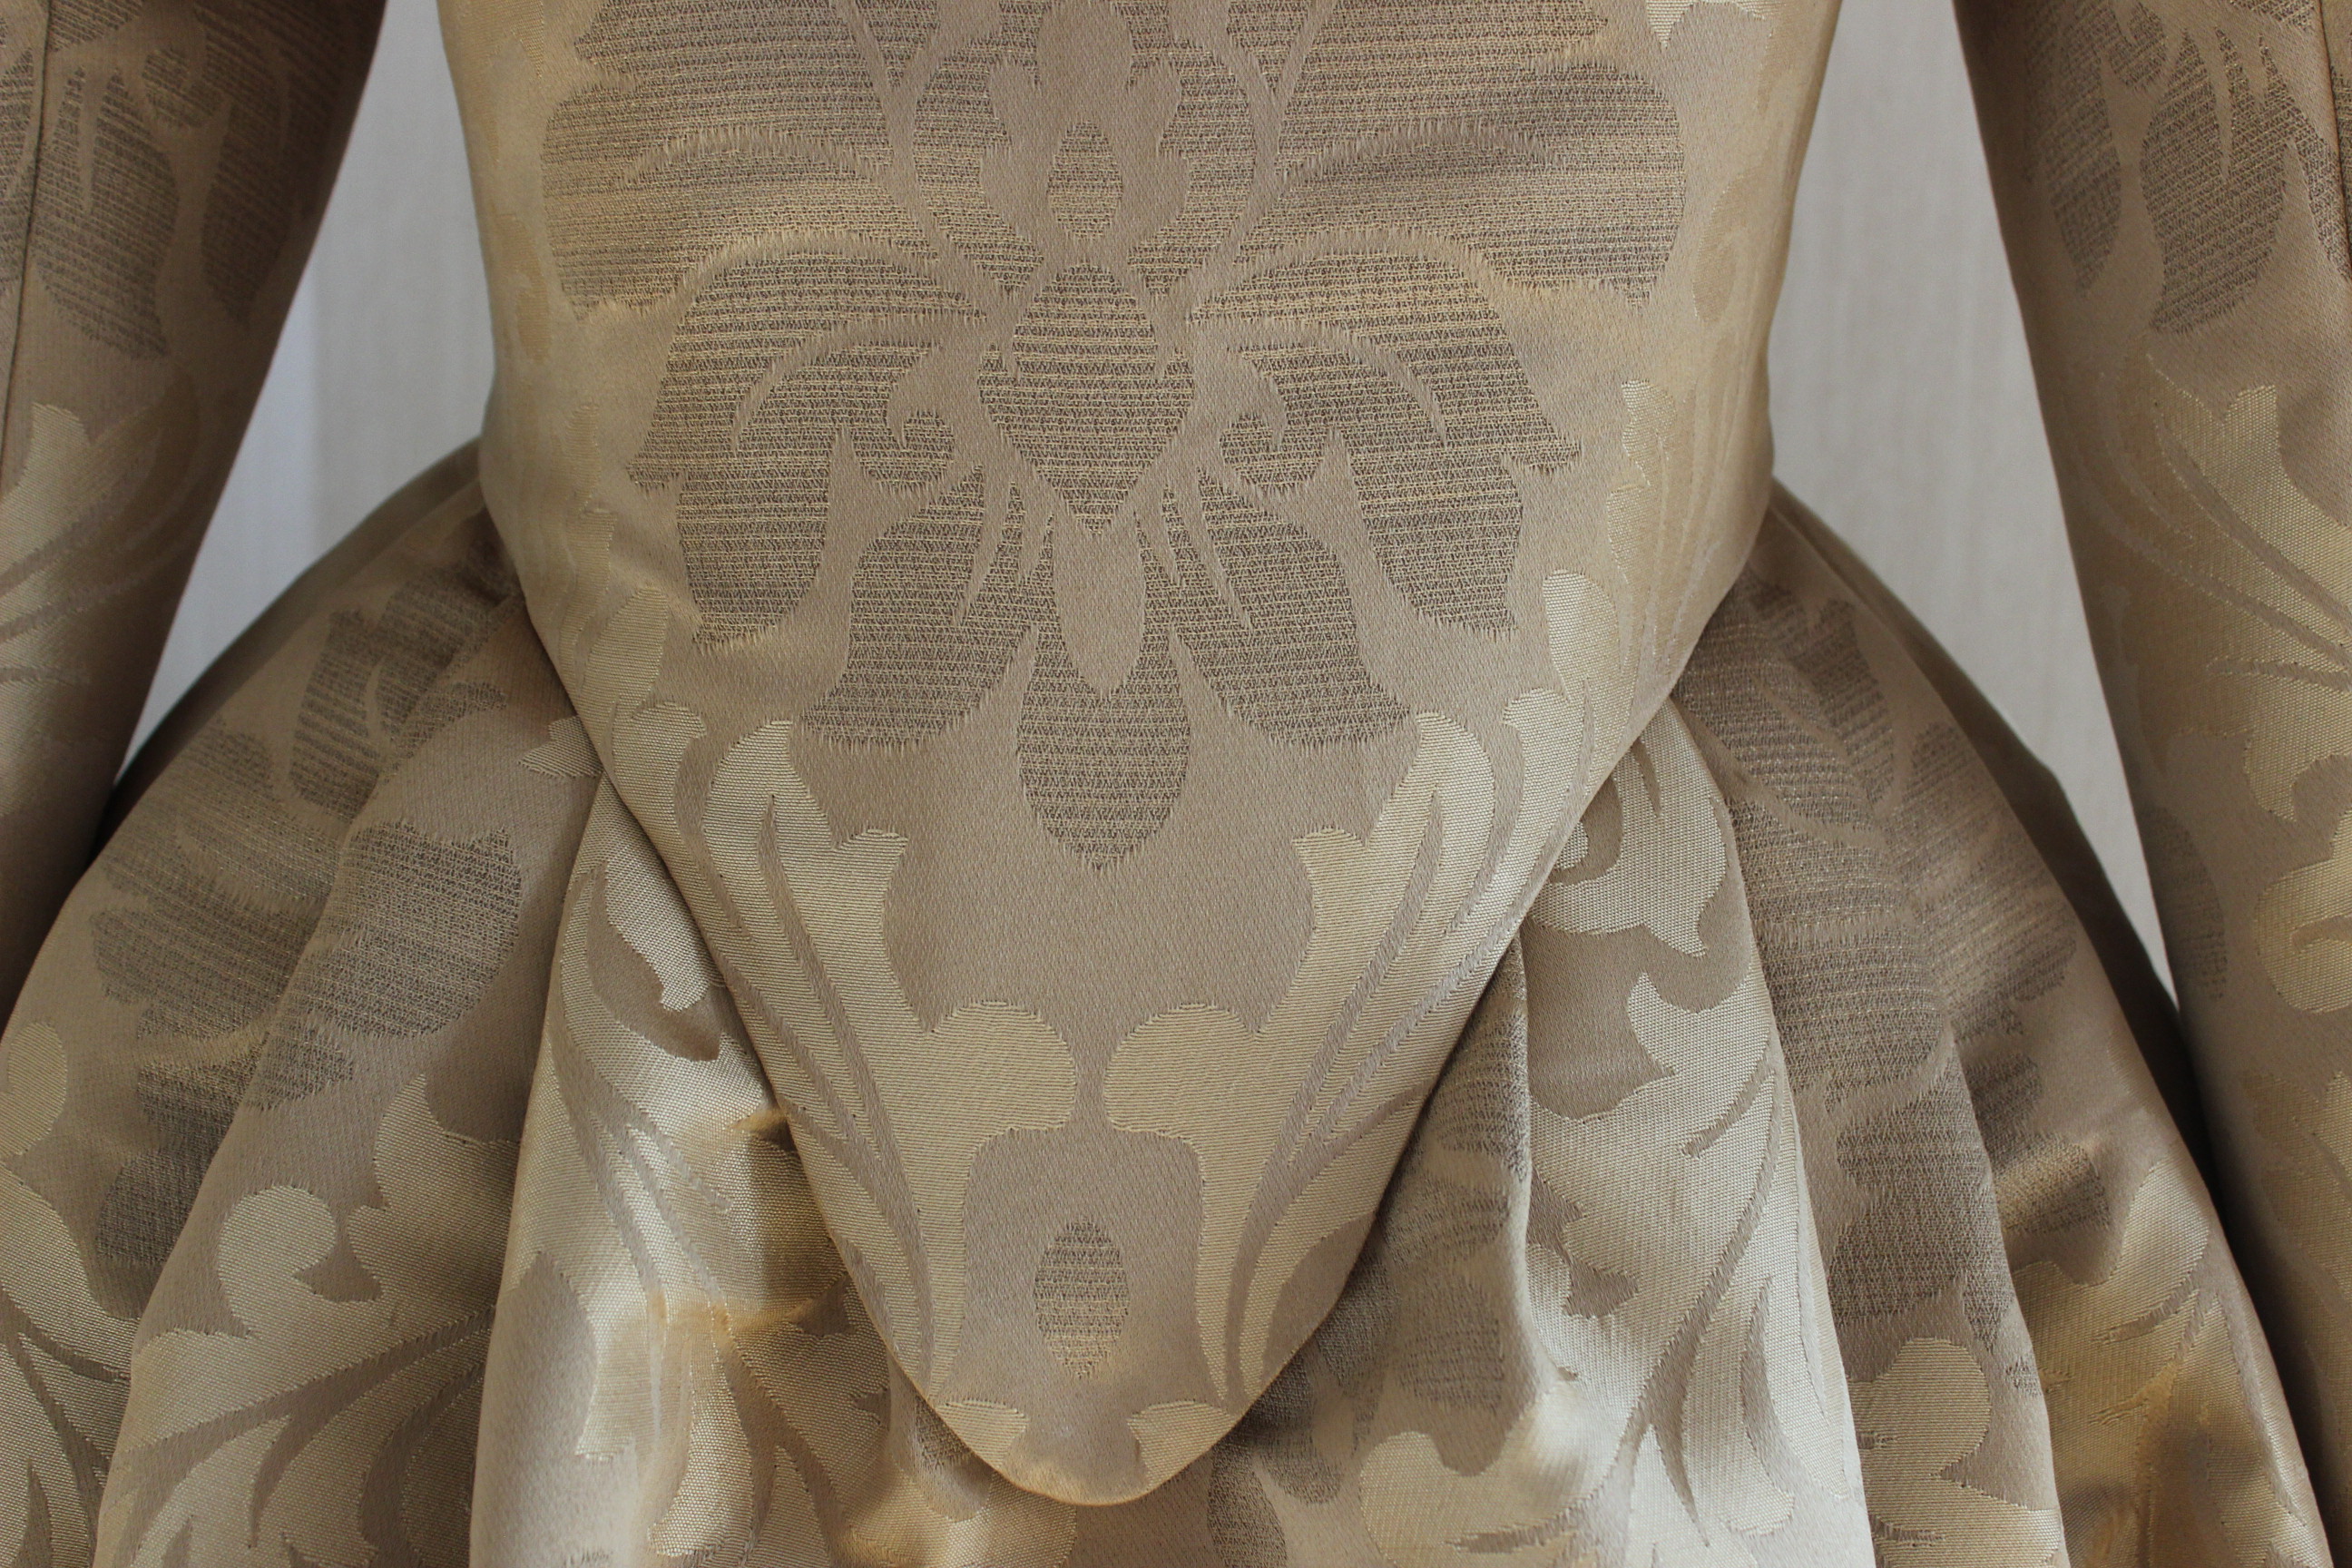
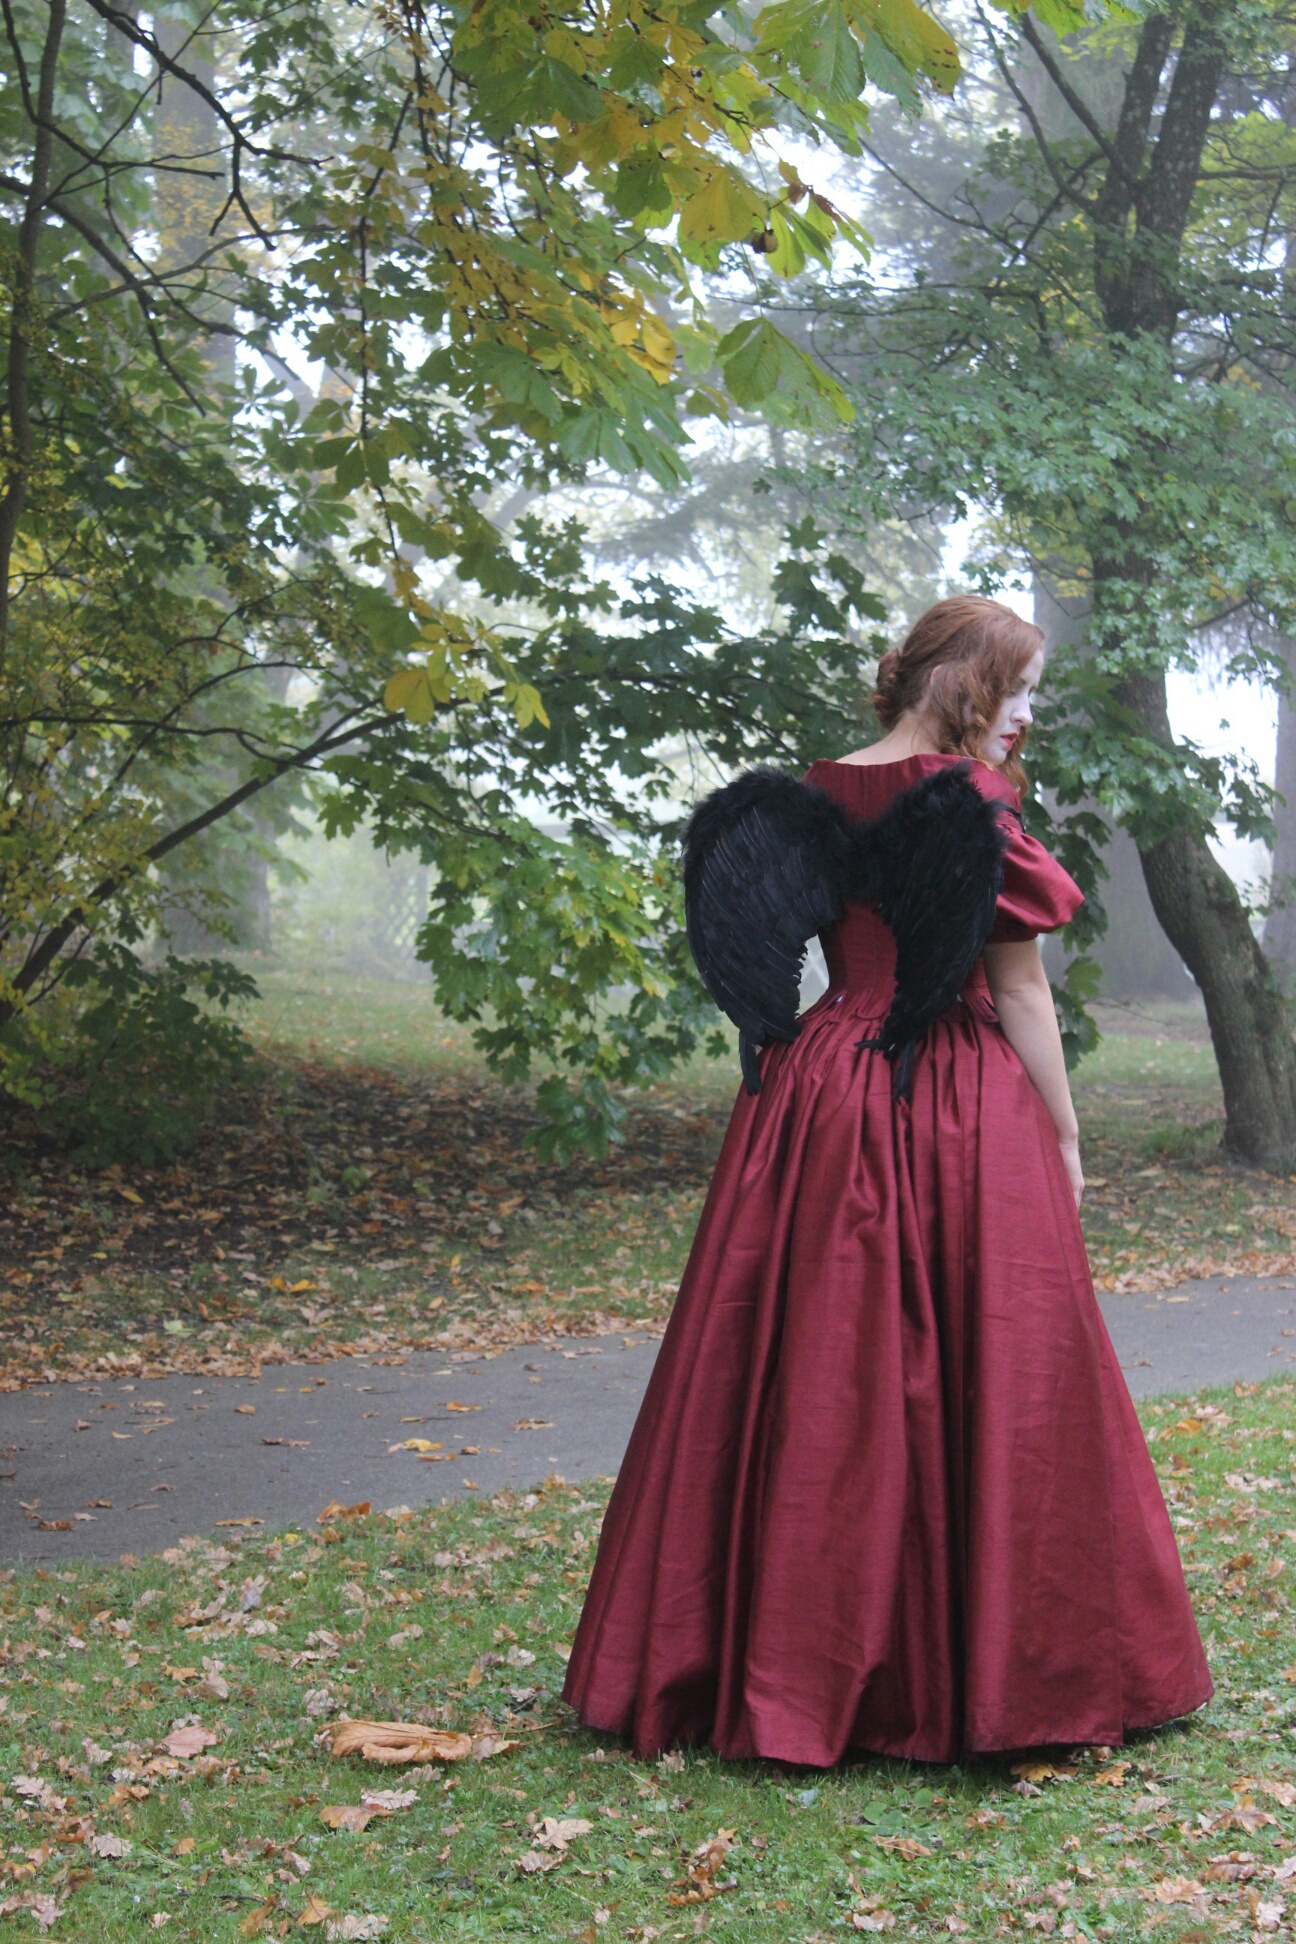
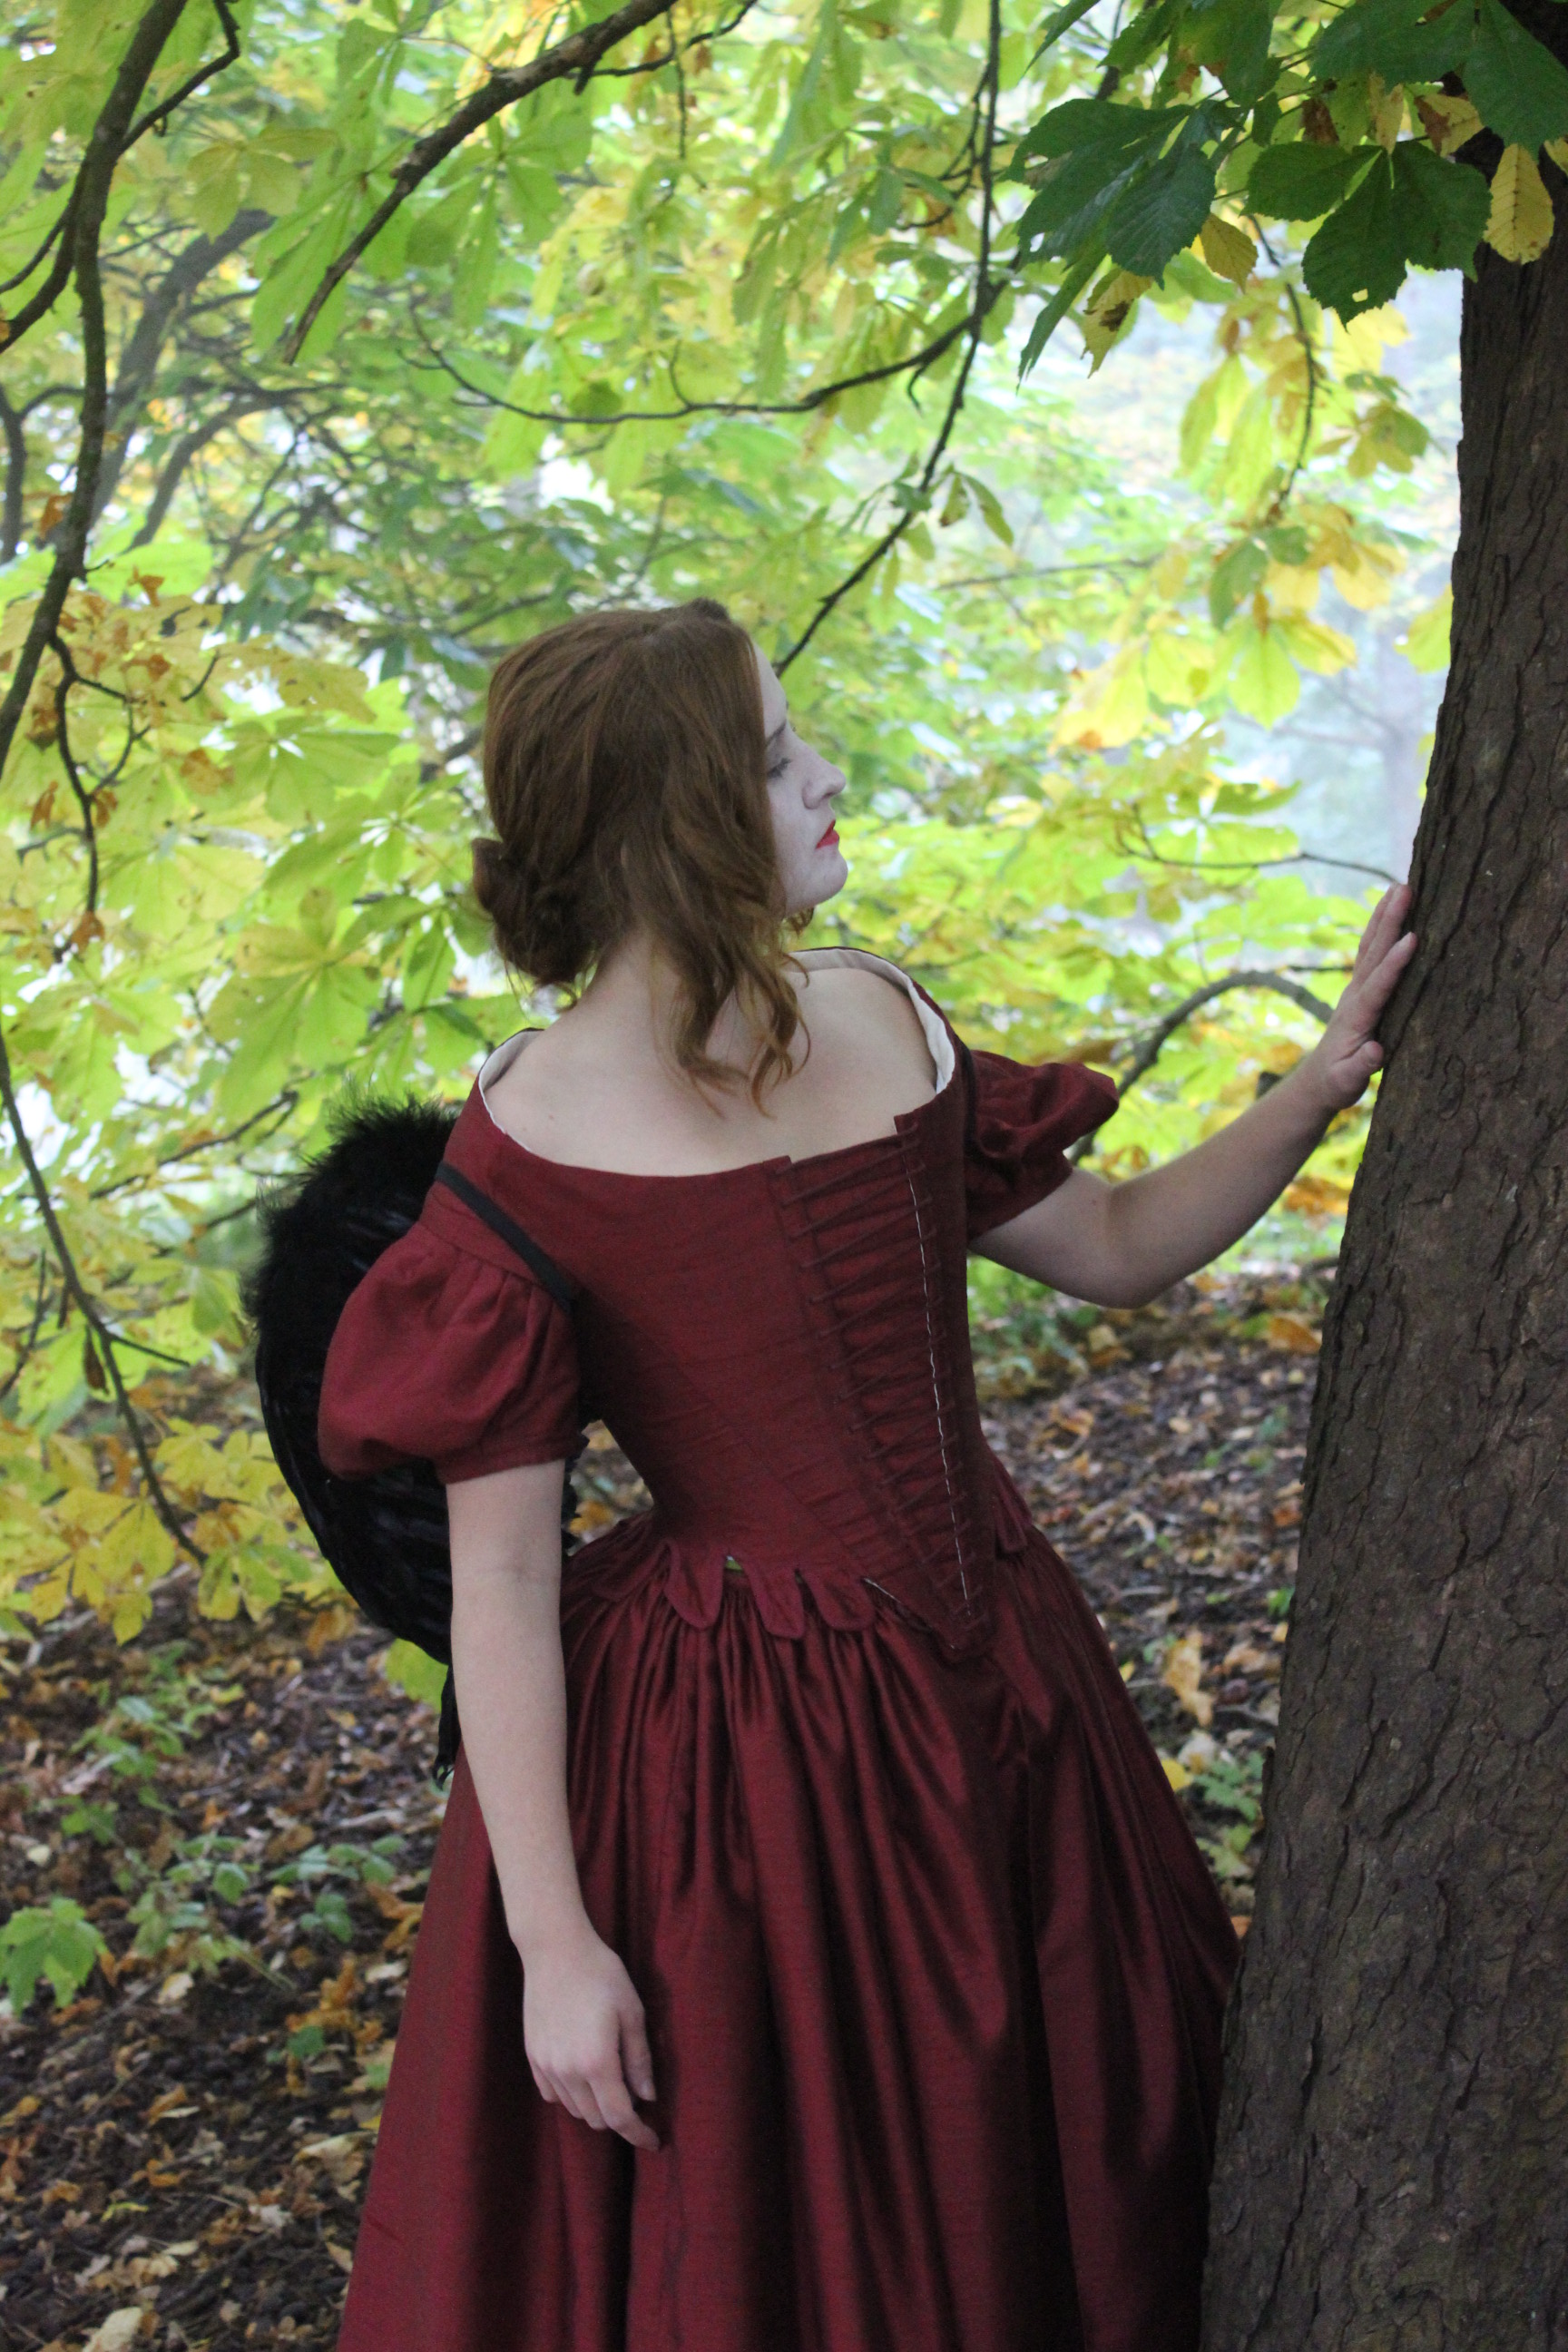
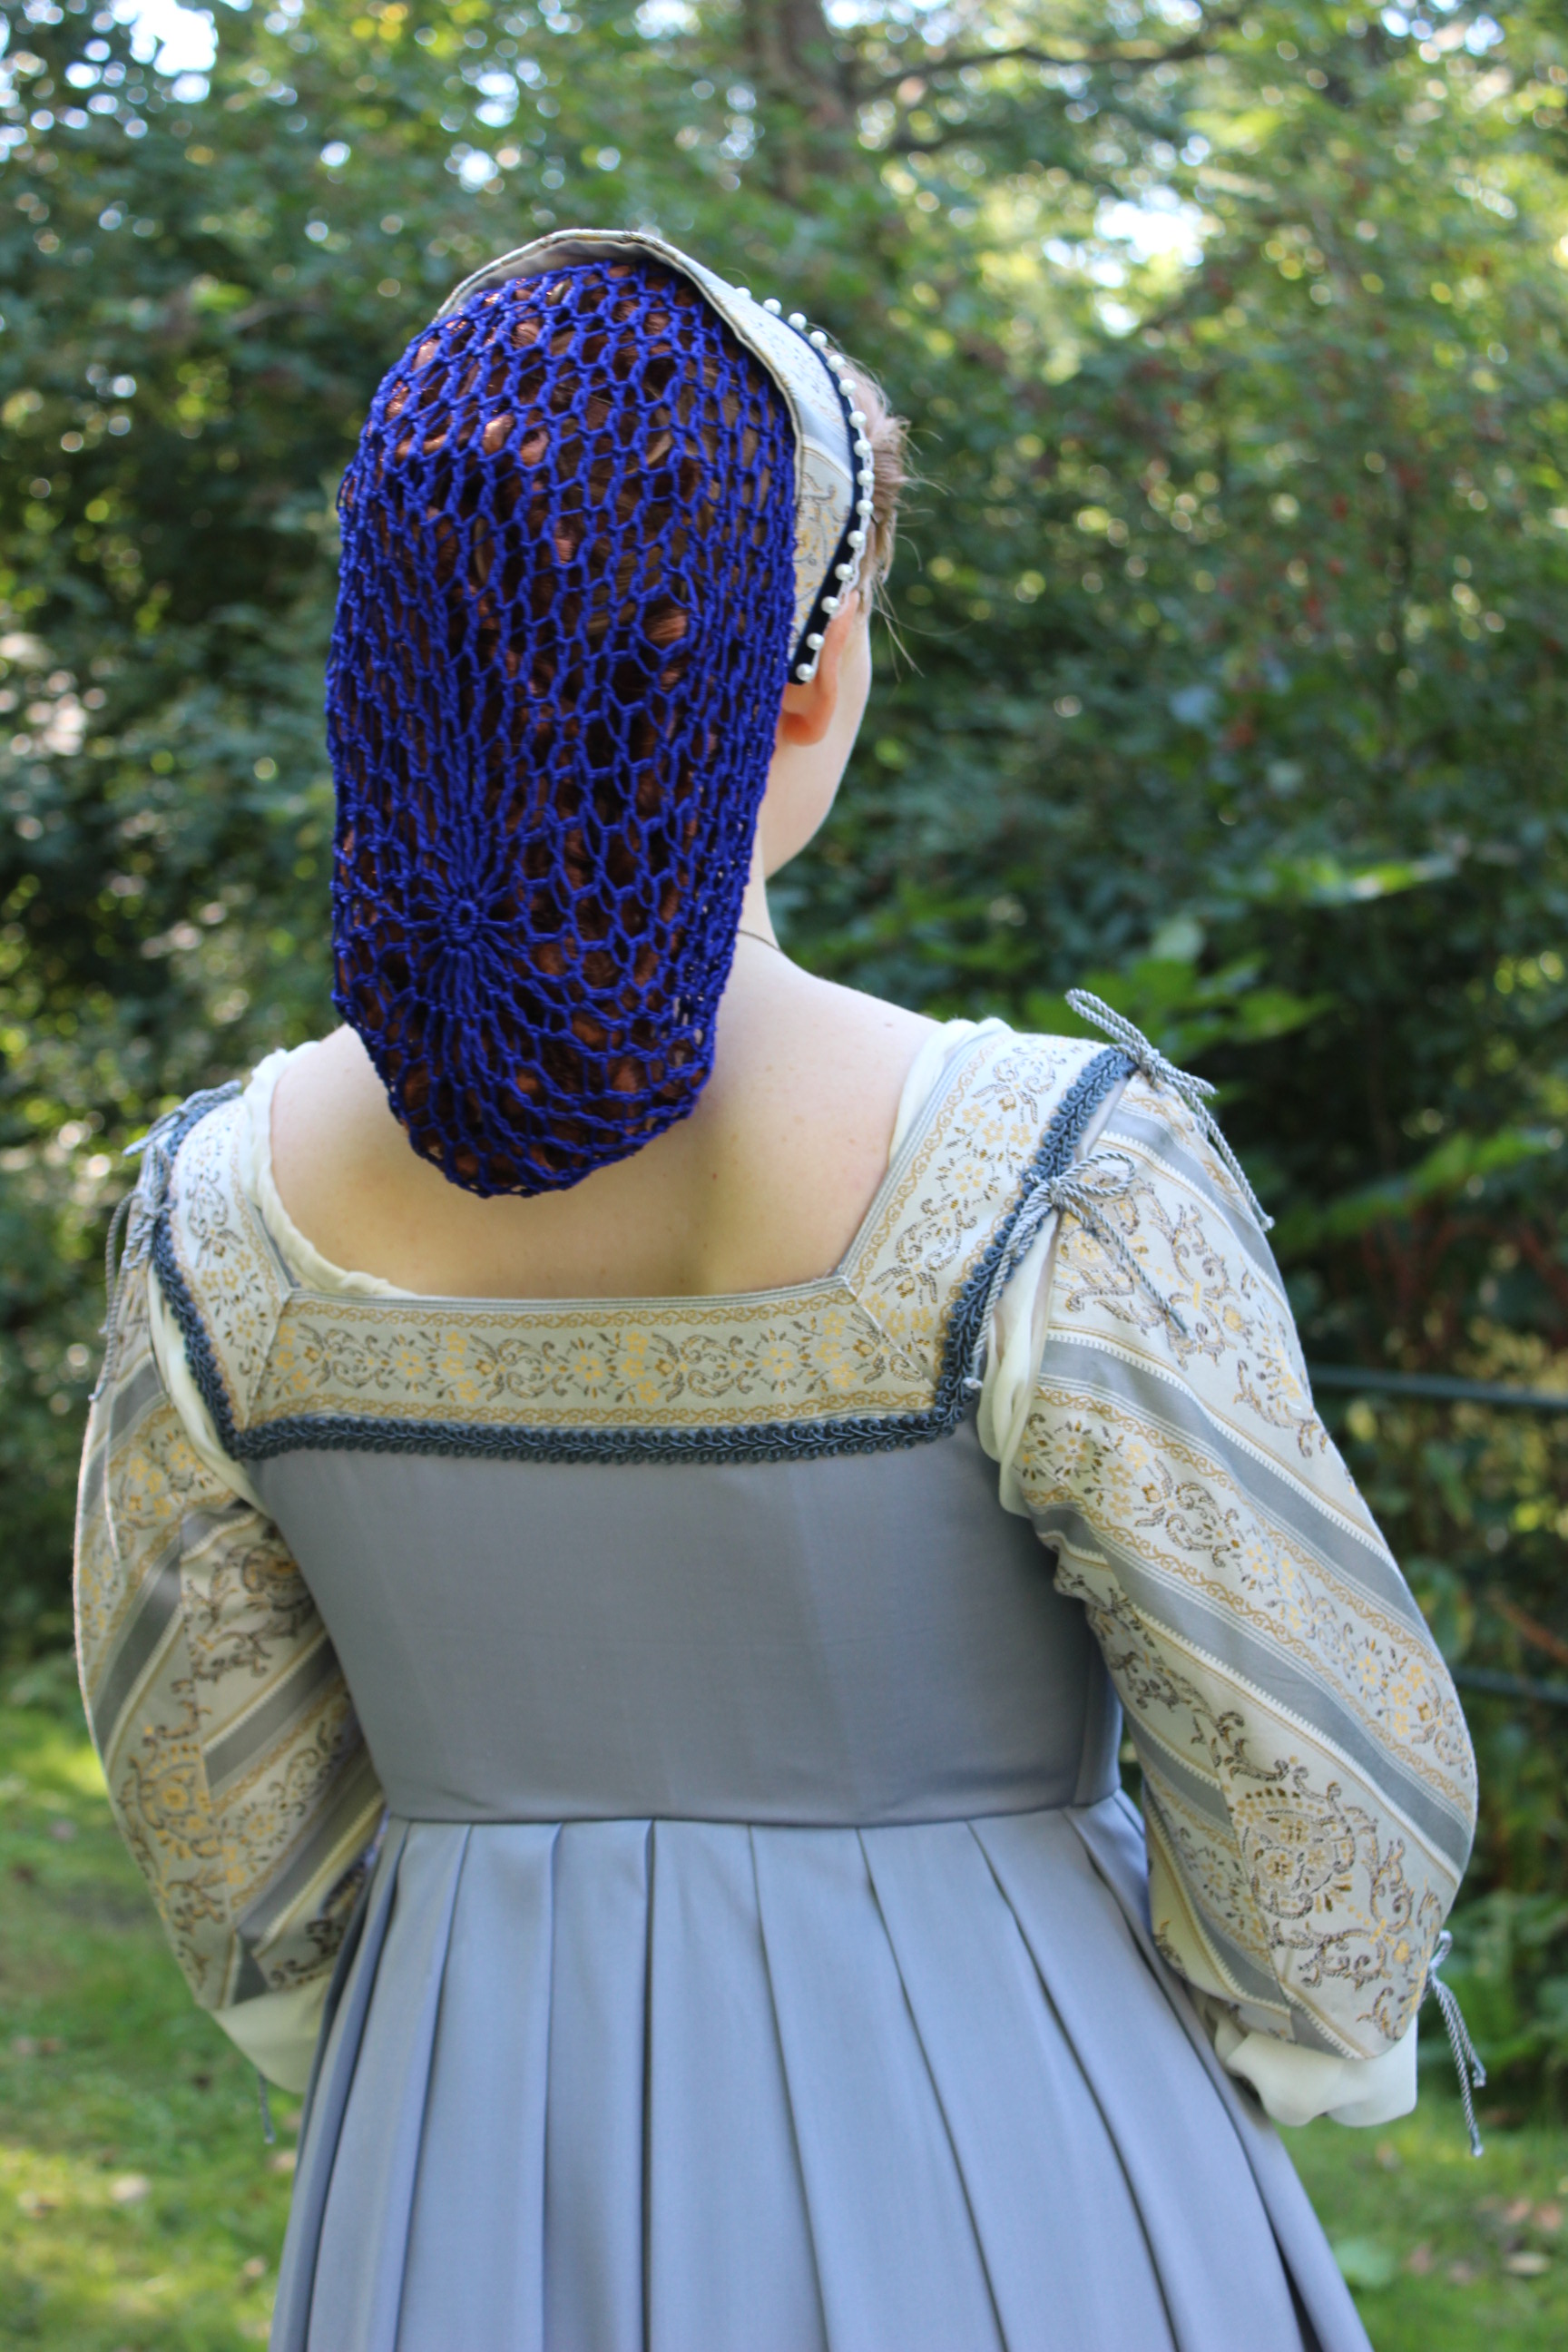
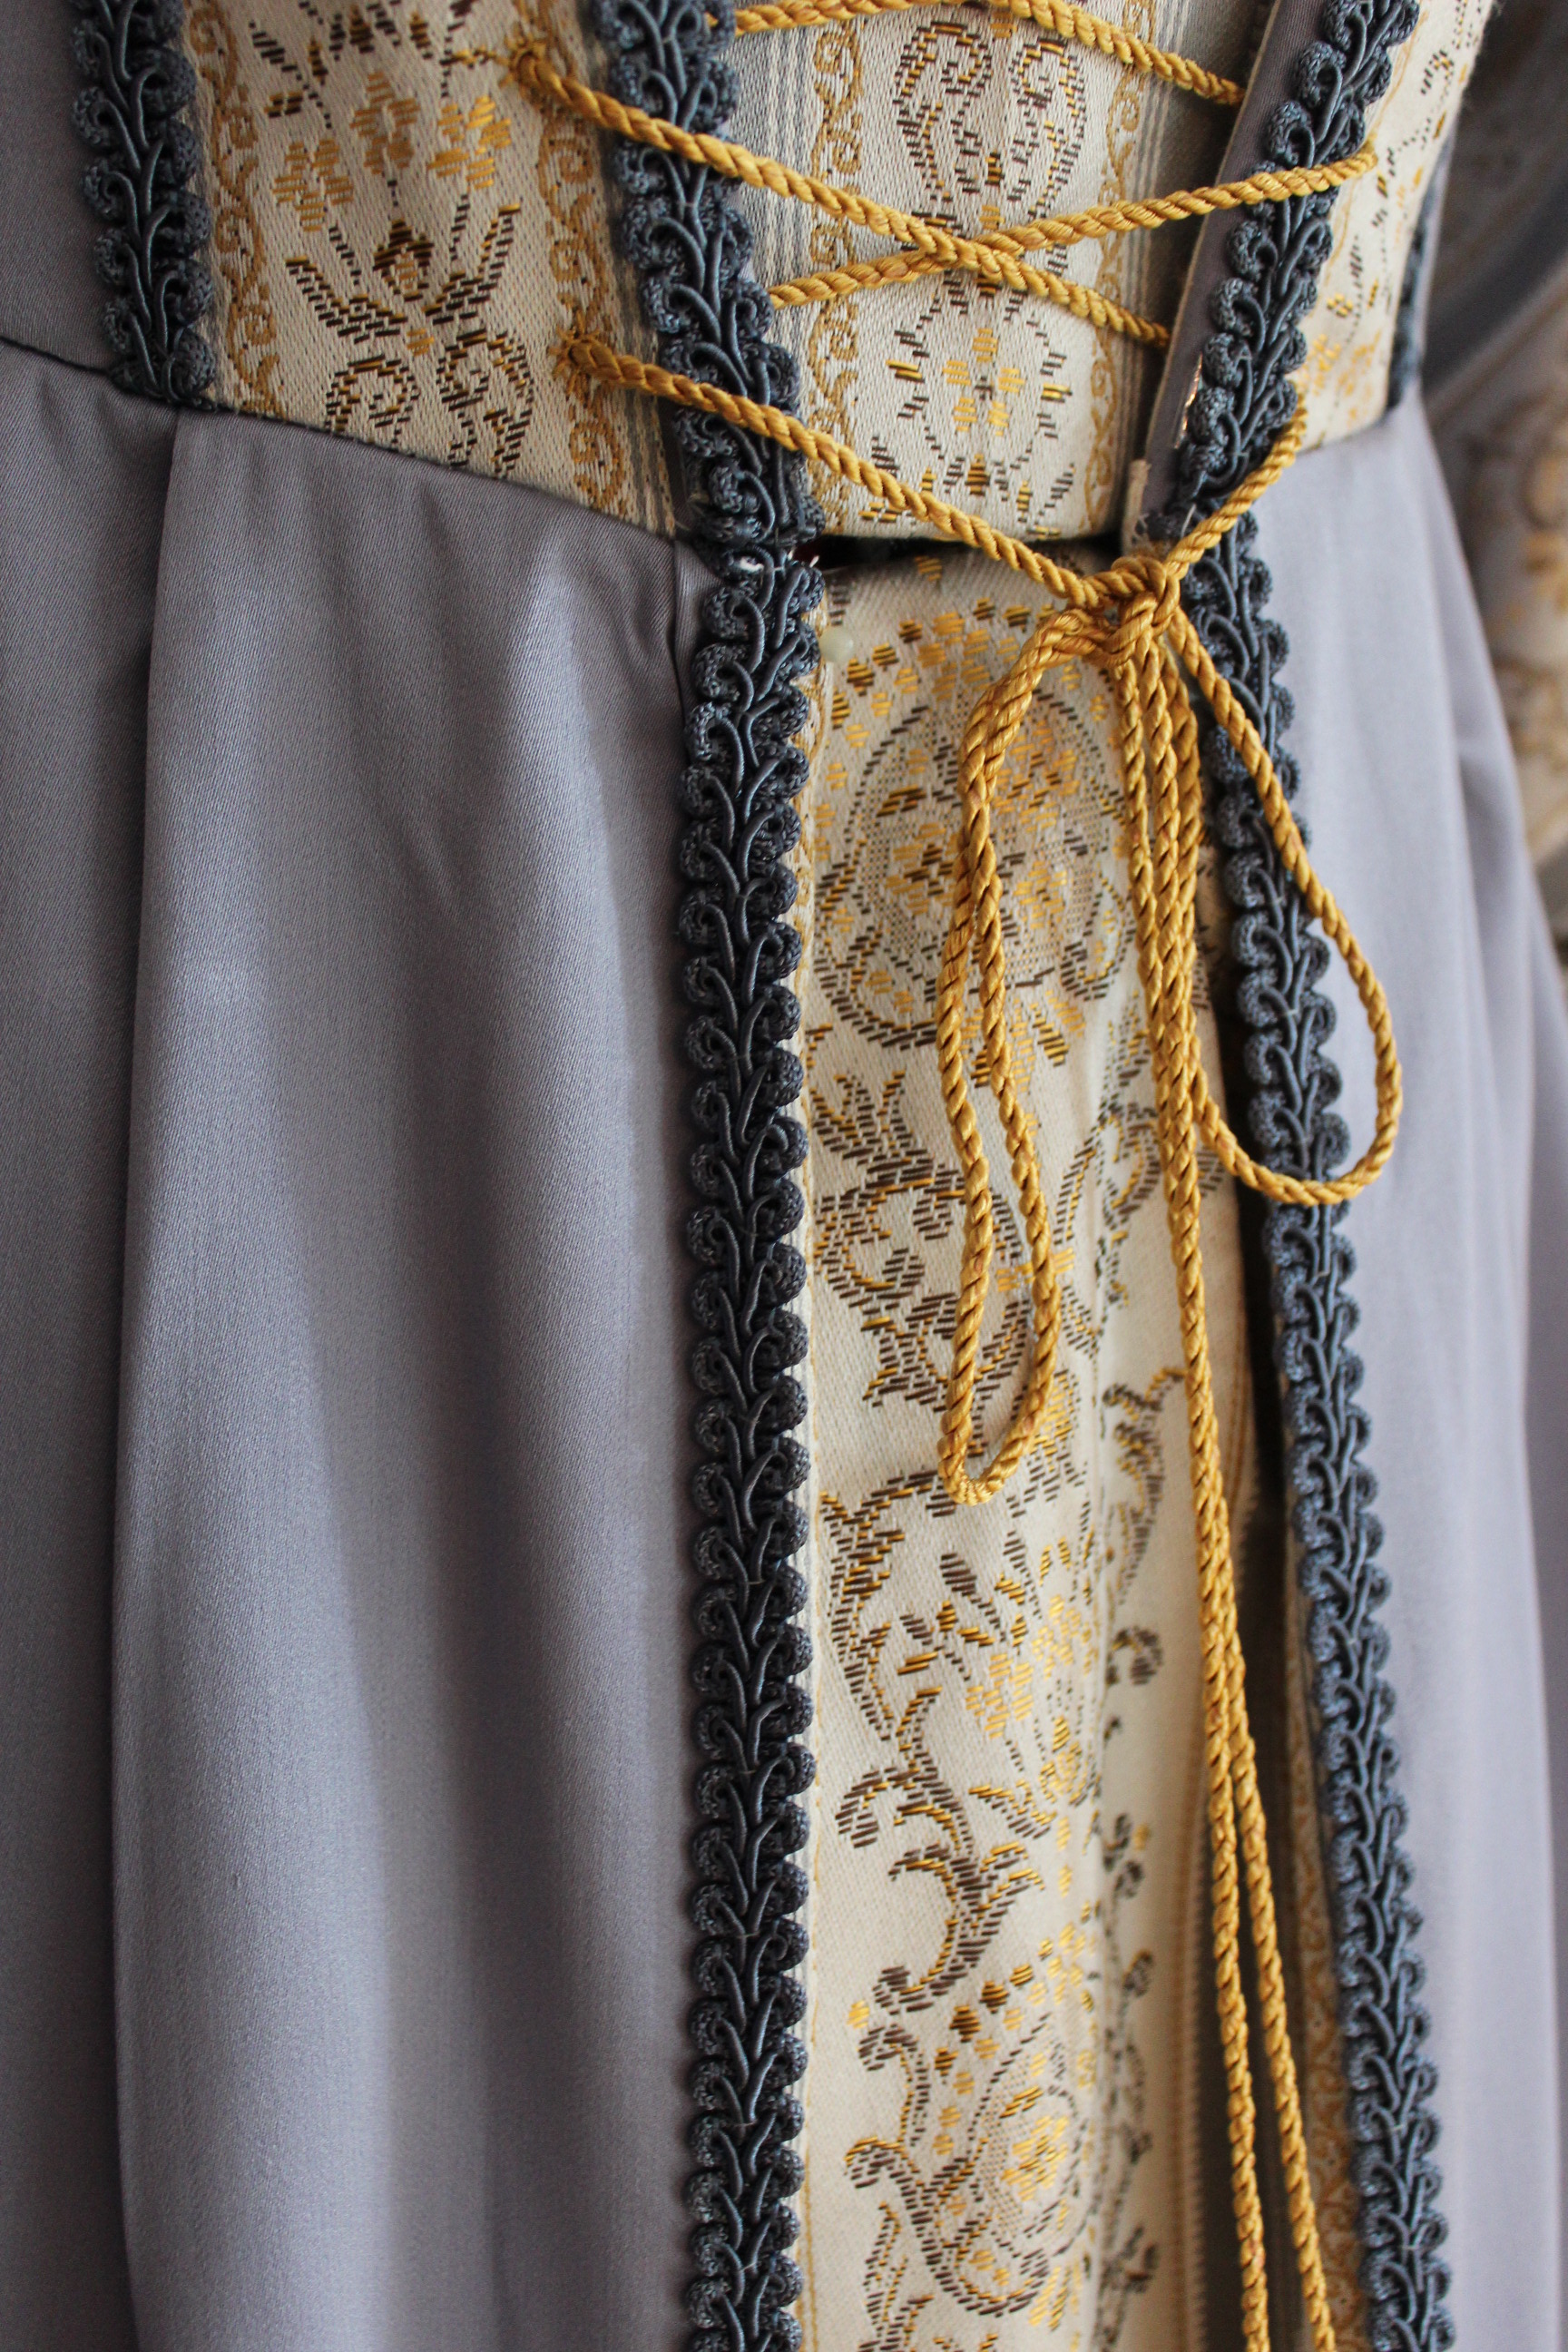
Here you can also see covering of the piecing at the back.
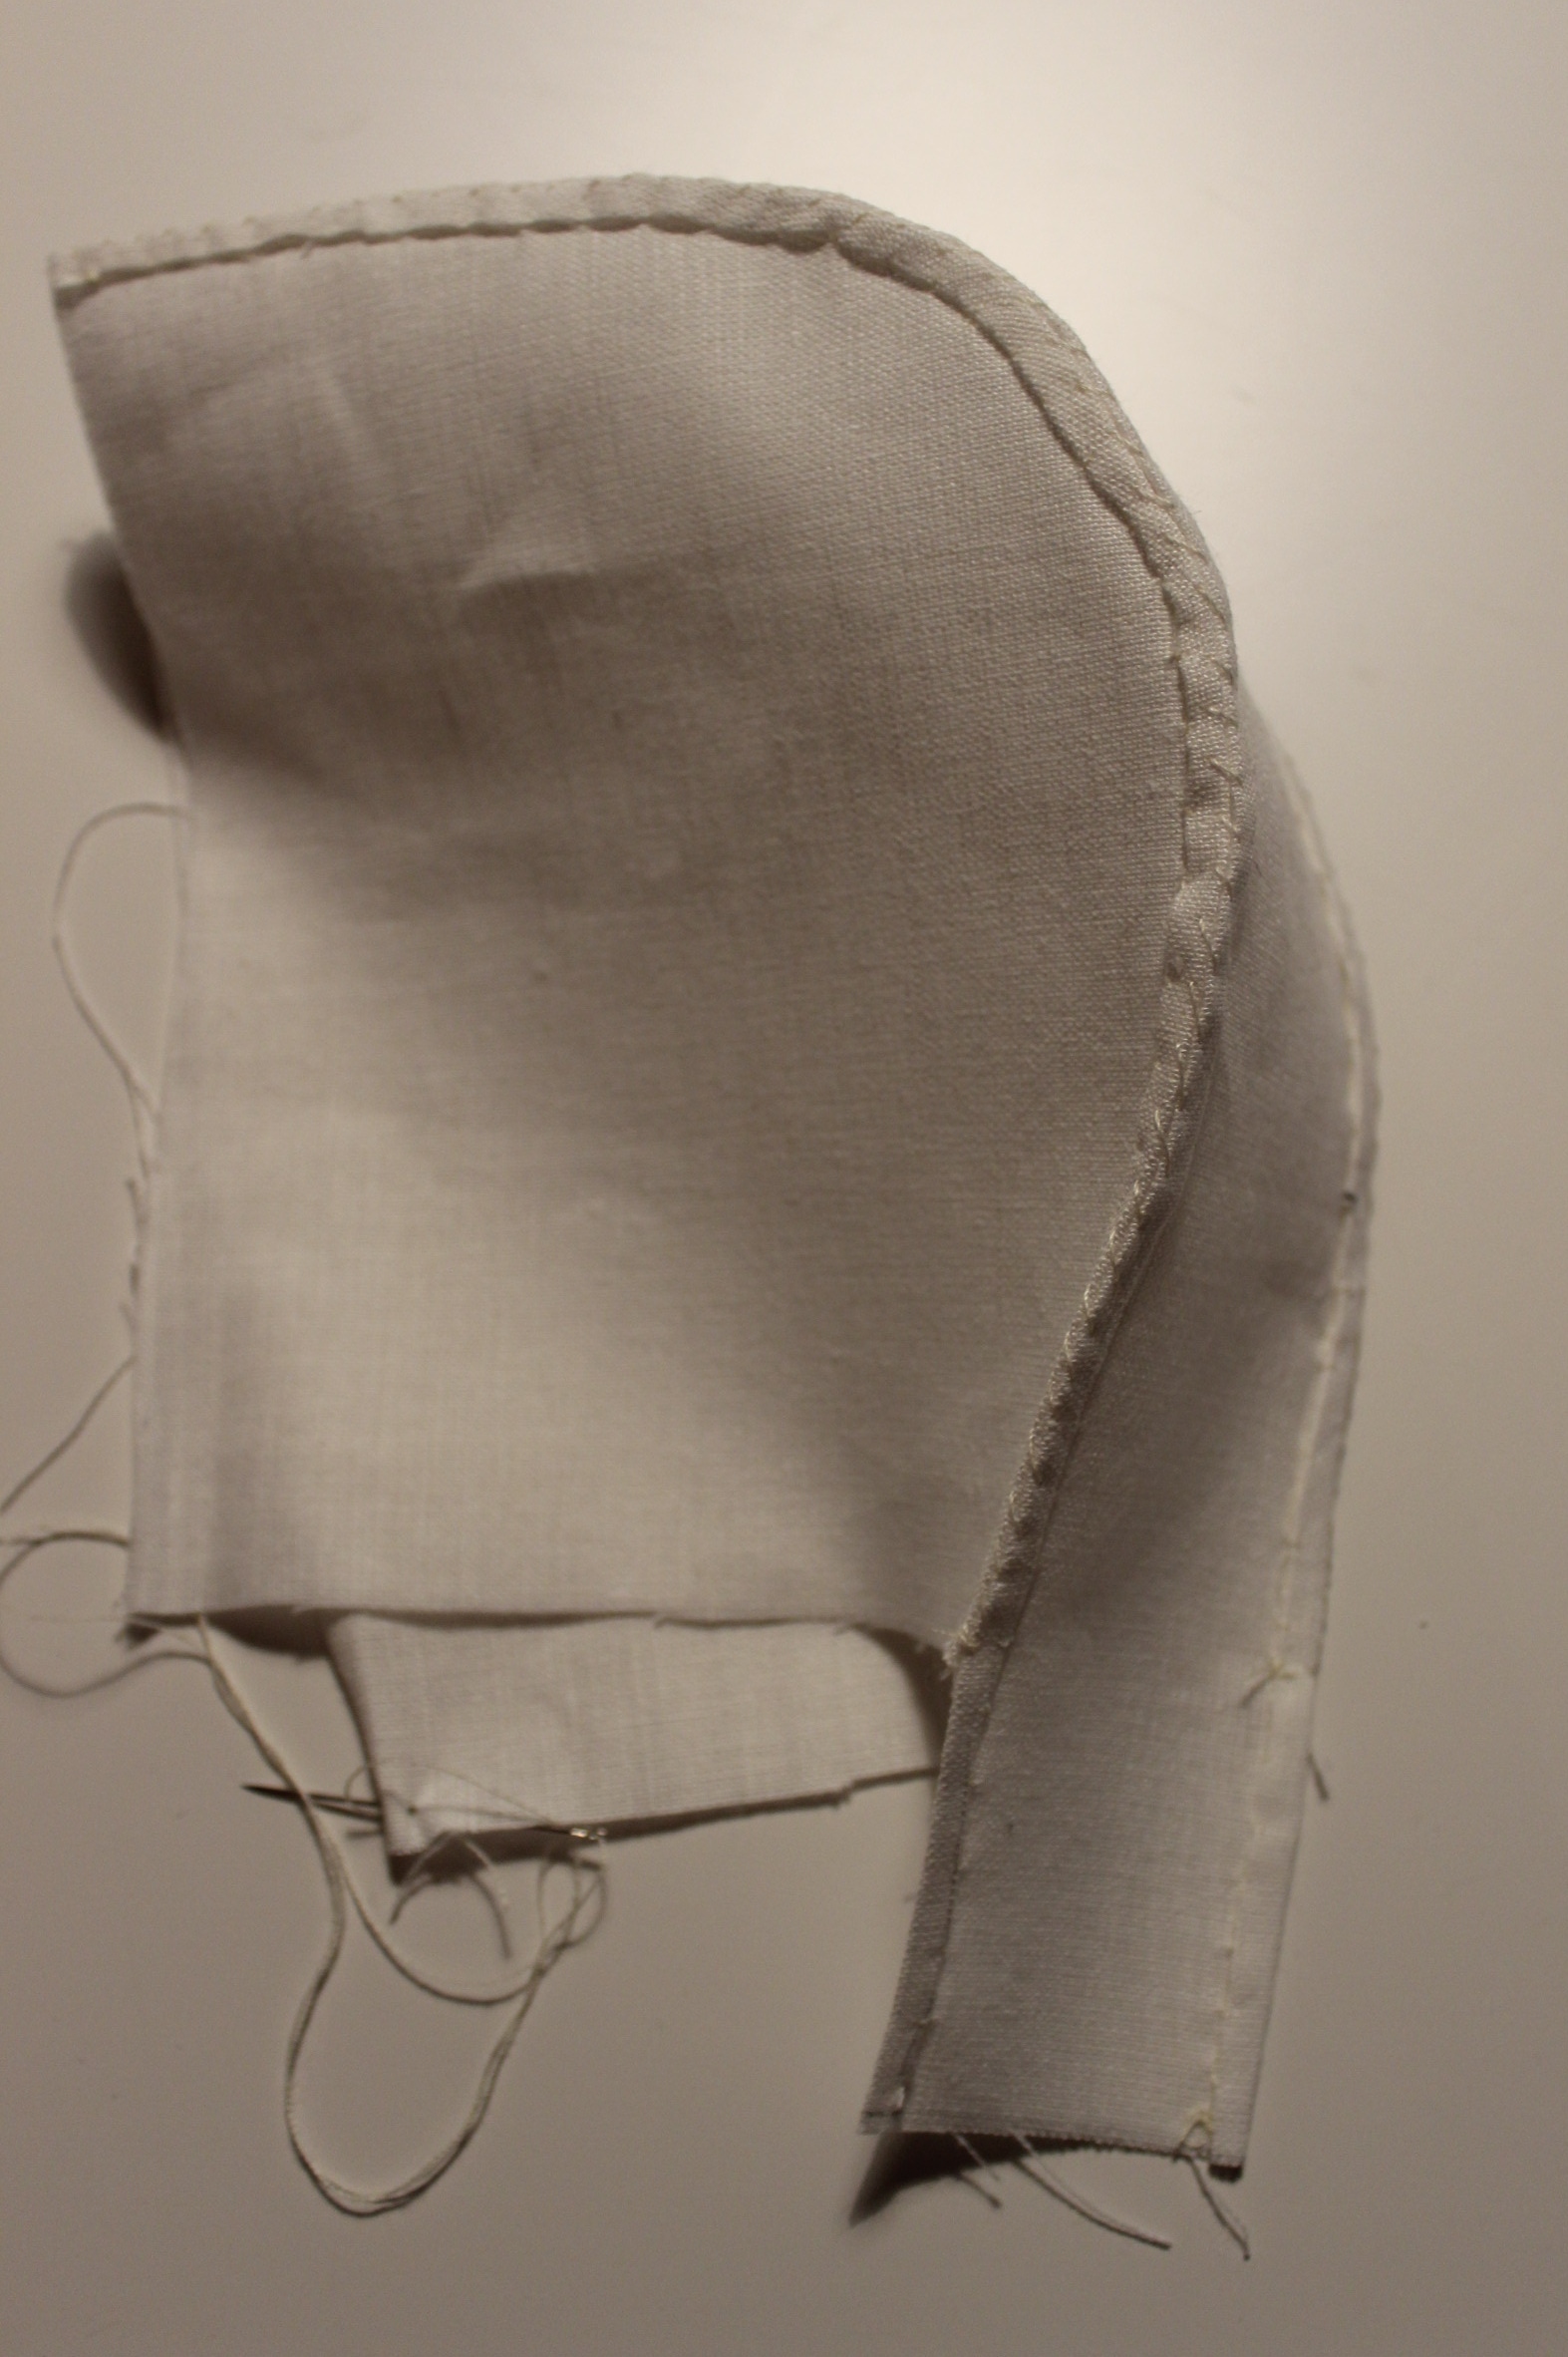
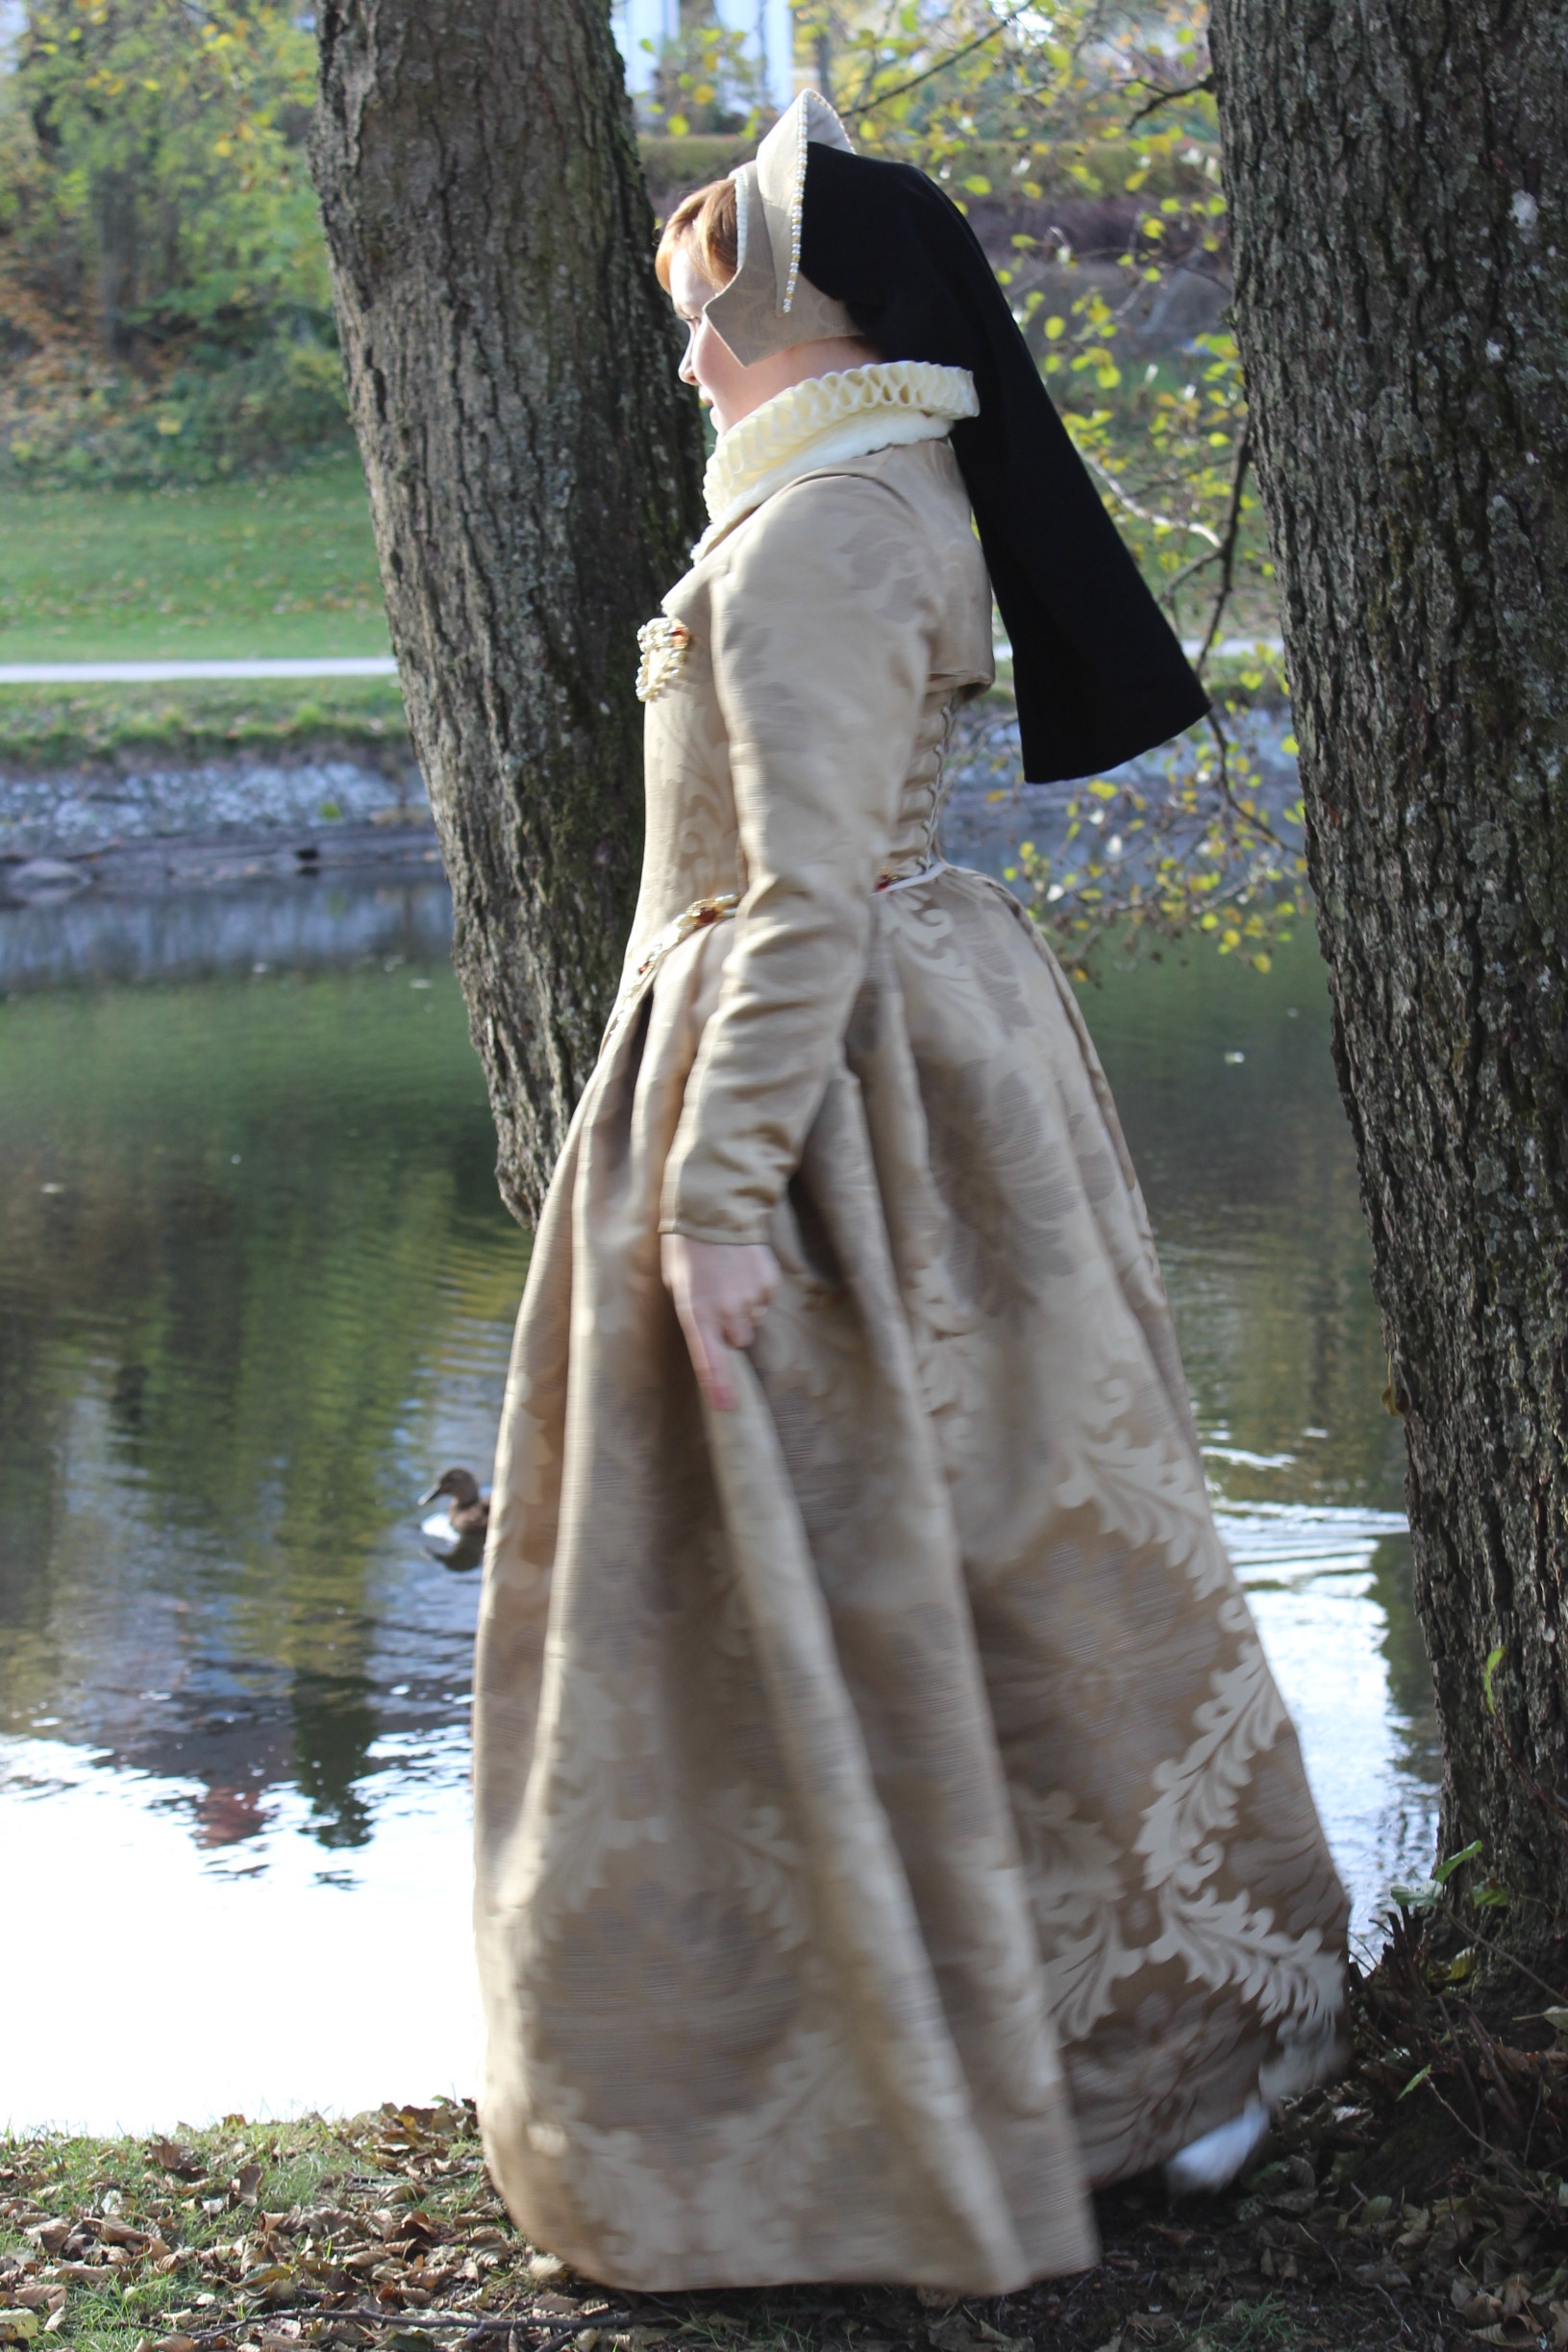
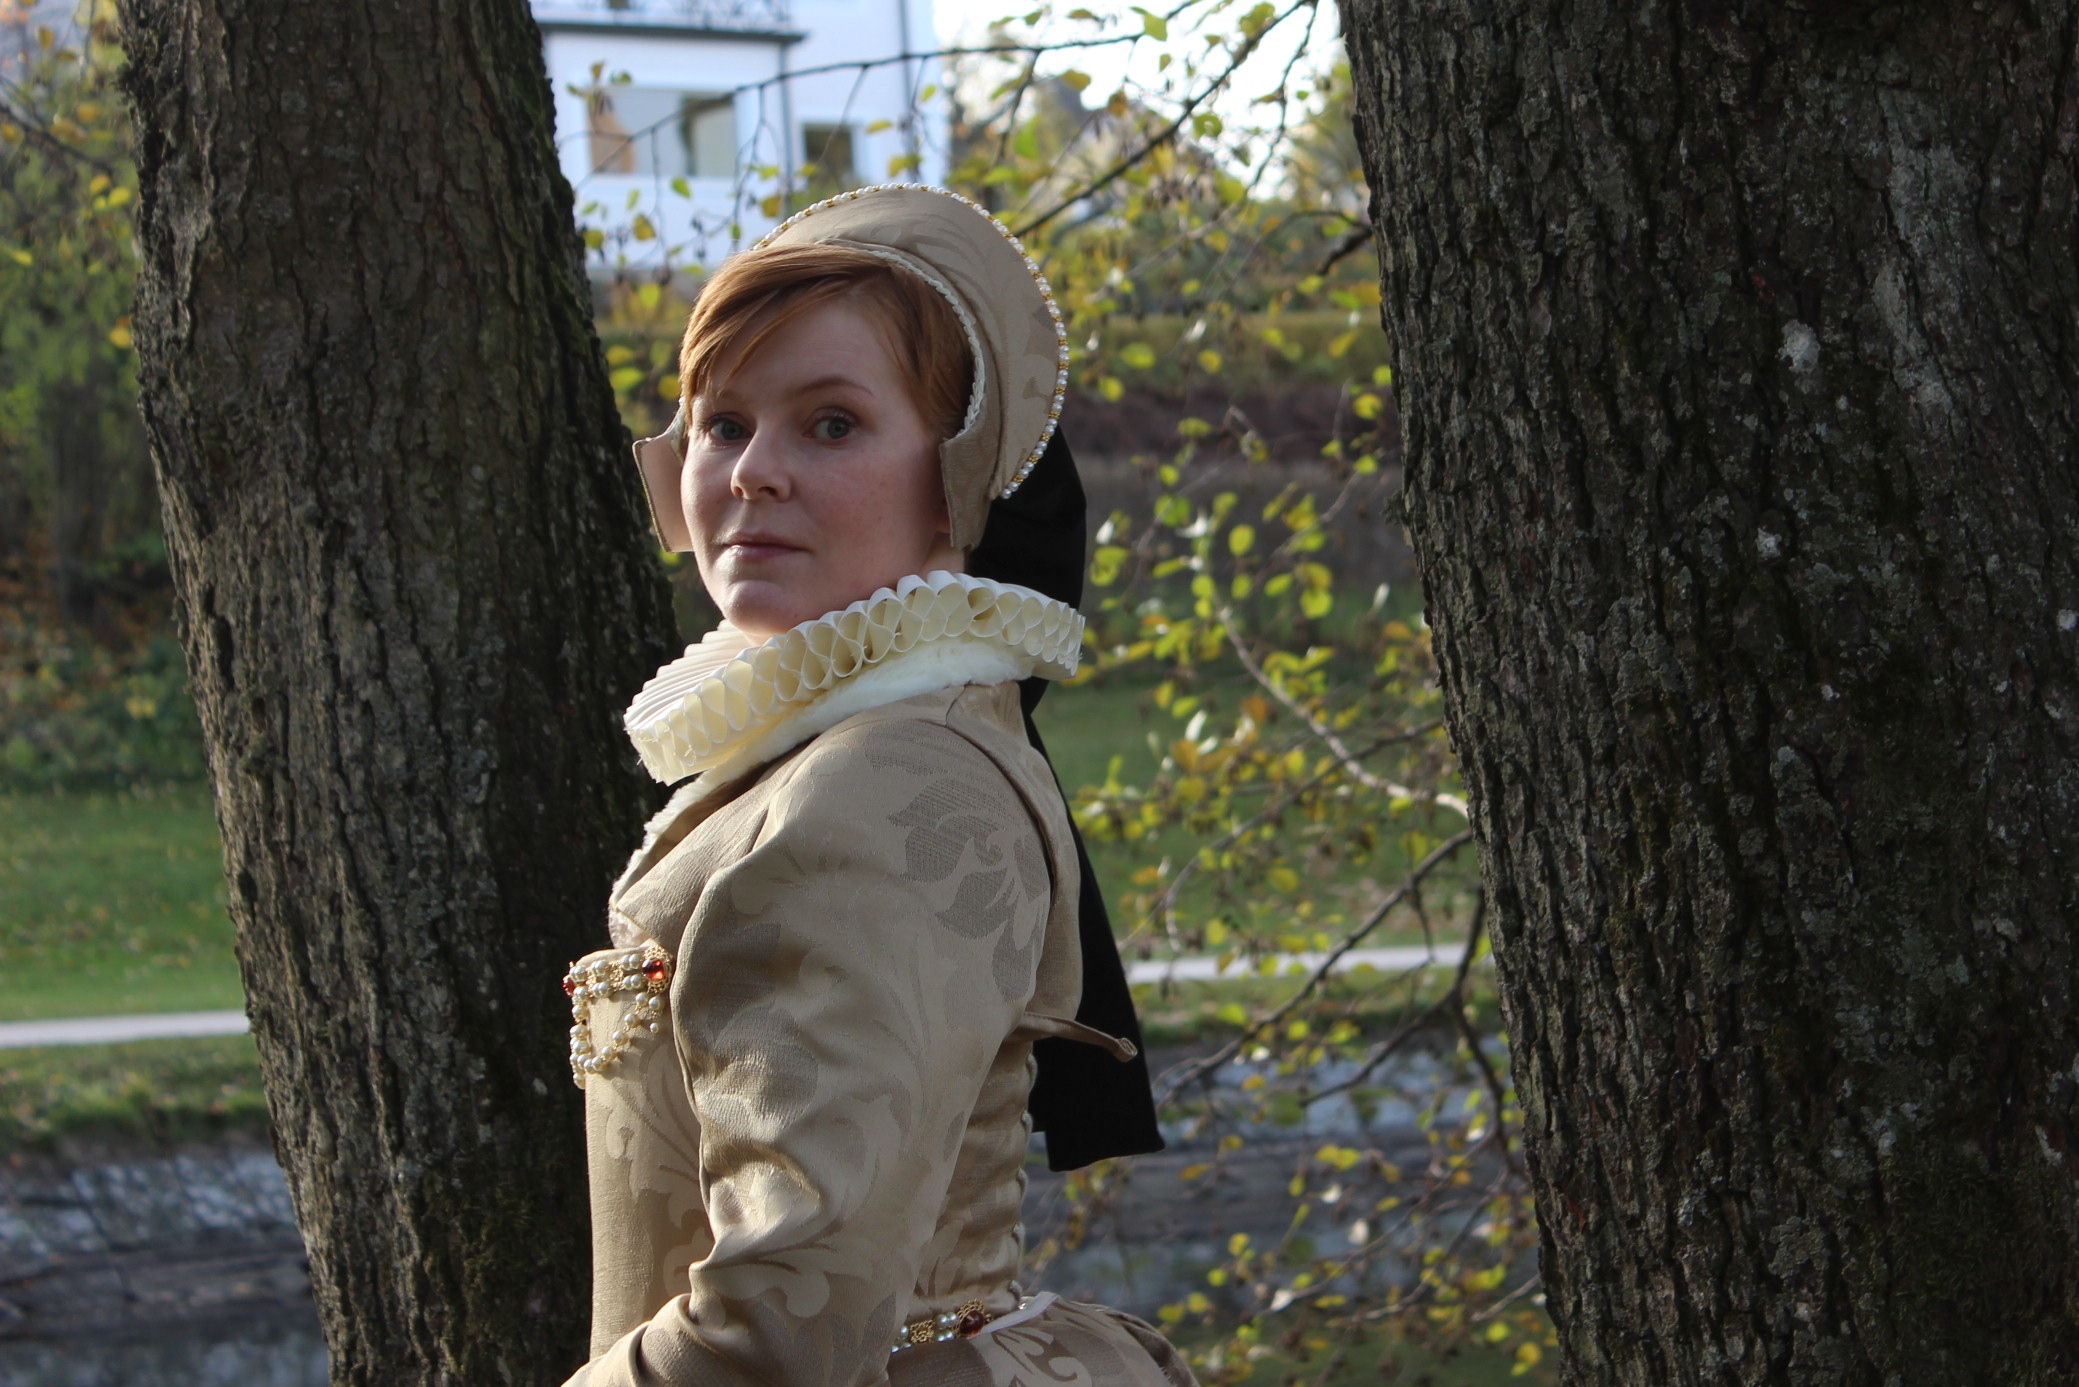
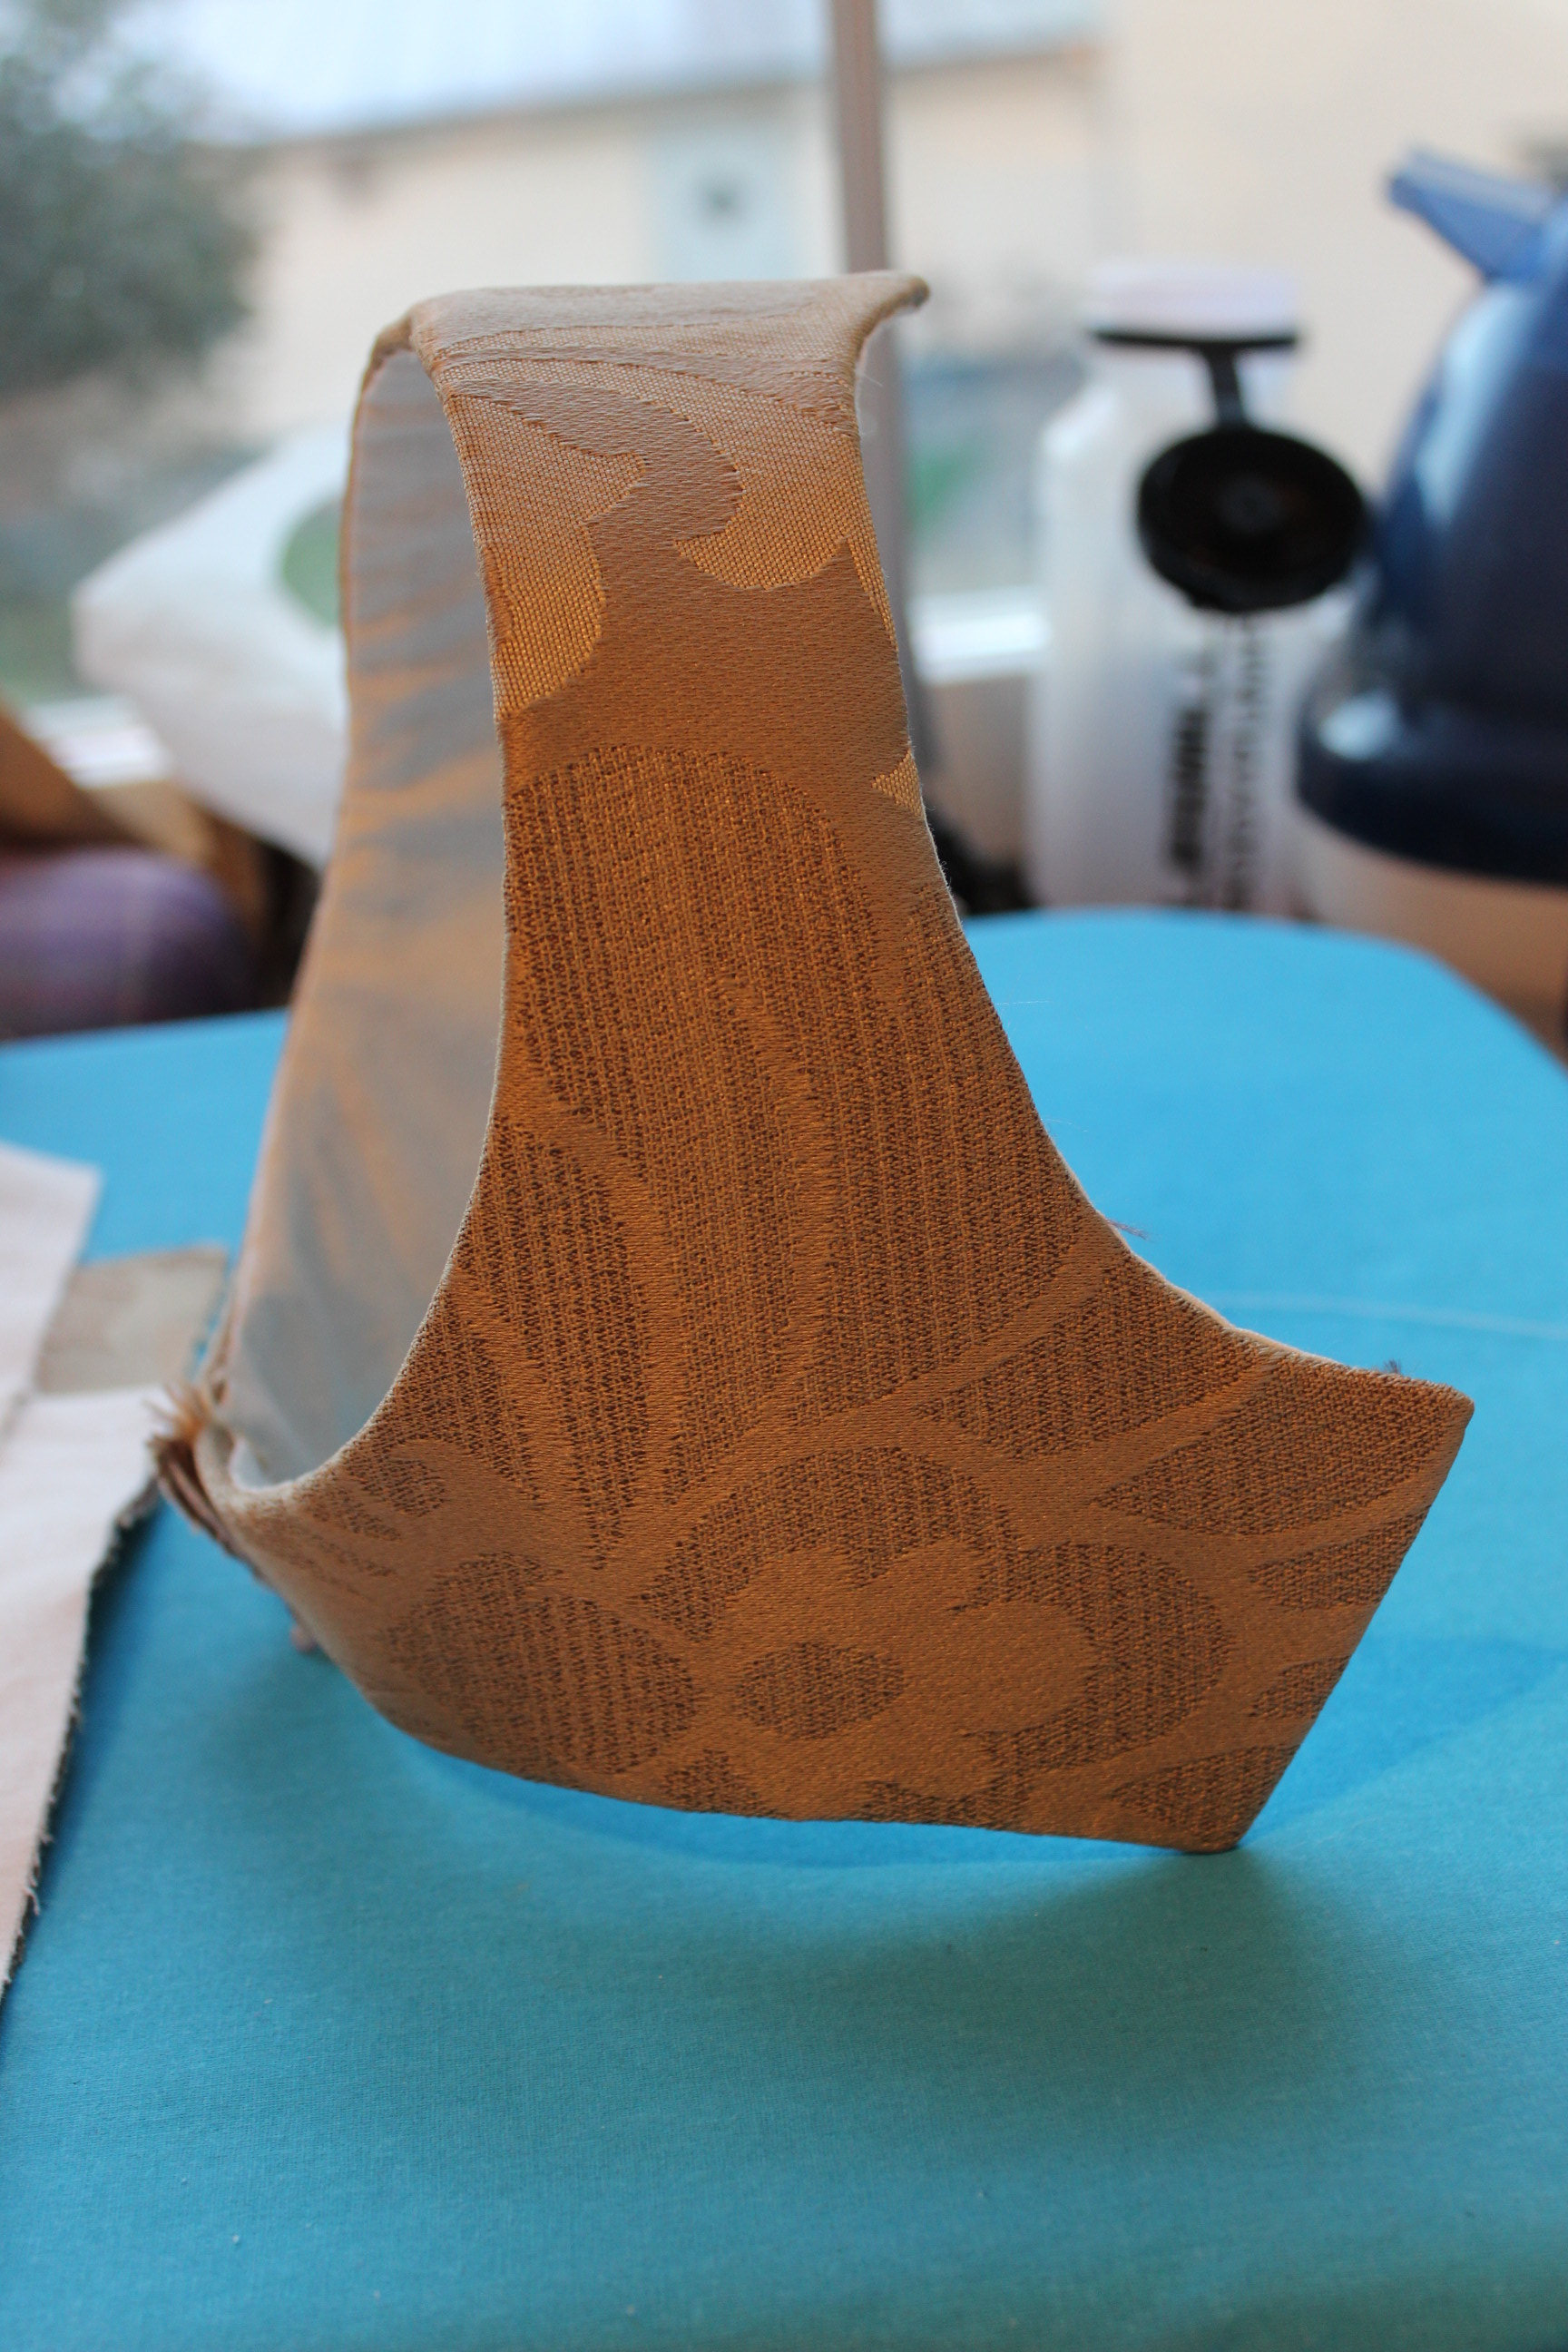
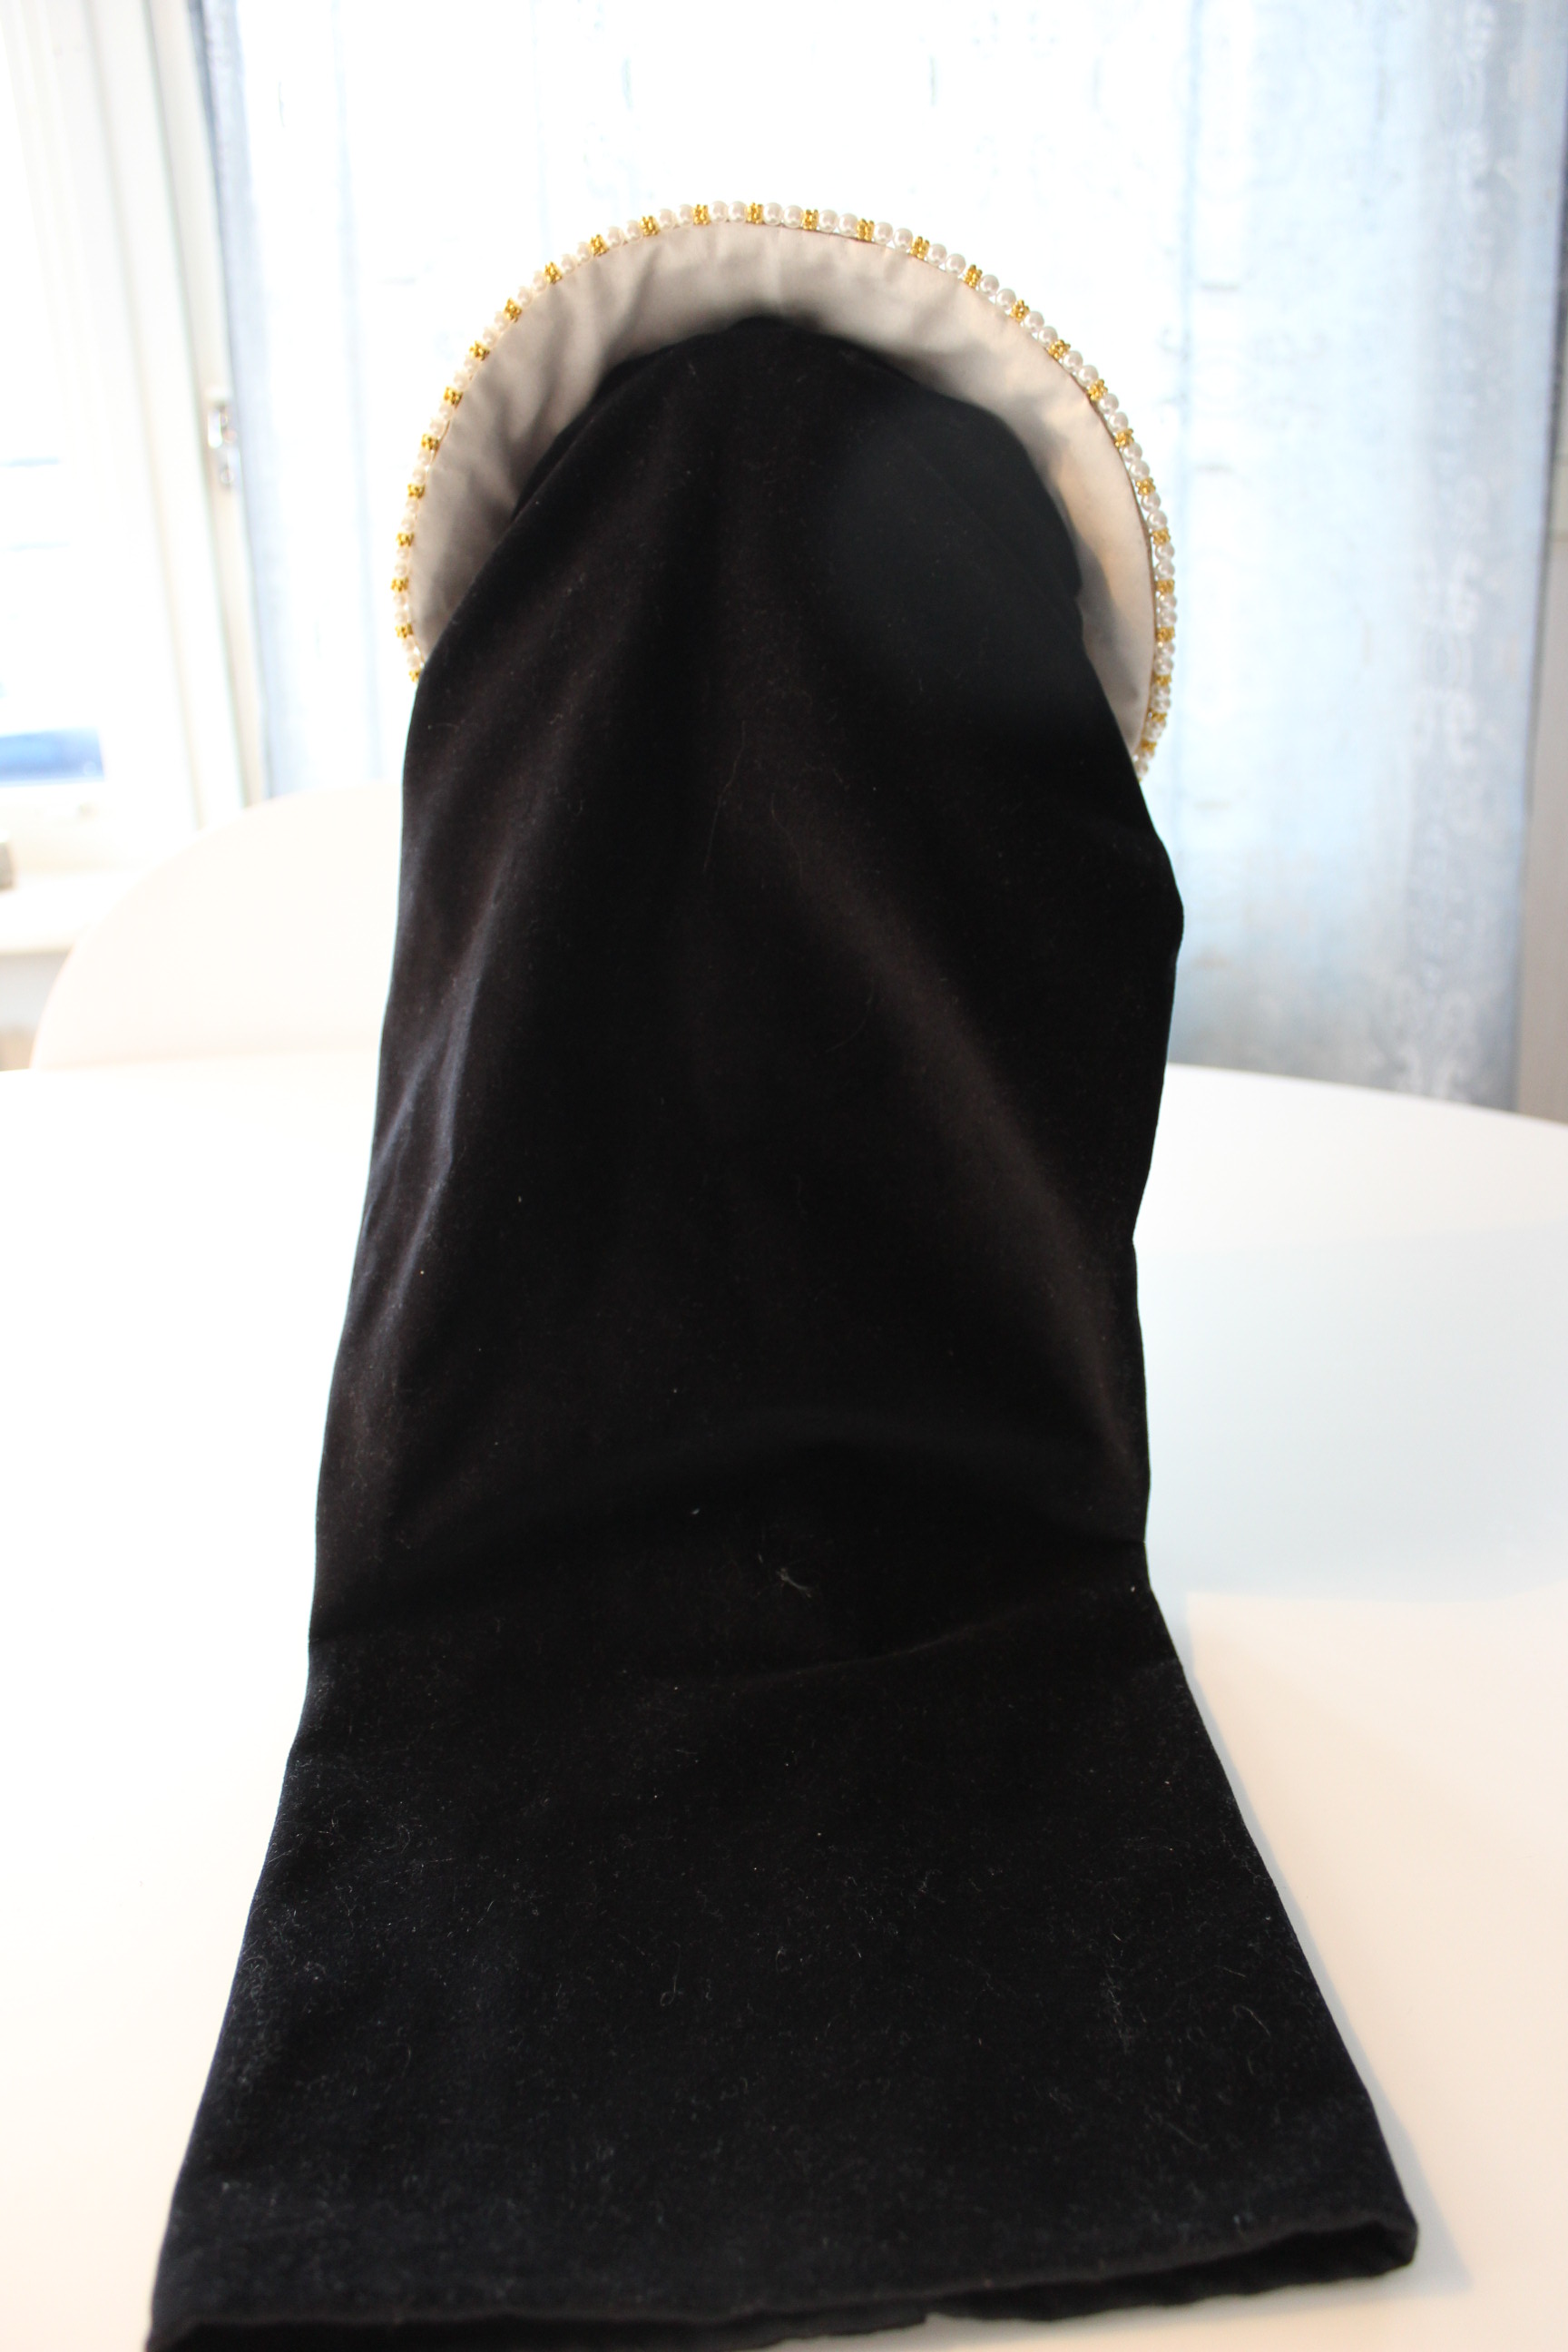
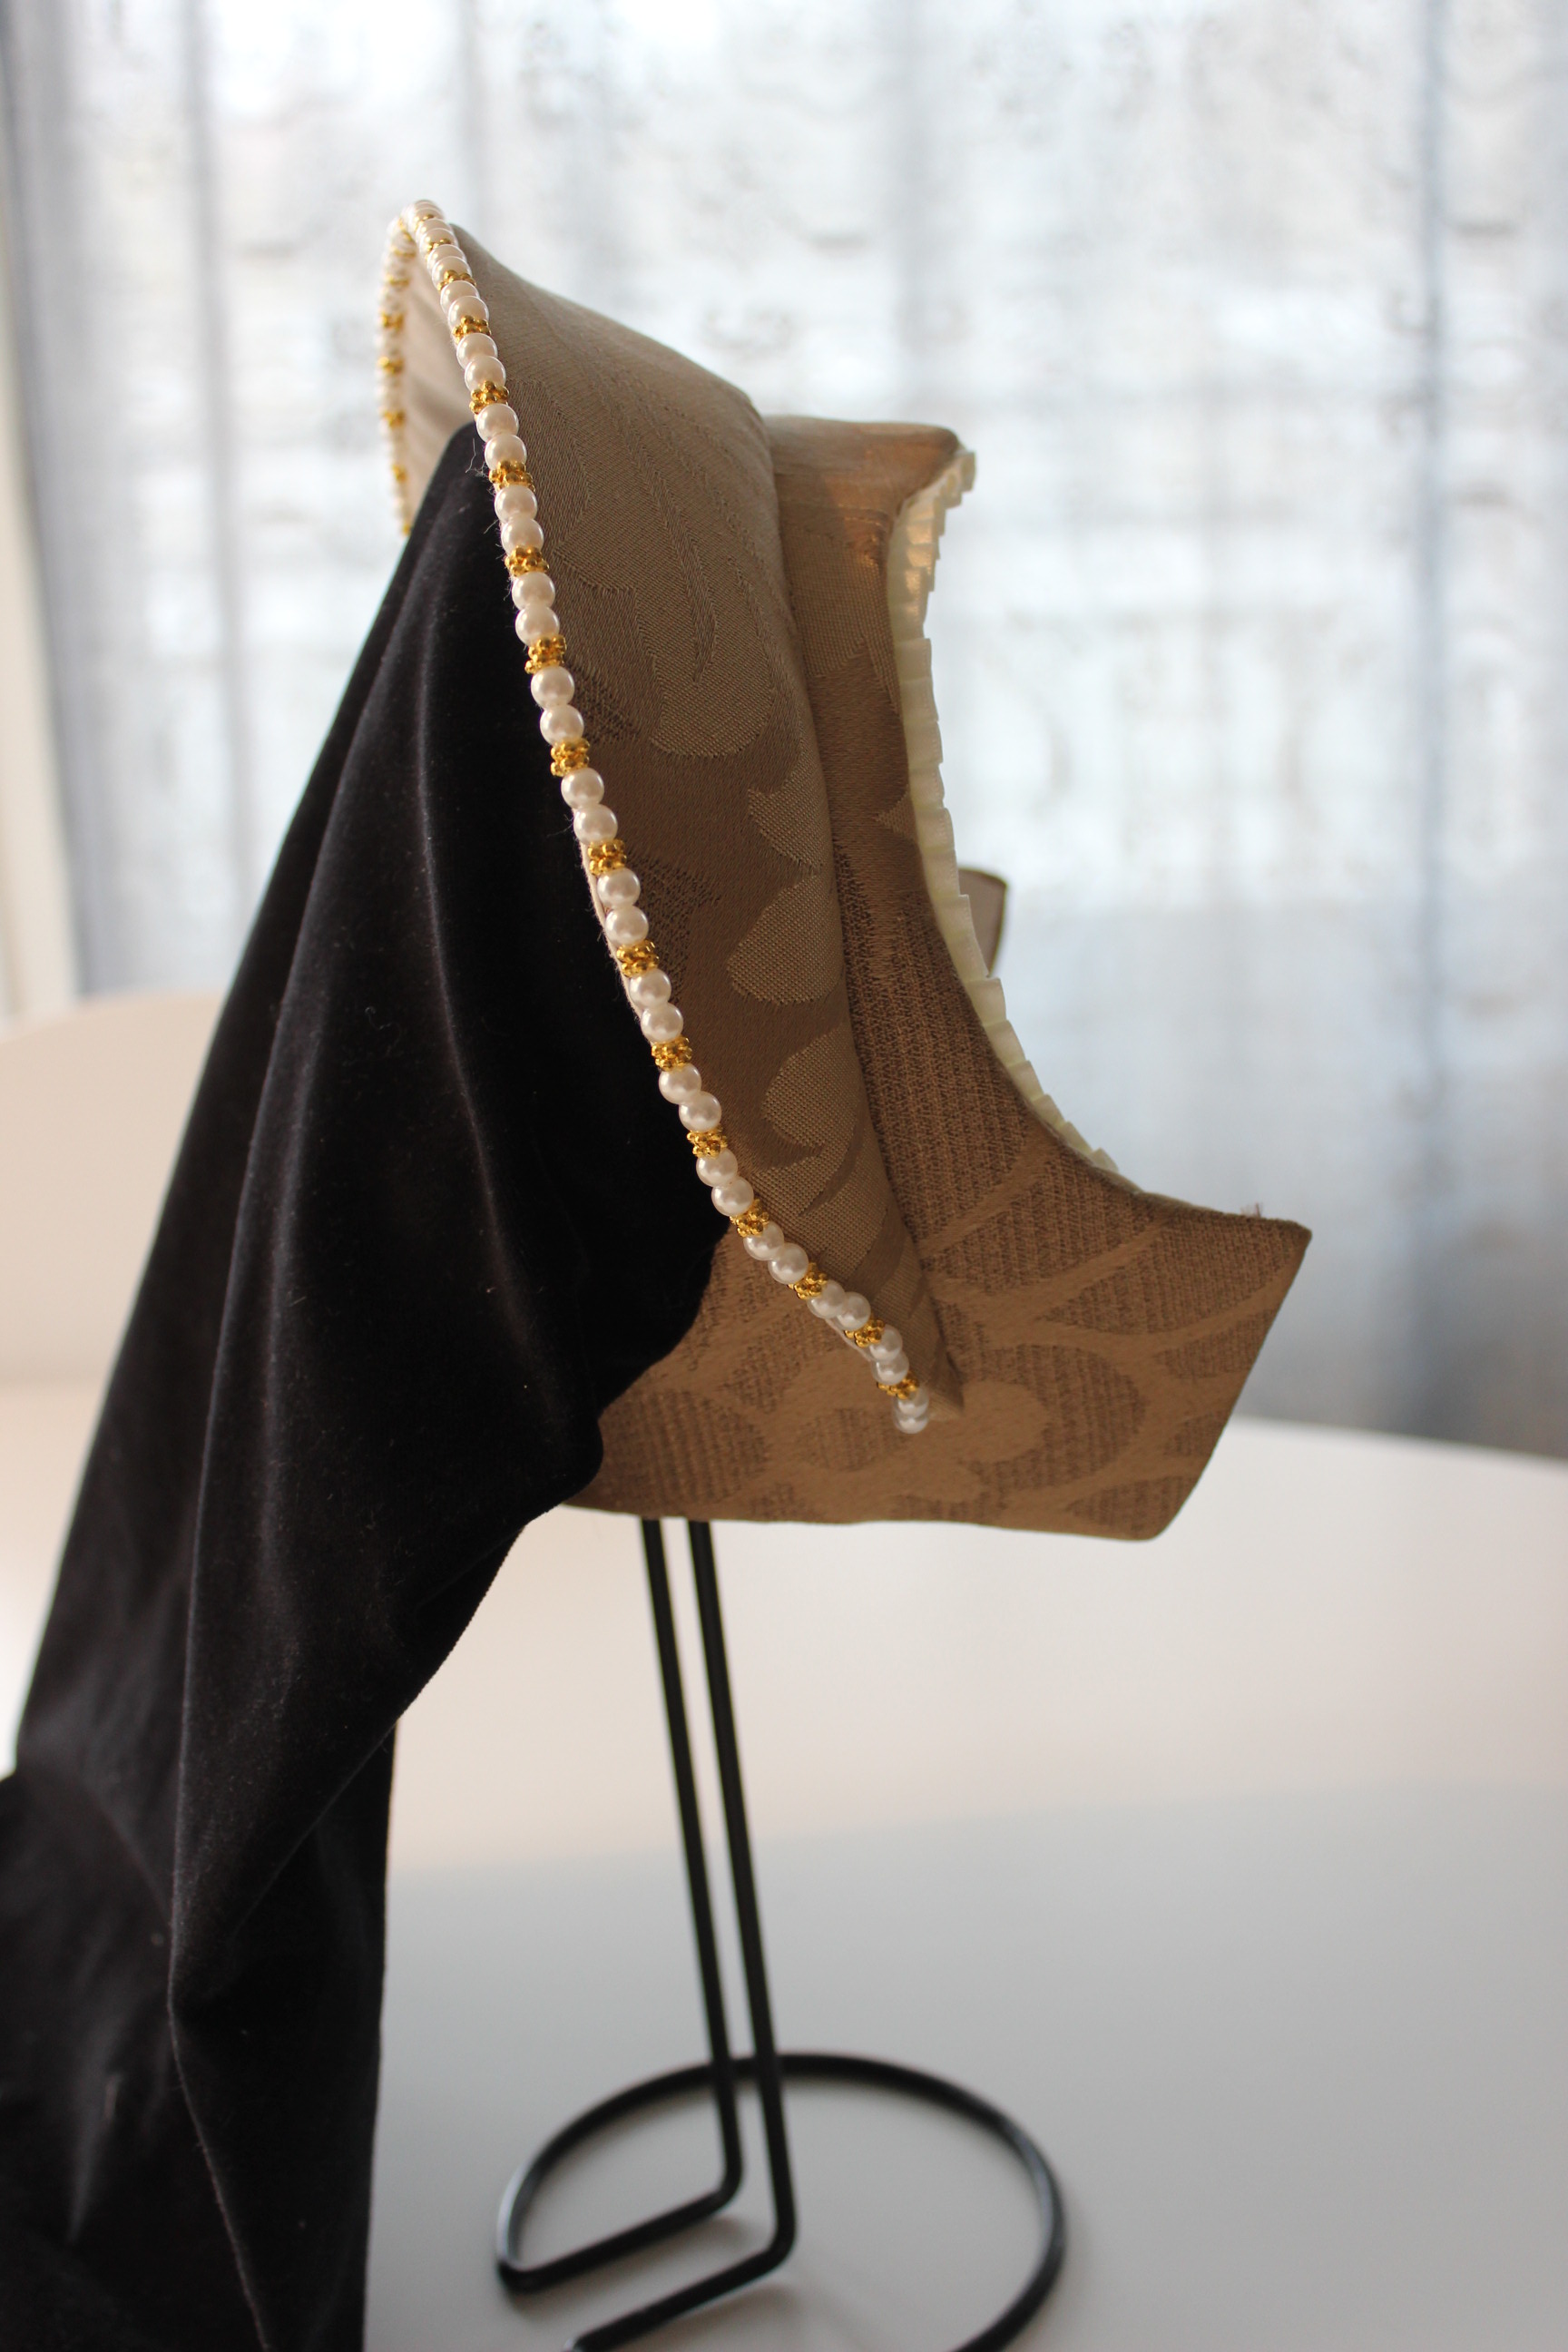
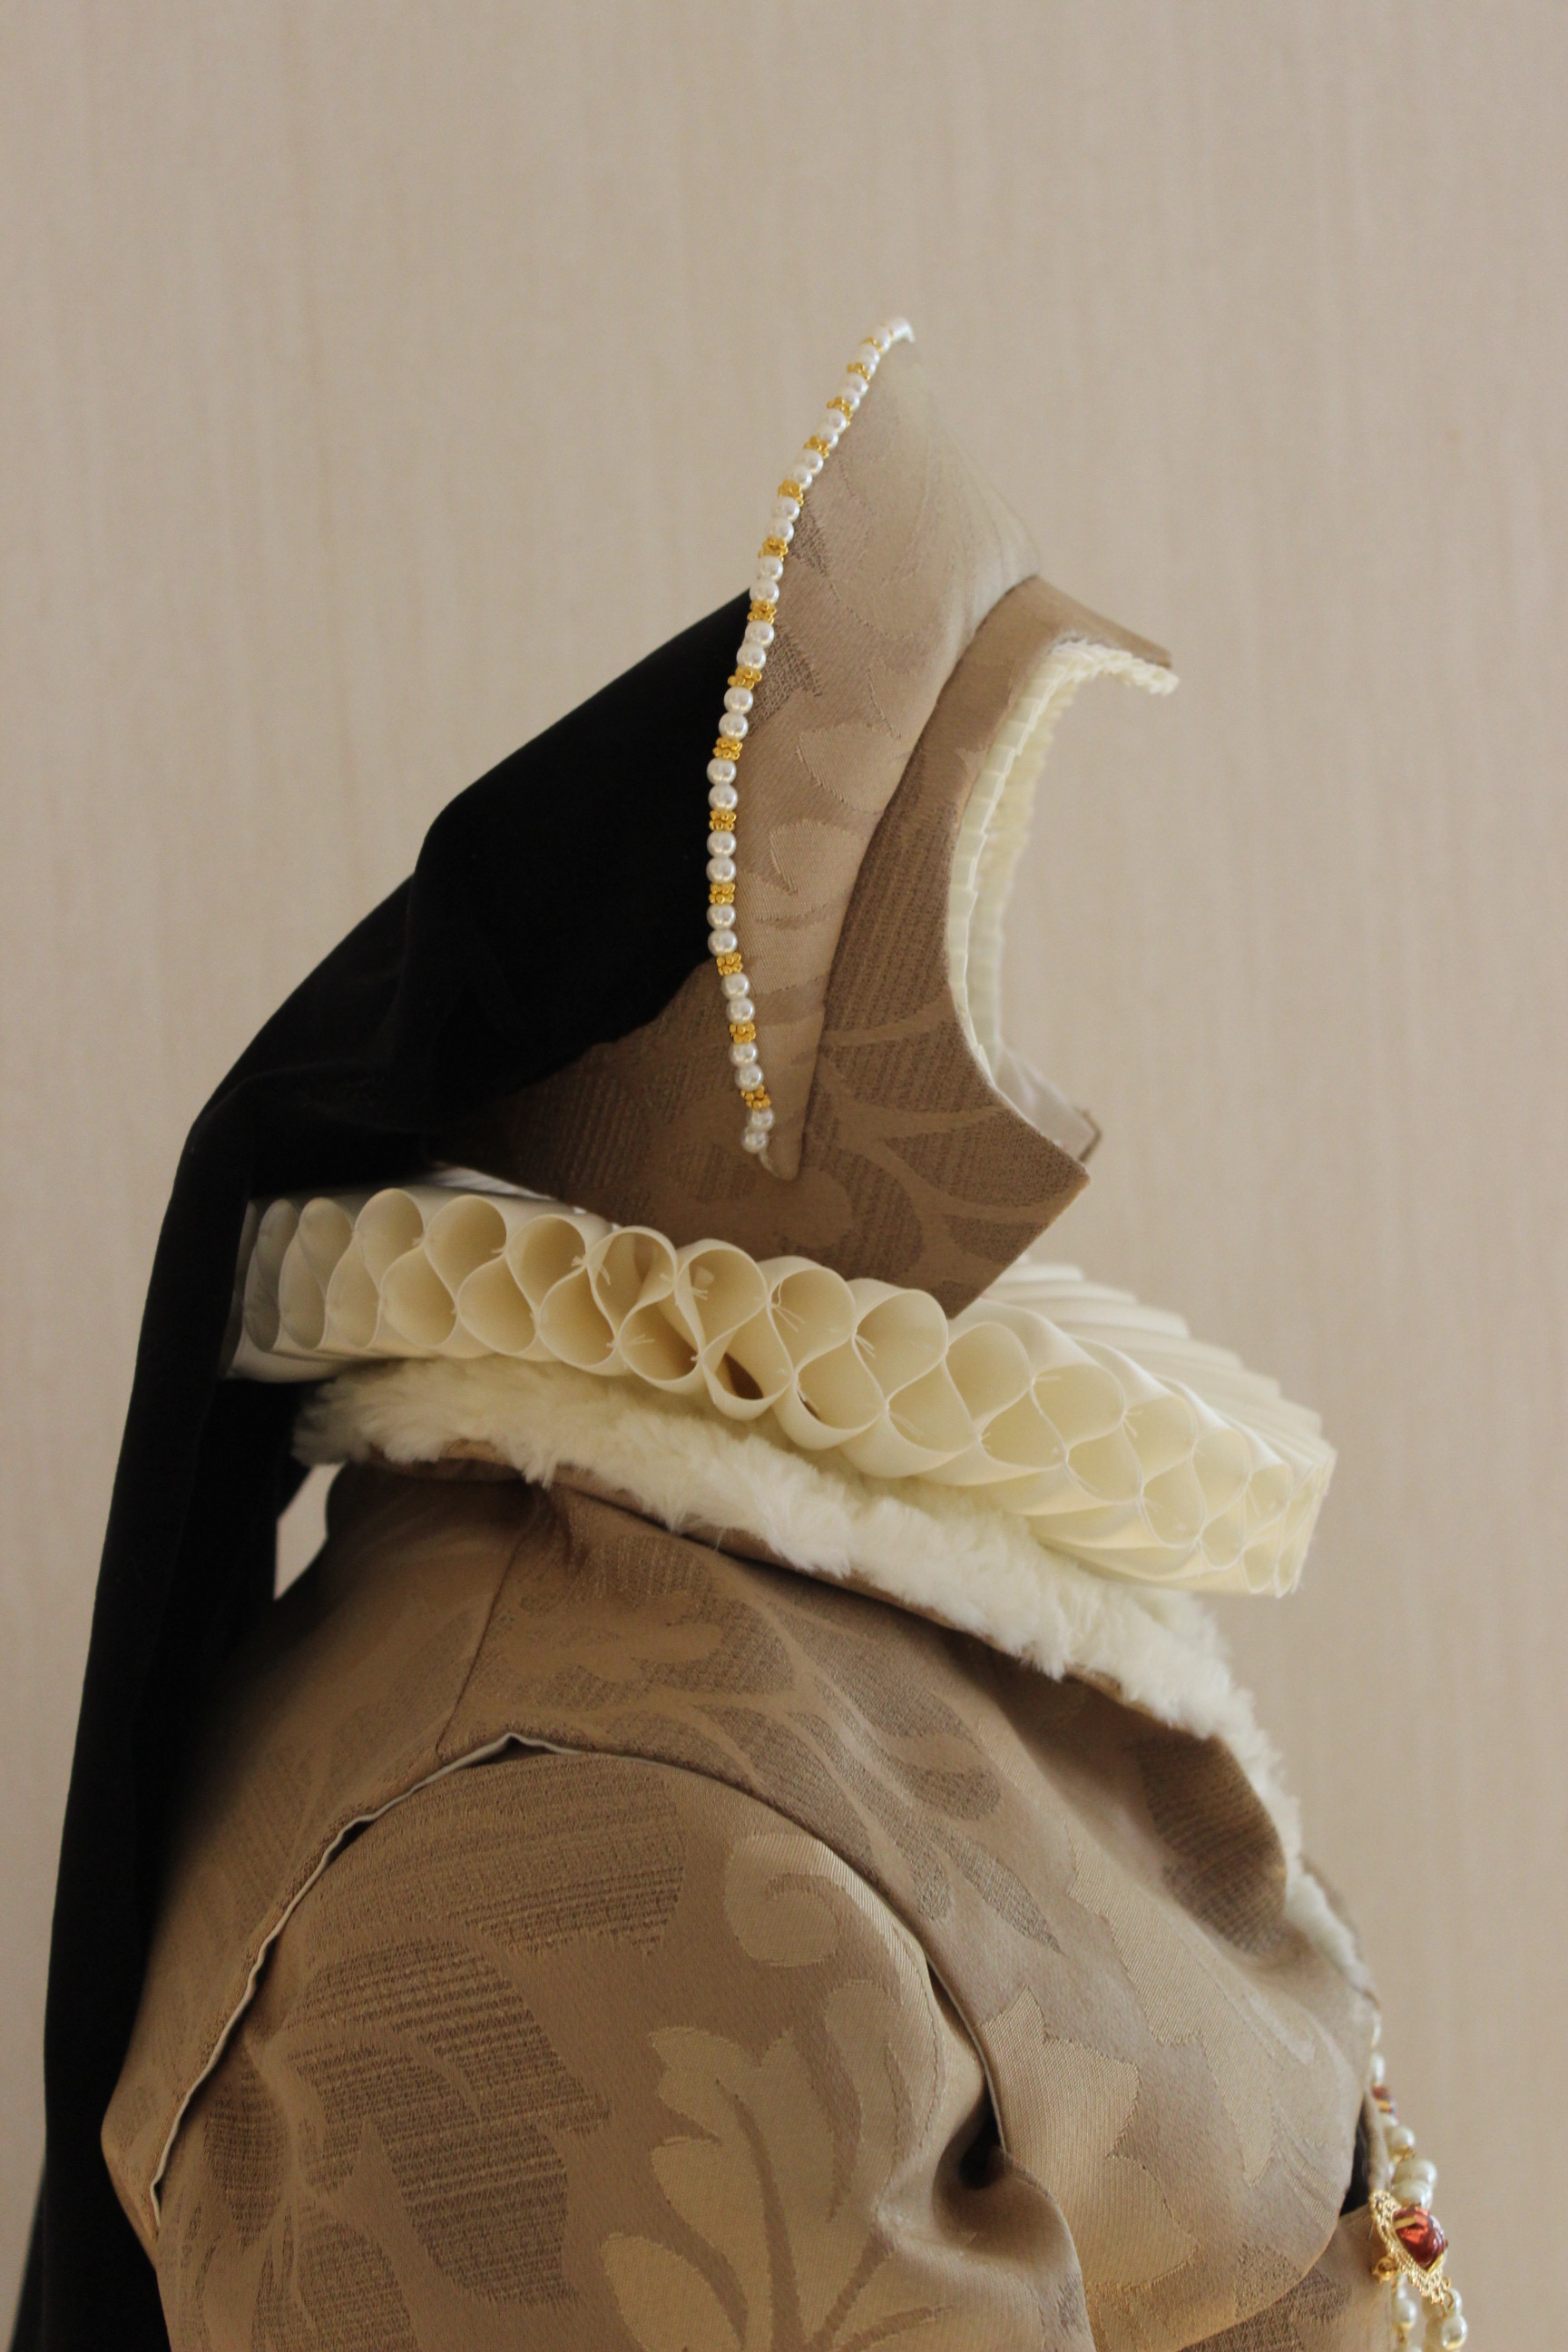
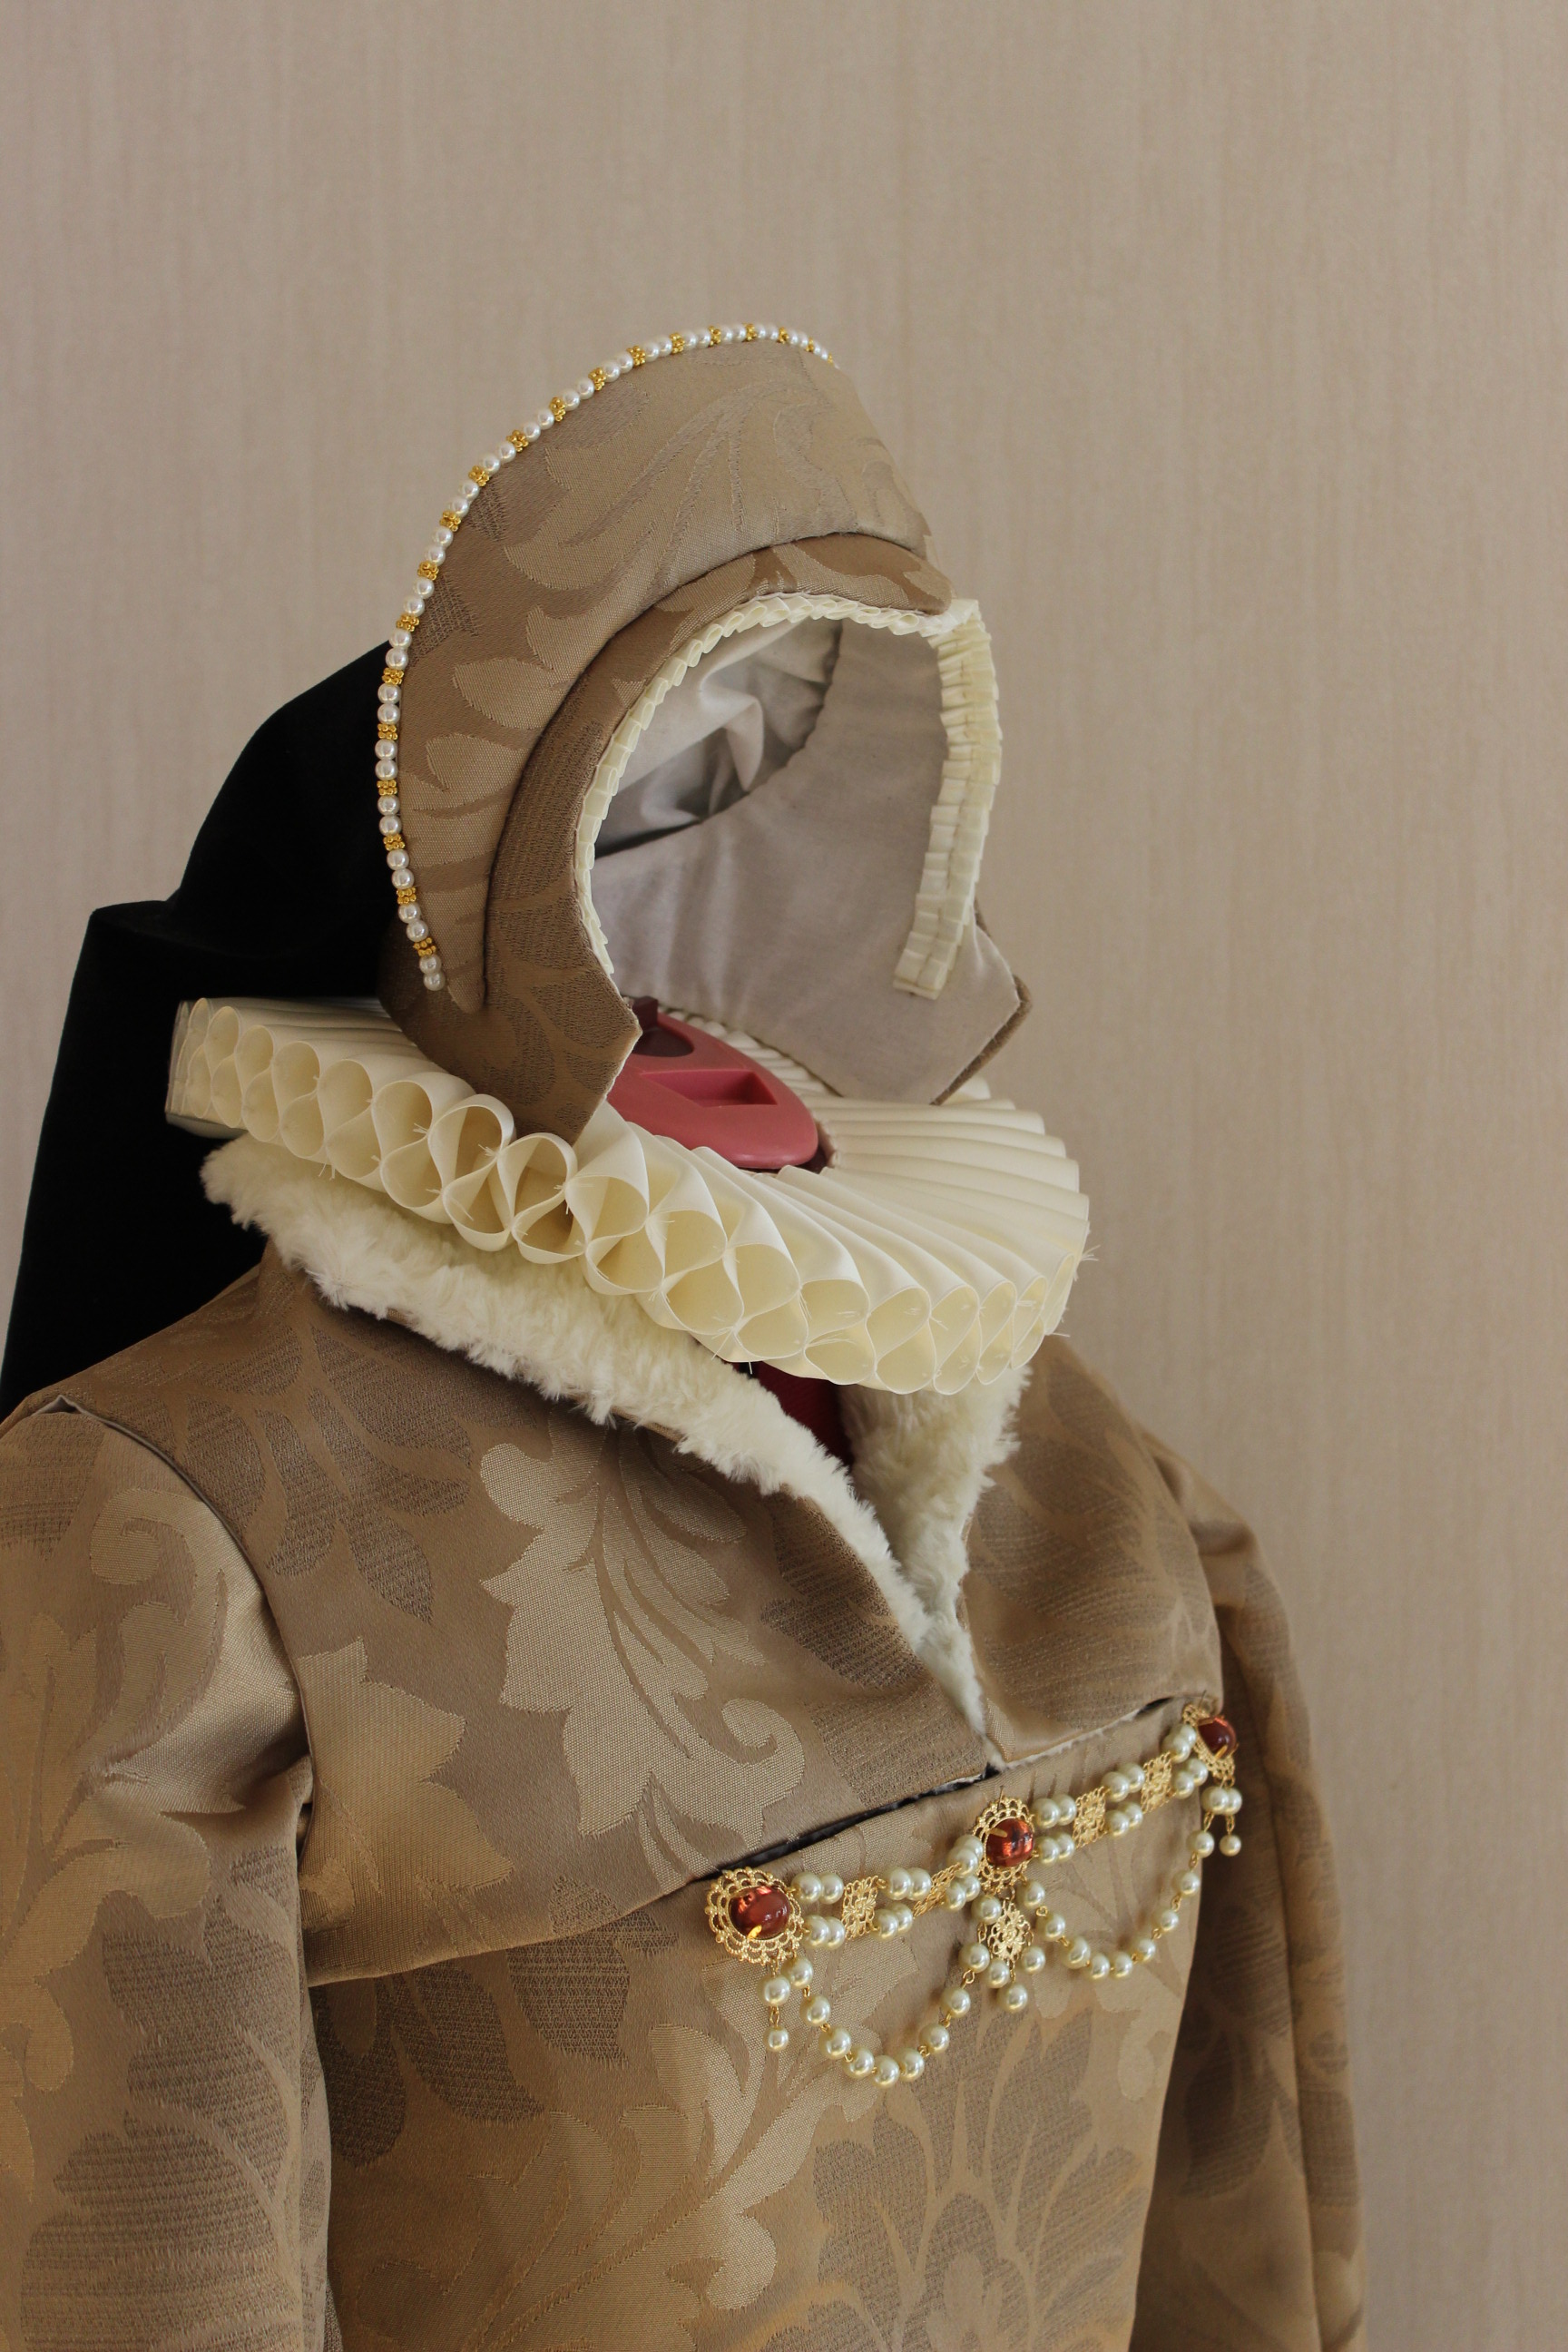
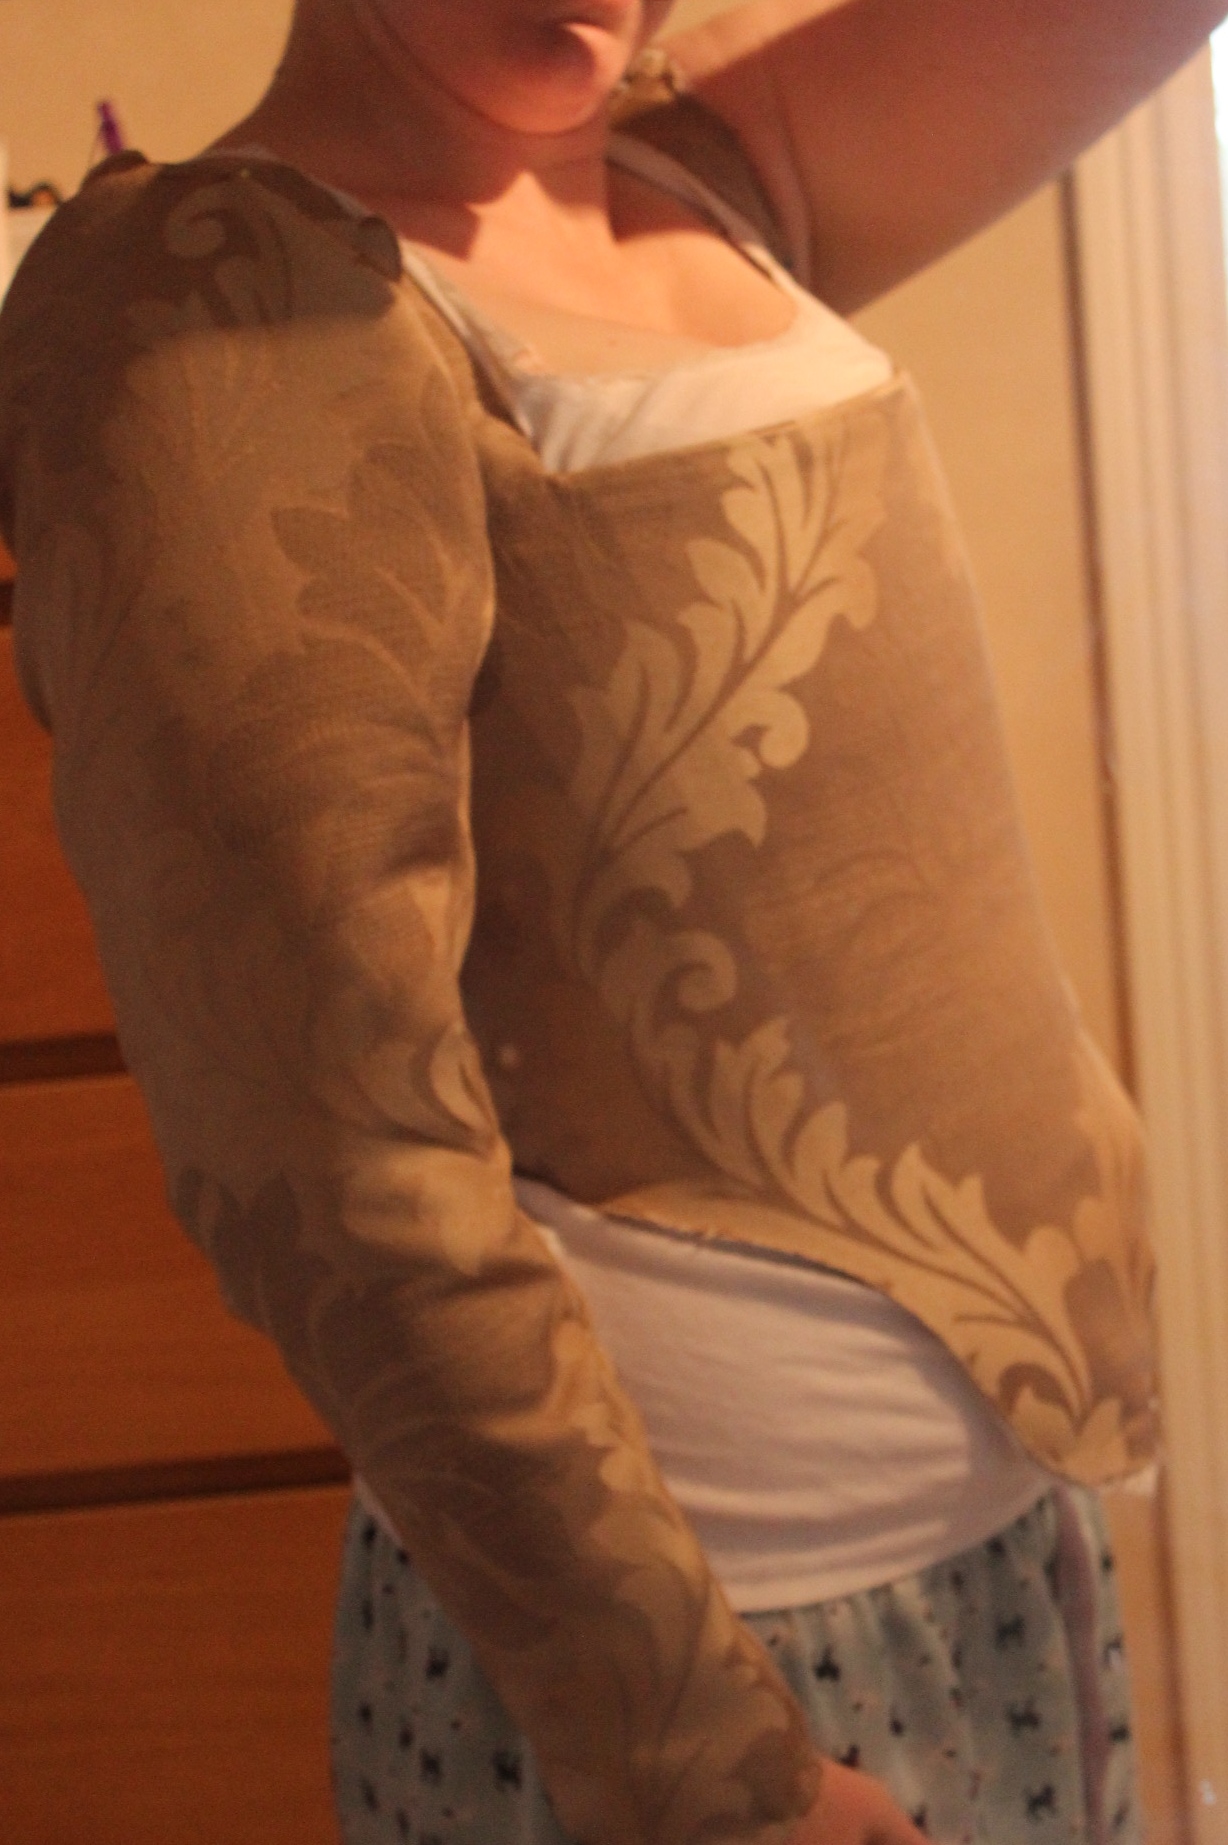
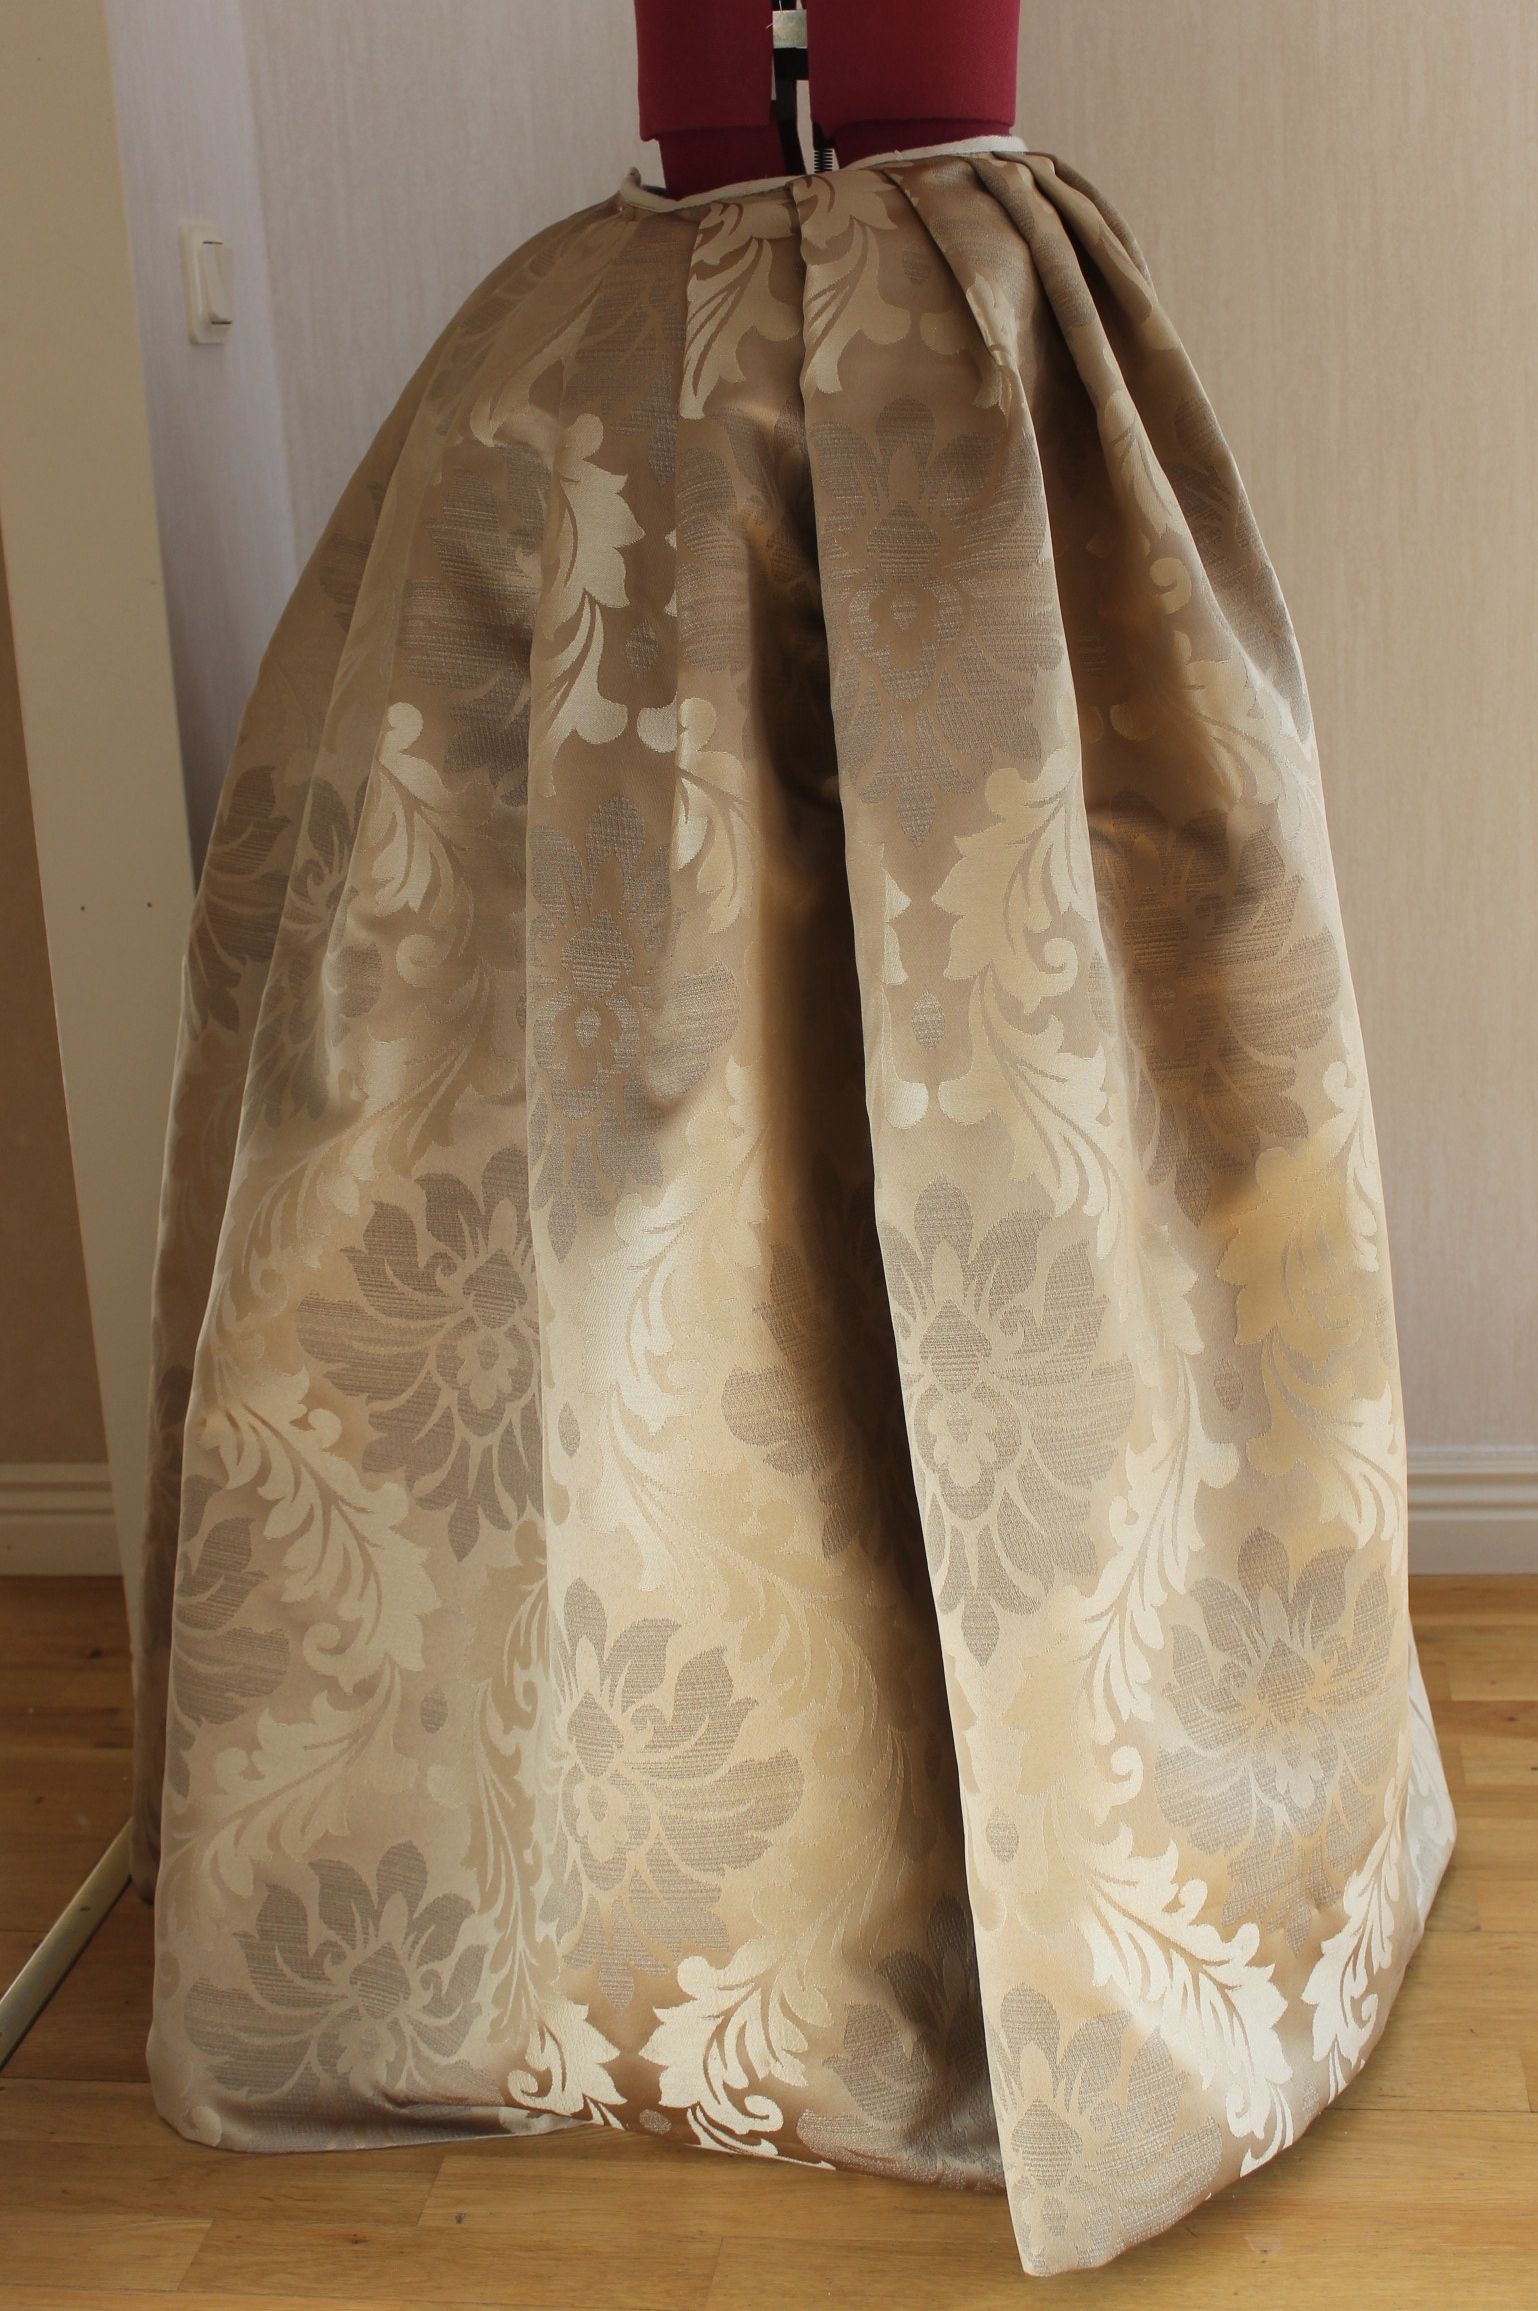
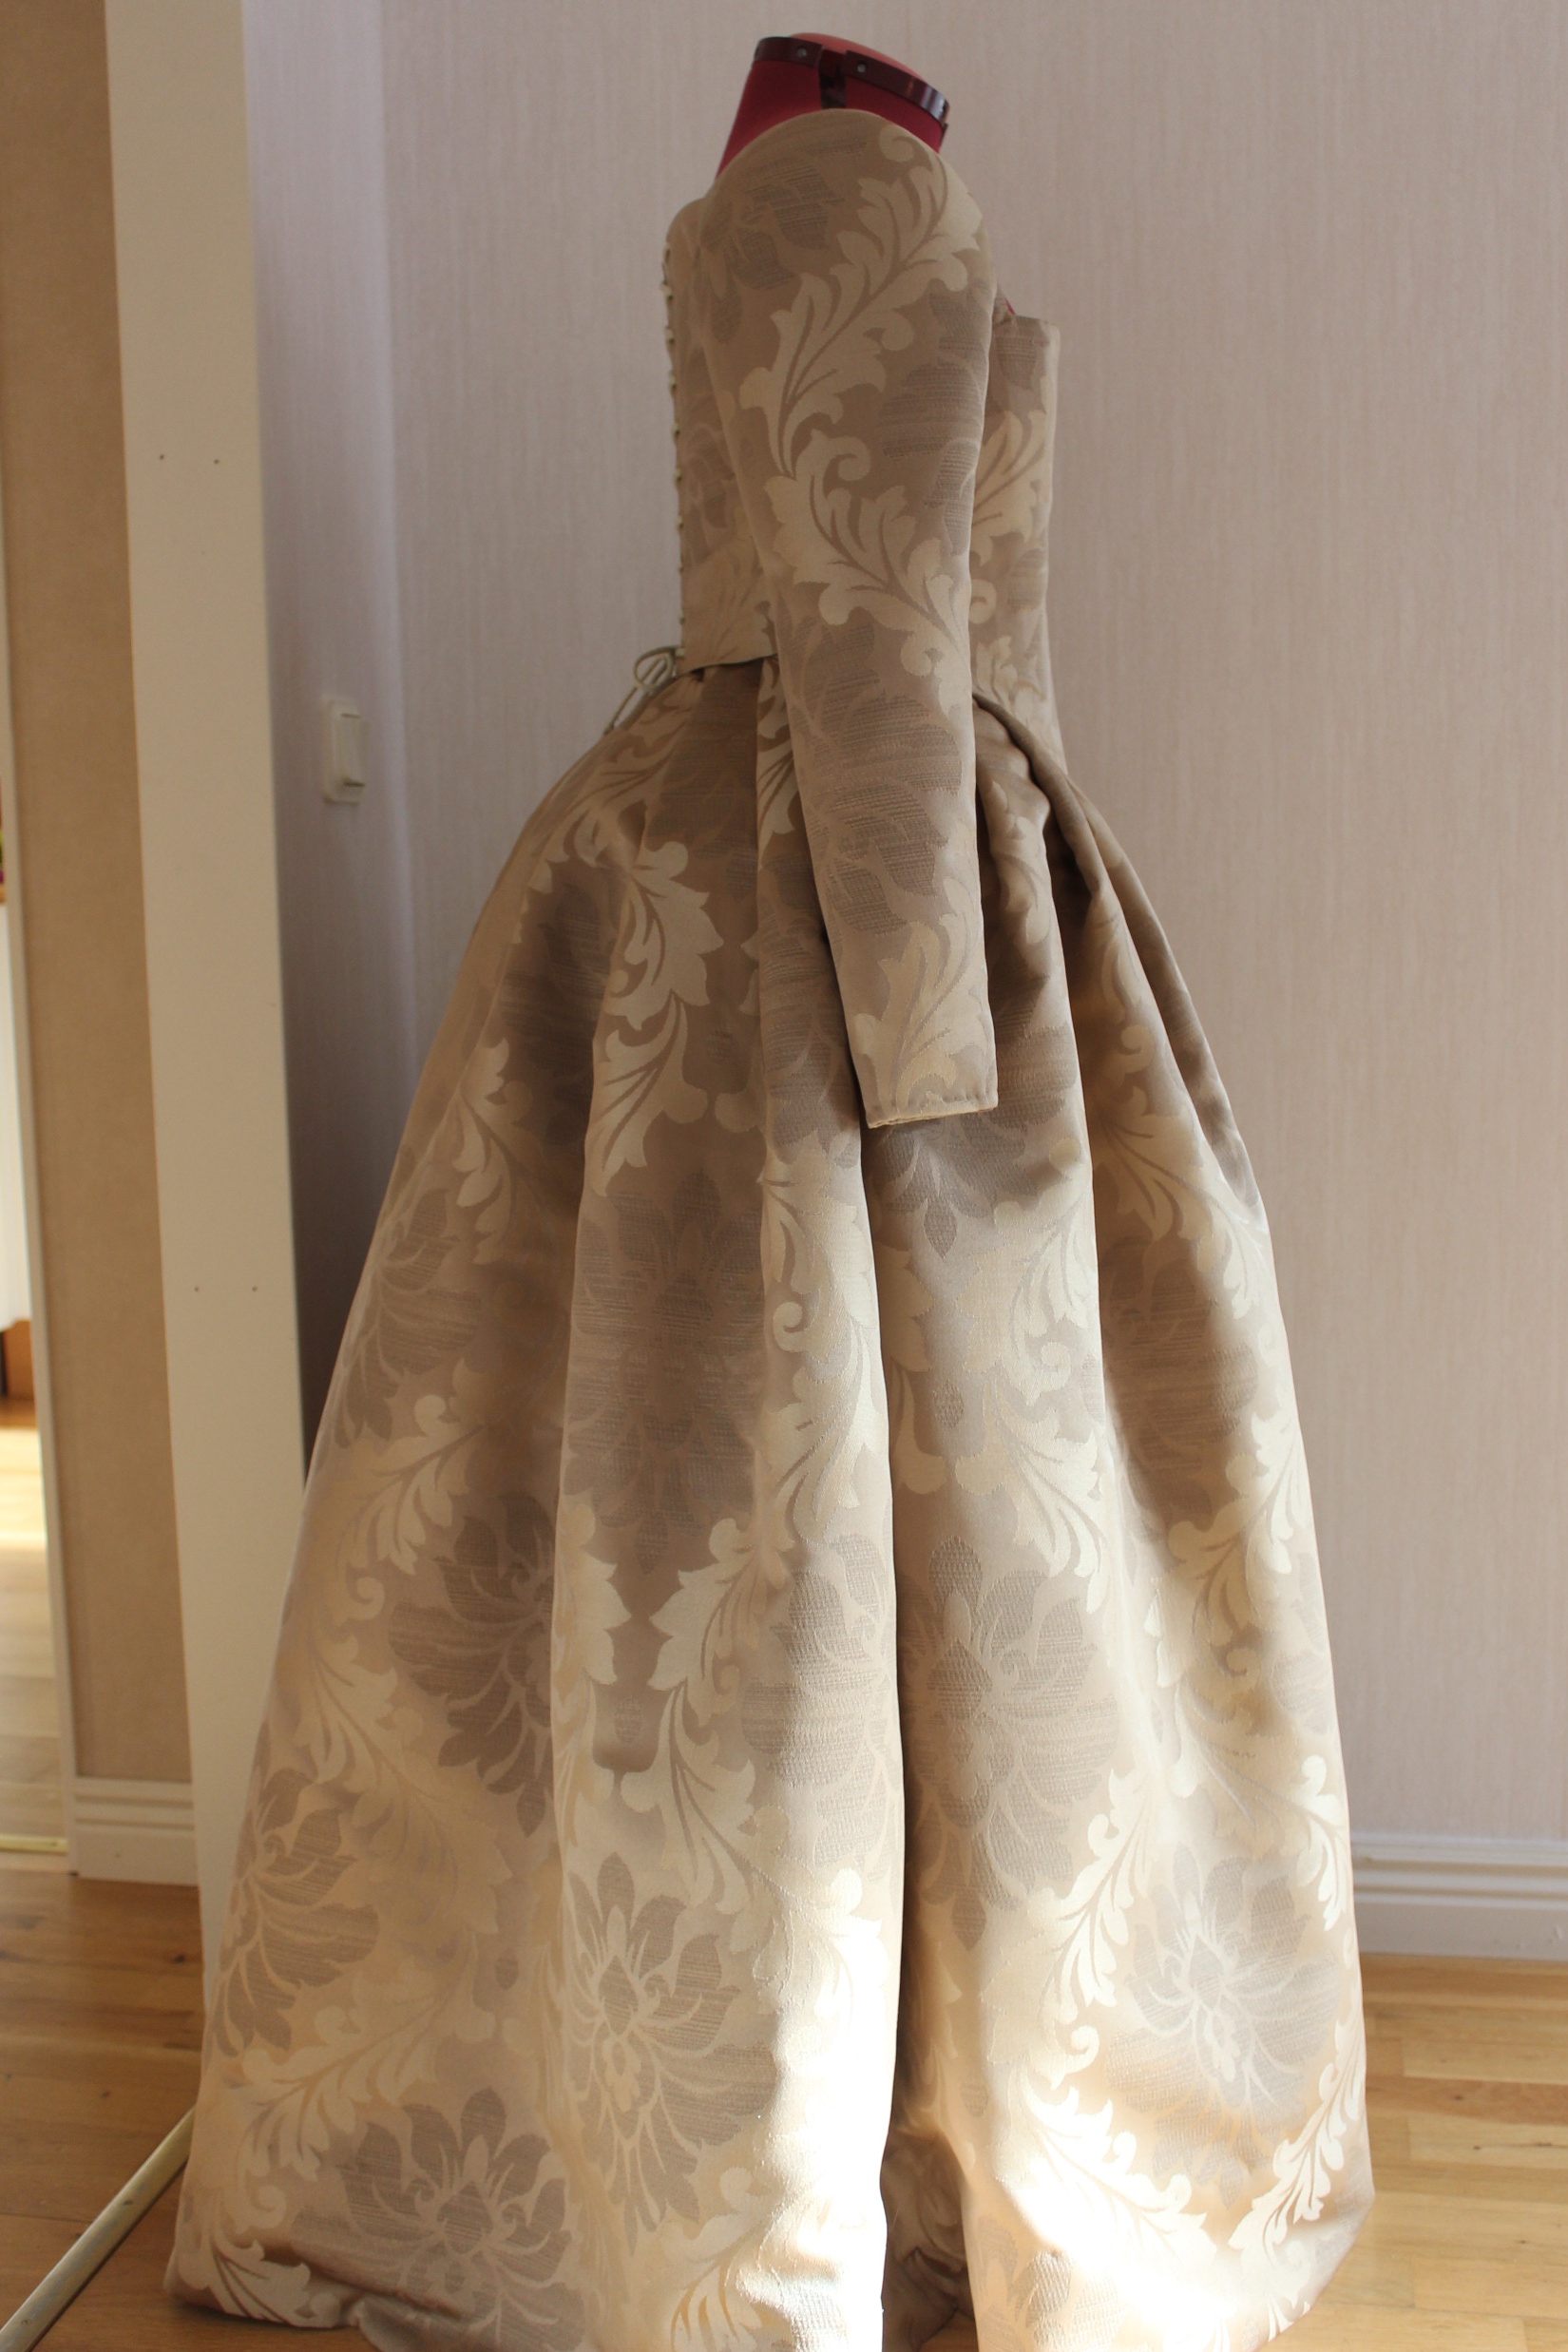
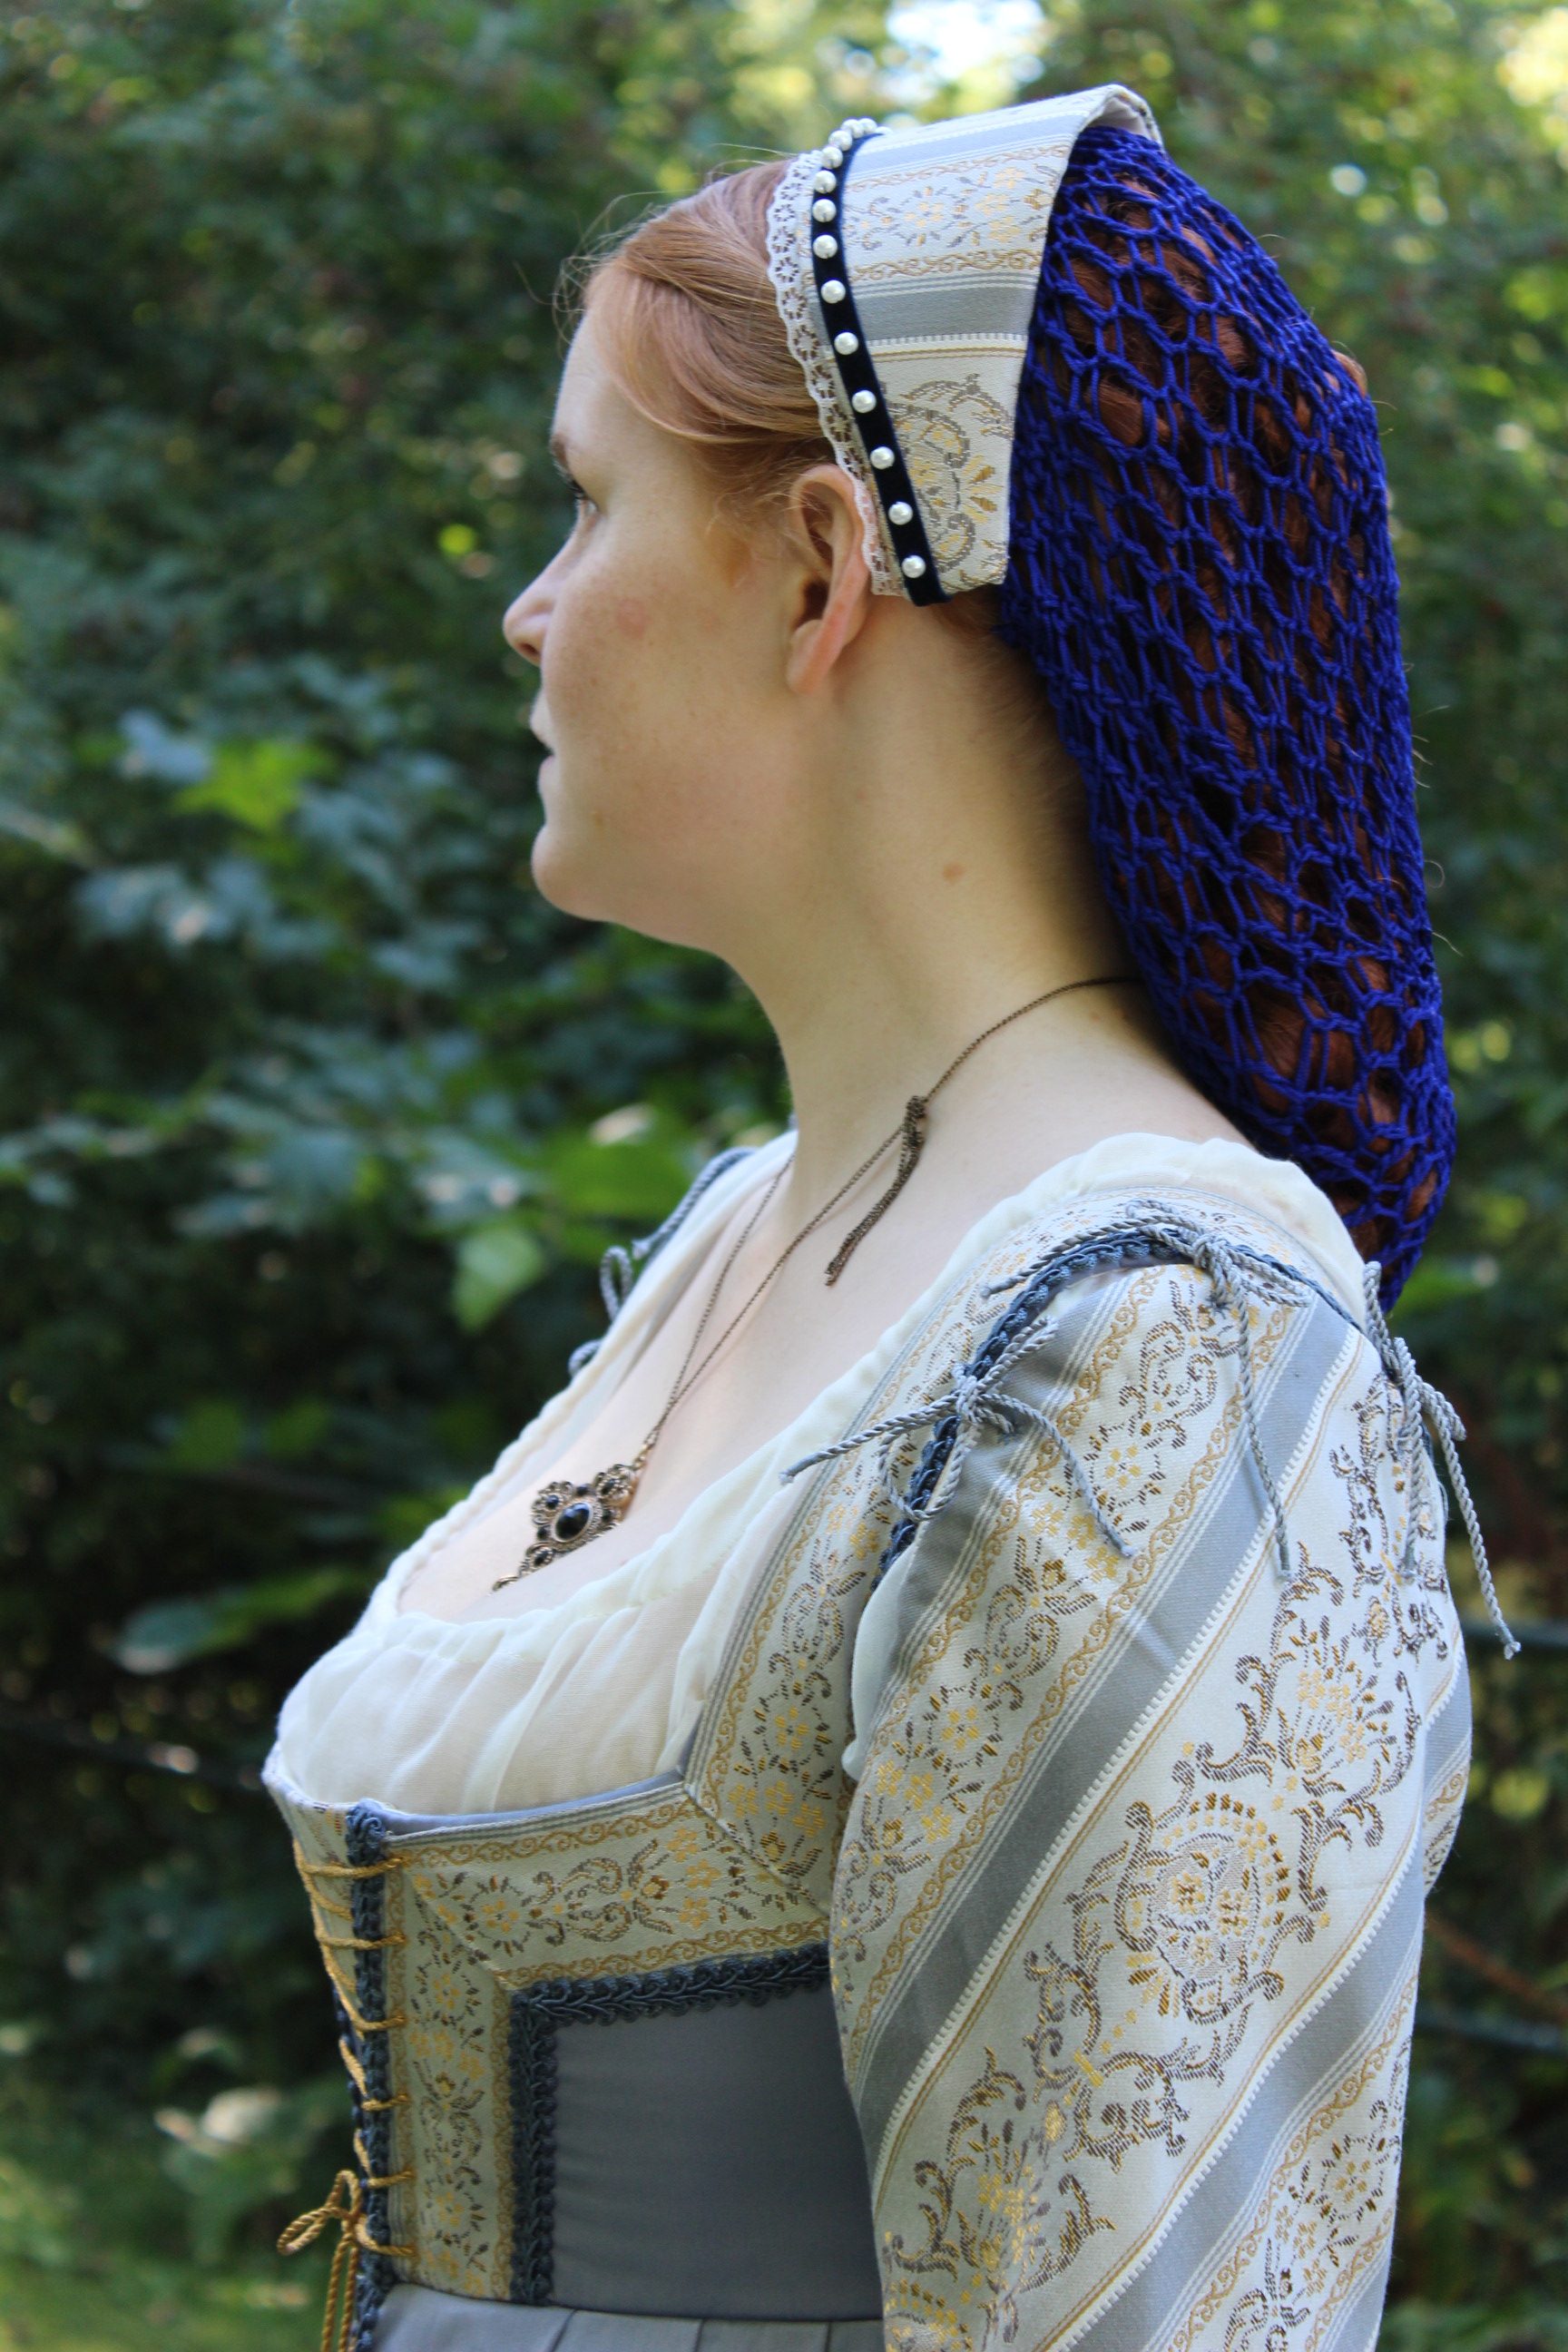
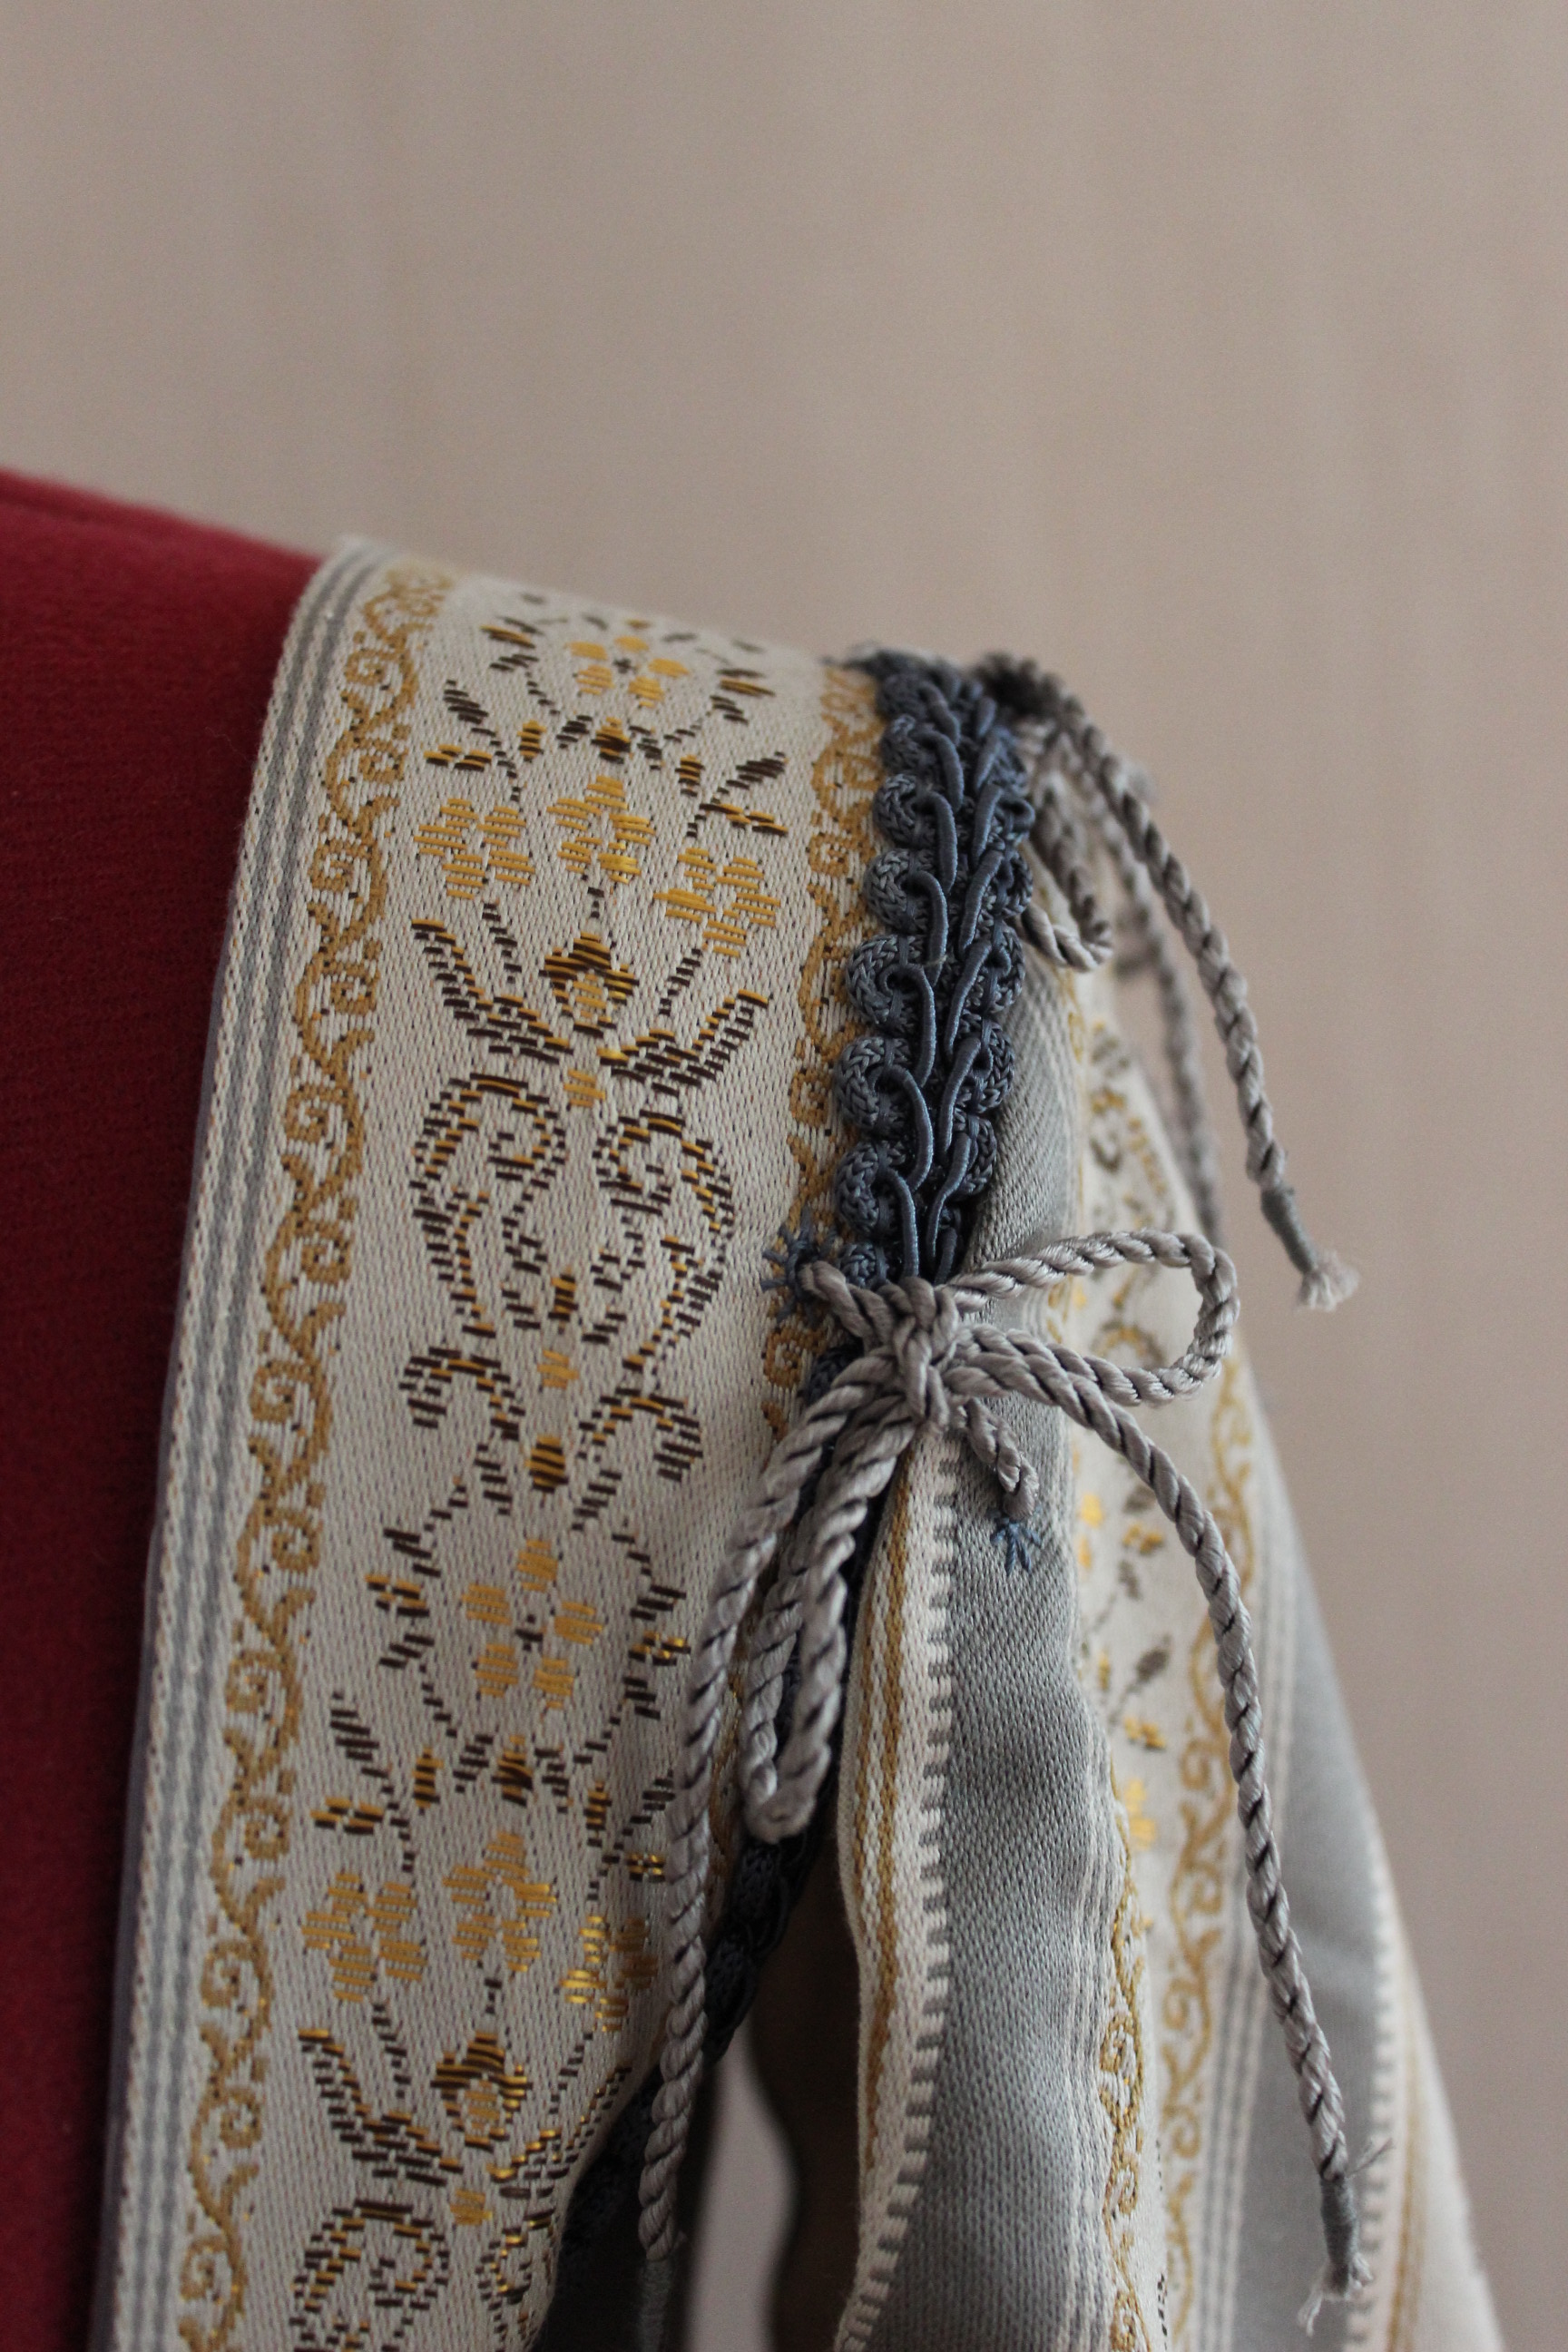
img_1306The hood from the inside

img_1300From the side.

The last thing to do was to make and attach the veil.
I used some nice black velvet cut almost in the shape of a sleeve, and attached to the back of the hood. img_1273In case you wonder, <= This is how I made almost the whole hood (carrying my baby on my body)

The Finished Hood:
img_2162

img_2165

img_2166

img_2161

img_2160

img_2168

img_2169

(Worn with Elizabethan dress, partlet, jewelry and neck ruff)
img_1516

img_1517

img_1511

img_1521

img_1514

Facts:

What: A 1550s French Hood

Pattern: French Hood from “The Tudor Tailor”.

Fabric & Notions: Scraps of golden brocade, cotton lining, and buckram, 1 m satin ivory ribbon, thread, 0,5 m black velvet, 2 m millinery wire, ivory and golden pearls.

Time & Cost: About 5 hours (its almost completely made by hand) and about 100 Sek (10 Usd)

Final Thoughts: I LOOOVE it! 🙂
I think this is one of my best millinery work so far. It look so nice and authentic and I had so much fun making it.

Elizabeth I – Construction Part 1

As mentioned in my previous post (Elizabeth I – costume analysis) I’ve wanted to make this dress for years, and now I finally have.

As usual I started the project looking at pictures trying to decide in which direction to go for the different elements of this costume. I already had the fabric (a golden/brown polyester furniture brocade) I got for a steal quite some time ago.14182251_10210265184327640_270599663_nInspiration and fabric

img_0440A quick conceptual drawing.

I used the pattern for the “Dorothea Body” from “The Tudor Tailor” for the bodice and cut a mock-up from a plain cotton sheet.img_0303

I added some bones and a plastic ruler down the front, and put it on.
img_0328img_0319
The it was really good (ignore the bad lacing at center back), and I felt it would give me the flat, conical shape I wanted.img_0329

Then I cut the fabric carefully placing the motifs in the perfect spots for each piece. img_0333 
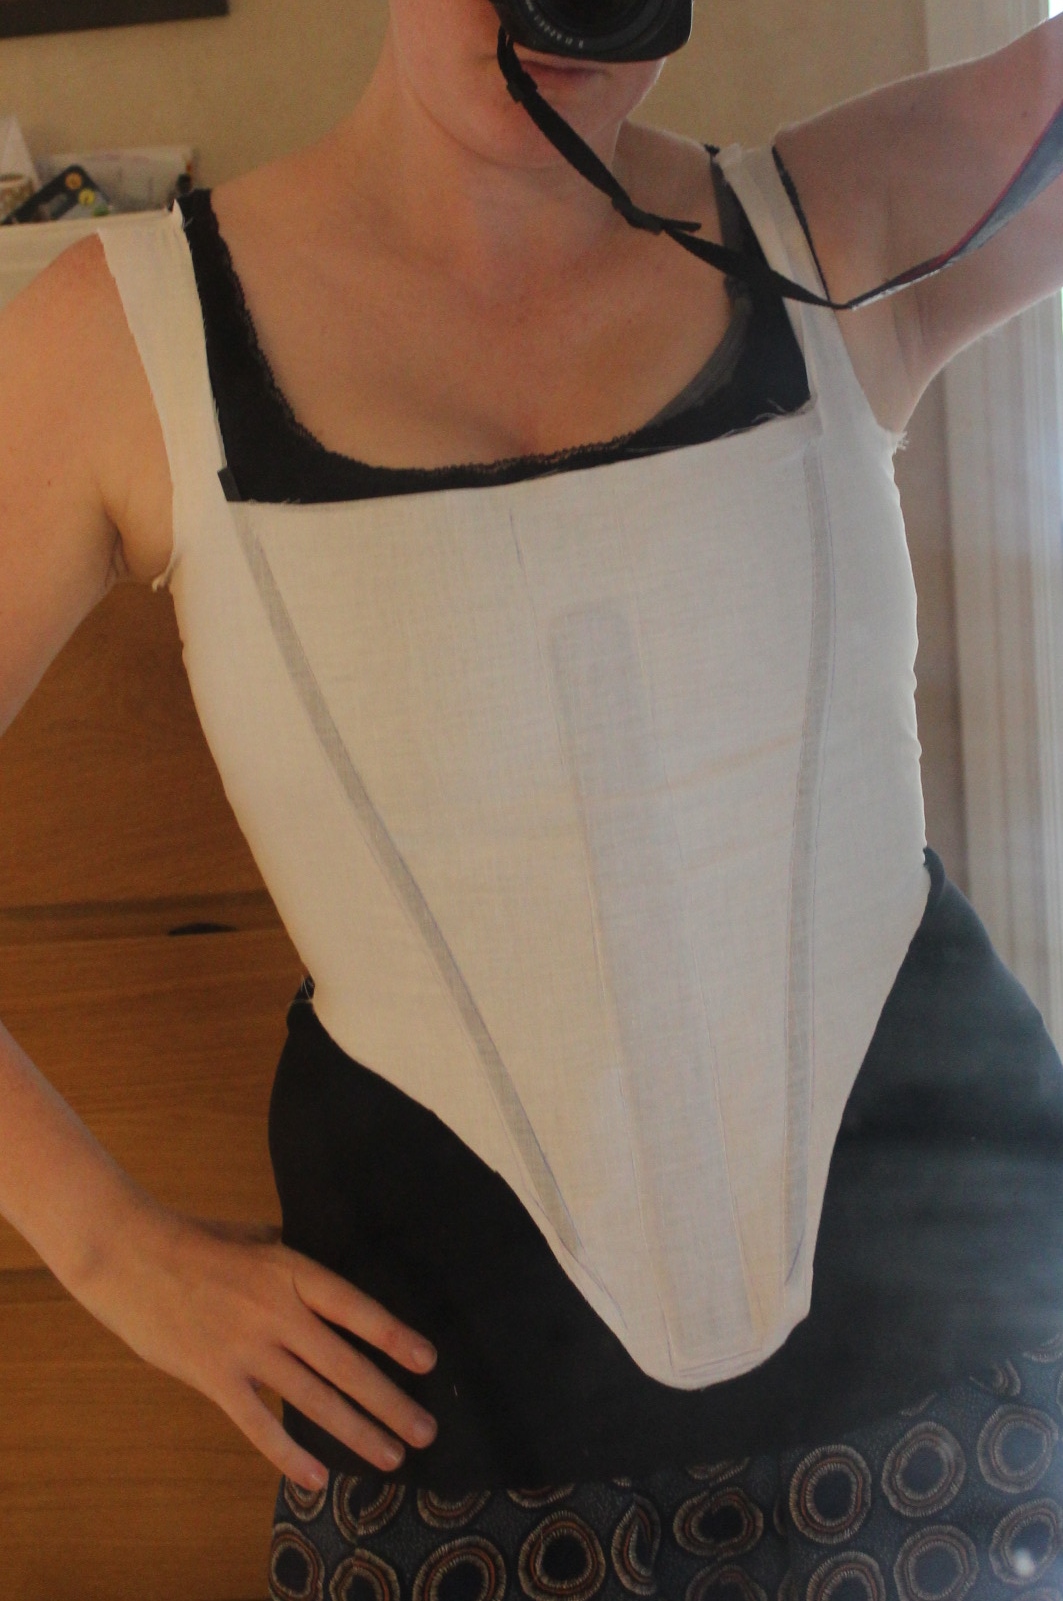
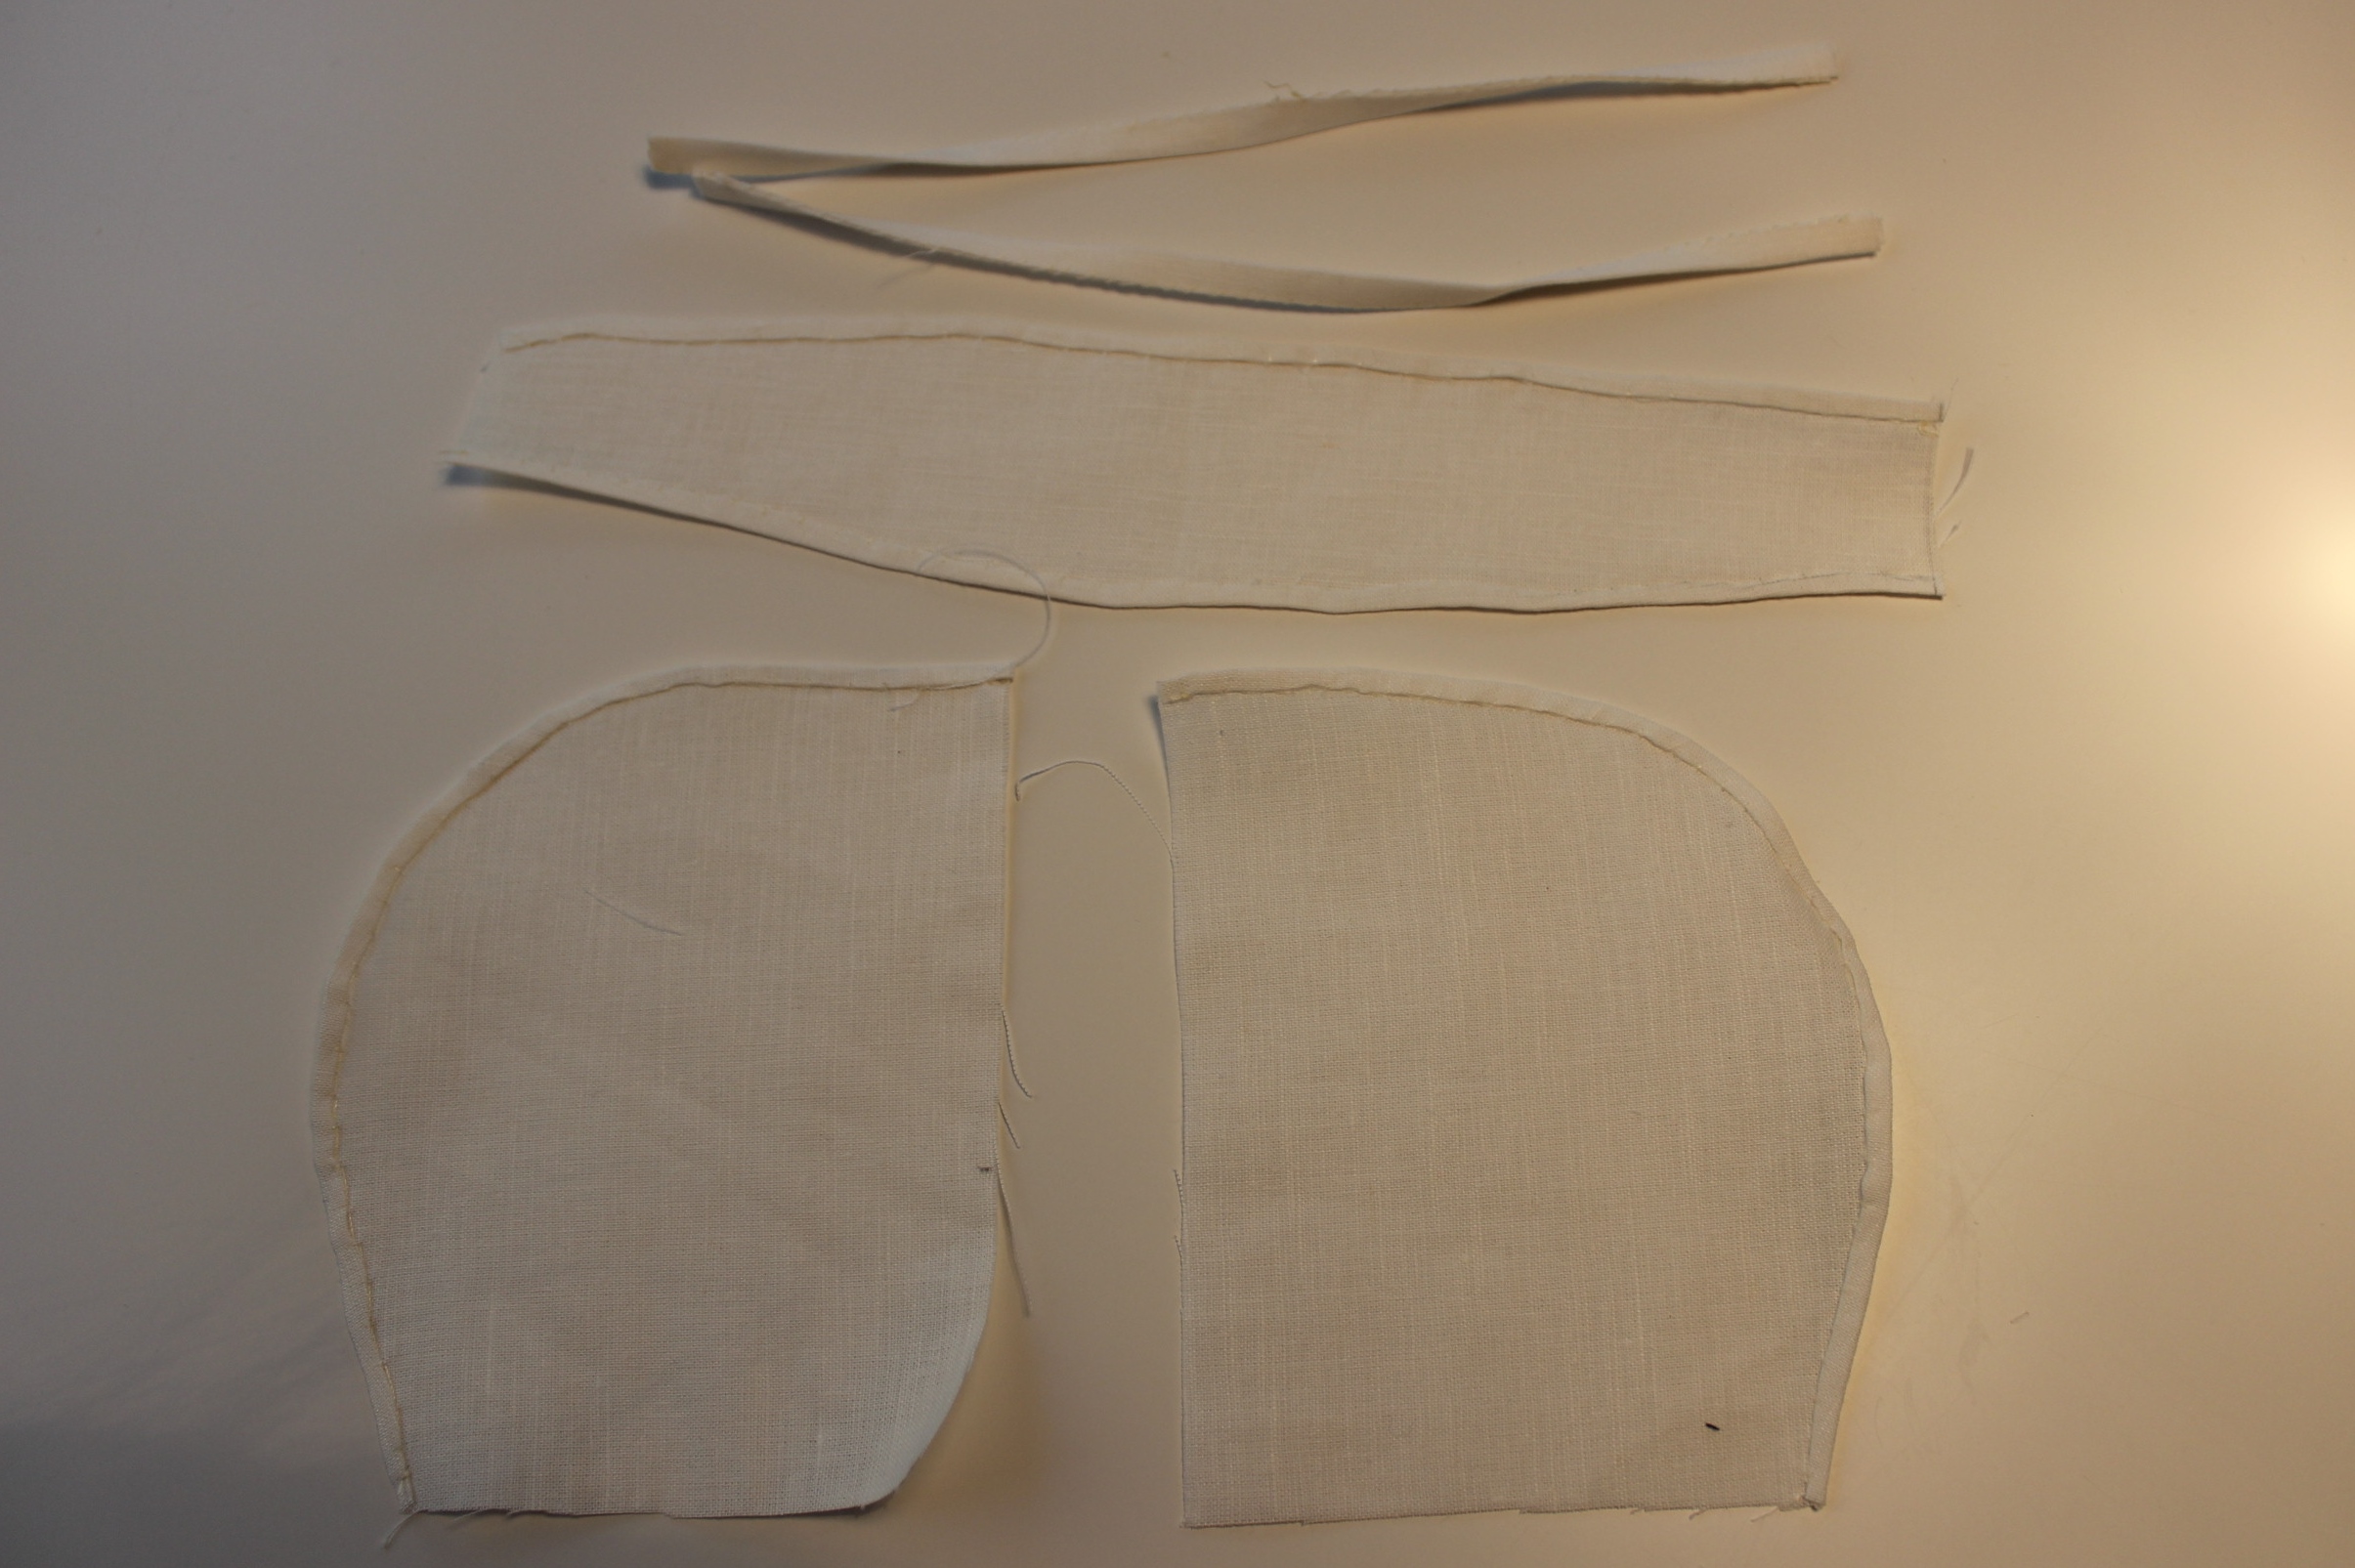
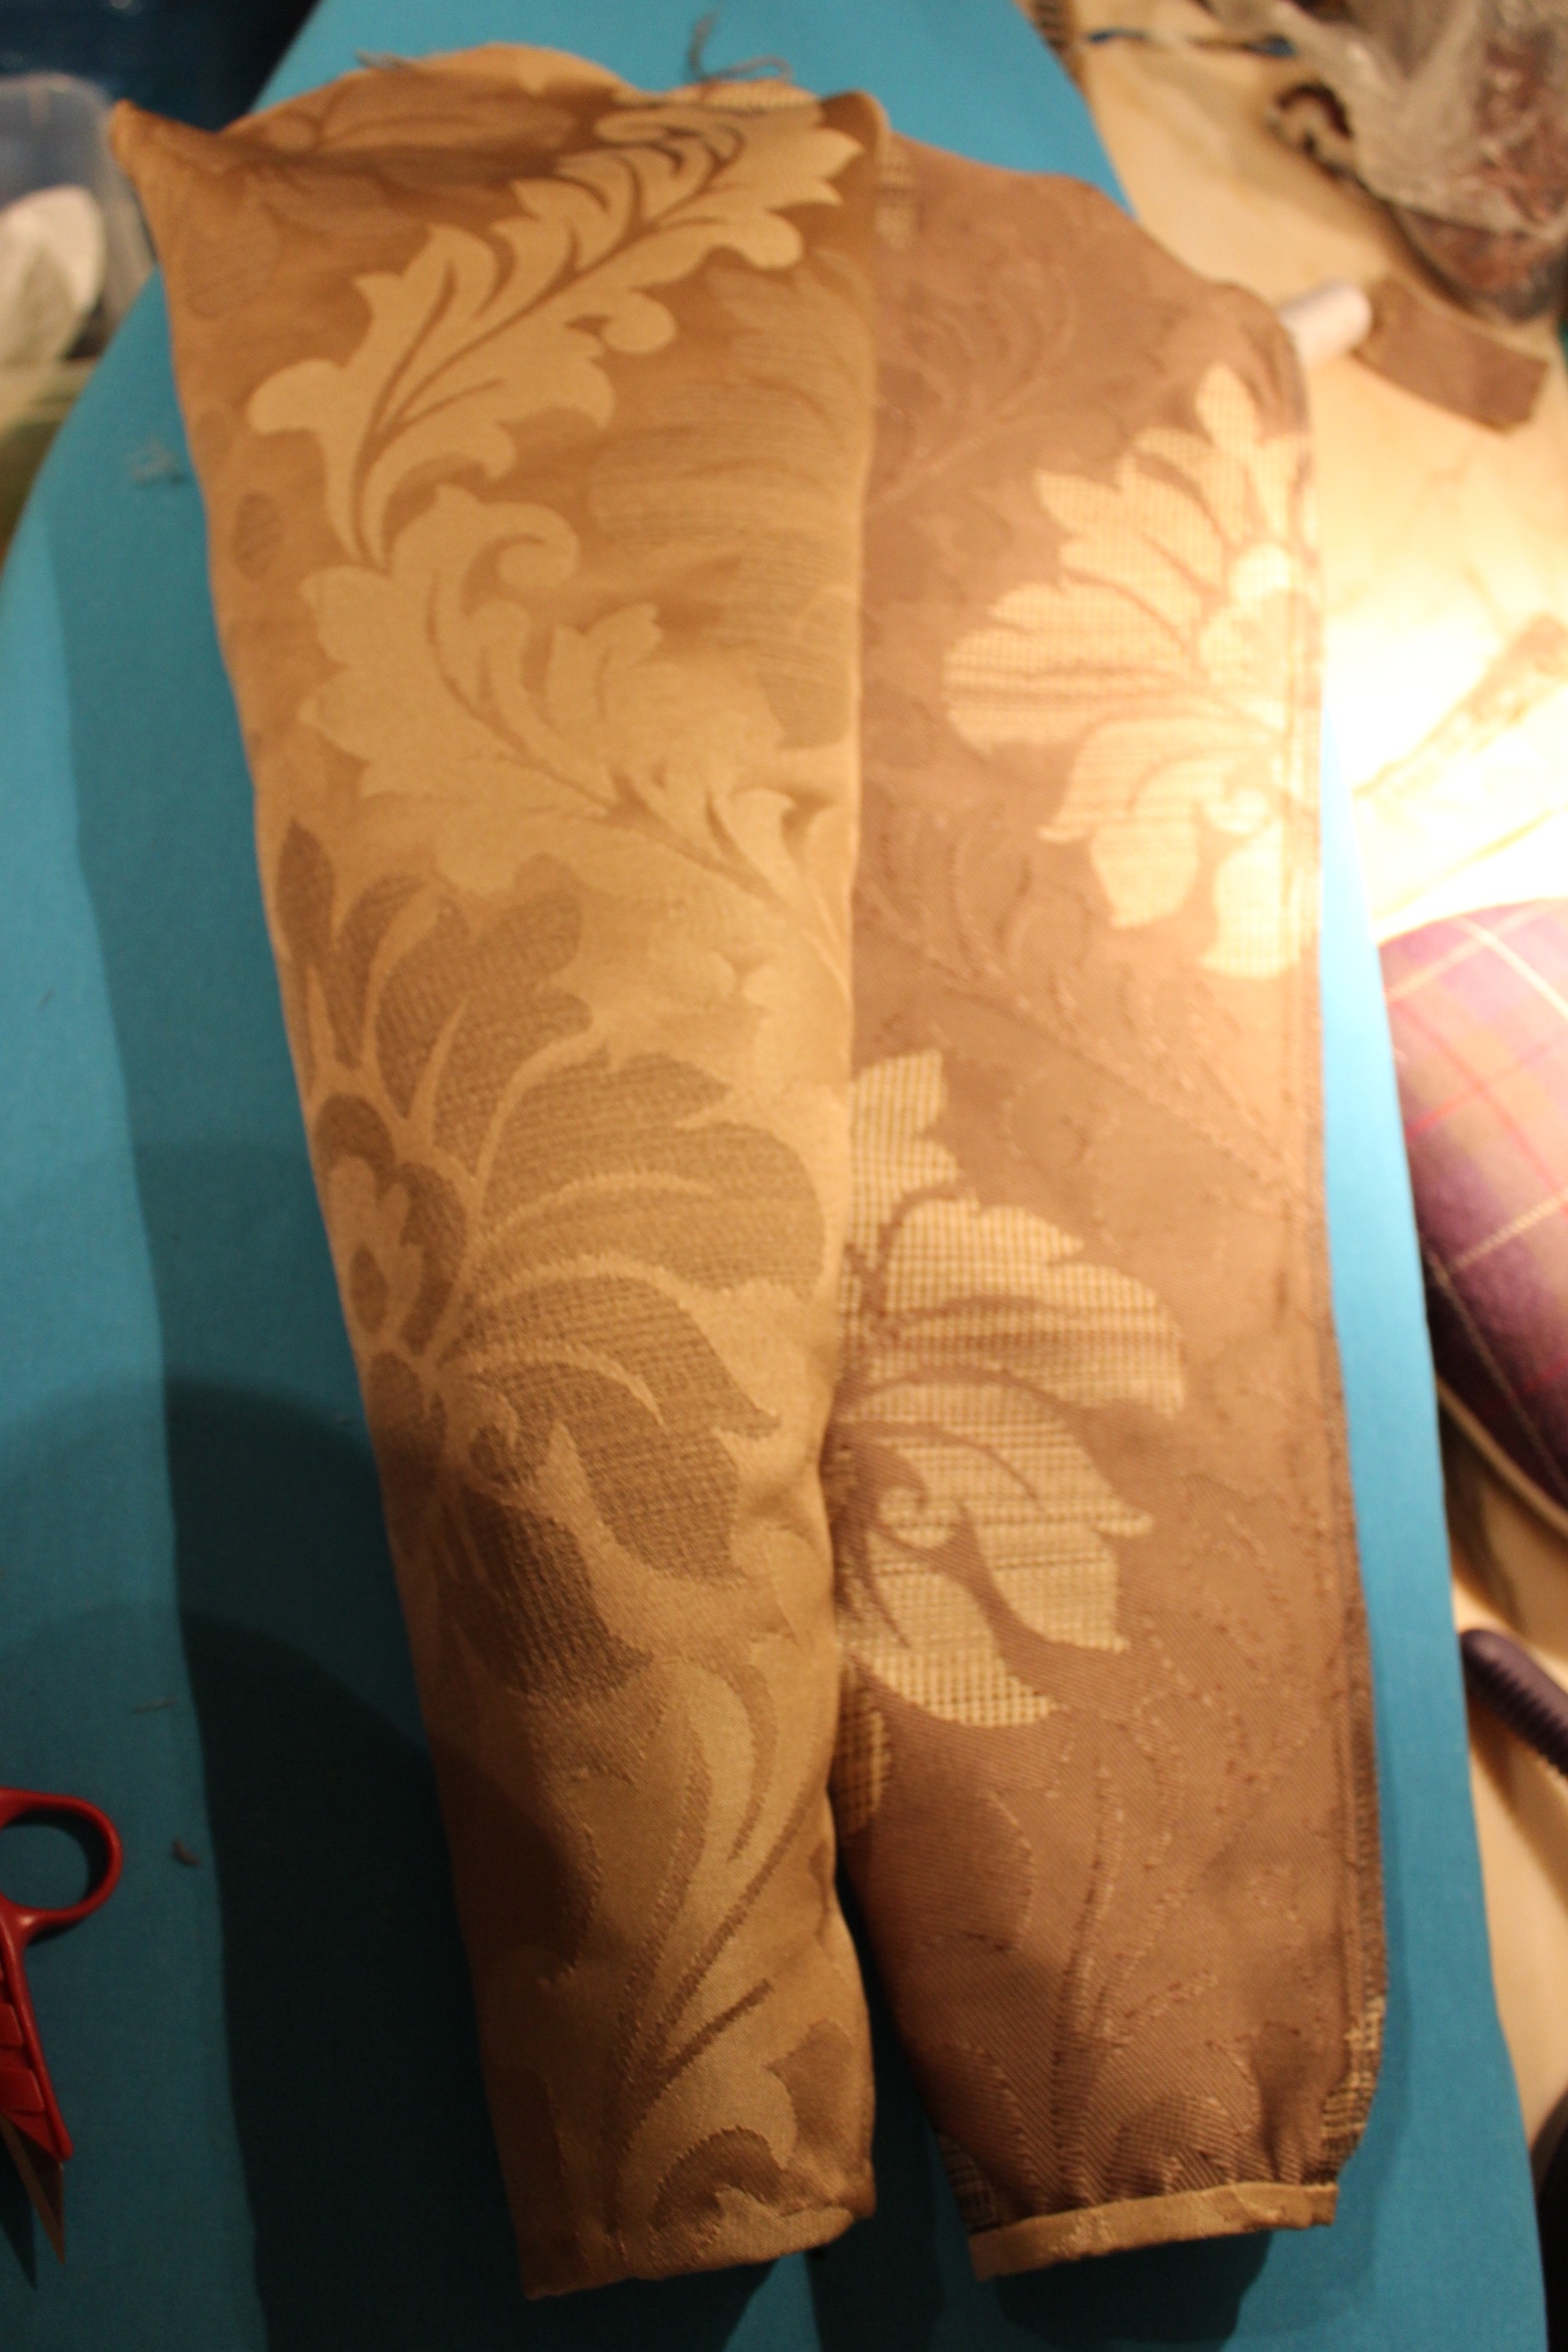
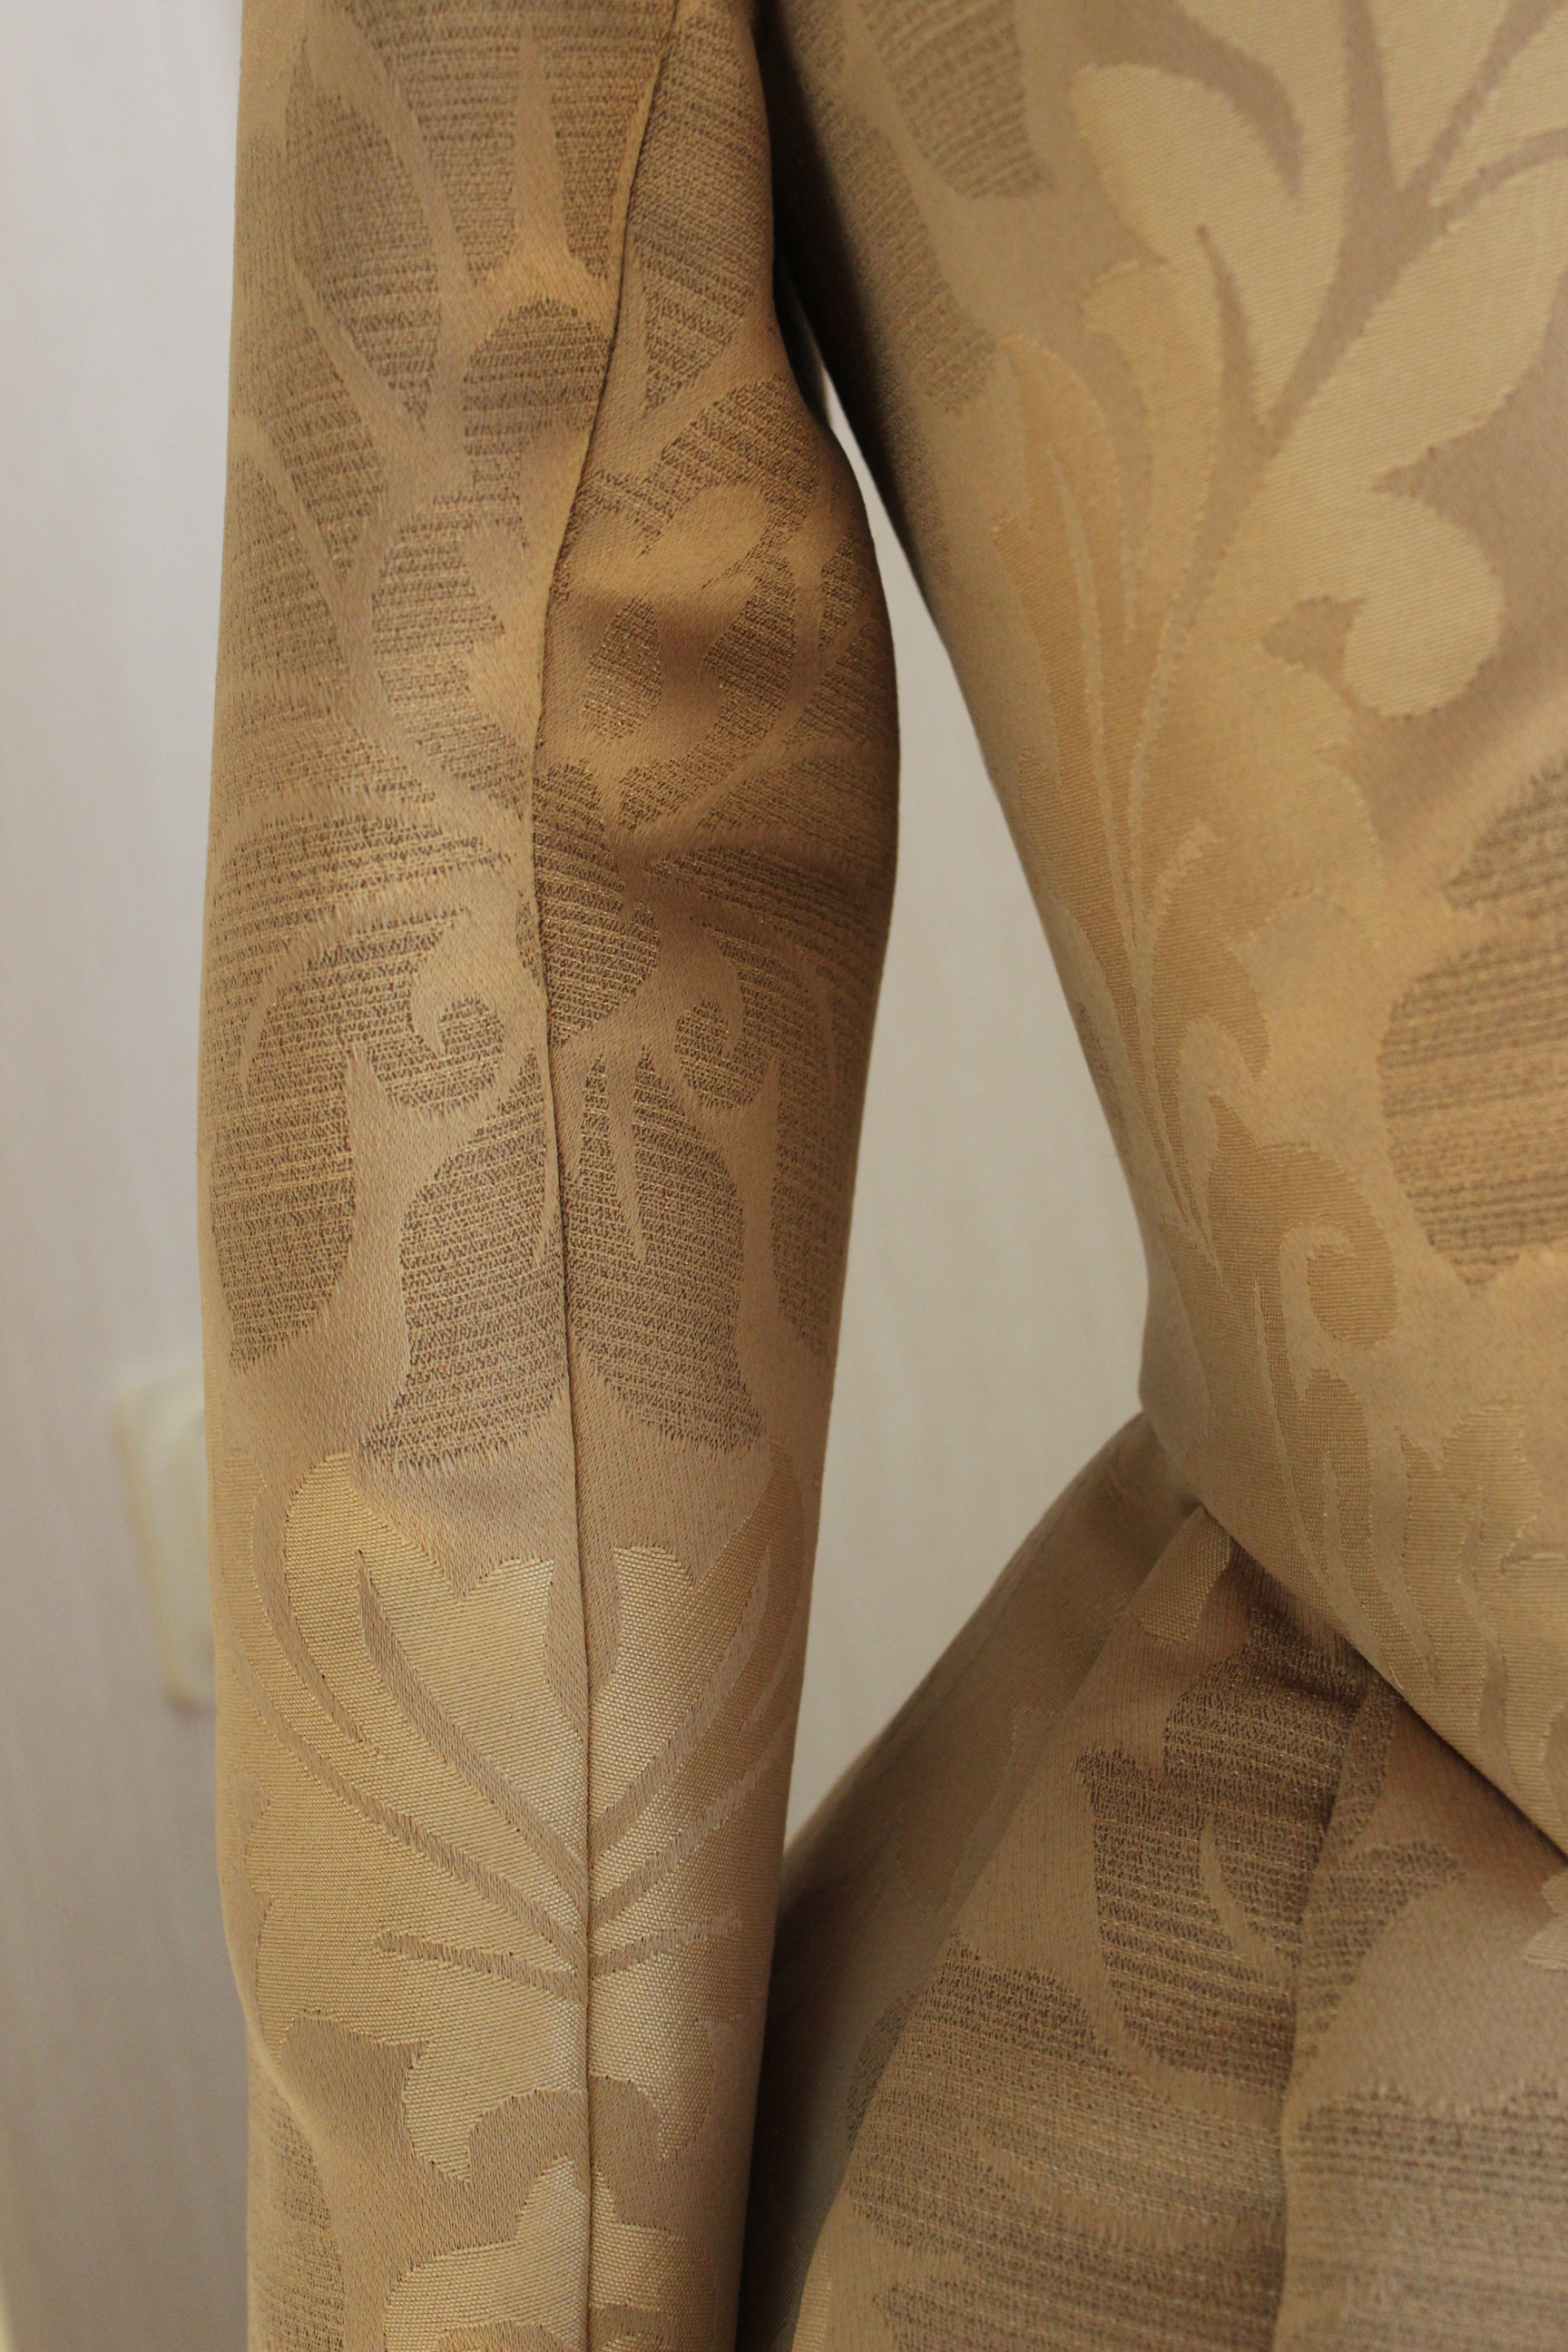
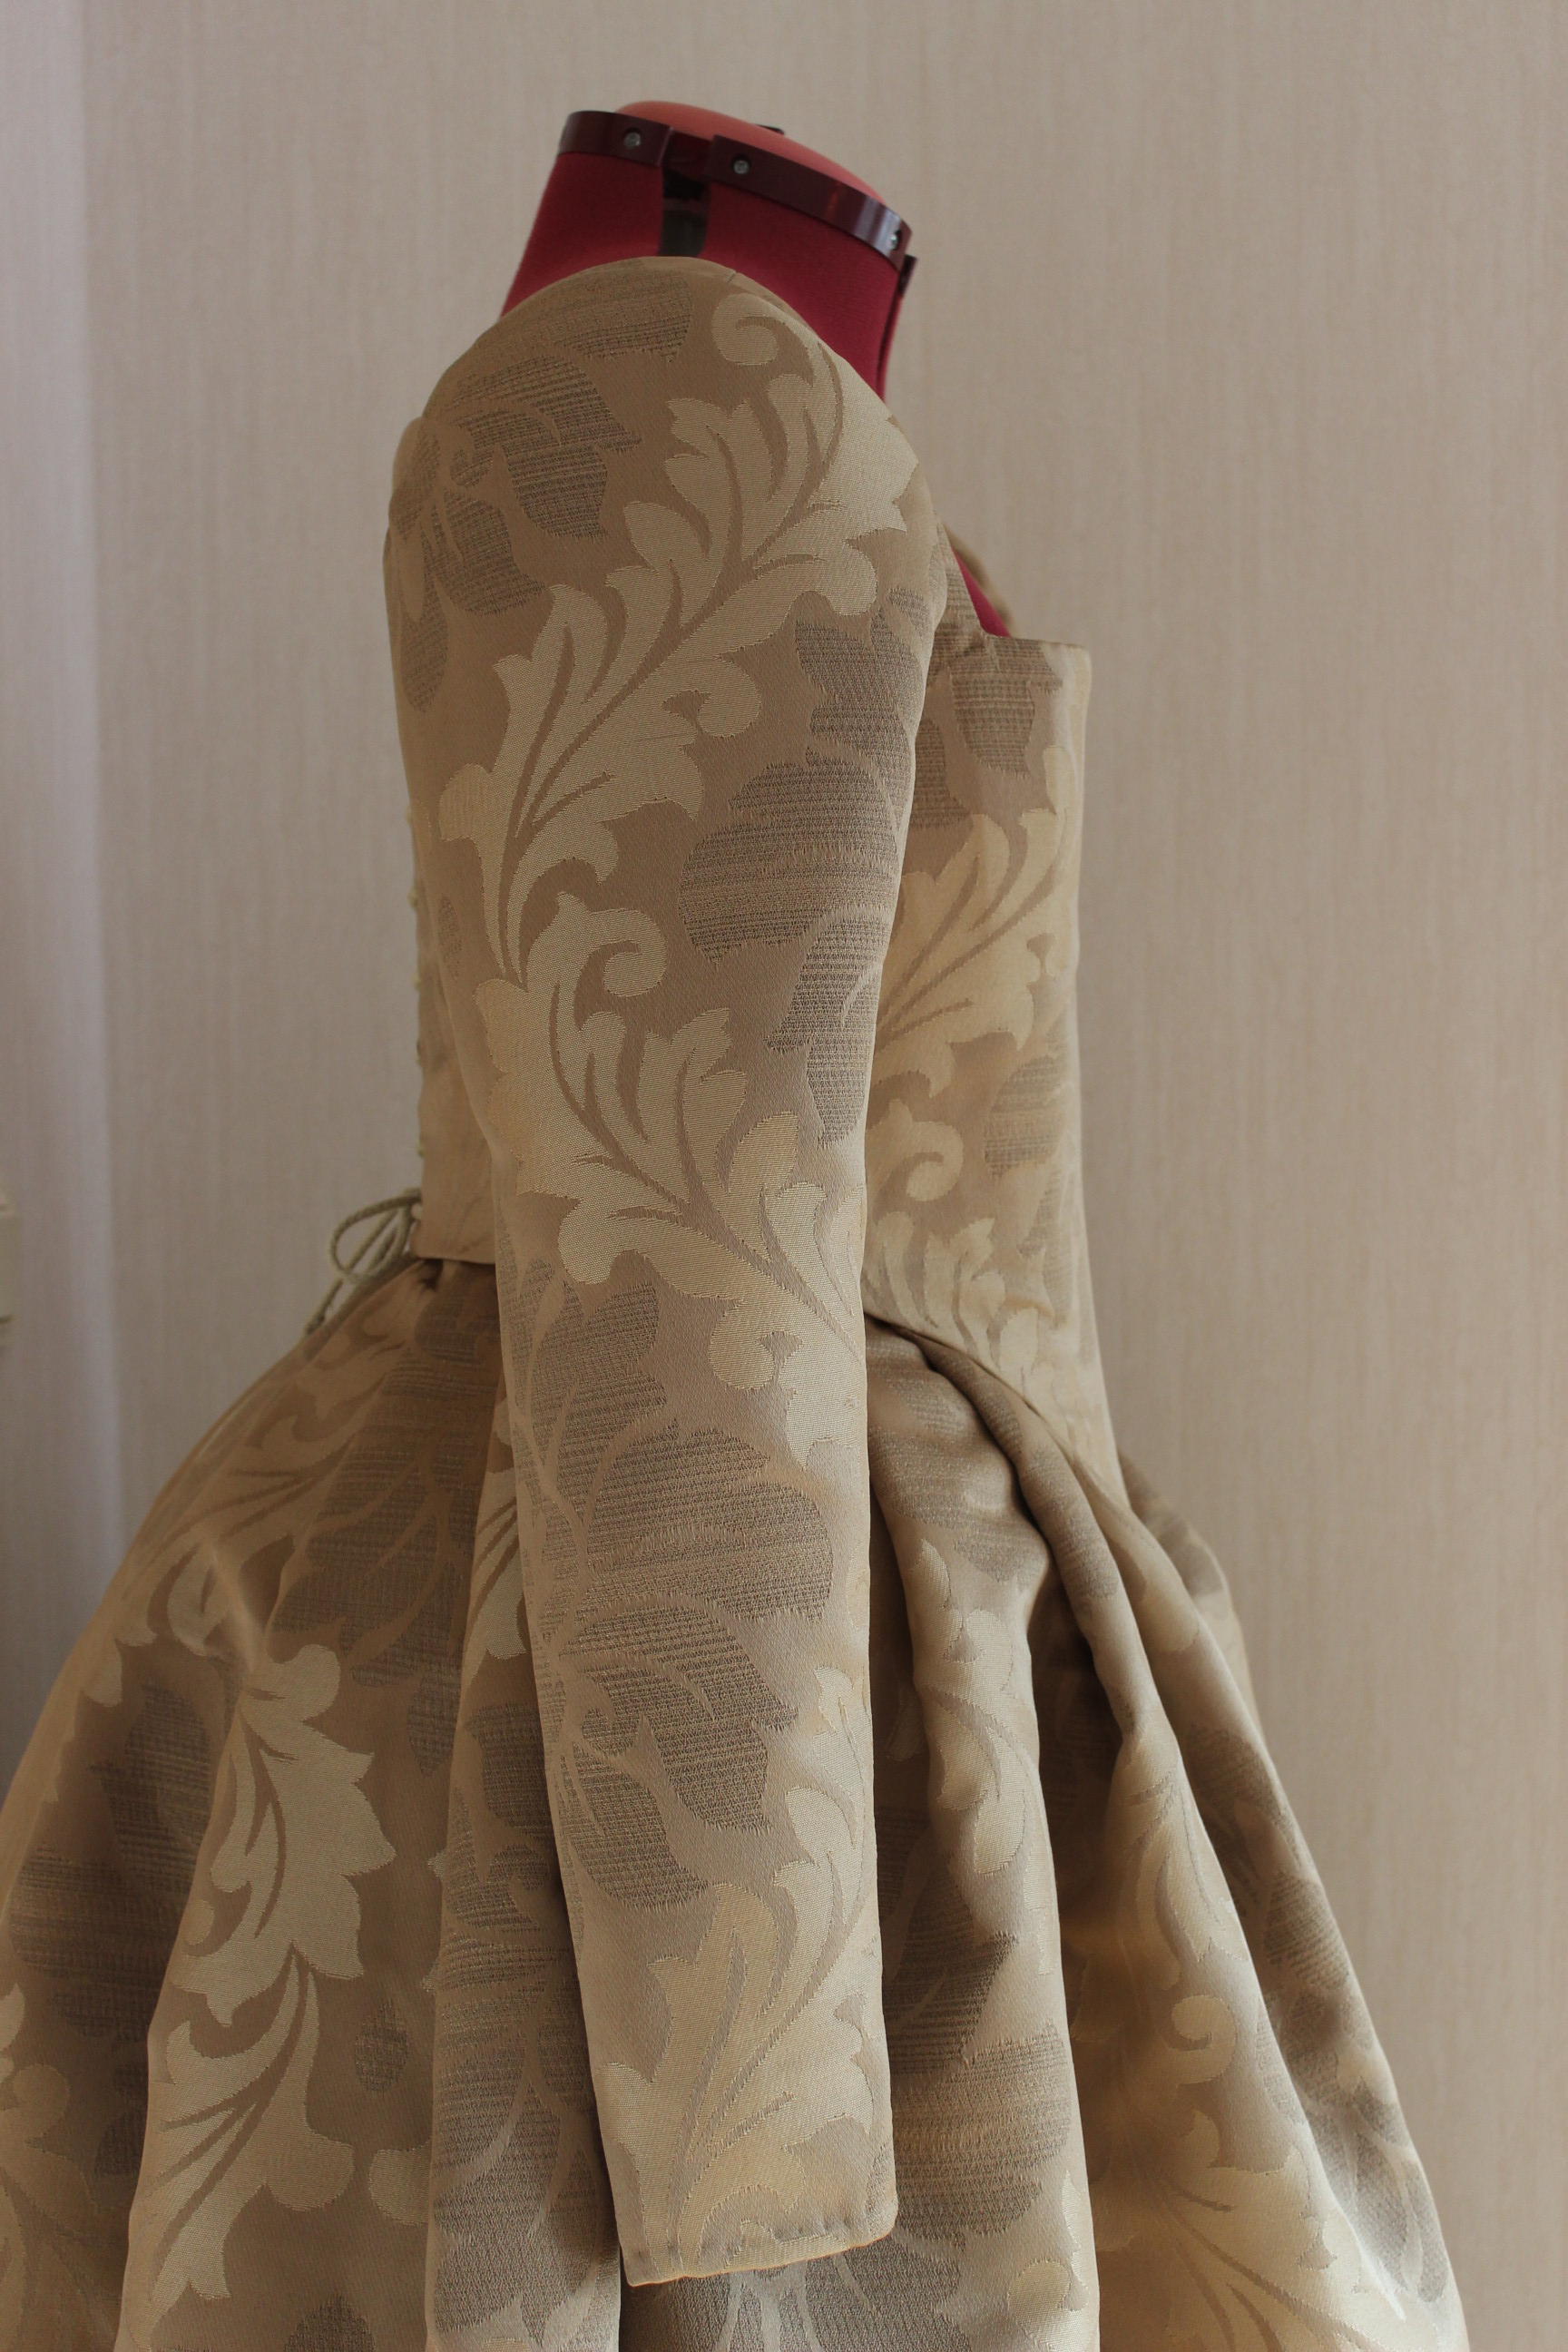
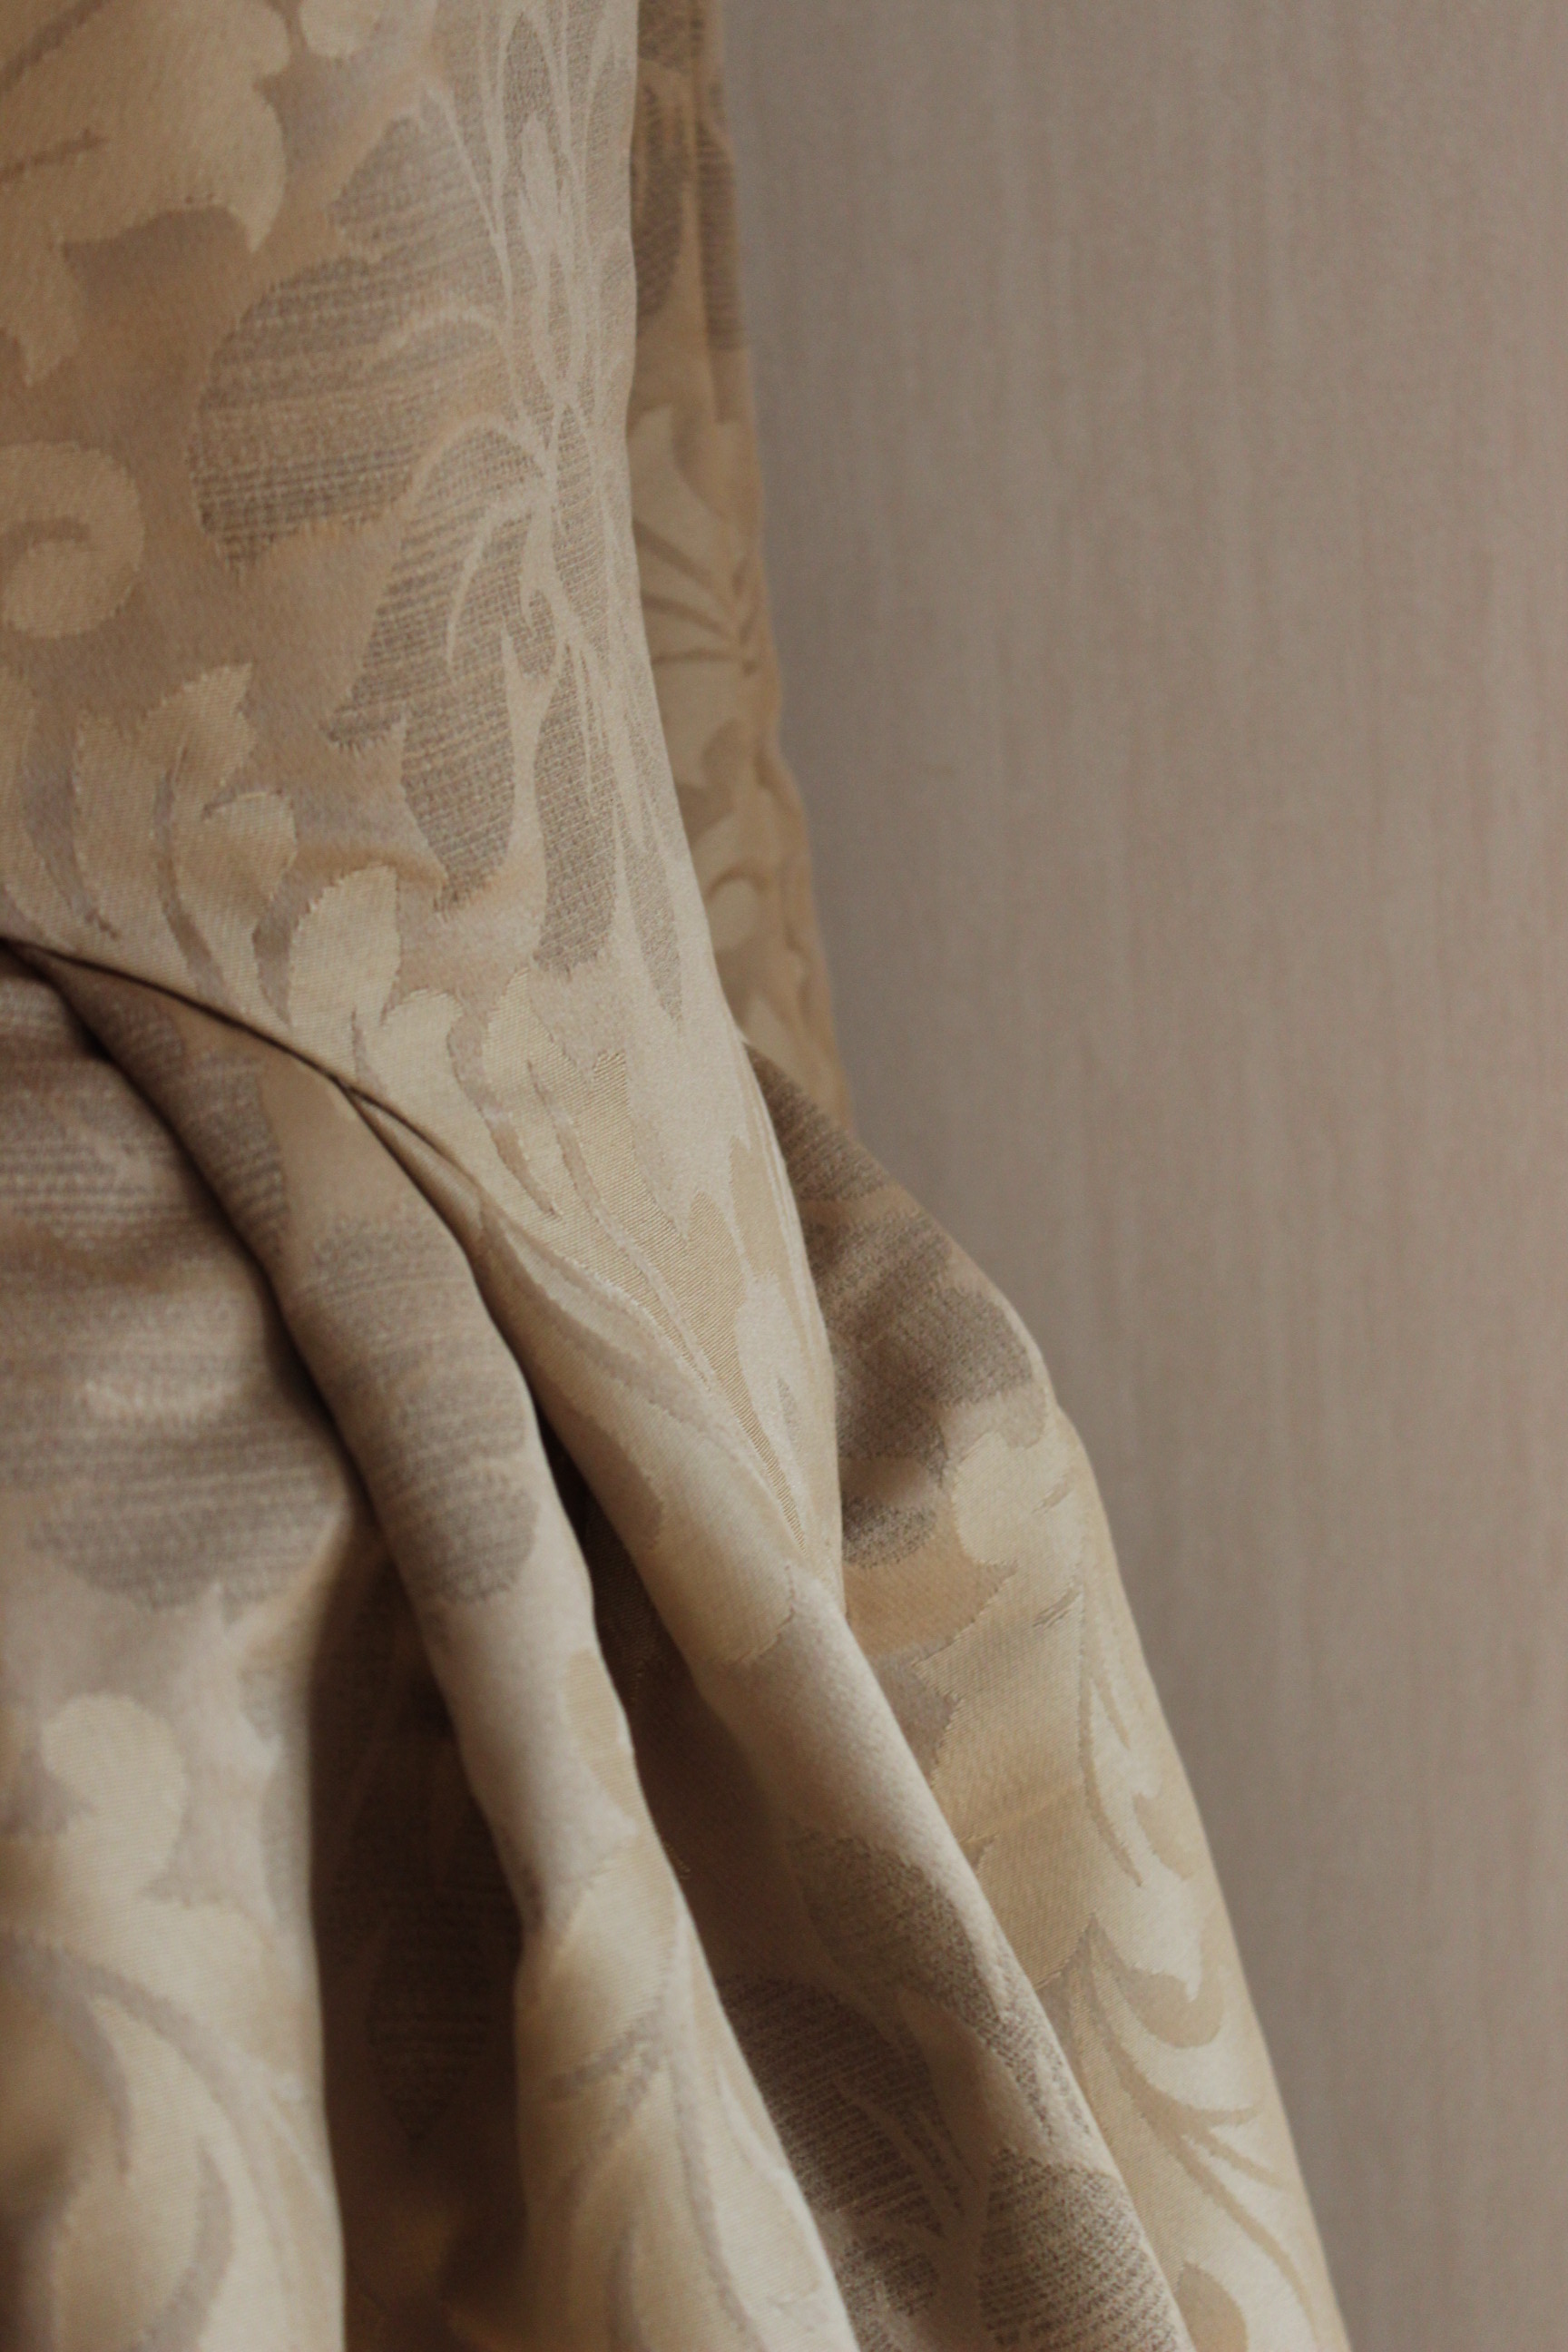
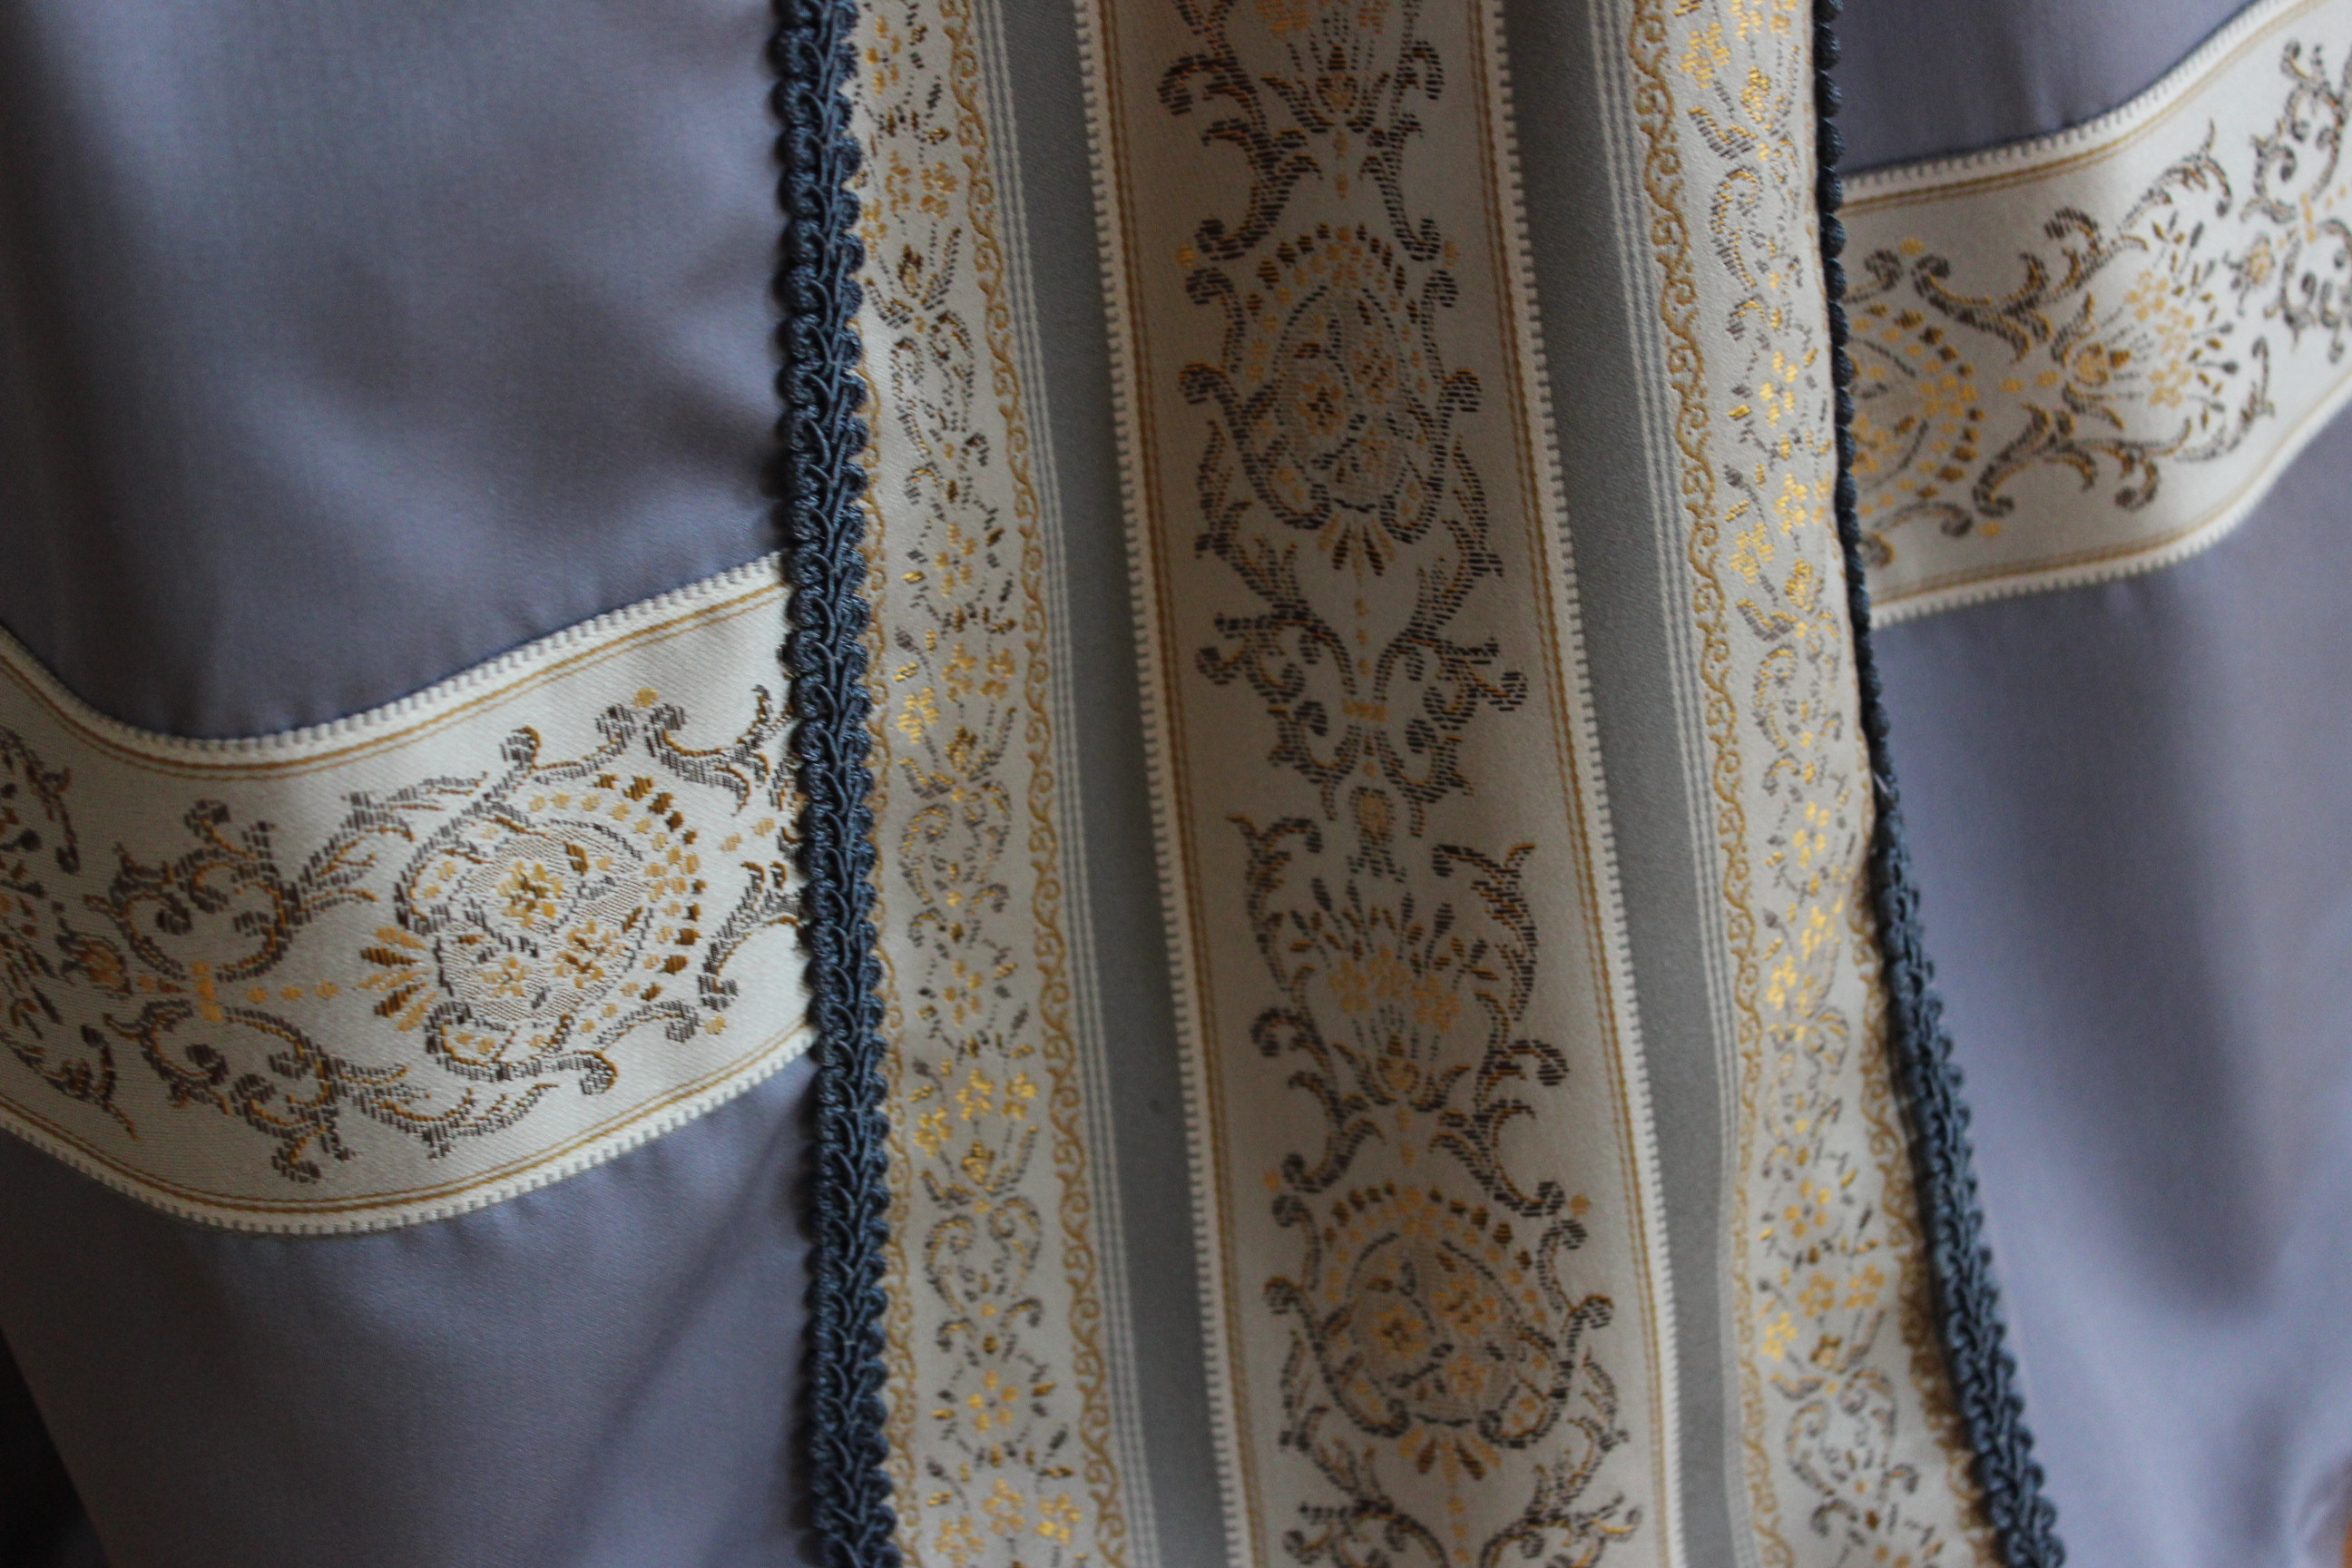
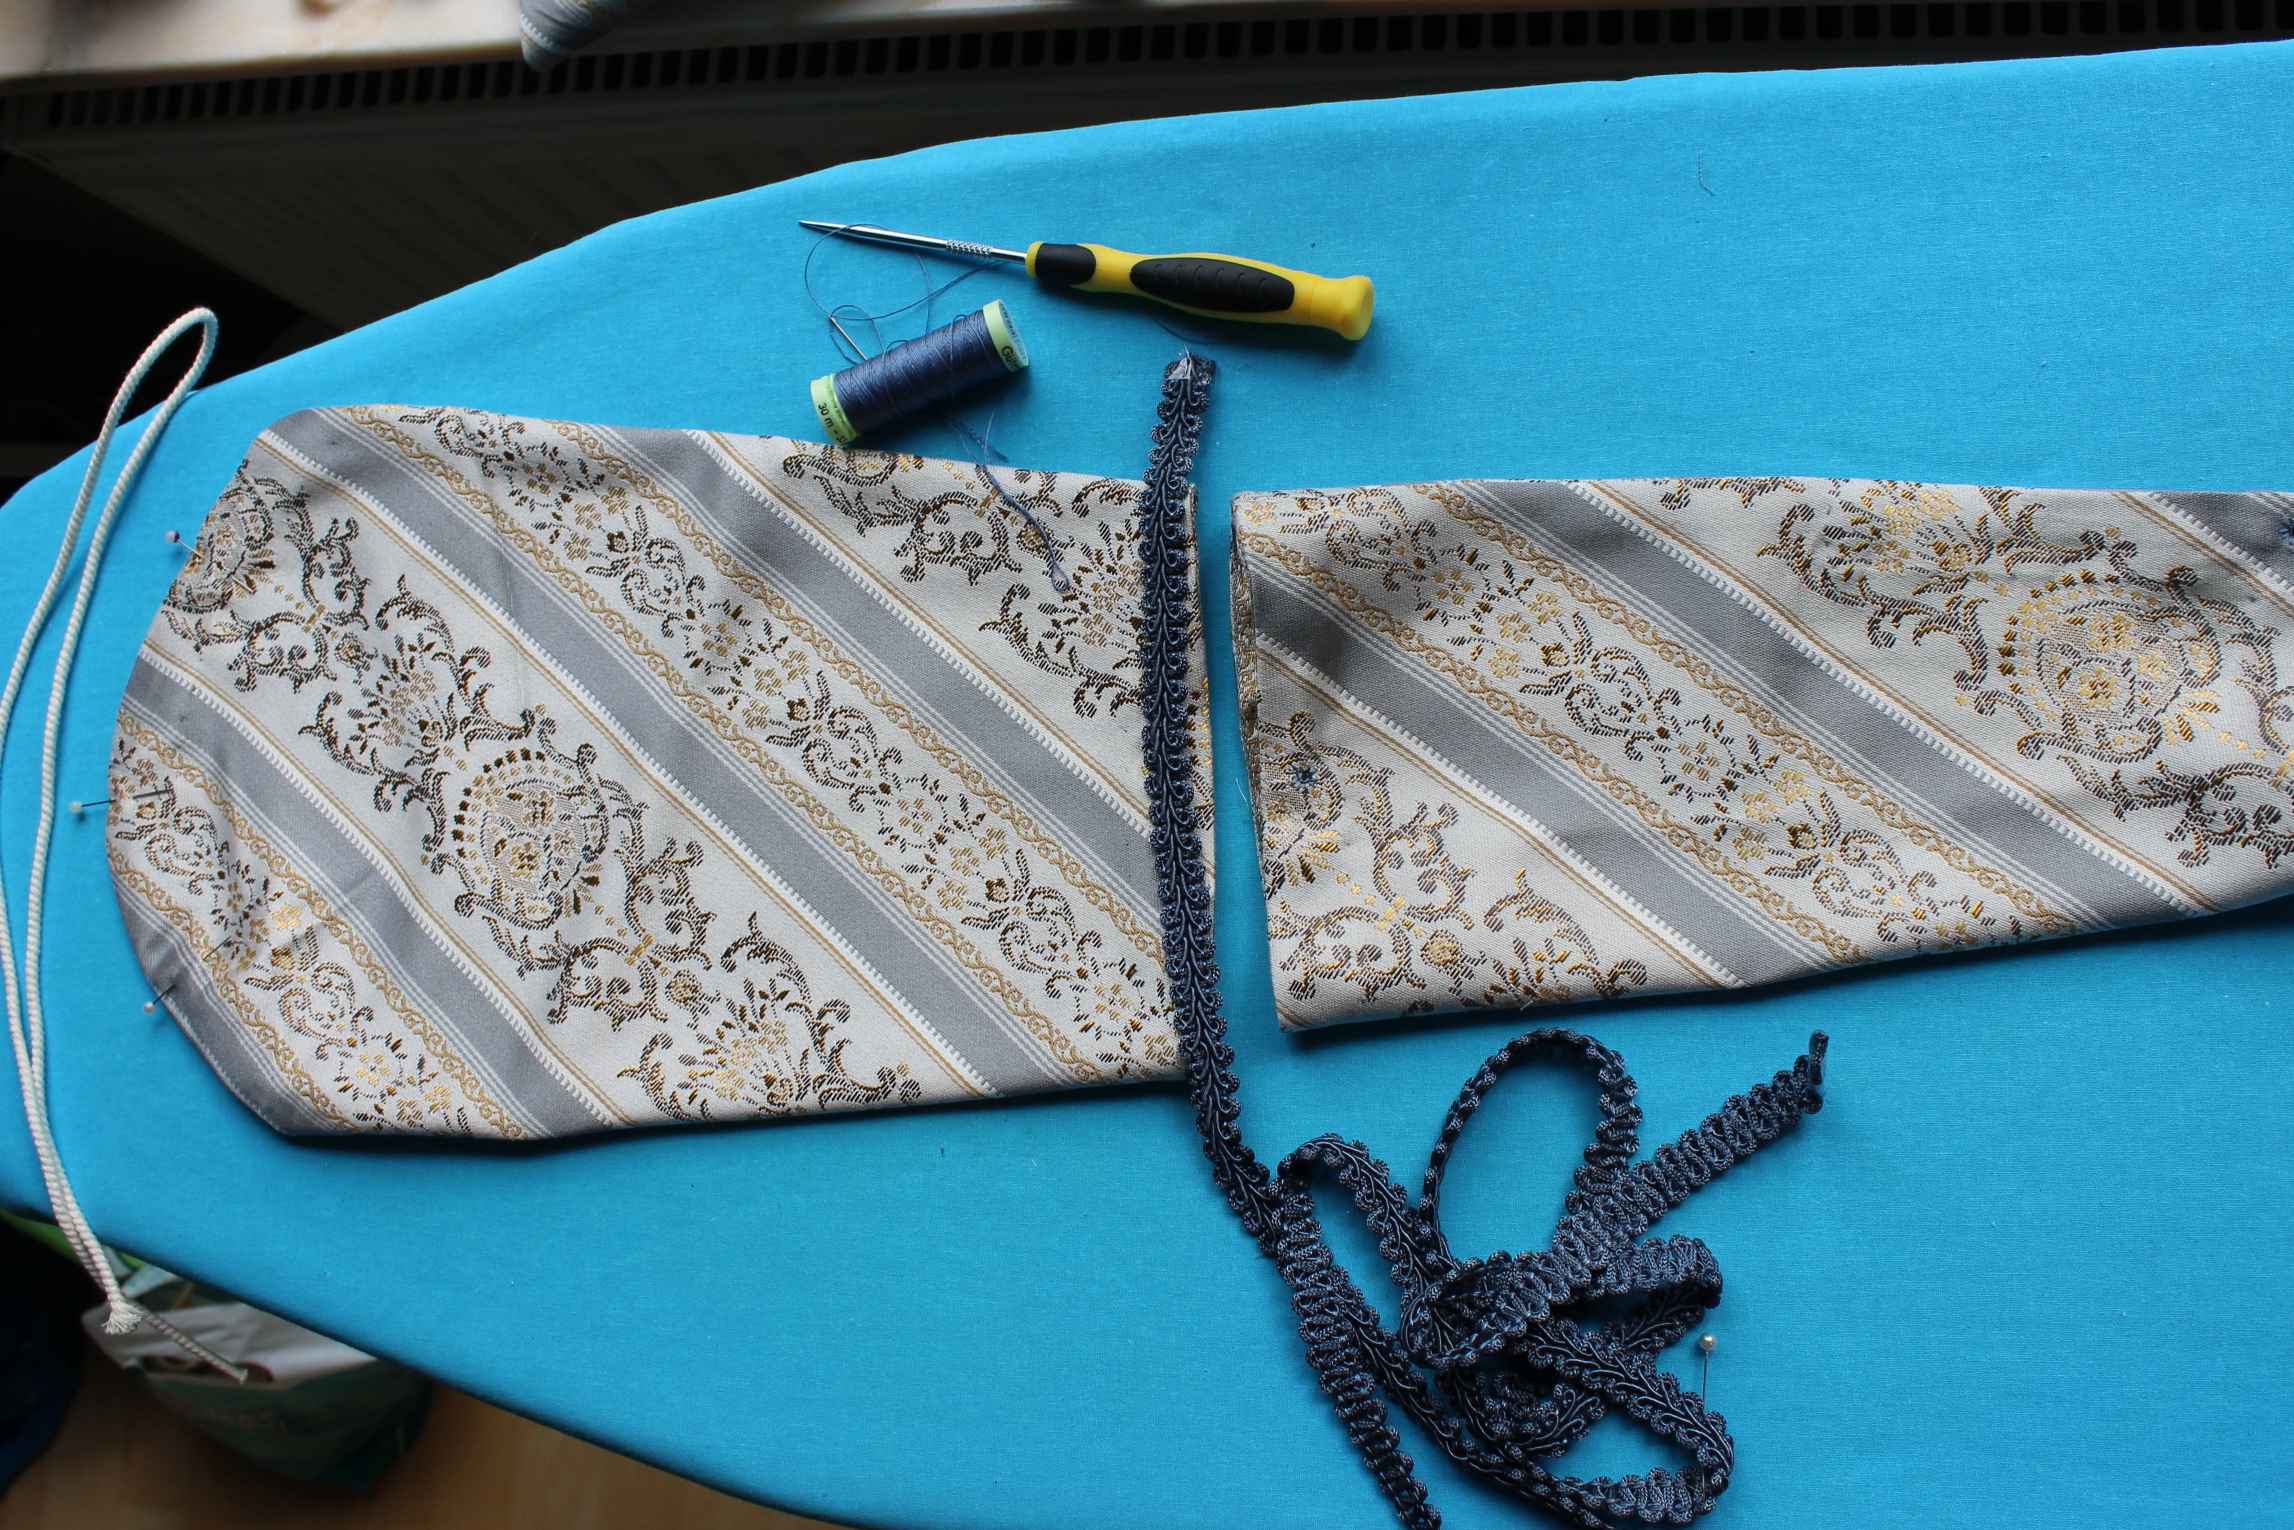
Cutting the sleeves, making sure the pattern placement matches on both left to right sleeve.

14247550_10210265180327540_1516791240_o All fabric cut and ready to go

As usual I started with the skirt, pinning and sewing the three widths of fabric together to a giant tube. Carefully matching the motifs at the seams.

img_1411
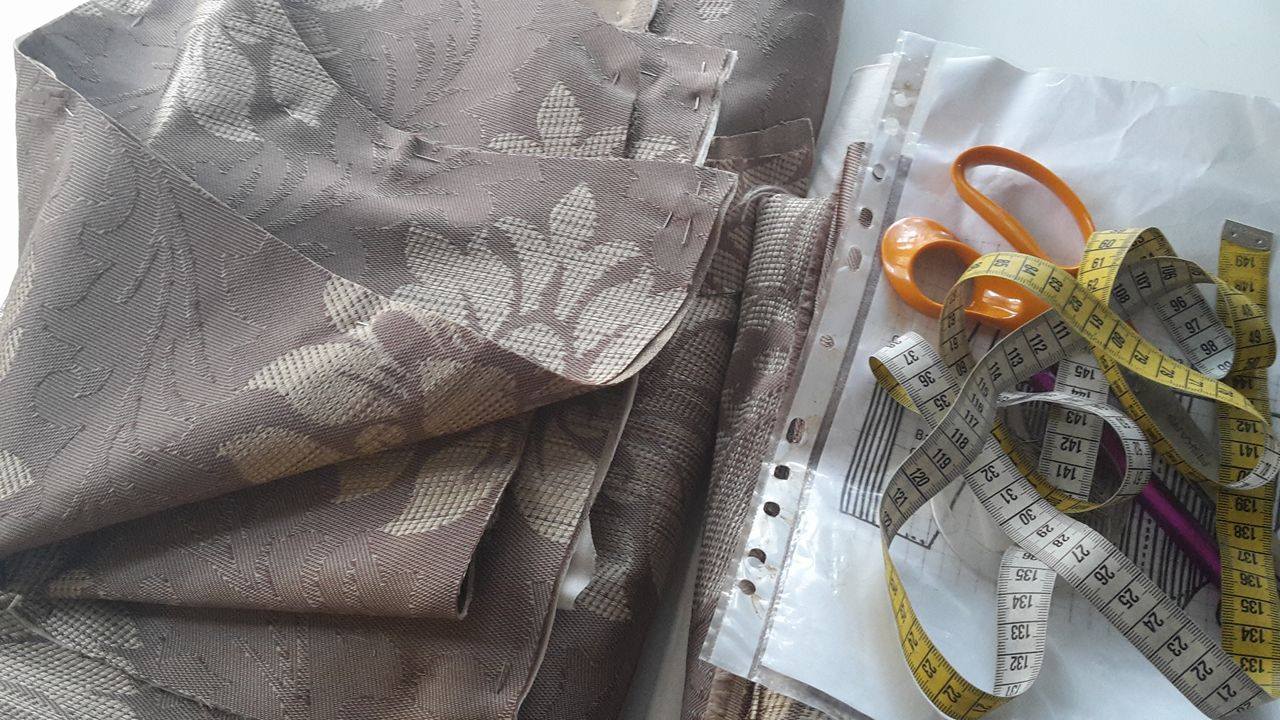
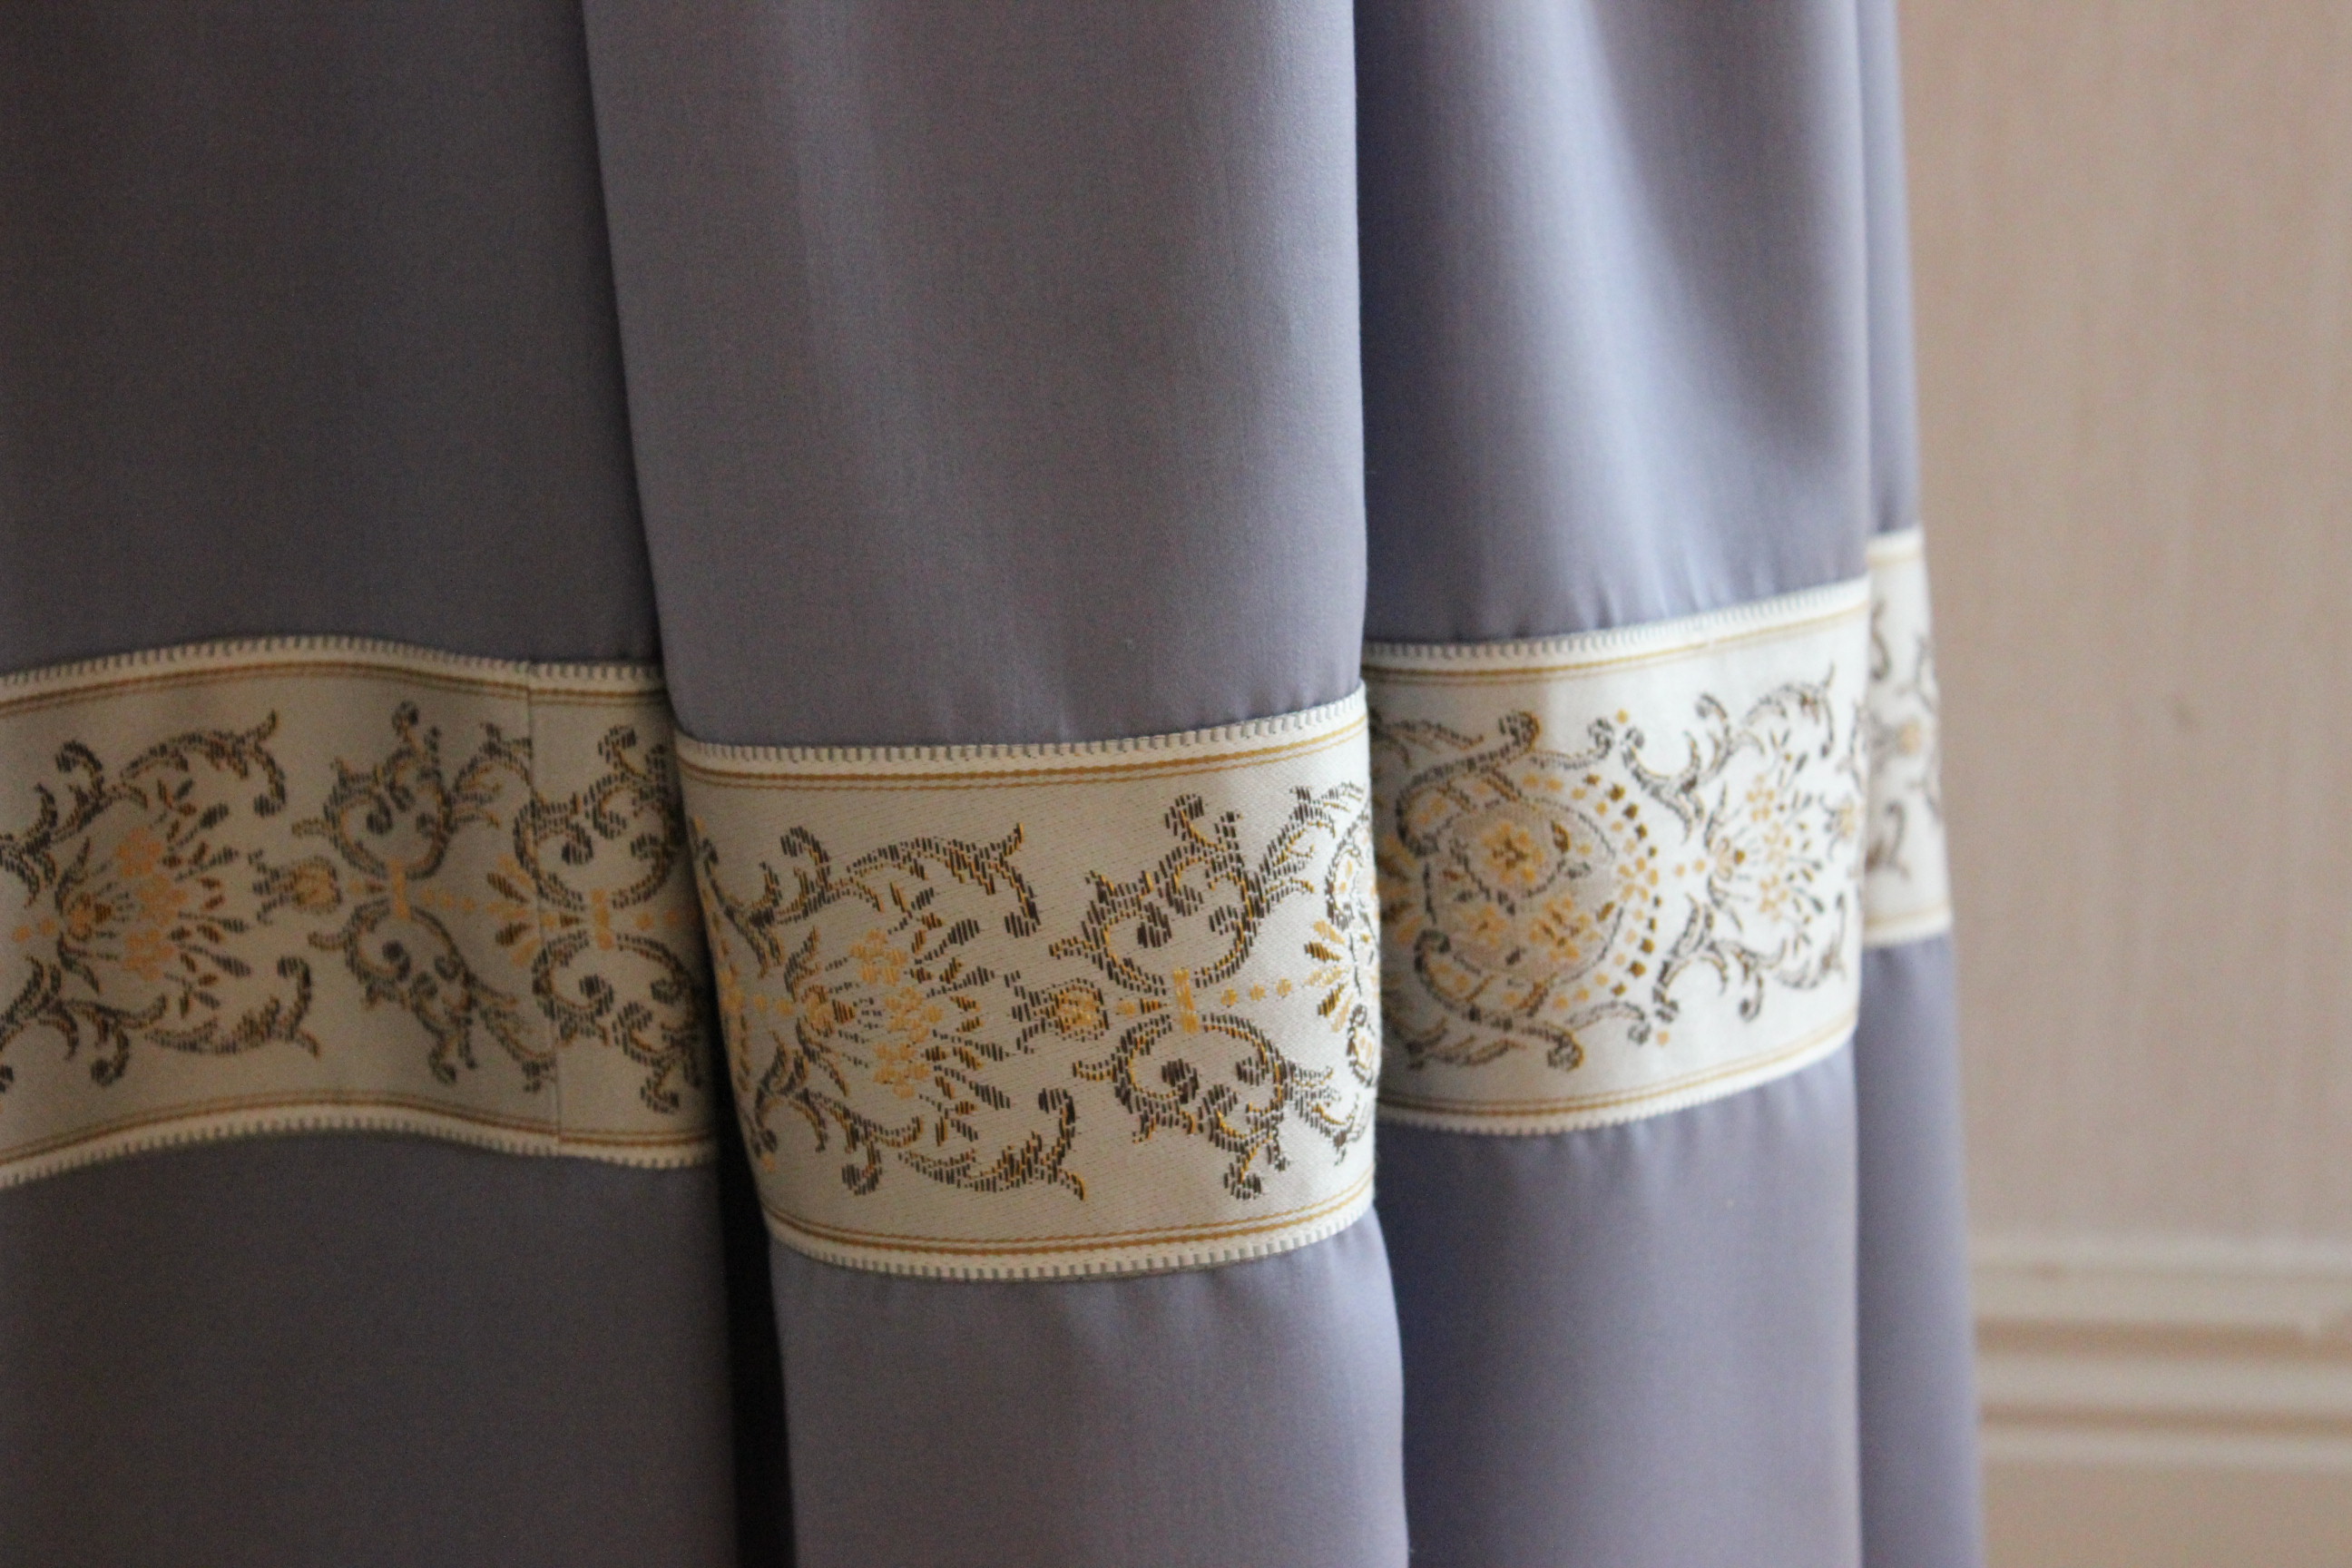
Not perfect, but close enough.

Then I pleated and pinned the upper edge to my waist measurement, leaving an opening at center back.  img_0437

I then stitched a piece of cotton ribbon to the top as a waistband, sewed on a hook and eye and put the whole thing on my dress-form (over bumpad and several petticoats, of course) to pin the hem. img_0987 I cut and stitched the hem using 15 cm wide pieces of cotton fabric to the inside.

Then it was time for the bodice.
I started by marking and stitching the boning channels to the interlining and lining, after basting hem together.img_0400

img_0401Lots of channels to give the right shape to the bodice.

 I added the bones made from plastic zip ties. img_1024

Then I stitched the shoulder-straps together and pinned the wrong sided of the fashion fabric to the interning, and stitched the neckline together. img_1029

After turning and pressing the neckline, it was time to stitch the sides together.  img_1052 As you can see I did a small miscalculation and had to let it out a tad to get it to fit.

I continued by adding lacing grommets to the back. img_1054I choose the golden ones to match the fabric.

Once the bodice was “ready” I started on the sleeves.
After some experimenting with cover buttons I decided to skip the detail of placate and buttons on the sleeves and just stitched them together as they where.img_1057The sleeves stitched and ready (one is turned inside out).

Then it was once more time to try it on.
img_1061 img_1069
I’m so pleased with the fit and shape, and I love the placement of the big motif on he front.img_1062The sleeve looks pretty good to even though it’s just pinned on.

To get he full view of the dress I put the whole thing on the dressform.img_1049Starting to look like something 🙂

I finished the bodice by hand-stitching the lover edge, adding the sleeves and making a modesty placket to go behind the lacing.img_1336Last few stitches…

And lastly I want to acknowledge the different definition of Heroes I think of when making (and wearing) this costume:

* The first and foremost Hero must of course be the late queen Elizabeth I, who made a such big impression in history, and showing that women are just as capable as men at whatever they try their hands on. I love powerful and inspirational females.

* Then I want to thank the amazing people who dedicate their life and work at researching historical fashions and styles and who make their finds available to everyone who’s interested in re-creating these fabulous garments (of course I’m thinking of Waugh, Arnold, Friendship, Bradfield, Mikhaila/Malcolm-Davies and many many more).

* I also want to celebrate all the amazing teachers who inspire us all to learn and grow in what we do. For me I count my college sewing teacher Lillian (who I still refer to when life gets hard), my mentors and co-workers at the theater atelier who taught me to have fun sewing and don’t be so afraid of doing it wrong. I also thinking of all off you great seamstresses and bloggers out there who constantly inspires me to push myself skill-wise and to try new things. I

* An lastly I want to give a cheer to all the “new to this” sewists and costume enthusiasts, and to say that you don’t have to make everything perfect (or historical) cause sometimes you just want a pretty dress 🙂
It might take a few years, but someday you will make that dress you fantasied about for so long.

The finished dress:img_1397

img_1399

img_1400

img_1403

img_1407

img_1480

img_1482

img_1485

img_1484

img_1487

img_1489

img_1490

img_1491

img_1493

img_1495

img_1498

img_1501

img_1499

img_1503

Just the Facts:

Challenge: nr 10/2015 – Heroes

How does it fit into the challenge: This dress is a dedication to lots and lots of strong and capable women, and men, but most to the one and only Queen Elizabeth I.

What: a 1550s dress inspired by the movie “Elizabeth” (1998)

Pattern: Bodice pattern remade from “The Dorothea bodice” from “The Tudor Tailor”, the sleeves was copied from my previous mentor at the theater atelje, the skirt is basically just 3 pieces of fabric sewn together.

Fabric: 4,5 m of golden polyester furniture brocade/damast, 1 m white cotton for lining and interning the bodice.

Notions: Thread, grommets, 3 m of cotton cord for lacing, 20-30 zip-ties heavy for boning, hook and eye and 1 m cotton ribbon for the skirts waist.

How Historical Accurate: Not at all I’m afraid. The fabric is modern both in content and looks, the bodice pattern are okey for the period but the back lacing (bot back placement and the use of metal grommets) is all wrong and I think the sleeves are wrong to. And the fact that I stitched it all up by machine and using modern techniques don’t make it any better. I would say 2/10.

Time: About 15 hours (spread into countless short sessions over 2,5 months)

Cost: About 500 Sek (55 usd)

First worn: Late October for photos

Final Thoughts: I love this dress, even though its far from historical accurate I think it does look really good (especially with a more historical styling) and I liked wearing it. My only concern is that I need to make something about the way the bodice point wrinkles. and I definitely need to anchor the bodice and skirt together, with hooks and eyes, for my next wearing.

1450s Borgia Headwear

I also needed something on my head to go with my new “Borgia” dress.
So I decided to make a simple headband (kind of a stripped down french hood) with a hair net to hide my hair, or lack thereof.

For the construction I used ” A Damsel in this Dress” great tutorial on hoods.
(www.adamselindisdress.wordpress.com/2014/09/16/how-to-make-french-hoods)

The materialsimg_0393I used the same striped brocade as n the dress, on top of buckram and lined with cotton scraps.

Cutting the outer fabricimg_0394

Using the machine to attach the milliner wire to the Buckramimg_0397

Pinning and stitching the fabric to the frame
img_0398 img_0403

Adding lace to the edgeimg_0404

And a velvet strip to be decorated with pearls. img_0407

Then I attached the lining img_0408

I used a bought, blue hairnet to pick up the colors from the dress. img_0384

I really wanted to add beads to the hairnet as seen in paintings of the time (and in “The Borgias” series) but it didn’t work at all. img_0392 So after a few tries I decided to go on without them.

I finished the headband by stitching the hairnet to the cresent and adding wig snaps to the inside to keep it on my head.

Finished headdress (and a sneak a peak of the dress being worn)
img_0683

img_0686

Just the facts:

Challenge: Nr 5/2016 Holes

What: a 1490s Italian headwear – Cresent with hairnet.

Pattern: I made my own.

Fabric/notions: Thread, Scraps of striped brocade, cotton, buckram, lace ribbon, velvet ribbon, some pearls and about 60 cm of millinery wire. And of course a hairnet.

How historical accurate: Not sure., Since I didn’t really did any research for this one, but just wanted a pretty headress to go with my dress (Sorry). maybe 3/10.

Time: Most of it are hand made, so I guestimate about 2-3 hours.

Cost: Slim to none since it all was scraps, but lets say 50 Sek (8 Usd) for everything (including the hairnet*).

First worn: Late august for photos, and a few days later on he yearly Medieval fair.

Final thoughts: I think it looks pretty and works well with the dress. It does also do the job of (togheter with some lose hair ringlets) hiding my own short hair.

*Gott’a love Ebay 🙂

1490s Borgia dress – Construction part 2 – Finishing

And here comes the second part on the construction of my “Borgia” dress (part 1)

tumblr_mc079qPab21r4sg4ao2_250The Main inspiration

As a new mom the time for sewing is a bit more restricted then before, but when the urge to create gets to overwhelming you sometimes need to do what ever needed to get the itch satisfied.  
14203599_10210265181927580_1854767540_o#multitaskingmom
He actually falls right asleep once carried, whether I’m handsewing or using the machine.

Starting where we left of, finished the skirt, sleeves and assembled the bodice I hated the dress. I was so frustrated I left it on the dressform several days before I got the energy to tackle it again.14191394_10210265180927555_1142277737_oBy then I’ve convinced myself that once finished it would look much better then limp and sad on my dressform. I also hoped the proportions would look much better on me then on the form.

So carry on I did, marking the lacing holes.
img_0297

14215727_10210265181247563_2038233614_oHm, what color to use…

img_0345Right side finished with lacing holes and trim.

Once the lacing was finished I stitched the sides of the bodice together and then it was time to put it on to14191493_10210265181287564_429470907_o img_0350
The fit is almost perfect (if you ignore the ridiculous low neckline).

The small lacing holes I’ve made needed a thin and delicate lace – one which would not hold the preasure of my not so small bust. So I added some lacing rings and a cotton cord (to be hidden beneath the stomacher) to take the stress of the pretty golden laces.img_0377

Then I added the lining to the bodice, fixed the front clouser, finished the edges of all the little laces (sooo many laces and lacing holes) and hemmed the skirt.img_0382

And that was that 🙂

The finished Dress
img_0442

img_0445

img_0447

img_0454

img_0449

img_0451

img_0480

img_0482

img_0458

img_0457

img_0459

img_0460

img_0461

img_0467

img_0462

img_0472

img_0470

img_0477

Just the Facts:

Challenge: nr 1/2016 Procrastination – I’ve been wanted to make this dress for  long time, but only now (summer 2016) got around to make it.

What: A 1490s Italian Dress inspired by the TV-series “The Borgias”

Pattern: I drafted my own, using “The tudor tailor” for reference on the bodice.

Fabric: 4 m light blue satin (1 m wide) 1,5 m striped brocade, 0,5 m white cotton for lining and interlining.

Notions: Thread, buttonhole thread, 6 m silvery ribbon, 3 m golden ribbon for front lacing, 3 m cotton lacing for internal lacing, 12 lacing rings, 2 m plastic boning, 0,5 m steel boning, 4 m blue furniture braid for decoration.

How historical accurate: Not that much I’m afraid. The fabric are all modern (polyester) and the sewing and construction was made using modern techniques and sewing machine. the style of dress itself are plausible but probably borderline fantasy. I must admit I’m not that knowing on this specific period. Maybe 5/10

Time: Way to long – I would guess about 20 hours over the course of 1,5 month, working in small batches of maximum 1 hour at the time.

Cost: About 200 Sek (16 Usd) – A real bargain! It should probably be more like 1000 sek (160 Usd)

First worn: For photos mid August and at a Medieval Fair late August.

Final Thoughts: I actually like it even though I feel like Booberella in it. The neckline ended up to low, and the way it closes in the front are not the best solution.
But I think this is one of the most decorated pieces I’ve ever made, and think it looks great.

1490s Borgia dress – Construction

I’ve long wanted o make an early Italian Renaissance dress inspired by the series “The Borgias”

tumblr_lt0cgyMJUB1qiu1coo3_400Main inspiration

But it wasn’t until I remembered these two fabrics in my stash the design really took shape.20160719_085353_resizedA beautiful striped brocade I bought a whole bolt of for a steal about a year ago, and a dove grey/blue satin acquired on a fabric sale for about 5 Sek/m (it’, only 1,20 wide but for that price I could live whit that)

20150810_181826_resized Isn’t it gorgeous!

Playing around with the design I decided to use the design on the brocade for stripes and trim..img_9962Three different sizes of “trim”

once all the pieces was cut I started working on the skirt. I stitched the panels together, leaving the center back open. Then I pinned and basted two different kinds of brocade trim to the front and along the lower edge. img_9965 I also added some blue furniture band along the center front decoration.

Then I stitched the back shut and pleated the waist to the right measurement.

 14247814_10210265181367566_738240602_o 14164040_10210265181167561_851081547_o
The wide stripe looked a bit strange at the top, so I folded some of it under to create an adjustable pleat.

Then it was time for the sleeves.

img_9961Cutting the sleeves on the bias.

After some hesitation I decided to cut the sleeves into two pieces each and to make them tied on, like the ones in my inspiration. img_0300experimenting with trimimg_0342All the pieces of the sleeves ready for decoration.

Then it was time for the bodice.img_9588
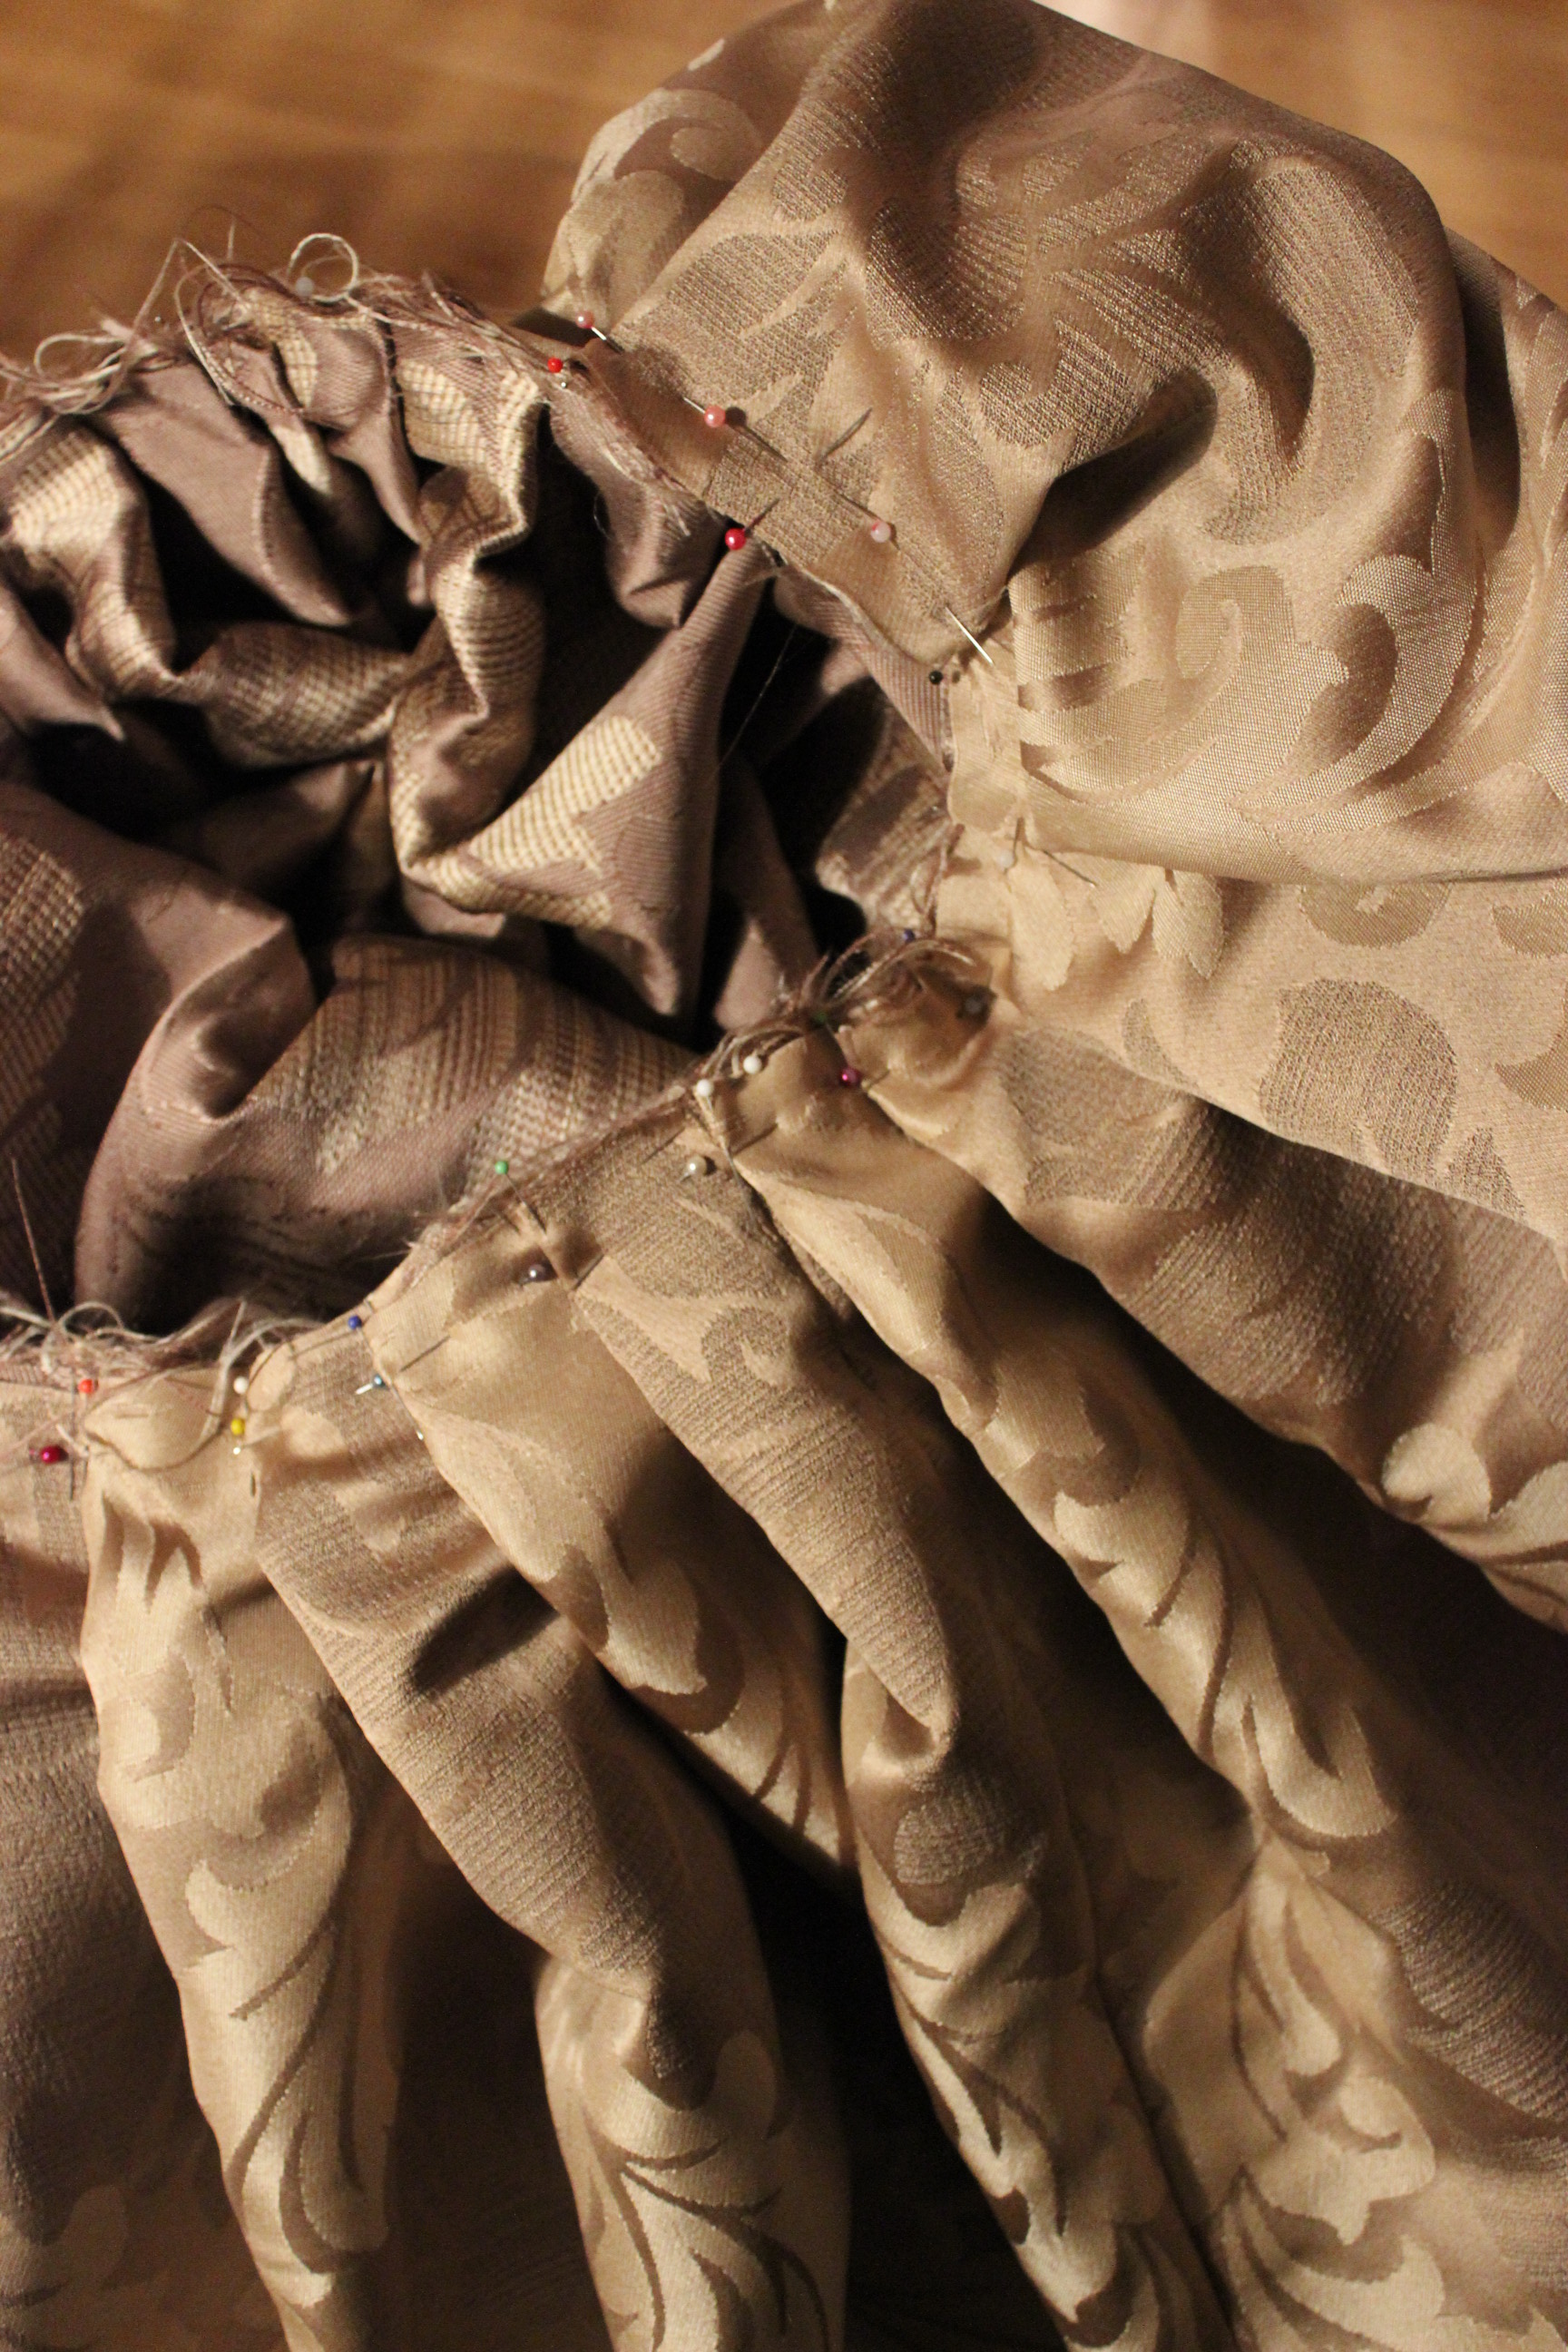
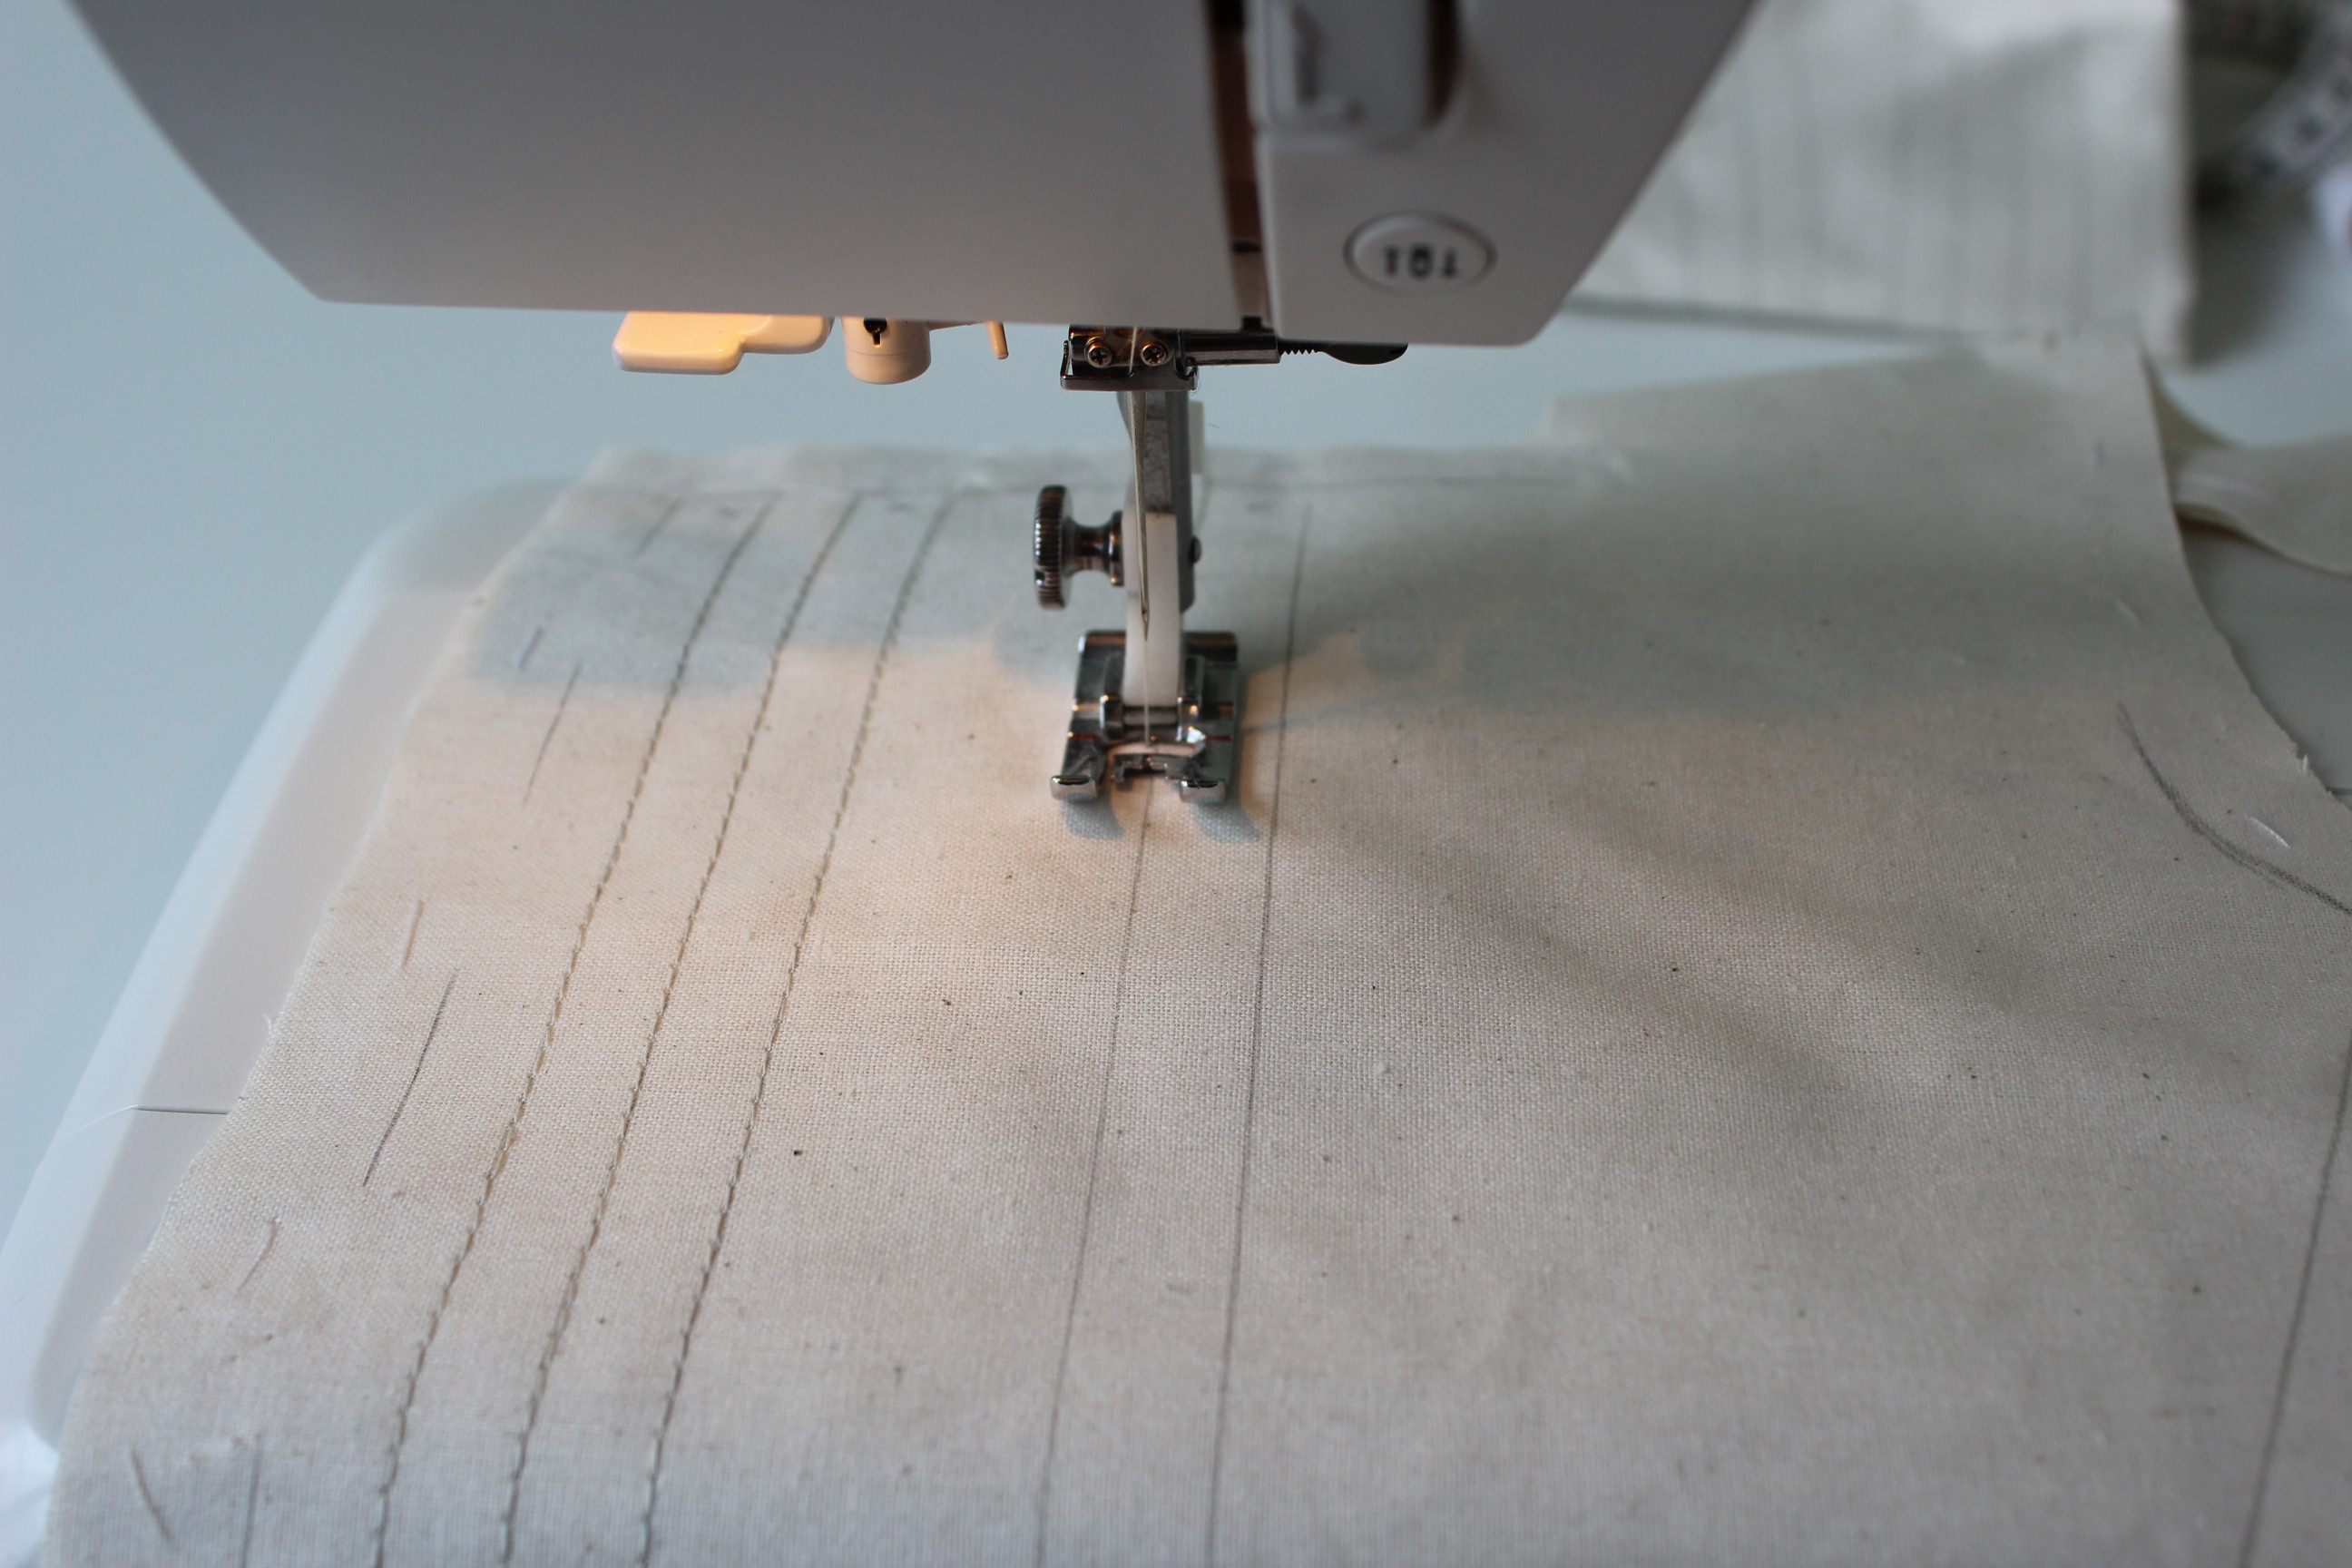
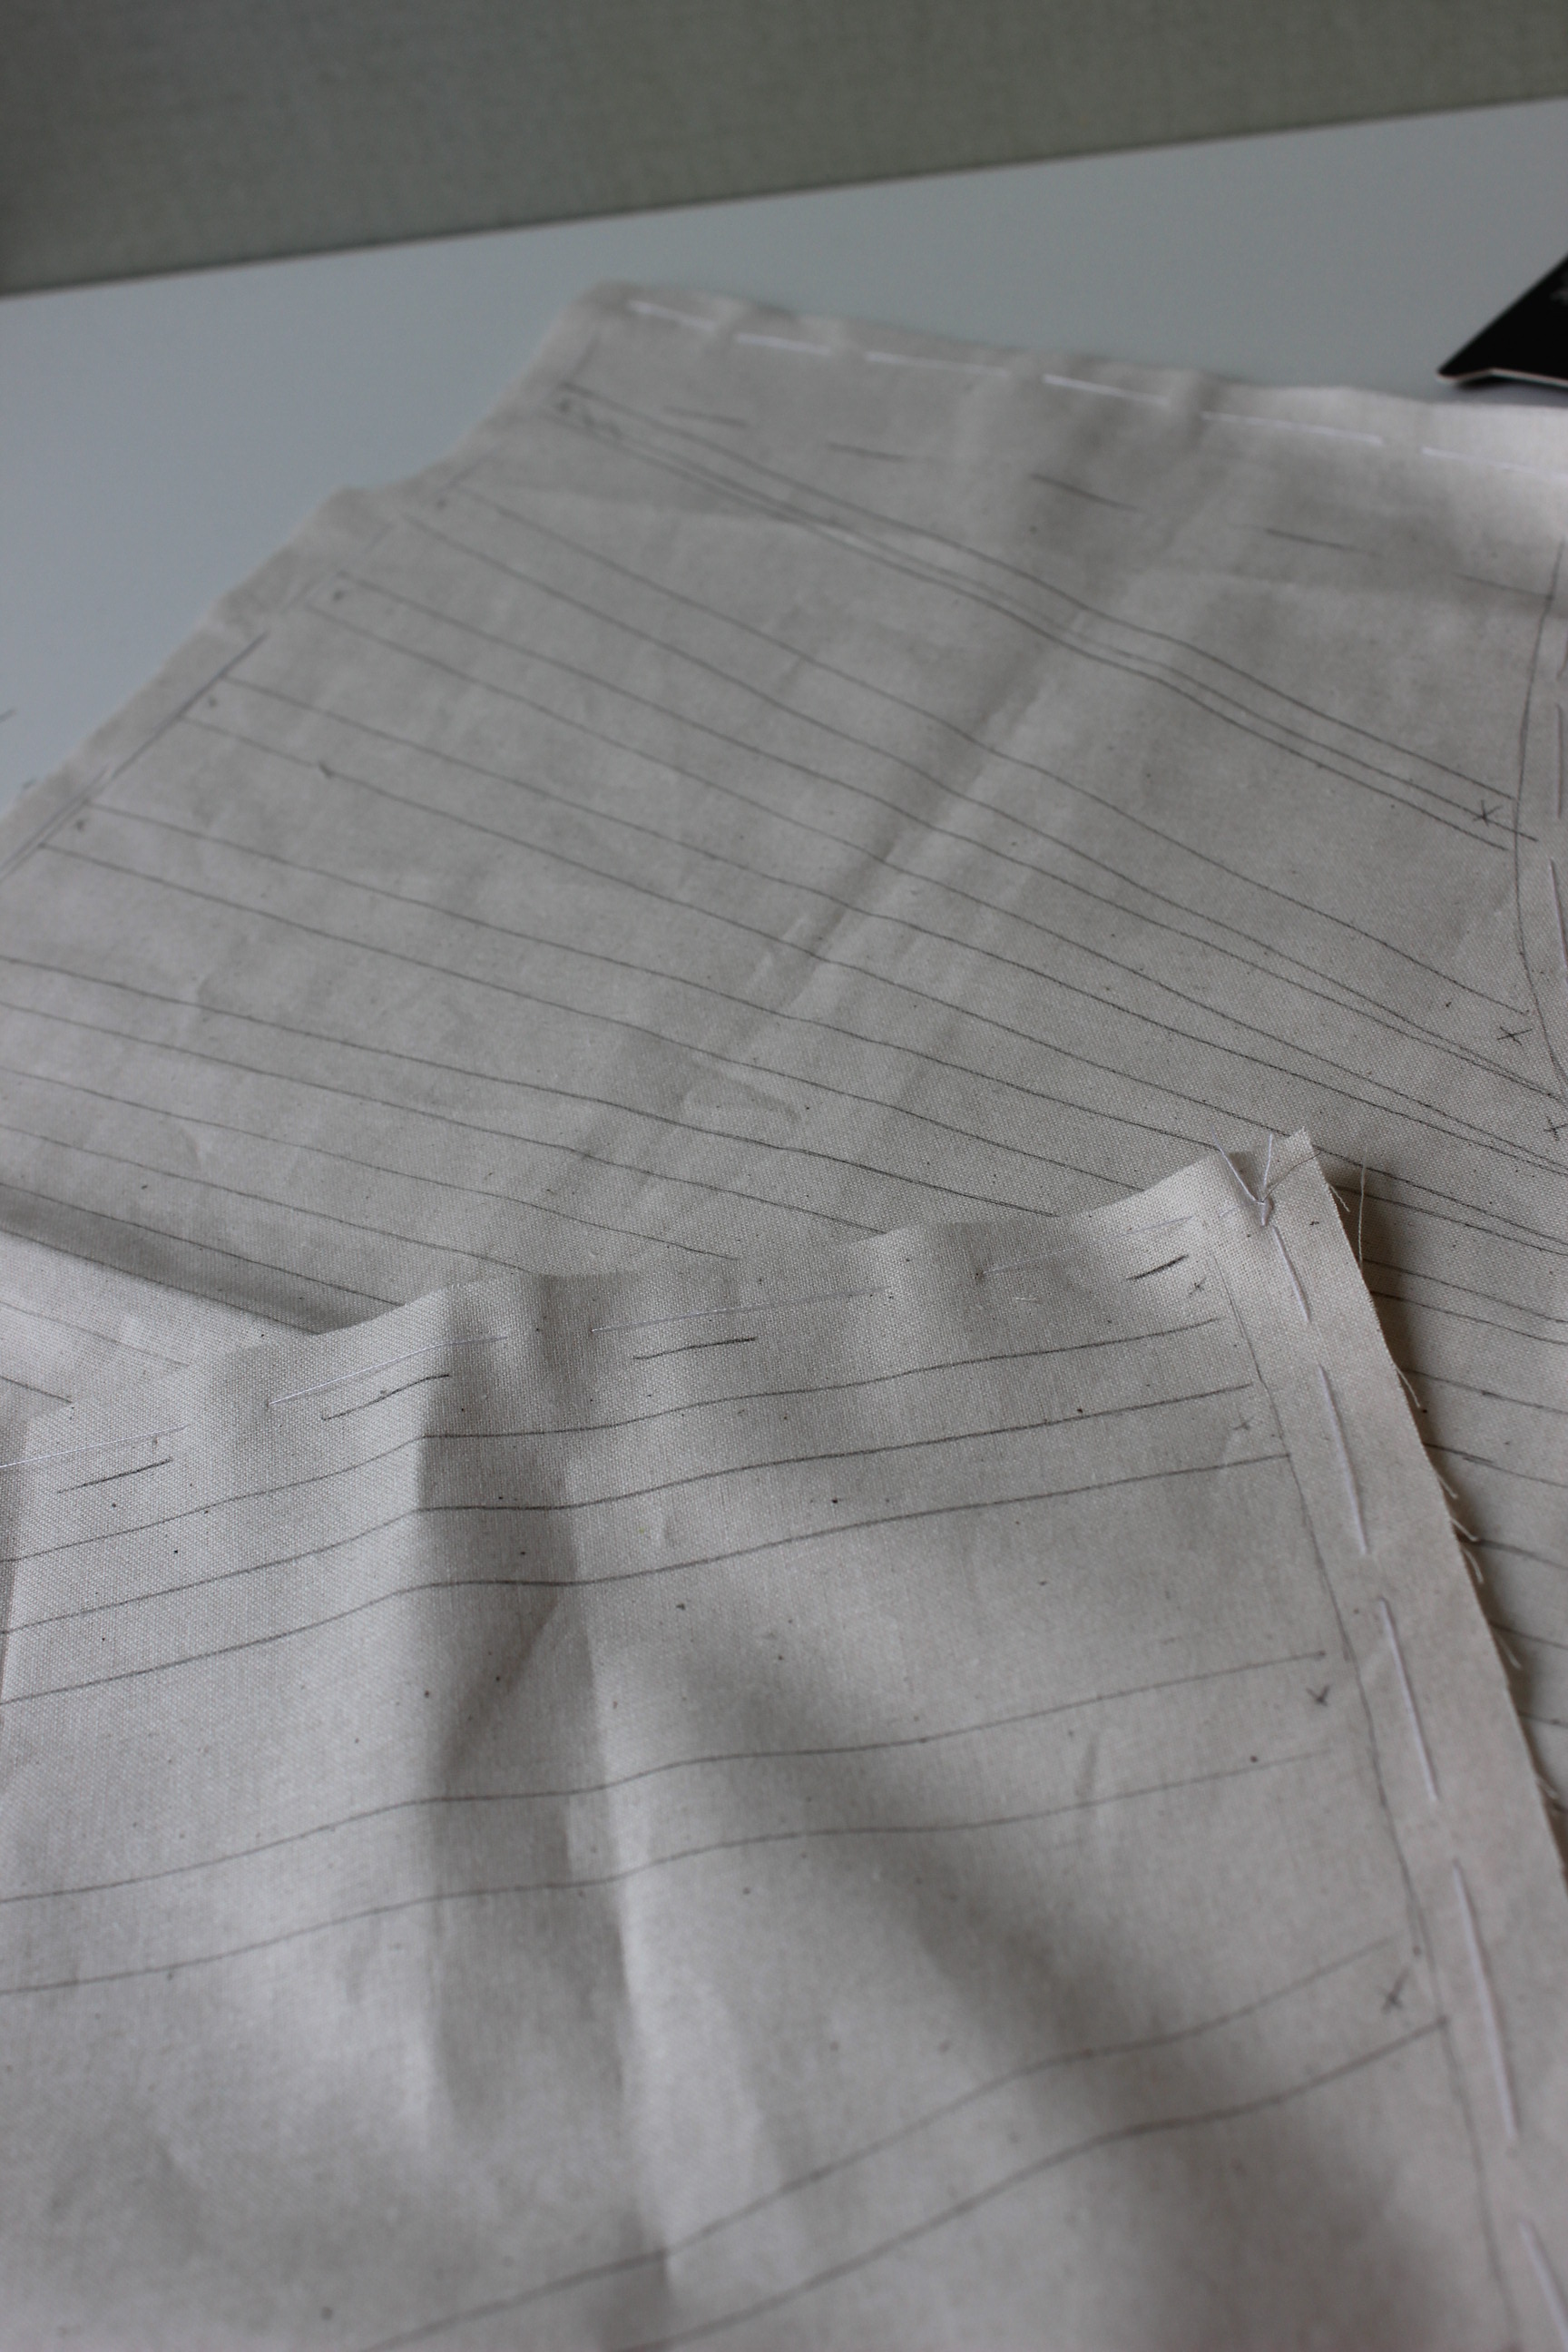
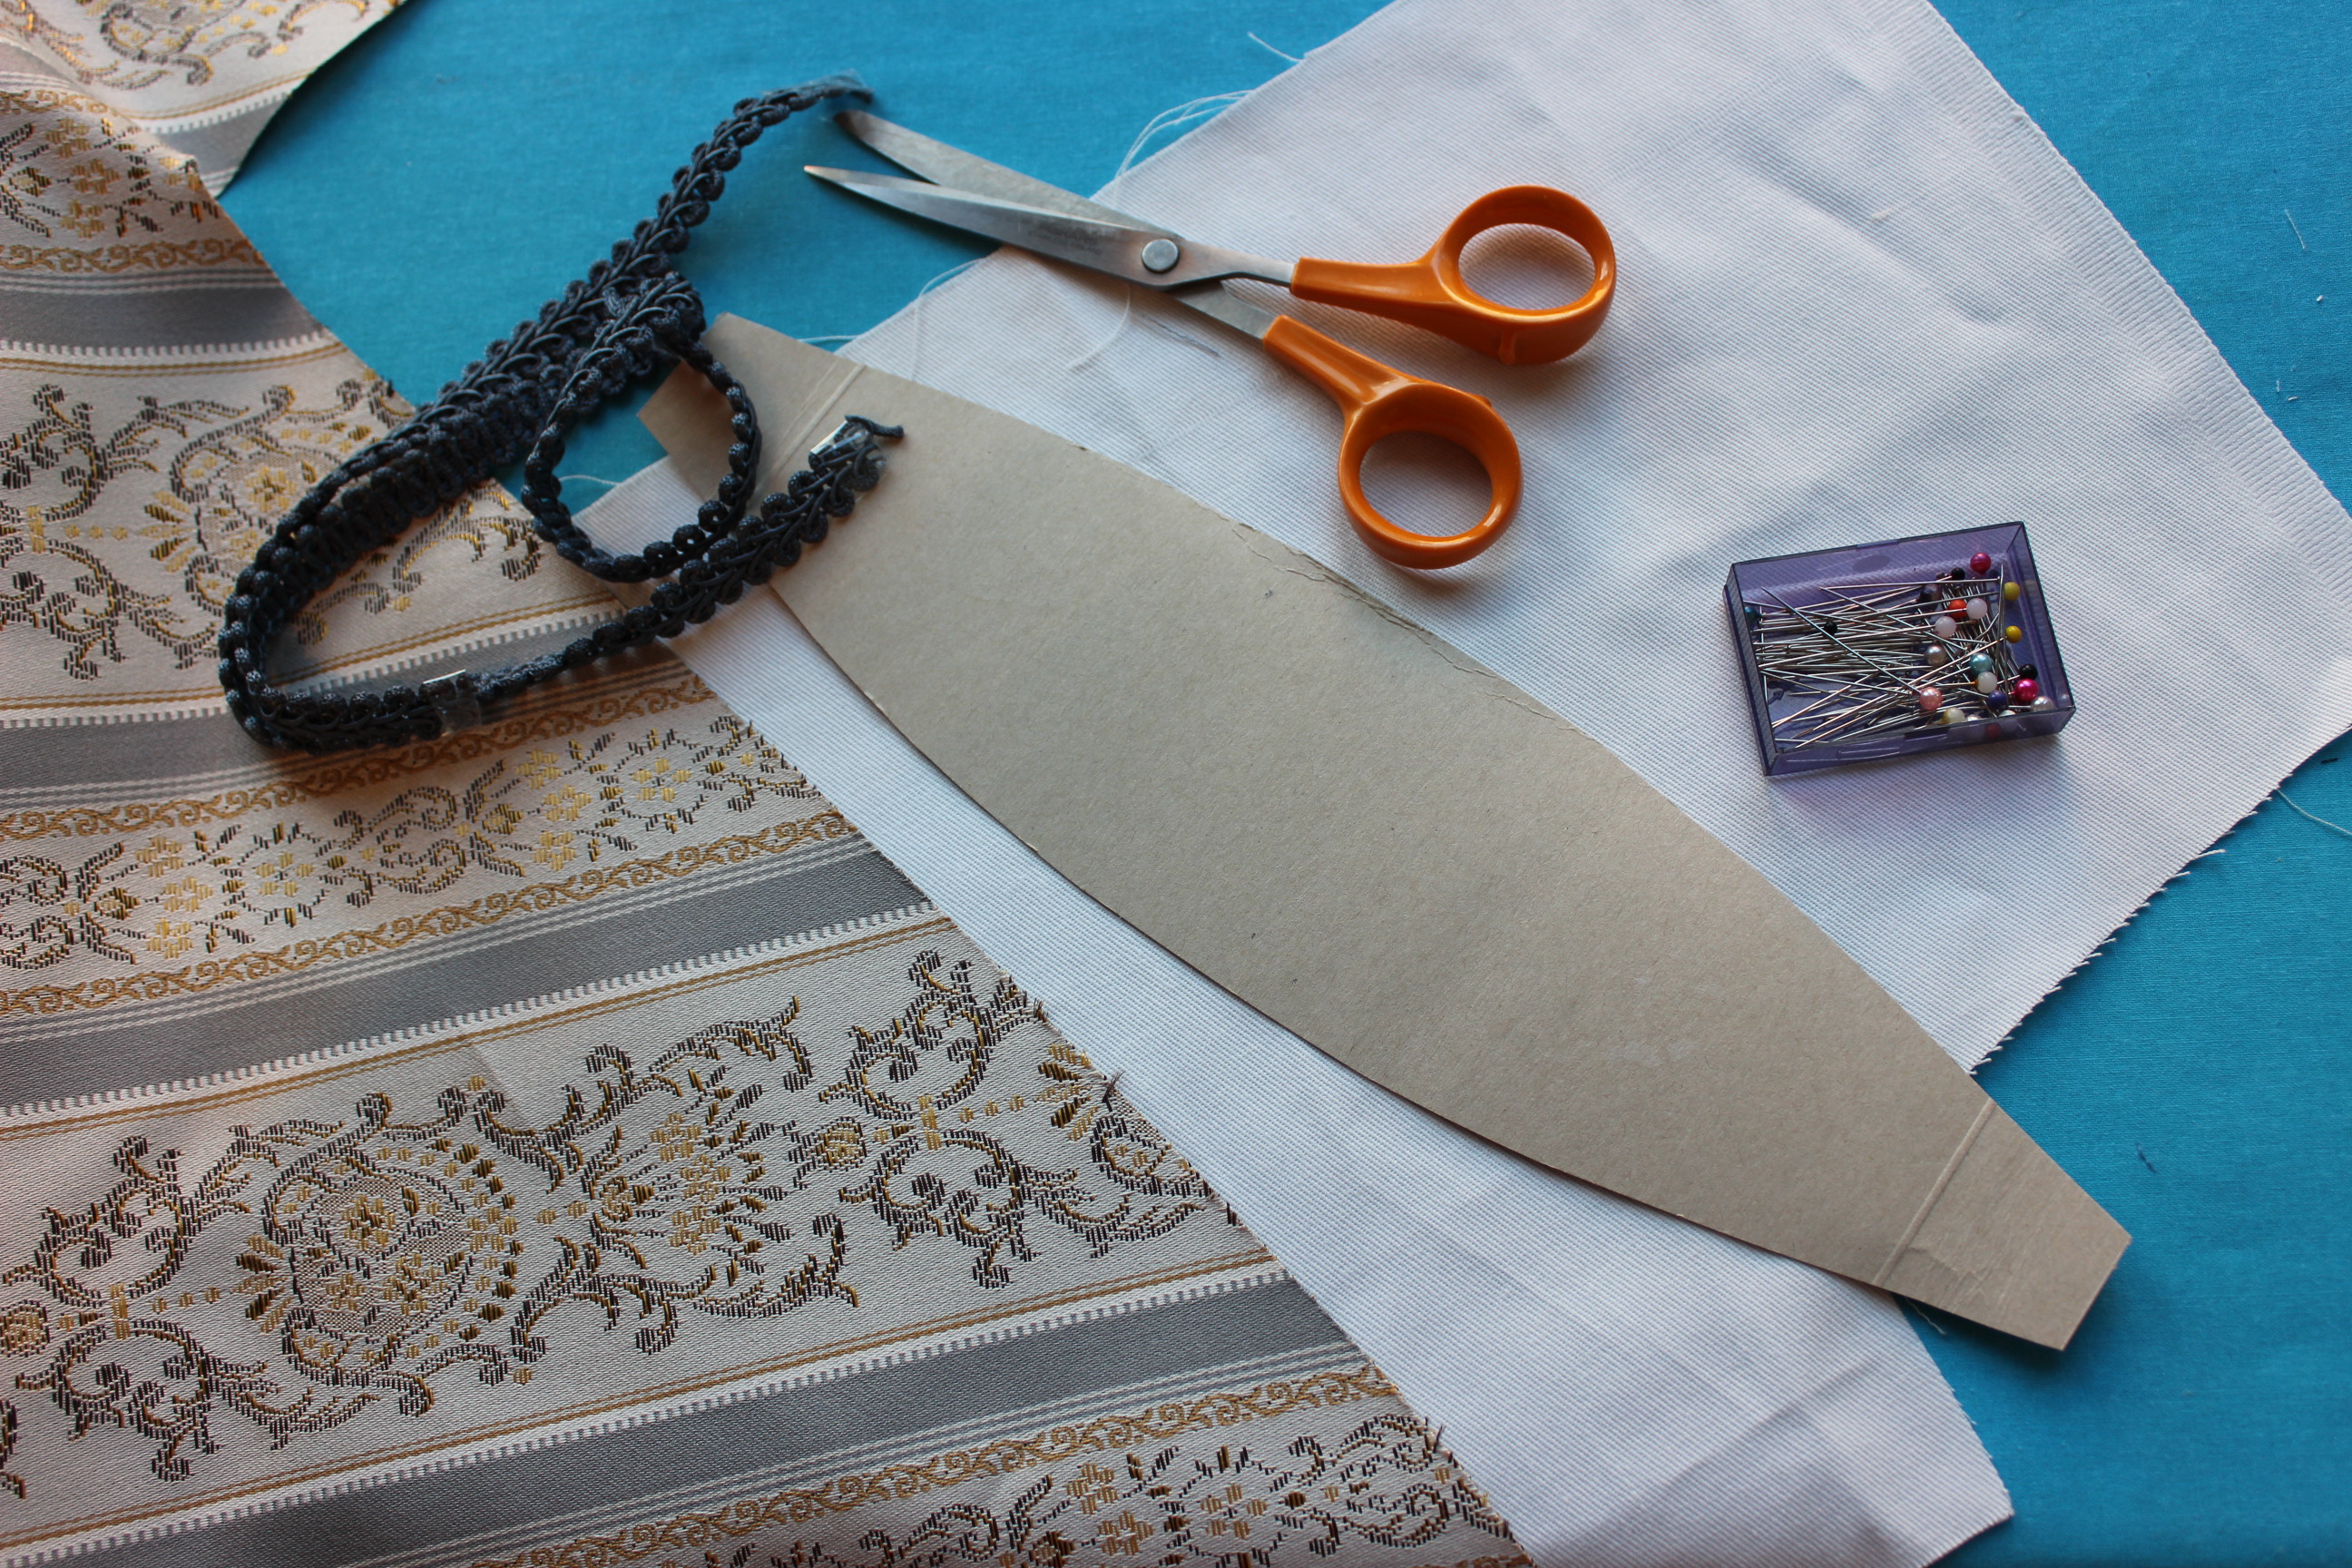
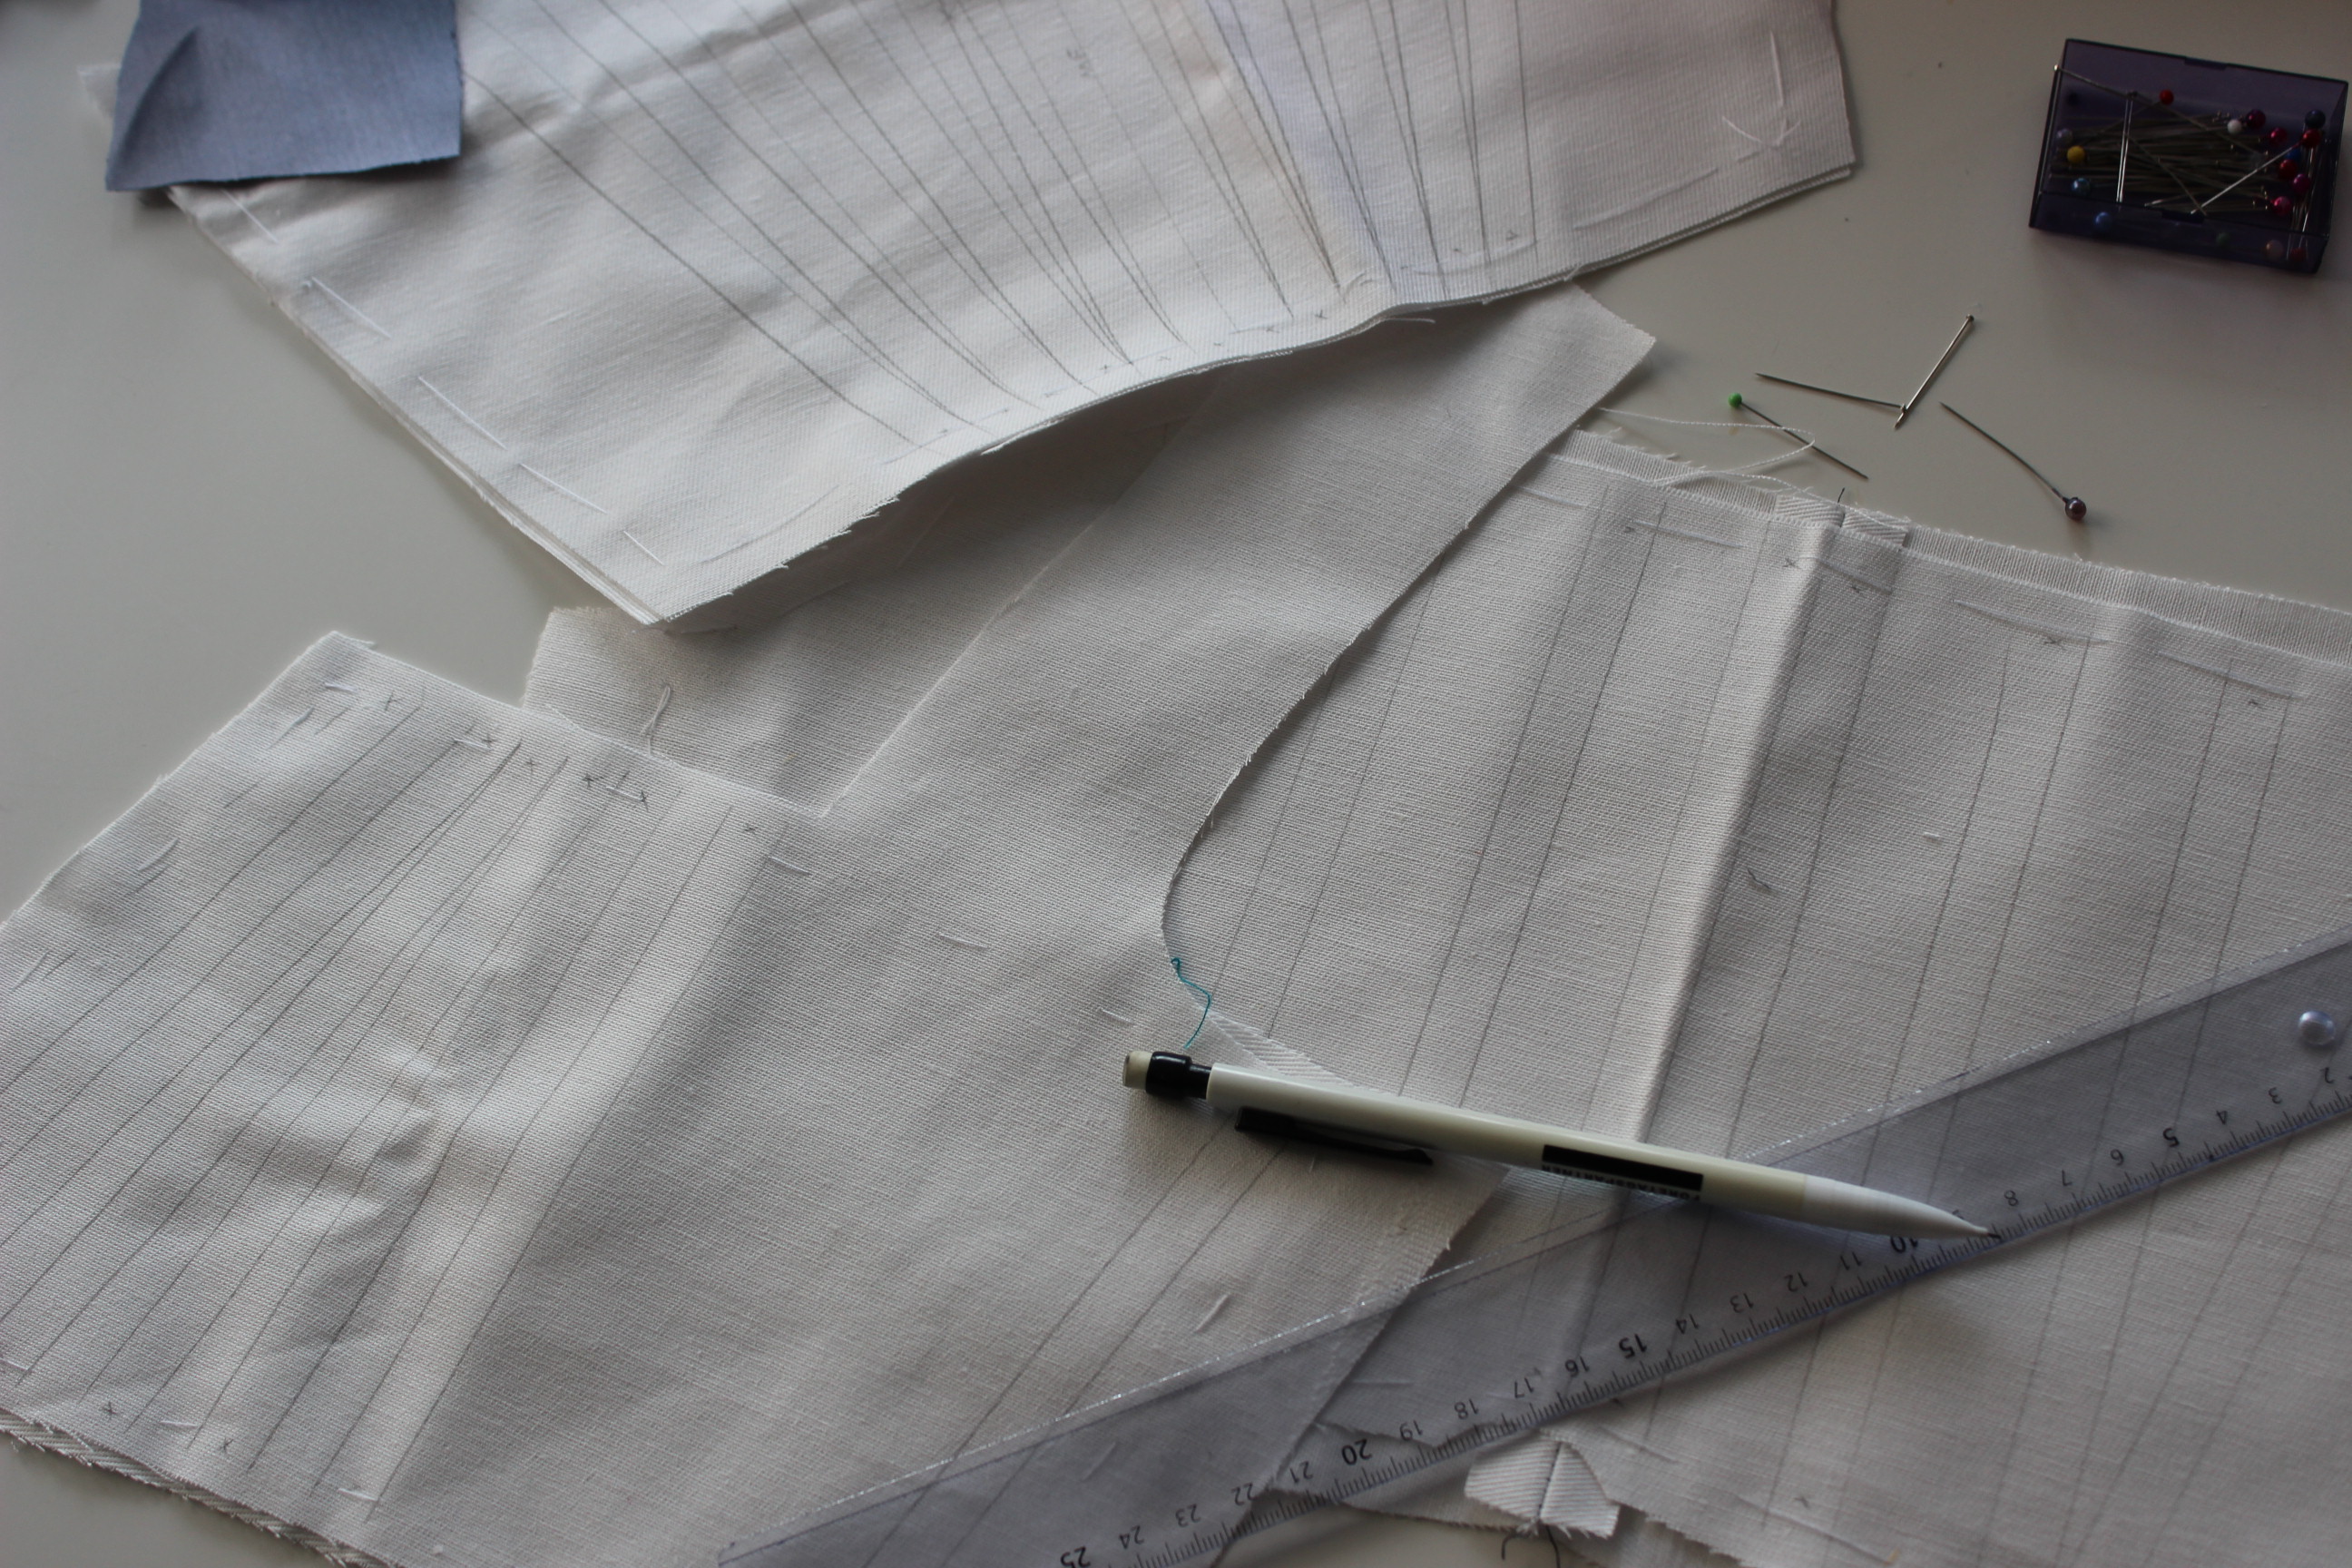
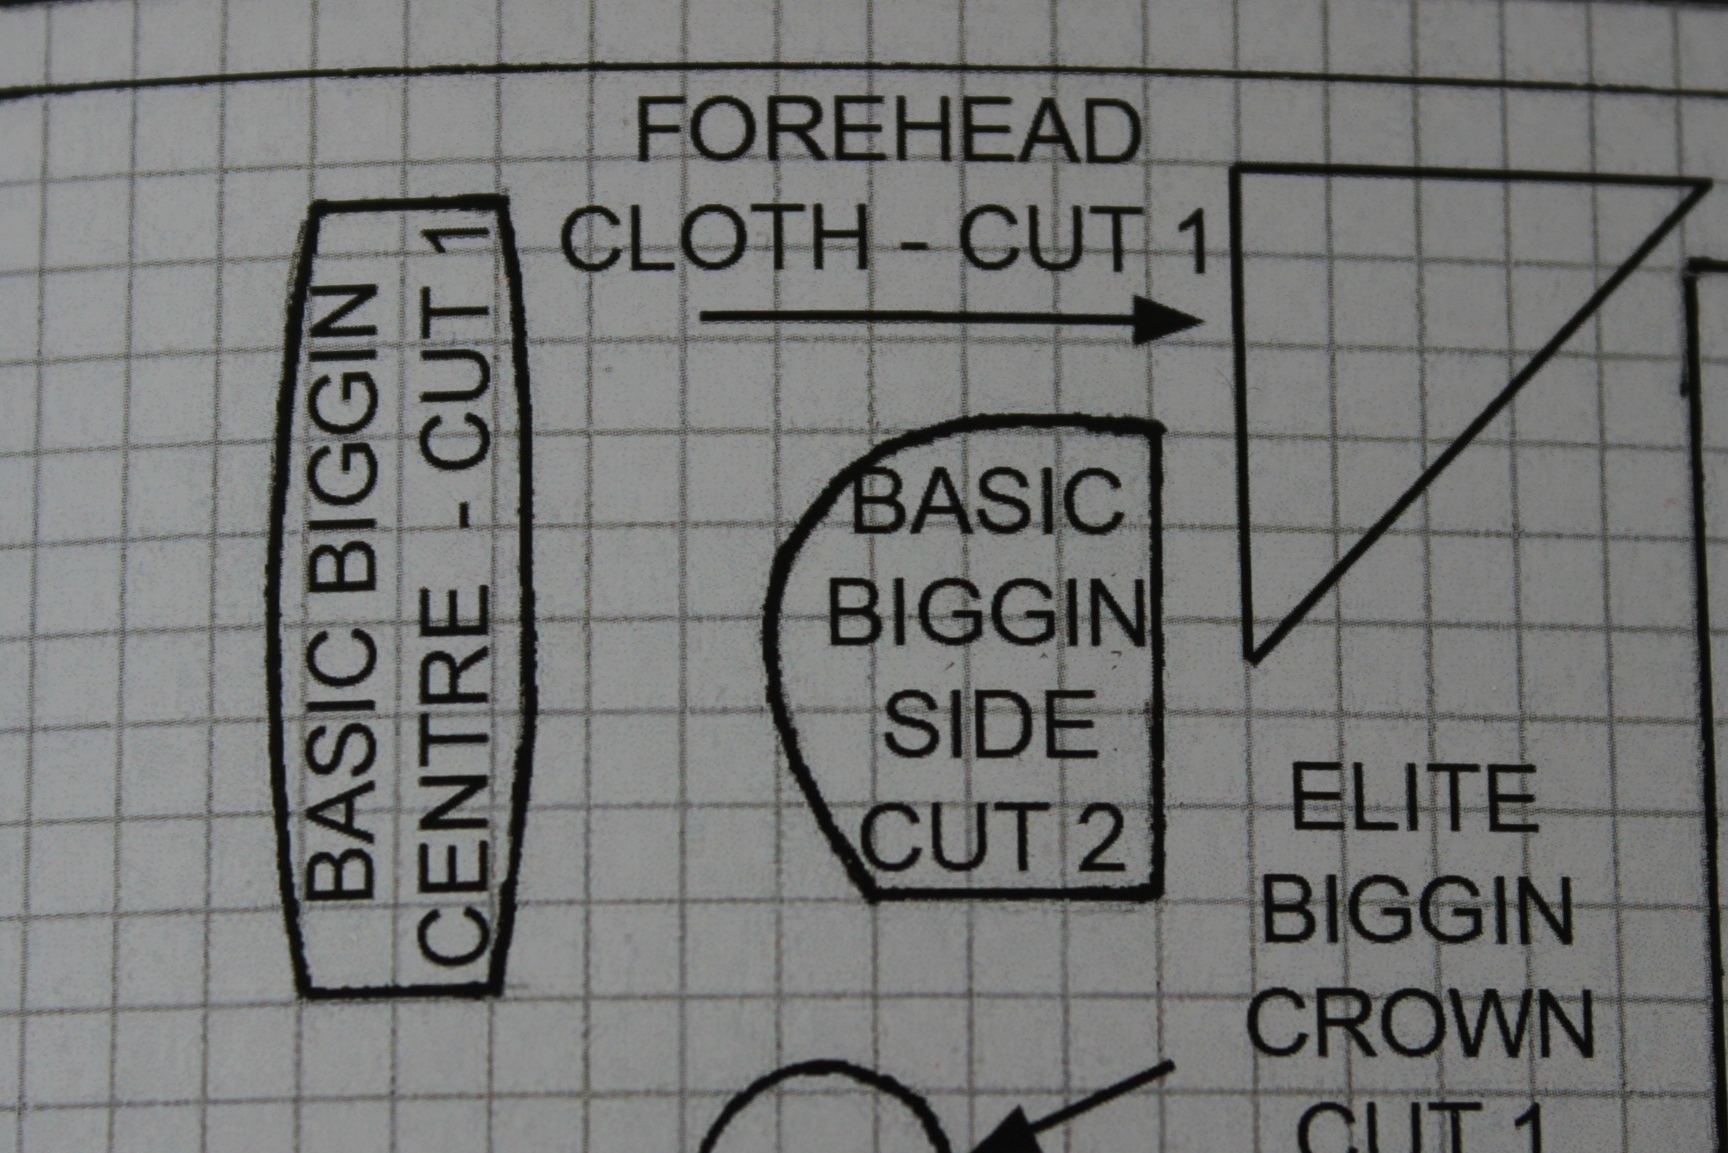
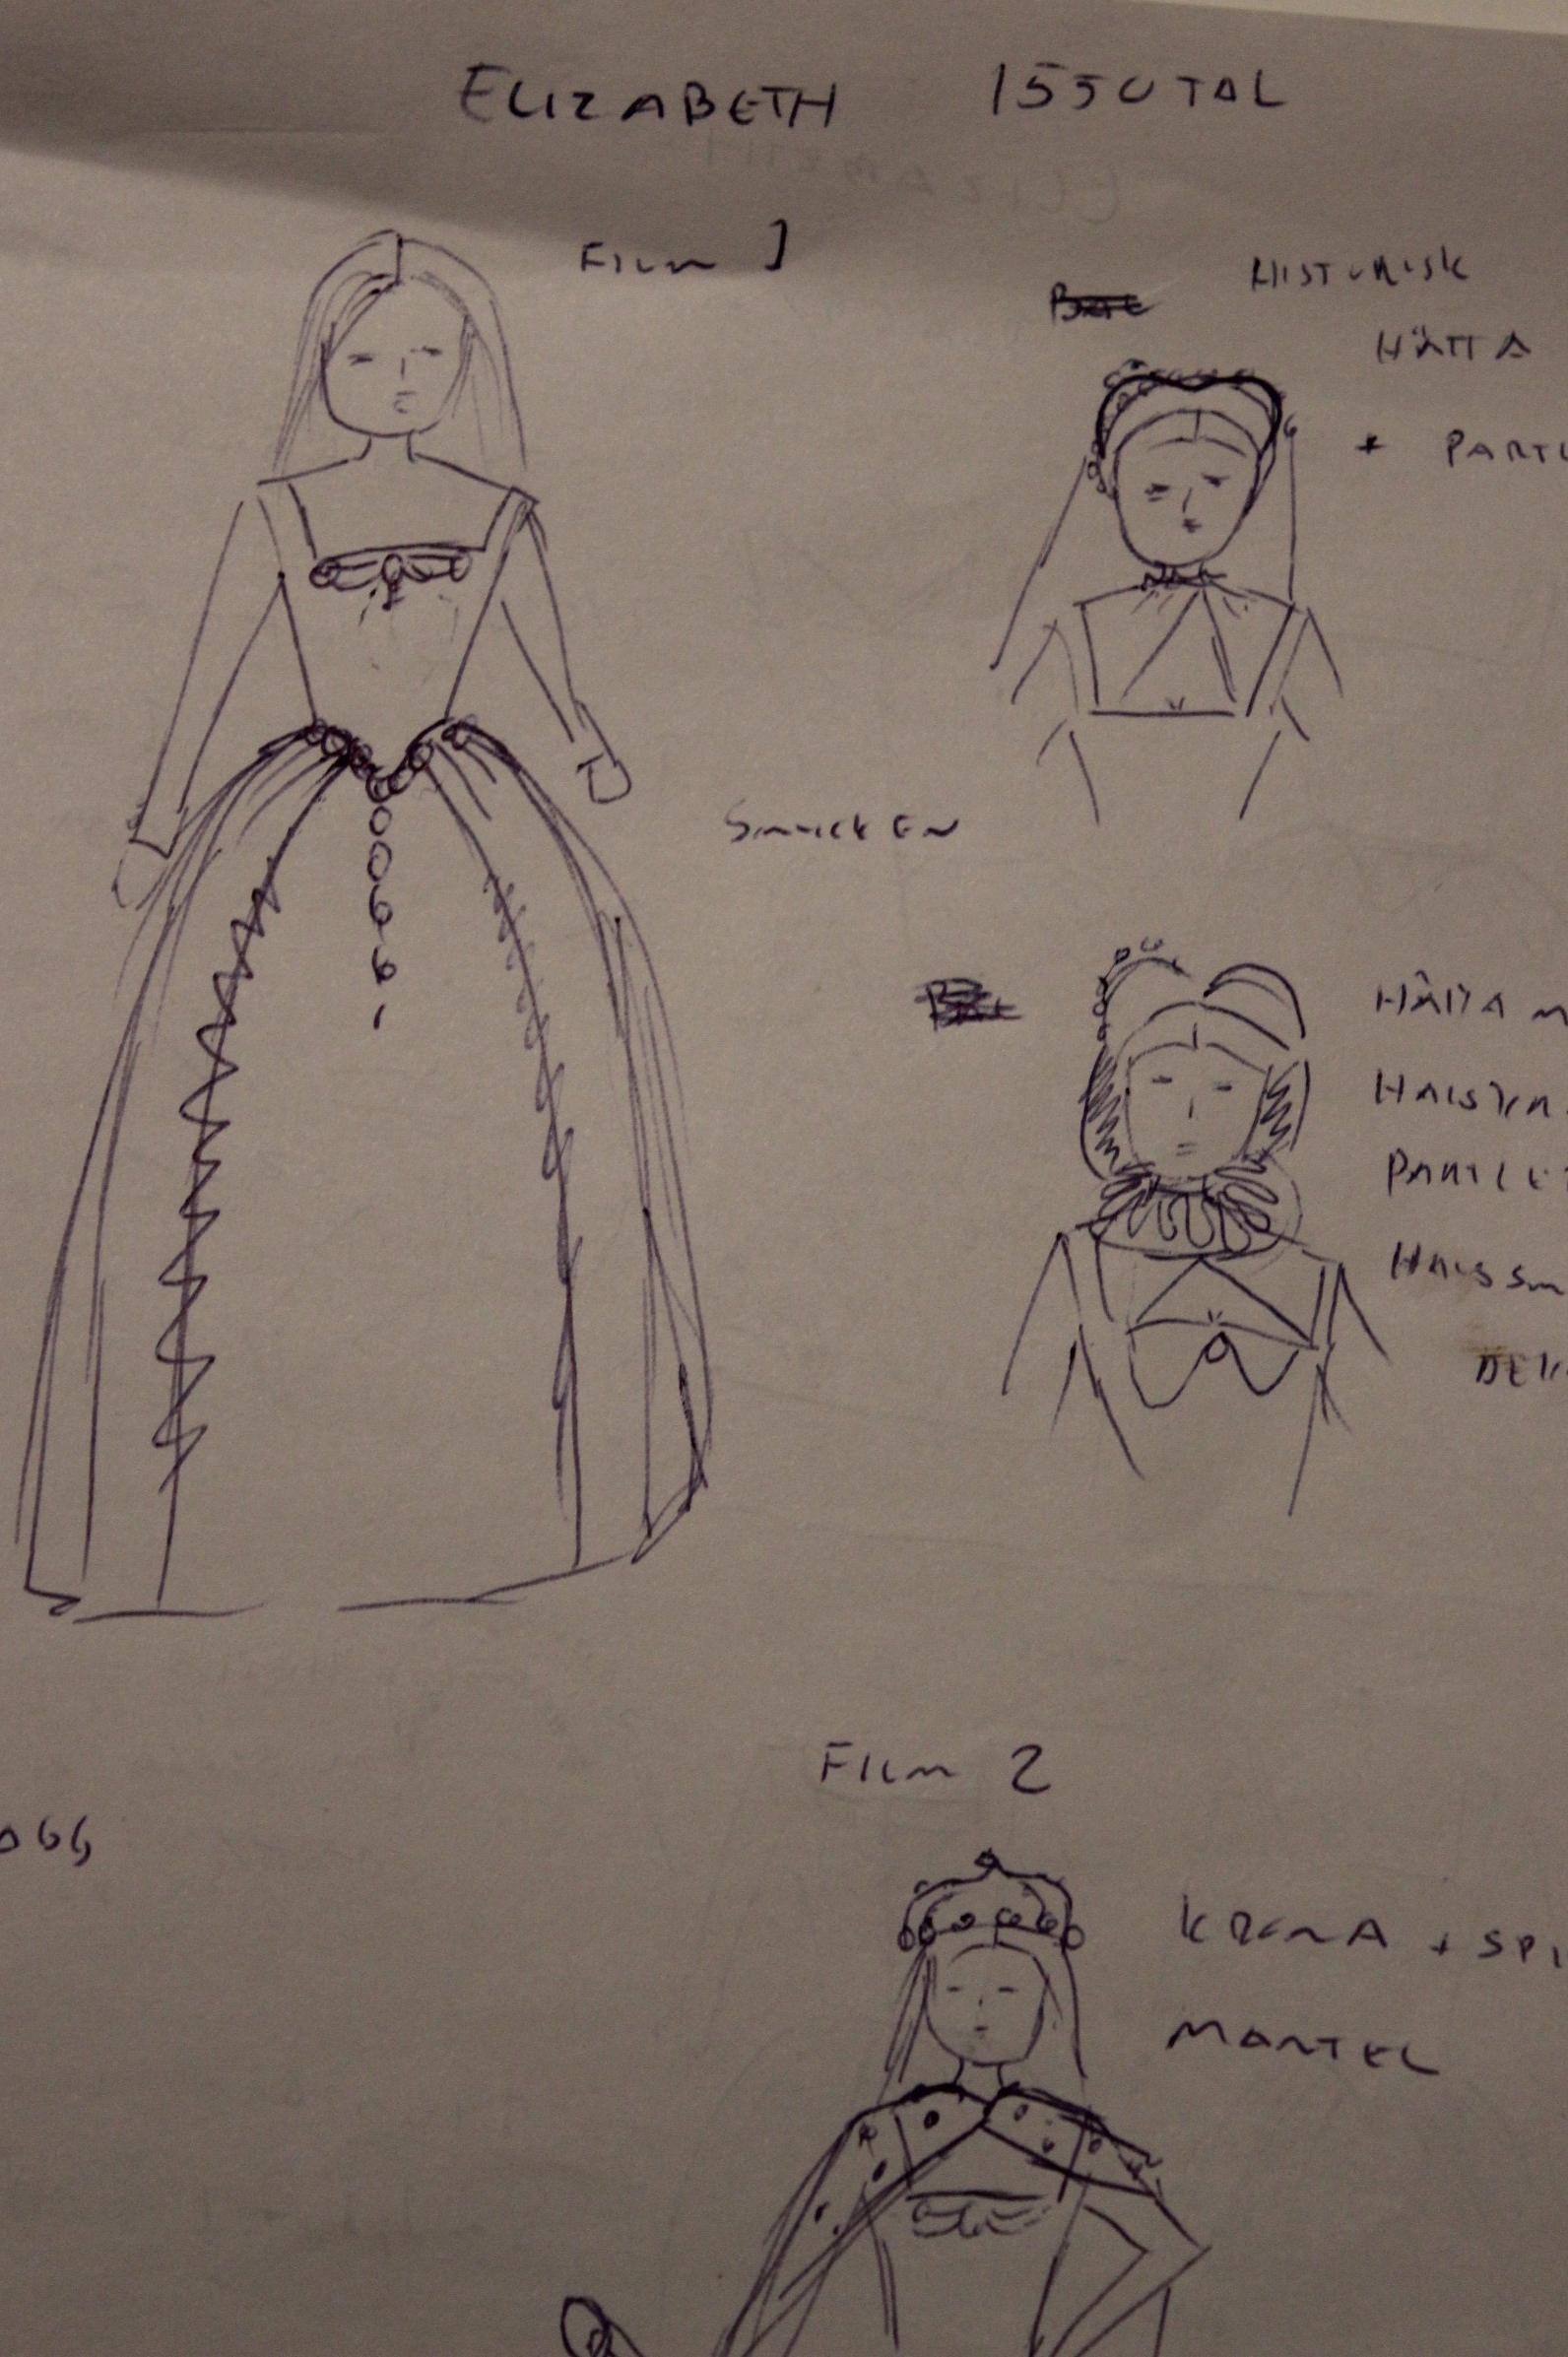
Drafting the pattern

I cut the pieces in blue satin with un-bleached cotton for lining and interlining which I basted to the satin after drawing on the boning channels. img_9968

I used plastic zip-ties for boning img_0148

14202793_10210265179247513_1883118307_oin and outside of the bodice

Before stitching it together I needed to figure out and ad the decoration.14191392_10210265185047658_269194987_oOne line of brocade pinned on.

14171877_10210265181127560_570766475_ndifferent ways of trimming the bodice

It was around this point I put it on the dressform to get a grip on the over all look.
14215695_10210265177087459_2004703130_oAnd unfortunately I hated it 😦

Traveling with Baby – Medieval baby sling

For the easiest entry to HSM ever, I started looking into ways to travel with my little one.

Before the use of strollers and the intricate baby carriers that’s becoming more and more popular, people (read women) used the easiest way of tugging their baby’s along – a fabric “sling”.

I will not go into the use of slings and ways to travel with baby’s in past times, since others do it so much better, like Som när det begav sig (link in Swedish). A simple google search will also give you the history from (more or les reliable) sites – most of which sell modern baby carriers and shawls.

The construction of my baby sling/shawl was to make a rectangle 3 x 1m and hem the edges.
I then tied it around my body (under one arm and over the other shoulder) and placed my baby in it.

And that’s that.

And since I sewed it by machine it actually took longer getting dressed for the photoshoot then it did making the sling.

Photos:
IMG_0228

IMG_0233

IMG_0246

IMG_0248

IMG_0257

IMG_0261

IMG_0262

IMG_0264

IMG_0265

IMG_0226Photo: Maria Petersson
(I only let go of my hands for a second)

The Challenge: Nr 6 2016 – Travel

What: A baby sling

Year: 1500-1600s

Material: 3,5 m of ivory cotton

Pattern: None – I just cut a rectangle 1 x 3,5 m and hemmed it.

Notions: Thread.

How historically accurate is it? The fabric should probably be linen or wool, but since this was meant as a first try I think it would do. the machine stitching are on the other hand not at all accurate. 6/10

Hours to complete: 10 minutes

First worn: Beginning august for photos, but will maybe be used late August for a Medieval fair.

Total cost: 100 Sek (16 Usd)

Final thoughts This was such a cheat. It was way to easy and fast to really count, bu since I did have my baby (!) in June I think I can give myself a break.

Monochrome Medieval baby undies

Last fall when I took a break from sewing I also quit he HSM mid run.
But now it’s time to jump on the bandwagon (halfway through) again.
I have been sewing a few things that would fit the previous challenges this year (read all about them here) but lets start with July (since that the first one I managed o finish within the time frame of he month).

The theme for this HSM 2016 nr 7 was Monochrome, and I was eager to test my hand at some historic baby clothes.

Using my newly bought book “The Tudor Child” for the patterns for basic baby gear. IMG_0179

The Pattern for the shirt is fairly simple. IMG_0180

I cut the fabric in my favorite cotton/linen blend, and started by hemming the piece as stated in the instructions.IMG_0181

IMG_0183The folding pattern for the shirt.

Then I whip-stitched the hemmed edges together.
IMG_0188IMG_0187.

Once the shirt was finished (it all went surprisingly fast considering I did it all by hand with a sleeping/feeding/squirming newborn in my arms) I moved on to the biggin/hat.

IMG_0185

IMG_0184The pieces cut from the same cotton/linen blend.

IMG_0191Hemmed pieces. I decided to ad ties to help keep the bigging on my baby’s head.

I did a slight miscalculation drafting the pattern making the center piece to long. IMG_0192Ops… 
But really, it was just to cut it of.

I also realized I messed up stitching the shirt.
The center is supposed to be open to get easy access for the baby, and since they are supposed to be swaddled (Yeah, No, that’s not going to happen with my baby) the opening would be completely covered in other fabric. so in the end I think this way was better for me.

The finished pieces: IMG_0282

IMG_0207

IMG_0278

IMG_0212

IMG_0204test

The Challenge: Nr 7 2016 – Monochrome

What: A shirt and bigging/hat for a newborn baby.

Year: About 1500-1600

Material: 0,5 m Linen/cotton blend.

Pattern: baby swaddling Shirt and Bigging from “The Tudor Child”.

Notions: Thread

How historically accurate is it? Pretty good. The pattern and sewing methods are good (except the mistake of stitching the shirt front closed). The fabric should be linen, but since I have difficulty finding a soft linen I think the 50/50 cotton blend I use are quite legit. About 8/10

Hours to complete: 4 (3 for the shirt and 1 for the bigging)

First worn: Beginning August for photos. Was meant to be worn late August for a Medieval fair, but I’m not sure anymore (see “Final thoughts”)

Total cost: 50 Sek (8 Usd)

Final Thoughts: It was really fun making these pieces. They came together so fats and the fabric was a joy working with. Unfortunately the Shirt ended up way to small for my fast growing baby – well guess I just have to make another one…