
As mentioned in my previous post (Elizabeth I – costume analysis) I’ve wanted to make this dress for years, and now I finally have.
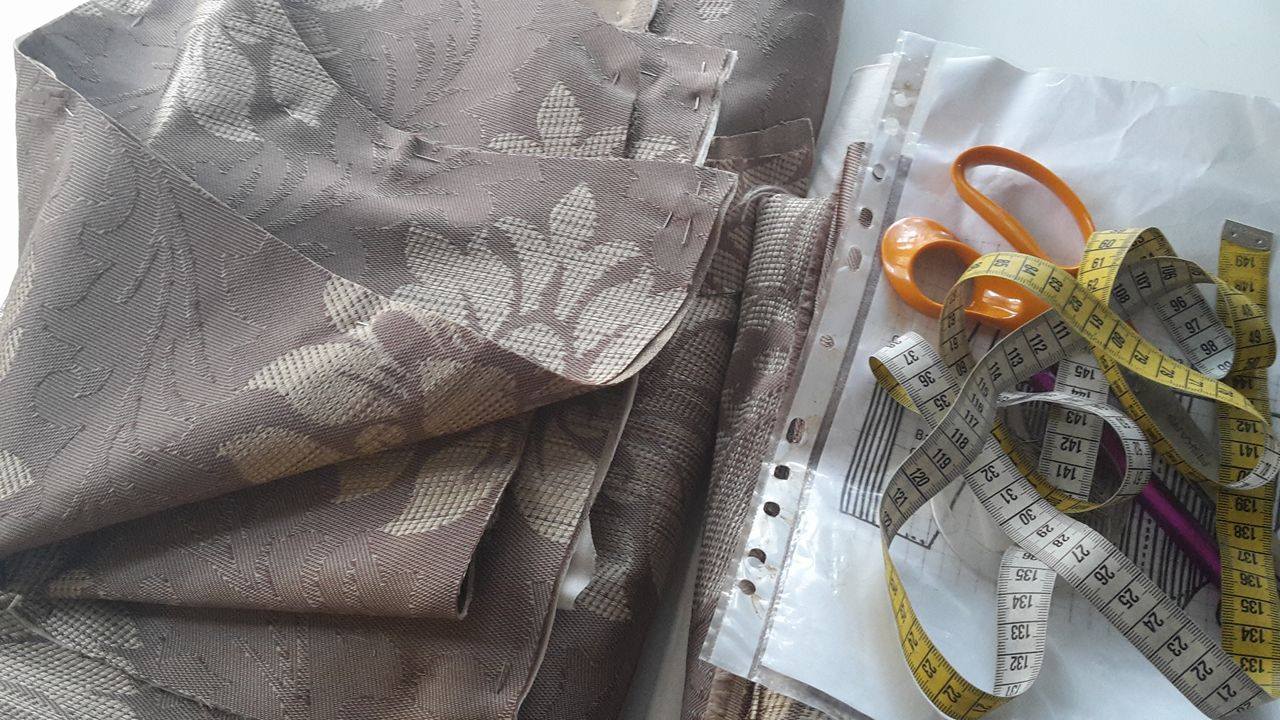
As usual I started the project looking at pictures trying to decide in which direction to go for the different elements of this costume. I already had the fabric (a golden/brown polyester furniture brocade) I got for a steal quite some time ago.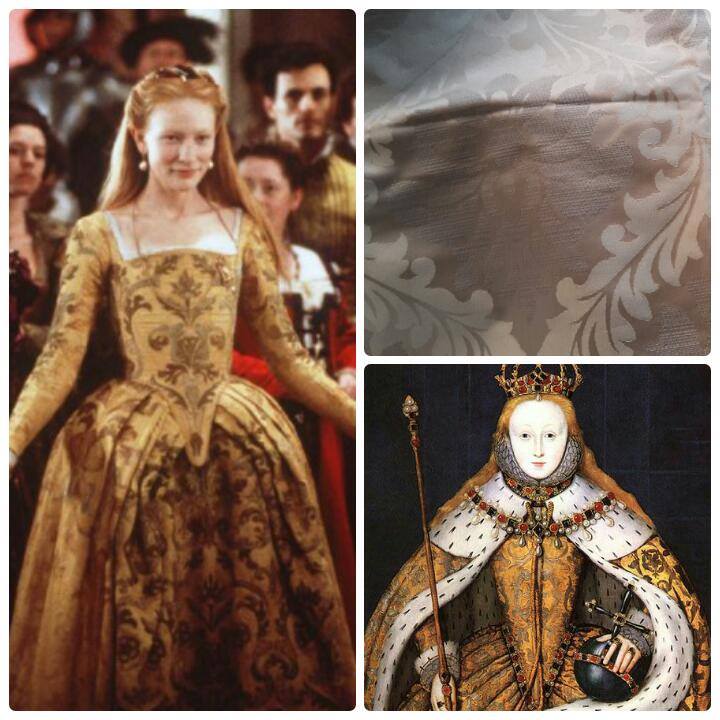 Inspiration and fabric
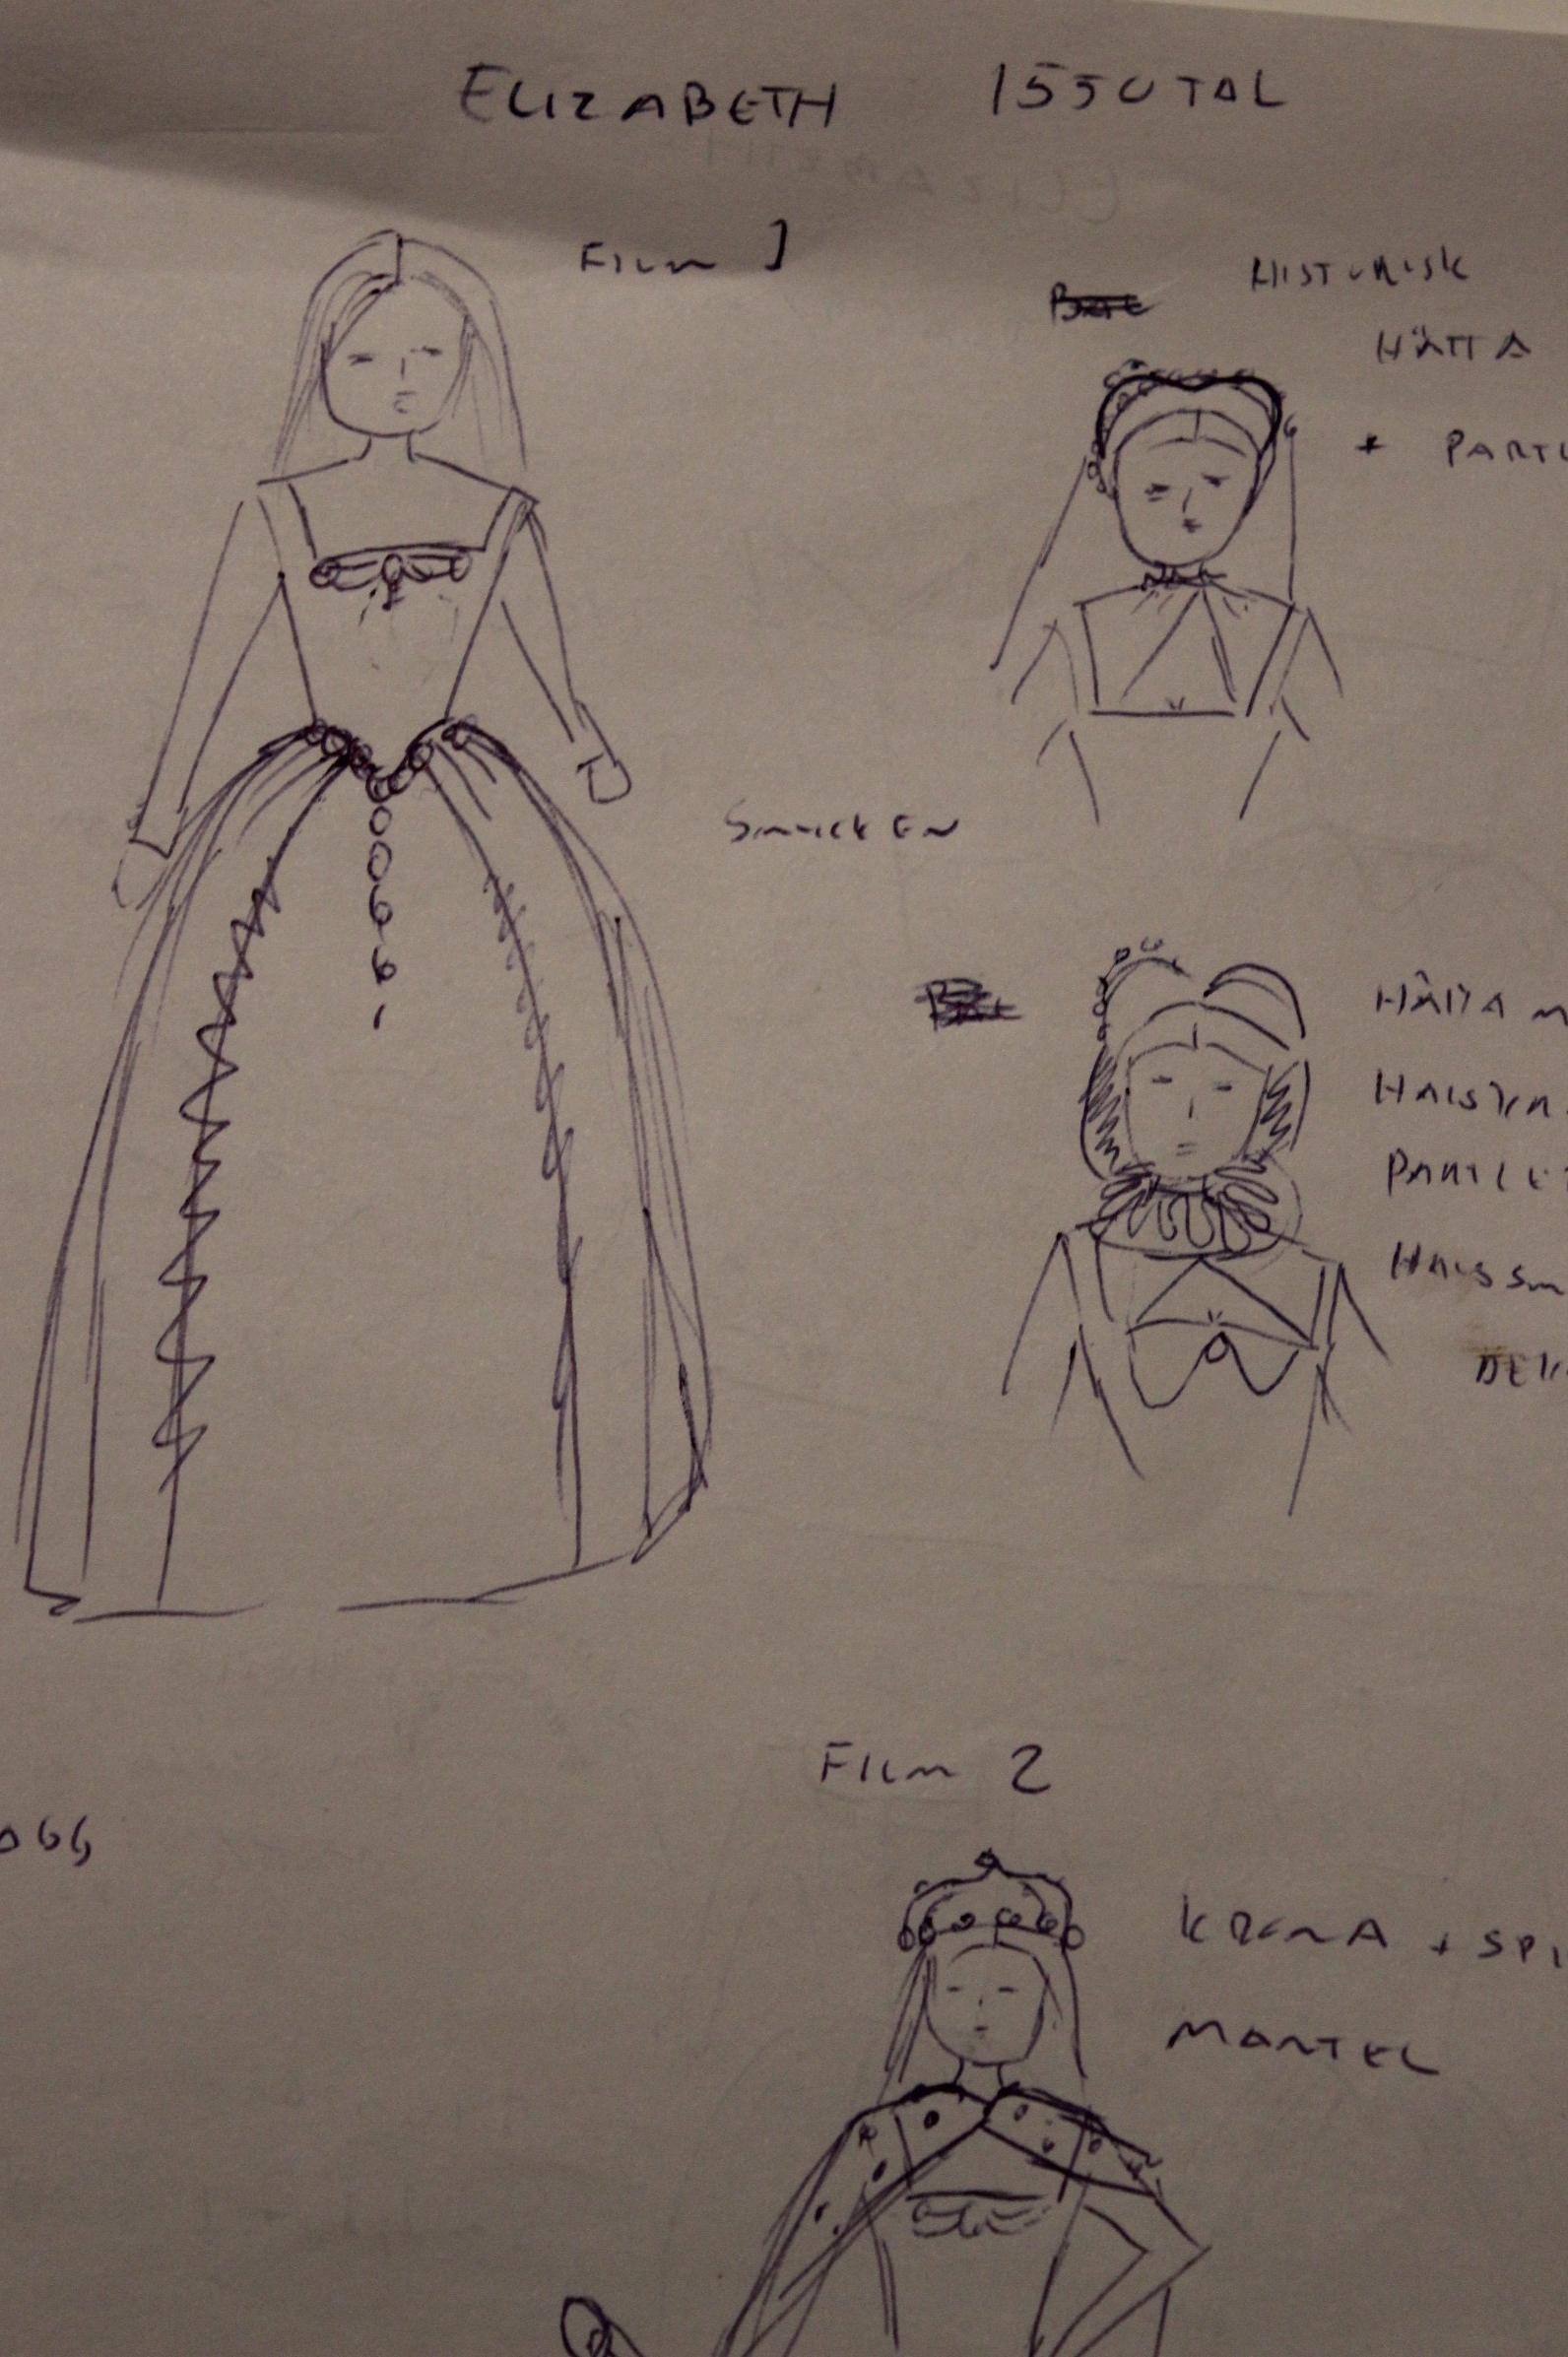 A quick conceptual drawing.
I used the pattern for the “Dorothea Body” from “The Tudor Tailor” for the bodice and cut a mock-up from a plain cotton sheet.
I added some bones and a plastic ruler down the front, and put it on.
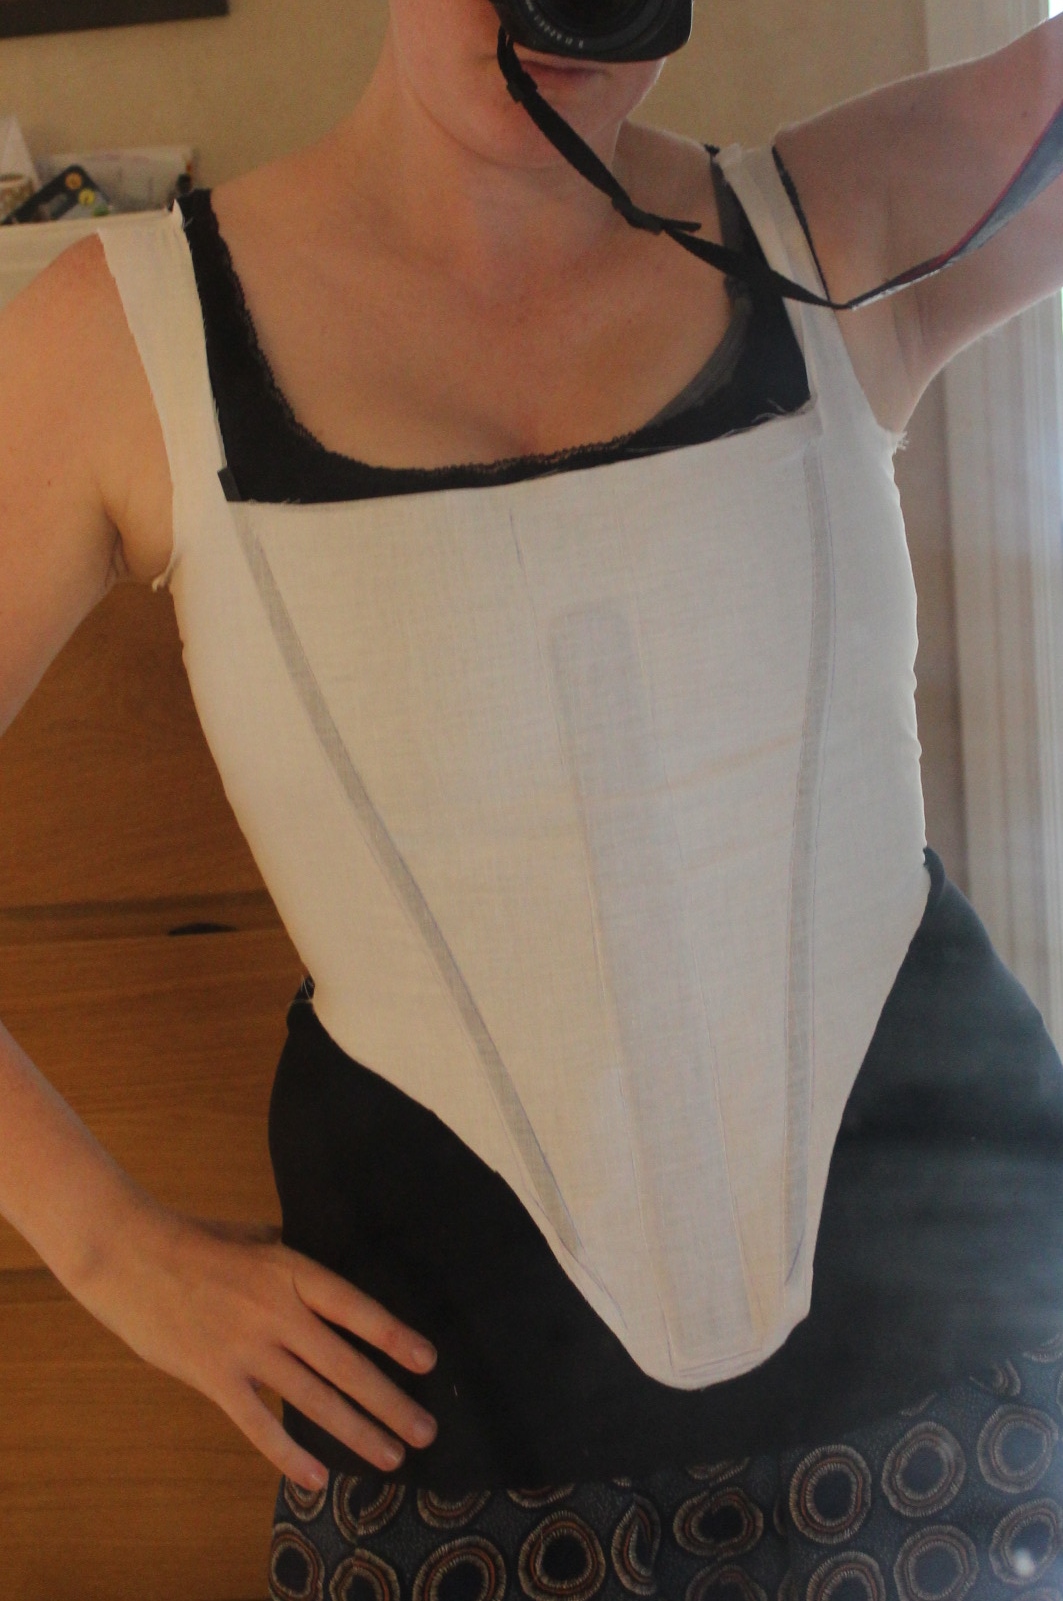
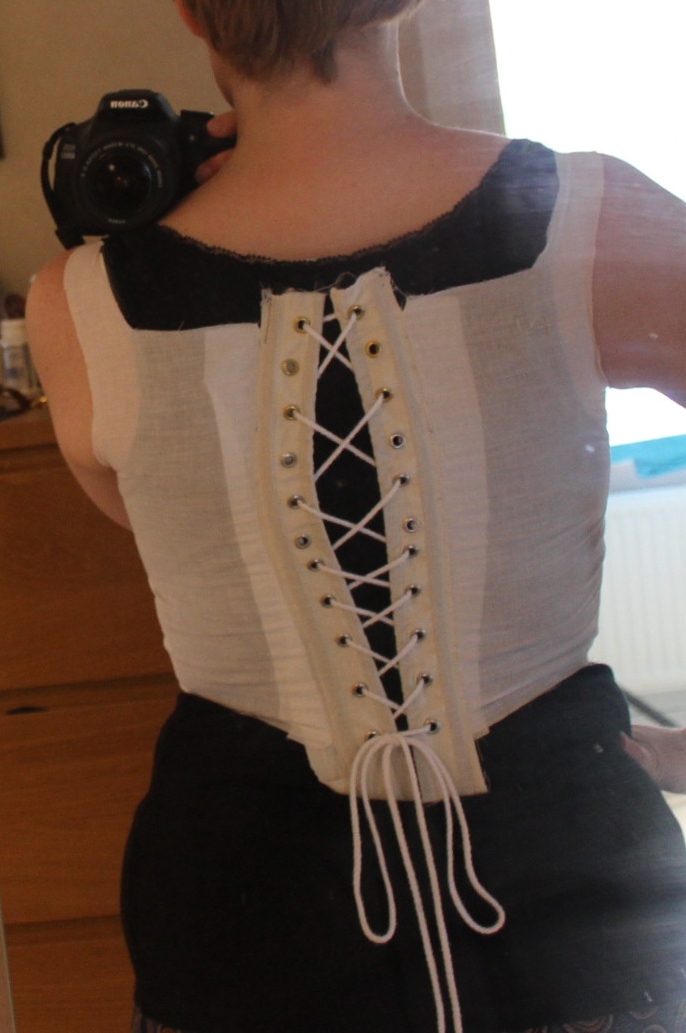
The it was really good (ignore the bad lacing at center back), and I felt it would give me the flat, conical shape I wanted.
Then I cut the fabric carefully placing the motifs in the perfect spots for each piece.  Cutting the sleeves, making sure the pattern placement matches on both left to right sleeve.
 All fabric cut and ready to go
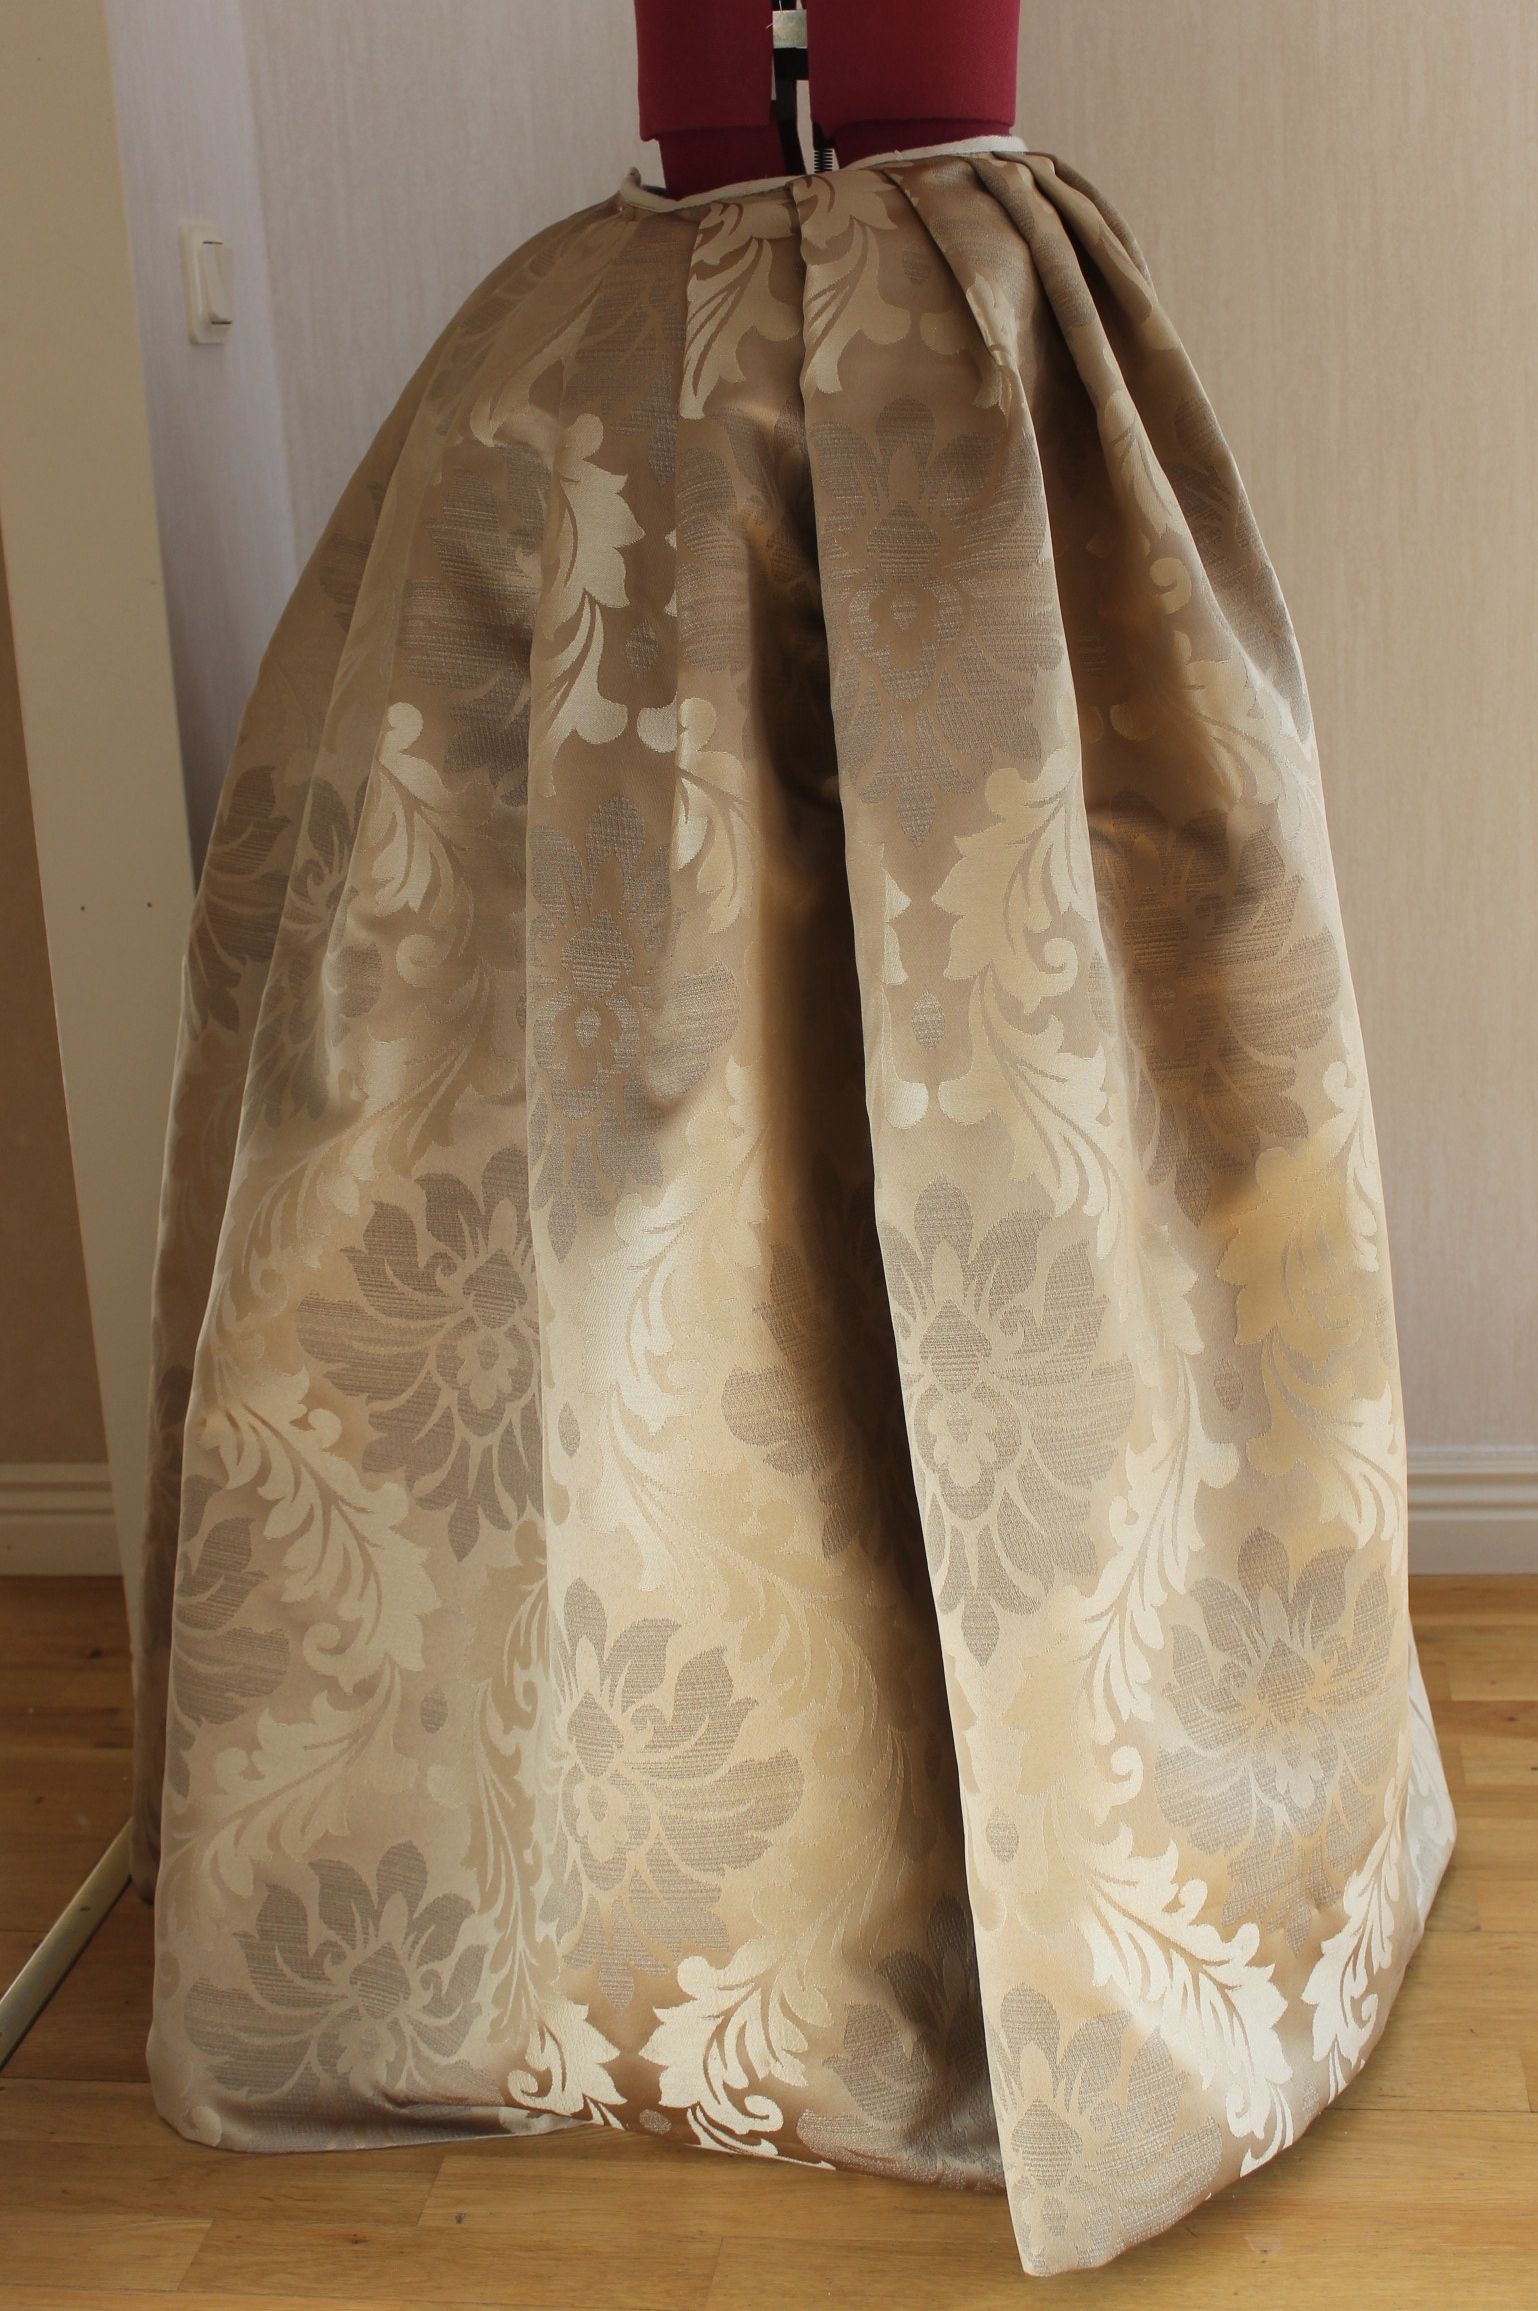
As usual I started with the skirt, pinning and sewing the three widths of fabric together to a giant tube. Carefully matching the motifs at the seams.
 Not perfect, but close enough.
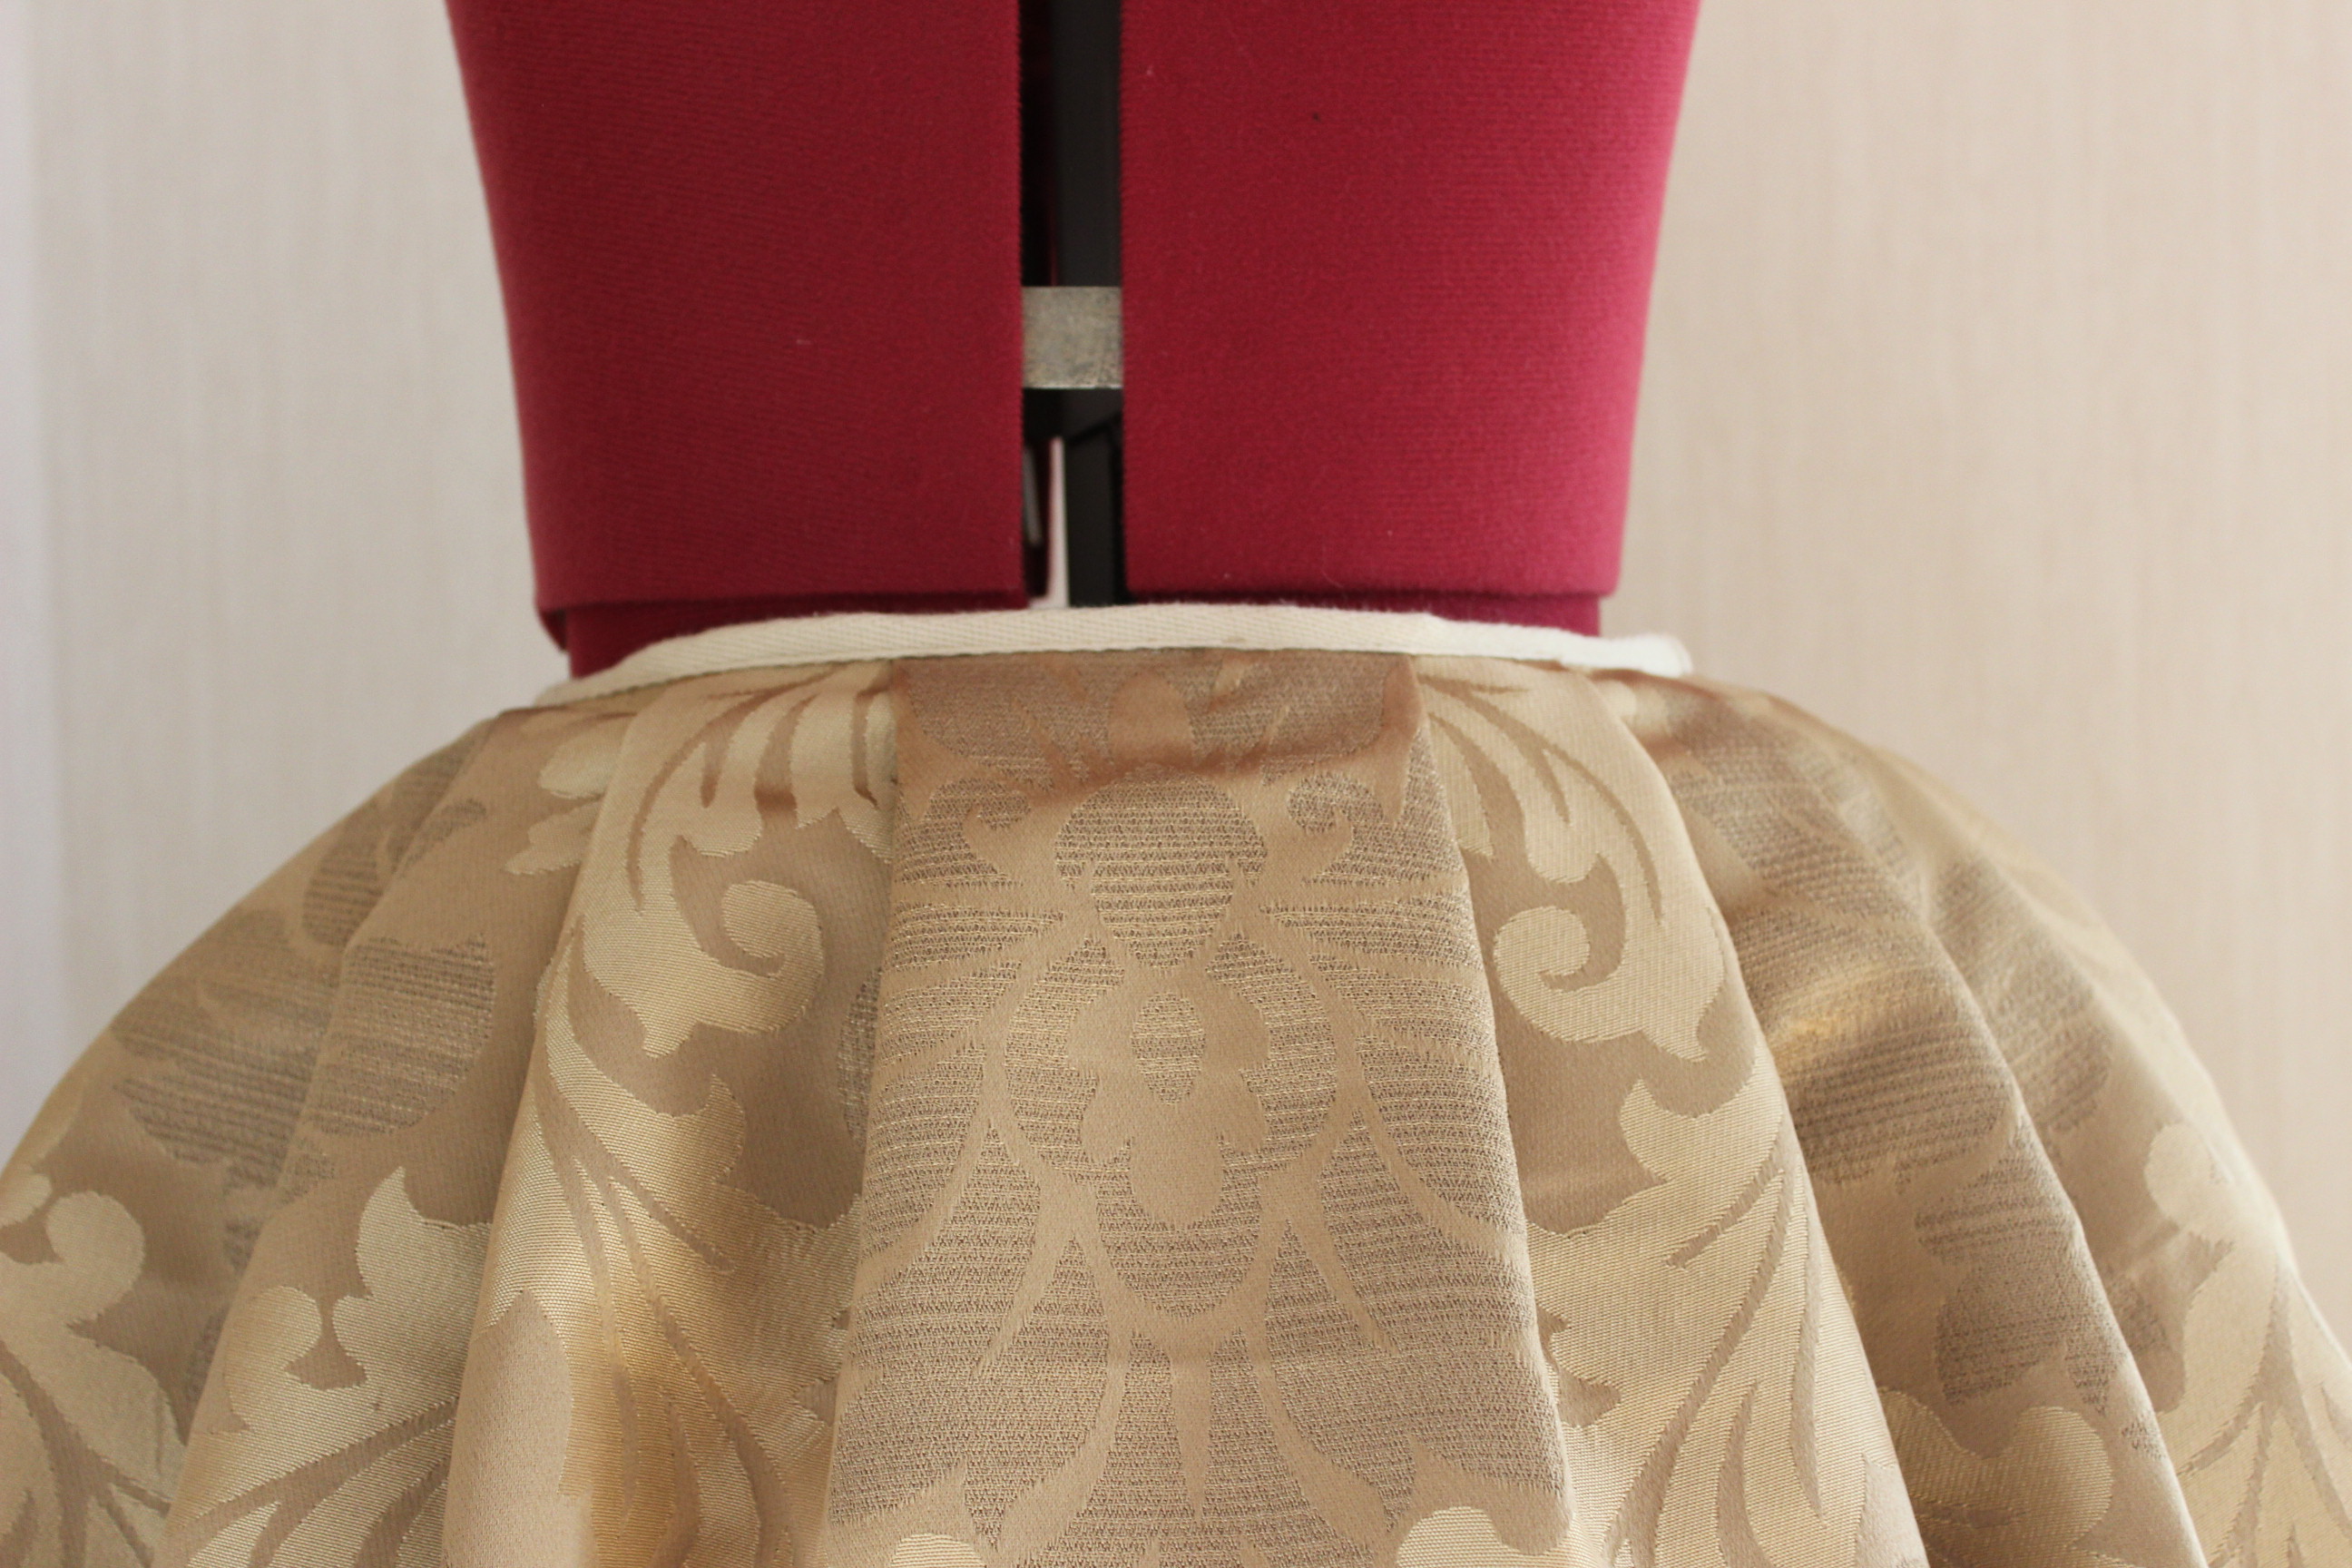
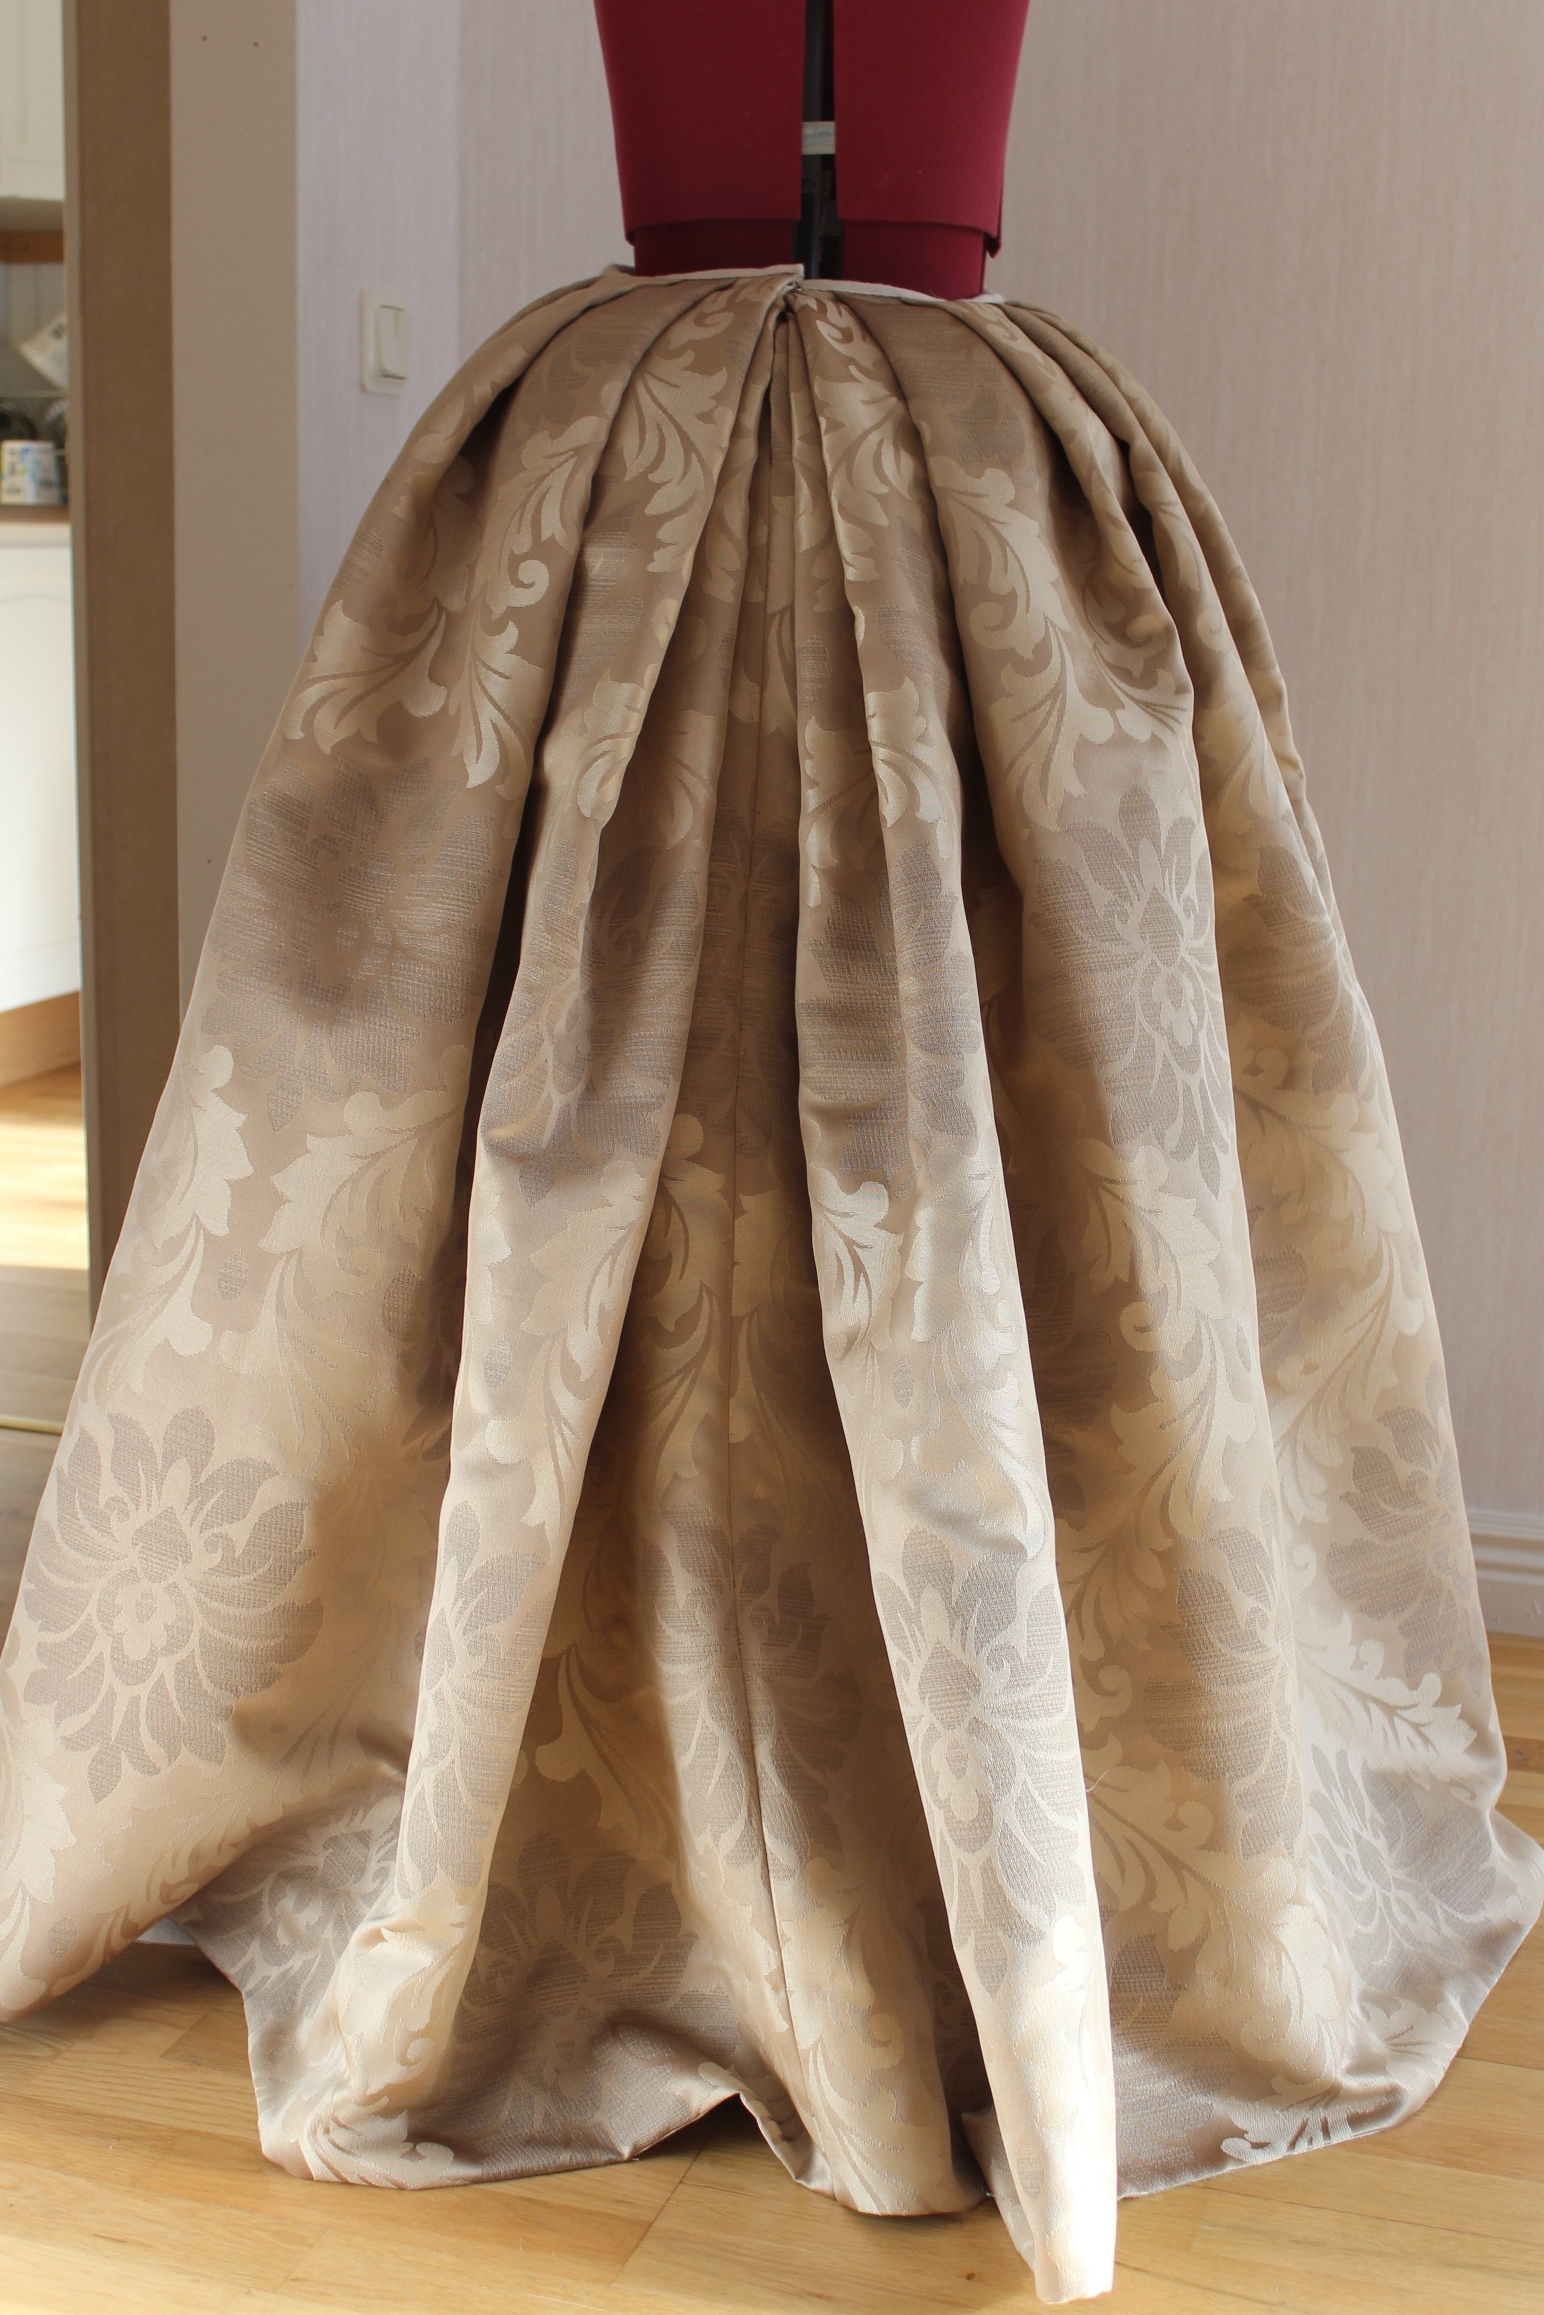
Then I pleated and pinned the upper edge to my waist measurement, leaving an opening at center back. 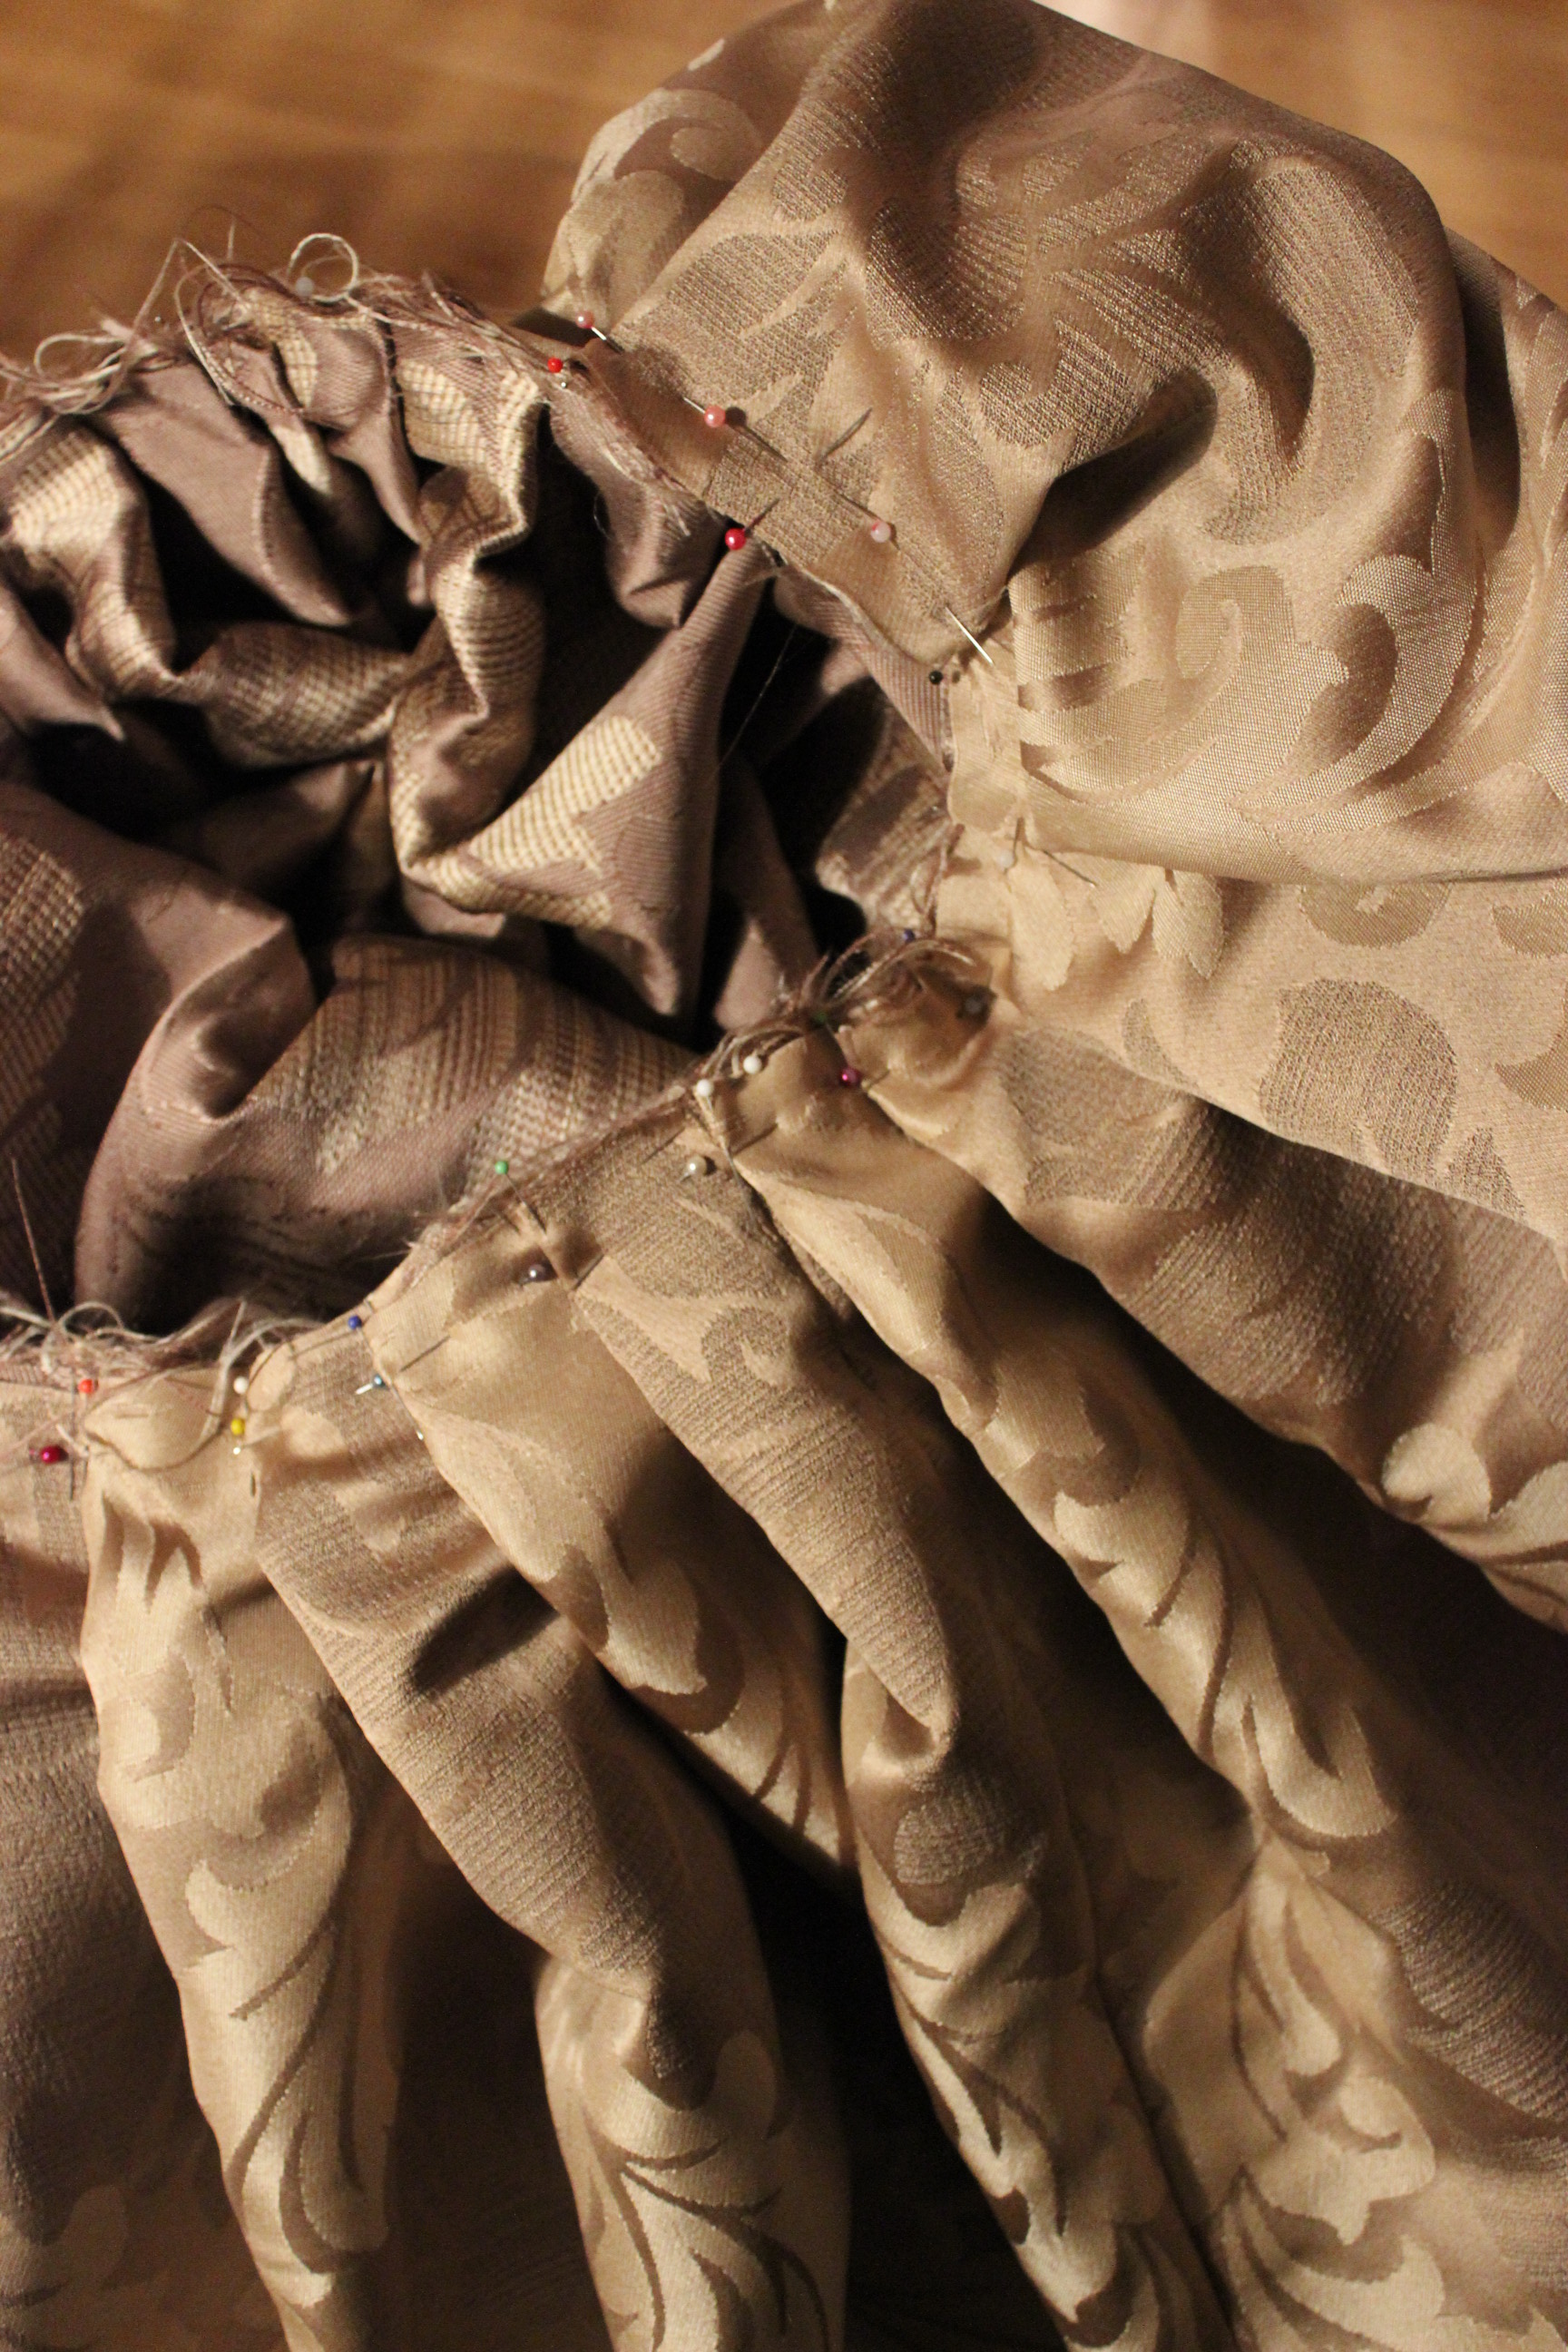
I then stitched a piece of cotton ribbon to the top as a waistband, sewed on a hook and eye and put the whole thing on my dress-form (over bumpad and several petticoats, of course) to pin the hem.  I cut and stitched the hem using 15 cm wide pieces of cotton fabric to the inside.
Then it was time for the bodice.
I started by marking and stitching the boning channels to the interlining and lining, after basting hem together.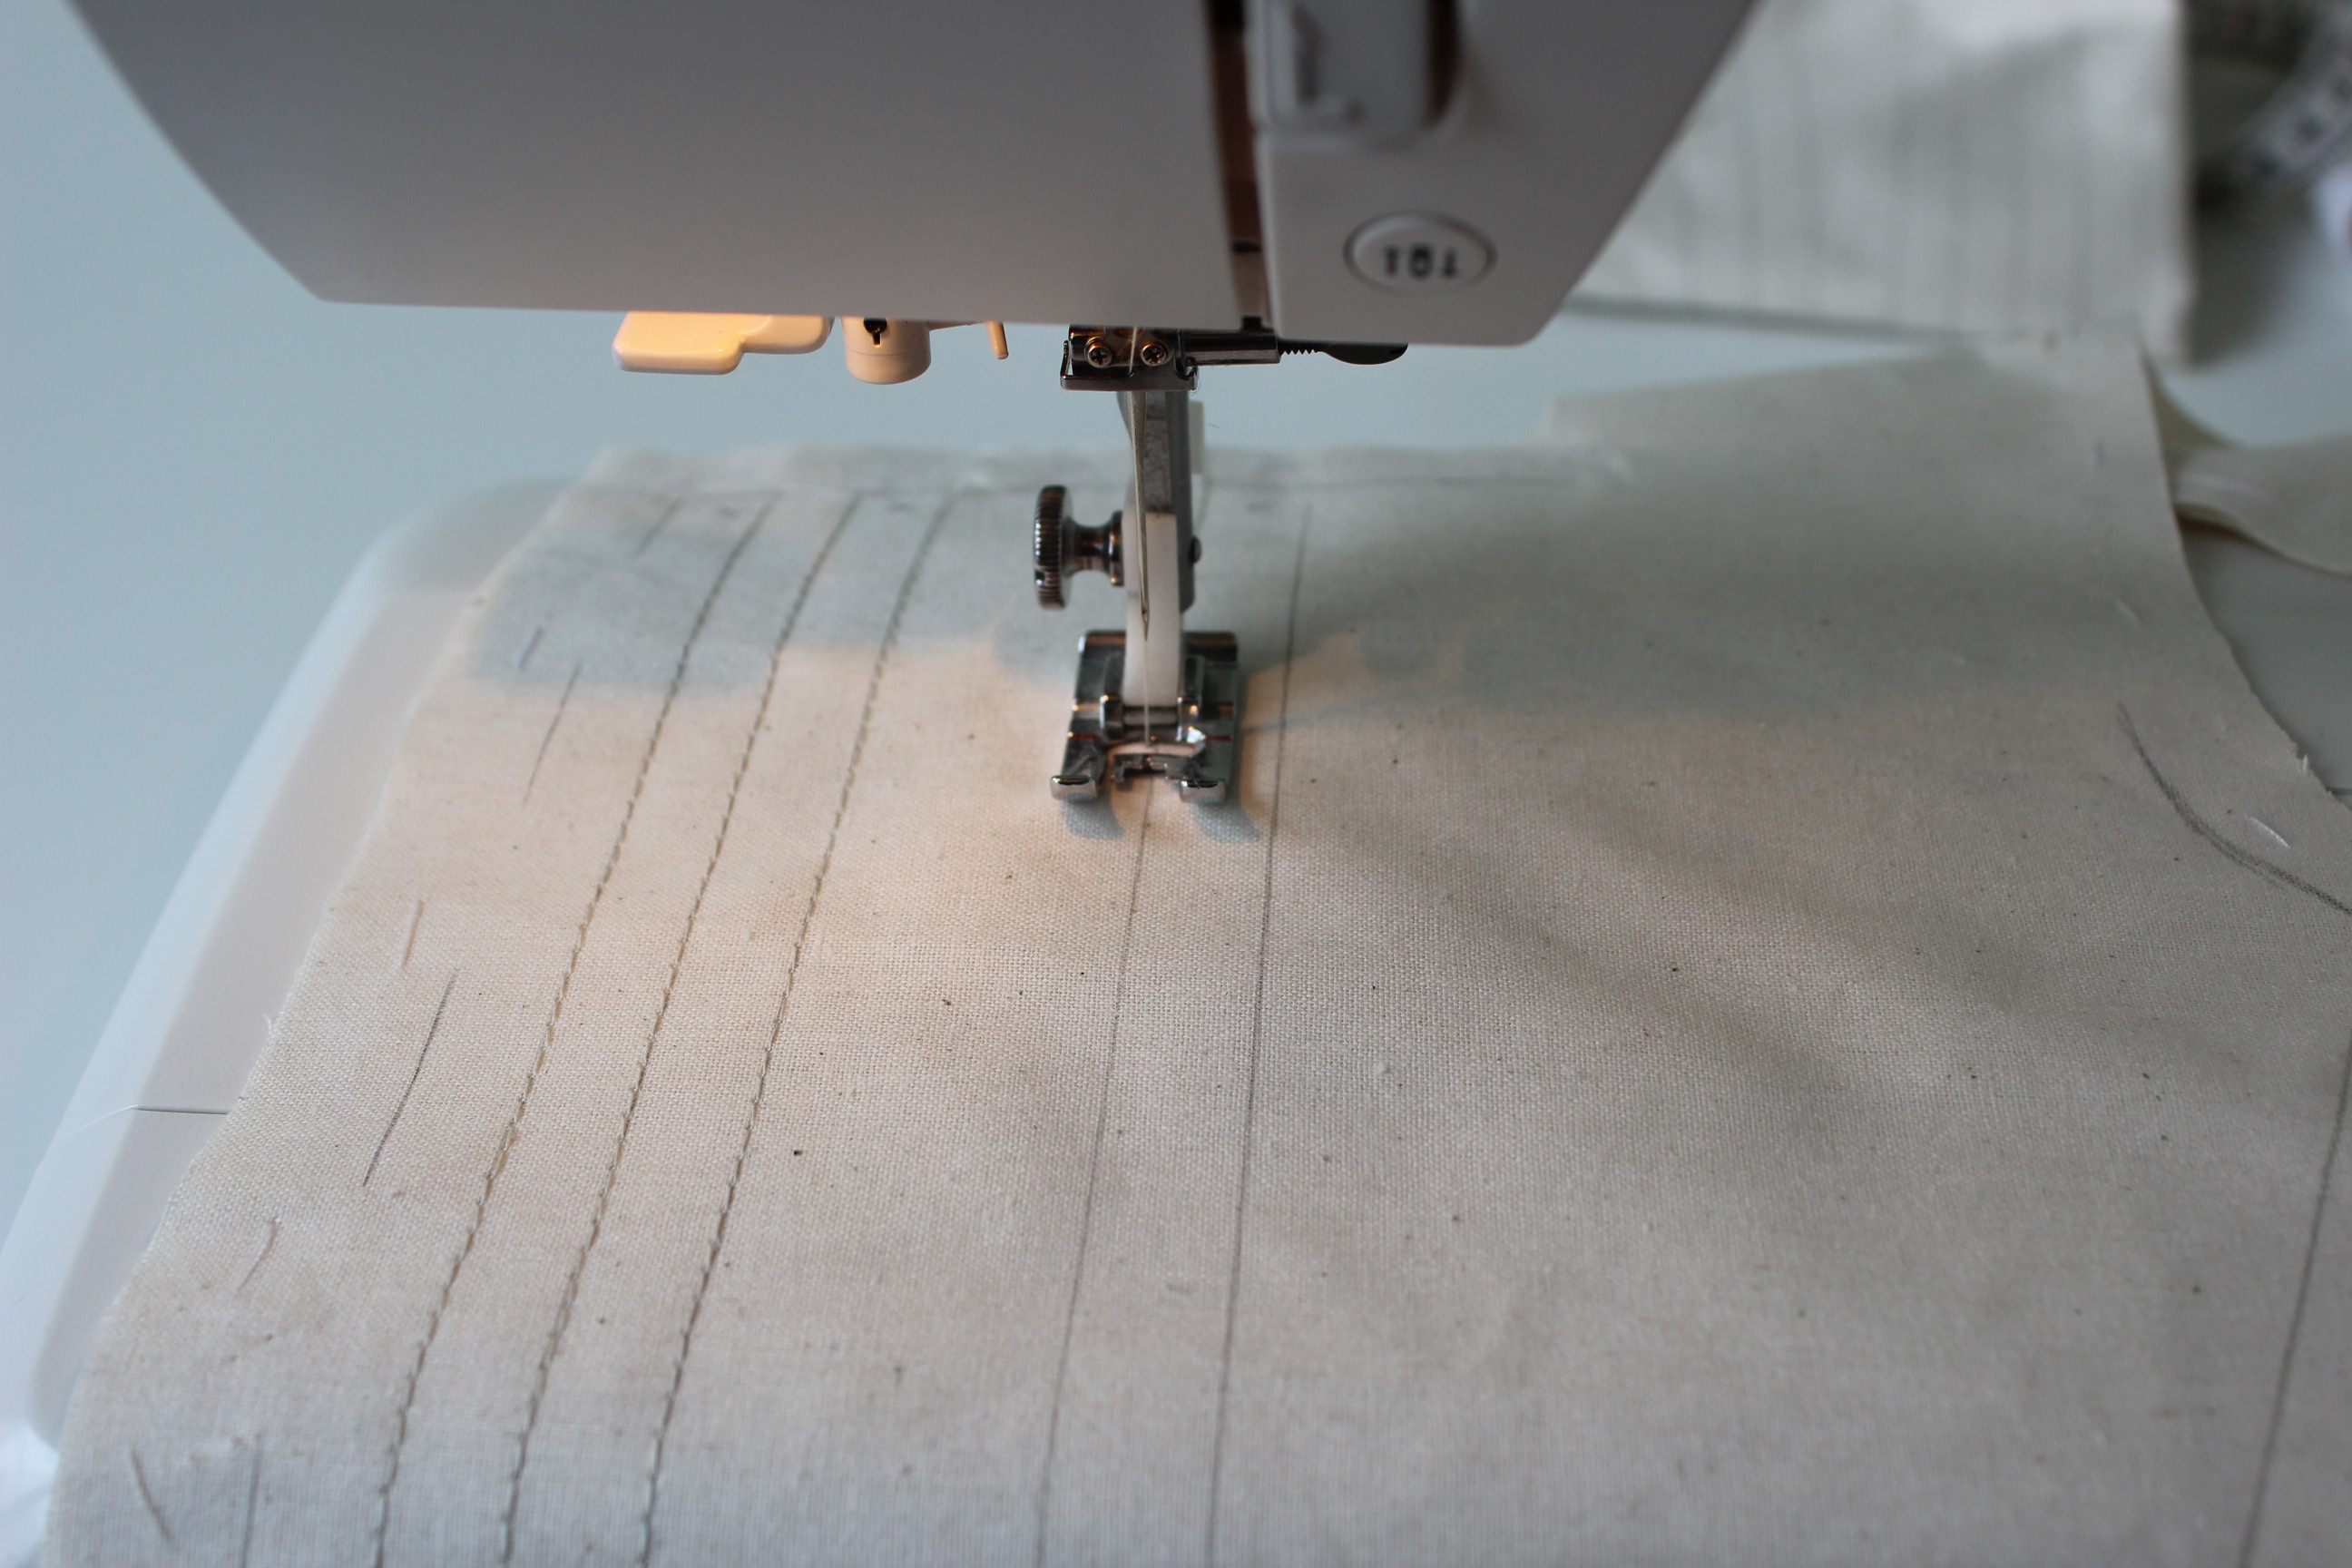
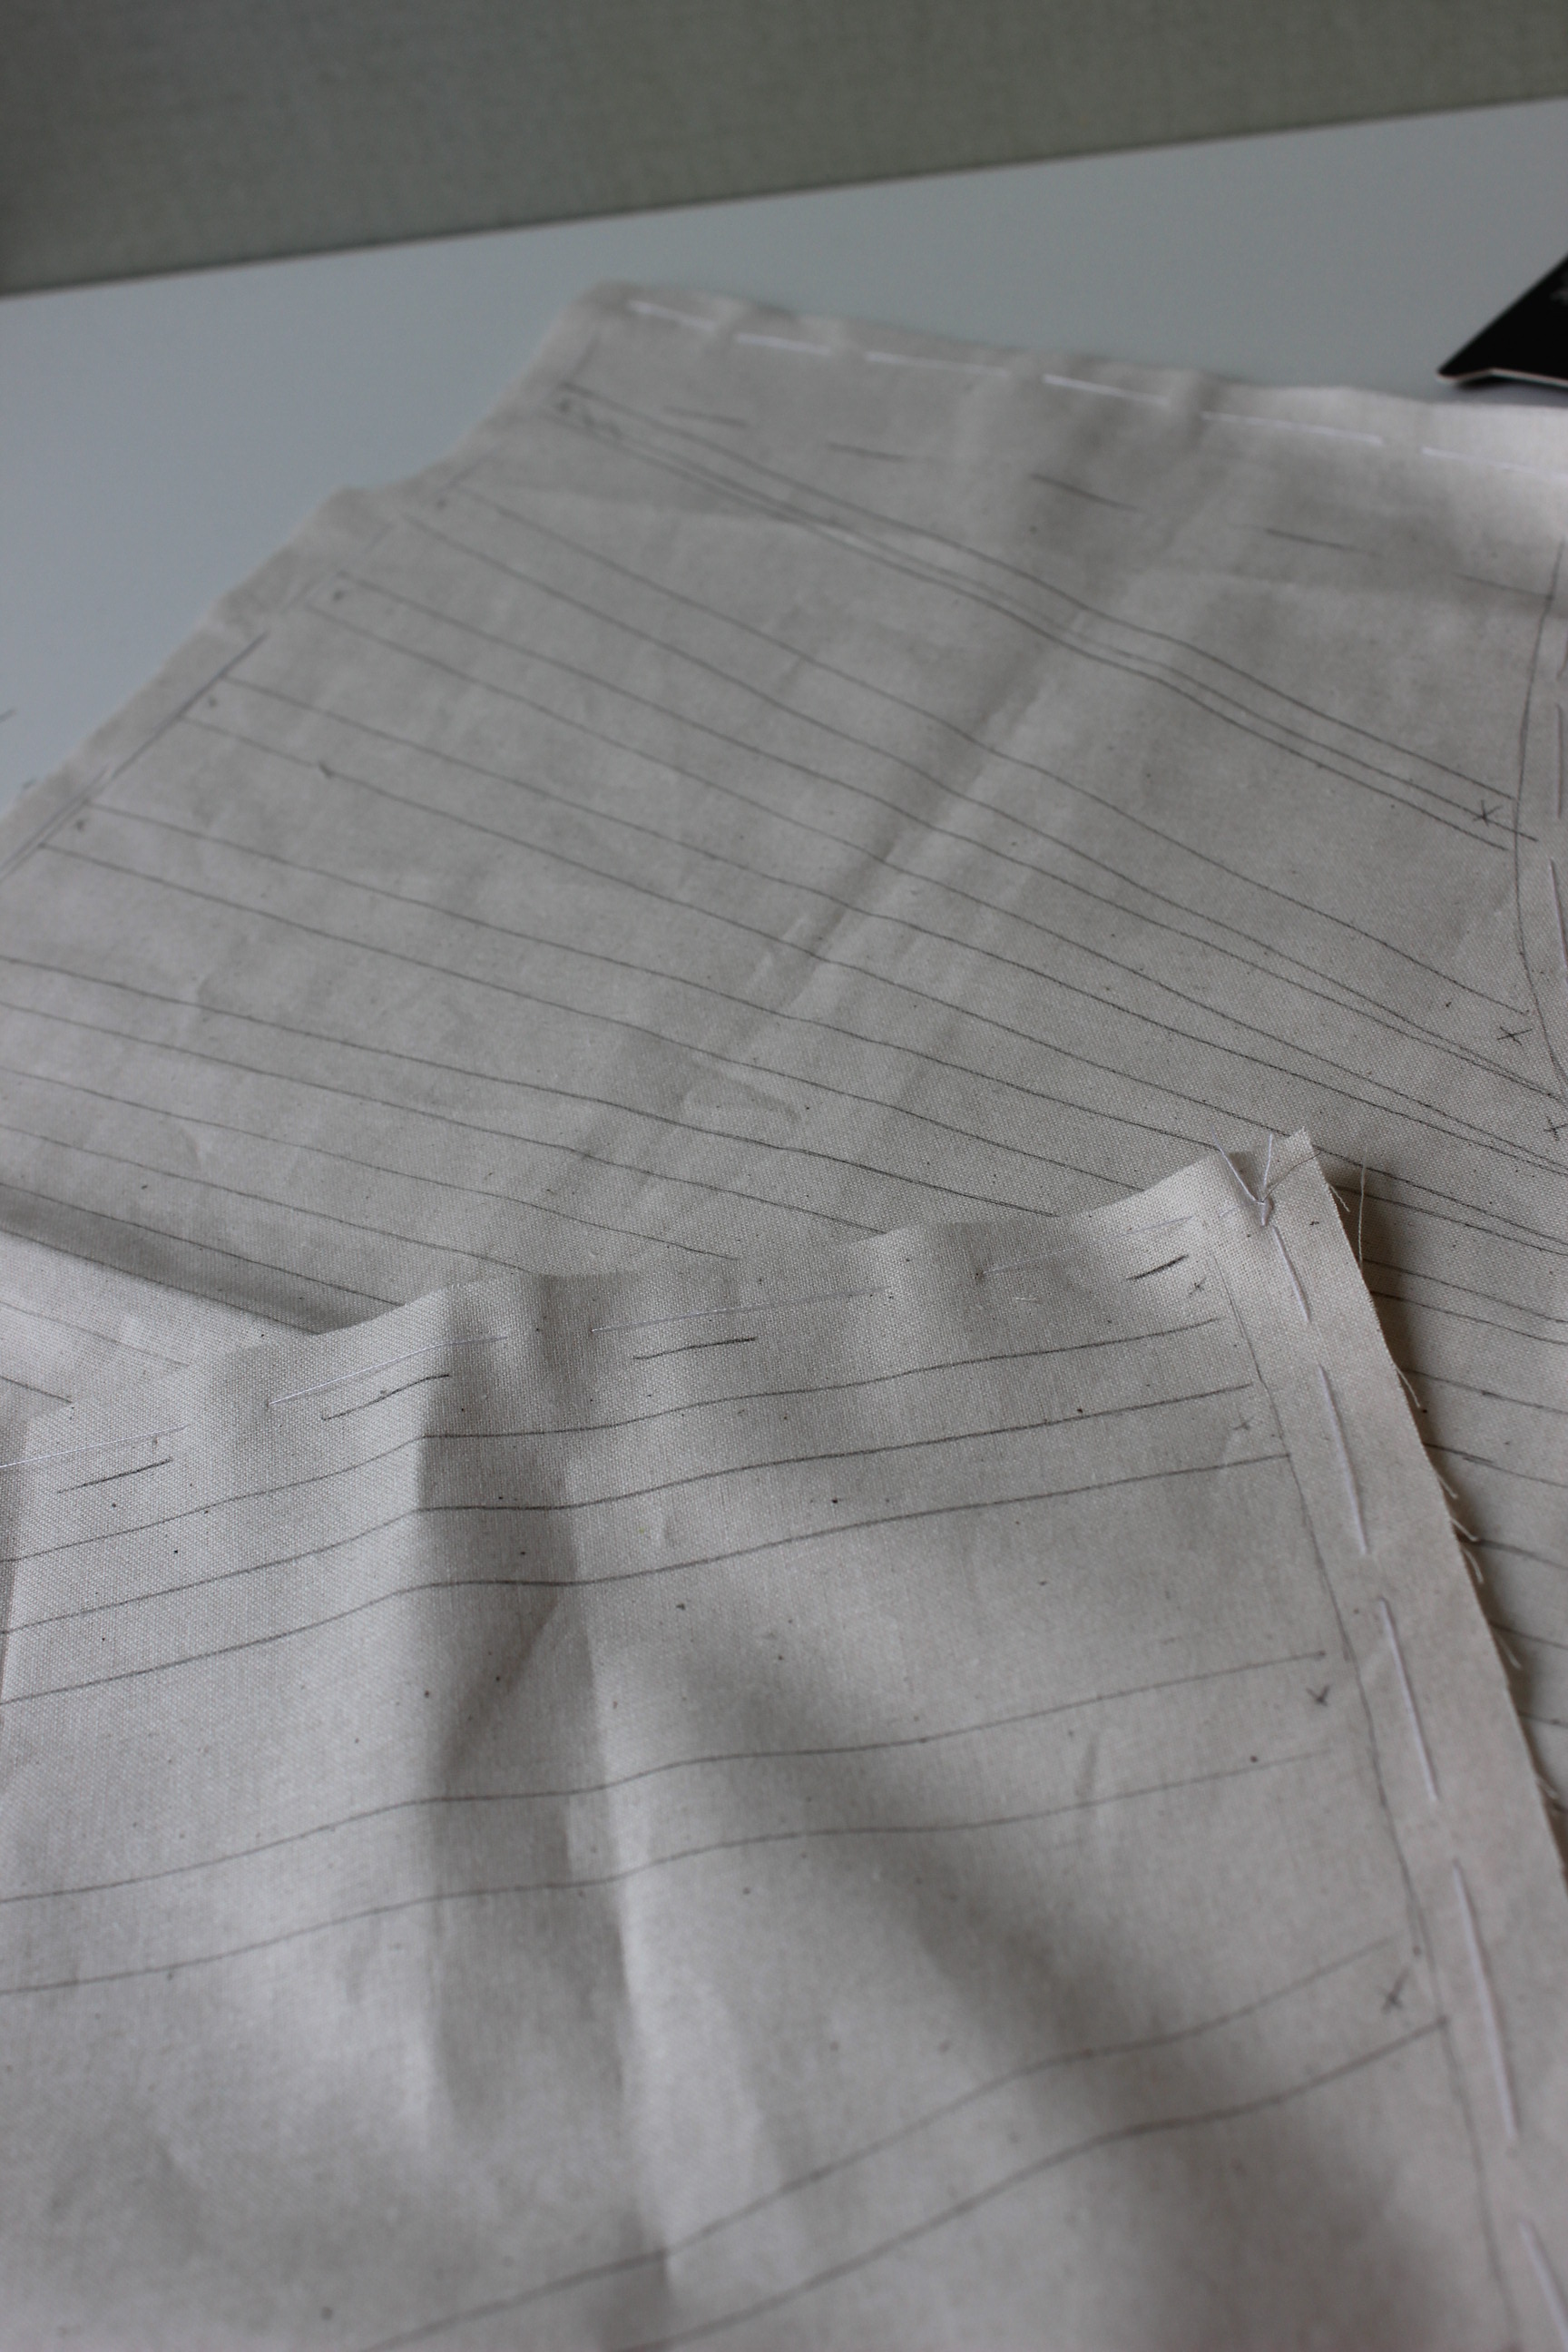 Lots of channels to give the right shape to the bodice.
I added the bones made from plastic zip ties. 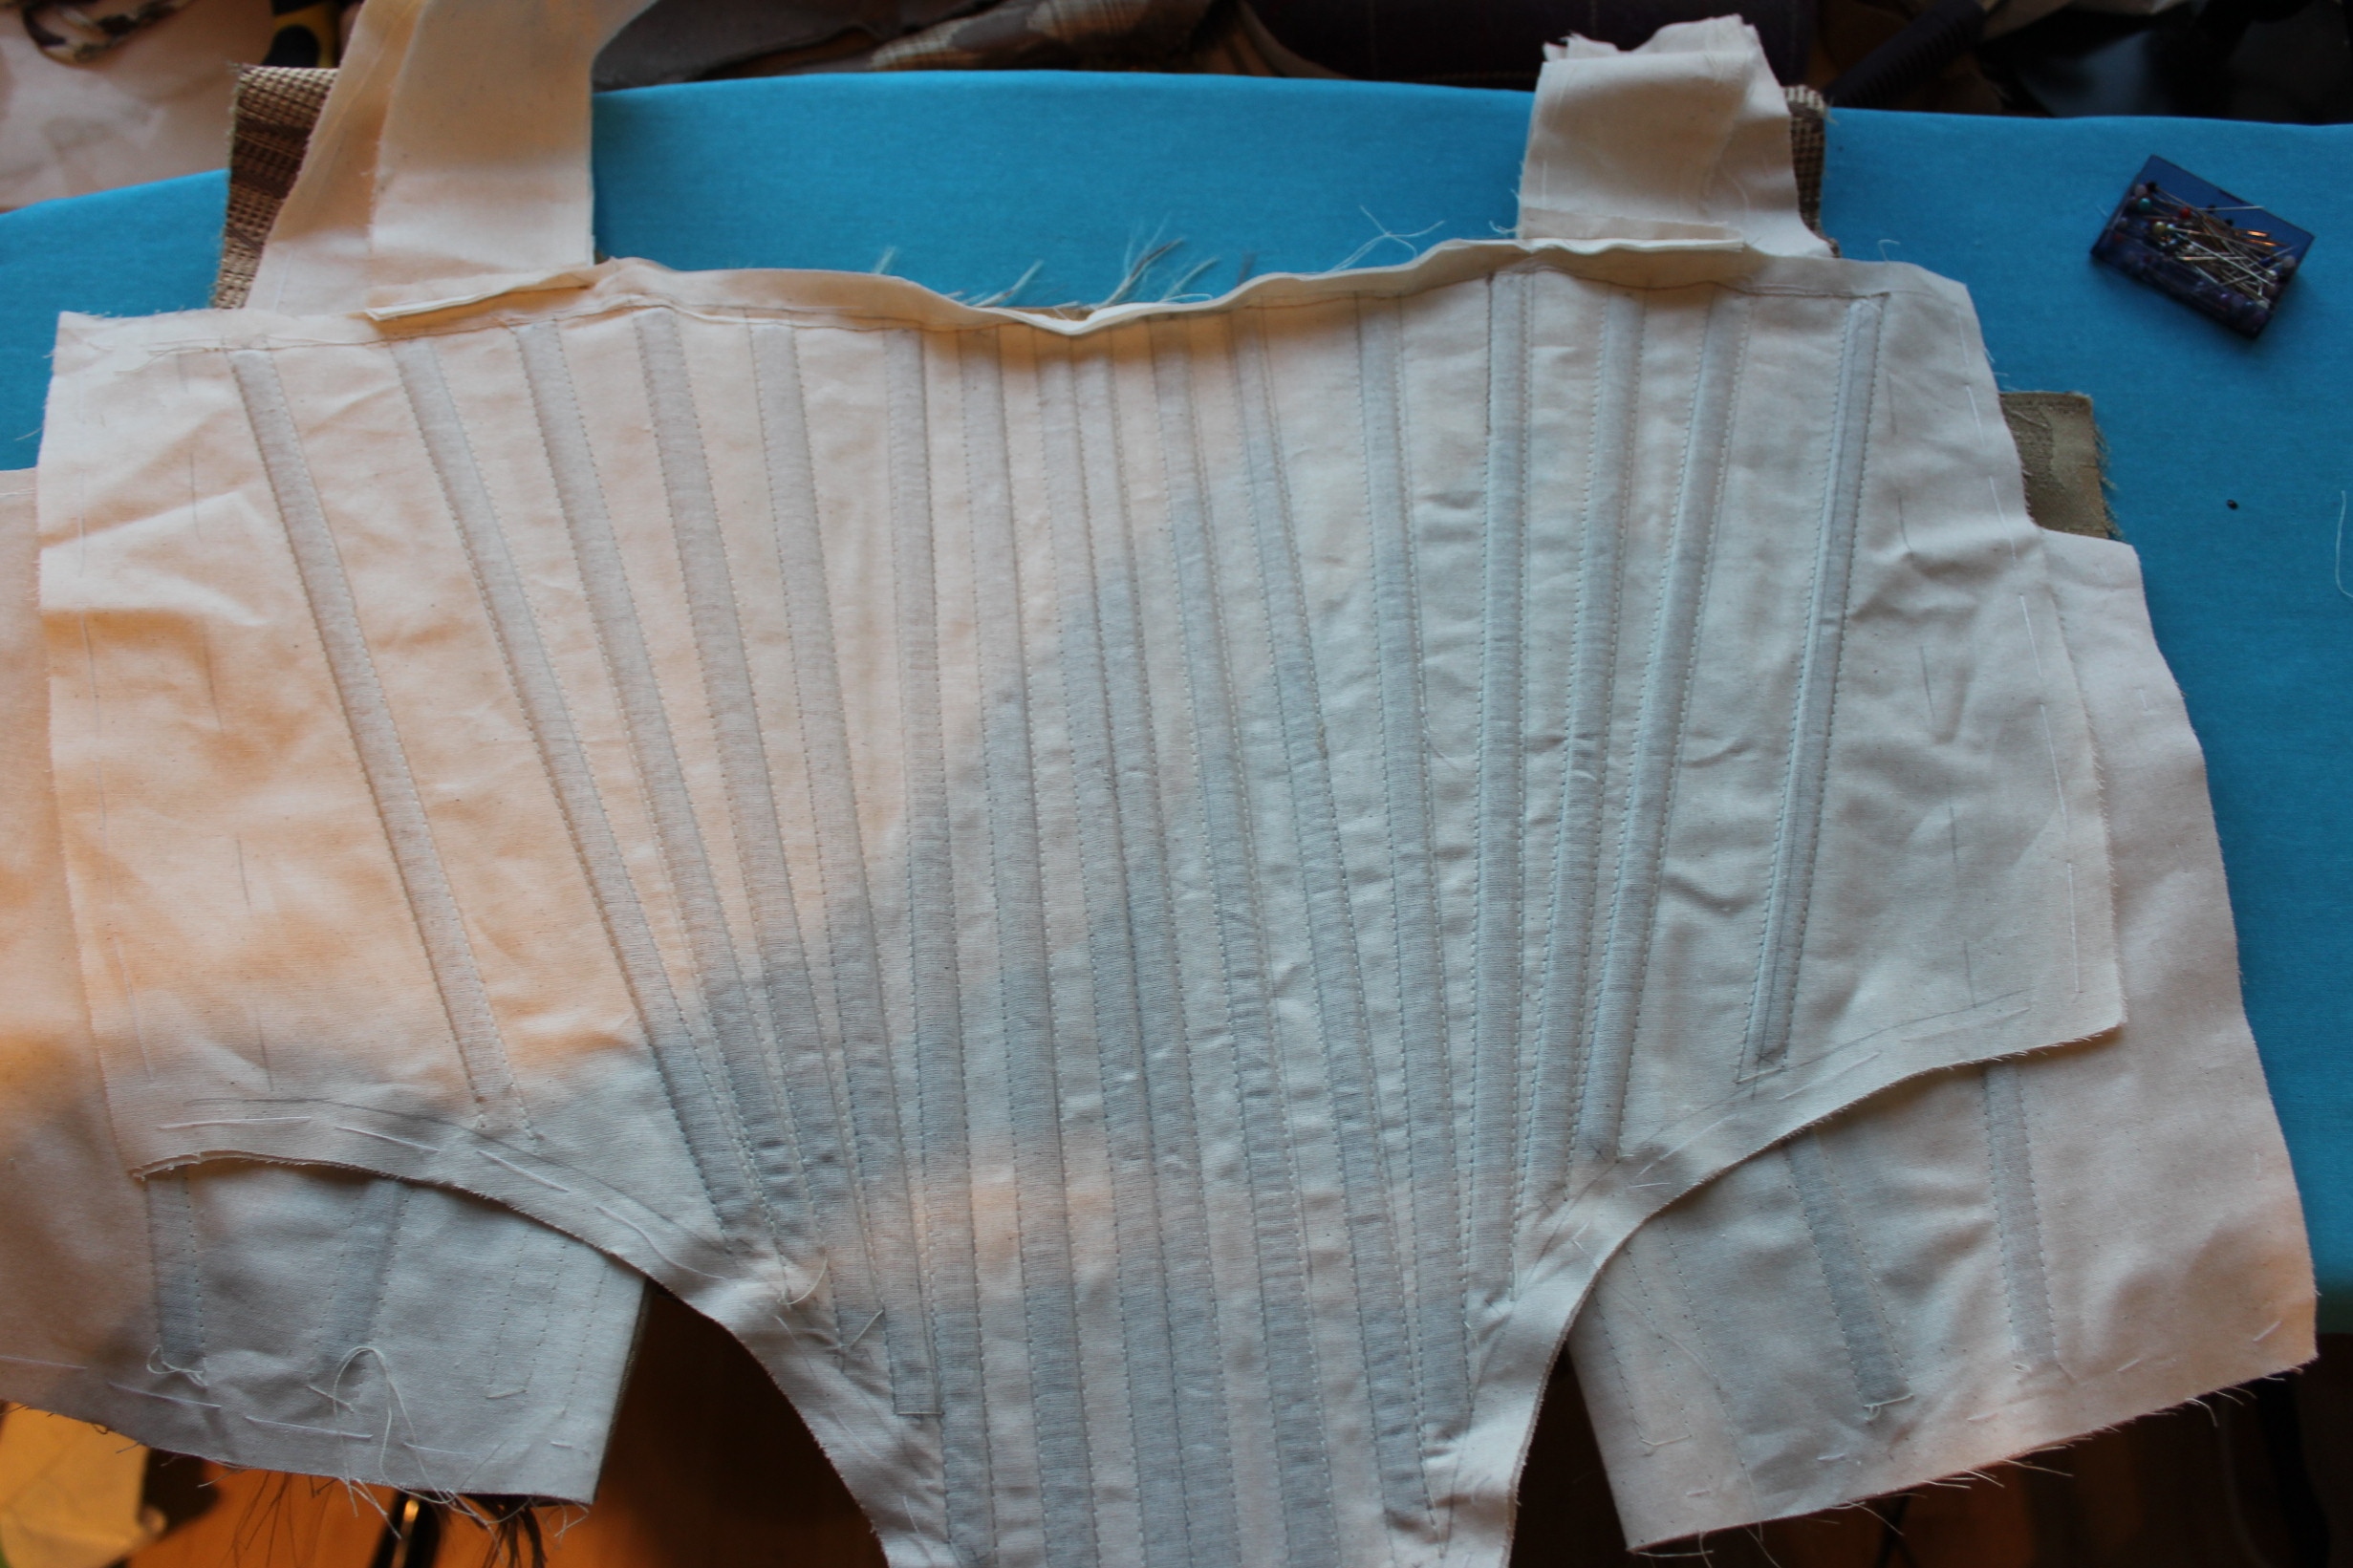
Then I stitched the shoulder-straps together and pinned the wrong sided of the fashion fabric to the interning, and stitched the neckline together. 
After turning and pressing the neckline, it was time to stitch the sides together. 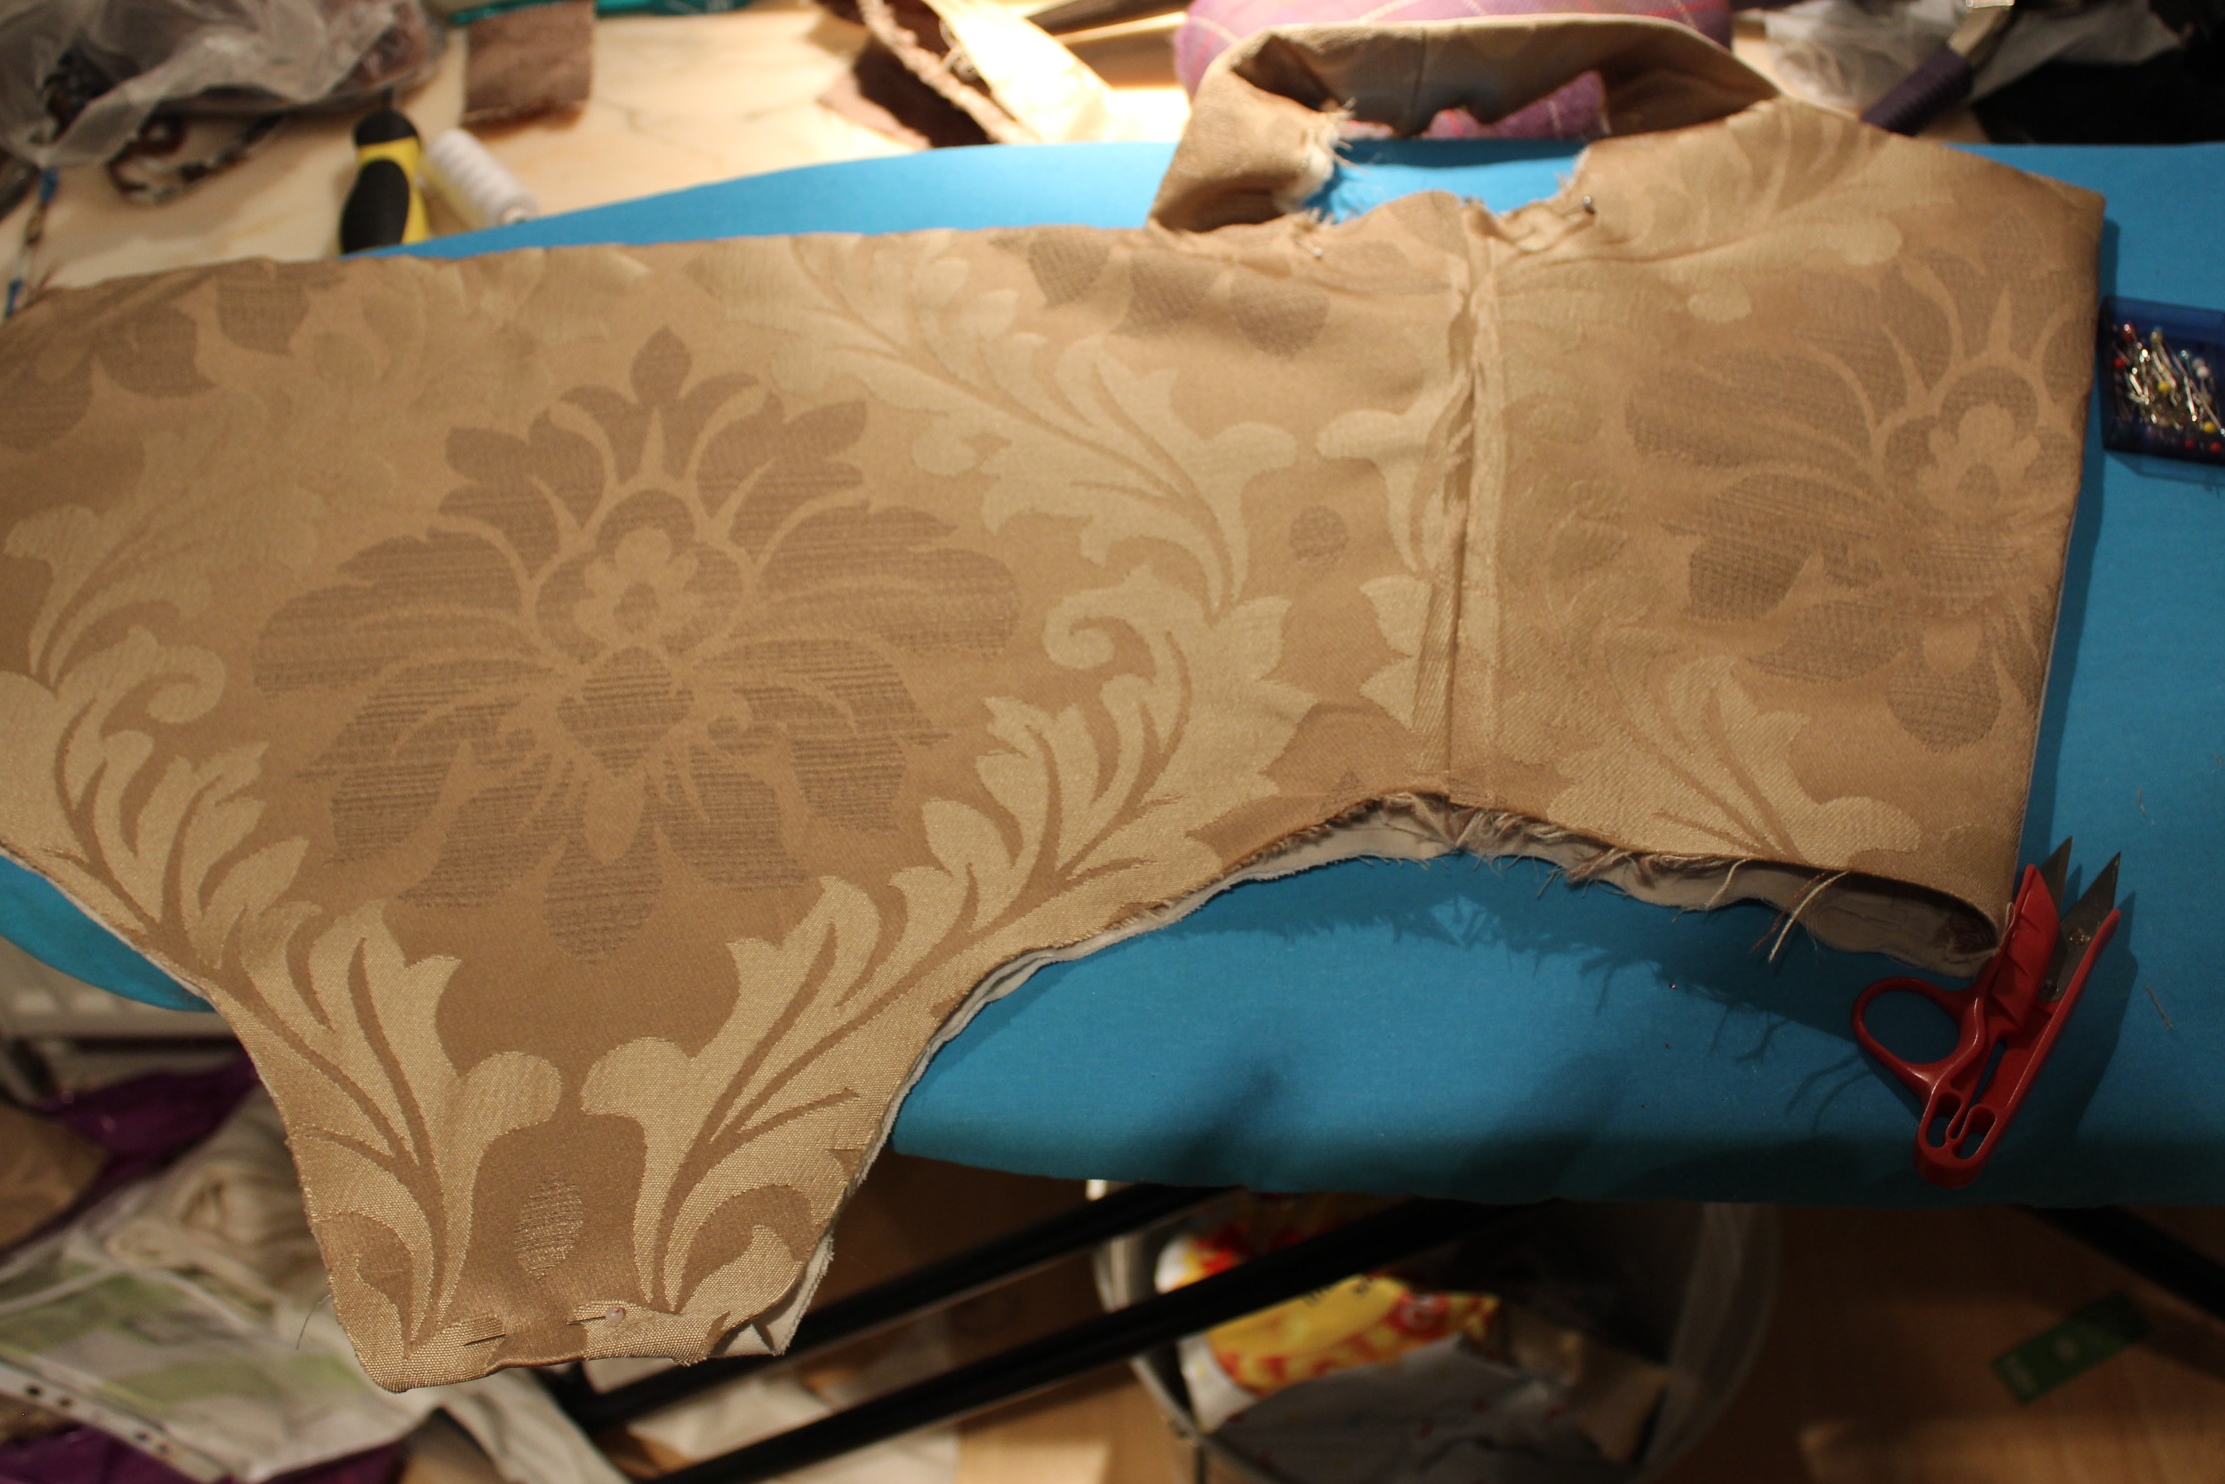 As you can see I did a small miscalculation and had to let it out a tad to get it to fit.
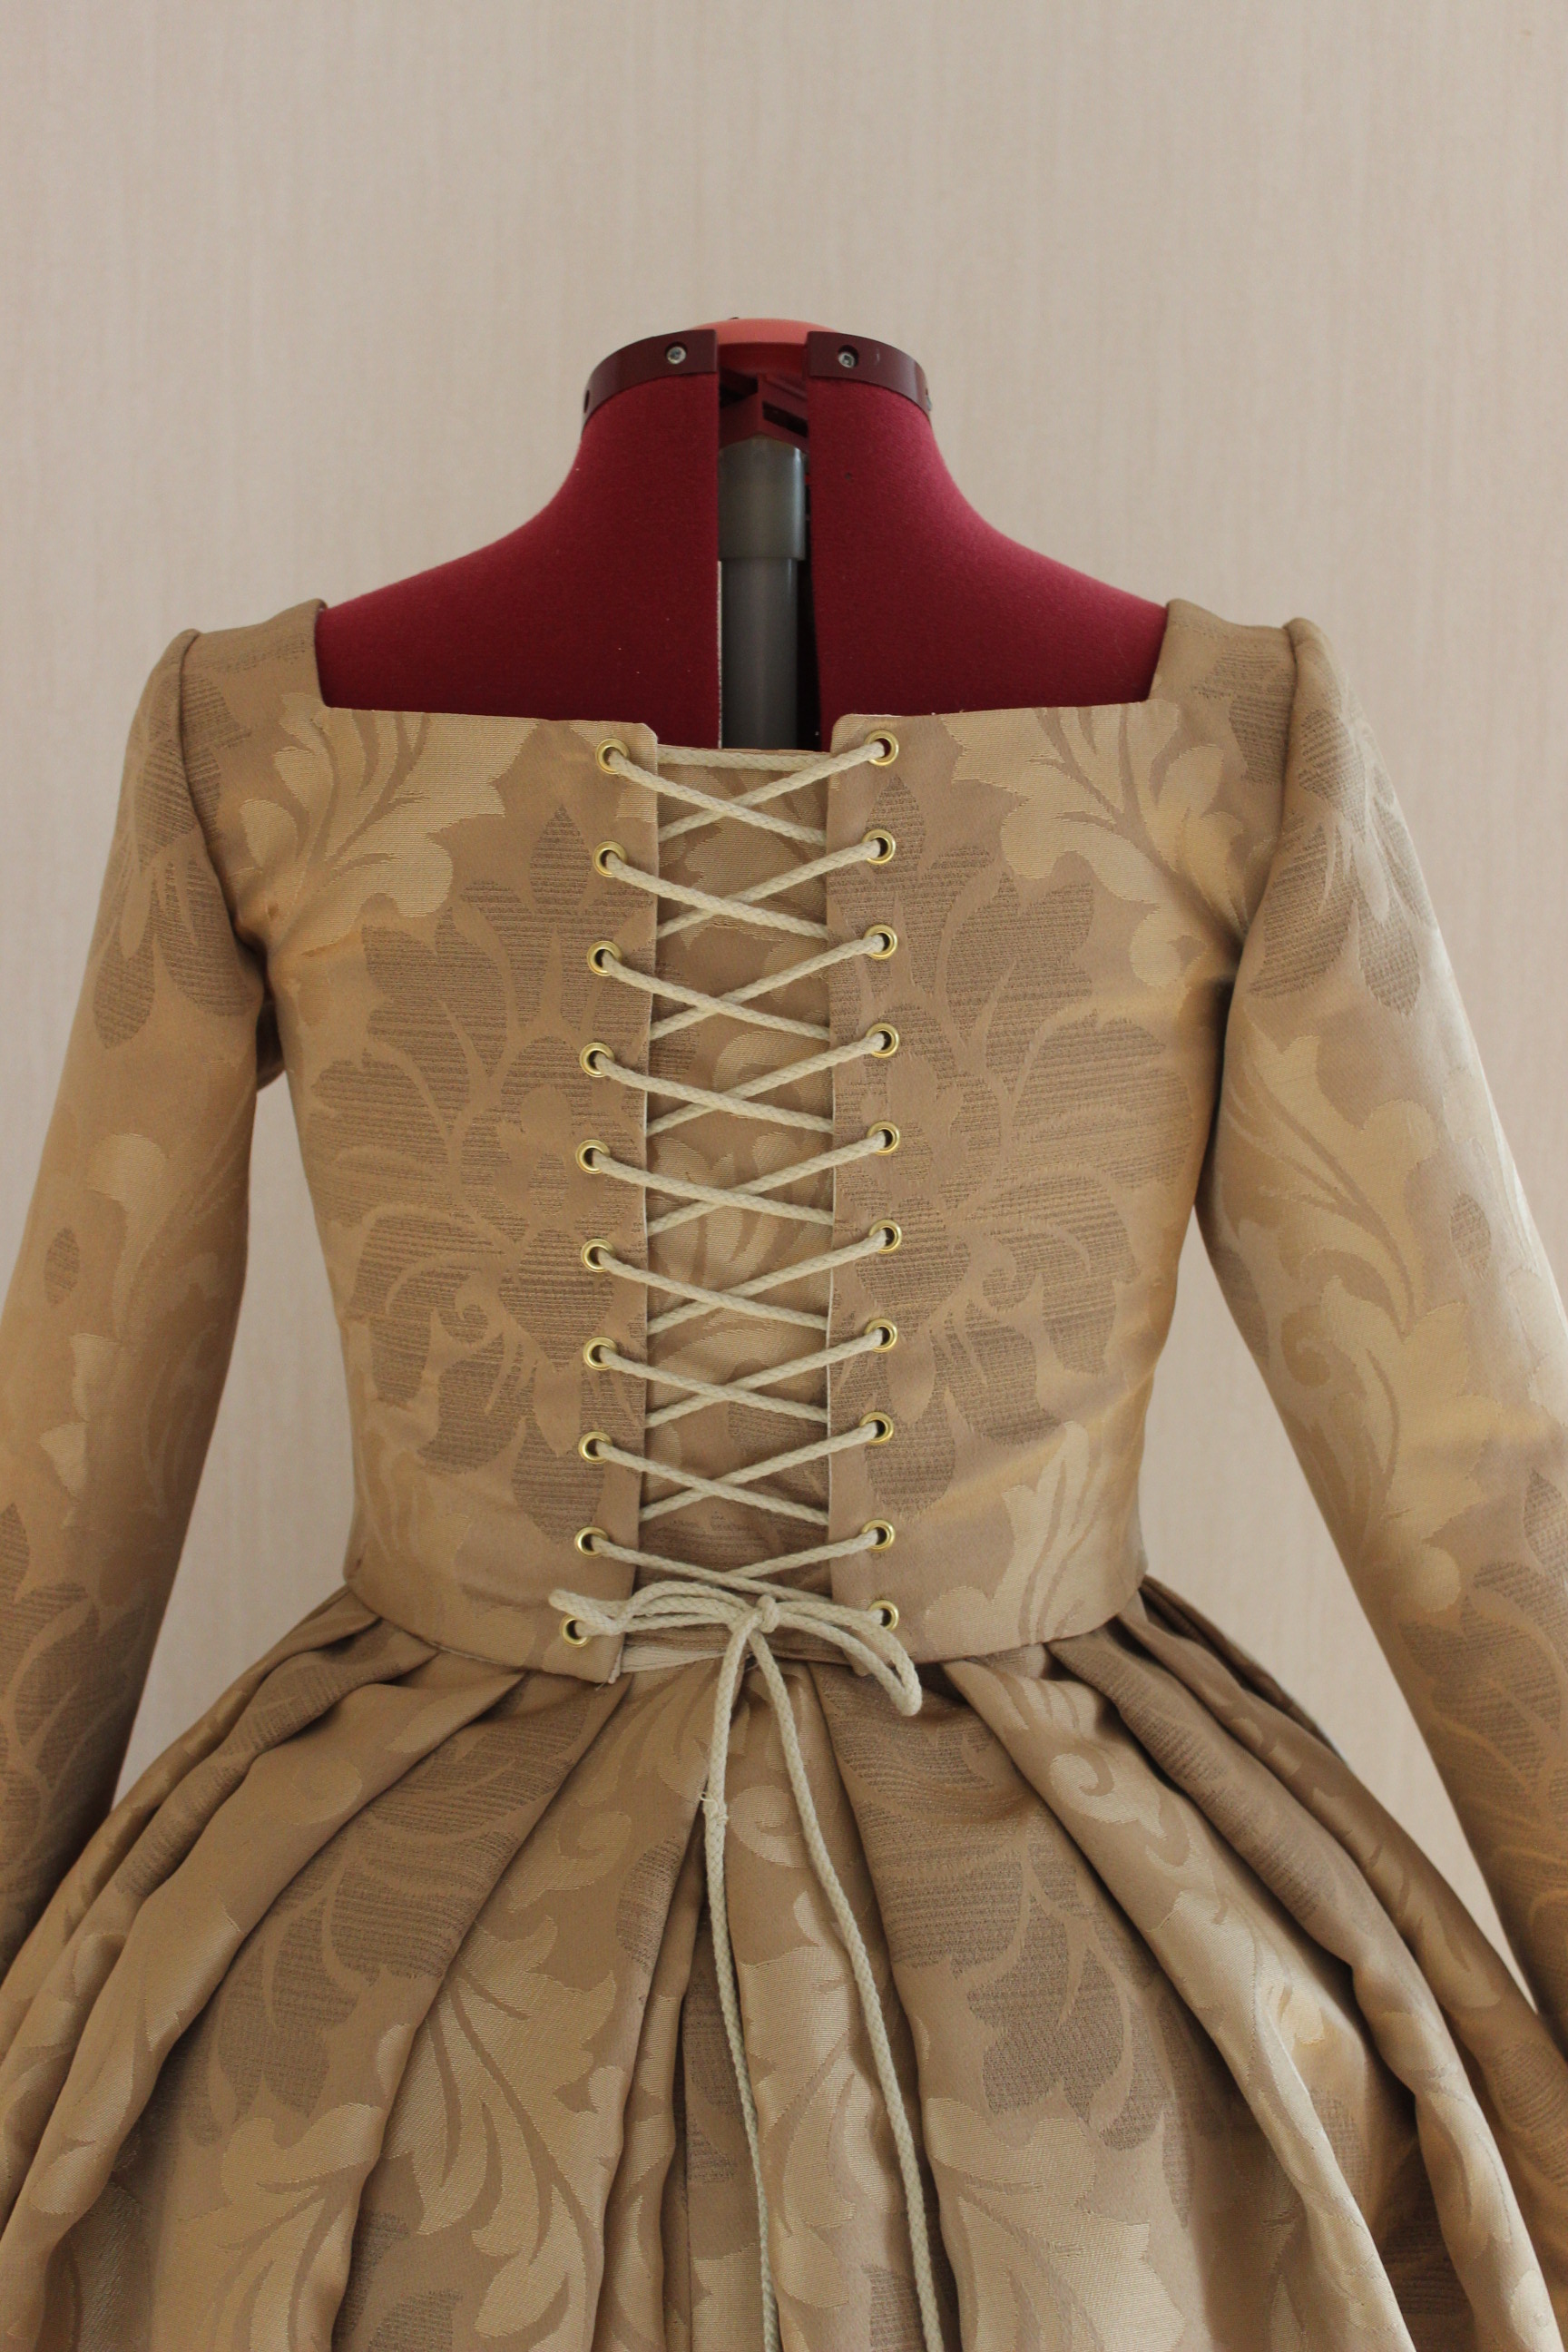
I continued by adding lacing grommets to the back. 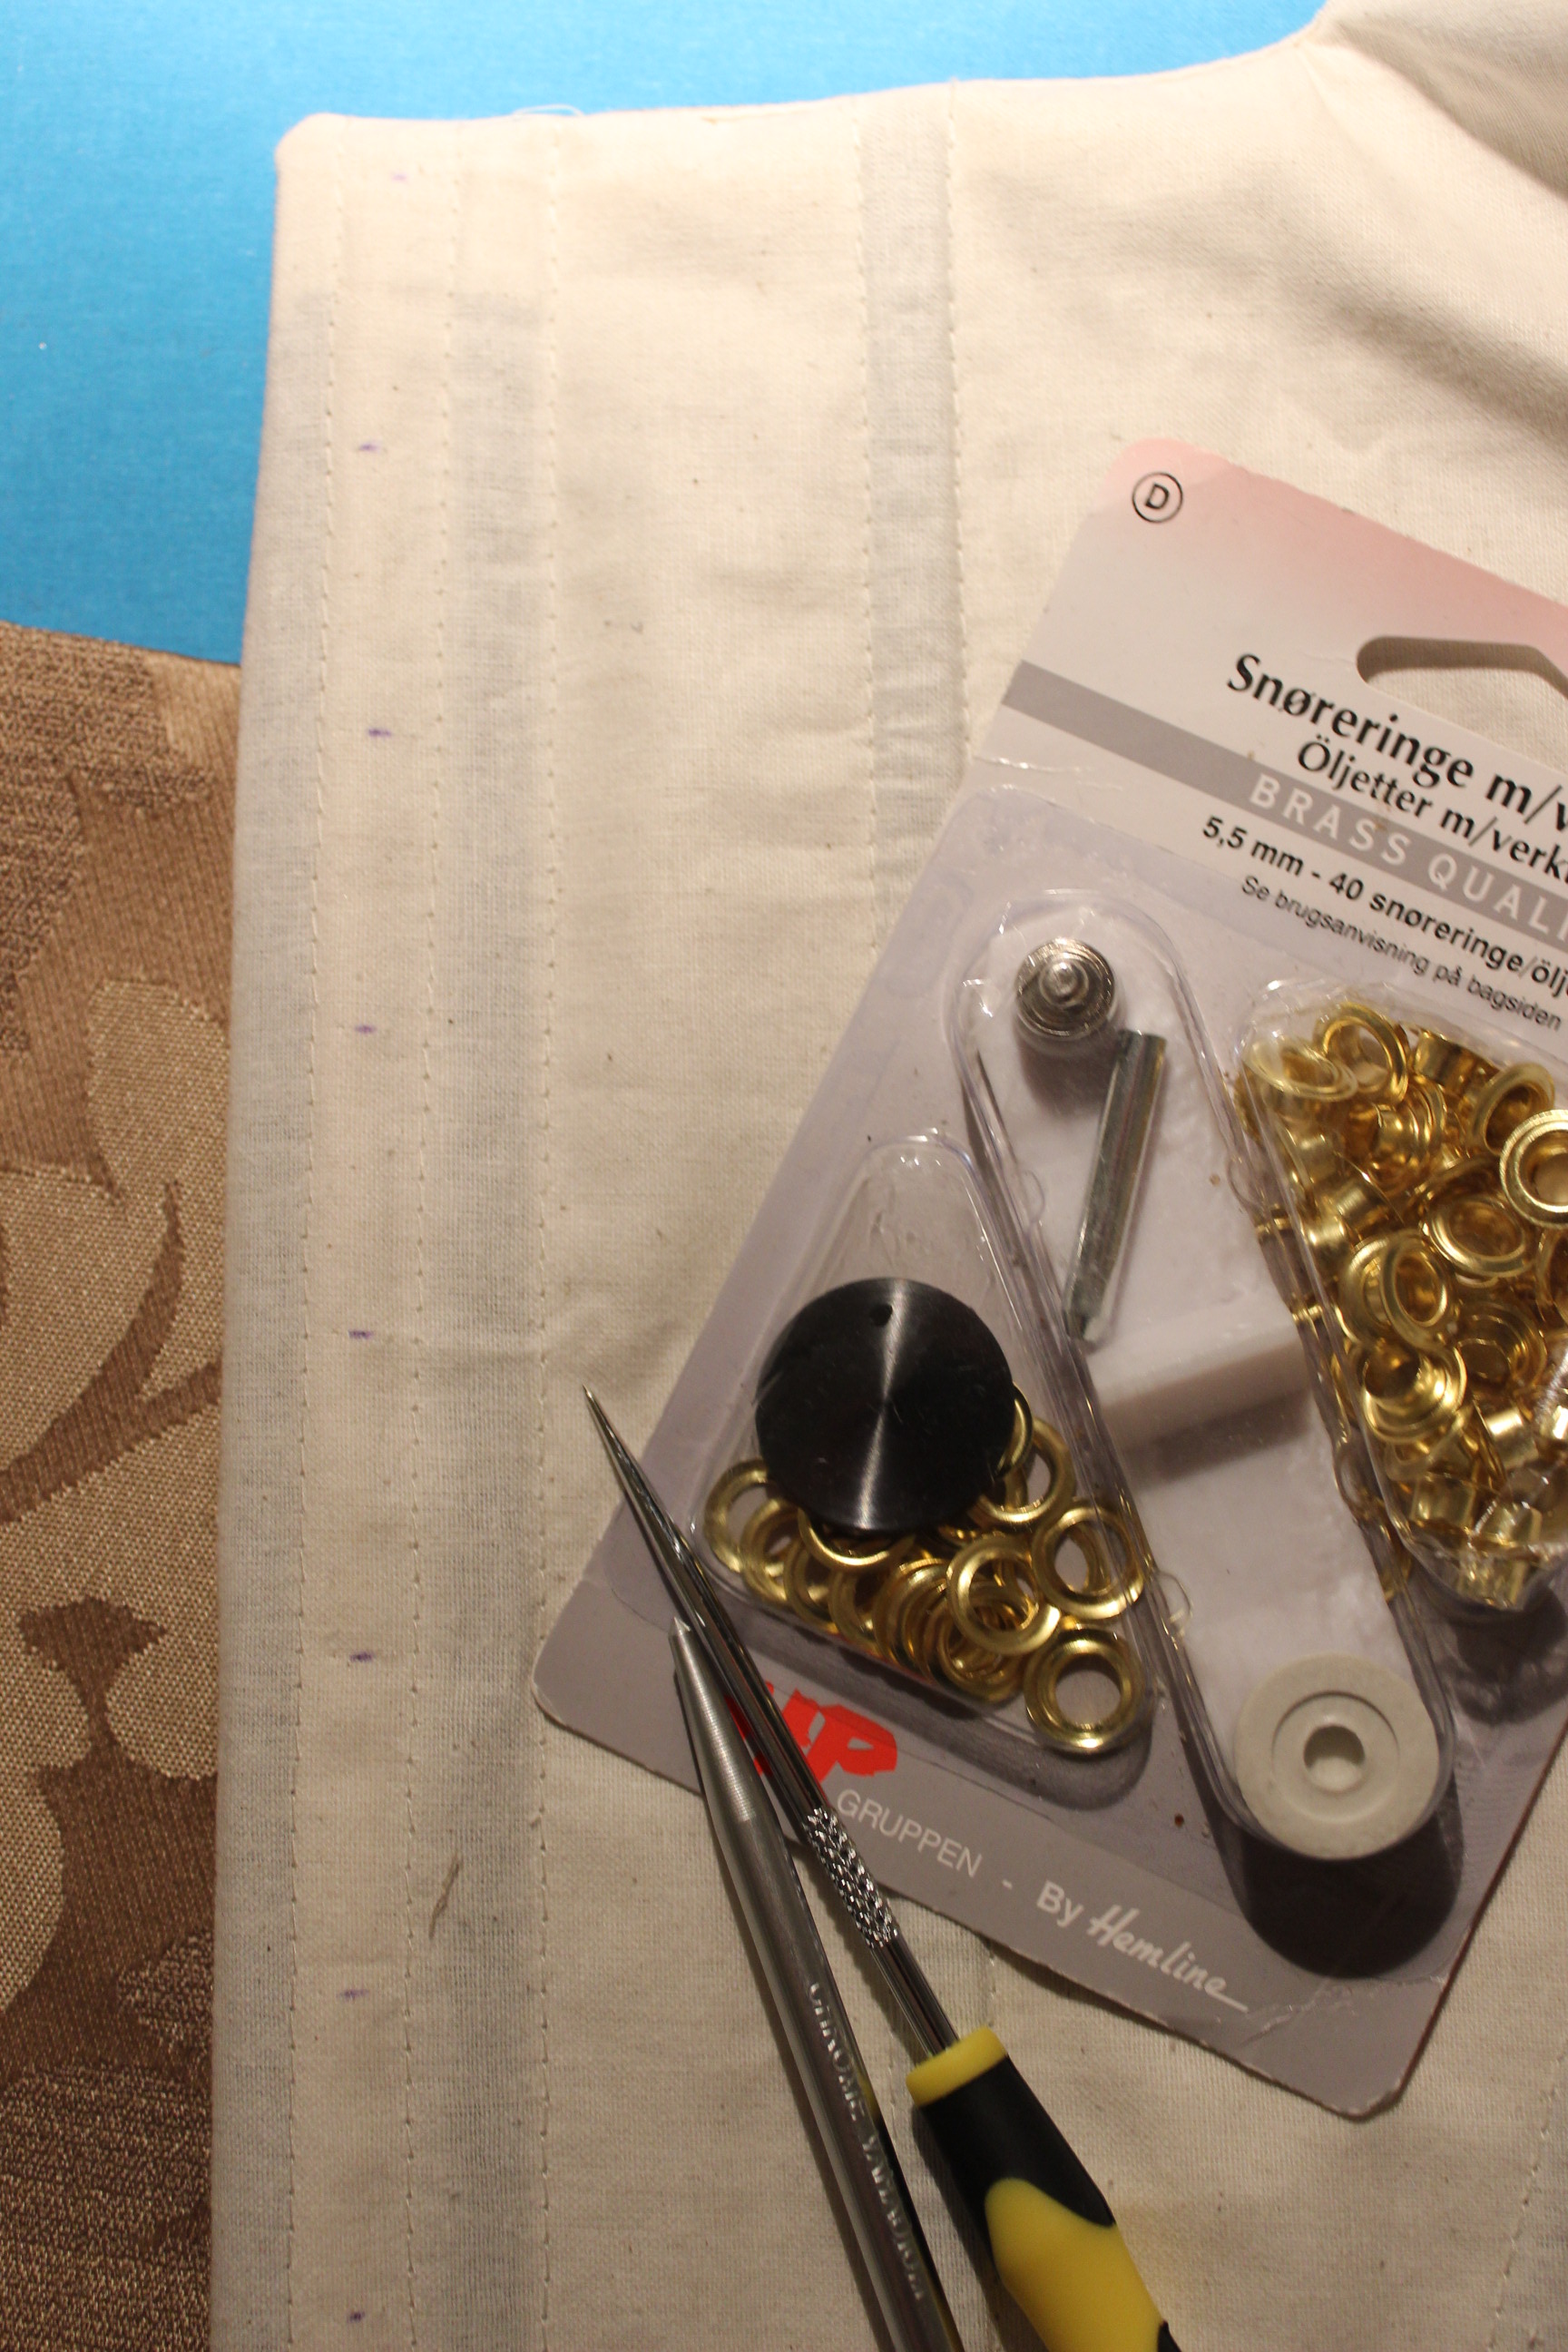 I choose the golden ones to match the fabric.
Once the bodice was “ready” I started on the sleeves.
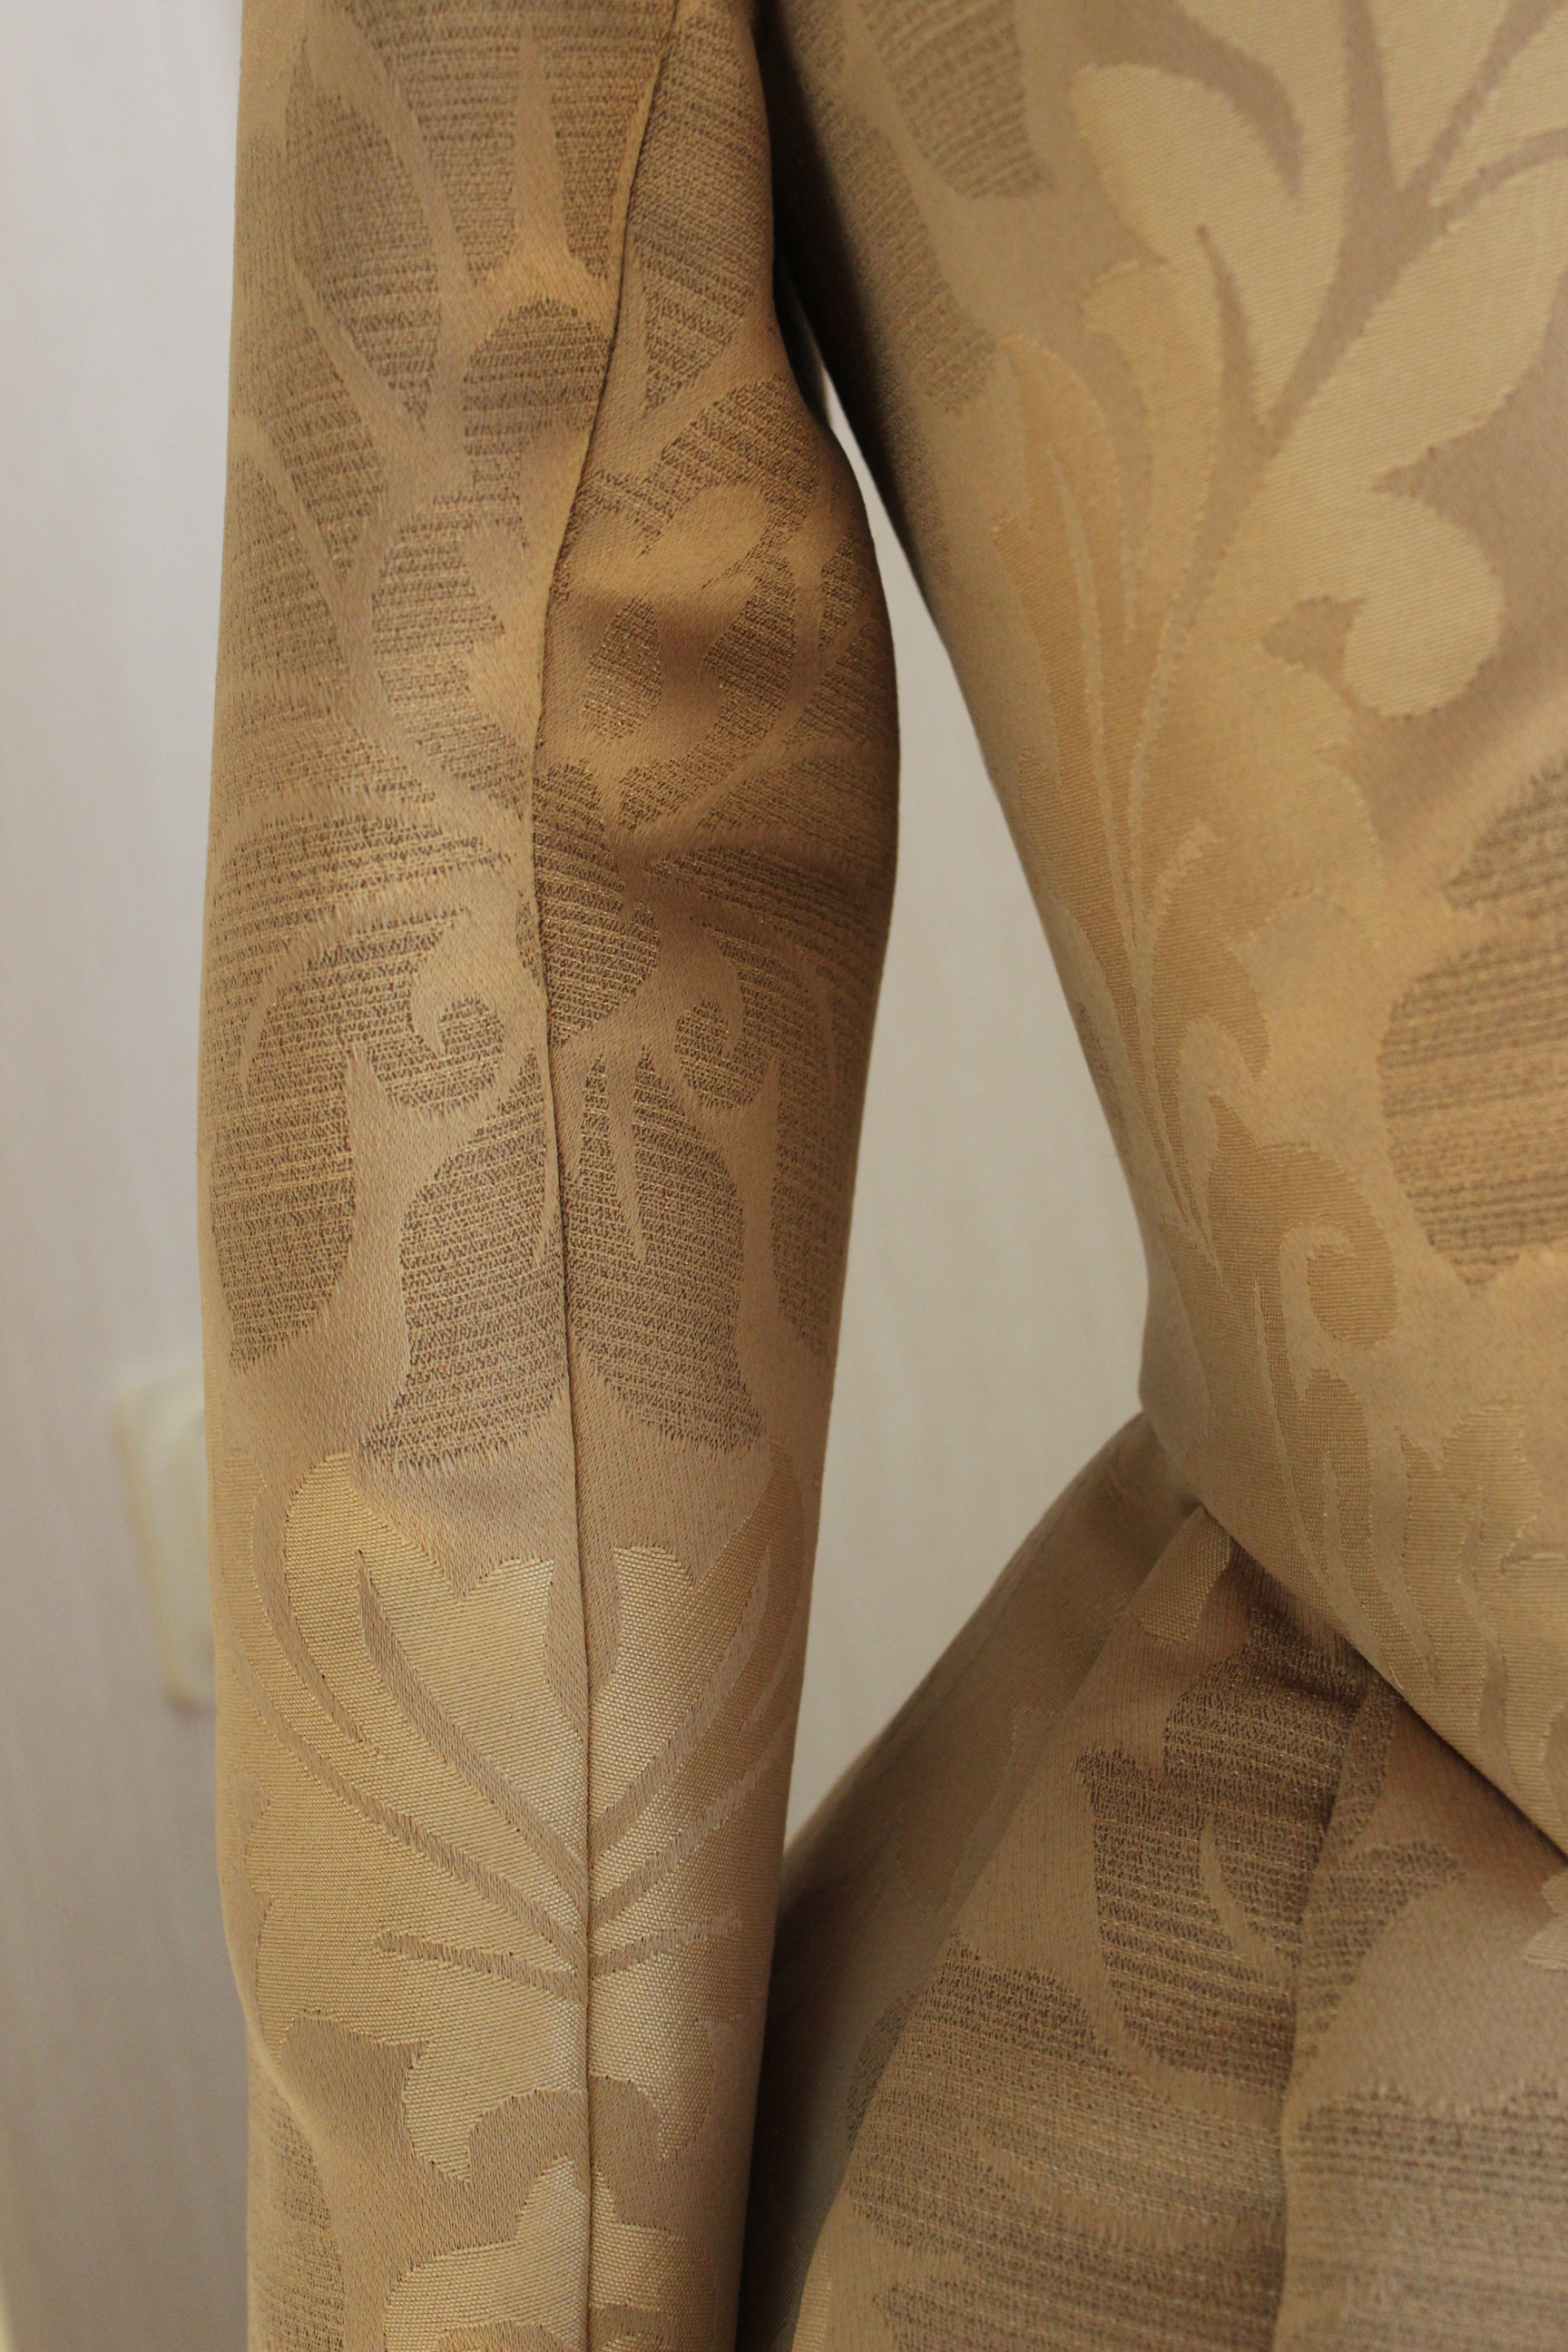
After some experimenting with cover buttons I decided to skip the detail of placate and buttons on the sleeves and just stitched them together as they where.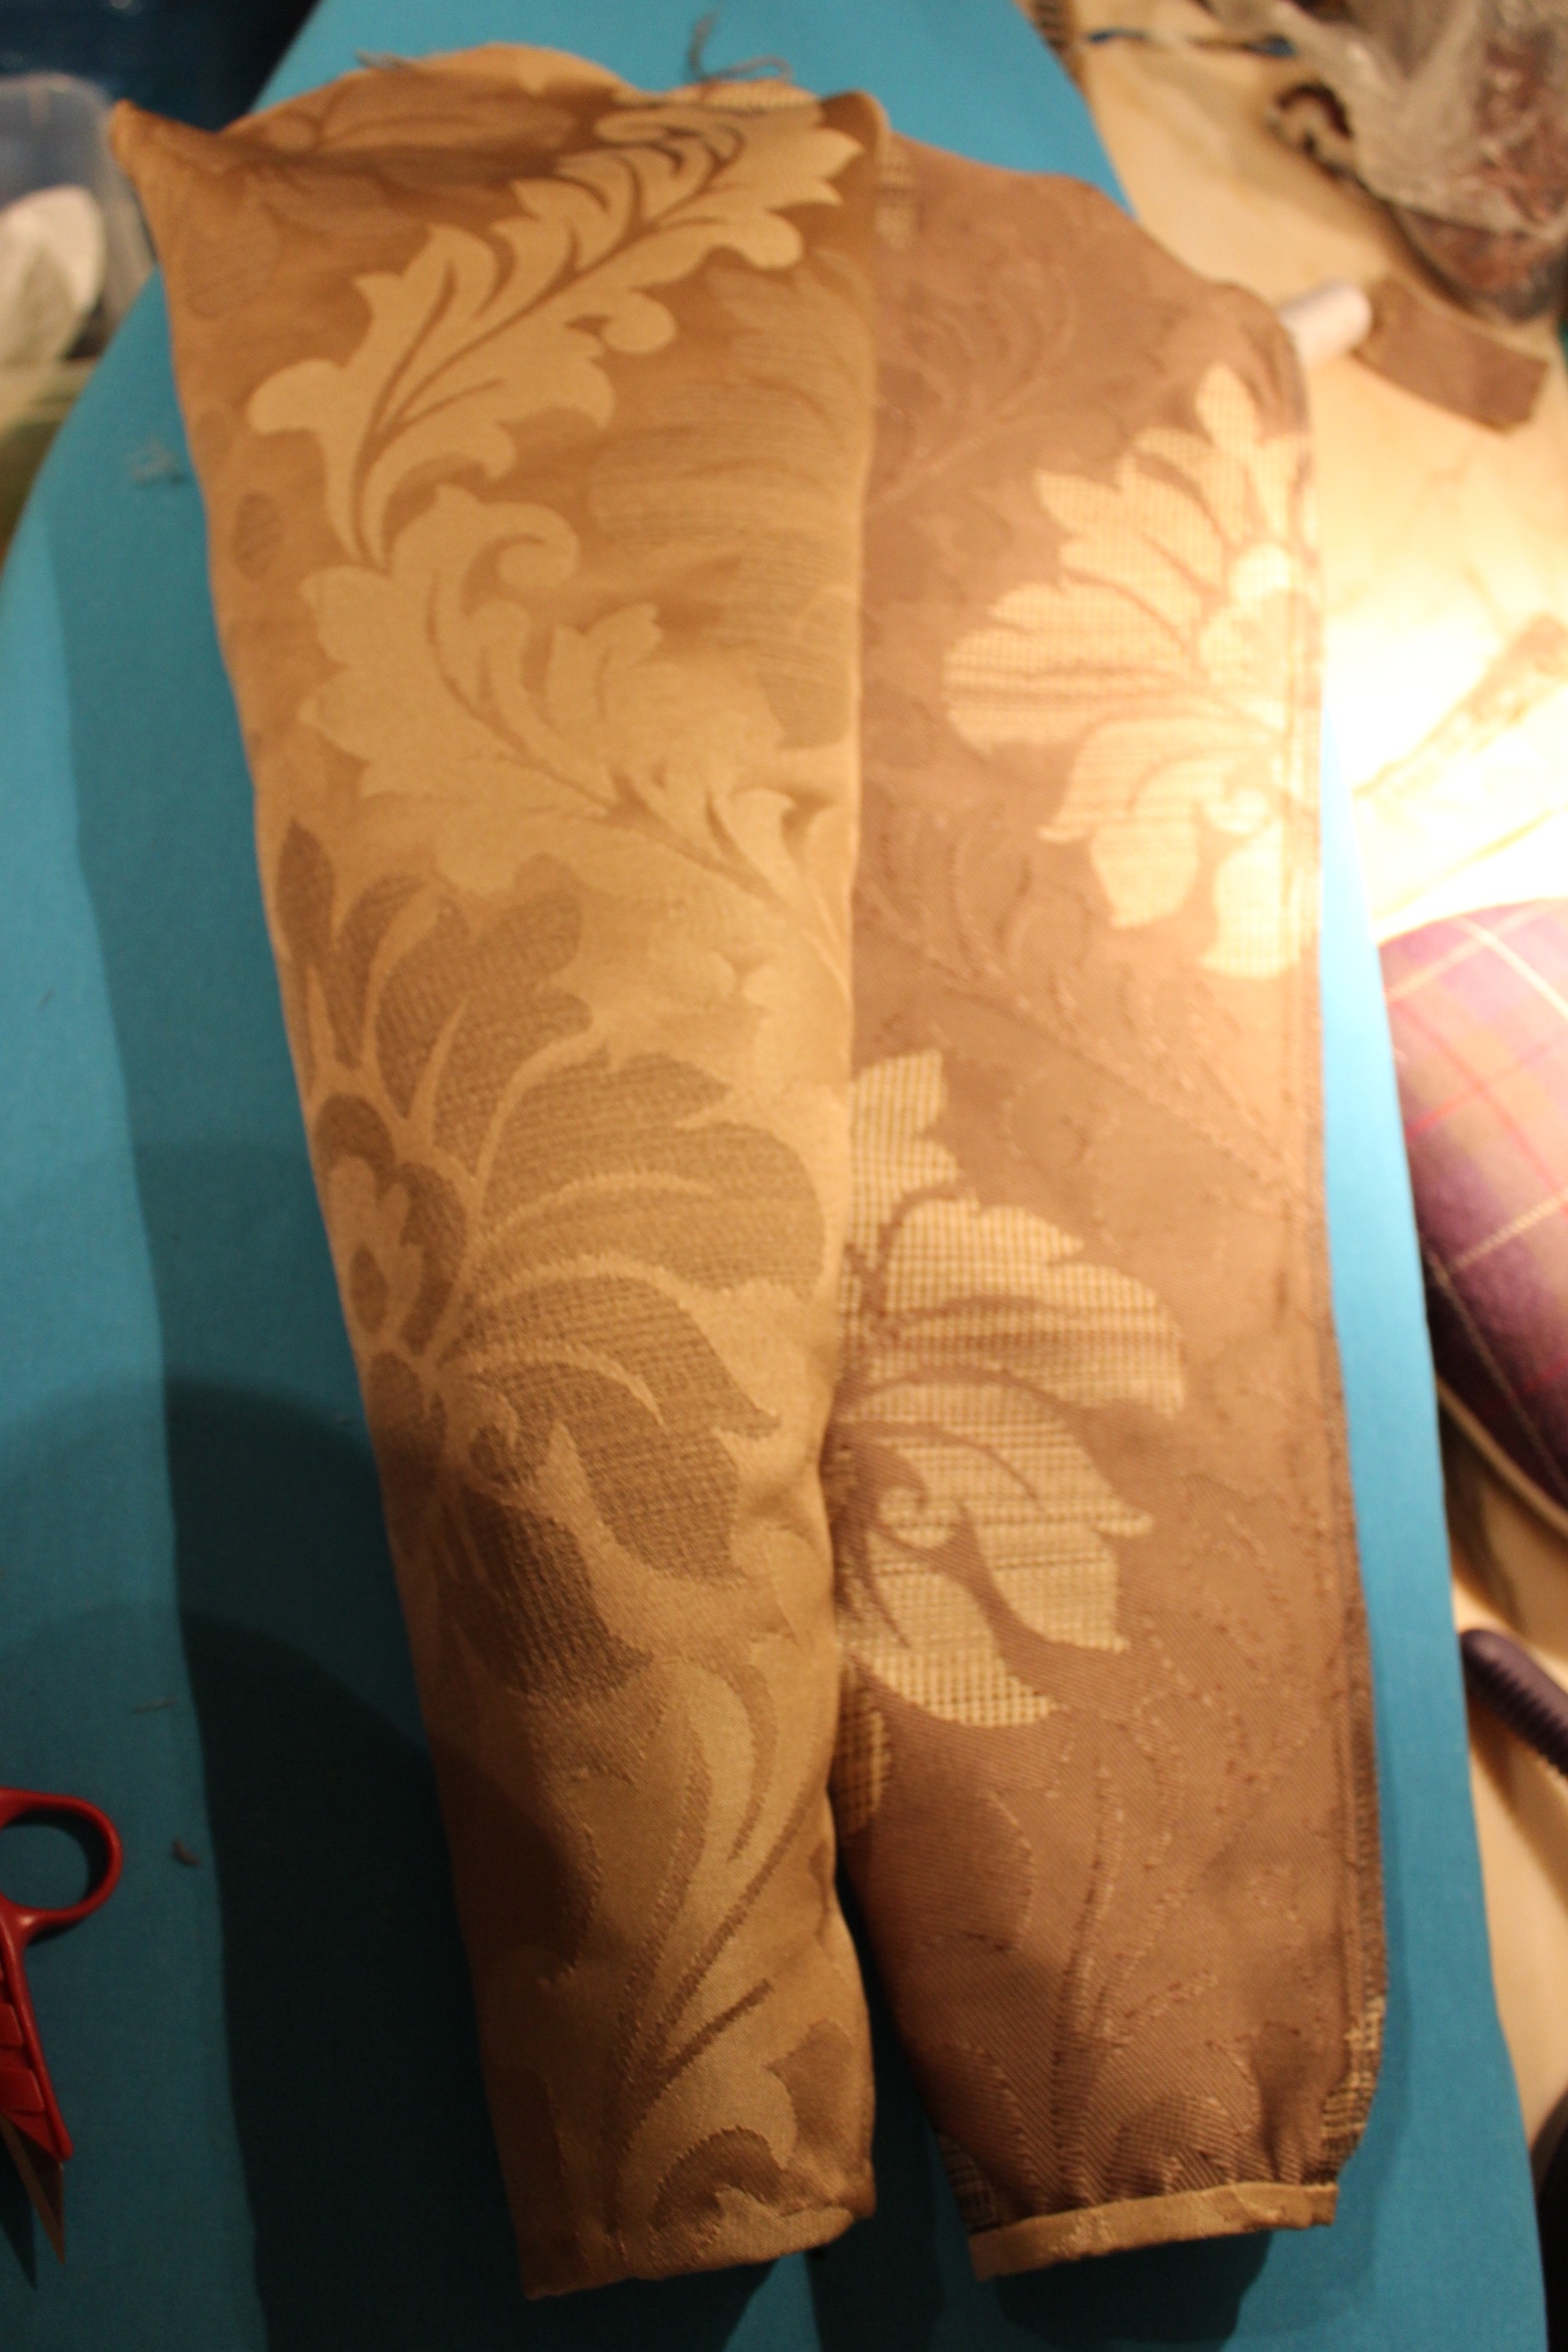 The sleeves stitched and ready (one is turned inside out).
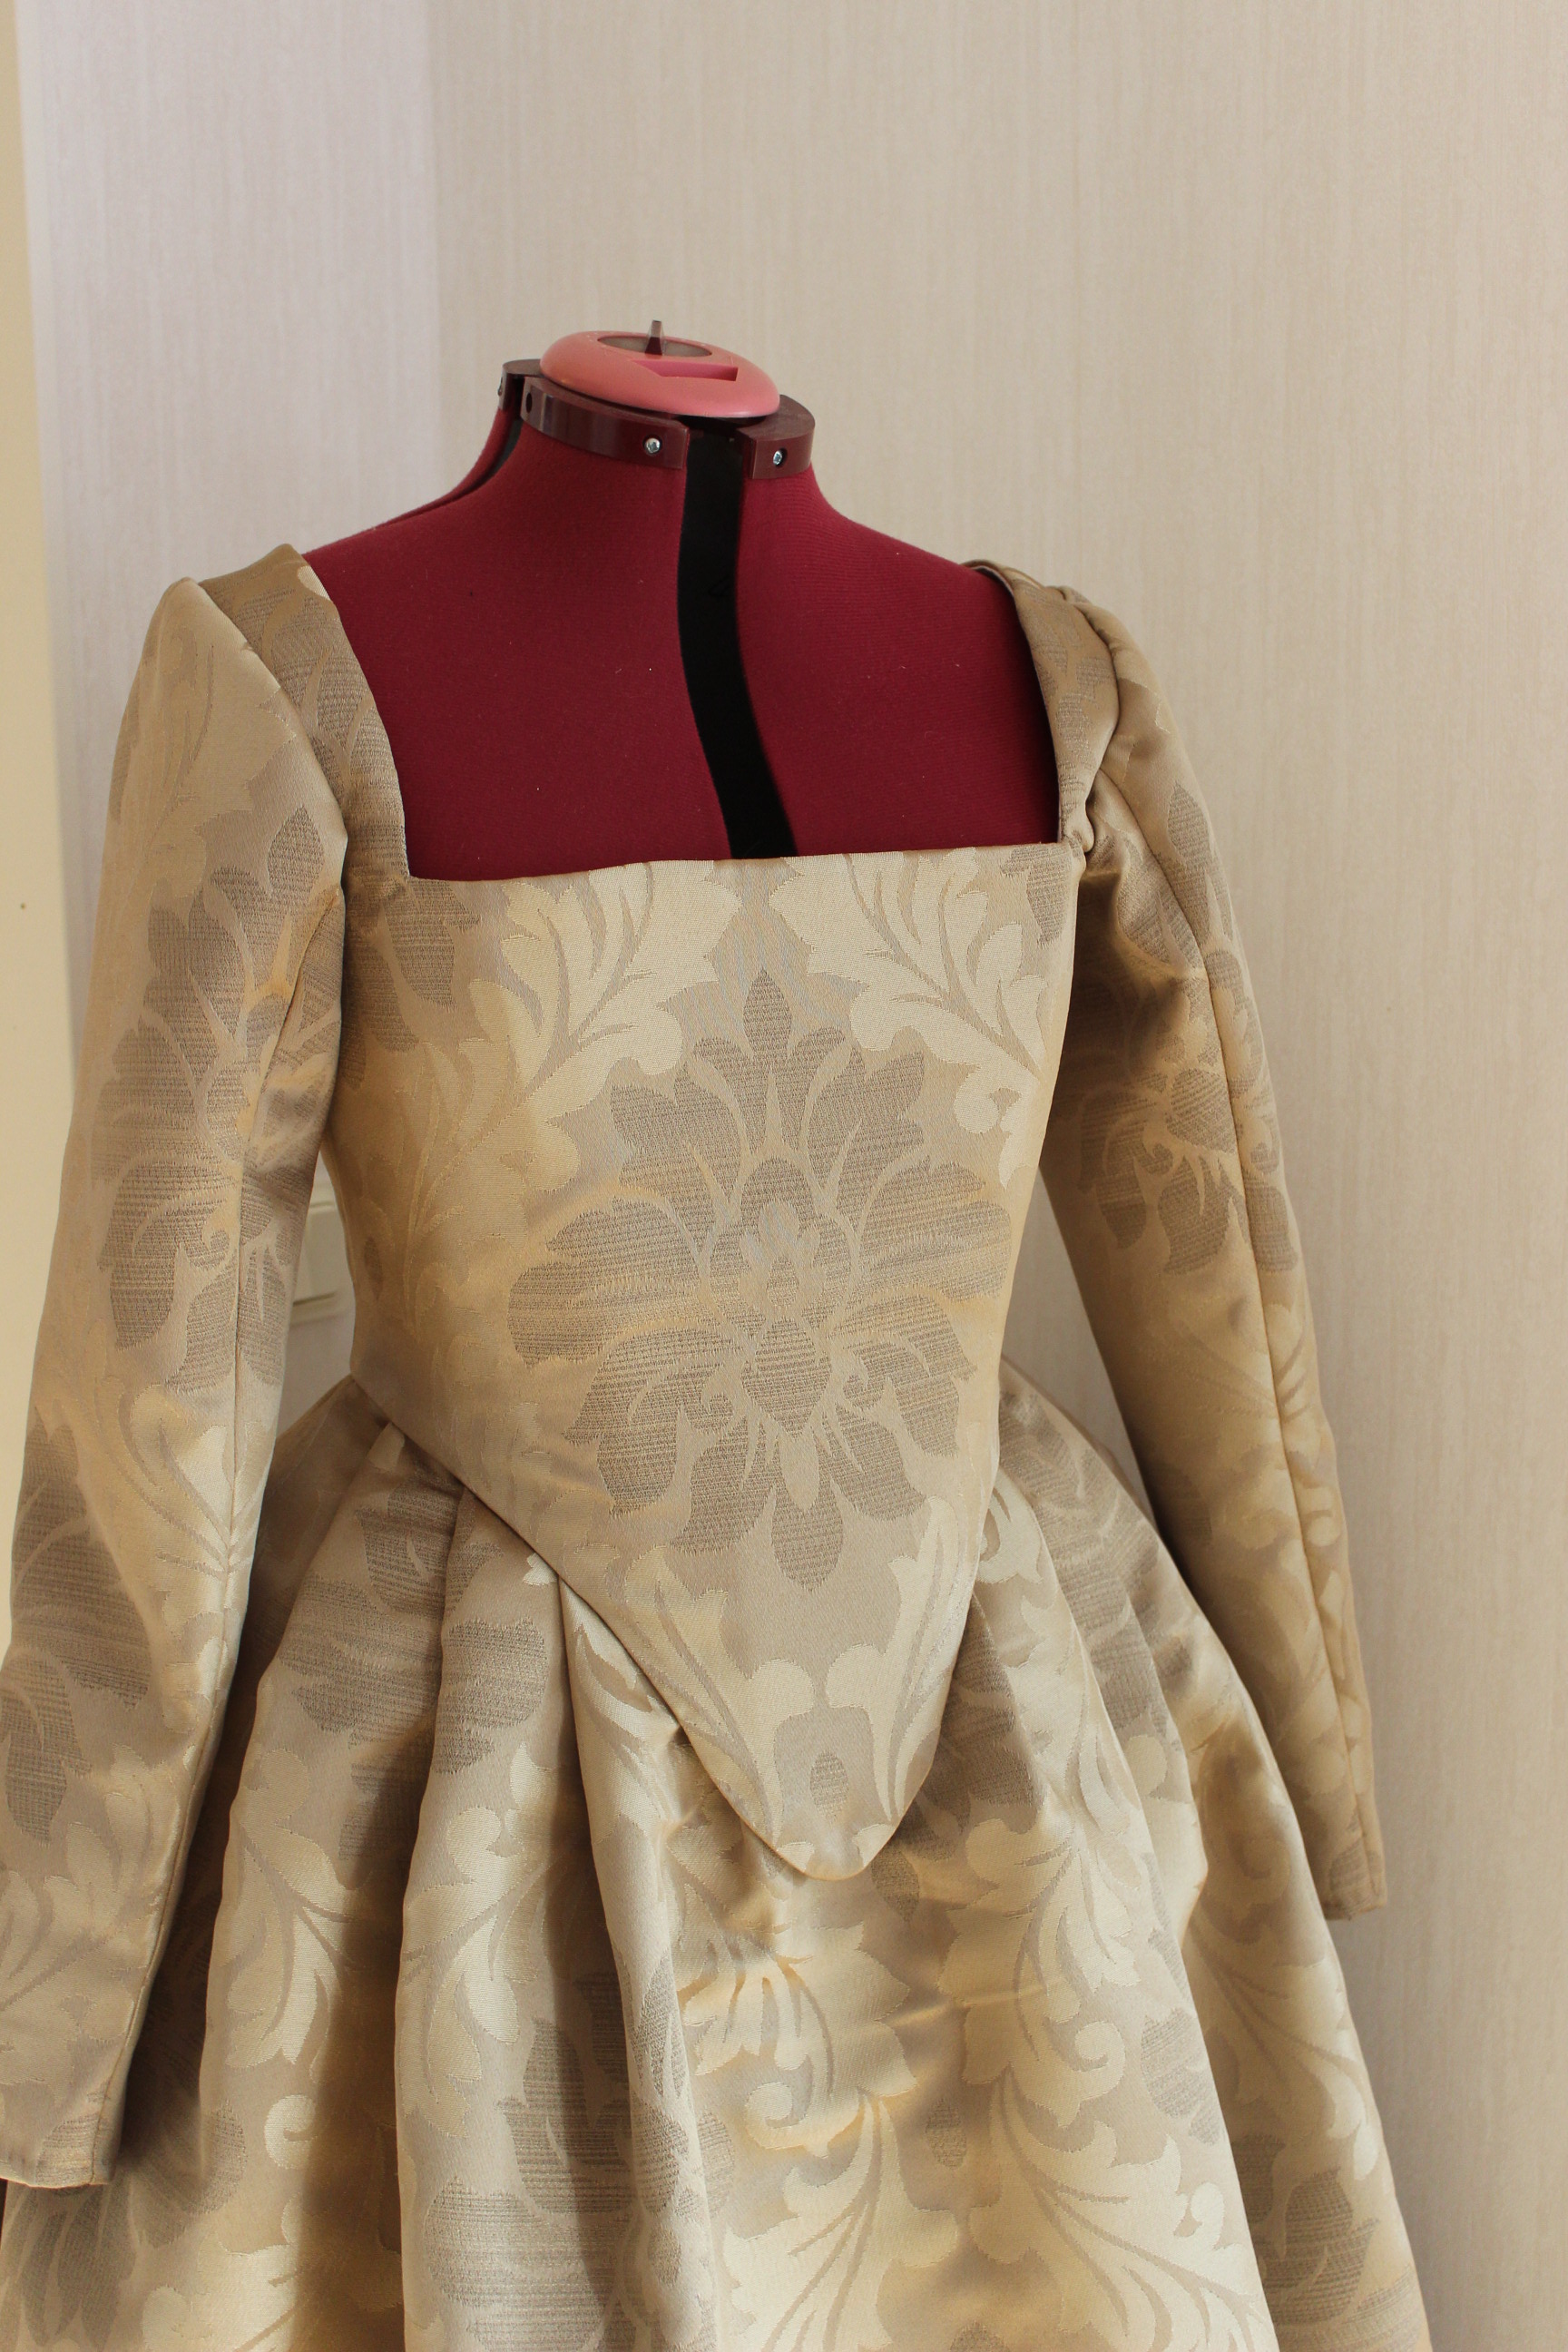
Then it was once more time to try it on.
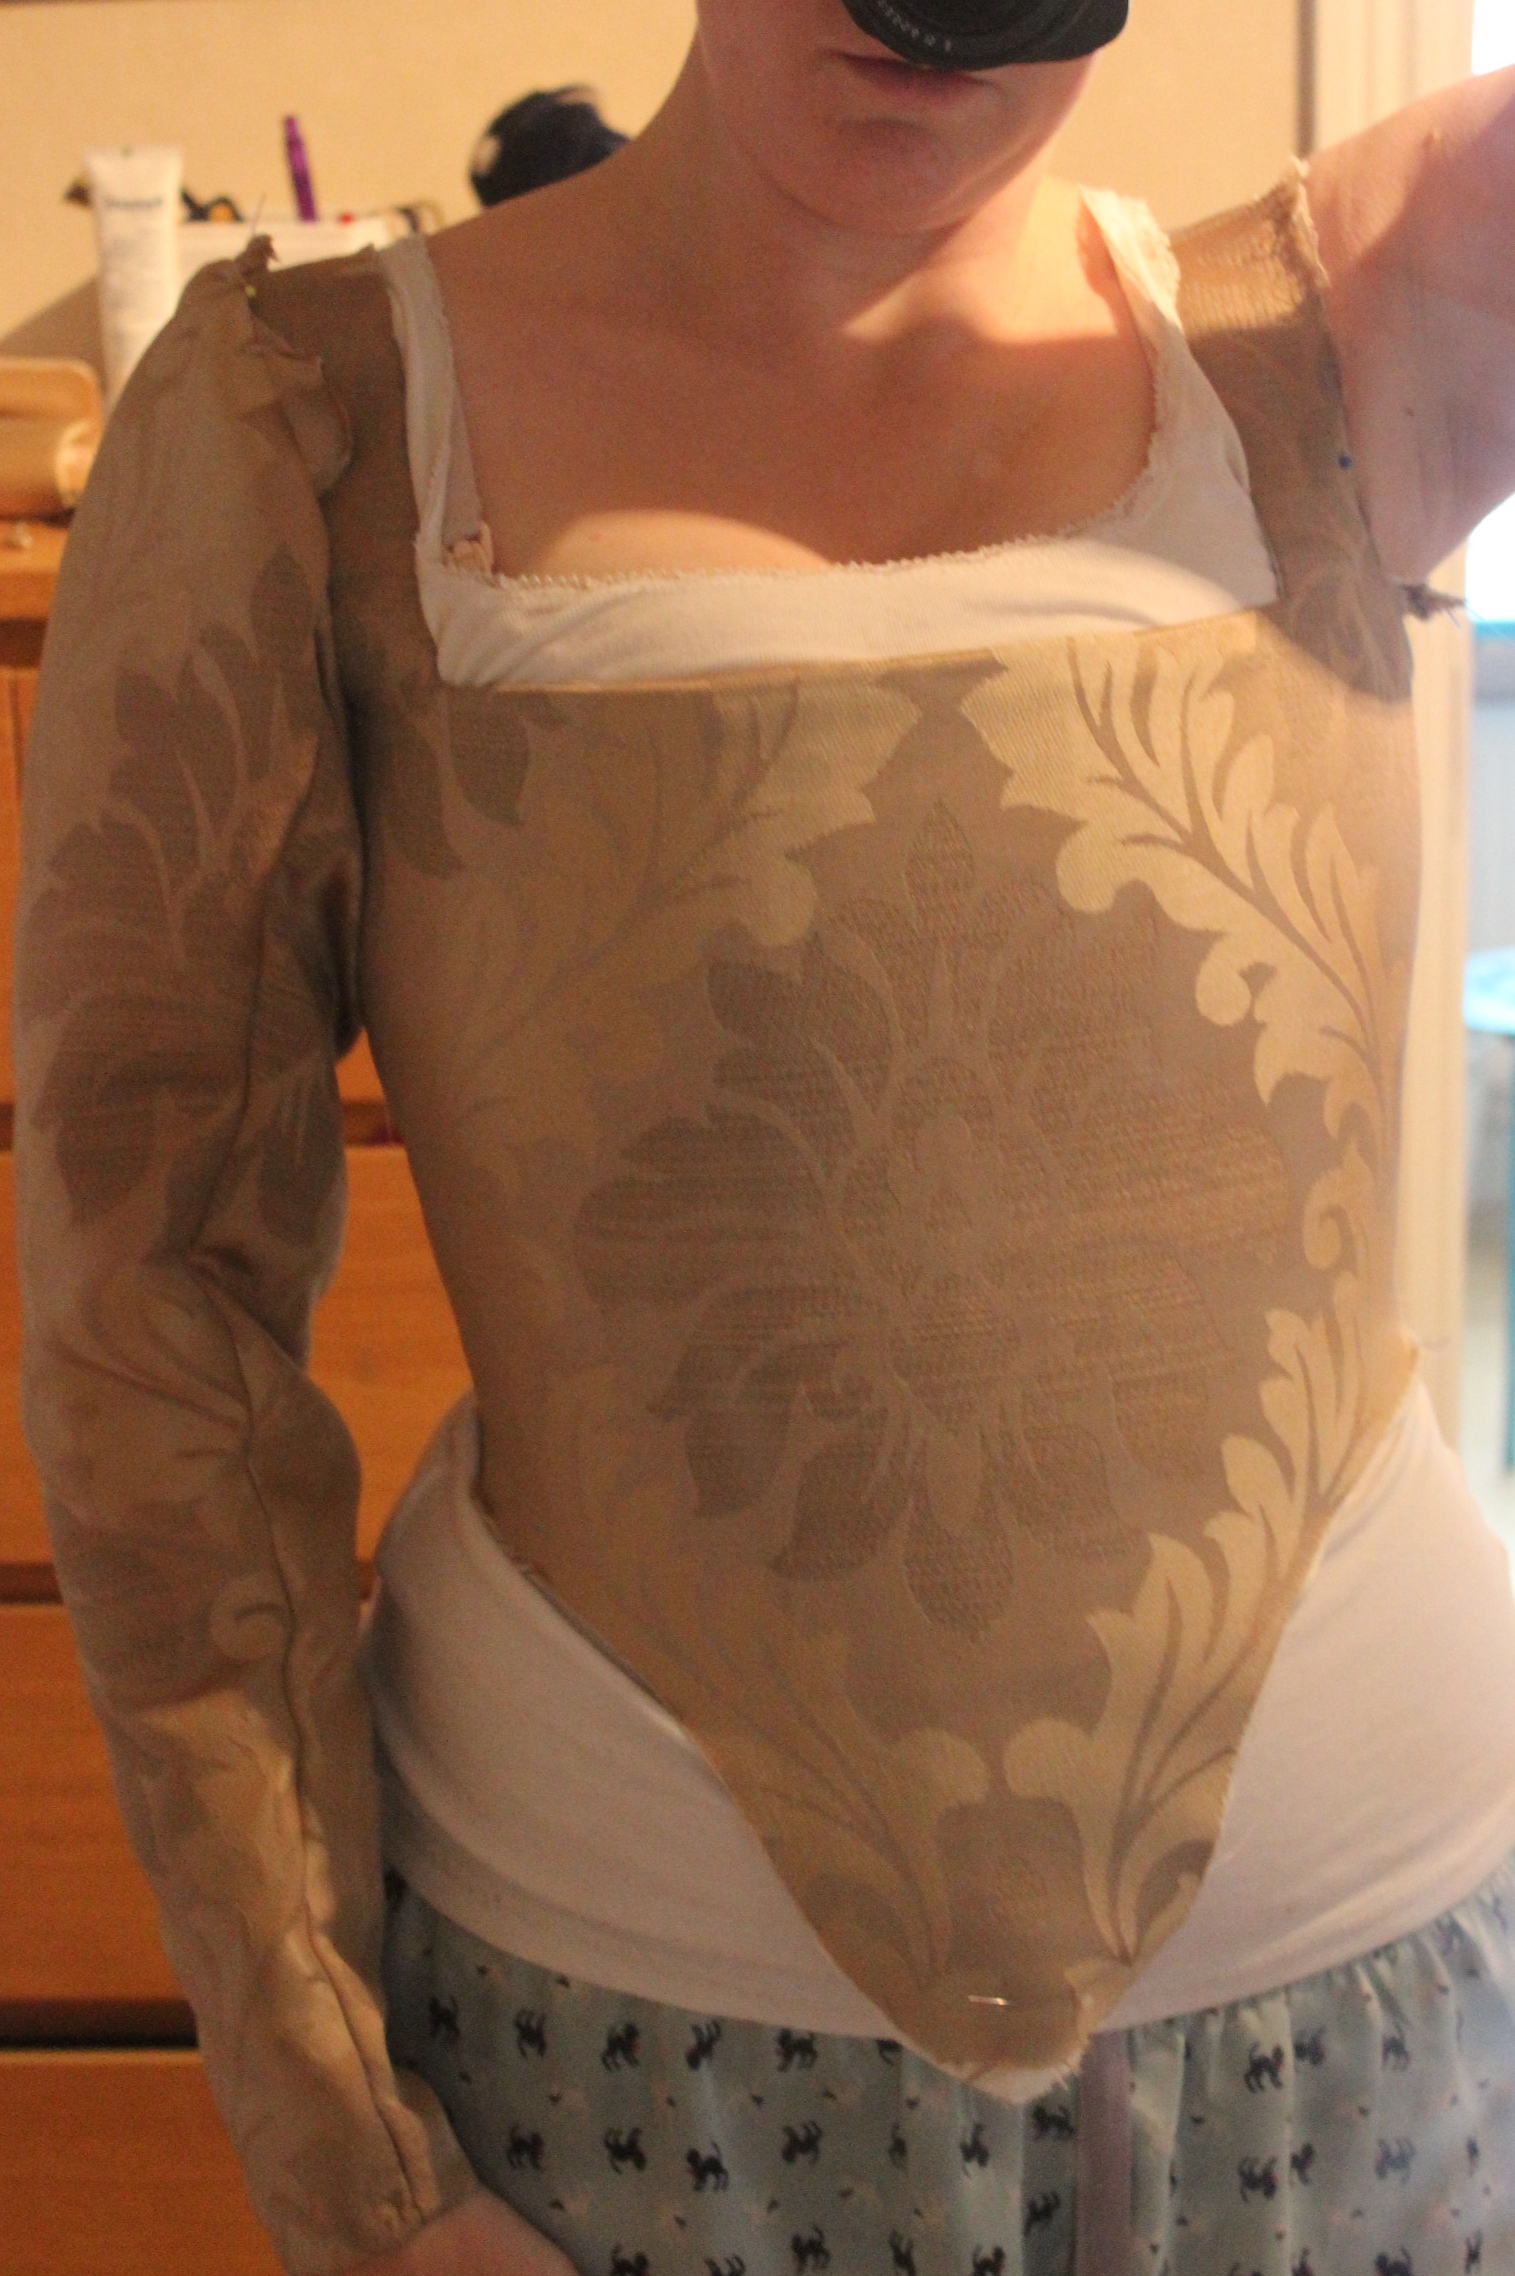

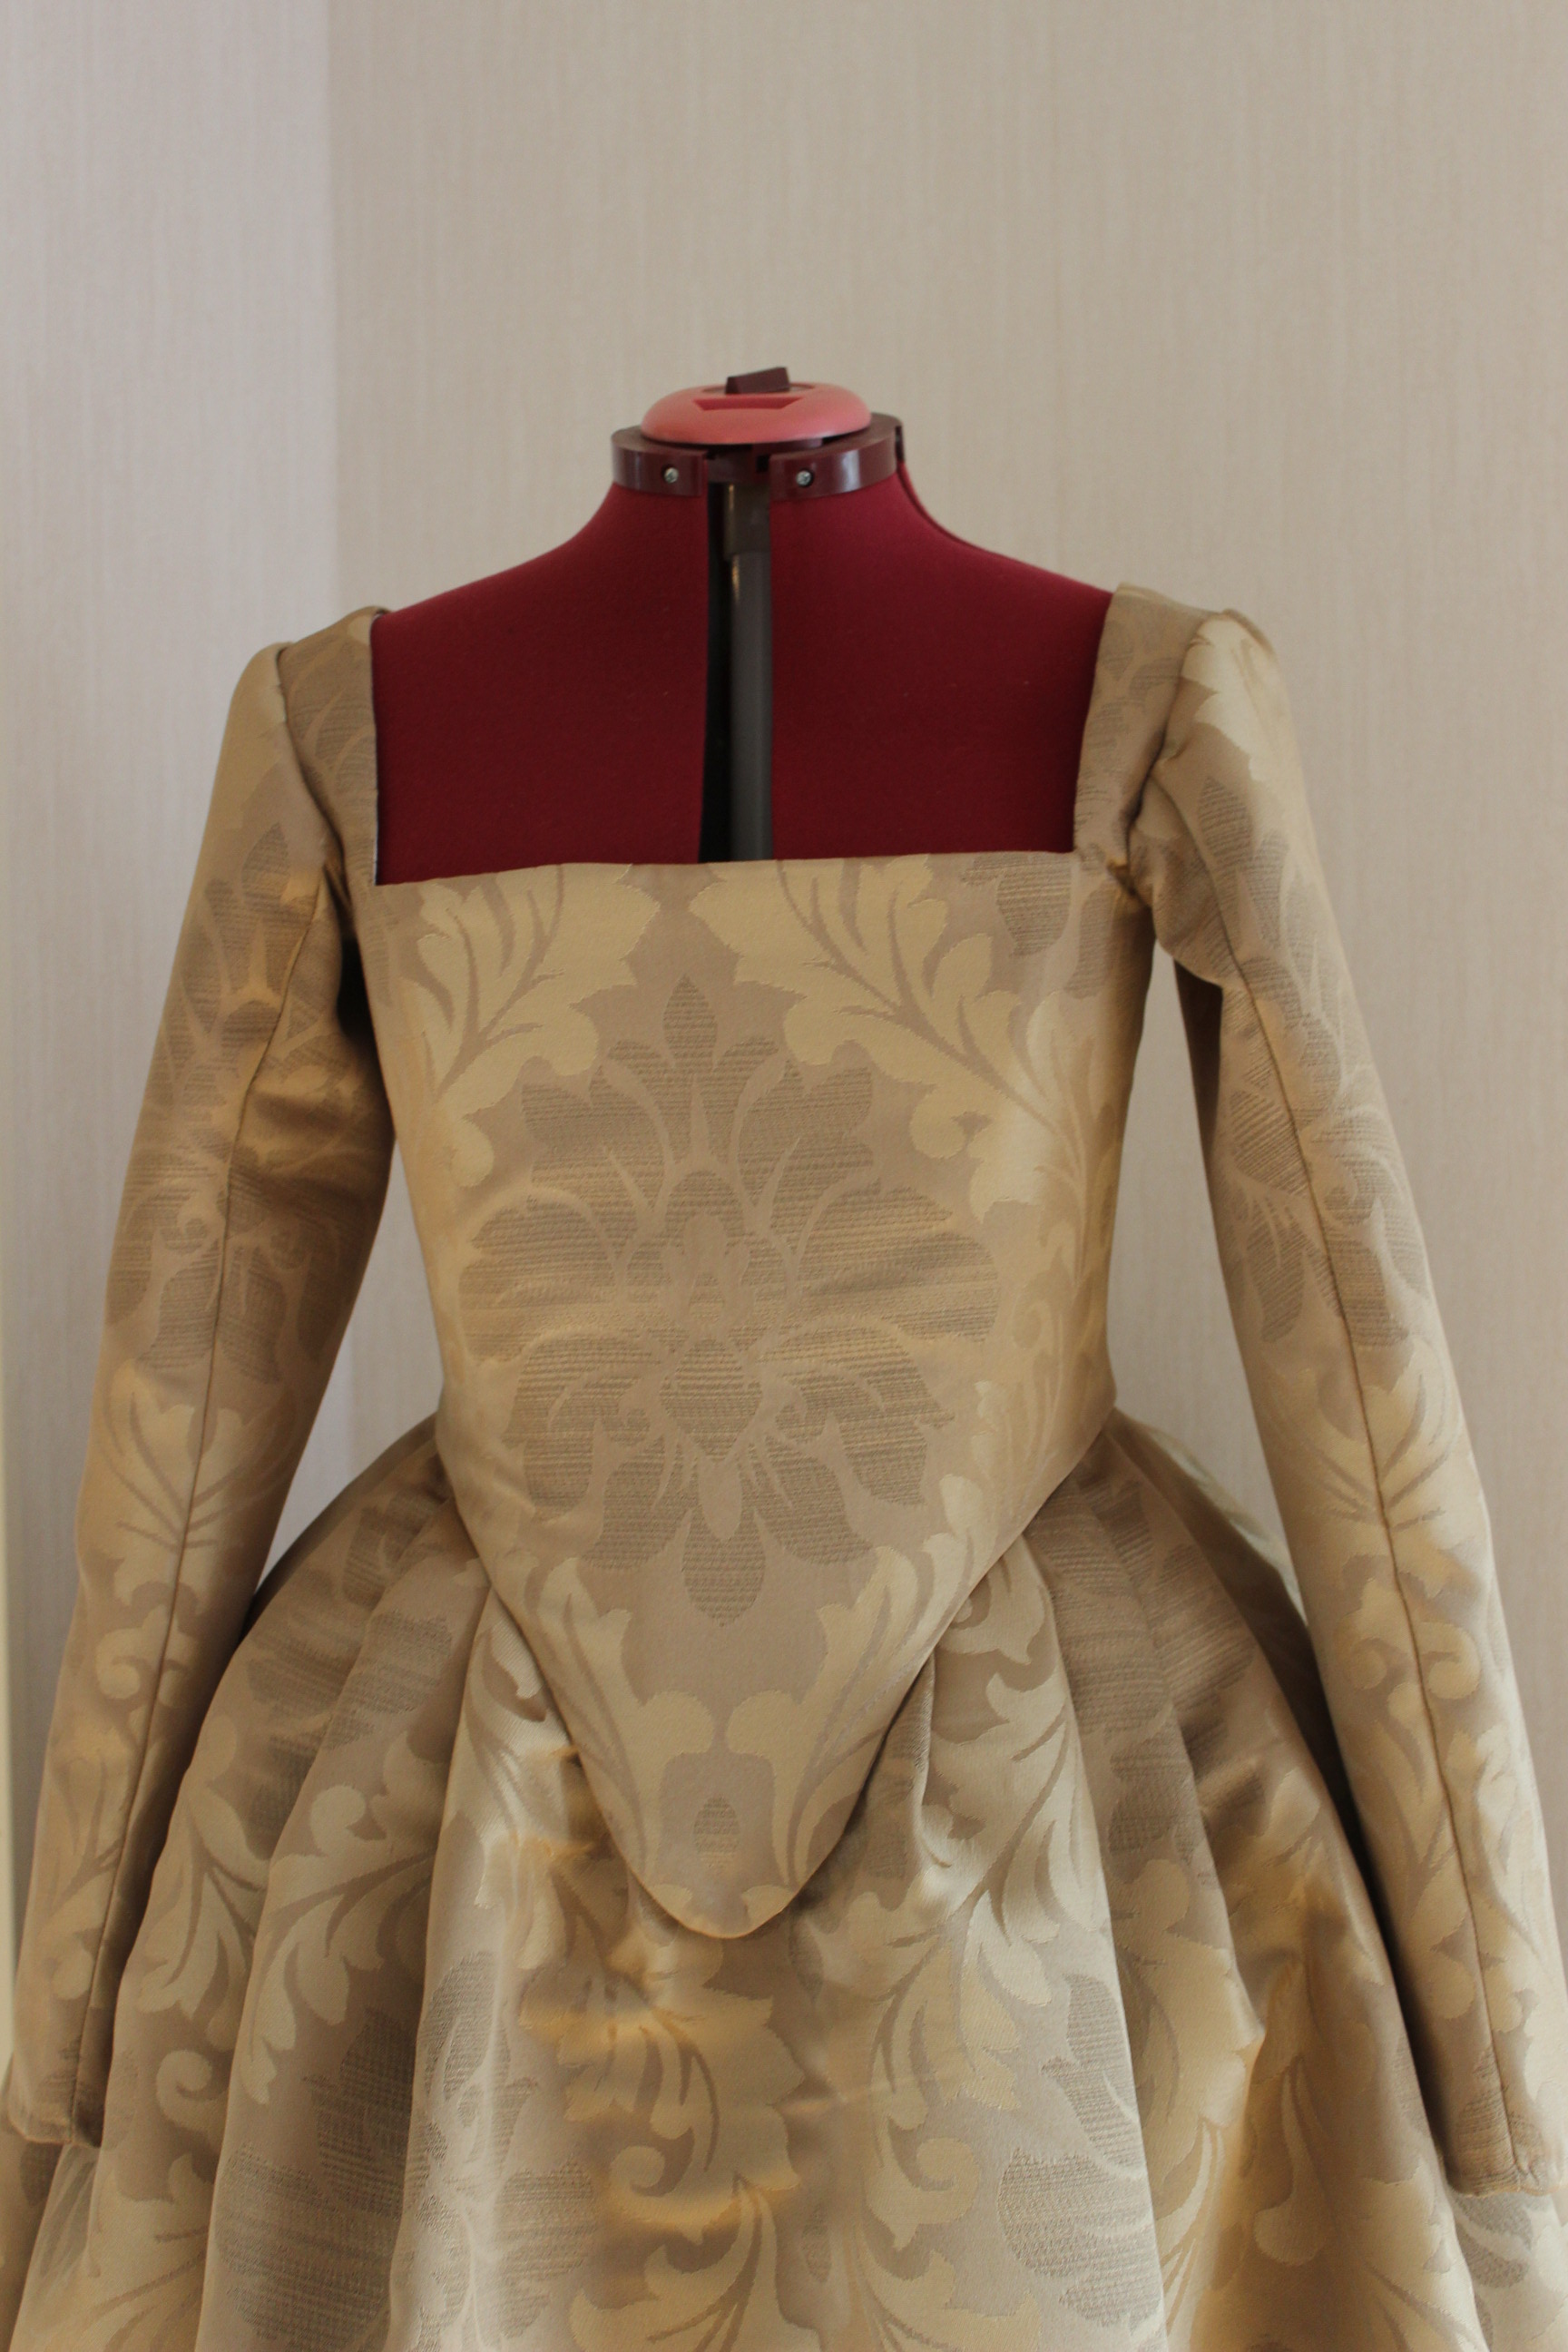
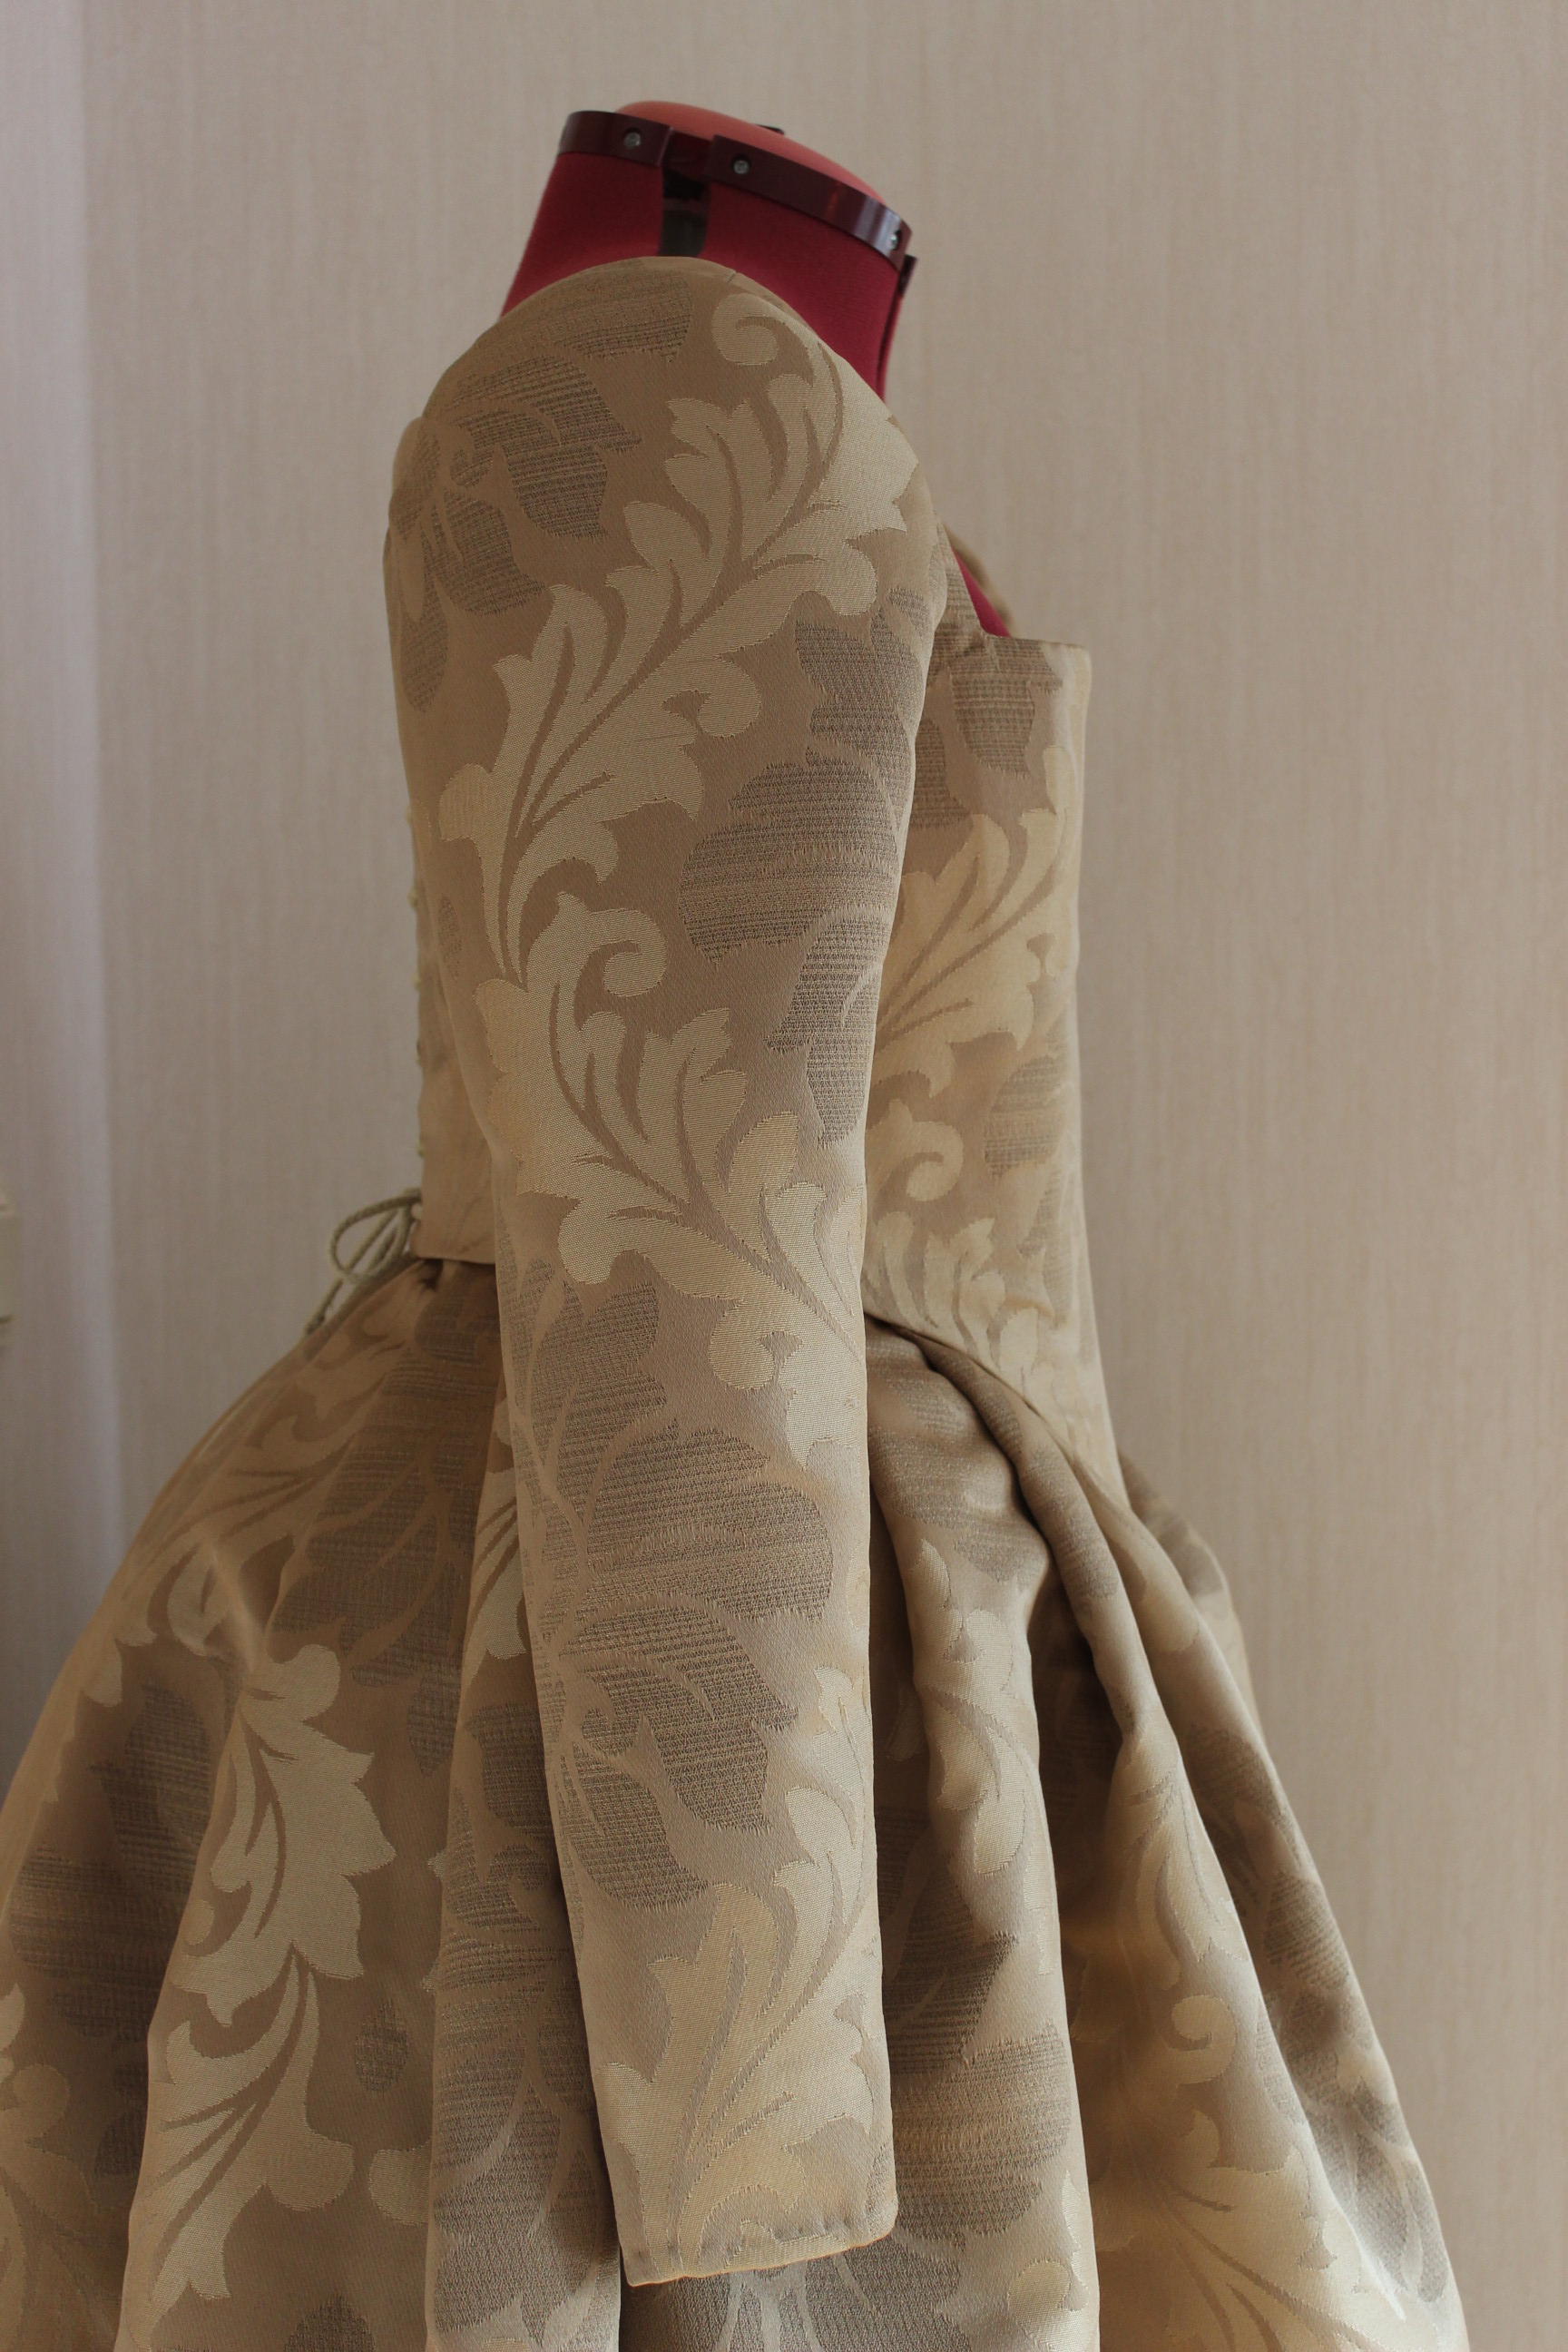
I’m so pleased with the fit and shape, and I love the placement of the big motif on he front.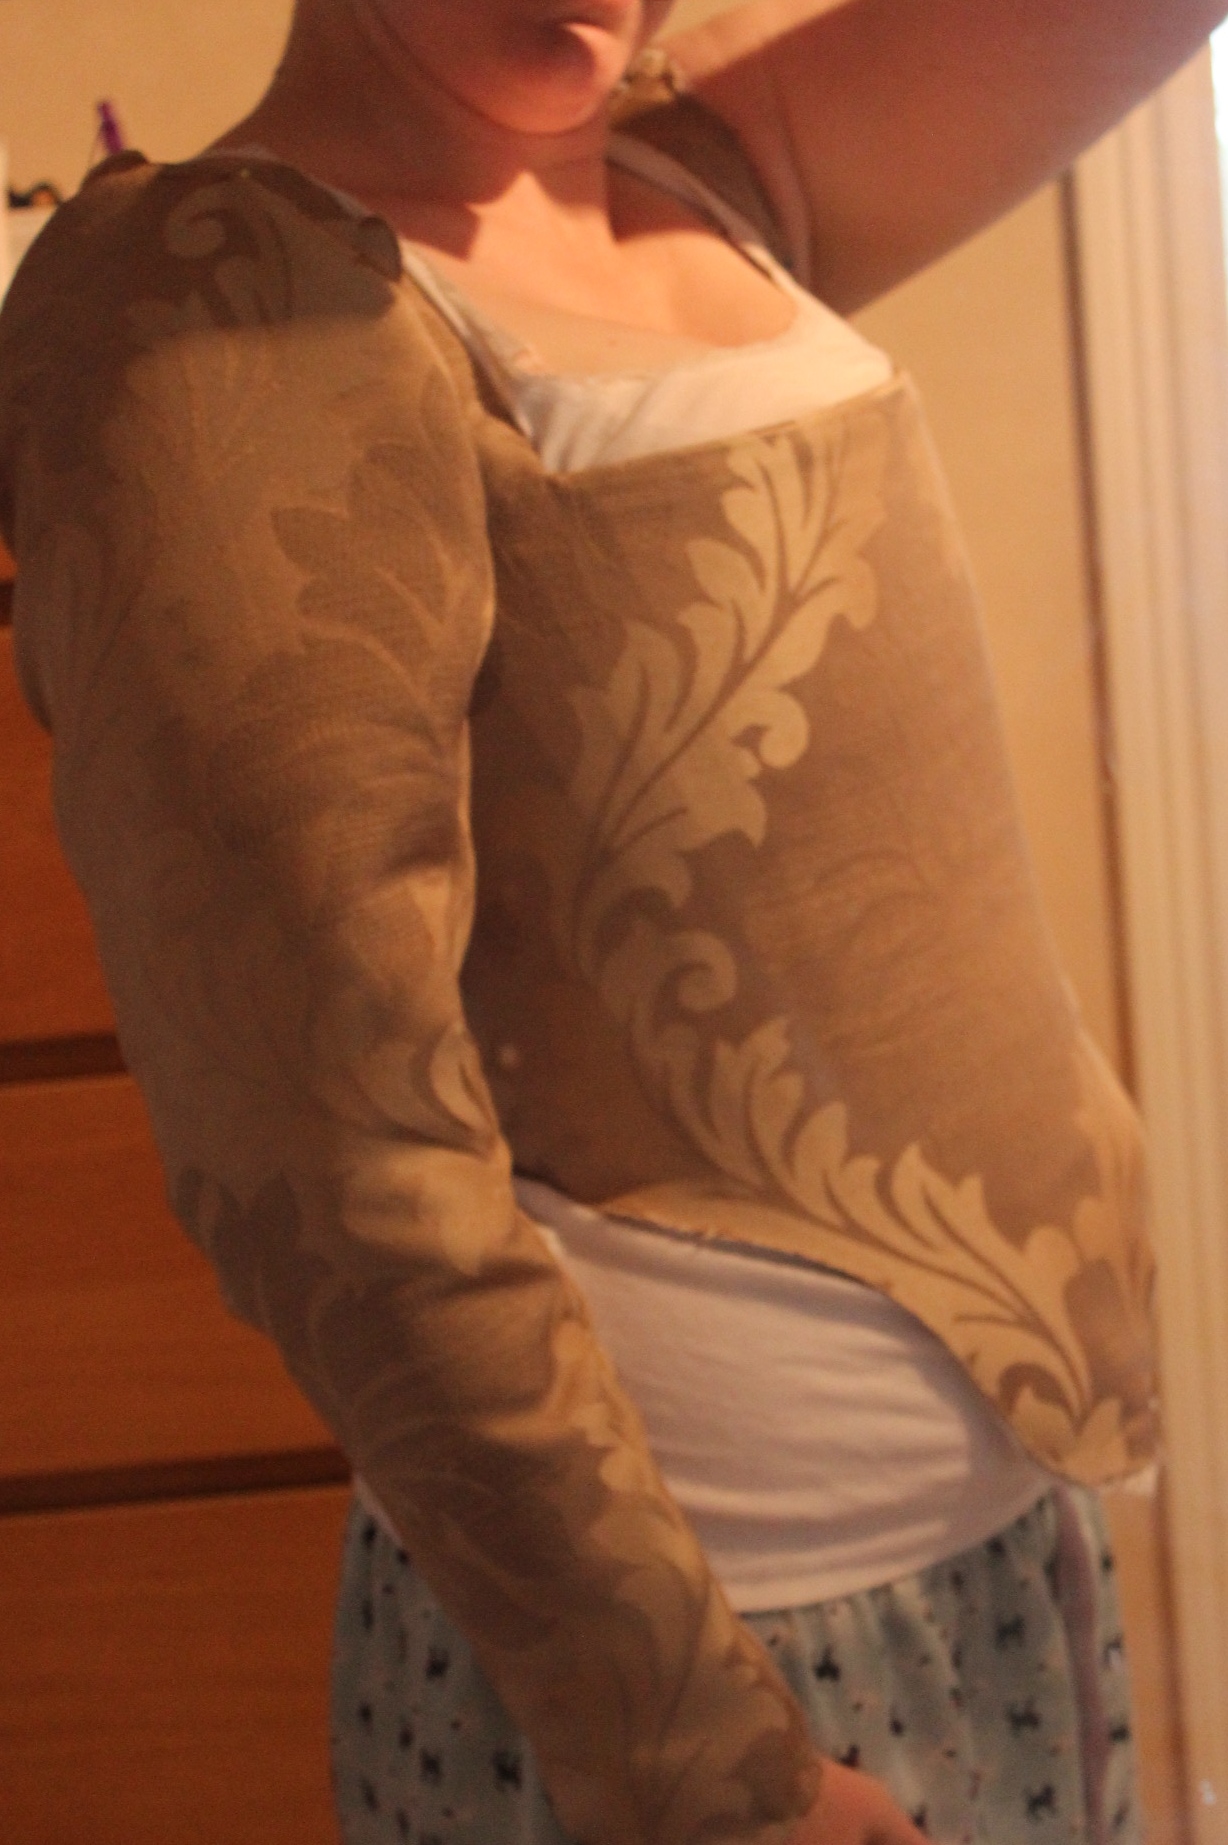 The sleeve looks pretty good to even though it’s just pinned on.
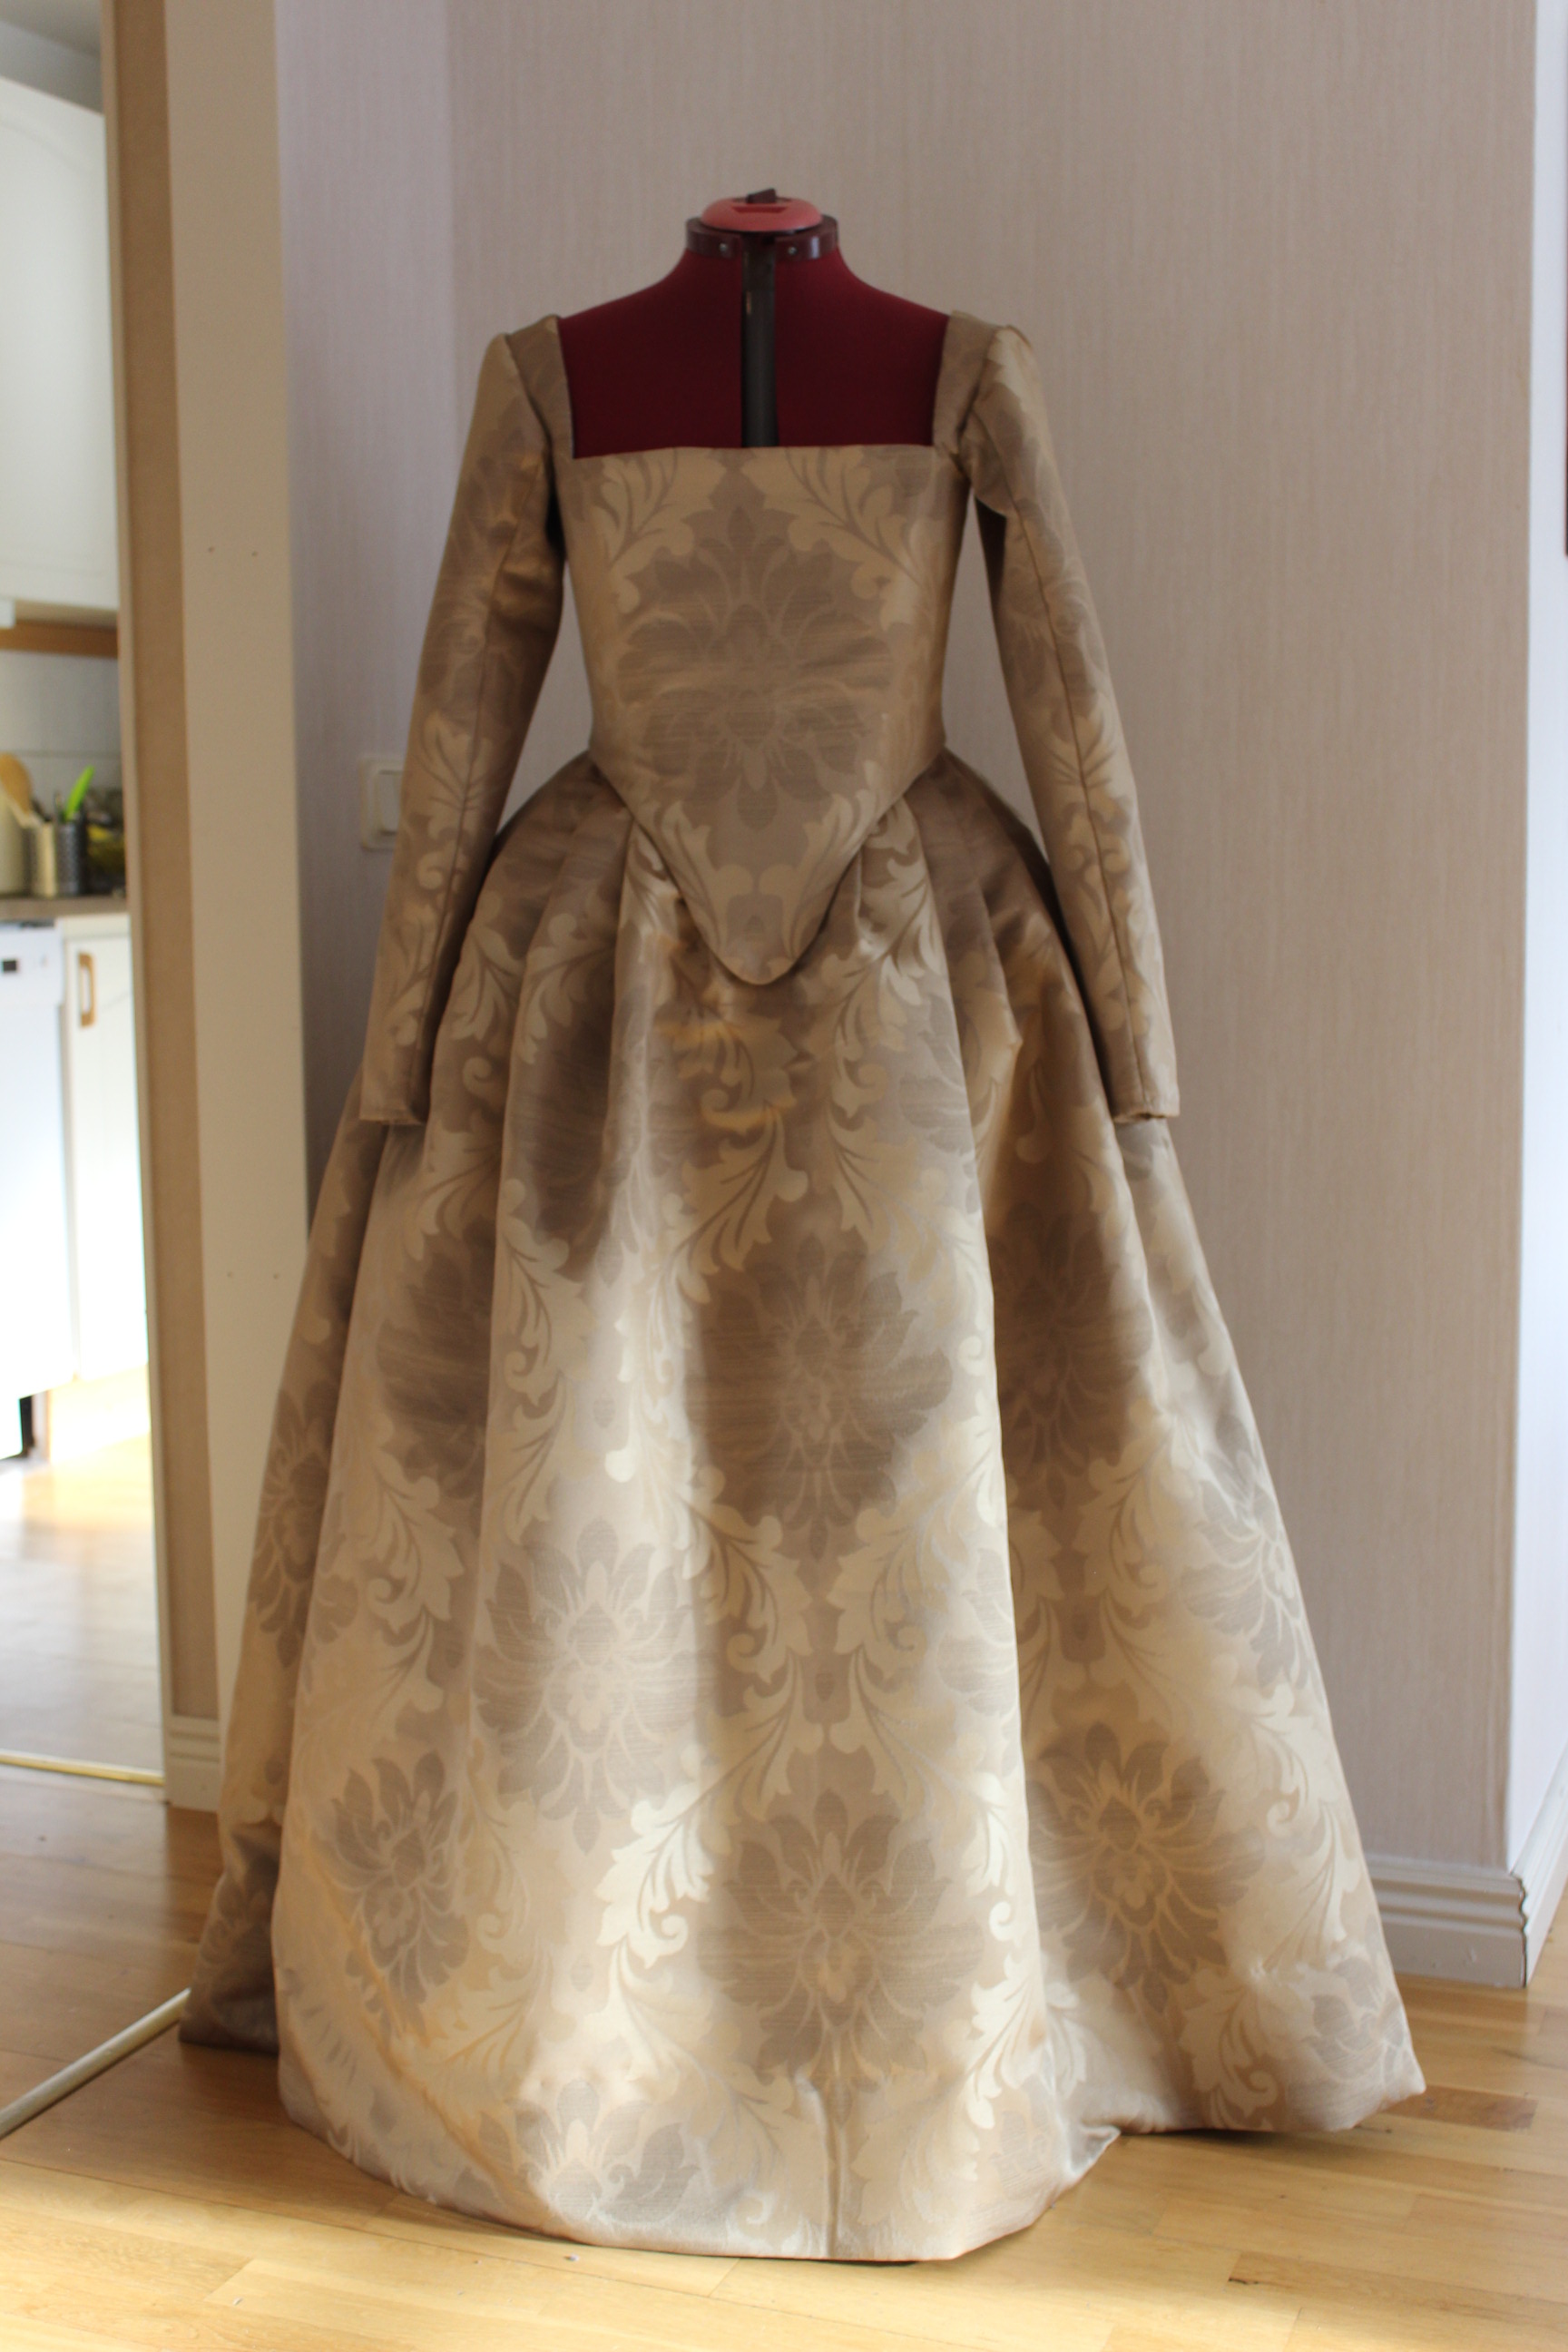
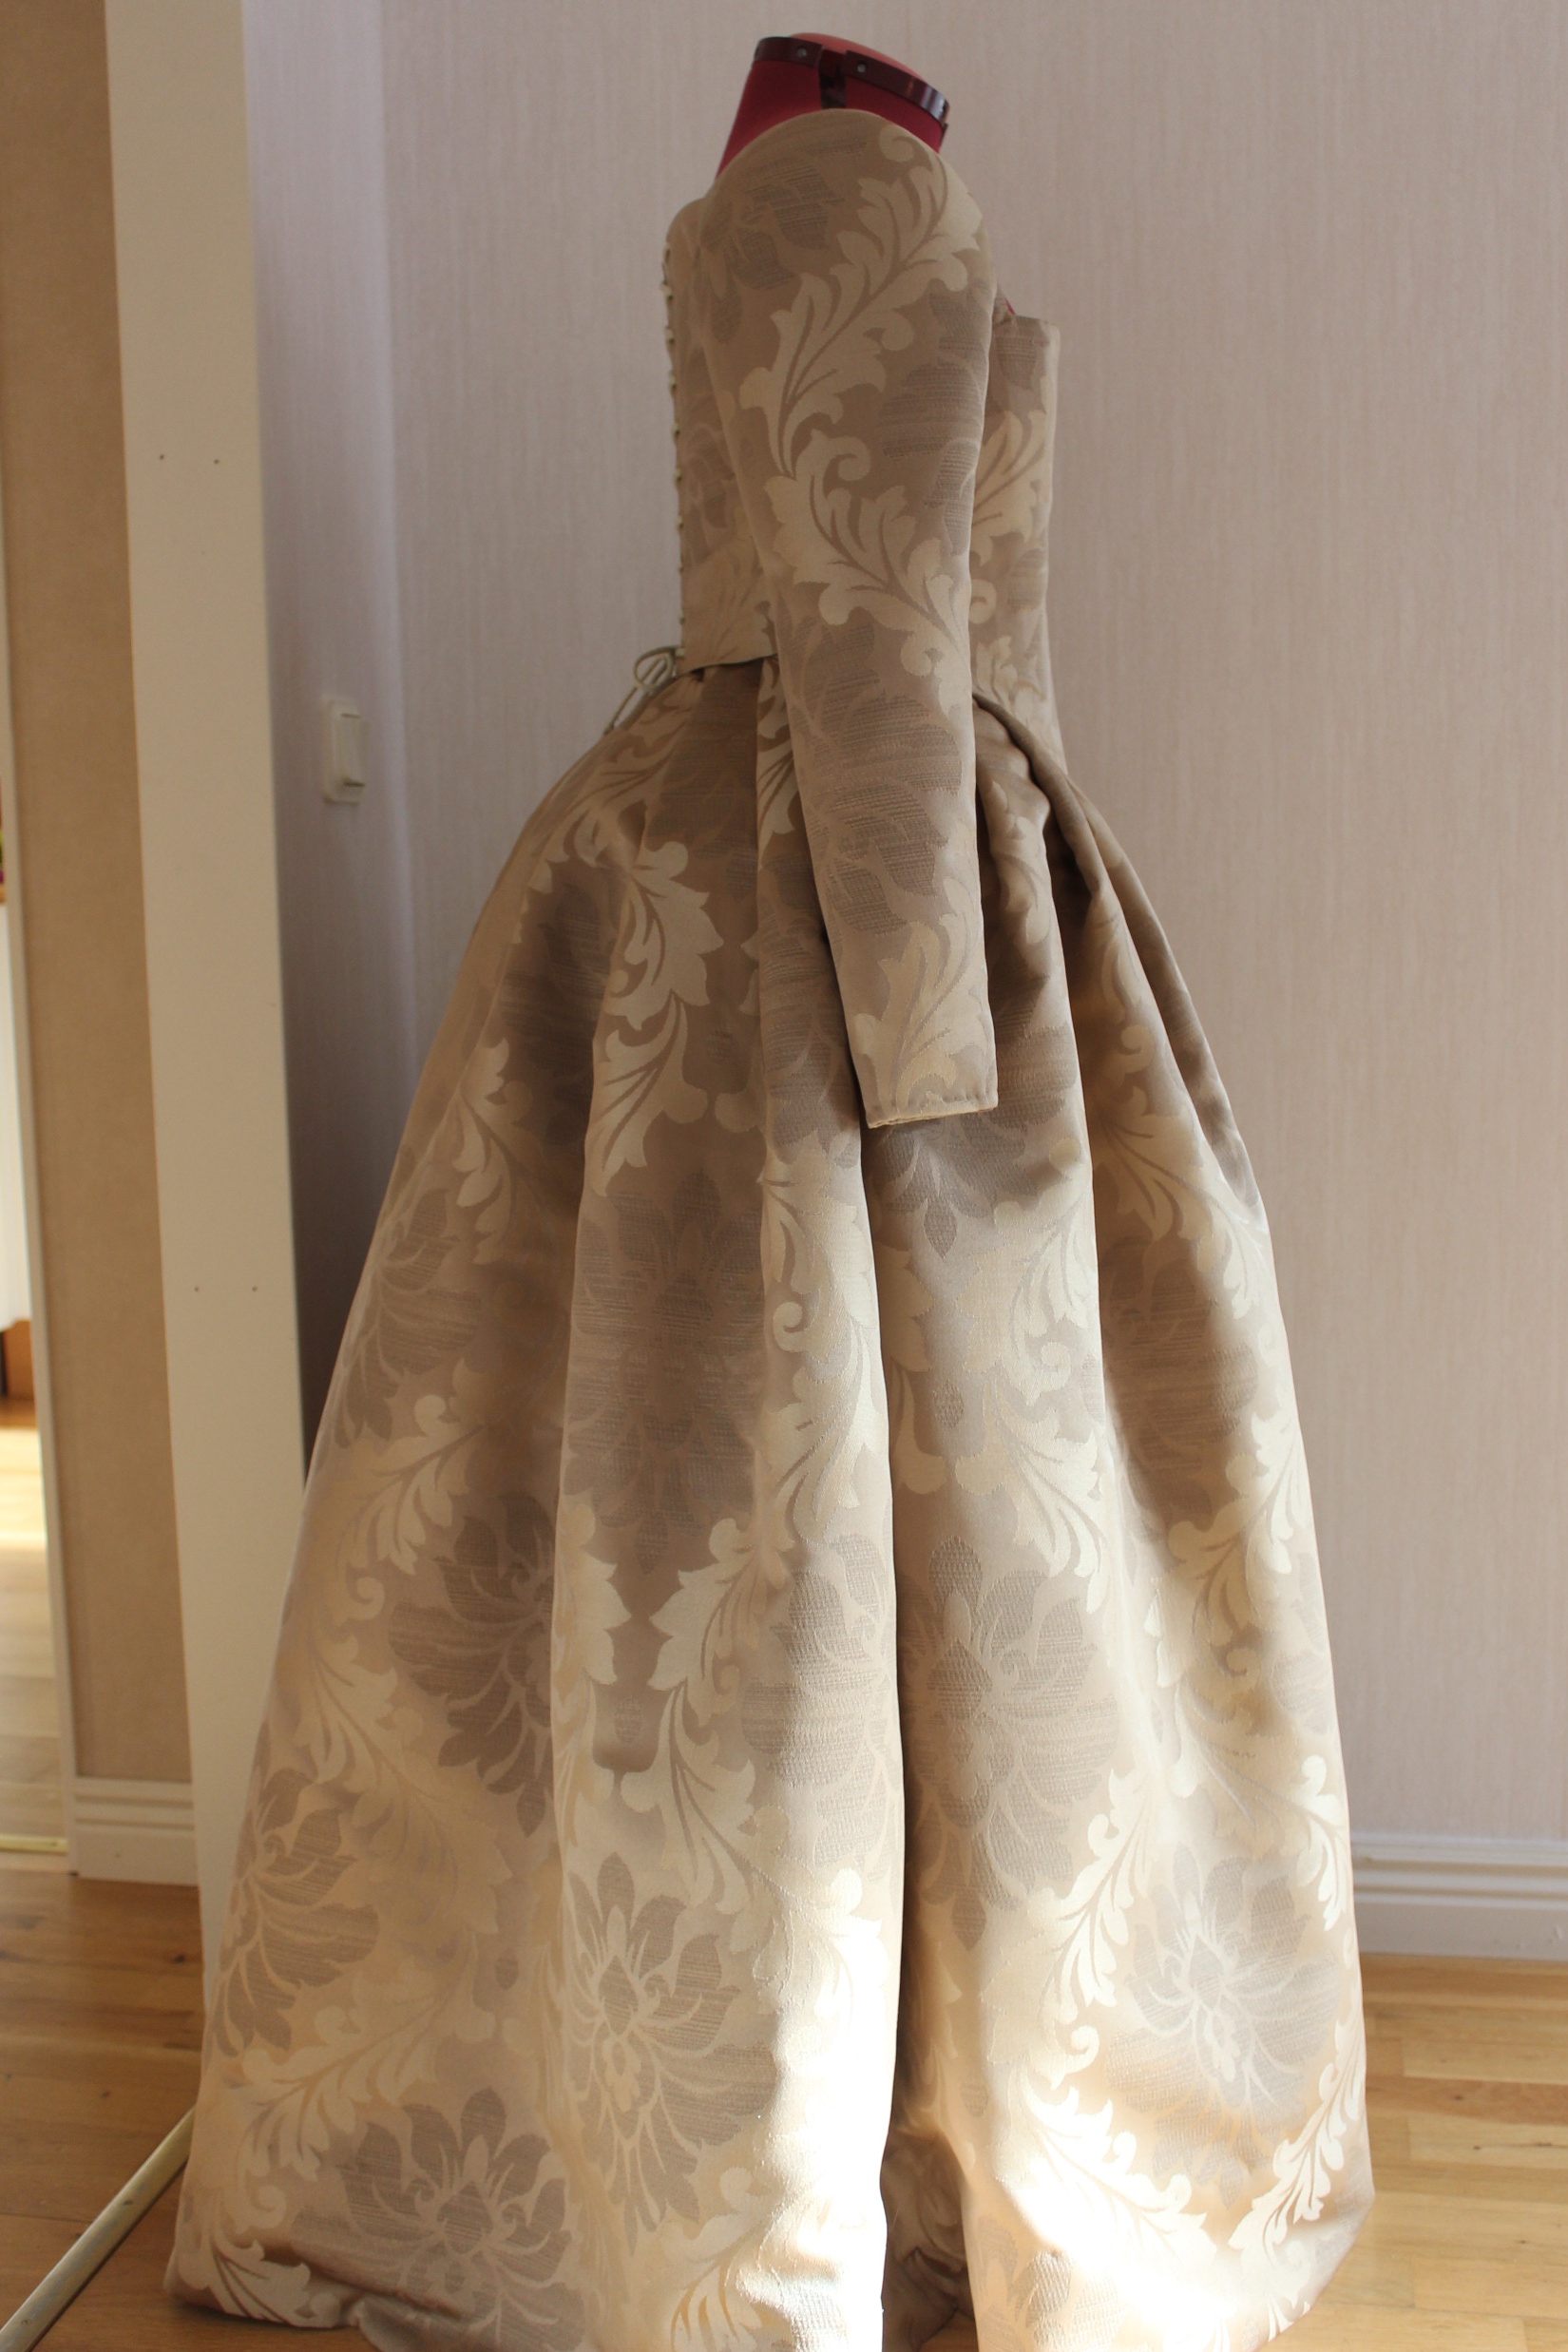
To get he full view of the dress I put the whole thing on the dressform.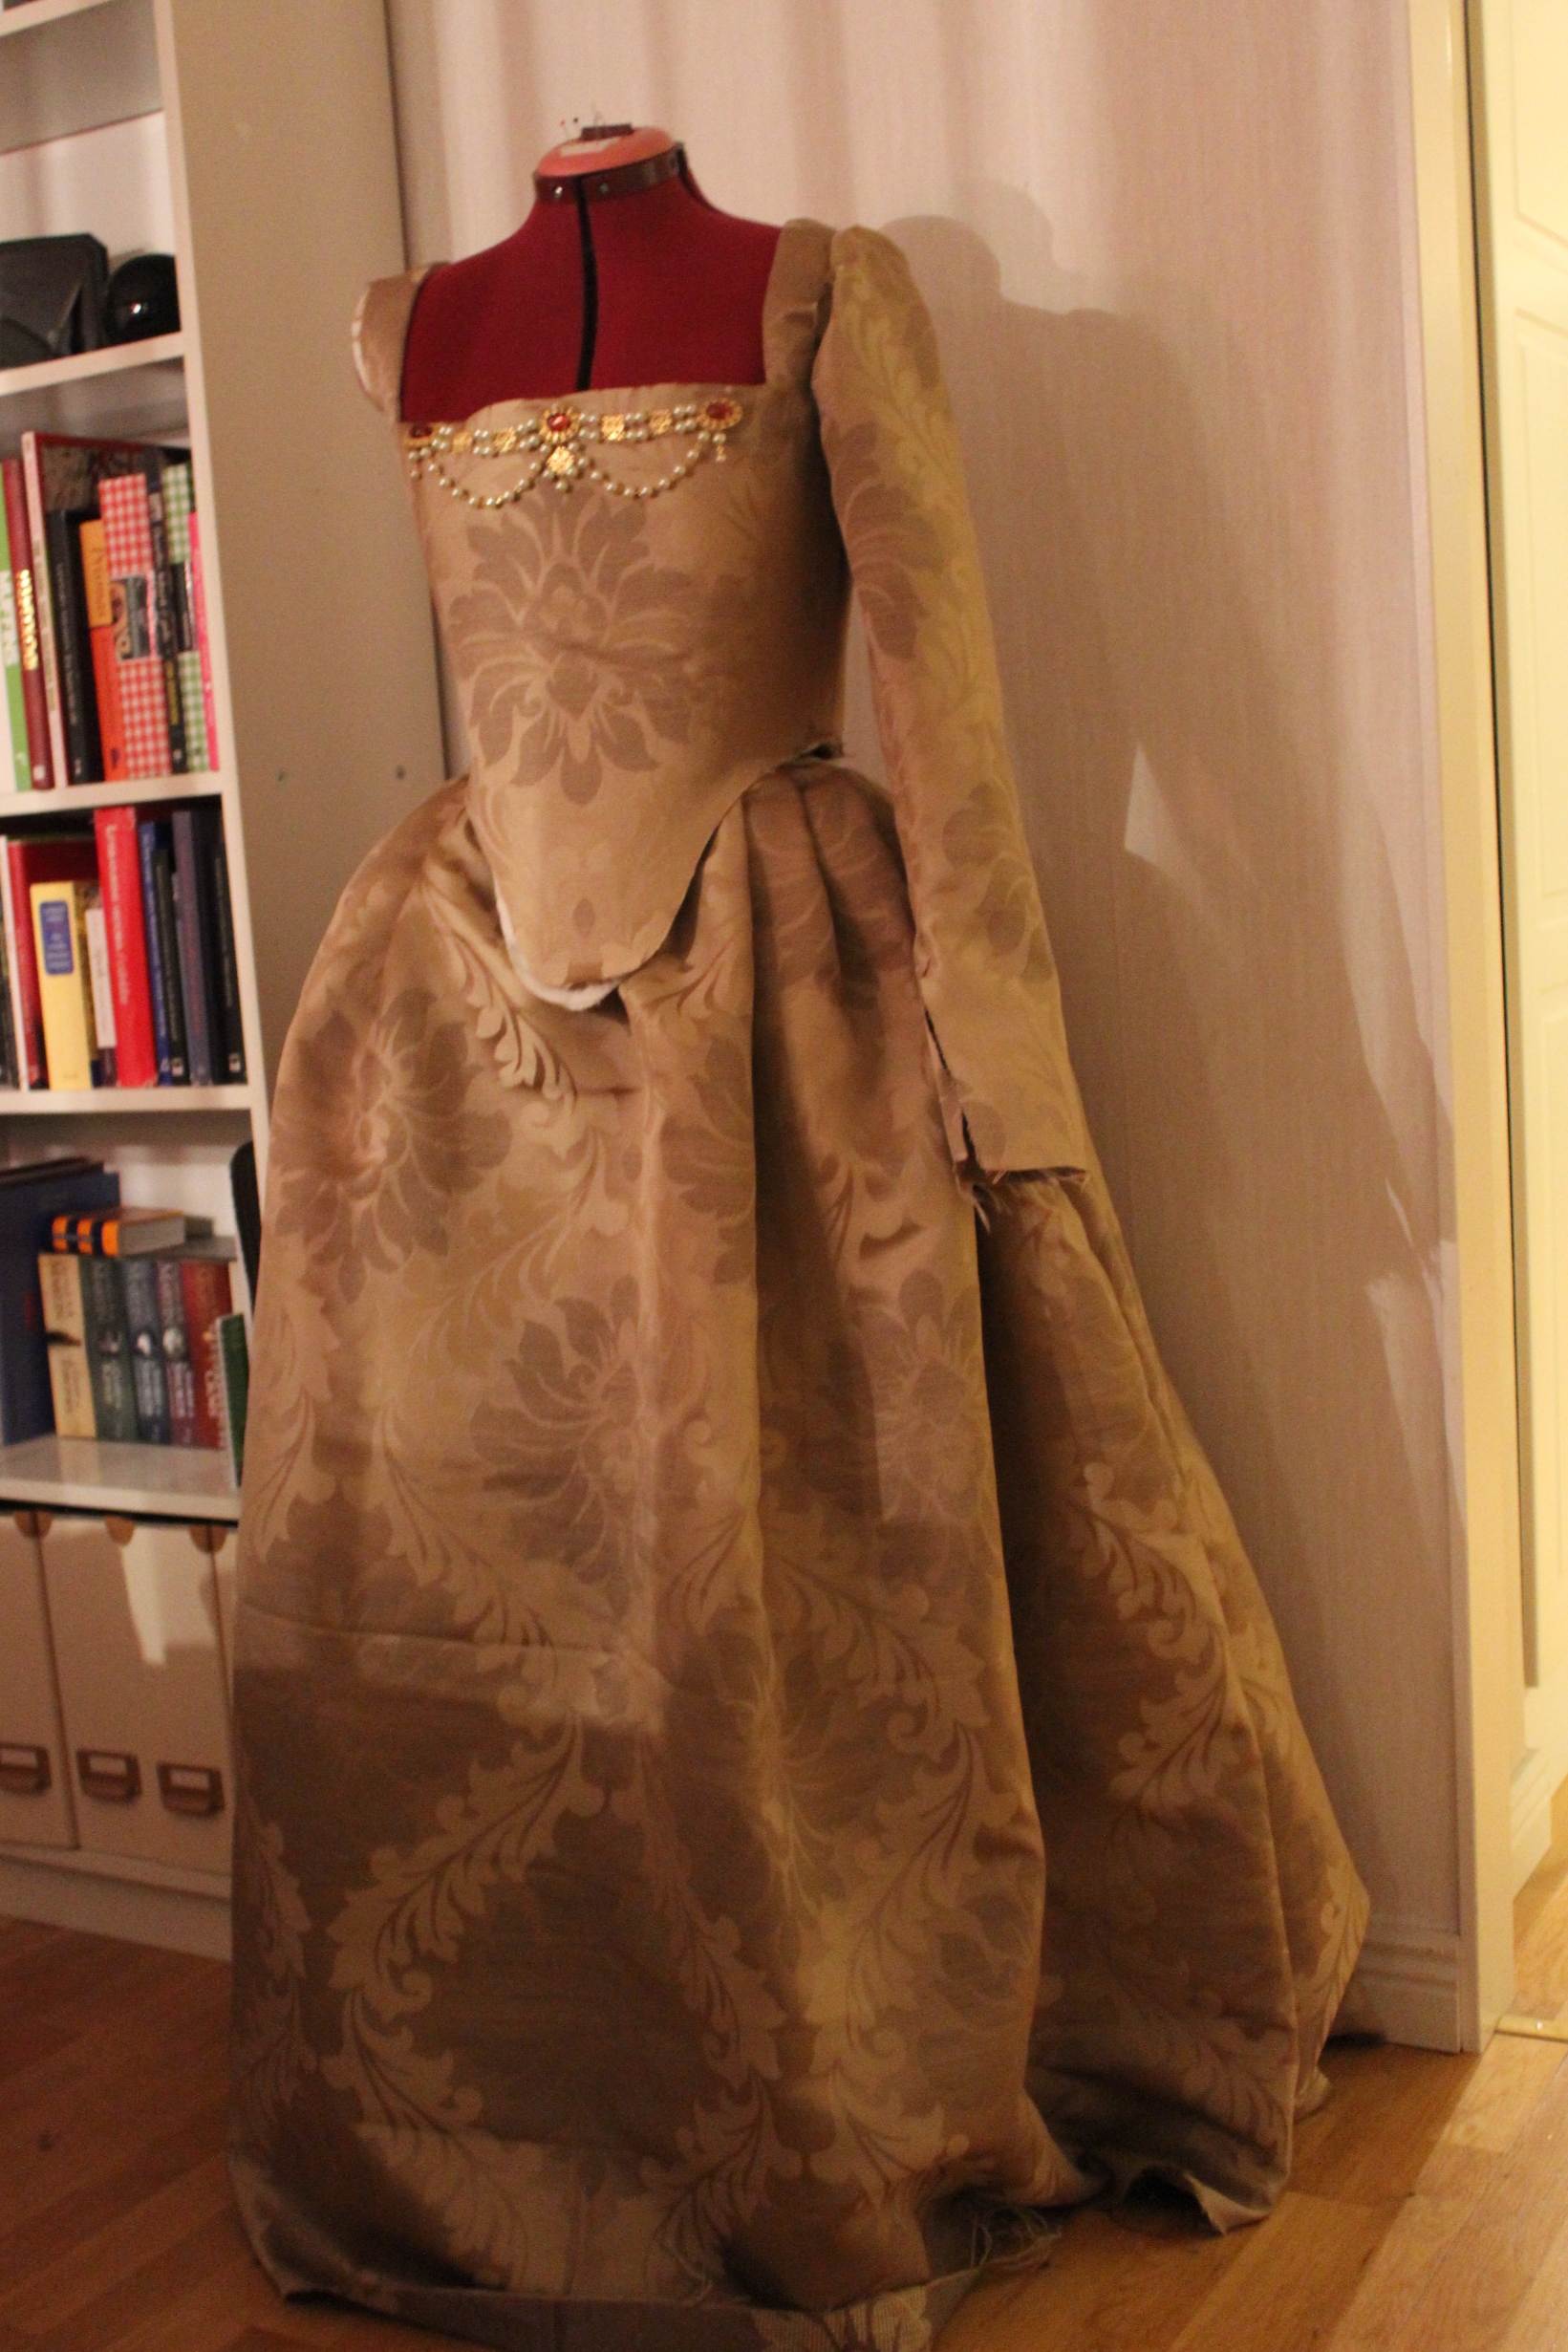 Starting to look like something 🙂
I finished the bodice by hand-stitching the lover edge, adding the sleeves and making a modesty placket to go behind the lacing.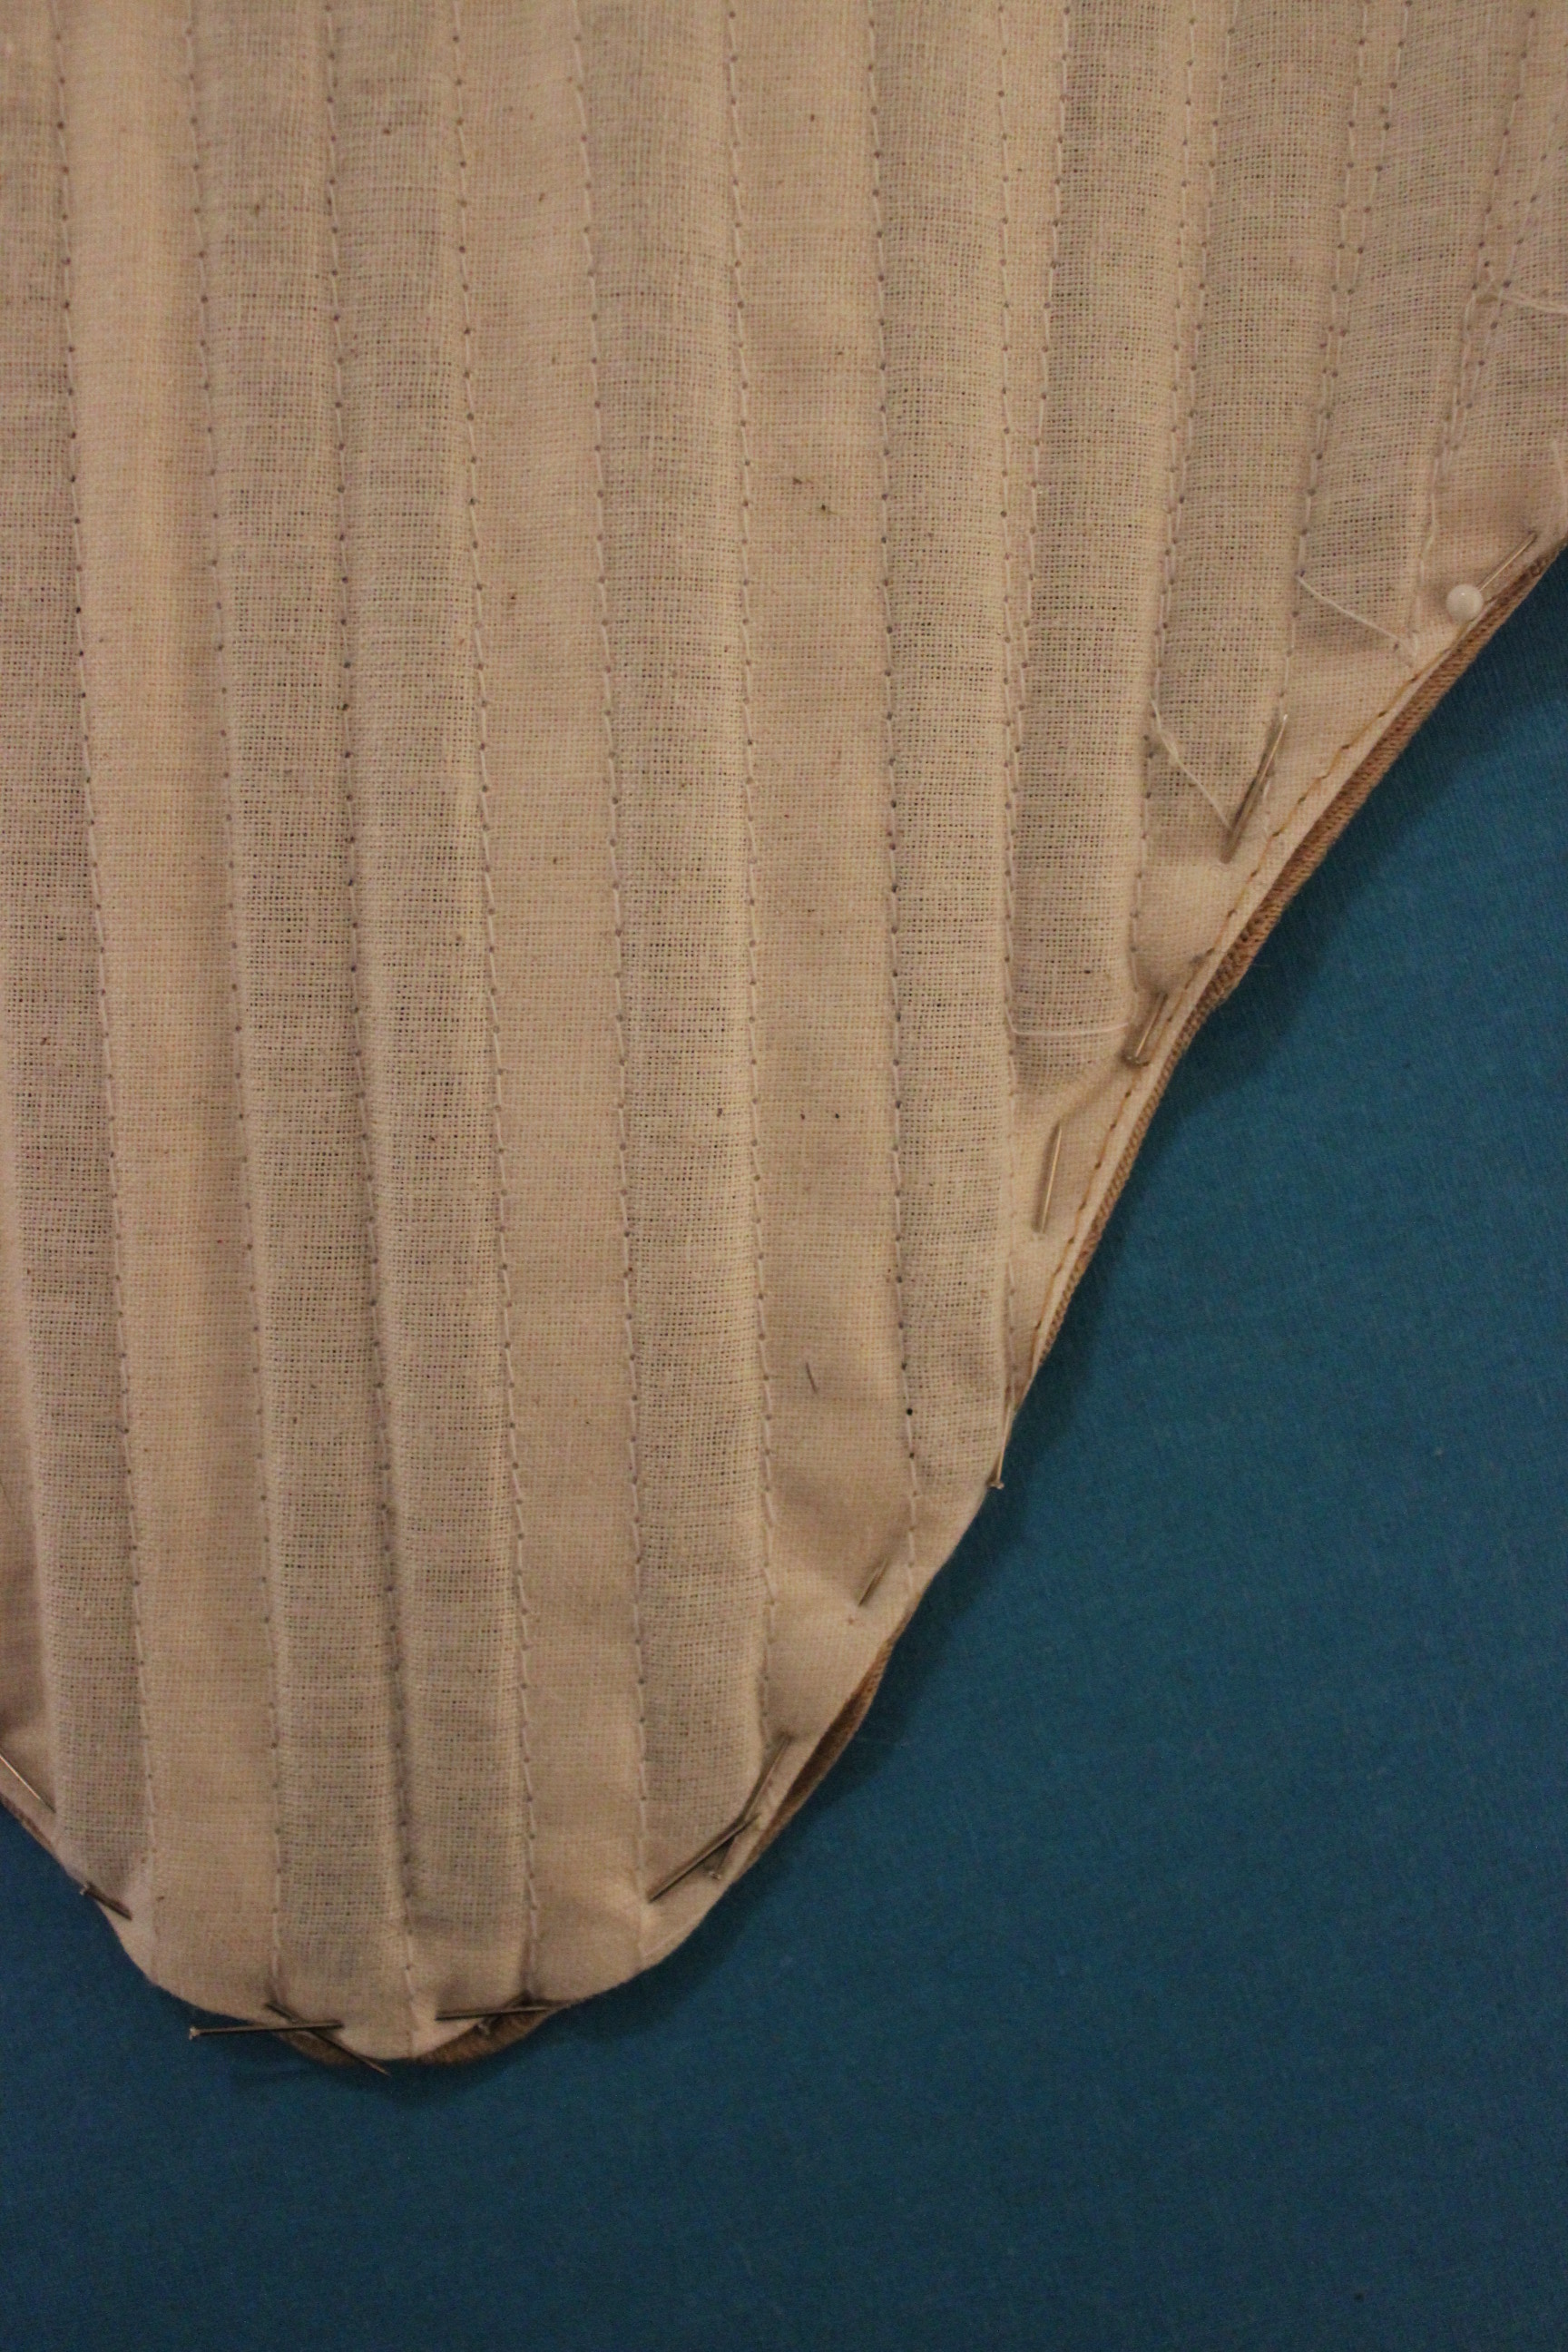 Last few stitches…
And lastly I want to acknowledge the different definition of Heroes I think of when making (and wearing) this costume:
* The first and foremost Hero must of course be the late queen Elizabeth I, who made a such big impression in history, and showing that women are just as capable as men at whatever they try their hands on. I love powerful and inspirational females.
* Then I want to thank the amazing people who dedicate their life and work at researching historical fashions and styles and who make their finds available to everyone who’s interested in re-creating these fabulous garments (of course I’m thinking of Waugh, Arnold, Friendship, Bradfield, Mikhaila/Malcolm-Davies and many many more).
* I also want to celebrate all the amazing teachers who inspire us all to learn and grow in what we do. For me I count my college sewing teacher Lillian (who I still refer to when life gets hard), my mentors and co-workers at the theater atelier who taught me to have fun sewing and don’t be so afraid of doing it wrong. I also thinking of all off you great seamstresses and bloggers out there who constantly inspires me to push myself skill-wise and to try new things. I
* An lastly I want to give a cheer to all the “new to this” sewists and costume enthusiasts, and to say that you don’t have to make everything perfect (or historical) cause sometimes you just want a pretty dress 🙂
It might take a few years, but someday you will make that dress you fantasied about for so long.
The finished dress: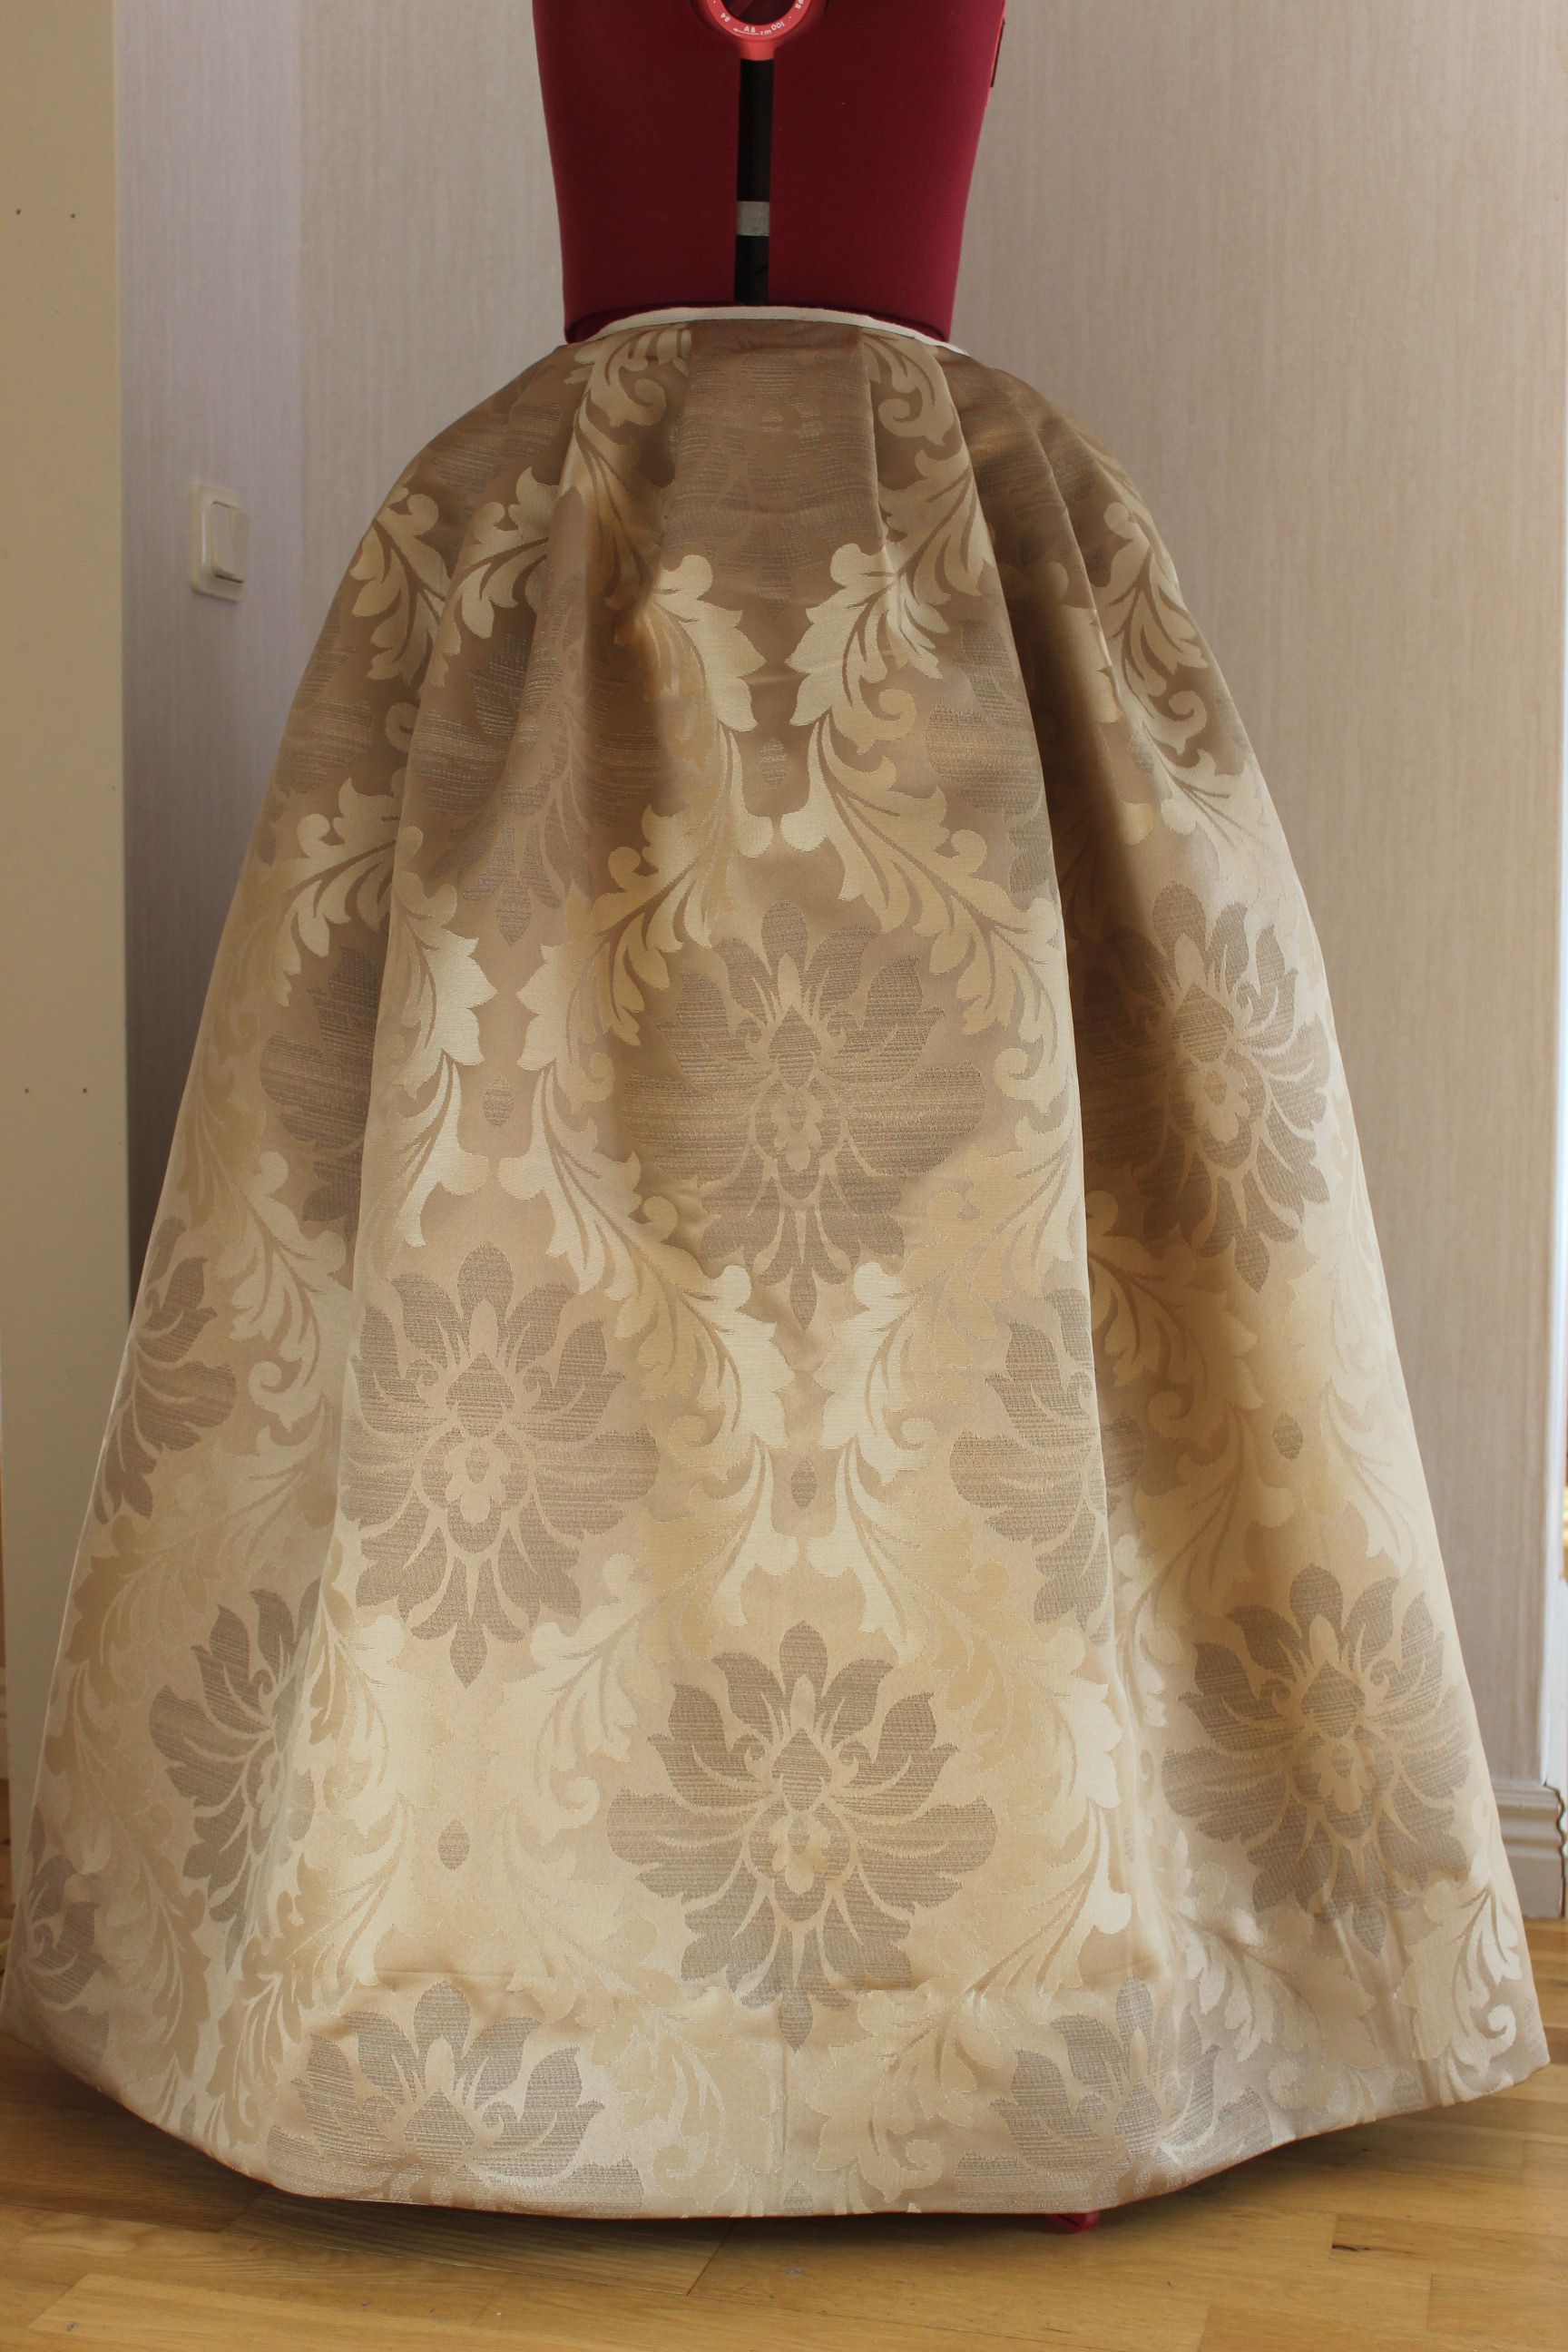


Just the Facts:
Challenge: nr 10/2015 – Heroes
How does it fit into the challenge: This dress is a dedication to lots and lots of strong and capable women, and men, but most to the one and only Queen Elizabeth I.
What: a 1550s dress inspired by the movie “Elizabeth” (1998)
Pattern: Bodice pattern remade from “The Dorothea bodice” from “The Tudor Tailor”, the sleeves was copied from my previous mentor at the theater atelje, the skirt is basically just 3 pieces of fabric sewn together.
Fabric: 4,5 m of golden polyester furniture brocade/damast, 1 m white cotton for lining and interning the bodice.
Notions: Thread, grommets, 3 m of cotton cord for lacing, 20-30 zip-ties heavy for boning, hook and eye and 1 m cotton ribbon for the skirts waist.
How Historical Accurate: Not at all I’m afraid. The fabric is modern both in content and looks, the bodice pattern are okey for the period but the back lacing (bot back placement and the use of metal grommets) is all wrong and I think the sleeves are wrong to. And the fact that I stitched it all up by machine and using modern techniques don’t make it any better. I would say 2/10.
Time: About 15 hours (spread into countless short sessions over 2,5 months)
Cost: About 500 Sek (55 usd)
First worn: Late October for photos
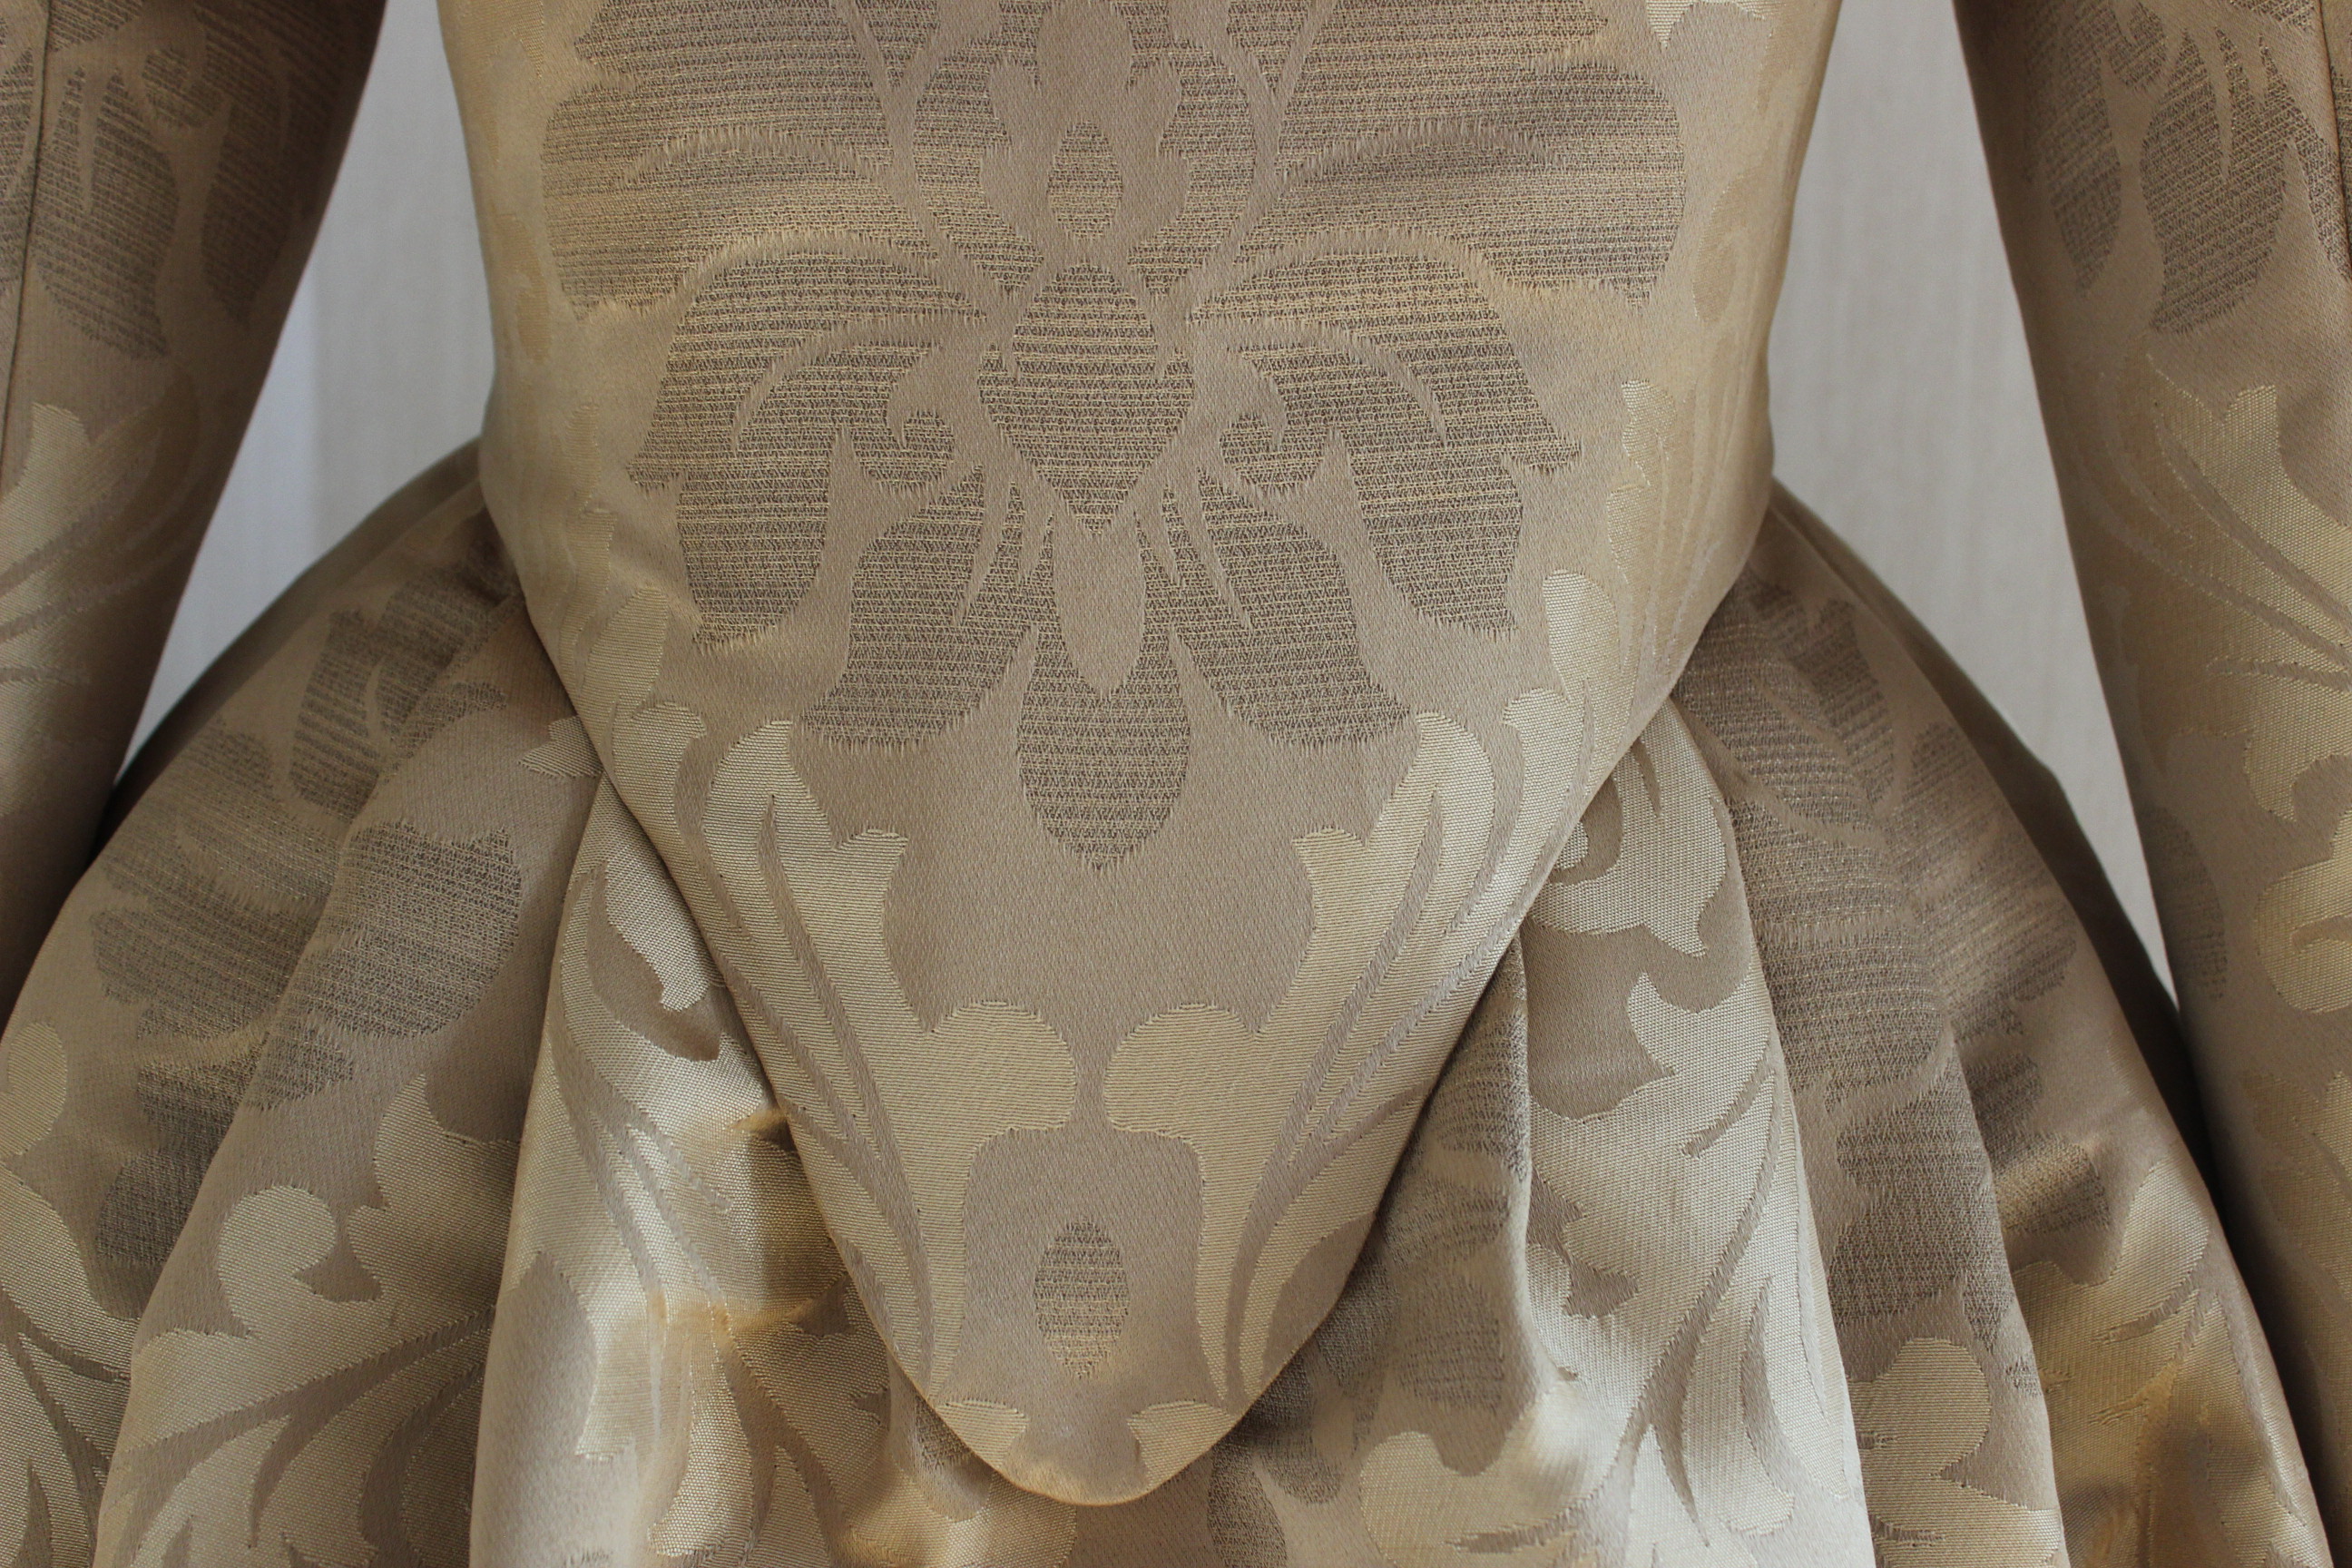
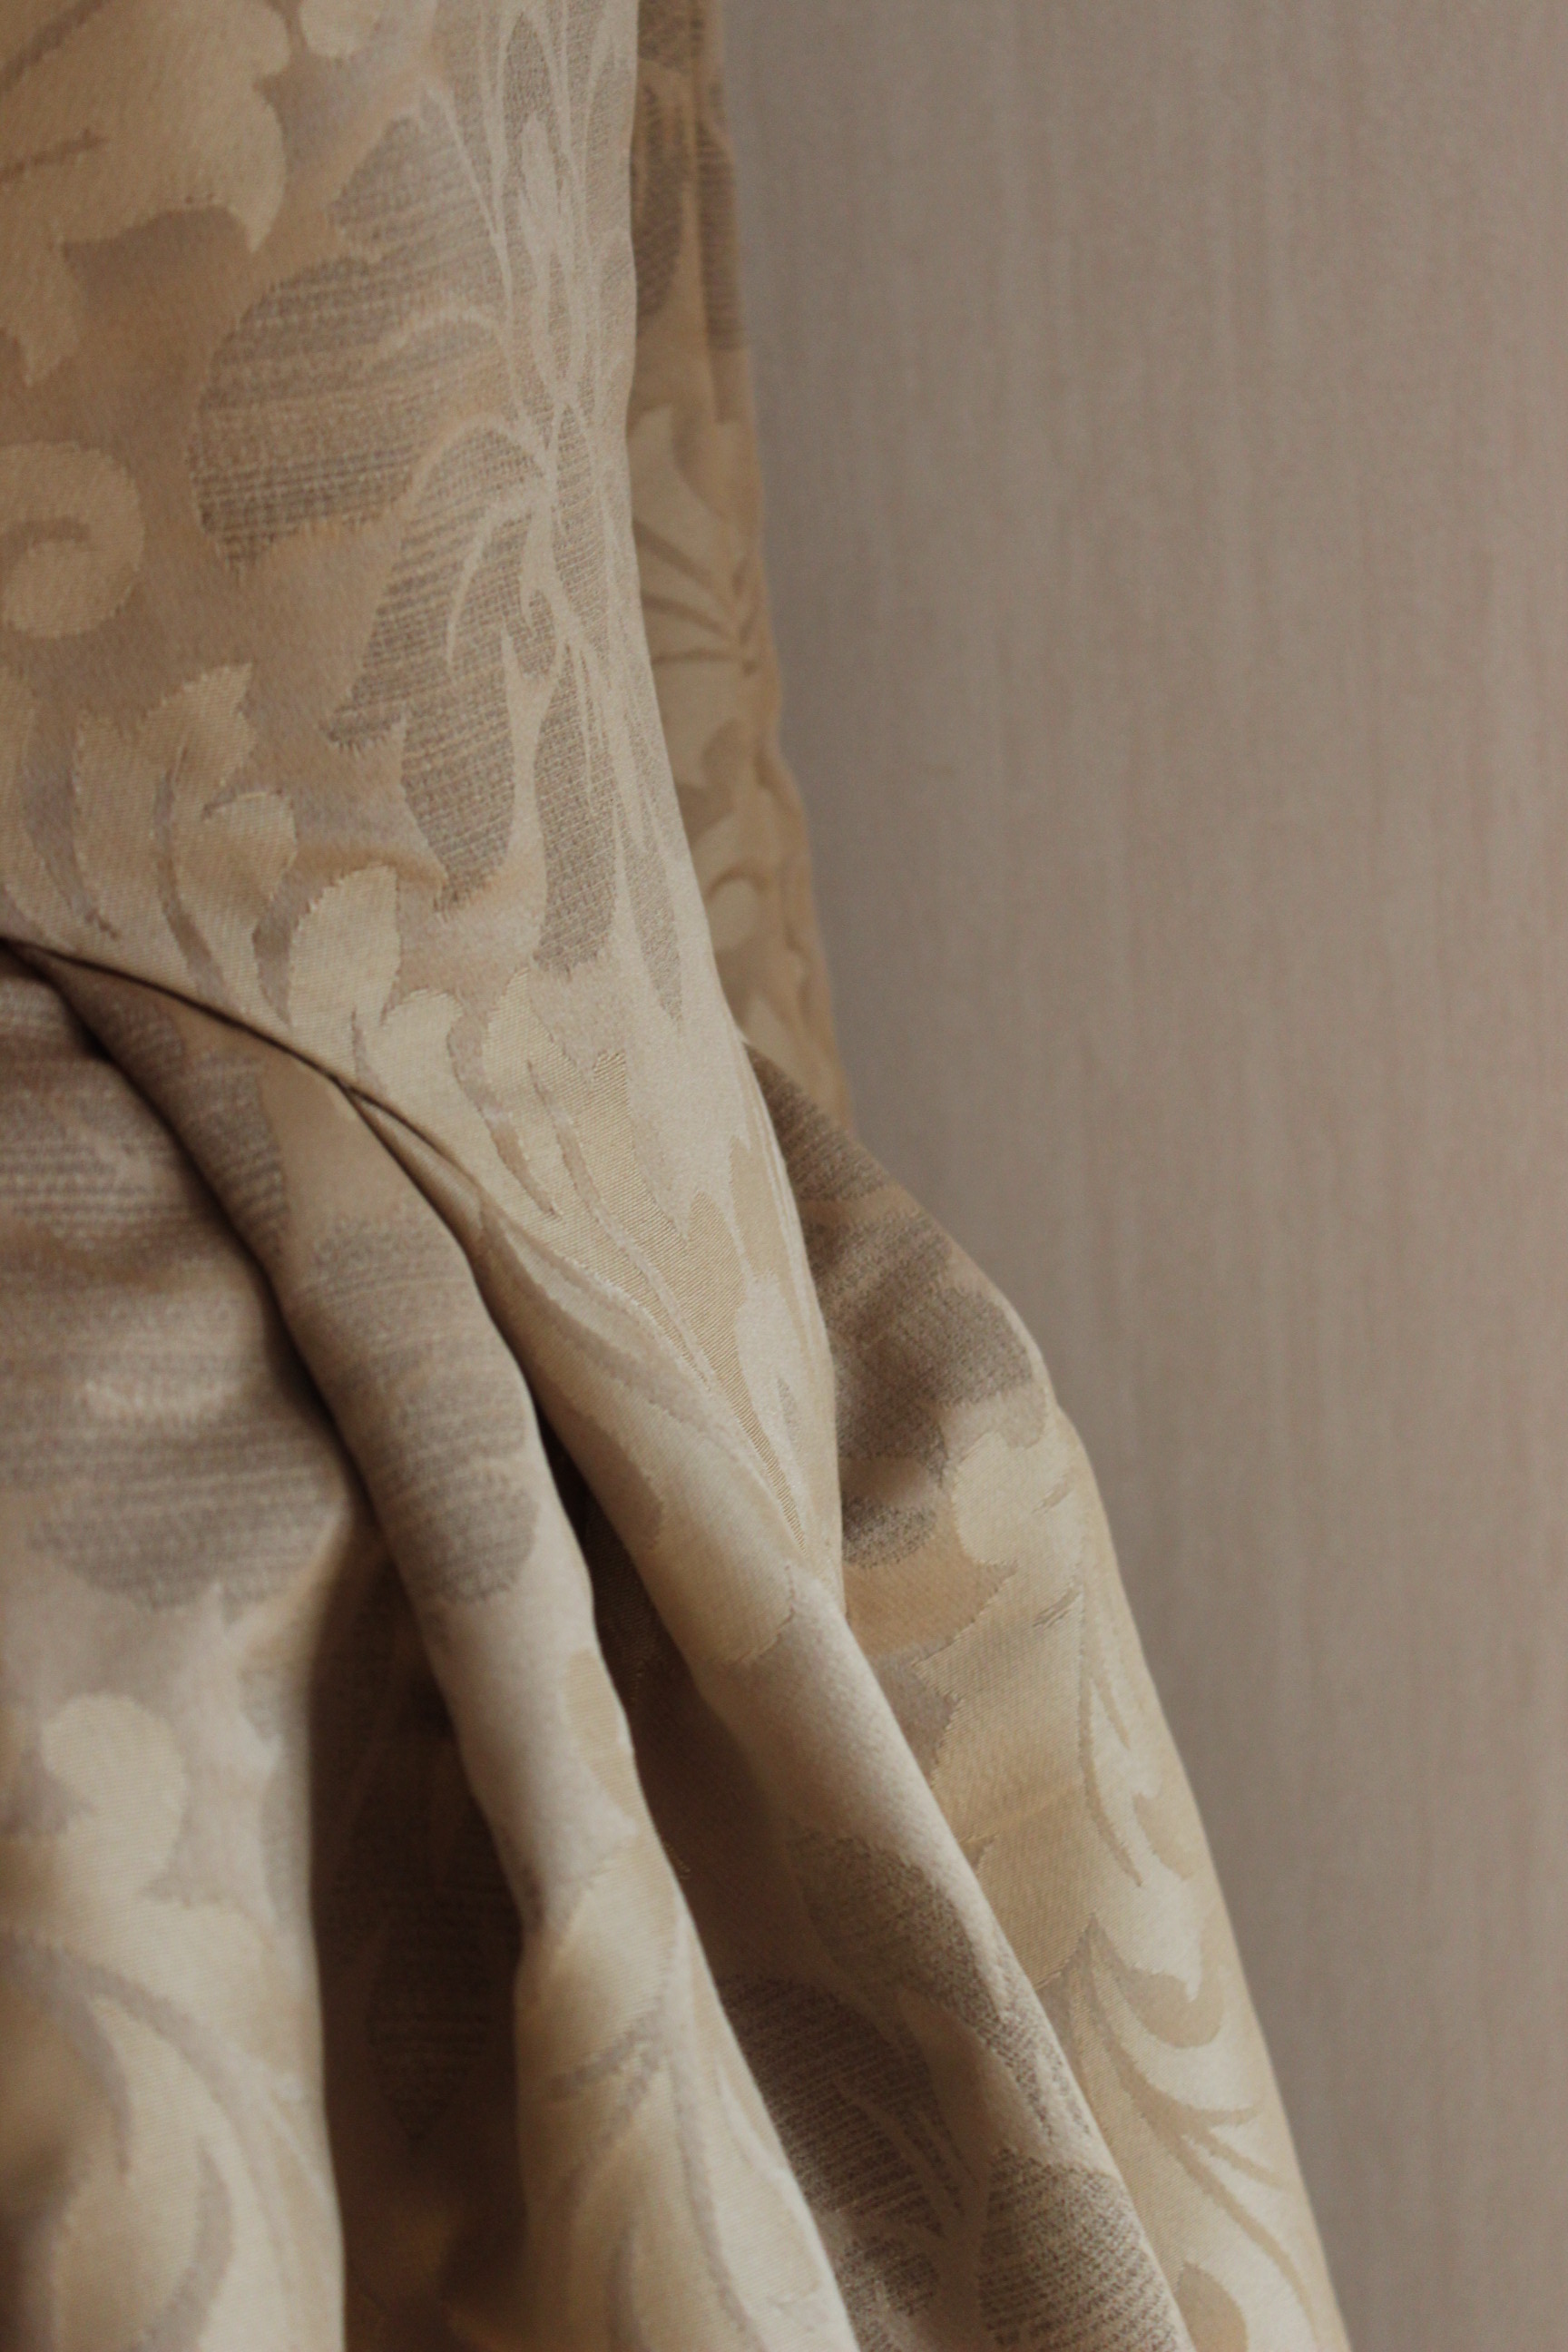
Final Thoughts: I love this dress, even though its far from historical accurate I think it does look really good (especially with a more historical styling) and I liked wearing it. My only concern is that I need to make something about the way the bodice point wrinkles. and I definitely need to anchor the bodice and skirt together, with hooks and eyes, for my next wearing.

Du har gjort så många fina plagg!
Jag har just köpt in ett tyg som har liknande storlek i mönsterrapporten och är lite nyfiken på hur mycket “extra” tyg som du räknat med vid inköp för att få motiven att passa ihop?
Sen undrar jag också om du upplevde problem med att ärmarna tynger ner klänningen från axlarna? (Jag gjorde nämligen något fel på en klänning med mycket liknande urringning för en massa år sedan så den hasar alltid ner från axlarna, men det problemet kanske inte uppstår med så pass snäva ärmar?)
Tack!
I detta fallet köpte jag allt som fanns kvar i affären vilket var två bitar (350x150cm + 150x140cm) där den stora biten räckte lagom till kjolen (3st kjollängder) och den mindre precis räckte till livet + ärmar.
Jag har ingen direkt rekommendation men minst 1-2m för att kunna placera tex. Livdelarna på bra ställen.
Ang. ärmarna så har jag haft det problemet tidigare, och tror att det viktigaste är att se till att axelbanden sitter bra (rätt placerade och lagom hårt) samt att ärmarna är skurna med tillräckligt hög kulle och vidd för att inte dra i axelbanden. Tror även det är extra viktigt med hållningen i ärmkullen för att få dem att sitta stilla även när en rör sig.
Lycka till med ditt projekt ☺
Great job! I’m envious of how you got your fabric to lie so smoothly over your boned underlining!
Thanks! Yeah, it does look smooth doesn’t it 😊
There is just so much awesome here. Job well done!
Soooo gorgeous! I always dreamed of having a dress like this when I was little! Excellent craftsmanship. 😀
Thank you so much!
Yes this is one of my long lasting dream dress to.