1690s Mantua (HSM 9/2017) – Photoshoot

With the dress finished a good month before, I finally got all the components (photographer, babysitter, day of work and nice weather) together for a photoshoot in early October.

For the location we chose (as so many times before) the park and creak right outside my home, including our parking-lot (super fancy, right? :-D).

I’m wearing the 1690s striped Mantua over the corresponding skirt, my 18th century stays, chemise, 2 small bumpads, quilted petticoat, an regular petticoat, stockings and Kensington shoes.
I’m also wearing a quickly made “Fontage” made from lace and cotton scraps pinned to my 18th century cap, fake curls, a pearl necklace and a peacock-feather fan.
The belt is just a piece of navy velvet ribbon pinned in back and the under sleeves of the chemise is fake, and made from  pieces of cotton voile and lace gathered and tacked to the sleeve cuffs.

Photos by: Maria Petersson

Behind the sceens:Last fix-up in the elevator

1690s Mantua fit for Versailles?(HSM 9/2017) – Construction part 2

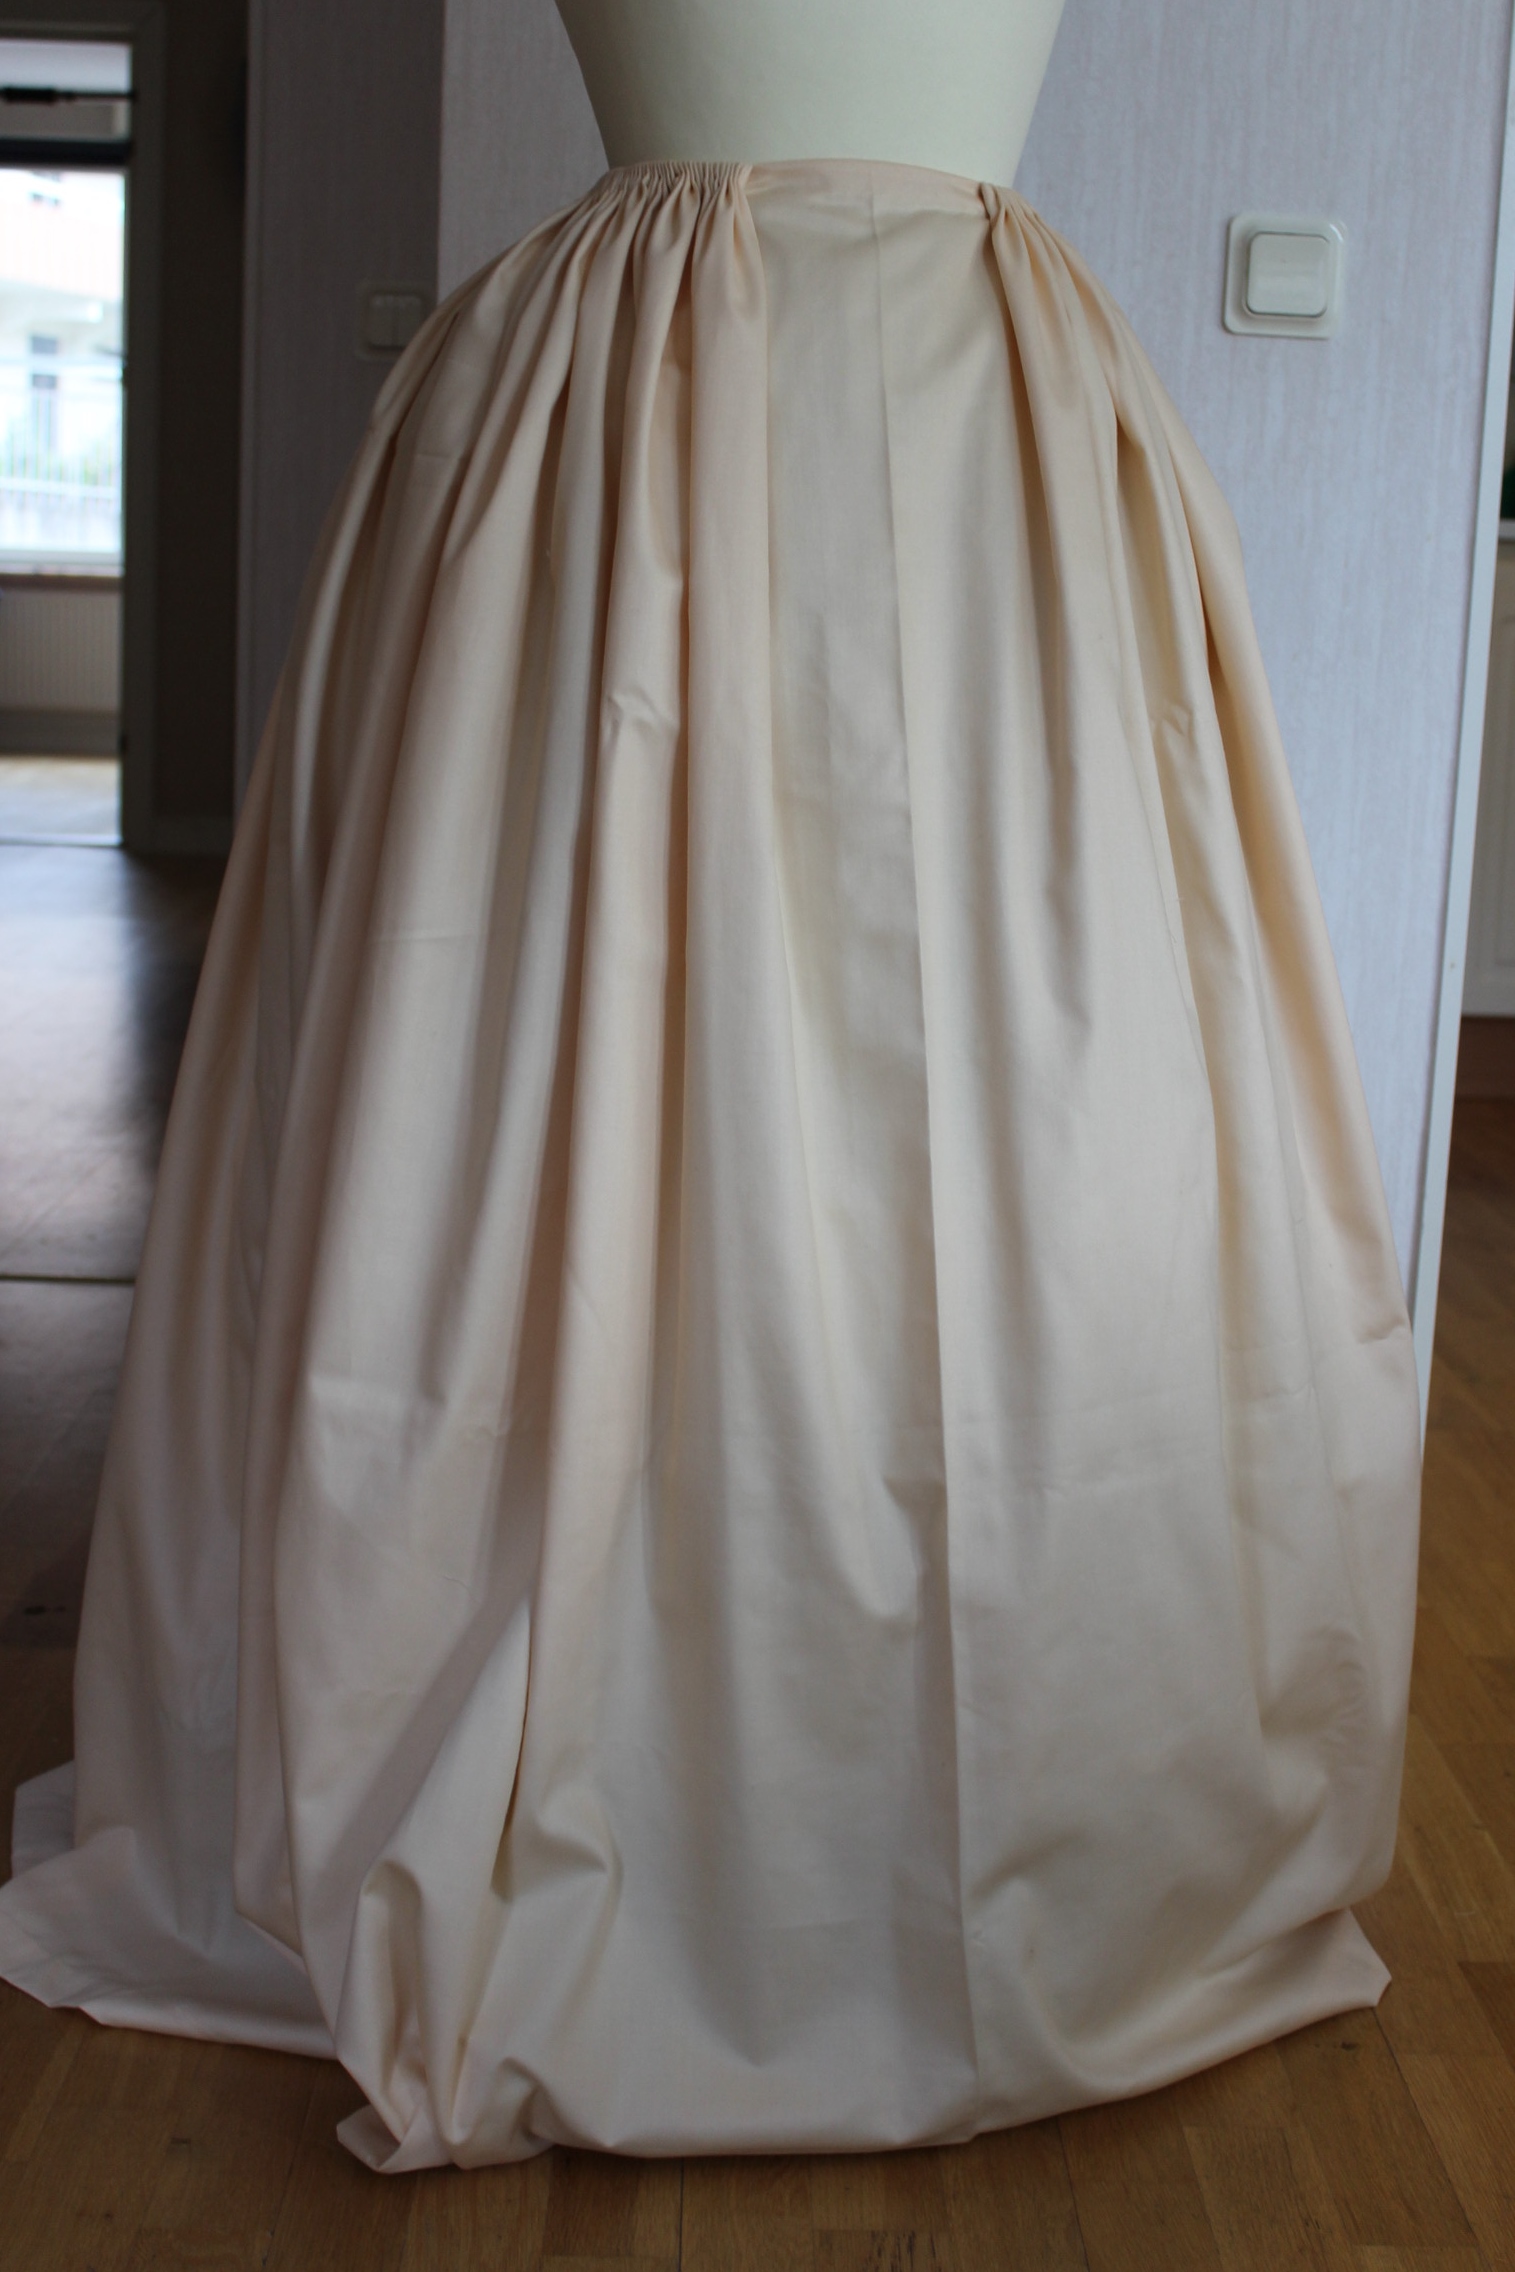
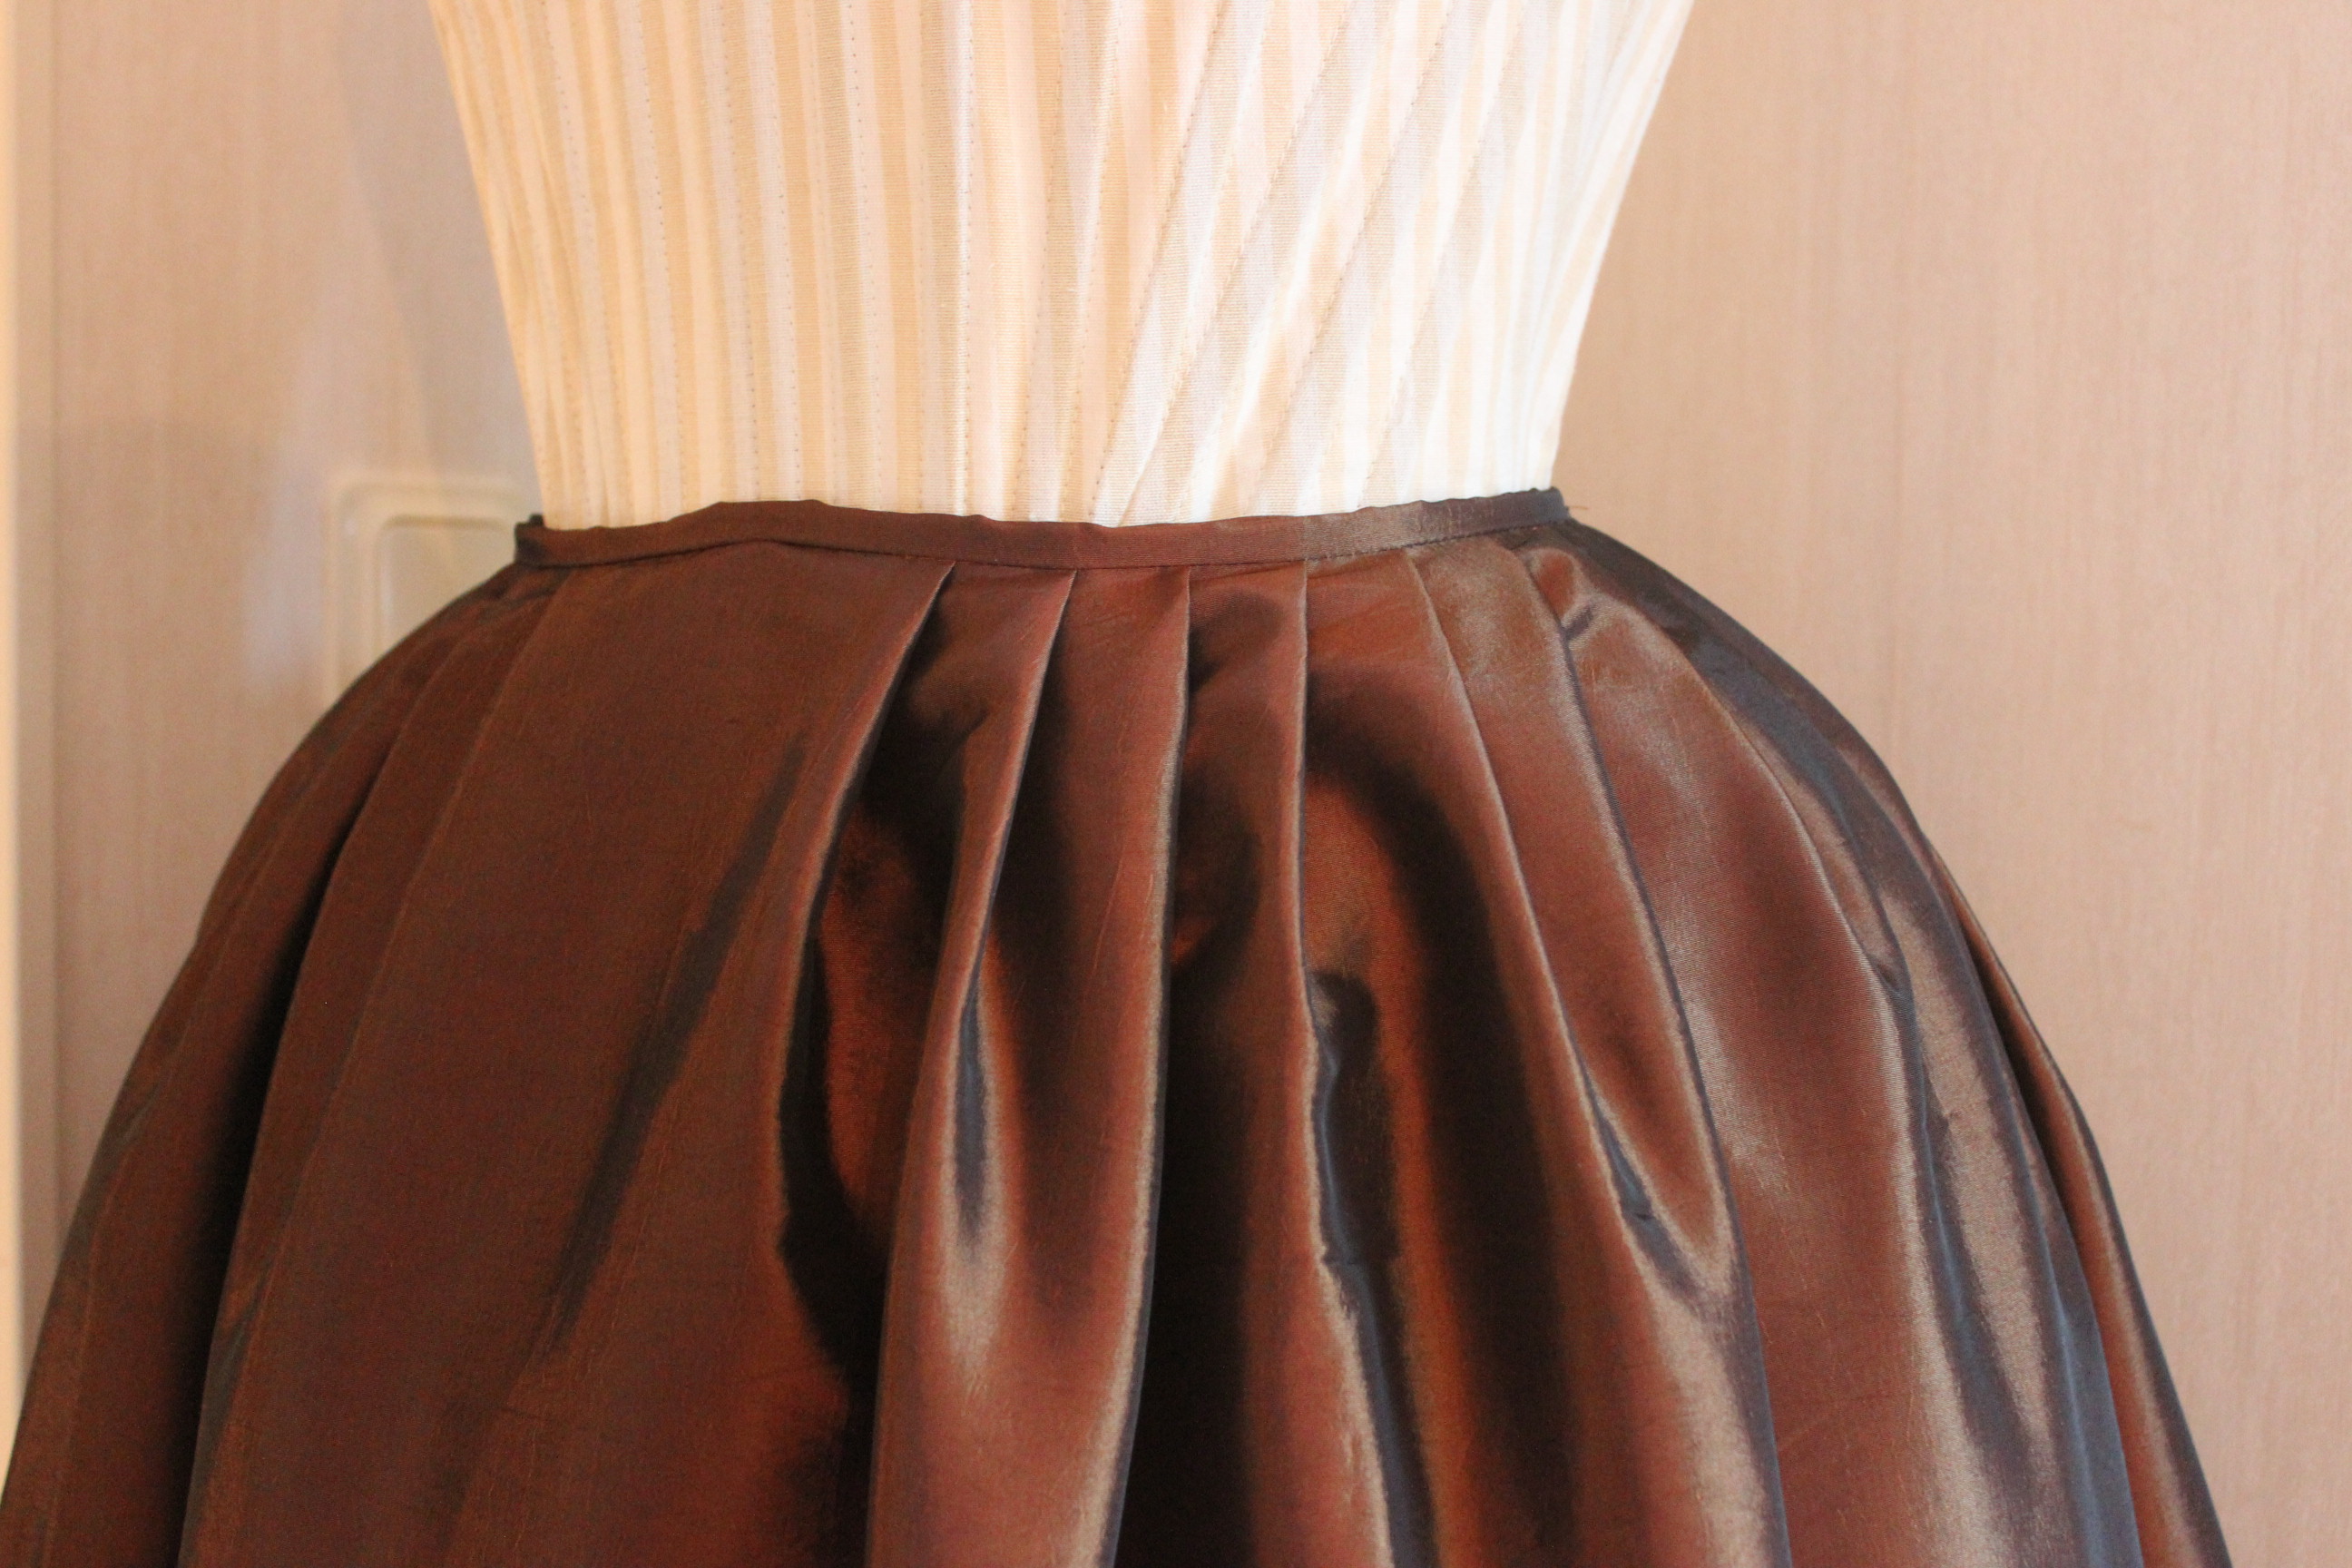
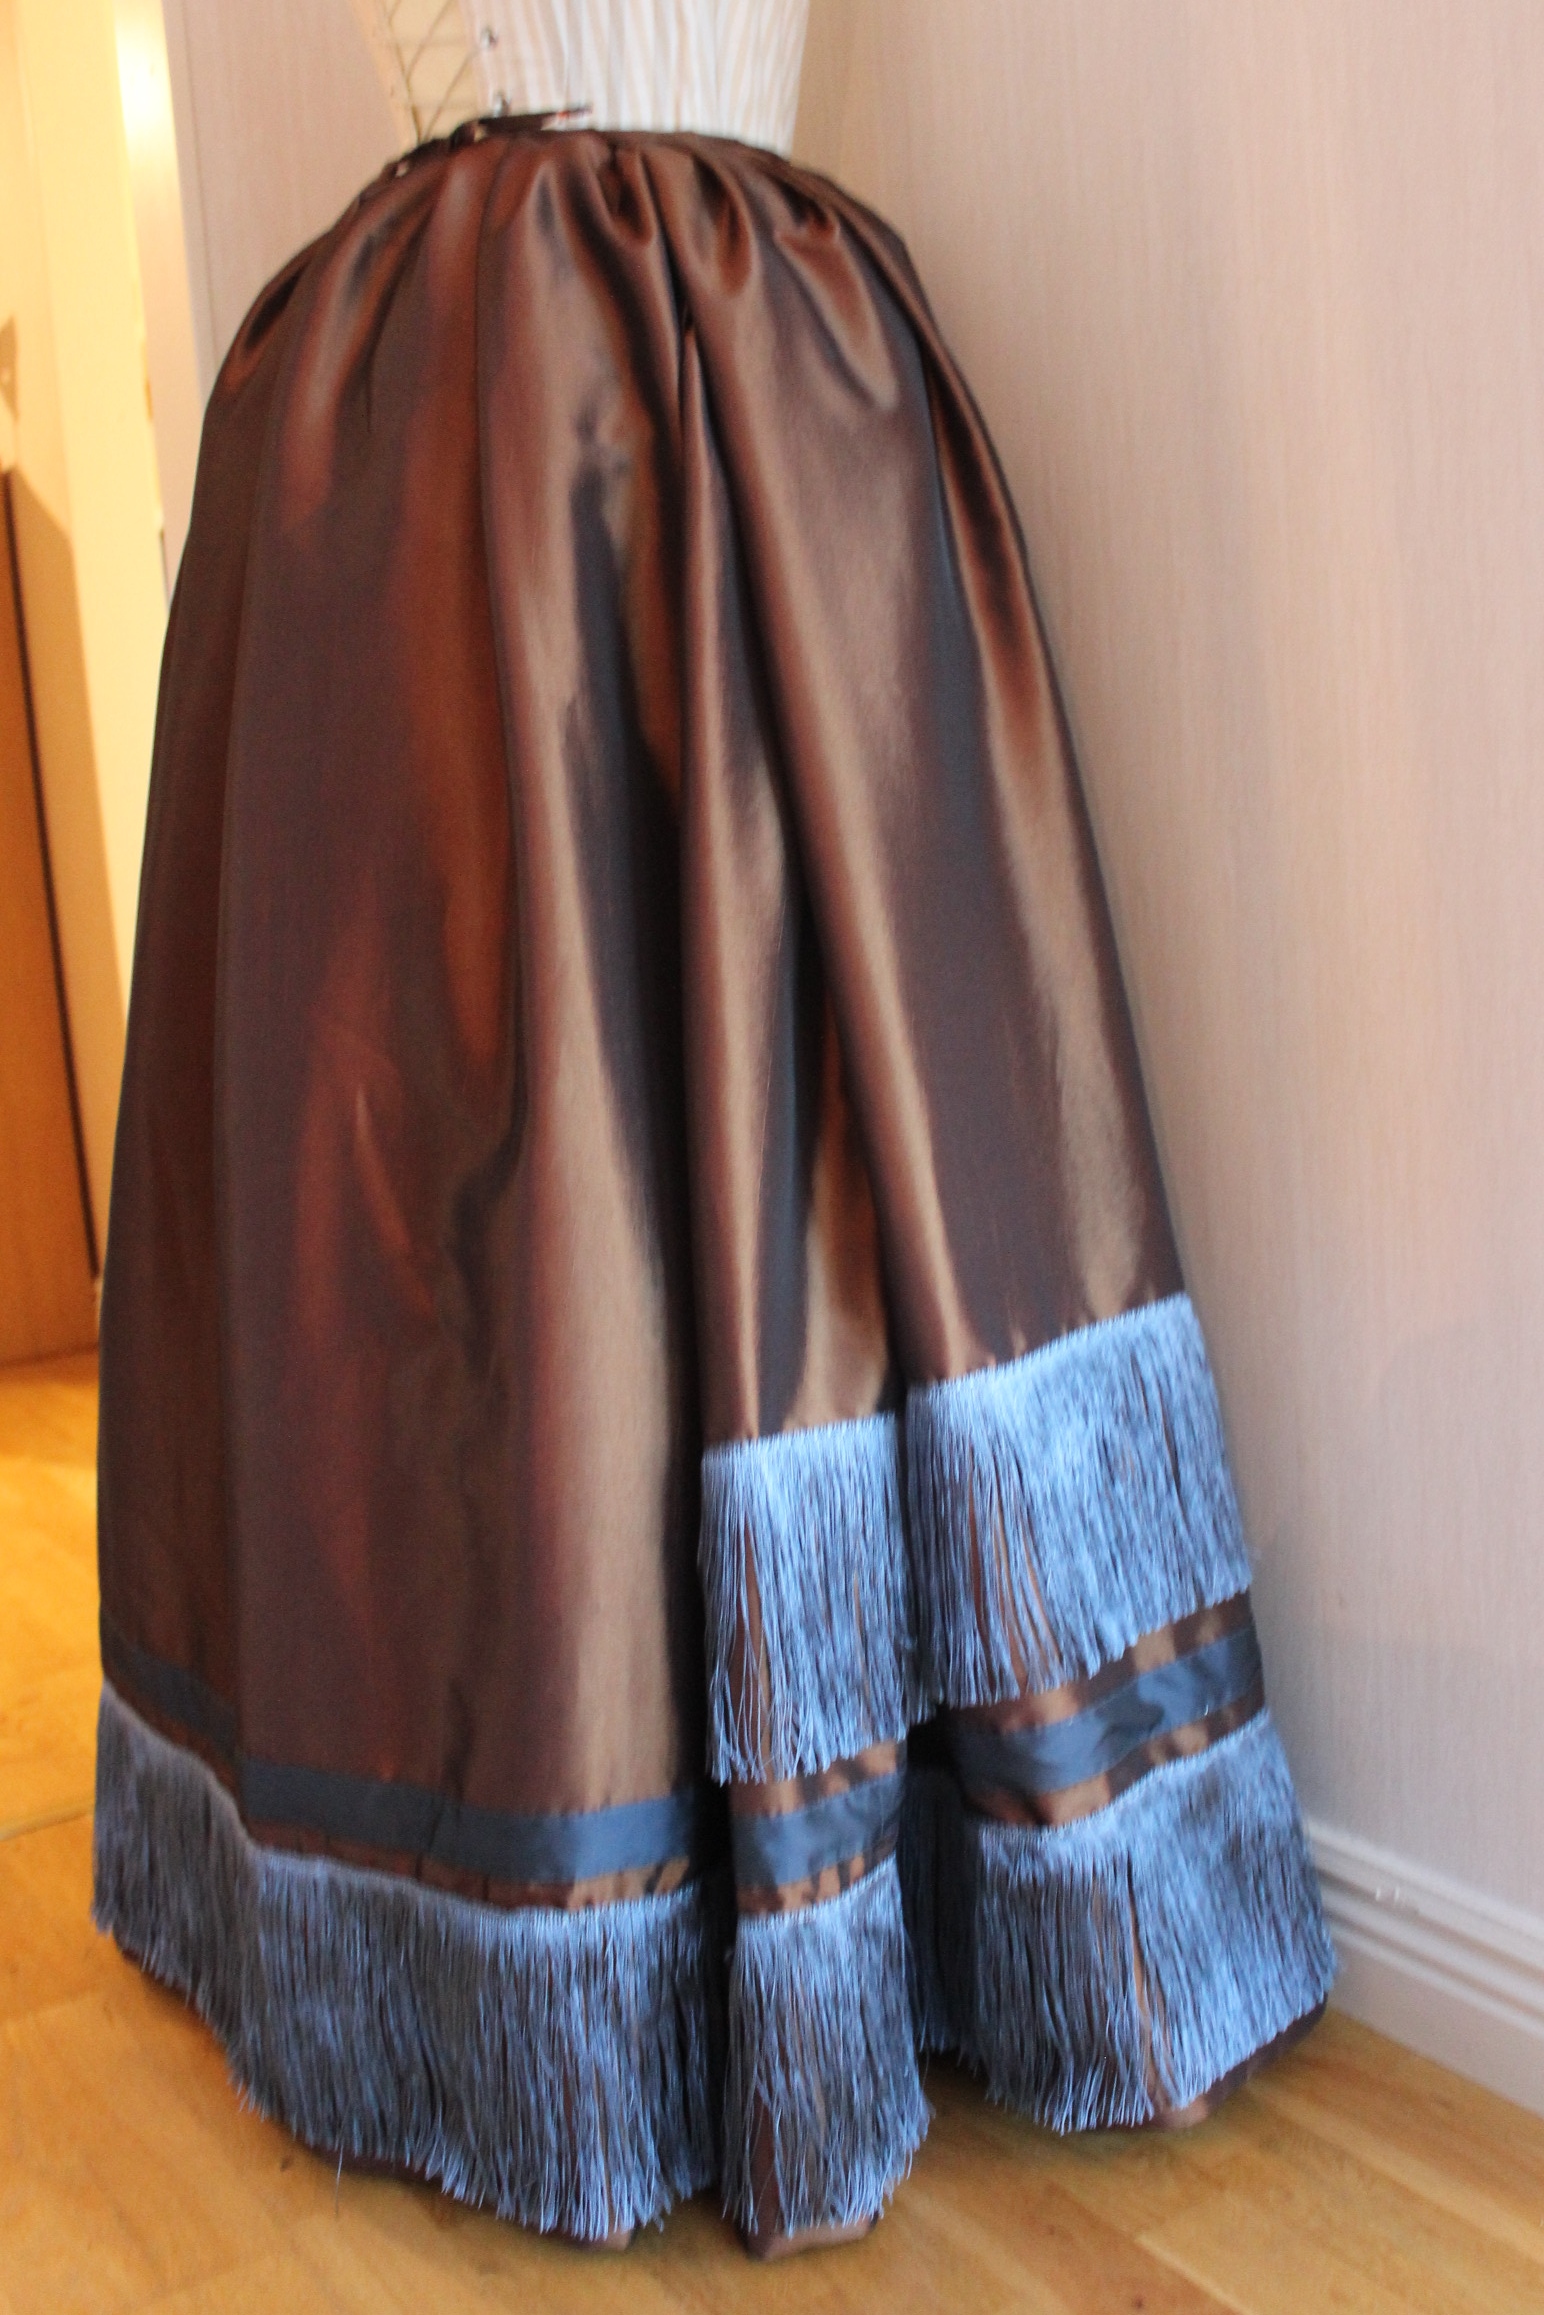
Once the skirt was done (read about it here) it was time to cut the new fabric for the gown.

The only trouble was that not only did I not have enough fabric, The fabric also had the stripes running the wrong way to my cutting plan.
So I ended up spending an entire evening re-calculating and testing layouts until I finally cut the whole gown on the cross (to get the stripes running down the body) and pieced the heck out of the train in several places.

Then it was time to actually get on to the sewing.

I started by basting interfacing to the main pieces, but not after going through some decision-anxiety about which side of the fabric I was to use. The choice fell on the “wrong” side where the stripes was les pronounced.

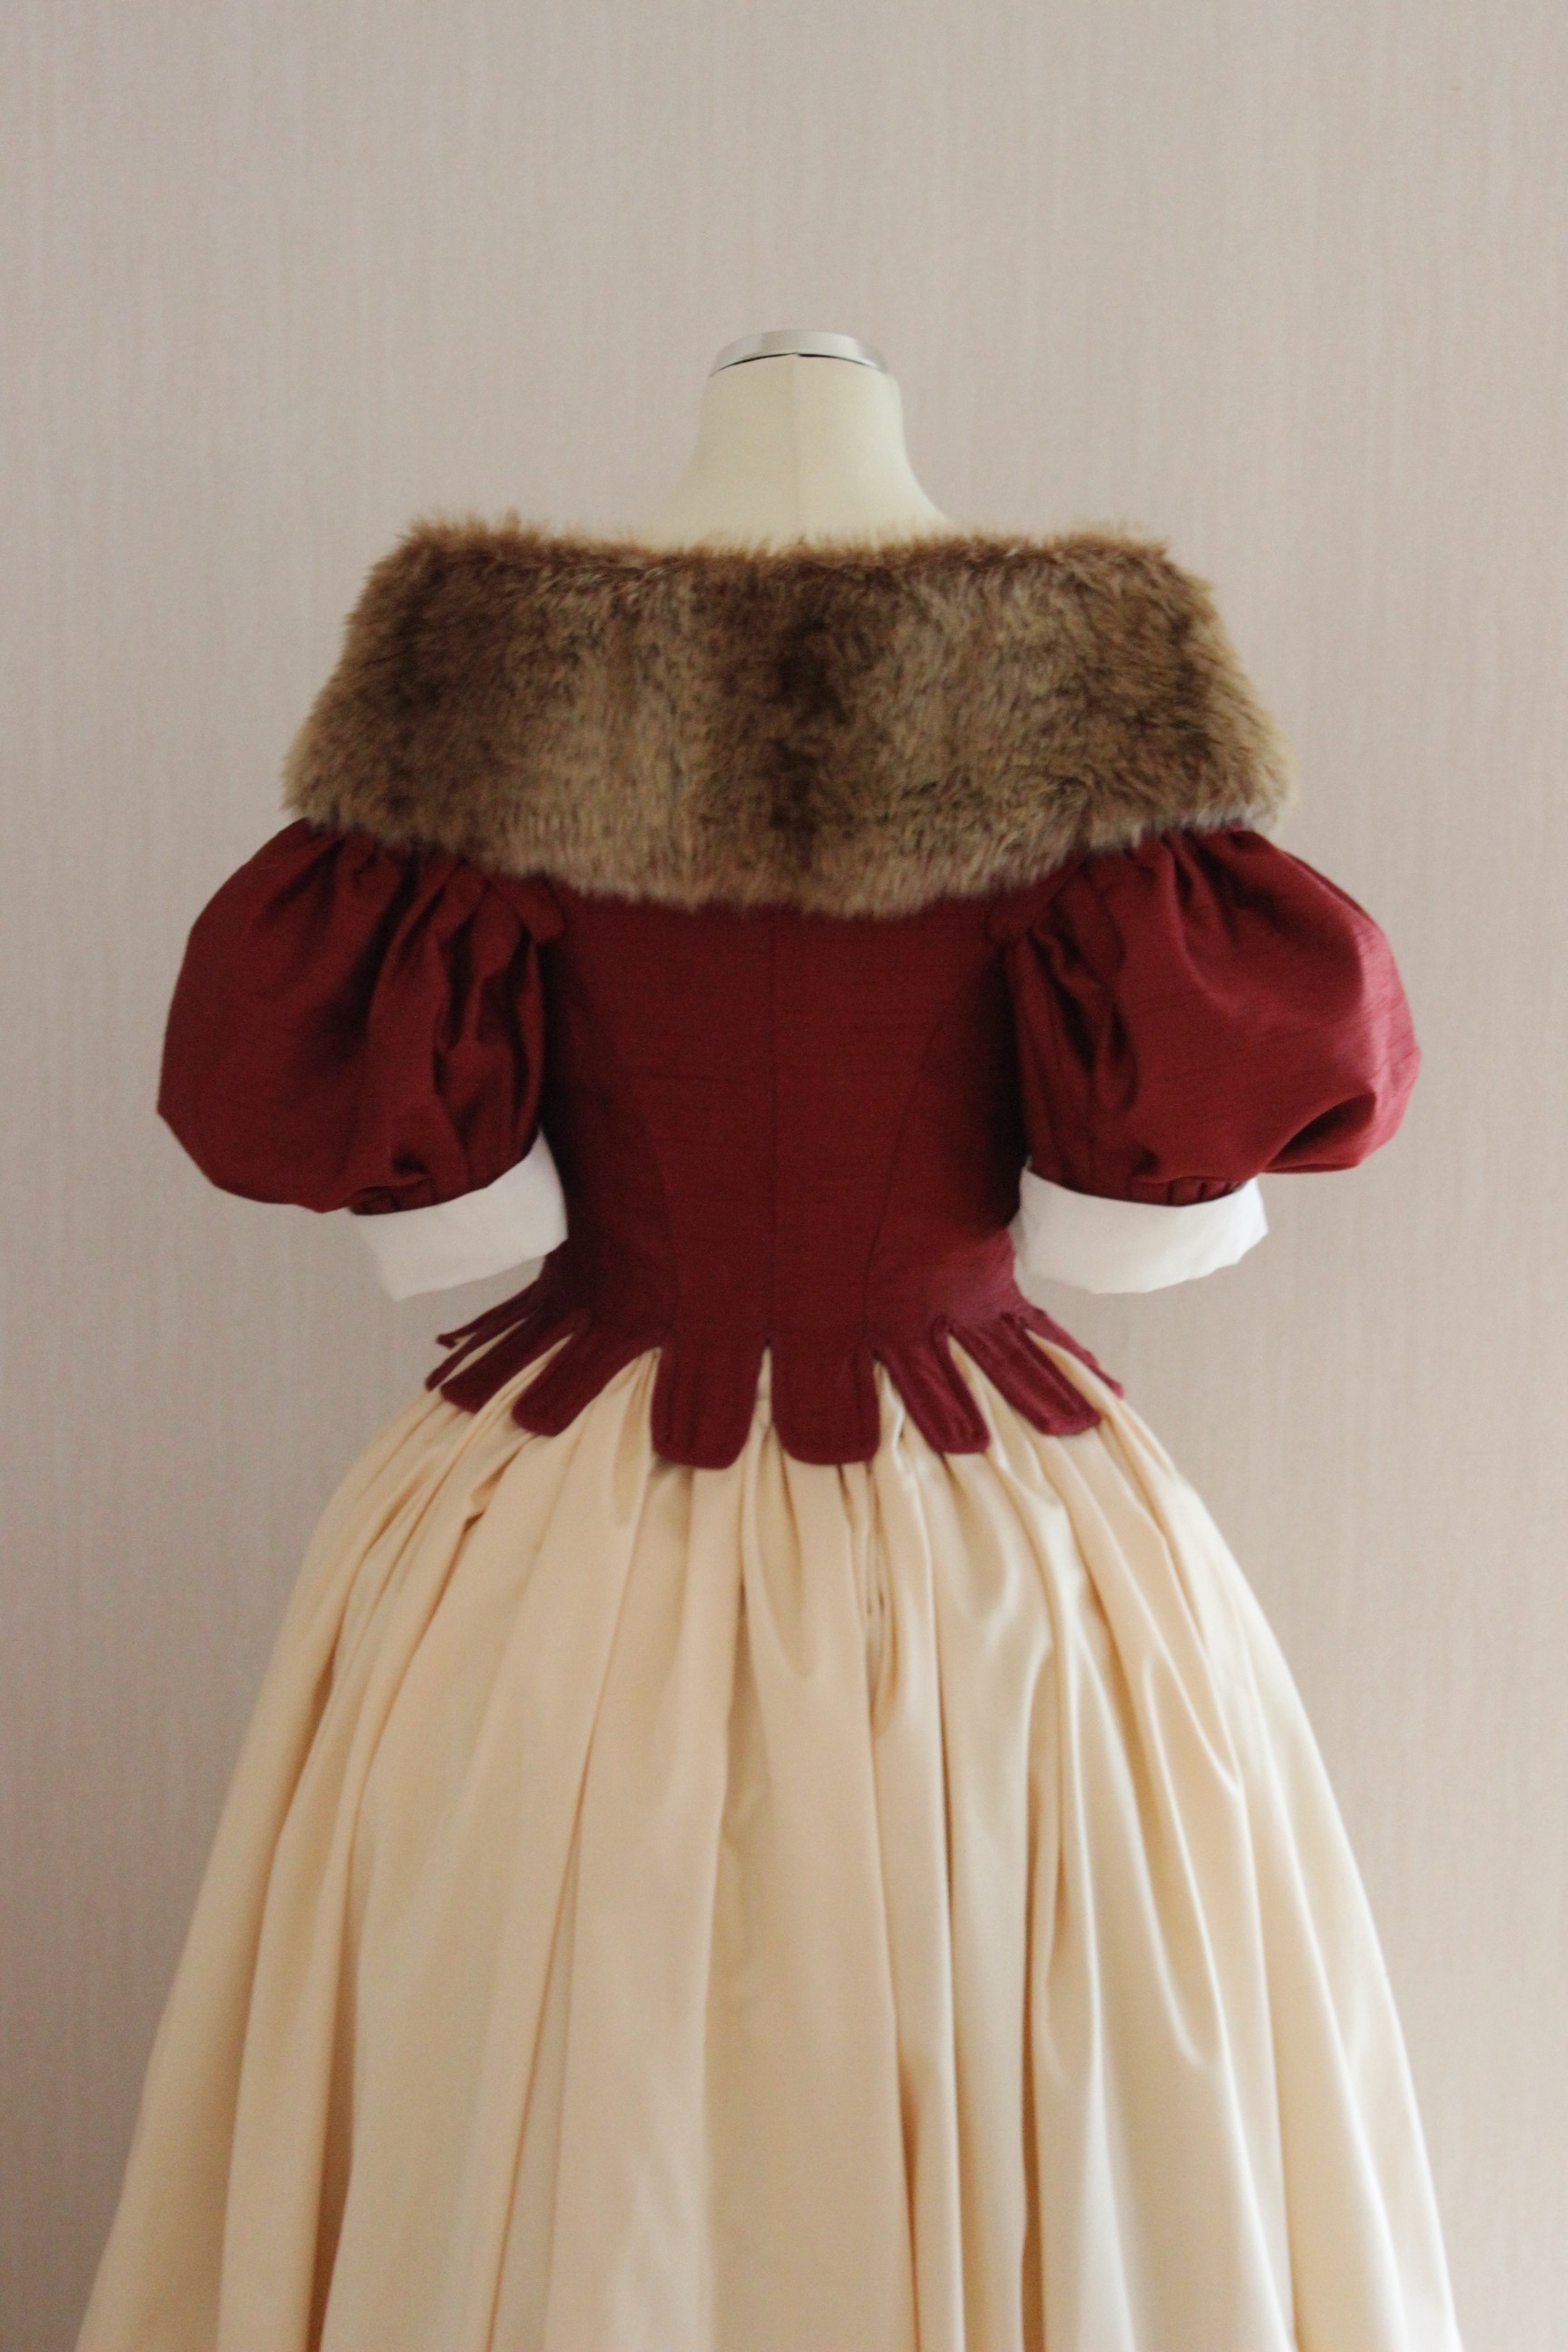
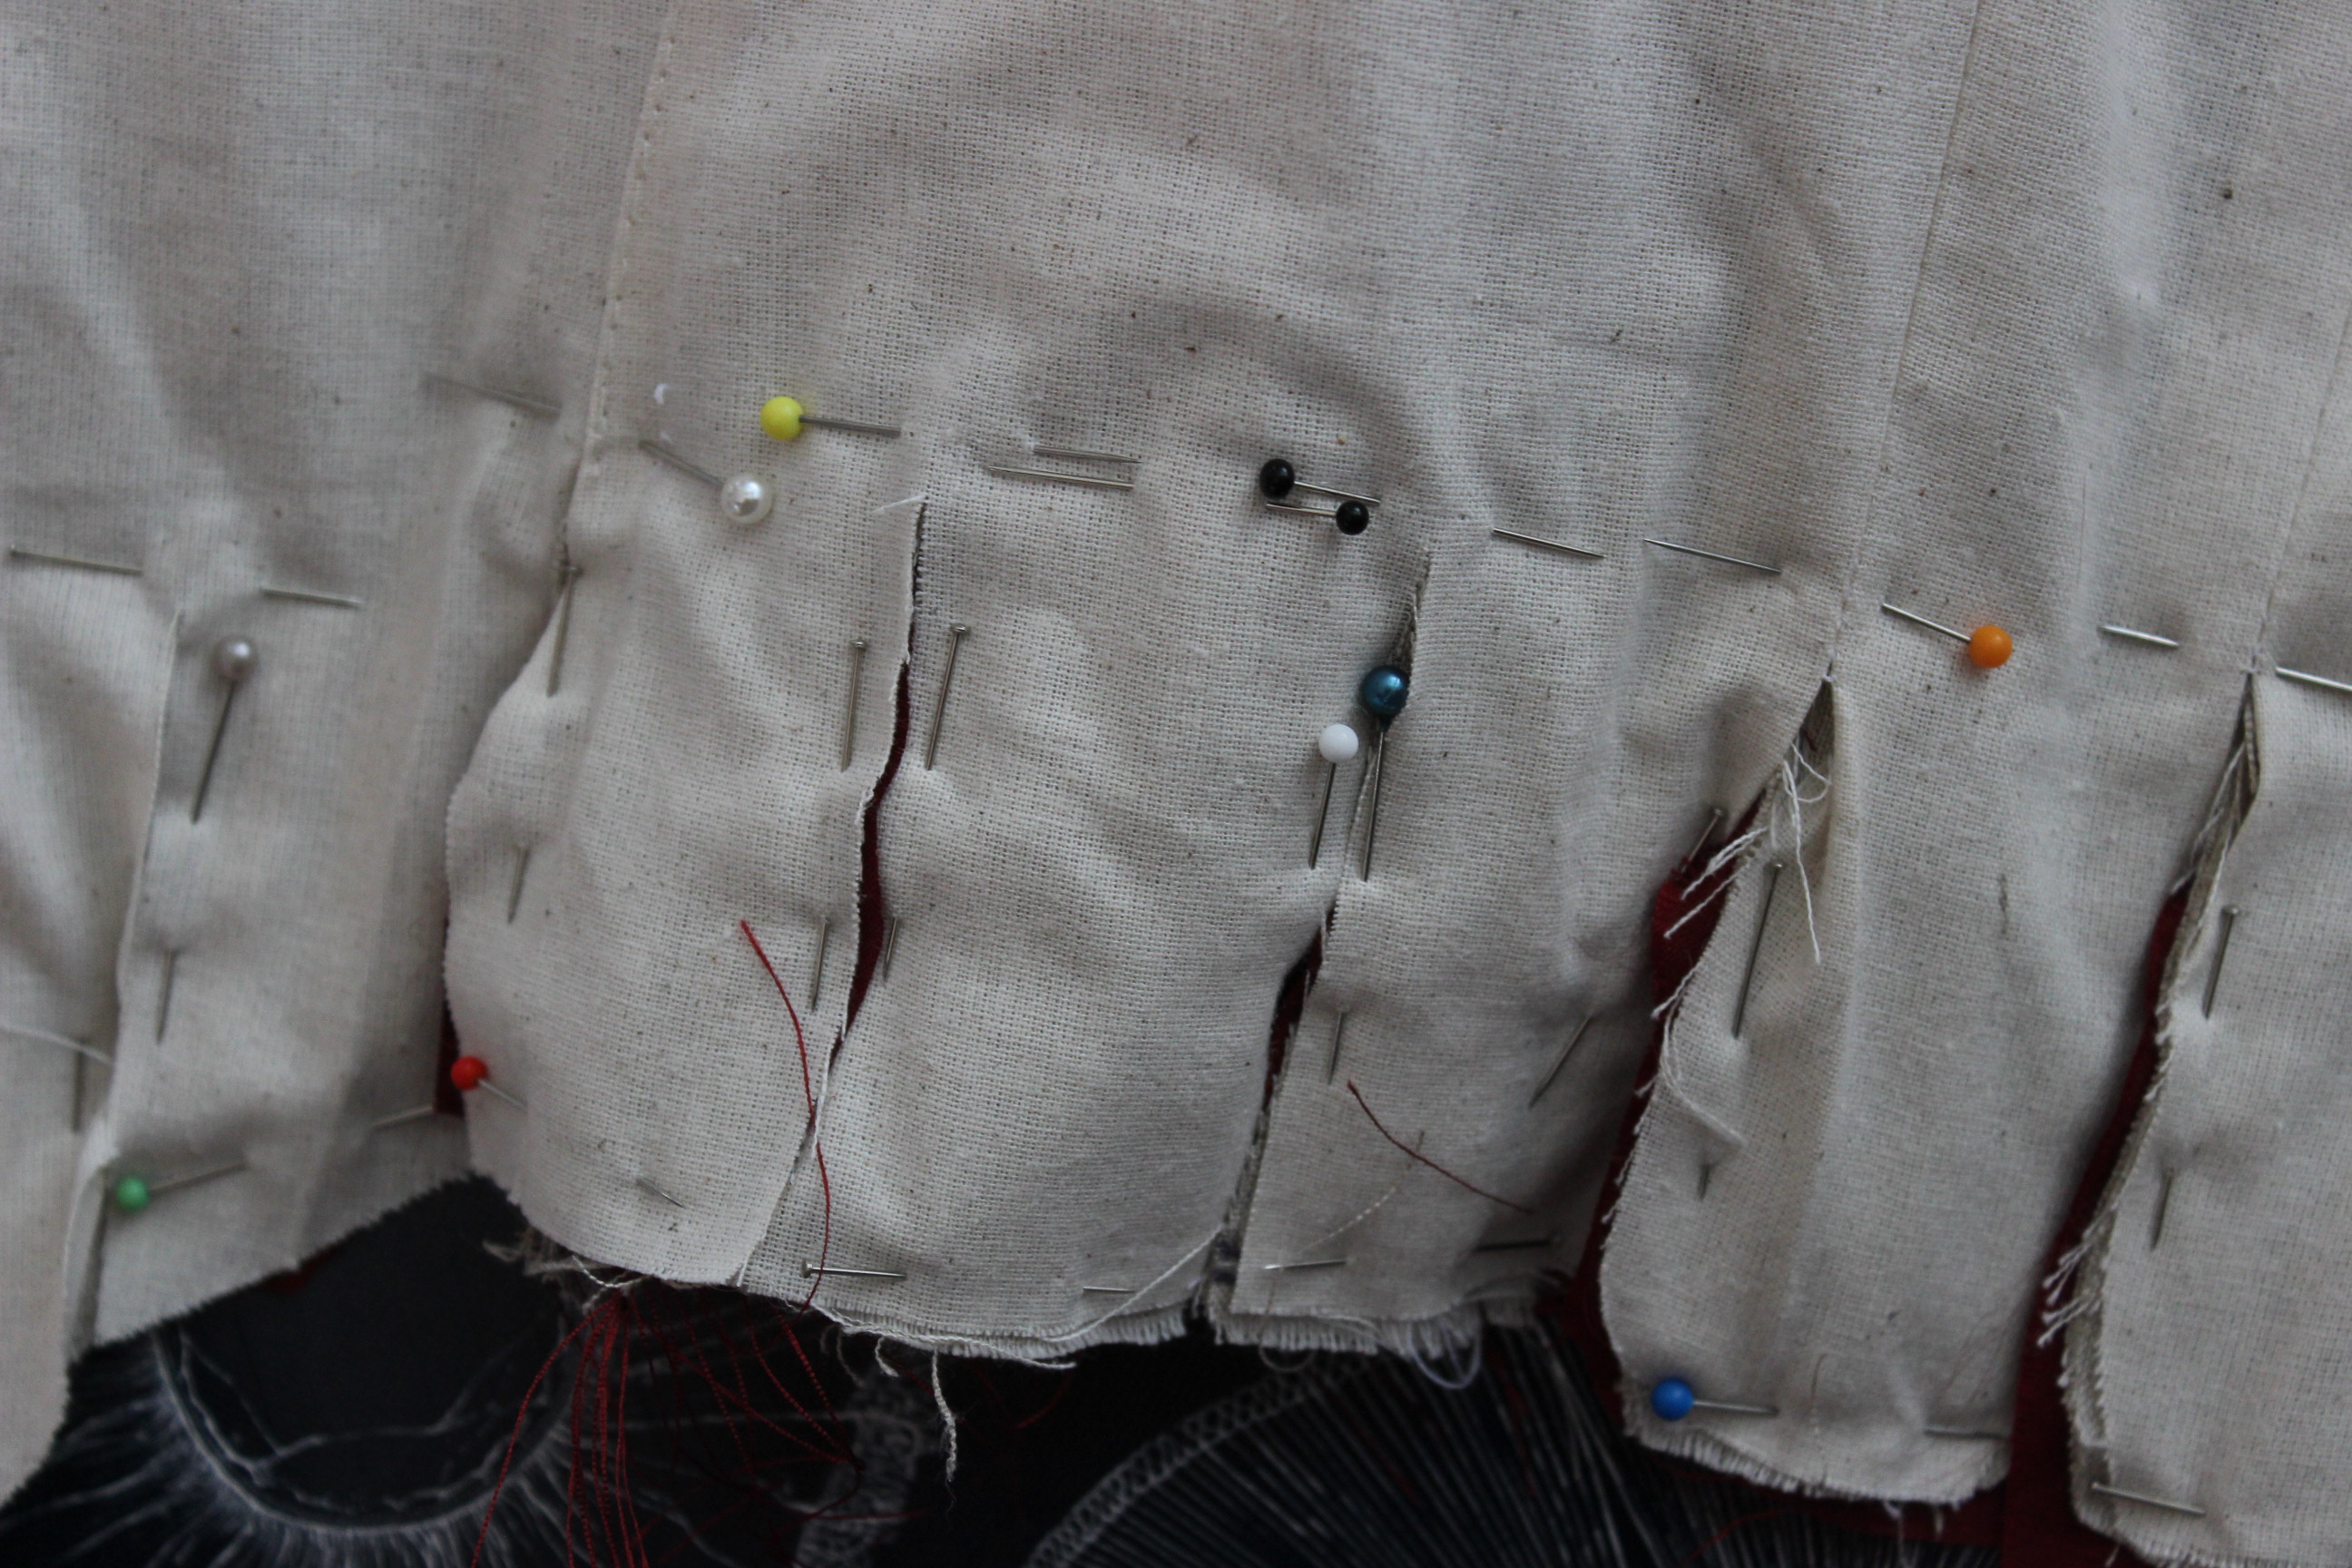
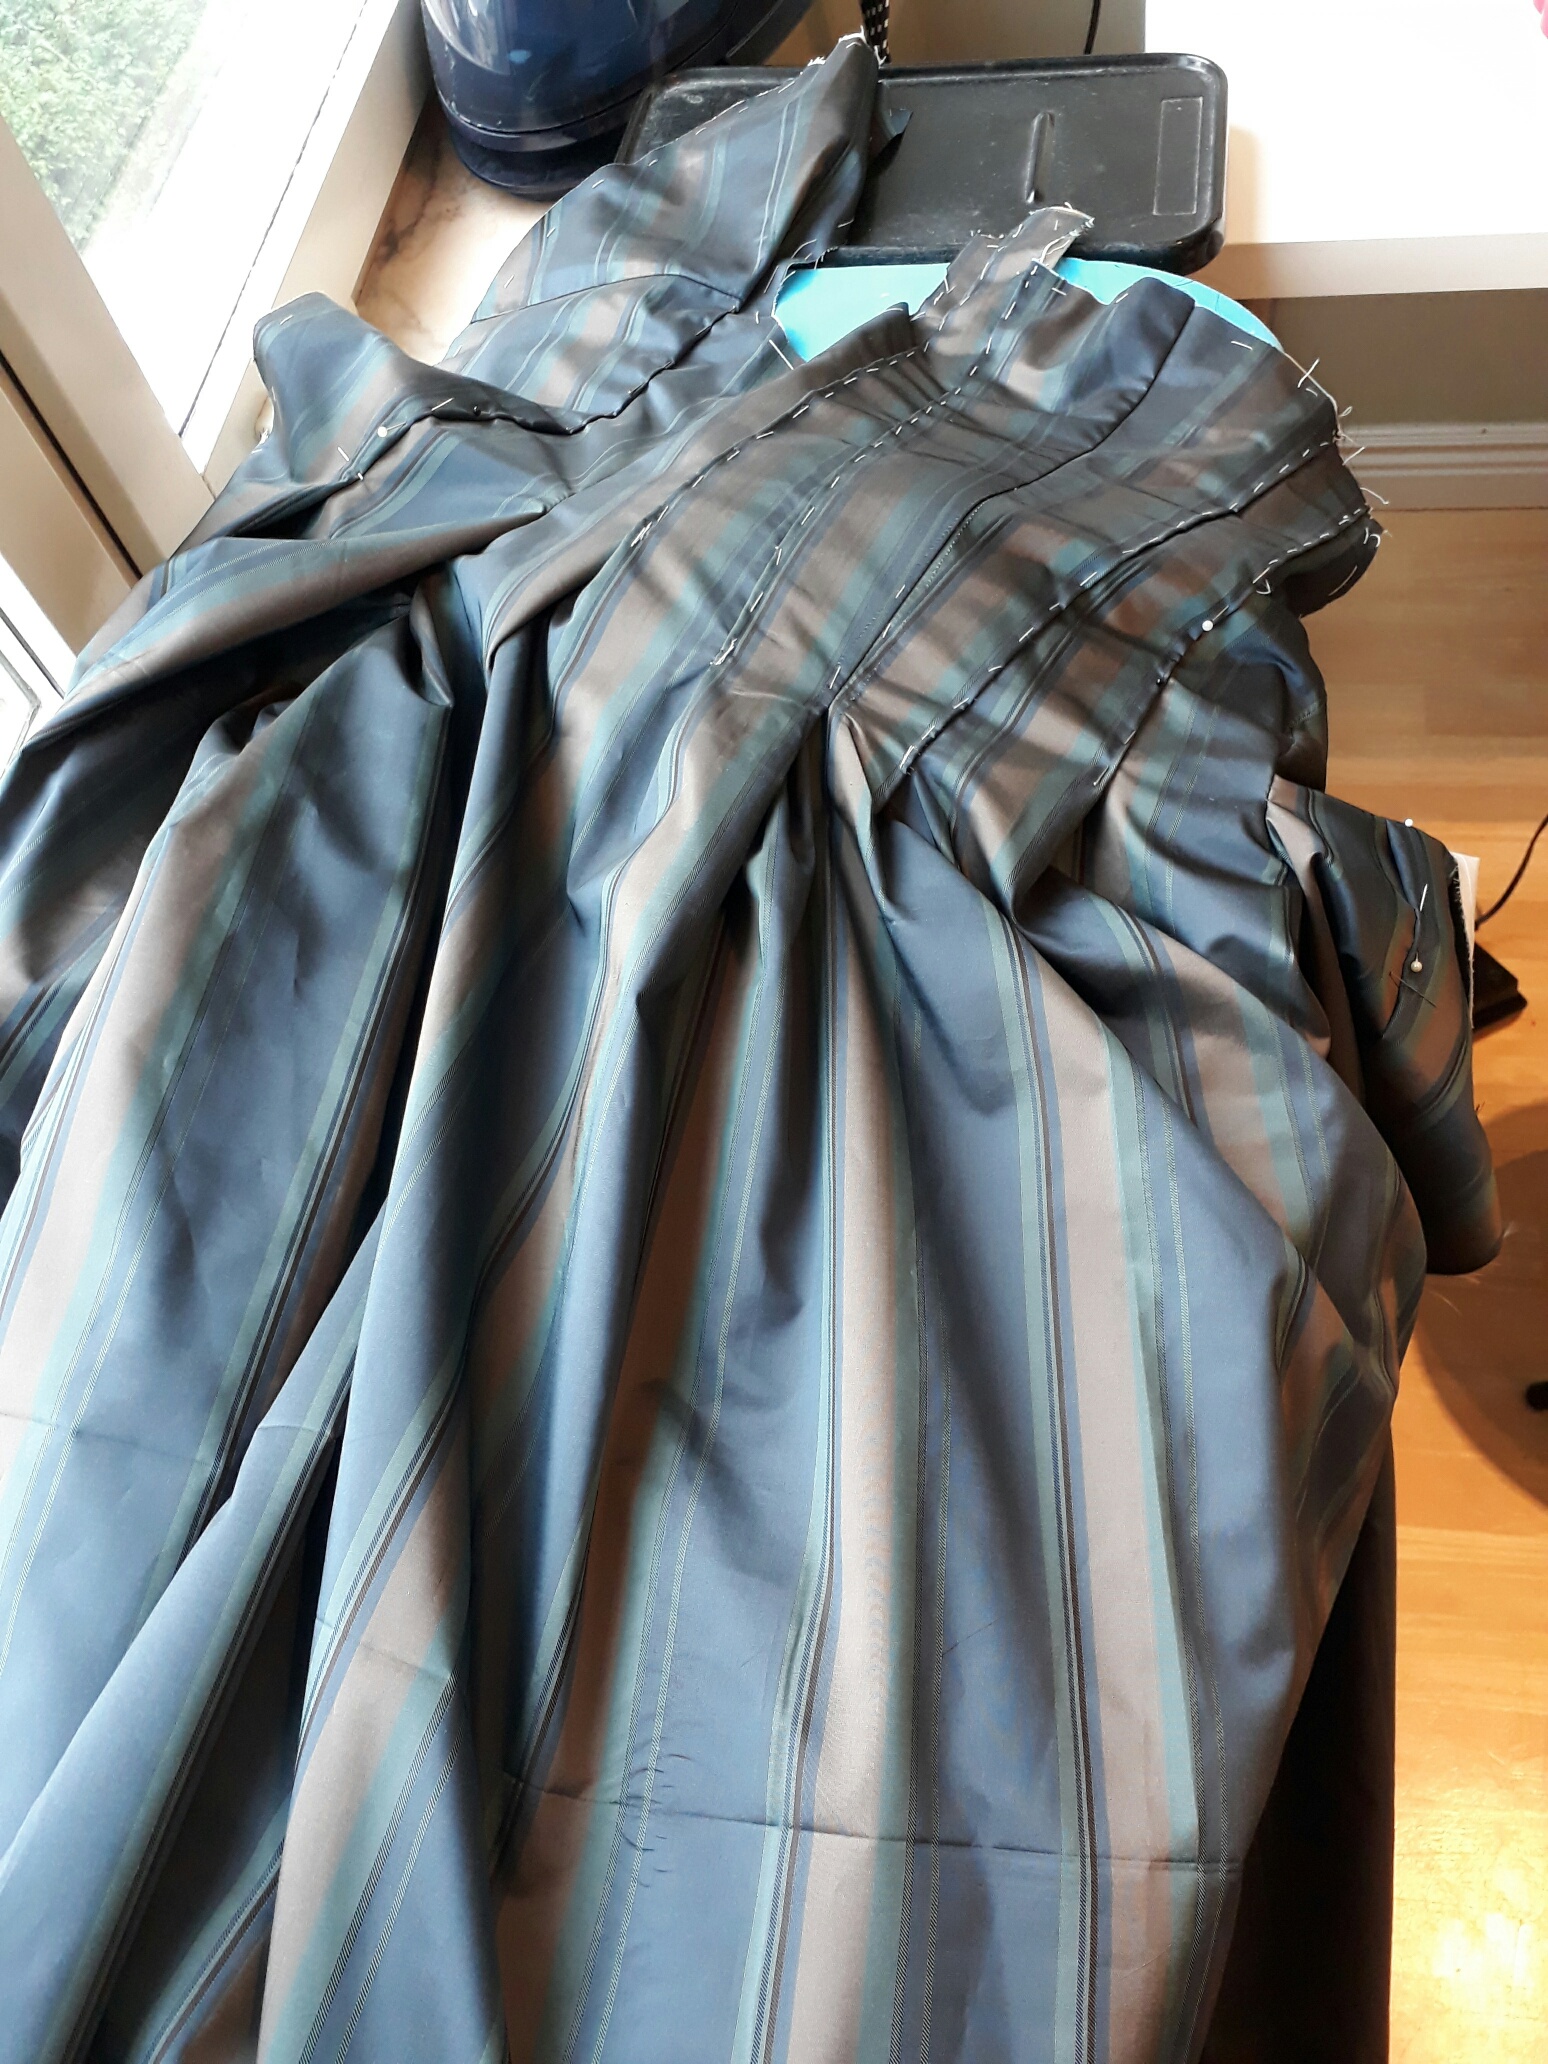
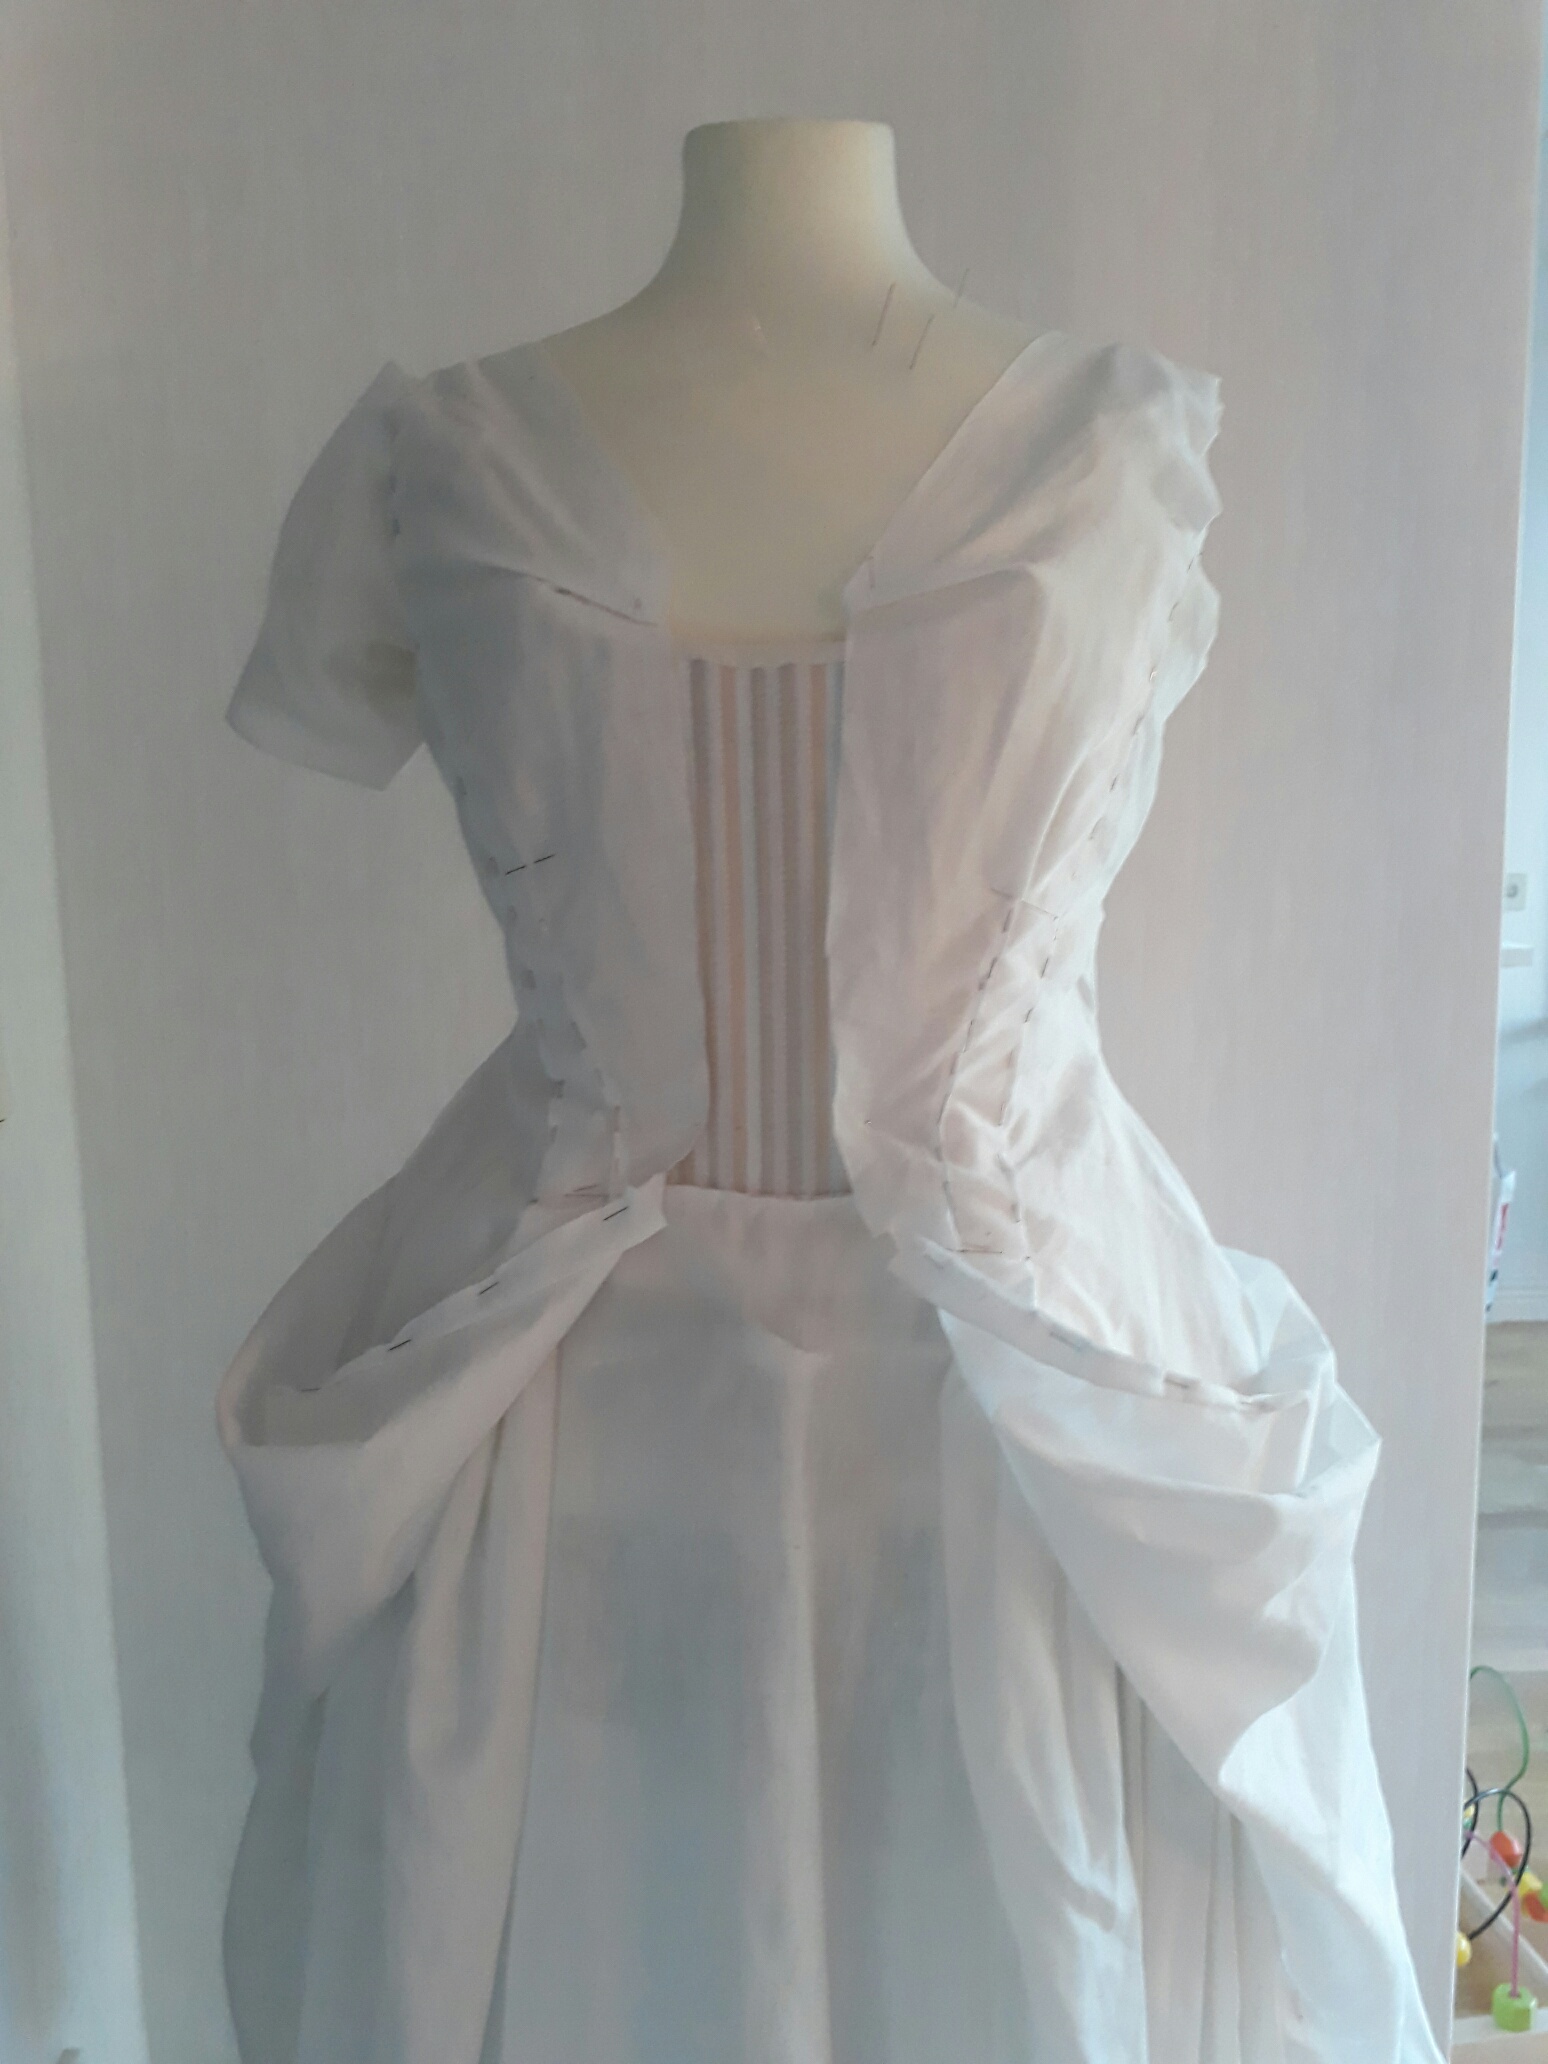
I basted the pleats and stitching the front and back bodice together.

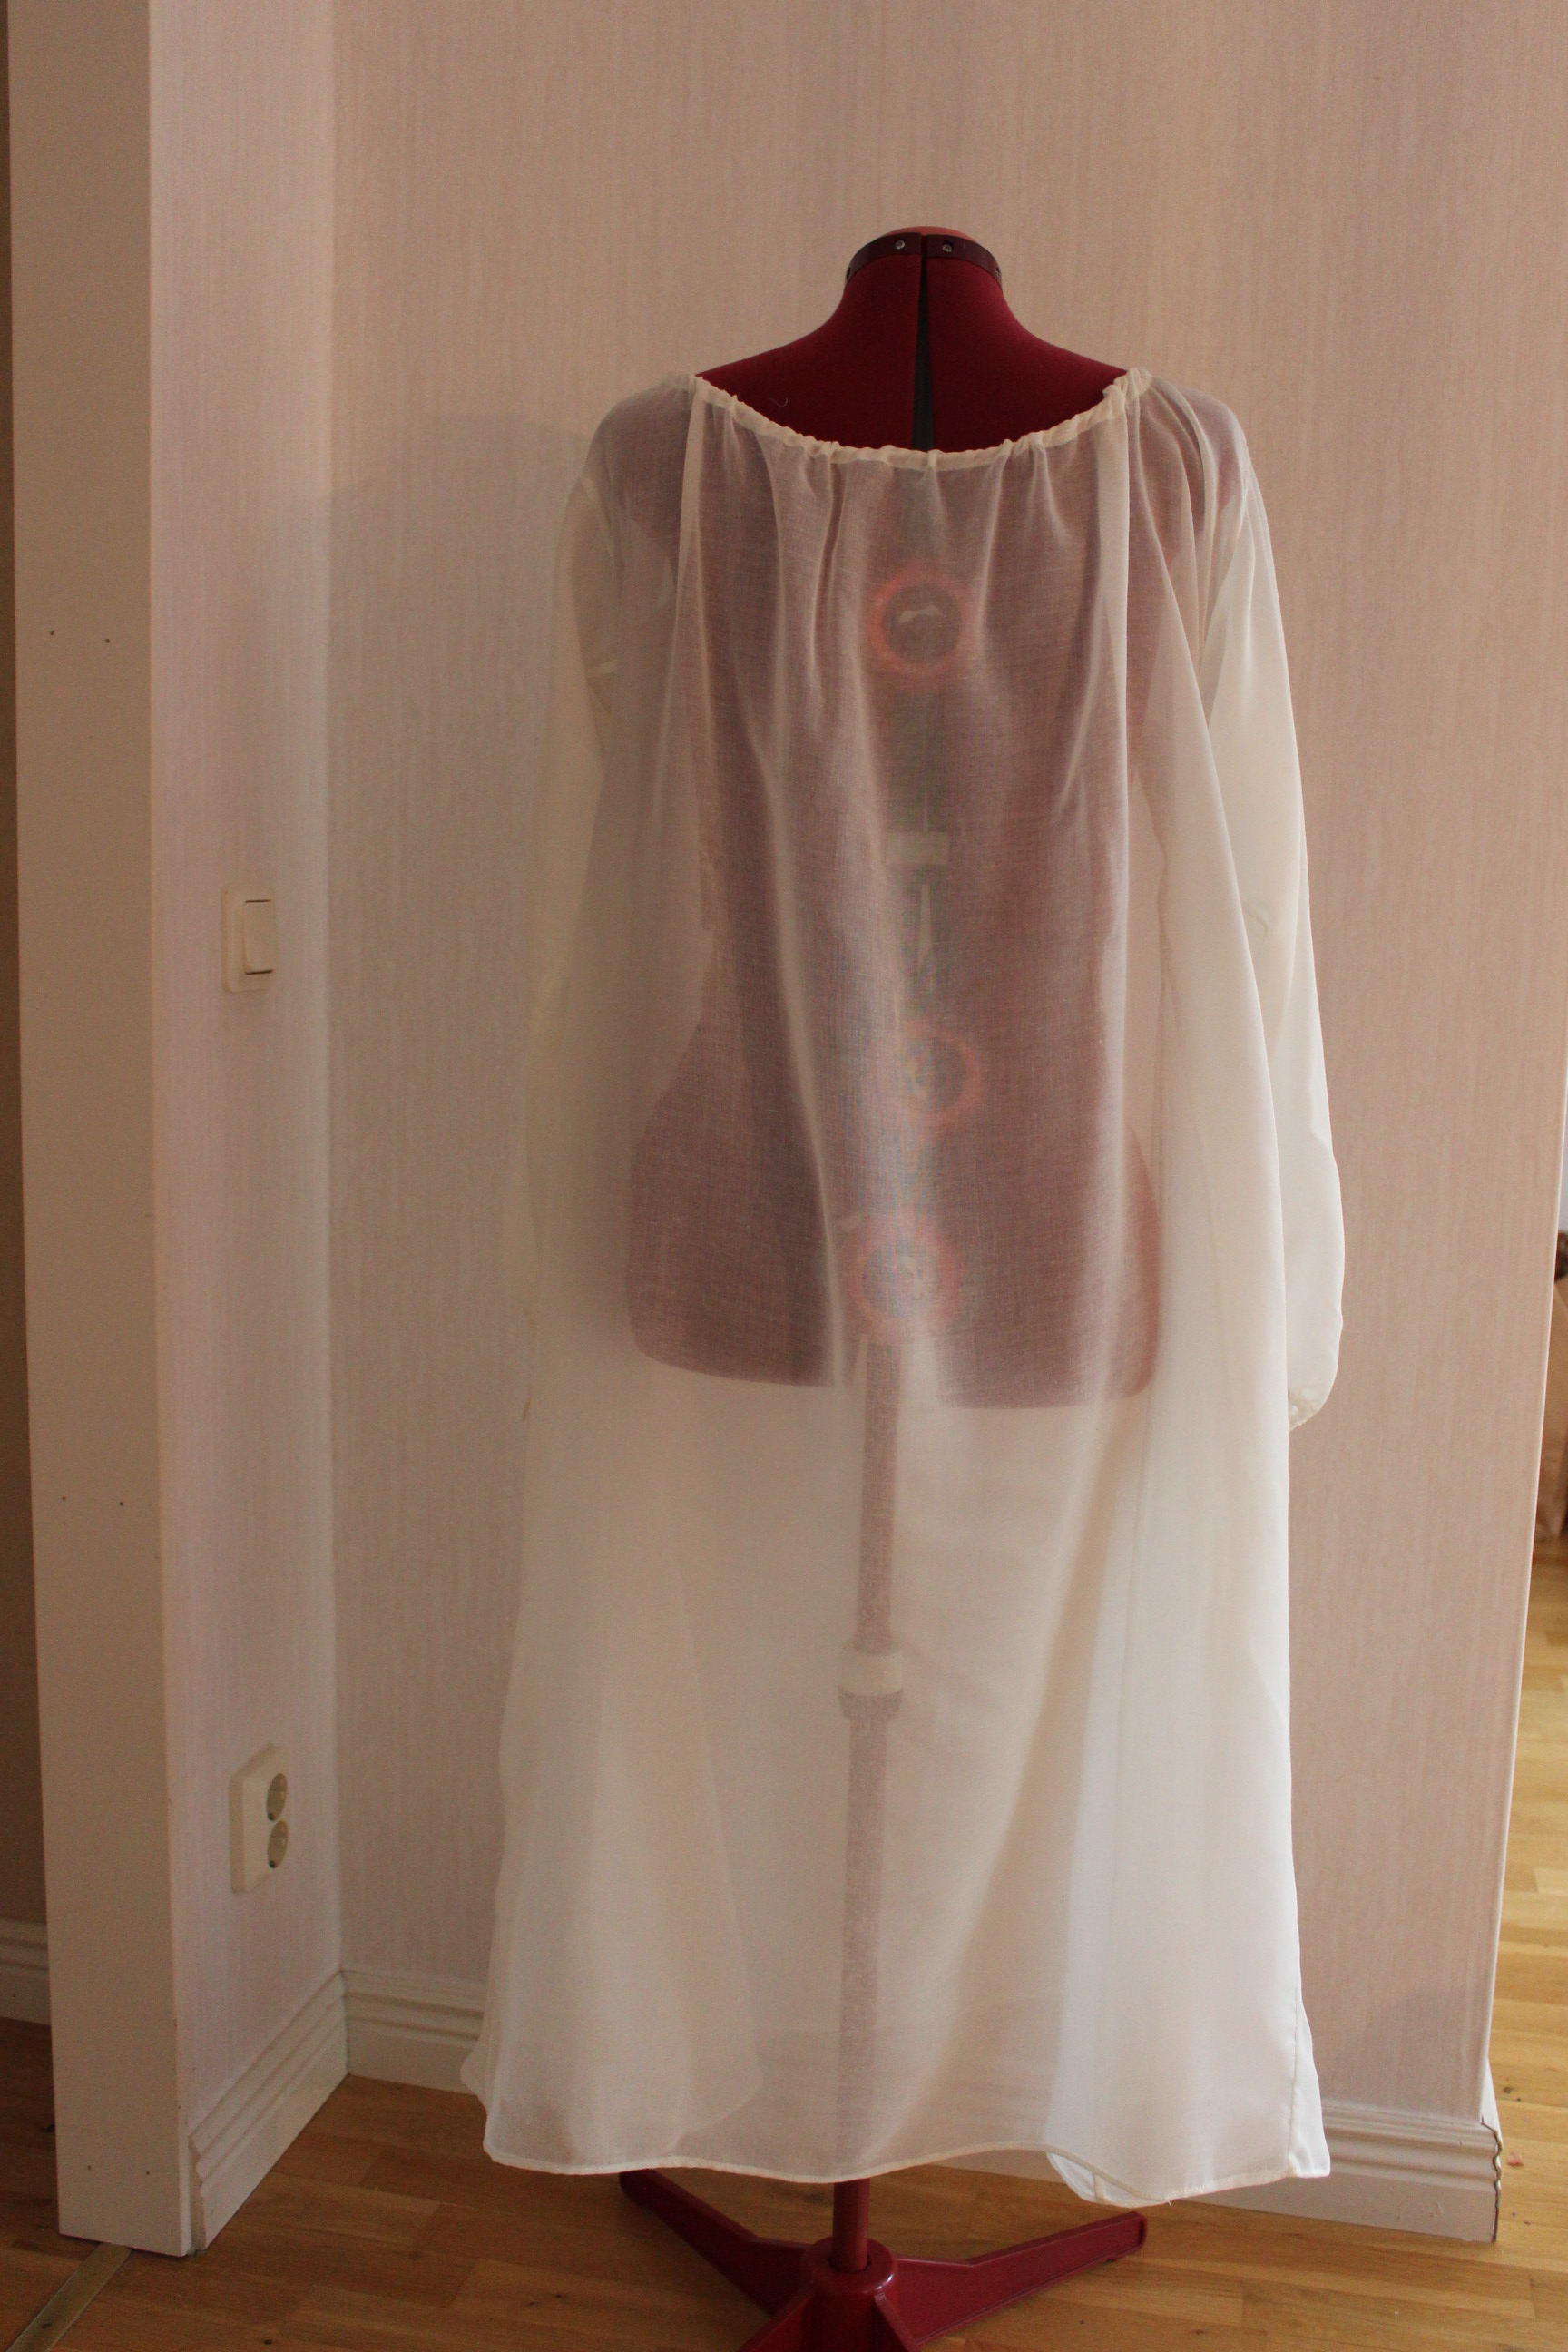
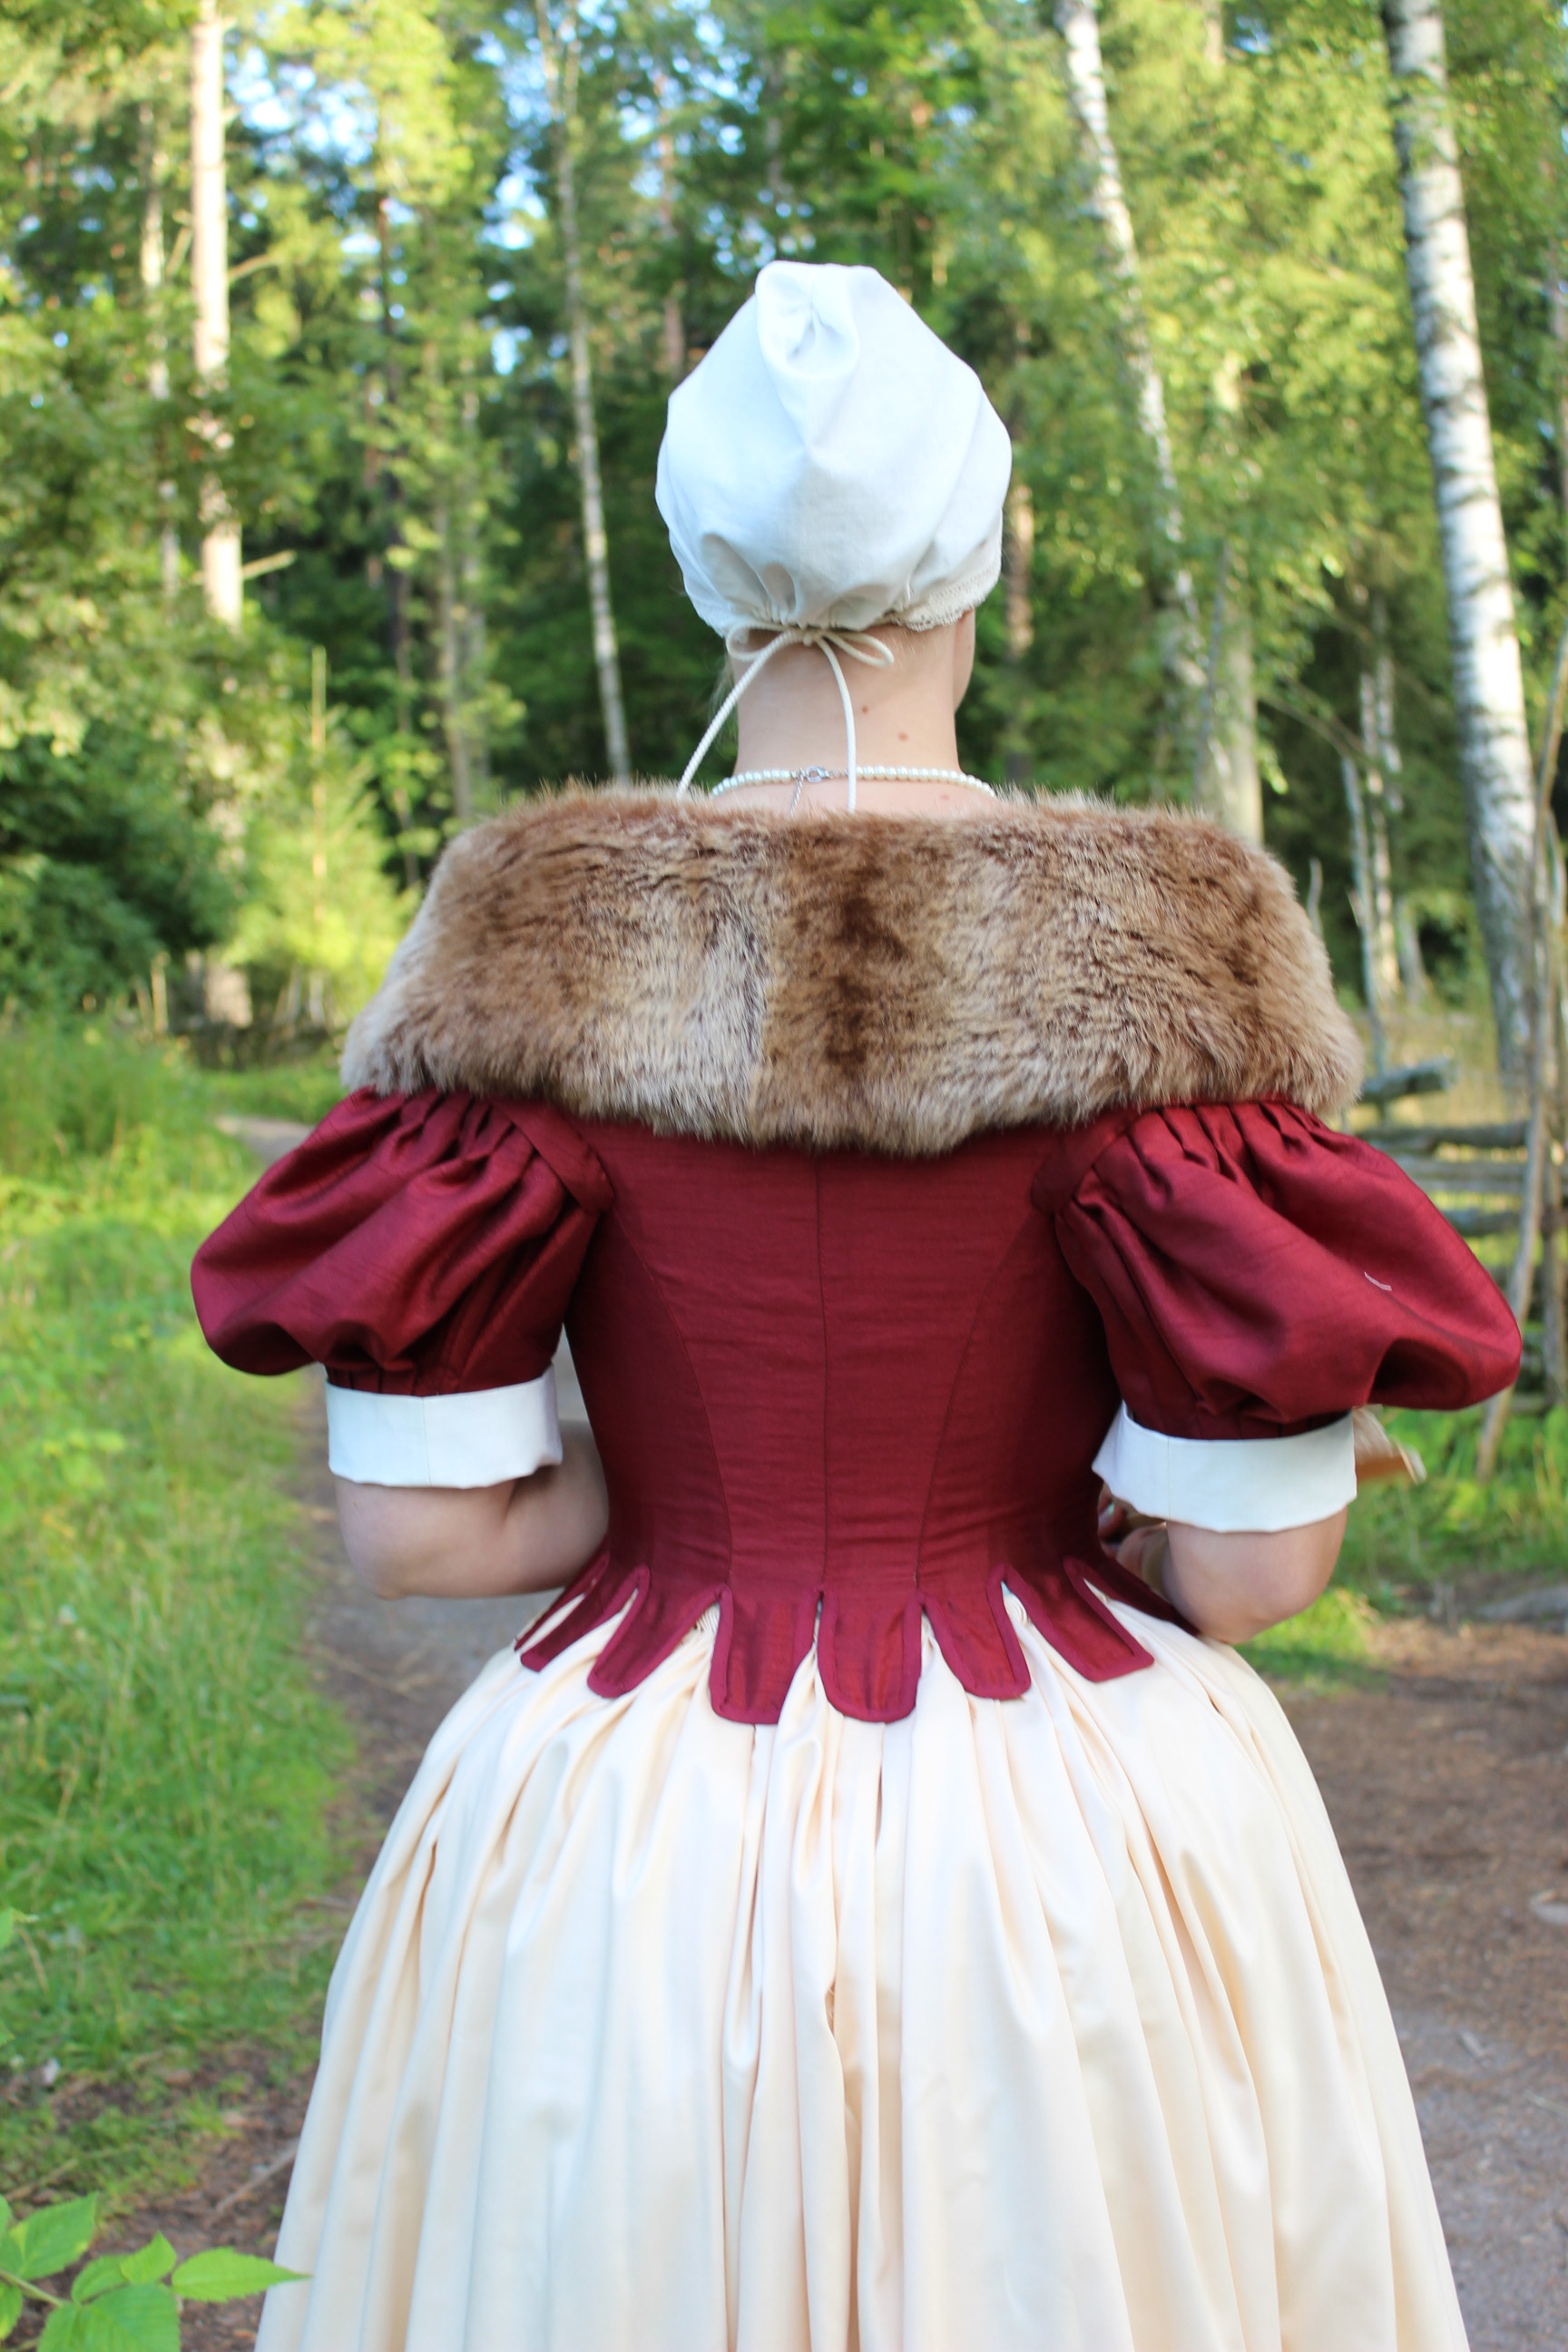
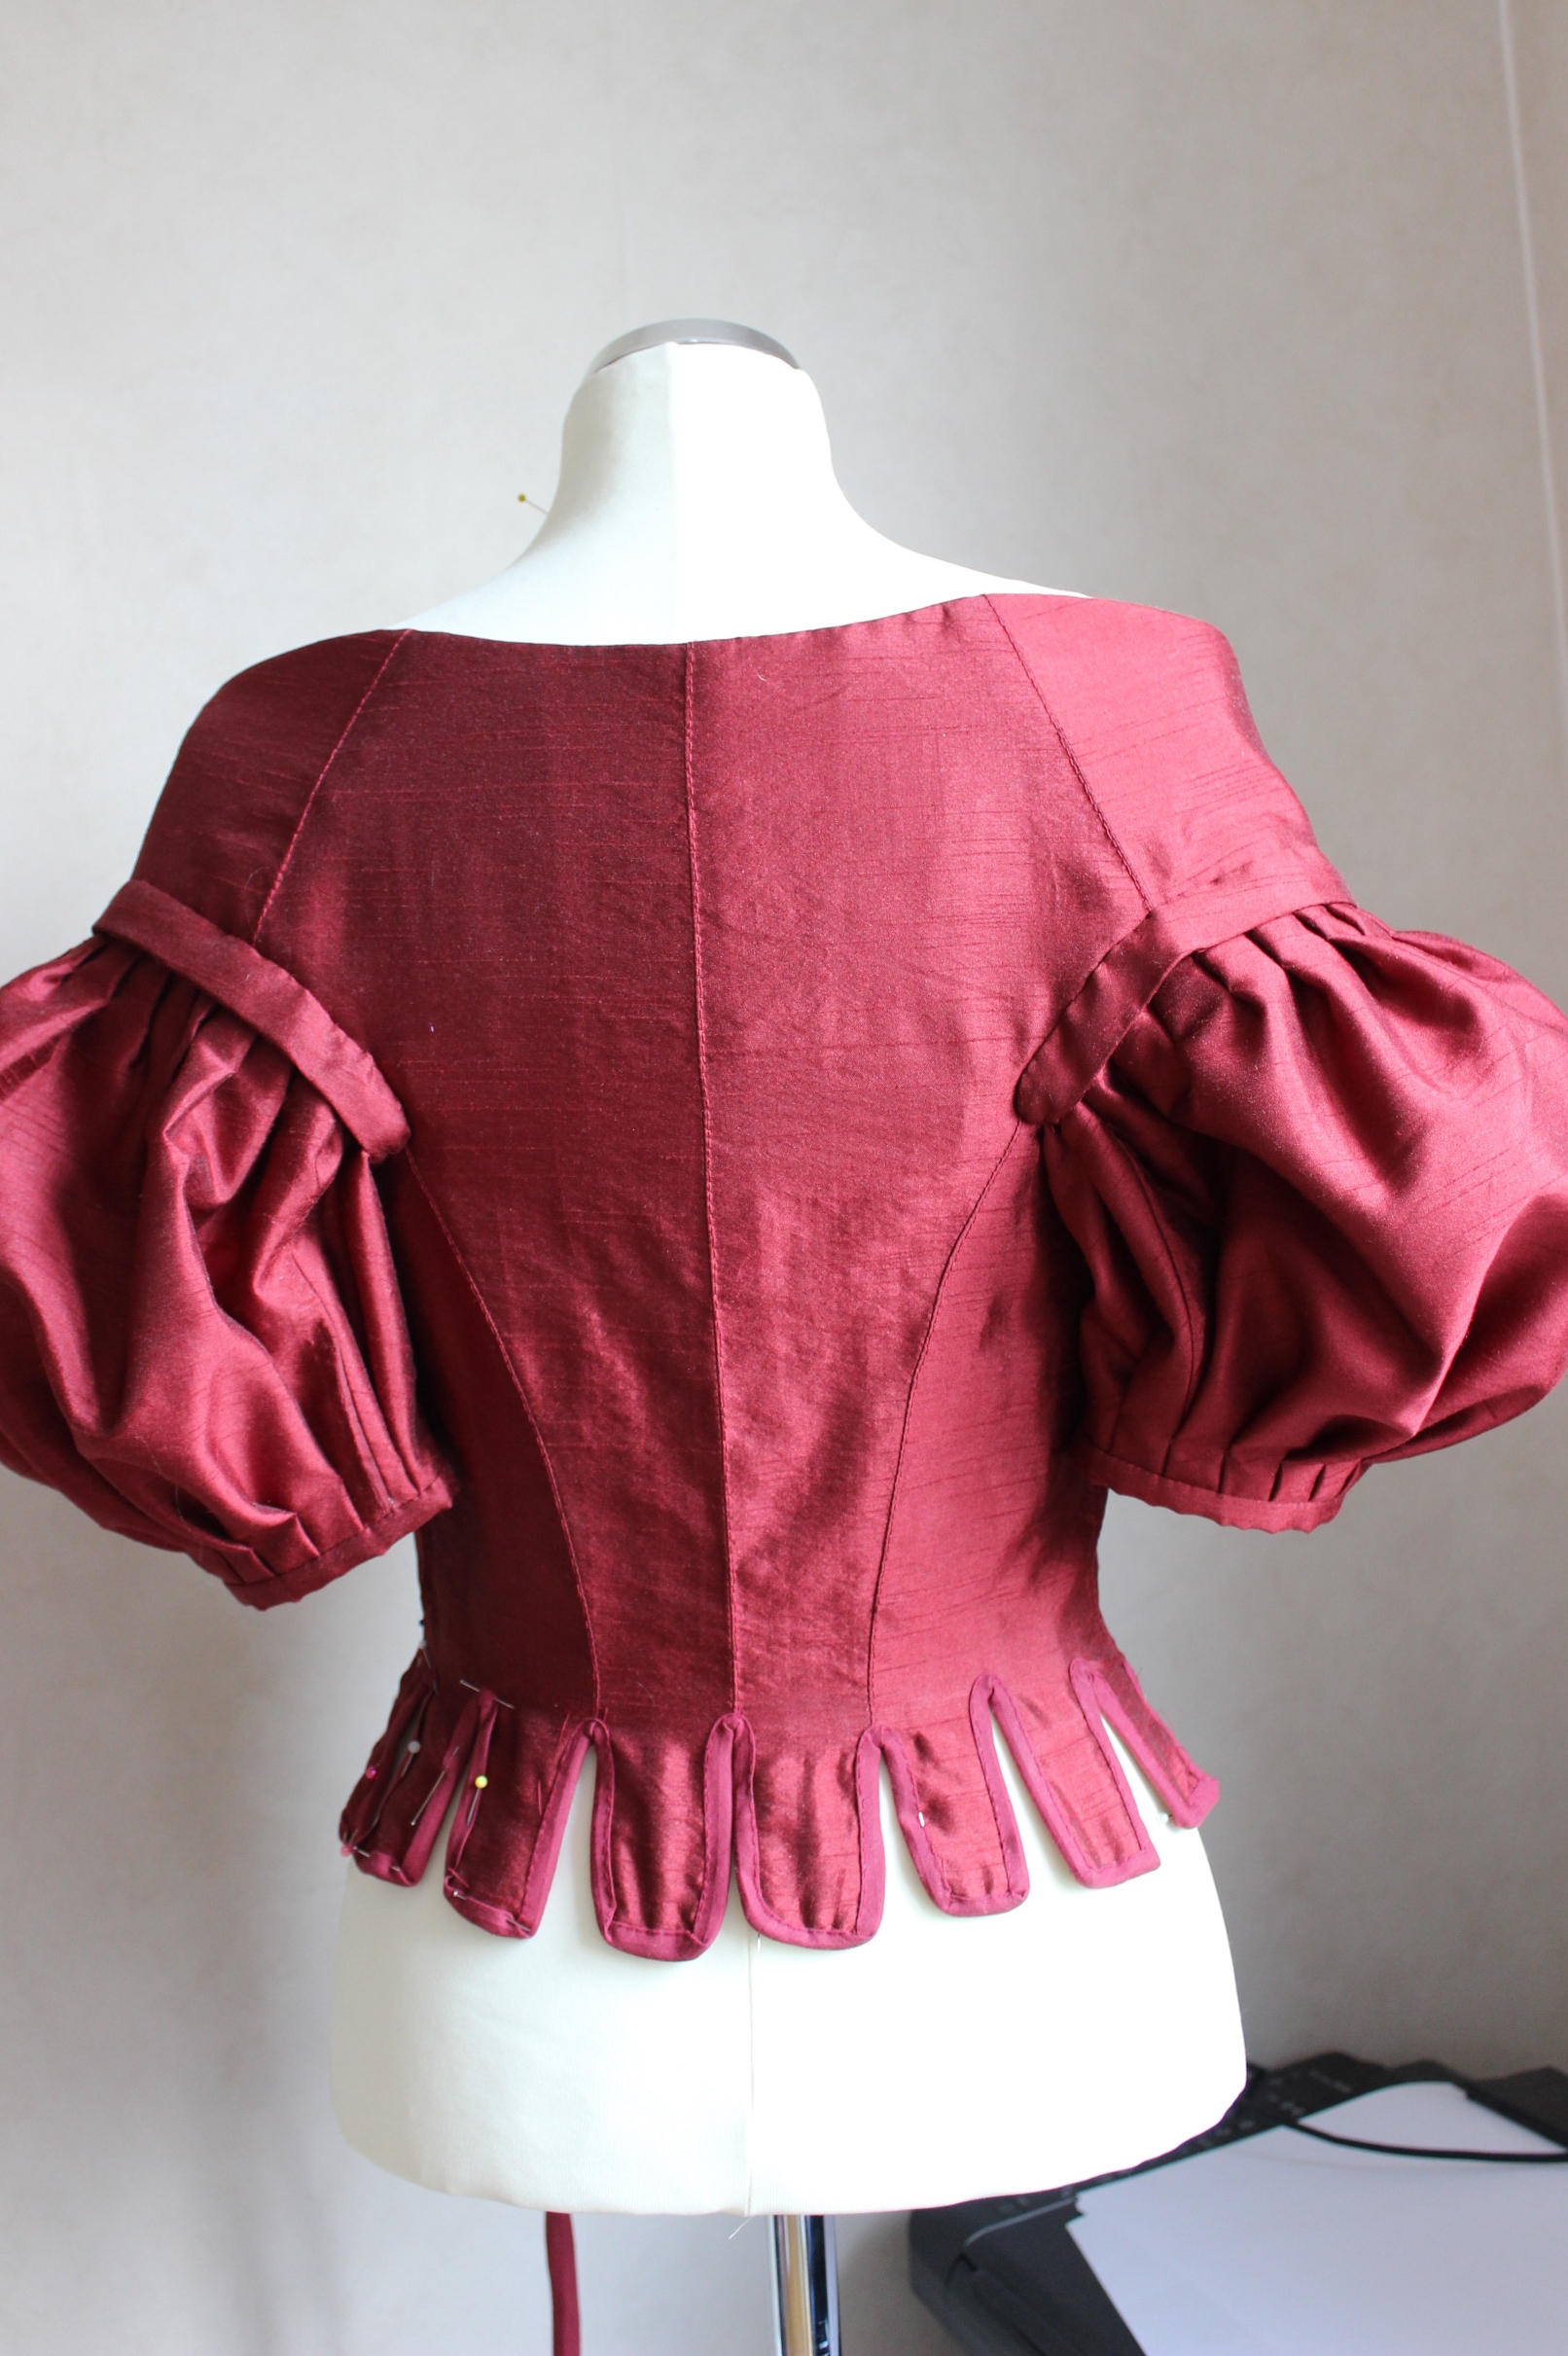
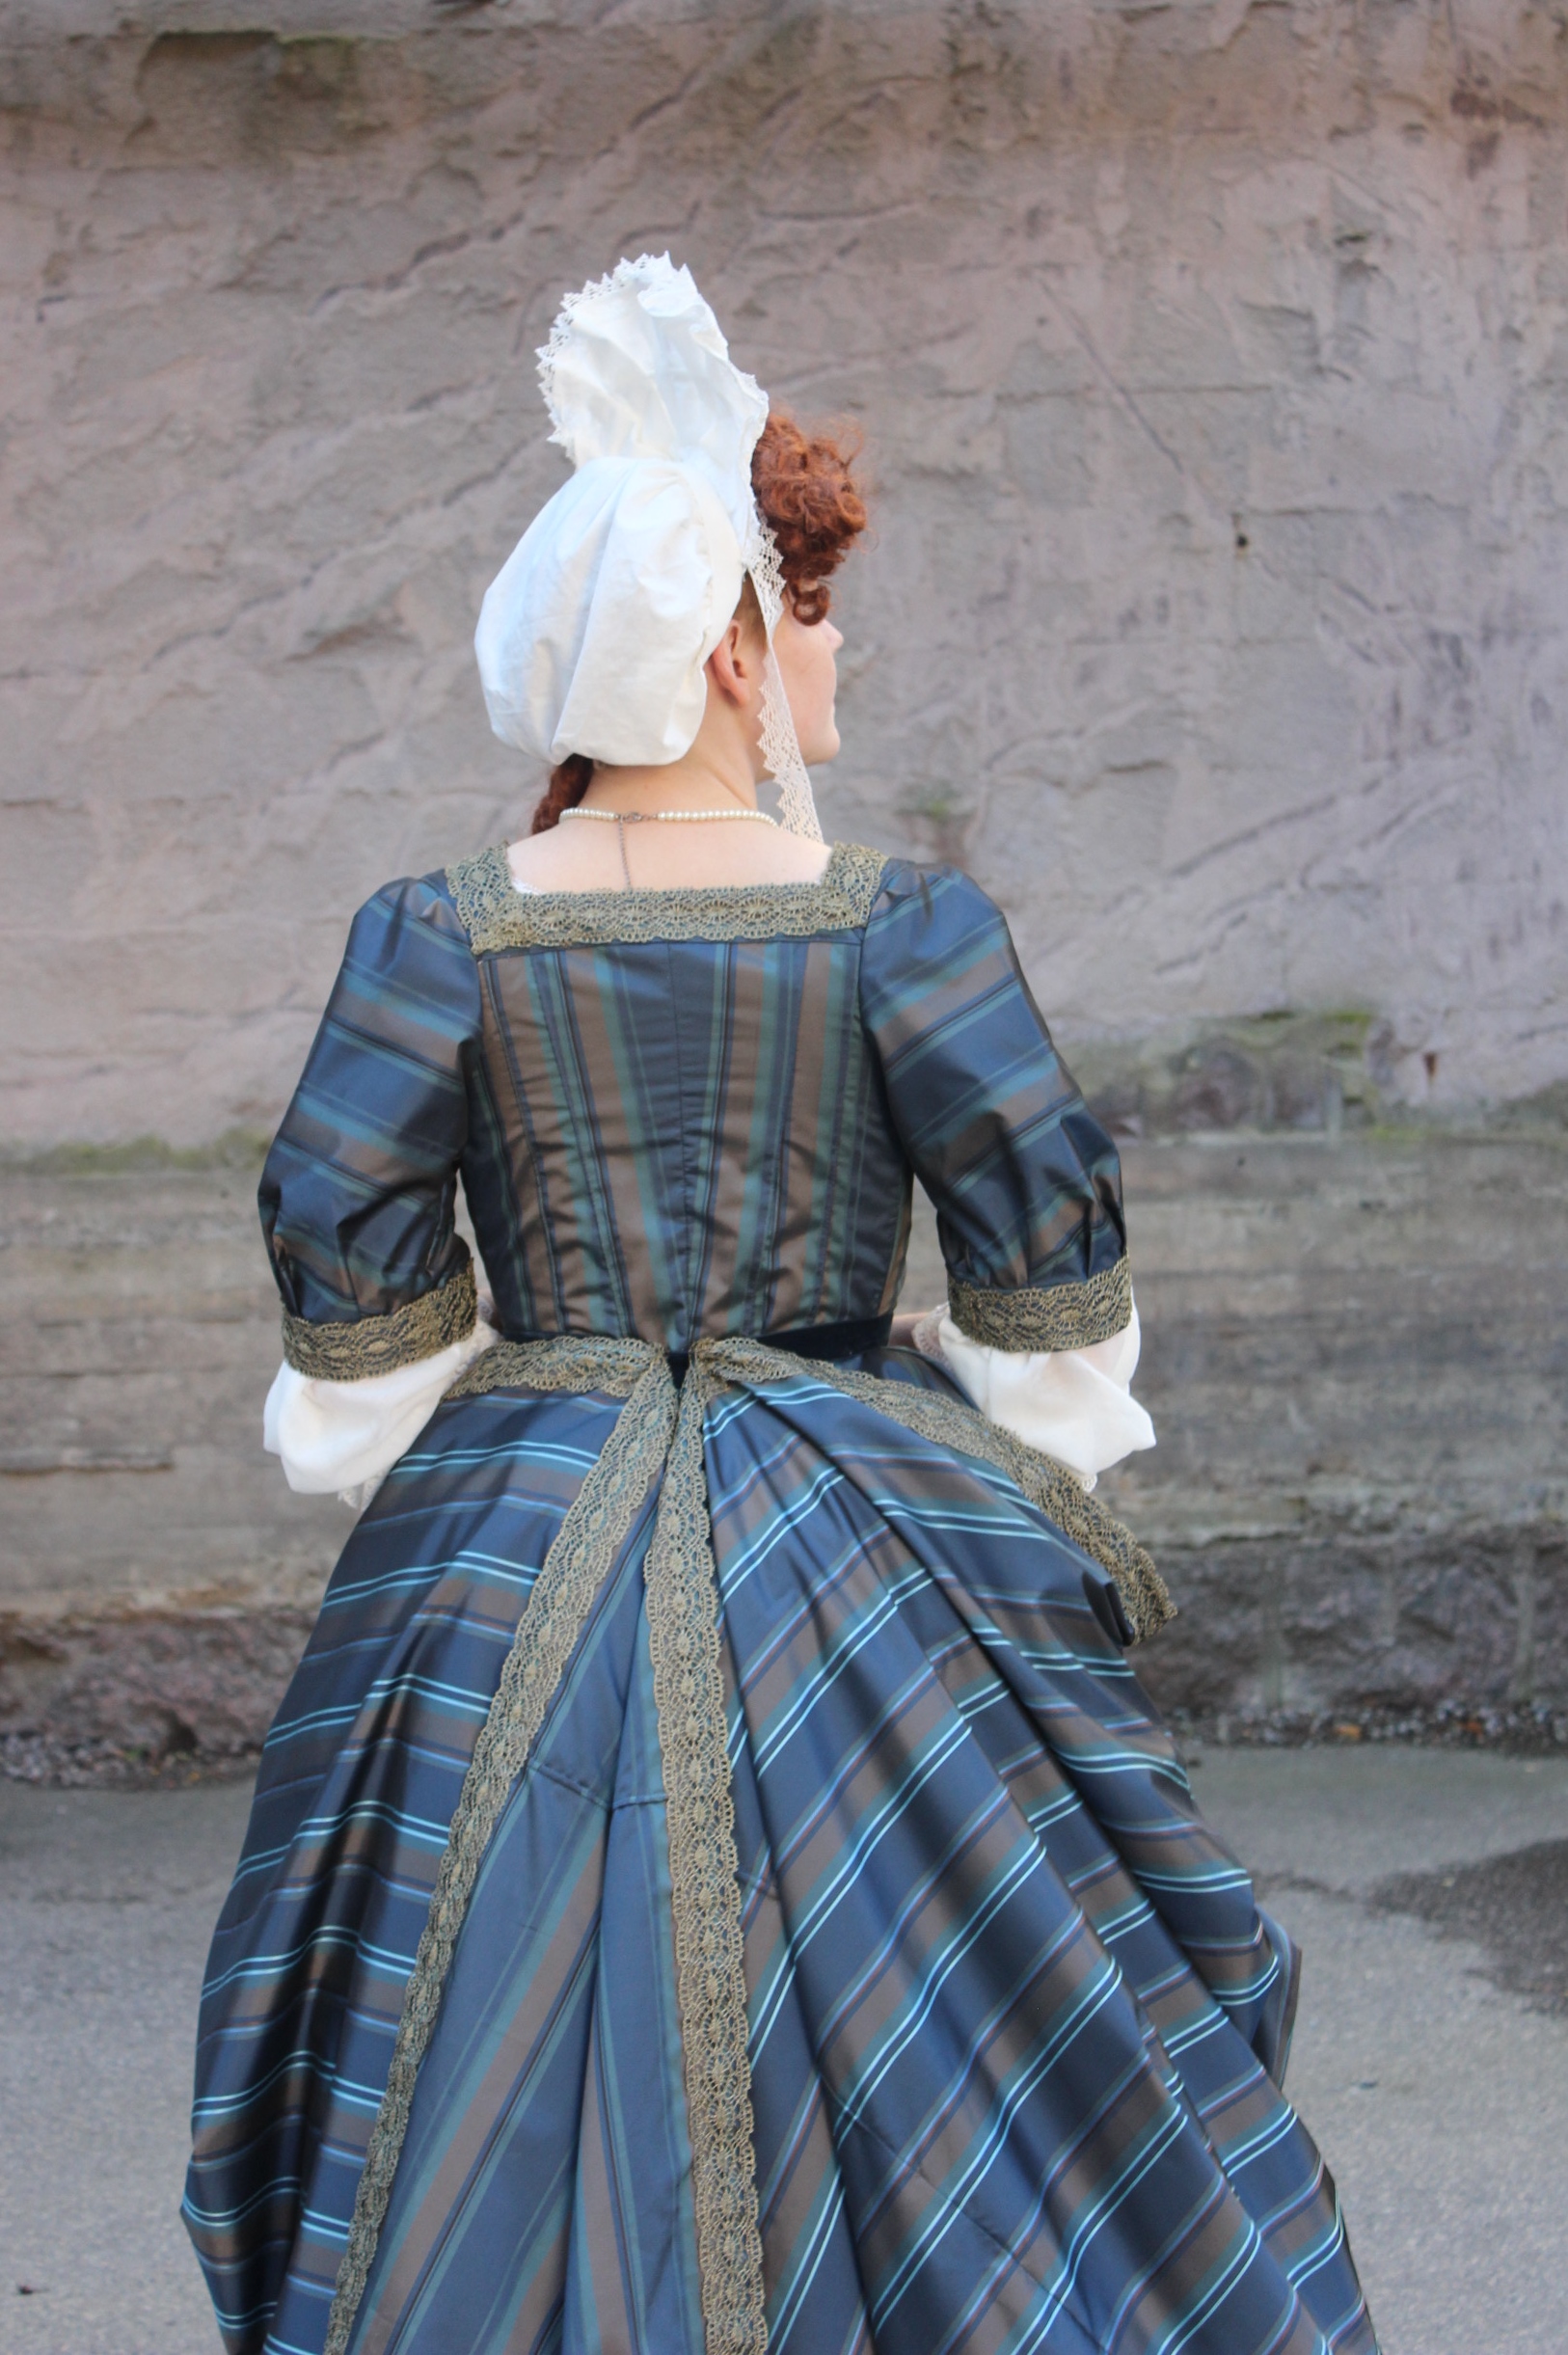
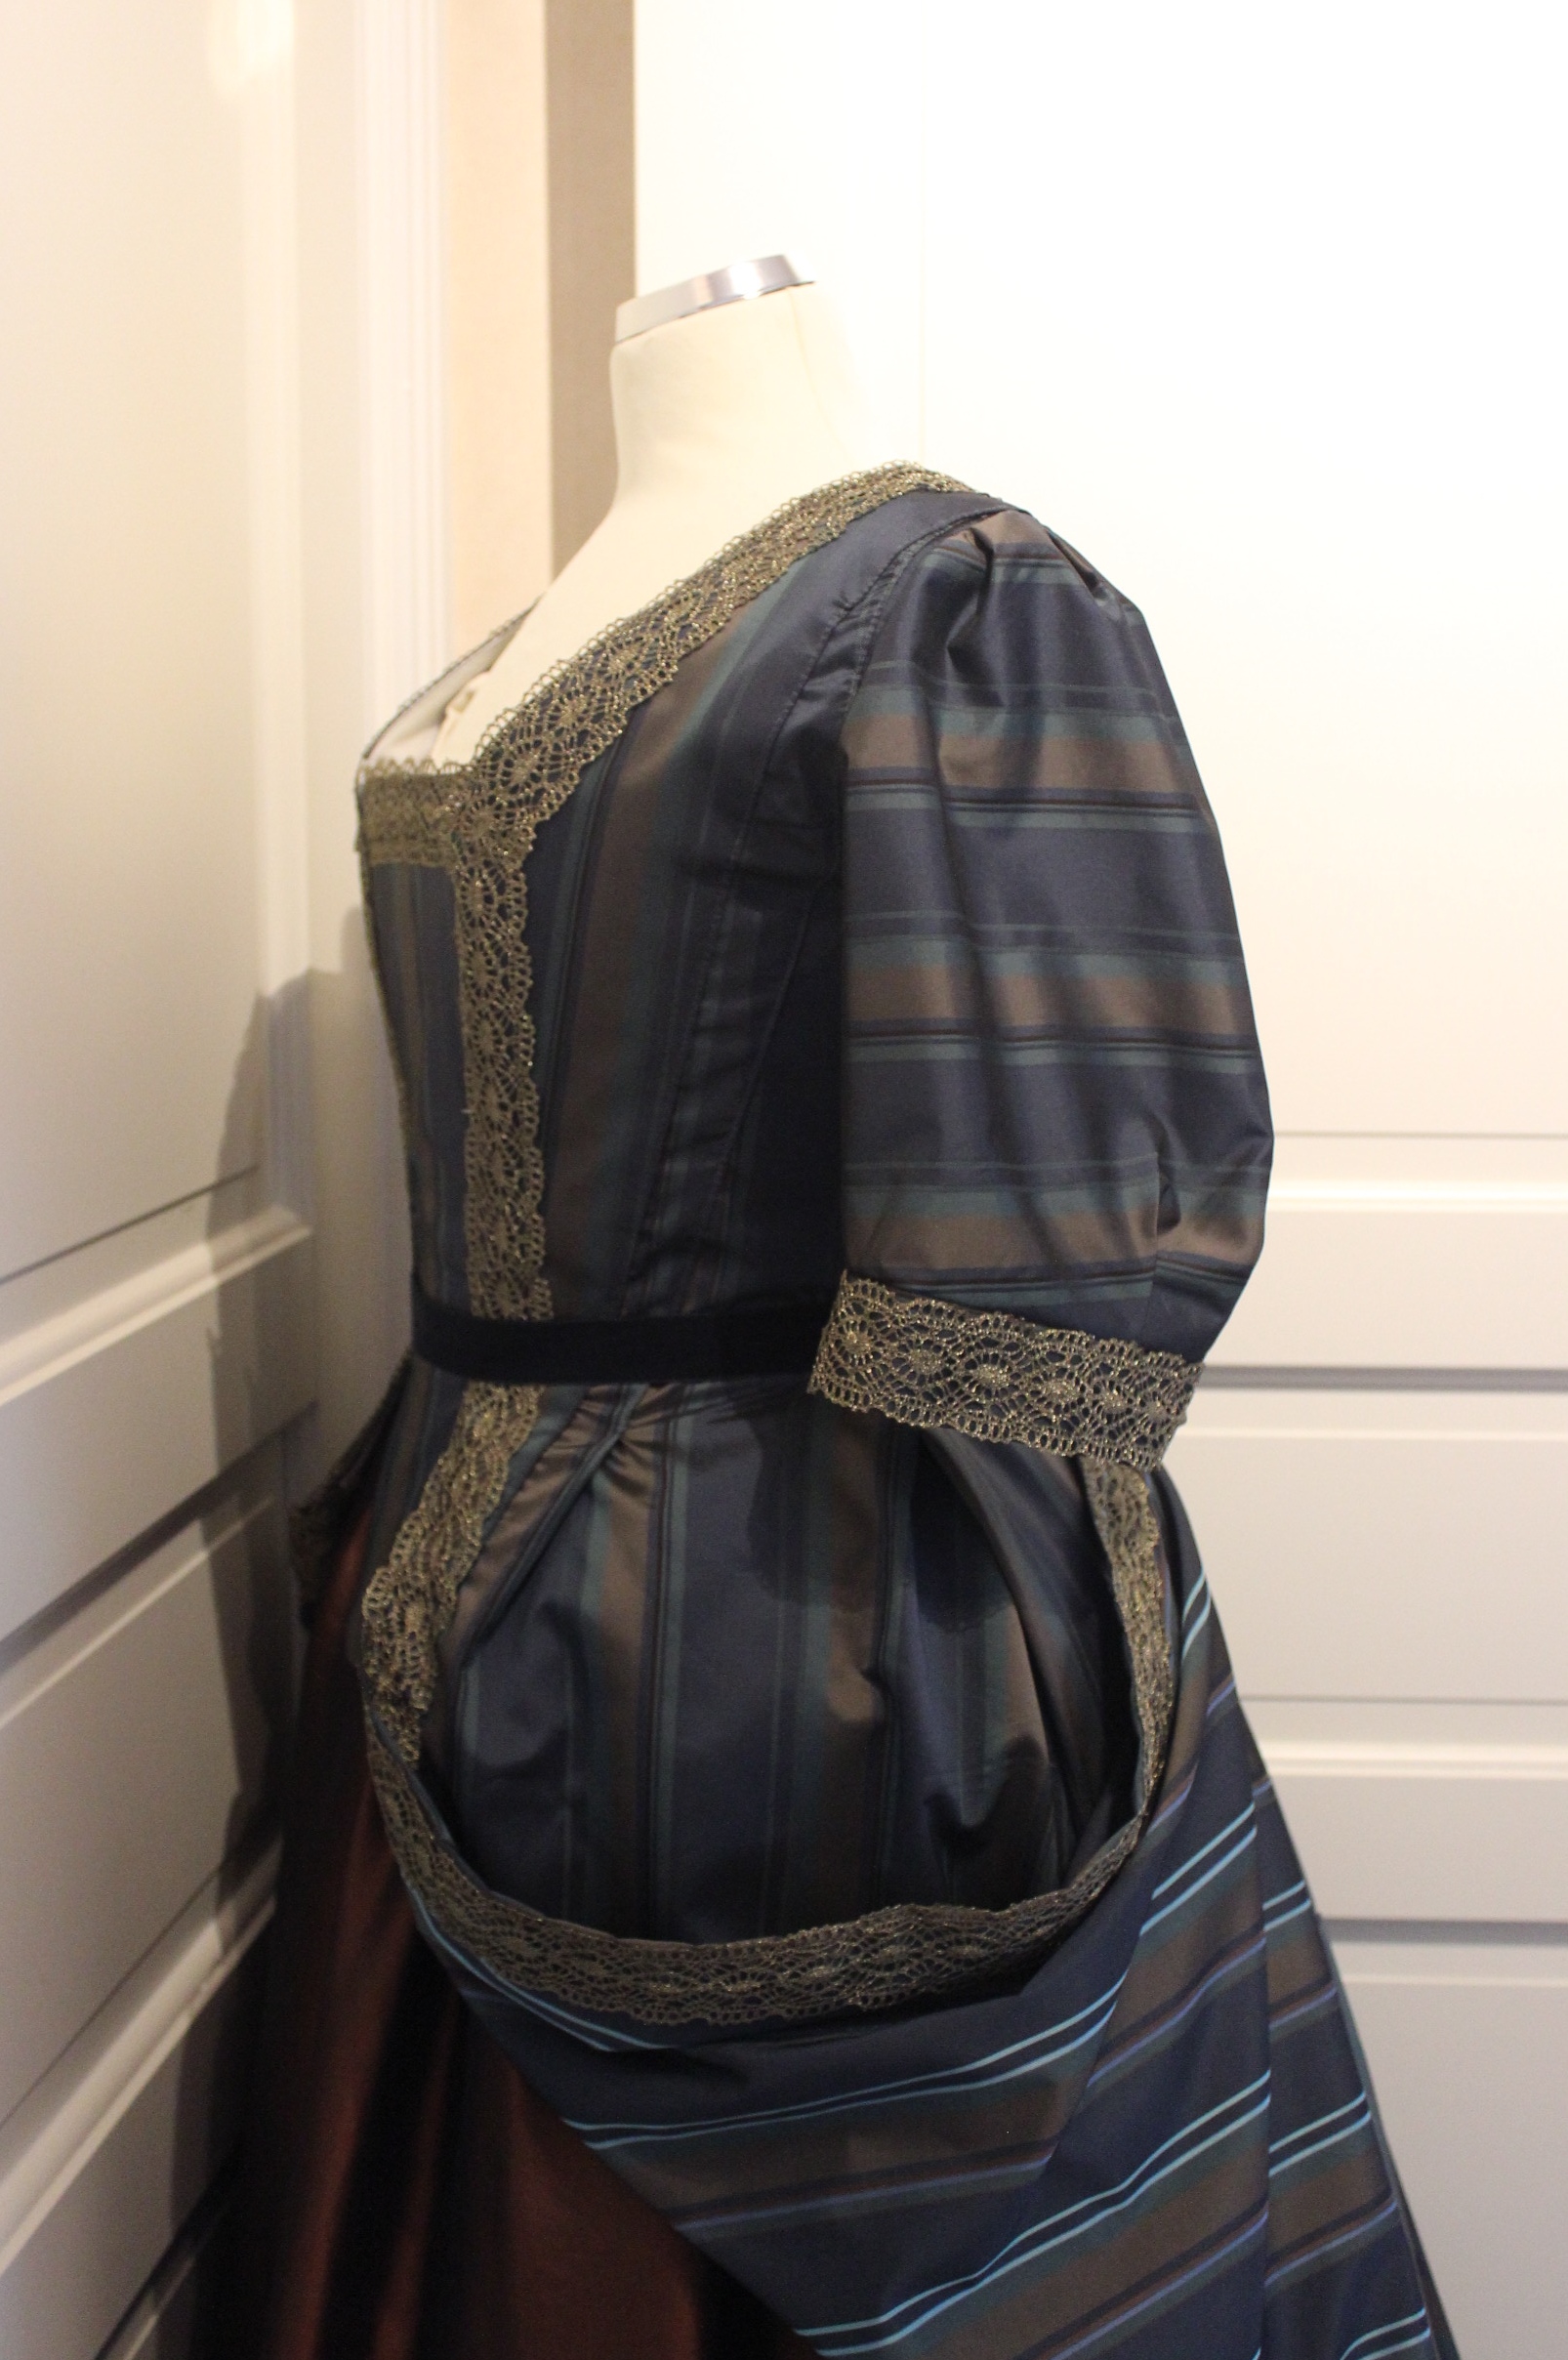
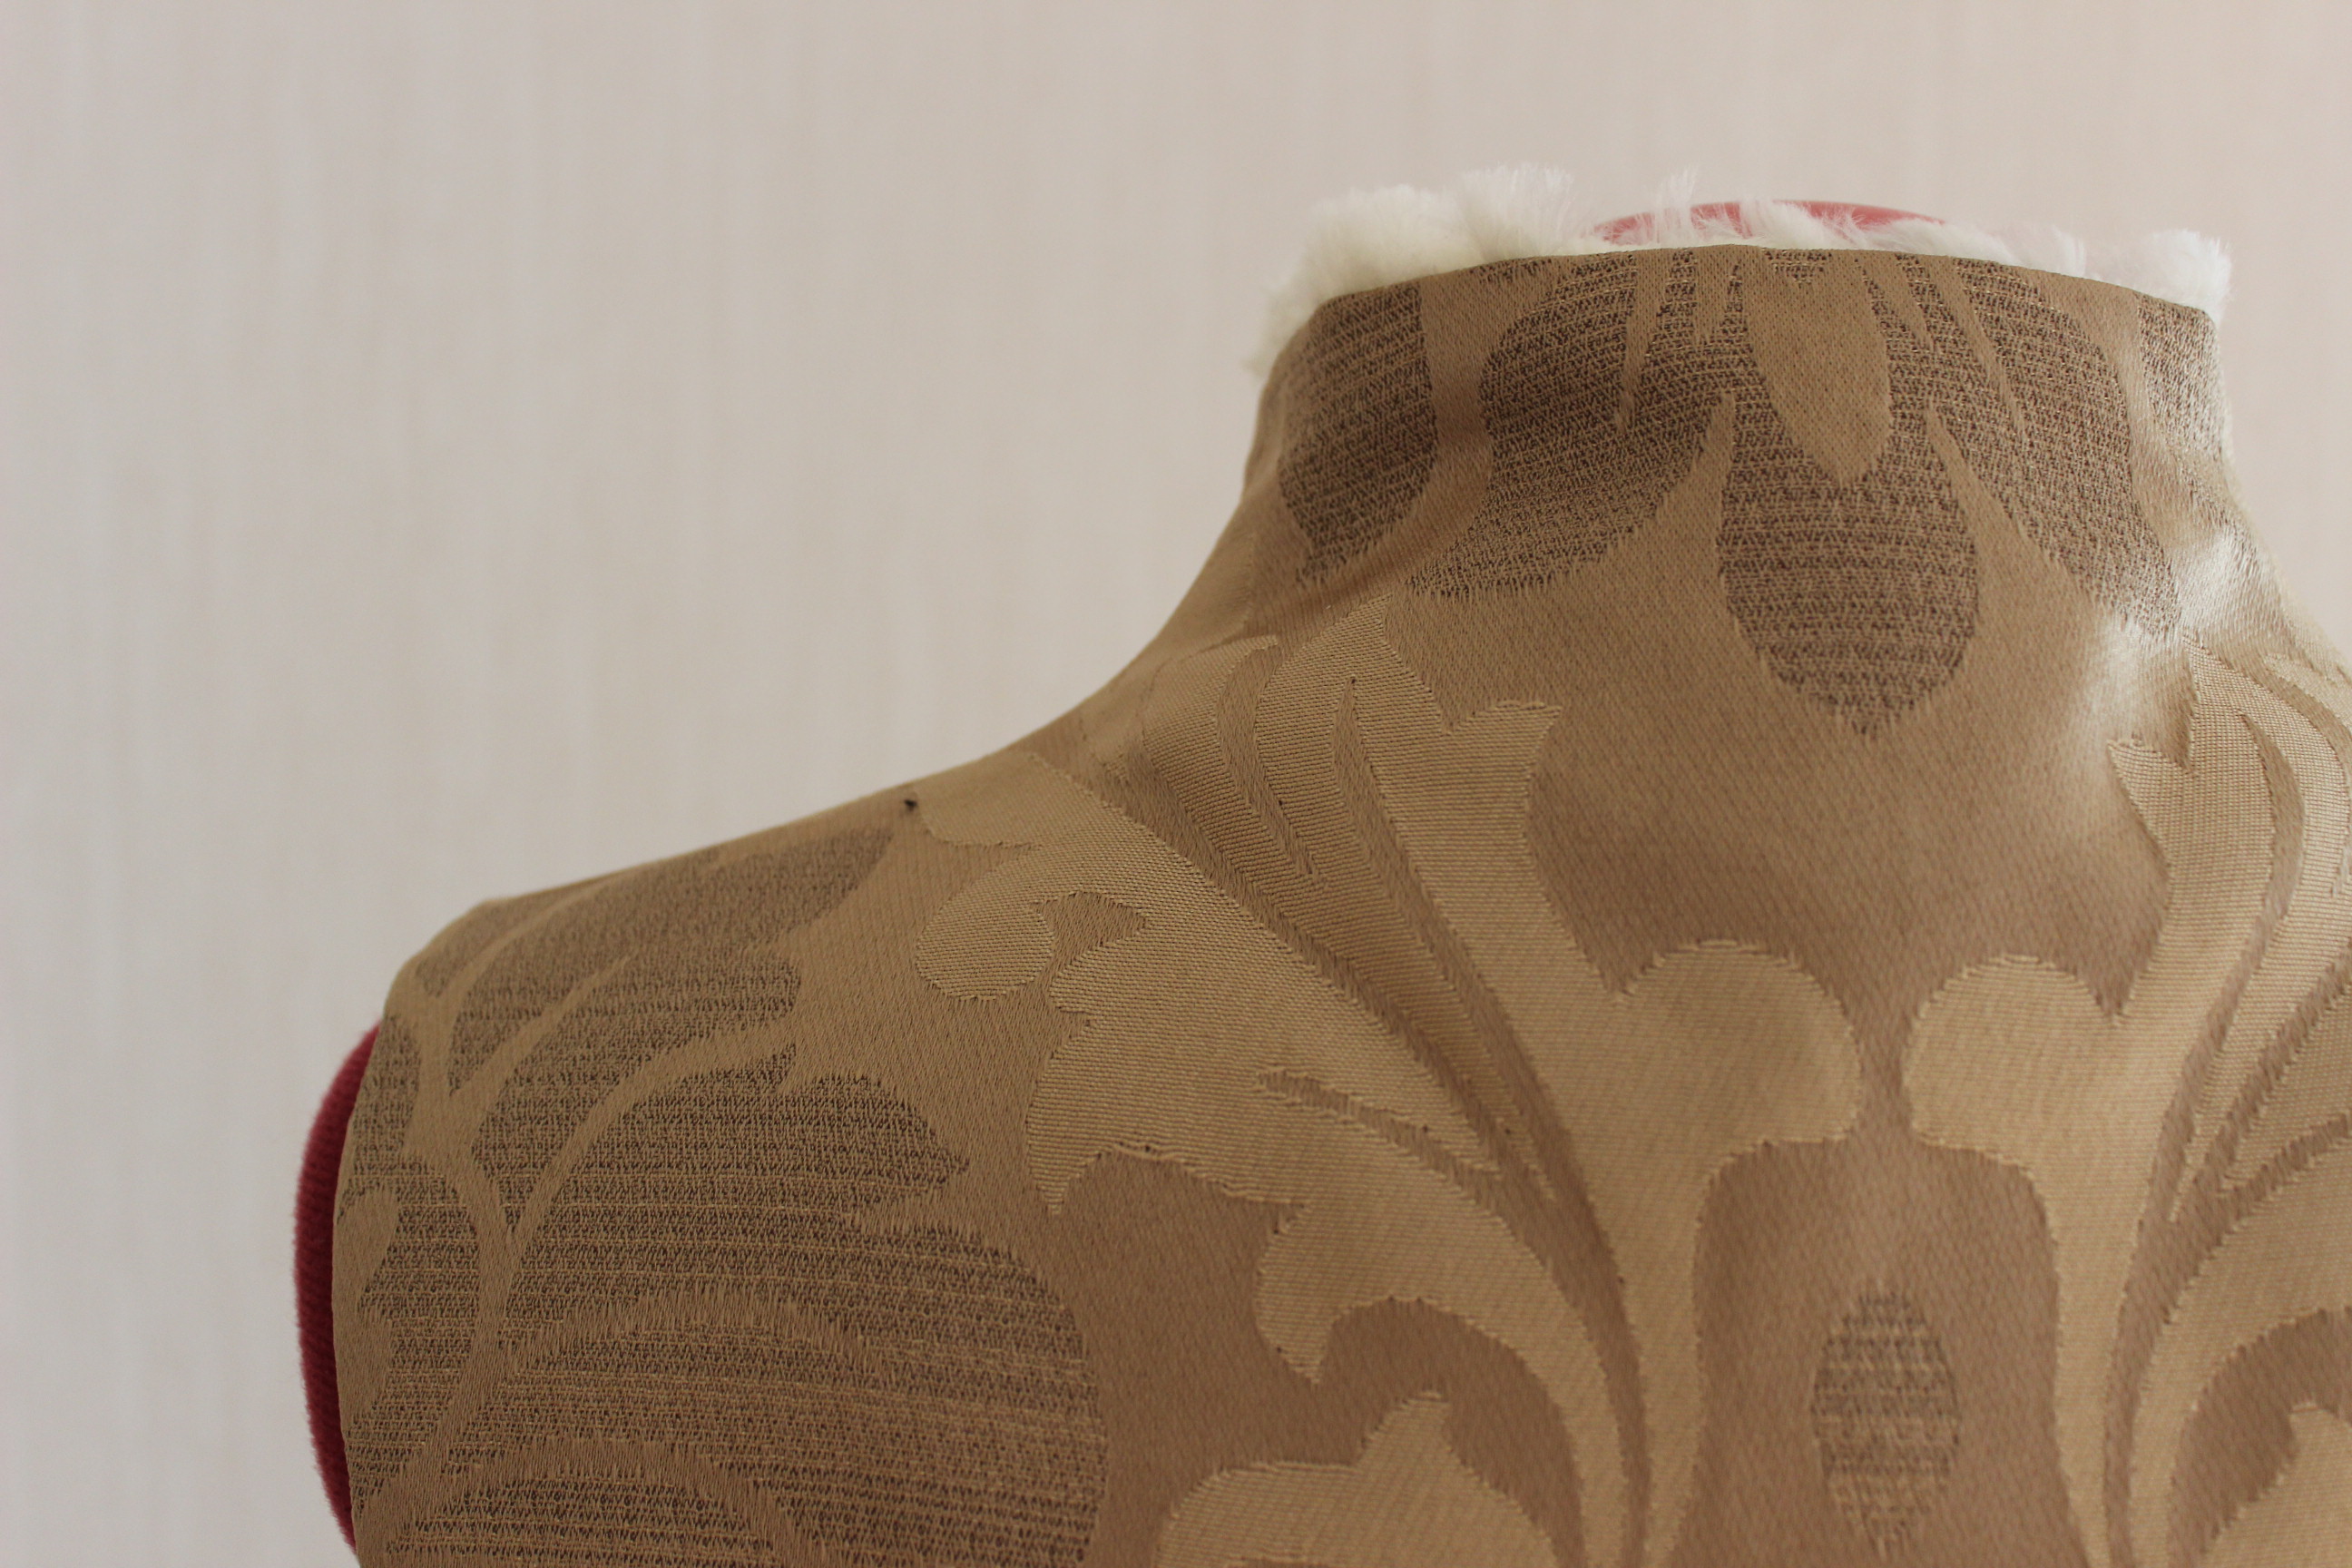
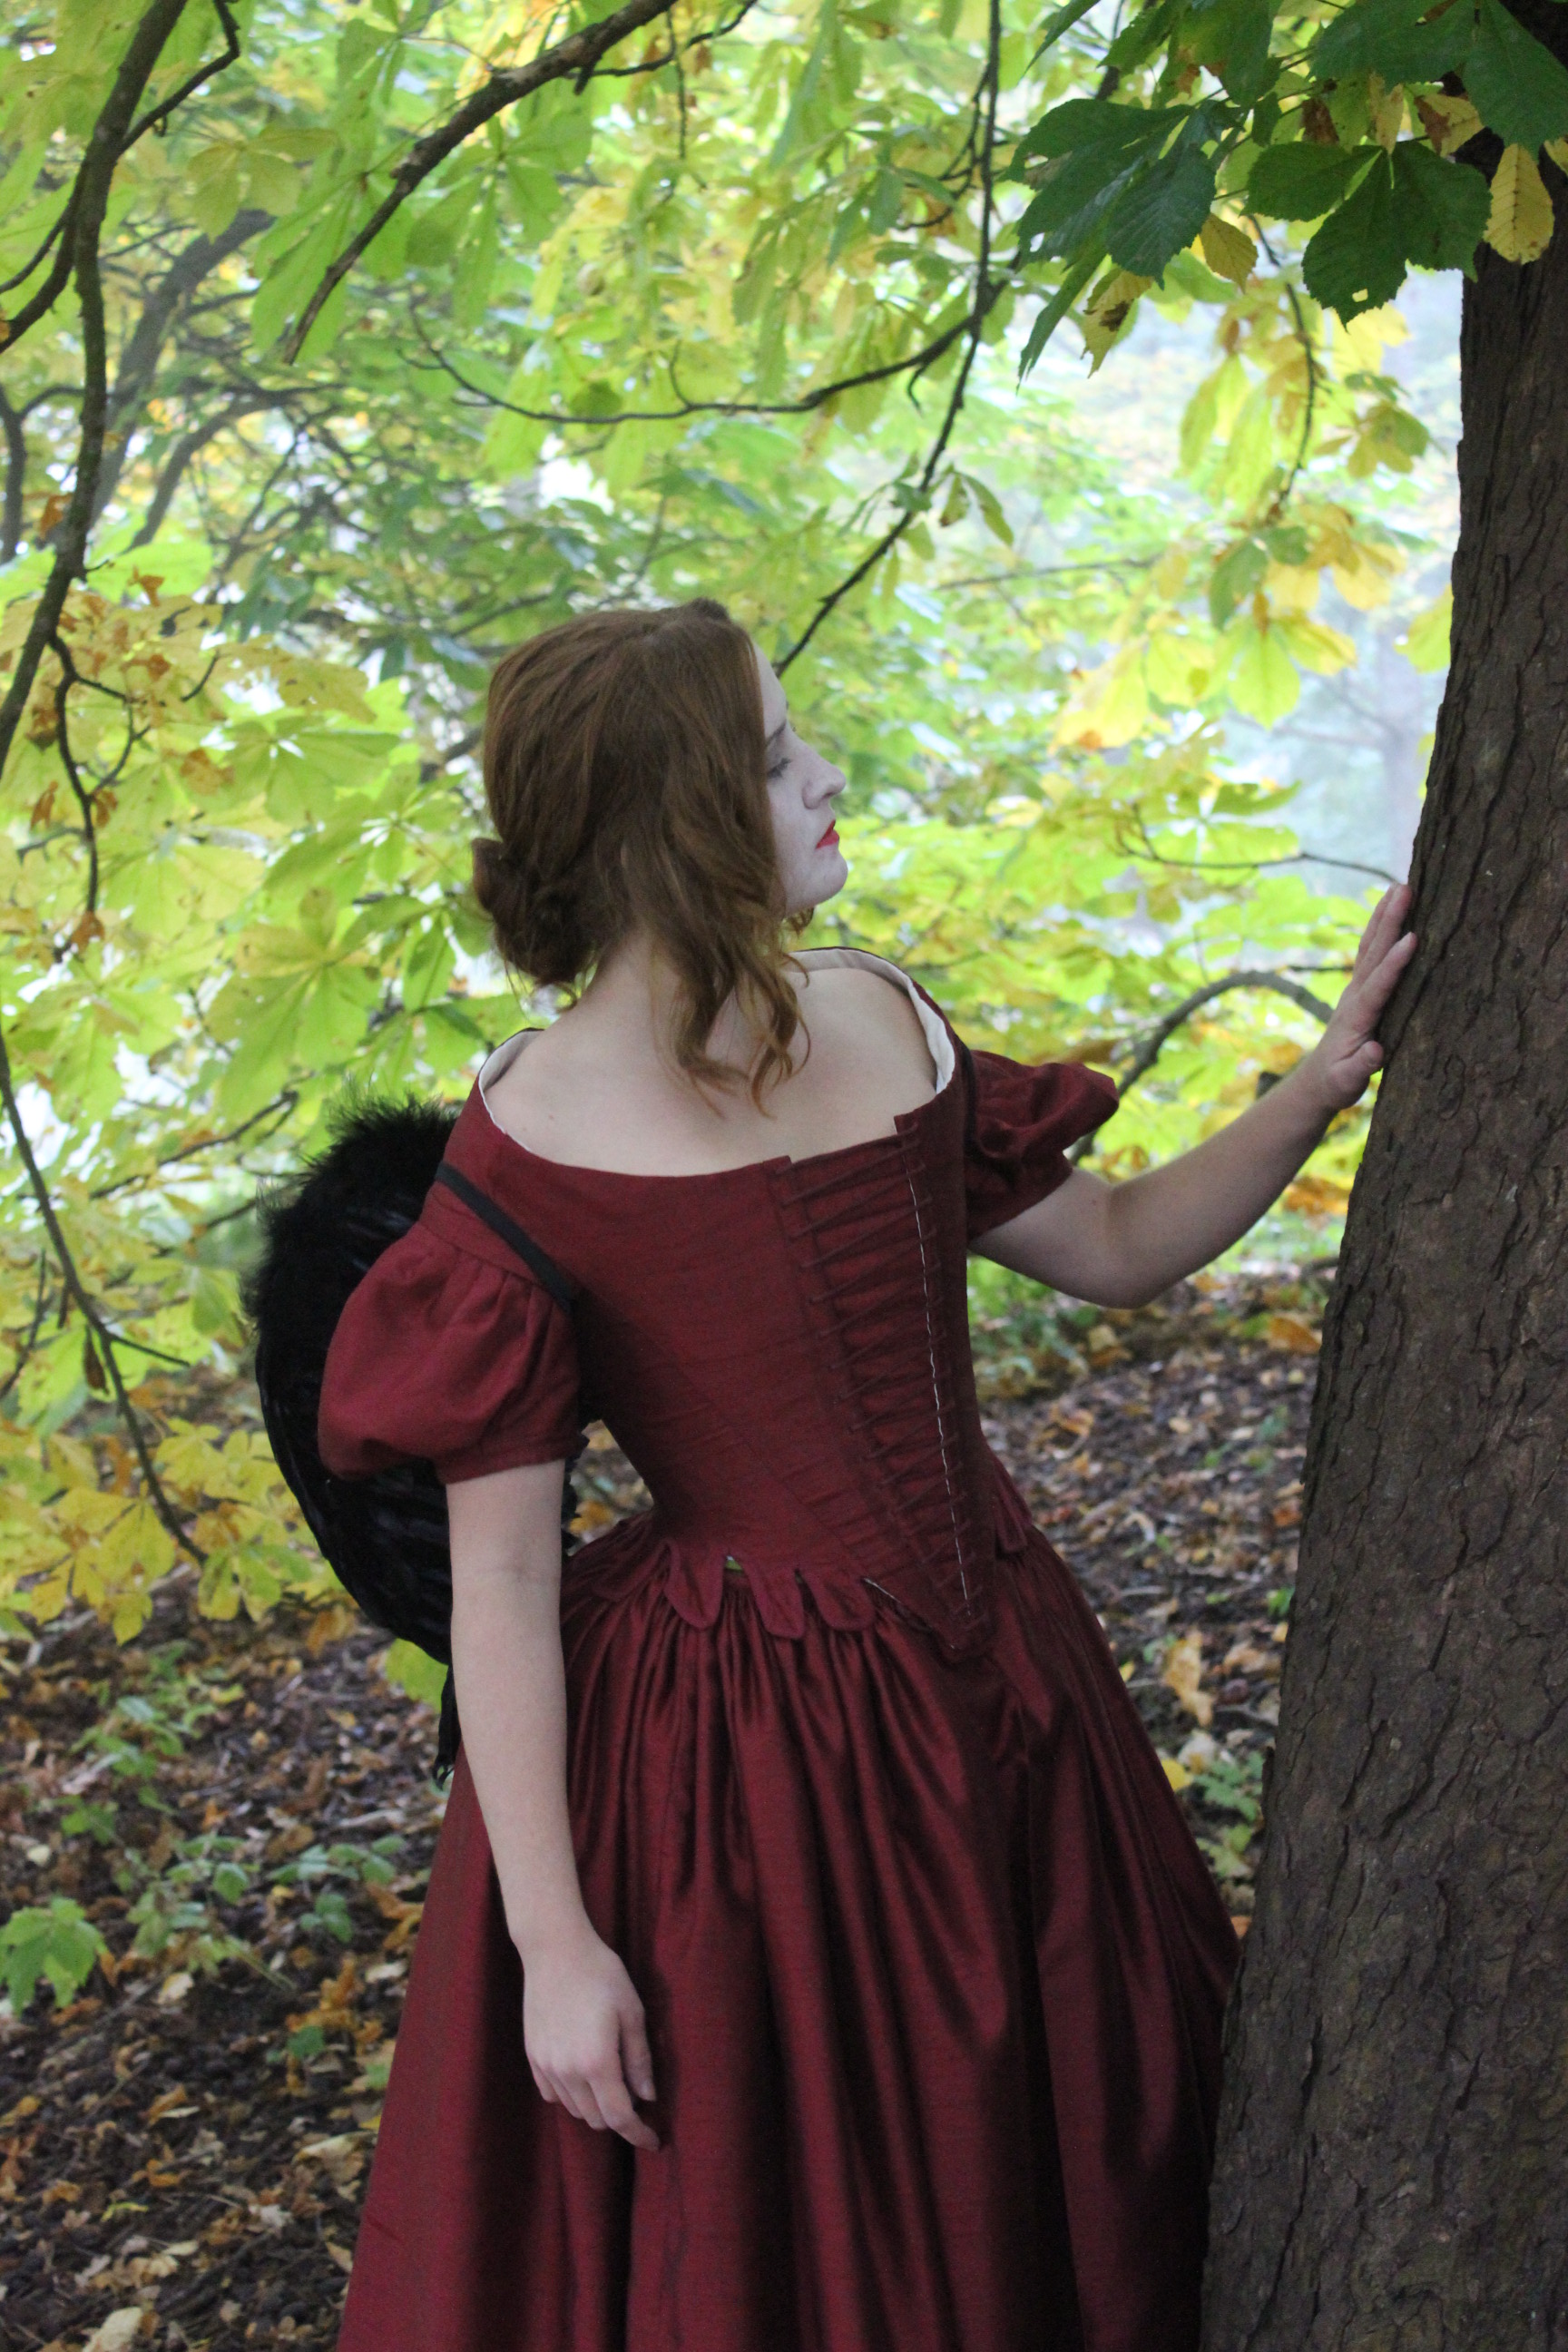
I basted the neck piece and did a first test drape of the skirt.Here you can clearly se the difference between the back bodice sober stripes and the horizontal “right side” stripes on the draping.

Then I put it on for a try.

The fit was pretty good, but a bit to snug.

So I stitched down the pleats and the front darts, forgetting to let it out a bit when sewing up the side seams.  
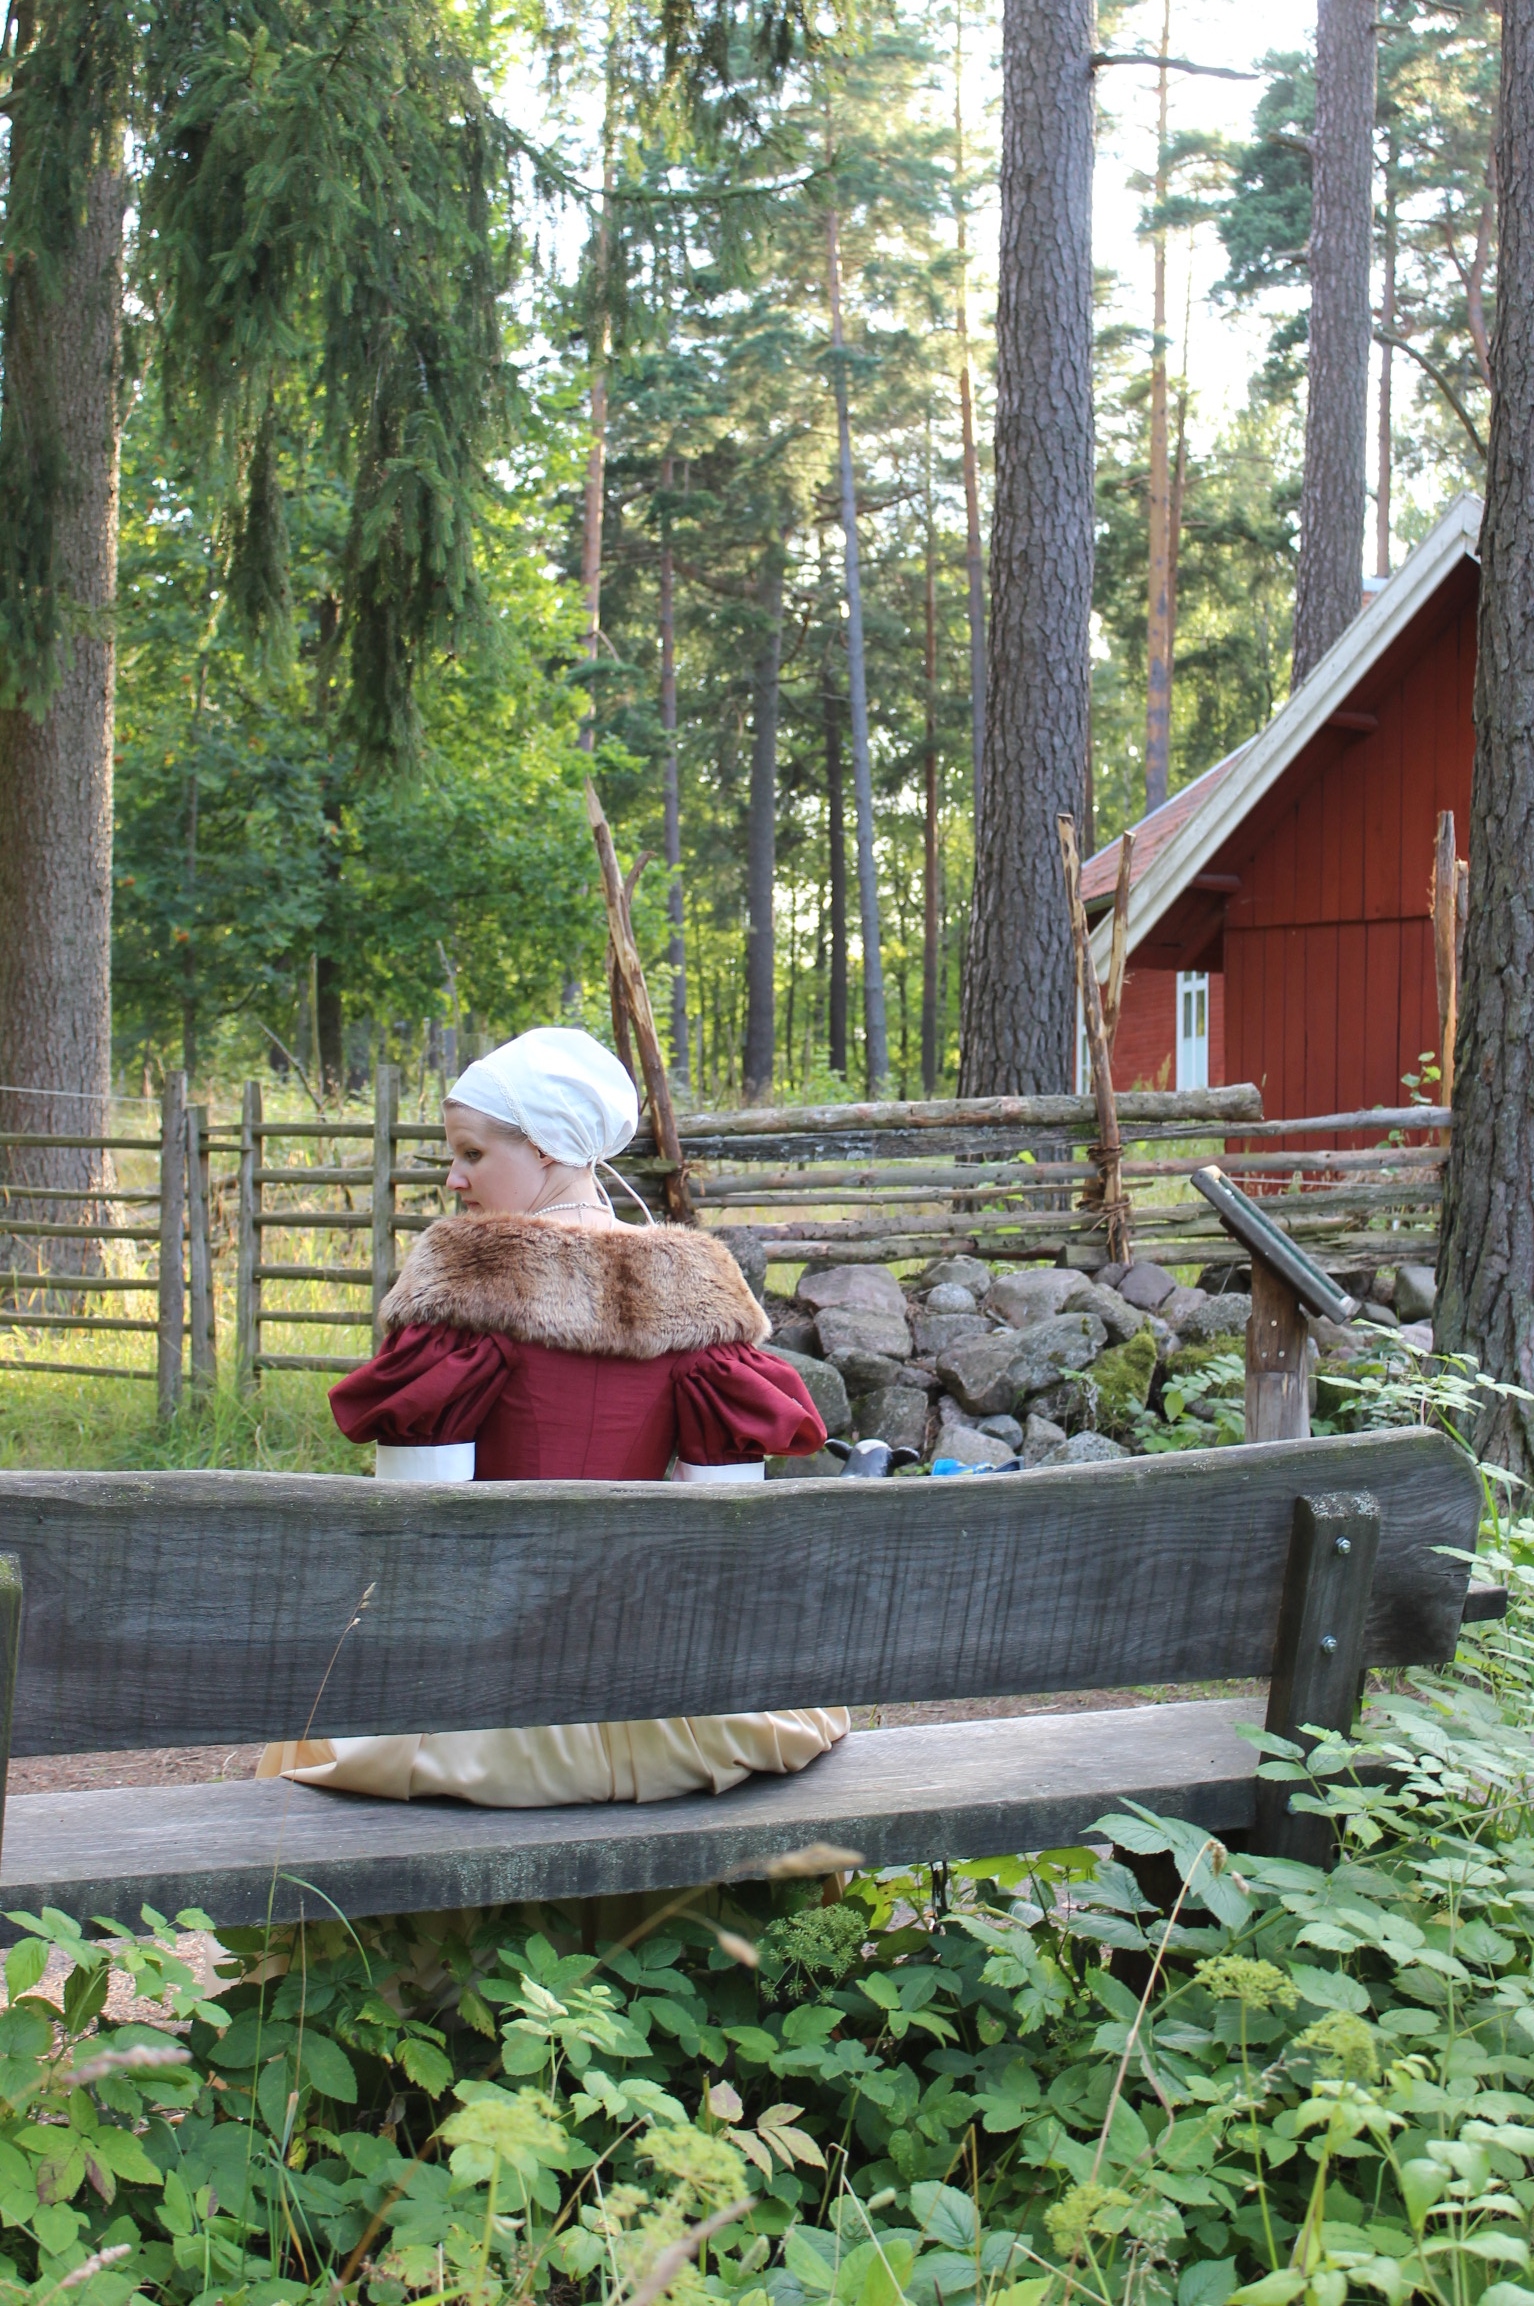
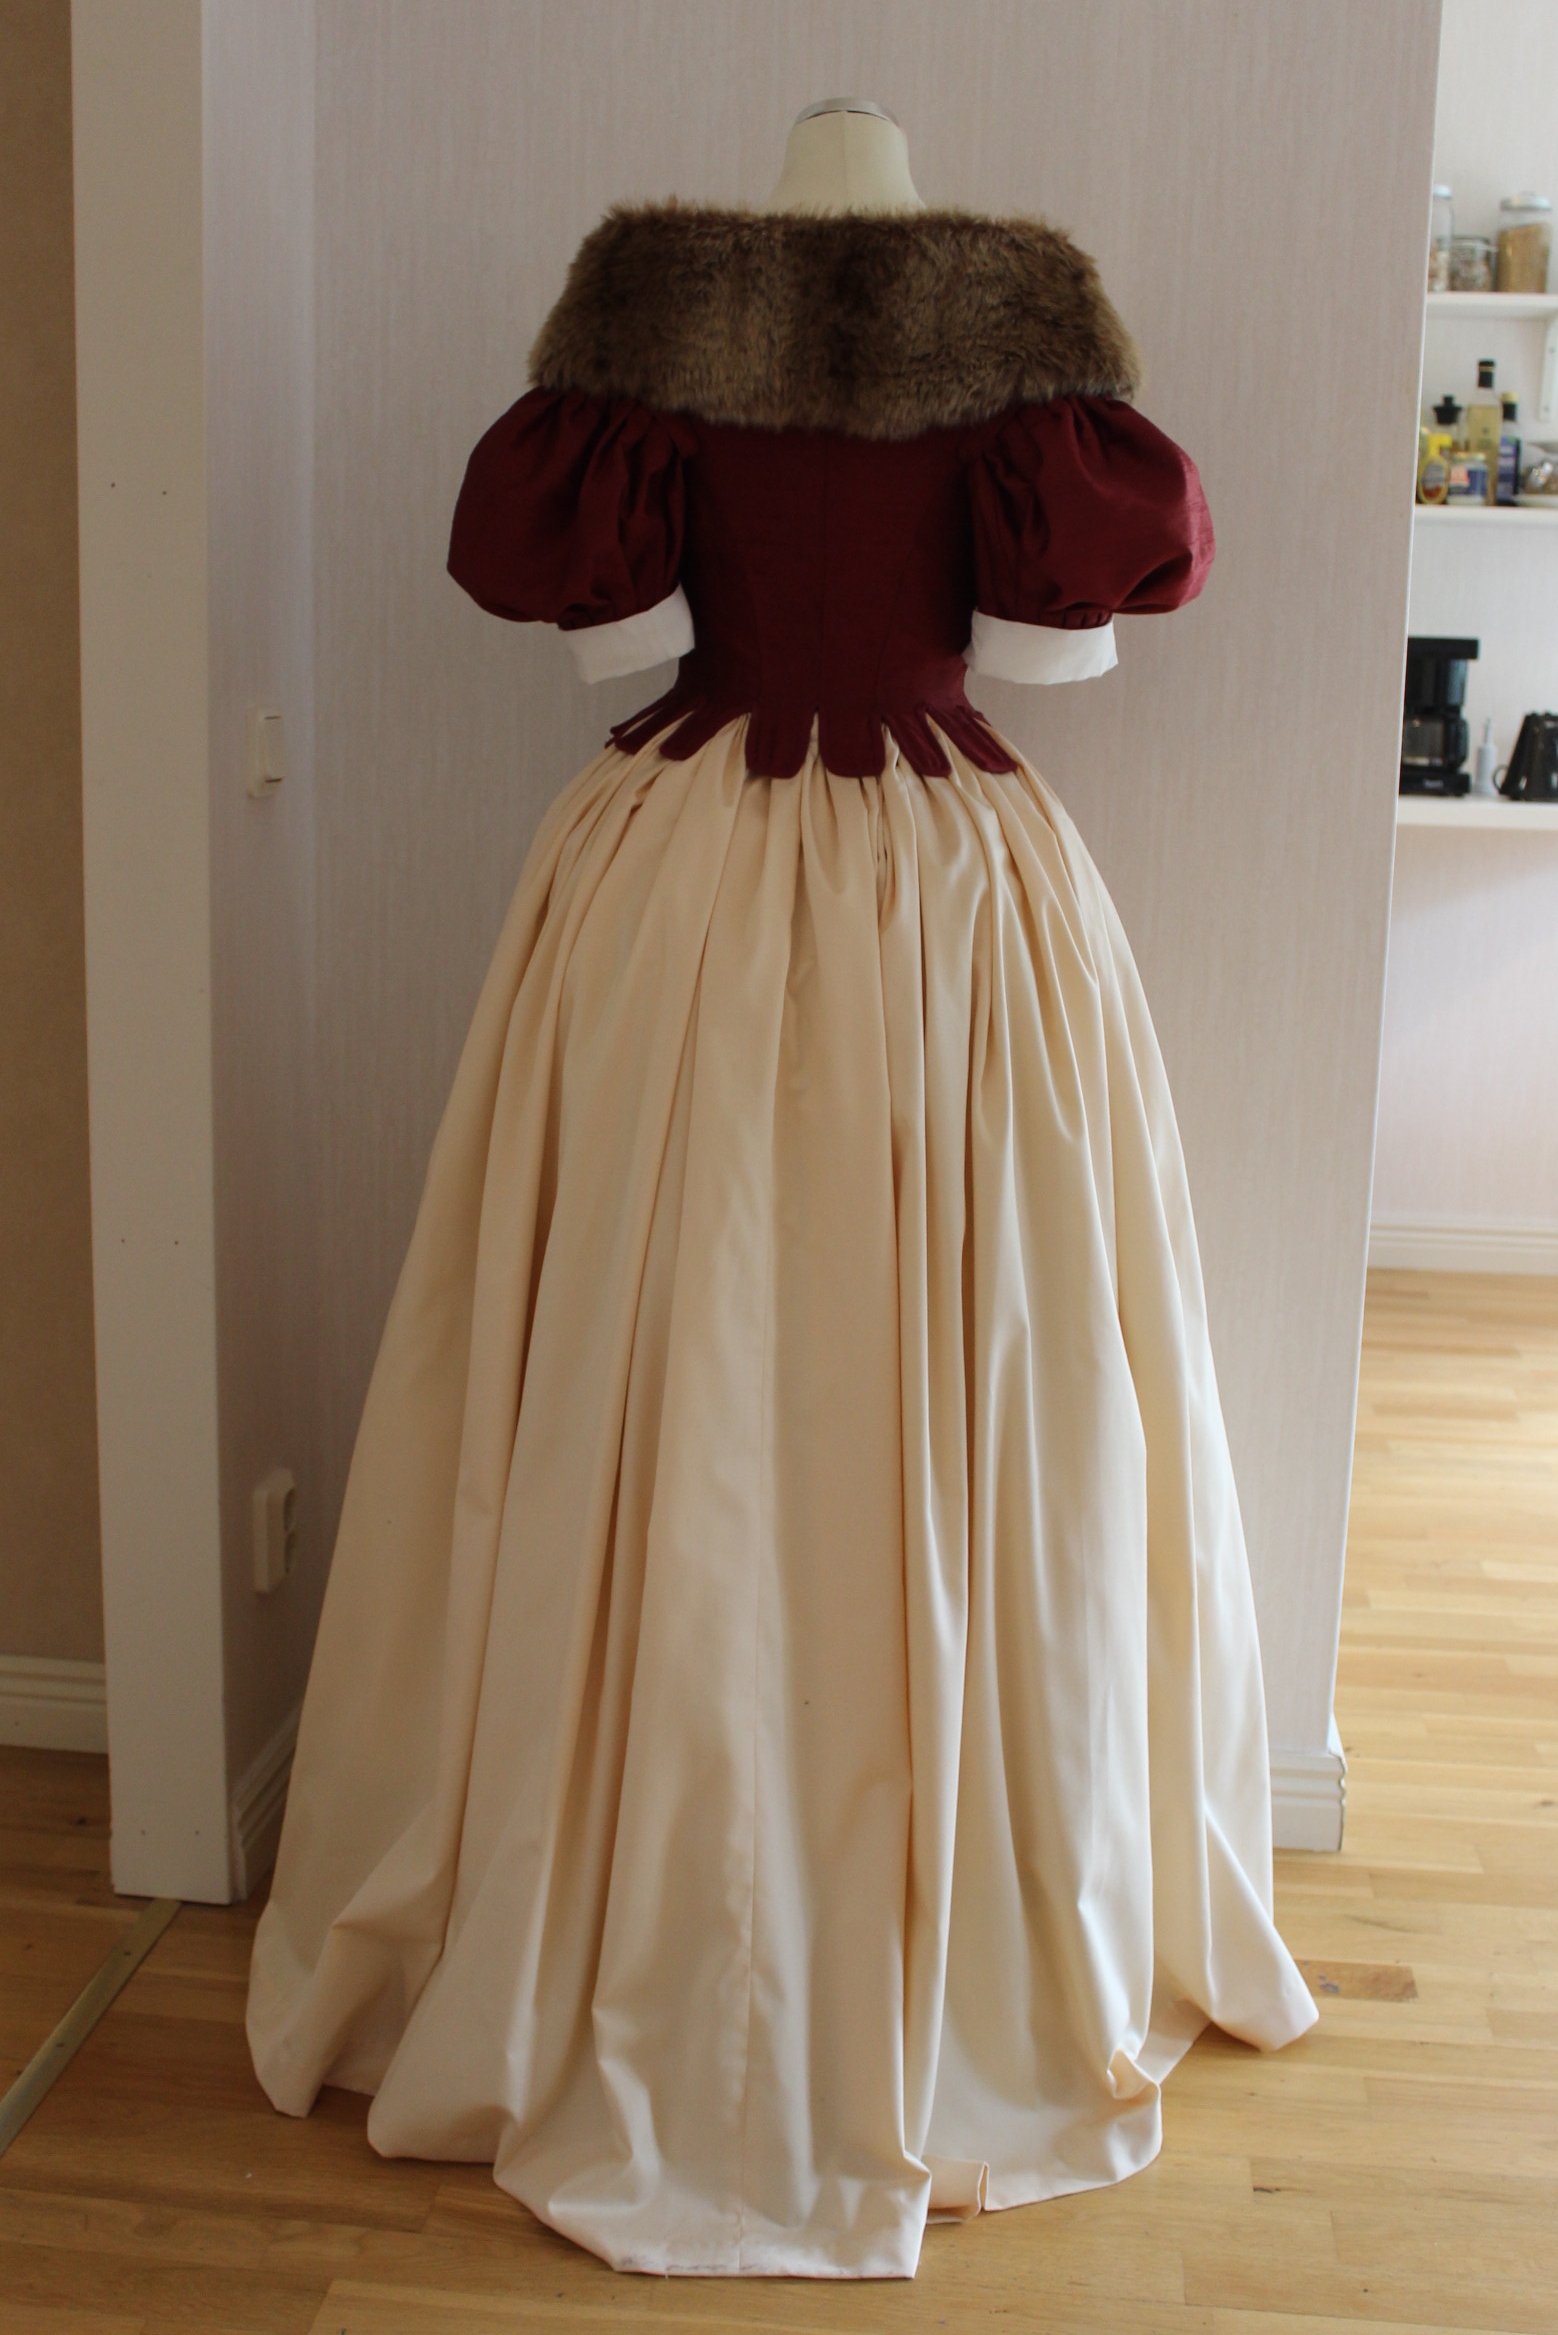
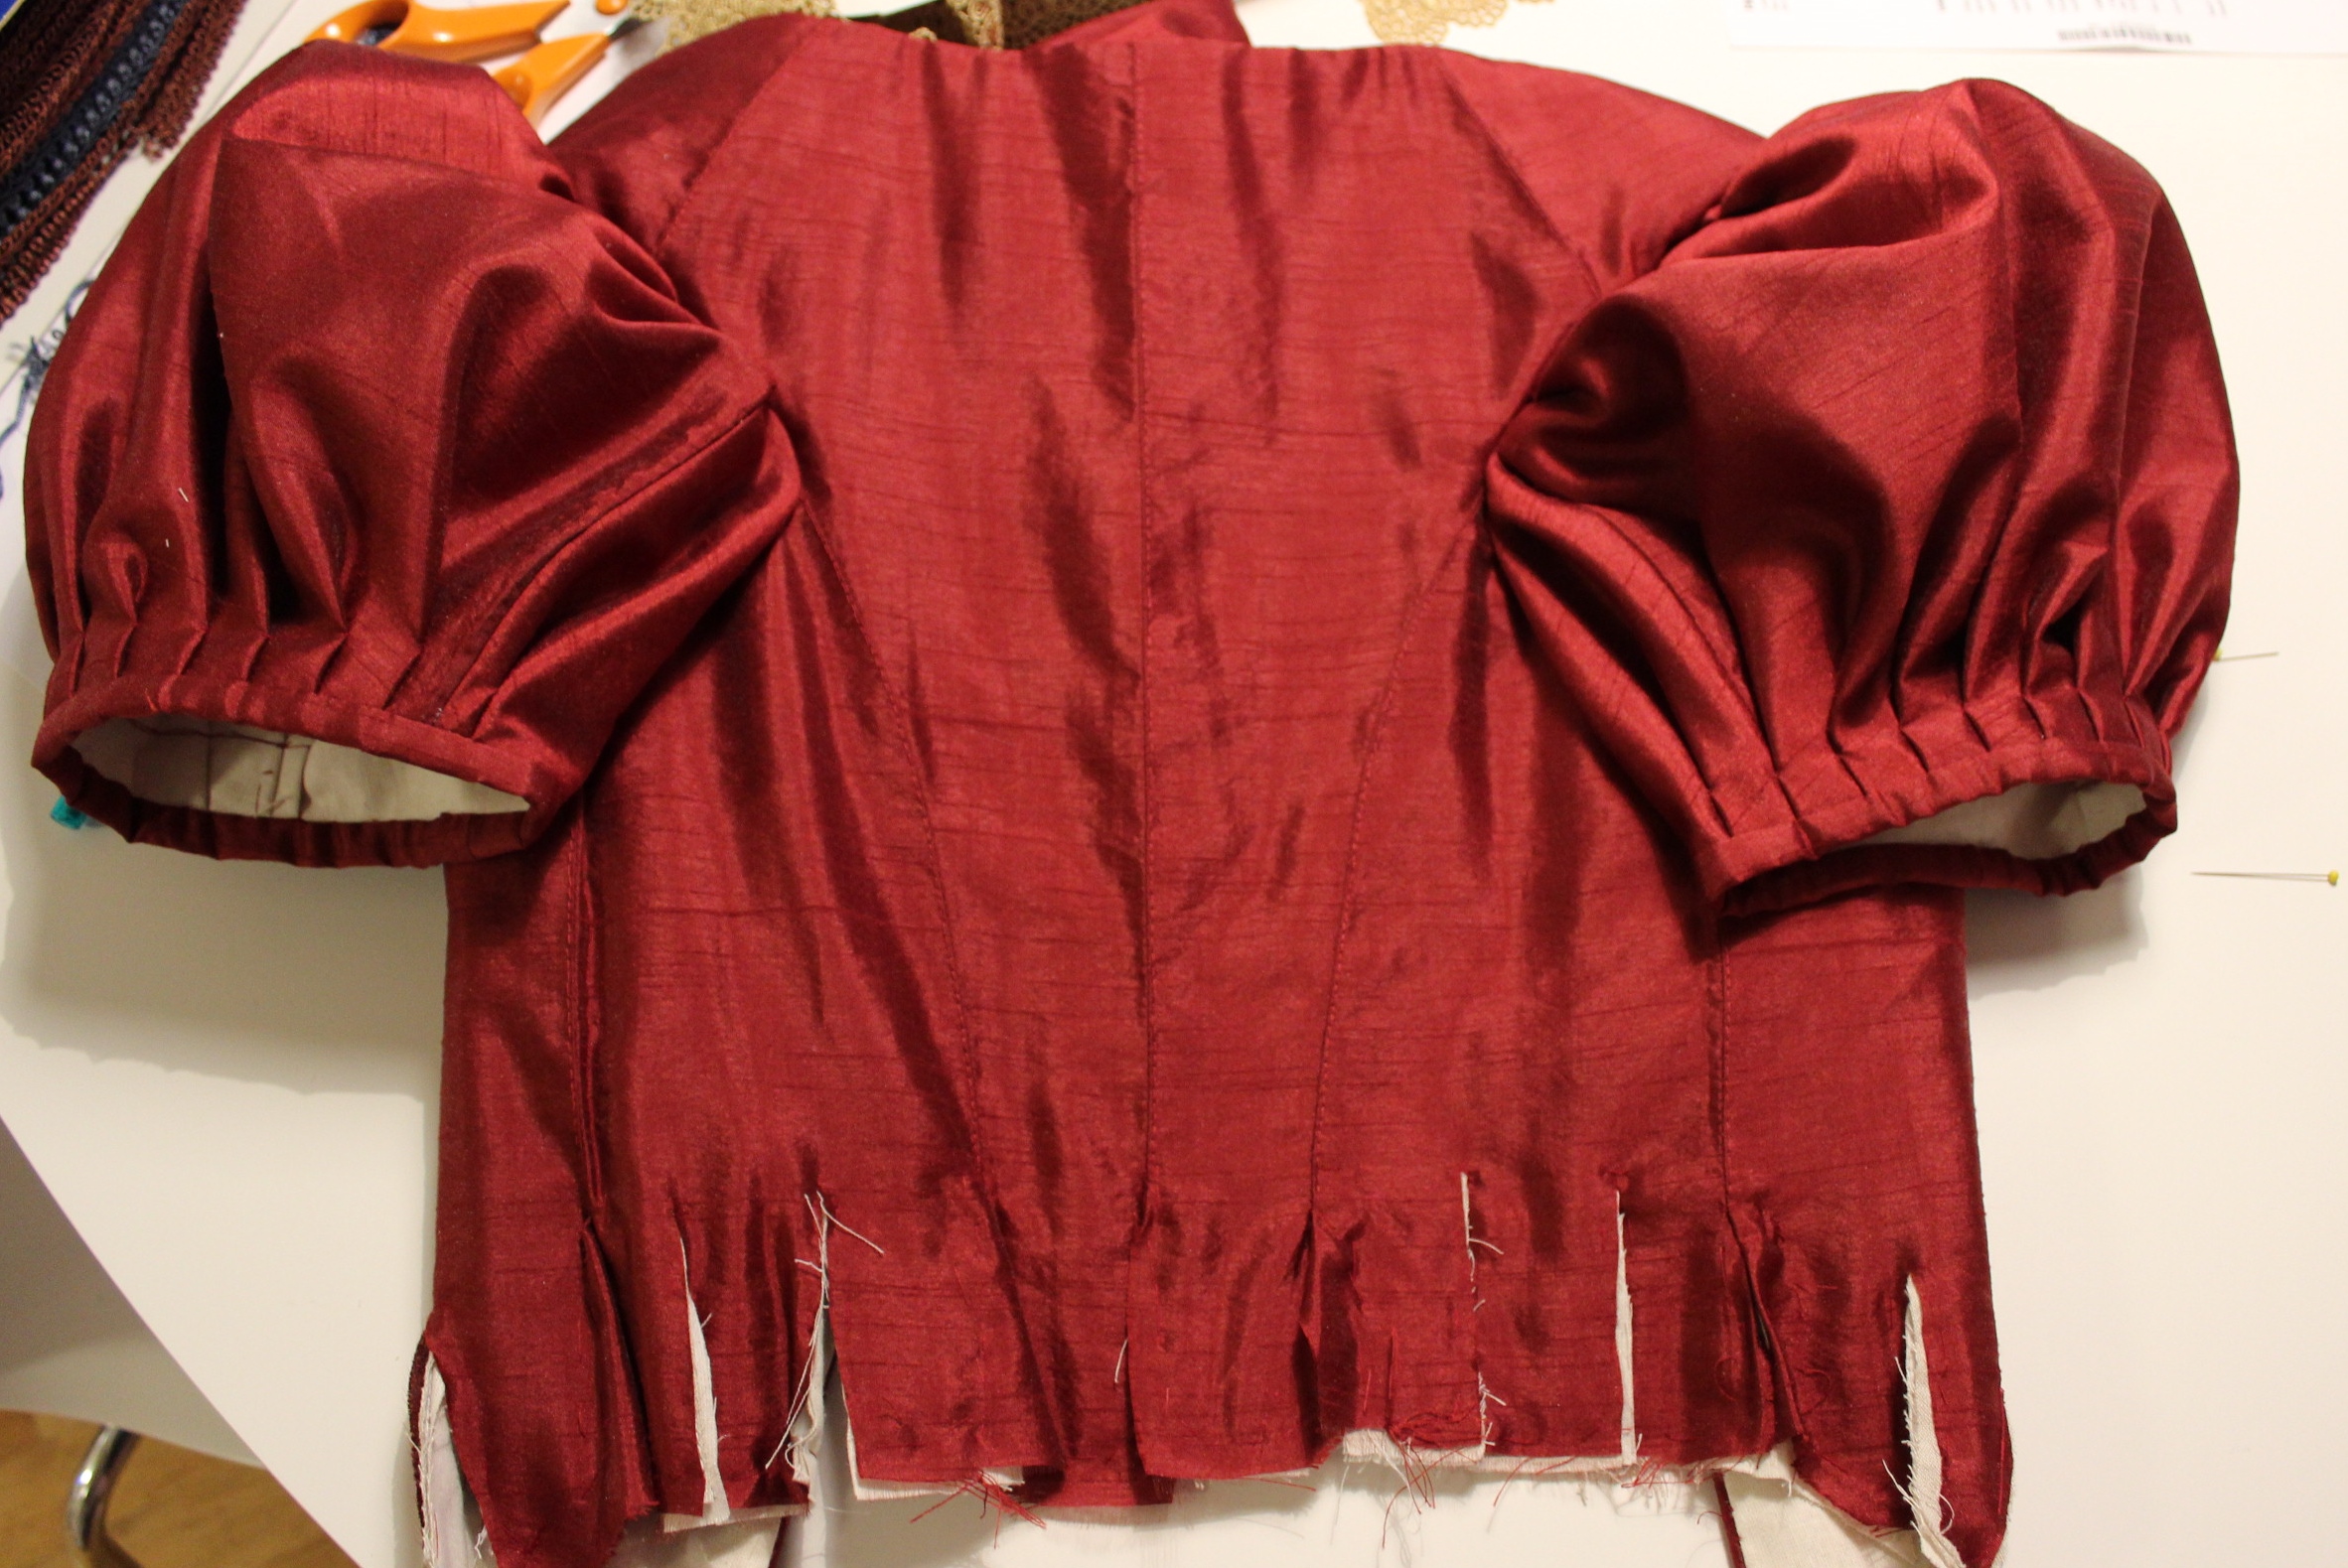
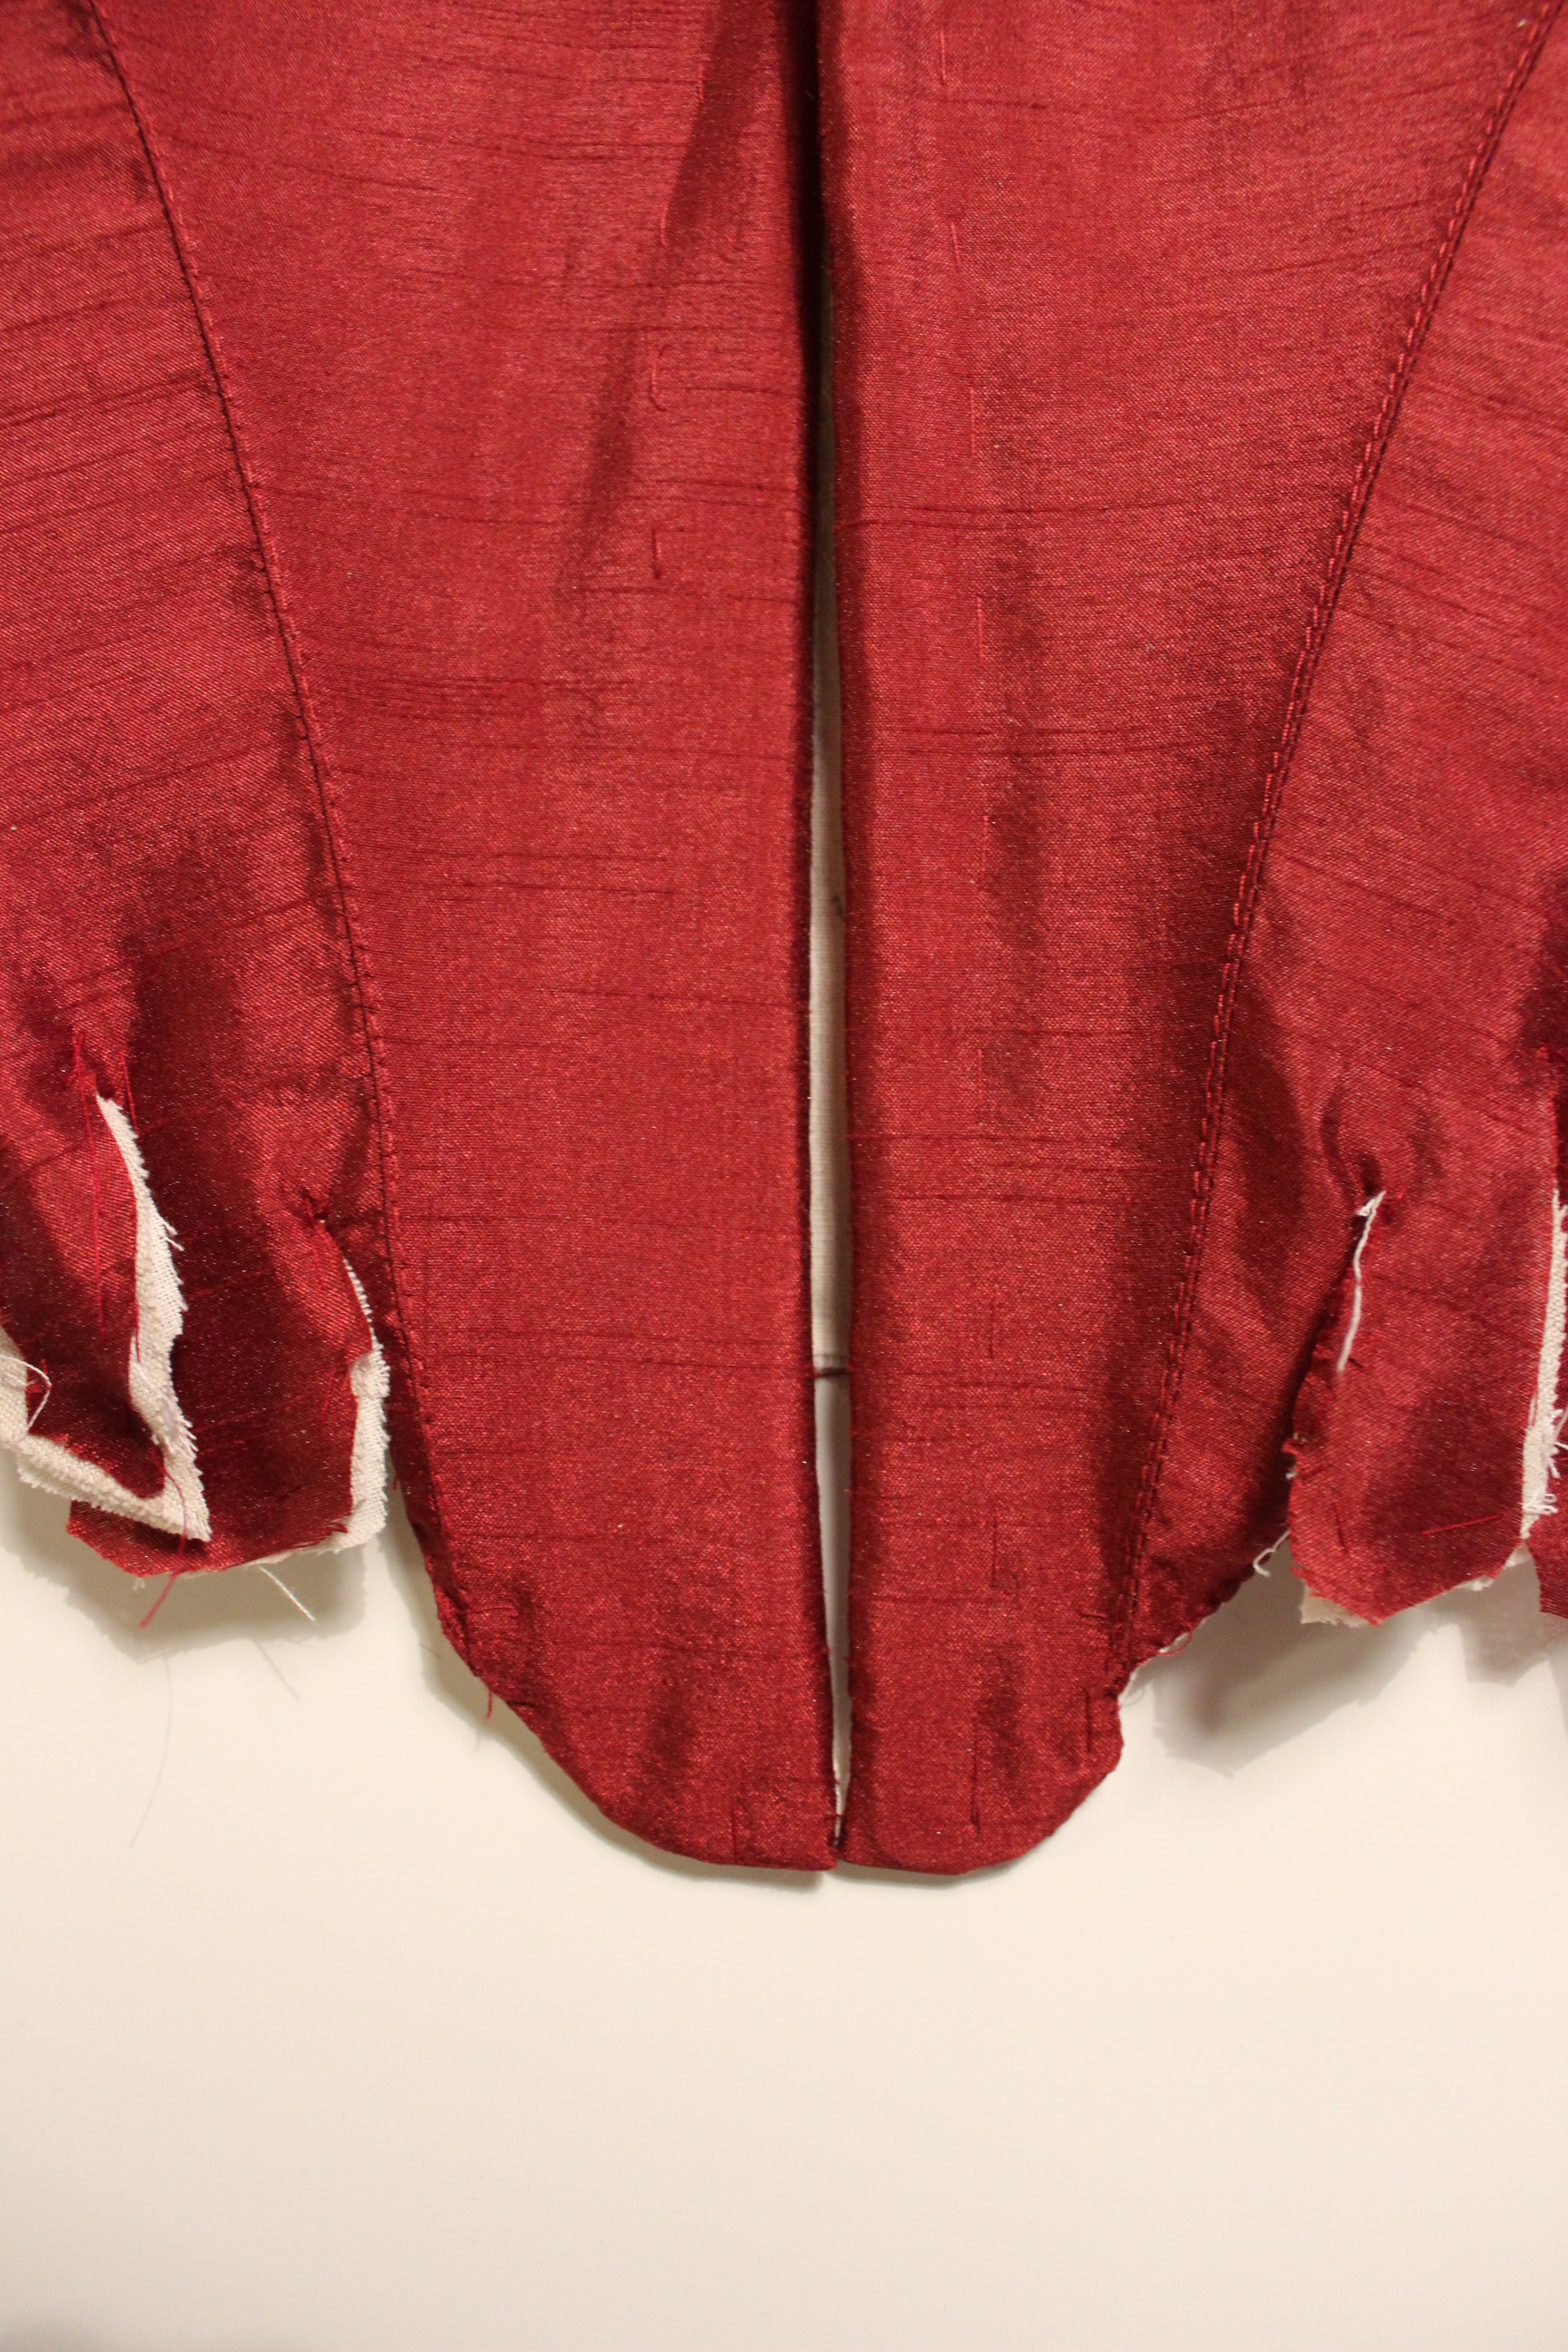
Stitching the back seams.

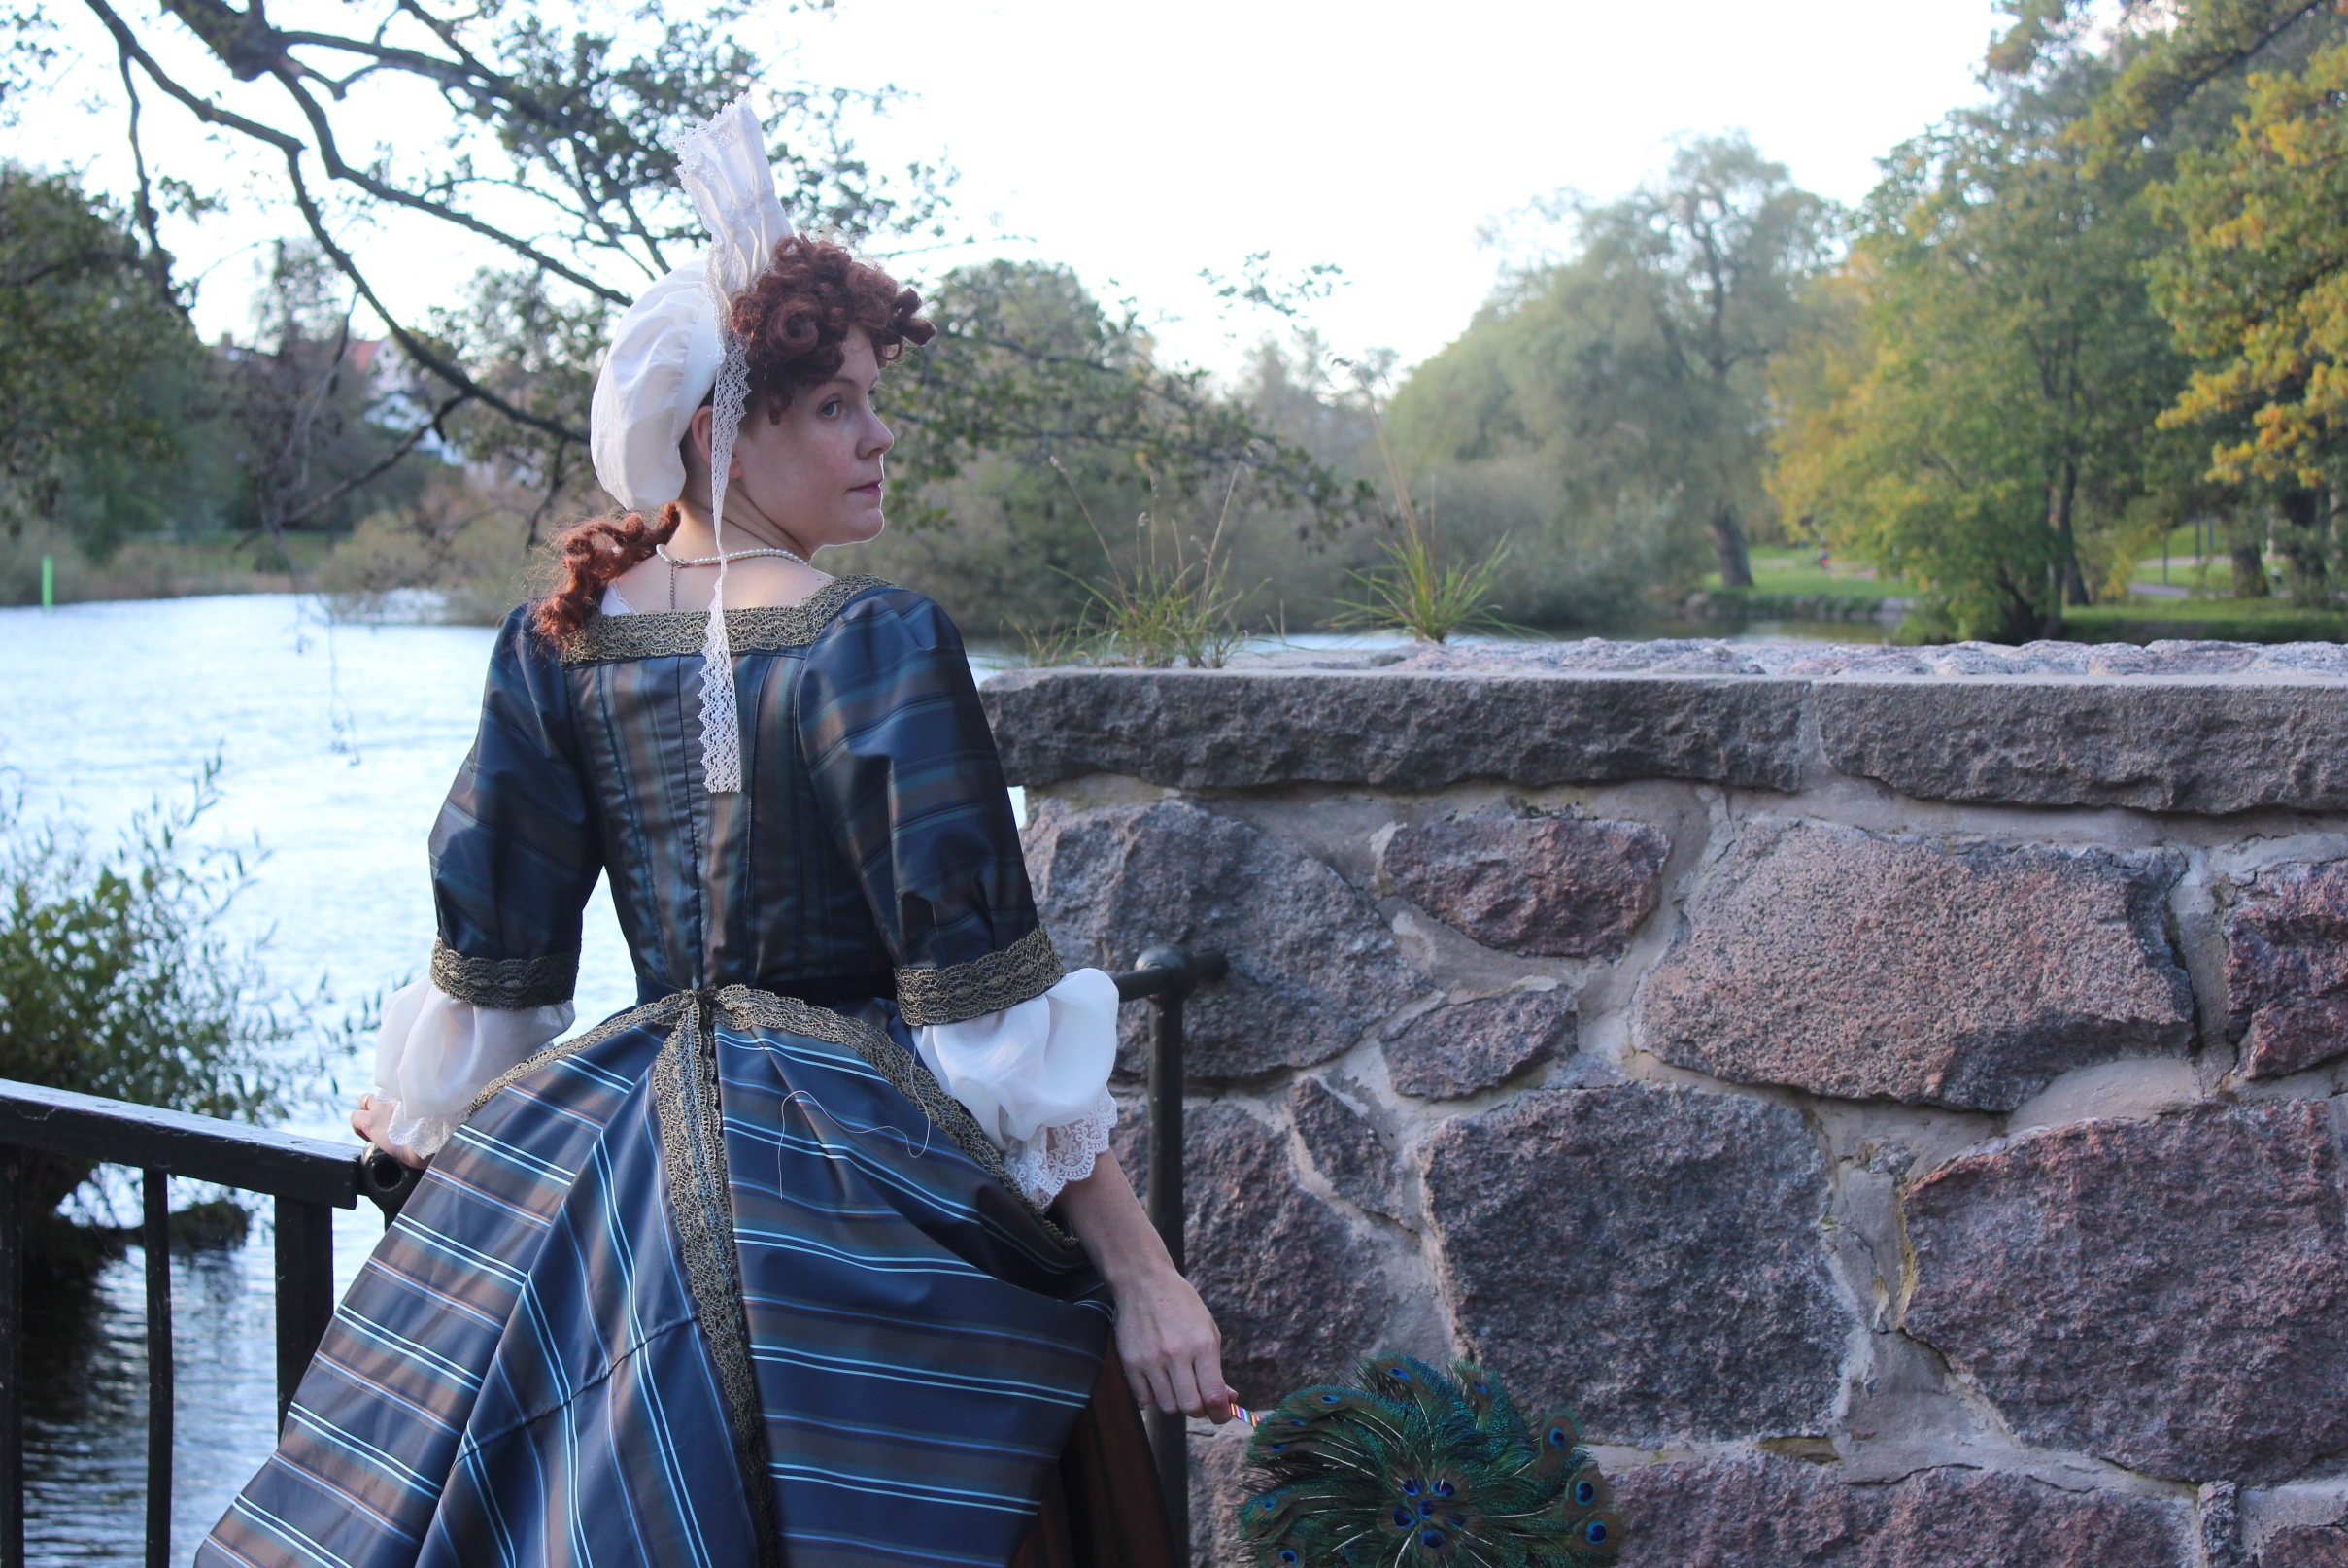
Unfortuanly the fabric shows EVERY mistake, both puckering and letting out of seemsSo I decide to keep it as it where – better a tad to small then ugly markings at each seam.

The I added some boning to the back and side seams to help keep the shape on the fabric once worn.

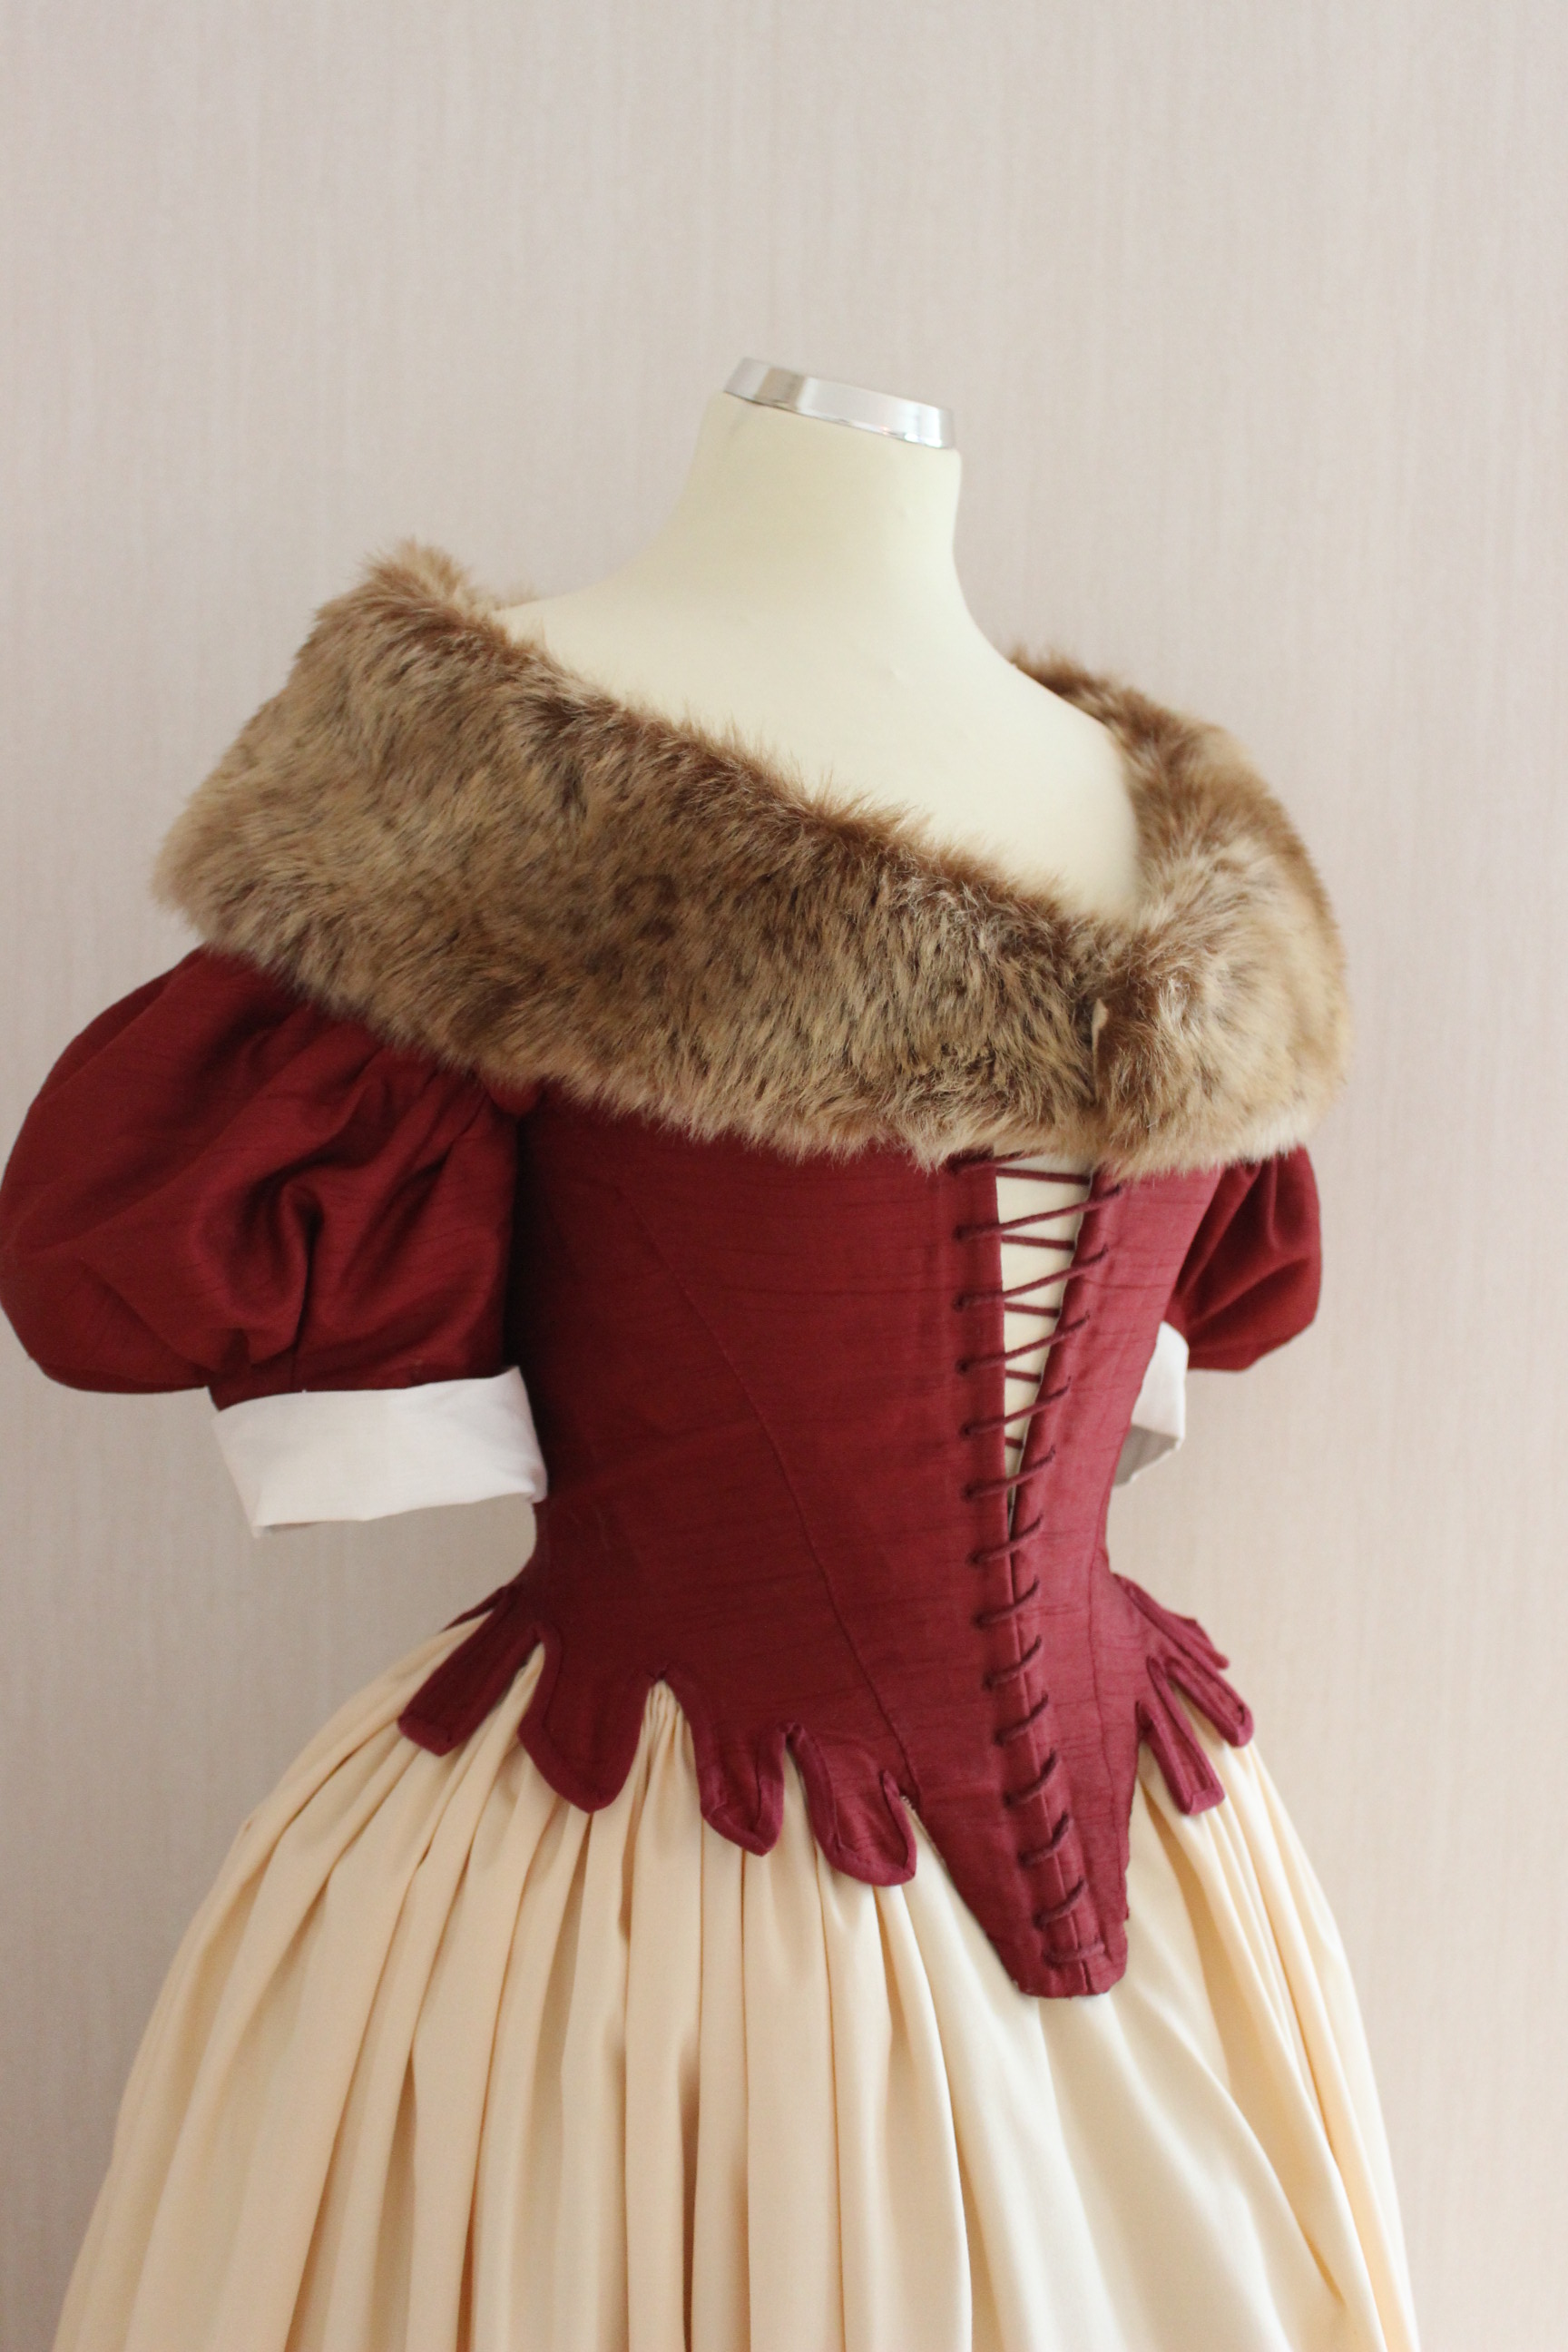
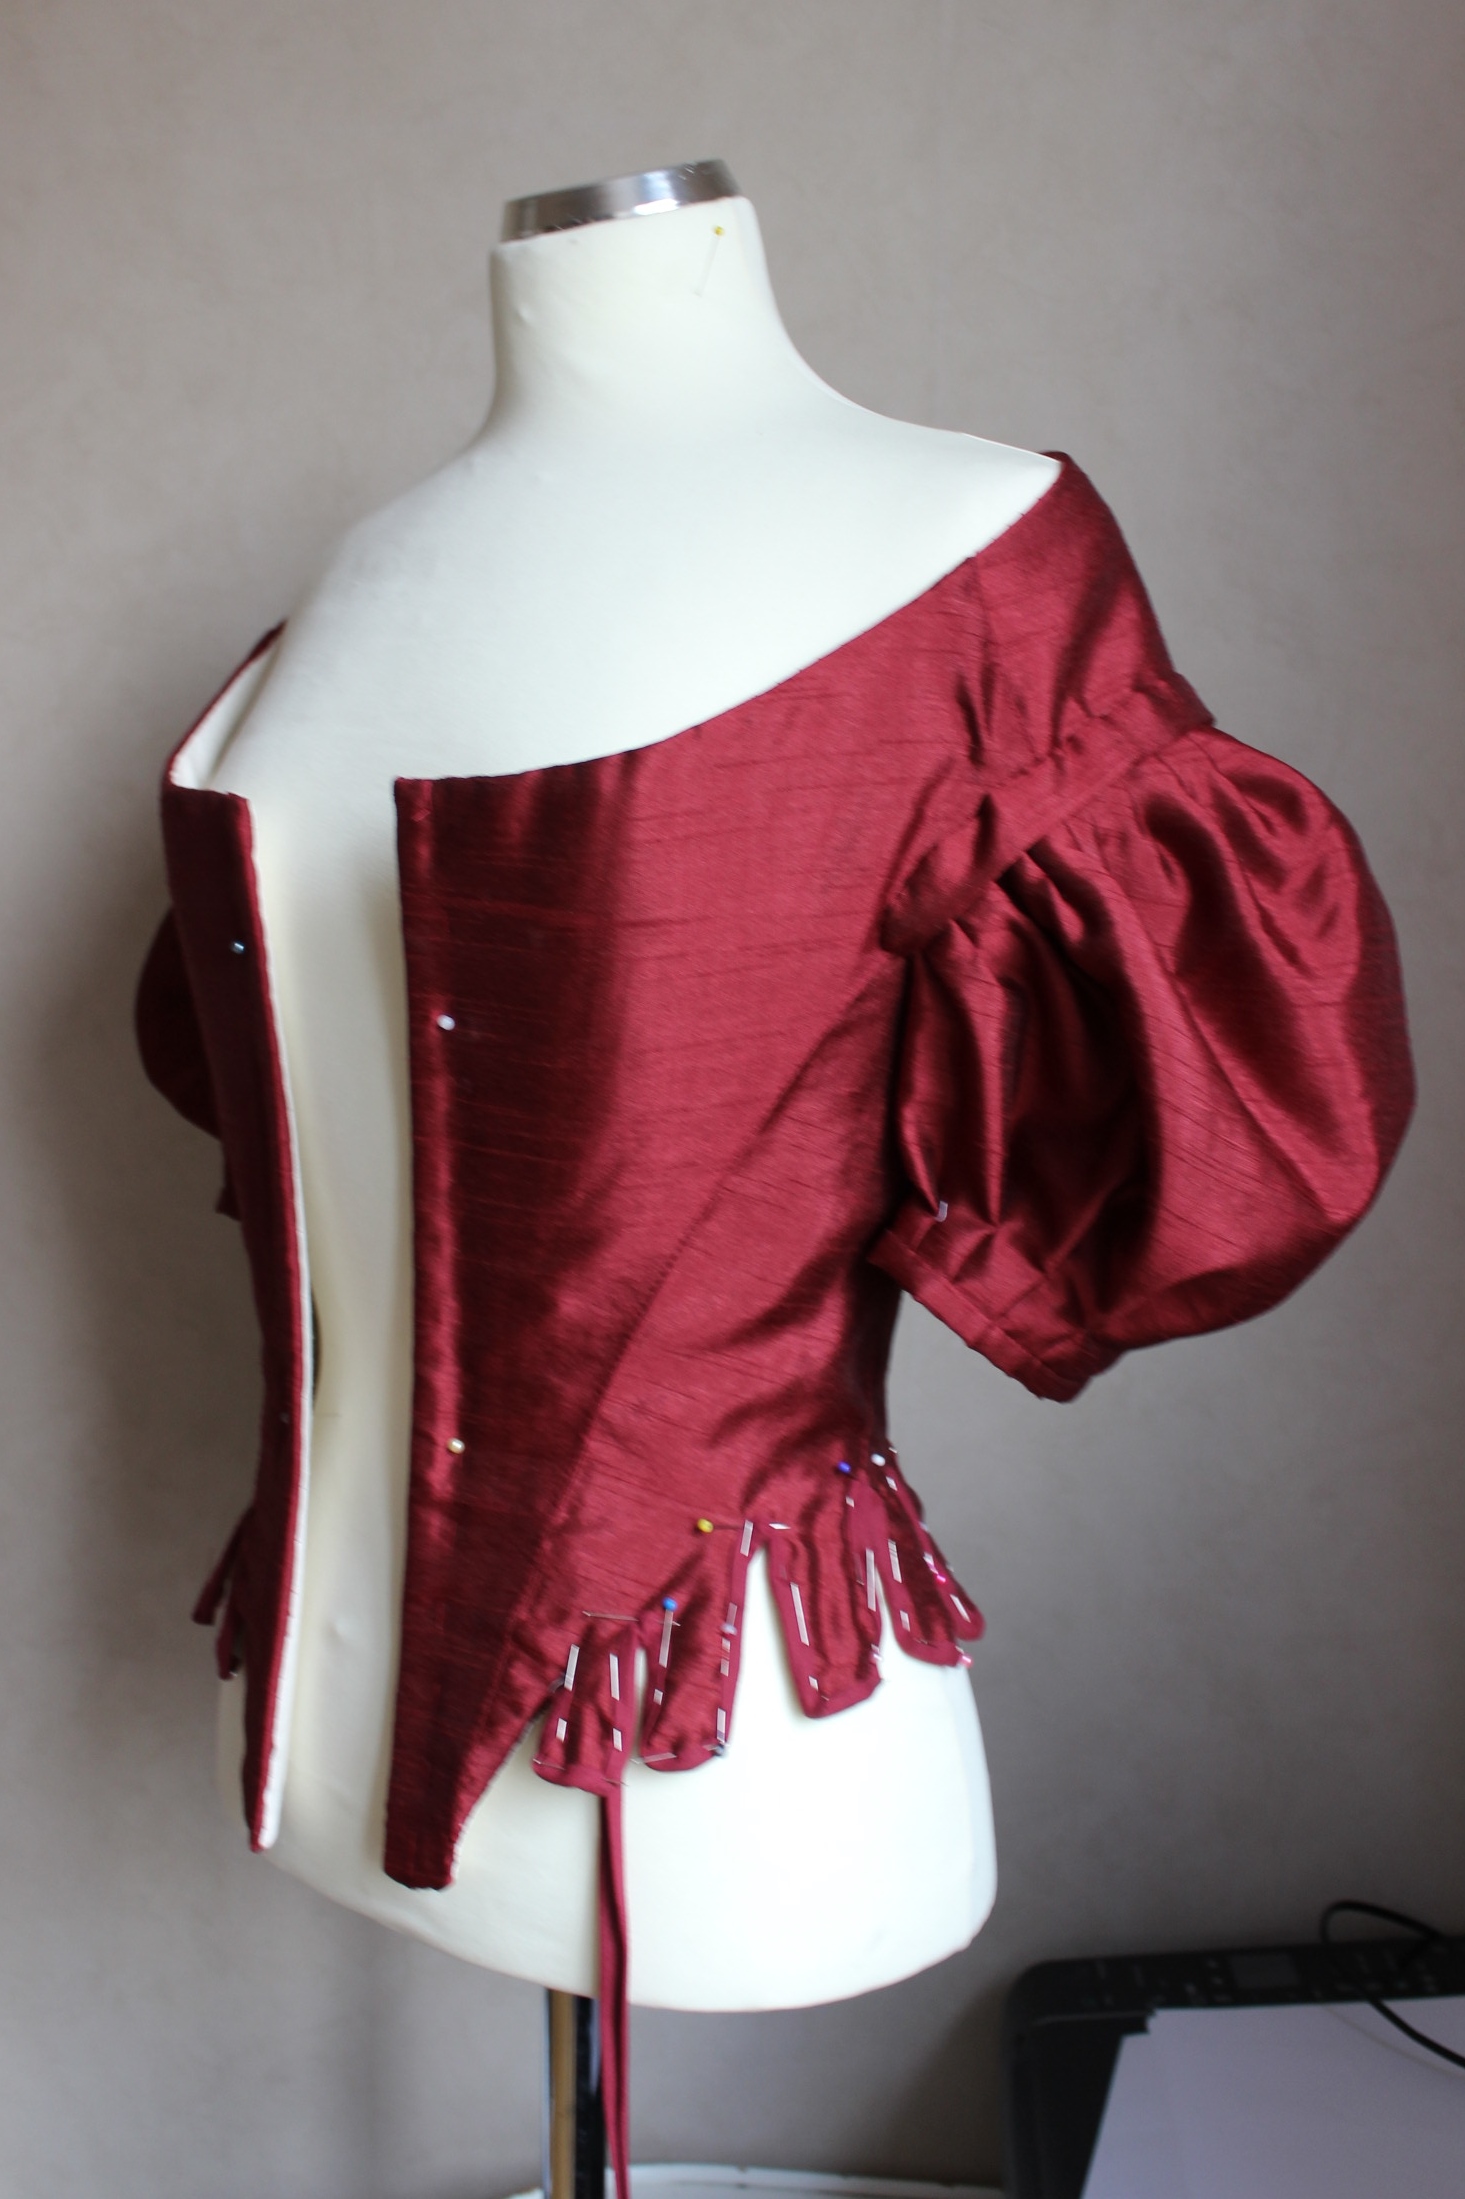
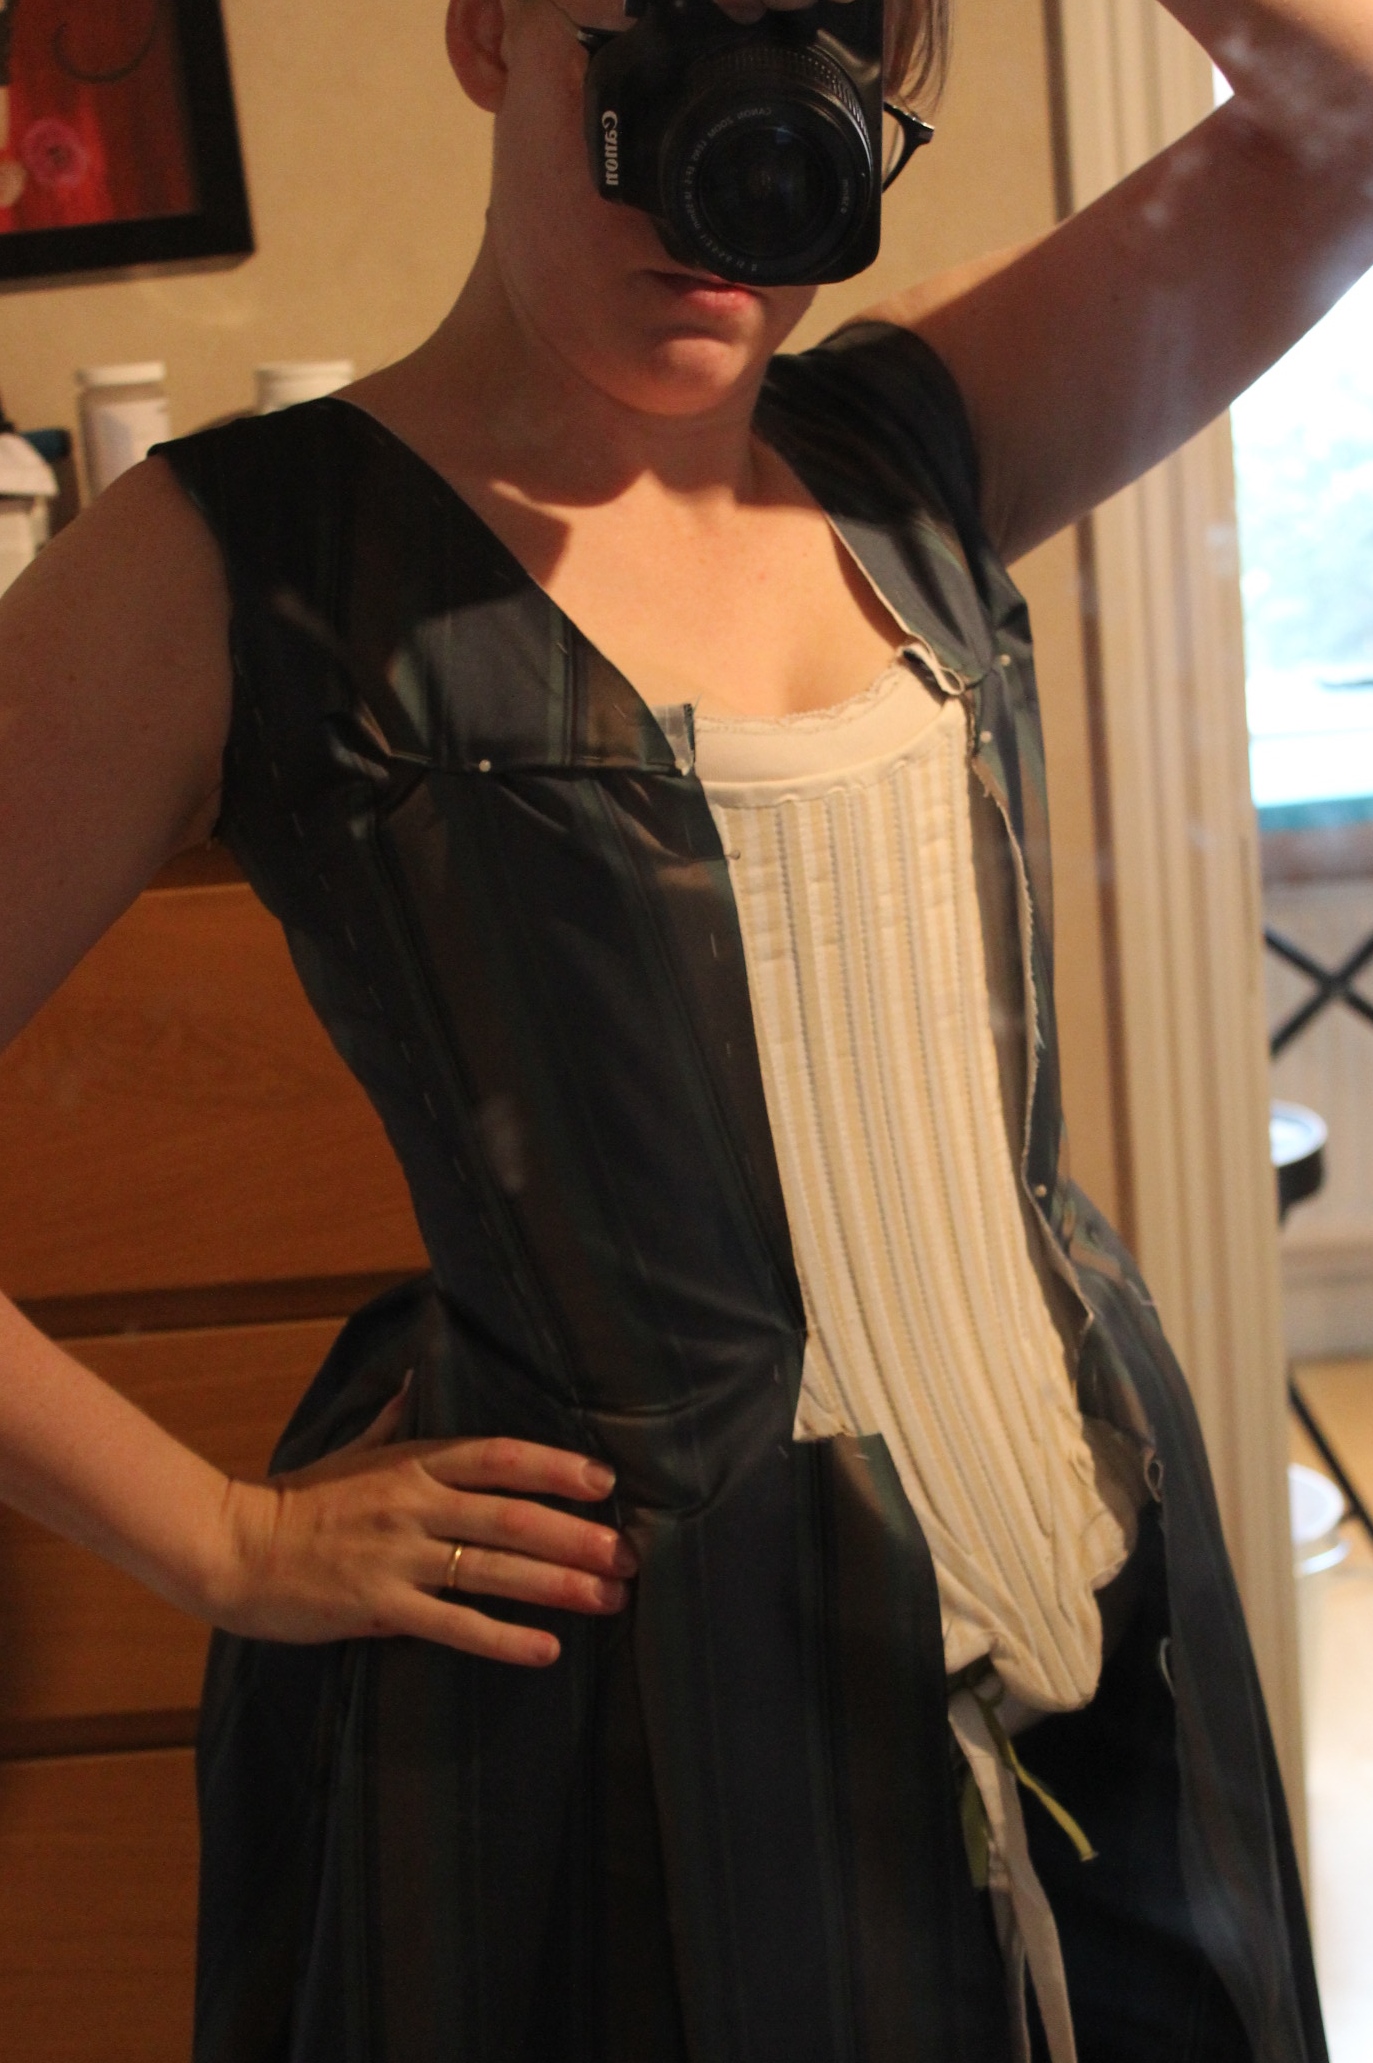
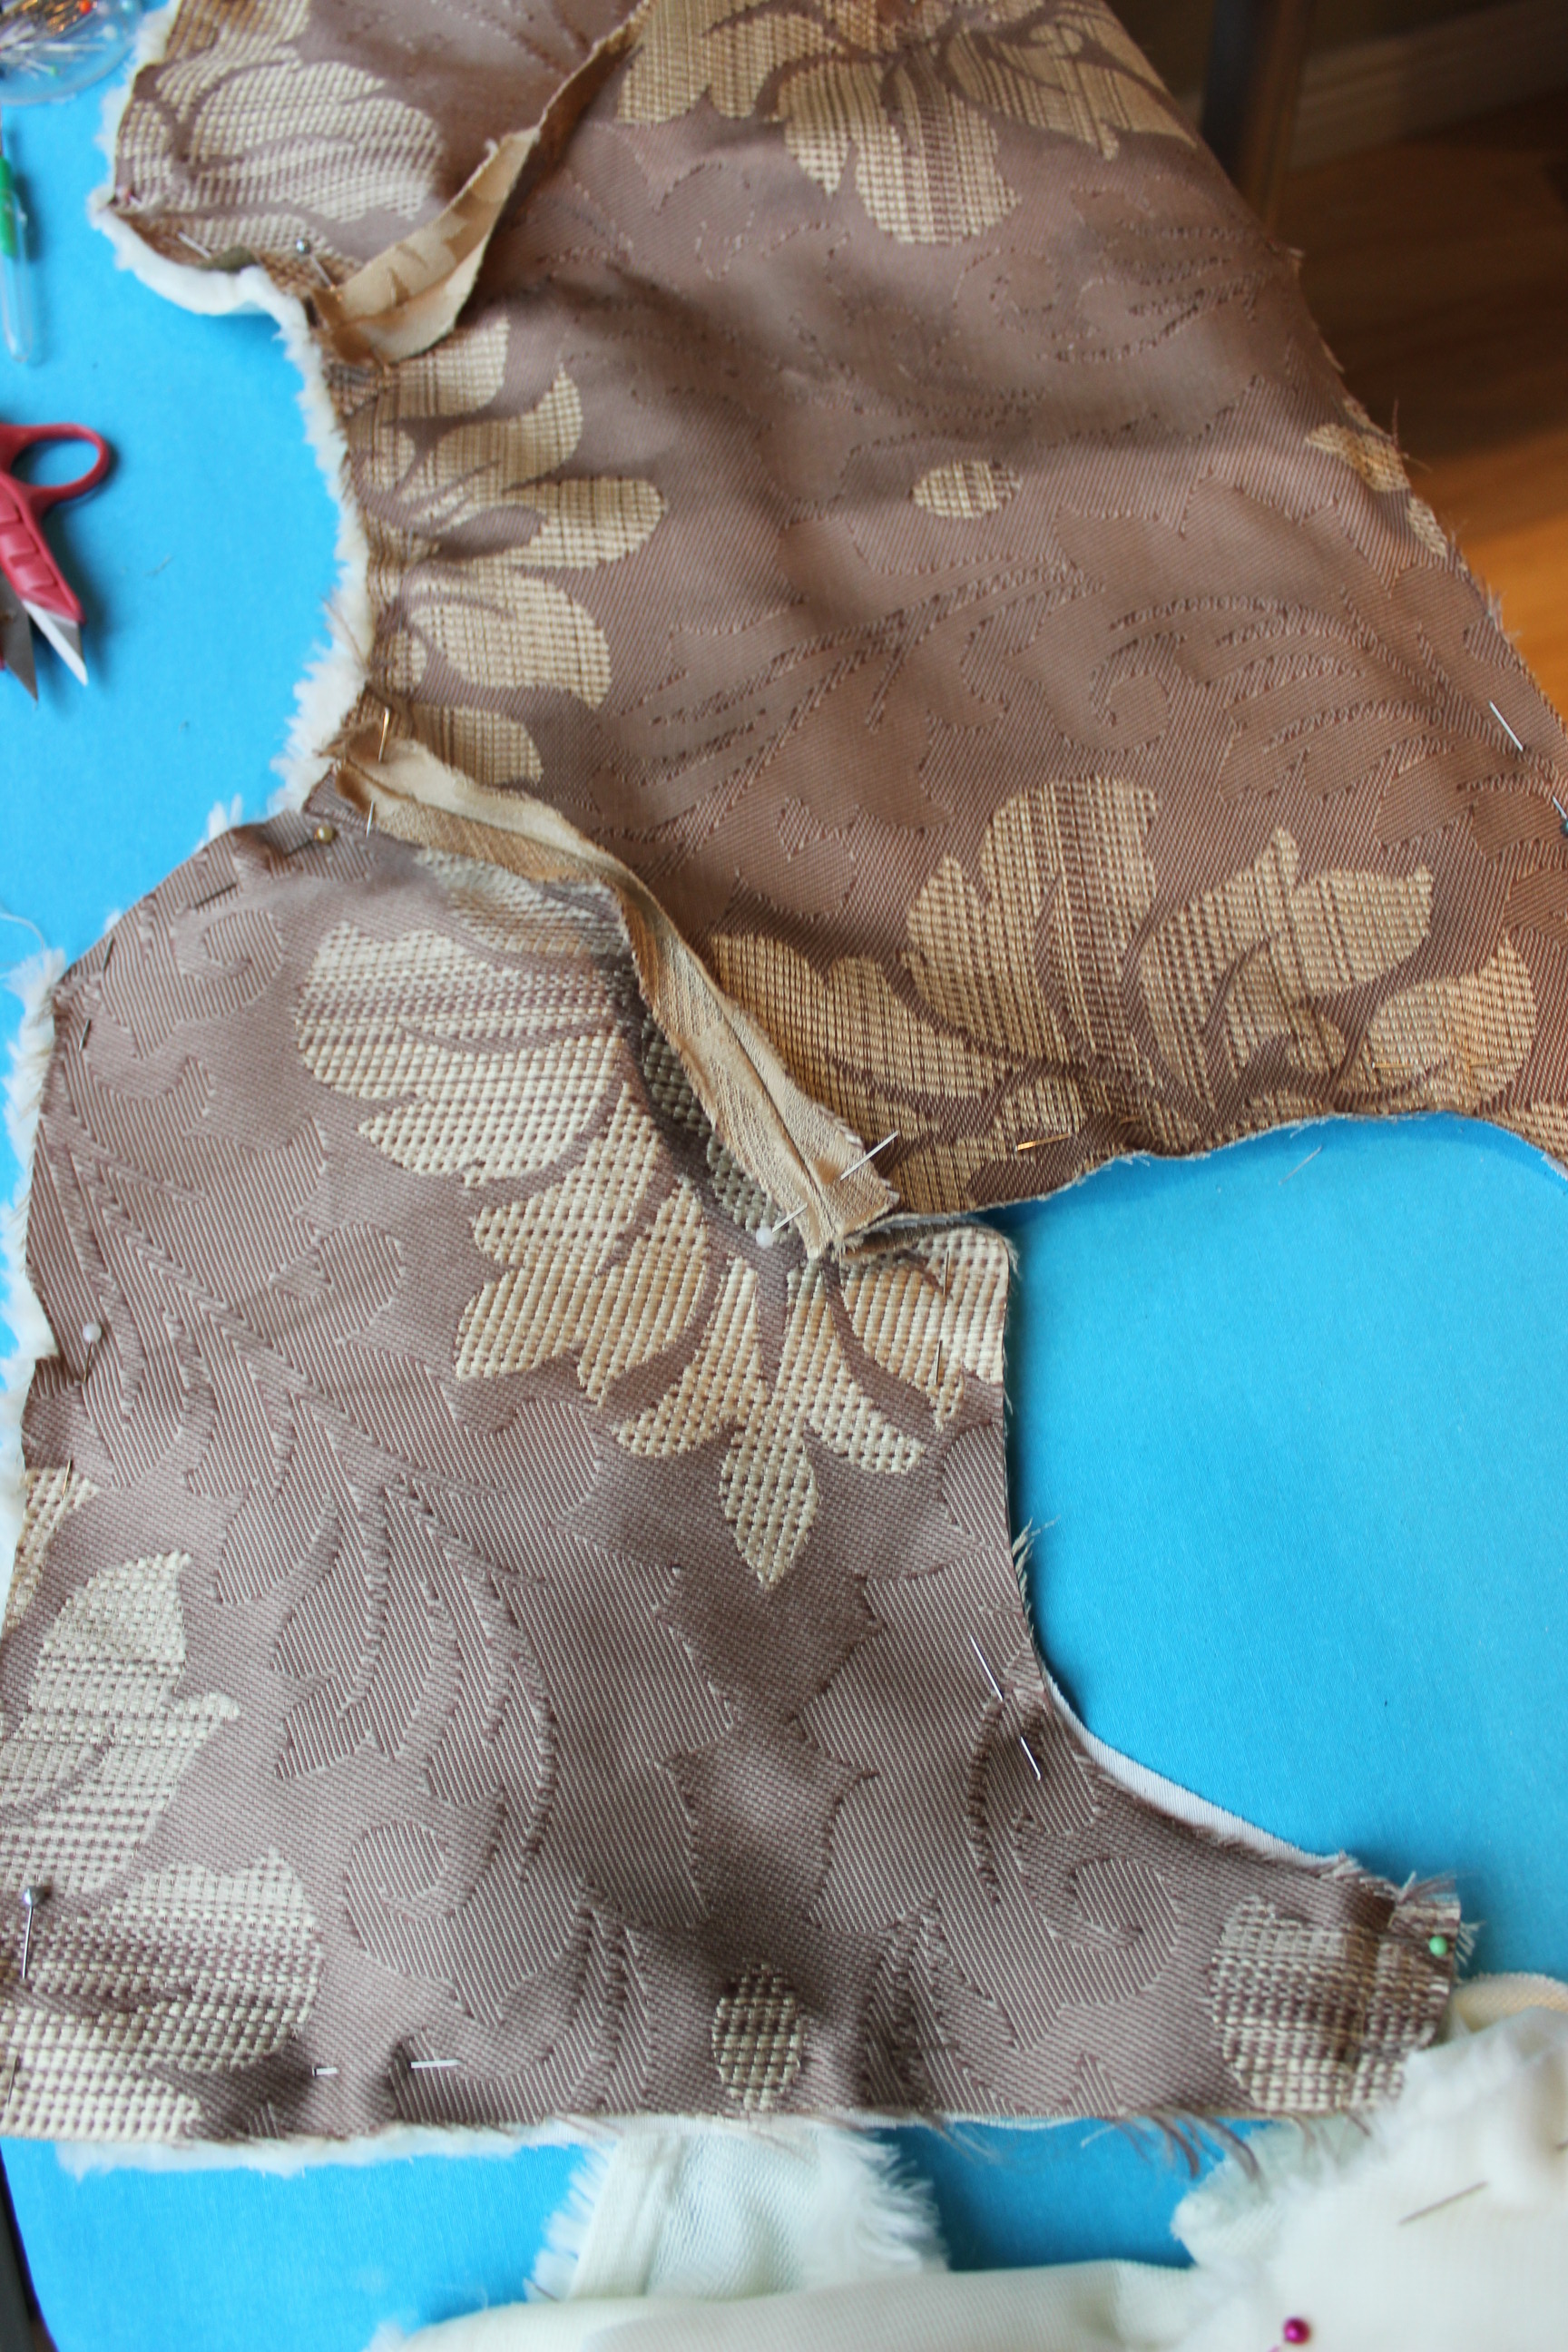
Once the main bodice was done, I started on the front pieces/robbings(?)And as I didn’t had a pattern piece for them I’d just cut something along the right shape when i cut the fabric. And after some draping on the dressform (and myself) I ended up with a smaller shape which I then pinned and stitched down on top of the front hiding bot the darts and the strange seam that was the shoulder seamHere you can see the experimenting and draping of the front pieces on myself.

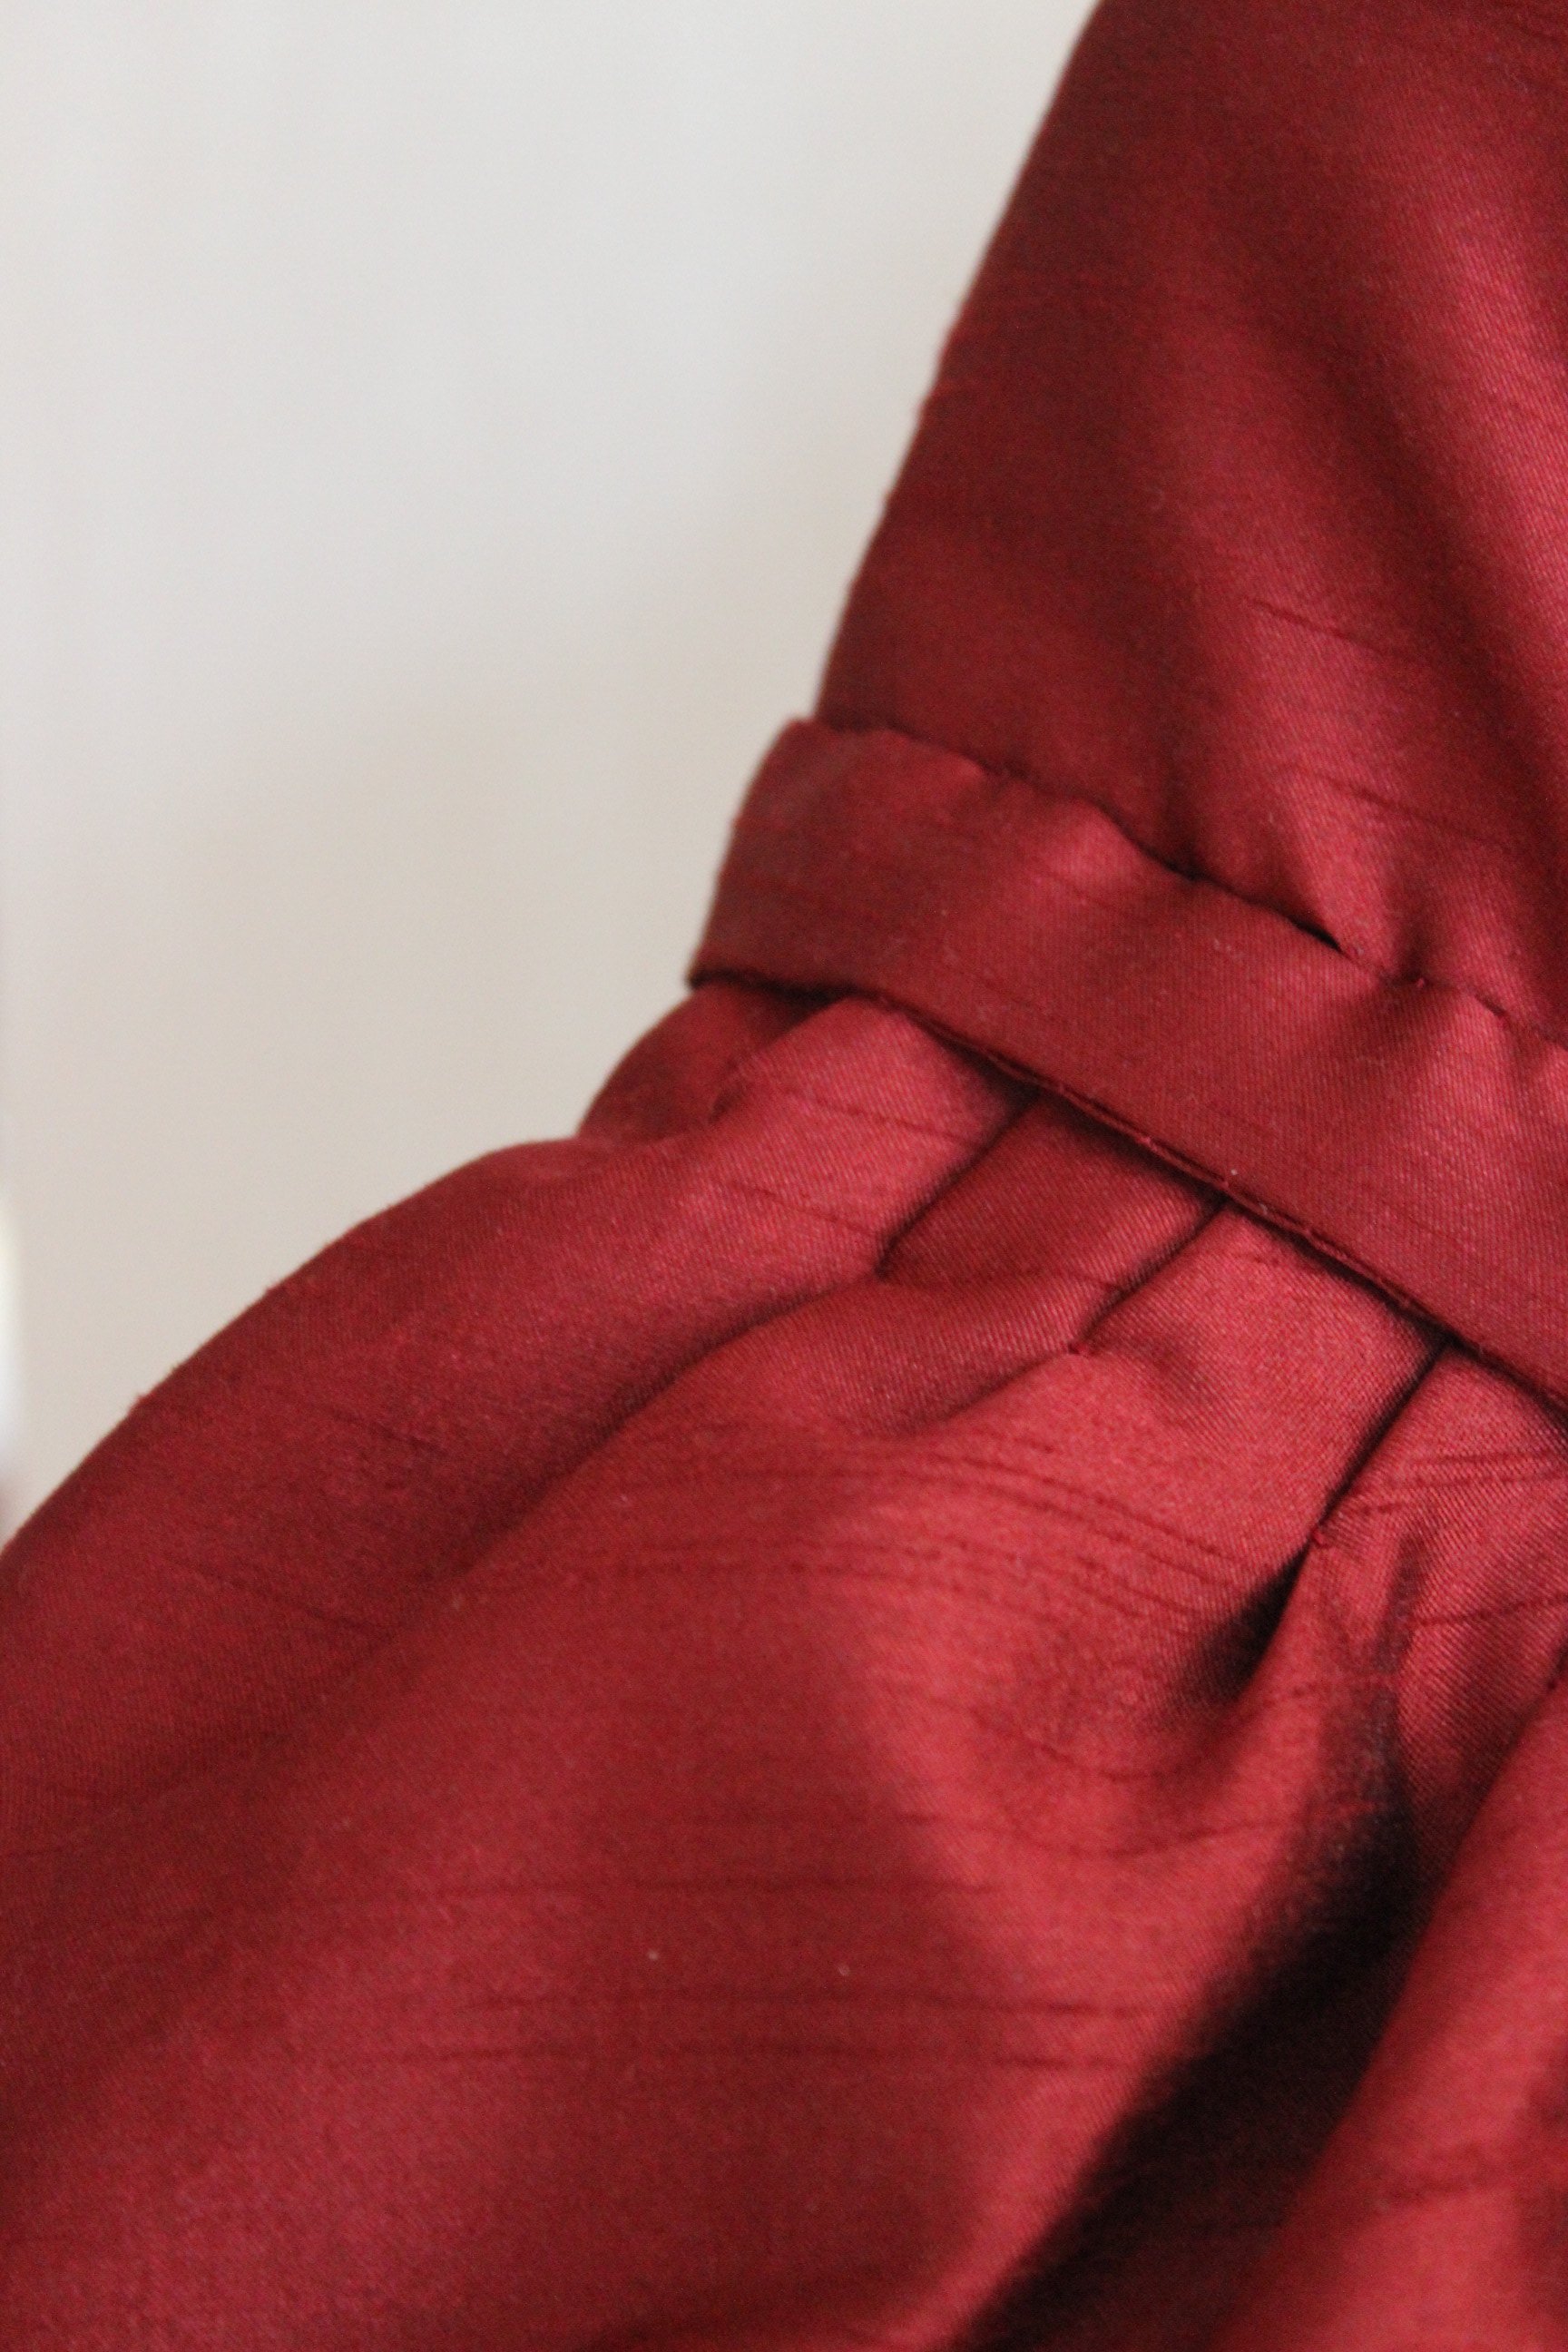
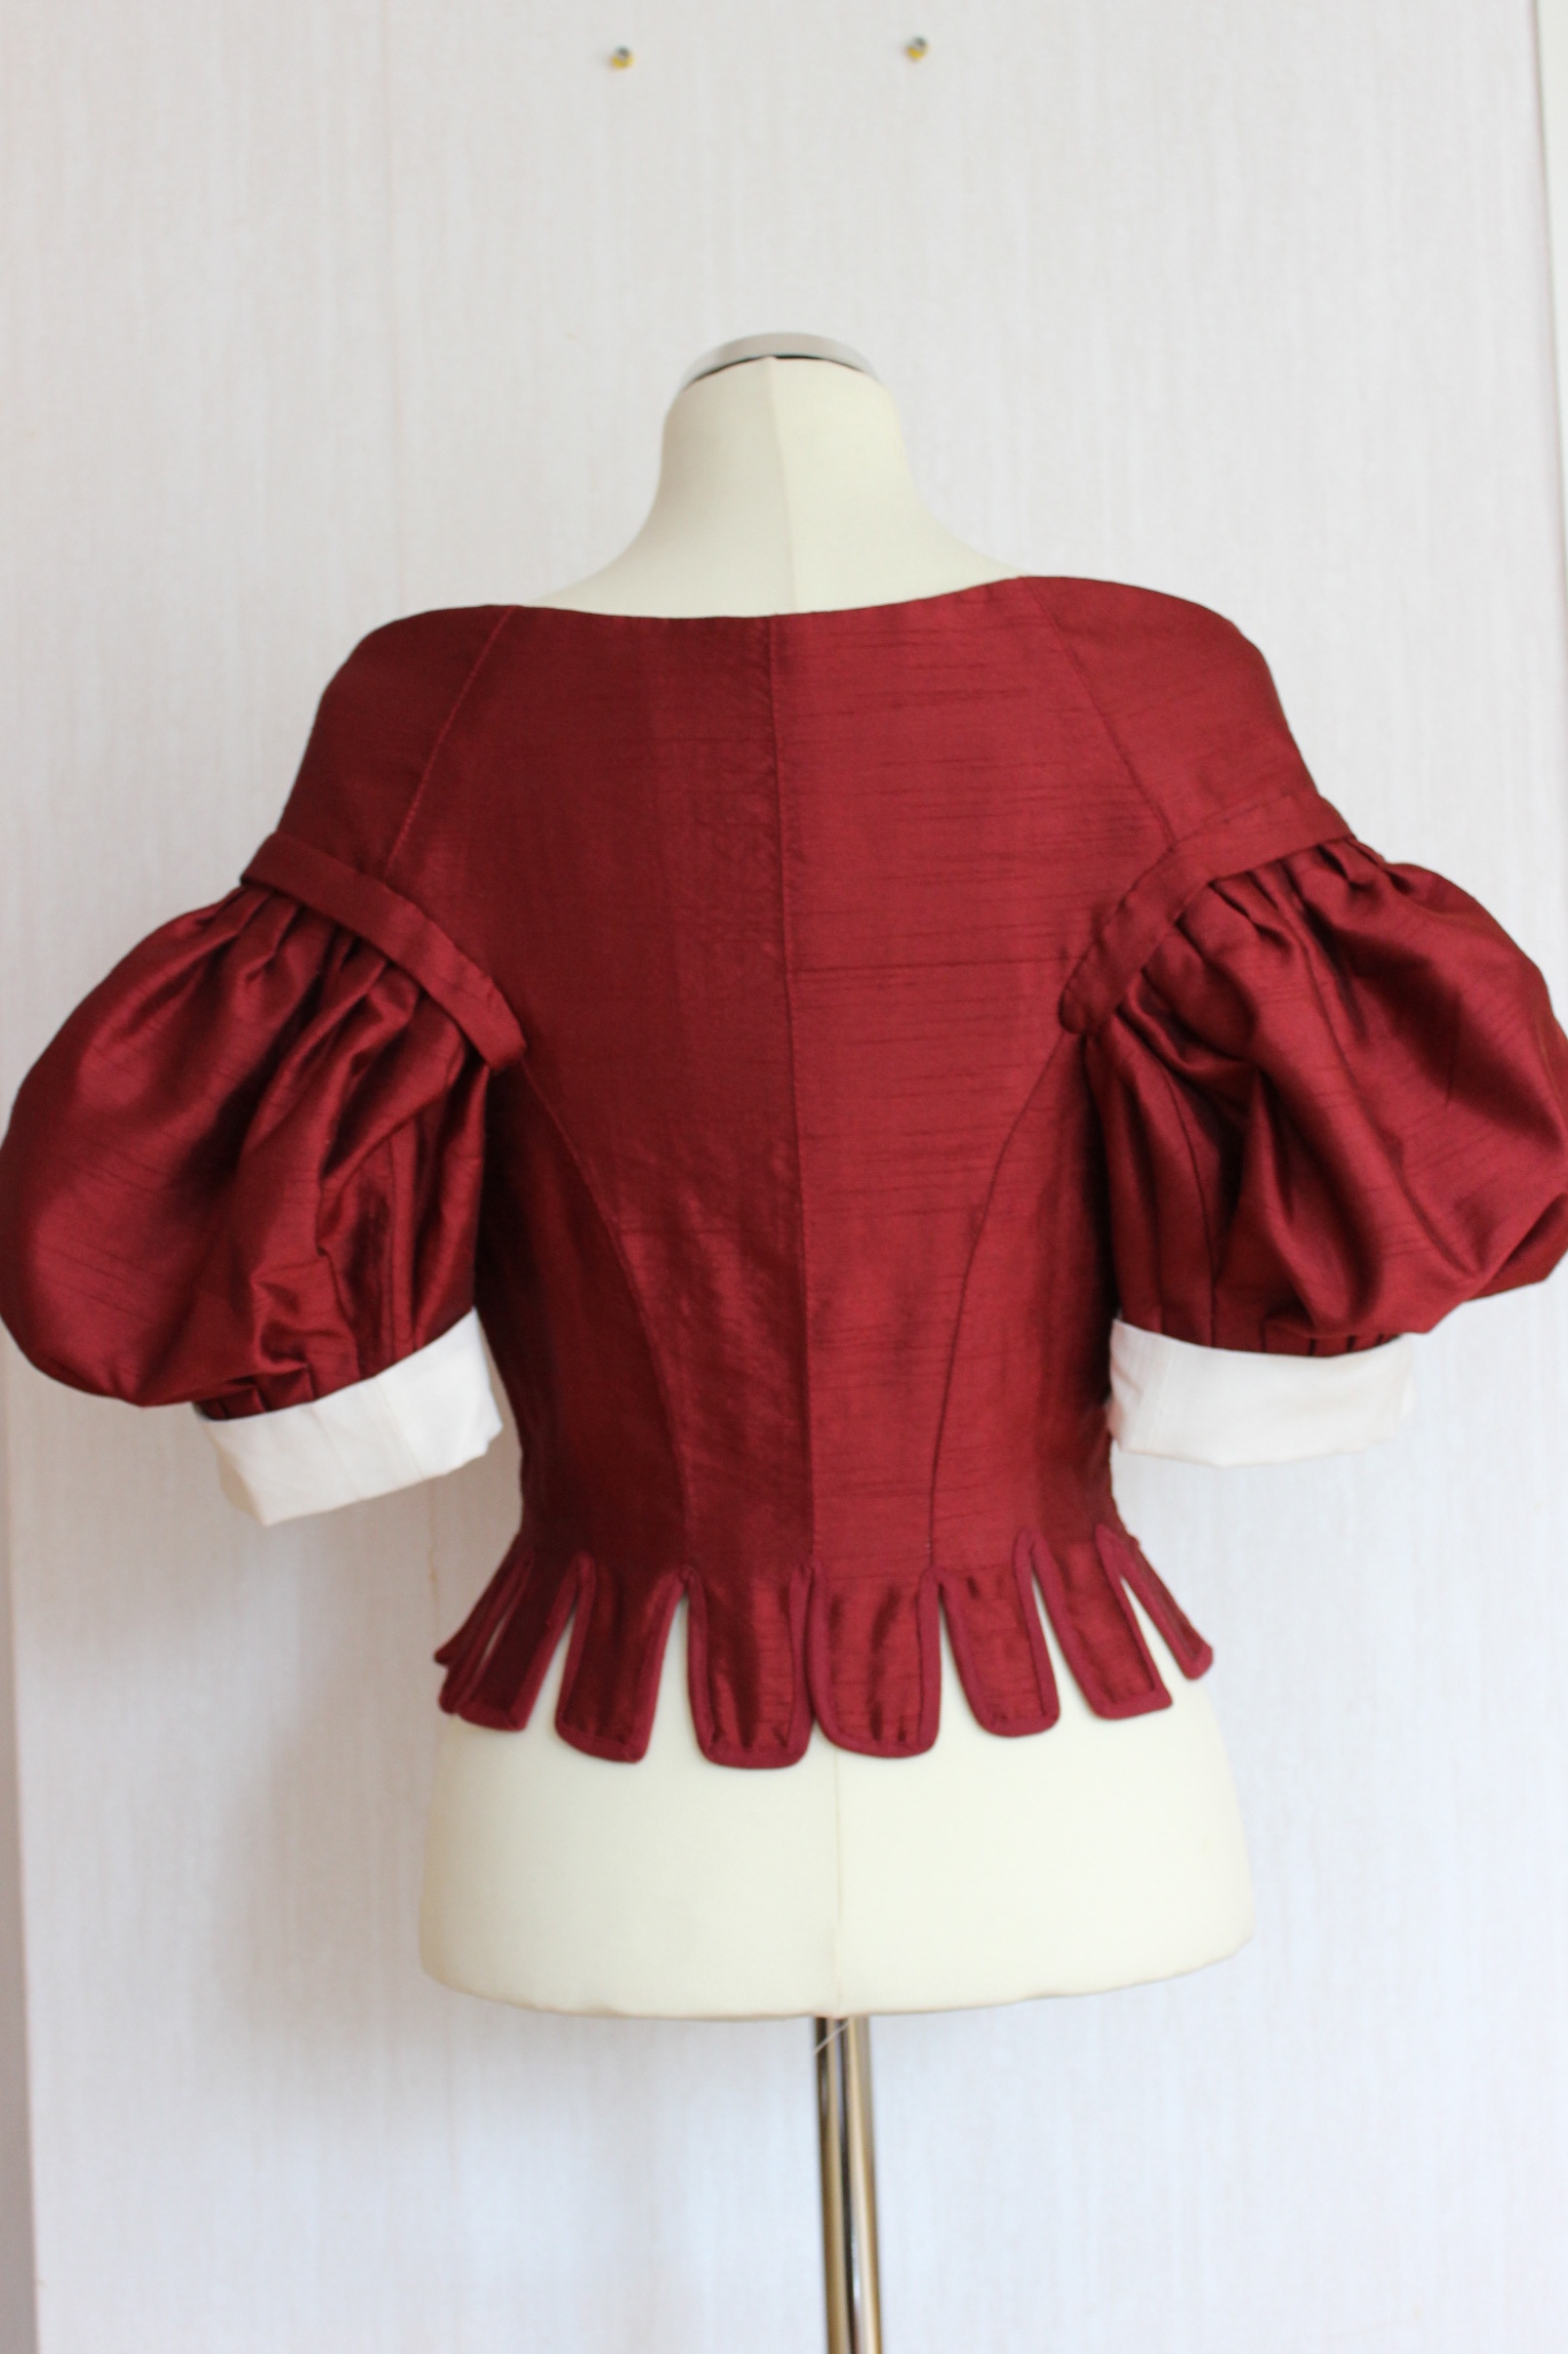
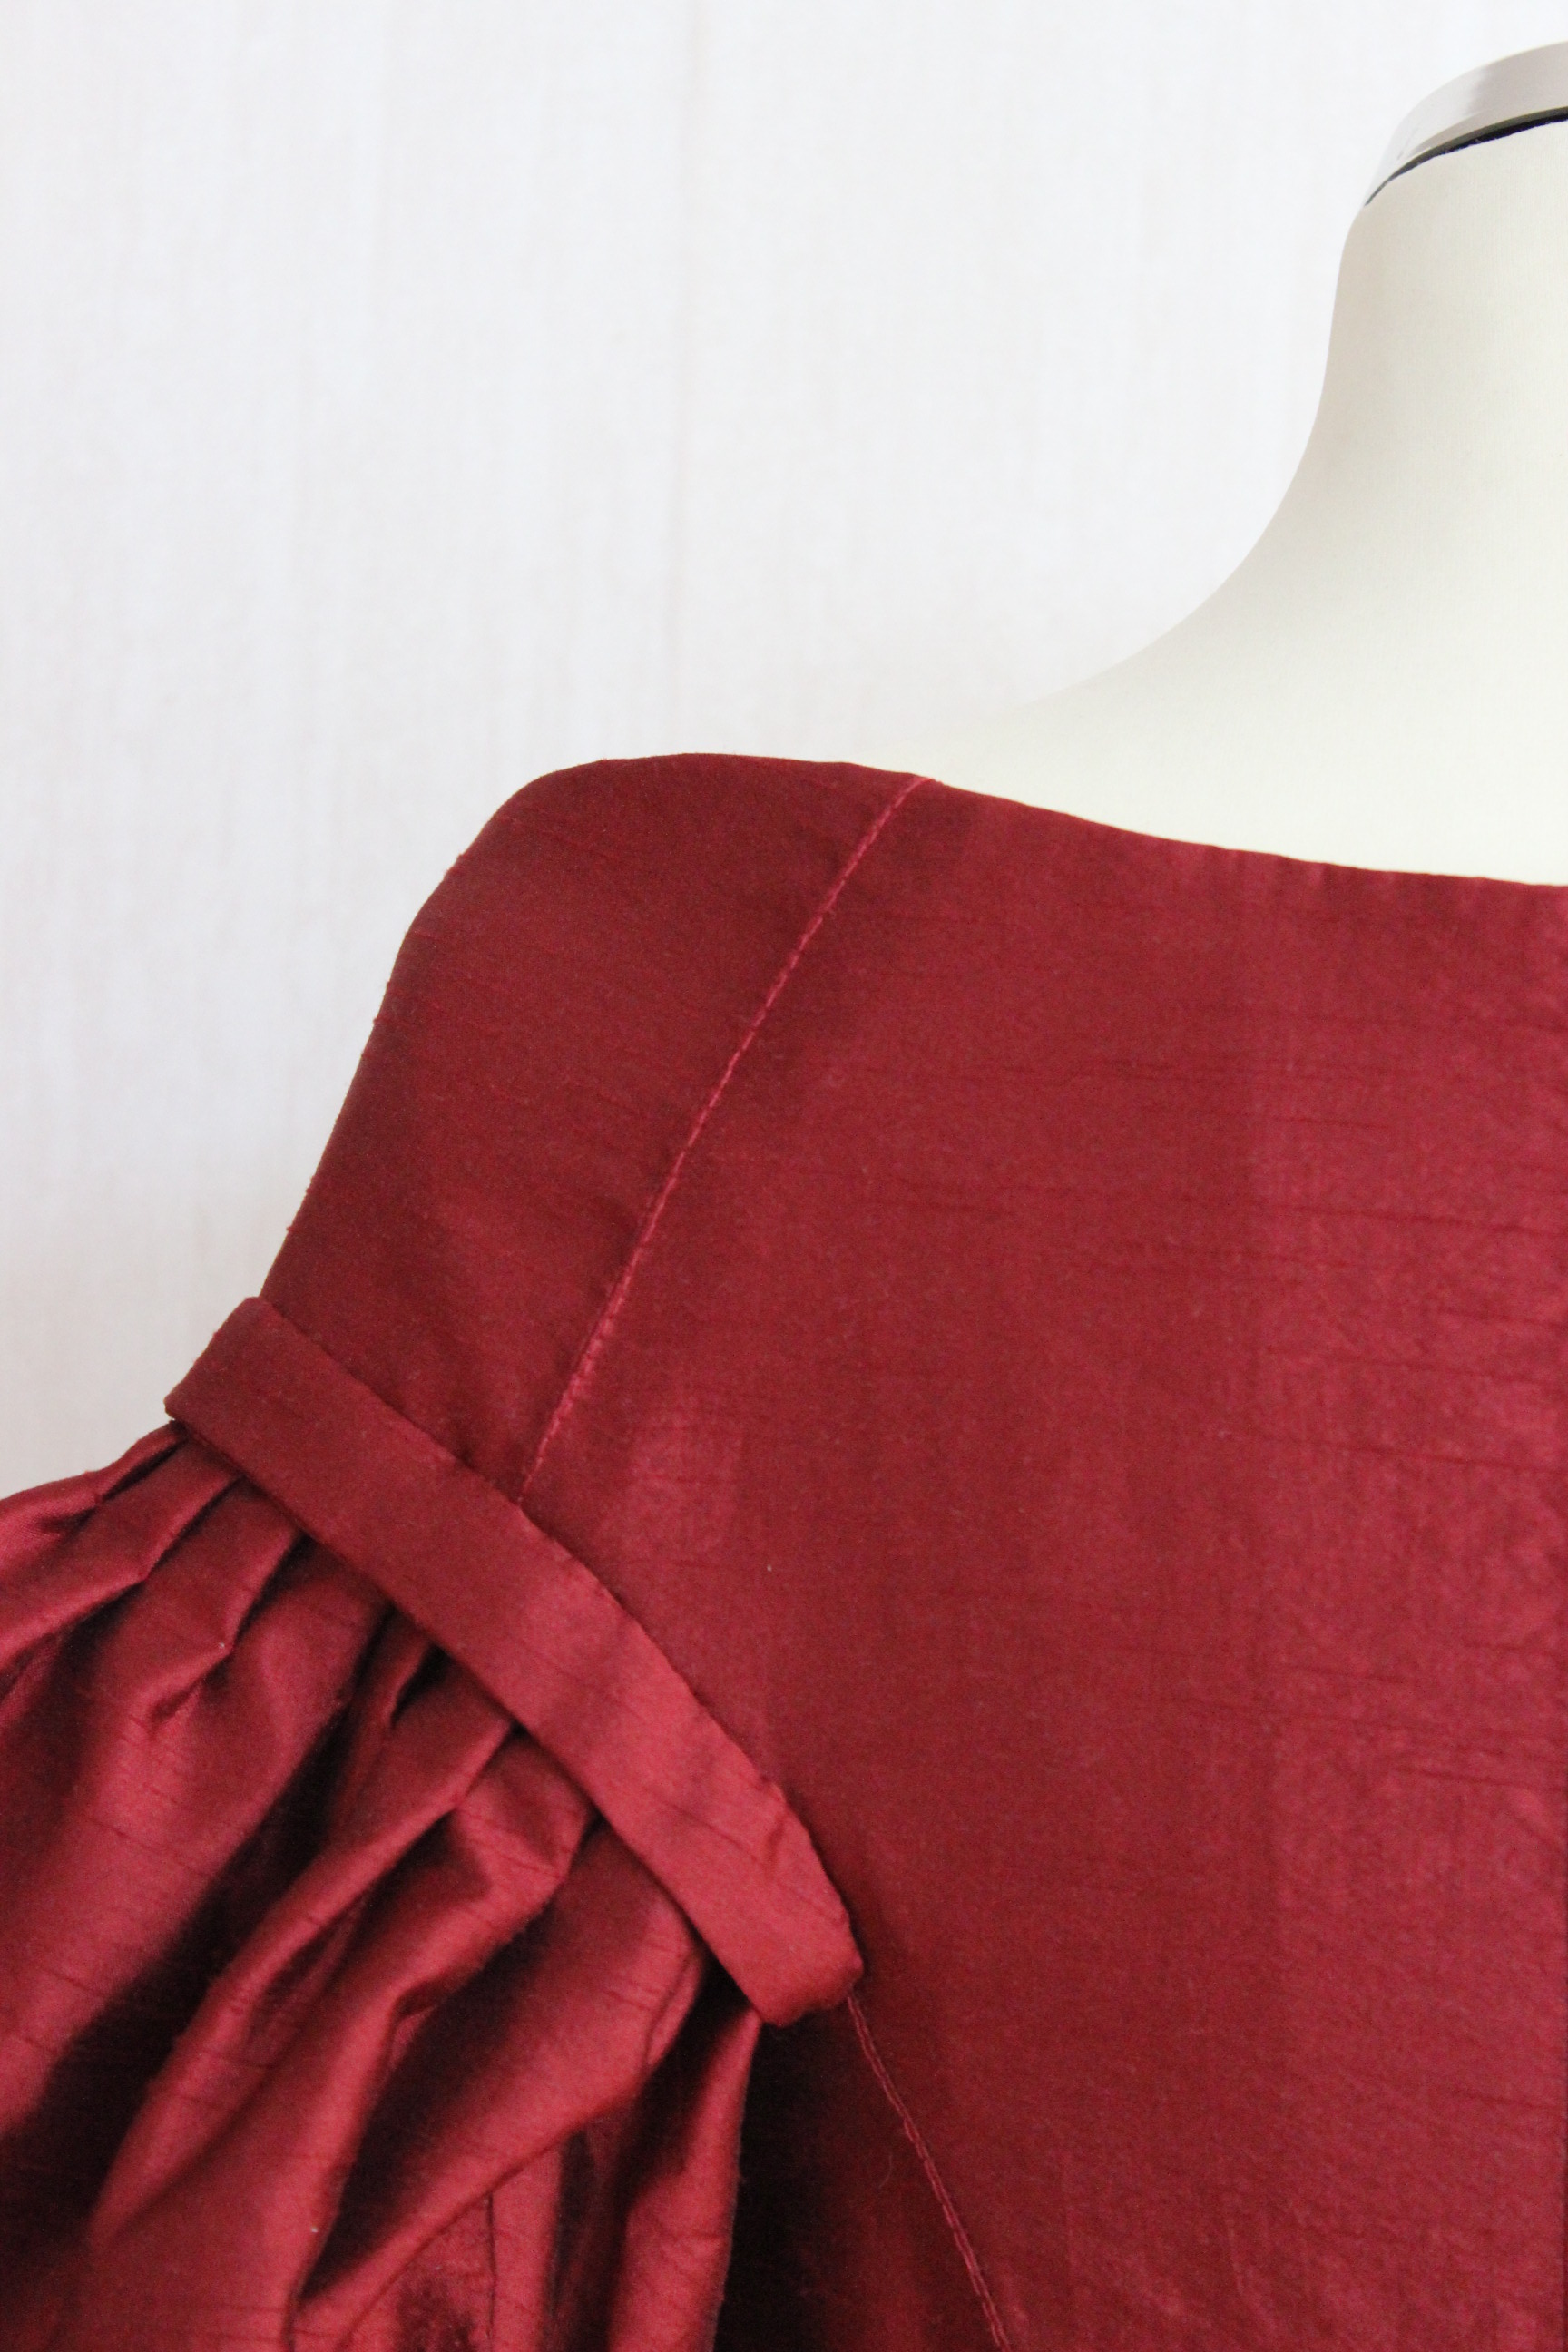
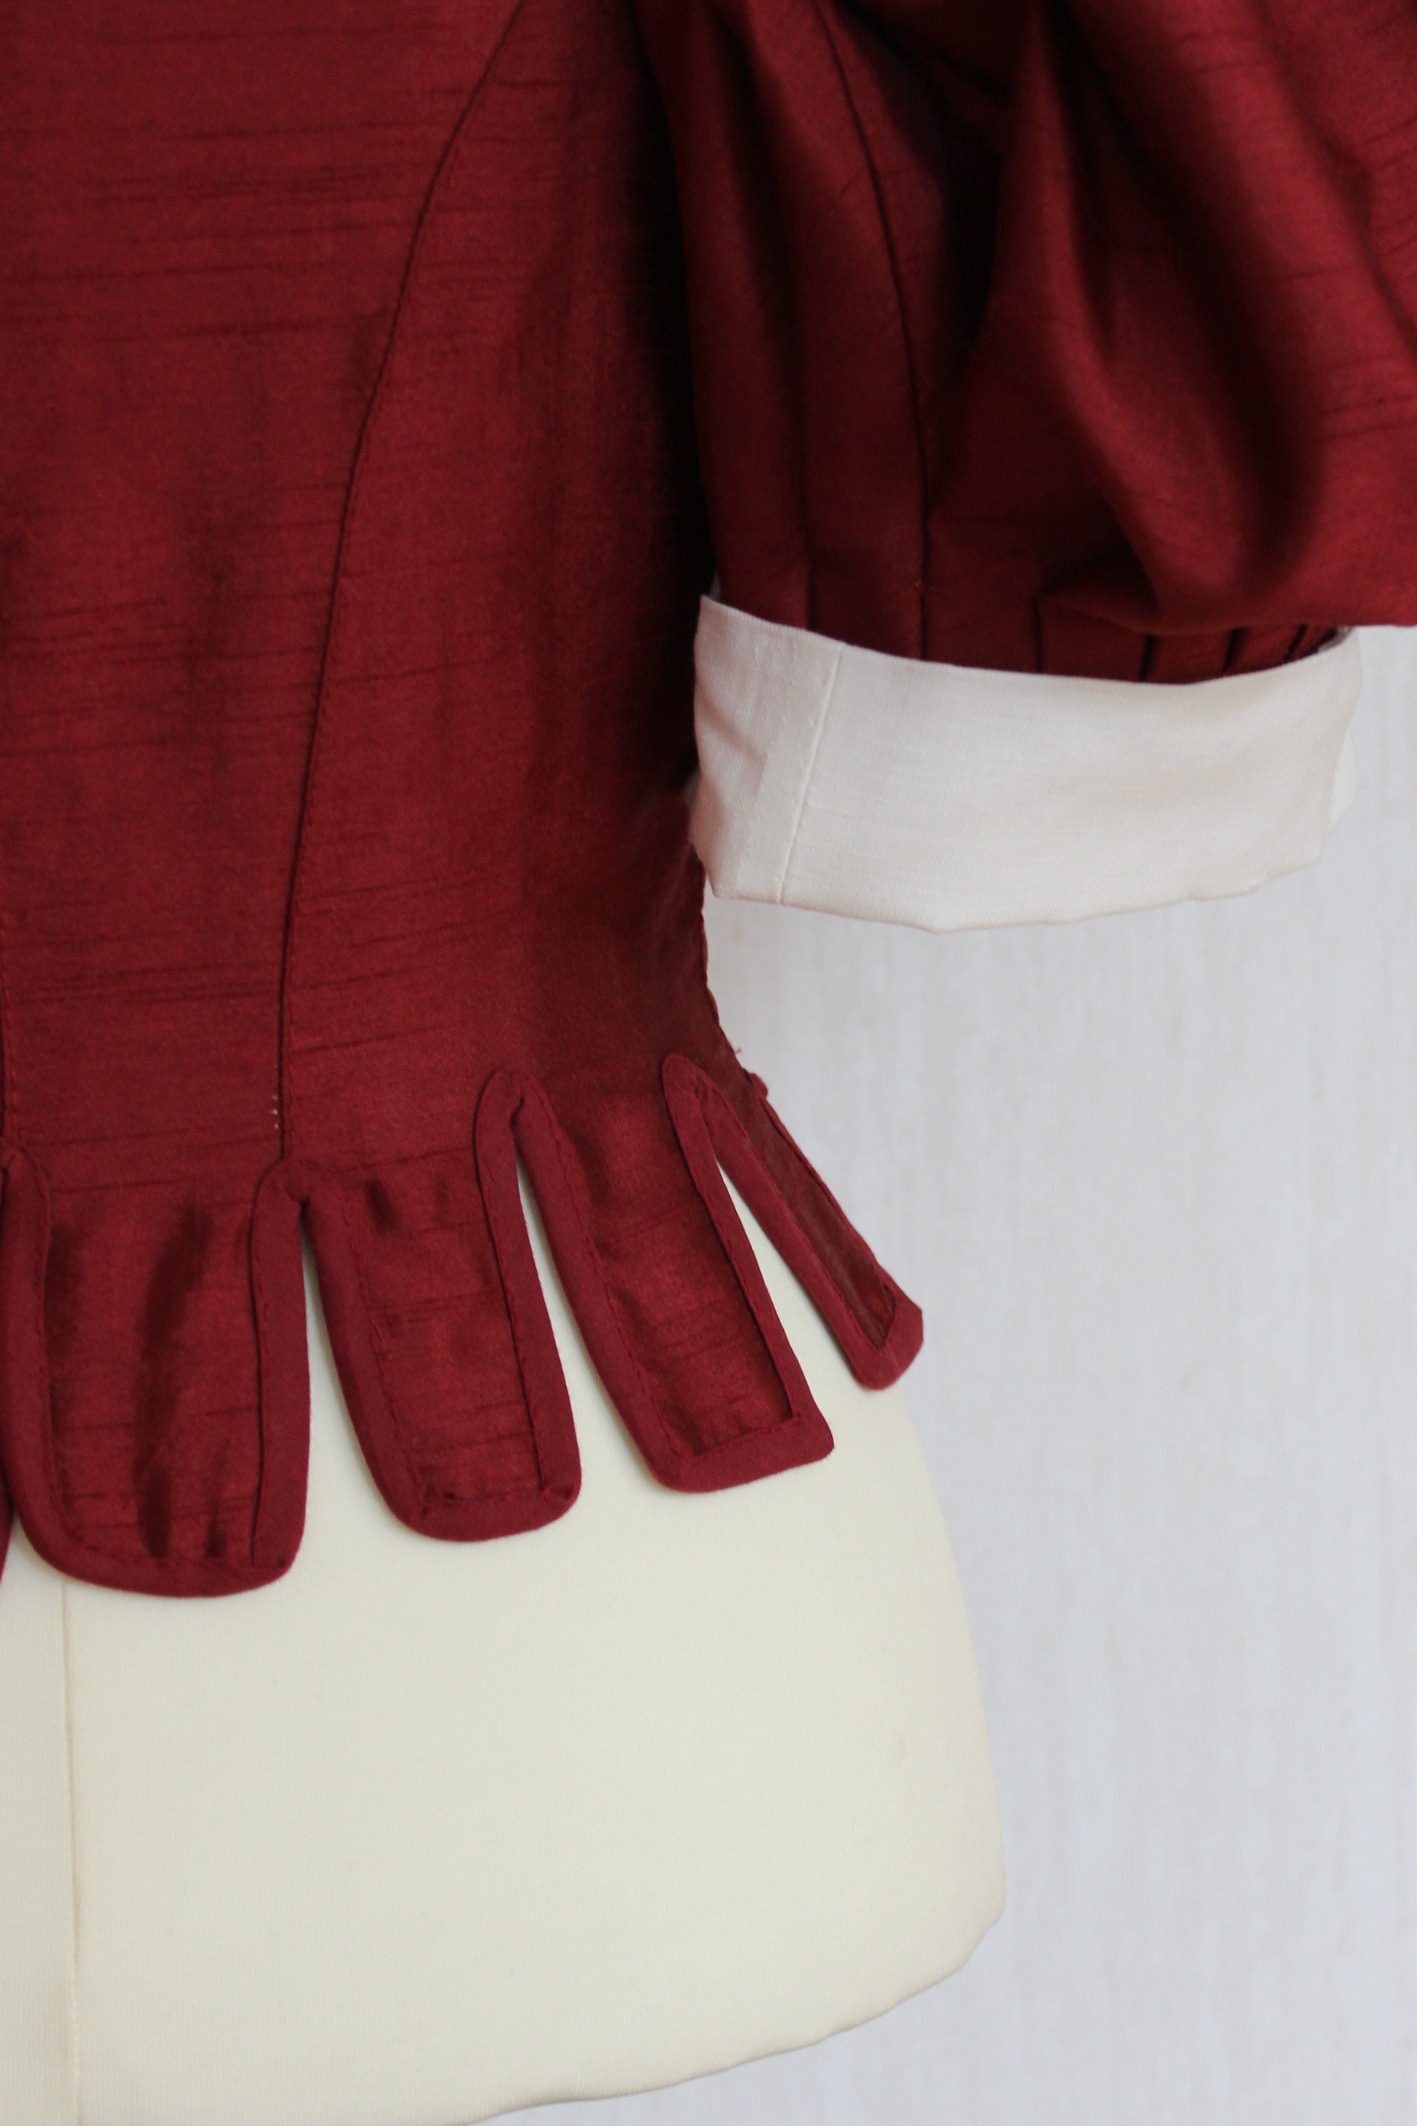
I also did some work on the sleeves and added a cuff and pleated the top to the armhole.  Trying out the sleeve before attaching the neck and front-piece.

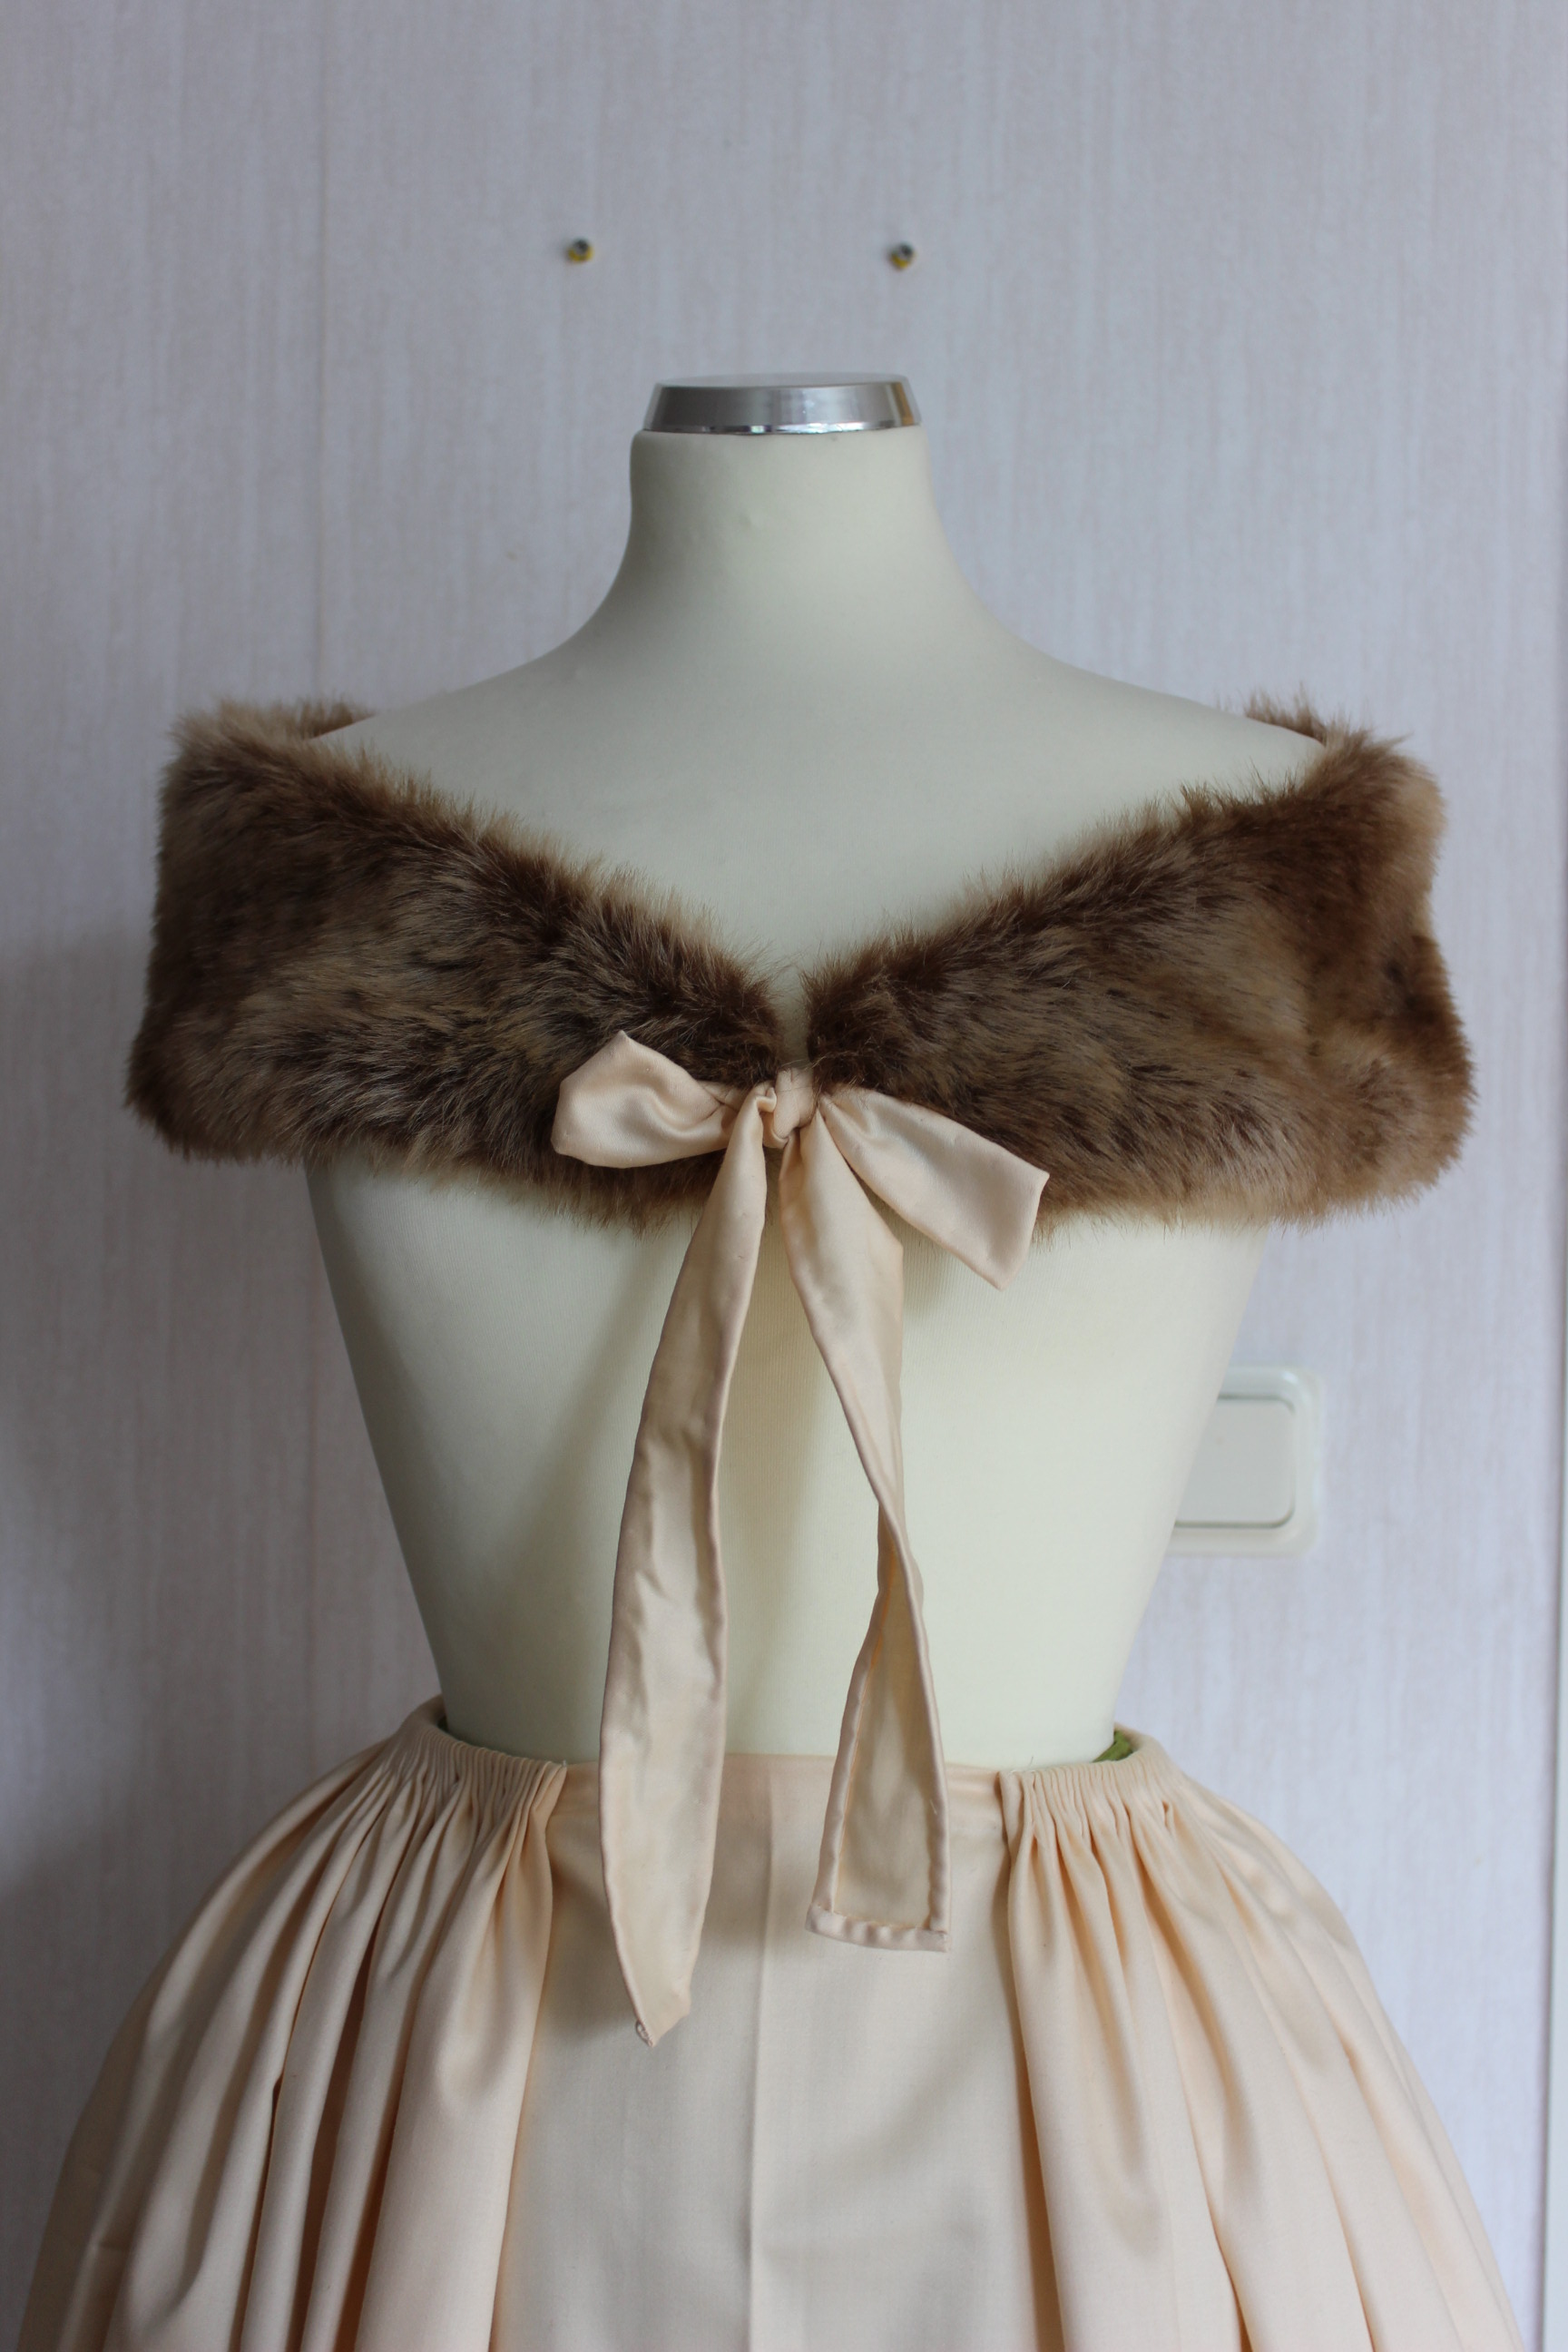
Once the main gown was finished the only other thing that I needed to decide was what color would I trim it in?   Silver or gold?
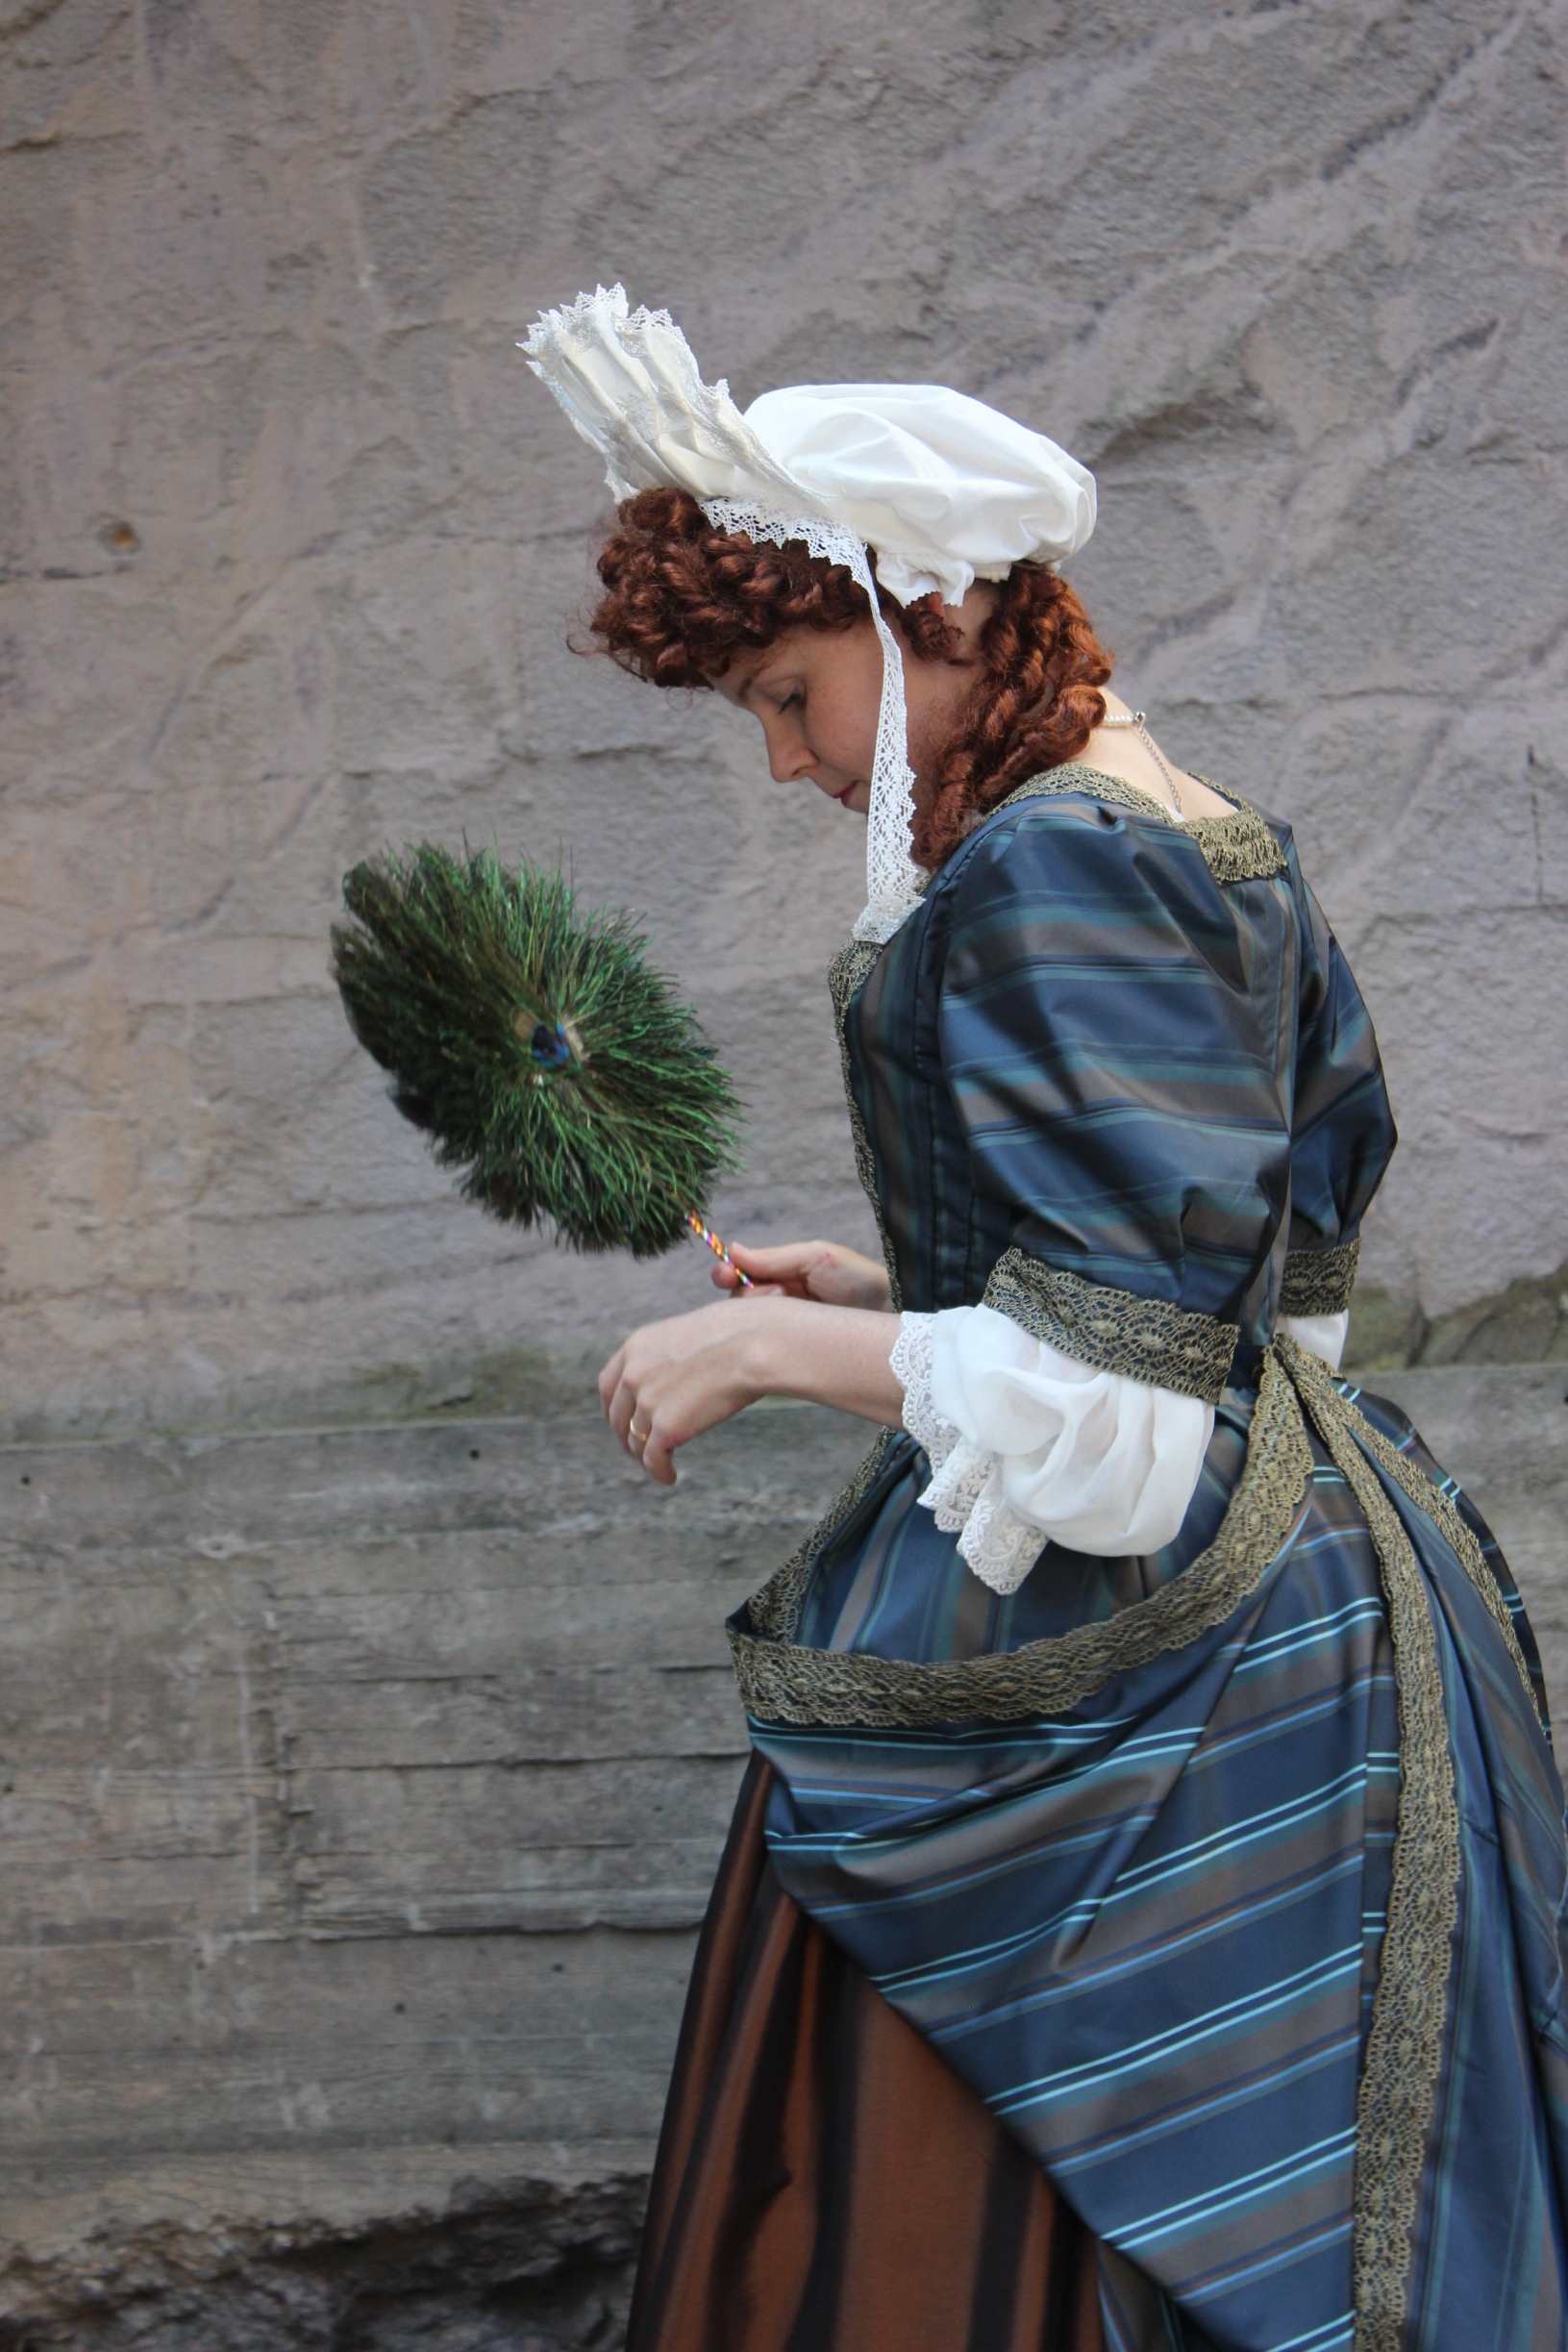
Both have there merits – silver matches the gown fabric nicely, but the gold was more common in the time-period and brings out the copper in the petticoat.

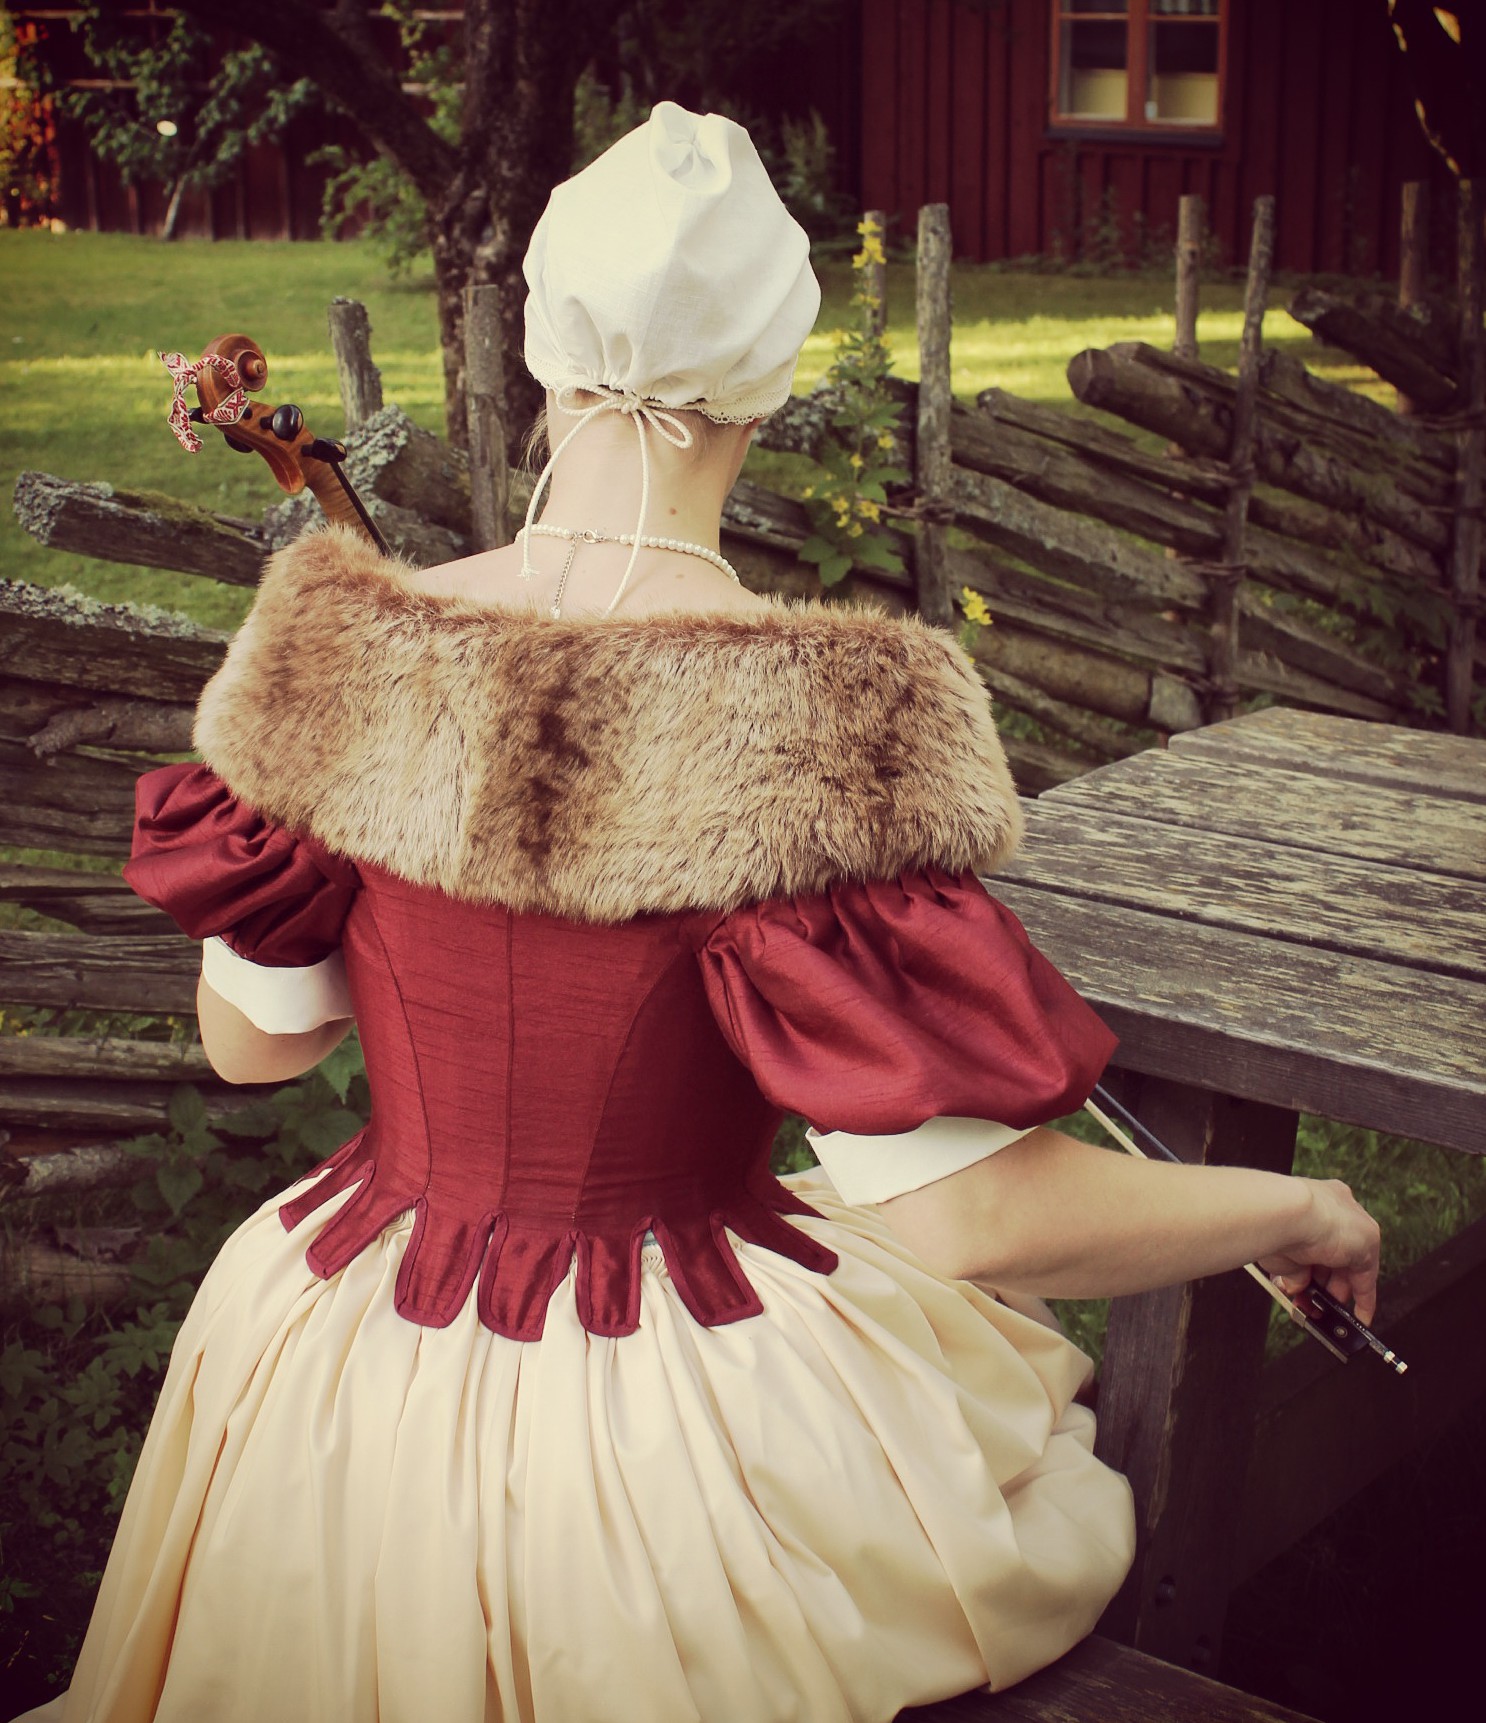
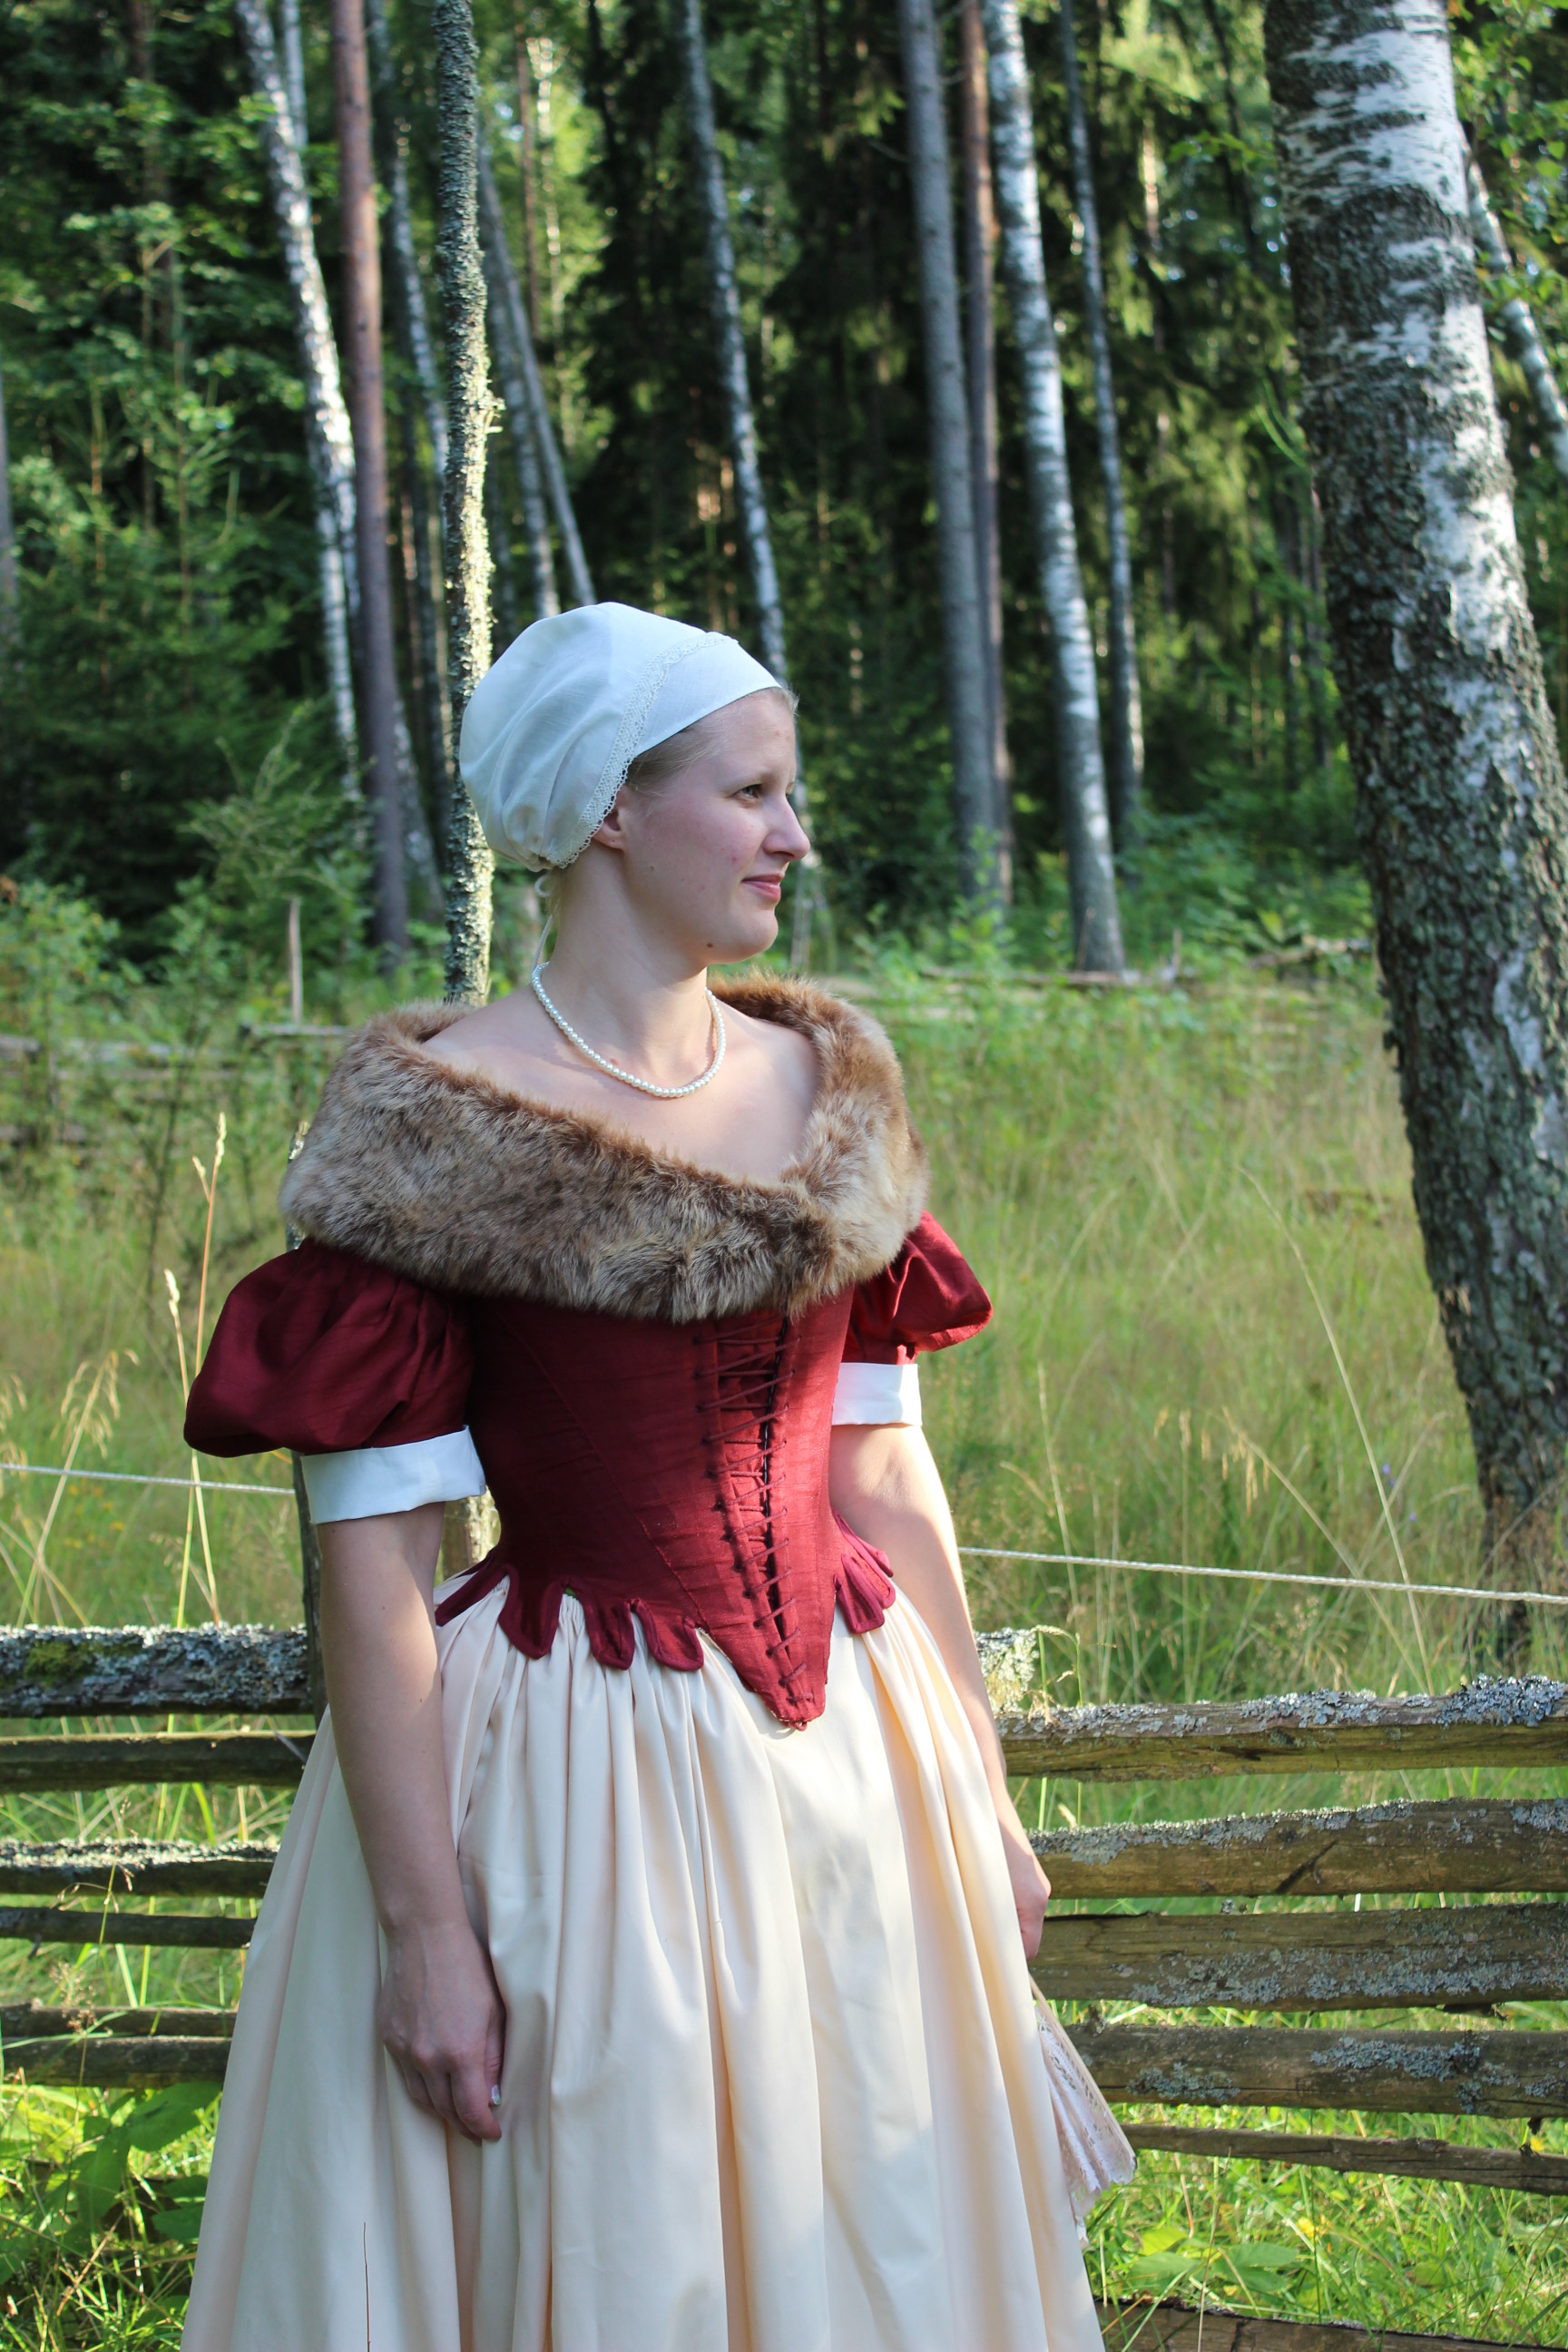
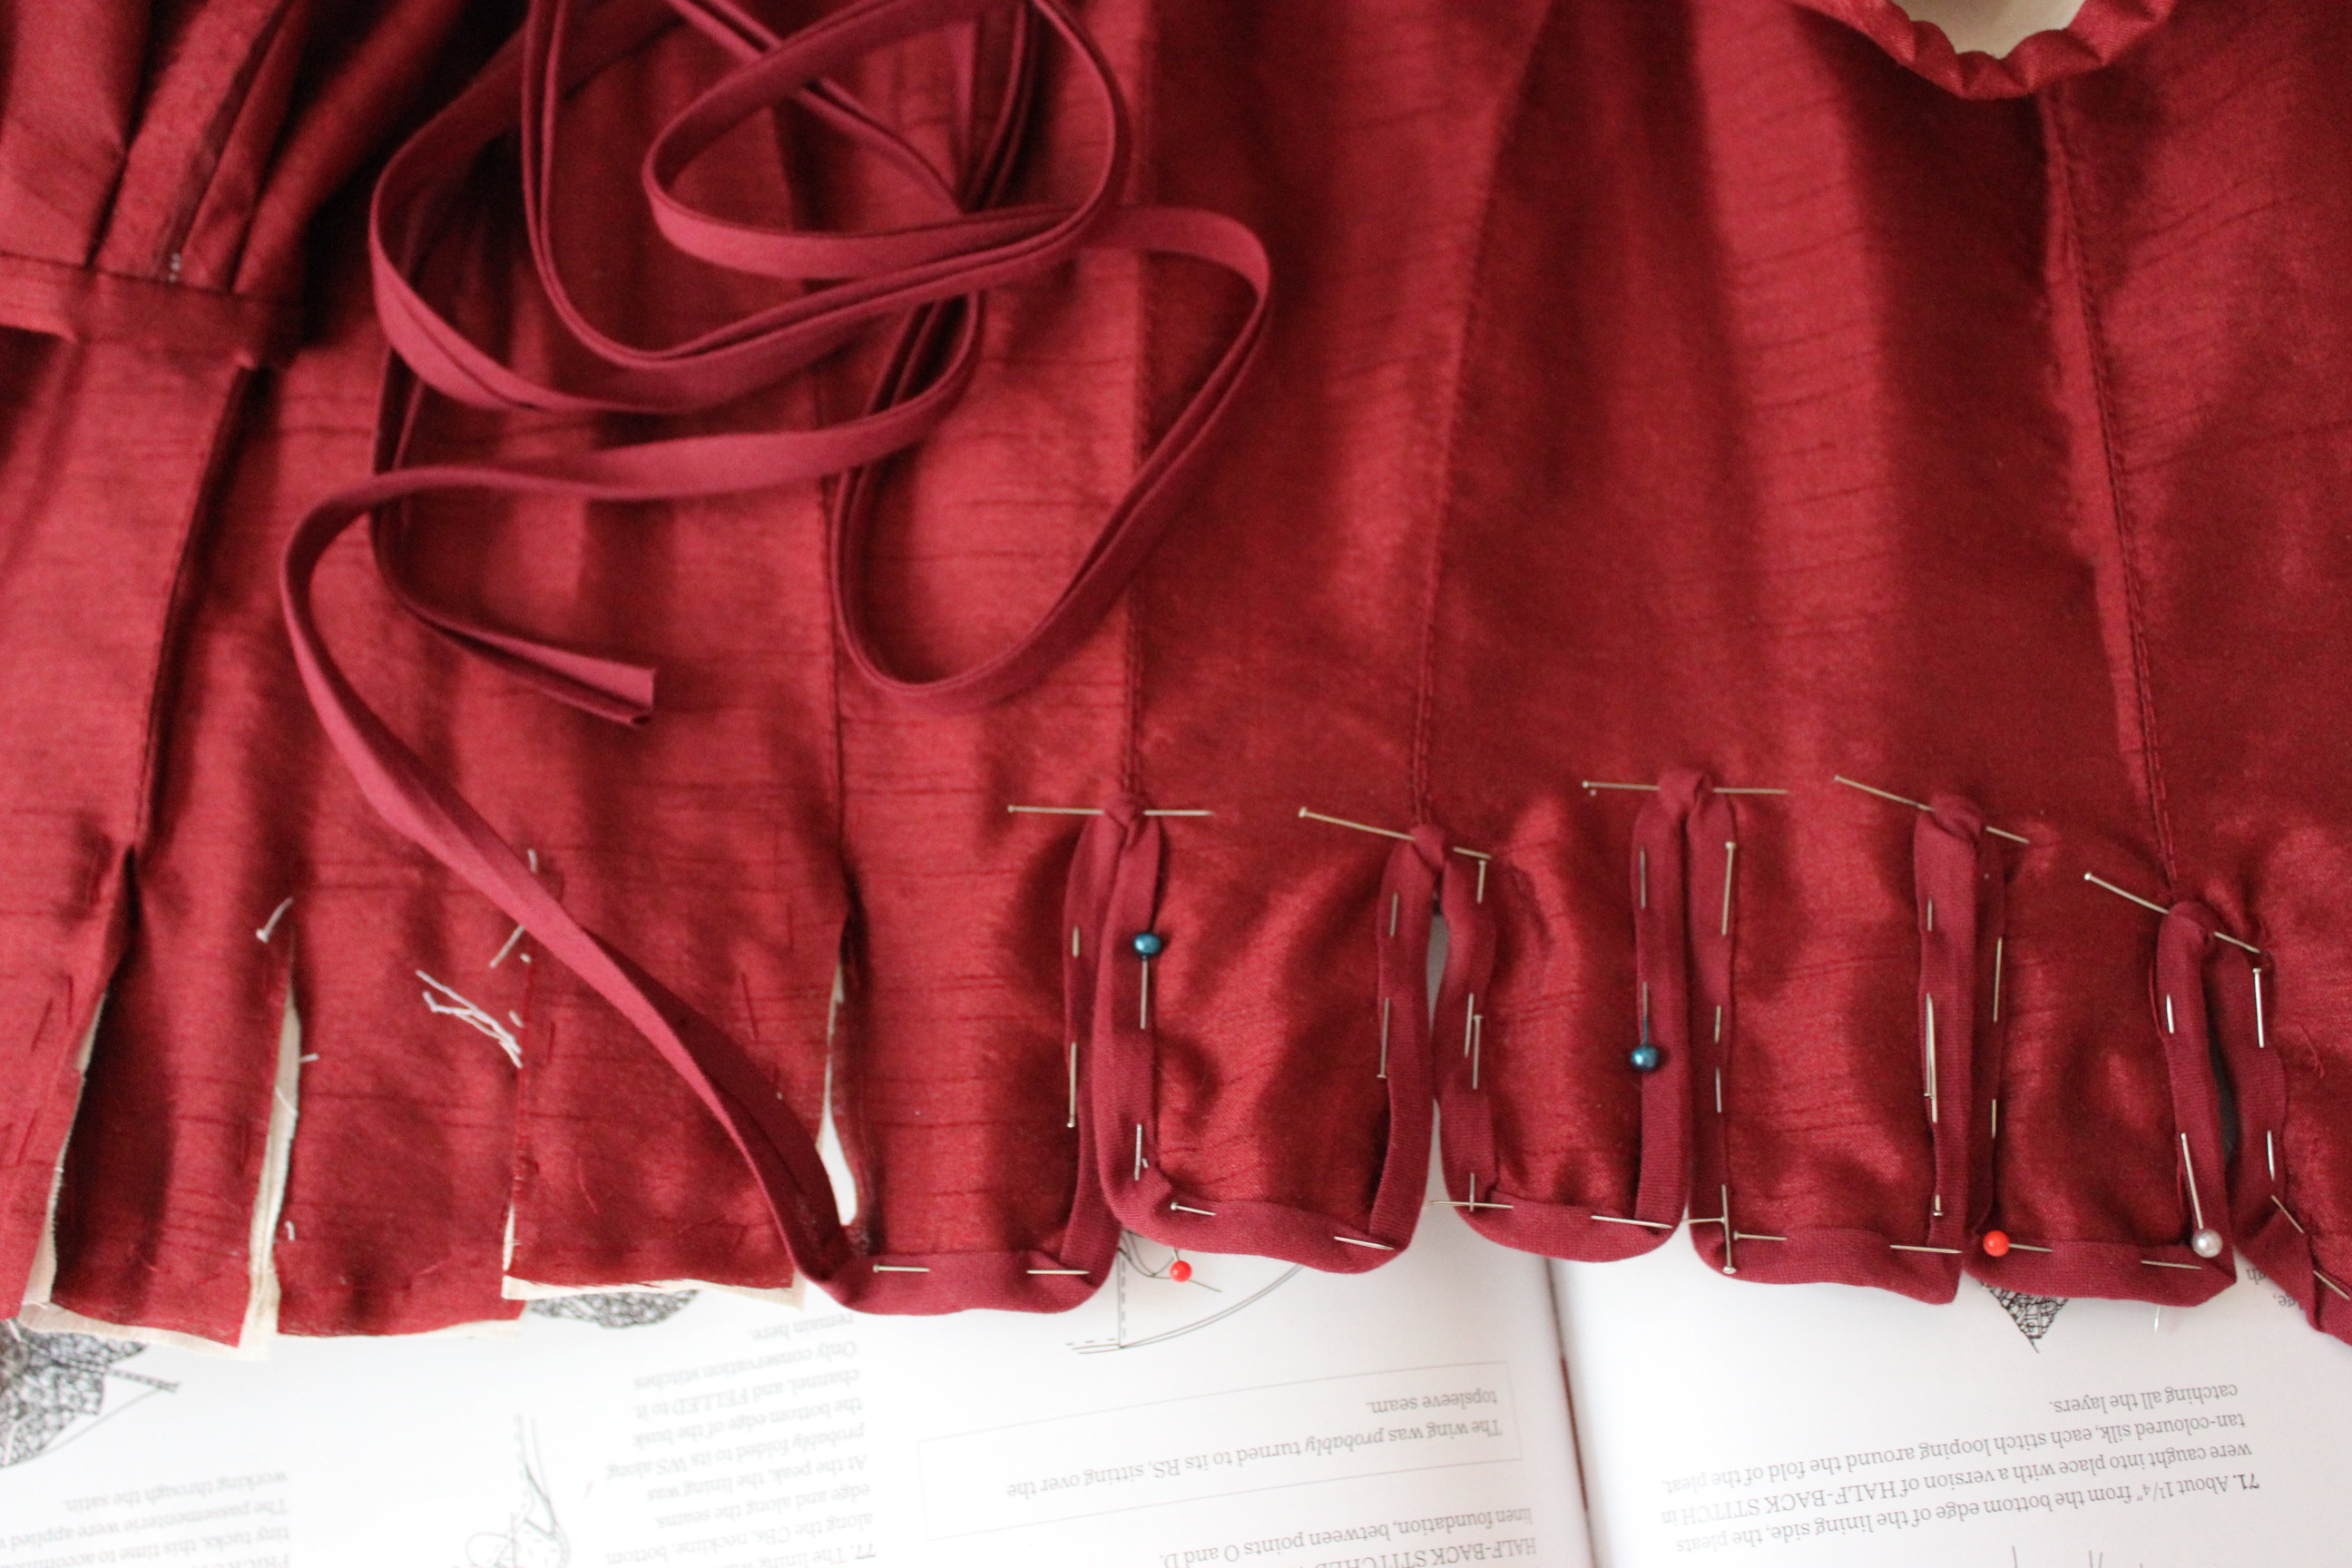
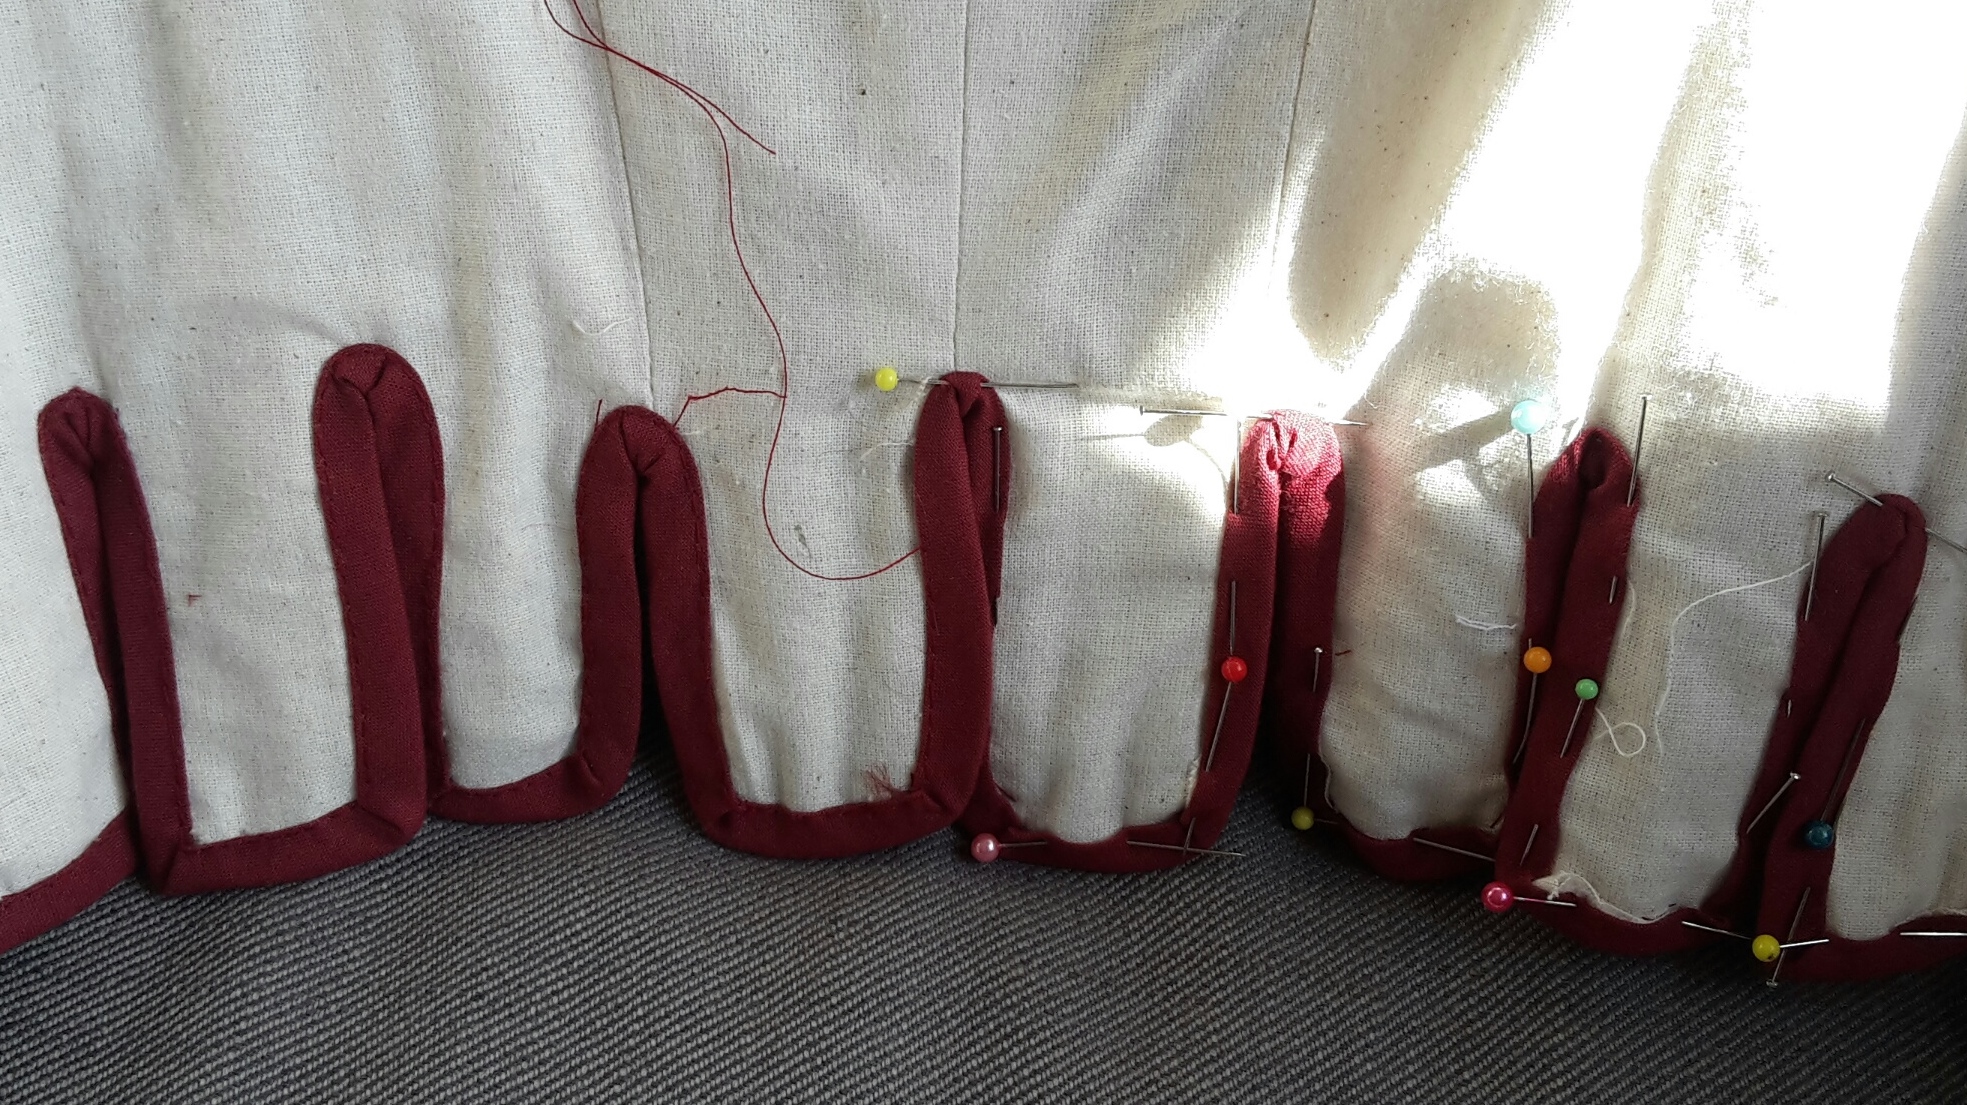
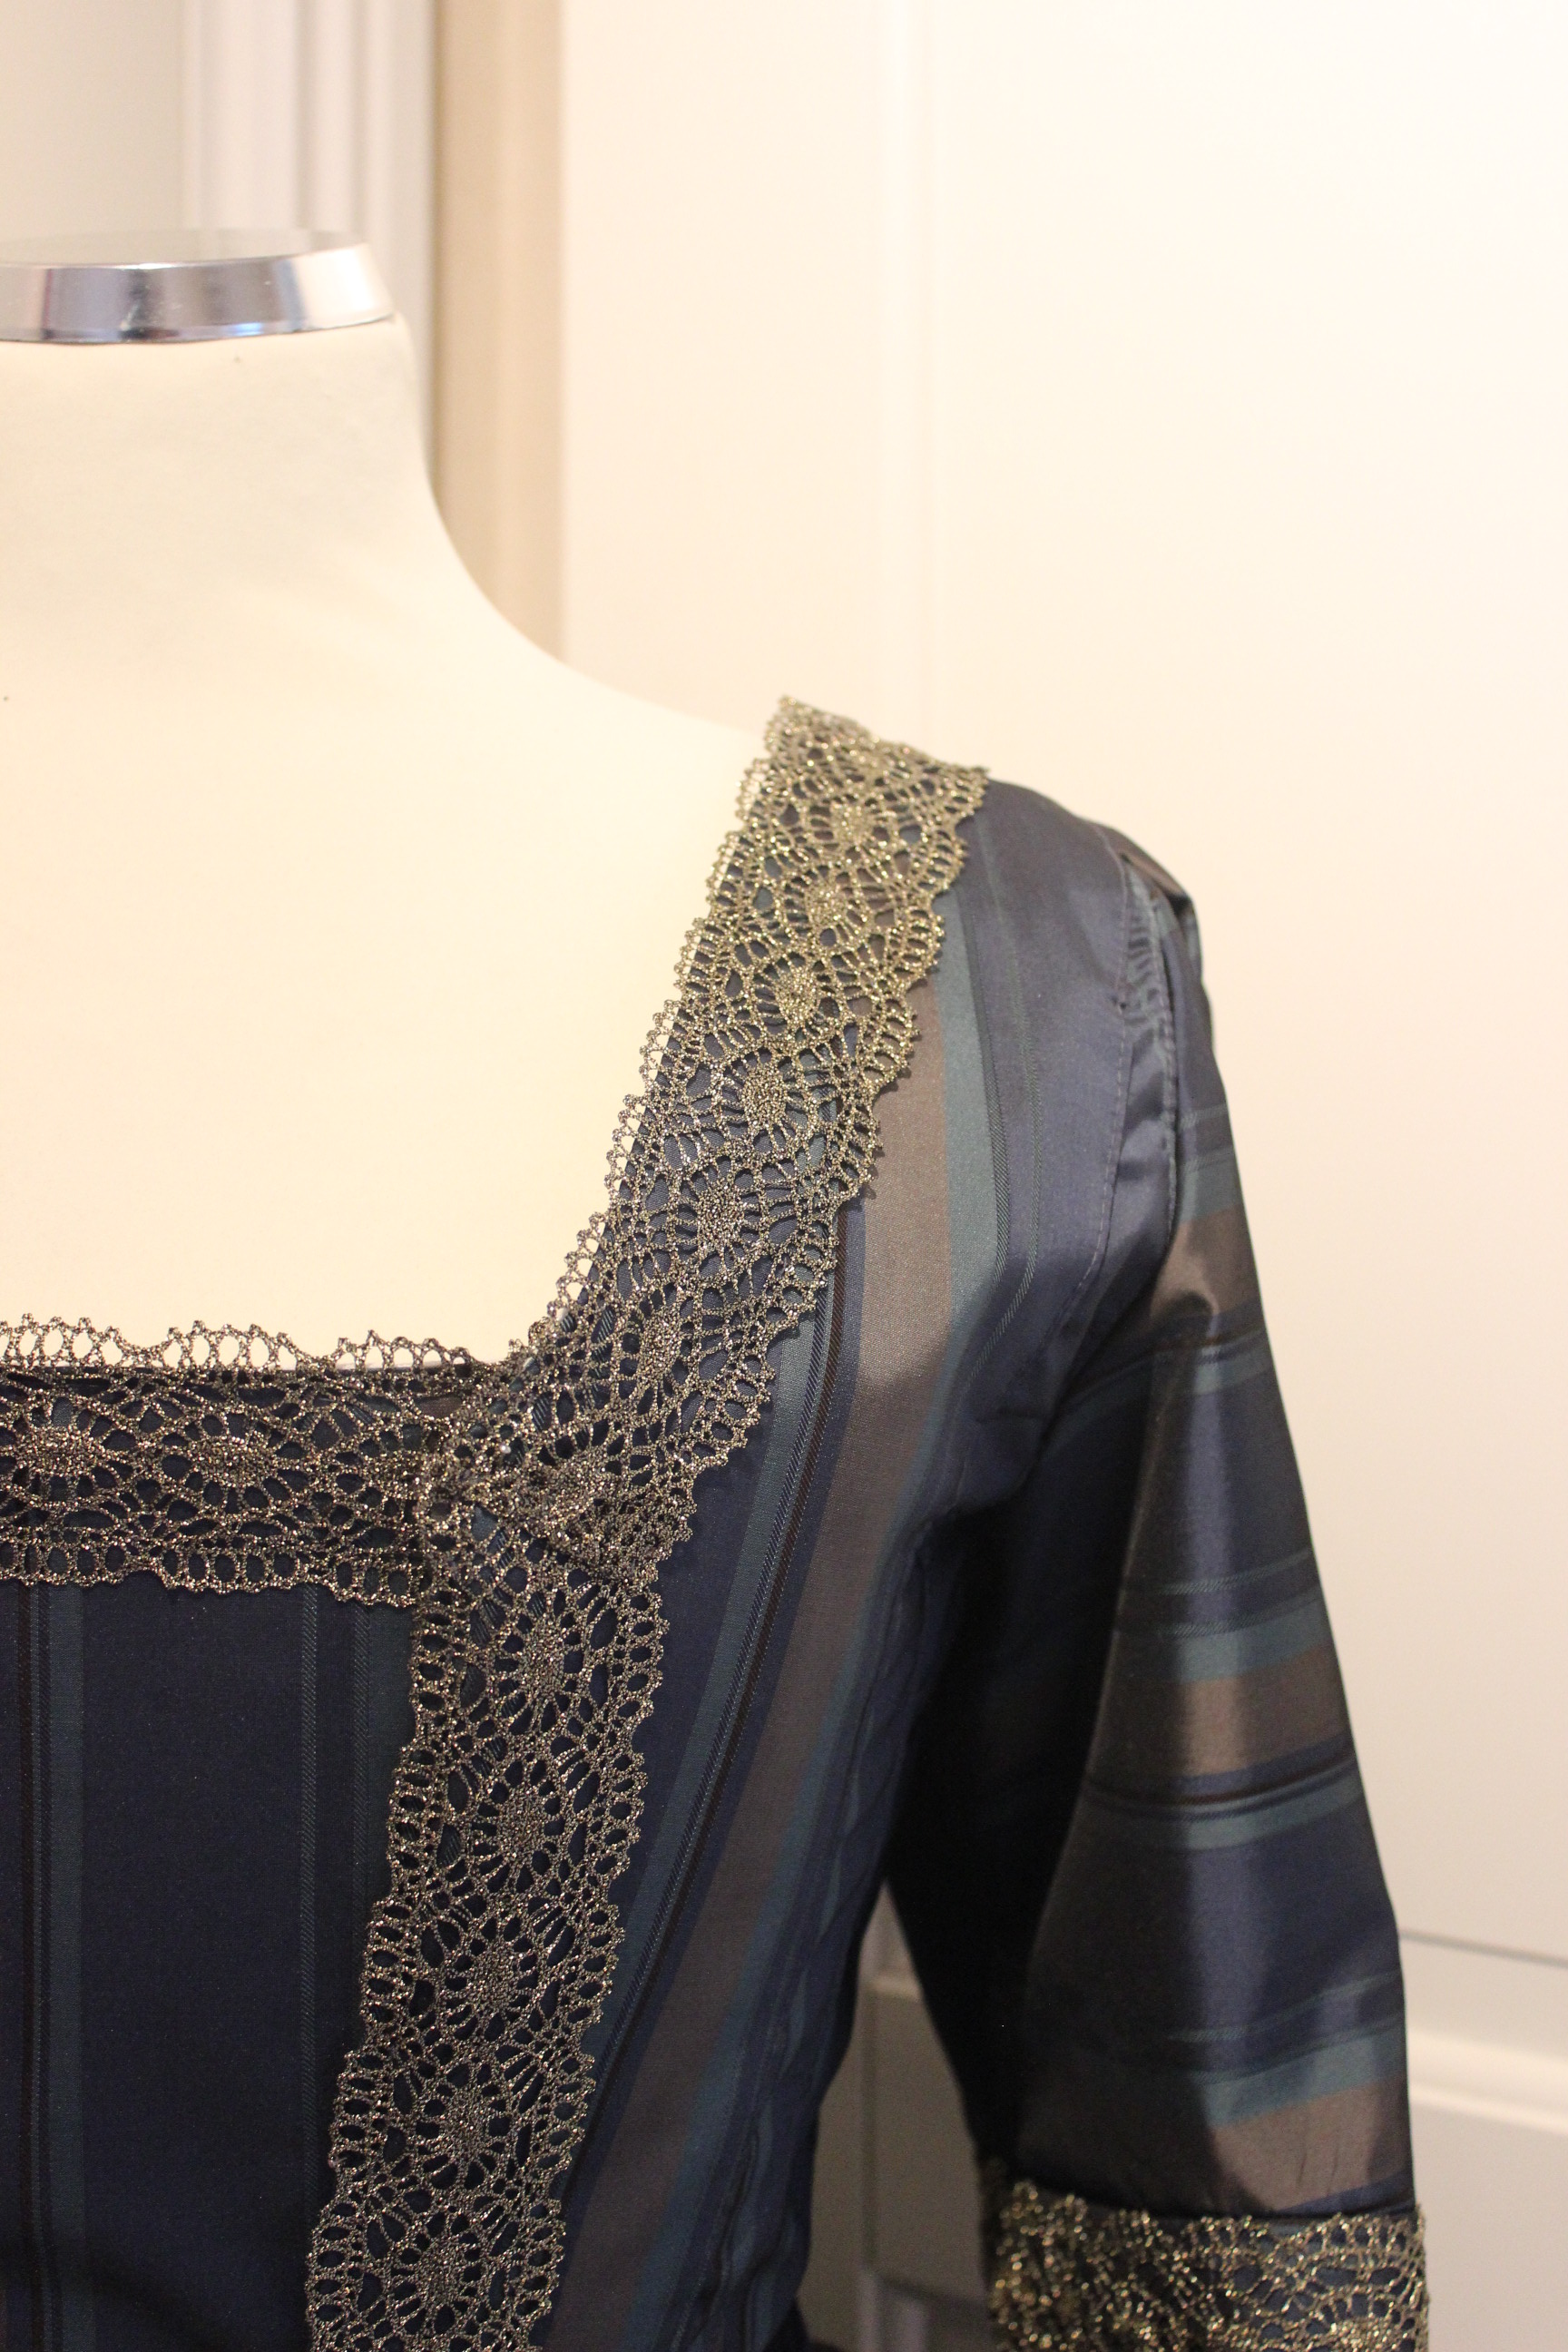
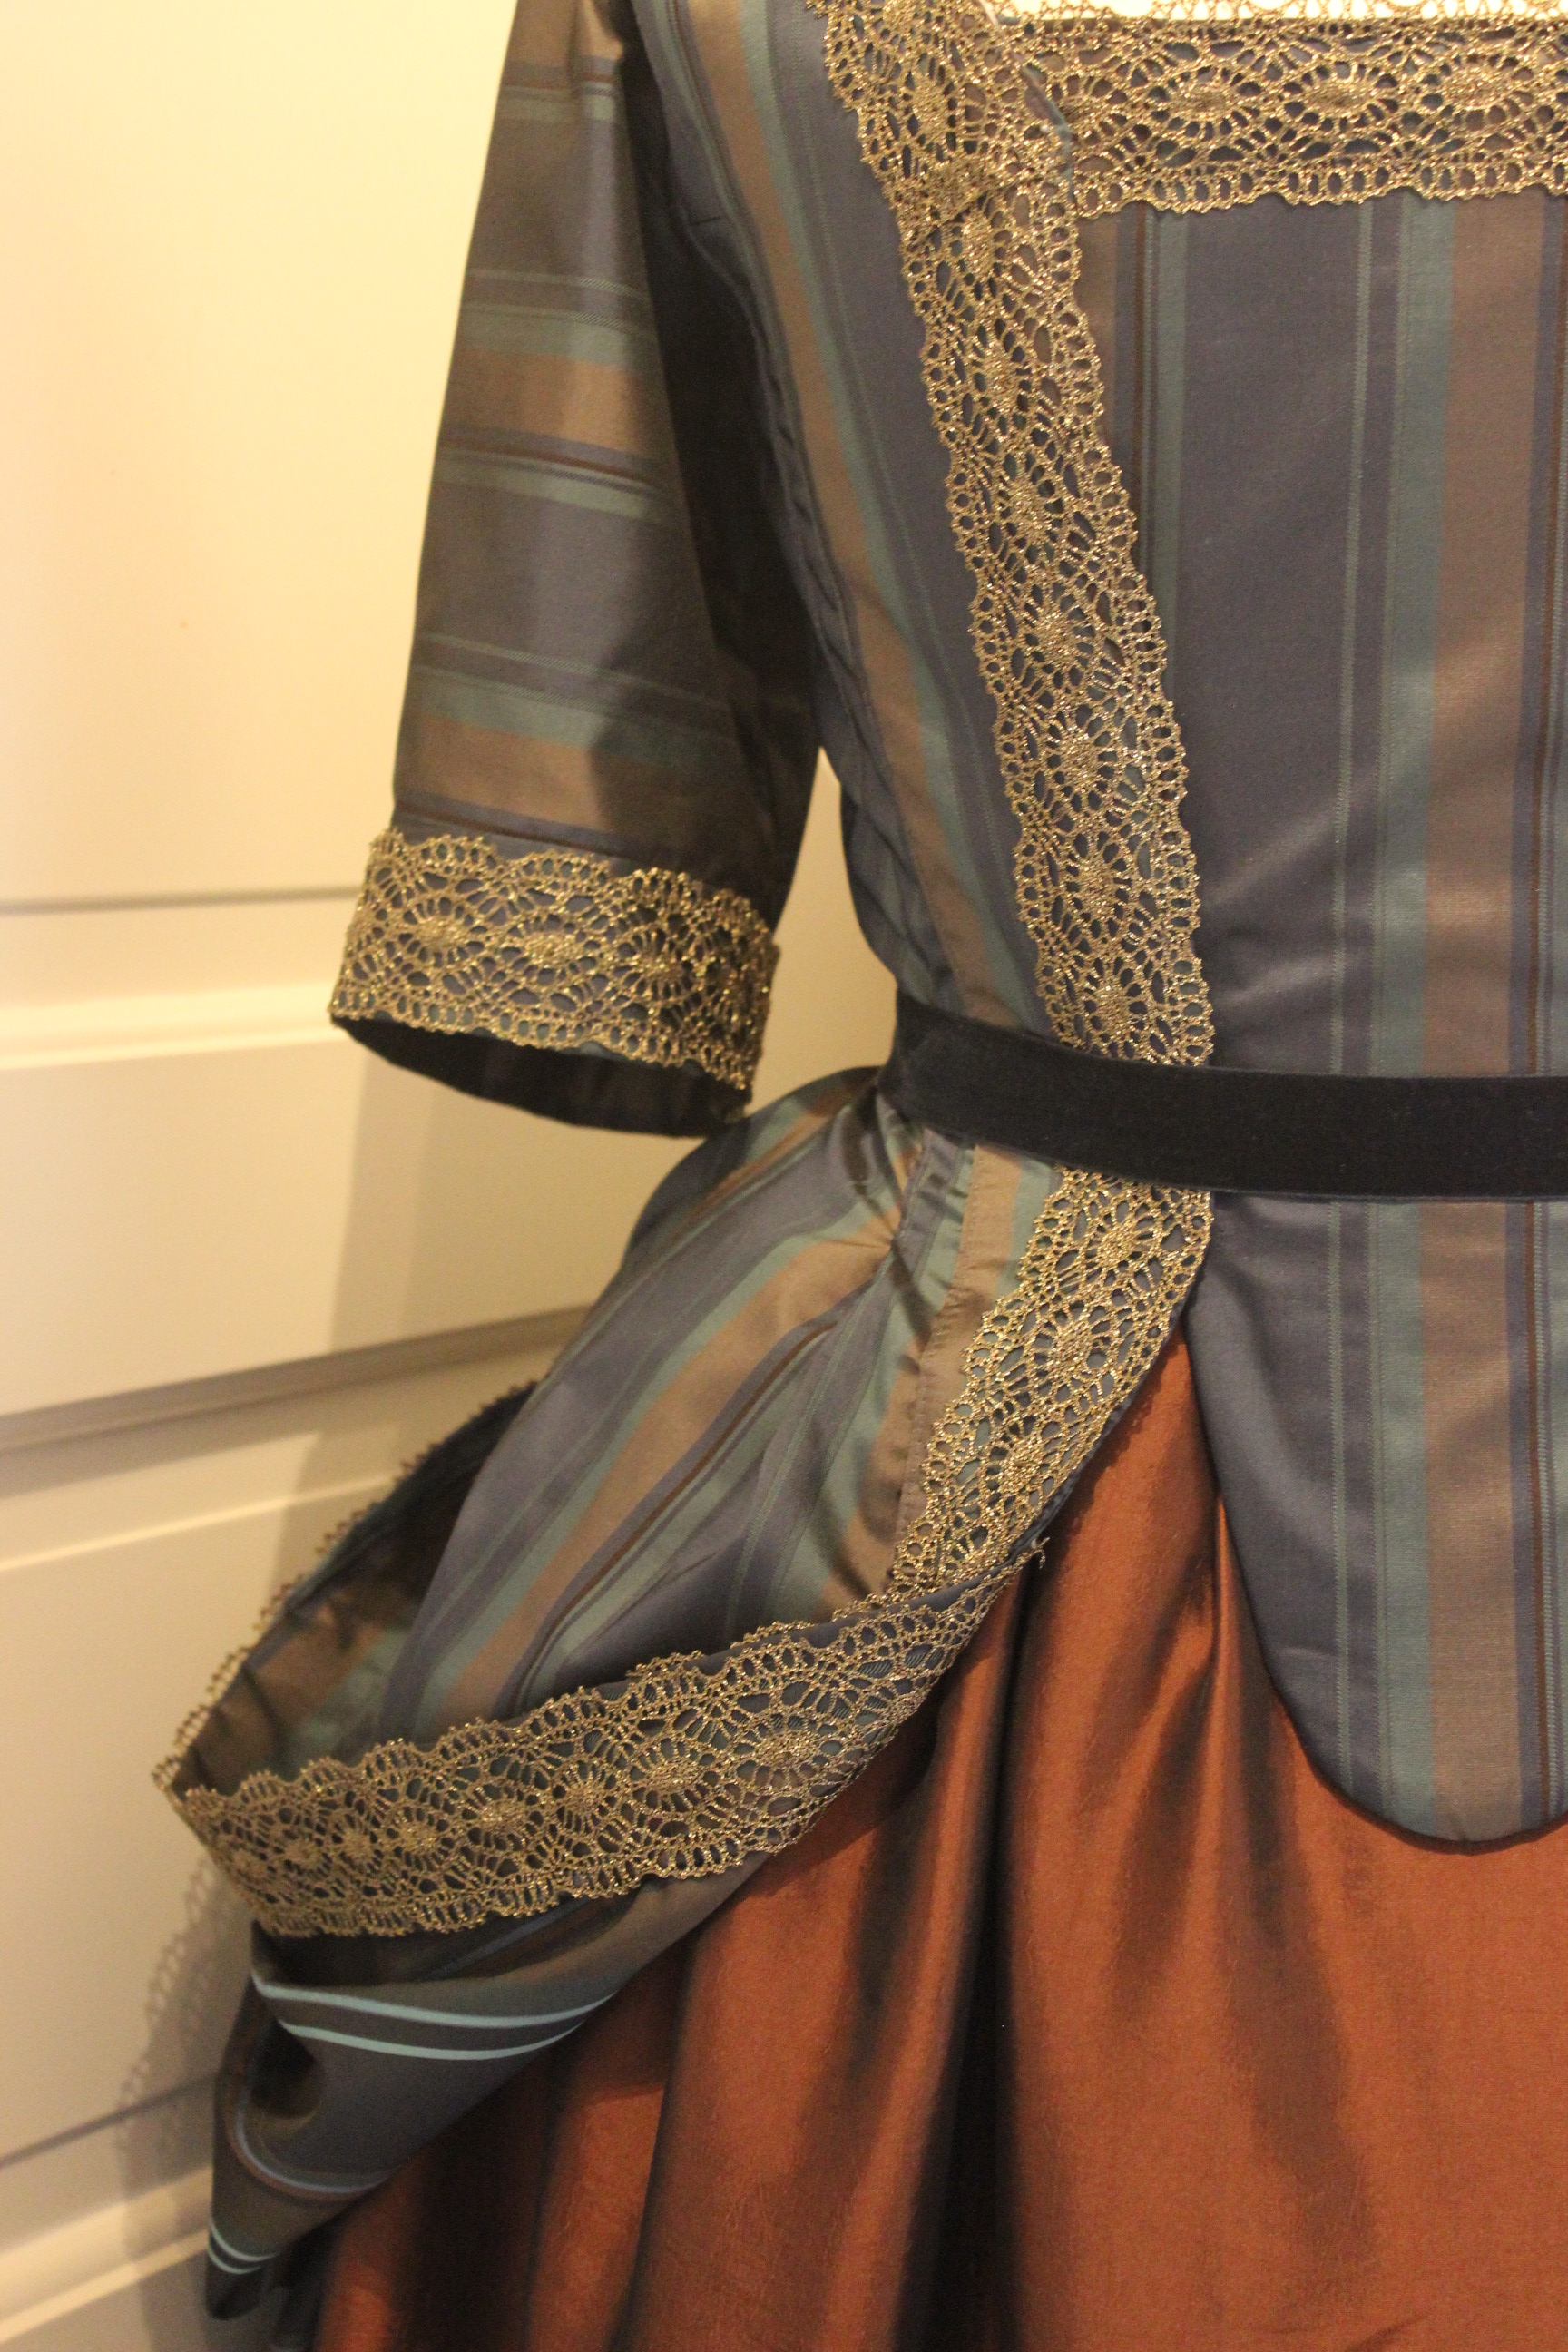
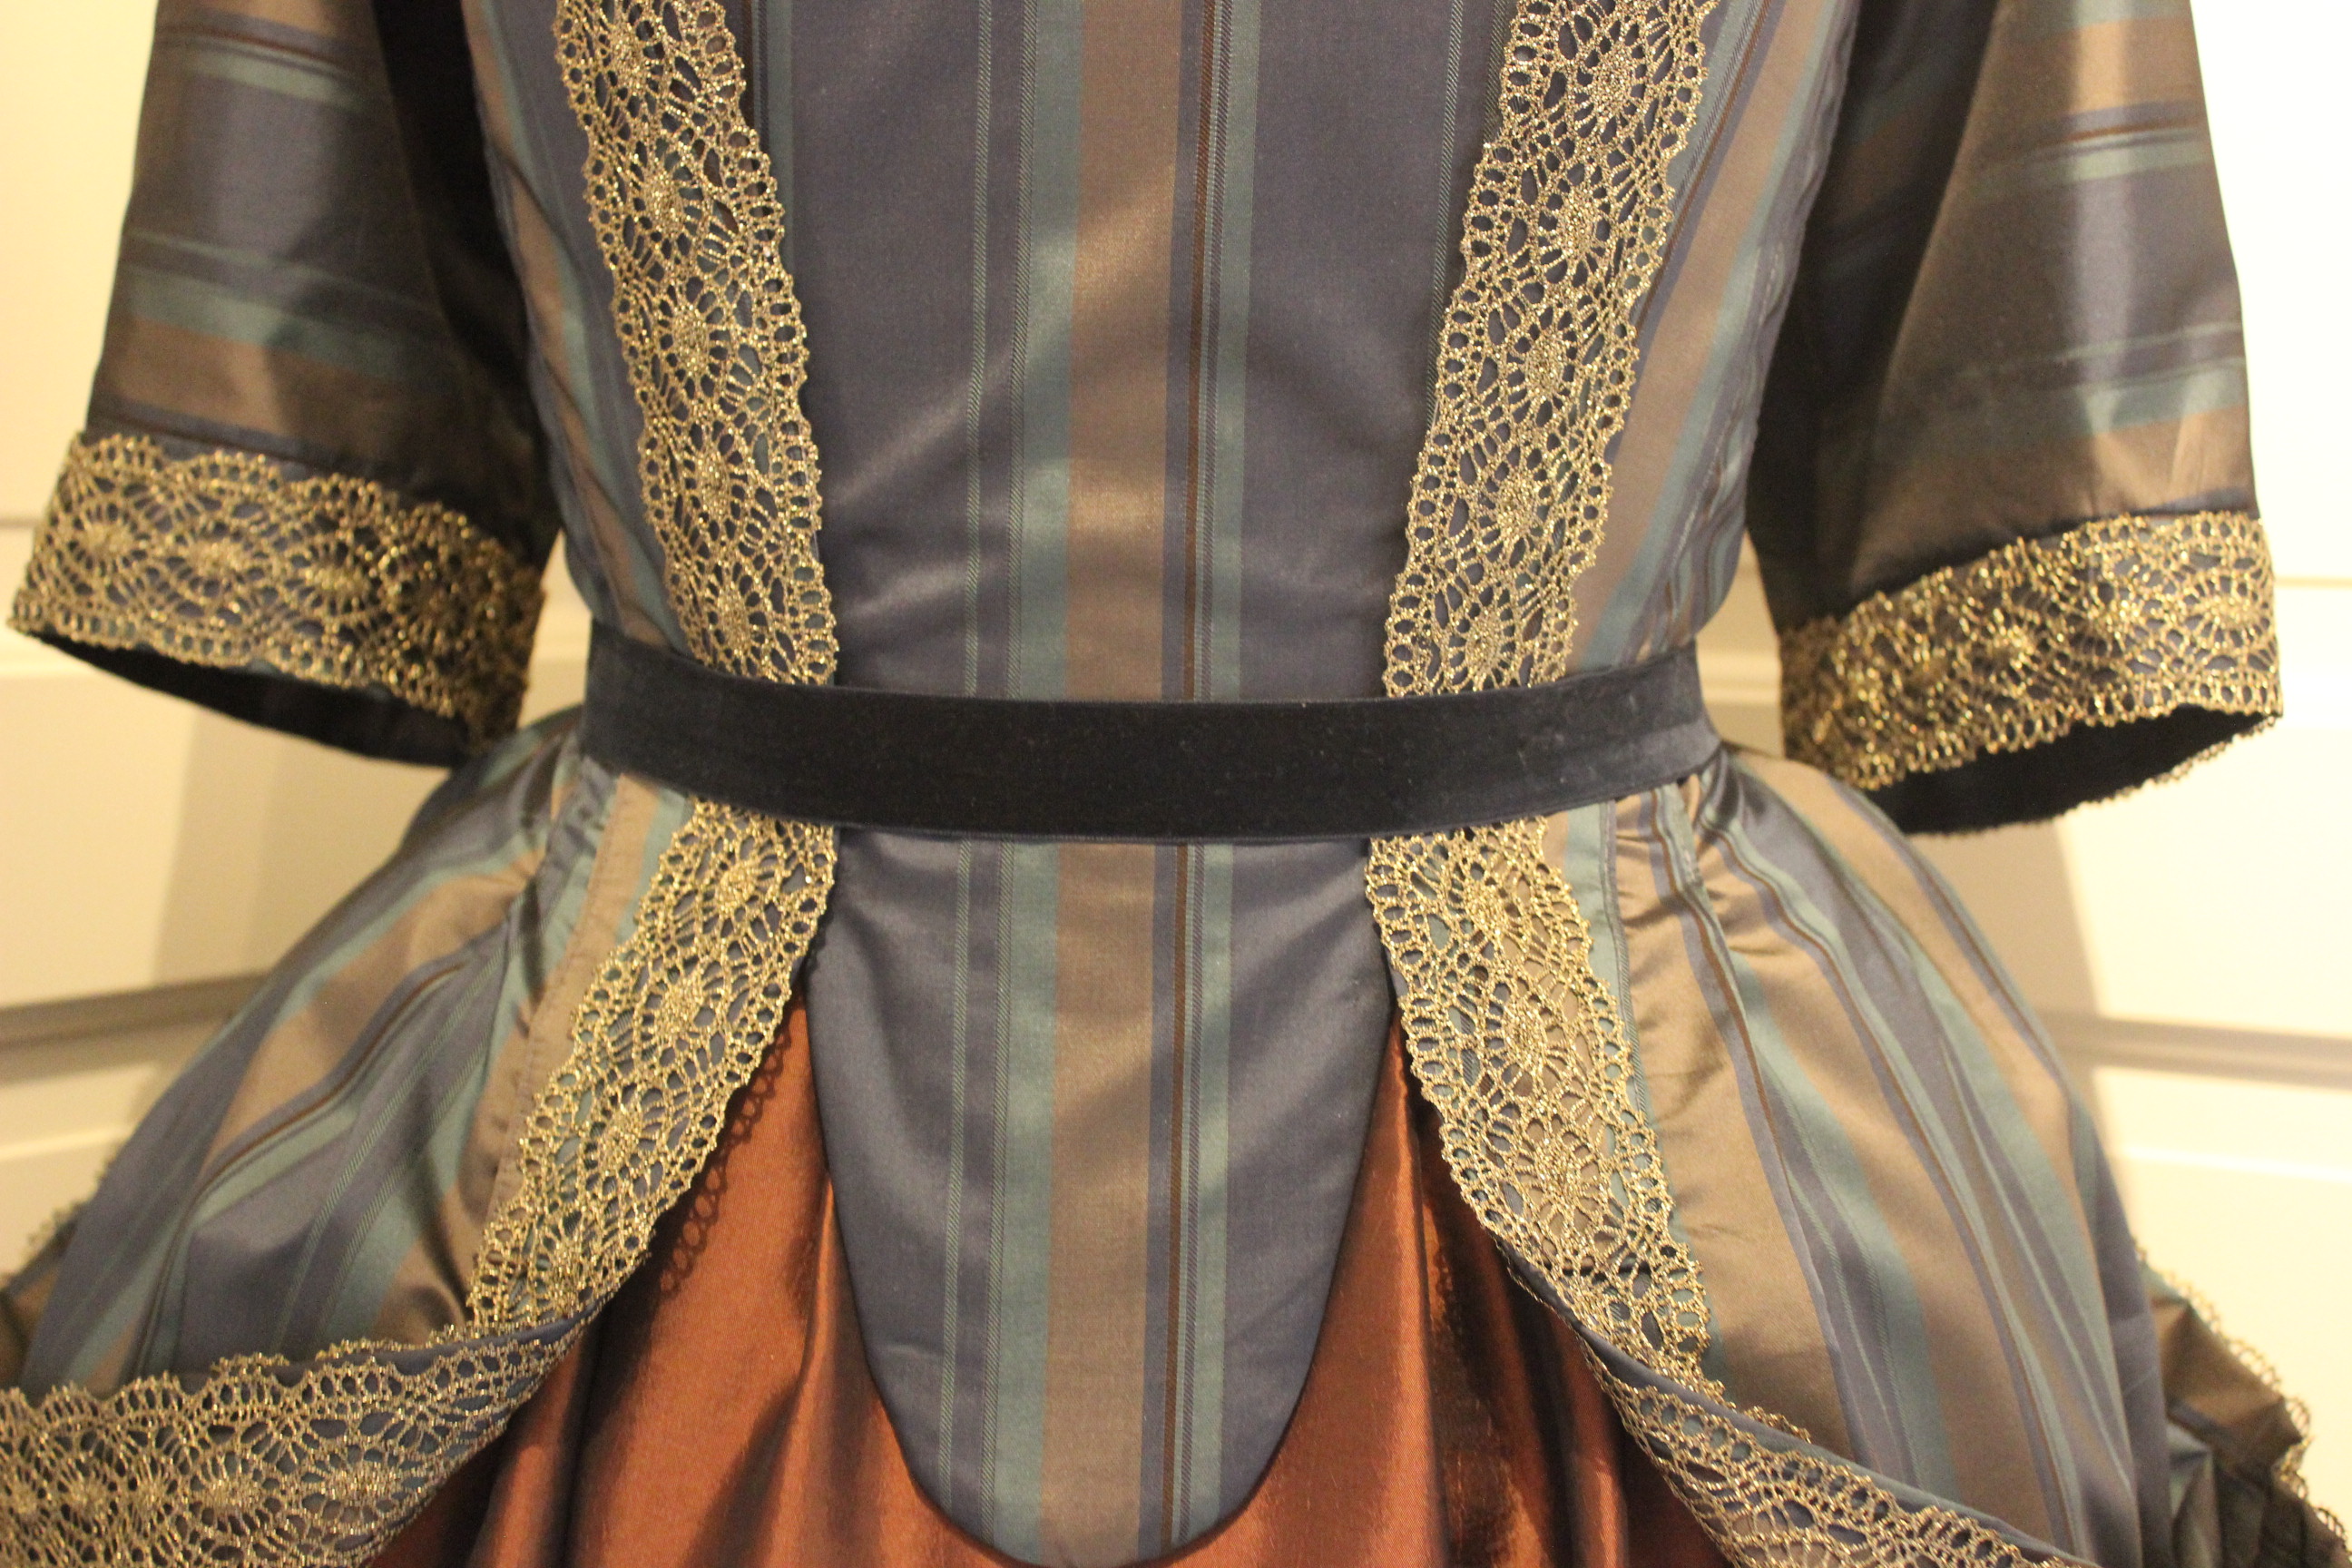
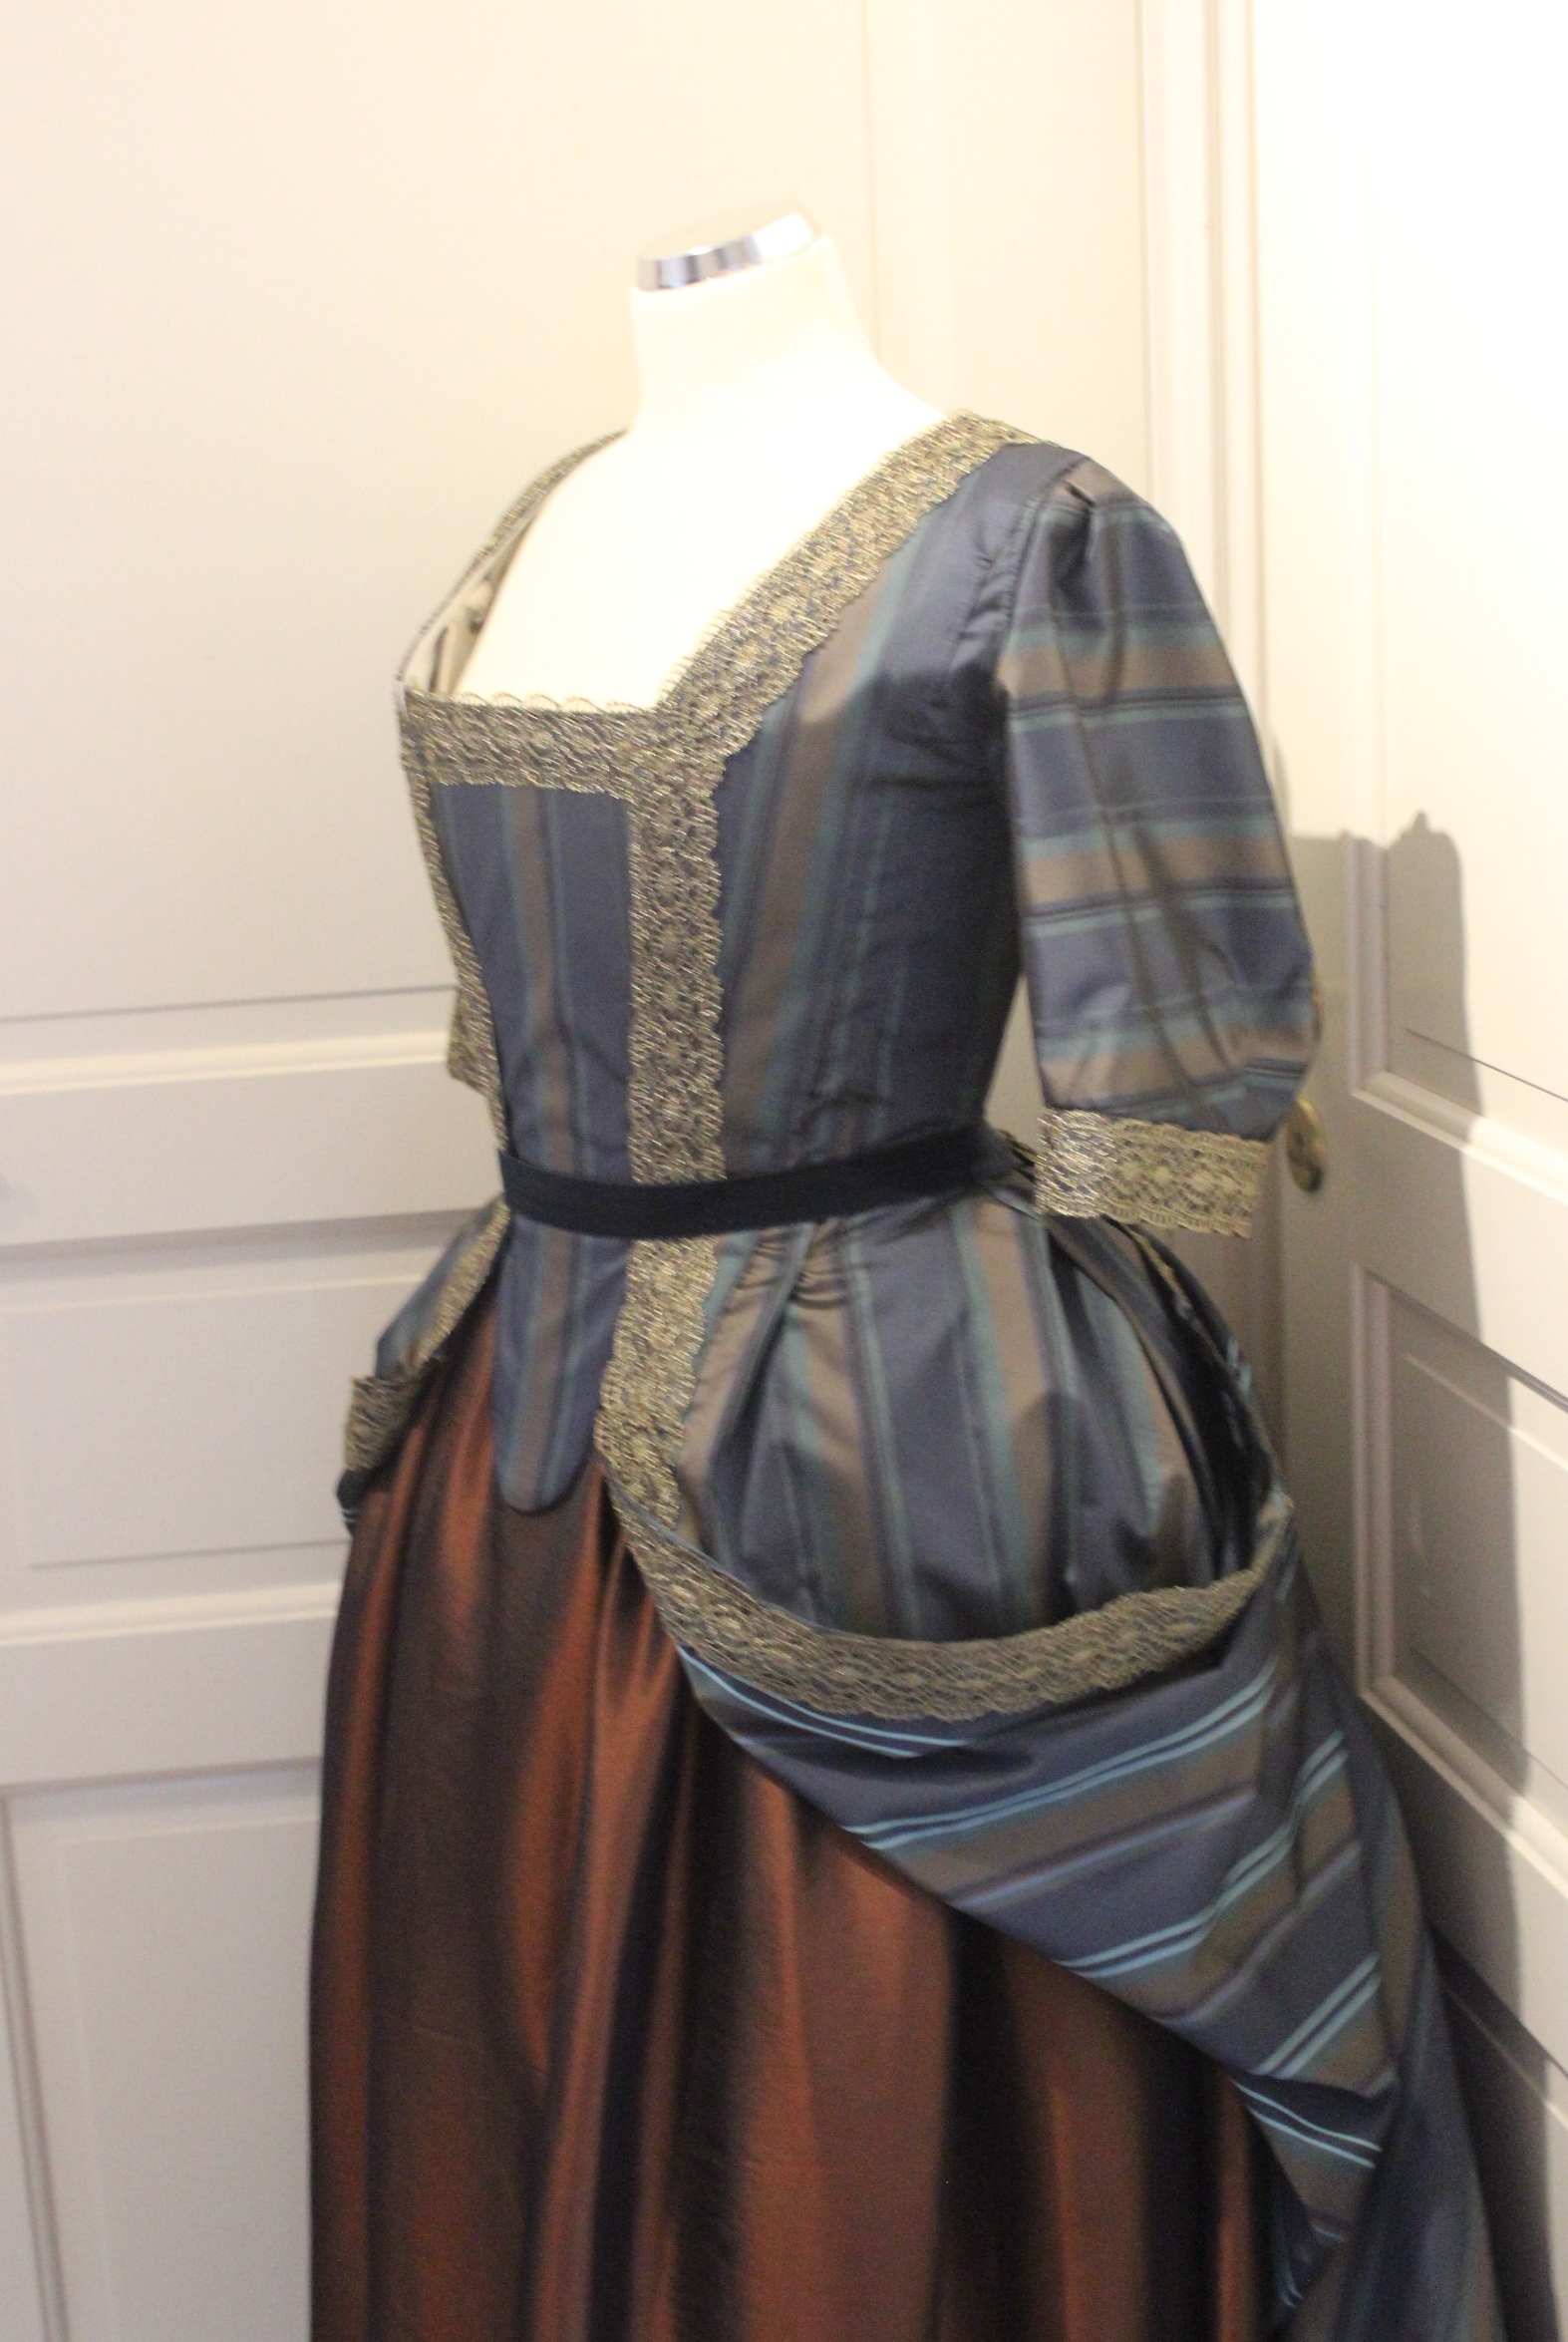
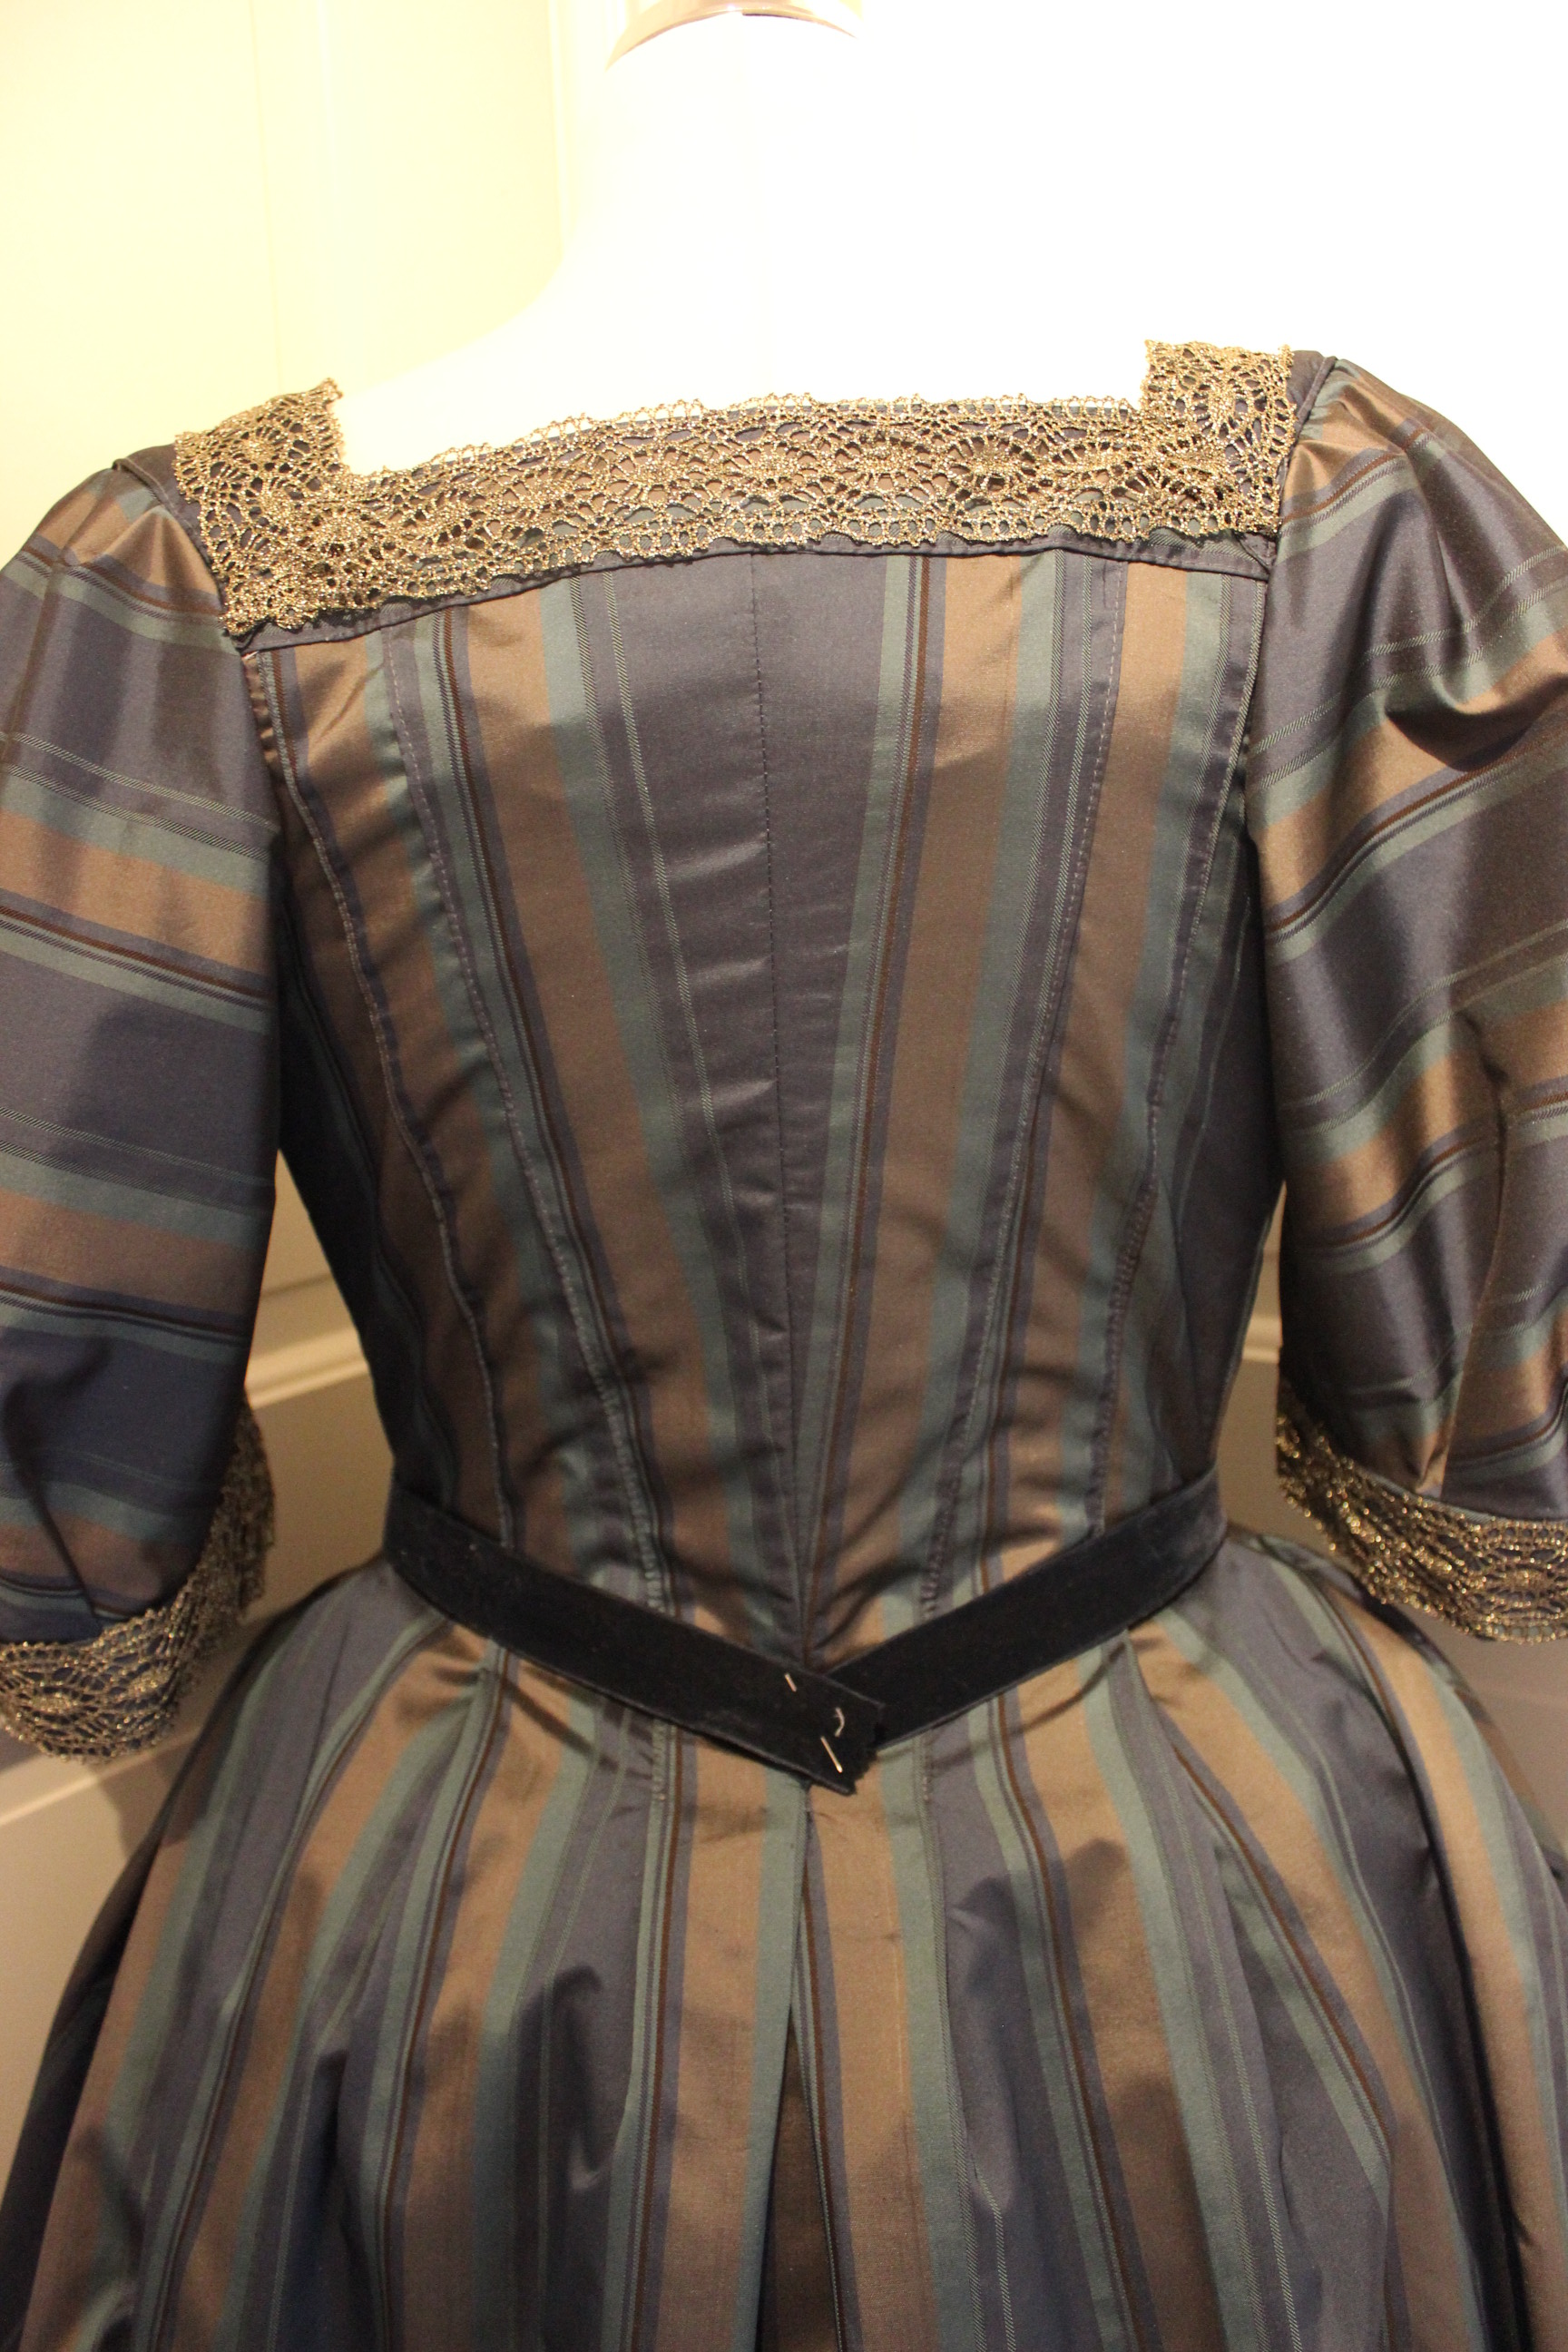
After lots of back and forth (why is these decisions always so damn hard?) the golden trim won, and I hand basted and stitched 12 m of lace to the gown and stomacher.  
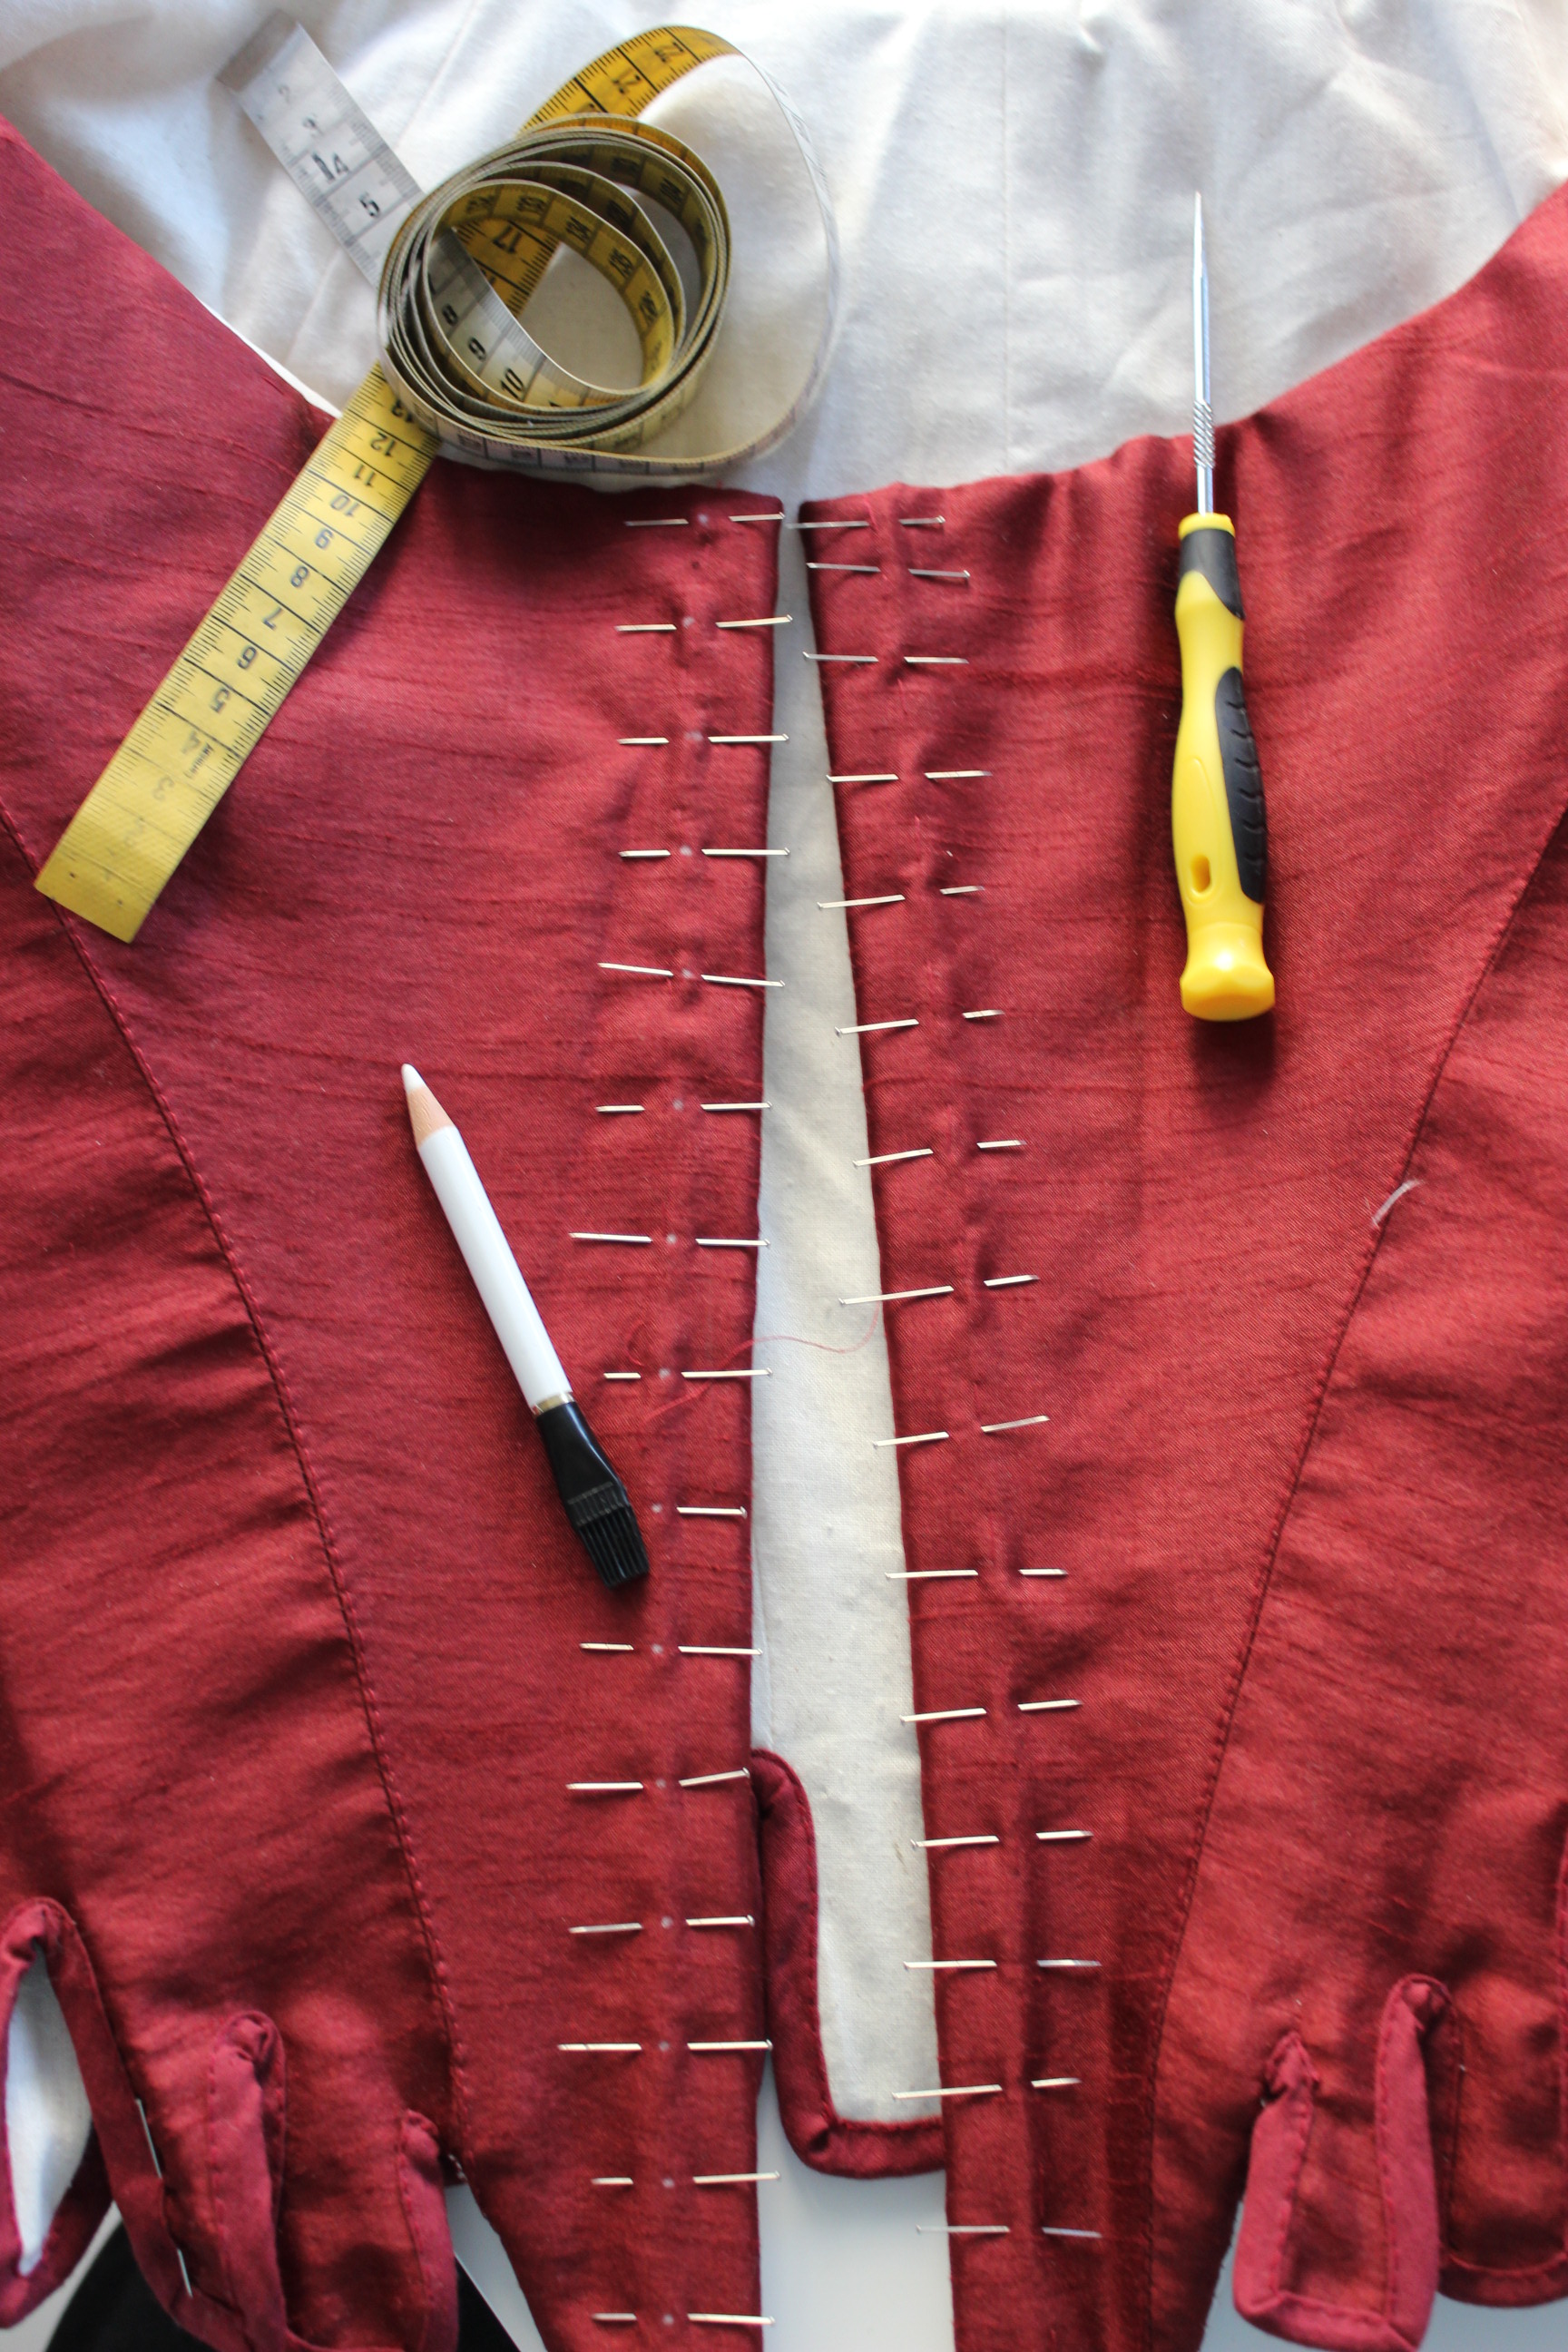
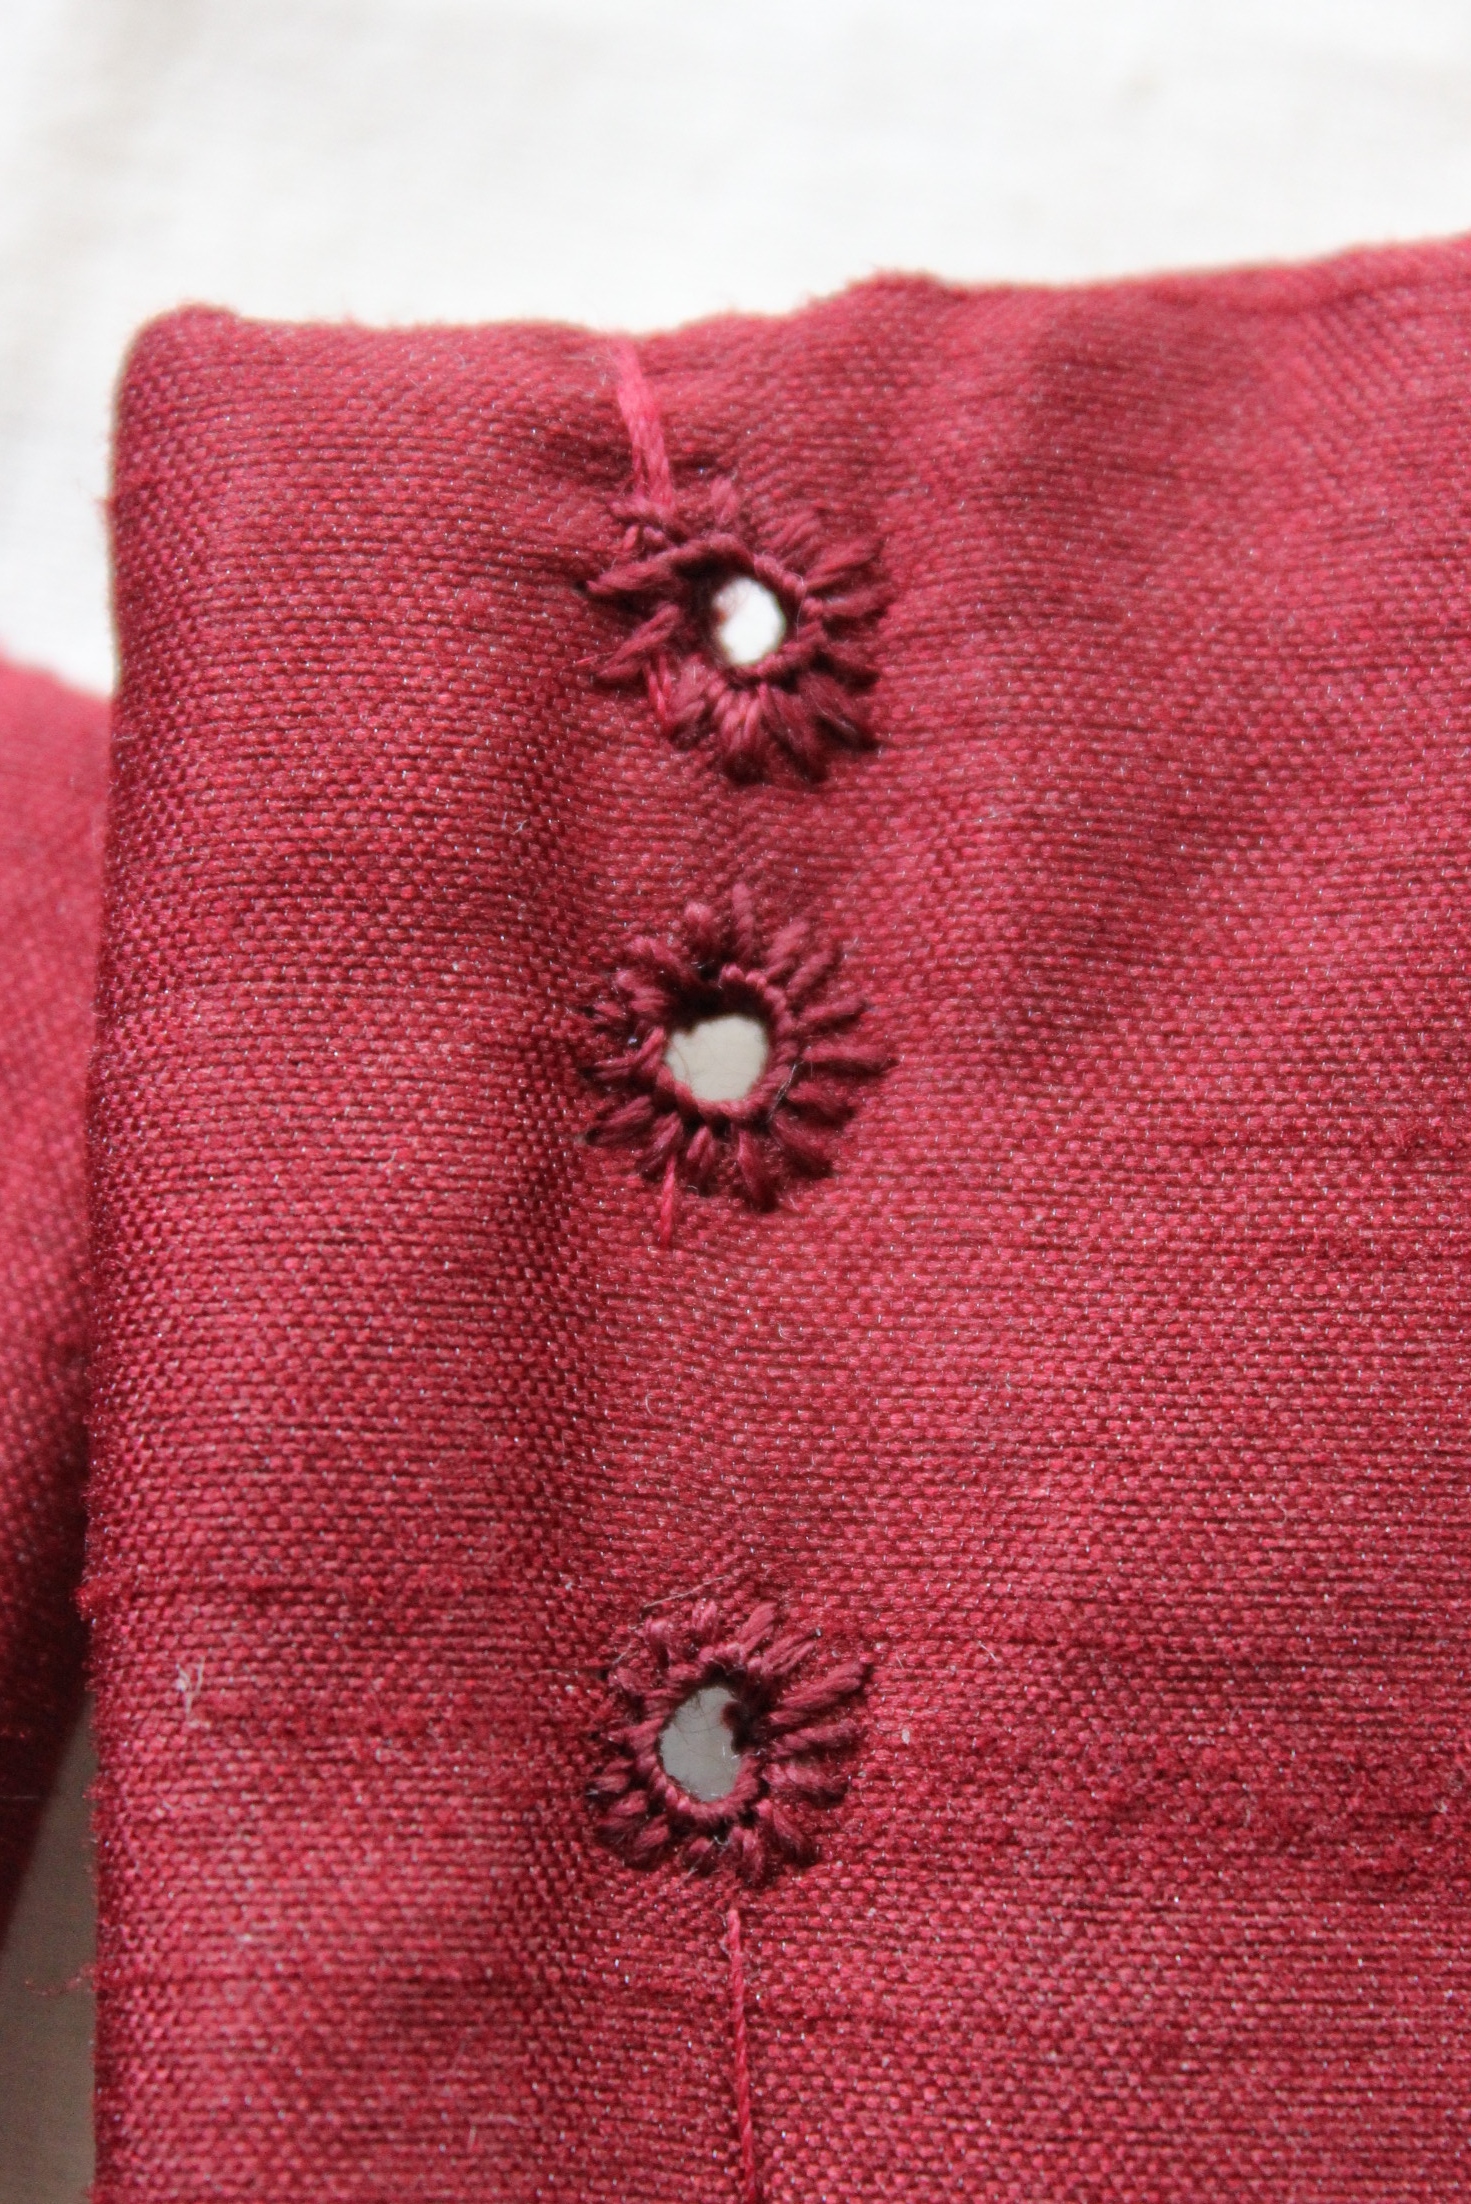
I though for a while to ad eyelets to tie the gown on top the stomacher as seen in several pictures, but figured I’d just pin it in place for the time being.
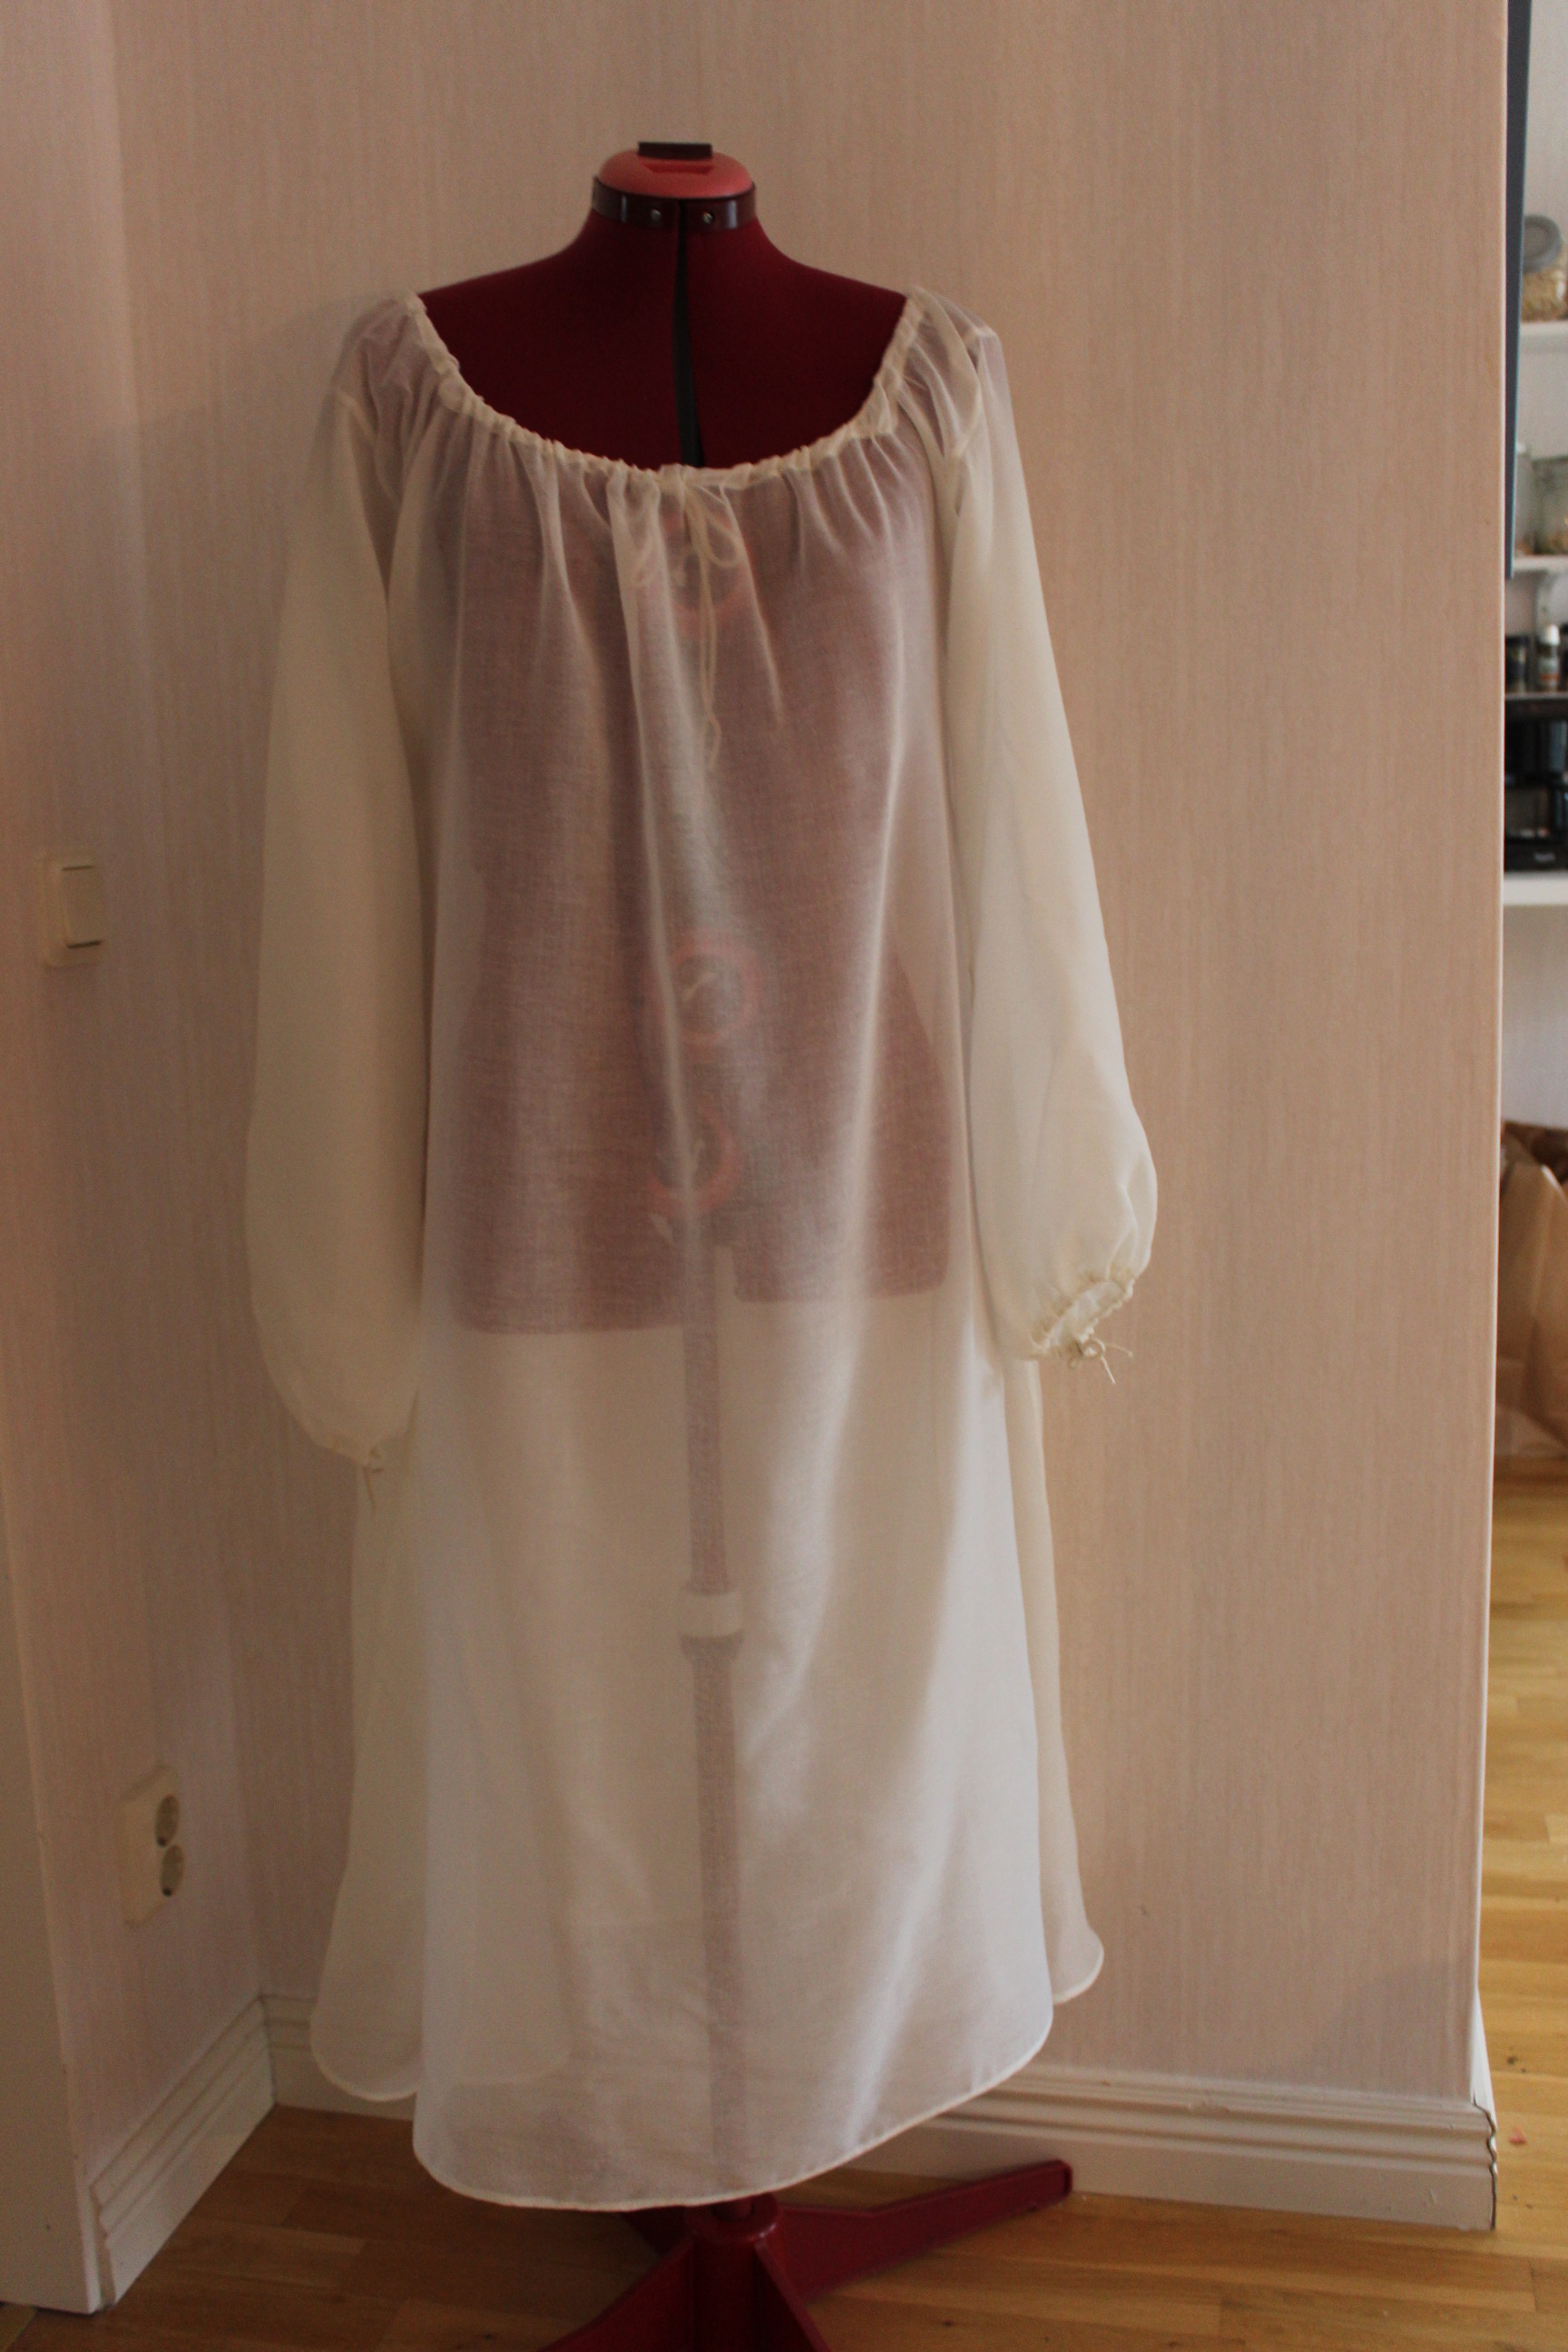
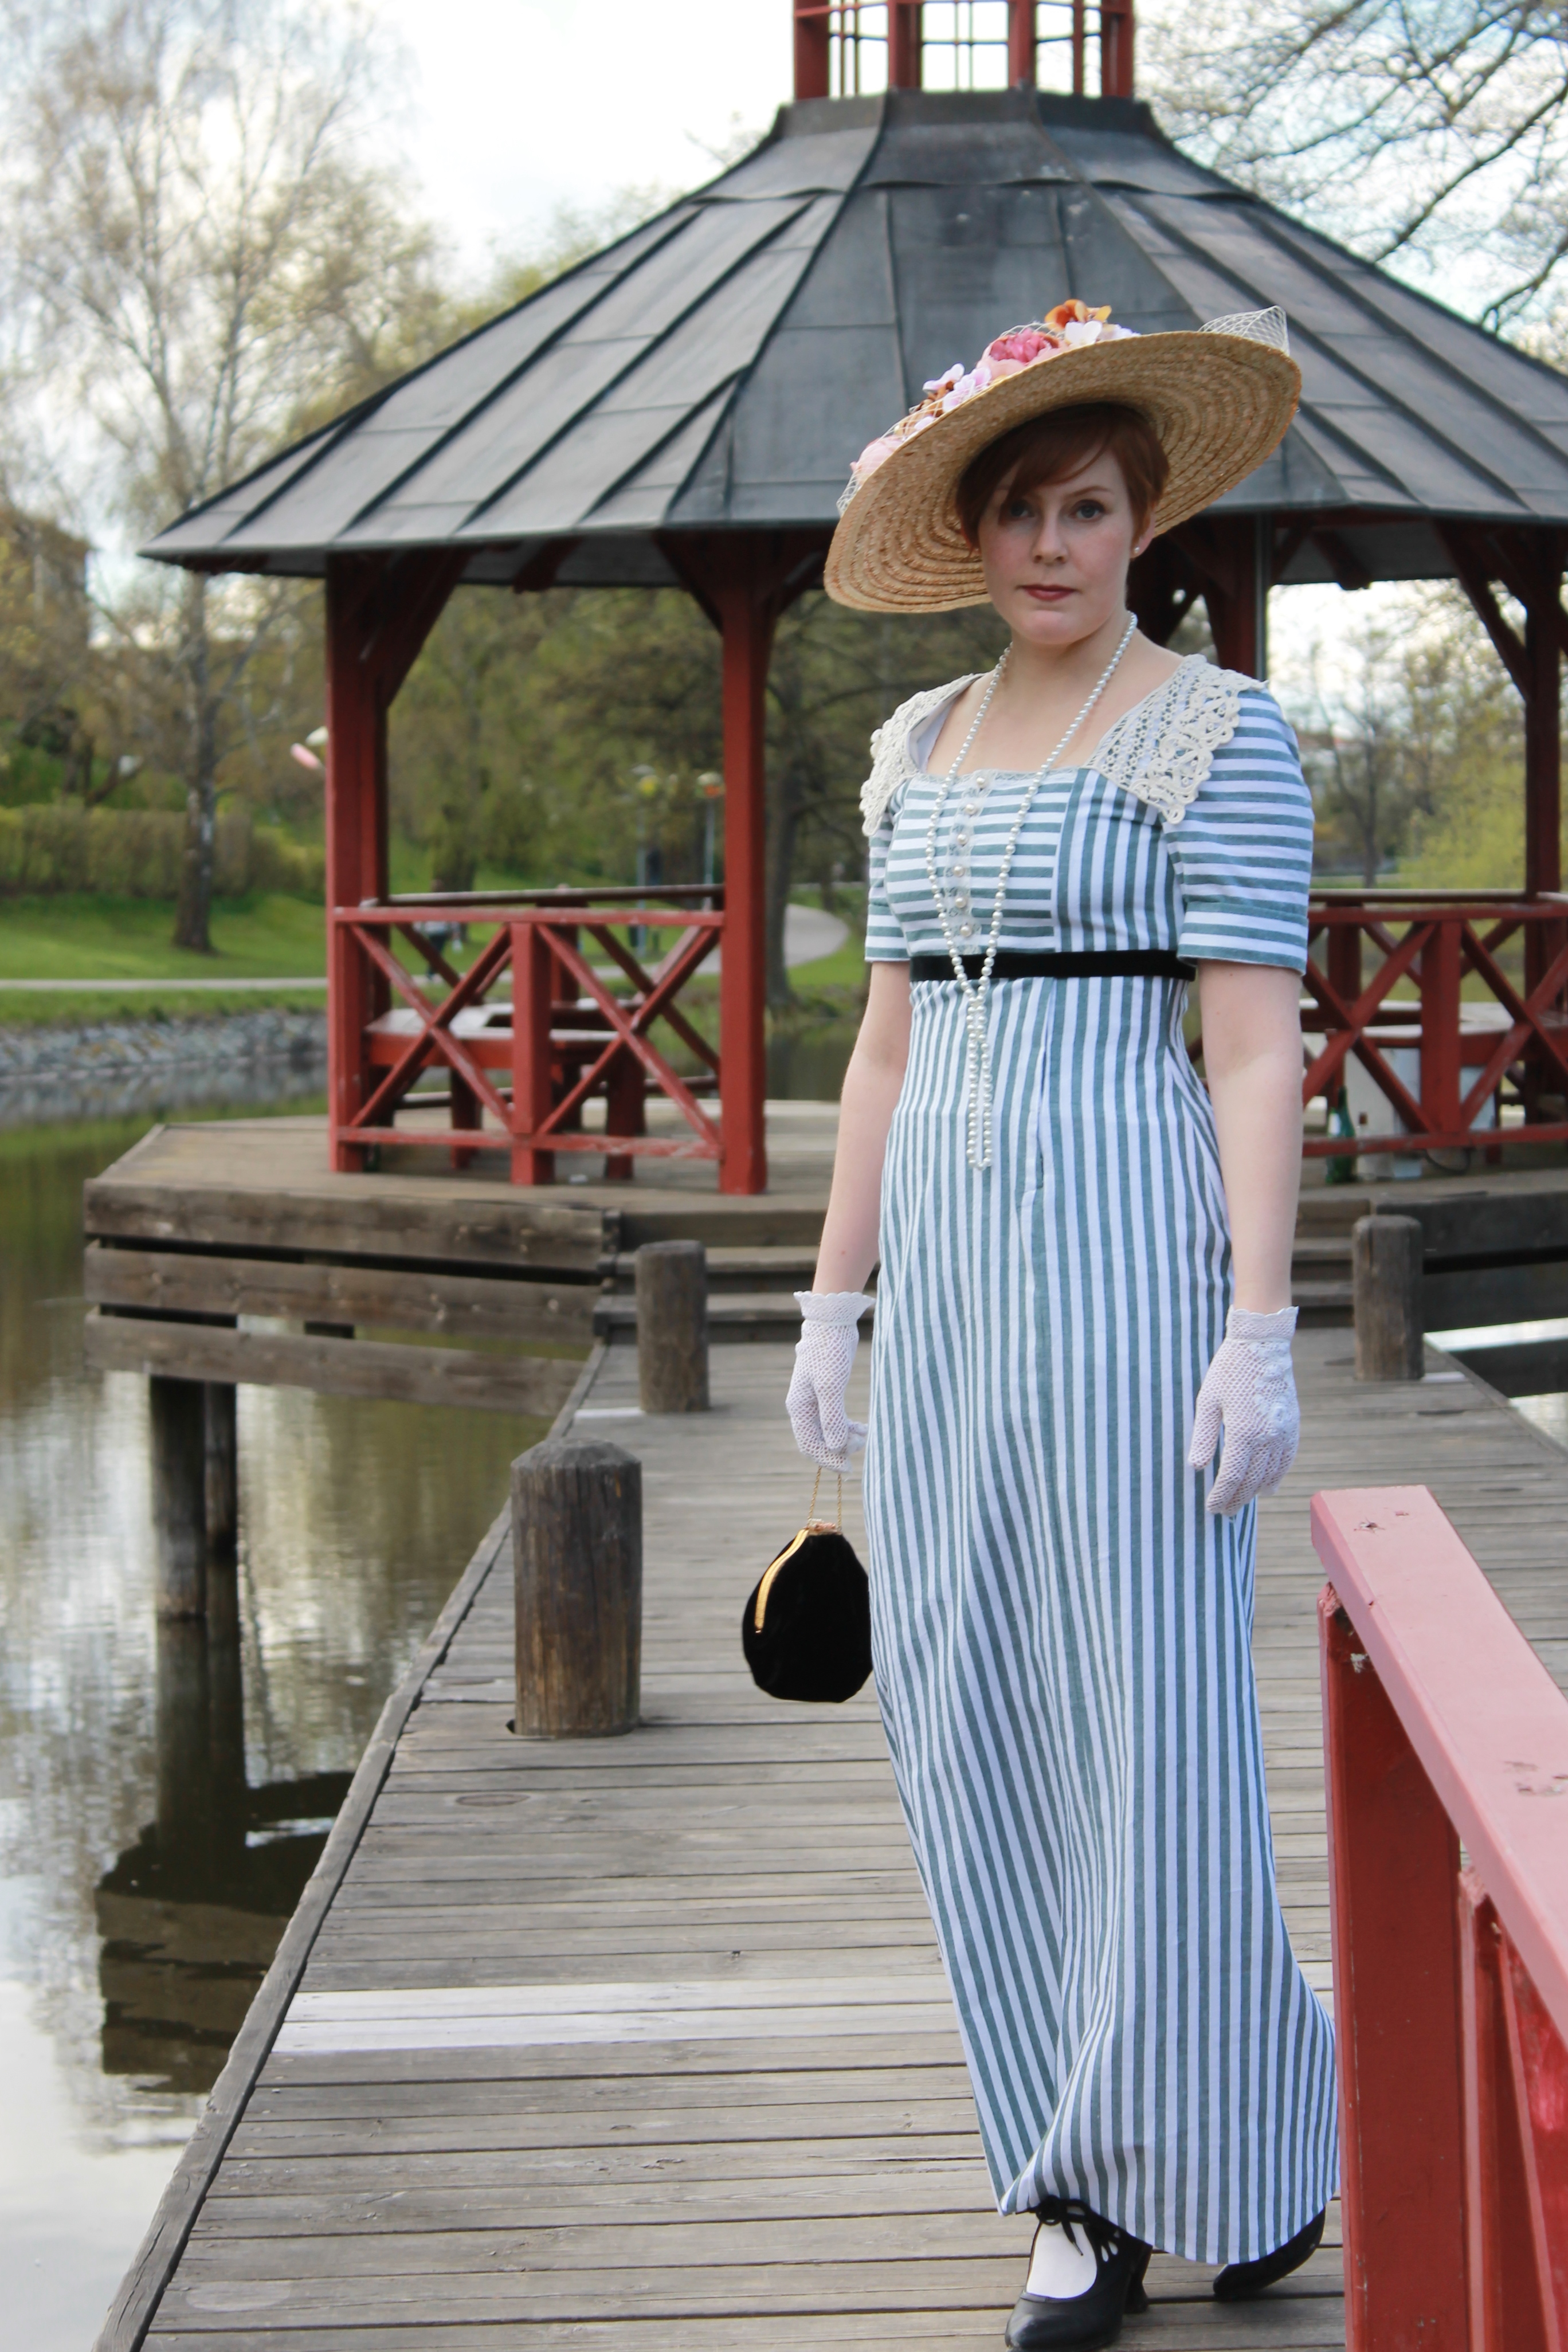
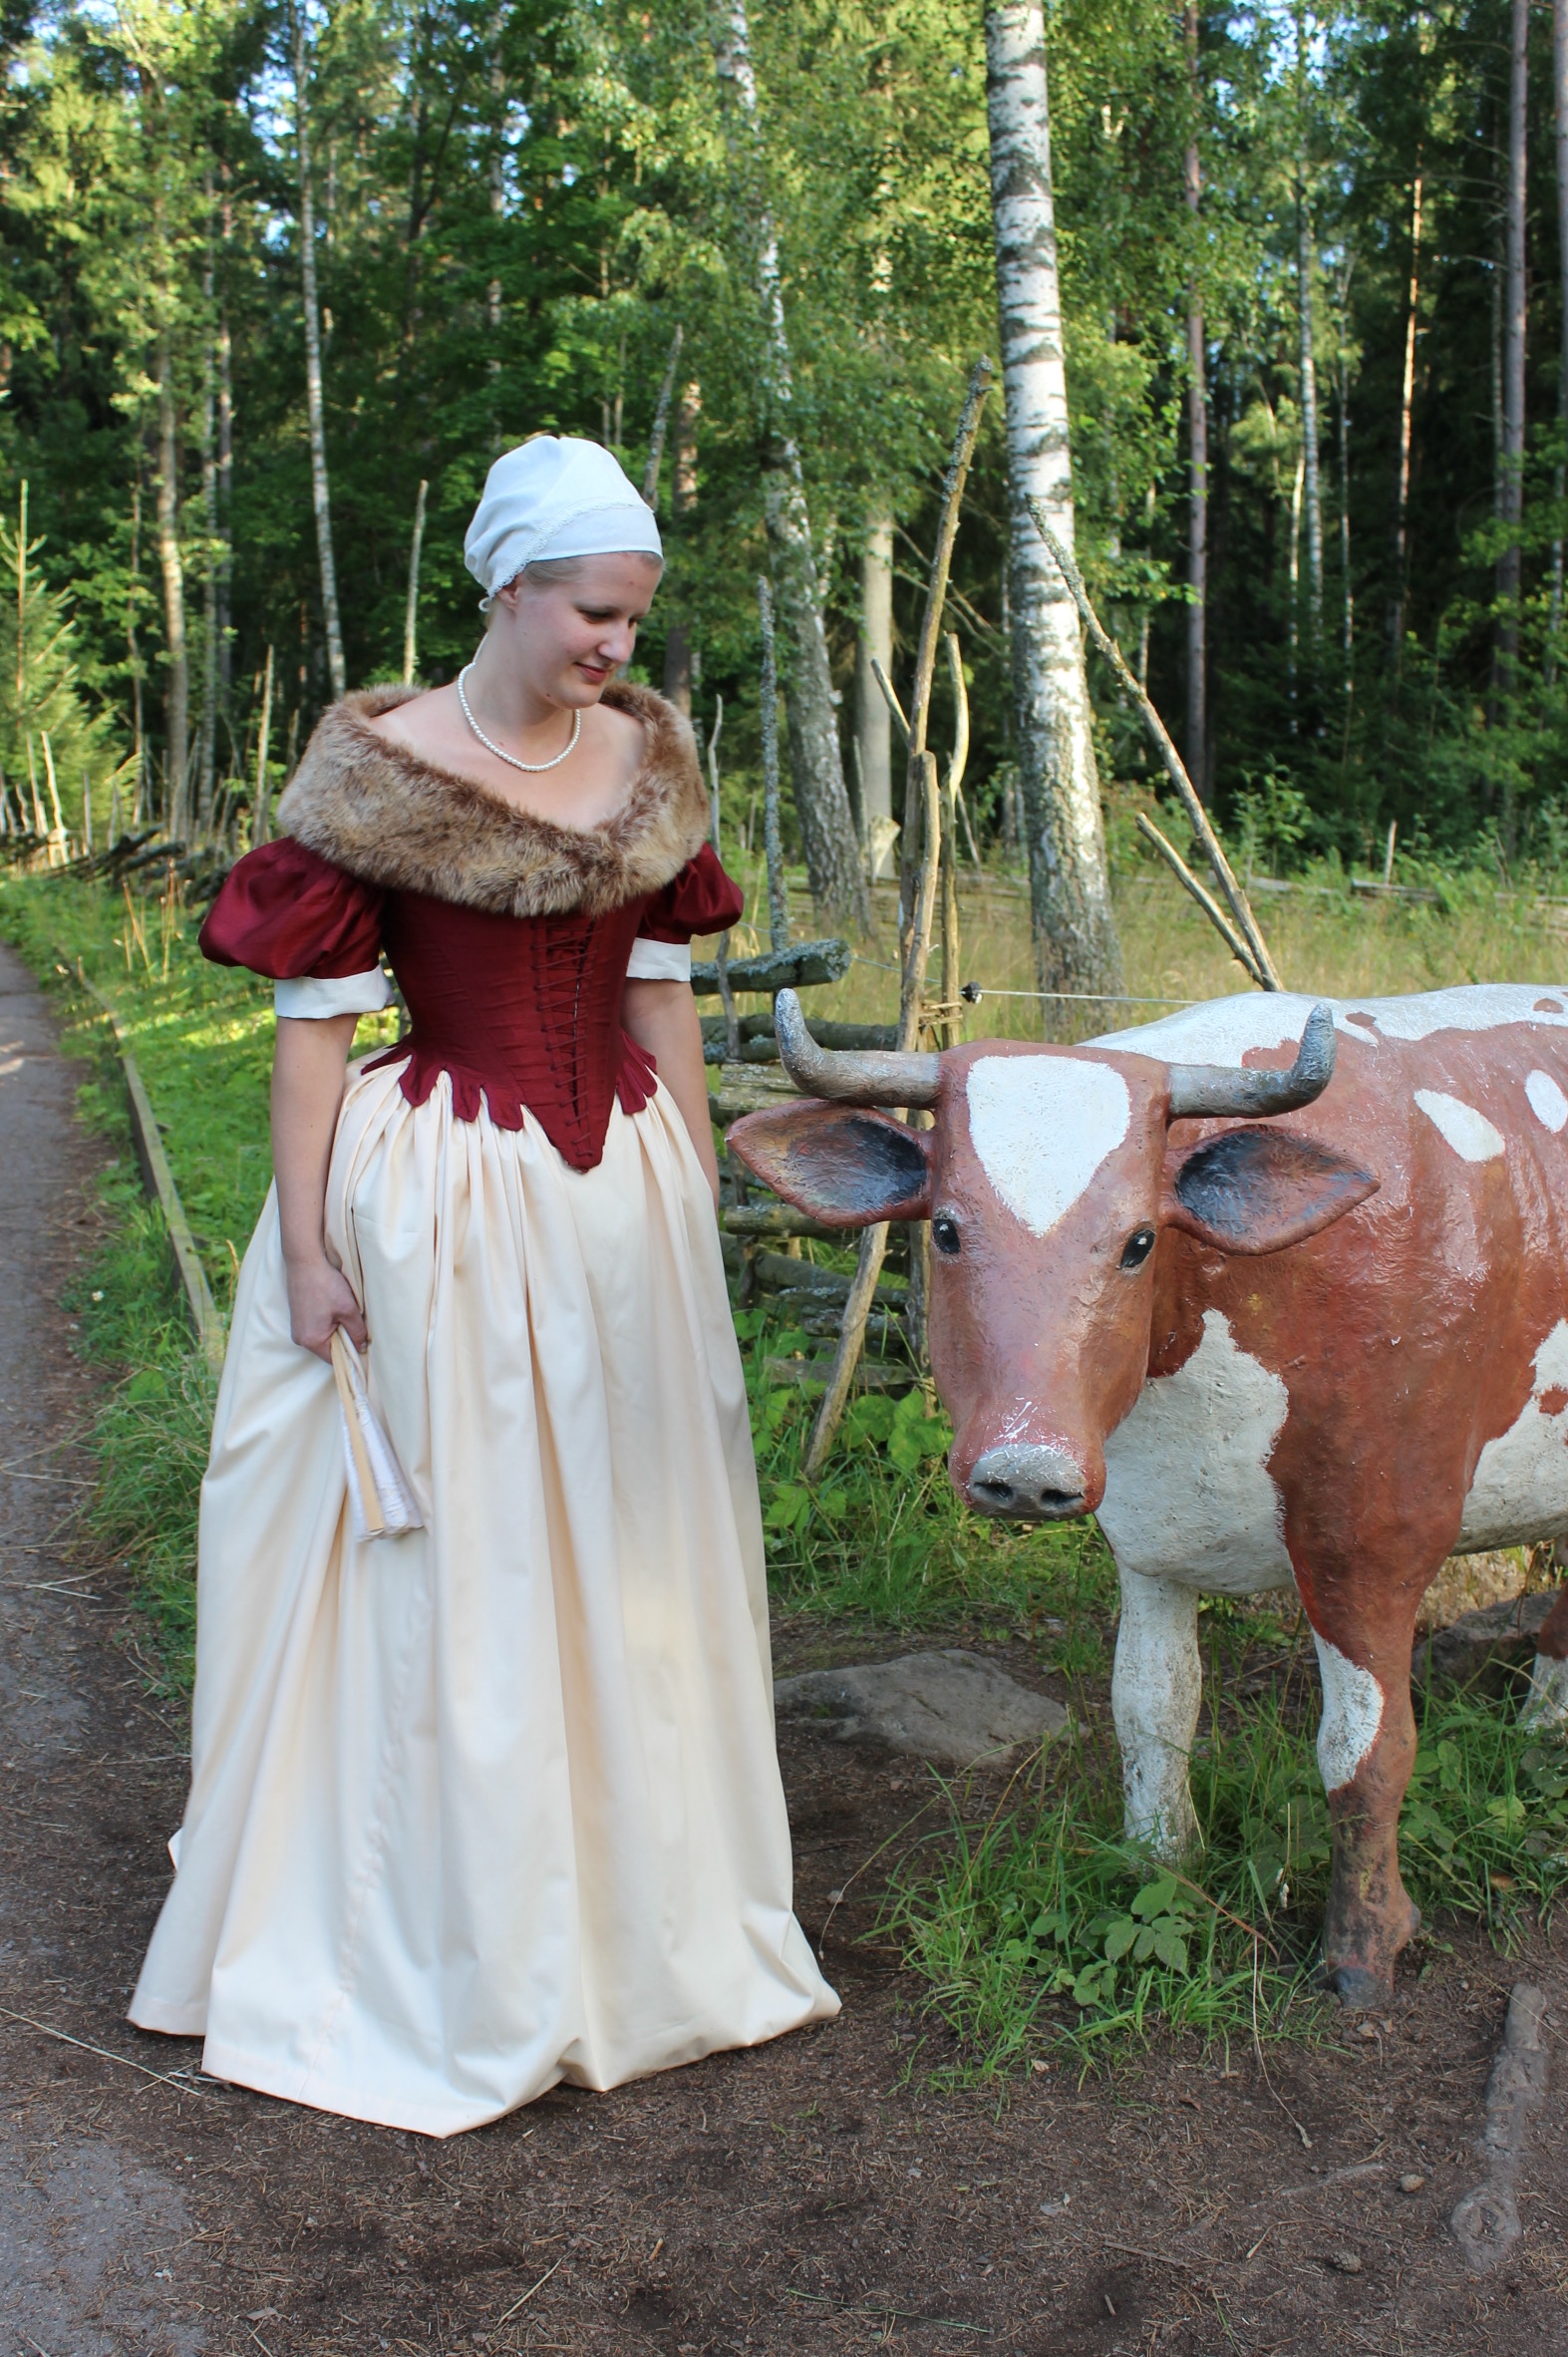
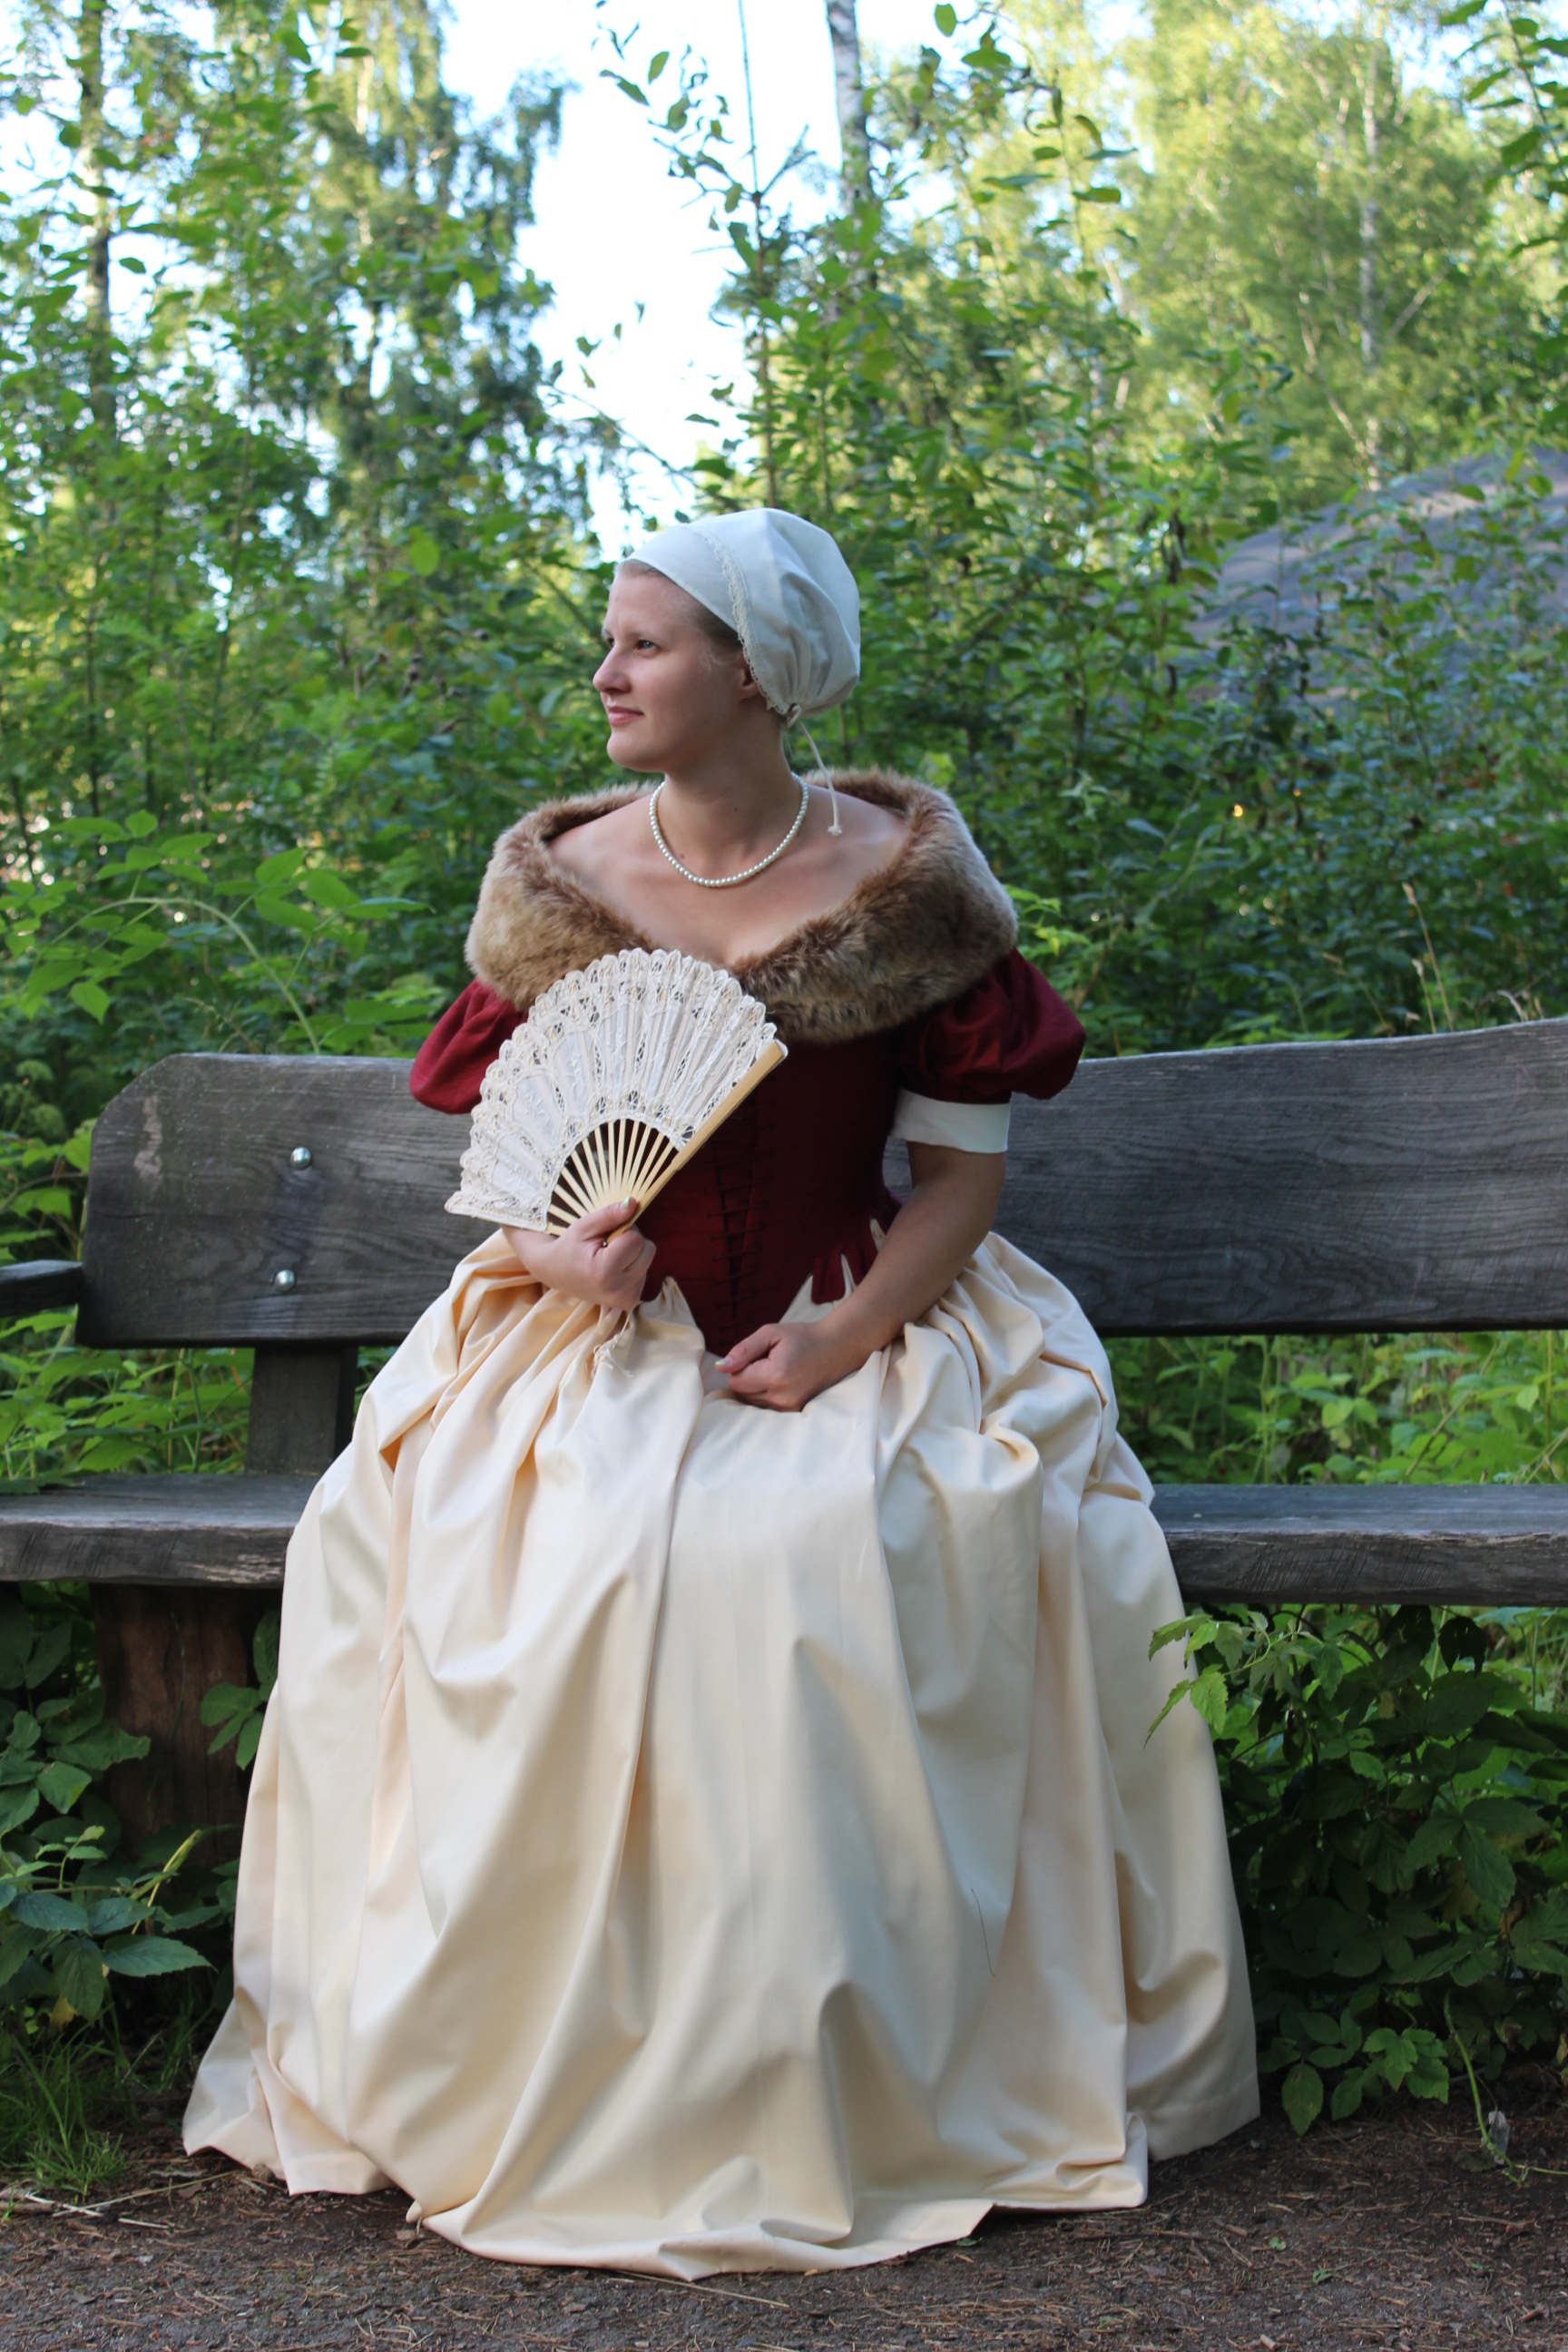
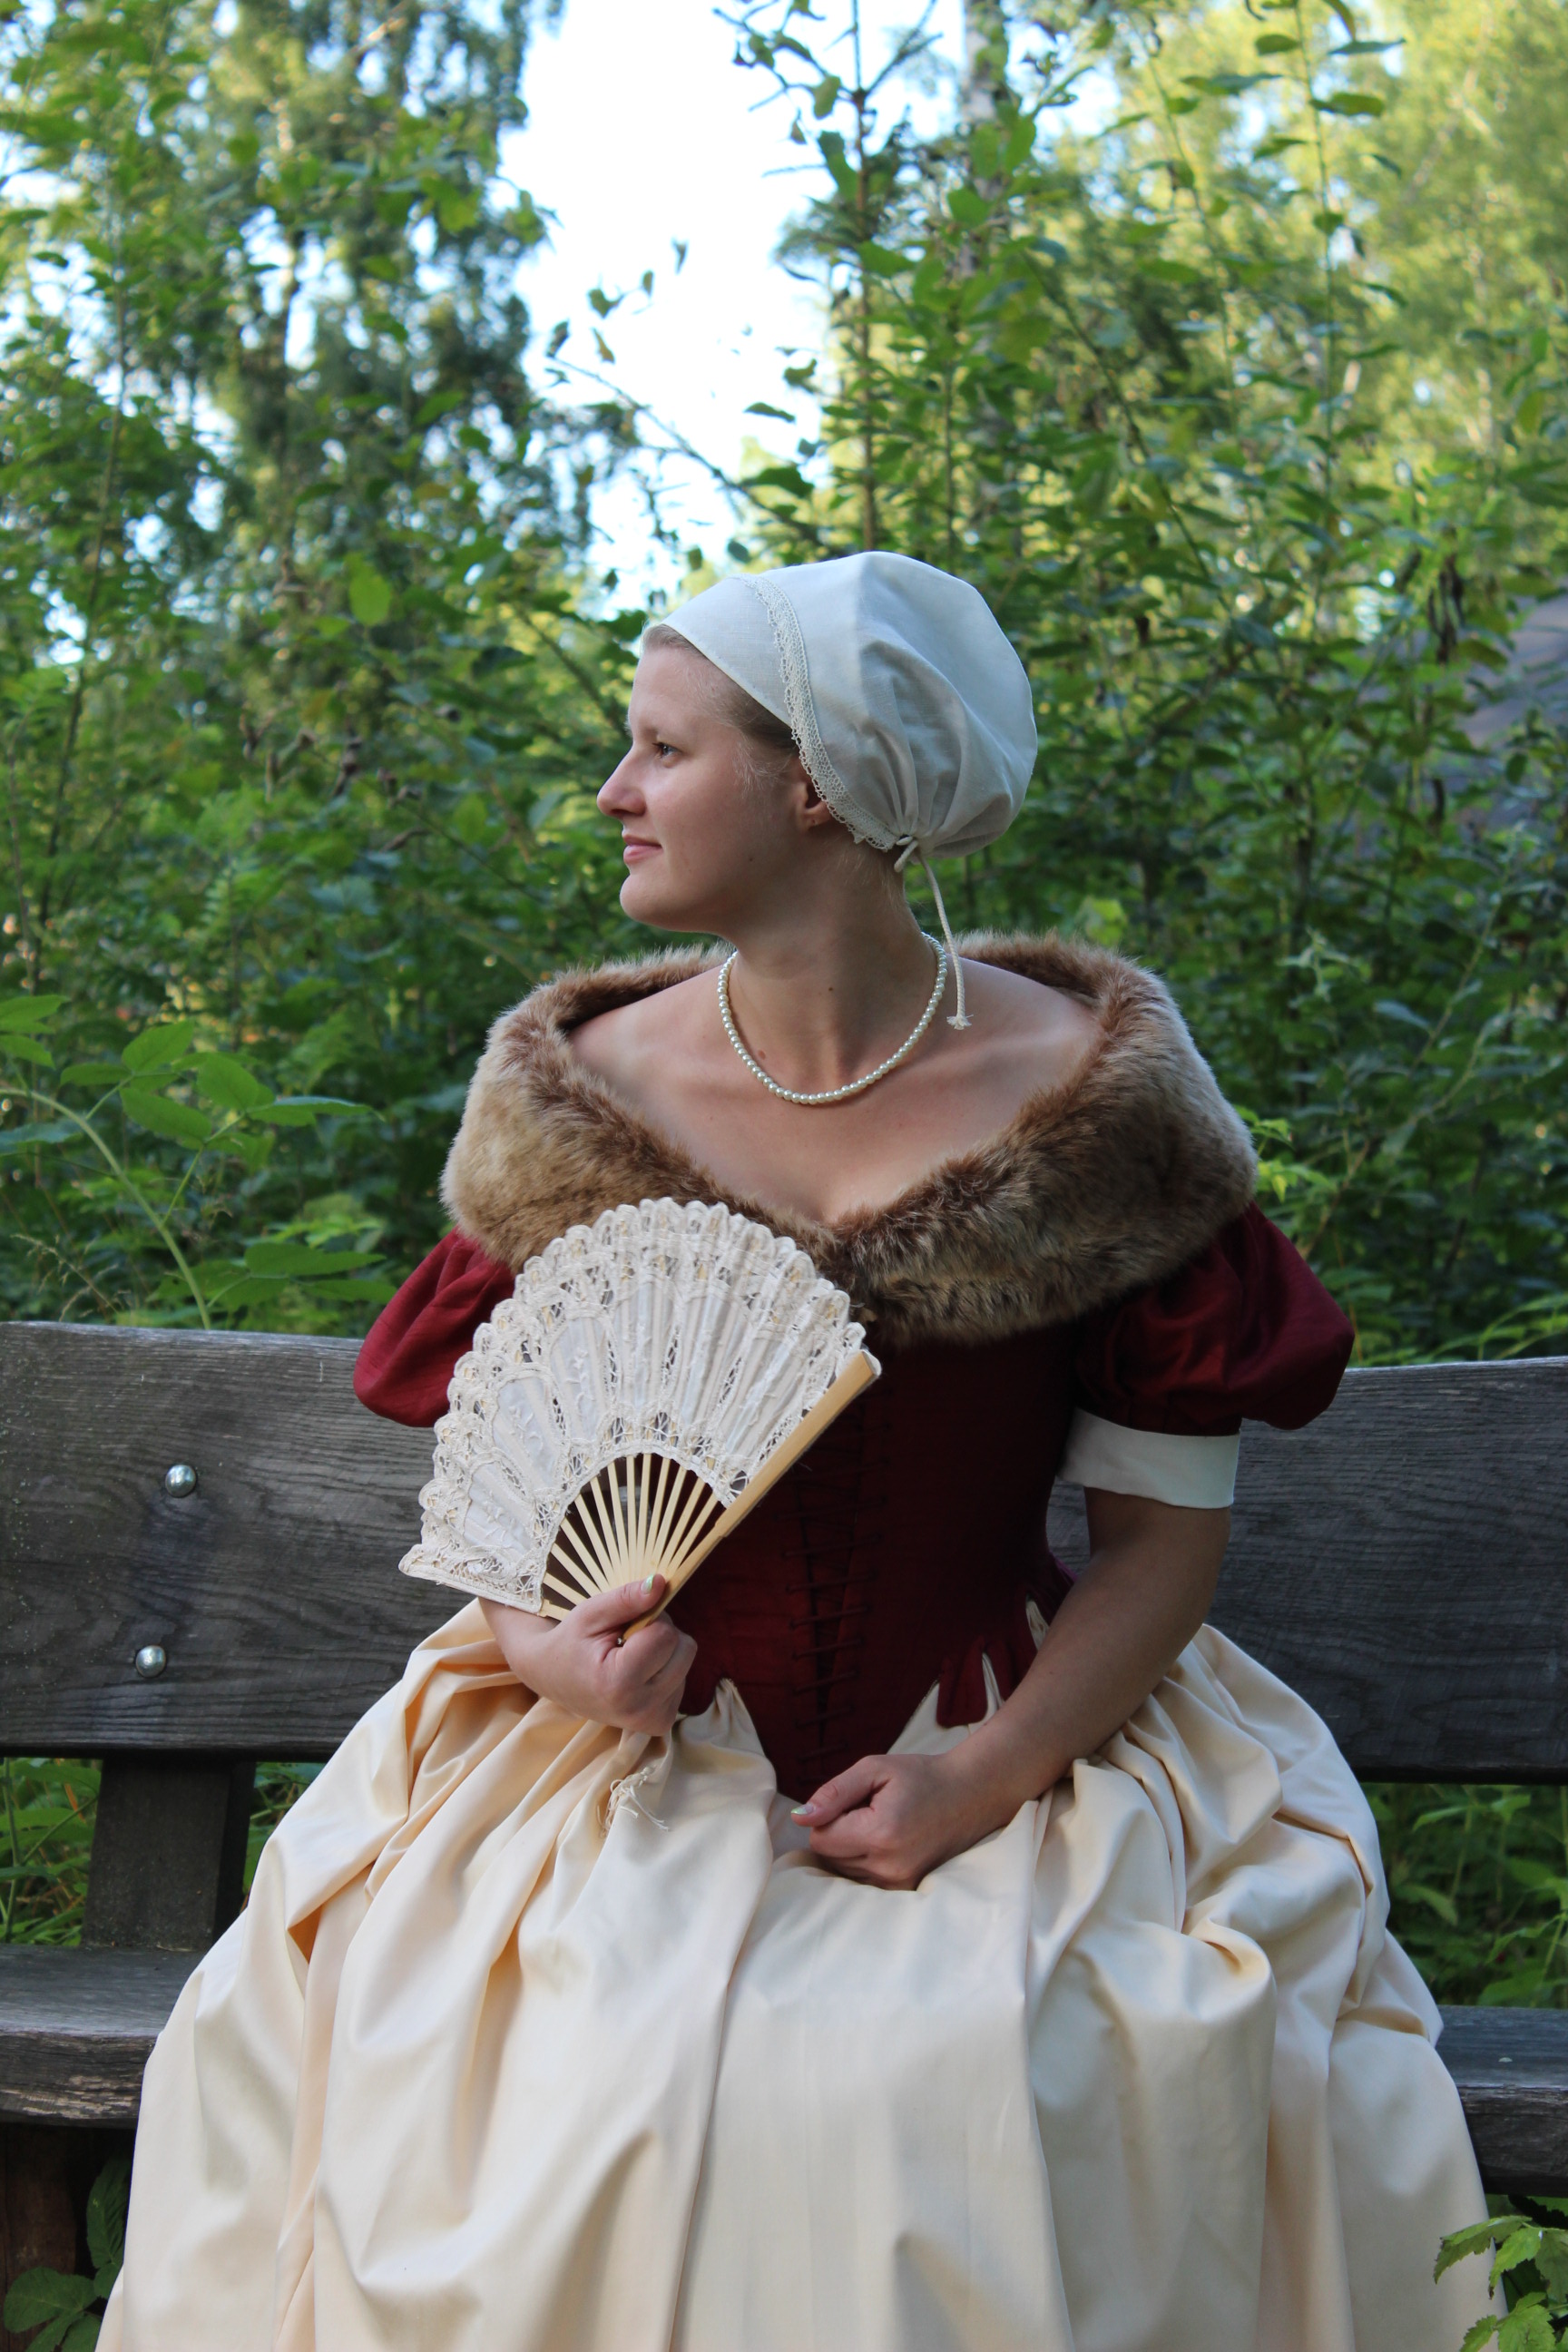
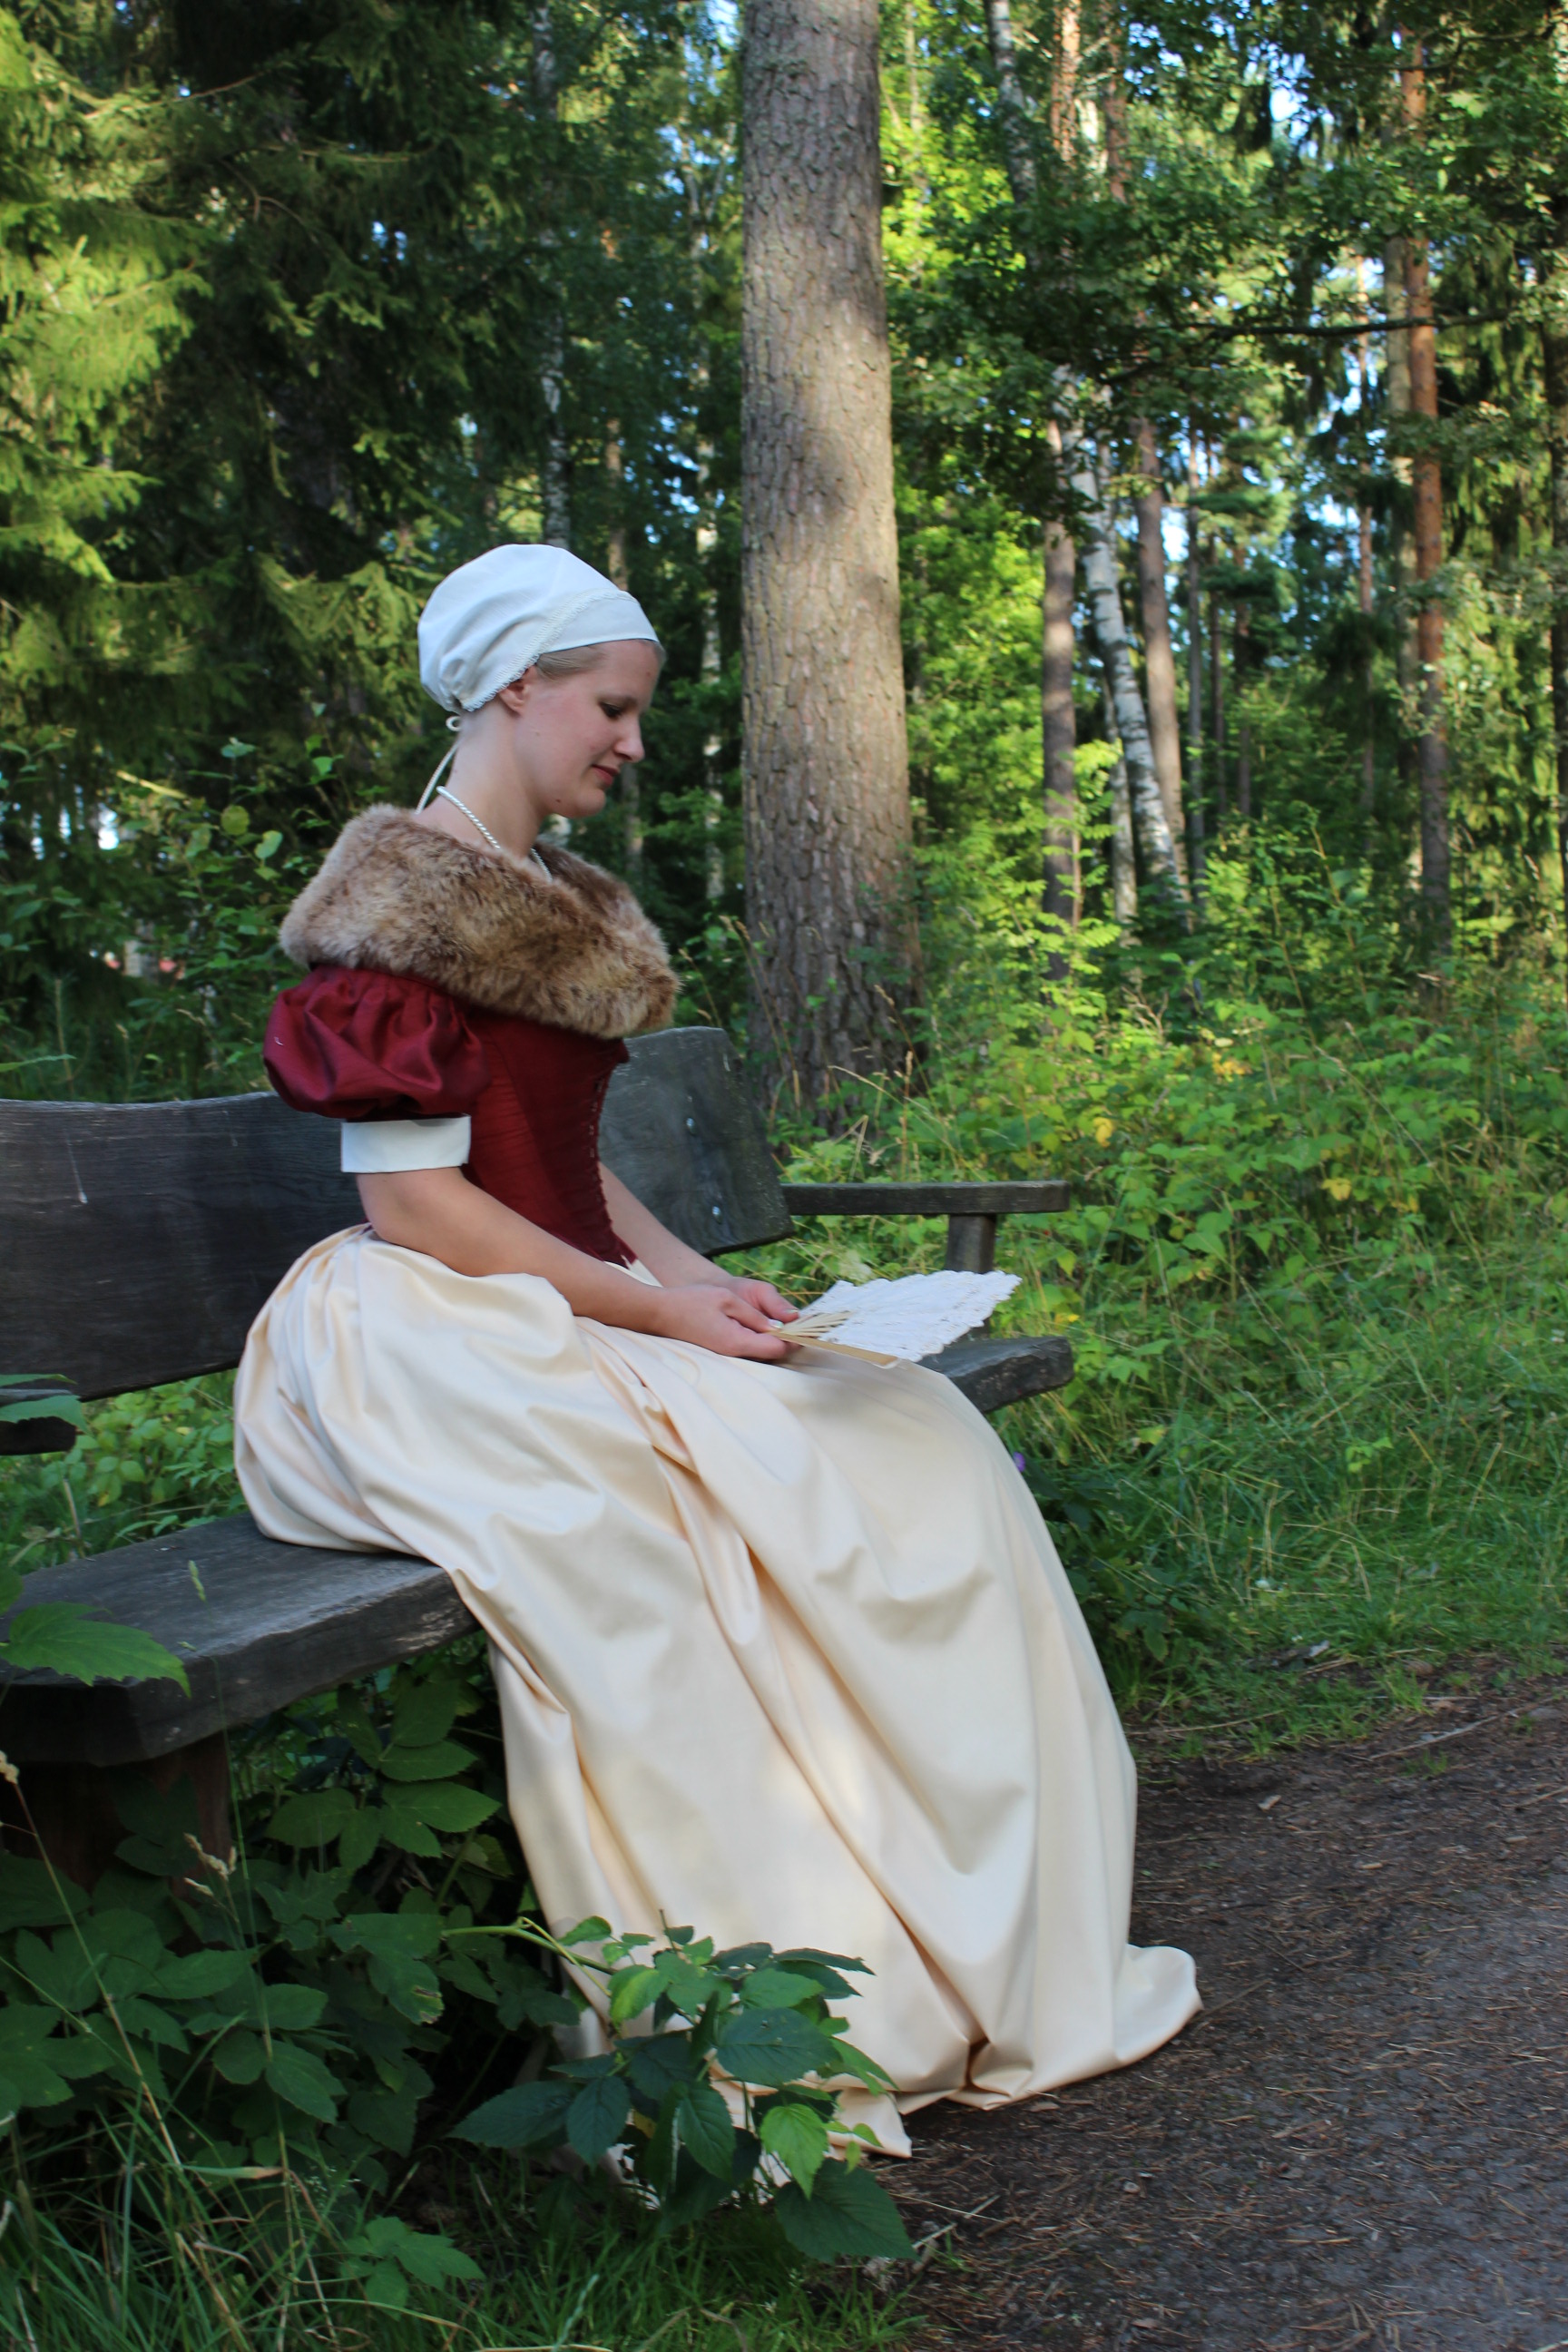
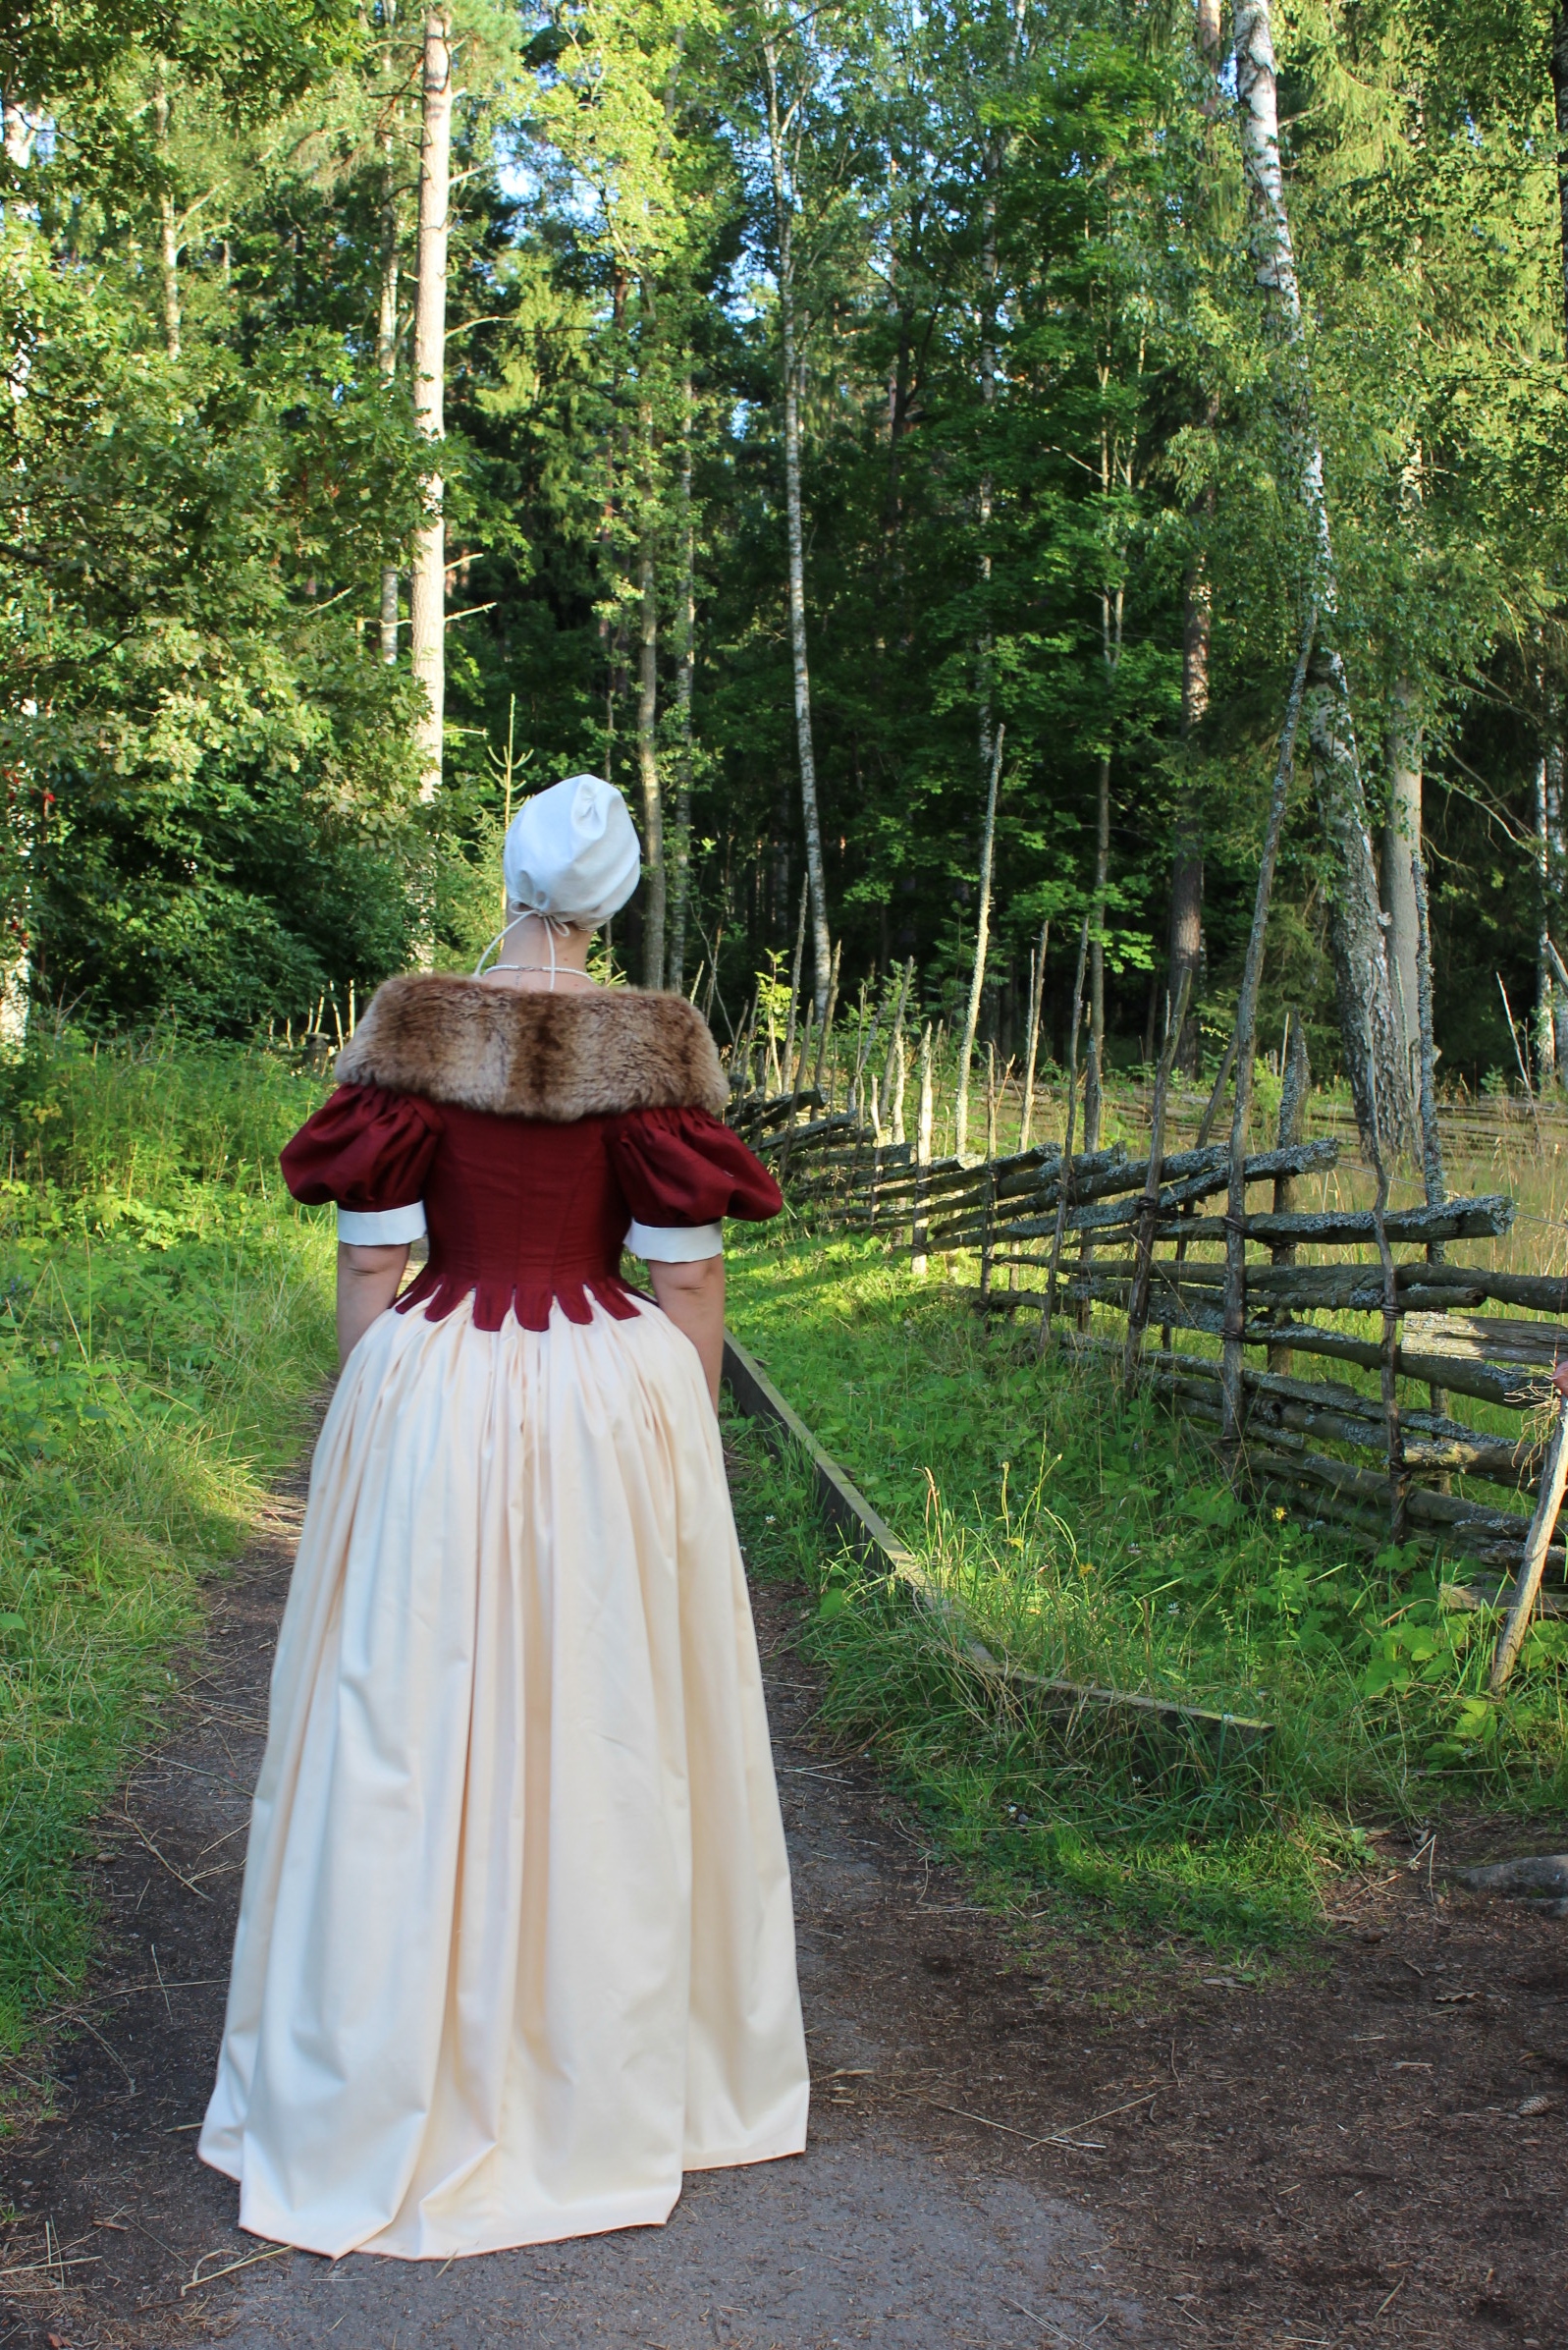
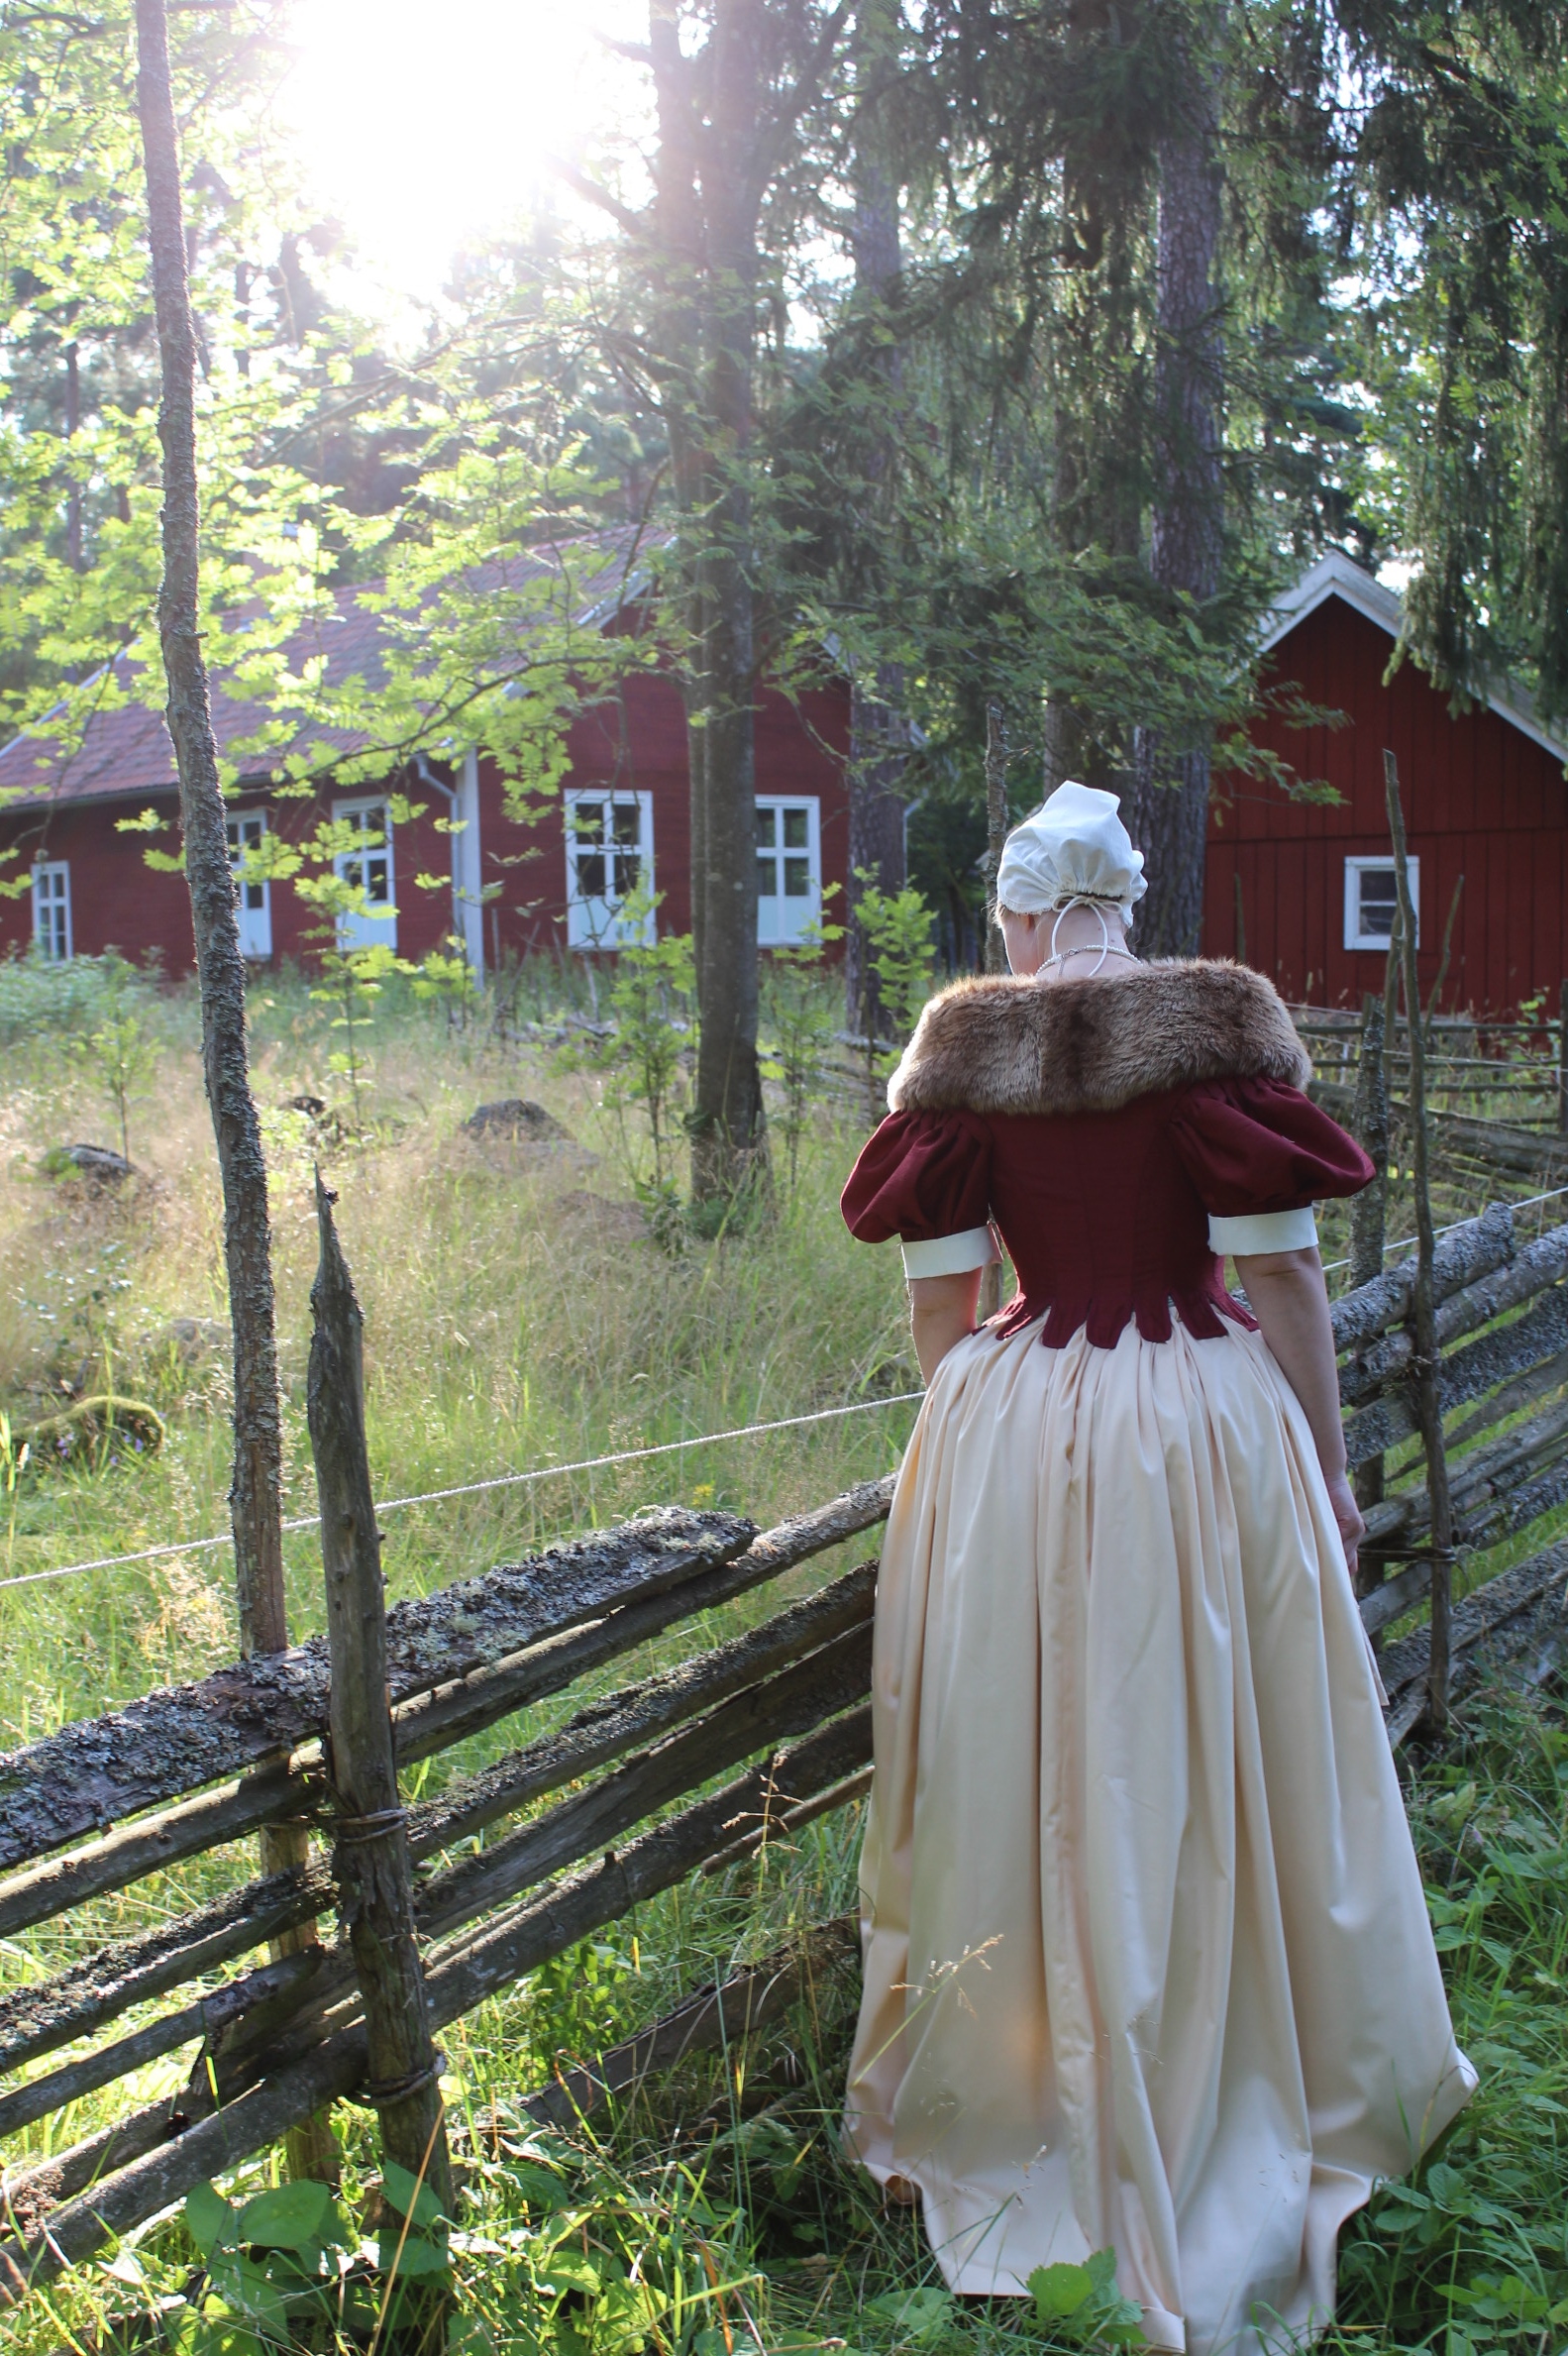
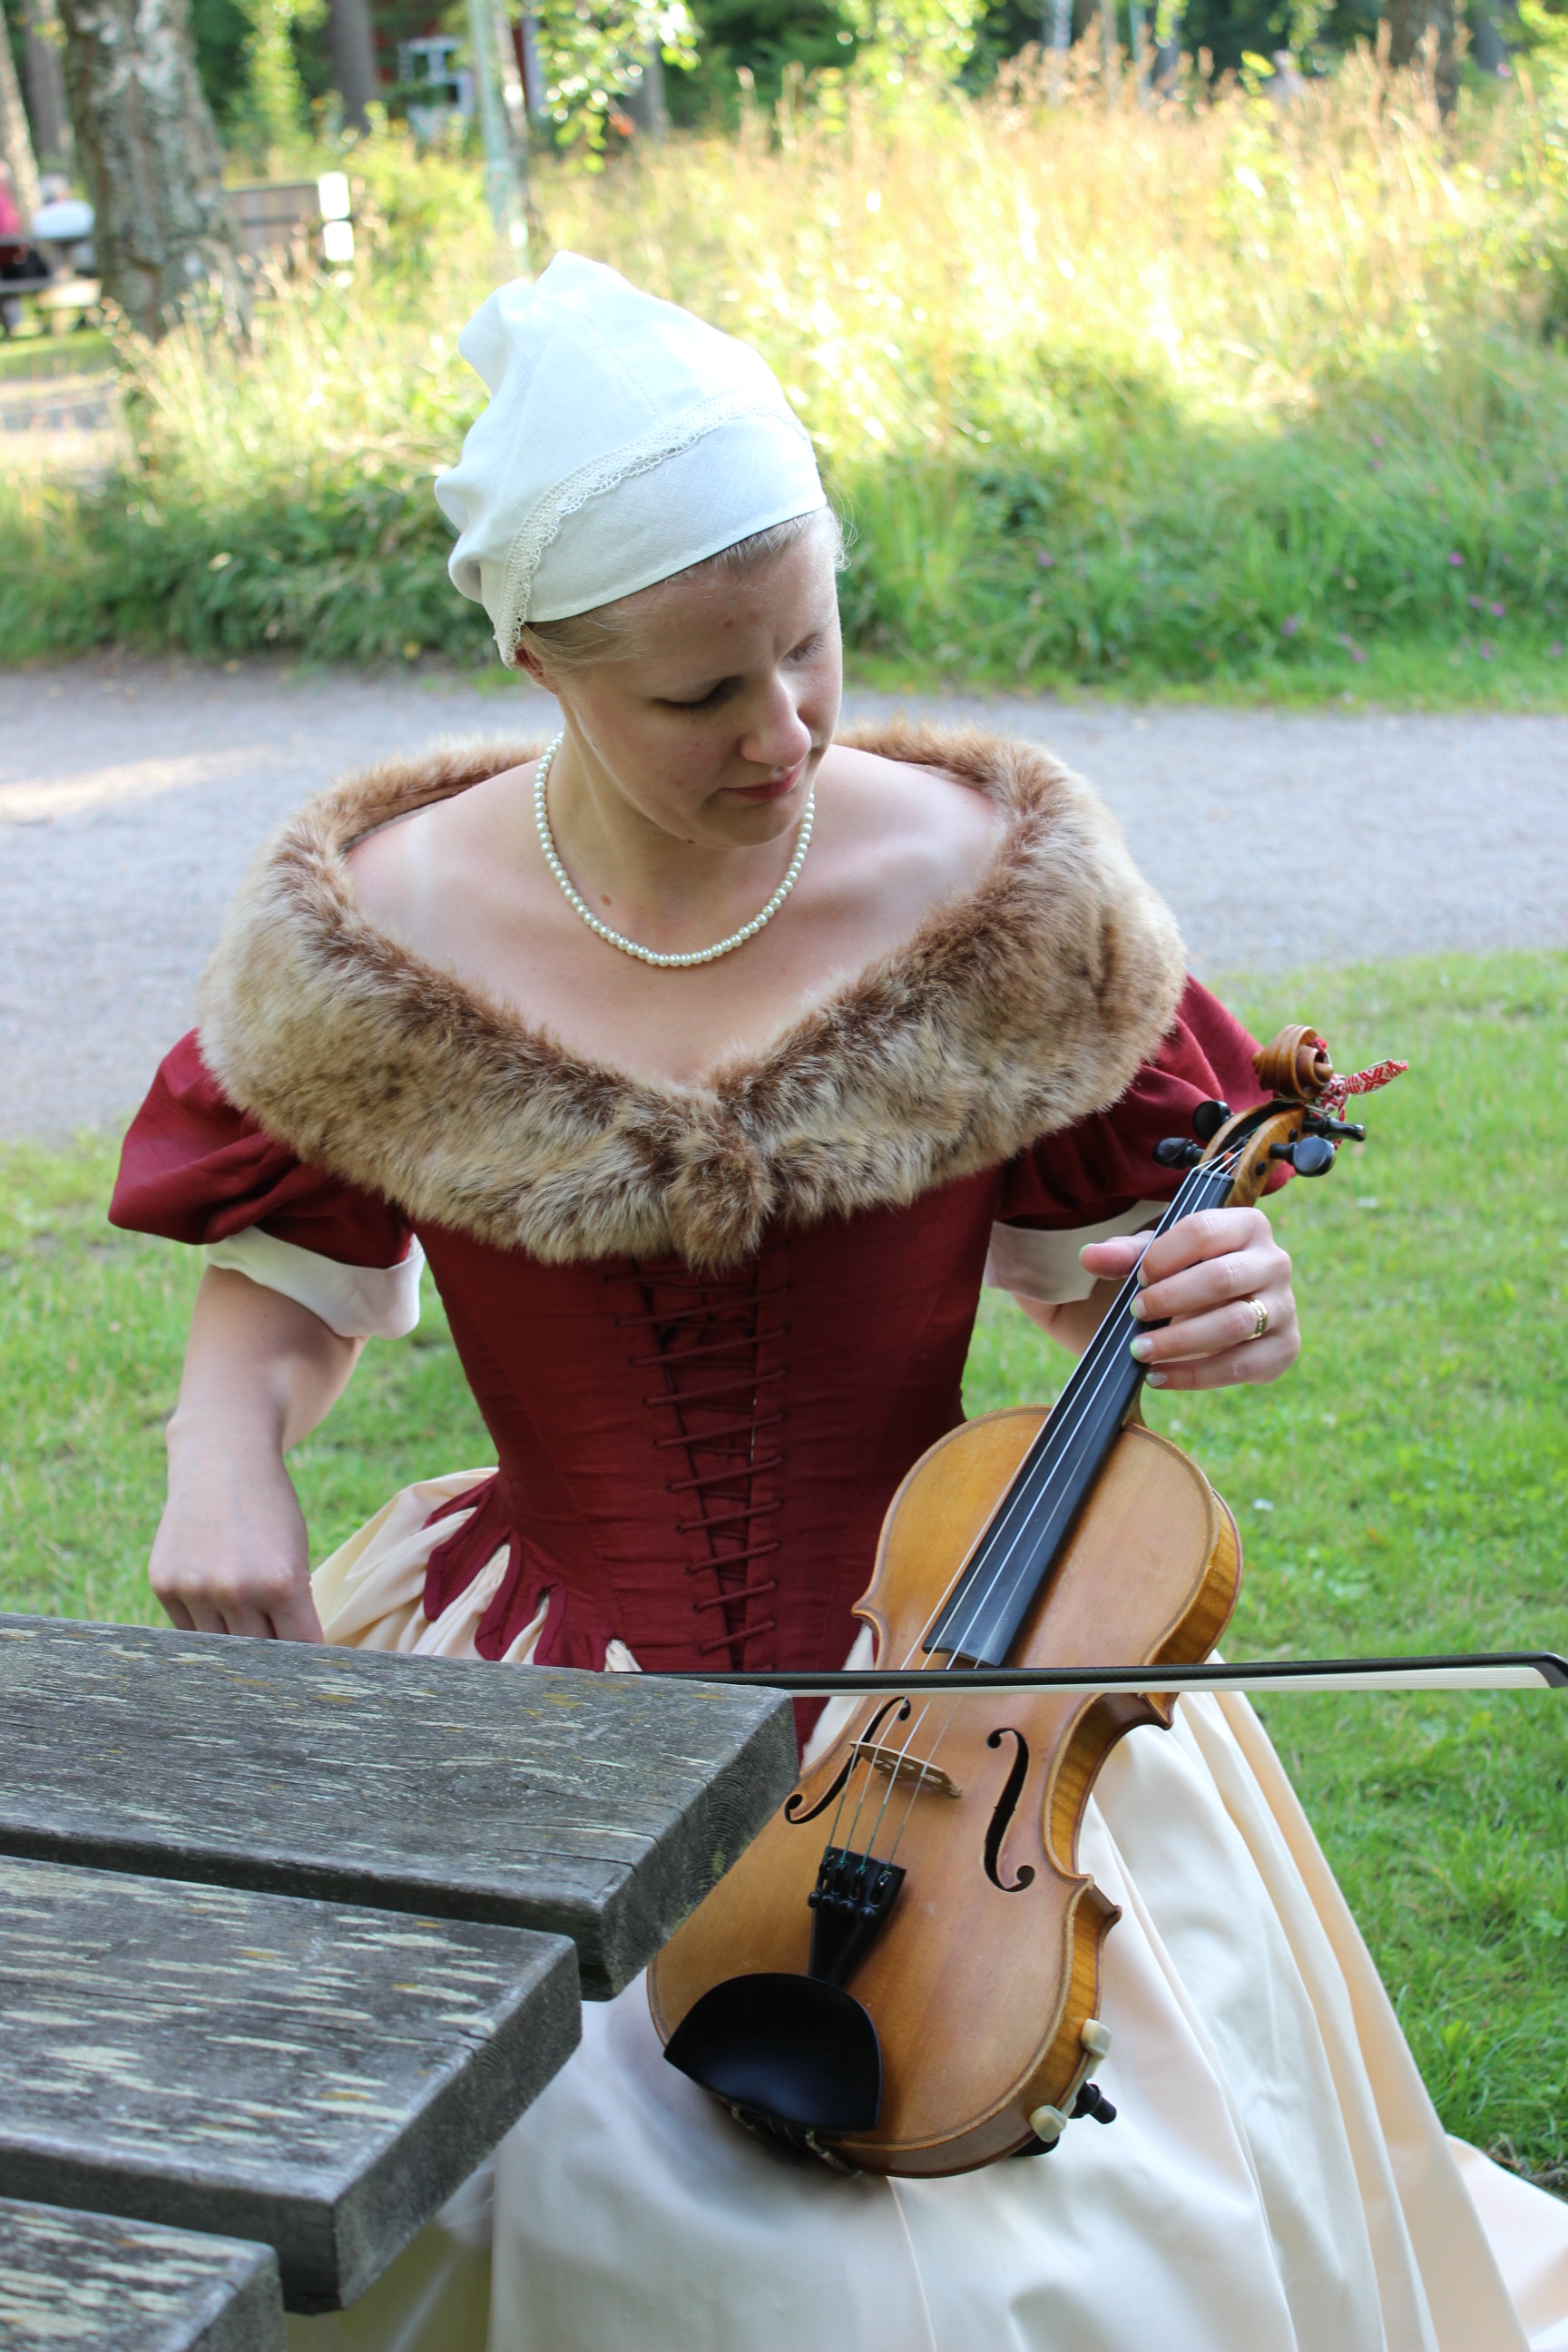
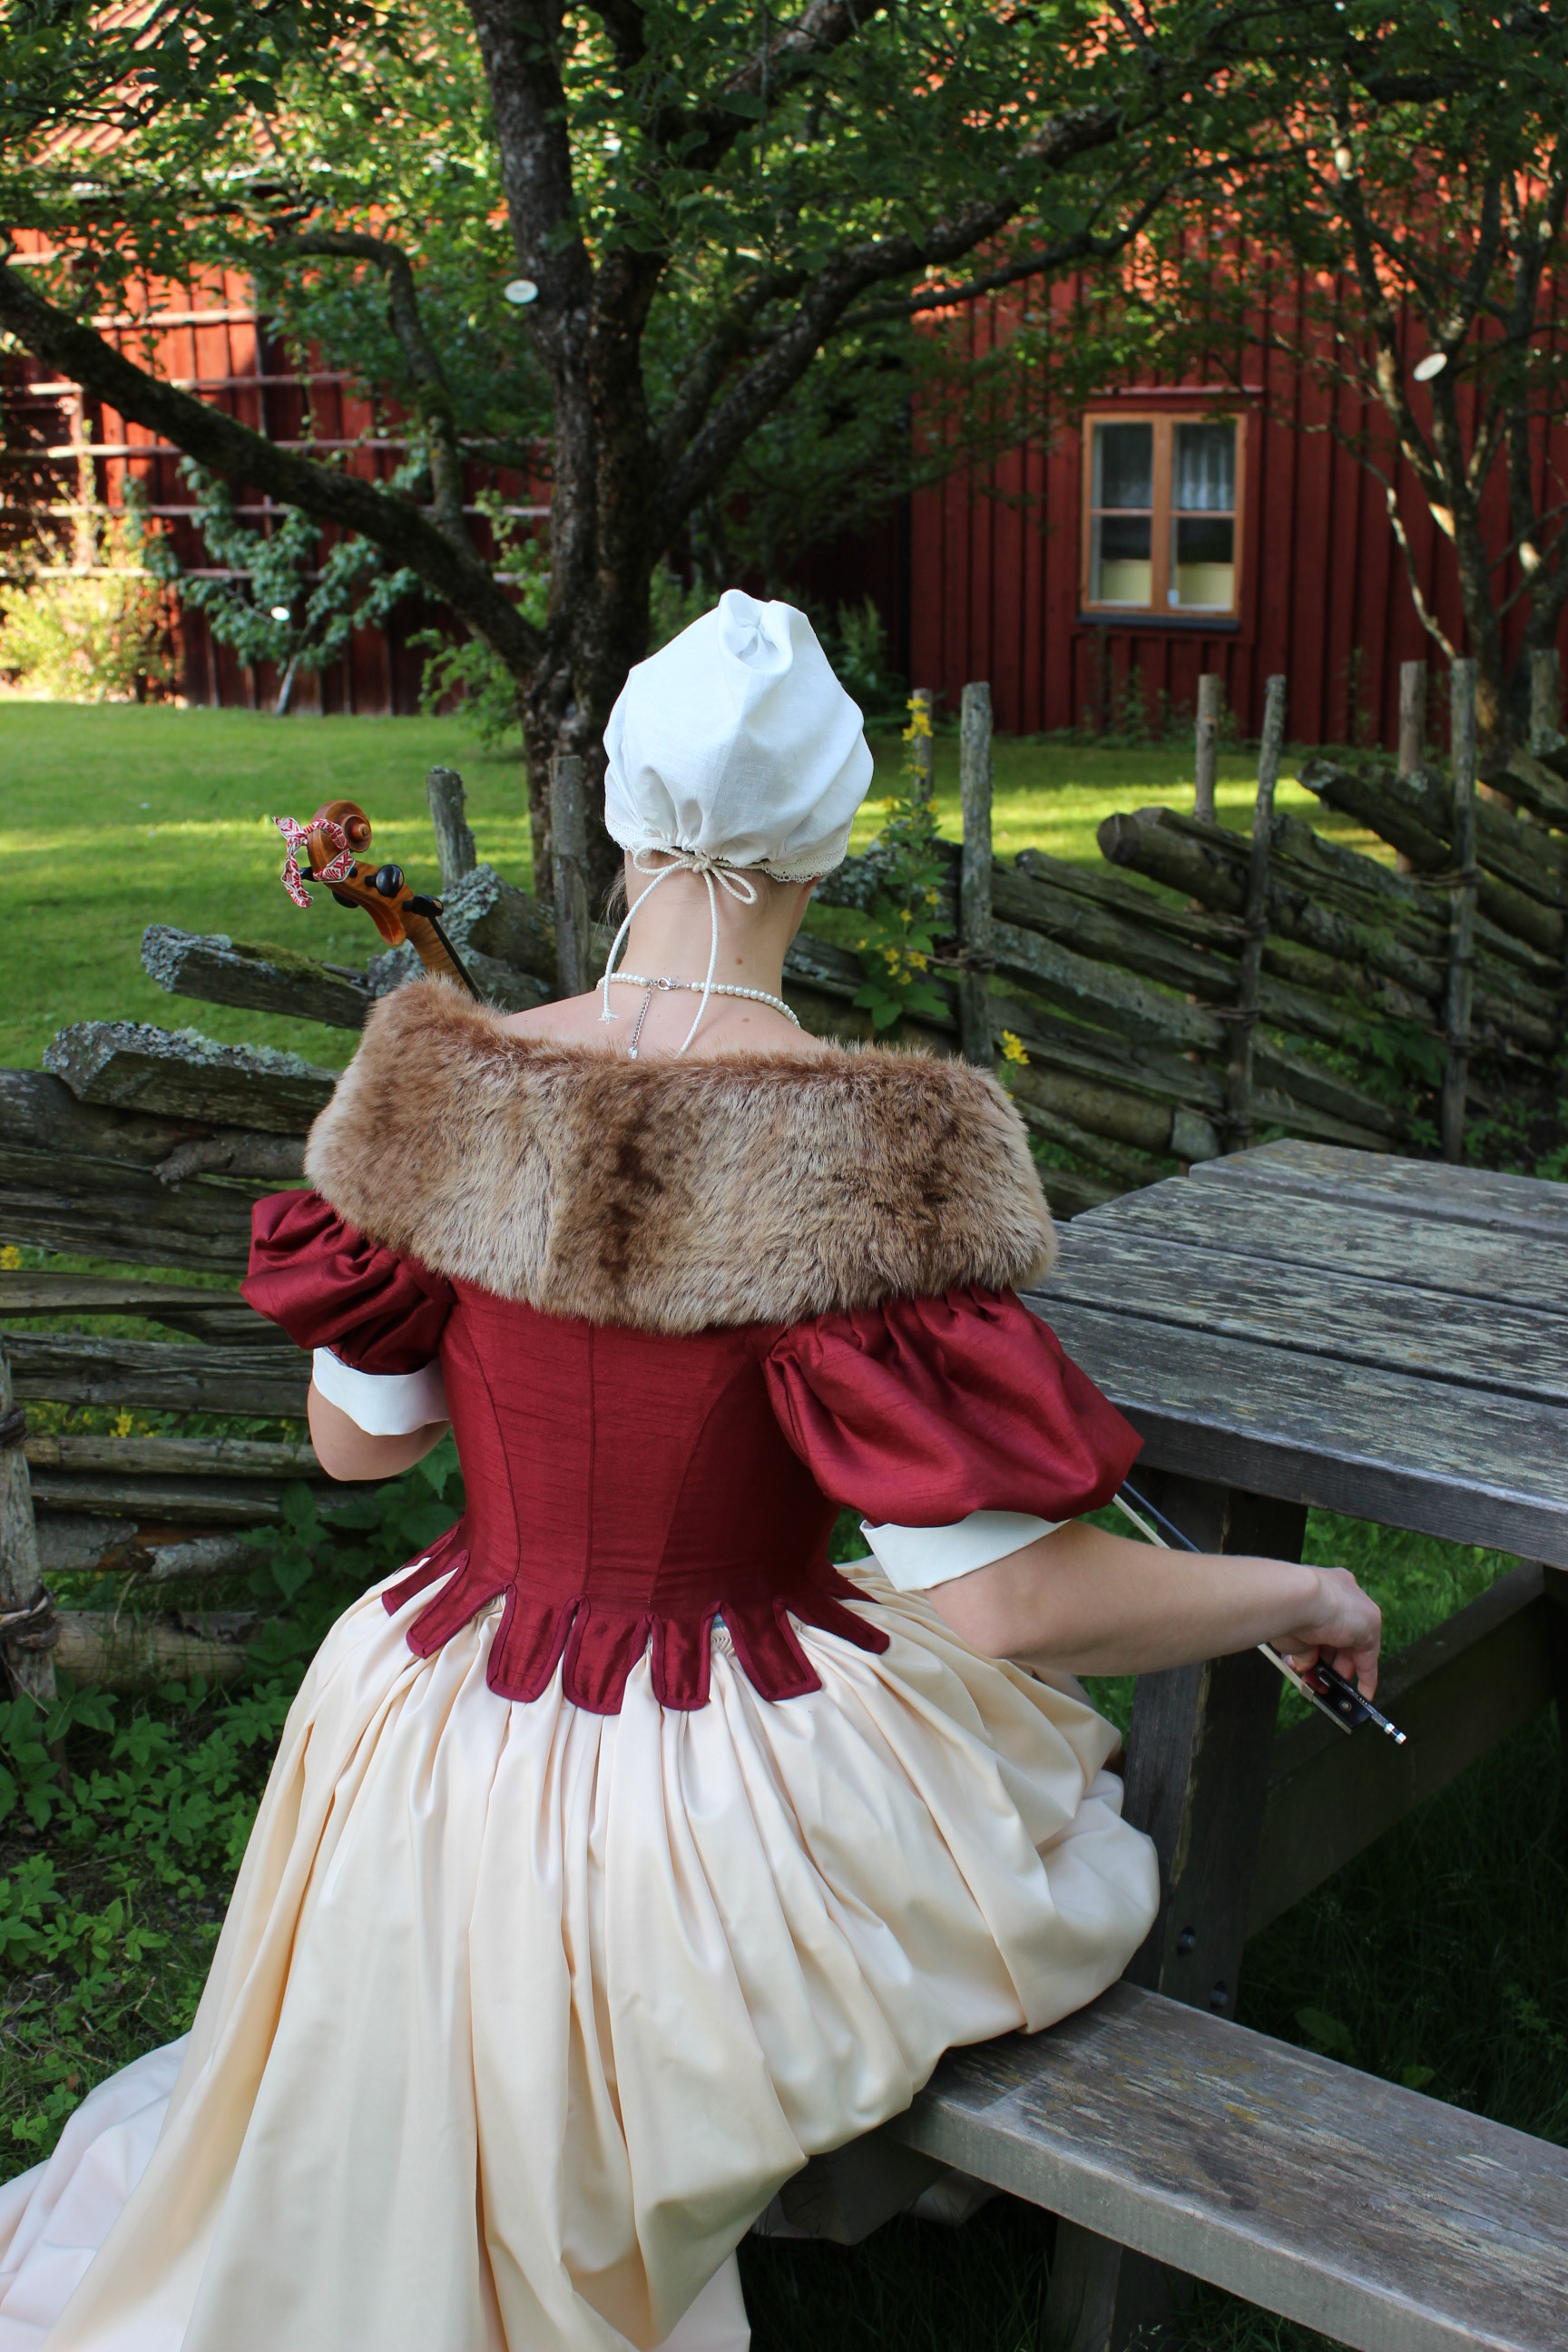
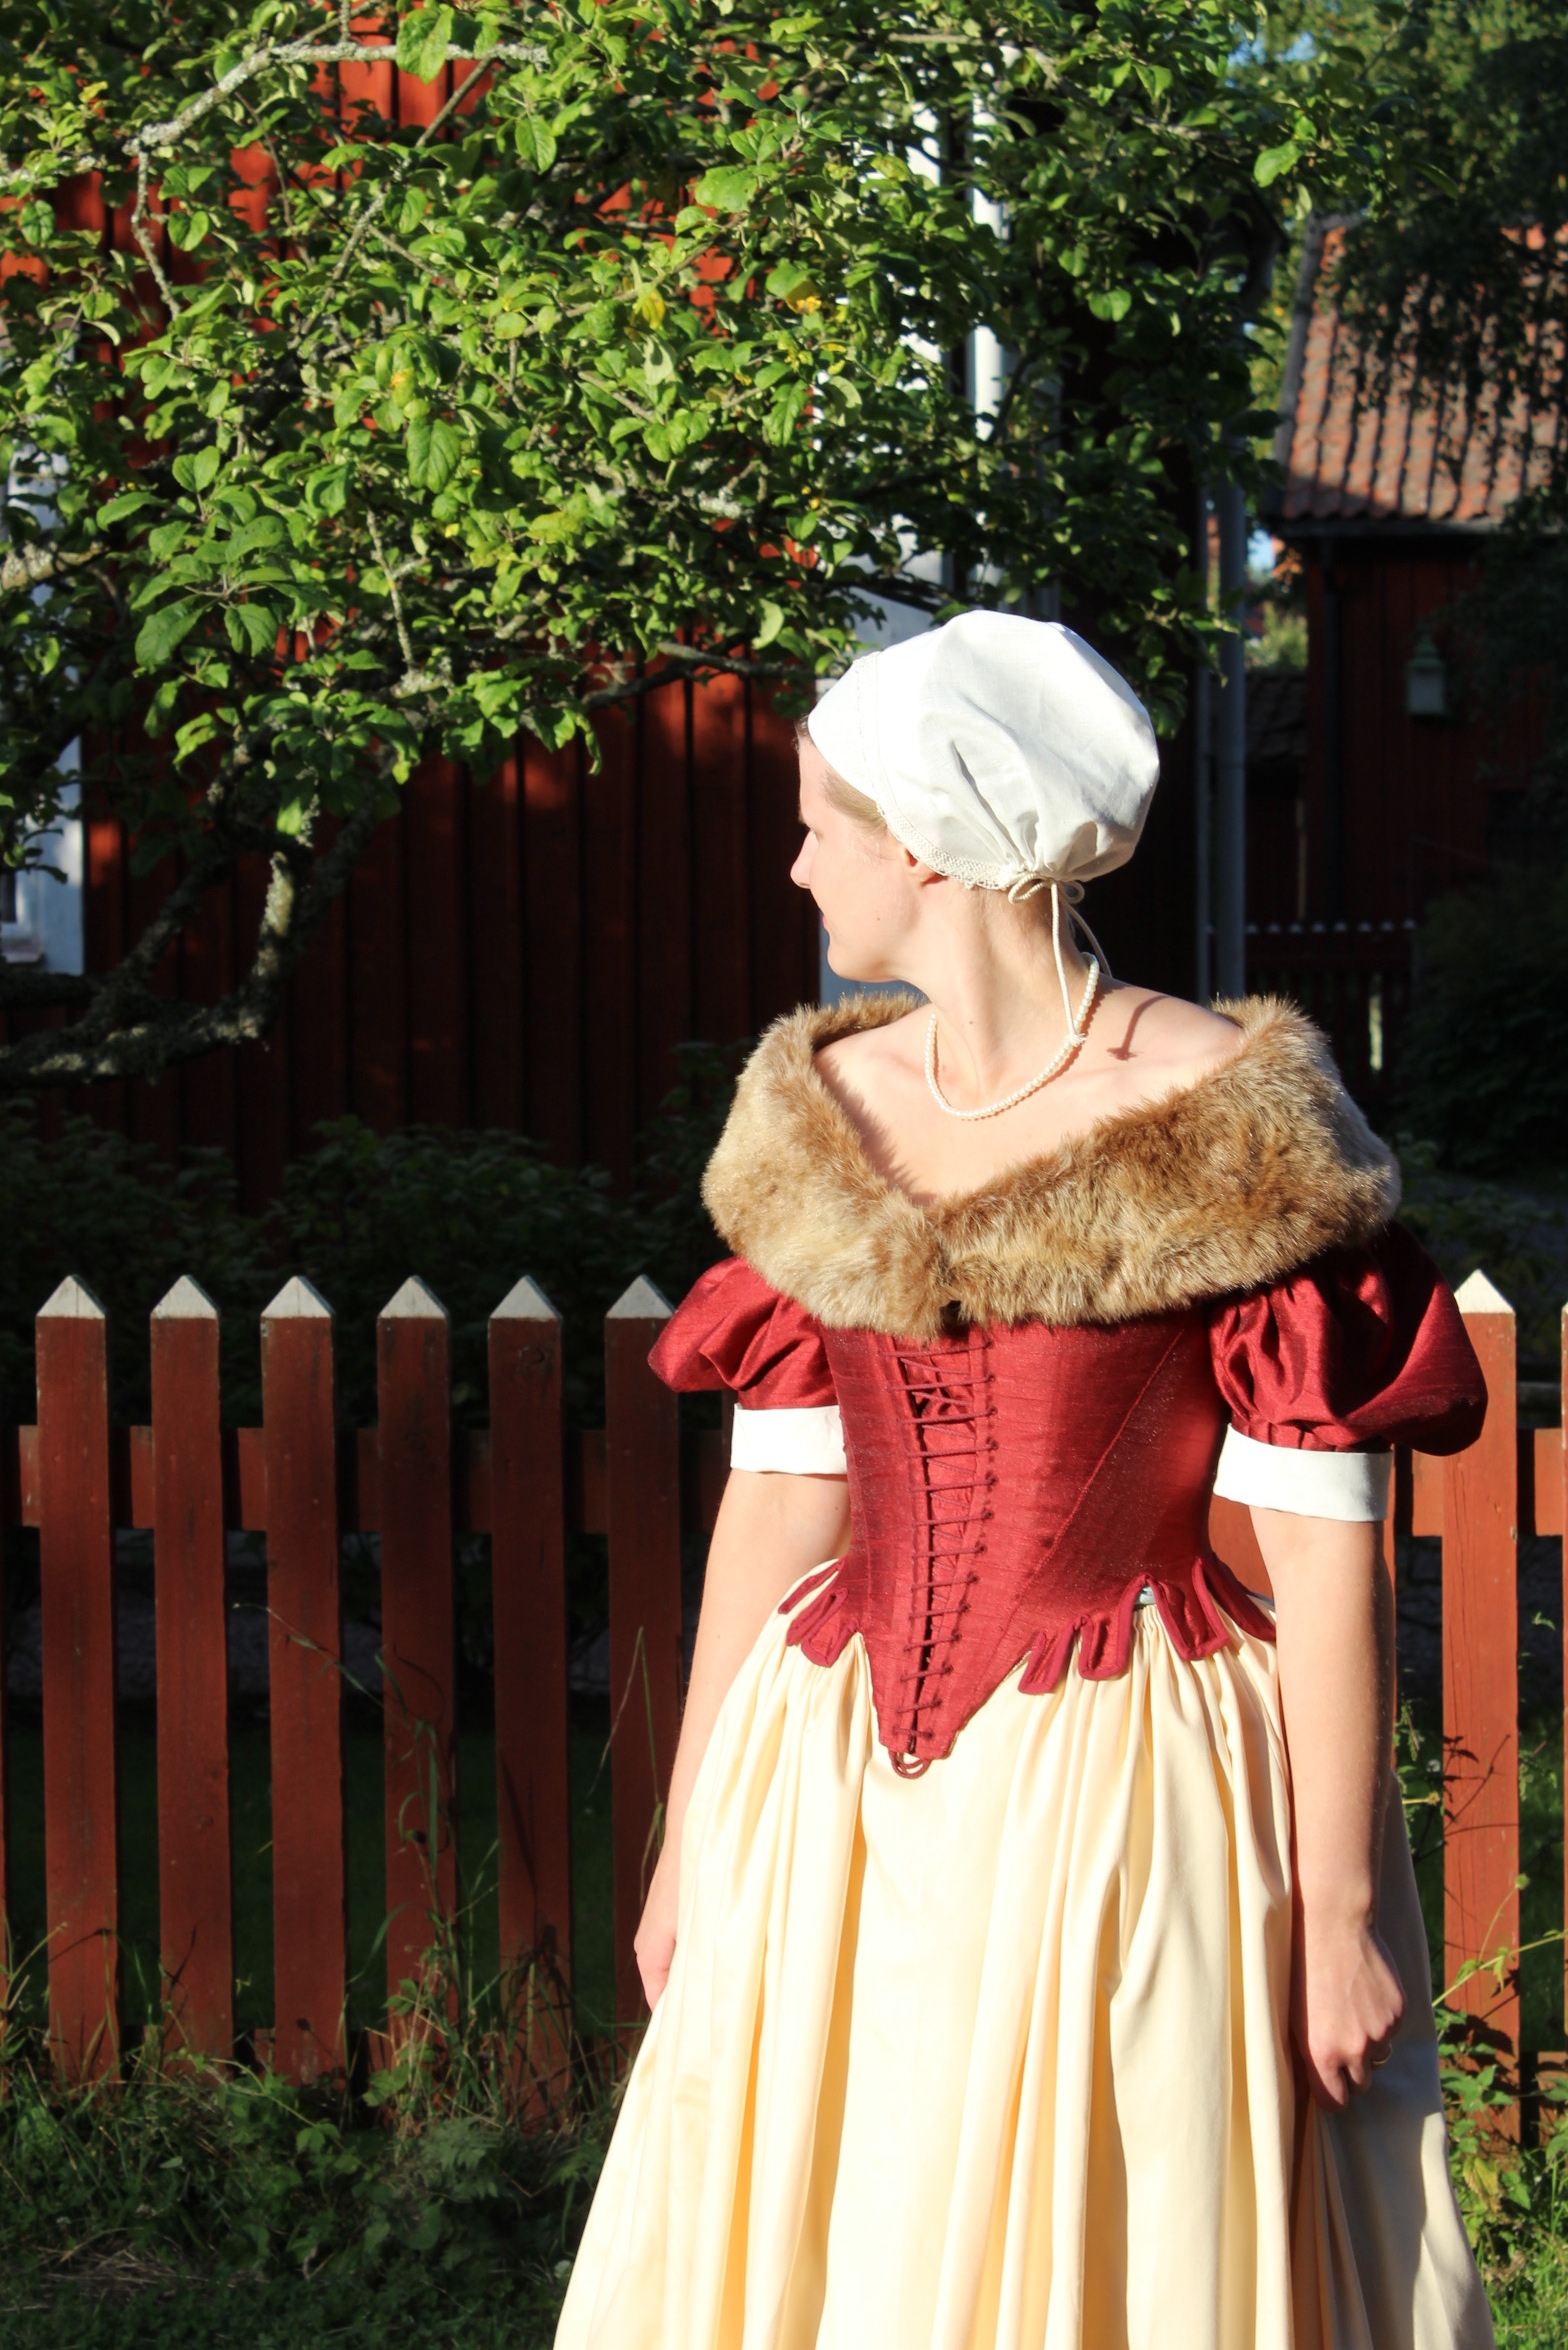
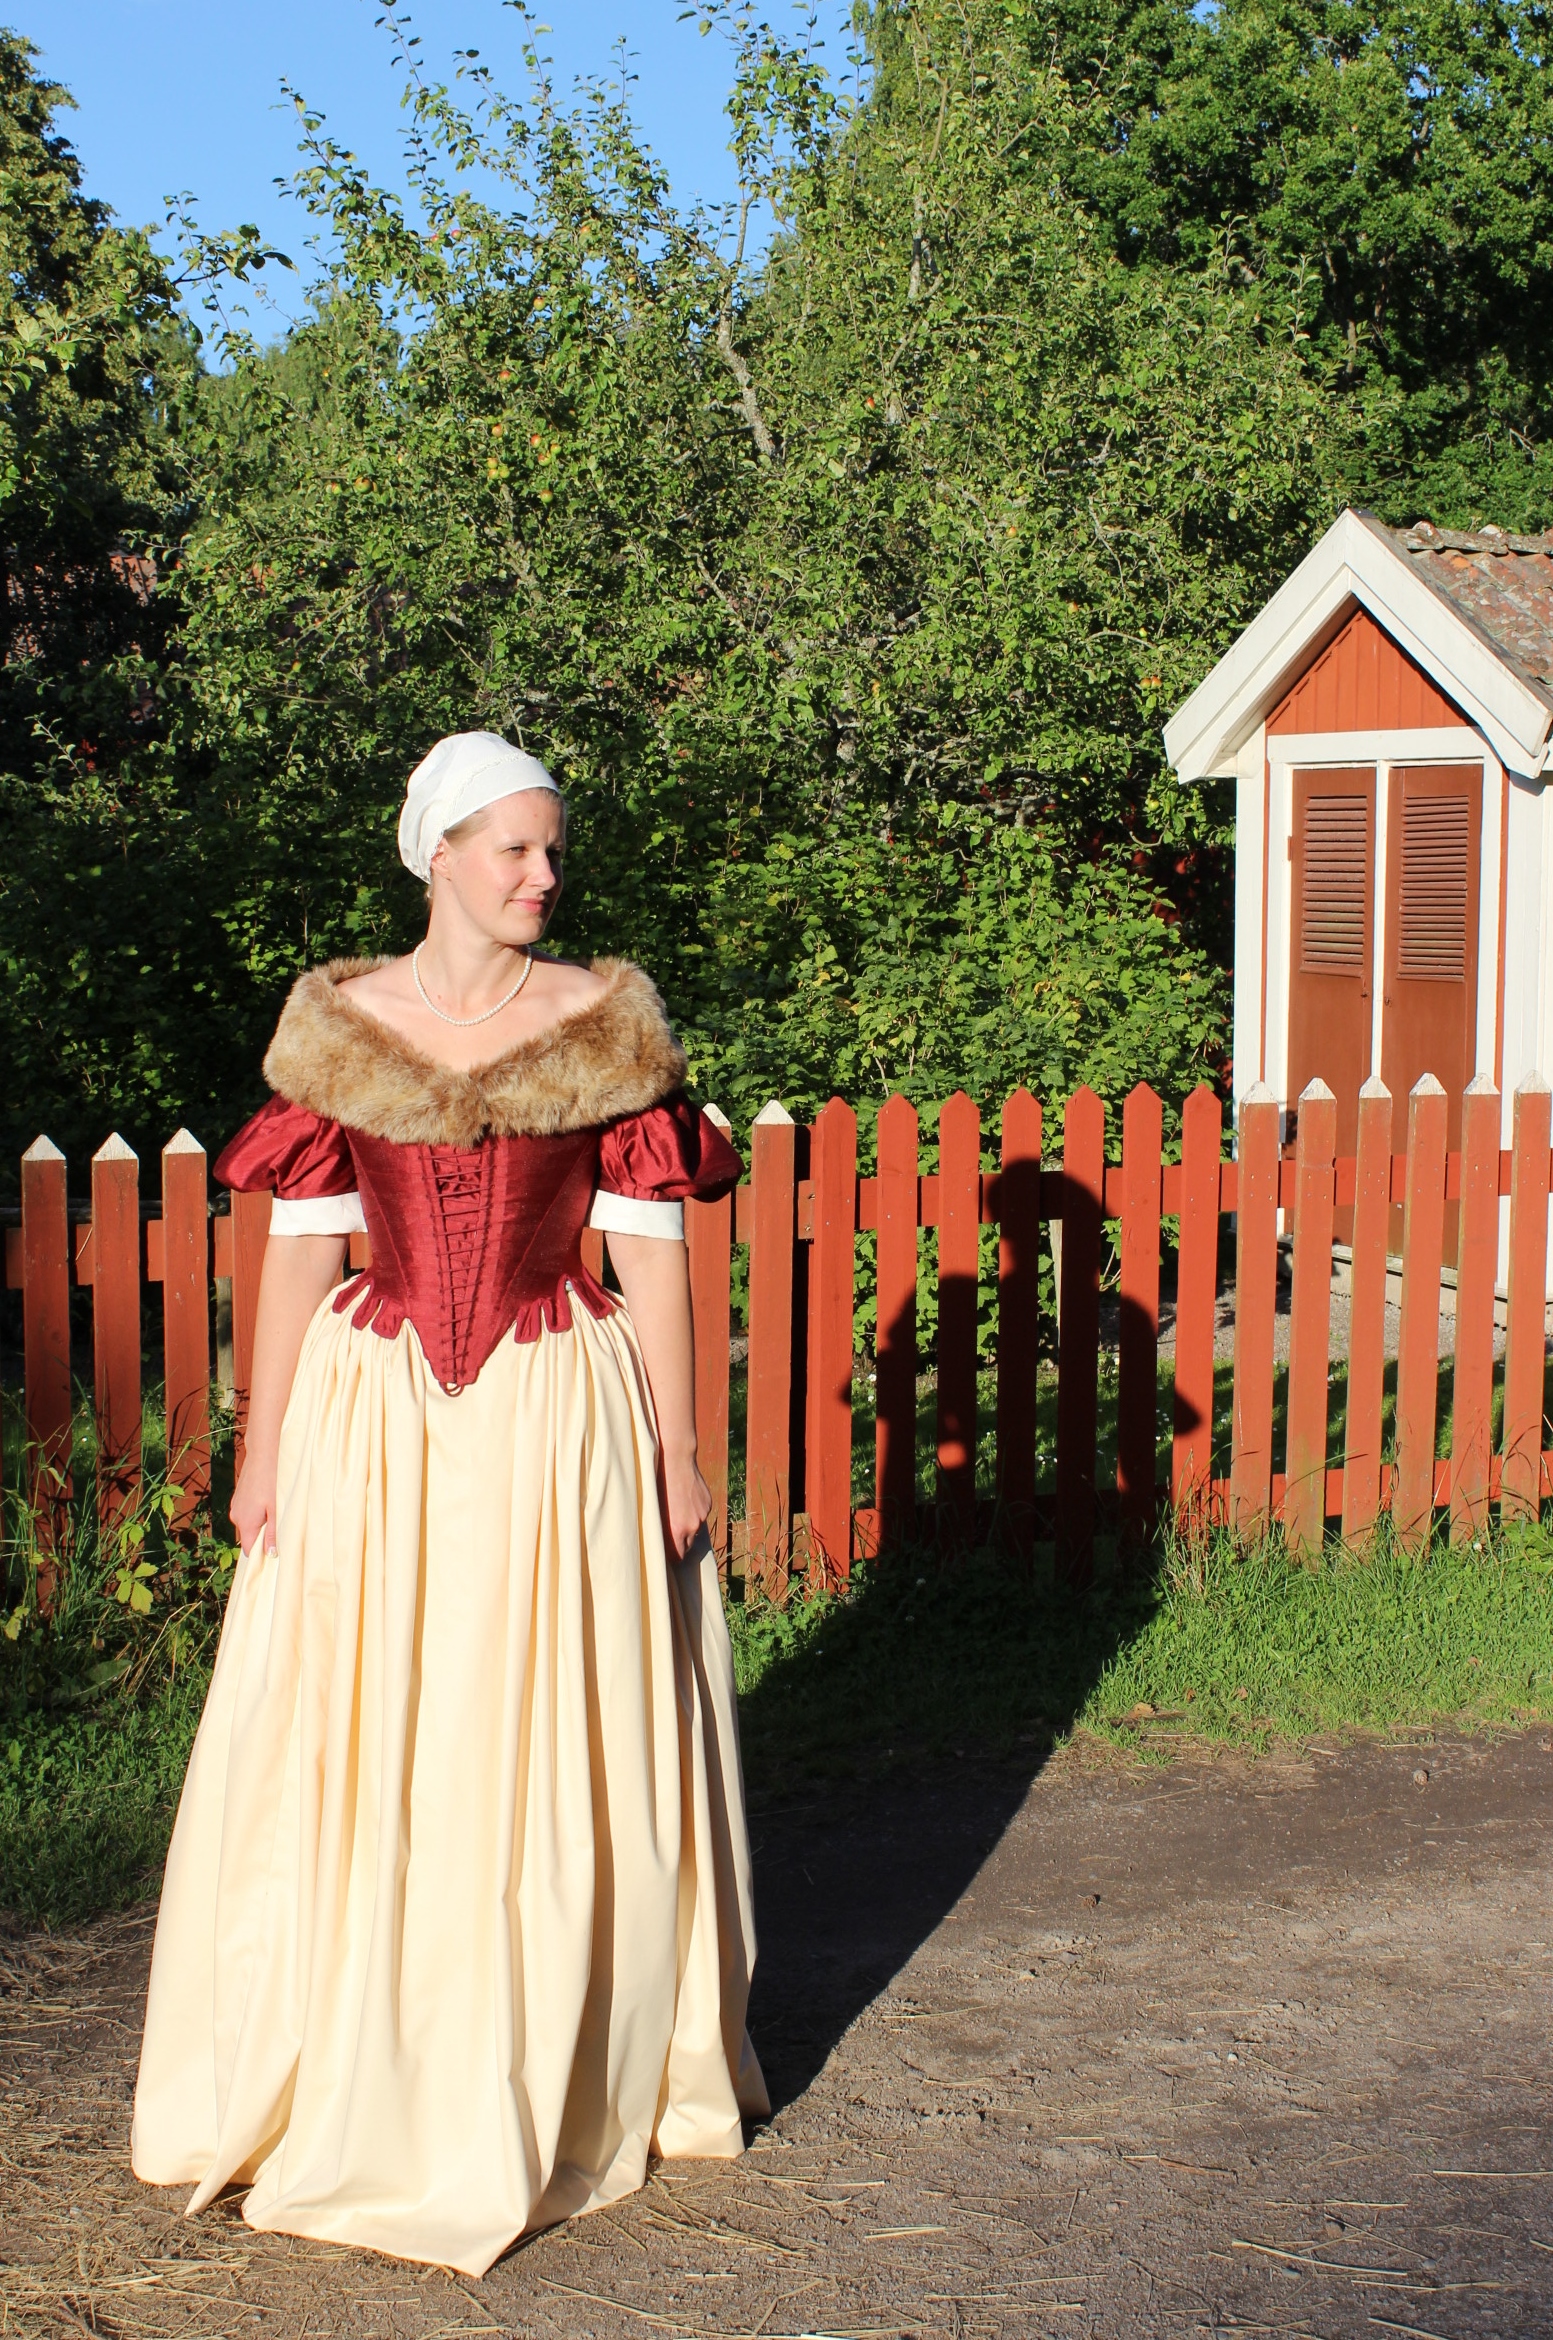
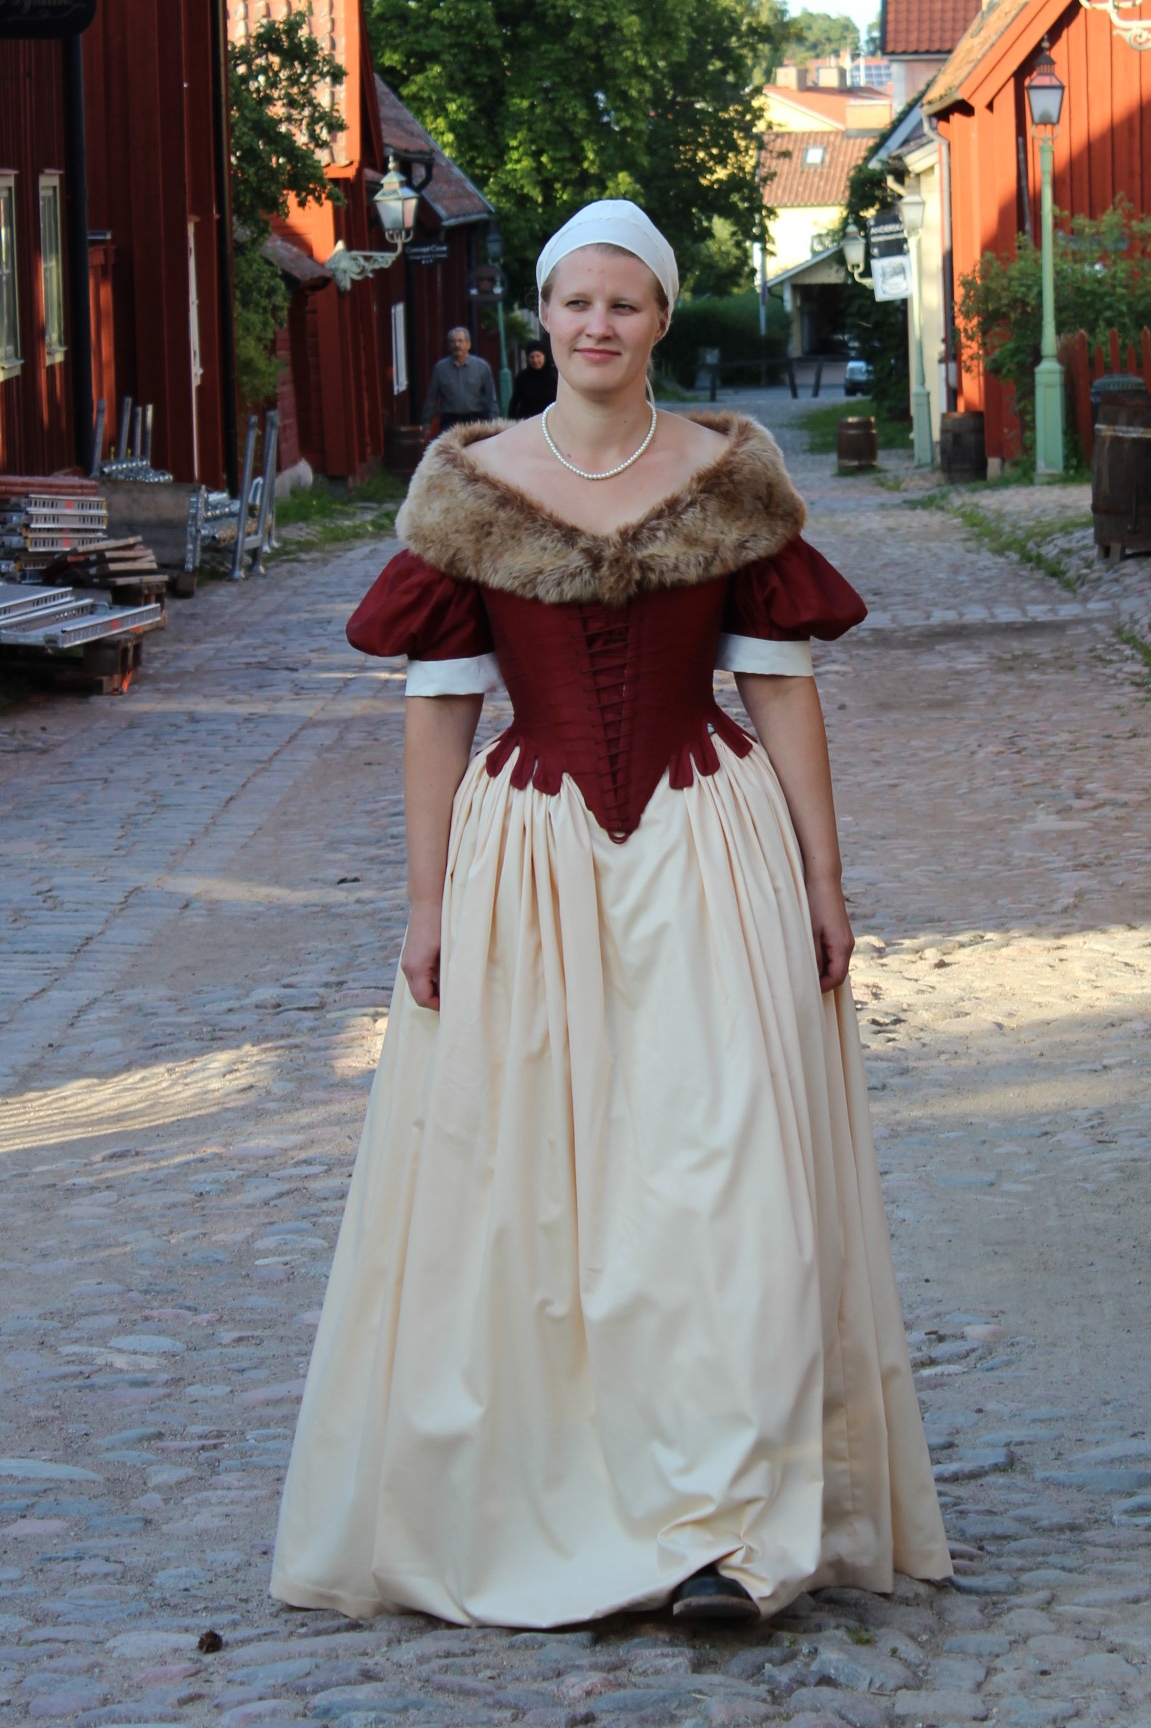
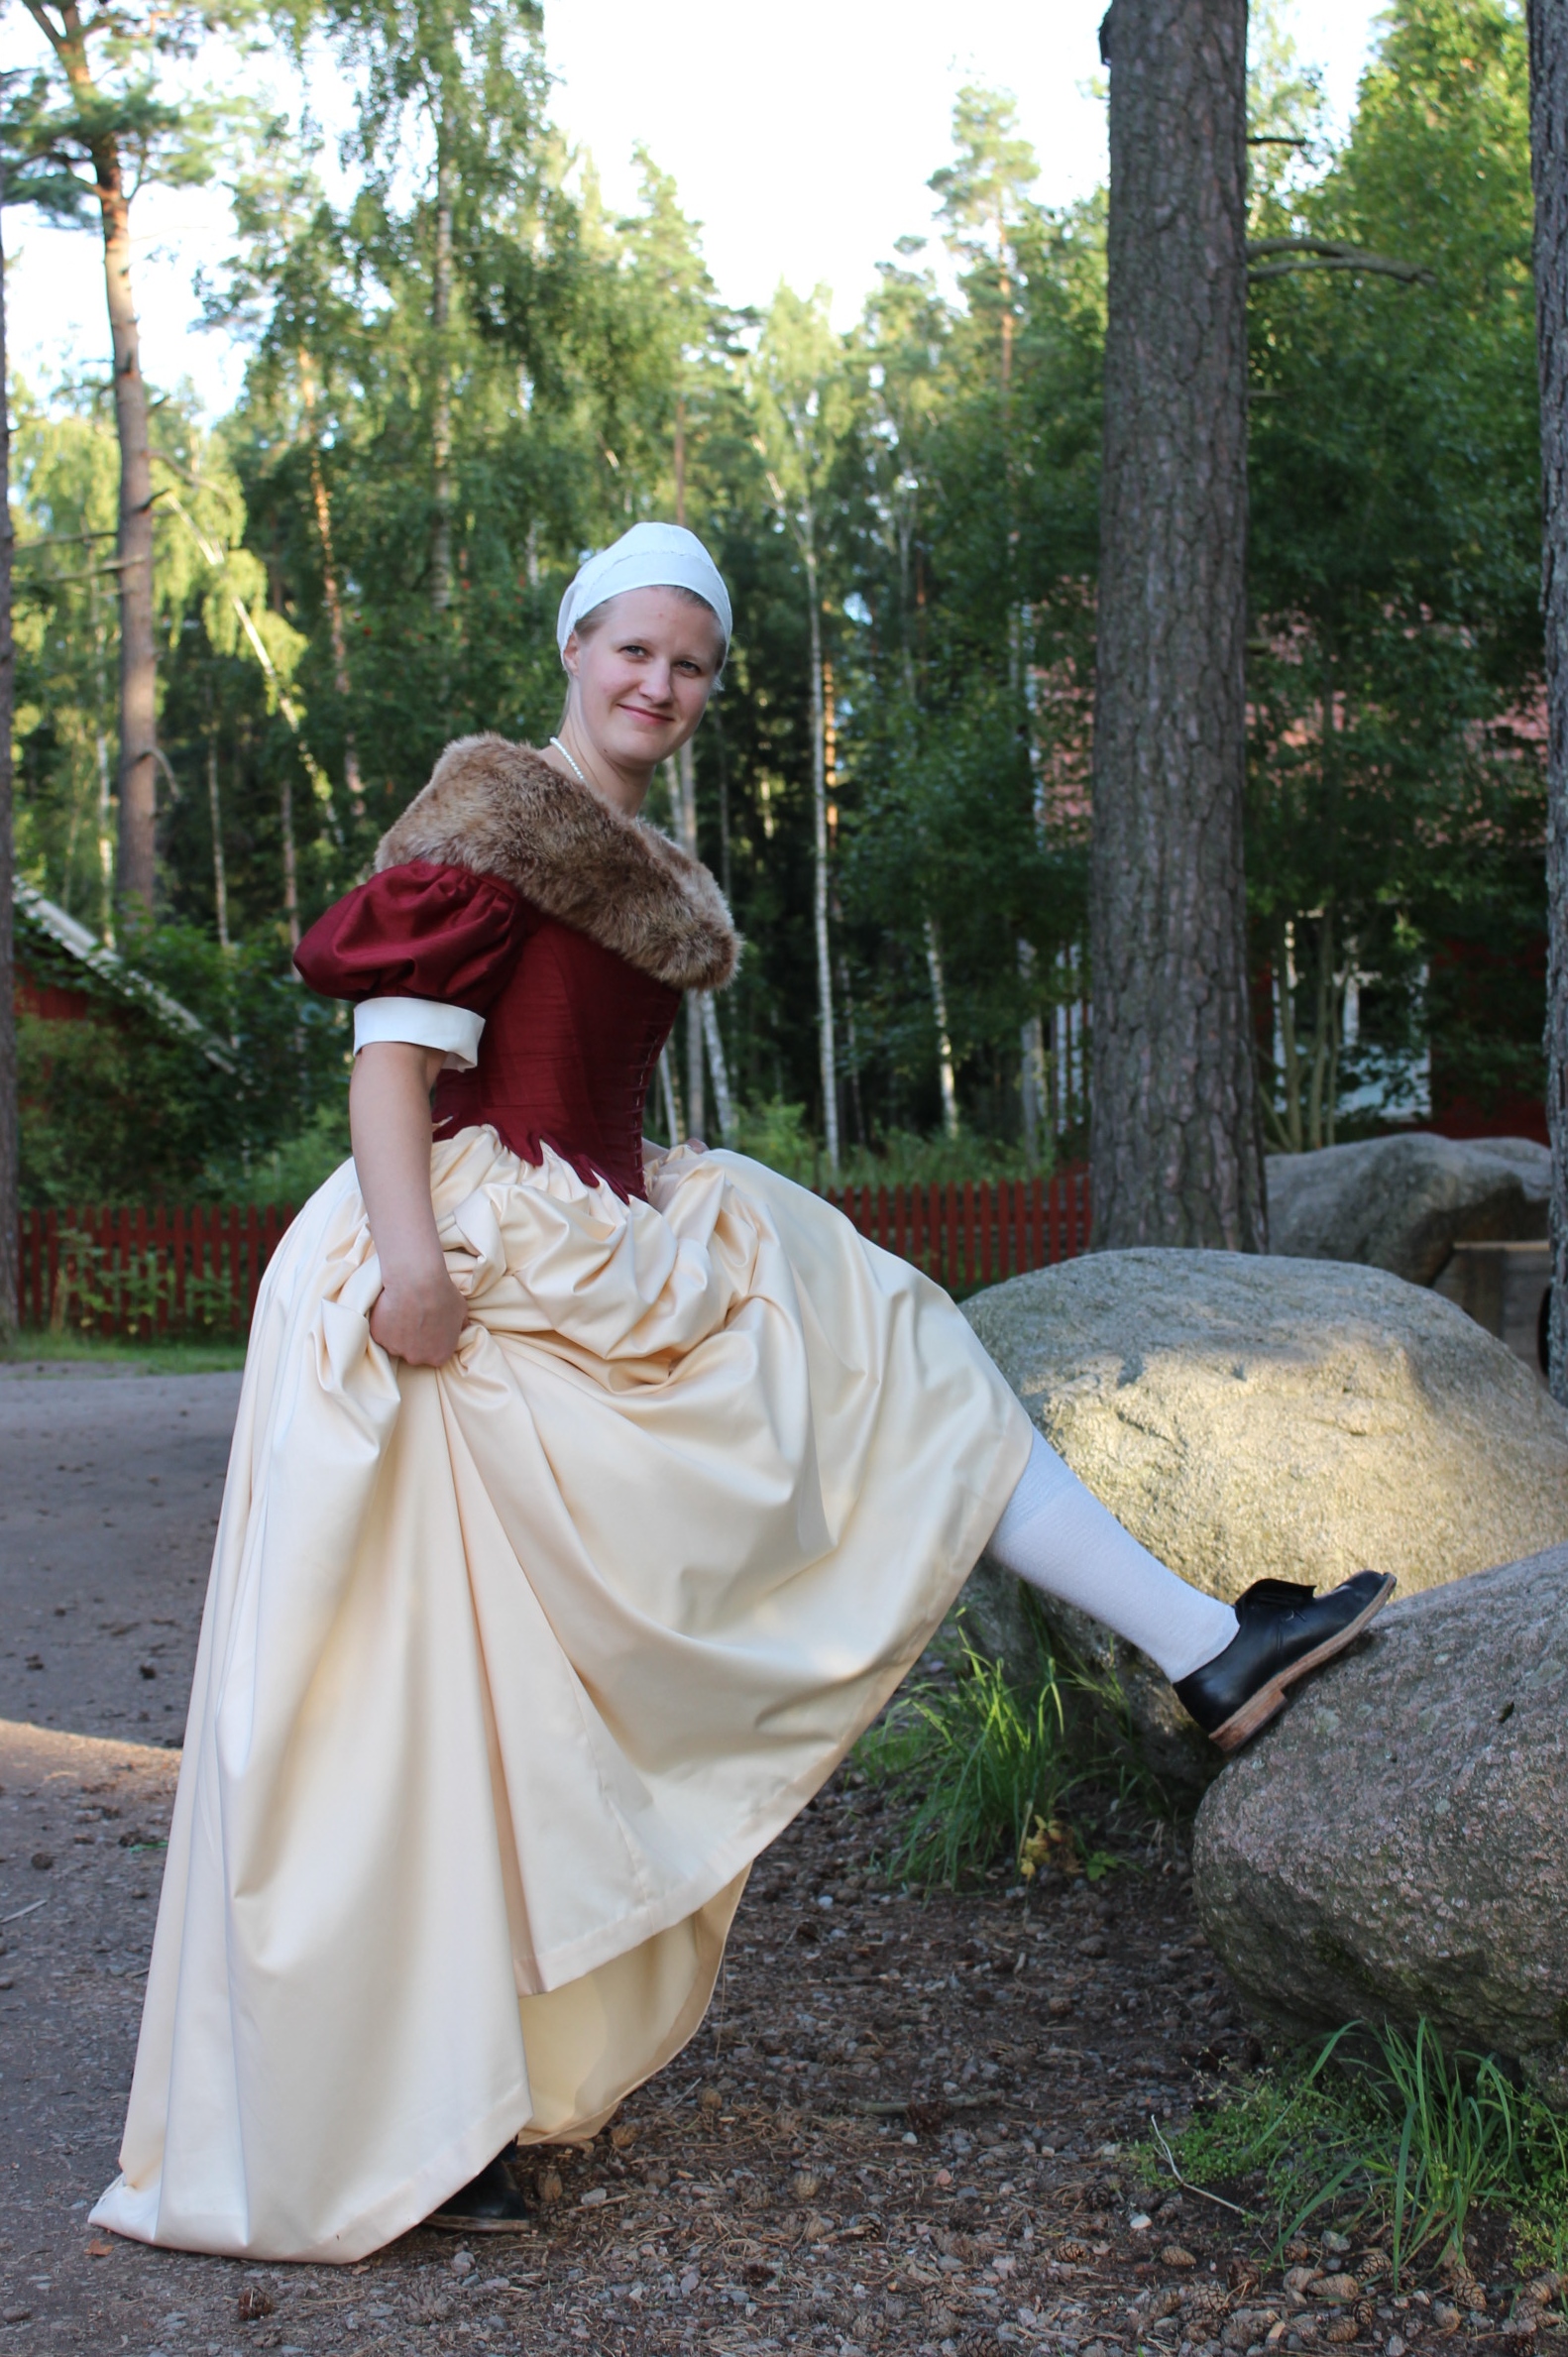
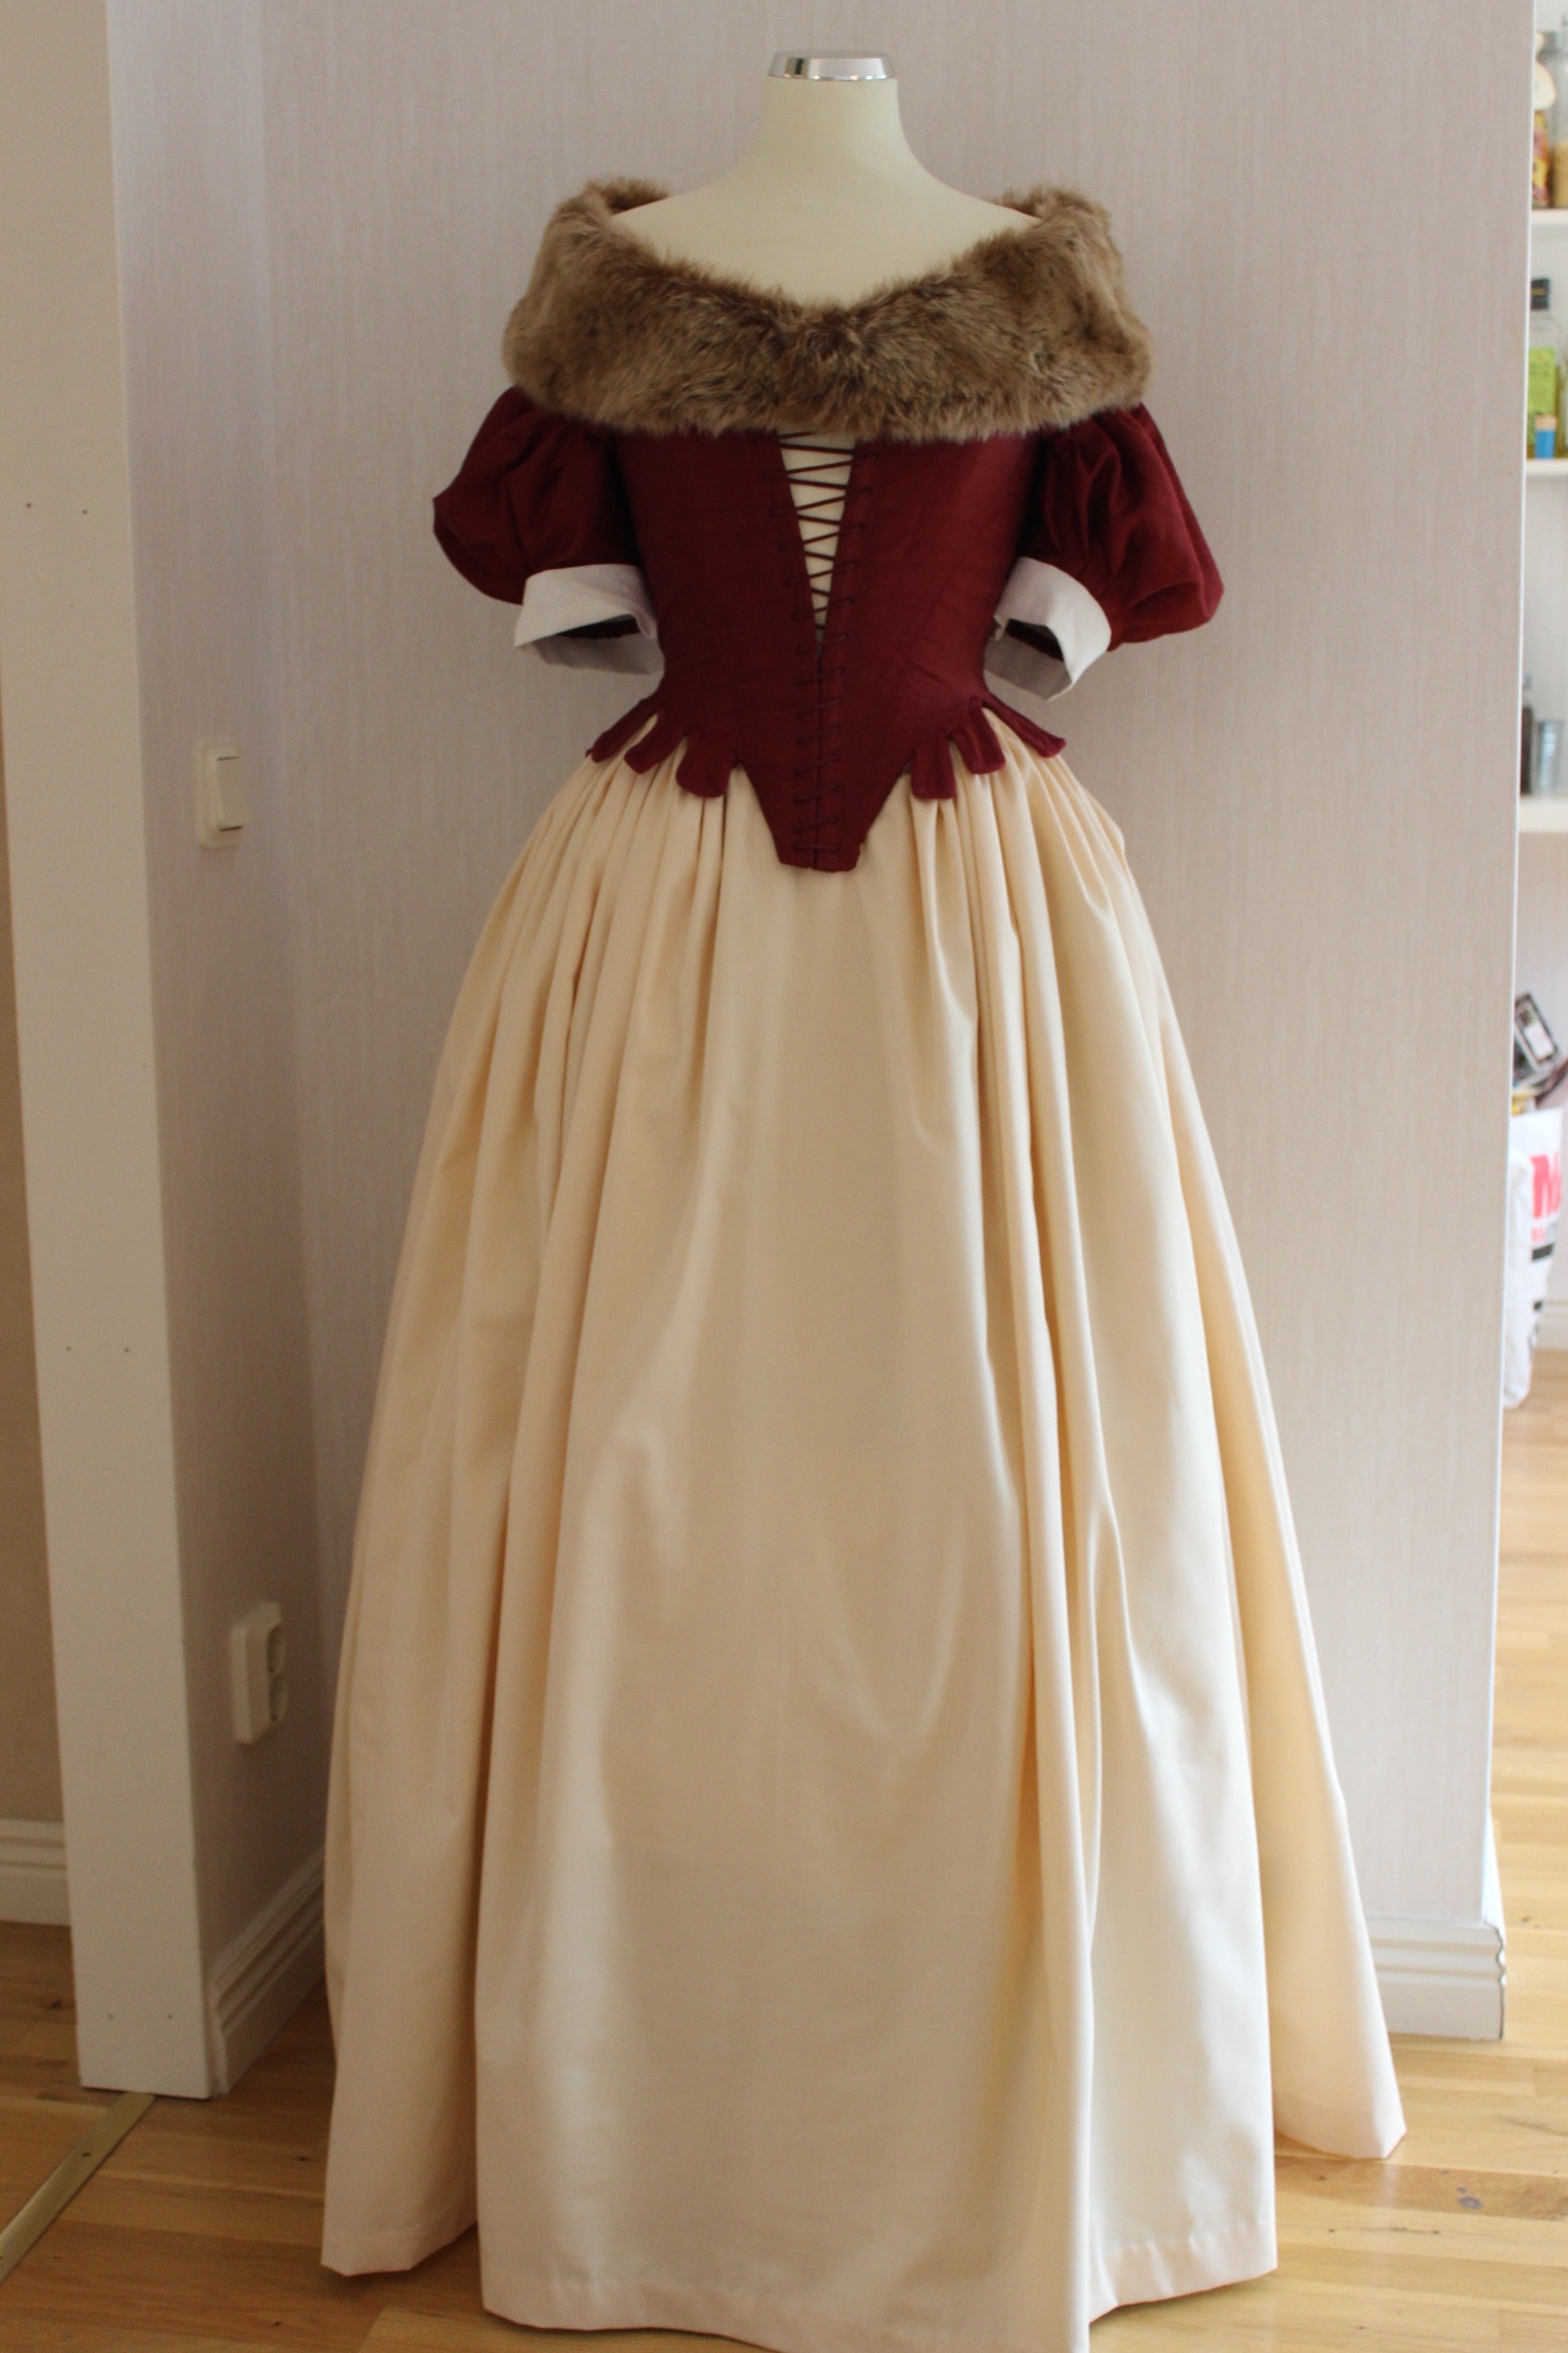
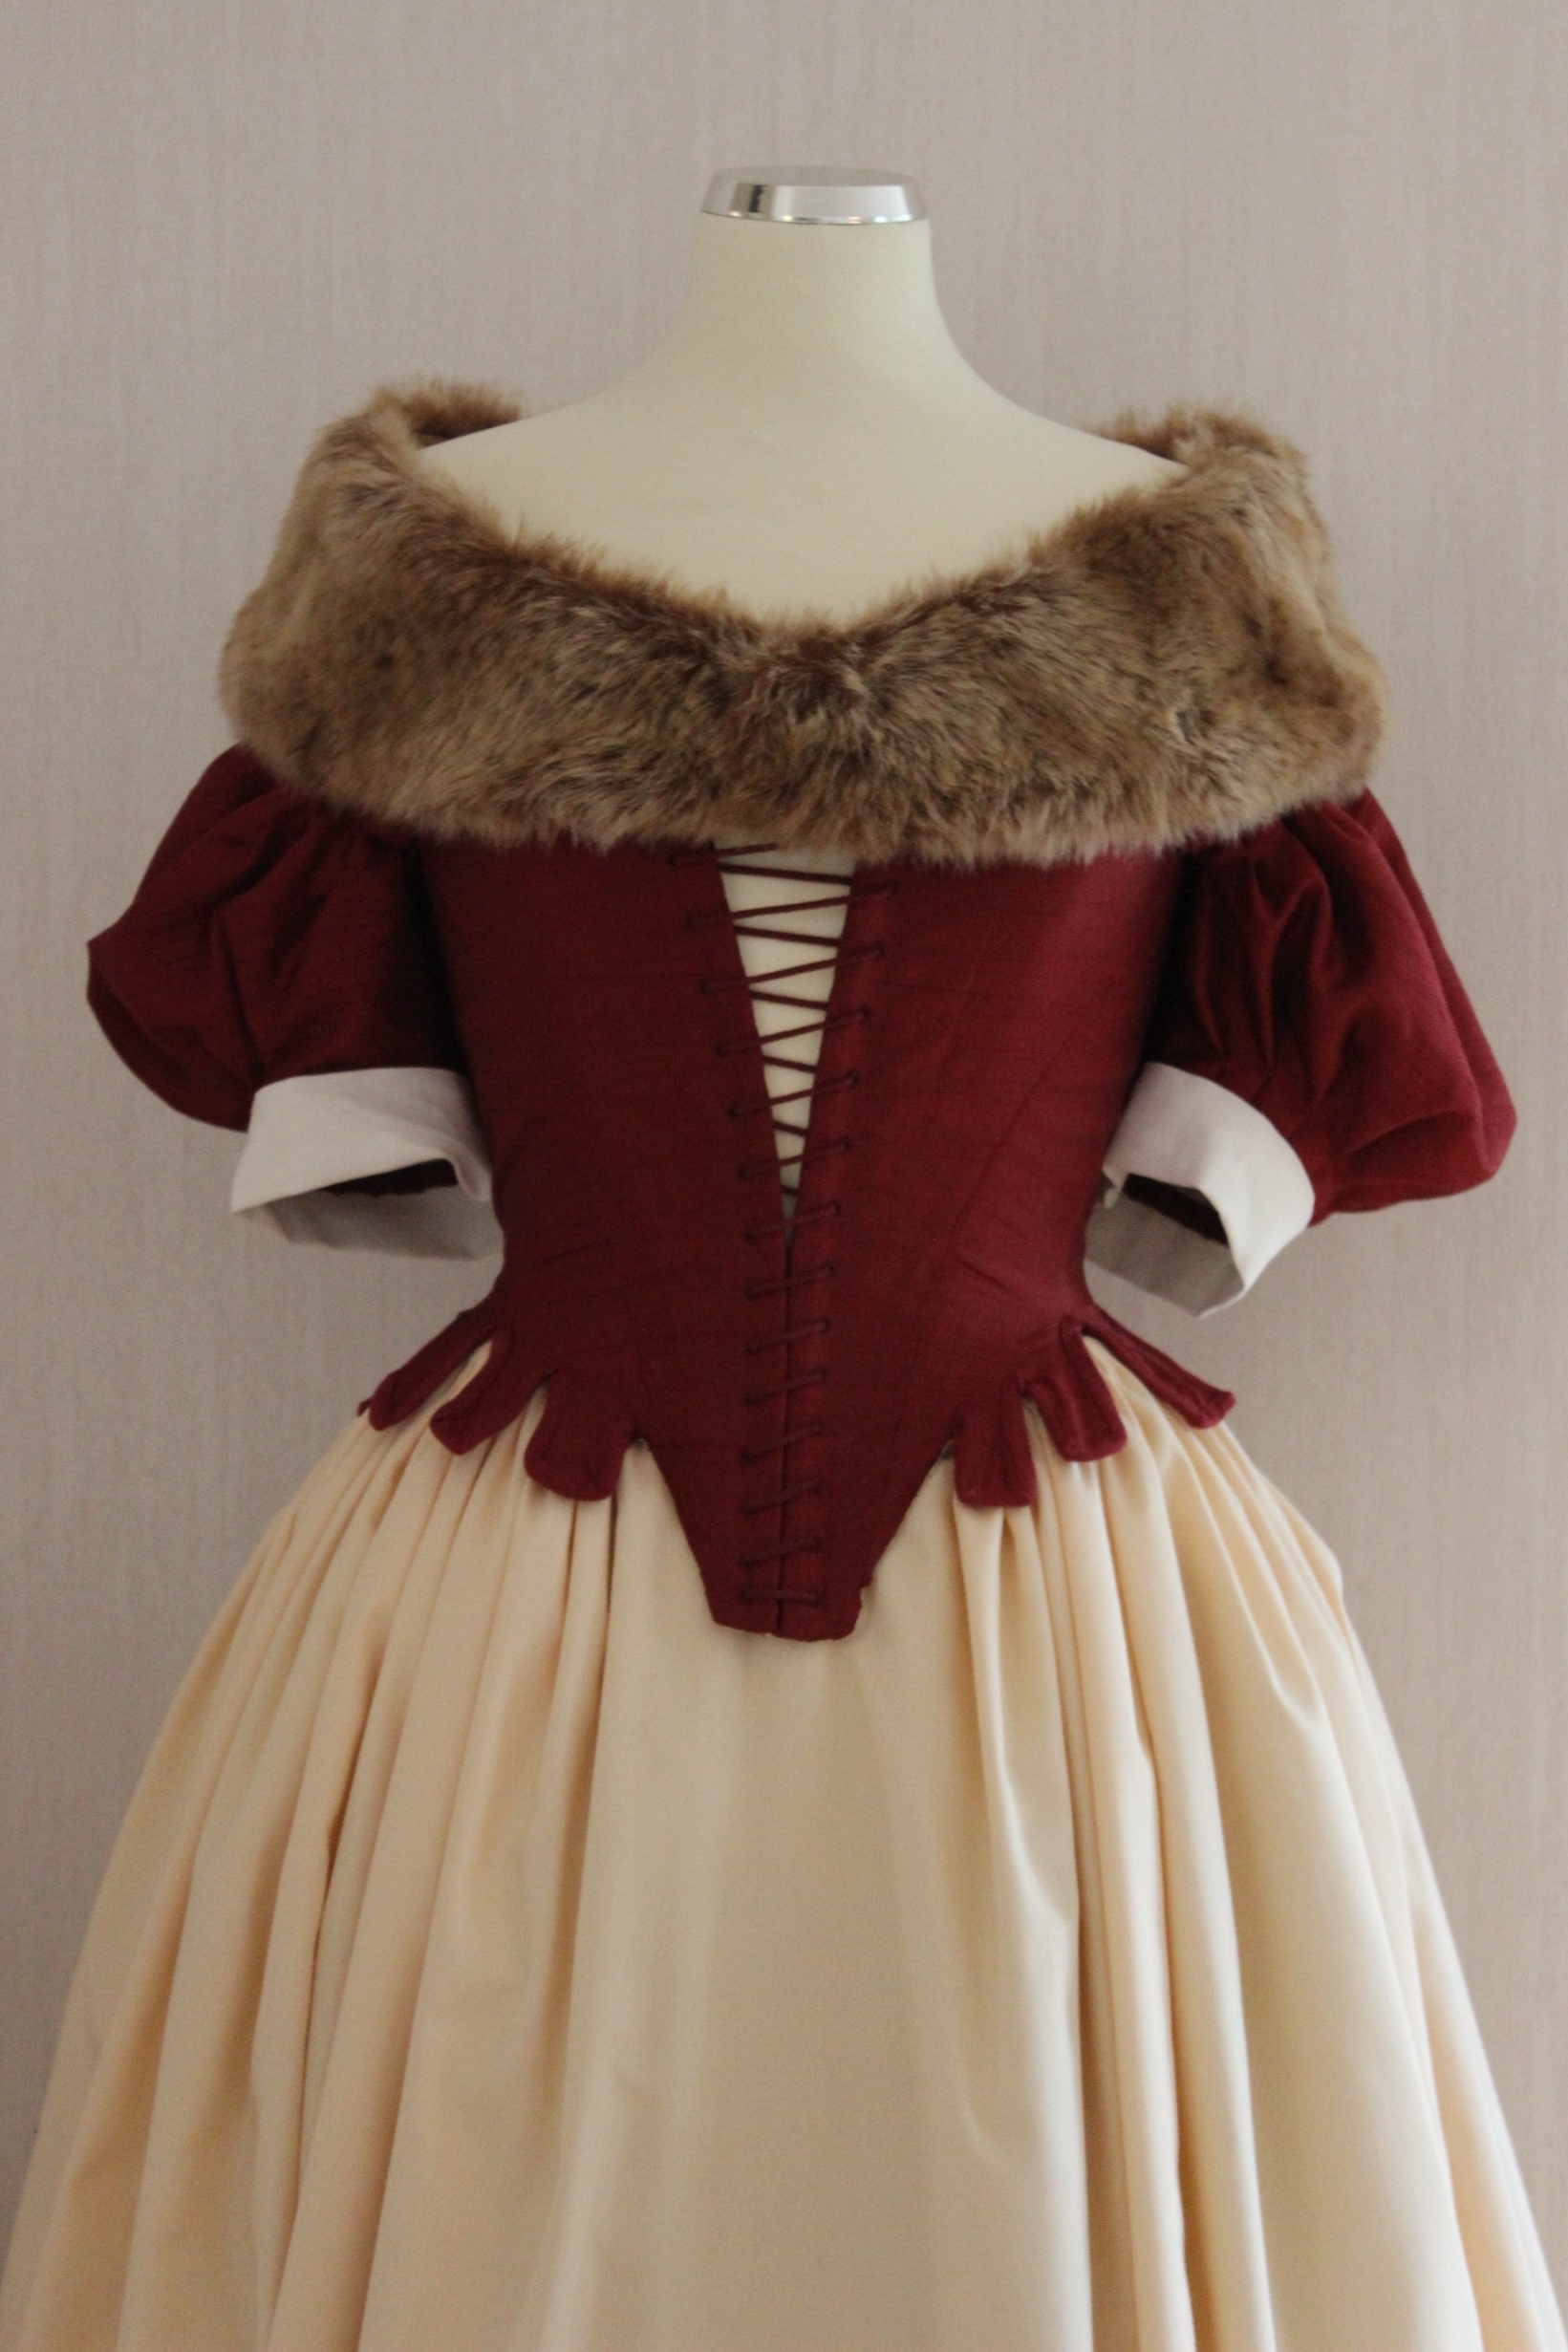
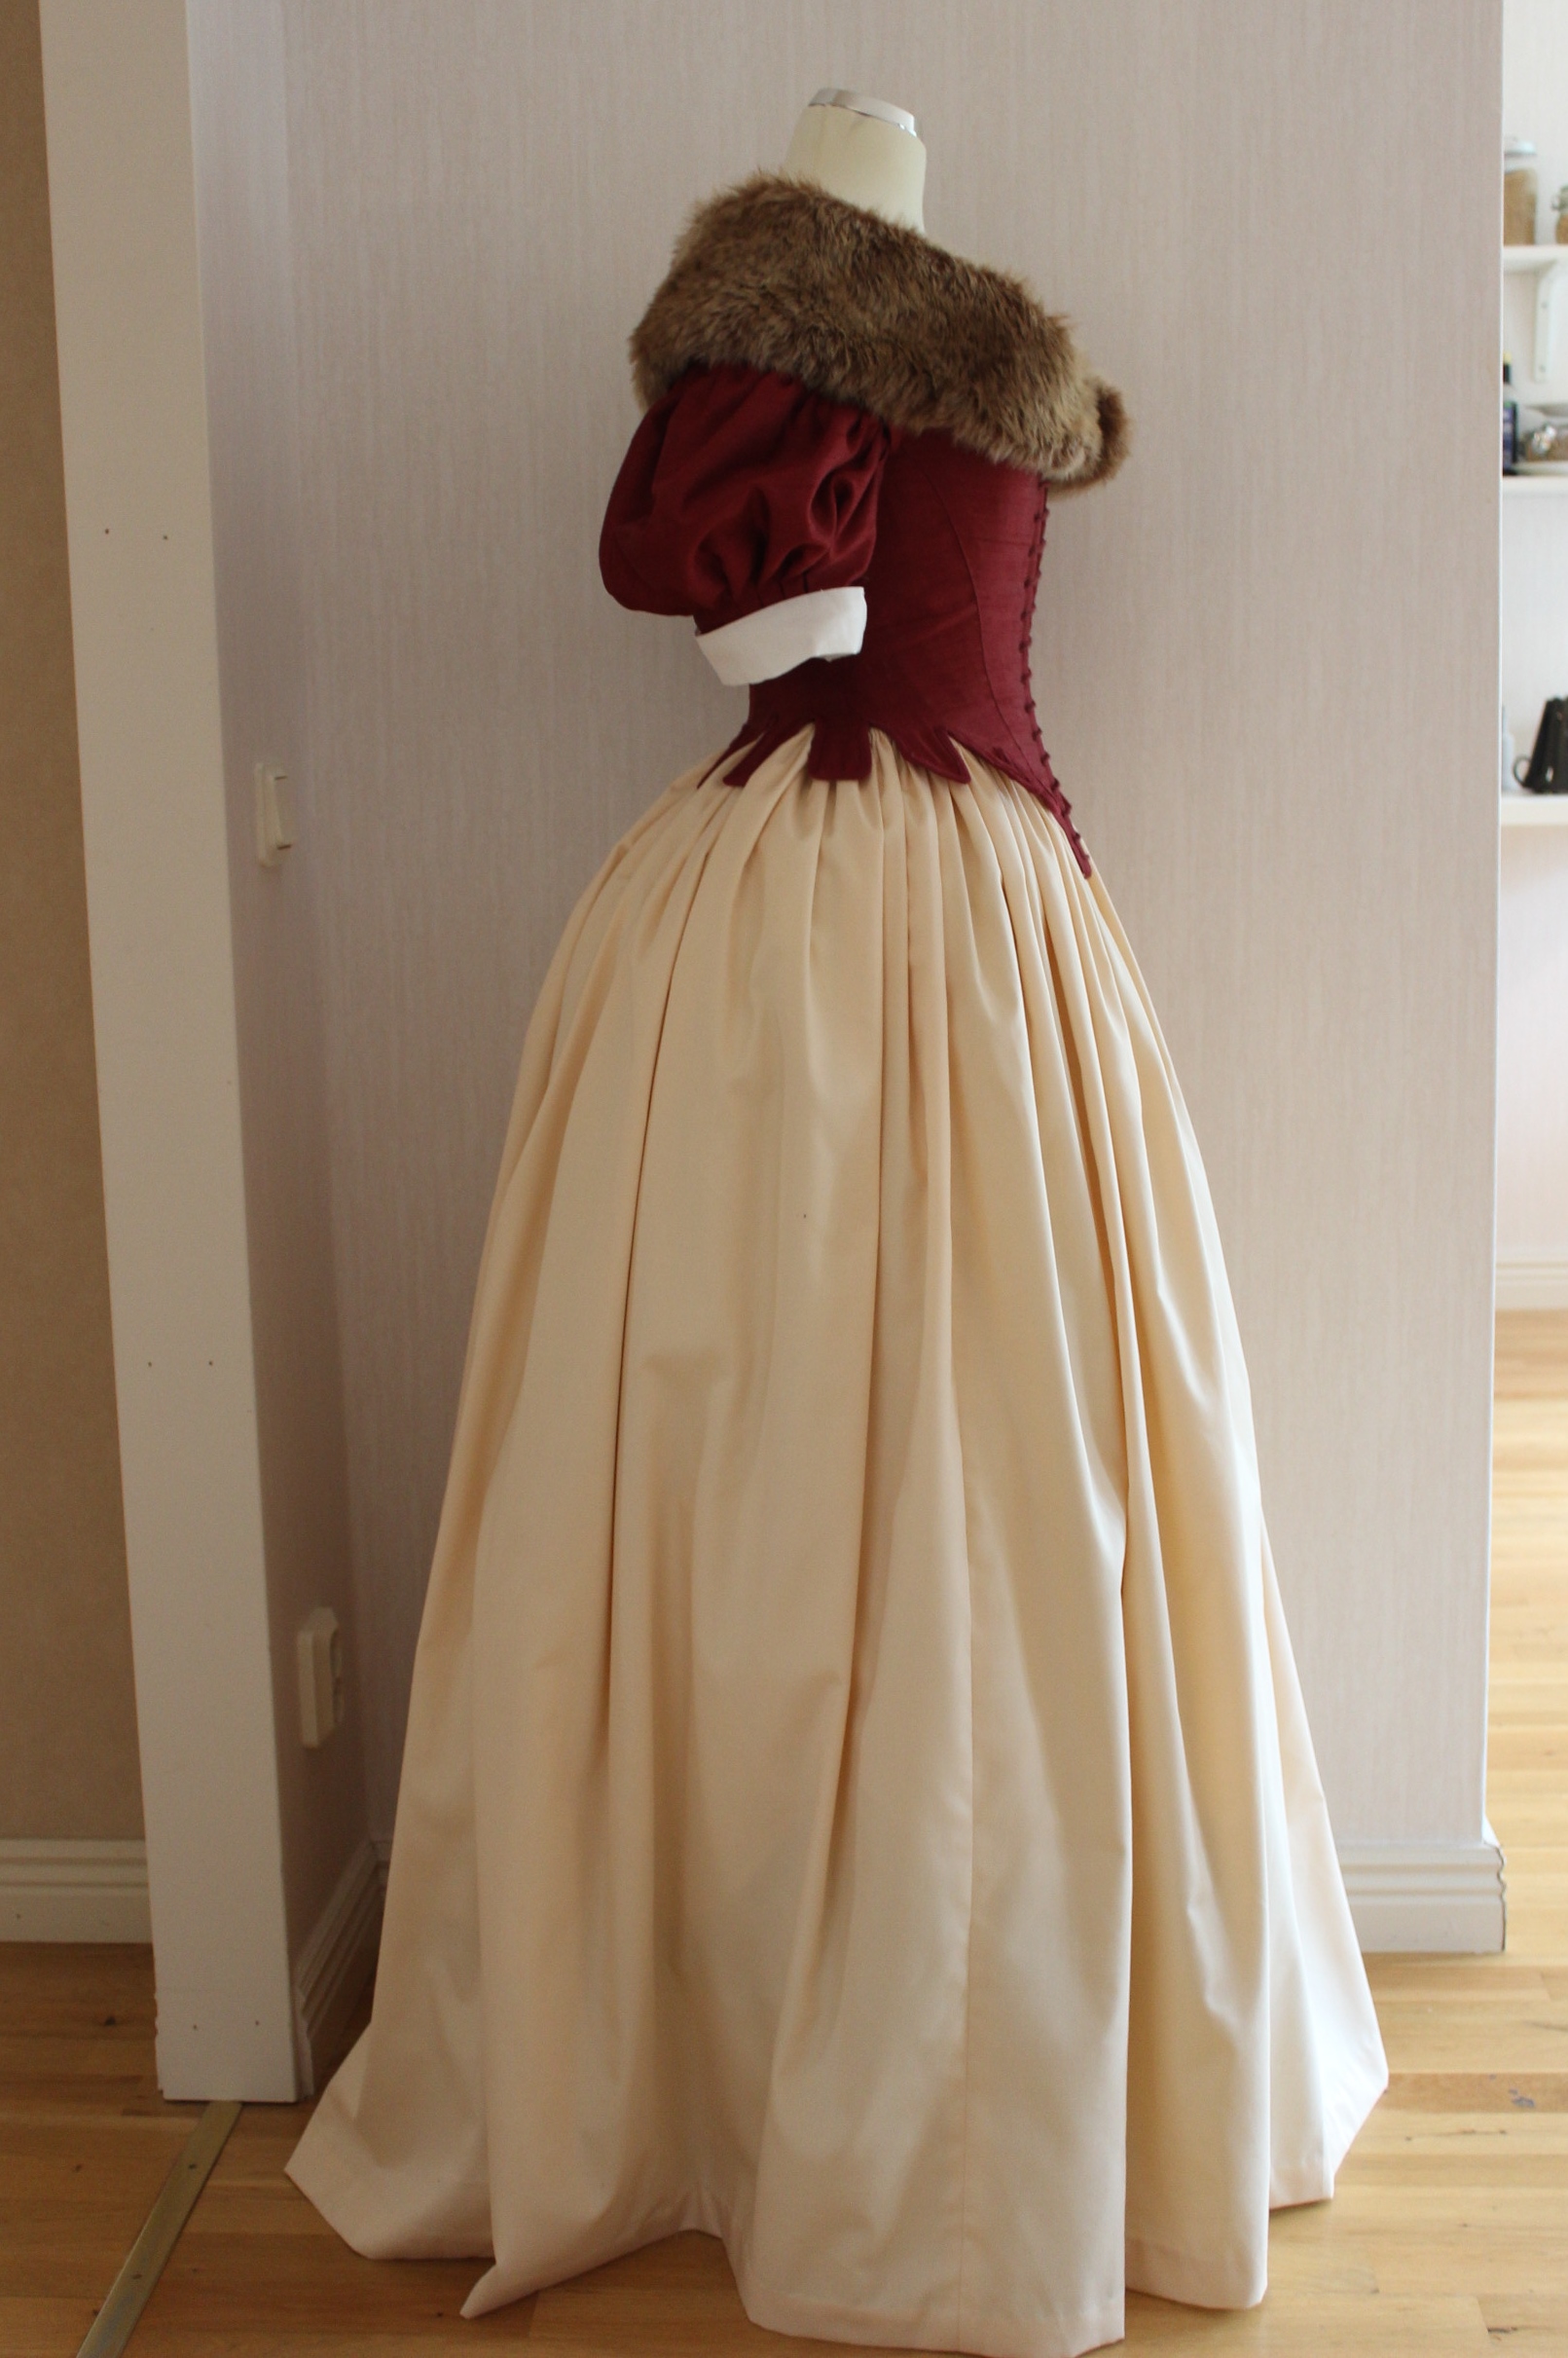
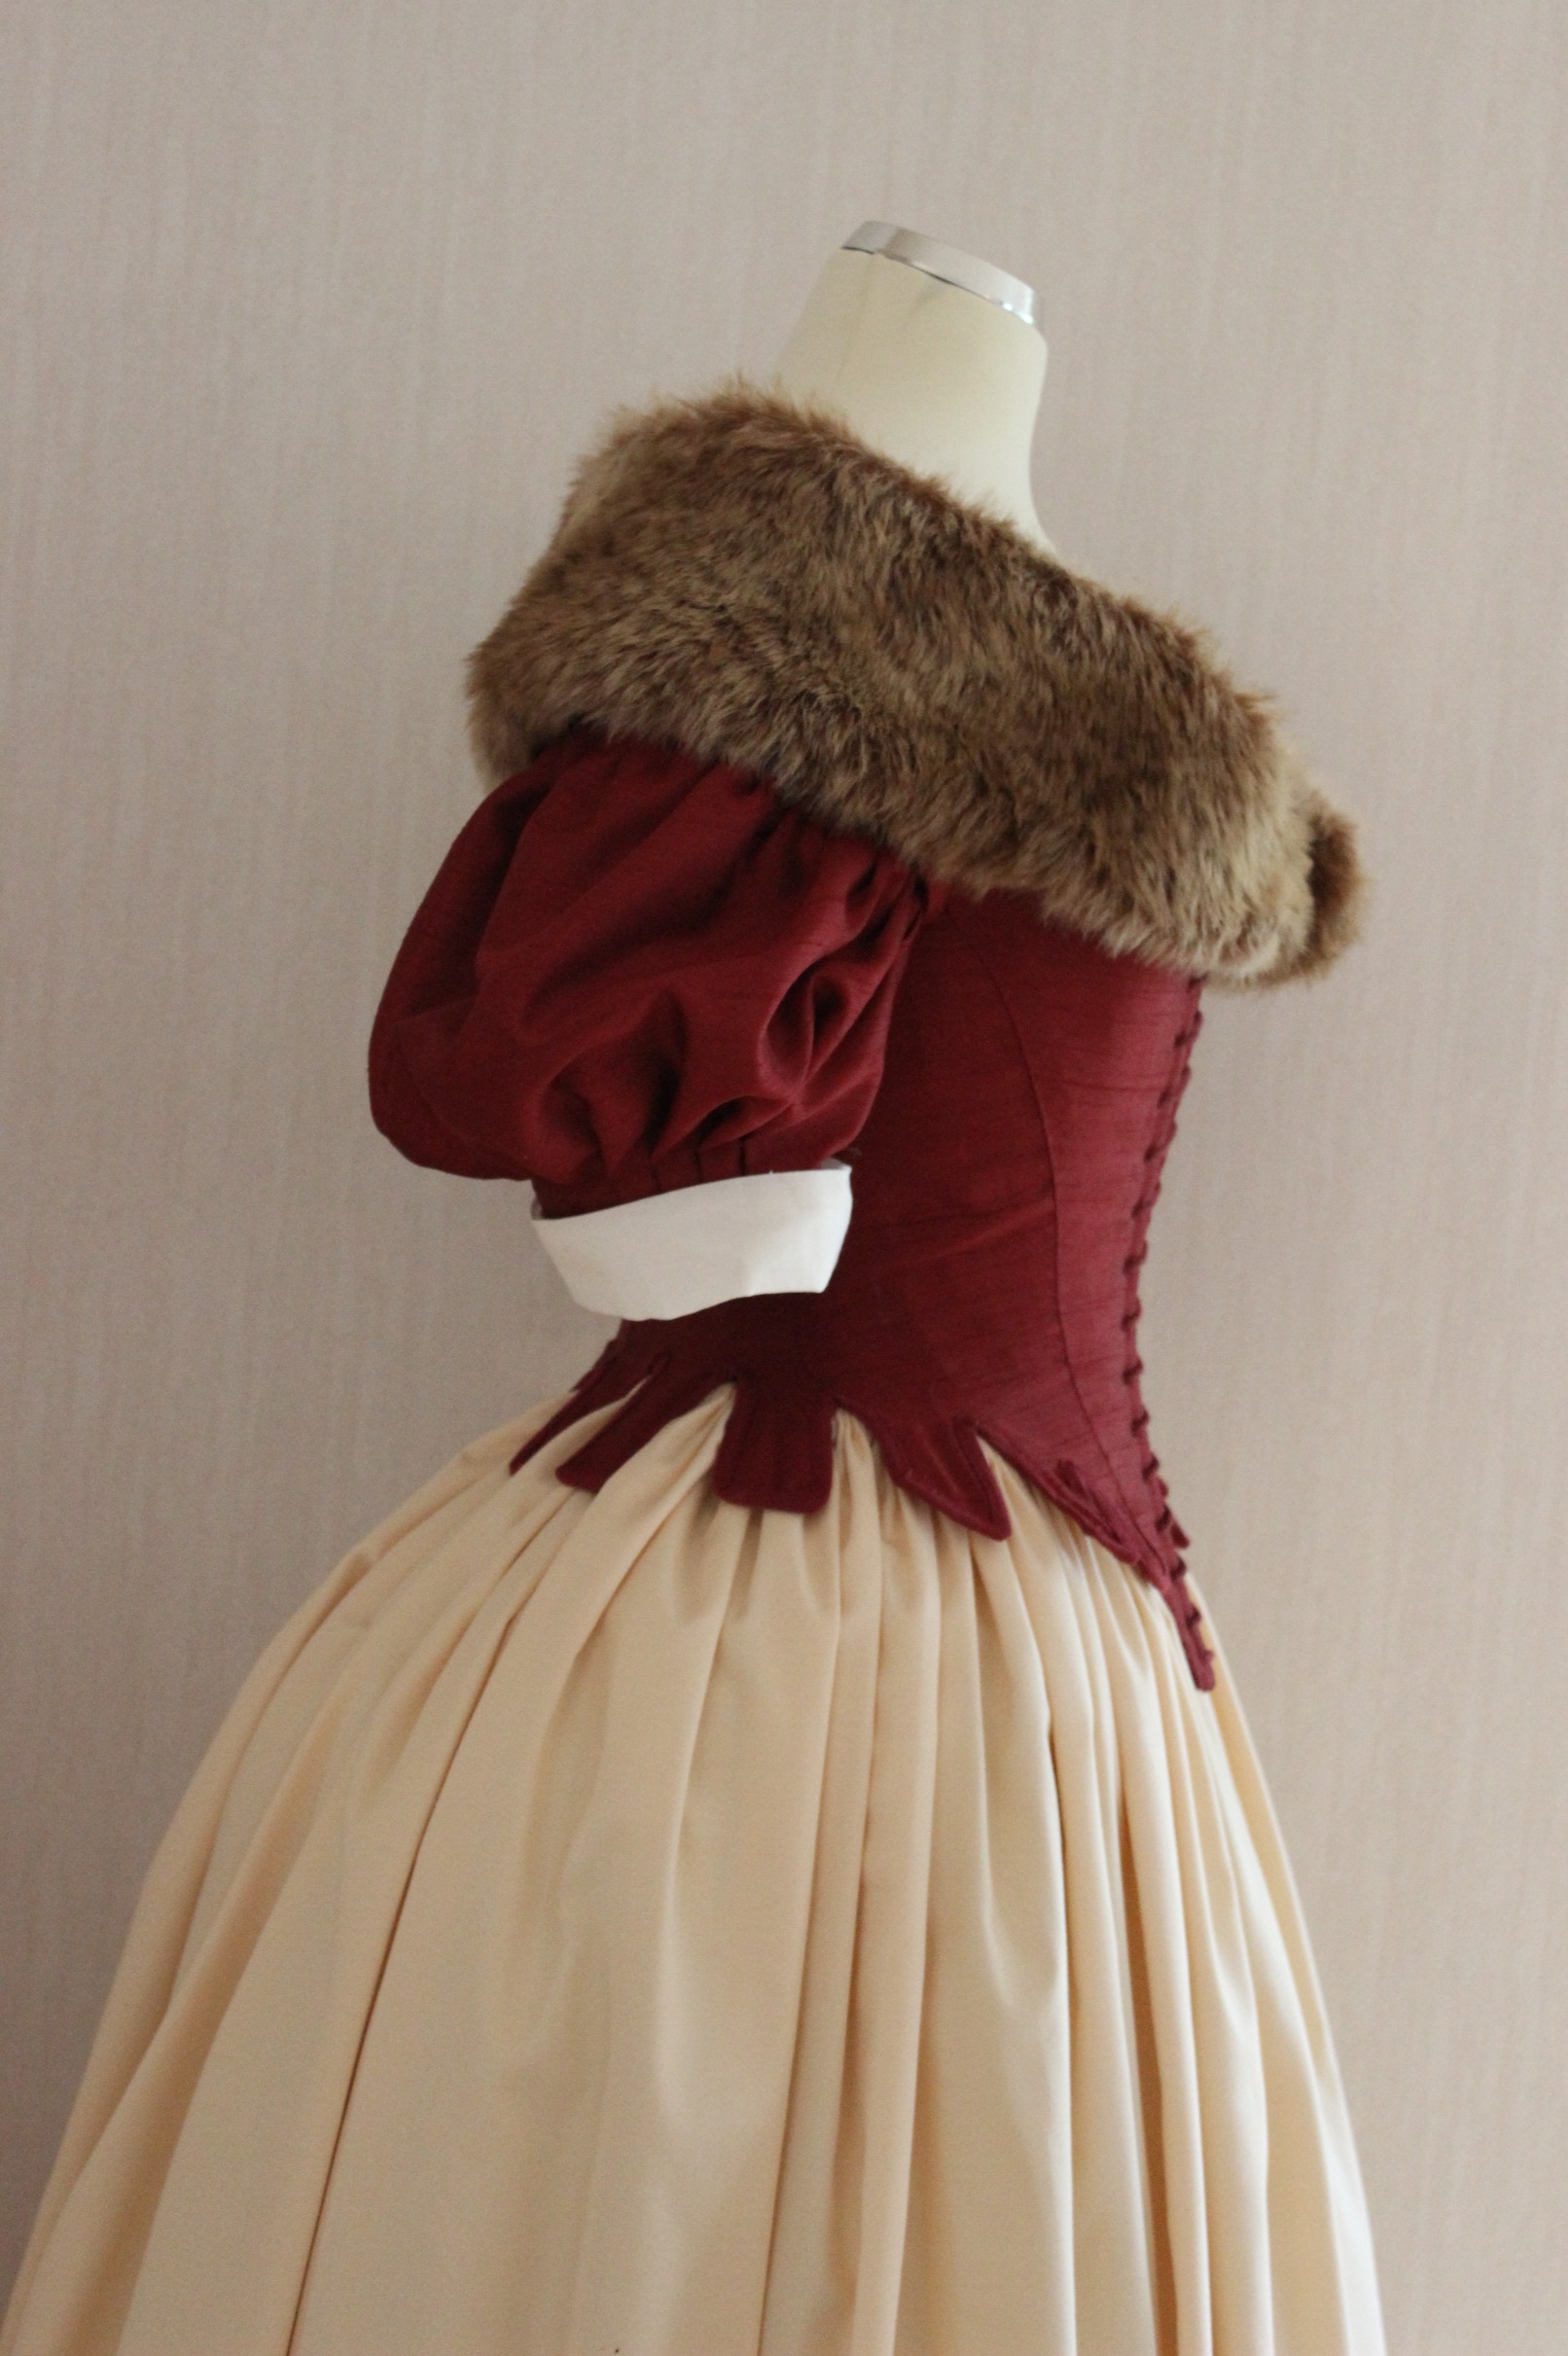
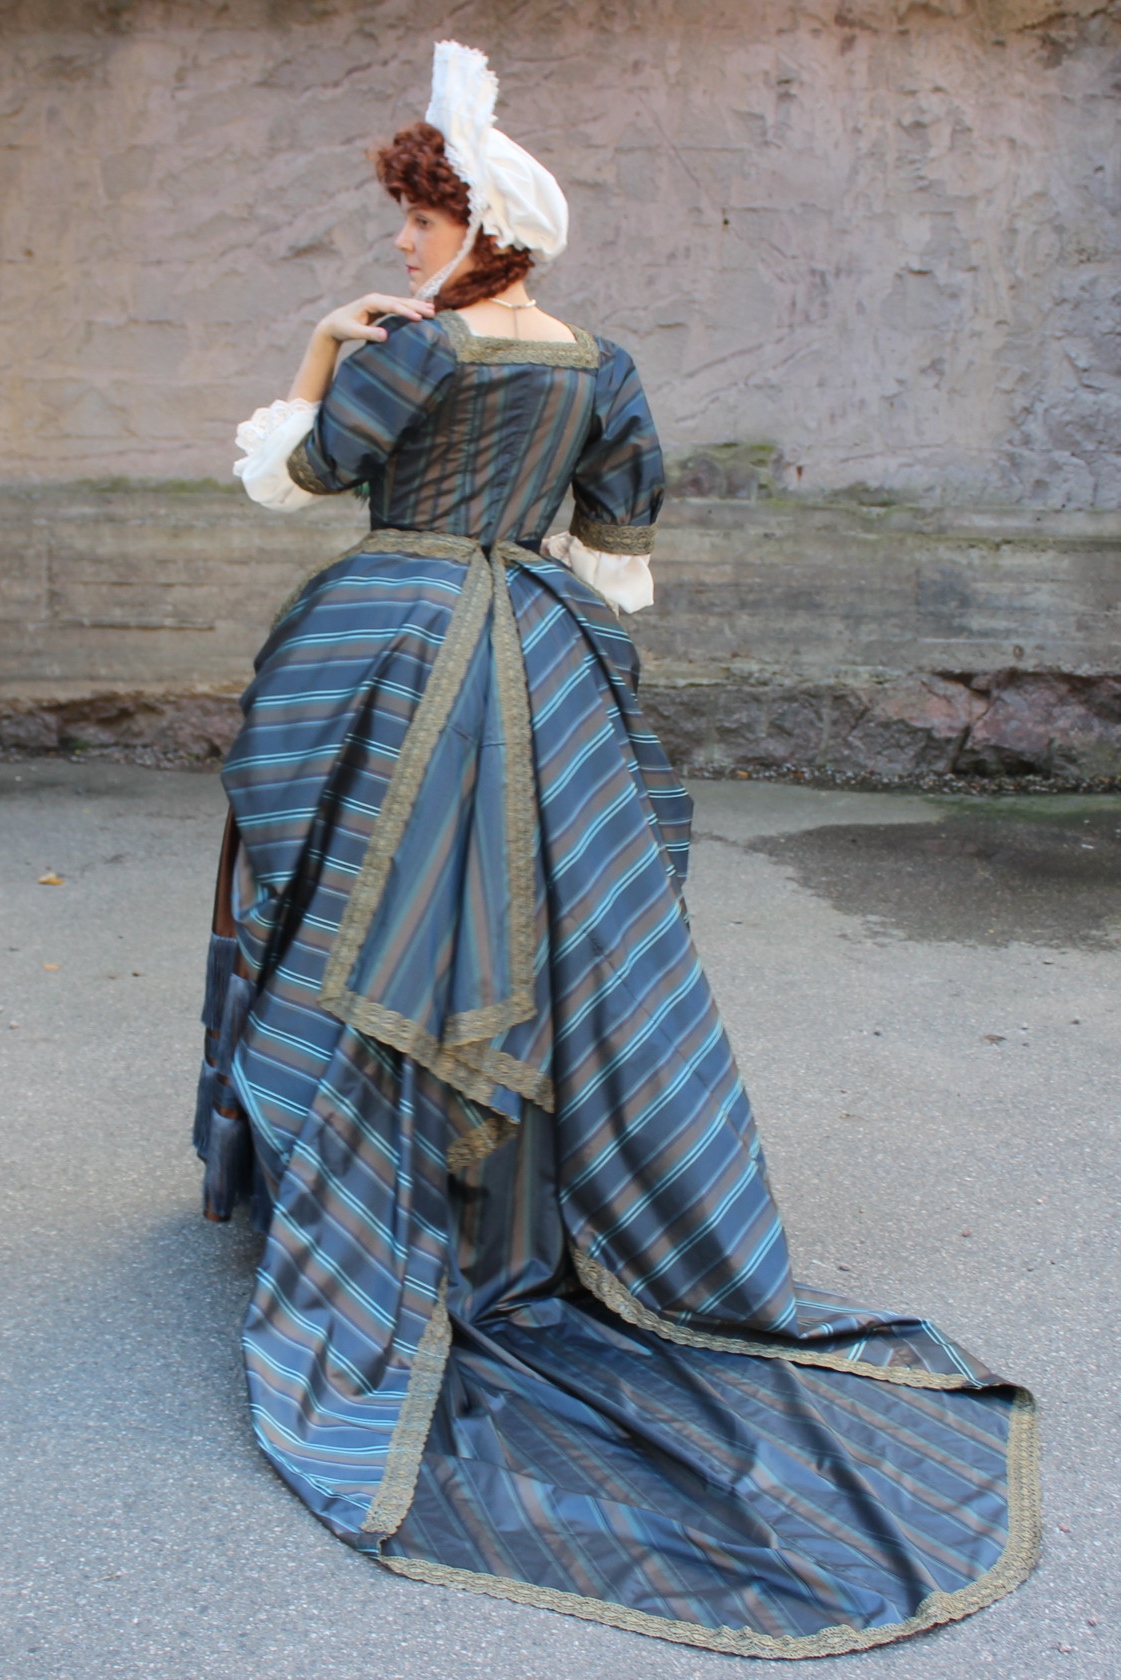
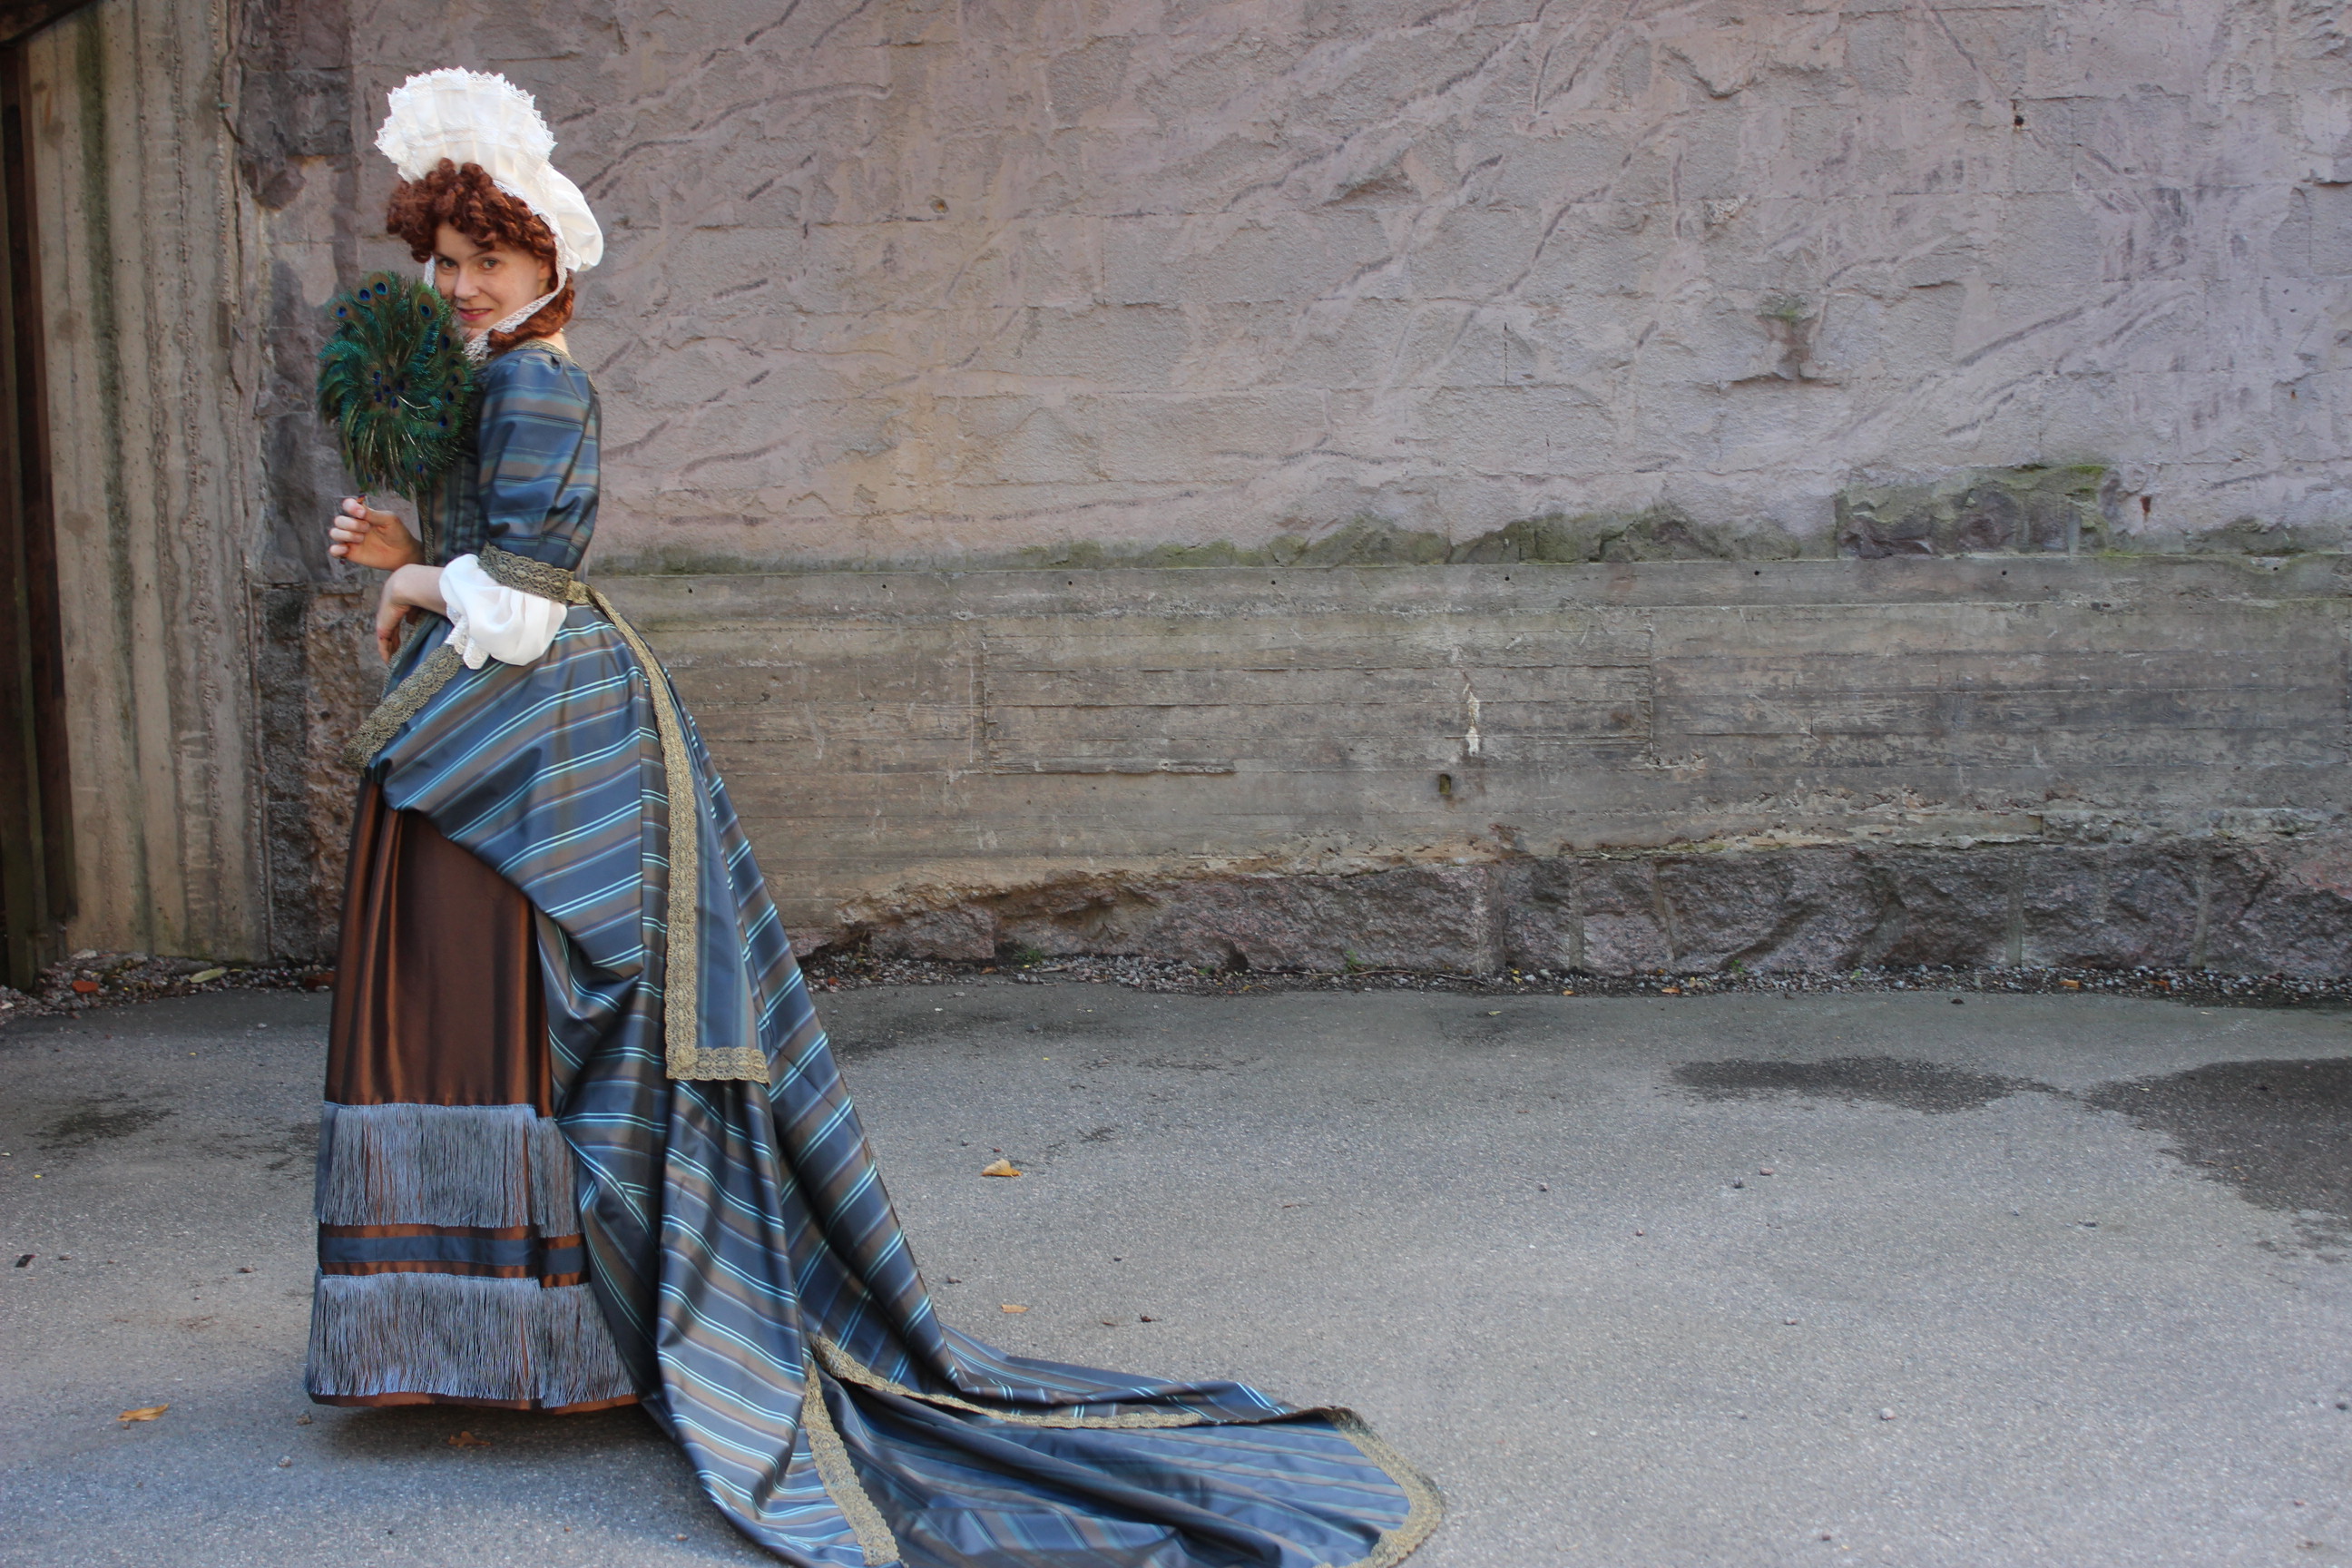
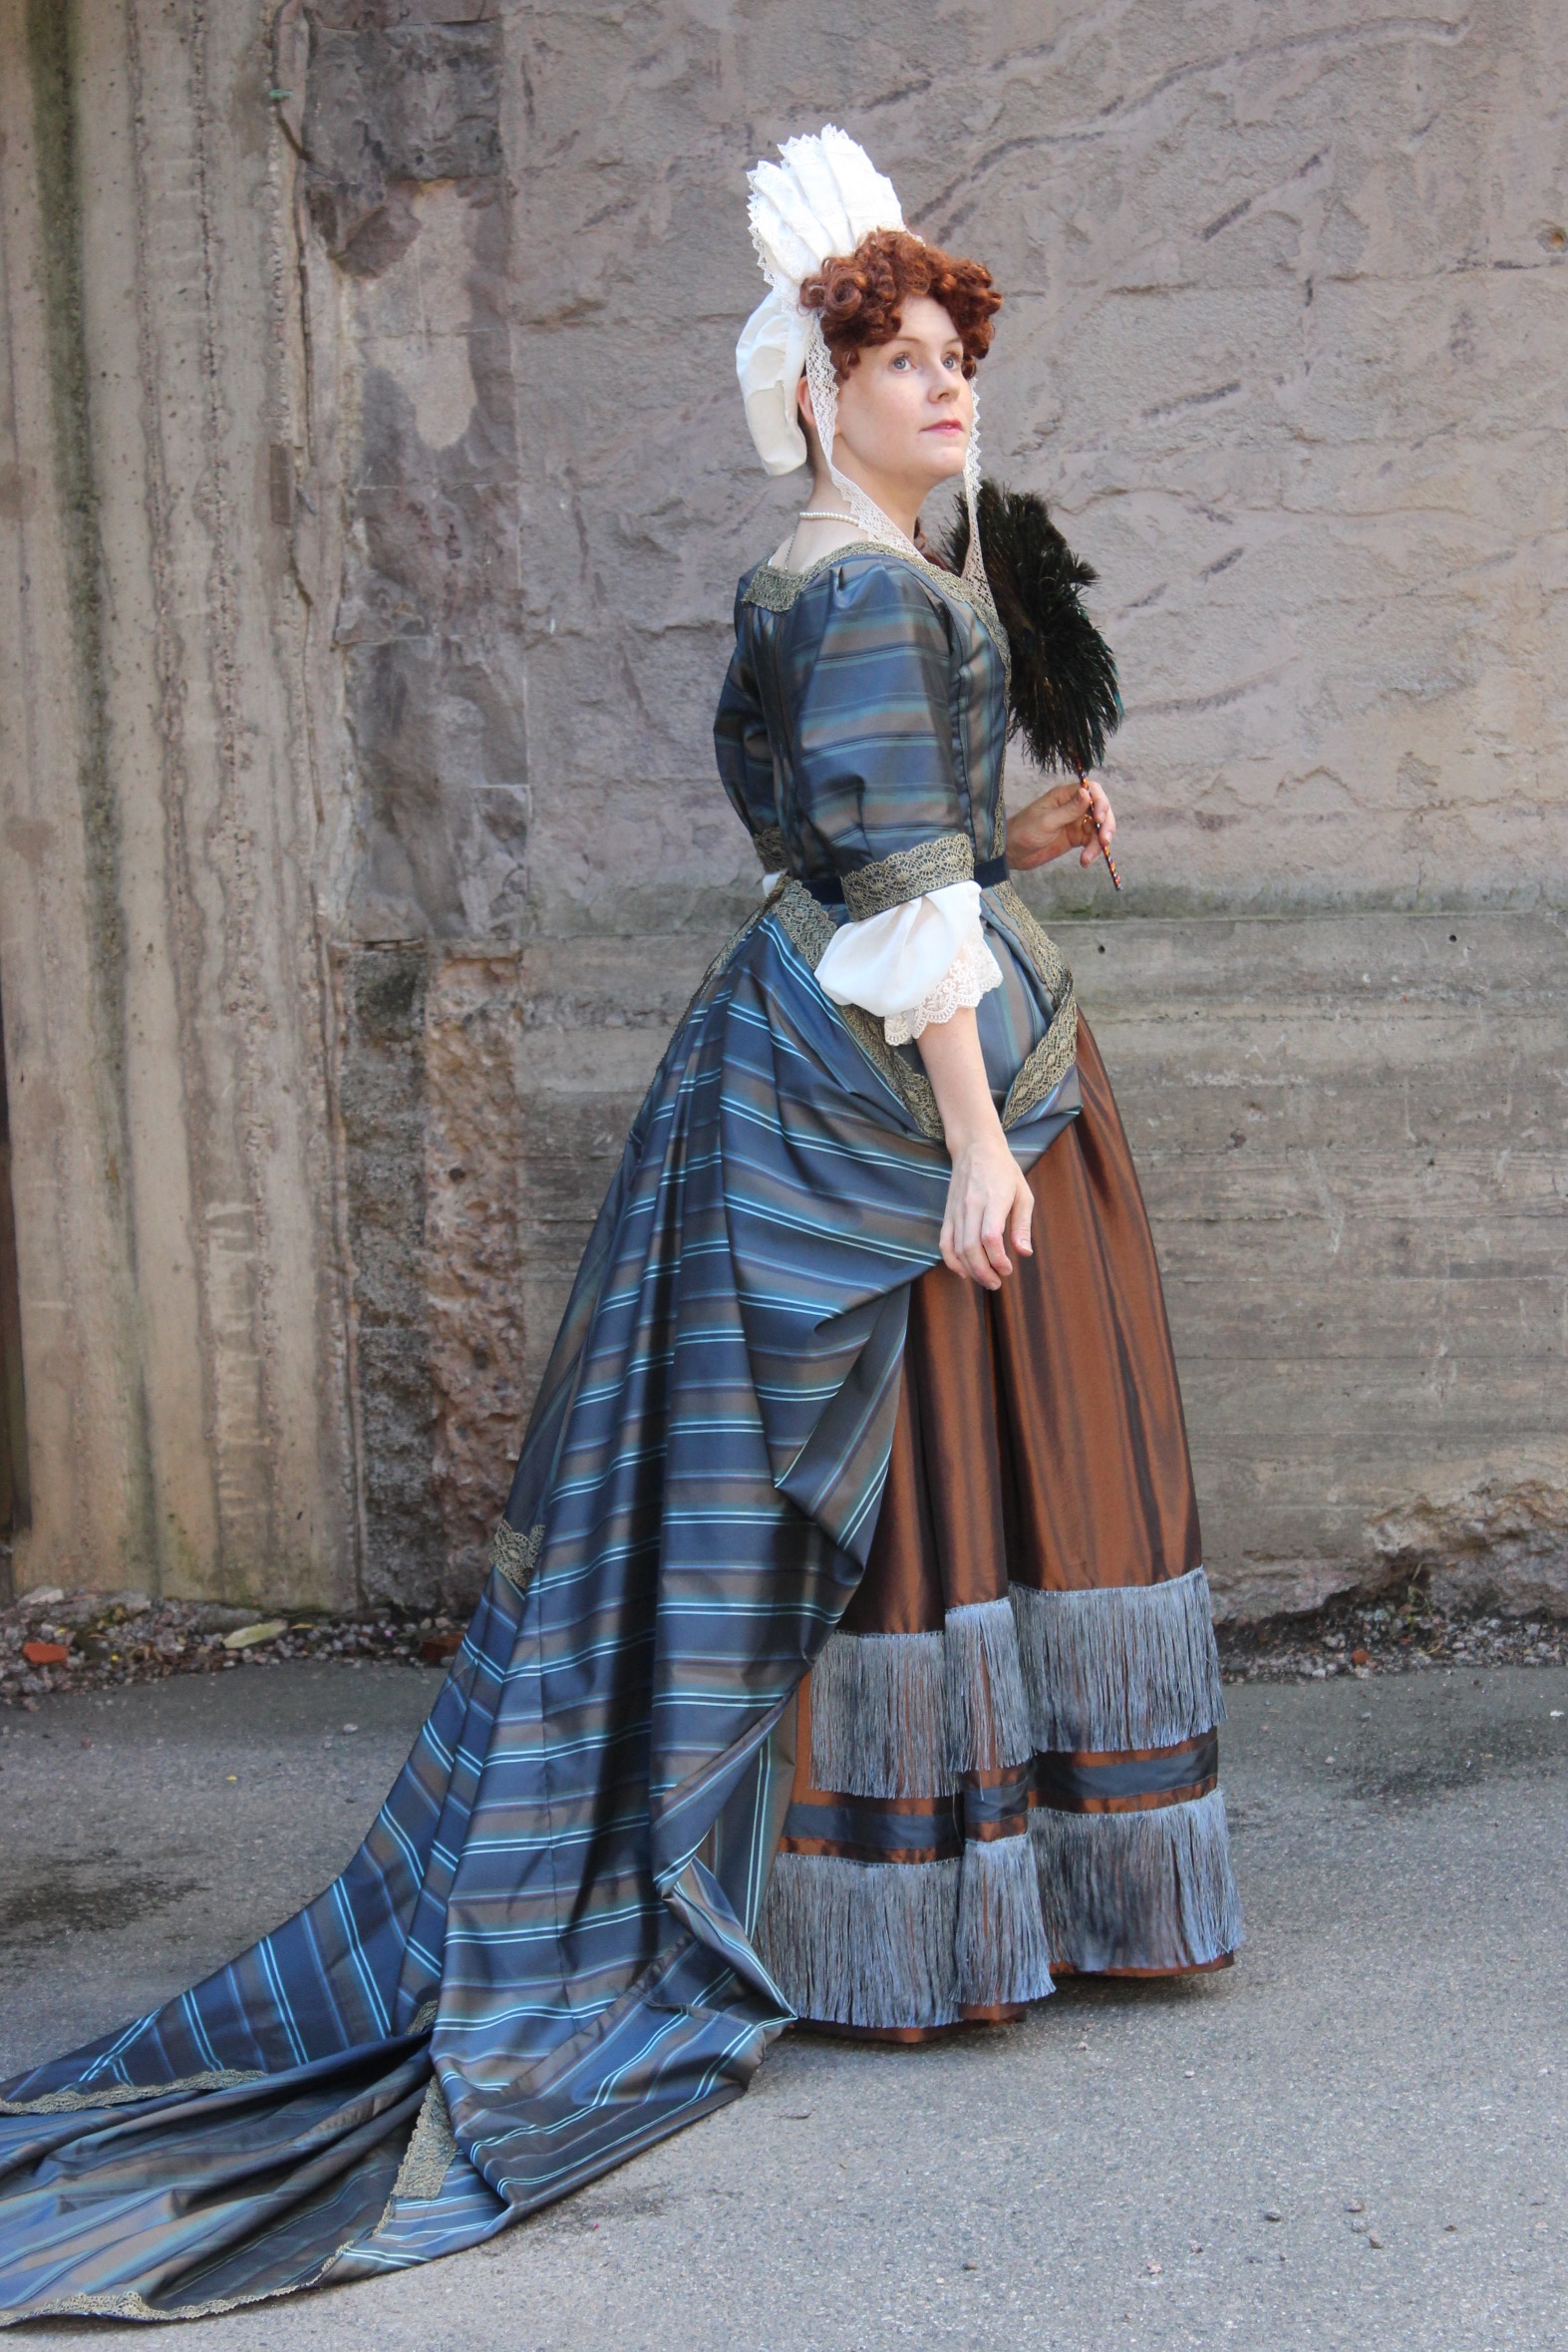
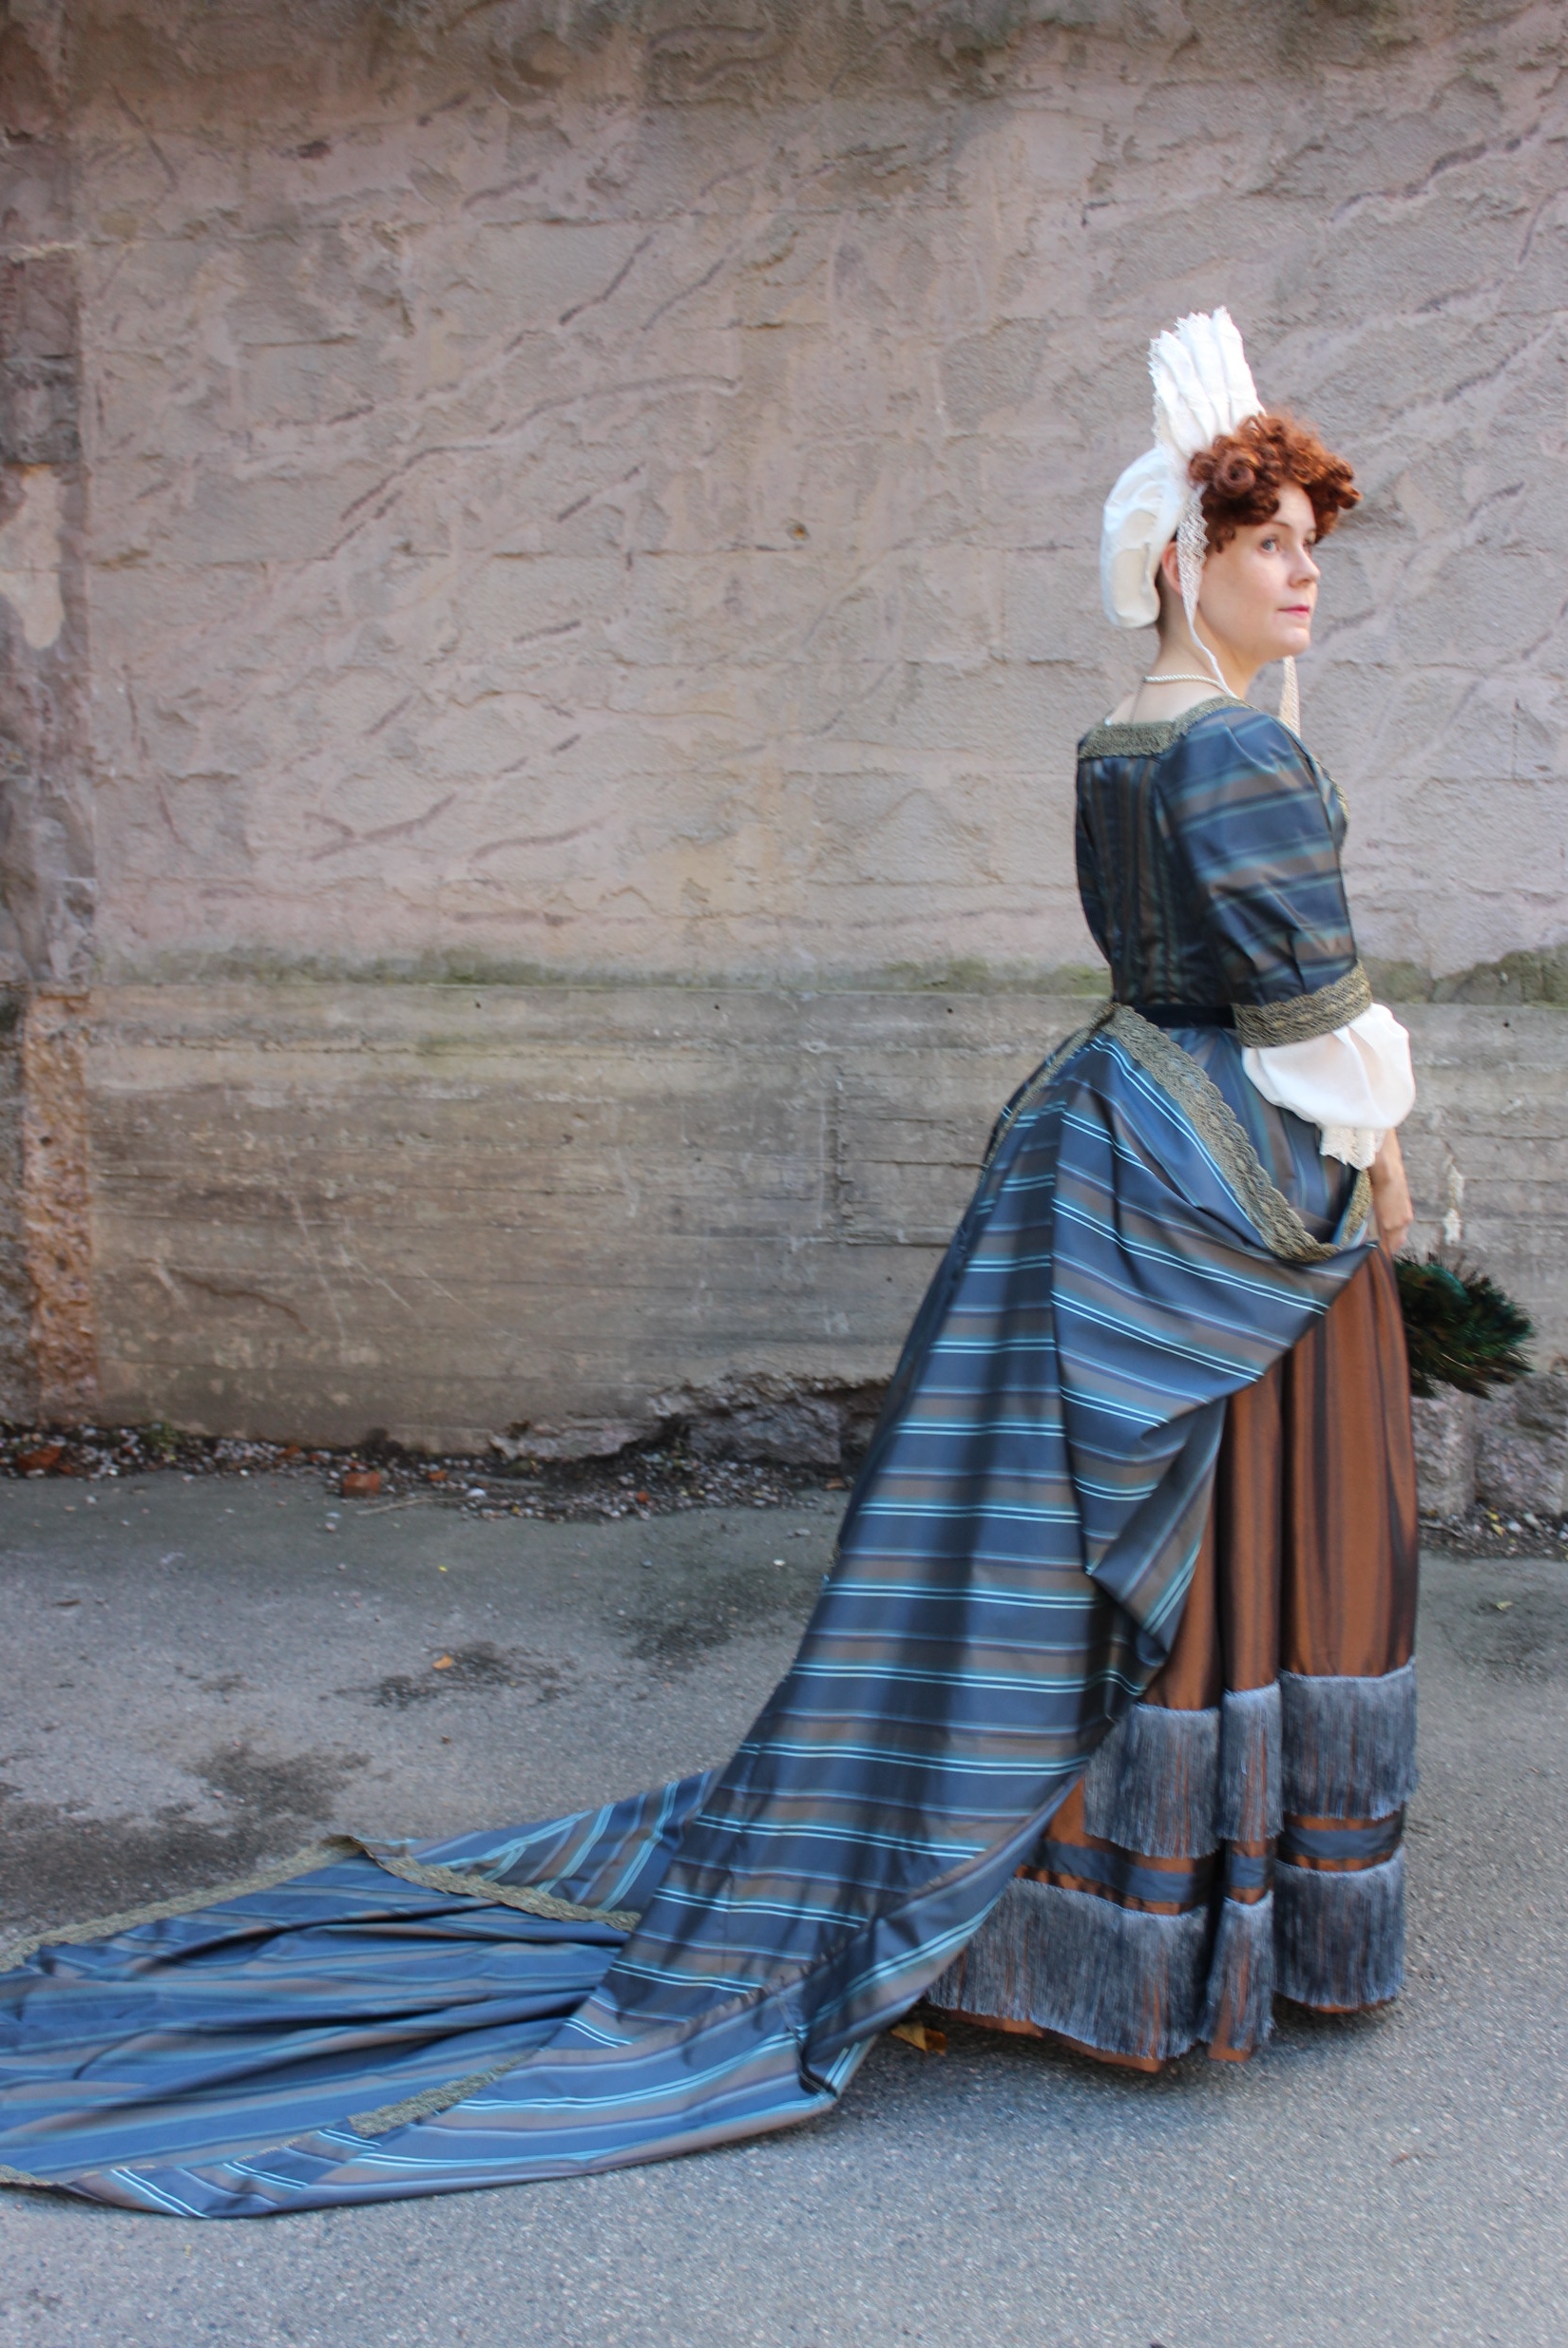
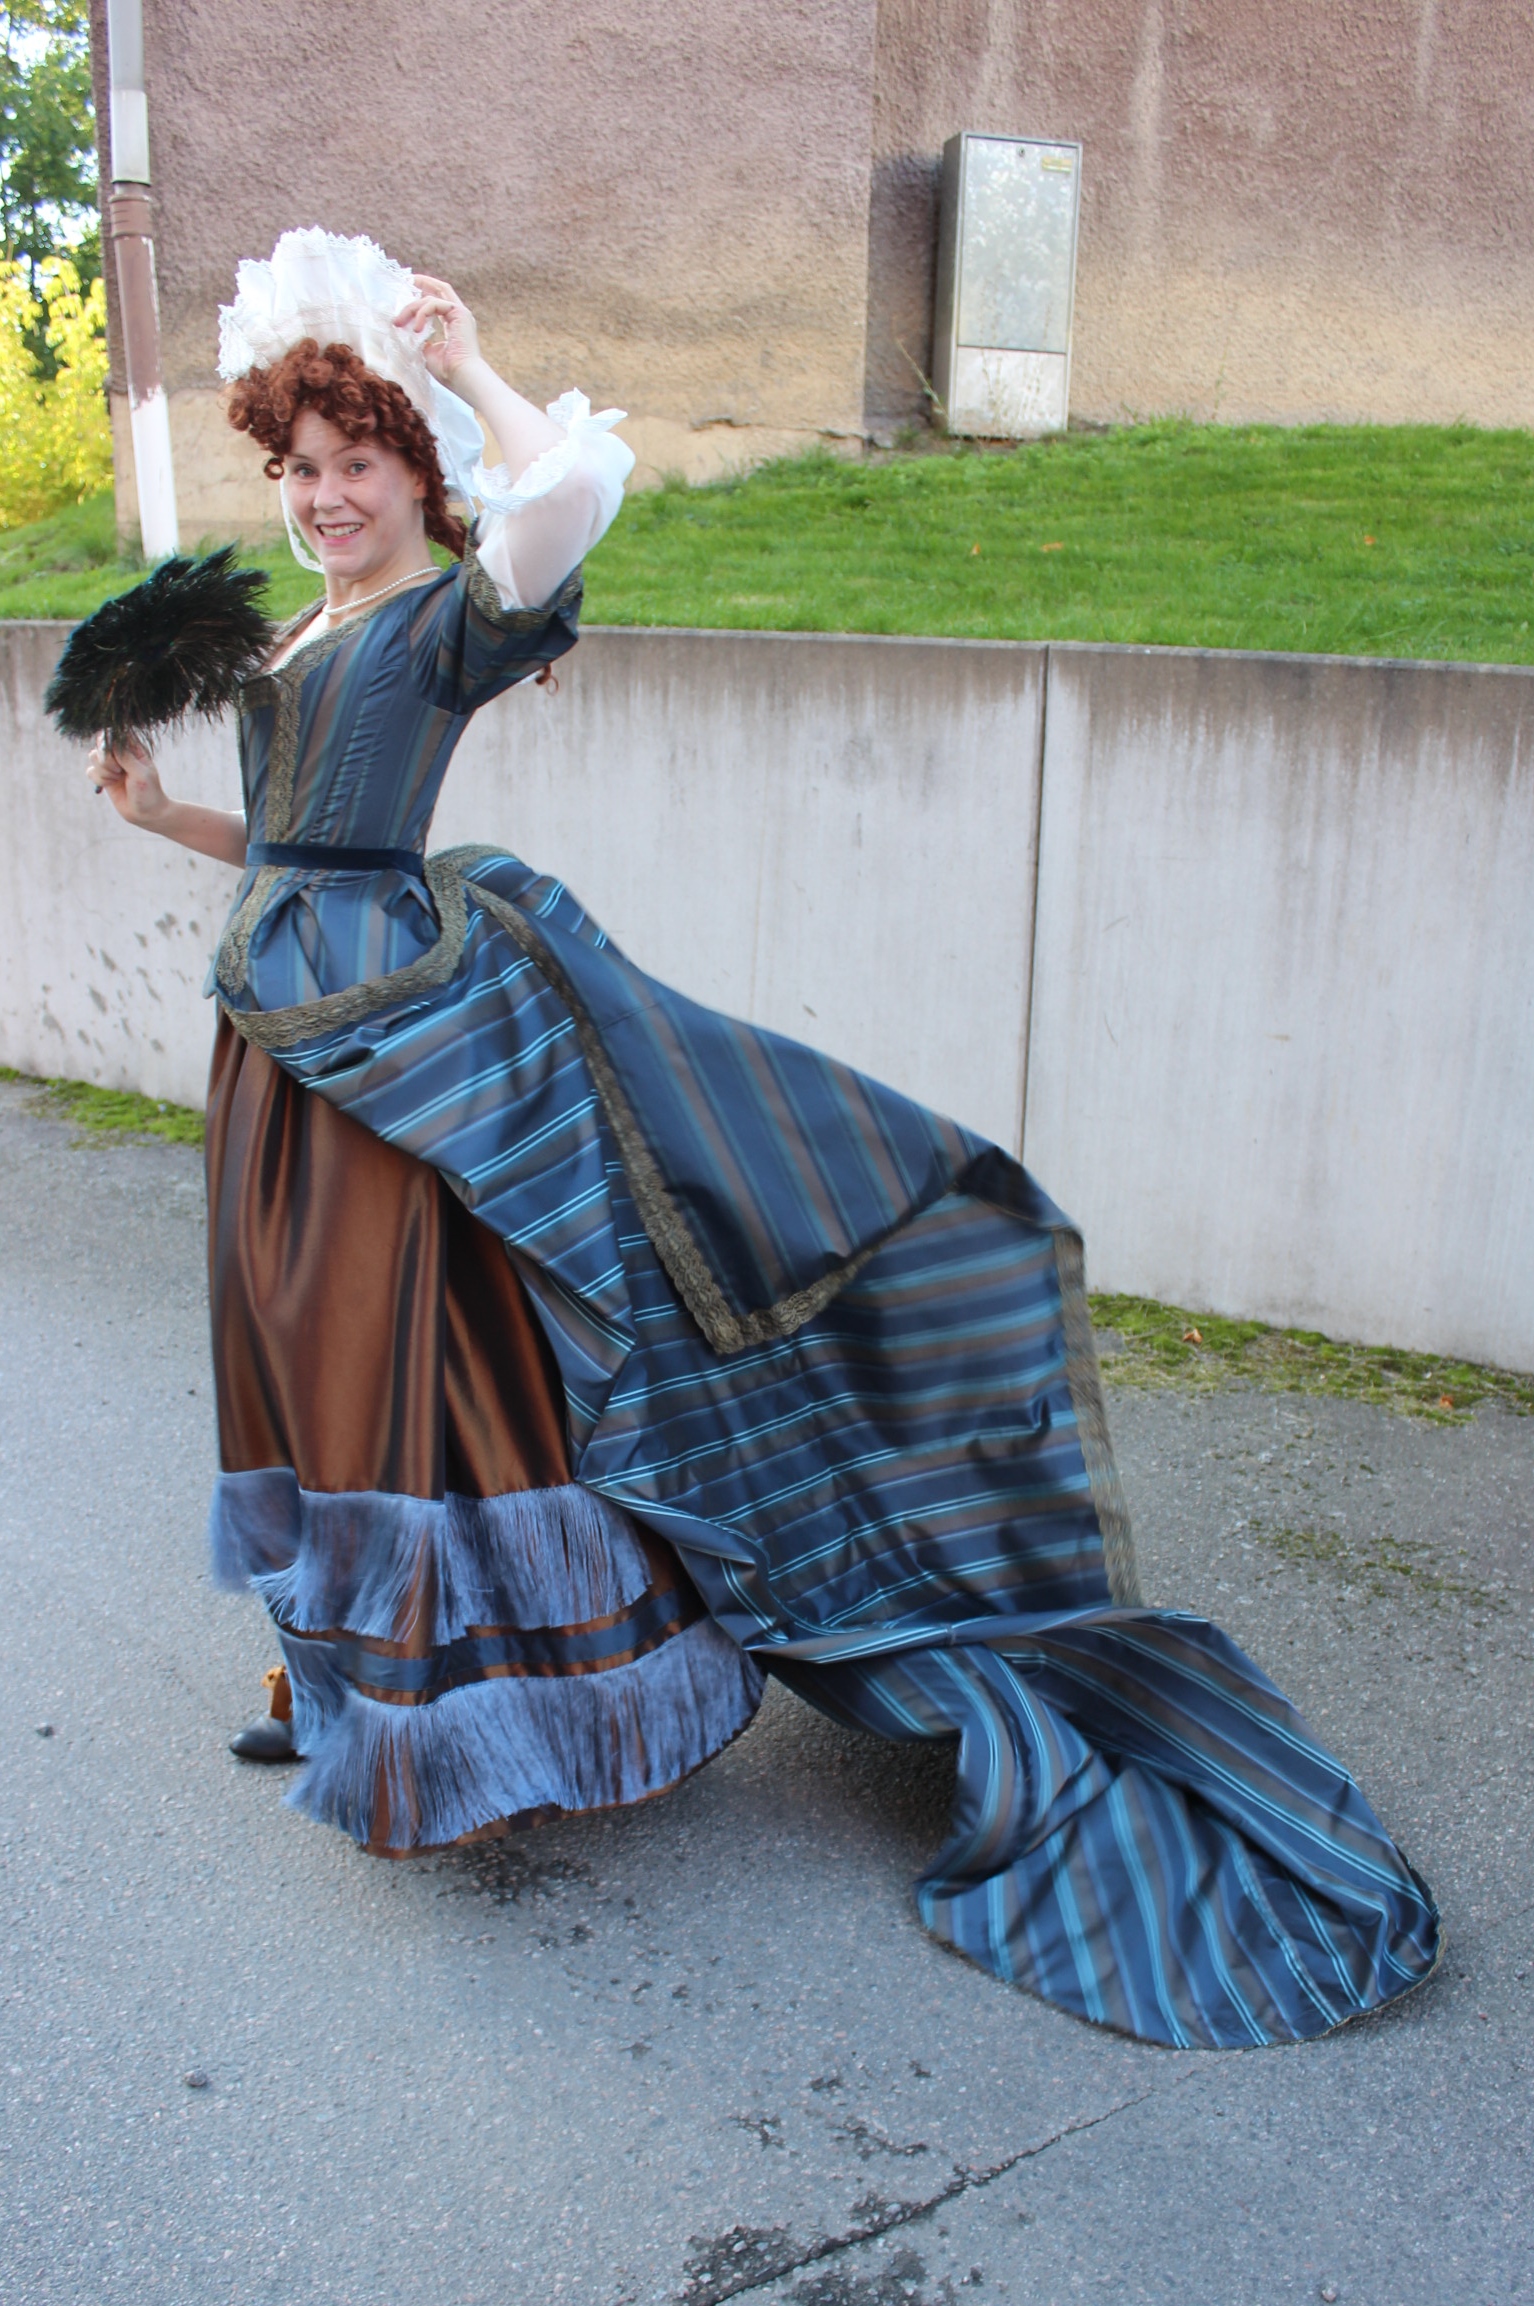
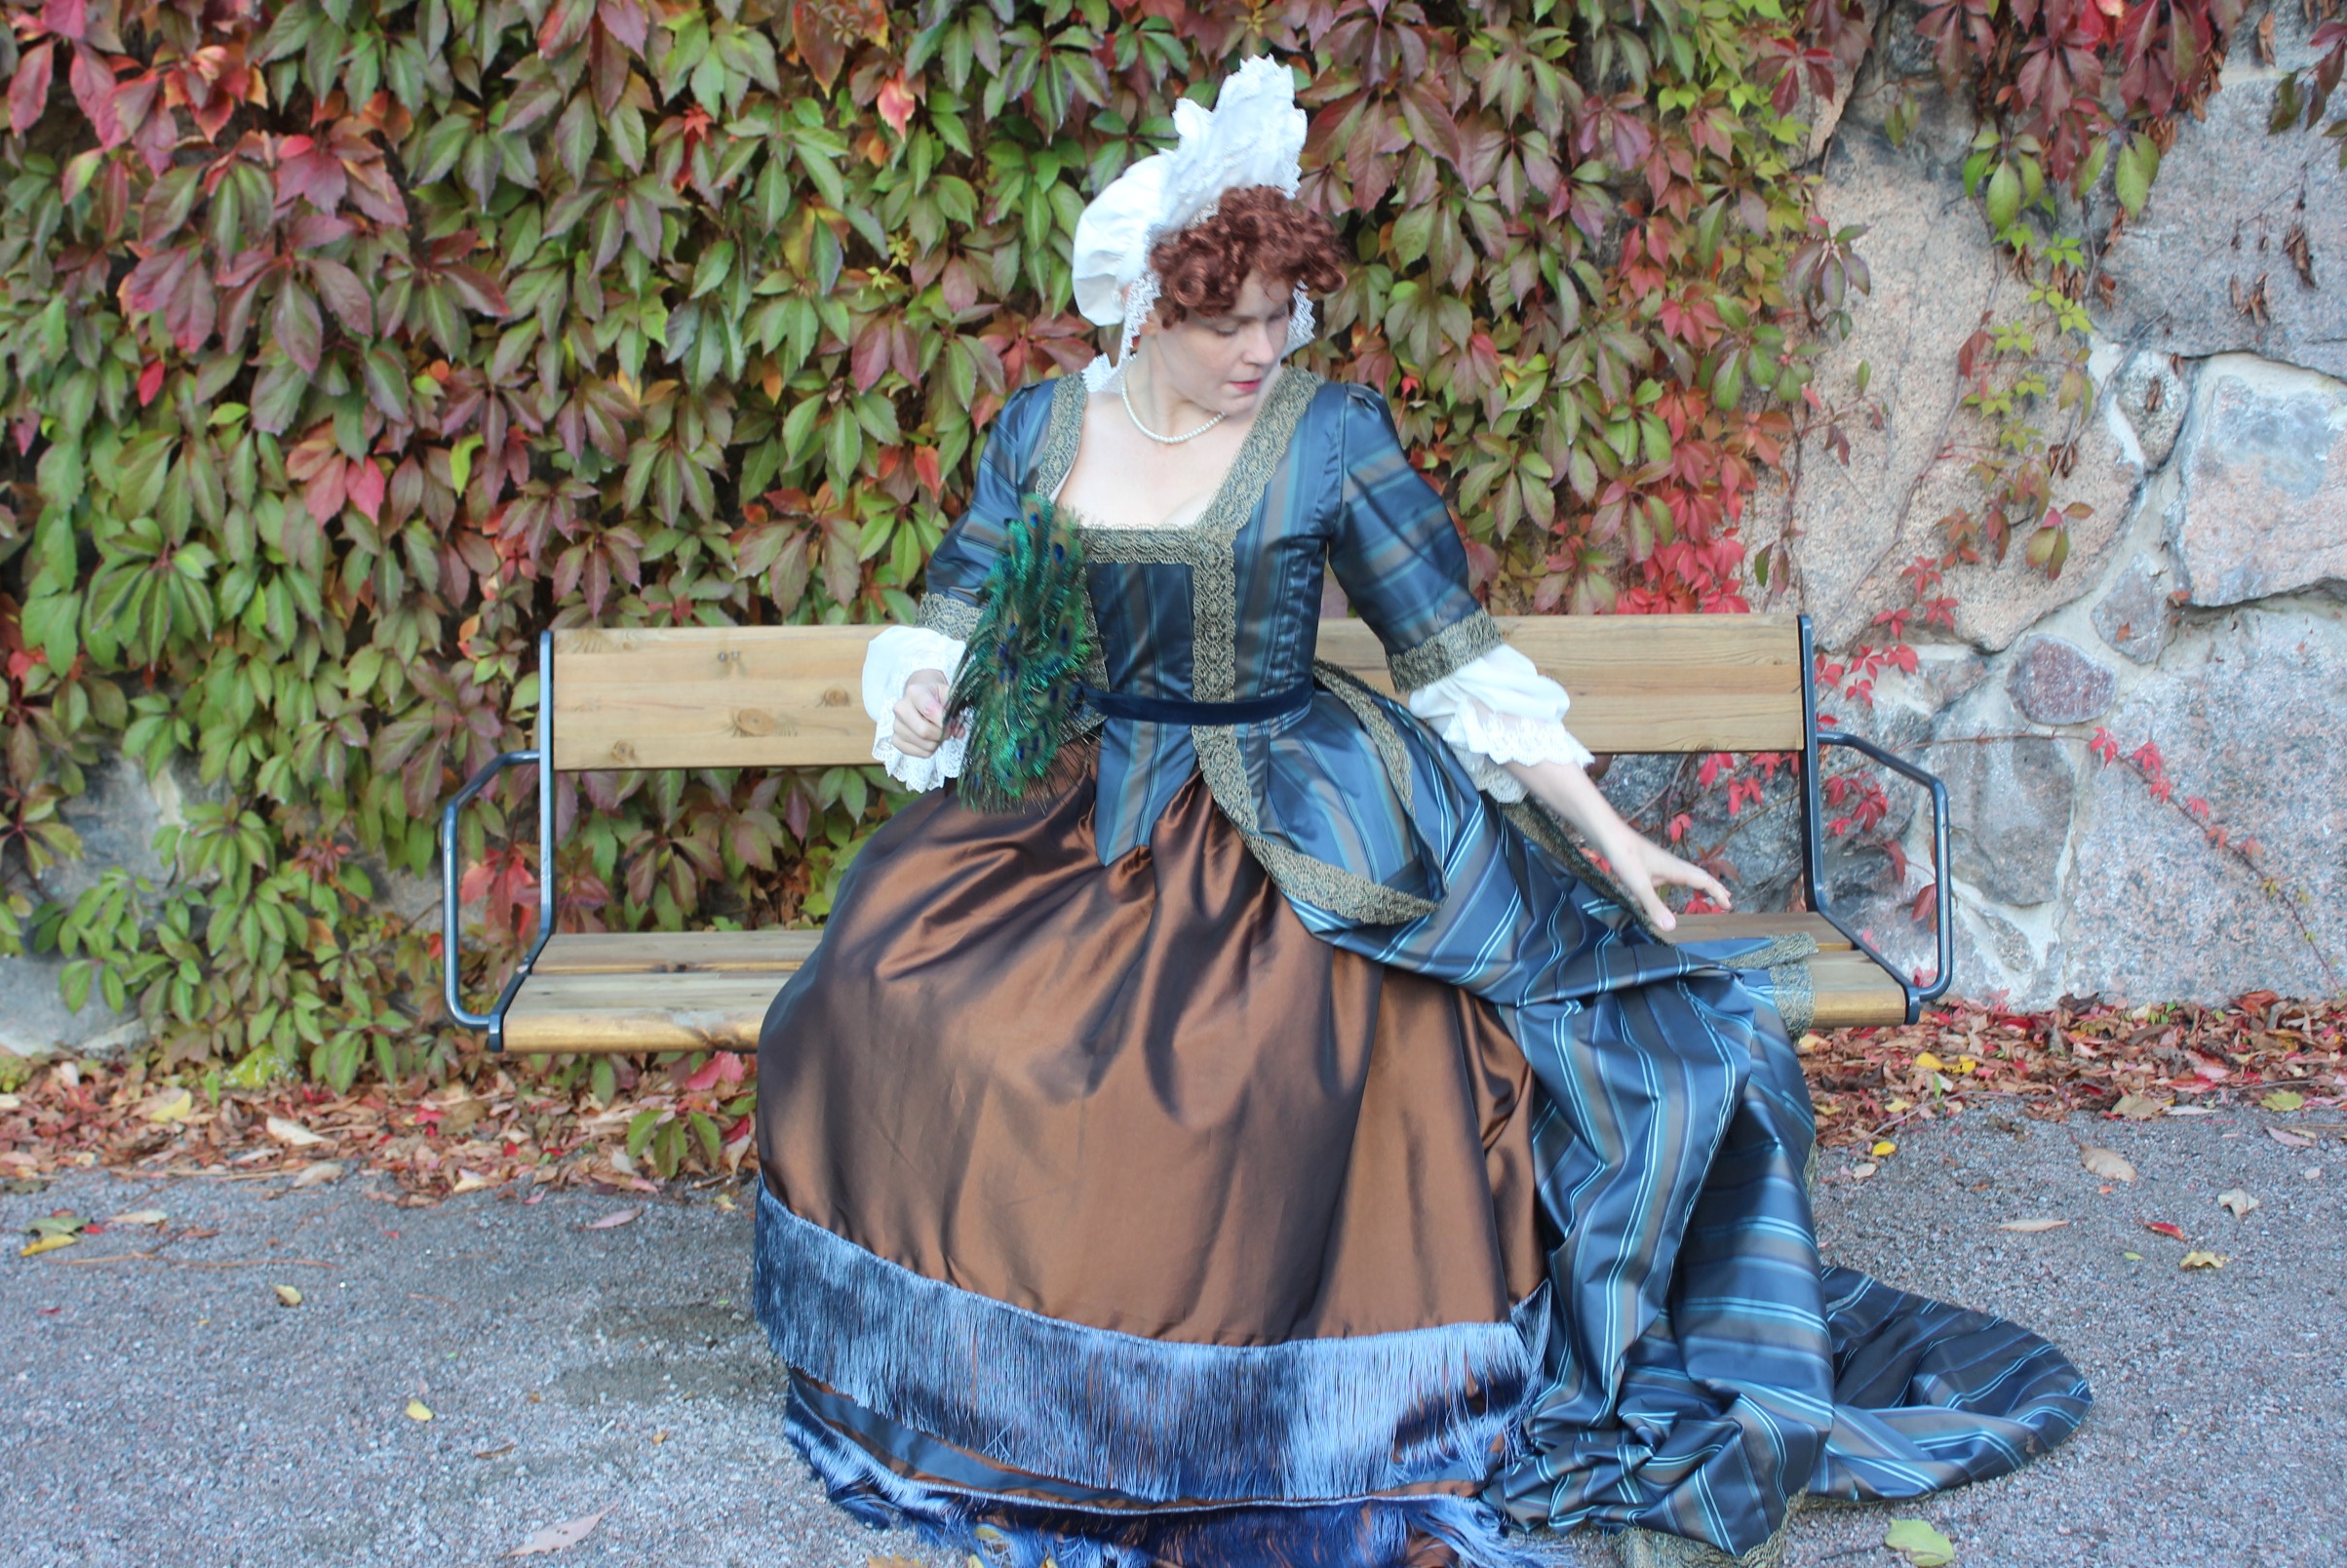
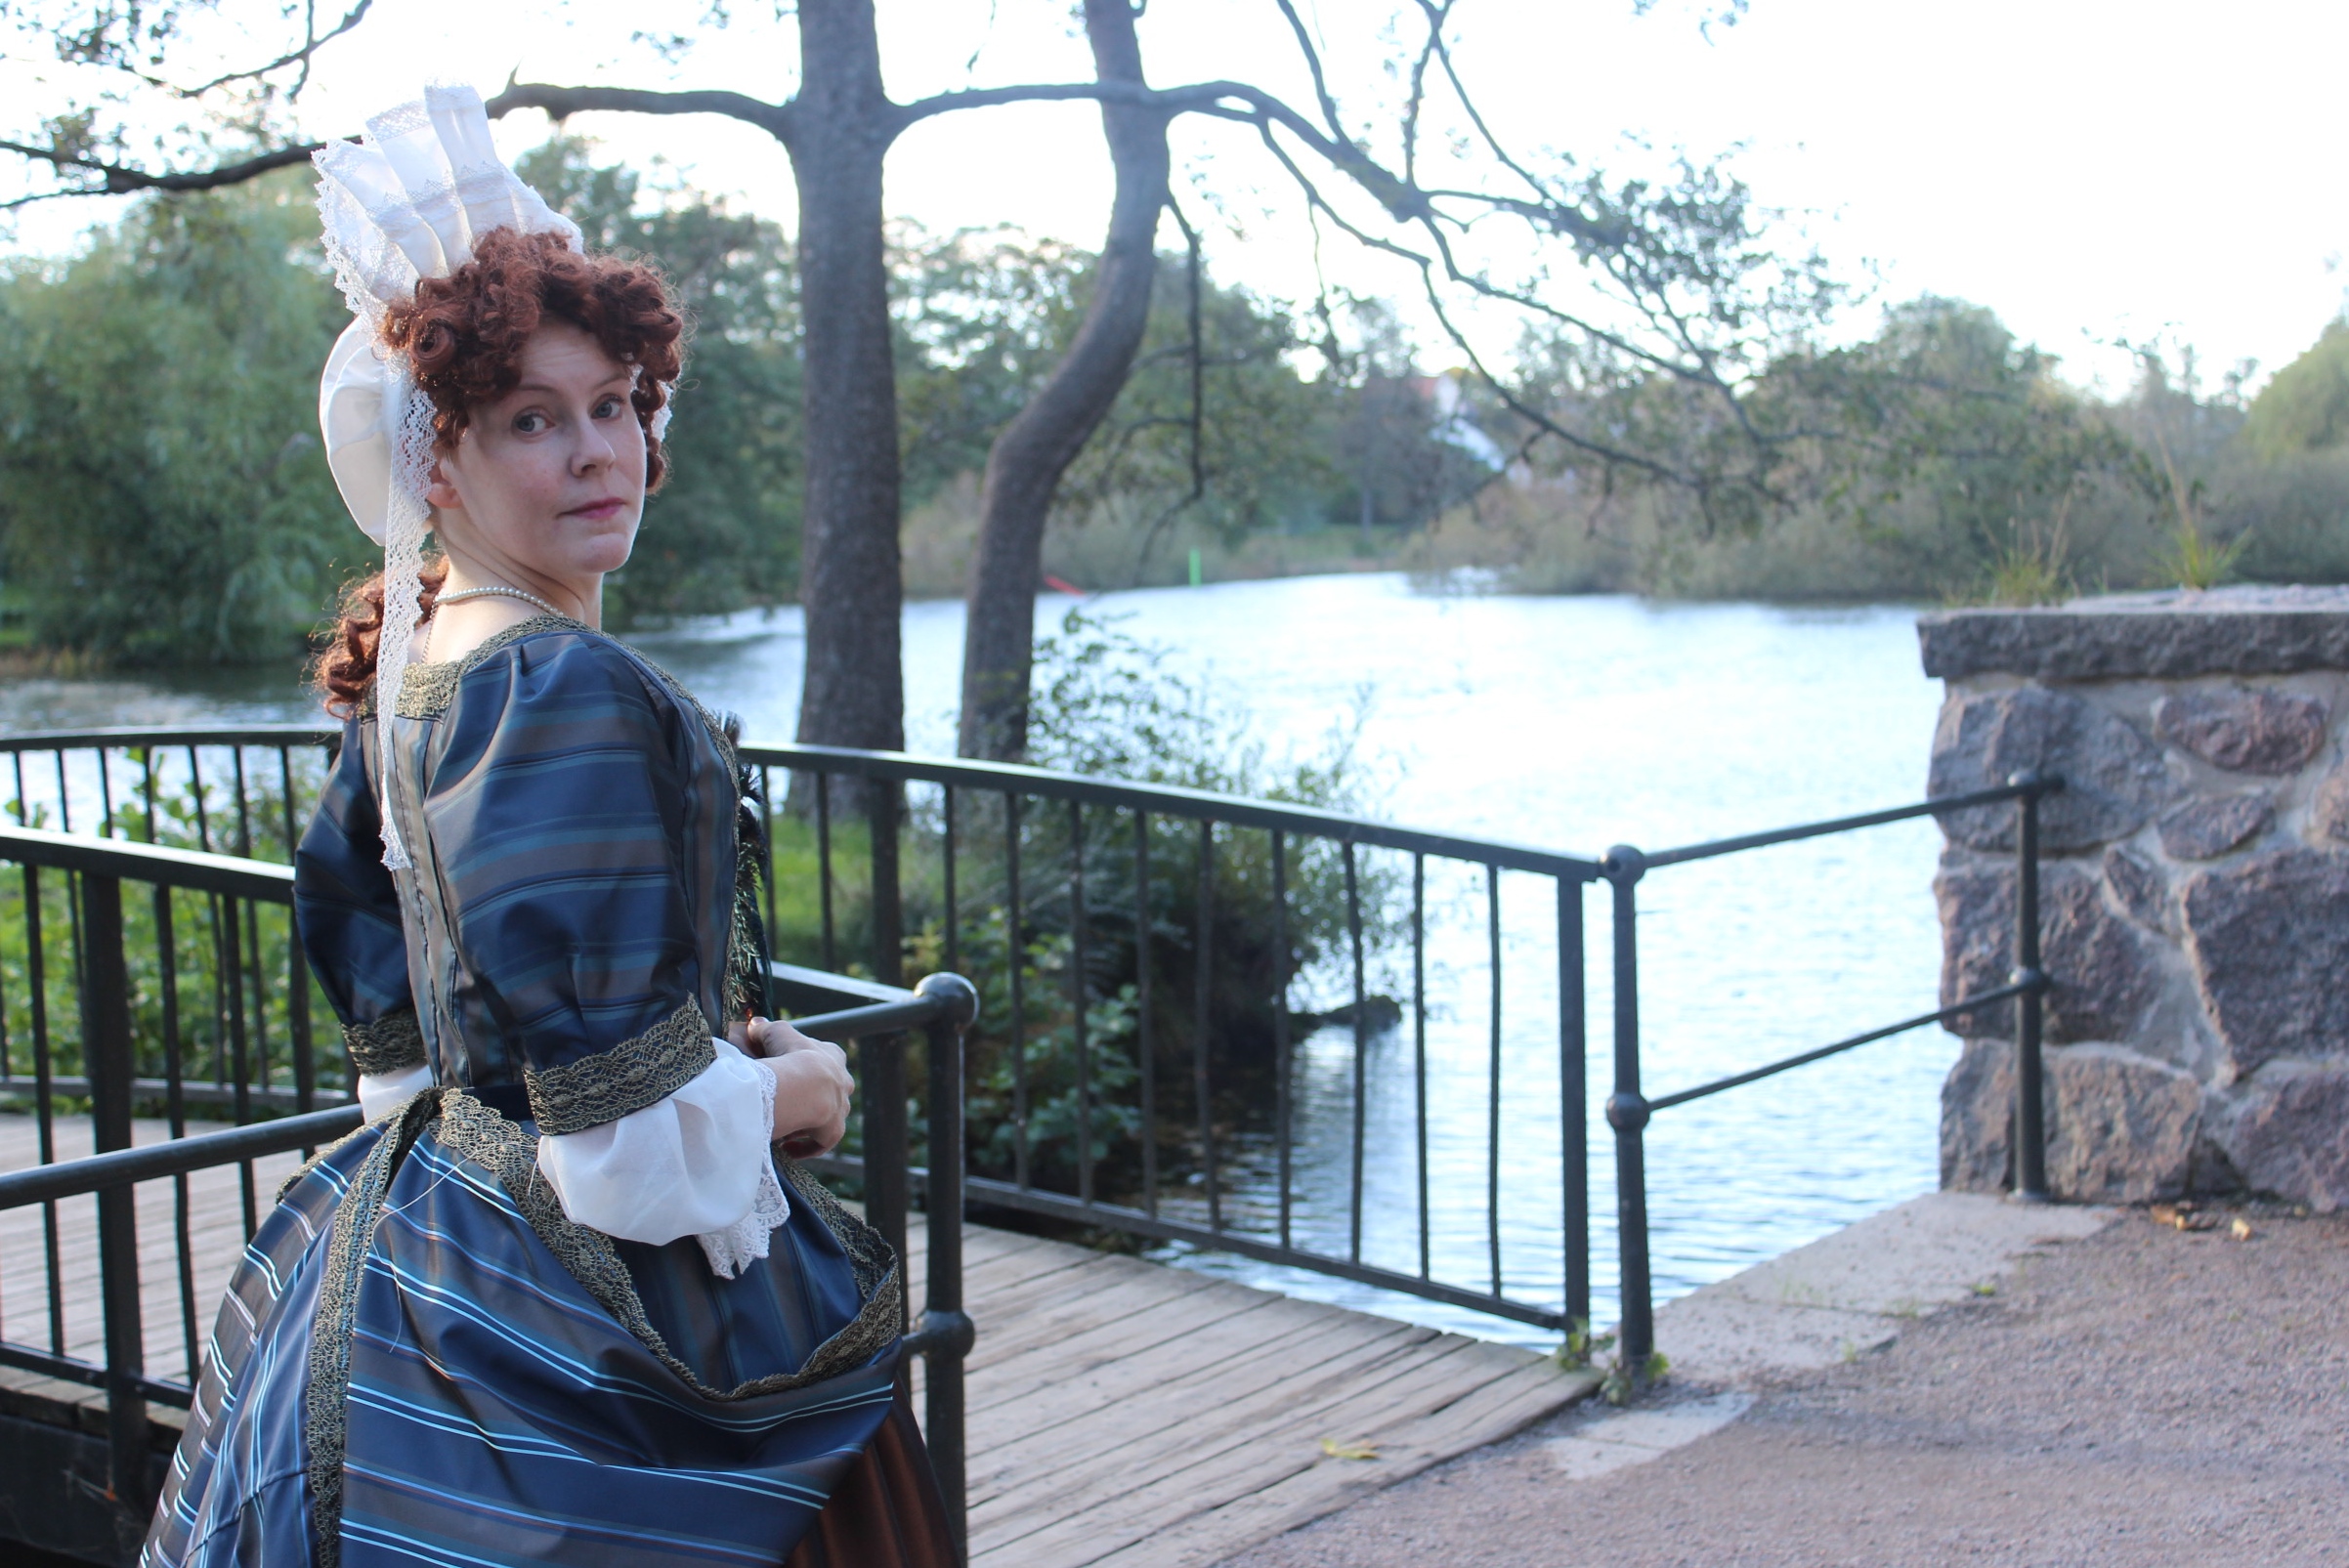
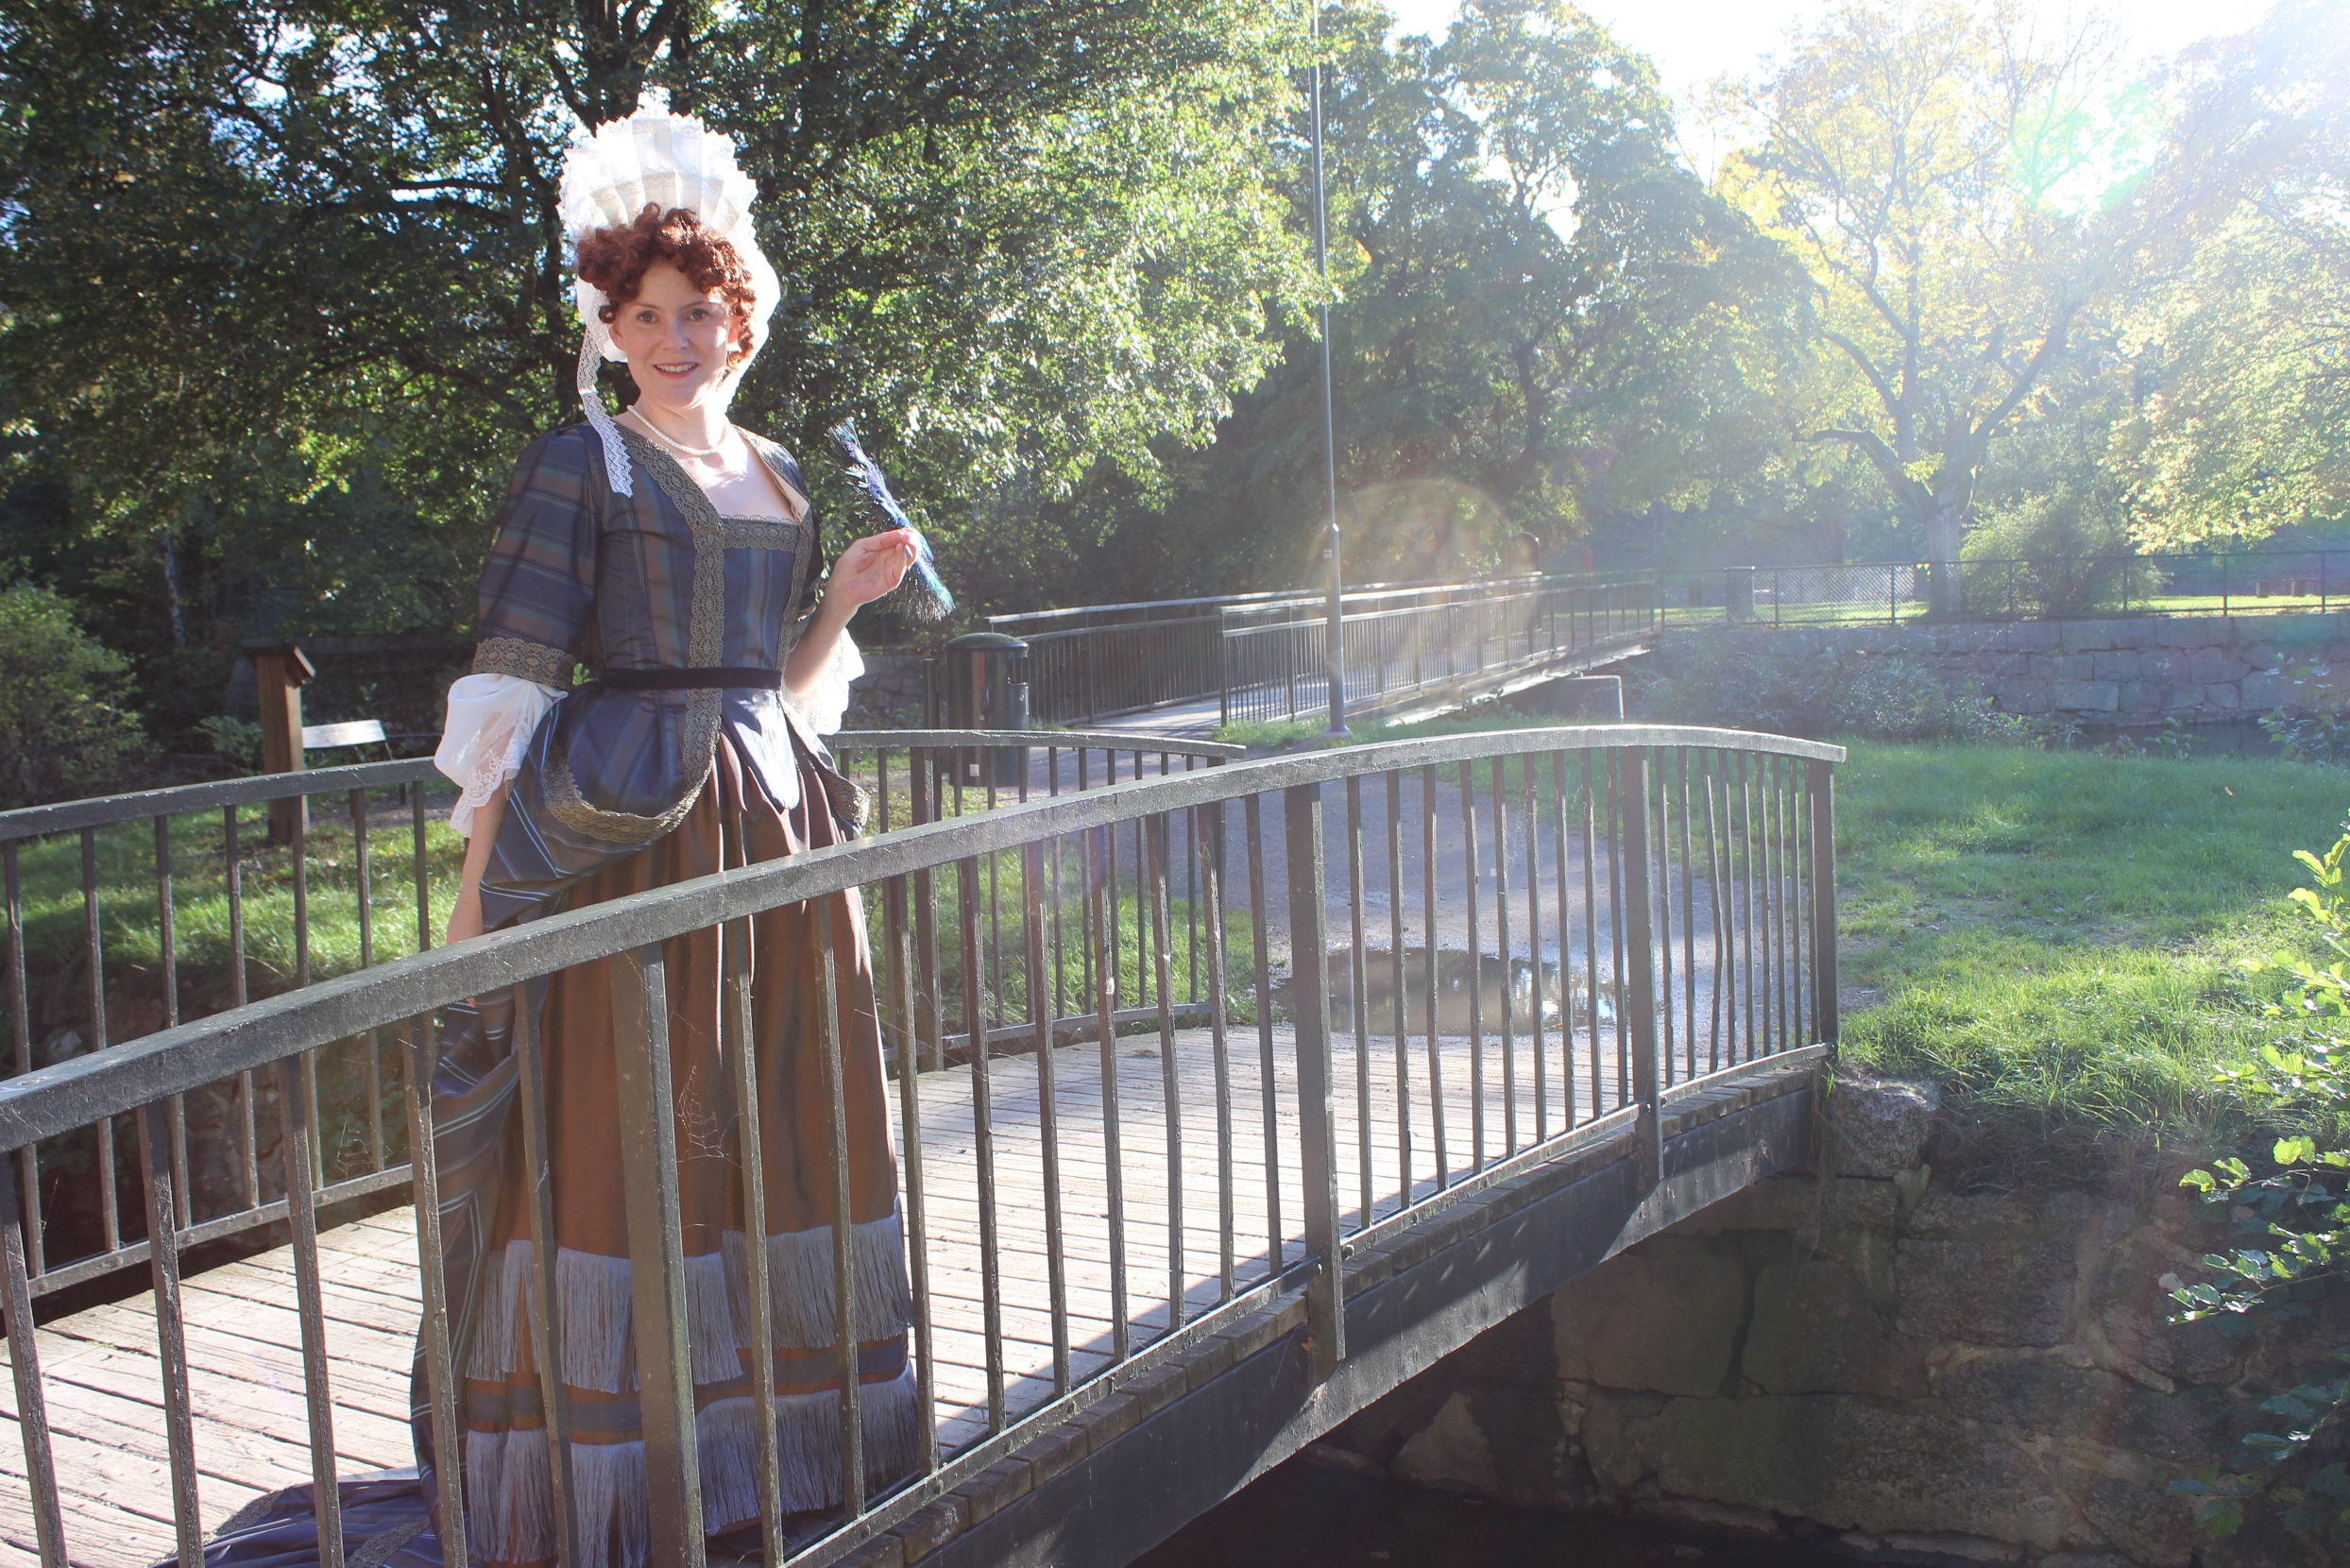
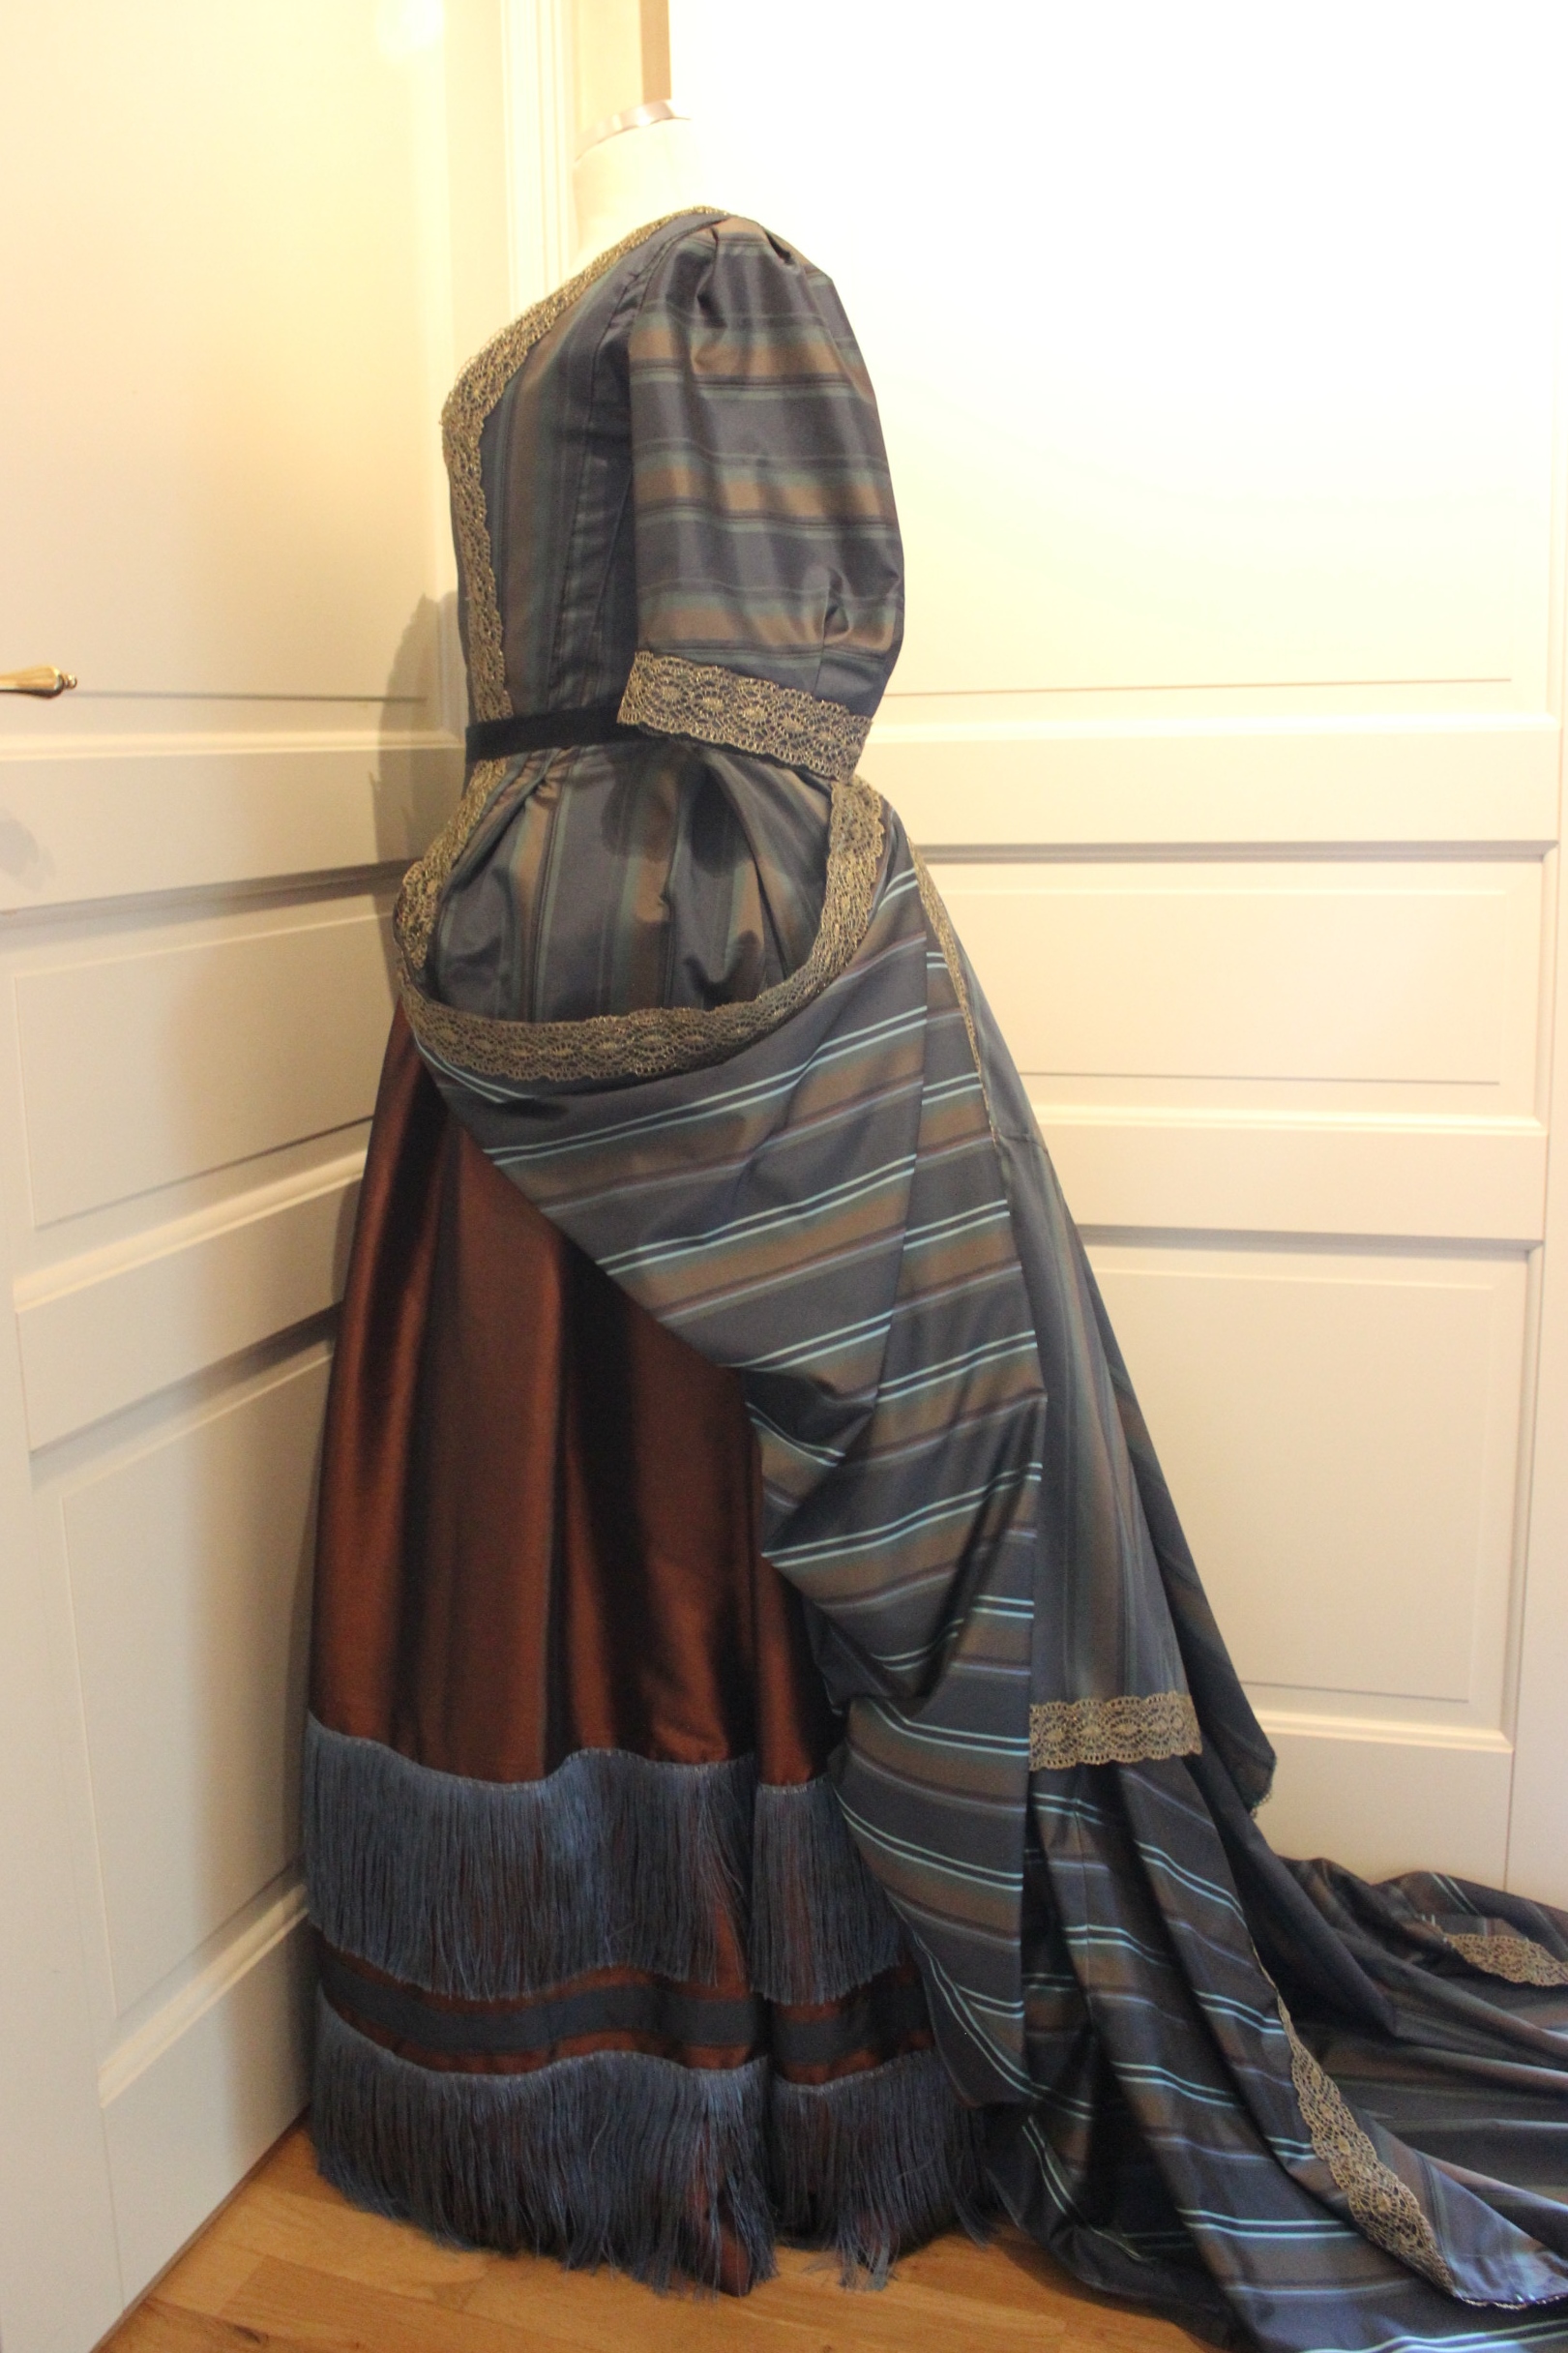
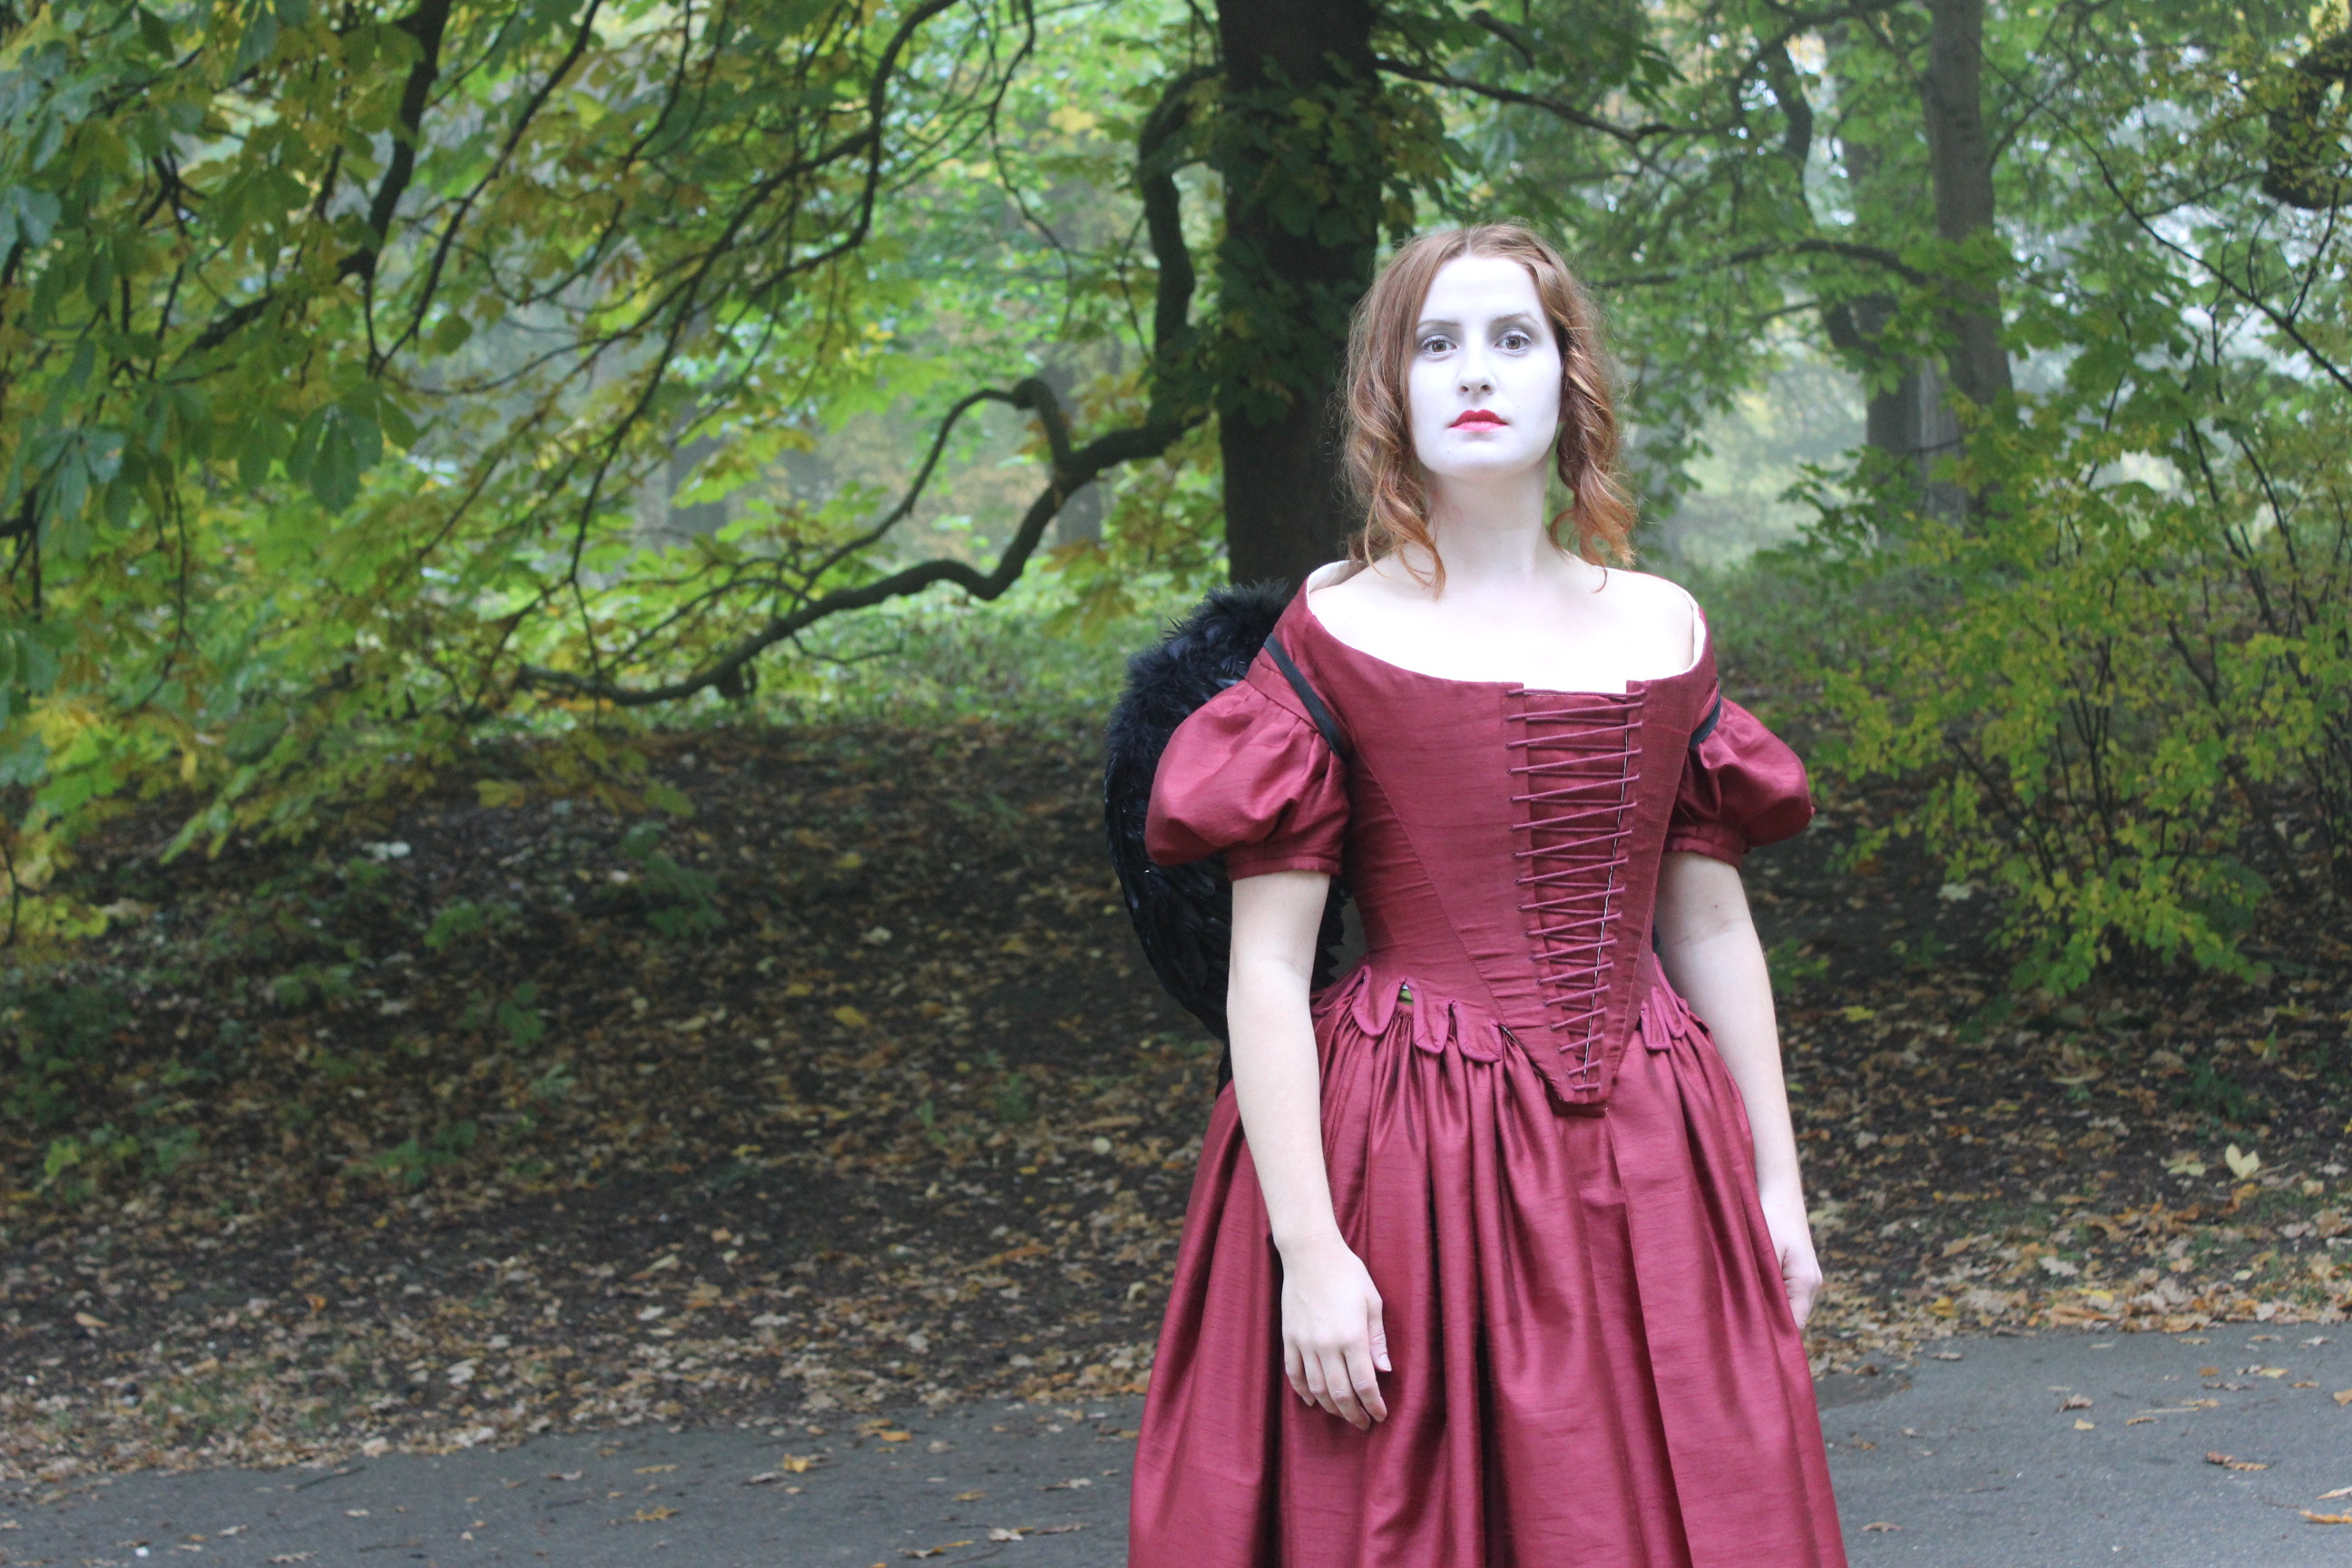
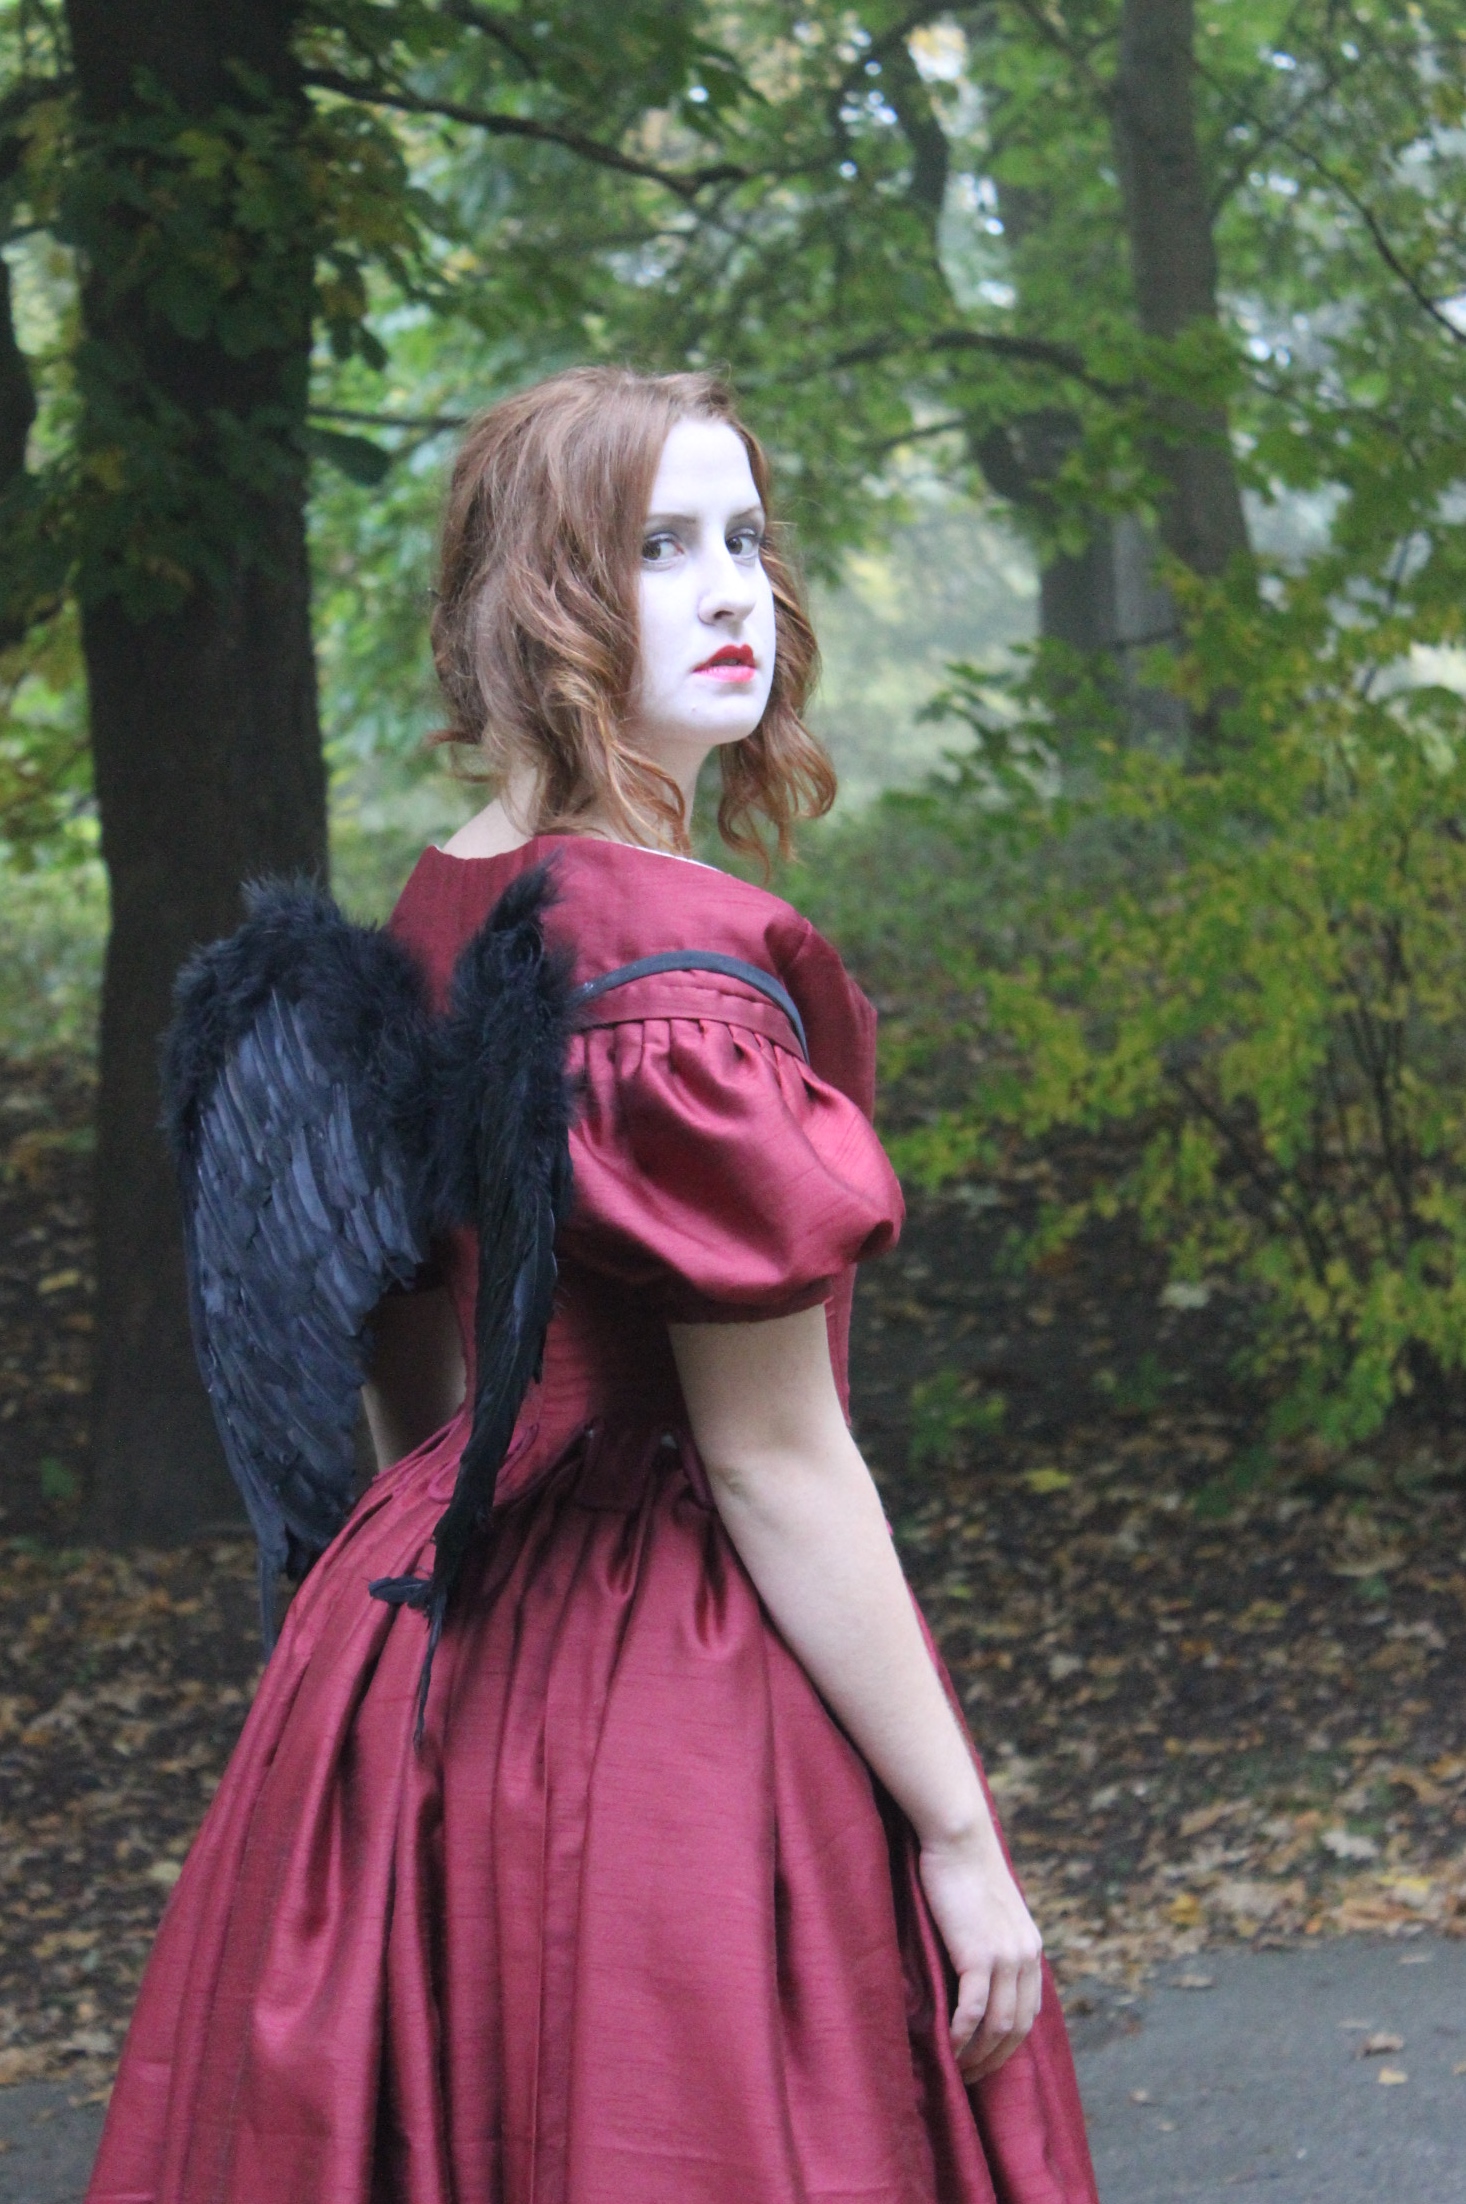
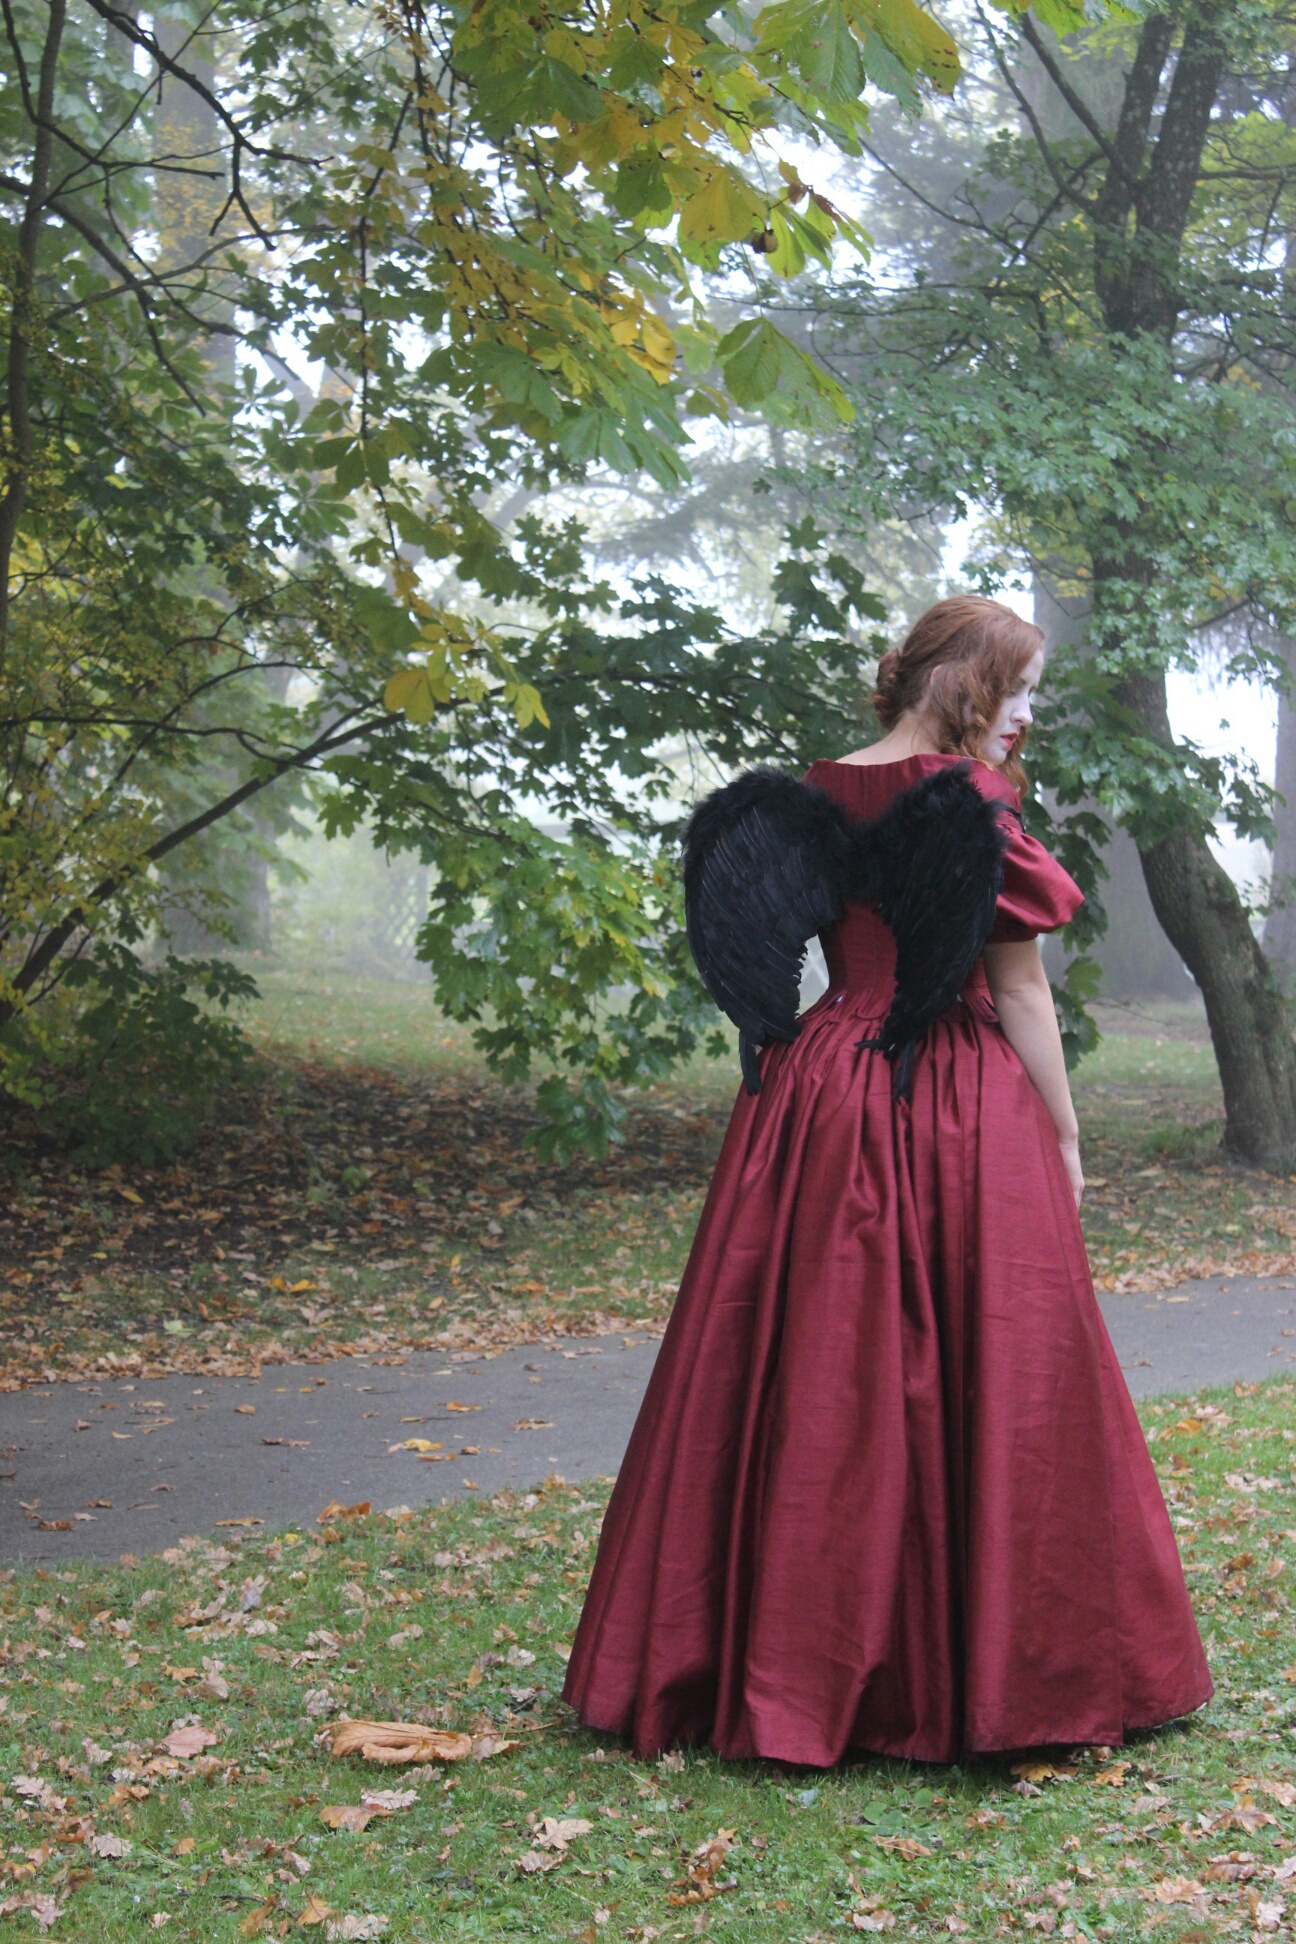
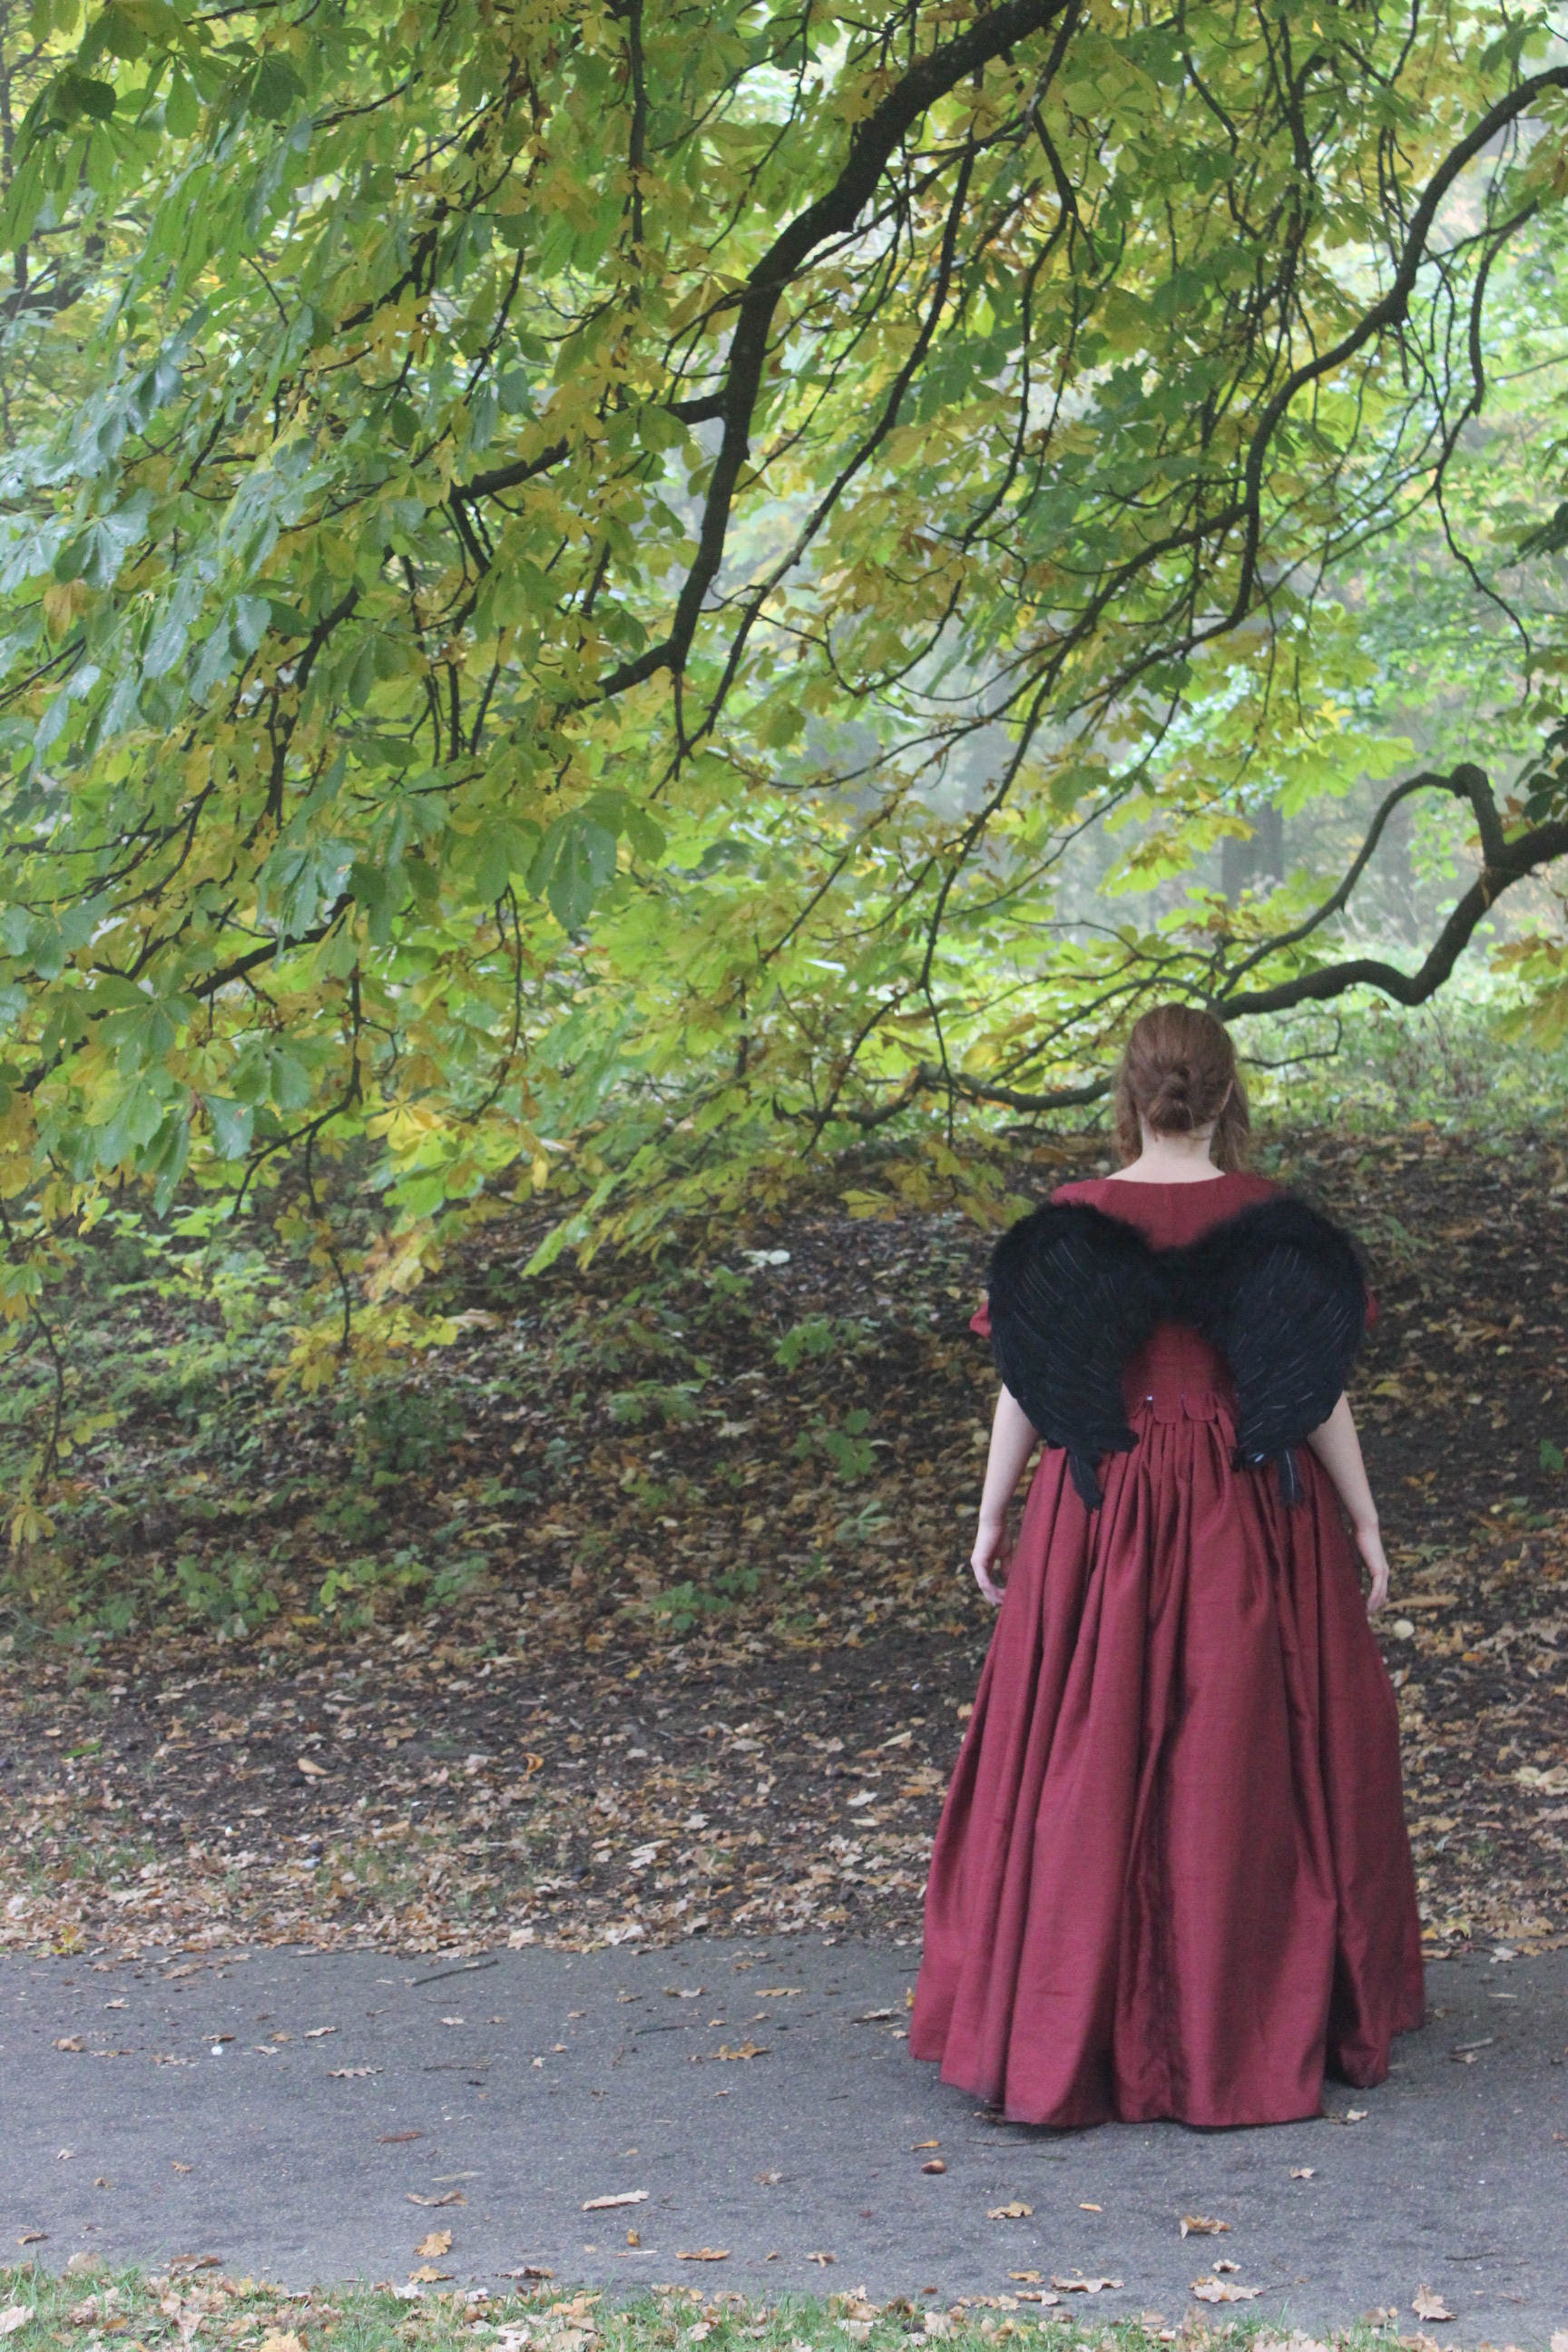
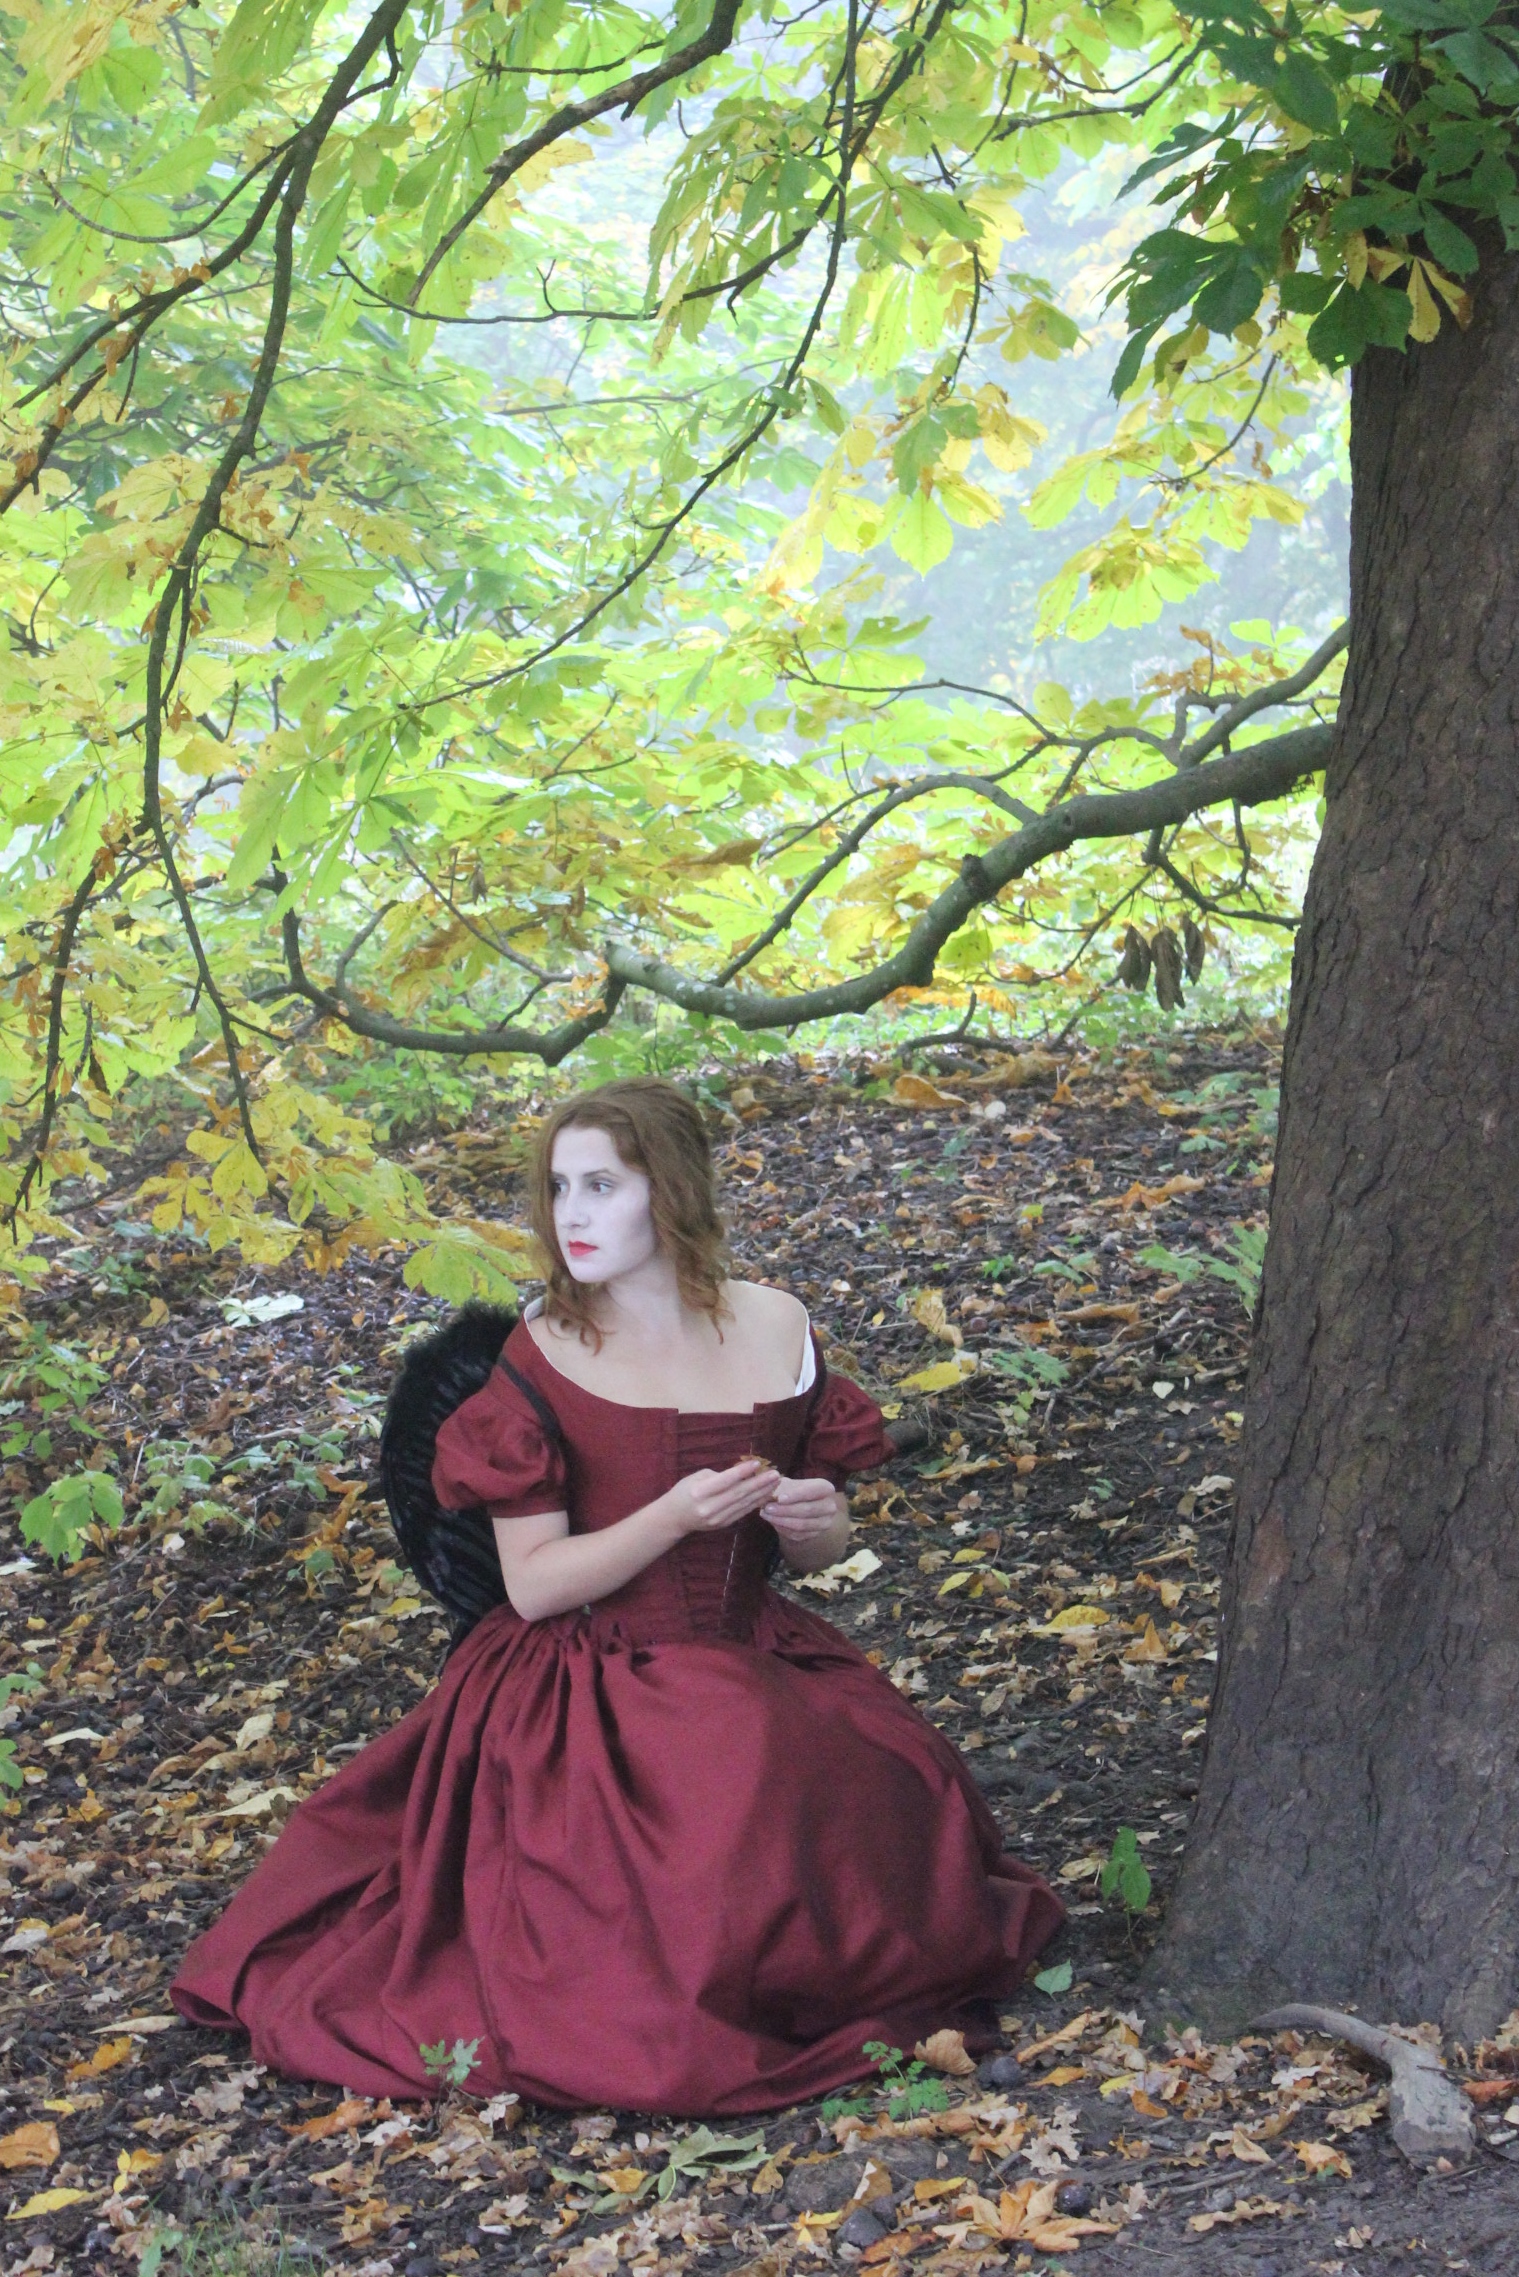
The finished dress:

Just the facts:

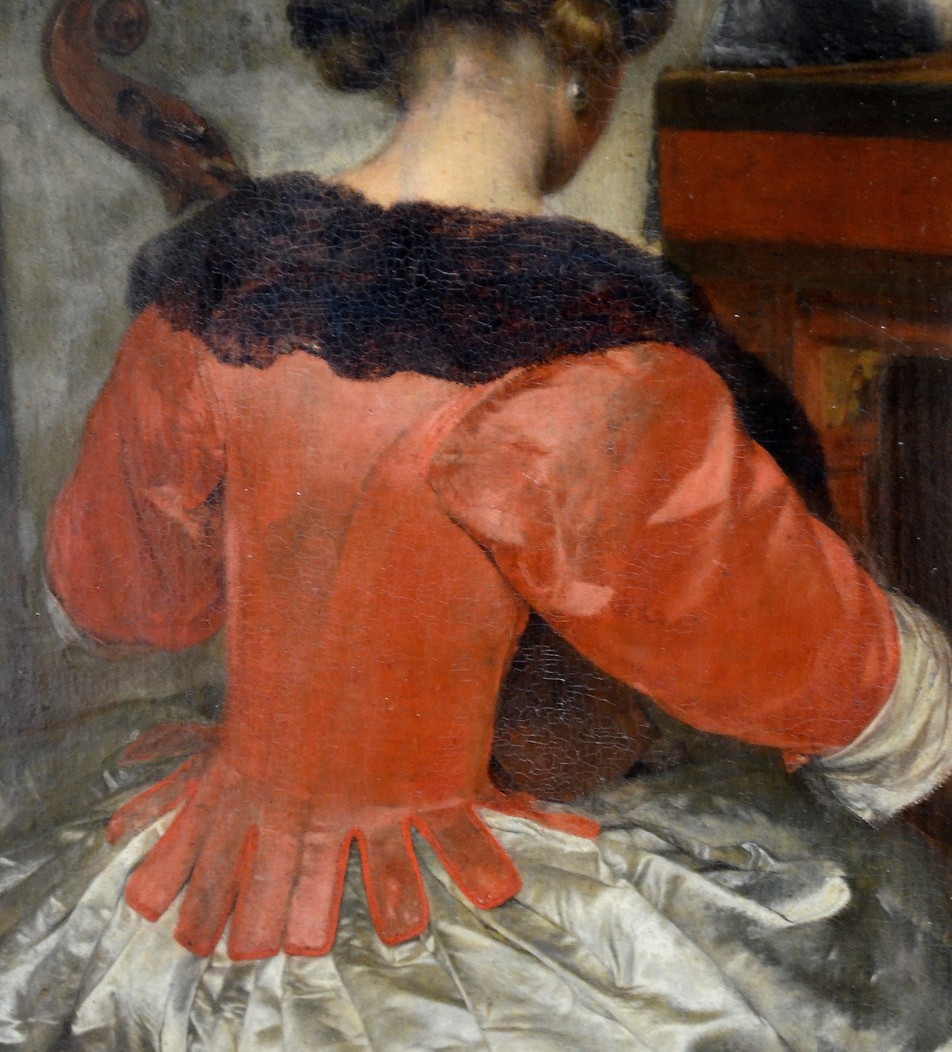
Challenge: nr 9/2017 – Seen on screen – Be inspired by period fashions as shown onscreen (film or TV), and recreate your favourite historical costume as a historically accurate period piece.

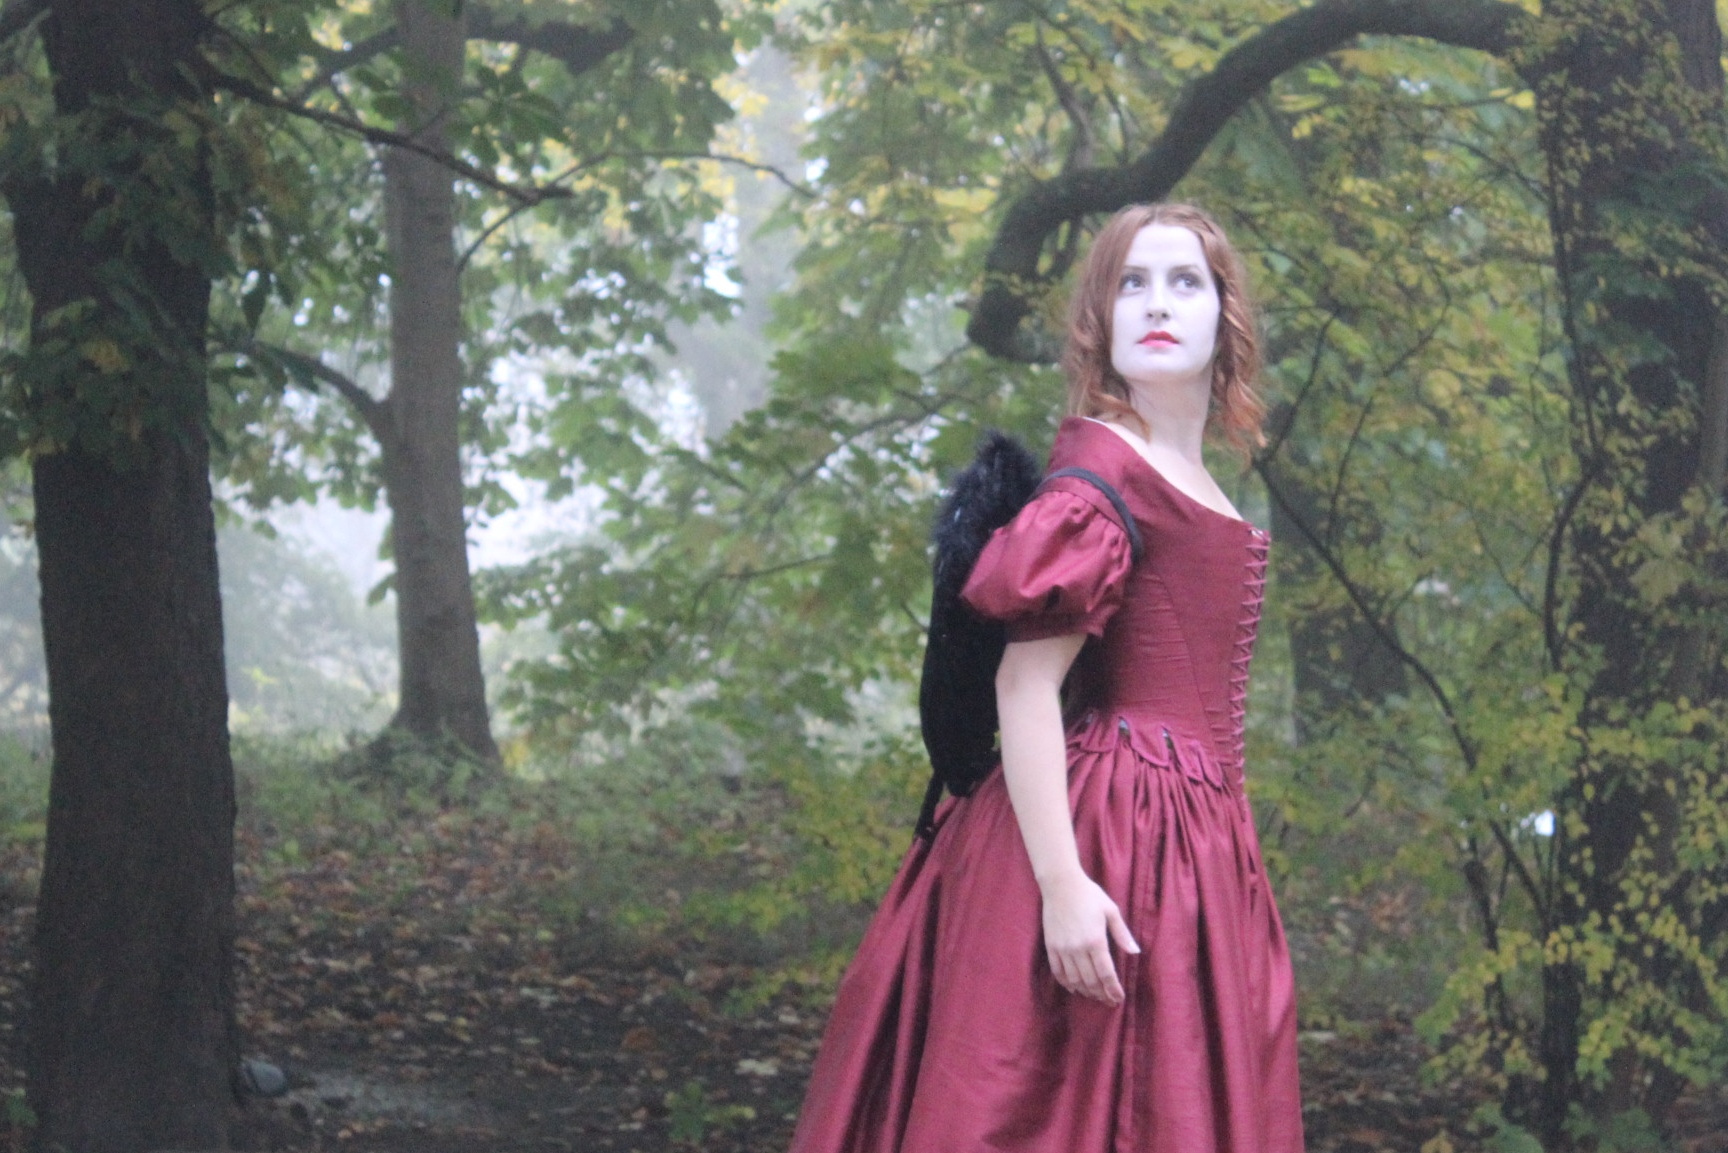
What: a 1690s Mantua

How it fit the challenge: Gowns like this was worn during Louis VIX reign in France, and therefor fit perfectly with the TV-show Versailles.

Pattern: I drafted my own using the 1690-1770s Mantua pattern from Waughs “Cut of Womens clothes”.

Fabric: 5 m of striped polyester taffeta and 1 m of white cotton for lining for dress, and 2,5 m of copper polyester taffeta for the skirt.

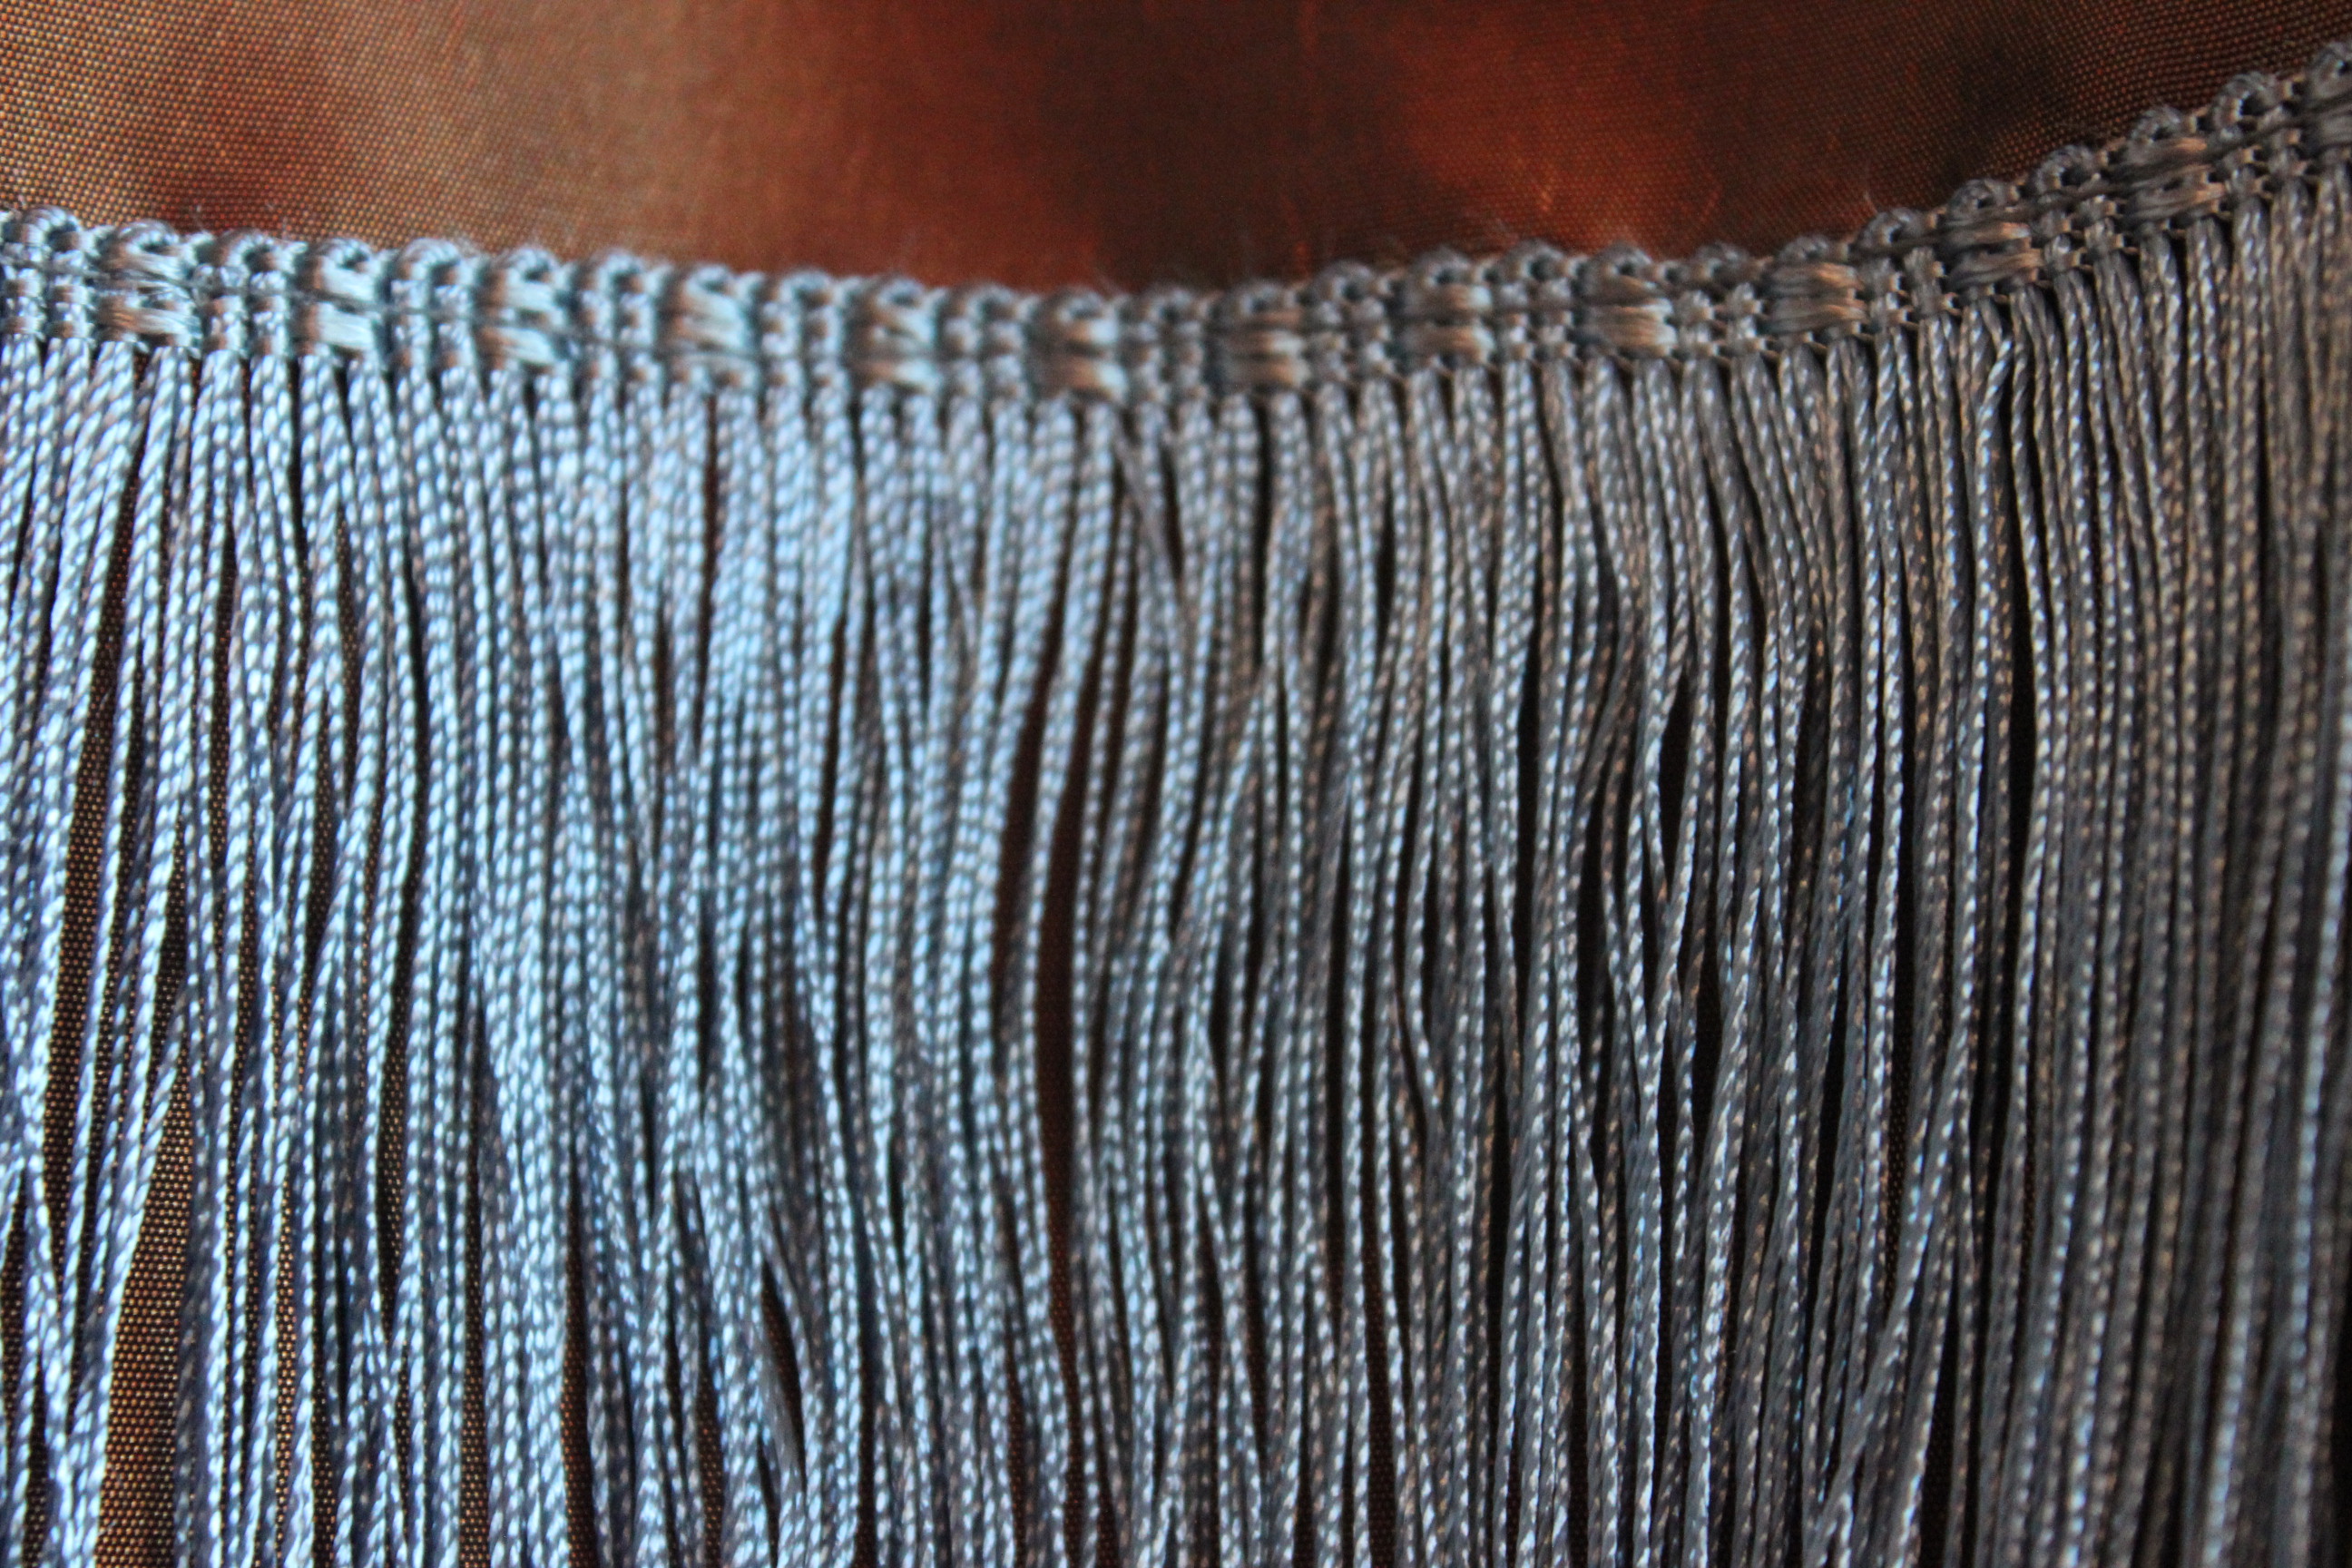
Notions: Thread, boning for the stomacher and back/side seams, 1 m of bias tape for boning channels, 12 m of golden lace trim, and 1 m of dark blue velvet ribbon for belt. And 5 m of blue polyester fringe for the skirt.

How historical accurate: Not particularly I’m afraid. The fabric and construction techniques are all modern, even though the pattern and general shape is ok, and they did have a flair for stripes and fringes at the time. One thing I didn’t know until halfway done though, was the facts that this type of gowns usually closed center front omitting the stomacher of the later era completely. I’ll give it a 5/10.

Time: About 30 hours in total, but I’ll guess at 10-15 hours if I was to make another one right away.

Cost: Everything besides from the fringe (which I got from a thrift store) came from stash. But I’ll guess about 600 Sek (50 Usd) wen first bought.

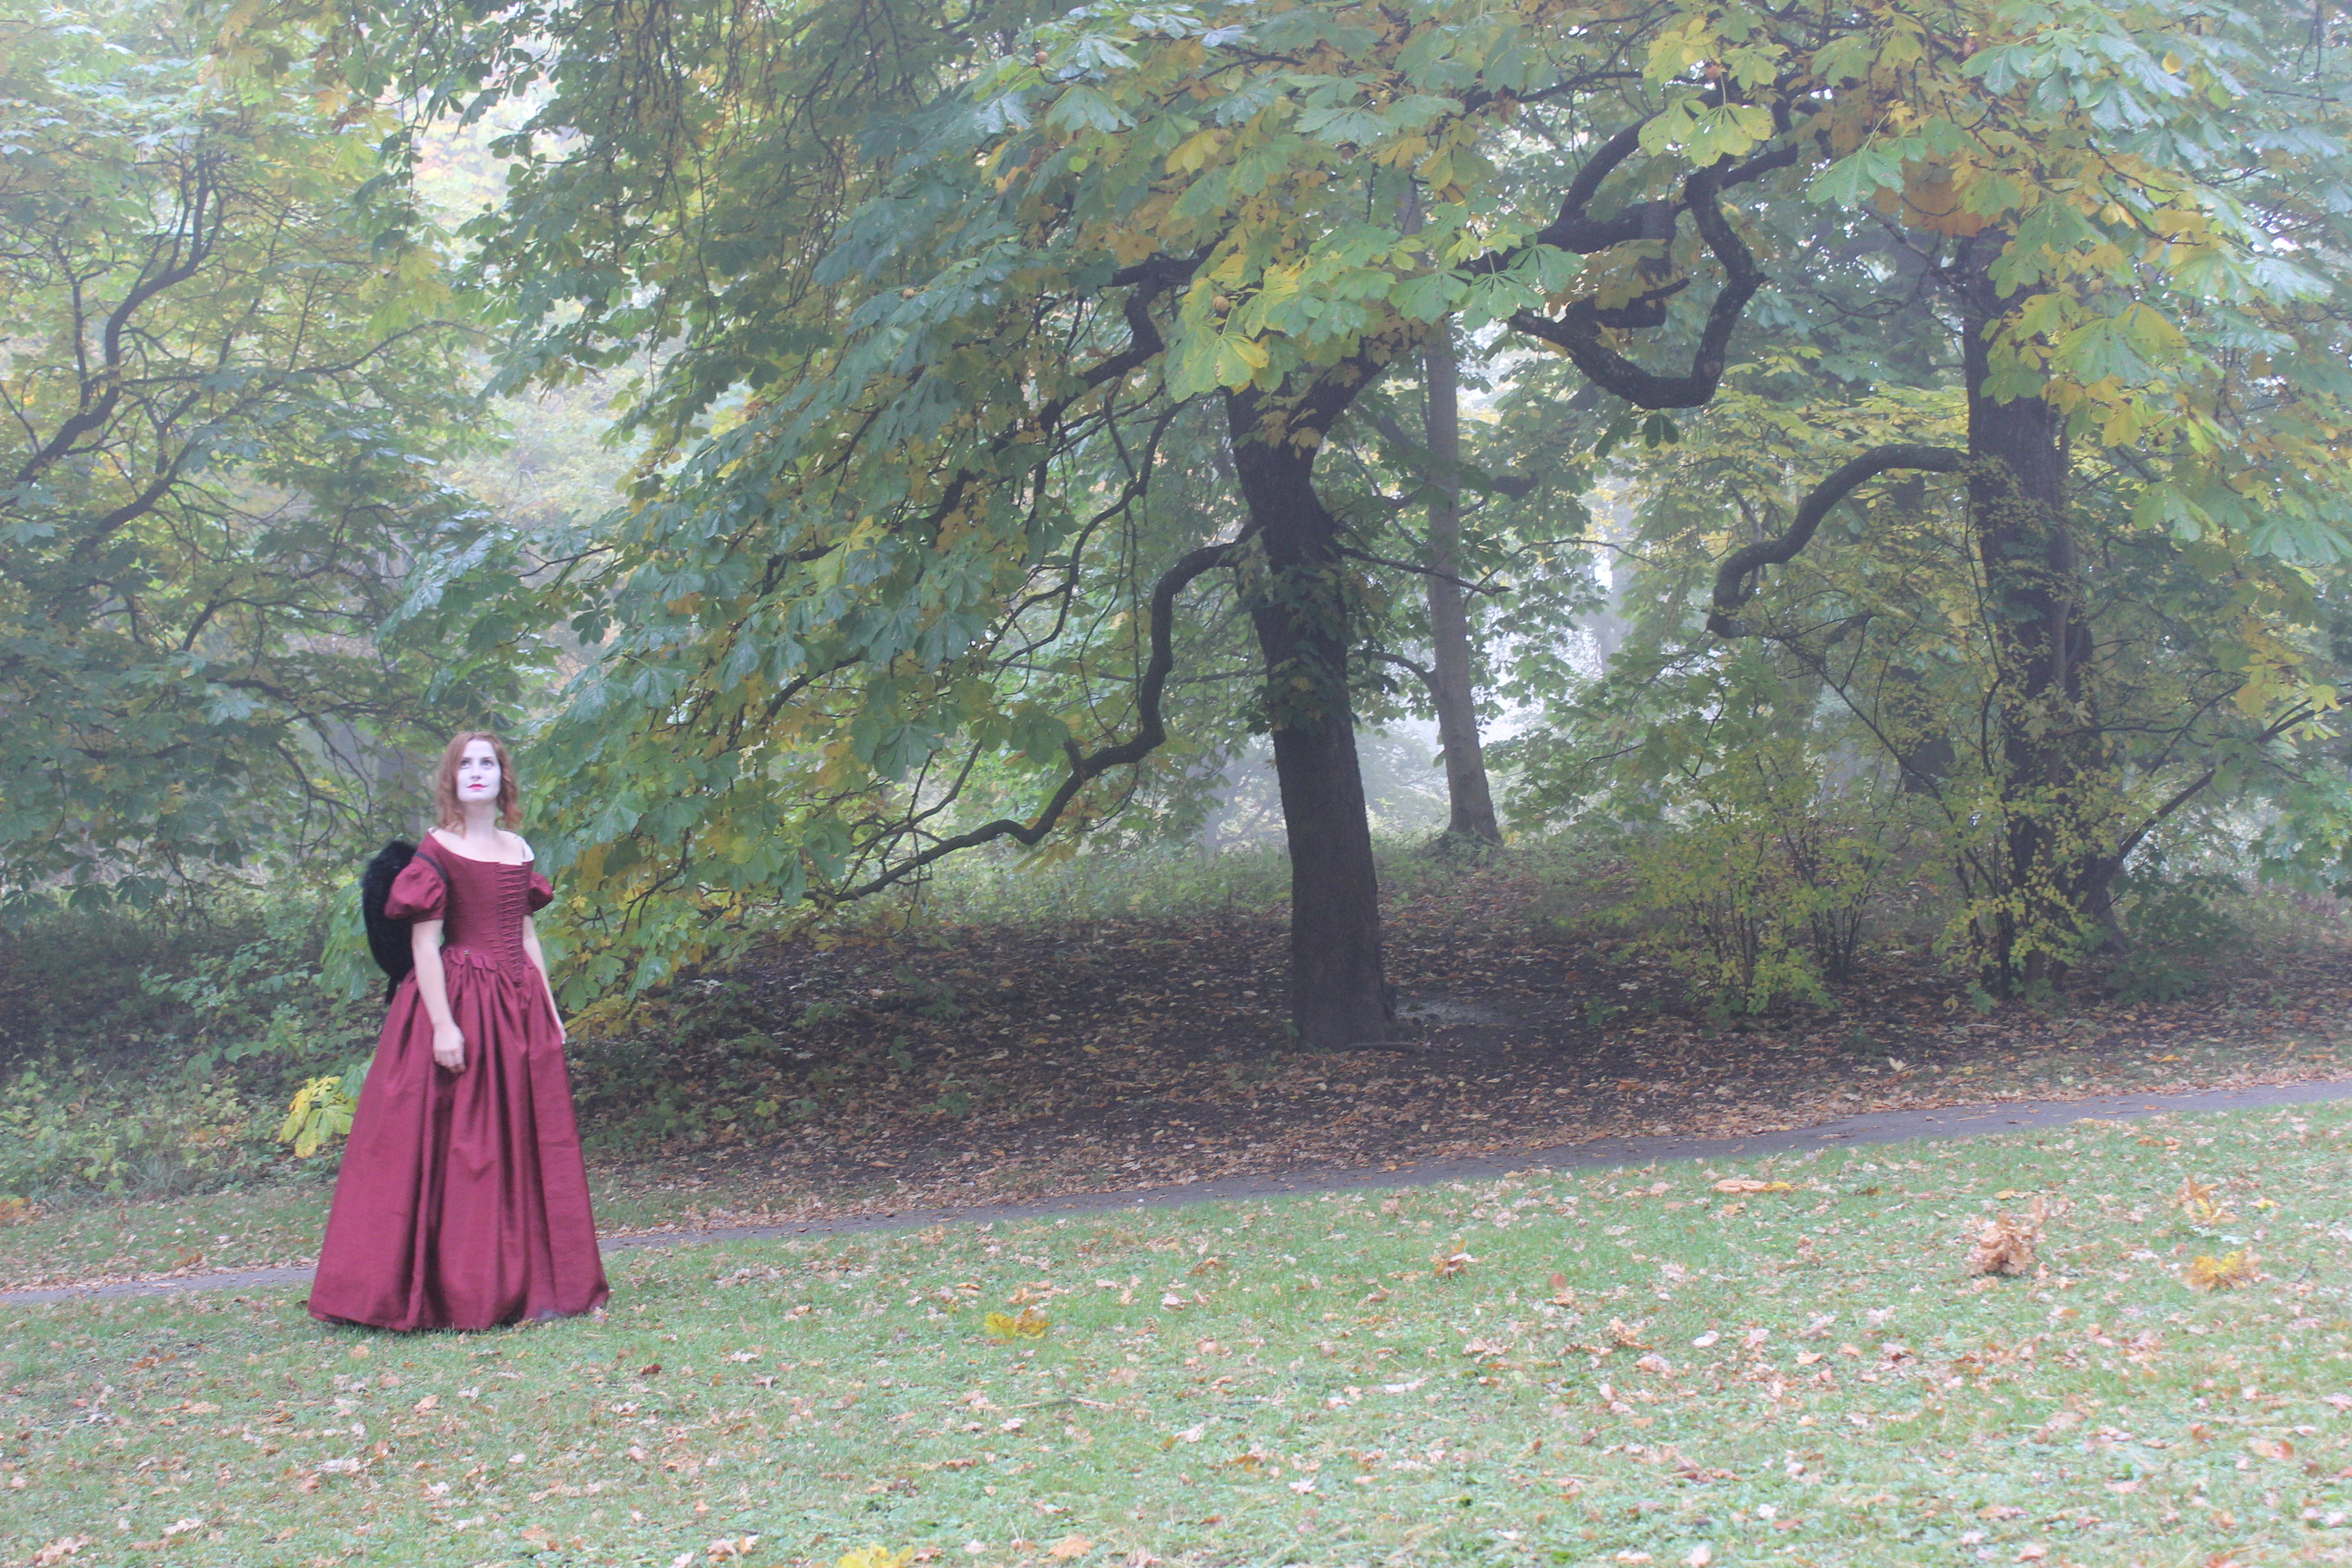
First worn: Early October for photos

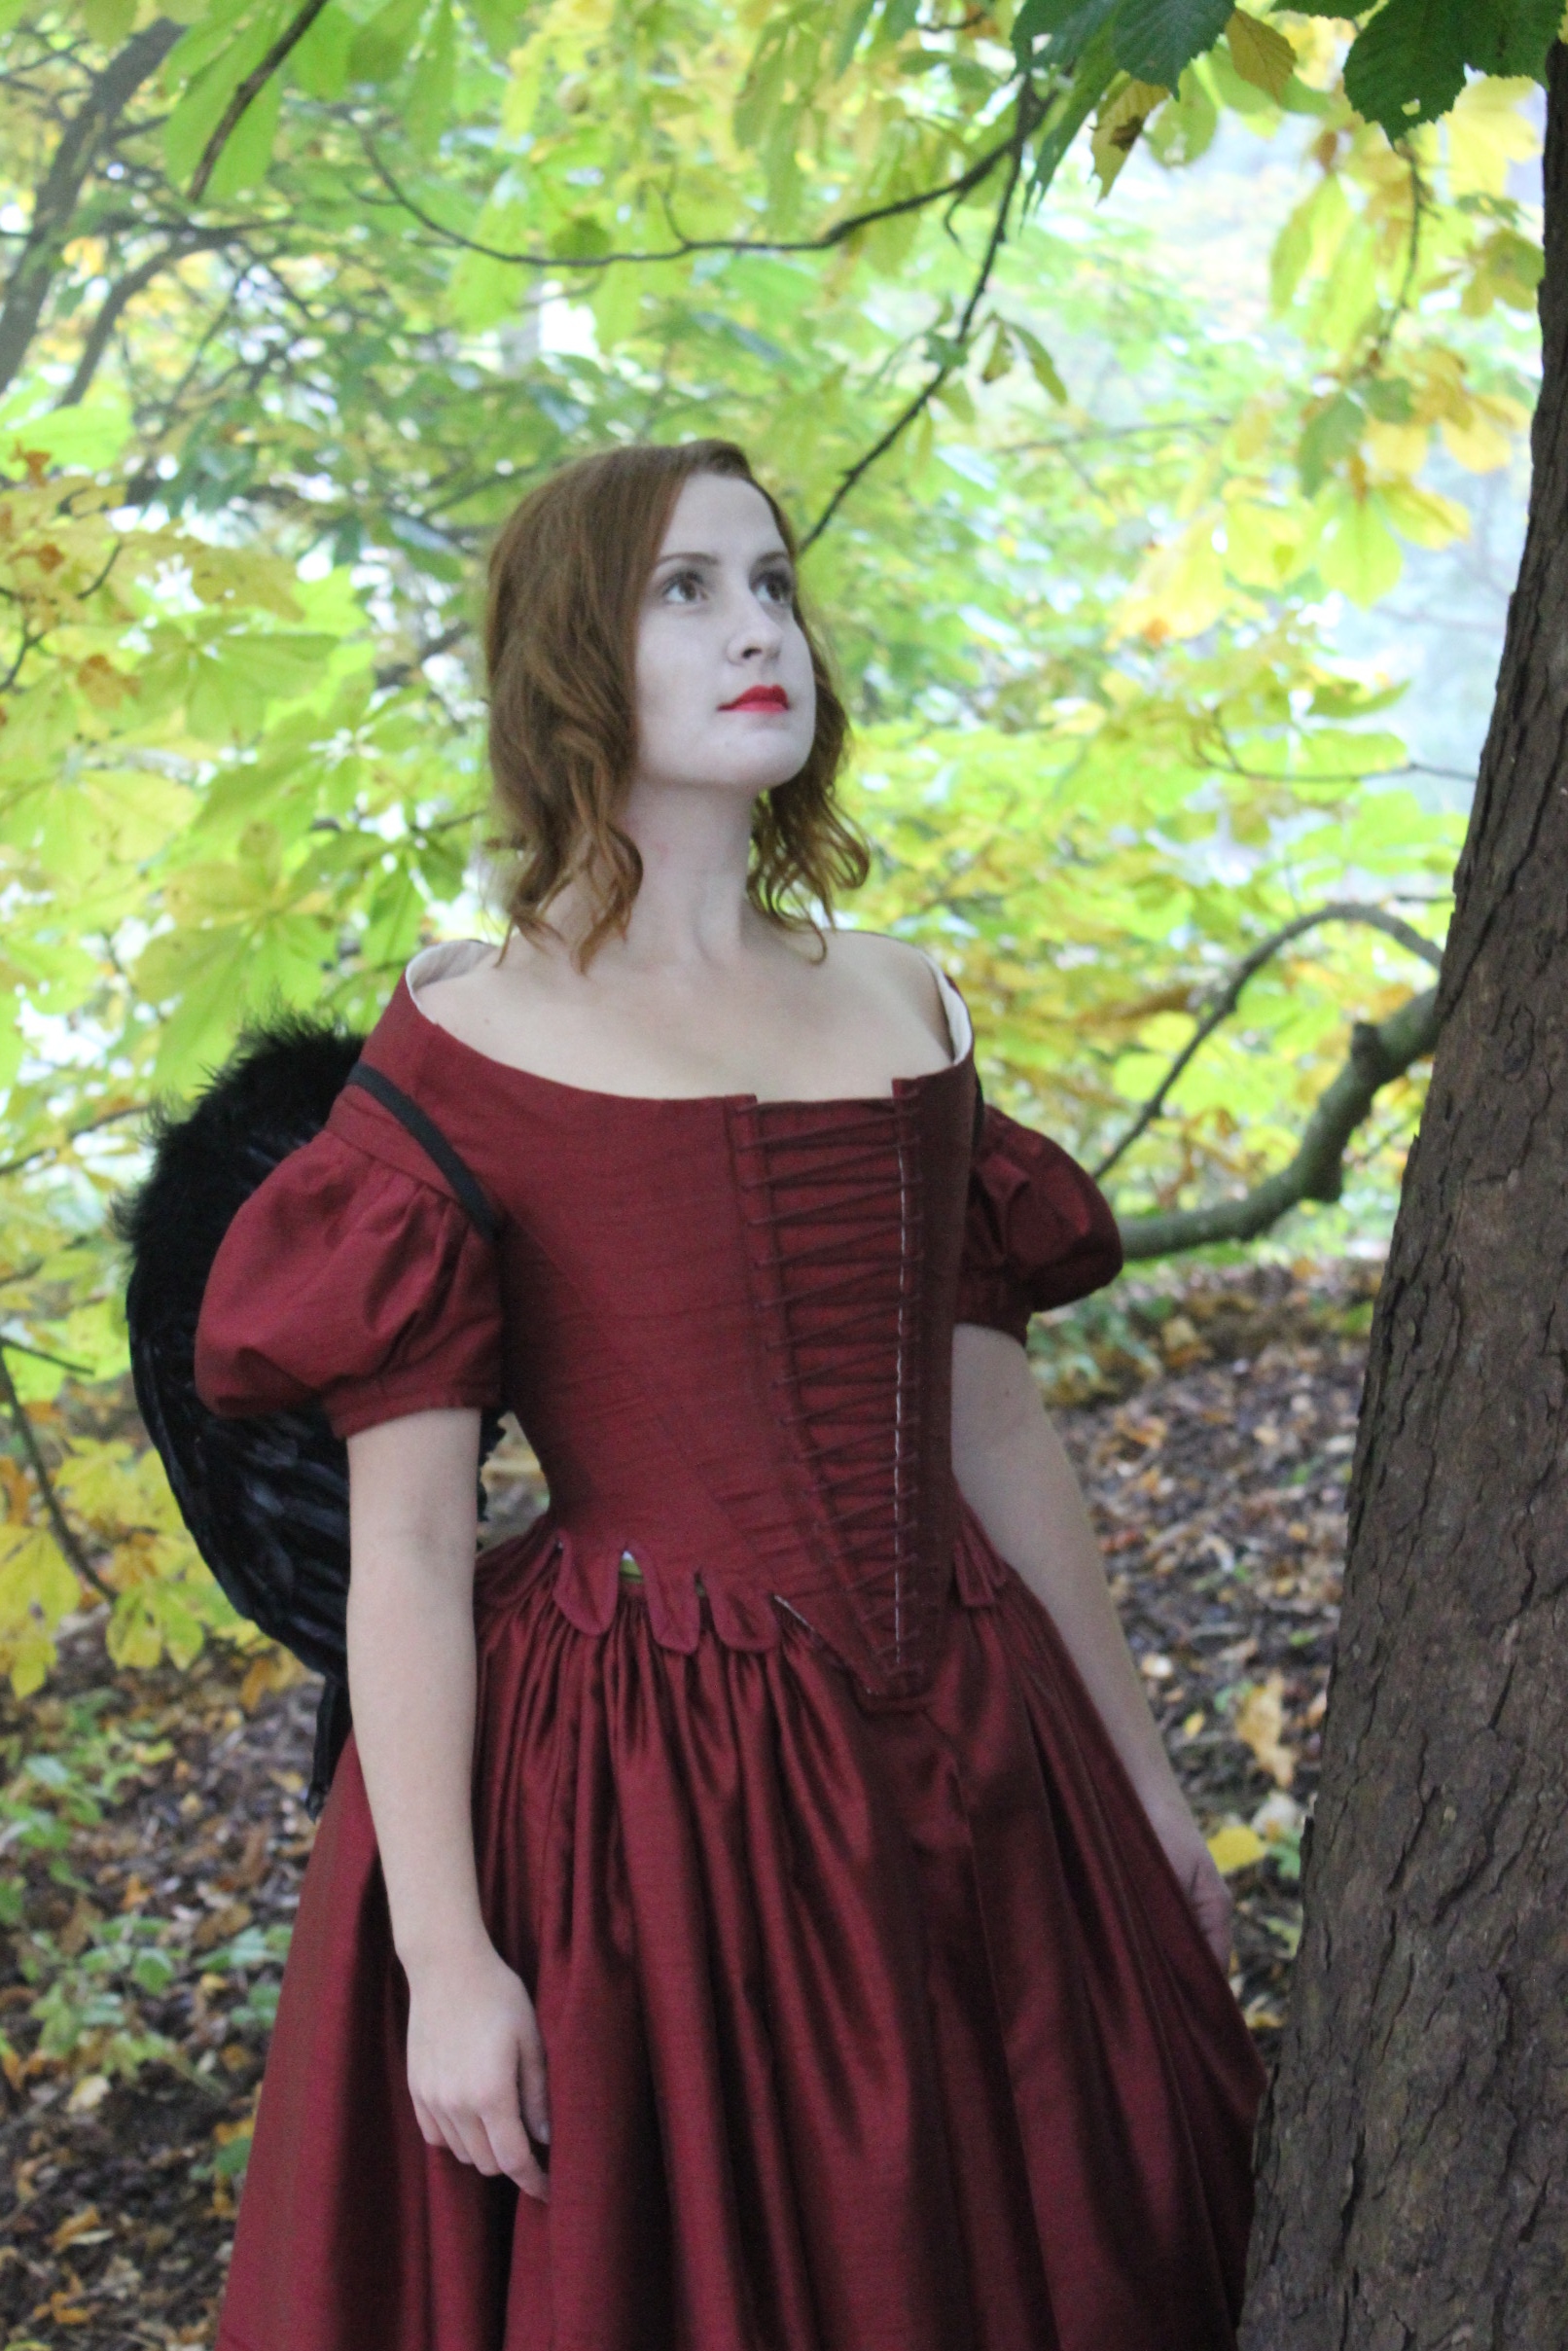
Final Thoughts: I’m feeling a bit mixed about this dress. I did feel fabulous wearing it (and most of the photos turned out great), but I’m not entirely happy about some of the constructions “mistakes”, like puckering seams in the back and the fact it’s not a closed front as it should be.

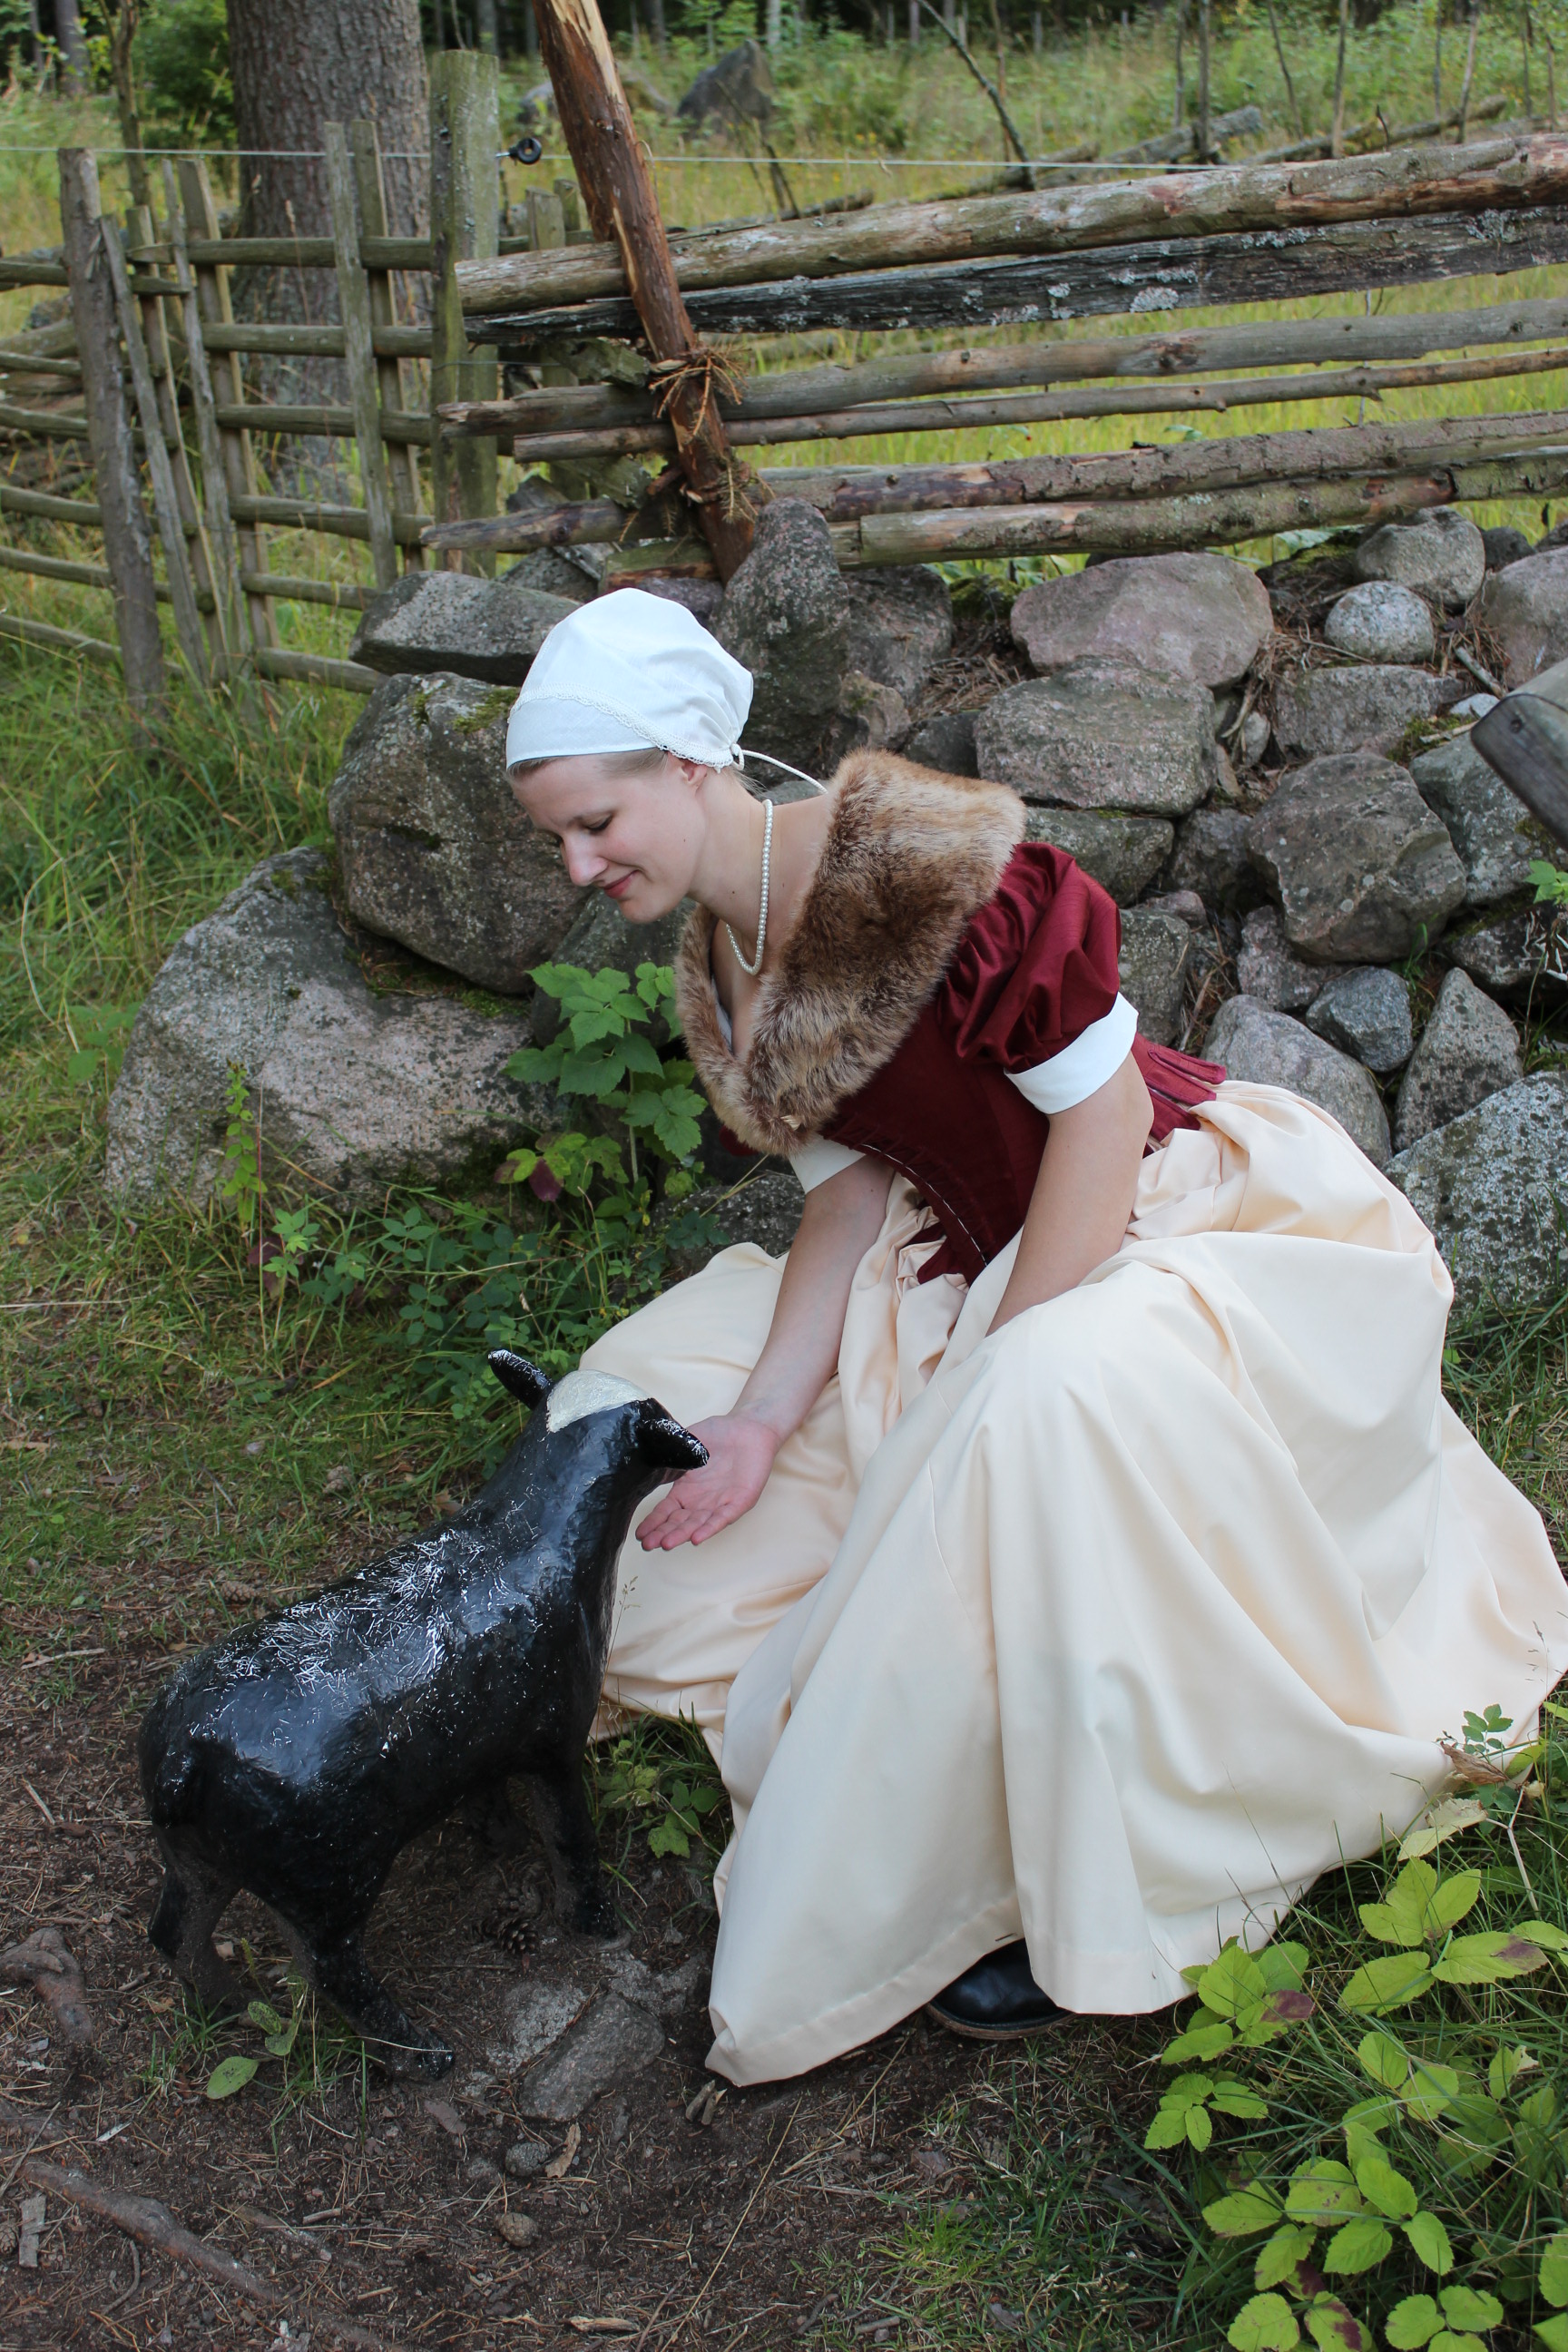
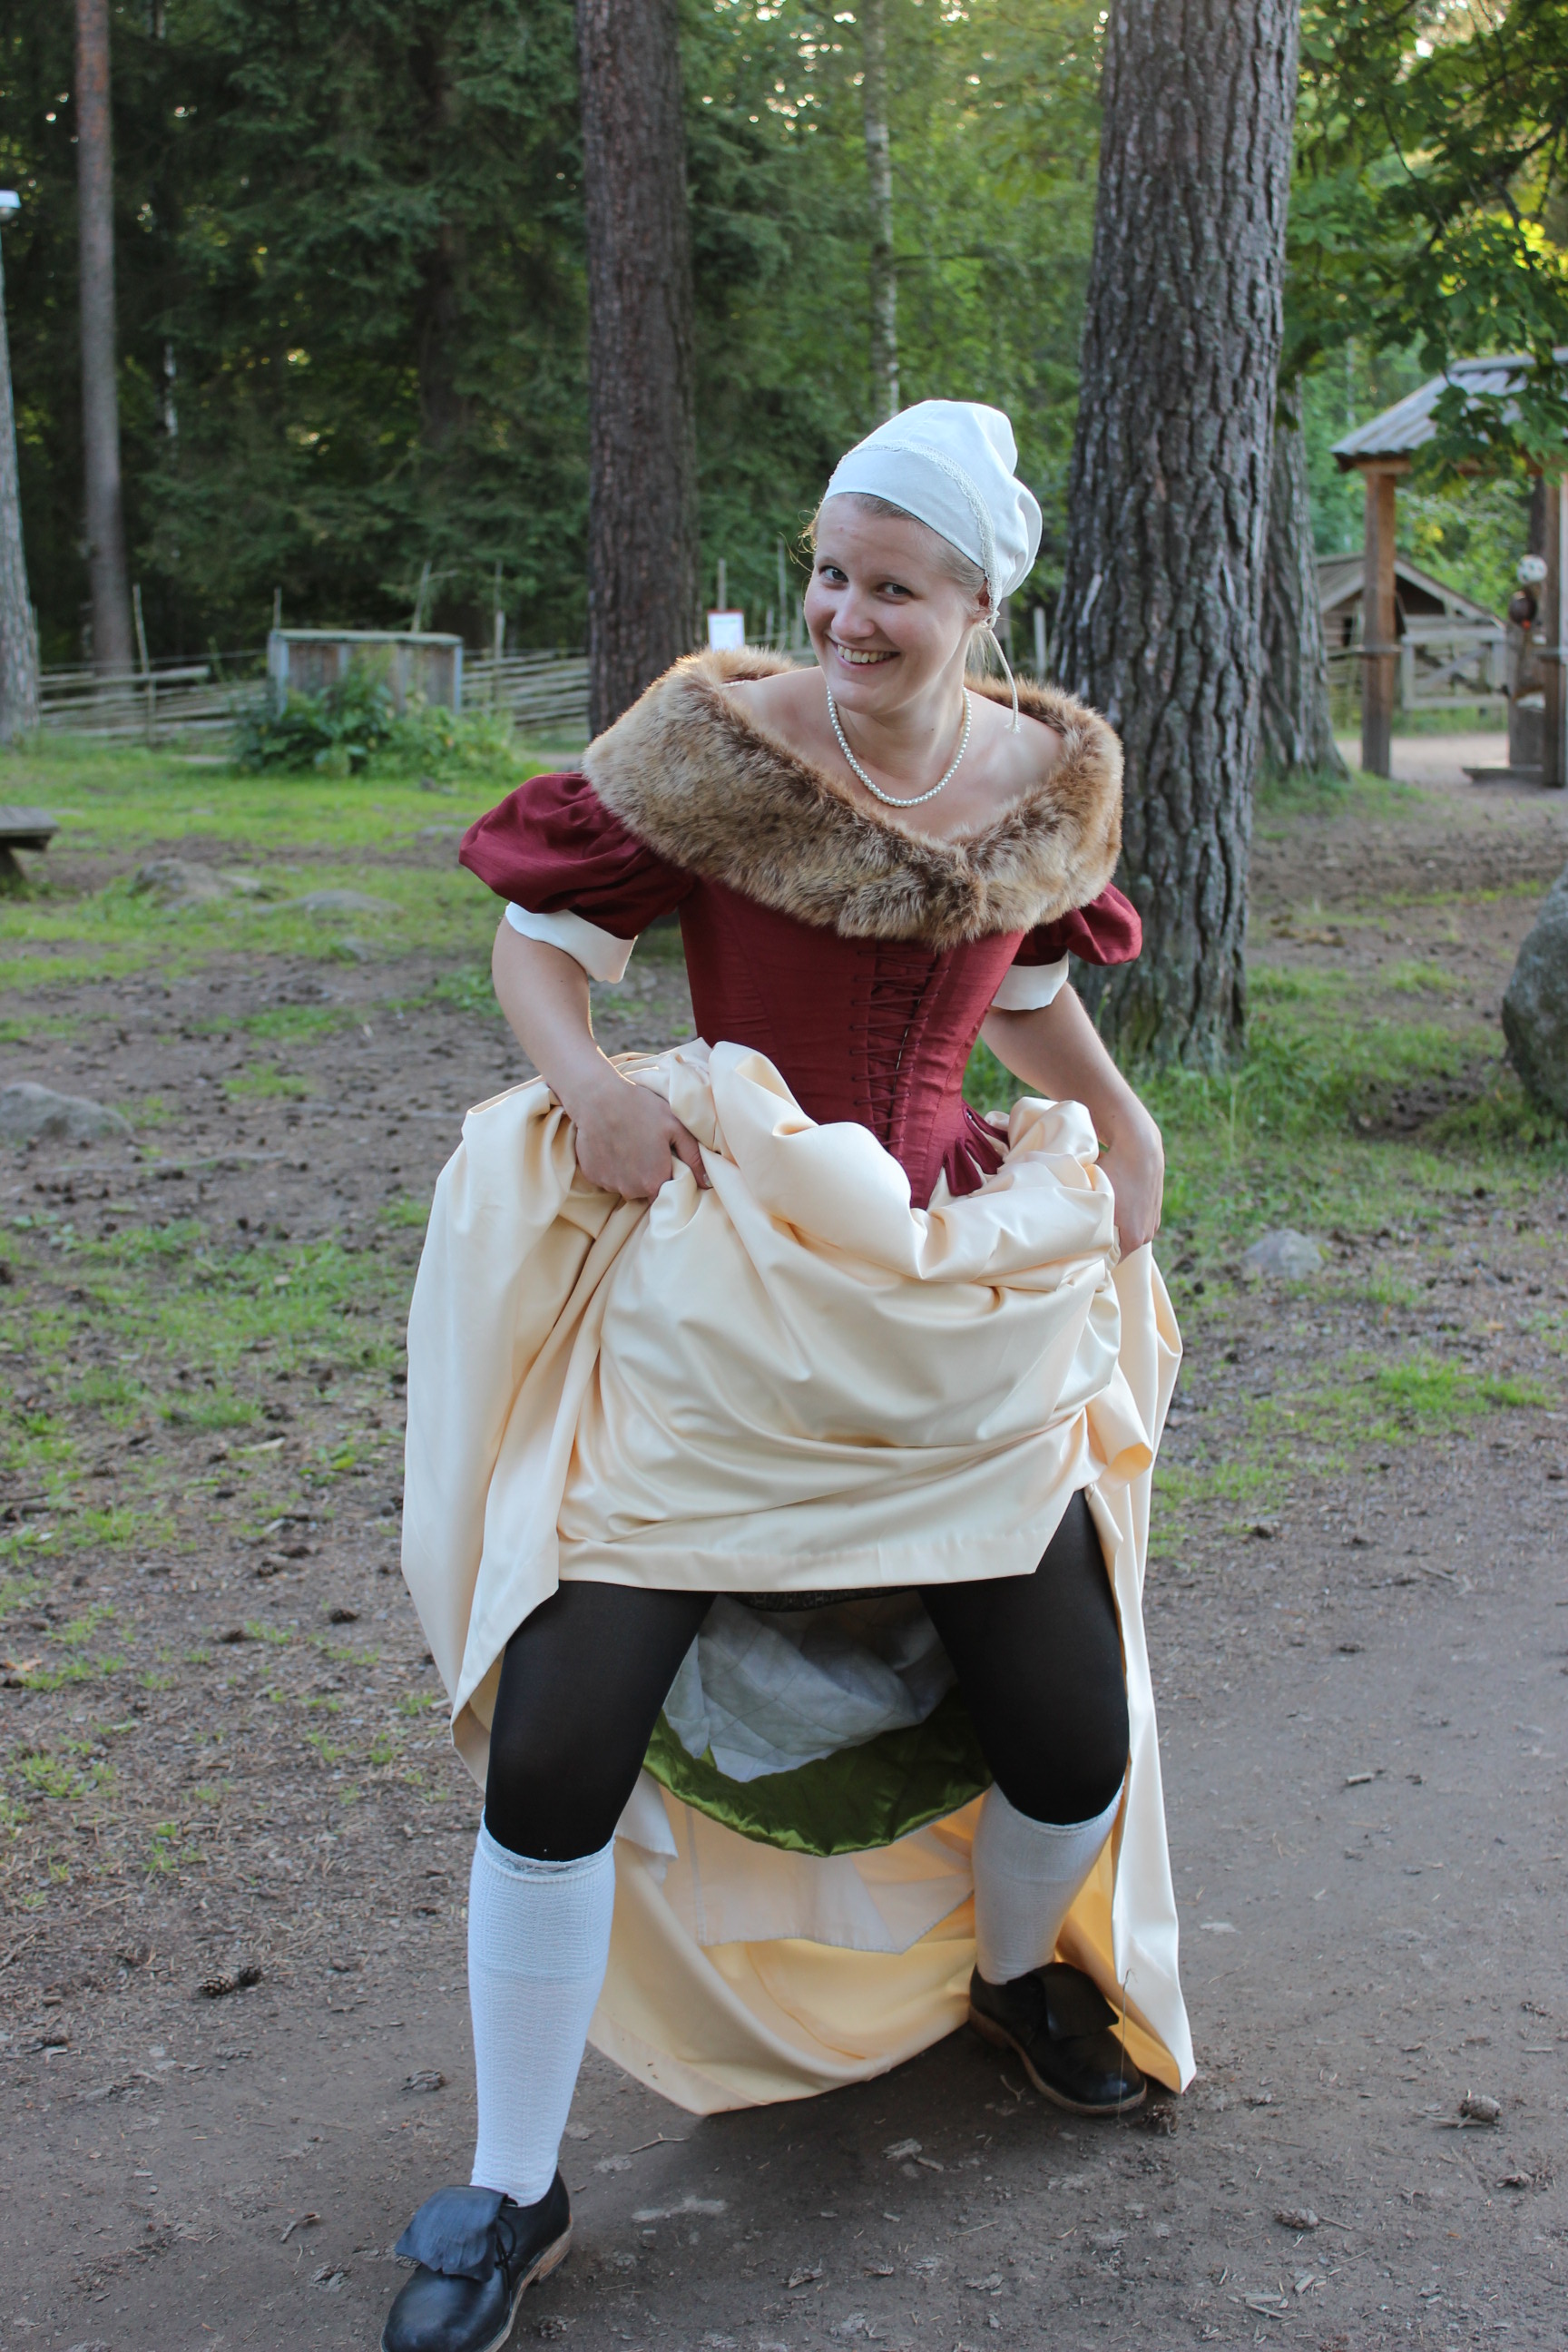
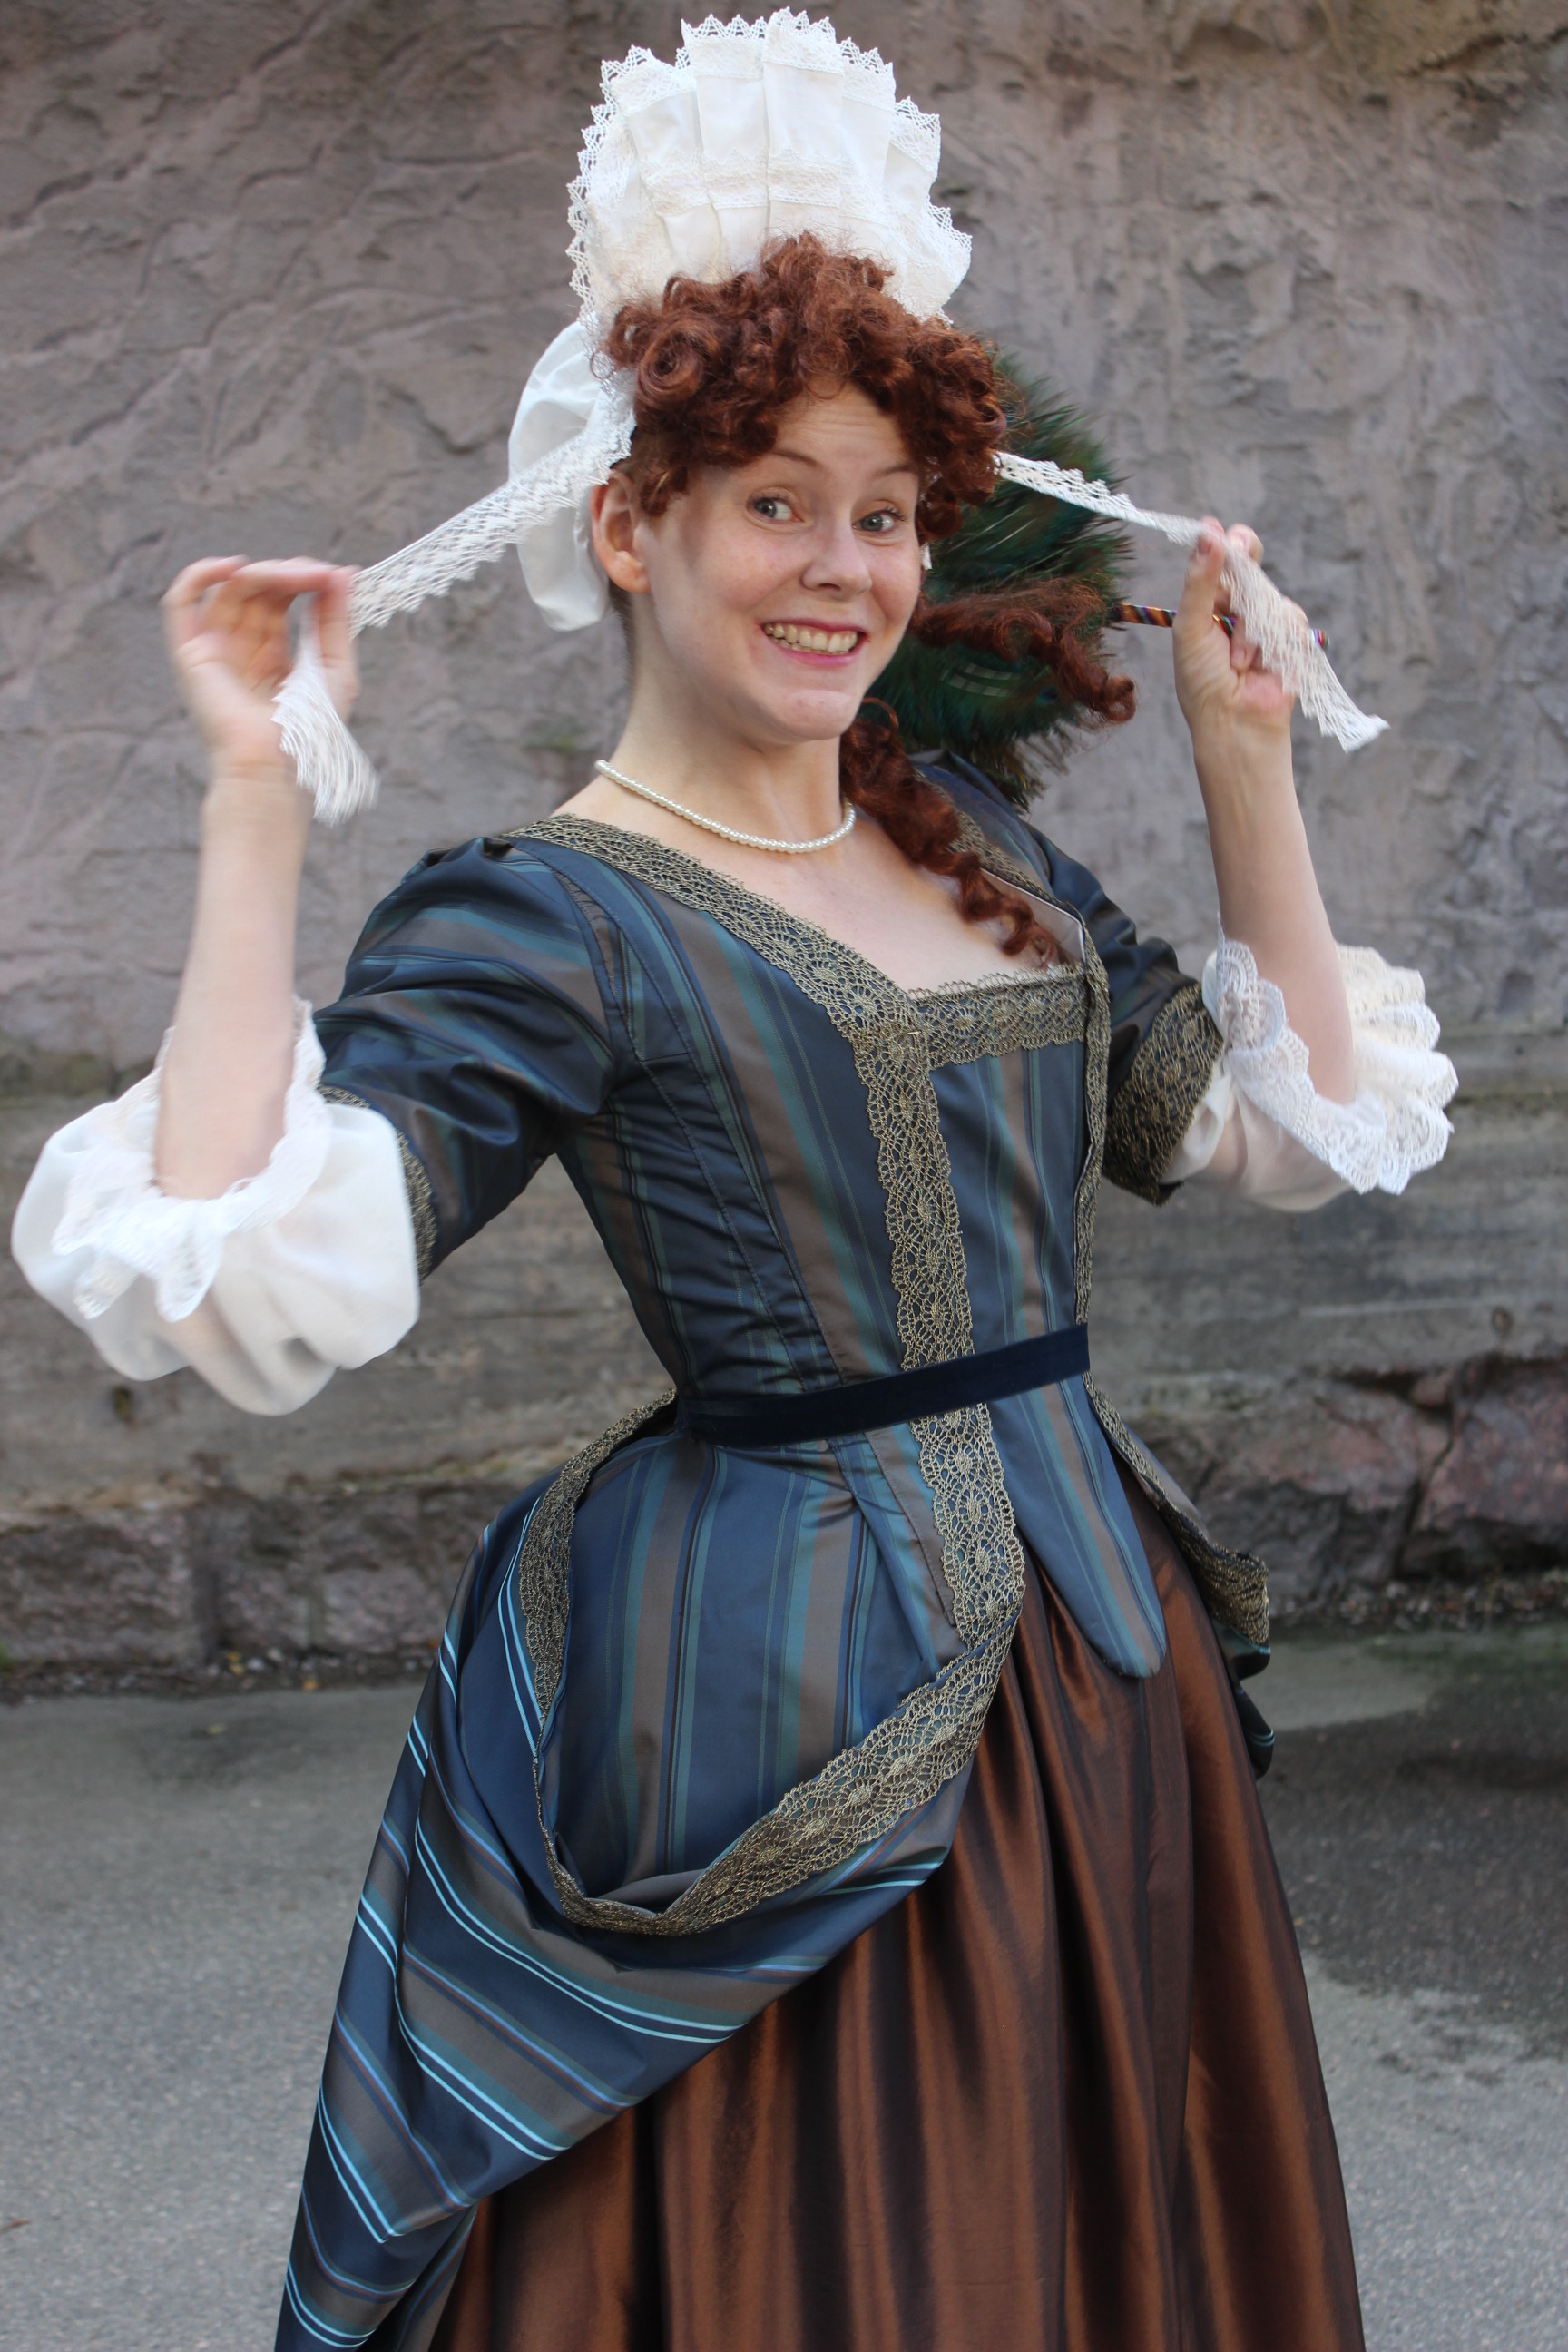
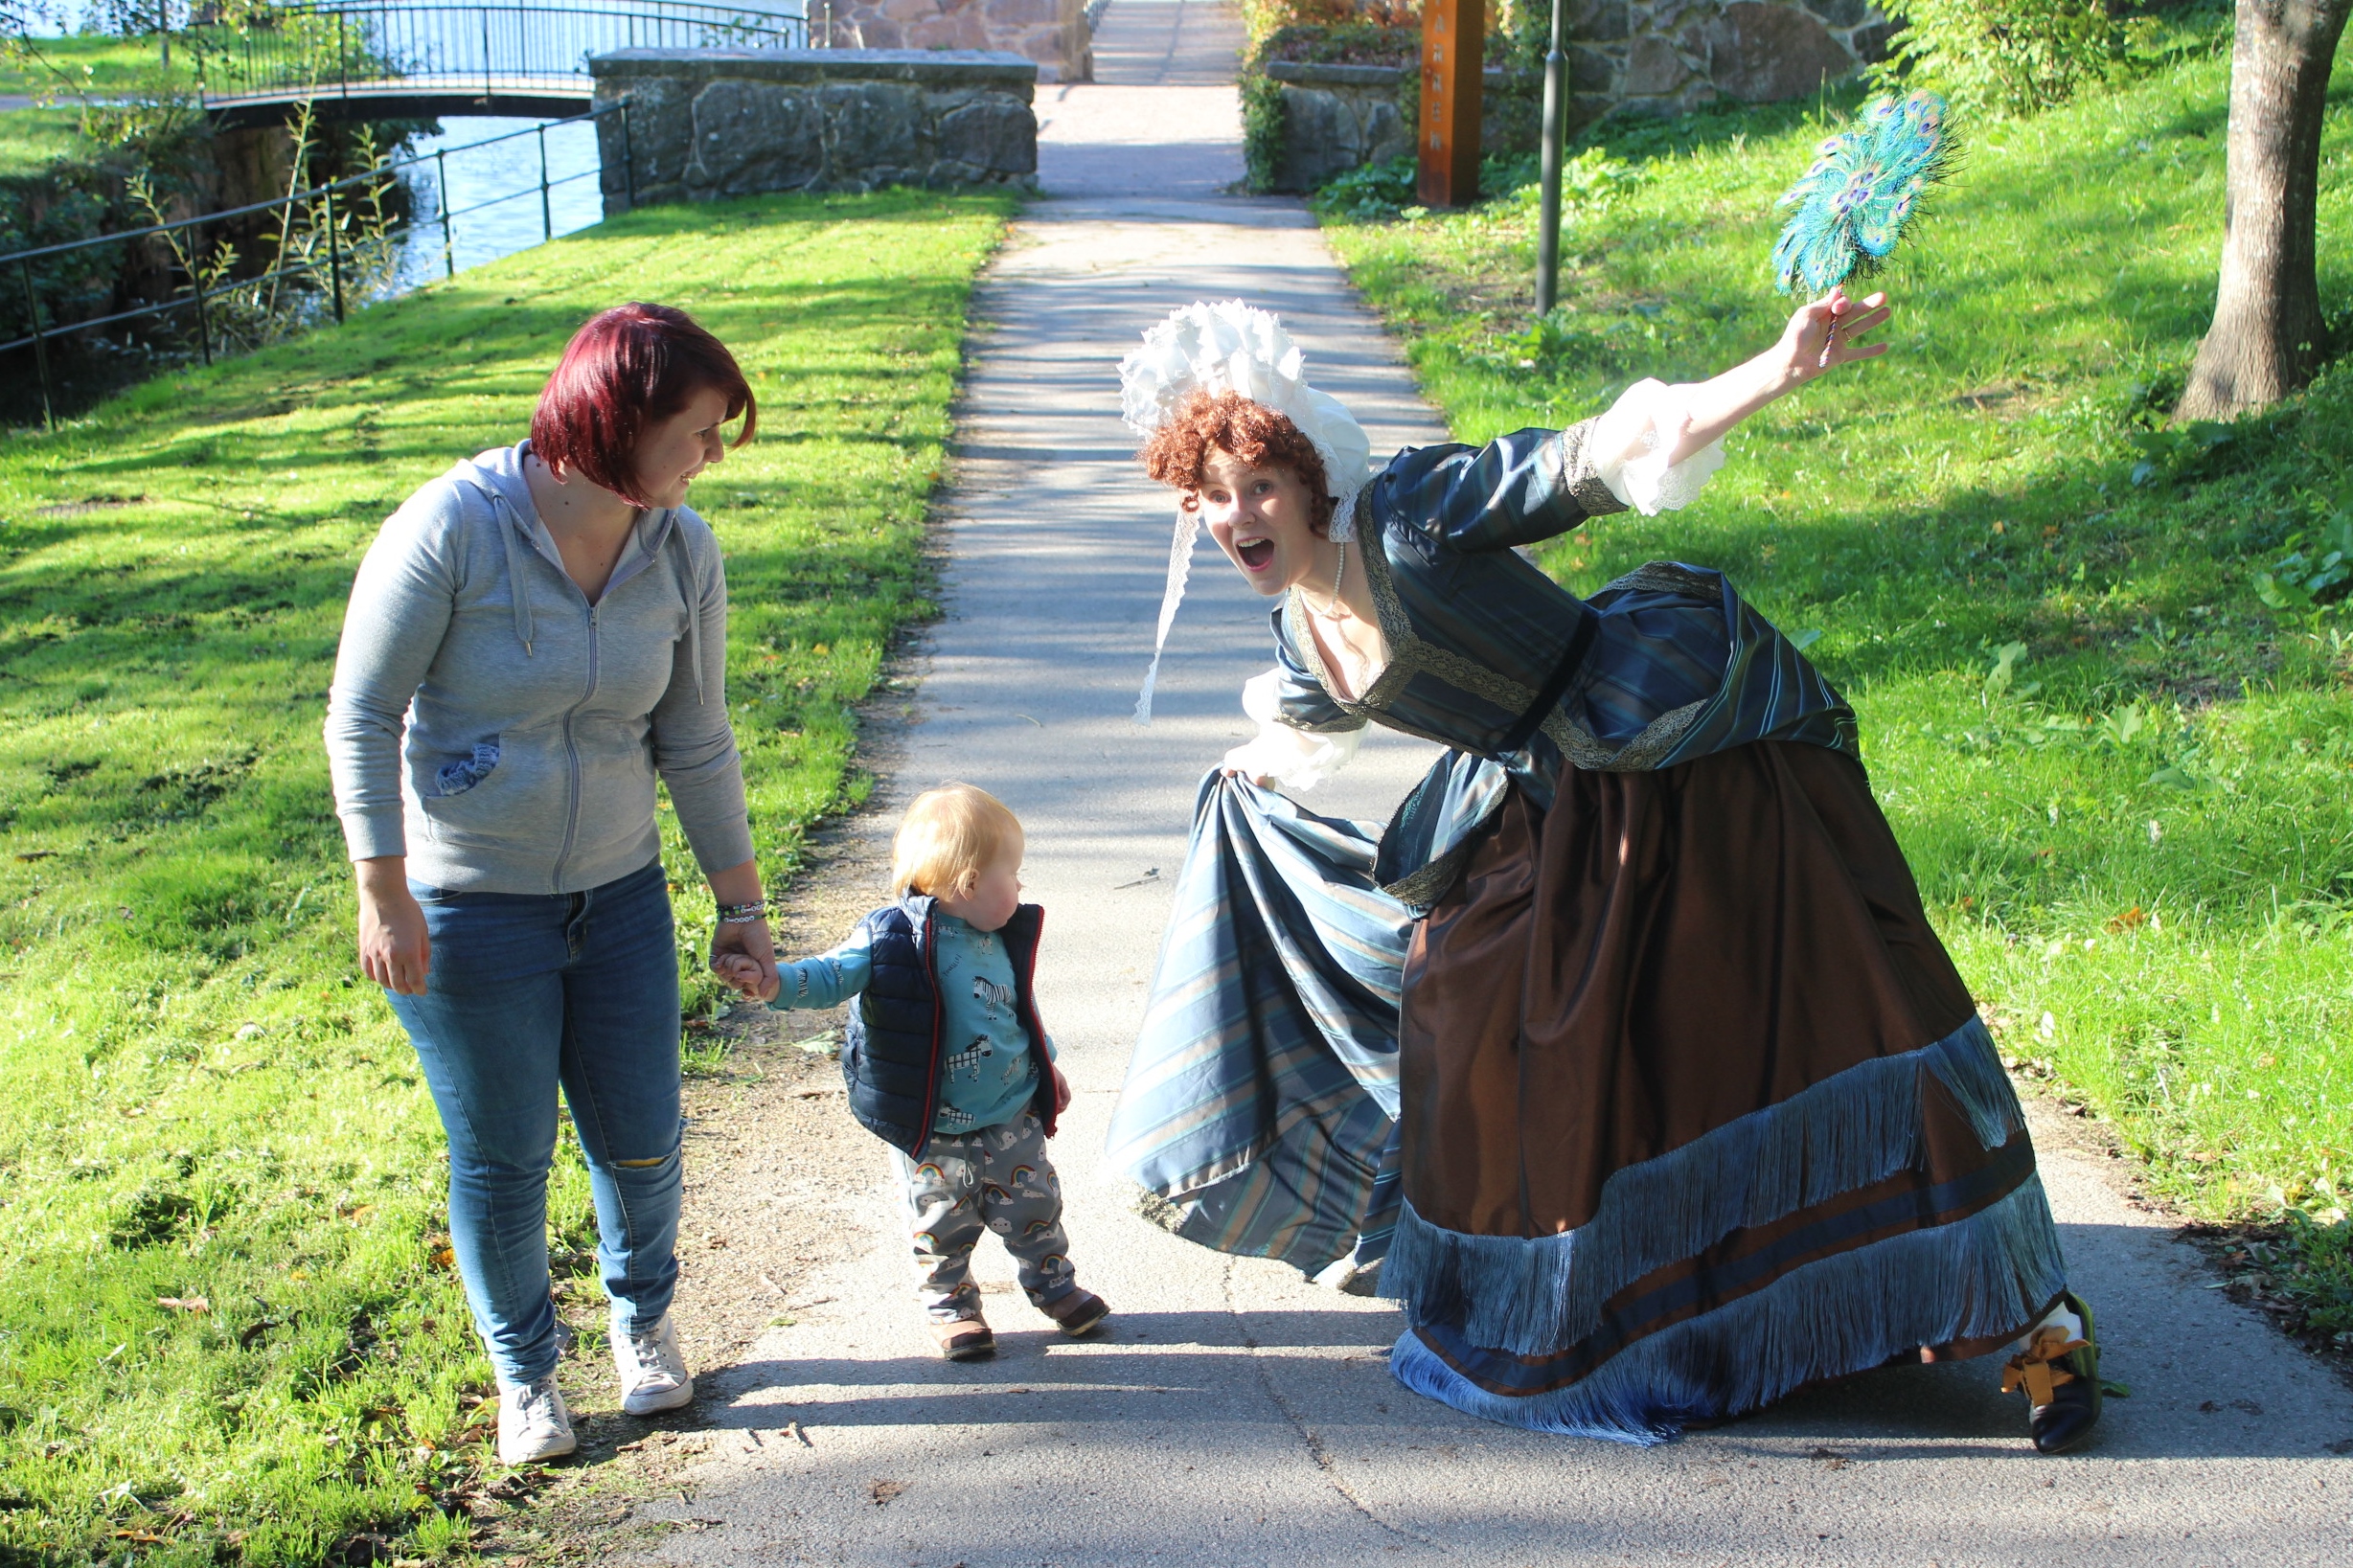
 Apparently it works as a driveway to 🙂

1690s Mantua fit for Versailles?(HSM 9/2017) – Construction part 1

The 17th century have long been on my wishlist to explore deeper (I have so far only made one dress from that entire century), and even though it seems to be a relatively forgotten part of costume history (at least if you compare to the ever popular 18th and early 19th century), It seams like it’s grown in popularity in the last year(s).

So when the news hit that there was to be a grand ball dedicated to the 1680s this fall, I knew that 2017 would be the year of the Mantuas.

Unfortuanly I wasn’t fast enough snatching a ticket (with the costs of the ball and a really clingy/mommsy toddler combined, I hesitated to long, and once I decided I was to go, it was to late), but the dress got done anyway and in perfect time for the HSM 9/2017 – Seen on Screan – “Be inspired by period fashions as shown onscreen (film or TV), and recreate your favourite historical costume as a historically accurate period piece.”

The only thing I needed to make the challenge was to find a tv-show/movie that would fitt the bill.
And what would be better then the Tv-show “Versailles” that airs its second season now.
I know the series focus it’s story around 1667 and the young king Louie VIX. But since his reign reaches into the 18th century I figured it wouldn’t be to far fetched to use it as inspiration.

As usual I started my process by doing some research on the topic.


After a quick glance at the existing pattern for this kind of dress (there is about 1 that I know of, and it haven’t gotten the best reviews) I decided to try and draft my own using The 1700s mantua from Waughs “Cut of Womens Clothes” and the great blogpost by Isabella of “A damsel in this dress”.Drafting on the floor.

I started by drafting the papper pattern following the direction and measurments from the book.

Checking the general fit and proportions.

Then I cut and made a mock-up
After some tweaking – like making the whole thing a little bit bigger, it was time to cut the fabric.

And here’s where I hit my first road bump.

I’ve been looking for a suatable fabric (for a good price) for a couple of months but hadn’t found any. So I decided to make do, and use something from my stash.
After some digging I surfaced with tre options: Green, red or striped?

I did a quick survey on my Instagram and got my own instincts re-asured
– Green for the win!

The only trouble was that I only had aprox. 4 m of it, and I the grown usually requires a lot more fabric then that.
But with some resorceful cutting and carefully measuring I was confident I could do it.
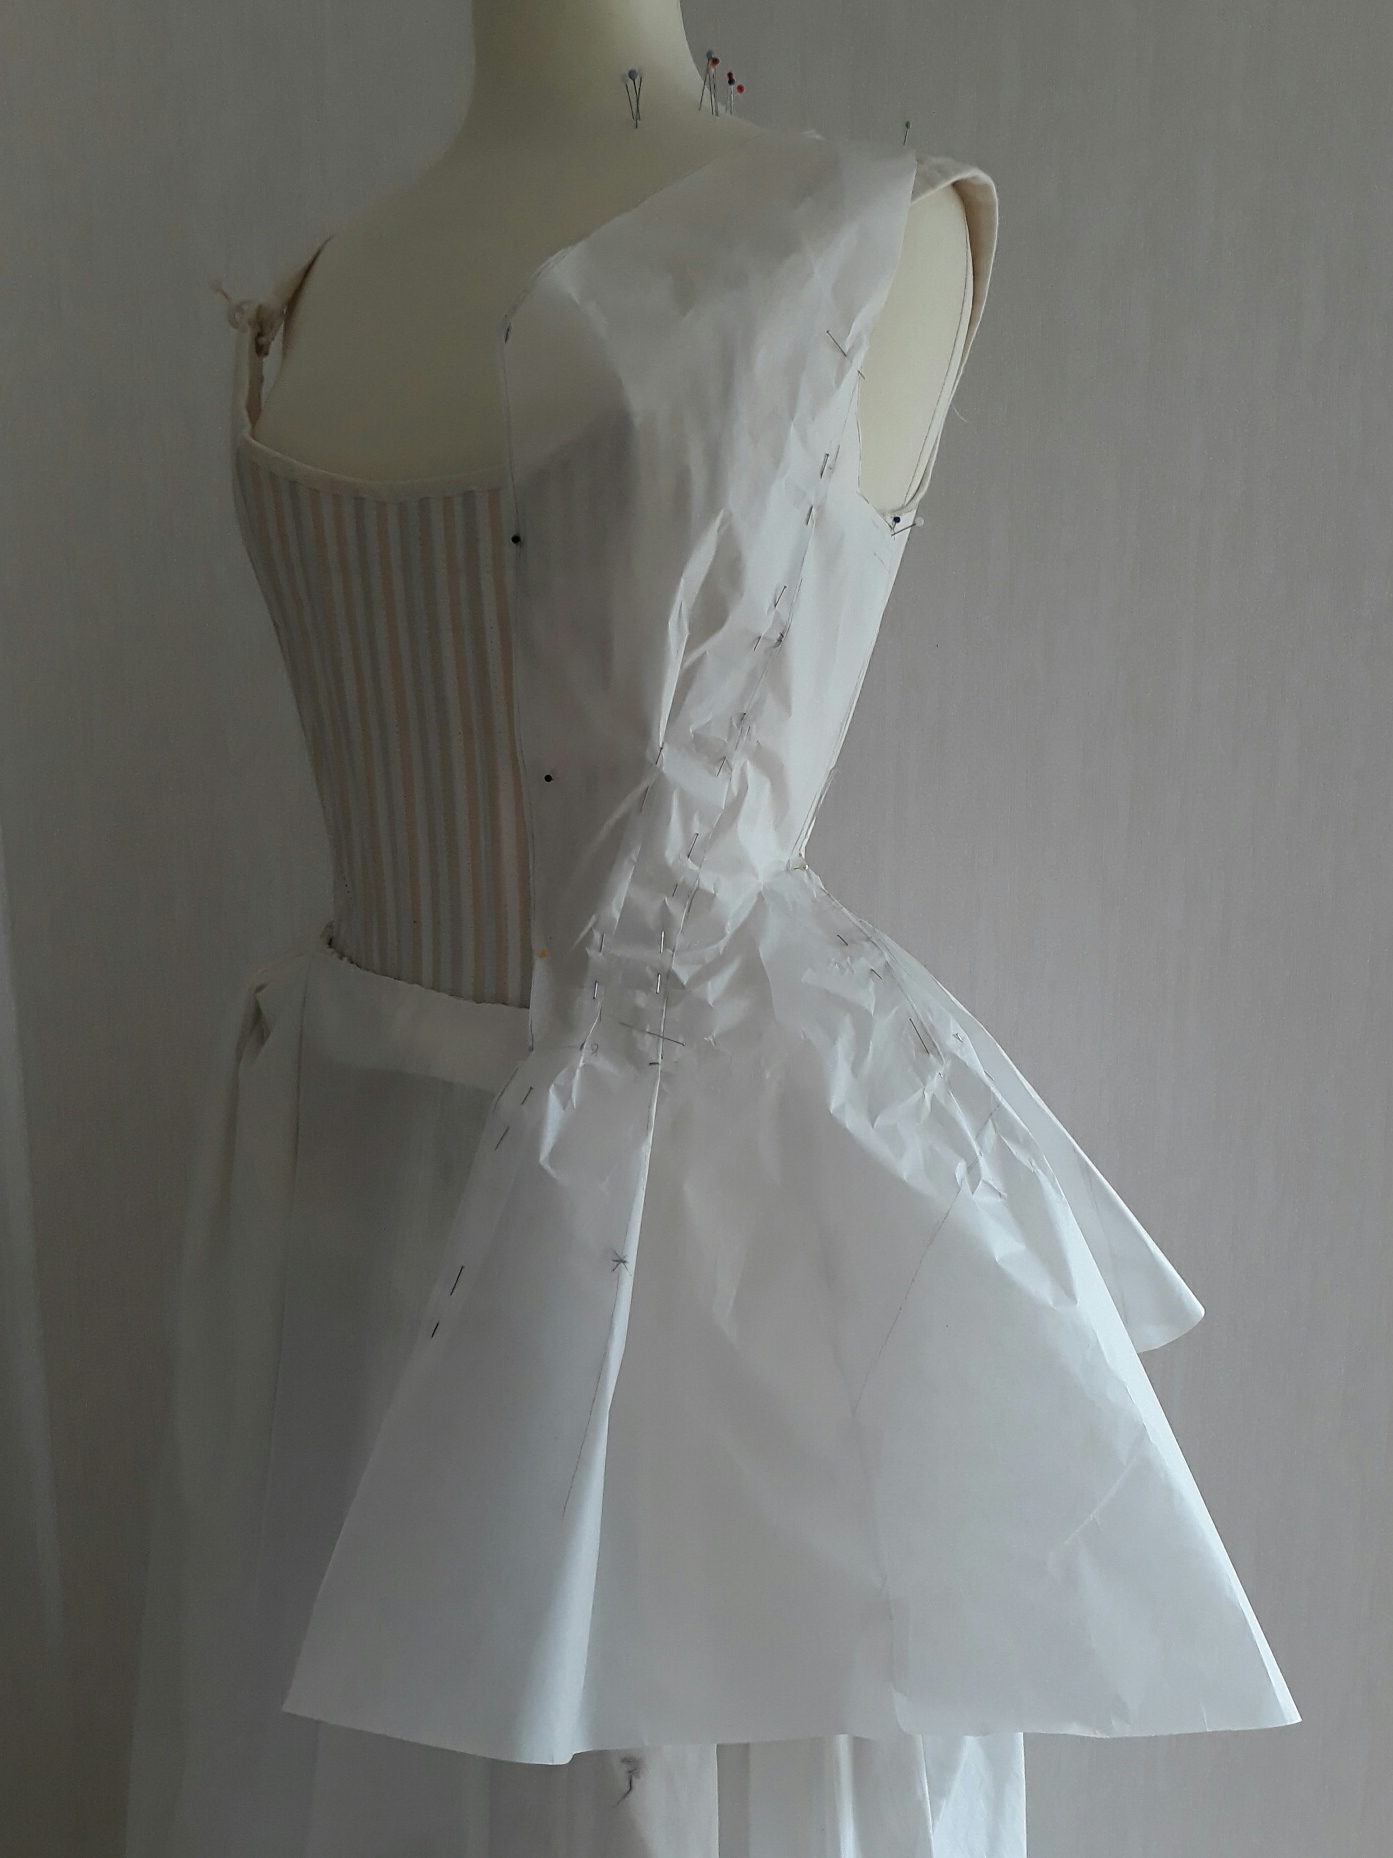
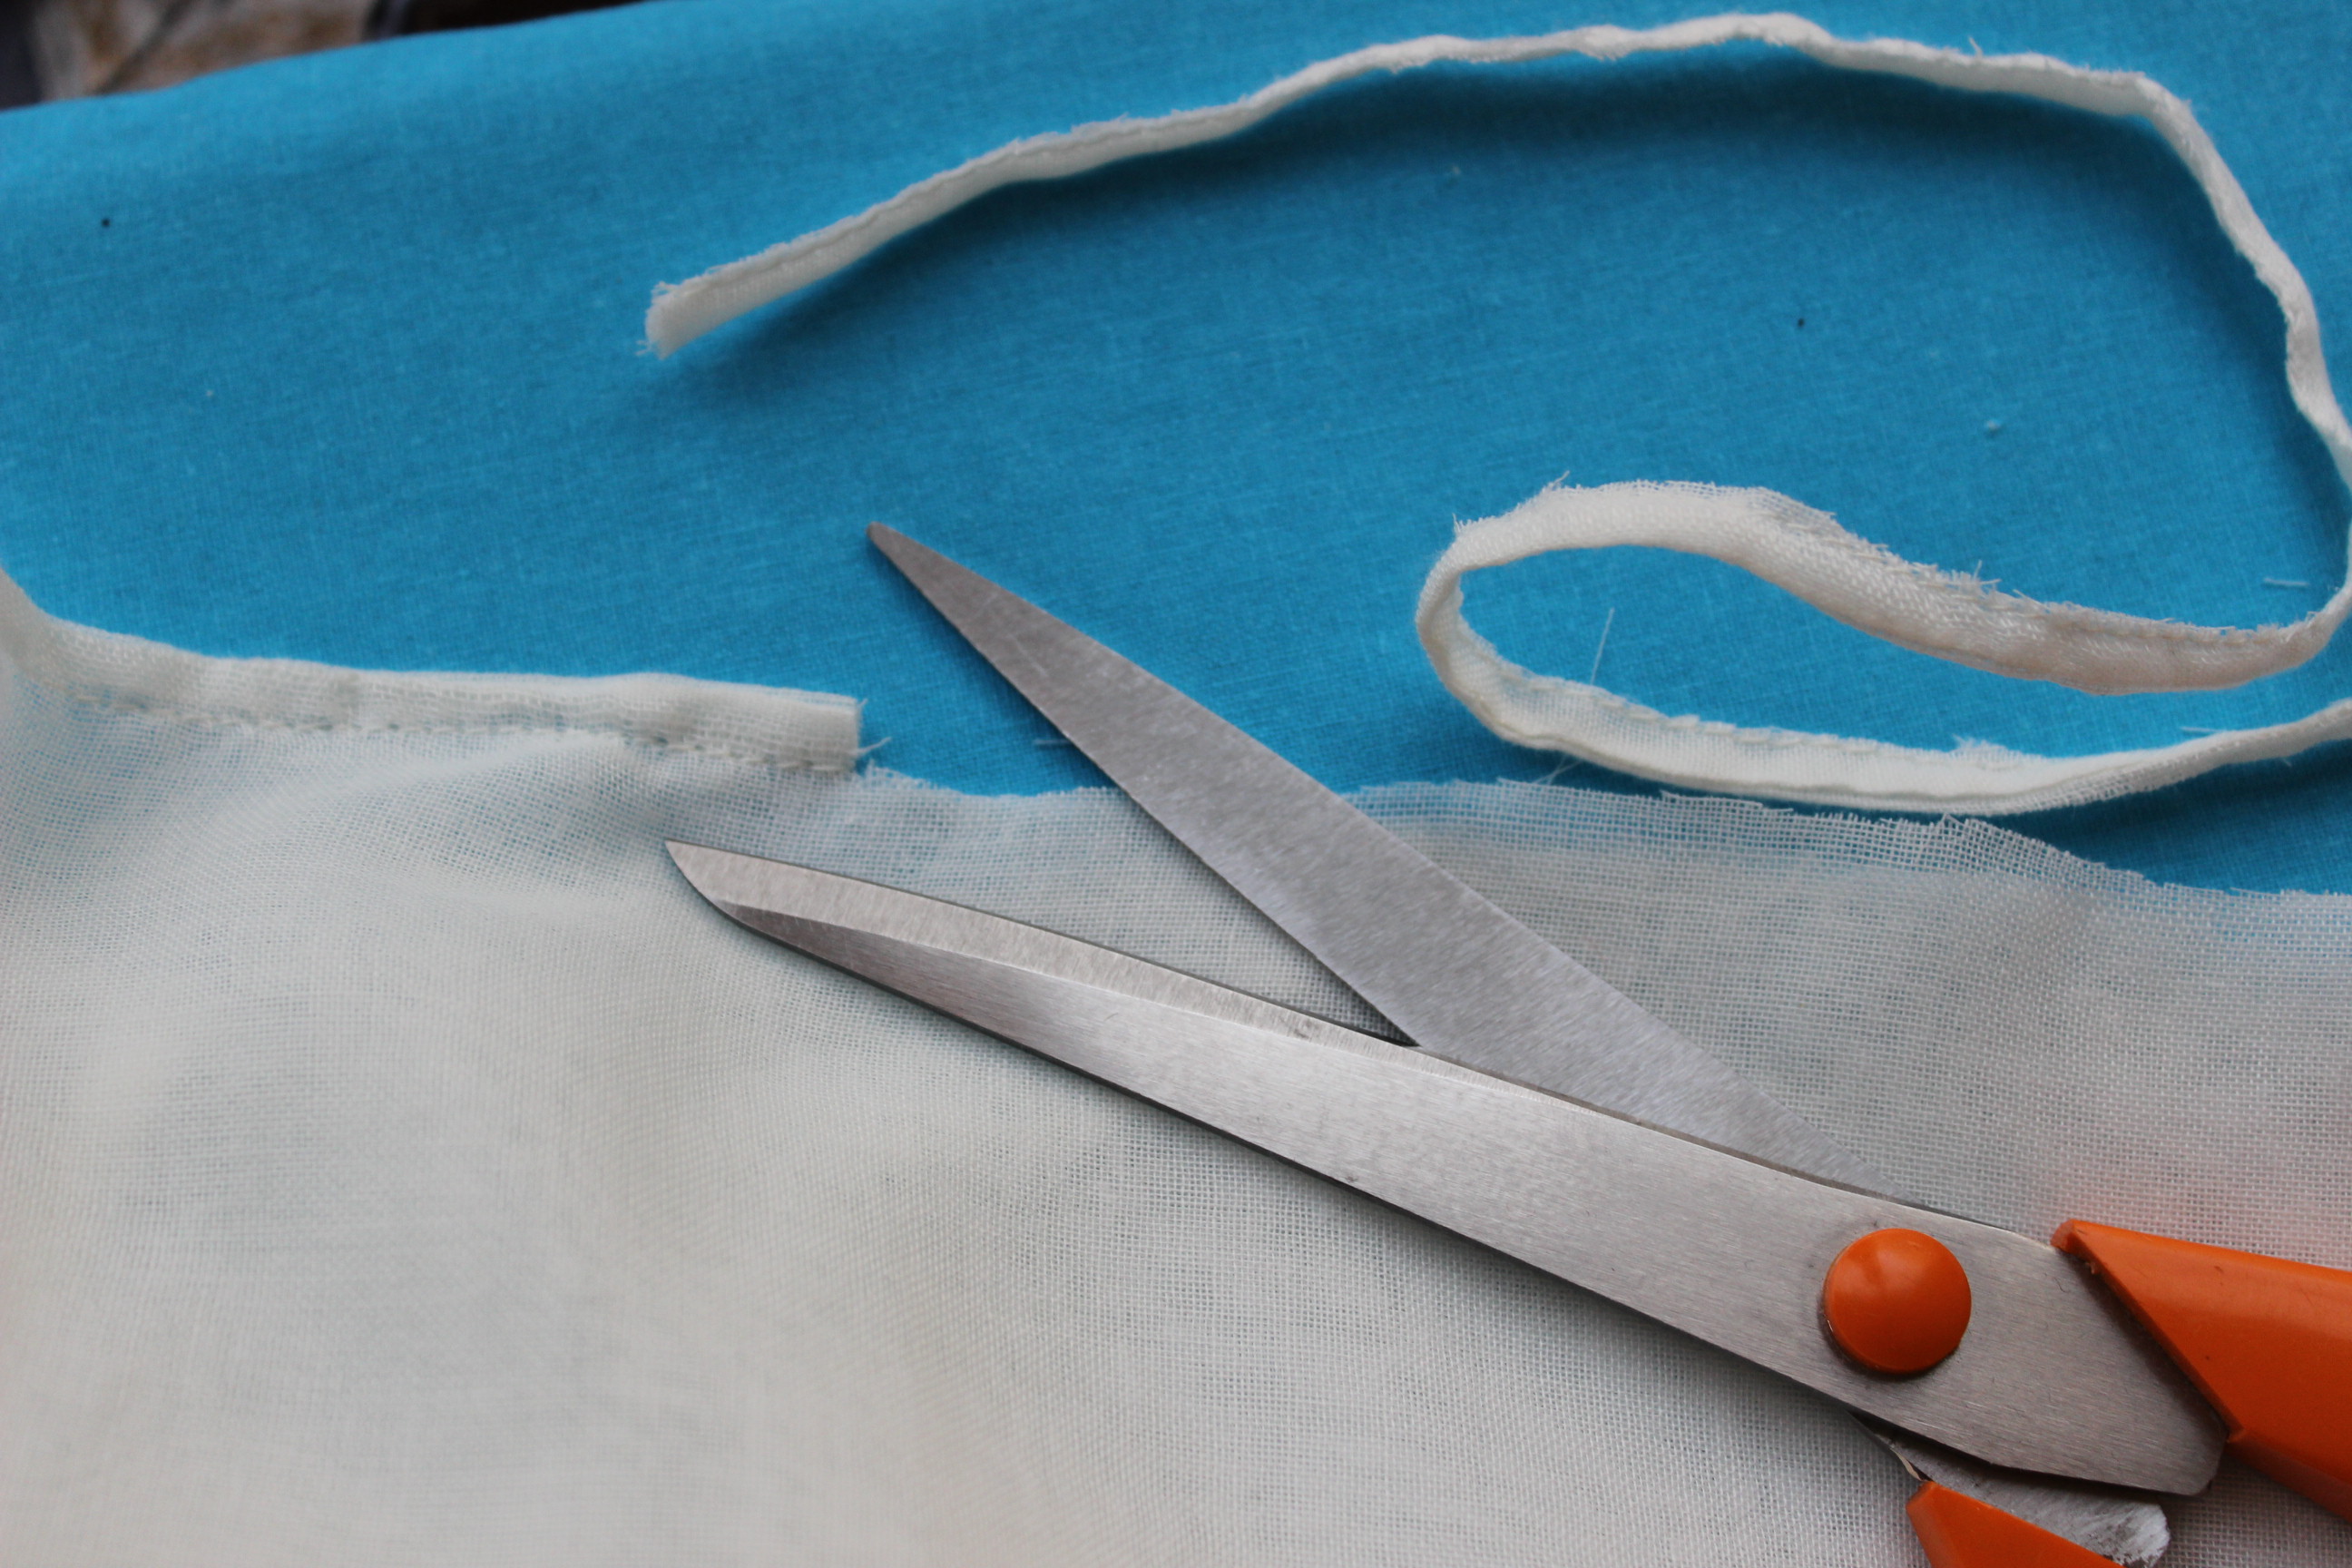
Sleeve and back pieces being cut.

Mind, this was around 23 o clock (11pm) and no cutting should EVER take place at that time…
Of course my eagerness to get started on the dress backfired,

And I realized to late, I’d cut two lefts and no rights…
With no possible way to rescue the situation, I had a quick breakdown and went to bed really annoyed and frustrated with myself.

It took a few weeks before I could gather the entusiasm needed to continue the gown.
Because I got upset every time I glanced at the pile of destroyed green fabric and un-cut pattern pieces.

But once I discovered a copper taffeta in my stash witch happened to match perfectly with the stripes in the grey fabric, and which would be perfect for the skirt/petticoat, I was back on track.

It’s hard do se in these pics but one of the stripes matches perfectly with the copper of the taffeta, and the blue/grey fringe is identical in hue to the main fabric/strip in the gown fabric.

Starting with the skirt/petticoat, constructing it as you would an 18th century skirt (using two widhs of fabric pleated to an overlapping waistband).
The only thing that took a bit of time was the decoration, made from two rows of fringe and a strip of grey/blue fabric, that needed to be measured and placed exact right to look good

Unfortuanlly I only gotten 1 of the two fringe trim avalable at the thrift store, and my dream of several rows of fringe fell short of 1 m. 😦
But I figured it wouldn’t be noticable benneth the train anyway (at least I hope so).

The finished skirt:

Click trough for part 2 (comming soon)

Elizabeth I – Construction Part 2 – Partlet

Once the dress was finished I got started on the accessories.
First up – the Partlet:

I decided right from the start that I would need something to ad a more “Historical” air to my costume, and what would better serve then a nice little shrug in a matching fabric (except some fabulous headgear – hold on, we will be getting to that – later).

Bildresultat för partlet elizabethQueen Elizabeth in a magnificent outfit, and what seems to be a blackworked partlet/shift.

I’ve one one of these pieces before a couple of years ago for my sister.CIMG3175Theater costume for the fictional play “The Tempest”

This time, like last time, I used the pattern from “The Tudor Tailor”.
Bildresultat för partlet patternThis is not the pattern I used but, one I found during a quick google search.

I used the leftover golden brocade and cut the pieces.img_1320Unfortunately I didn’t manage to pattern match as good as I would have liked, but that something I can live with at this point.

The lining is made from regular white cotton and scraps of fake fur to get hat lux and cosy feeling I wanted.img_1318

Doing the whole thing using modern techniques I stitched the outer fabric and the lining together separately and then pinned them together all around.img_1322

In one long seam I stitched the whole thing together.img_1324

Sandwiching the ties at each lower corner.img_1325

Then I snipped all the curves to get them to lie flat.img_1328

I used an opening in the lining (which I left open when I stitched the lining together) to turn the whole thing right.img_1330

img_1331

I finished by stitching the opening shut, adding a hook and eye at the lower front edge and pressing the partlet into a nice crisp shape.

img_1380 The Inside 

img_1381

The Finished Partlet:
img_1359

img_1363

img_1364

img_1366

img_1370

img_1371

img_1509

img_1508

The facts:

What: An 16th century Partlet

Pattern: Drafted from “The Tudor Tailor”, even though you can use several of the free patterns available online.

Fabric & Notions: Scraps (2 pieces about 30 x 50 cm) of brocade and white cotton sheets, 3 pieces of fake fur (about 30 x 20 cm) and thread.

Time & Cost: This was a real quick and cheap project which took les then 2 hours and cost almost nothing (since I used scraps)

Final Thoughts: I really like the way it came out (even though I didn’t had the fabric to pattern match the front. I love making these quick and small pieces and are actually thinking of making more of them in lots of different color, fabrics and styles.

1400-1600s Chemise

The first thing I needed for my Borgia dress was a new chemise.

I wanted one with lots of floowy fabrics and huge sleeves to pouf through the holes in the outer dress.

Bildresultat för the borgias chemise
Not as fancy as this one, but in the same style.

And since a chemise is basically made out of squares, I didn’t use any pattern but used sketches like this one and the one in “The Tudor Tailor” for reference.

Bildresultat för chemise pattern

I used a thin cotton voile, and sewed the whole thing on machine using the french seam as a seam finish.

IMG_0302

The whole thing went together pretty fast, and I would have made it in one night if I hadn’t messed up and inserted one of the sleeves inside out.

Damn!

And not only had I set it inside out, I only noticed it after I french seamed the heck out of it.

Double Damn!

IMG_0330
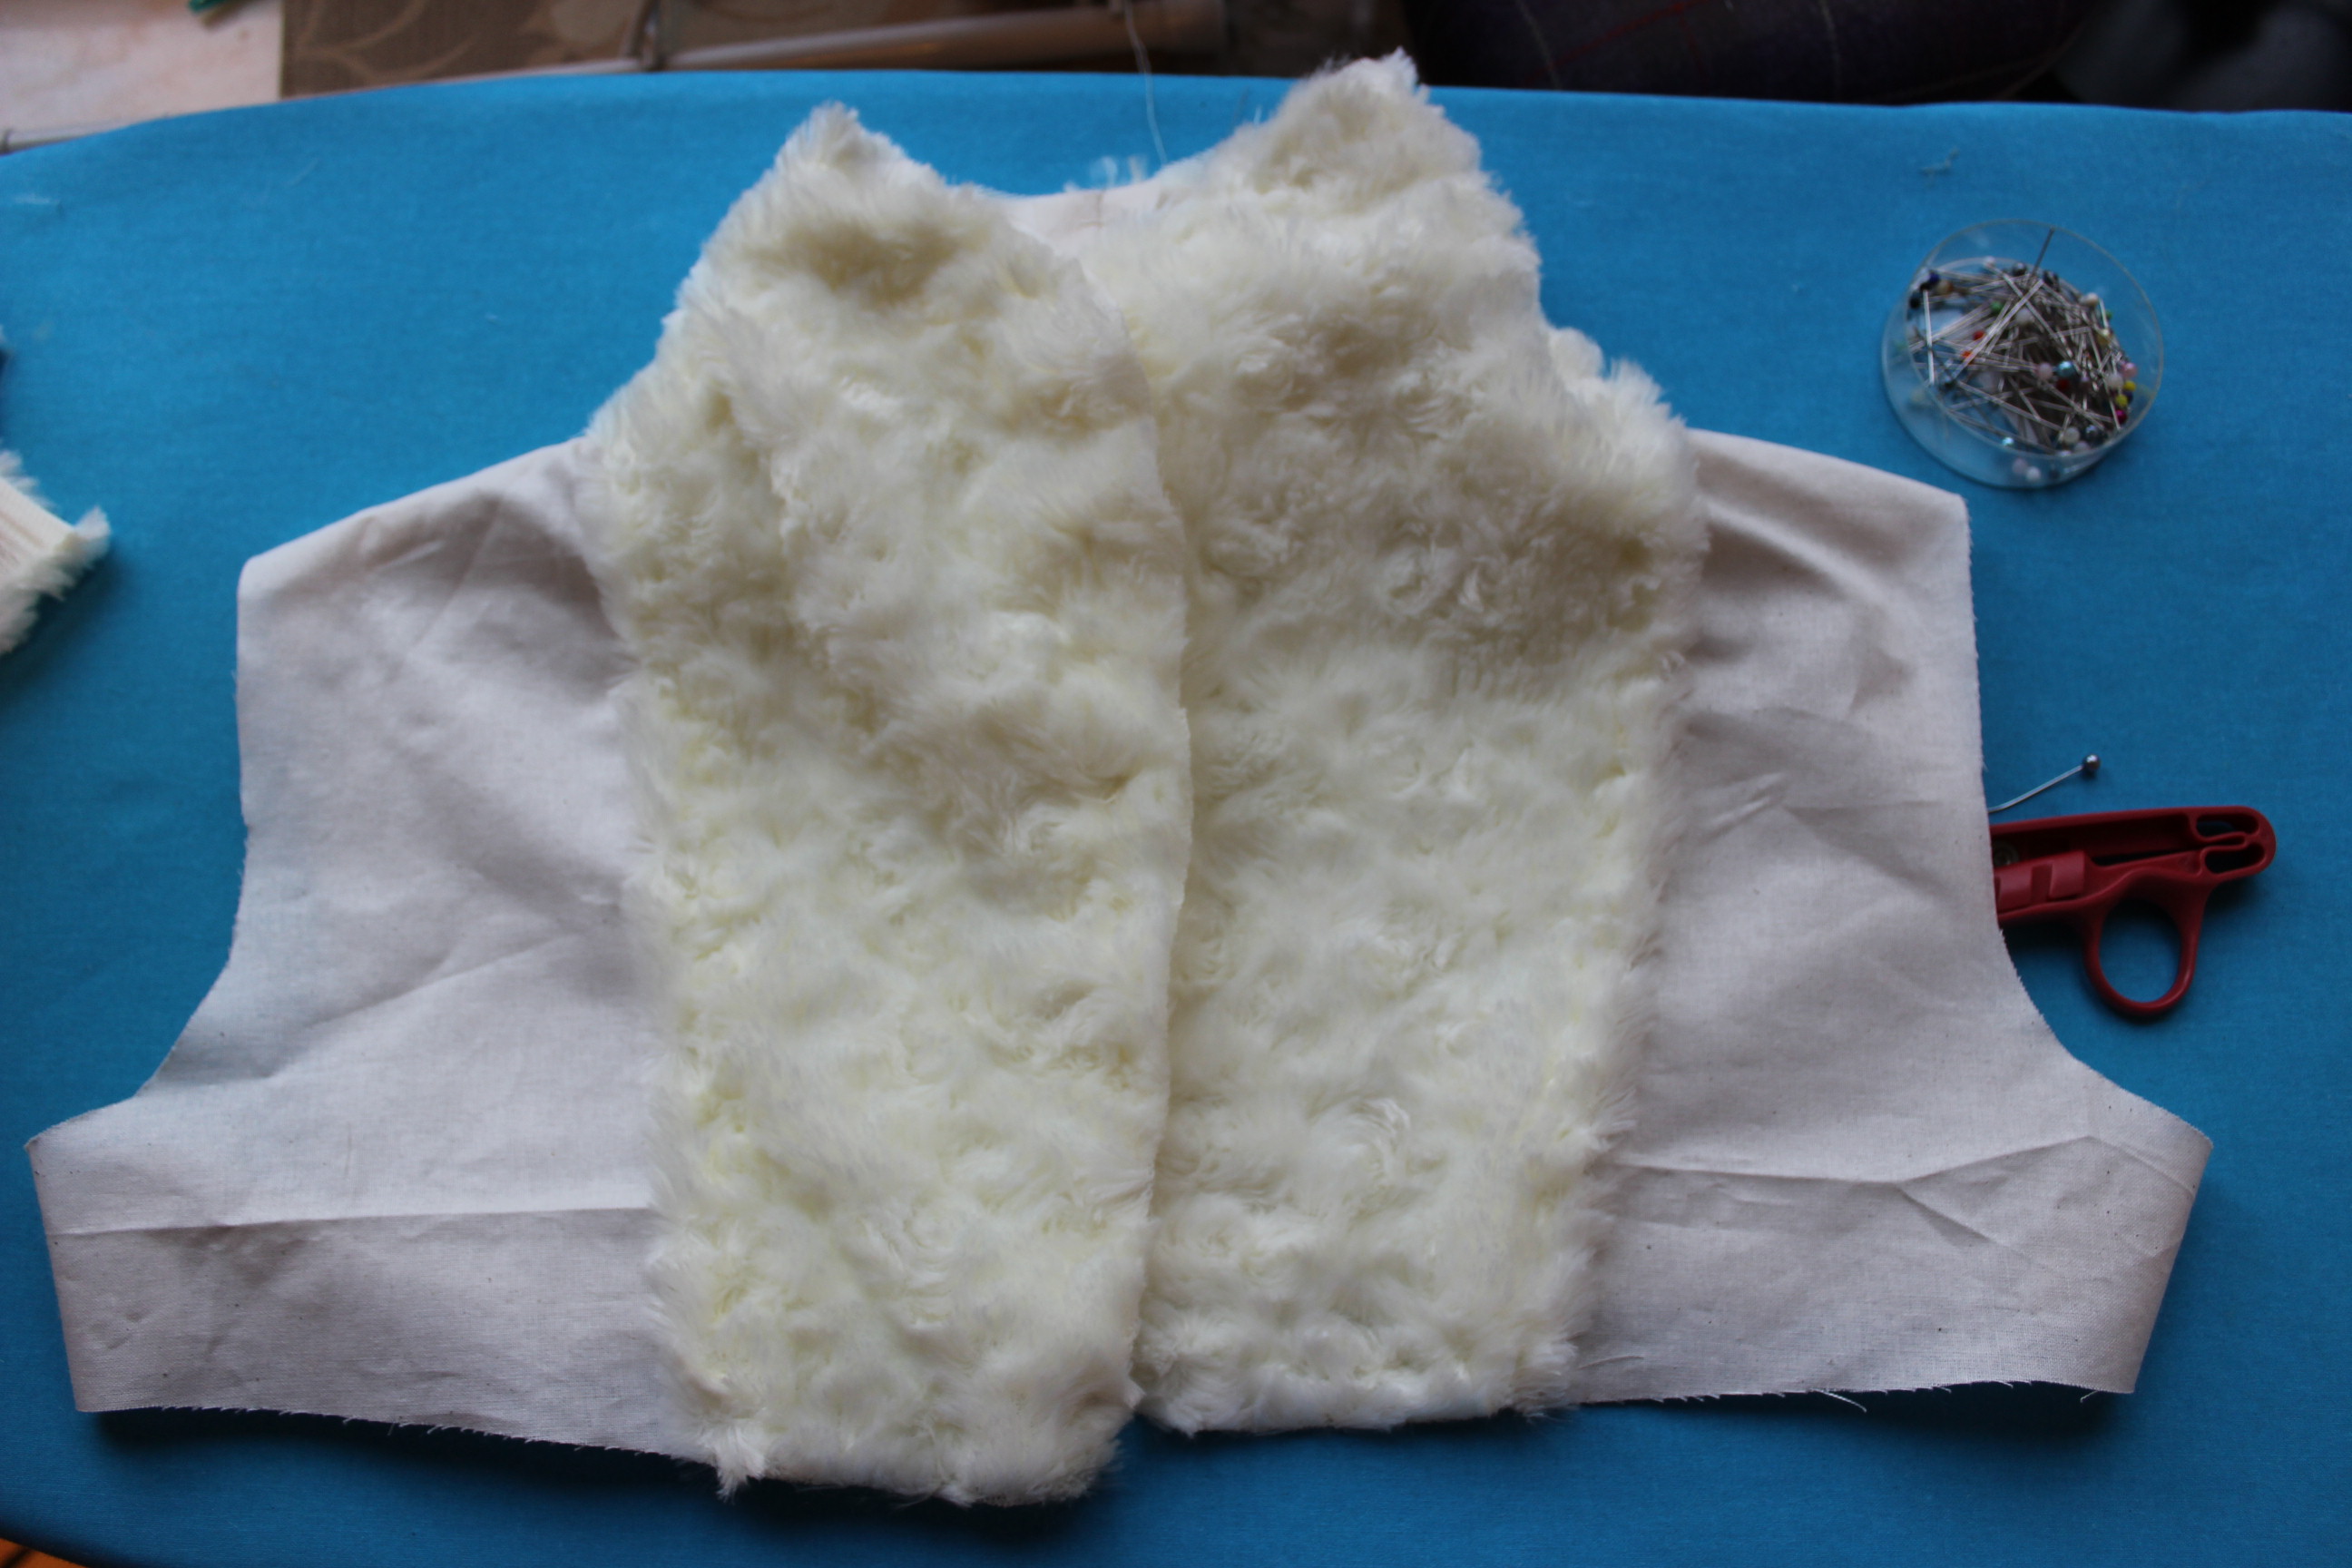
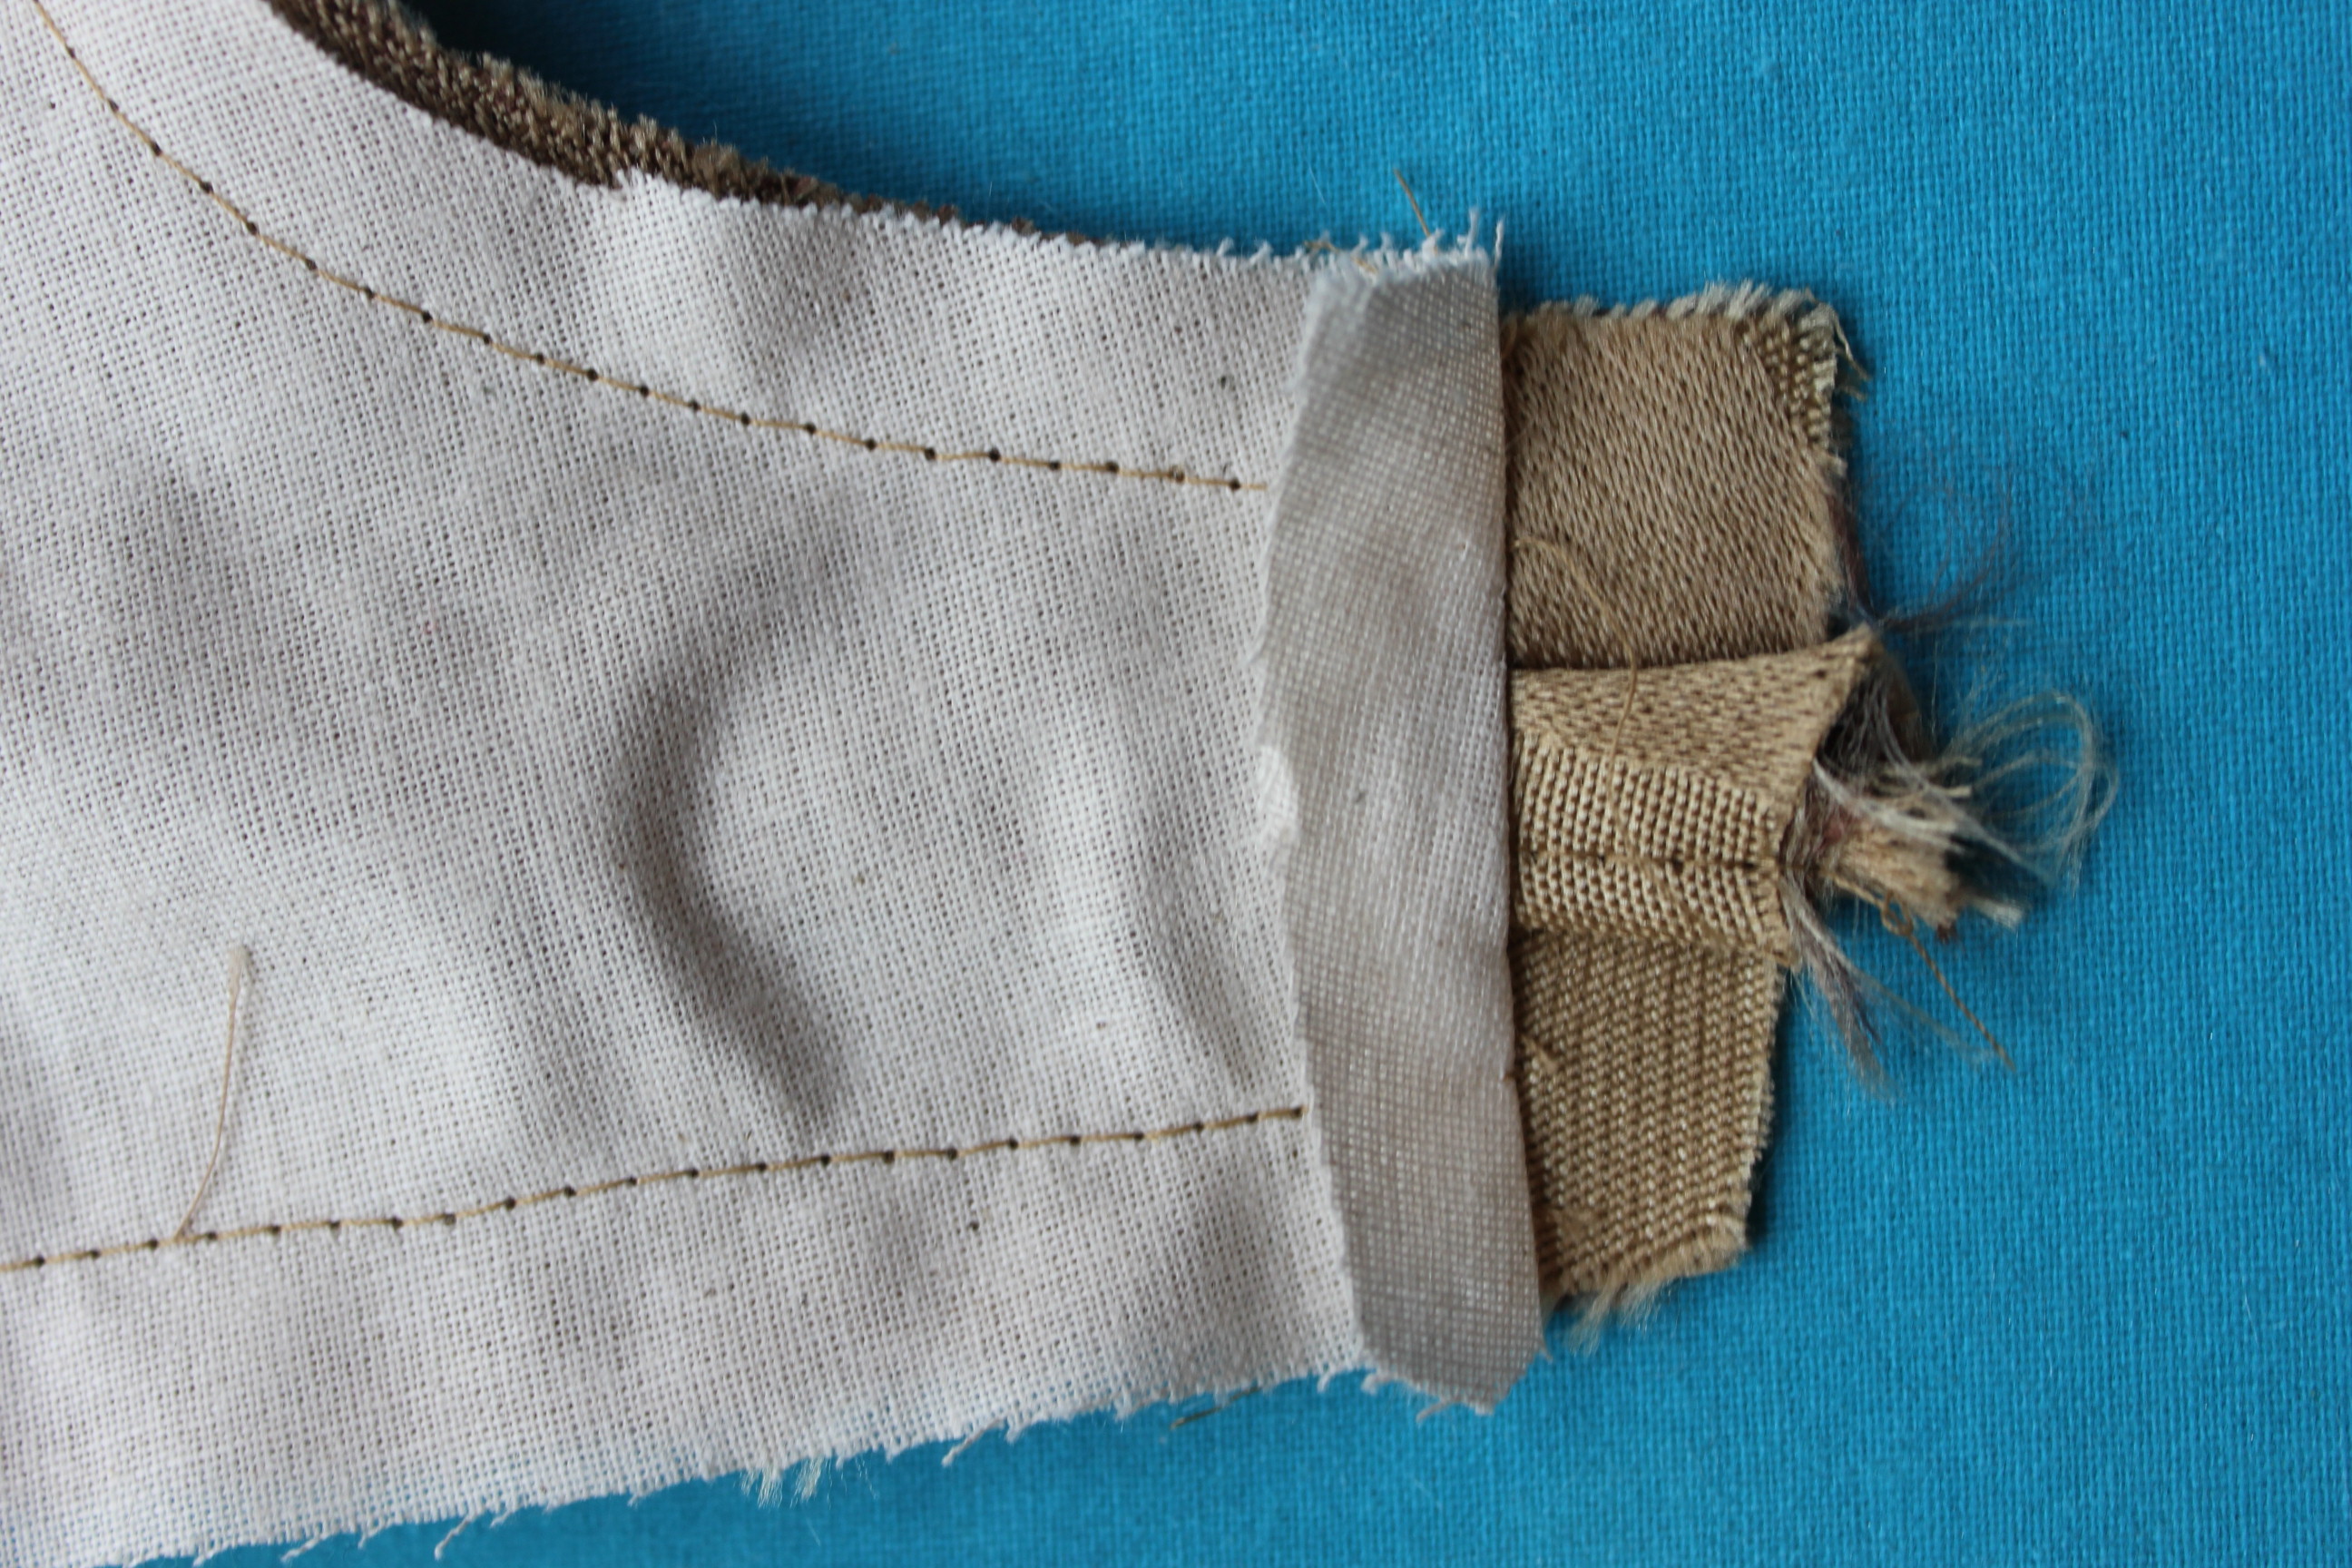
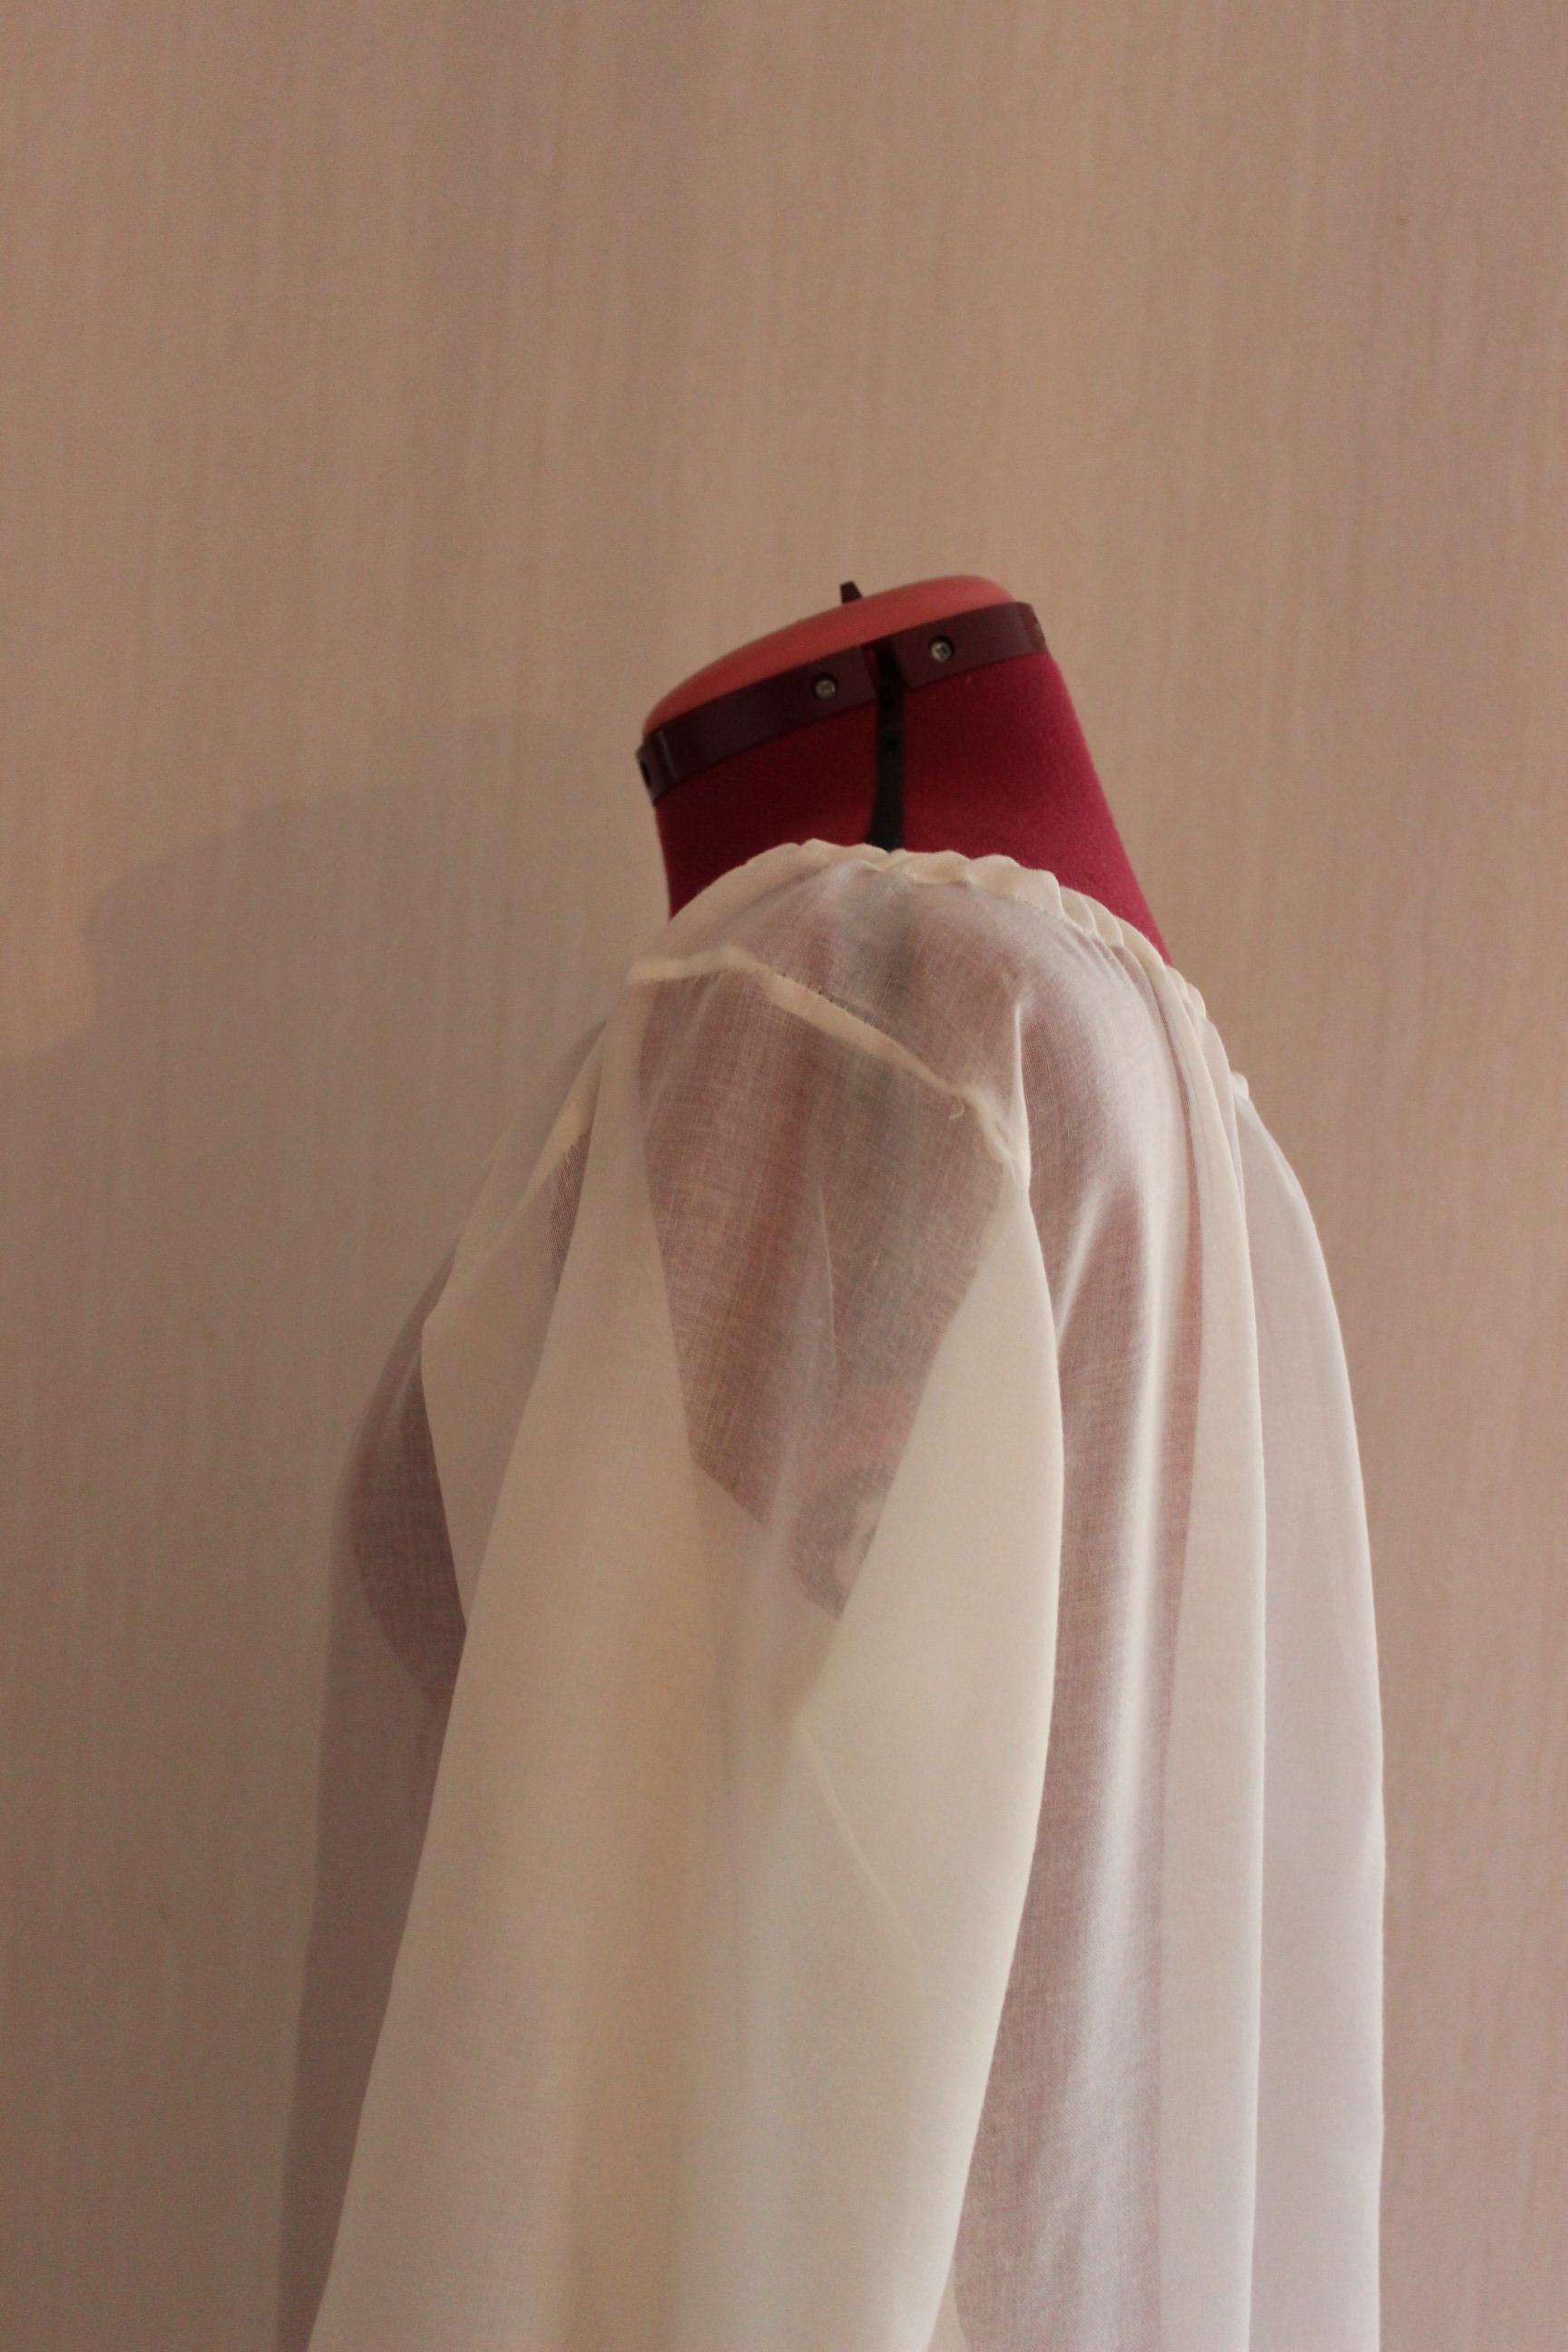
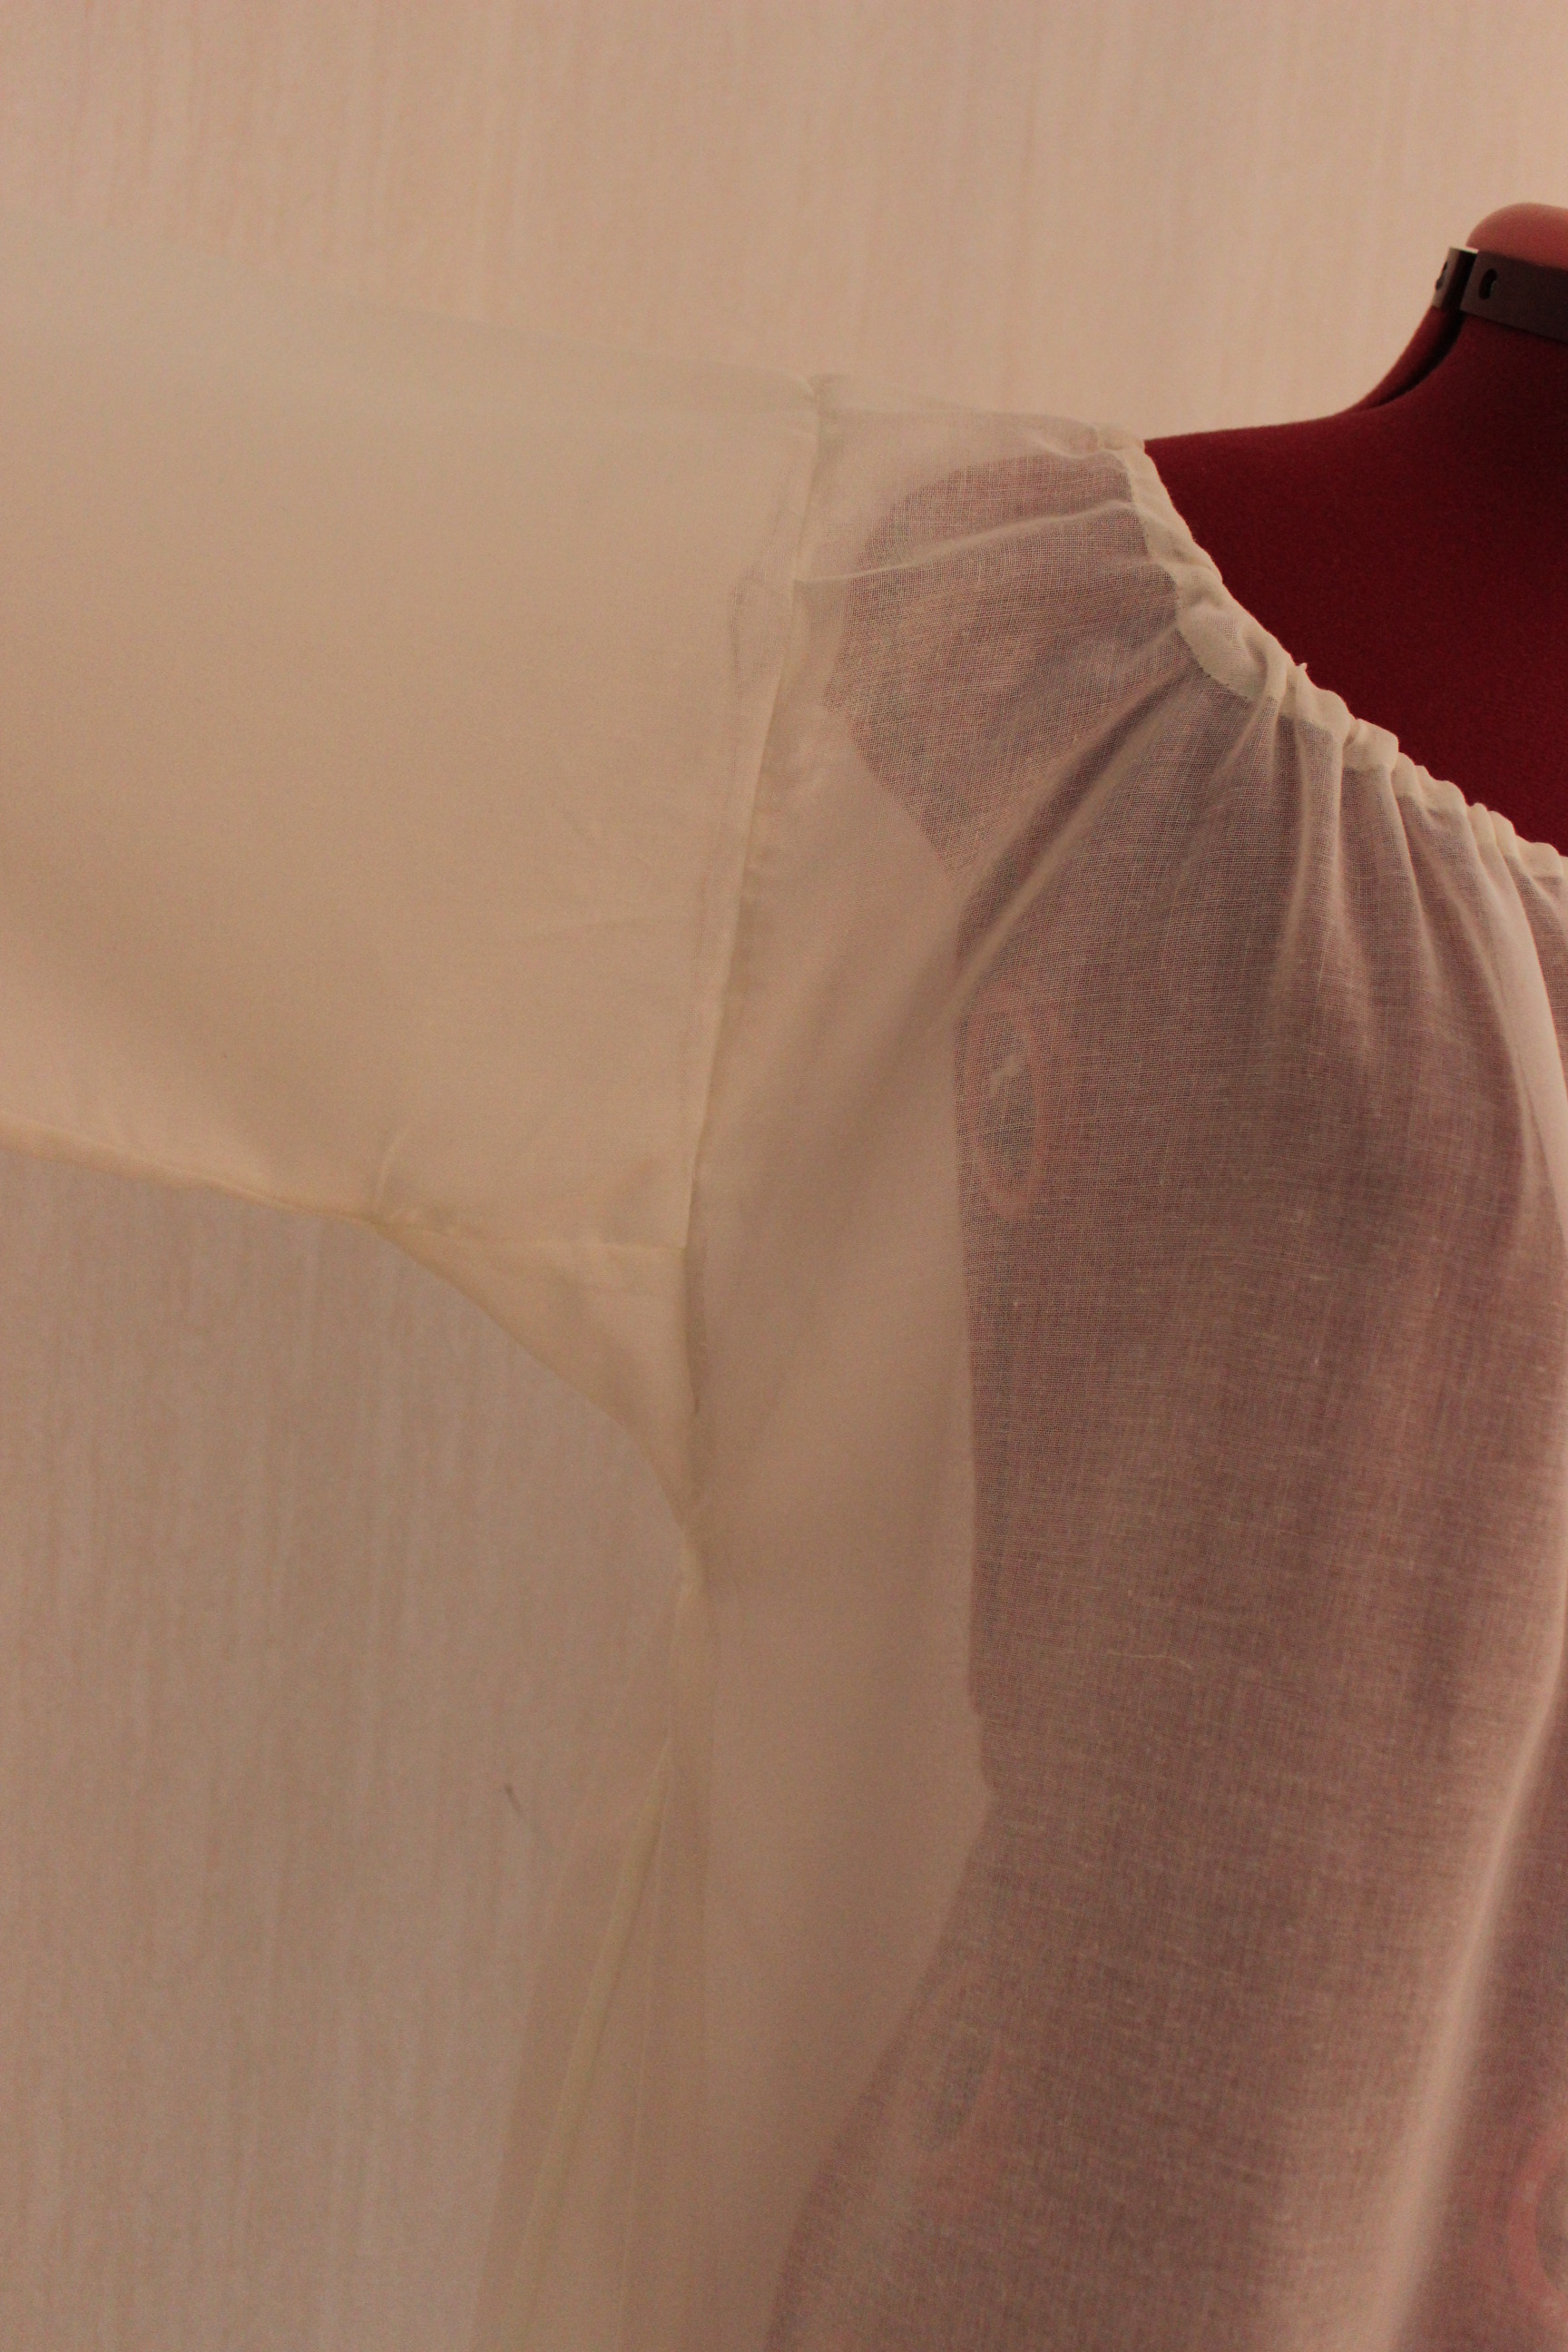
that seam should really be on the inside…

I briefly considering leaving it that way (it’s underwear after all, No one is going to see it), but then I decided to fix it right away to be able to finish that same night.

 After some hesitation and trying to unpick the tiny stitching, I decided to just cut the whole thing of and start over again. IMG_0331 Cutting the seam allowance, to re-set the sleeve.

Said and done. I re-set the sleeve, finished the neckline (with a cord for gathering) and started to steam the finished chemise for photos.

Then I realized I re-set the sleeve in the exact same way as before – INSIDE OUT!

What the f-ck!

I almost burst into tears right then and there.
But after I managed to collect myself (a process involving frenetic searching through the kitchen for chocolate and getting some hugs and toothless smiles from my baby) I decided to put the project on hold for the night.

It took a few days but when I once more got some time for sewing I bit the bullet and re-set the sleeve once more, thus finally finishing it of. (And you can’t even tell that the shoulders now uneven)

The finished Chemise:
IMG_0334

IMG_0336

IMG_0338

IMG_0339

IMG_0341

2015 – A year in rerview

I’m a bit behind in posting, but here are a summary of the items I made last year.

January:

I started the year with grand planes (pun intended) and made pannier for the first HSM challenge of the year – FoundationIMG_5811

And one snowy evening I cobbled together a fake fur hat to match my neck-stoleIMG_5188

February:

For Februarys challenge – blue,  I continued with the winter theme and finished my Redingote which I´ve started in the fall.IMG_5615

I also had the time to (start) and finish a 18th century maids outfit for the 3rd challenge – Stashbusting.IMG_4587

Mars:

And while I was in the mood to clear out some stash I also made a “Little red riding hood” 18th century cape IMG_4563

and a brown wool skirt for my sister.IMG_6203

April:

April came with spring, and I made a summery outfit for “Lady Mary” and the – War and Peace challengeIMG_4861

I also made a 1860s blouse and  1850s silk bonnet for a summer event.IMG_6304IMG_6729

May:

In May I made a cotton blouse for the – Practicality challenge and then a skirt, hat and belt to go with it.IMG_6963

June:

In June I scrambled to finish my 1850s plaid summer dress in time for an event. IMG_7059

Then I had some fun designing and making a crazy 18th(ish) century masquarde costume.IMG_5079

July:

Almost all of July was spent on making this 17th century bodice (and skirt and accessories) for Isis wardrobes “Sew 17th century challenge”IMG_8019

August:

August is medieval month in our part of town so I made an 15th century Burgundian dress for my sisterIMG_8363

And used an old thrift store find to complete the -Heirlome challenge with a 1850s farmers dress.IMG_8518

September:

September, with its magical colors and a drawing to the forest, made me want to make an “Outlander” inspired outfitIMG_8724
And to make a stylish (yet autumn inspired) 1900s day dress for the Brown Challenge. IMG_8890

October:

For the Sewing secrets Challenge, I made a new skirt to my 17th century bodice (not yet blogged about) IMG_9531_resized

It was around this time my head finally caught up with my body and realized I was pregnant, and needed to slow the heck down.
And that´s exactly what I did – I closed the door to my sewing room, and have just now started to once again peak through the key hole.

And so my sewing year of 2015 ends in October.

I´t will be some time before I´m back to more regular posting and sewing (but I finally starting to dream of pretty dresses again) so hopefully I can show you some new stuff in not so long.


*For more pictures and construction of the pieces take a look at the “Portfolio” page.

“Sew 17th century Challenge” – Photoshoot

For the photoshoot I got some help from my friend, modelling my new 17th century outfit.

She wore the 17th century bodice, skirt, coif and fur over my quilted petticoat, accessoriced with a string of pearls and a Violine.
Here are the result:

Gerard_ter_Borch_(II) - The_Concert ca. 1675

IMG_7975

IMG_7973

IMG_8031

IMG_7985

IMG_7992

IMG_7969

IMG_8019

IMG_8094

IMG_8003

IMG_8014

IMG_8044

IMG_8039

IMG_8063

IMG_8064

IMG_8079

IMG_8081

IMG_8086Model: Annika Siljat

“Sew 17th century challenge” – The finished ensamble

And here it is at last, The finished “Sew 17th century challenge” ensemble:
800px-Gerard_ter_Borch_d._J._004Inspiration pic (like you don’t know by now…)

Skirt
IMG_7852

 + Coif (headwear)
IMG_7958

+ Cufs20150802_204328_resized

 + Fur shawl
IMG_7865

 + Bodice (part 1, 2 & 3)
IMG_8127

= the finished ensamble:
IMG_8153

IMG_8154

IMG_8157

IMG_8156

IMG_8159

IMG_8161

IMG_8166

The facts:

What: Reproduction of Gerard Ter Borch’s “The Concert”

Pieces: Skirt, cuffs, coif, fur shawl and bodice

Time: About 60-70 hours

Cost: About 400 Sek (60Usd)

Final thoughts: I think this challenge was great and I loved making all these pieces, and stepping away from my usual time periods.
I’m allready planing some new 17th century outfits.

Sneak a peak from the photoshoot:
IMG_8003Modell: Annica Siljat

“Sew 17th century Challenge” – The Bodice (part 3 – Finishing)

And here comes the final part of the making of my new 17th century bodice. (Part 1 & 2)

12312767024_07604ef369_h

 Once the outer fabric, lining and sleeves where set it was time to deal with the tabs.
(Every stay makers dread)

I started by cutting them open and then I pinned the three layers together, and basted 
IMG_7832 IMG_7816

I ran into some problems when turning the front edges under, and no matter what I did they came out awfulIMG_7829This is seriously my third re-do, and unfortunately the best of my tries.

I had no idea how to fix i and the problem caused me to loose steam (and love) for the project.

After some nights to cool of and think, I figured to just hide it.
So I went trough my stash and found some lovely golden lace, to see if that would do the trick.IMG_7831 IMG_7827
In the end I decided not to use the lace, even though I still think it looks stunning (maybe something for a later date).

Once I excepted the less then perfect front, it was time to start covering the tabs.
IMG_7834
20150801_135414_resizedI used red cotton bias-tape cut to a smaller size.

IMG_7845IMG_7848
Starting to look like something….
But a lot of work remained.

The last thing to do on the bodice was to make all the lacing holes.IMG_7867I use pins to mark the distance before I use my chalk-pen
IMG_7916Practice makes perfect.
Ok, not yet perfect but pretty decent looking eyelets if I may say so myself.

Then the only thing left to do was to try it on a last time…20150804_224828 Crap…

Yup, that’s the sad truth – the bodice I to small, and not “If I lace a bit harder it might work” to small, but “There is no way in hell I can close this sucker” to small.

Luckily my inspiration painting’s only shows the back of the bodice, so hypothetical there is a chance the girls wear a open laced bodice over a stomacher – far fetched I know, but at his point there was no way I would redo it or try to ad to the sides. And logically they must have size shifting back then too, right?

So I will make a stomacher for this bodice before the next wearing, but for now I’m considering it done.

The finished bodice:
IMG_8099

IMG_8101
IMG_8135

IMG_8102

IMG_8112

IMG_8115

IMG_8119

IMG_8120

IMG_8122

IMG_8127

Just the facts:

Challenge: nr 6/HSM15 – Out of your comfort zone

What: A 1660s bodice

How it fit the challenge: This is my first venture into 17th century, and even though I made both bodices and stays before the way this garment combines the two was a new experience for me.

Pattern: “1660s bodice lining” from Waugh’s “Corset and Crinolines”, with some alterations.

Fabric: 1,5 m red polyester “silk”, 1,5m white cotton/linen blend for lining and 1 m un-bleached sturdy linen for interning and foundation.

Notions: Thread, button-hole thread, 15m plastic whalebone for boning,  5m cord for lacing, 60cm white bias-tape for edging the sleeves and 3 m red bias-tape for binding the tabs.

How historical accurate: So so, the bodice is made 50% on machine with all the outside seams made by hand. The fabric is modern but the shape and look of the garment is good for the time period. About 7/10

Time: A lot! probably about 60 hours – I worked on this for most of the summer.

Cost: About 300Sek (45Usd)

First worn: At old town beginning of August for photos, and I’m thinking on using it next weekend for a “all times” dance recital.

Final Thoughts: I’m so happy with the look and feel of it. My only concern is the size – Why do I keep making things to small? And no, I have not gained weight – I’m just constantly over estimate my “squeeze factor”, and underestimate the difference boning and extra fabric layers make to the size.
And if it ever is to be worn again I might have to redo the front, or just slap some trim over it…