I thought this might be a nice opurtunity to stay a bit longer in medieval times, even though I’m itching to show you some of the other stuff I’ve been working on latley.
So lets do a review of the only medieval costuming book I own.
I bought it last autumn when I attended a medieval sewing cours, but have not used it as much as I whould have wanted – so many time periods to sew, so litle time.
But now I thougt it a good time to do a review. I would also love to here your opinions about the book so please coment and let me know what you think.
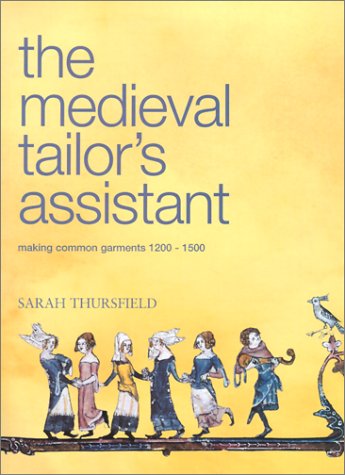
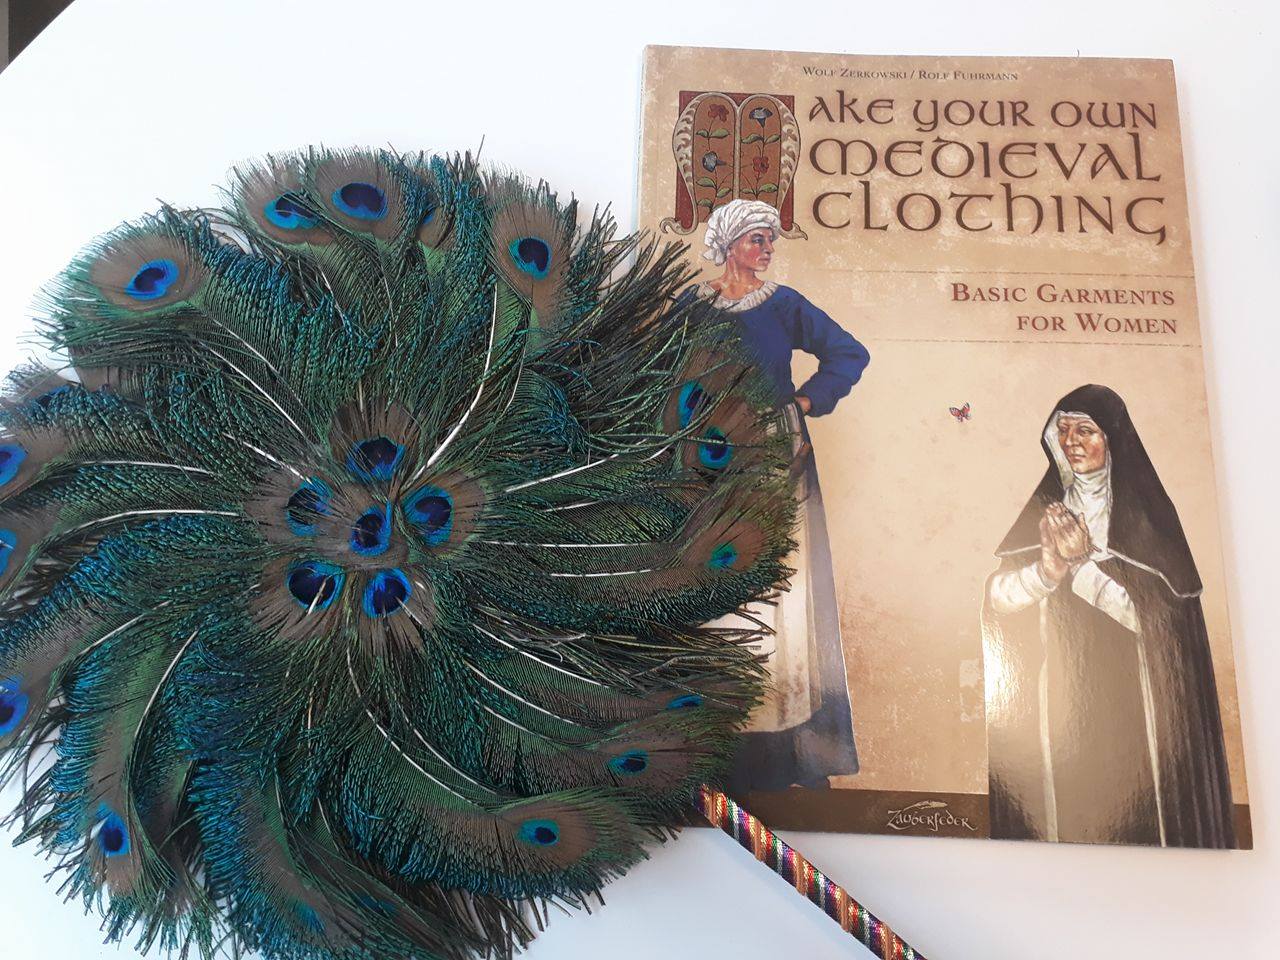
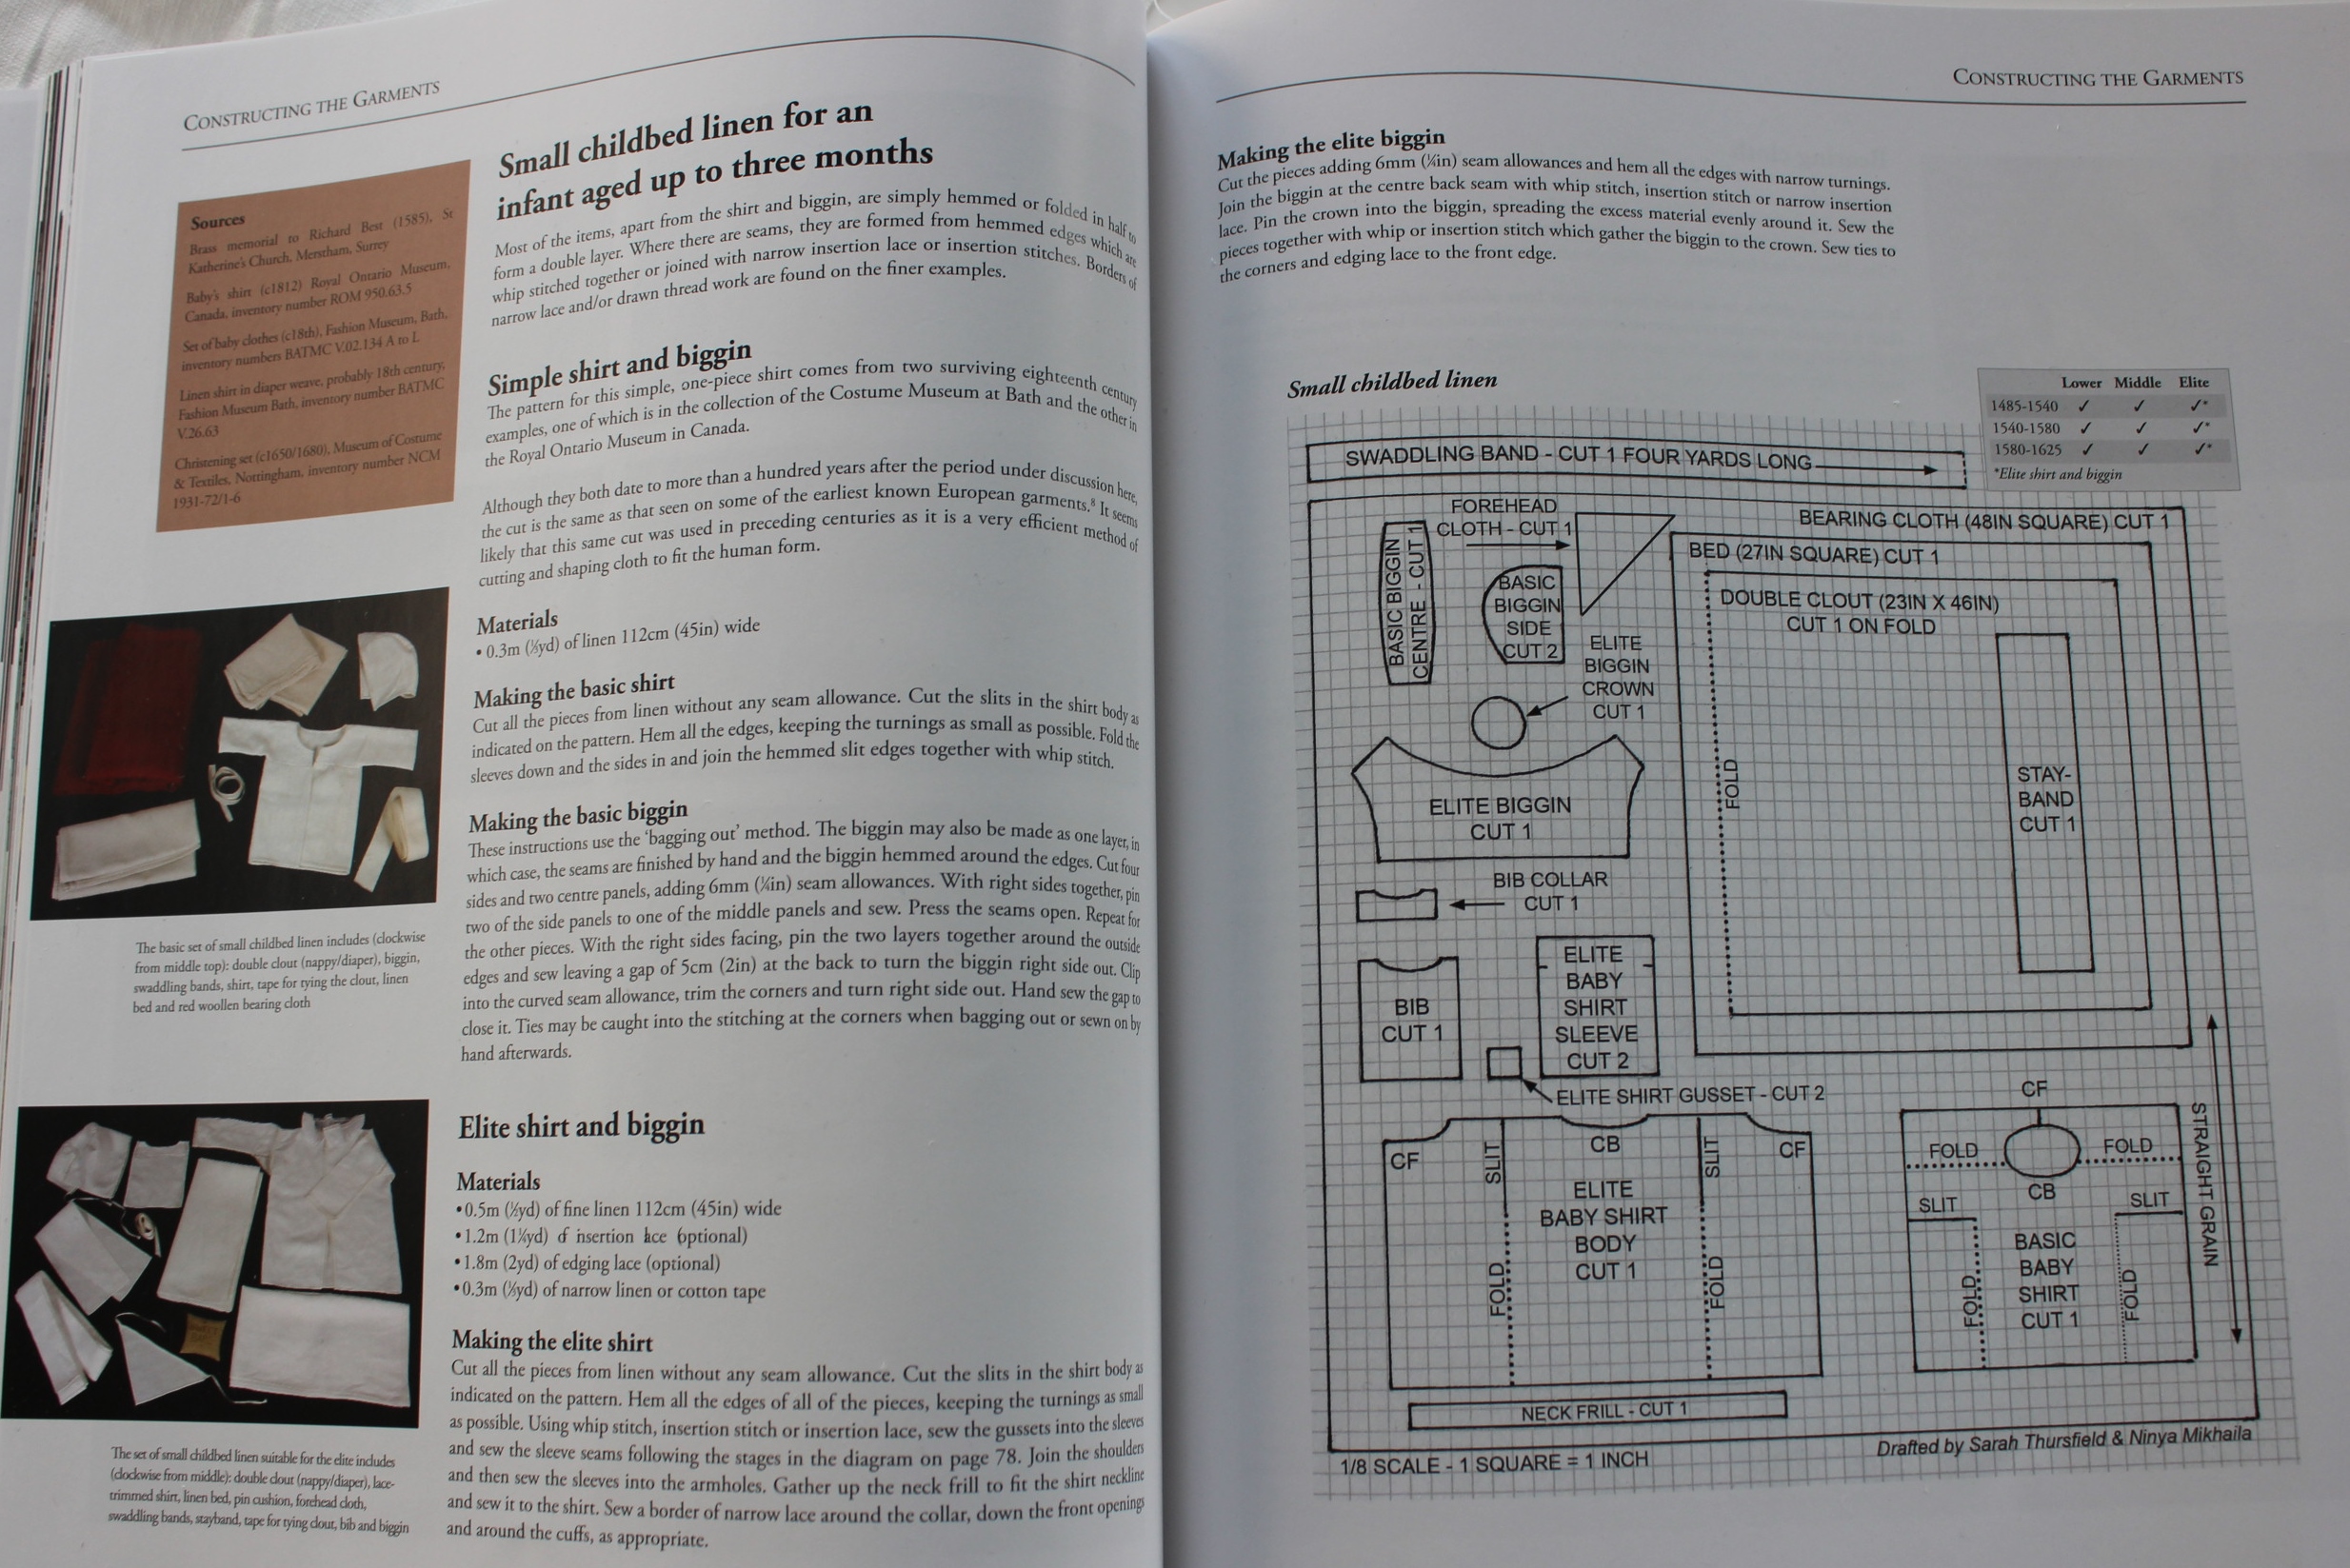
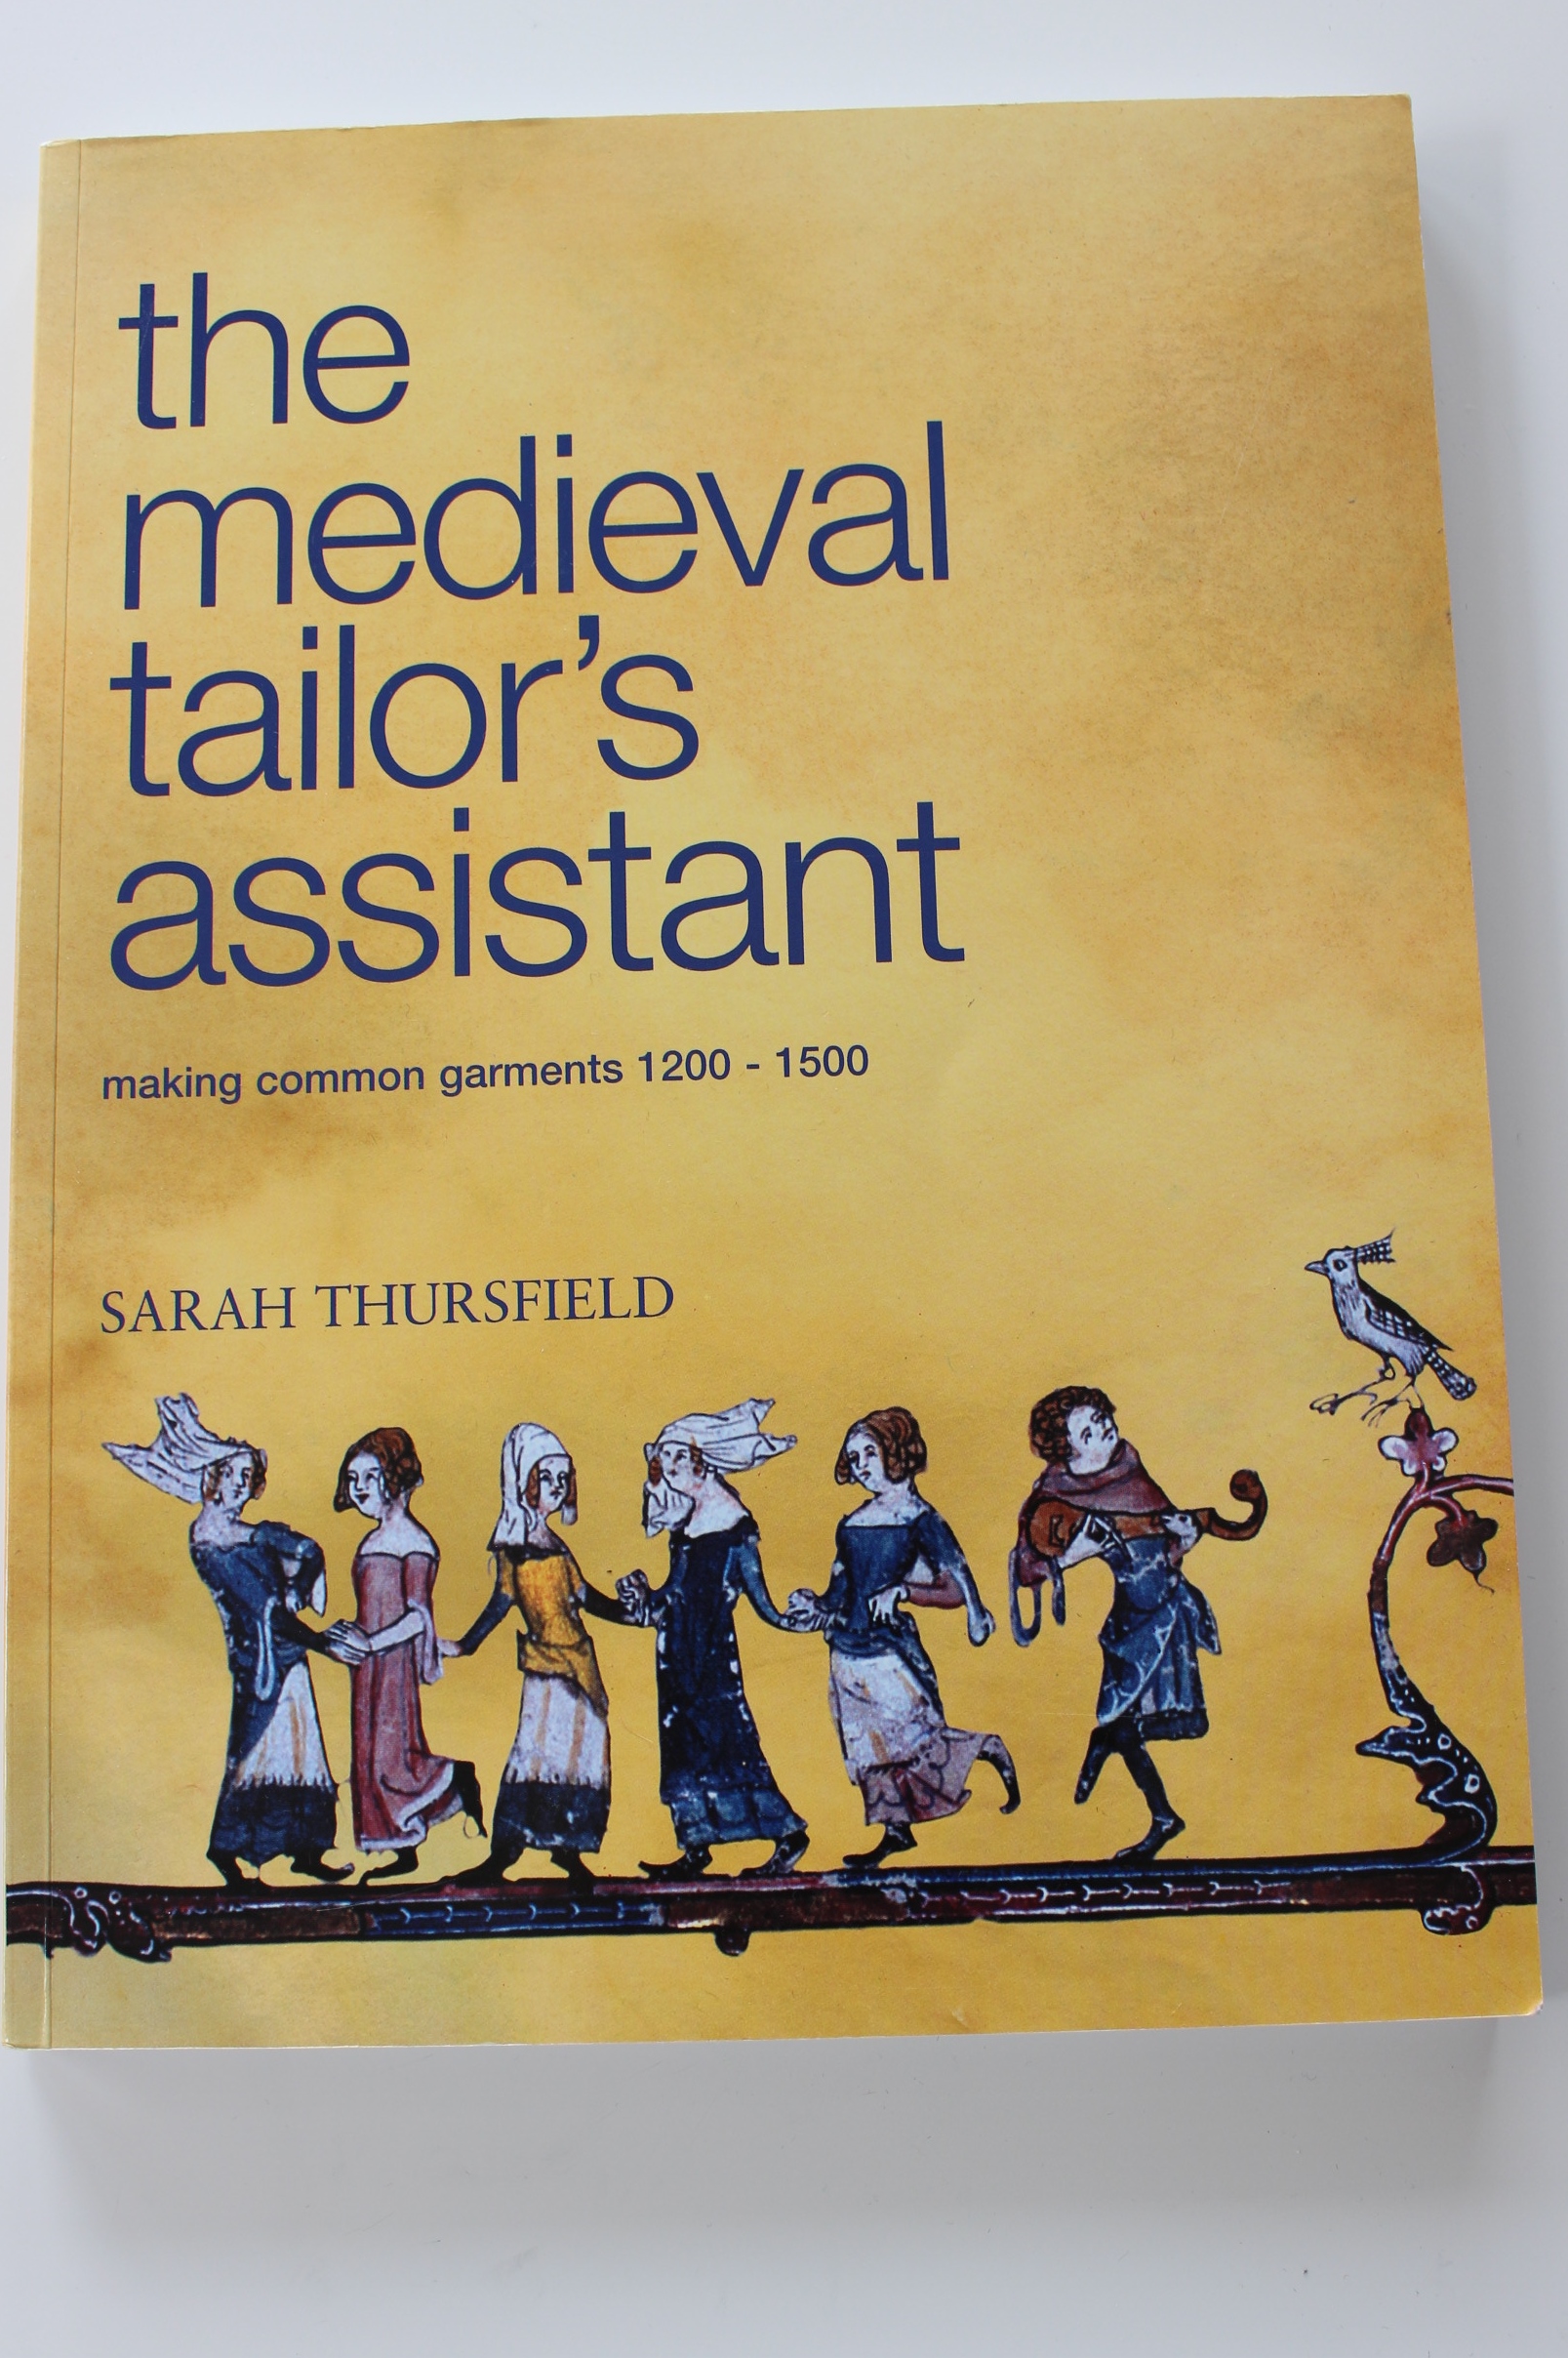
The Medieval Tailors Assistant by Sarah Thursfield.
About the book:
It is a ok about basic medieval pattermaking for men and women. The book does not include sewing instructions, but do however have a couple of pages about stiches, teqnicues and fabrics used at the time.
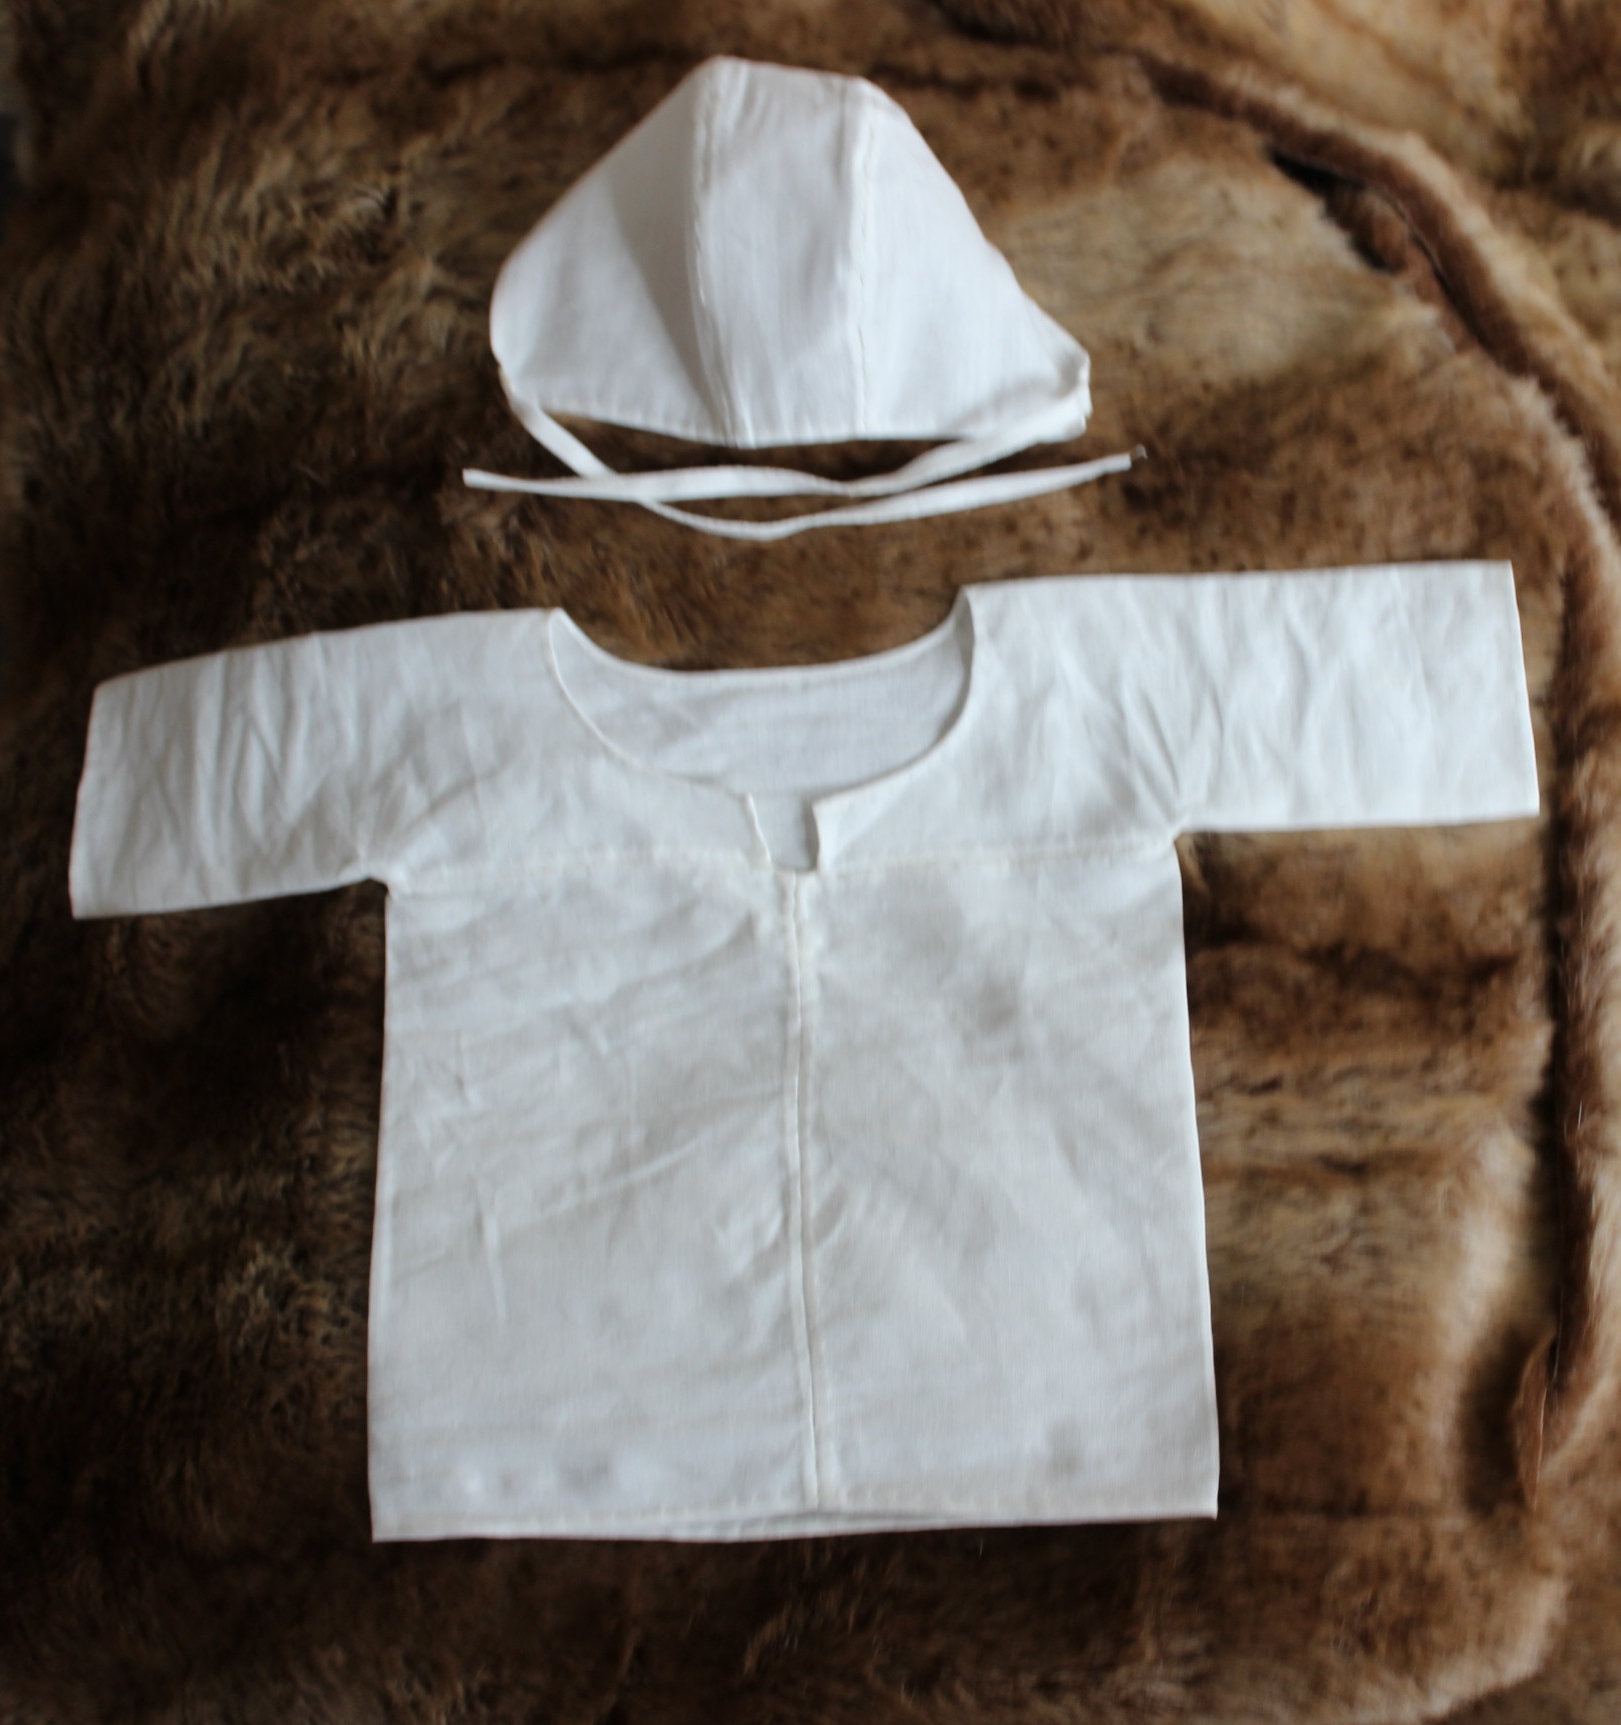
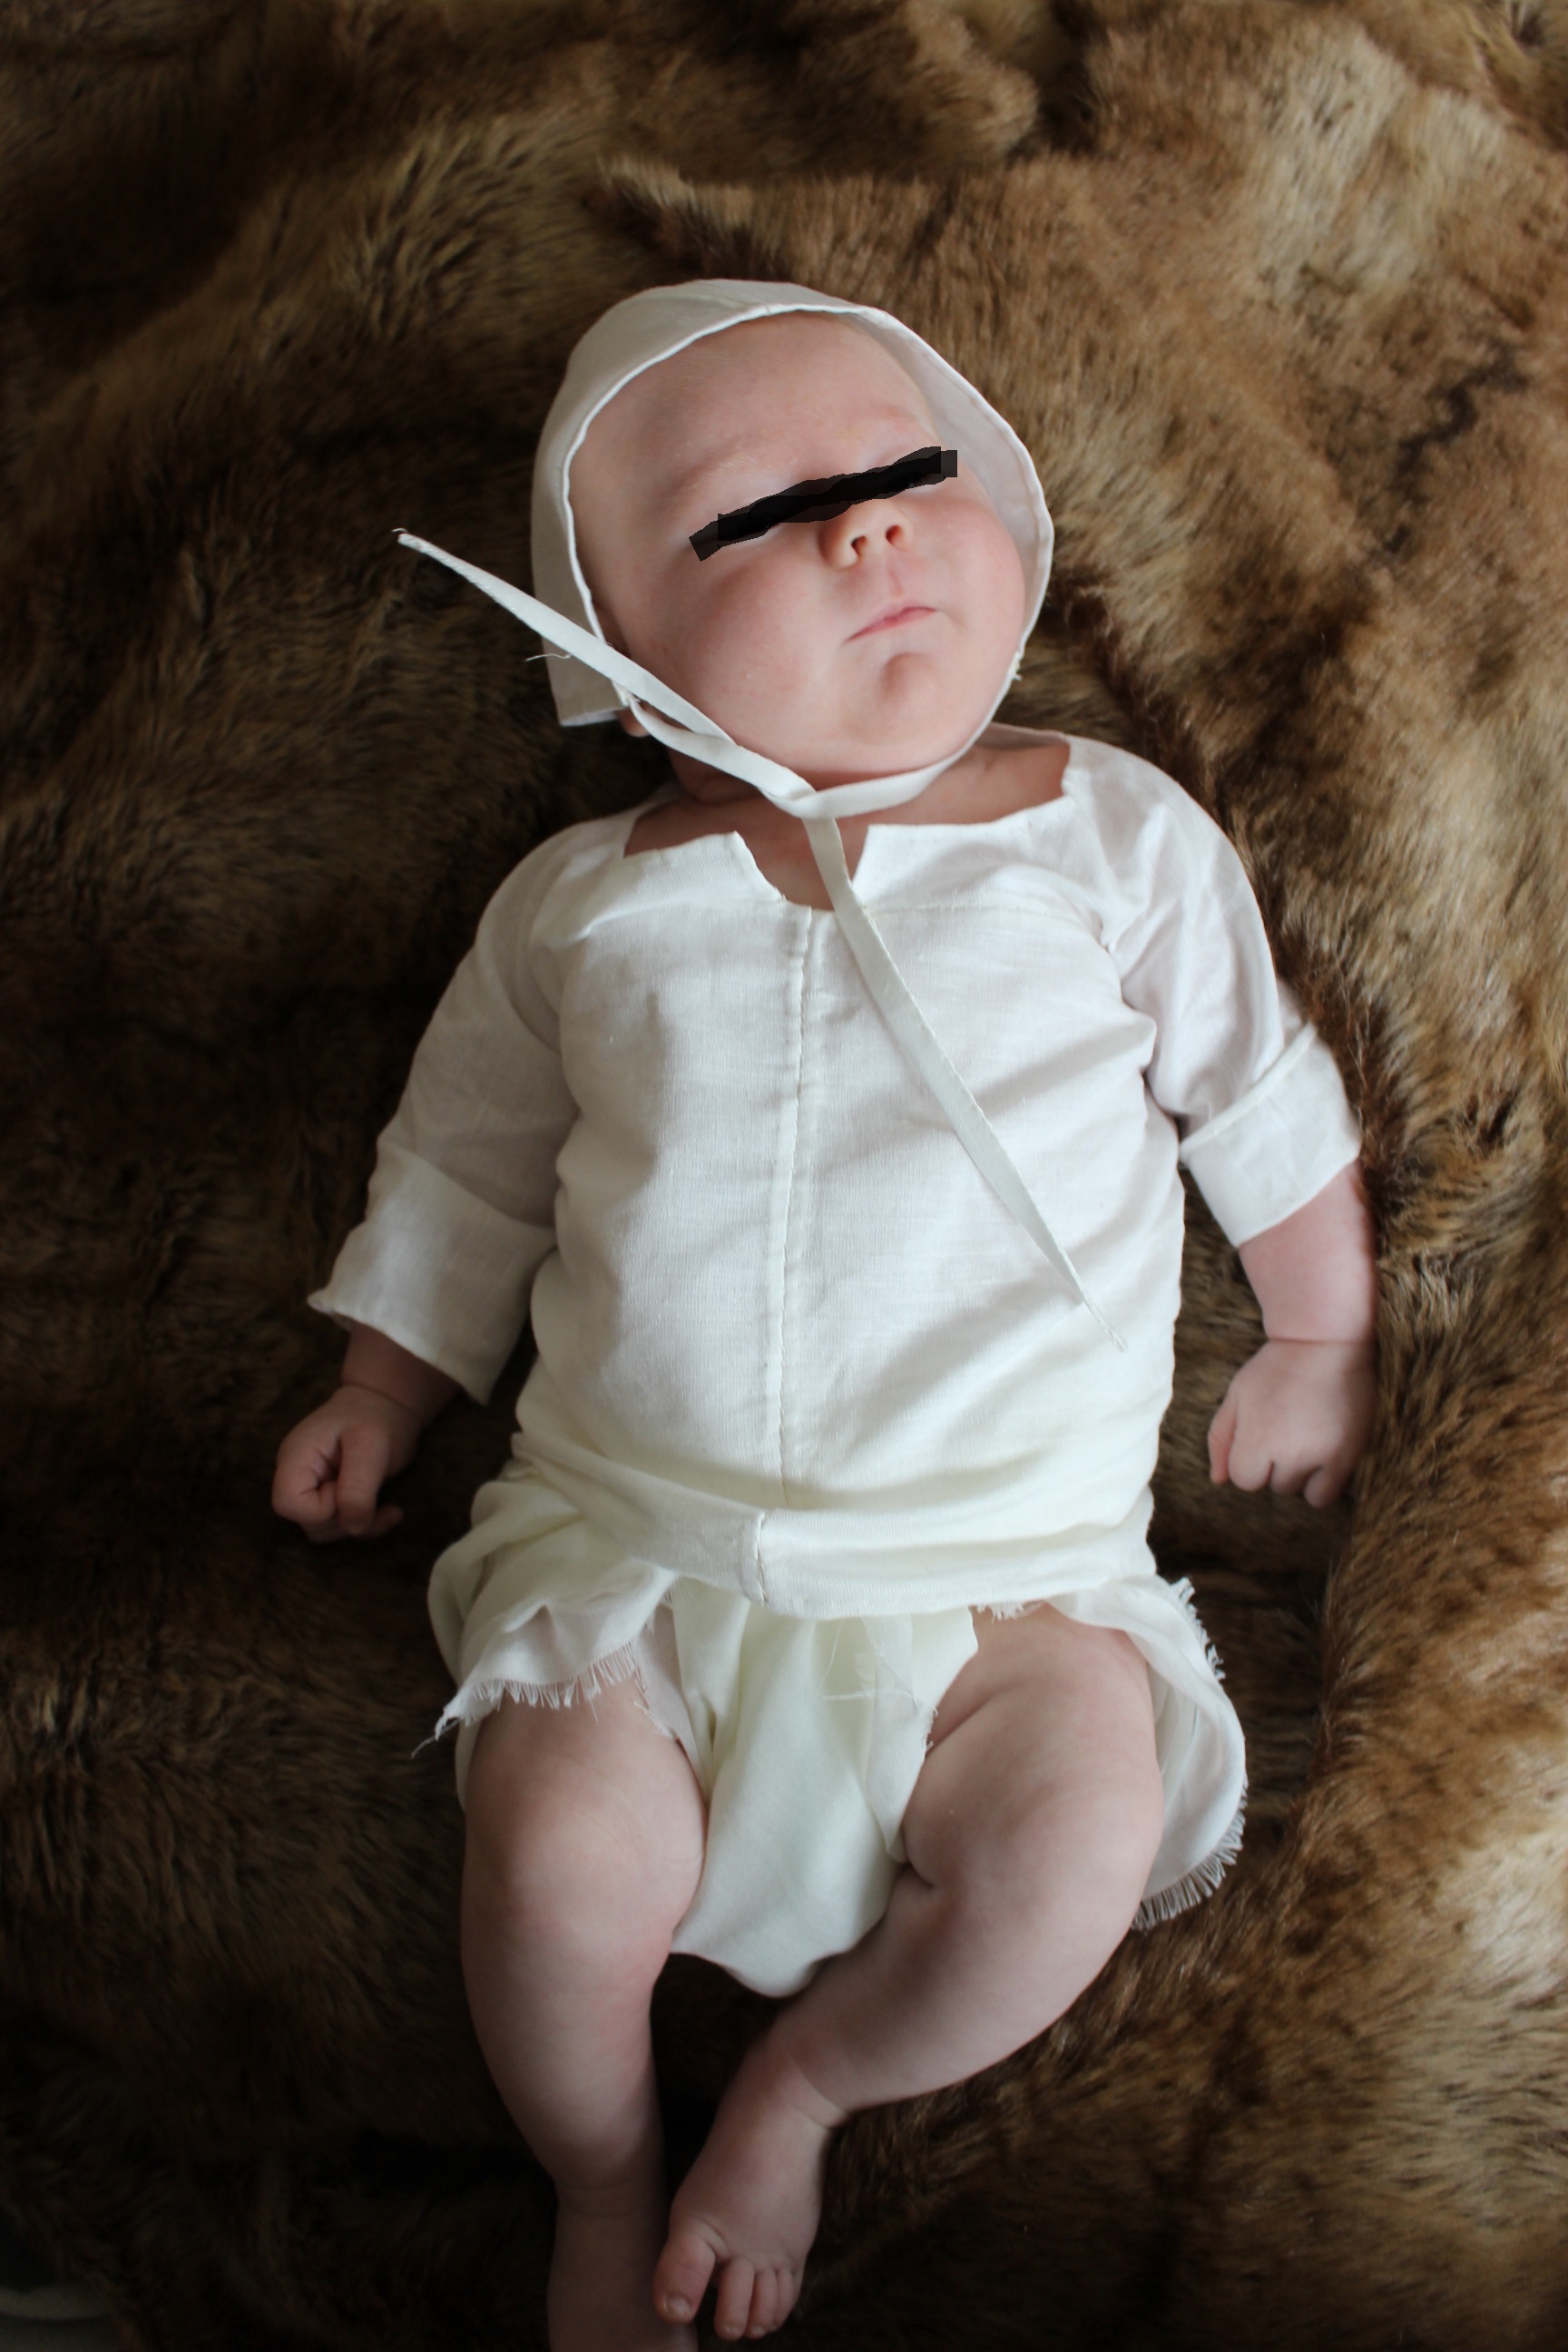
The book is about 230 pages, and contains several different costume pieces for both men and women like: Underwear, outerwear, gowns, dubblets, hoses, headwear, childrens clothes and accessories.

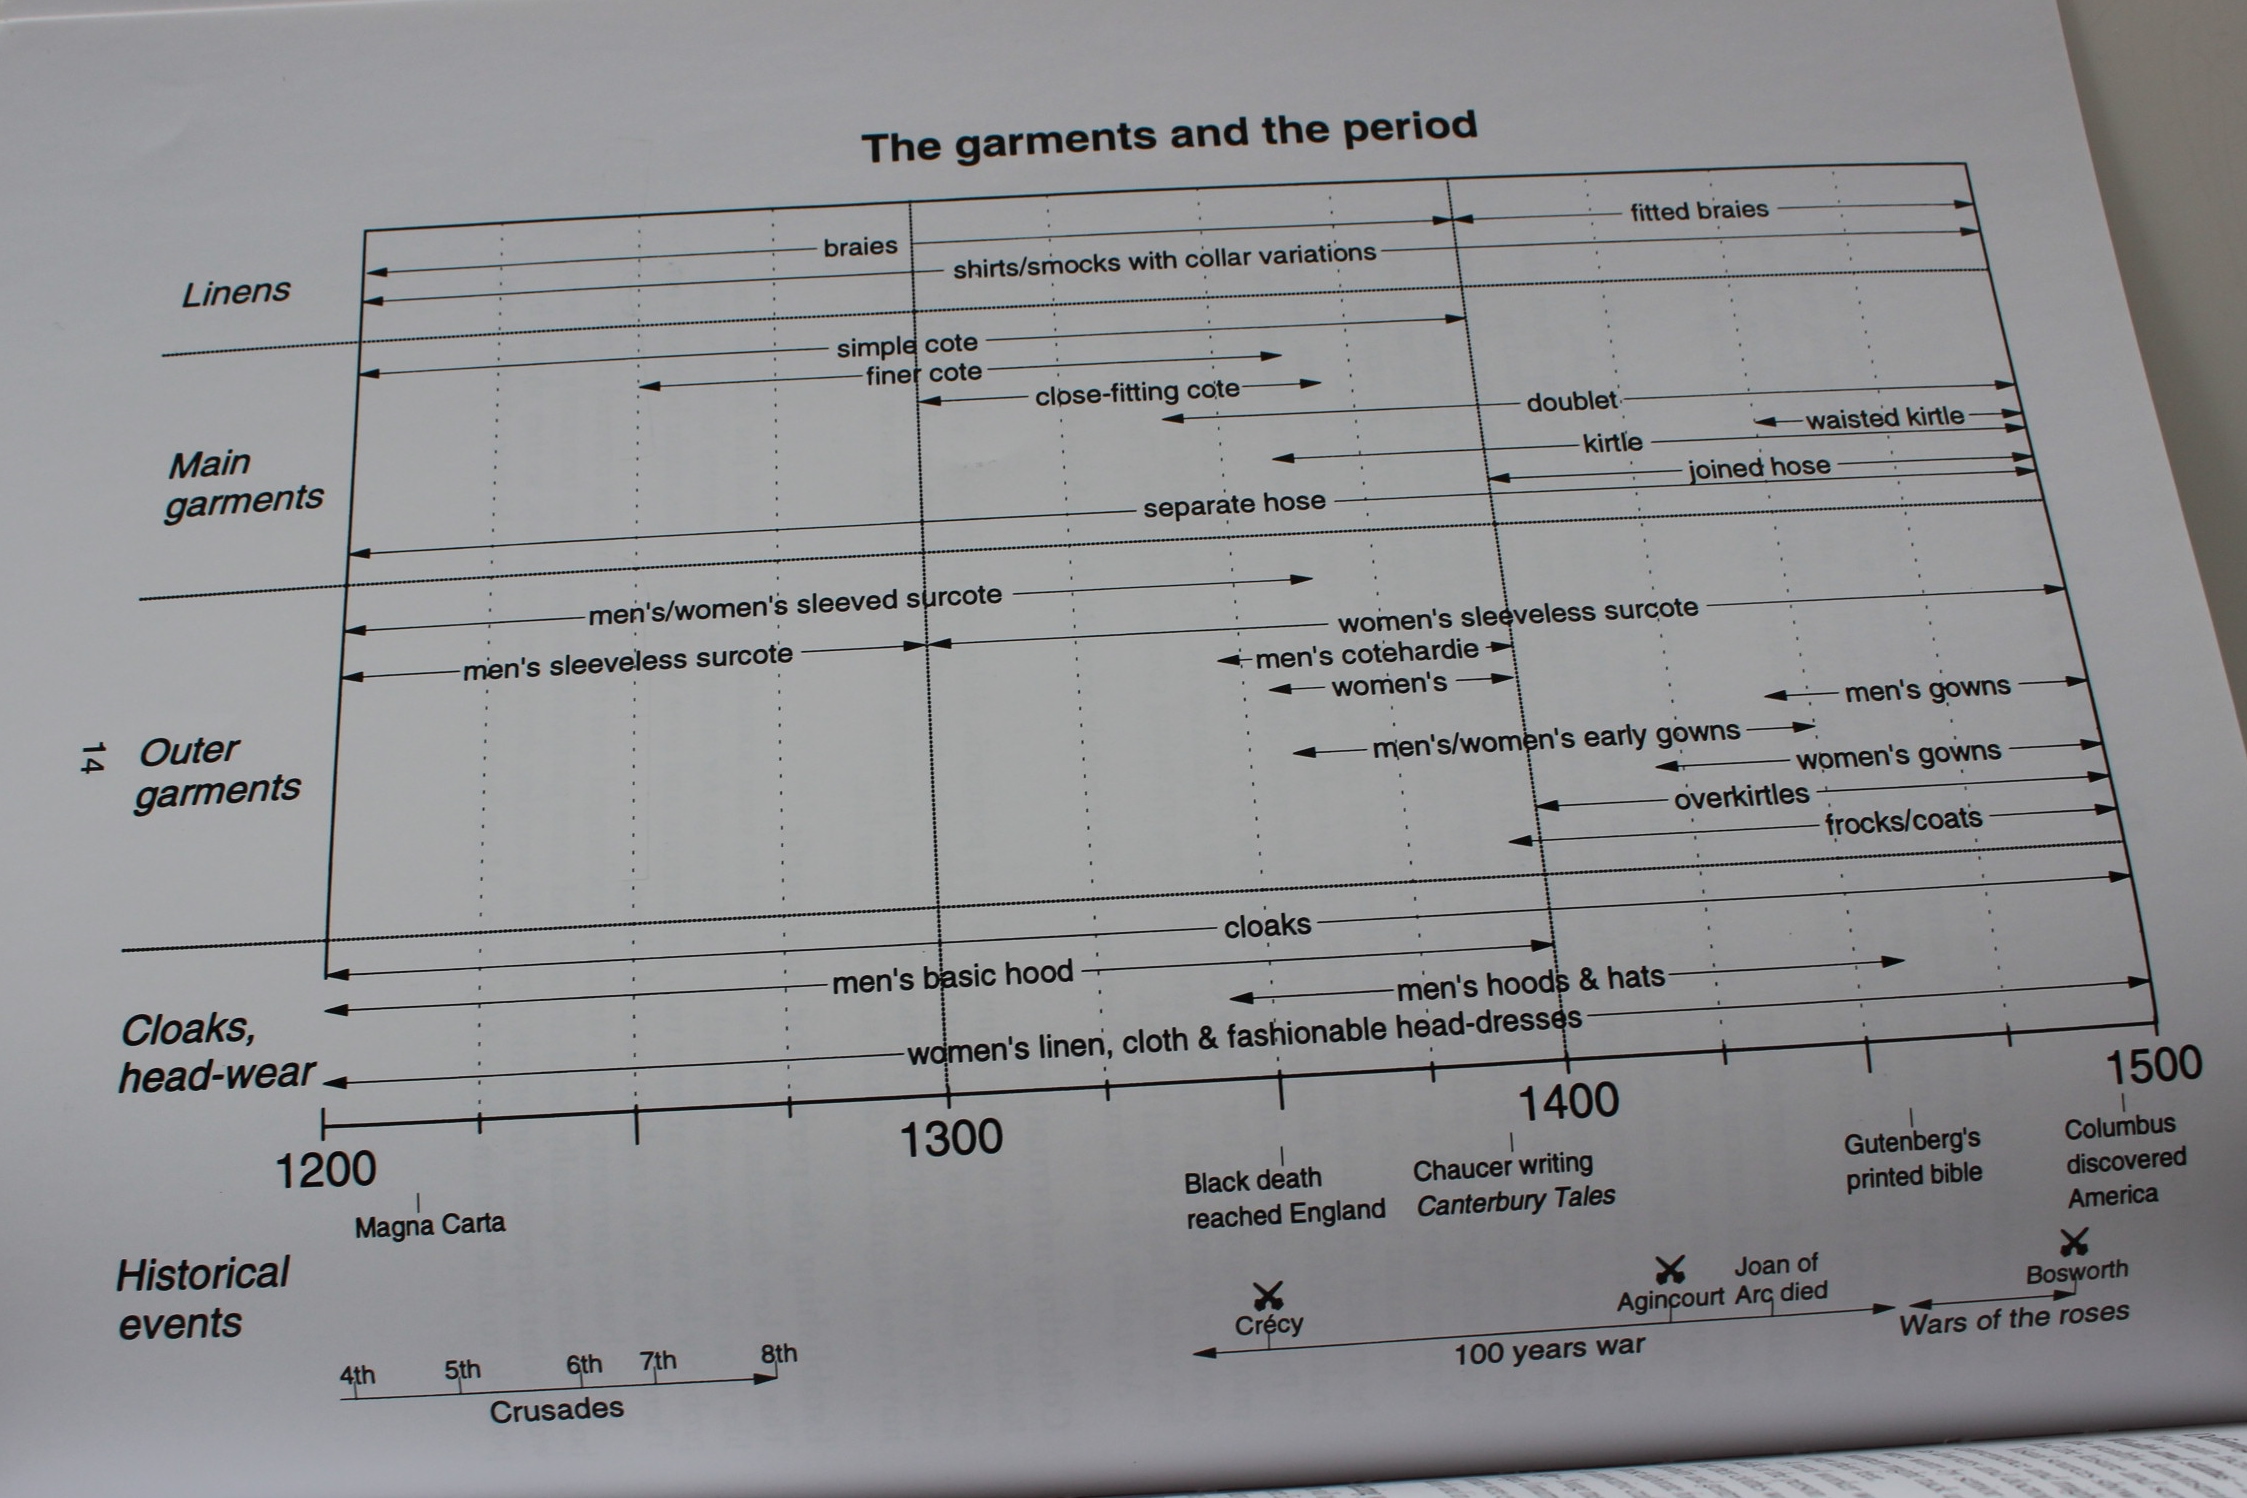
It also have a diagram which shows what clothing pieces were being used during different fashions and times during the time frame caled middle ages.
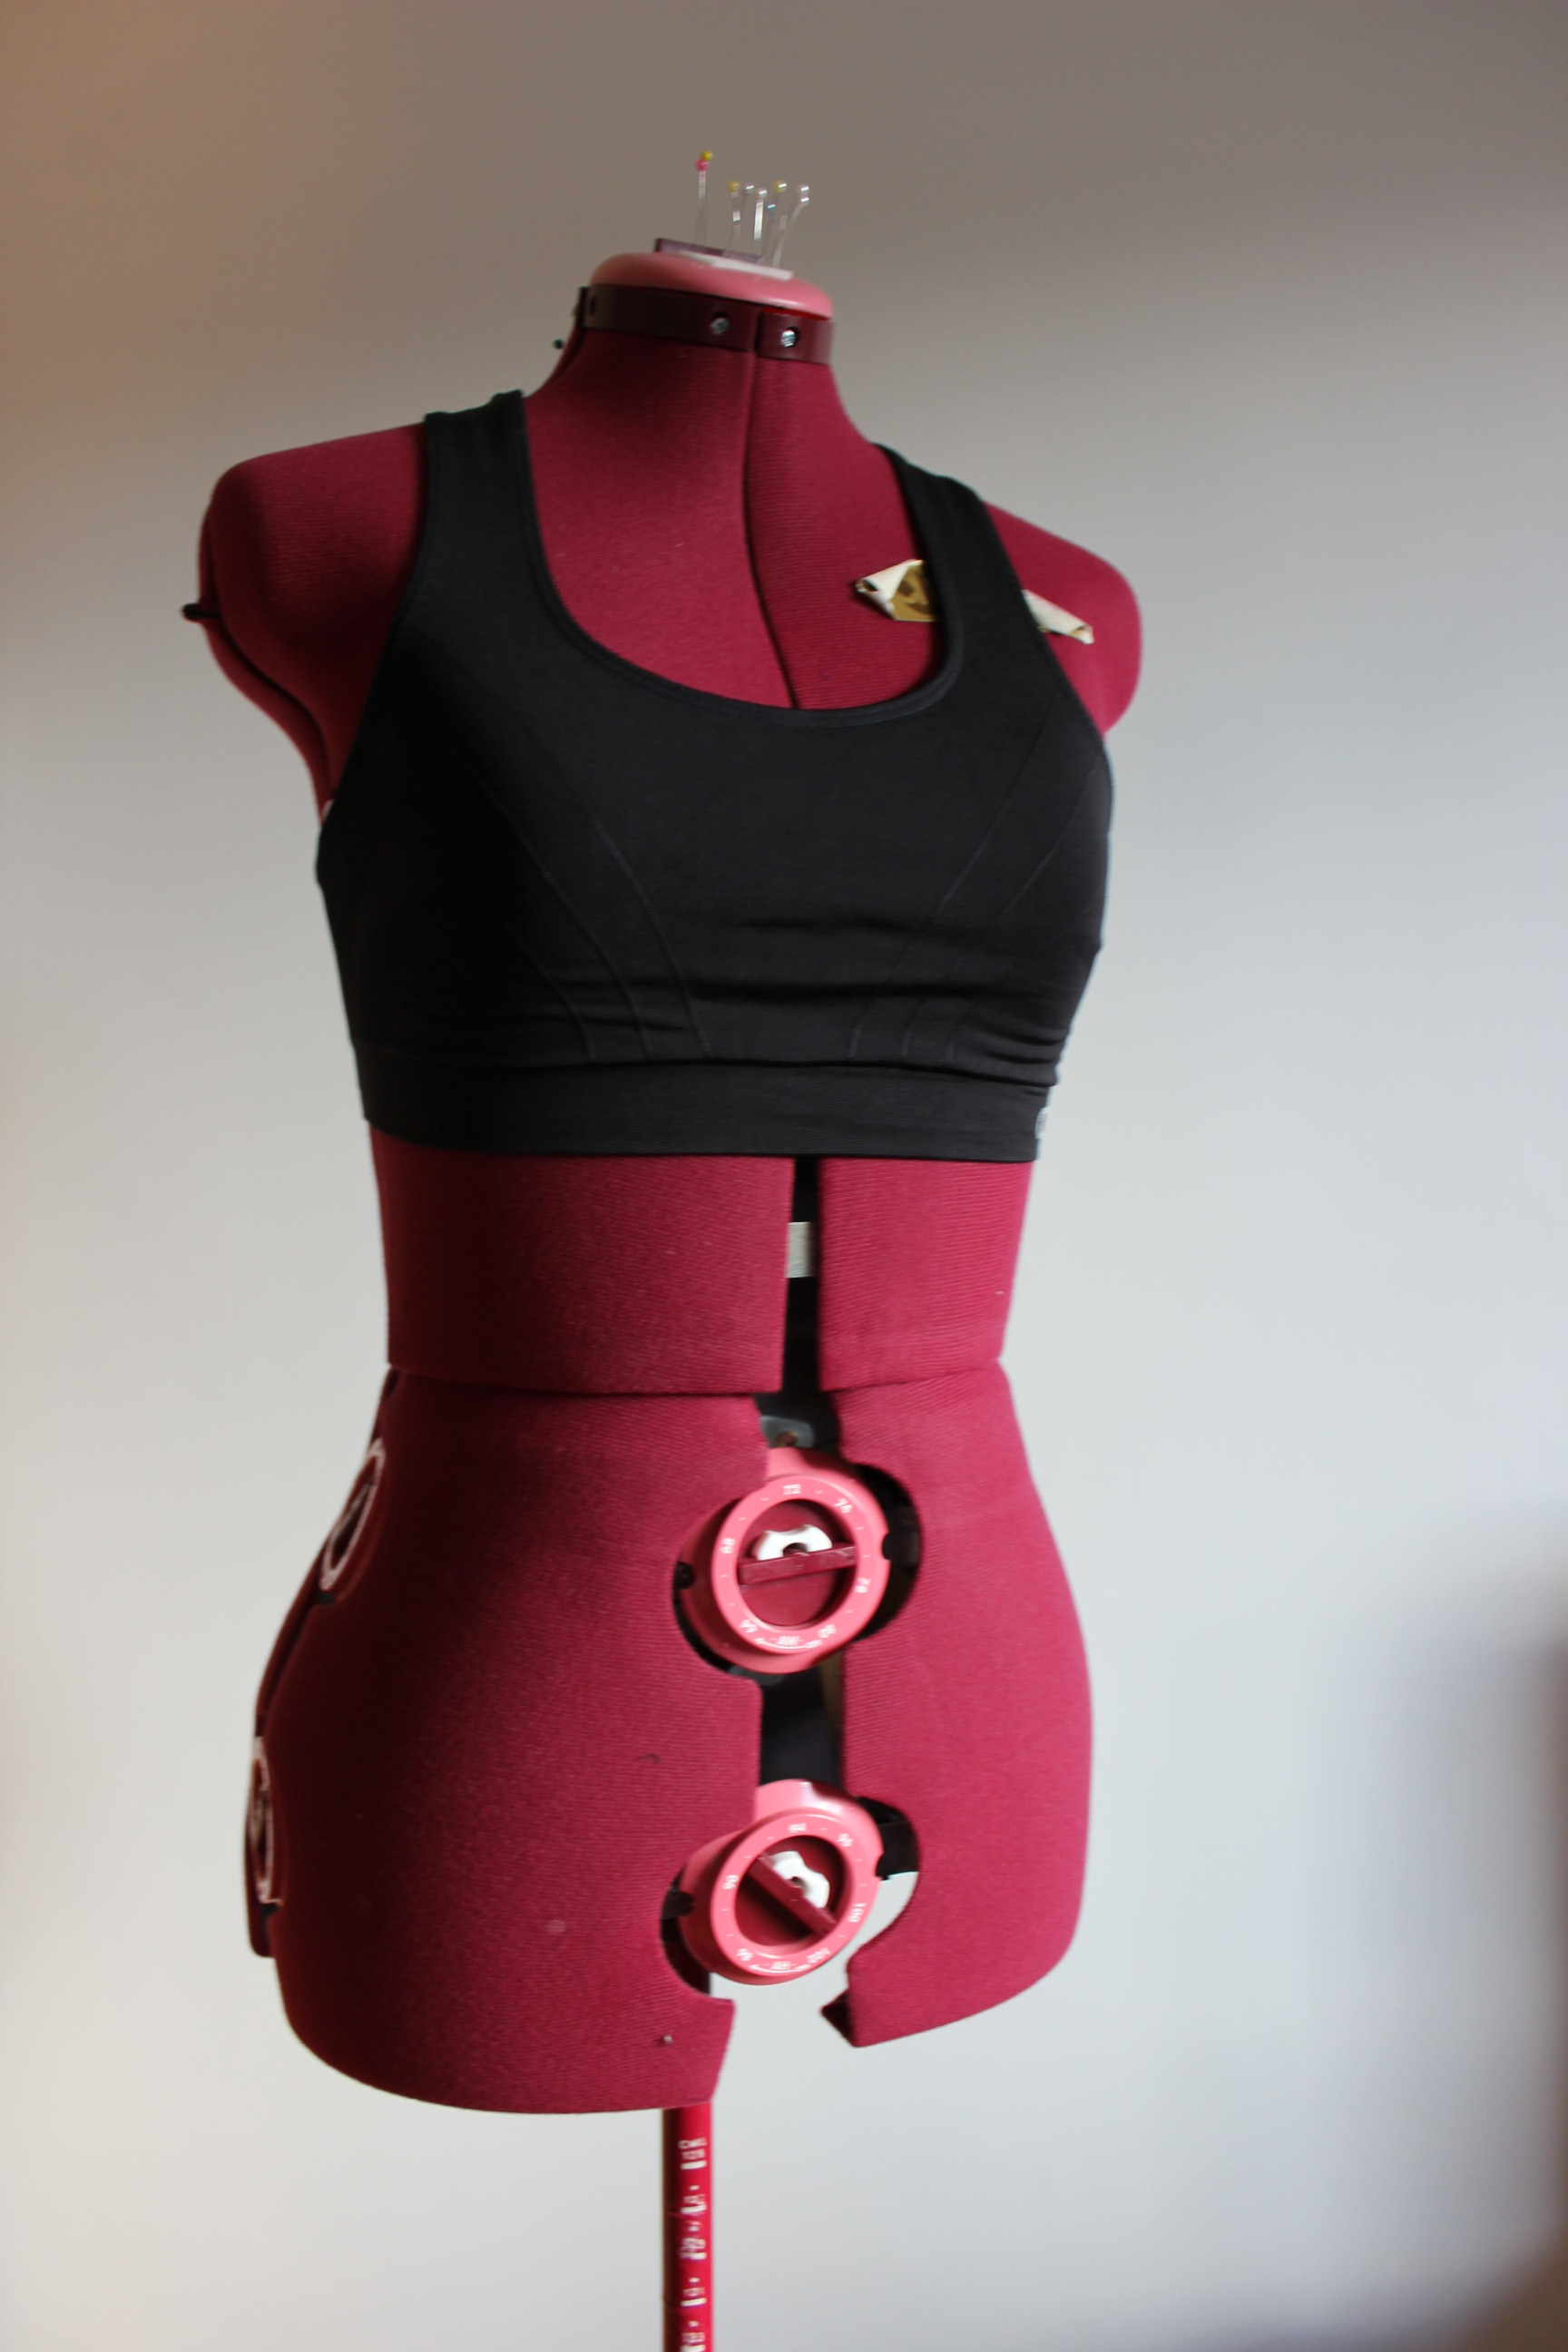
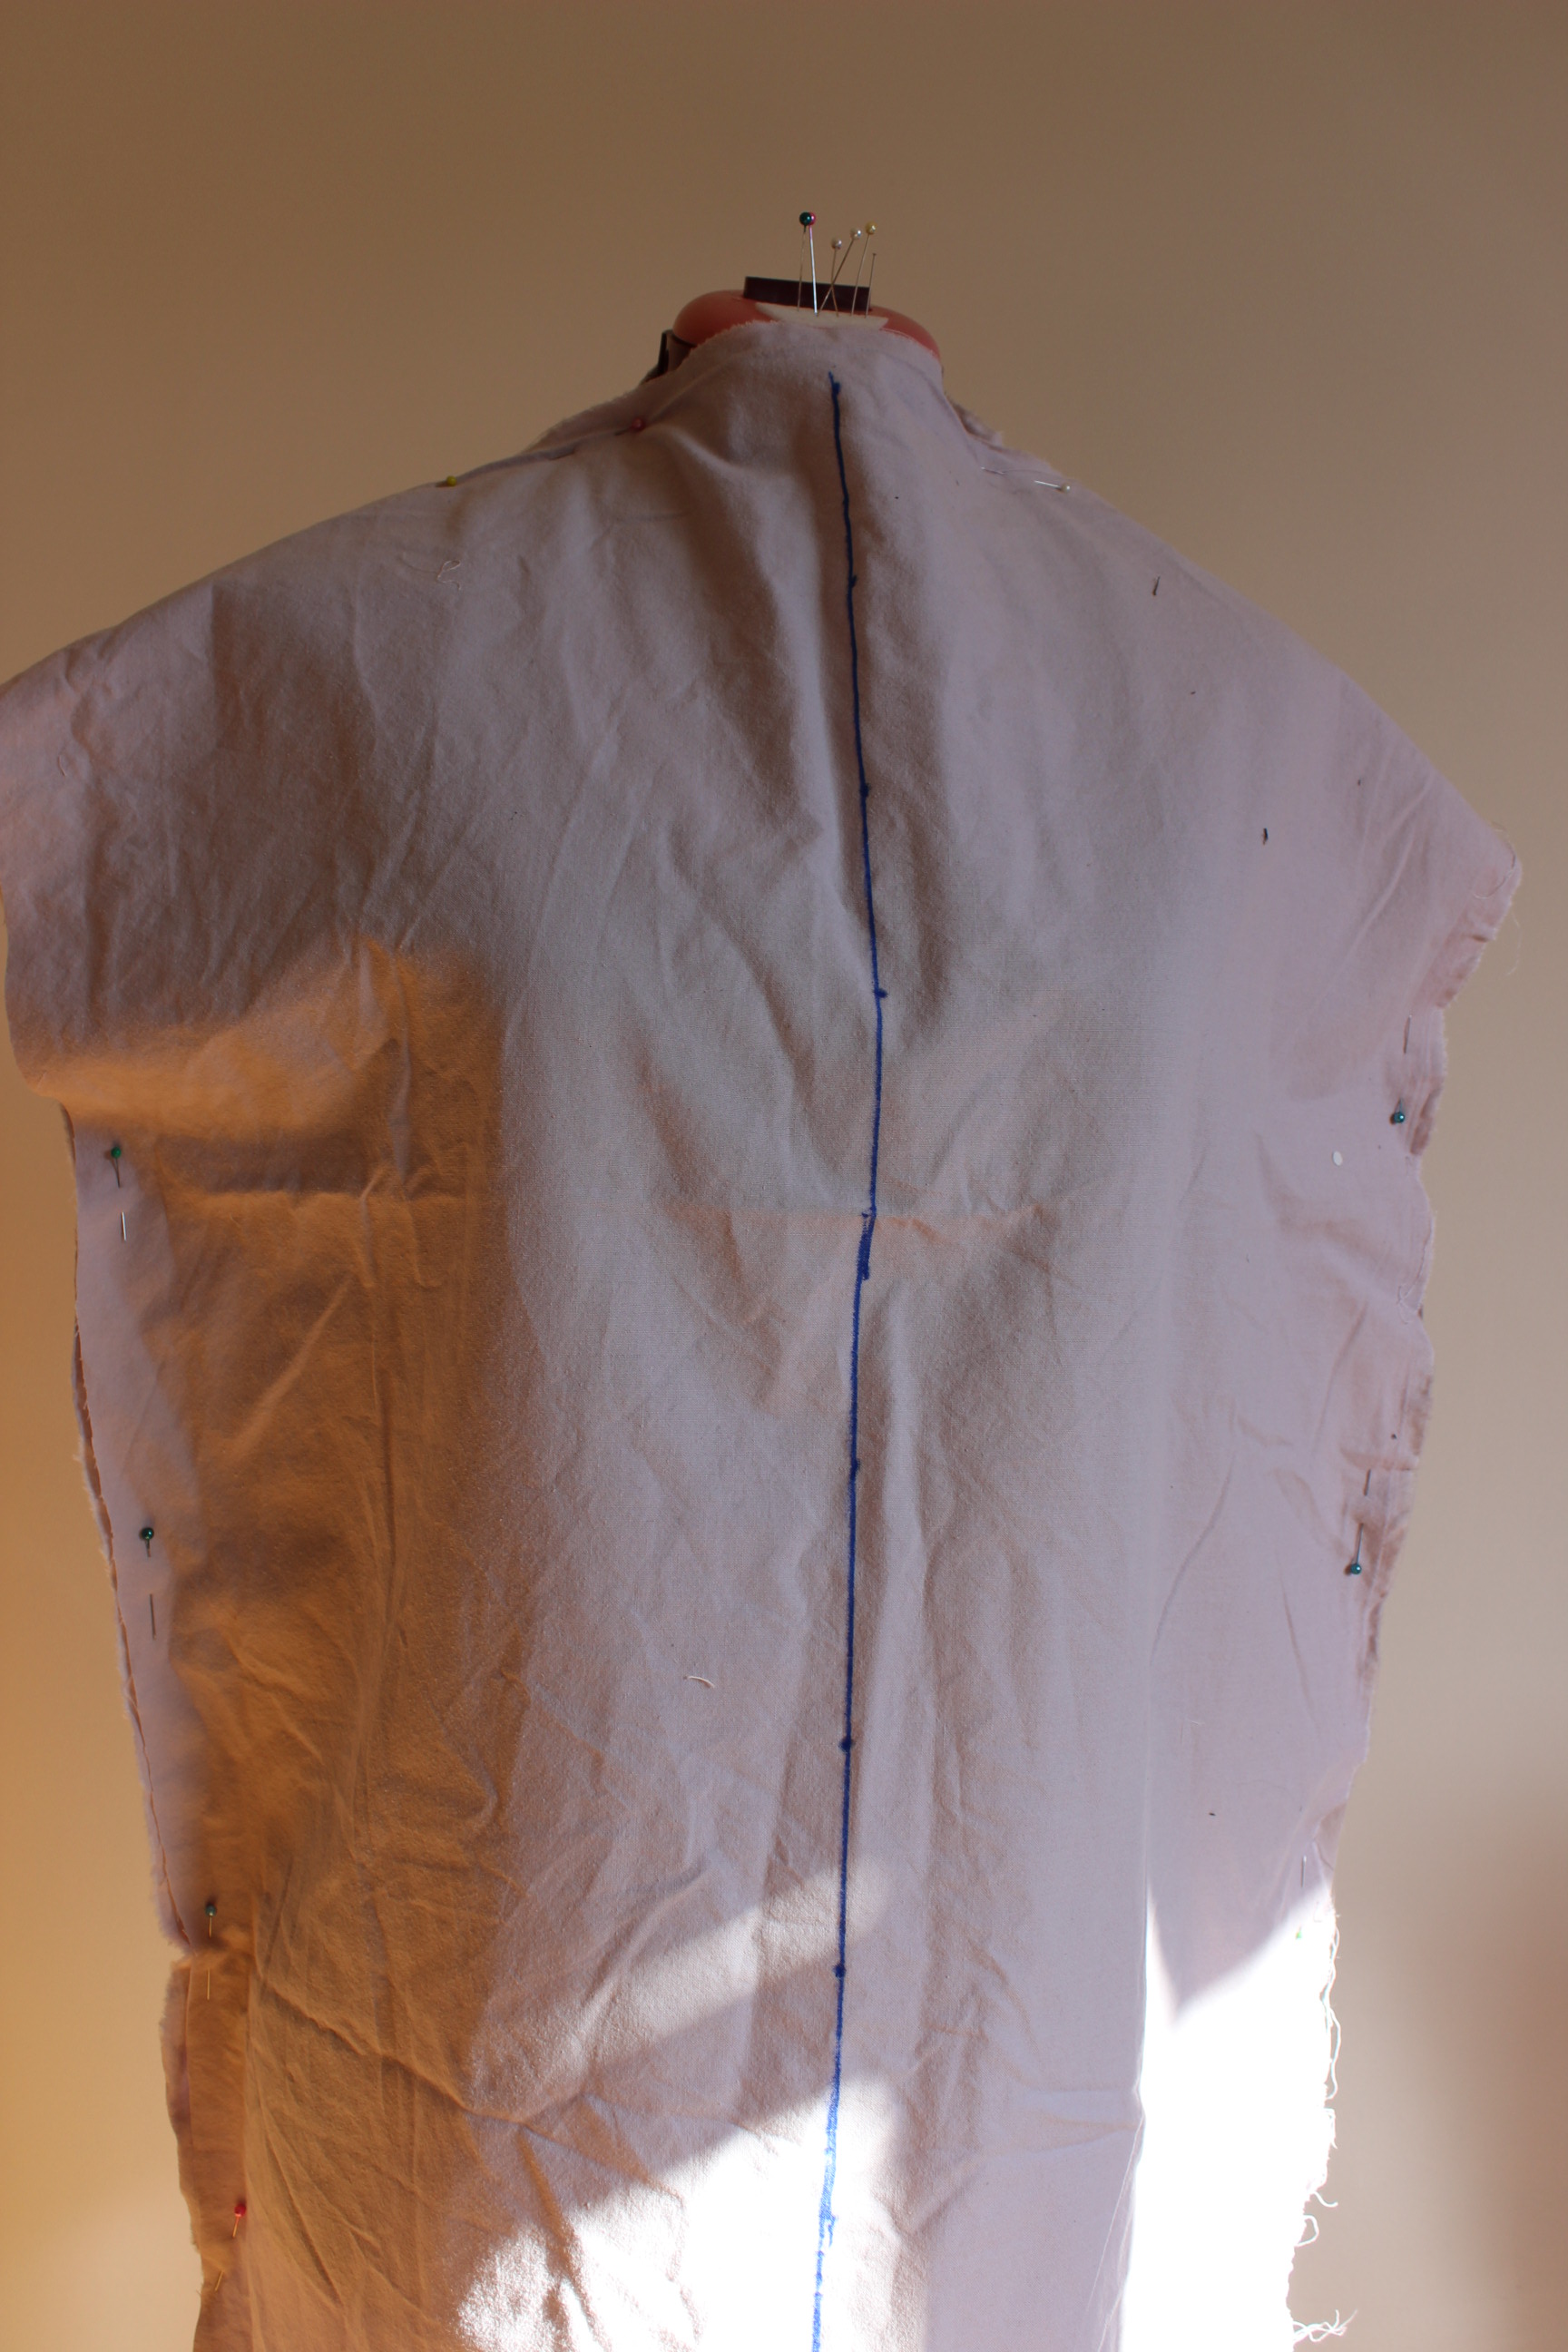
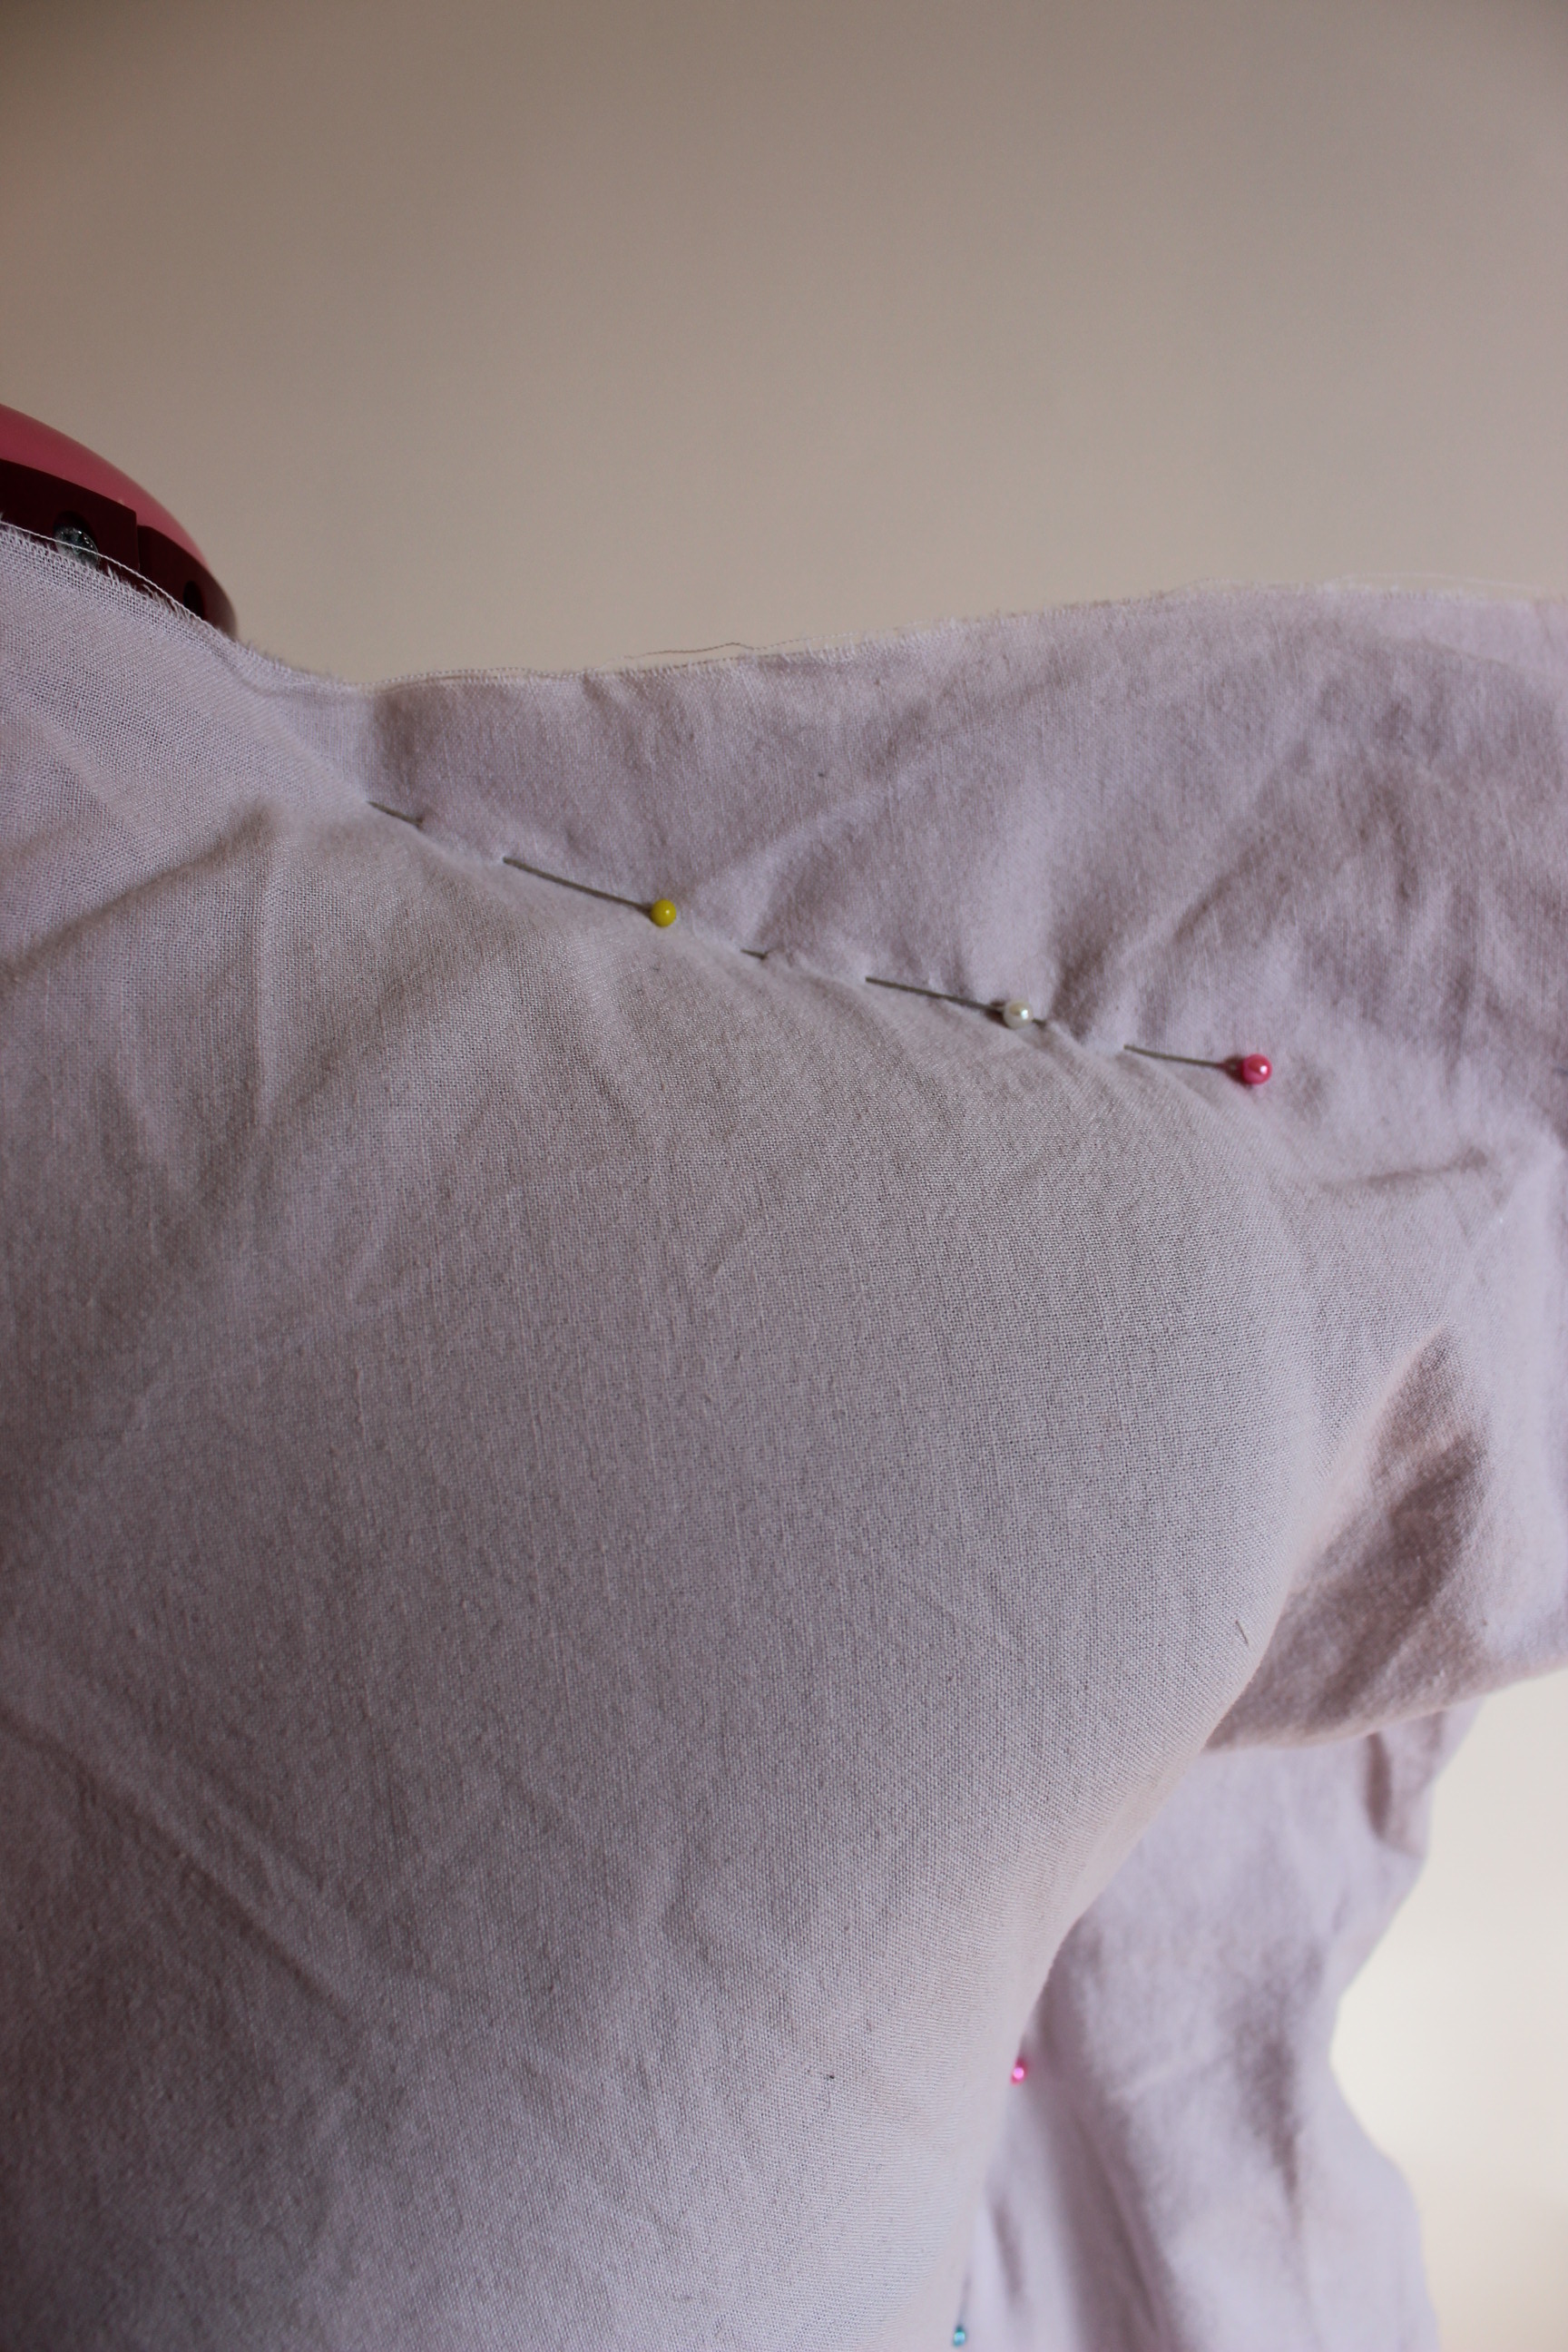
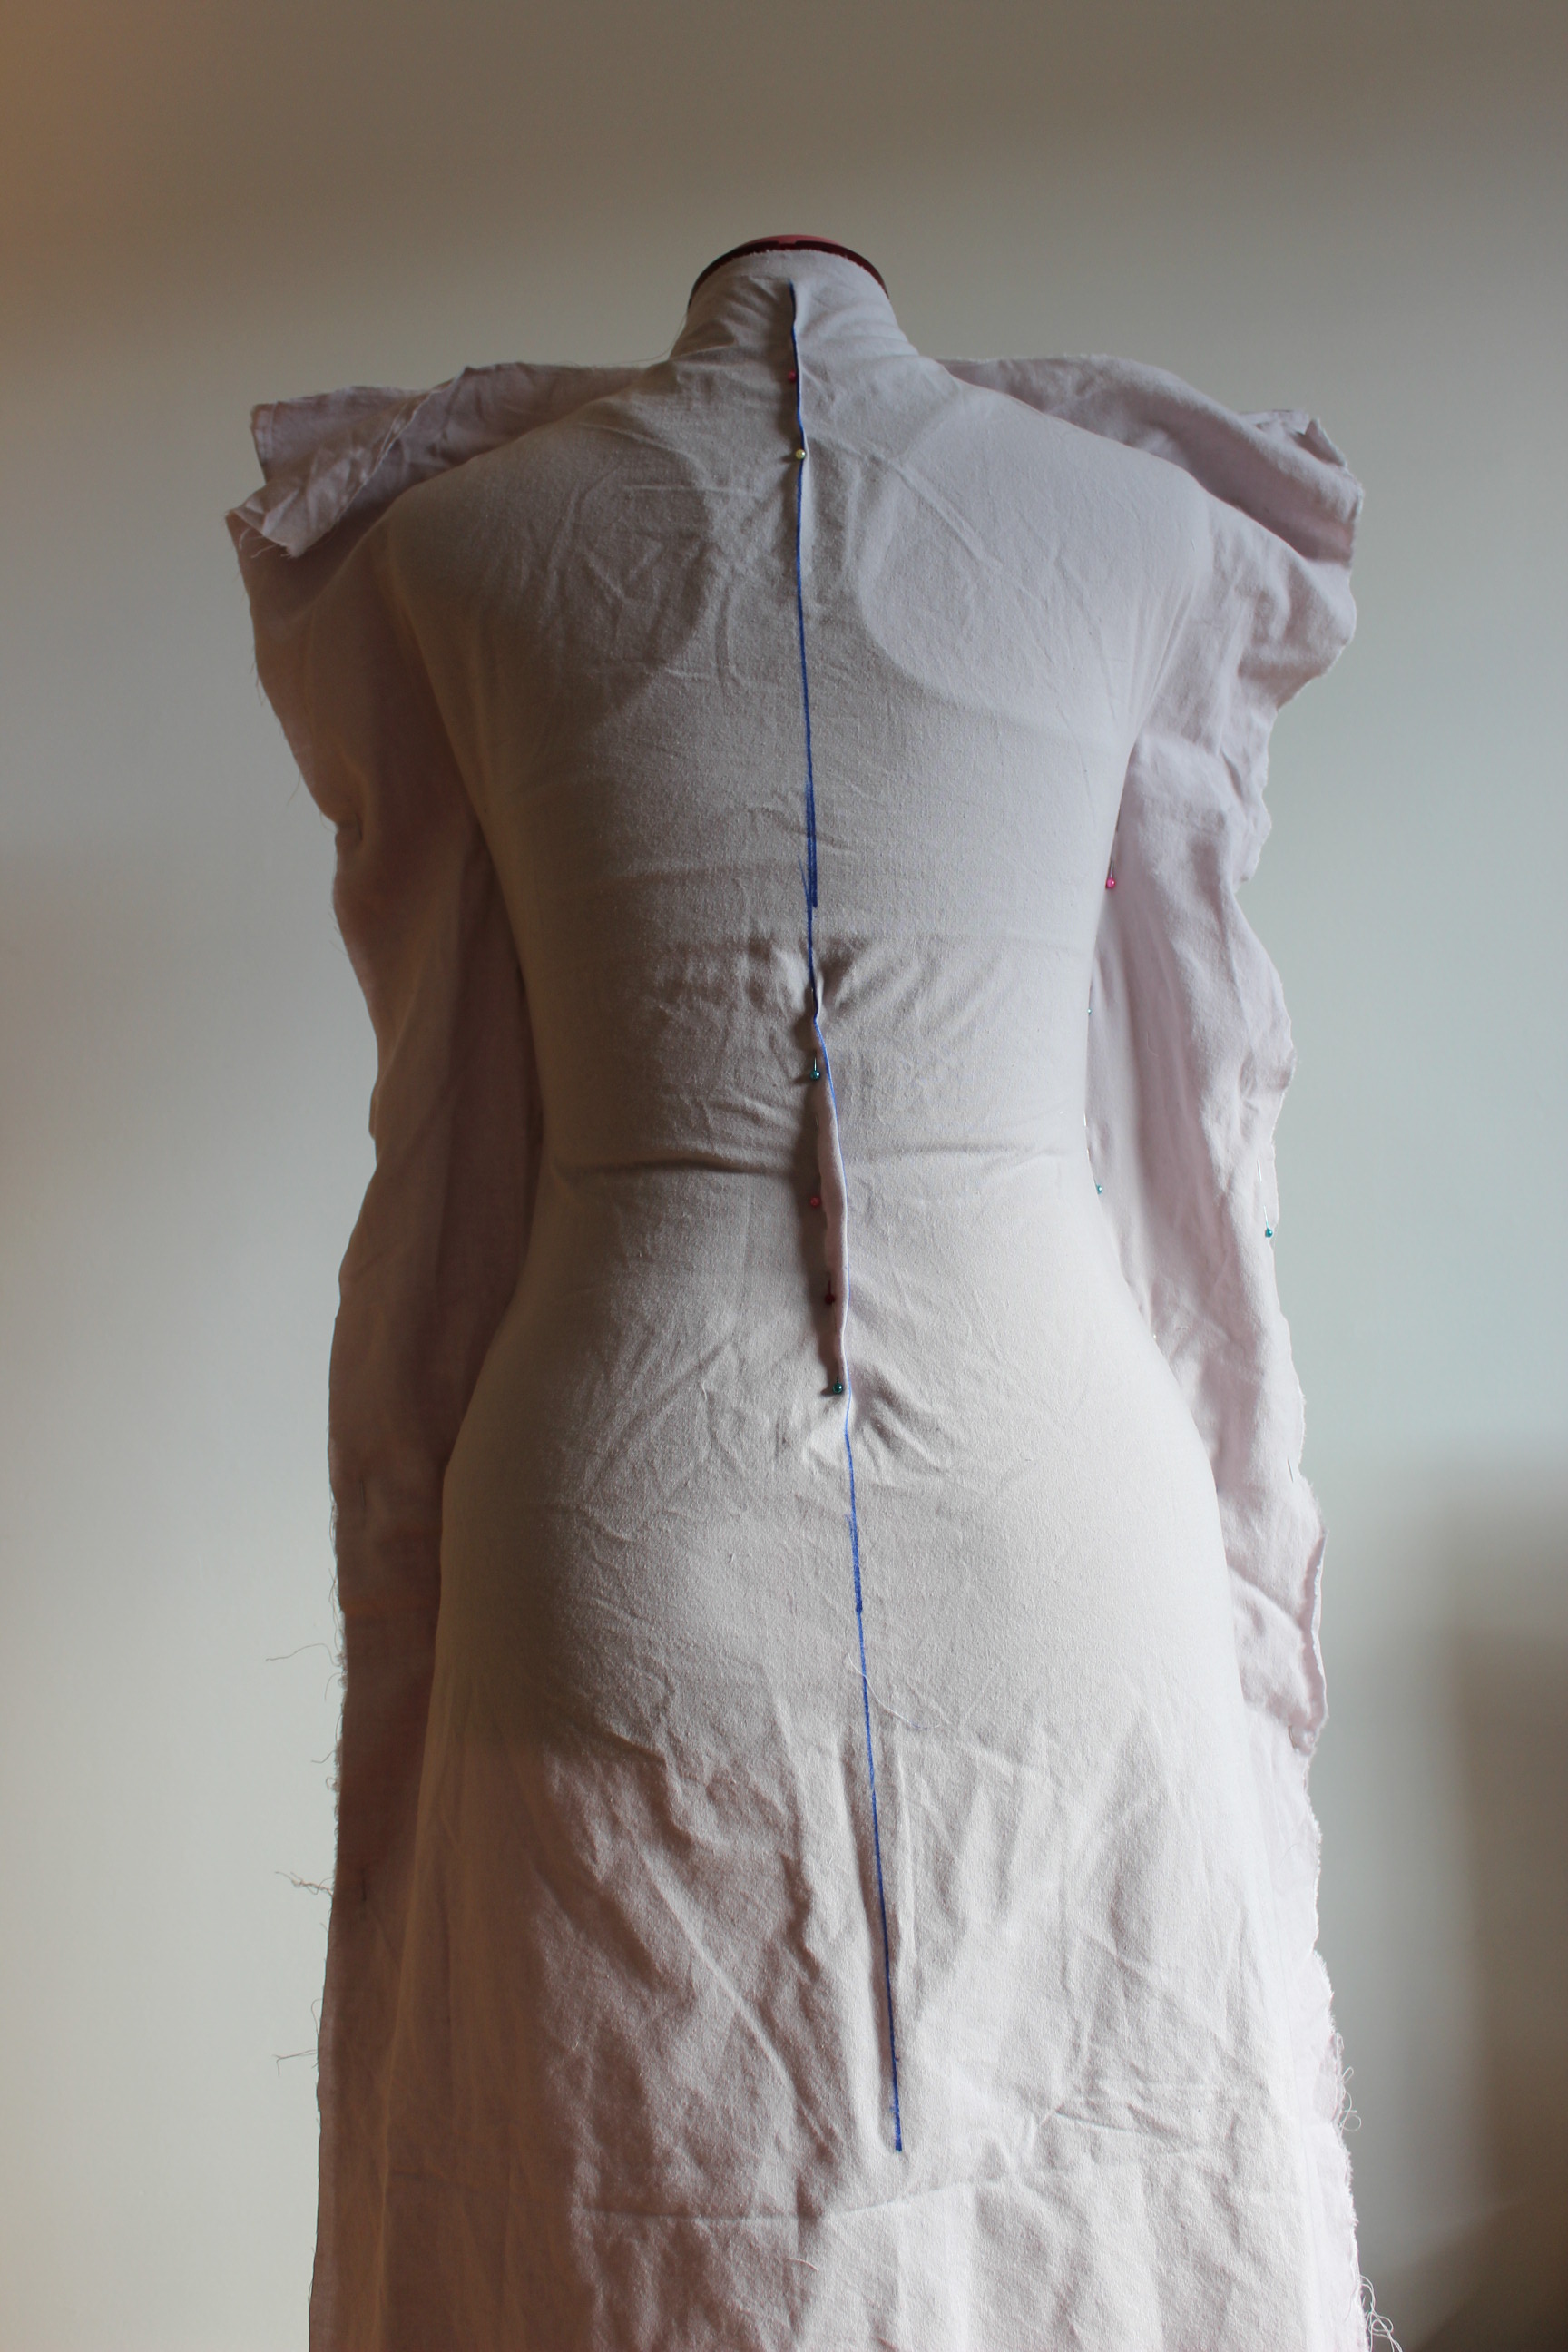
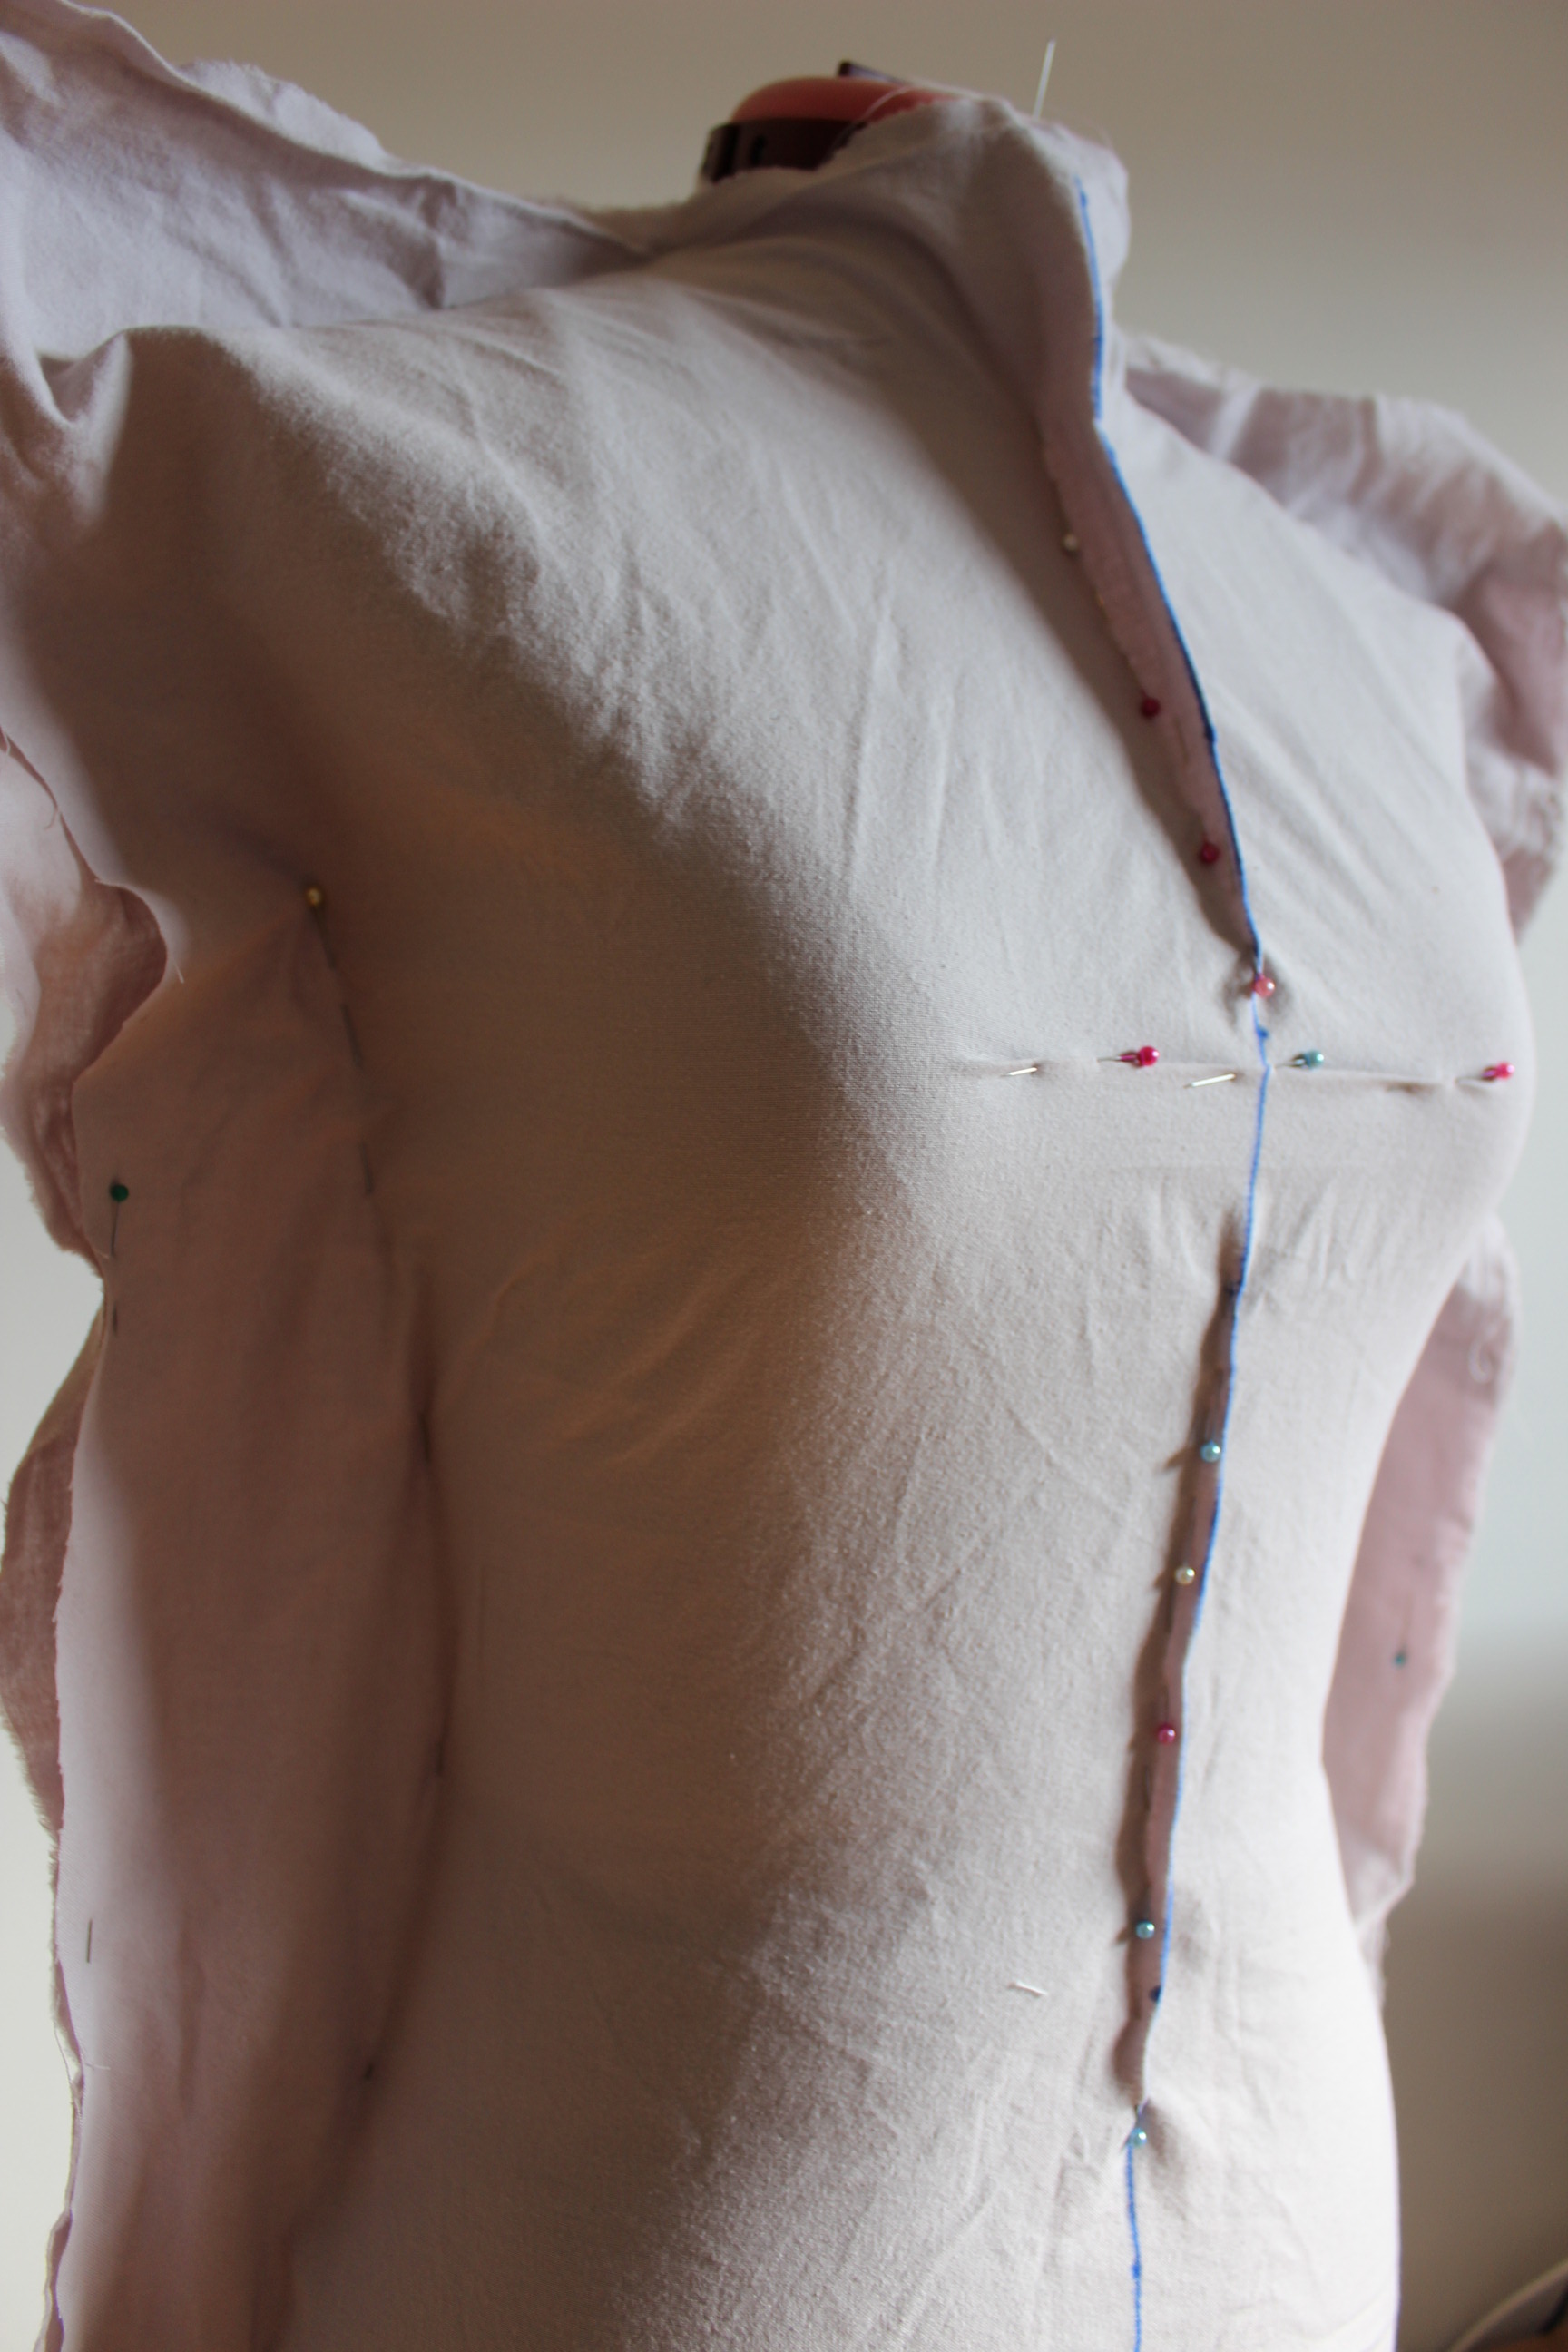
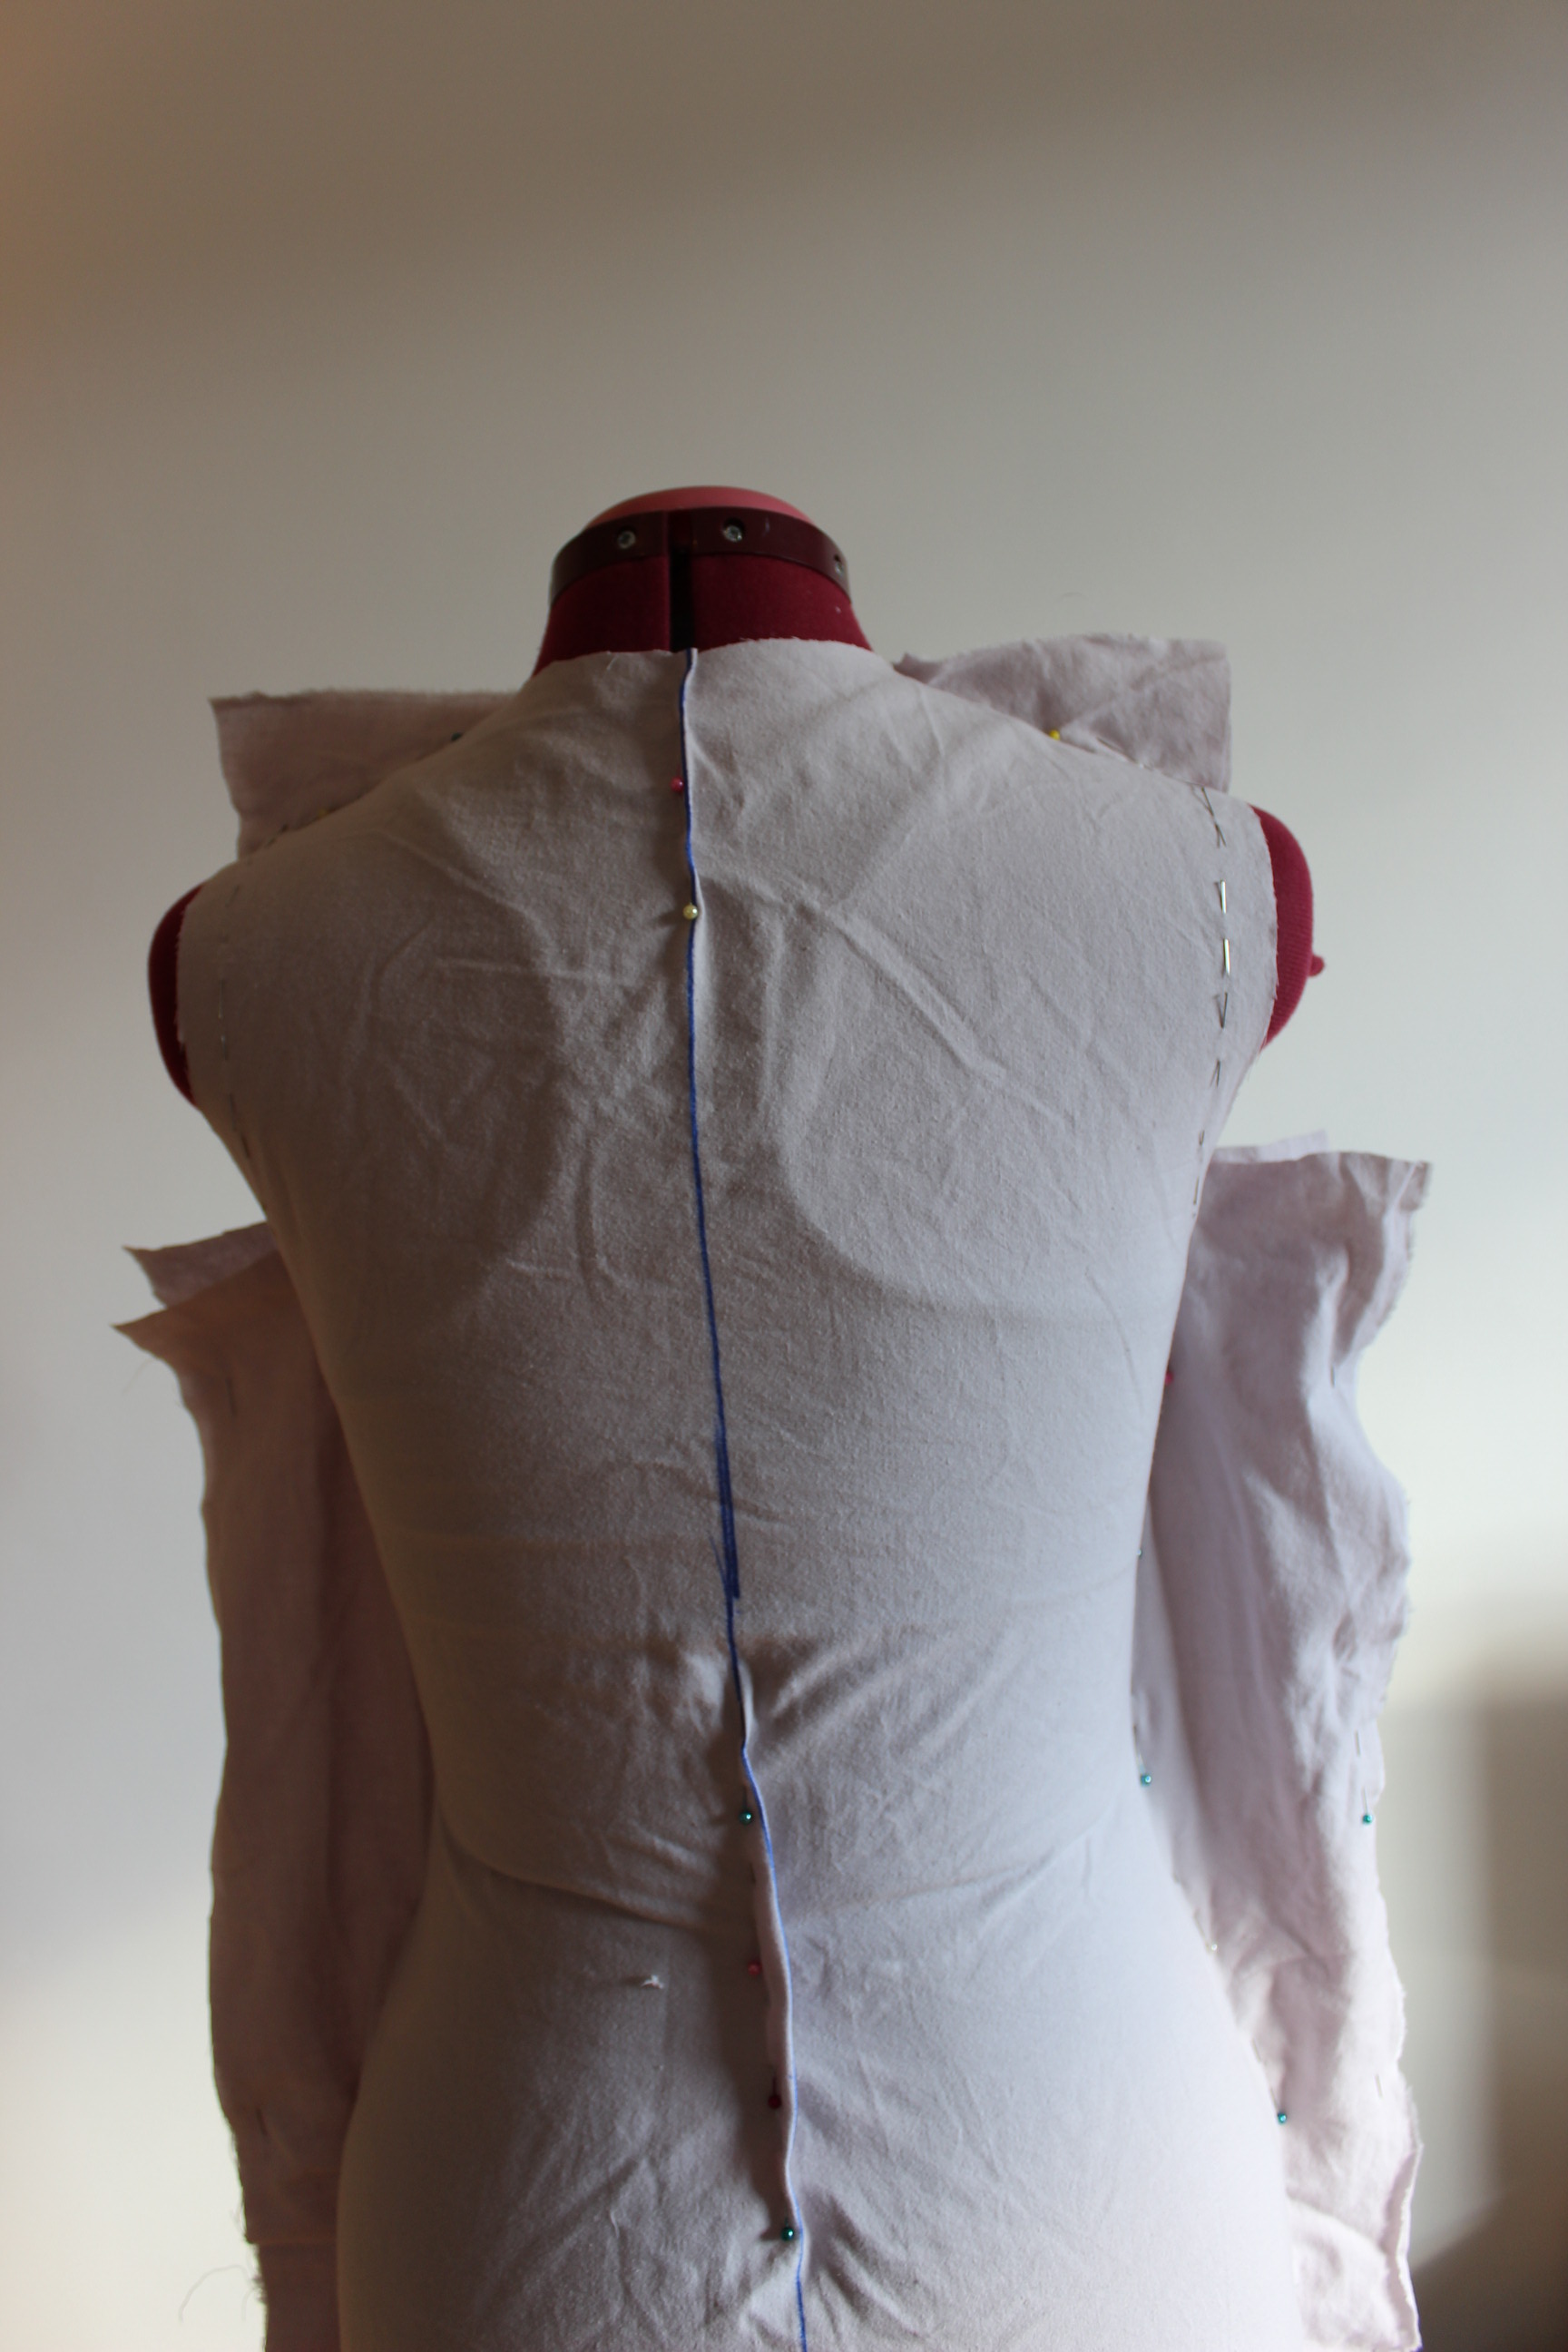
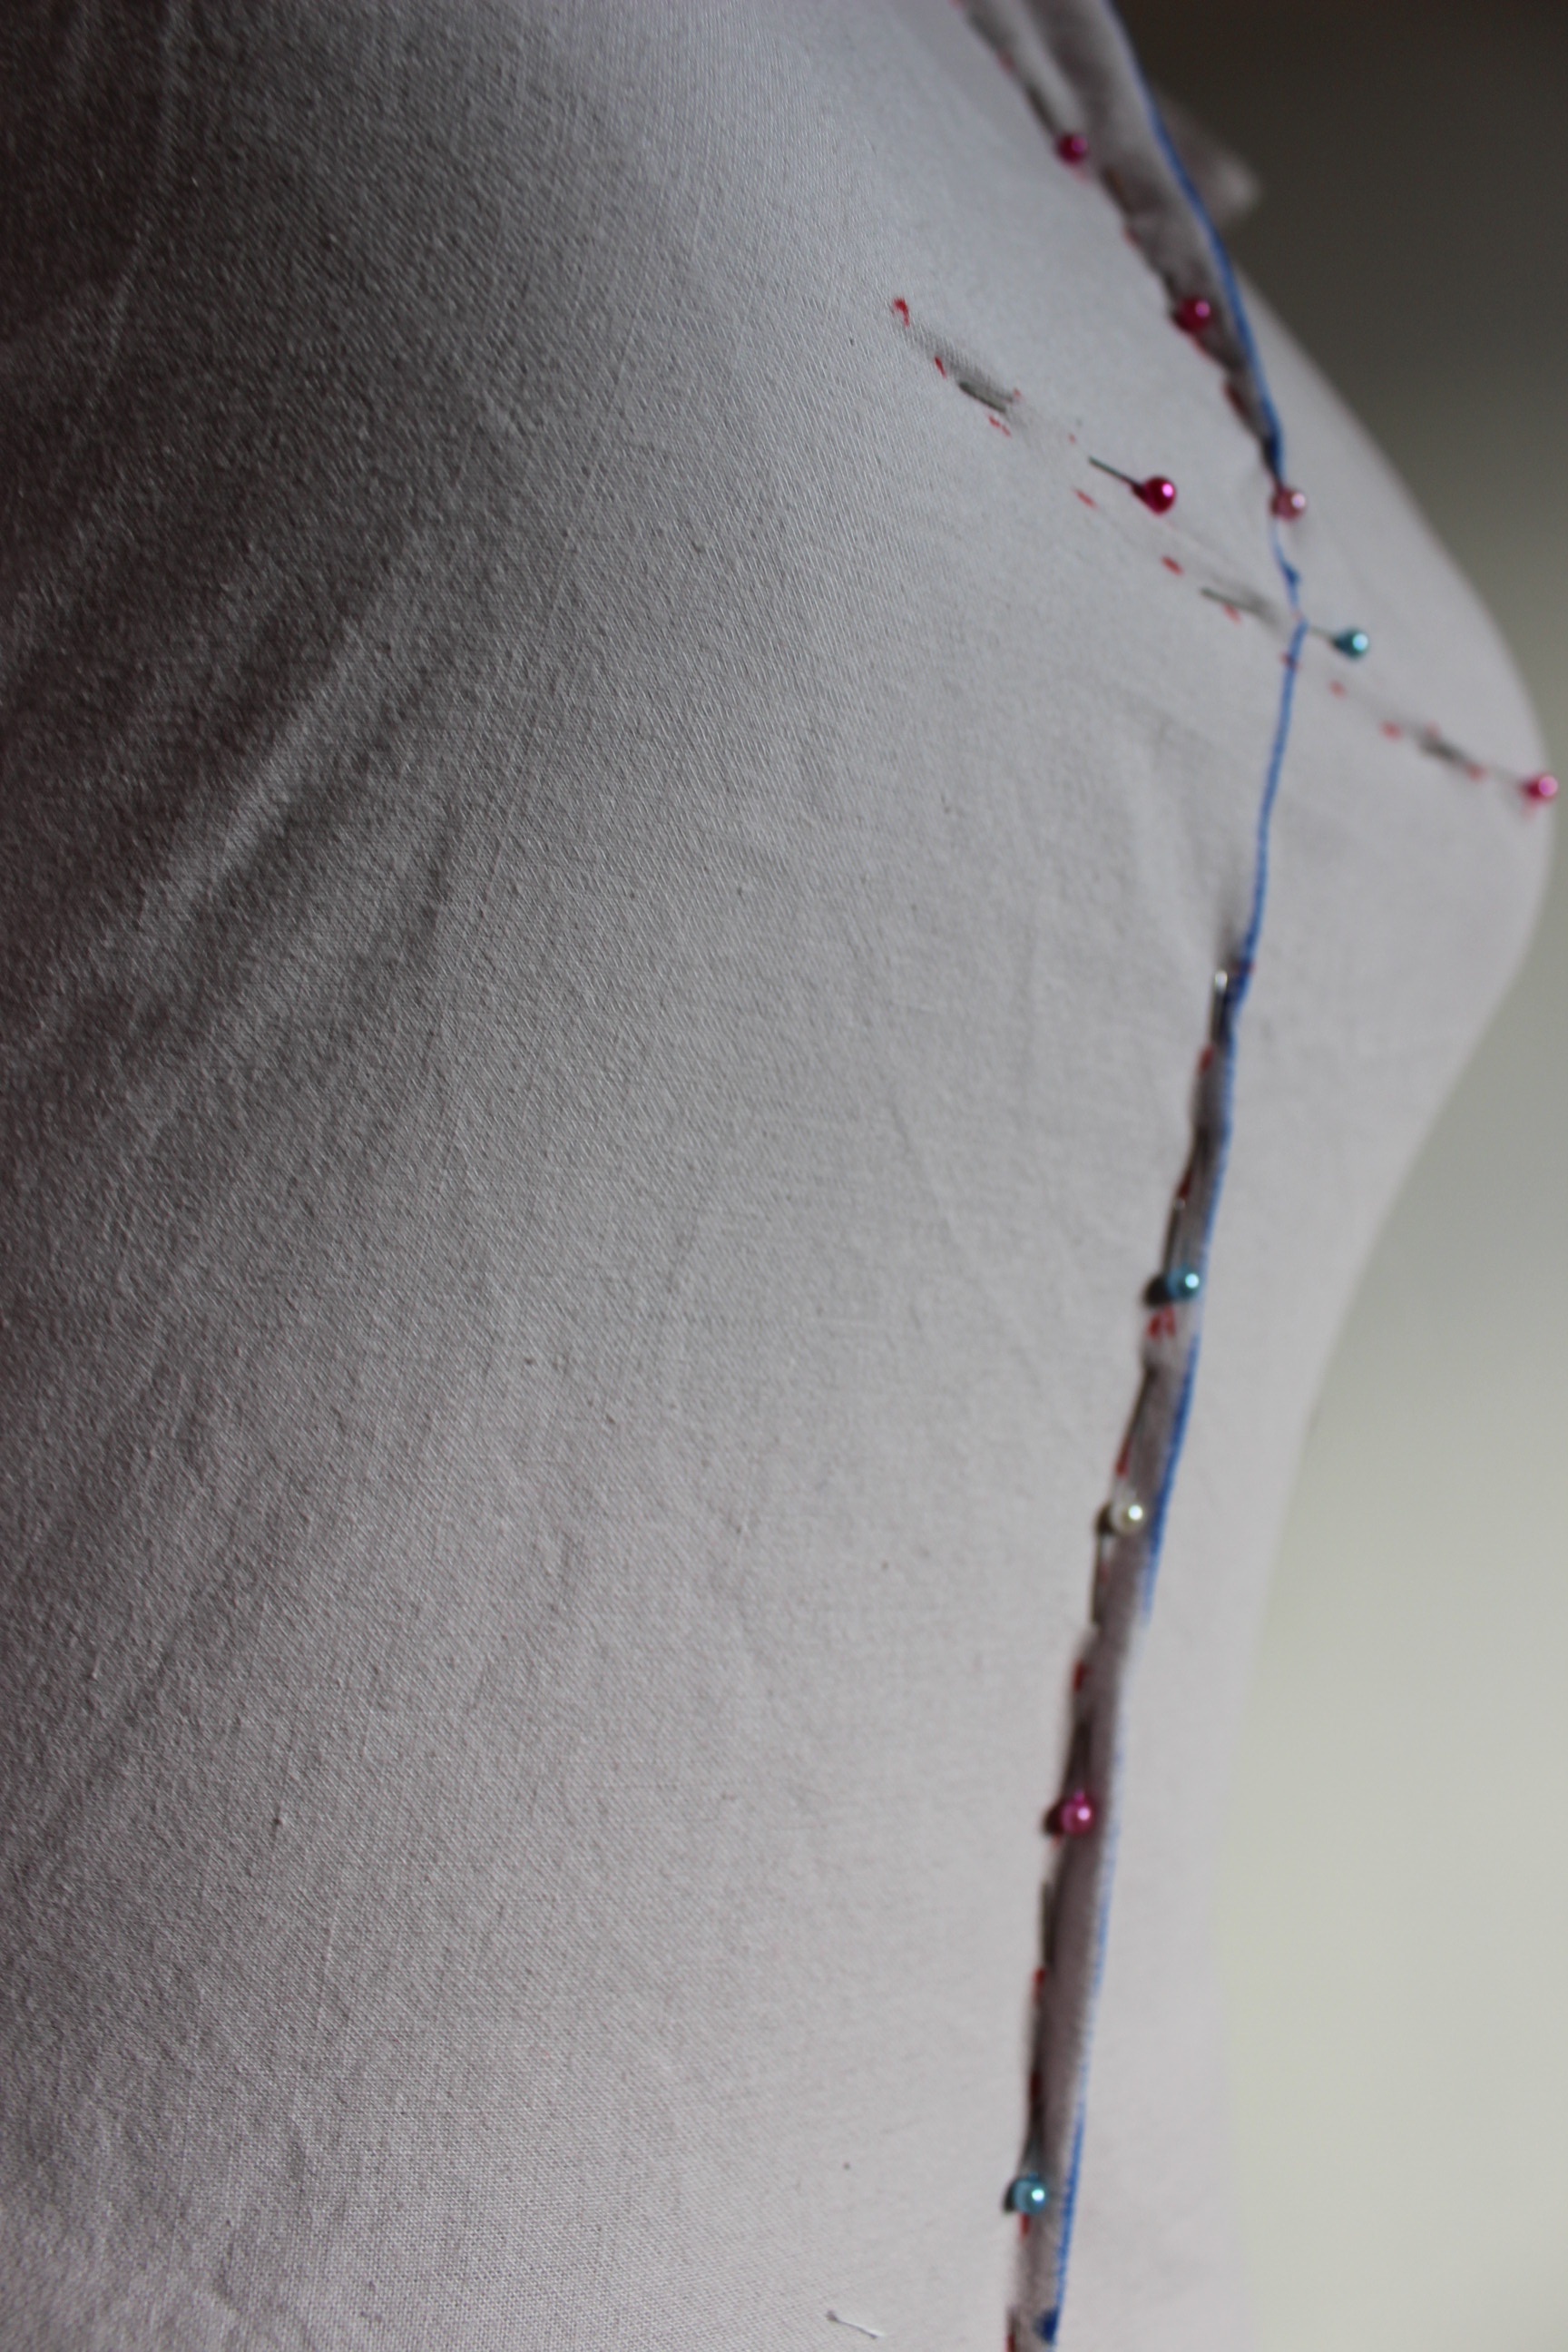
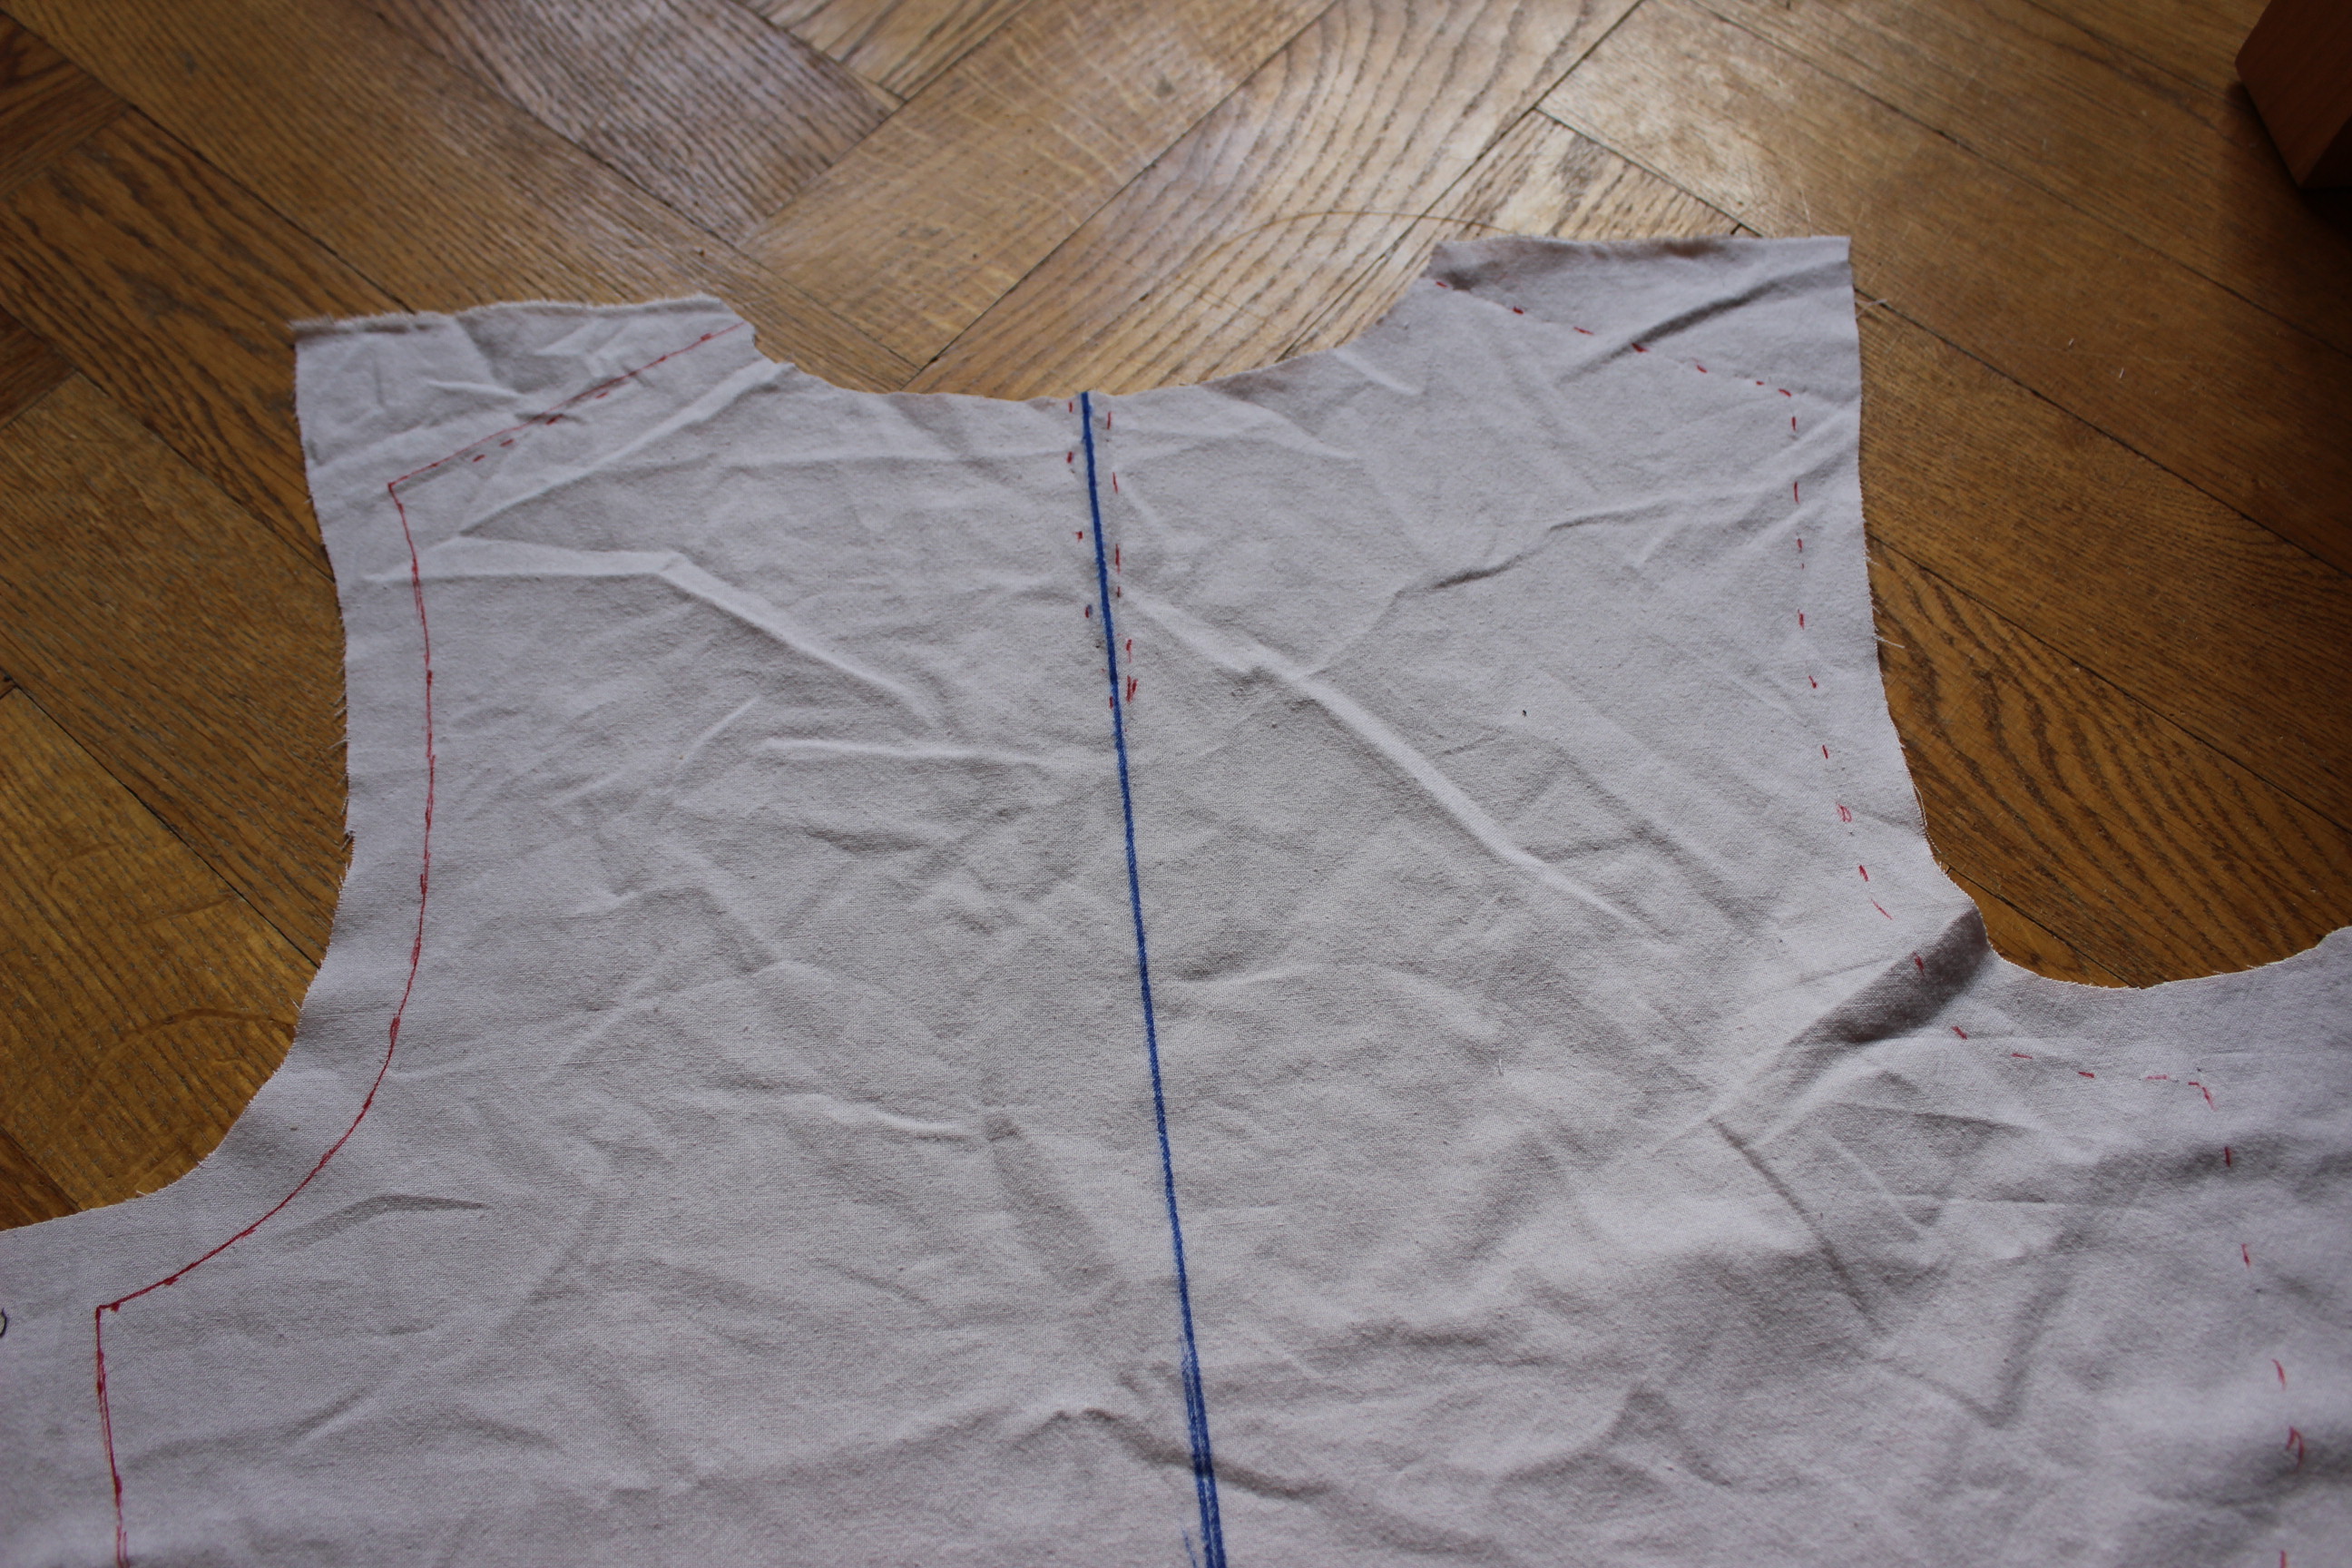
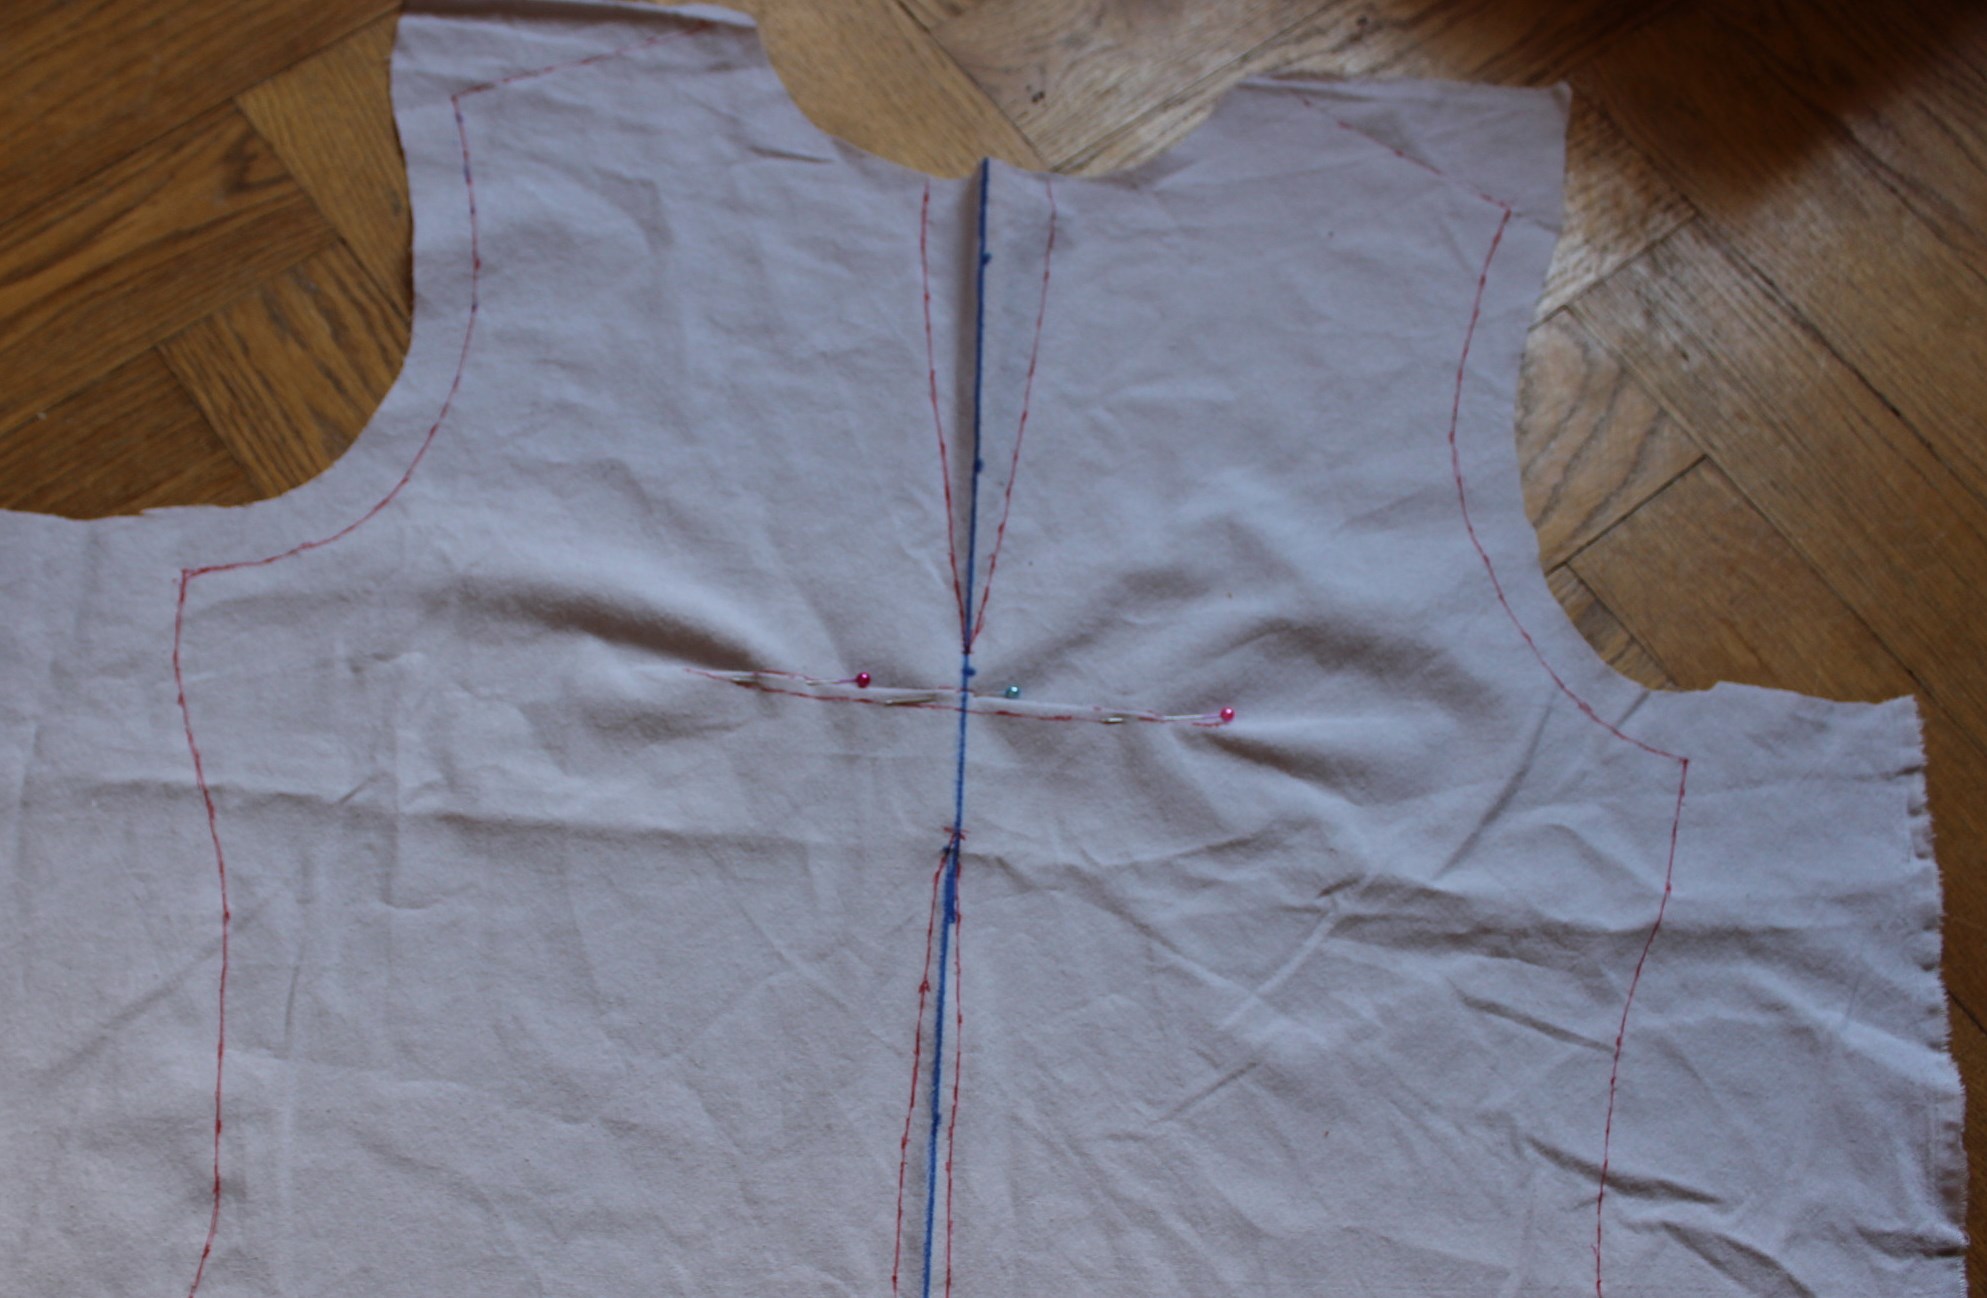
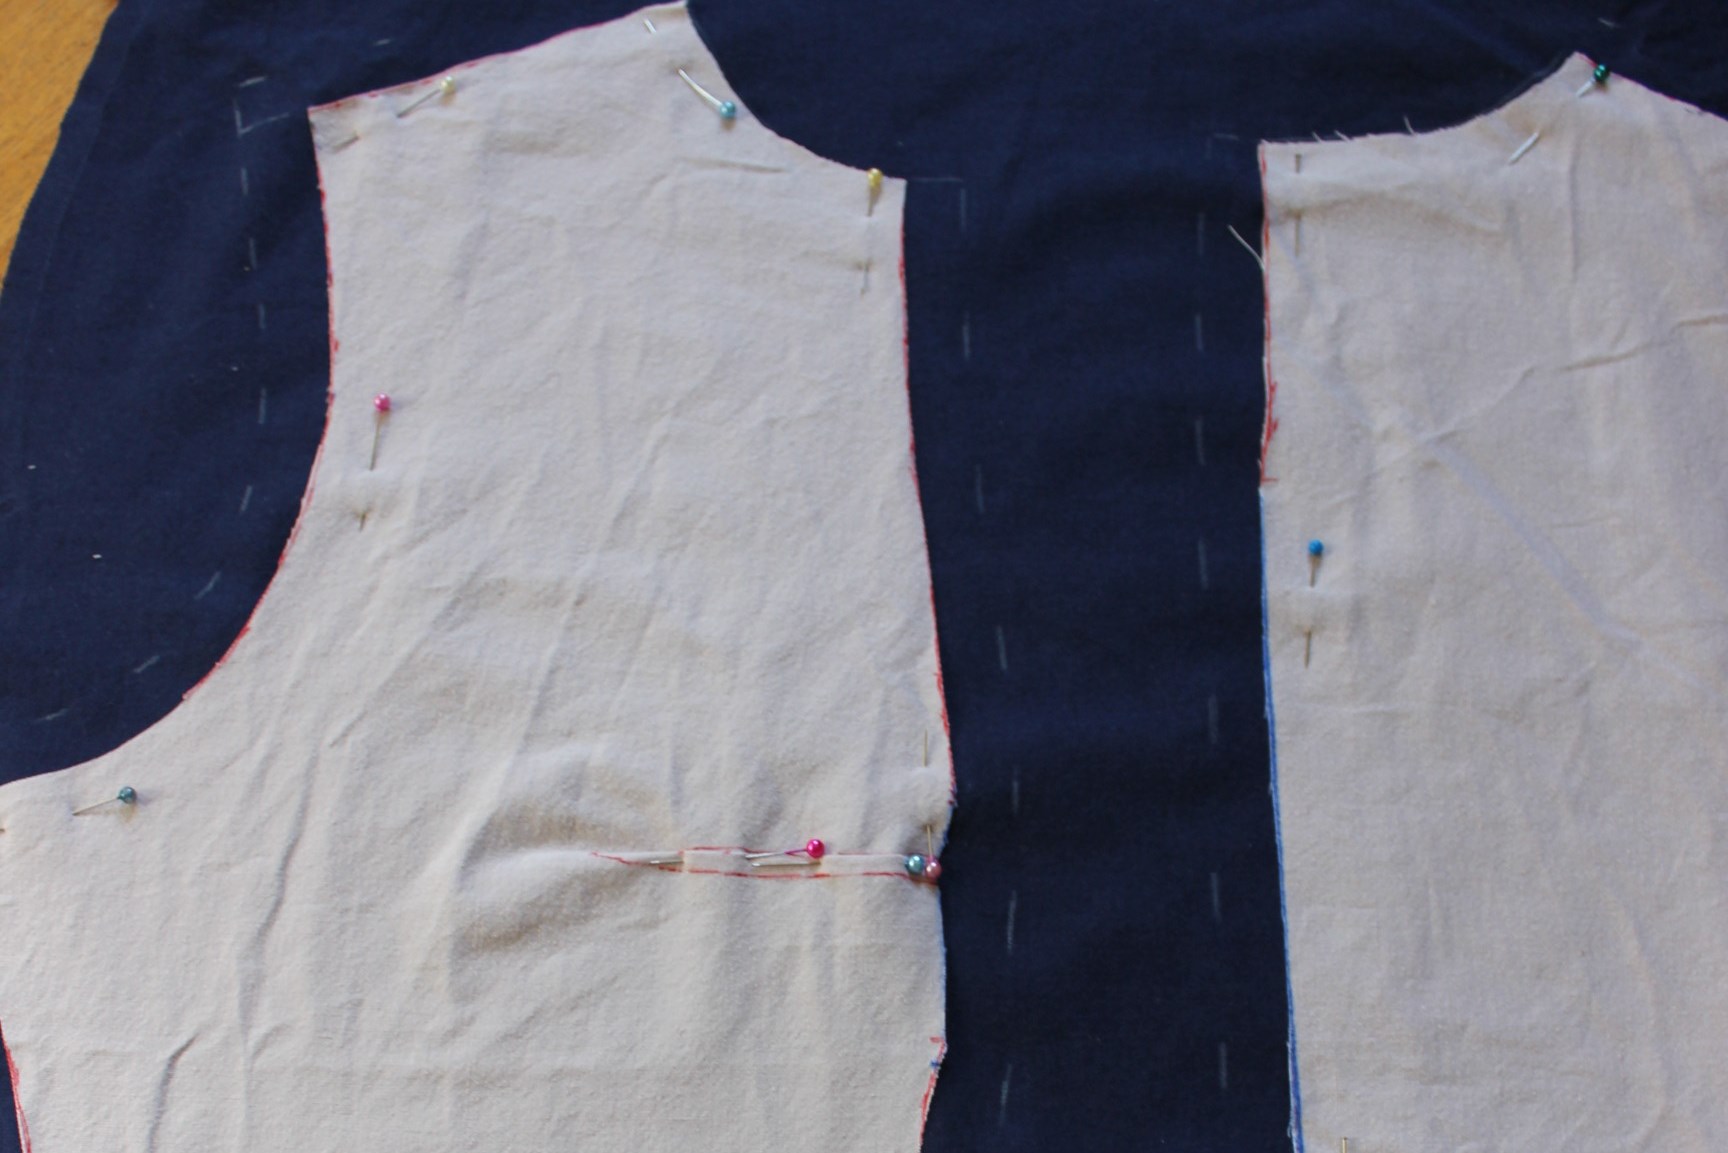
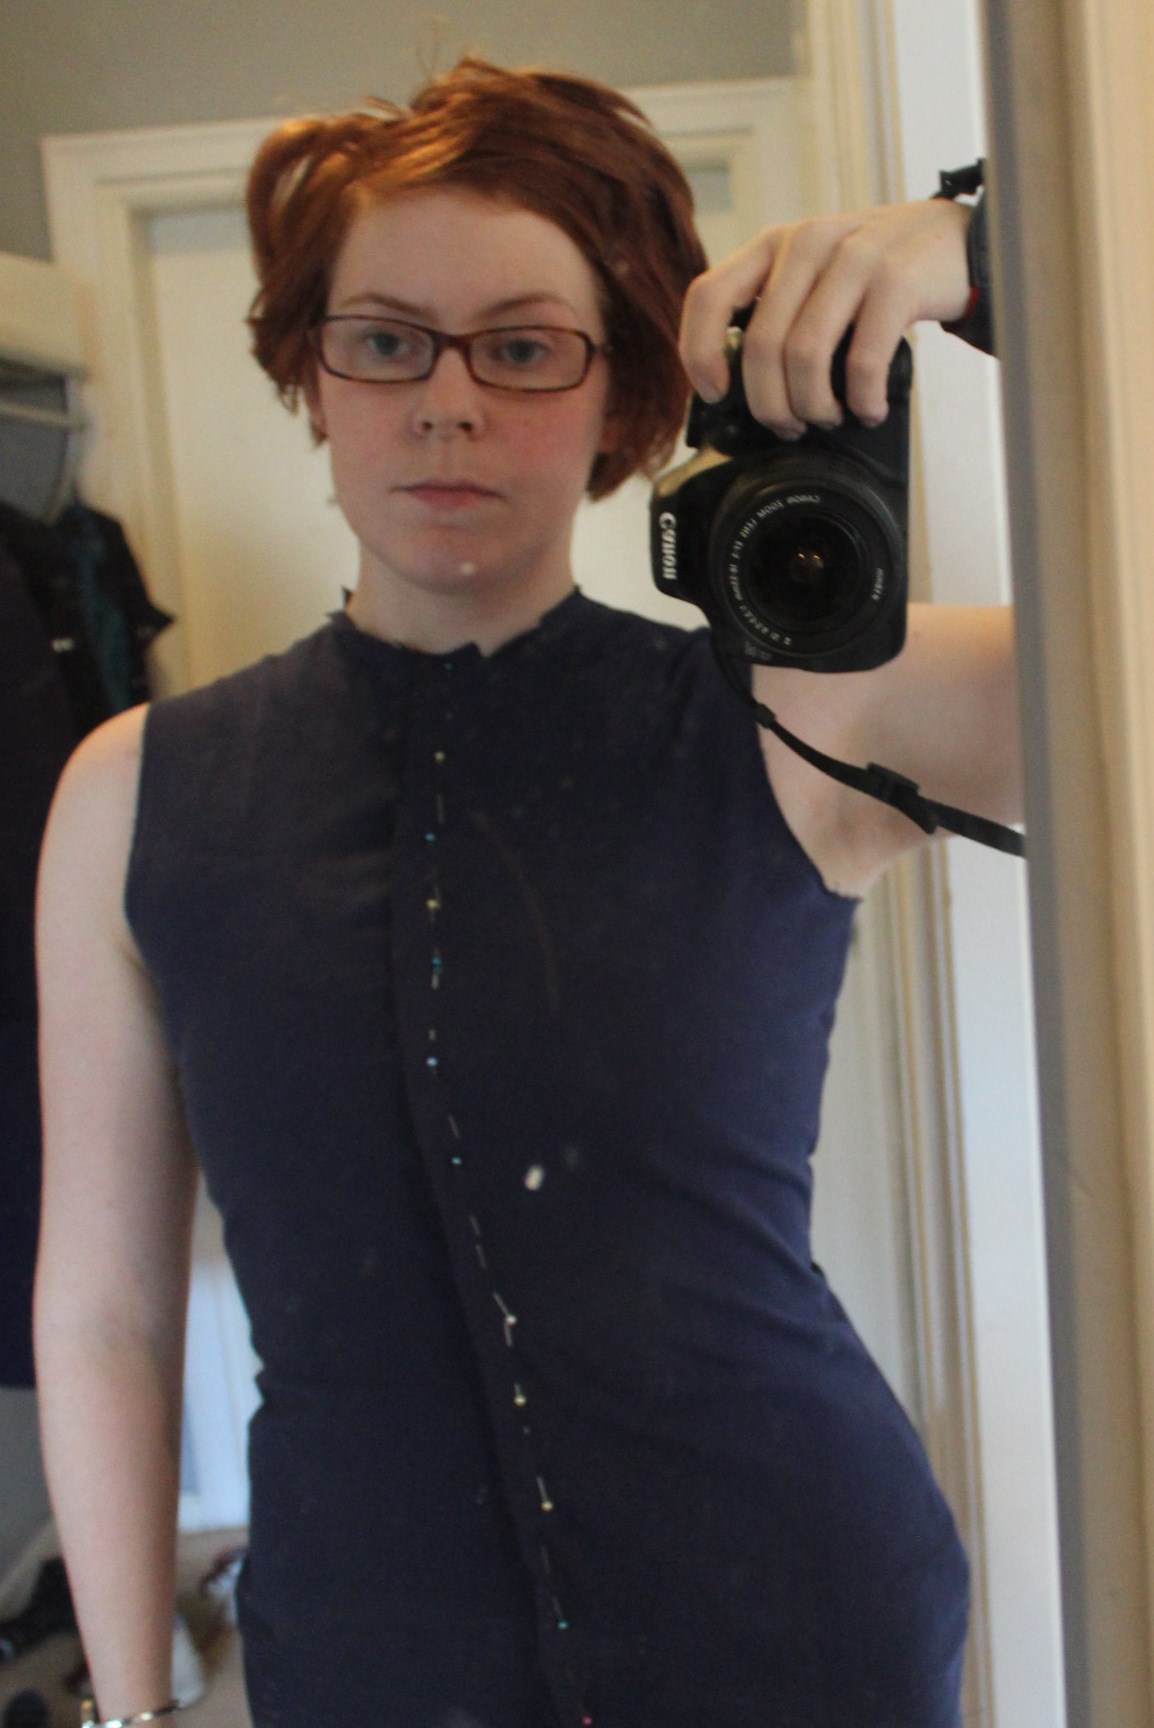
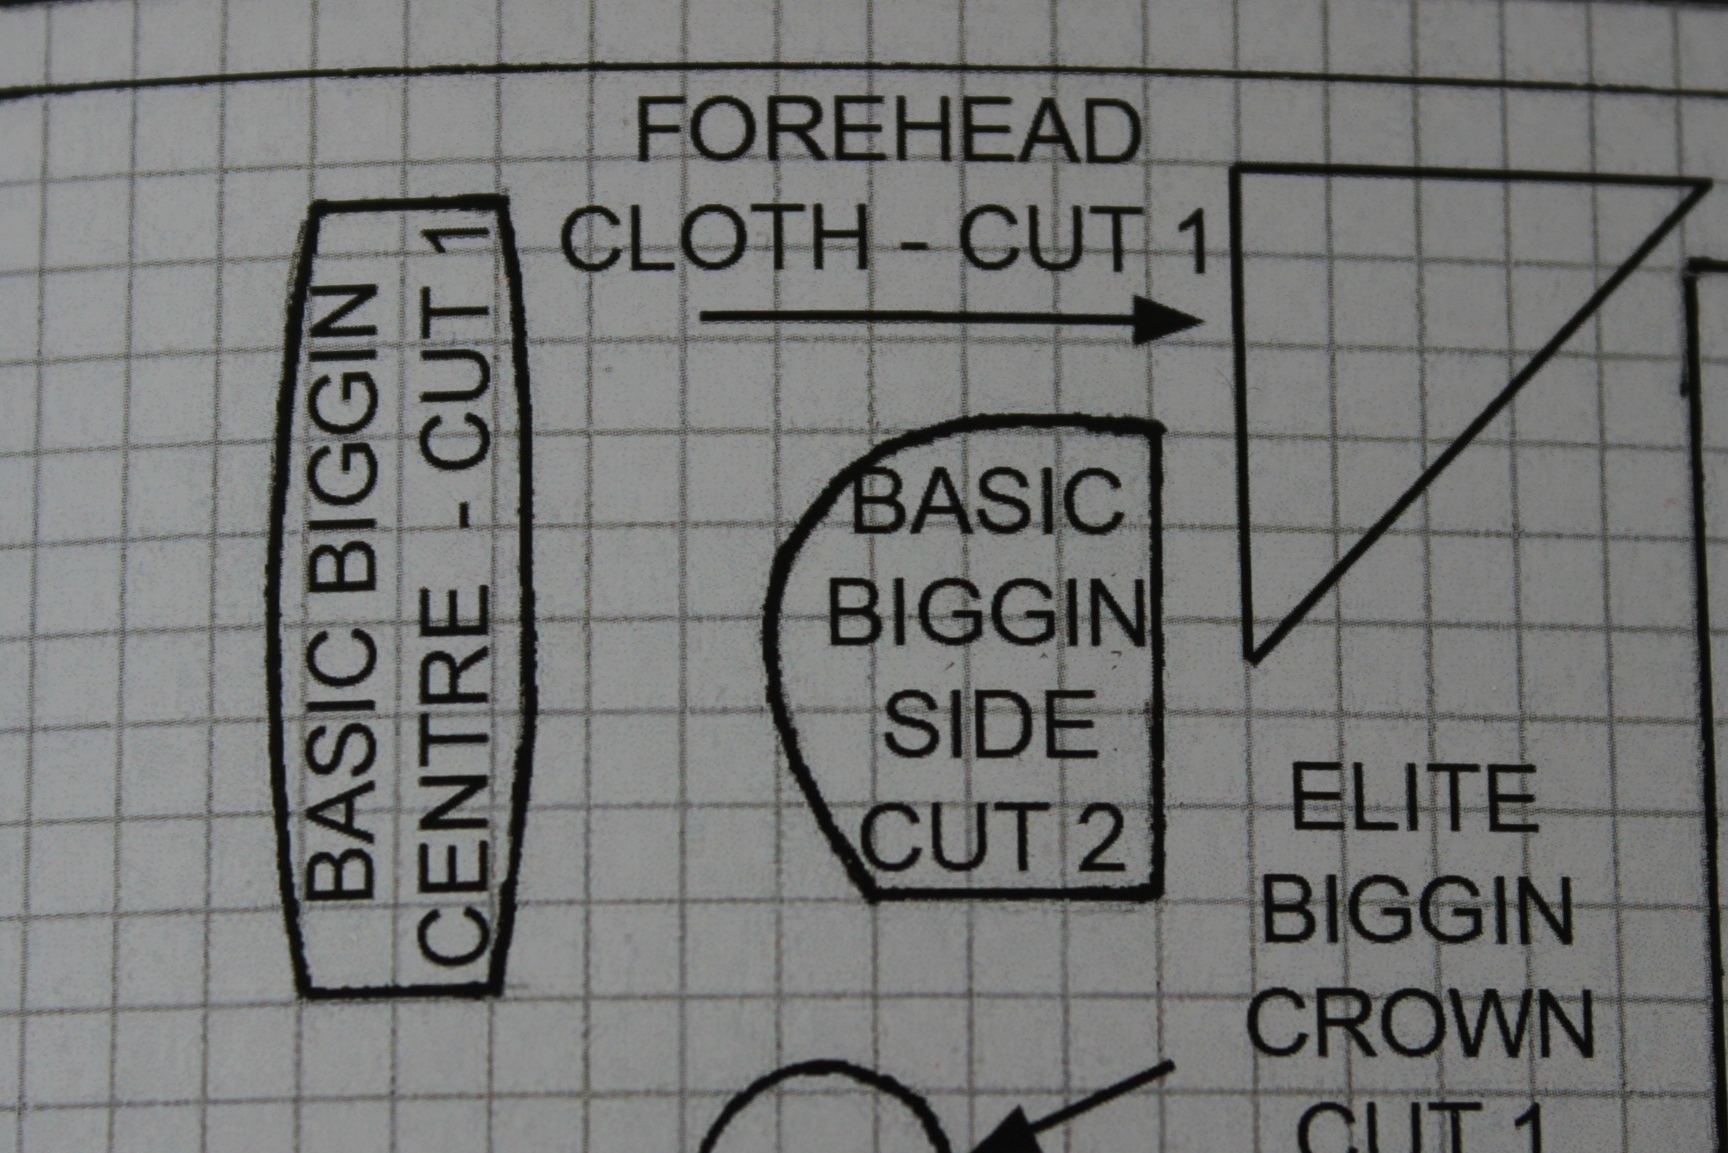
To get your pattern yo need to make you own “basic body blocks”, draping the pttern straight on your body.
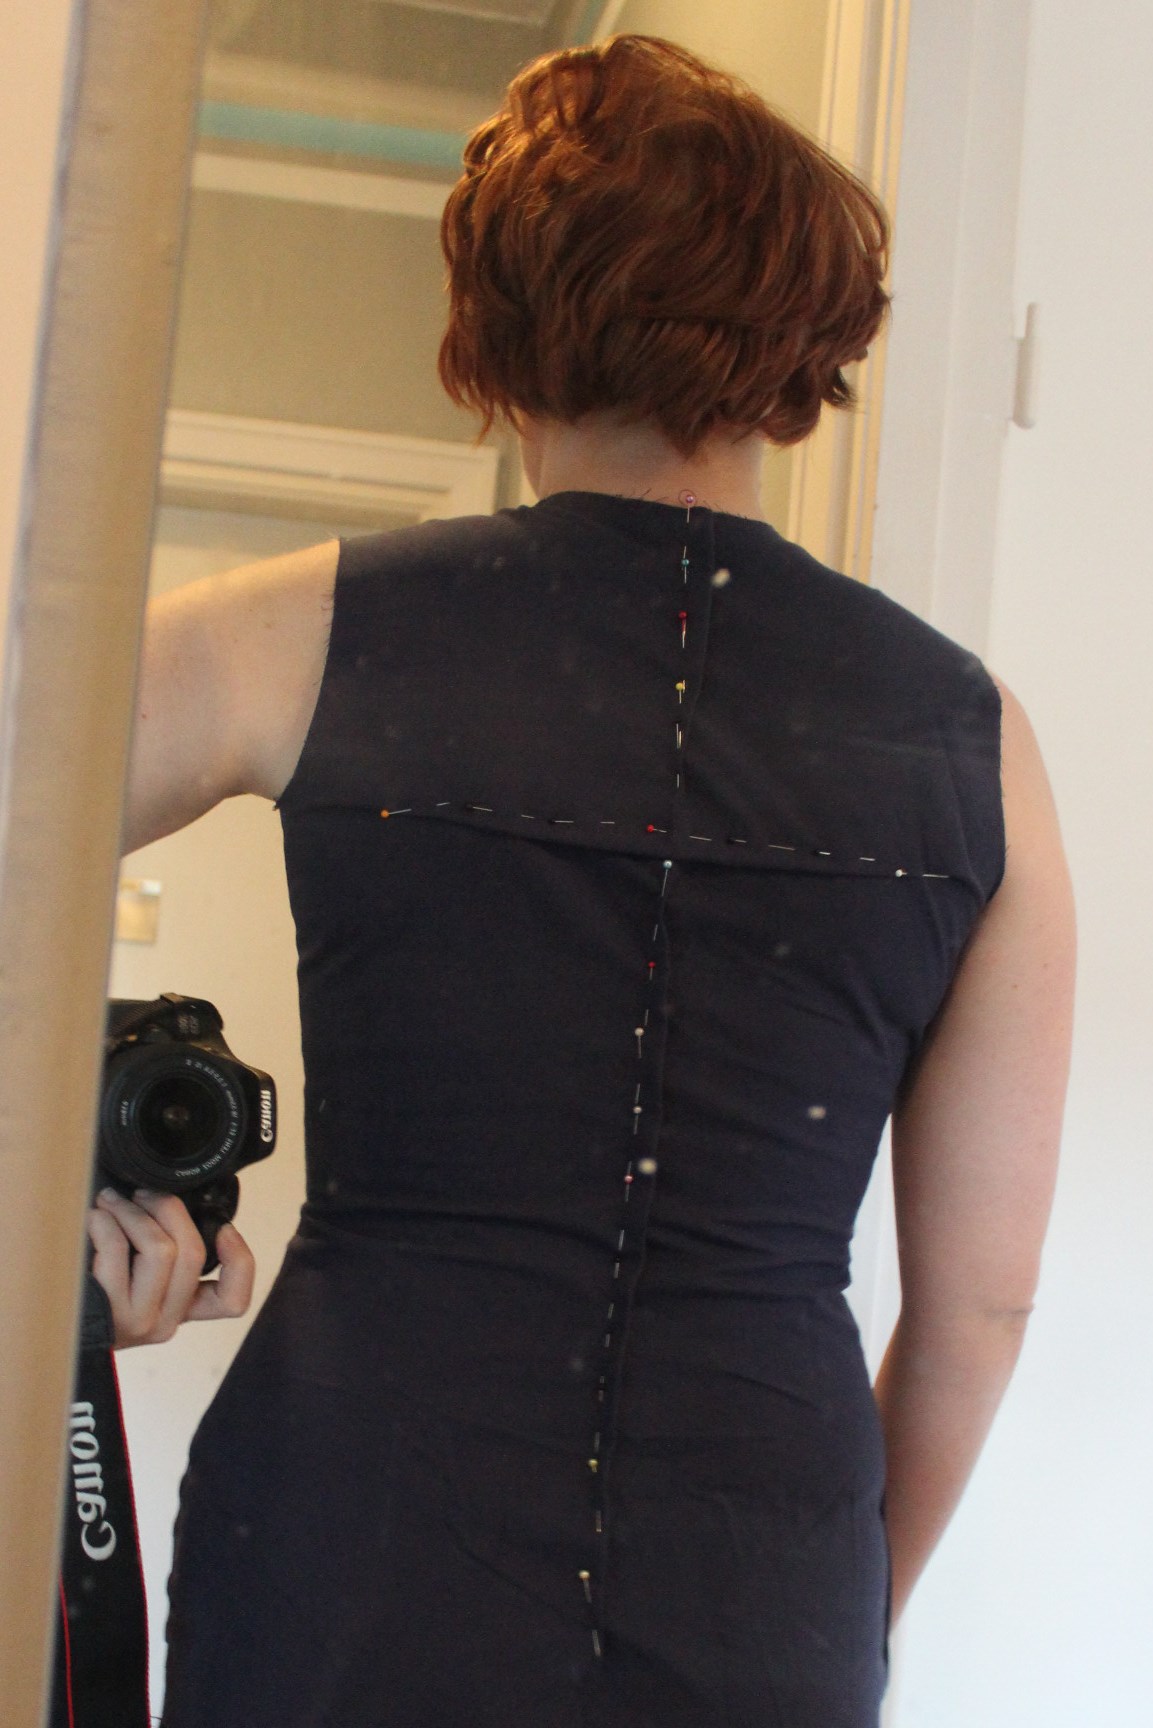
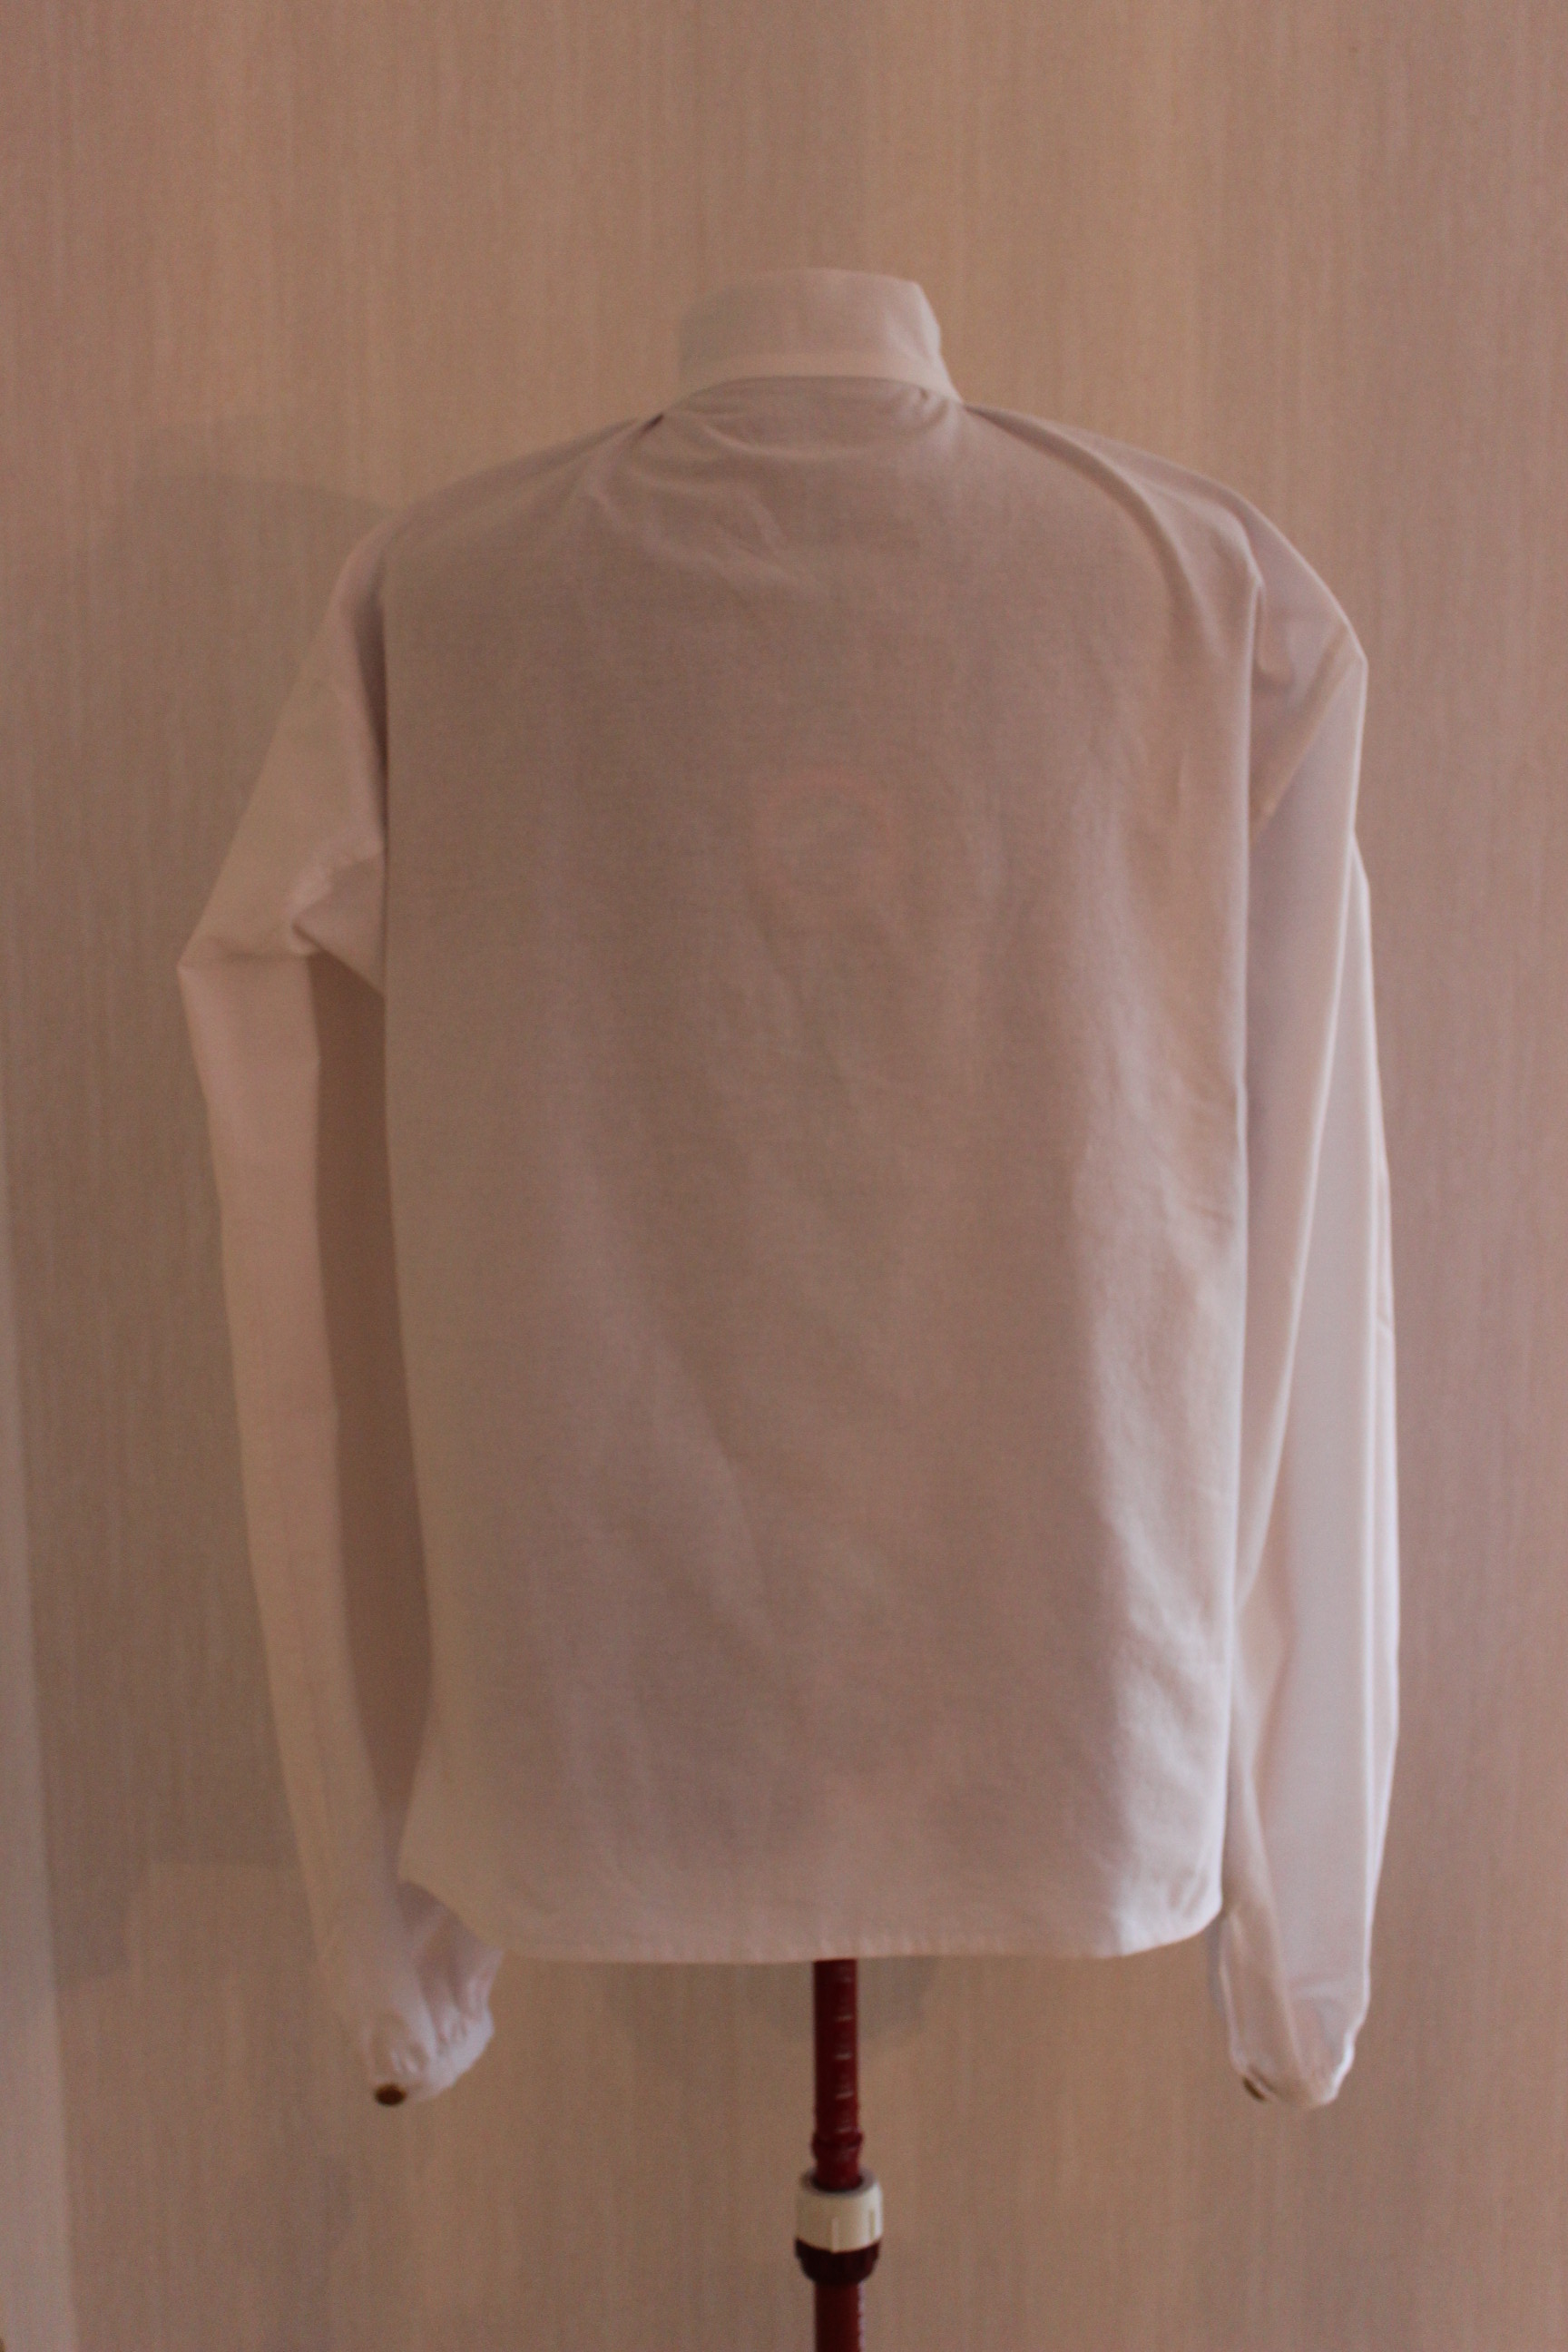
The draping adapts and also workies on a dressform. Draping my fitted body blocks.
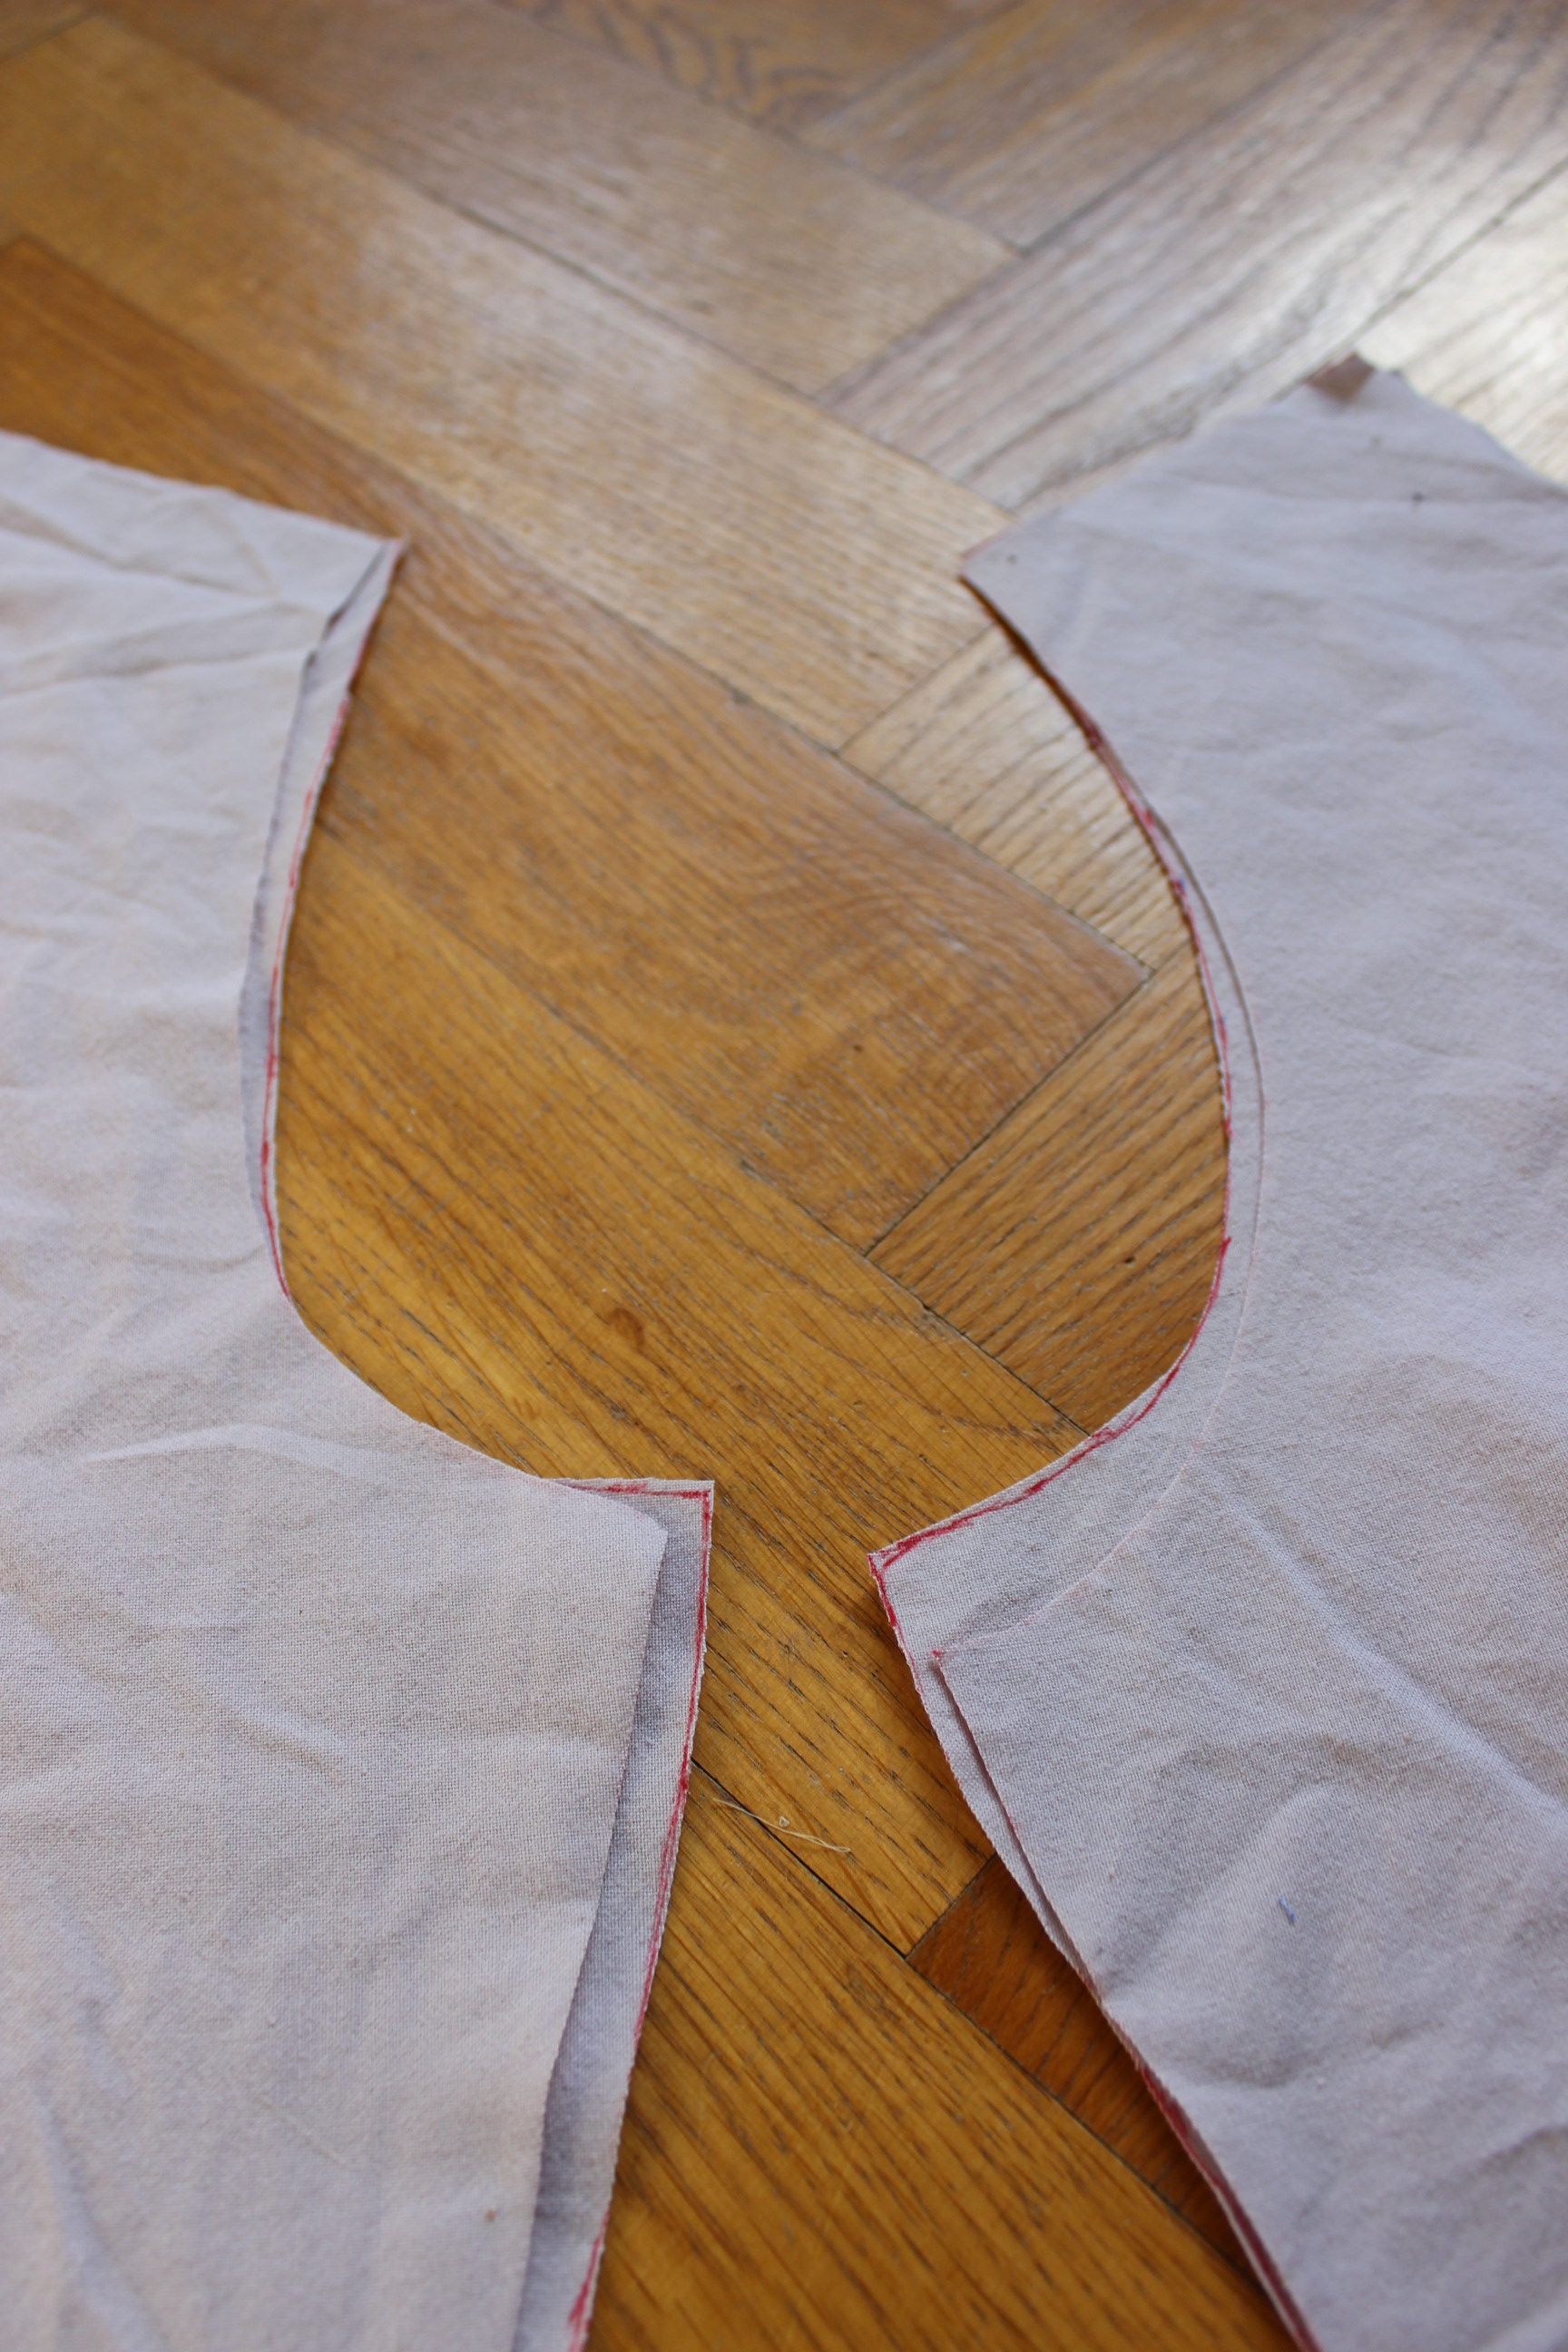
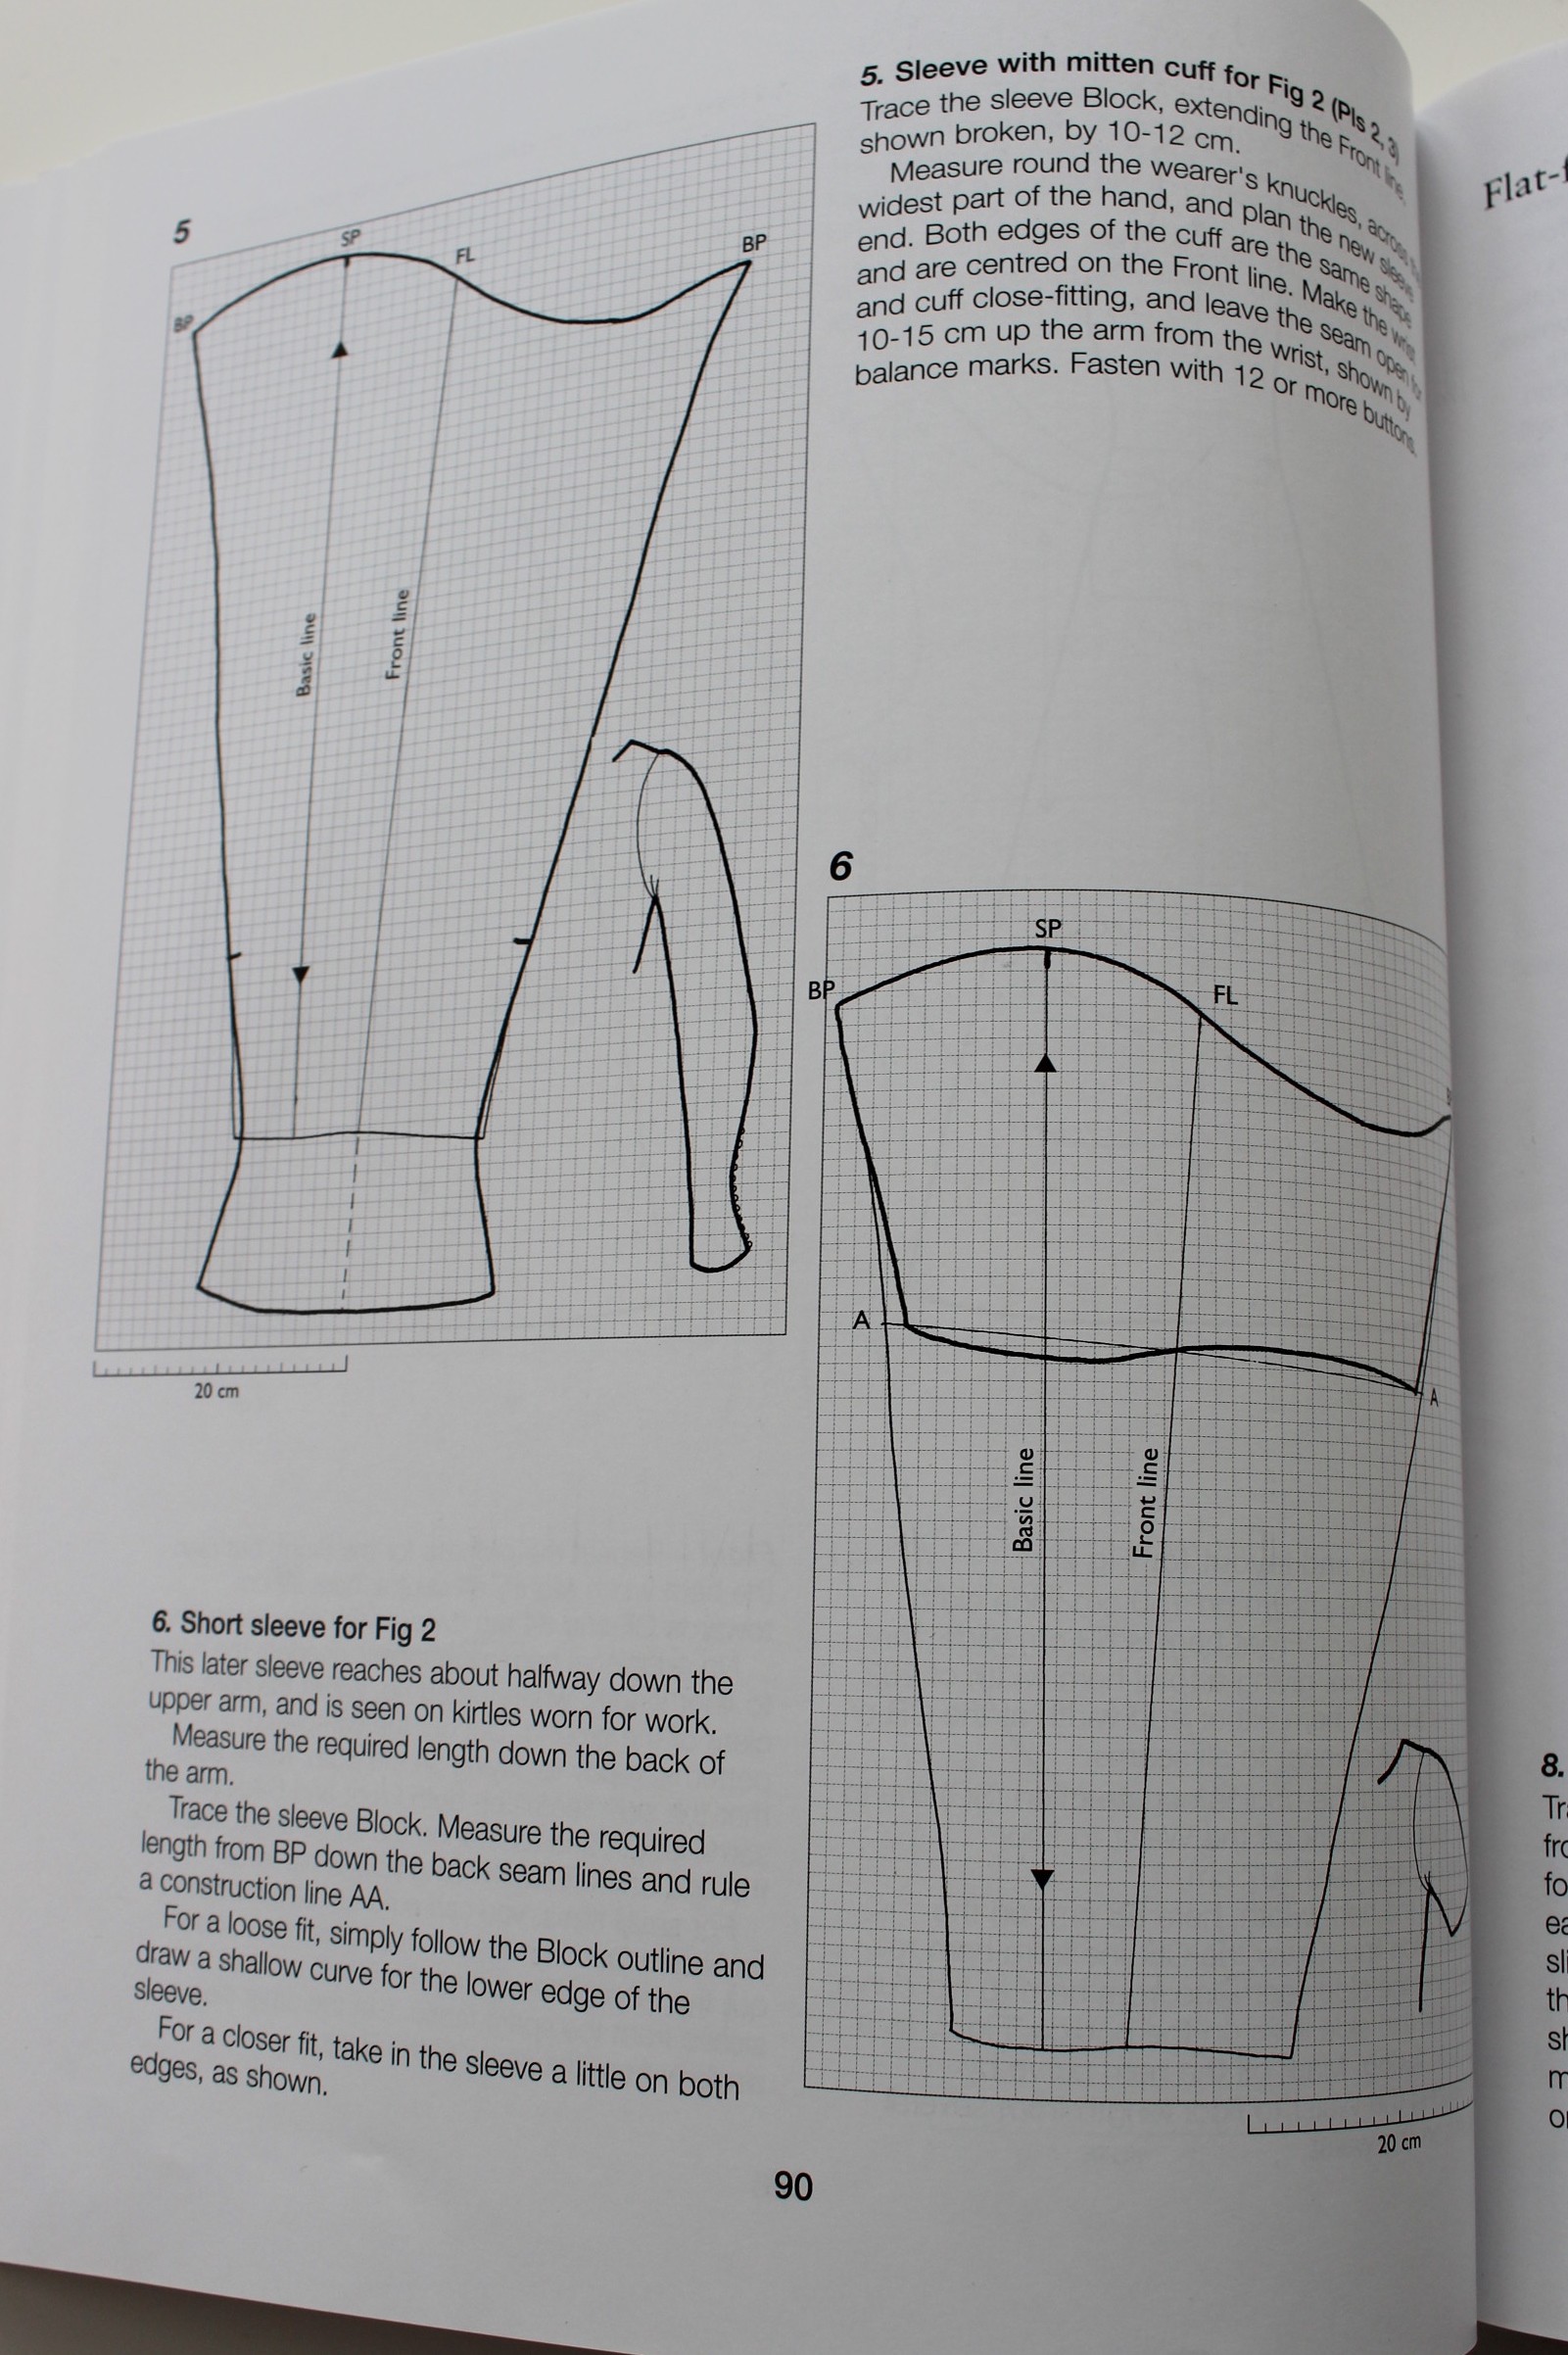
The basic sleeve needs to be drafted “on the table”, and have instructions and picture on how to do it.
Pros:
I like the wide range of costumes you can get out of the book. Using several different pieces of garment you can combine you own look in whatever way you like.
 Lots of different intrepitations of the patterns in the book.
I also like the wide range between the garments – you can make male, female, child, old, rich, pore or anyone in between. and the pages showing how to combine your outfit are great.
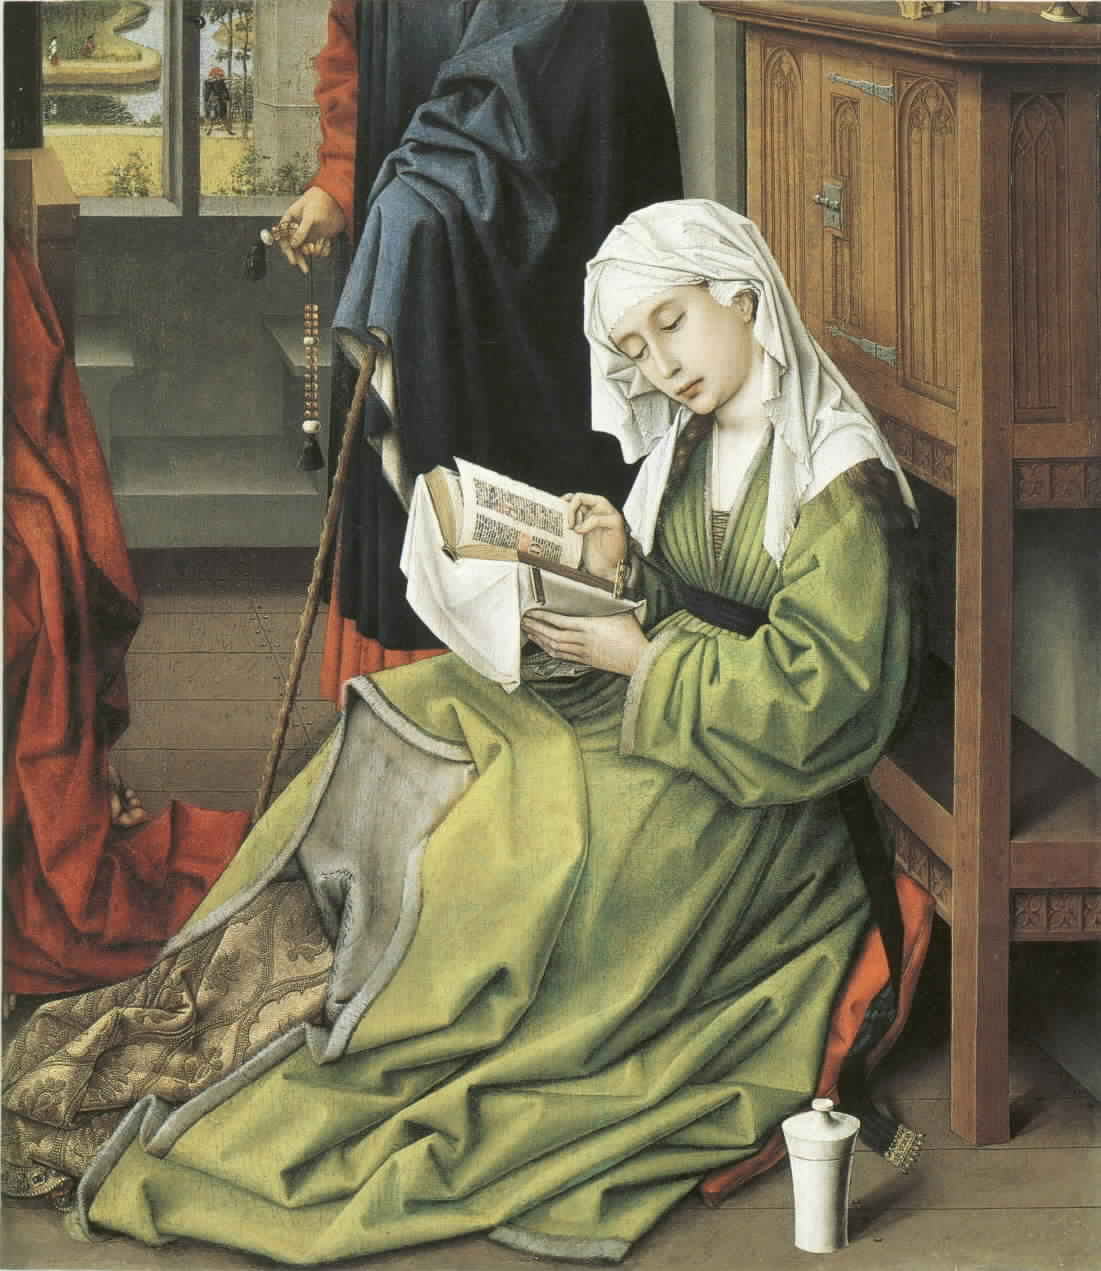
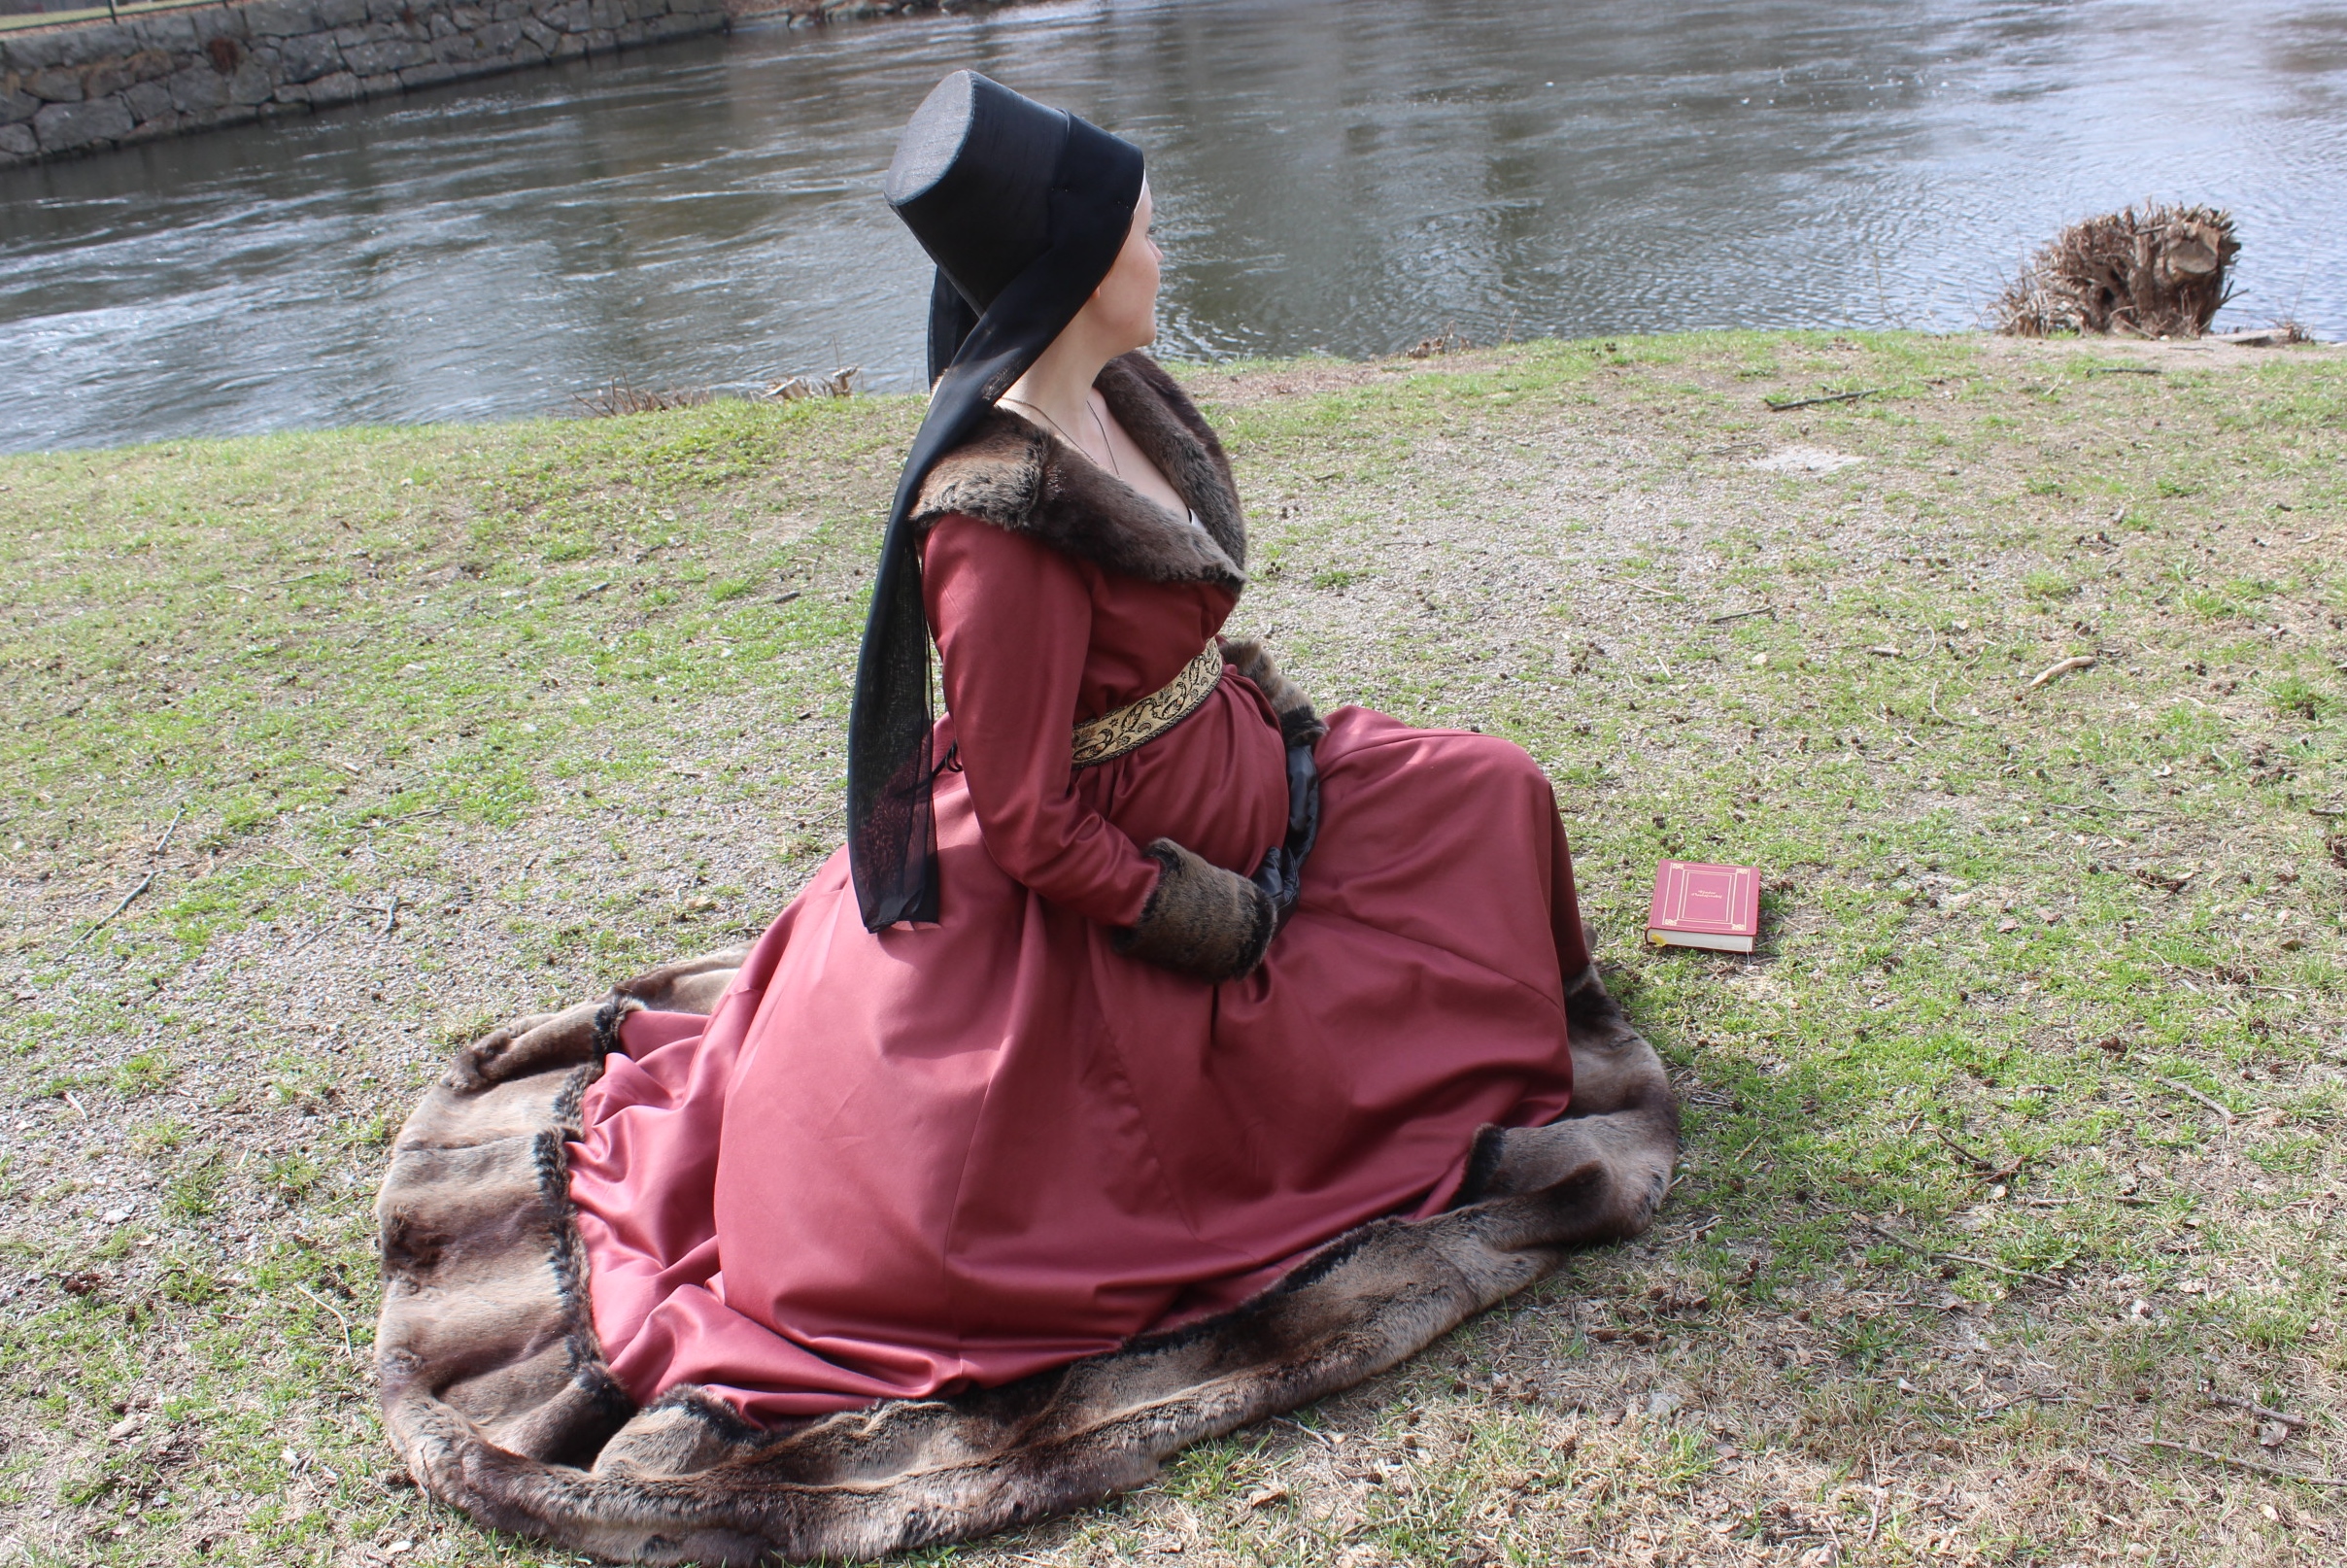
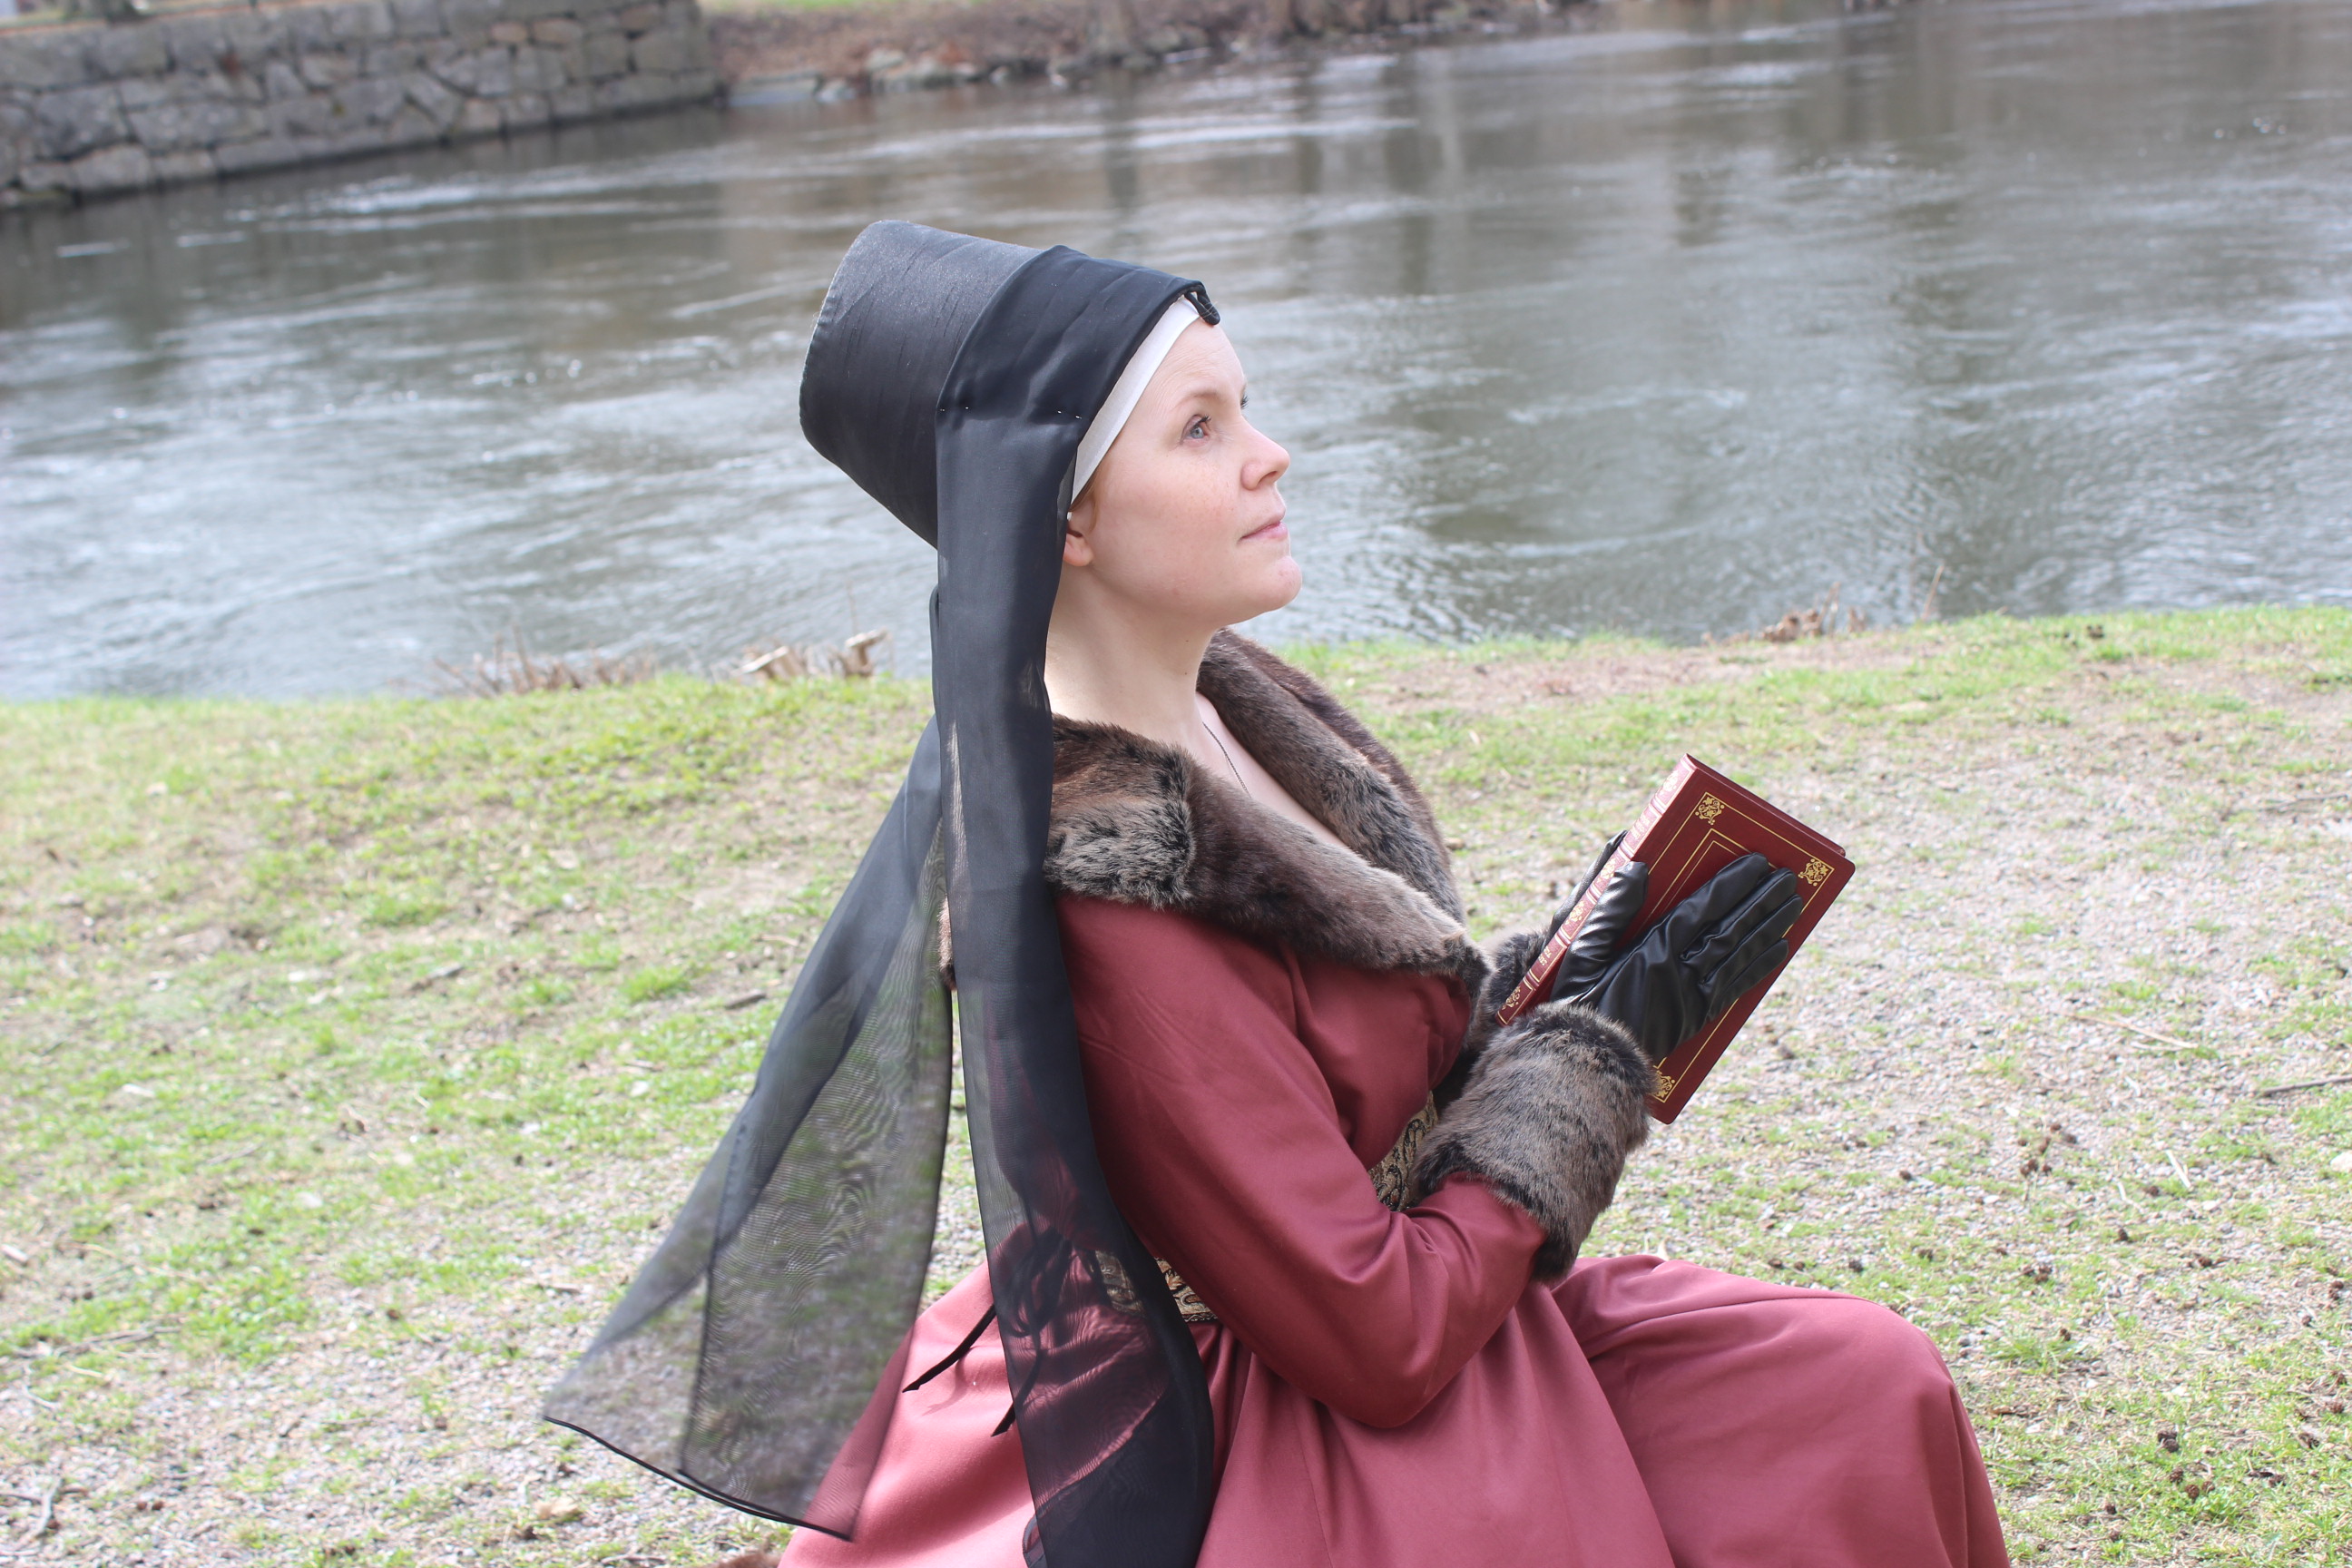
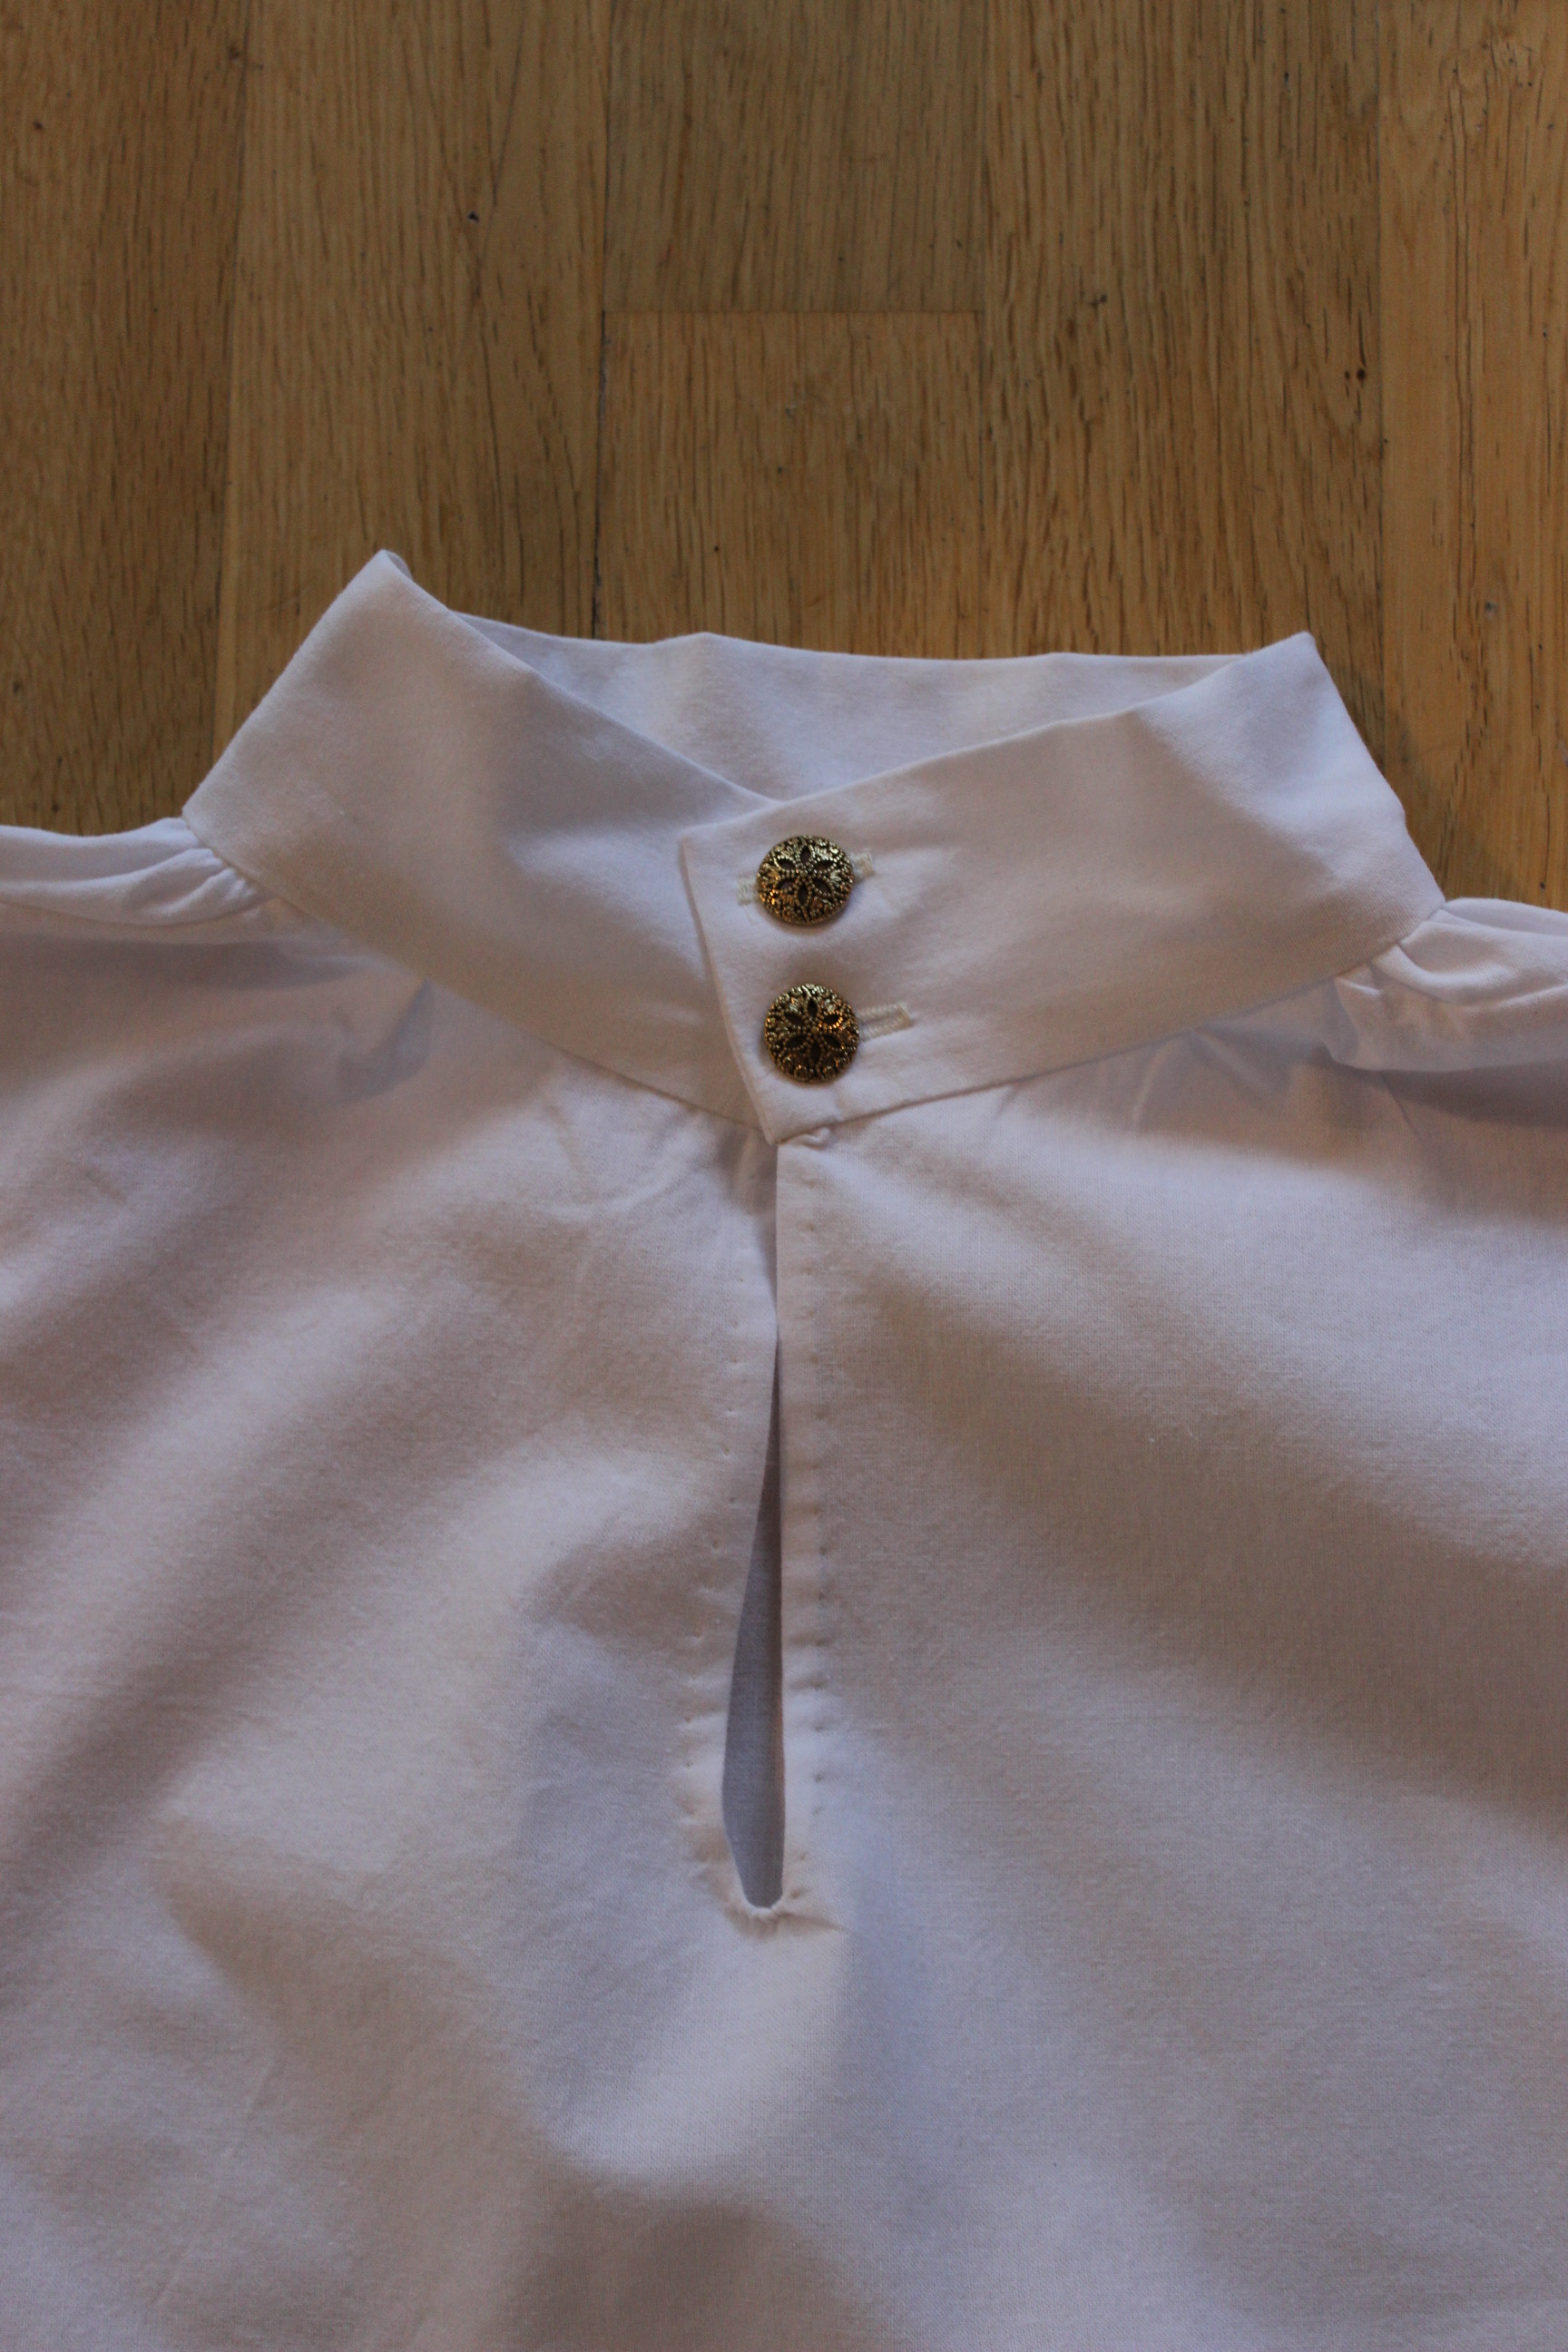
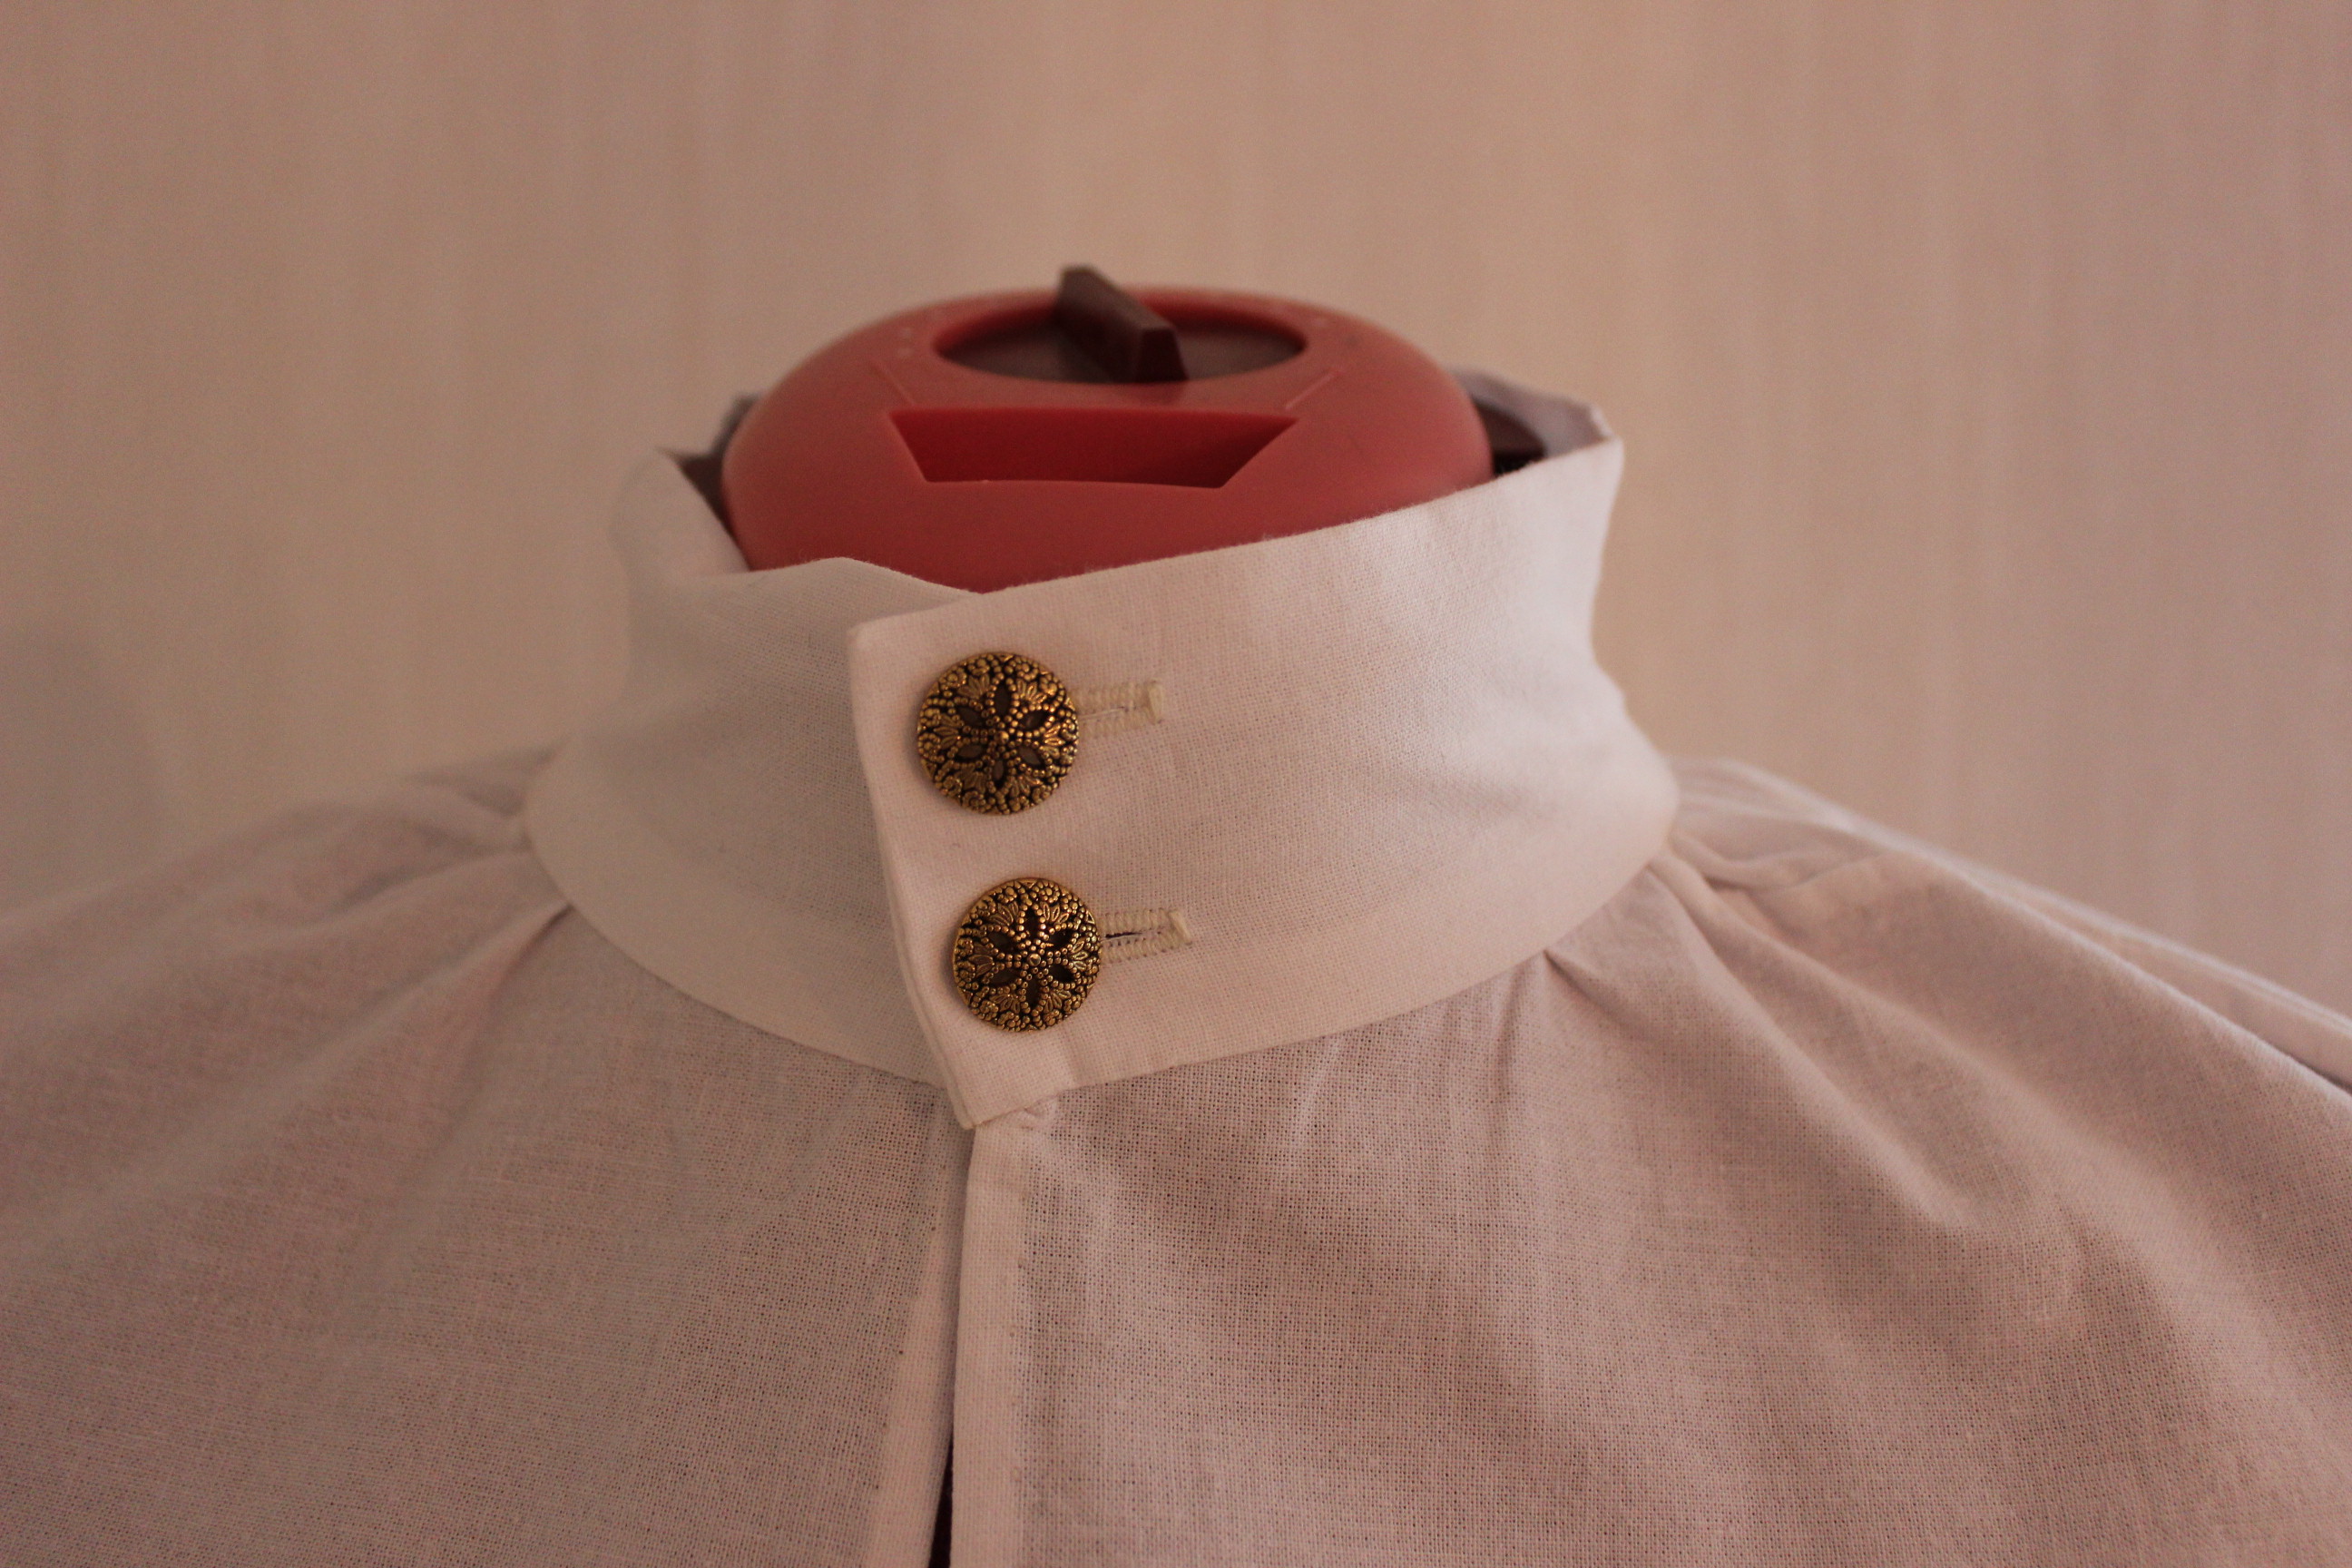
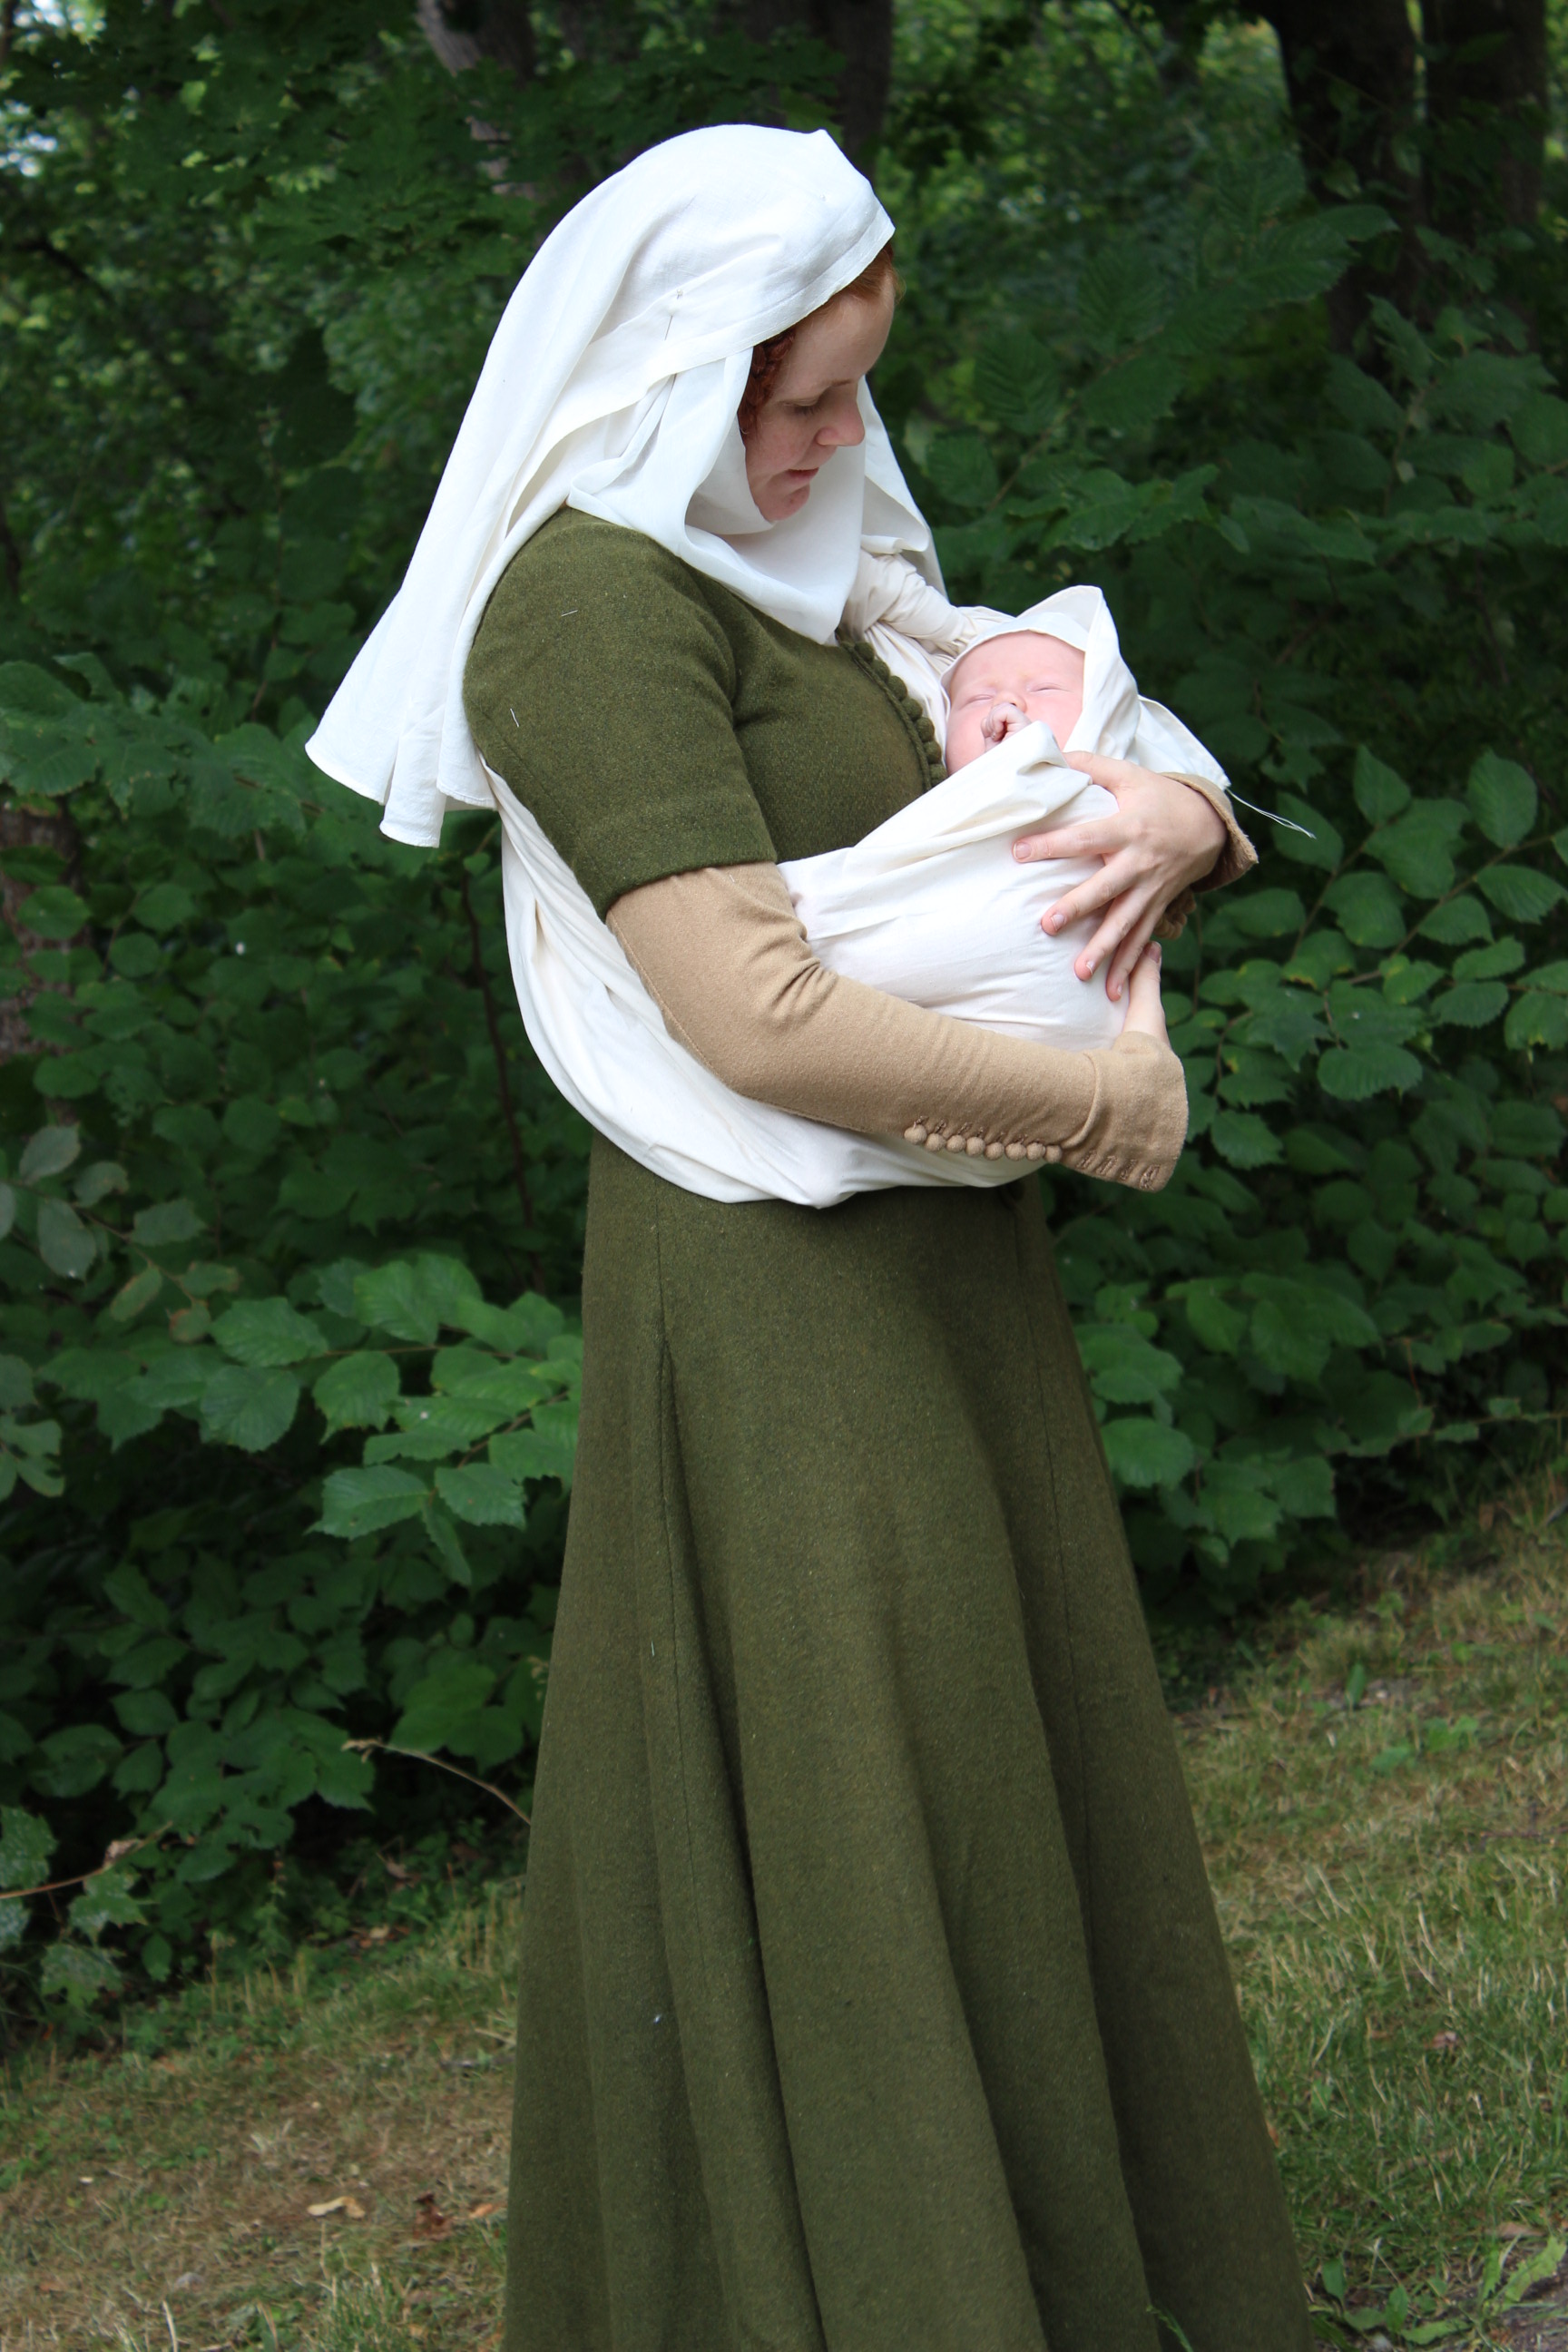
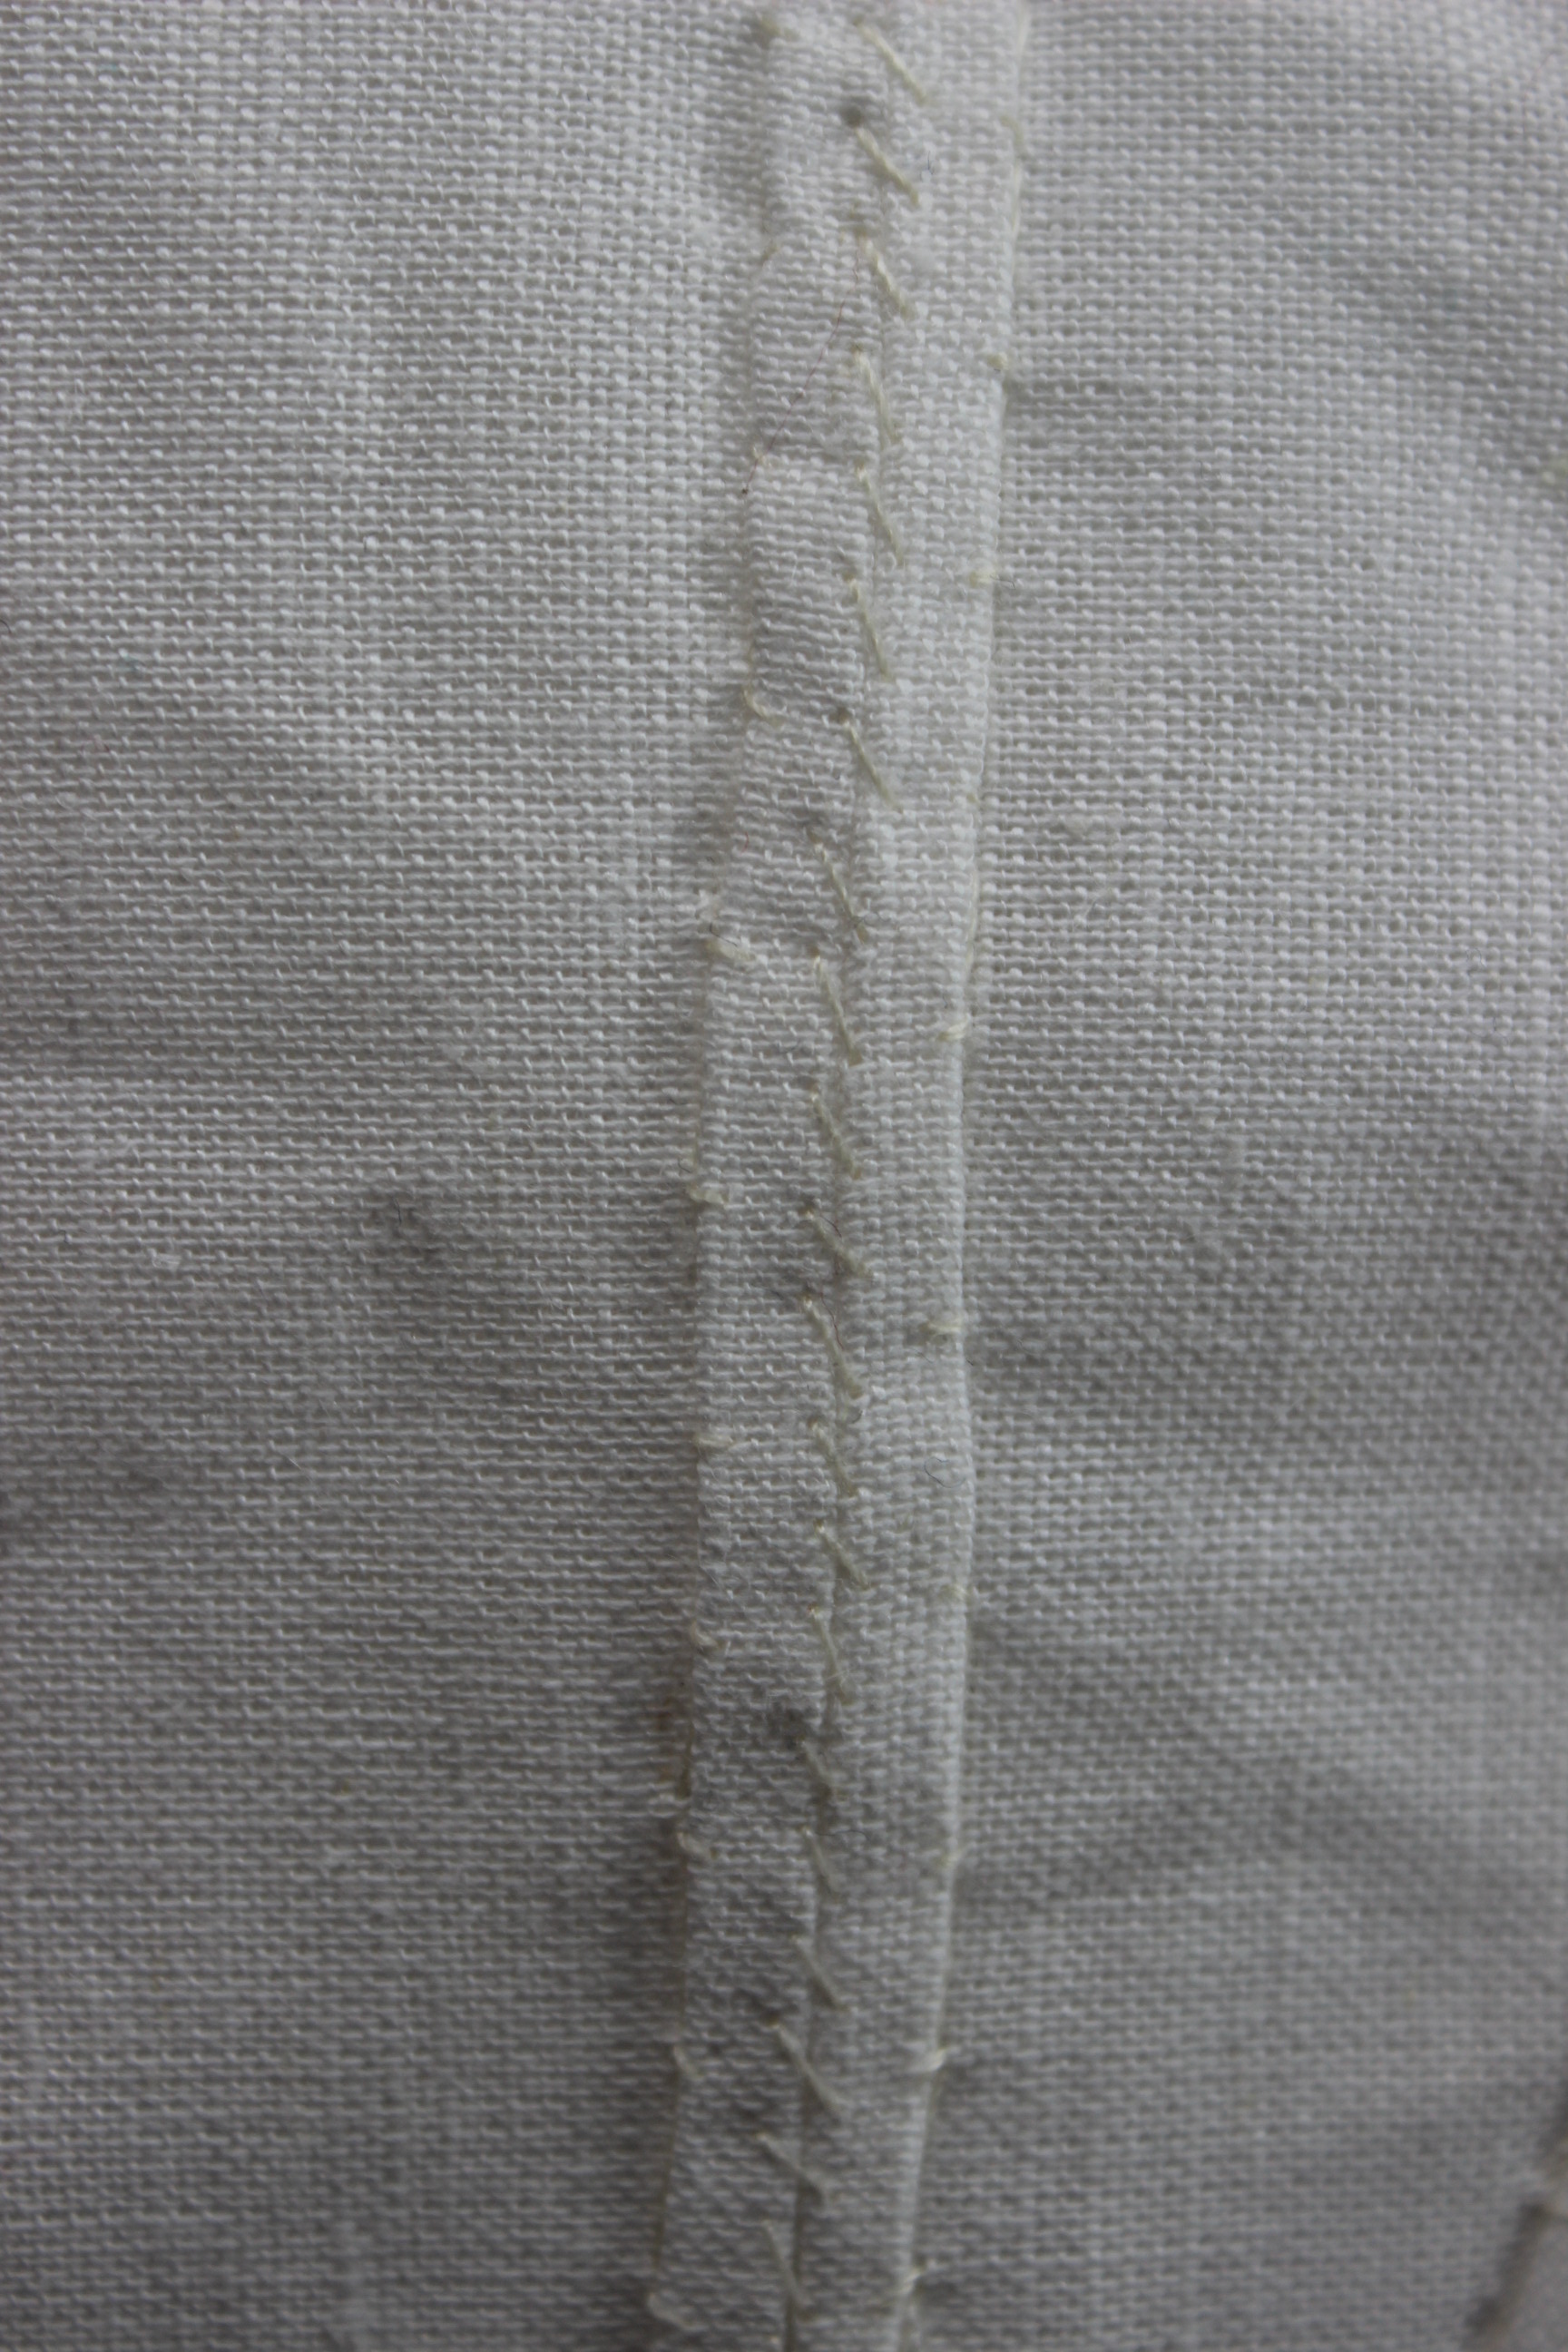
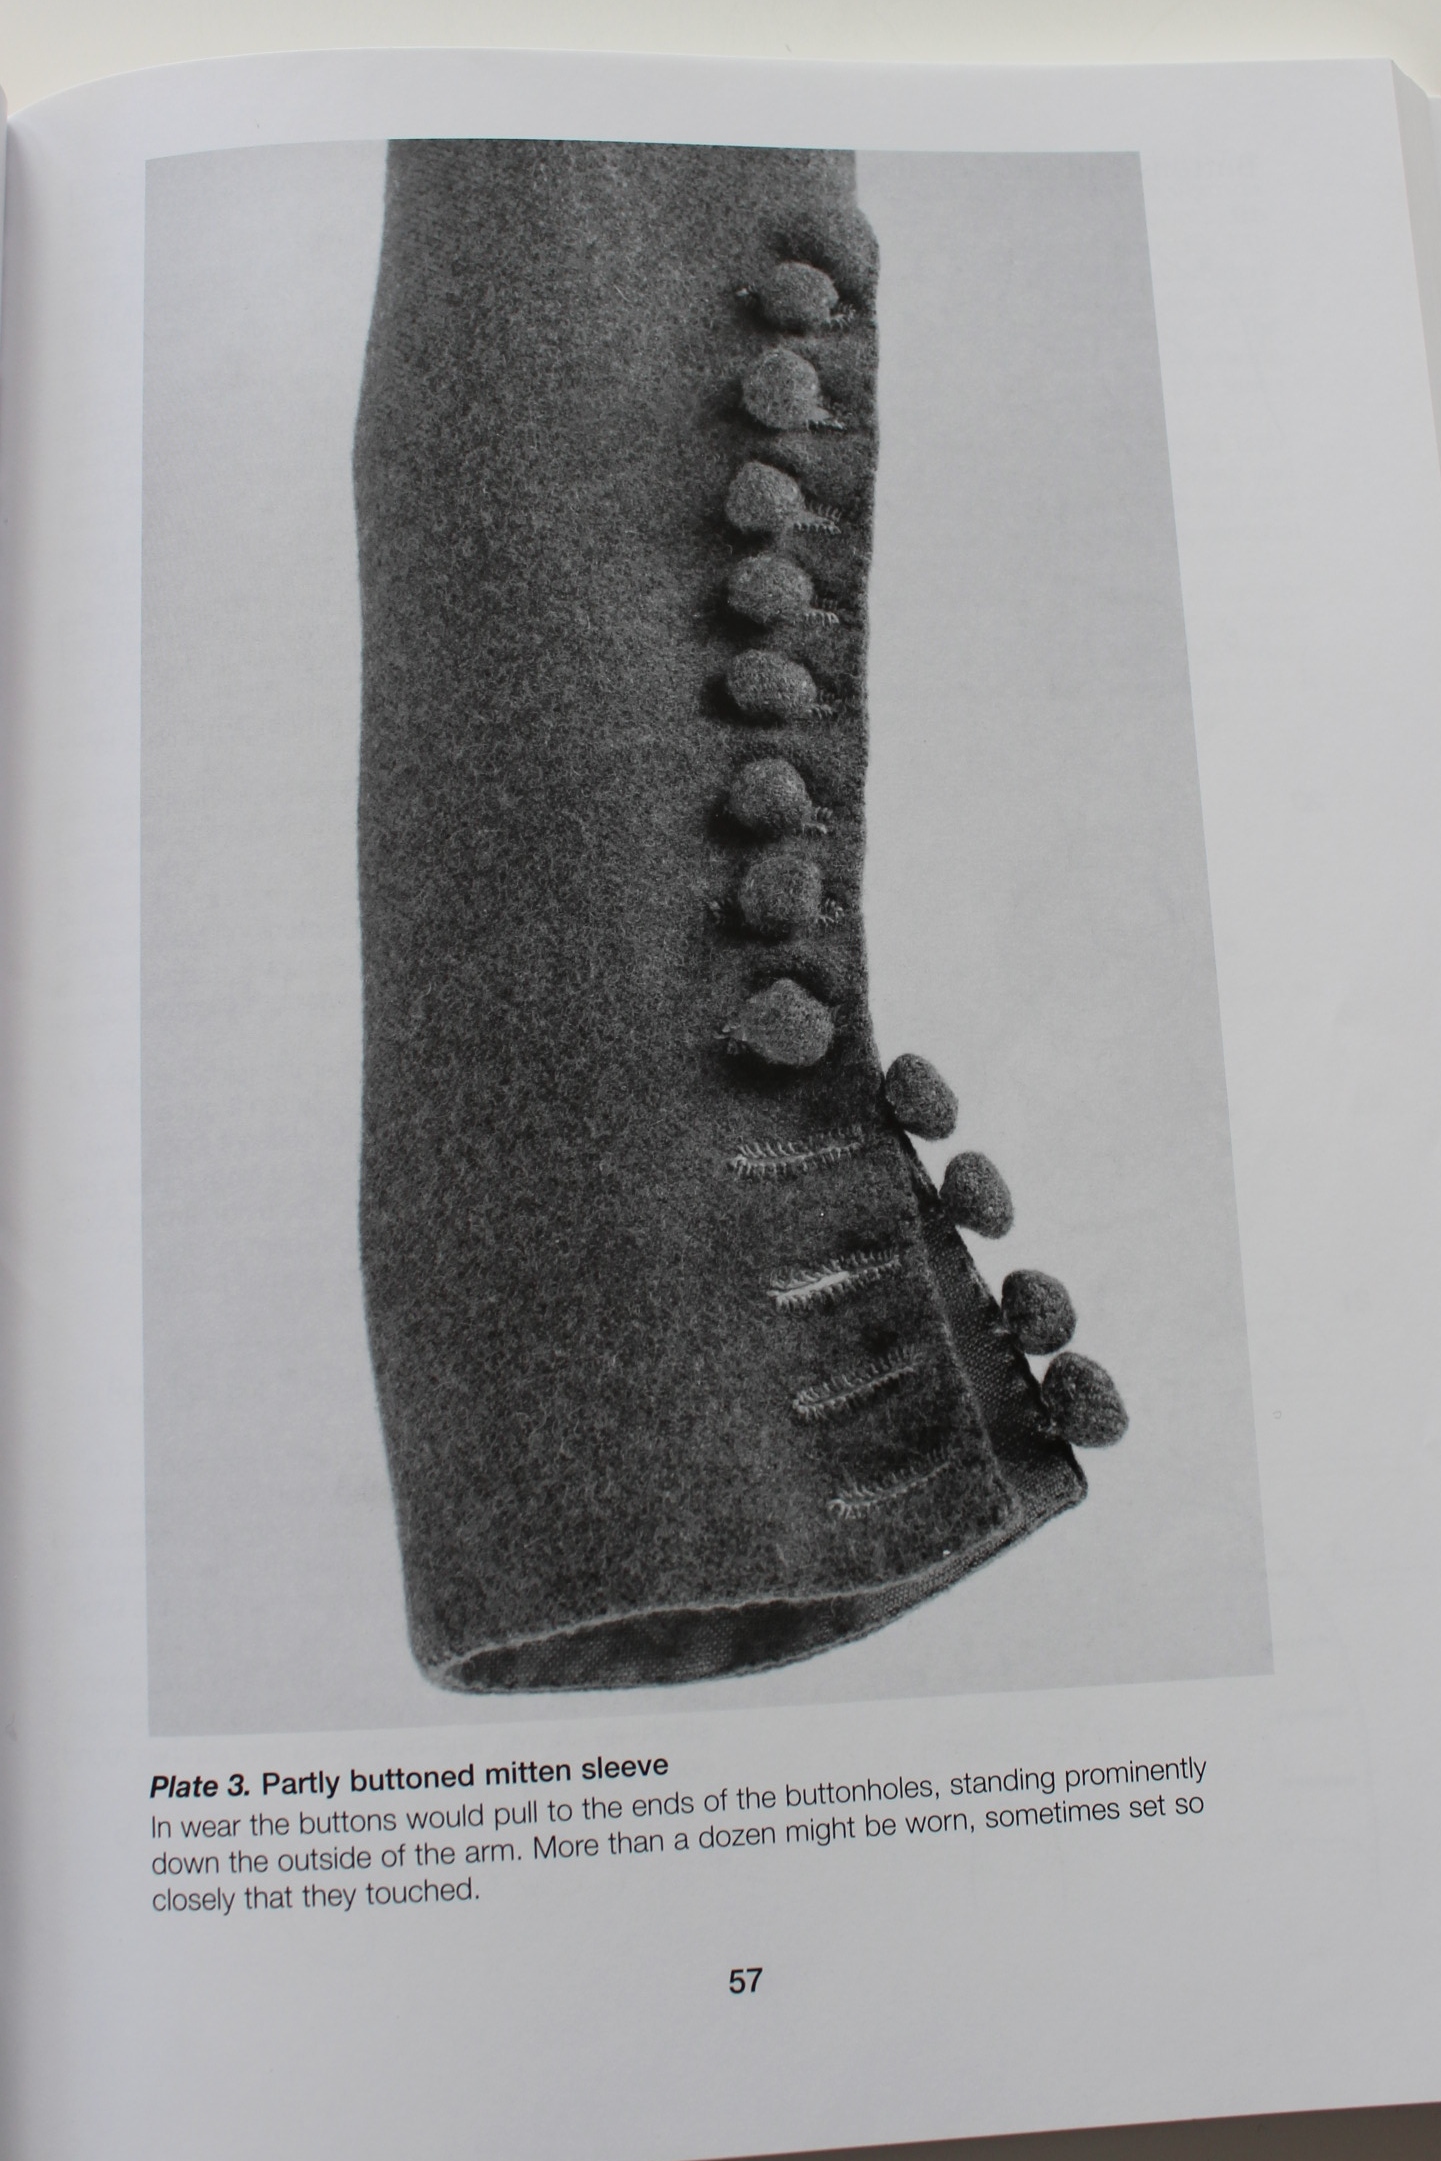
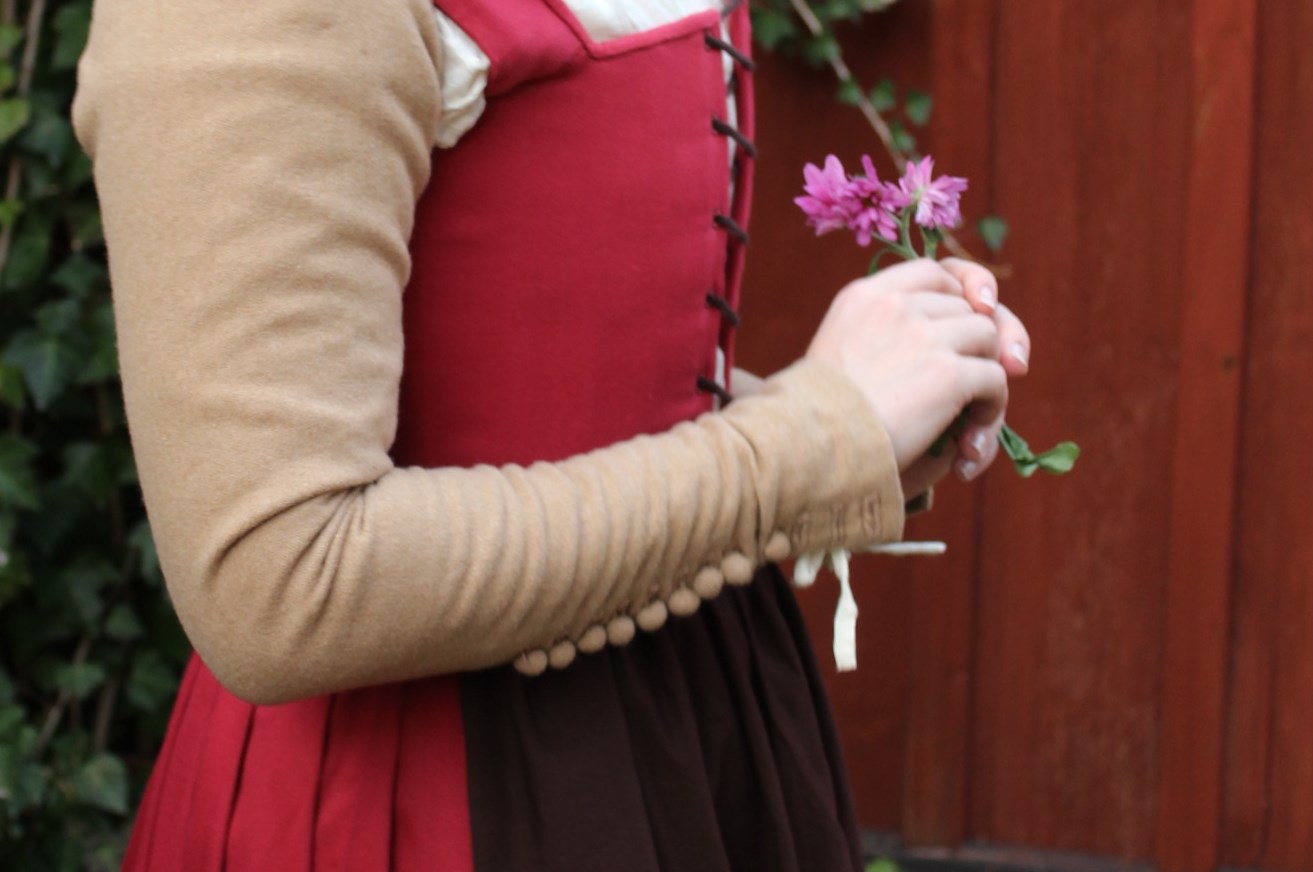
The detail pictures are great in showing how the finished piece should look. Love the detail of this photo.
The pattern for the sleeve is adaptable to several different models but can be a bit tricky if you are new at pattern making.
 Detachable tight fittig sleeves.
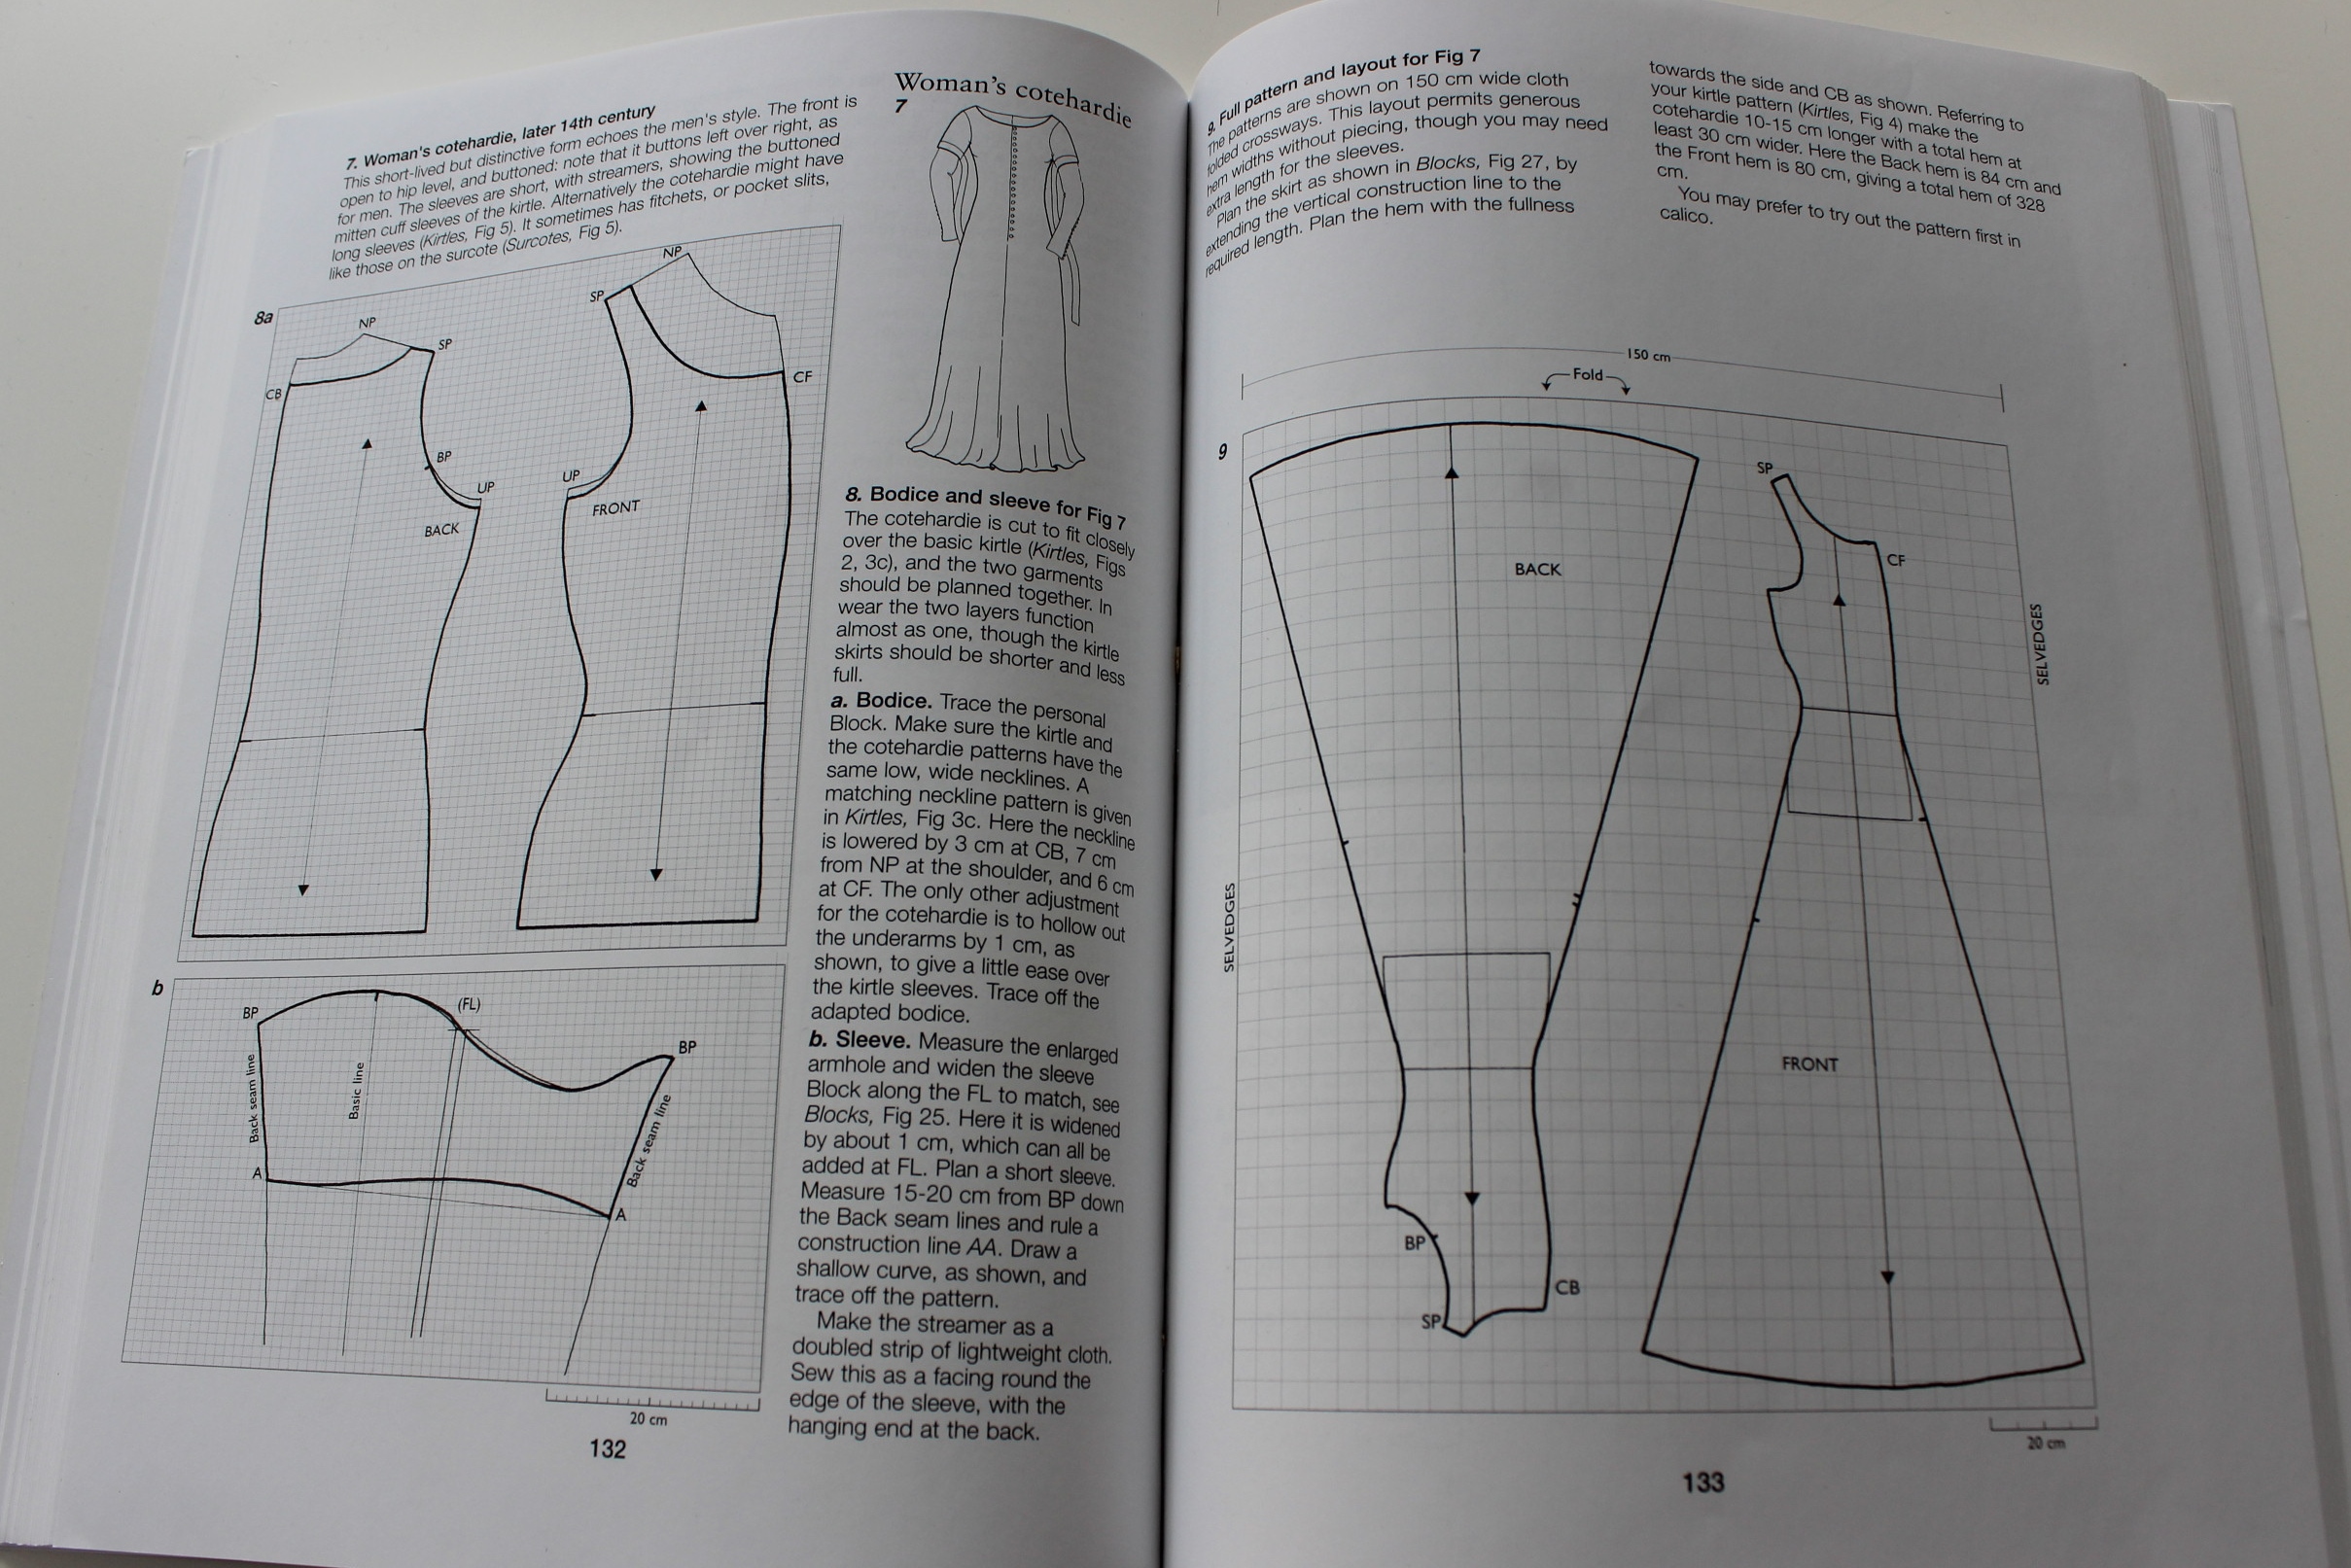
I think the instructions for adapting the bodice blocks are good and easy to follow, and the sketch and pattern layou helped me a lot while figuring out my design and pattern. 
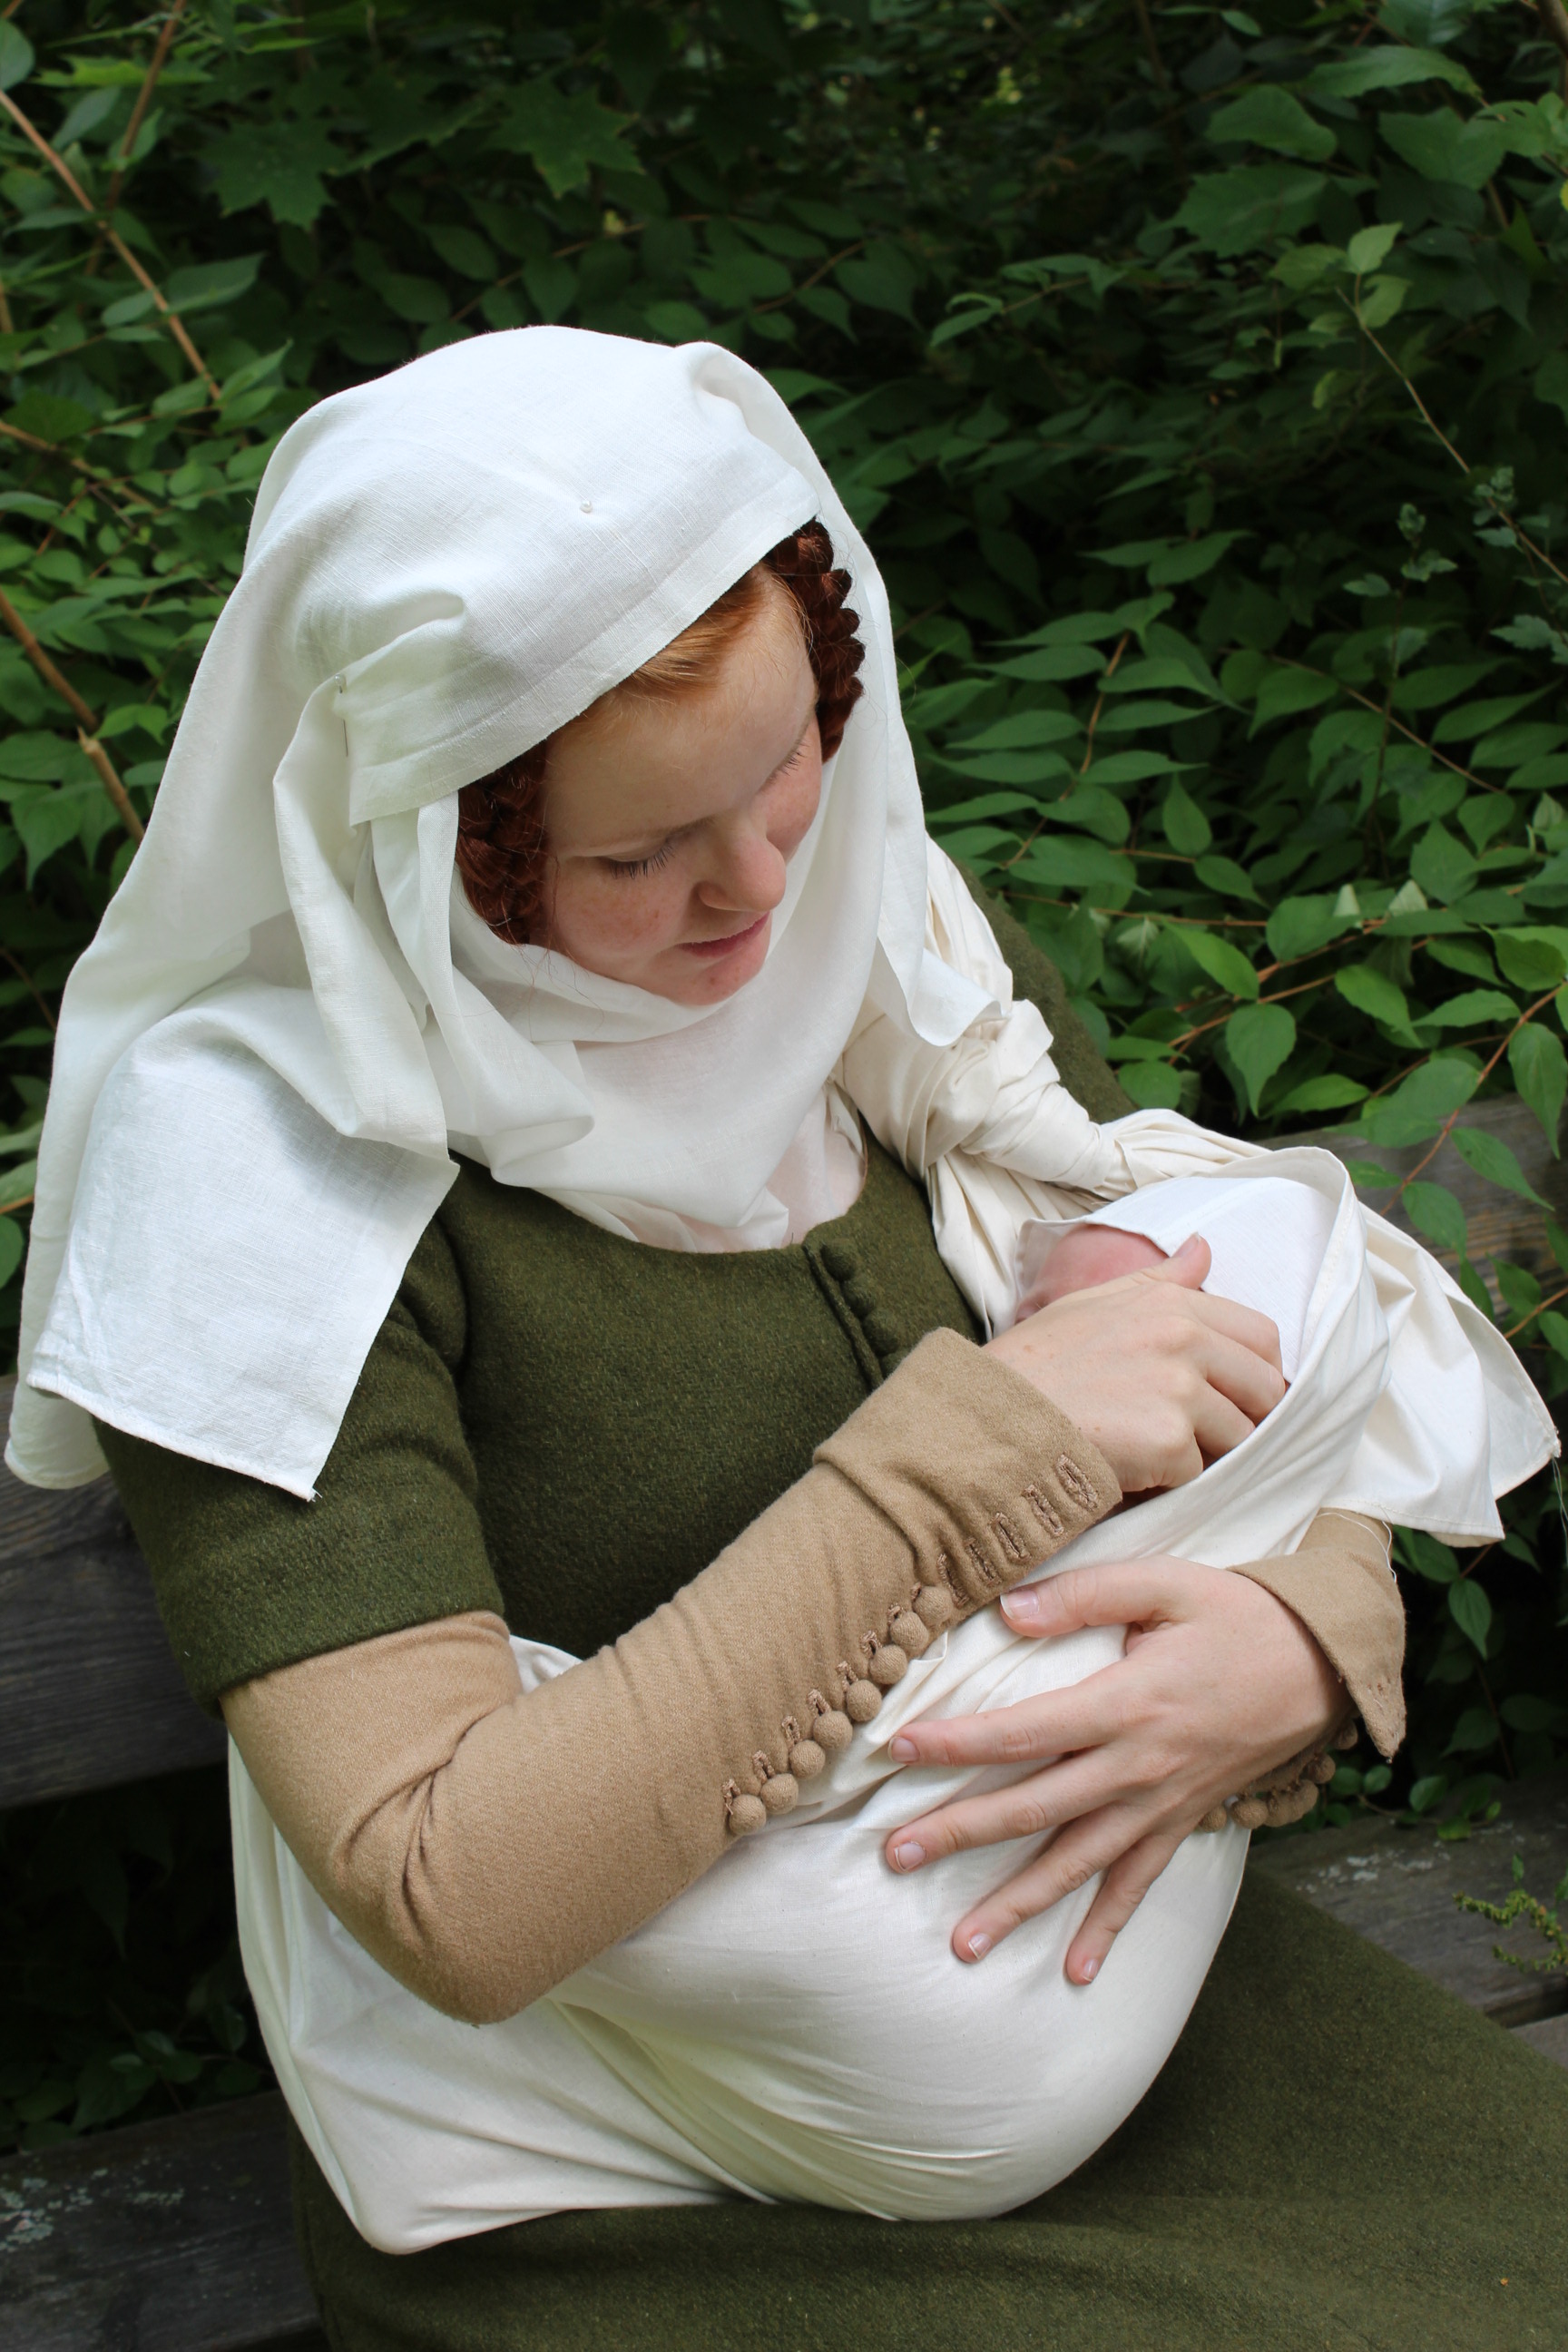
 Short sleeved Cotihardie.
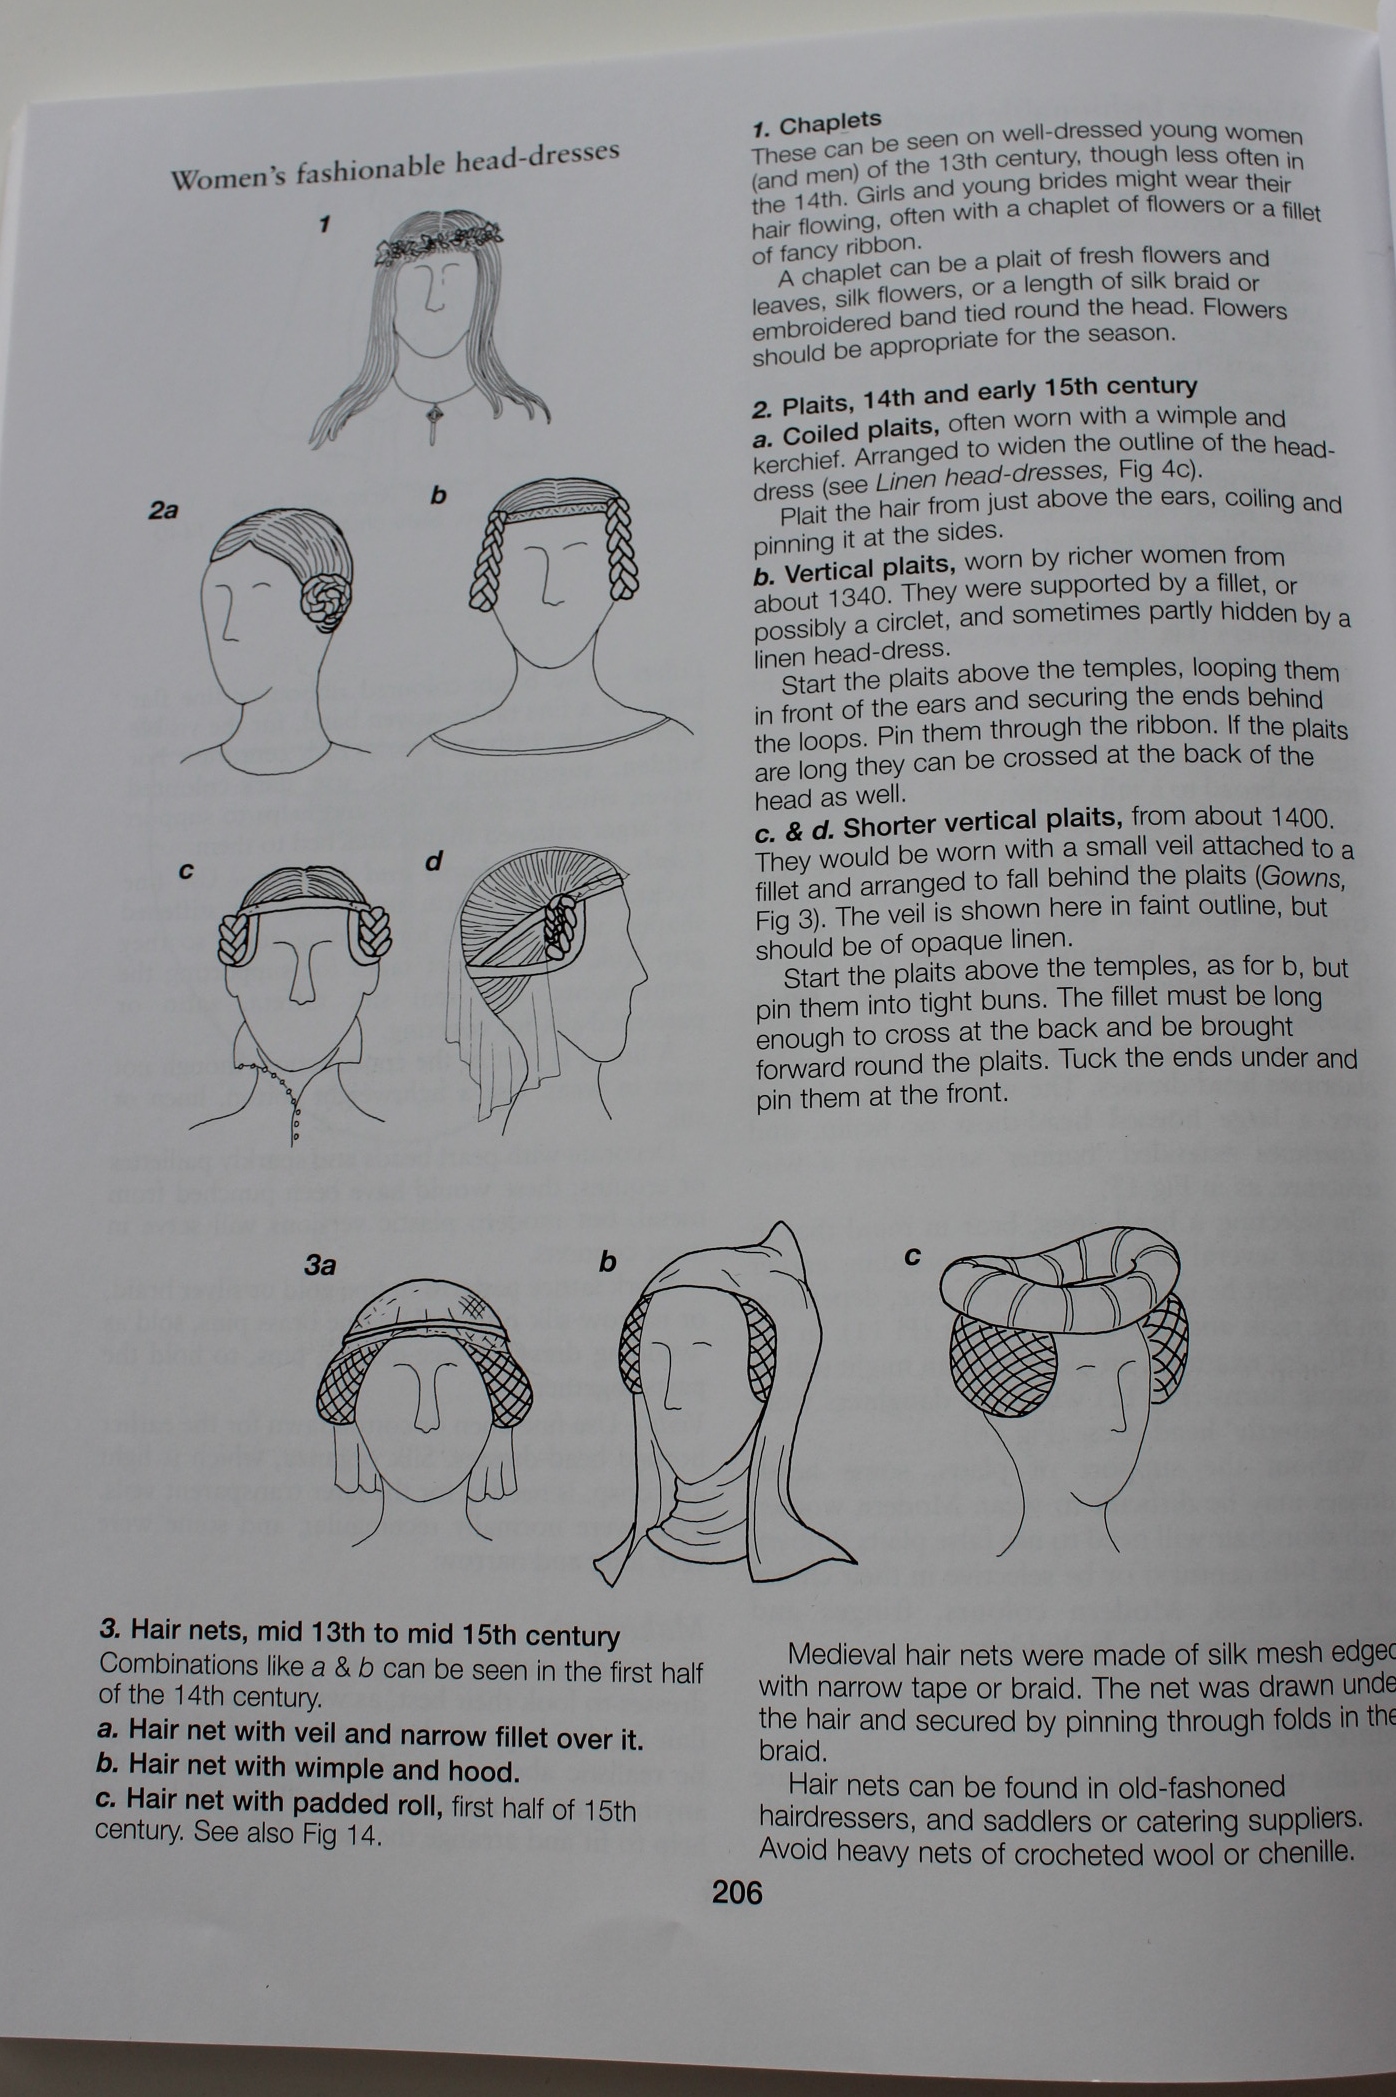
There are a wide range of headwear in the book. And I also like that they included the children, accesories and under wear chapters. 
Cons:
I think the patterndarfting are a bit to hard for a beginner or unexperienced patternmaker.
I observed several beginners trying to figur ot the draping (and had a bit trouble doing it myself). It does take some practice to get it right.
I also think the sleeve cap are a bit of. I stuggeled trying to get it right, ending up raising it about 2 cm to get it to fit in to the arm hole. I guess this is something that happends whaen the bodice and sleeve are not drawn from the same template but one draped and the other drafted on paper.

I loved the pictures in the book, my only complaint is that they were way to few. Sometimes it is hard to know how a garmnent would look like just from principle sketches or patterns, thats when you need the pictures.
I would have liked to get some patterns, measurments or more details on the more complex headwear in the book.
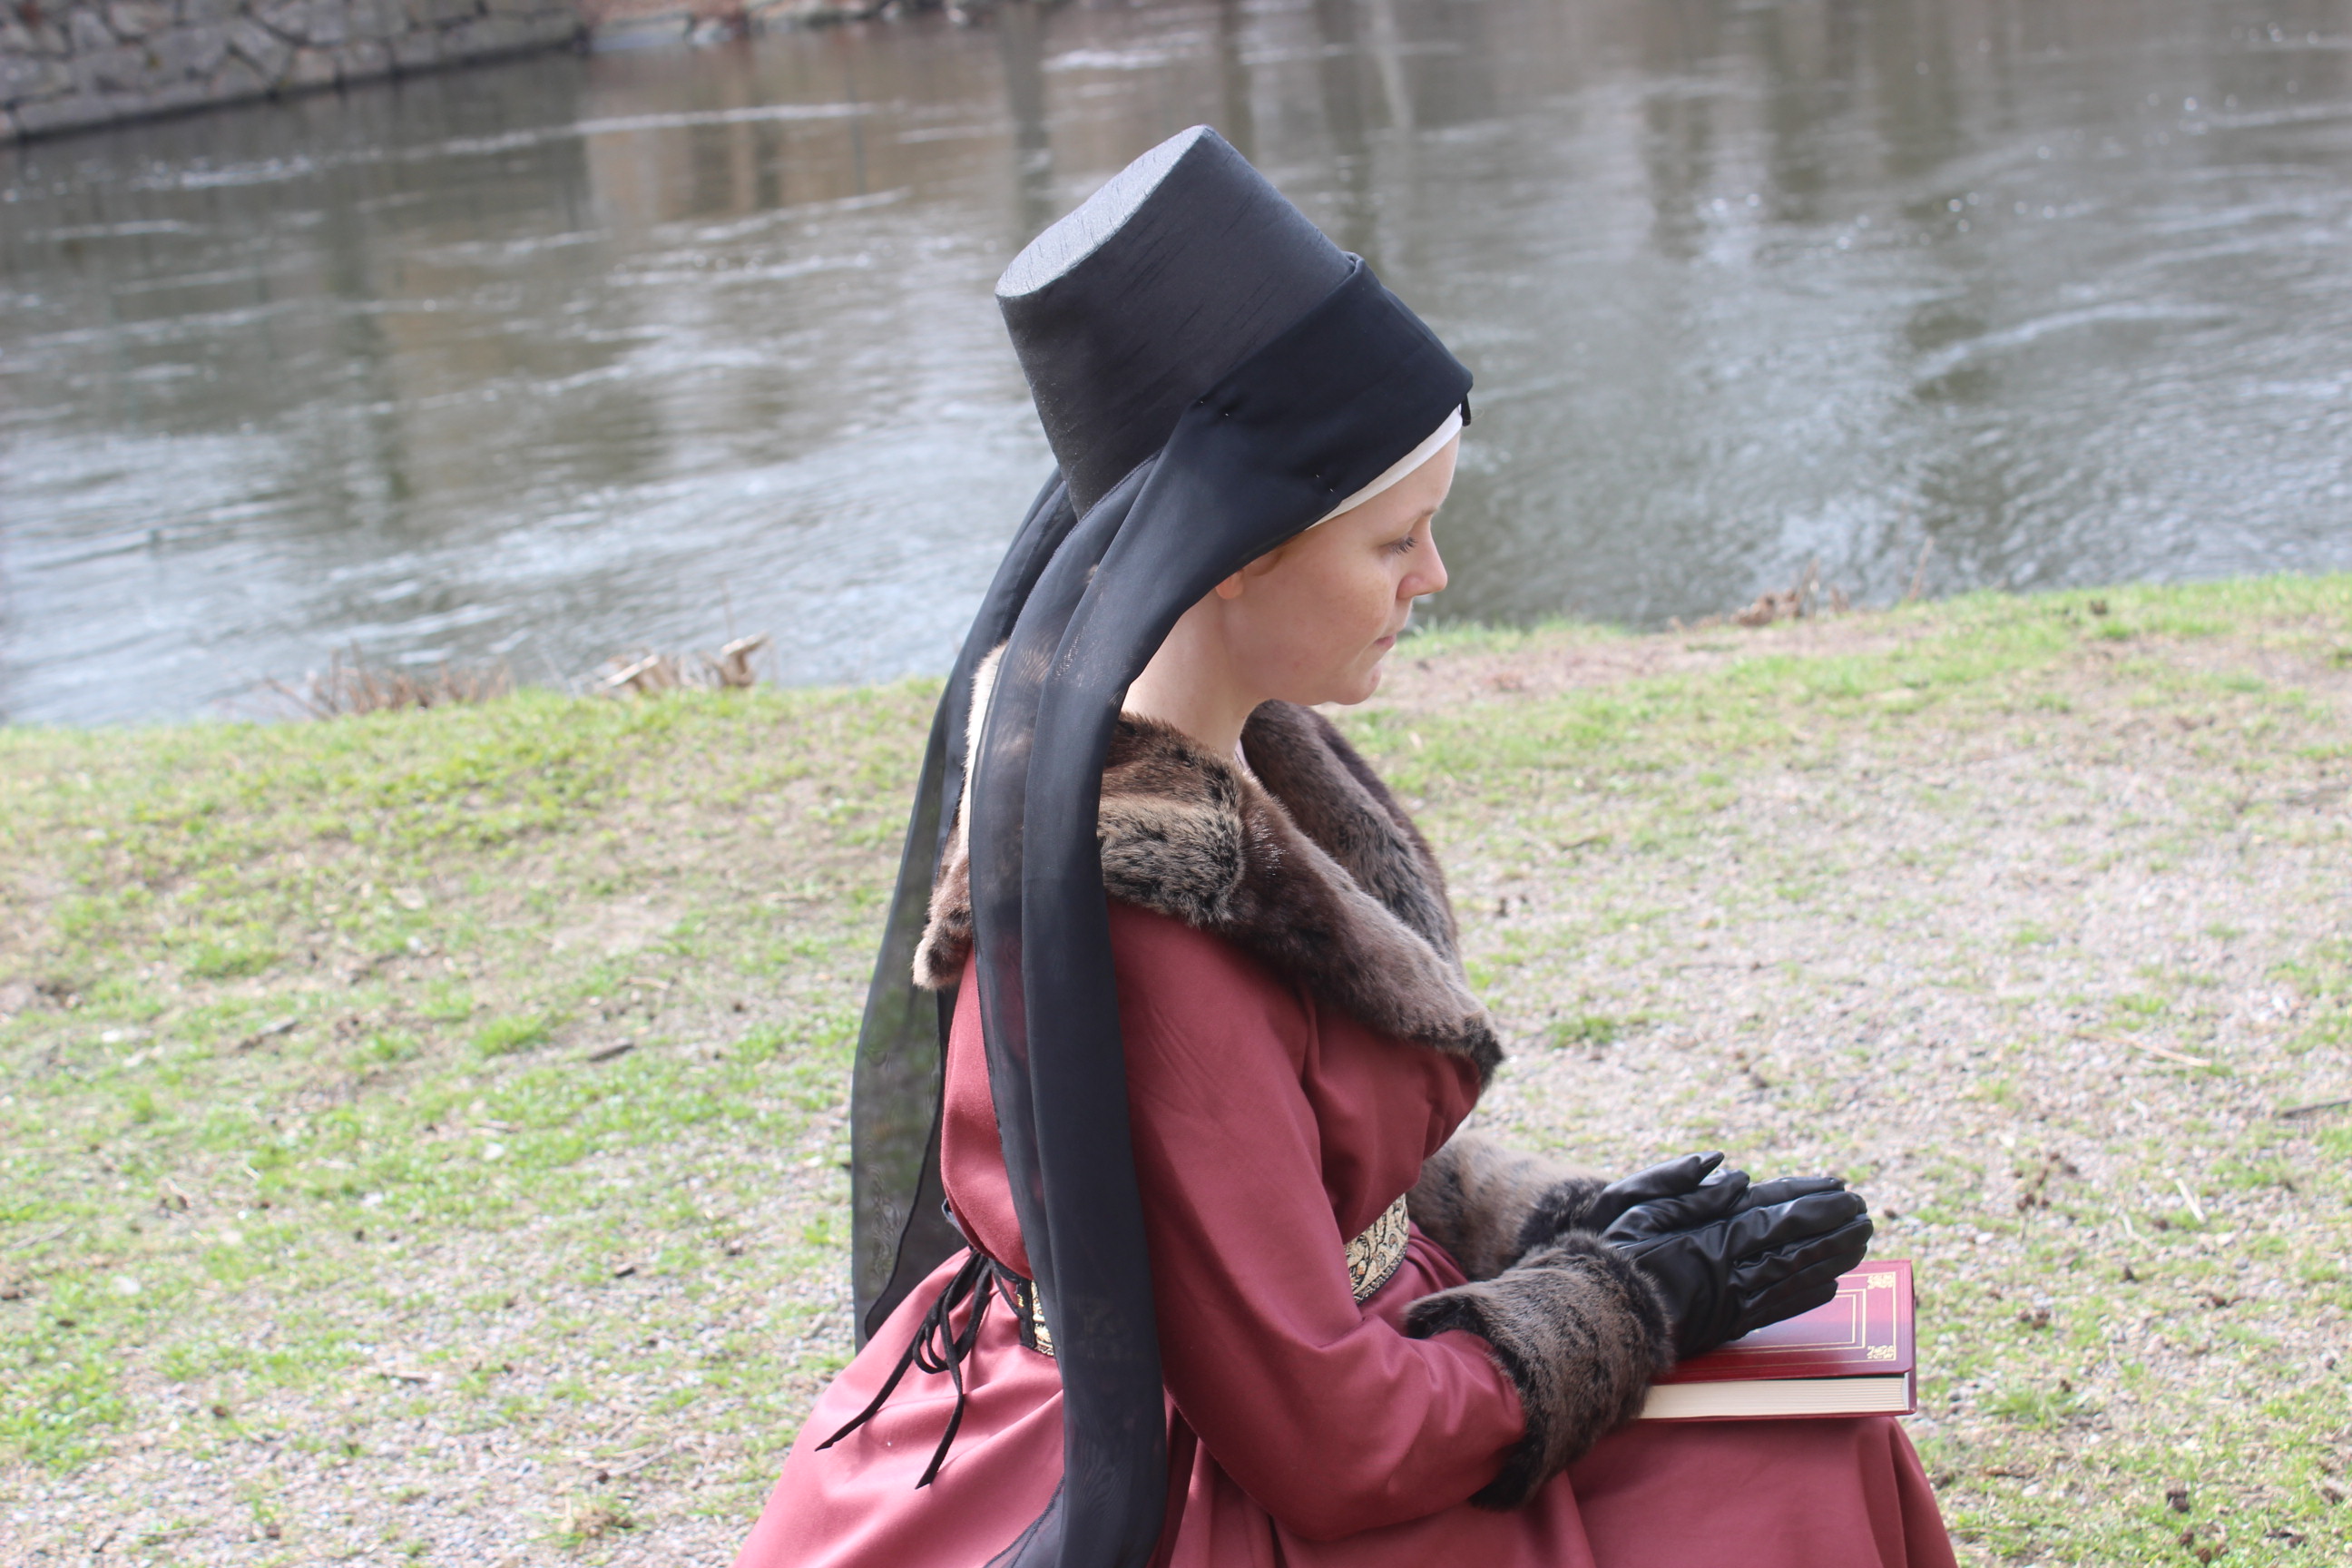
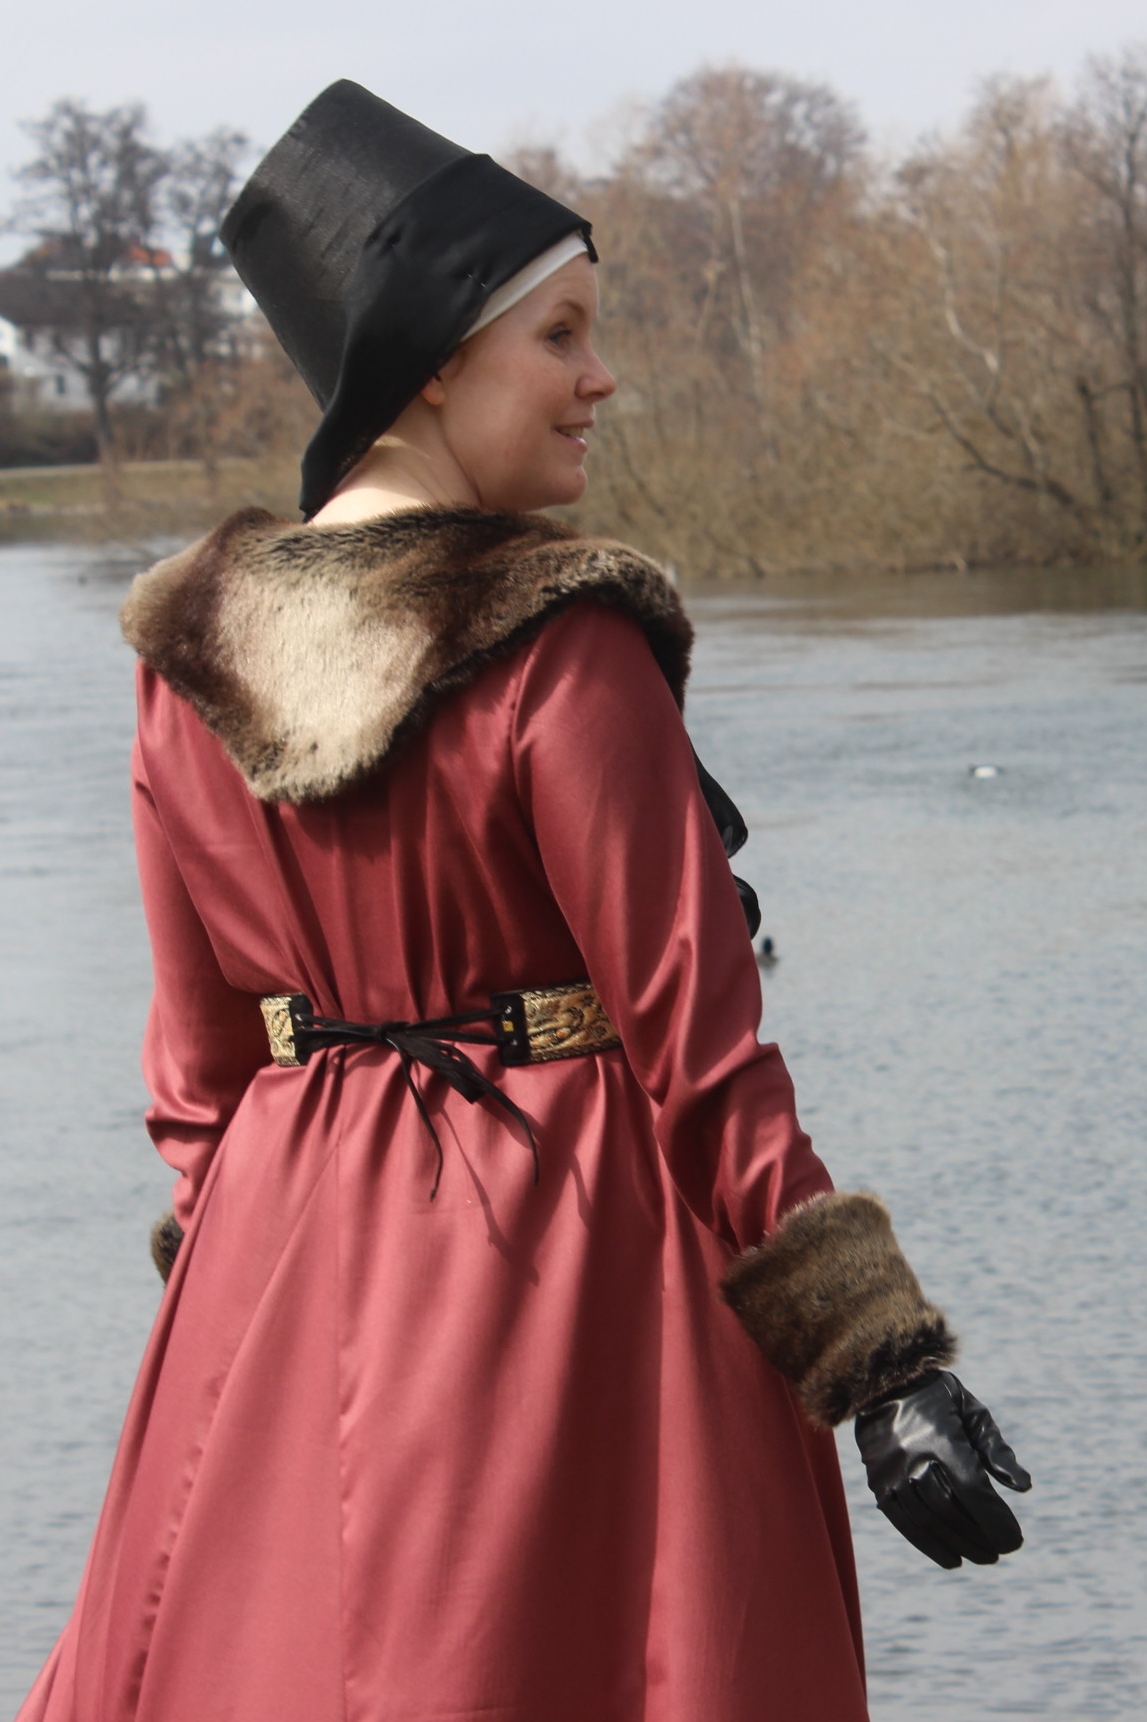
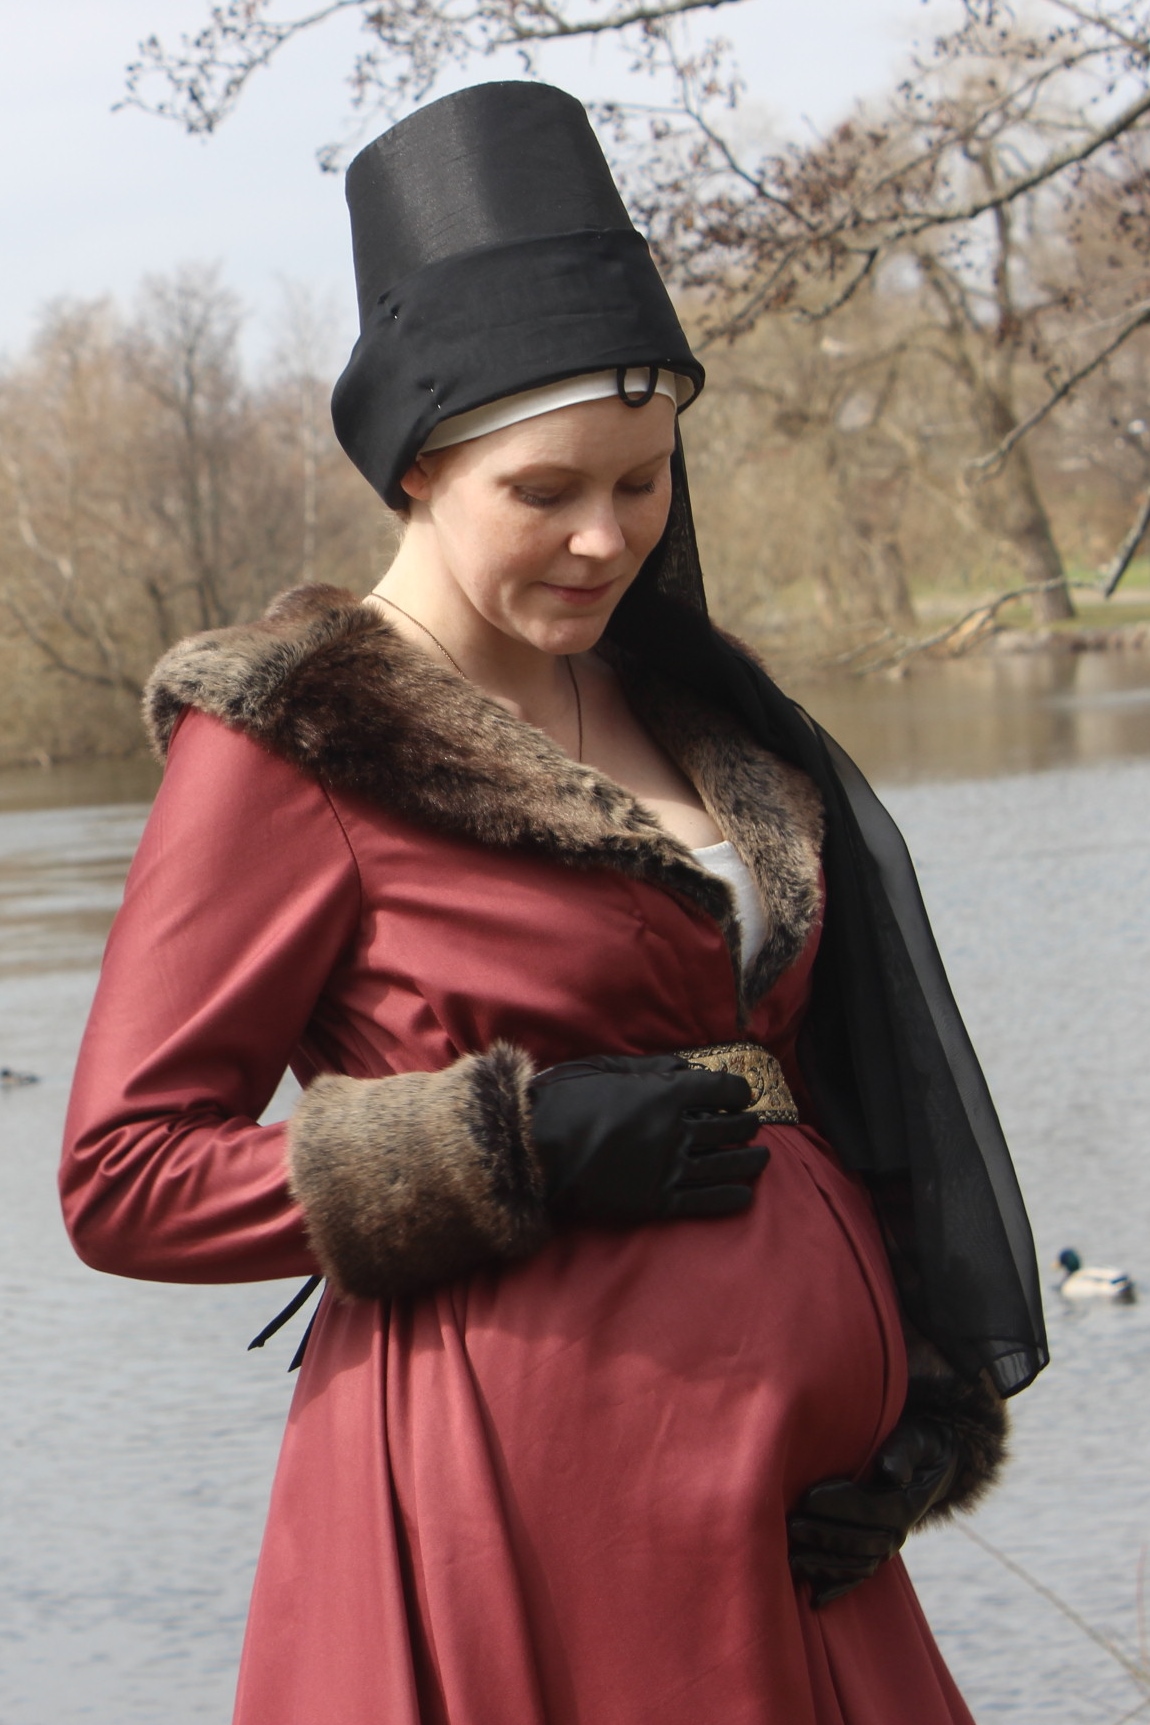
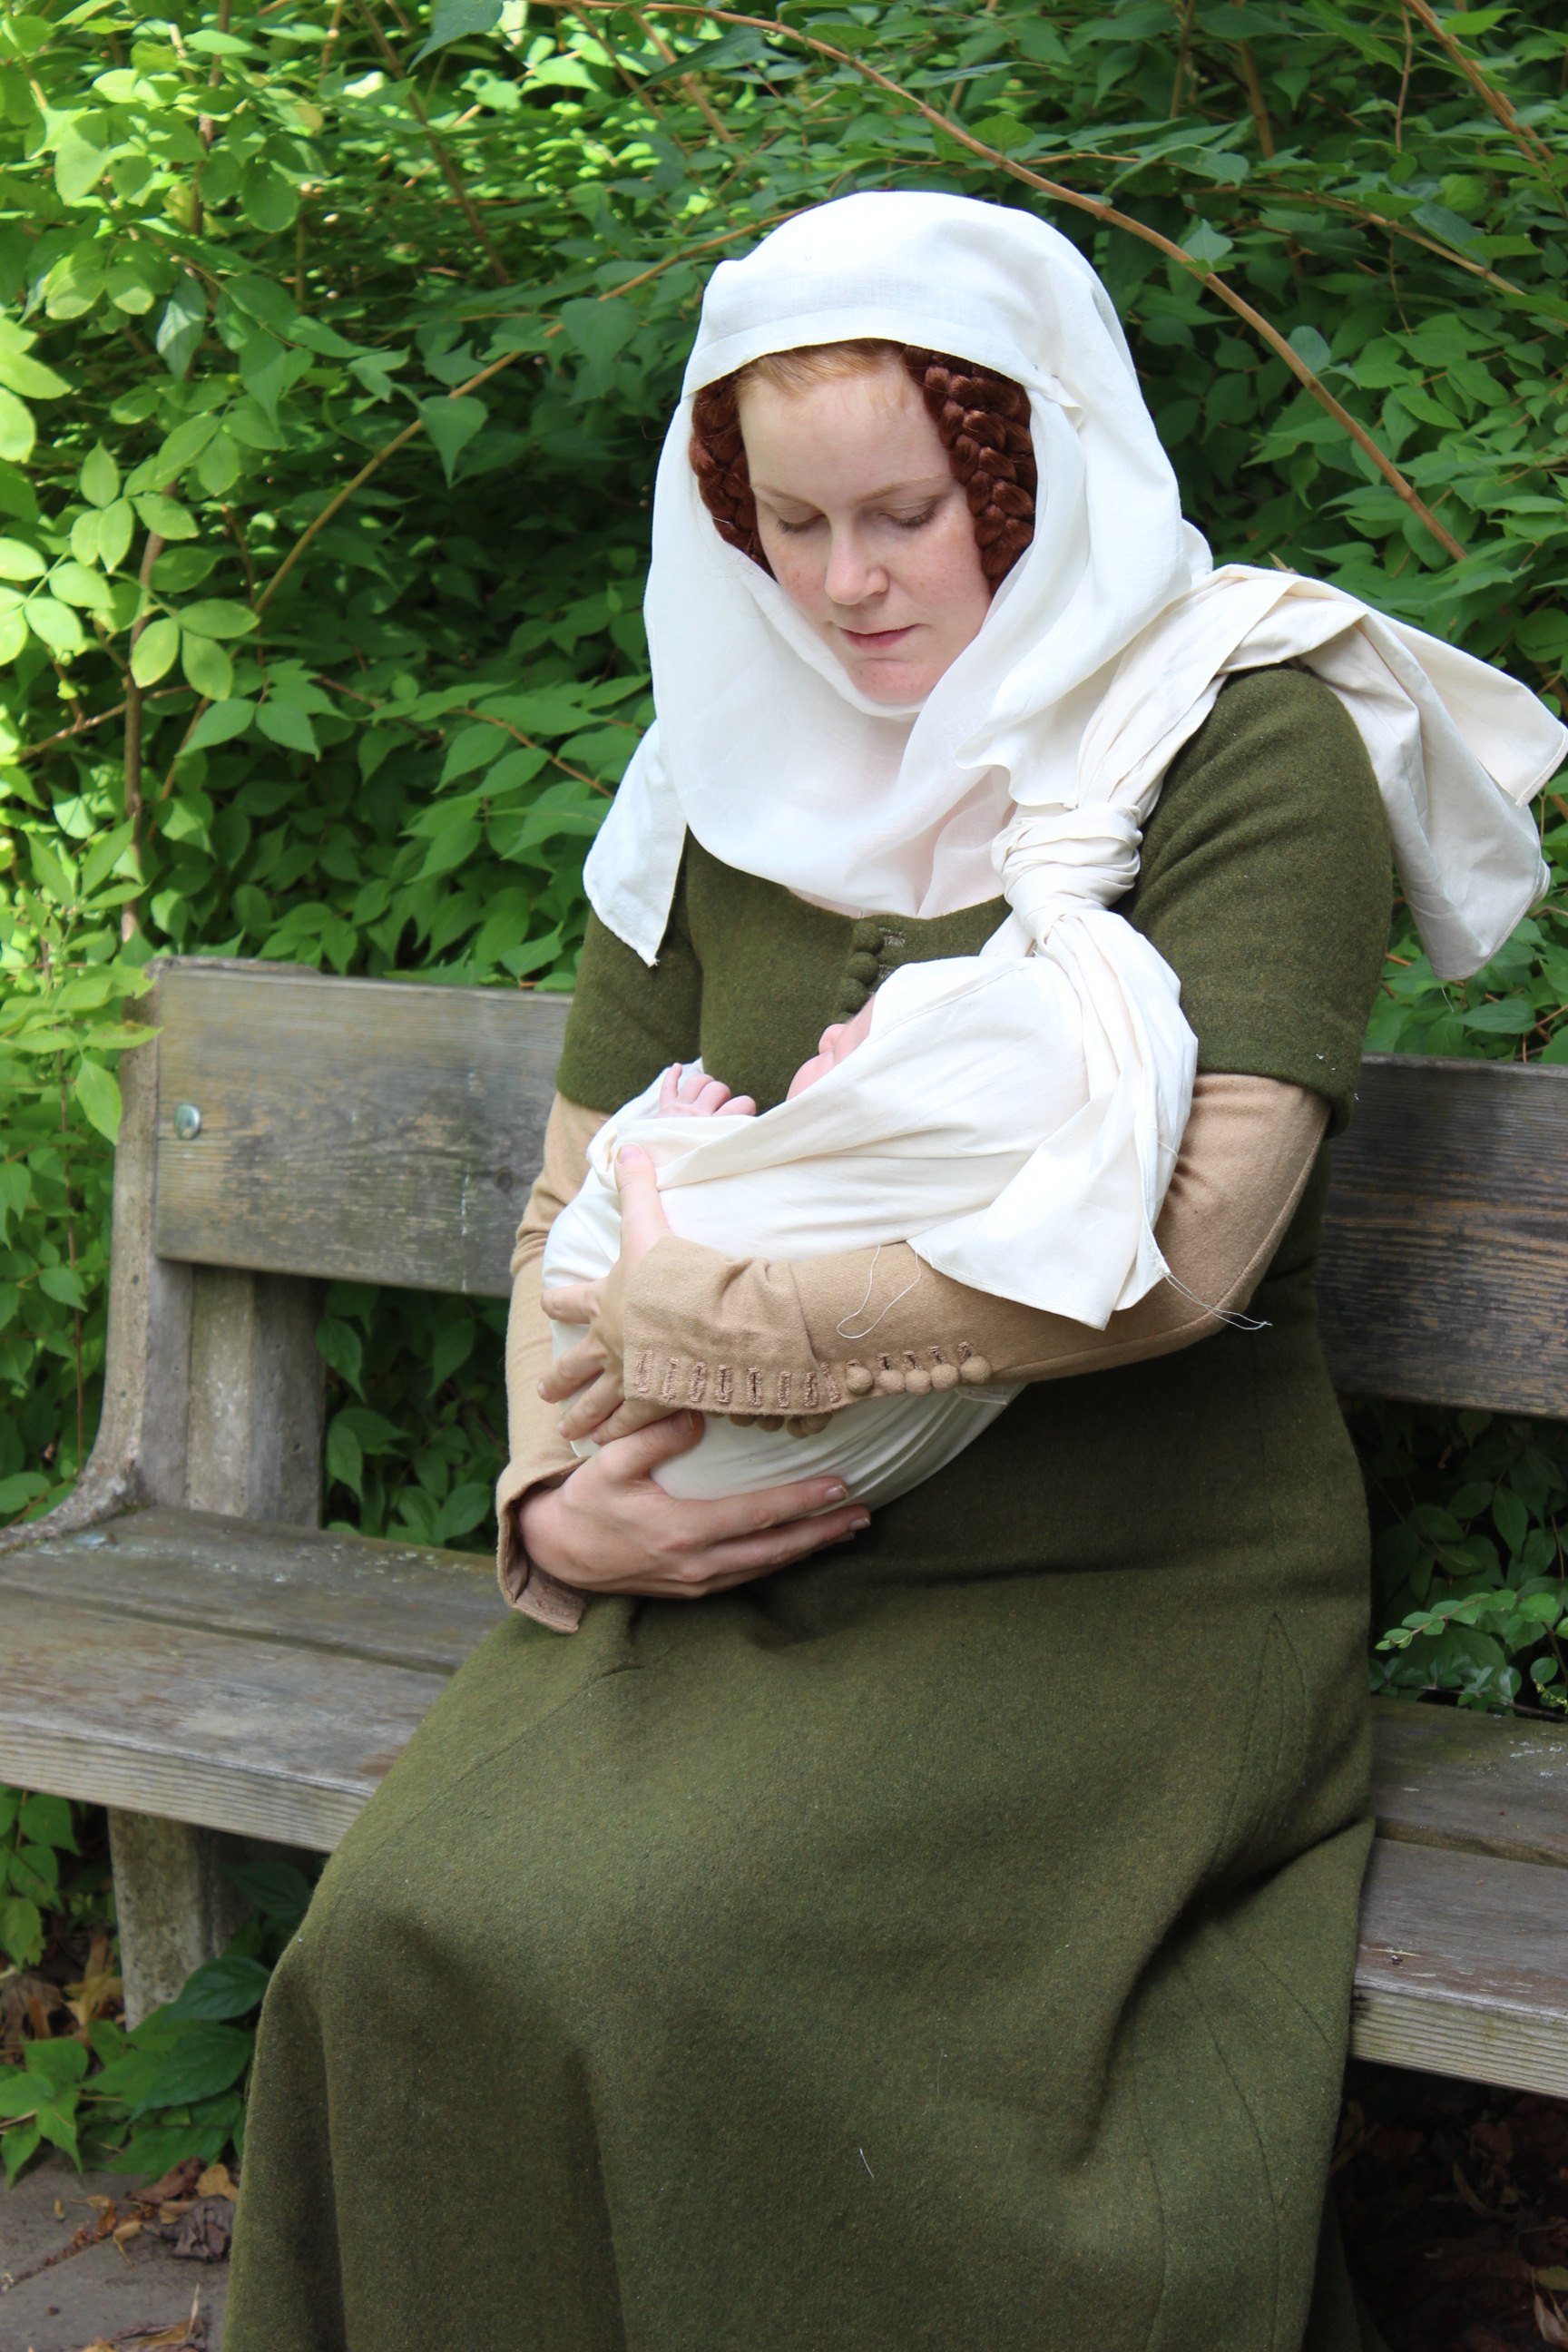
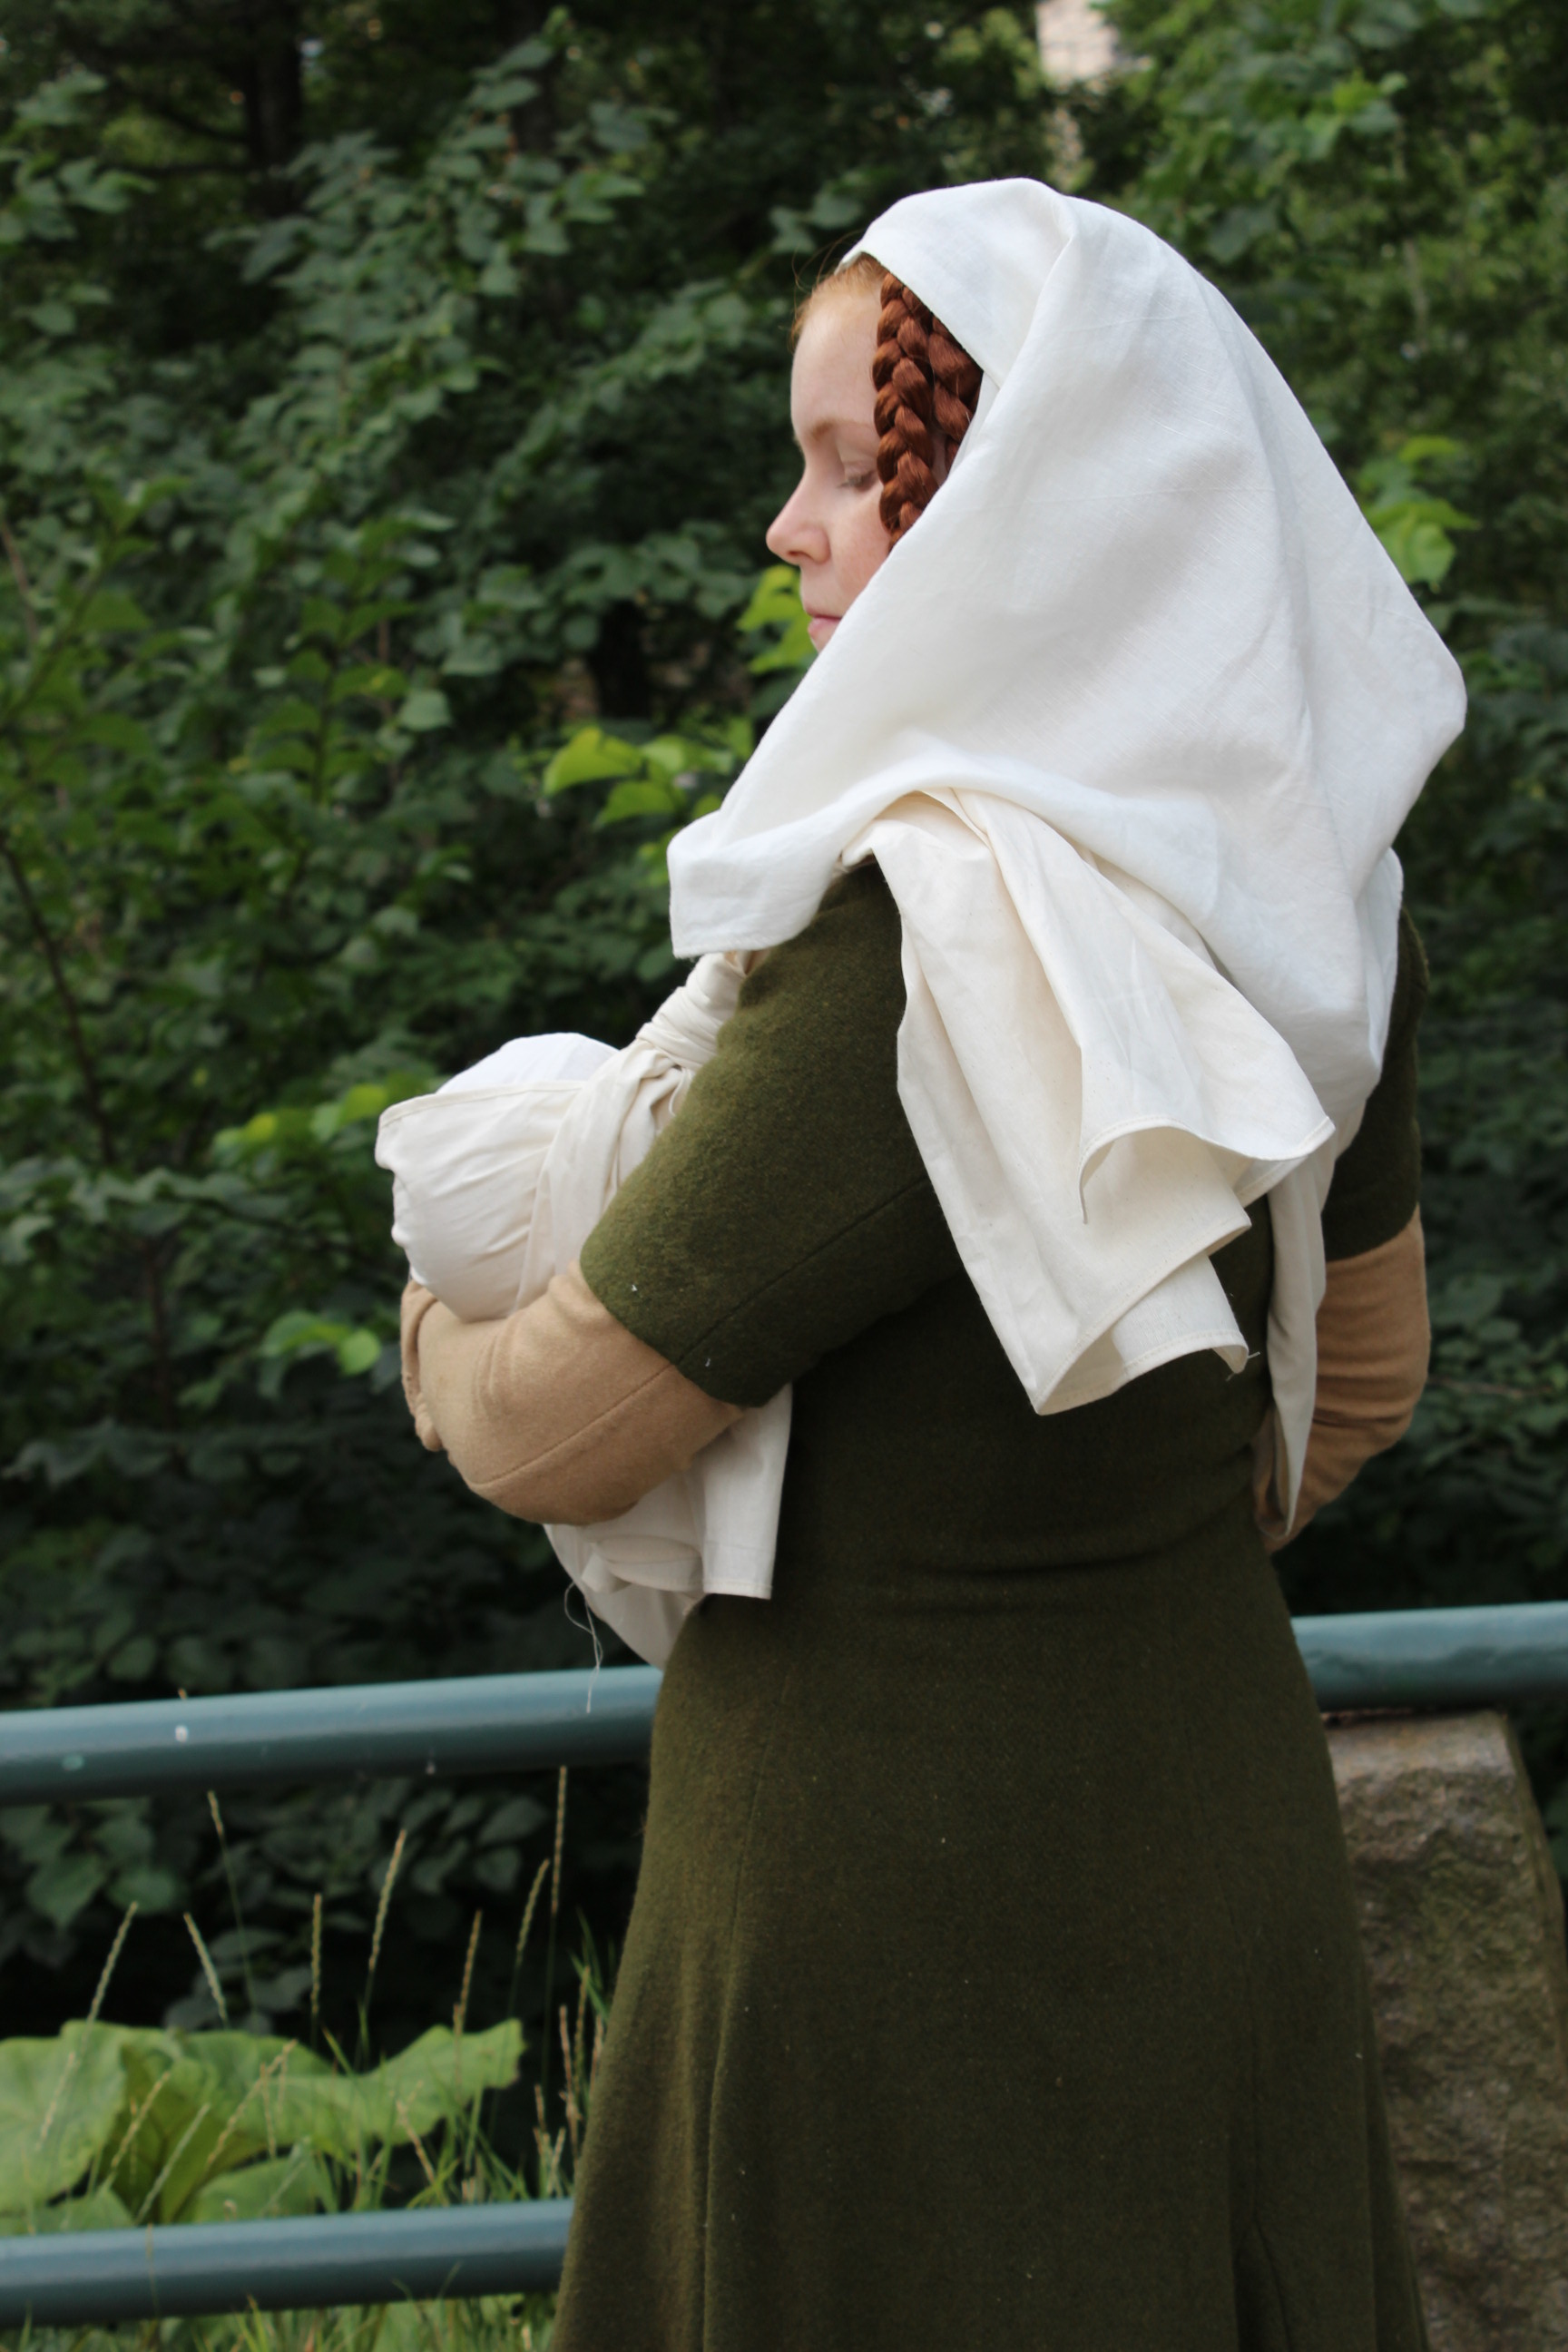
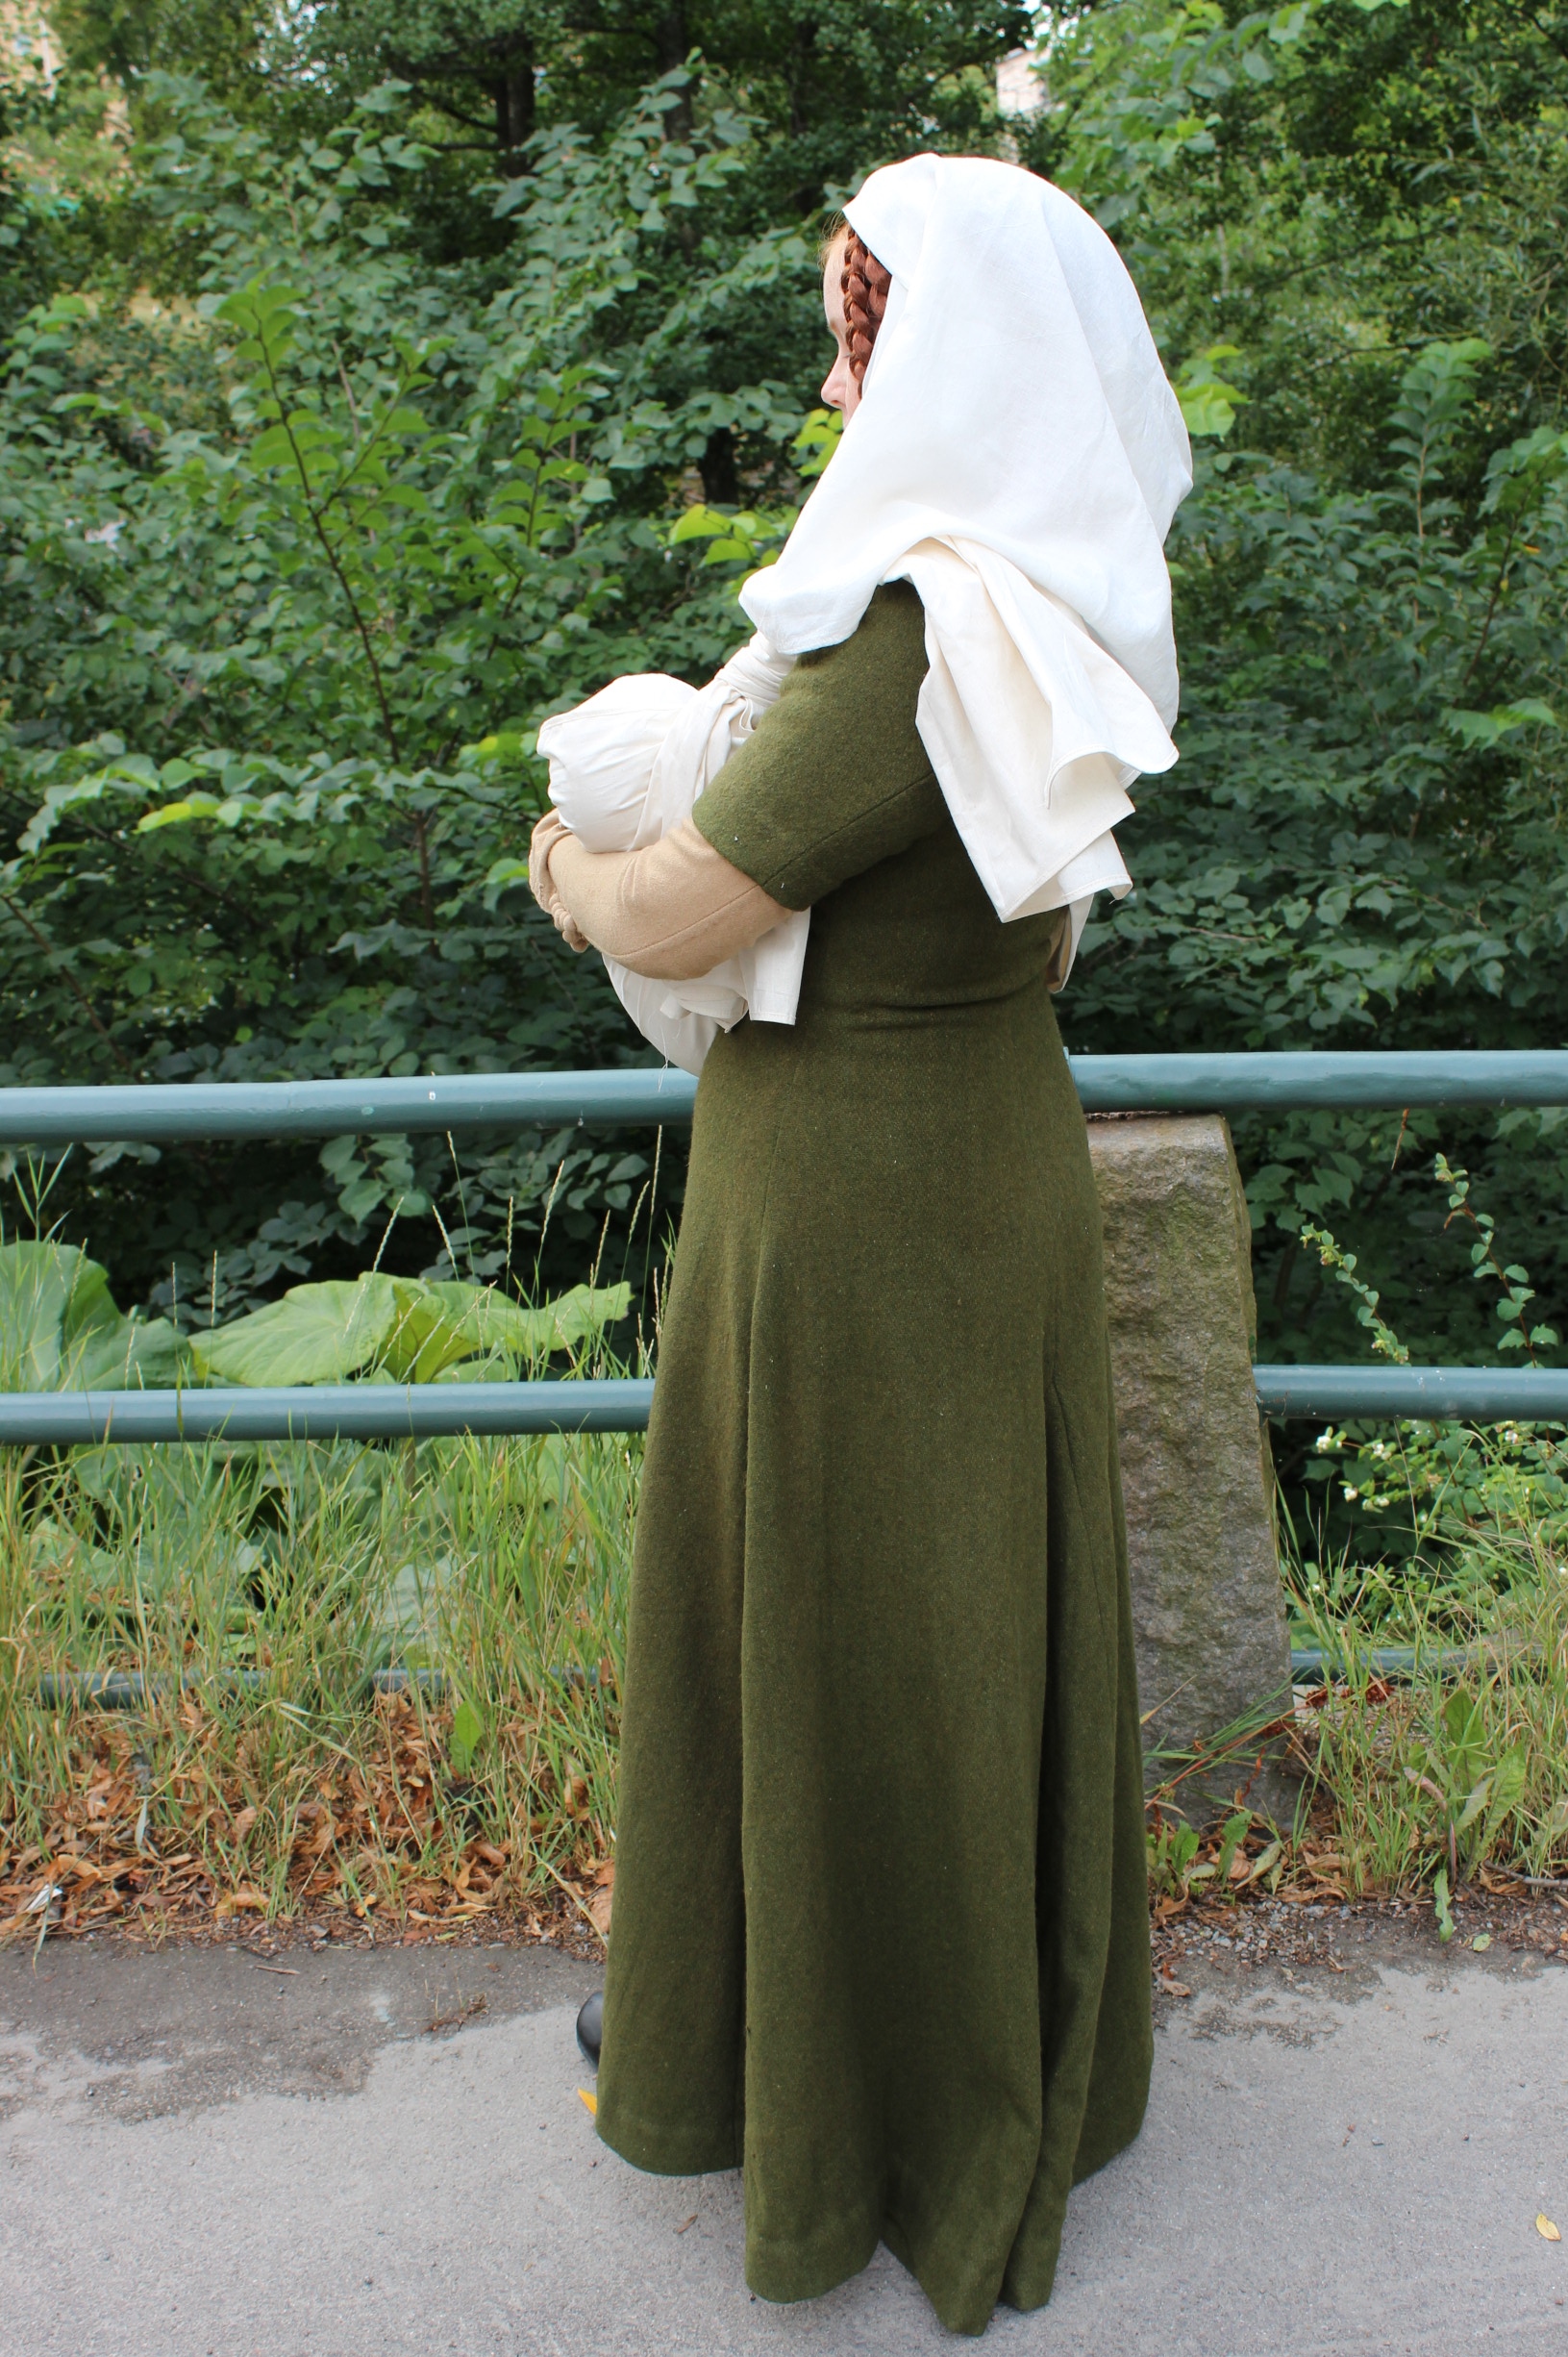
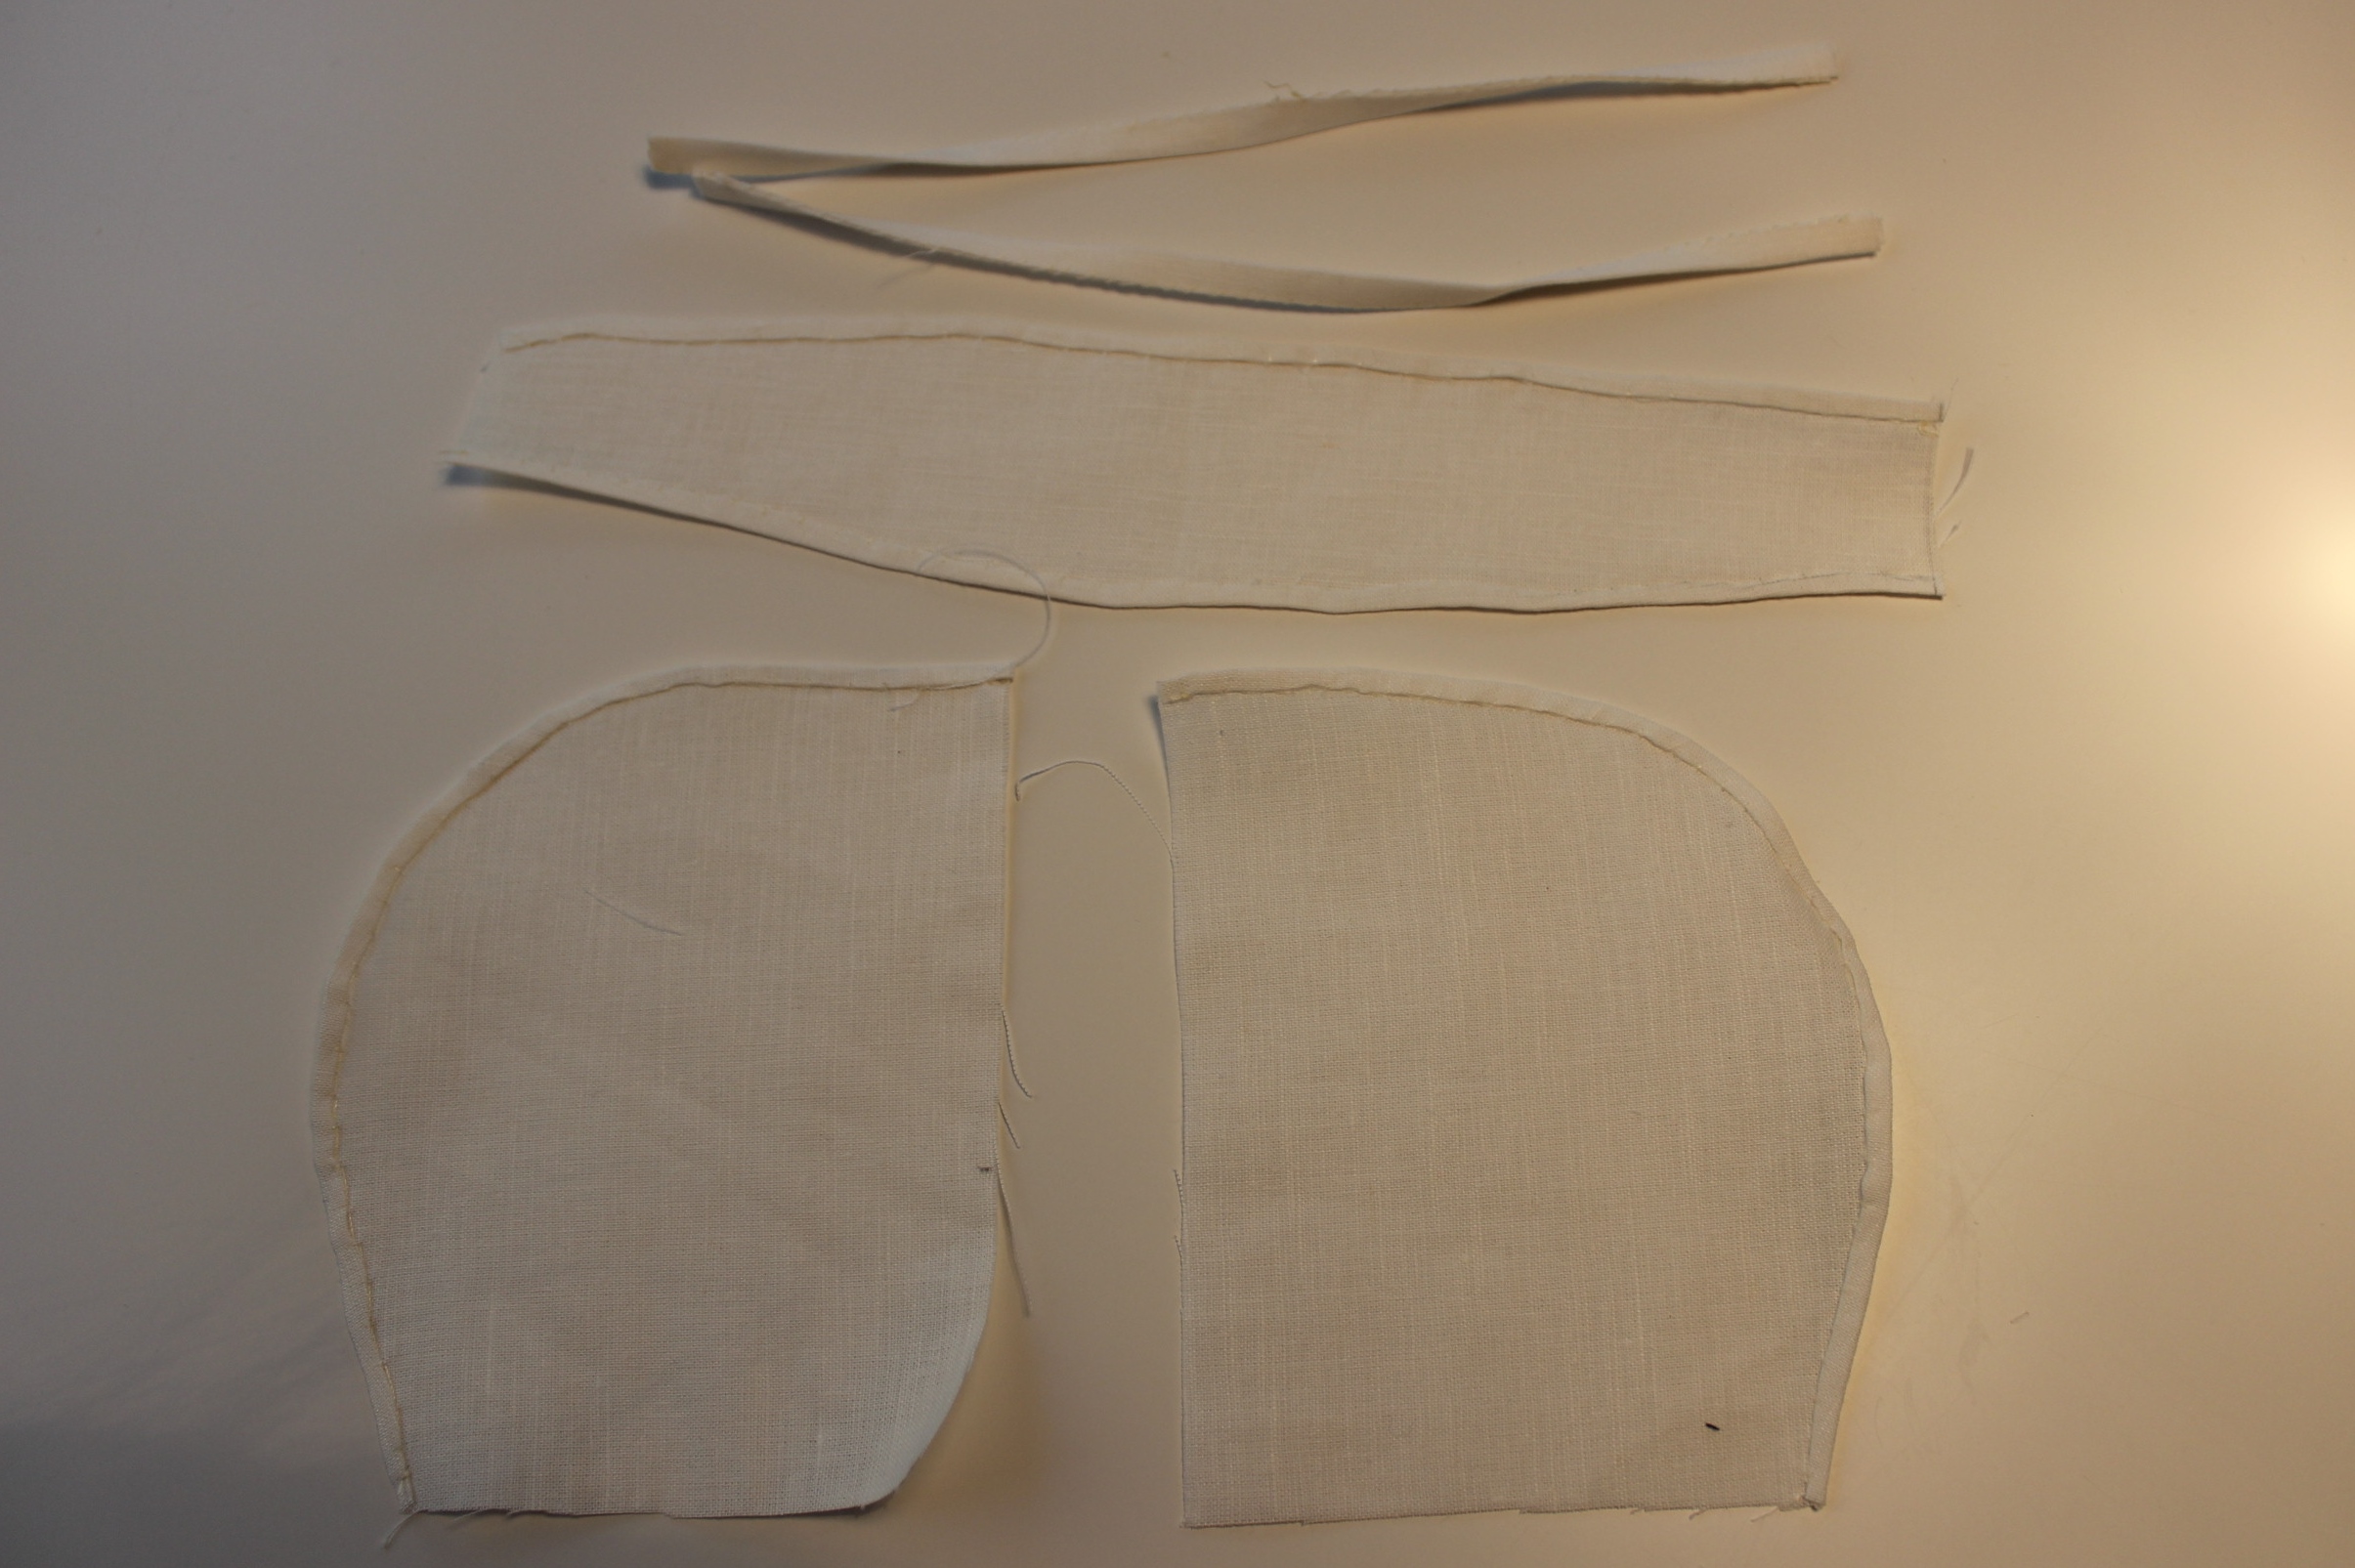
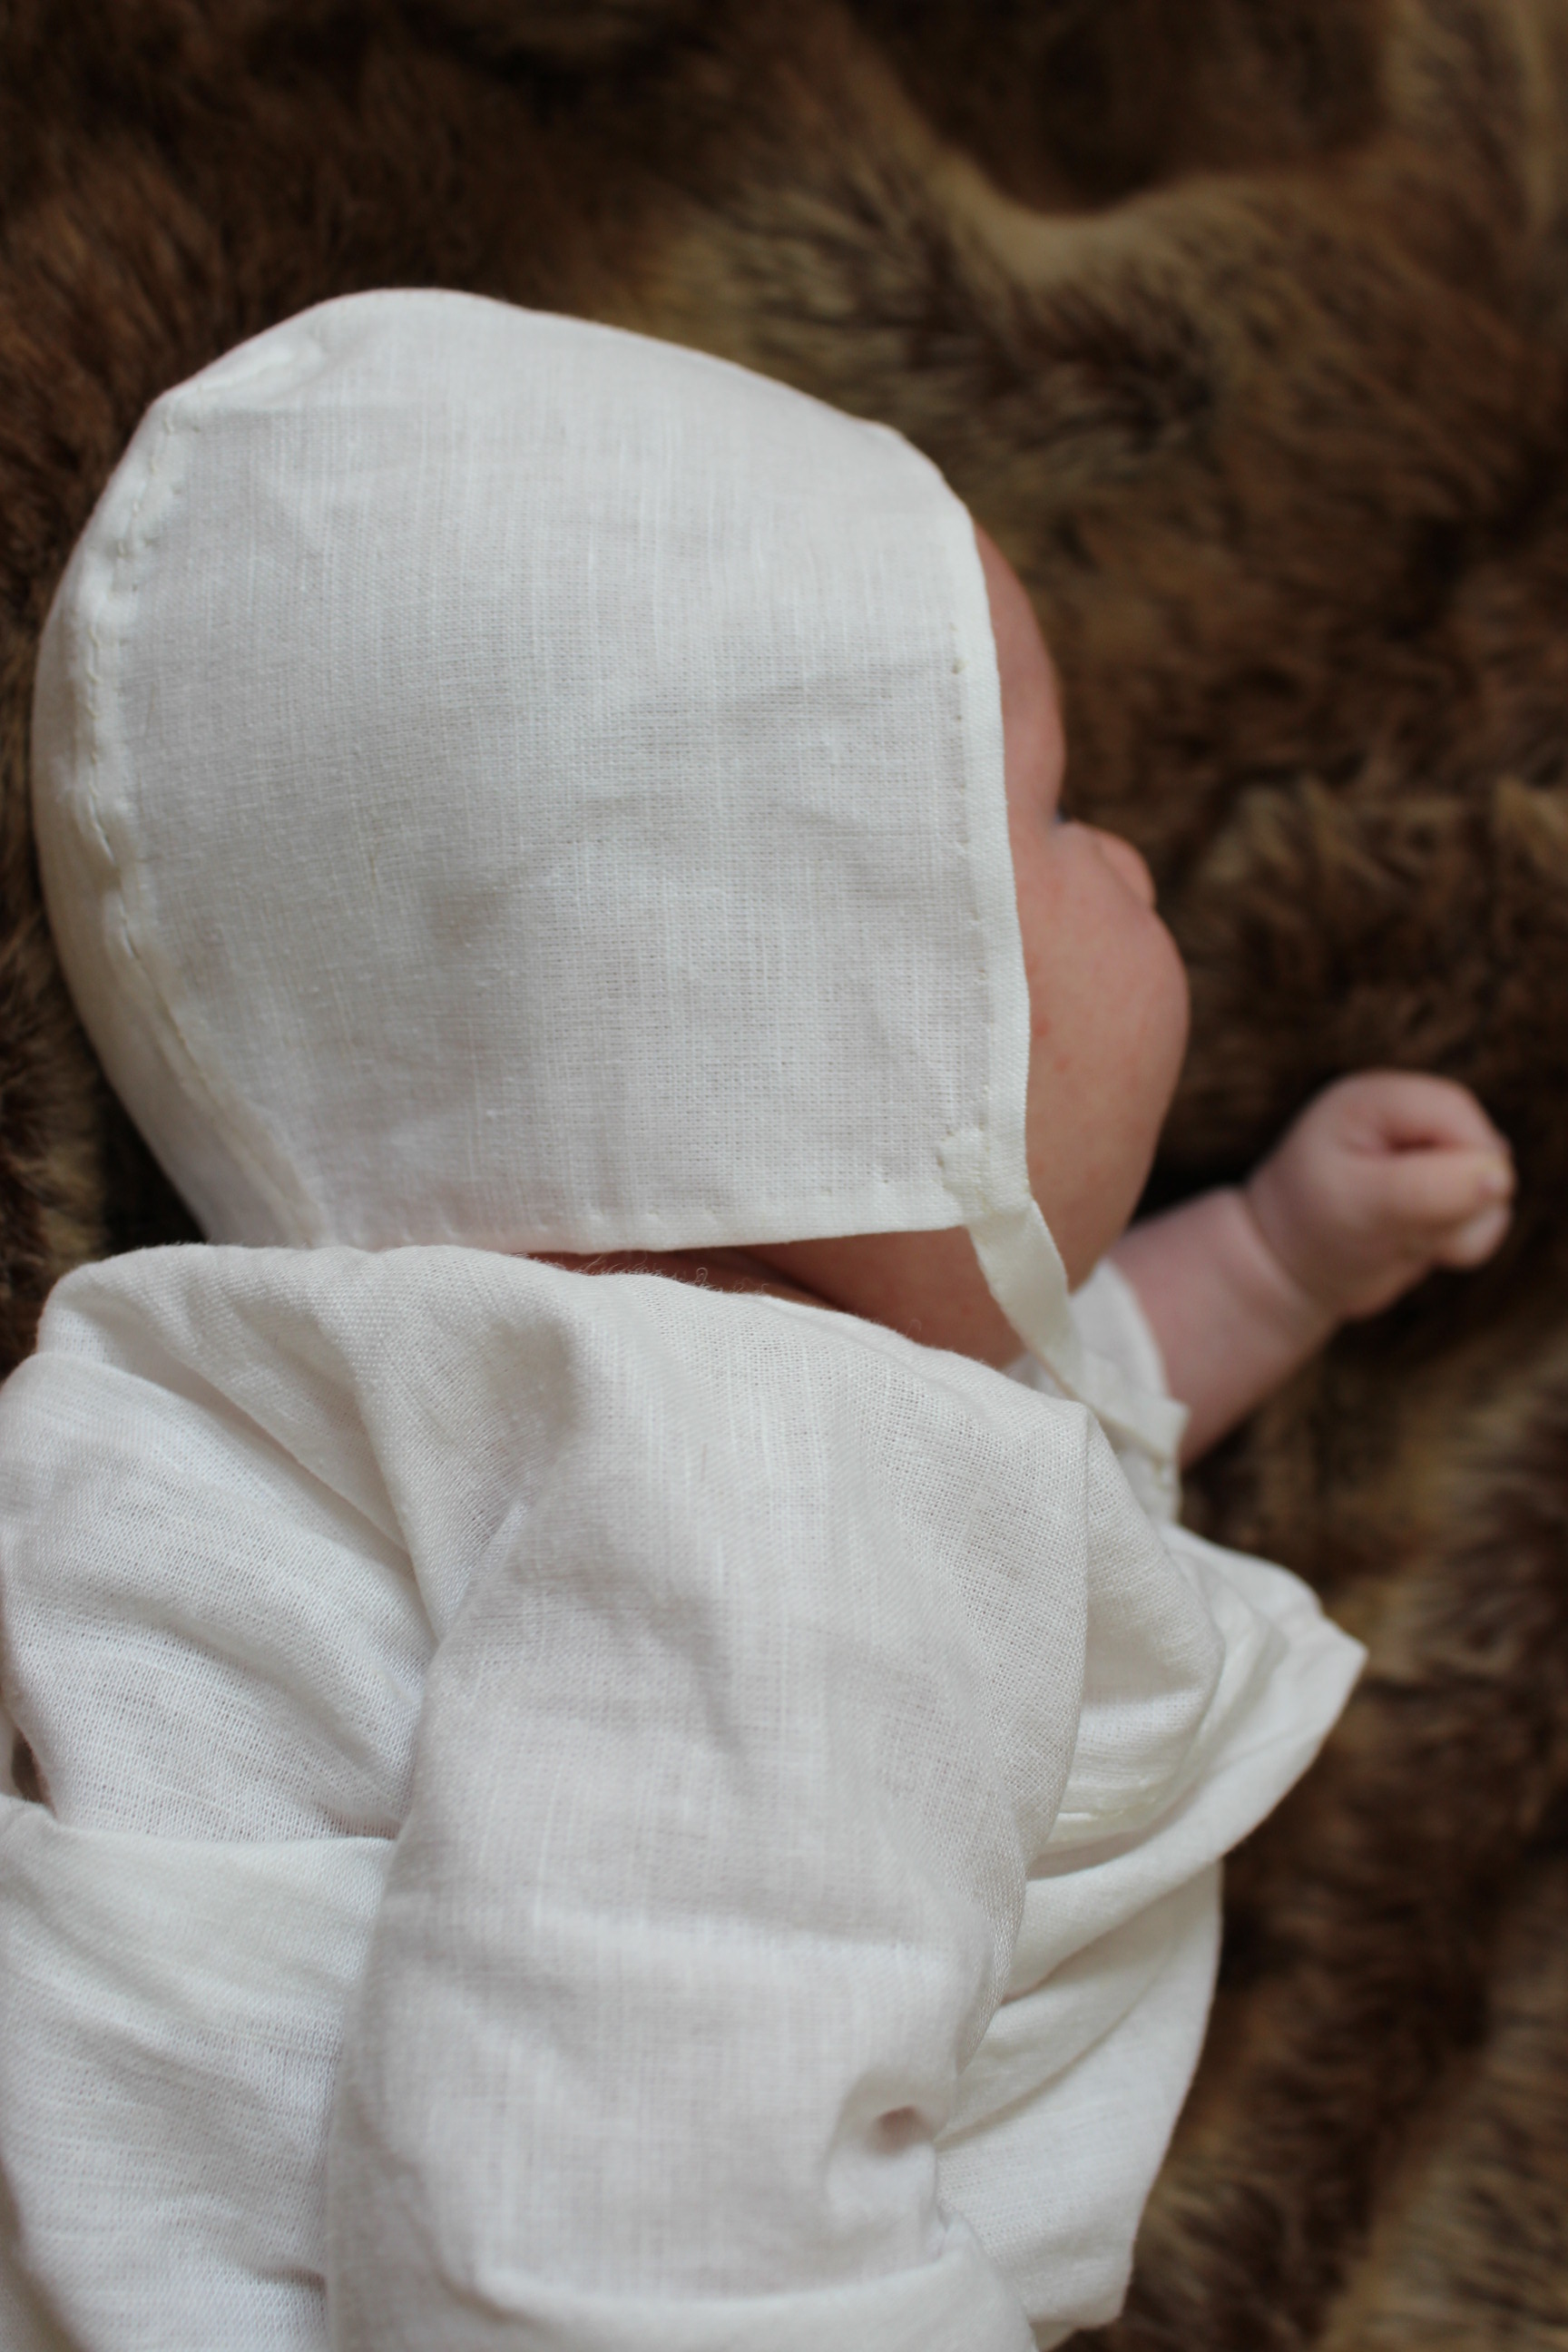
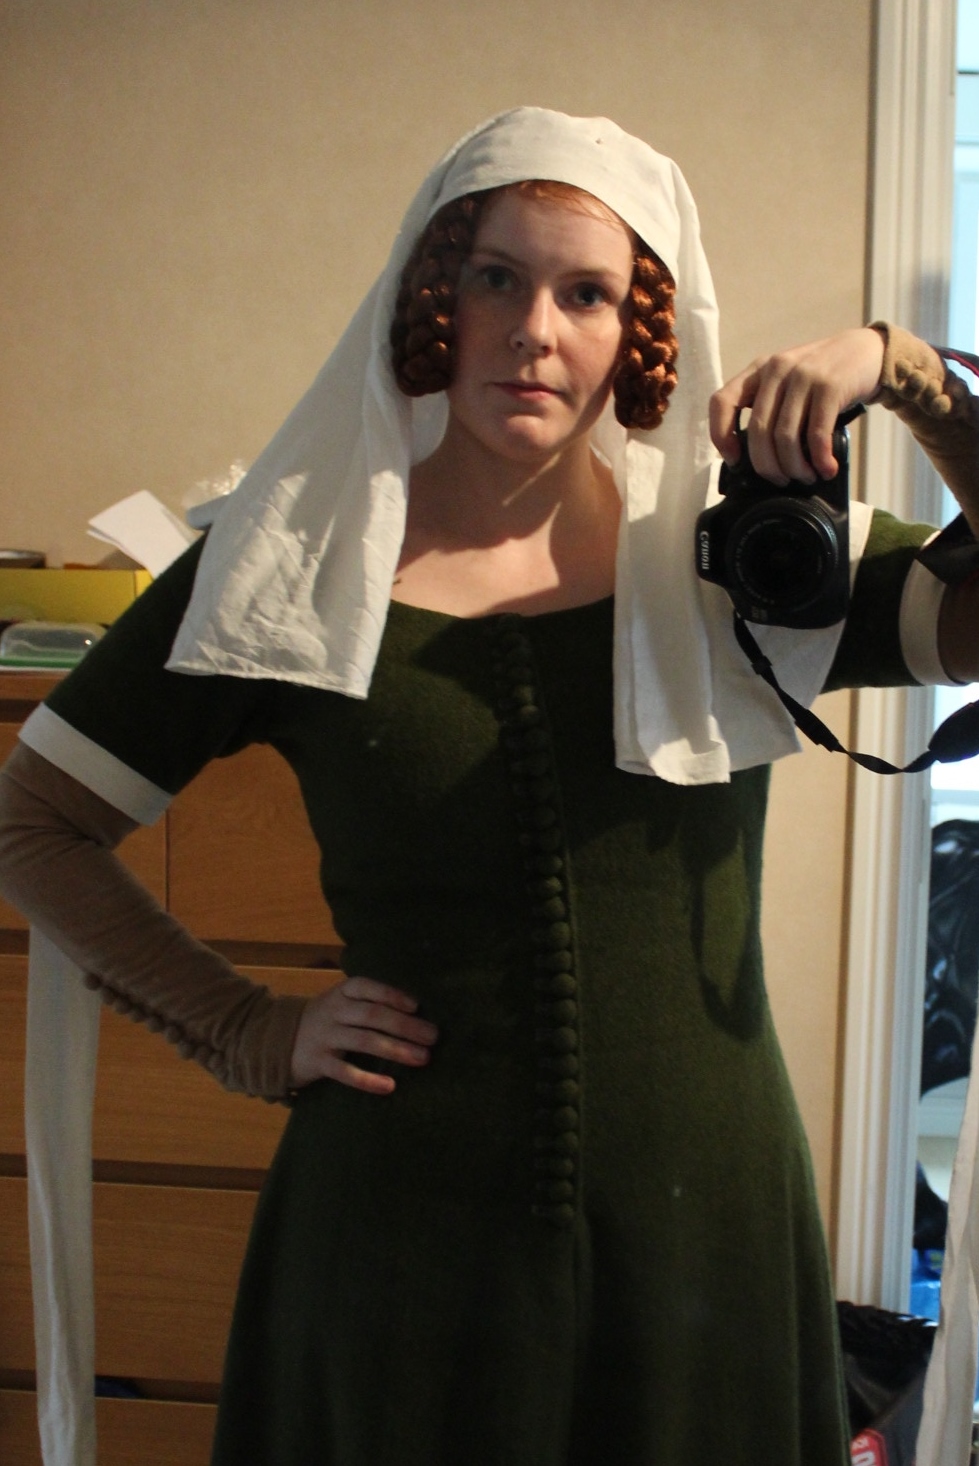
I needed to work a bit to get the shape I wanted on my headcloth. Even though it can be great to figur things out by ourself, sometimes you just want to know what/how to do it.  Faux braids and semi circular headcloth.
Would I recomend it:
I think the book is a defenetly must have if you are interested in medieval times or historic costume design.
I do however think the book is a bit hard for a beginner to use, but if you are willing to give it a try – go for it.


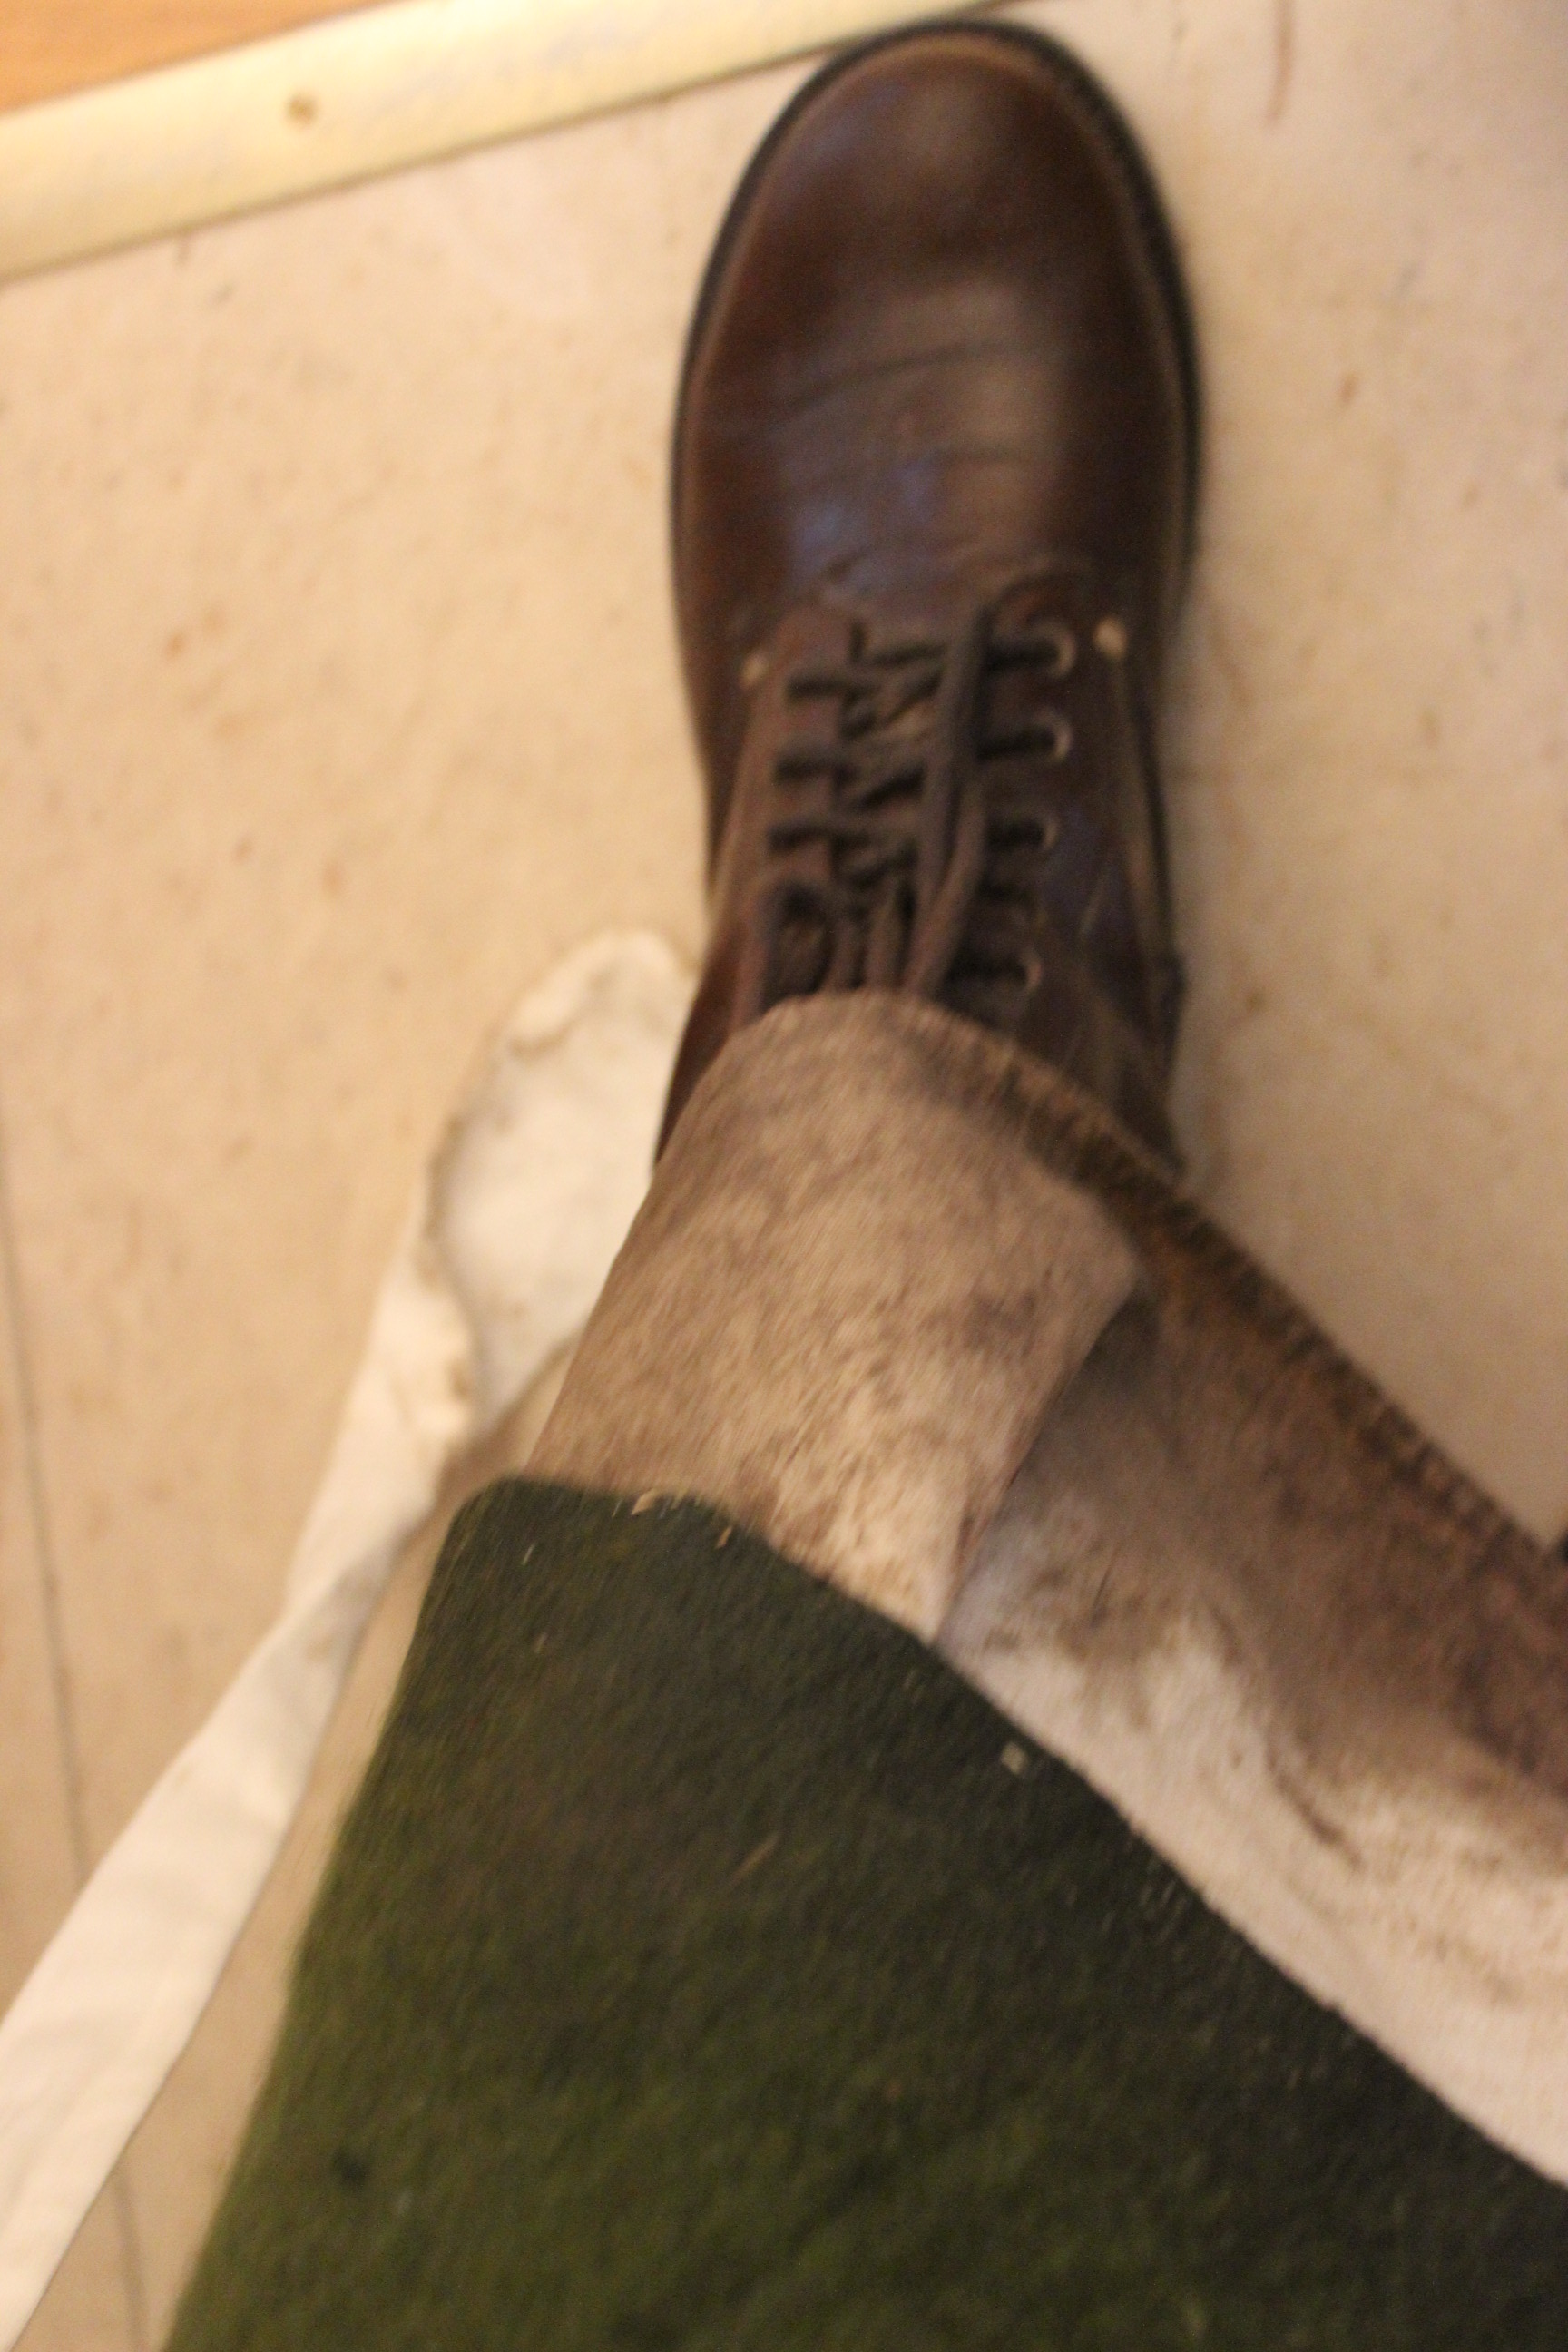
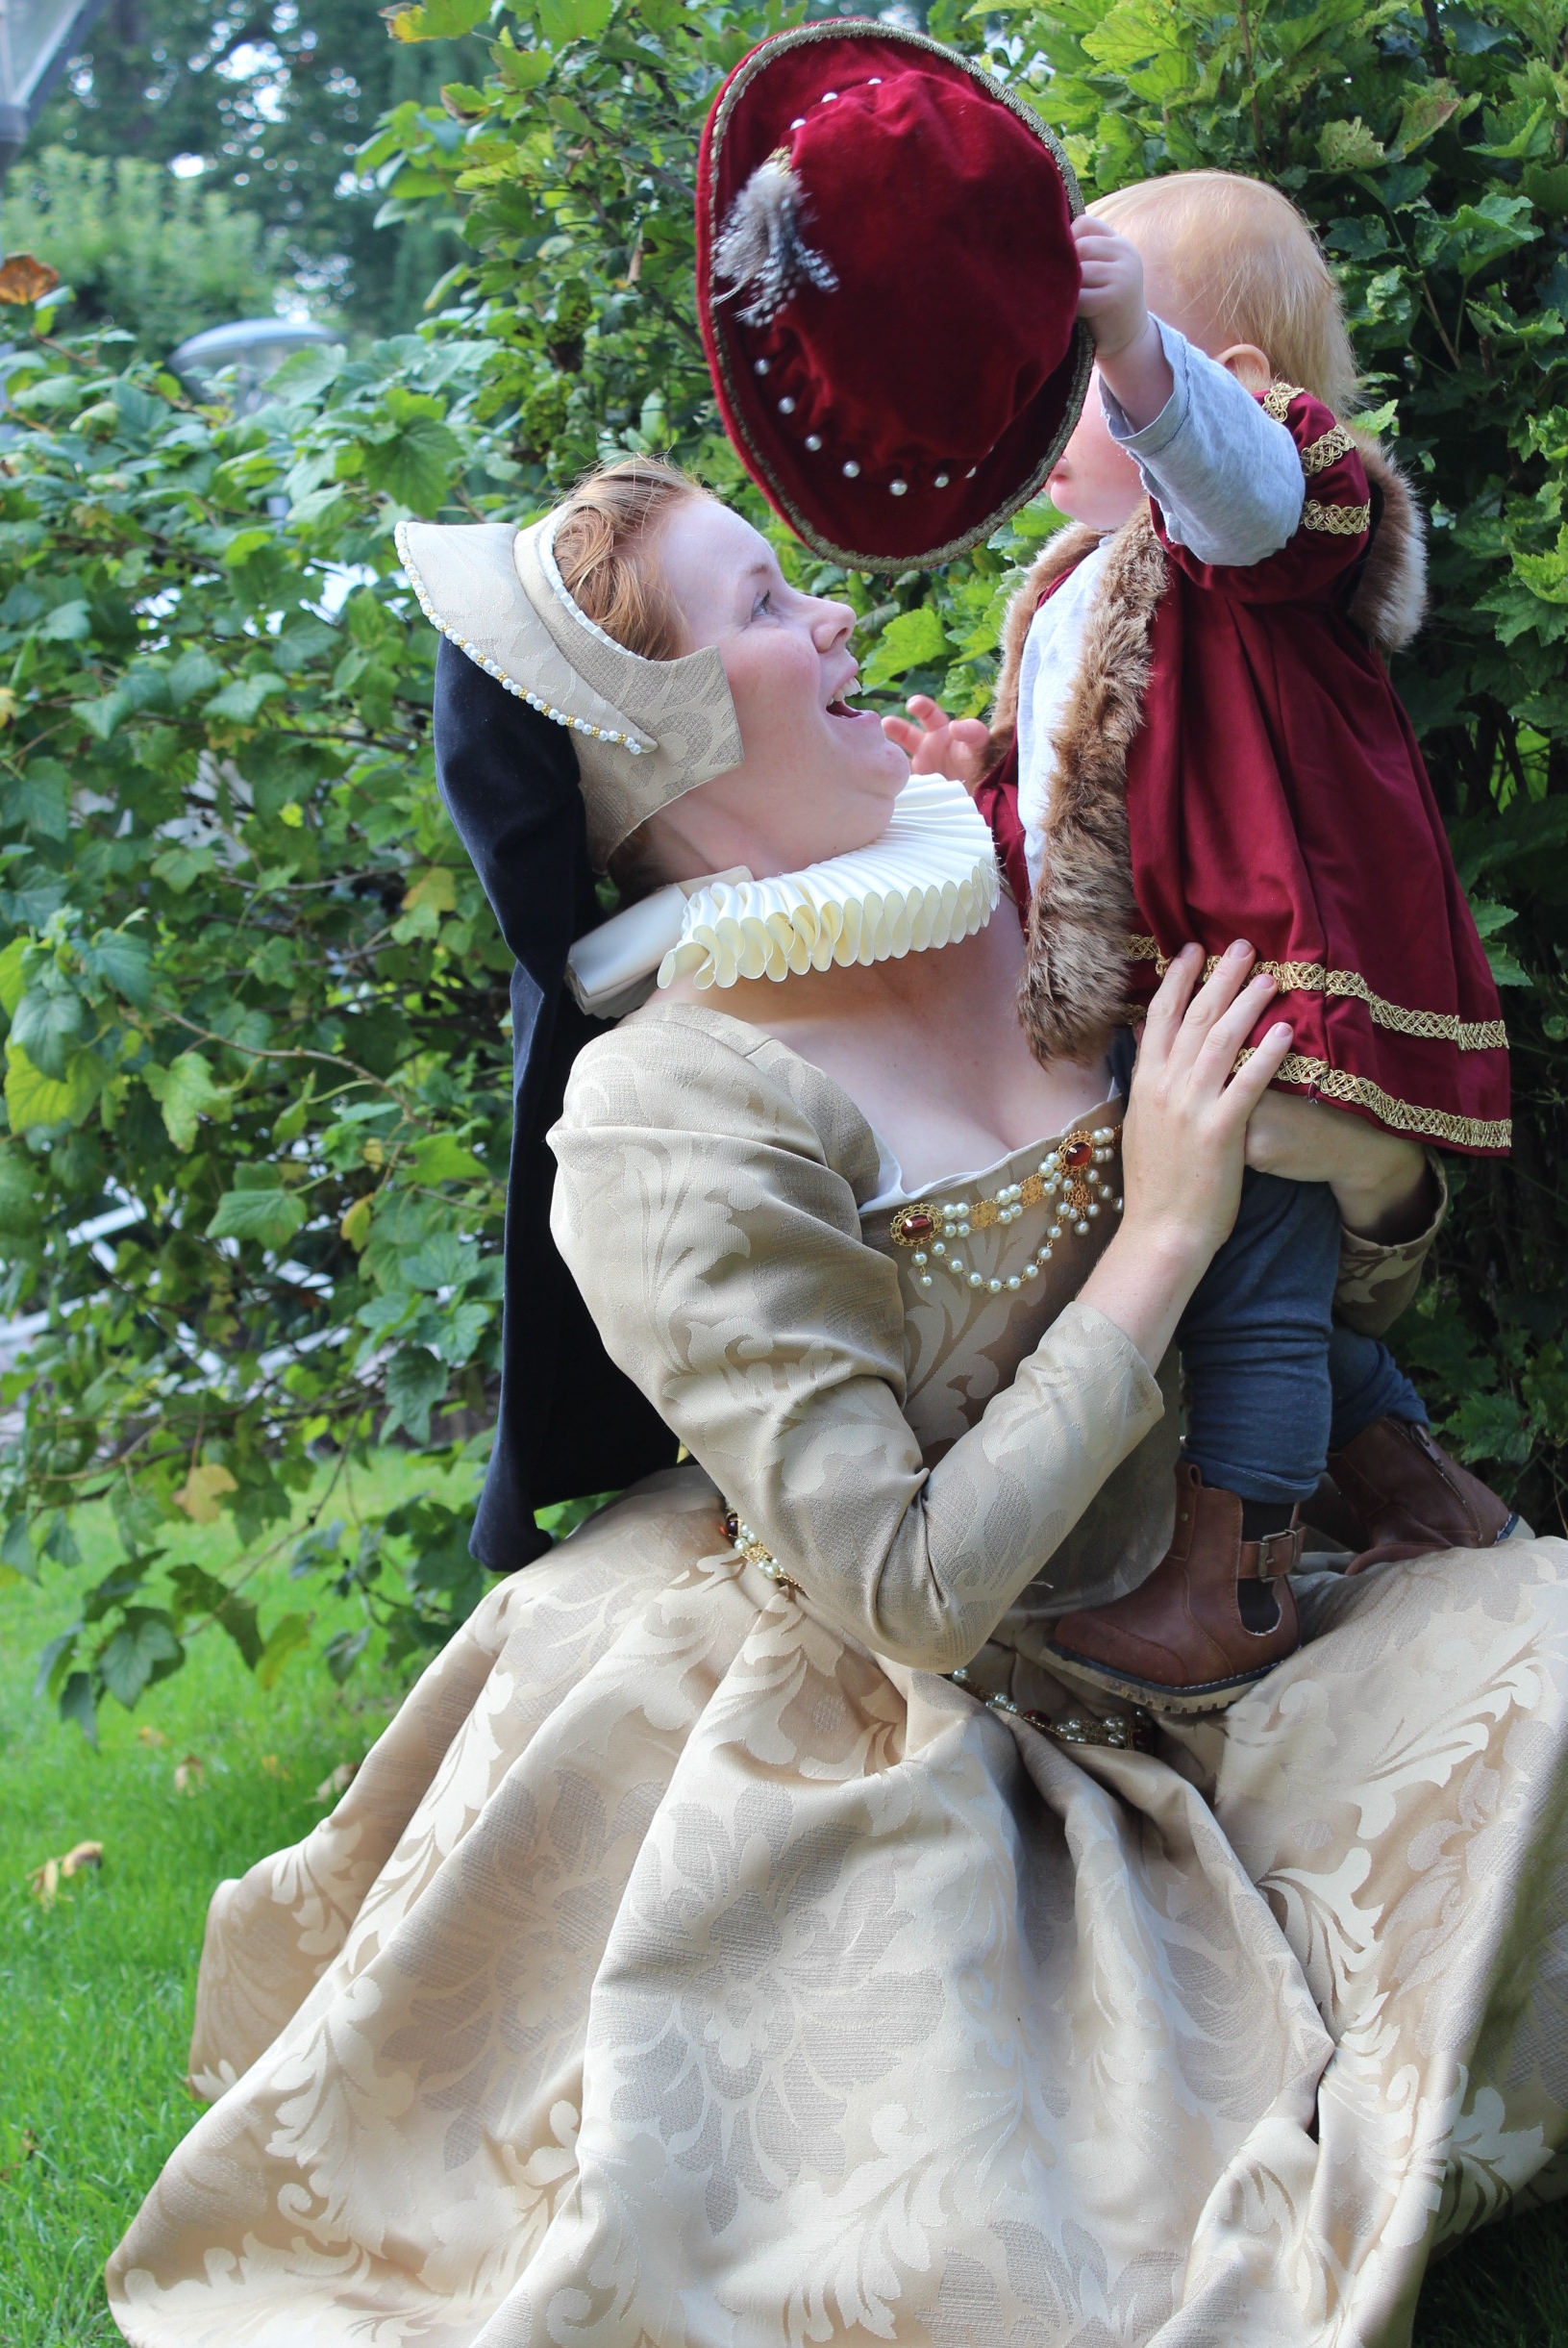
 Besides from the coat and hat (which he needed for head covering), he wears a regular gray long sleeved t-shirt and pants pared with his autumn boots.


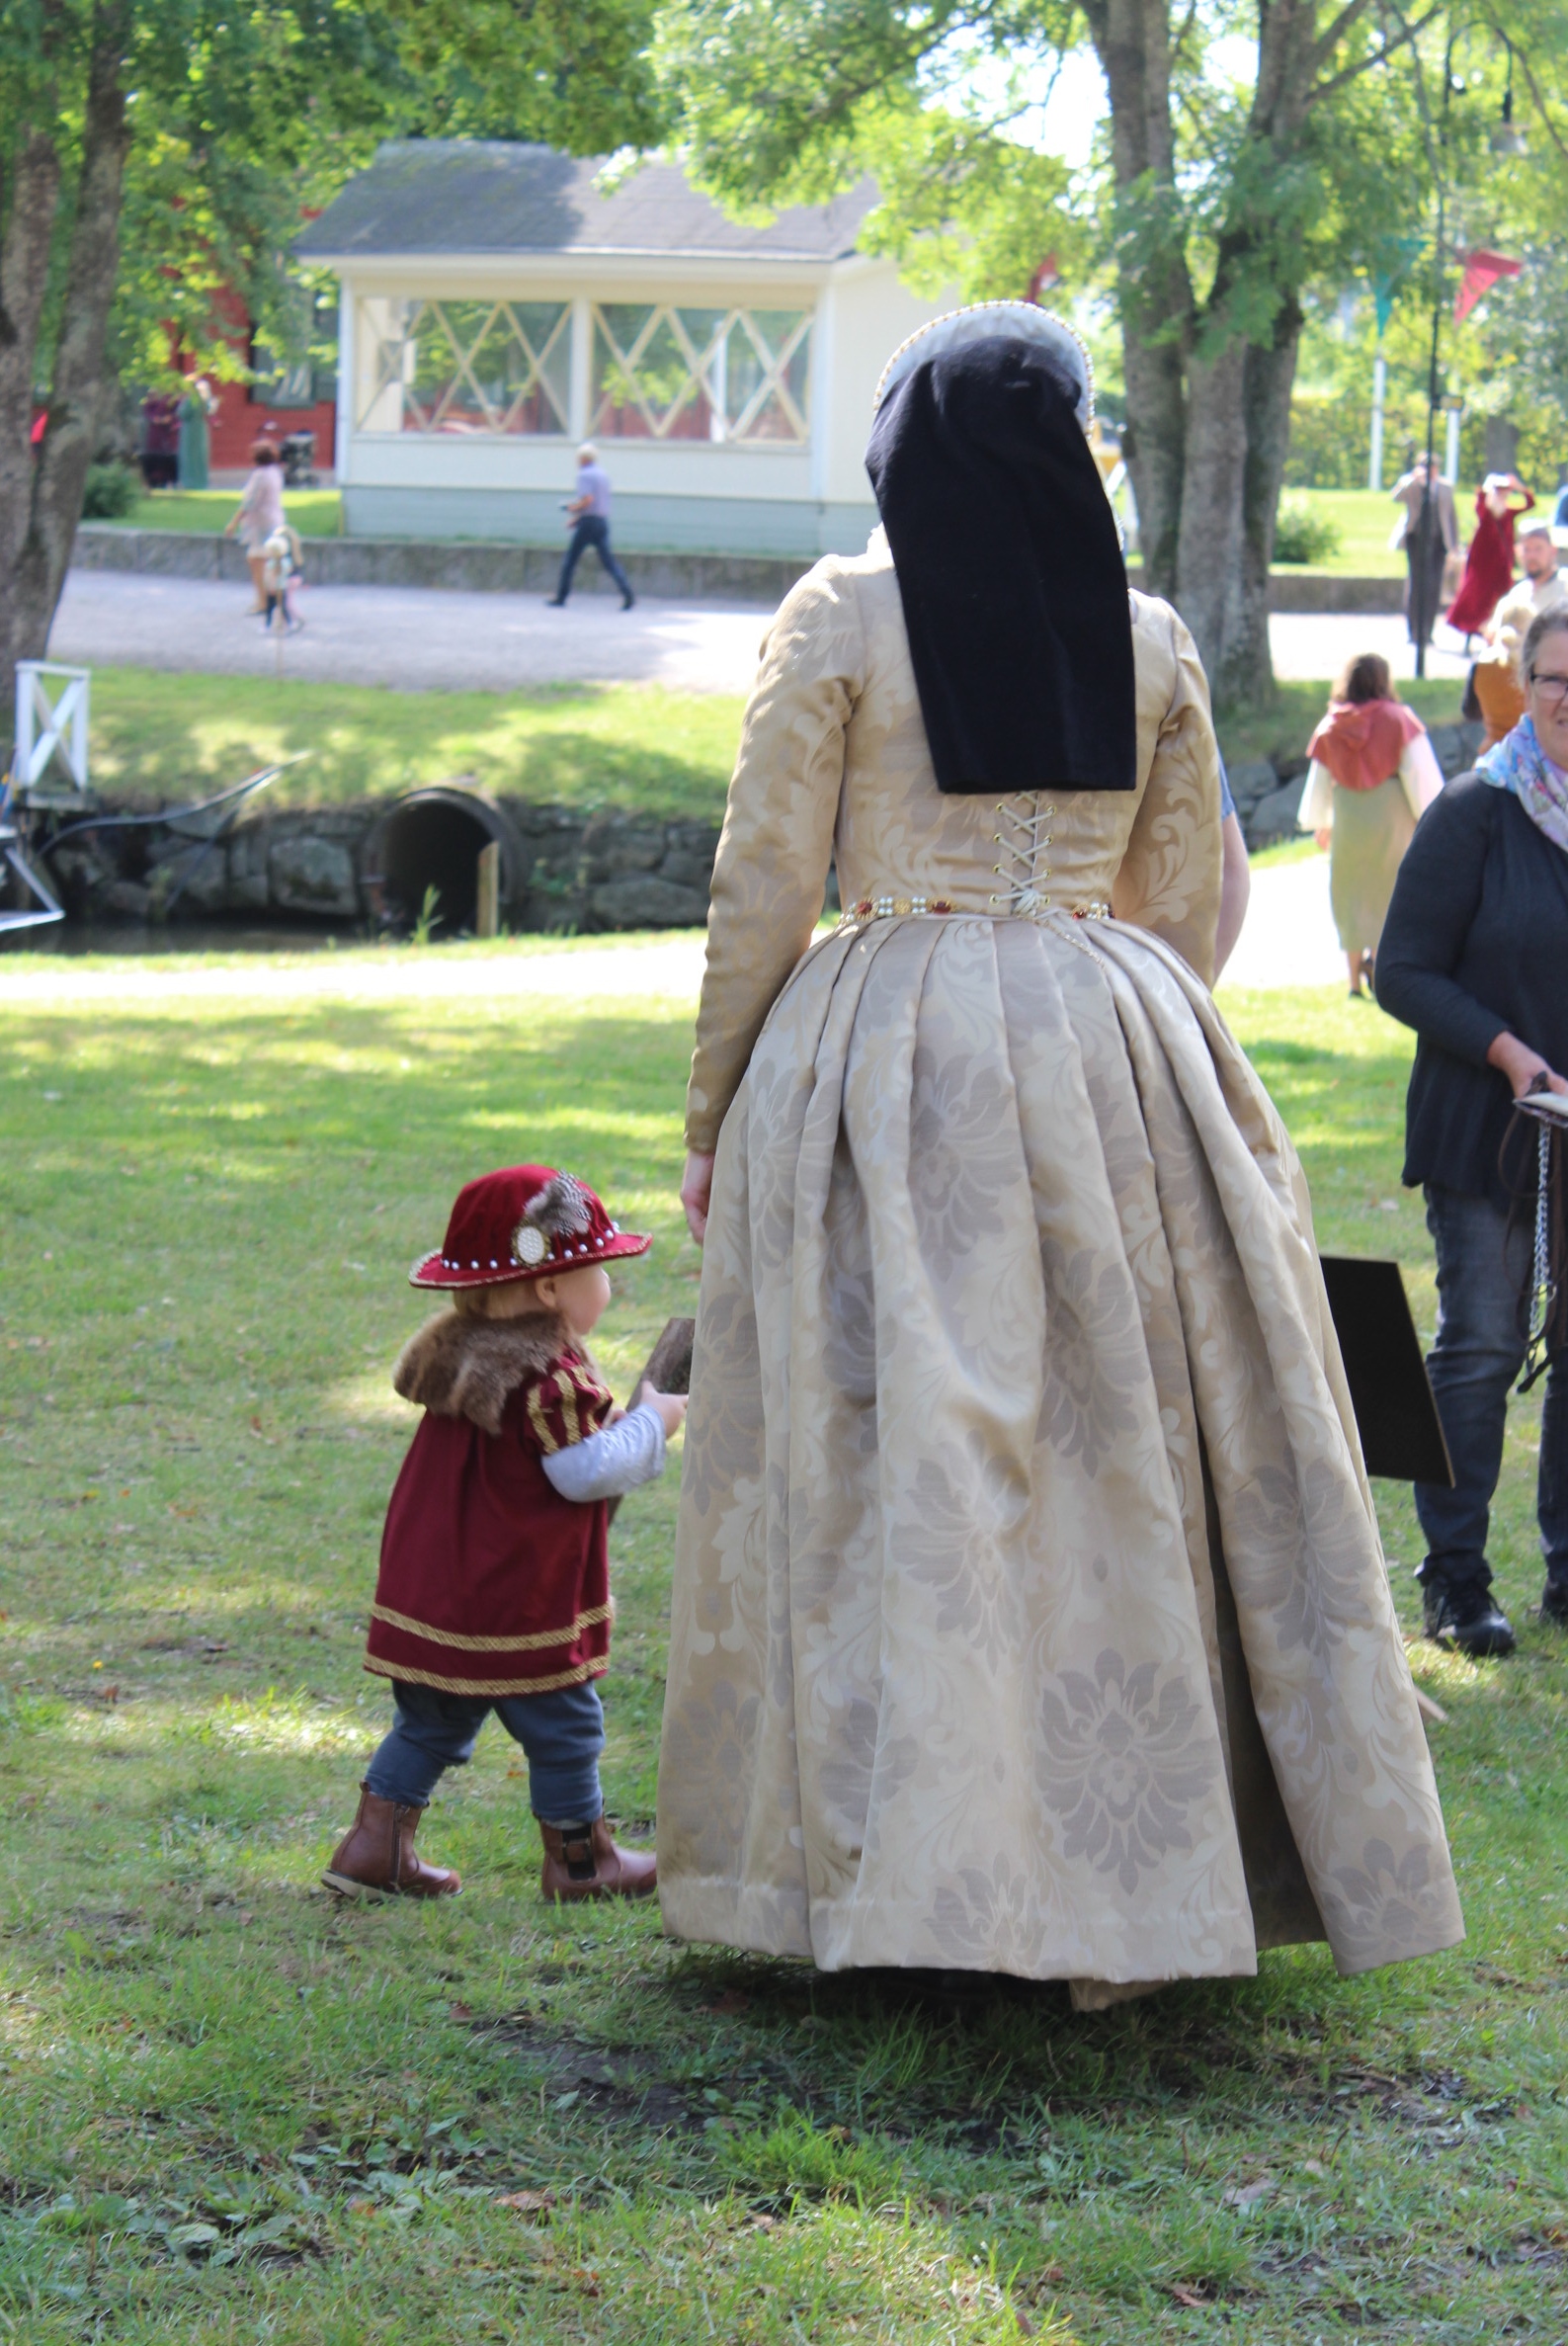


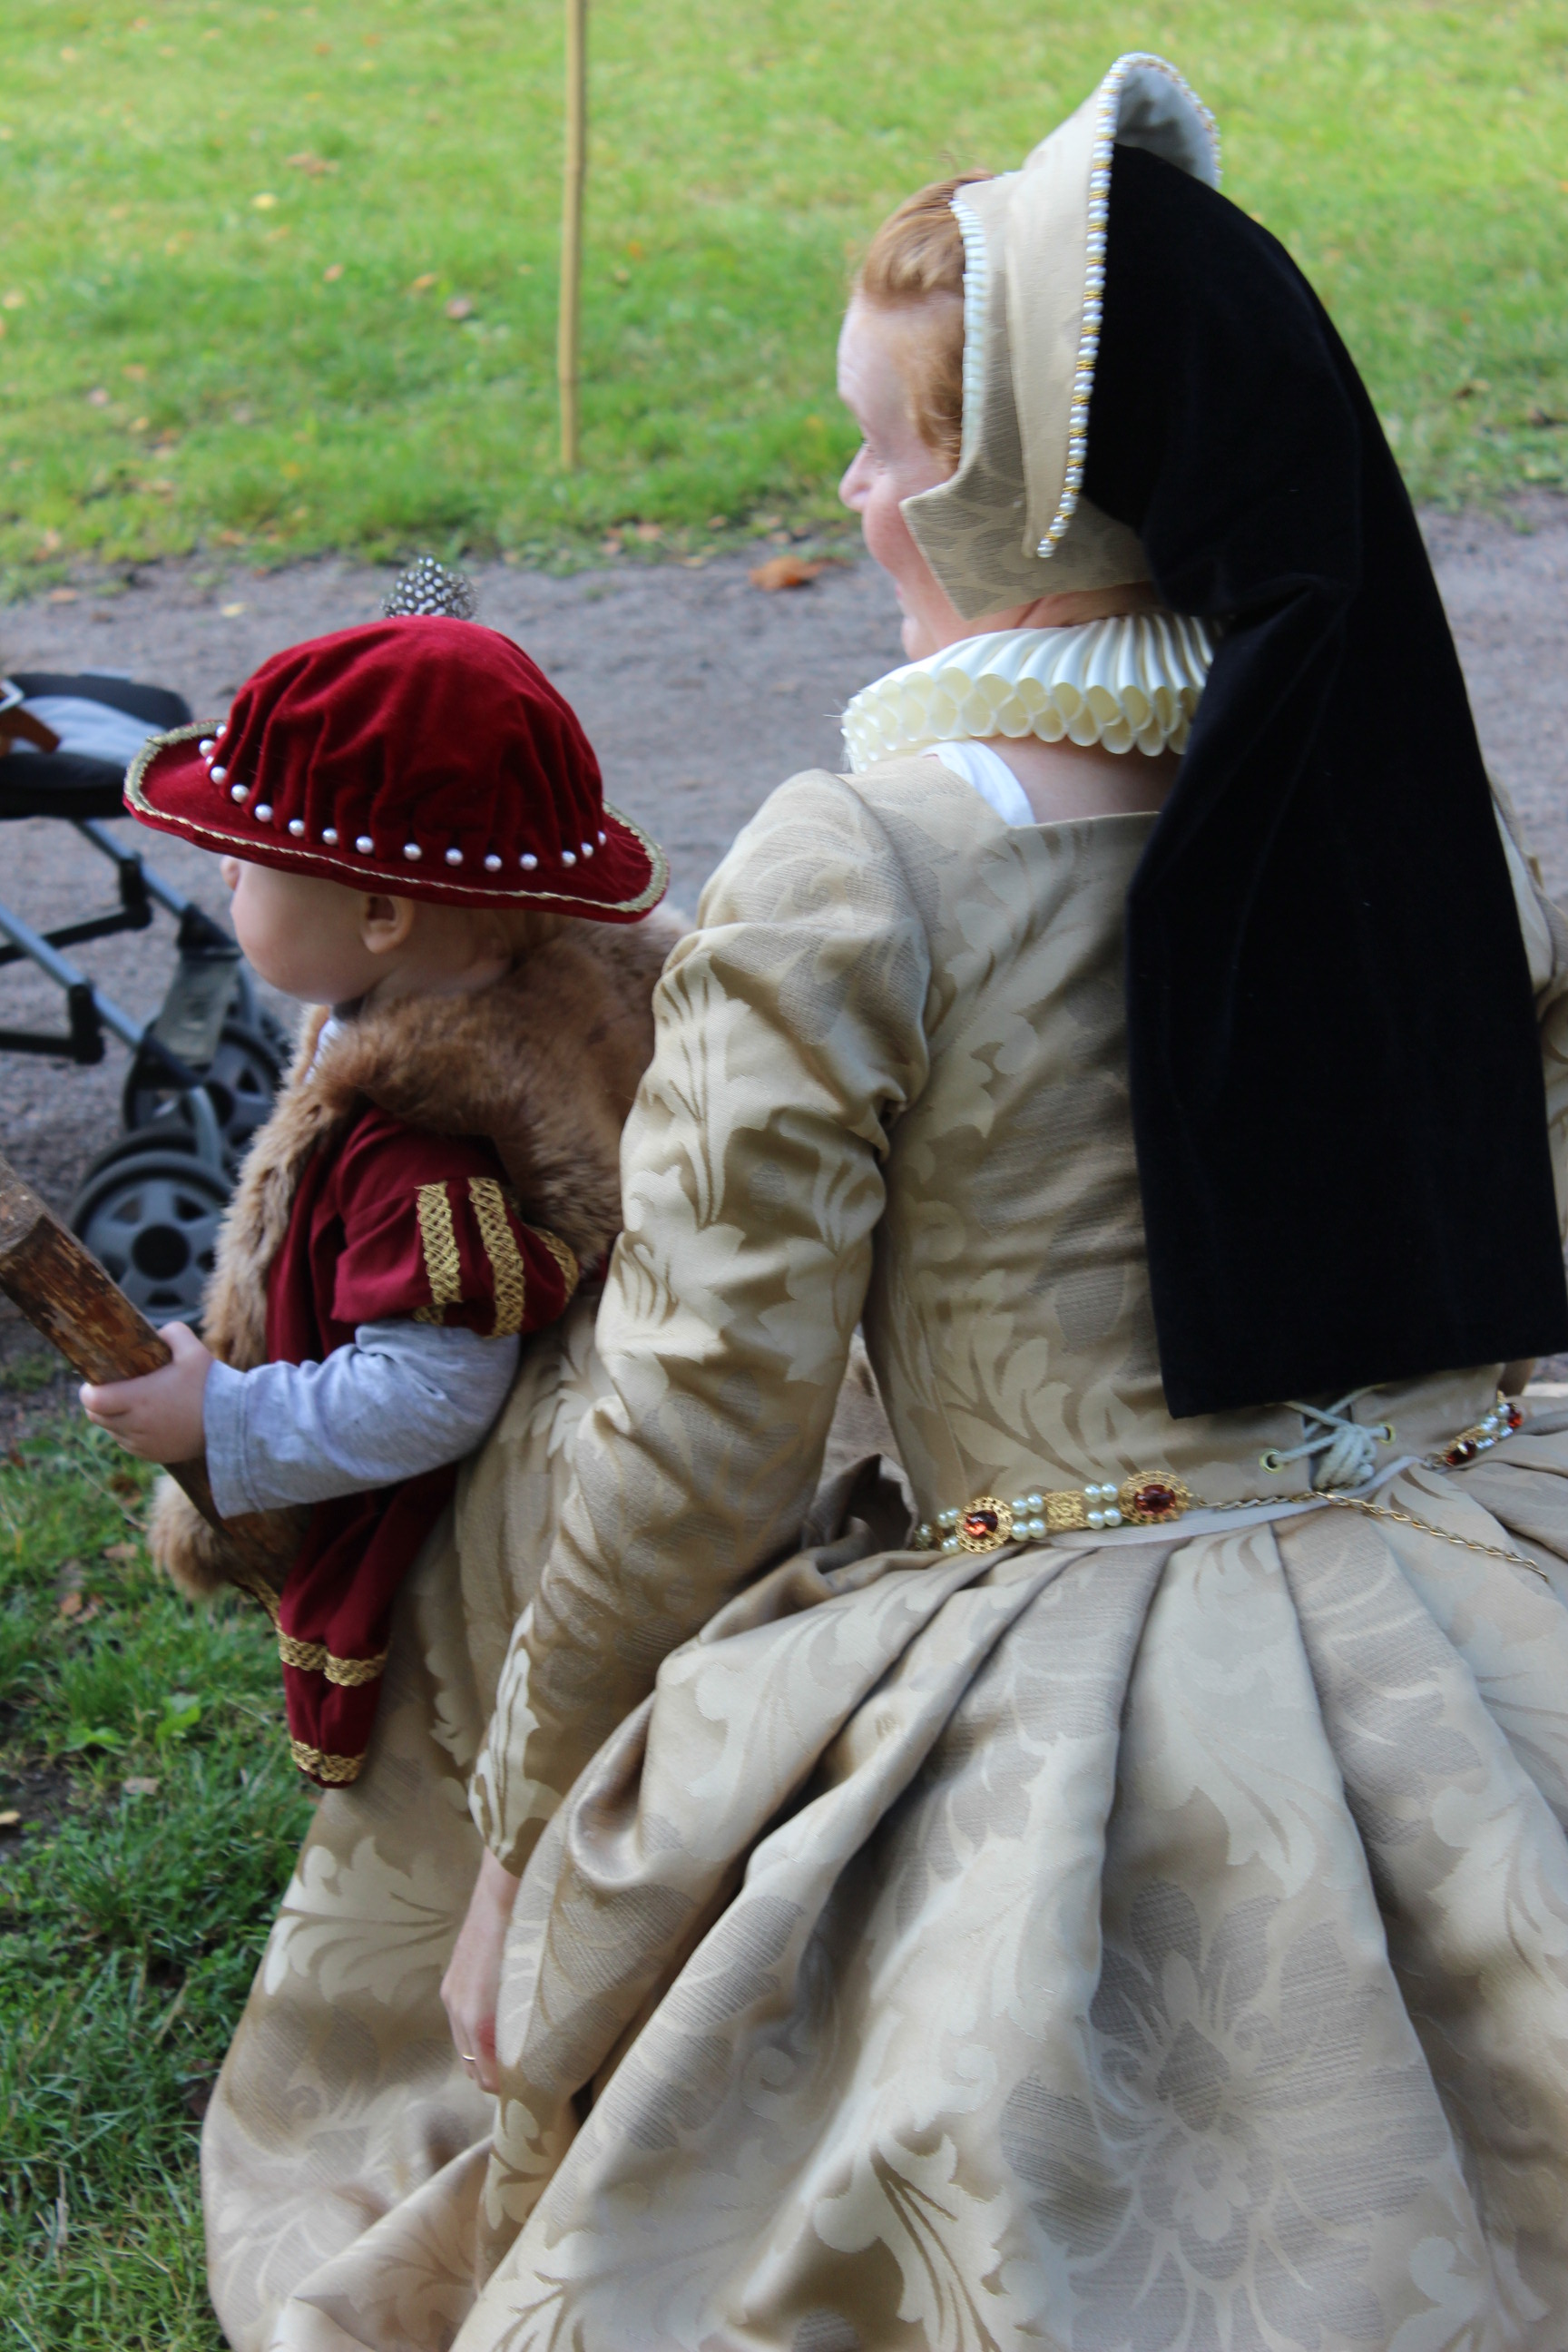
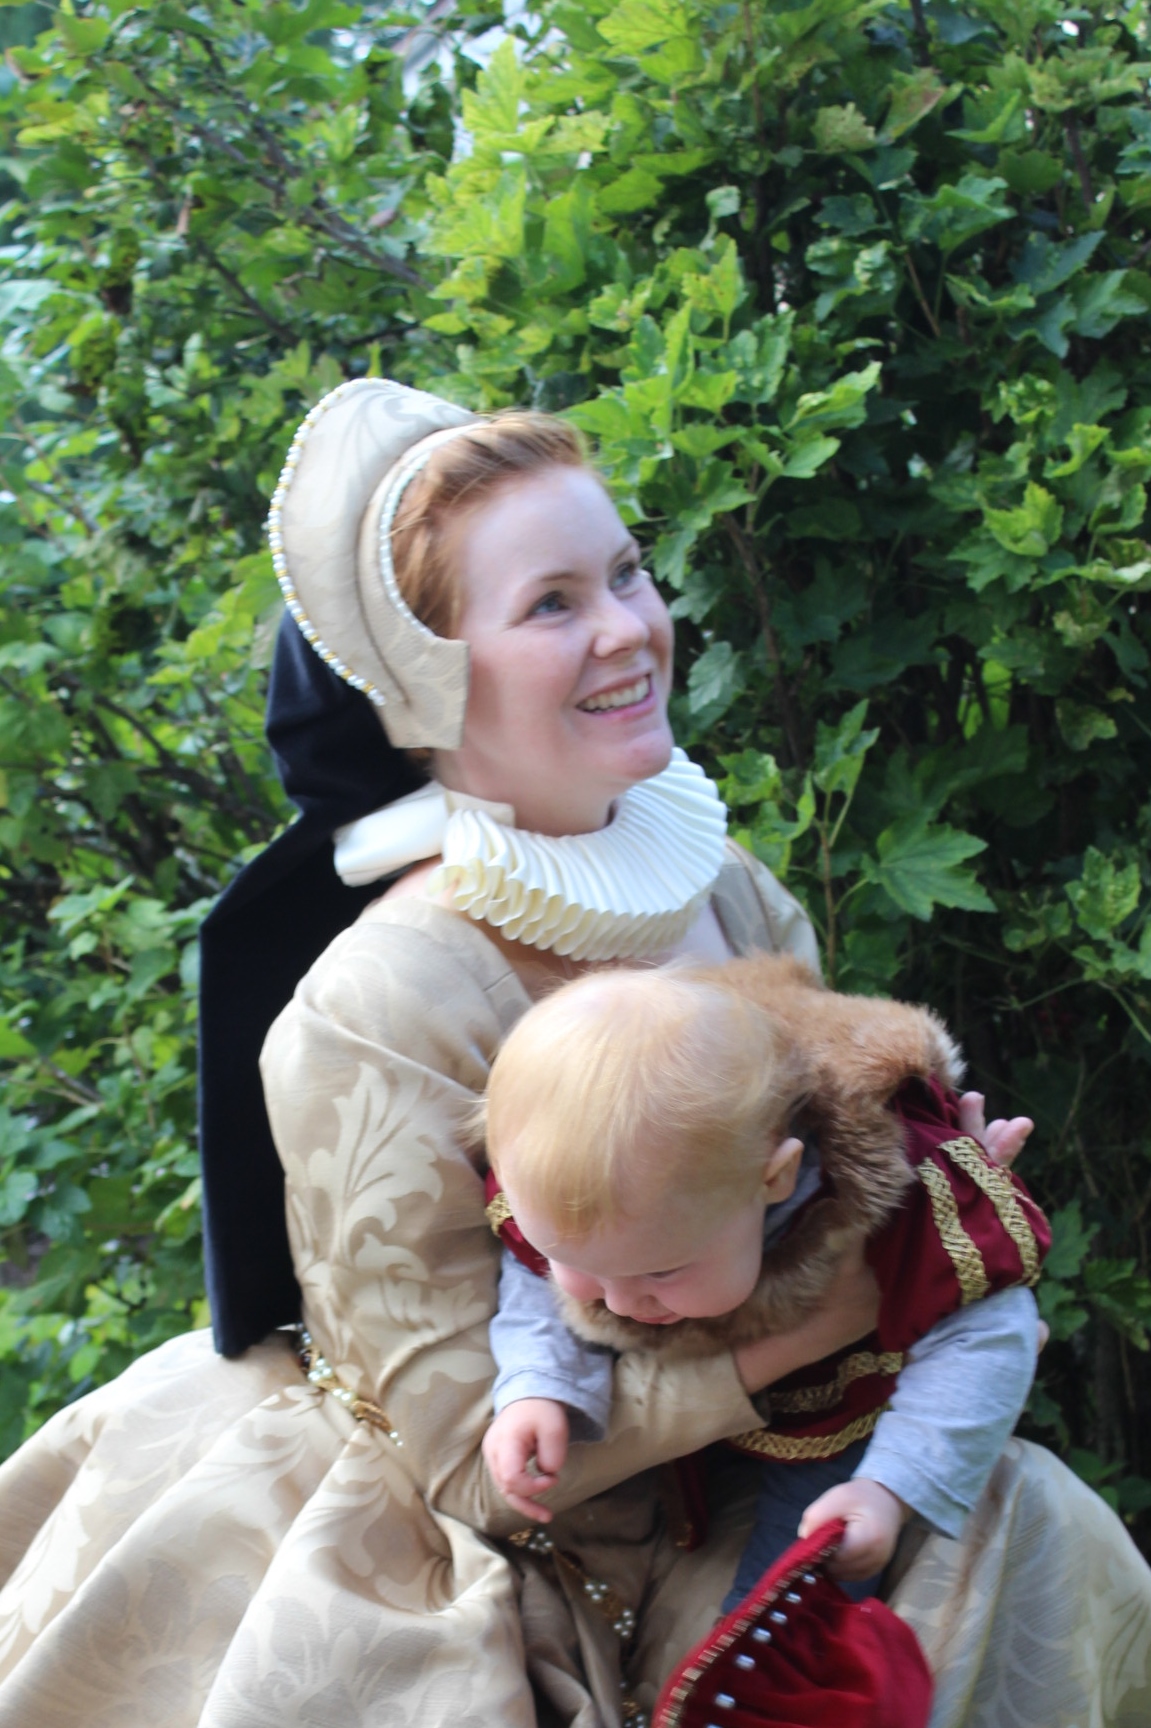
 I do think we made for quite a sight.
 After lunch we stopped to take a break and to play a bit in the parks playground.
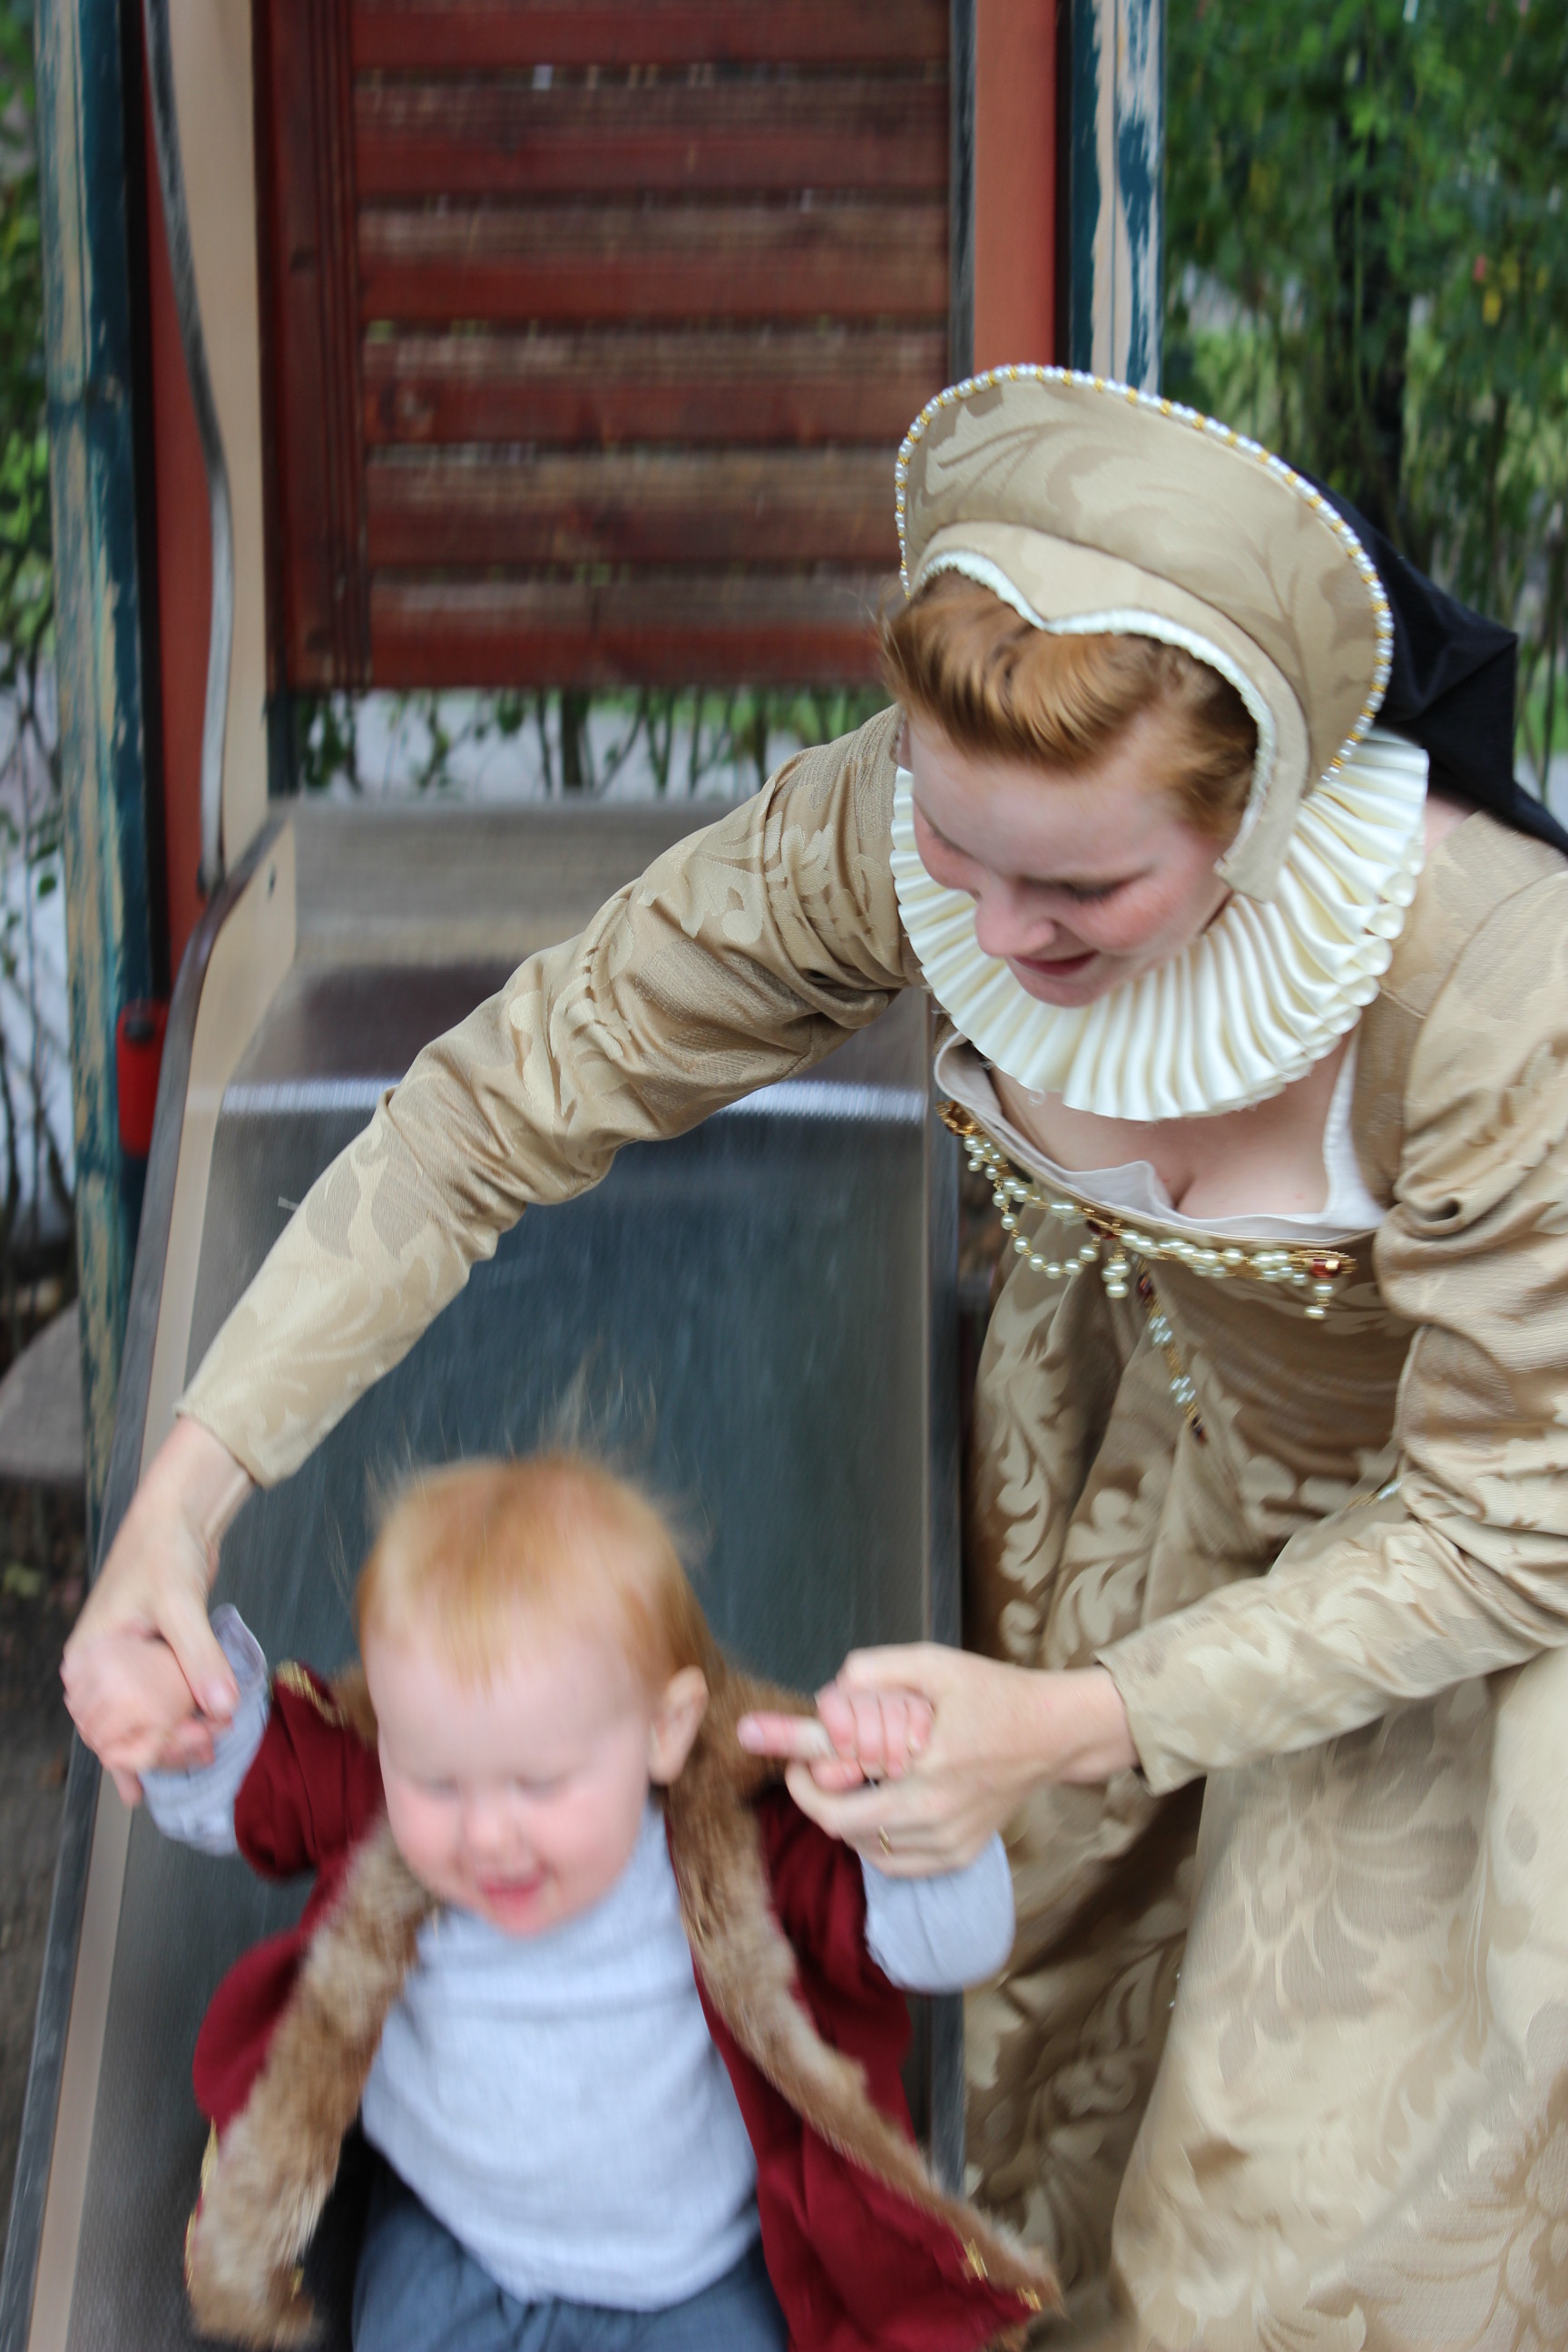


 Ha ha, I love that my sister tries to play with him and how he’s much more interesting in the gravel:-D
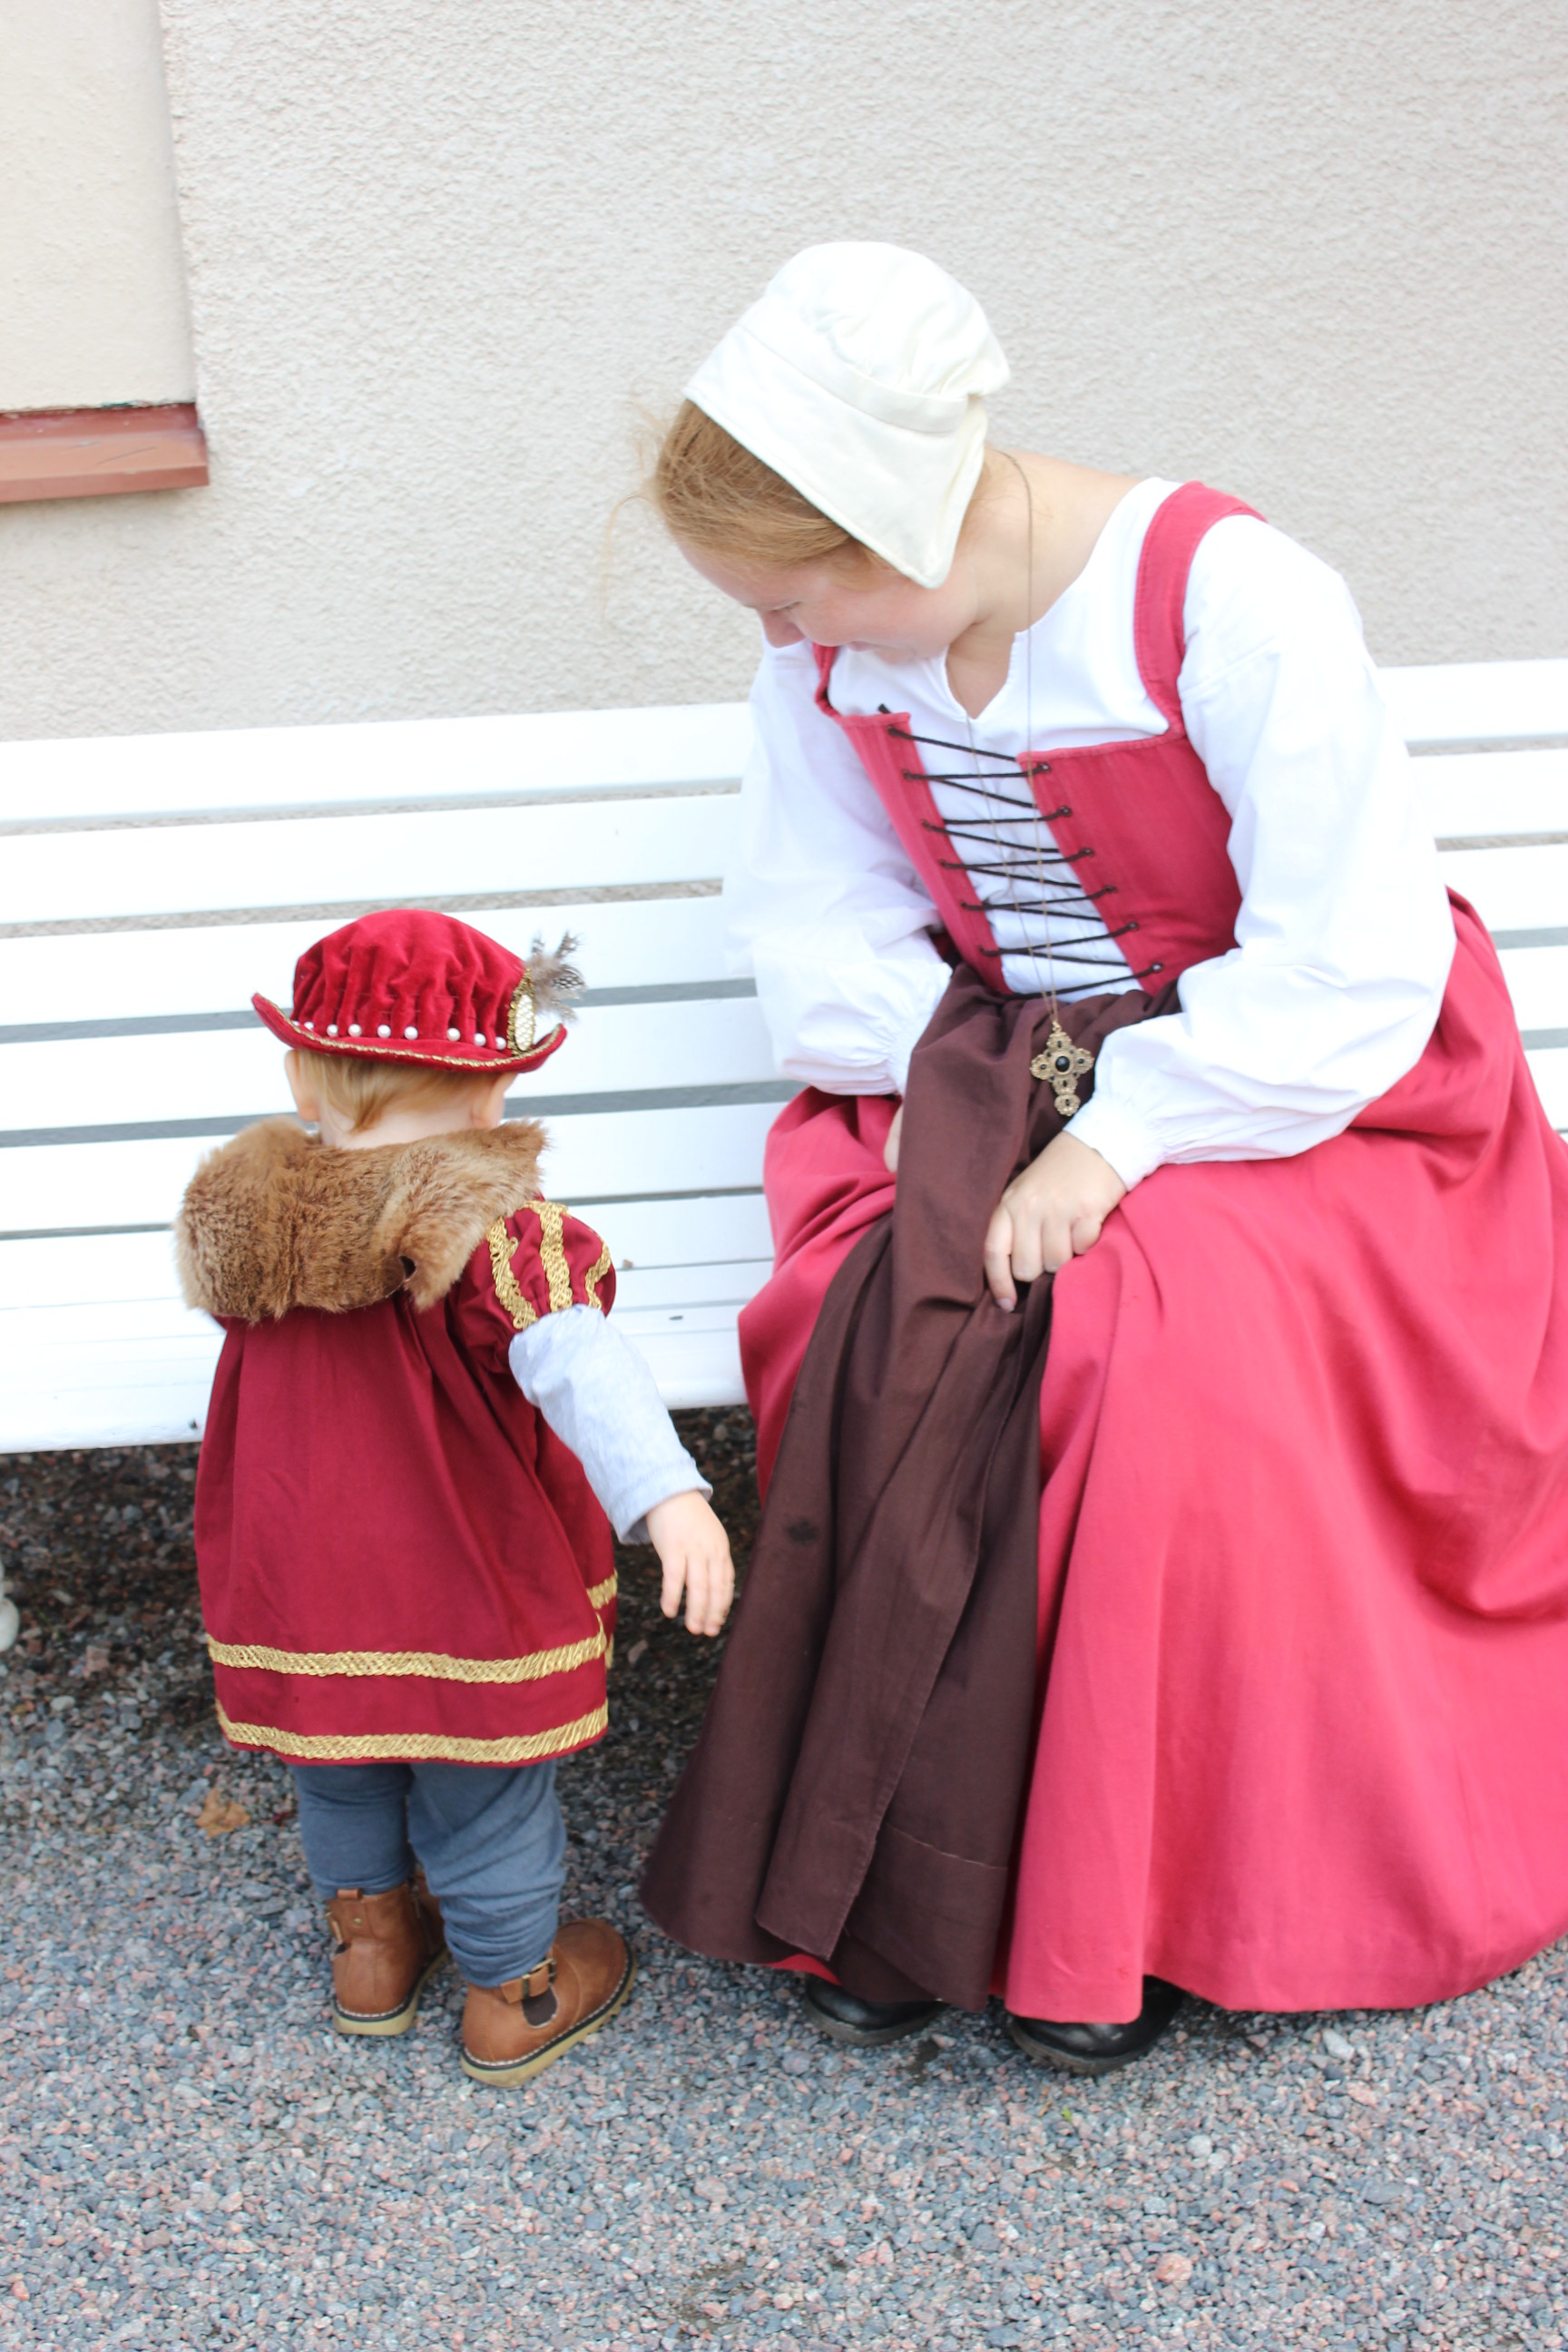
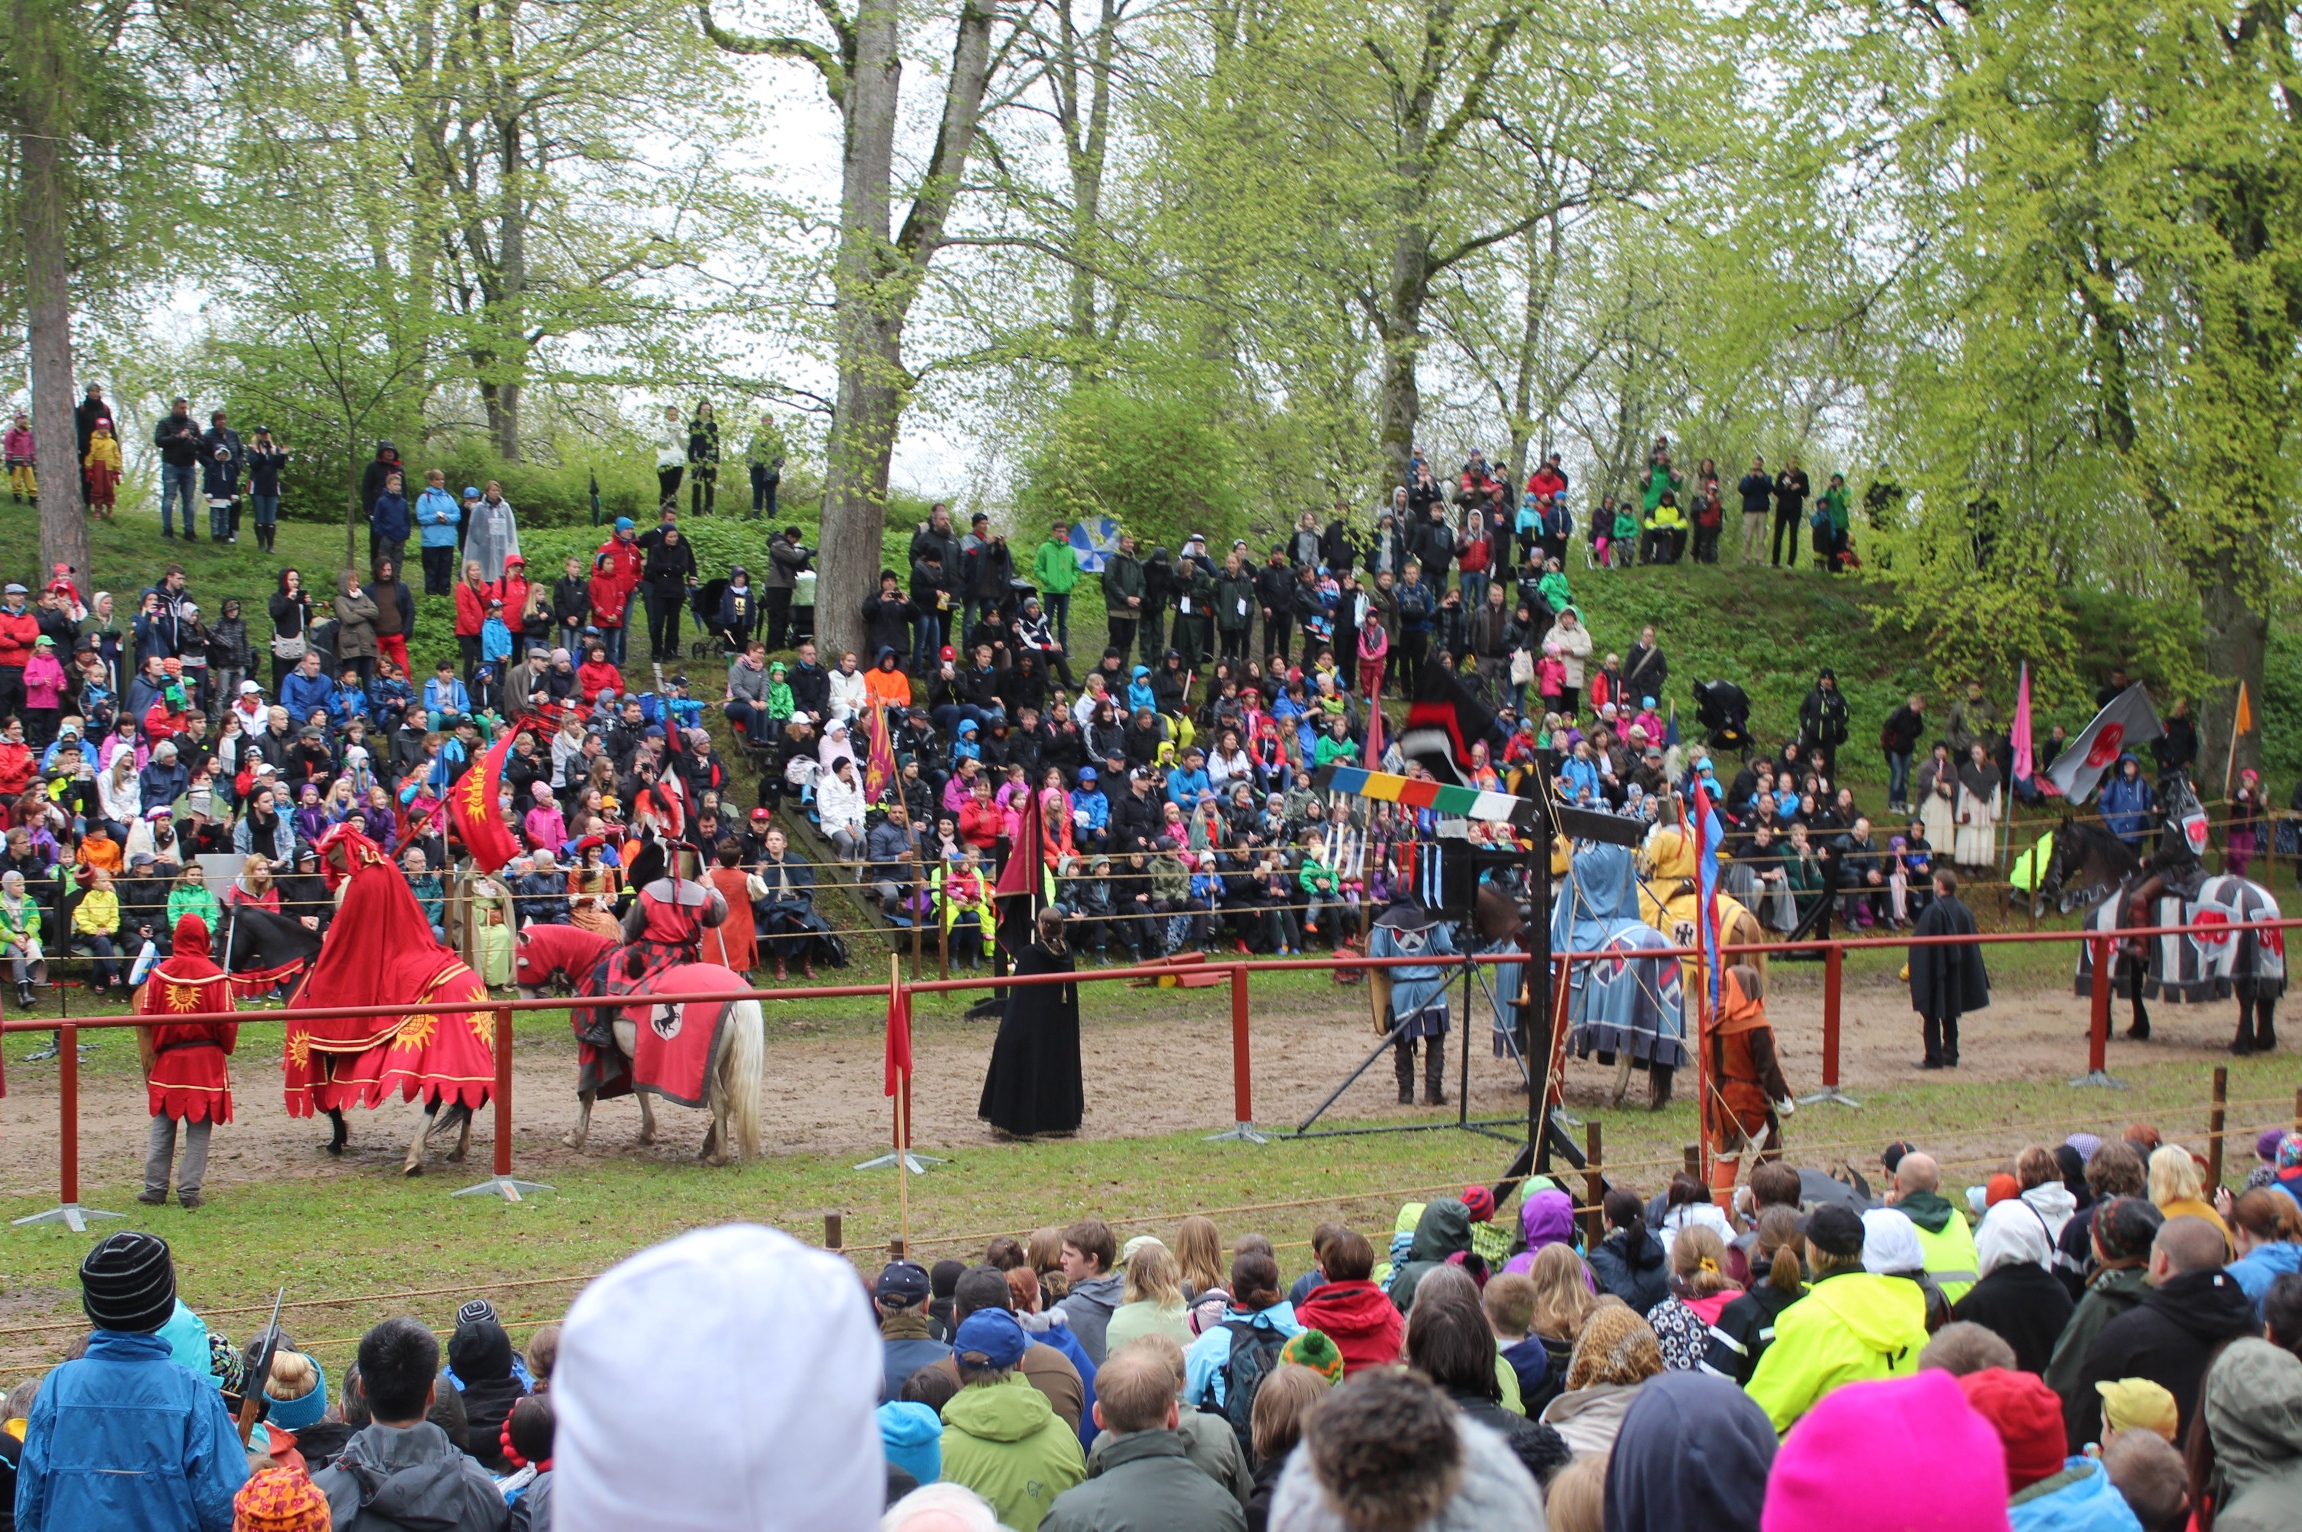
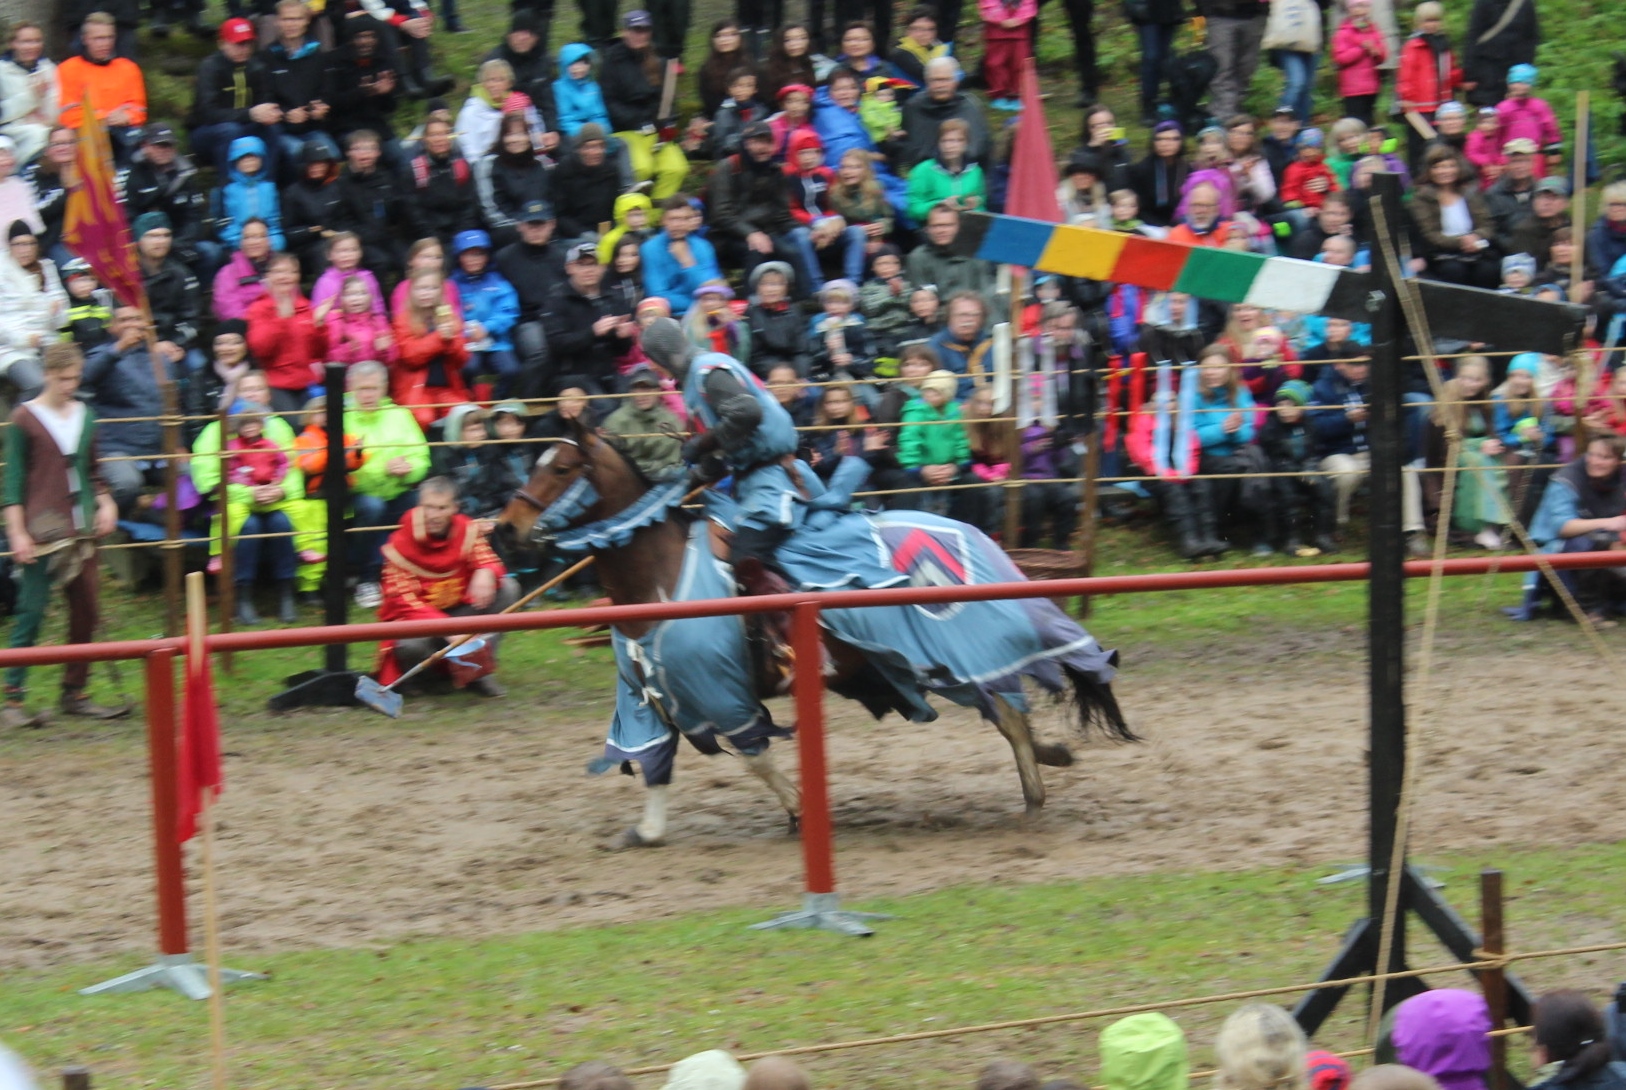
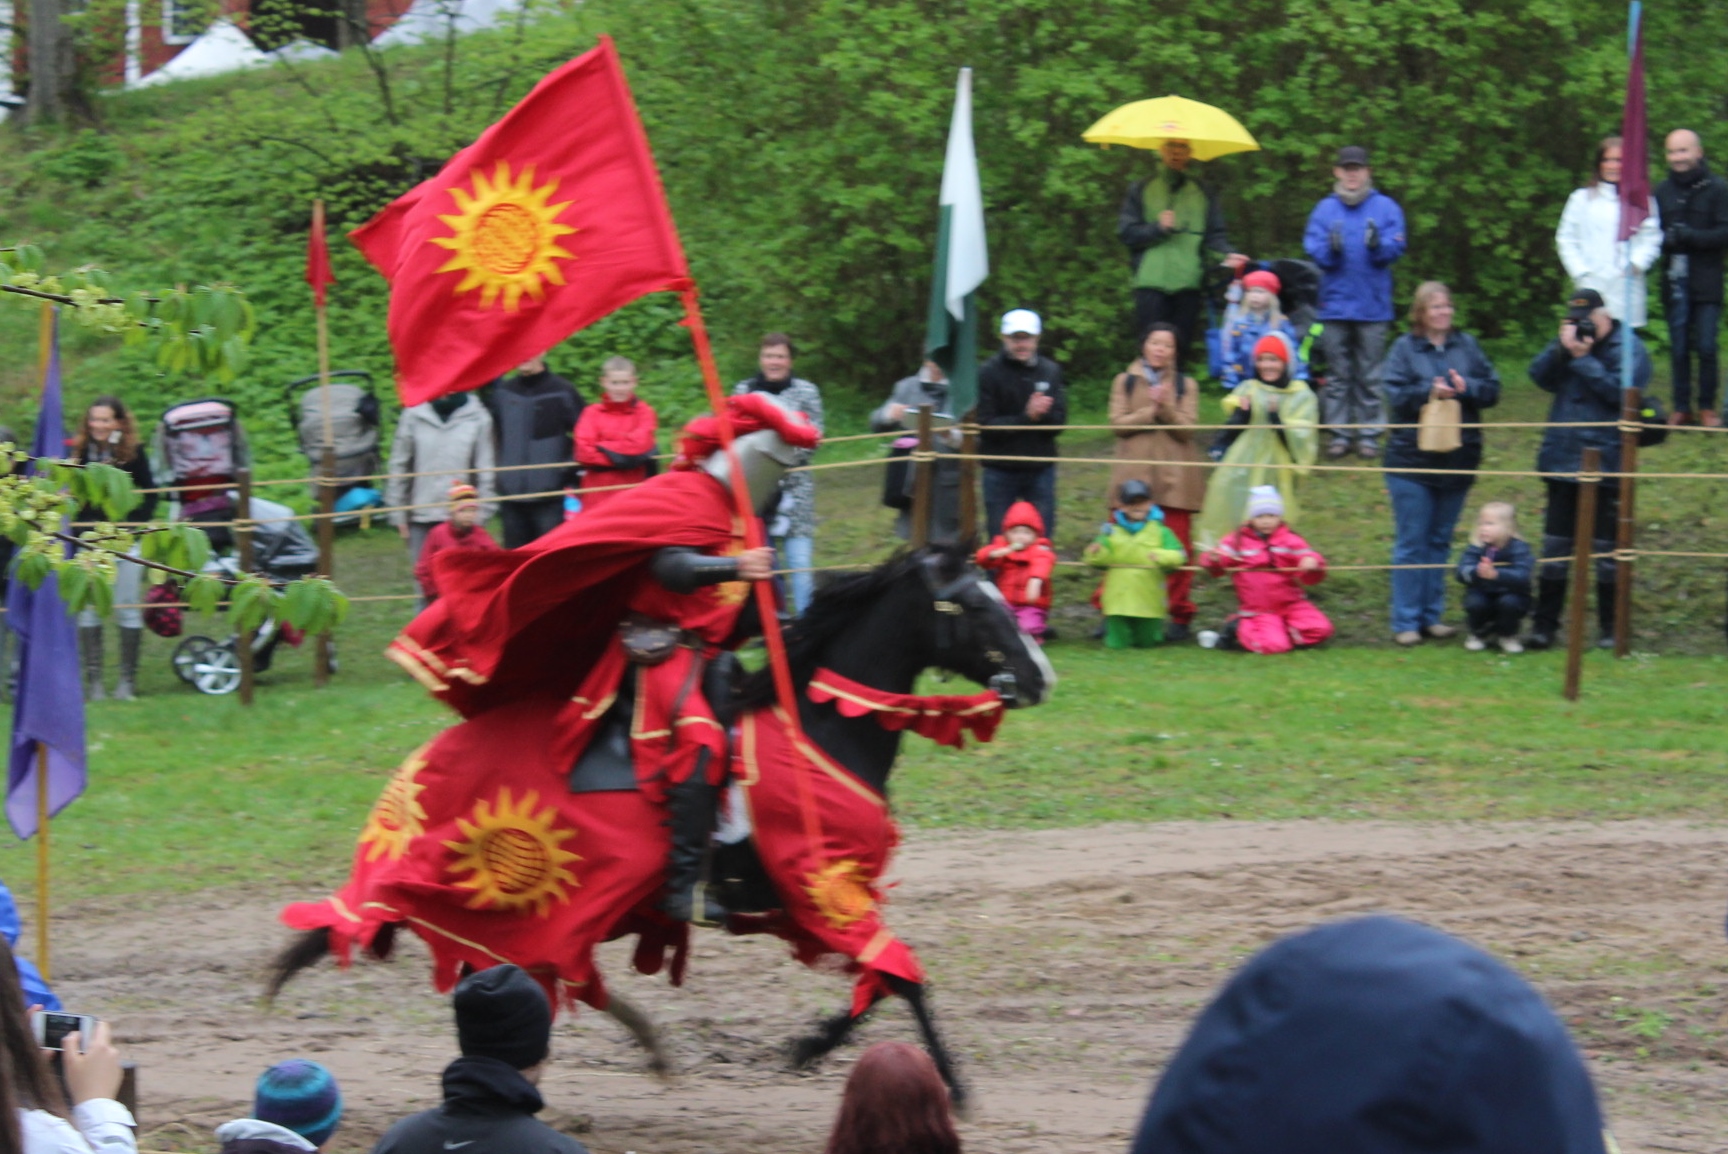
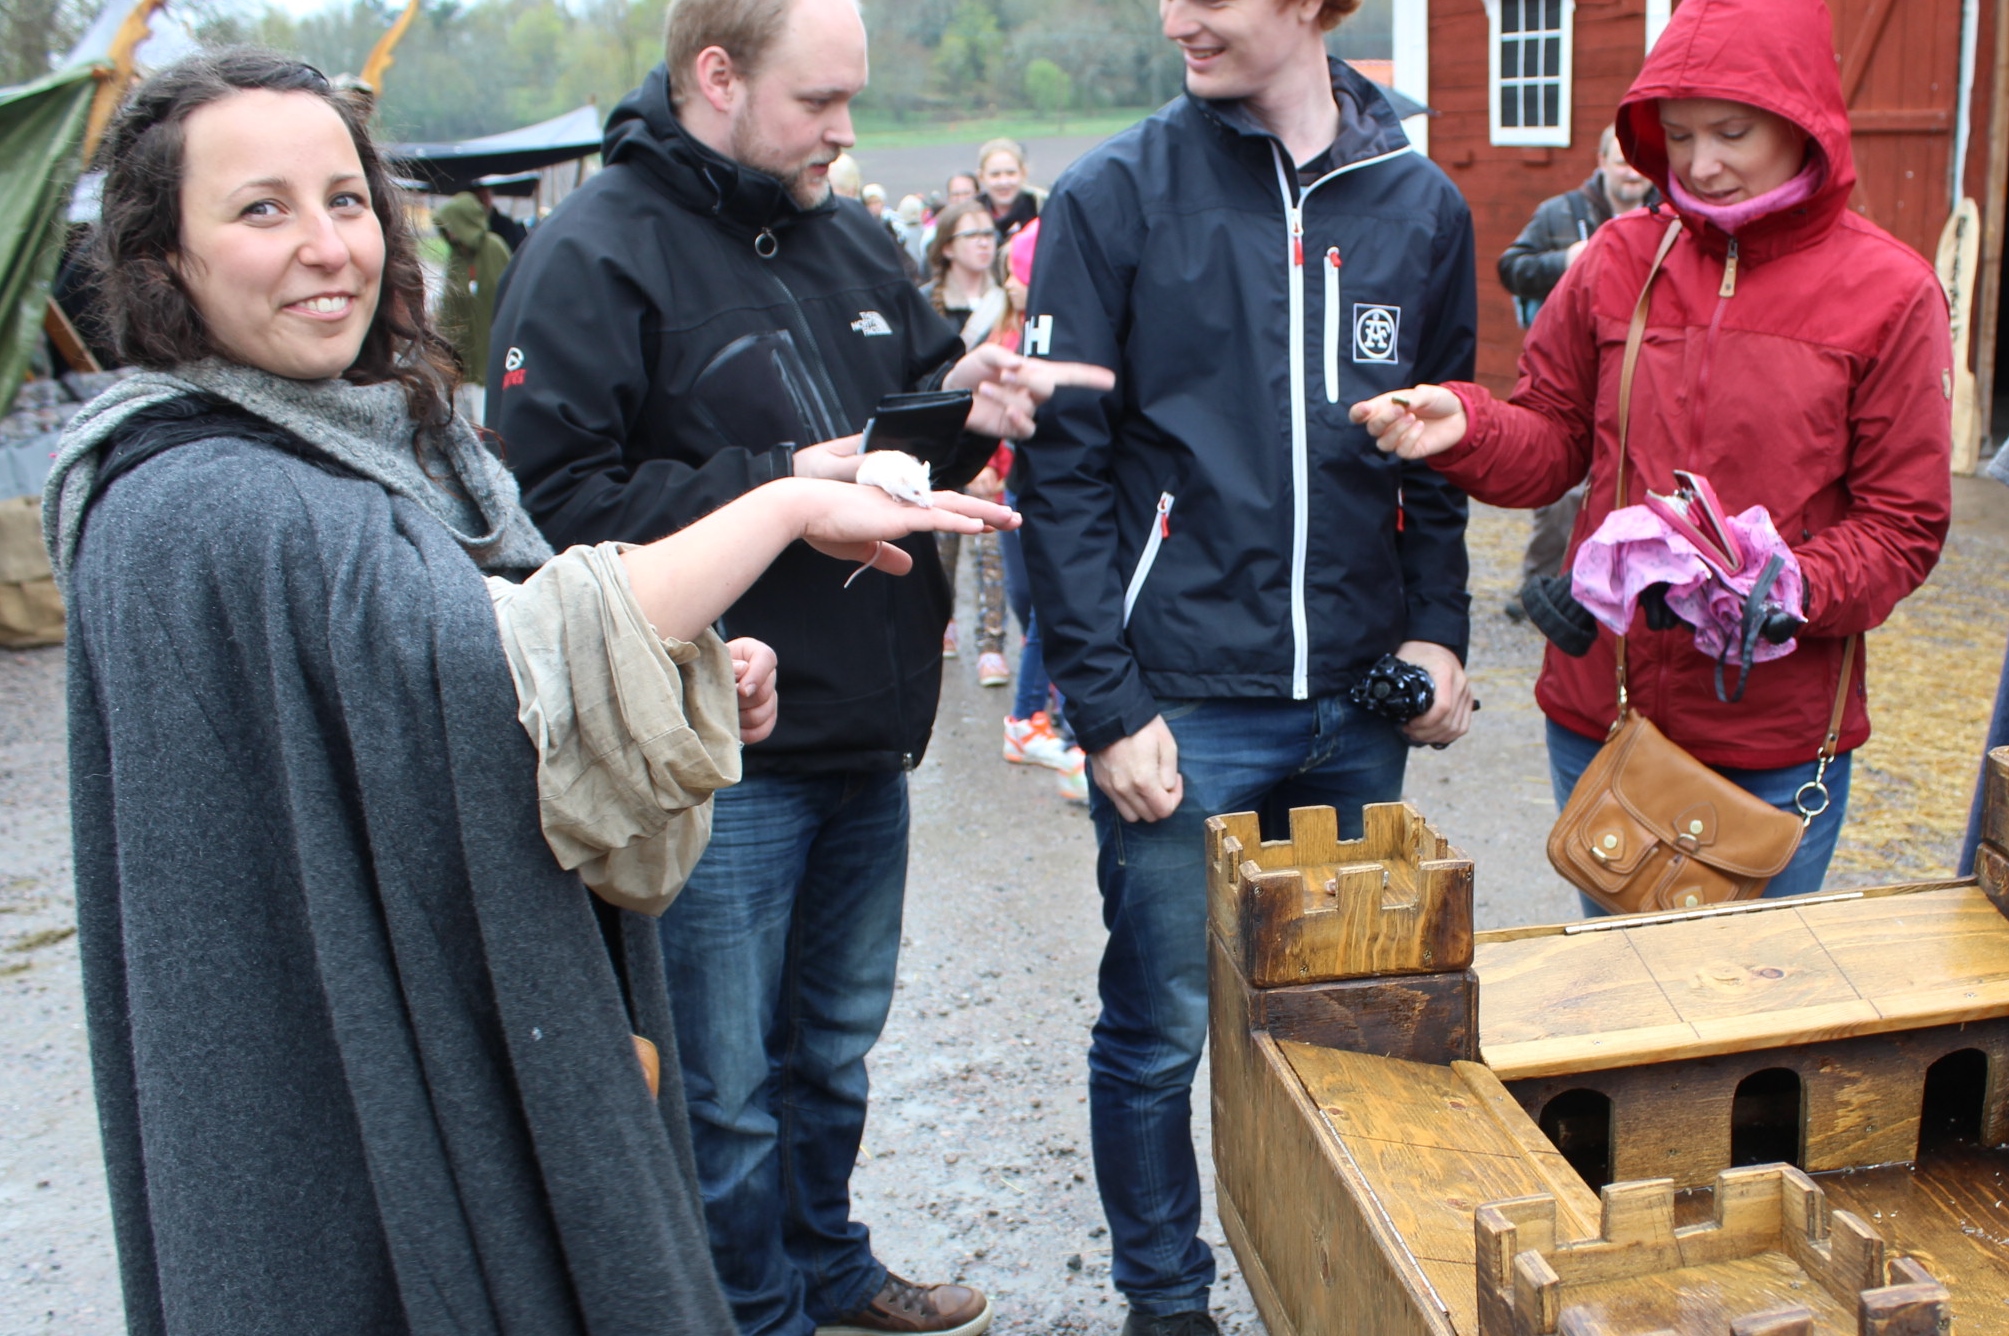
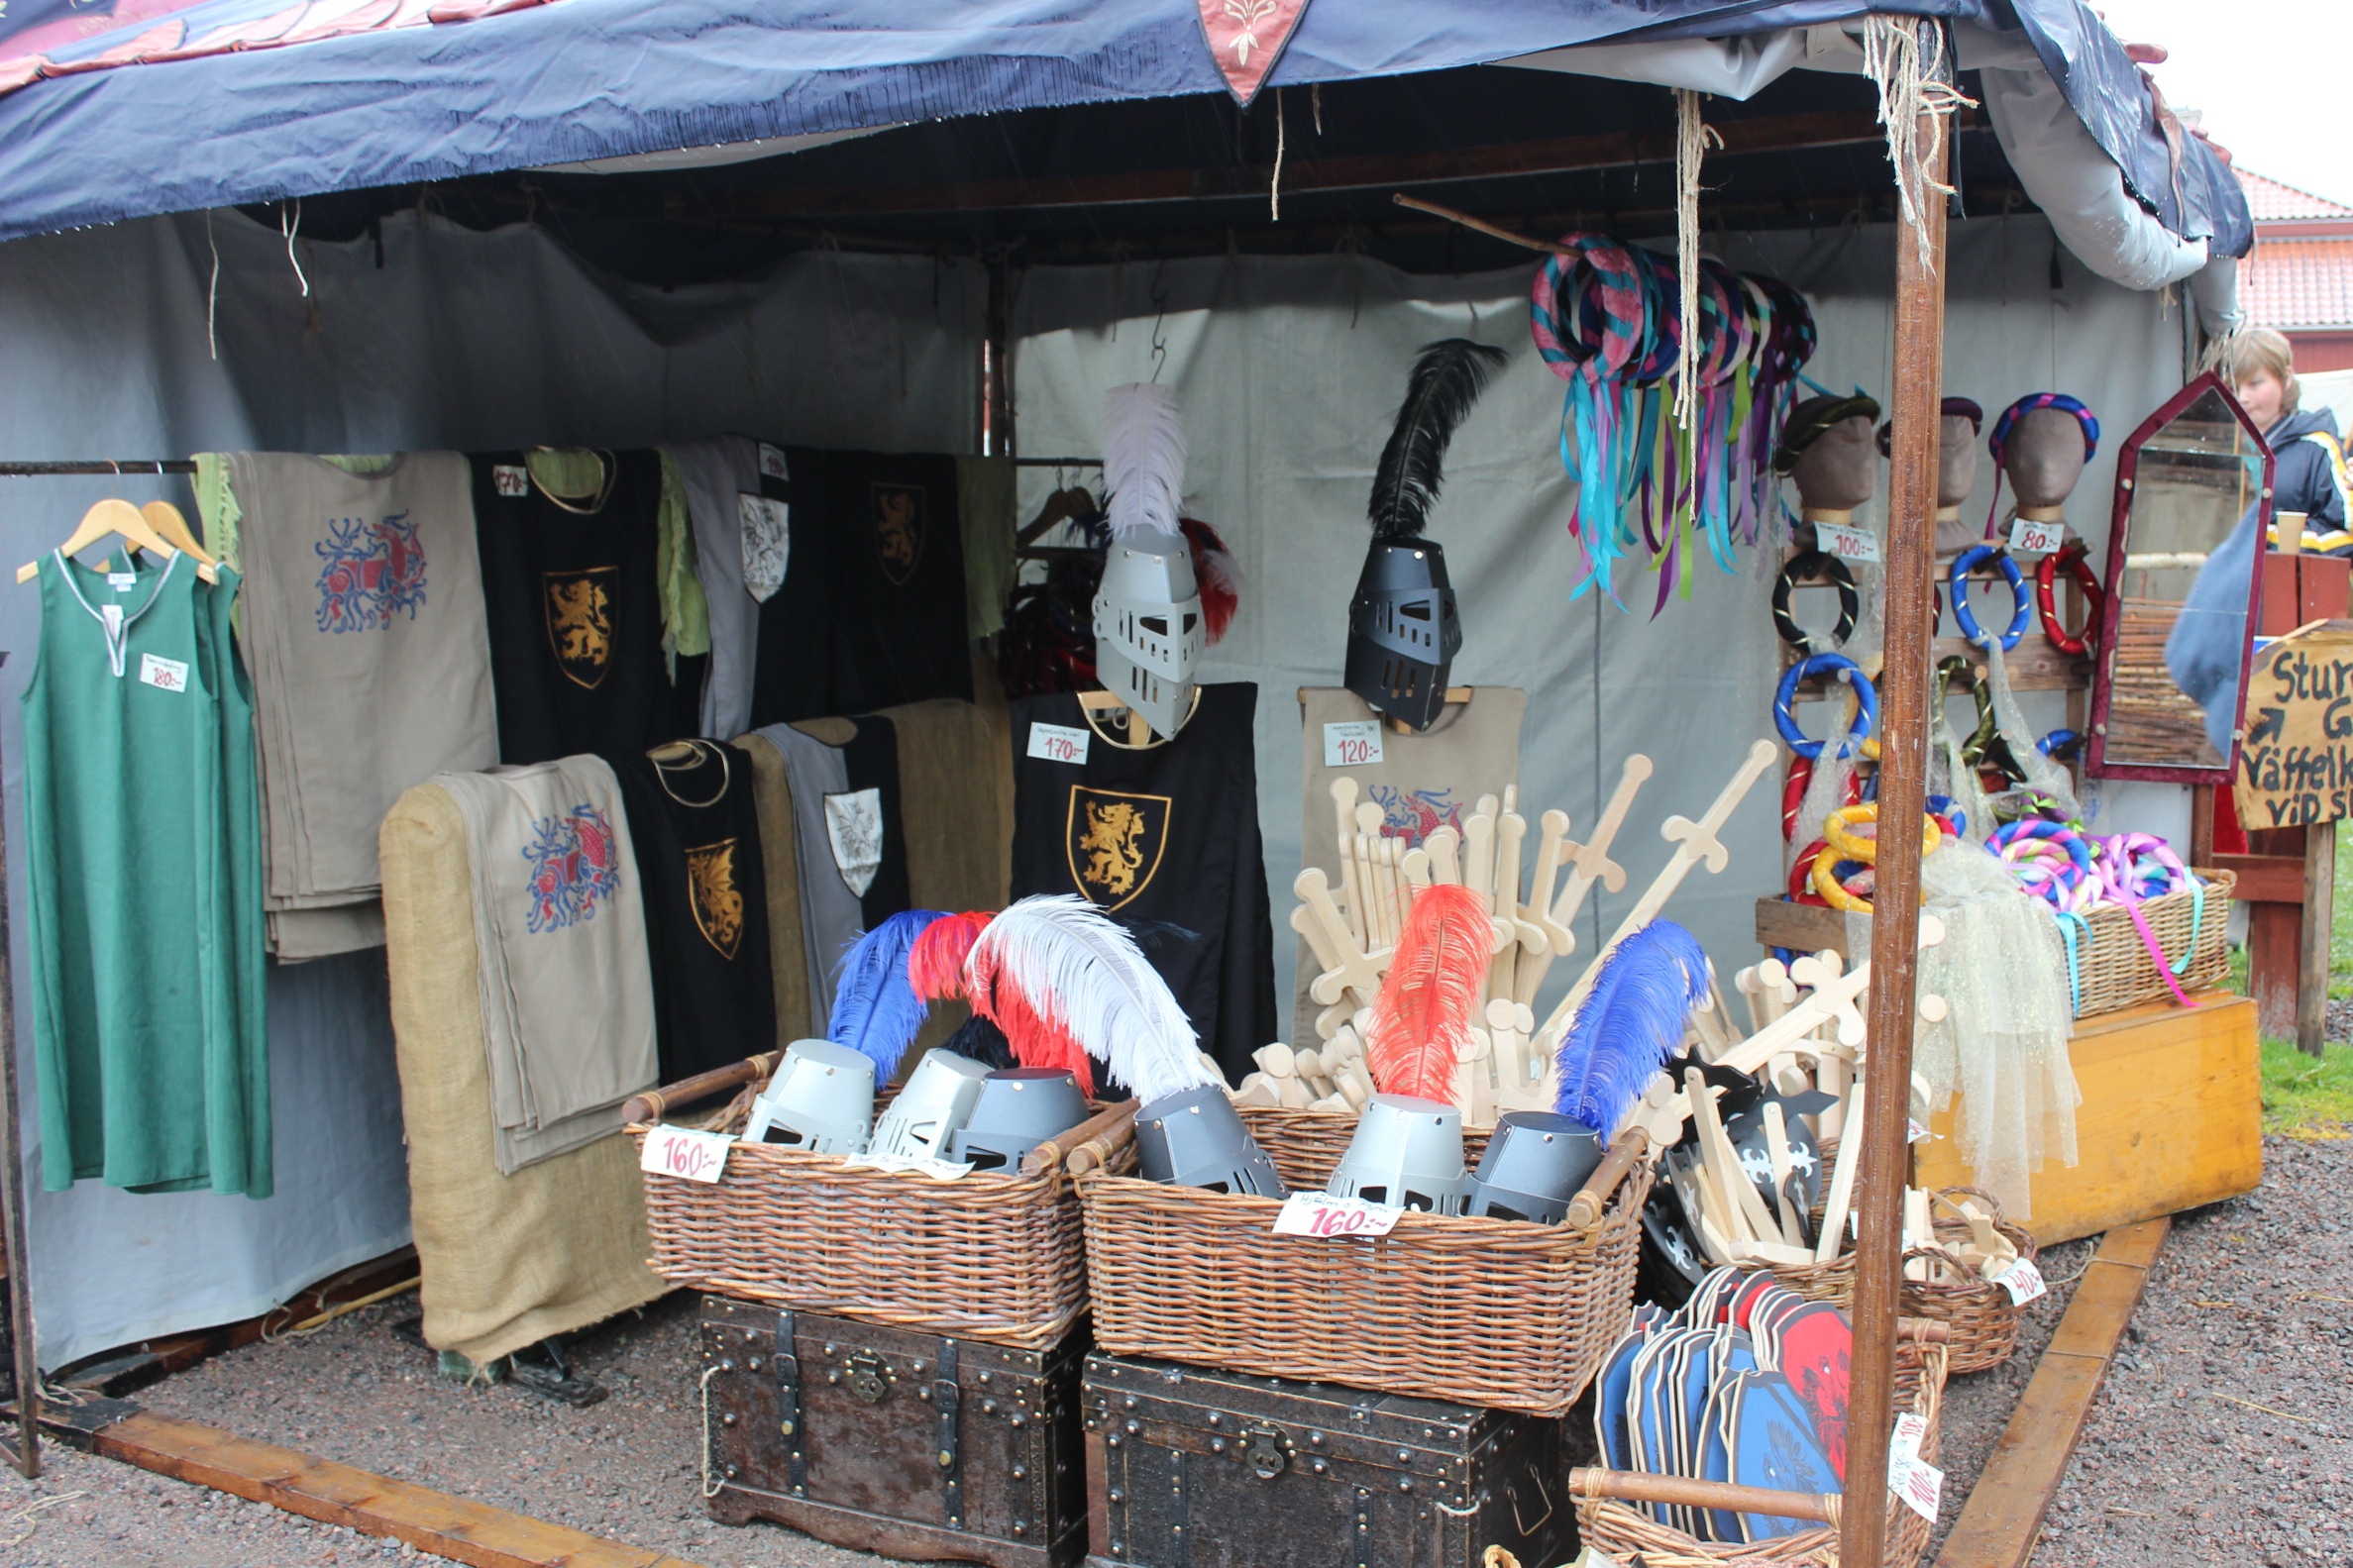
 Met a knight of the crusades
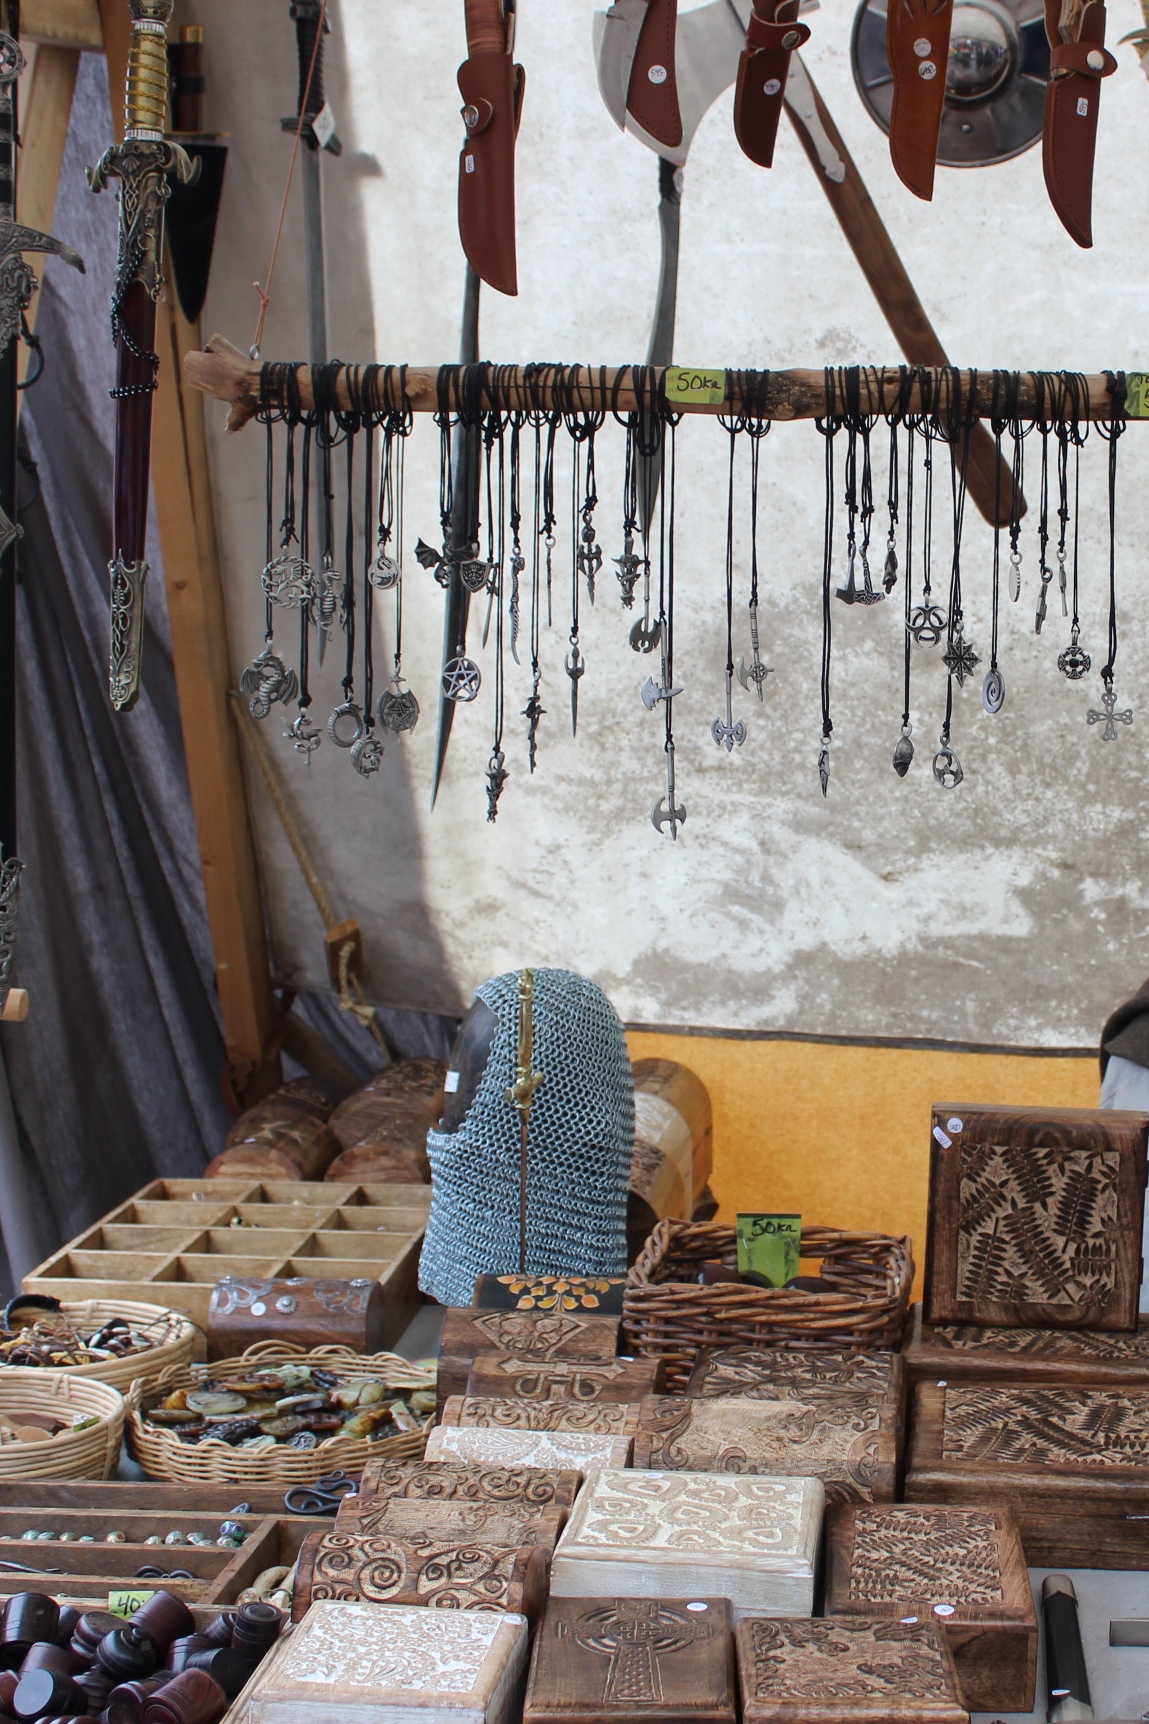
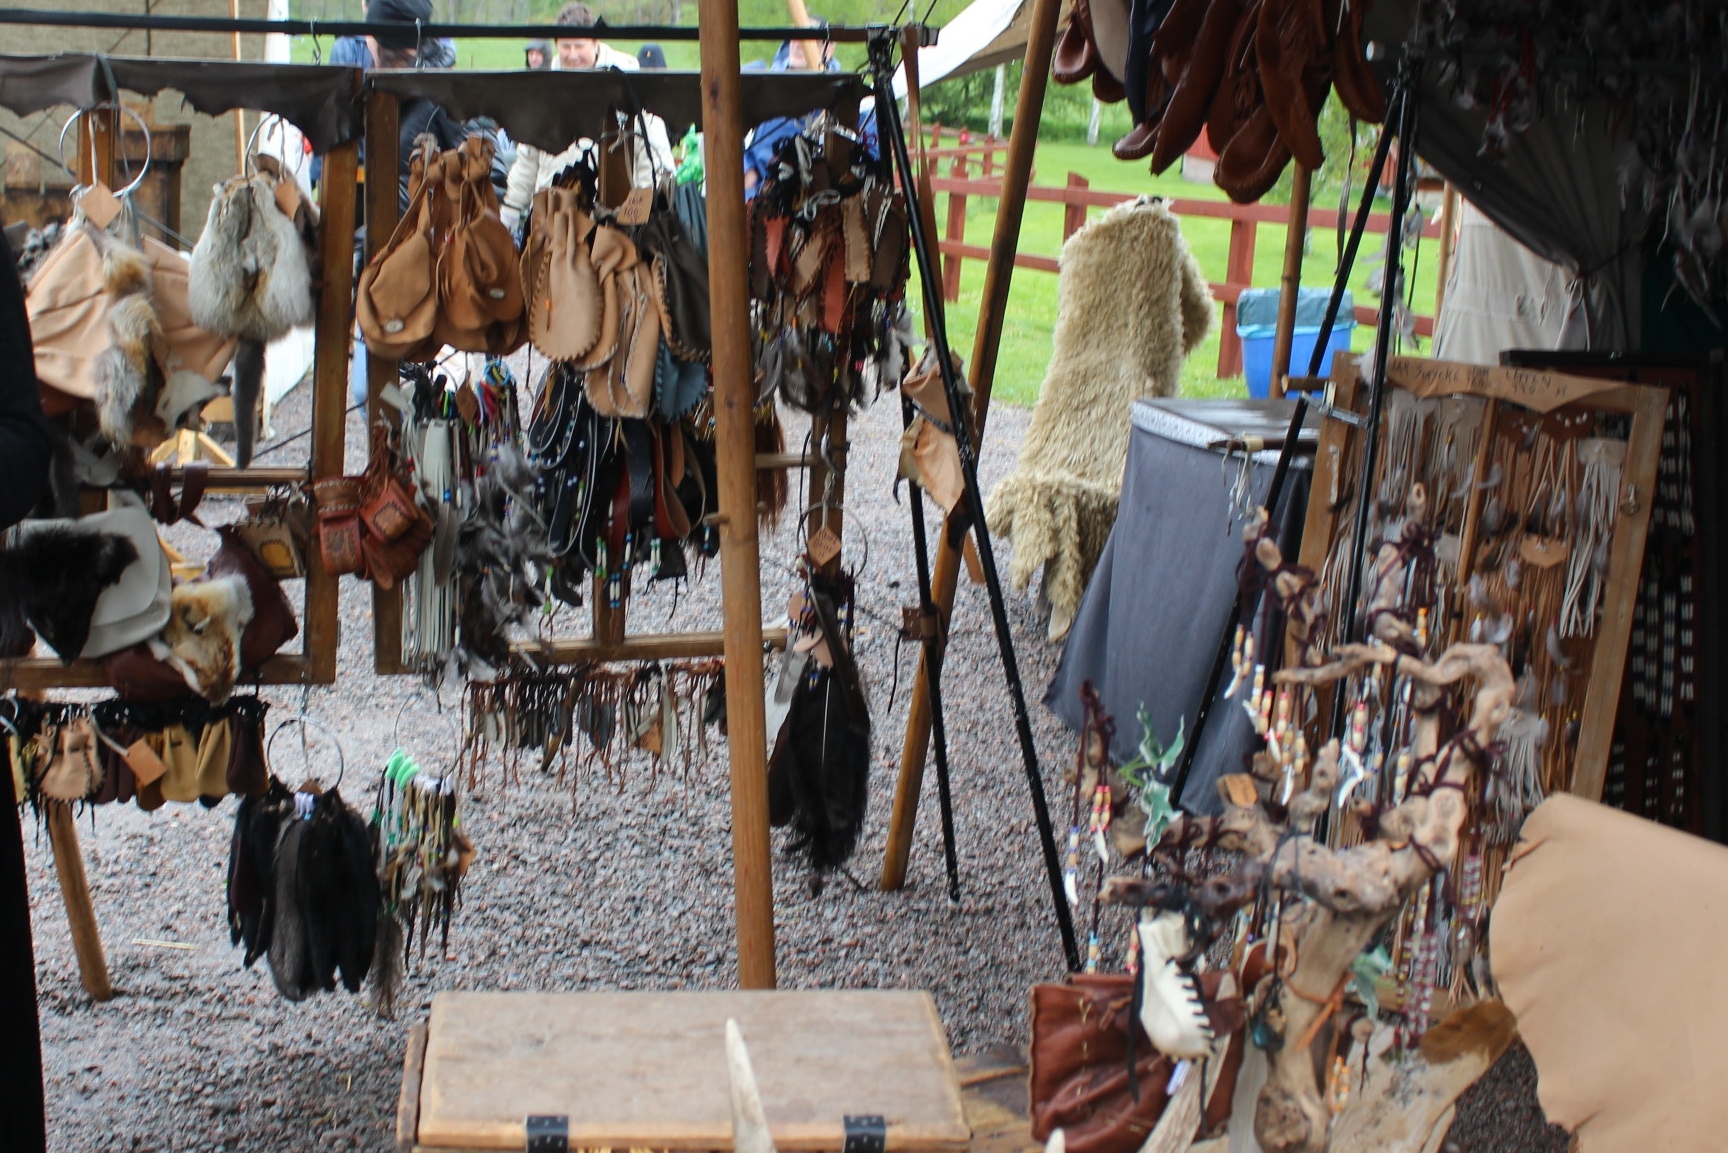
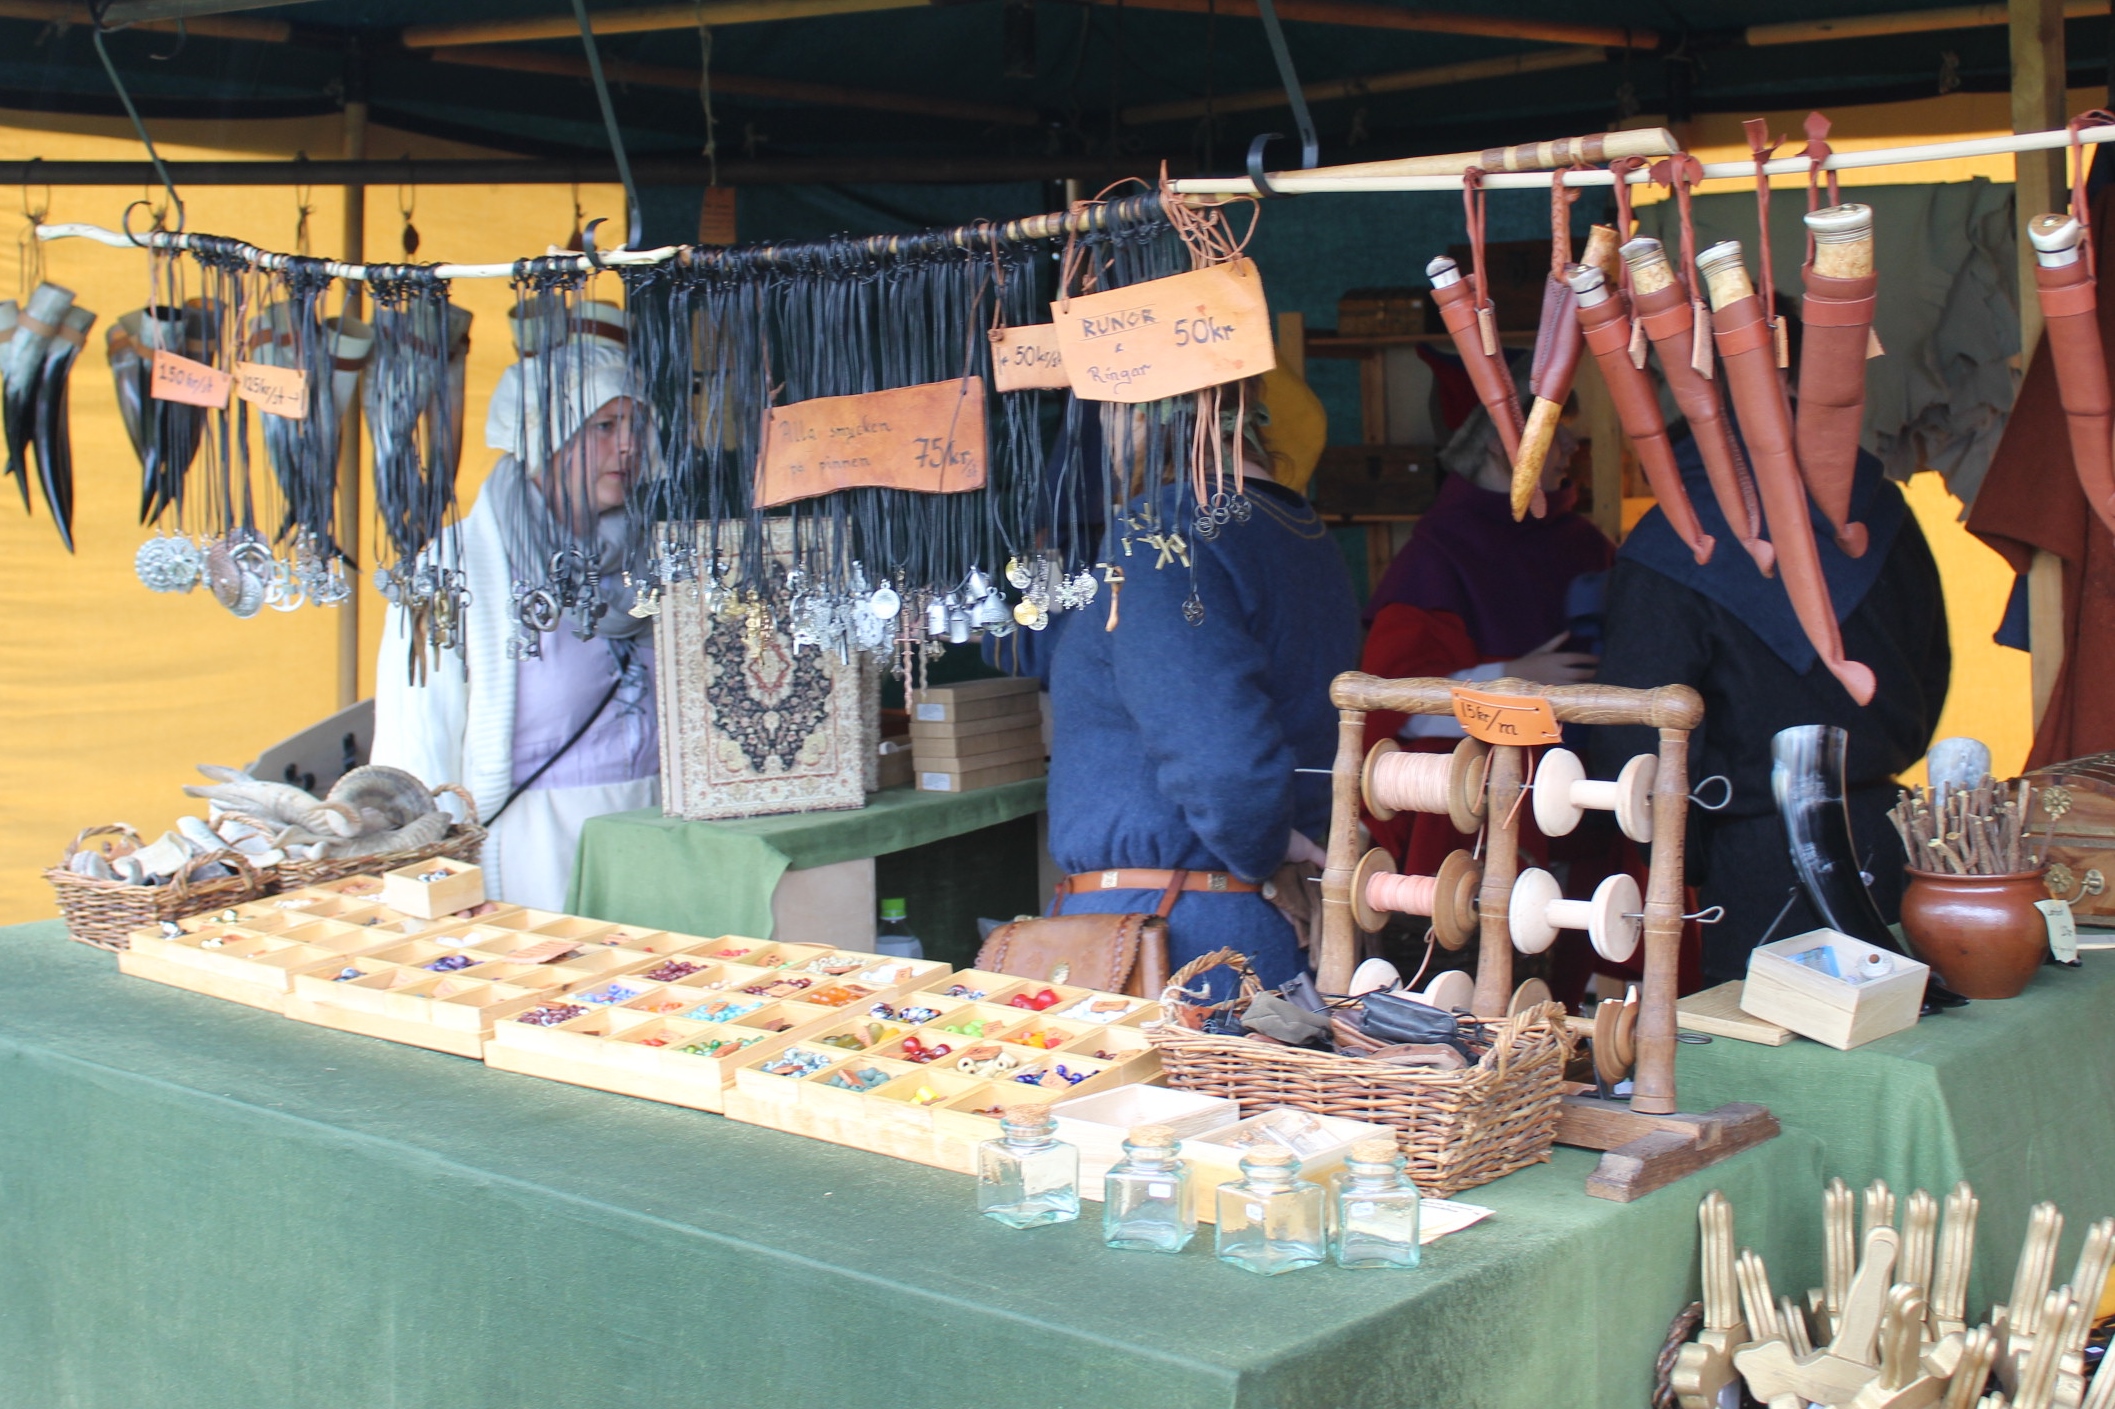
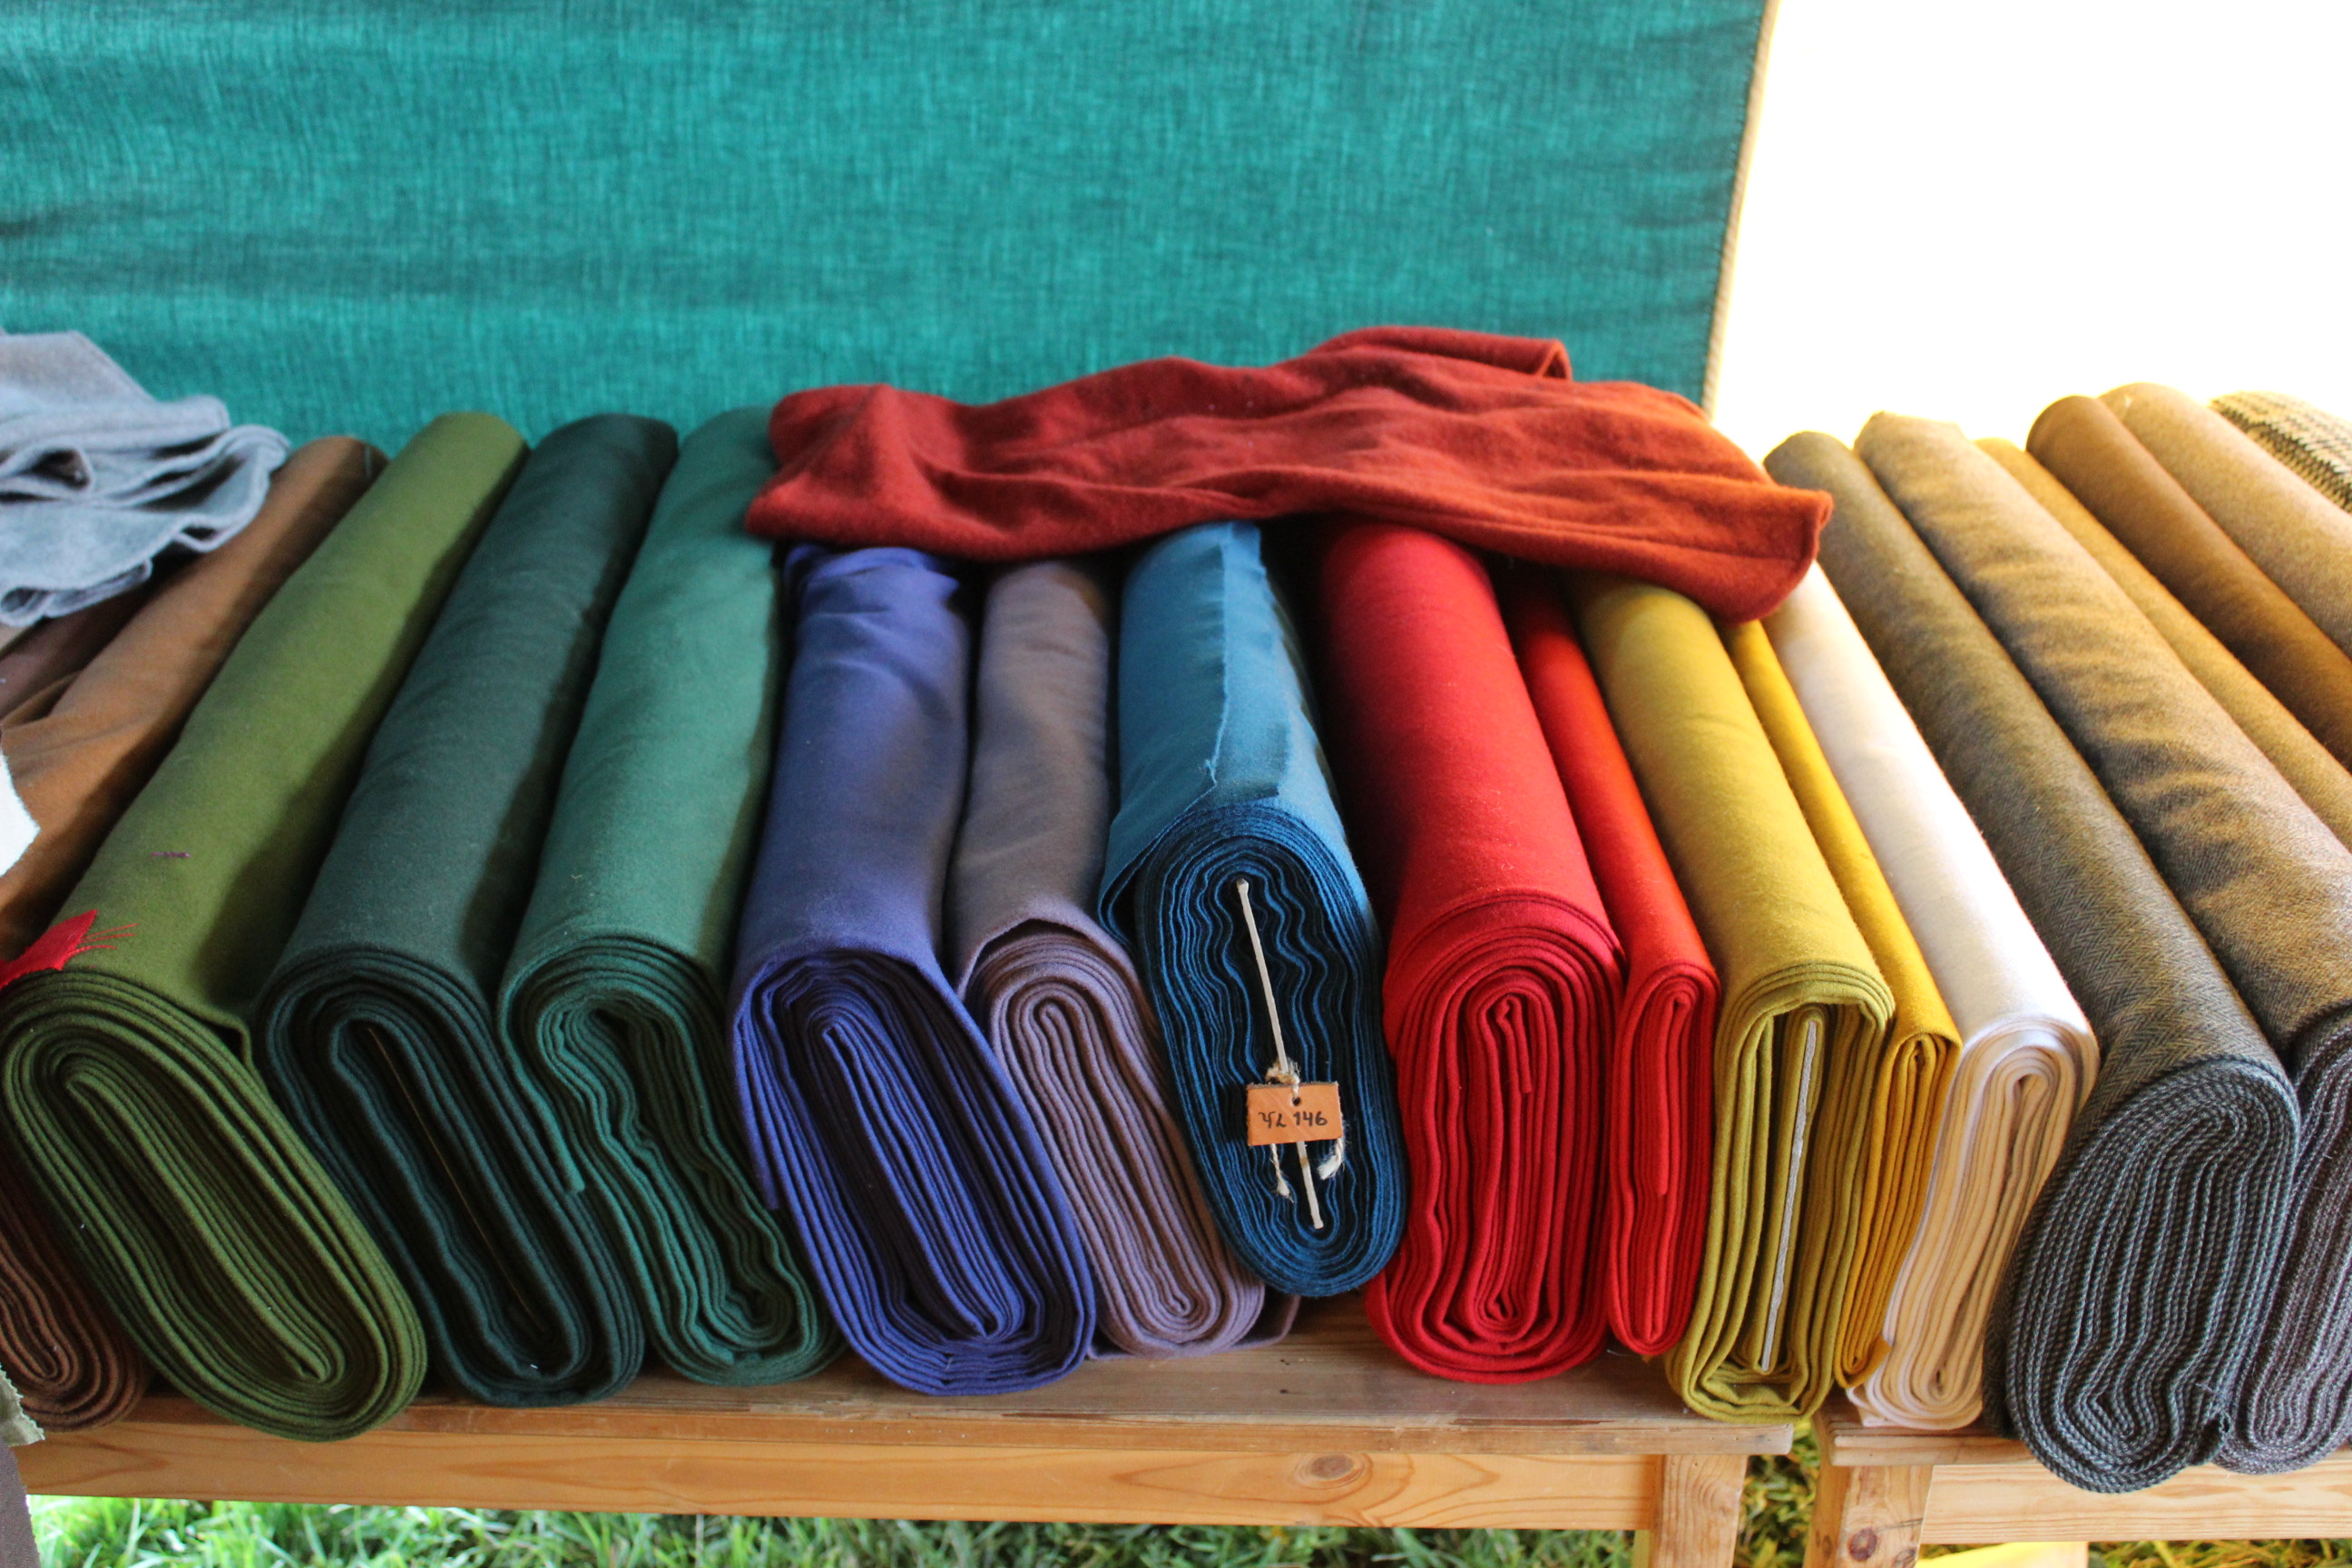
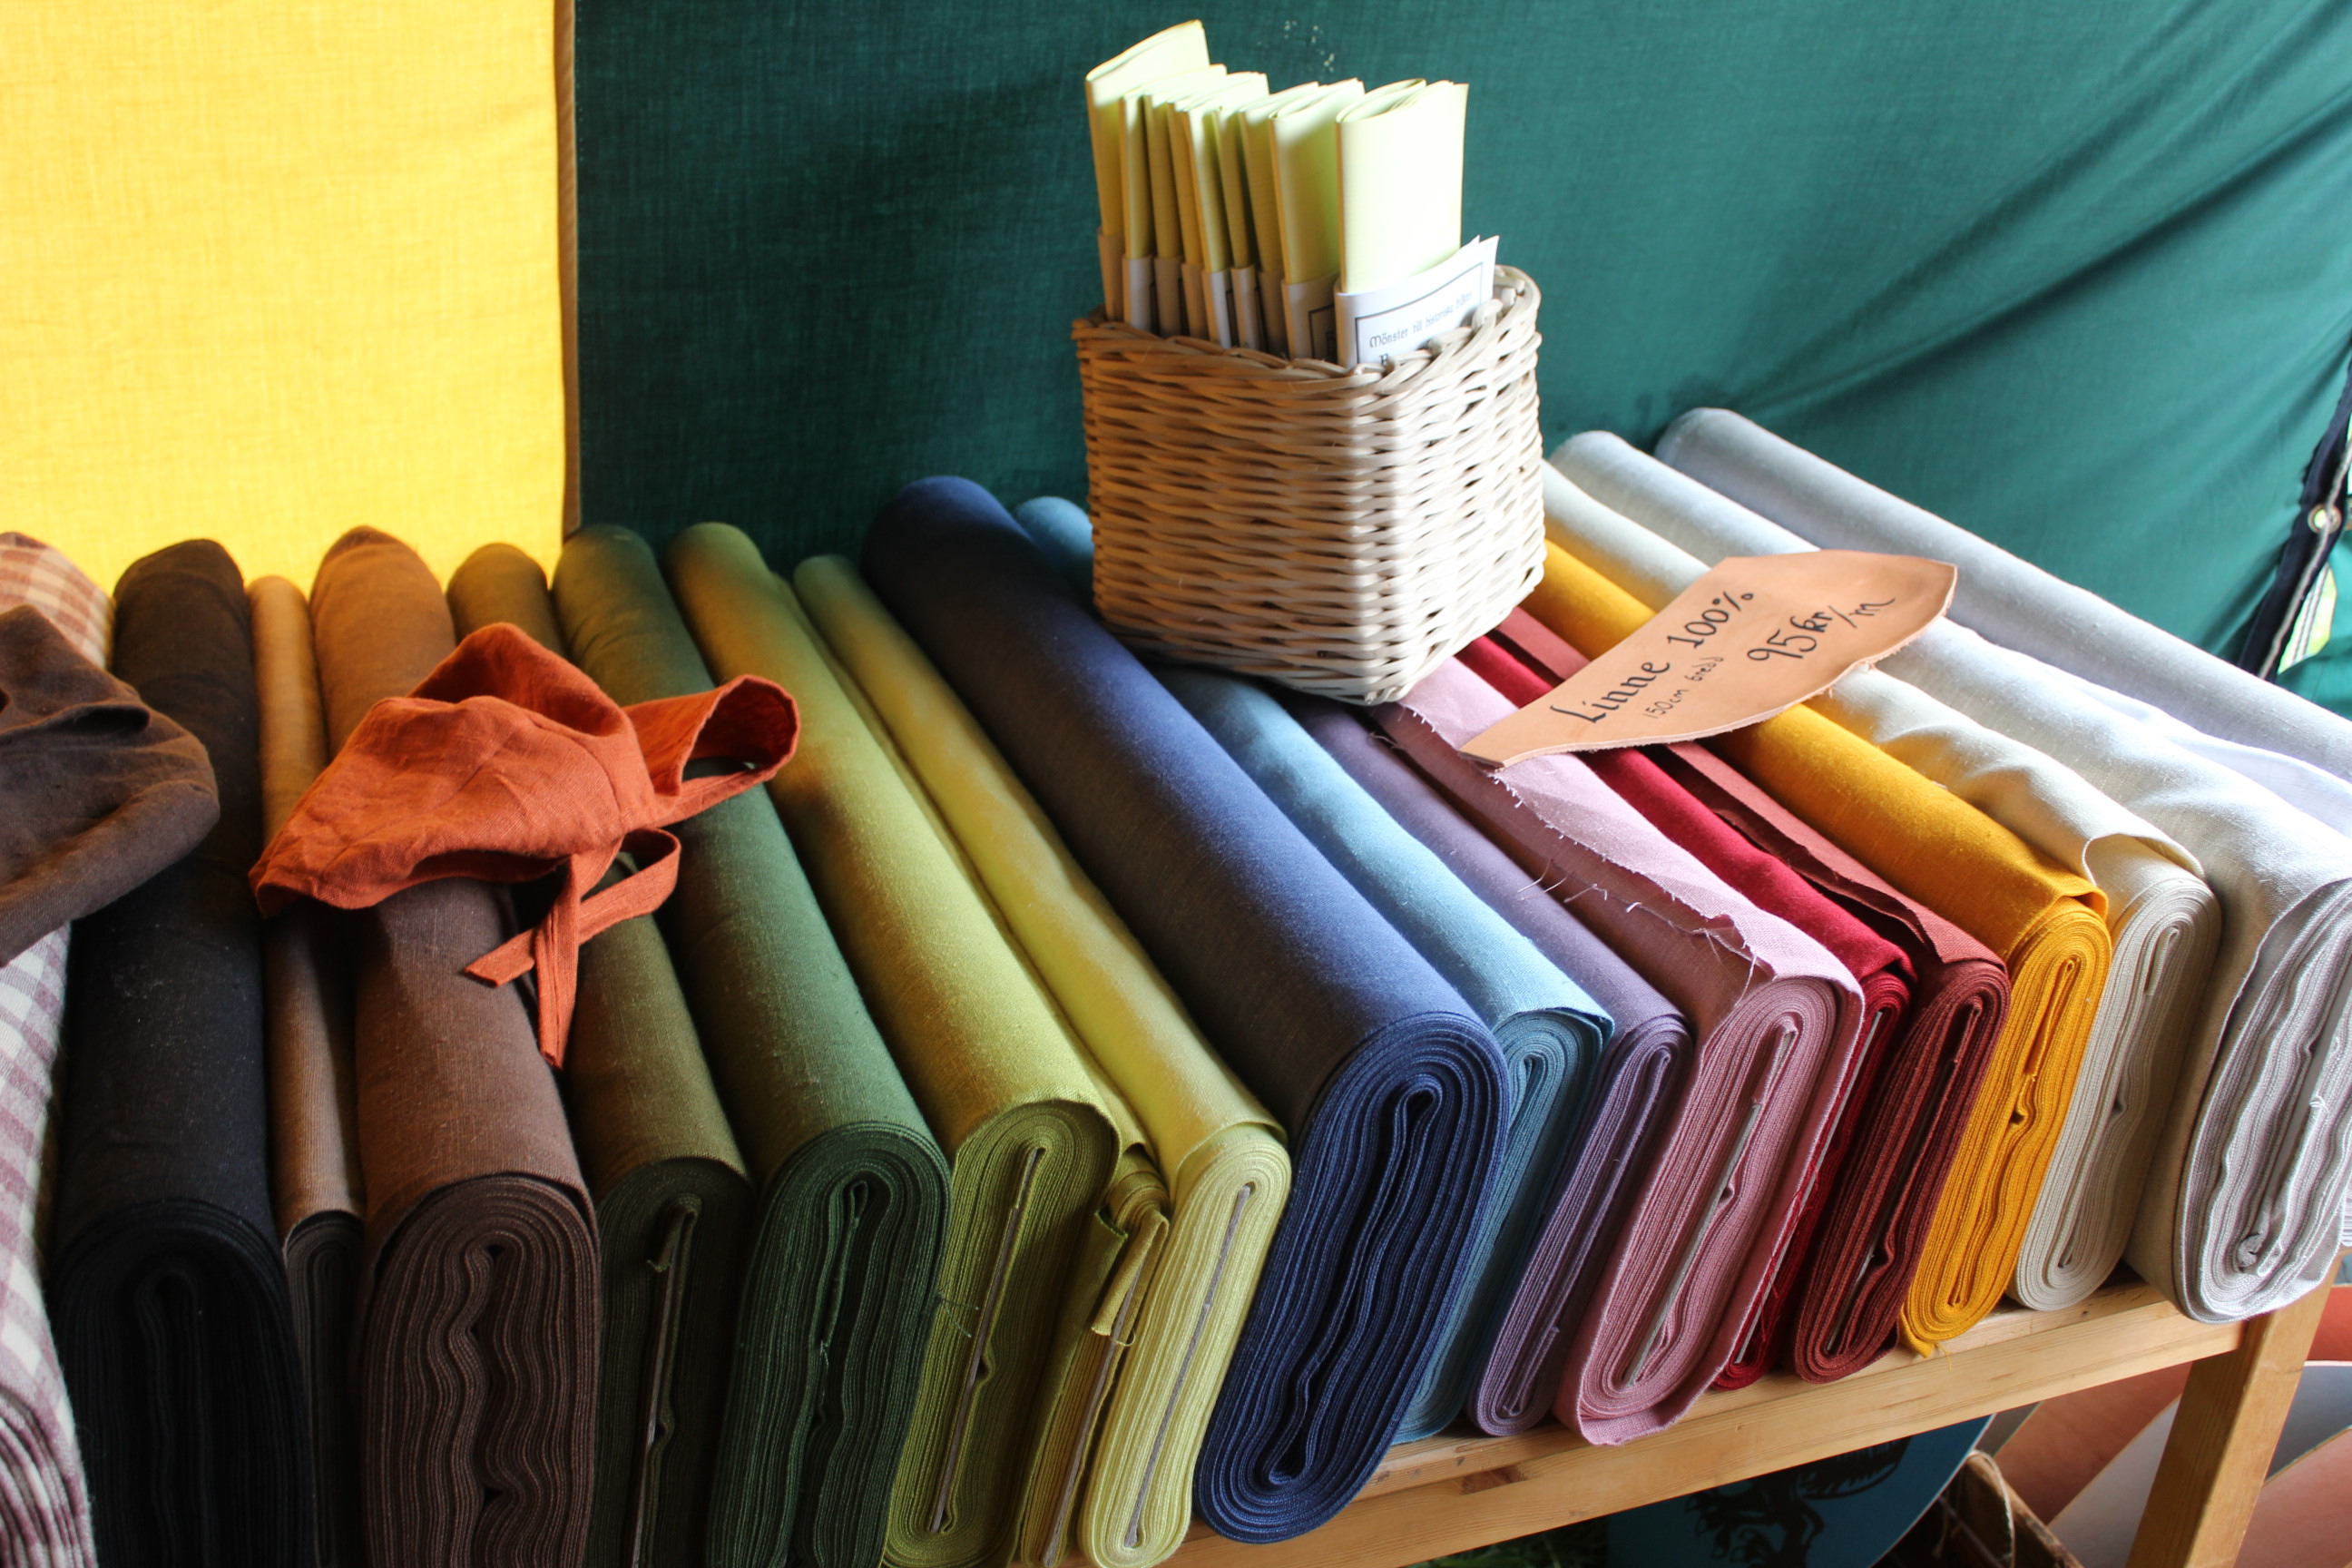
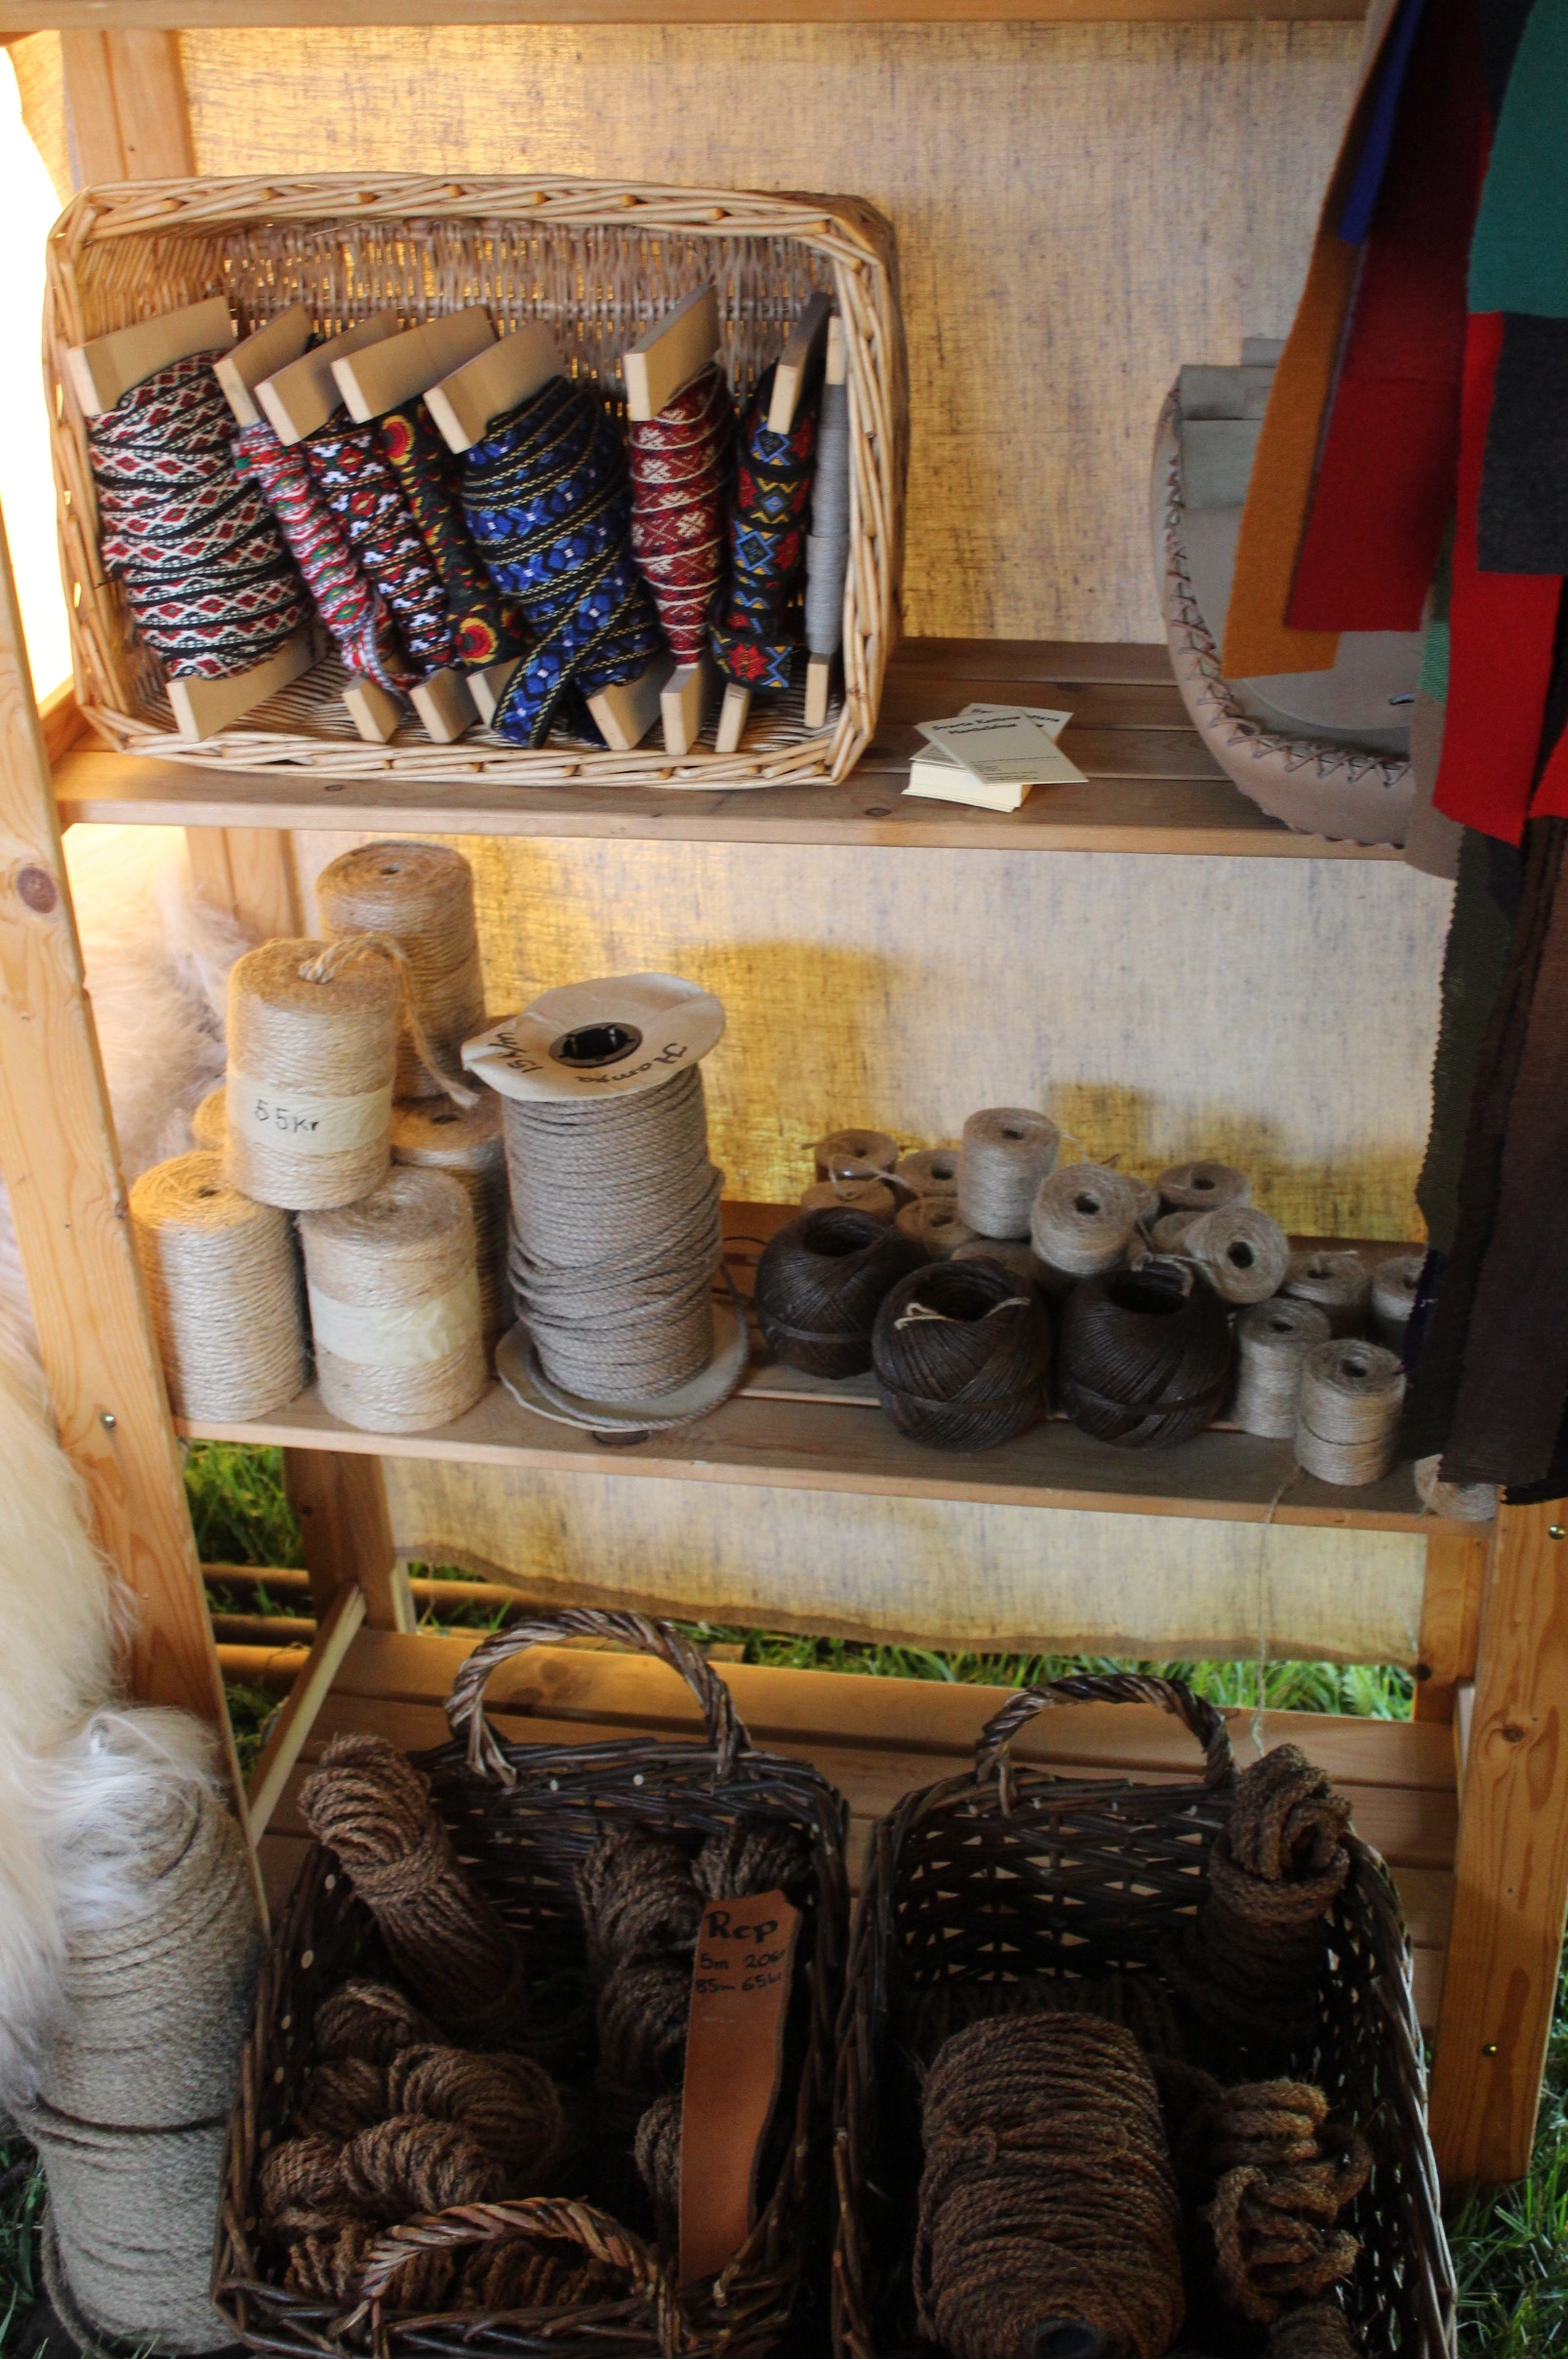
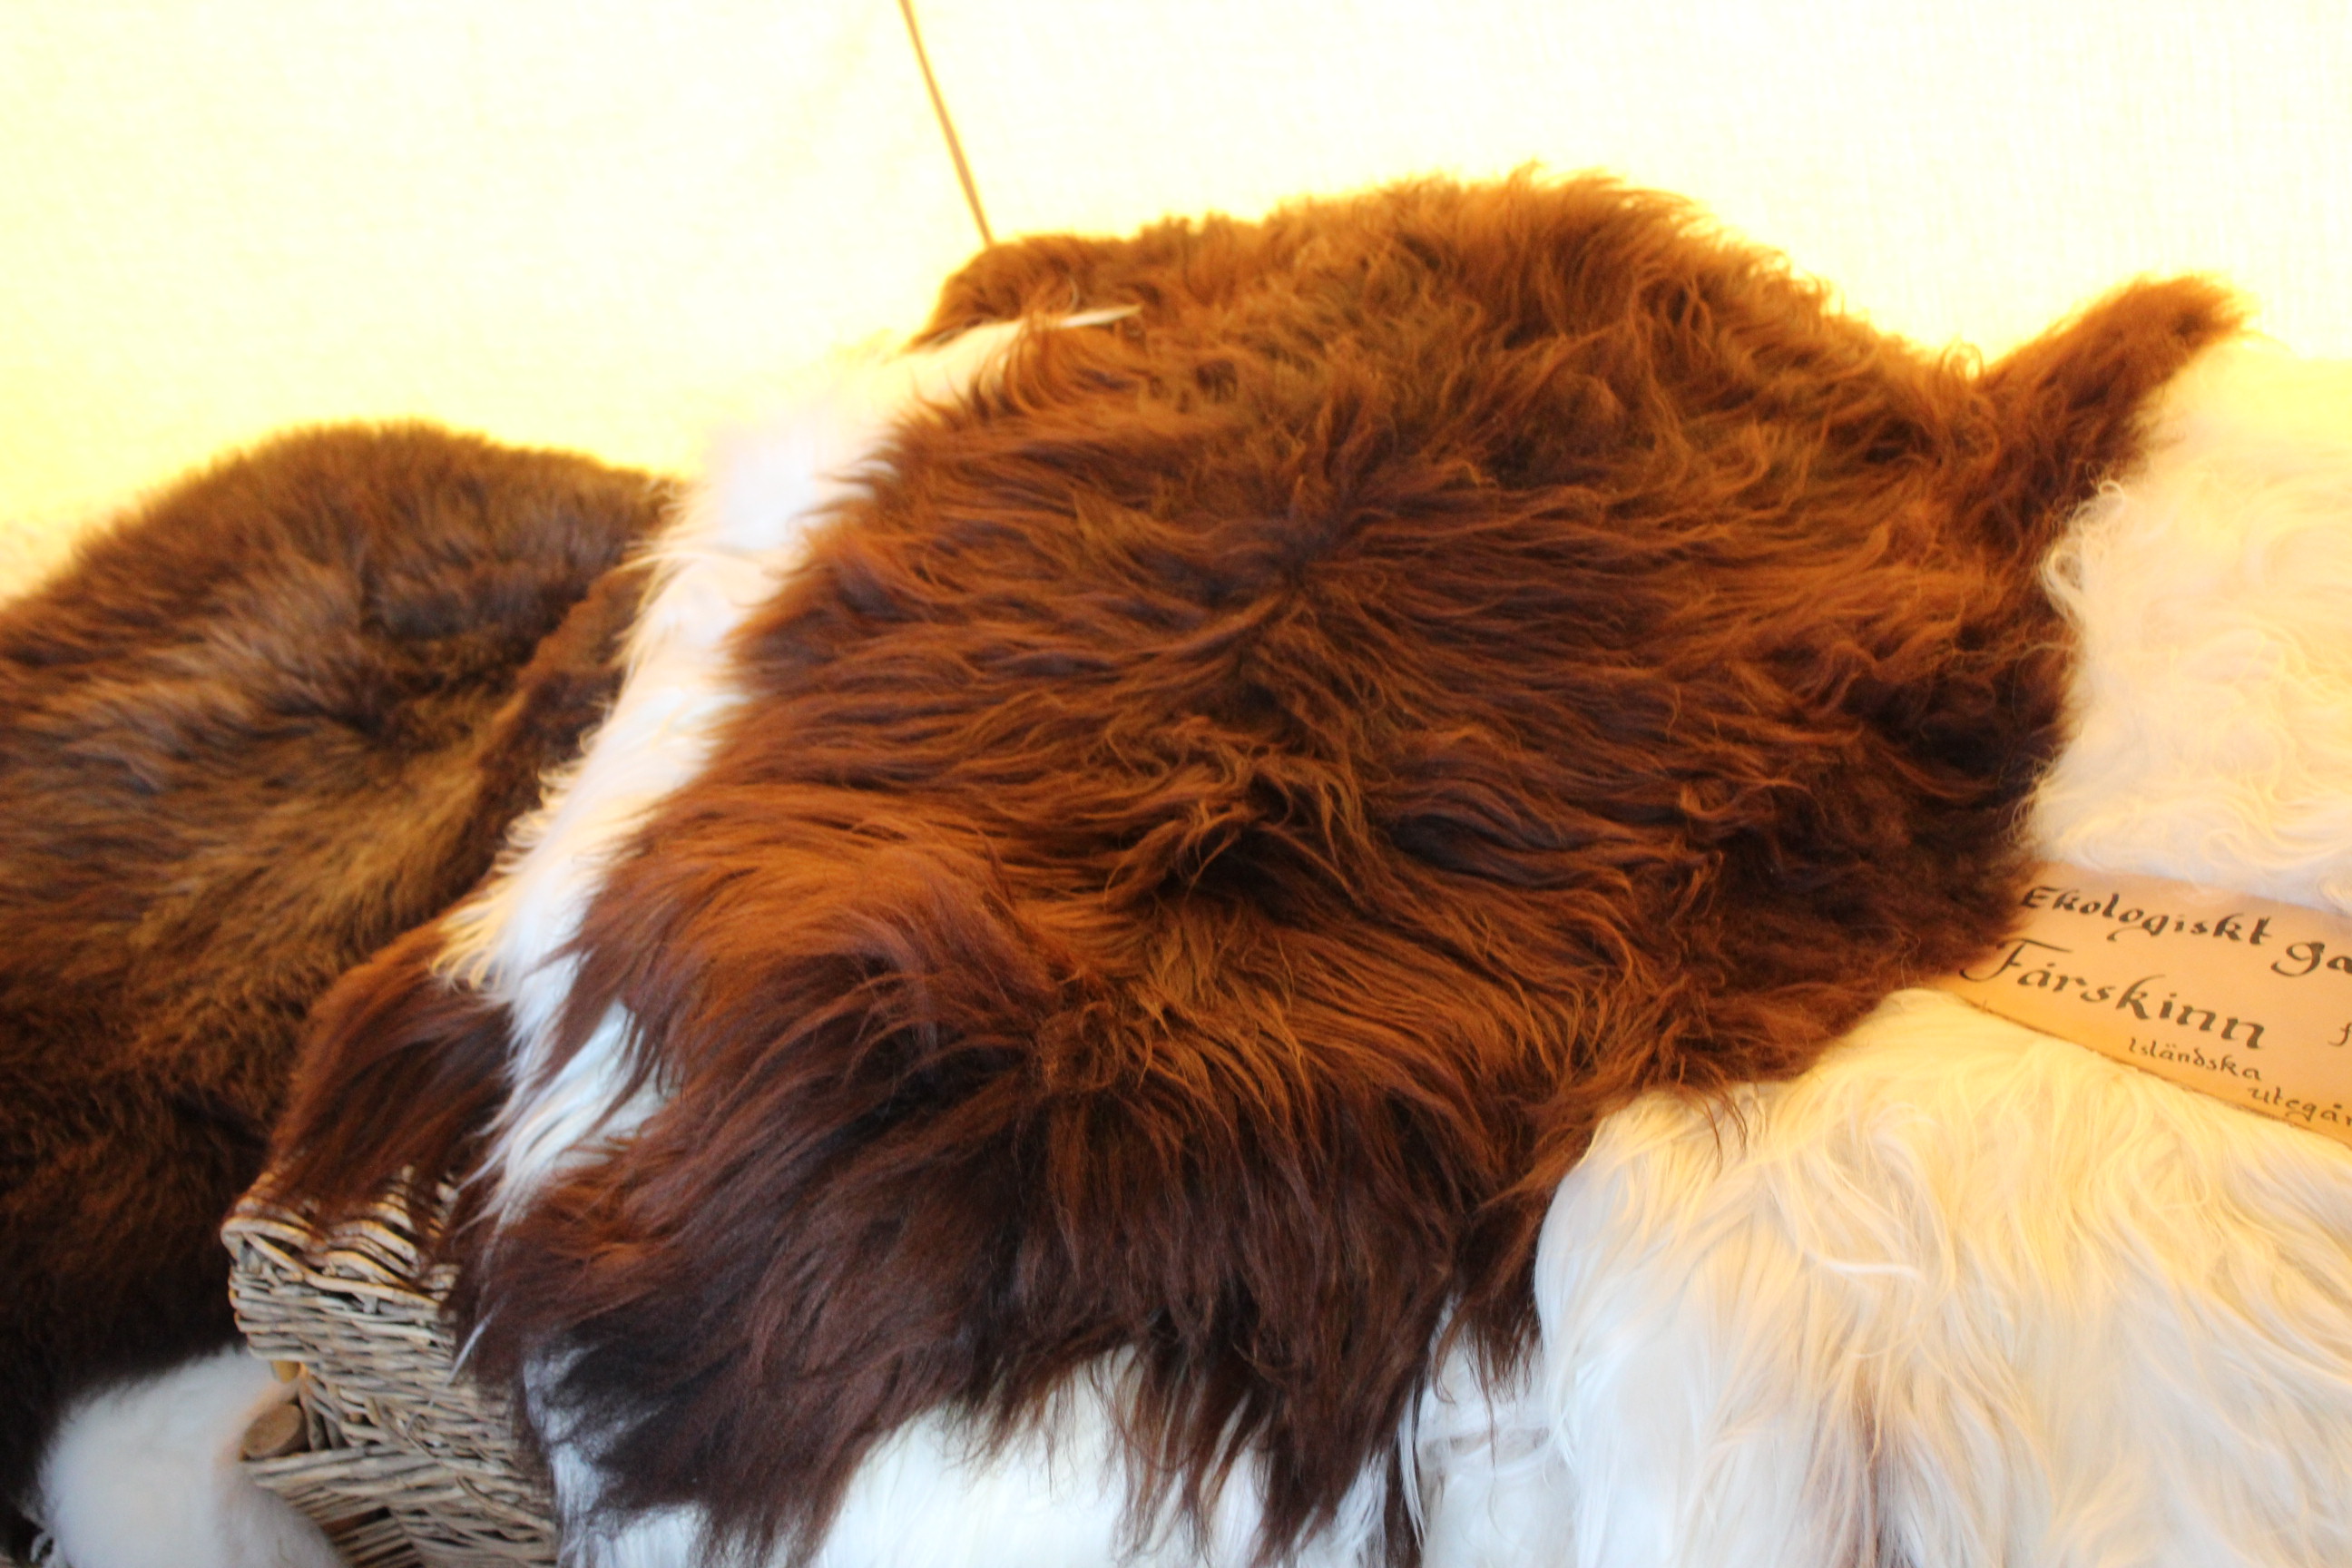
  and looked at some more pretty things (that we didn’t buy).
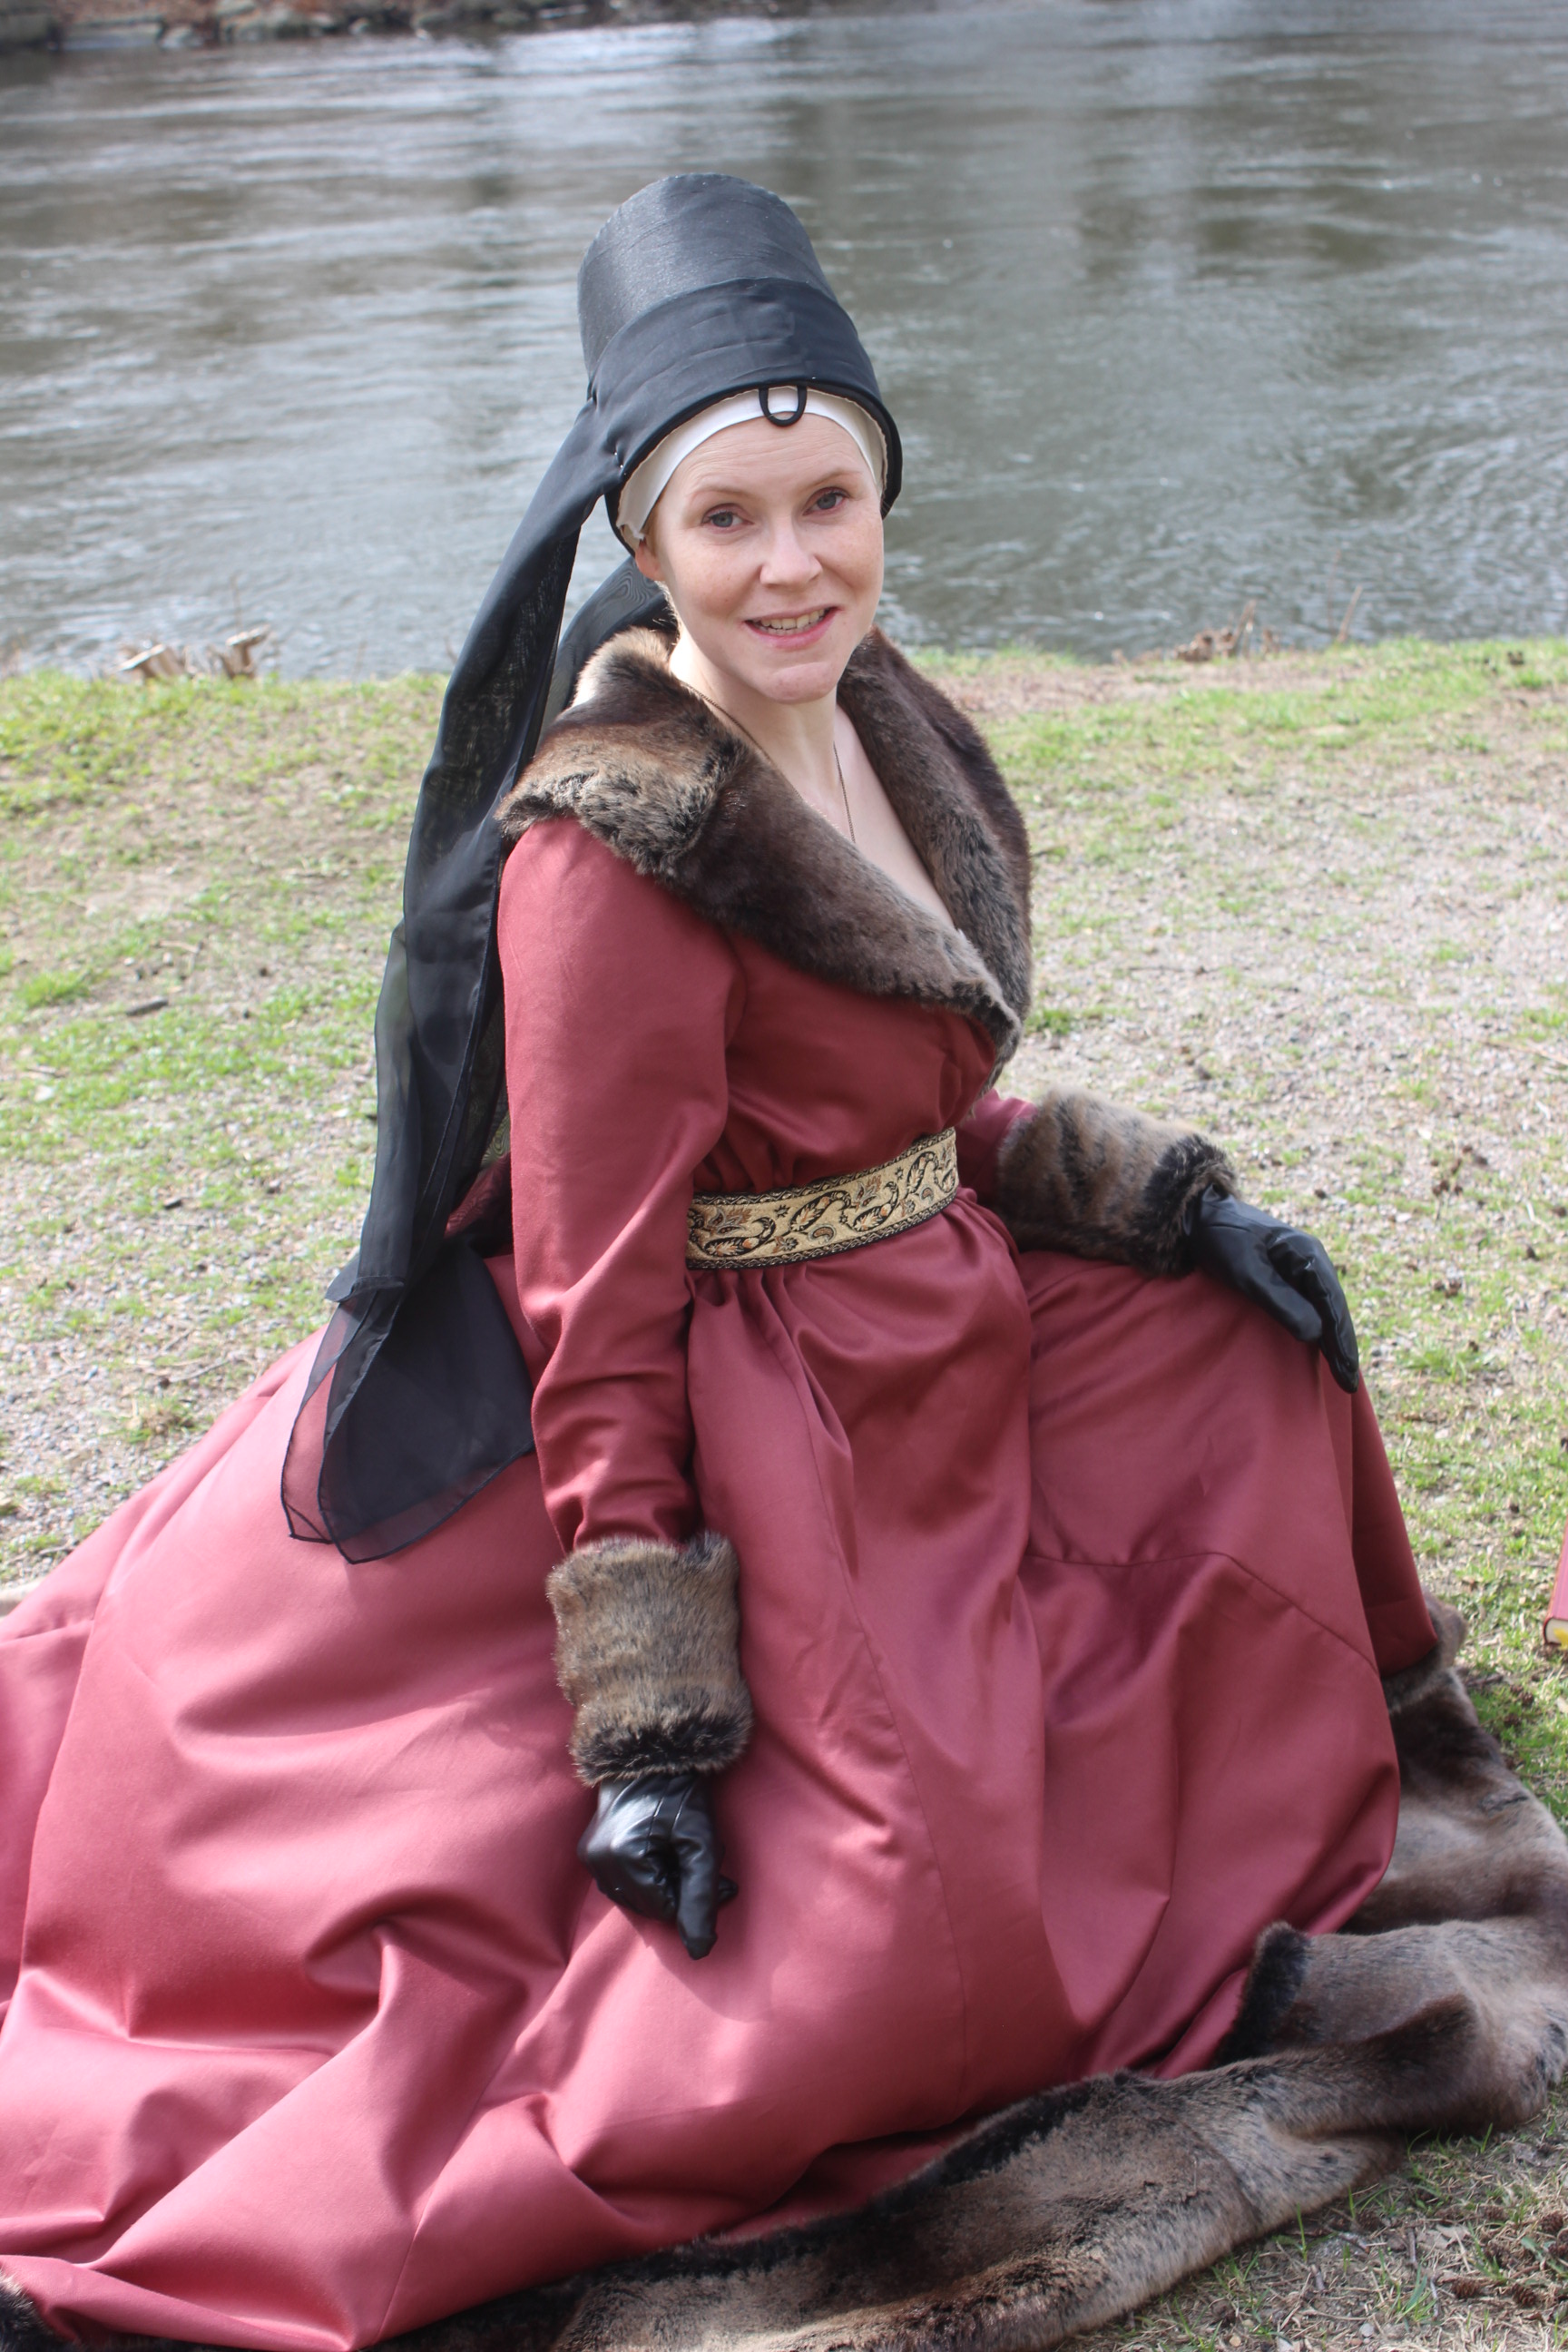
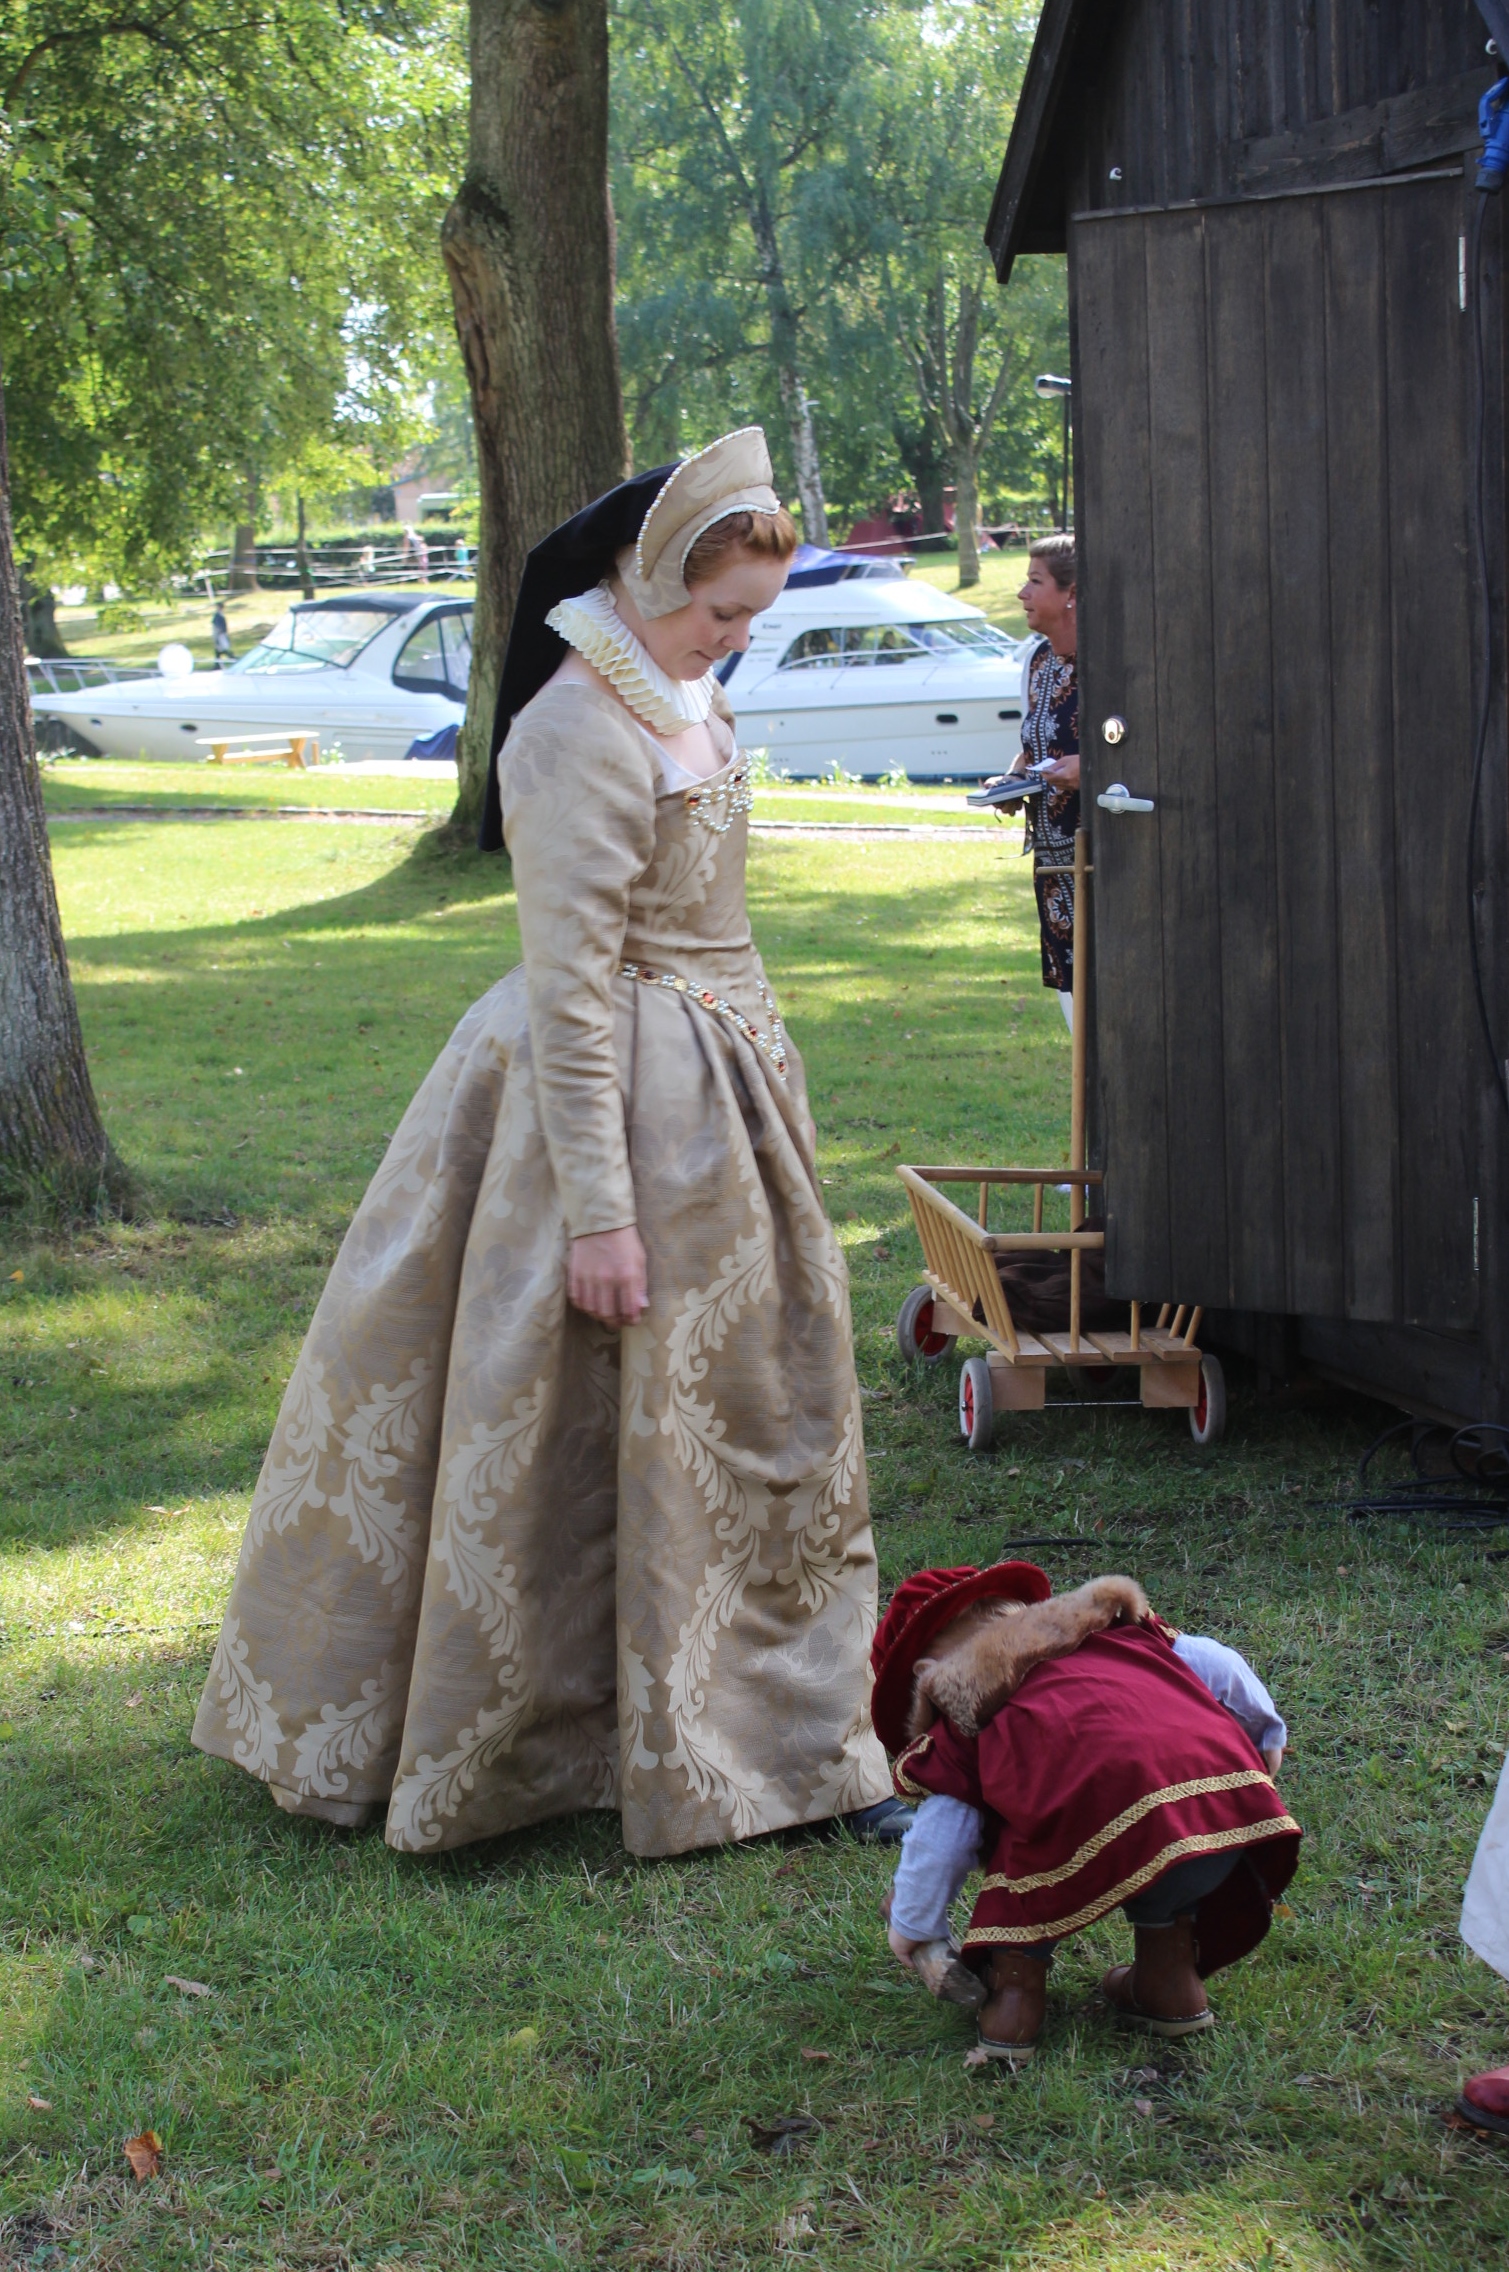
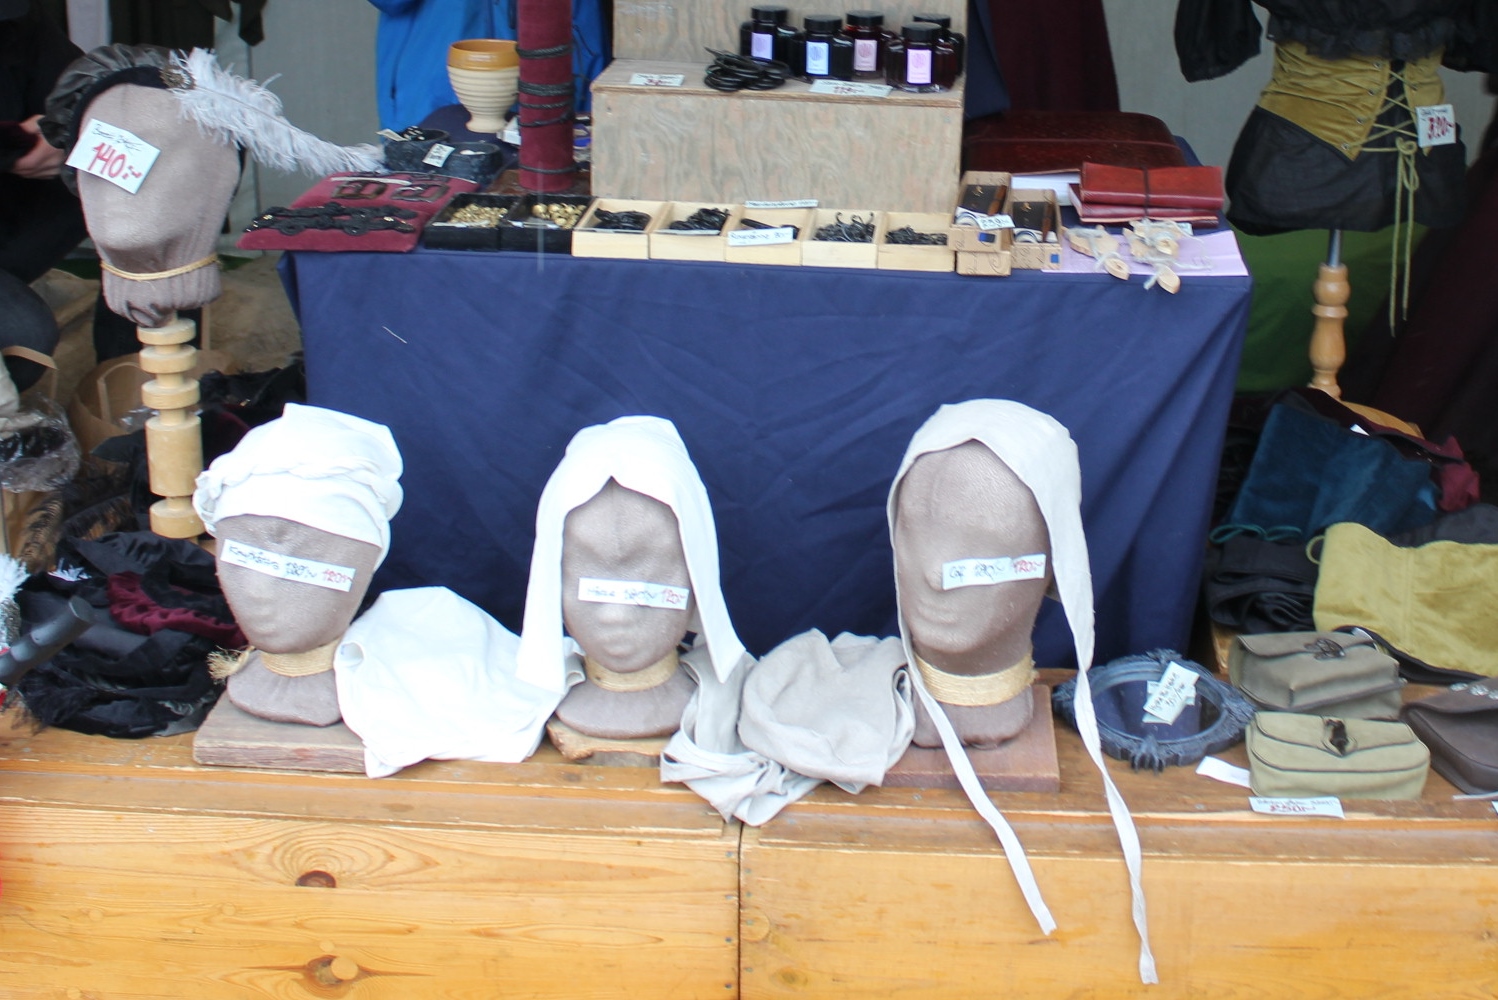
 Renaissance ladies.
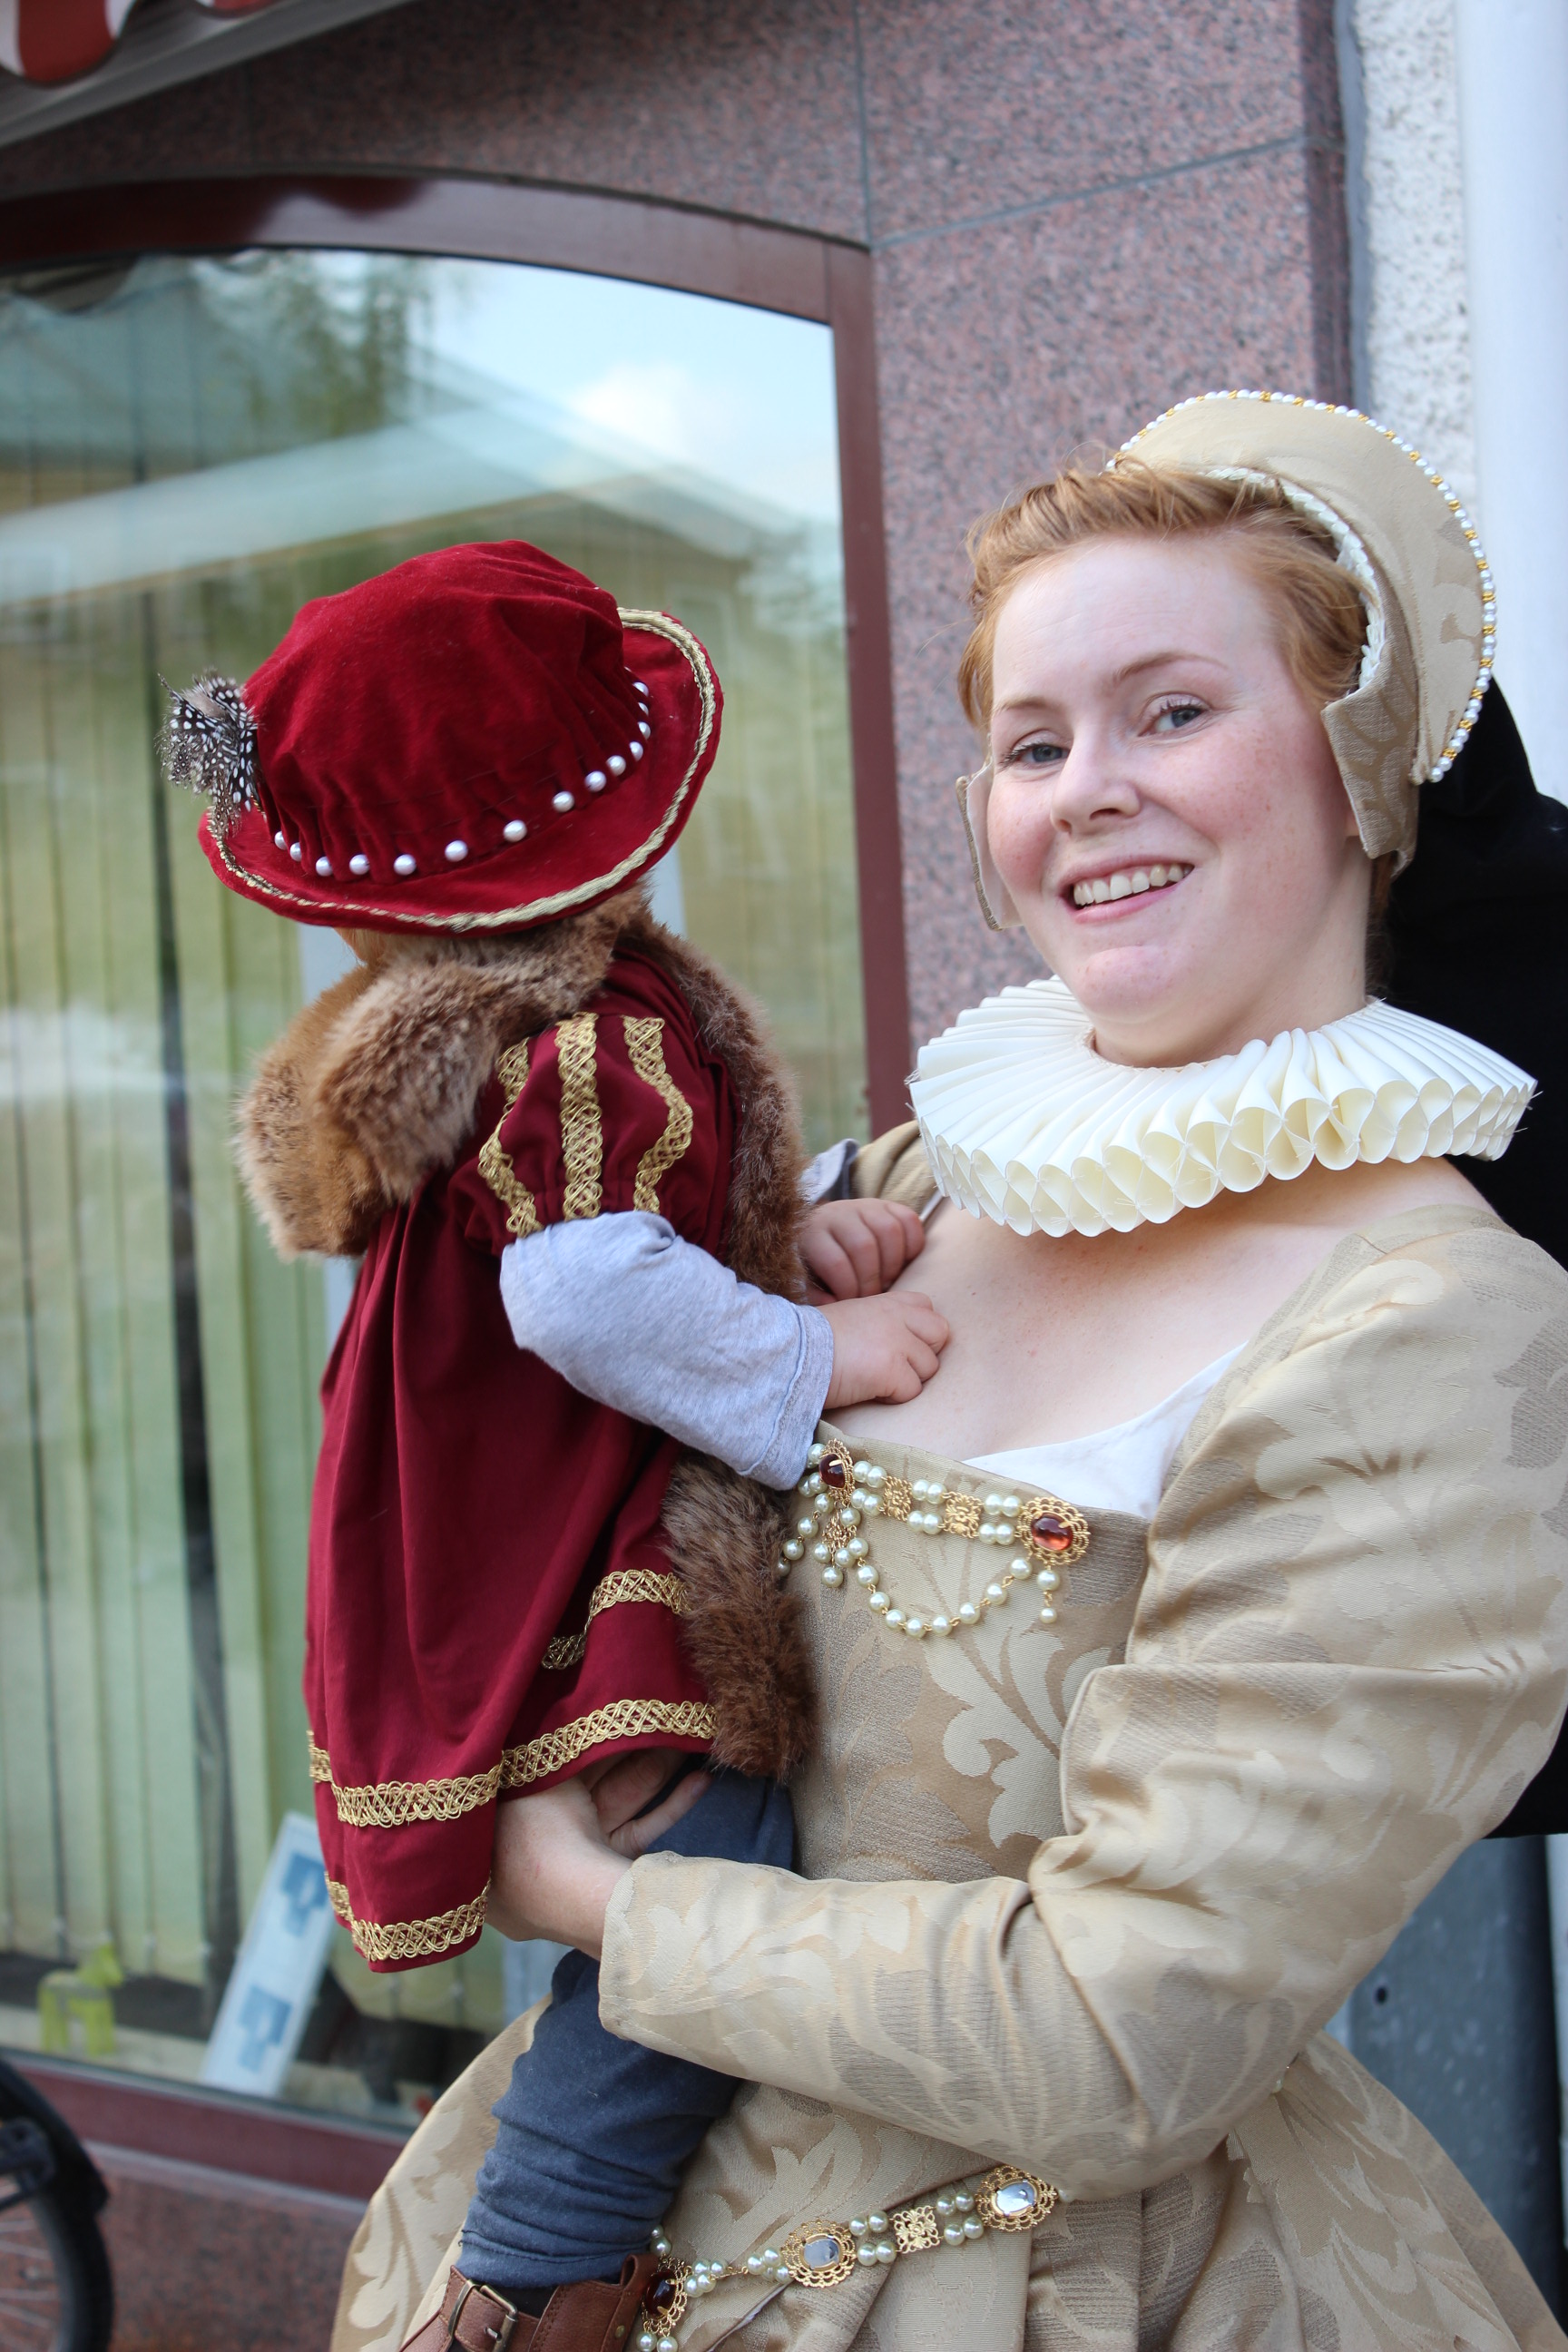


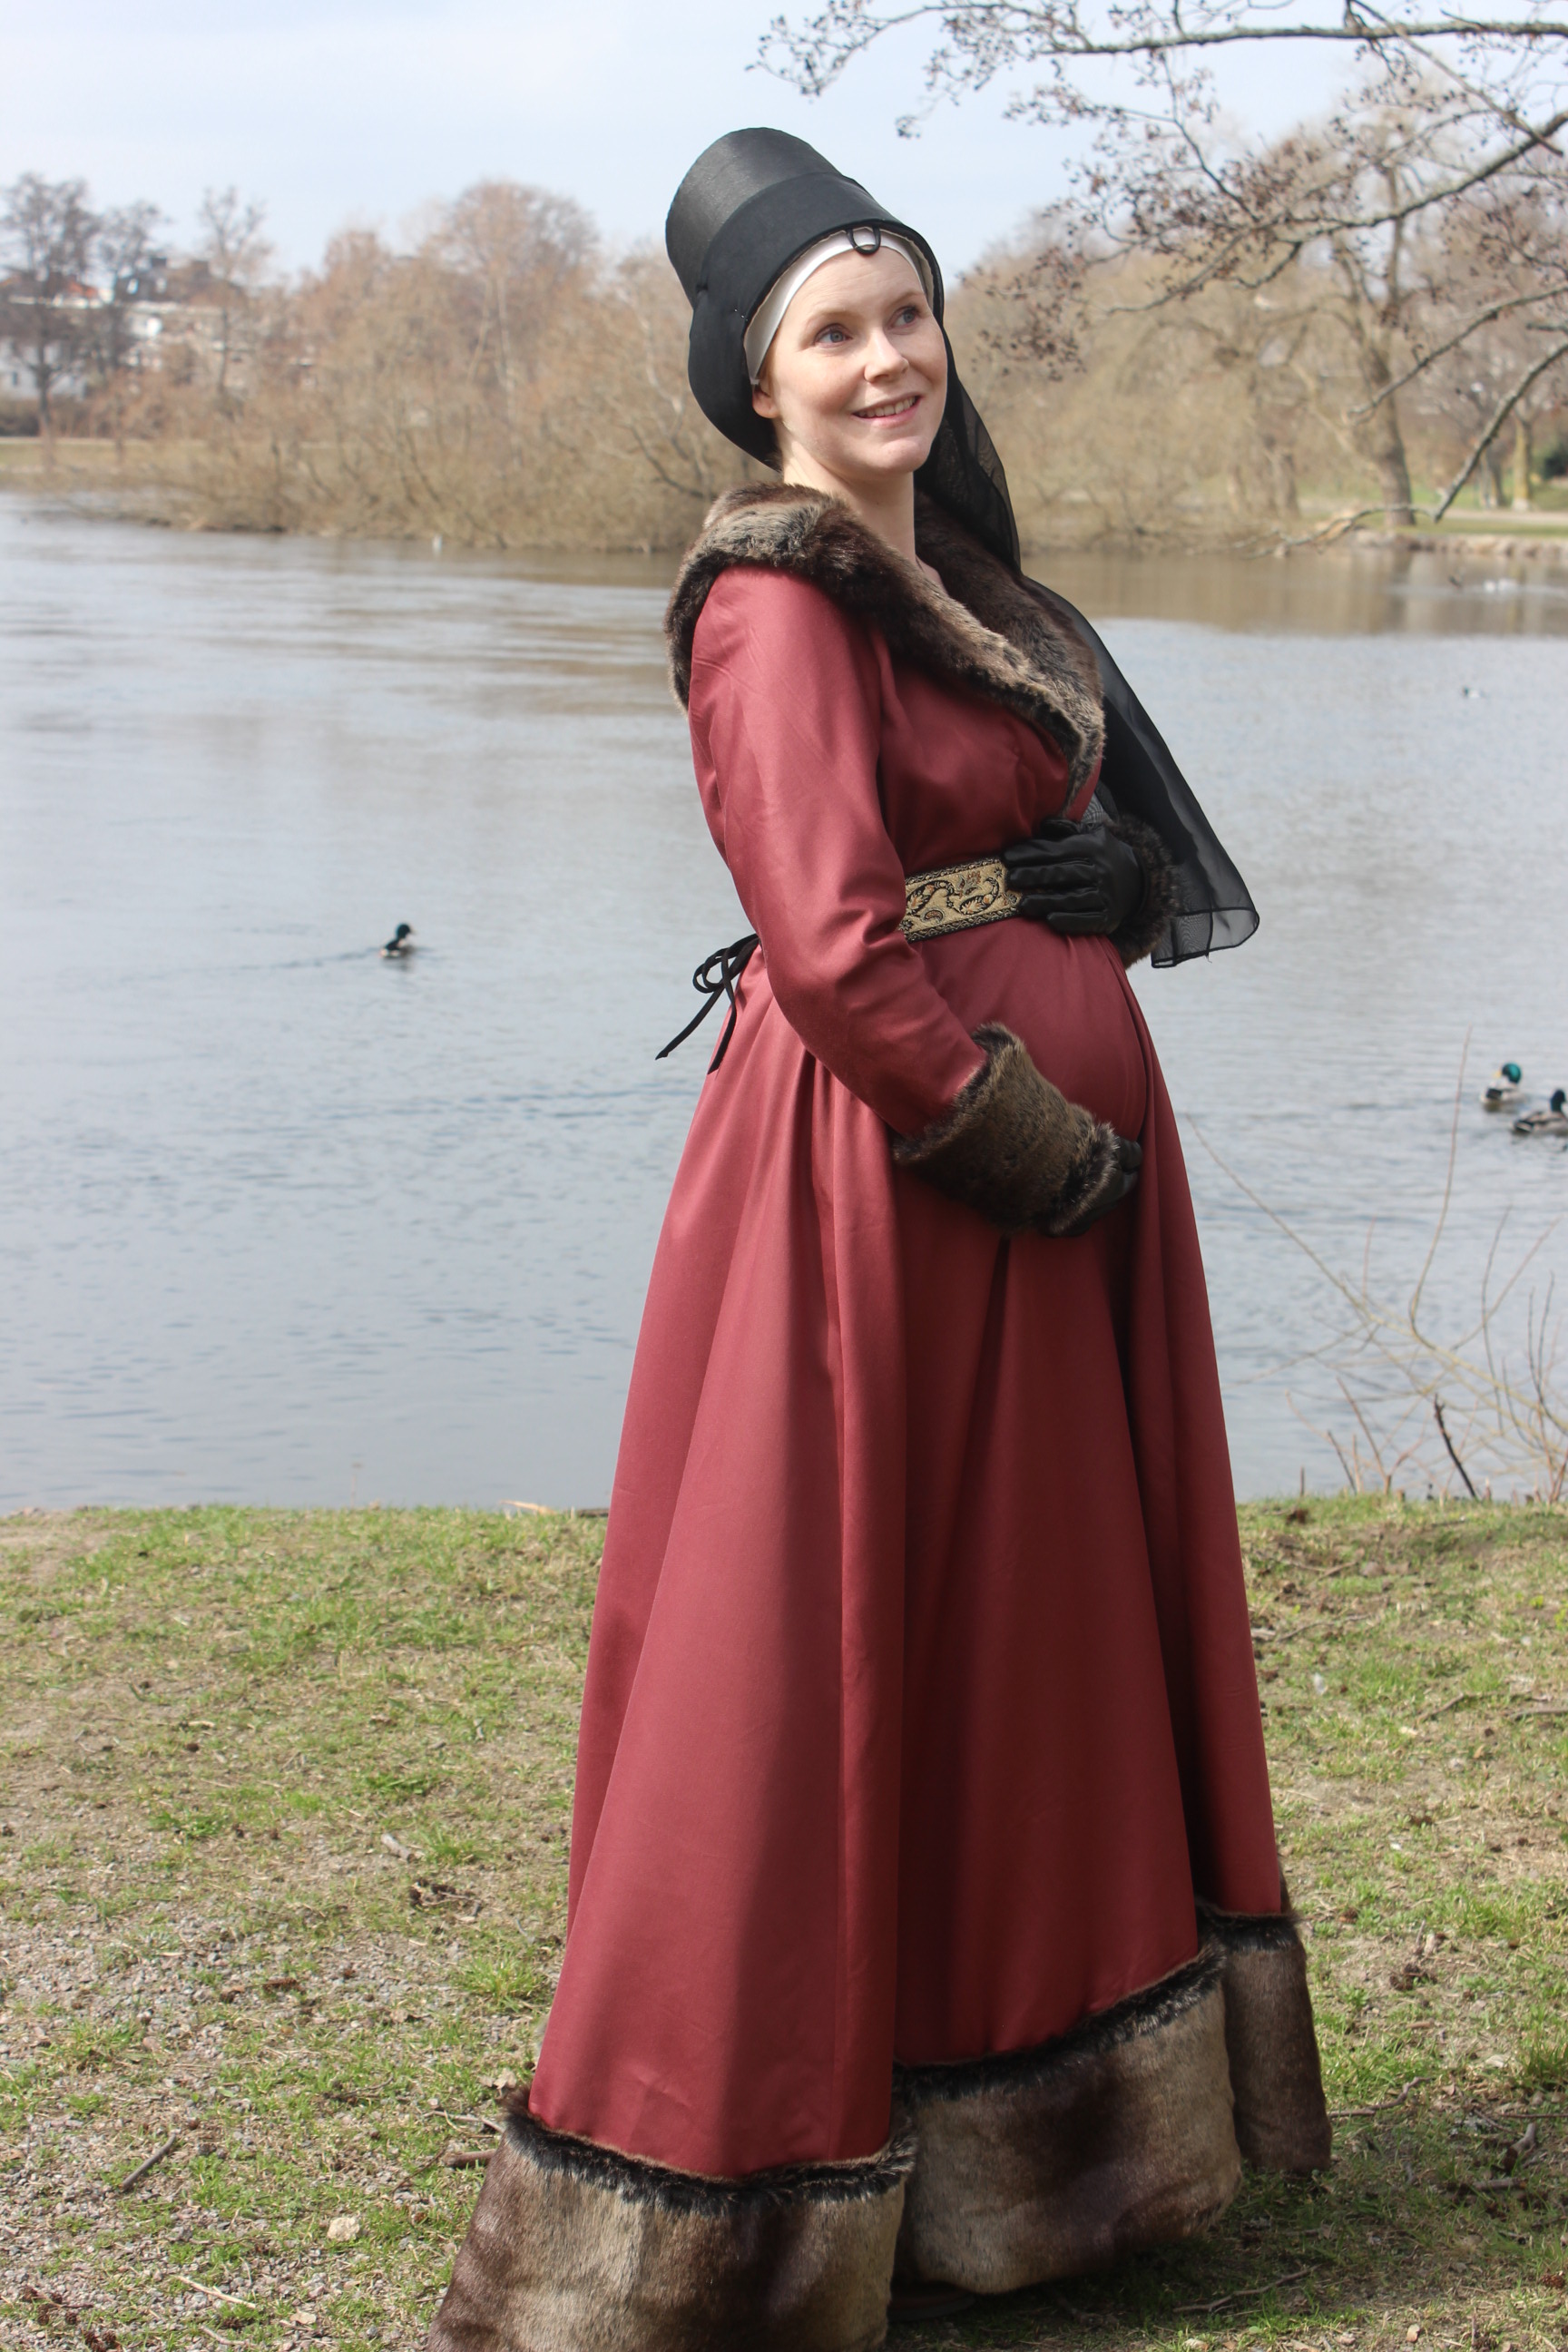
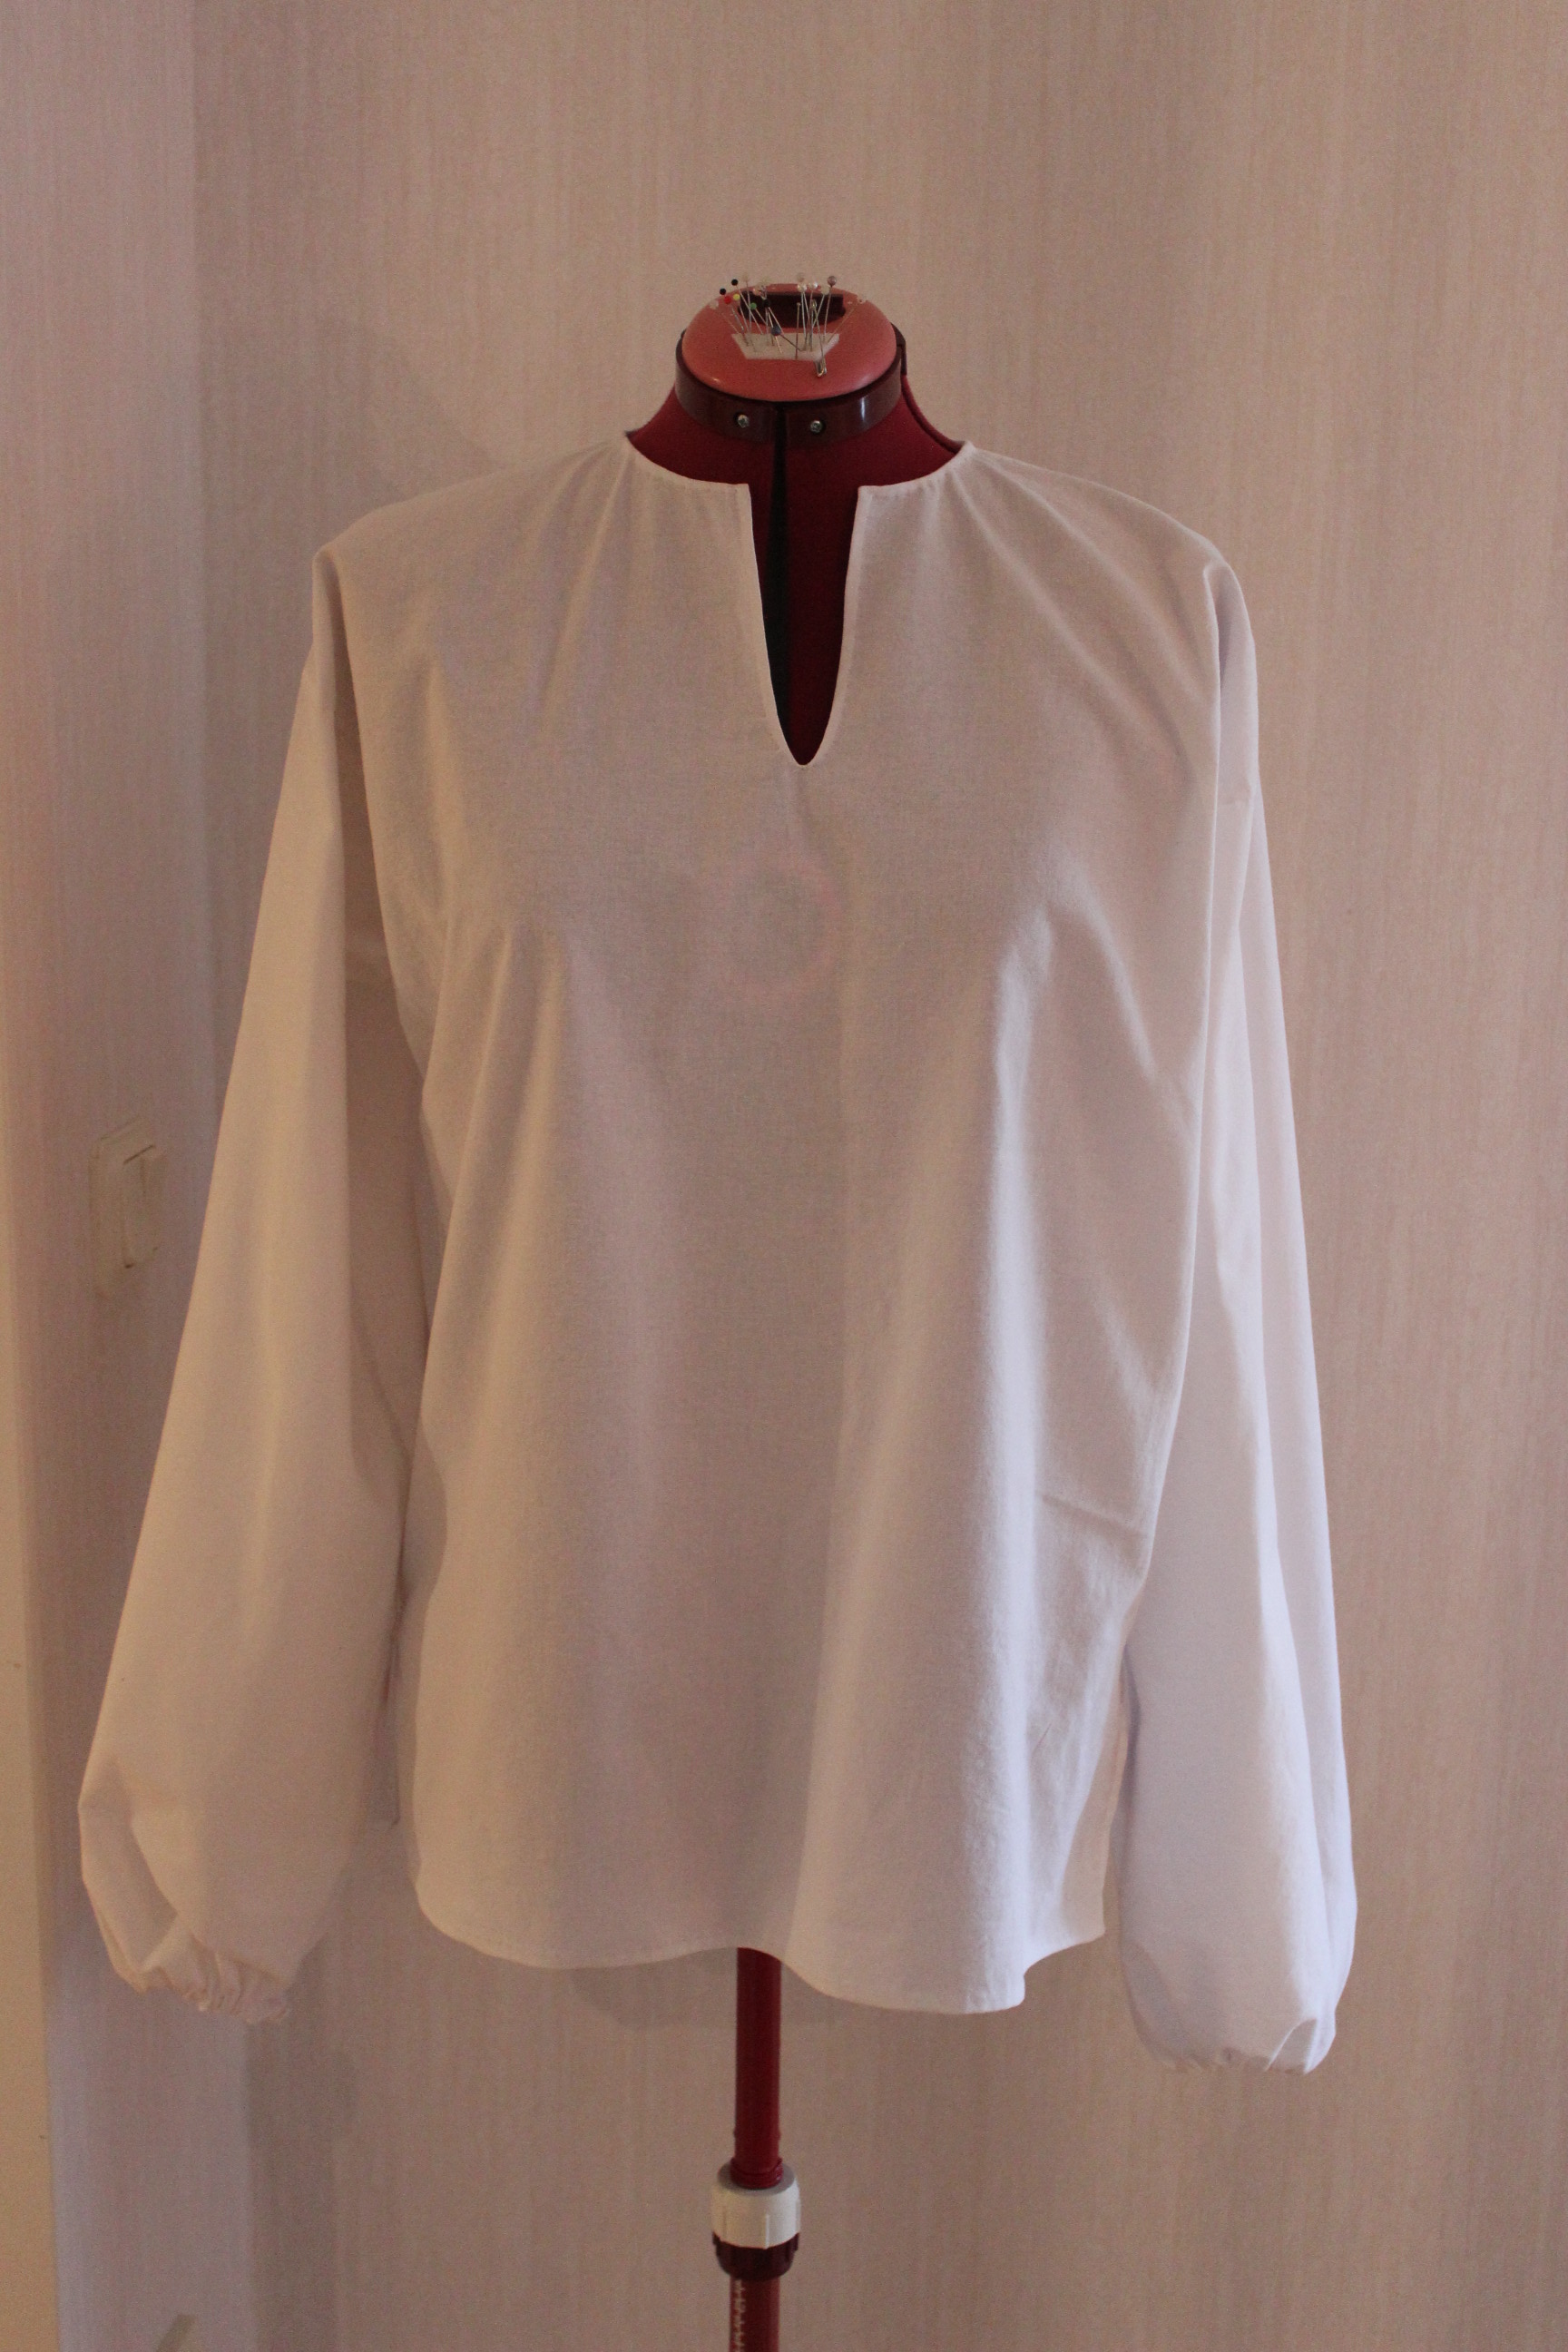
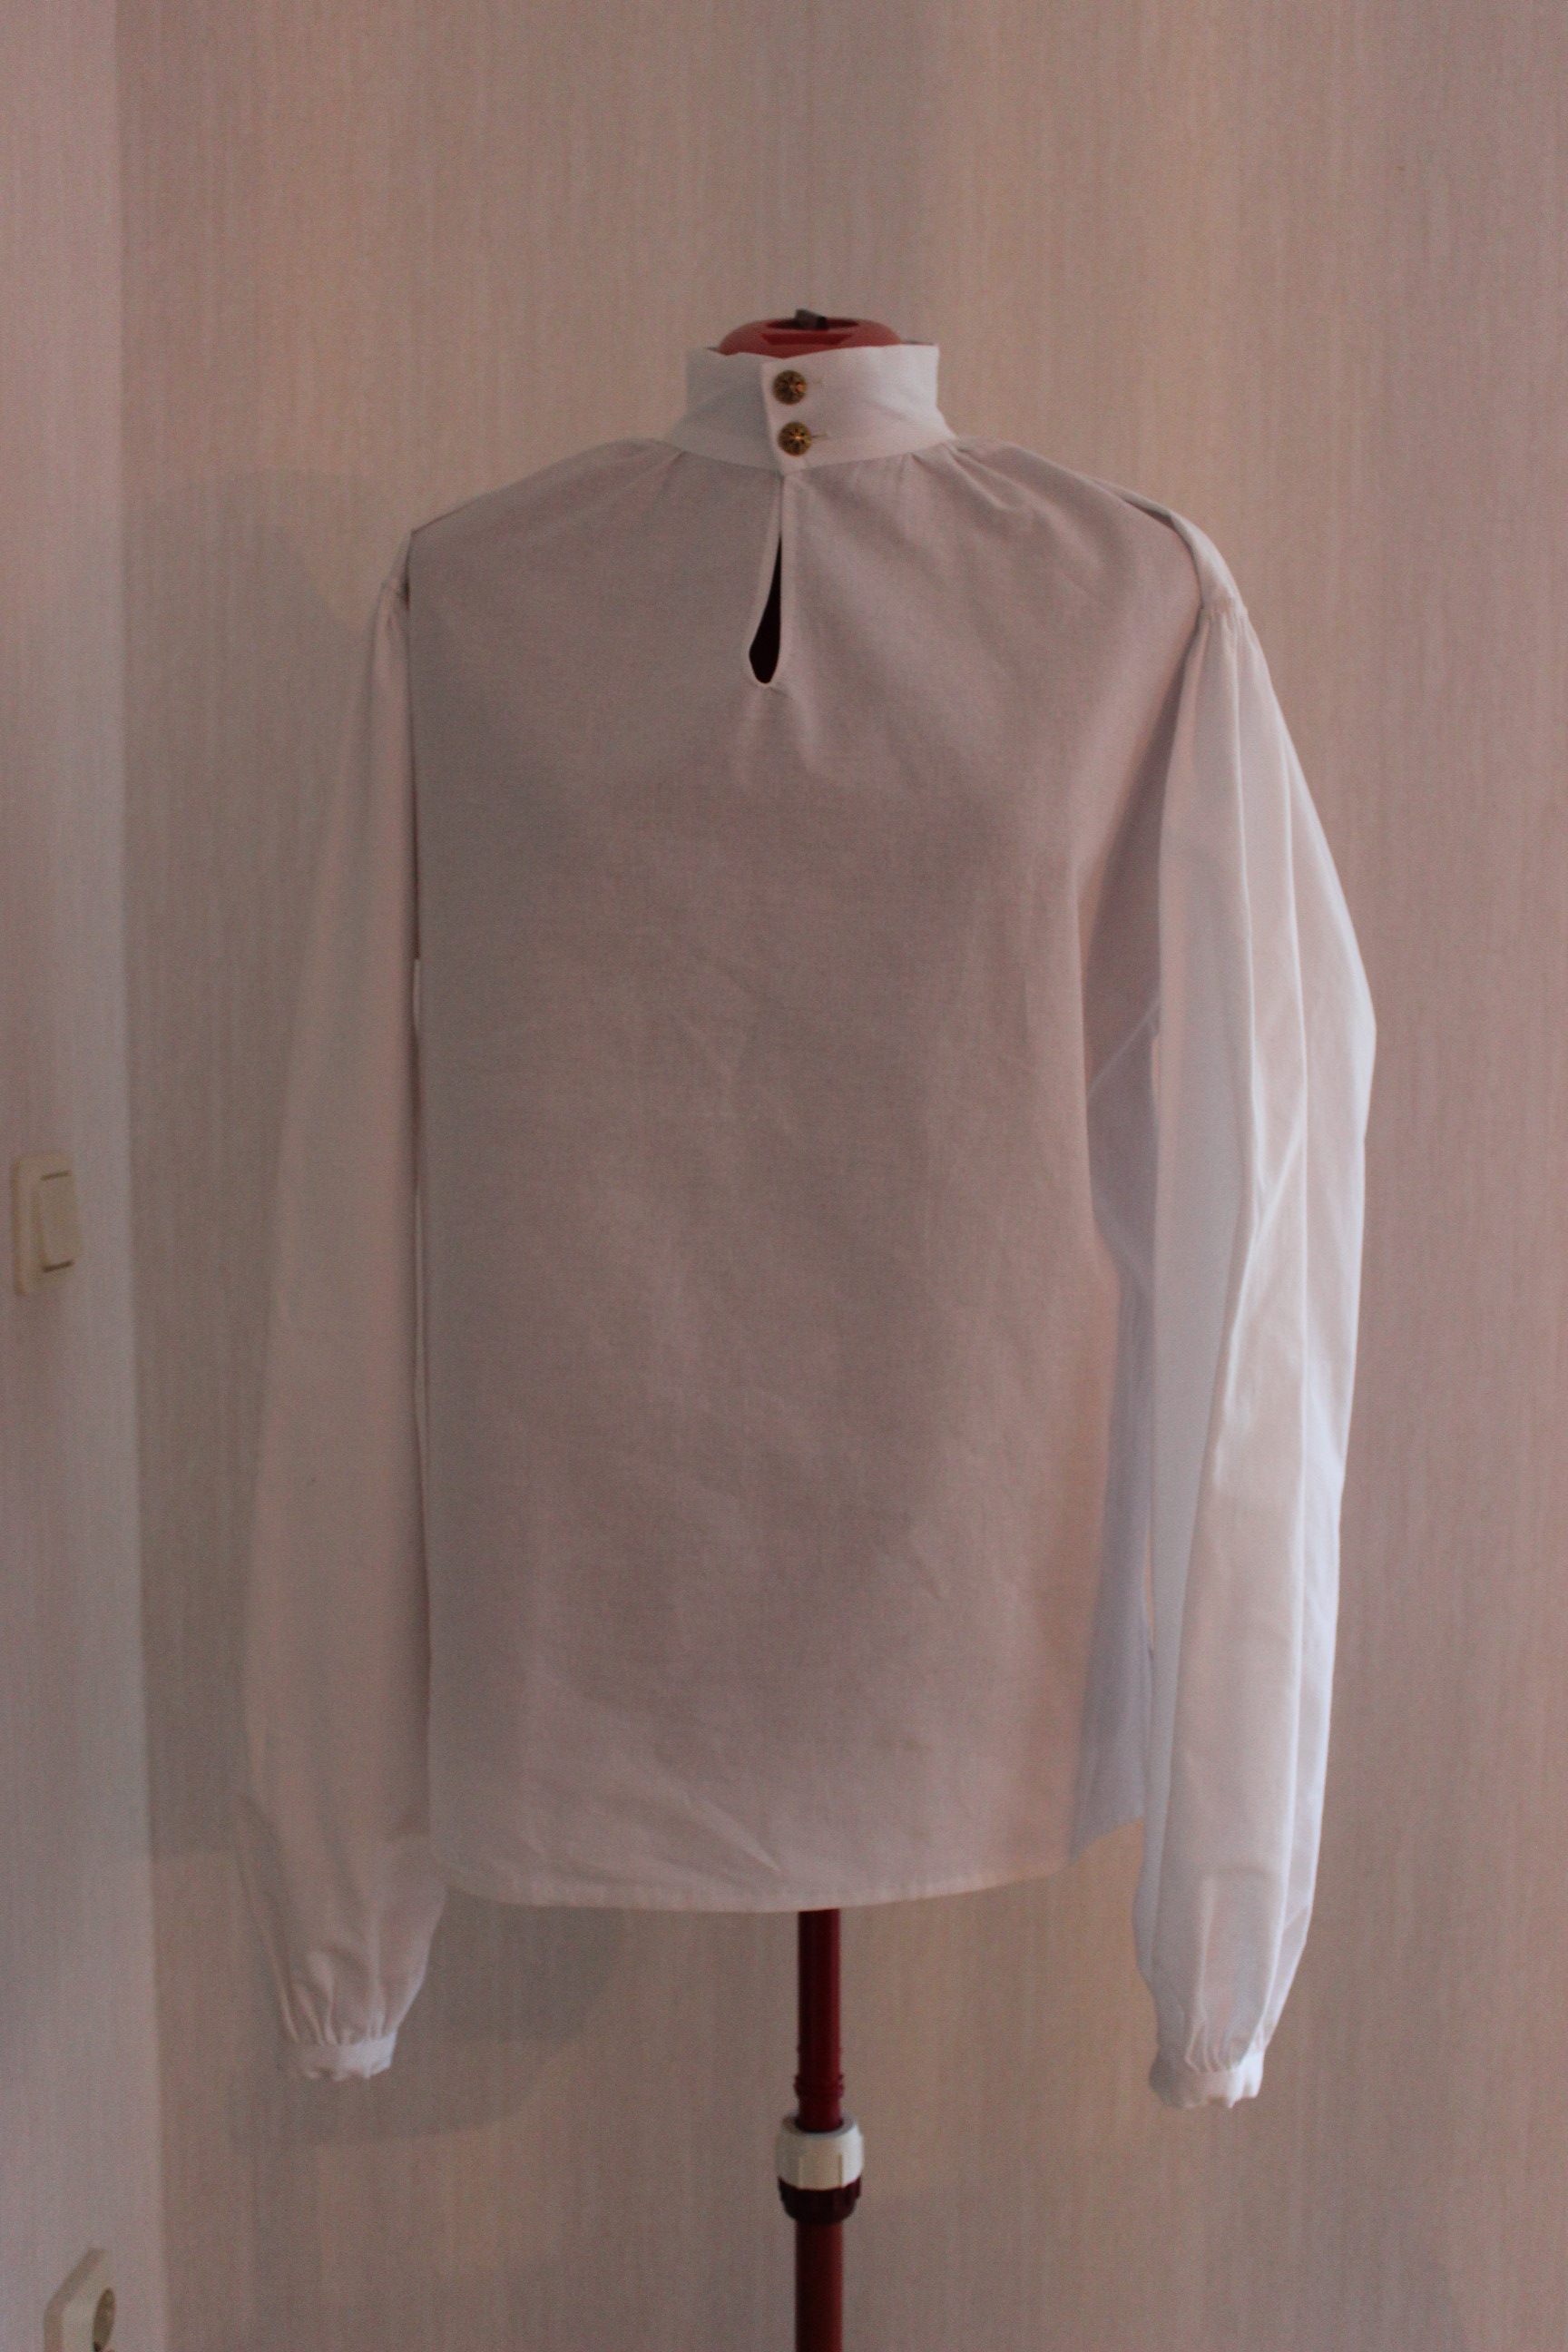
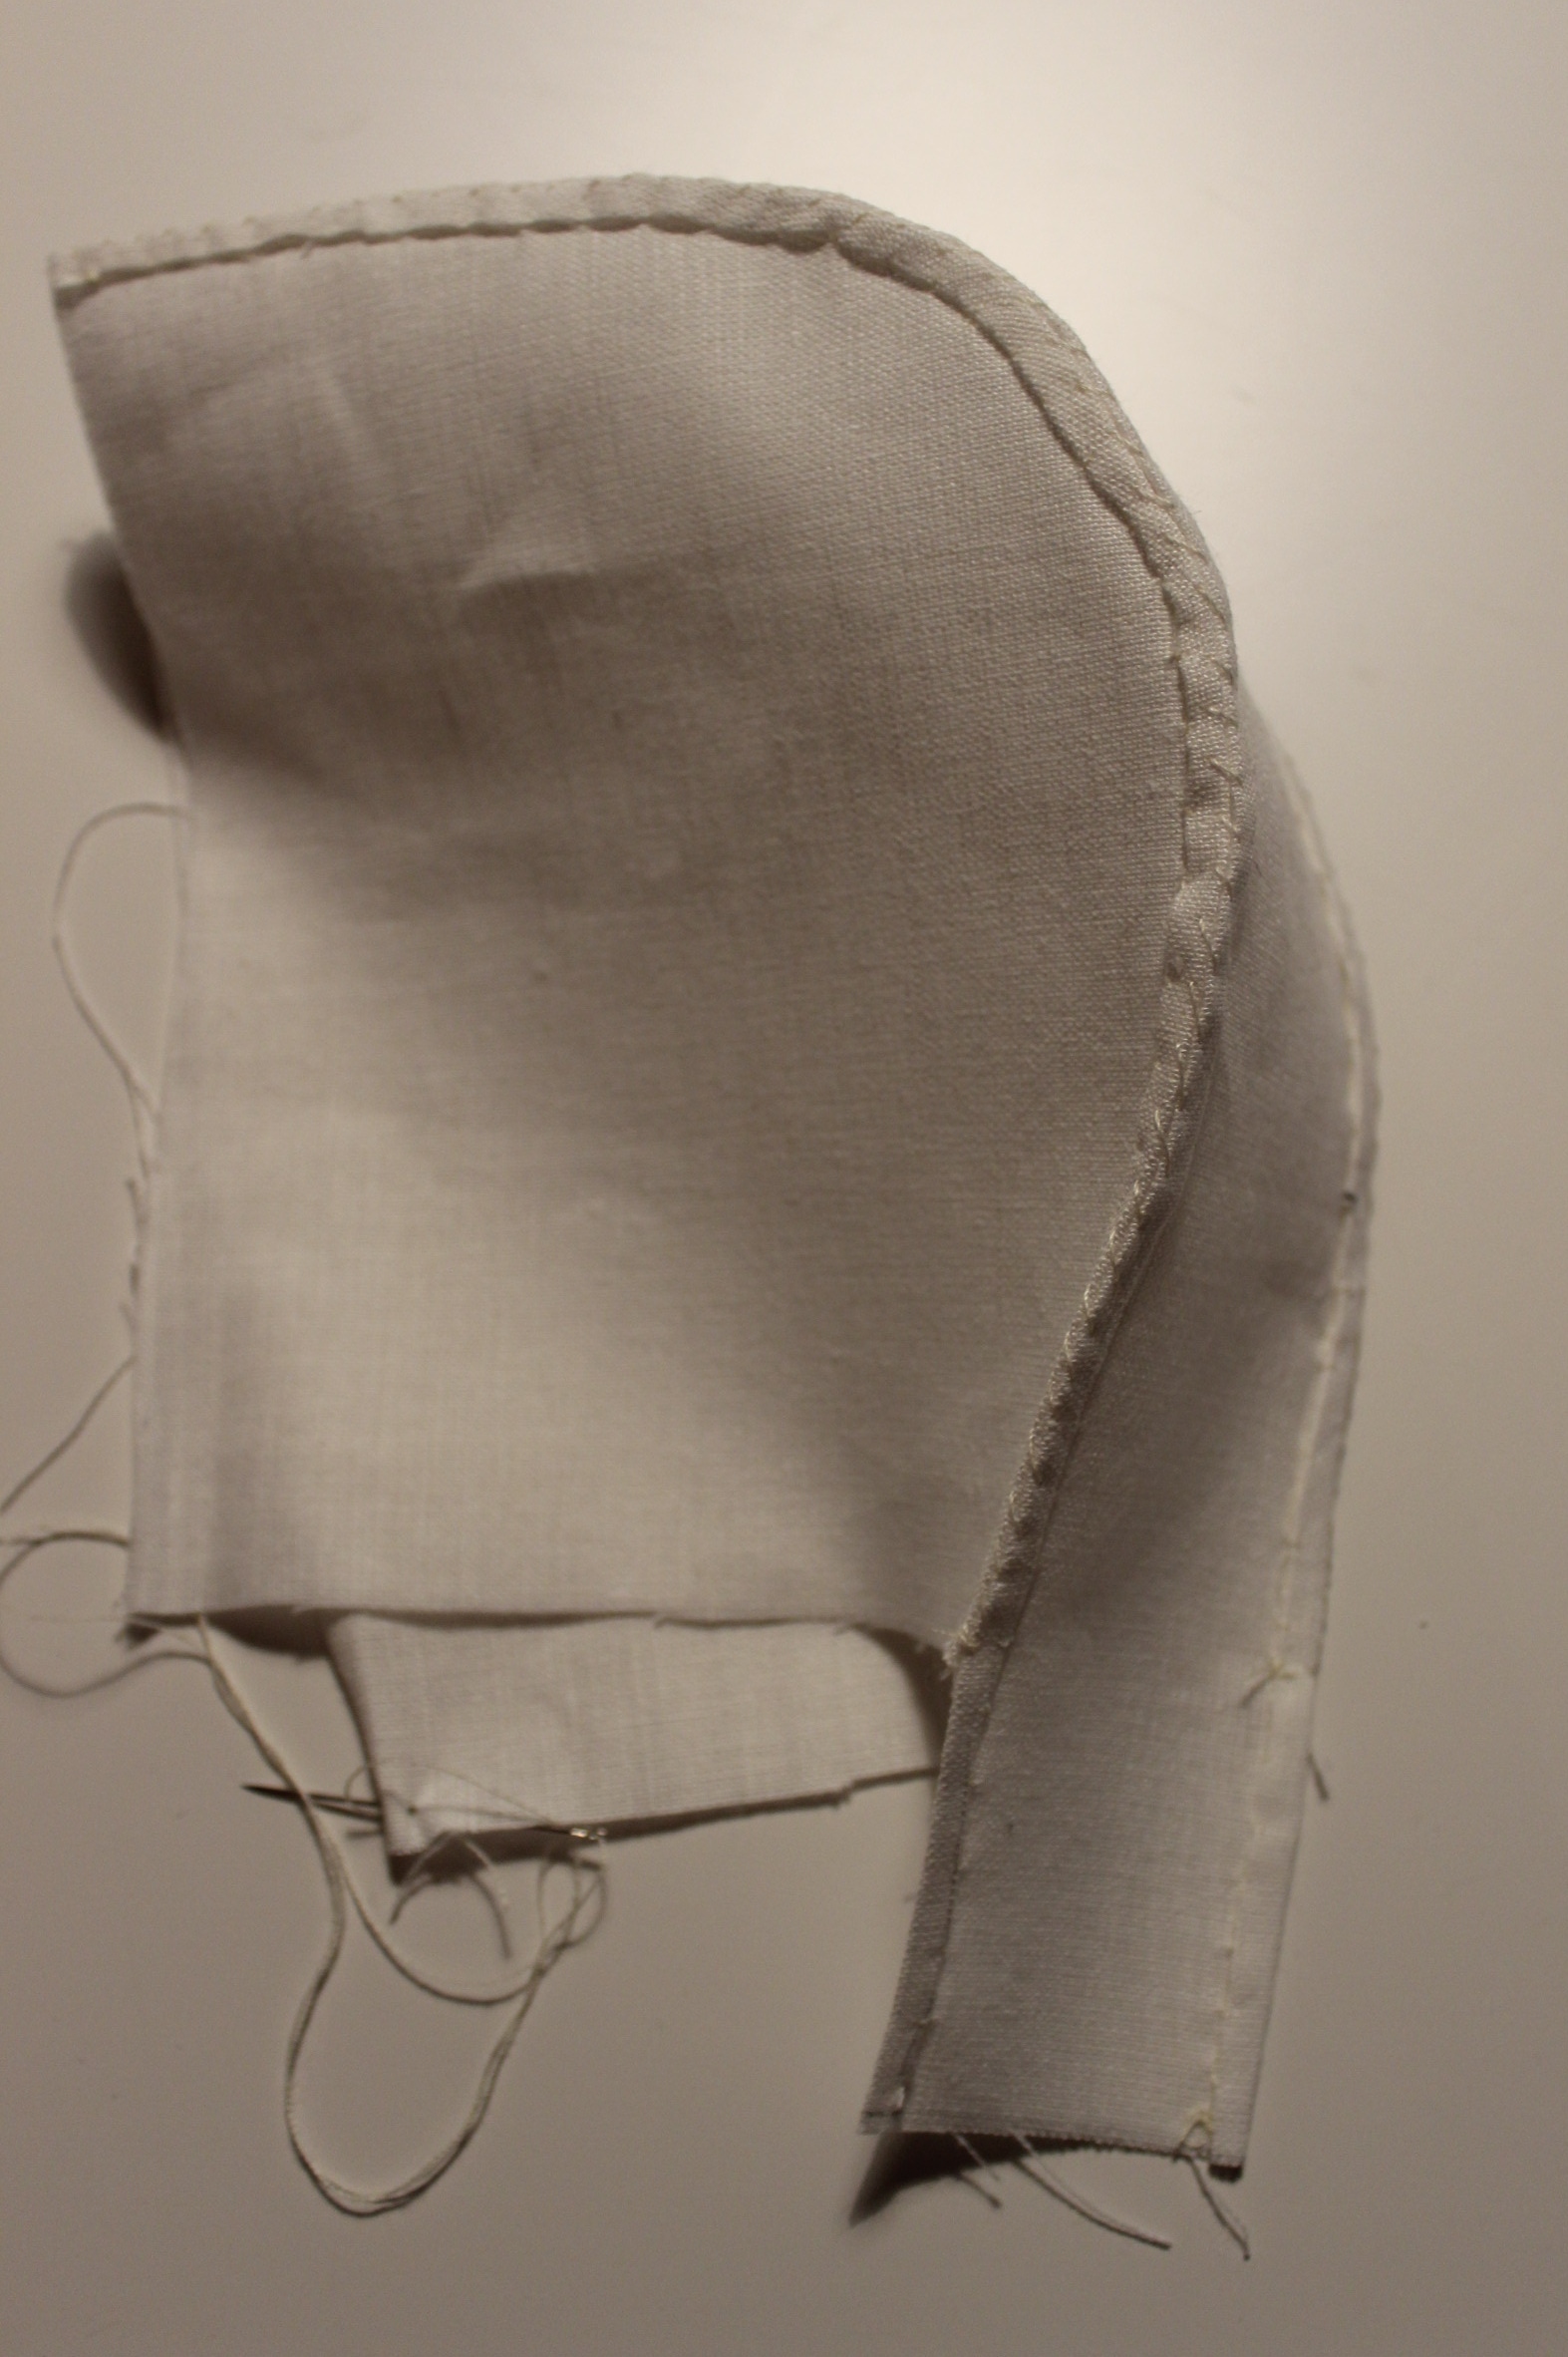
 The final result after all the re-stitching.


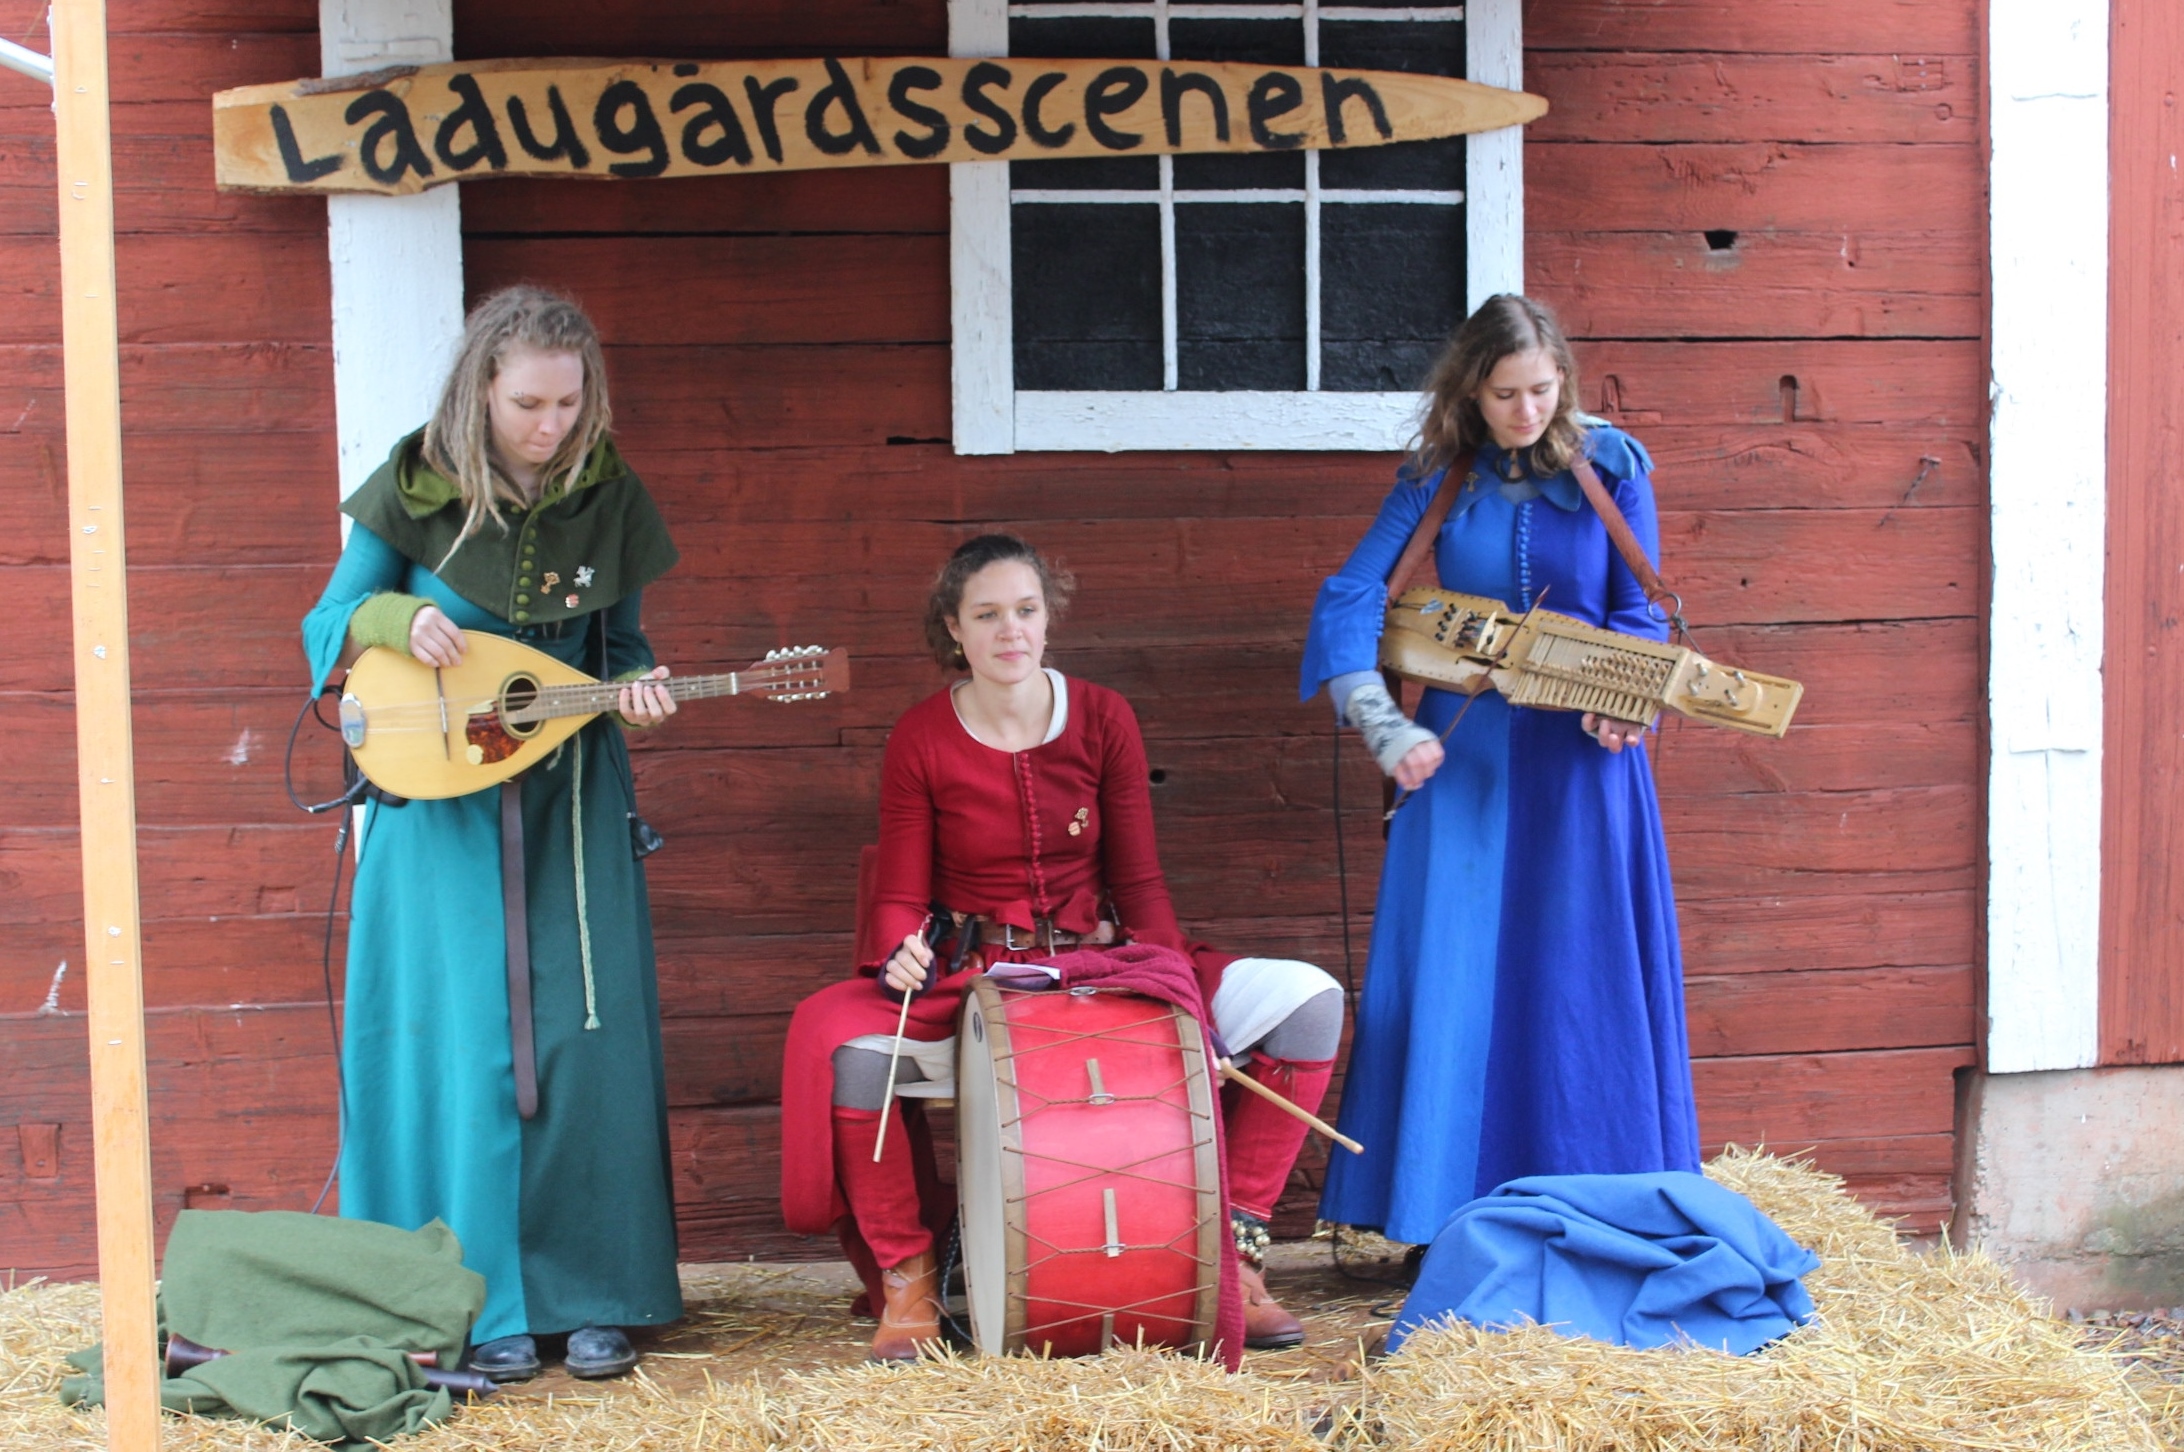


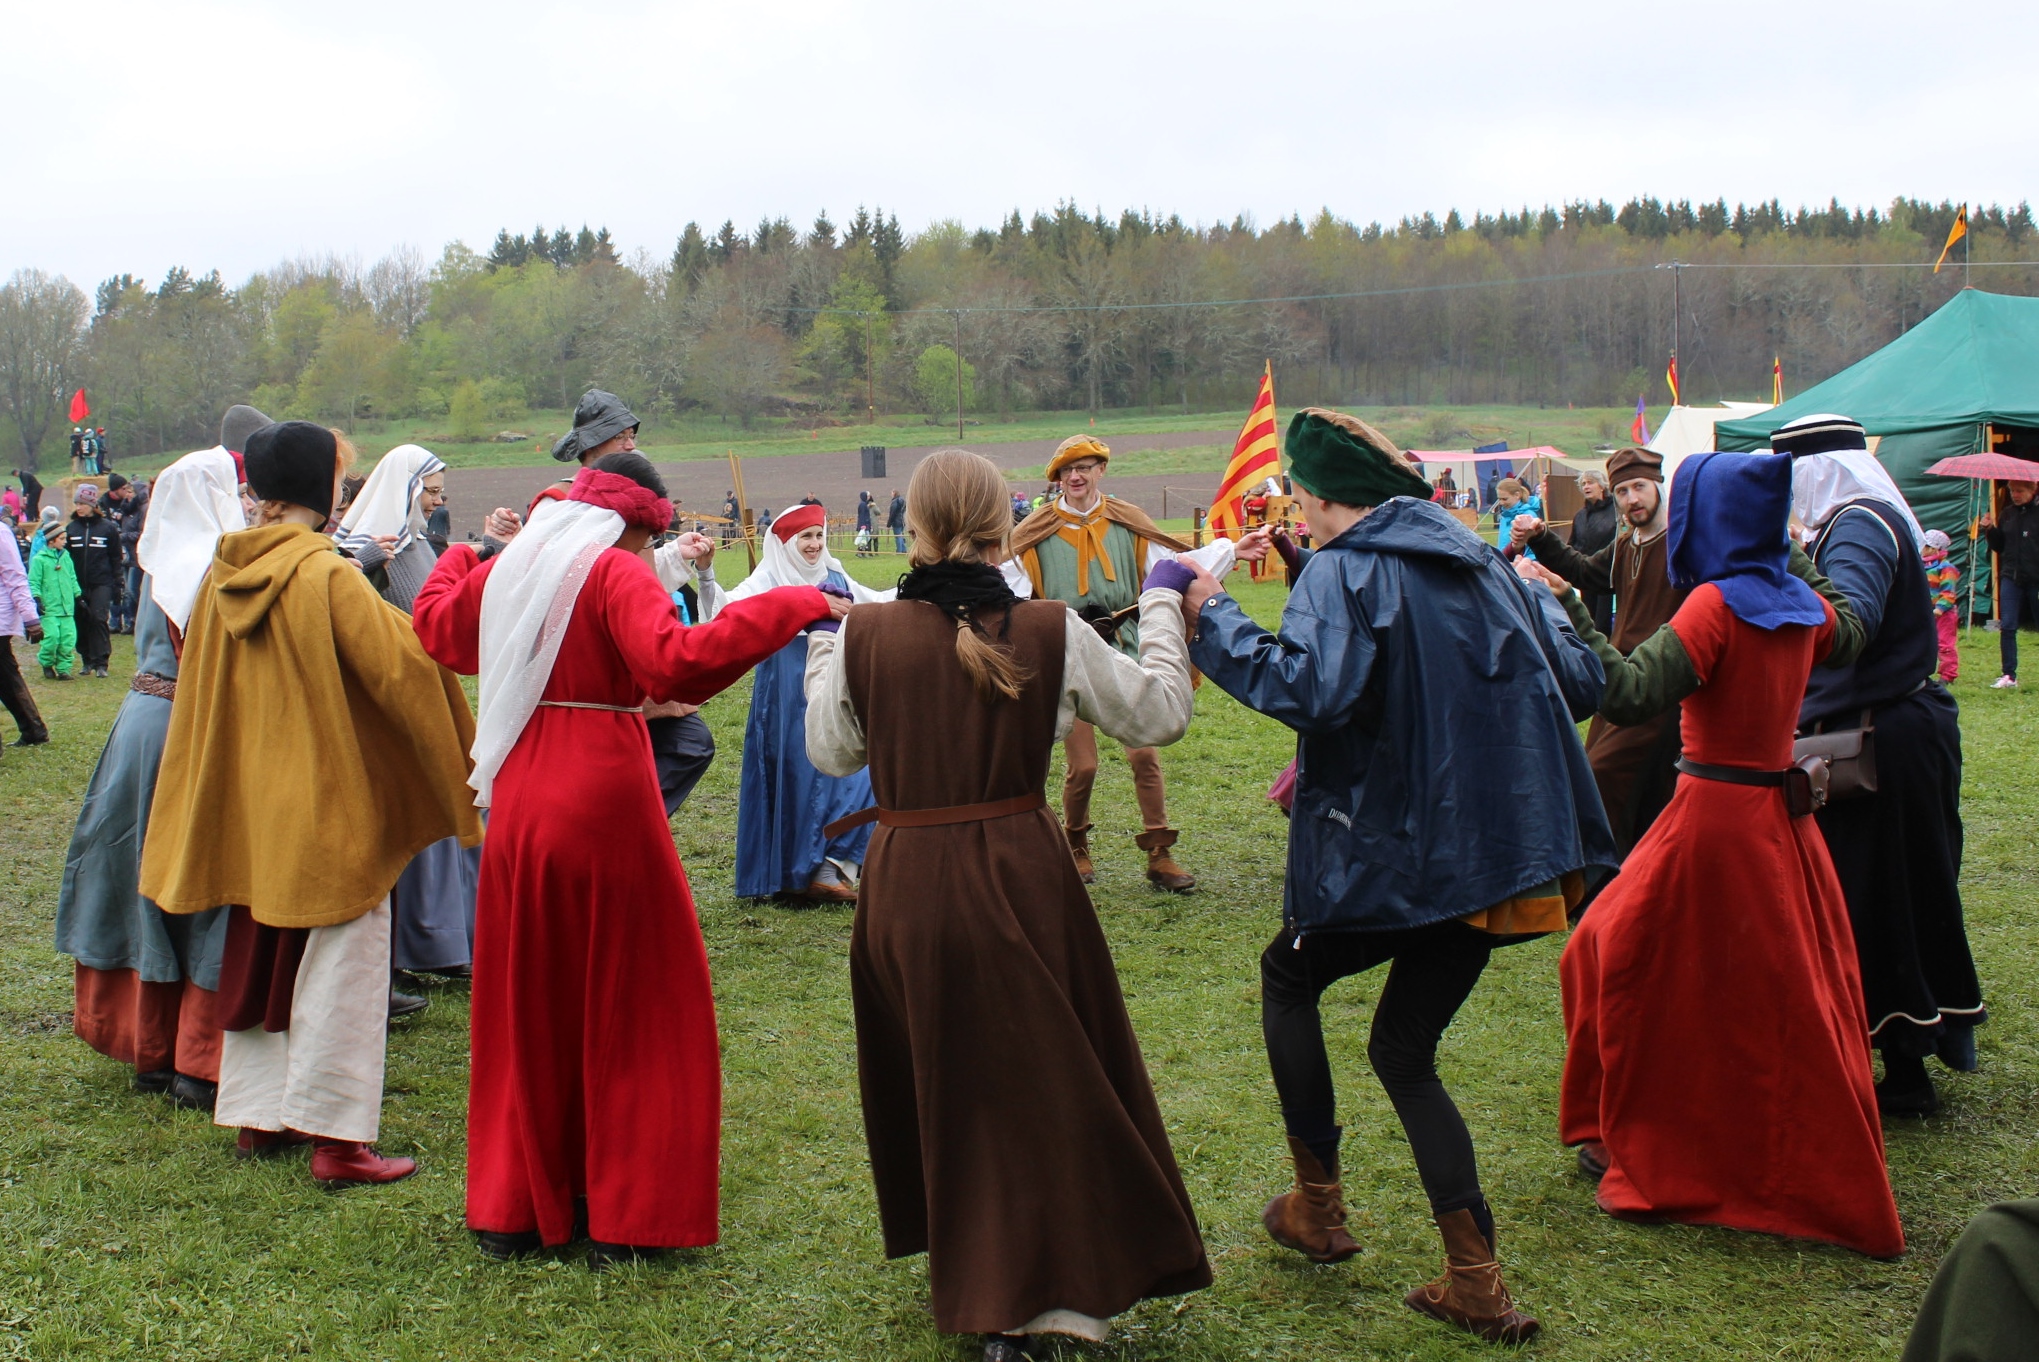
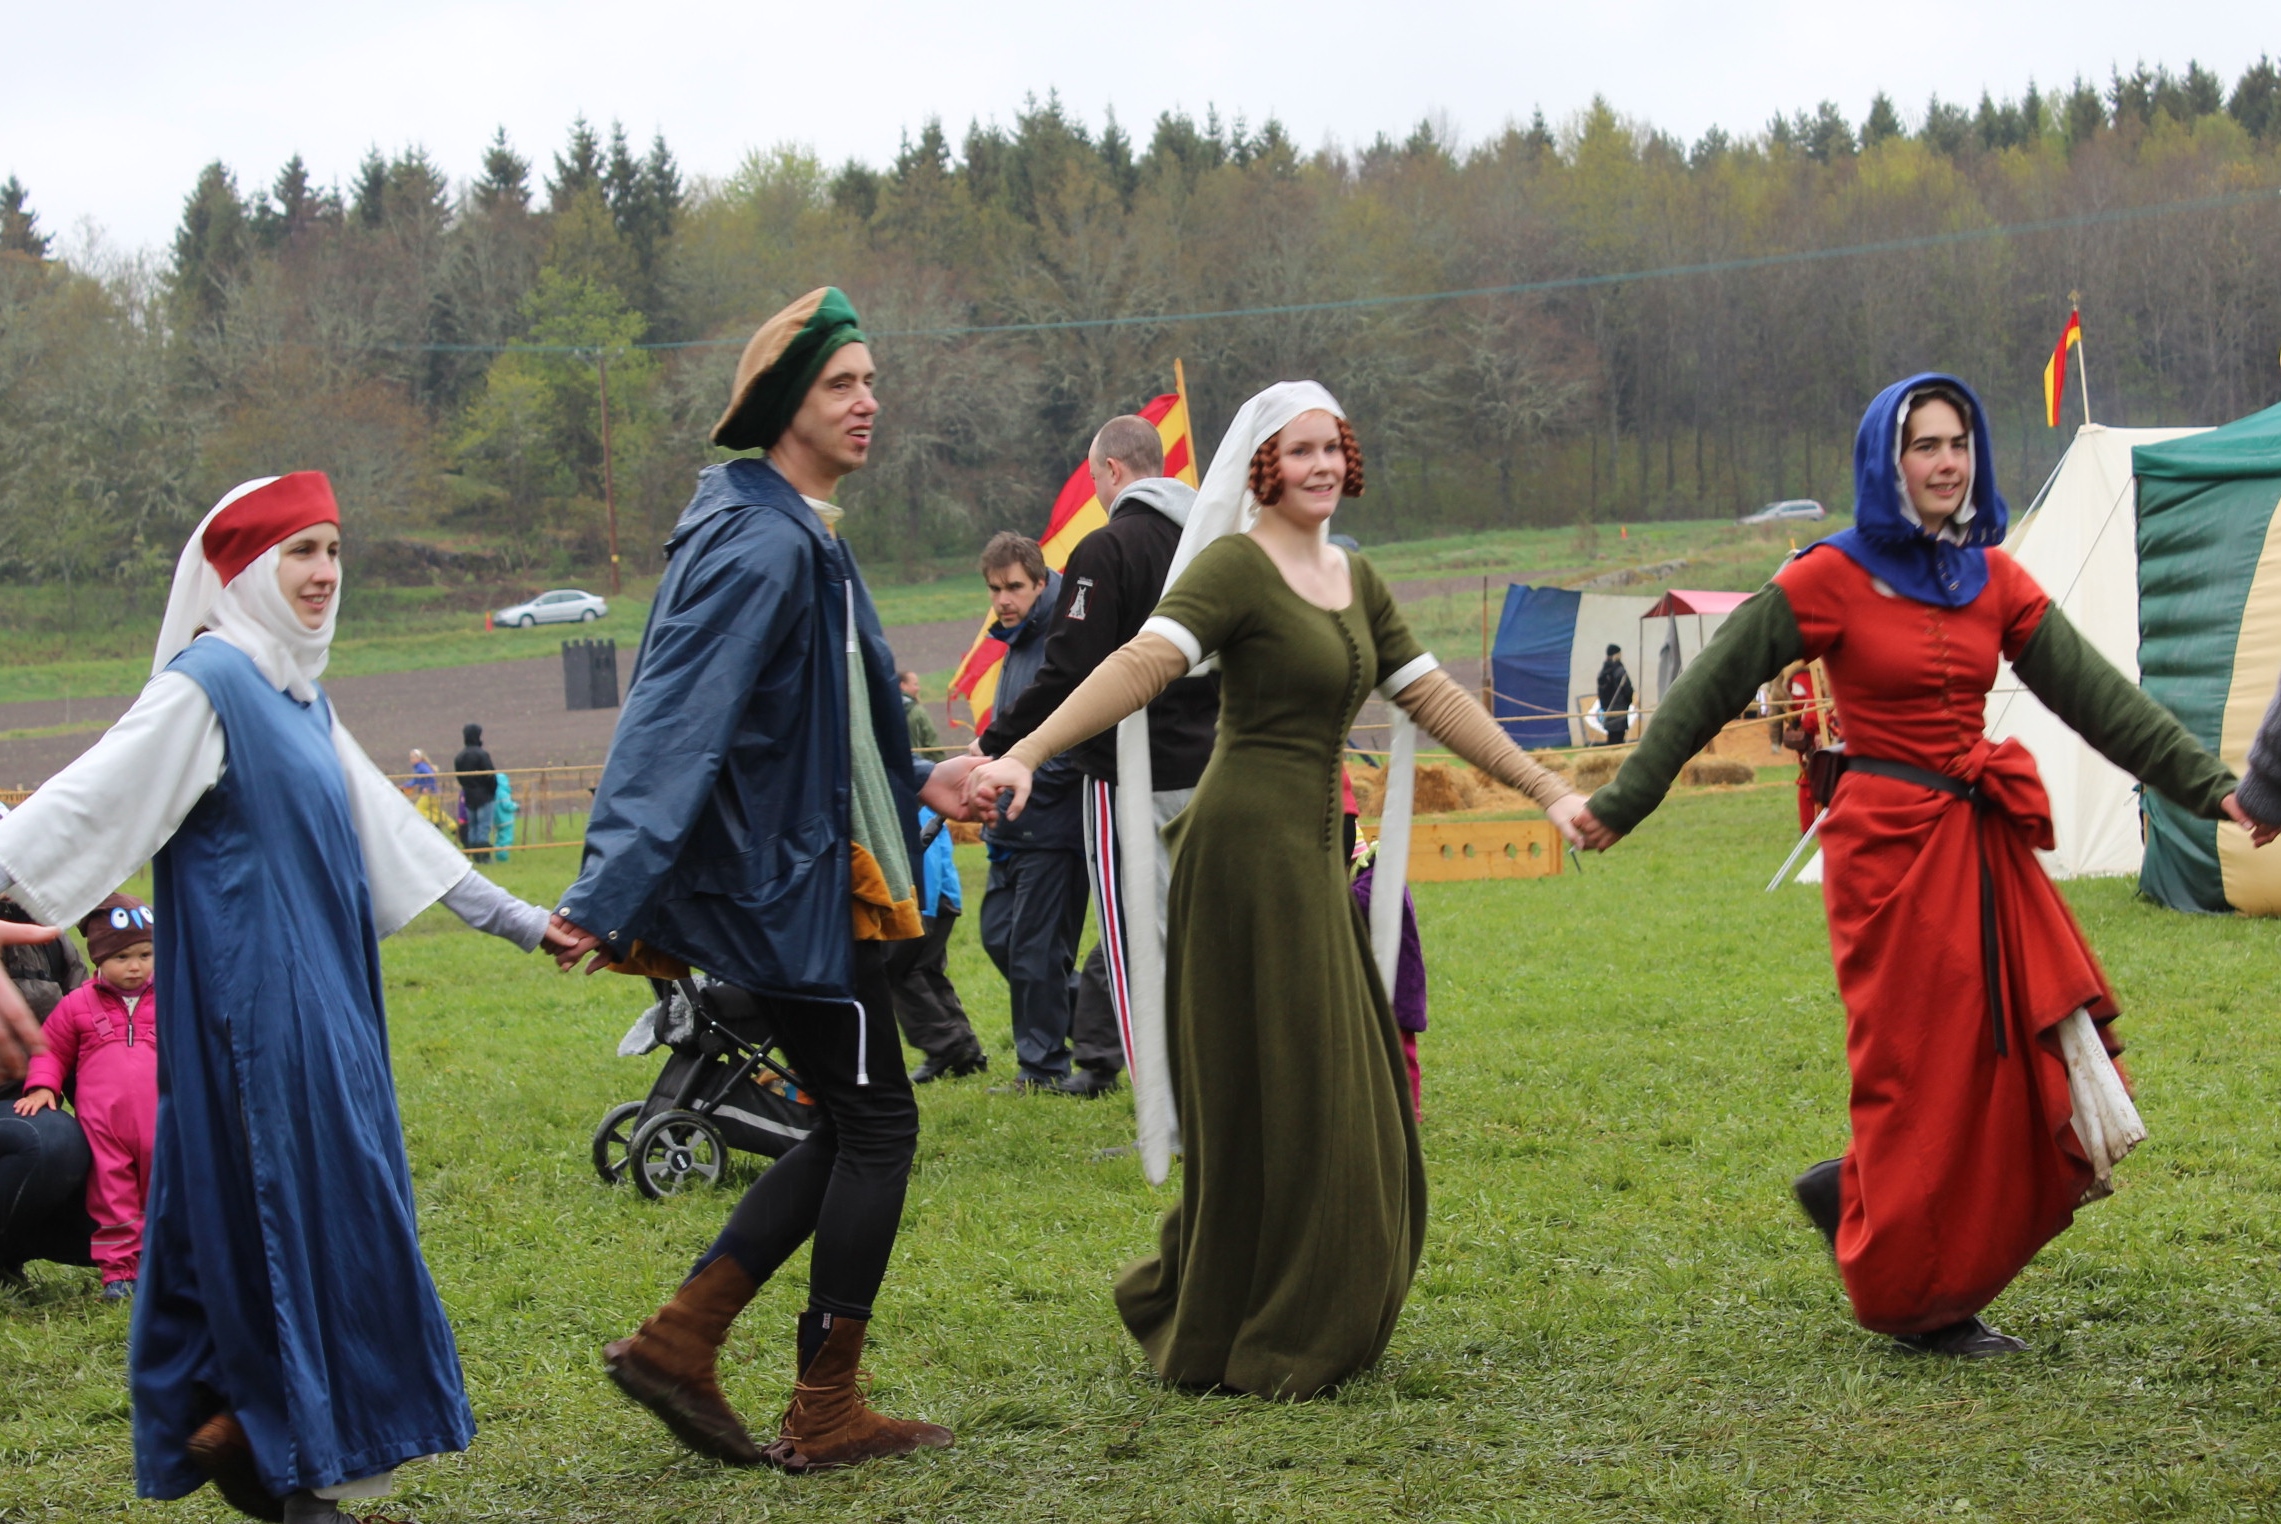
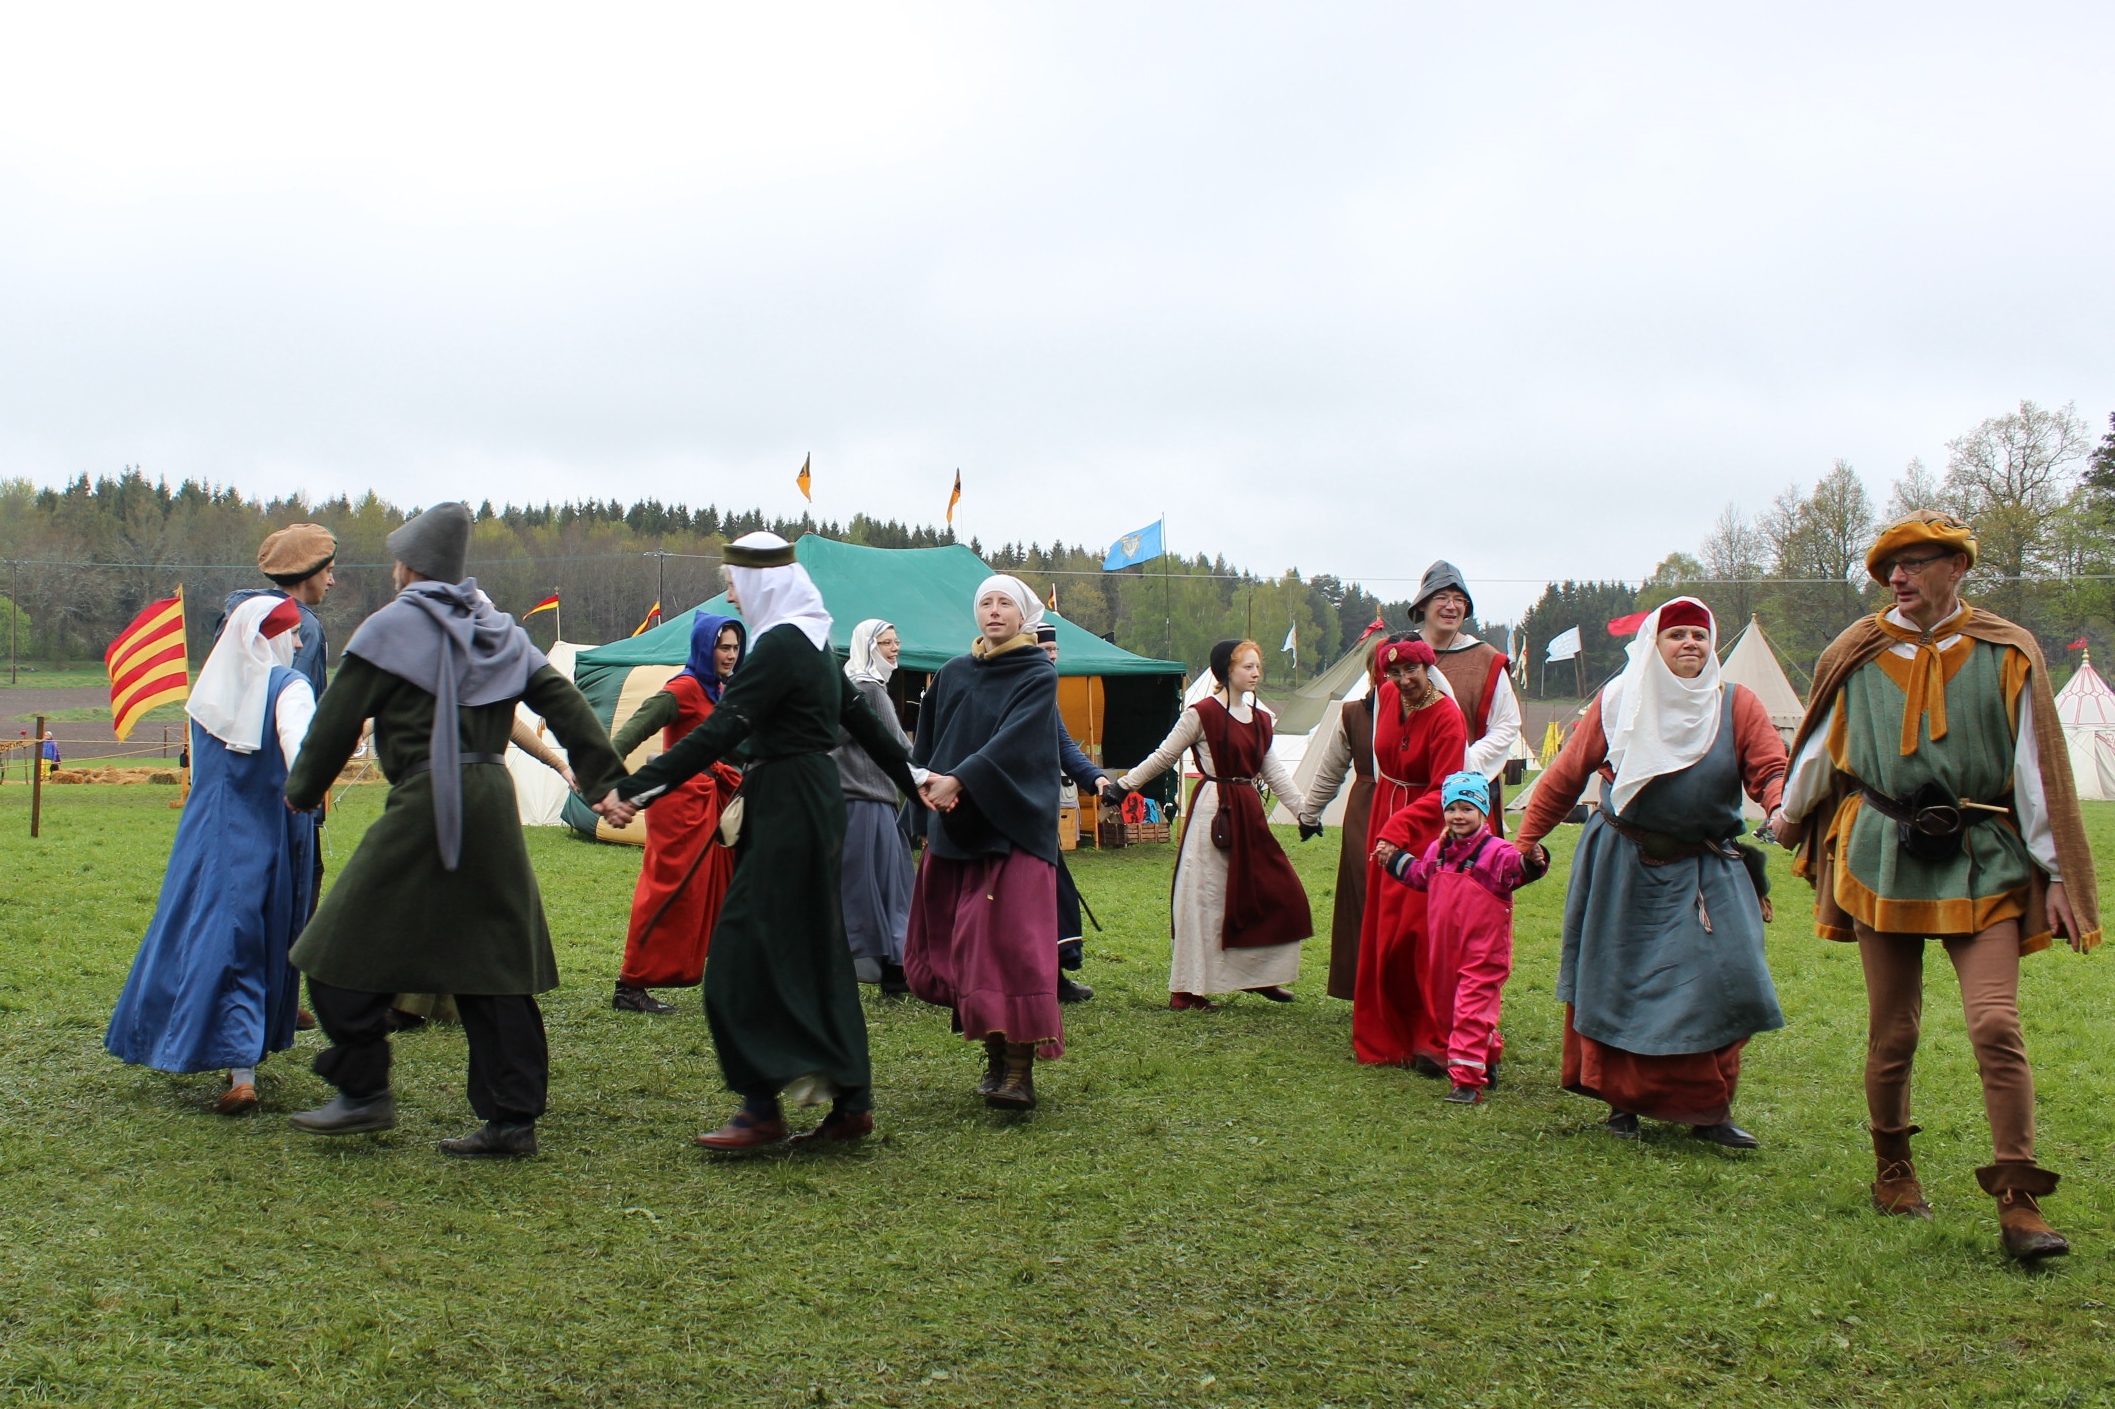
 Some of the members of the historical dance group.