The Day of the Big Crinolines 2017

After months of “planing” (which included me asking around for interest, sending a few emails, and making a quick poster/flyer), the “Day of the big Crinolines” (2017) was finally upon us :-).

A quick poster made from a photo from last year. 

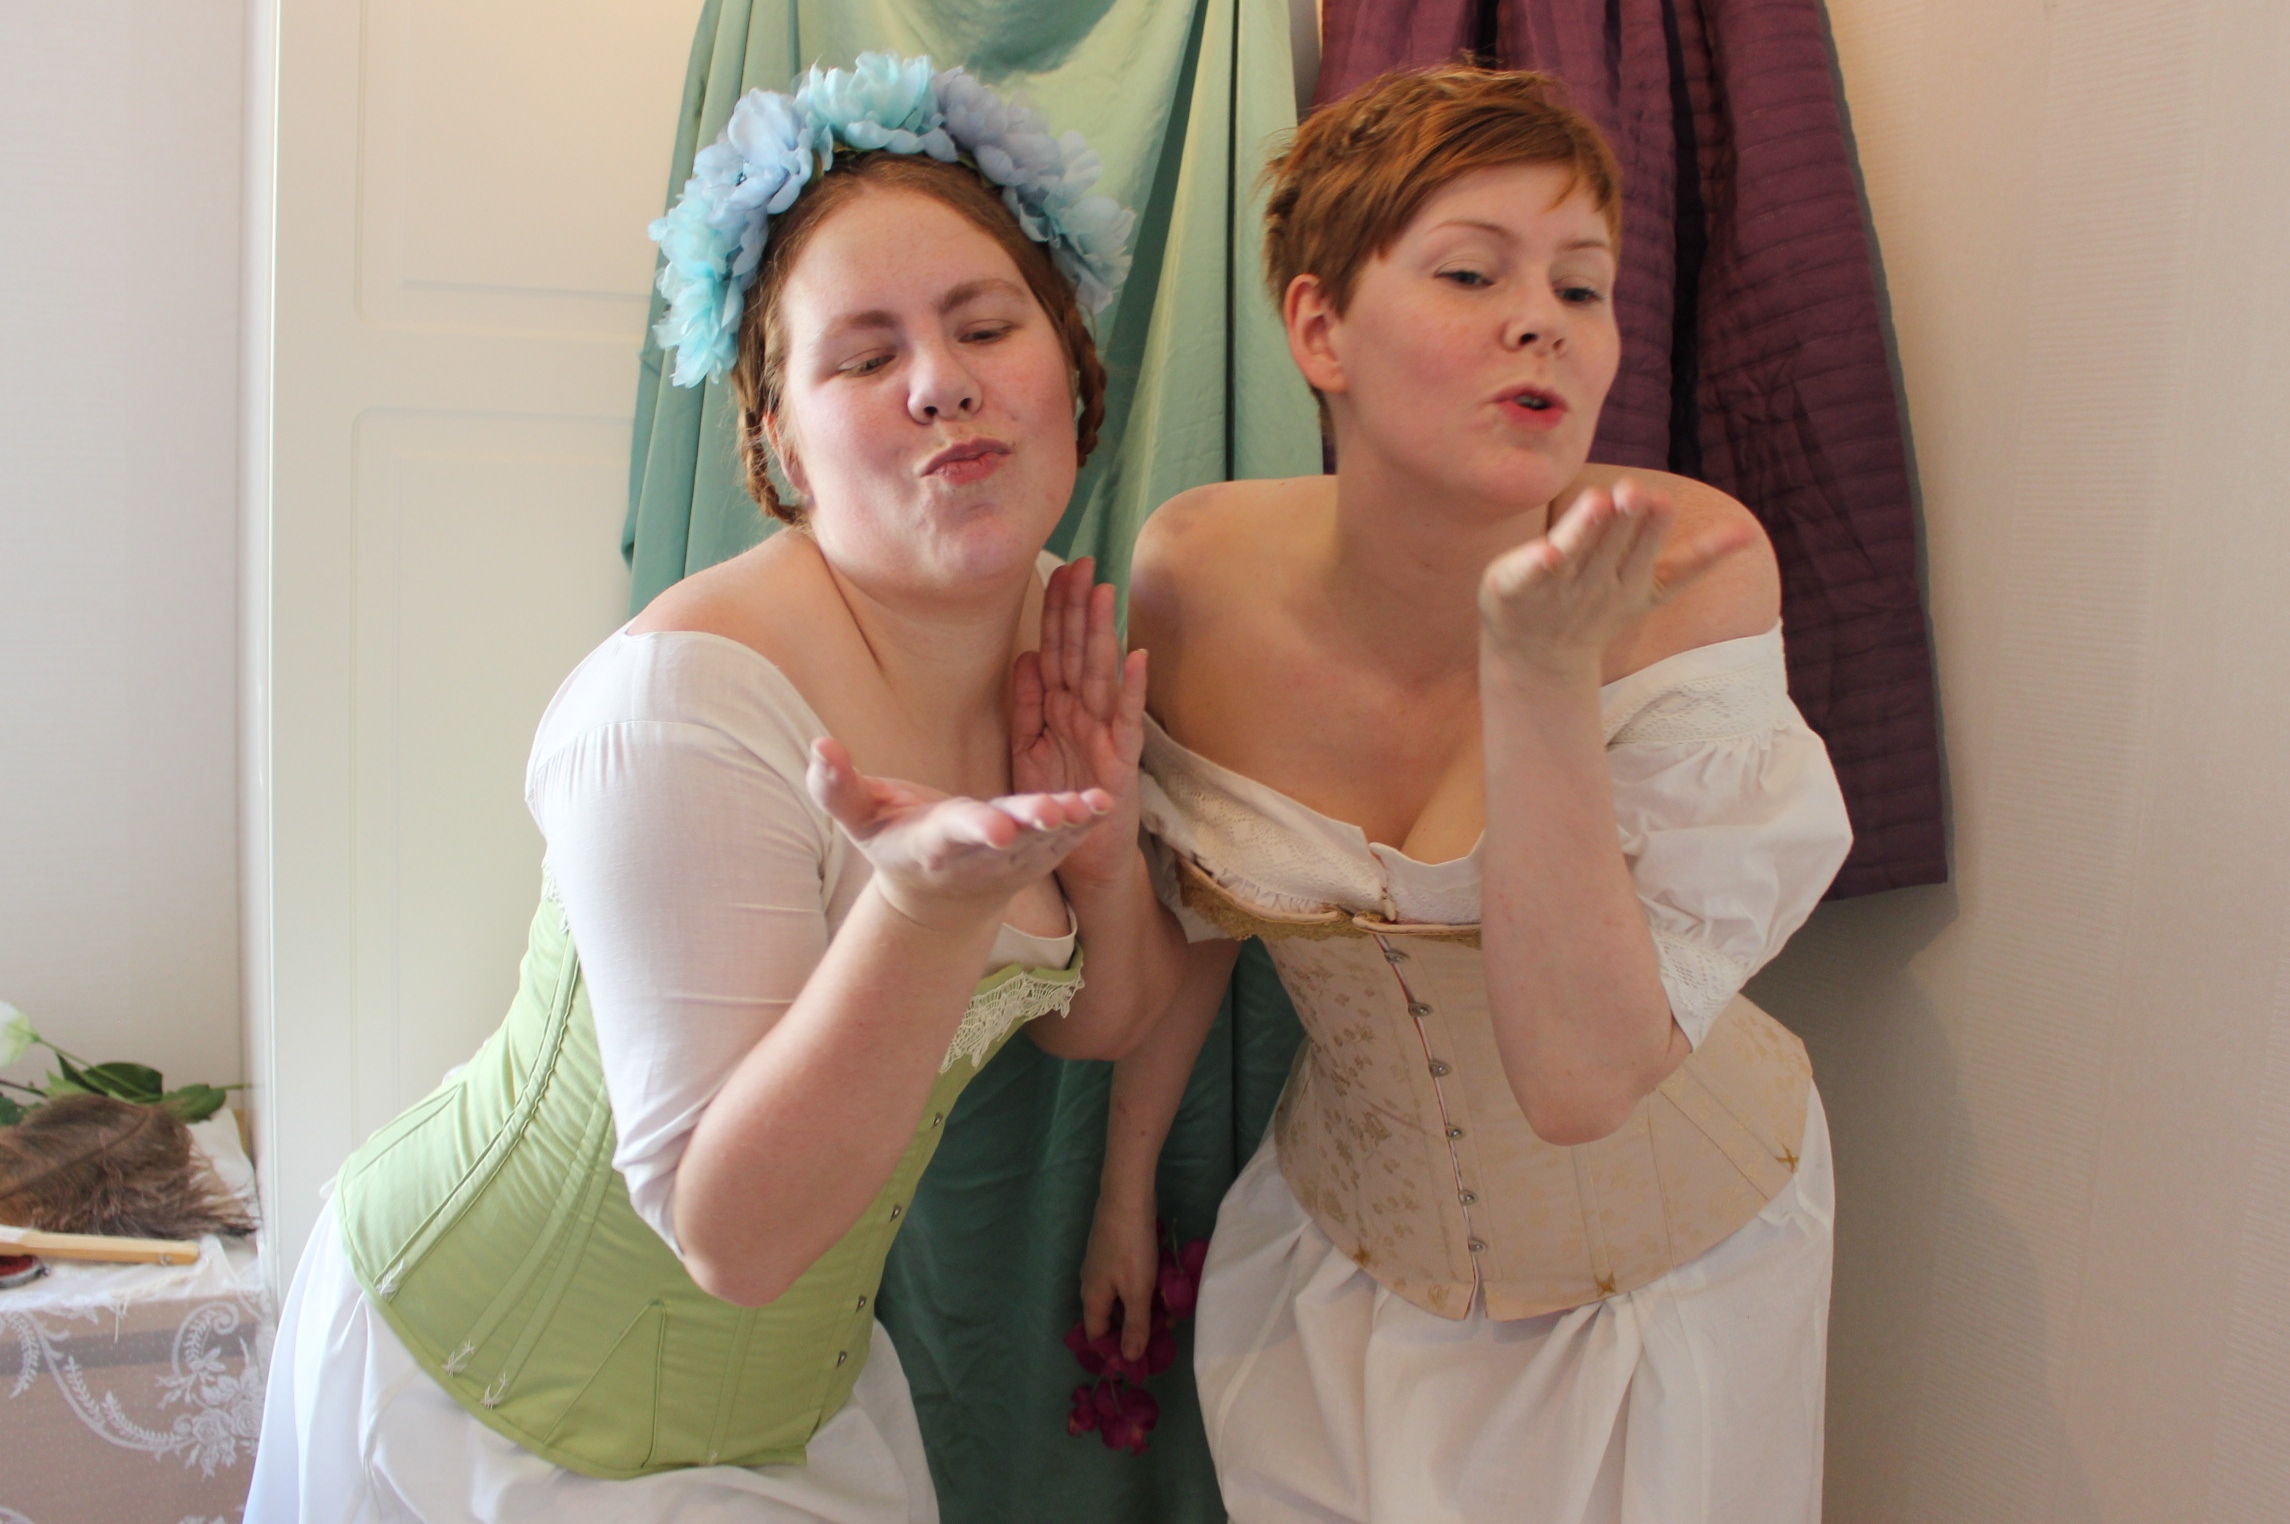
Some of you (especially if you follow me on Instagram) might recall, I’d had a bit of a clothing dilemma the weeks leading up to this event.
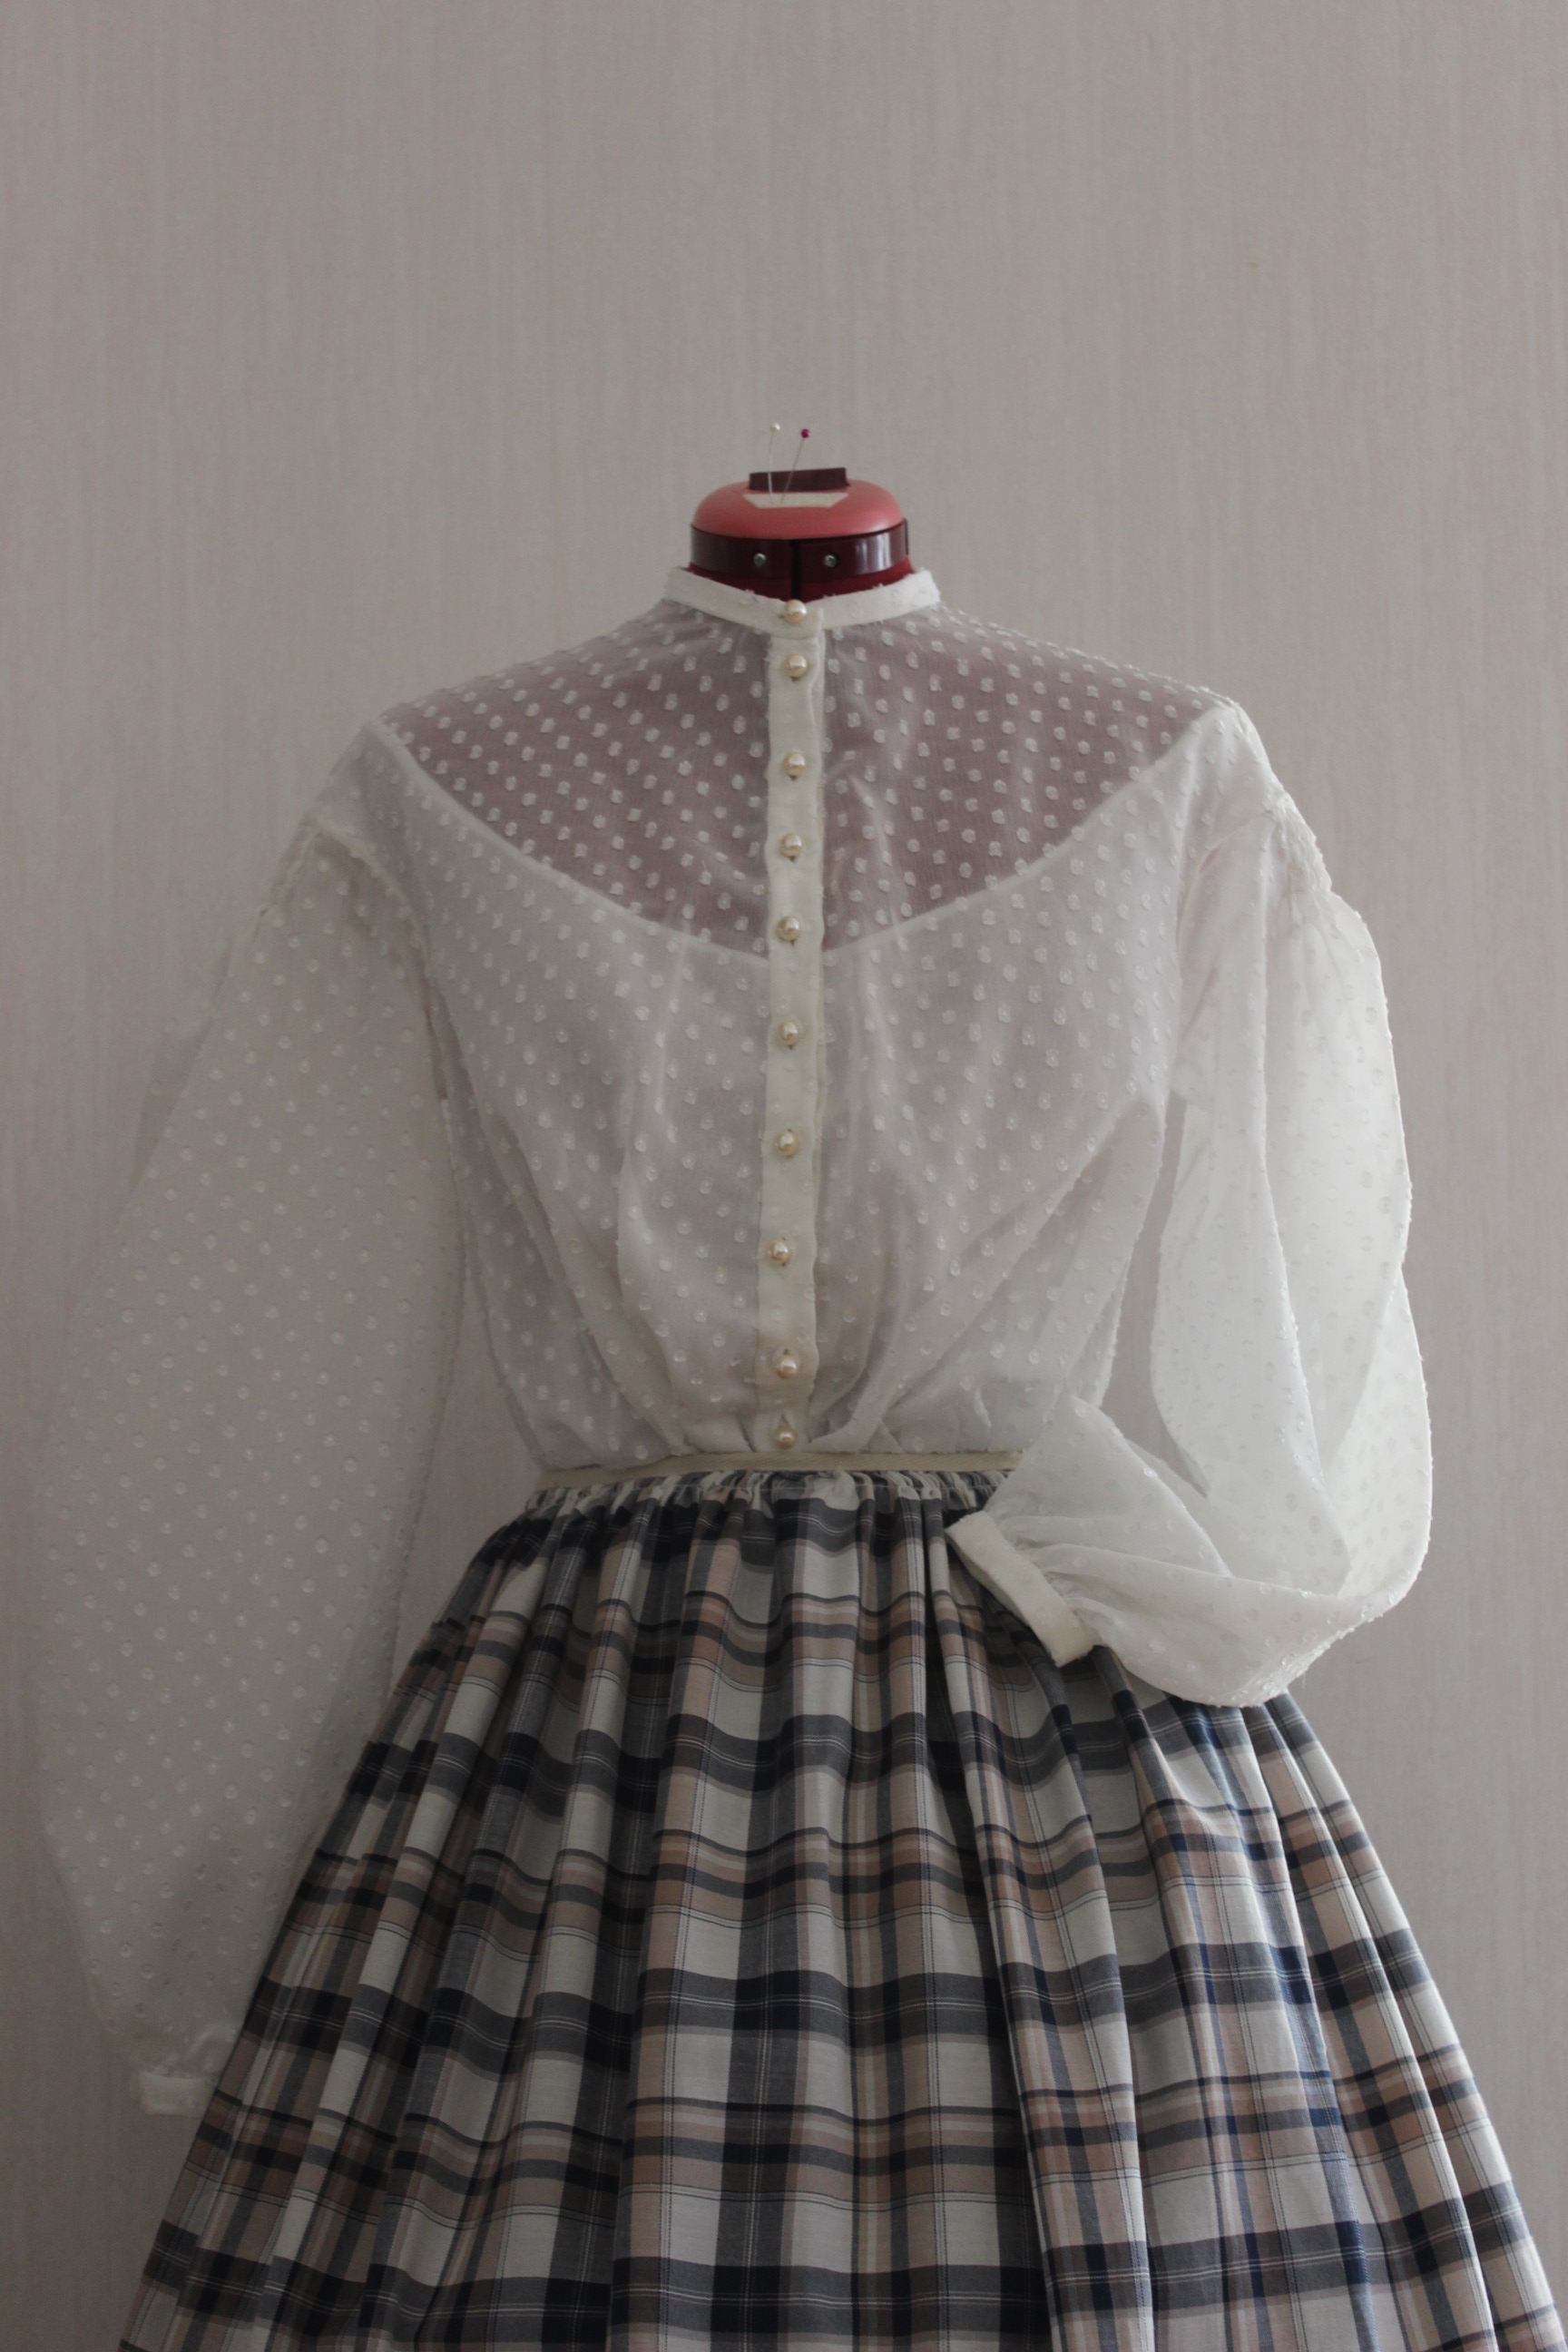
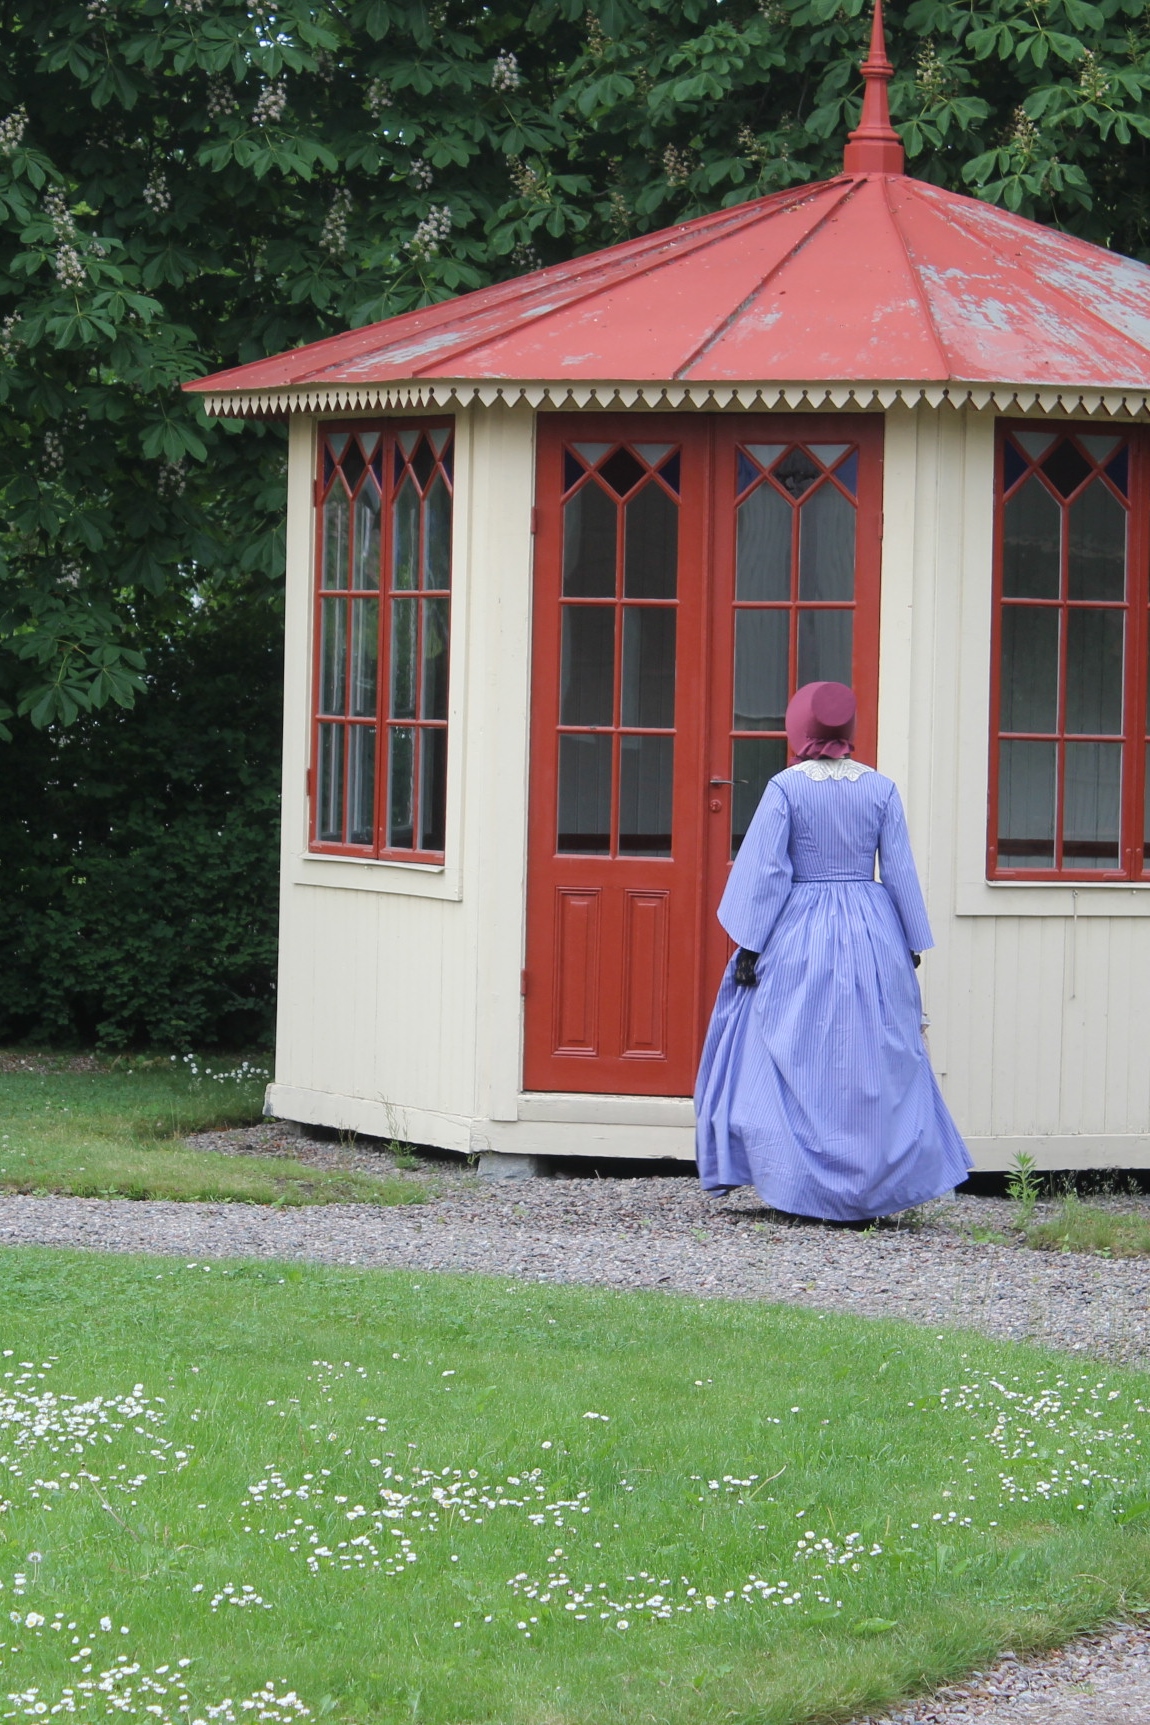
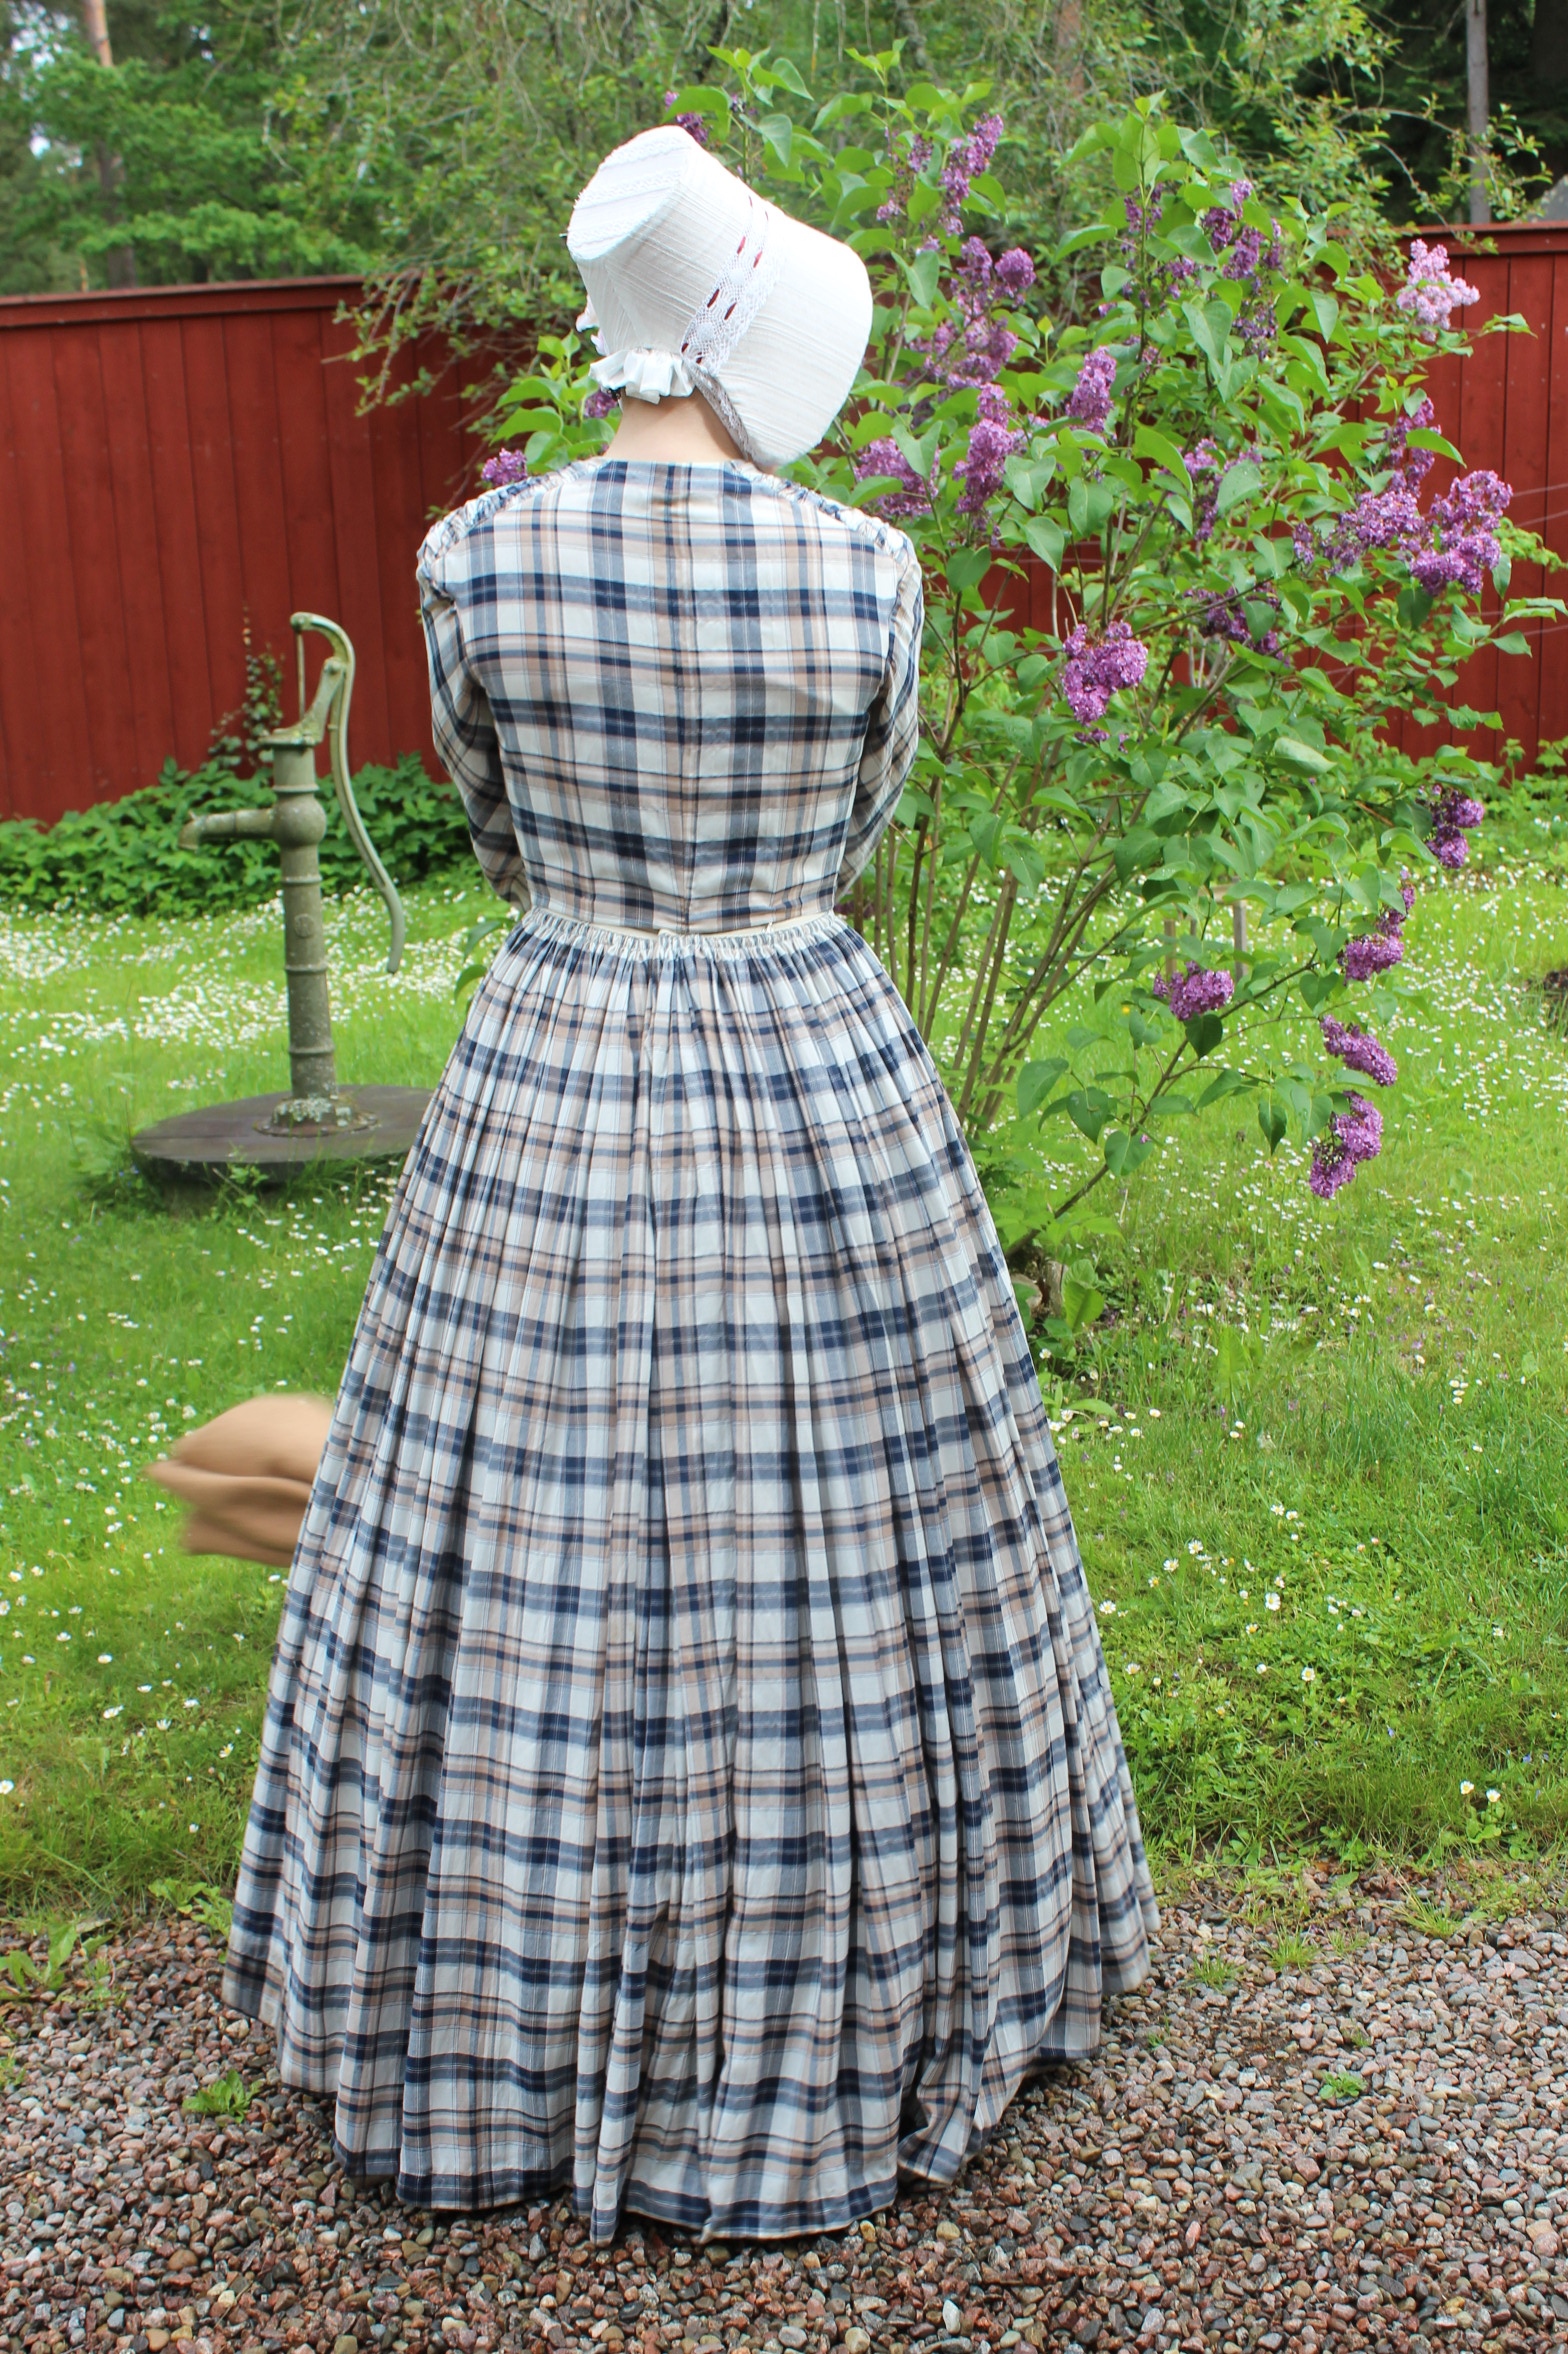
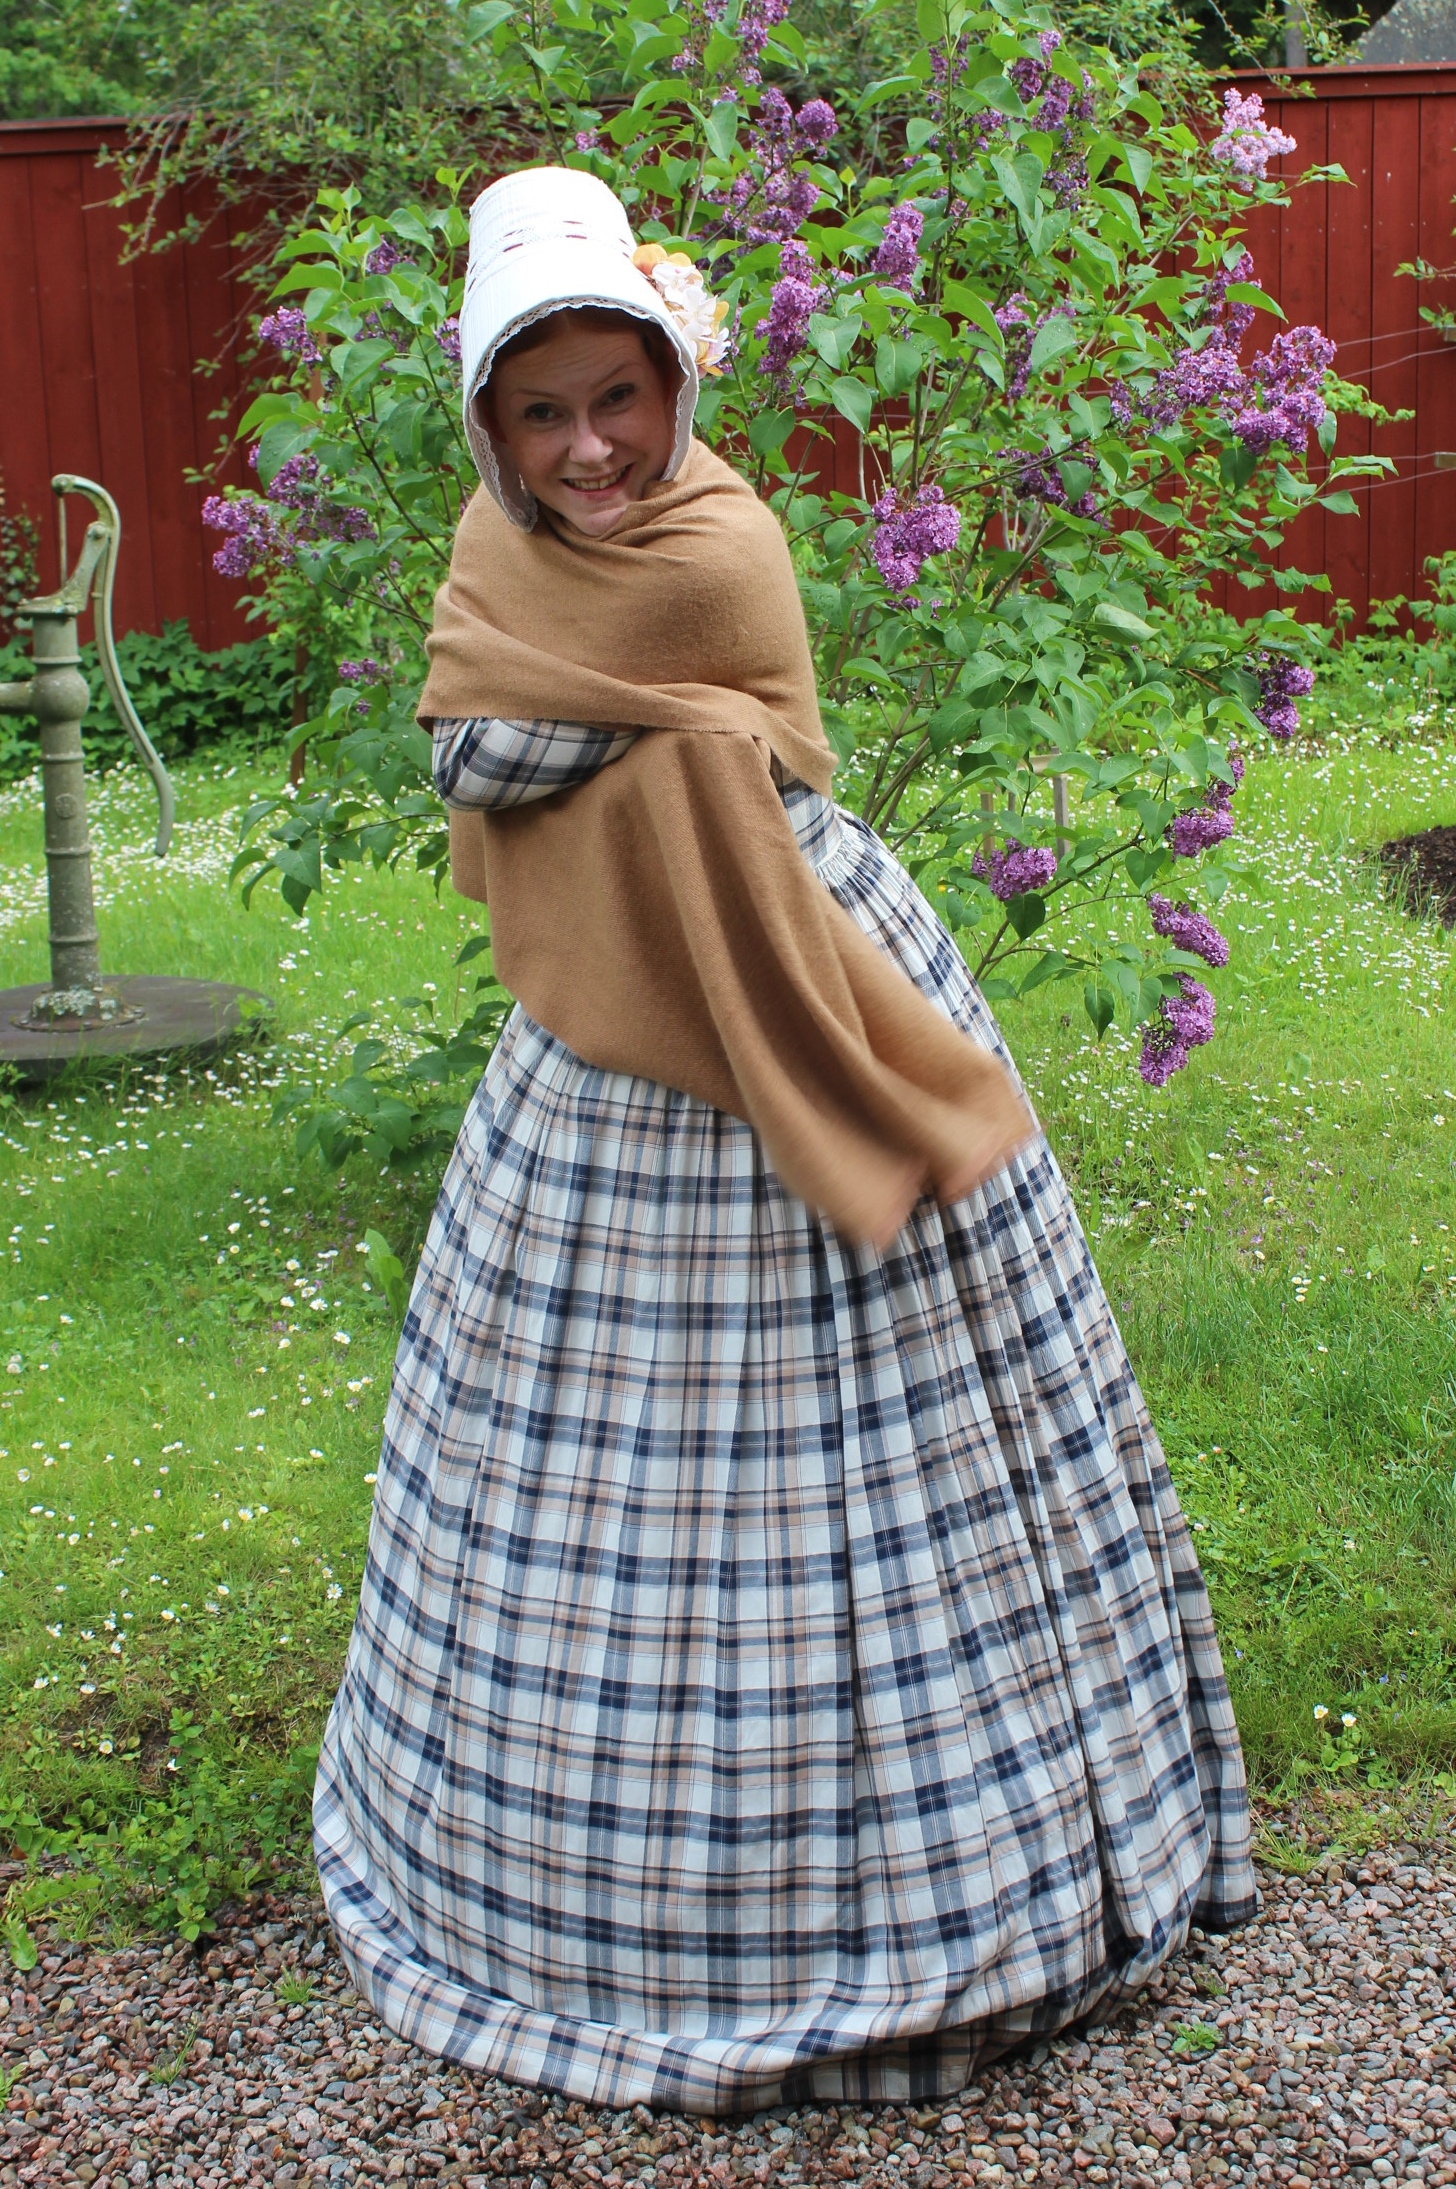
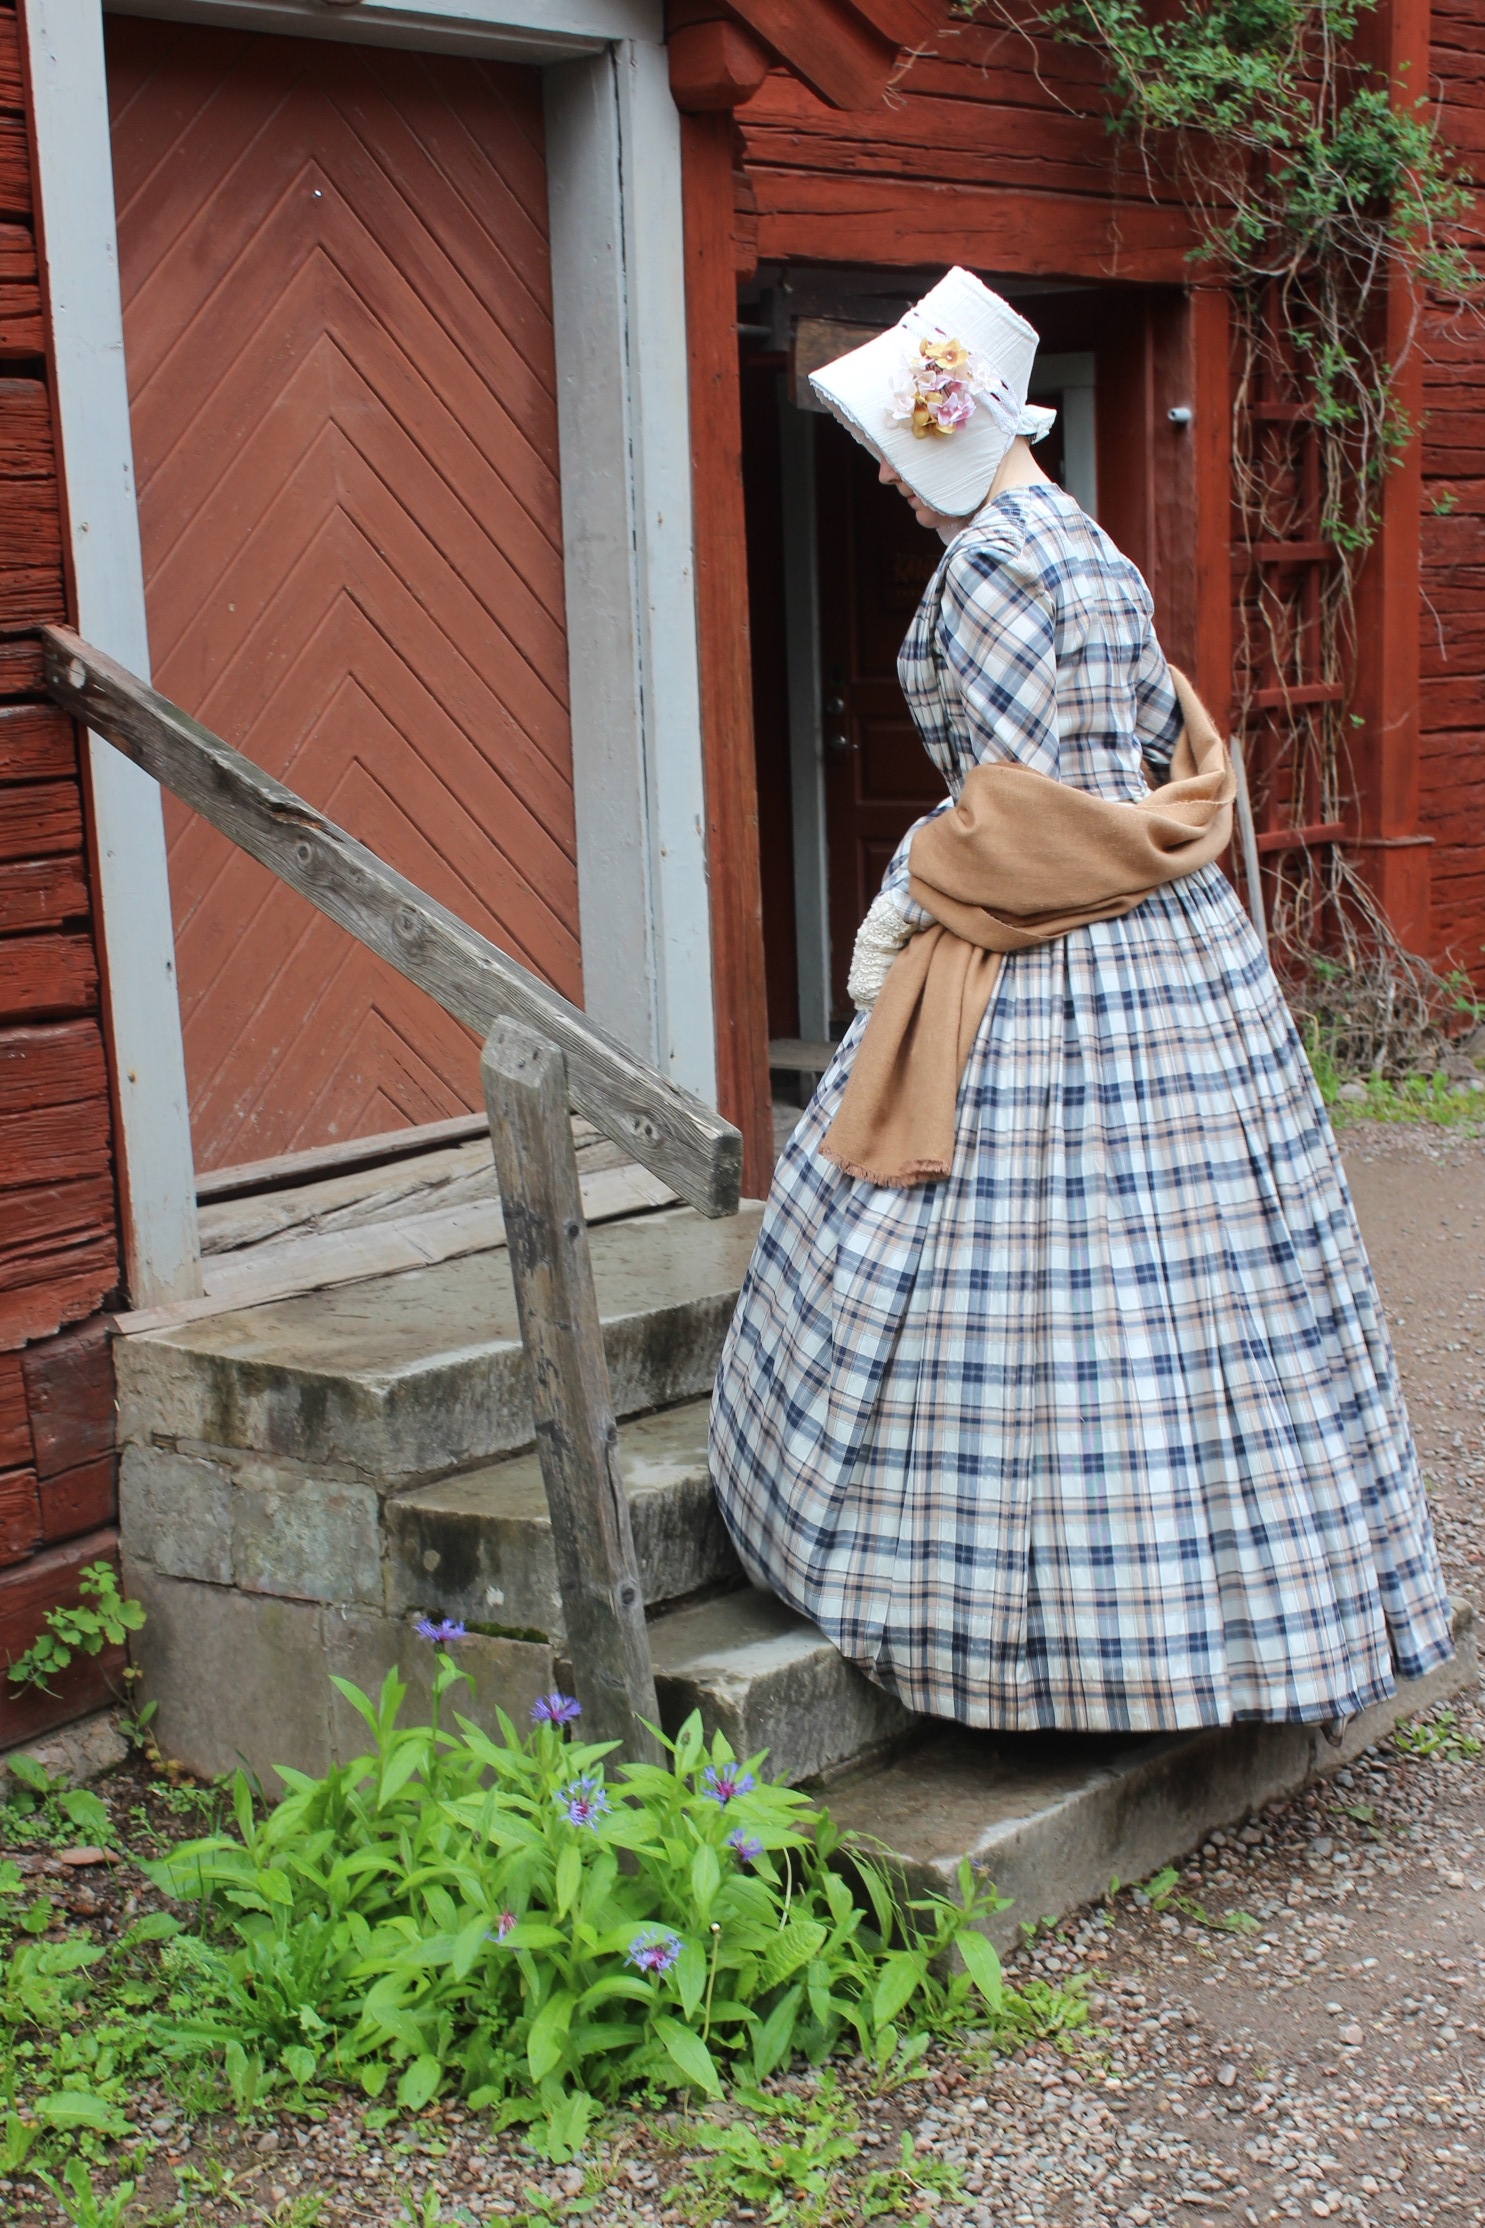
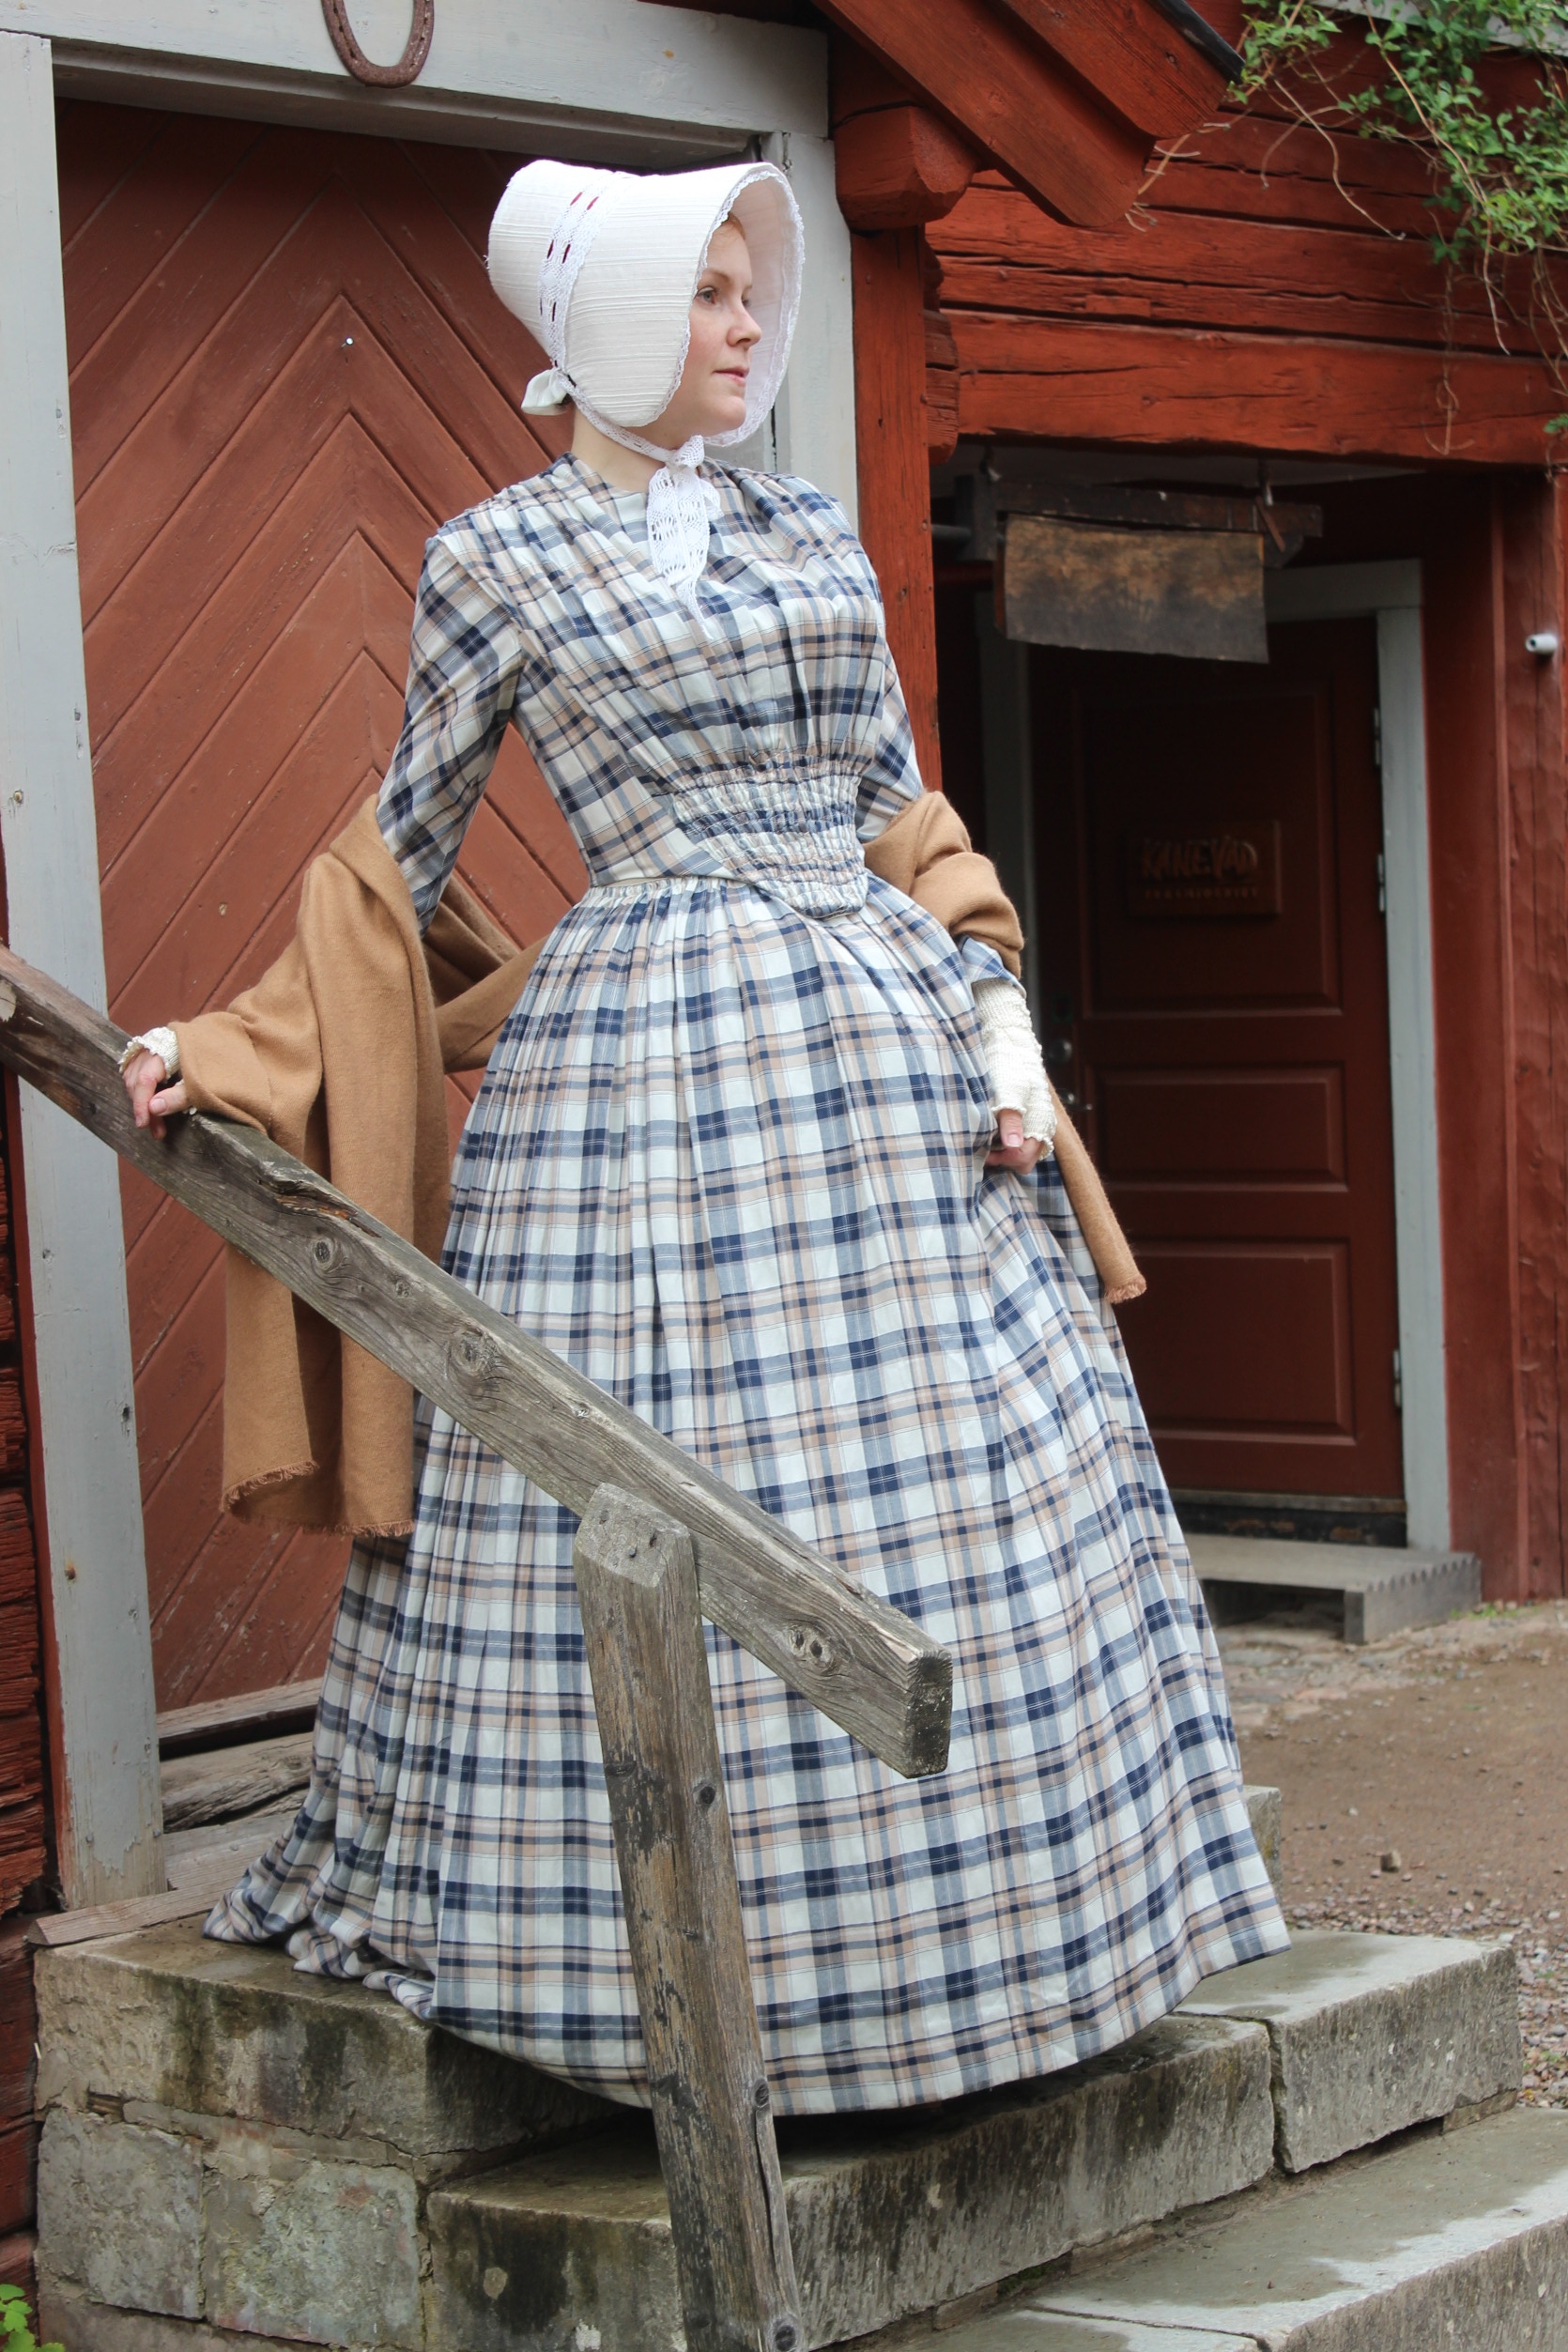
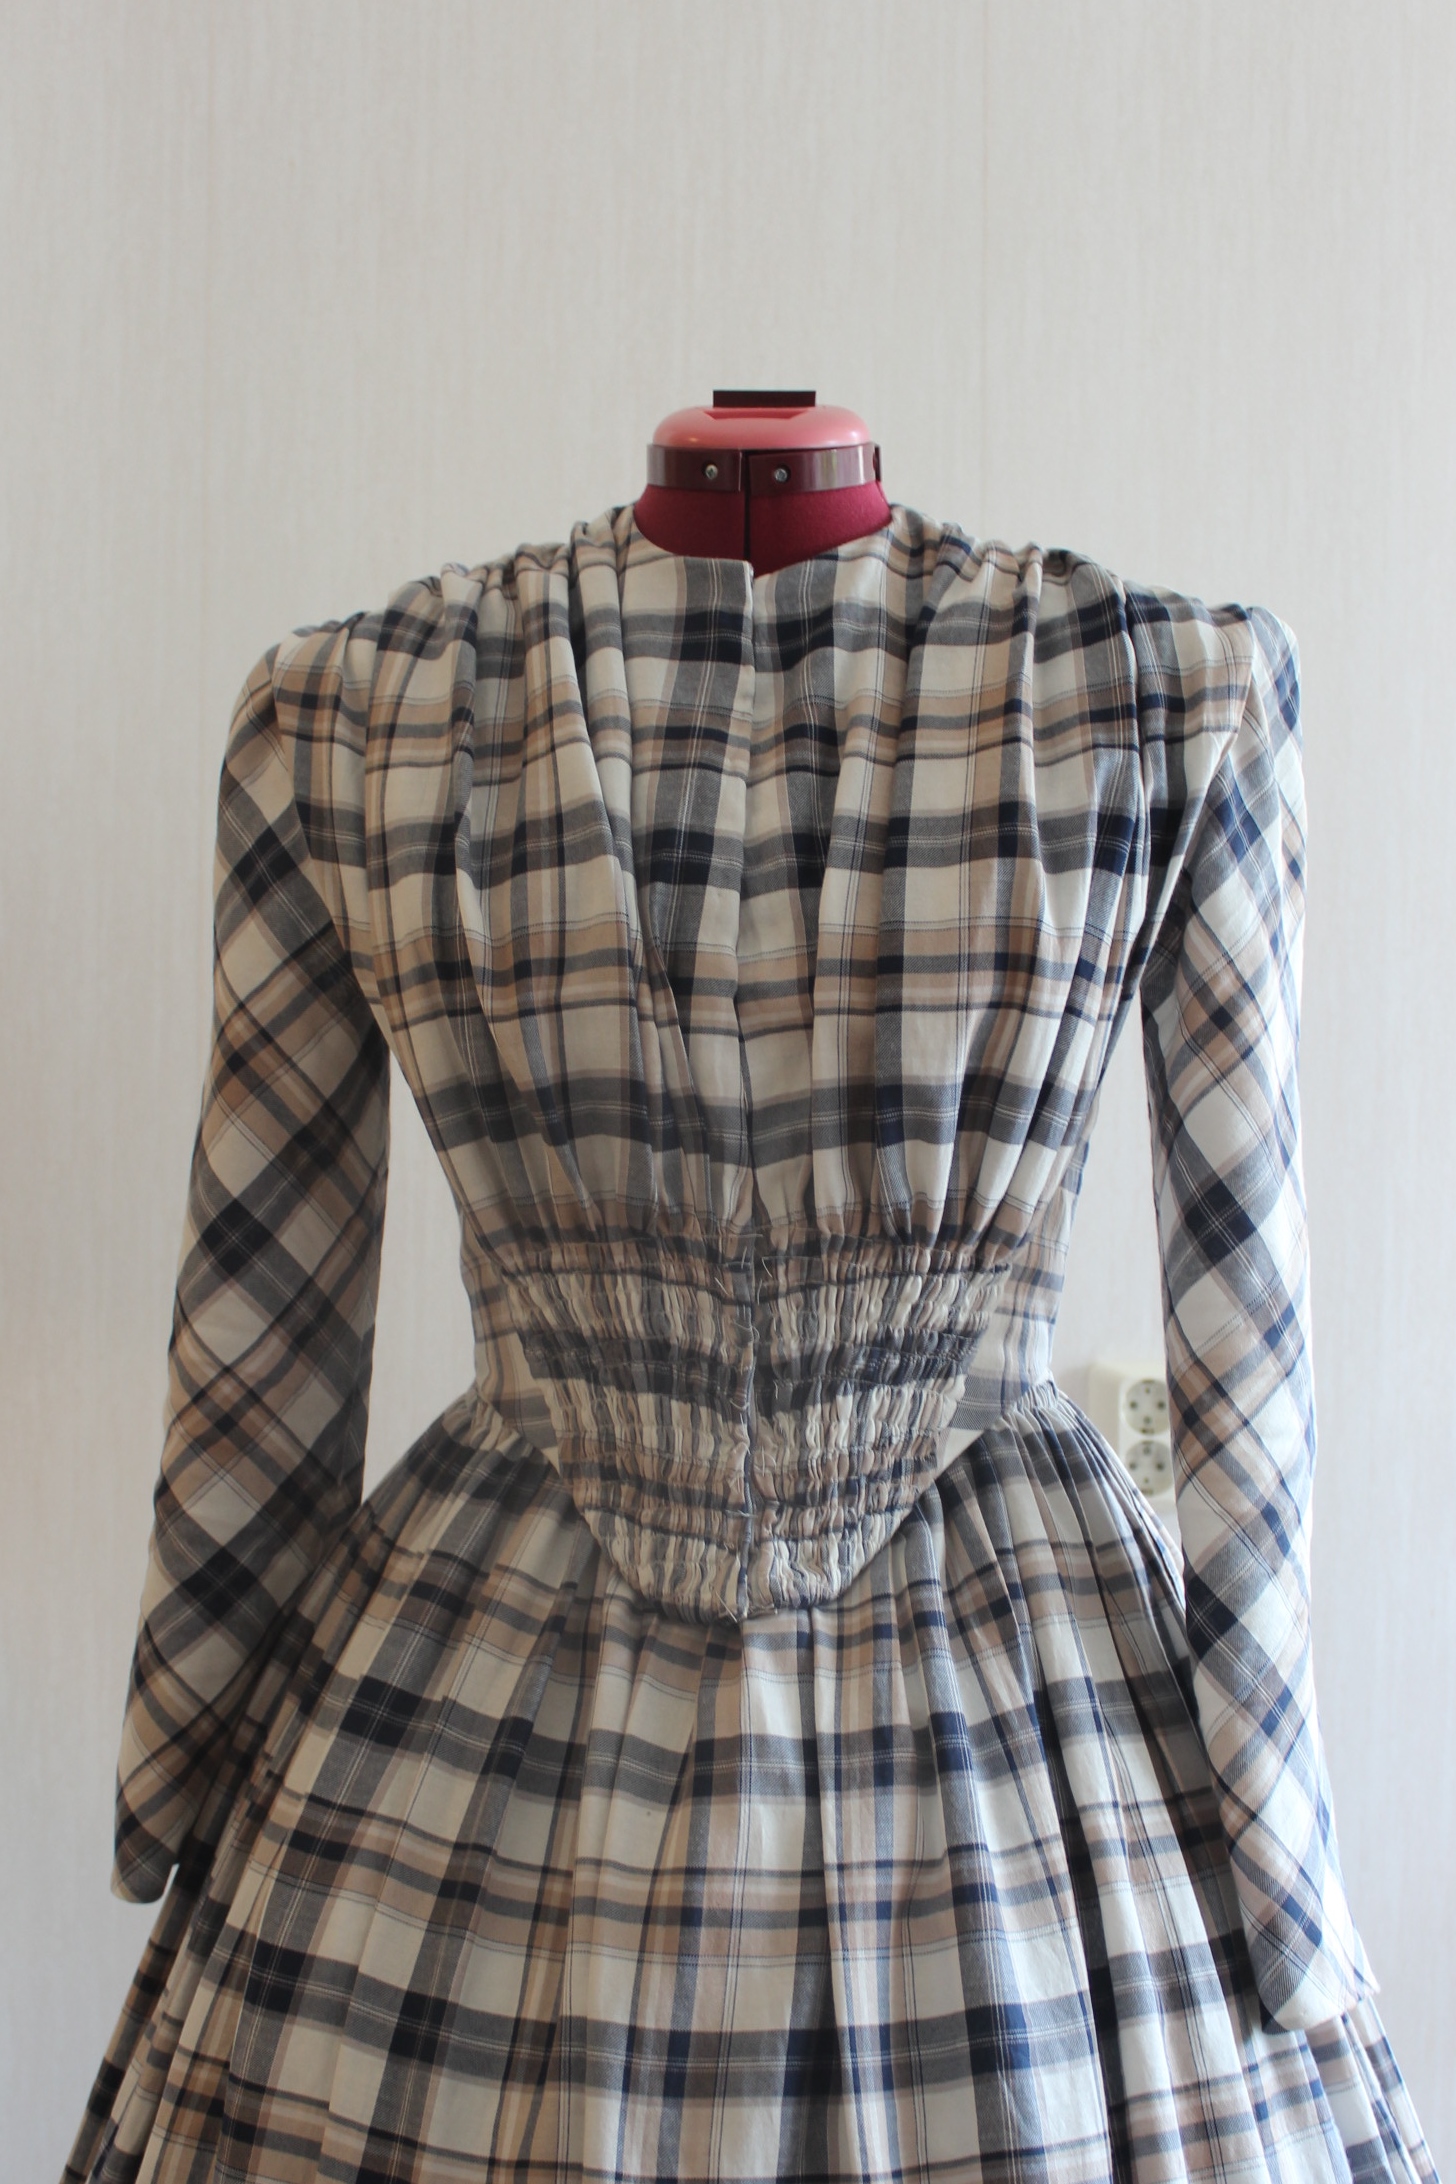
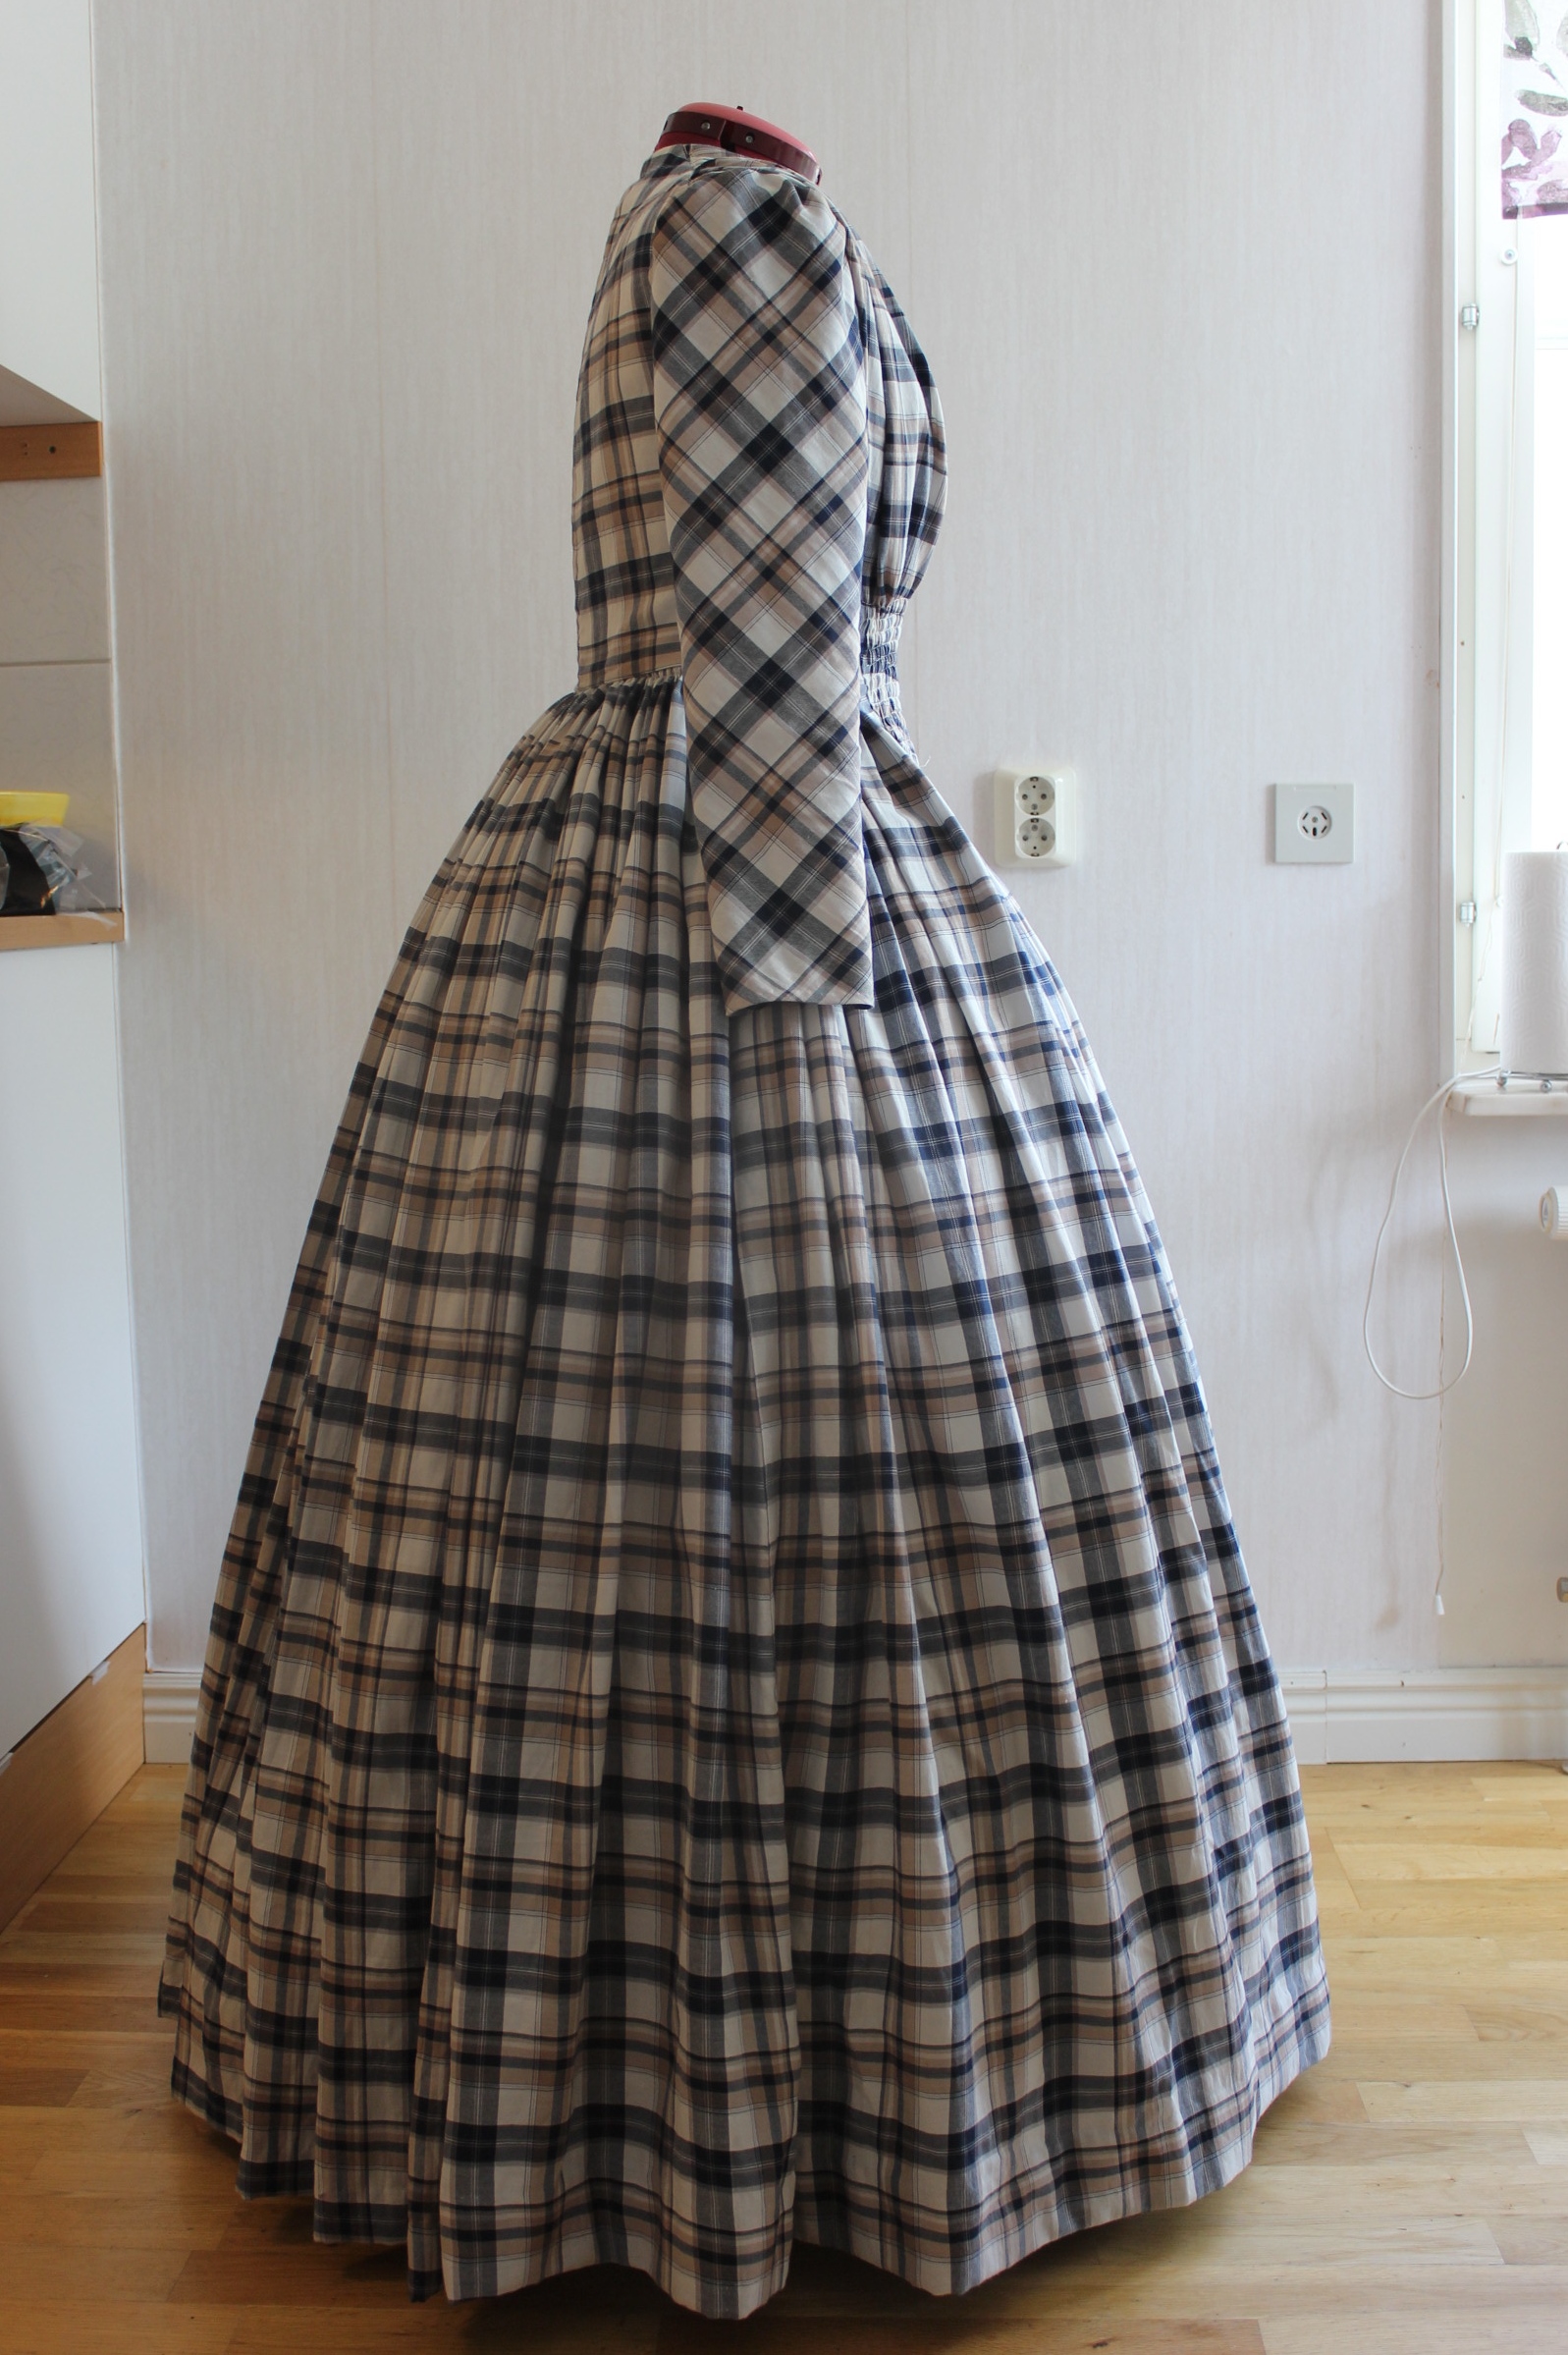
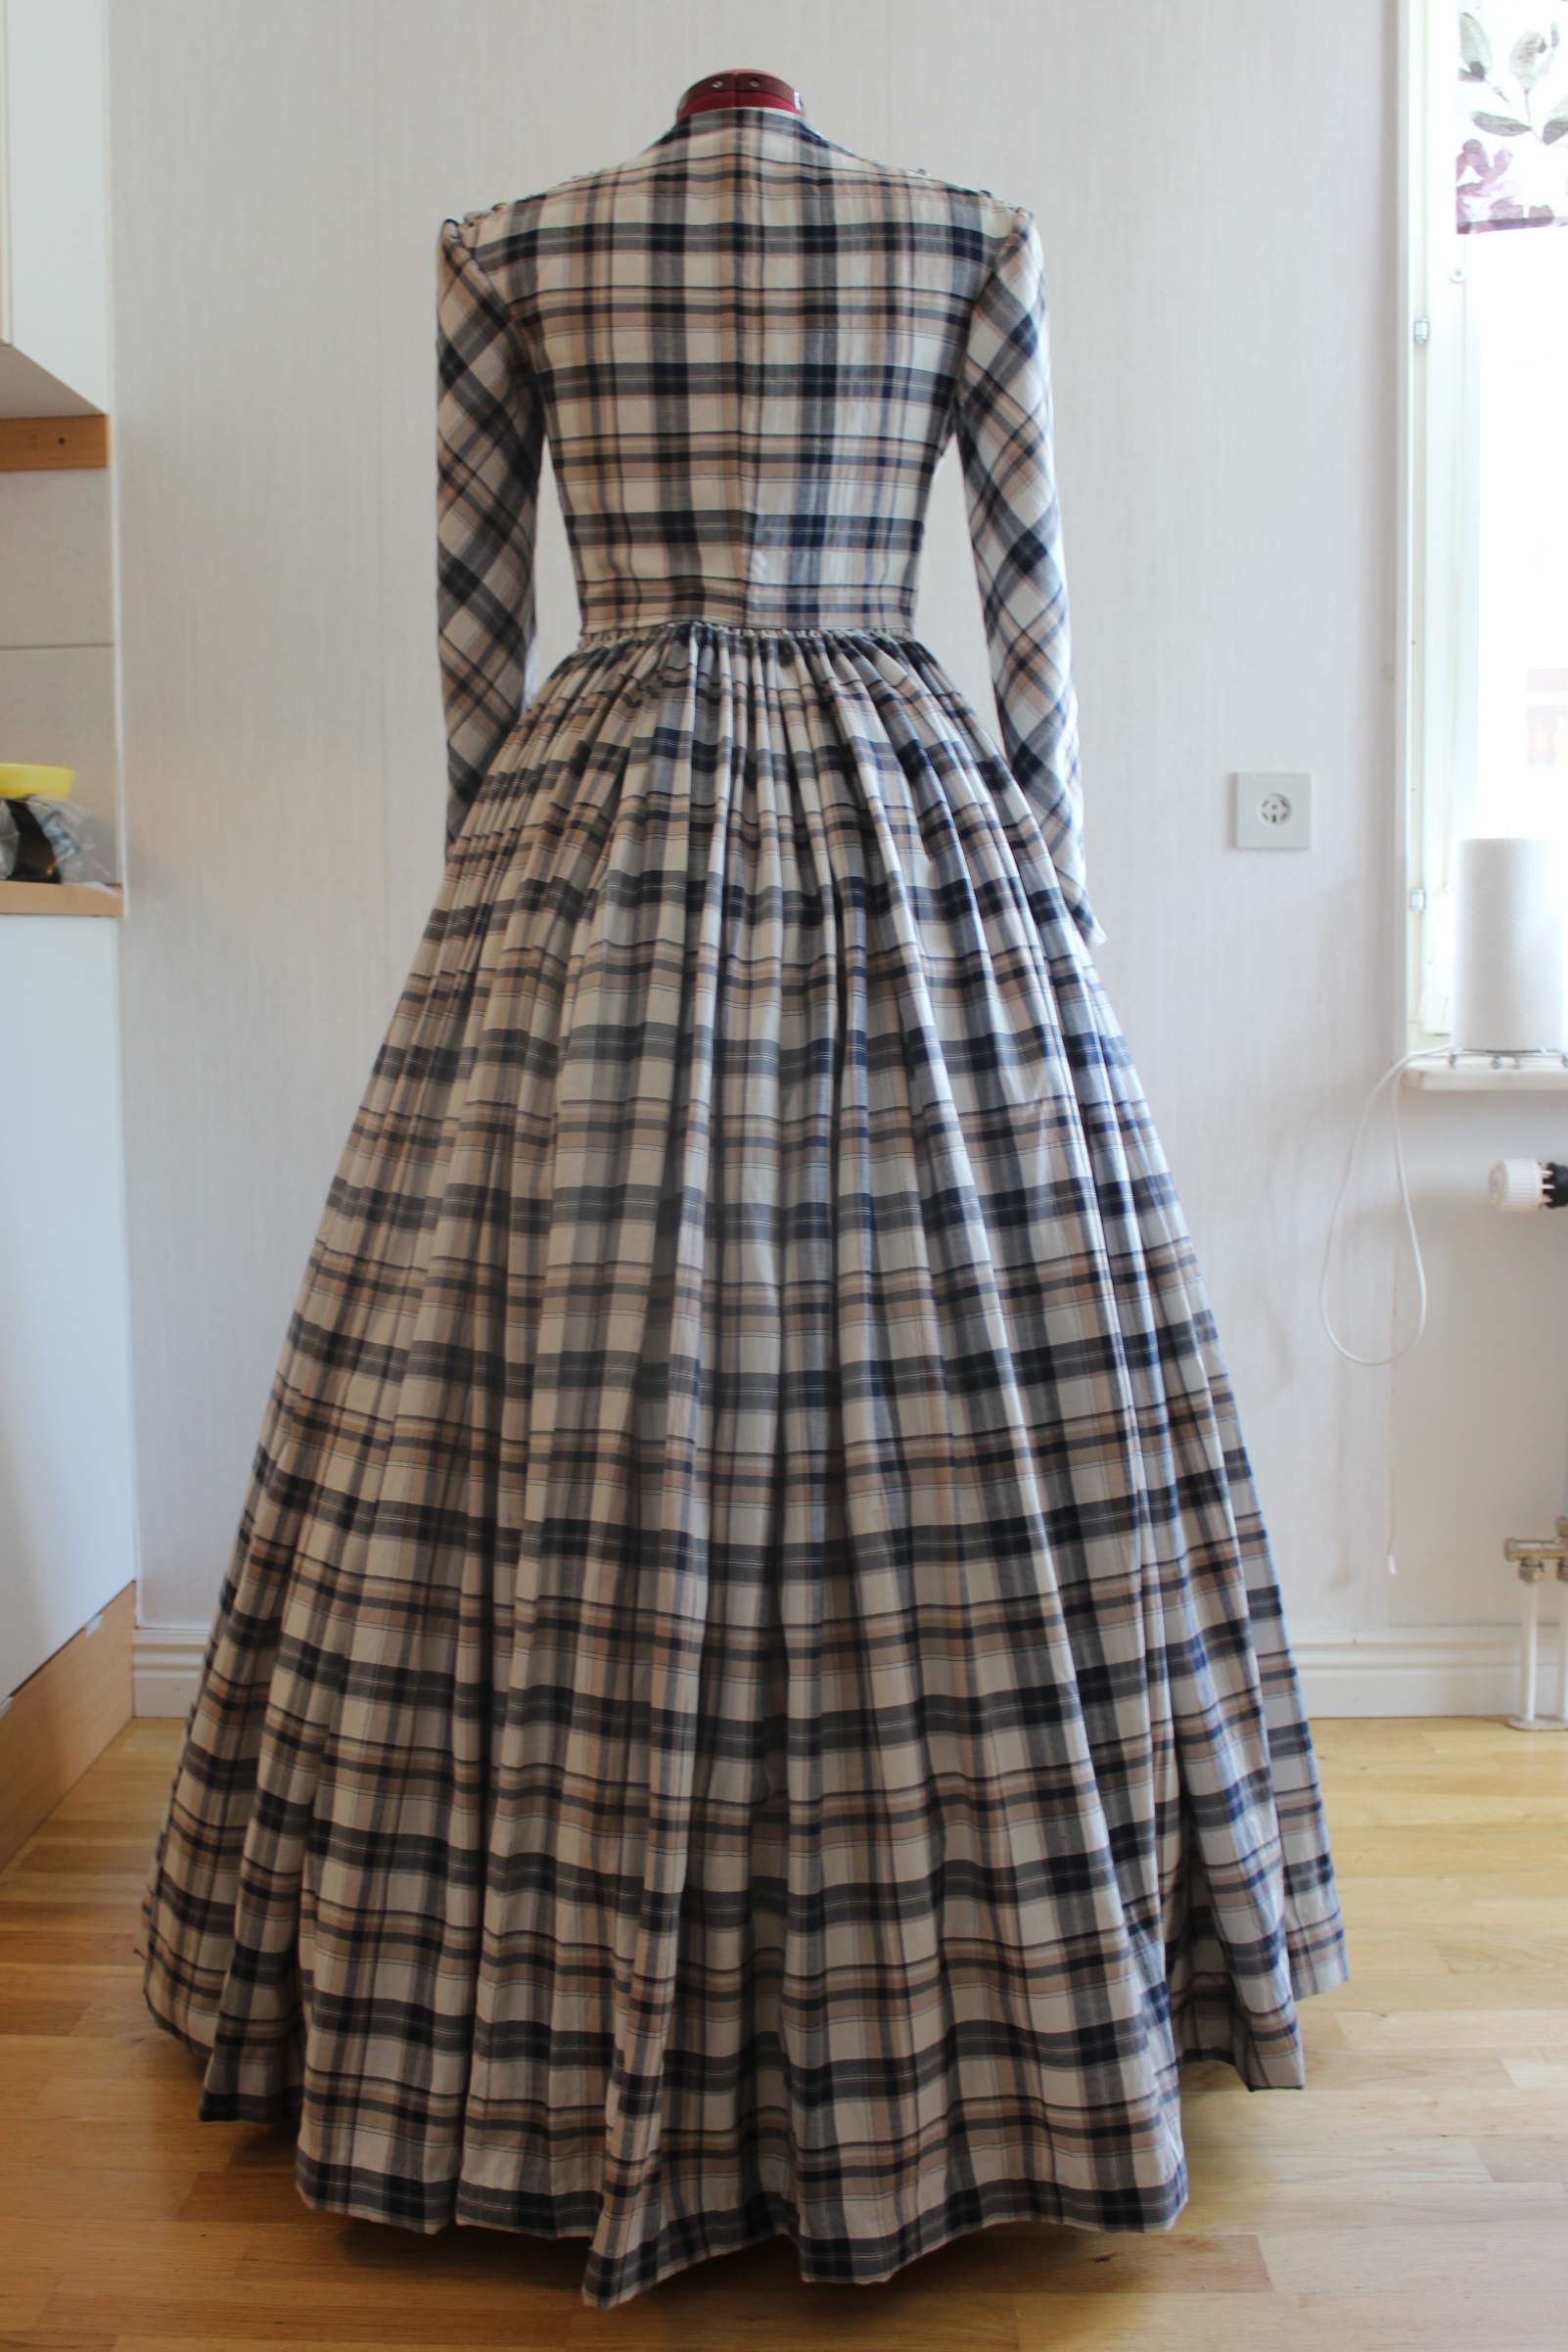
But after lots of answer, and I really mean A LOT, (Thank you to all who took their time to give me their thoughts and opinions 🙂 ) I came to the decision, of which you’d probably already aware – To wear the white plaid dress with the white bonnet (pic 2 & 6), disregarding the fact I wore that exact dress last time.This pic was posted to my Instagram together with the question of which outfit I should choose, and generated about 50 comments. Surprisingly many of you picked matching outfits (green dress with green bonnet and so on), even though I originally made the bonnets to go with the dress right above in the picture (1 & 4..).  

*Ok, so this post contains a lot of picture (all taken by me or my sister, if nothing else mentioned), and I will not speak so much about everything. Just a warning 😉

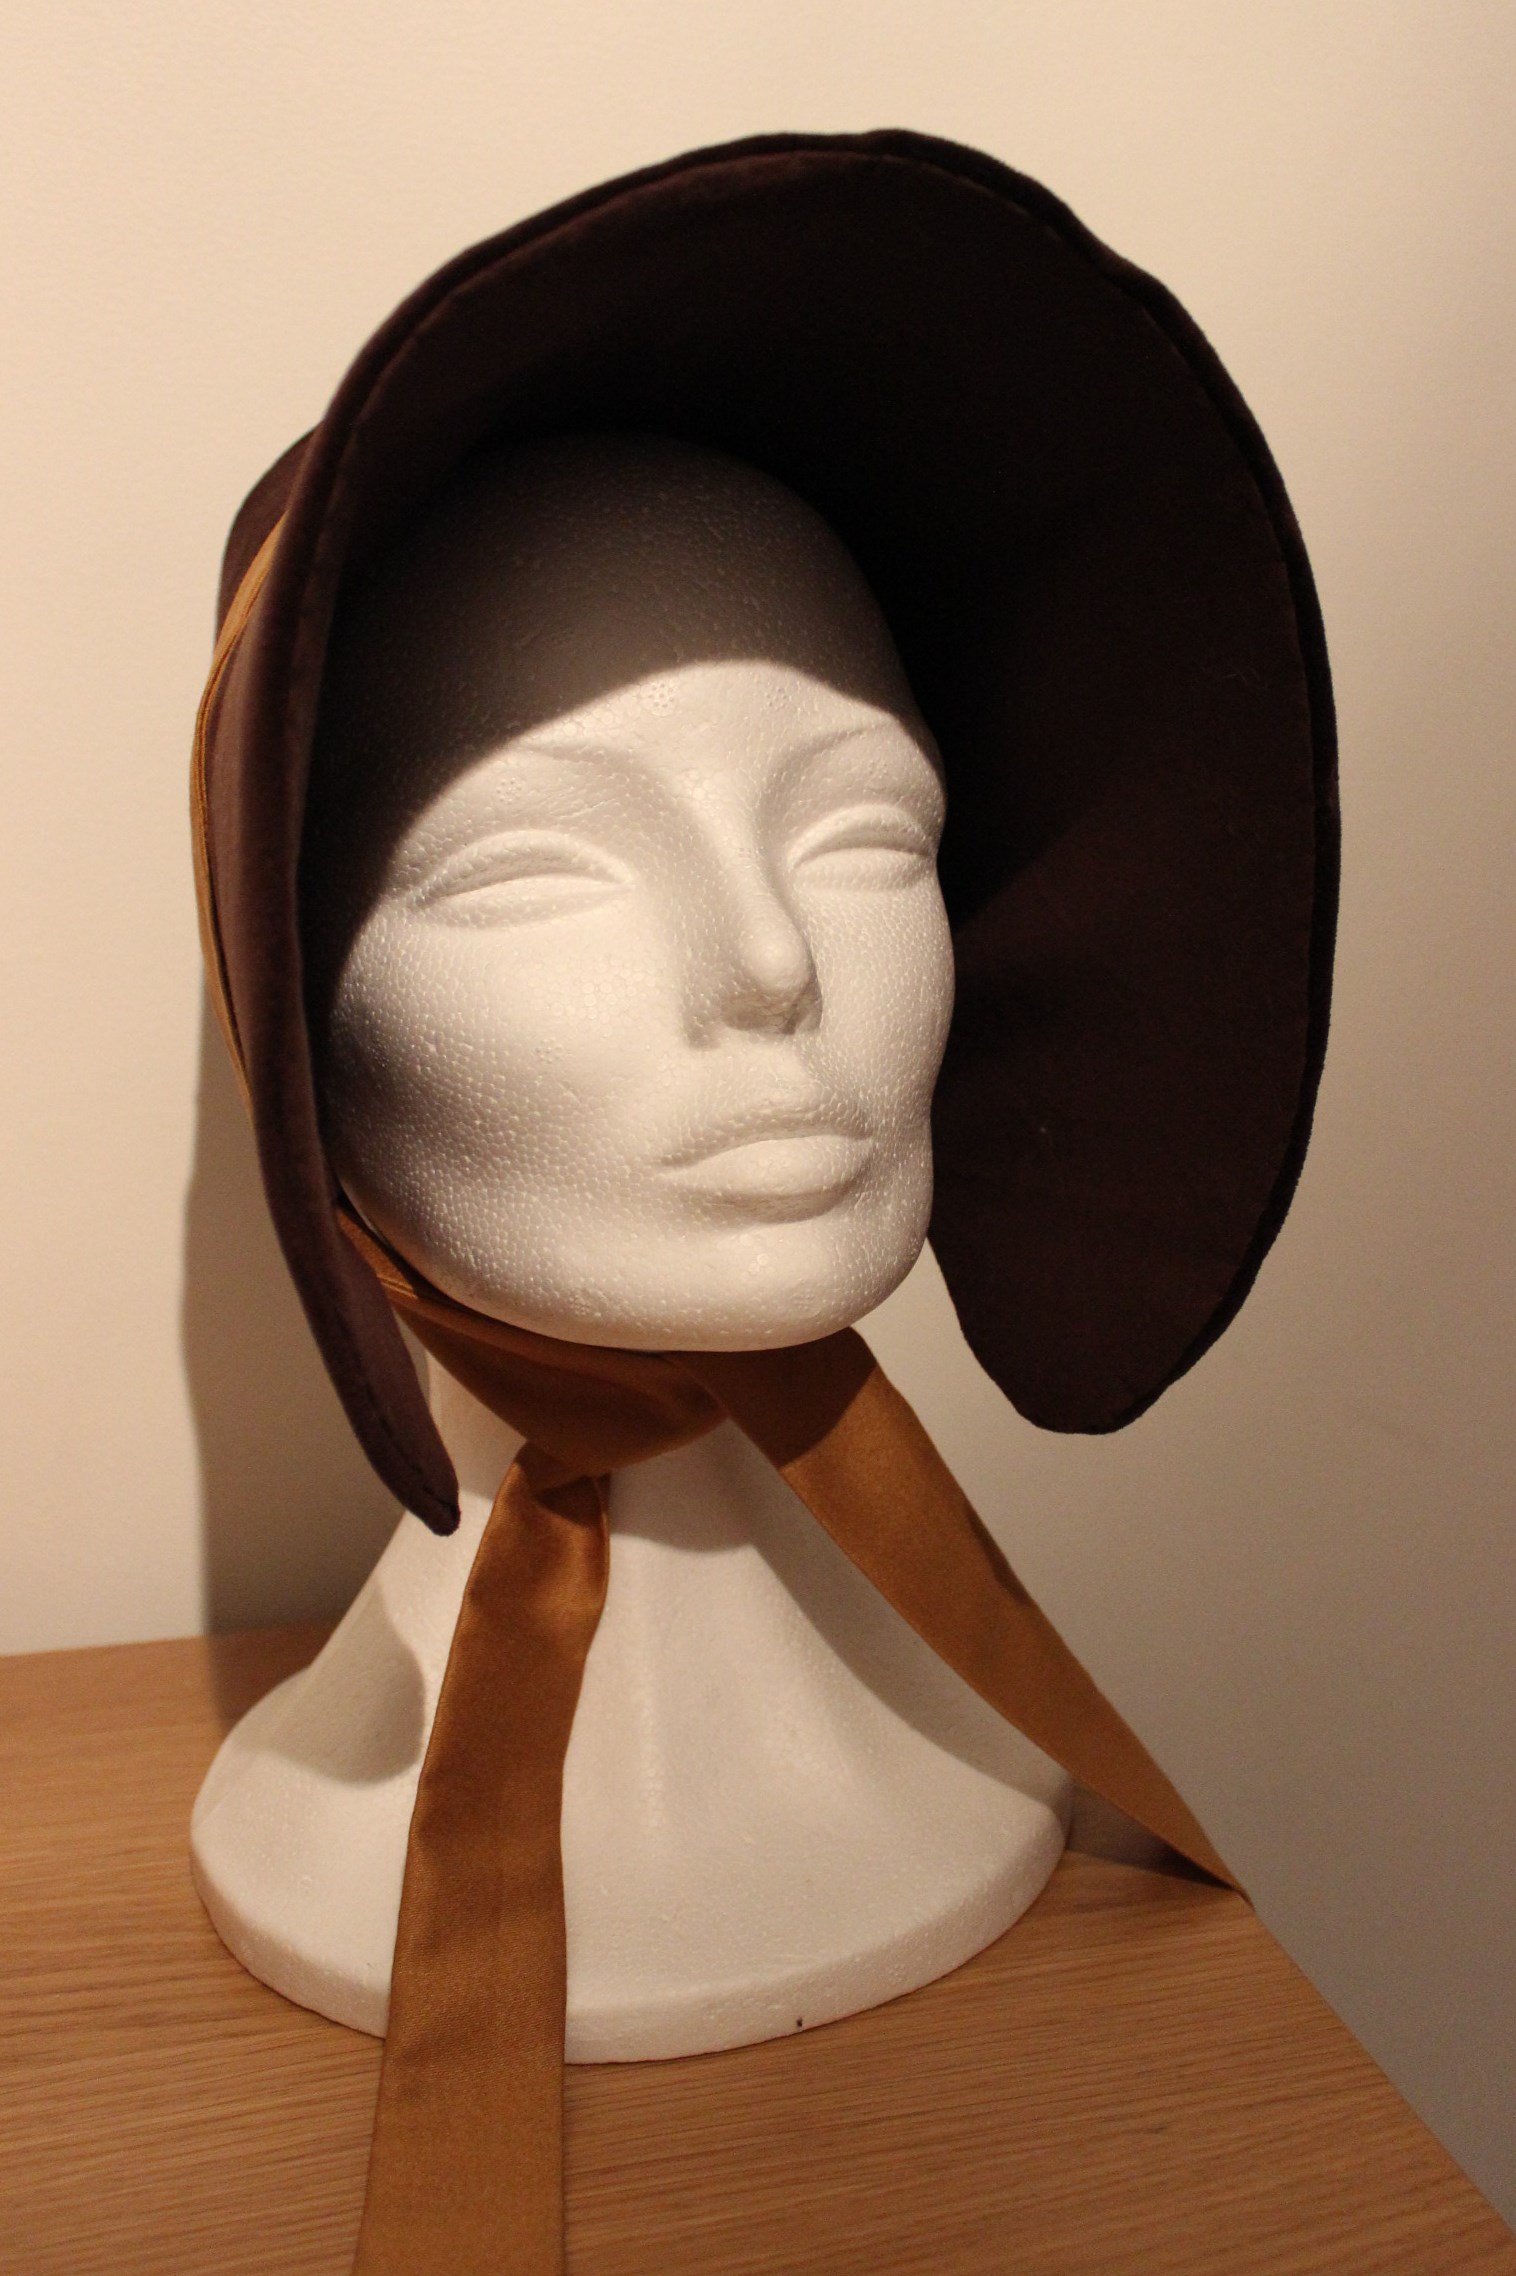
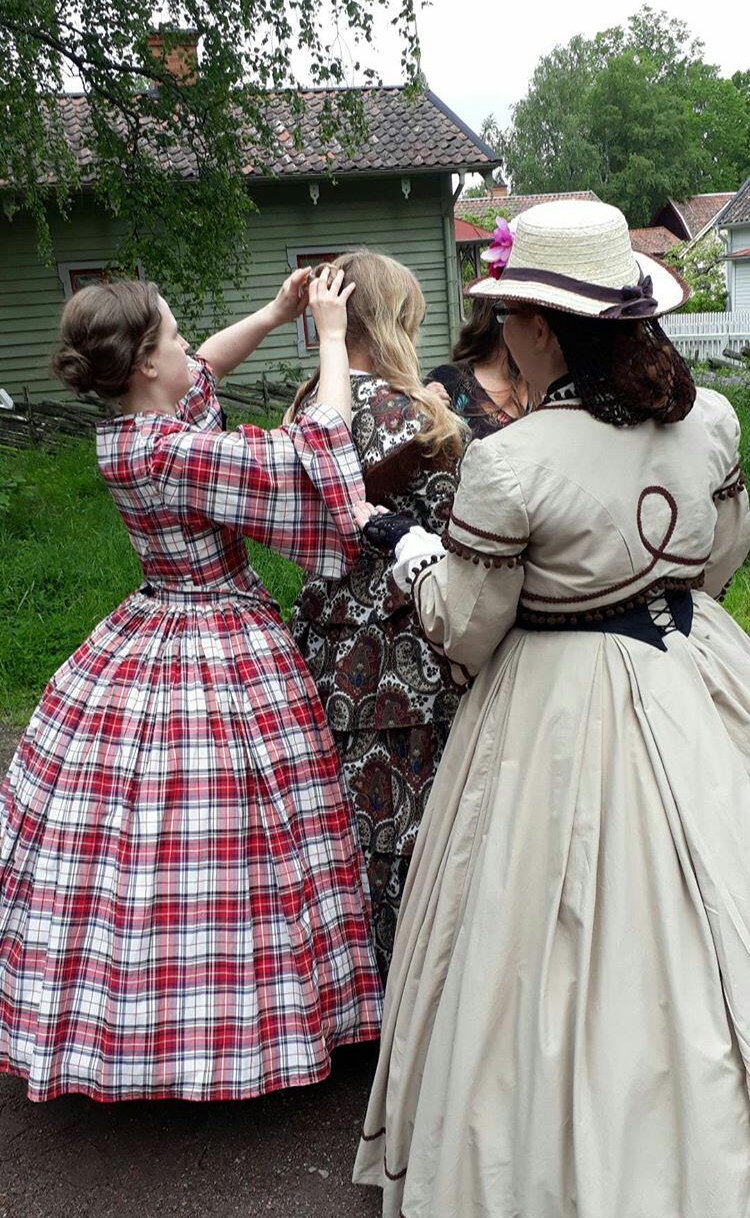
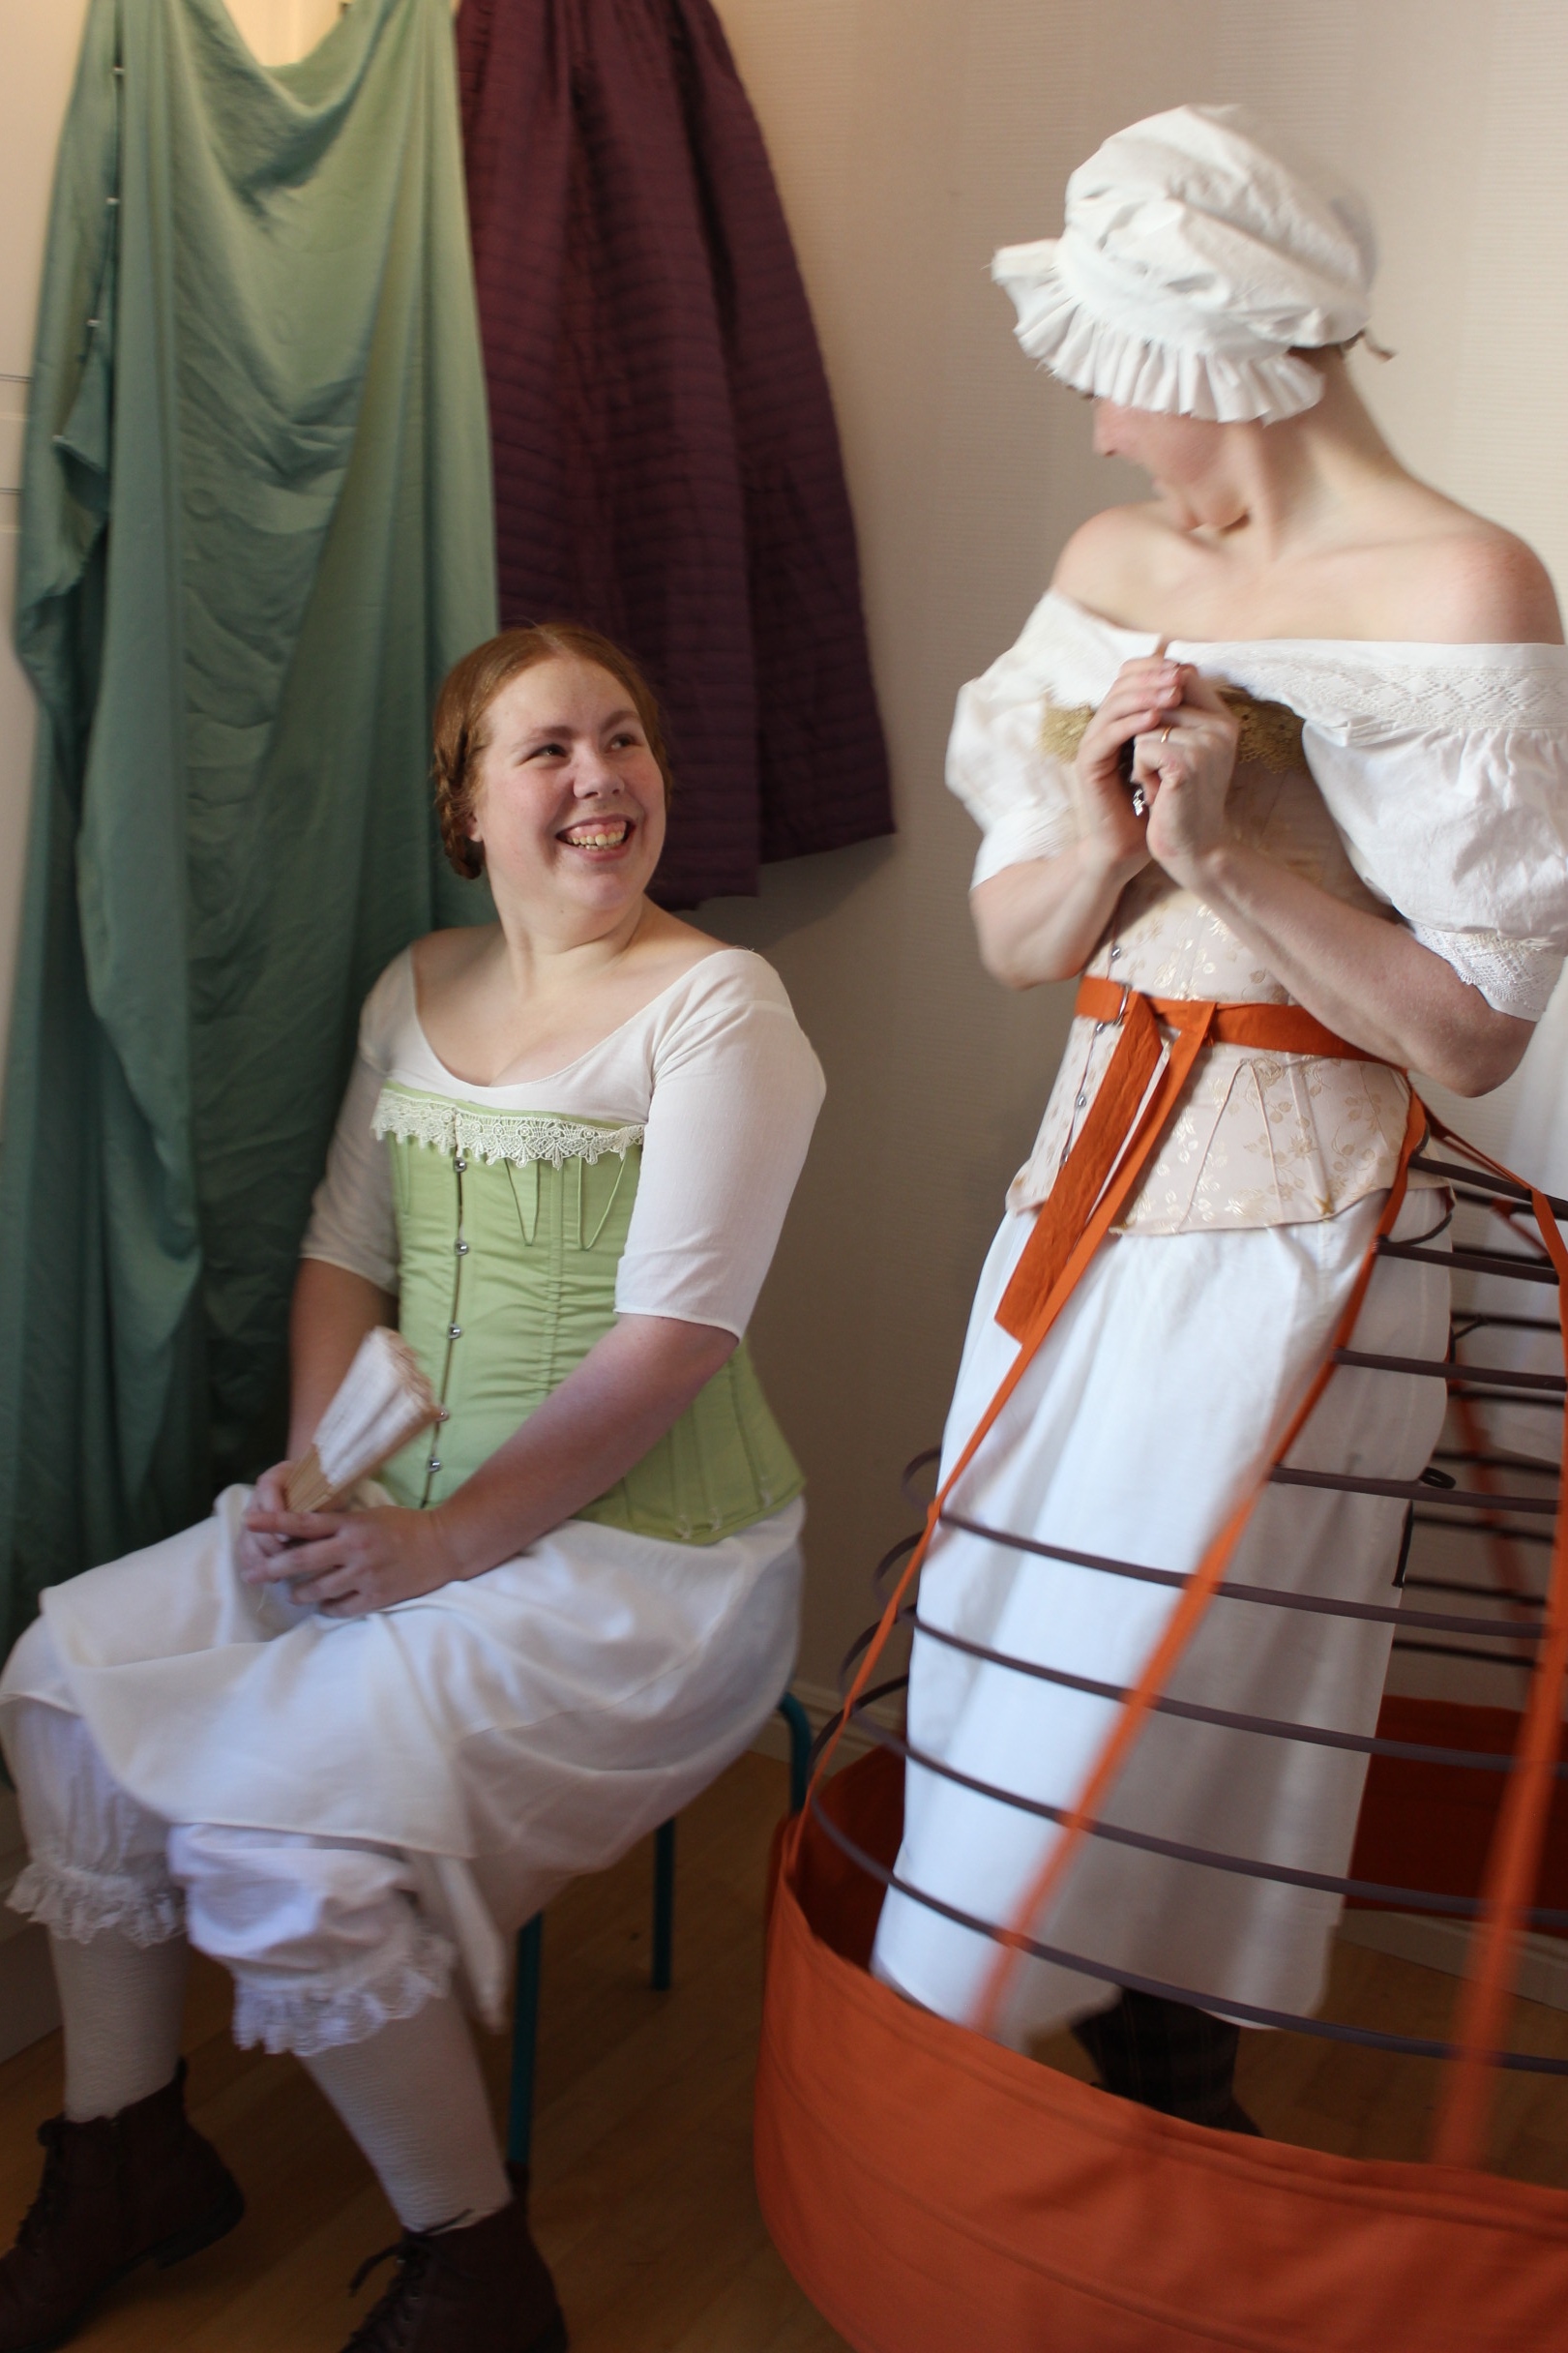
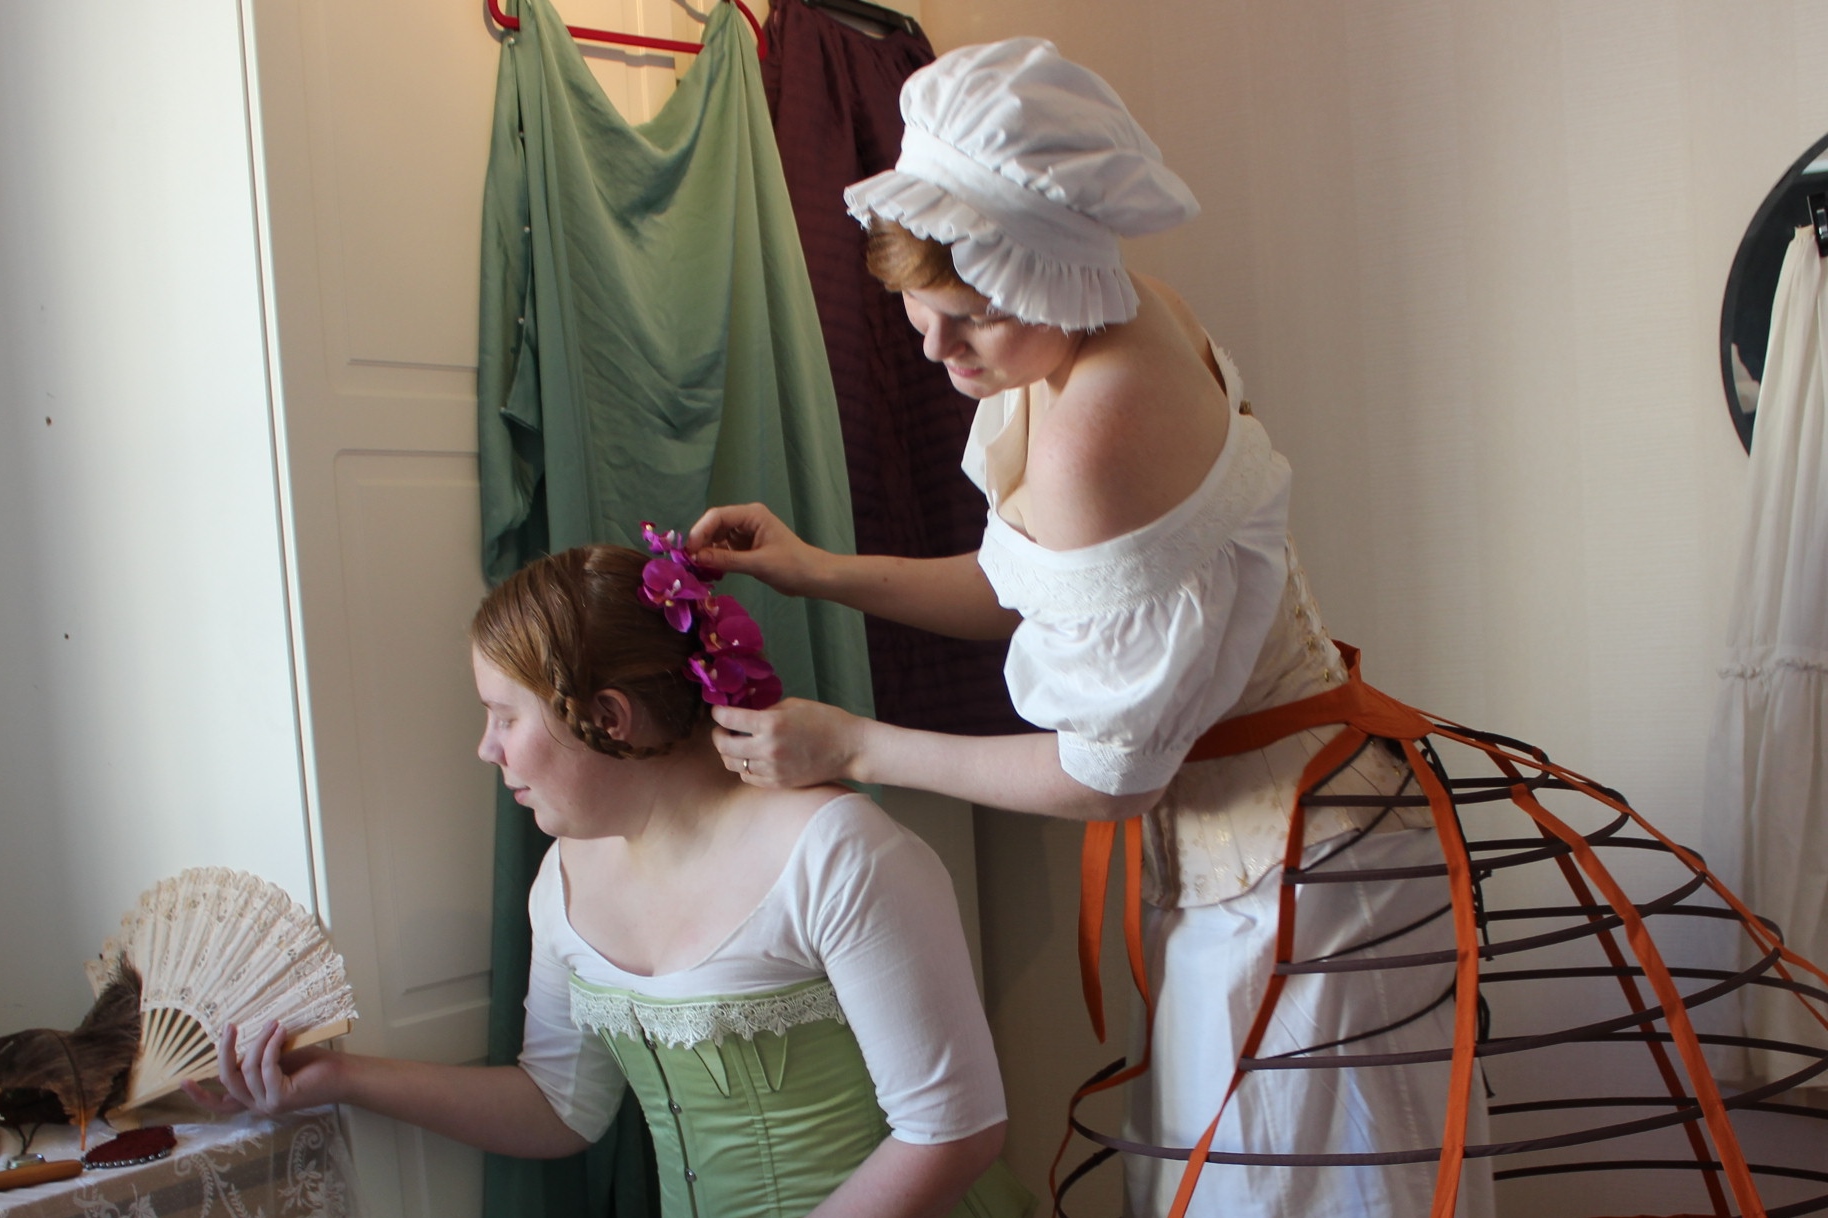
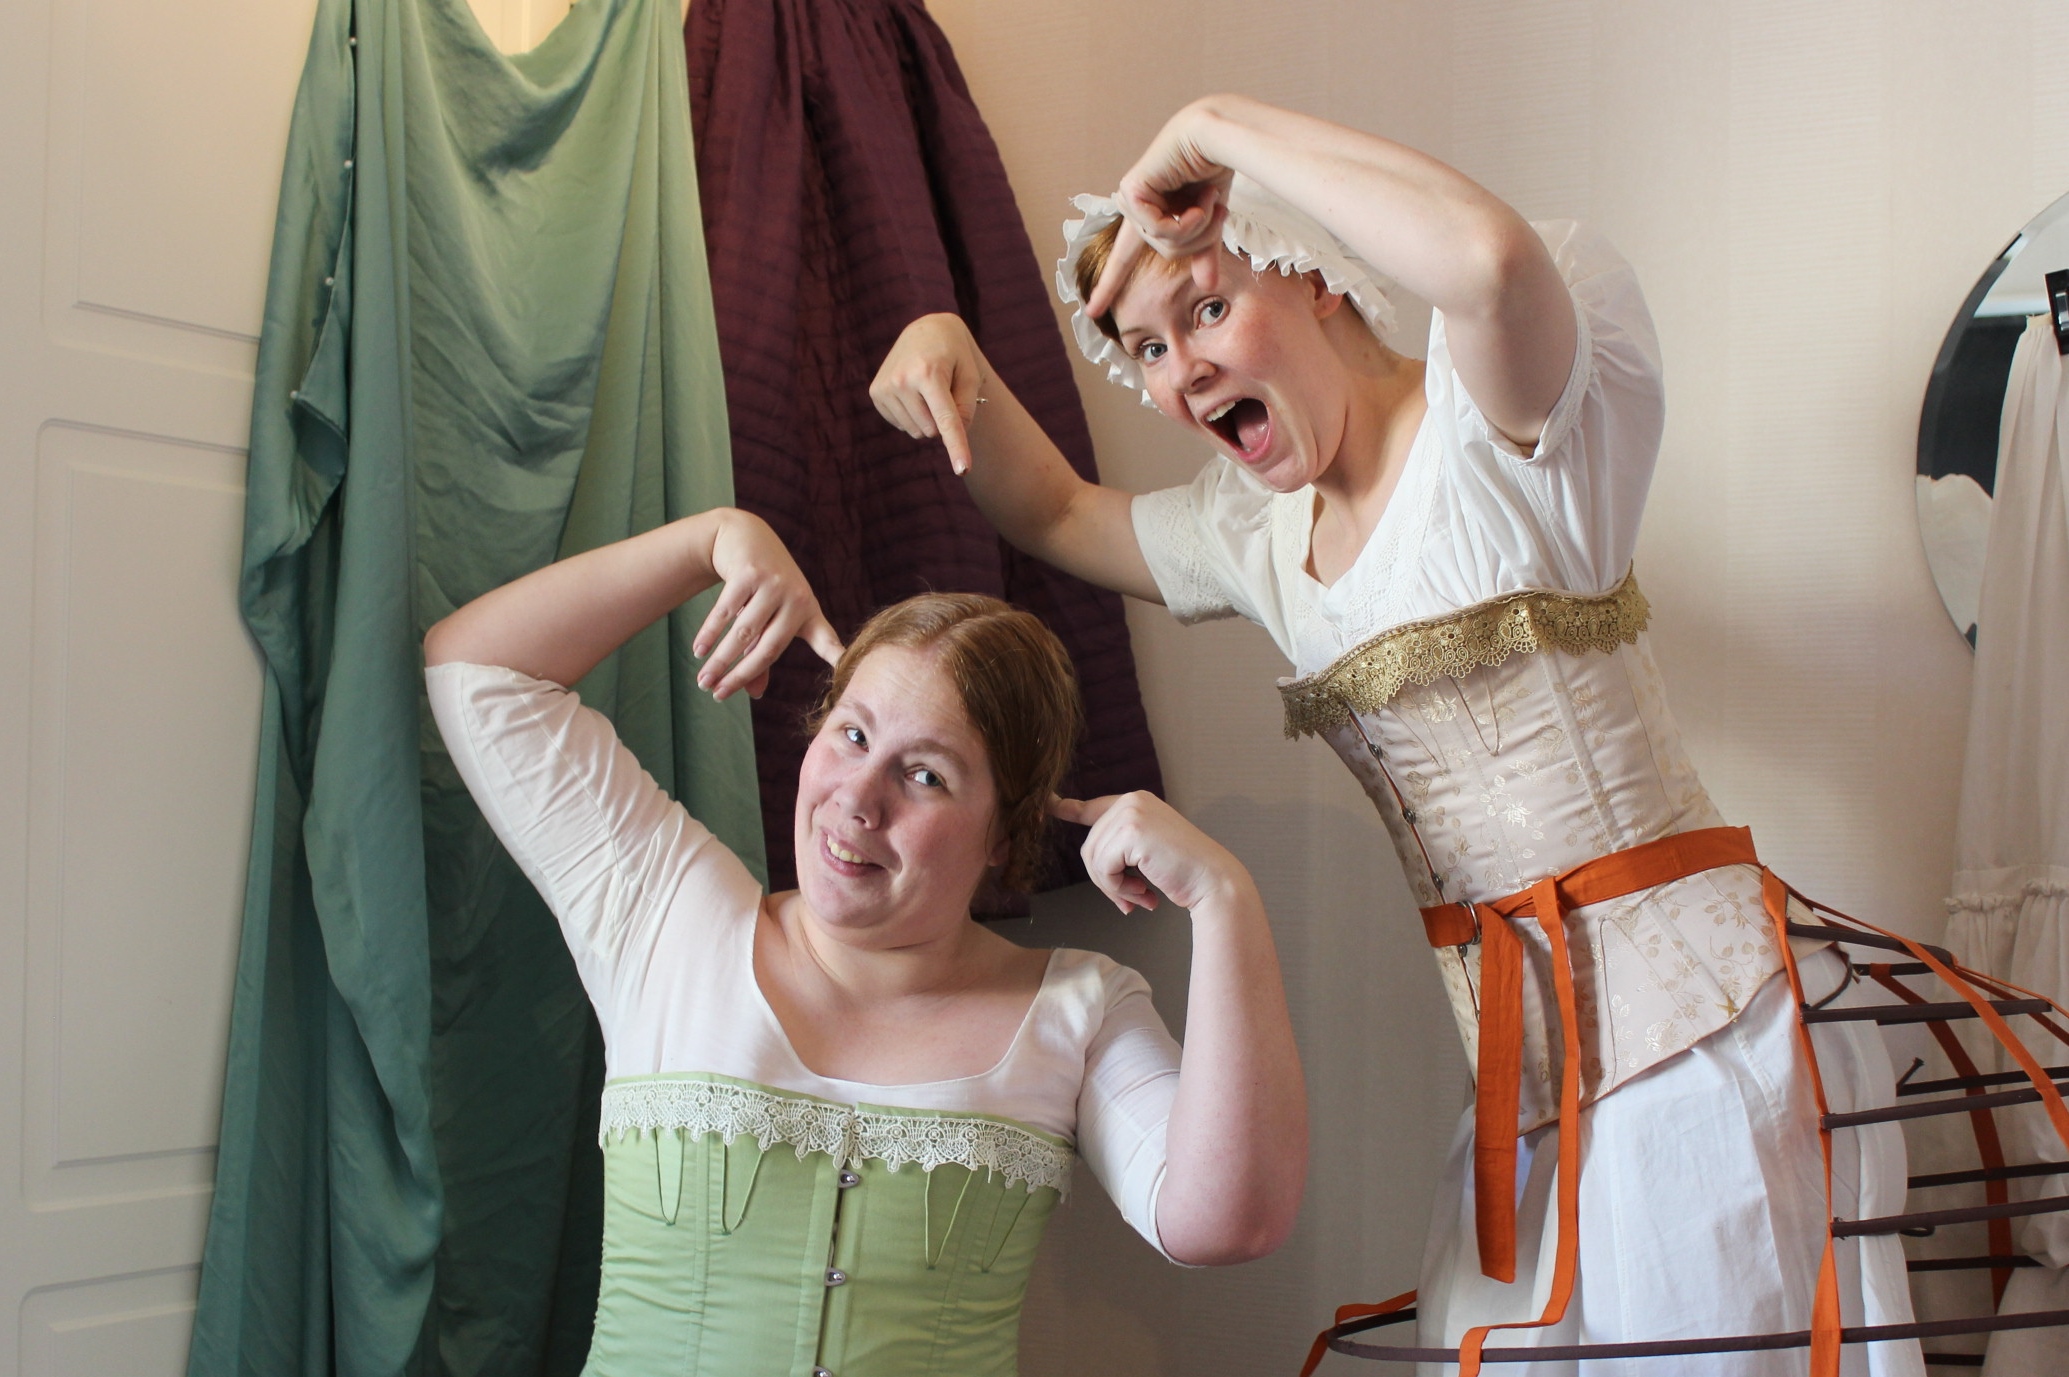
The day started at 10am when me and my sister meet up with so me of the other early participants to get dressed, a endeavor that took quite a while.Clara helping my sister securing the hat properly. 

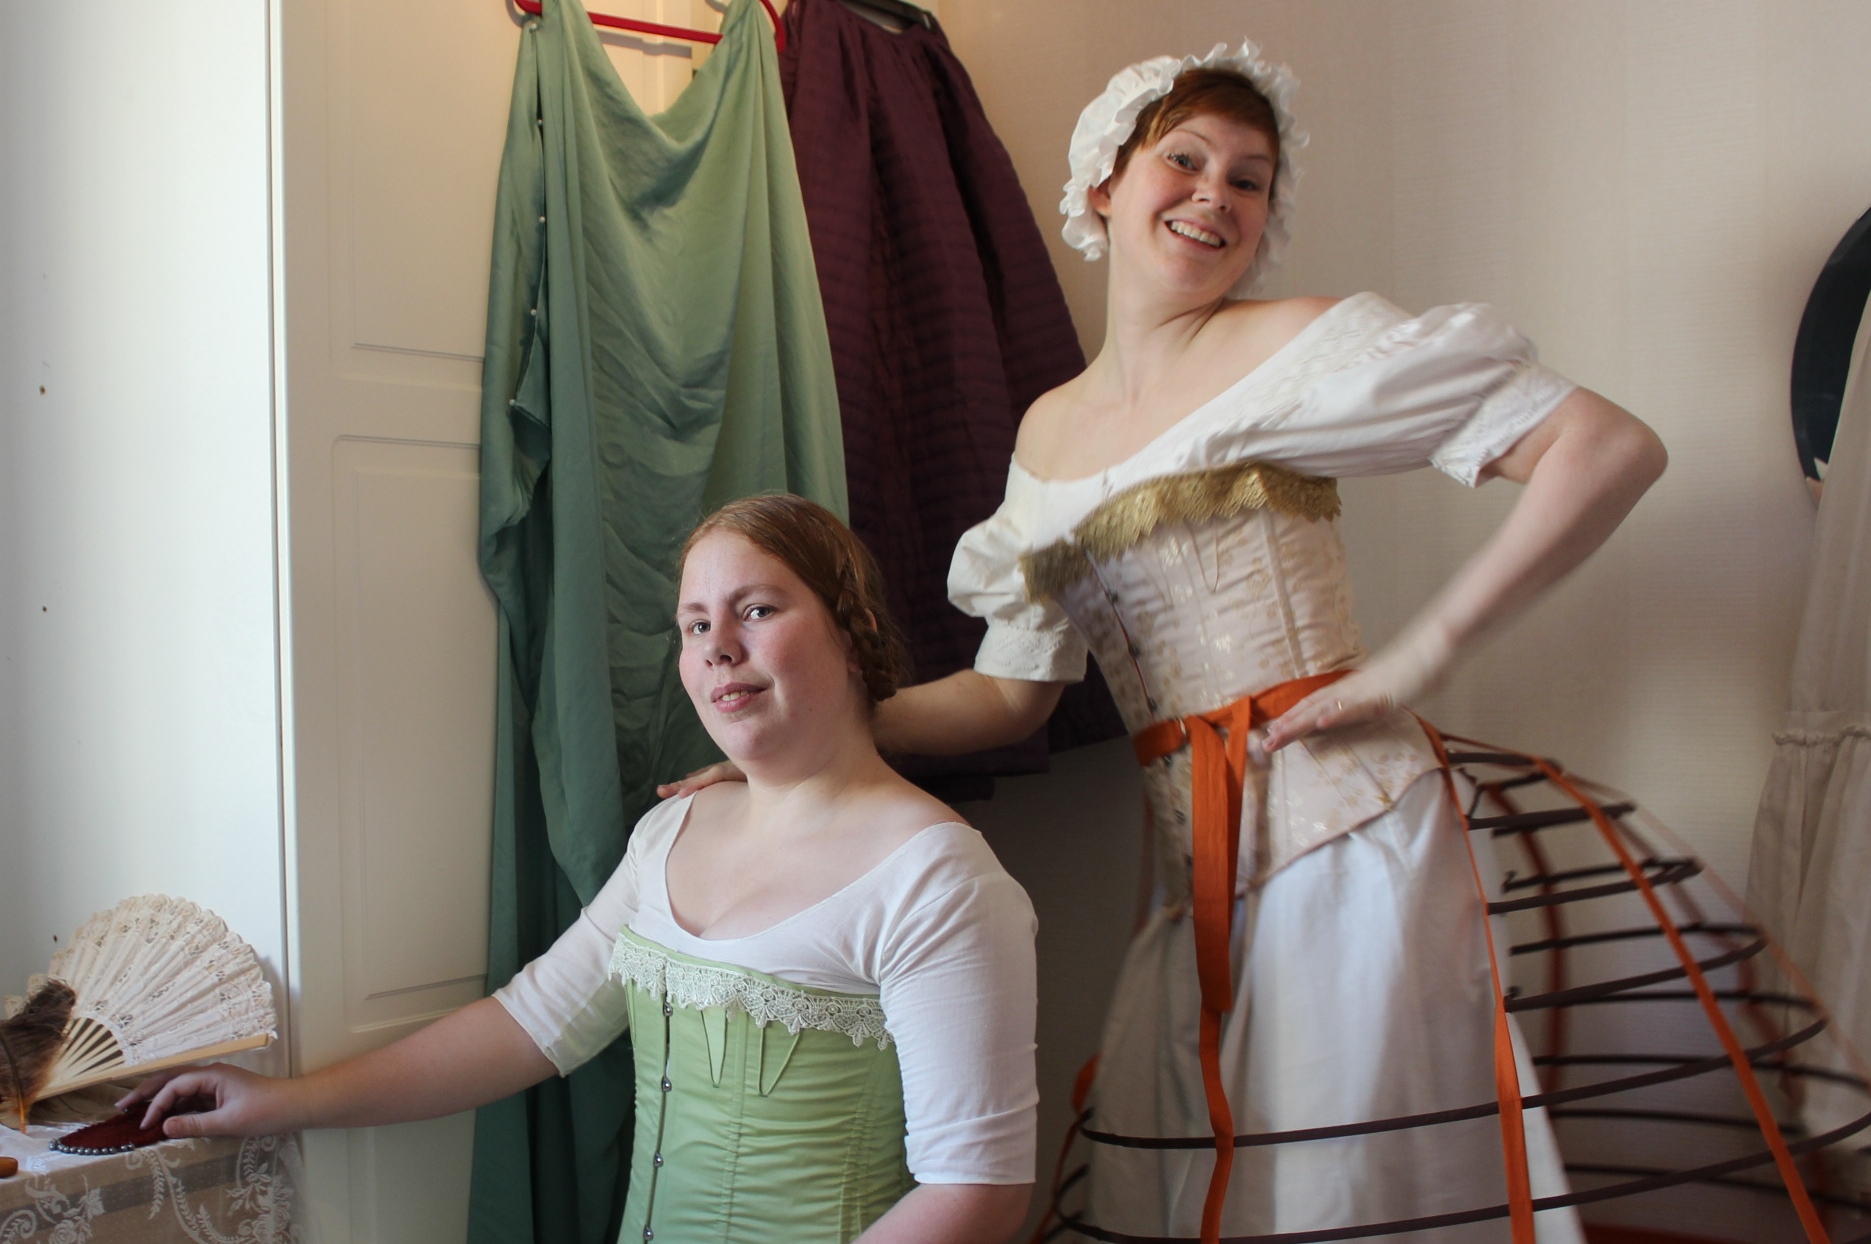
And by the way… Yay!
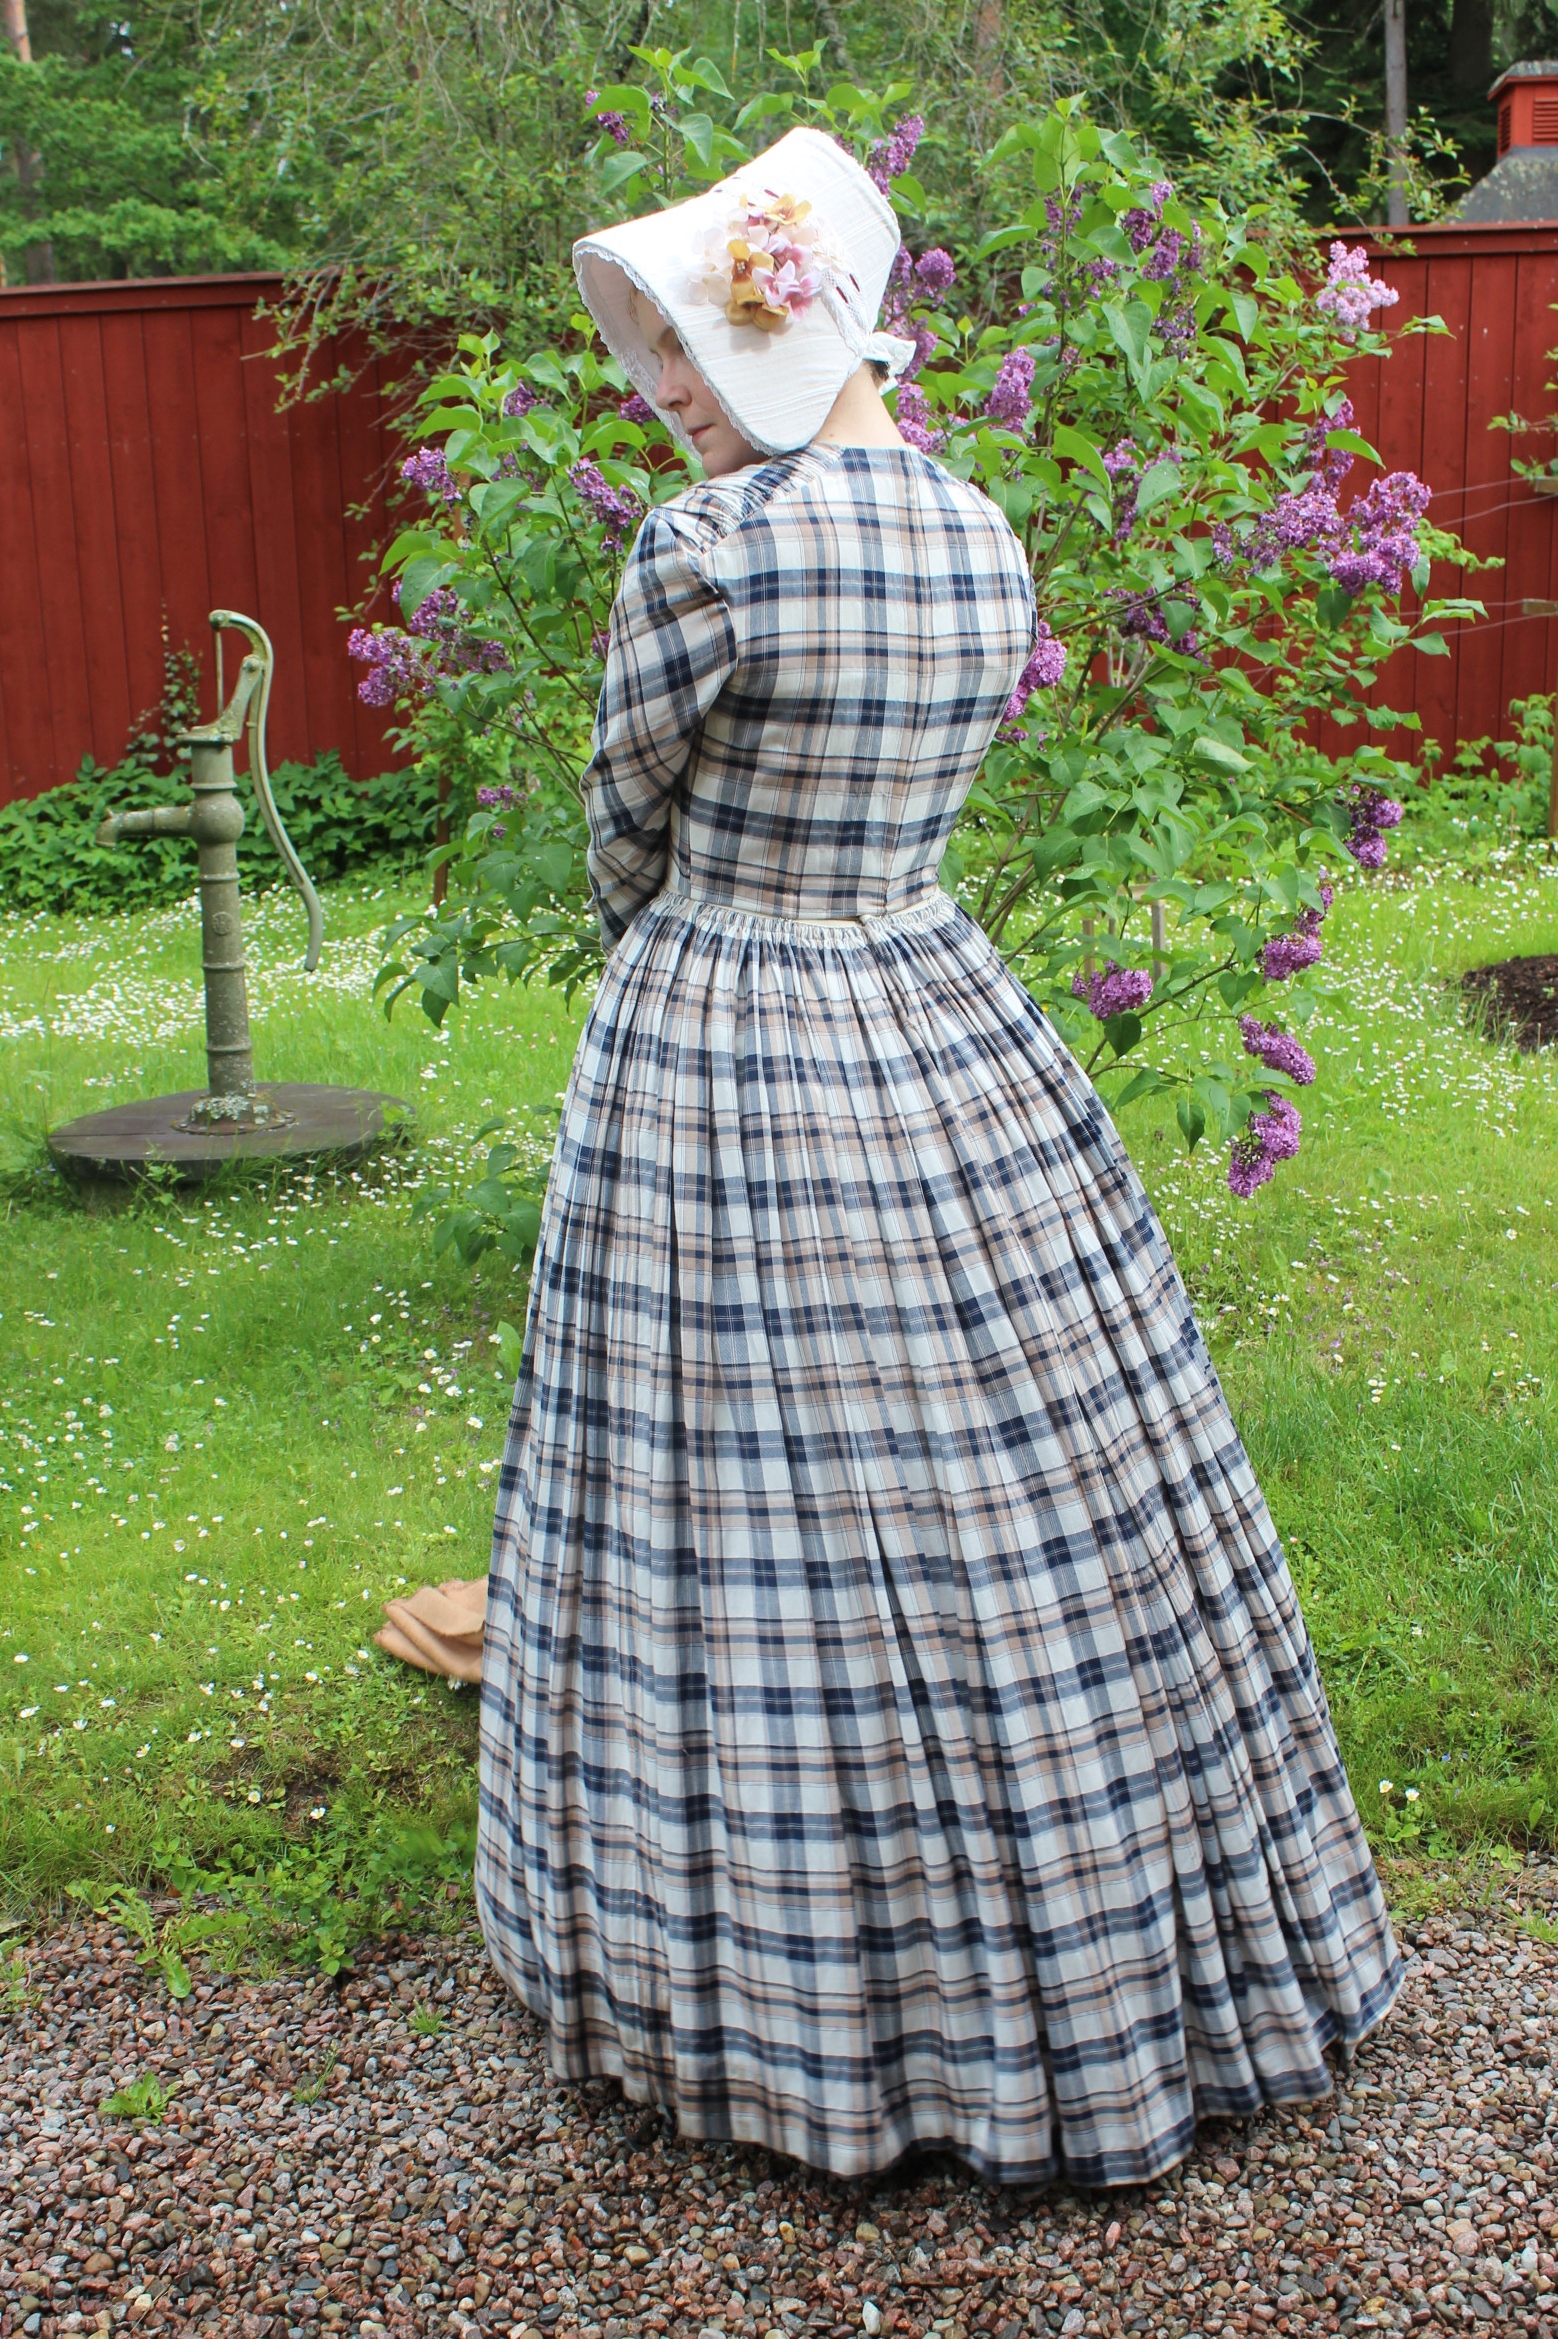
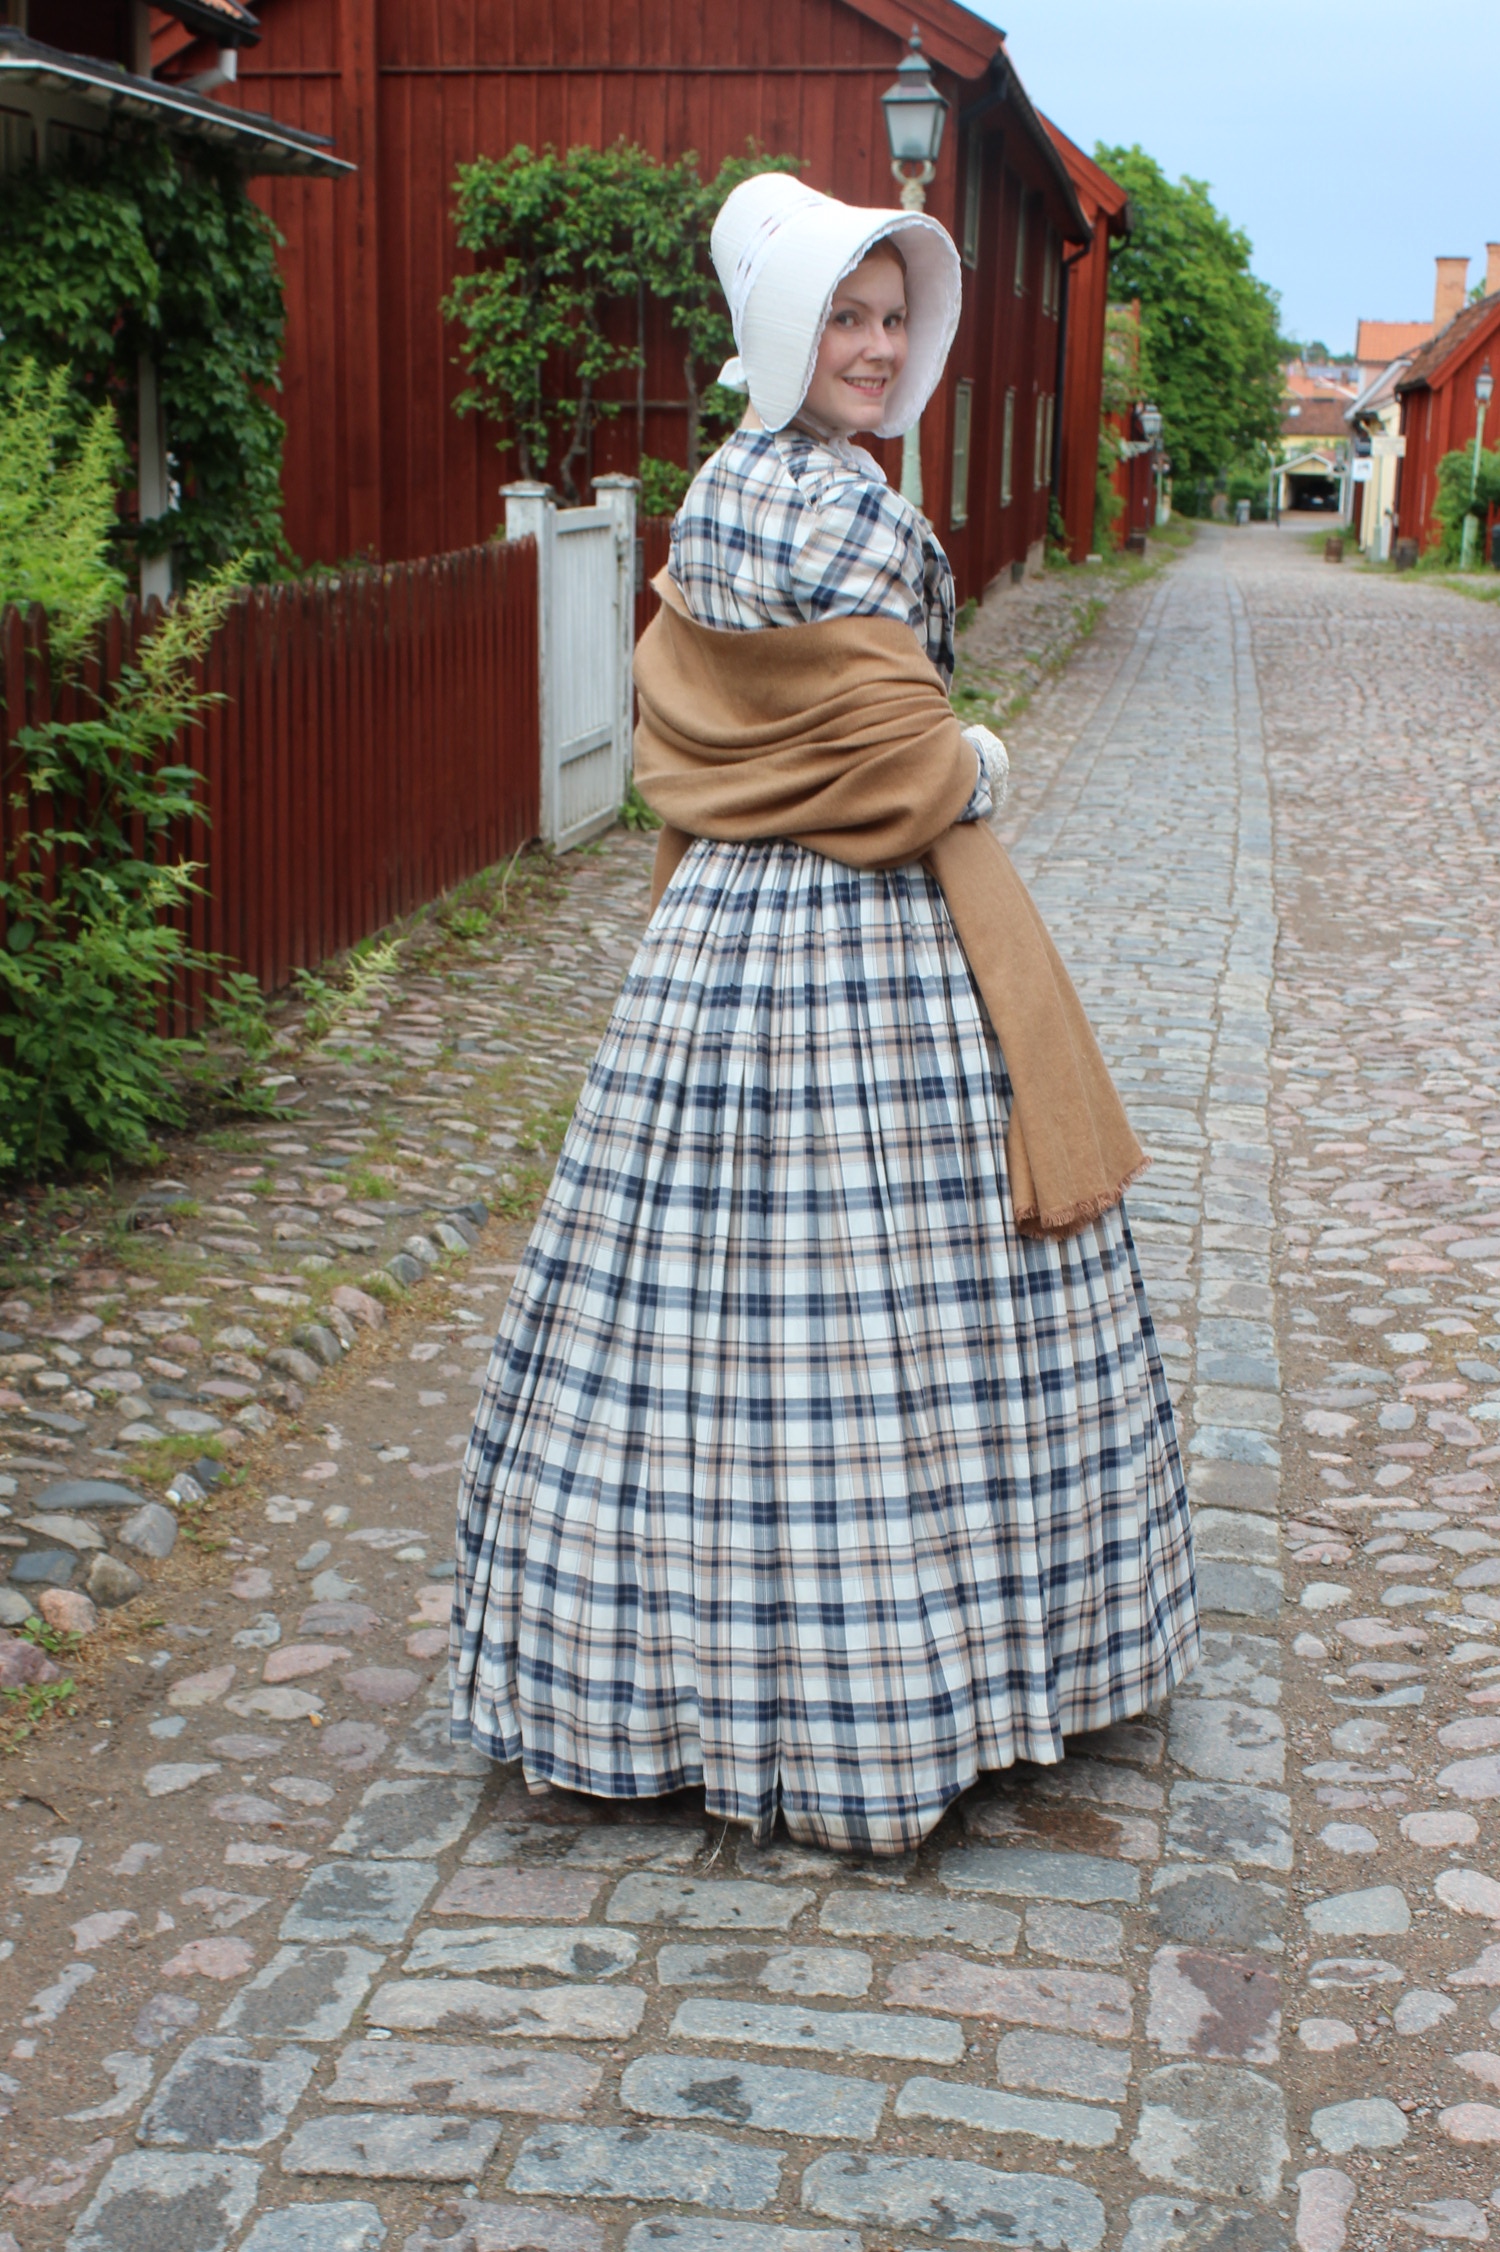
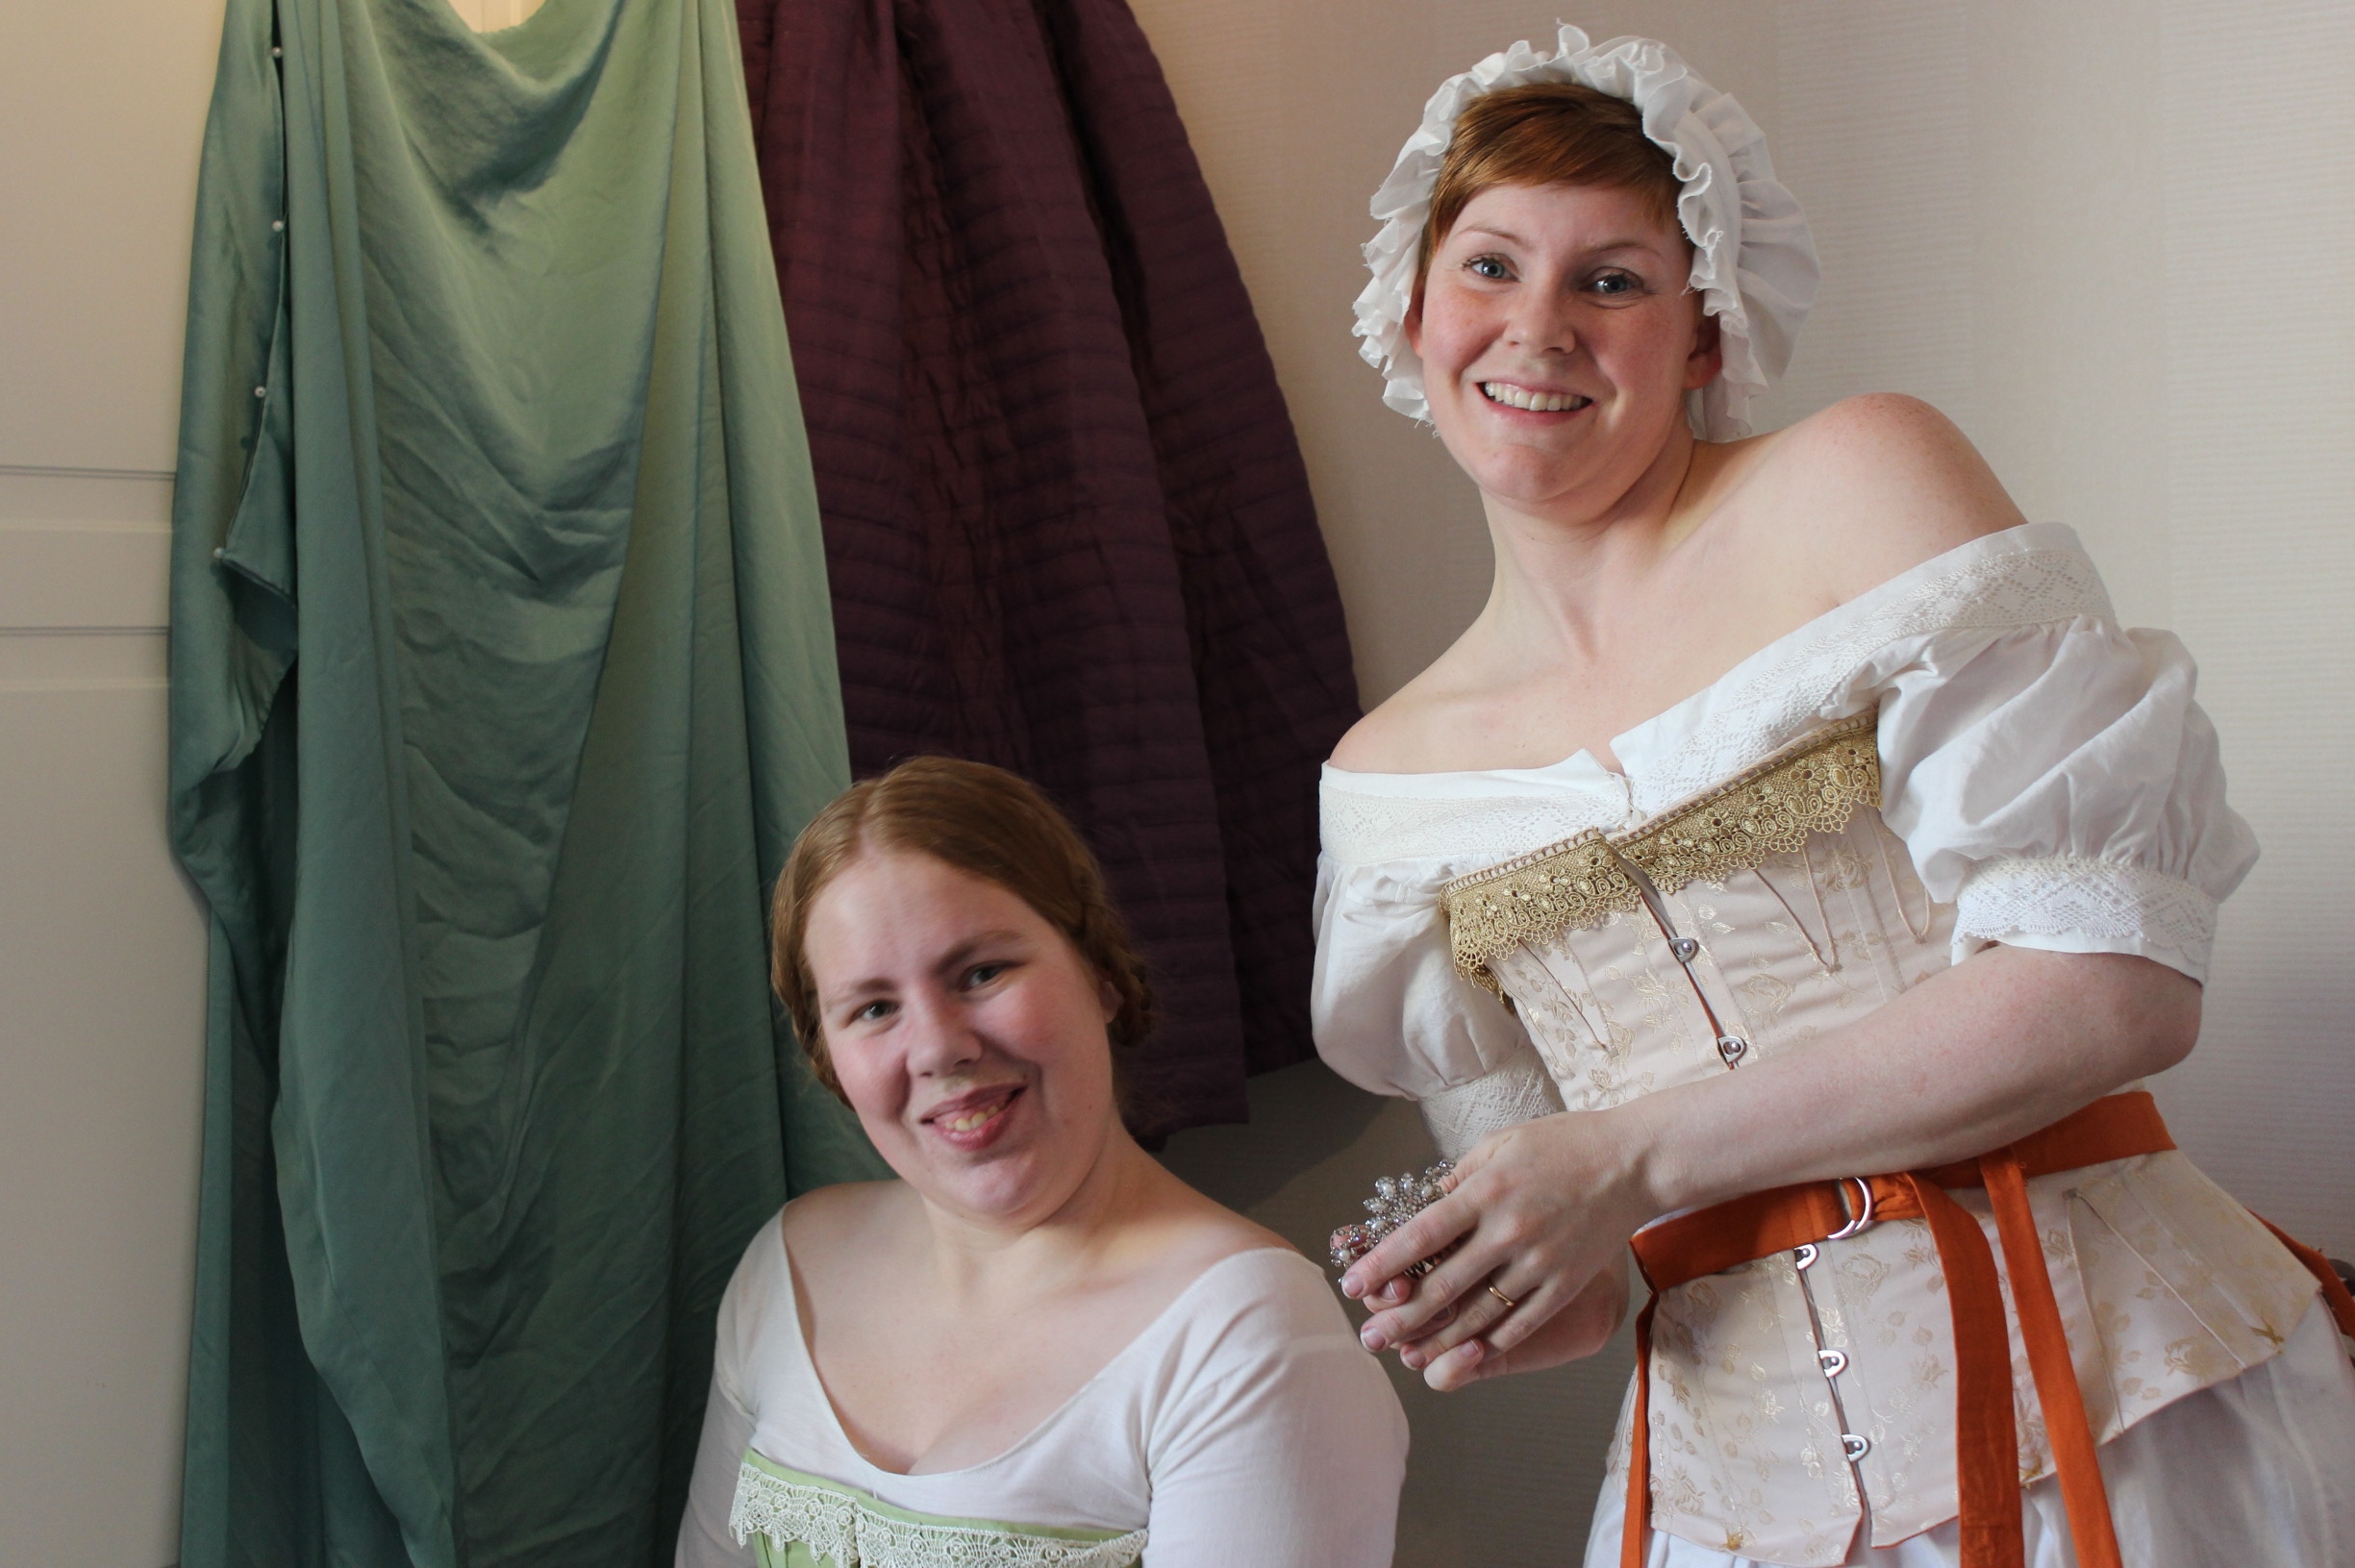
And with no last try on before the event I was relived to se that the outfit worked.

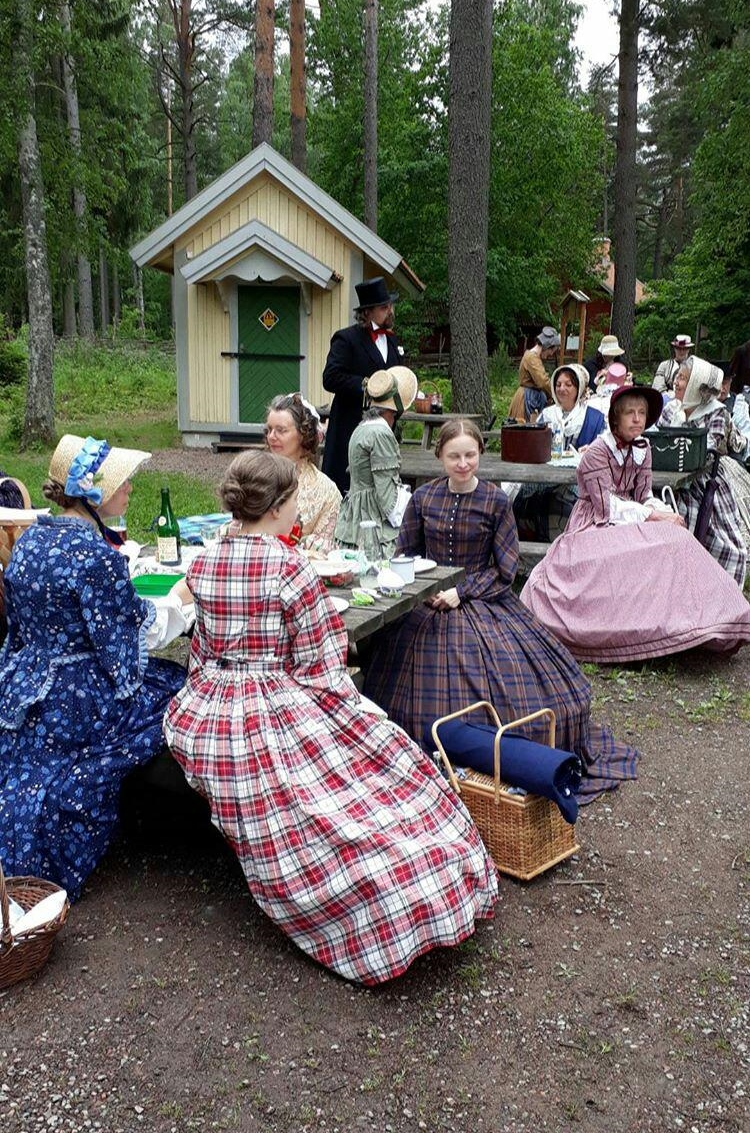
The day officially started at 11am with a picknick in the green, but the previous days heavy rain made us les inclined to get down on the ground, and instead we opted for a spot by the outdoor dance floor with several benches.  

The “low class” people helped sett the tables 😉   

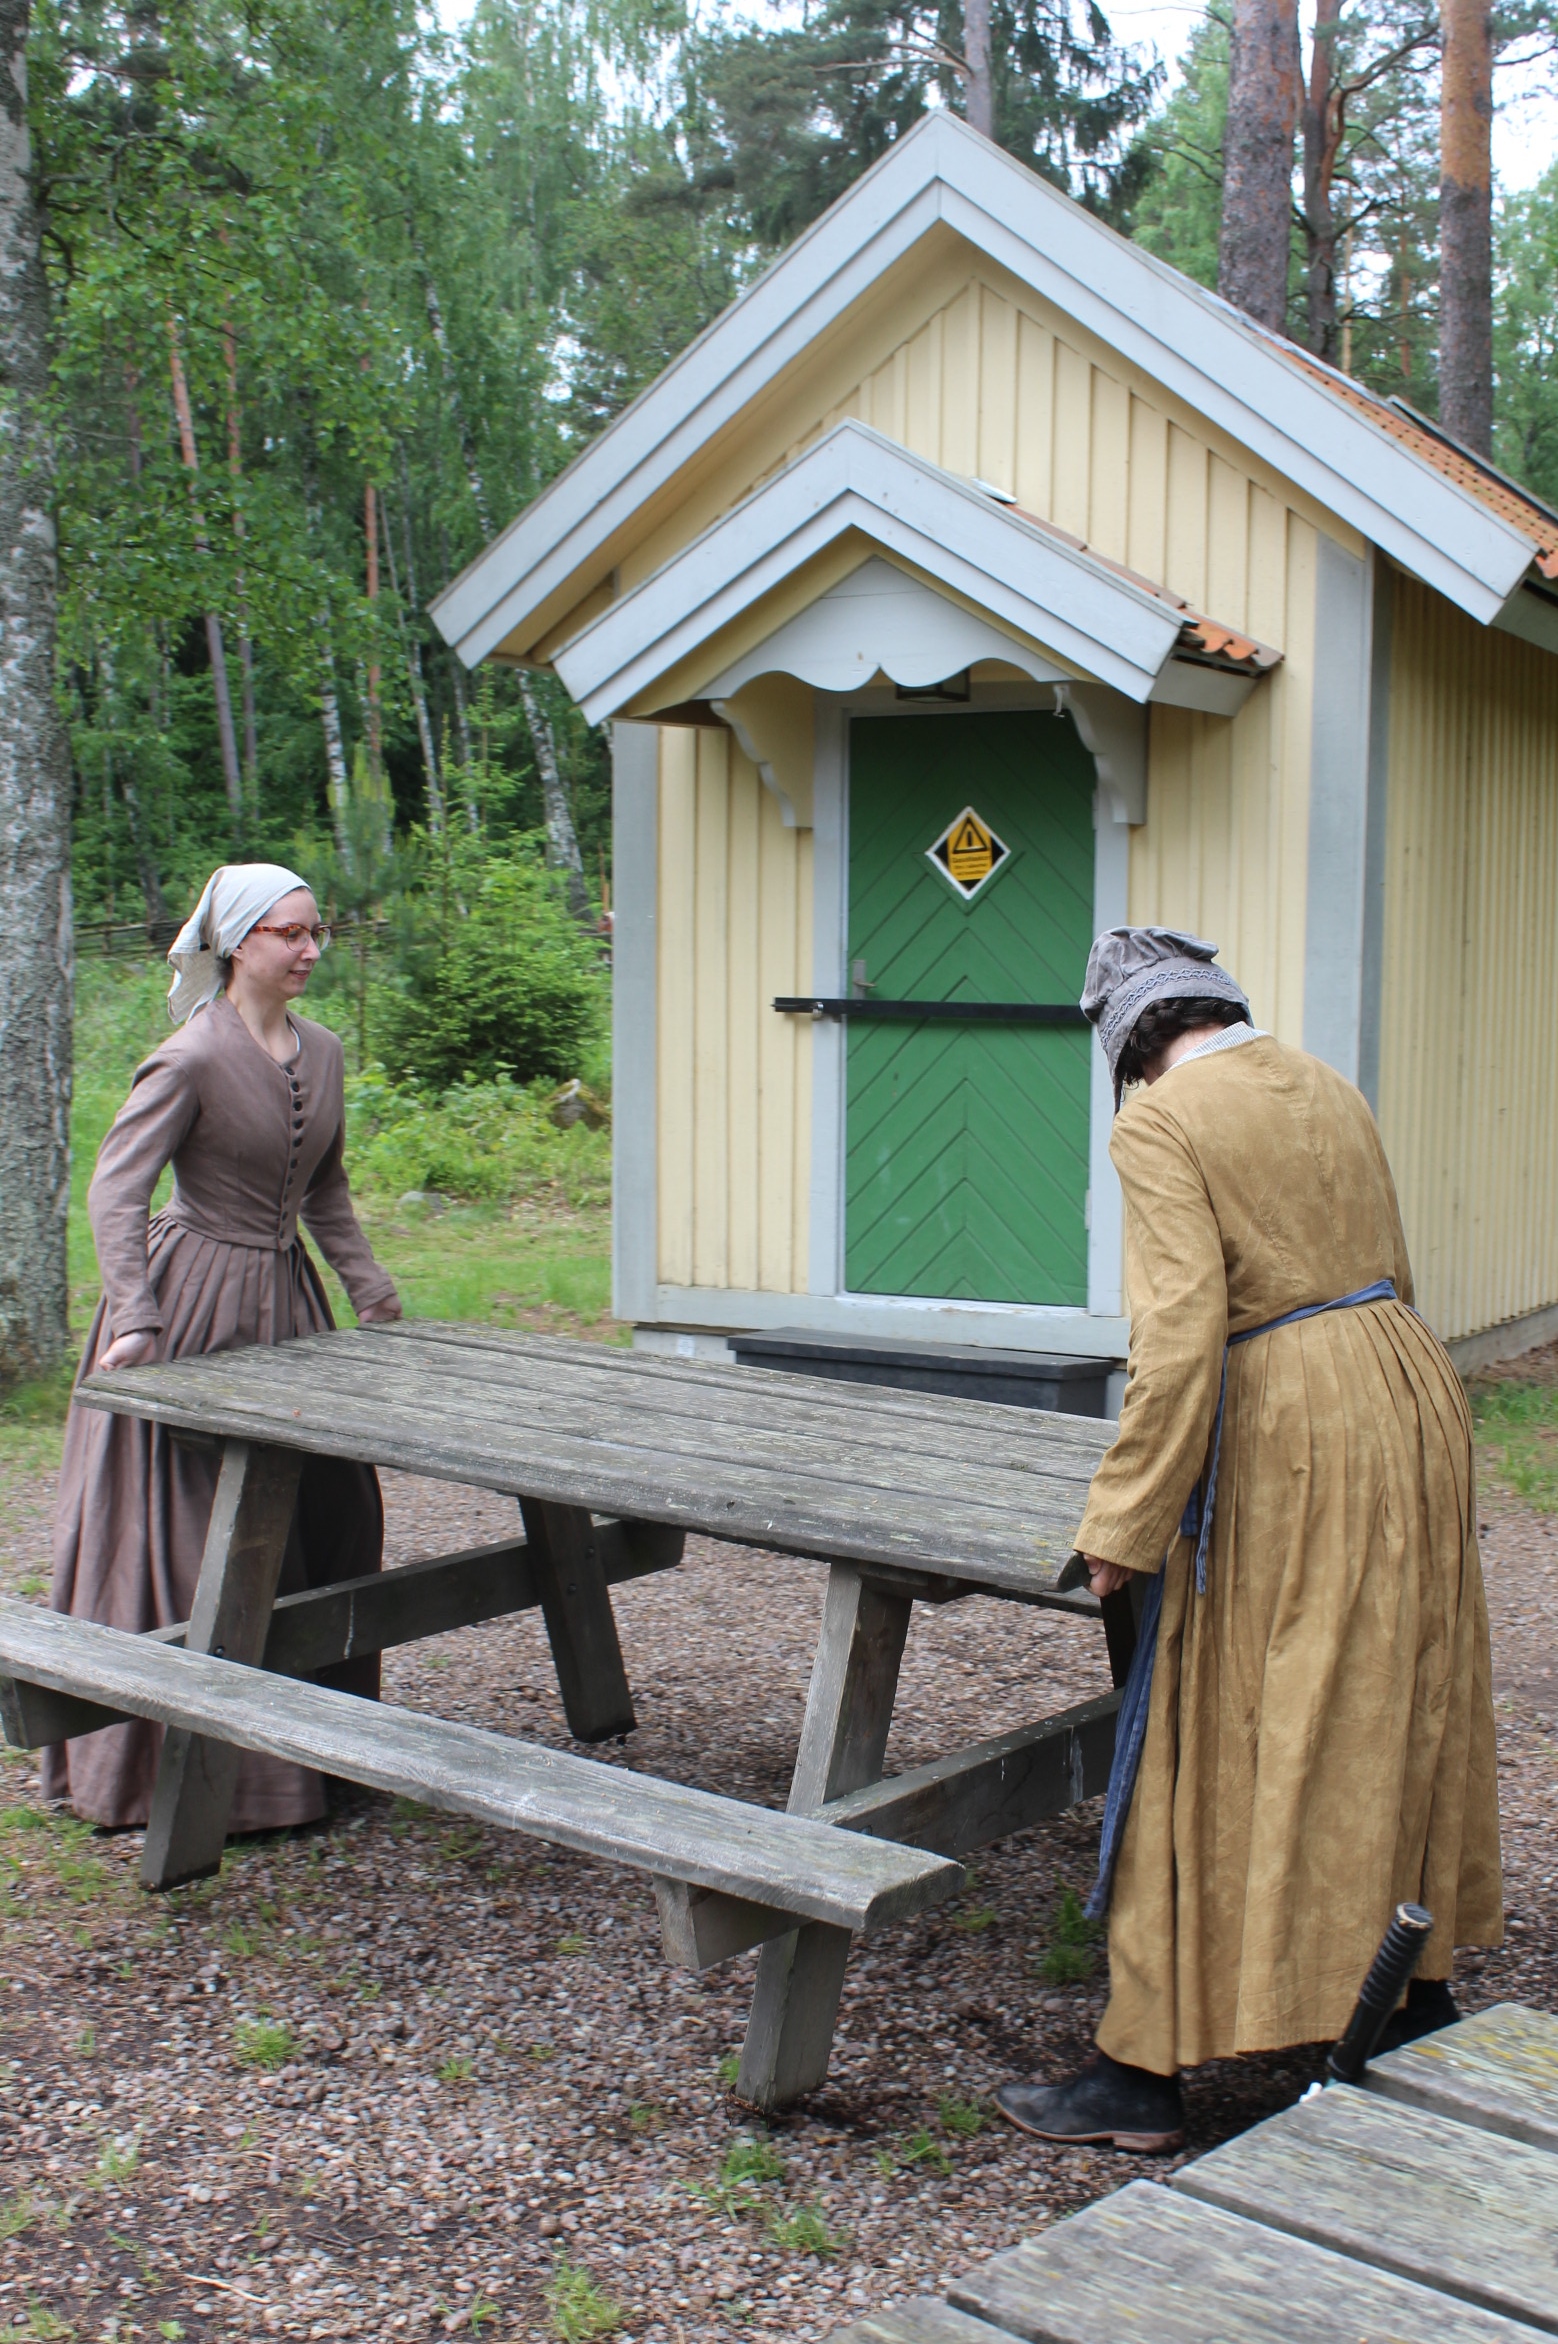
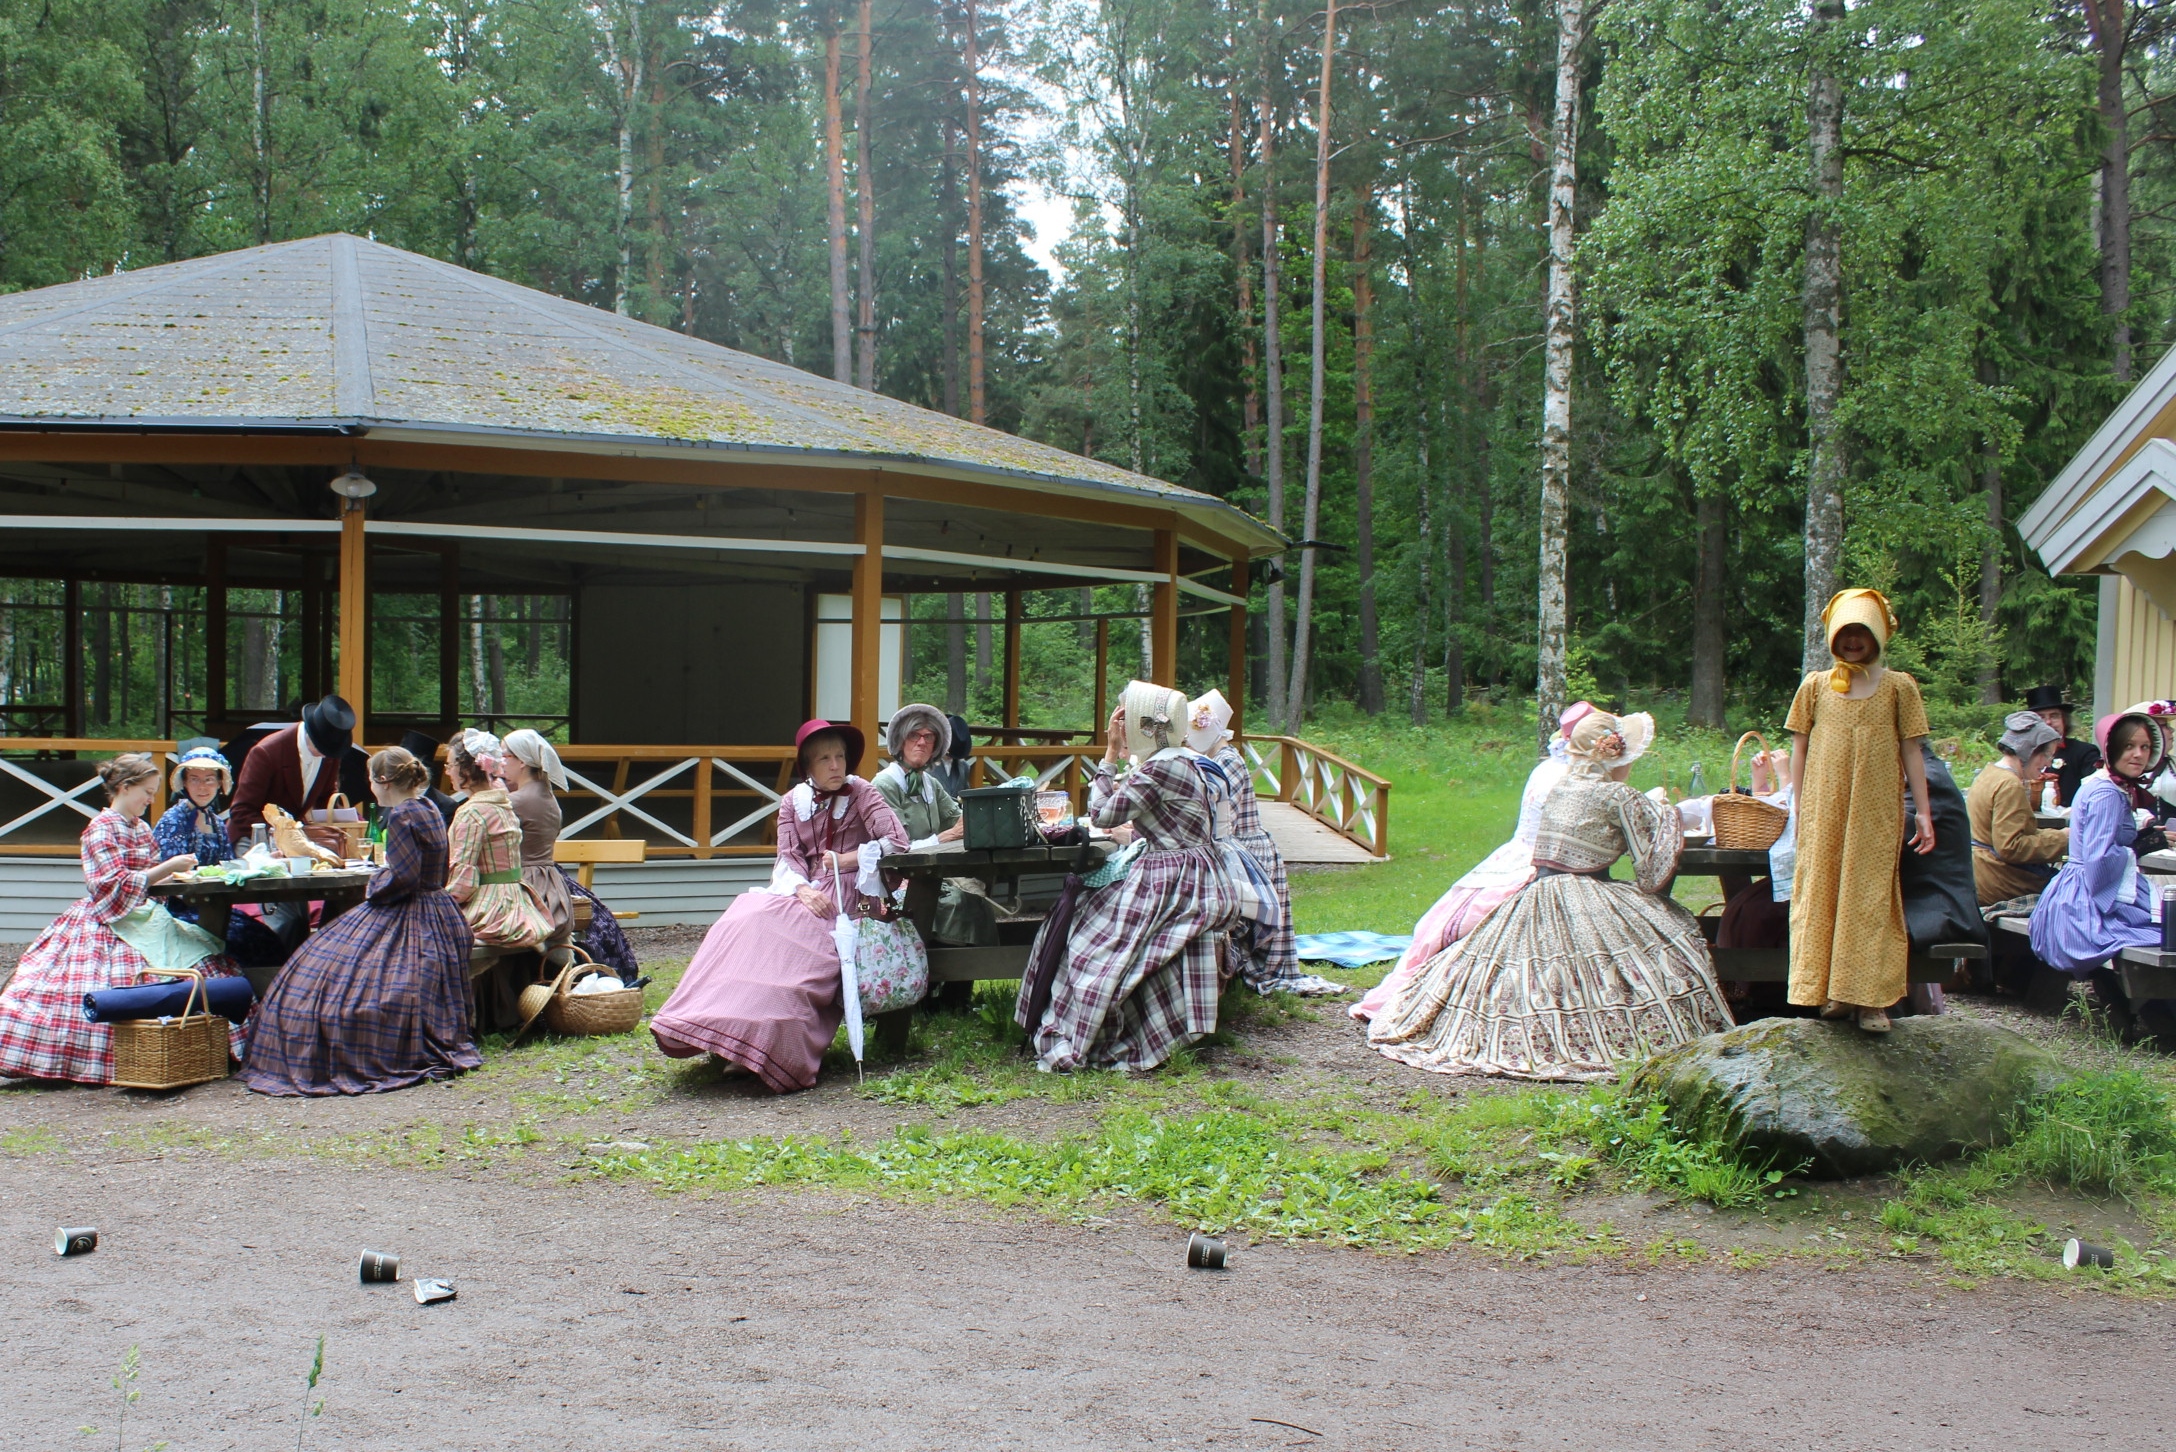
One interesting element in our picknick (which I’m sure amused us as much as the other party) was the stride of runners from “Linköpings Half-marathon” passing us by.  I found it particularly funny, since I originally planned to enter the race, (yep, I’d doubled bocked myself) but a sore knee forced me to rest for the past month. My boyfriend however entered, and ran past us in one of the front crowds, to my, and a few more of us high applause and encouraging shouts.

Despite taking photos, looking for my hubby amongst the runners and making sure all newcomers was welcomed and everyone was comfortable, I did actually had a few moments to sitt down and have a bite to eat (and drink).

Kerstin and Sara visited the event as part of their project (or perhaps despite) their project to re-create their long past relative Agusta Lundin’s (a well known Swedish mid 19th century lady) travels through Sweden and Europe. Read all about their trip and project at: Agustasresa.se 

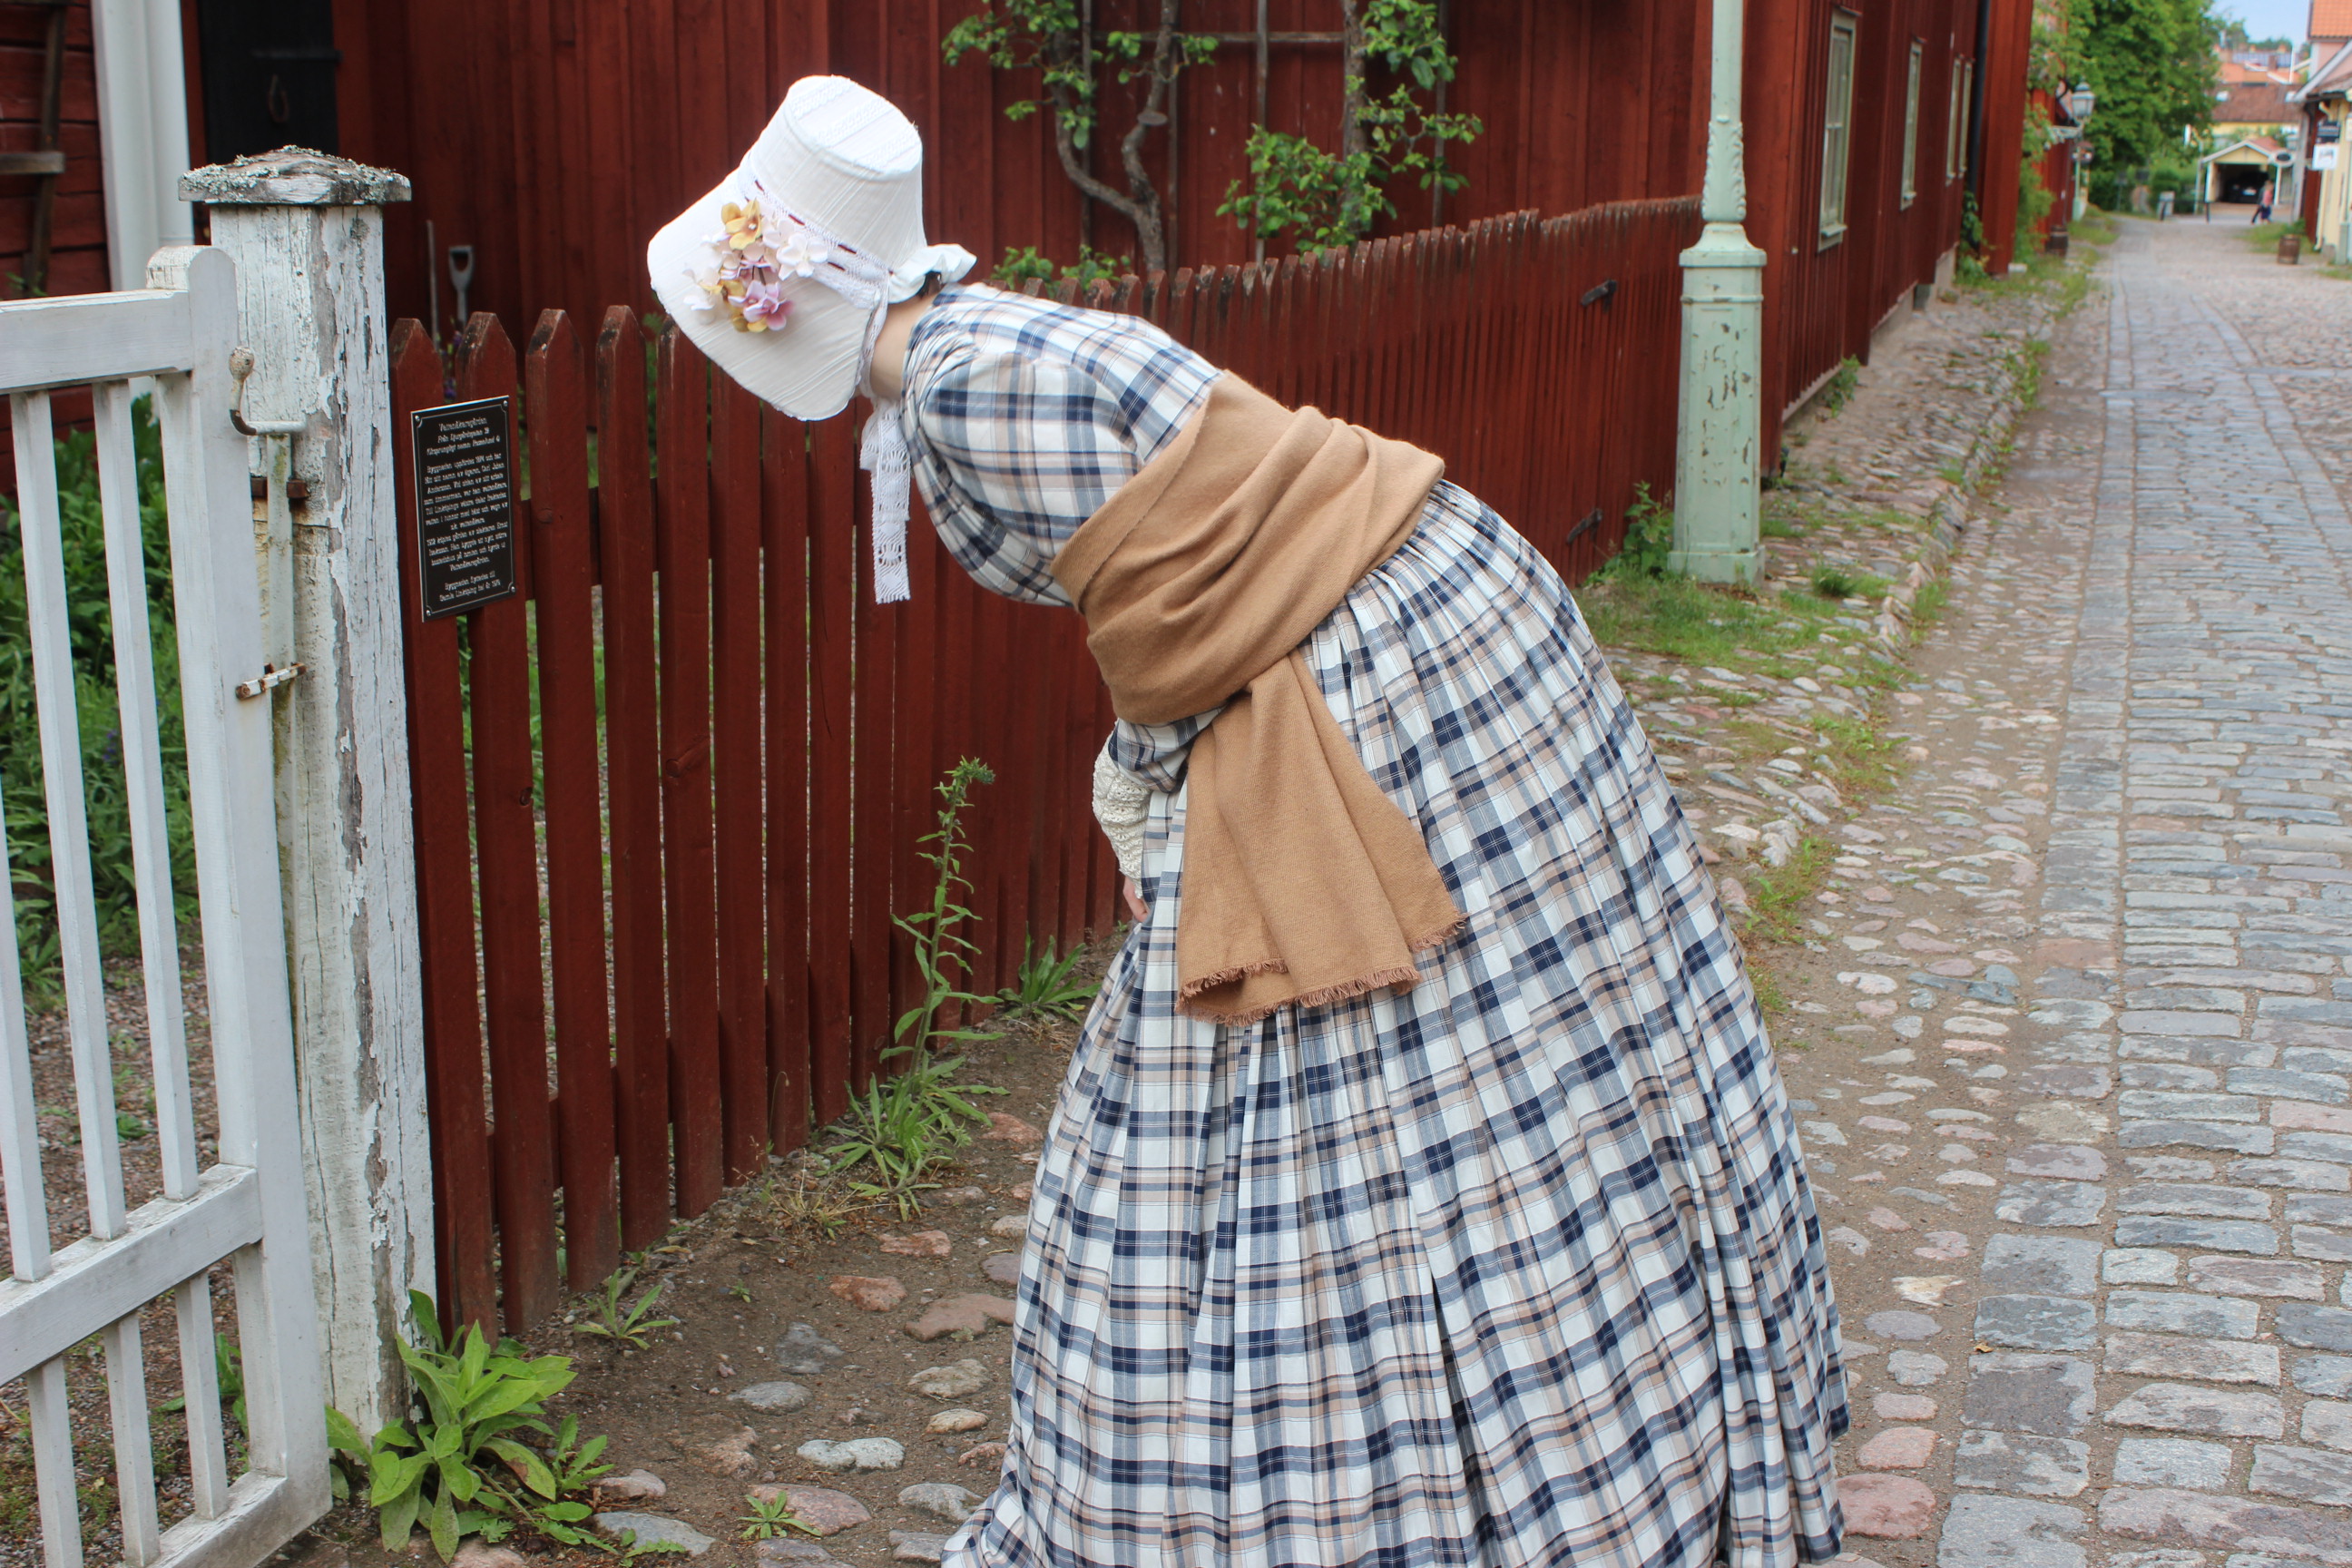
A severe case of “Hairnet stuck to PomPoms” 😀
Photo by: Kerstin of “Augustas resa” (more photos from her can be found here)
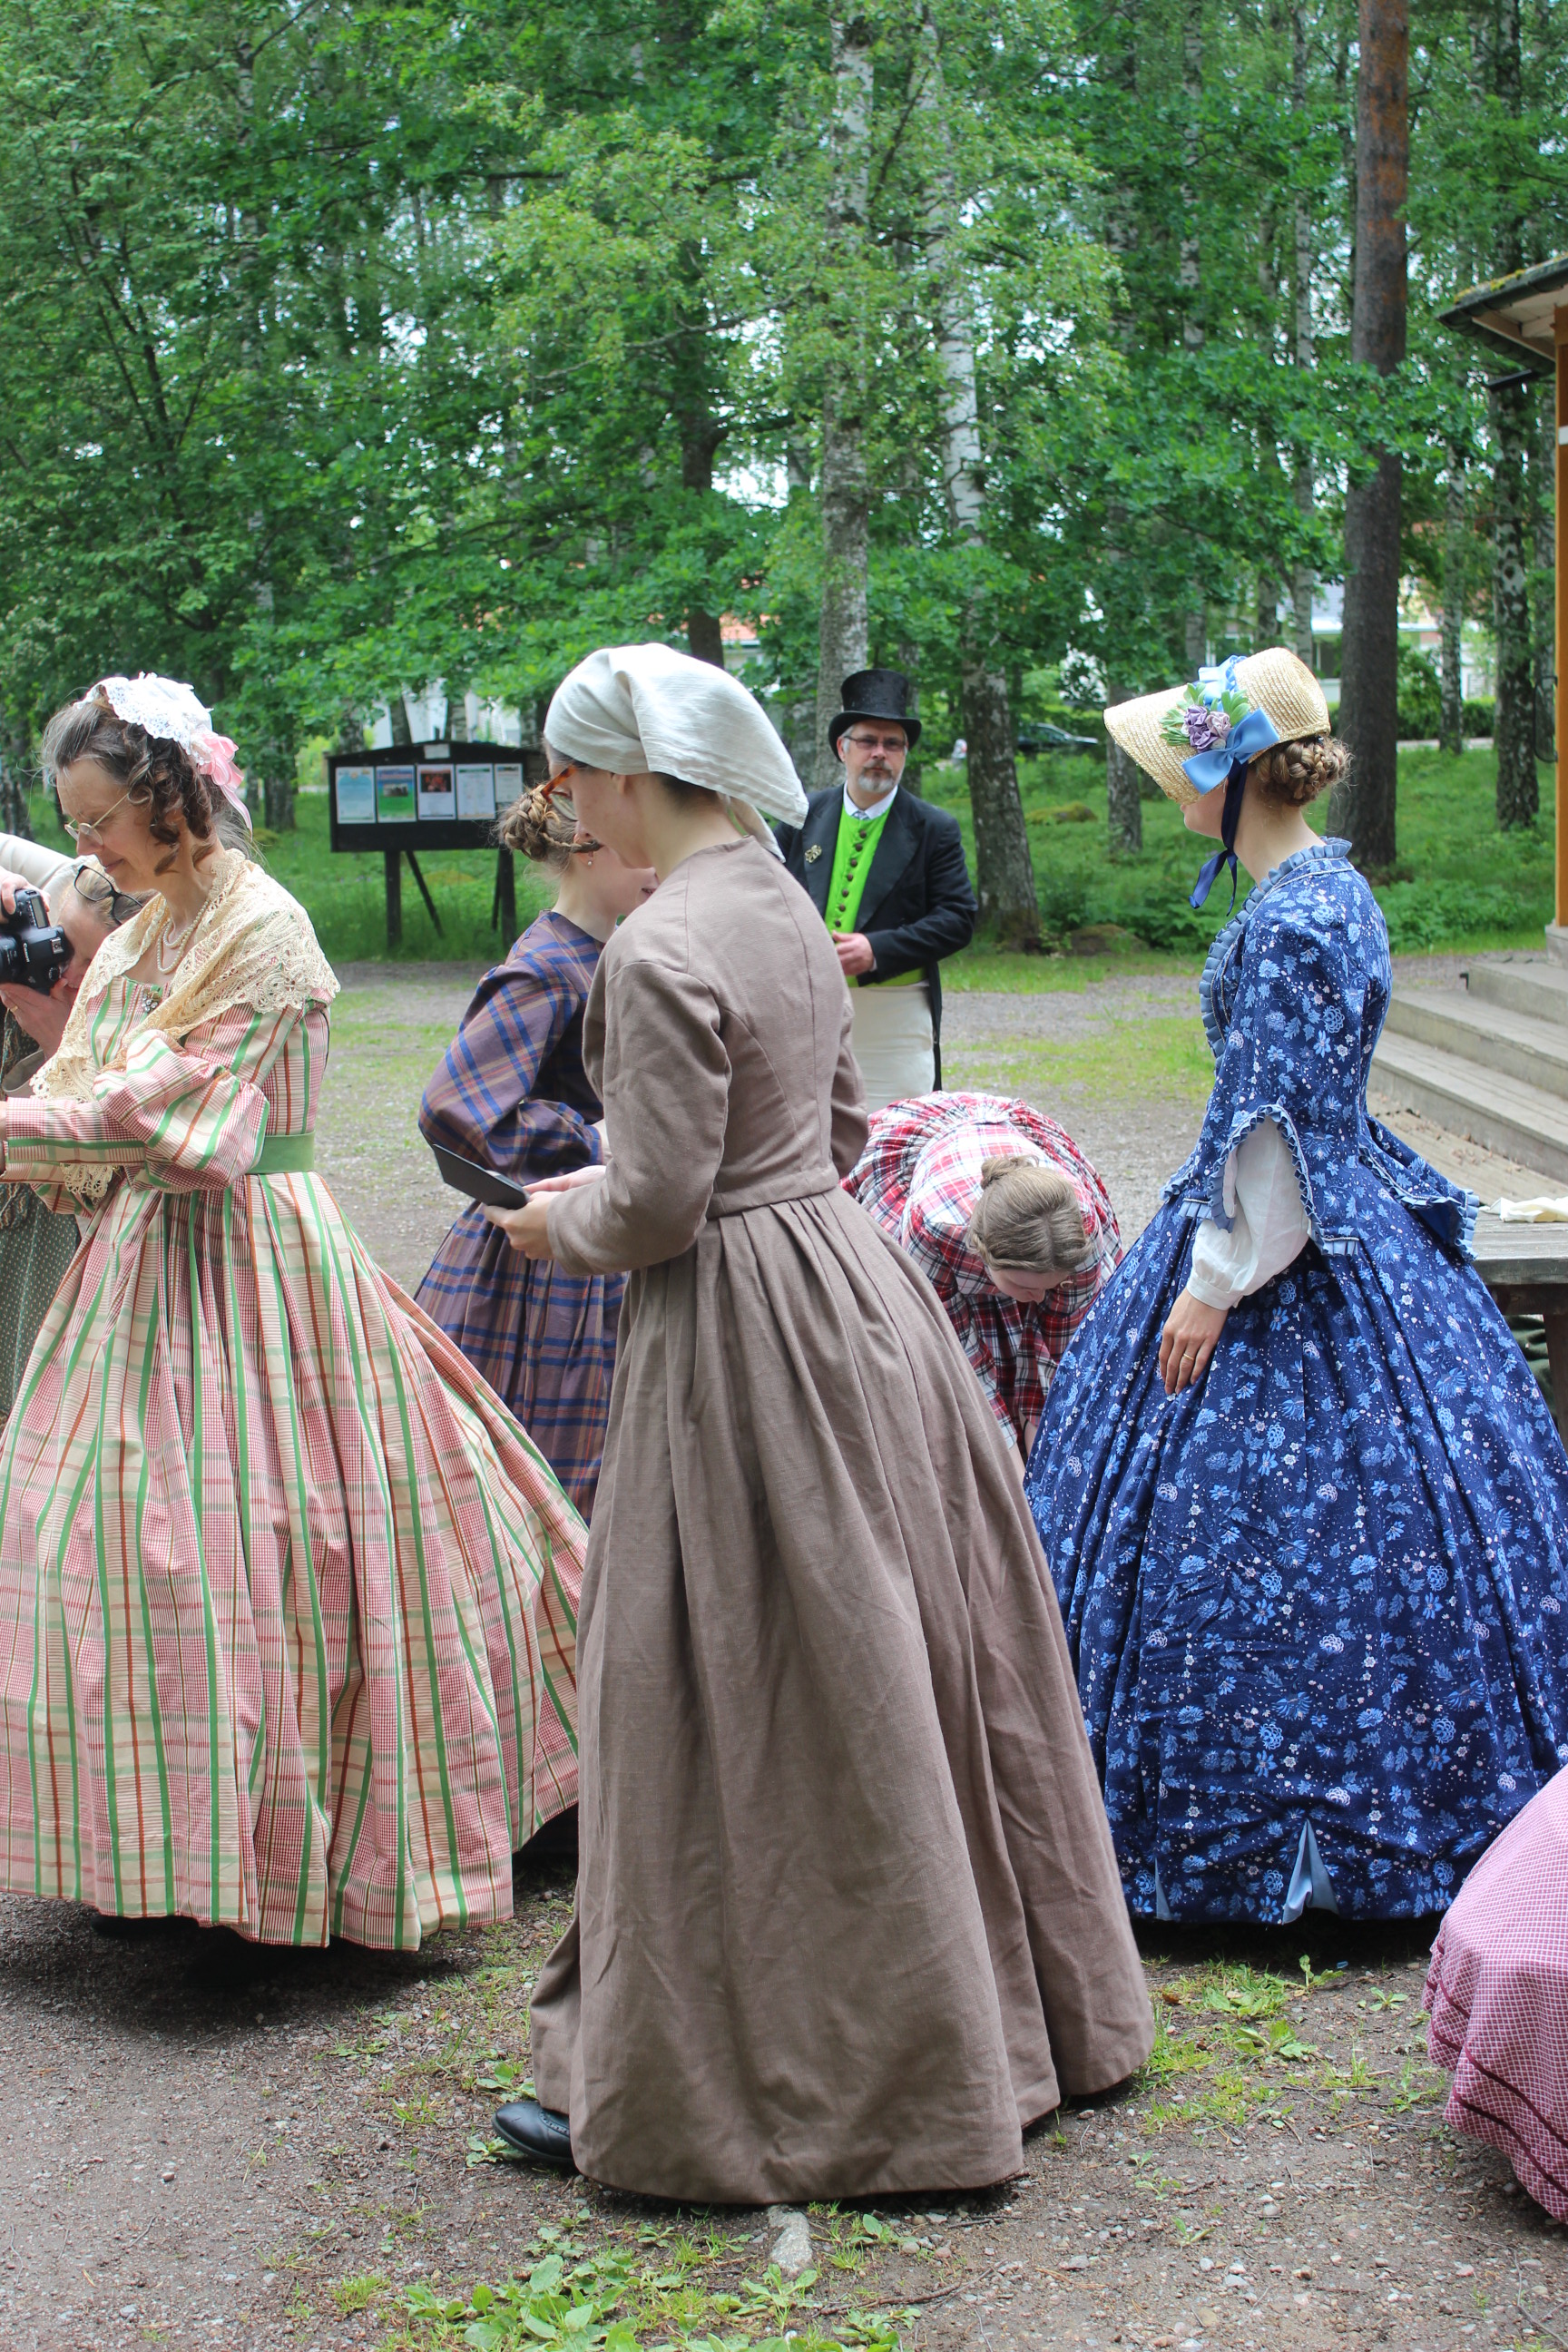
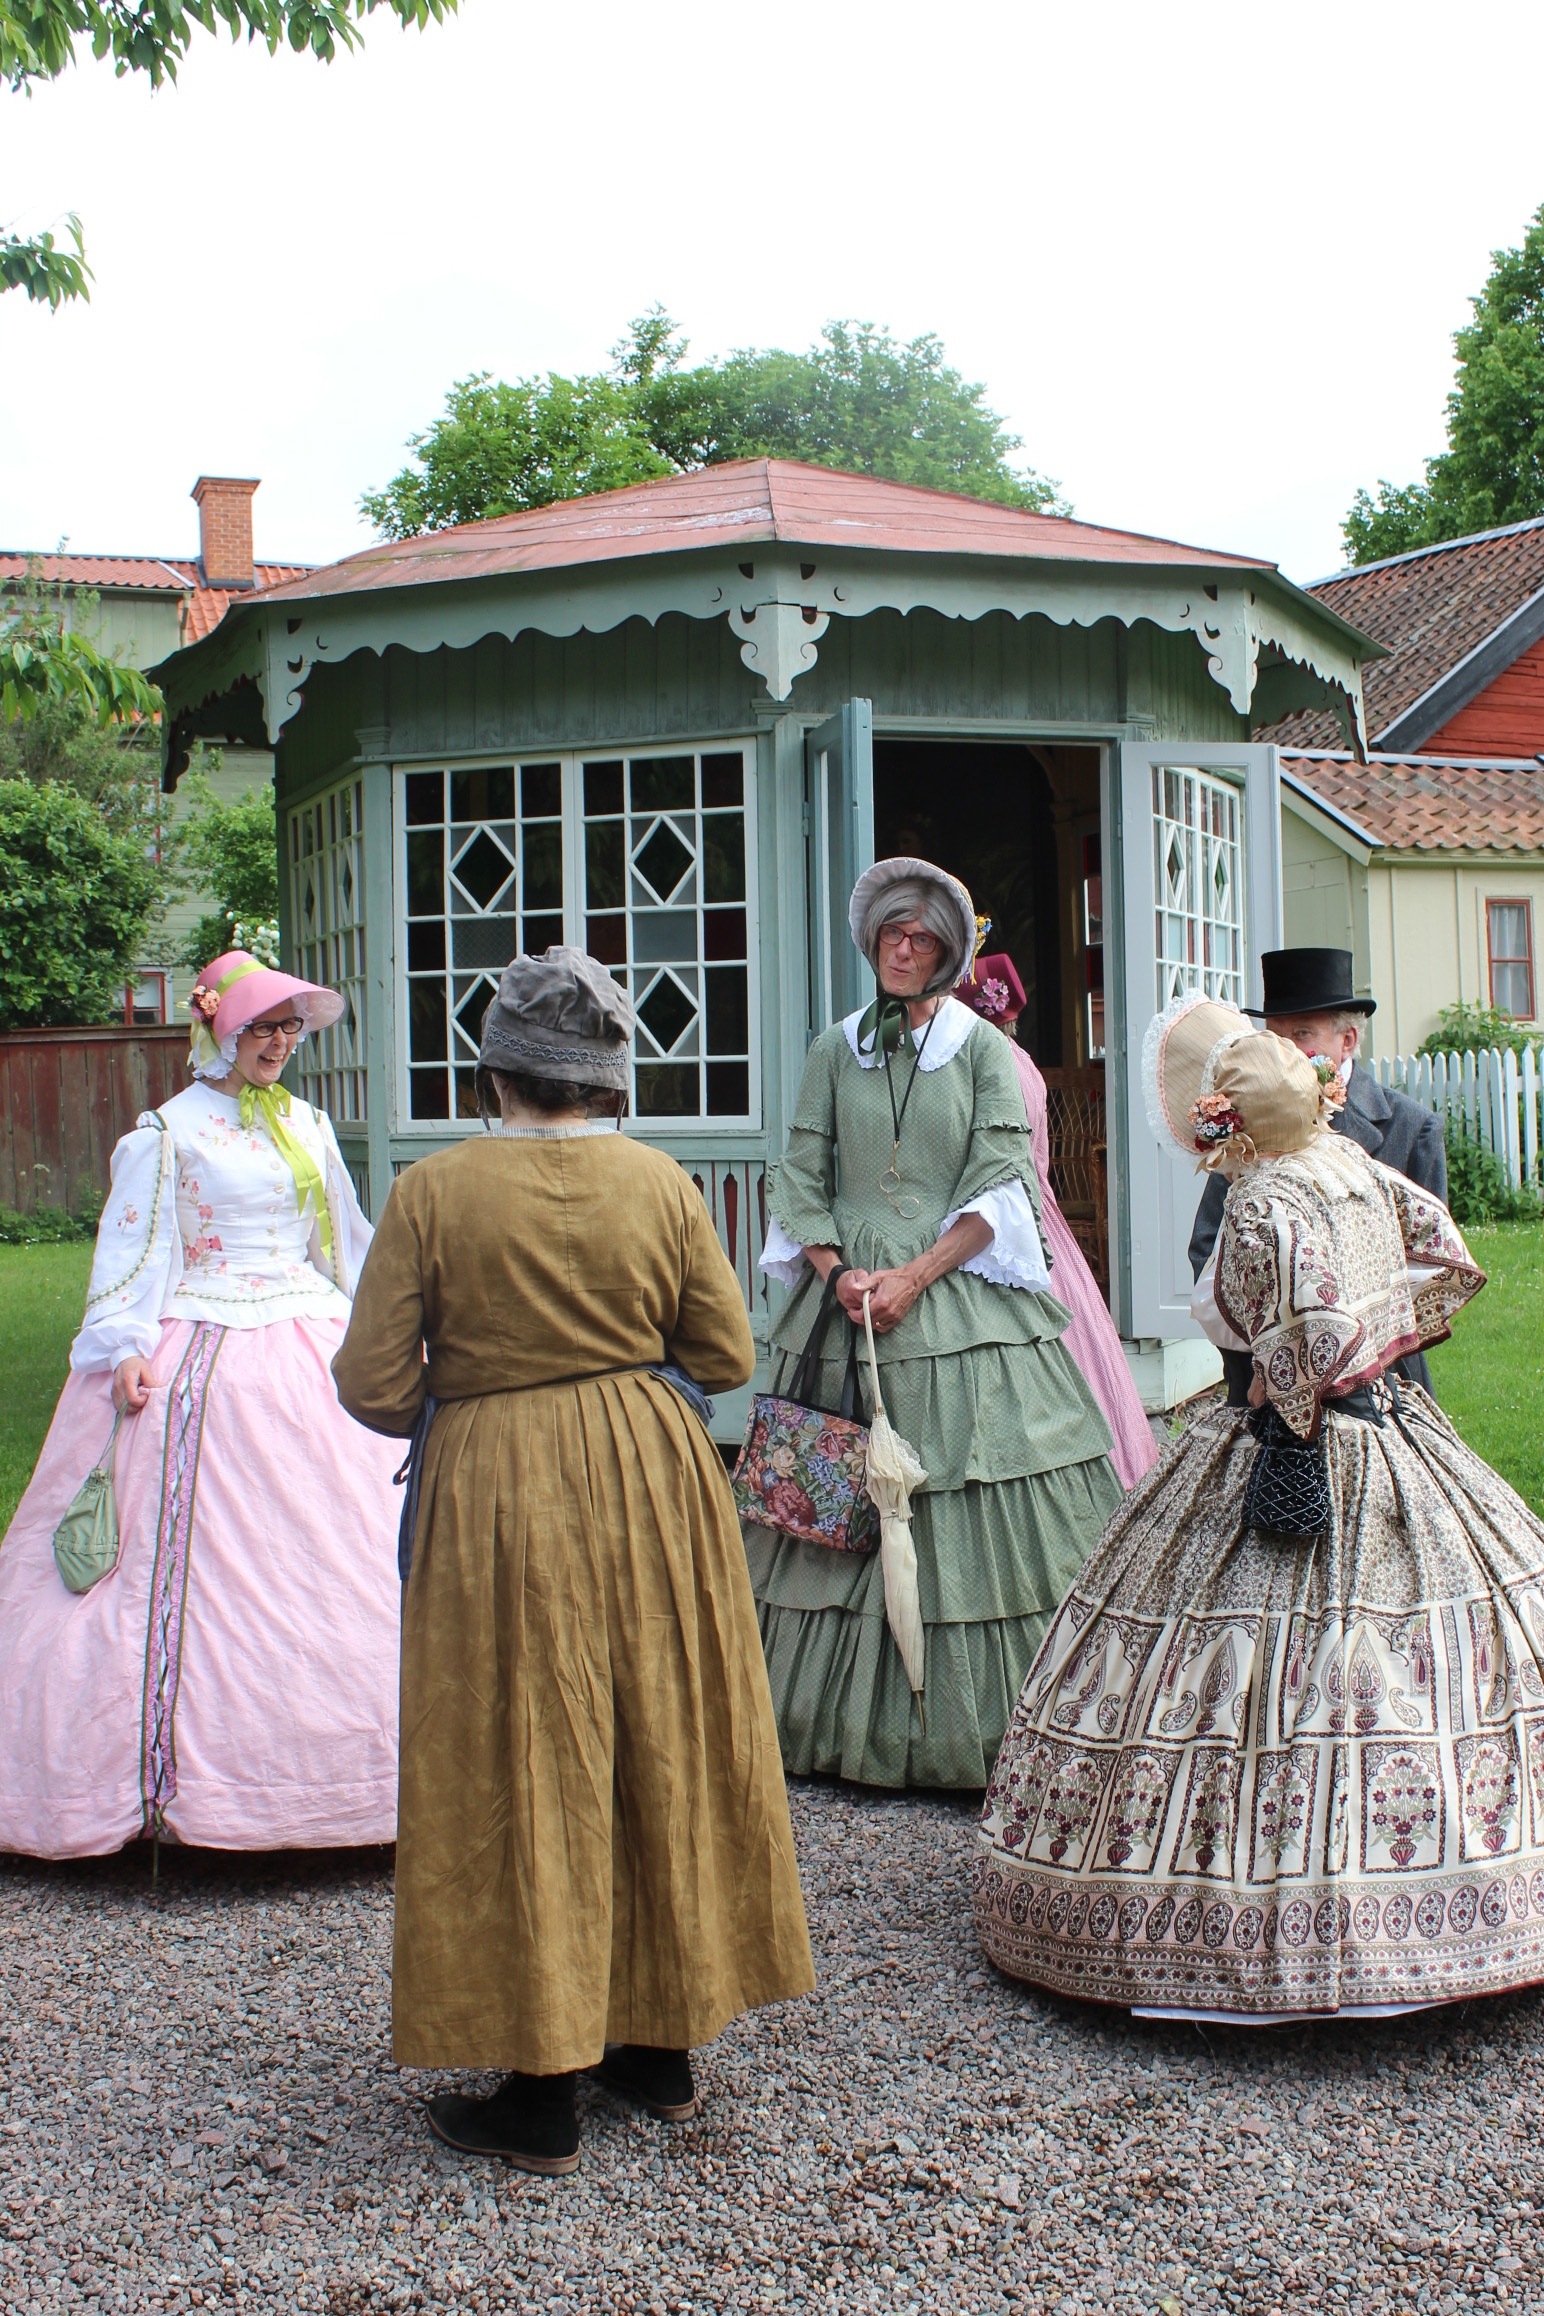
Some mingel

Pernilla and Denise in their beautiful new dresses.

This is how happy Pernilla is about her recently finished crinoline 😀
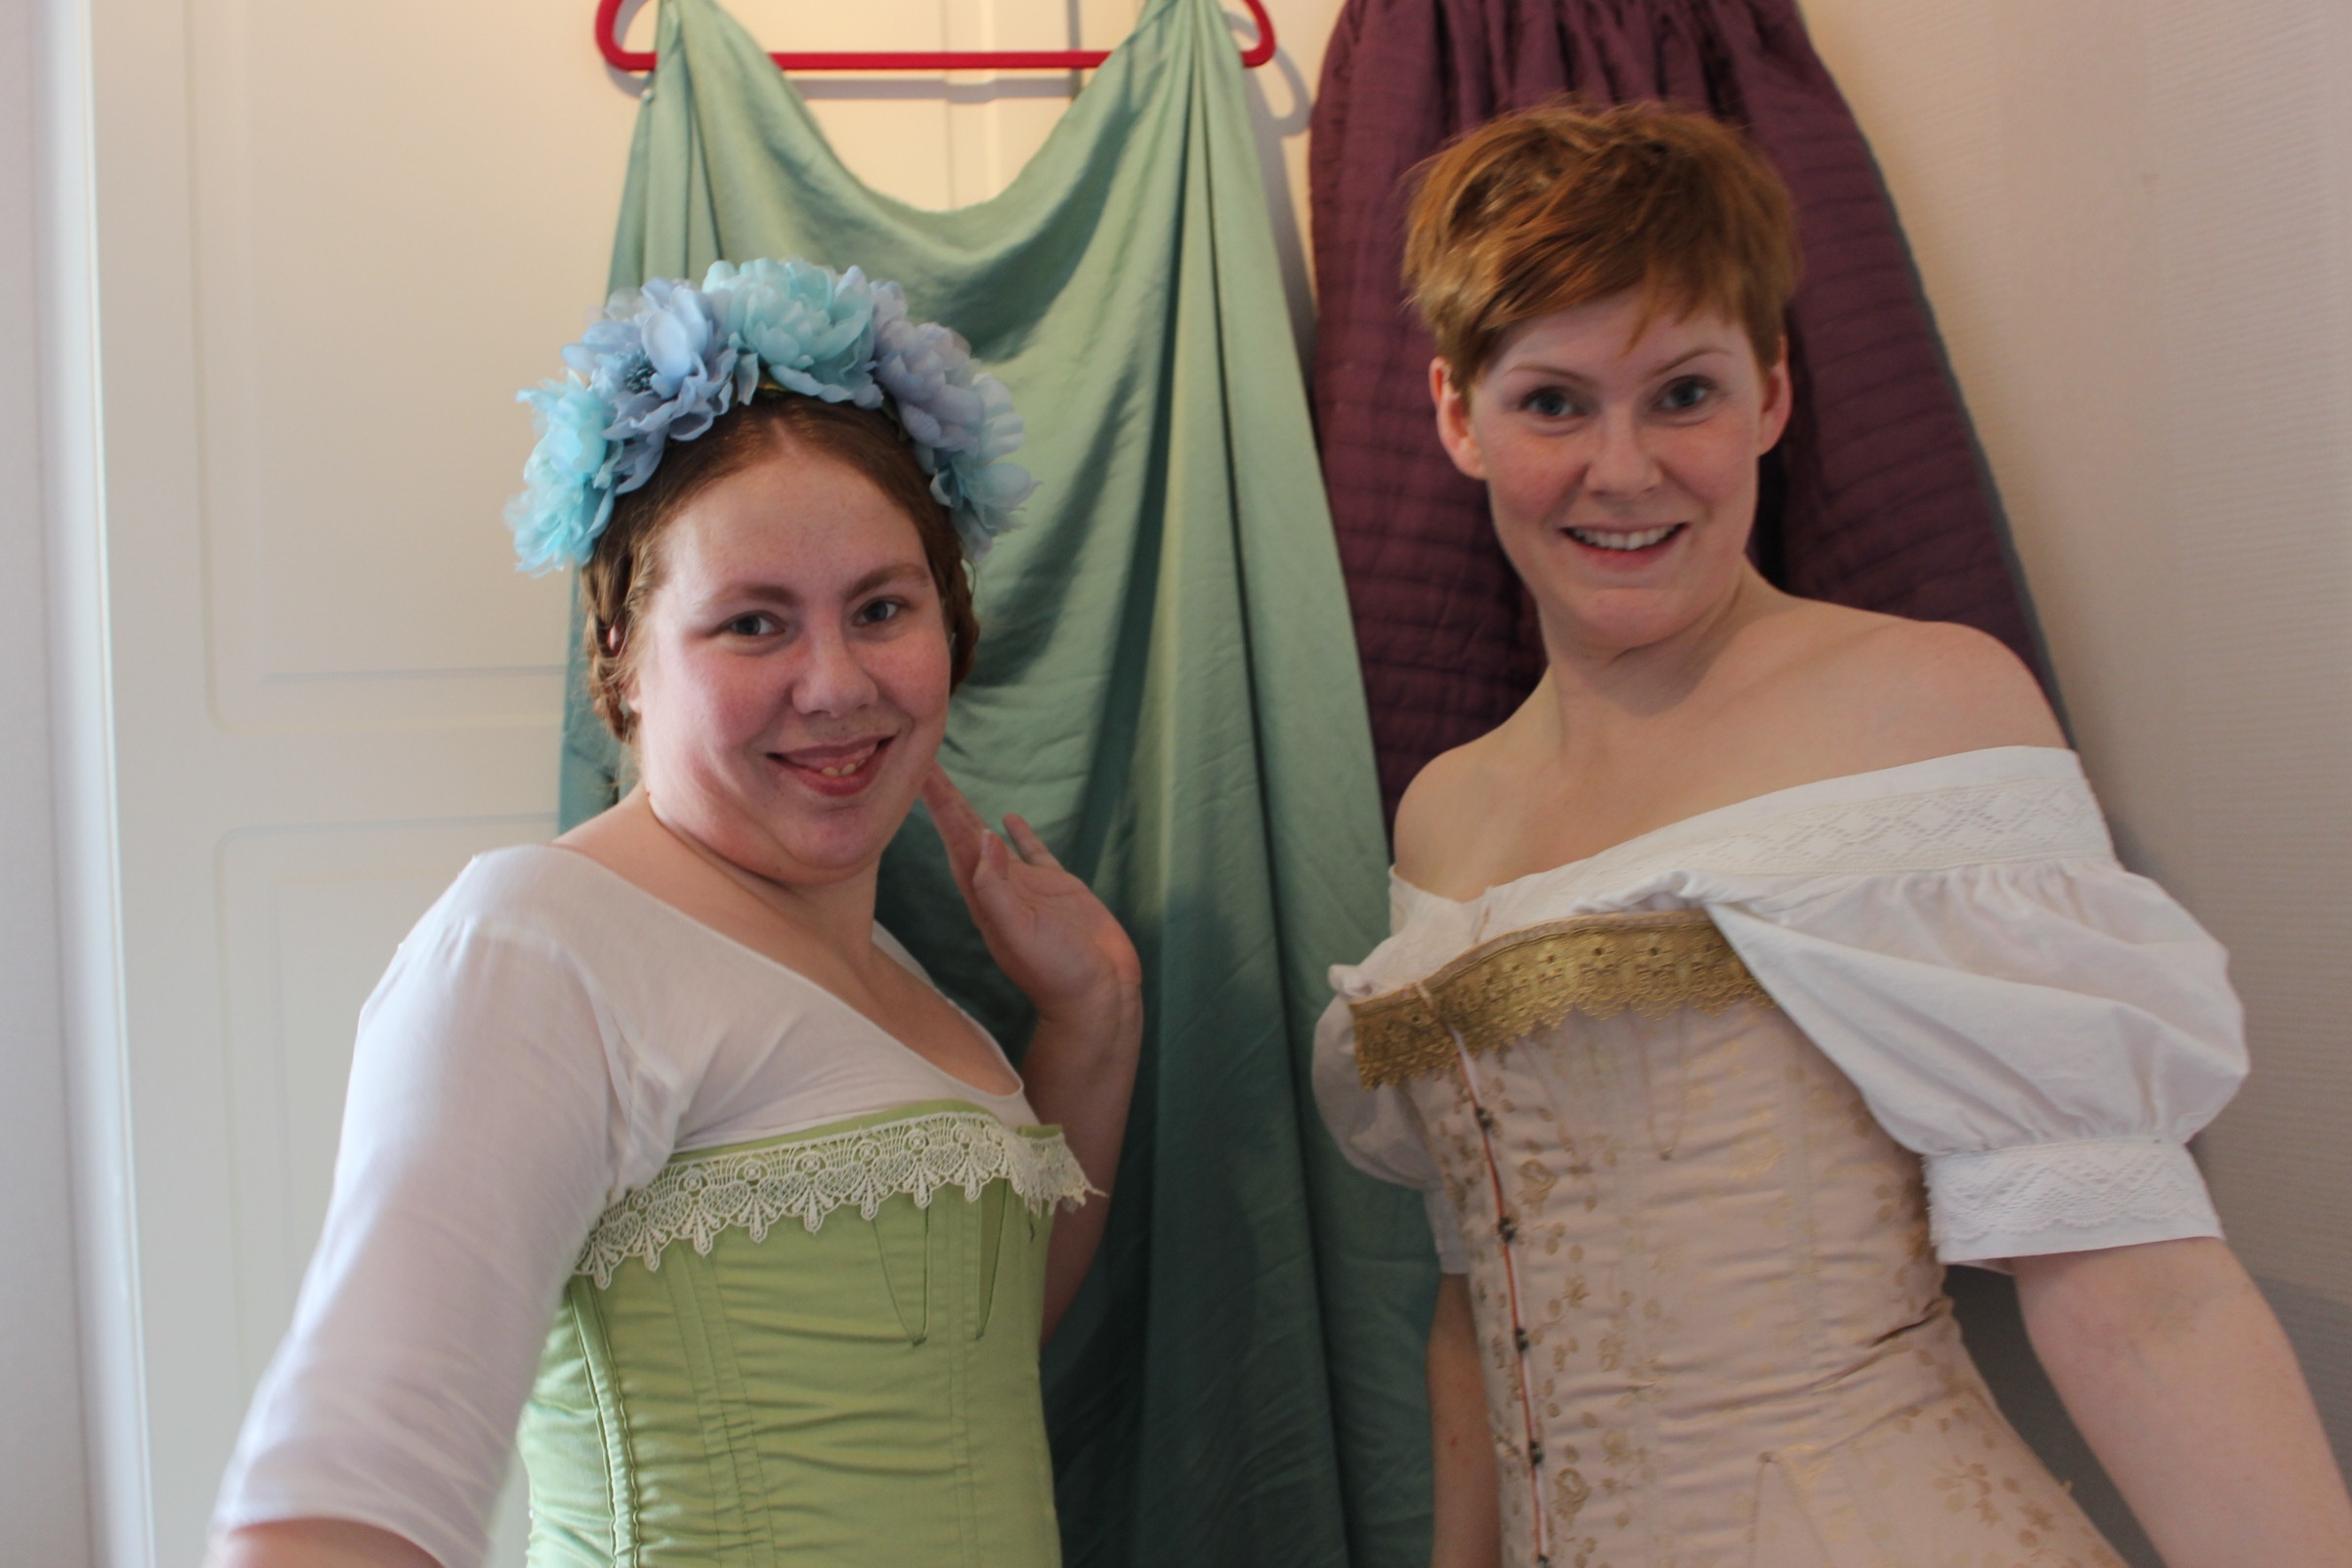
Sis 🙂

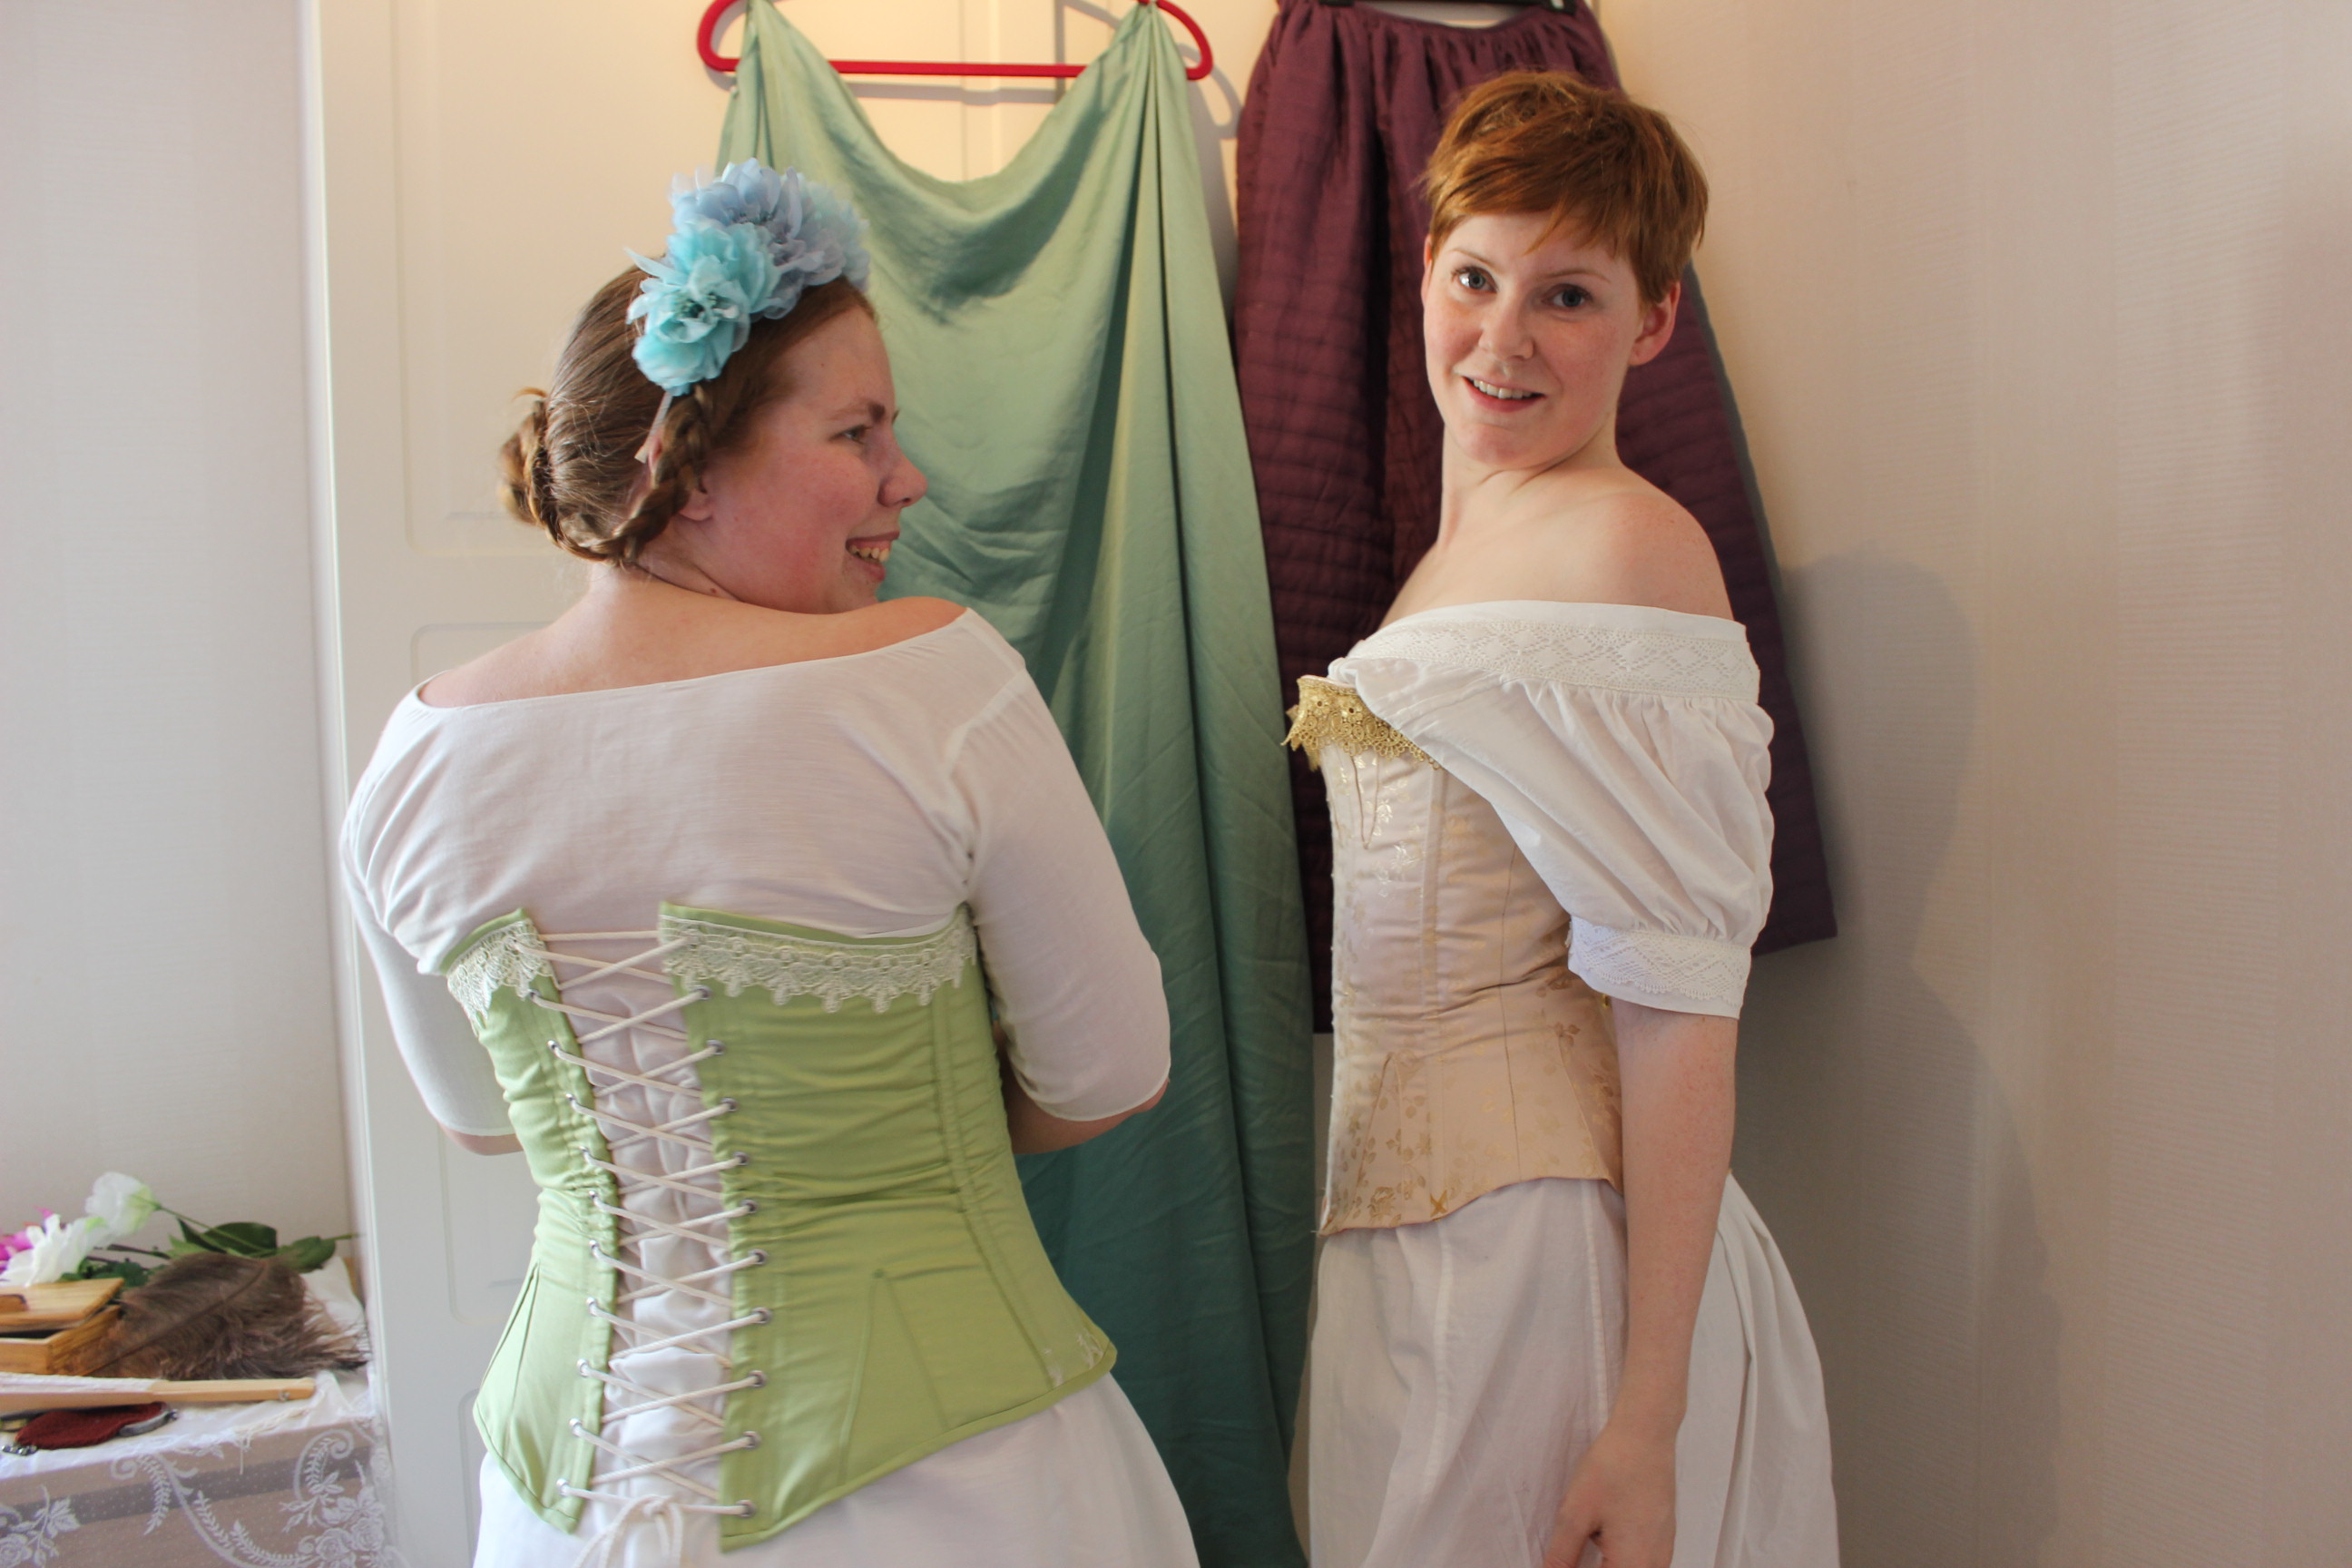
 Fixing some hair before the dance-recital

After the picknick we all headed onto the dance flor to get a lesson in 19th century dance.

Not everyone likes to dance though, sometimes it’s just enough to sitt and enjoy it instead.

Then the dance-team showed us some more complicated moves  I opted to stay sidelined since we were uneven to match the formation (besides No dancing = more photos)

Before it was time to “hit the town”, and for everyone to wander off as they liked we gathered for a group picture.

Pic by: Janne

Pic by: Janne

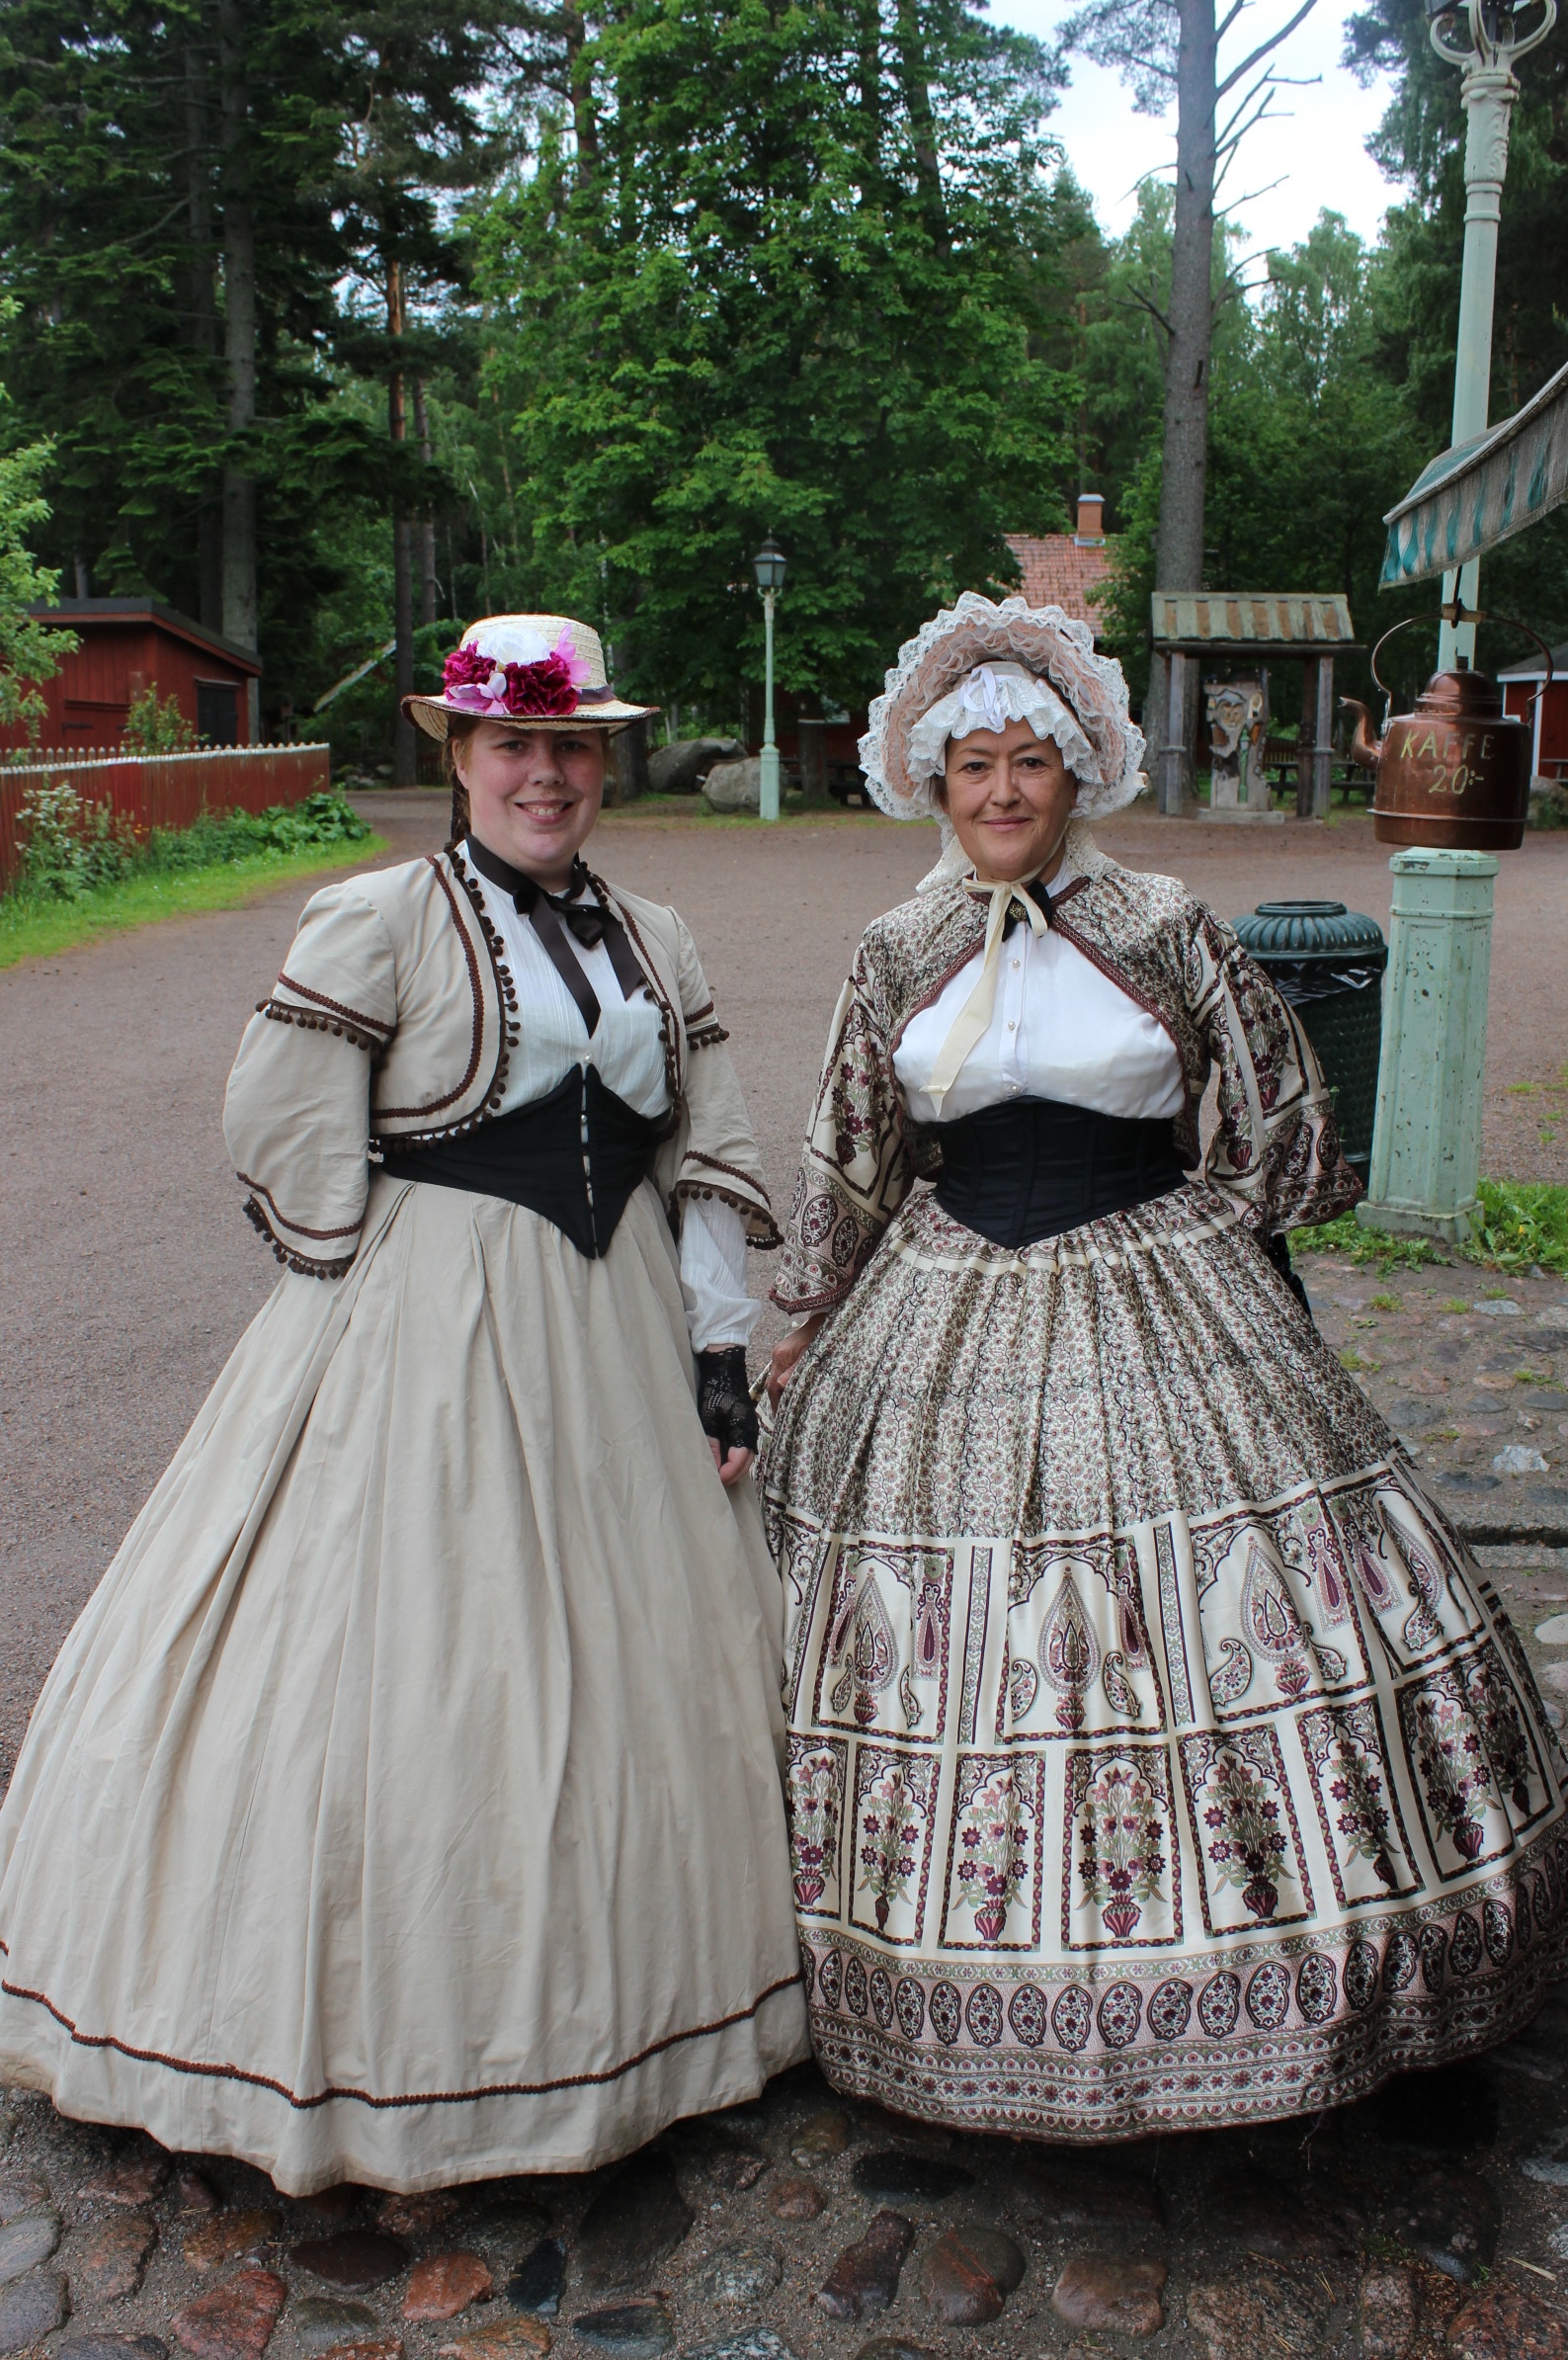
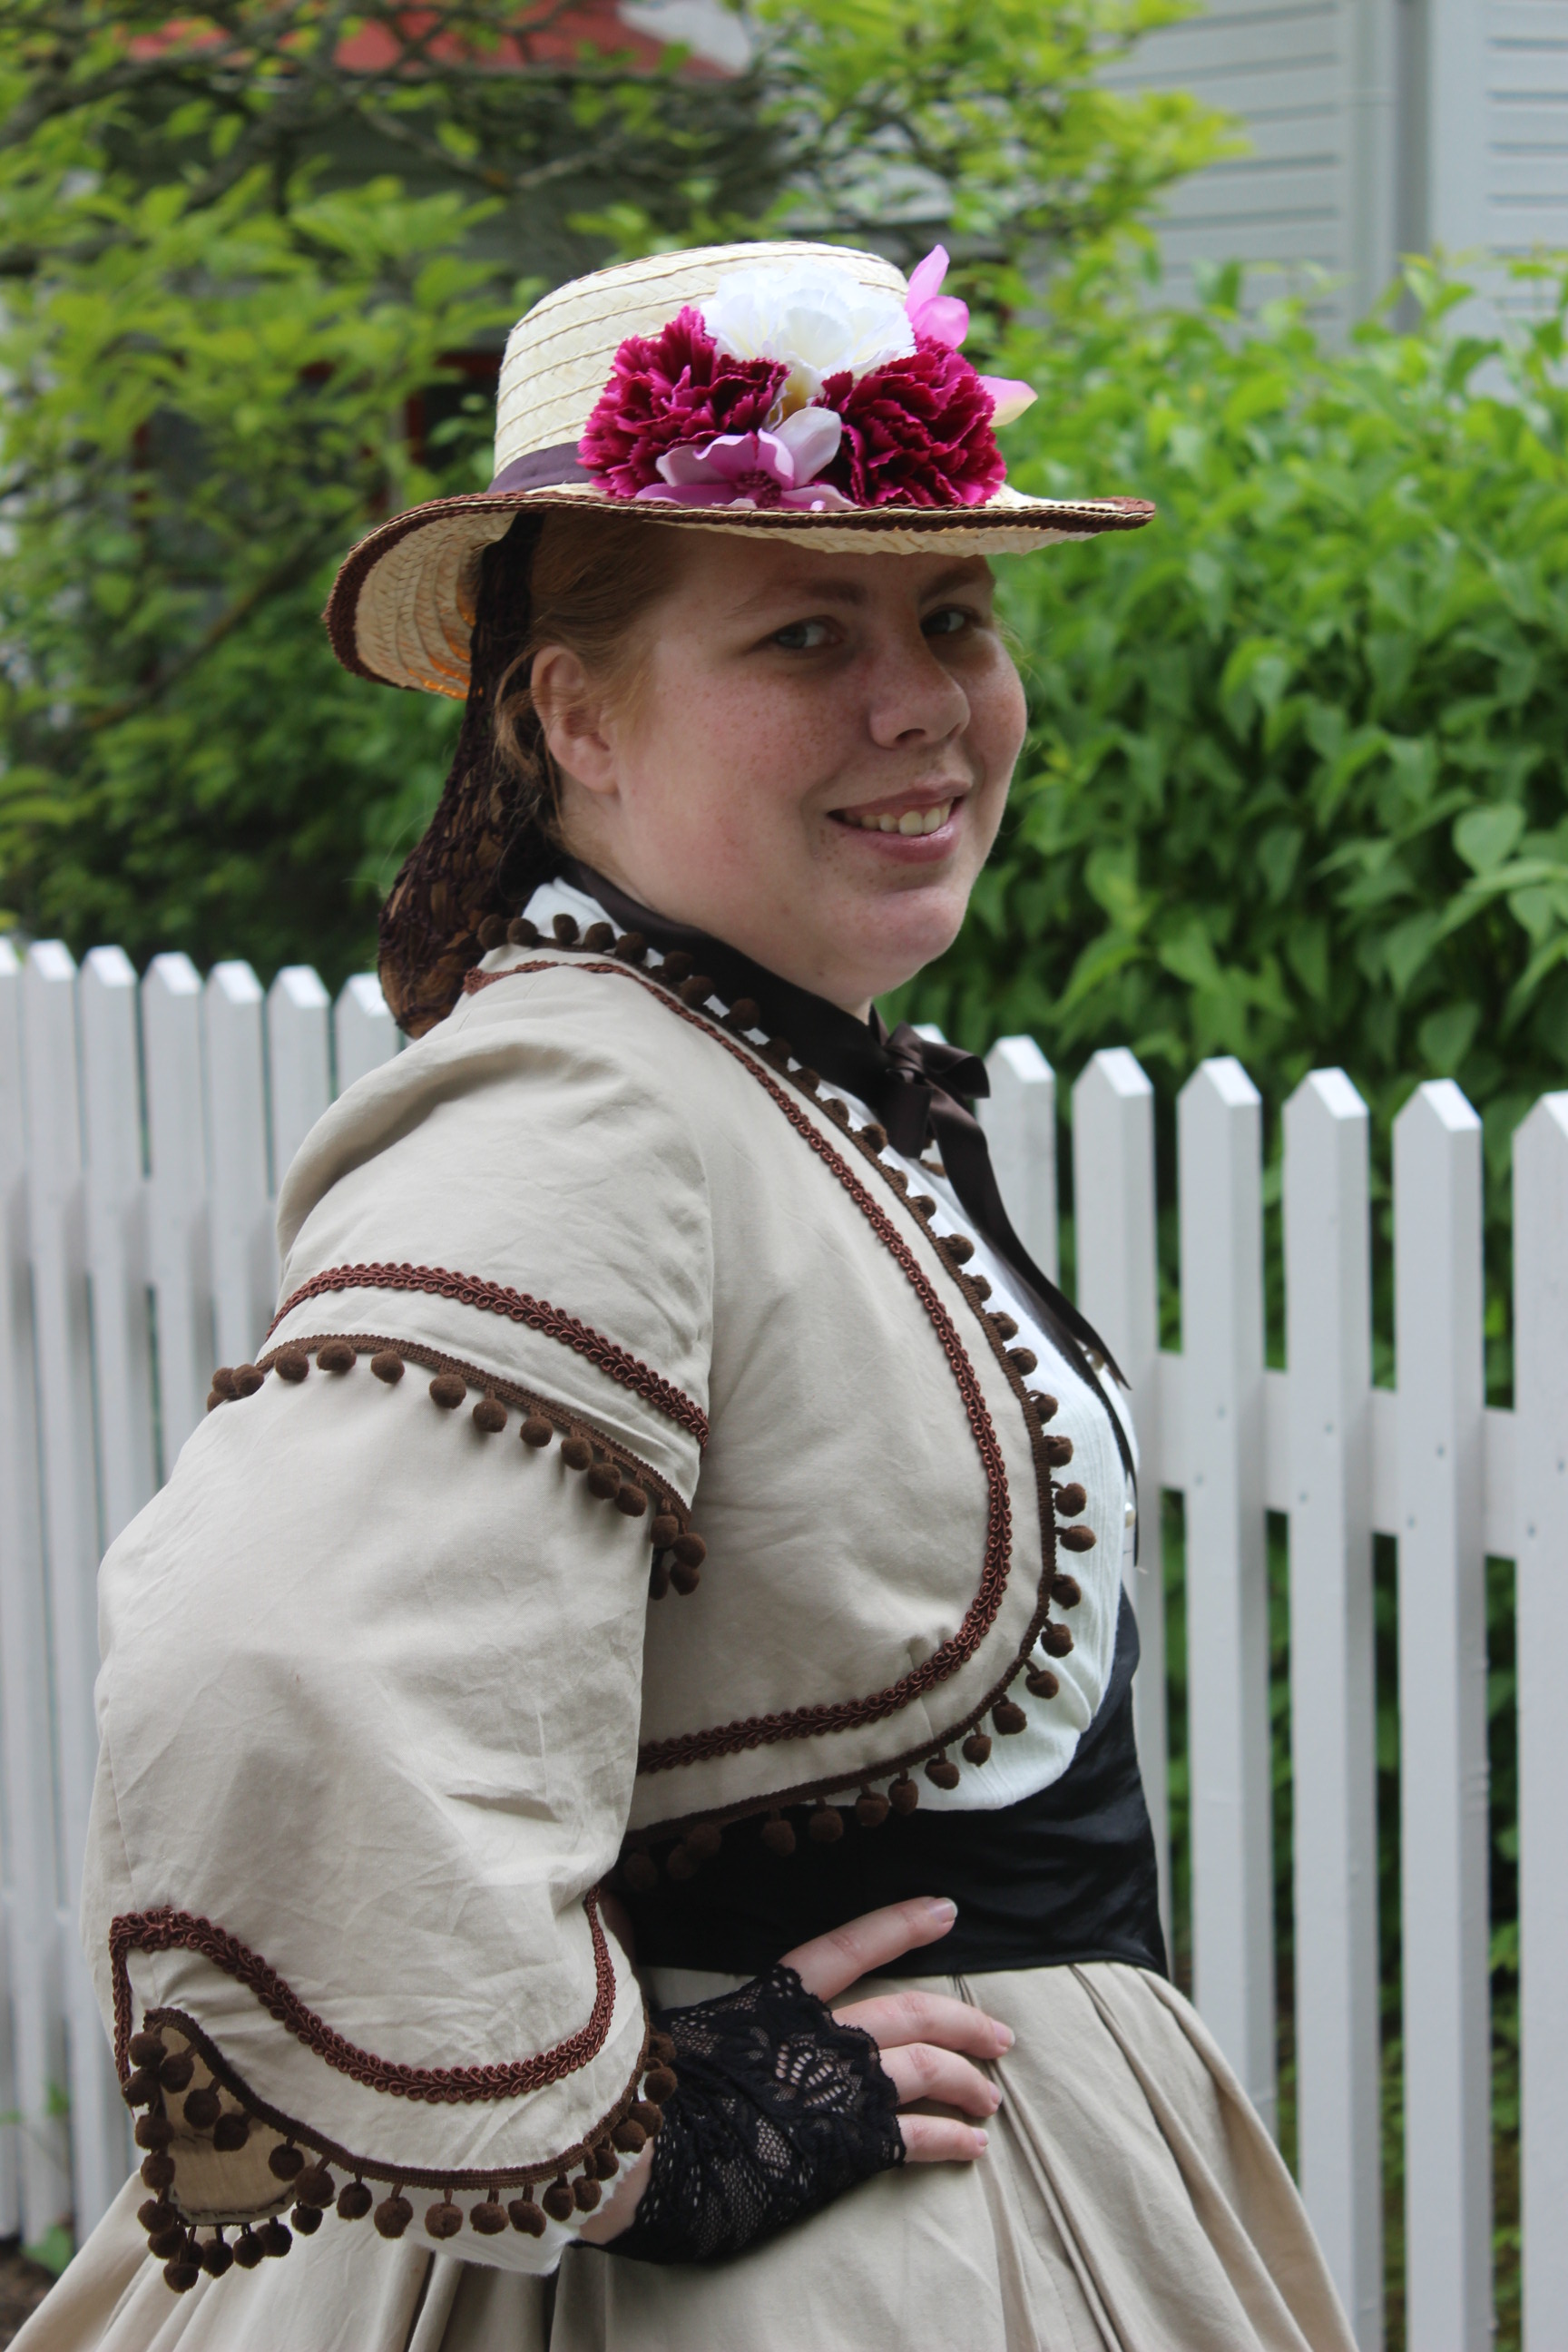
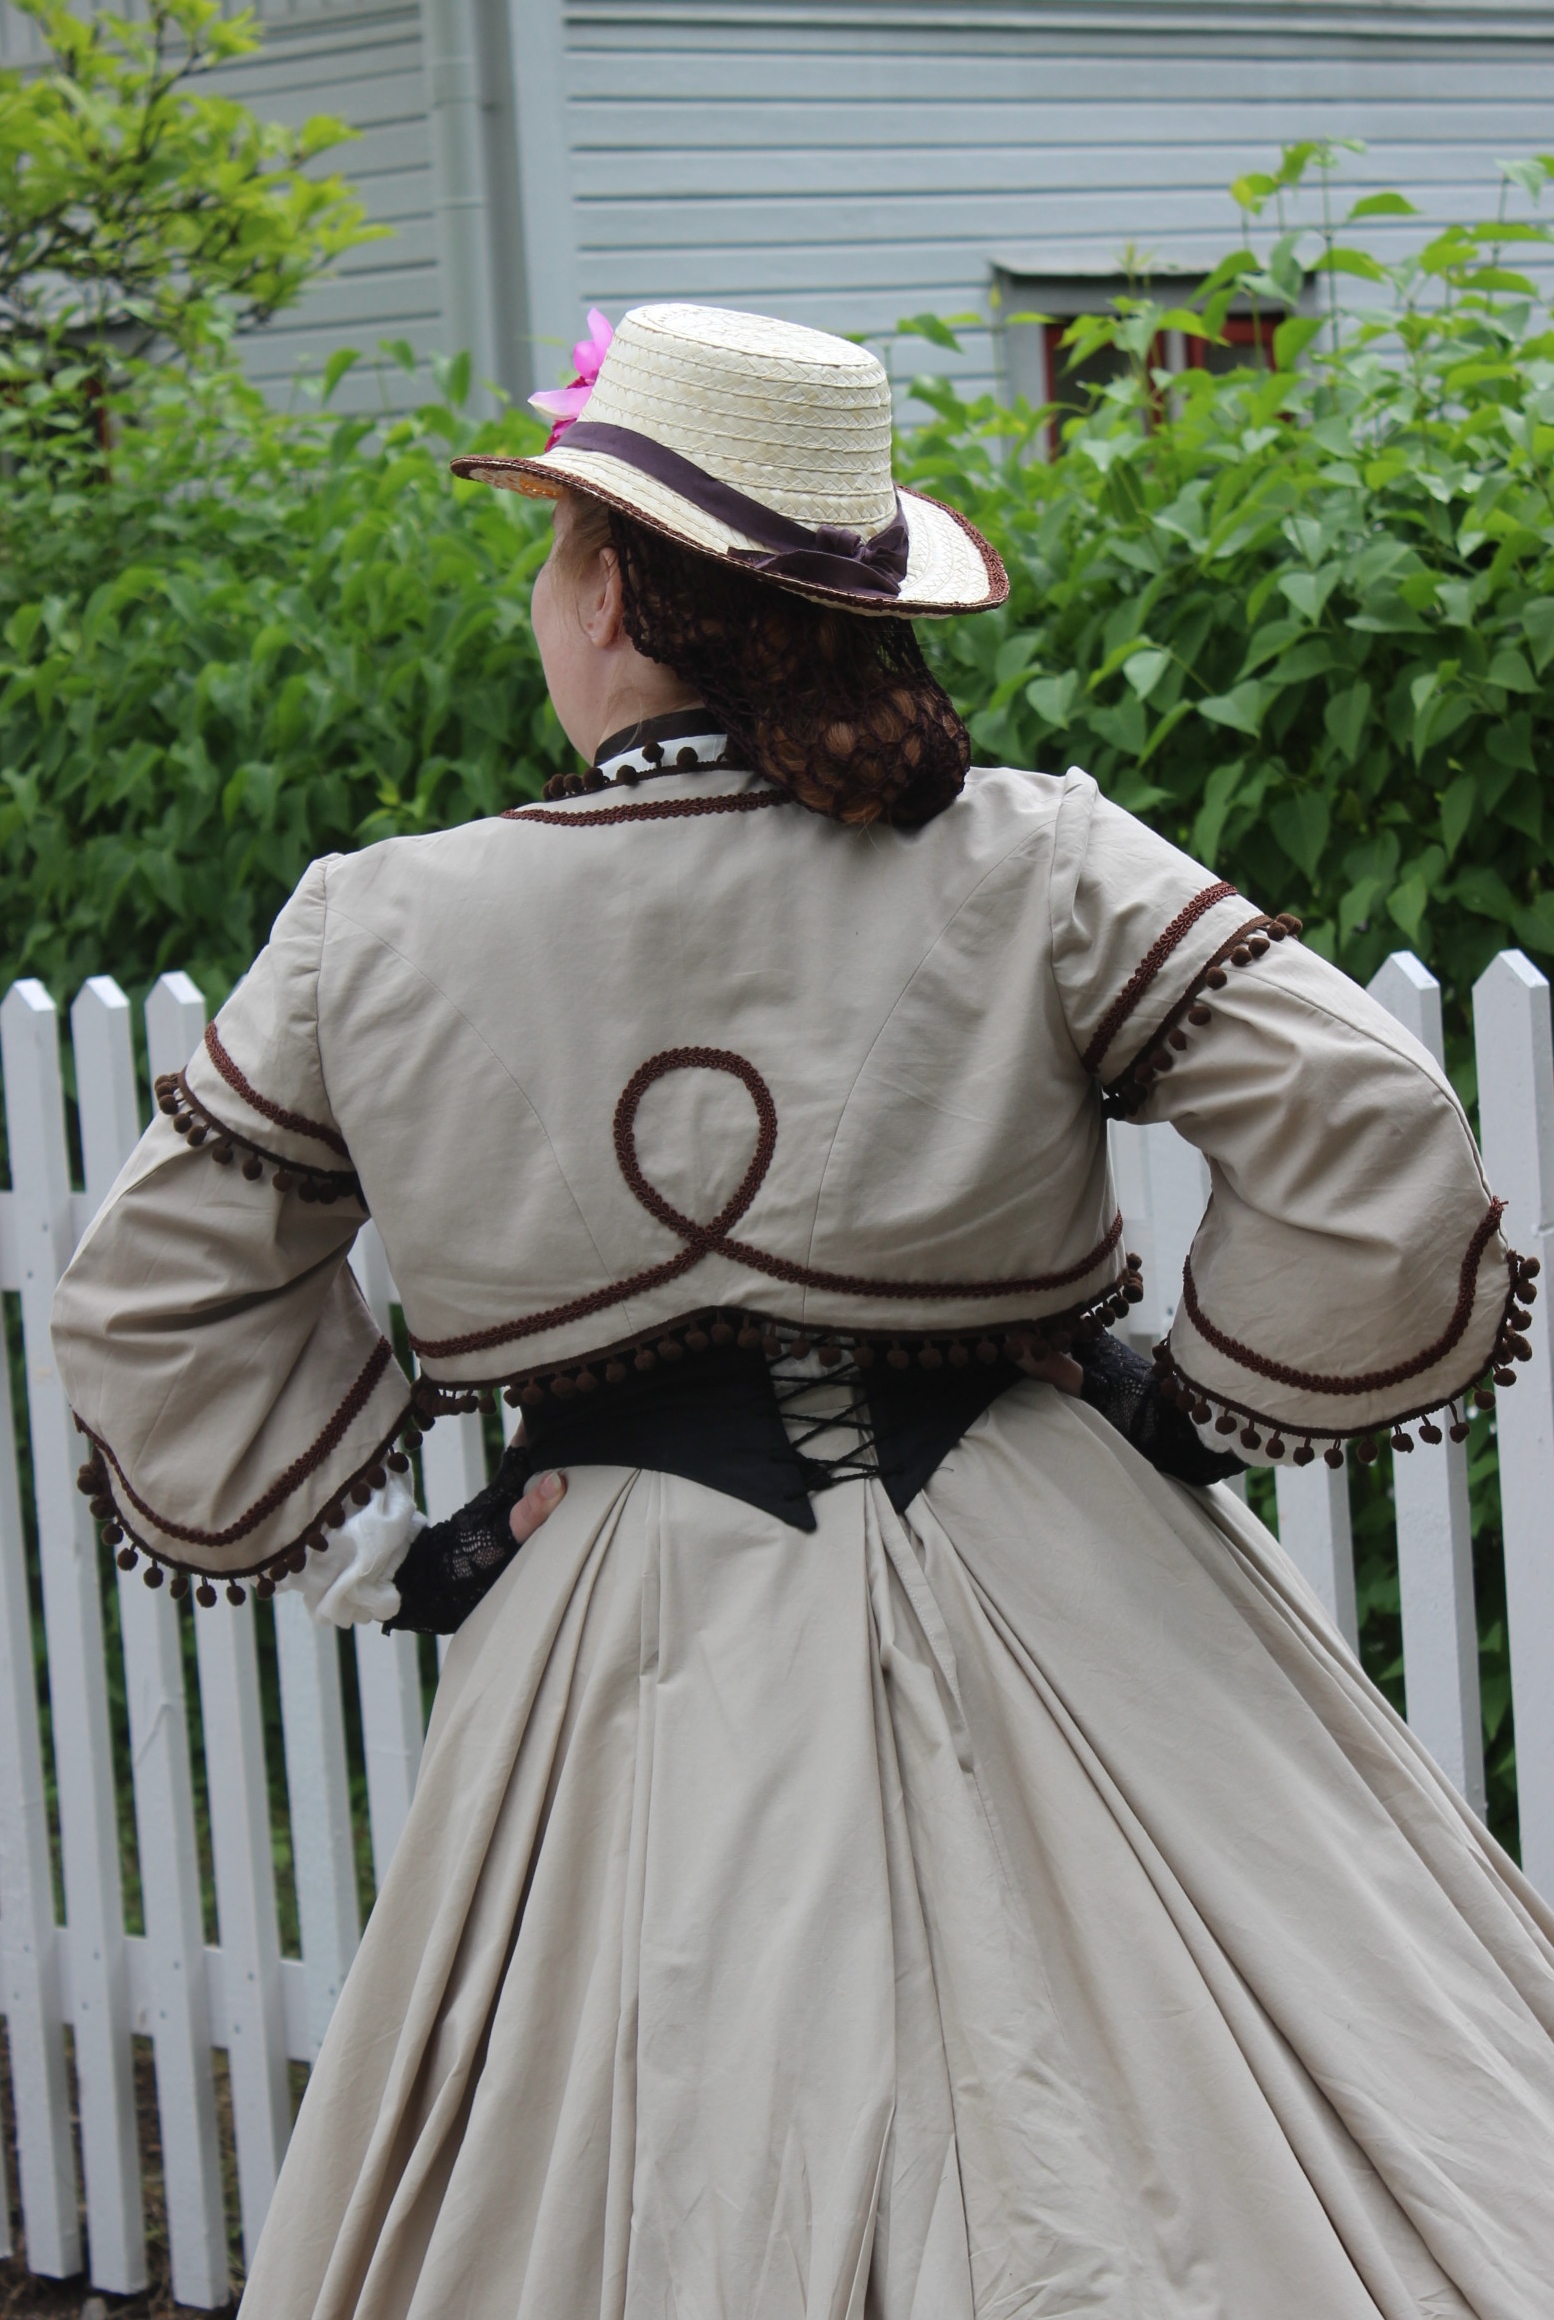
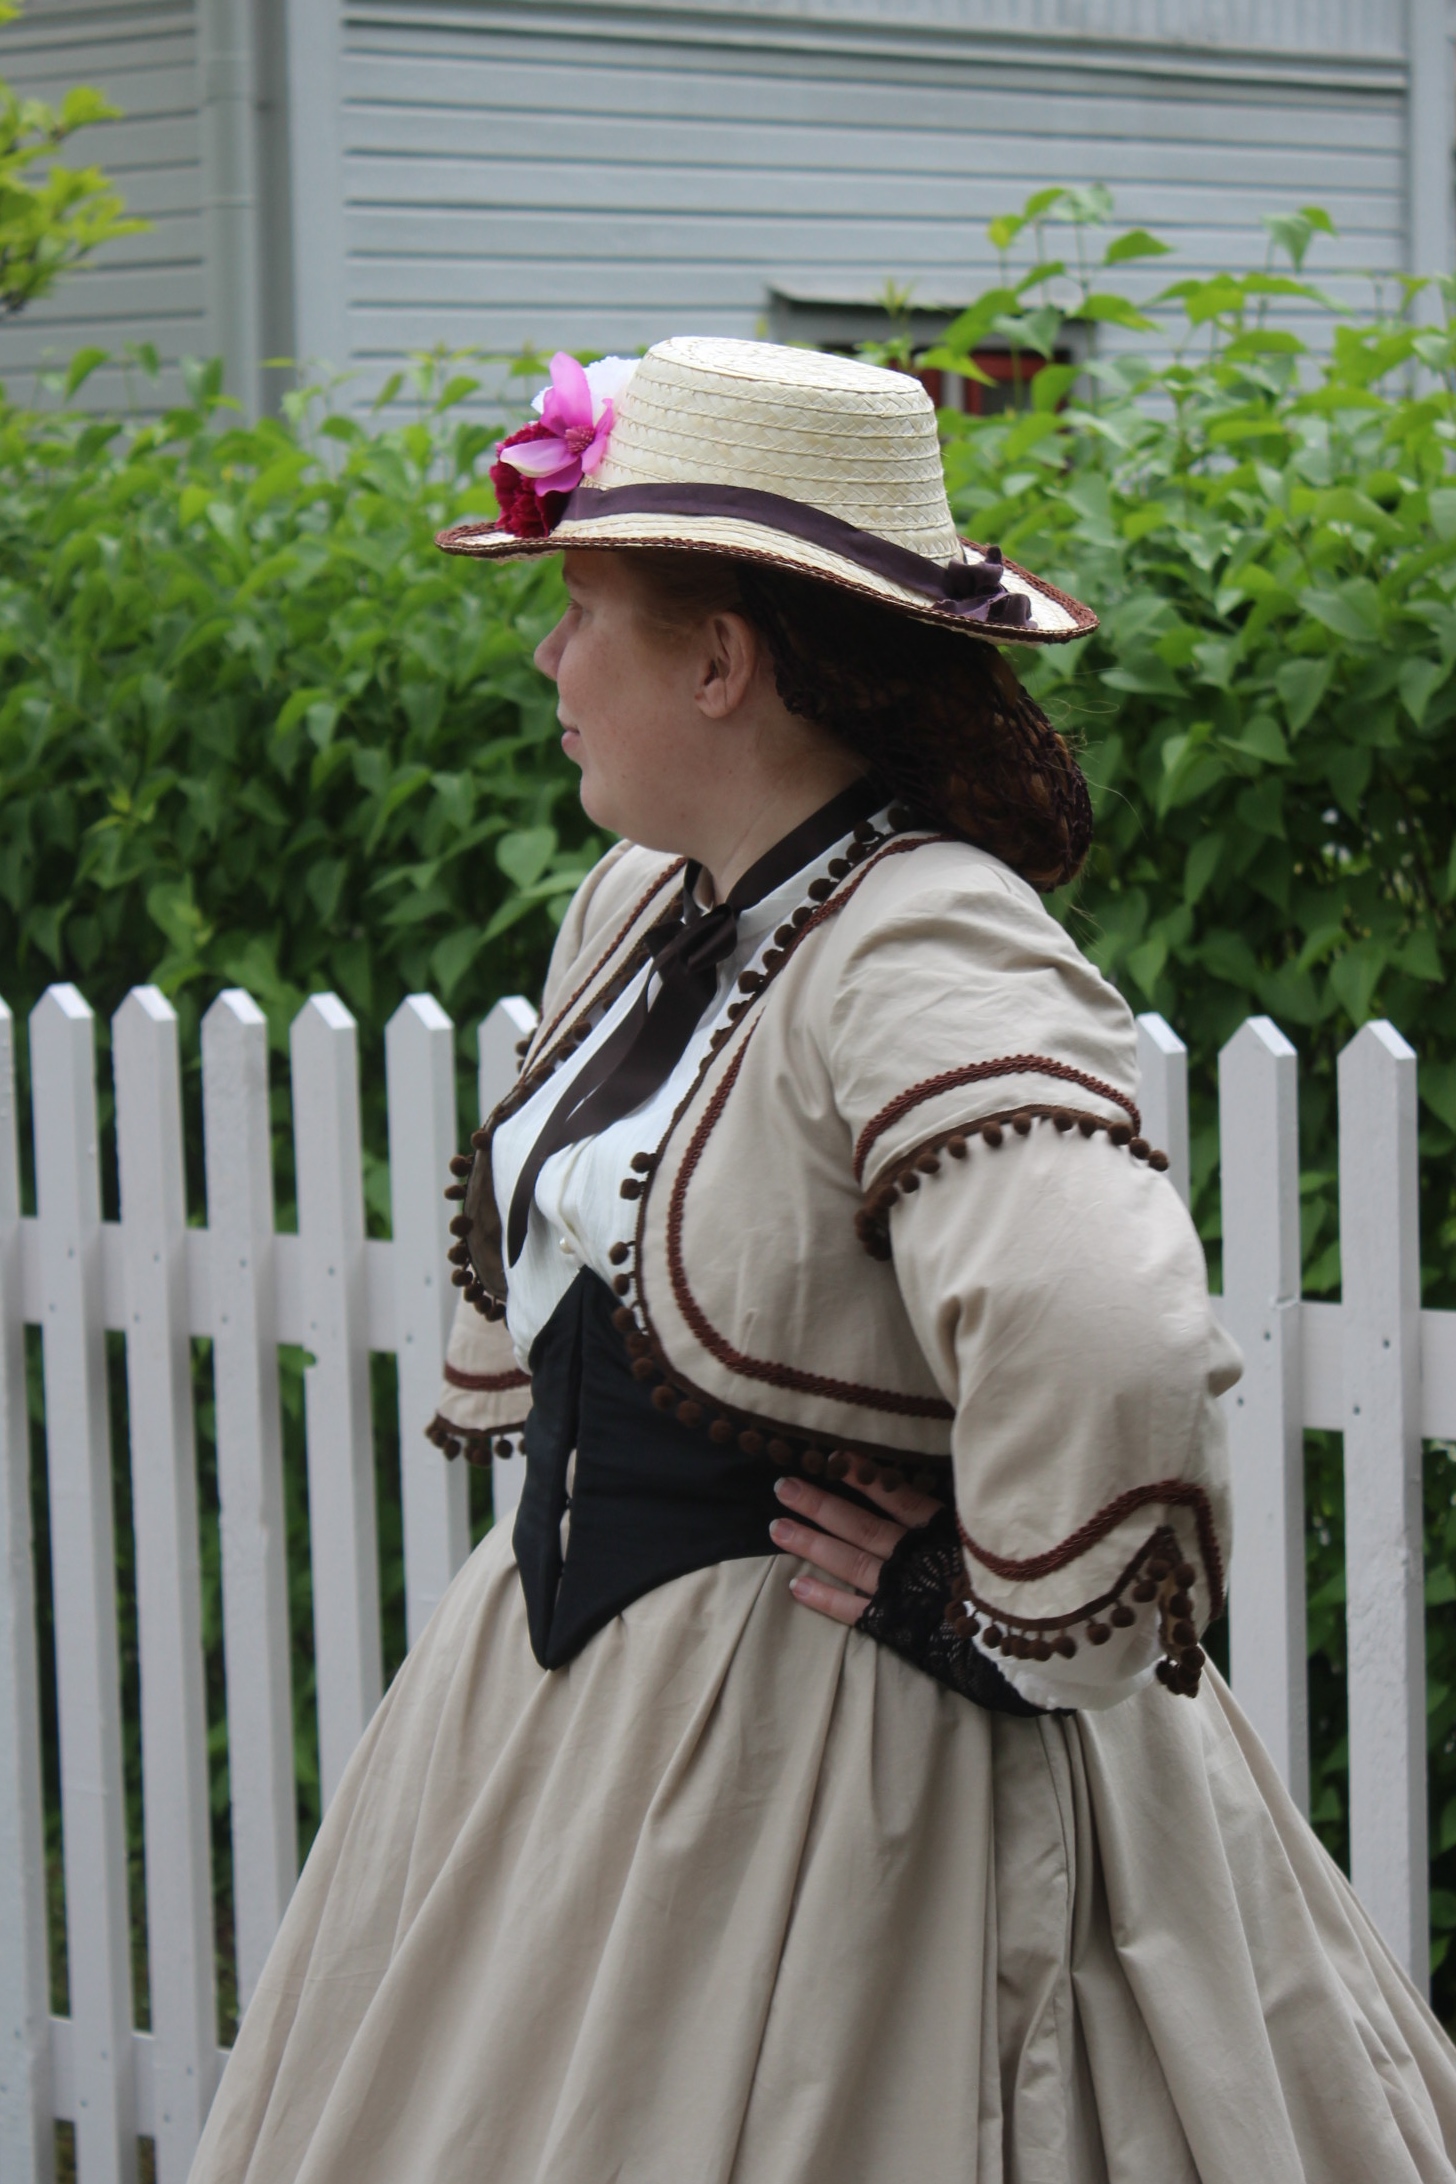
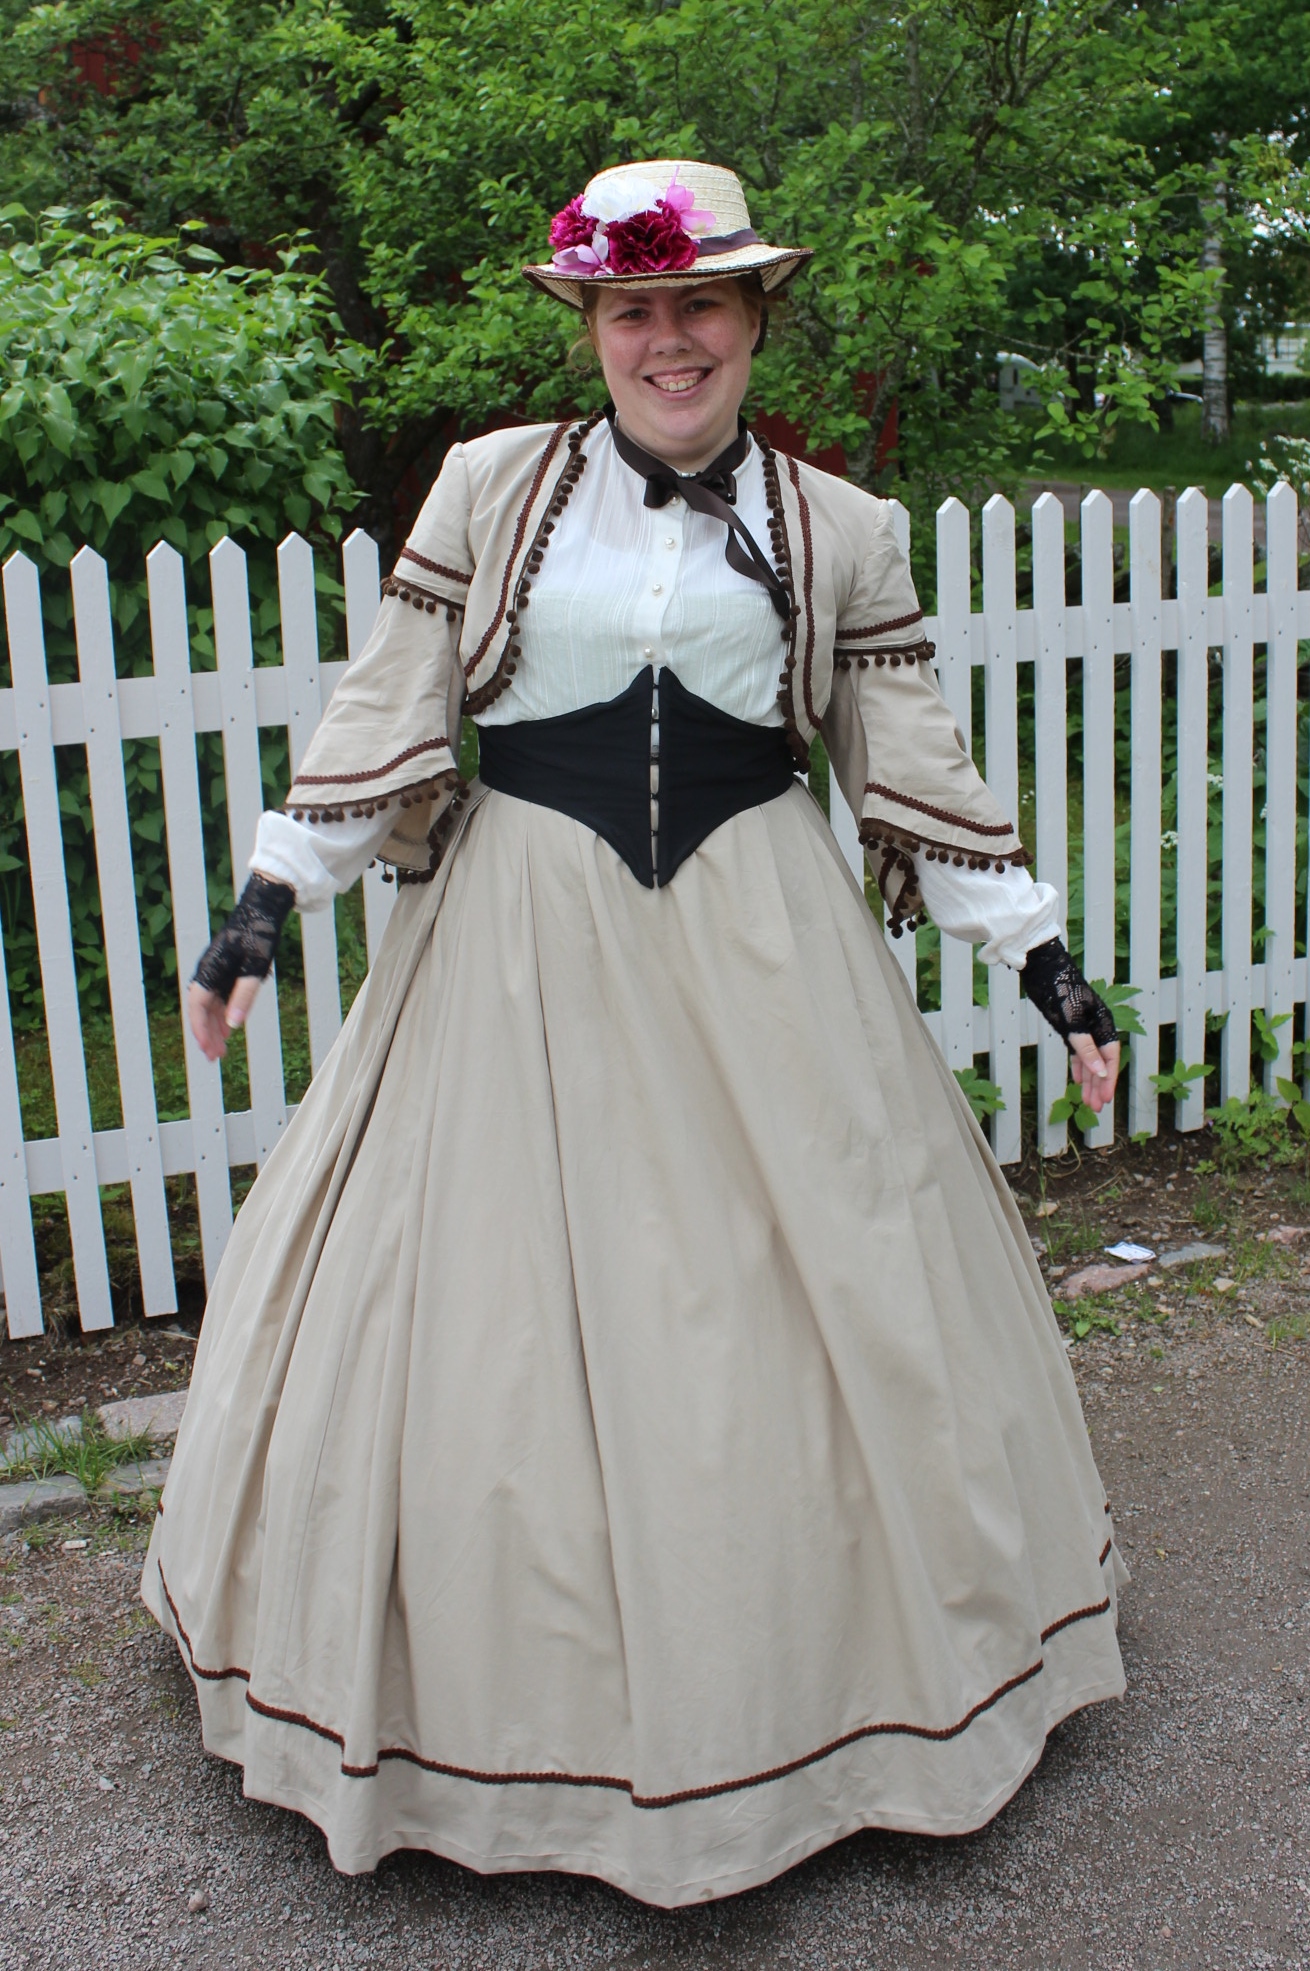
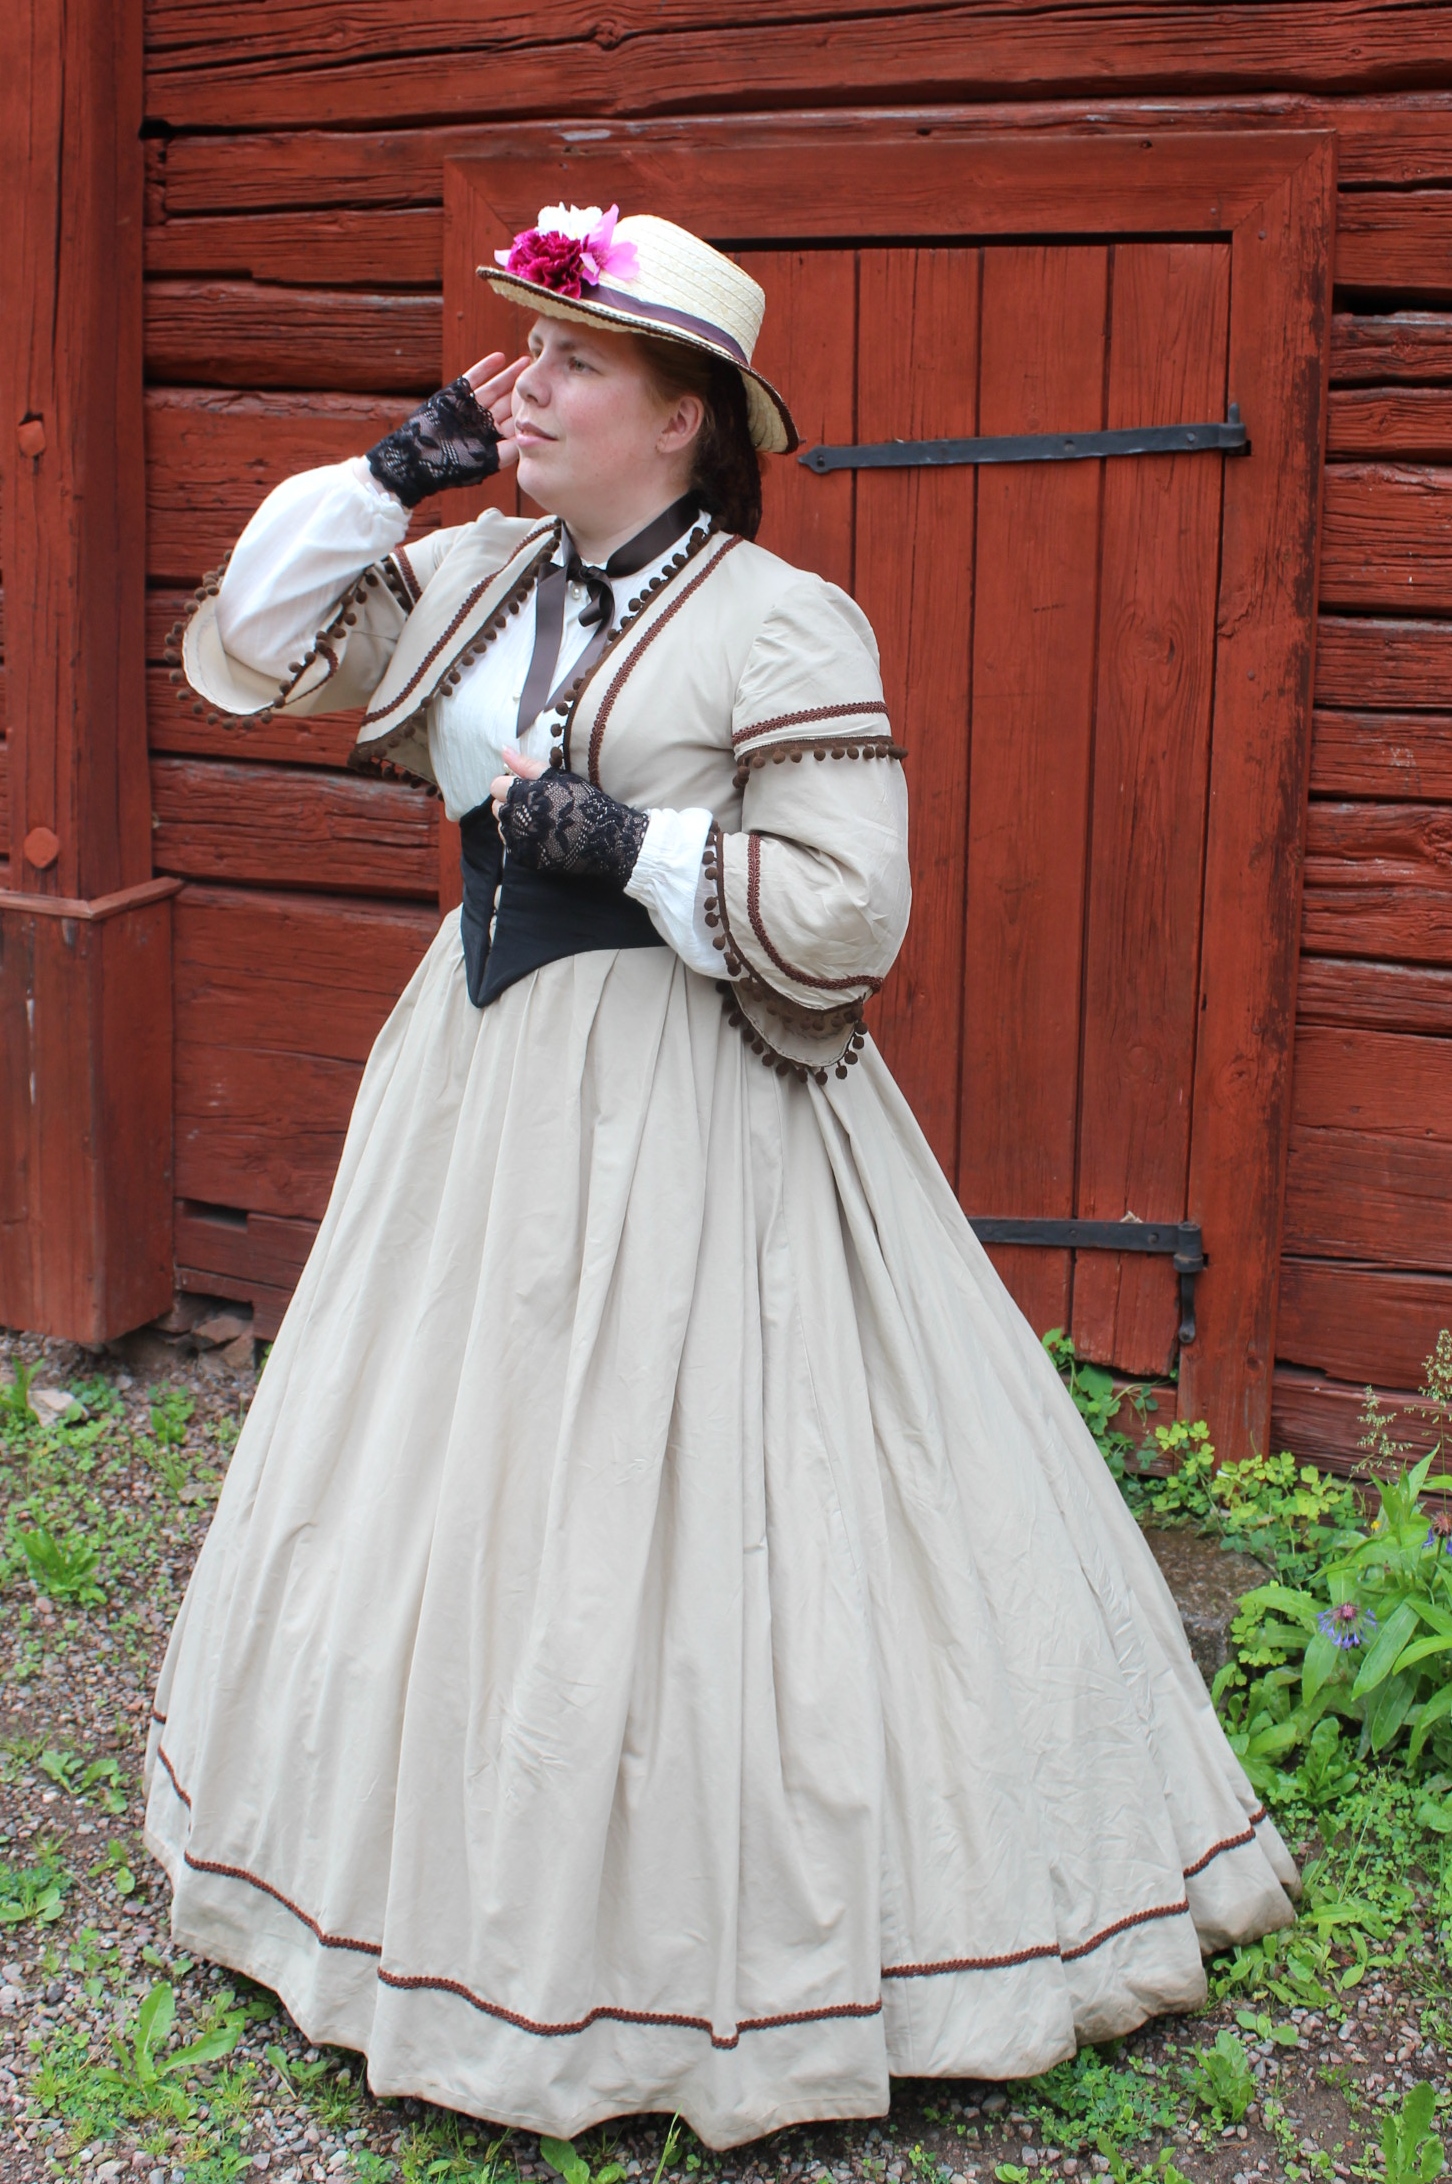
I also got some pictures of all of my 3 dresses attending the day.  “The brown ladies”
After finally deciding on my dress, and finishing my sisters outfit, I got an email from one of the new girls in the dance team, asking for advice/help on what to wear. After some questions about her approximate size, and armed with lots of safety pins, I dug my brown Paisley gown out from my basement, gave it a press and lent it to her for the day.

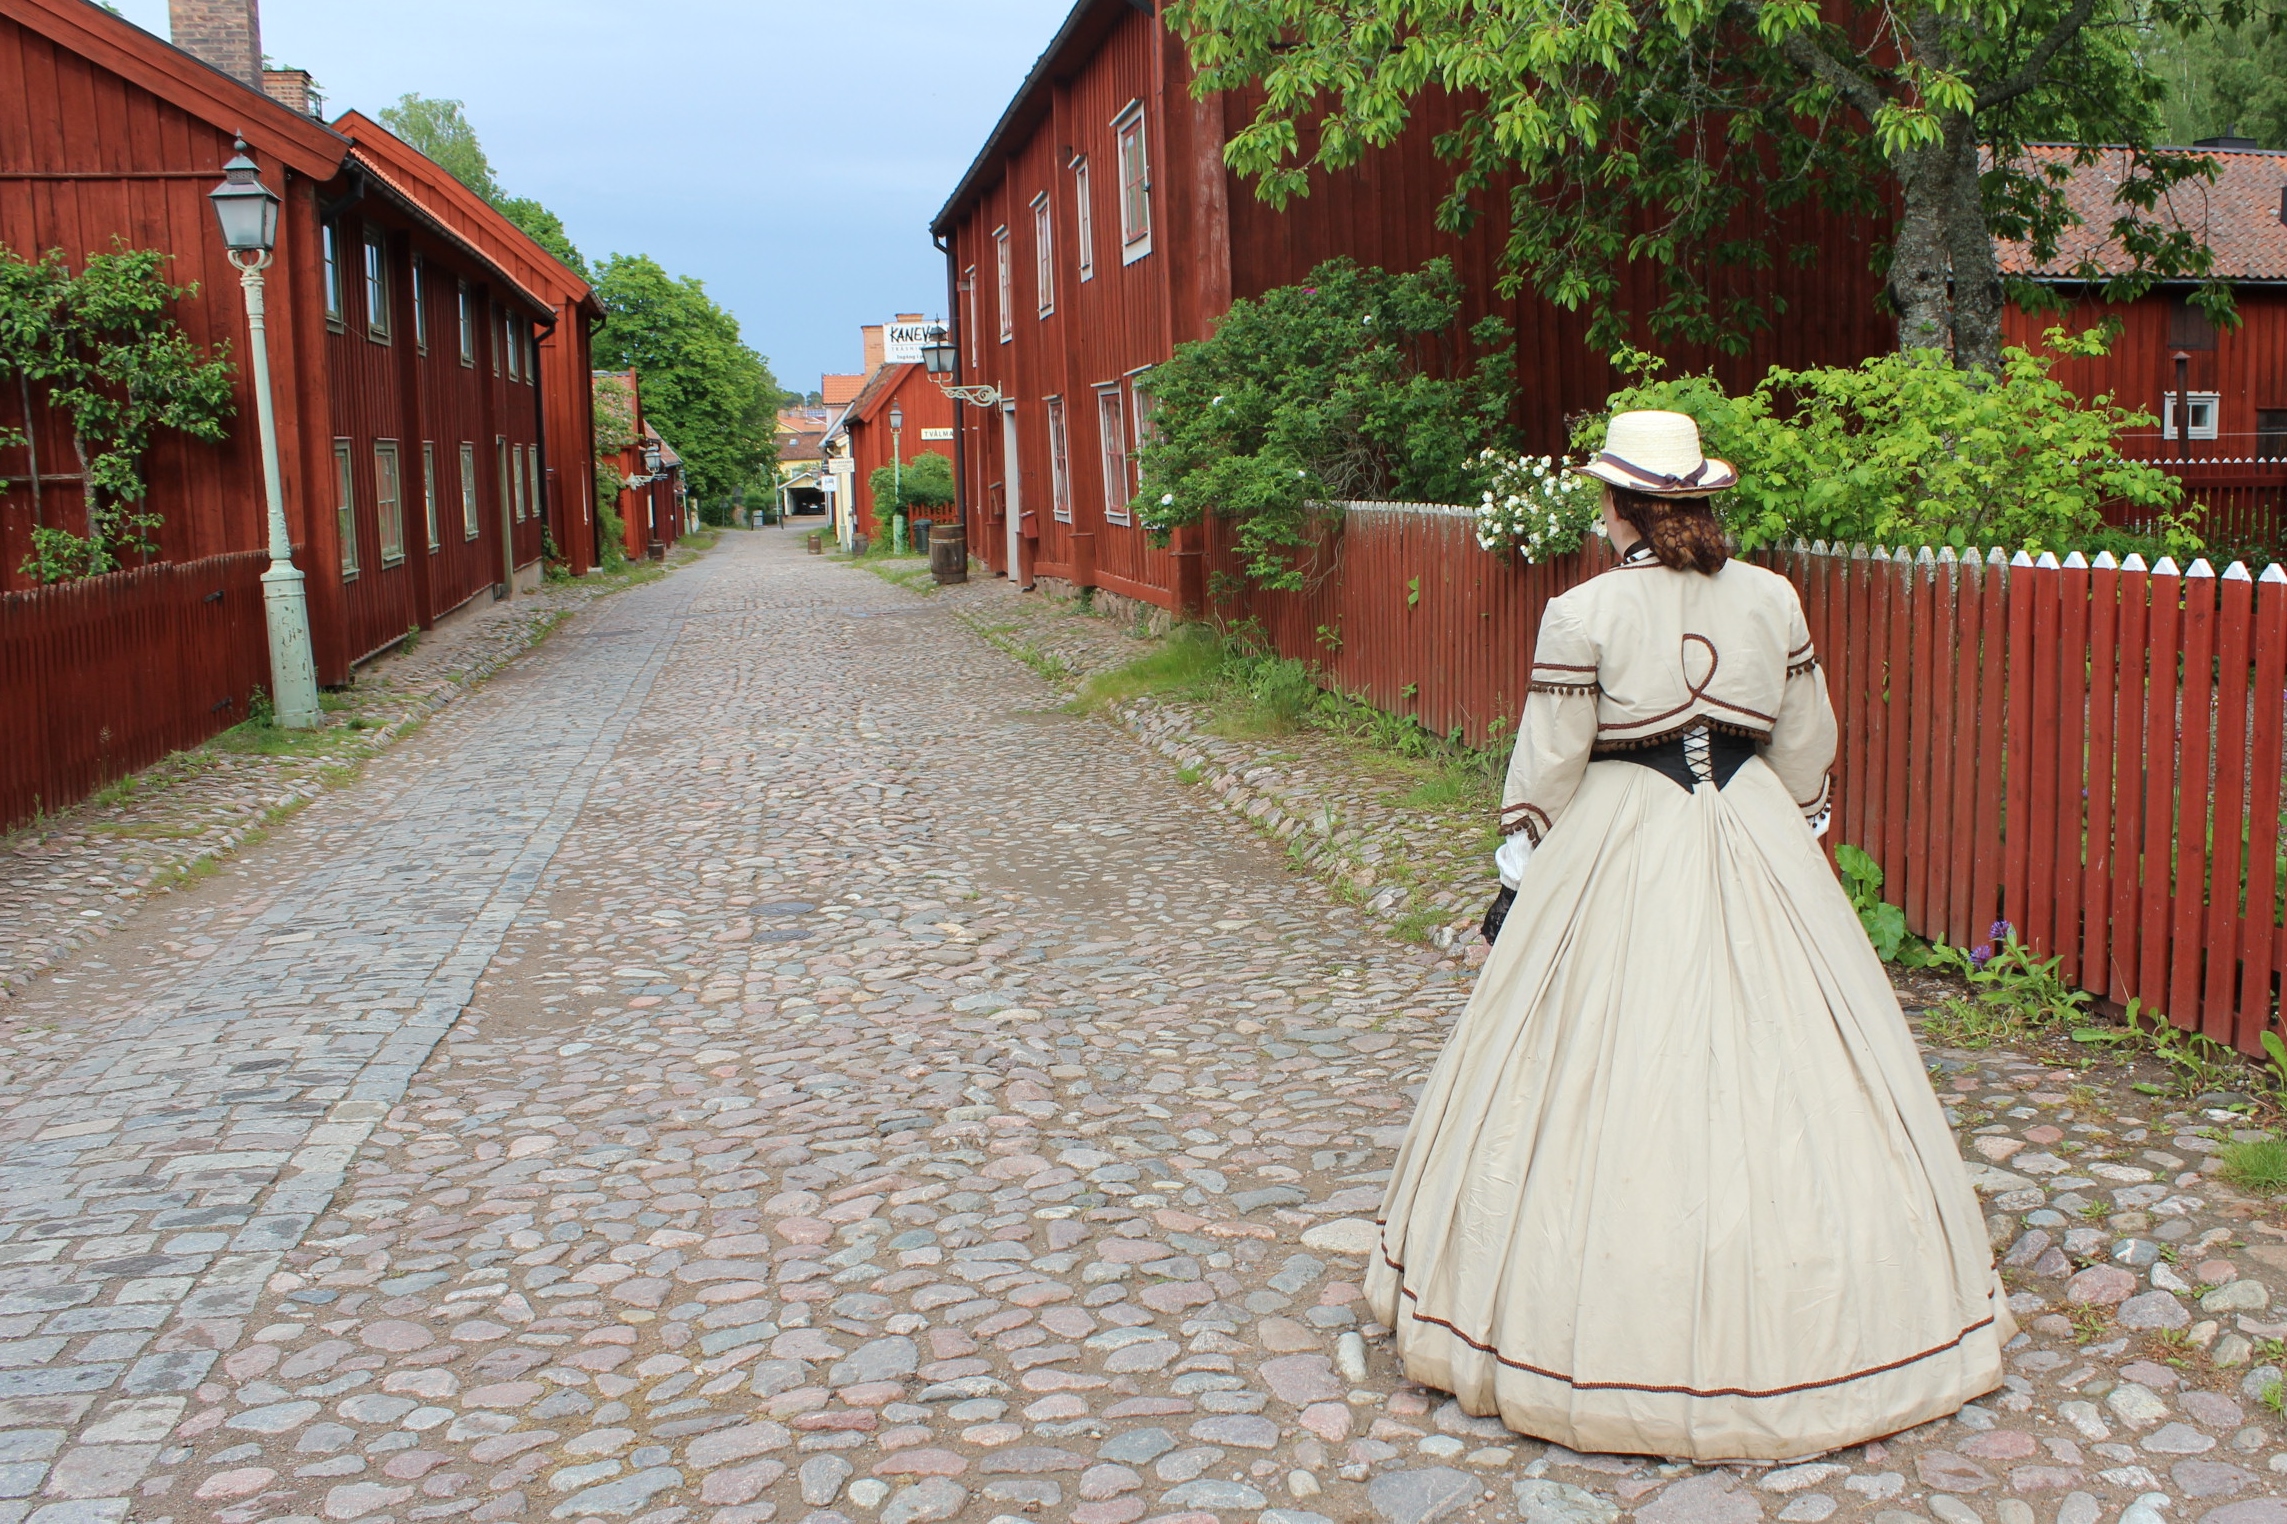
Then we all spent a few hours drinking coffee, walking around and shopping

My sister had a “dress-twin” in this lady (That fabric is divine!)

Maria and Ruth resting their legs

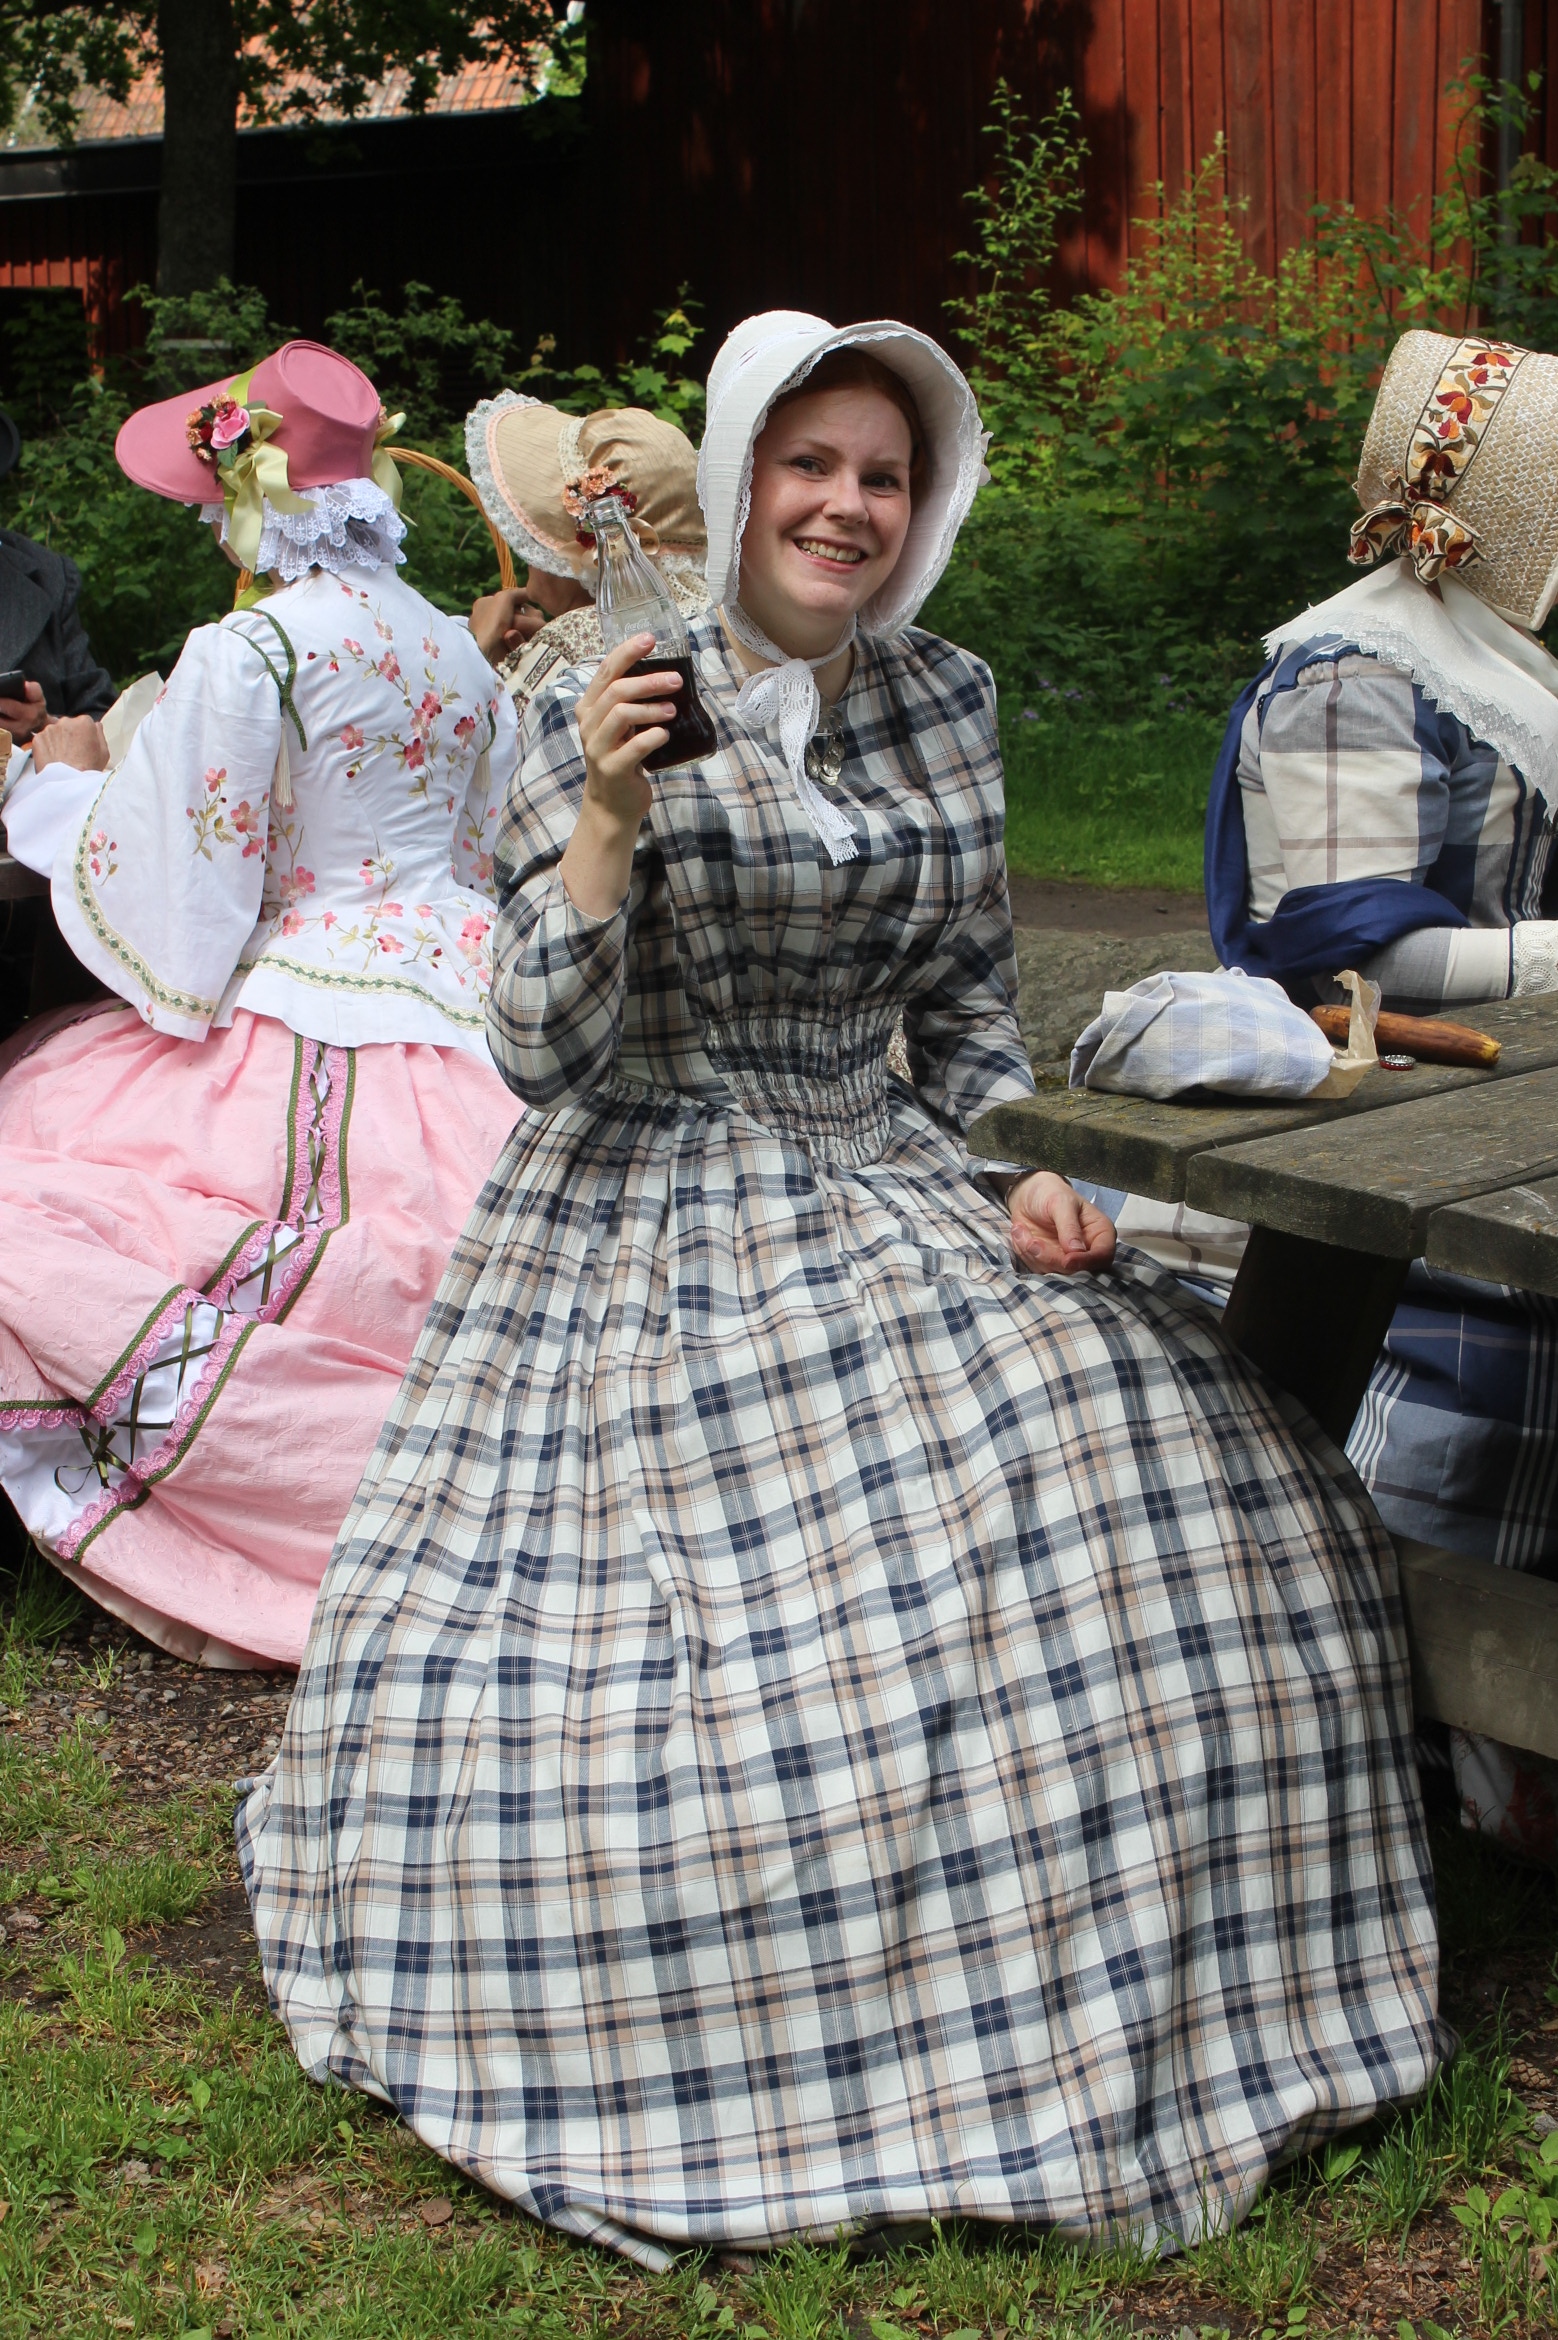
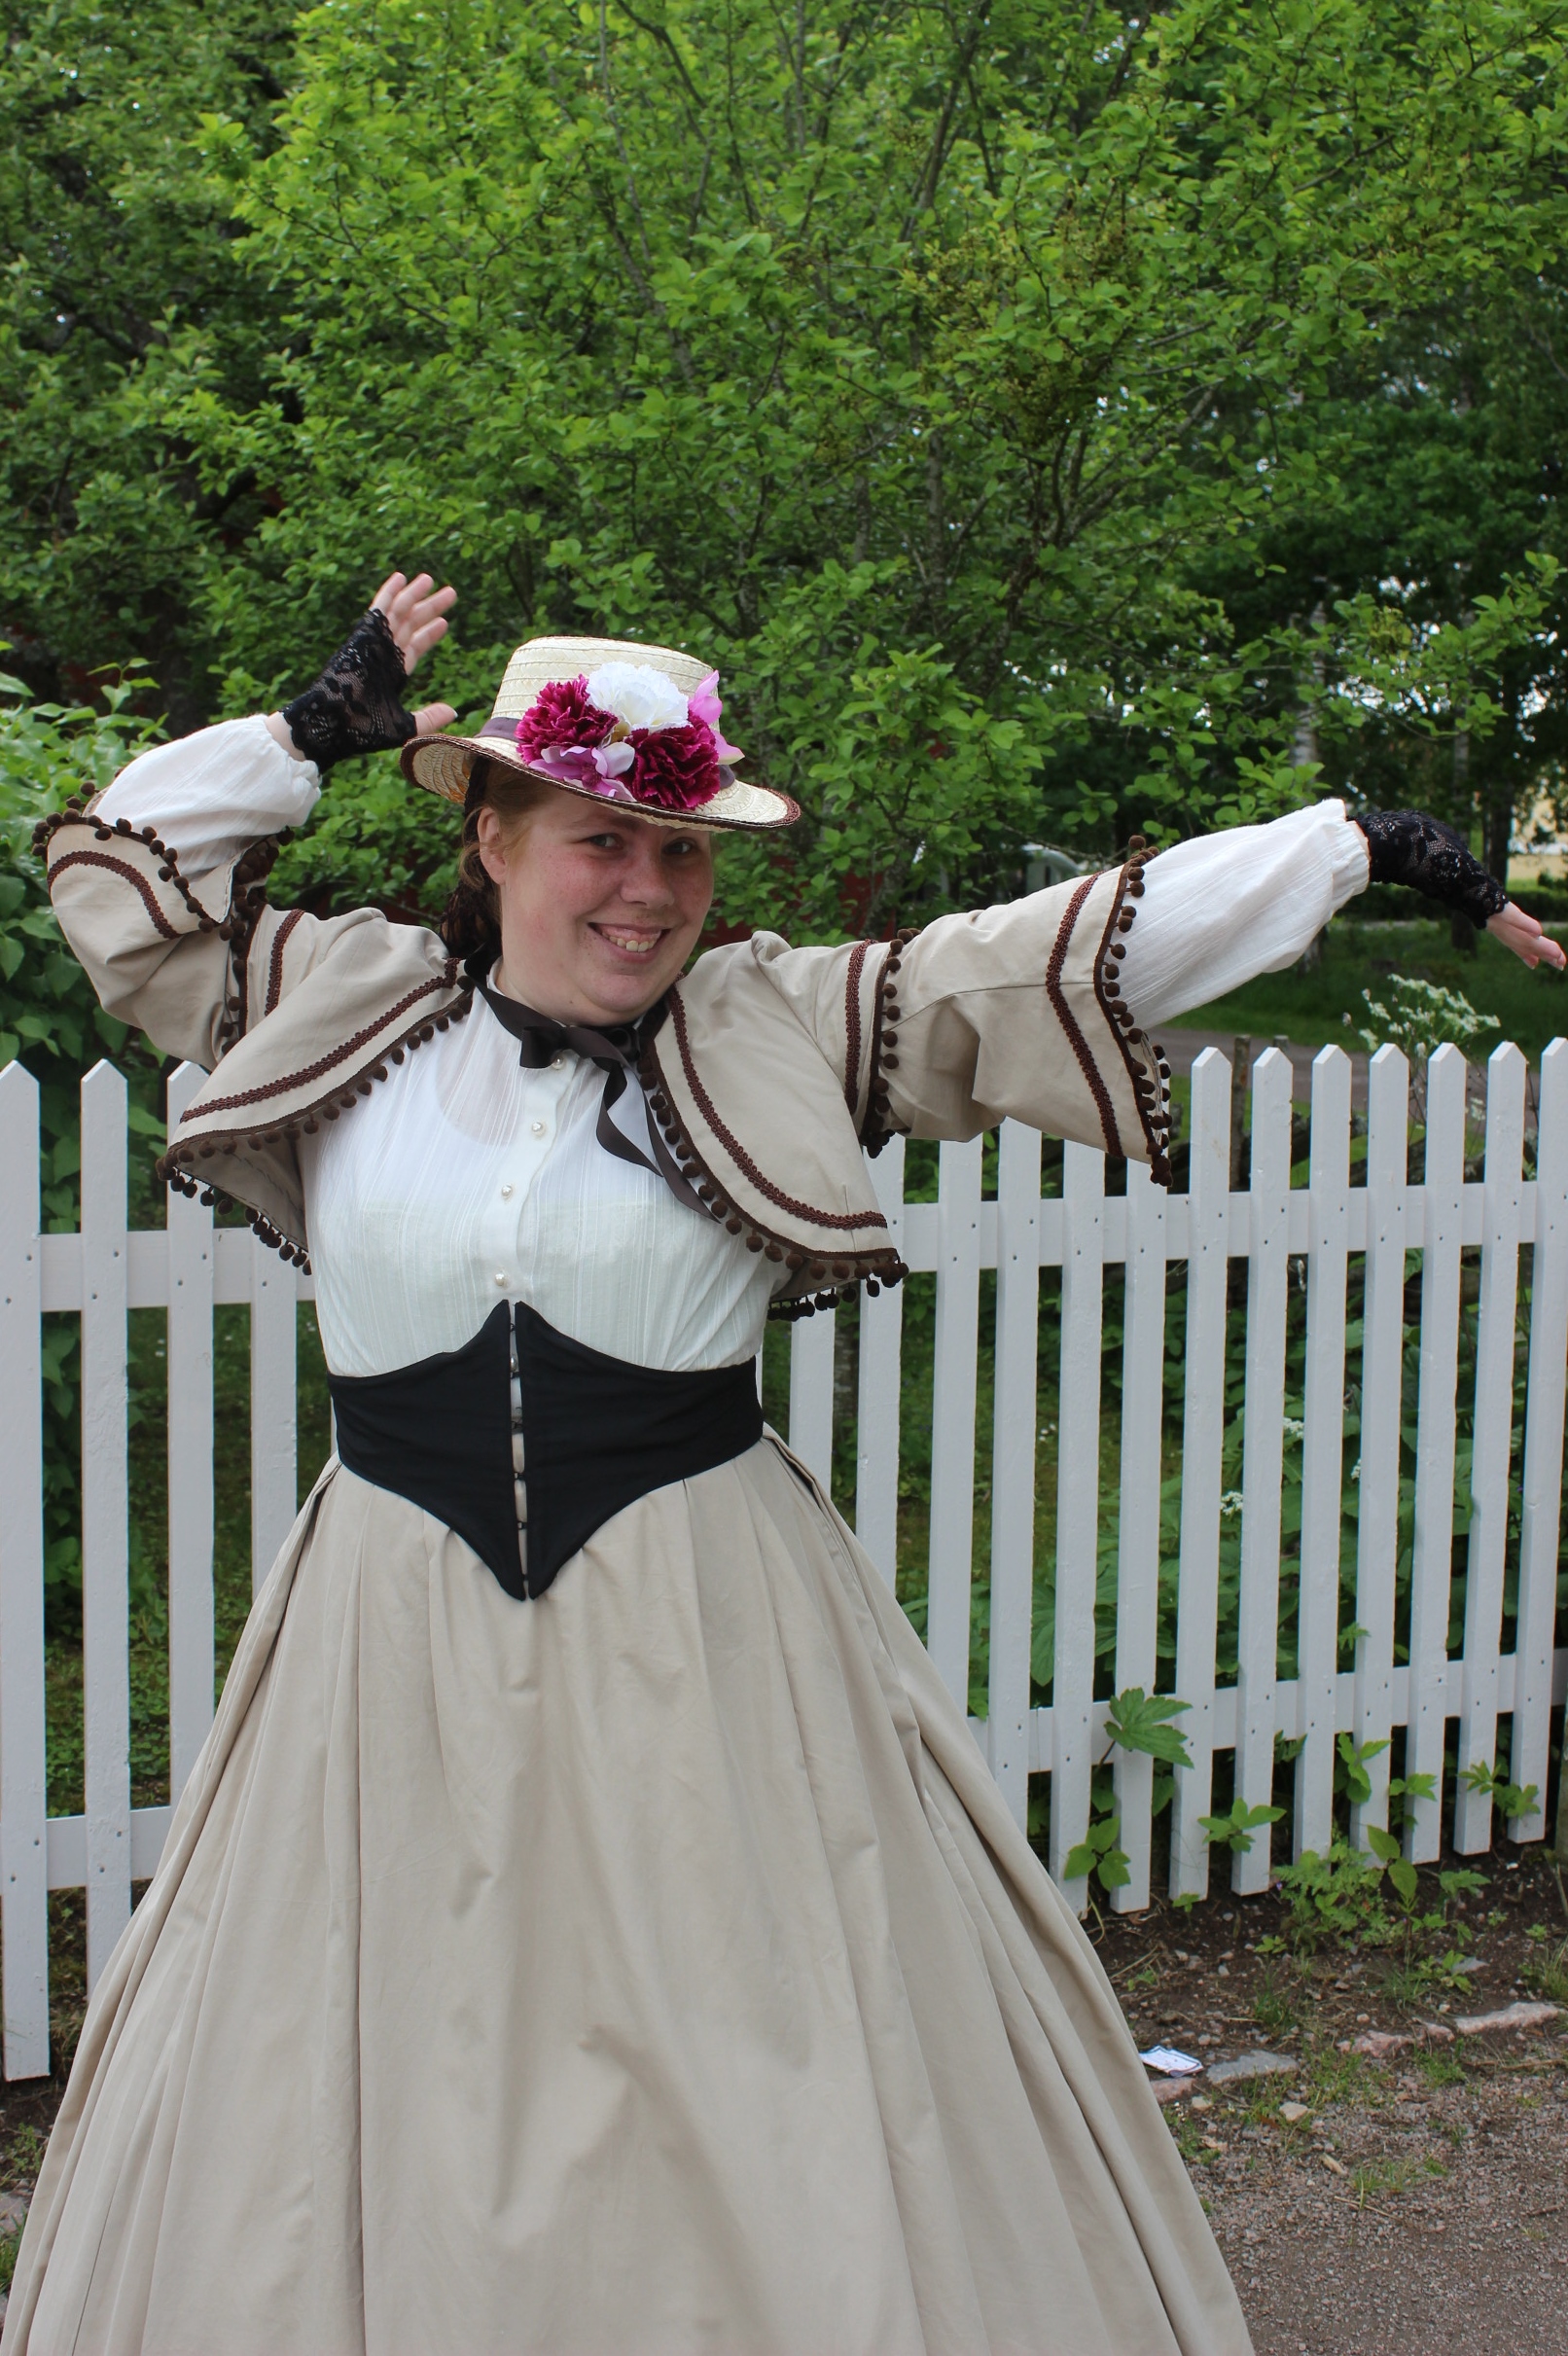
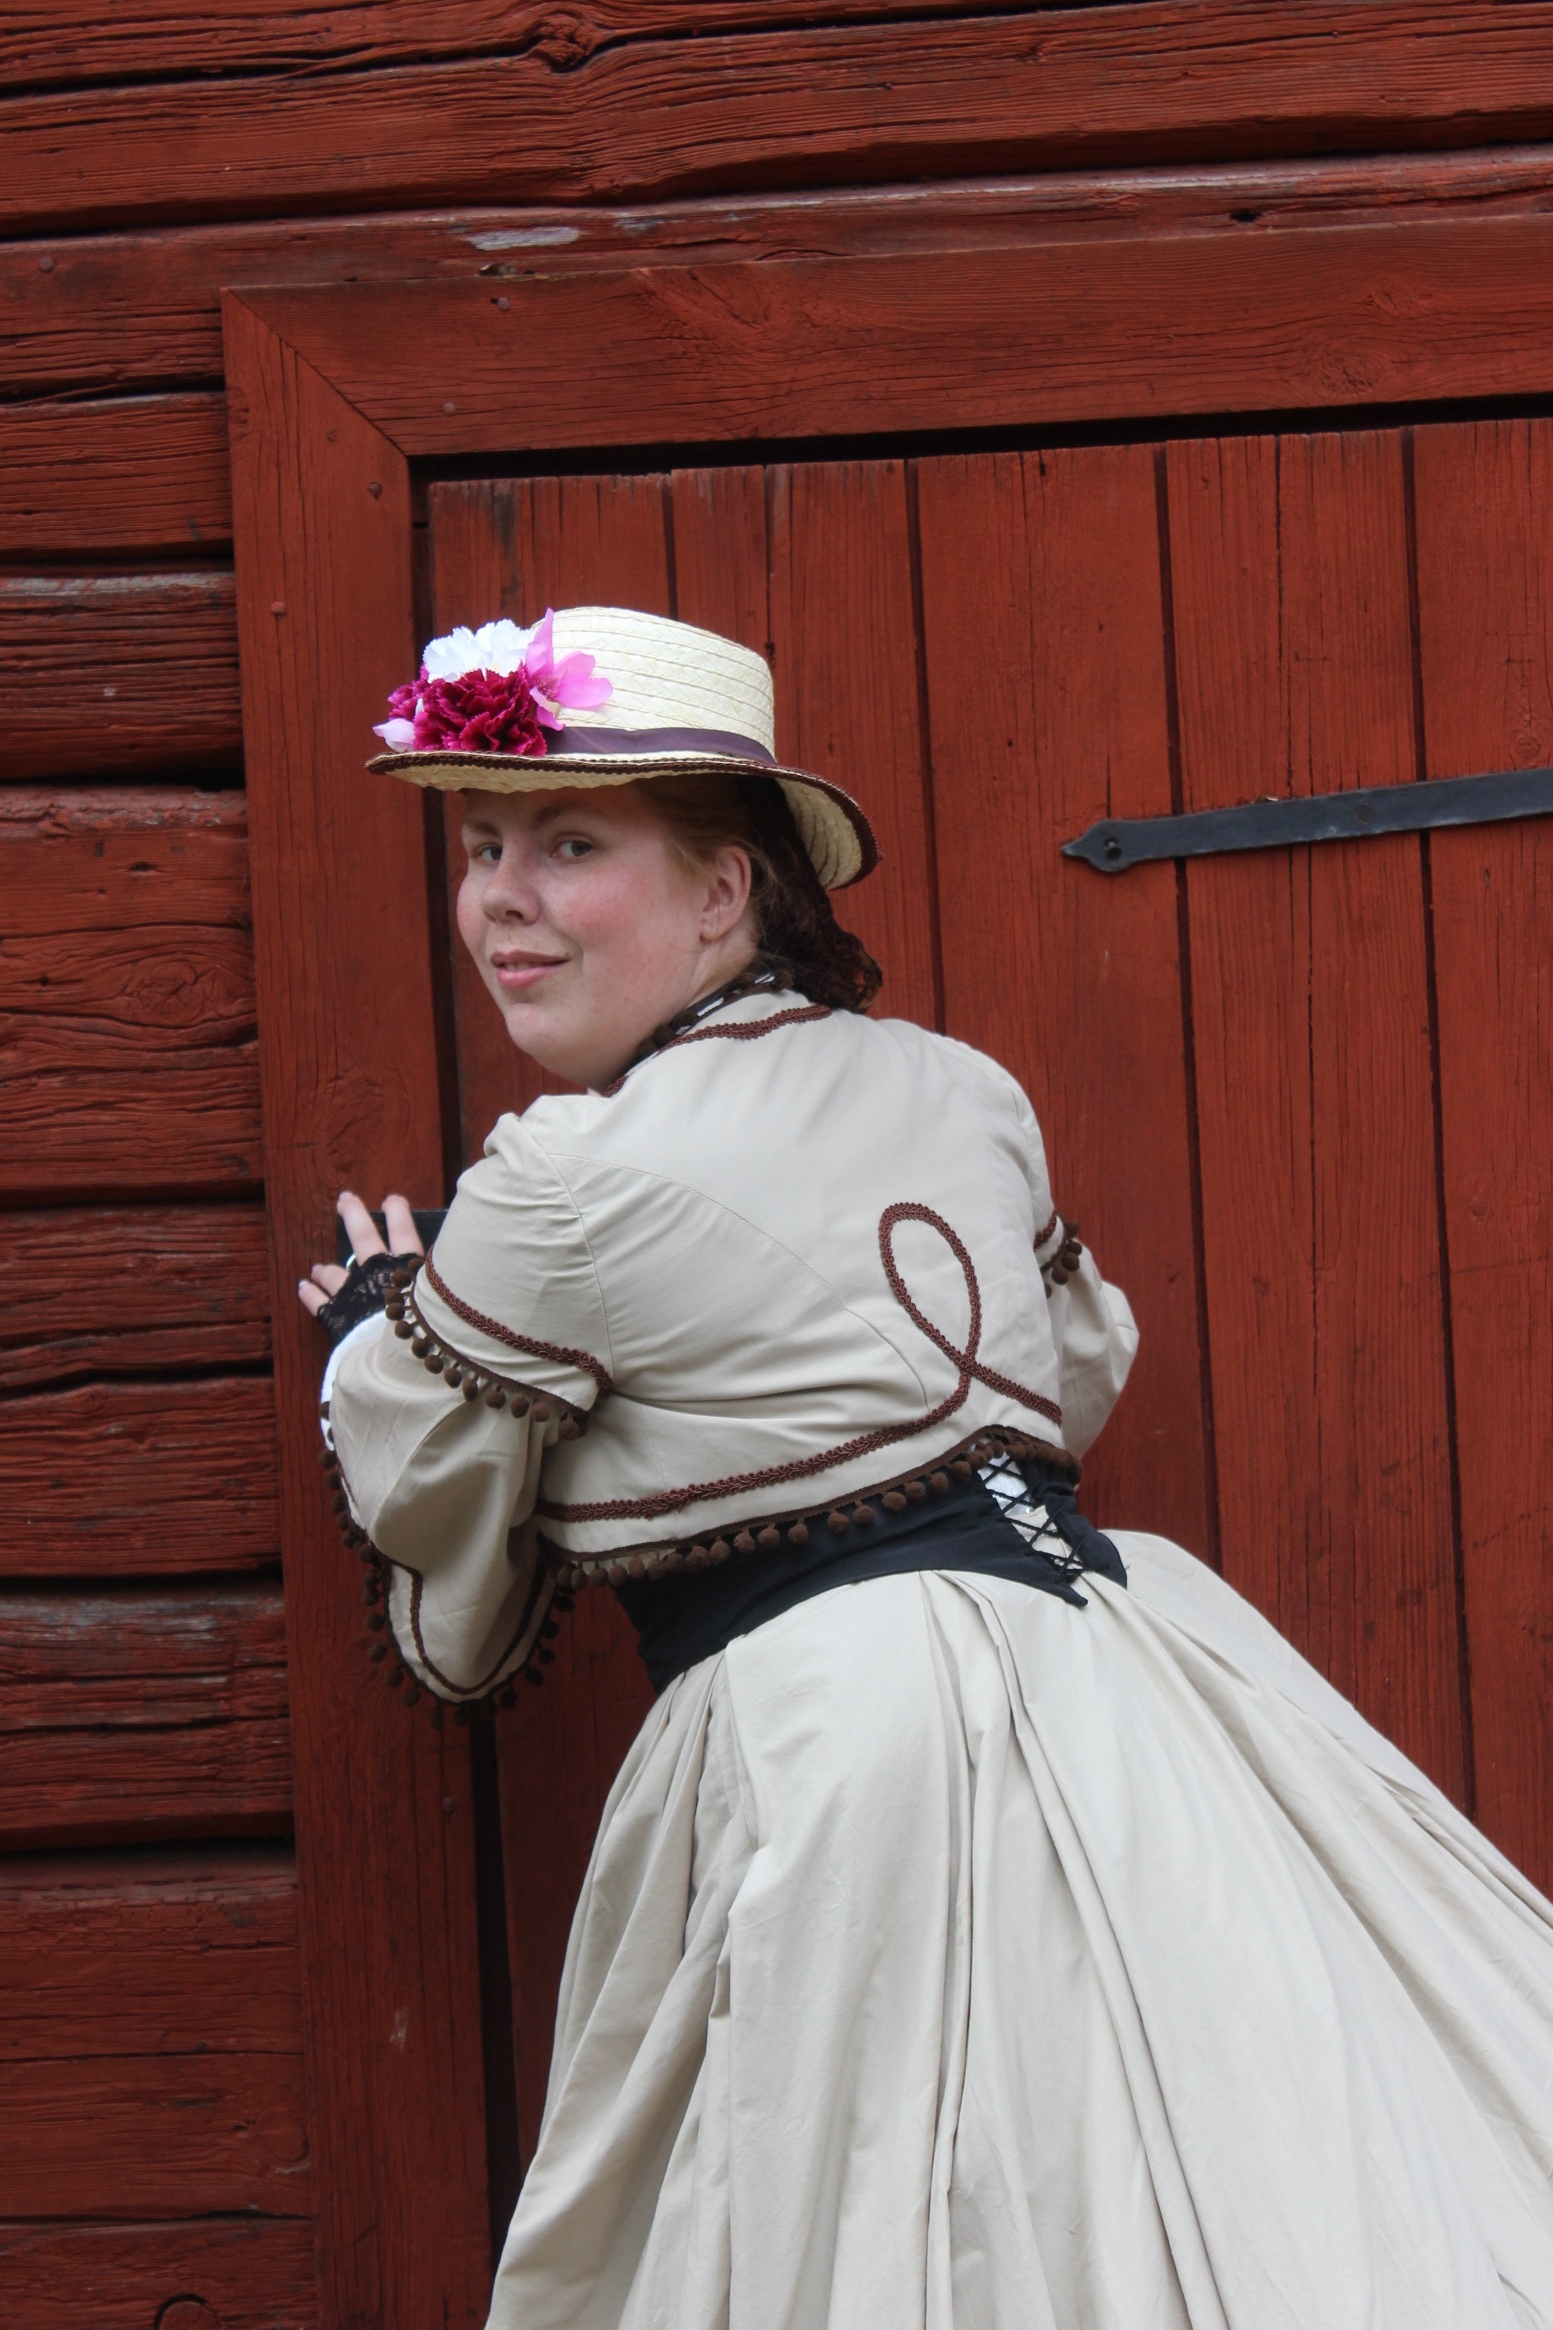
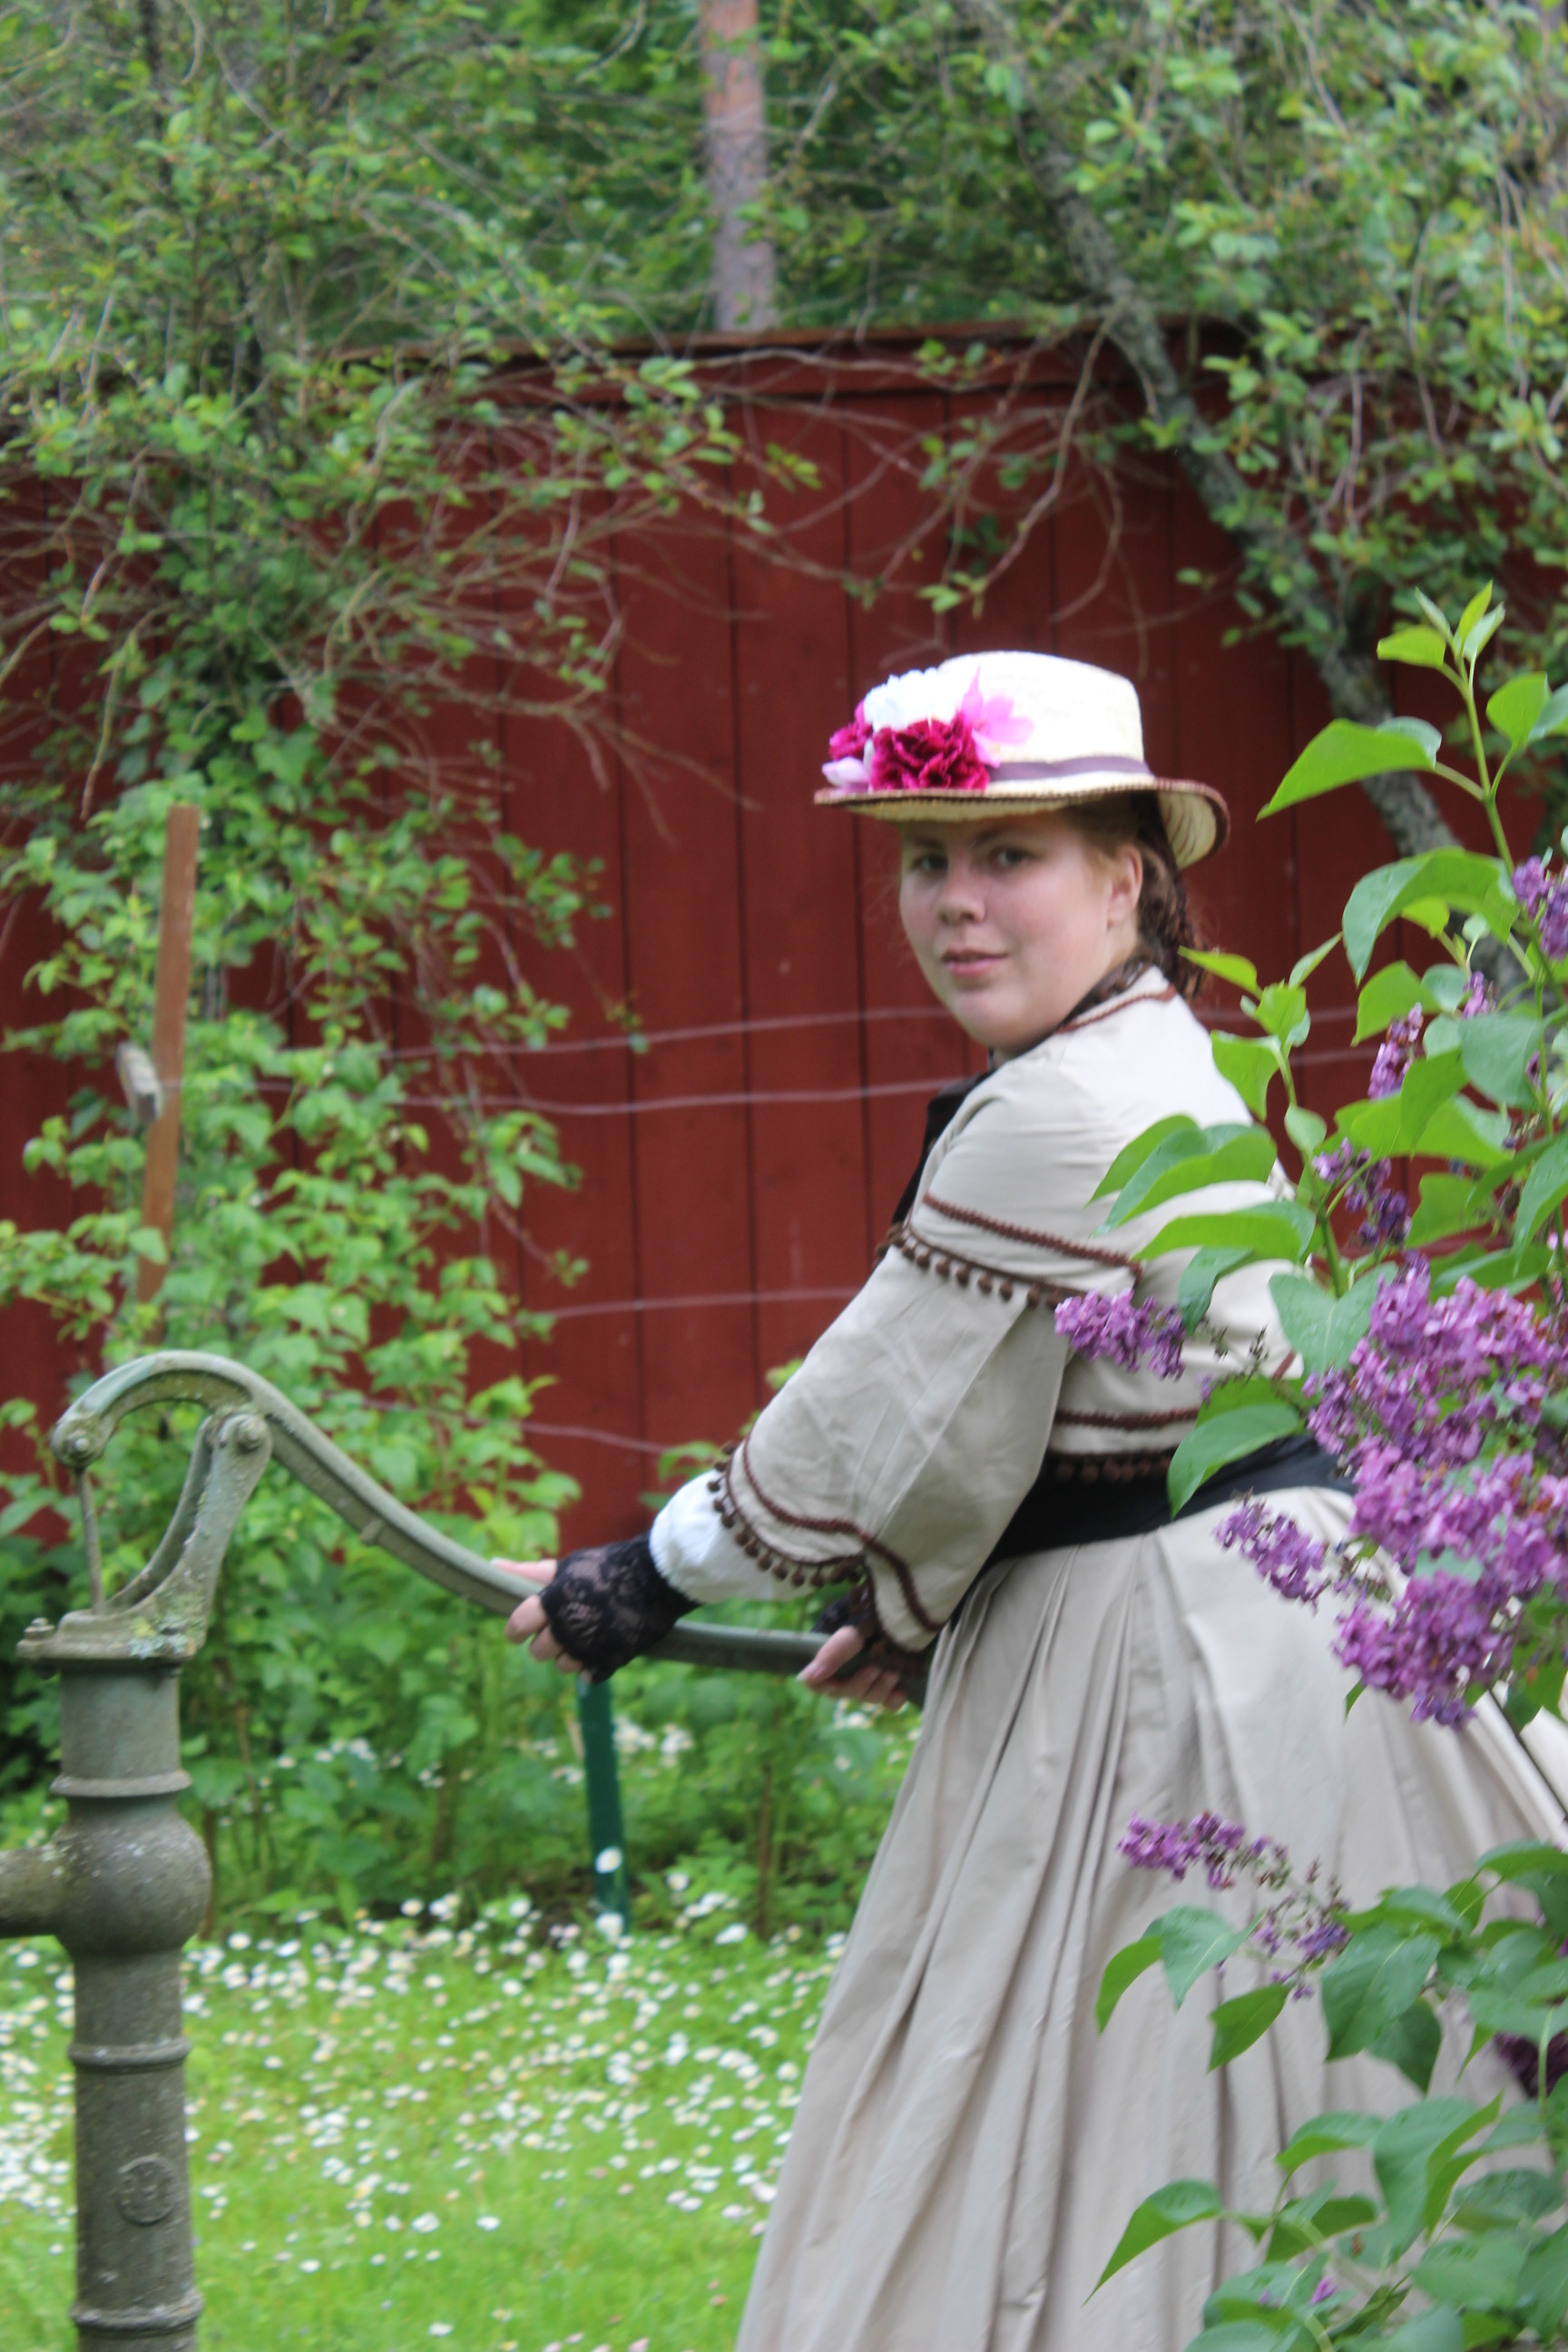
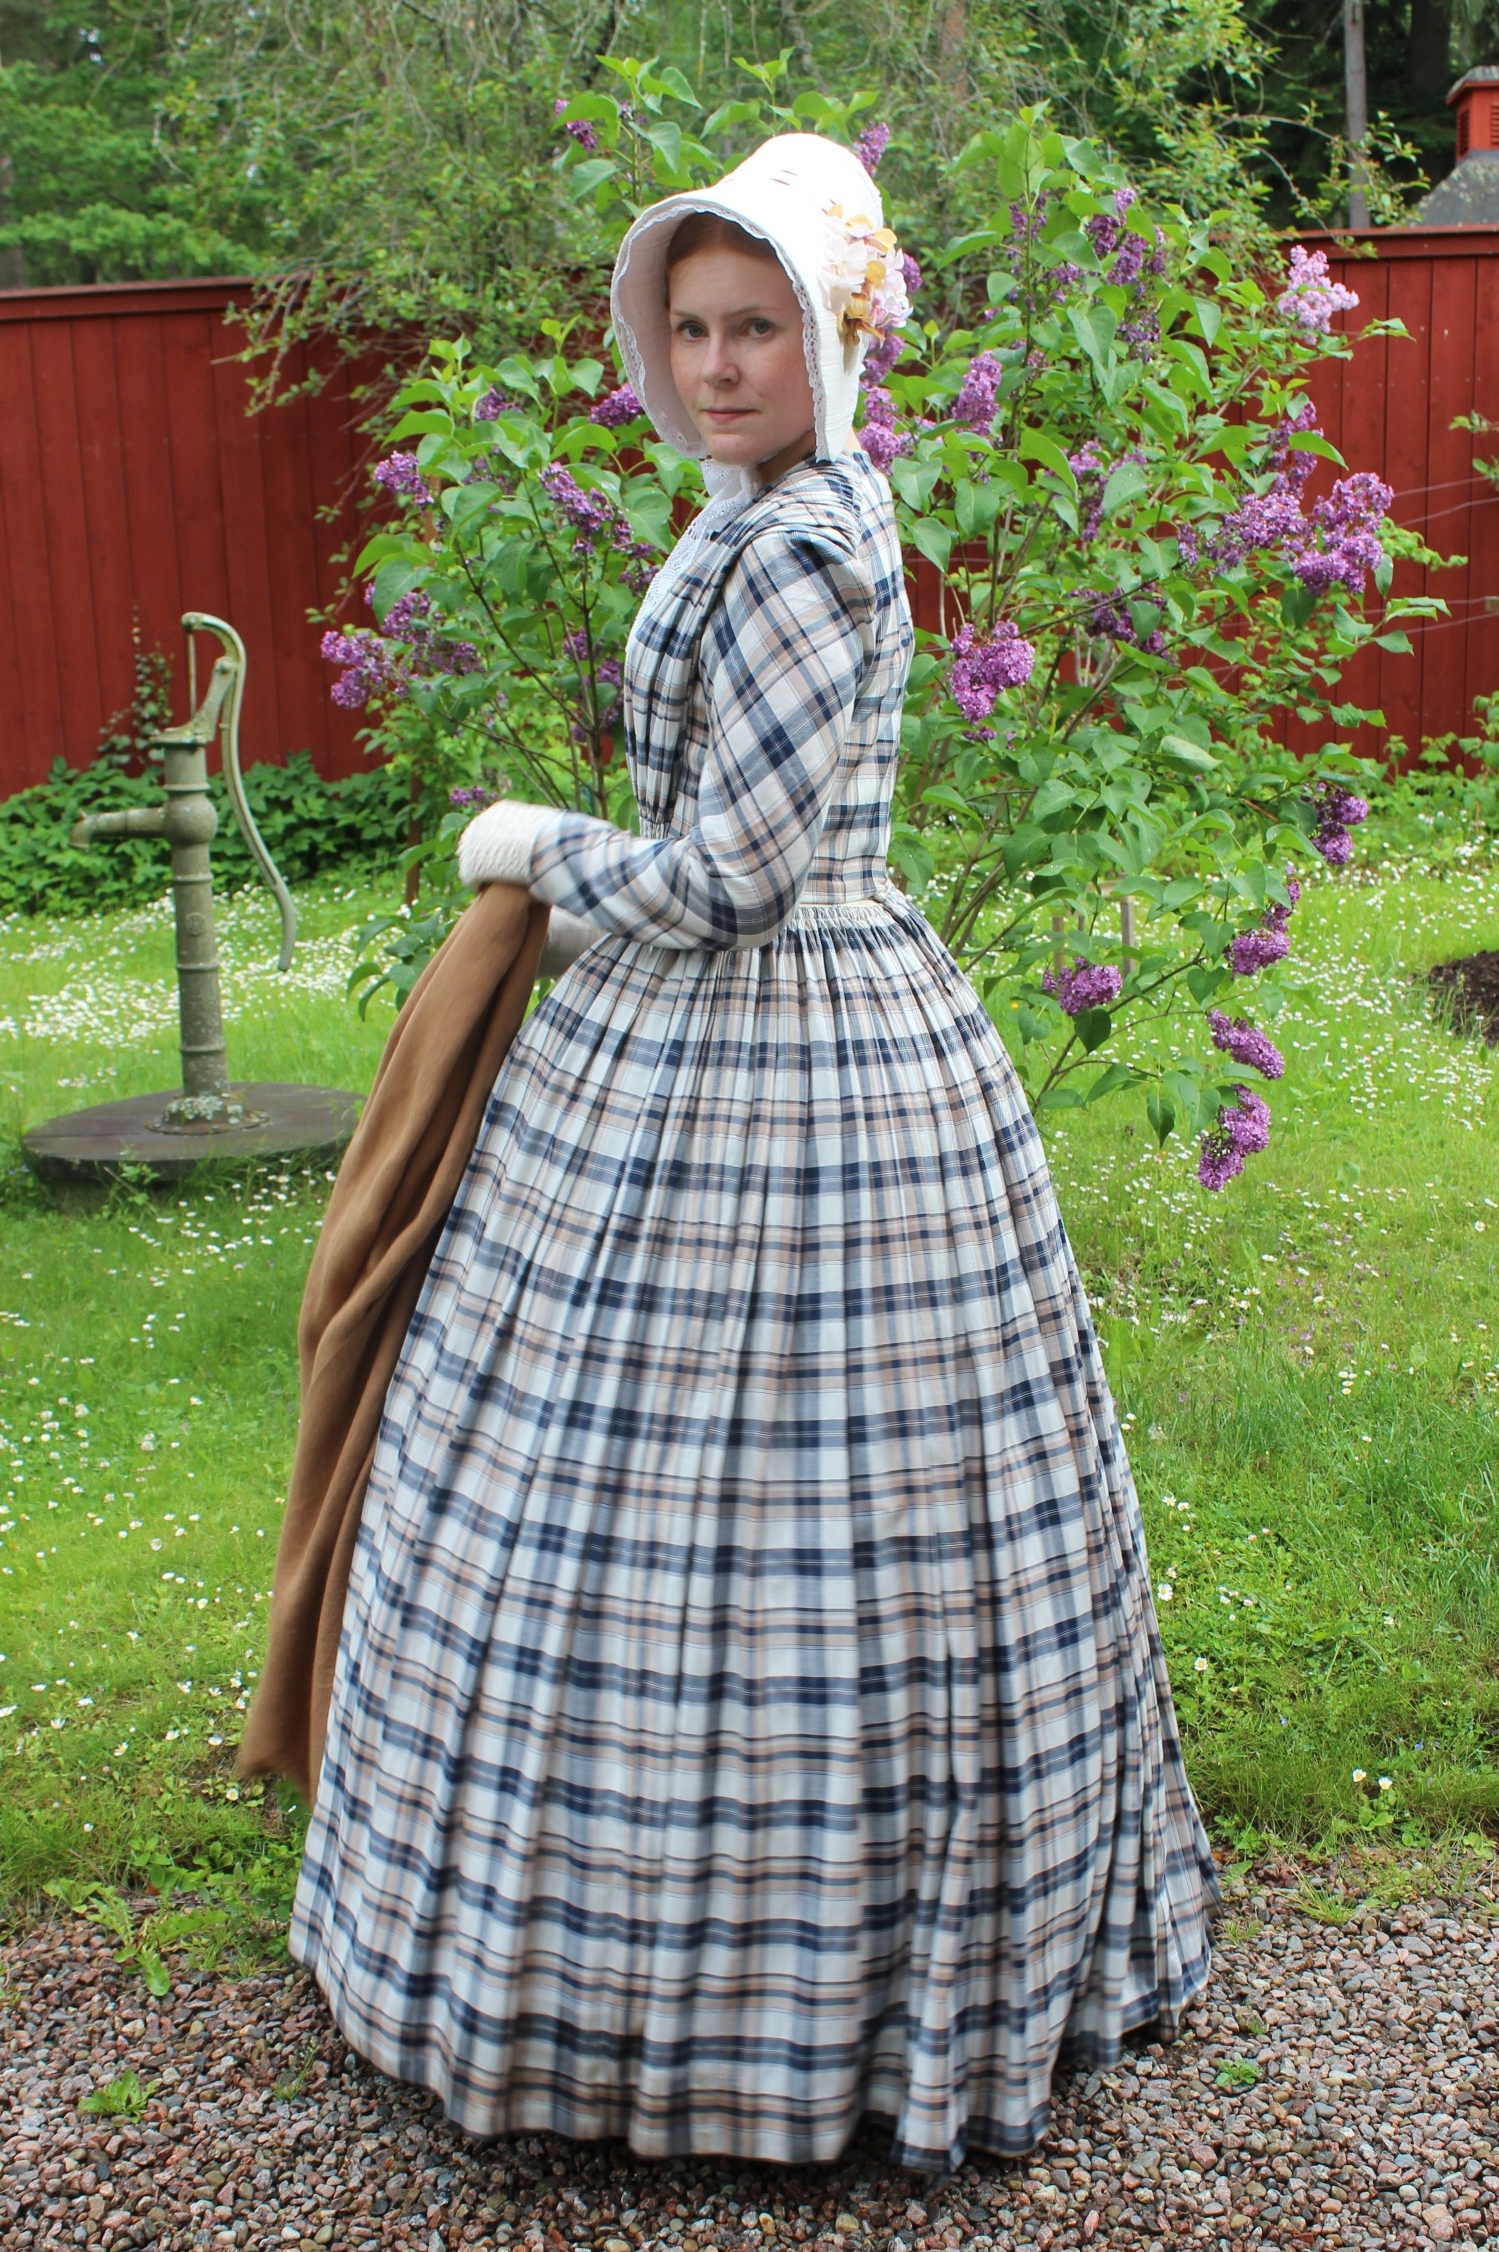
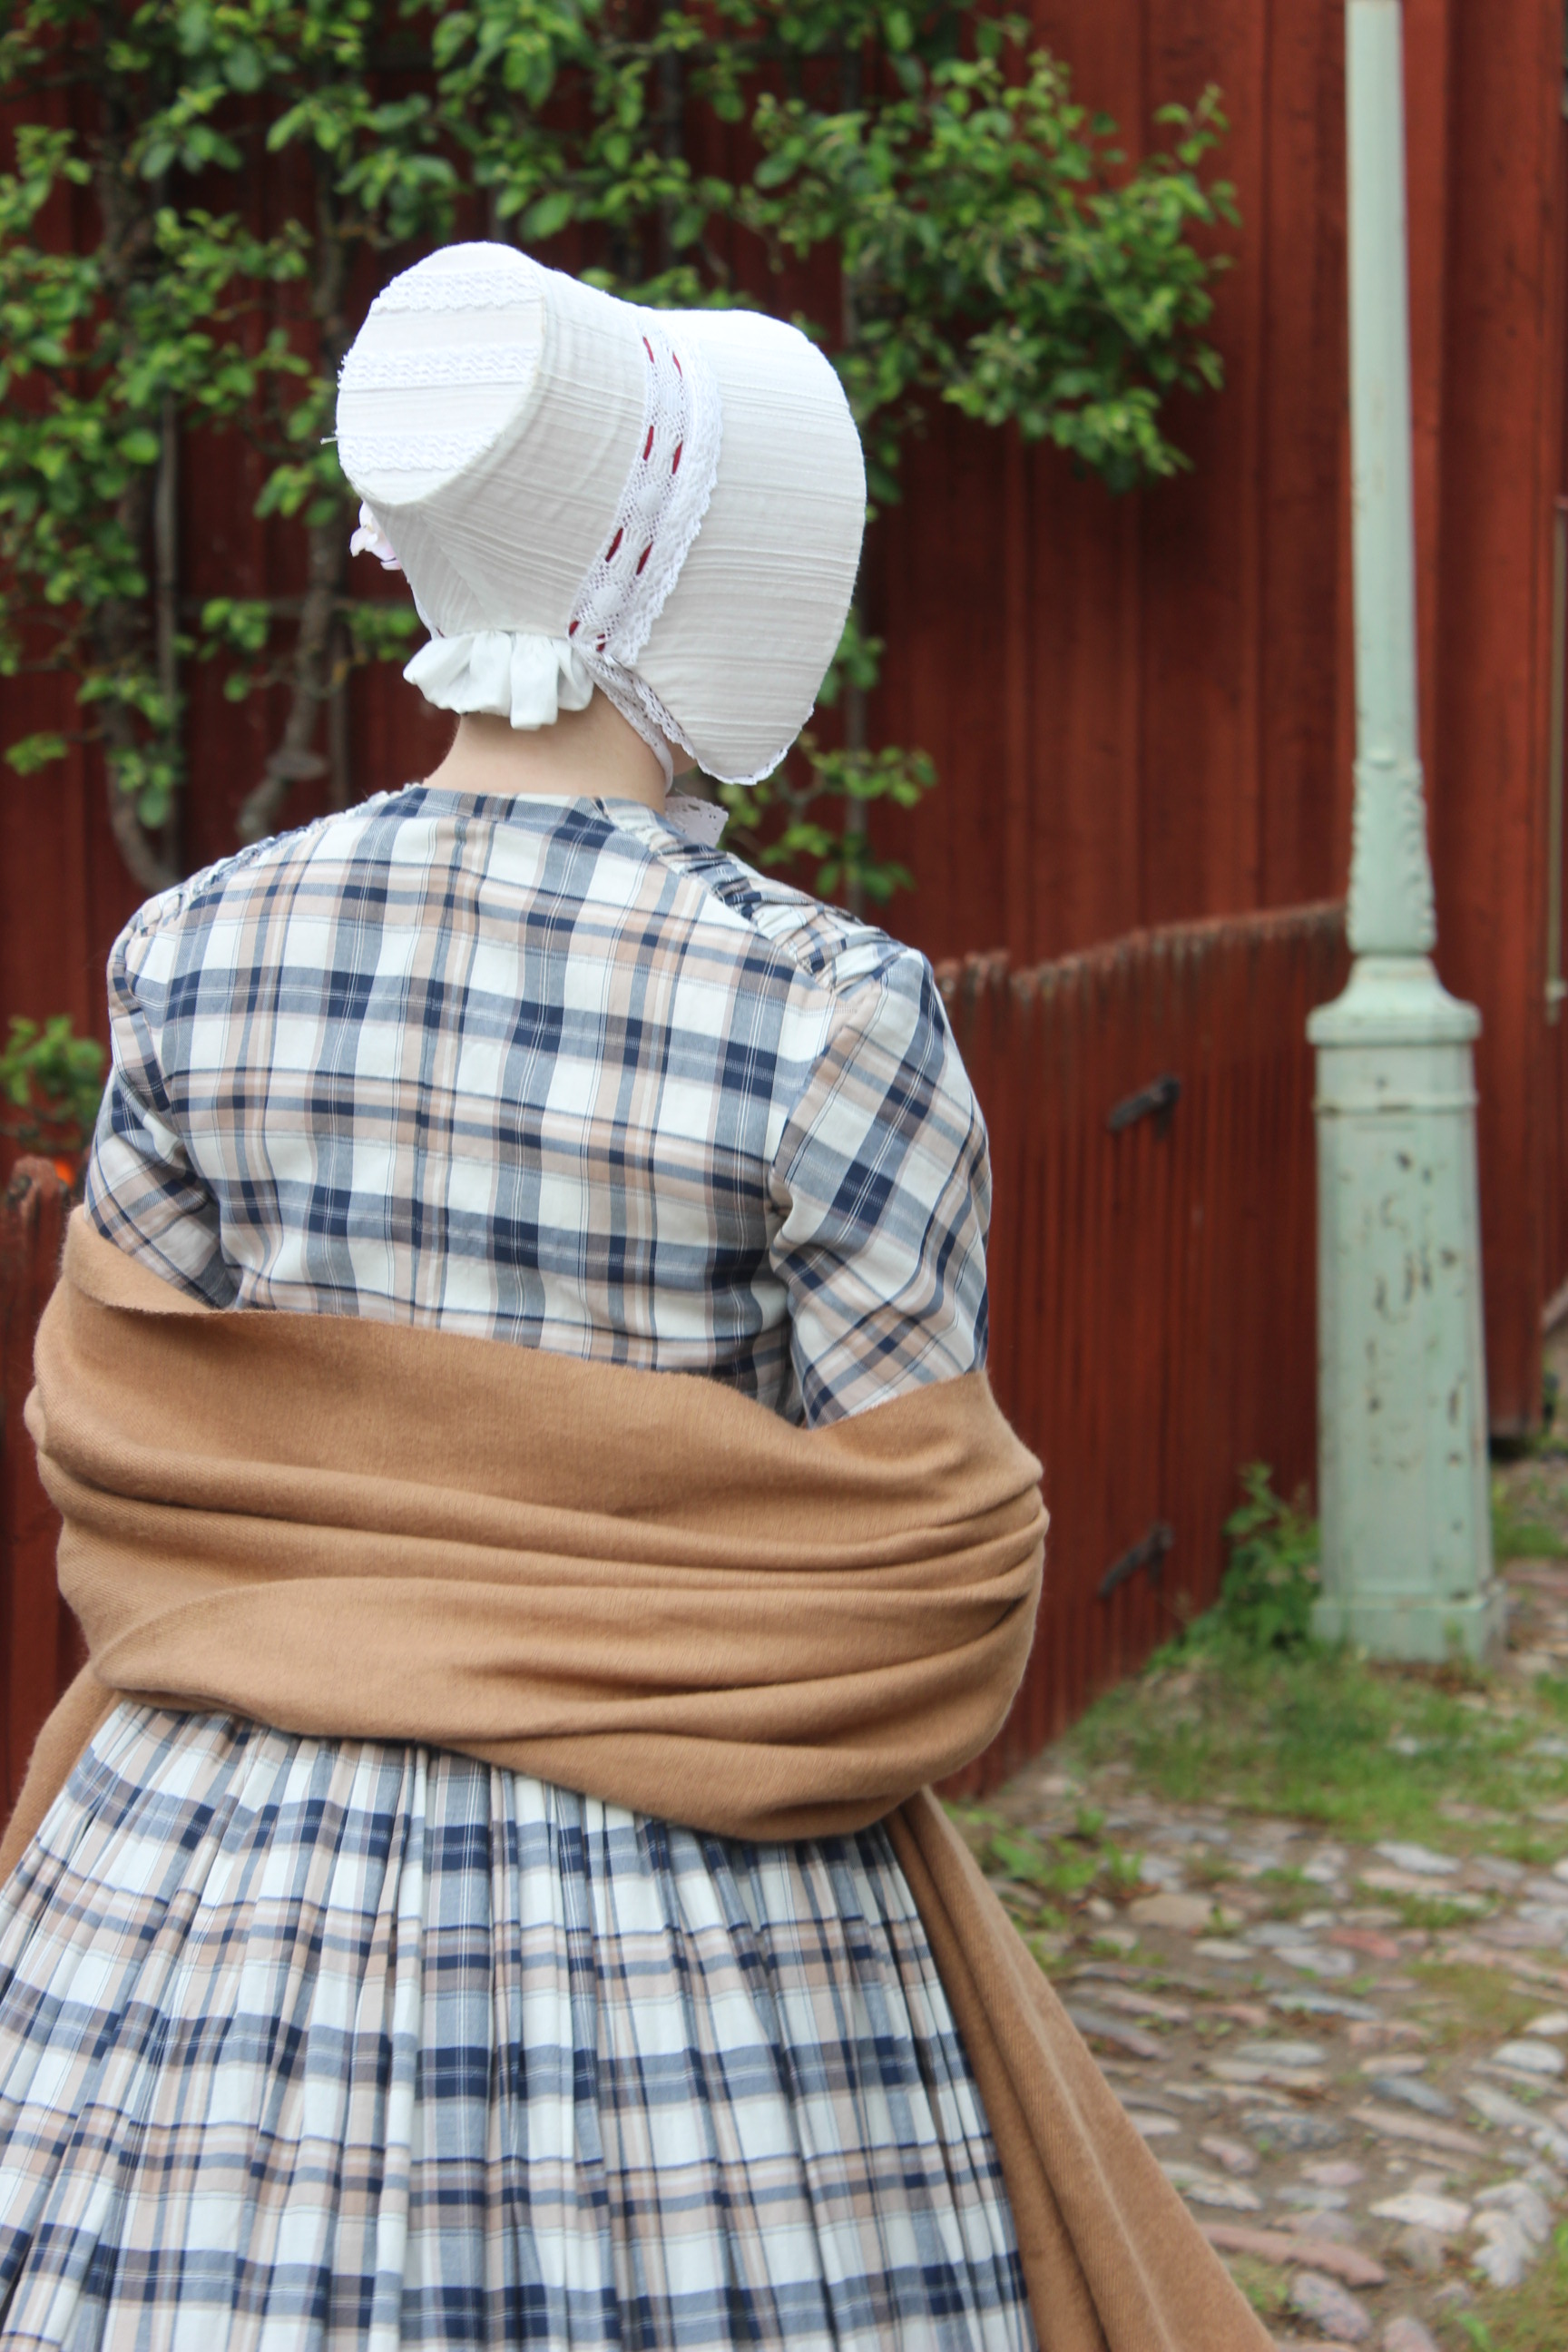
Apparently this event was sett on “The Knitters Day”, and since it was a bit chilly I made good use of my beloved mitts, that was gifted to me a few years back. 

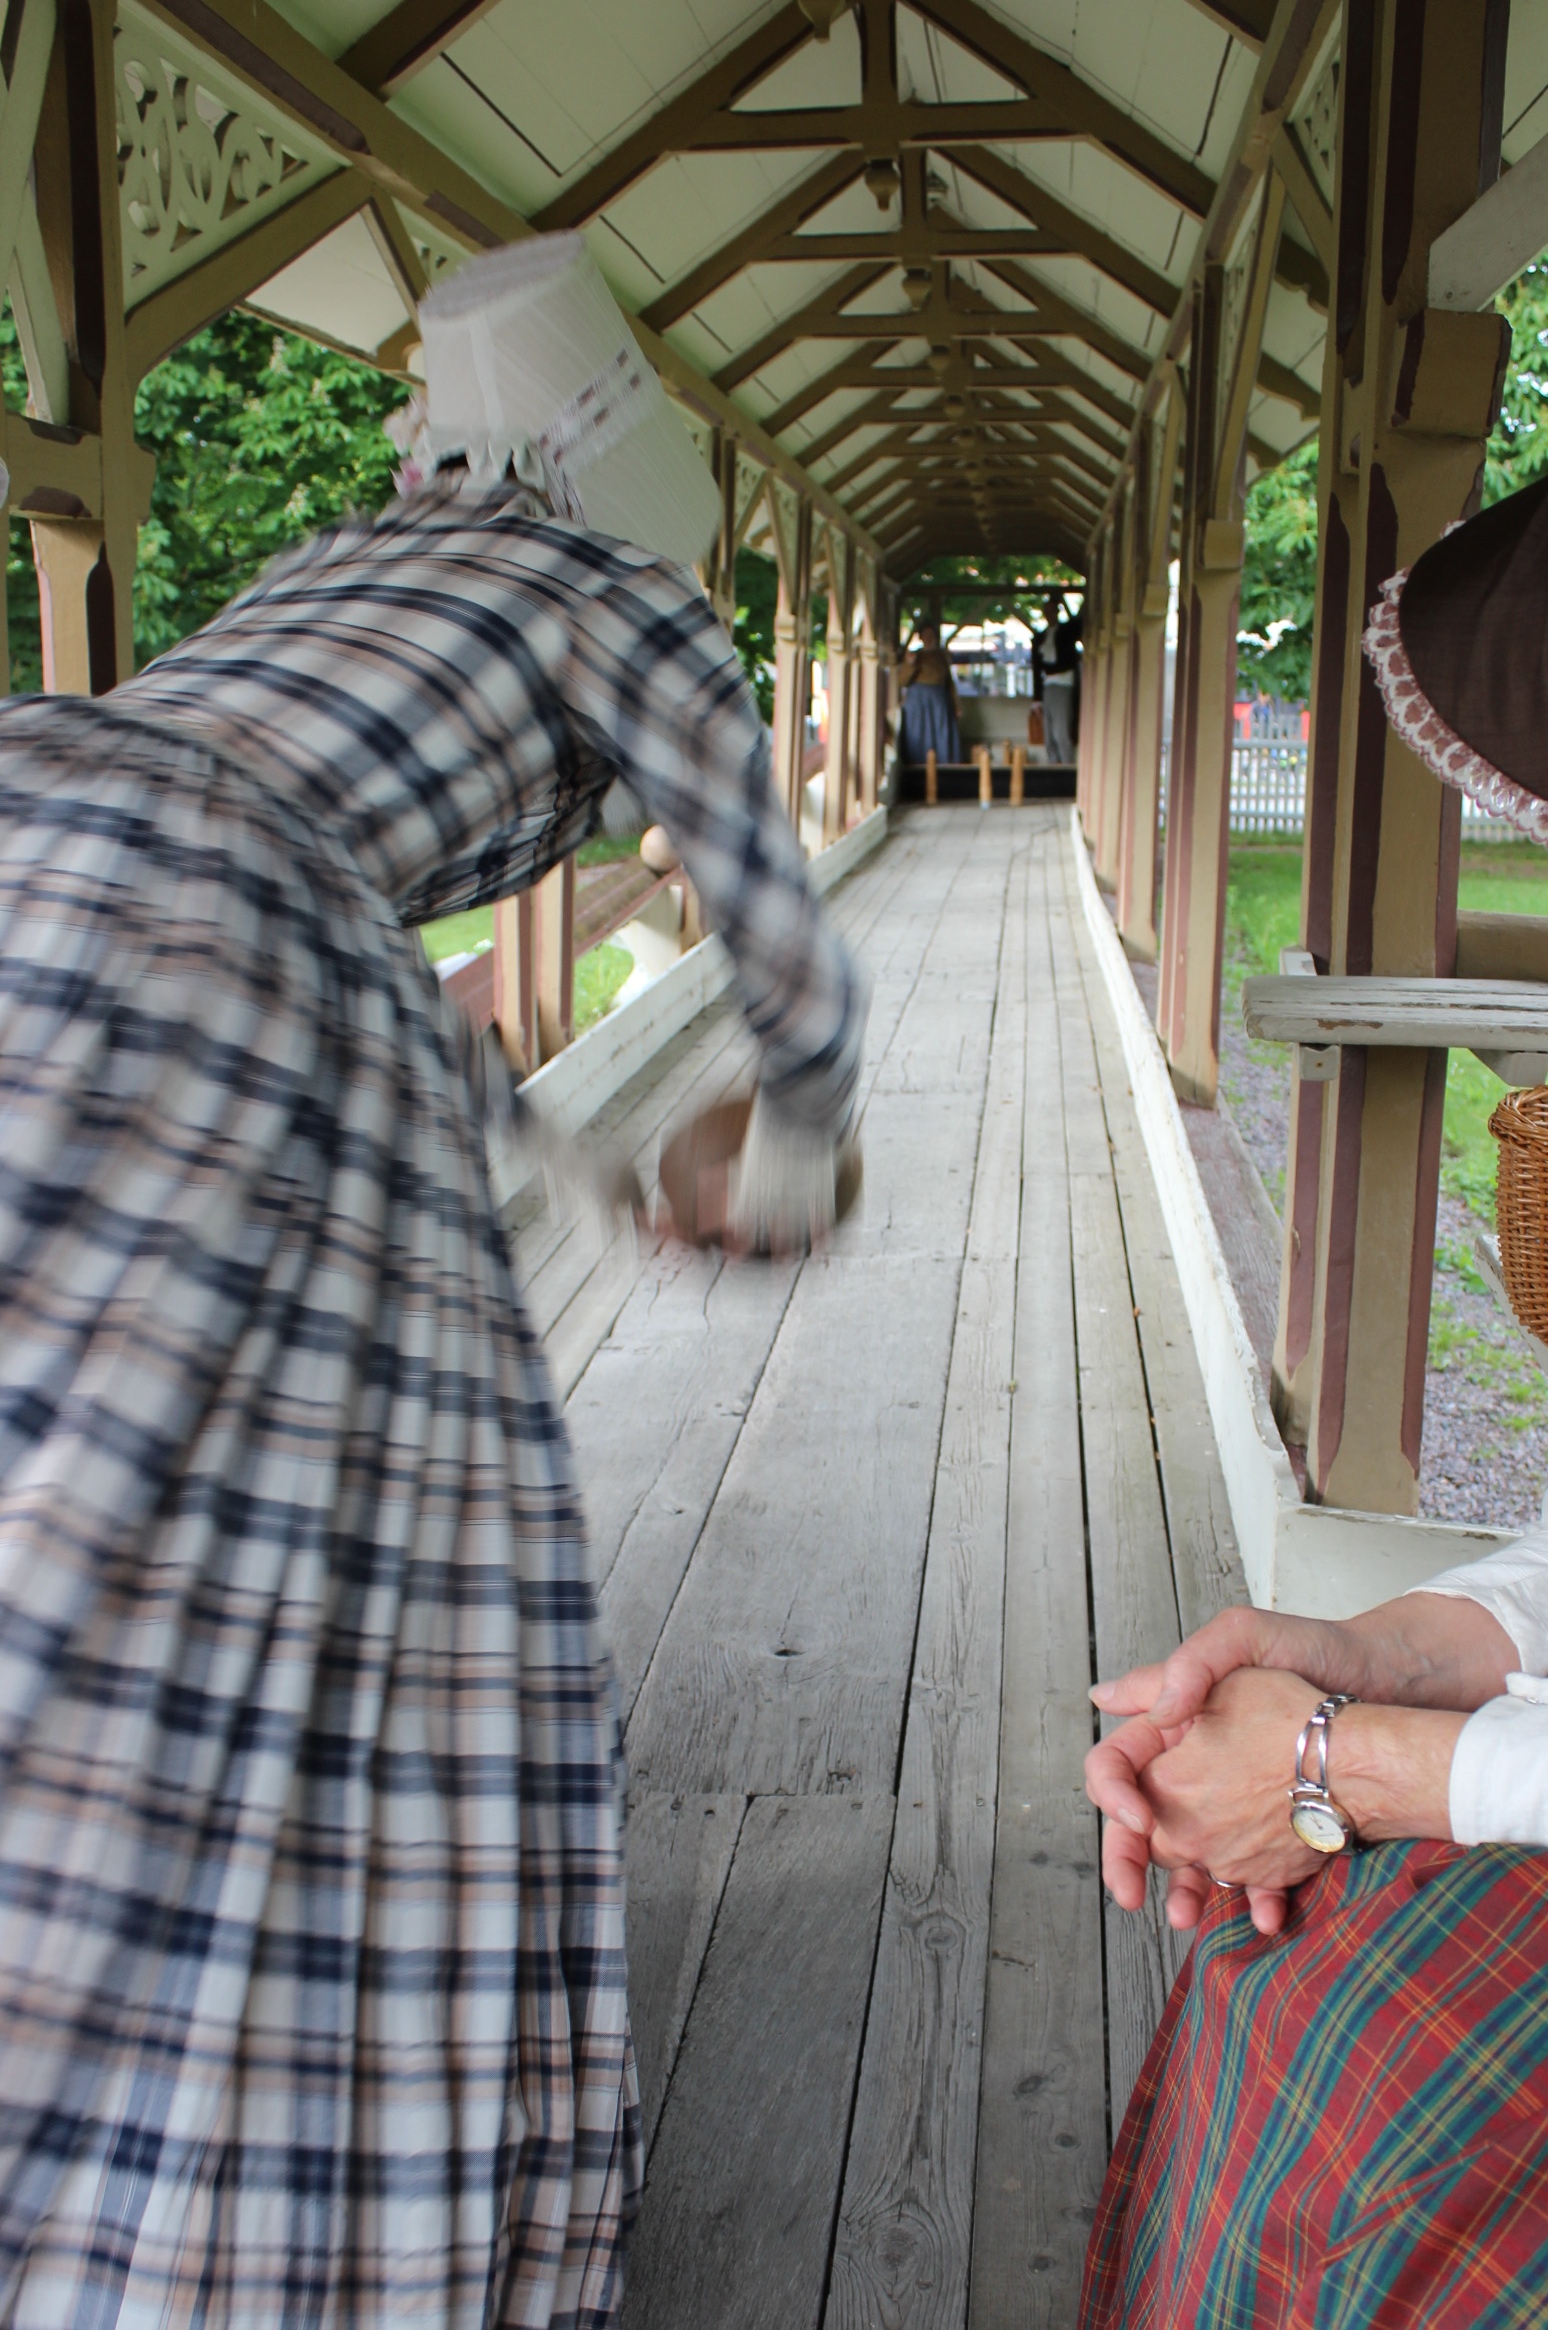
Just like last time, we all gathered again before dinner to play some “Pinn-ball” (or is it Bowling?) on the old course.  

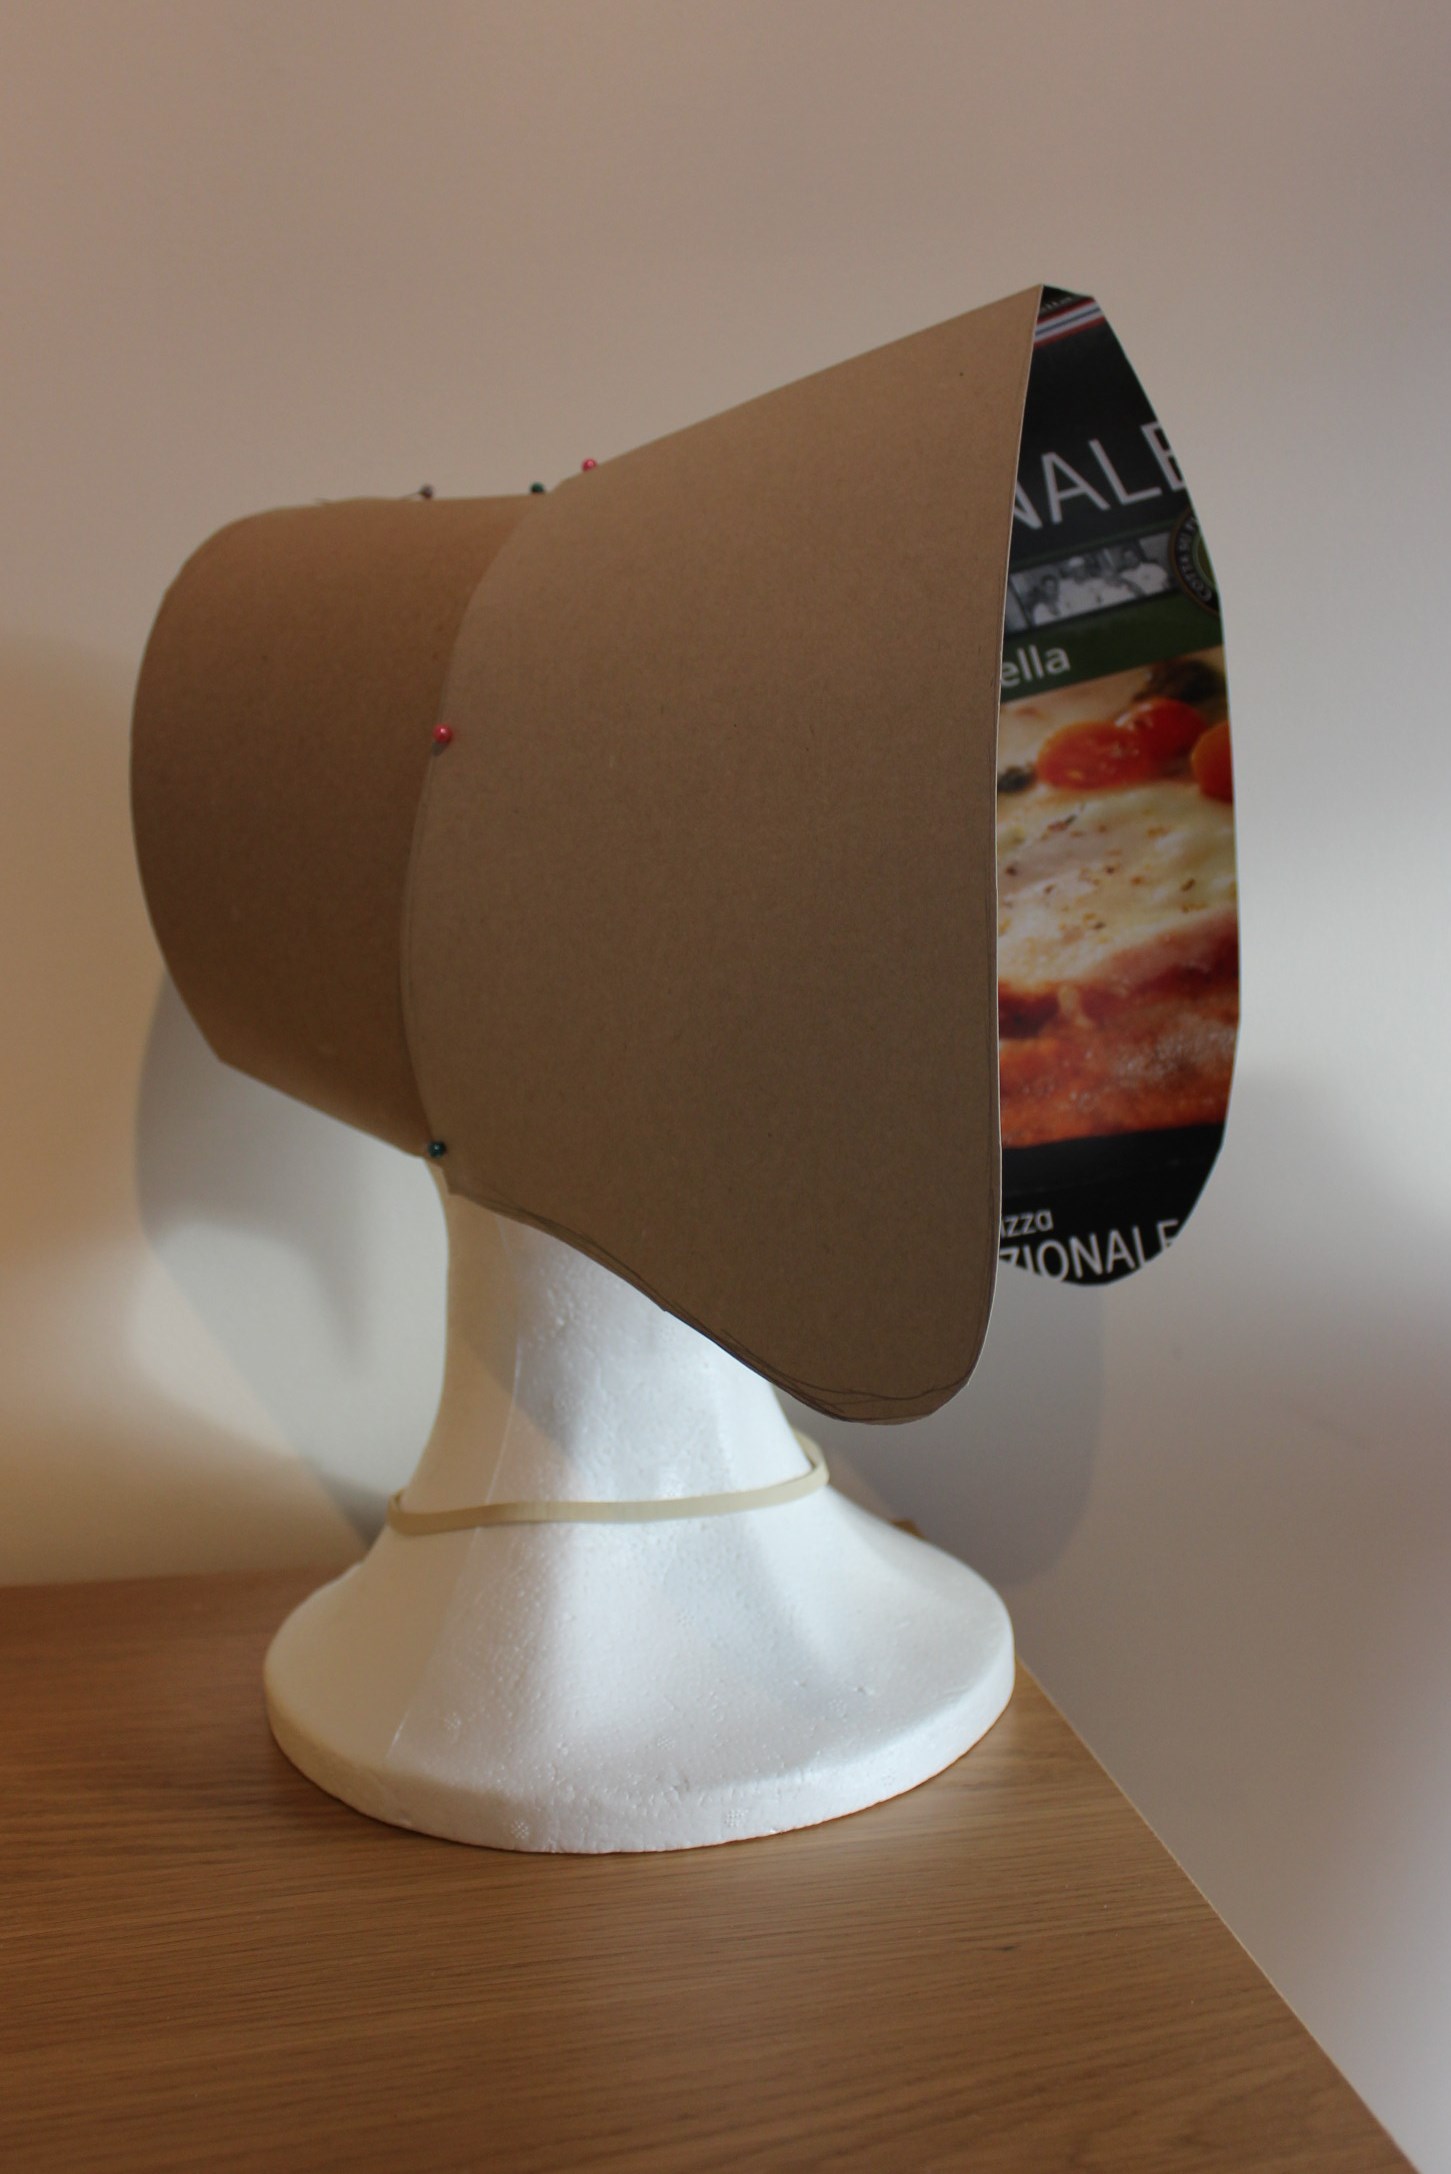
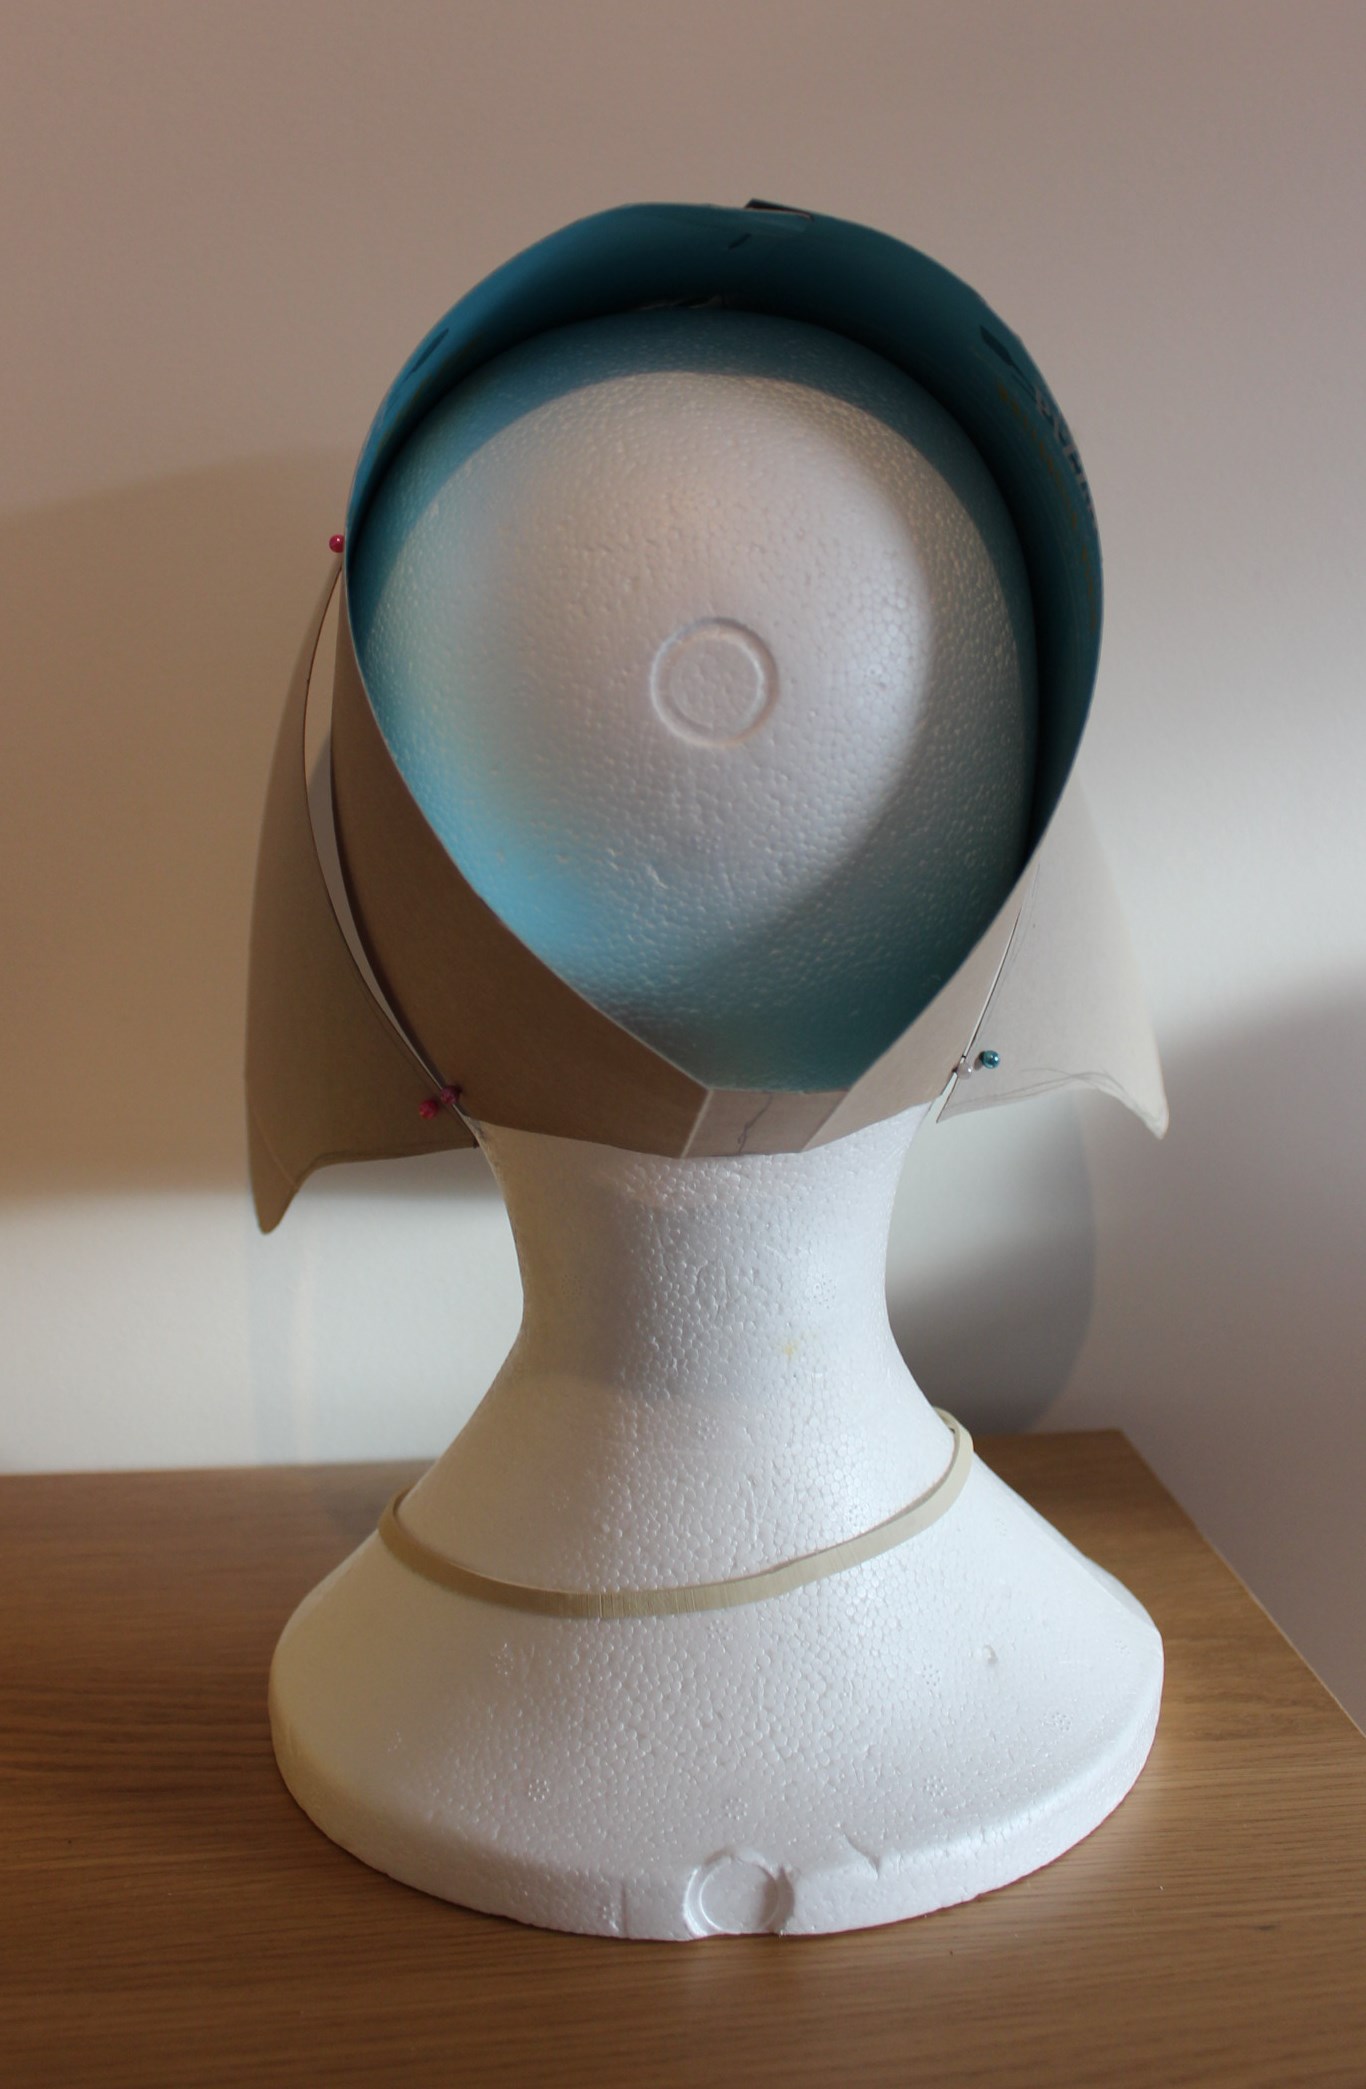
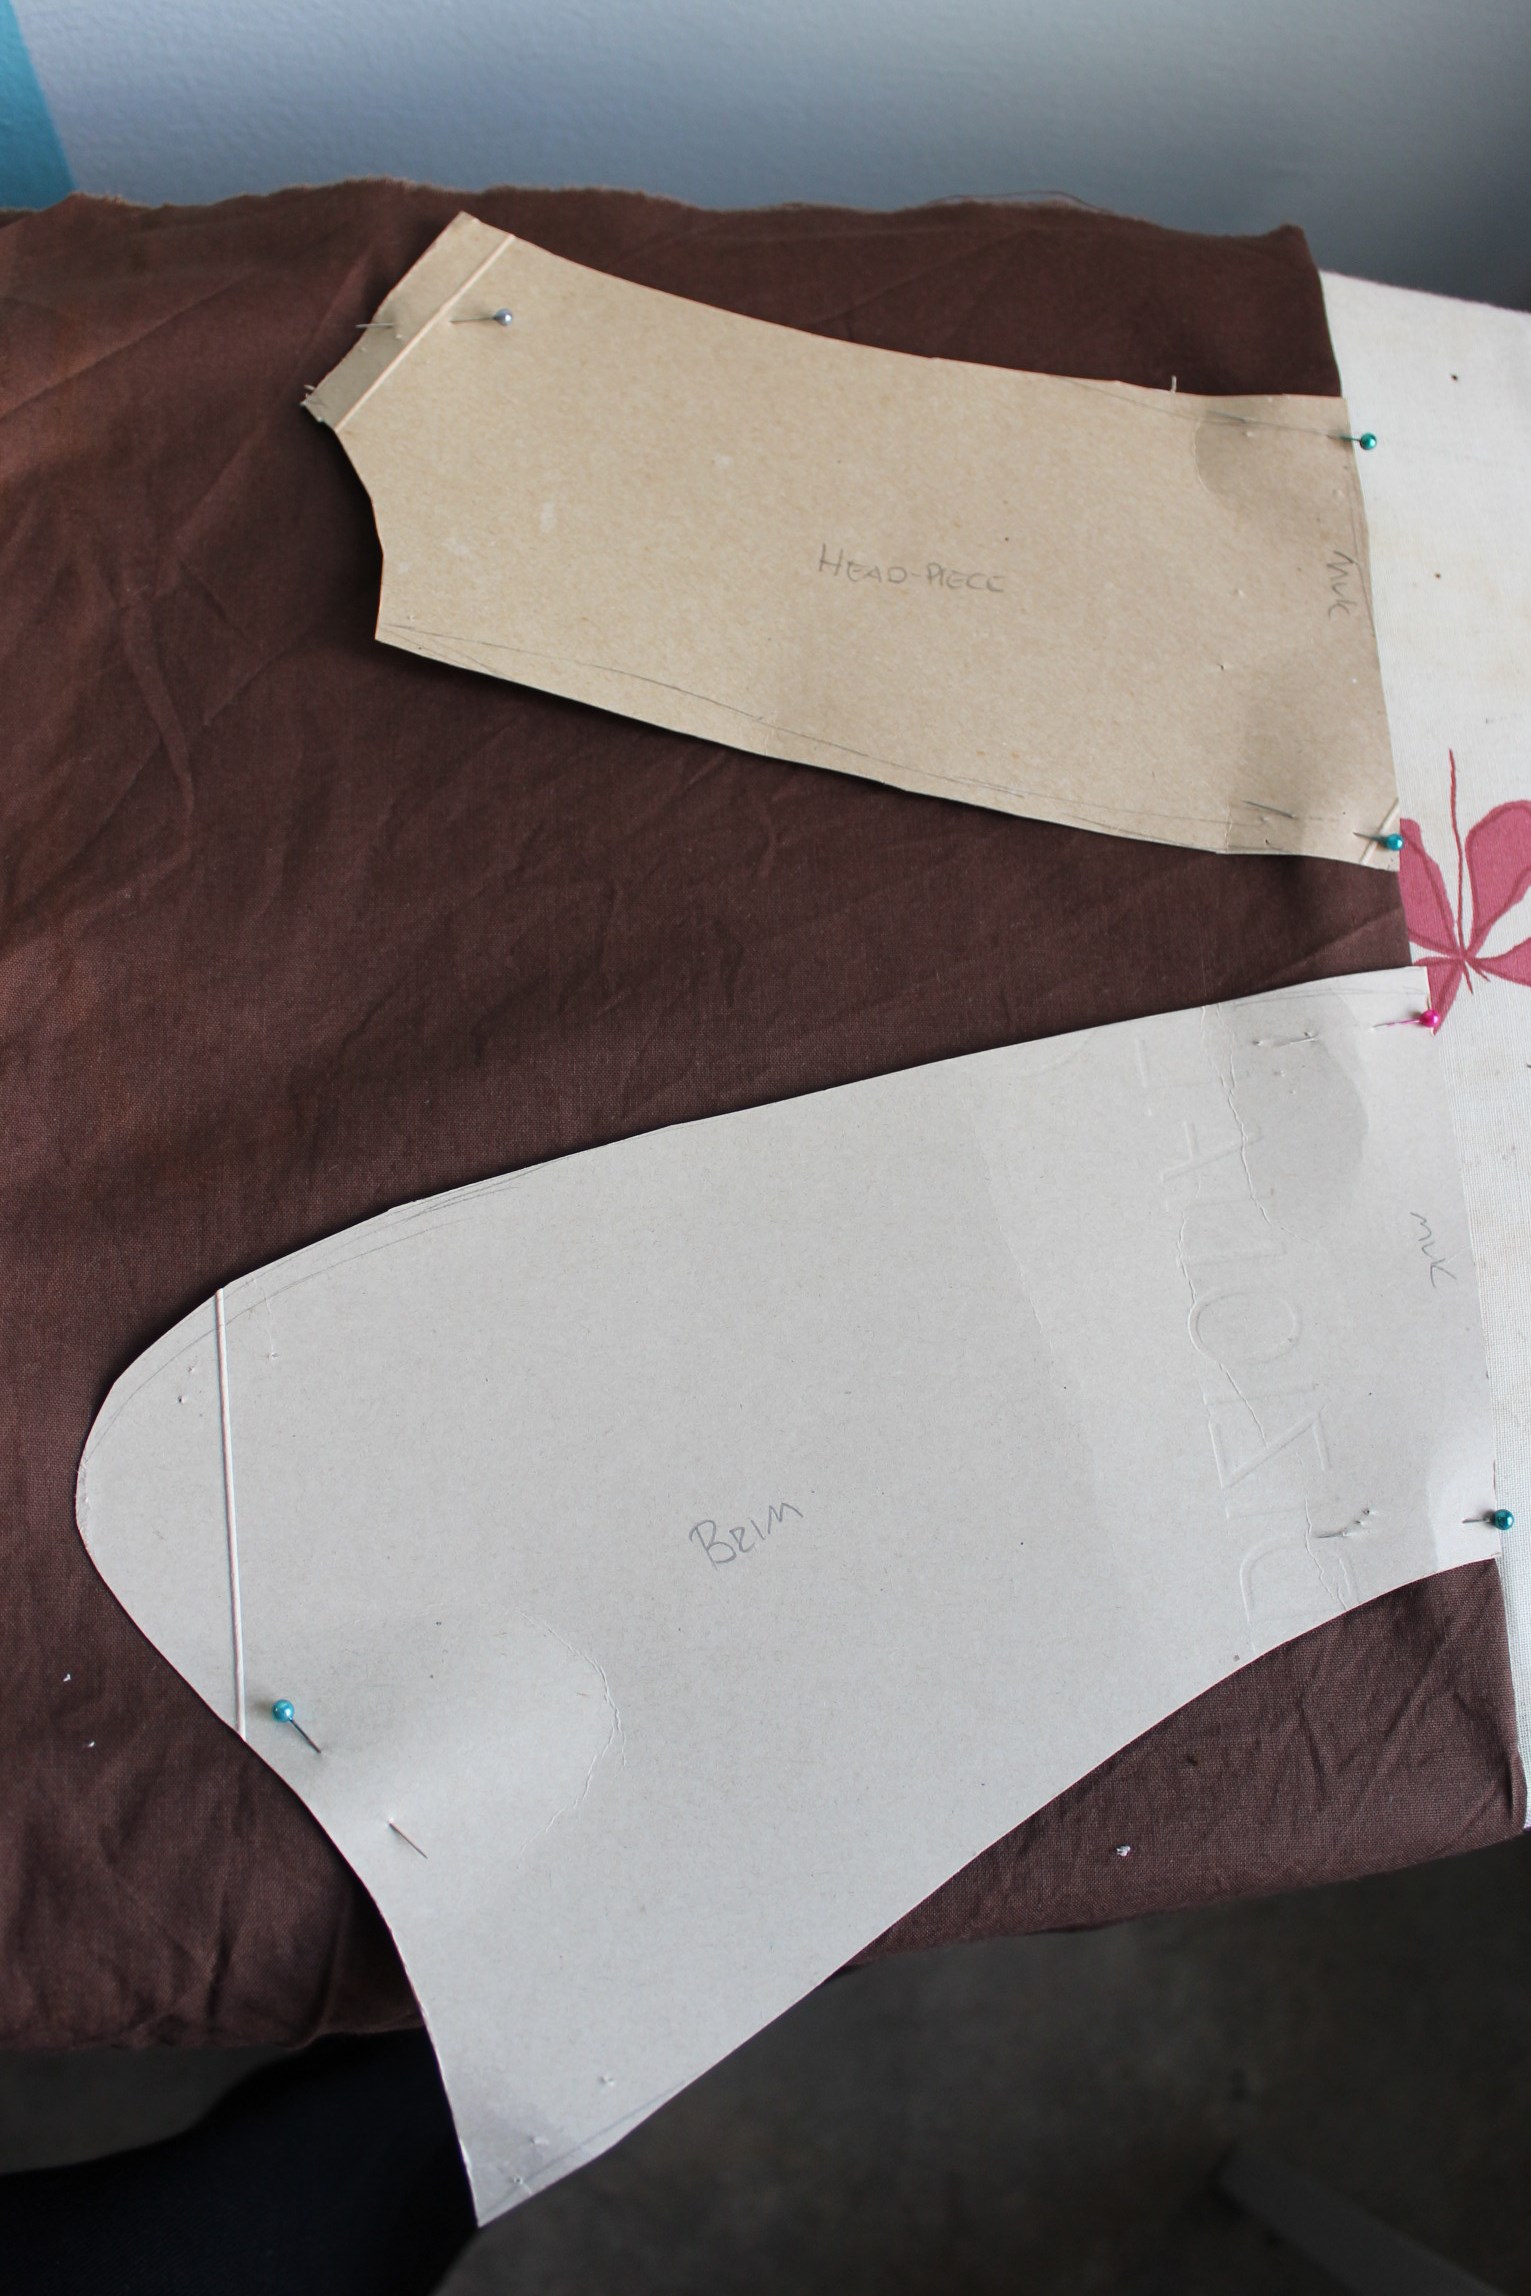
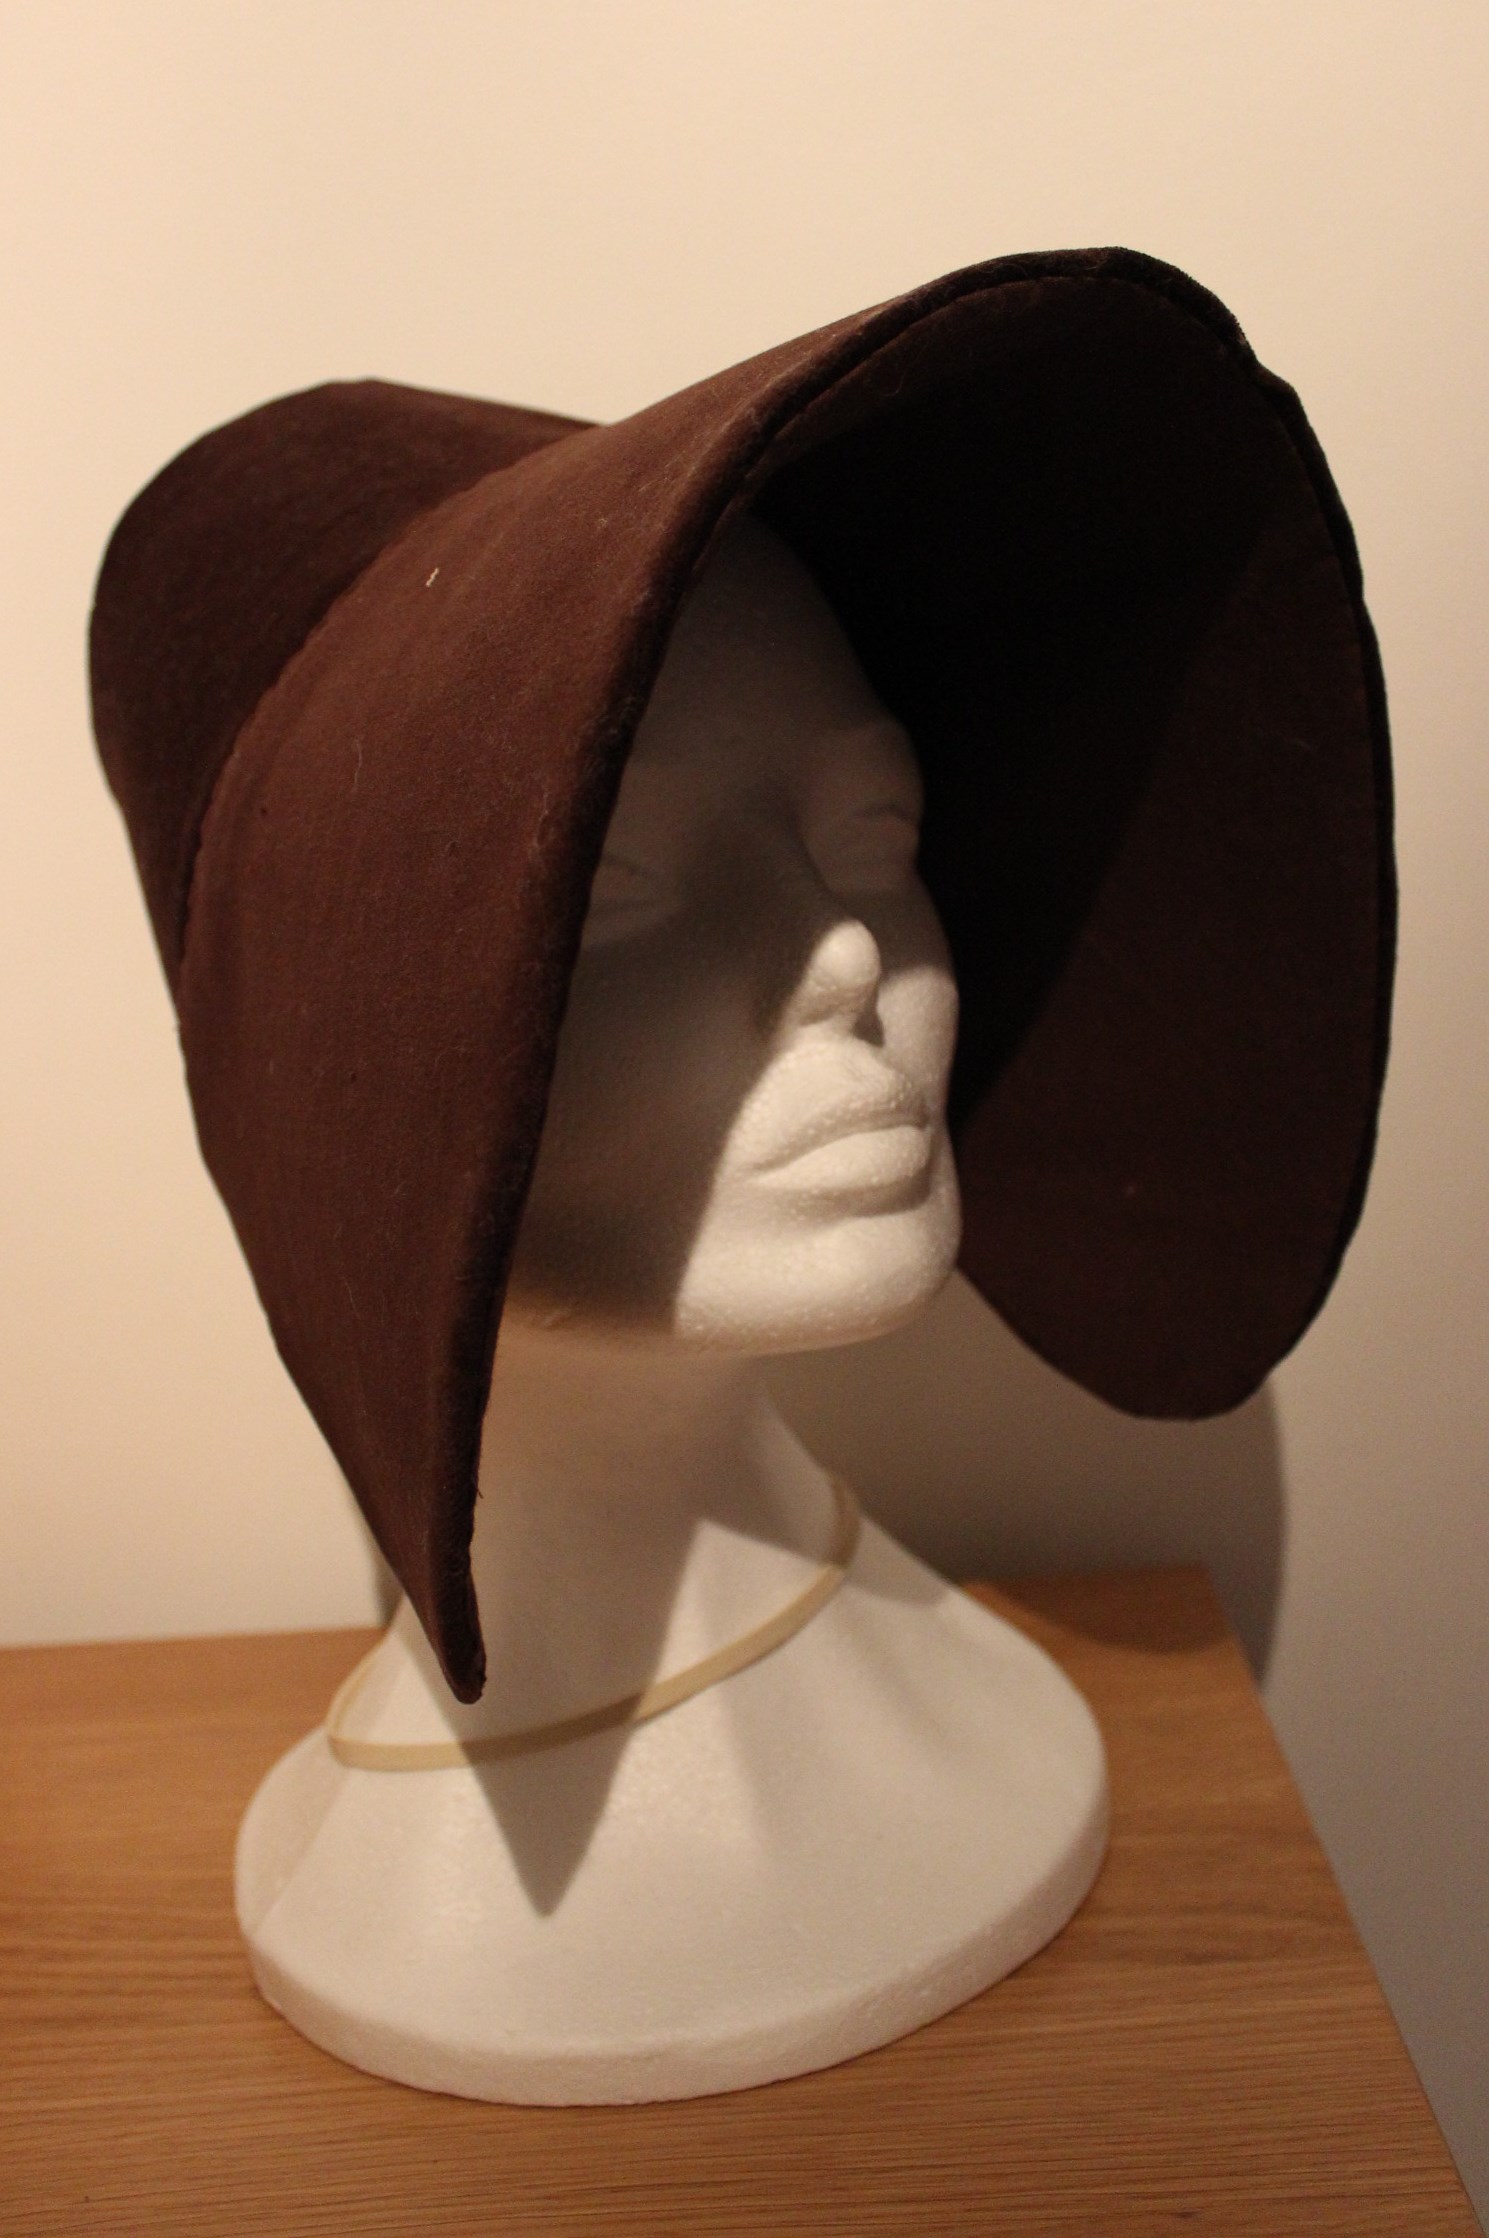
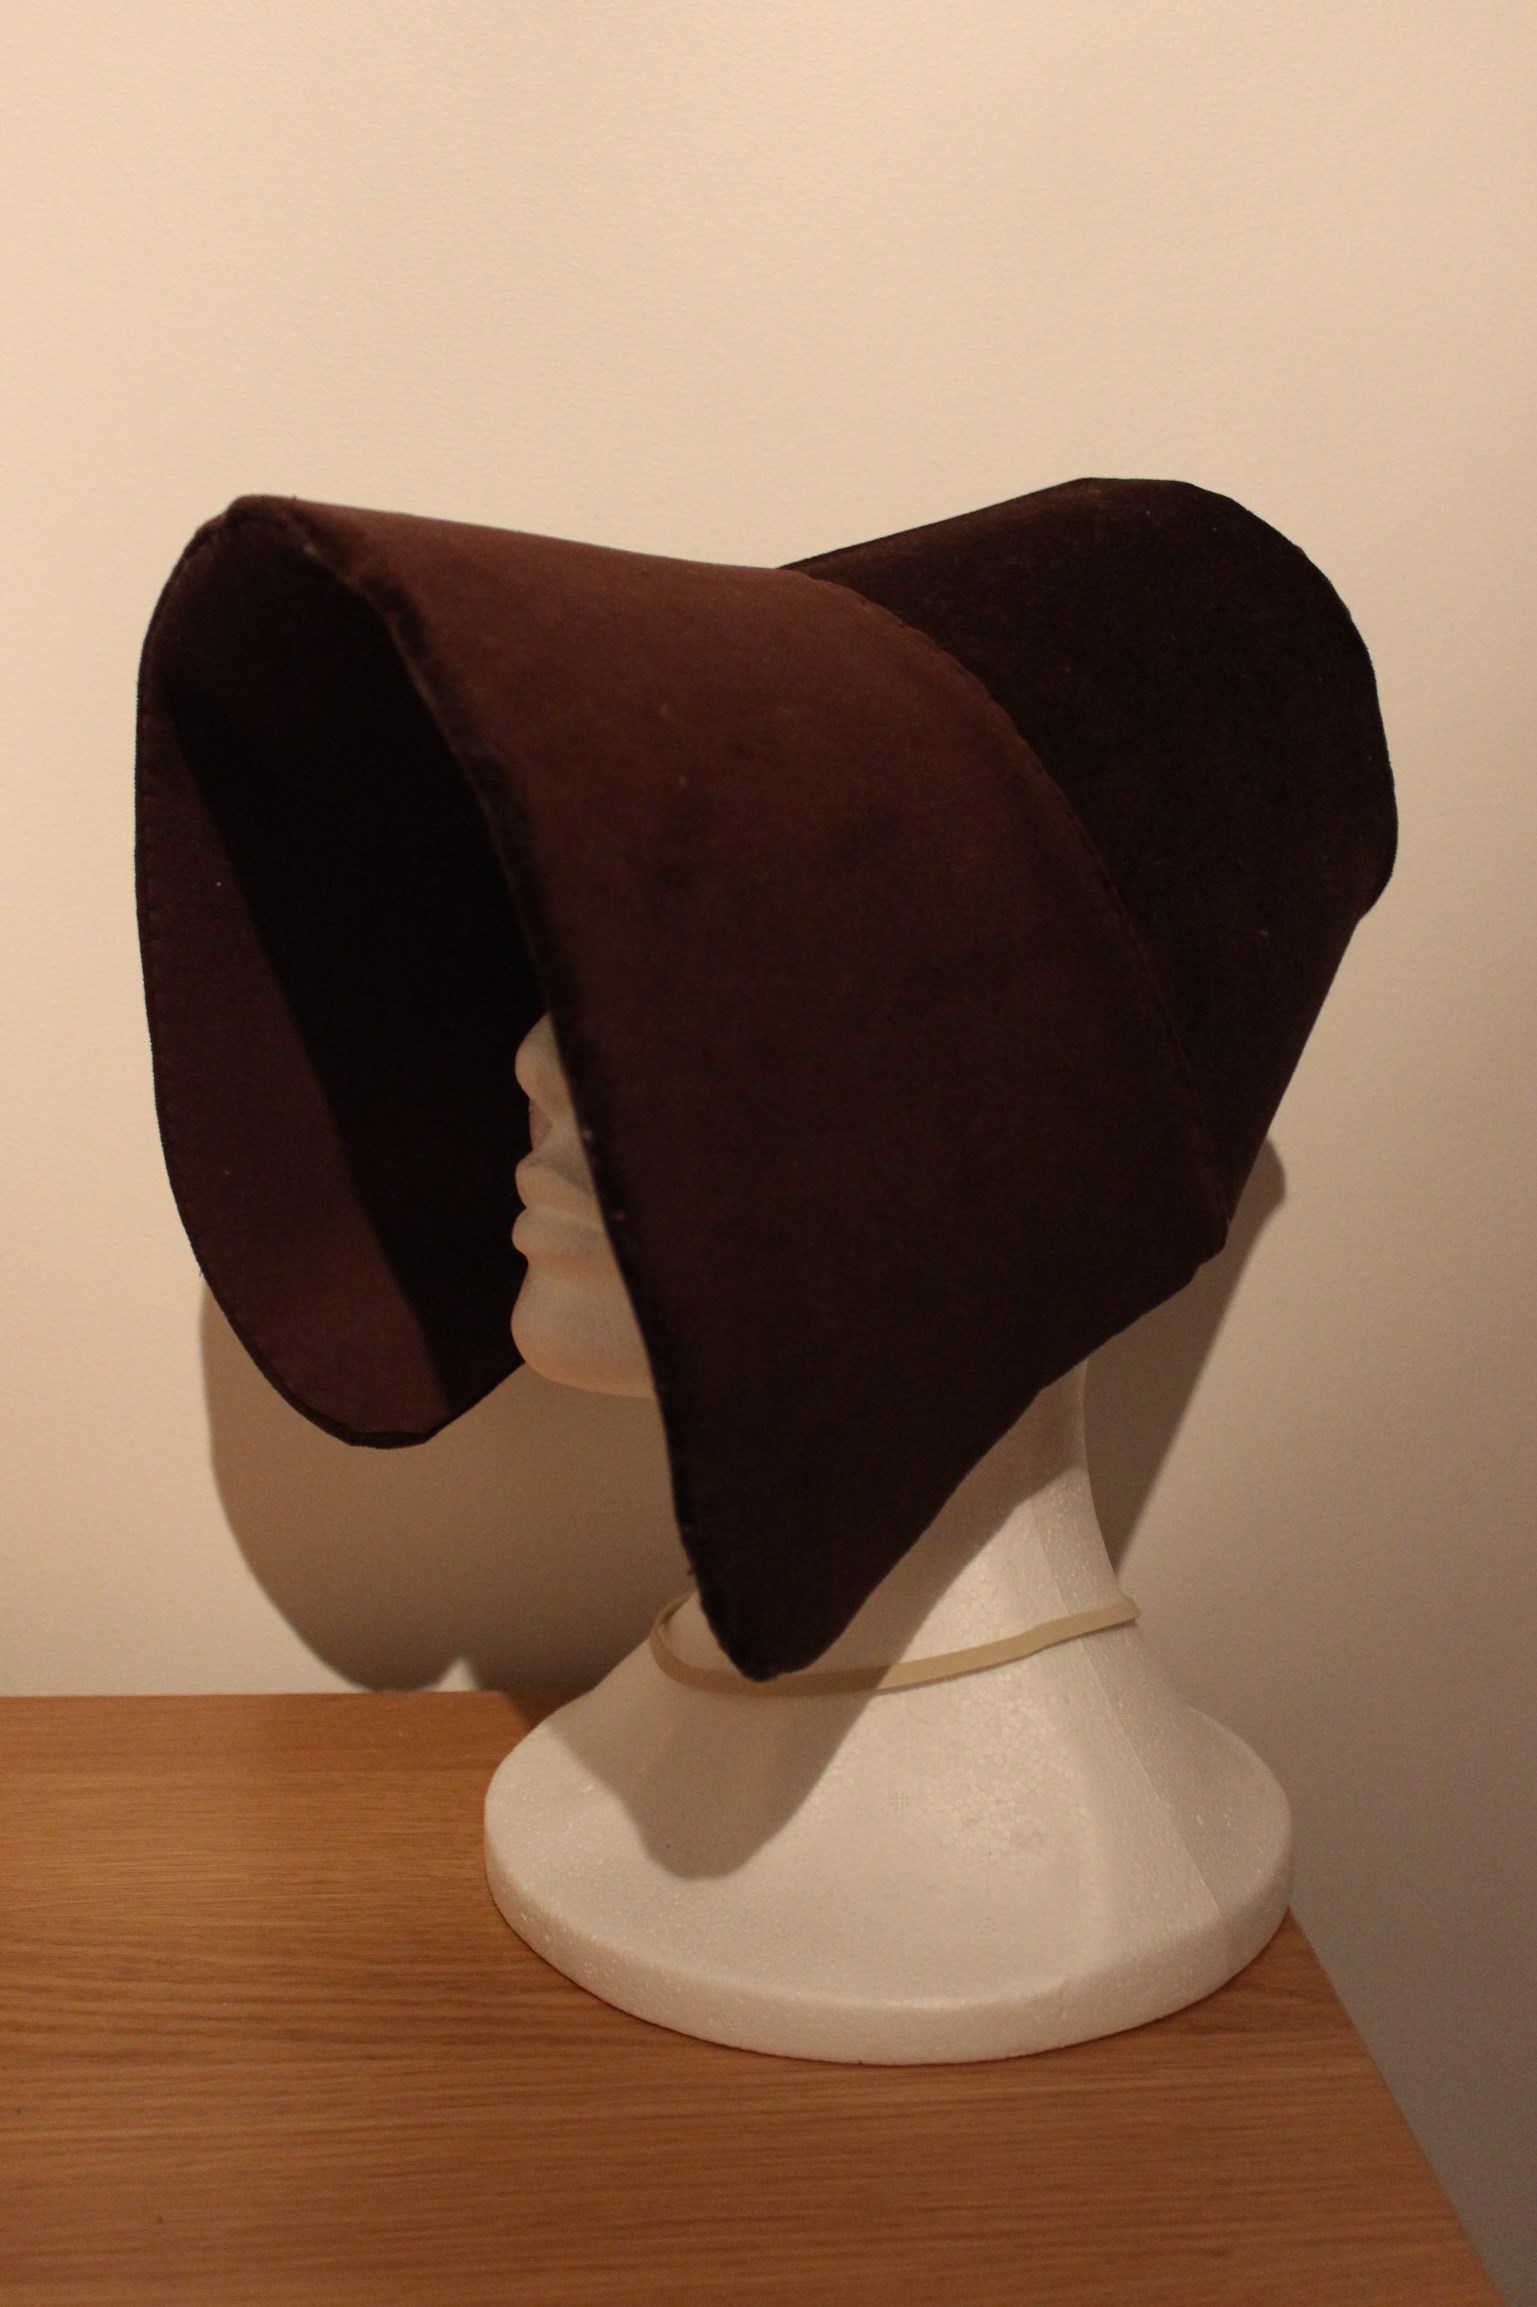
Clara in her beautiful lilac dress (and don’t you just love her bonnet – perfection!),
and Sarah who changed dress (and decade) before dinner, to a gorgeous natural form gown.

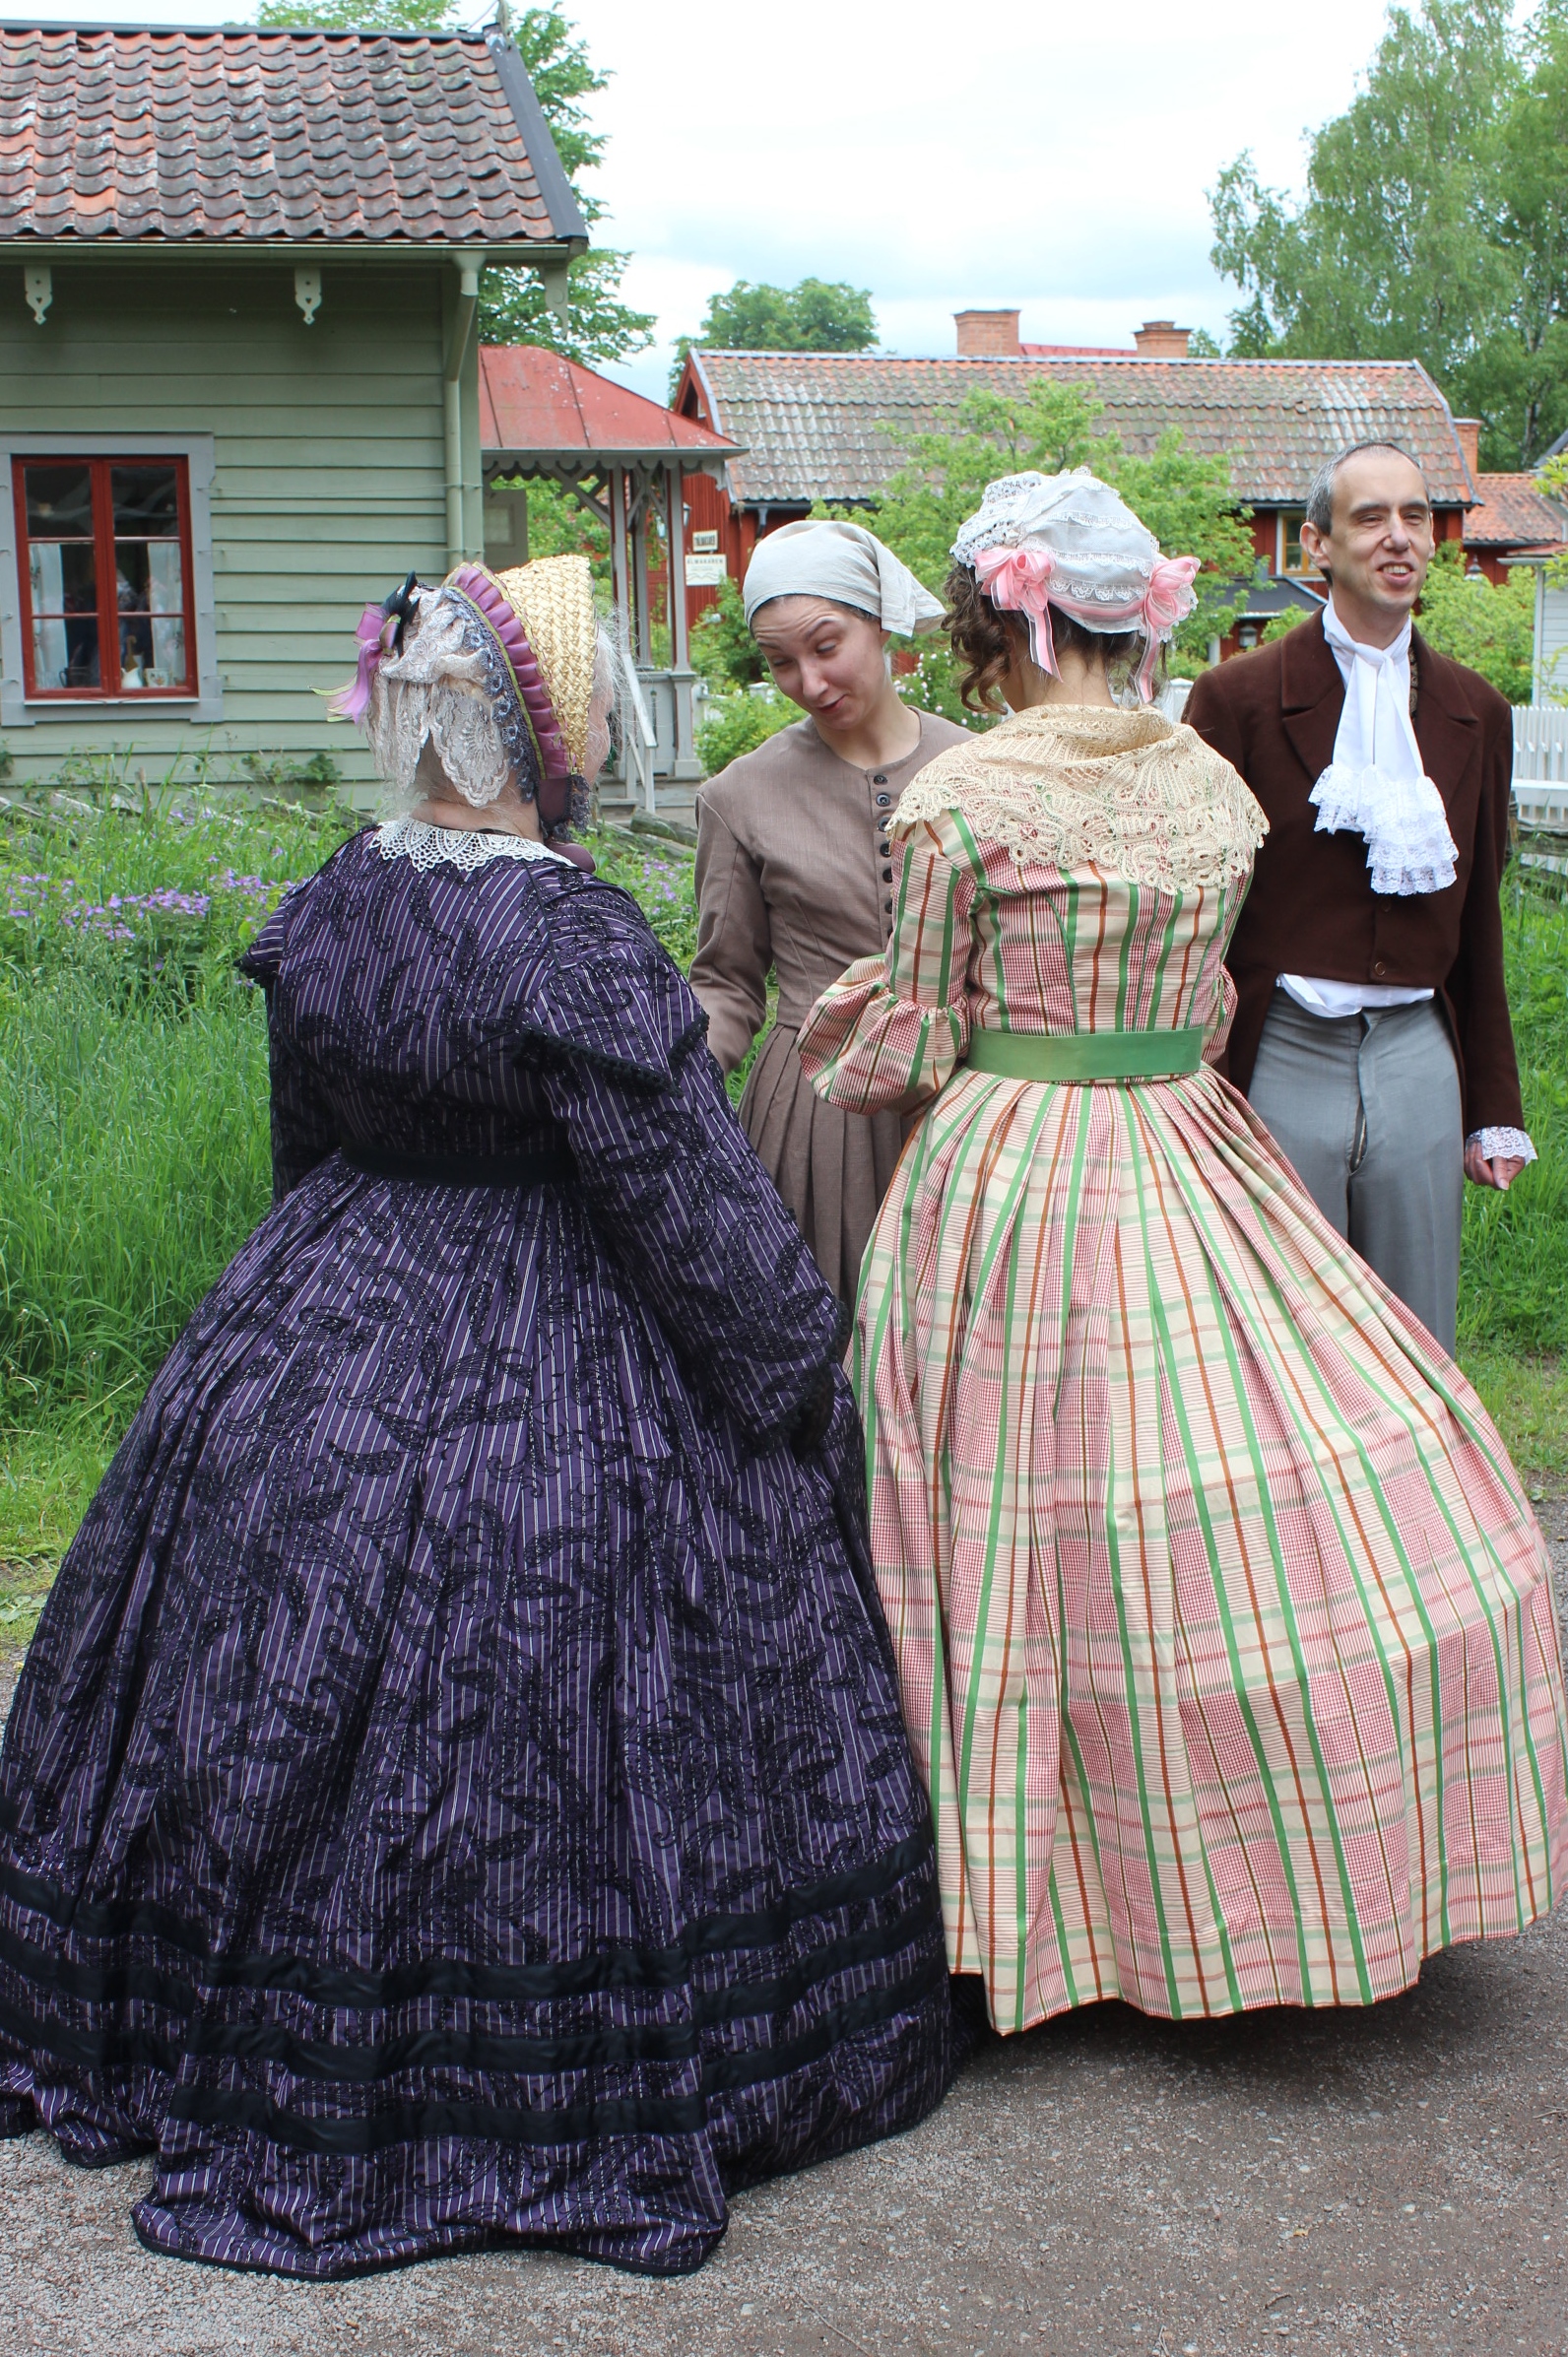
 “Have you heard the latest news…”

Then it was time to head in for the dinner.

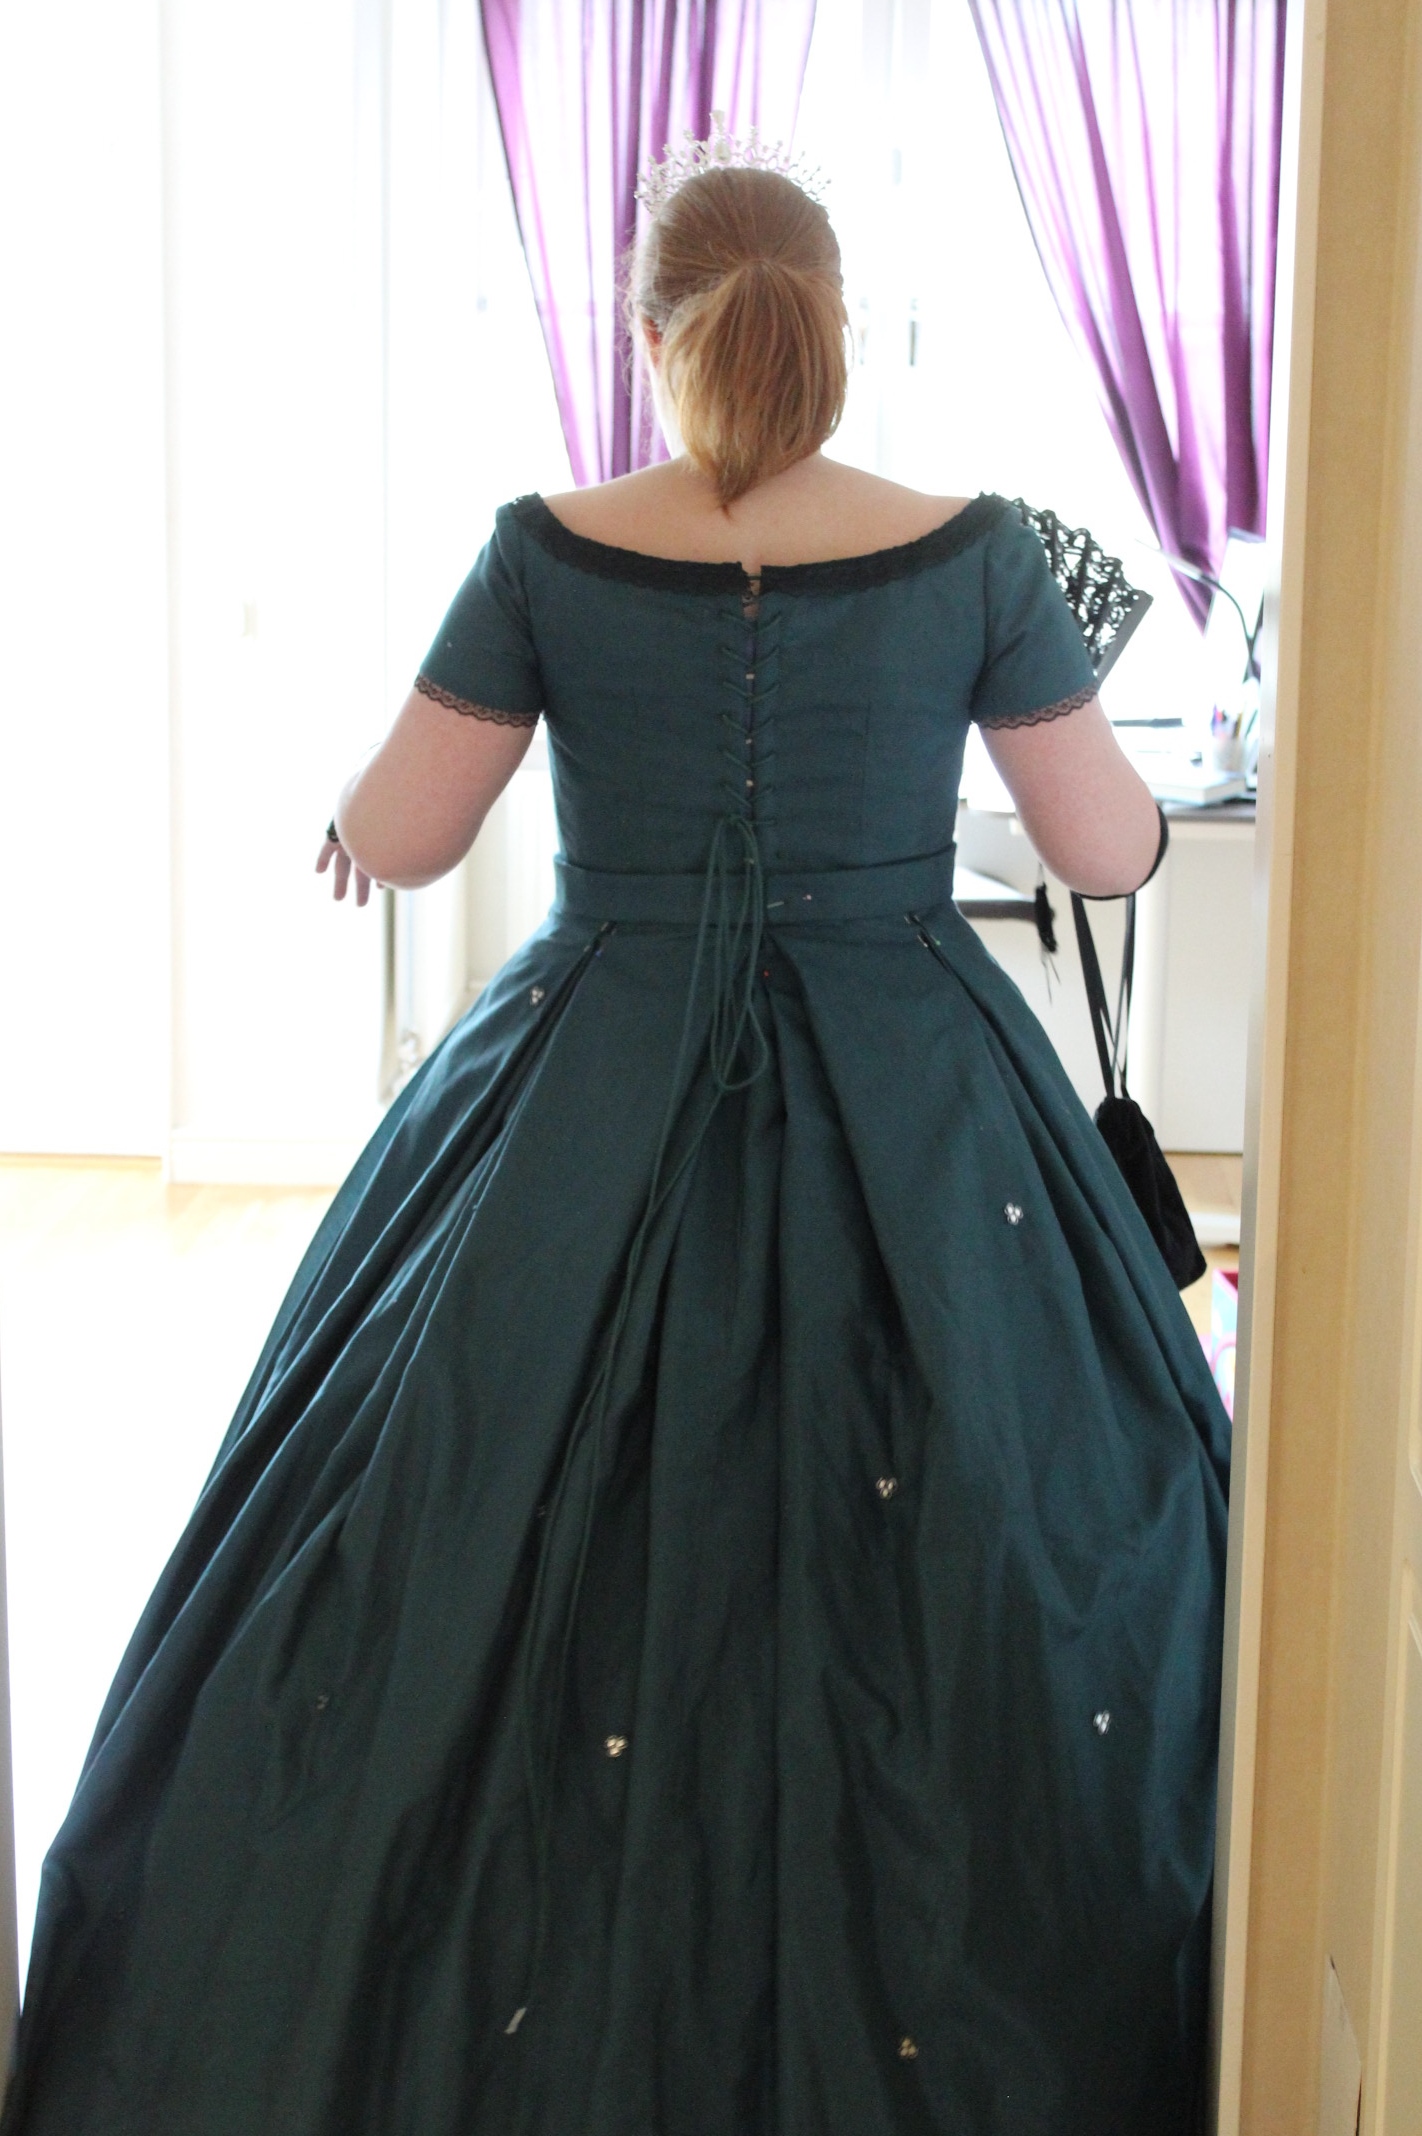
And that was that. Testing out my new selfie-stick with some of the amazing ladies from the day.

I’m really happy about how the day turned out (even though the weather wasn’t exactly the nicest, but hey! No Rain :-)), and so grateful to all the wonderful people who took their time (and Awesome costumes) to come here and help make the day such a success.  Hope to see you all next time… 😀

And as a bonus: Check out this video made by one of the photographers who joined us in the beginning of the day.

1850s Plaid Summer Dress – Photoshot

Back in may with a big event coming closer i had a bi of a wardrobe panic – which (thankfully) was pretty easy solved by posting my 3 choices on Instagram and let you decide.

And as some of you already know, the (not so enominous) votes tallied up to my plaid light cotton summer dress and my white 1850s bonnet, and I couldn’t have made a better choice 🙂 – So a big Thank you to all that voted!
I felt perfectly temperate, pretty,fashionable and practical, all at the same time.

While at the event, I took the time to get some better pictures of it (since last times photos tuned out somewhat odd).


 Photos: Maria Petersson

1865s Teal Evening gown (HSM 5/2017)

When all the underwear (almost all, I still had the chemise and a second petticoat left to finish), it was time to get started on the dress itself.

Since the dress was for my sister, it was she who ultimately took all the decisions on the final style, and I came with lots of suggestions, inspirations and different looks.inspiration sketch

We finally decided on one main inspiration Evening dress ca. 1865, From the Cincinnati Art Museum

Since the budget was particularly scarce on this project, we decided to cheat and use a set of IKEA curtains I already had in my stash for the dress fabric.
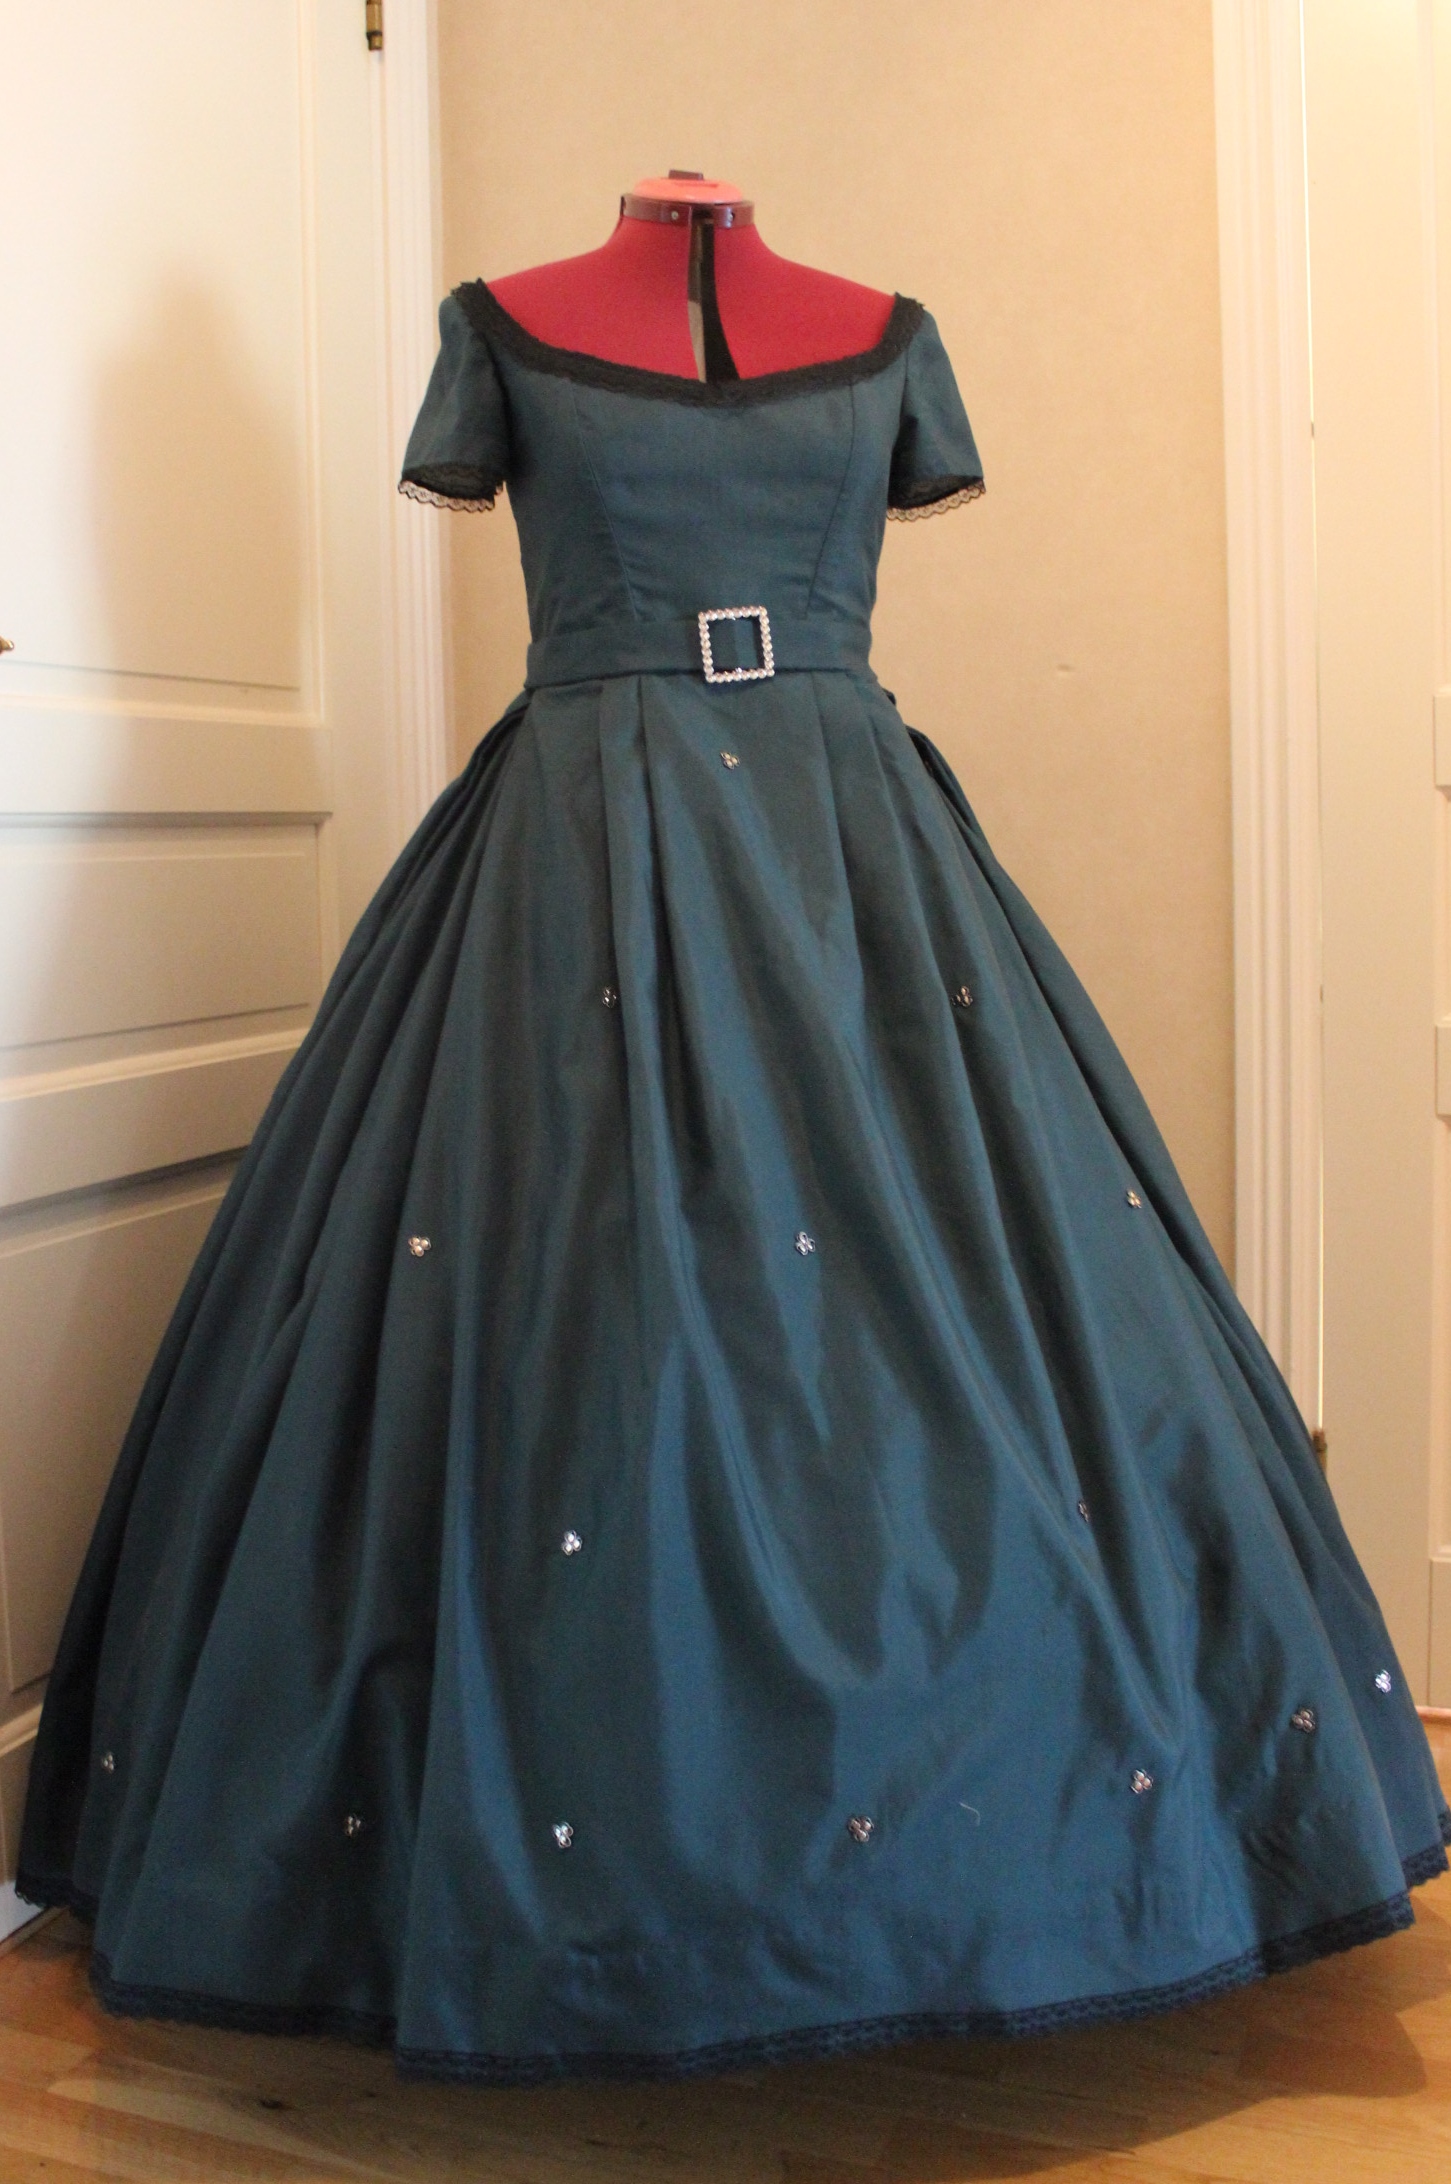
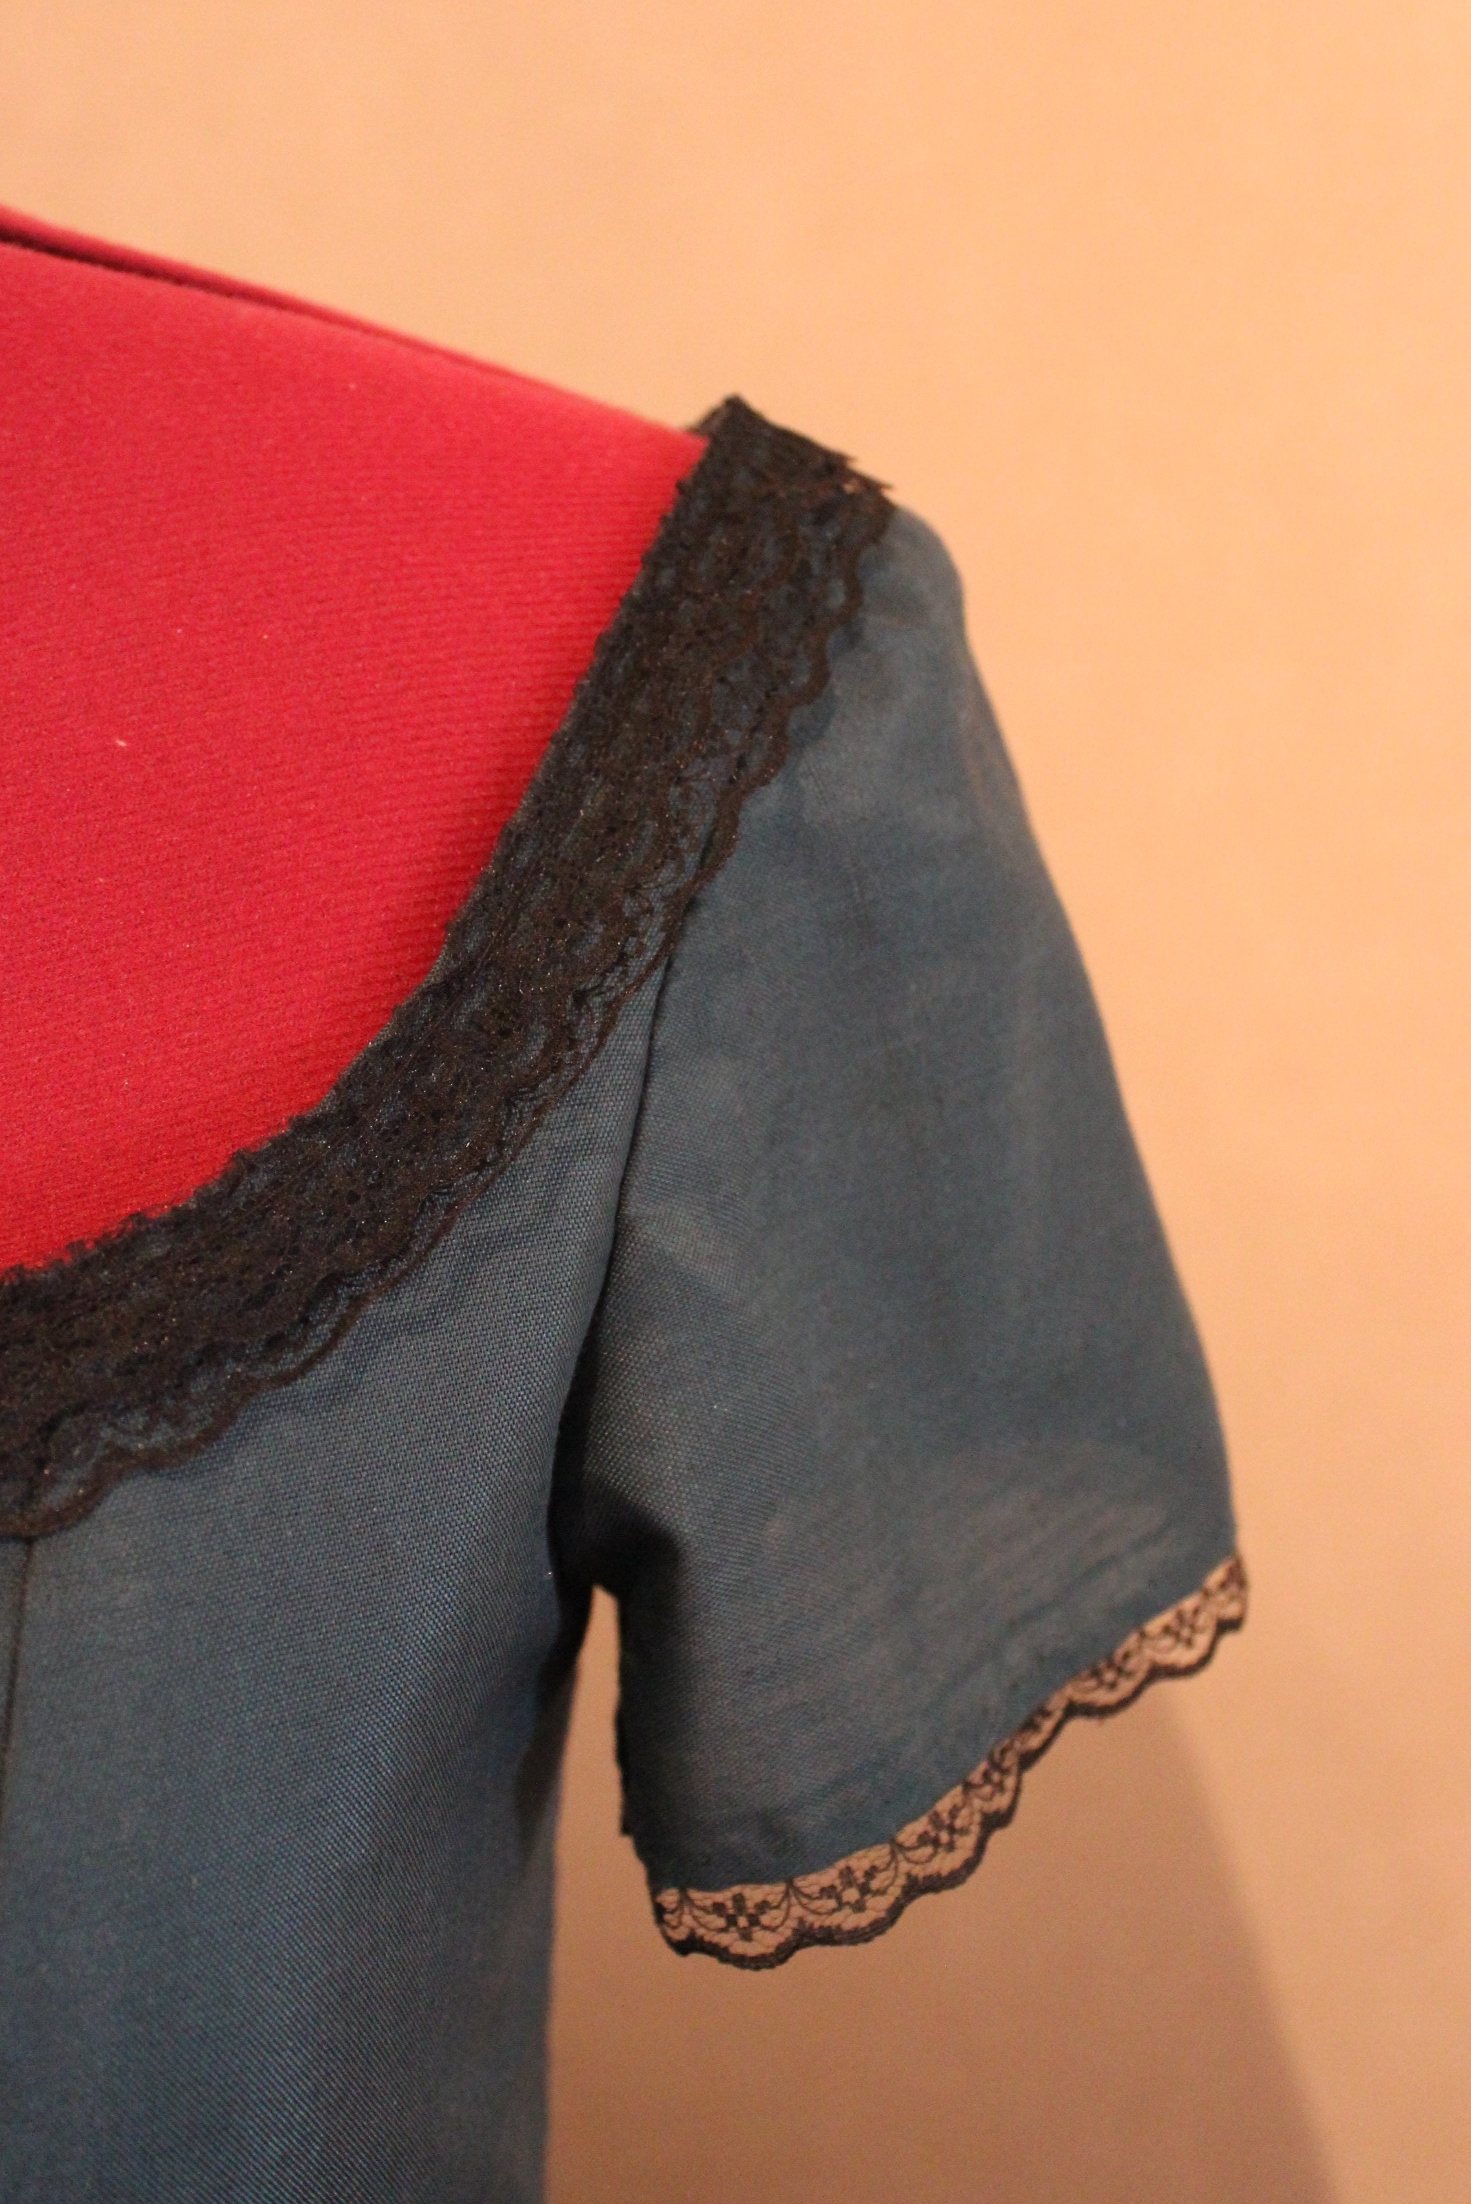
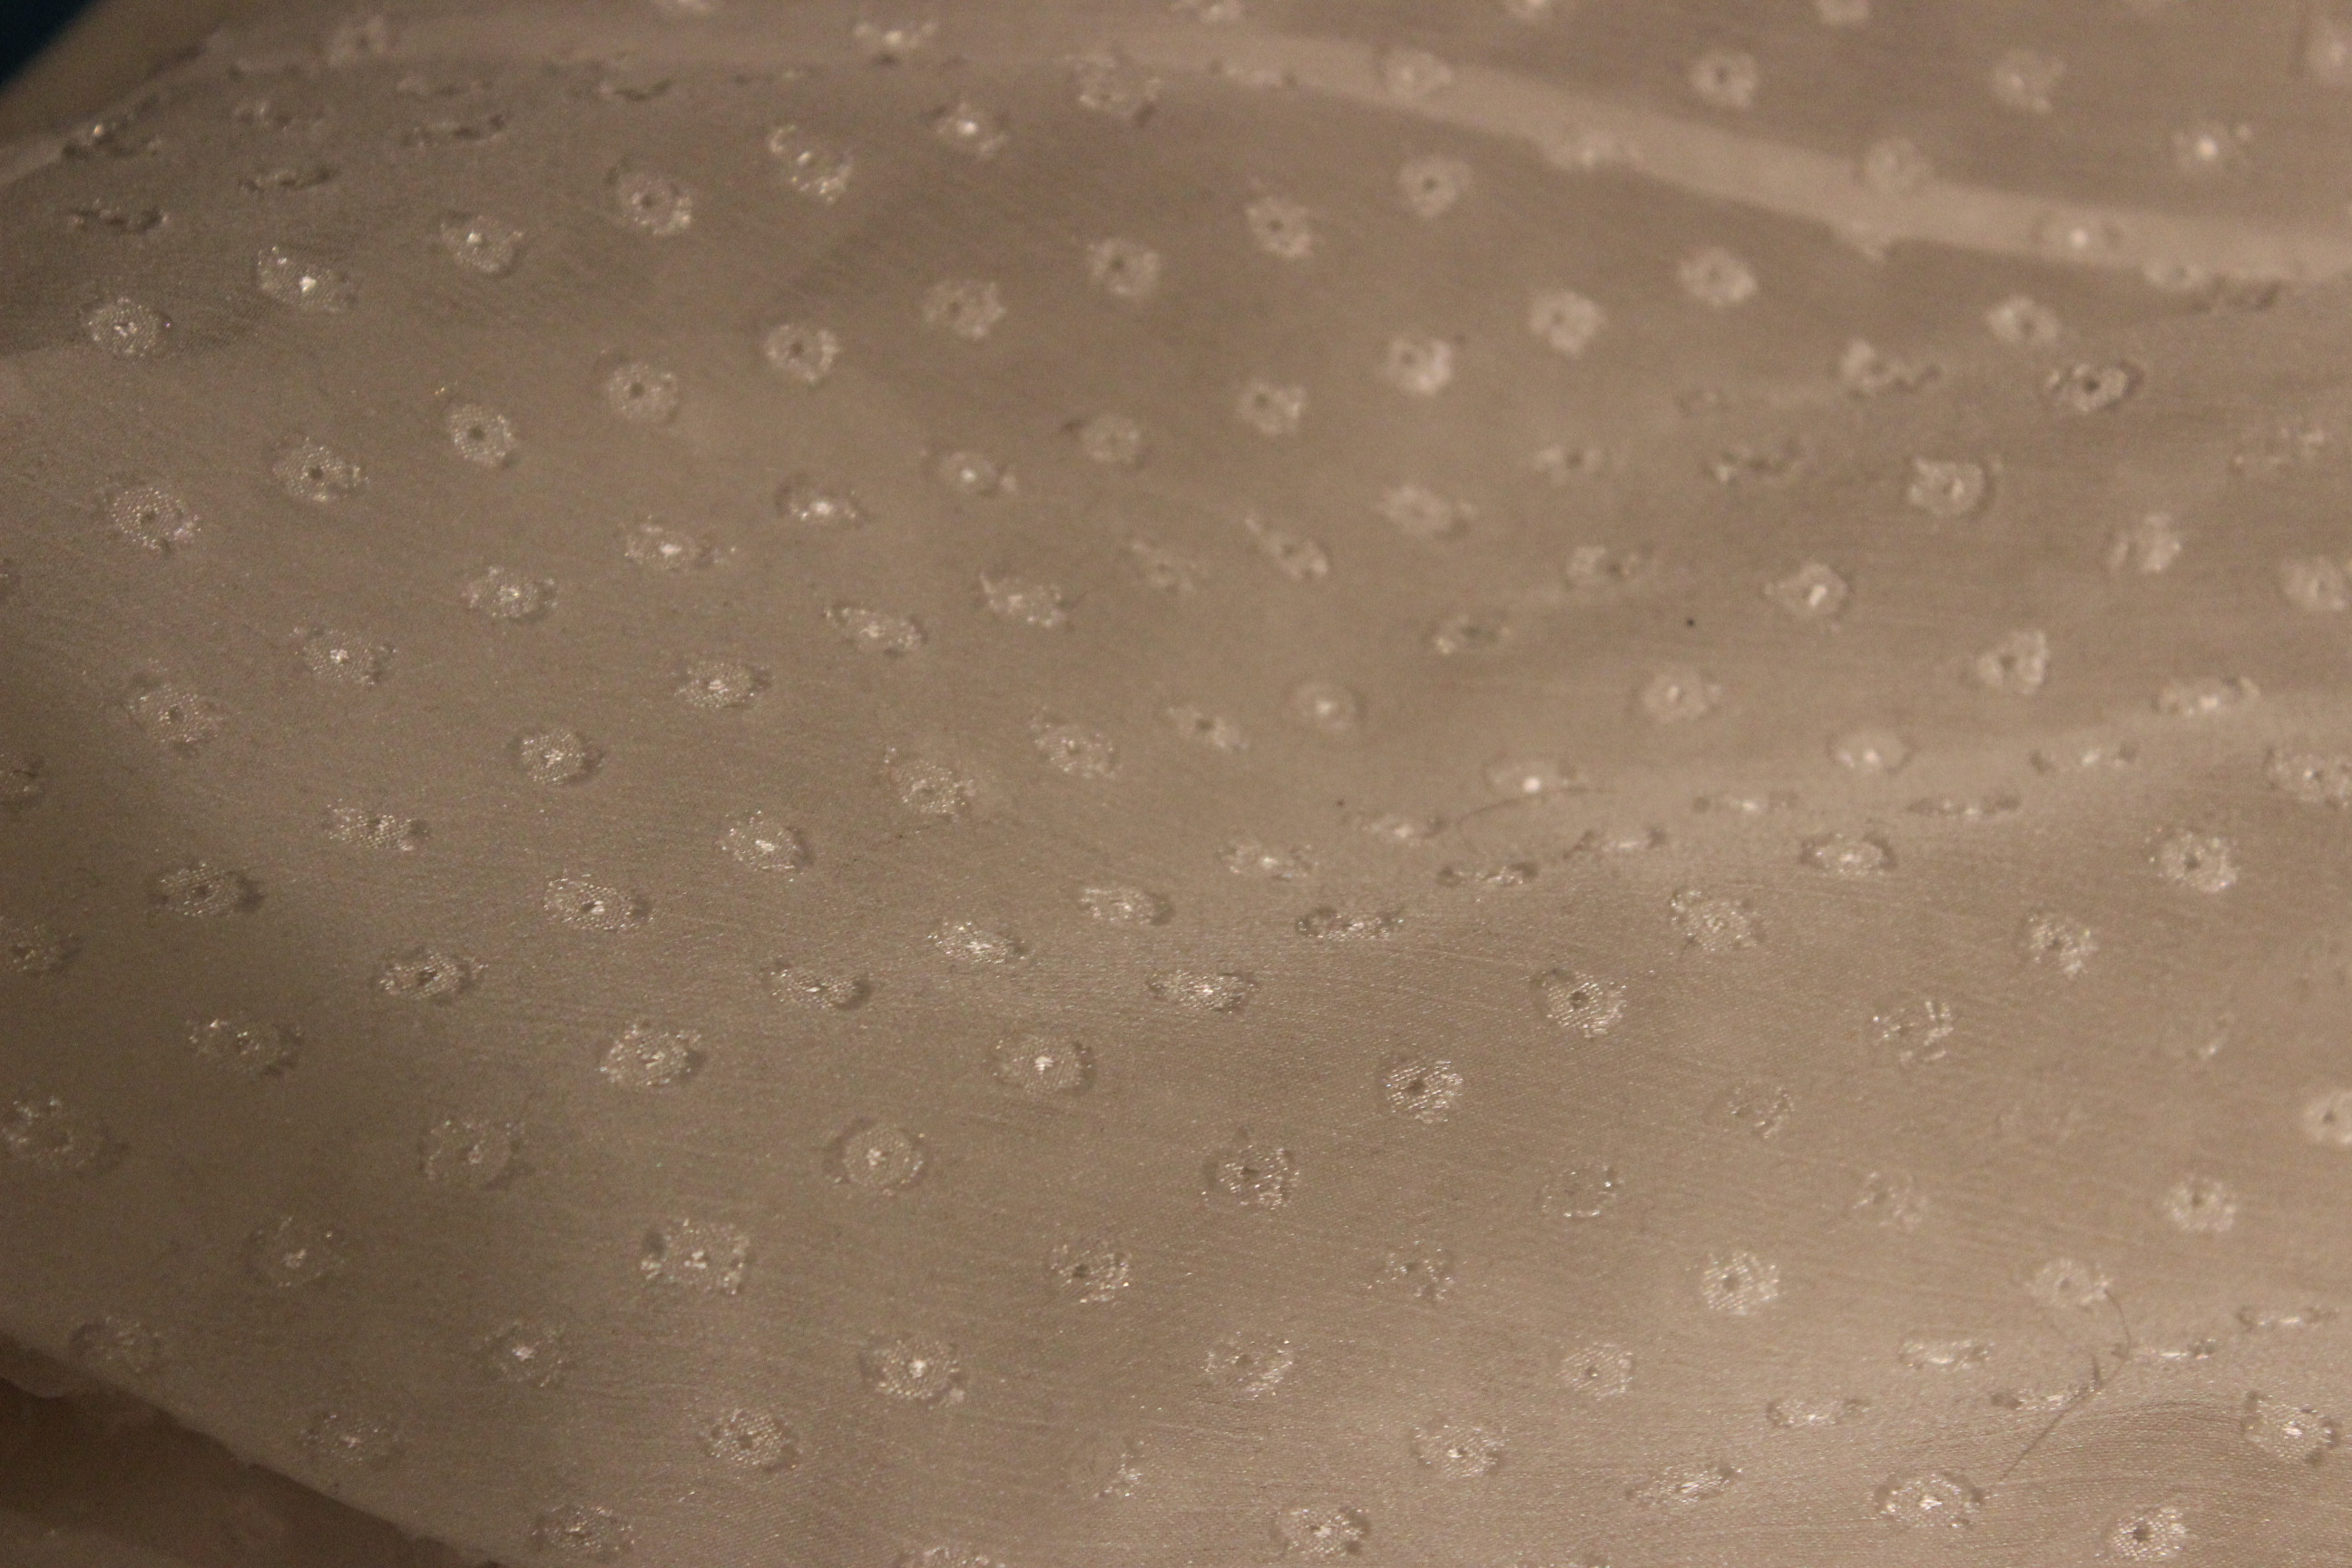
It’s a thin polyester in a lovely dark blue/teal color that would be really pretty in a style like this.

1 pair of 2,5m x 1.45m curtains would require some really thoughtful cutting and pattern layout, but with some math and quick calculations I was fairly shore I could get the dress cut from the fabric (as long as I didn’t do any errors…)

I also recently ordered 5 m of silver sparkles and a few m of black lace which both would be perfect for this project. (So, not stash, but almost:-))

I started by drafting the bodice pattern using modern templates and my sisters measurements.
Then I did a quick mock-up that we tried on over her recently finished corset.

Lots of adjustments needed

Just to be sure I got everything right (and since I didn’t had fabric for any errors) I did another mock-up of the bodice.

After the last alterations was made, it was time to cut the fabric.
Only scraps left.

Then I got to work making the skirt.

Starting by marking and stitching the silvery sparkles (which I’ve already cut apart) on the skirt panels.

Then I sewed the skirt panels together, interlined it with a black cotton fabric that also would serve as lining and pleated the top to my sisters waist measurement.
not completely happy about the look of the pleats, I put it on my dress-form (over the new crinoline) to get a beter look. Something seamed wrong.
So I grabbed my books and read up on the period way to pleat the skirts to he waistband, and there I found the answer – by the 1860s they left the knifepleats of the earlier period for a few double box-pleats evenly spaced around the skirt. So that what I did.
 Much better

Then I attached the skirt to the waistband and after a final fitting cut and hemmed the length. I also moved  some and added some extra sparkles and stitched on a narrow black lace ribbon to the bottom edge.

Then it was time to get started on the bodice.

I started by interlining all the pieces in a strong black cotton twill, after which I stitched the darts and the pieces together. I added some bias tape and bones to the seams to make the bodice old its shape.The interior of the bodice

Then it was time to try the gown on my sister.

Don’t you just love how she matches the wall… 
Thank good for multiple mock-ups. The bodice (and skirt) fit almost perfectly (the wrinkles you see at the back will disappear once I got the center back bones in).

After some minor adjustments, I set the sleeves and the lining and got started on the eyelet for the back lacing.
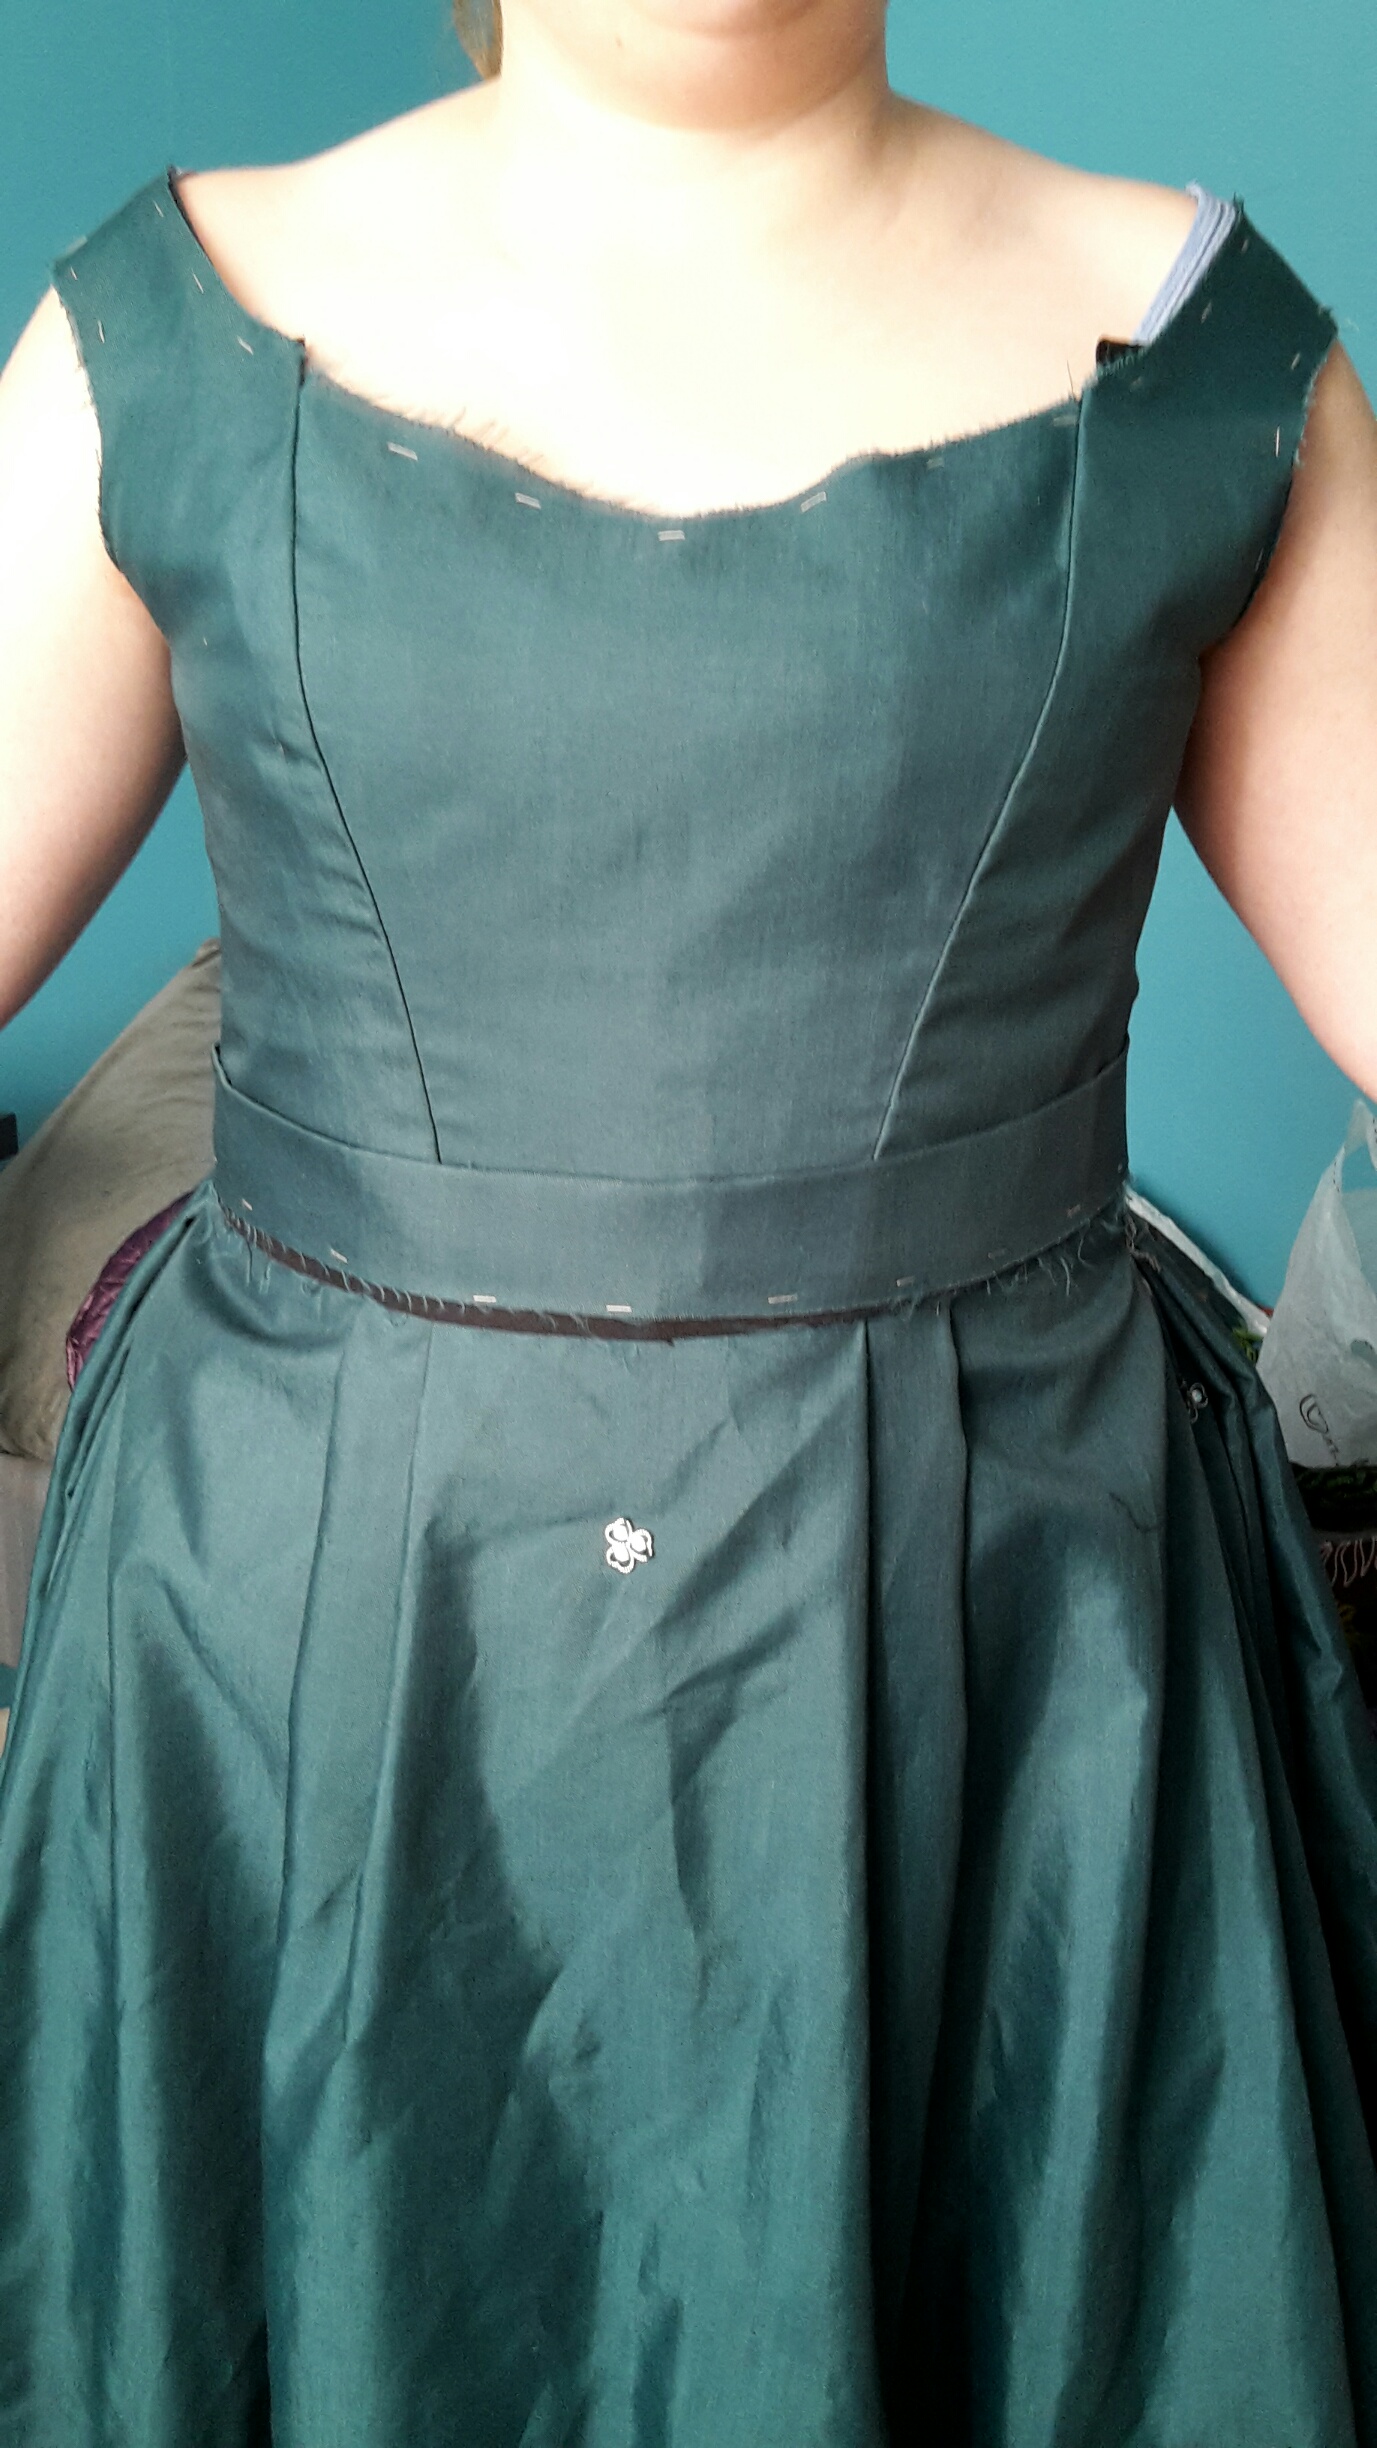
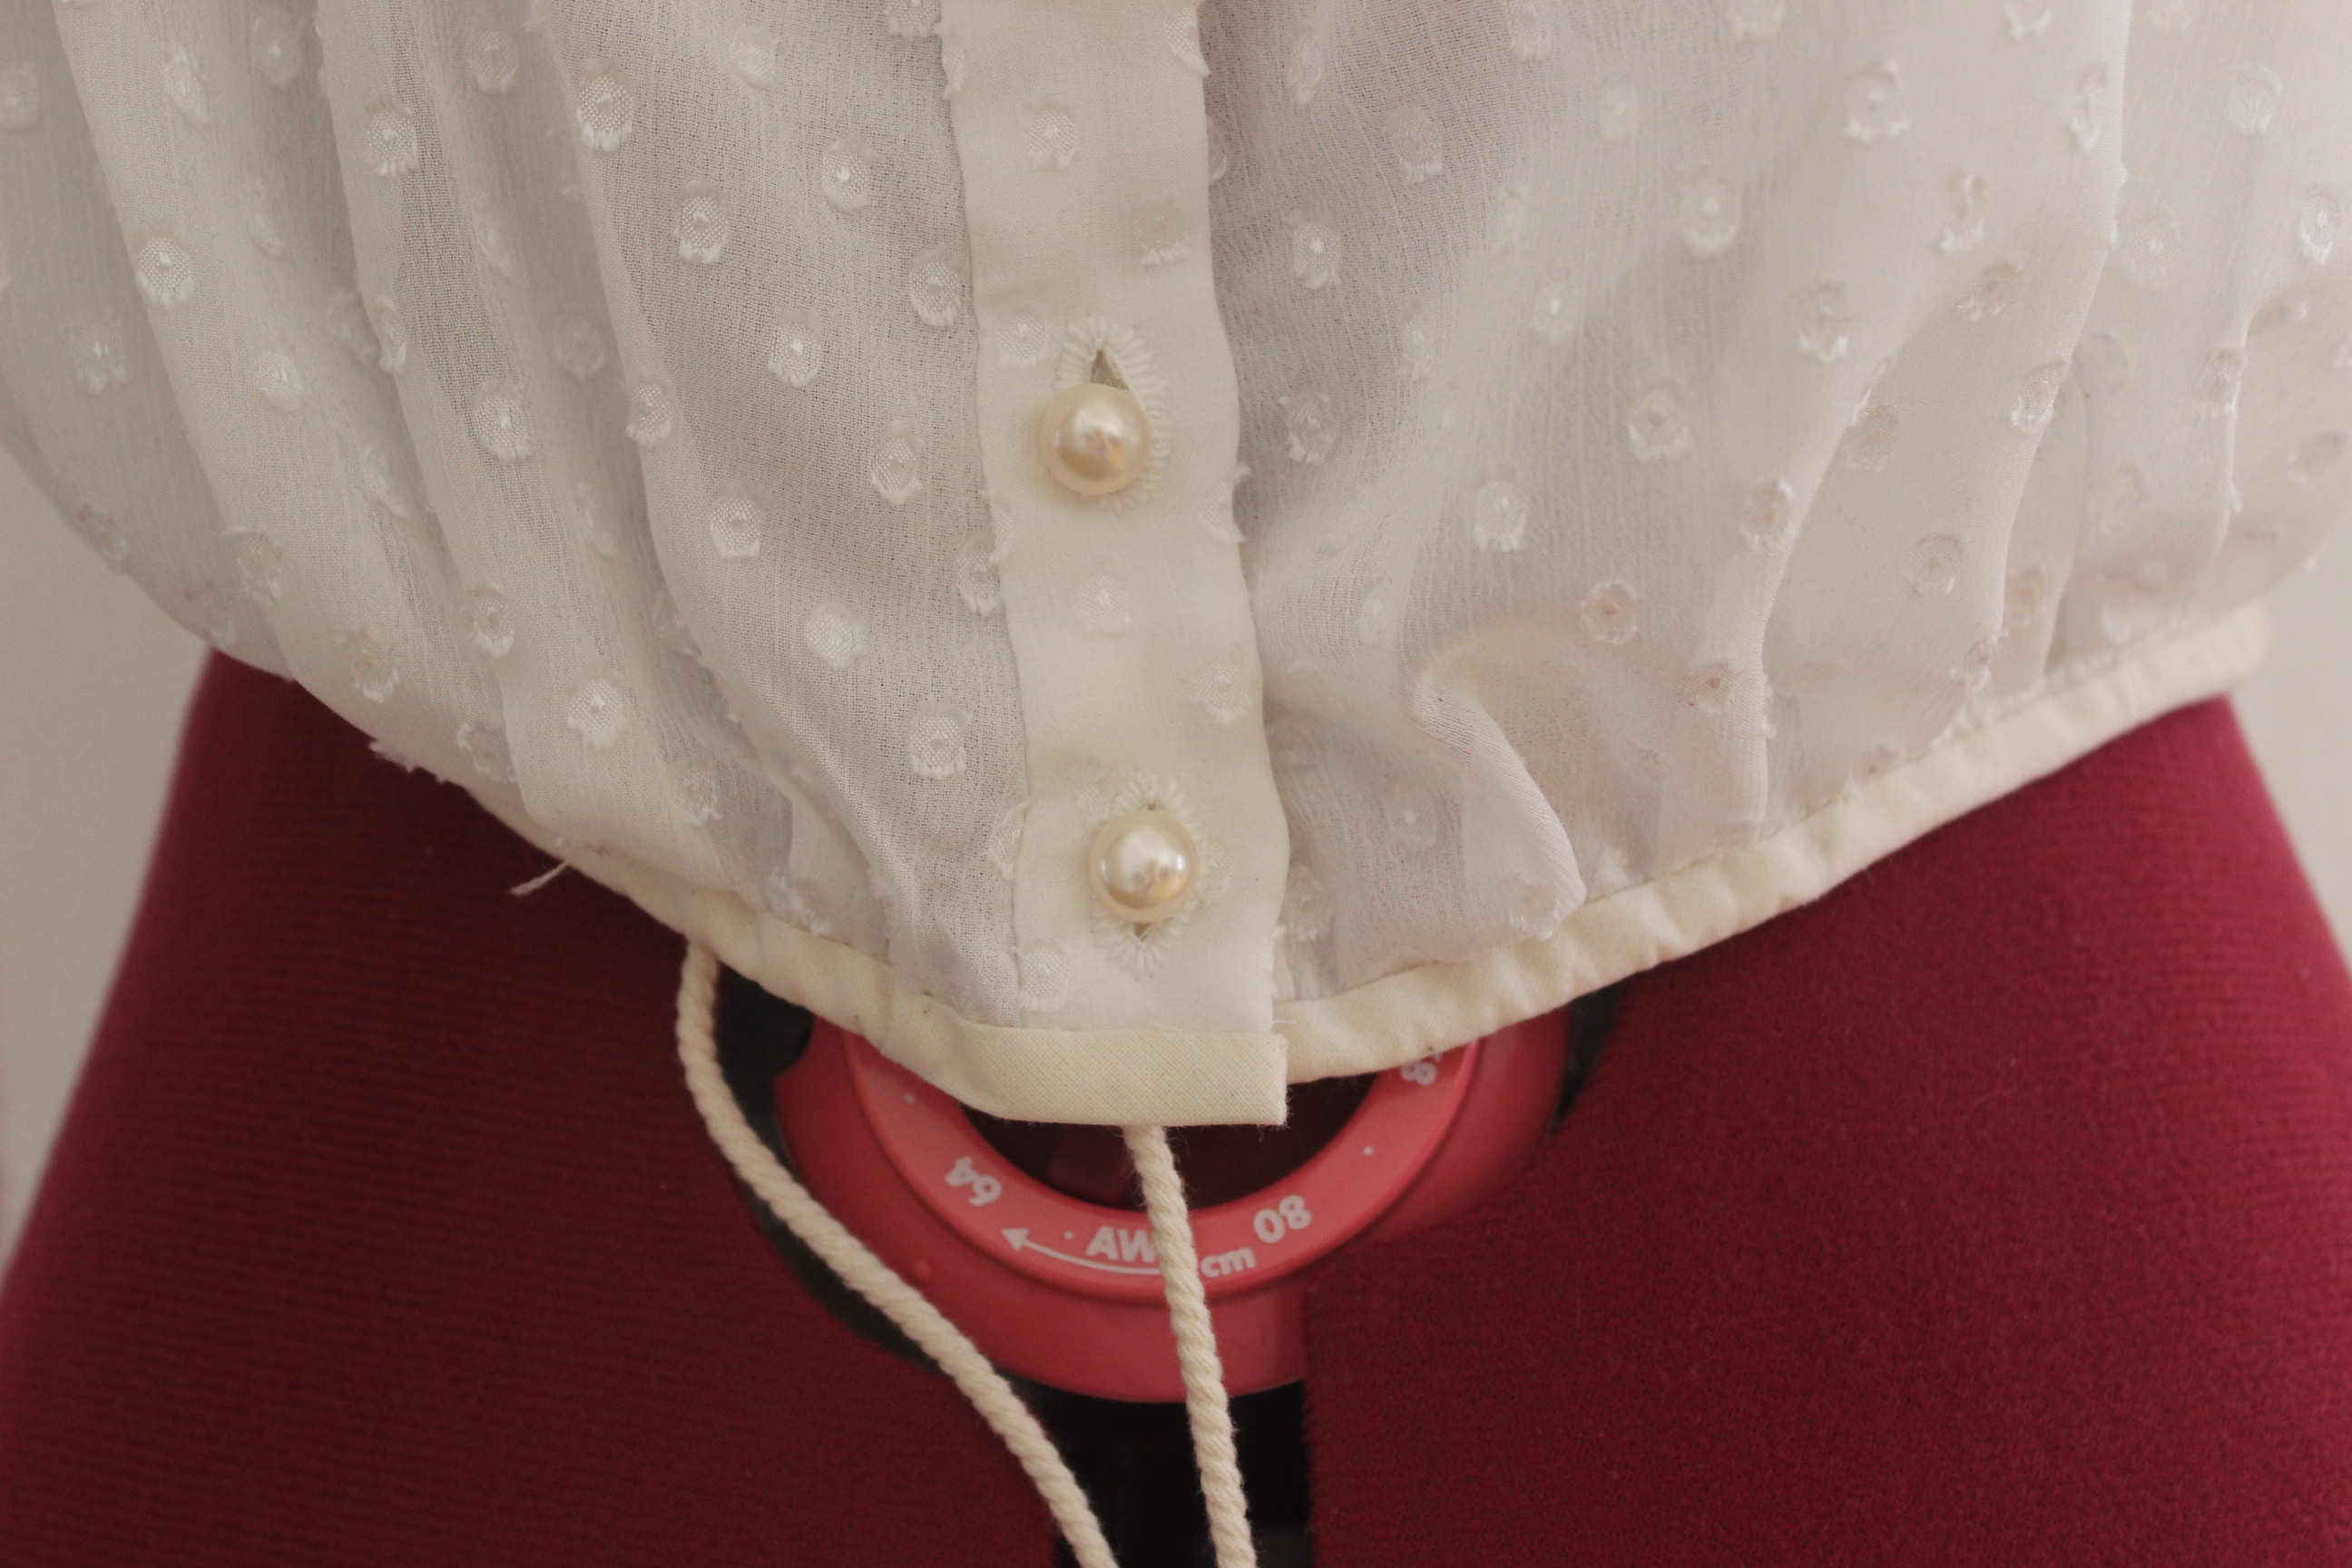
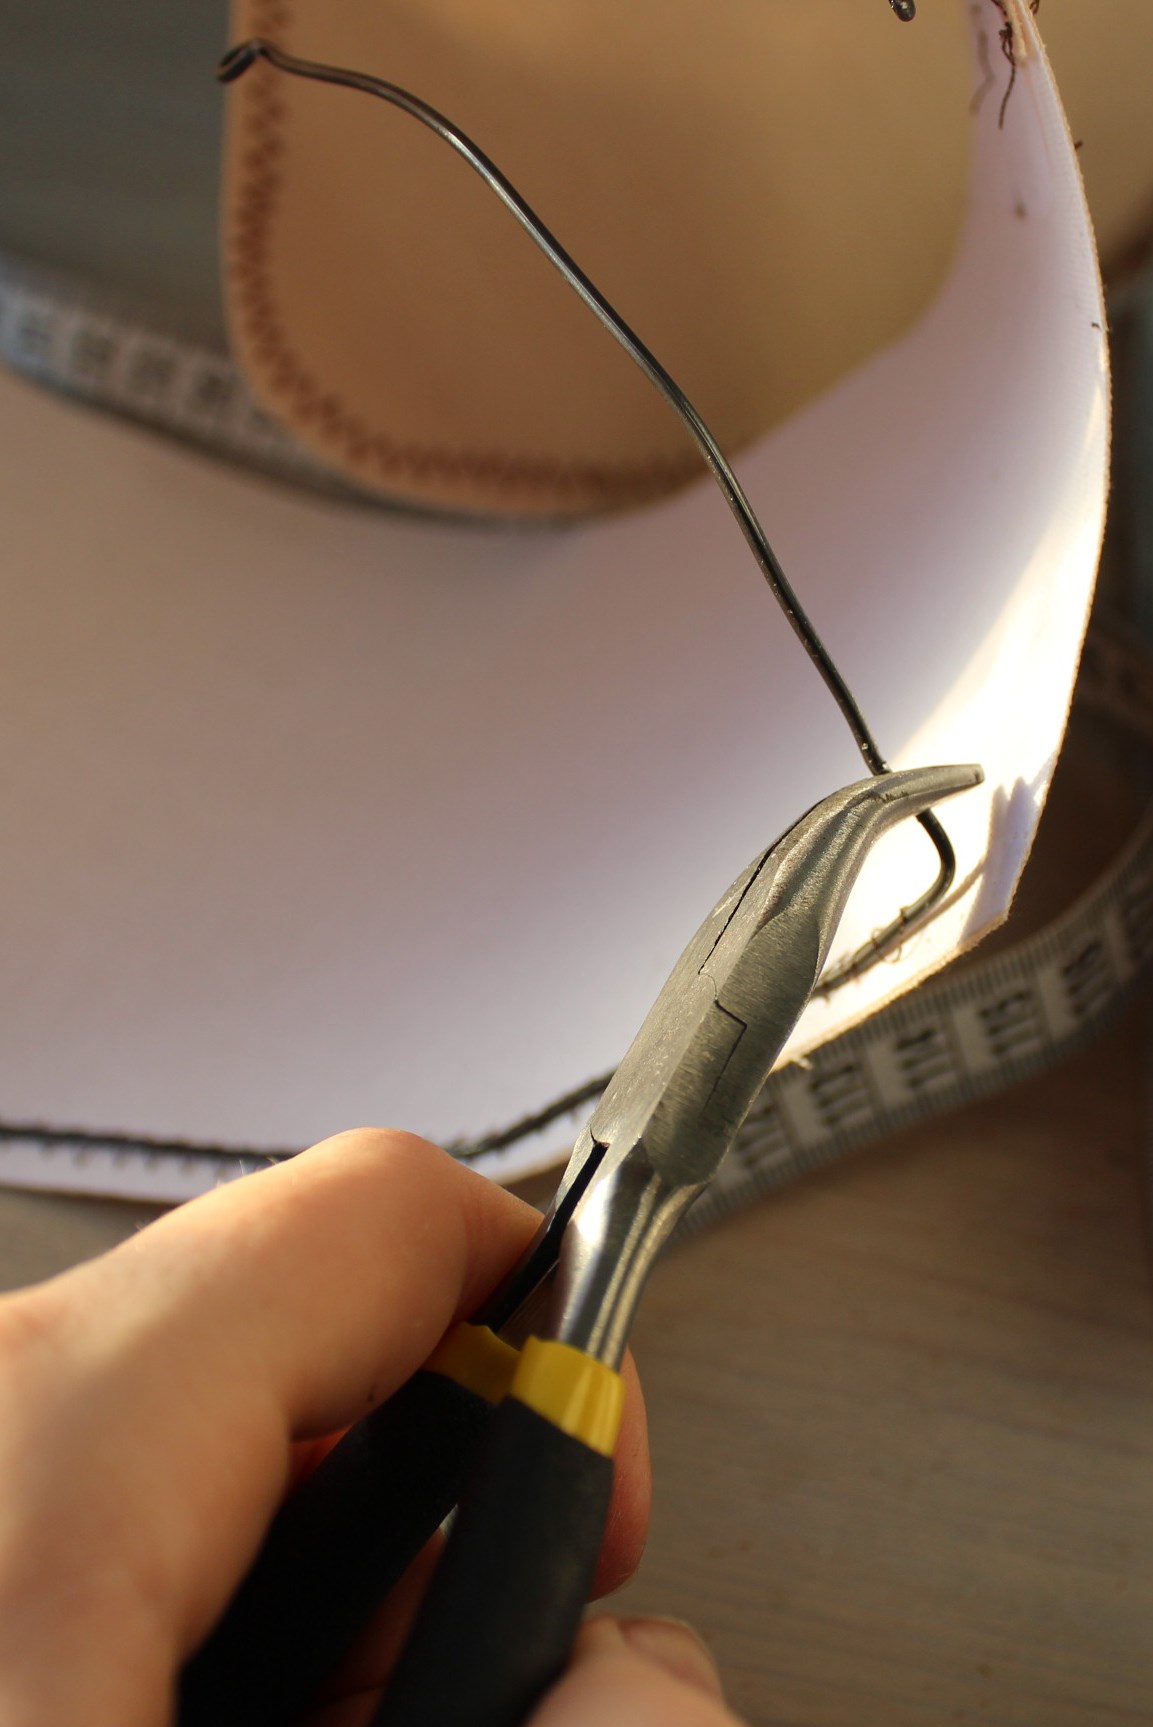
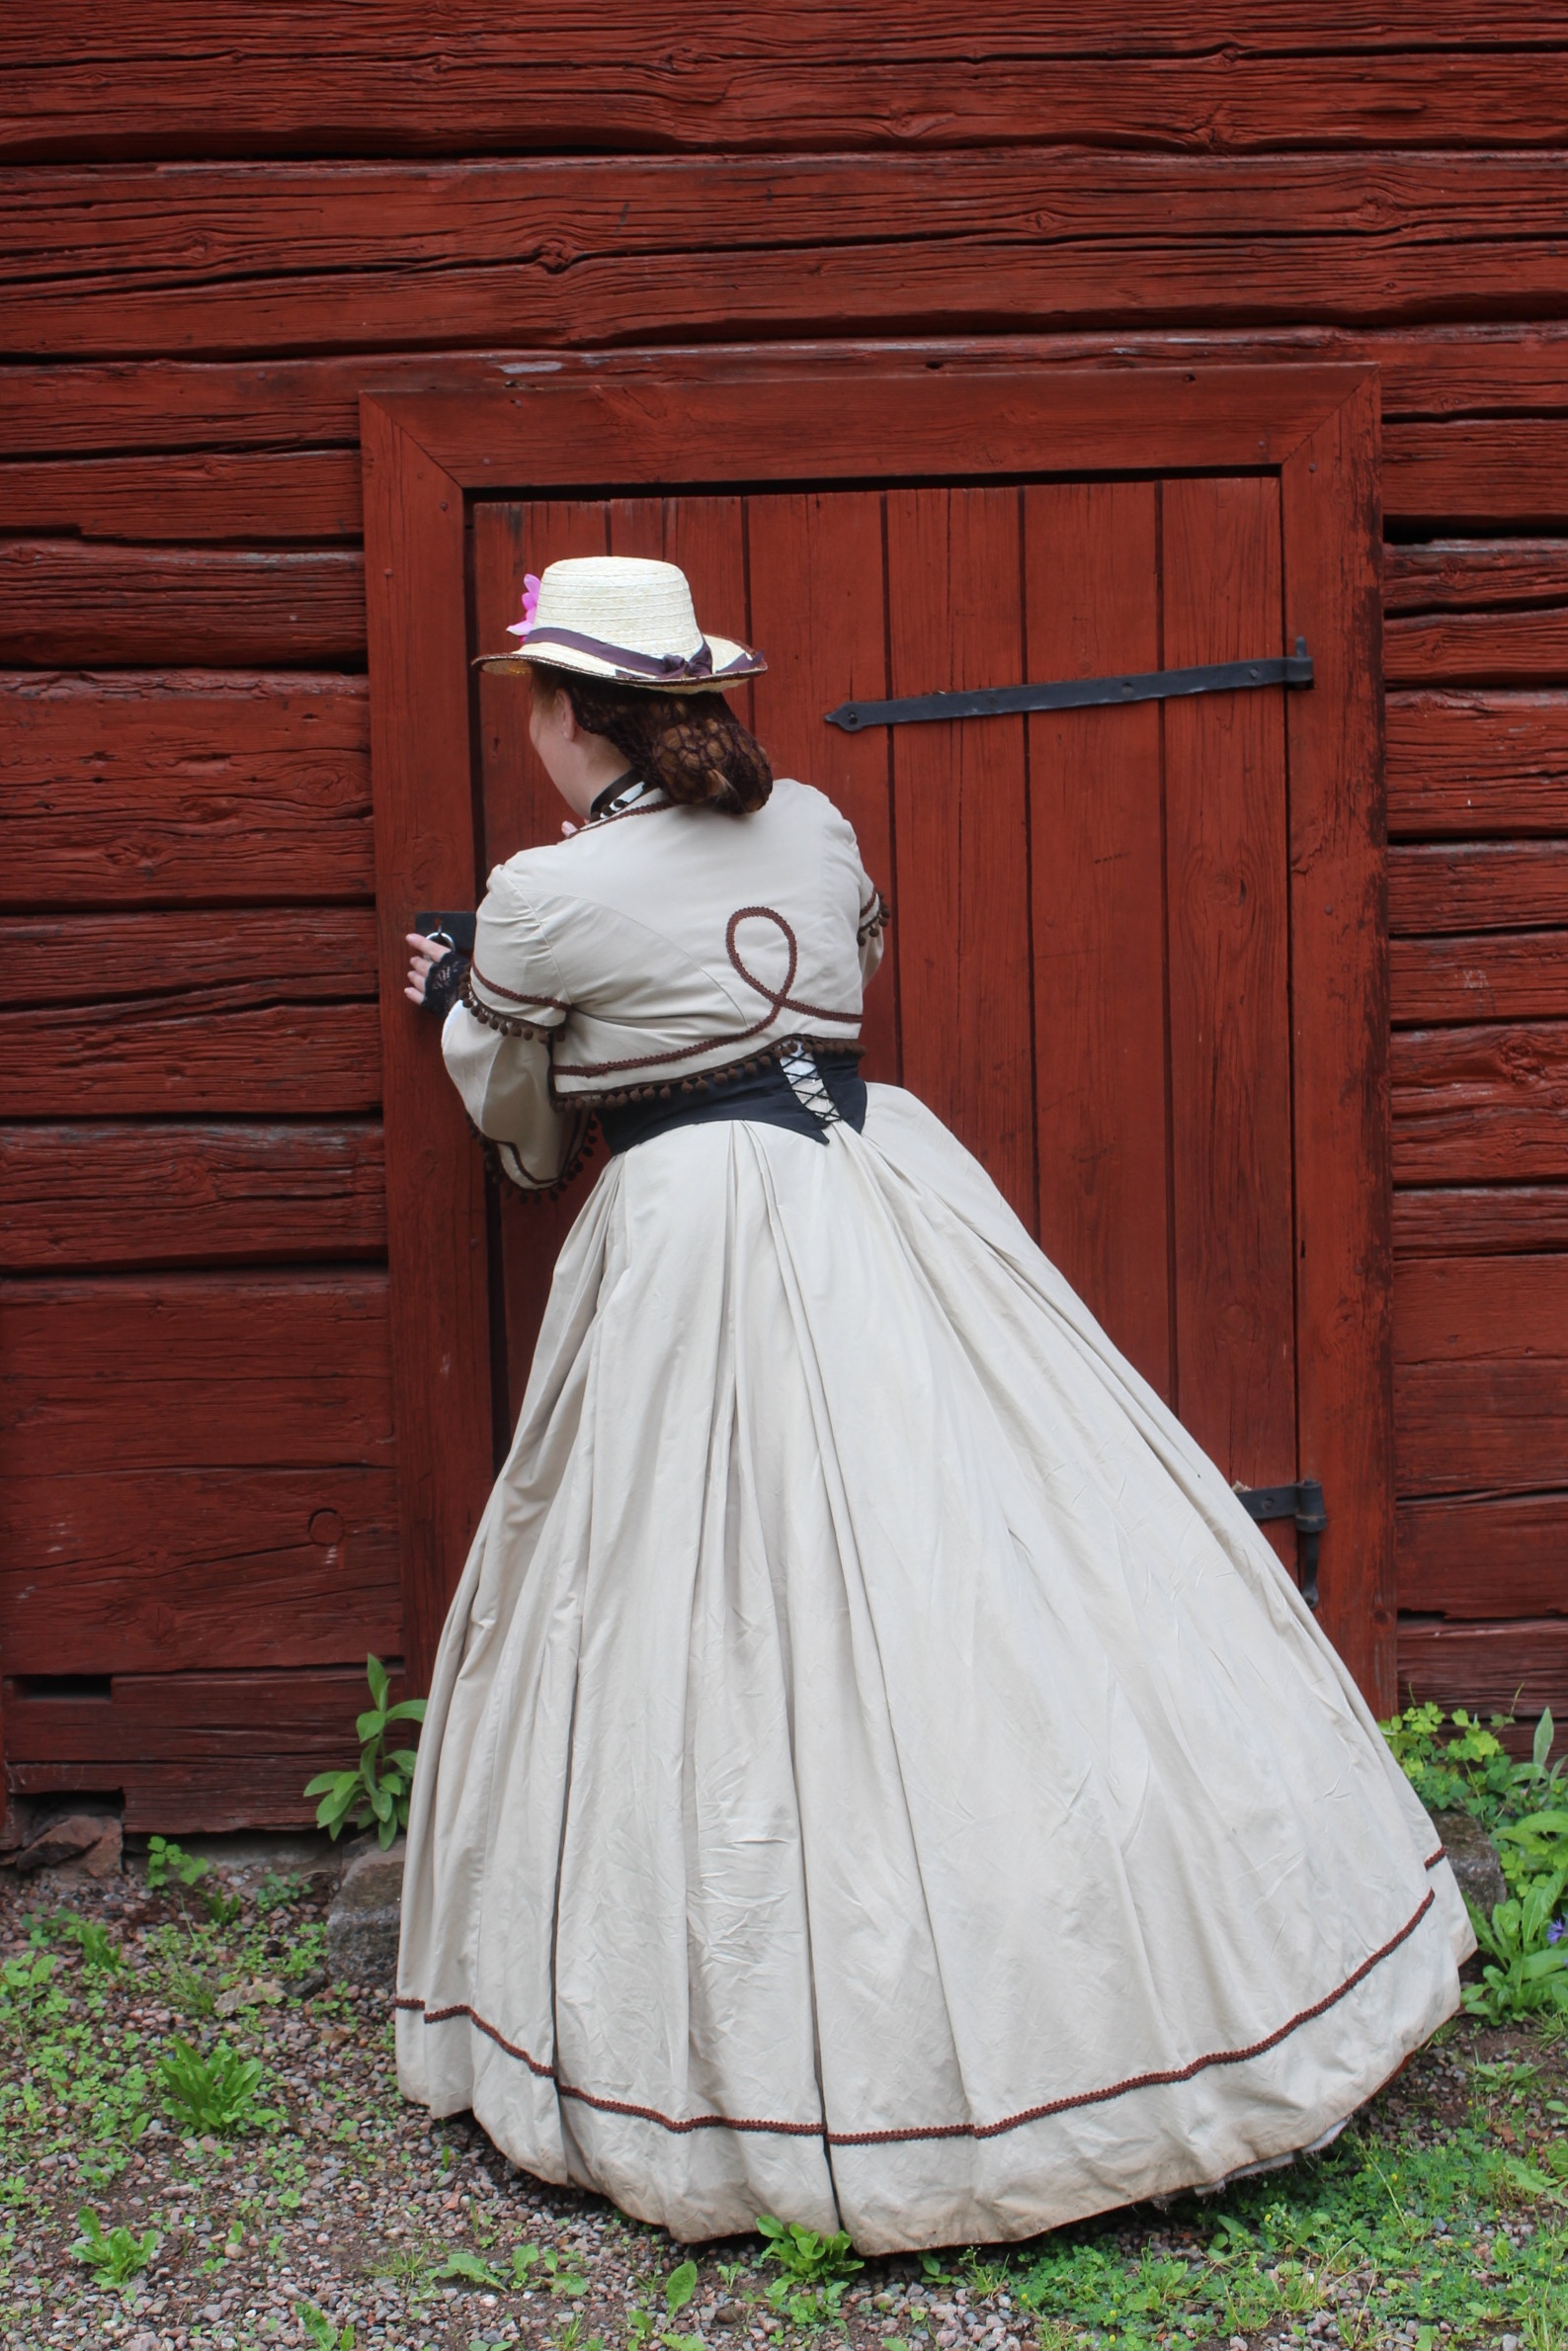
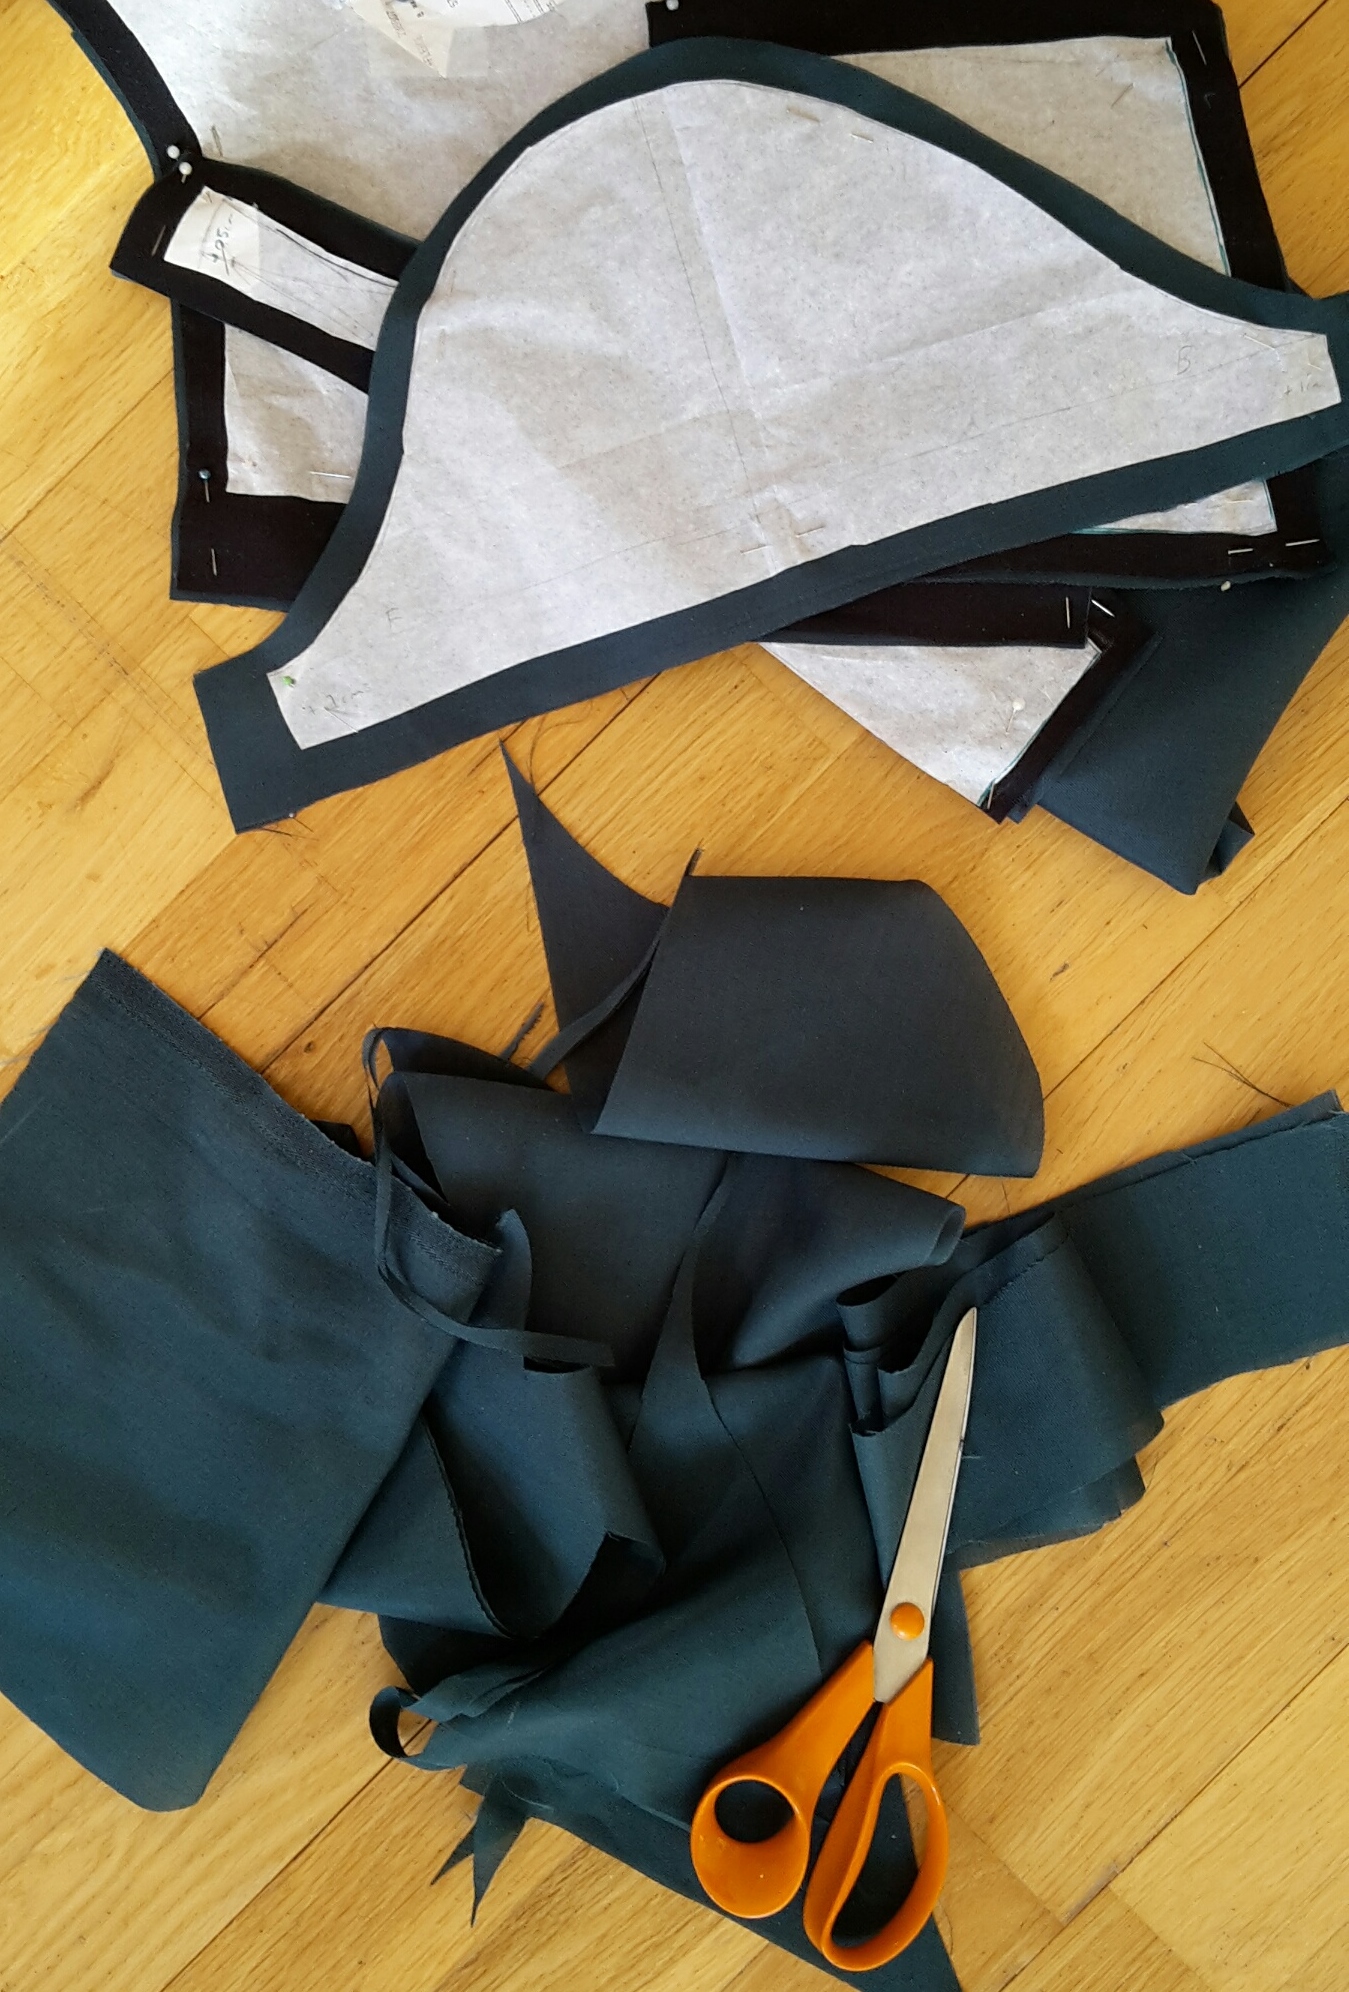
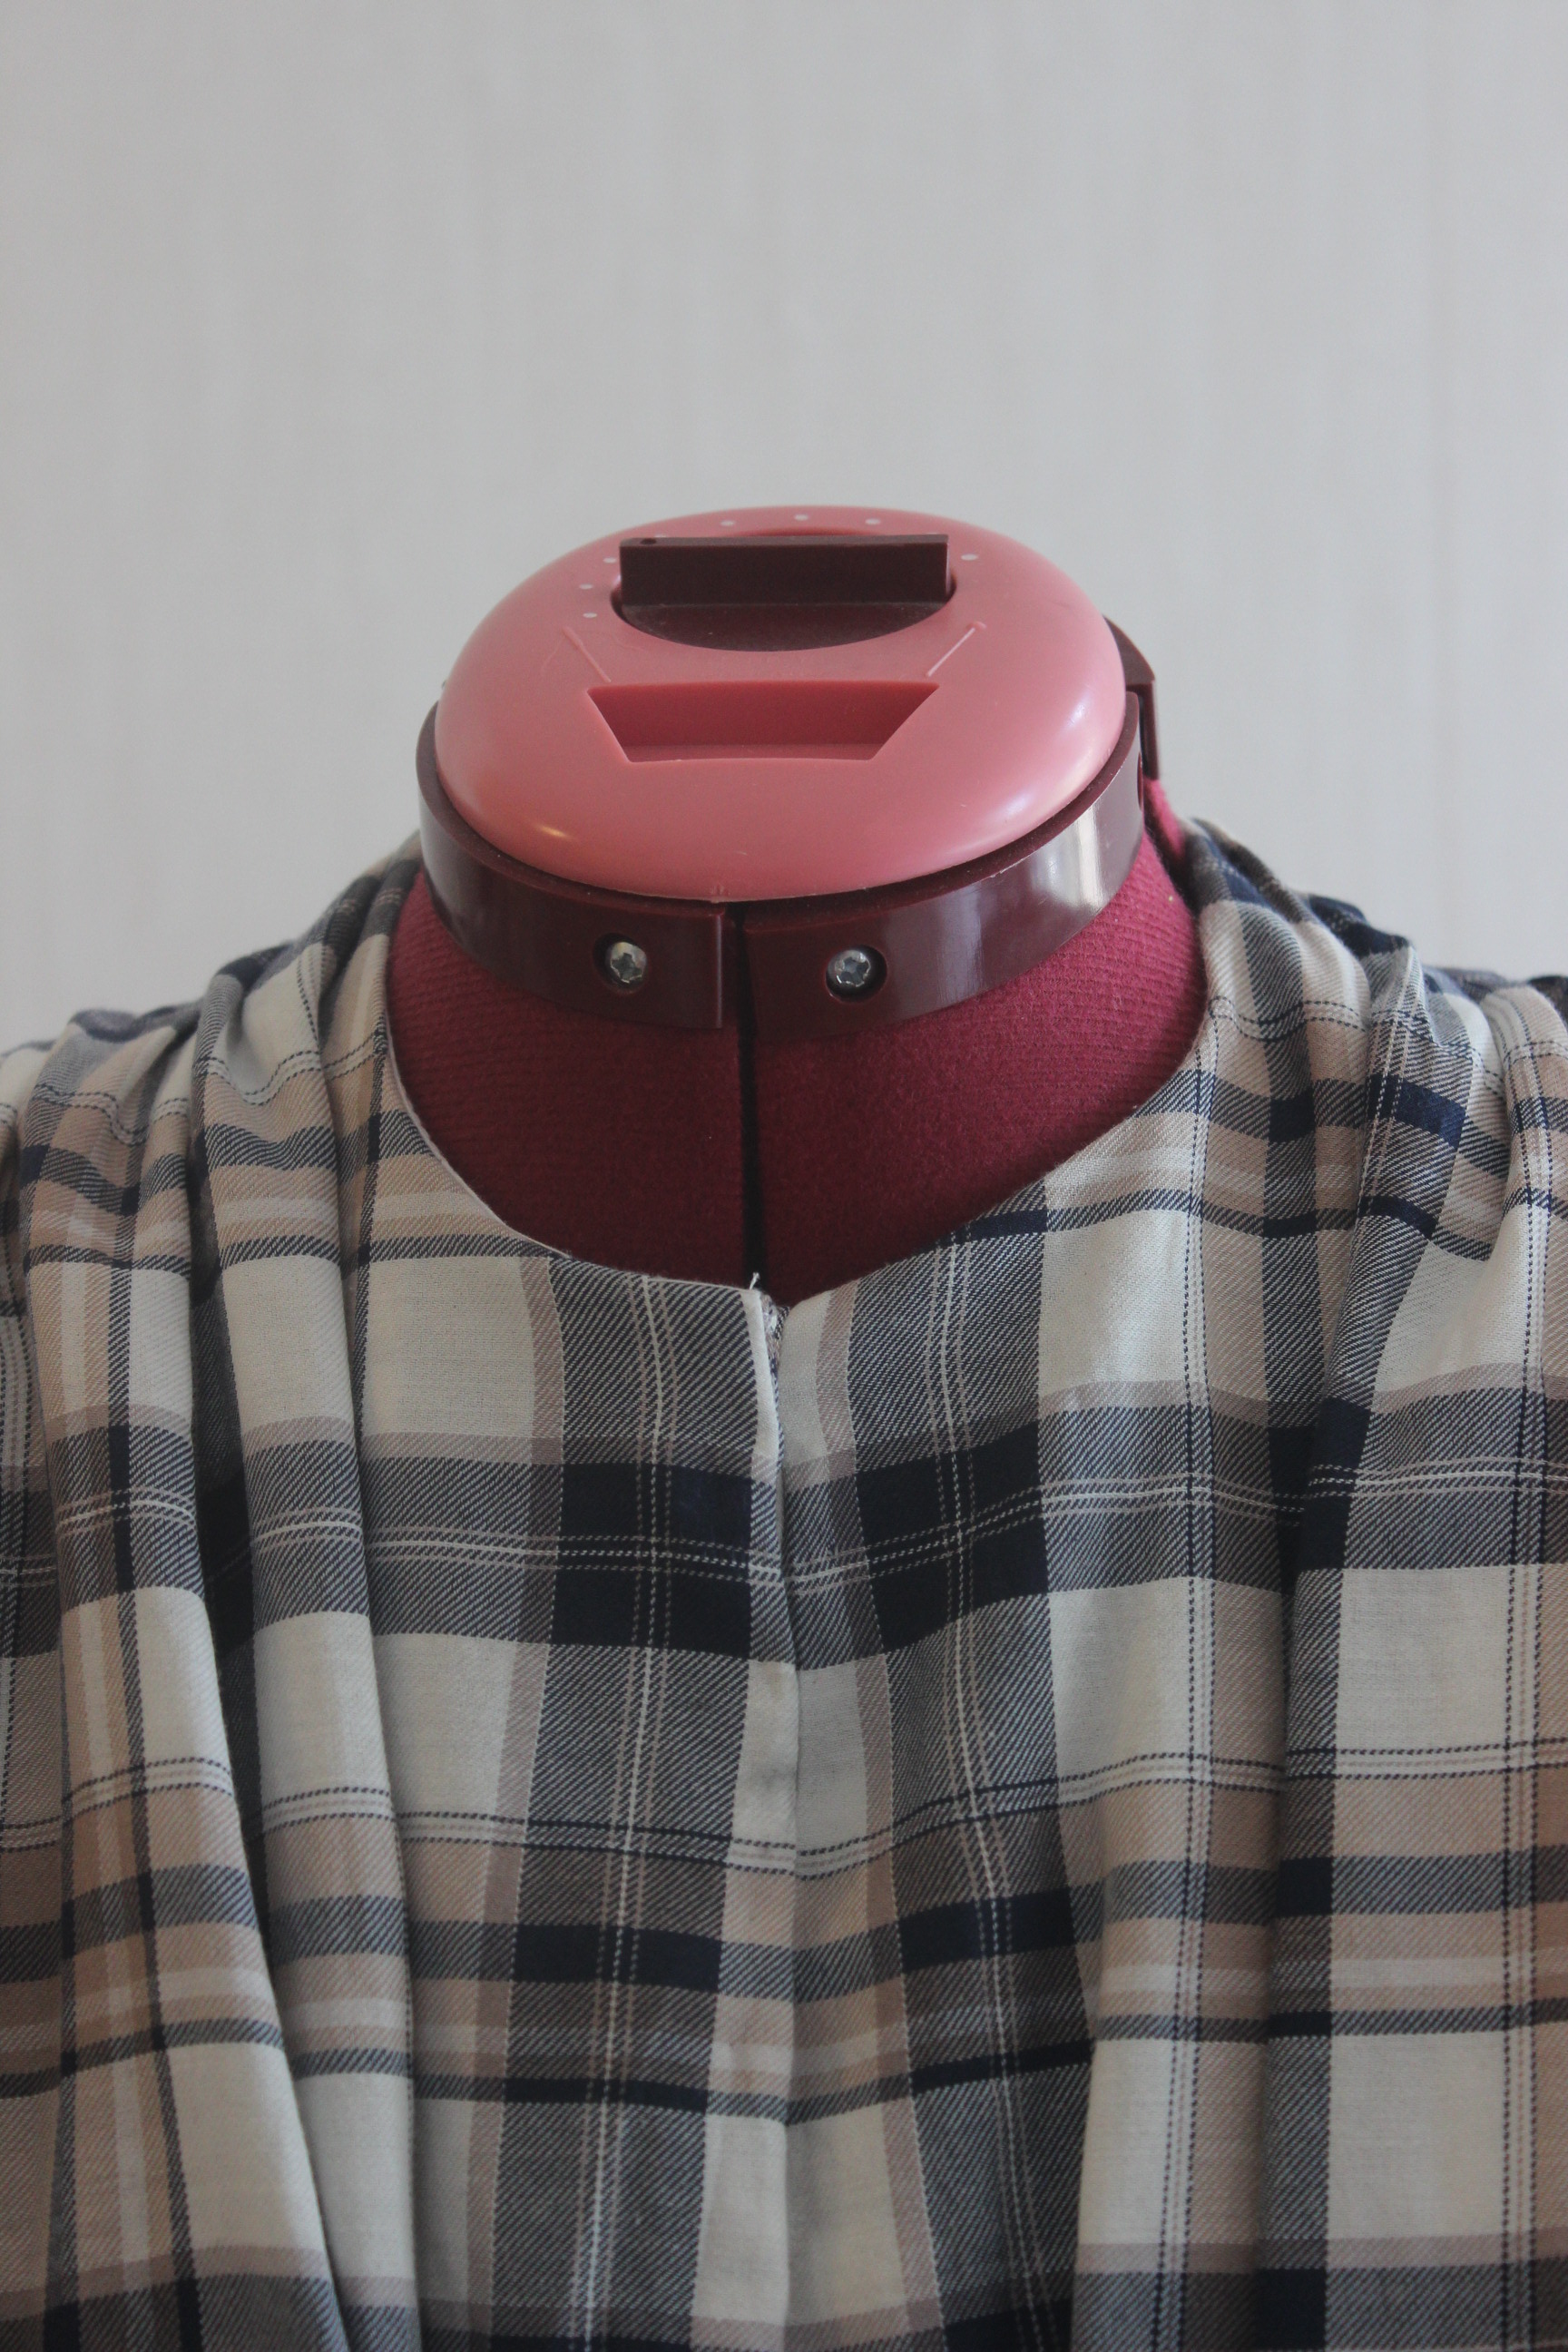
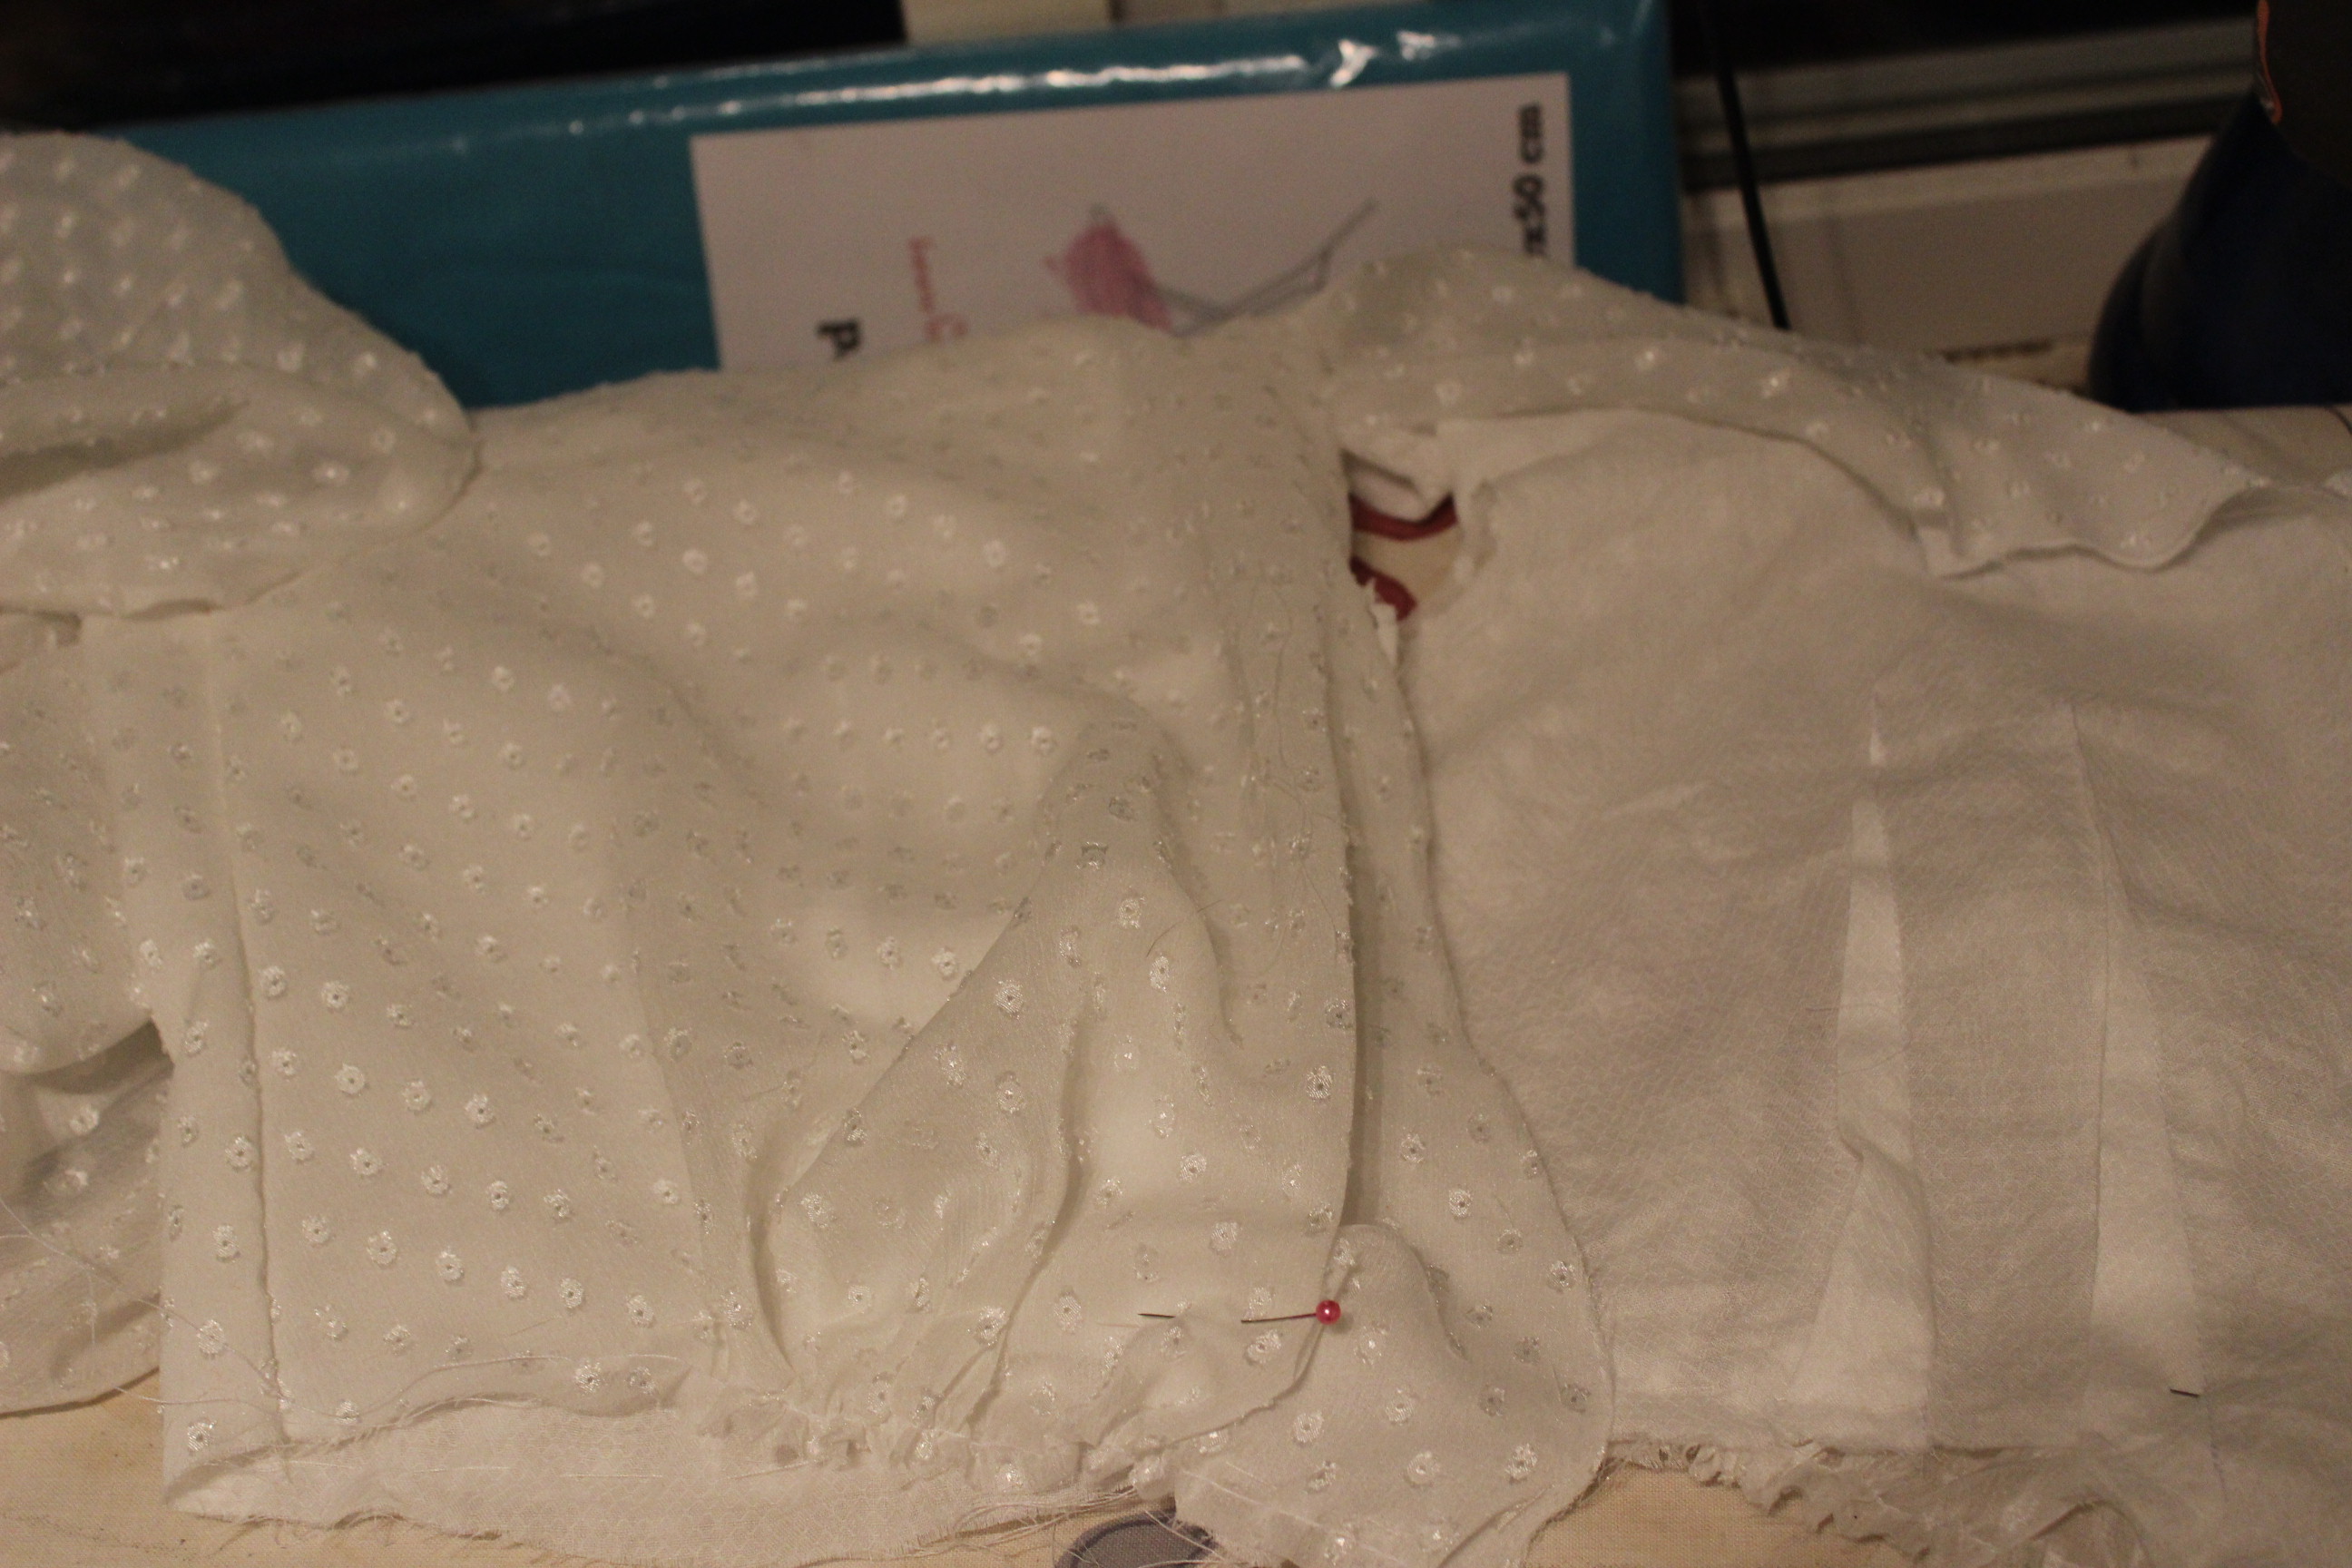
Here I ran into trouble. after almost 3 months of planing and making undergarments for this dress, I still hadn’t found any suitable lacing cord in a color that would work for the dress. I’d been to every sore in town, searched the internet, contemplated using black or even discard of lacing for closure all together, when I realized I might in fact have something in my own stash that would work.
Hurray! The odd colored cotton cord I’d got on super sale a few years back turned out to be the exact shade of Teal I needed – what are the odds? Perfect match! – Is this a sign my stash are to big?

Once the eyelets where finished I stitched down the lining, hemed the sleeves made a belt and added some black lace to the neckline.  

Then I got my sister to come and try it on for a (almost) final fitting, where we marked the skirt length, stitched the belt on the bodice and added hooks and eyes to the waistbands of both pieces to keep the bodice from riding up.
We also decided on how to accessorize, and to ad a piece of the same black lace around the sleeves and hem.

And since I want to submit this dress for the Historical Sew Monthly nr 5/2017 – Literature, I did some thinking on what book I would choose to make it fit. Then came the obvious answer – Victoria and her Court by Virginia Schomp (find preview from Google Books here).
Because who if not Queen Victoria would house a gown like this.

The Finished dress:

Just the facts:

Challenge: Nr 5/2017 – Literature

What: A 1865s evening dress

How it fit the challenge: It’s a plausible outfit for one of Victorias many ladies in waiting, or even the Queen itself, as described in Virginia Schomps book Victoria and Her Court.

Pattern: I drafted my own after studying the 1865s dresses from Waughs Cut of women’s clothes and Arnolds Pattern of Fashion.

Fabric: 5 m of teal colored polyester curtains (2 pieces 250 x 145 cm each), 4 m of black sheets for lining and 0,5 m of black cotton twill for interlining.

Notions: Thread, Buttonhole-thread, 7 short bones, 1m black bias tape to use as bone casings, 1 m heavy interfacing for the belt, 1 belt buckle, cotton cord for lacing, lots of silver spangles and 7 m of black lace for decoration.

How historical accurate: The shape/look is right, but the construction, pattern and material are all modern. So maybe 4/10

Time: In total about 20 hours (on the dress).

Cost: Almost everything came from stash and/or was really, really cheap. I think I payed about 300 Sek (30 Usd) total for everything. But on a dress like this there really is no limit at what it could cost.

First worn: For photos on May 1 by my sister, and later for a ball on May 6 2017.

Final Thoughts: Both me and my sister are totally in love with this dress. I love how it’s so stylized yet over the top at the same time. The small bodice comparied to the lovely exaggerated shape of the skirt, and the subtle sparkle of glitter when it moves makes me very happy. I also had a lot of fun making it. Only problem is, now I want my own…


1850s Summer dress (part 3 – Bodice/finished)

Before I could continue on my 1850s dress bodice, I needed to decide on weather or not to do the gathers (part 1 & 2).

To help decide I posted the question n my facebook wall, and in my historic sewing class, and the answer was unanimous – Do the gathers.

With no time to argue, I got to work, testing the draping on my dressform.
IMG_6686 IMG_6699
Using three gathering threads to test the draping on the dressform.

The shoulders being tamed and arranged by two treads of gathering stitches that later is to be hidden in the shoulder seam.
IMG_6693

I was not totally happy with the first try at waist gathers (using three threads) so I decided to re-do it using threads every 1-1,5 cm or so.
IMG_6763Testing the gathers.

Once I was happy with the technique I pinned and basted the lose front piece to the bodice, carefully matching the  tightness of the gathers to hide the darts.IMG_6767

IMG_6766

Then I pulled all the treads through and secured them on the back side, before I stitched the whole piece down using hidden slip stitches. IMG_6839You can see the right side being finished while the left still have all the threads hanging lose.

And then I left it for a few a few weeks, fully occupied by working on my sisters 1860s outfit, training for my big running competition and preparing for vacation on work.

Once I finished all the other things and finally gotten my (well deserved) vacation I once more took on the task of finishing the bodice.

With only one day left to work on the dress before it was to be used, I need to hurry.

20150612_105845_resizedThis is how I found the bodice once more the day before the event – When I decided to give it a try, and finish it.

With no time to lose, I pinned and sewed the sleeves together and added them to the bodice using gathering threads at the sleeve head, before turning under 1 cm and hemming them at the wrist20150514_125842Pattern matching the sleeves

Then I hand stitched the boning channels to the sides, back and darts, and inserted cable tie bones cut to the right length.

I added a placket to the front edge for the clouser, and pined bias-tape to the neck and bottom edge. IMG_6843

Turning the bias tape at the neck down and securing it at shoulder and back.IMG_6848

I stitched and turned over the bias-tape at the waist, and slip-stitched it to the inside lining to make a smooth and clean finish.IMG_6850 IMG_6852

late at night I marked the placement for the hooks and eyes, but I never had the time to finish them before I needed to hurry to catch the buss to the event.20150612_230034_resized(Instead I pinned it shut)

I also added bias binding to the sleeve edges

Outside and inside of the “finished” bodice:
IMG_7295IMG_7296

IMG_7294
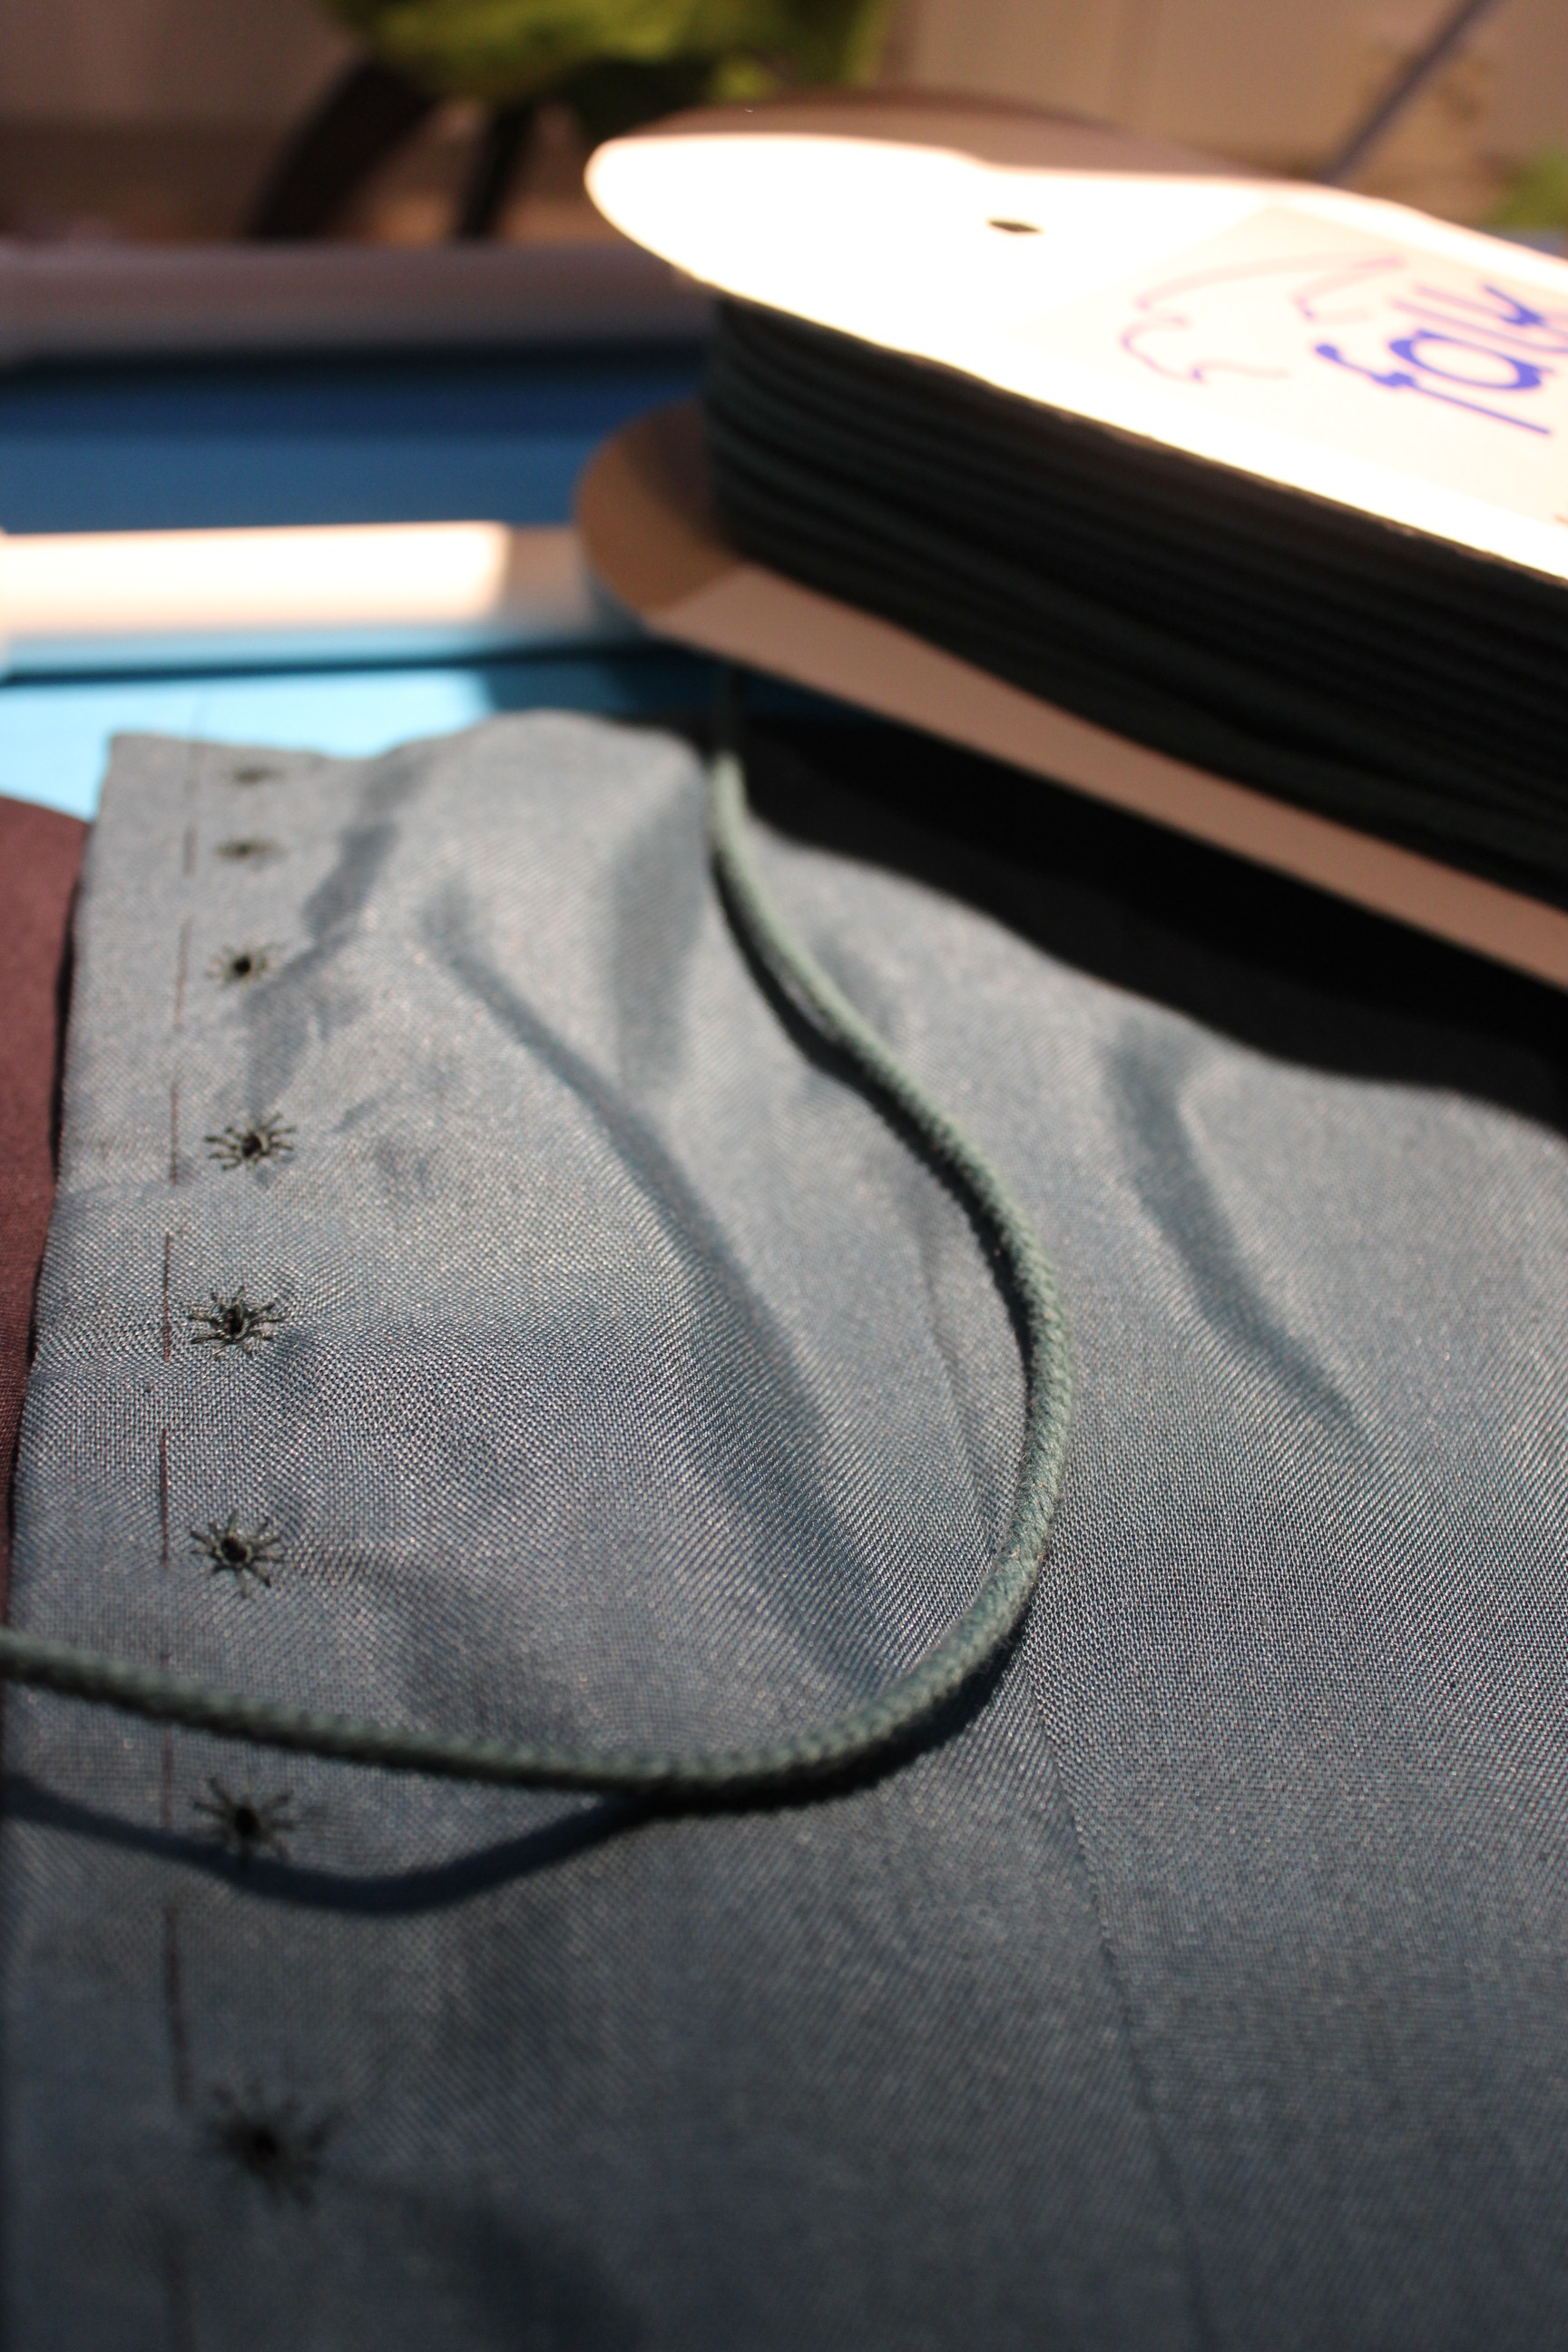
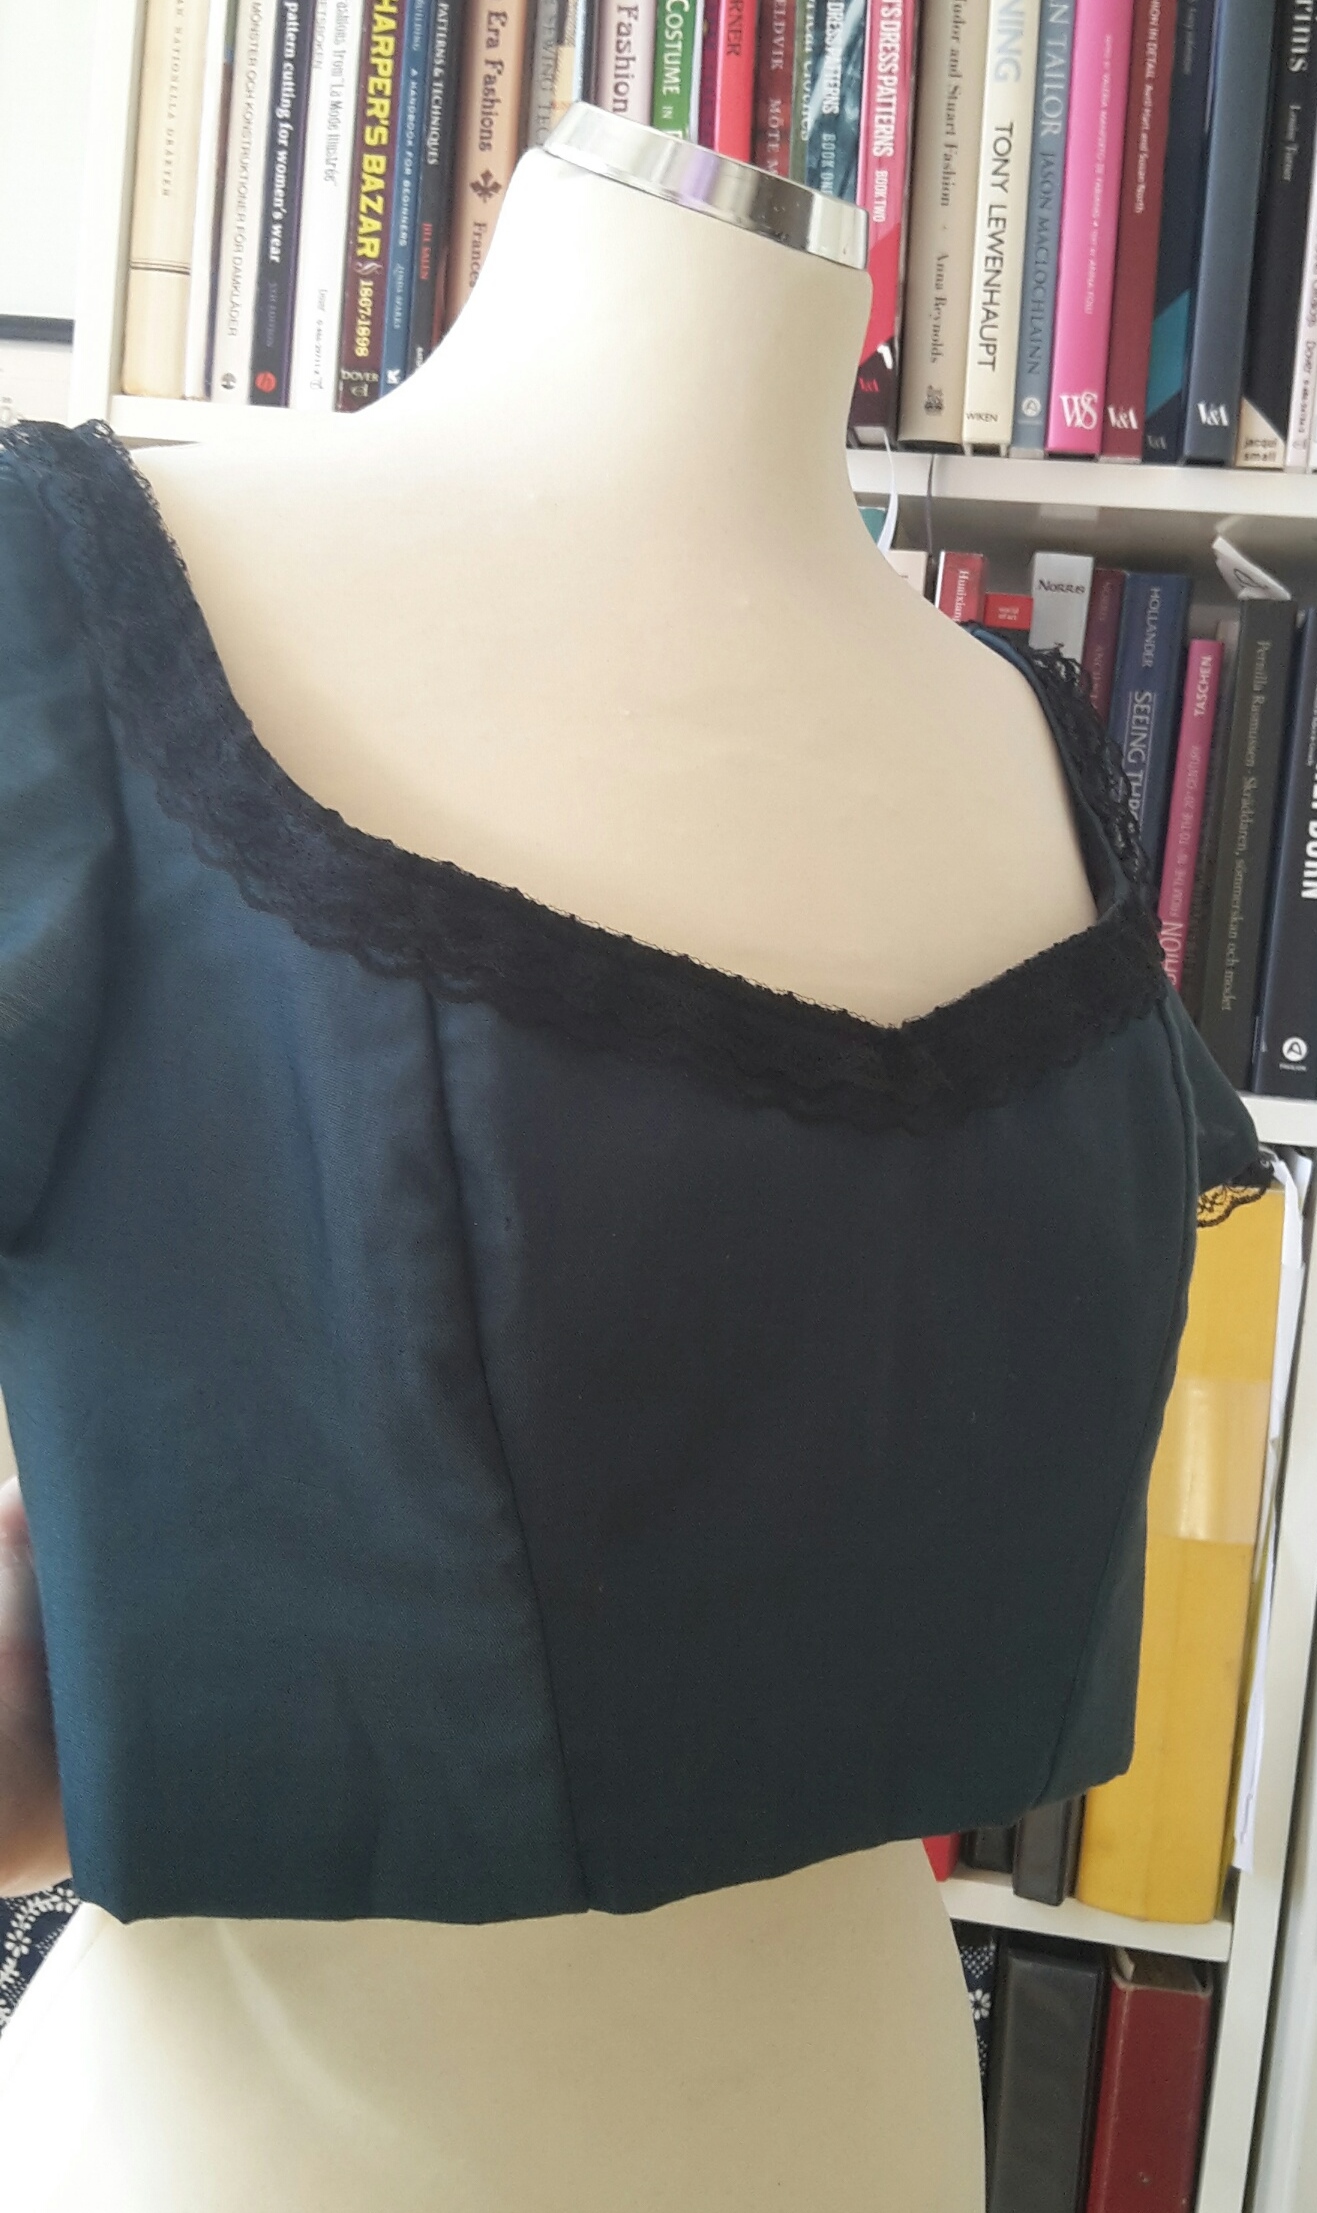
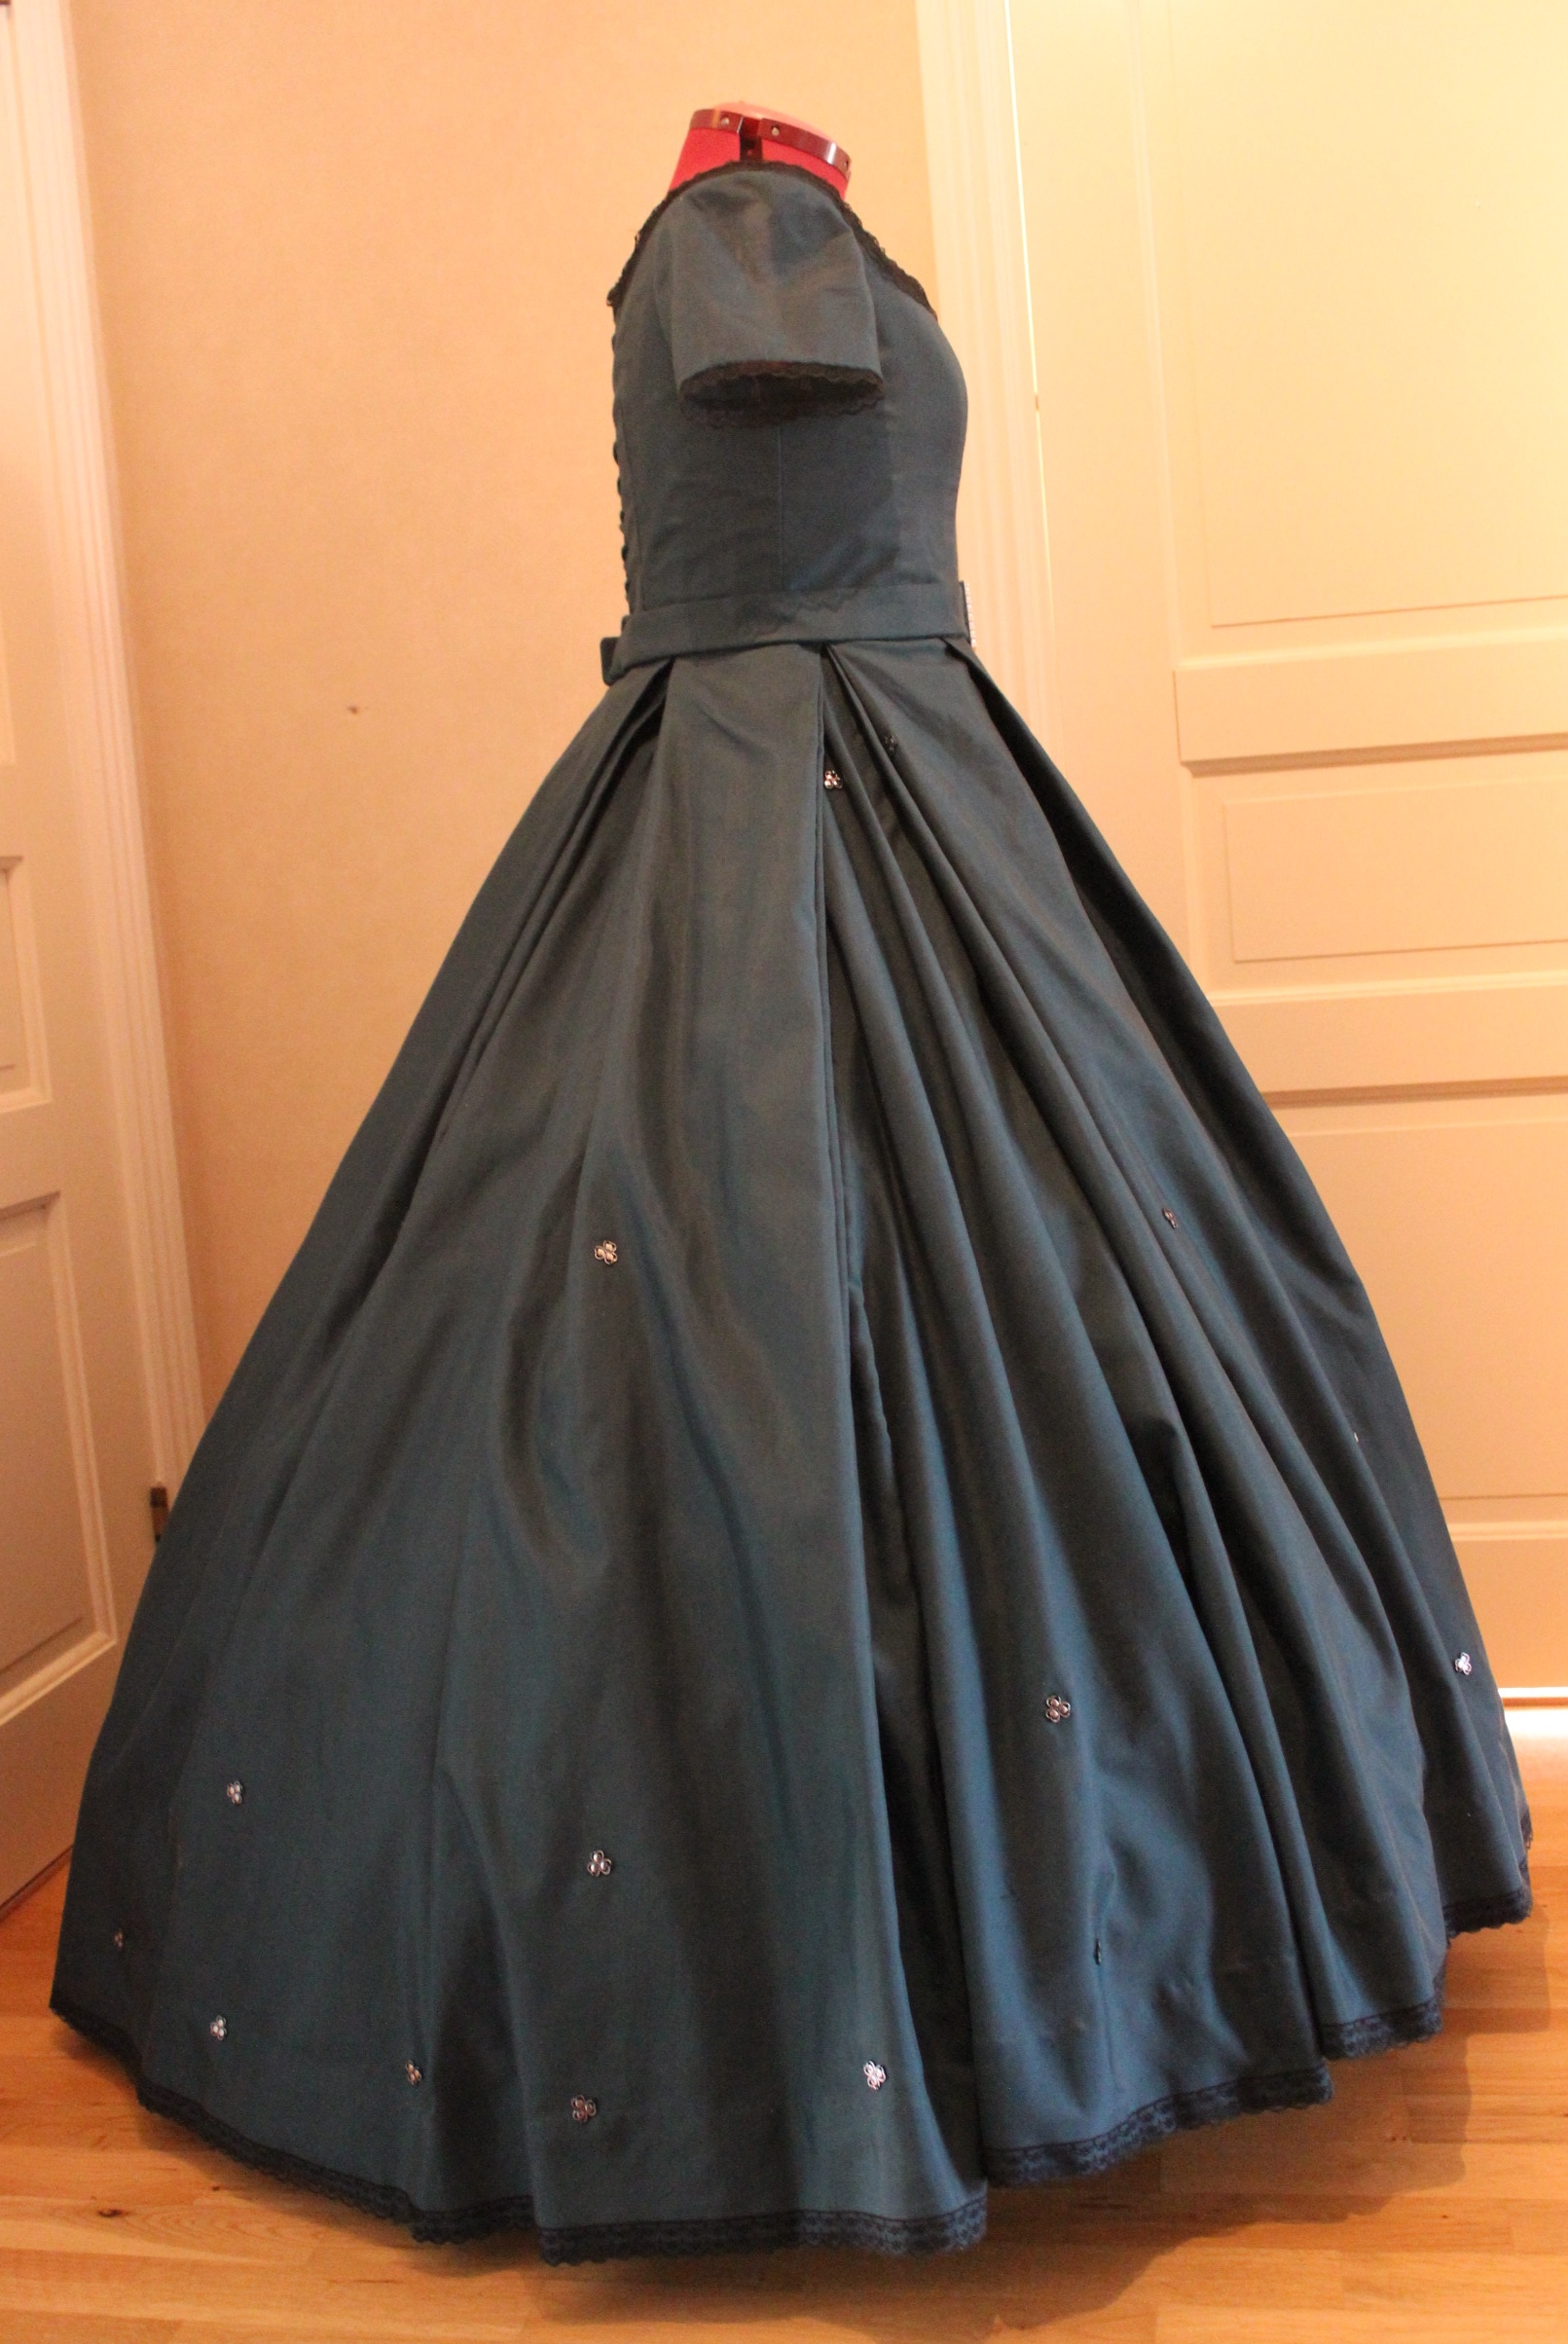
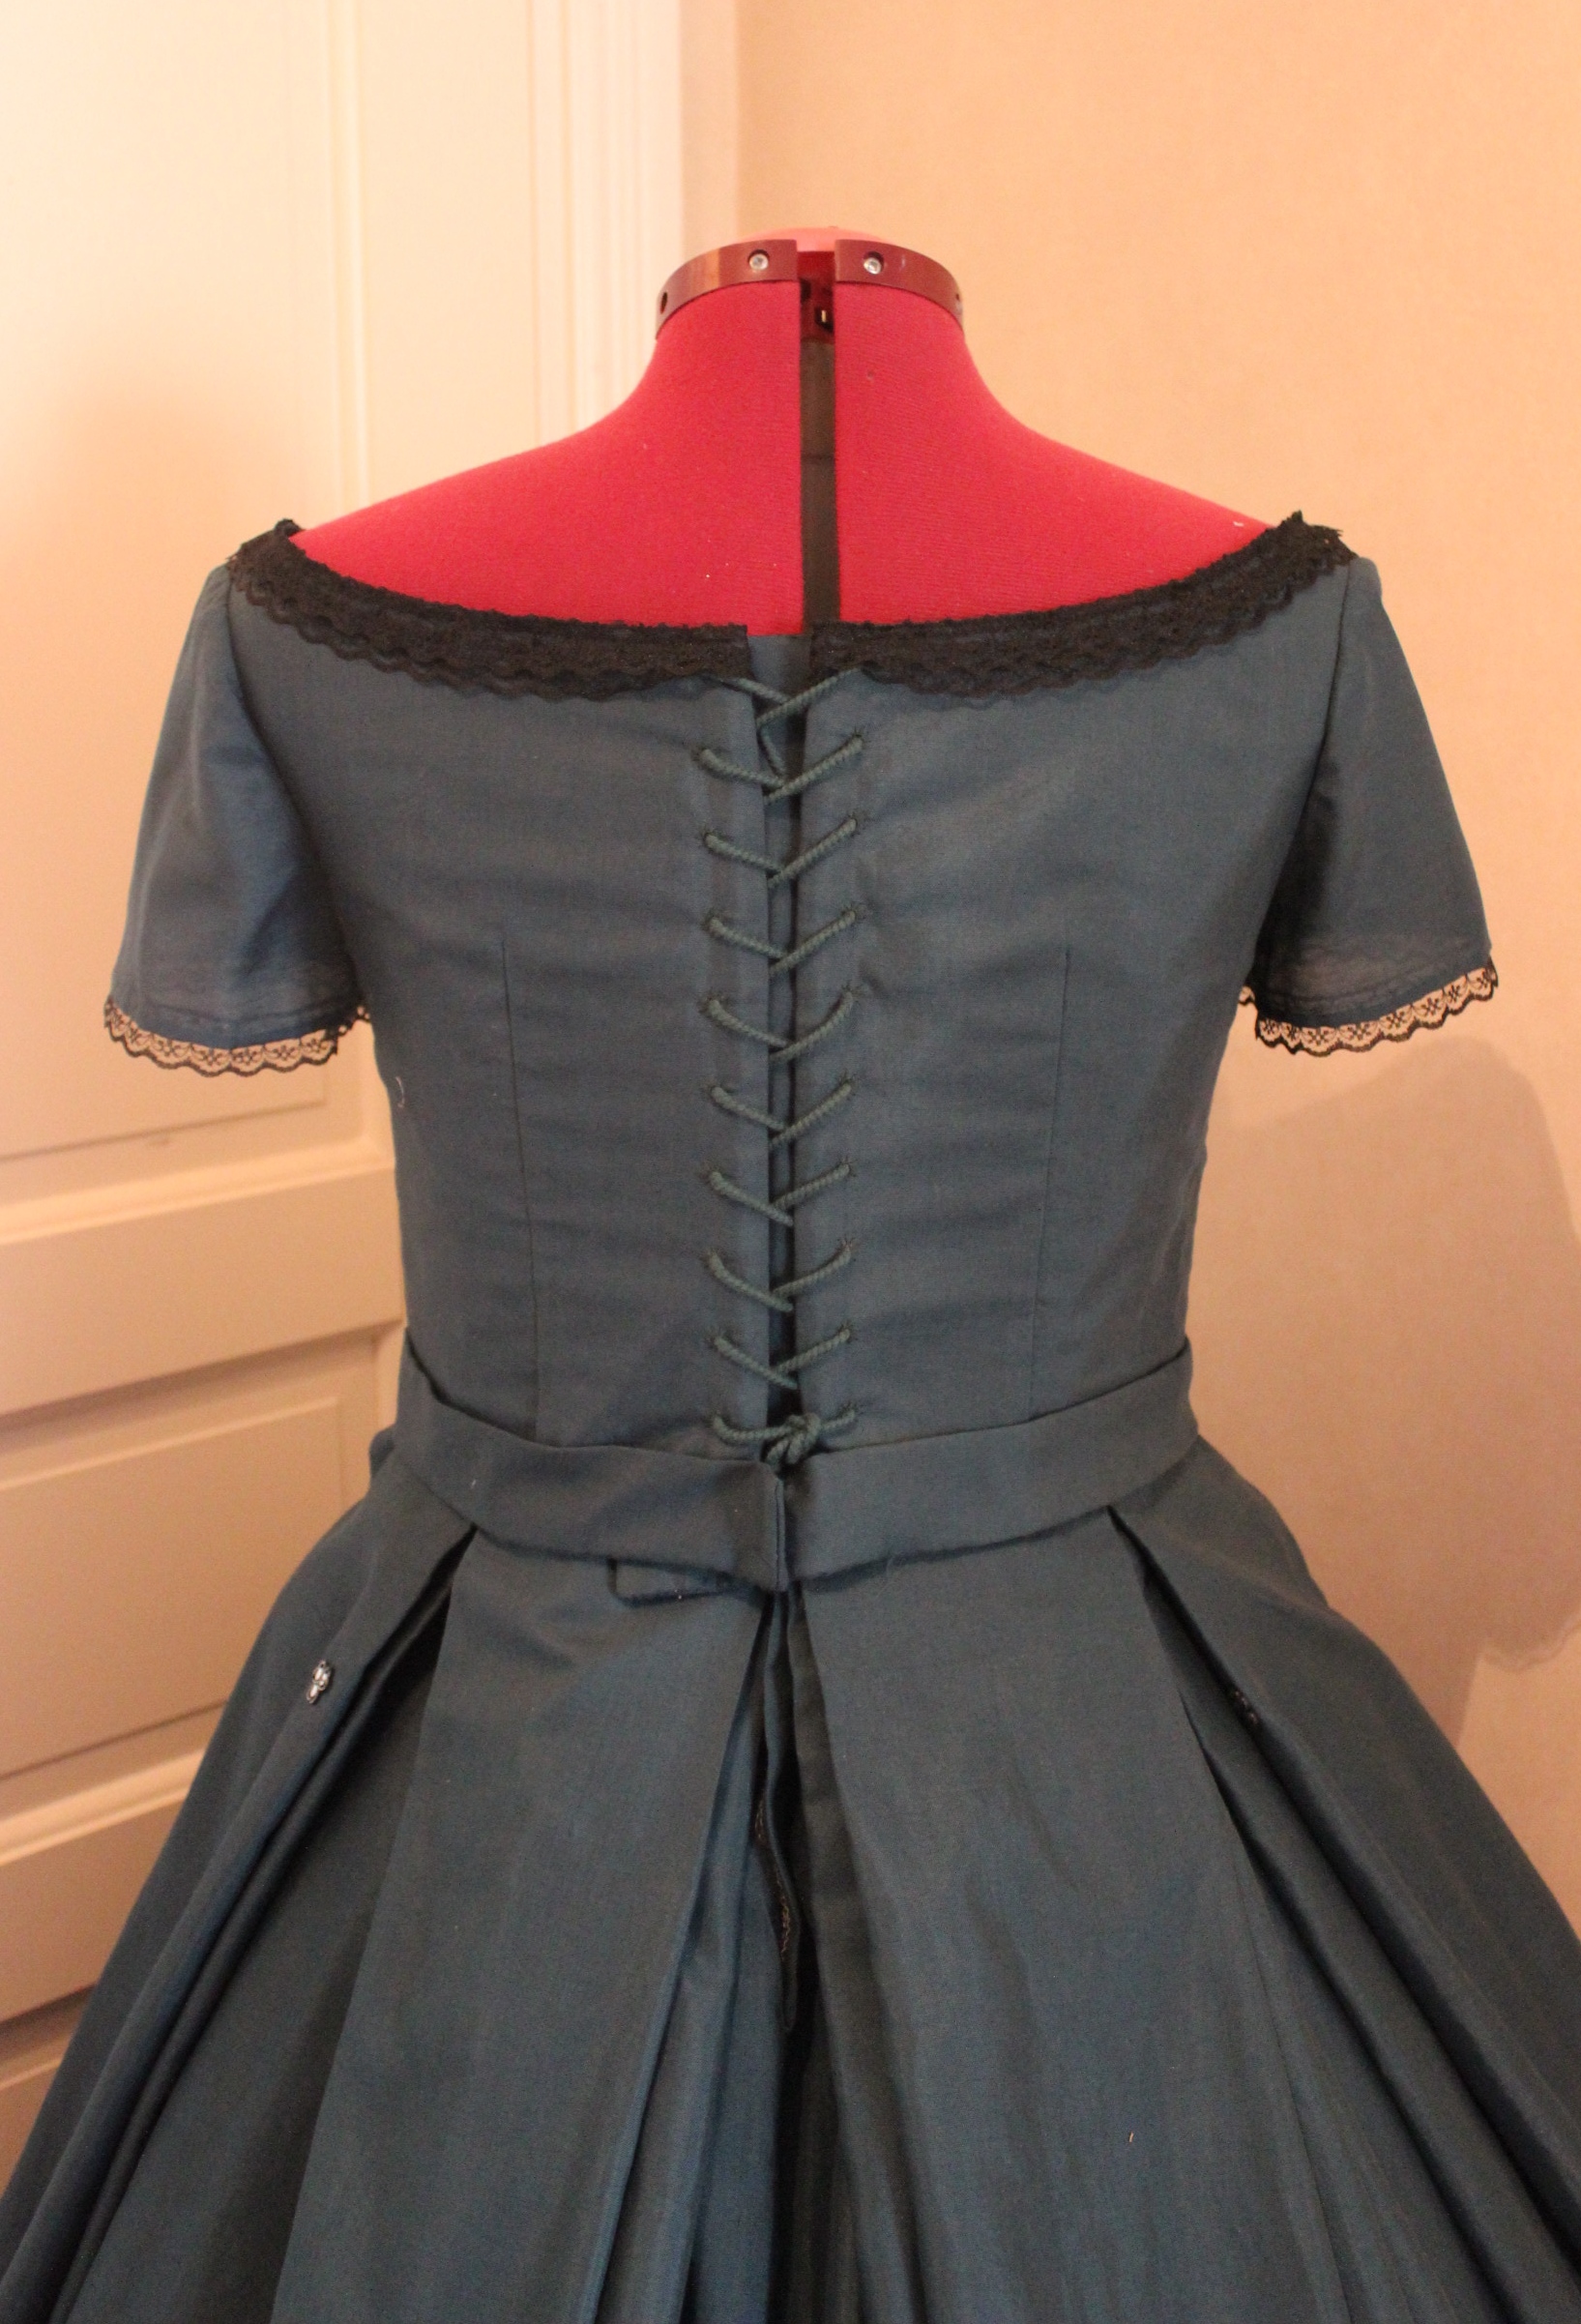
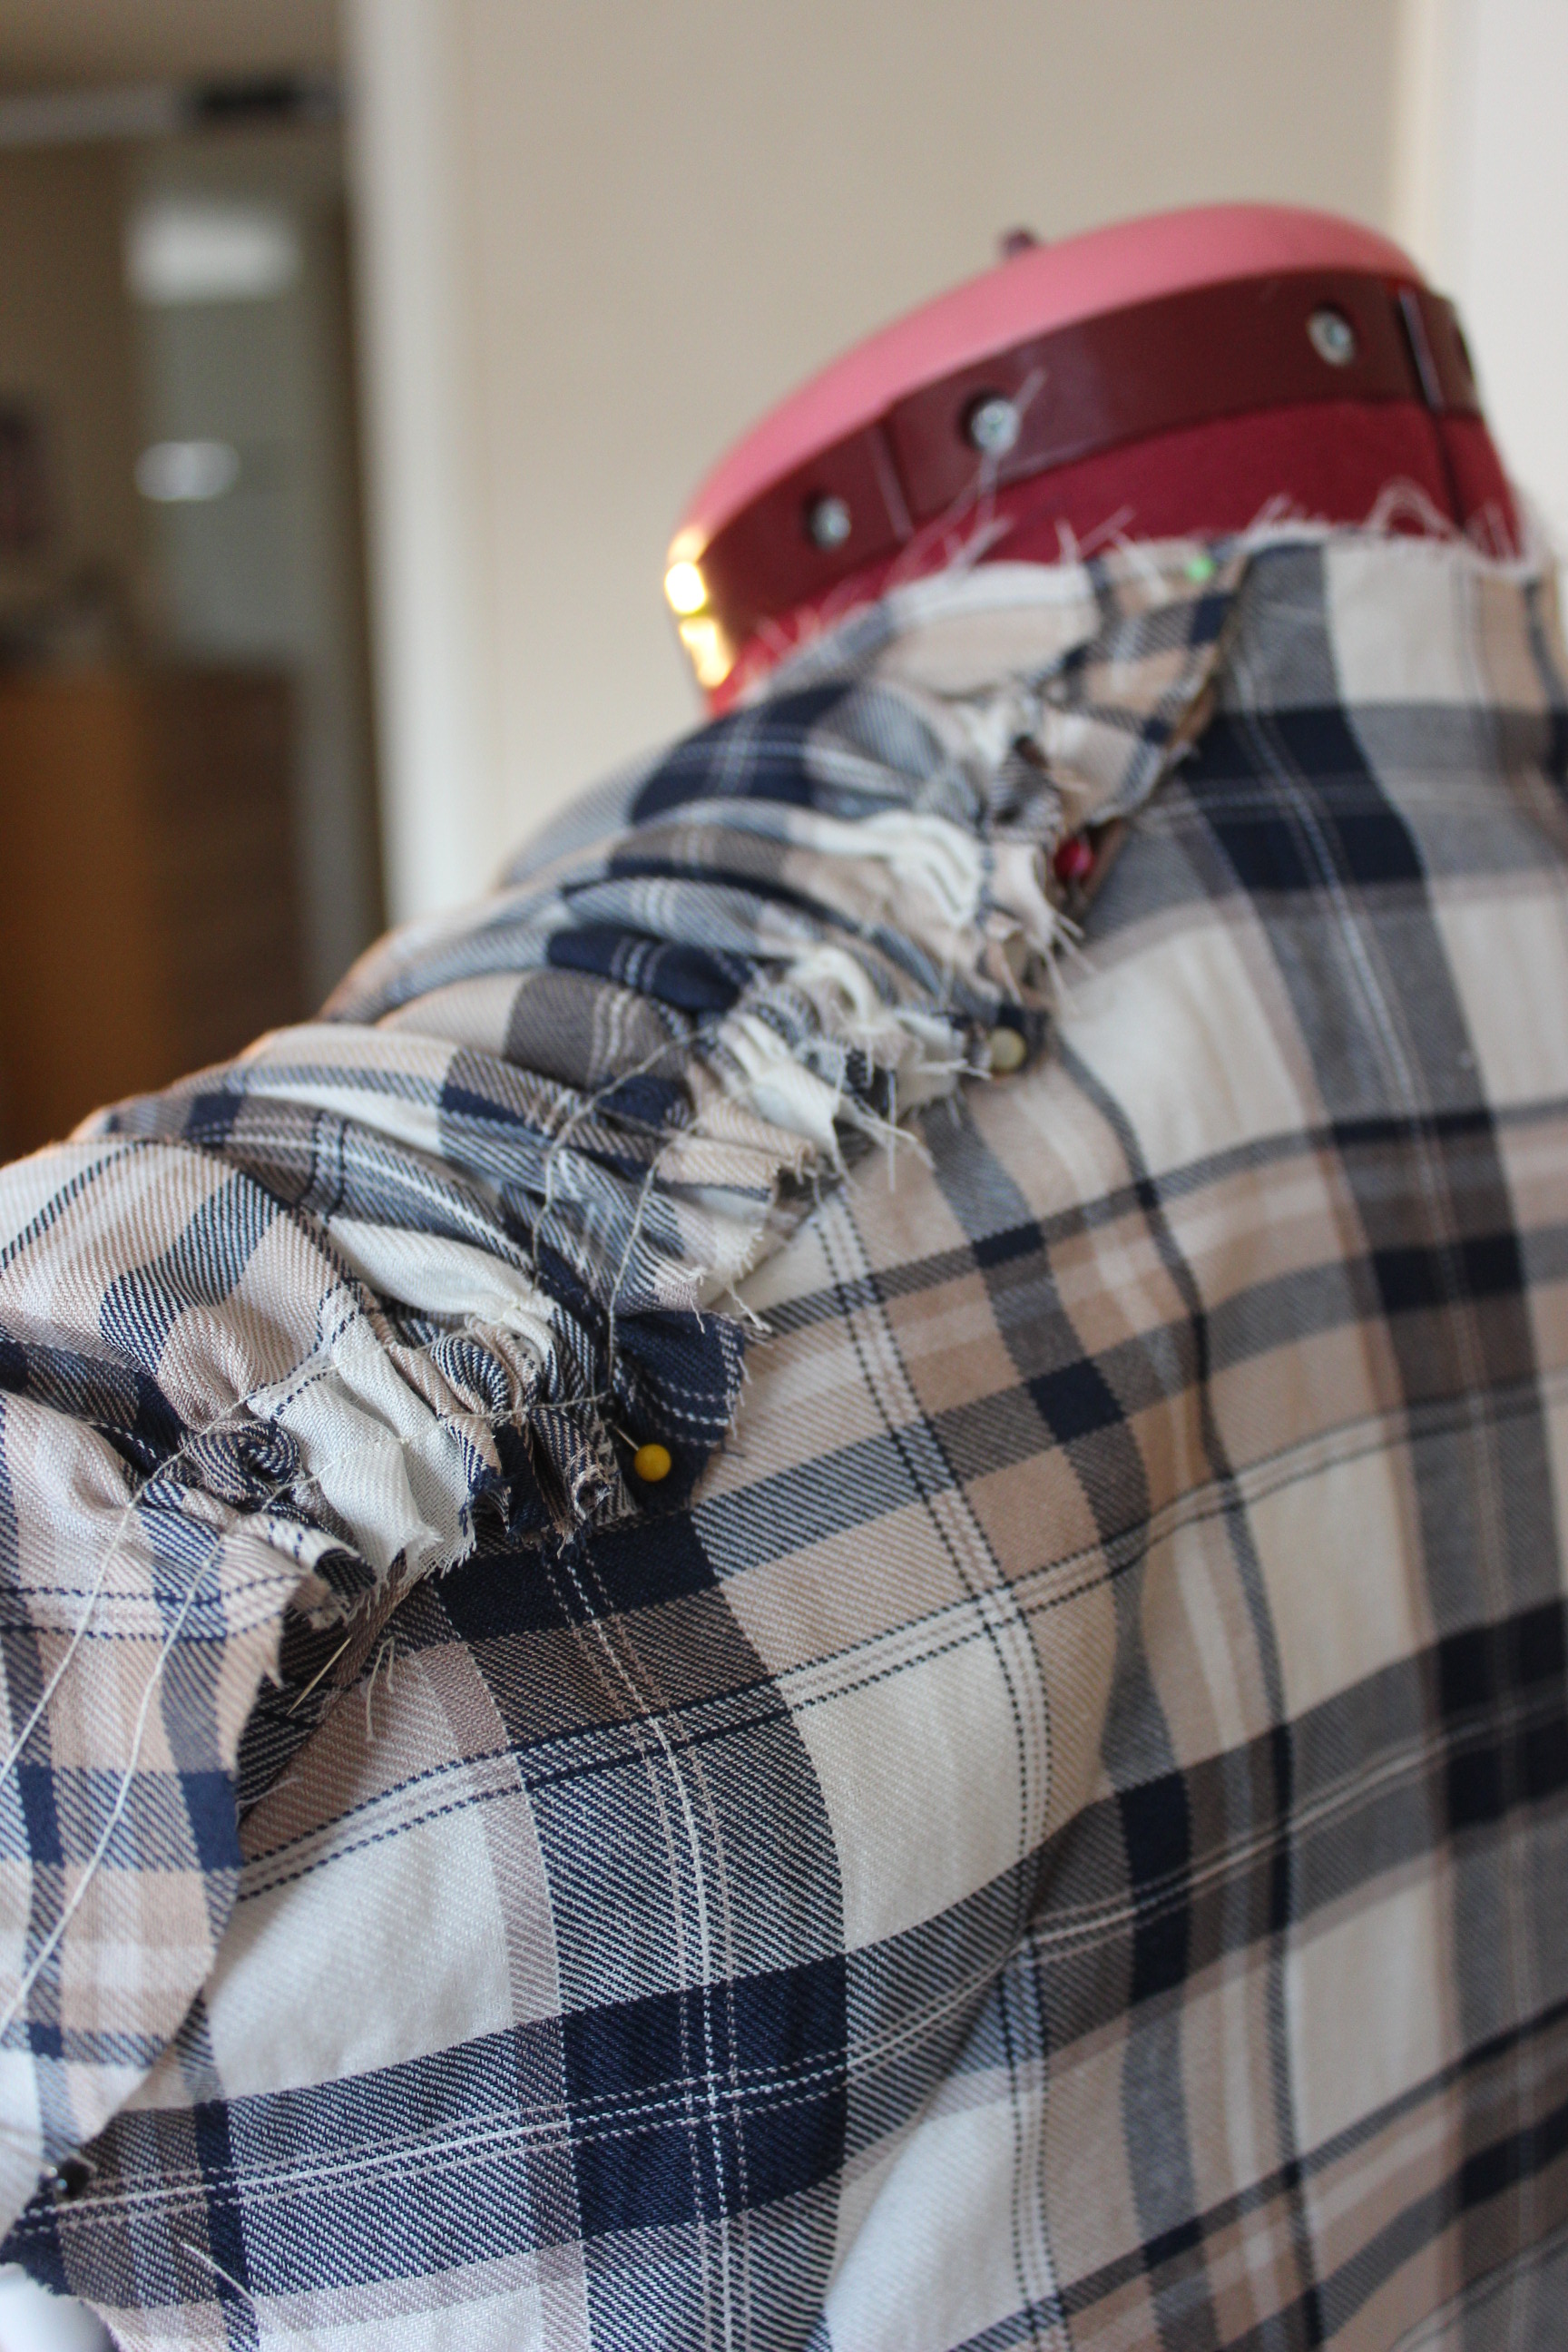
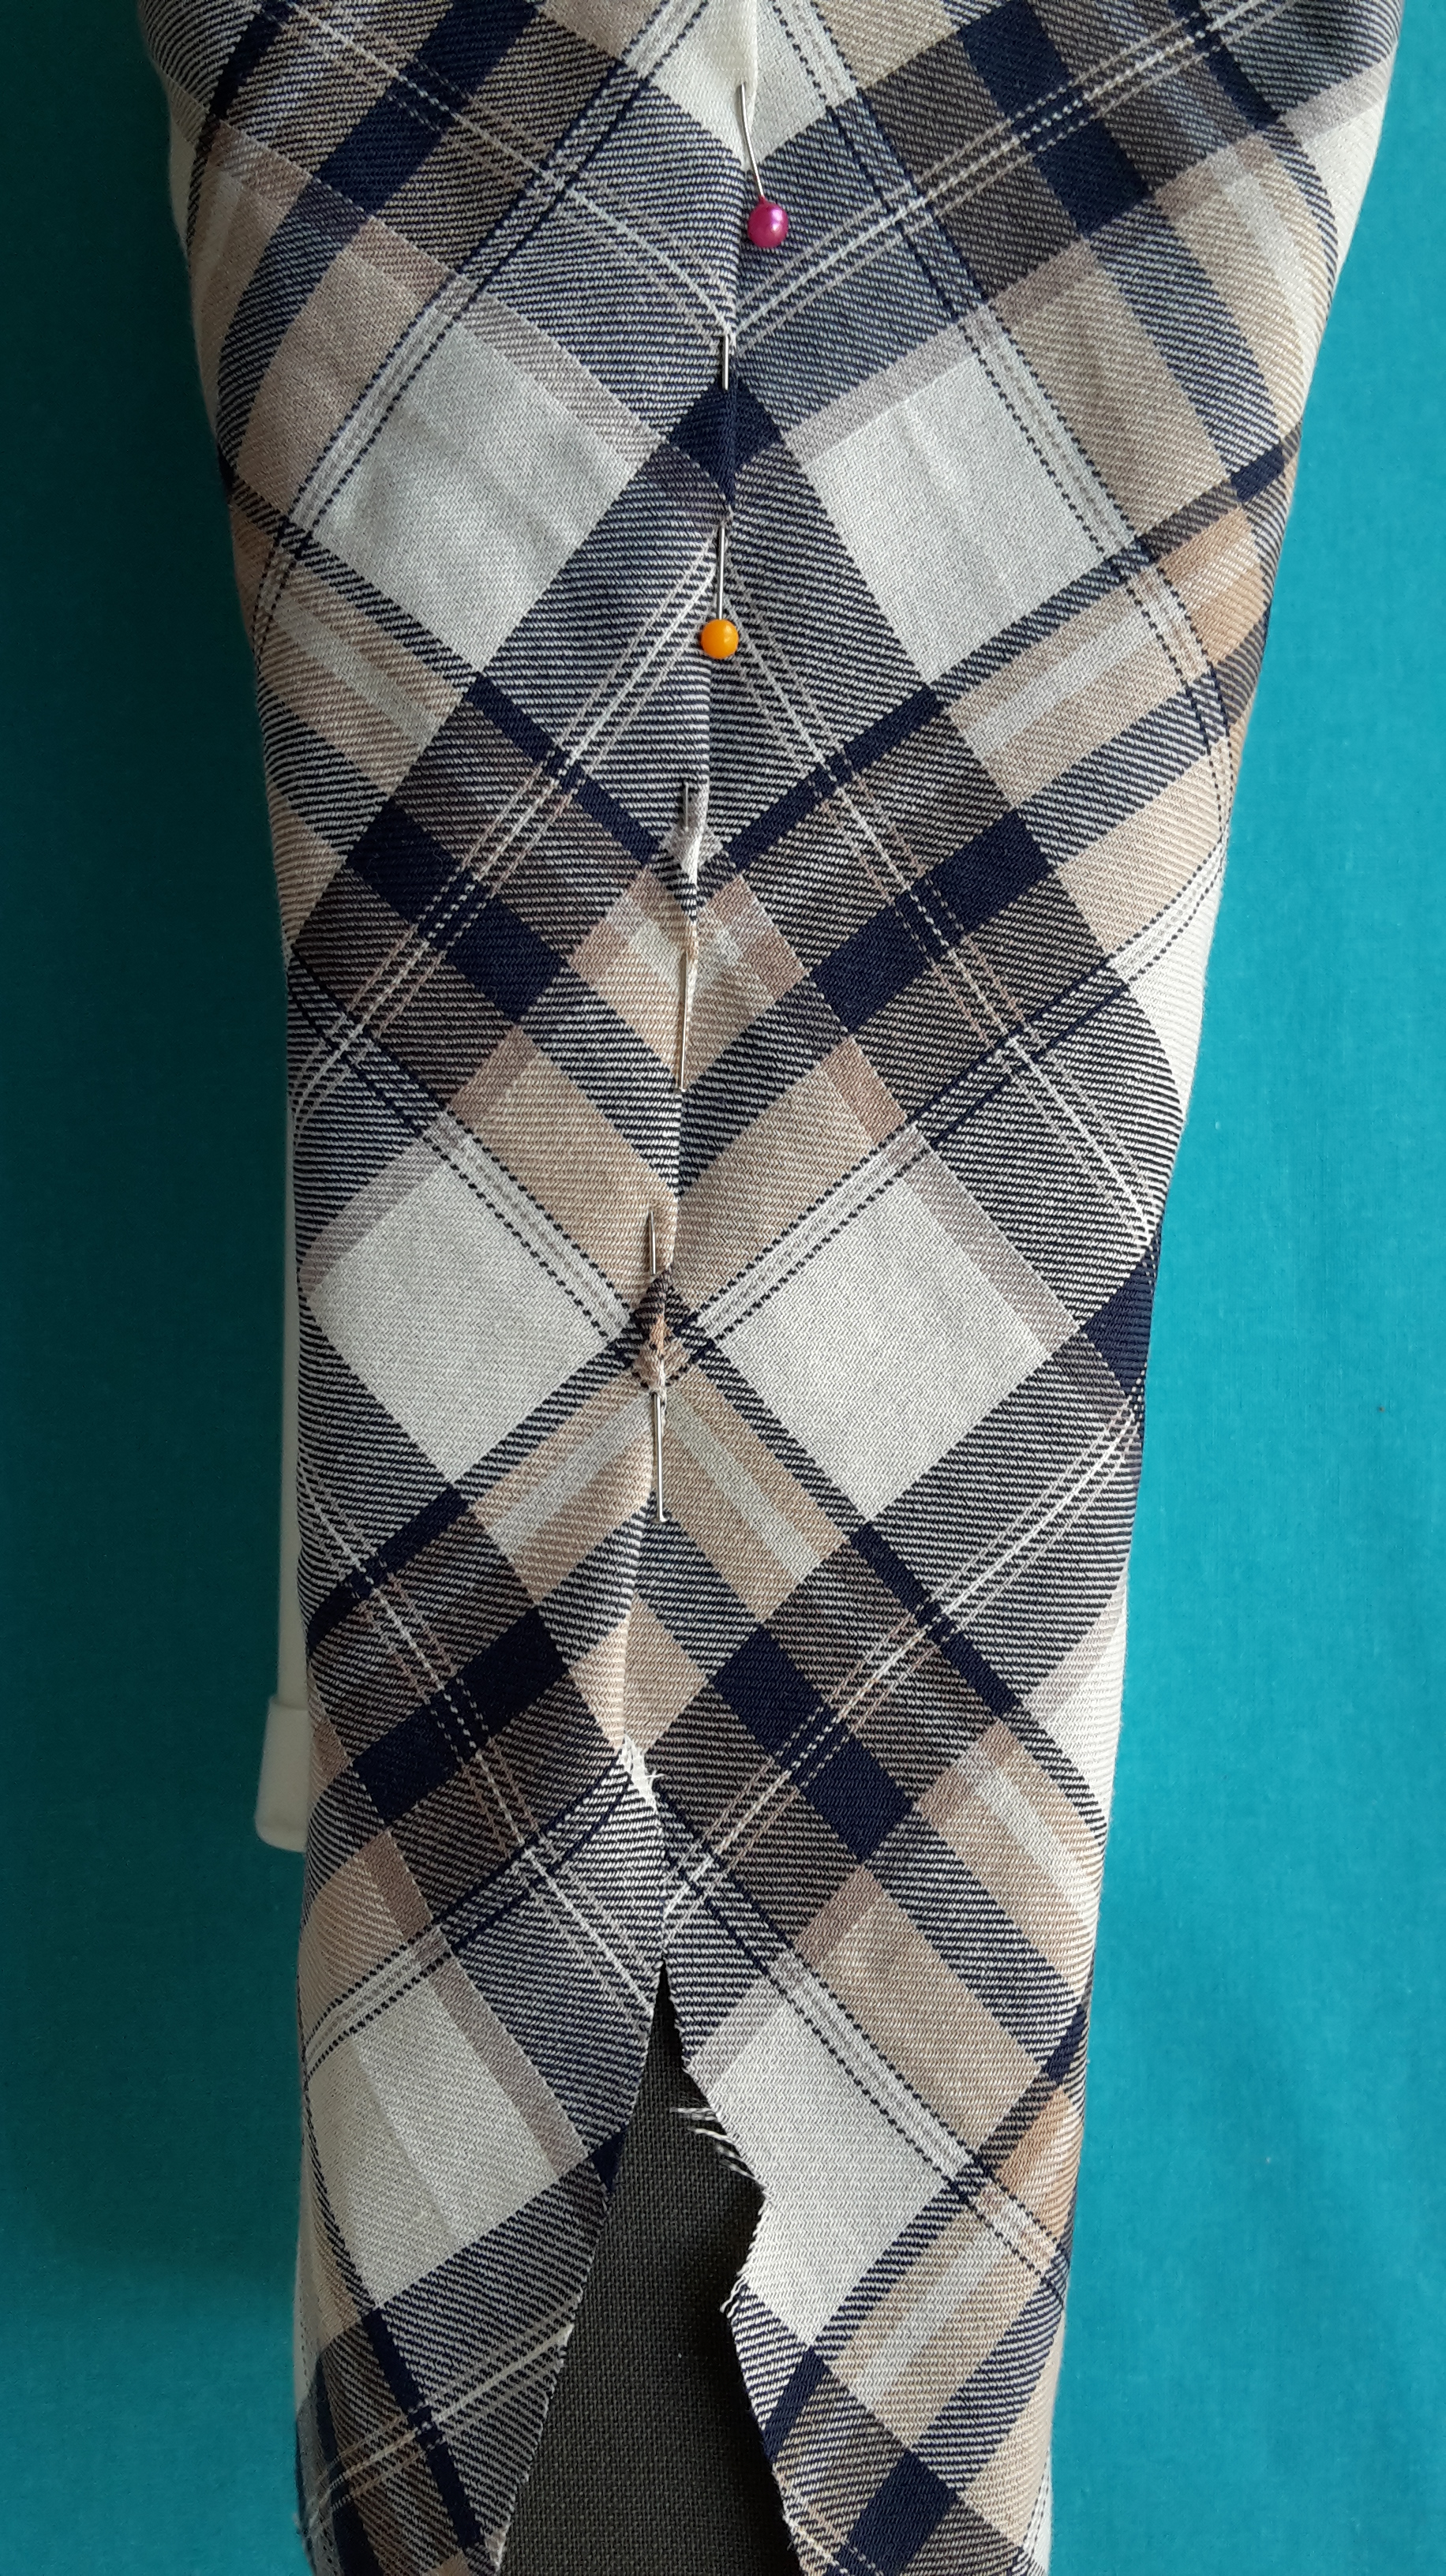
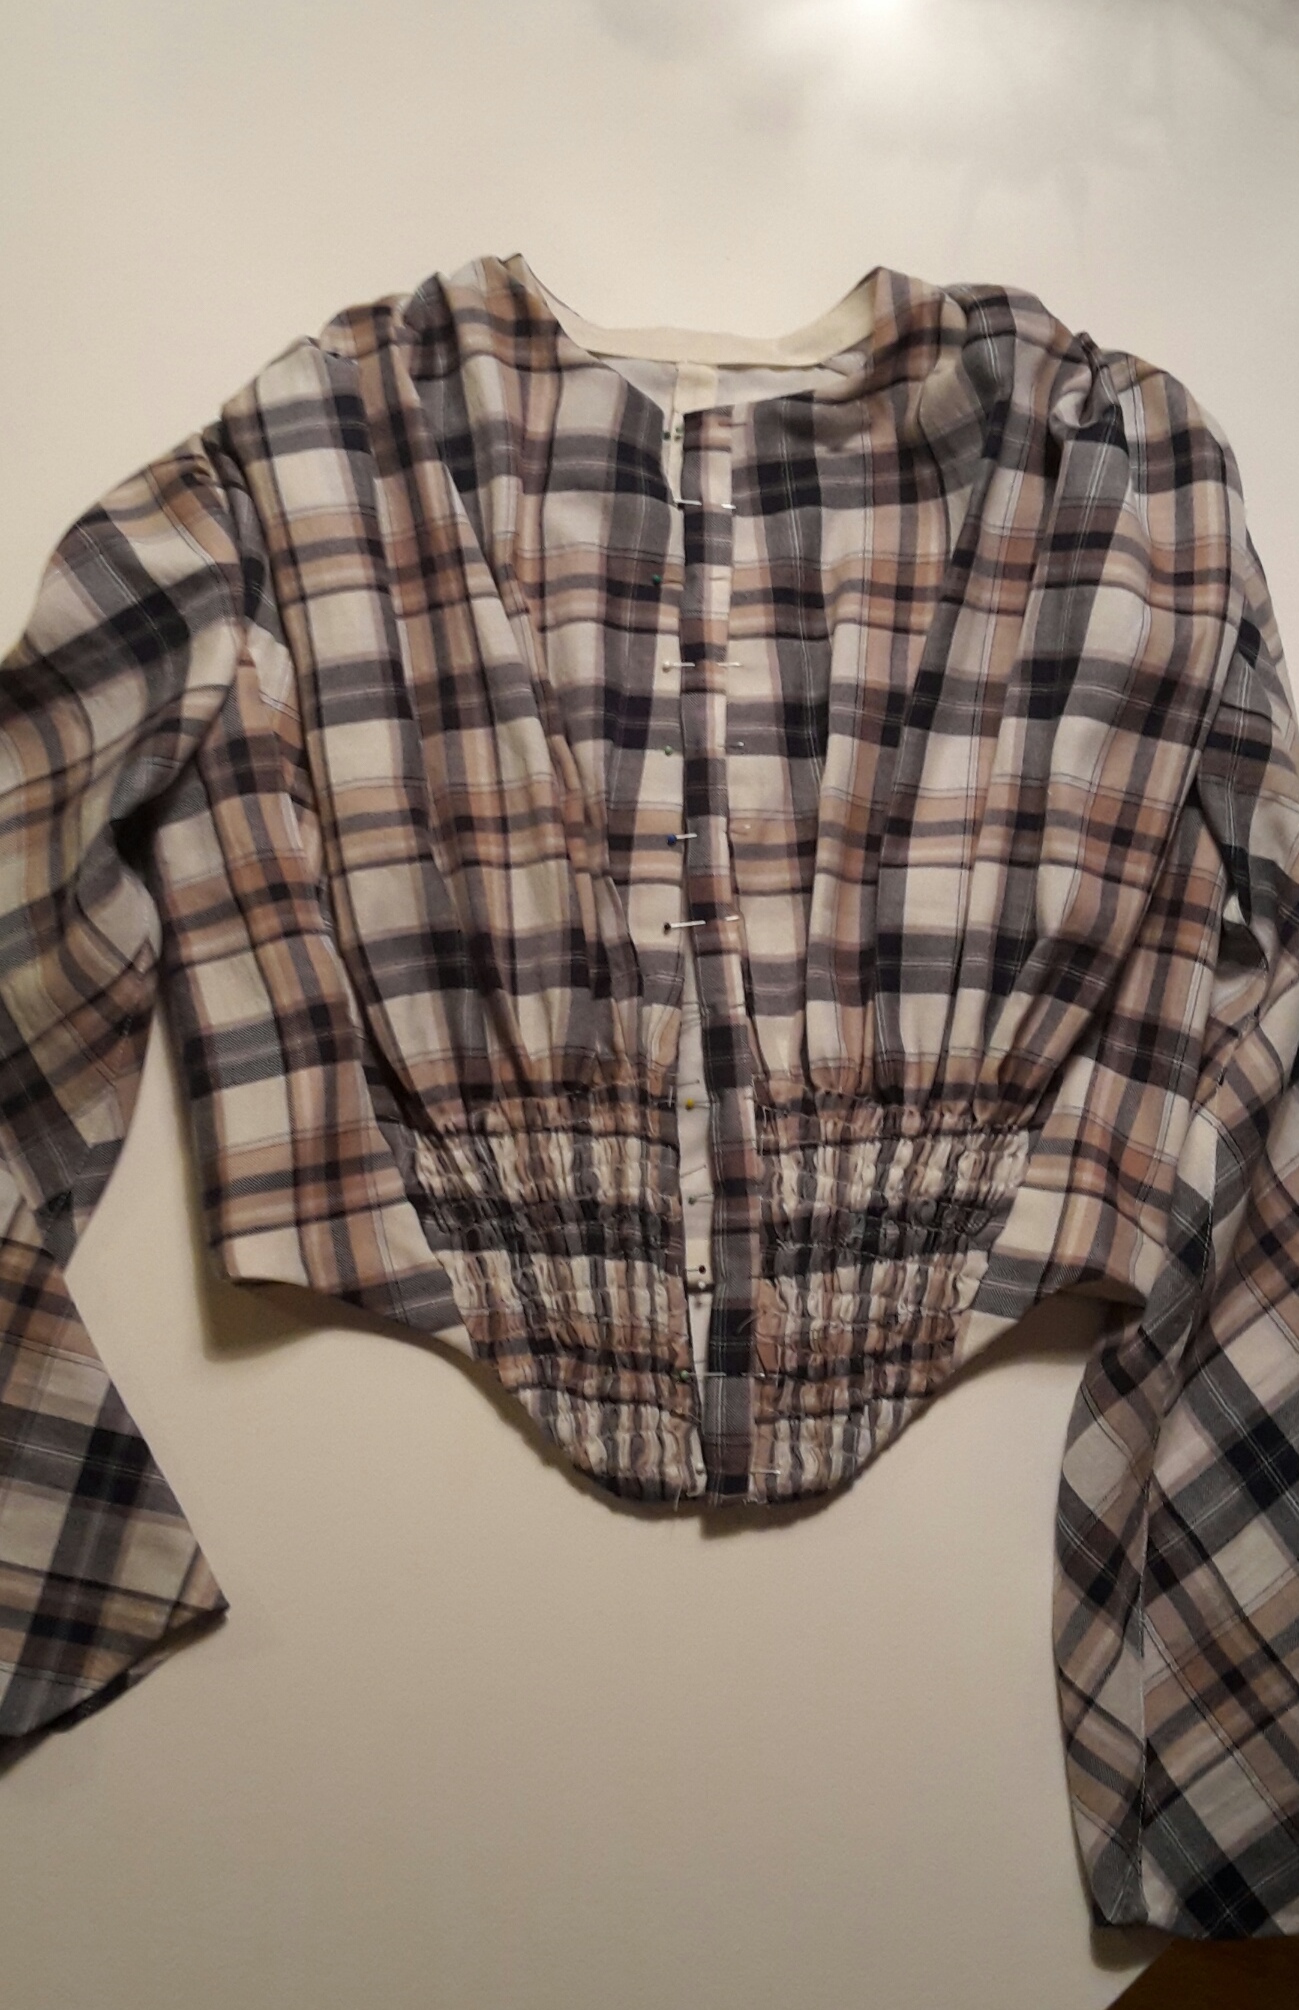
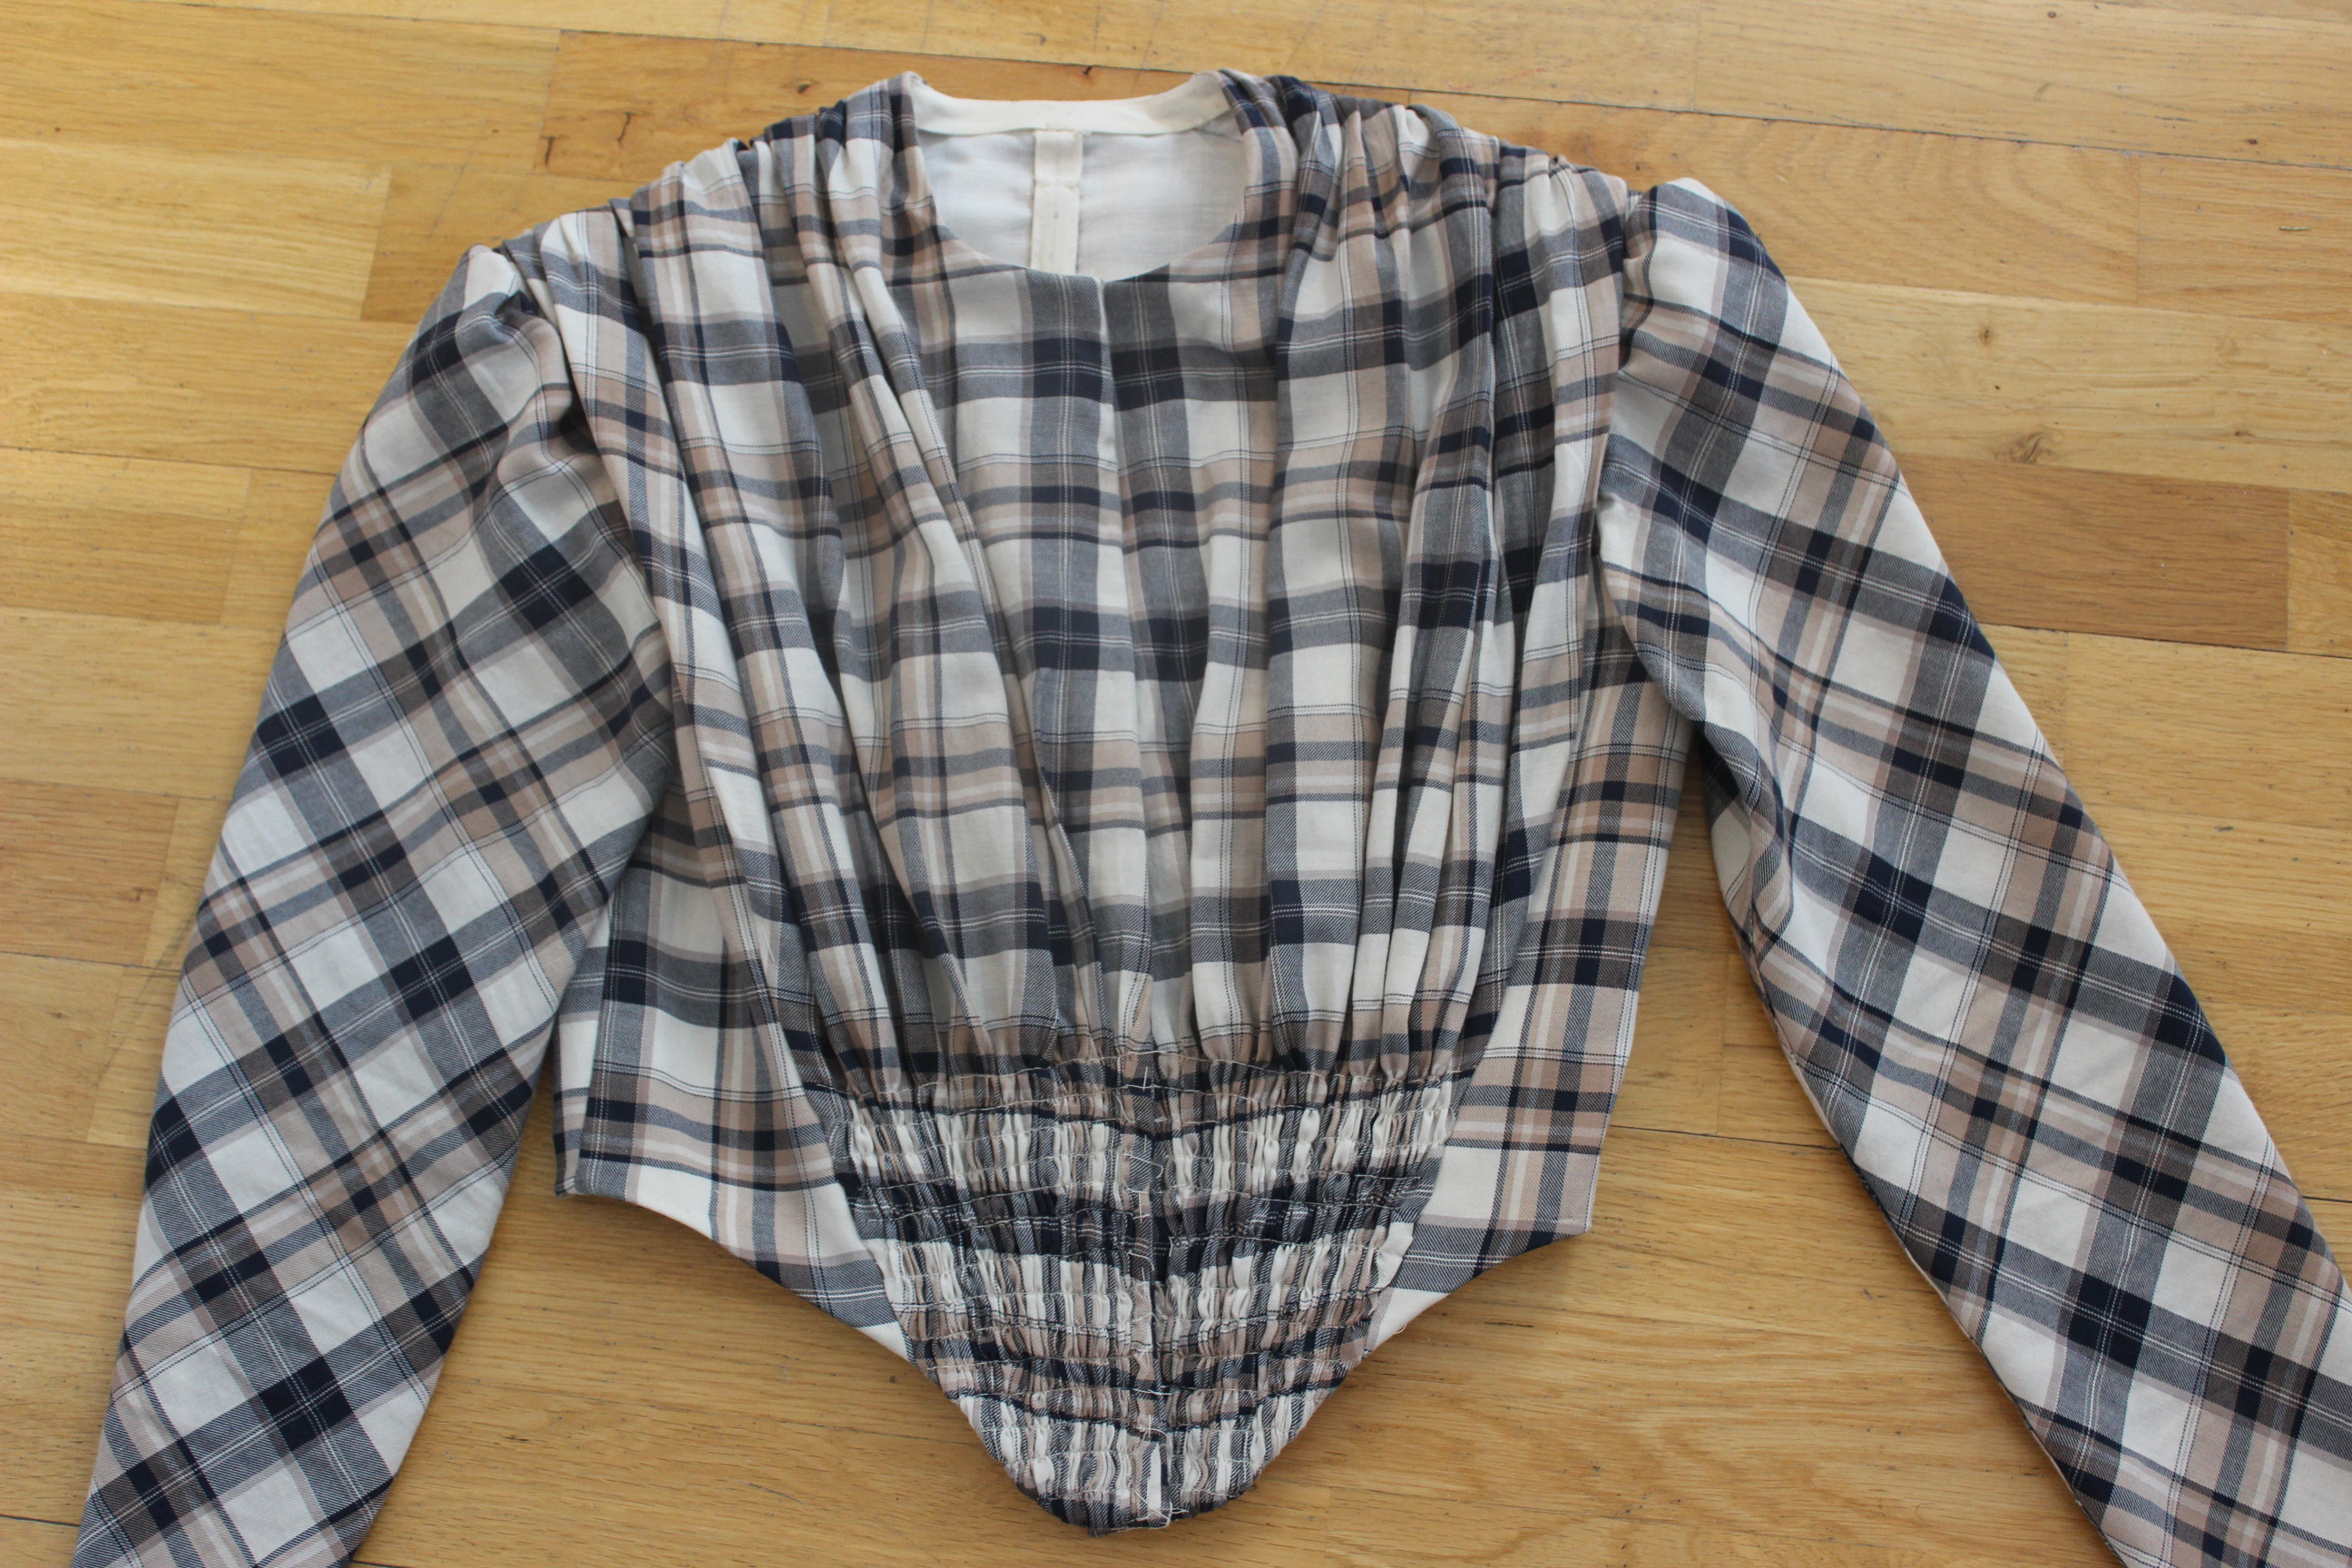
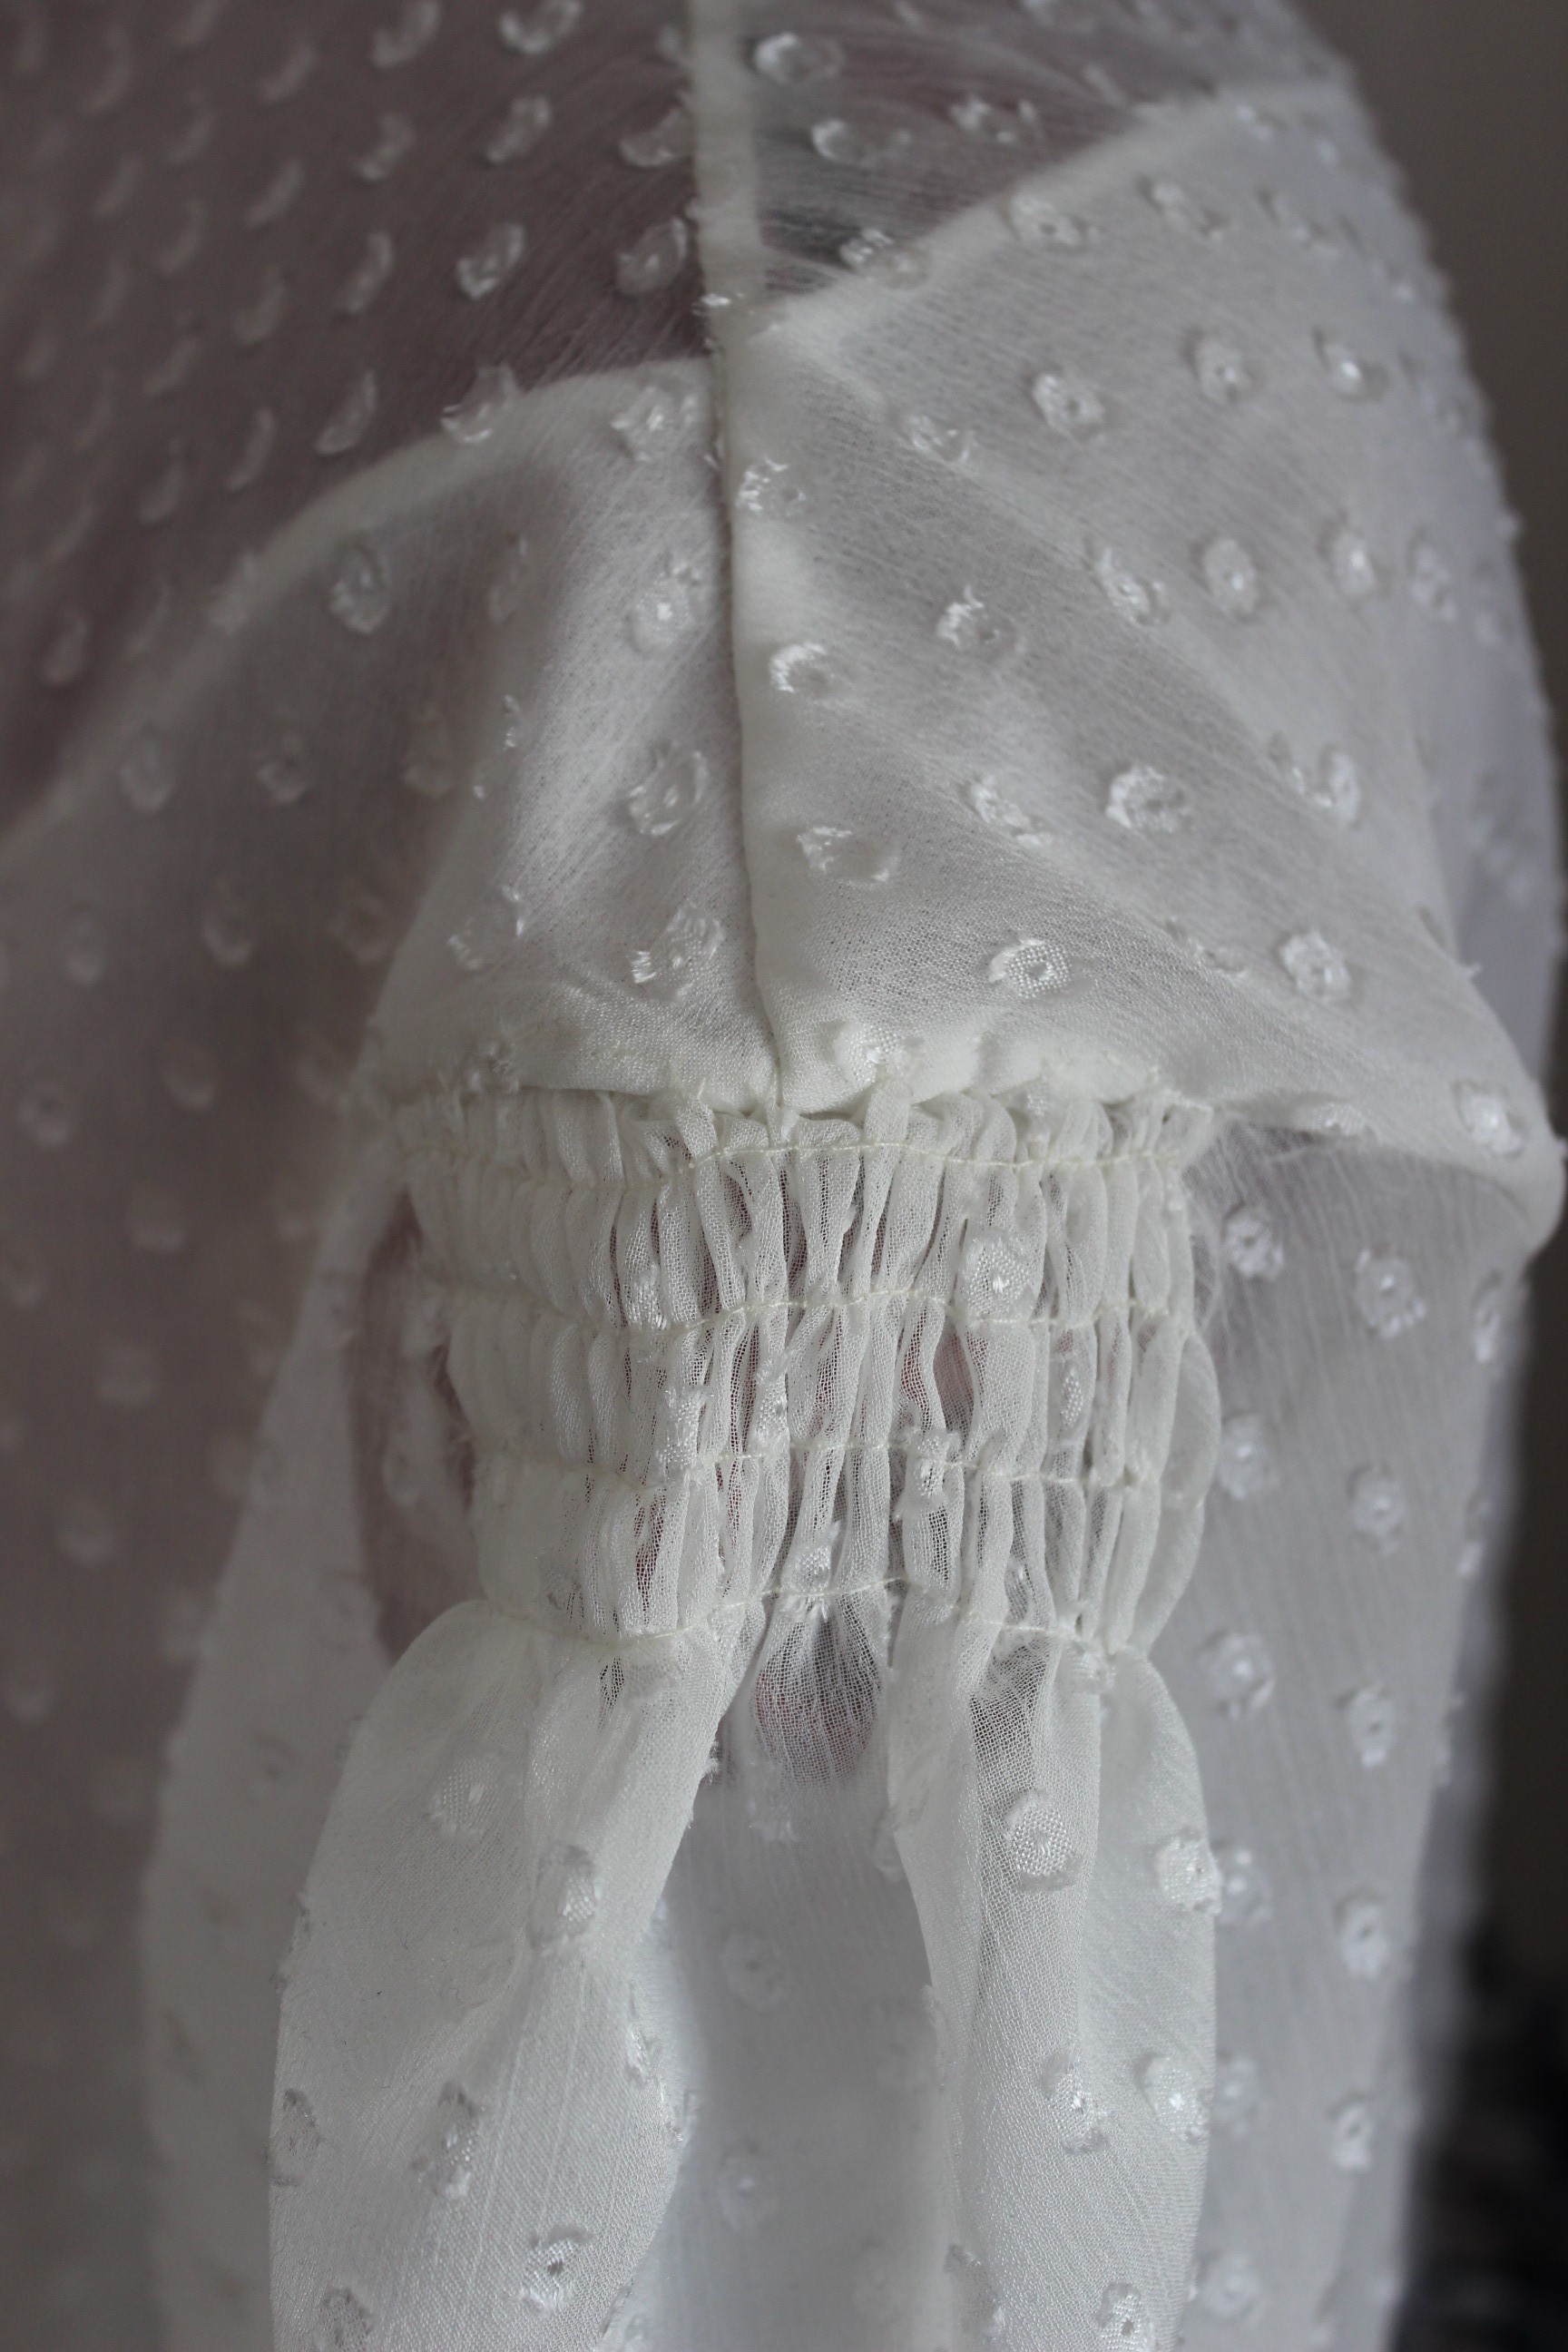
I didn’t had time to ad the clouser to the front (Edit: Now it’s done).

The finished dress:IMG_7261

IMG_7263

IMG_7274

IMG_7266

IMG_7265

IMG_7269

IMG_7271

IMG_7275

IMG_7277

IMG_7278

IMG_7283

IMG_7285

IMG_7287

IMG_7290

IMG_7292

The Facts – Bodice & skirt:

What: A 1850s summer daydress

Pattern: I drafted my own using Janet Arnolds ” Pattern of Fashion” and Nora Waughs “Cut of Womens Clothes”.

Fabric & Notions: Thread, 5 m of light weight plaid cotton, 0,5 of regular white cotton, 1 m cotton tape for waistband, bias tape for boning channels & neck/sleeves/bottom edge binding, Boning, hooks and eyes.

Time: About 10-15 hours – I made most of the dress by machine.

Cost: 300 Sek – the fabric was on Sale and everything else came from stash.

Final Thought: I really love this dress!
I feel so pretty yet comfortable in it. I can move, dance and breath on it and even though it’s long sleeved it’s not hot at all, just perfect for summer.
And I did get lots of compliments at its first outing :-).

All that’s need to be fixed for next time is, adding hooks and eyes for clouser and attachment bodice to skirt.
I also really need to re-set the sleeves. Well nothing is ever perfect 😉
(I’ve now re- set the sleeves, added the hooks and eyes needed at the front and made the bodice and skirt sit firmly together)

1850/60s (Not a Garbardi) Blouse

Once I’ve decided to make a blouse for some upcoming mid 19th century events this summer it all went pretty fast.

I selected an inspiration pic to base my design upon.
7b7d4d08edbf772307a80f15be56bffc 22fcb4ef48632fecc39c391e2f9e1a89
059d04d3e45d5b72b7ba36bc6a2cd407Shoulder and sleeve detail.

I decided to use the white dotted organza I’ve bought on sale a year ago (which I also used as contrast in my Ariel/Camille dress)
IMG_6253Sorry for the dark photo – I was working late at night

I made a pattern using my green 1840s dress bodice as a base.IMG_6114

To keep the blouse from being totally see through I made a lining in a soft loosely woven cotton fabric. IMG_6267Thin french seams on the lining.

I basted the blouse together, combining darts (in the lining) and gathers (in the organza) to get the right look for the bloused waist. IMG_6255Here you can see the gathered organza (left) and the darted lining (right).

Once I tried it on I found the lining to be a bit high in the neck and cut it down about 4-5 cm.IMG_6259

I stitched the sleeves using french seams and rushing at the cap.
The cuff is just one reinforced, folded piece of organza, closing with a button, to which I gathered the sleeve to. IMG_6274

IMG_6281Sleeve set.

The biggest mistake I made on this project was steaming on fusible interlining to the buttonhole stands. Once sewn to the thin blouse the buttonhole stand looked really bulking and heavy (and white).
So I ripped them of, and not having enough lining fabric left to cut new ones I carefully peeled the interlining of the fabric. IMG_6269What a mess.

Once re-sew (without the interlining) the buttonhole stand looks much better, and it was time to move on to the collar and buttons.IMG_6283Its just a slightly shaped thin strip of organza and lining folded over to make the low standing collar.IMG_6311
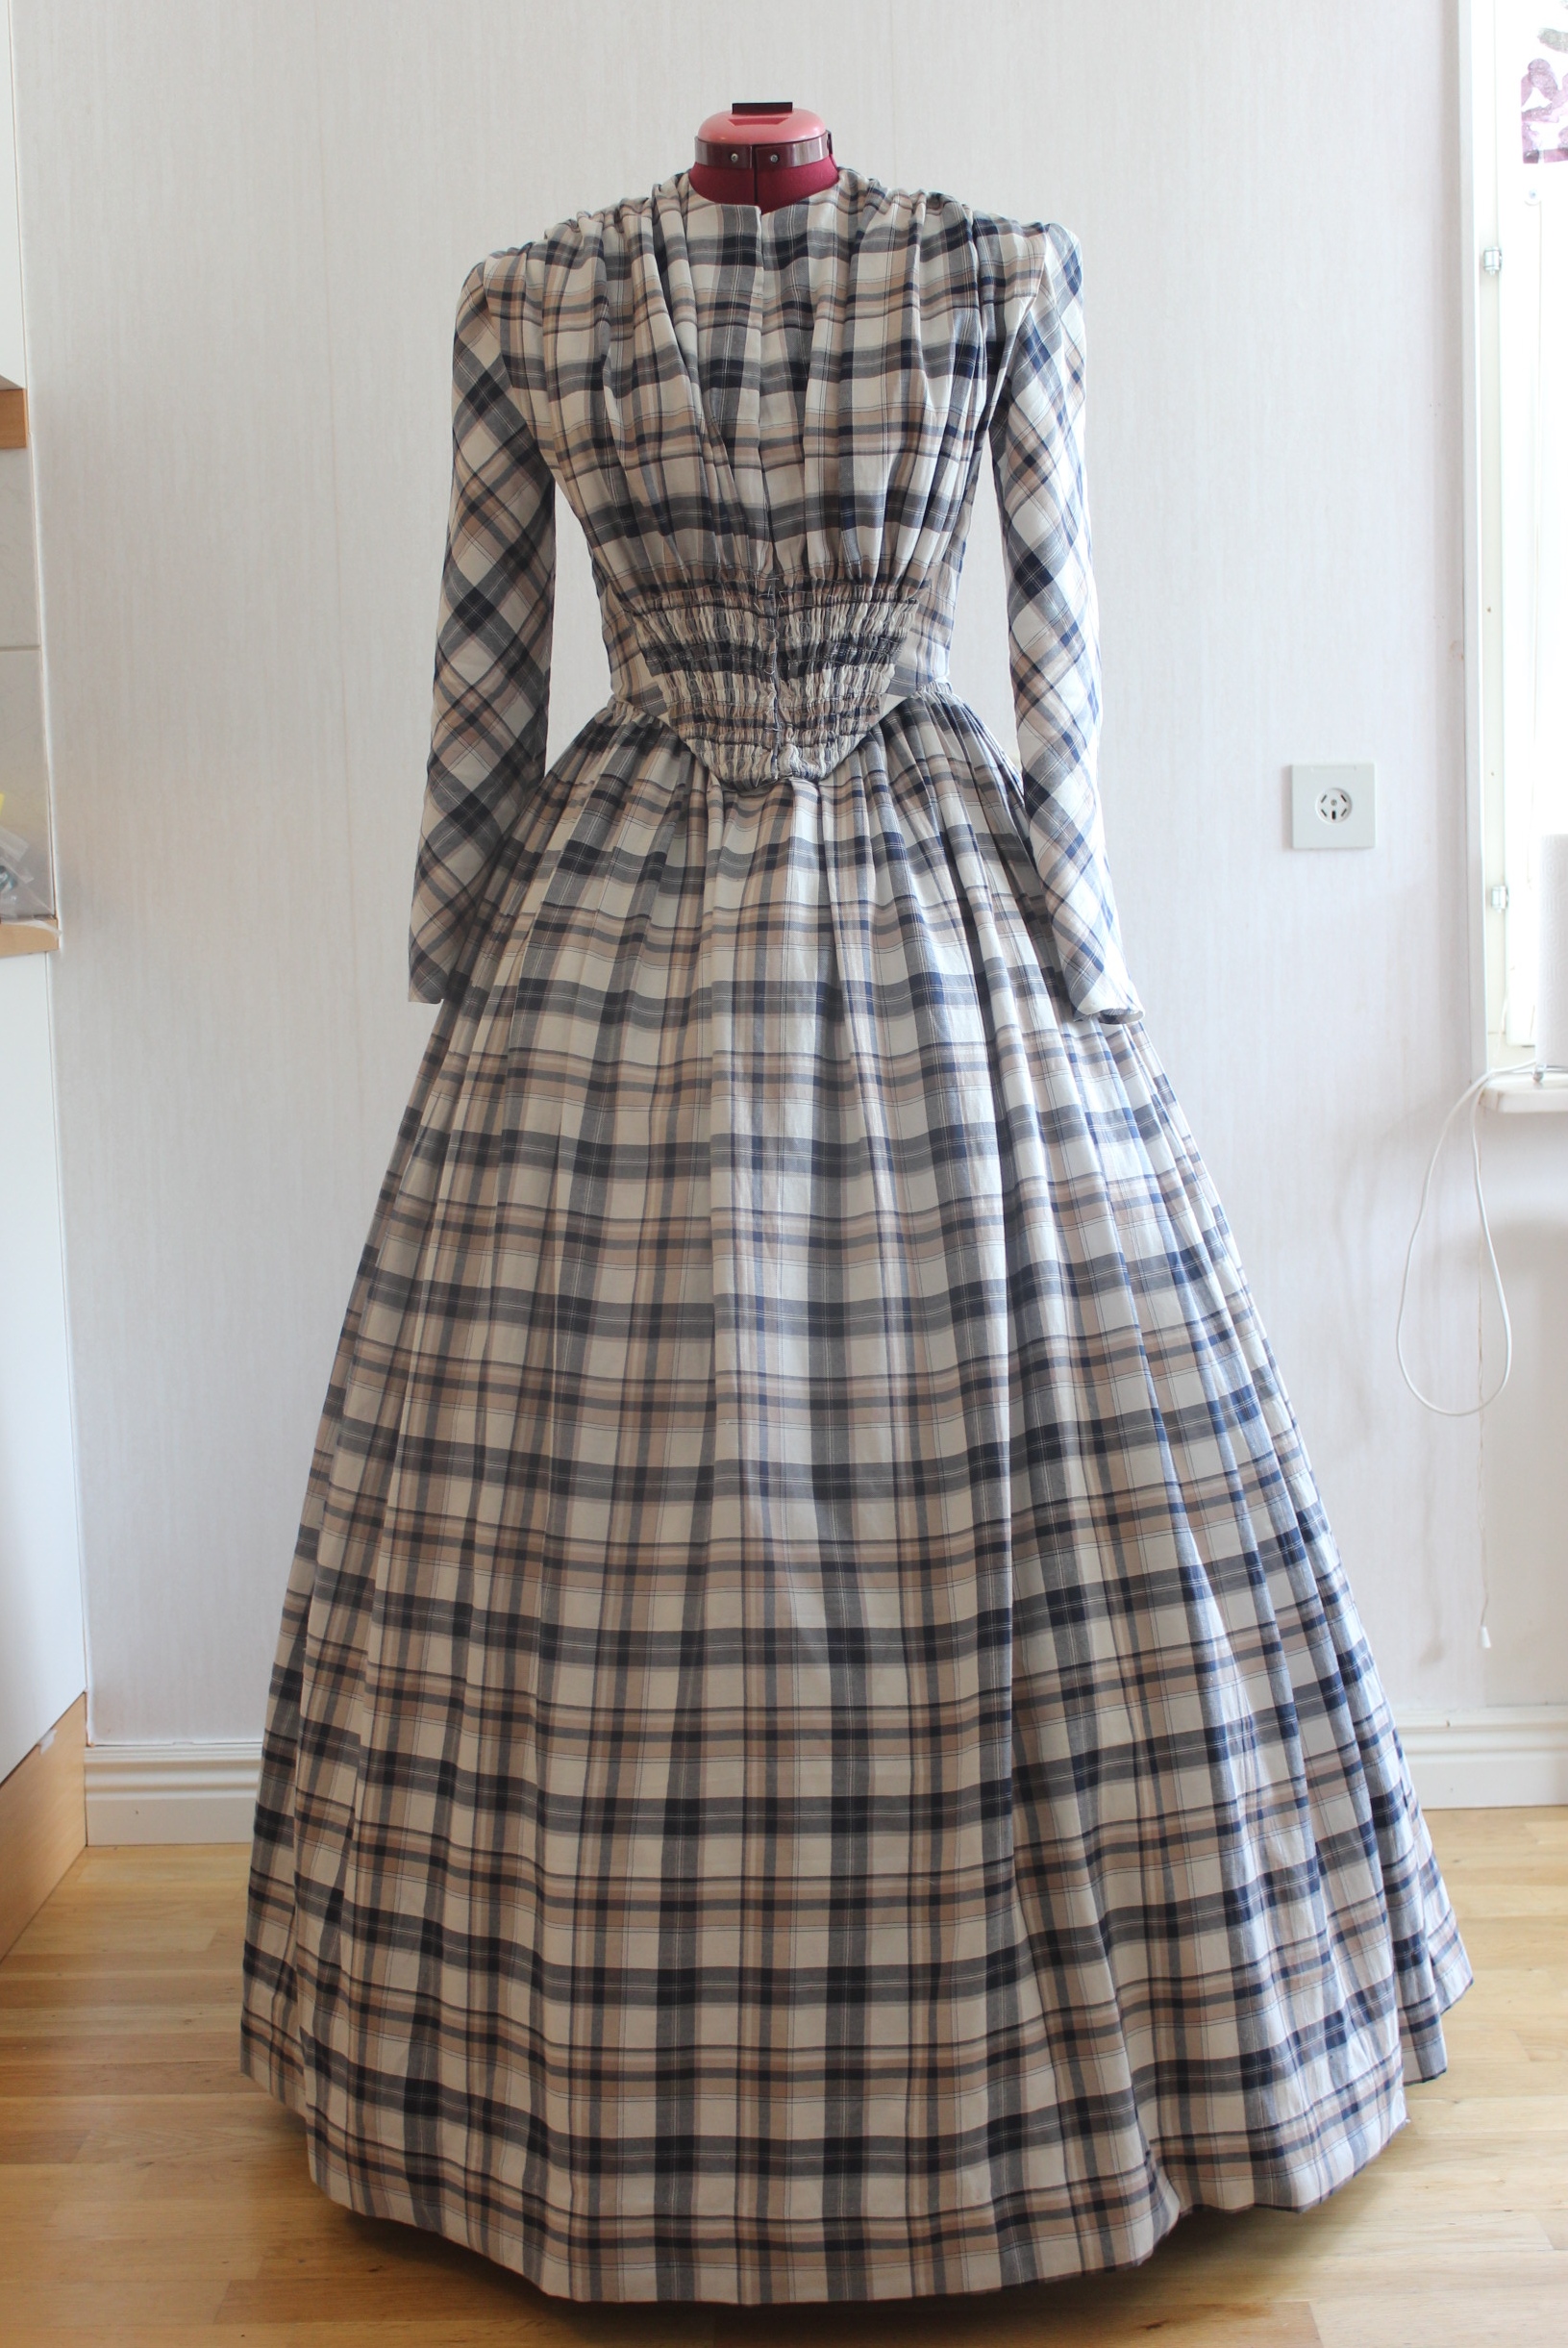
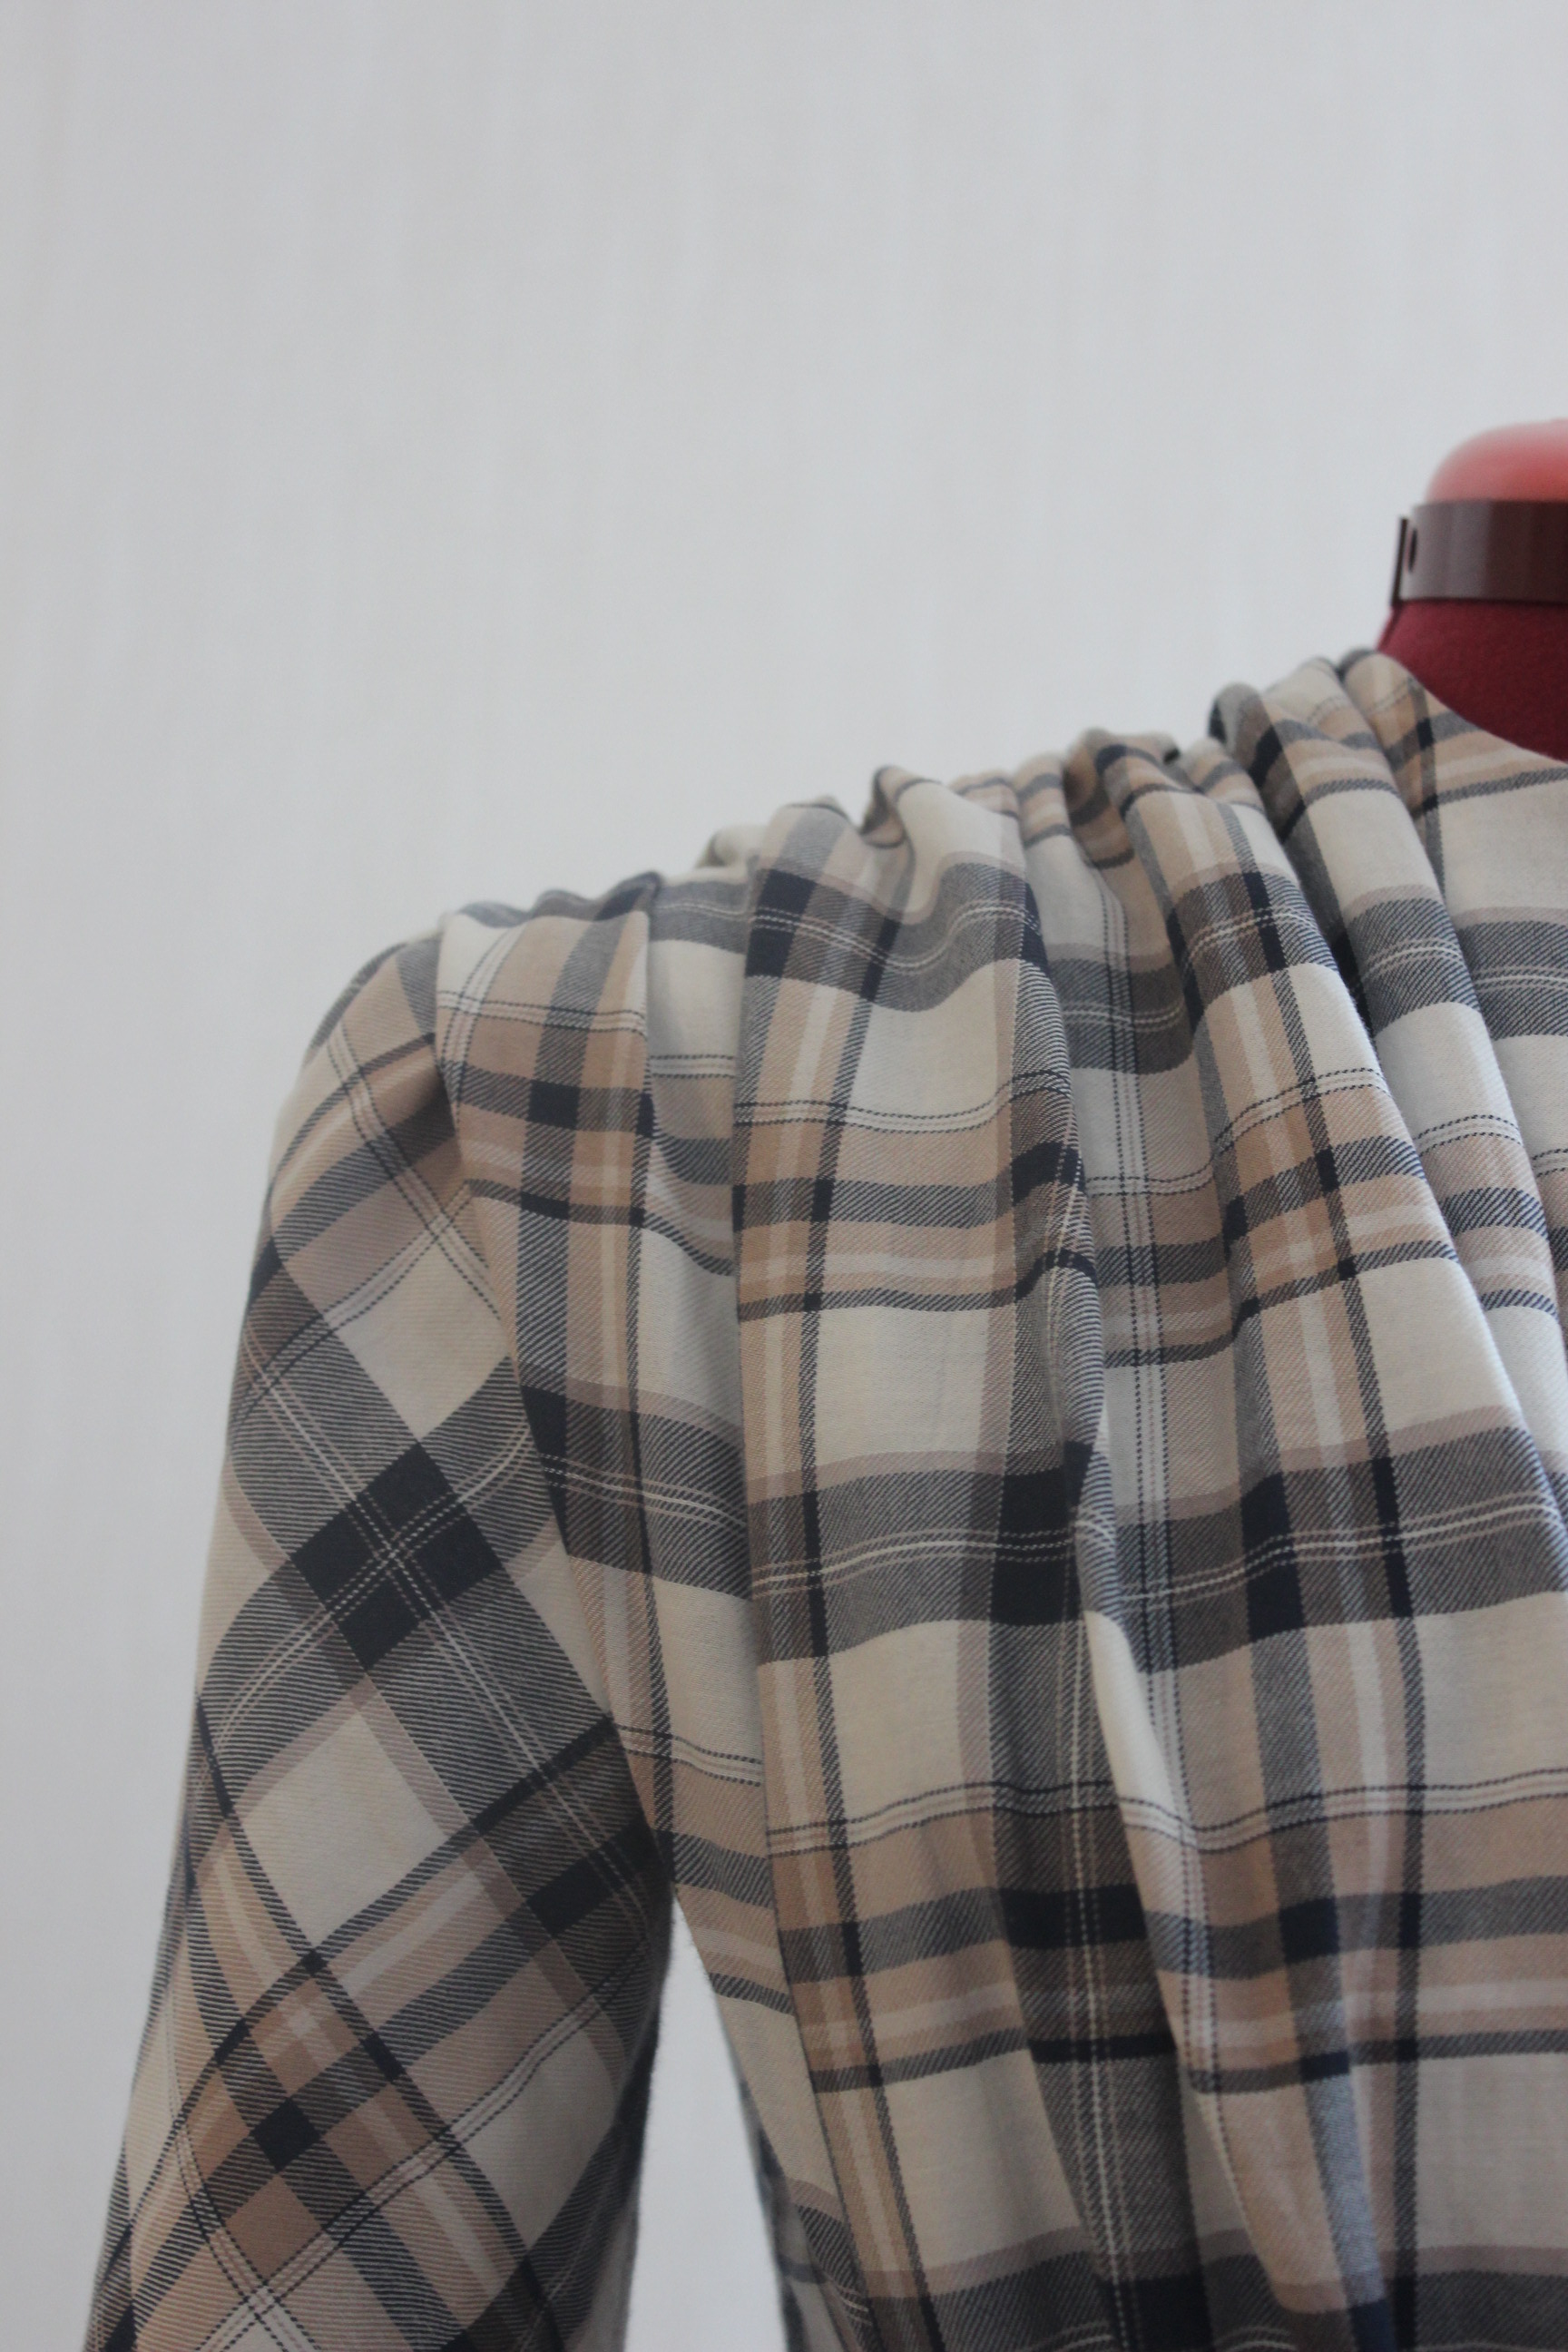
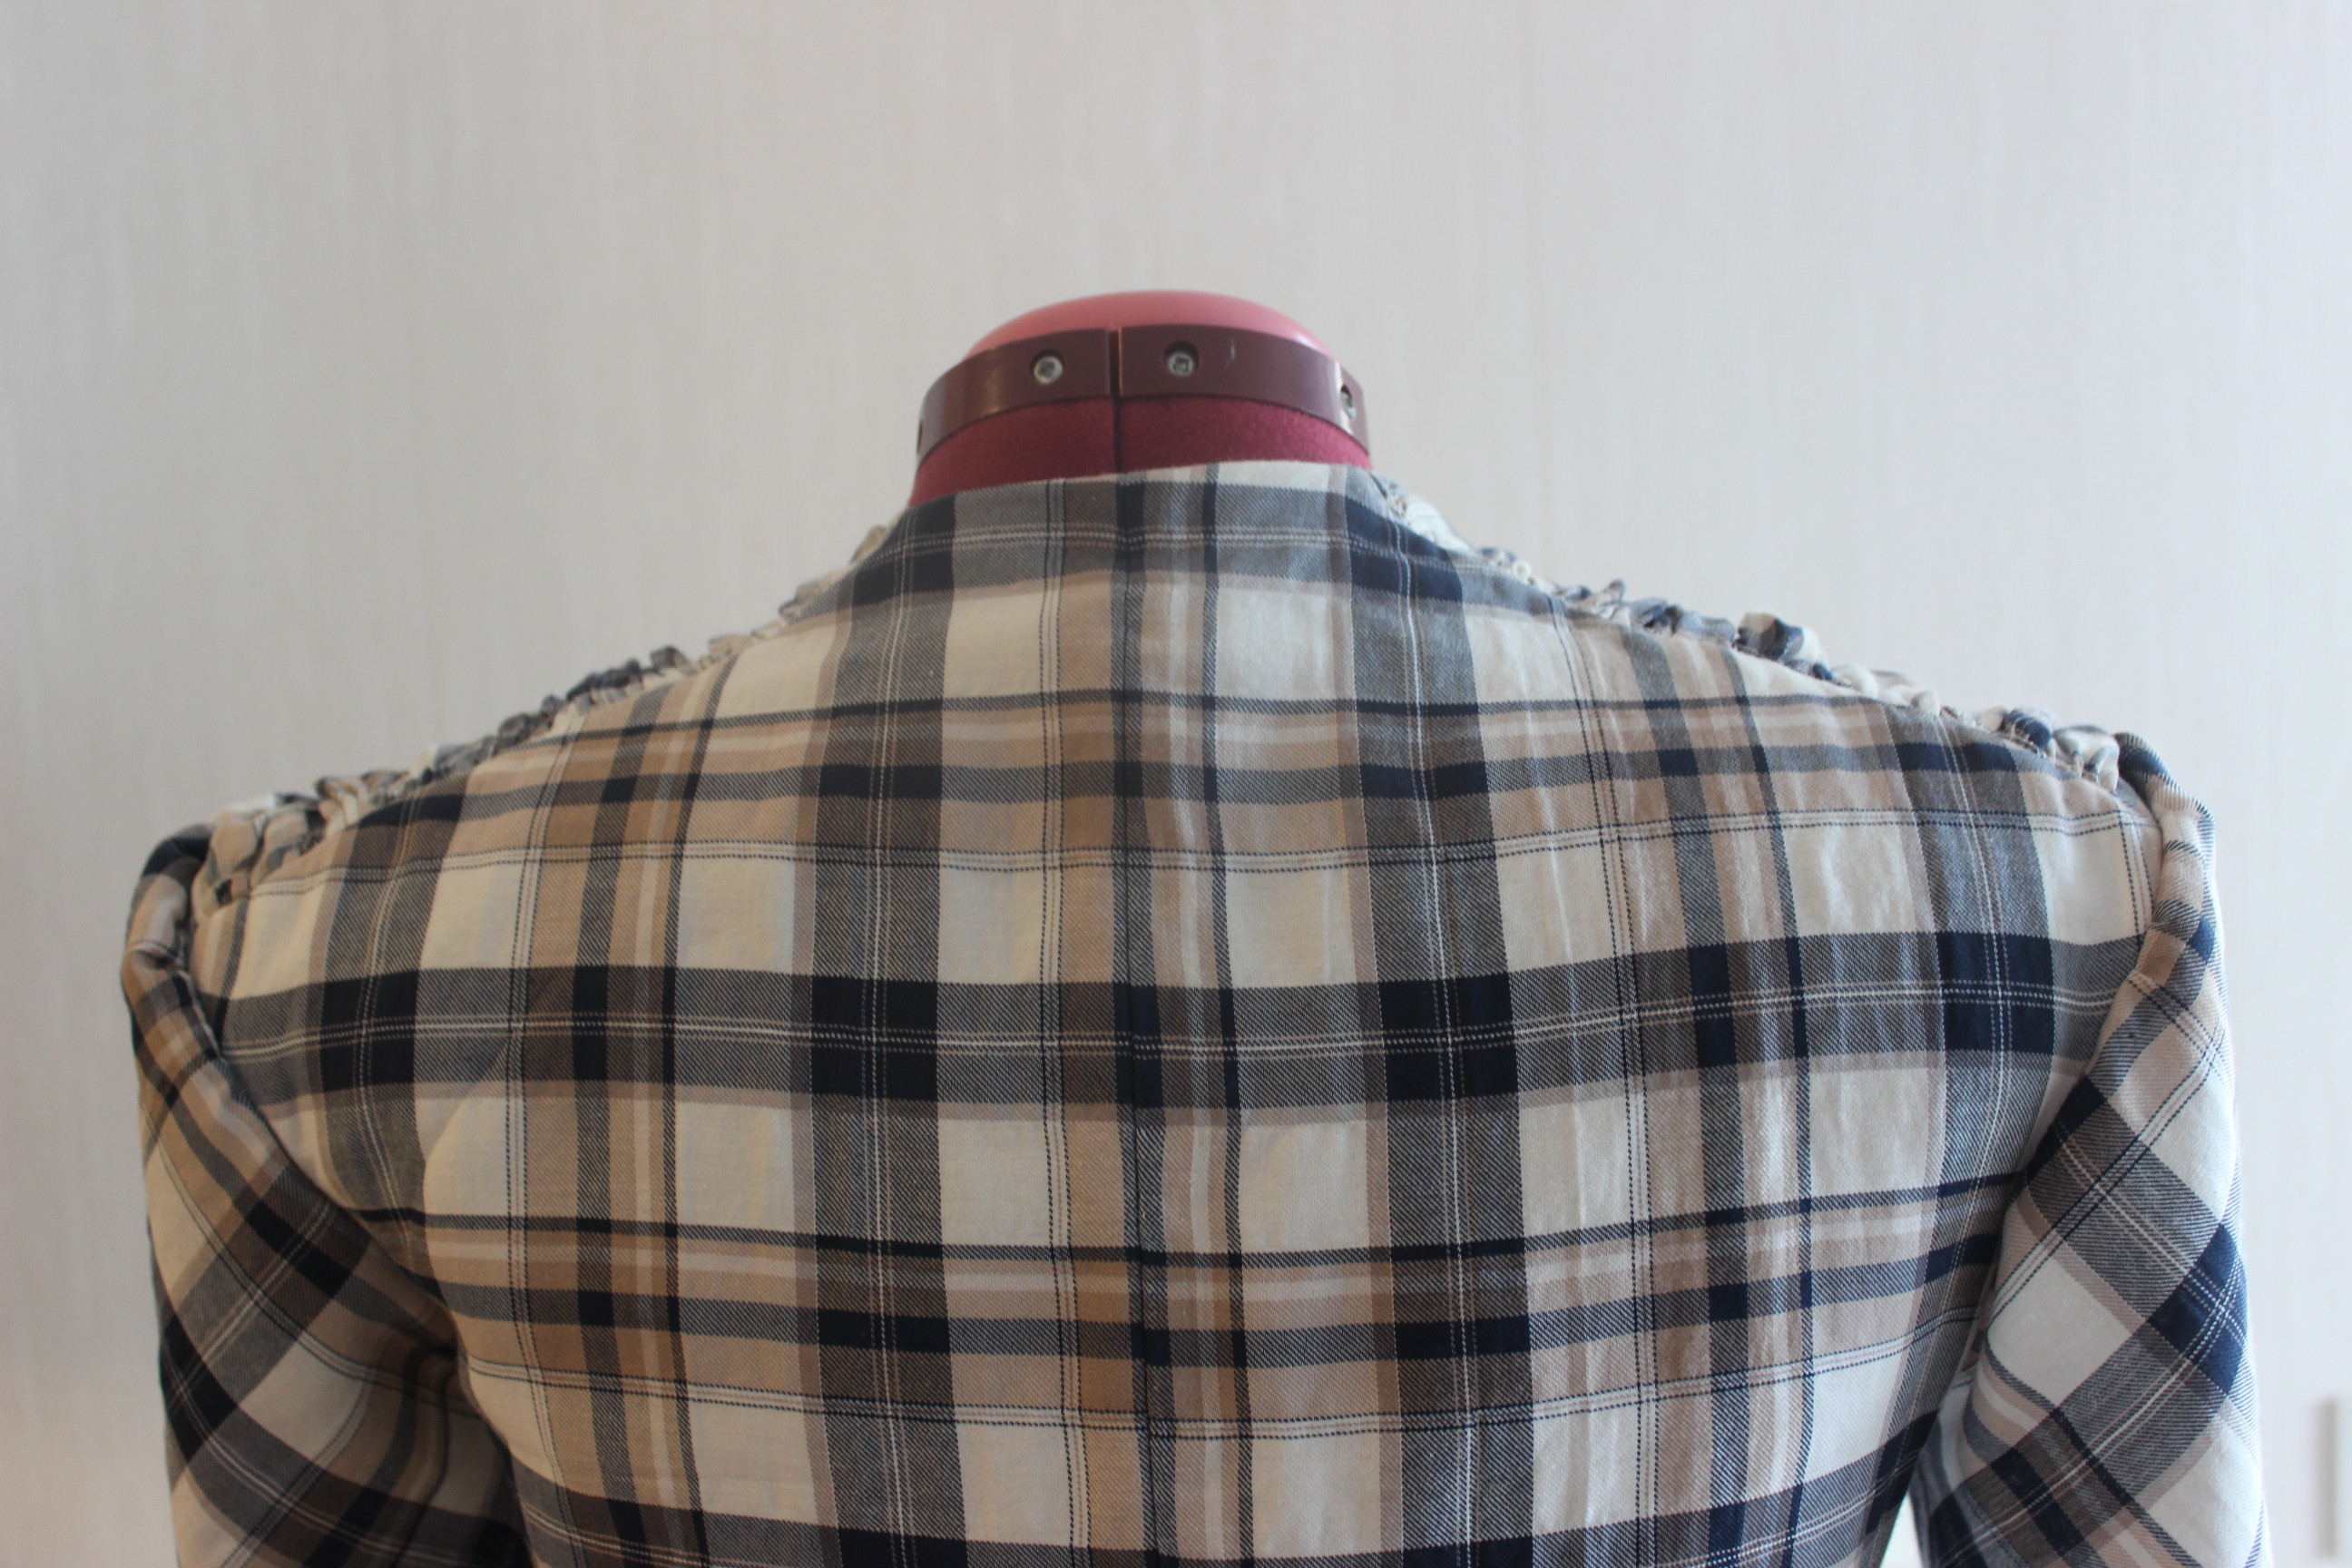
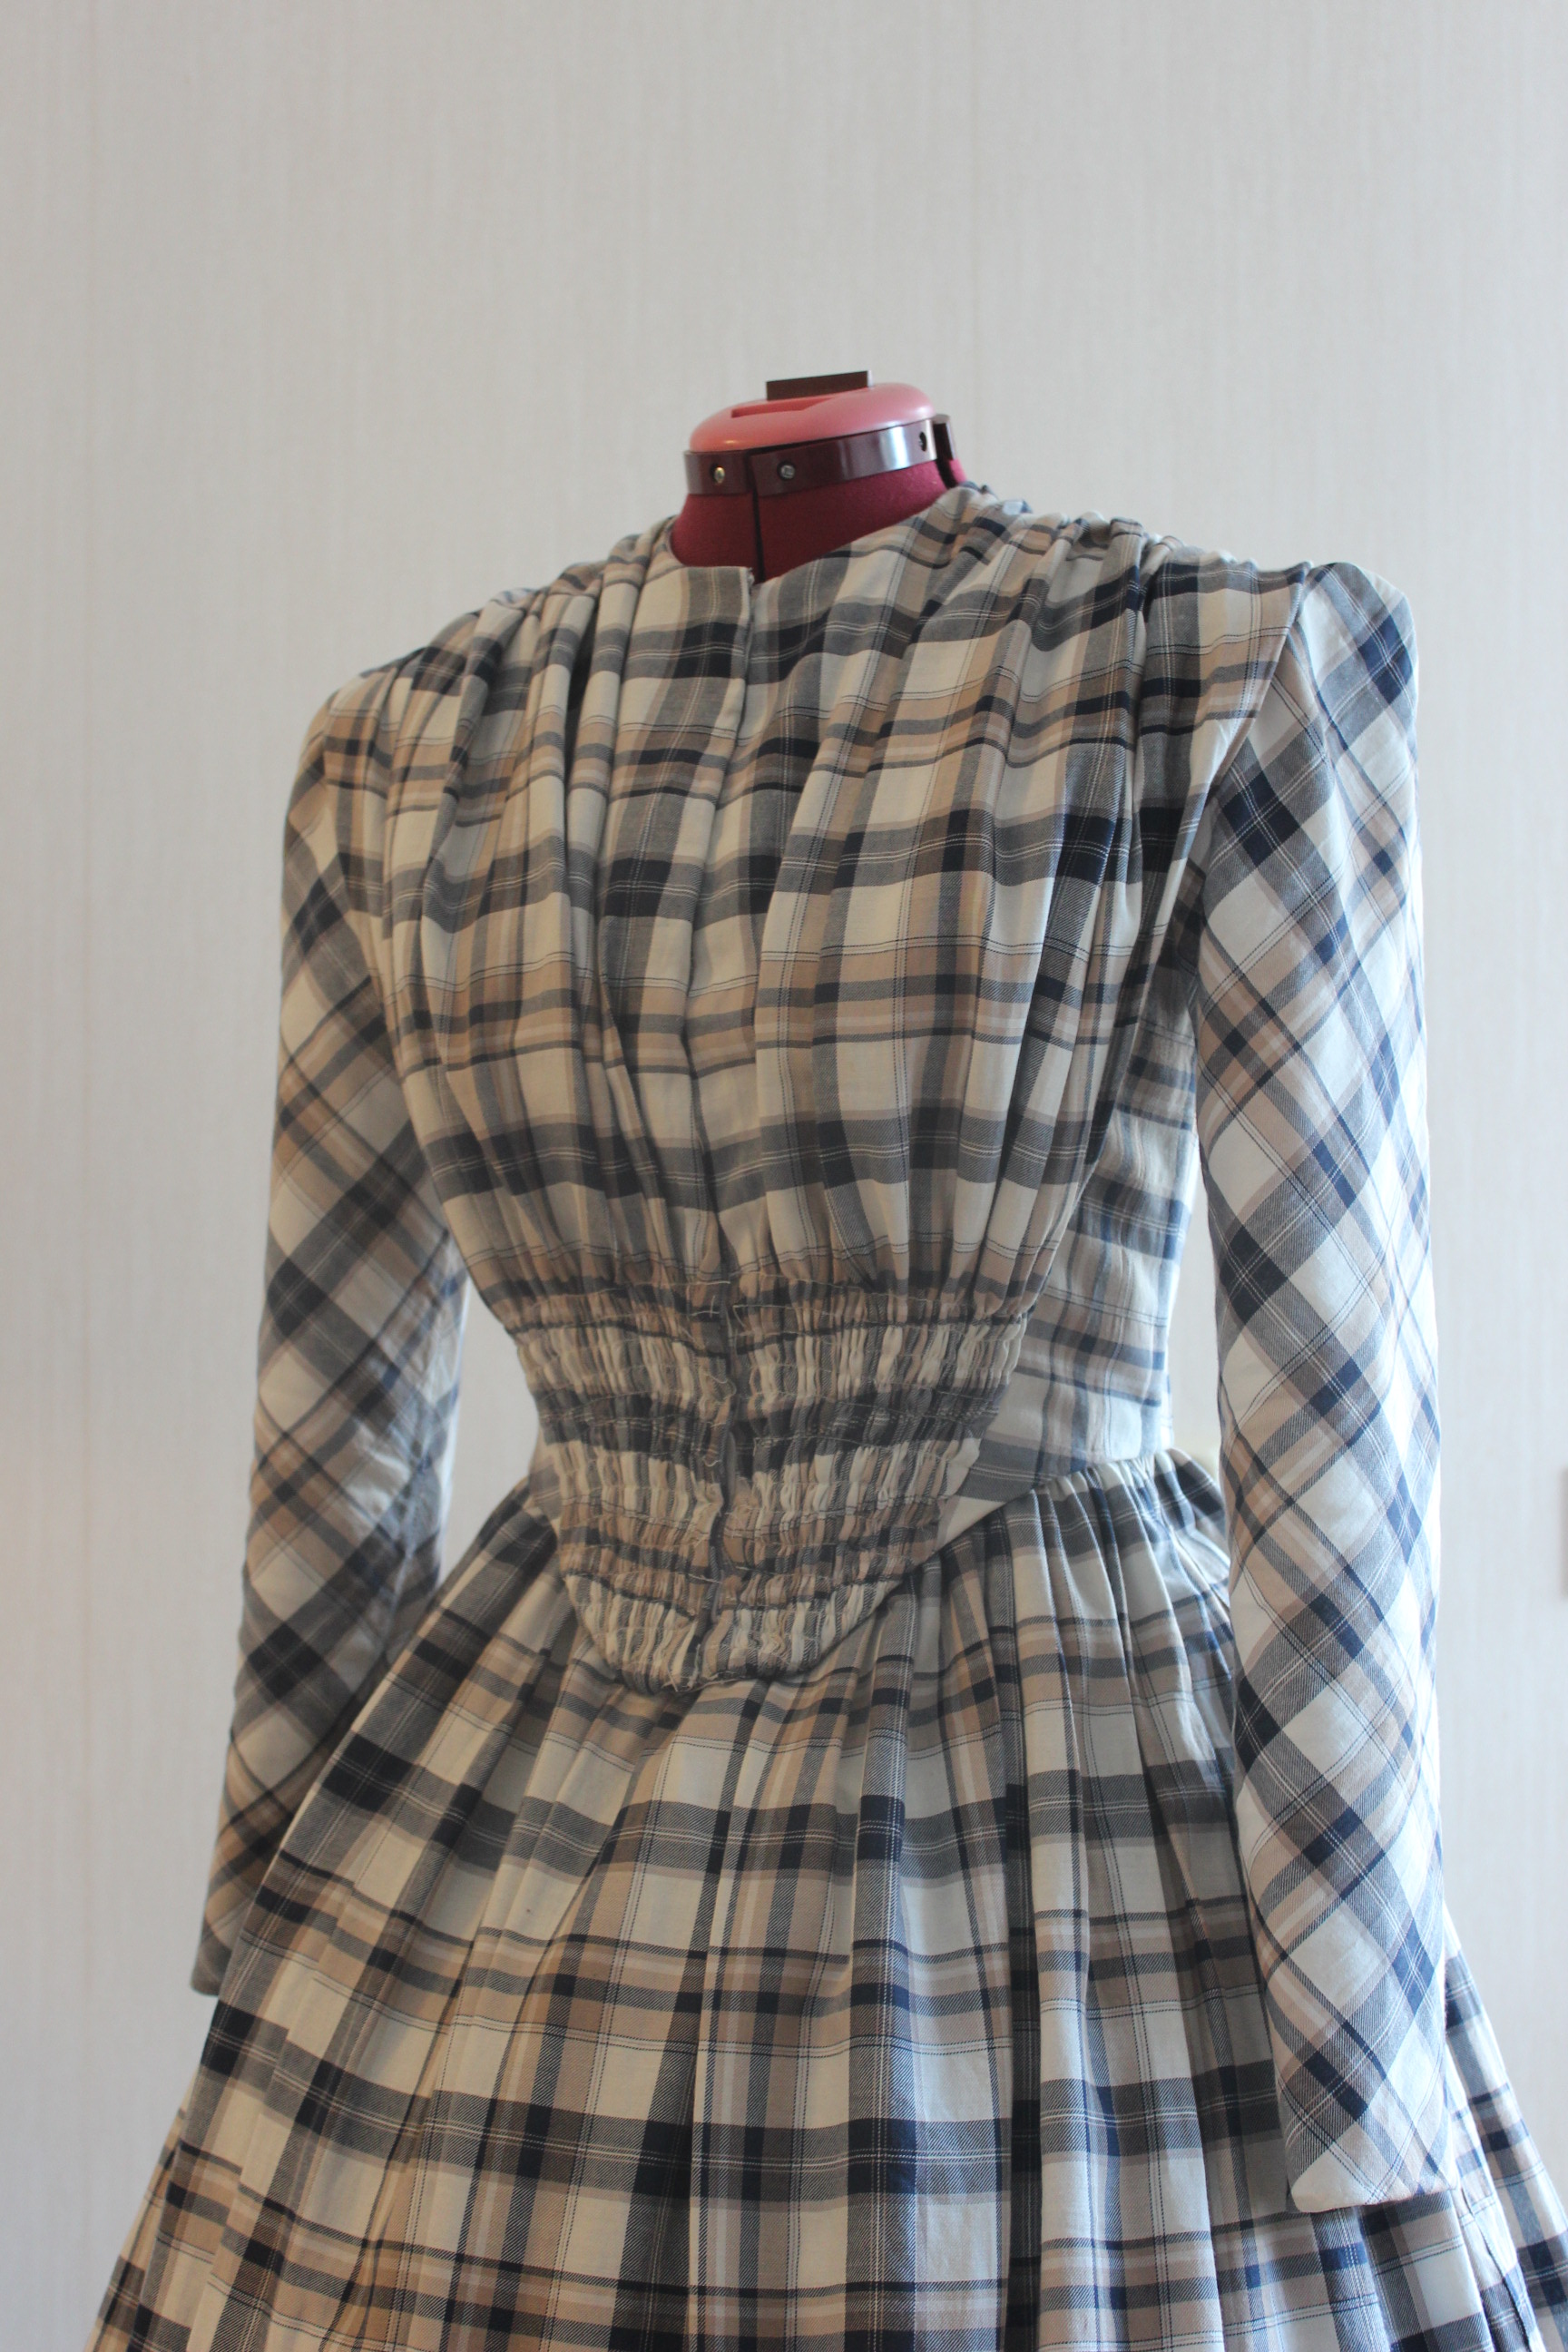
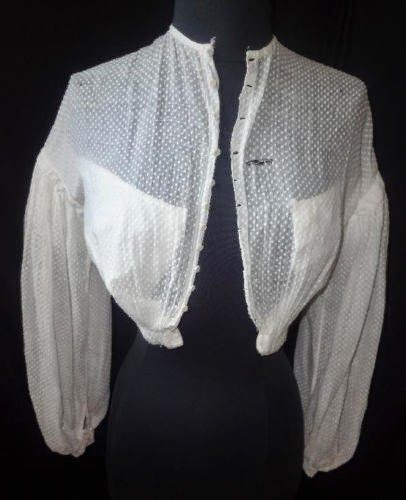
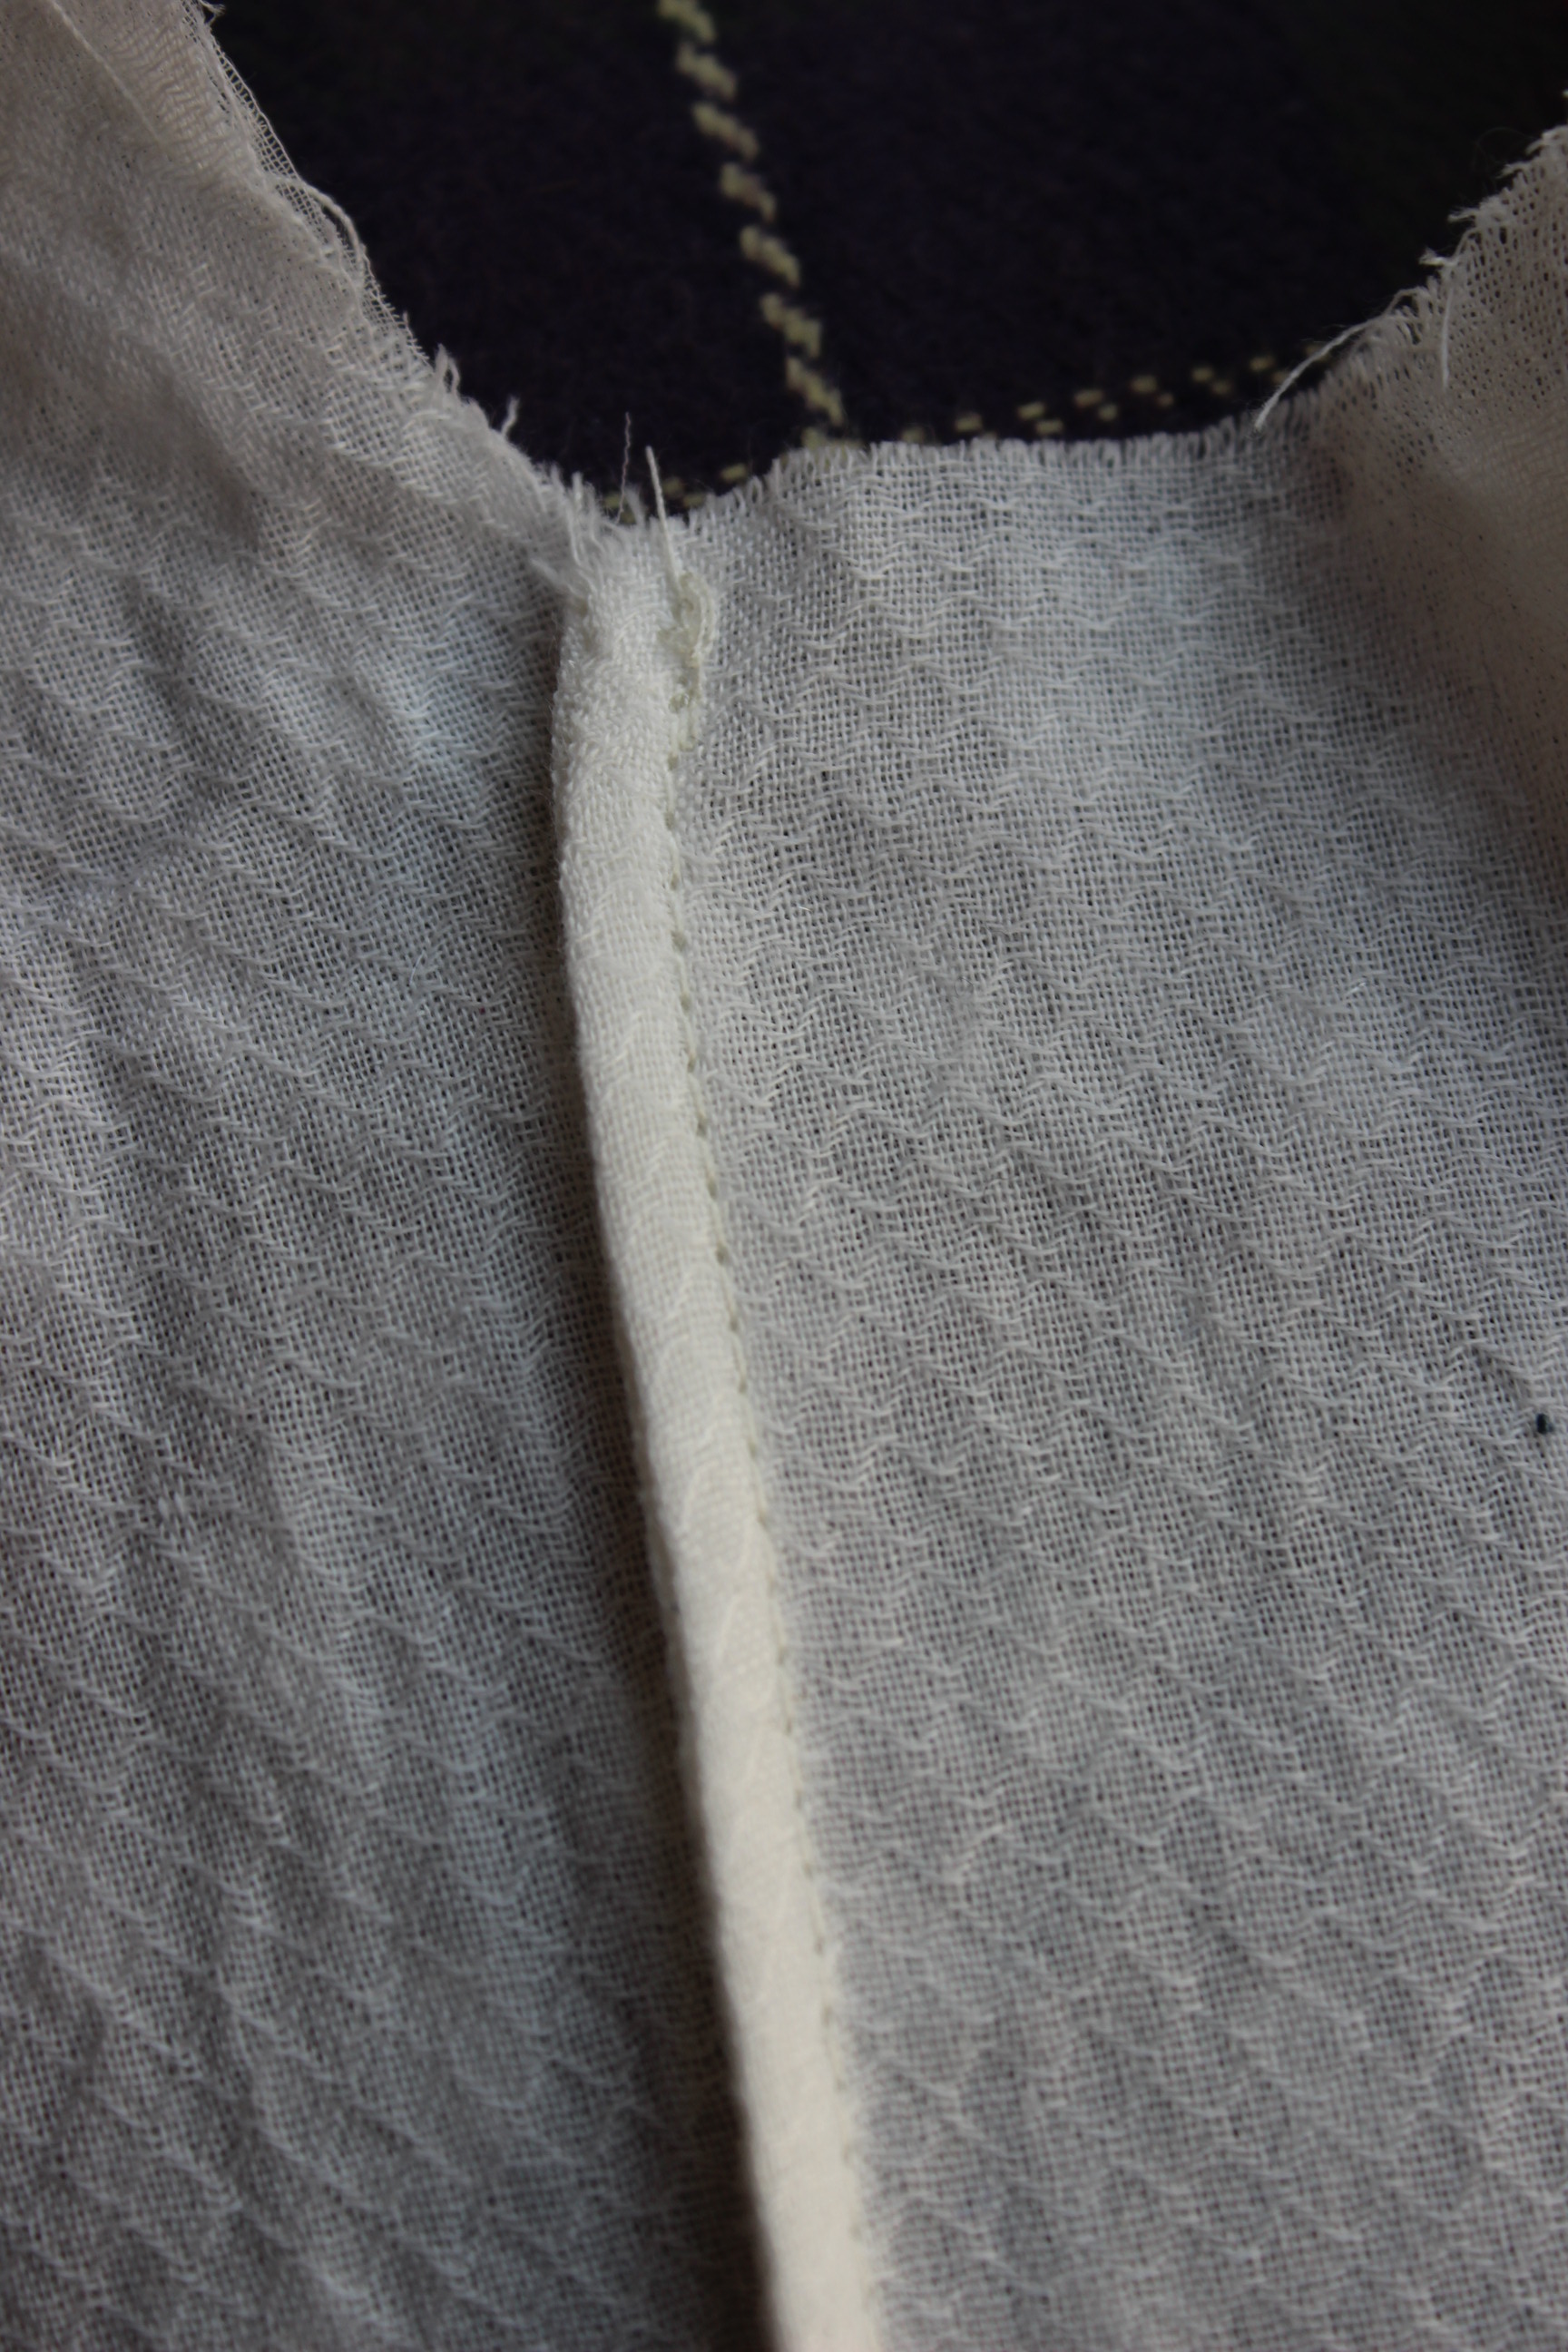
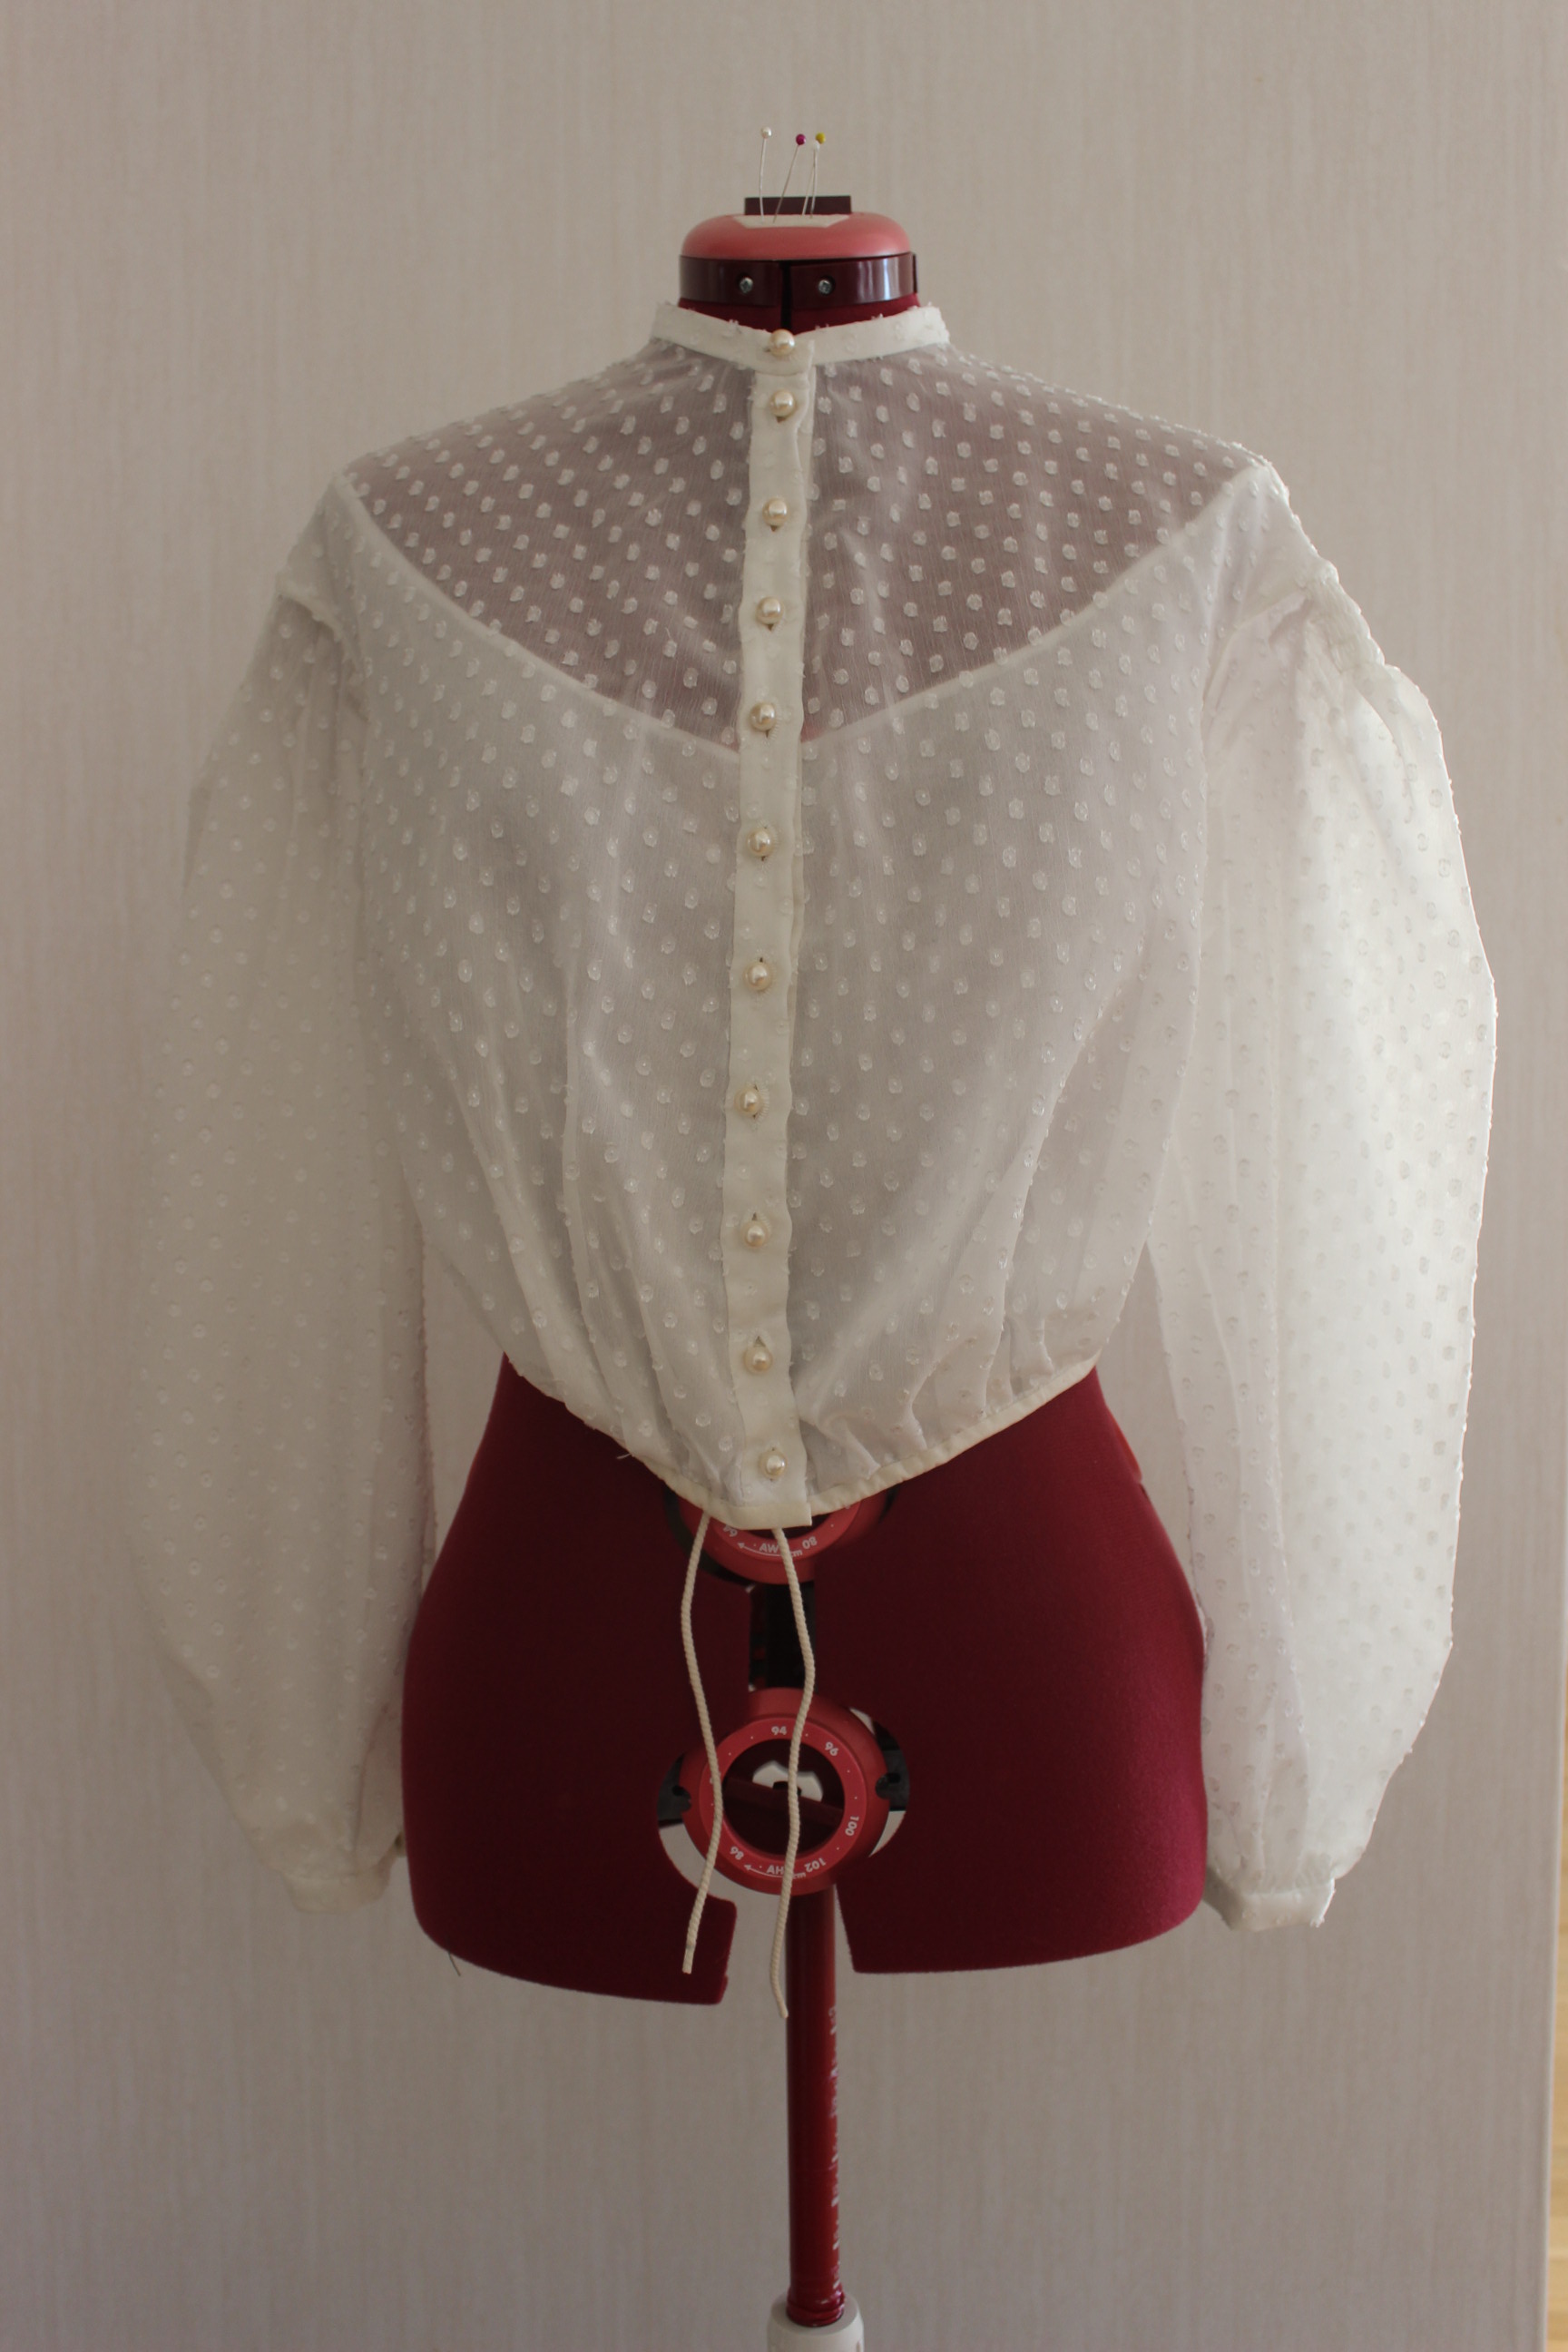
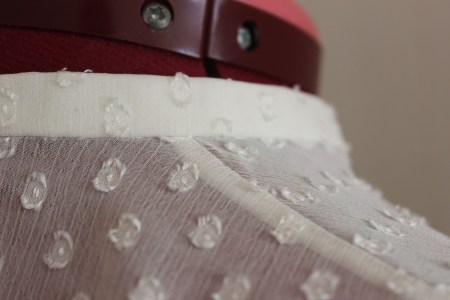
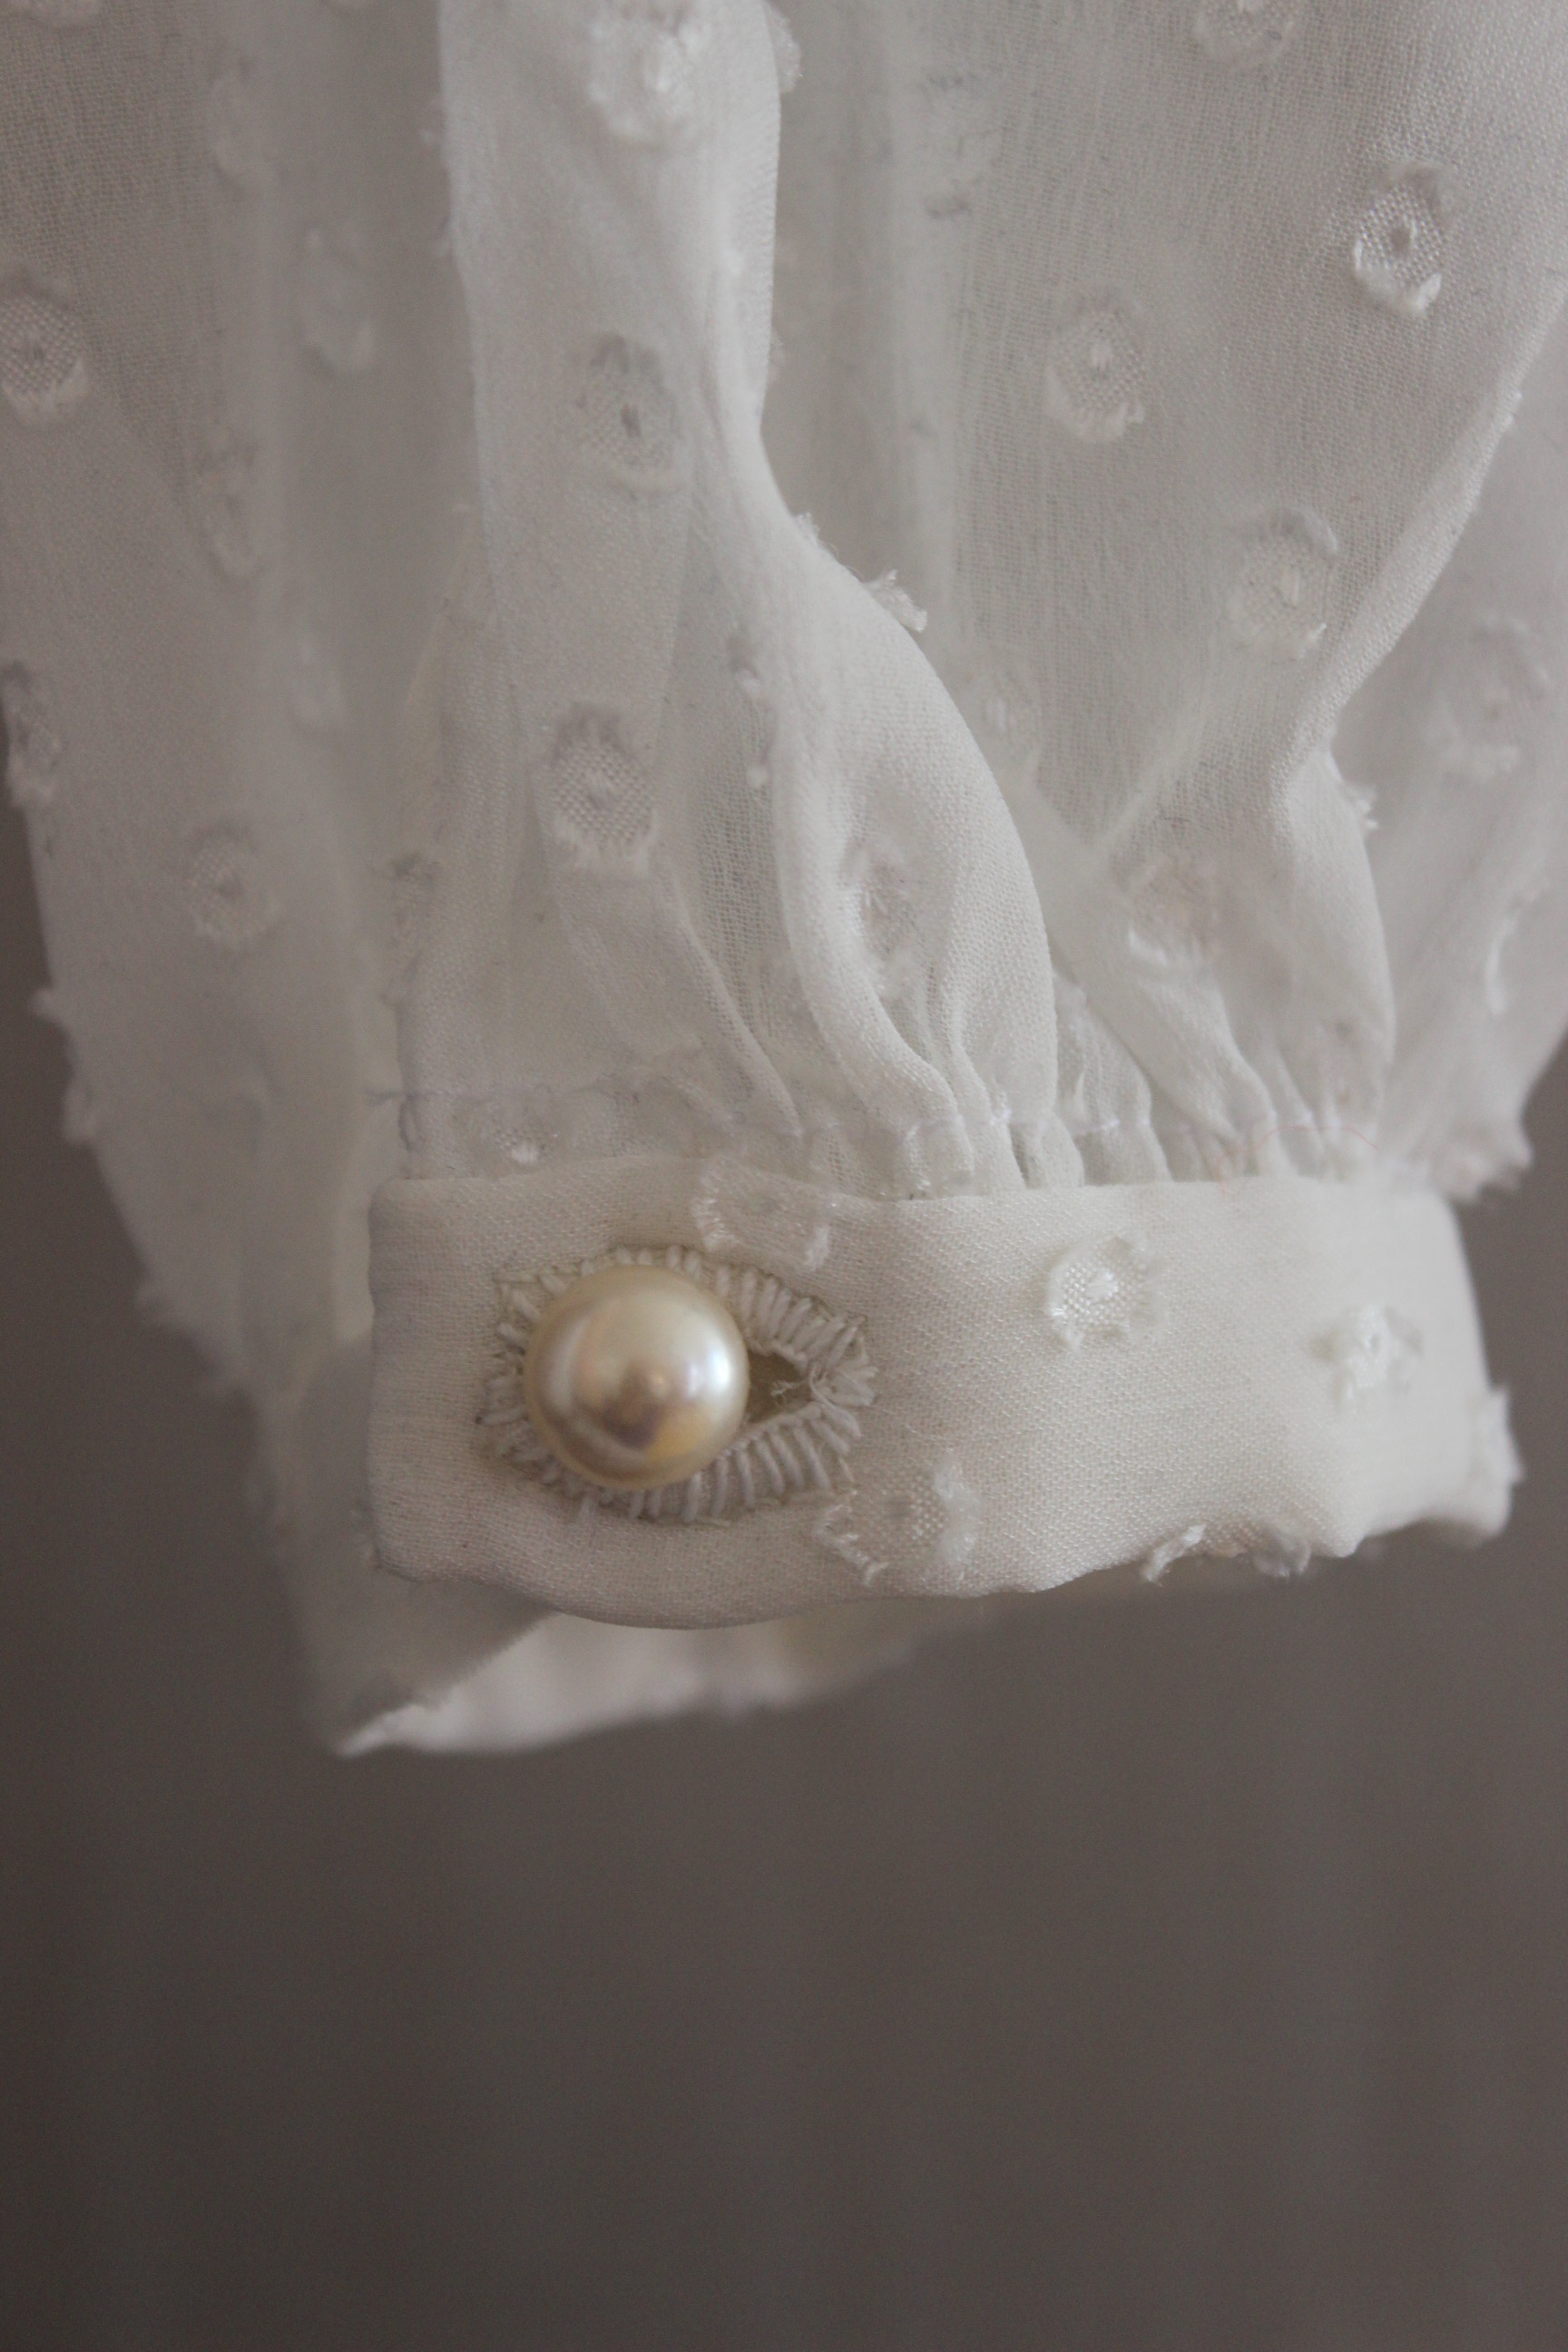
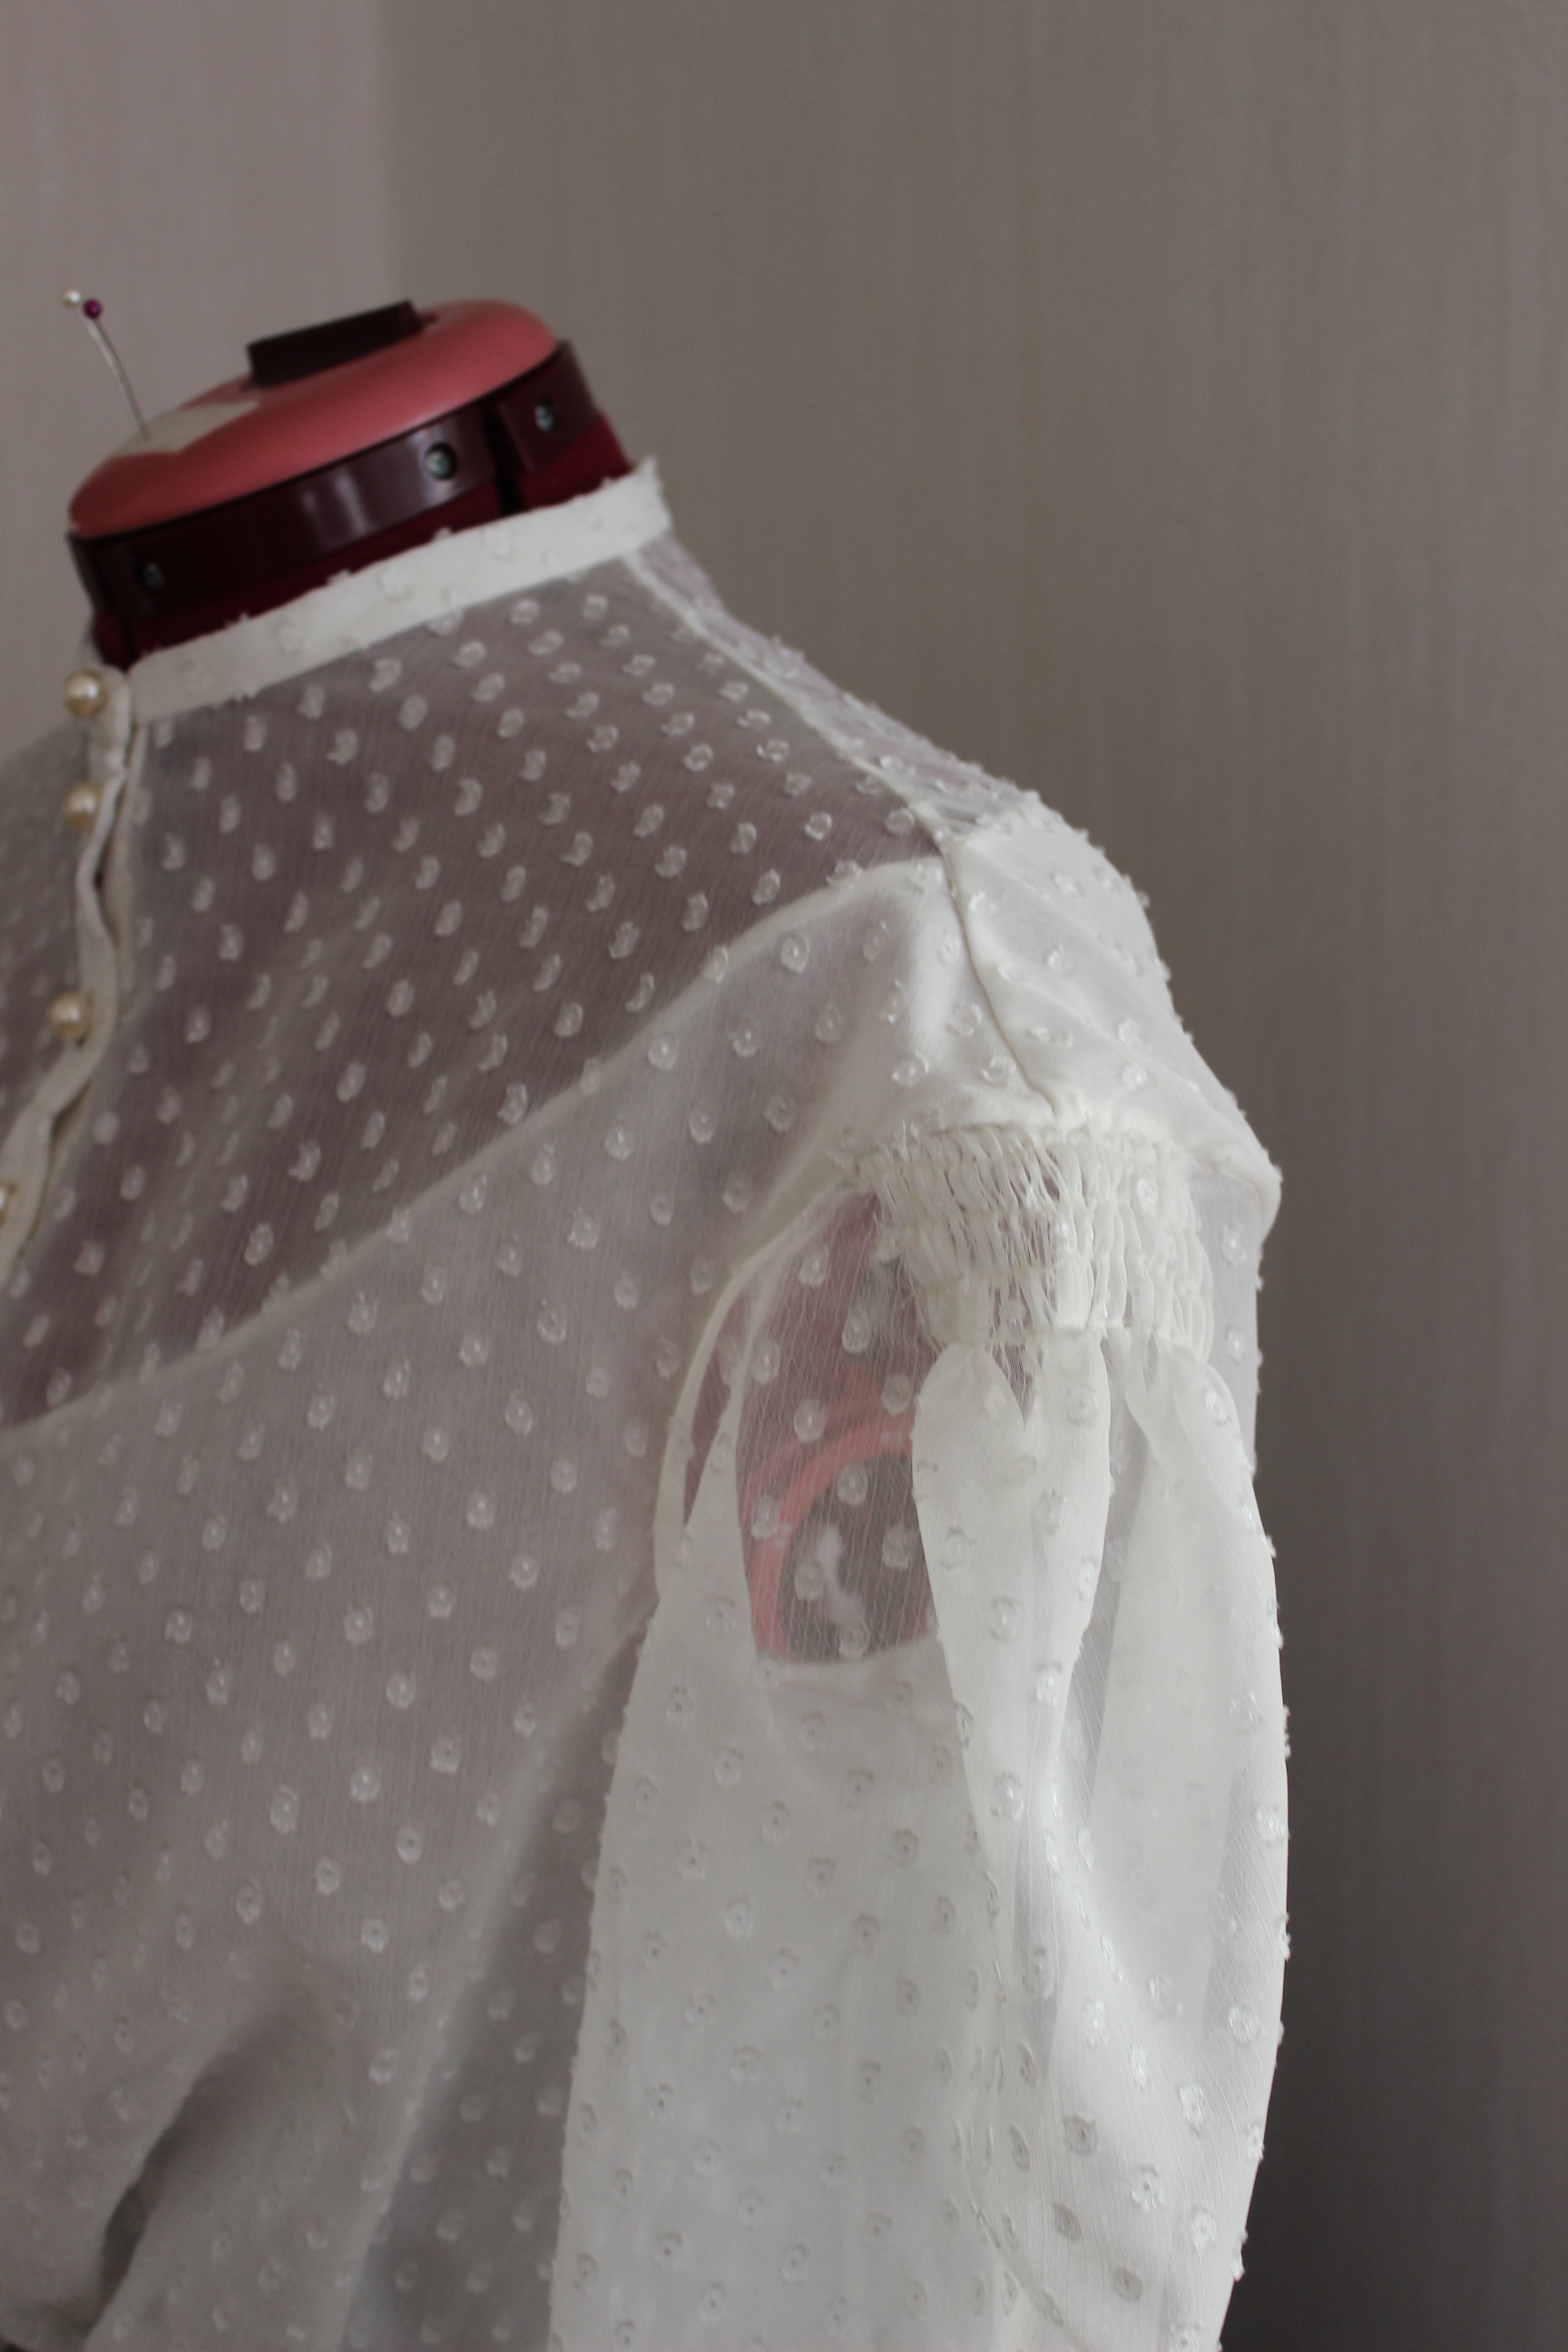
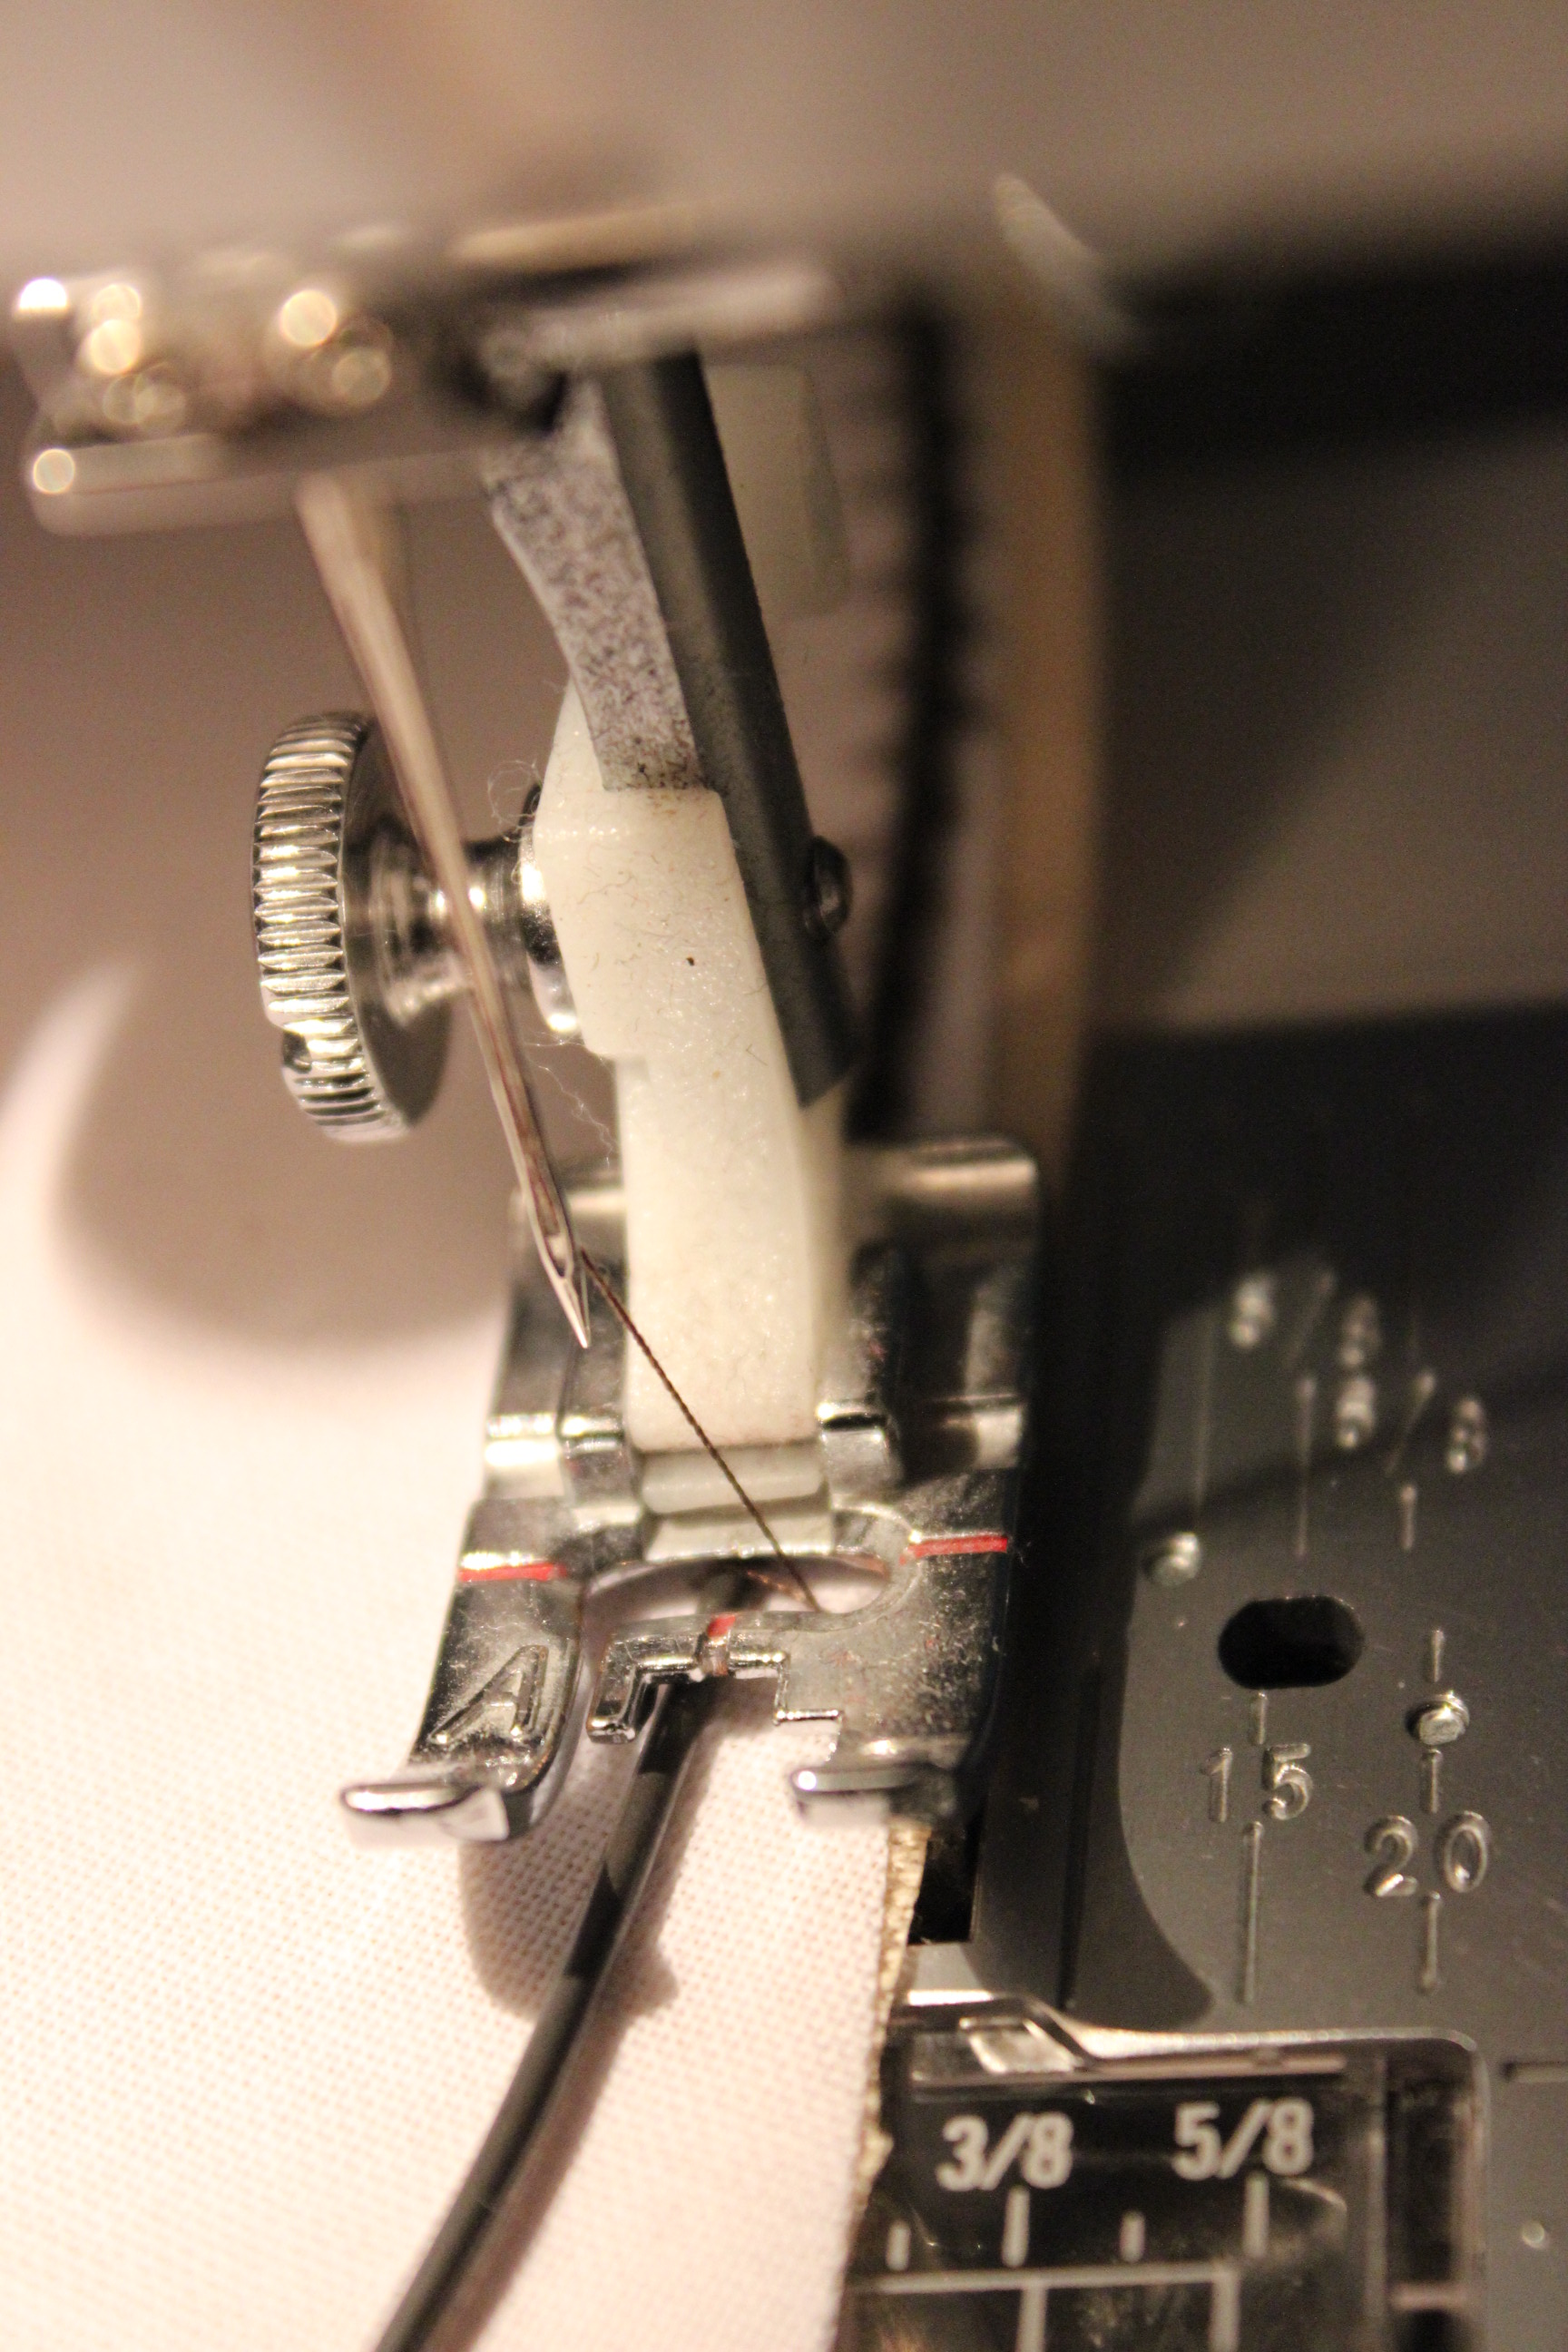
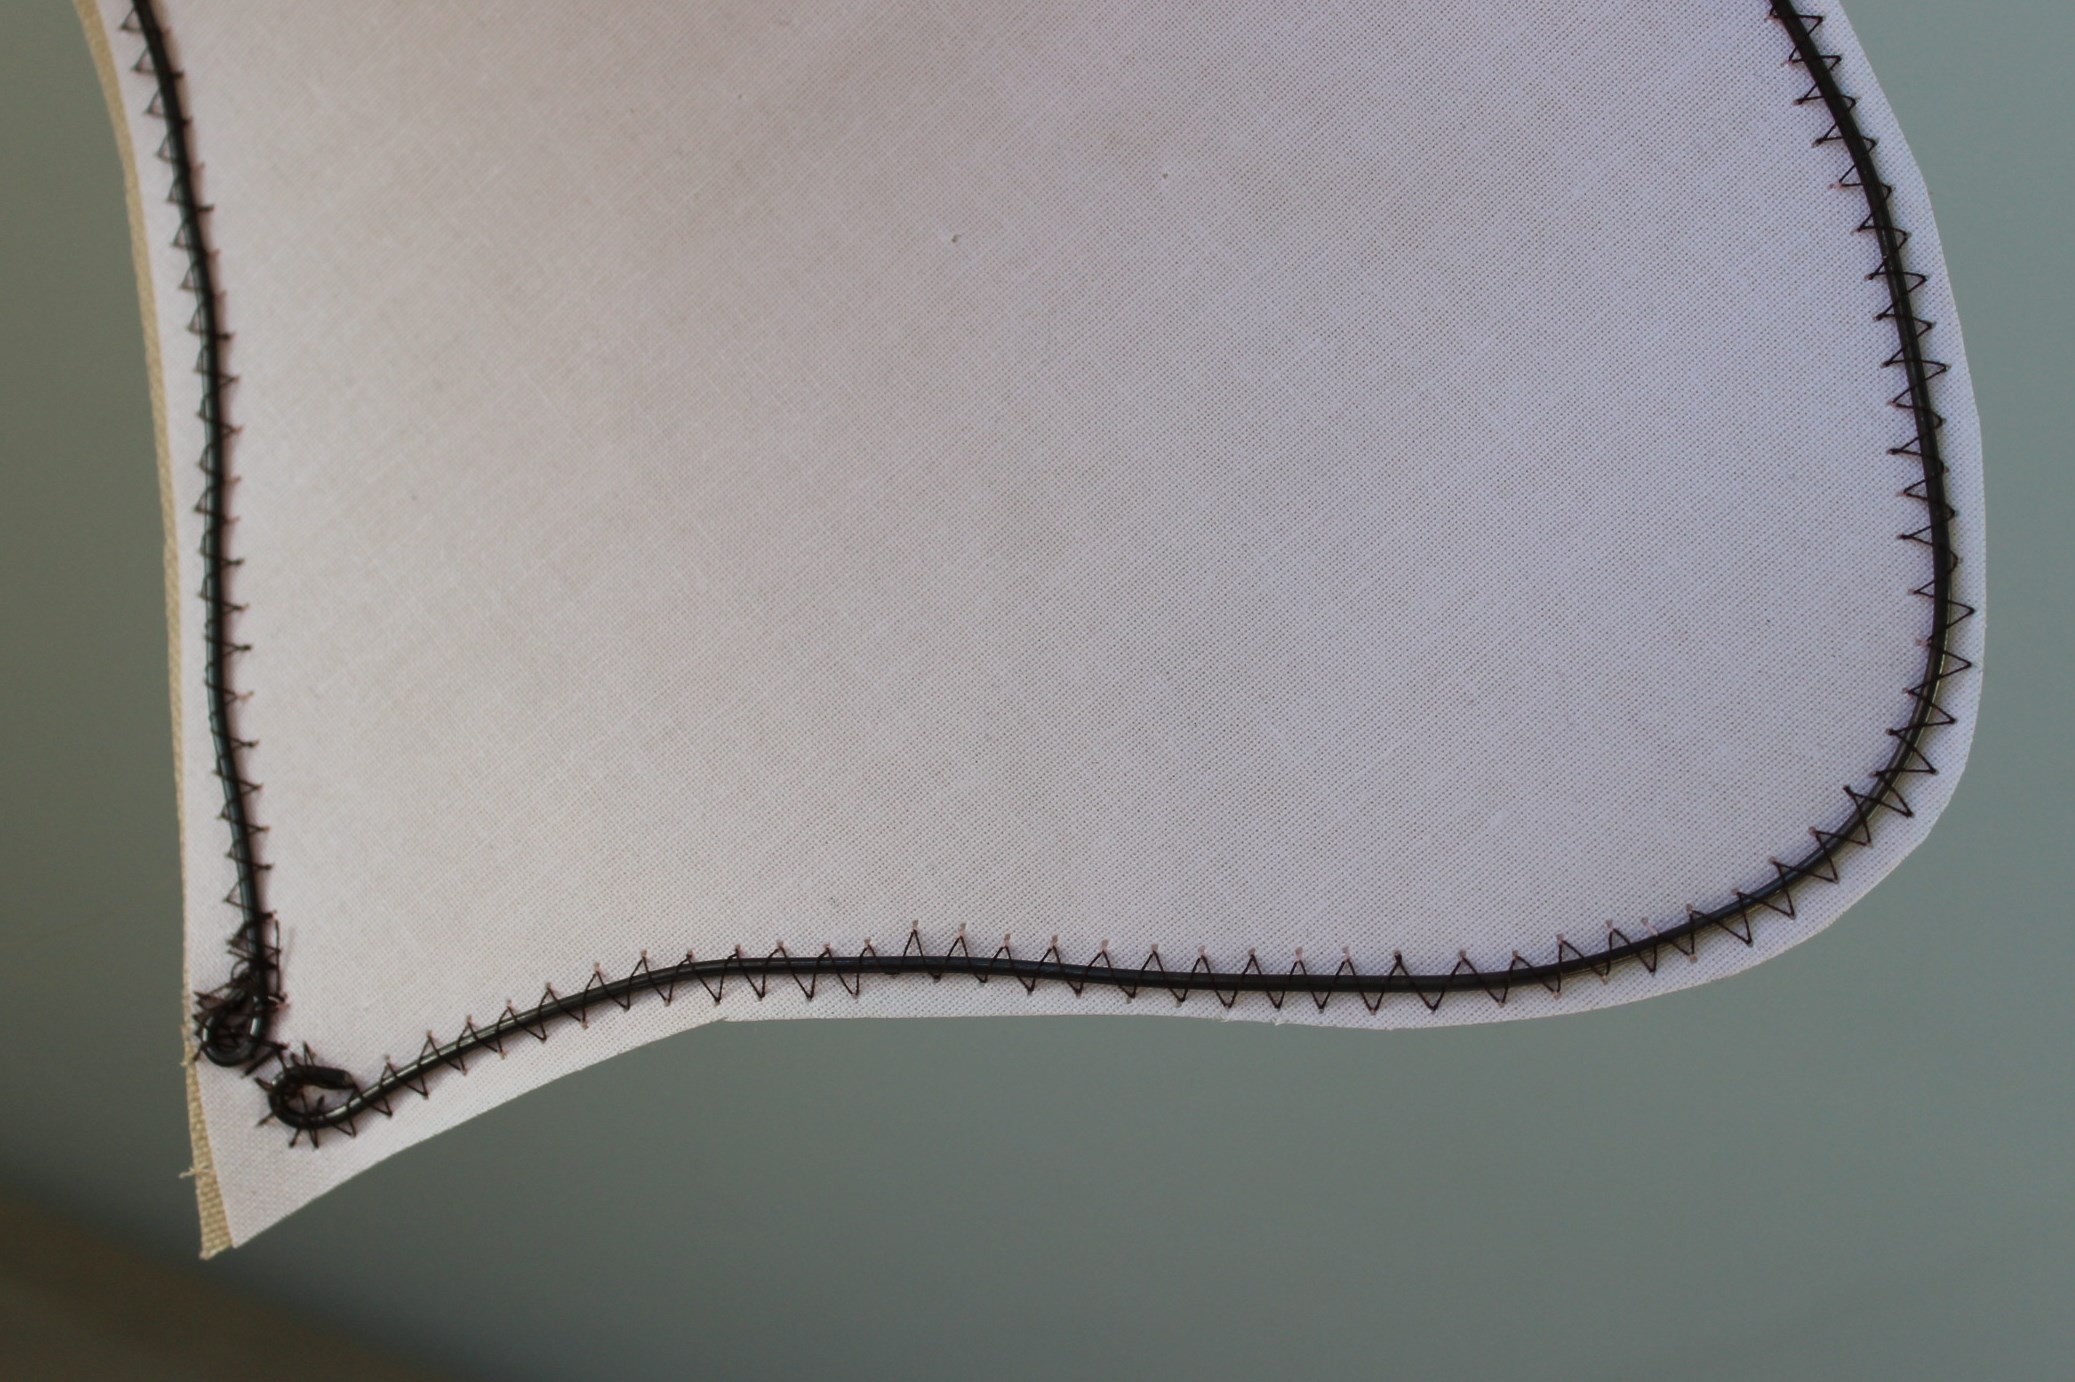
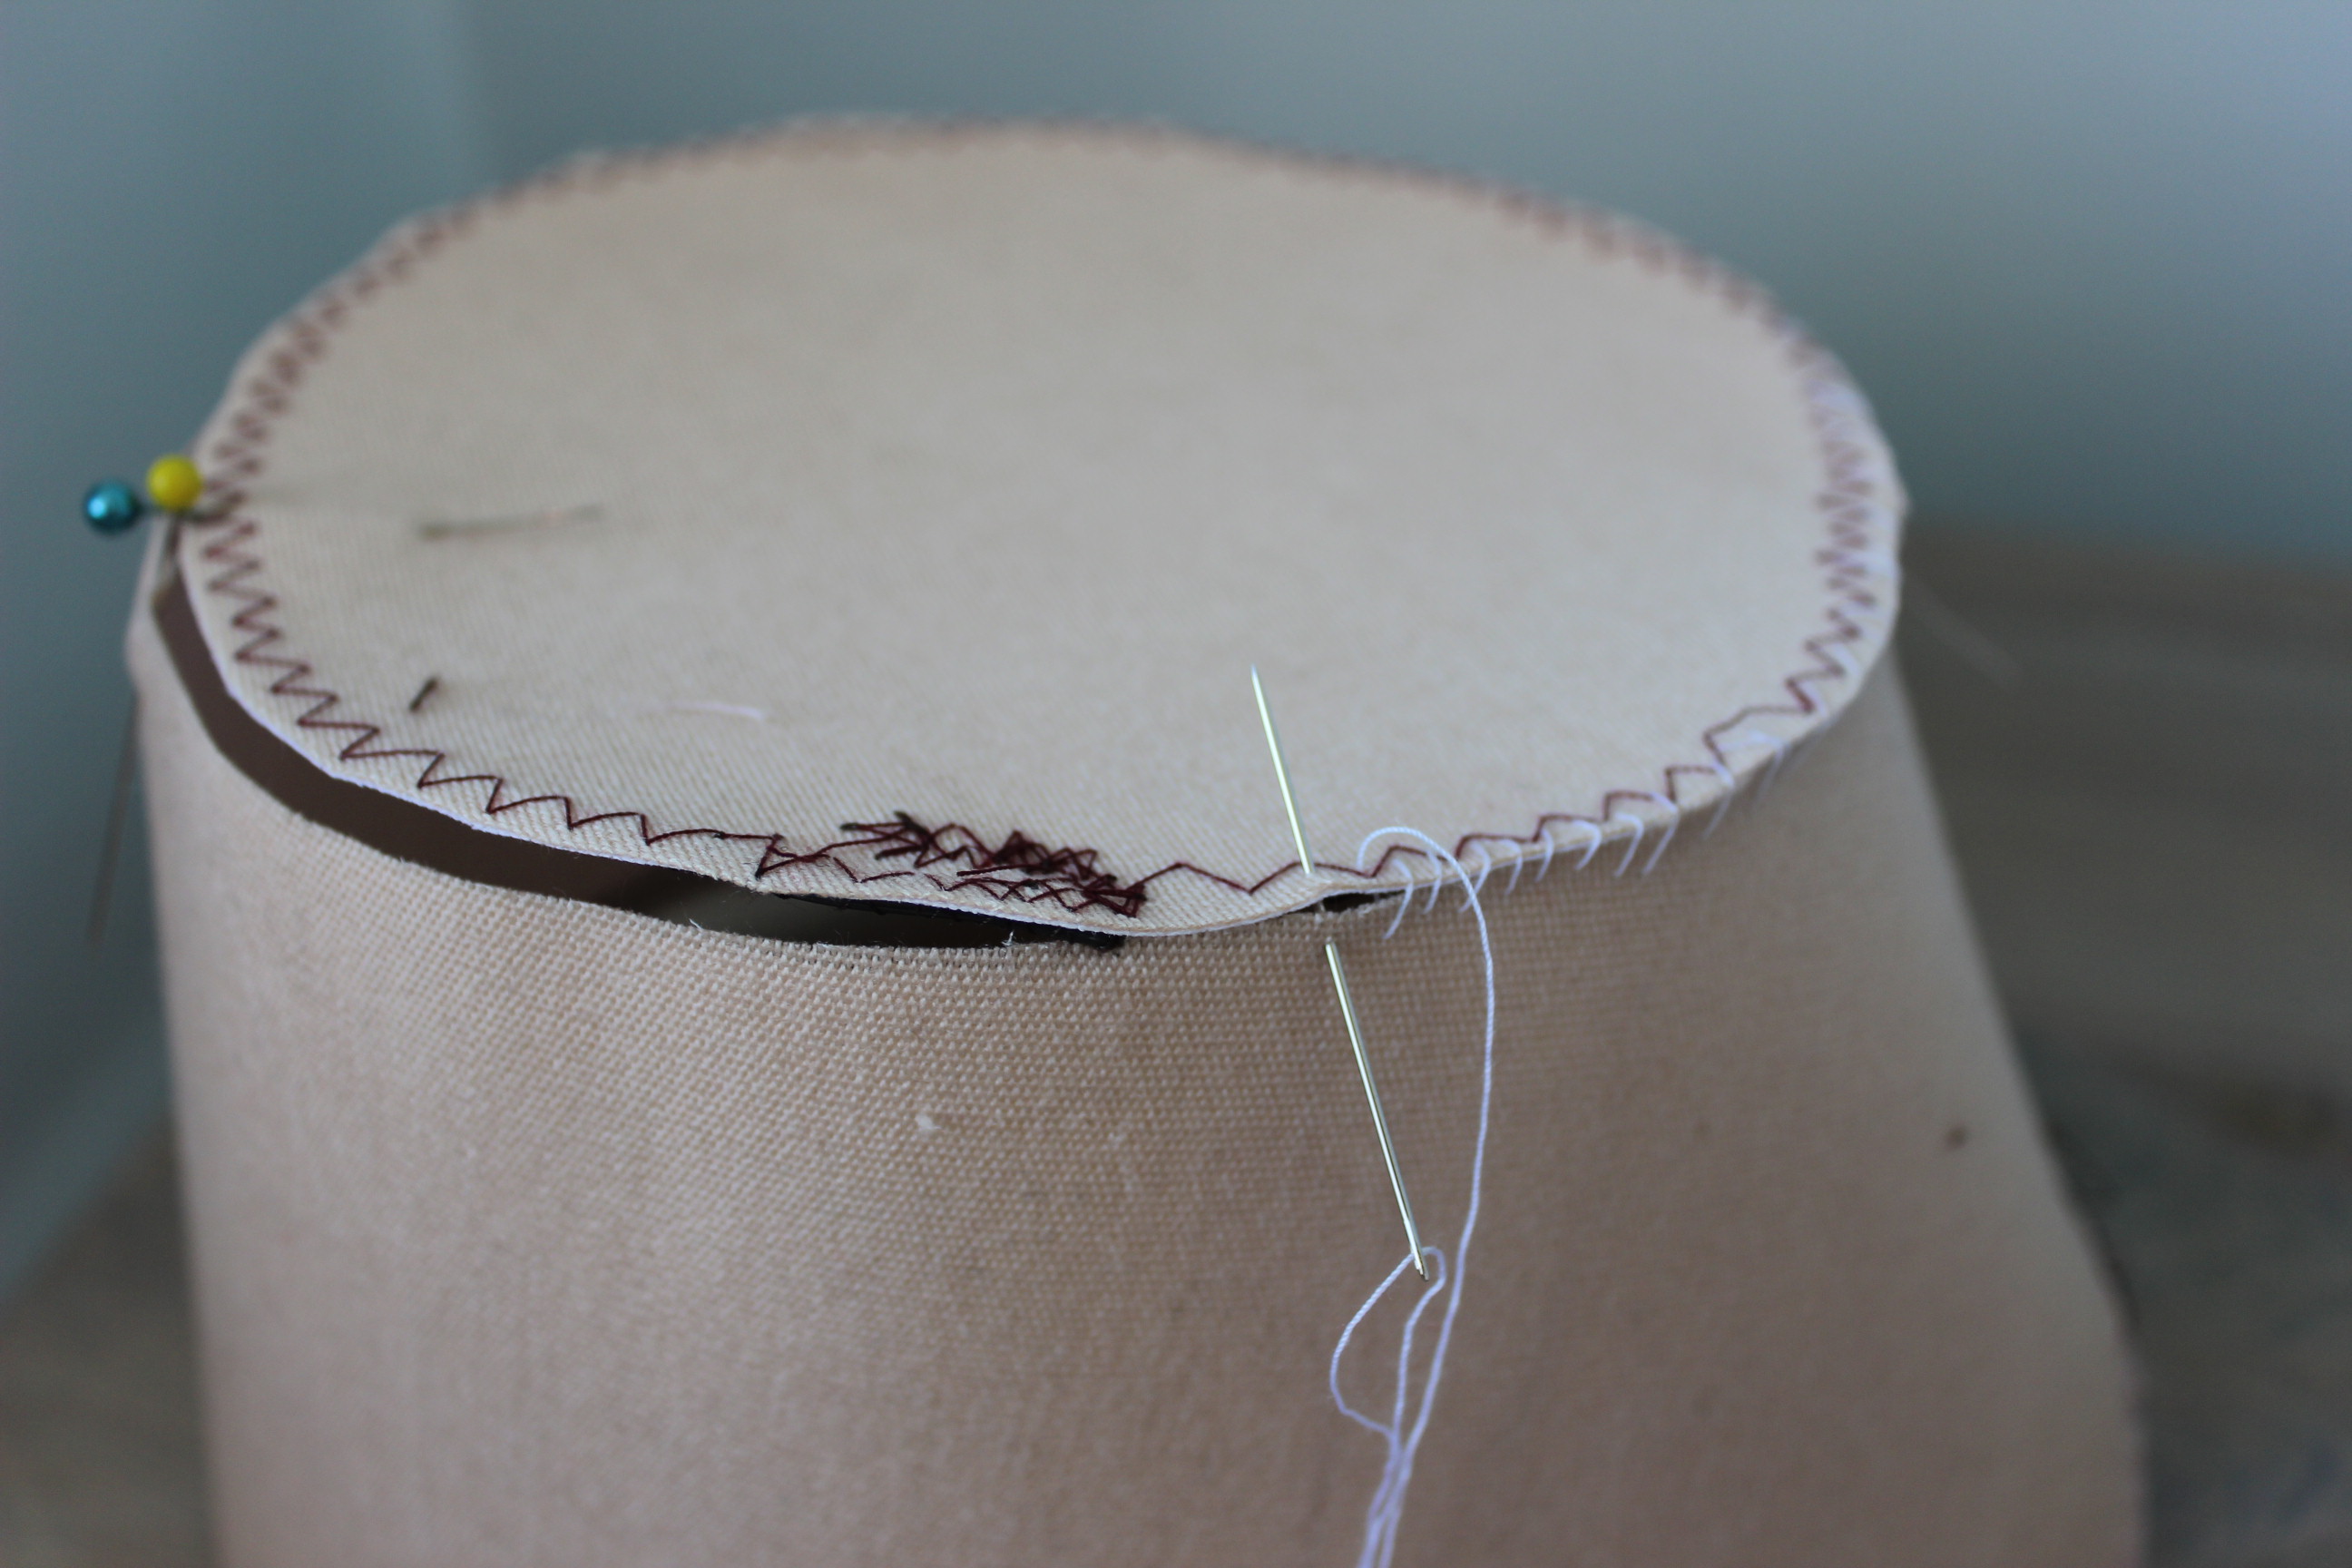
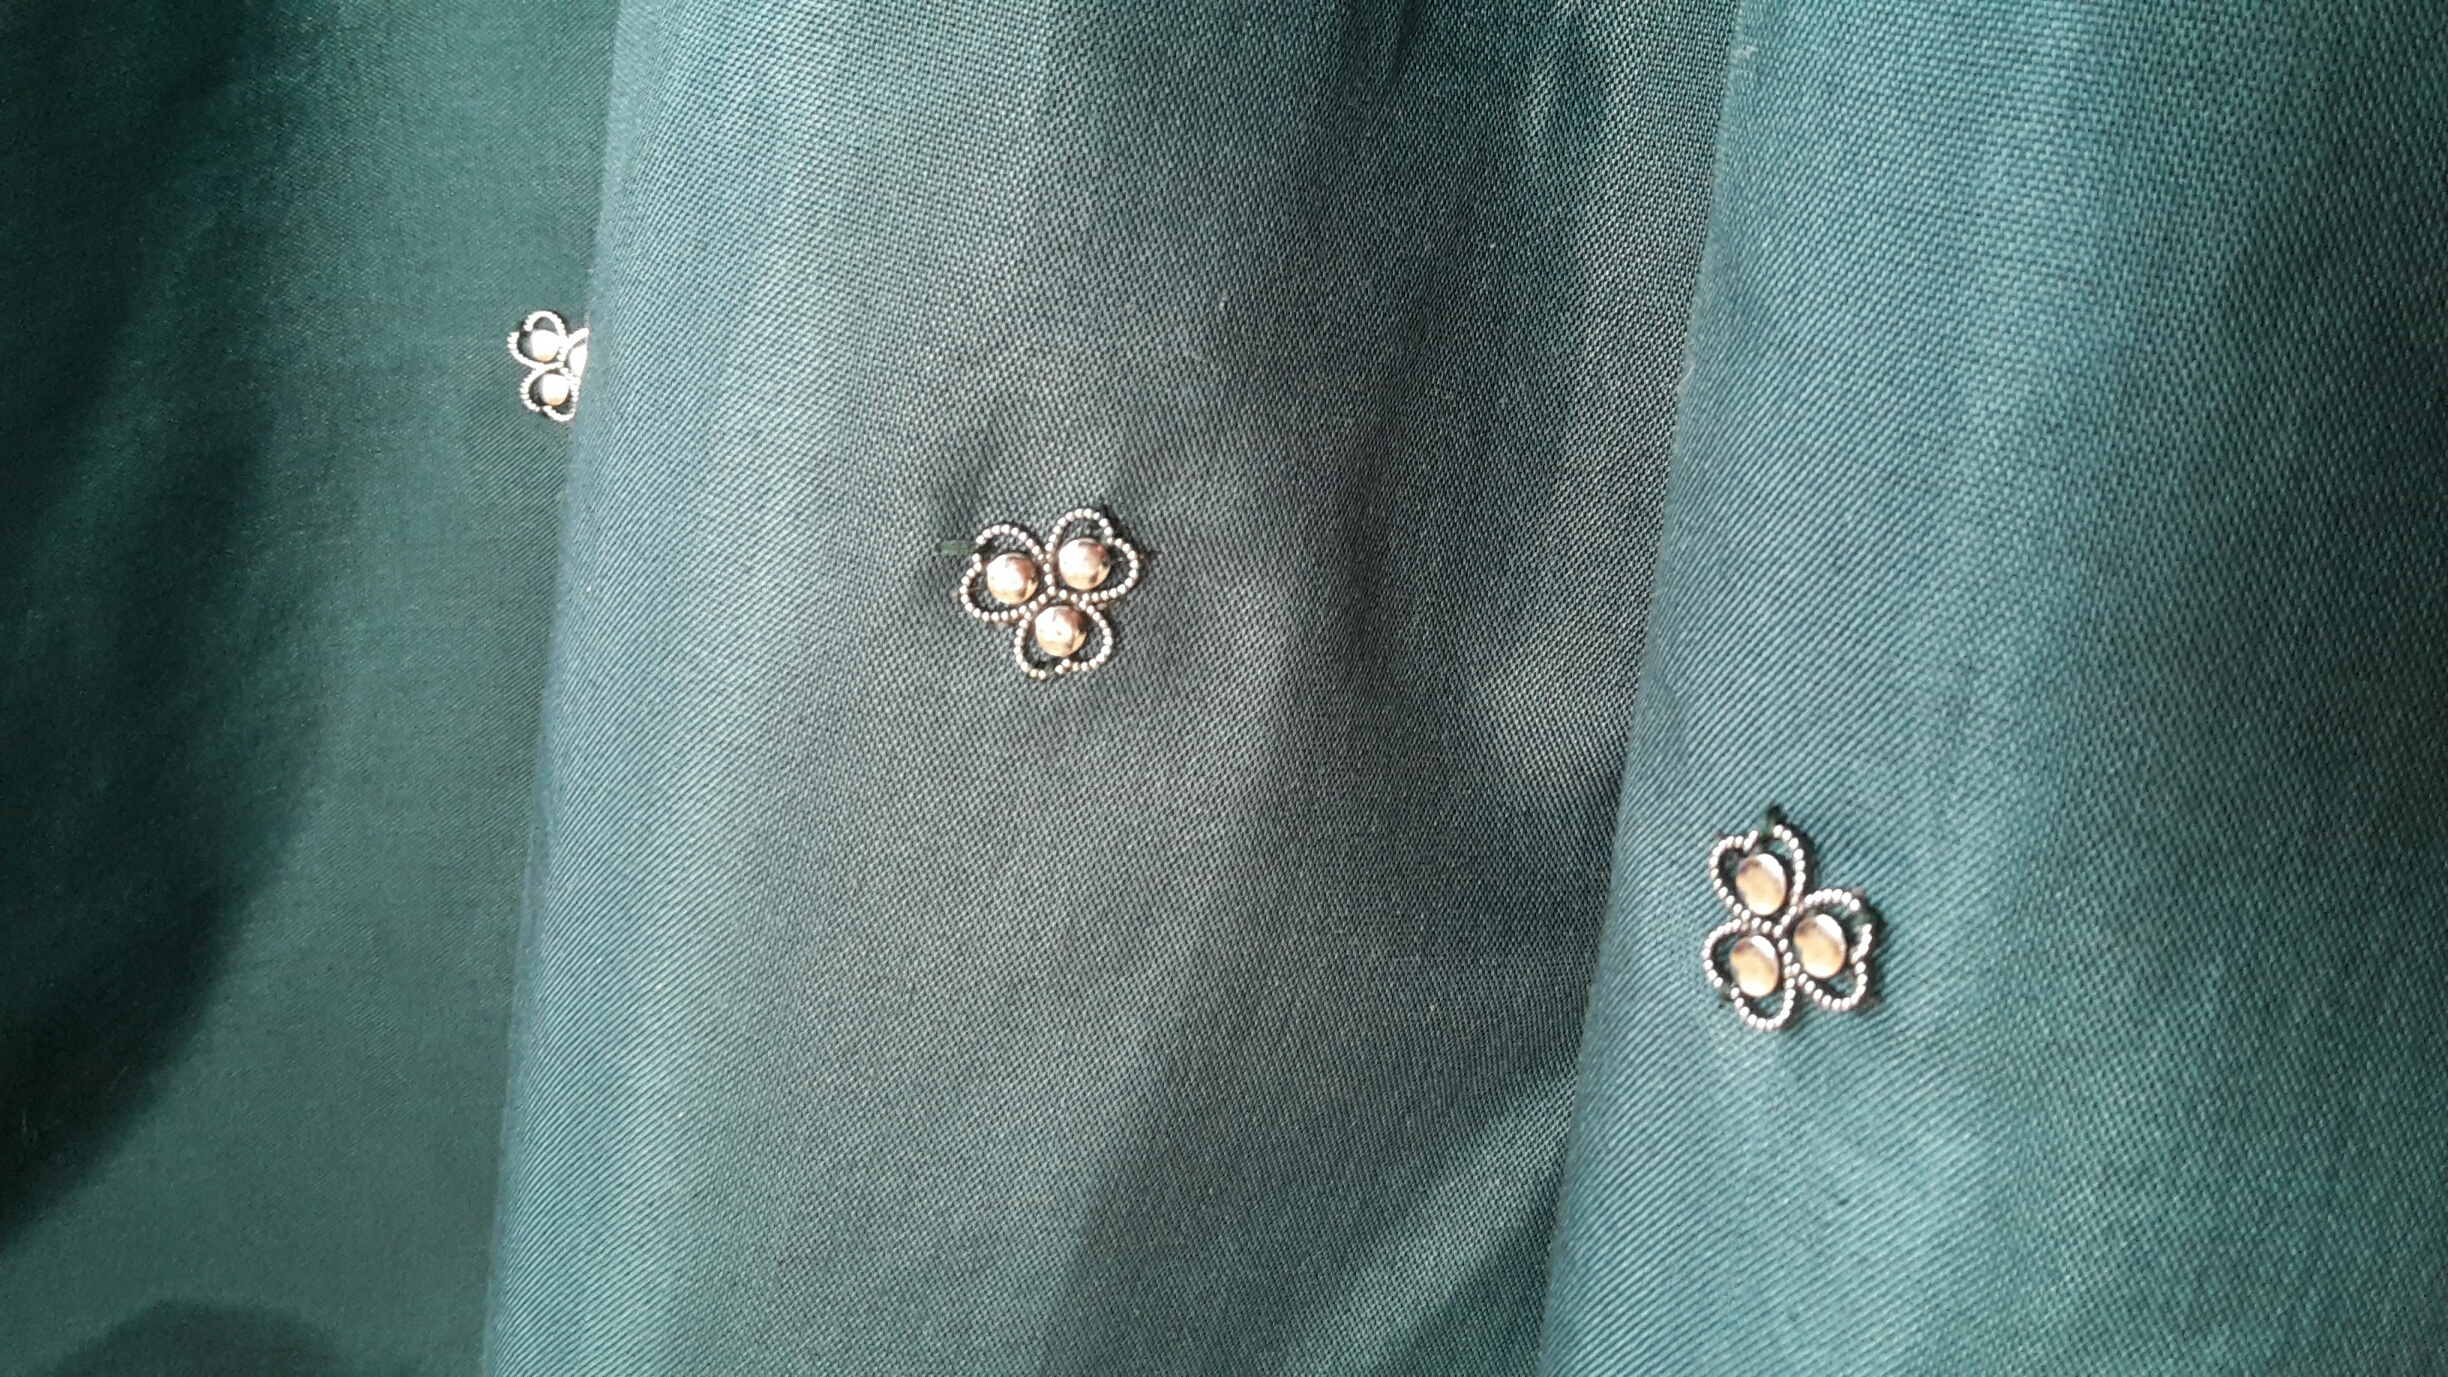
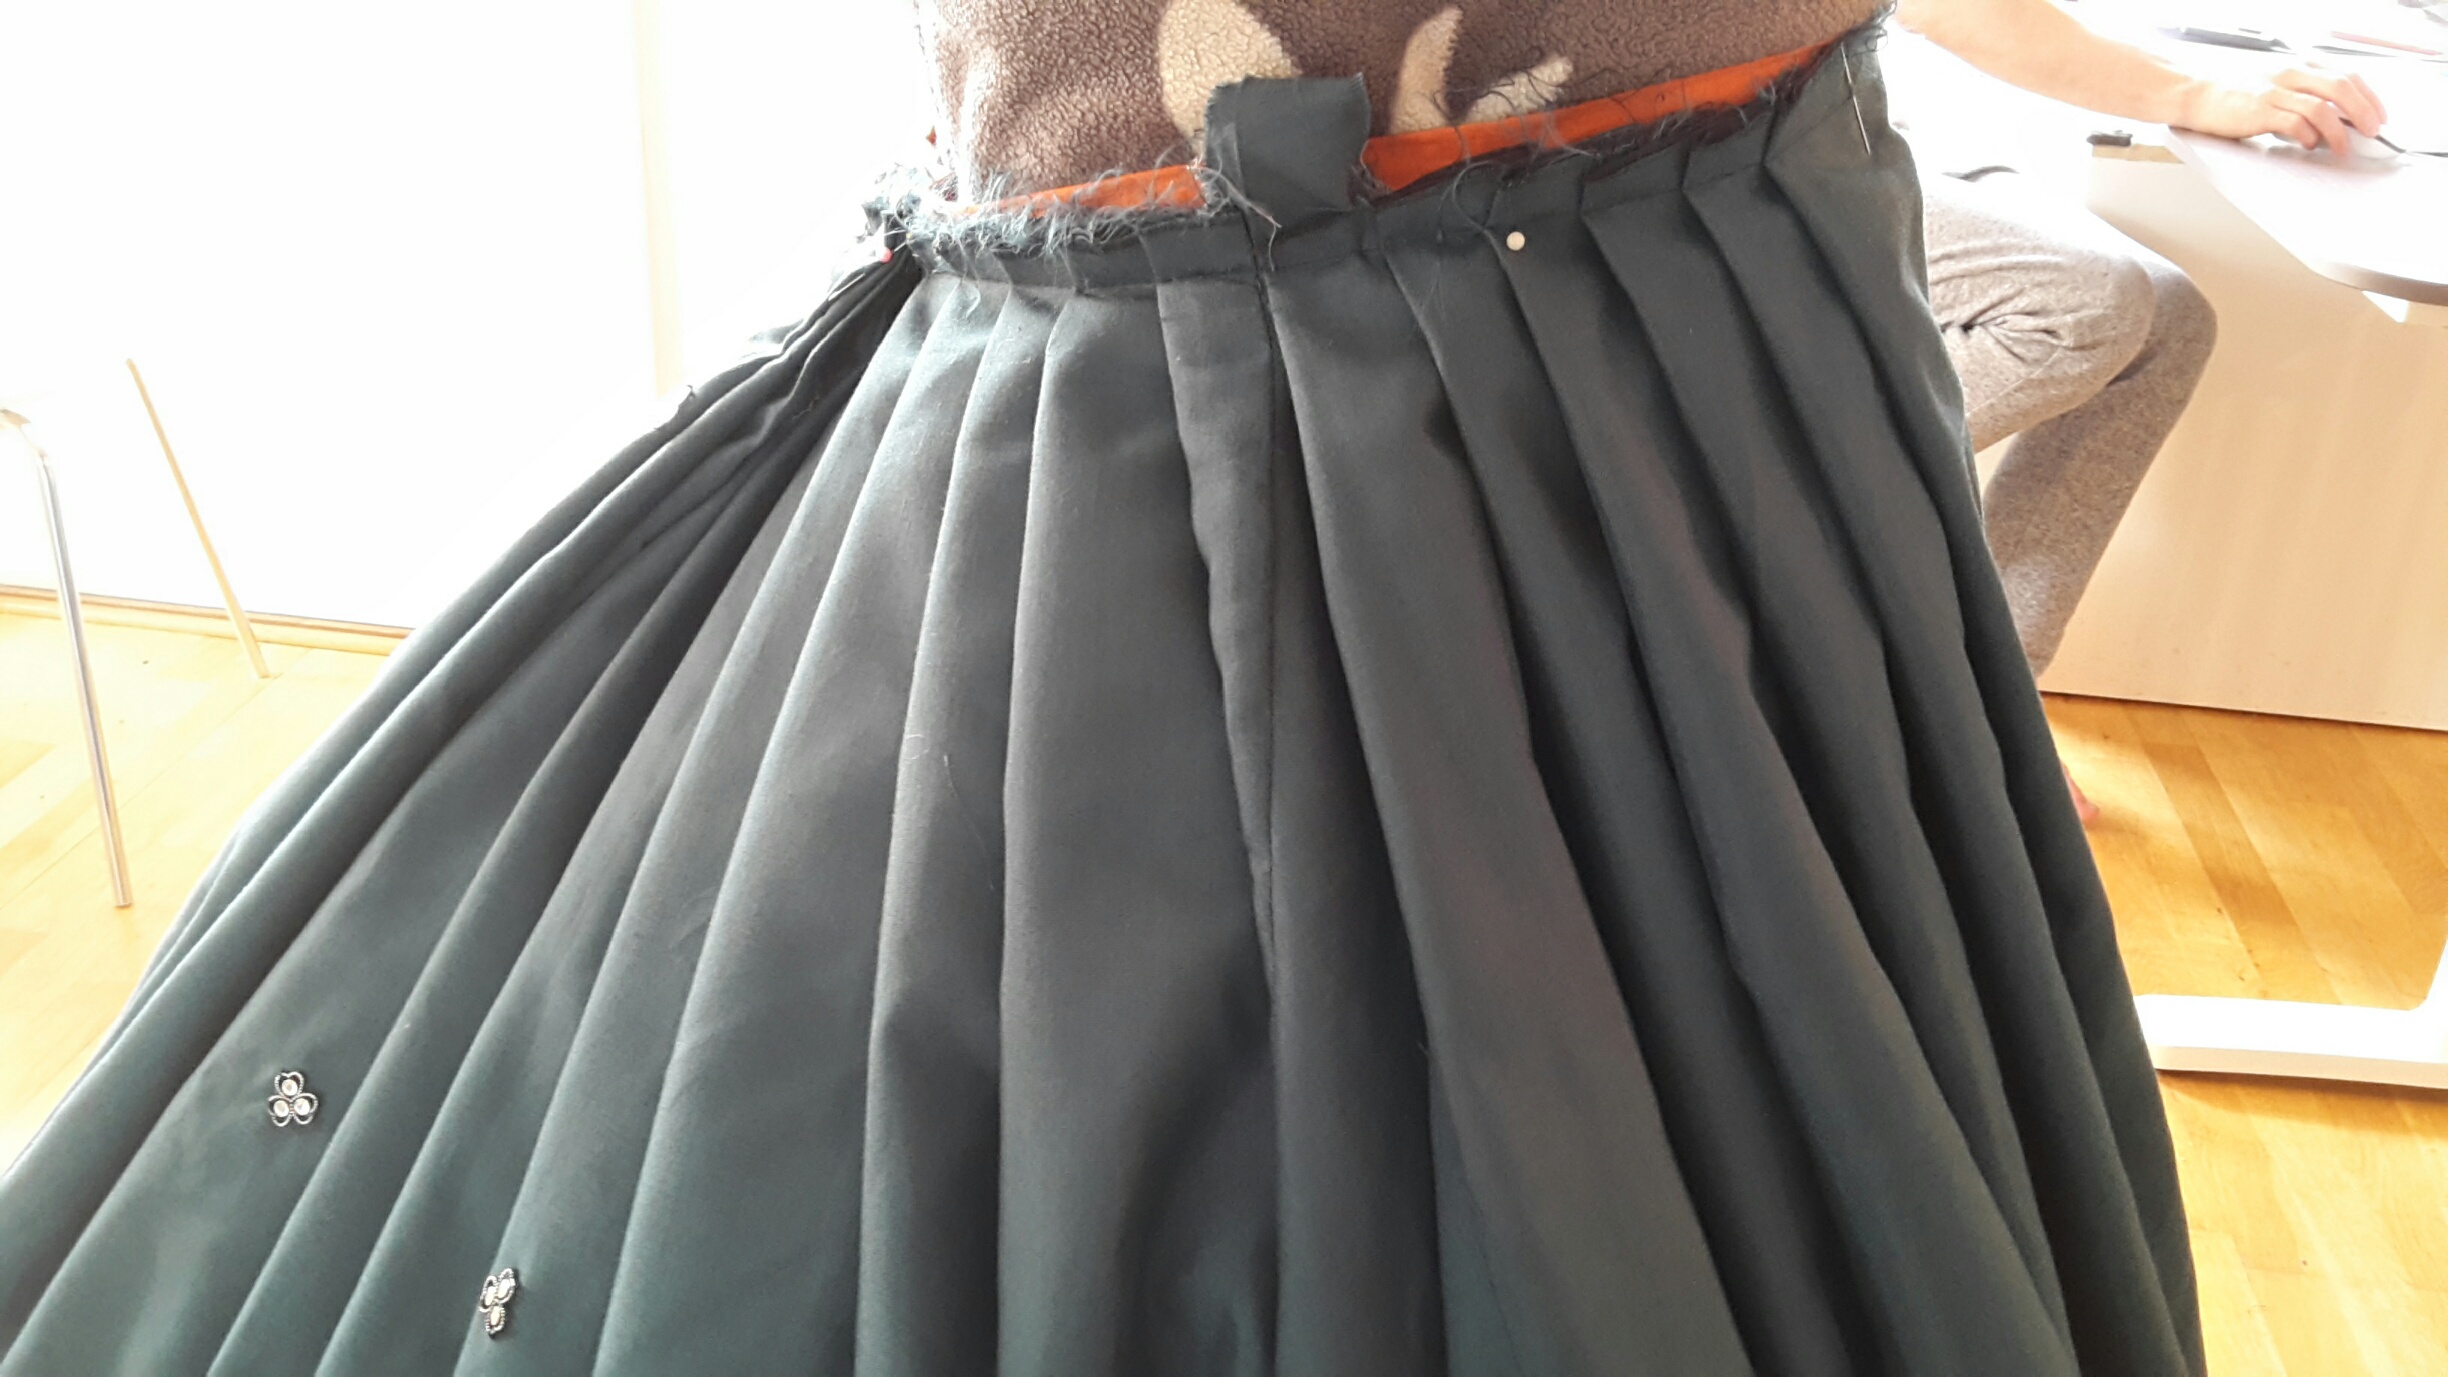
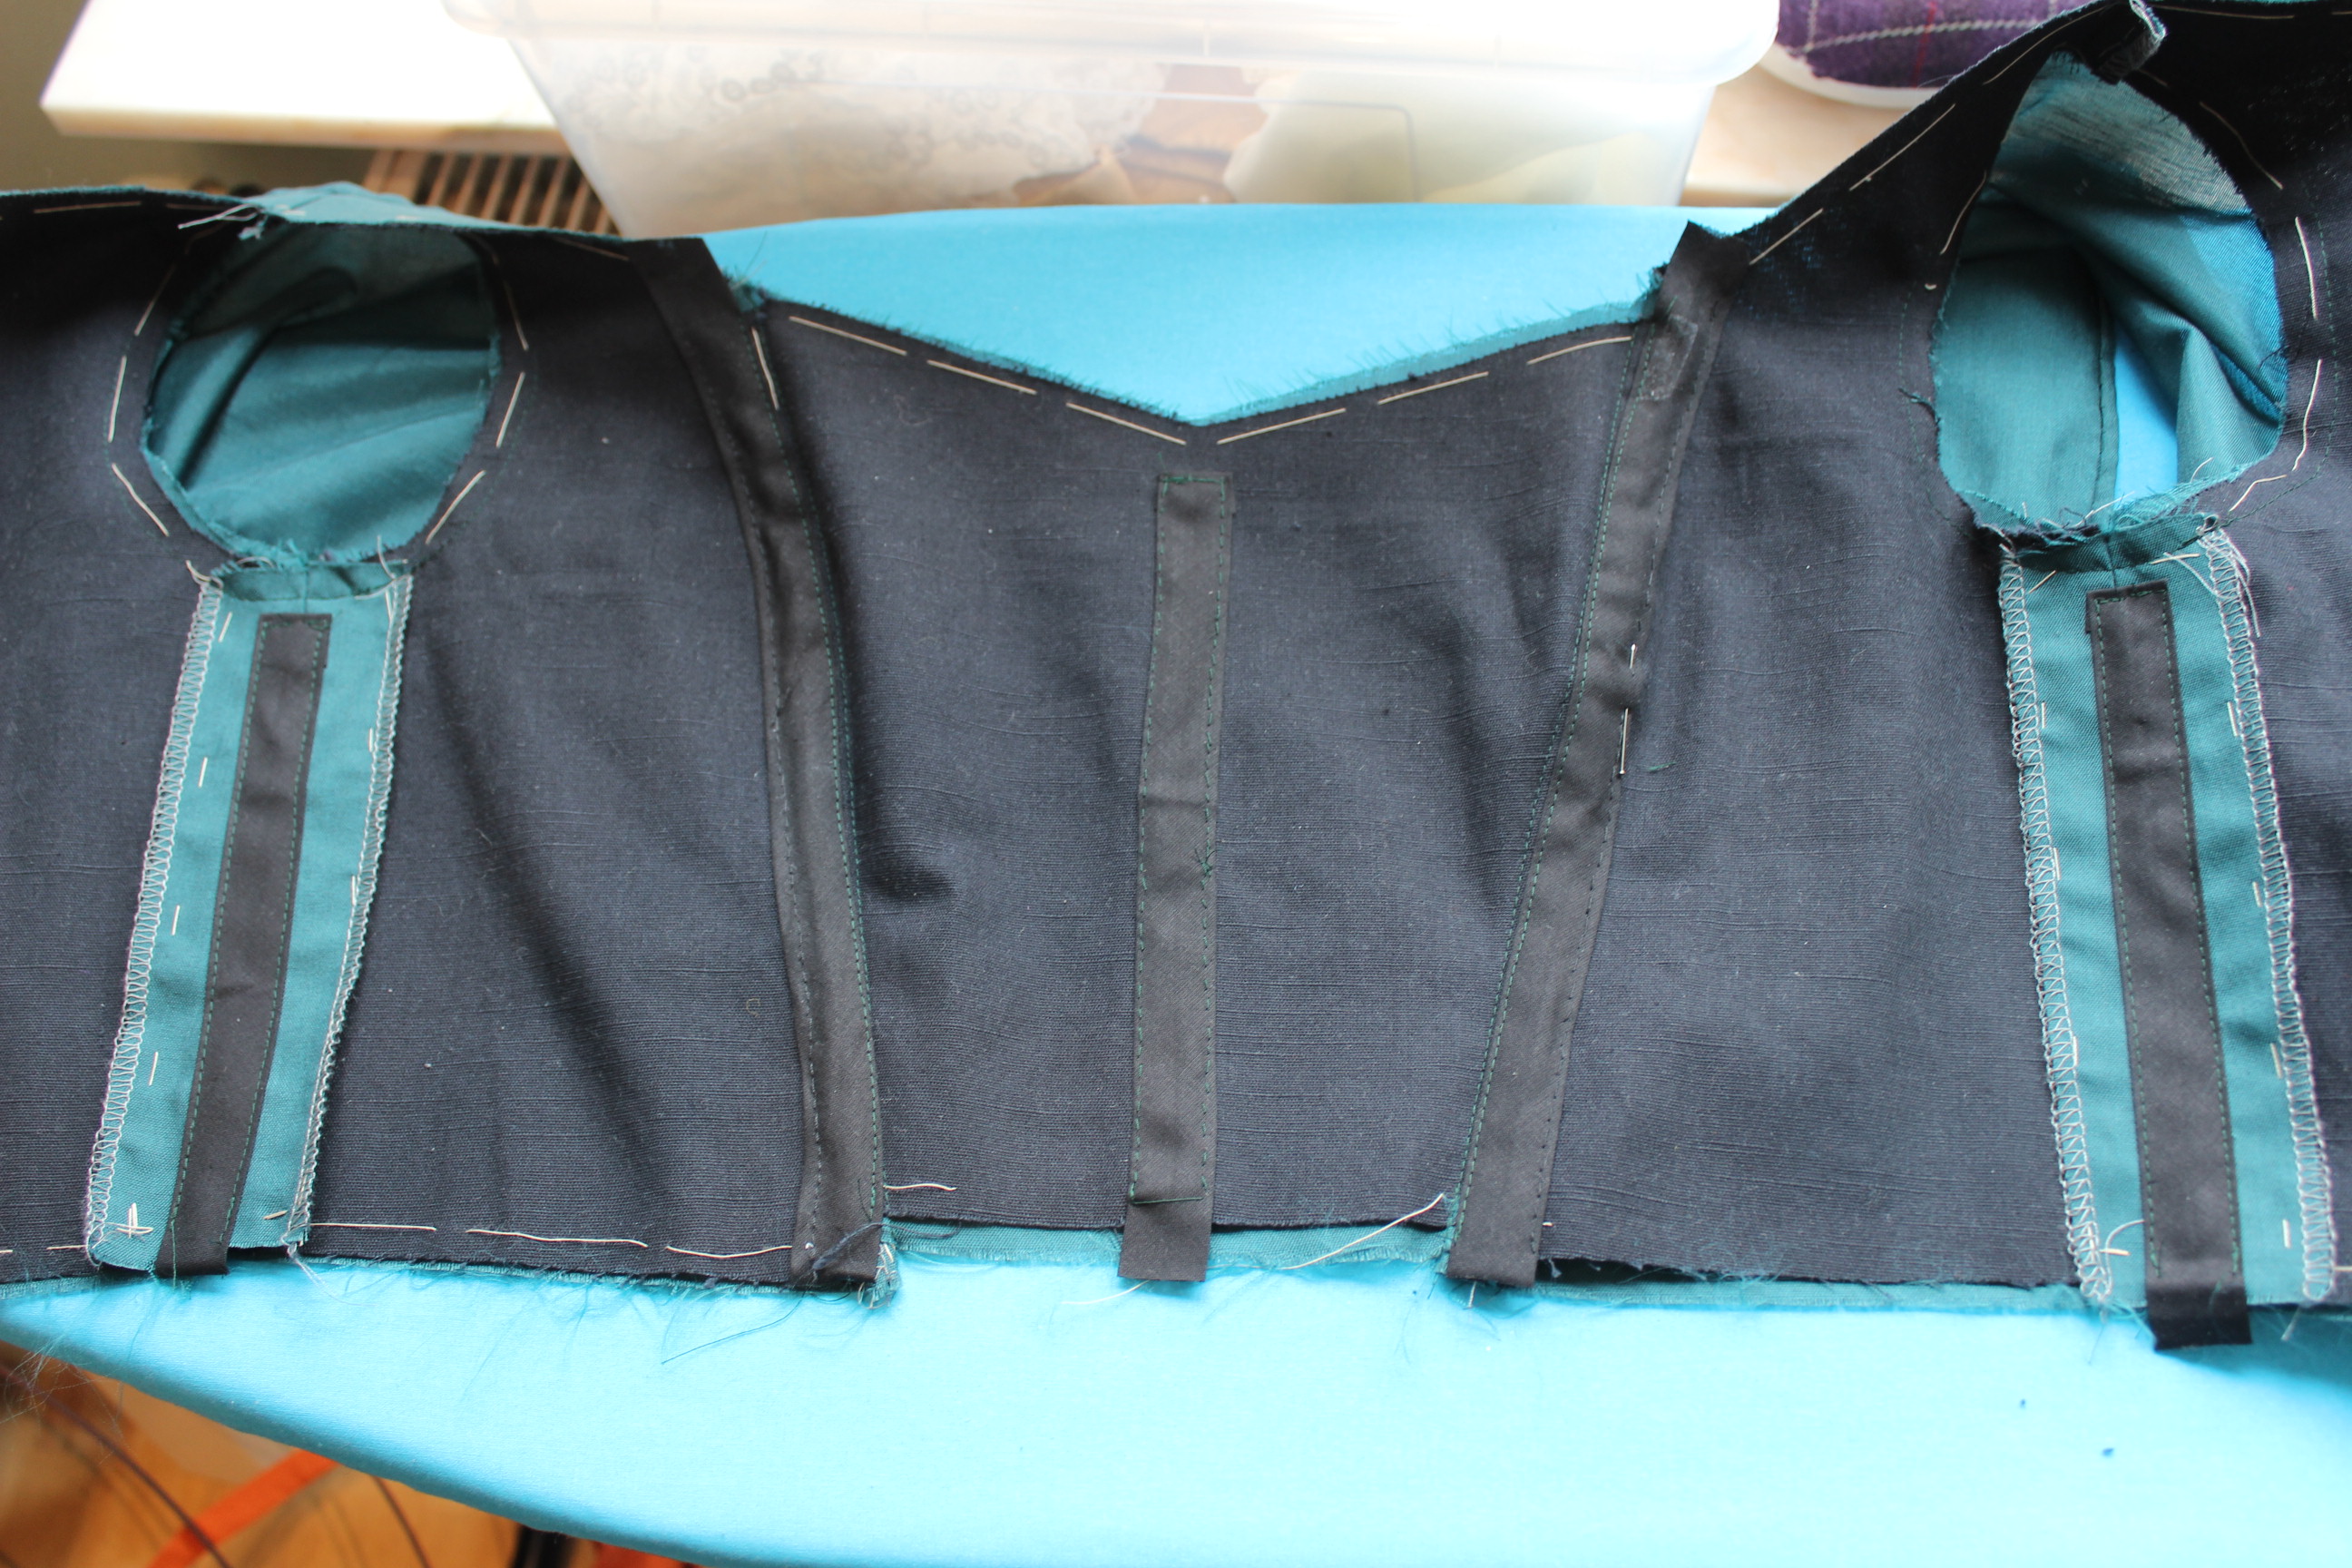
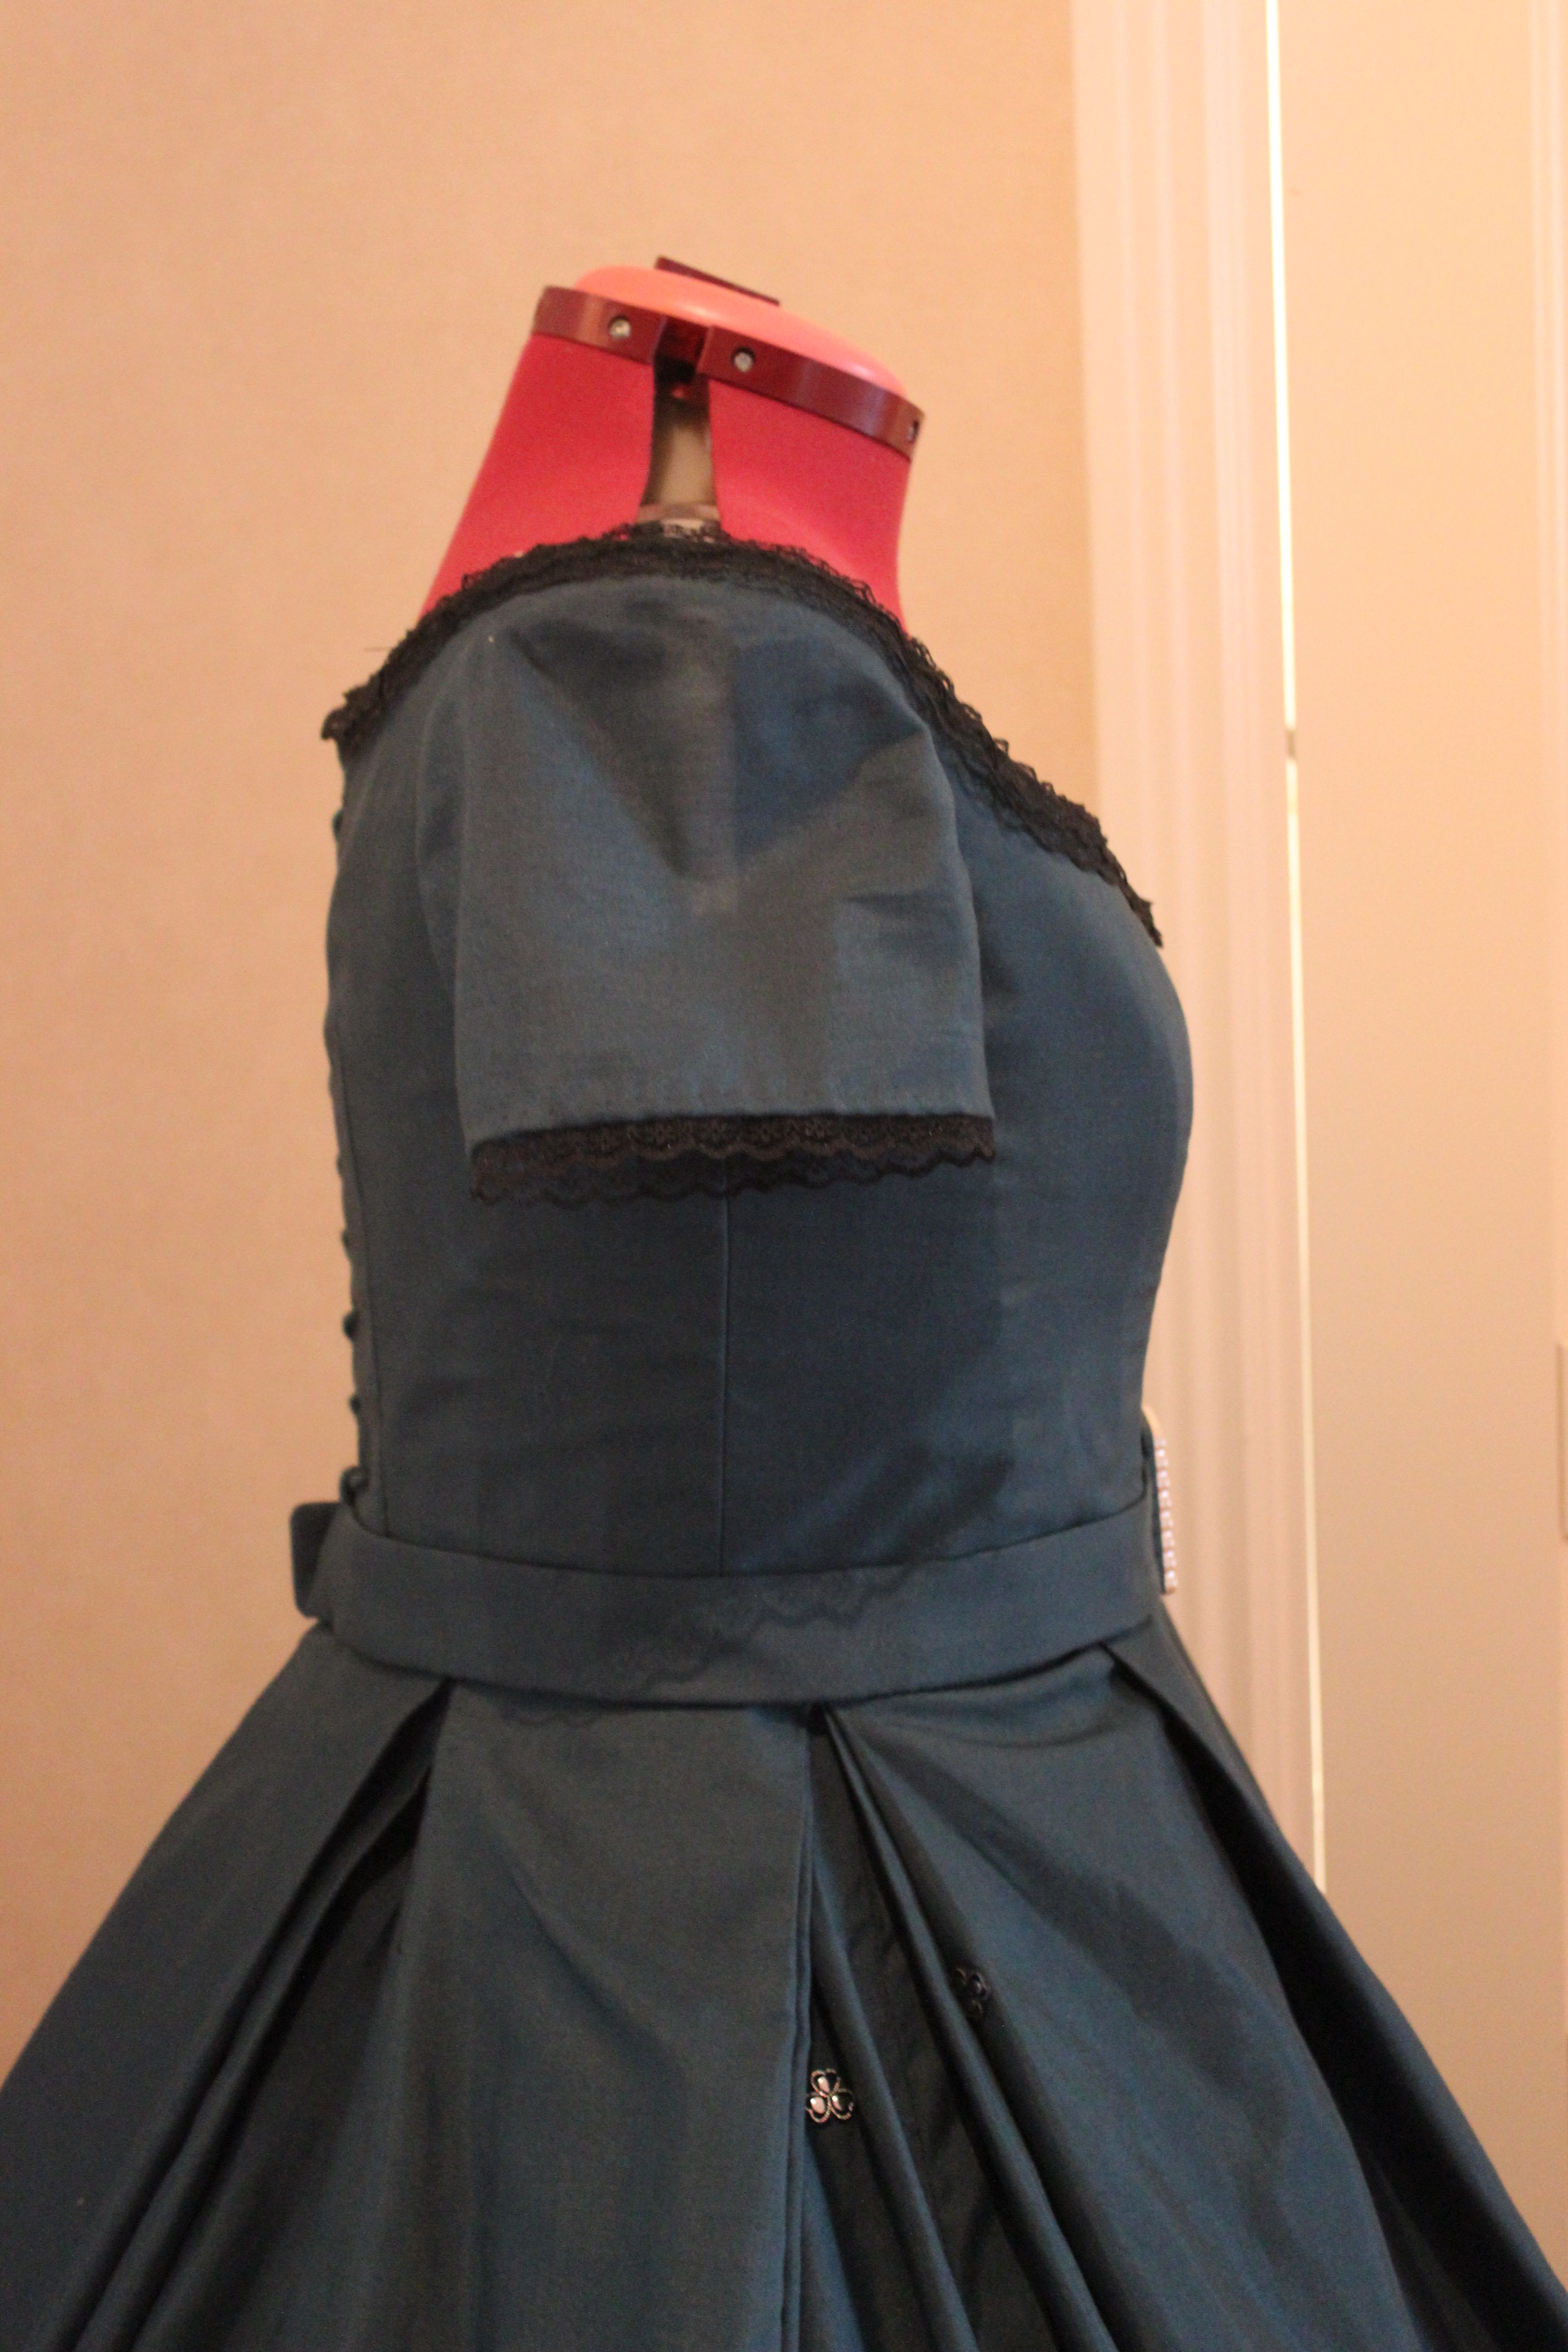
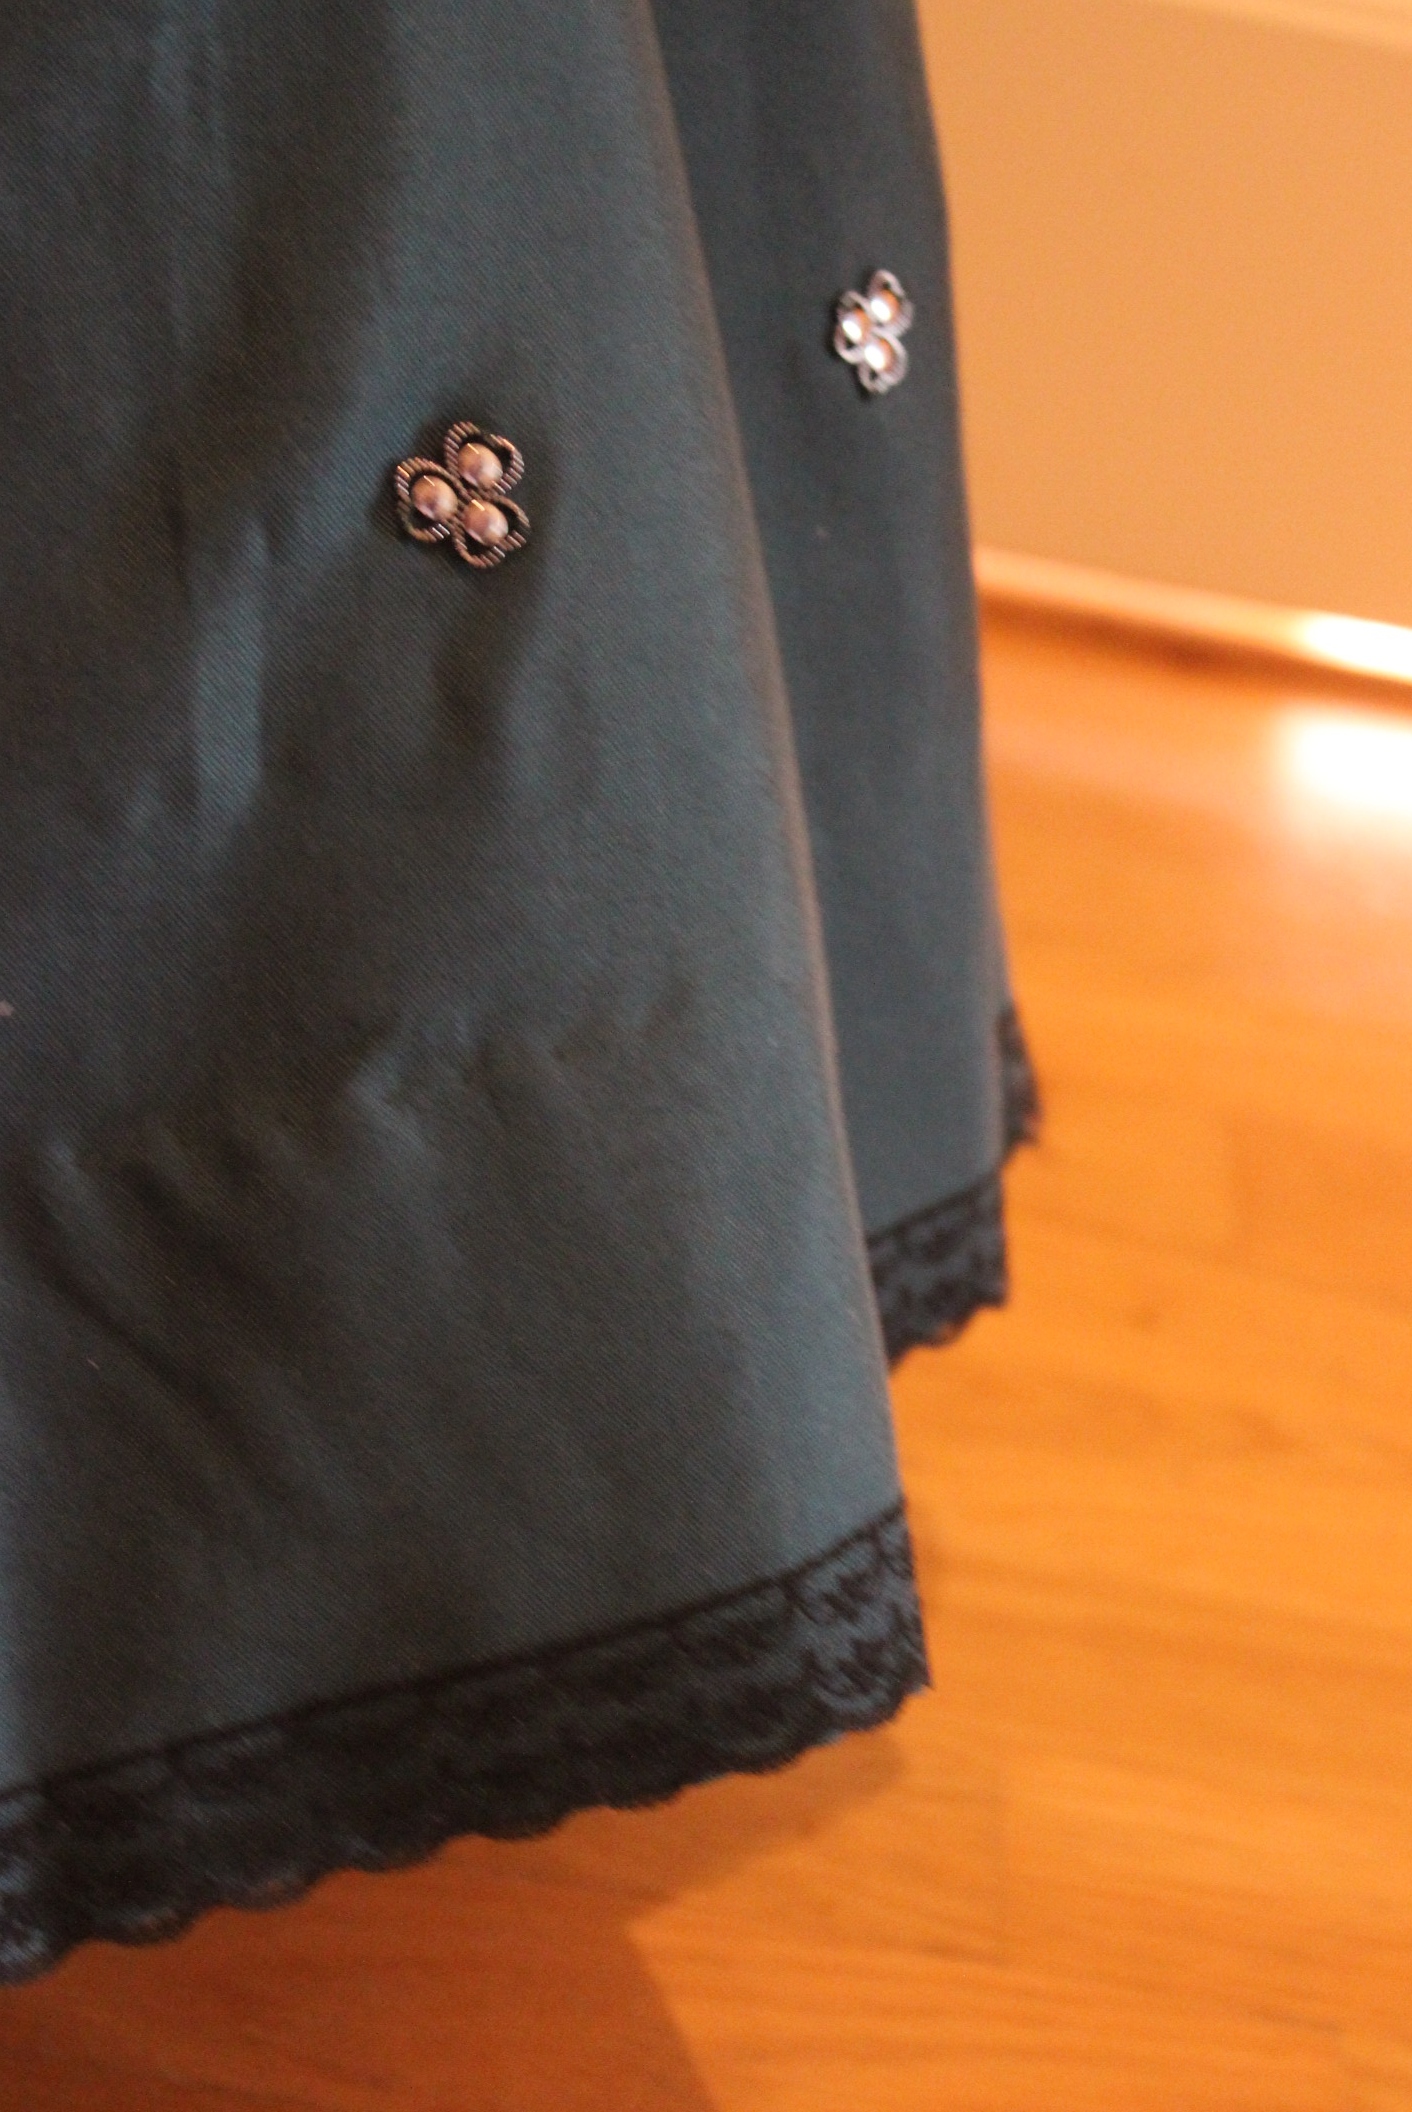
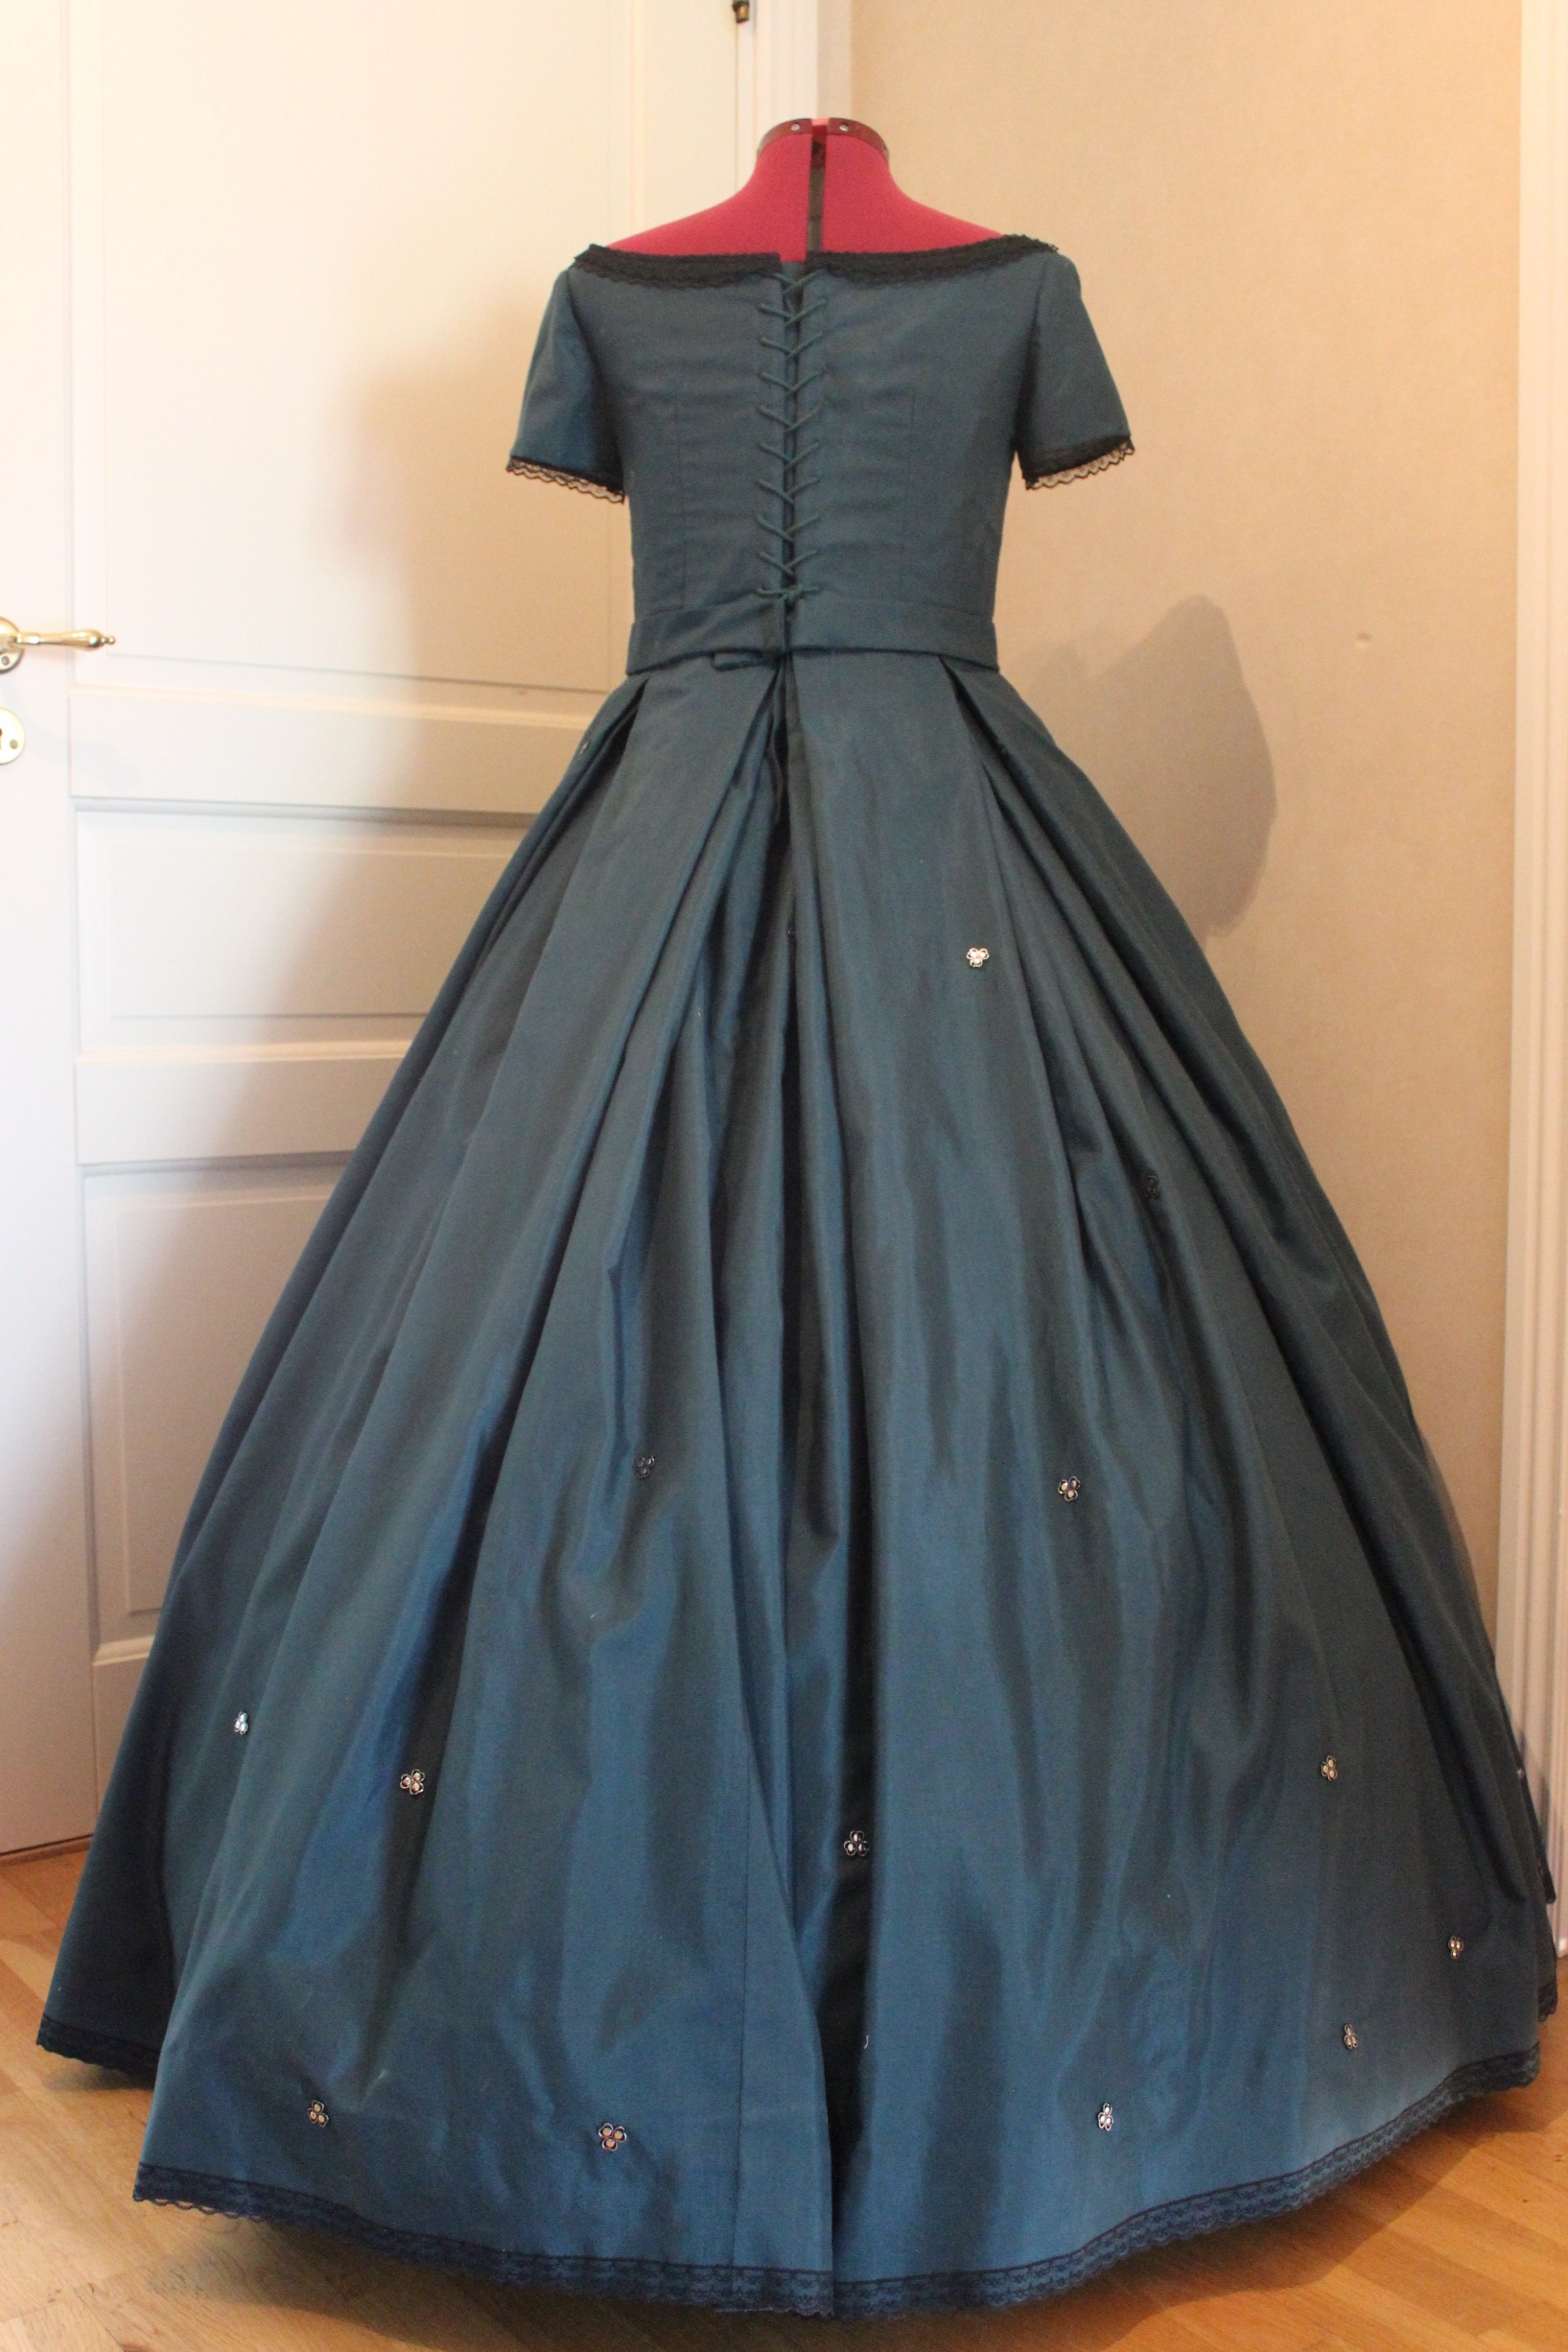
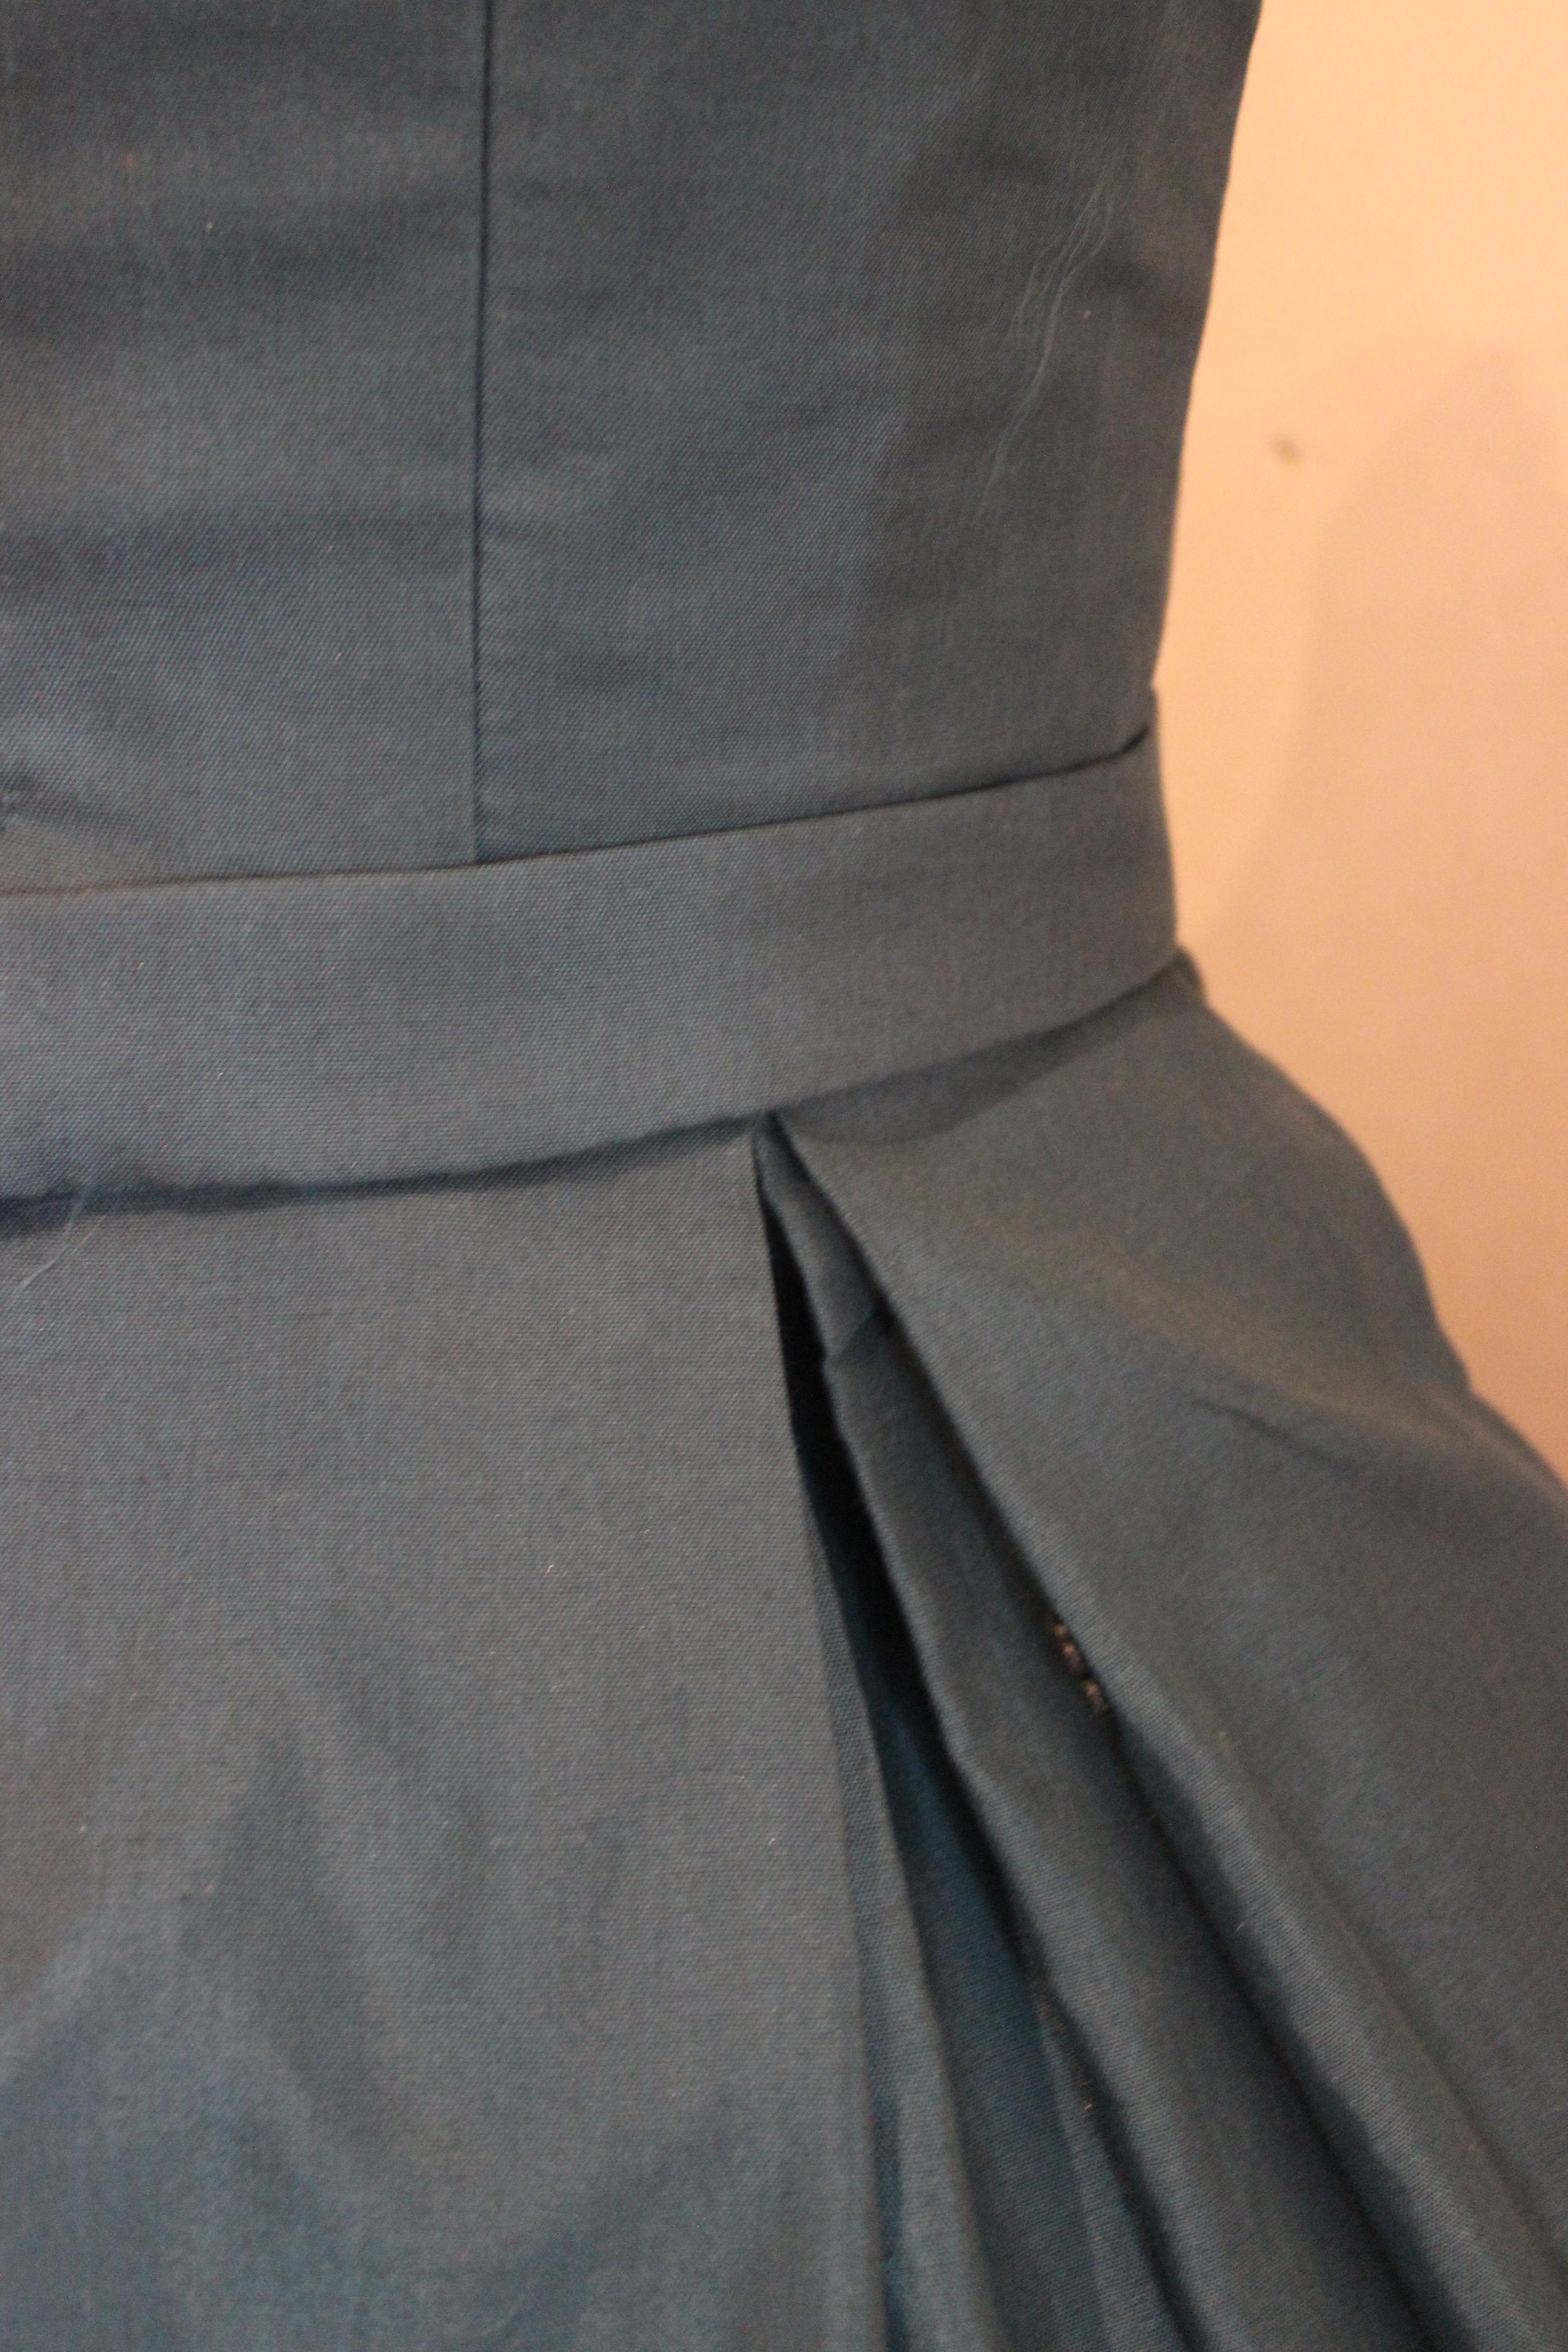
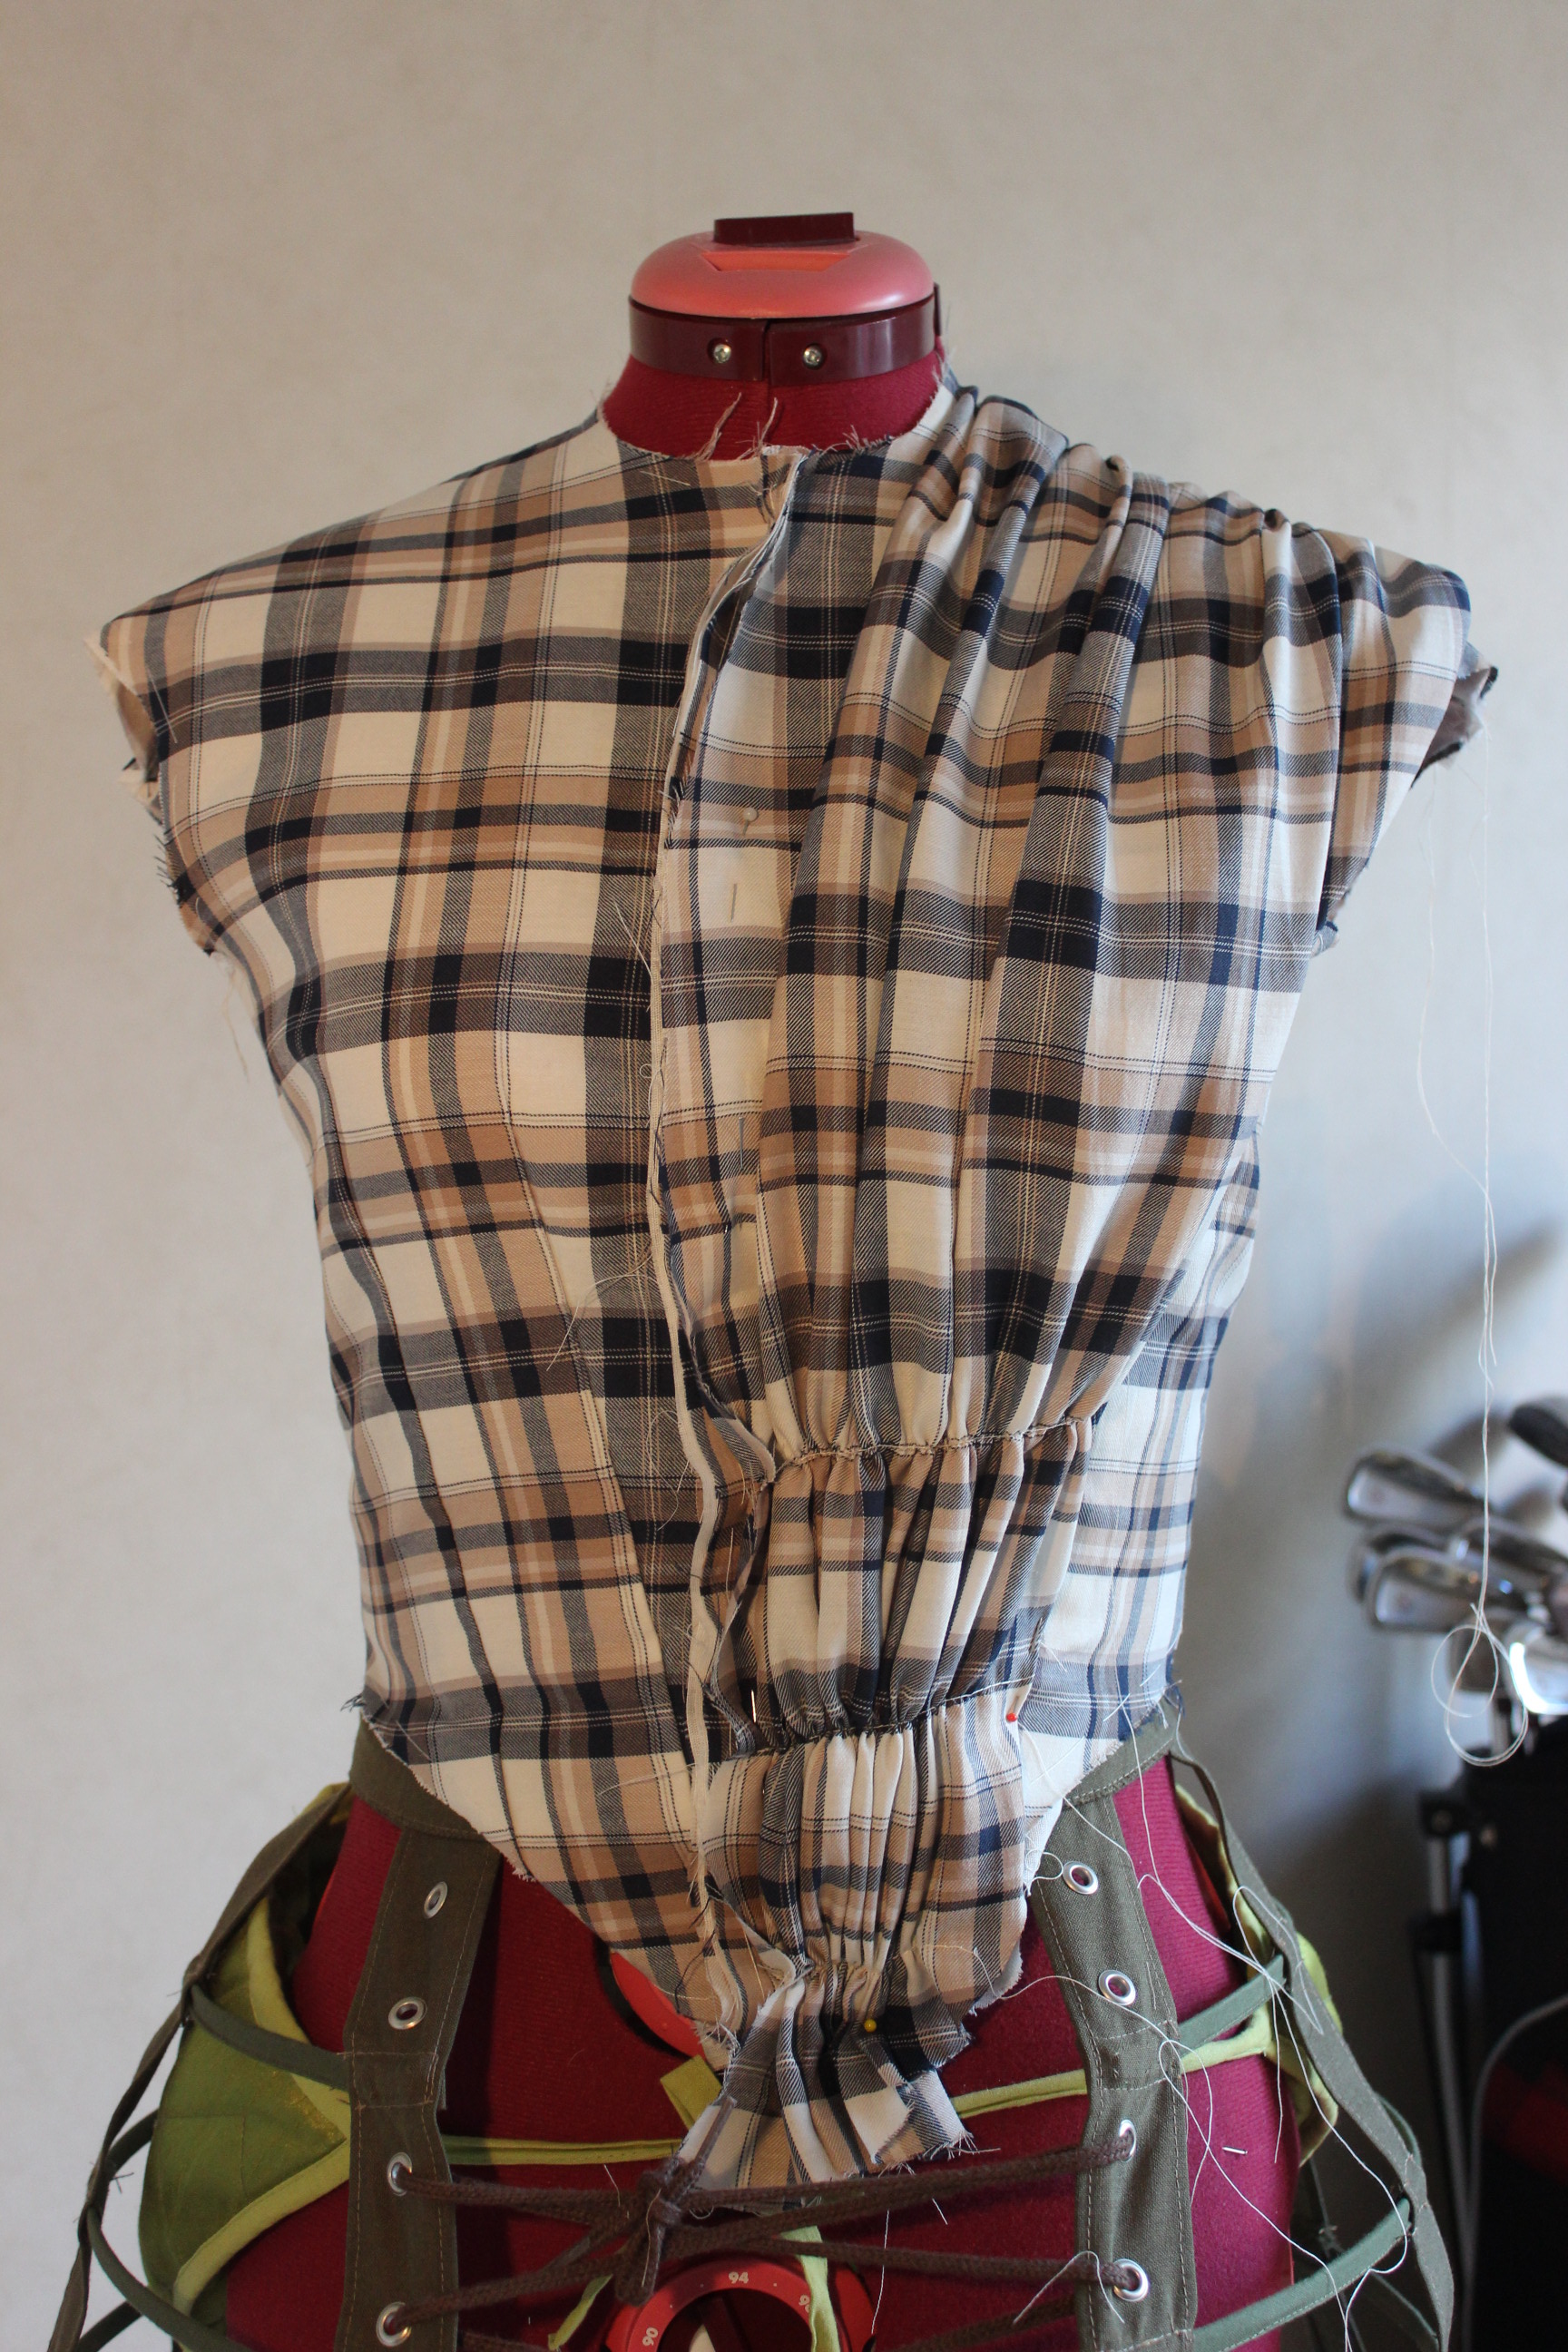
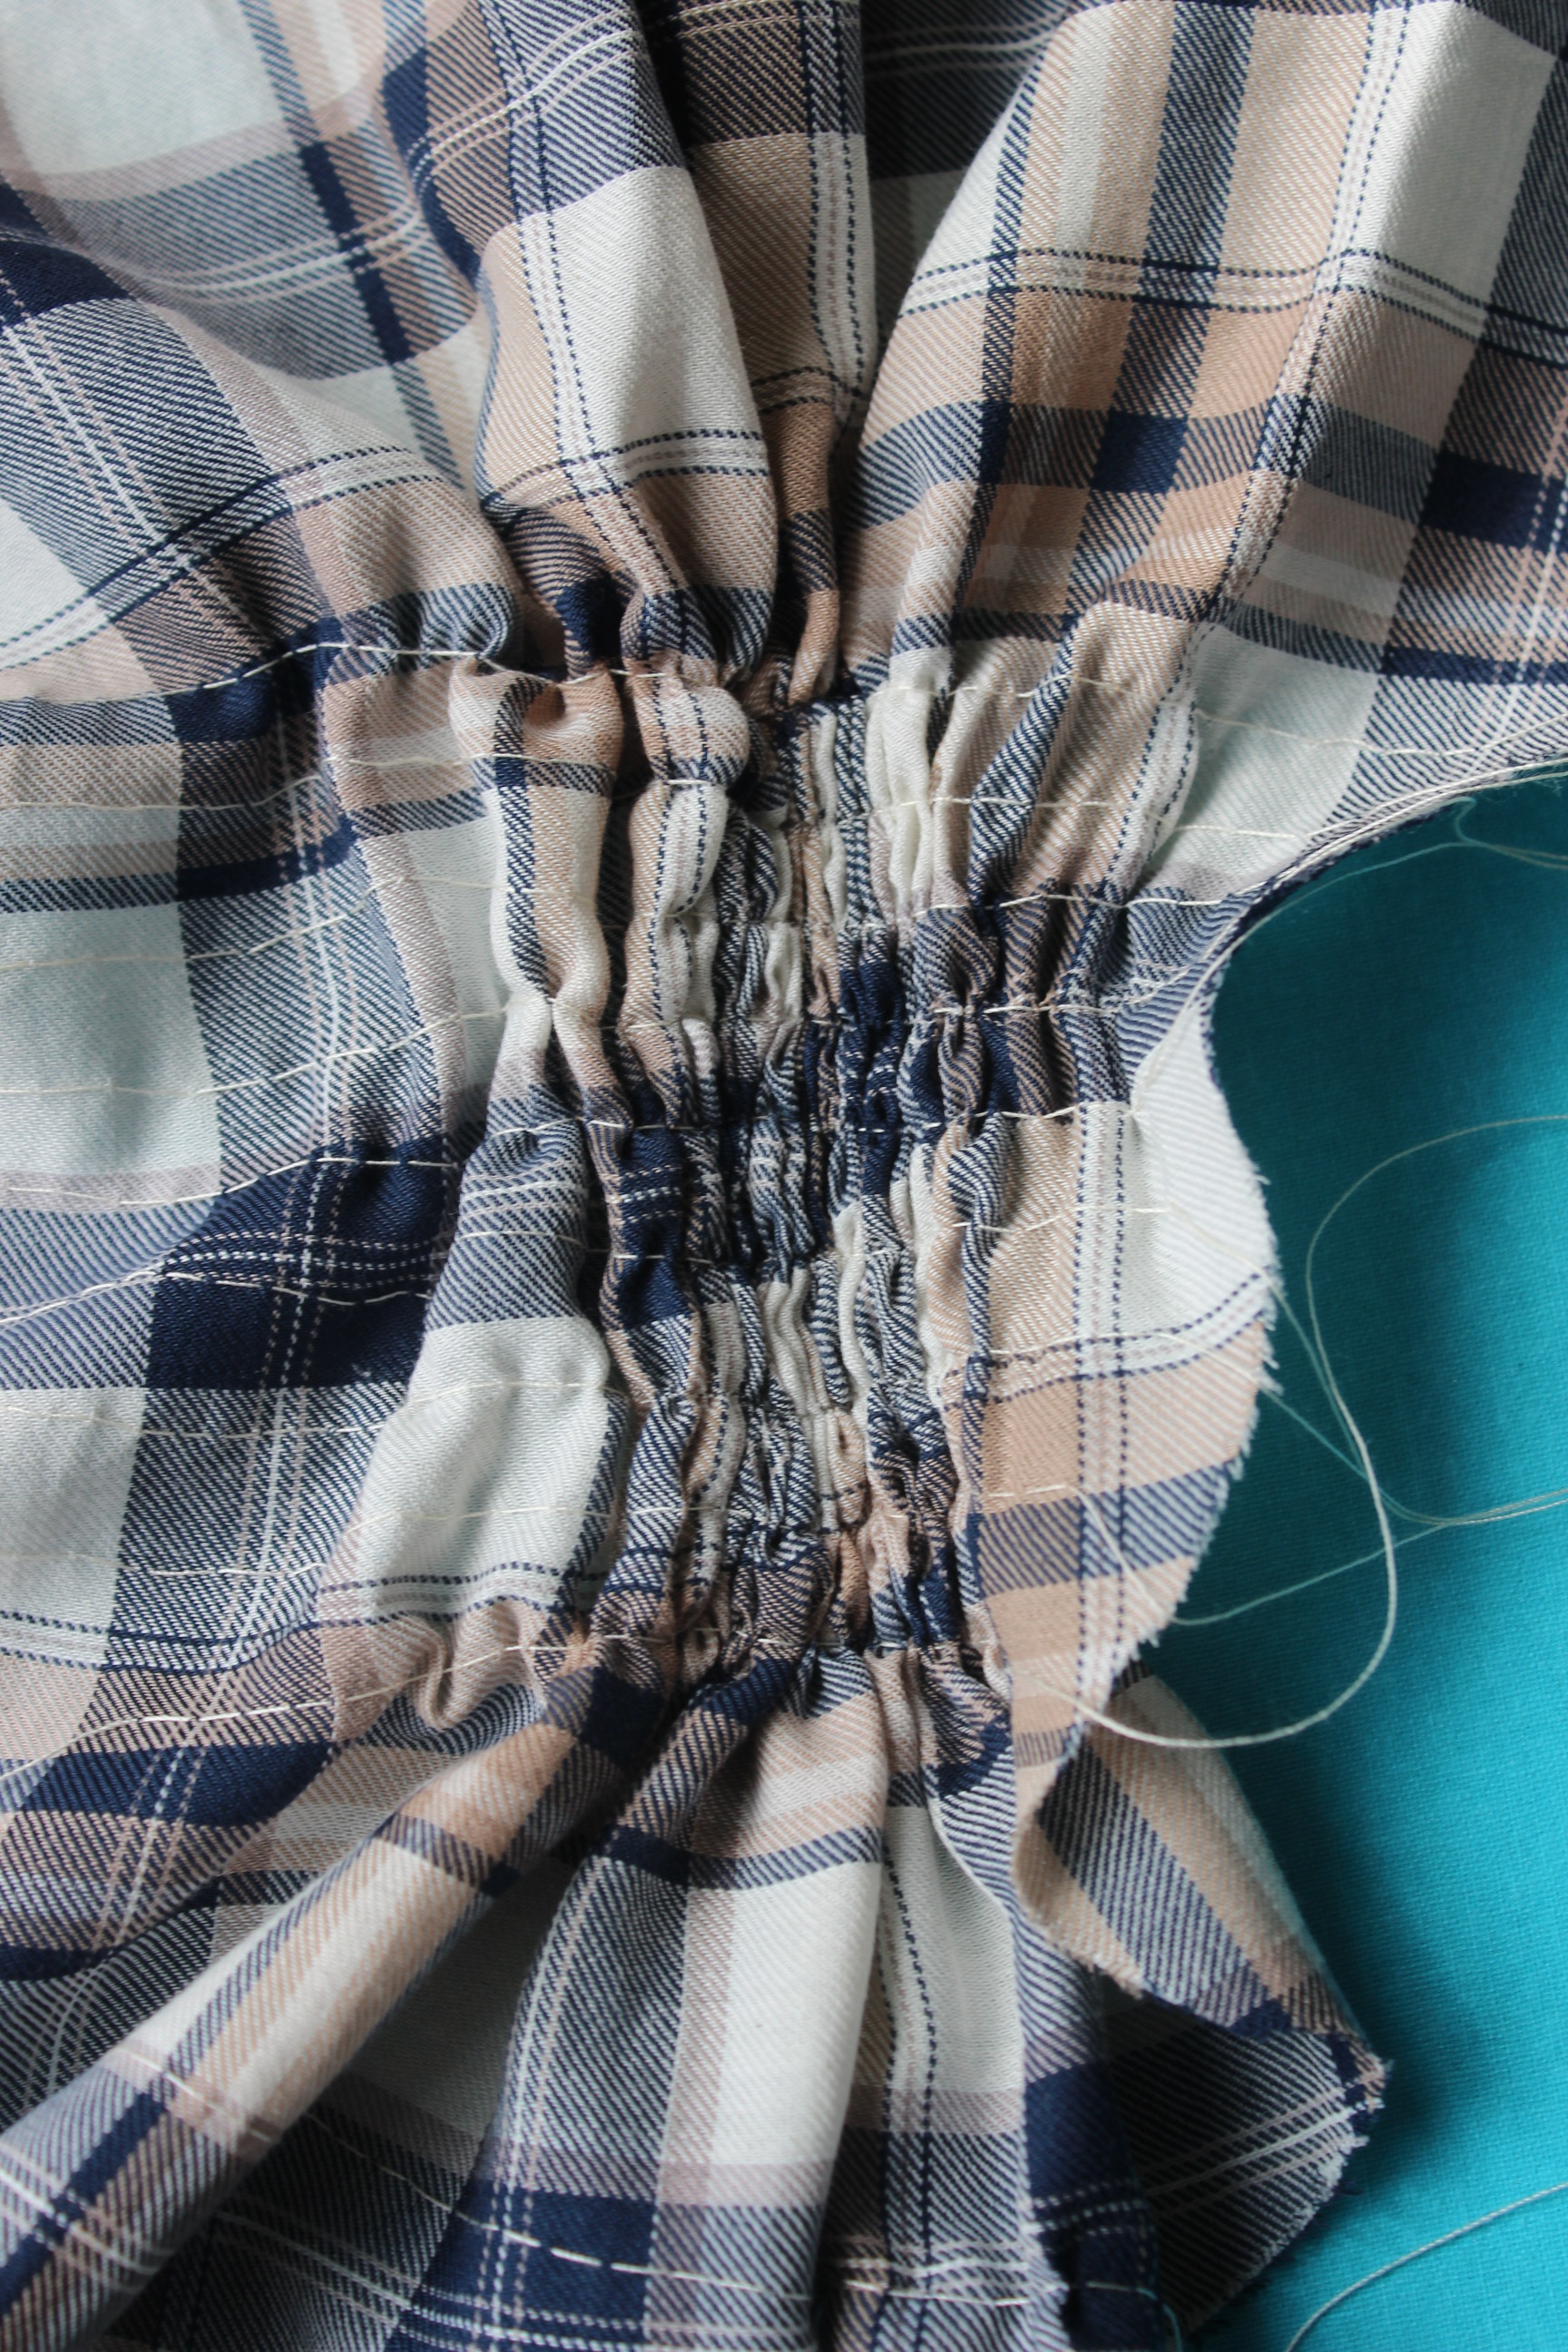
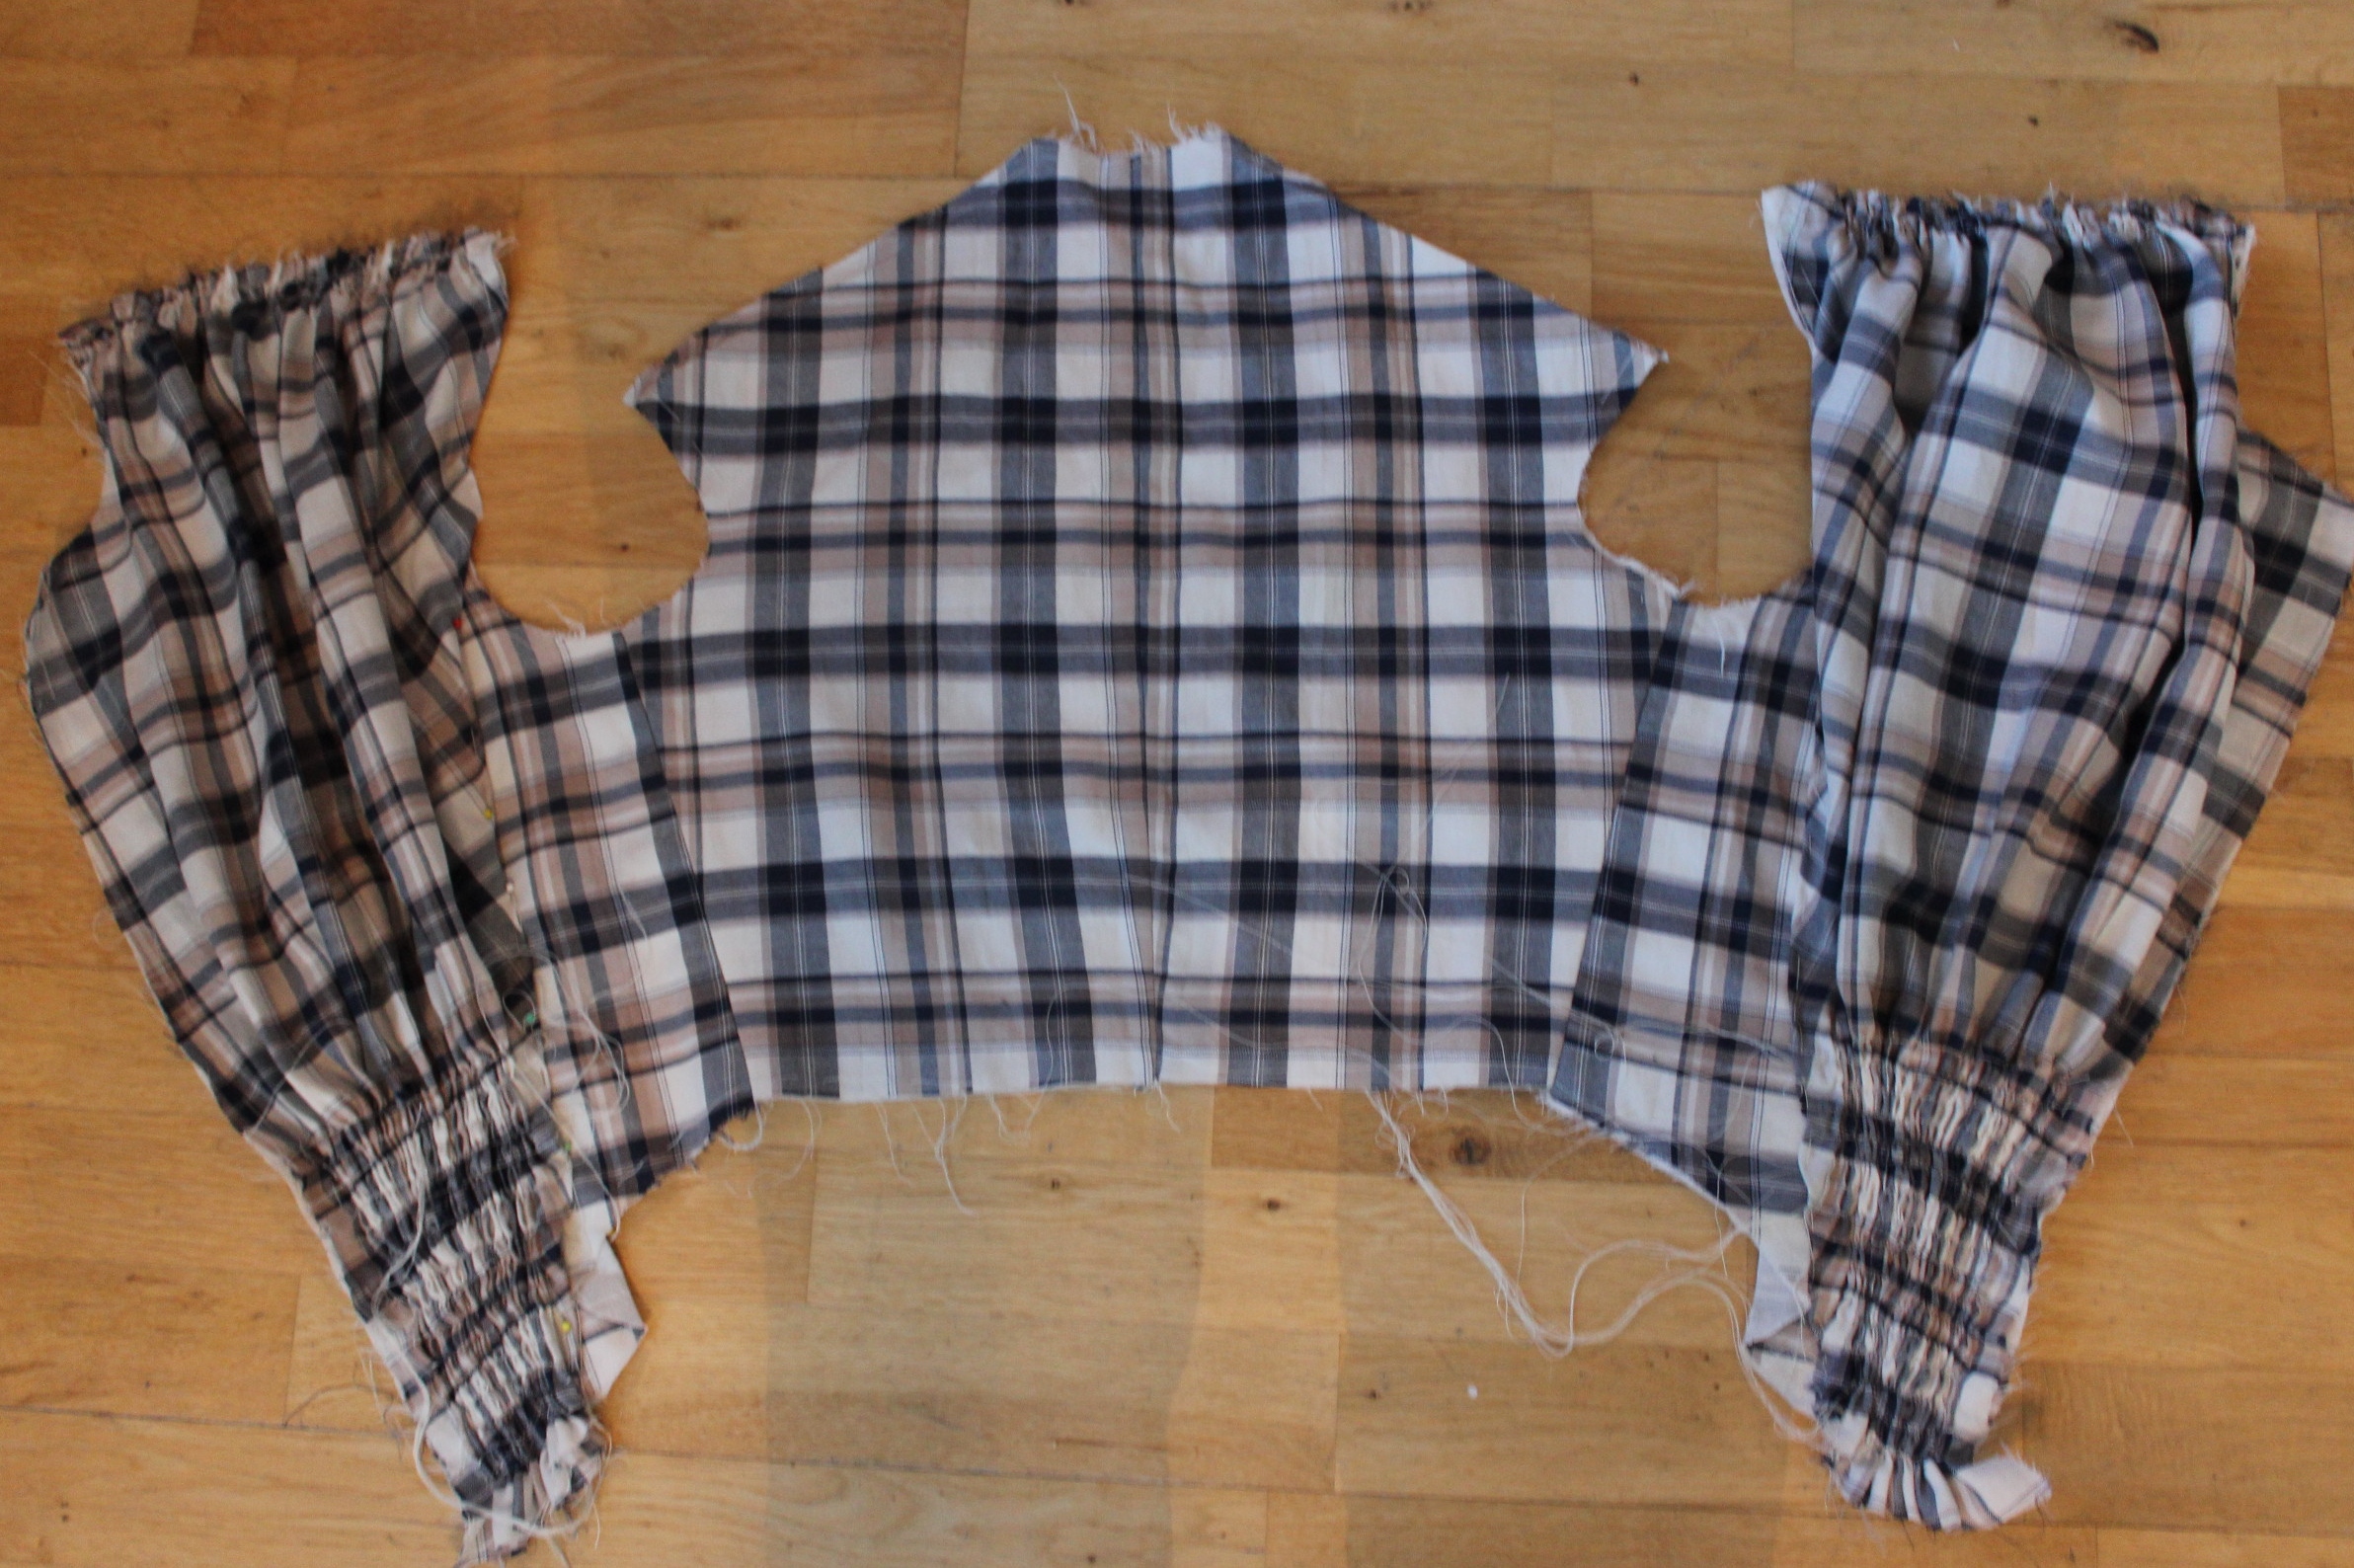
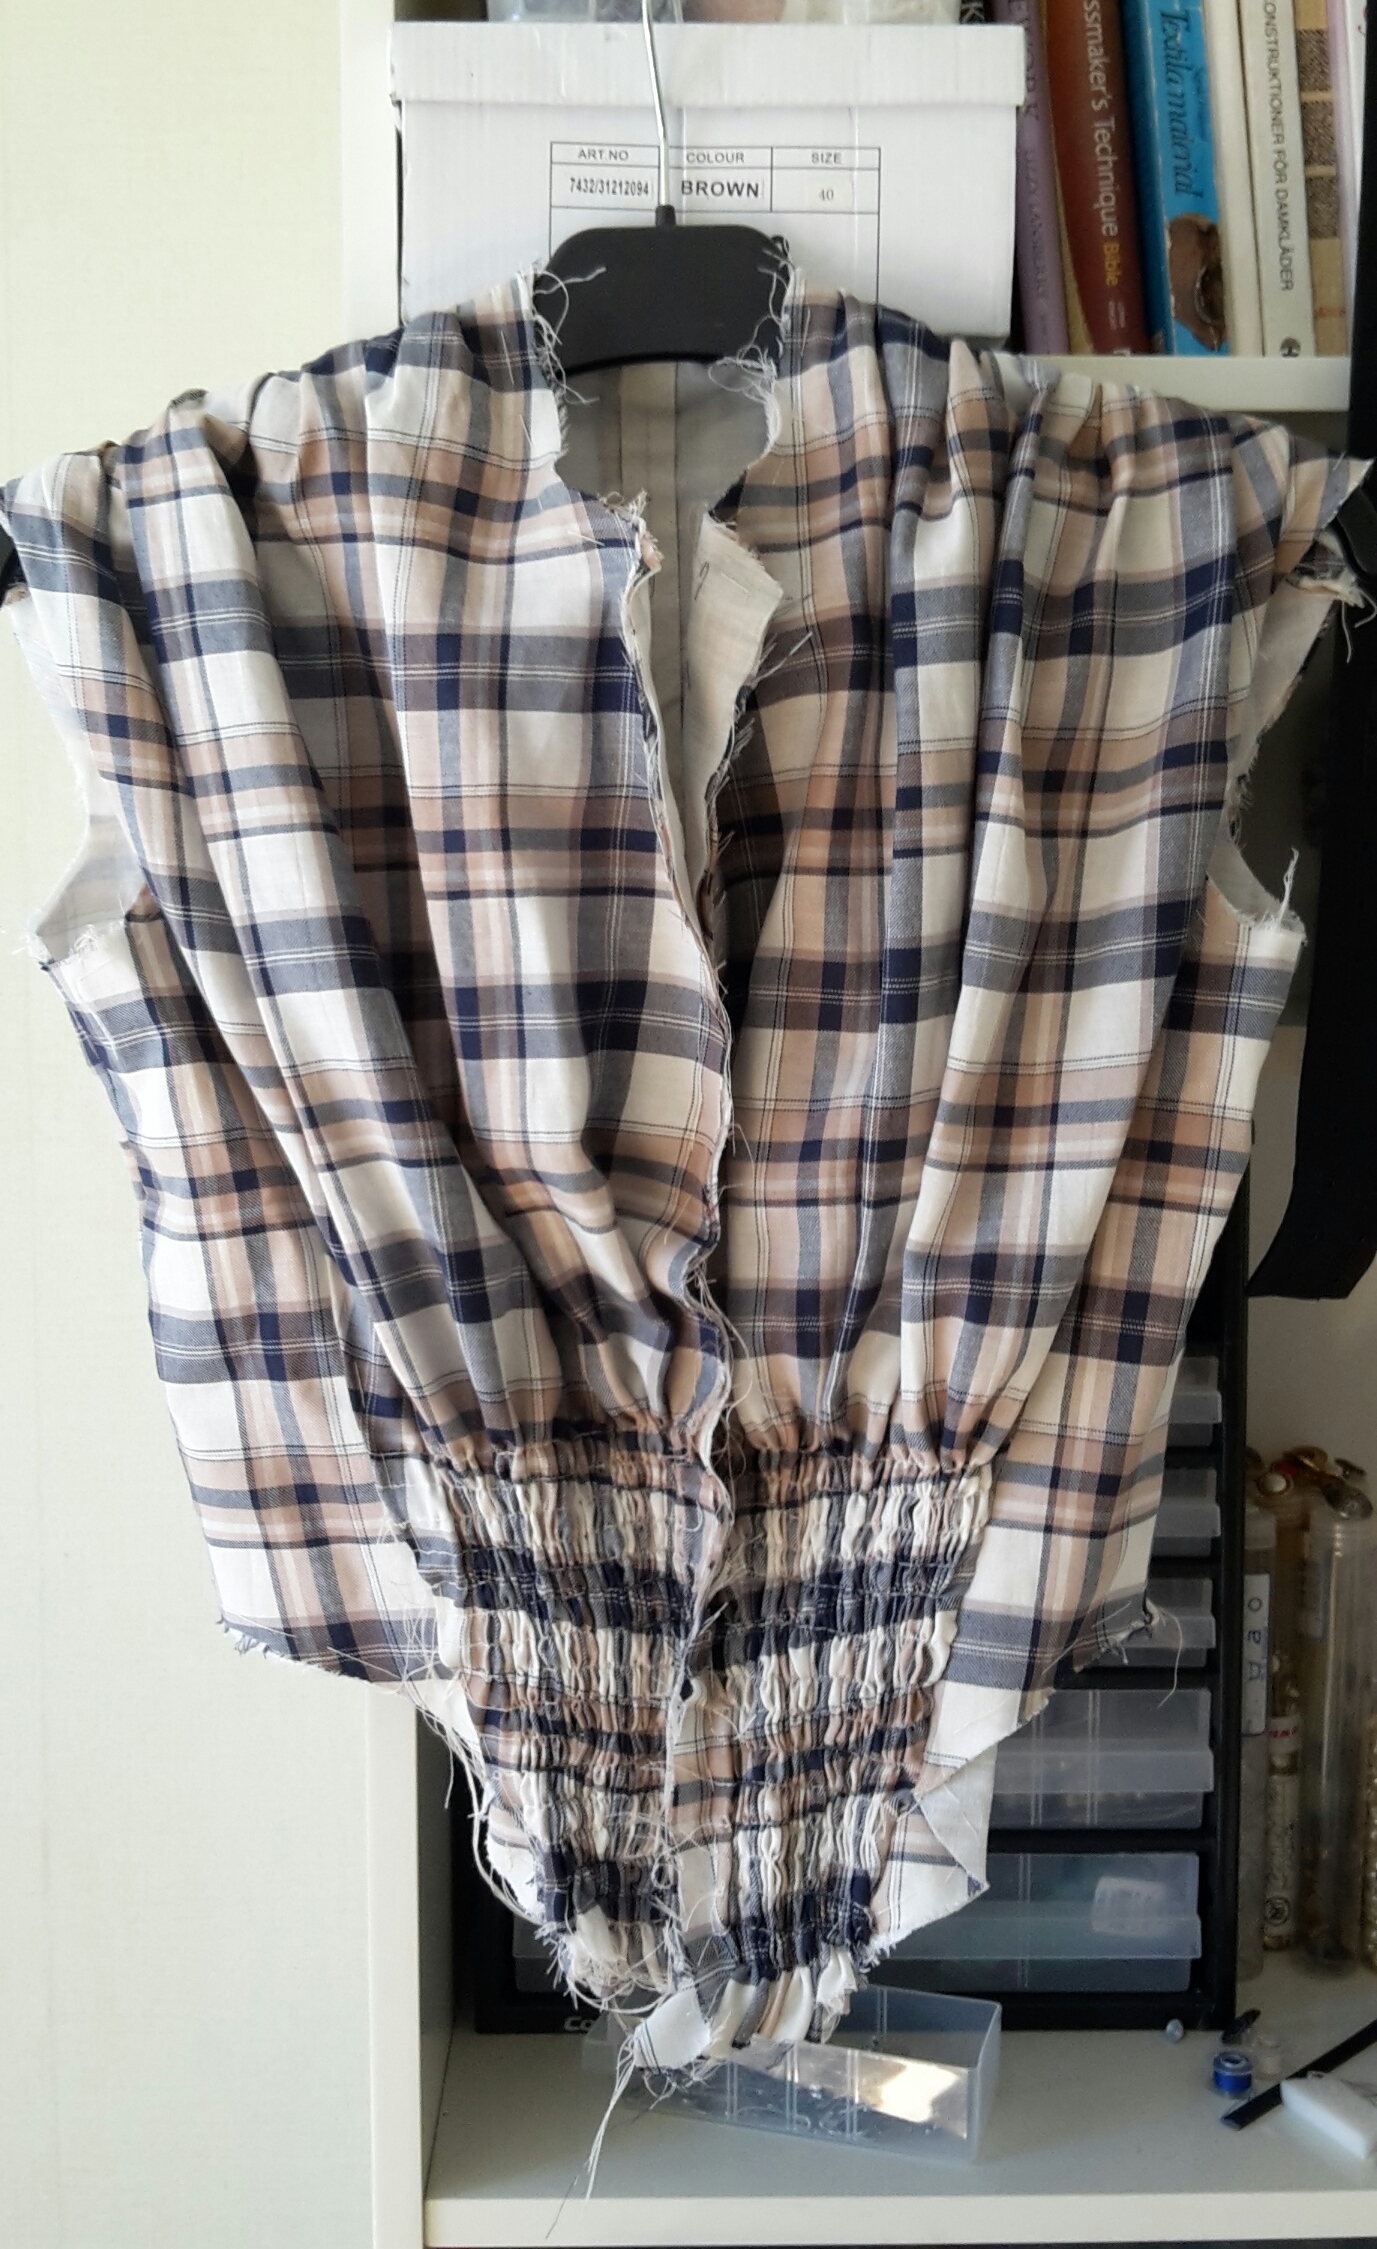
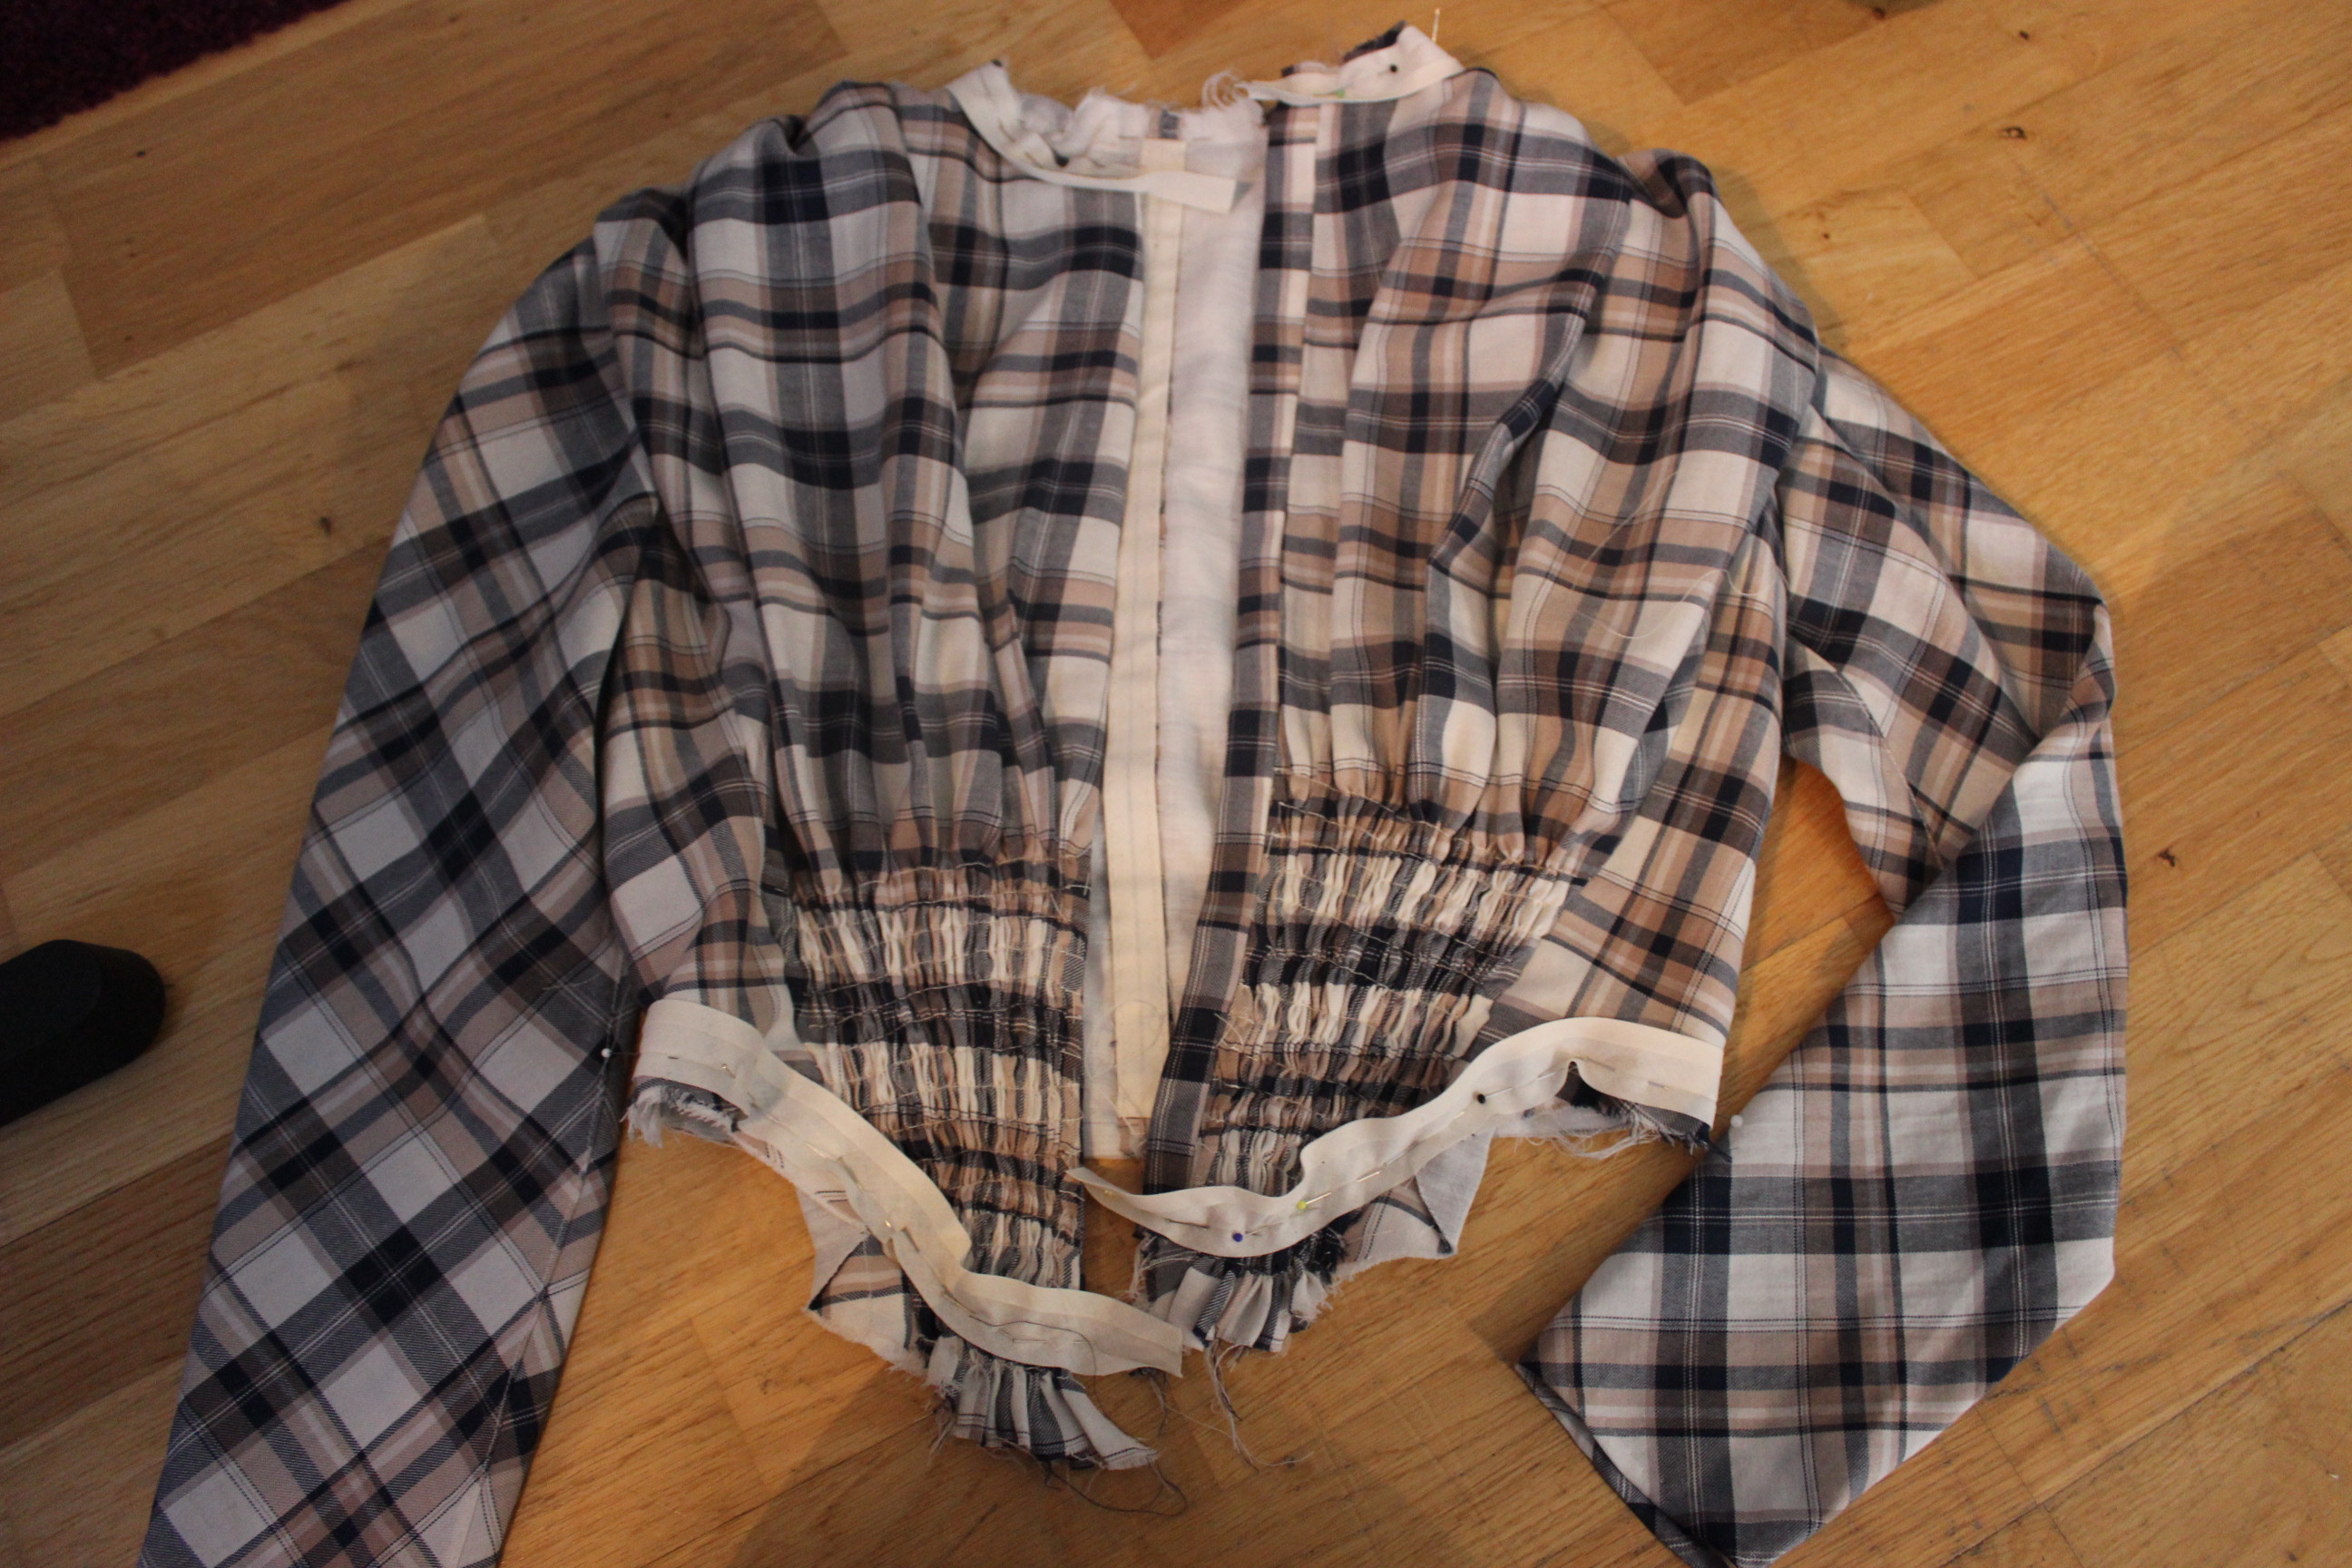
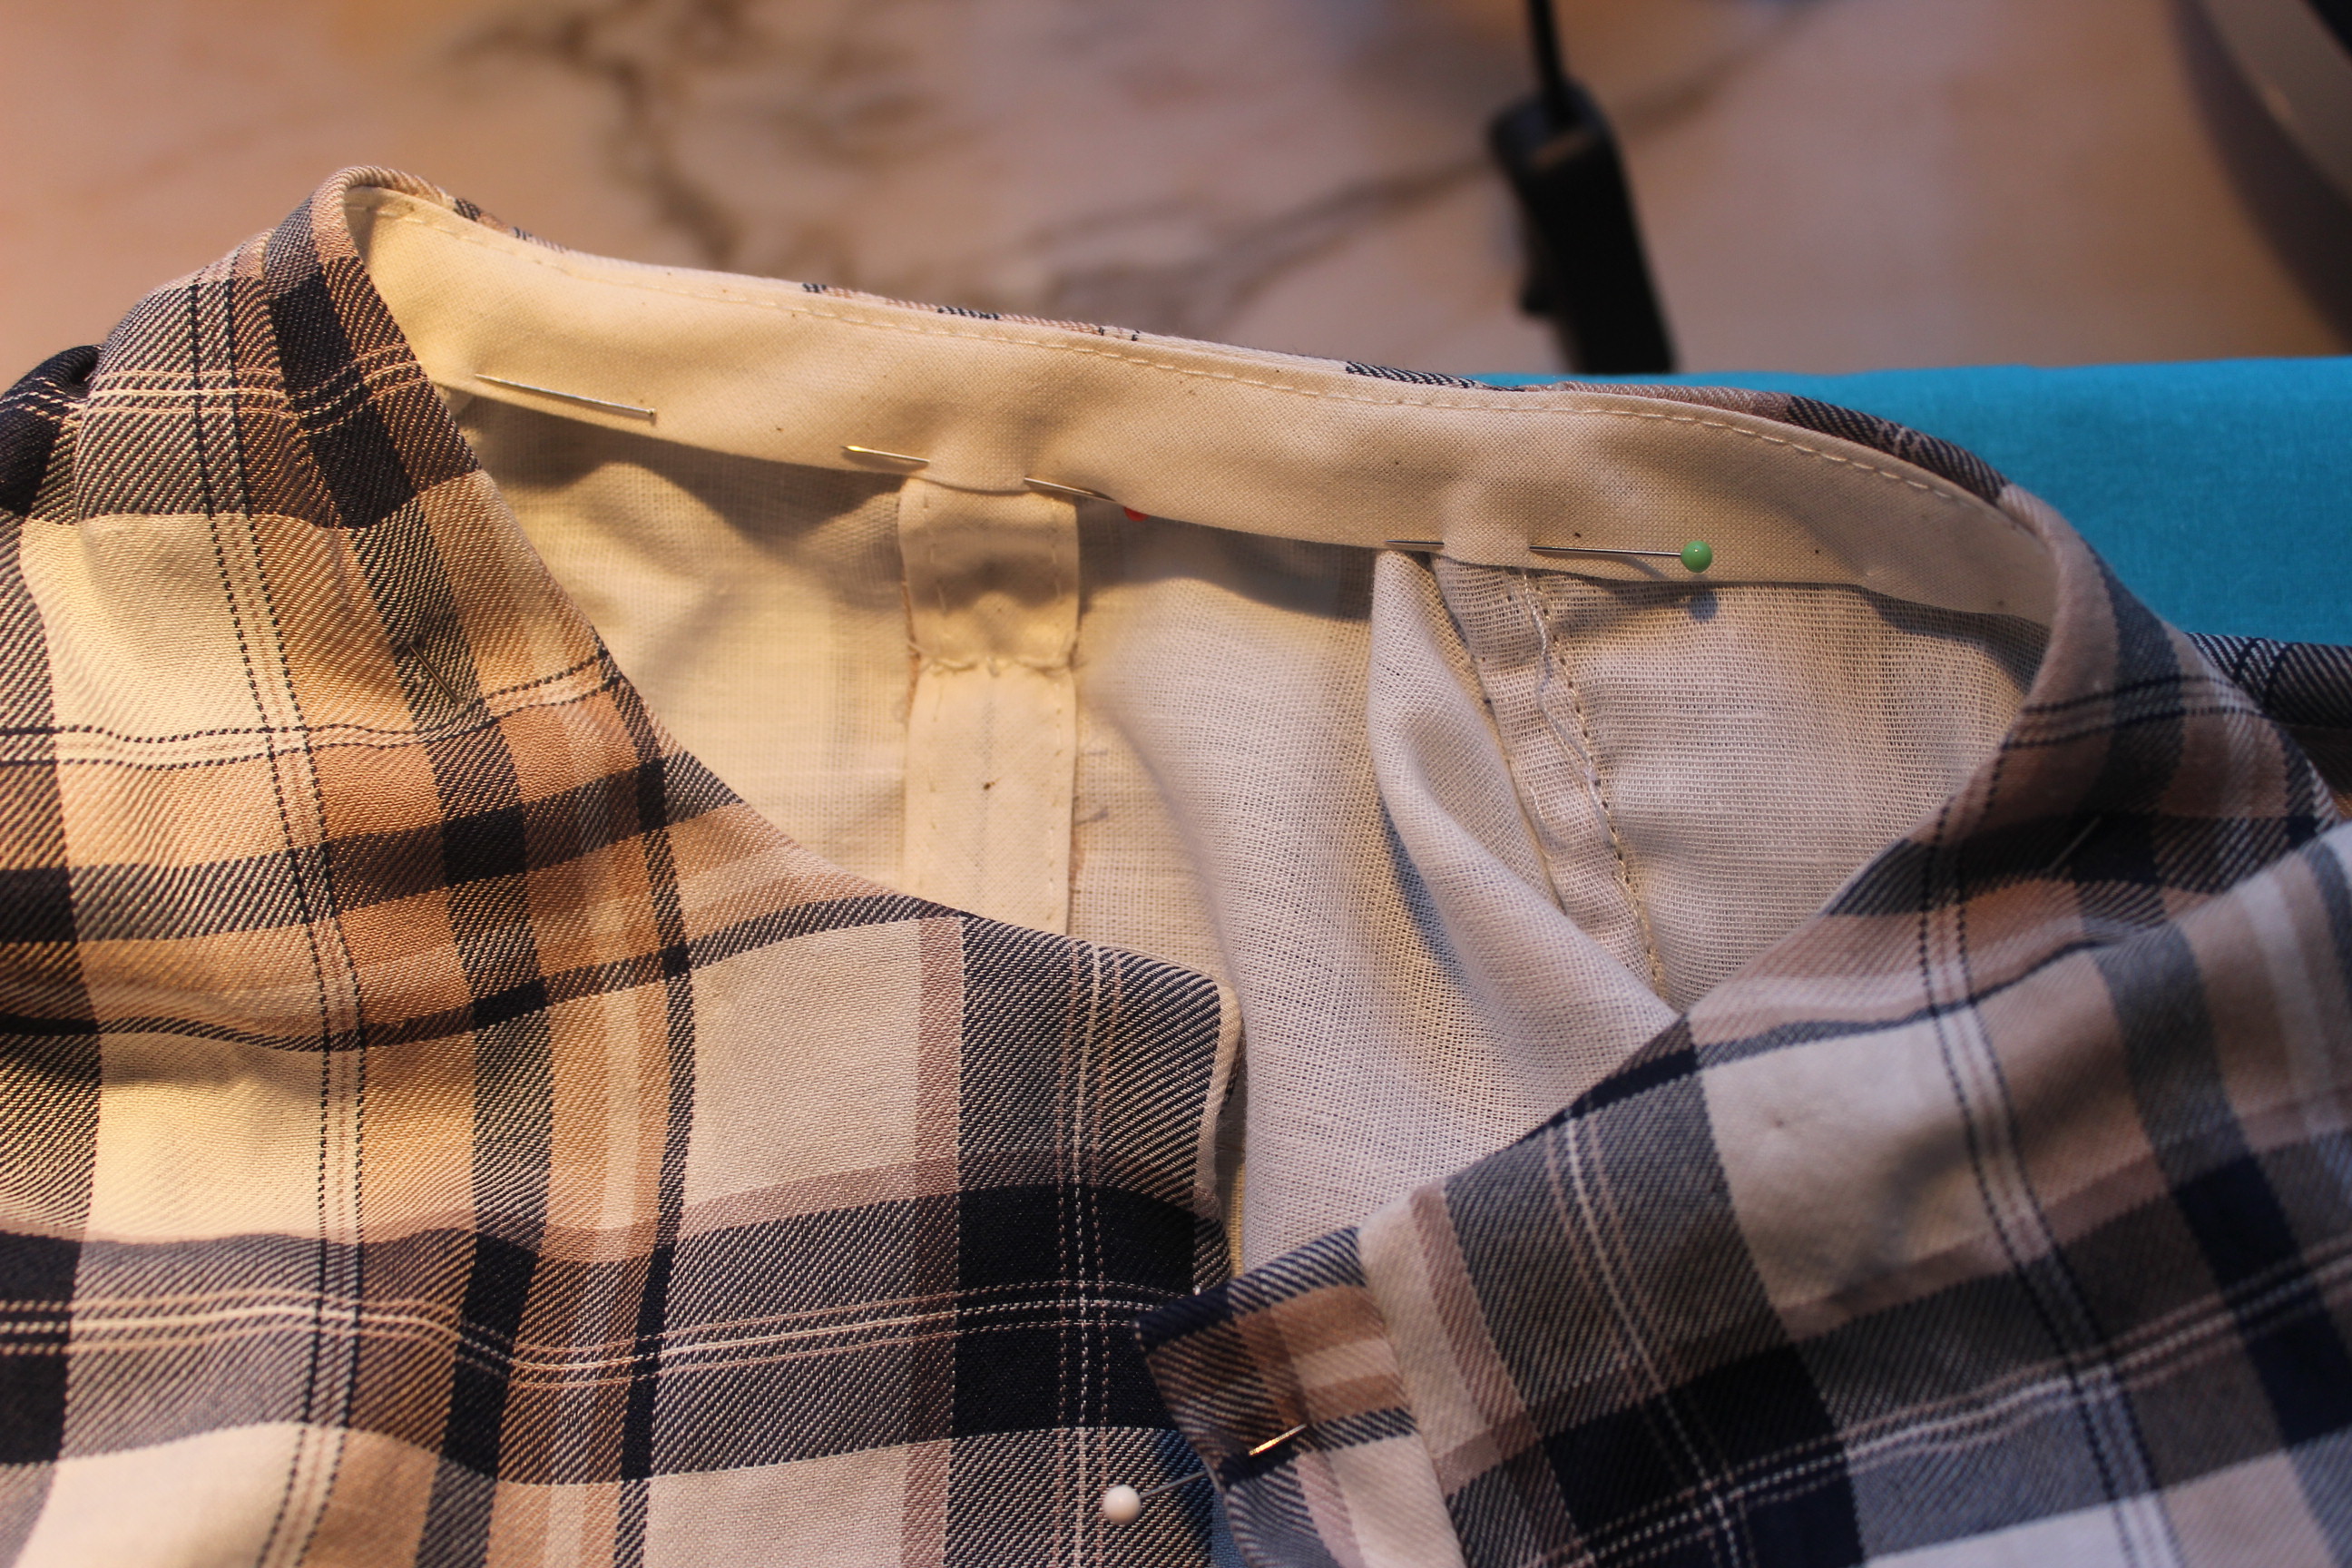
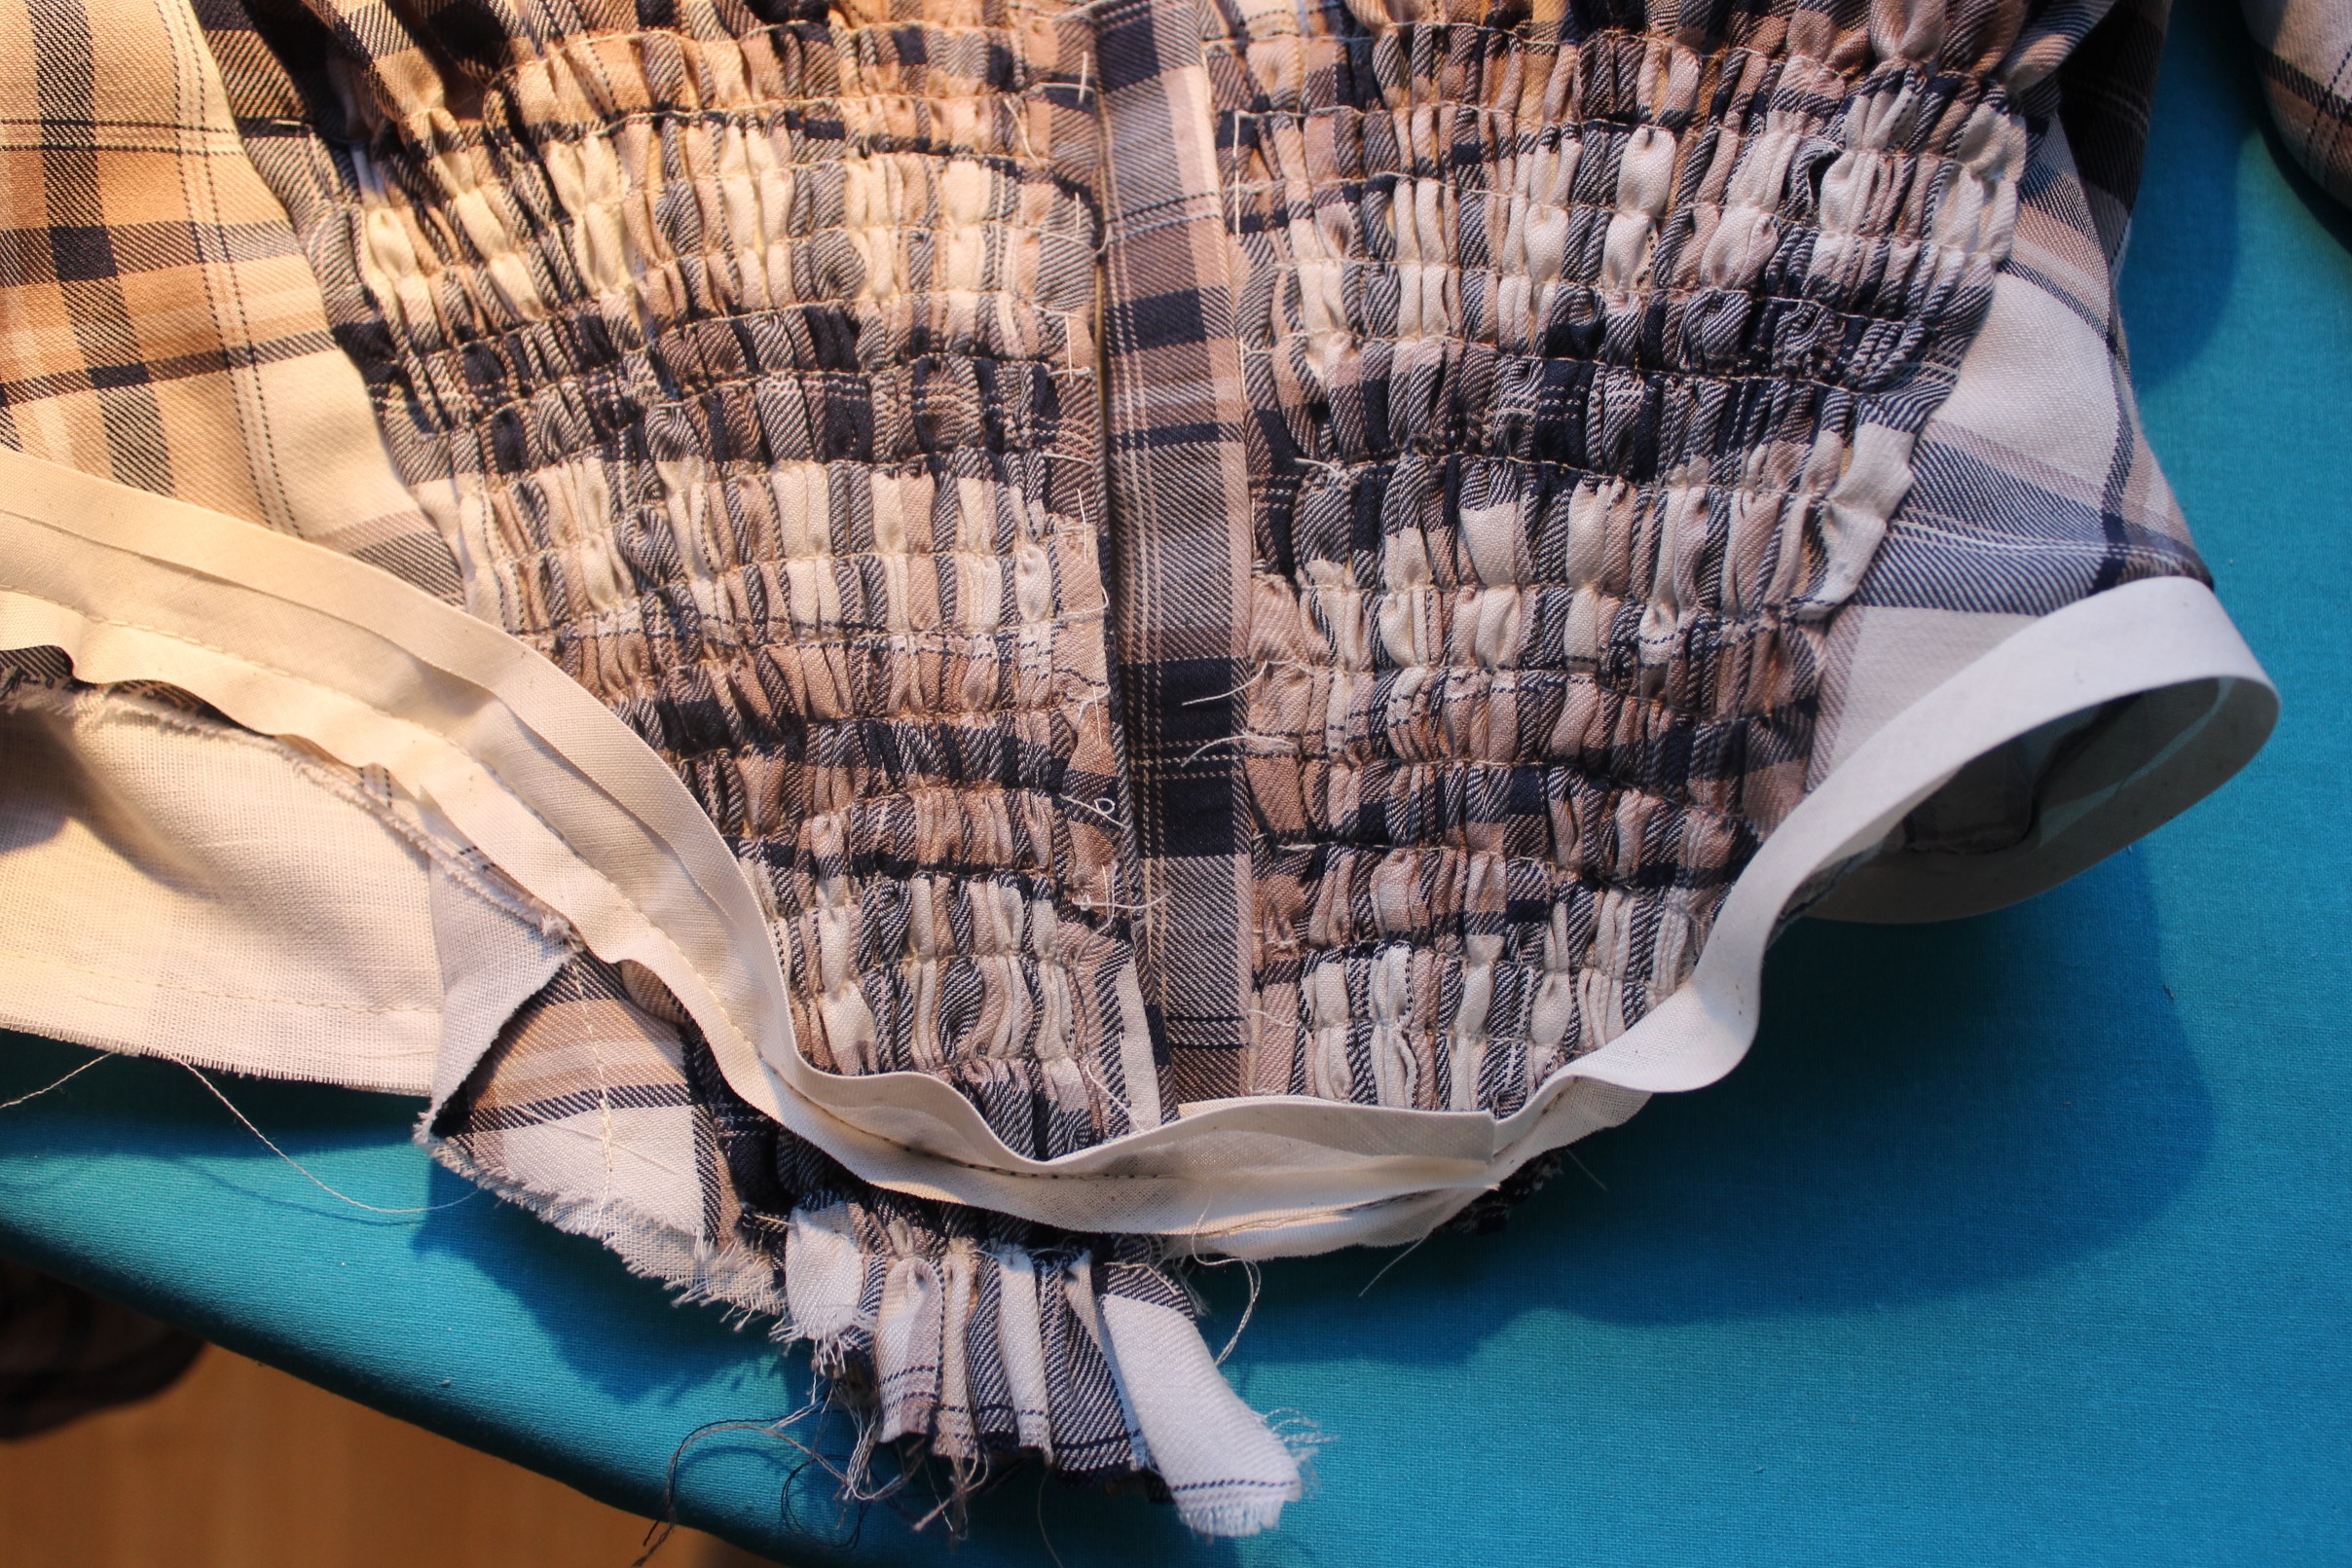
Then I made all the button holes by hand, added the pearl buttons and sewed on a piece of bias tap to make a casing for the cotton cord used to control the fullness and size at the waist.

IMG_6312Looking neat from the outside…
IMG_6313…And just as neat from the inside.

The finished blouse:

IMG_6304

IMG_6292

IMG_6297

IMG_6305

IMG_6310

IMG_6300

IMG_6309

IMG_6303

IMG_6294

IMG_6302

IMG_6295

IMG_6288

The Facts:

What: a 1850-1860s blouse/waist

Pattern: I drafted my own using my green 1840s dress bodice and pictures of extant blouses.

Fabric & Notions: 1 m dotted white polyester organza, 0,5 m soft white cotton, 12 plastic buttons, thread, buttonhole thread, 80 cm bias tape and 1,2 m cotton cord.

Time: About 10 hours.

Cost: About 100 Sek (16 Usd) – Everything was bought on sale or leftovers from previous projects.

Final thoughts: I like the look of this blouse, even though I’m not sure the polyester content will keep me as cool as I would have liked in the summer heat. I may make another one out of a more suitable fabric someday, but for now I’m pleased with it. And It was such a quick and easy project.

1840s bonnet (Gratetude)

As my entry for the HSF Challenge 23 Gratetude, I decided to make a 1840s bonnet.

This desicion was made based on multiple things: I wanted to make something I never done before in a tecnique I never tried, and keeping myself outside the comfort zone.

And I think the early Victorian headwear are both pretty, interesting and would provide a suitable challenge because of the millenery parts.

I also really need to make myself some 1840-1850s headwear to wear to an upcoming event.

This is what I whant to accomplish.

56809-large

I found this great and informative blogpost on how to make a bonnet by Susan Biscoe. This post gave me the curage to give it a try.

So I started by draping a pattern.

IMG_3825IMG_3822

I used the left-over velvet fabric of the Masquerade cape, and started to cut the multiple layers.

IMG_3831

All the pieces cut out. From left to right: Velvet, cotton lining, interlining, intefacing and the pattern piece. (I later decided to only use one layers each of the interlining and interfacing).IMG_3836

Using a sick-sack stich to attach the wire to the pattern pieces.IMG_3842

I used a plier to bend the wire into shape.IMG_3846

All wired brim piece.IMG_3851

The crown being attached.IMG_3855And the inside.IMG_3864

Sewing the velvet to the crown.

IMG_3867IMG_3881IMG_3877

IMG_3869

And finished with the trimings attached.

IMG_3895IMG_3885

IMG_3891

IMG_3892

IMG_3883

Just the facts:

Challenge: 23 – Gratetude

What: A 1840s bonnet

Pattern: I draped and drafted my own.

Fabric: 0,4 m of: brown cotton velvet, brown cotton lawn, heavy upholstery fabric and 0,2 m of golden satin.

Notions: Thread, heavy interfacing and steel wire.

How Historical Accurat: The shape is pretty good but the construction and sewing are modern, even though it is mostly hand sewn.

Time: 10 hours.

Cost: About 100 Sek (11 Usd)

First worn: Not yet, but will be on dec 16th for a 19th century Christmas party.

Thanks to: First of all I whant to thank the whole costuming comunity, and all the help and support you can find there. You are all great!

A special thanks goes to Leomoni of “the Dreamstress” who got me interested in historic costuming, and through the HSF made me inspired to continue to make historic clothes this past year.

Then I whant to thank Susan Briscoe for the great blogpost who made it look so simple (to make a bonnet) and thous gave me the currage to give it a try.

Last thoughts: I really loved making this bonnet and are already thinking about making an other one. Mabye I should venture deeper in to millenery…