
Another theme for this Halloween countdown:

 Modell: Matilda Tengdelius
Another theme for this Halloween countdown:
Modell: Matilda Tengdelius
Back in may with a big event coming closer i had a bi of a wardrobe panic – which (thankfully) was pretty easy solved by posting my 3 choices on Instagram and let you decide.
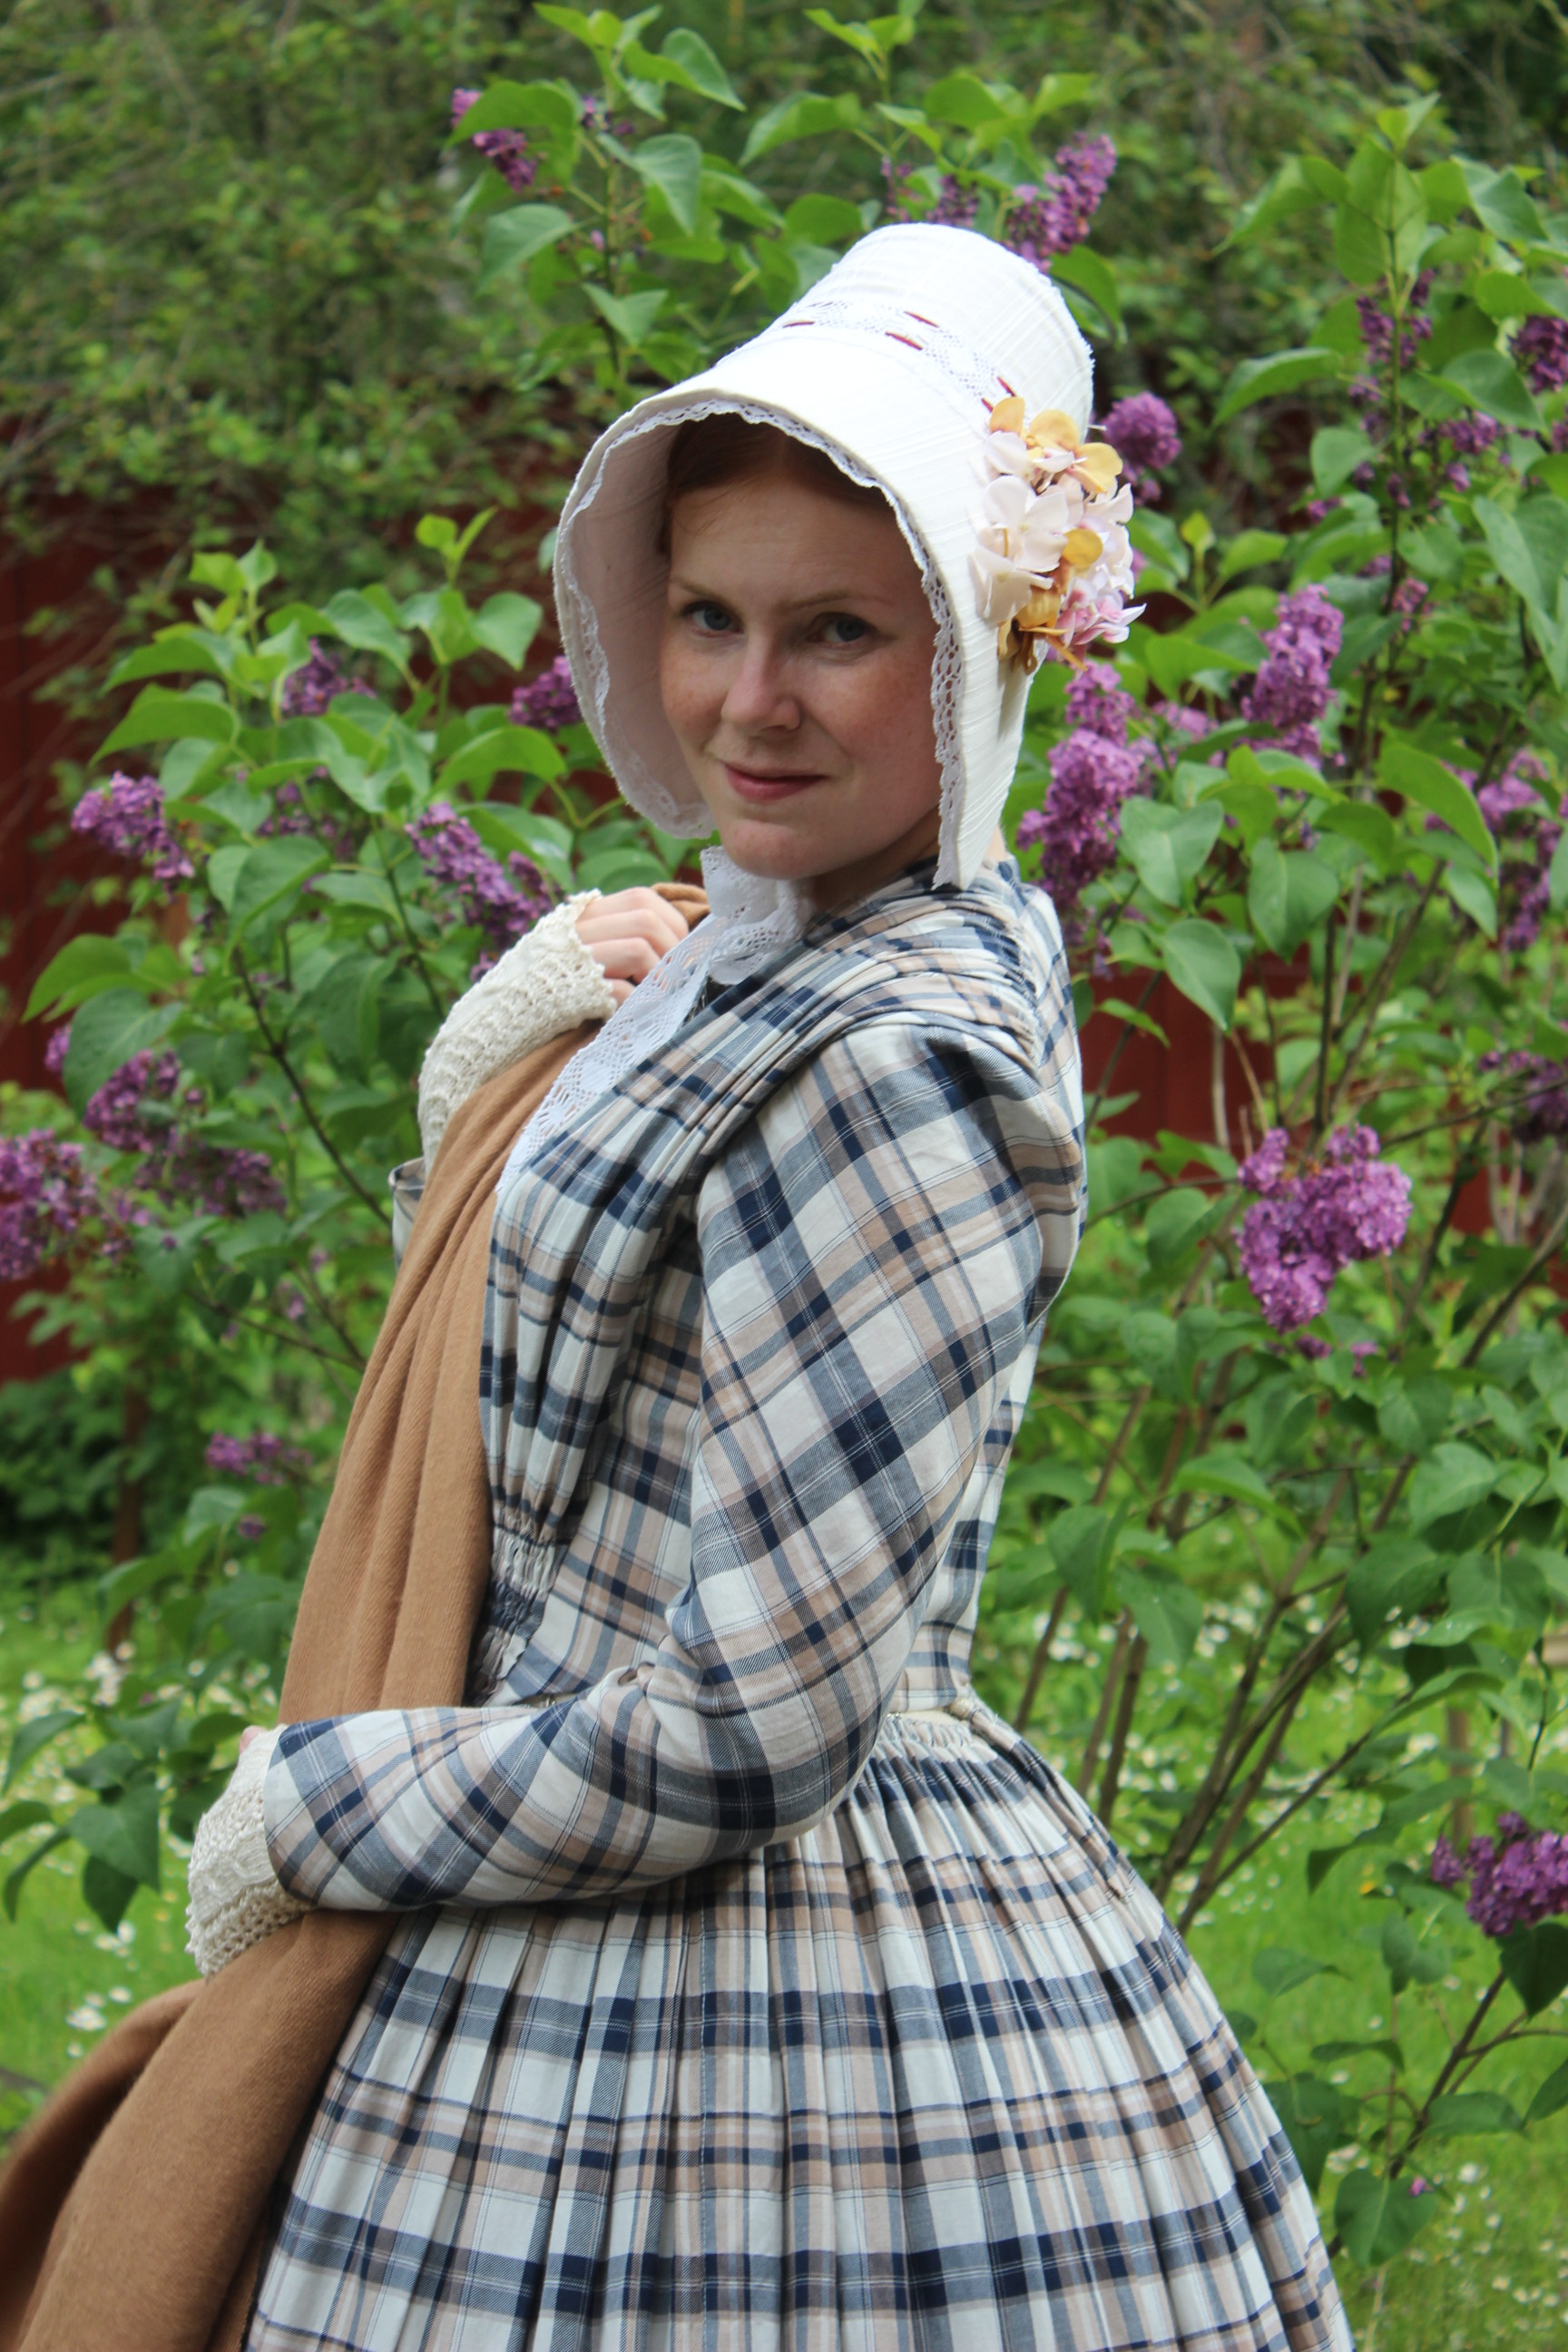
And as some of you already know, the (not so enominous) votes tallied up to my plaid light cotton summer dress and my white 1850s bonnet, and I couldn’t have made a better choice 🙂 – So a big Thank you to all that voted!
I felt perfectly temperate, pretty,fashionable and practical, all at the same time.
While at the event, I took the time to get some better pictures of it (since last times photos tuned out somewhat odd).


 Photos: Maria Petersson
As soon as I laid eyes on this fashion plate I knew I wanted it
(and of course the costume ;-))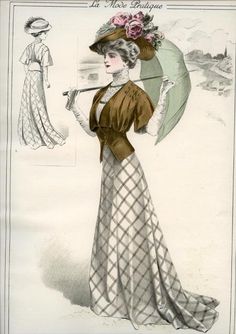
Jen at Festive Attyre made the most fabulous recreation of it a while back. And even though I knew I could never match her skill or perfect Edwardian look, I really wanted a similar look.
So when the HSM challenge 9 – “Brown” approached I scouted out my stash for the perfect brown and plaid wool fabric, and got to work.

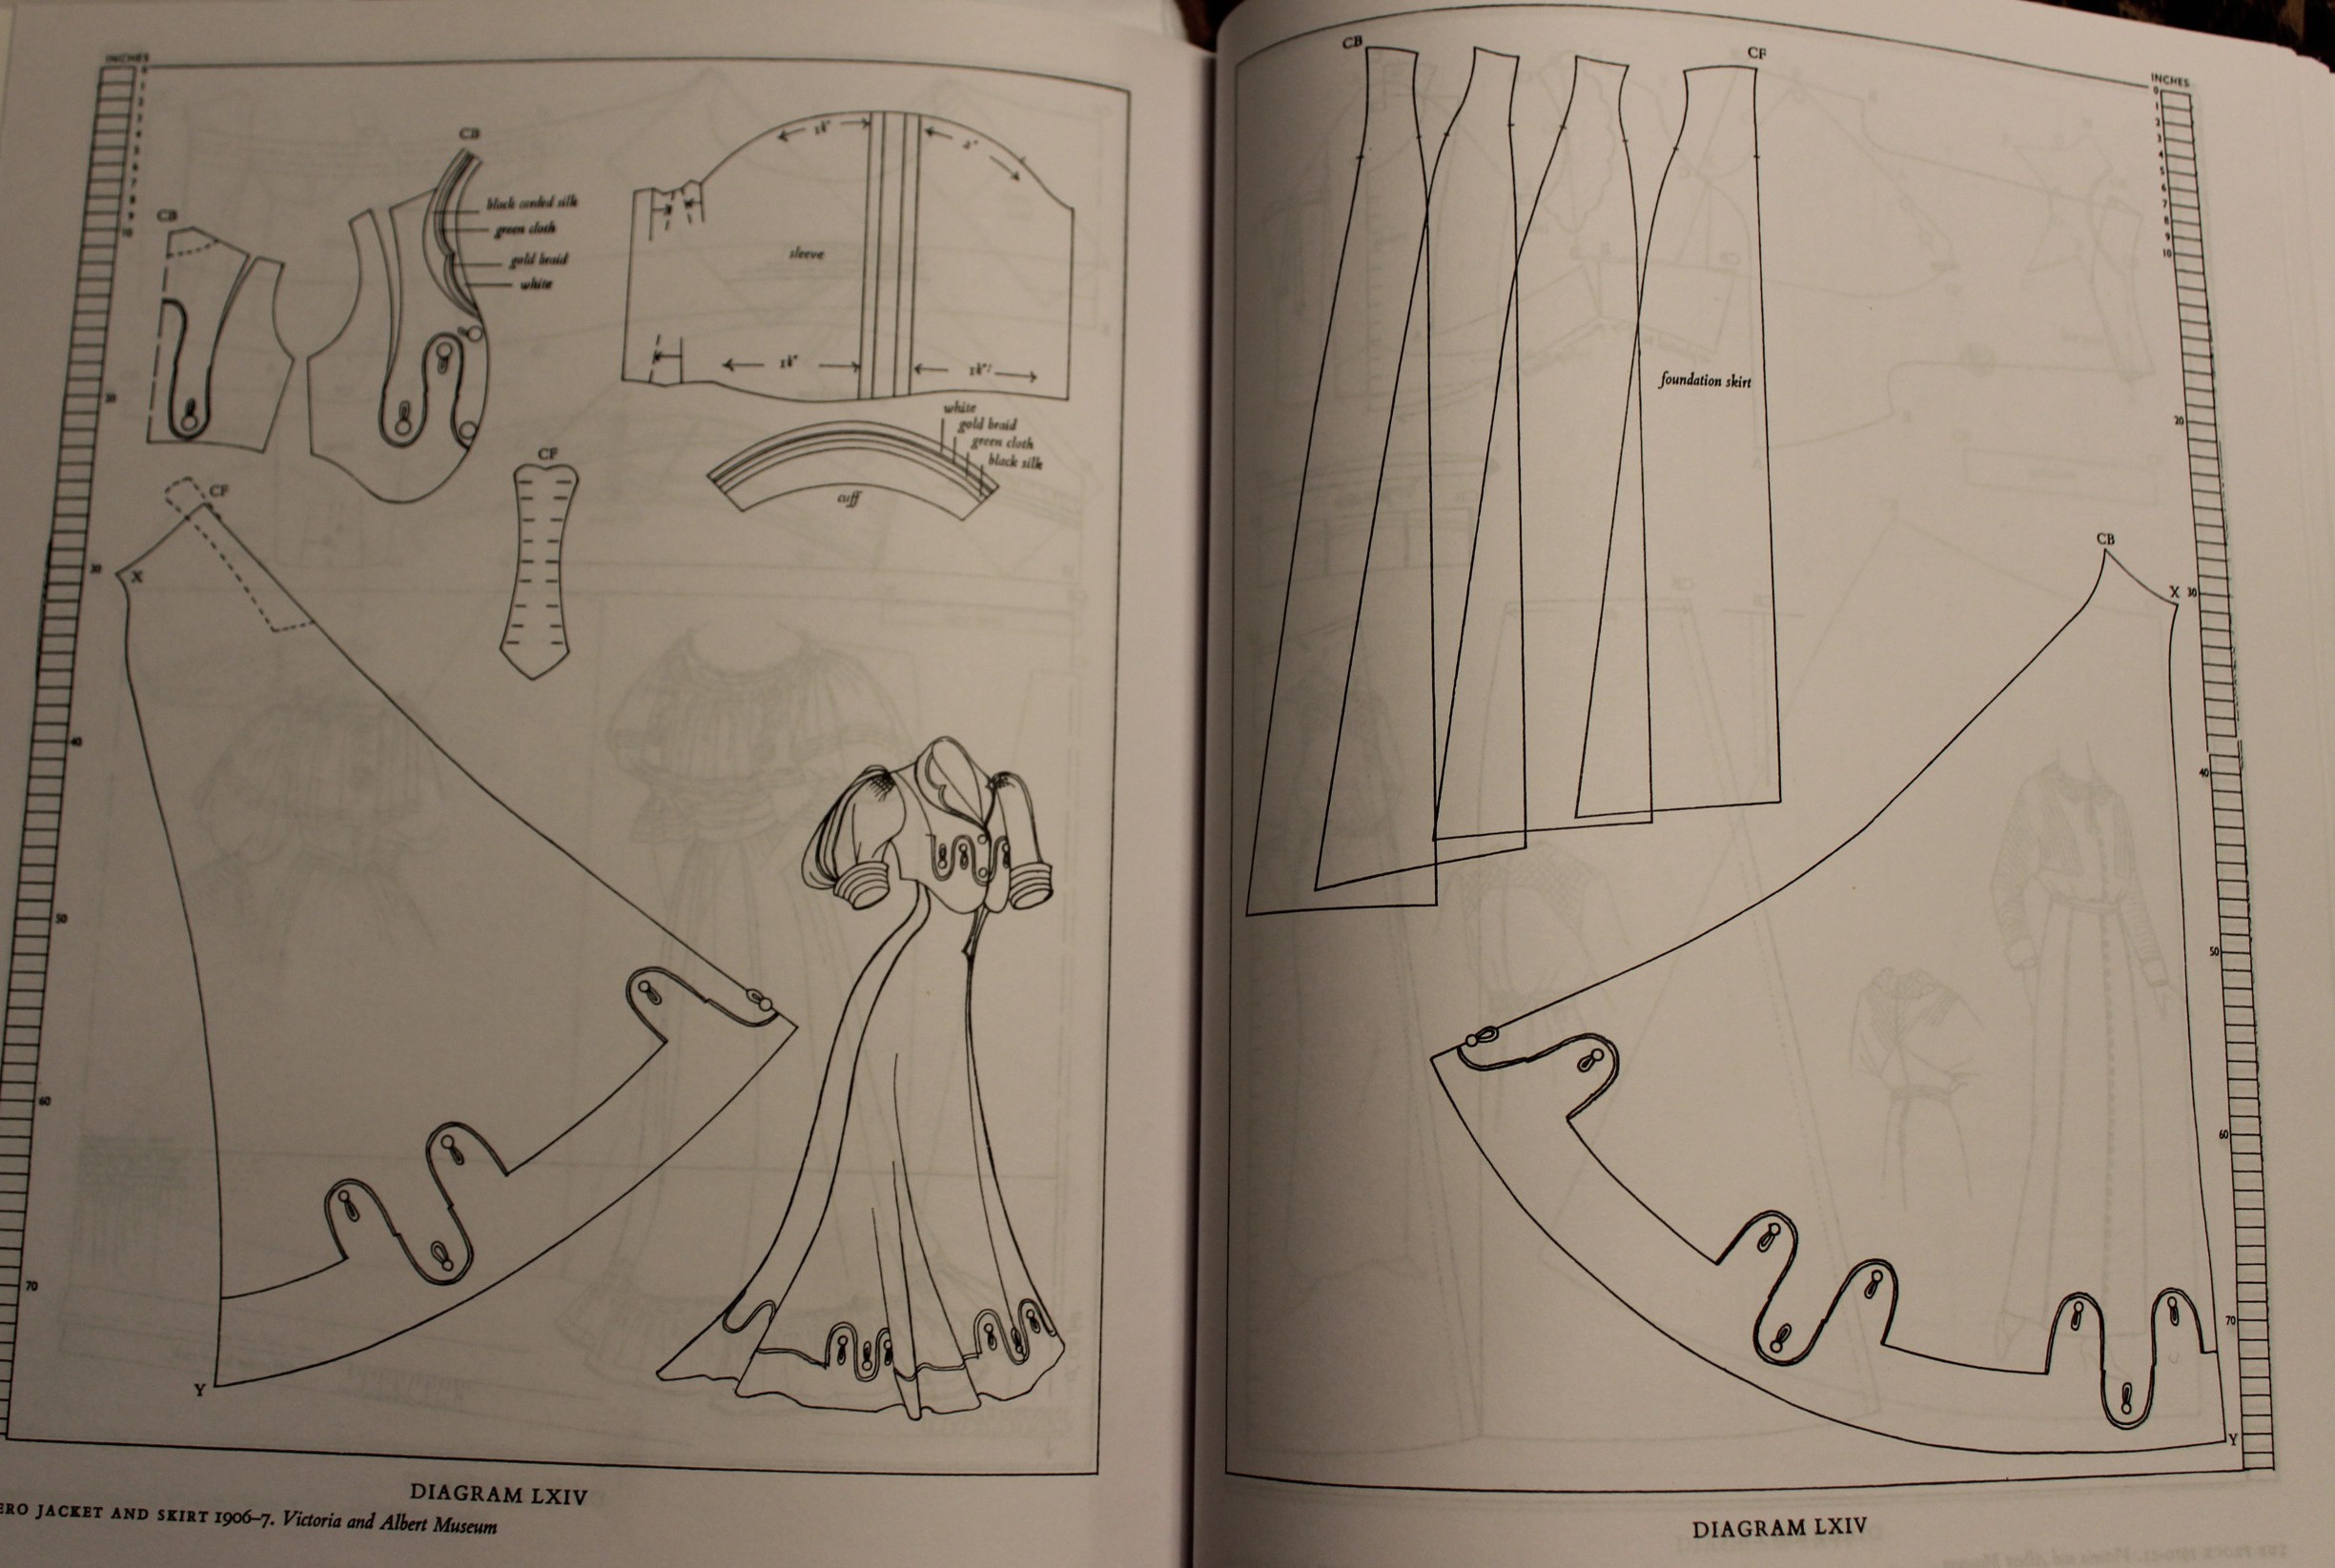
I drafted the pattern using Nora Waughs “The cut of women’s clothes”
I cut the pieces on the bias, carefully matched the plaid to meet at an angel at the seams.
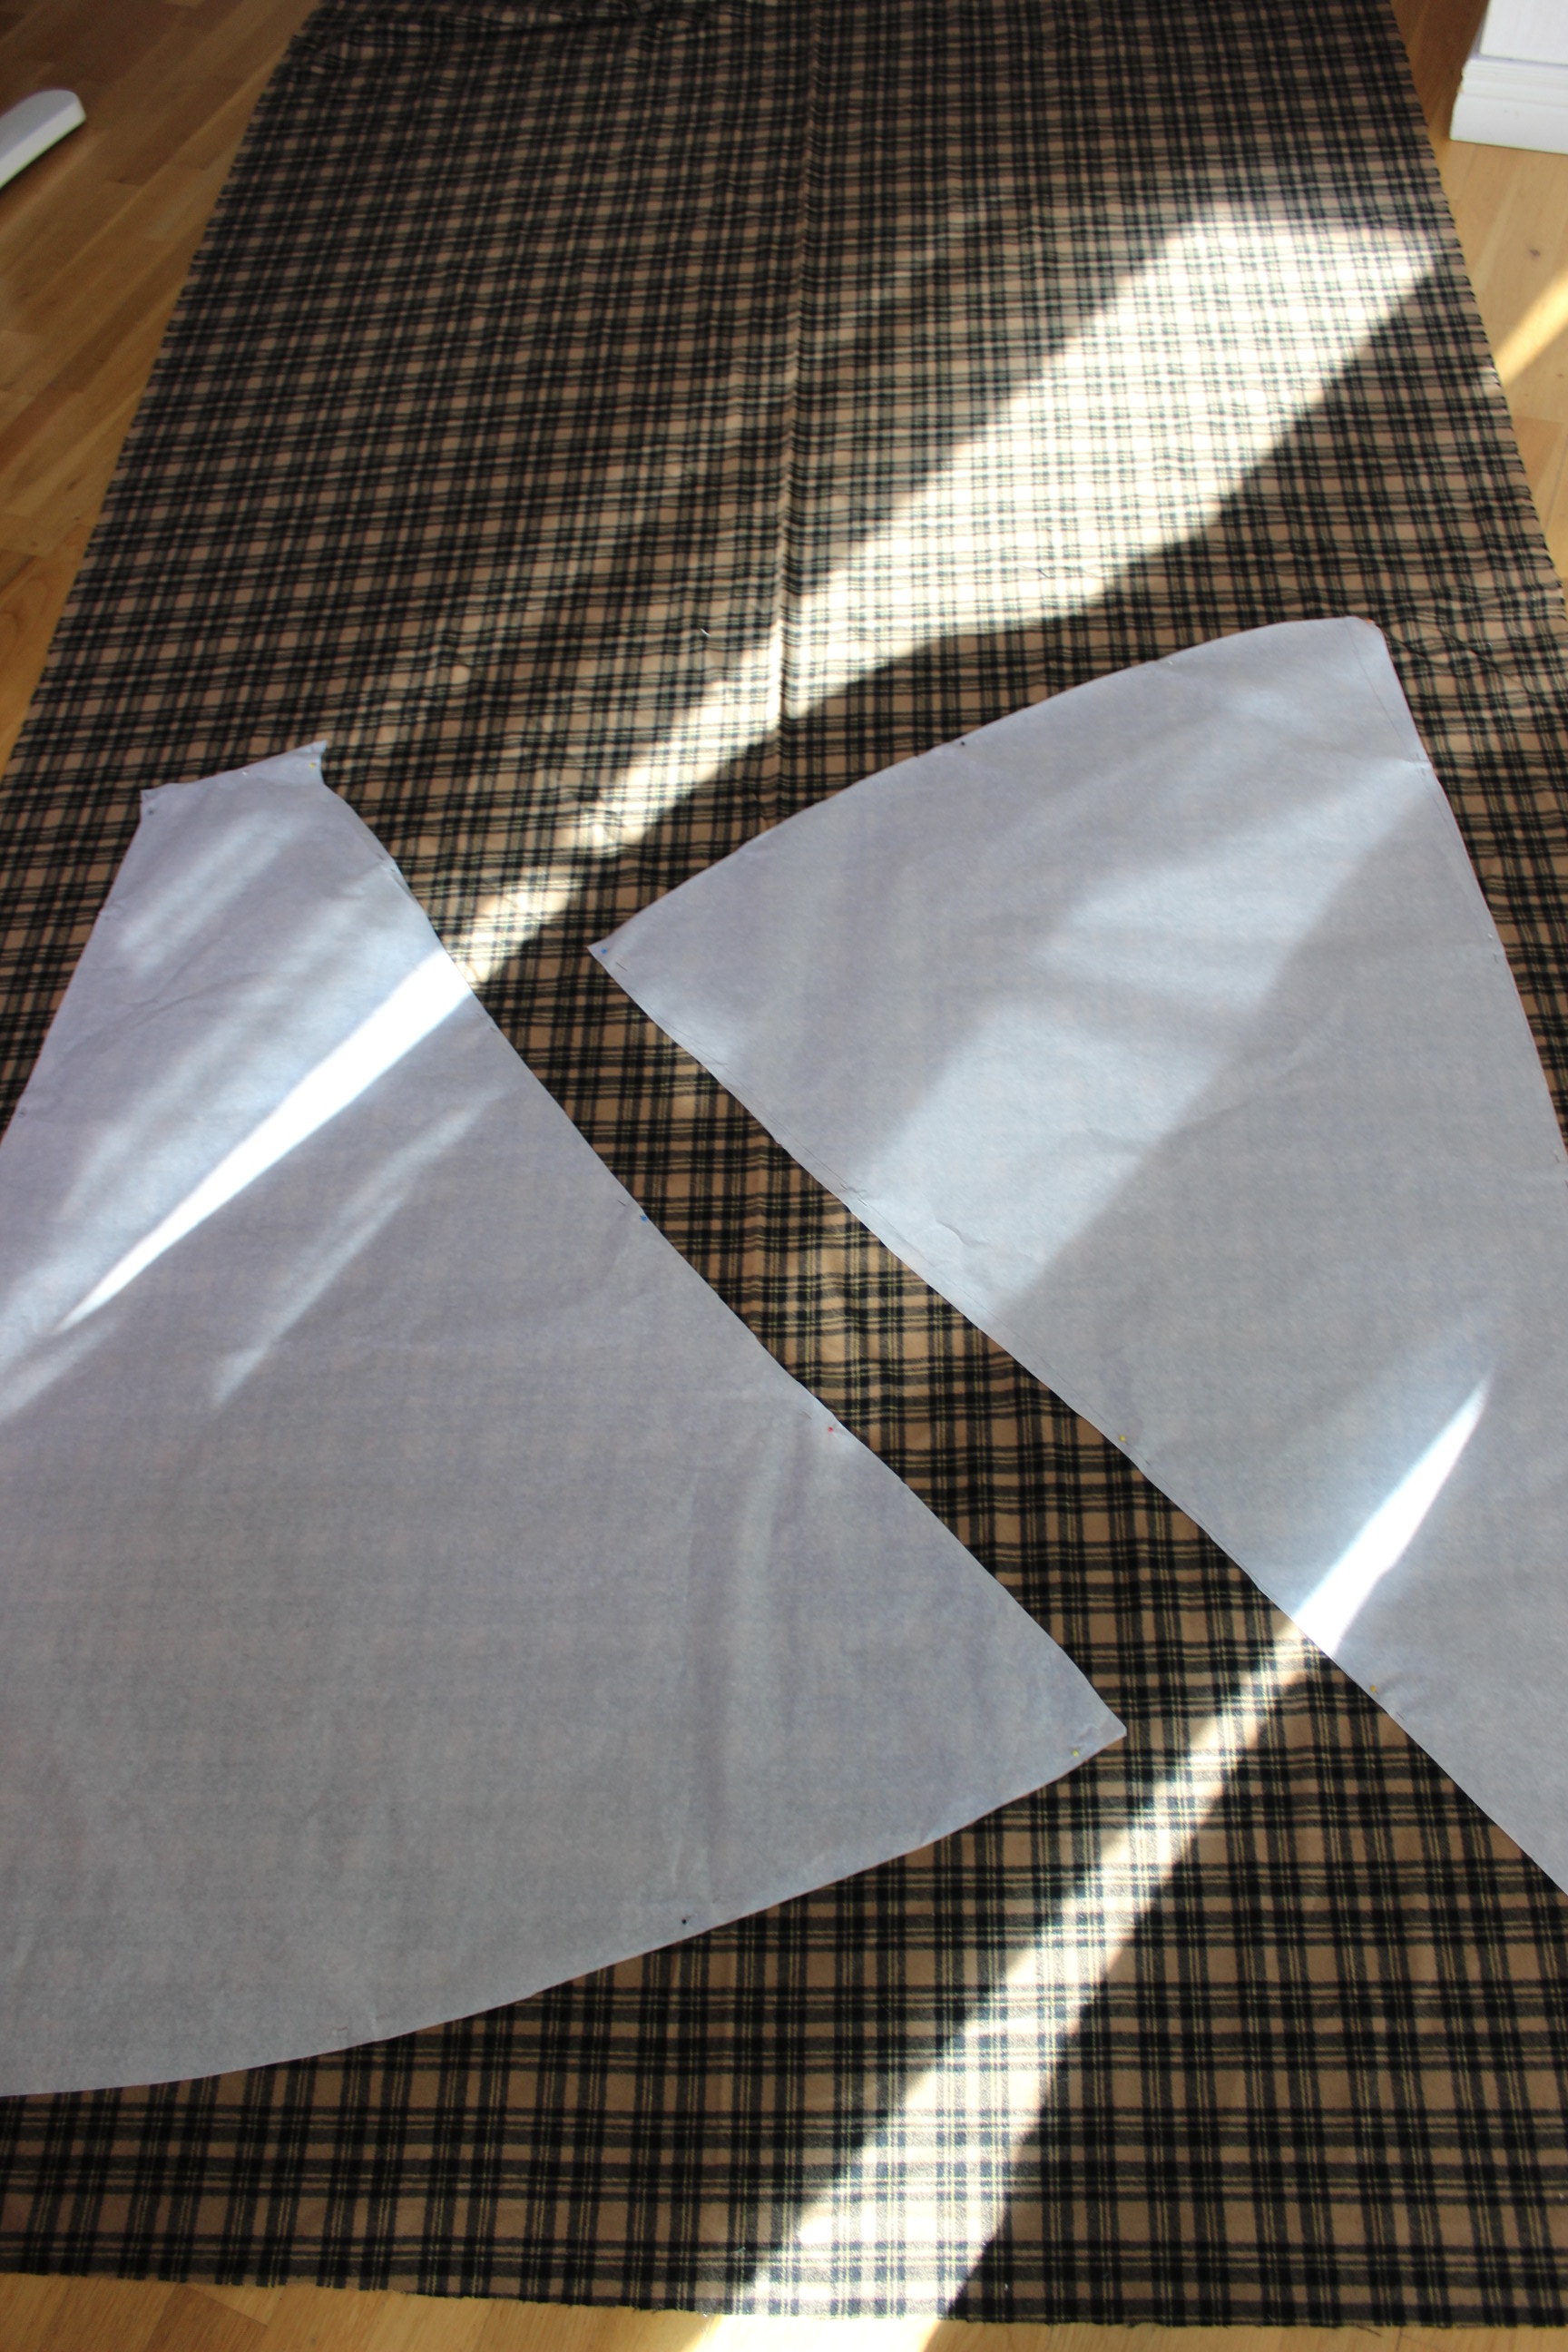
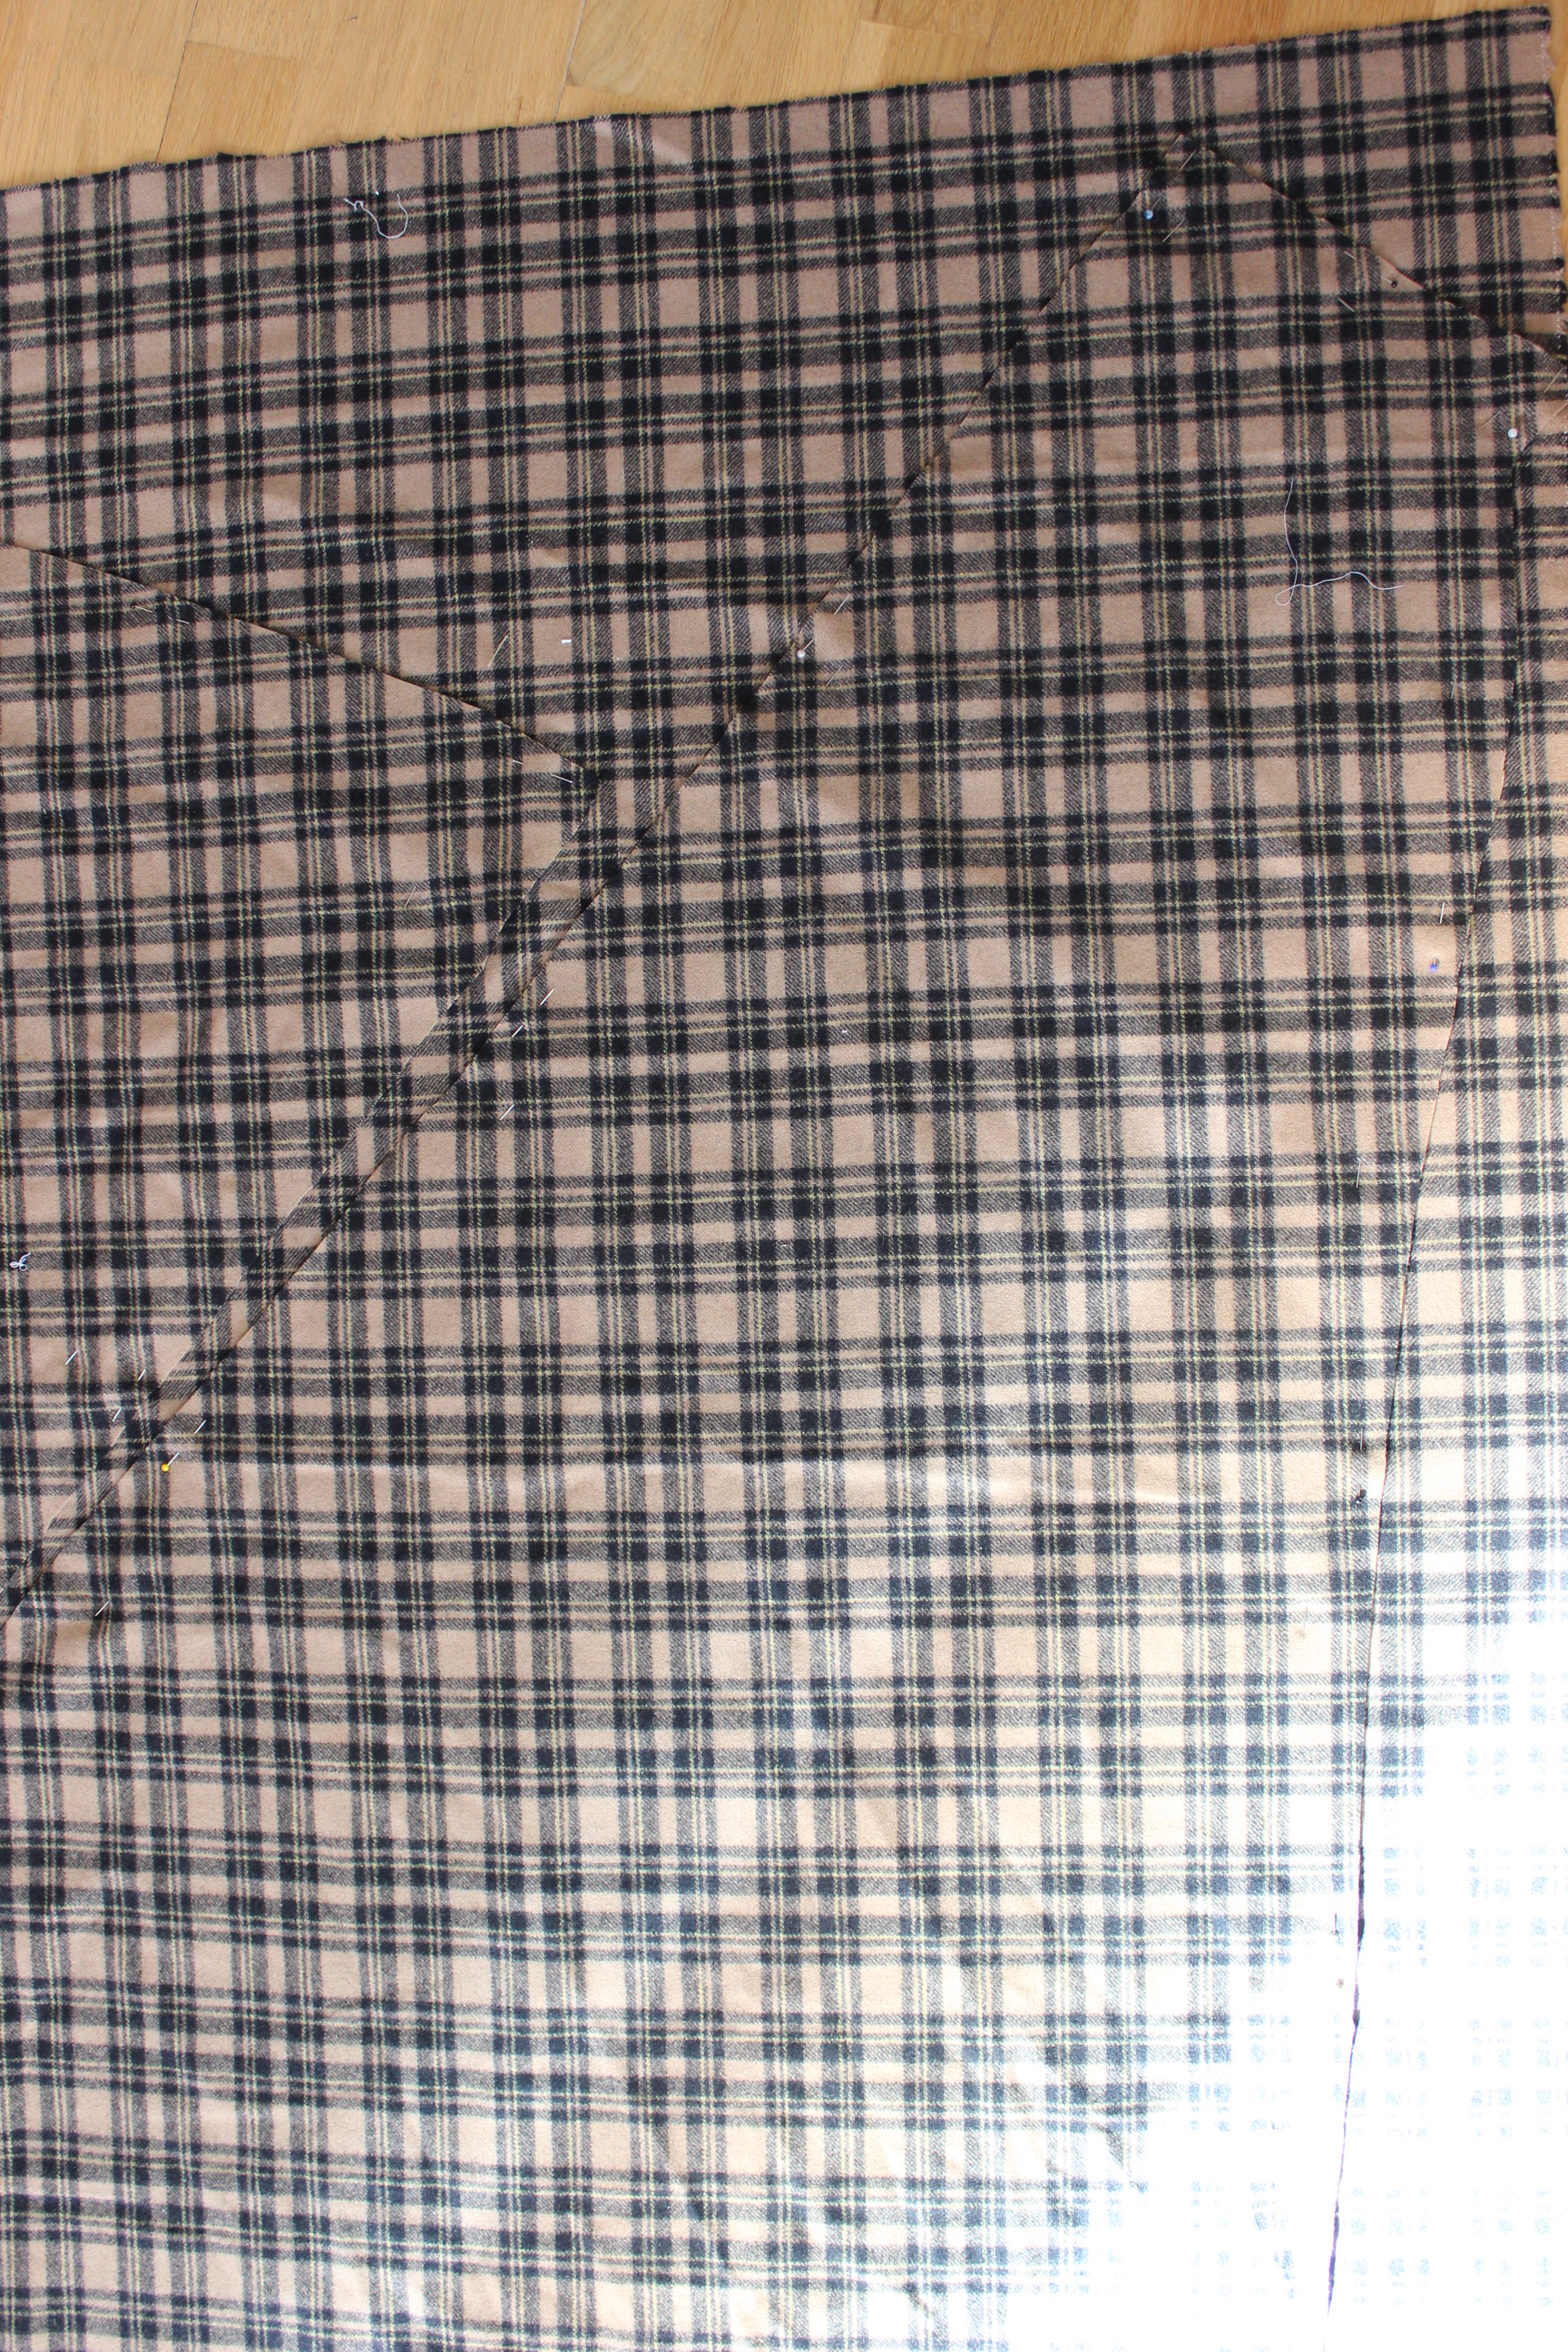 Matching the plaid
I used some white cotton for the foundation and stitched bias-tape to make boning channels to get that nice body-hugging look of the corseted skirt of this era.
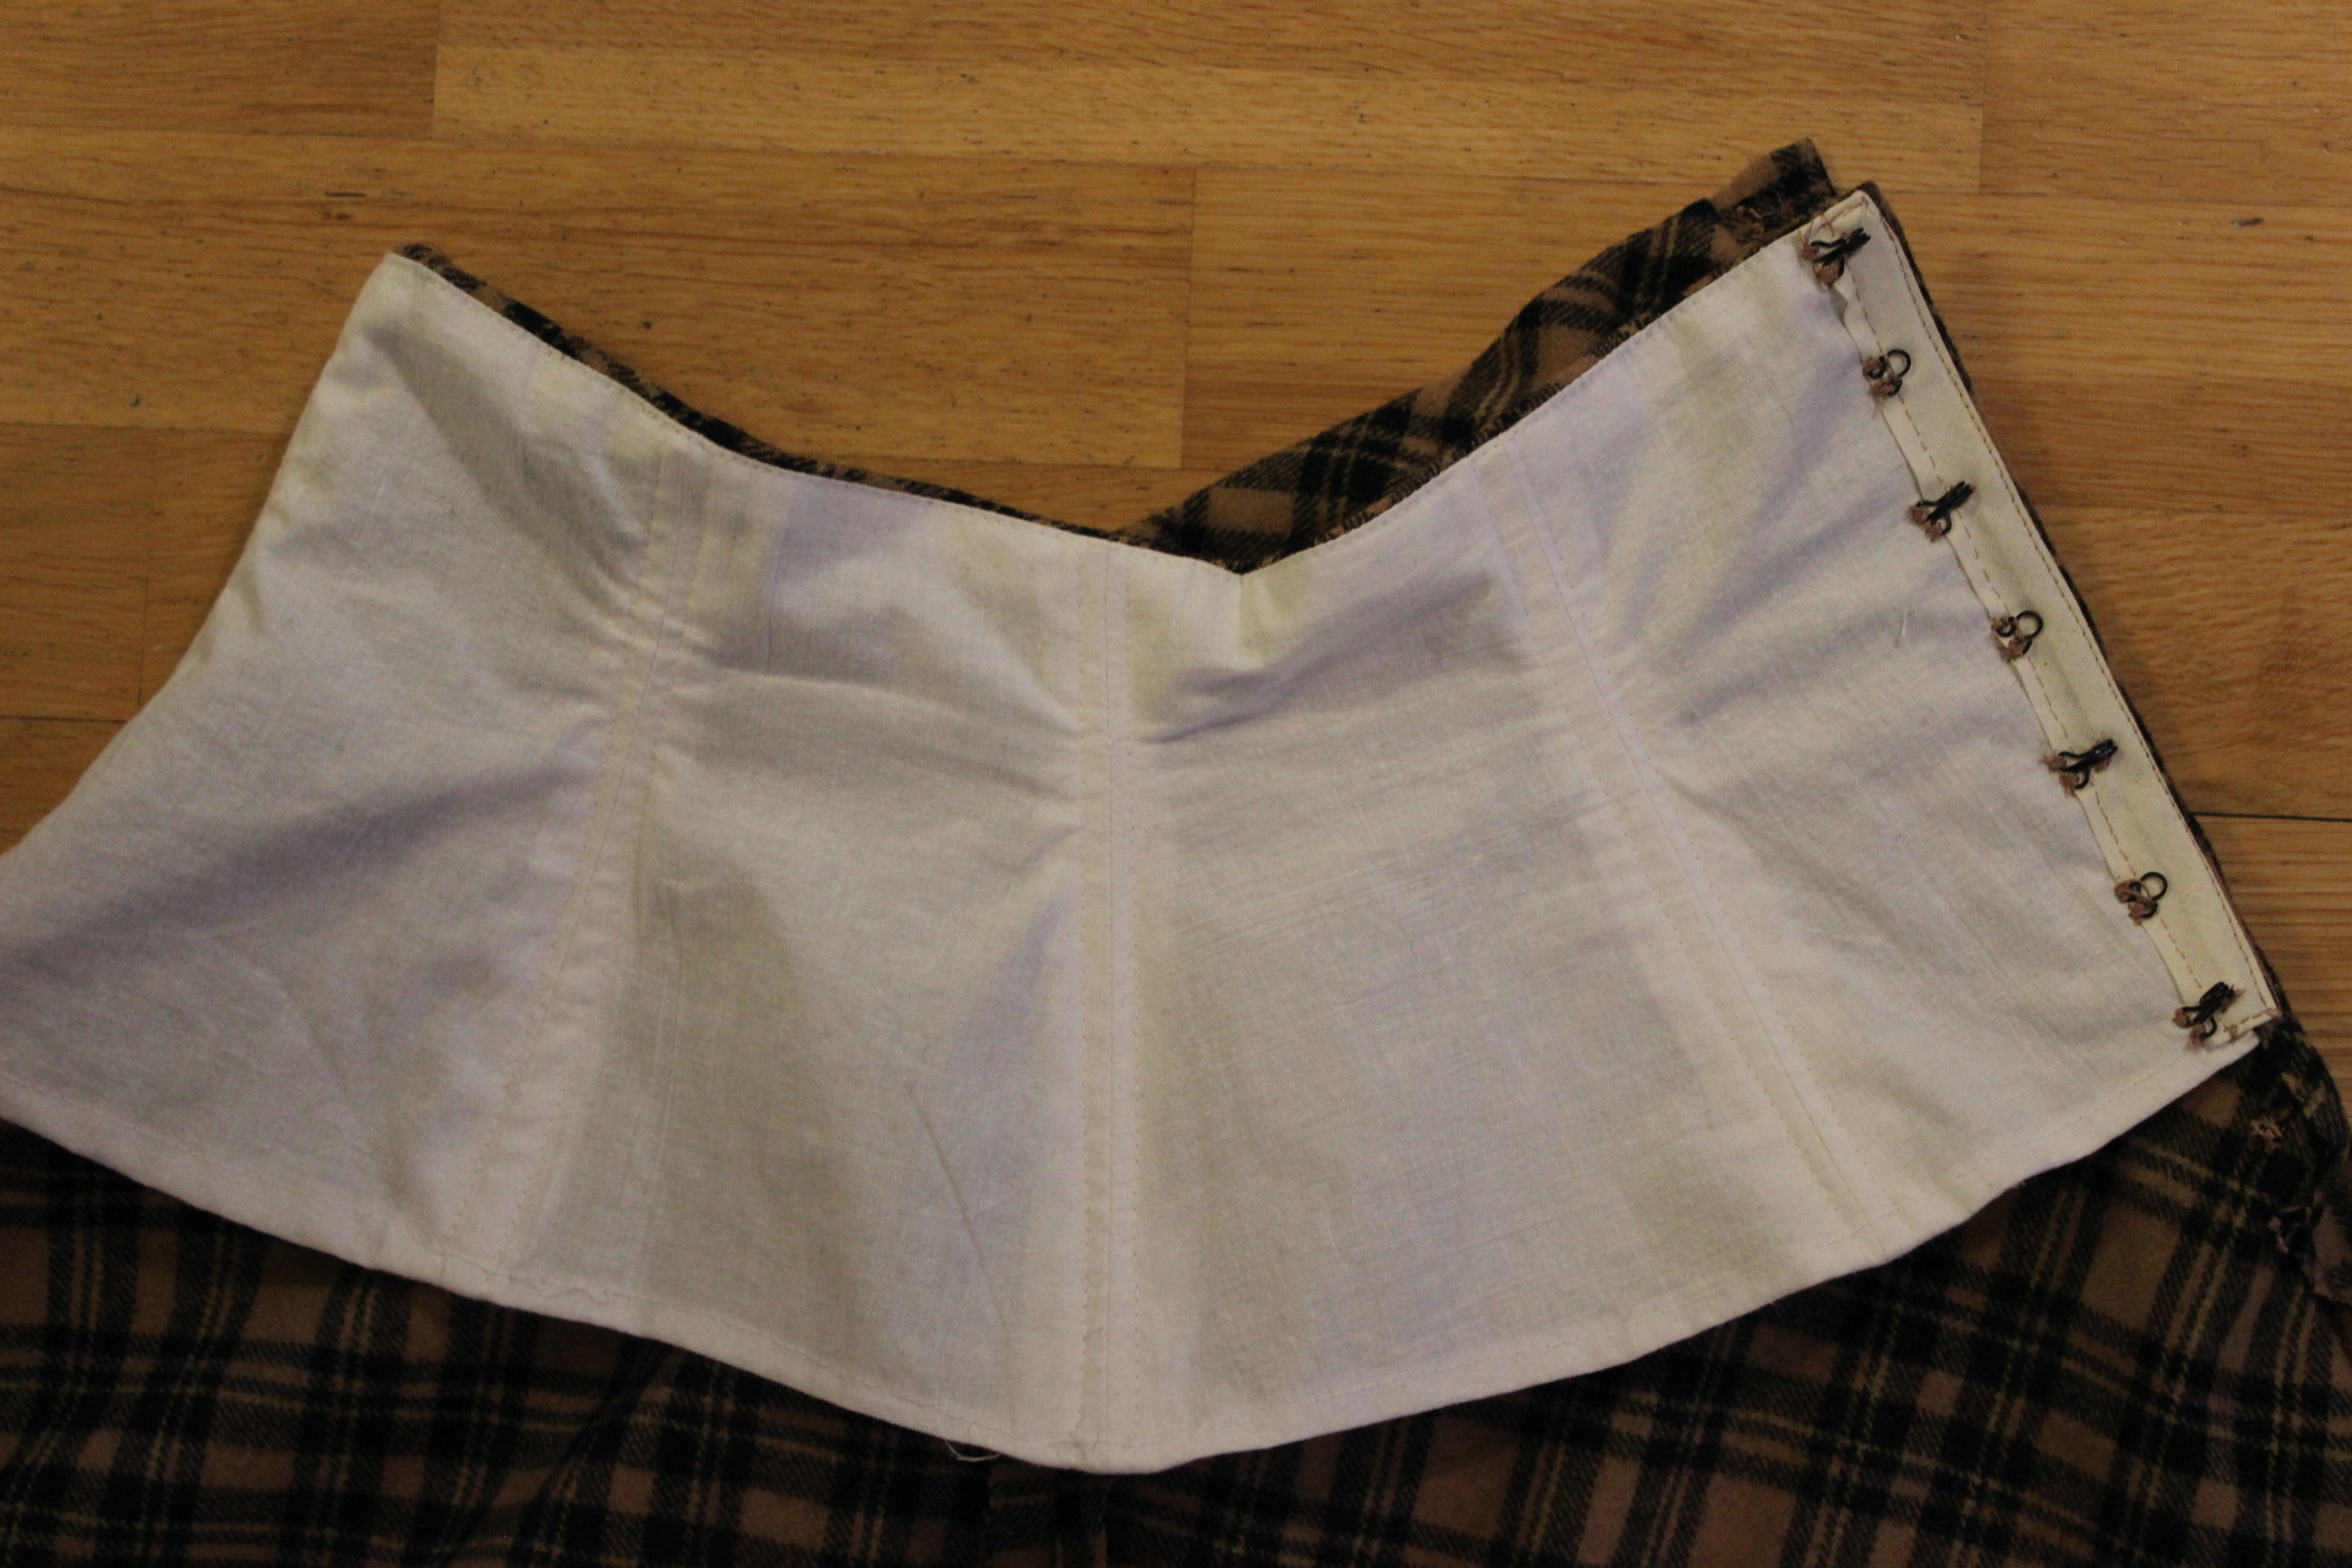
The skirt closes at the front with hooks and eyes, over a placket and secured with another pair of bones.

I finished by hemming the skirt using a 10 cm wide strip of beige cotton for hem-facing.

And that’s it. The skirt from the inside
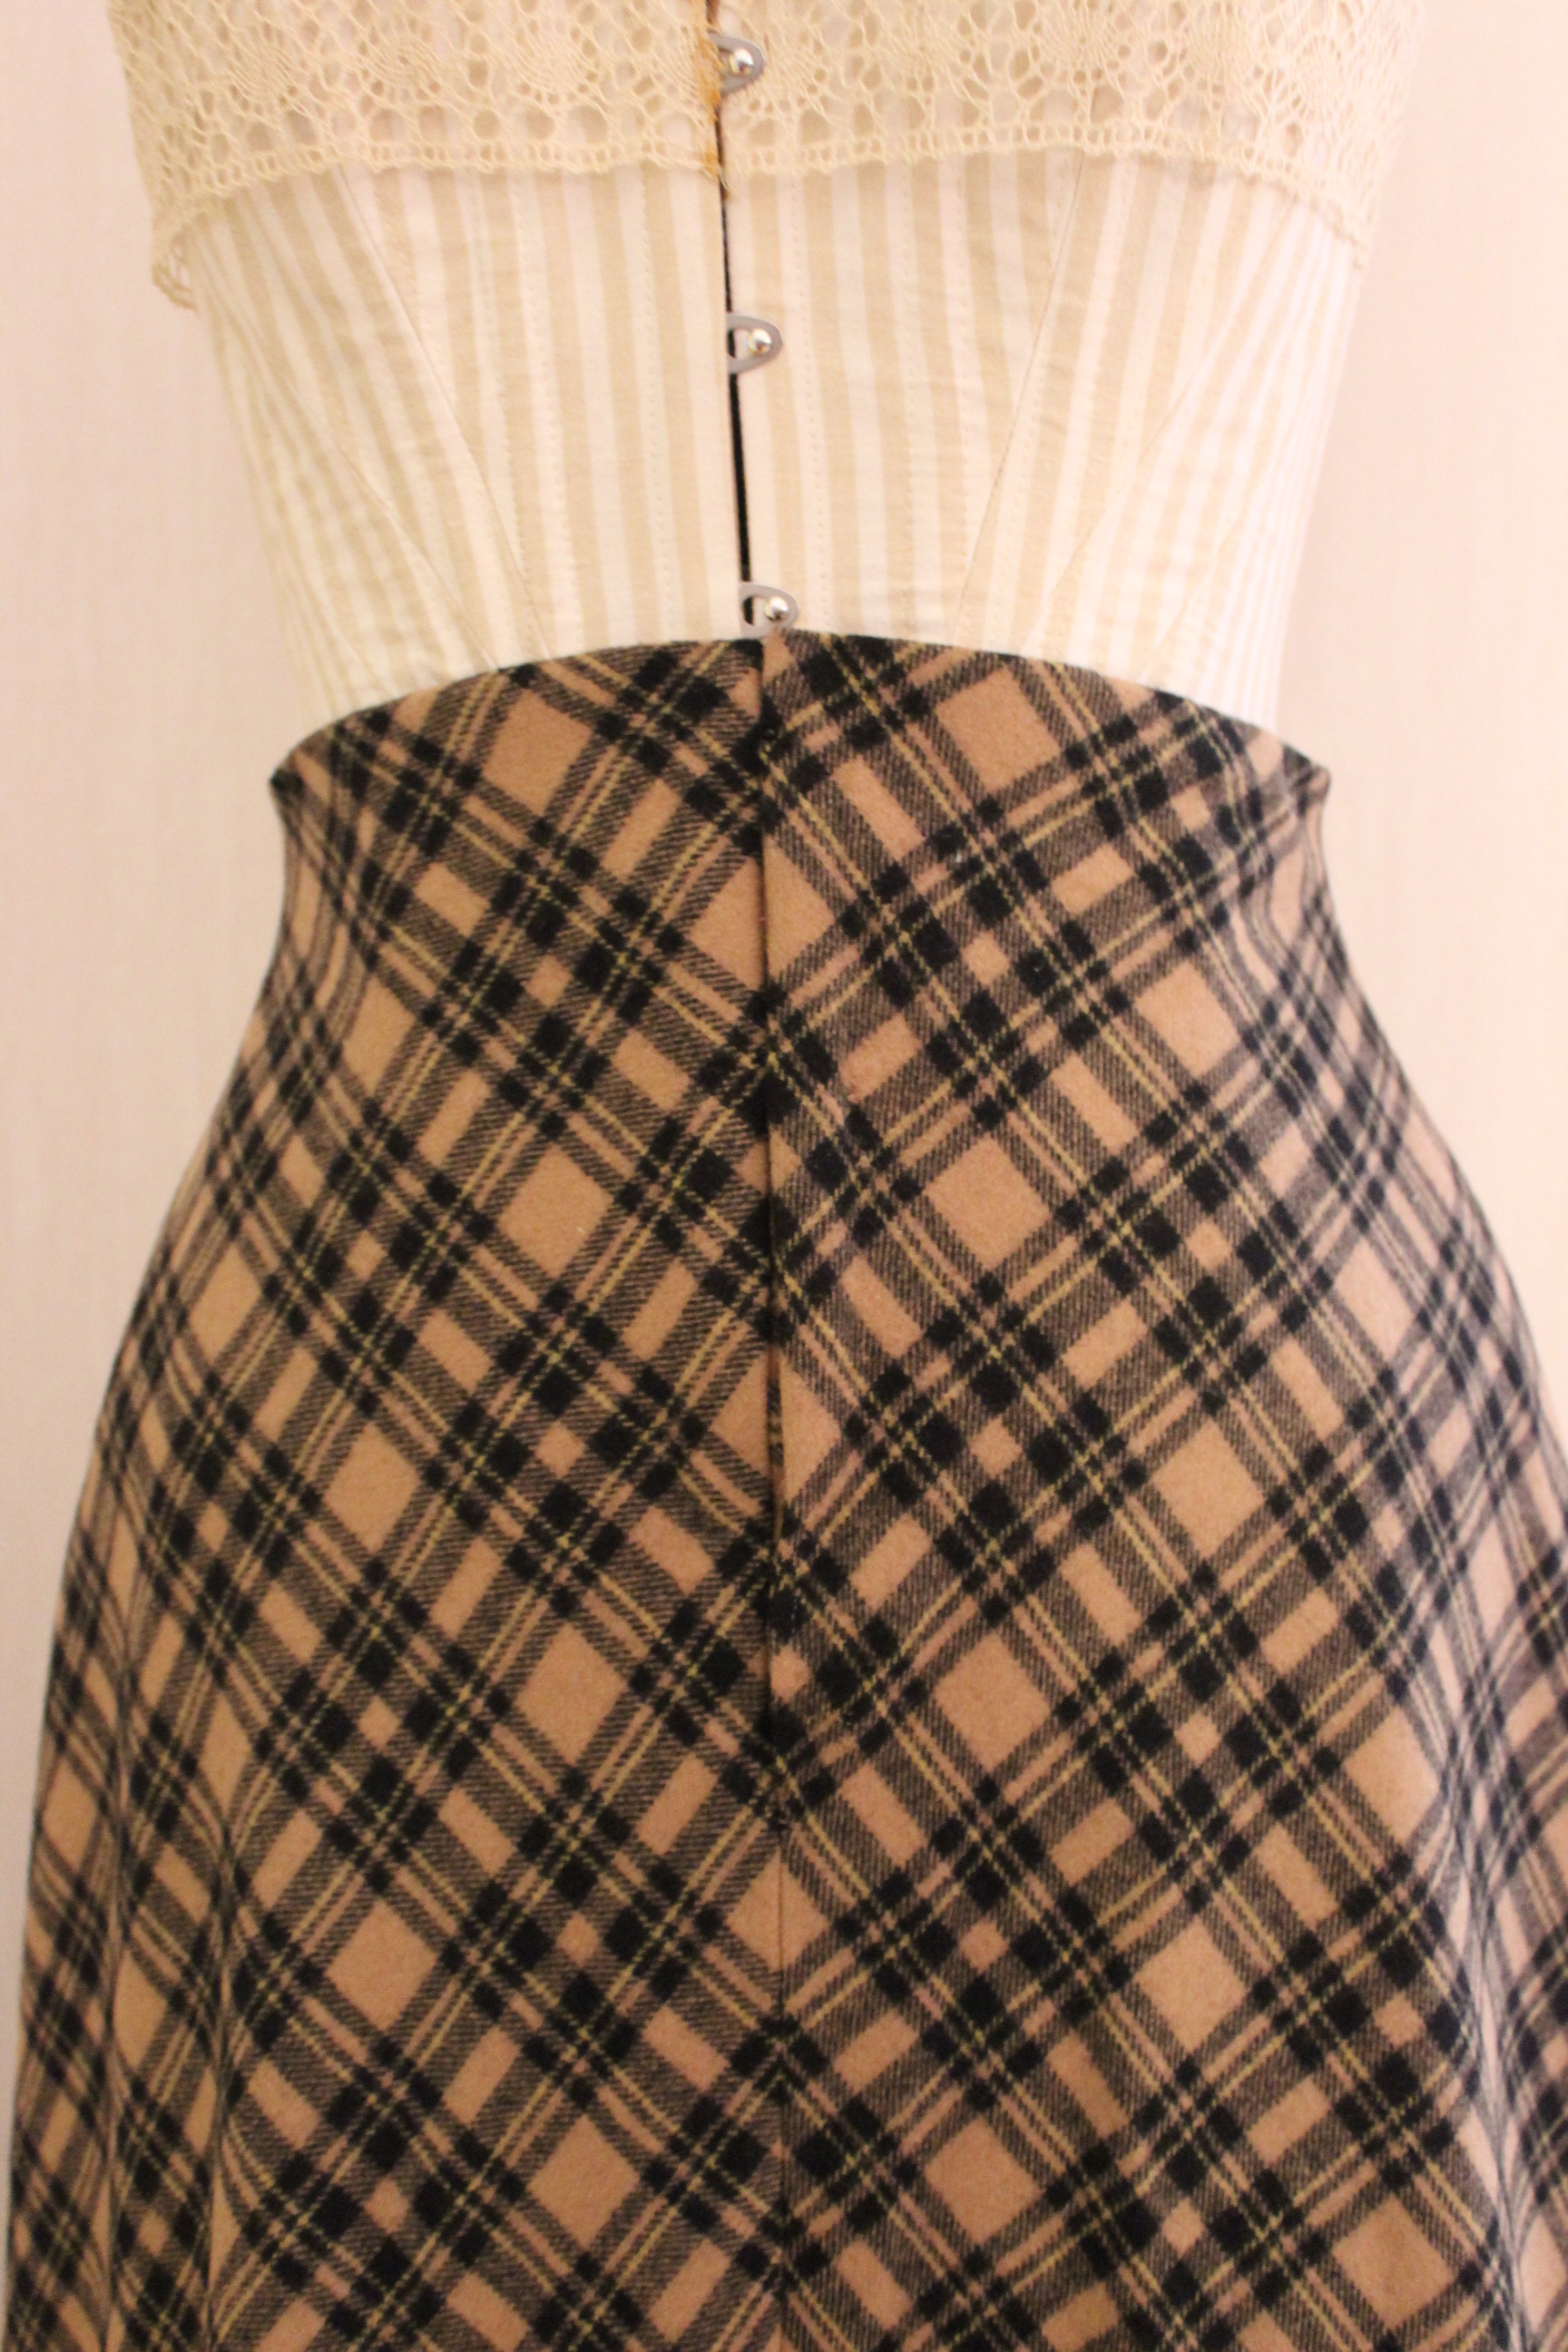
The finished Skirt:


Just the facts:
Challenge: HSM15 nr 9 – Brown
What: A 1900s brown/plaid walking skirt.
Pattern: I drafted my own using Nora Waugh’s “The cut of women’s clothes”
Fabric: 3 m of plaid wool an bits and scraps of cotton for interlining and hem-facing.
Notions: Thread, 2 m of bias-tape, 2m of boning, and hooks and eyes for clouser.
Time: About 10 hours – the fabric matching and hand stitched hem took more time then usual.
Cost: About 200 Sek (32Usd) – all material came from stash but I bought this fabric on sale about a year a ago with a similar project in mind.
How historical accurate: Pretty good. The fabric and pattern are all good. Even though most of the skirt is made by machine the finishing are hand-stitched, as it should be fr this period. I did use some modern techniques on the foundation piece. I’d give it a 7/10.
First worn: Will be worn for photos on October 4th.
Final thoughts: I like how it came out, both the sweep of the skirt and the pattern matching looks really nice, but I’m not completely happy with the raised waistline and I might go back to tweak it a bit later on. But a ll in all it’s a nice piece to have in the costume wardrobe.
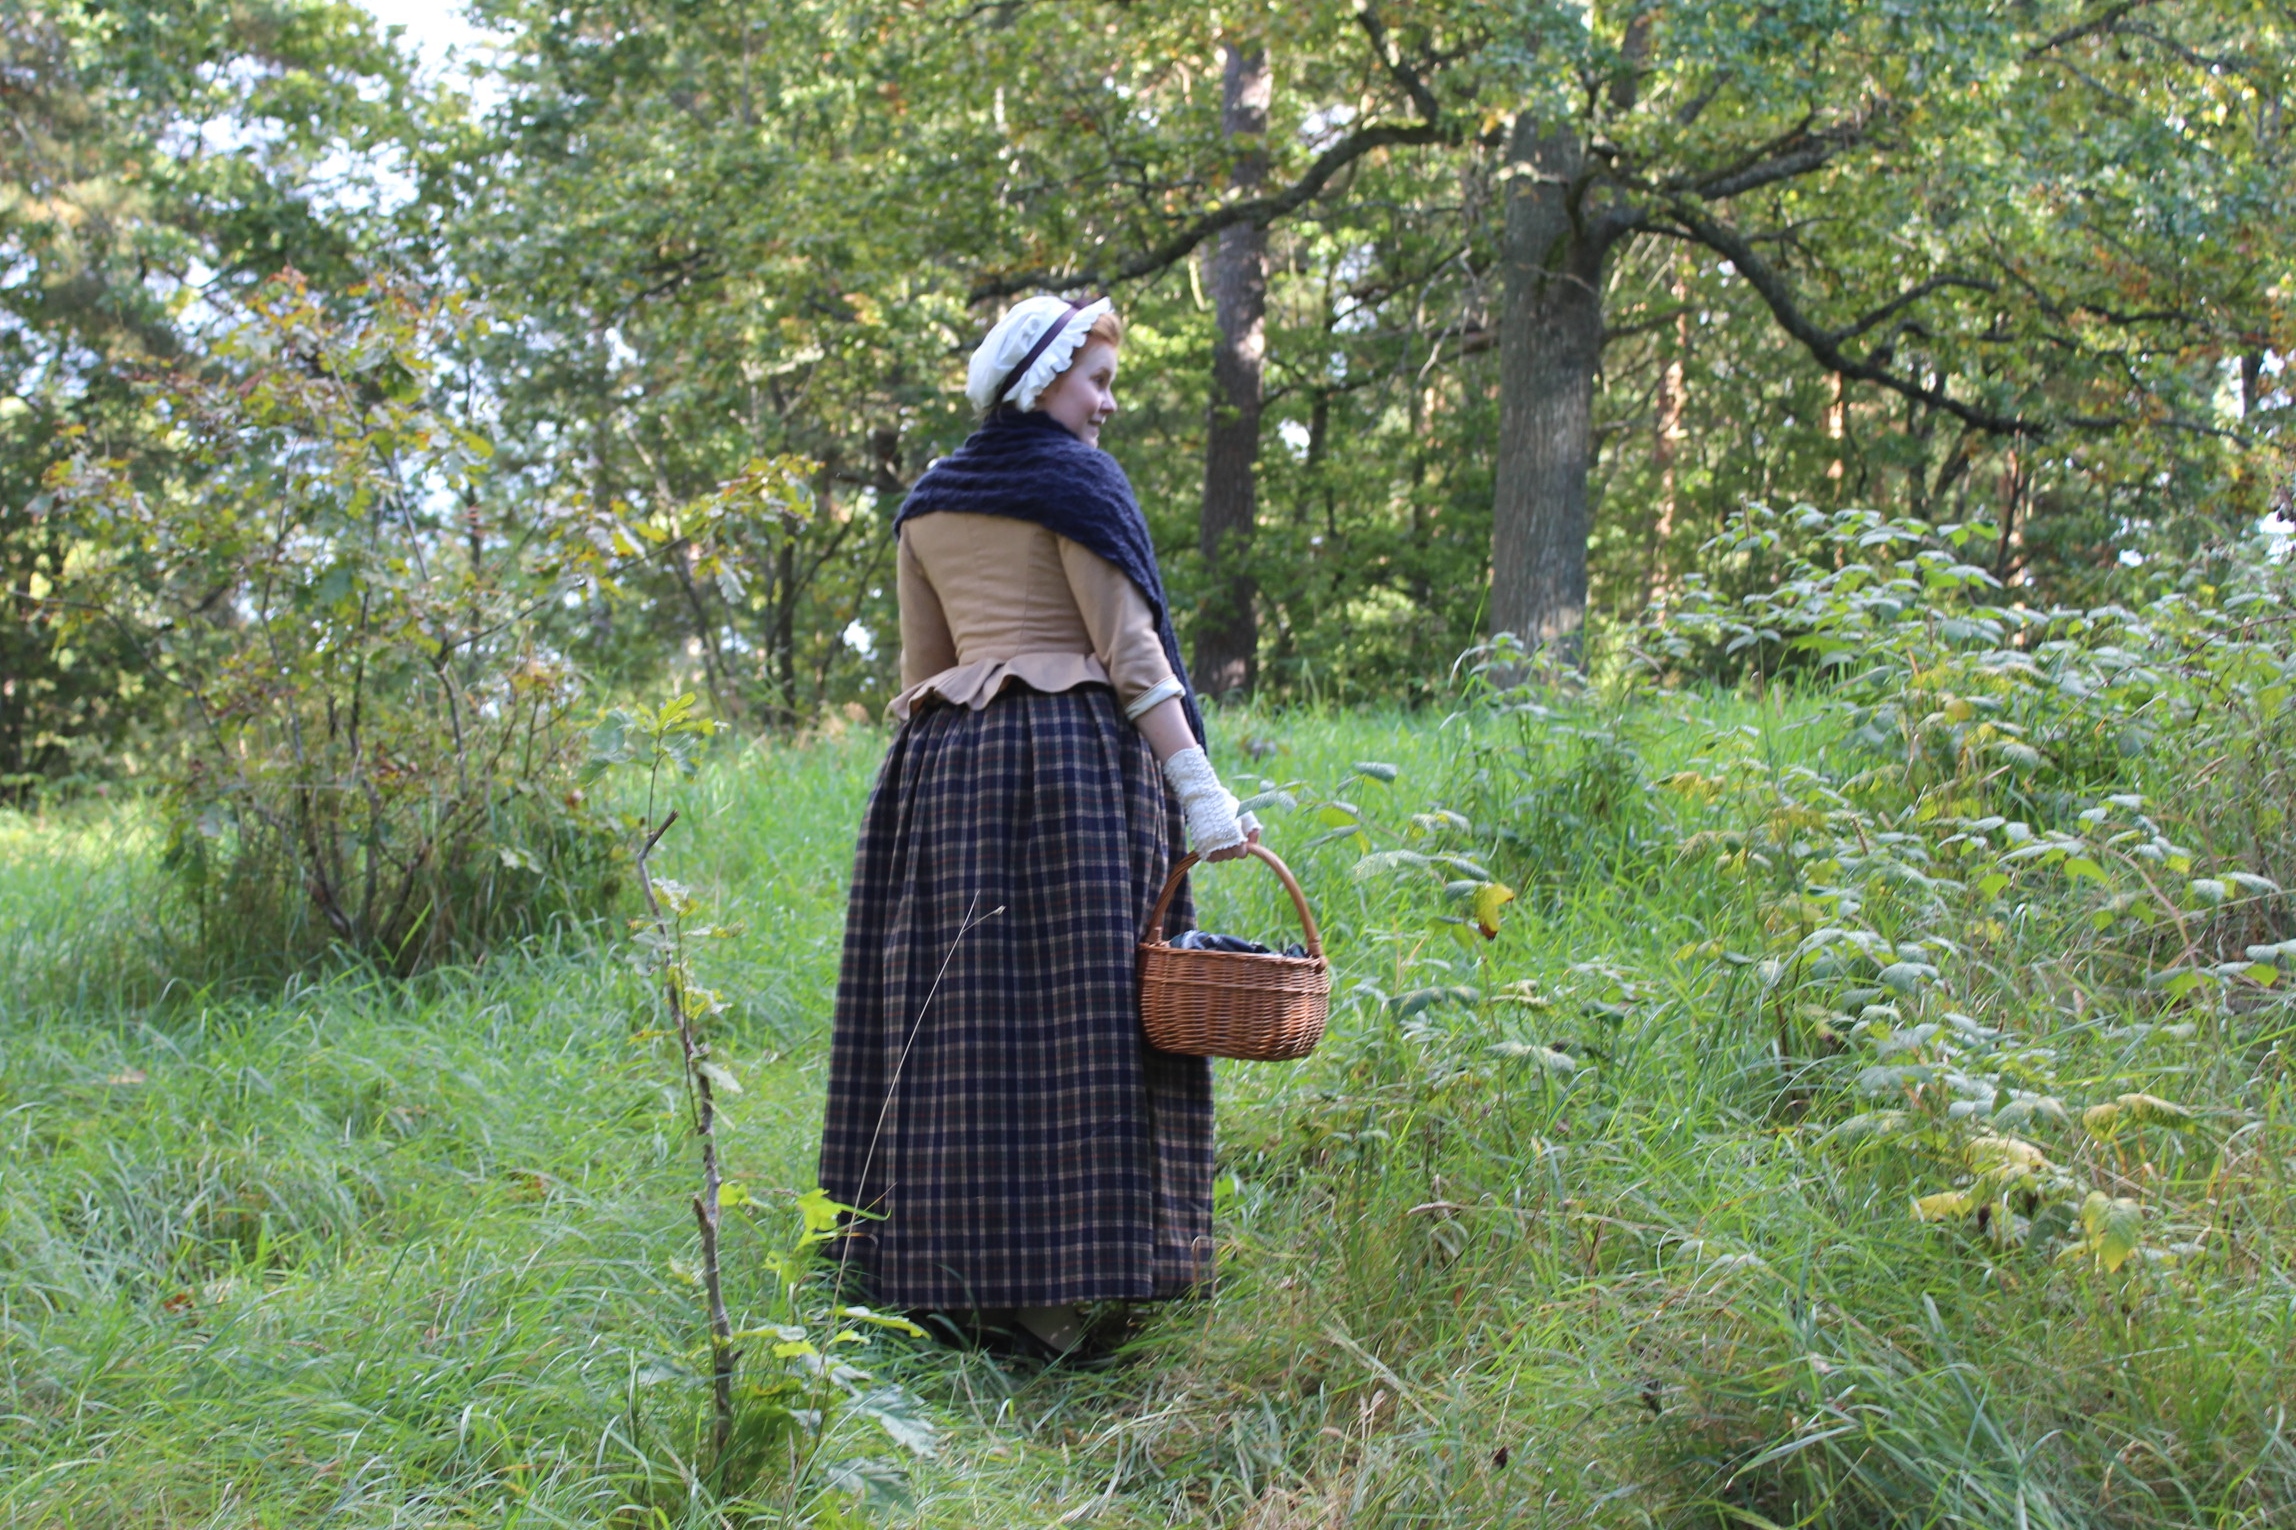
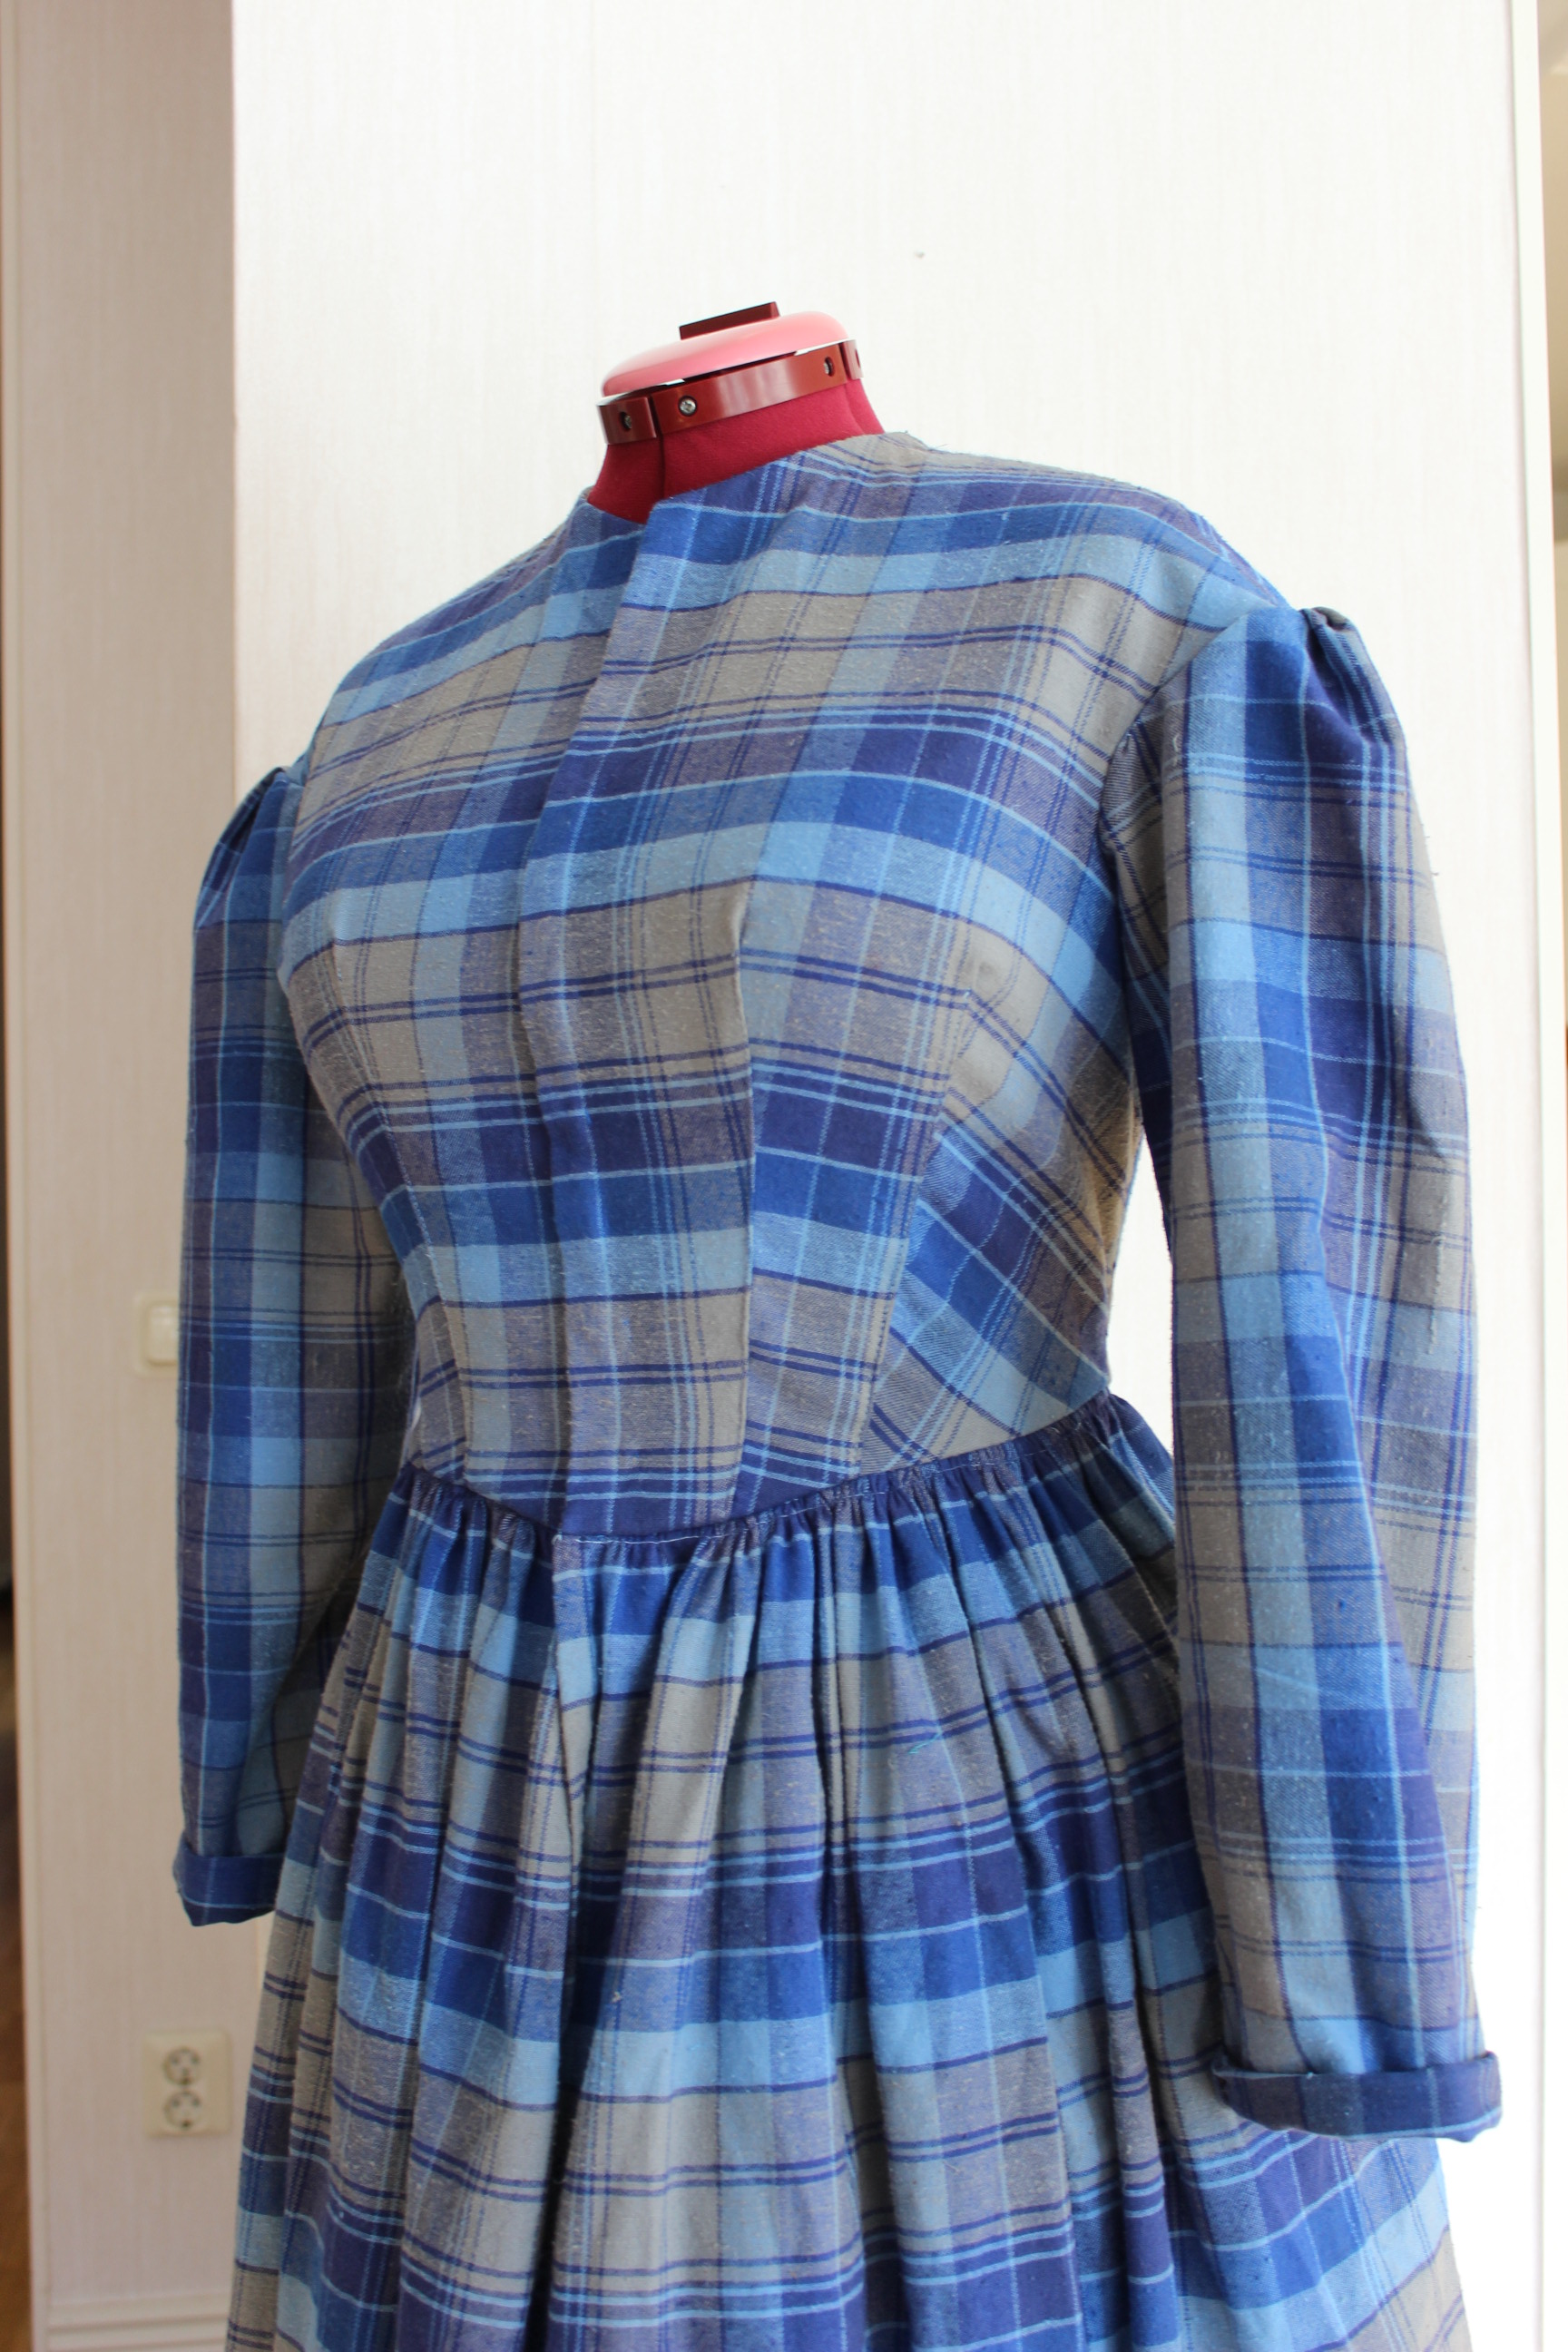
As soon as the last piece was finished, I took my new “Outlander” costume out for some photos.
My fiance helped me, and I must say he did a splendid job both photographing and keeping up the good cheer.
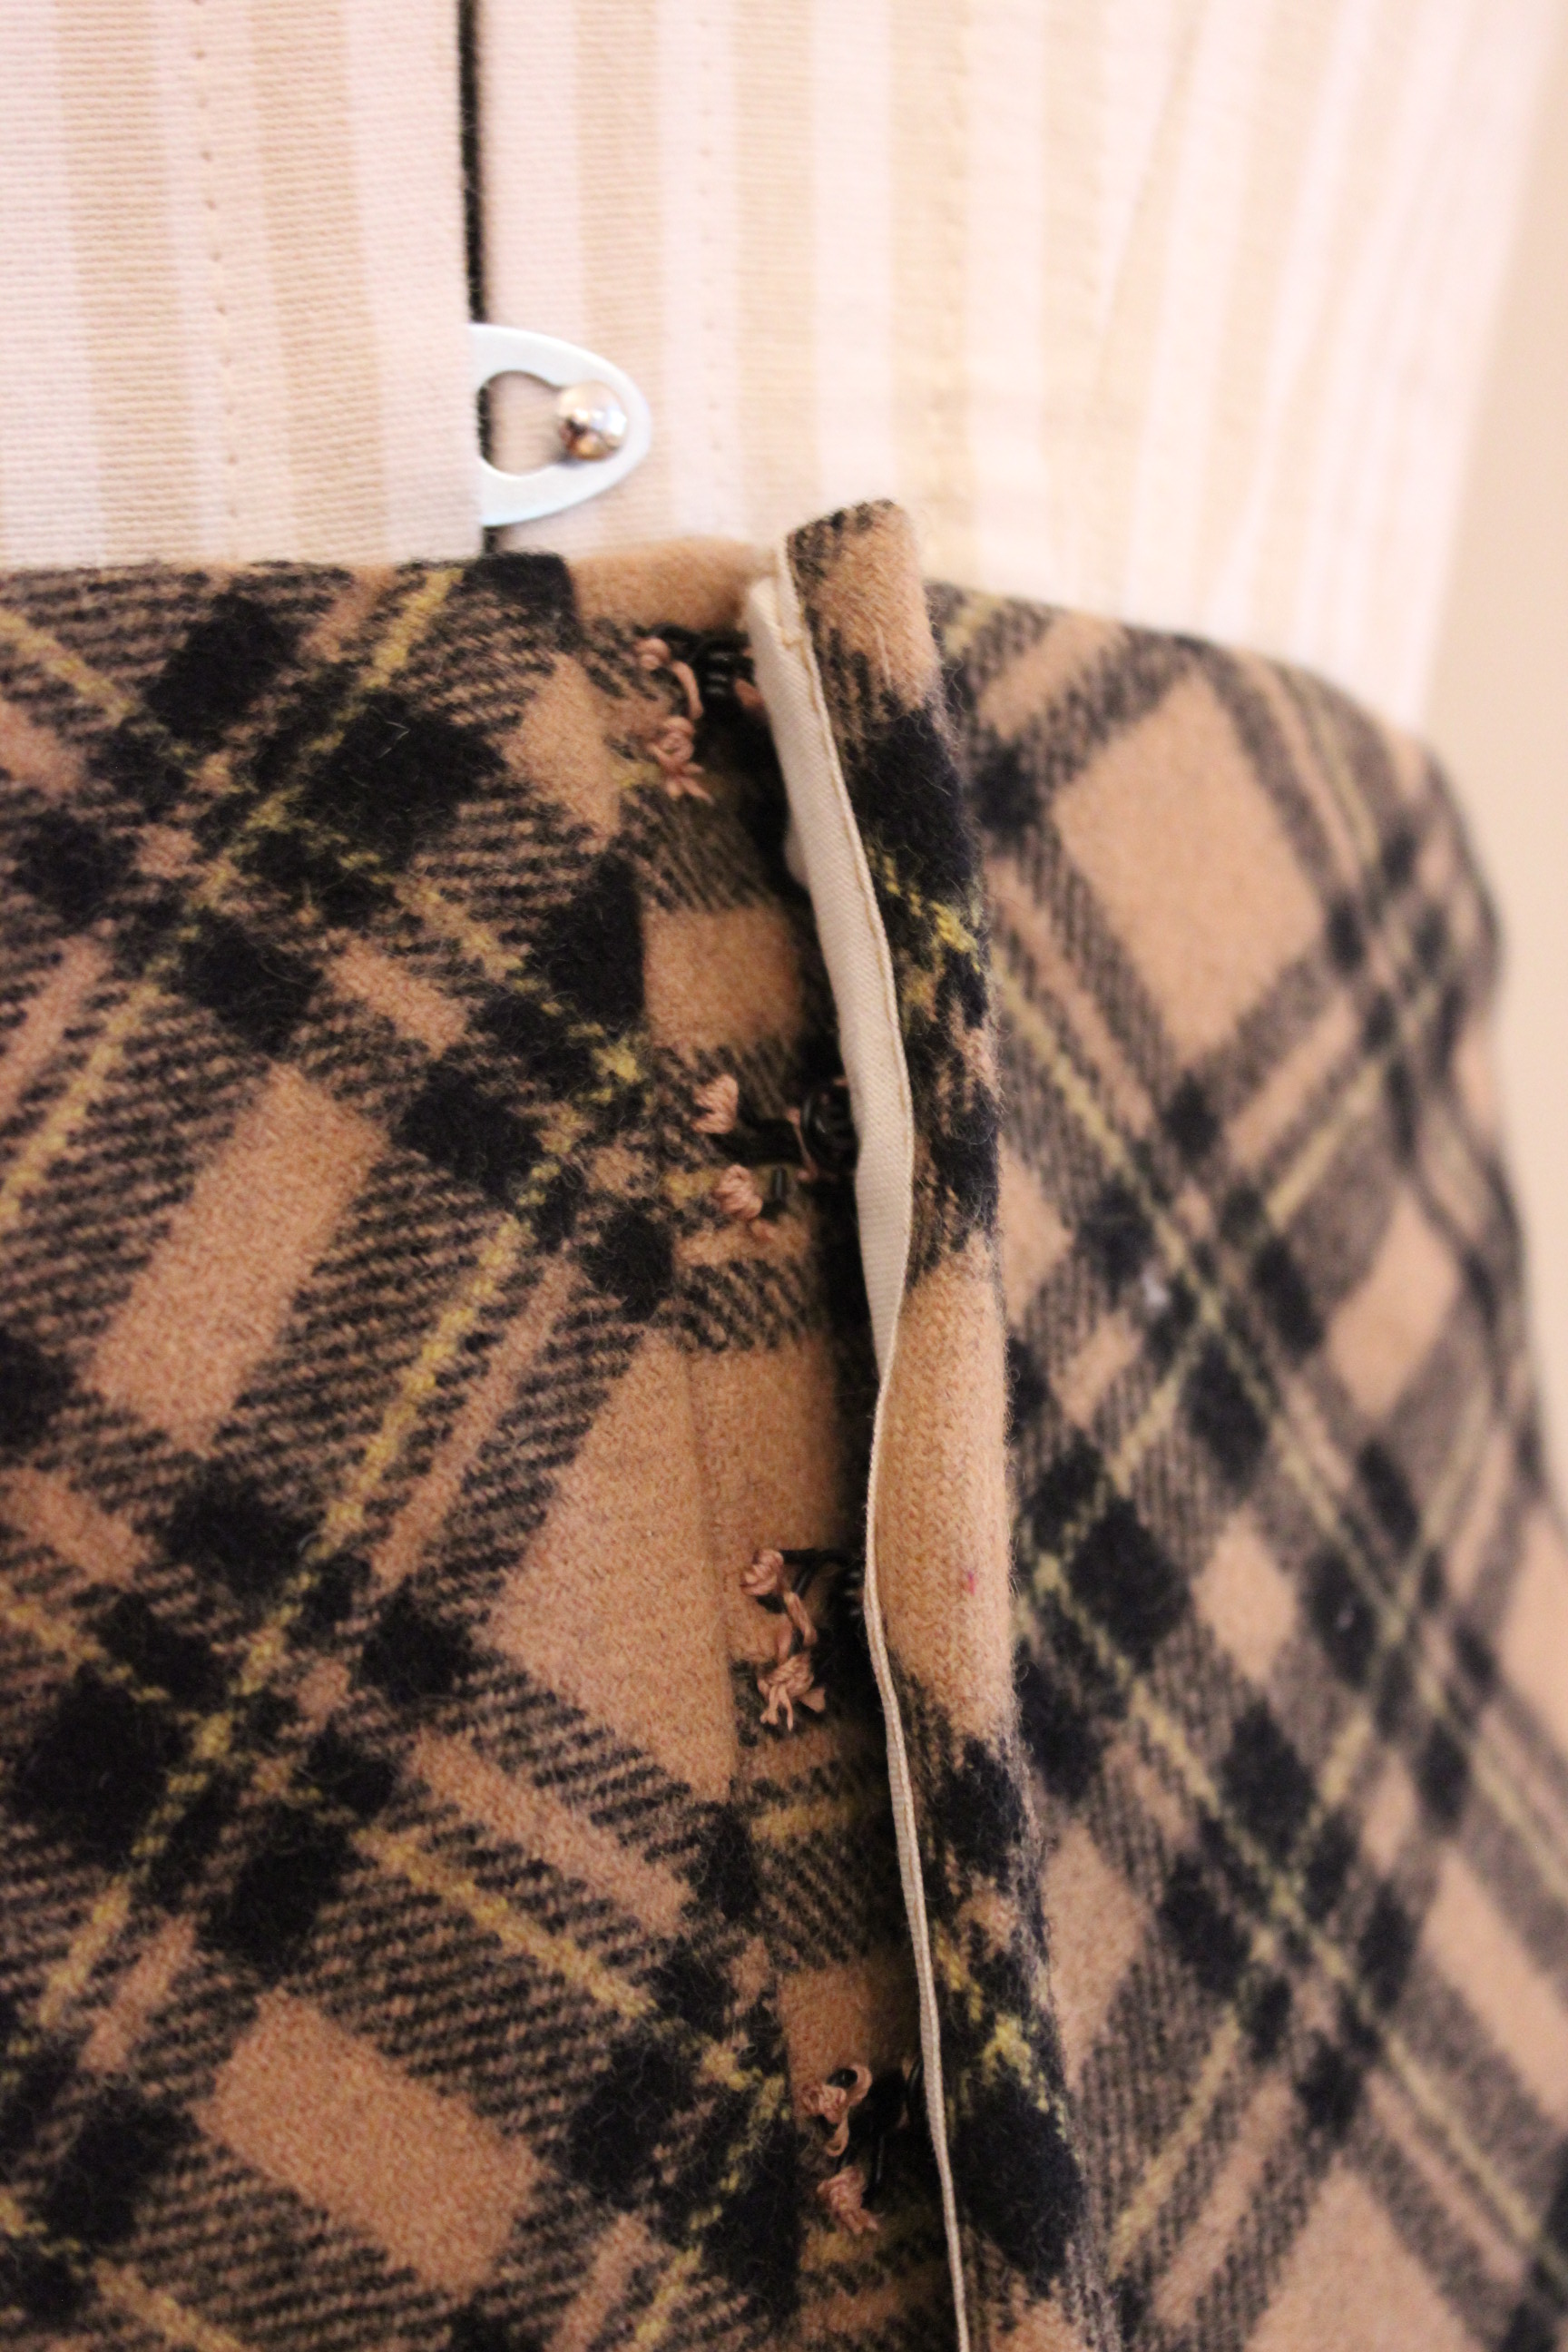
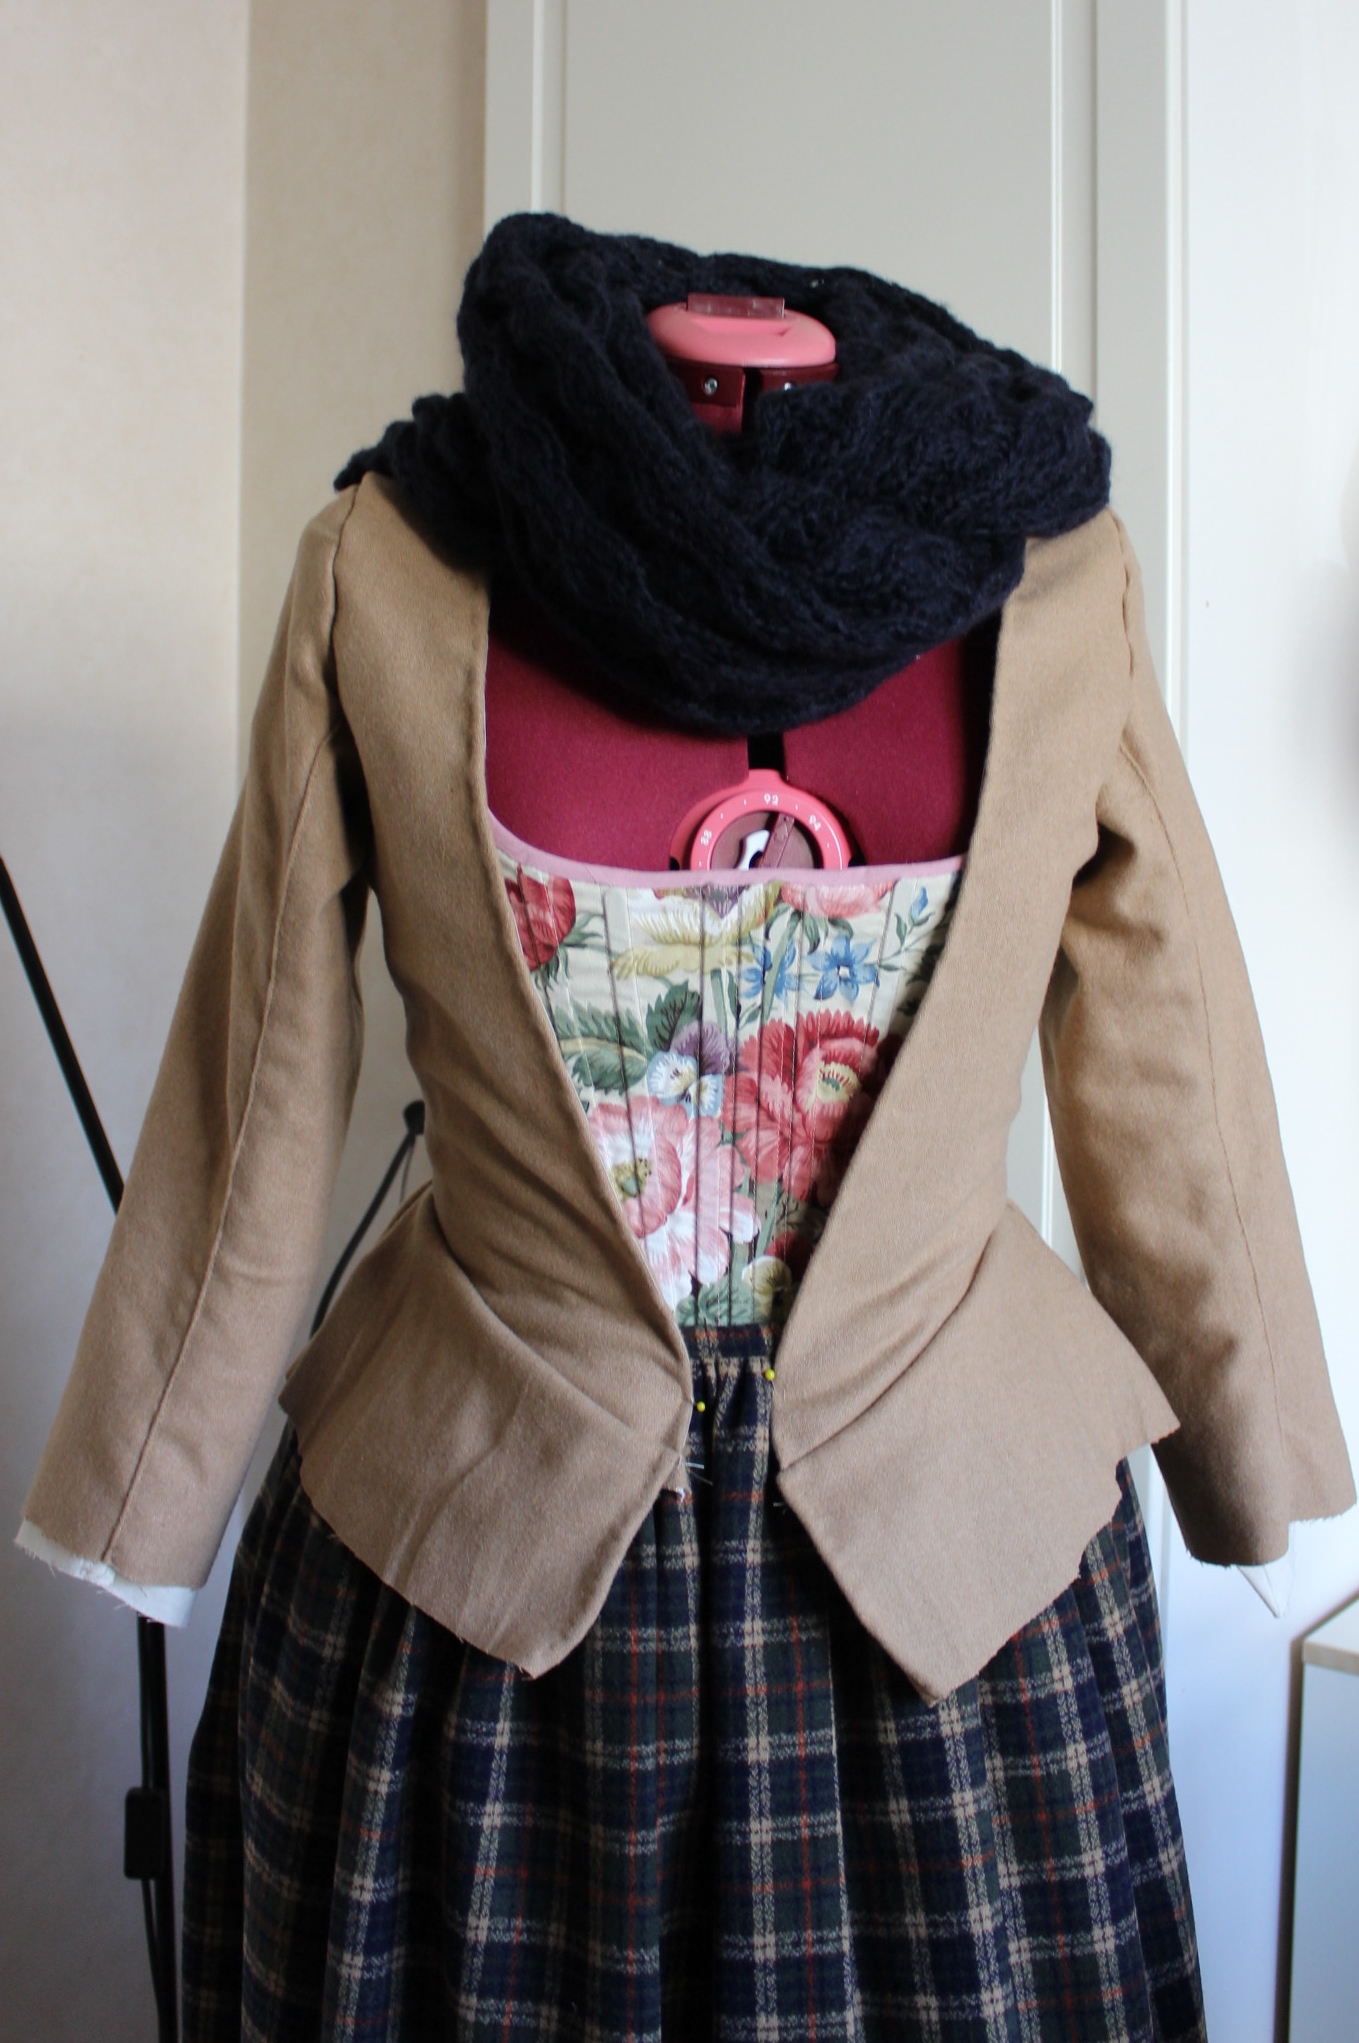
I’m wearing: My new 18th century woolen jacket & skirt over stays, petticoats, bumpad and chemise. And a modern knitted shawl, linen cap, knitted mittens (which where gifted to me by the lovely Helena – Thanks again, I love them) and a basket for accessorizes.


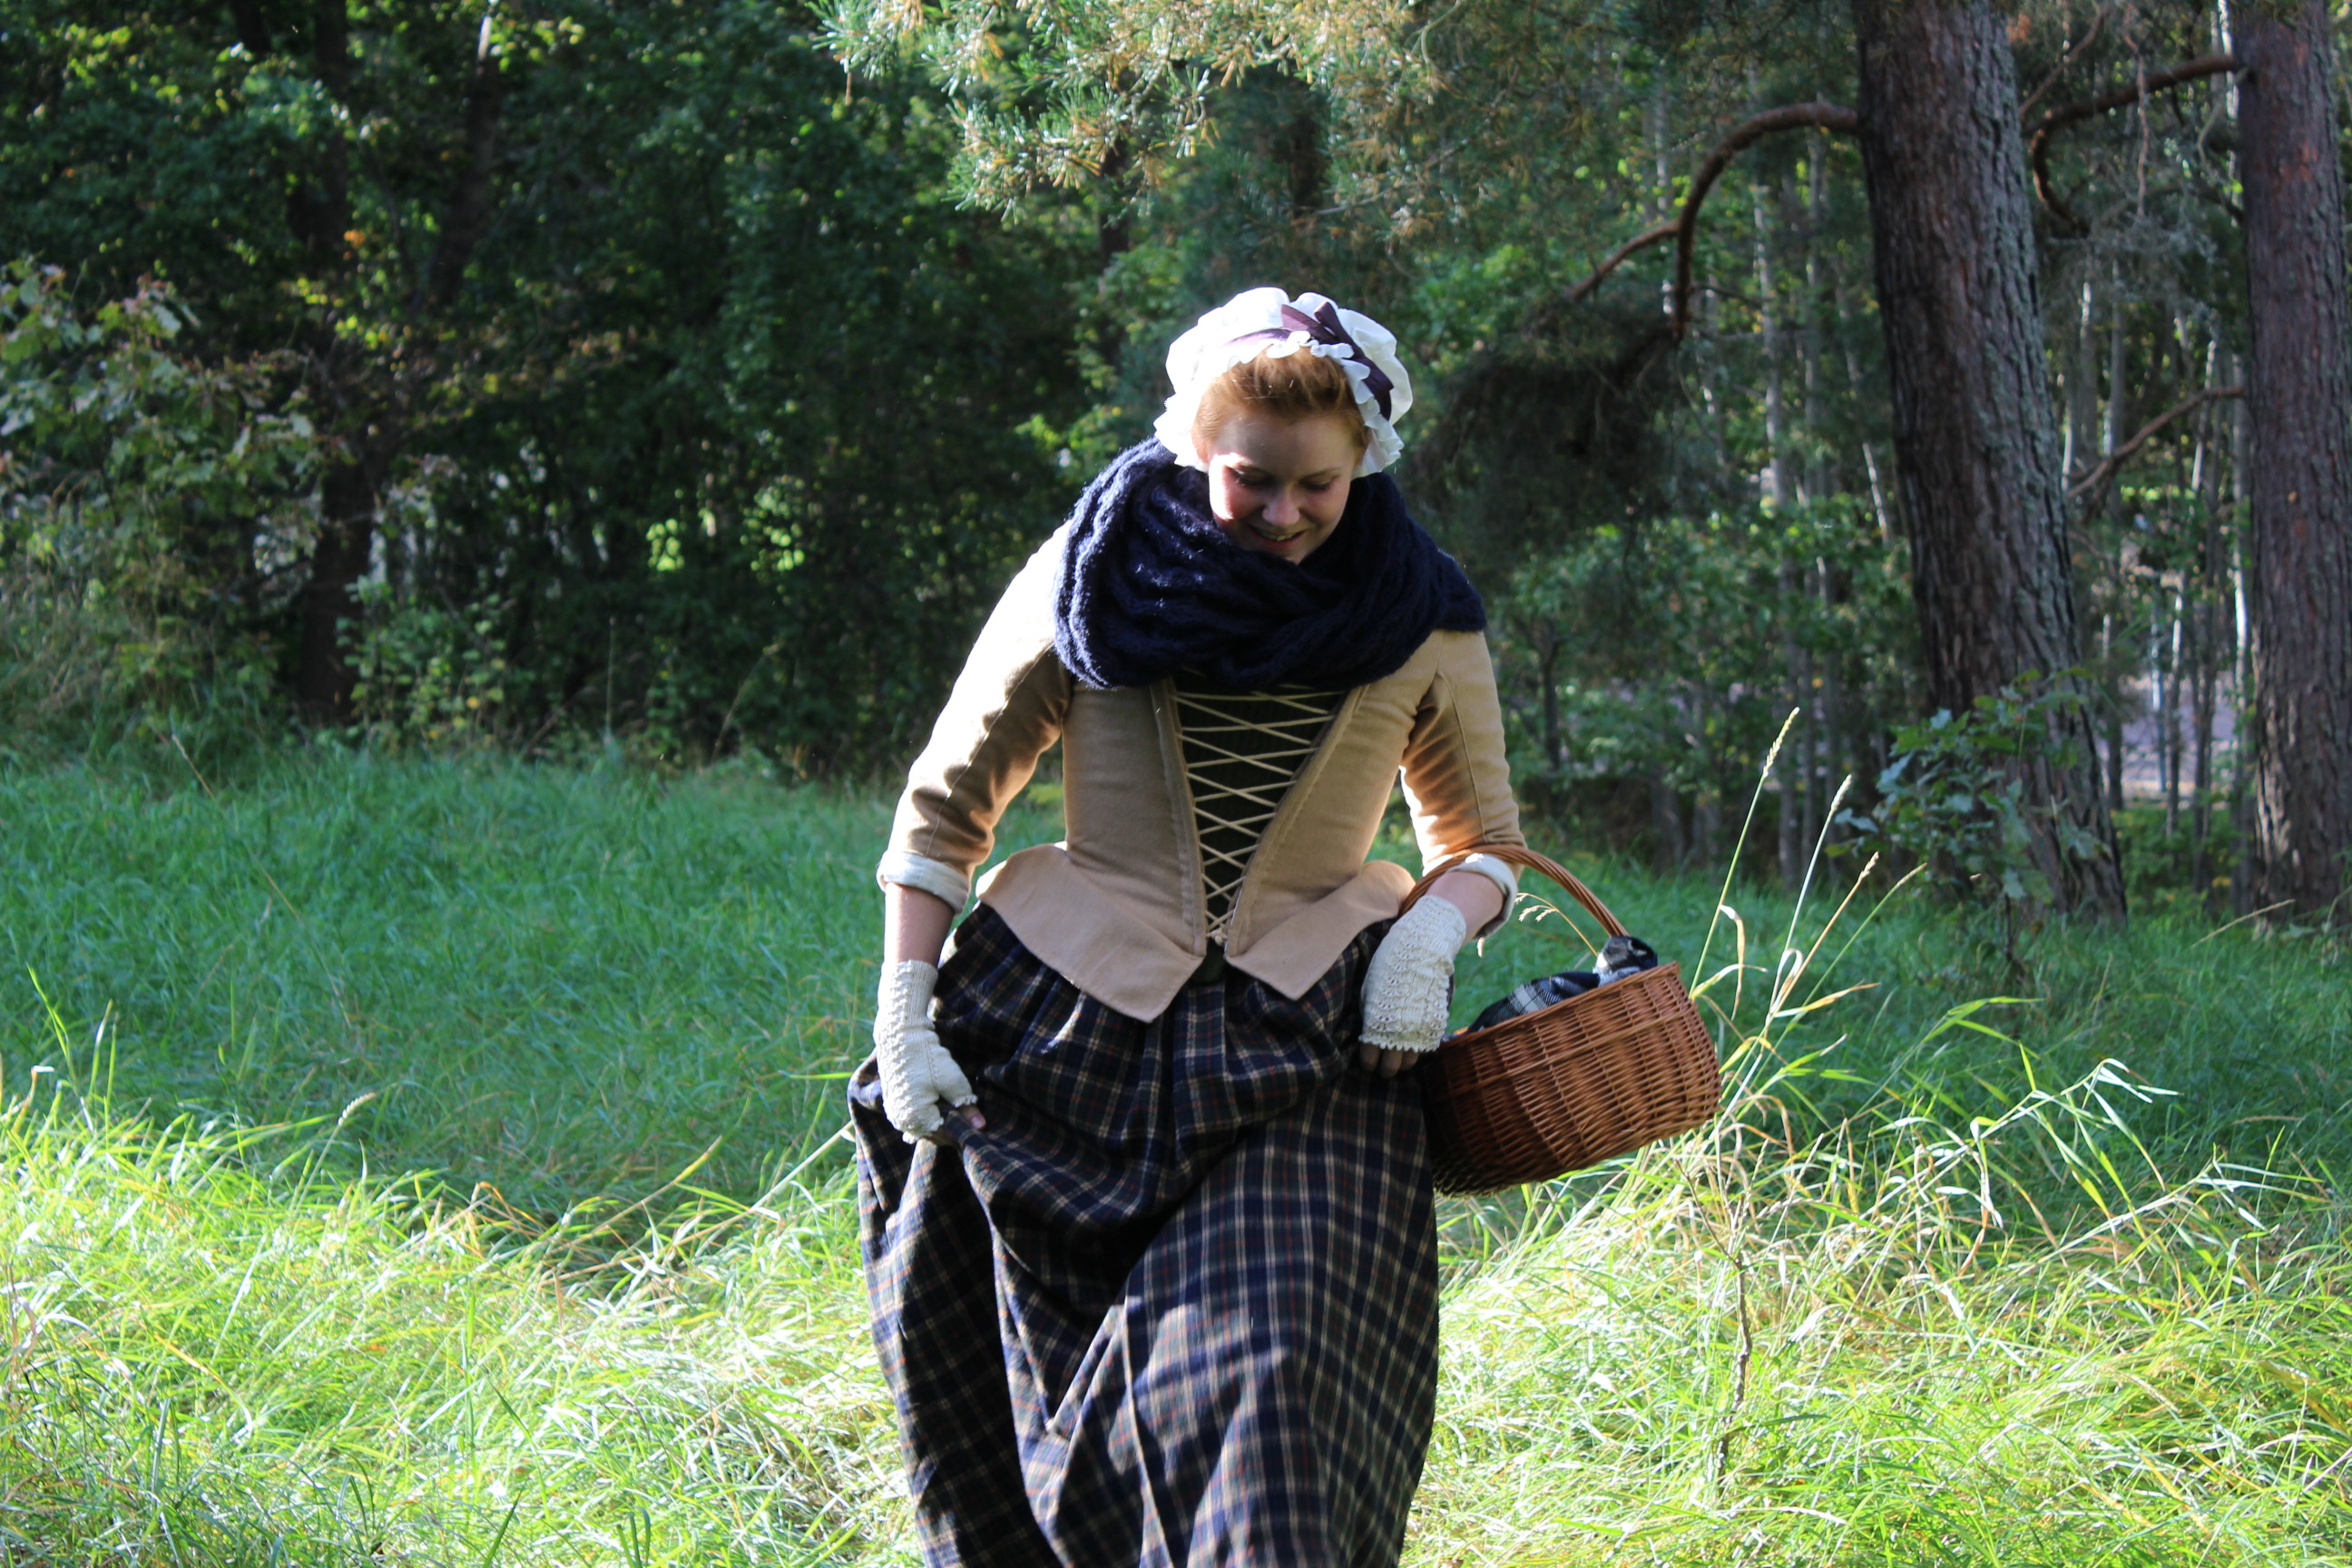


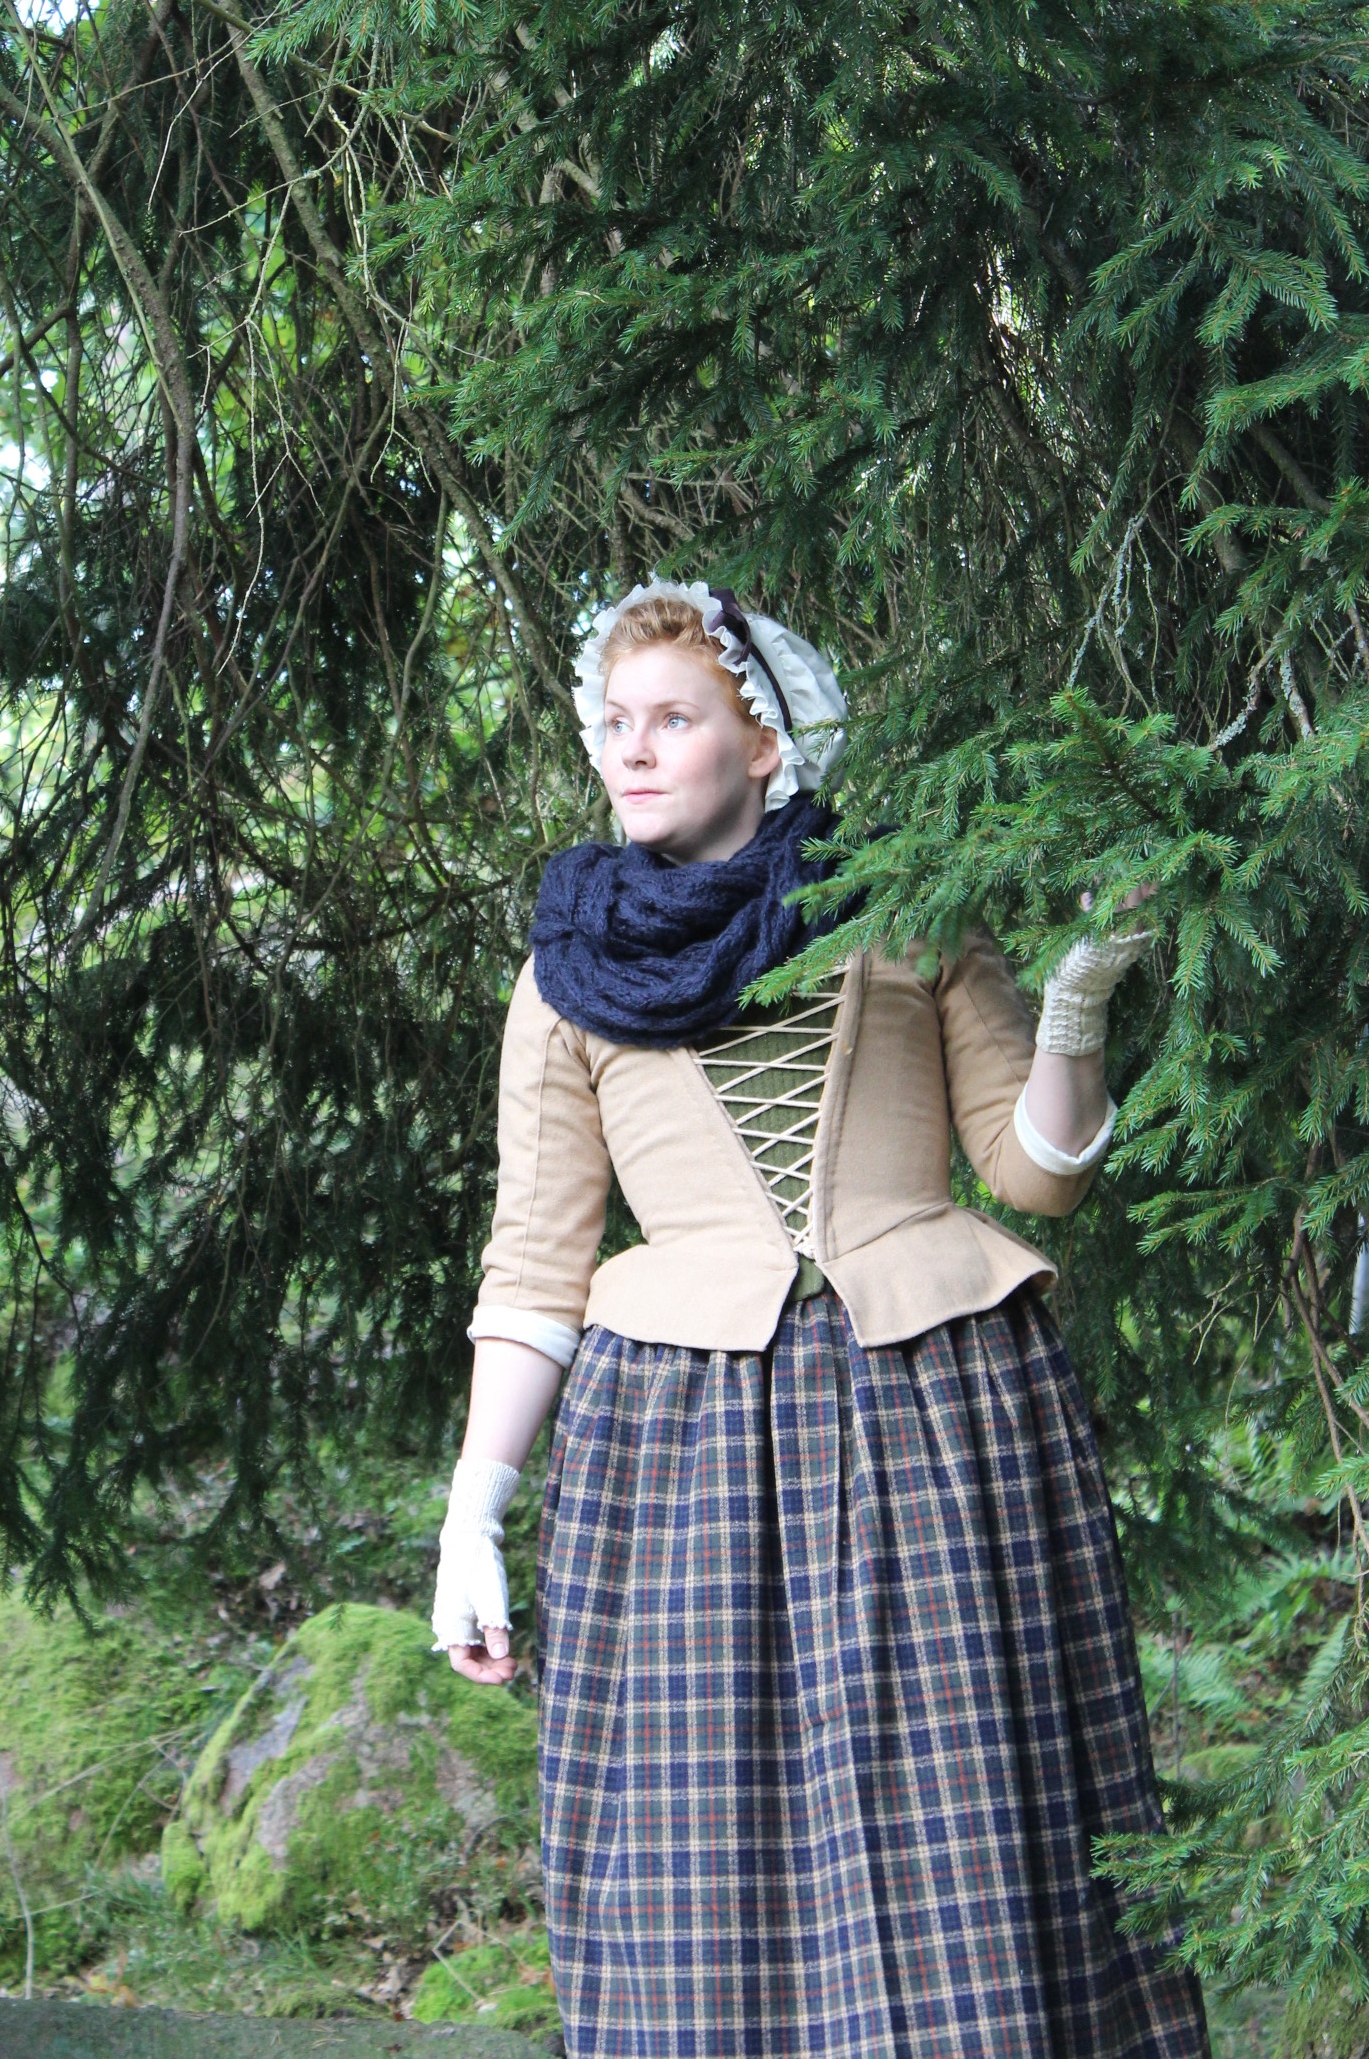
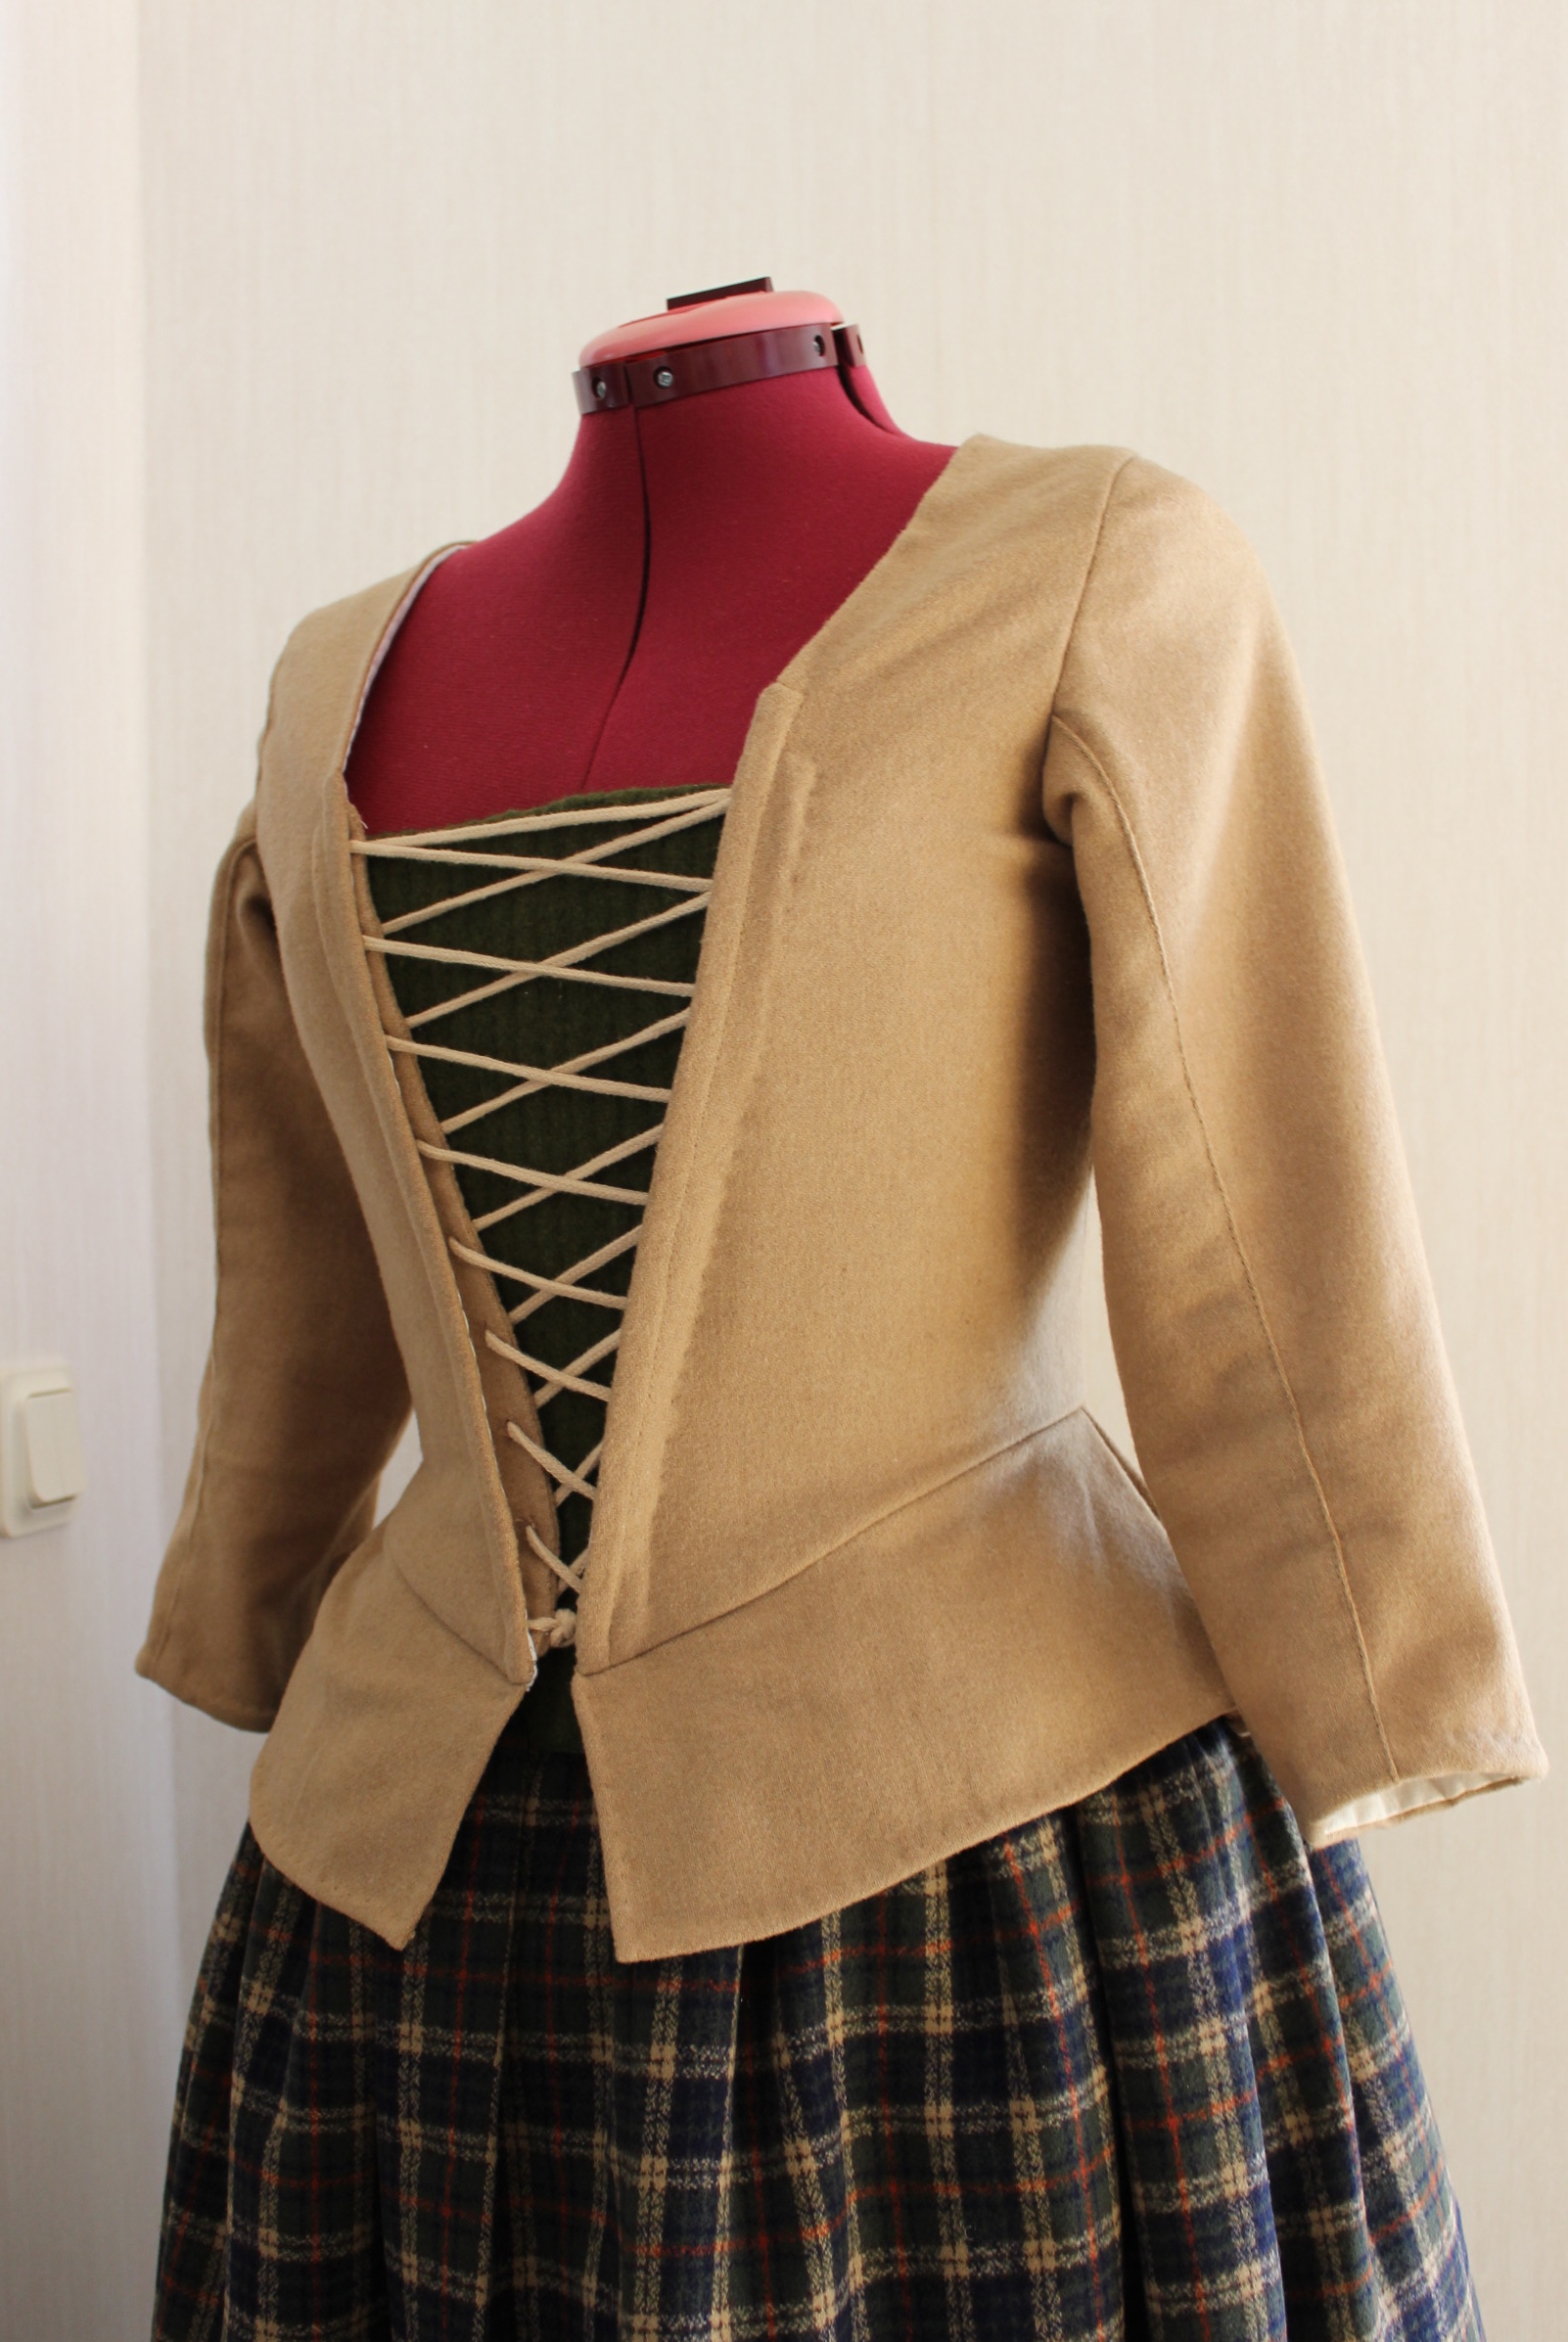
After studying the various looks of the character Clare in the series “Outlander”, comparing them to the fabrics from my stash I decided to go for the simple laced up jacket and skirt that’s became symbolic with the series.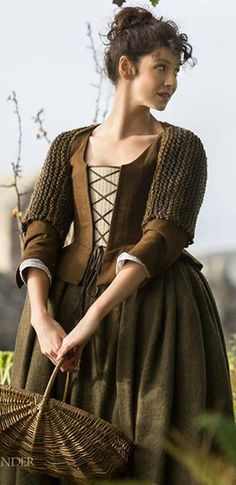
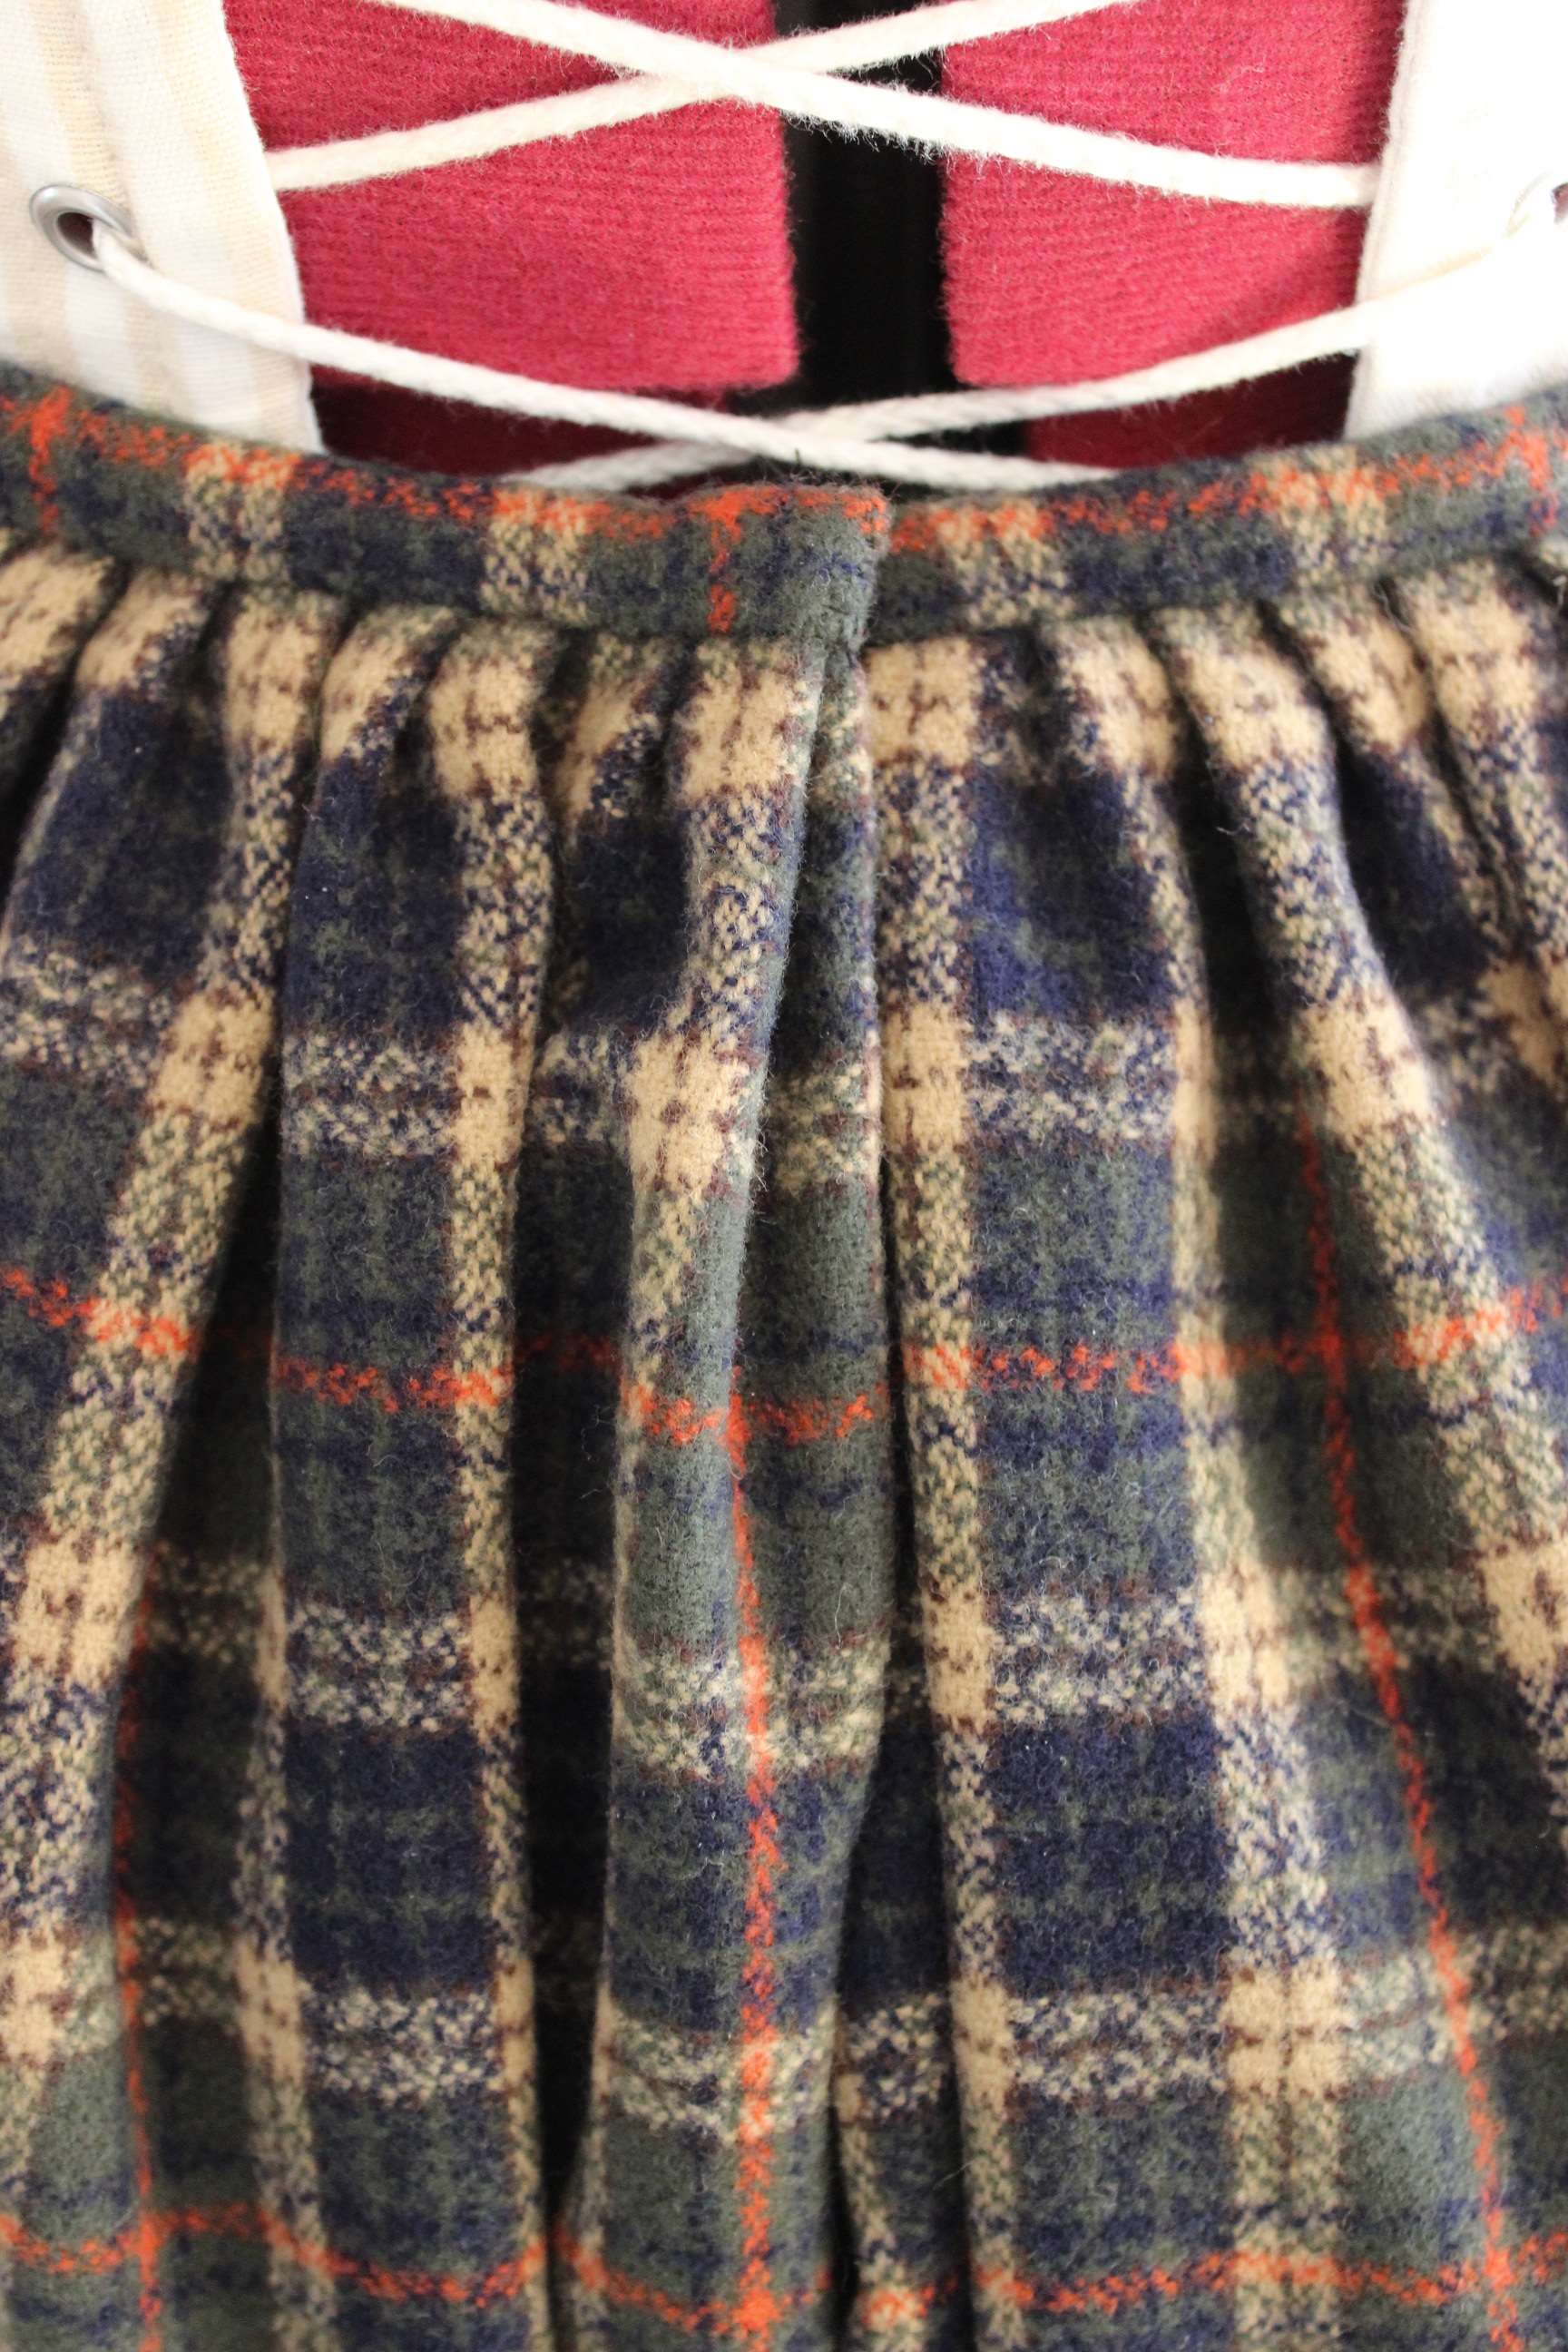
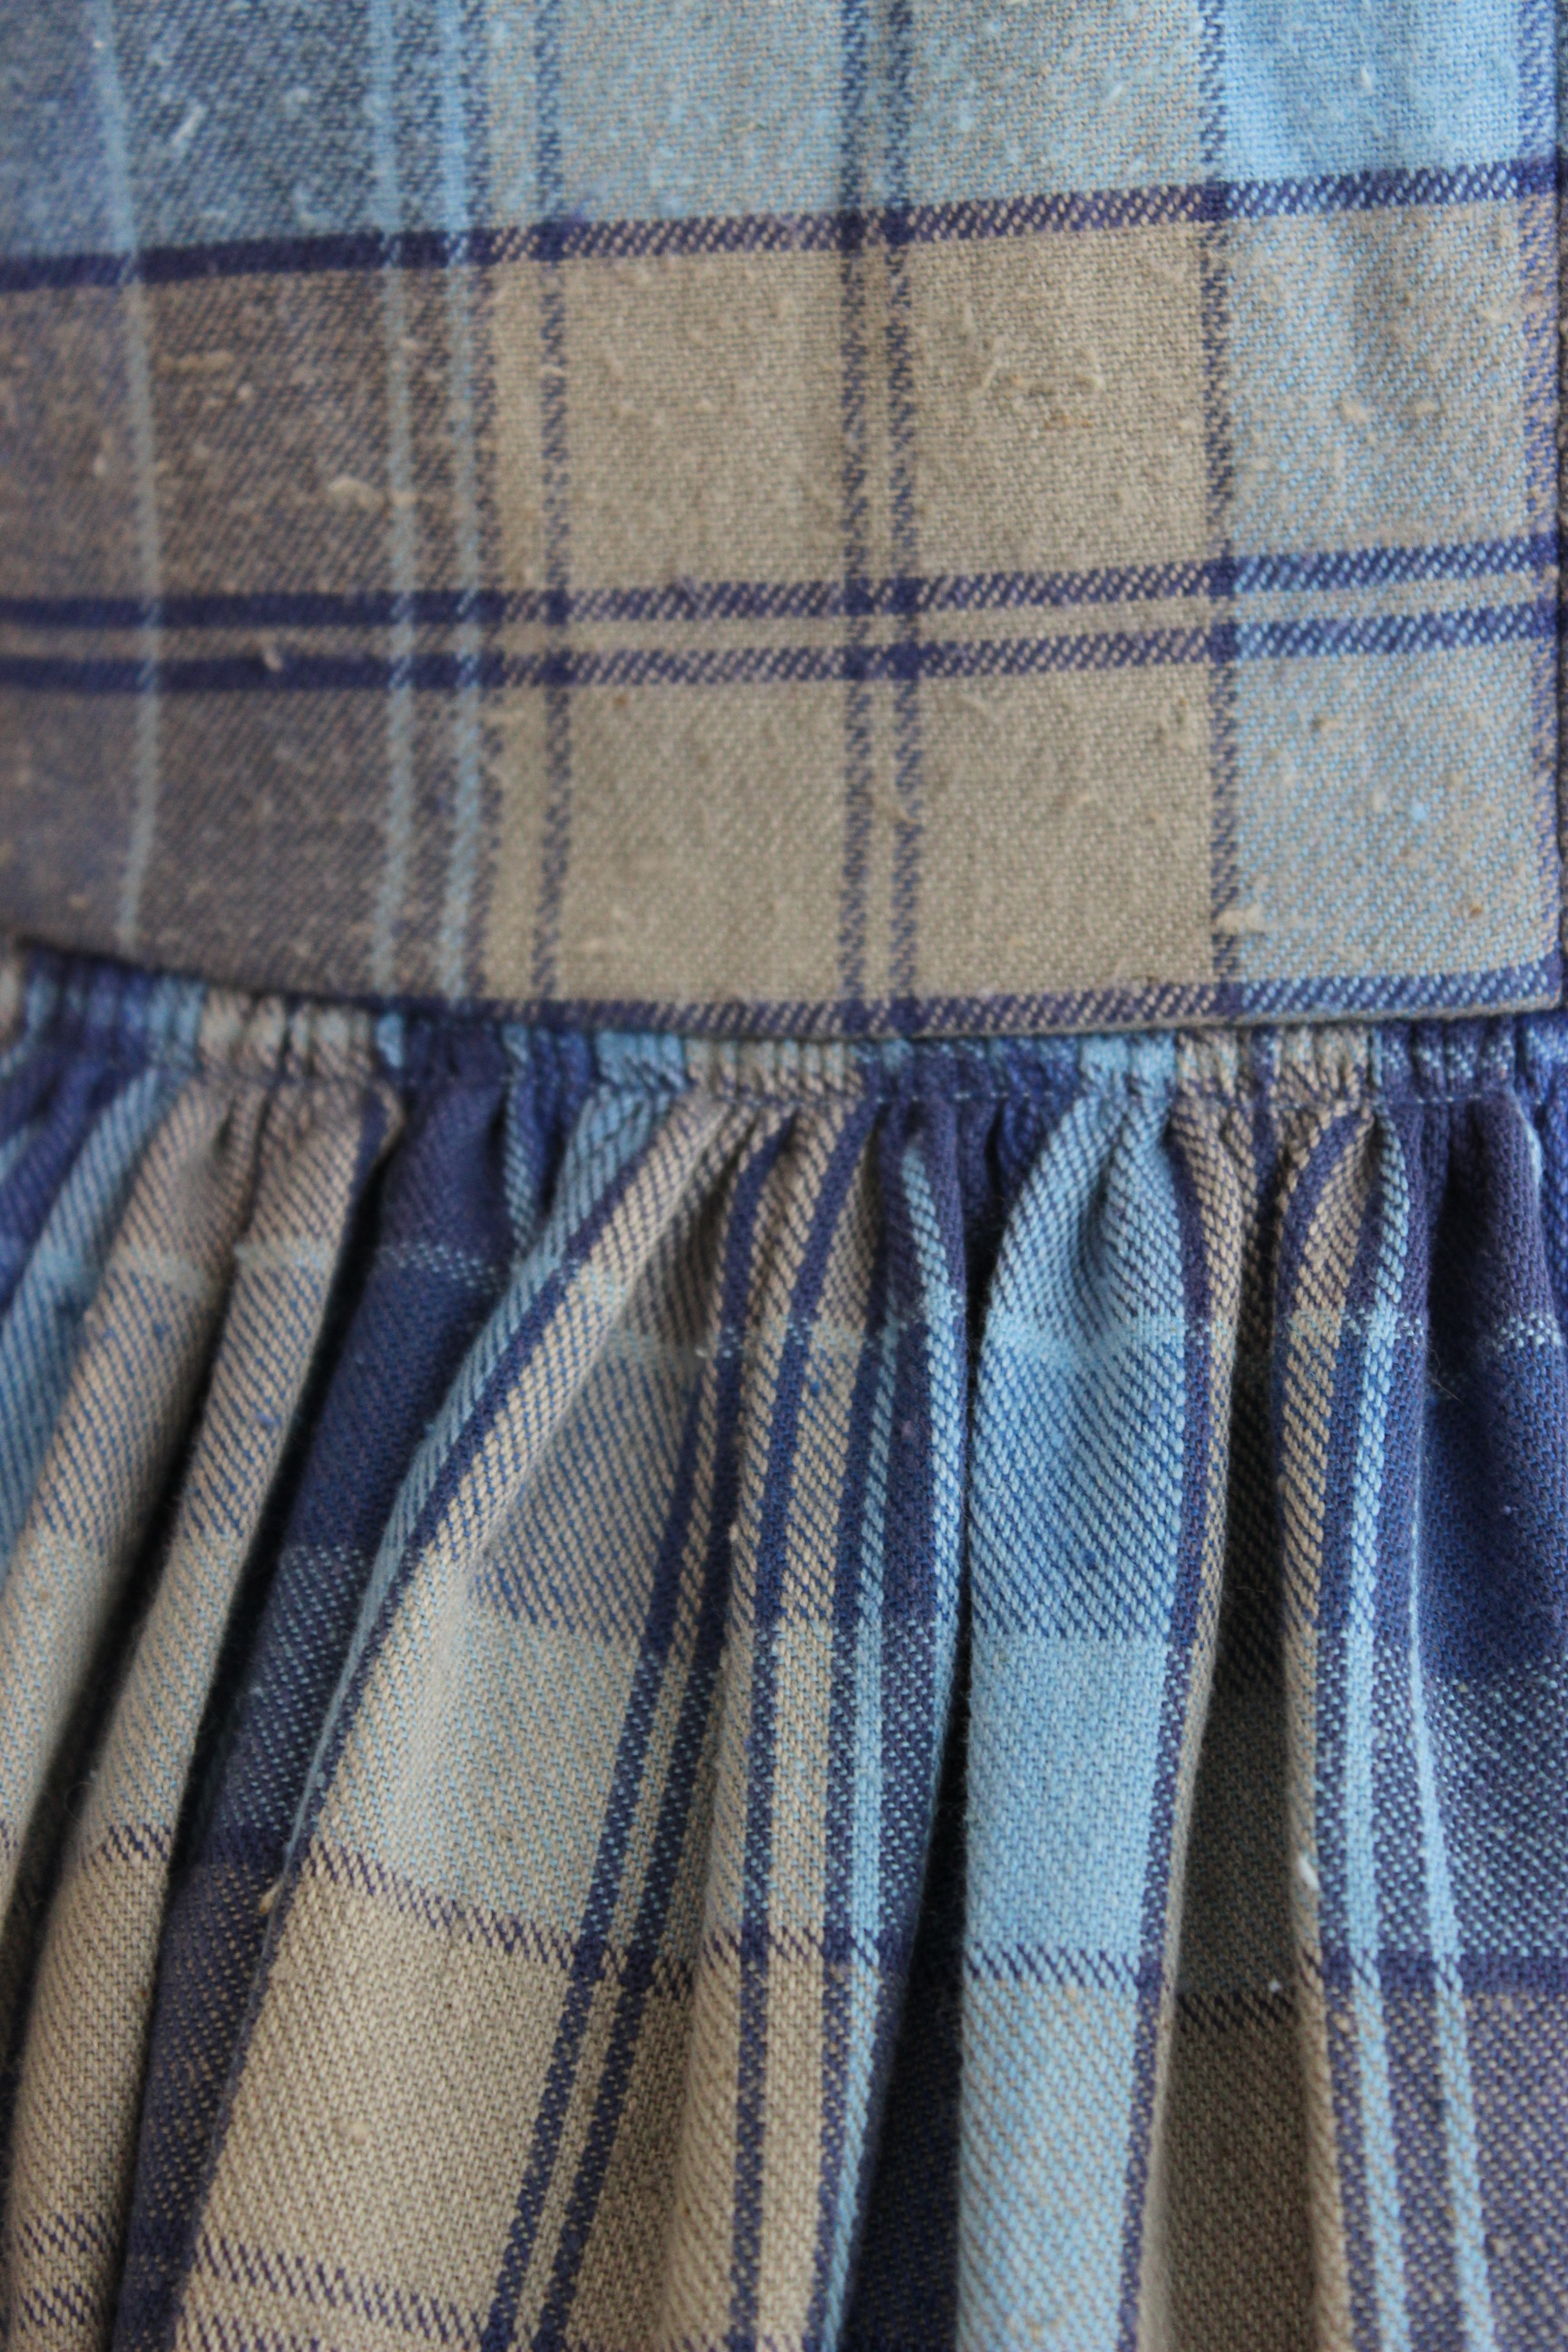
I started by making a skirt out of some plaid wool I found in my stash (which I’ve bought on sale about a year ago).
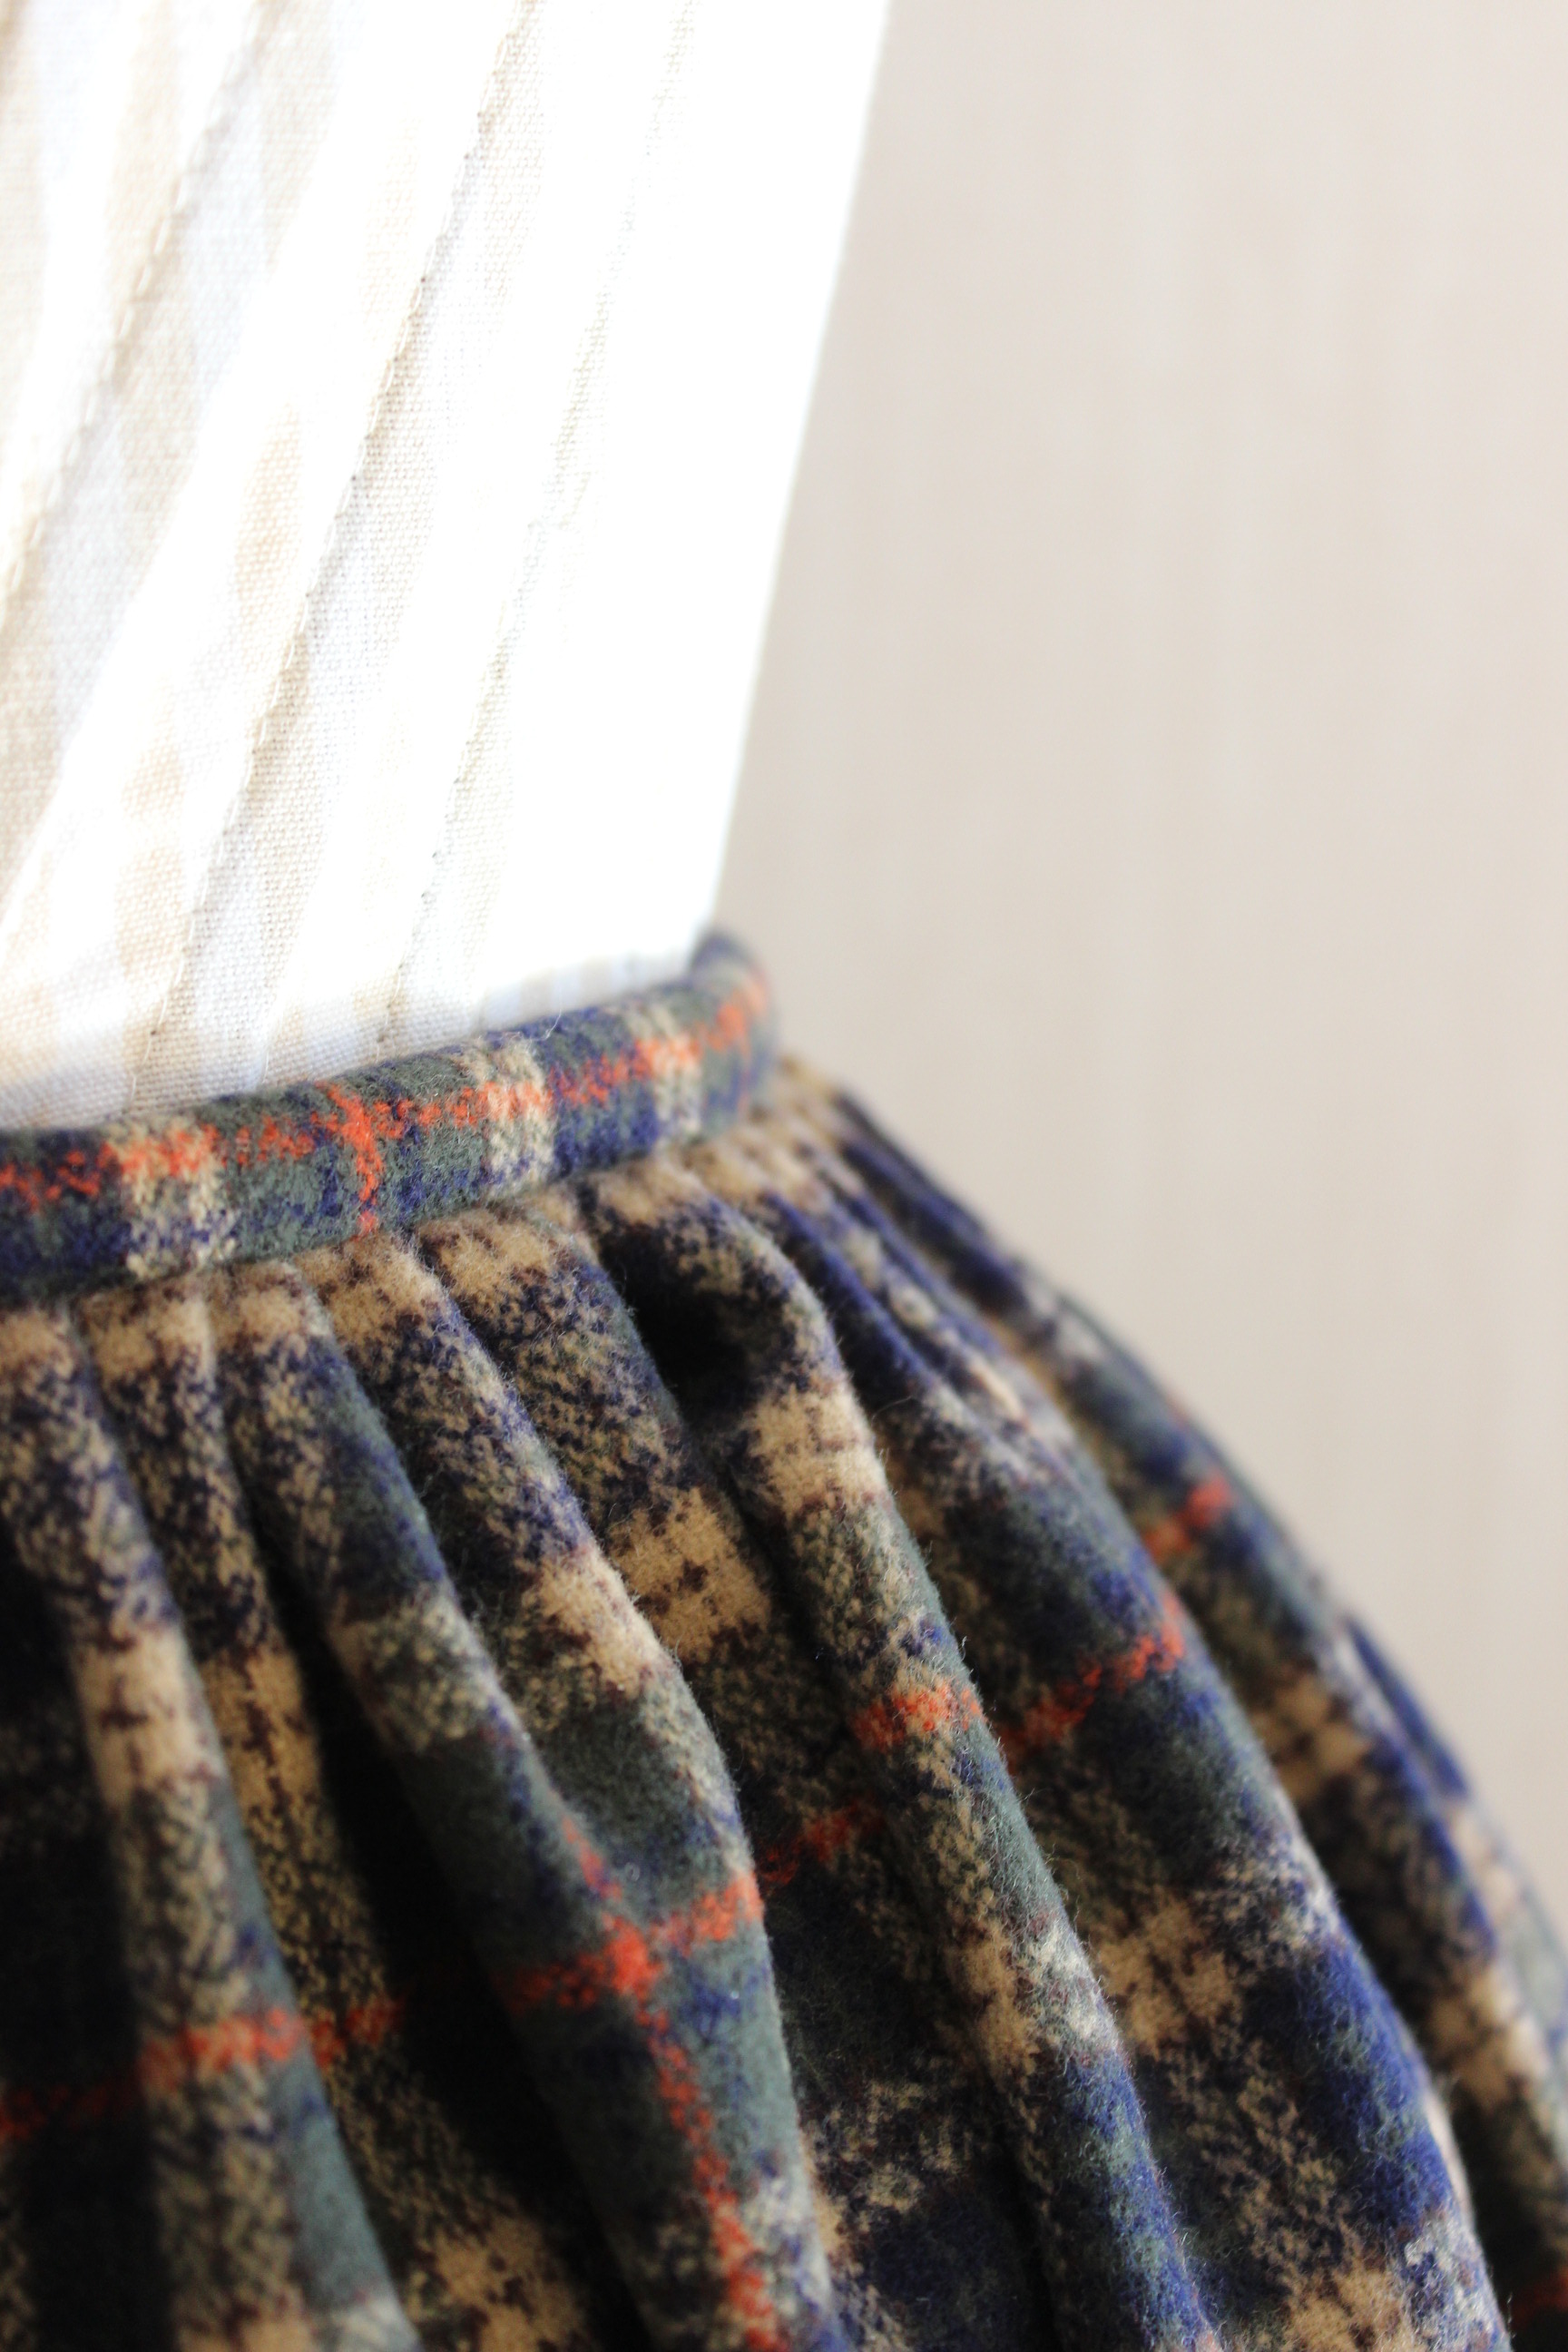
The construction is really simple, since it’s basically two widths of the fabric sewn together and gathered to a waistband. I used some linen scraps for he hem facing and hooks and bars to close the waistband.
The finished skirt: 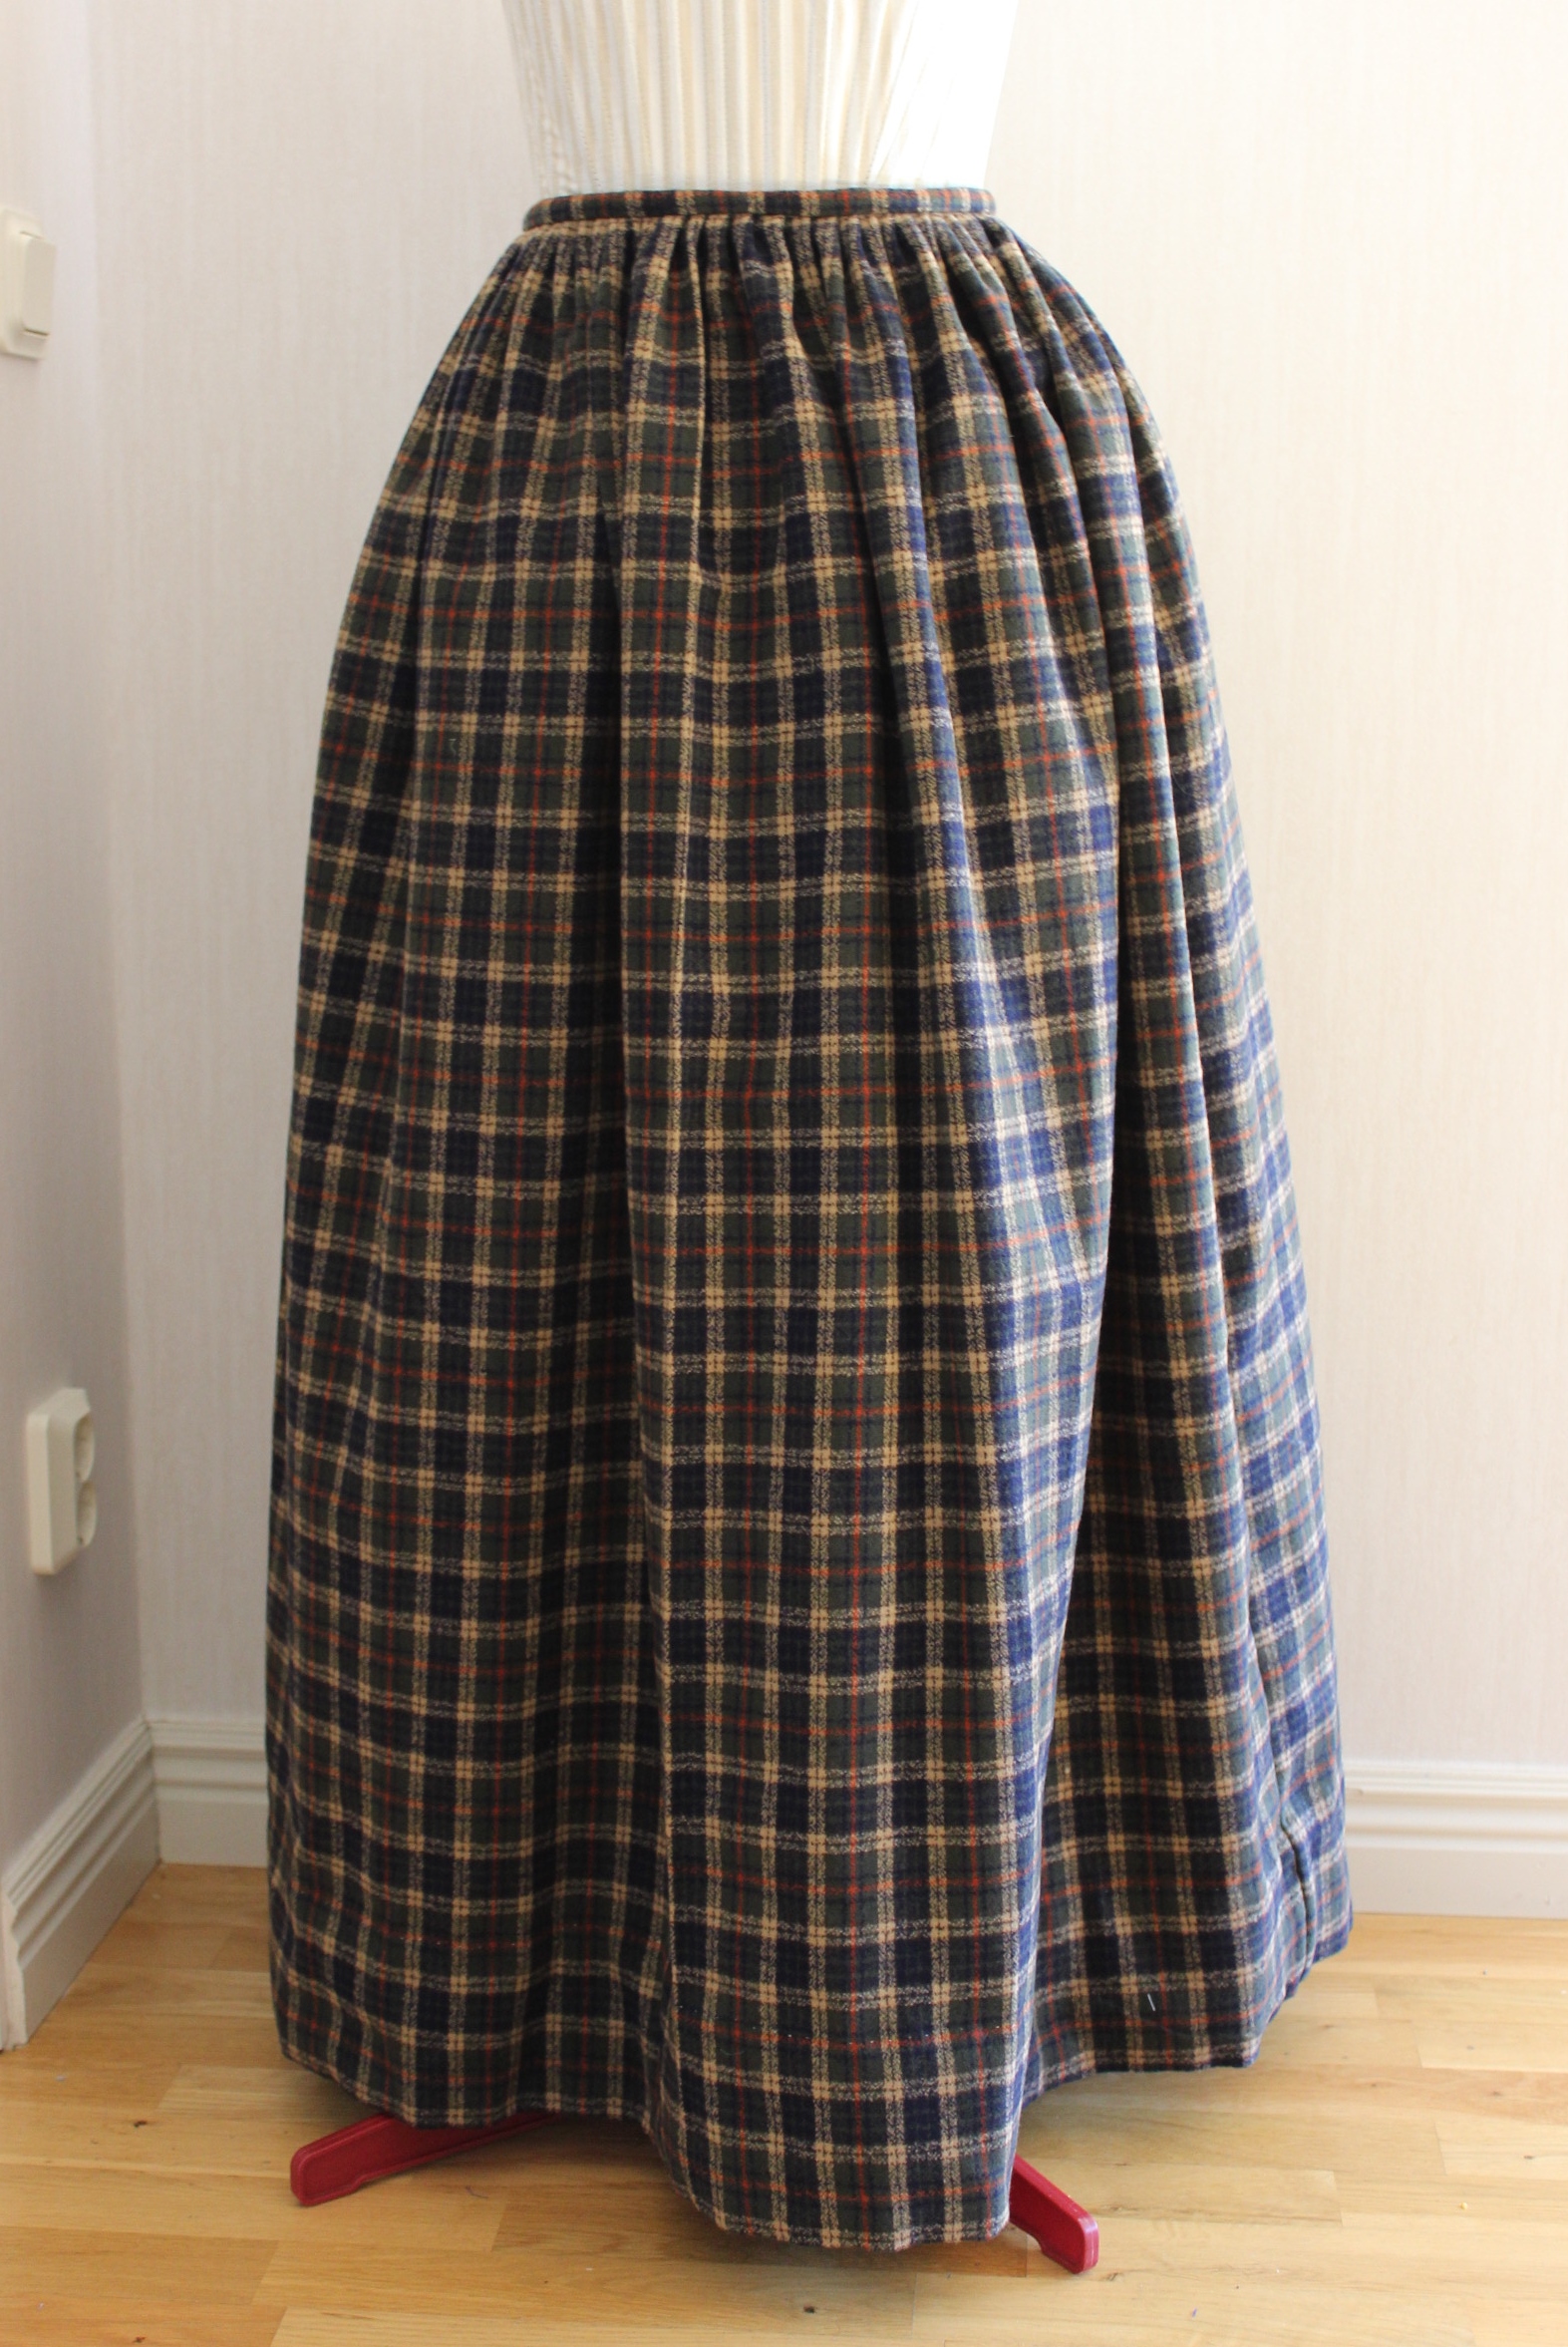

Then I started on the bodice.
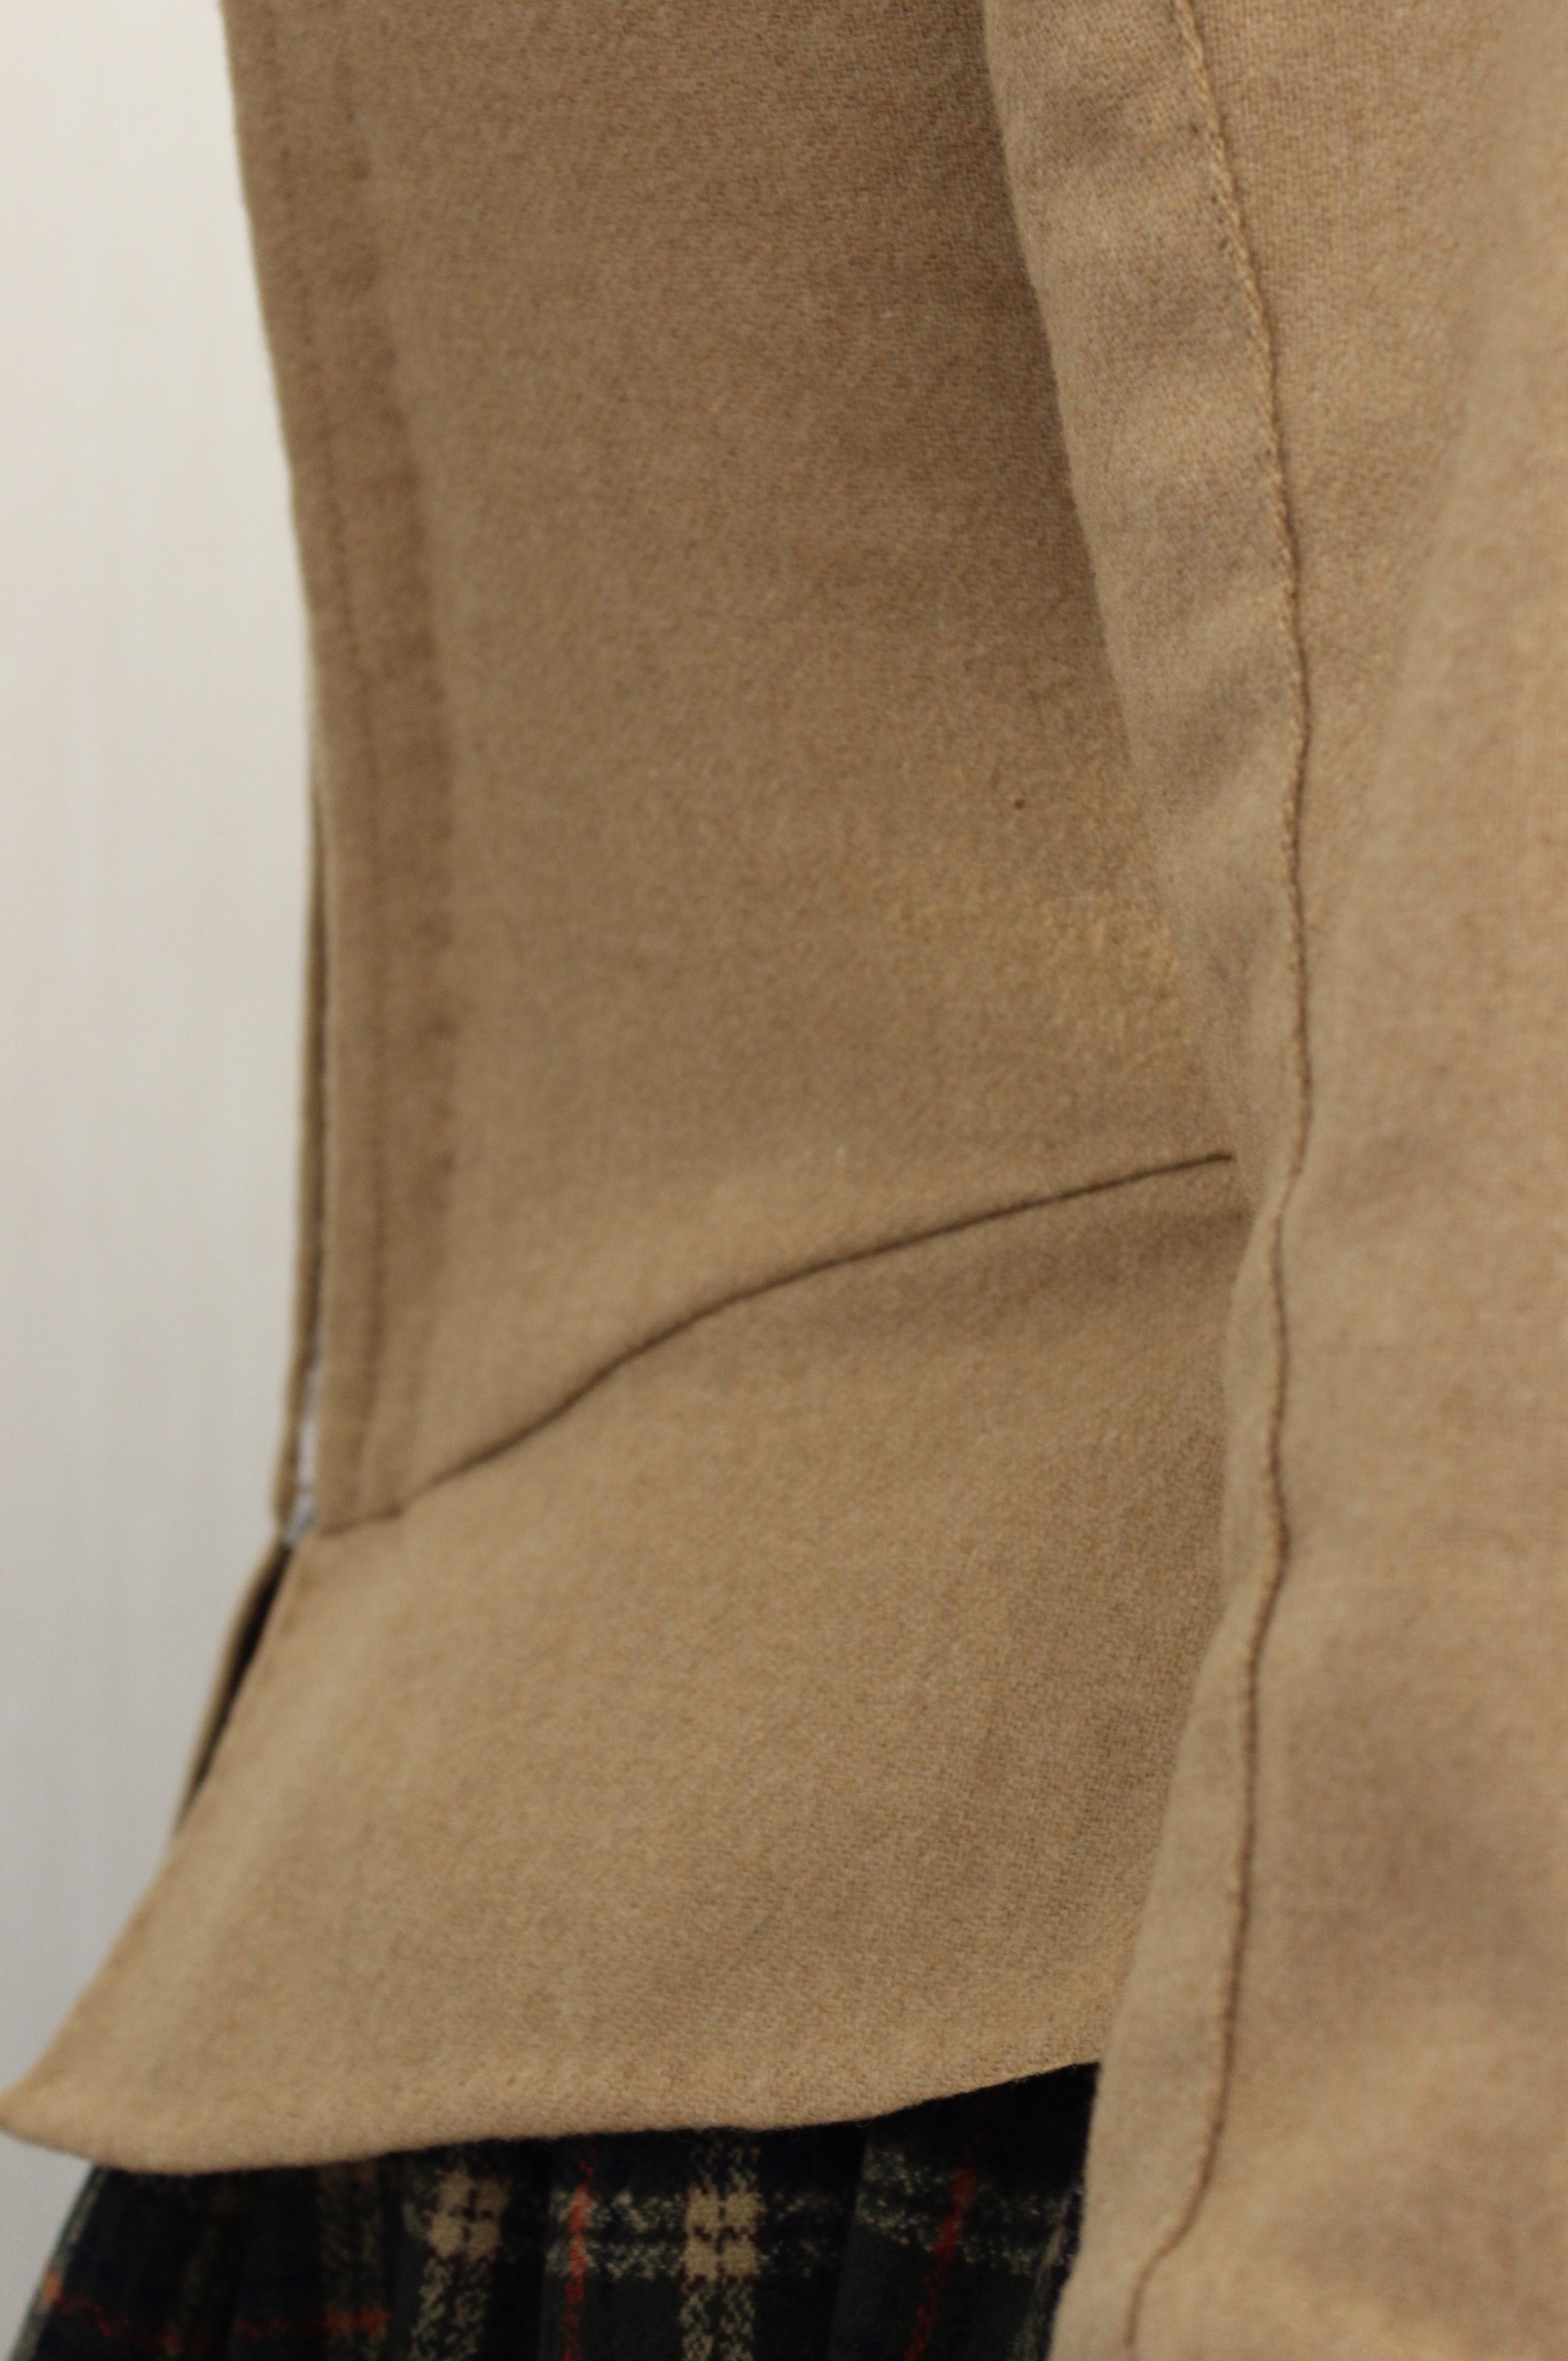
Using the pattern from the yellow caraco jacket, only changing the front to accommodate a stomacher instead of button closer, and adding a peplum at the bottom edge.
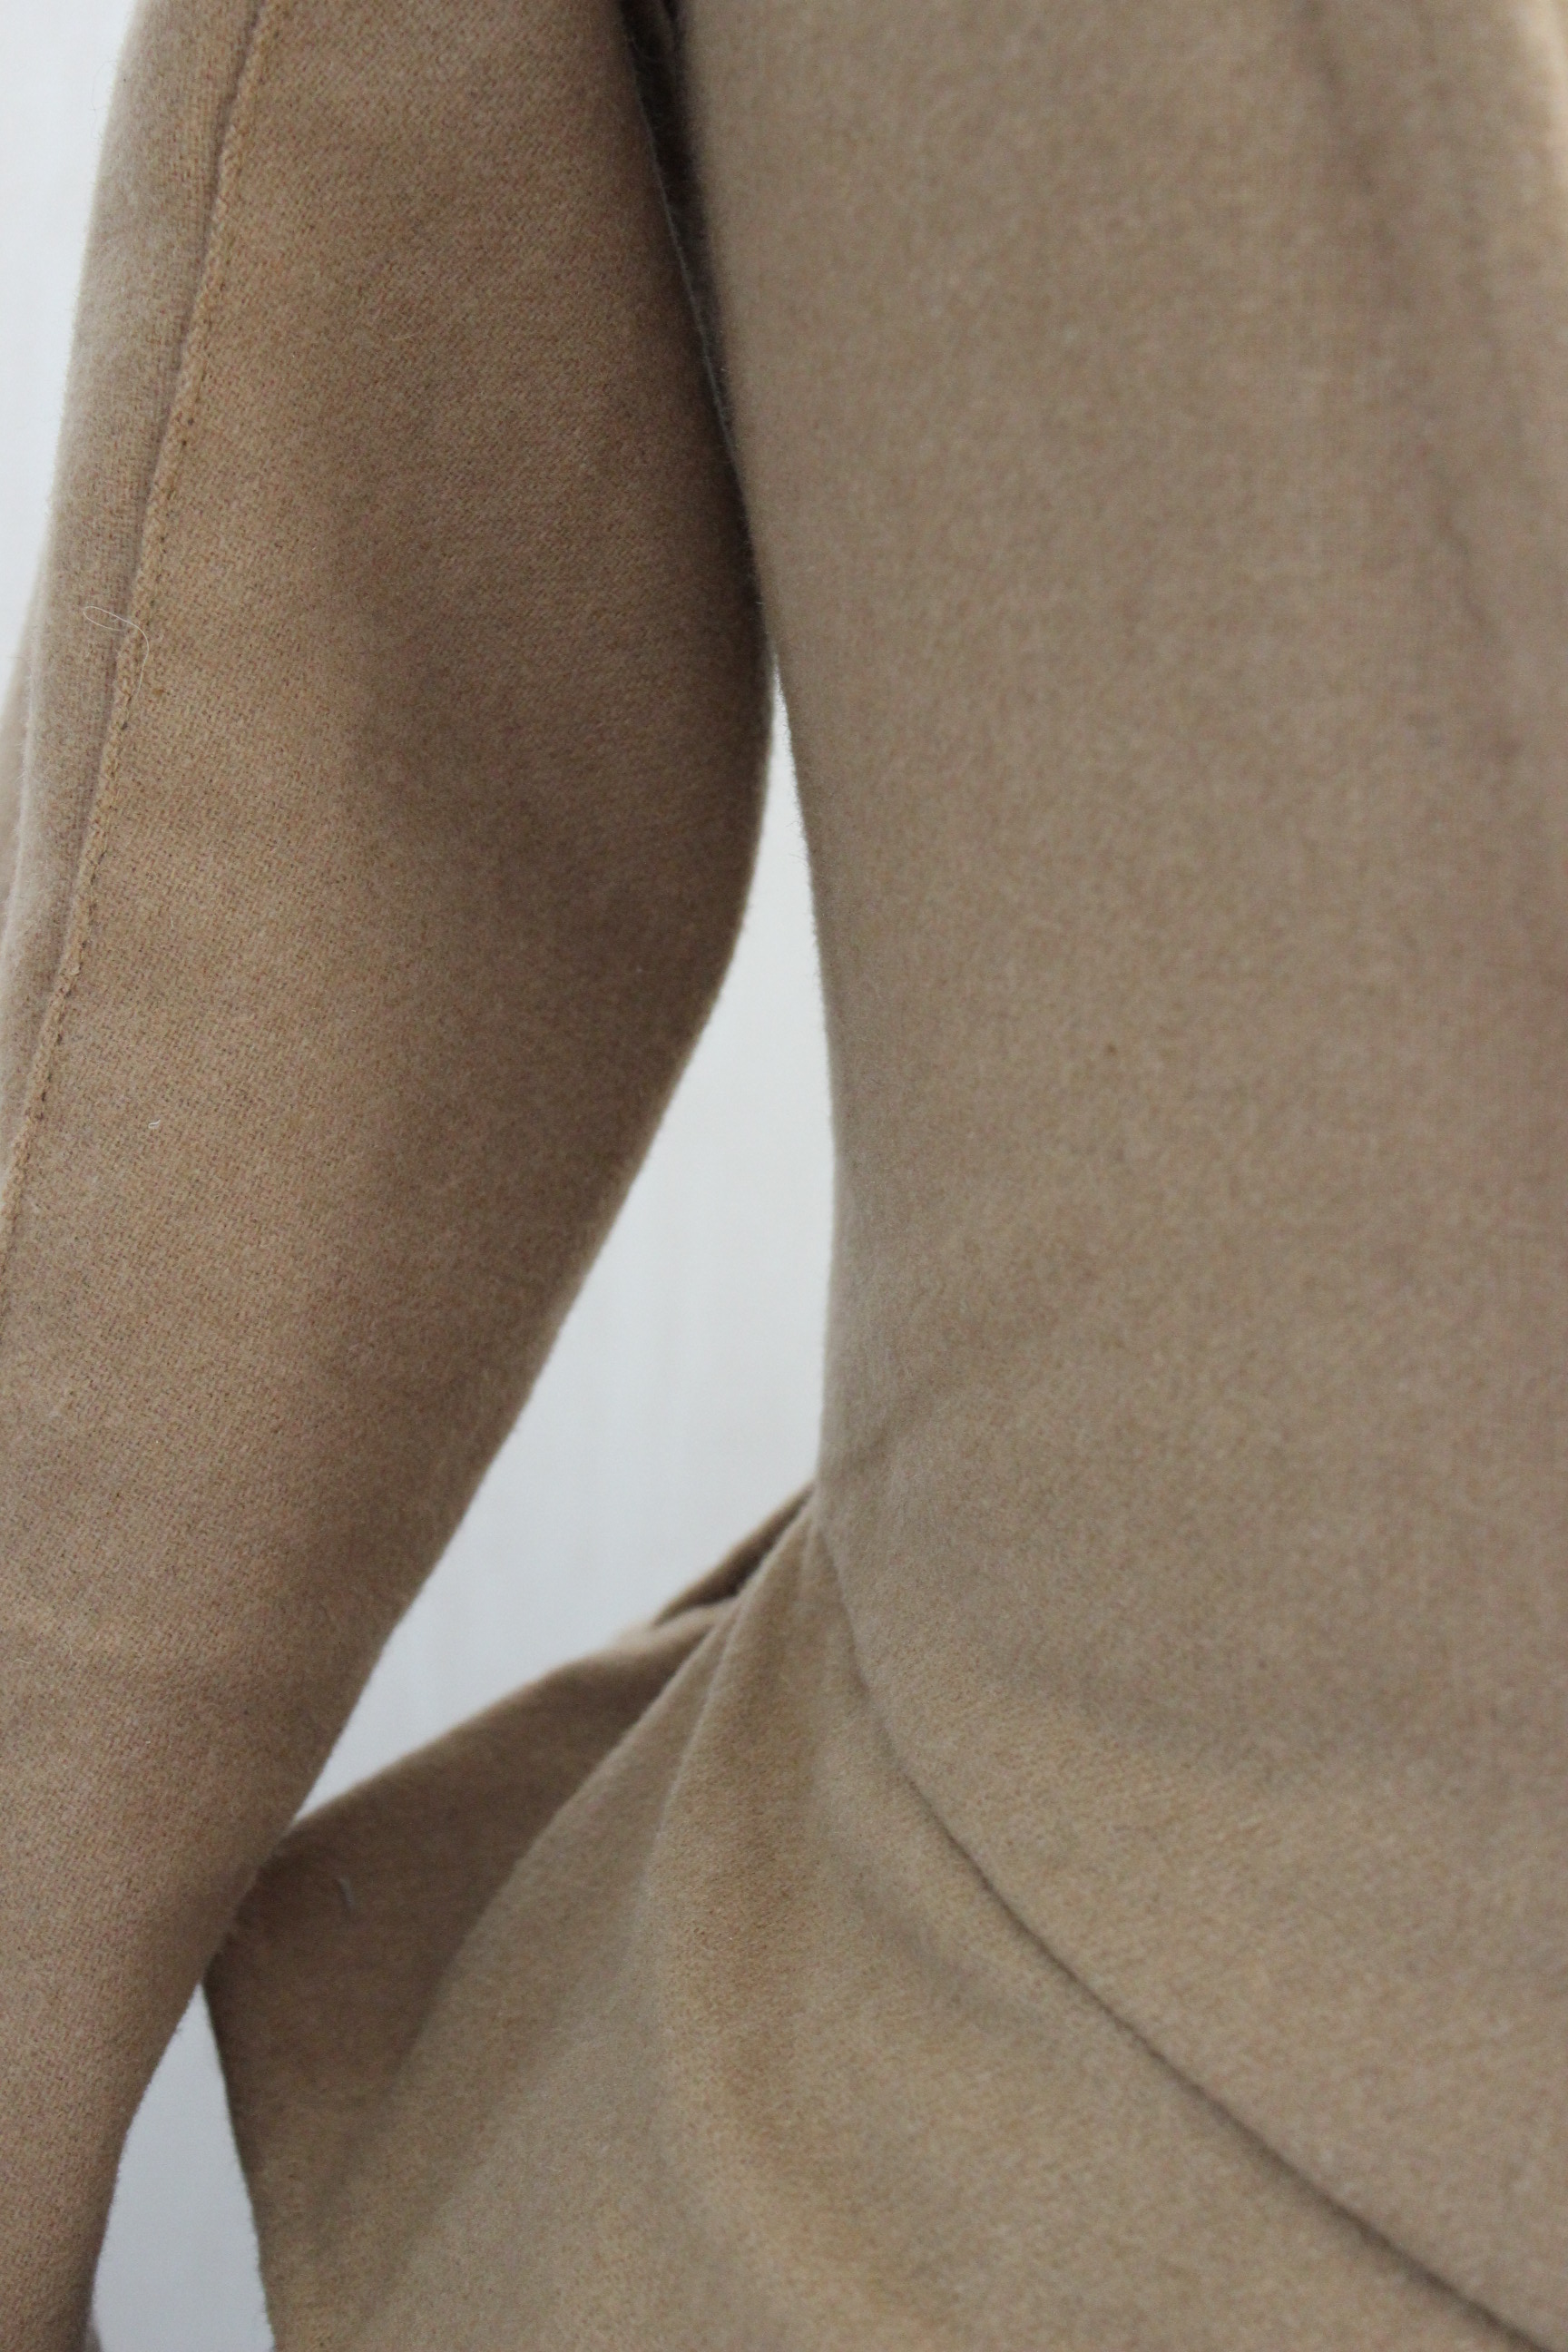
I used some leftover beige wool for the jacket, interlining it with some linen scraps and dark green wool for the stomacher – all made to match the plaid of the skirt.
It went together pretty fast even though I made it completely by hand.
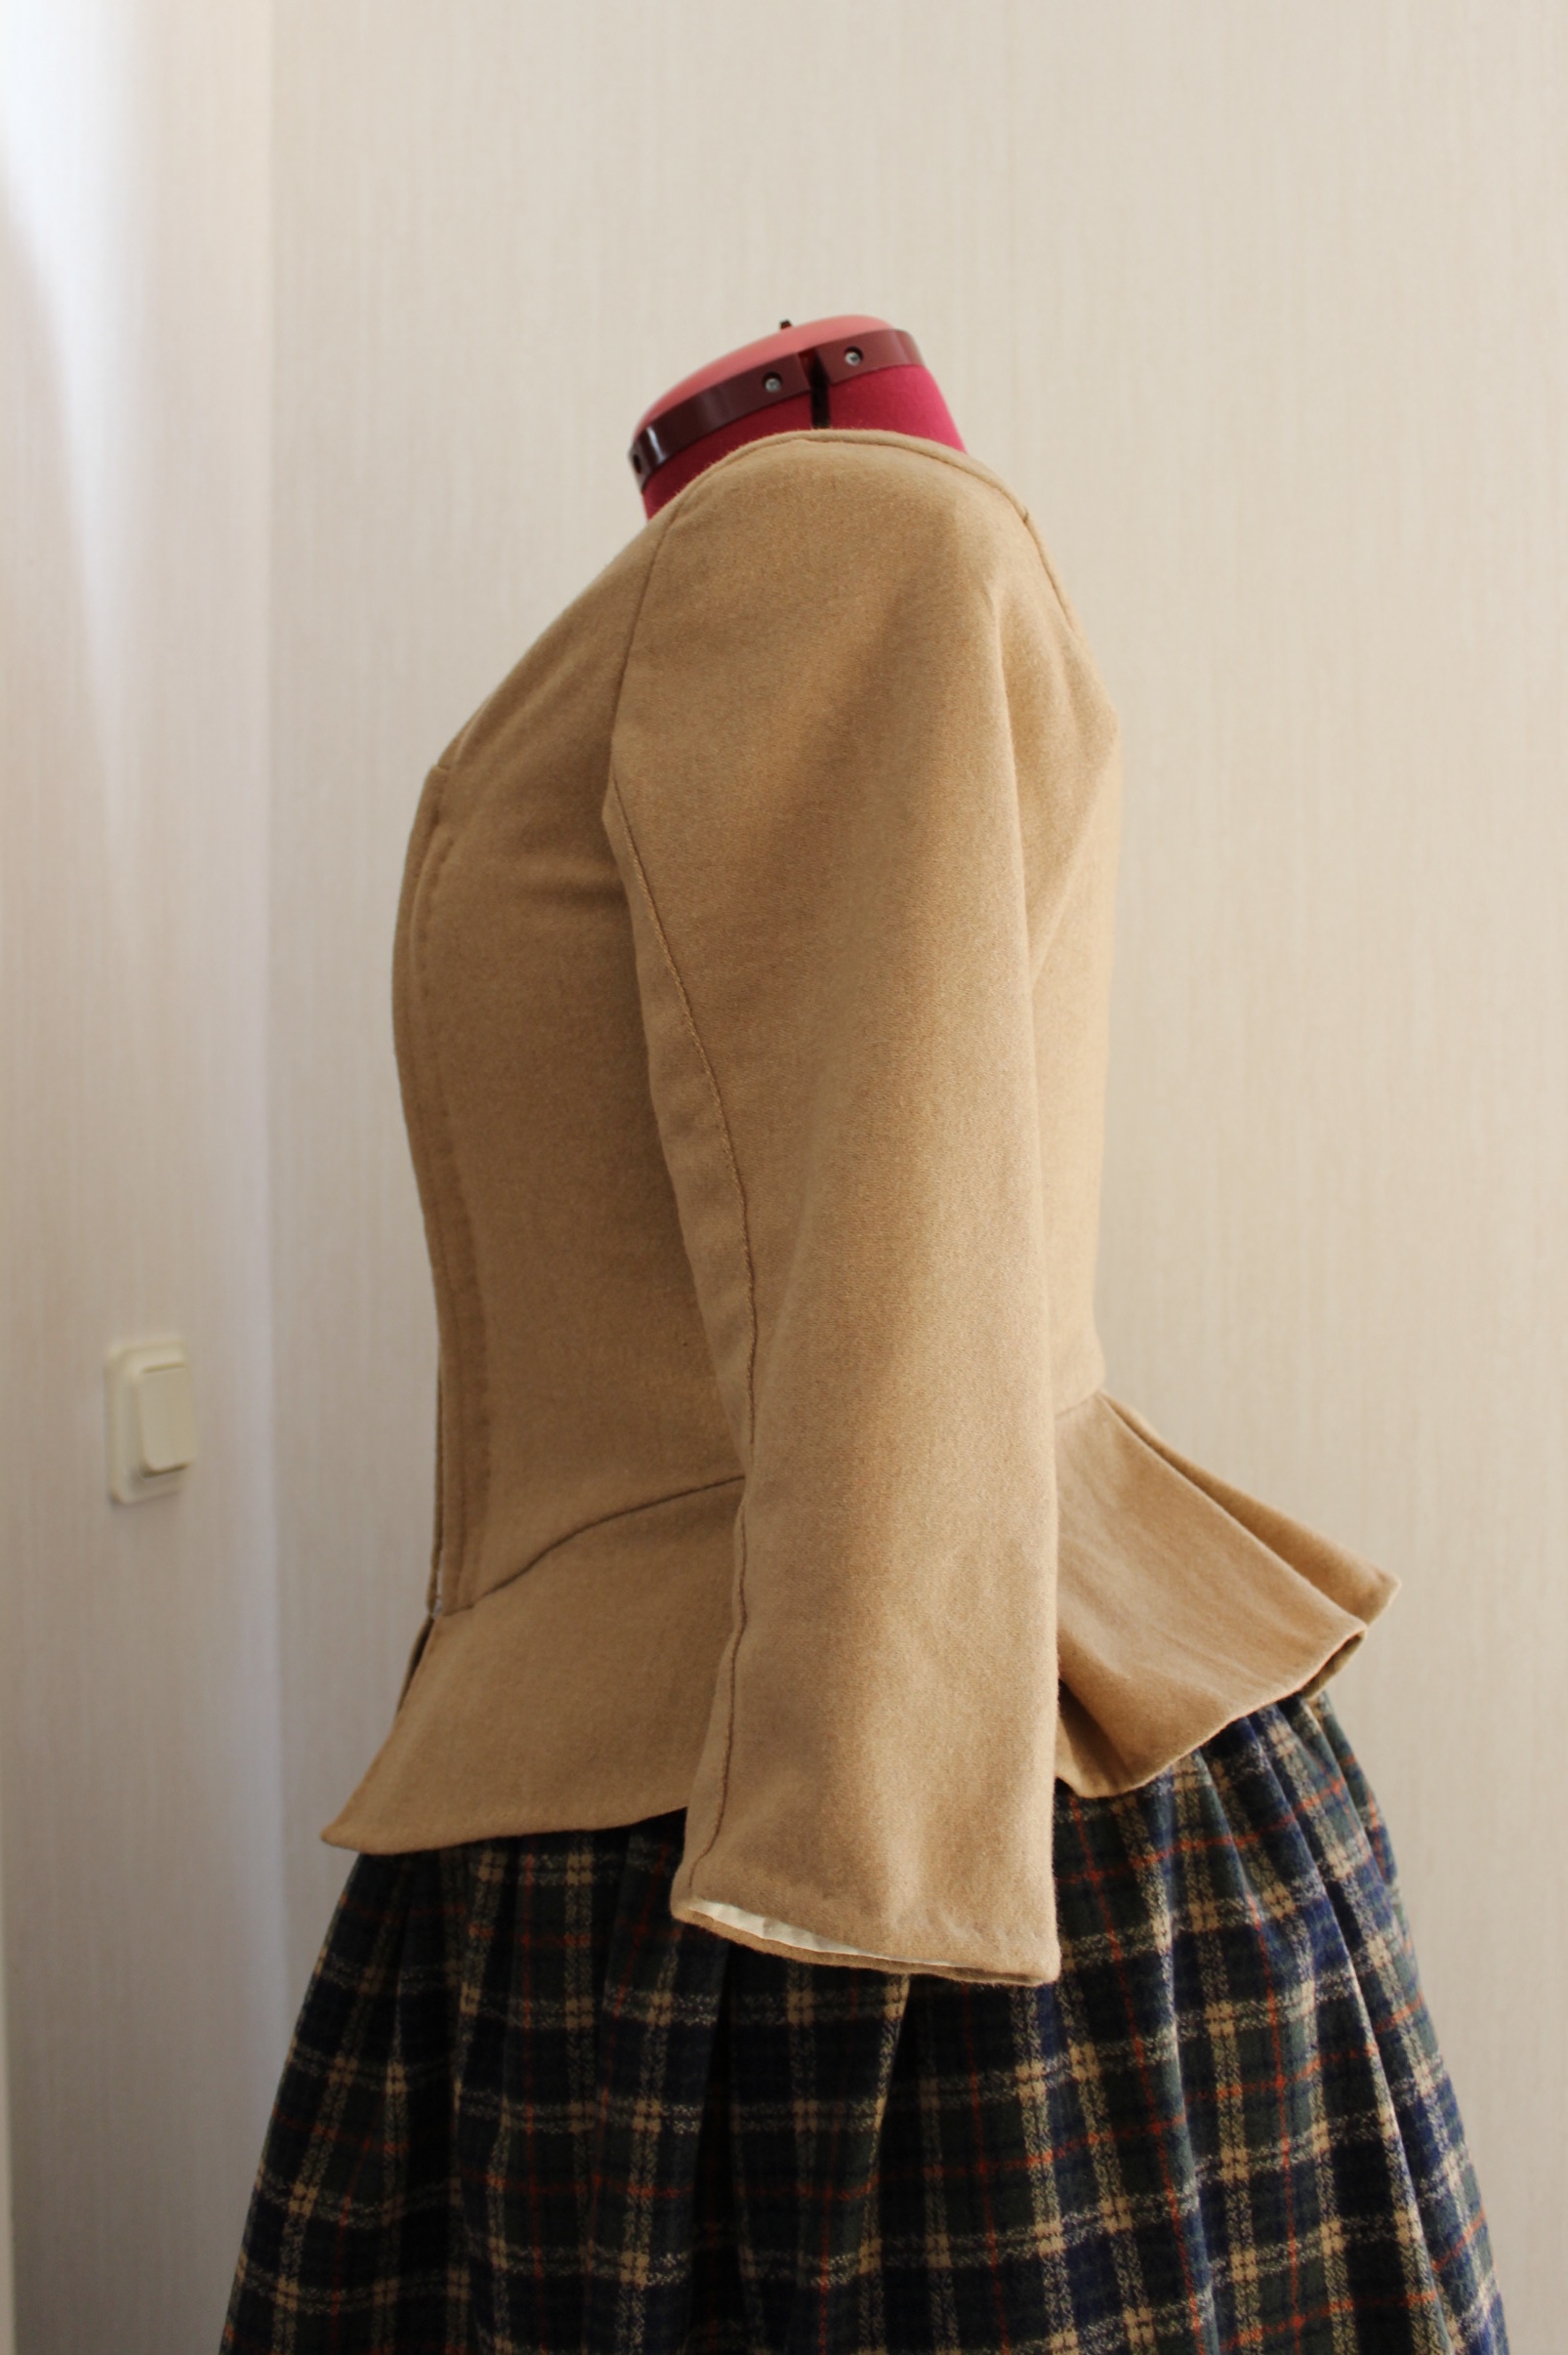
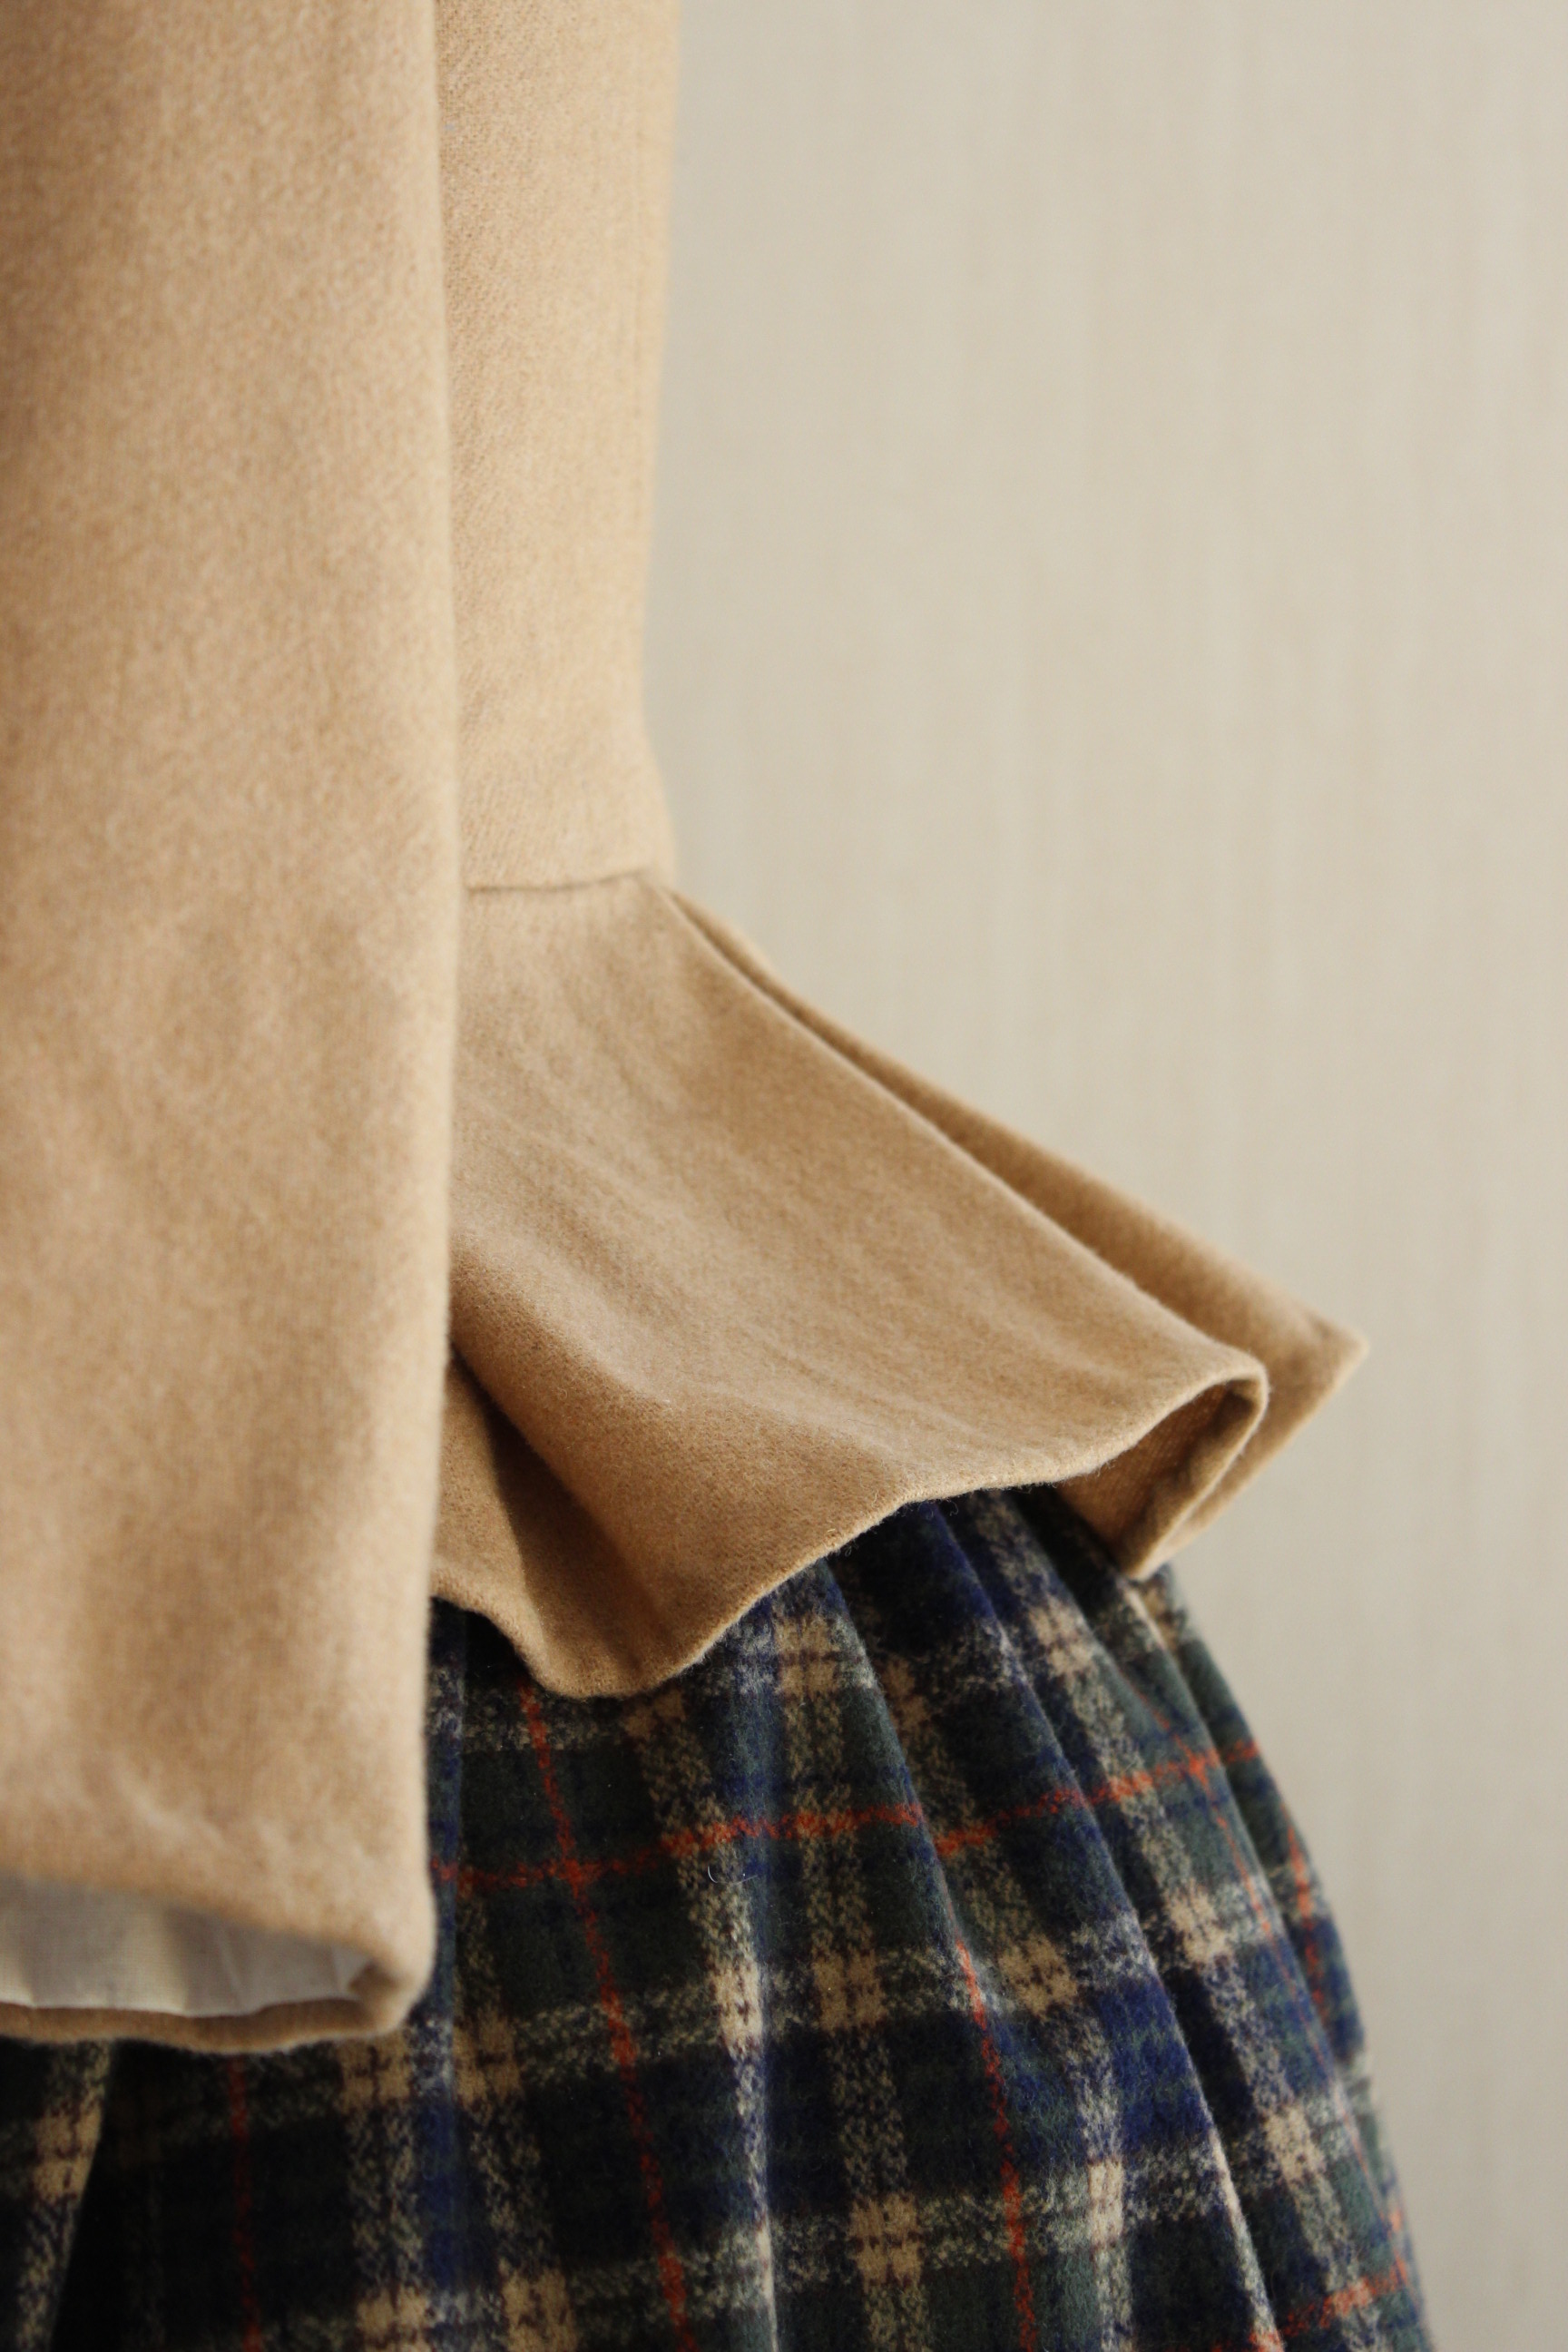
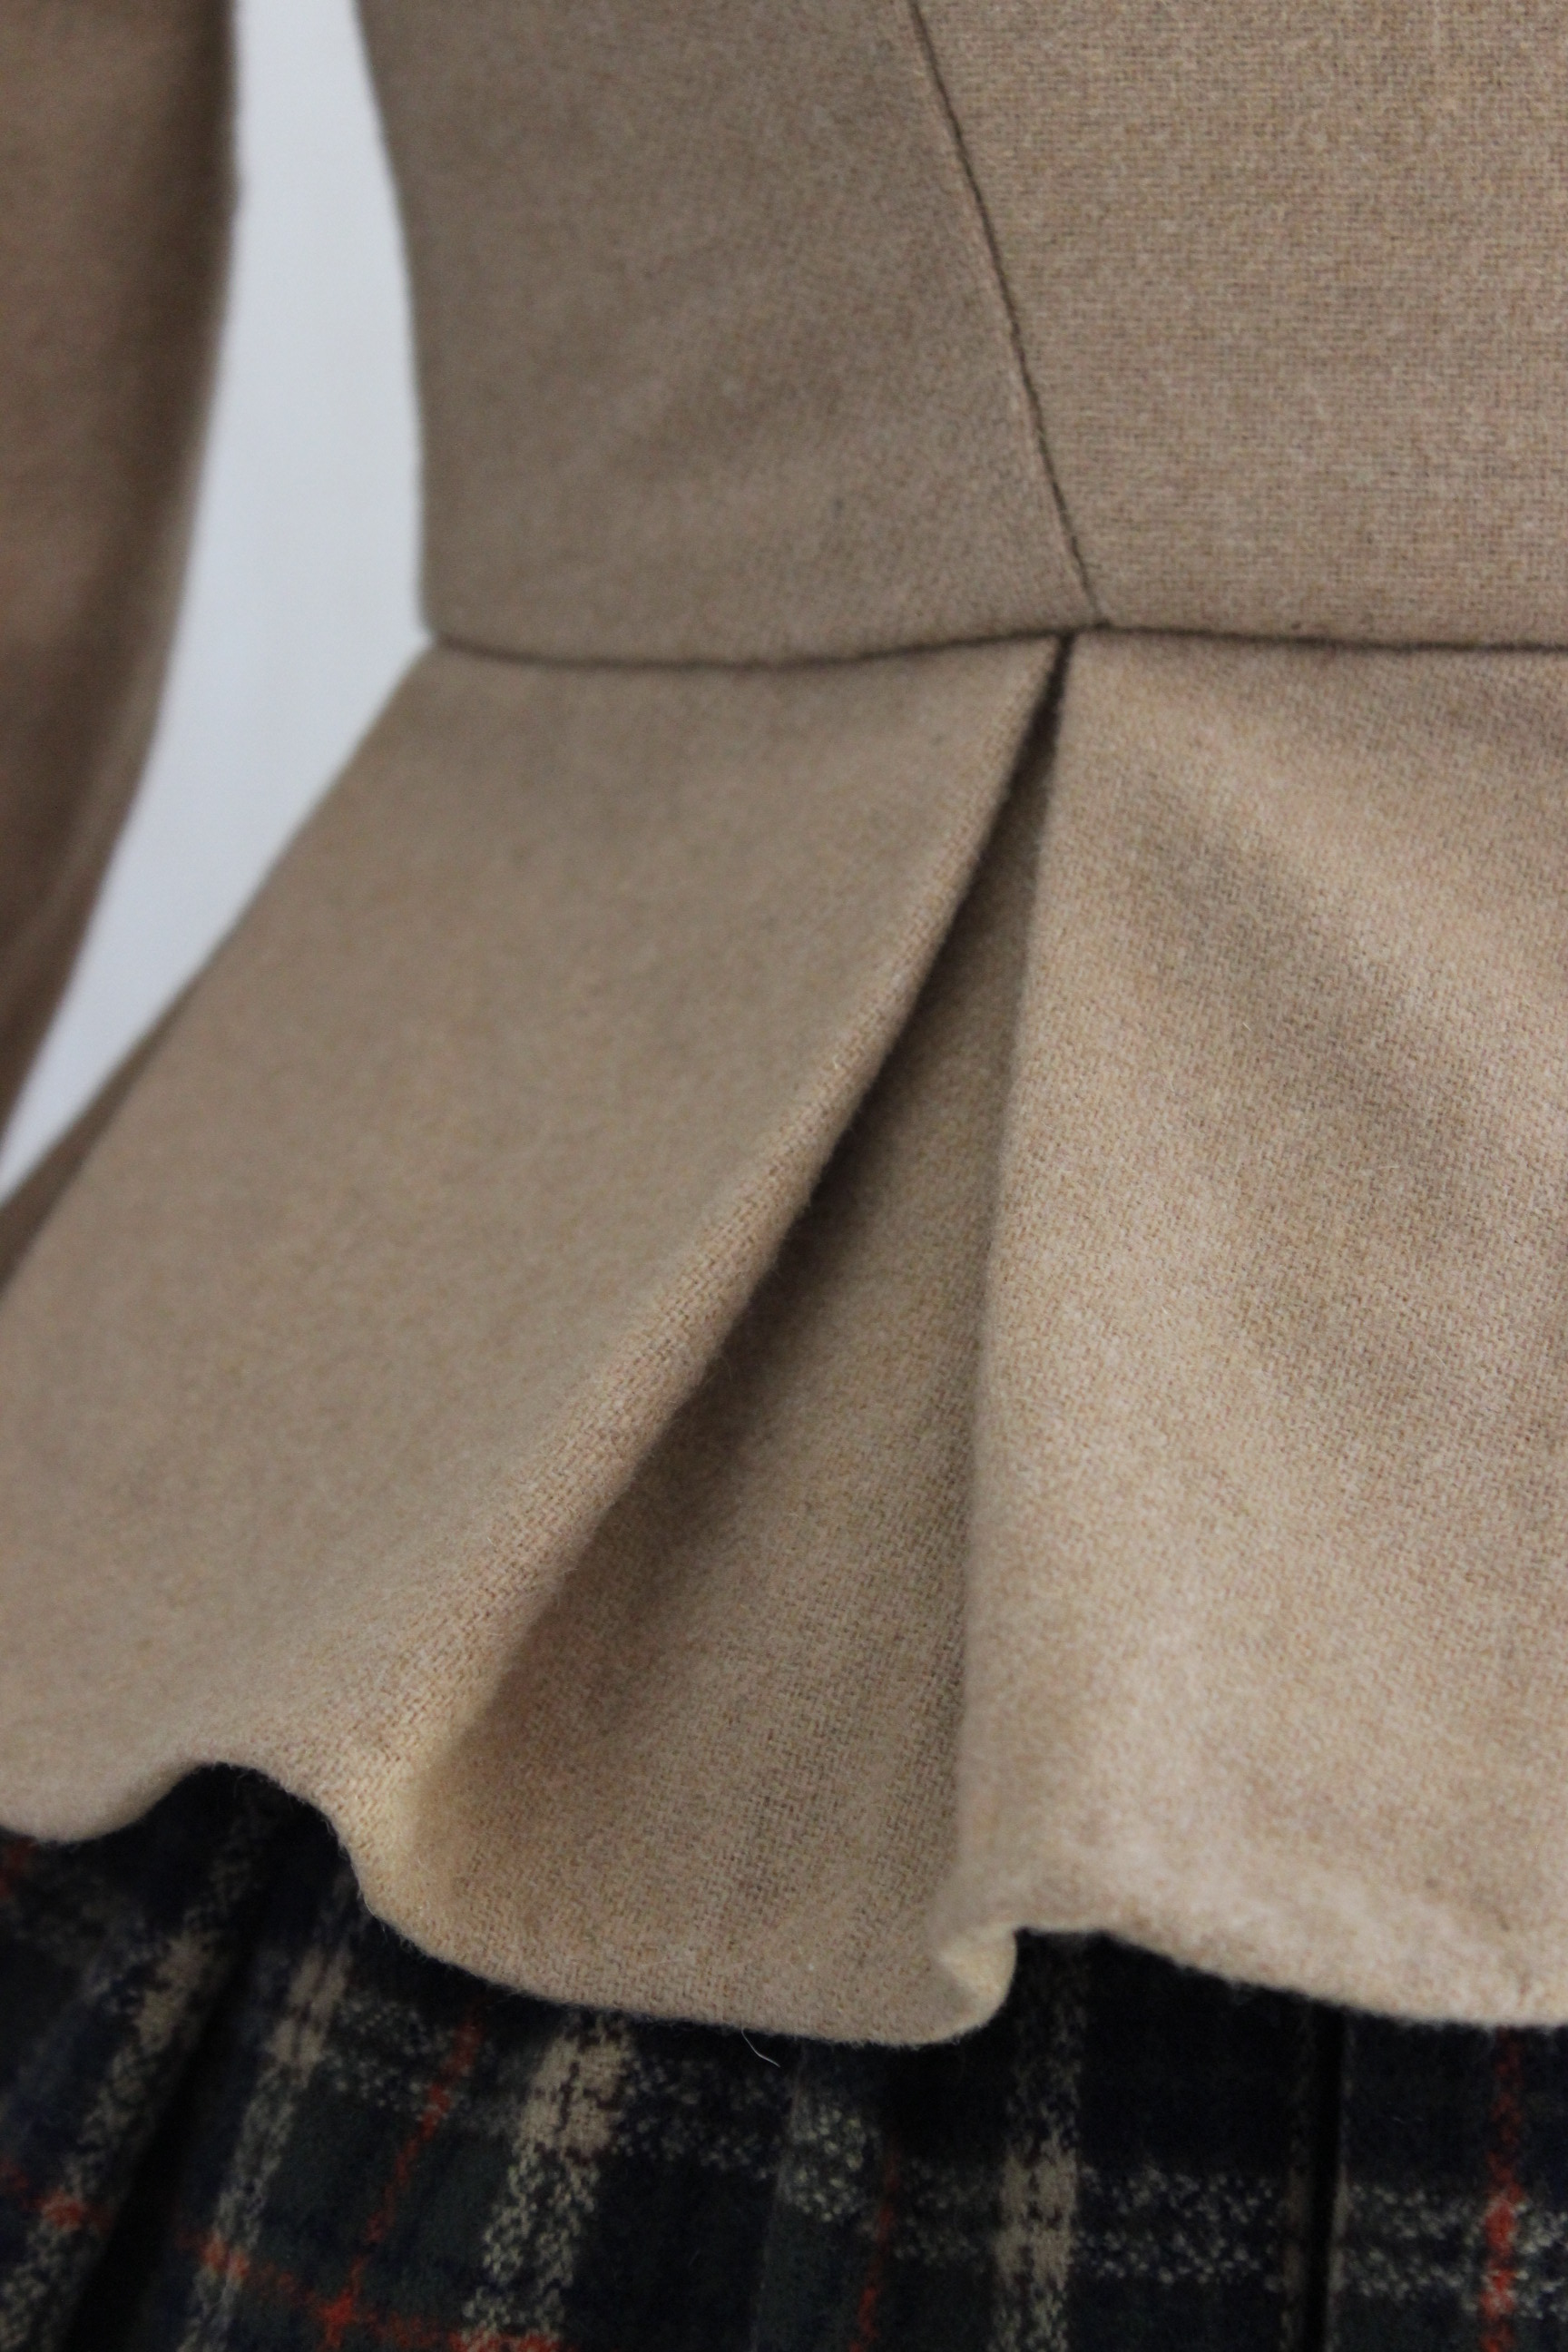
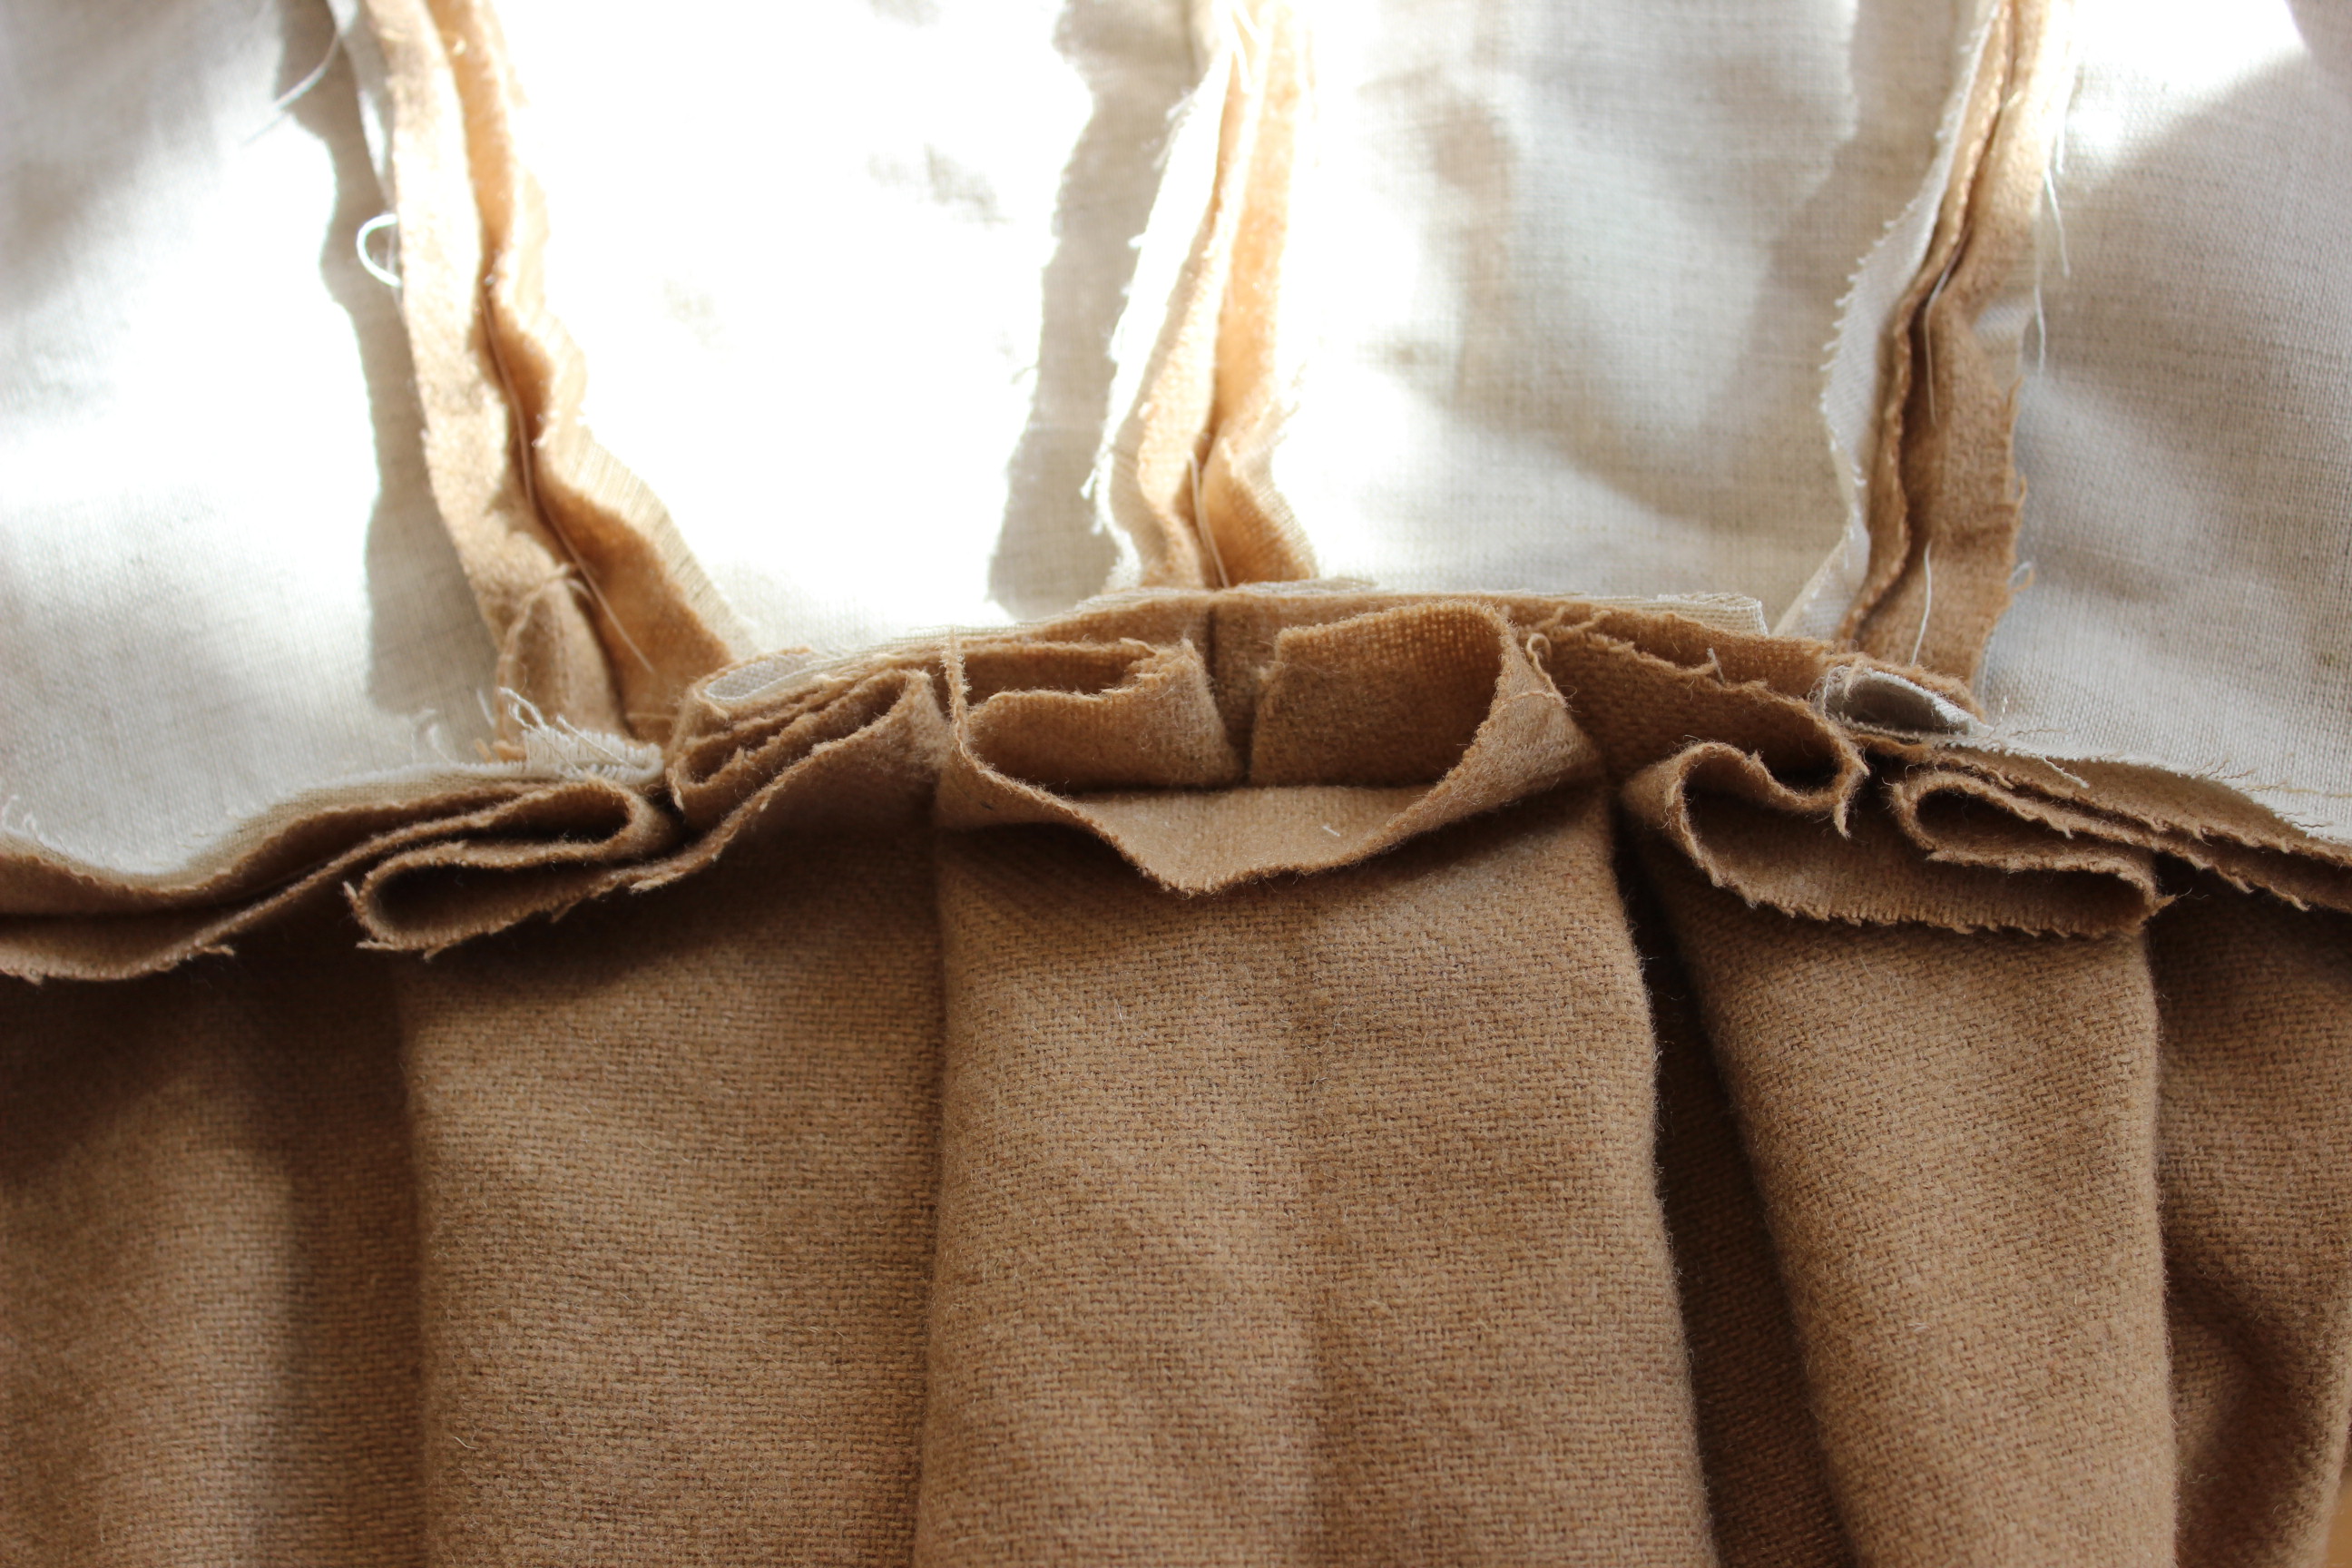 The peplum being attached.

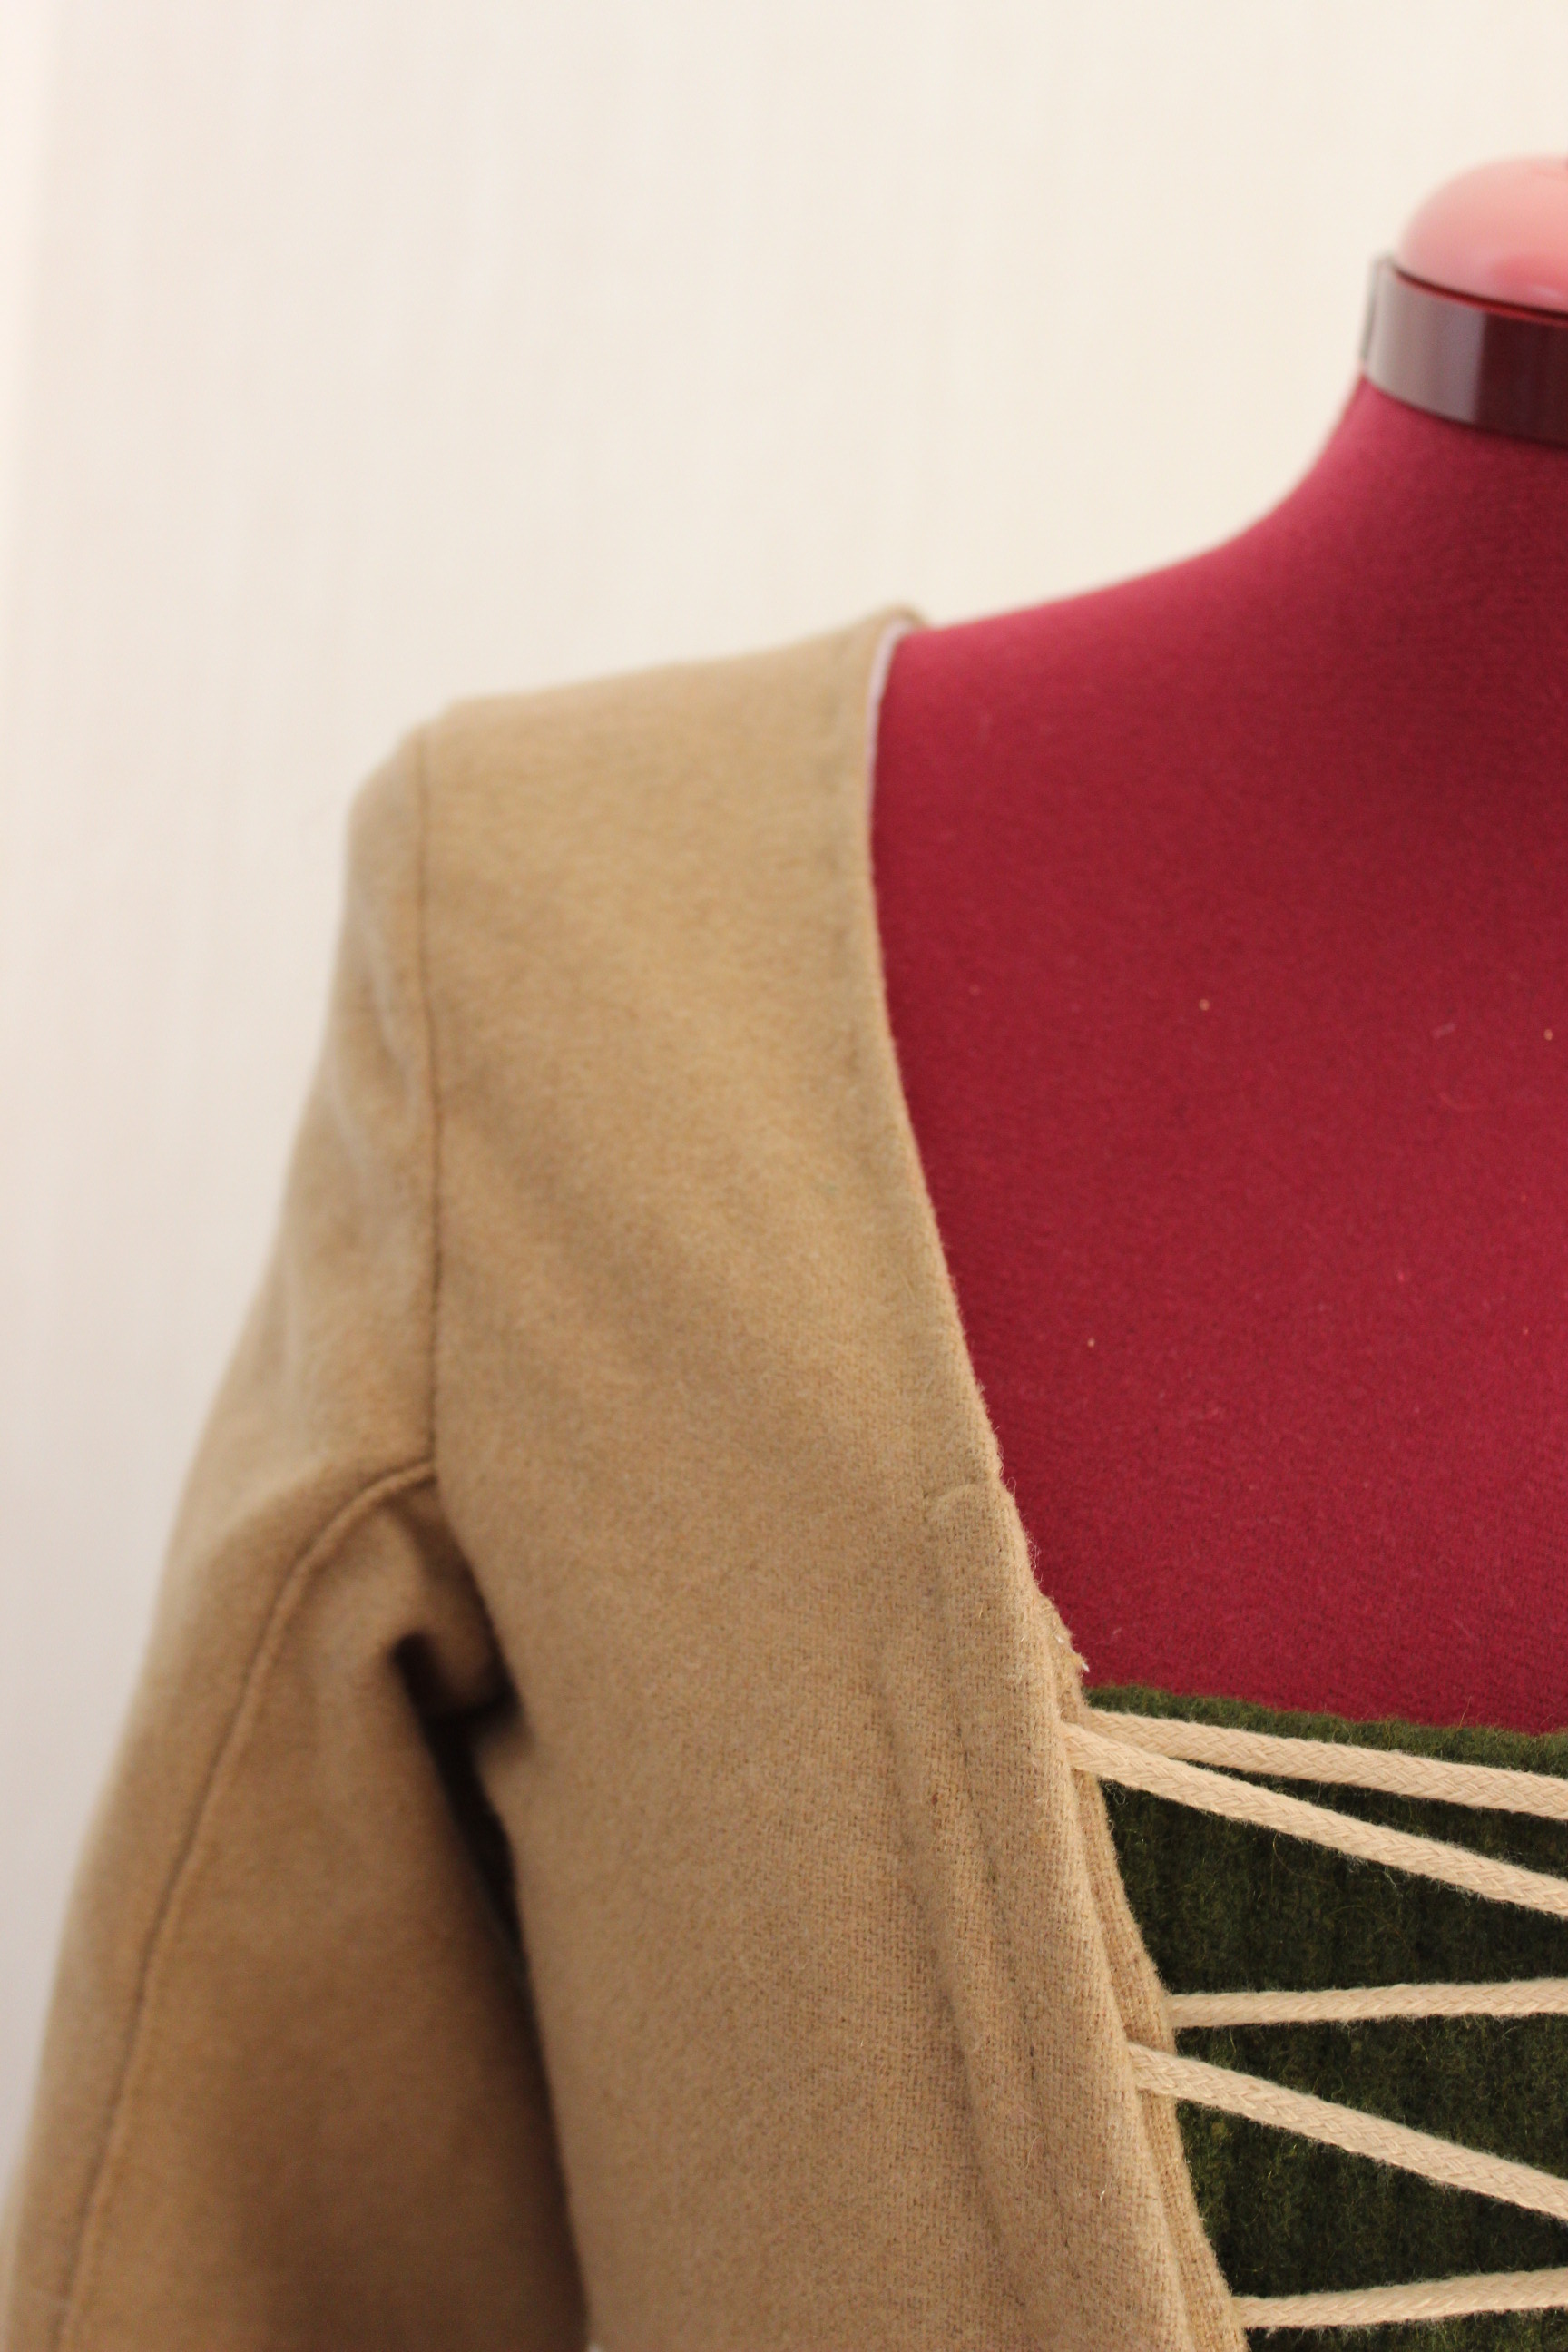
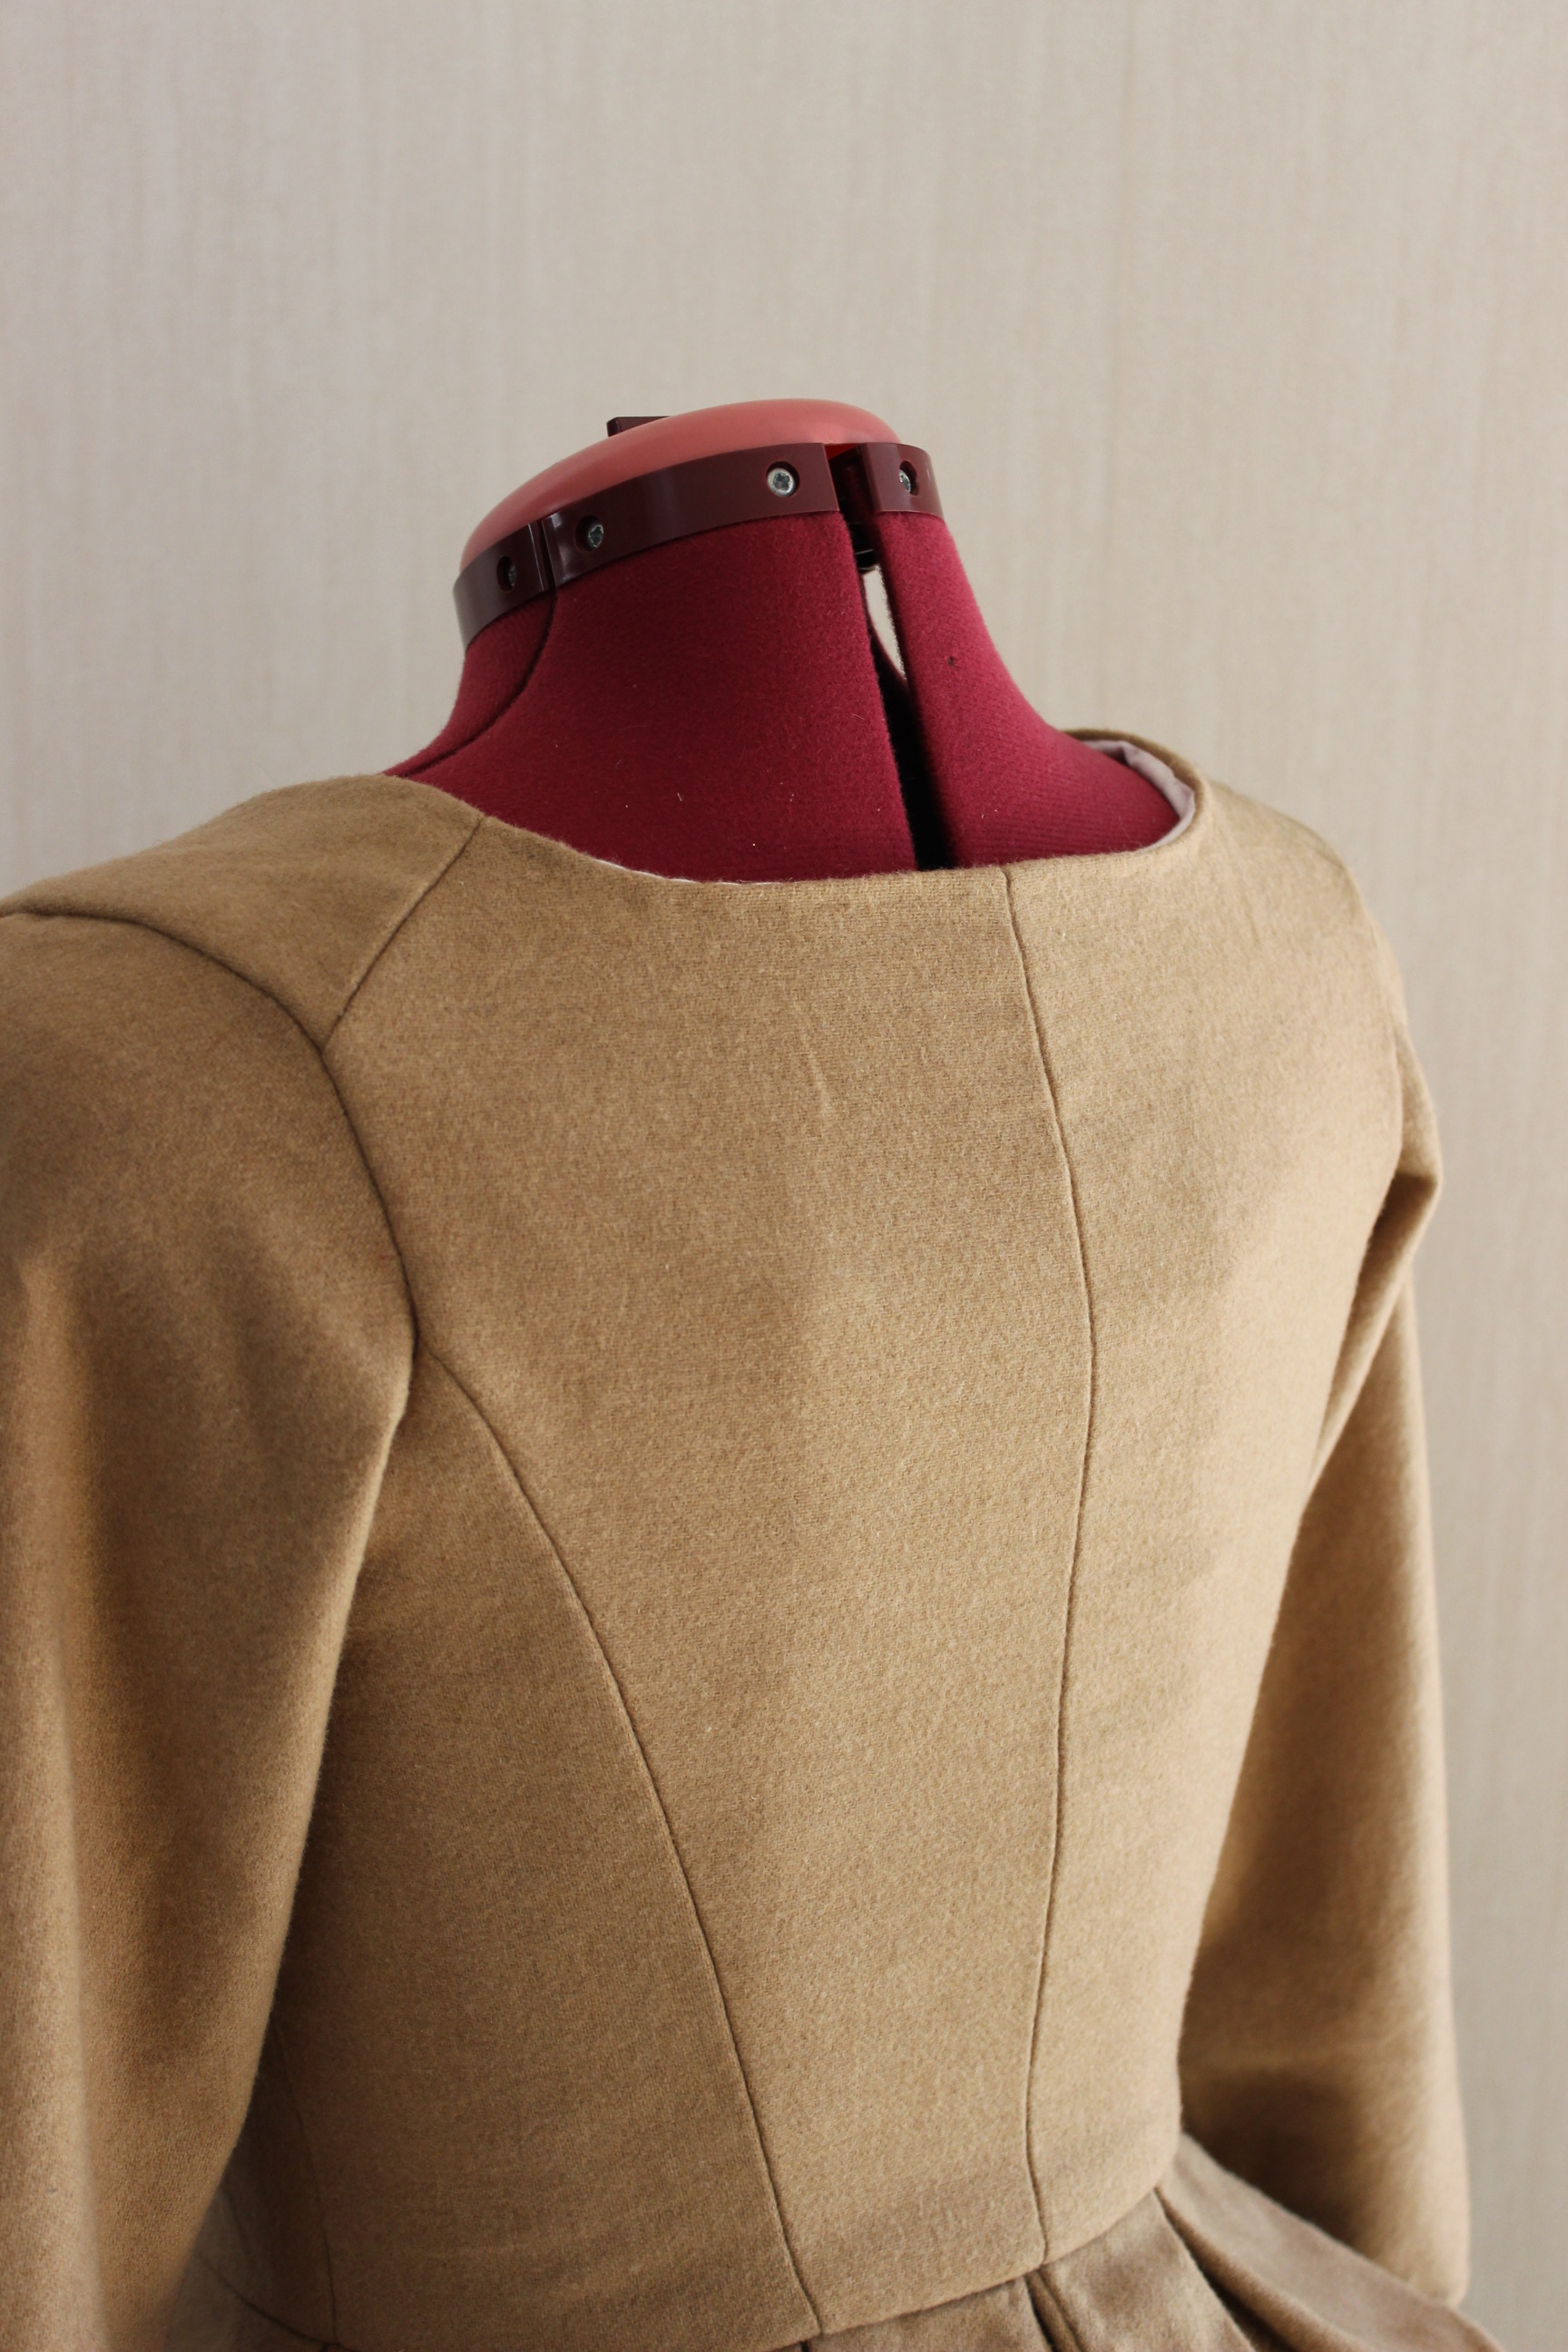
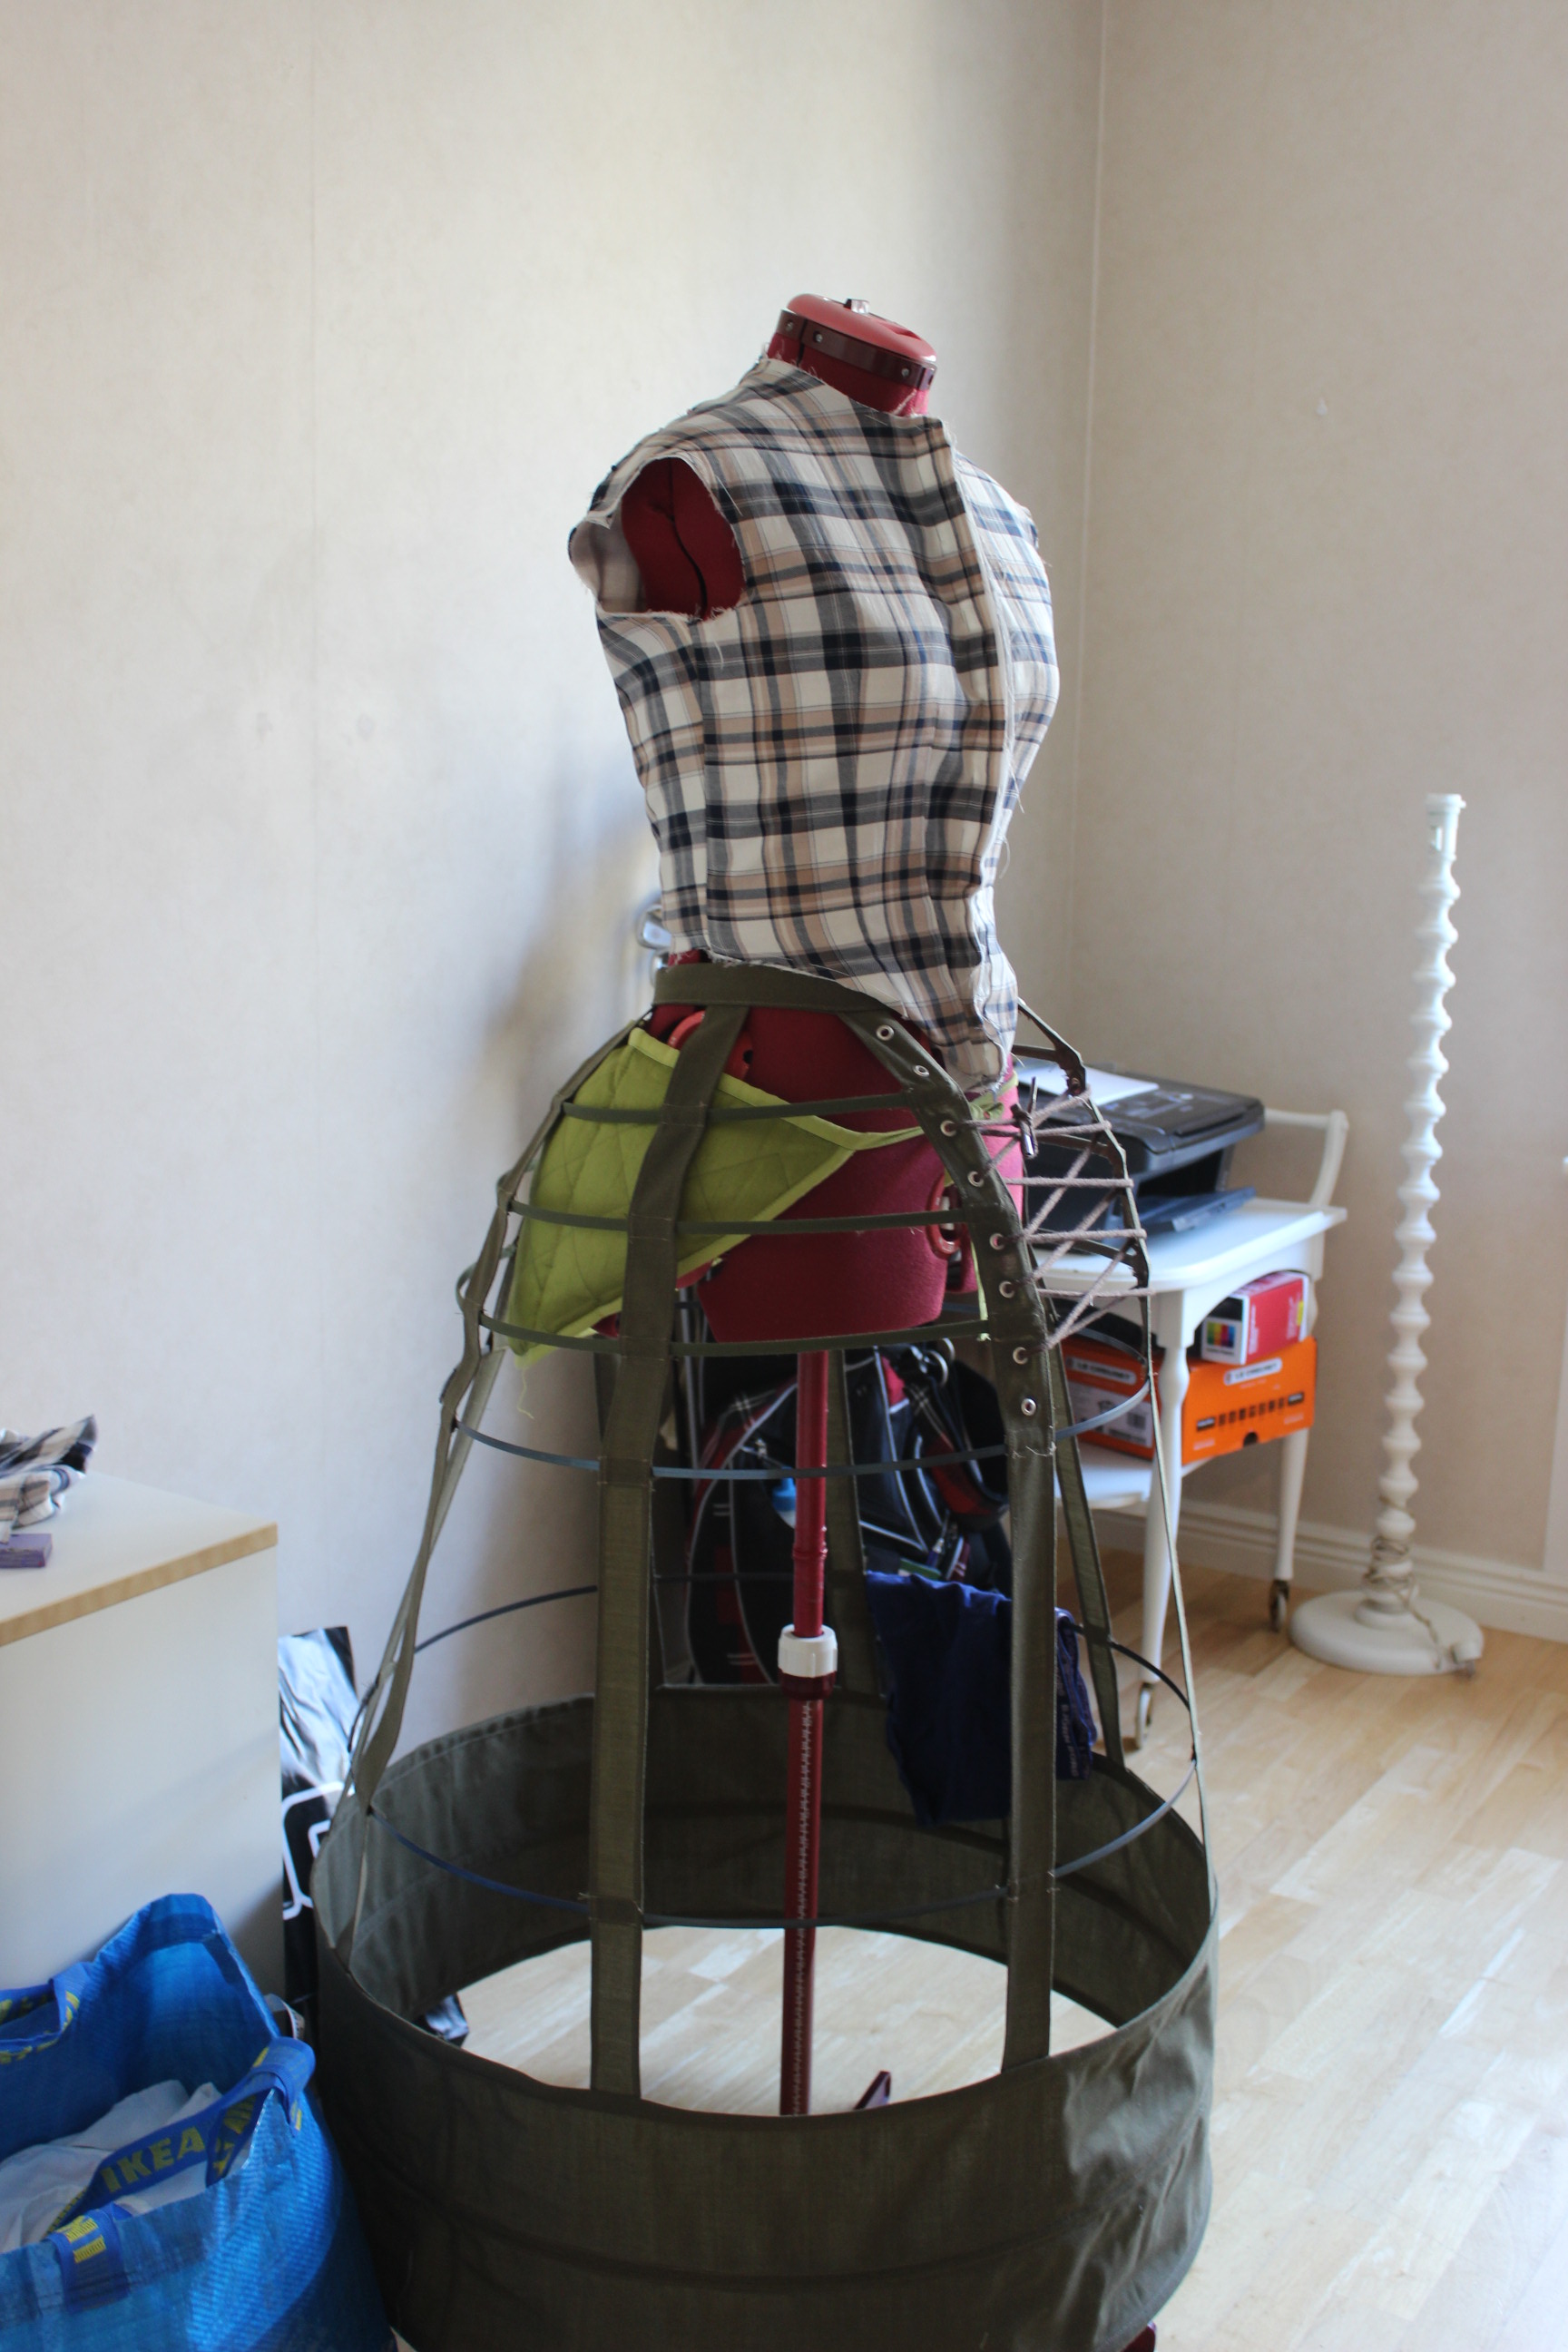
Trying the jacket on my dressform.
I attached the lining made from two different pieces f left over cotton sheets. 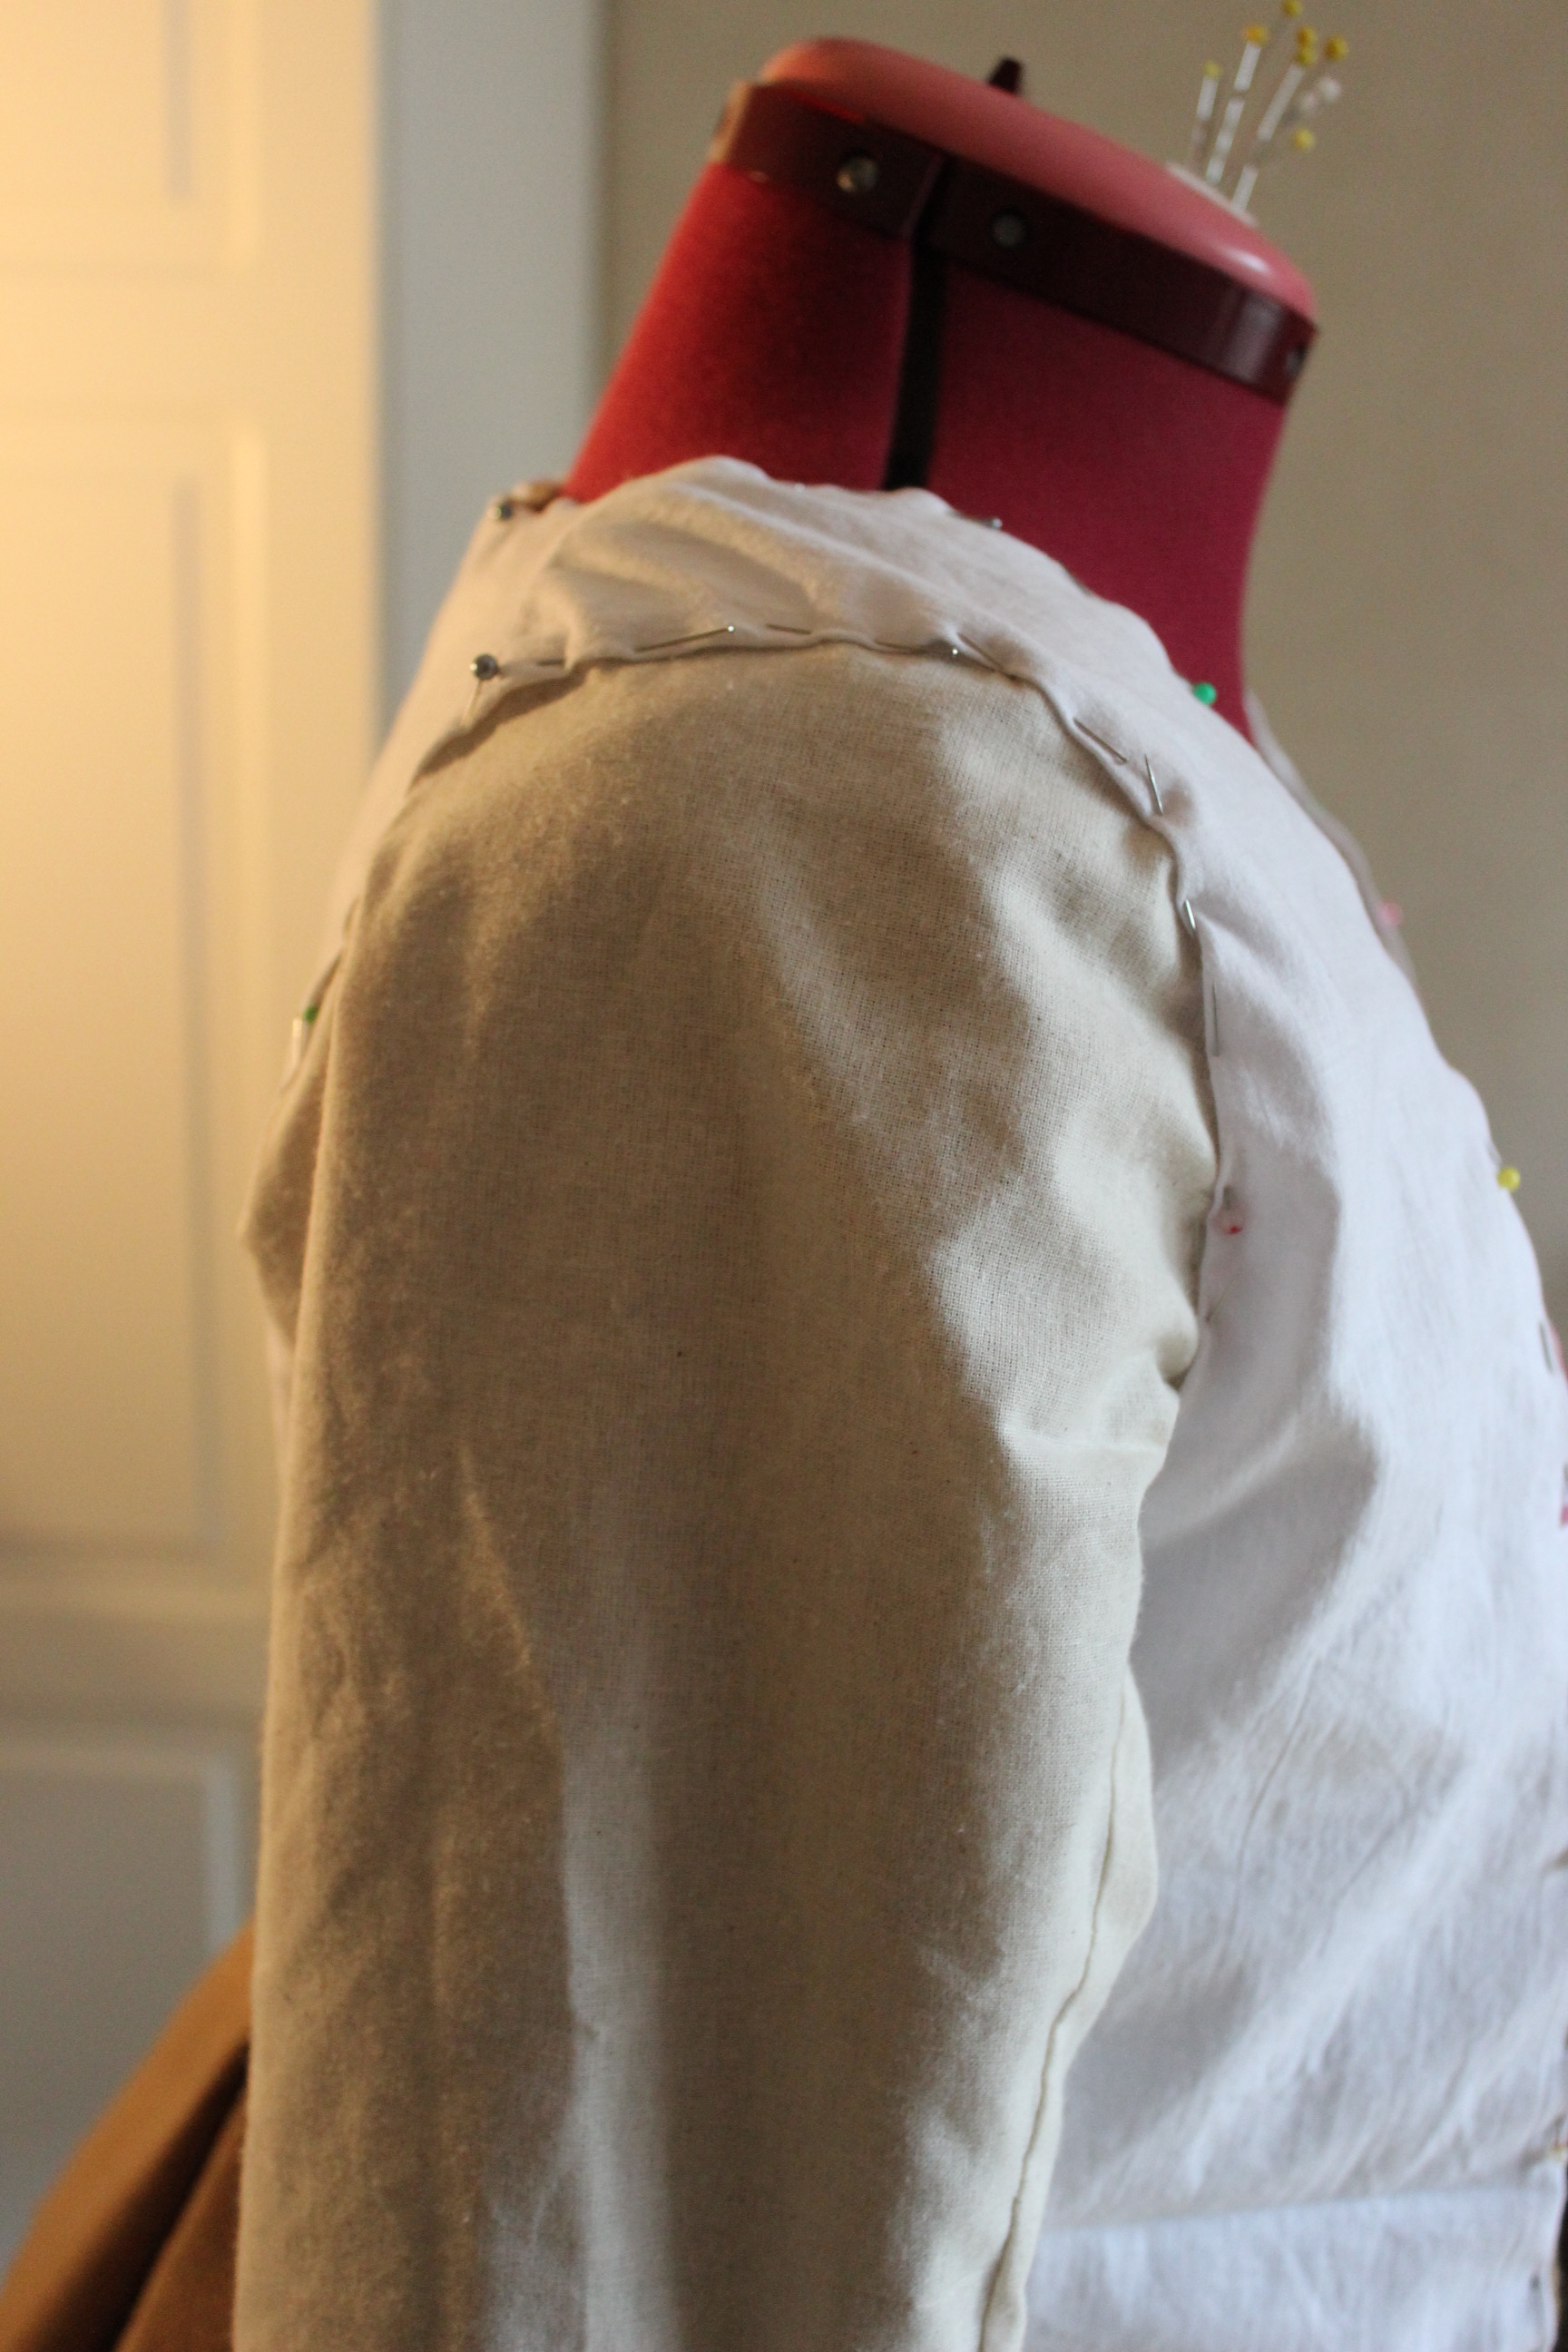
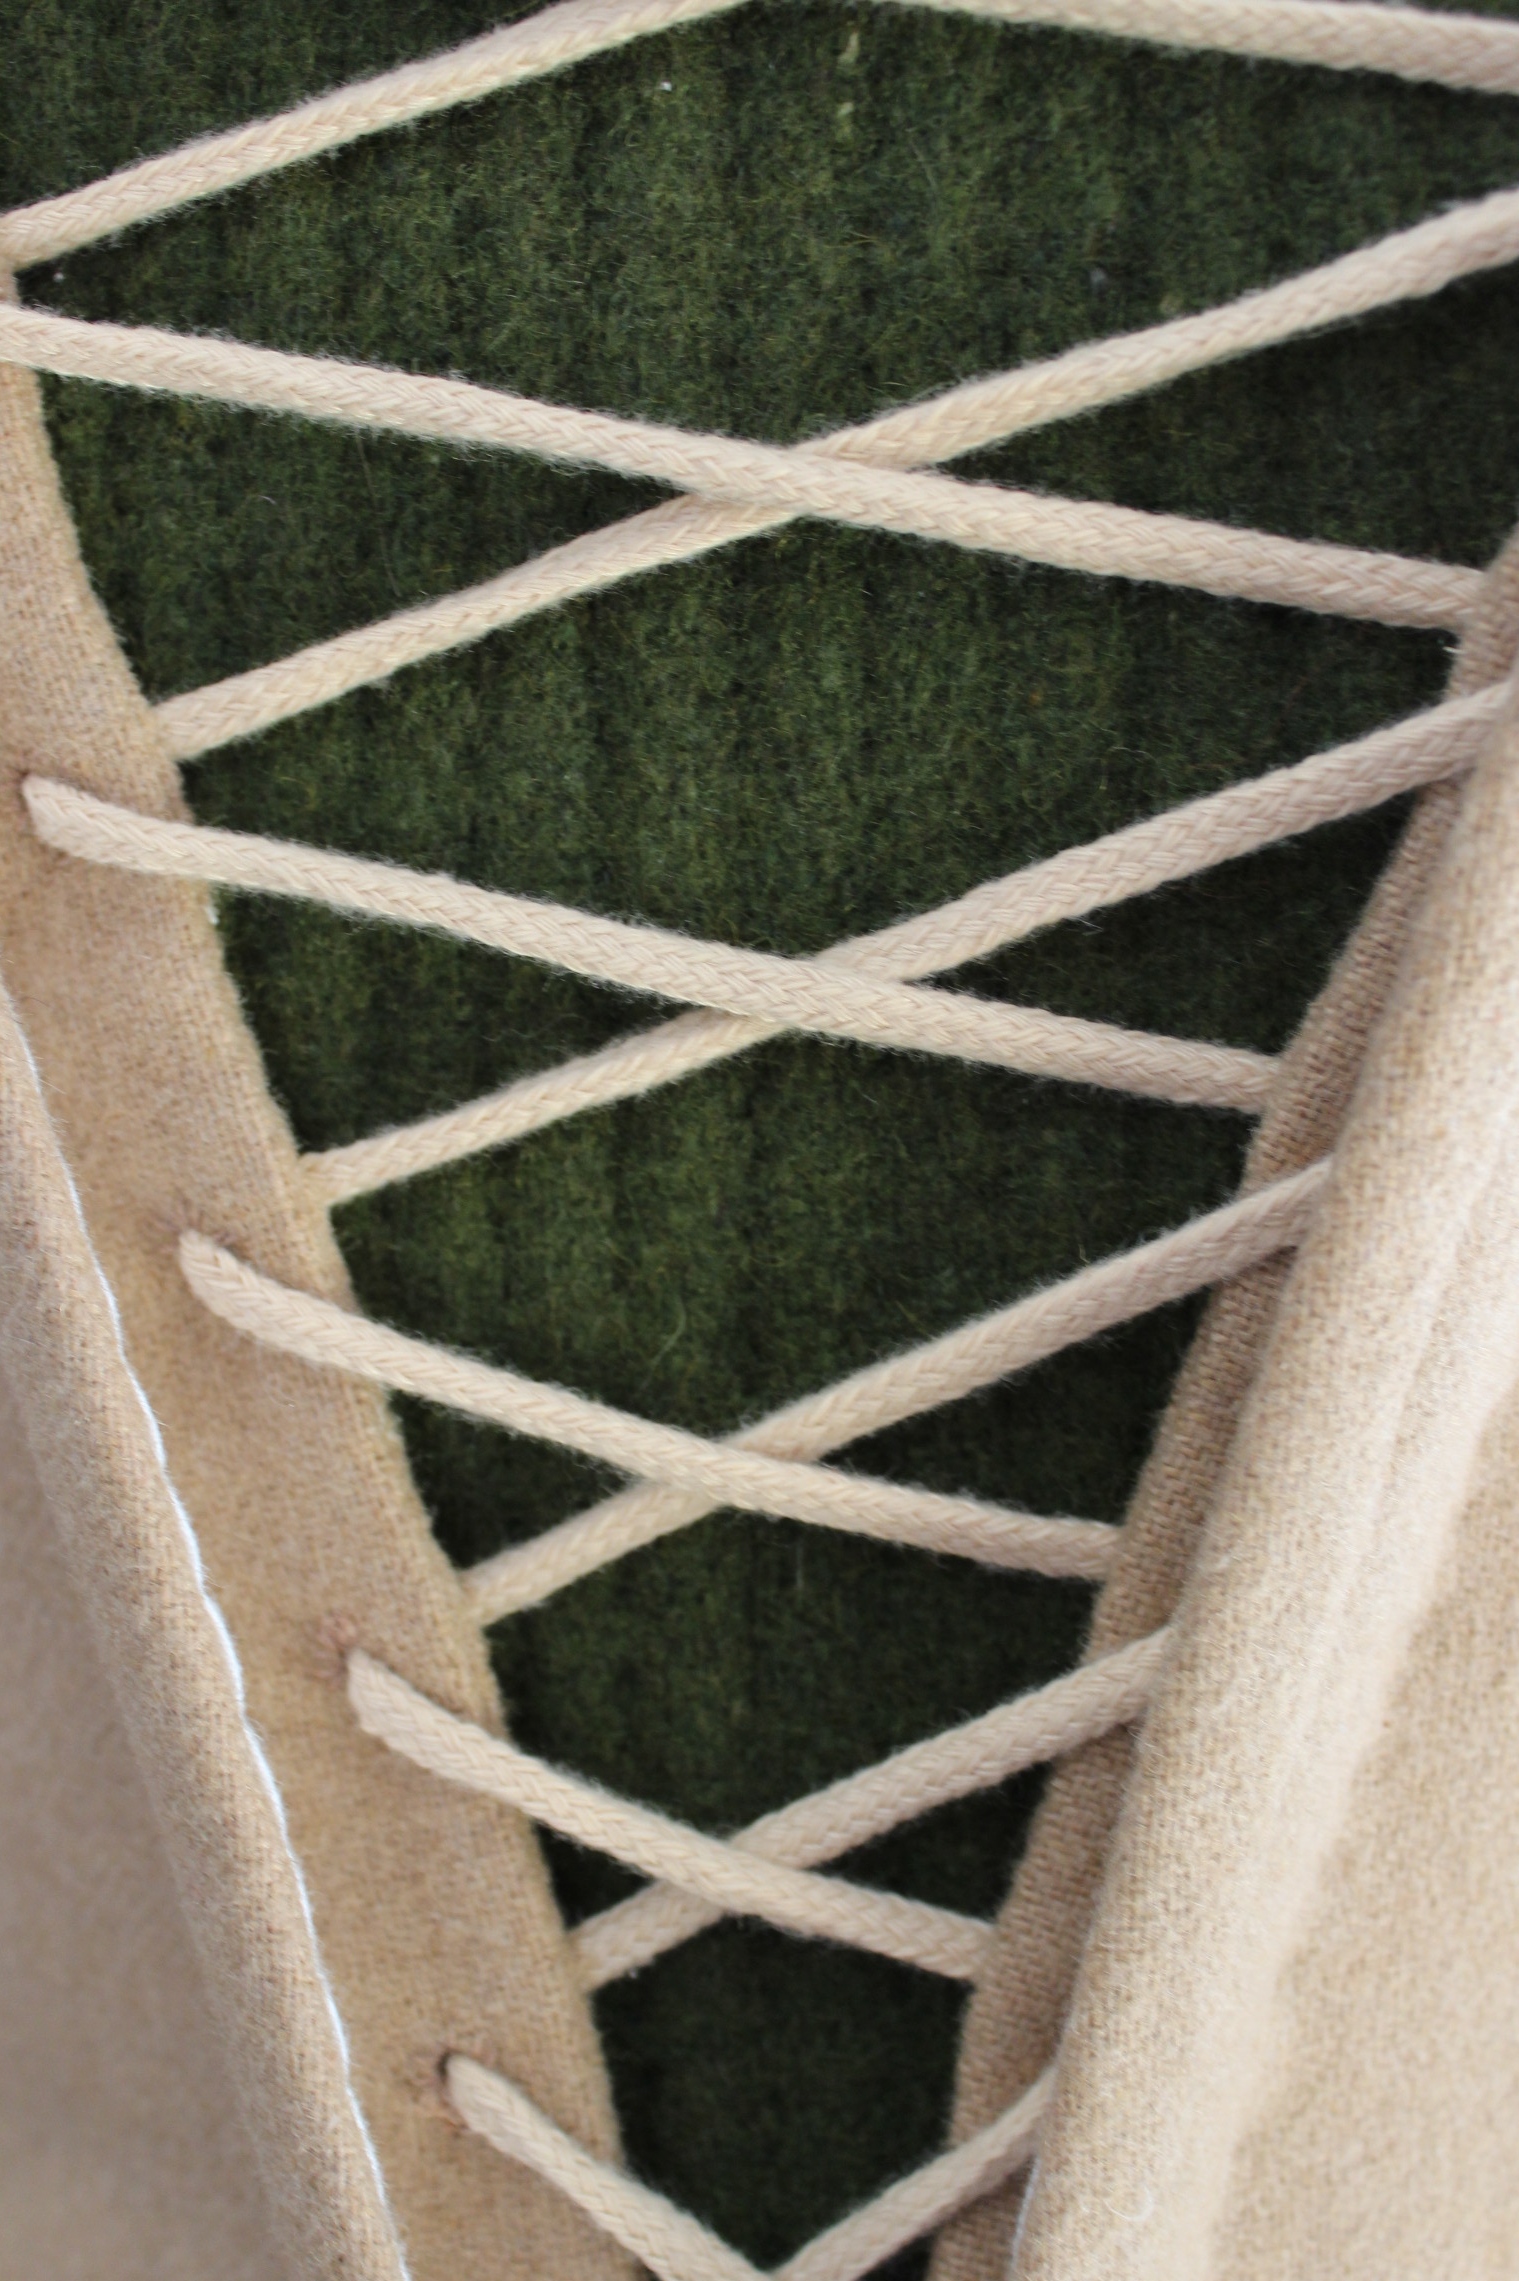
Then it was time for the eyelets to be made, using a separate fabric strip attached hidden under the boned front edge.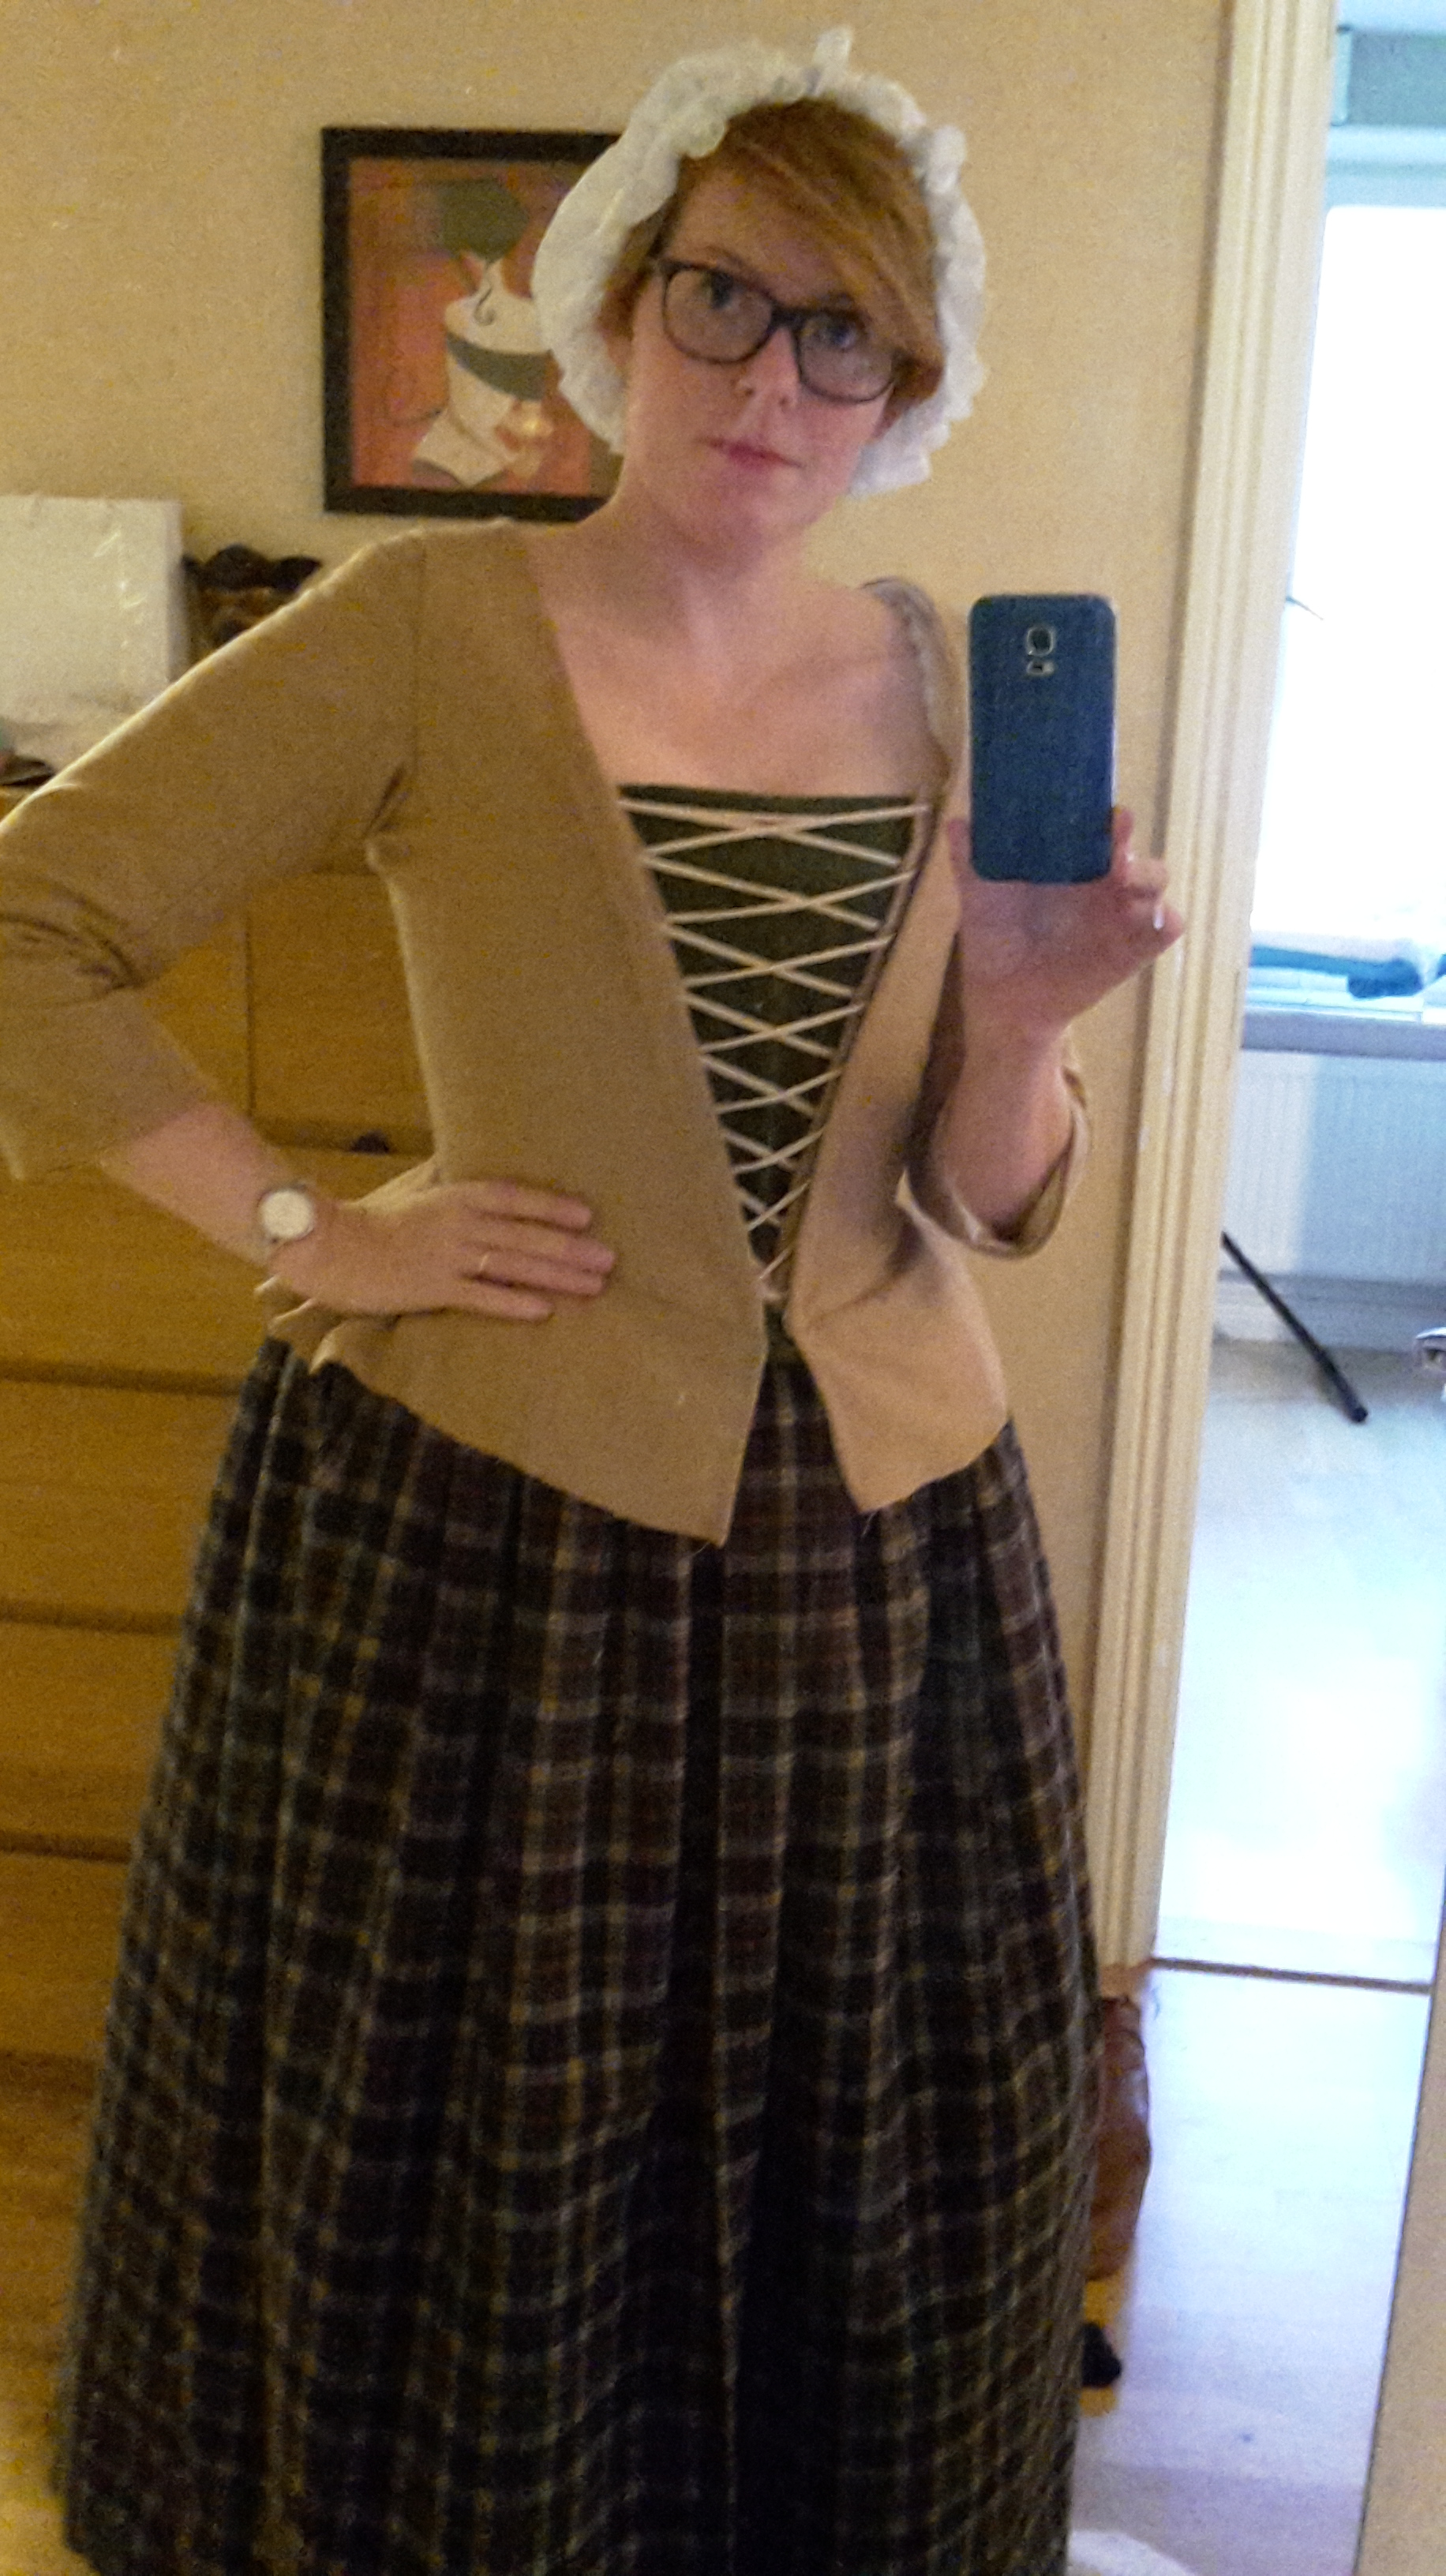
The finial thing to make was to ad channels and boning to the stomacher.
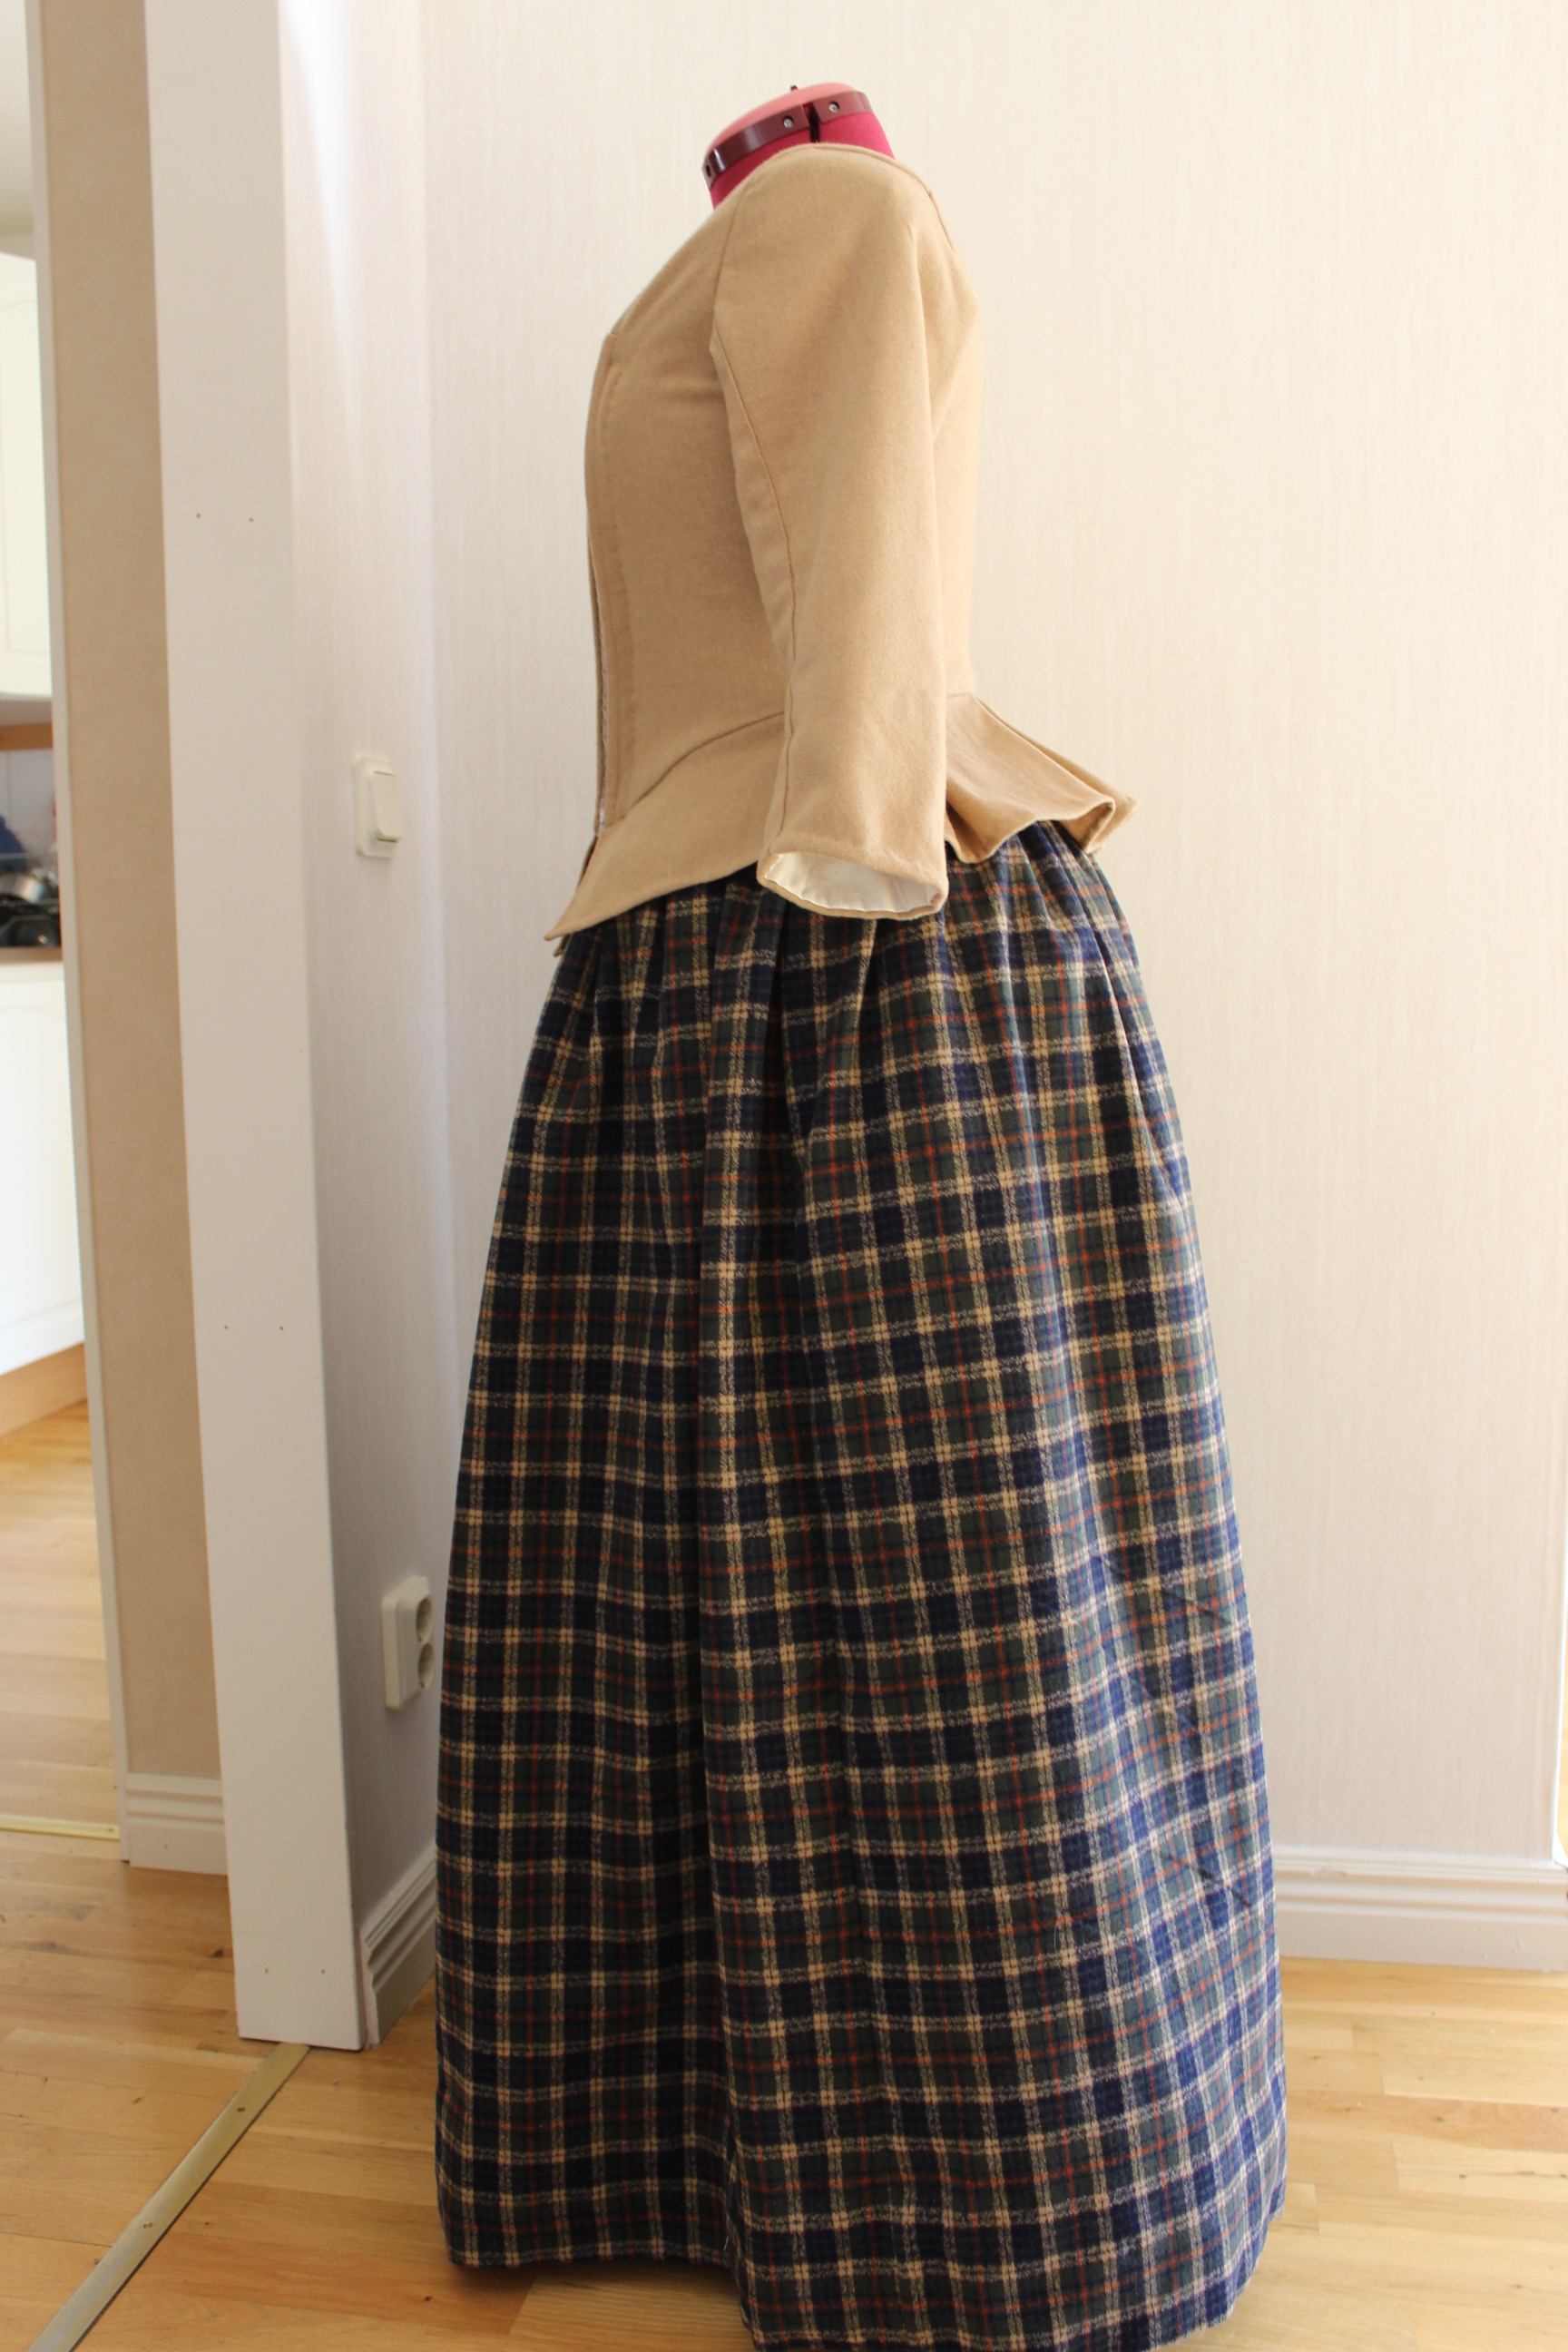
The skirt and jacket ready to be packed for the photoshoot. 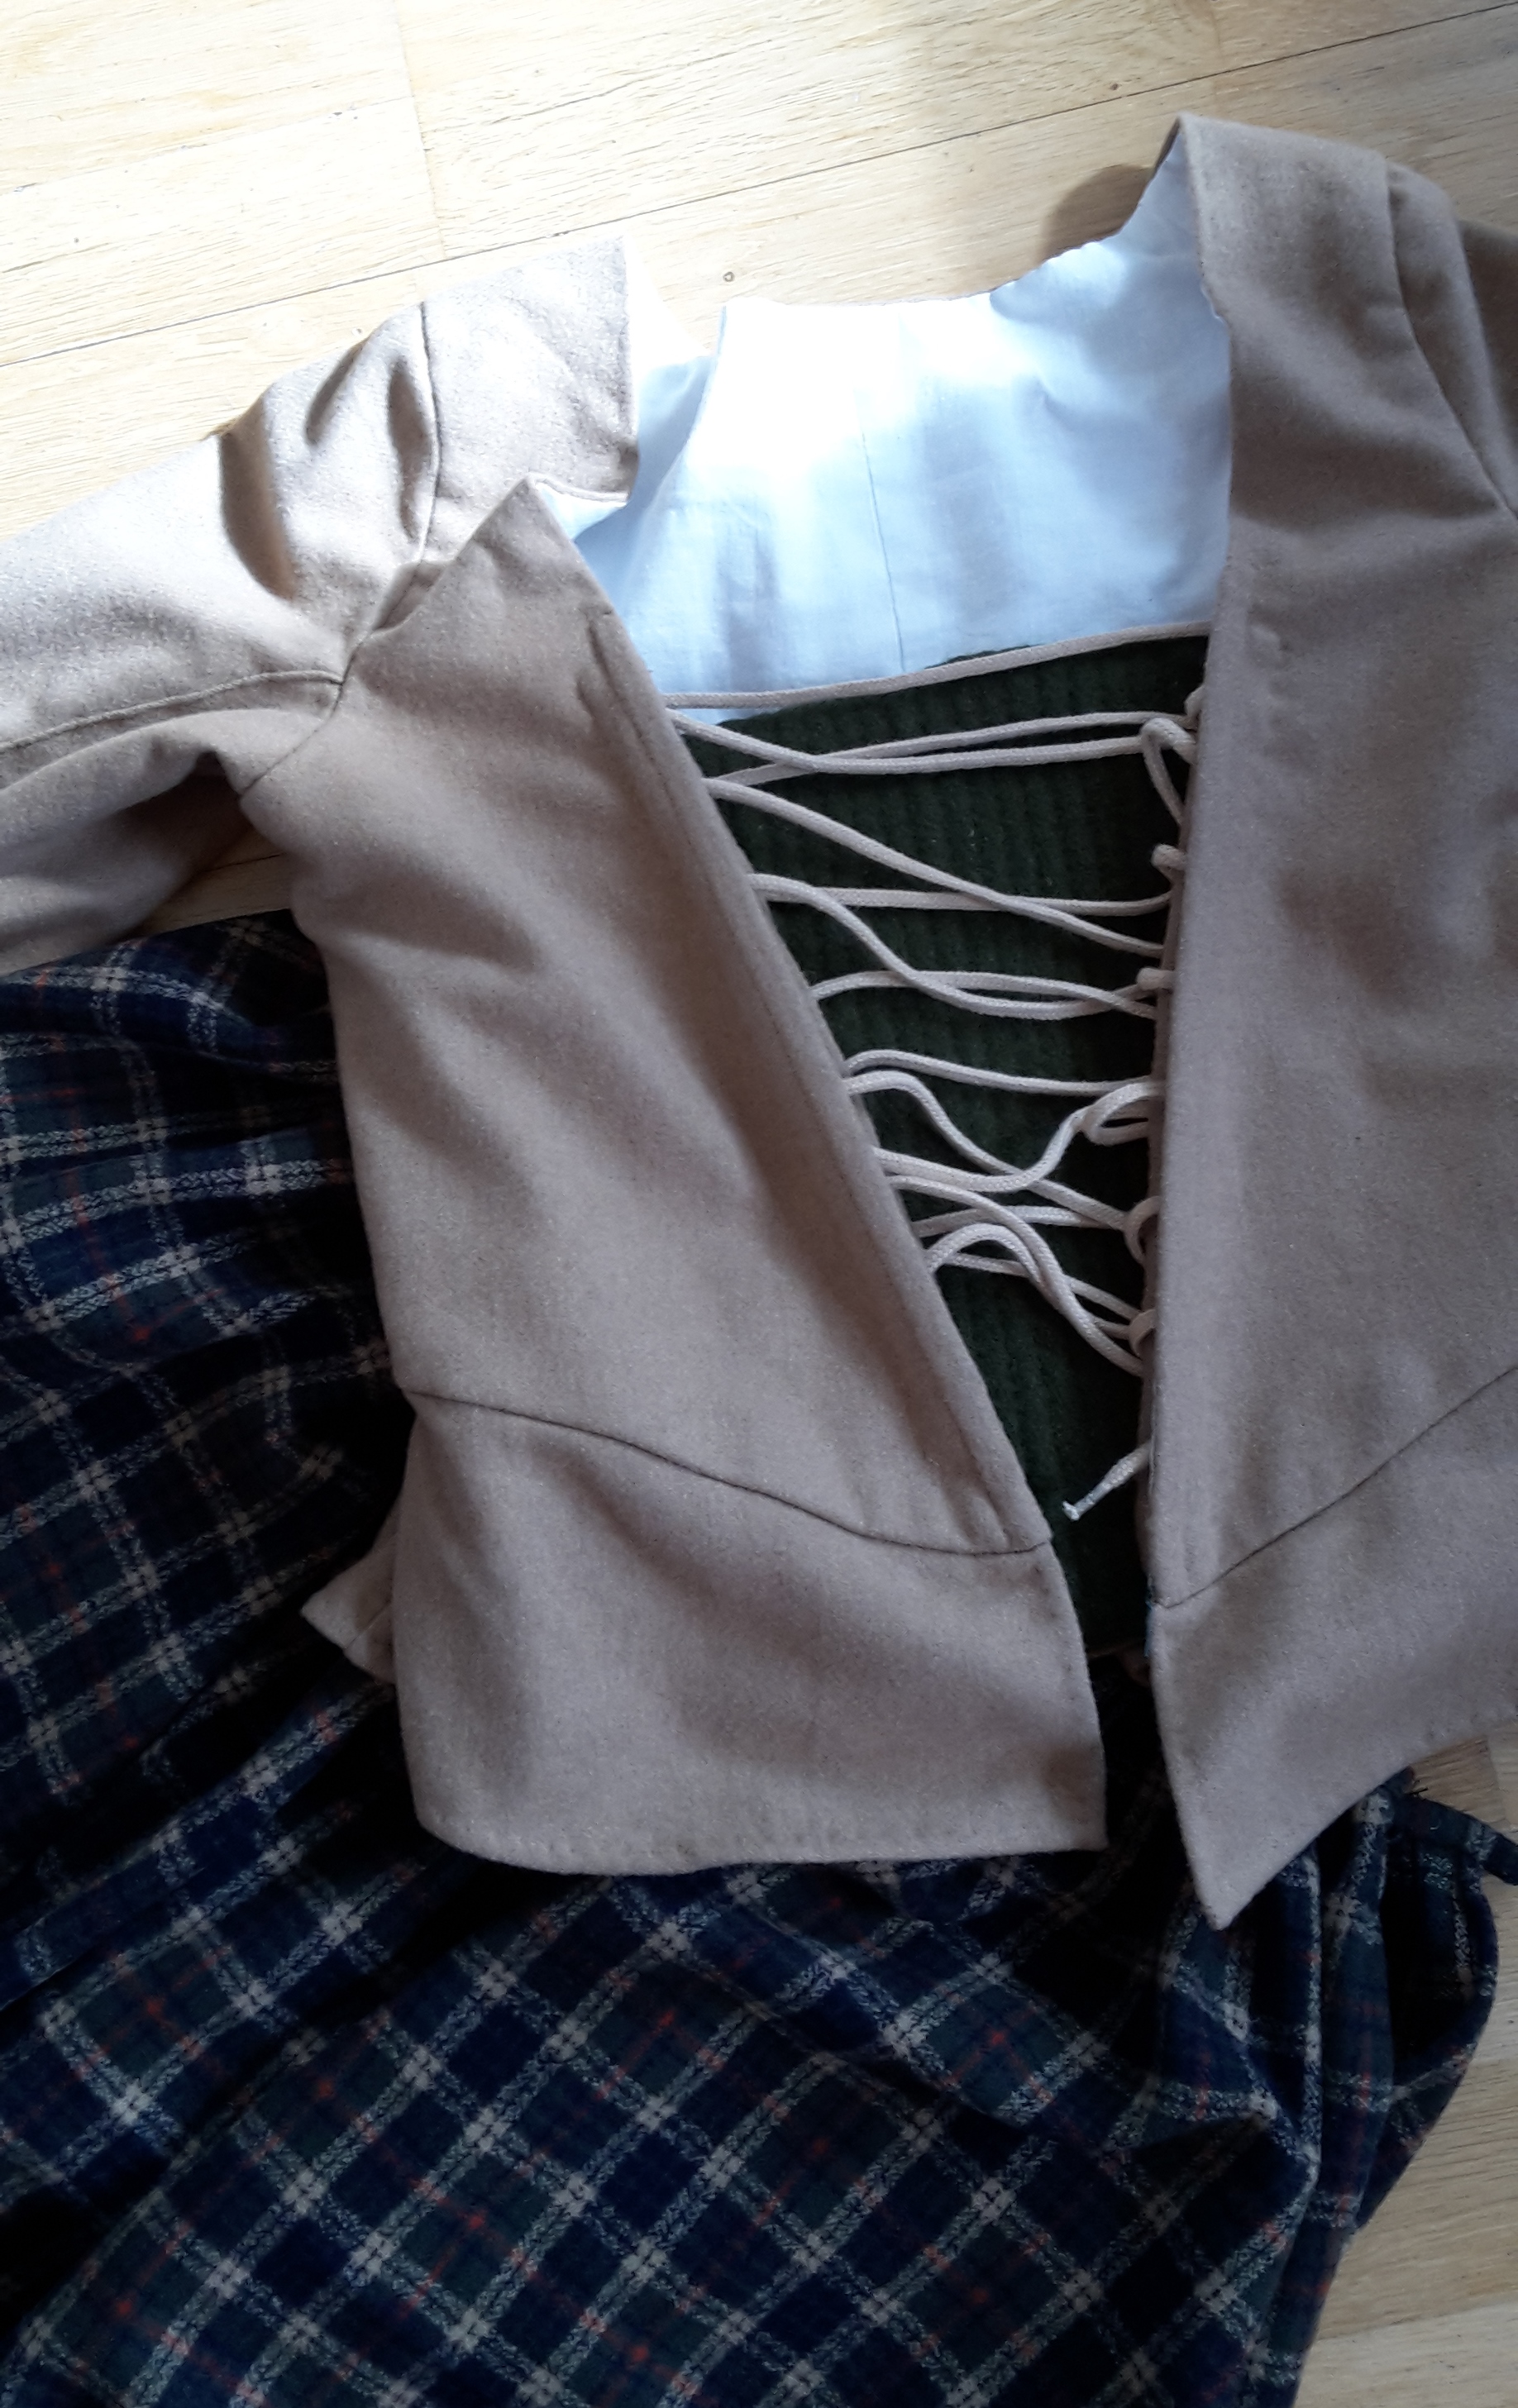
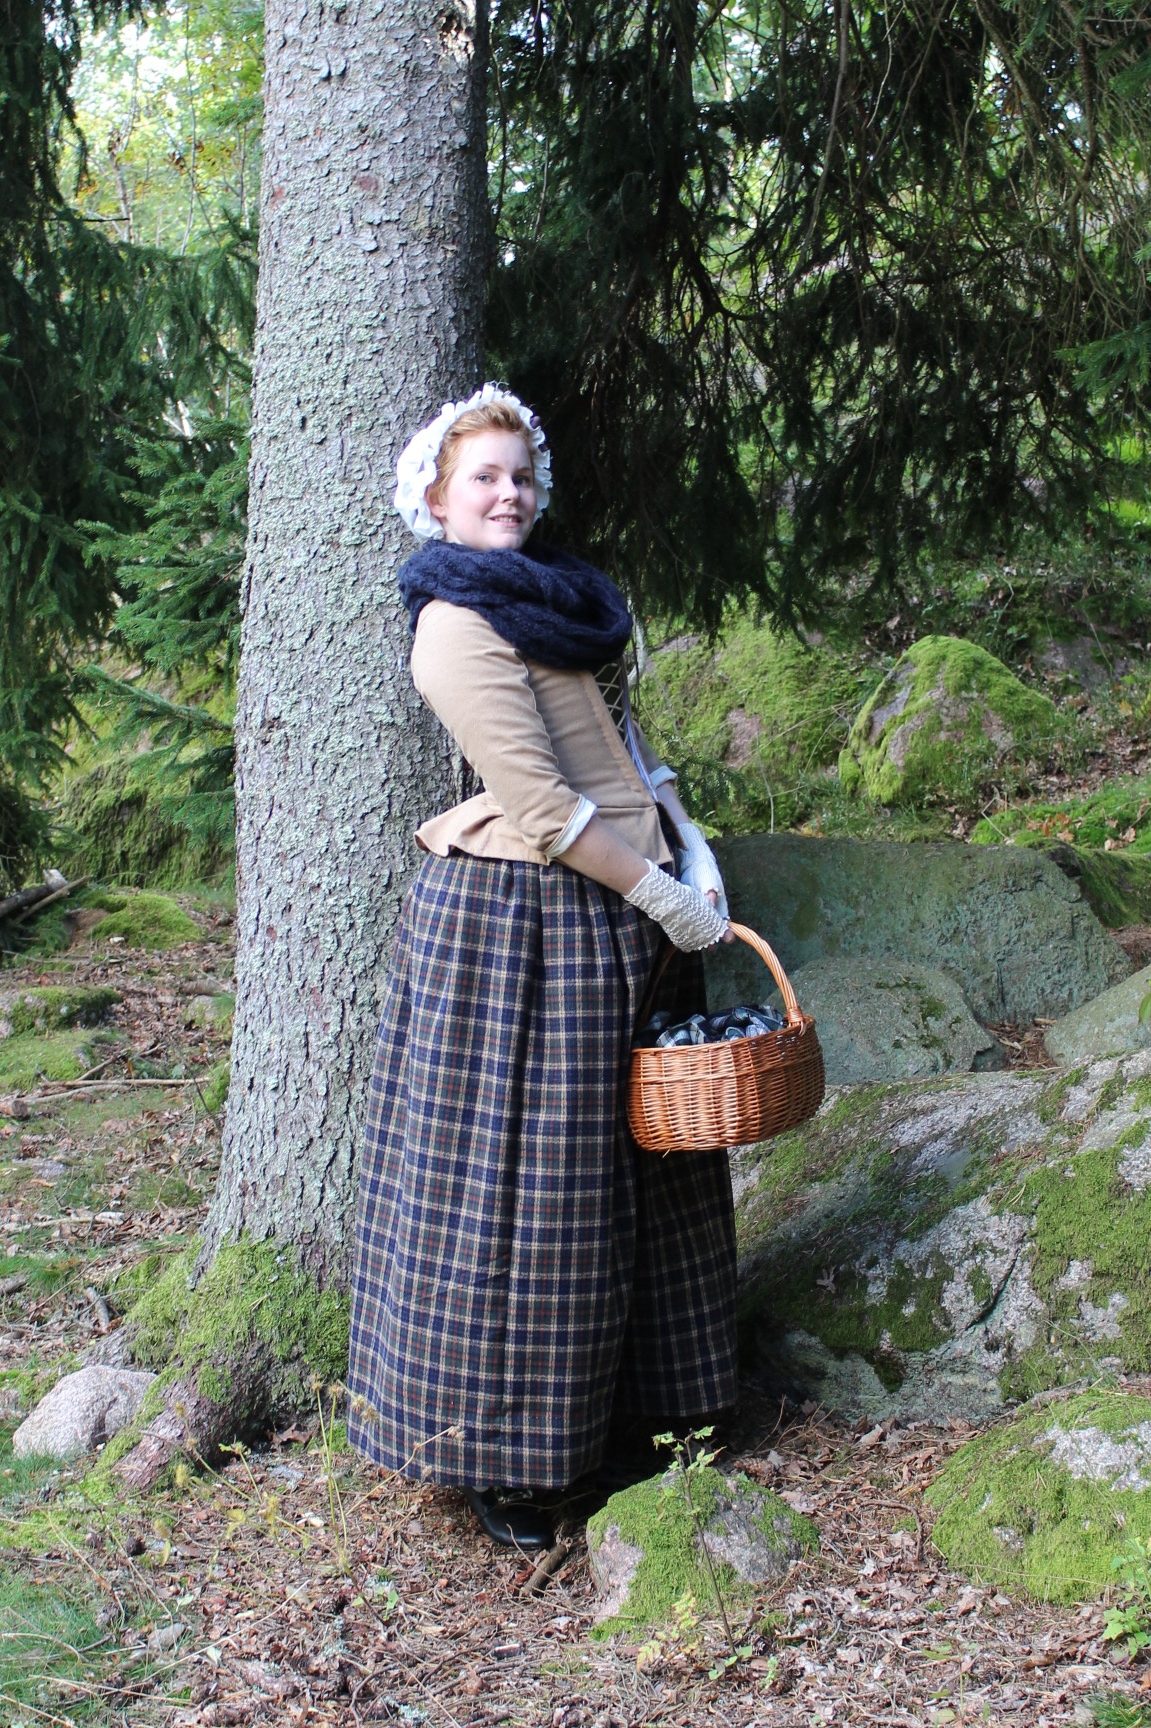
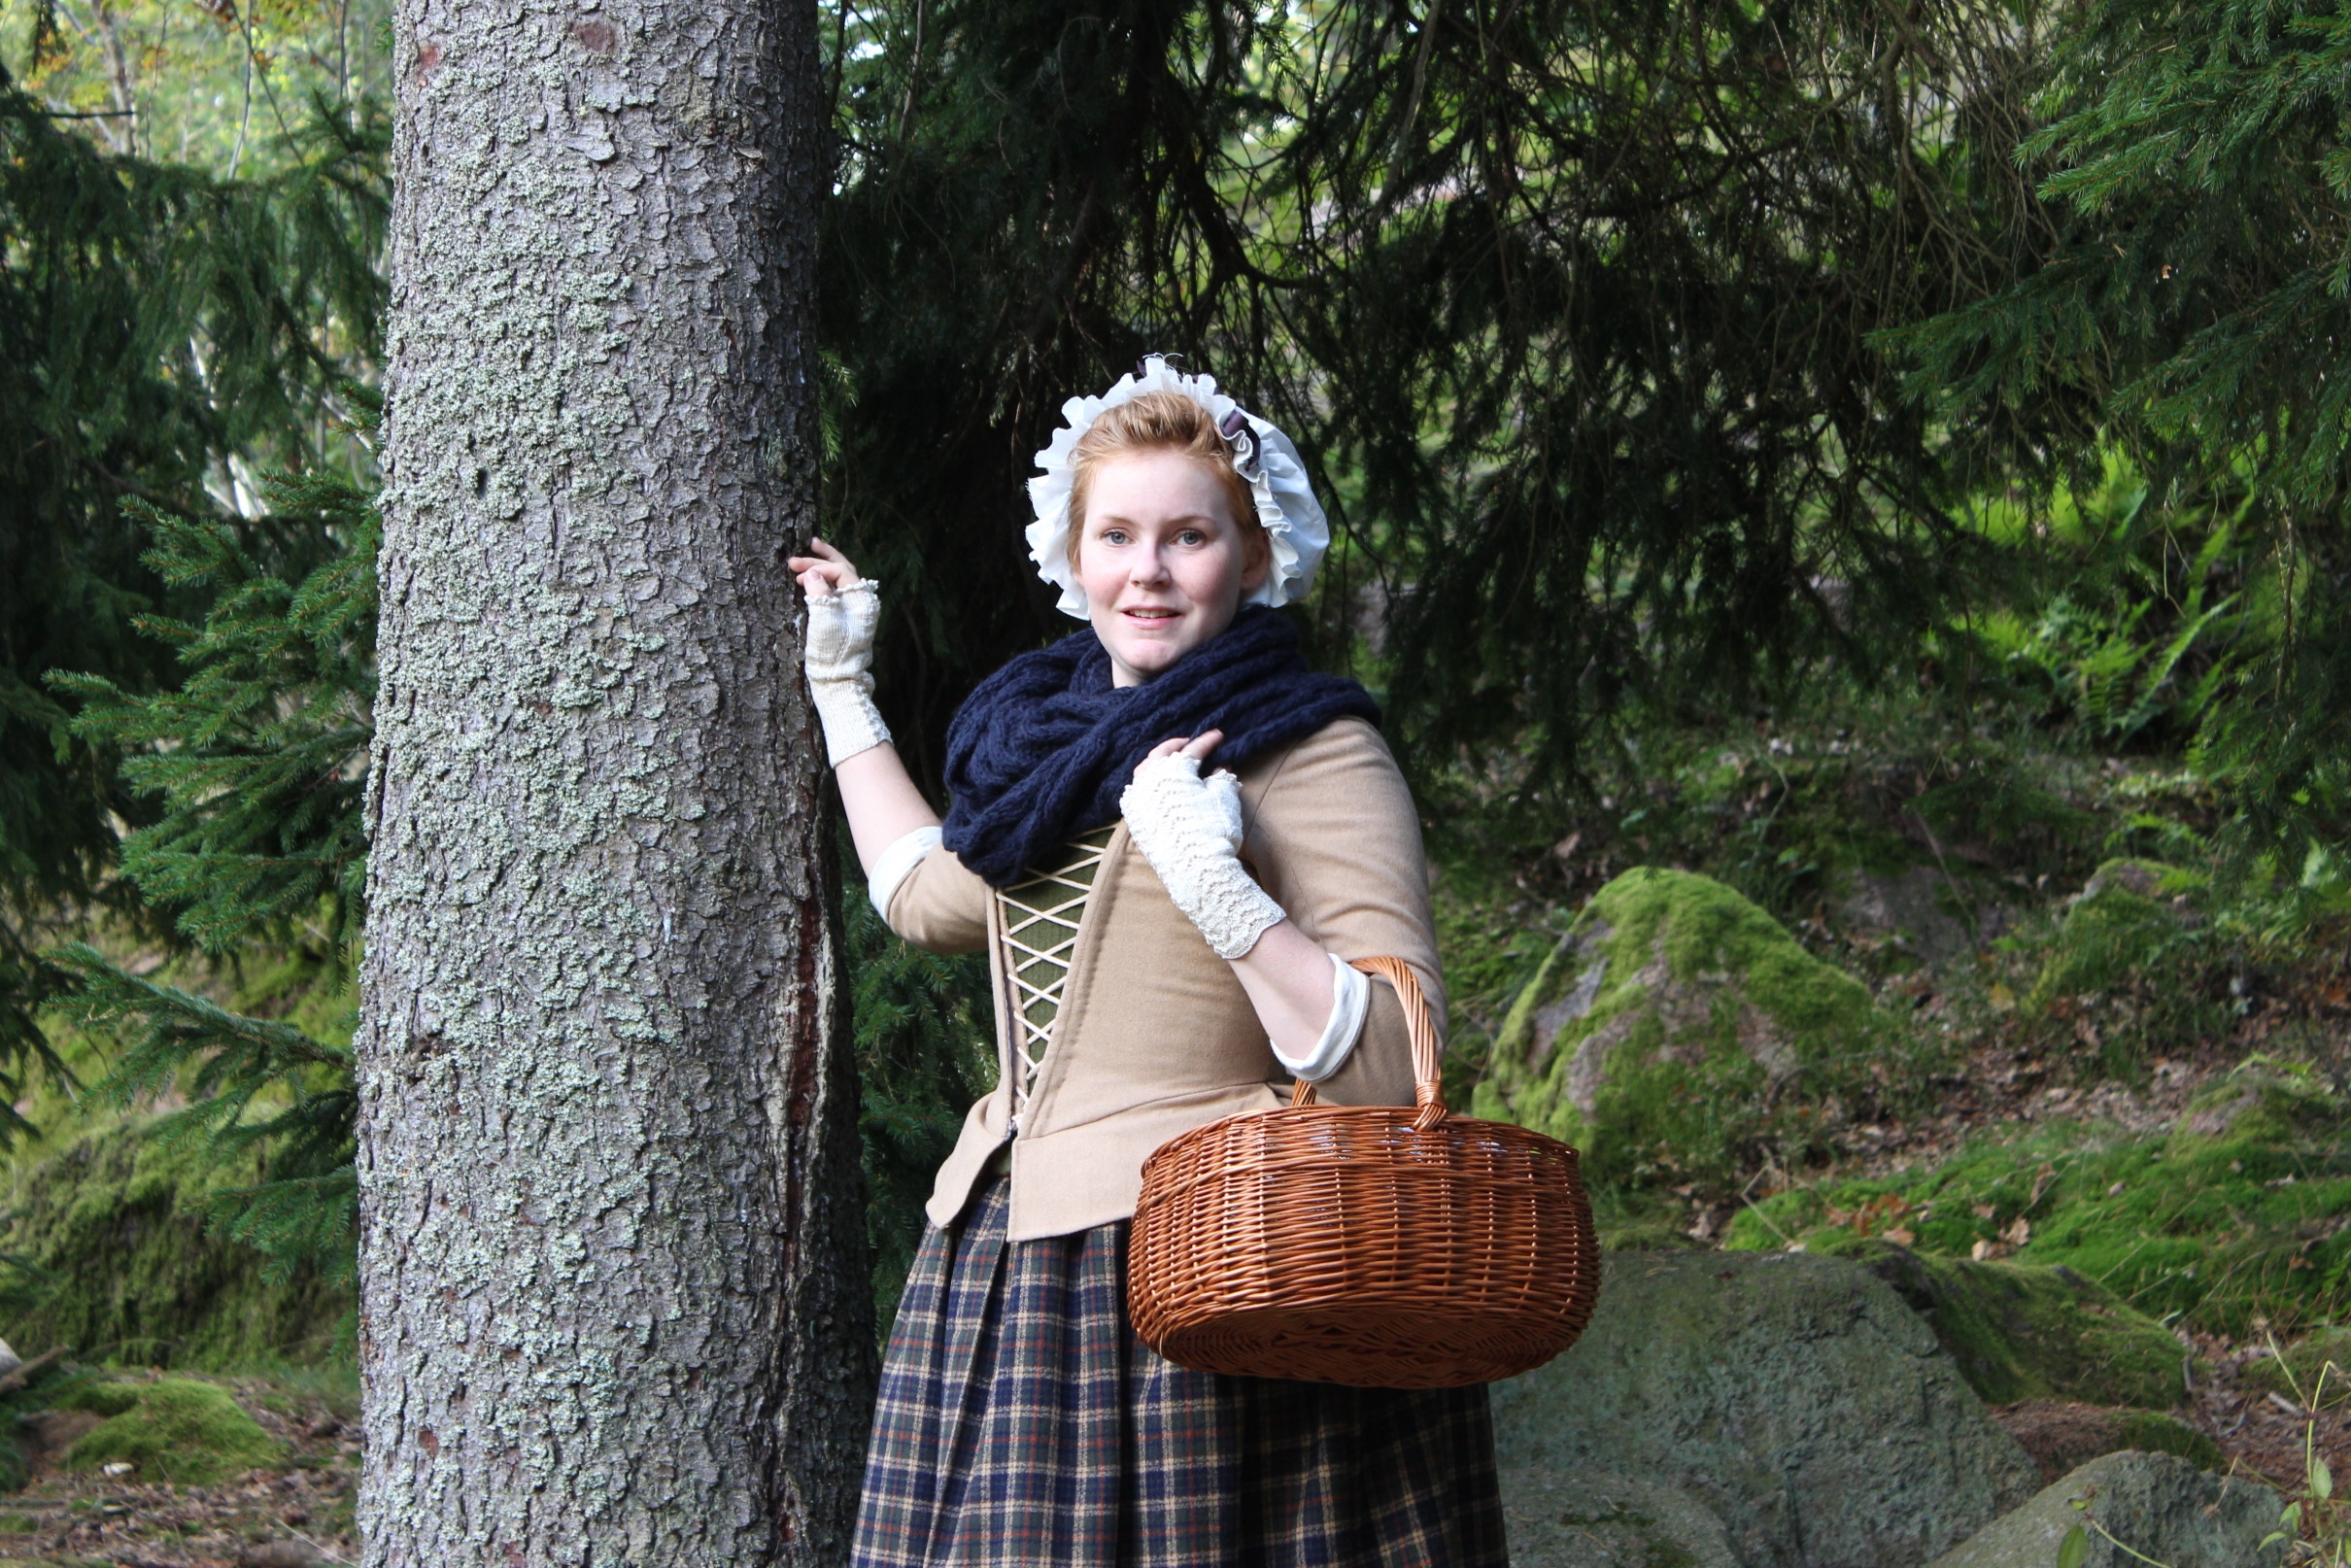
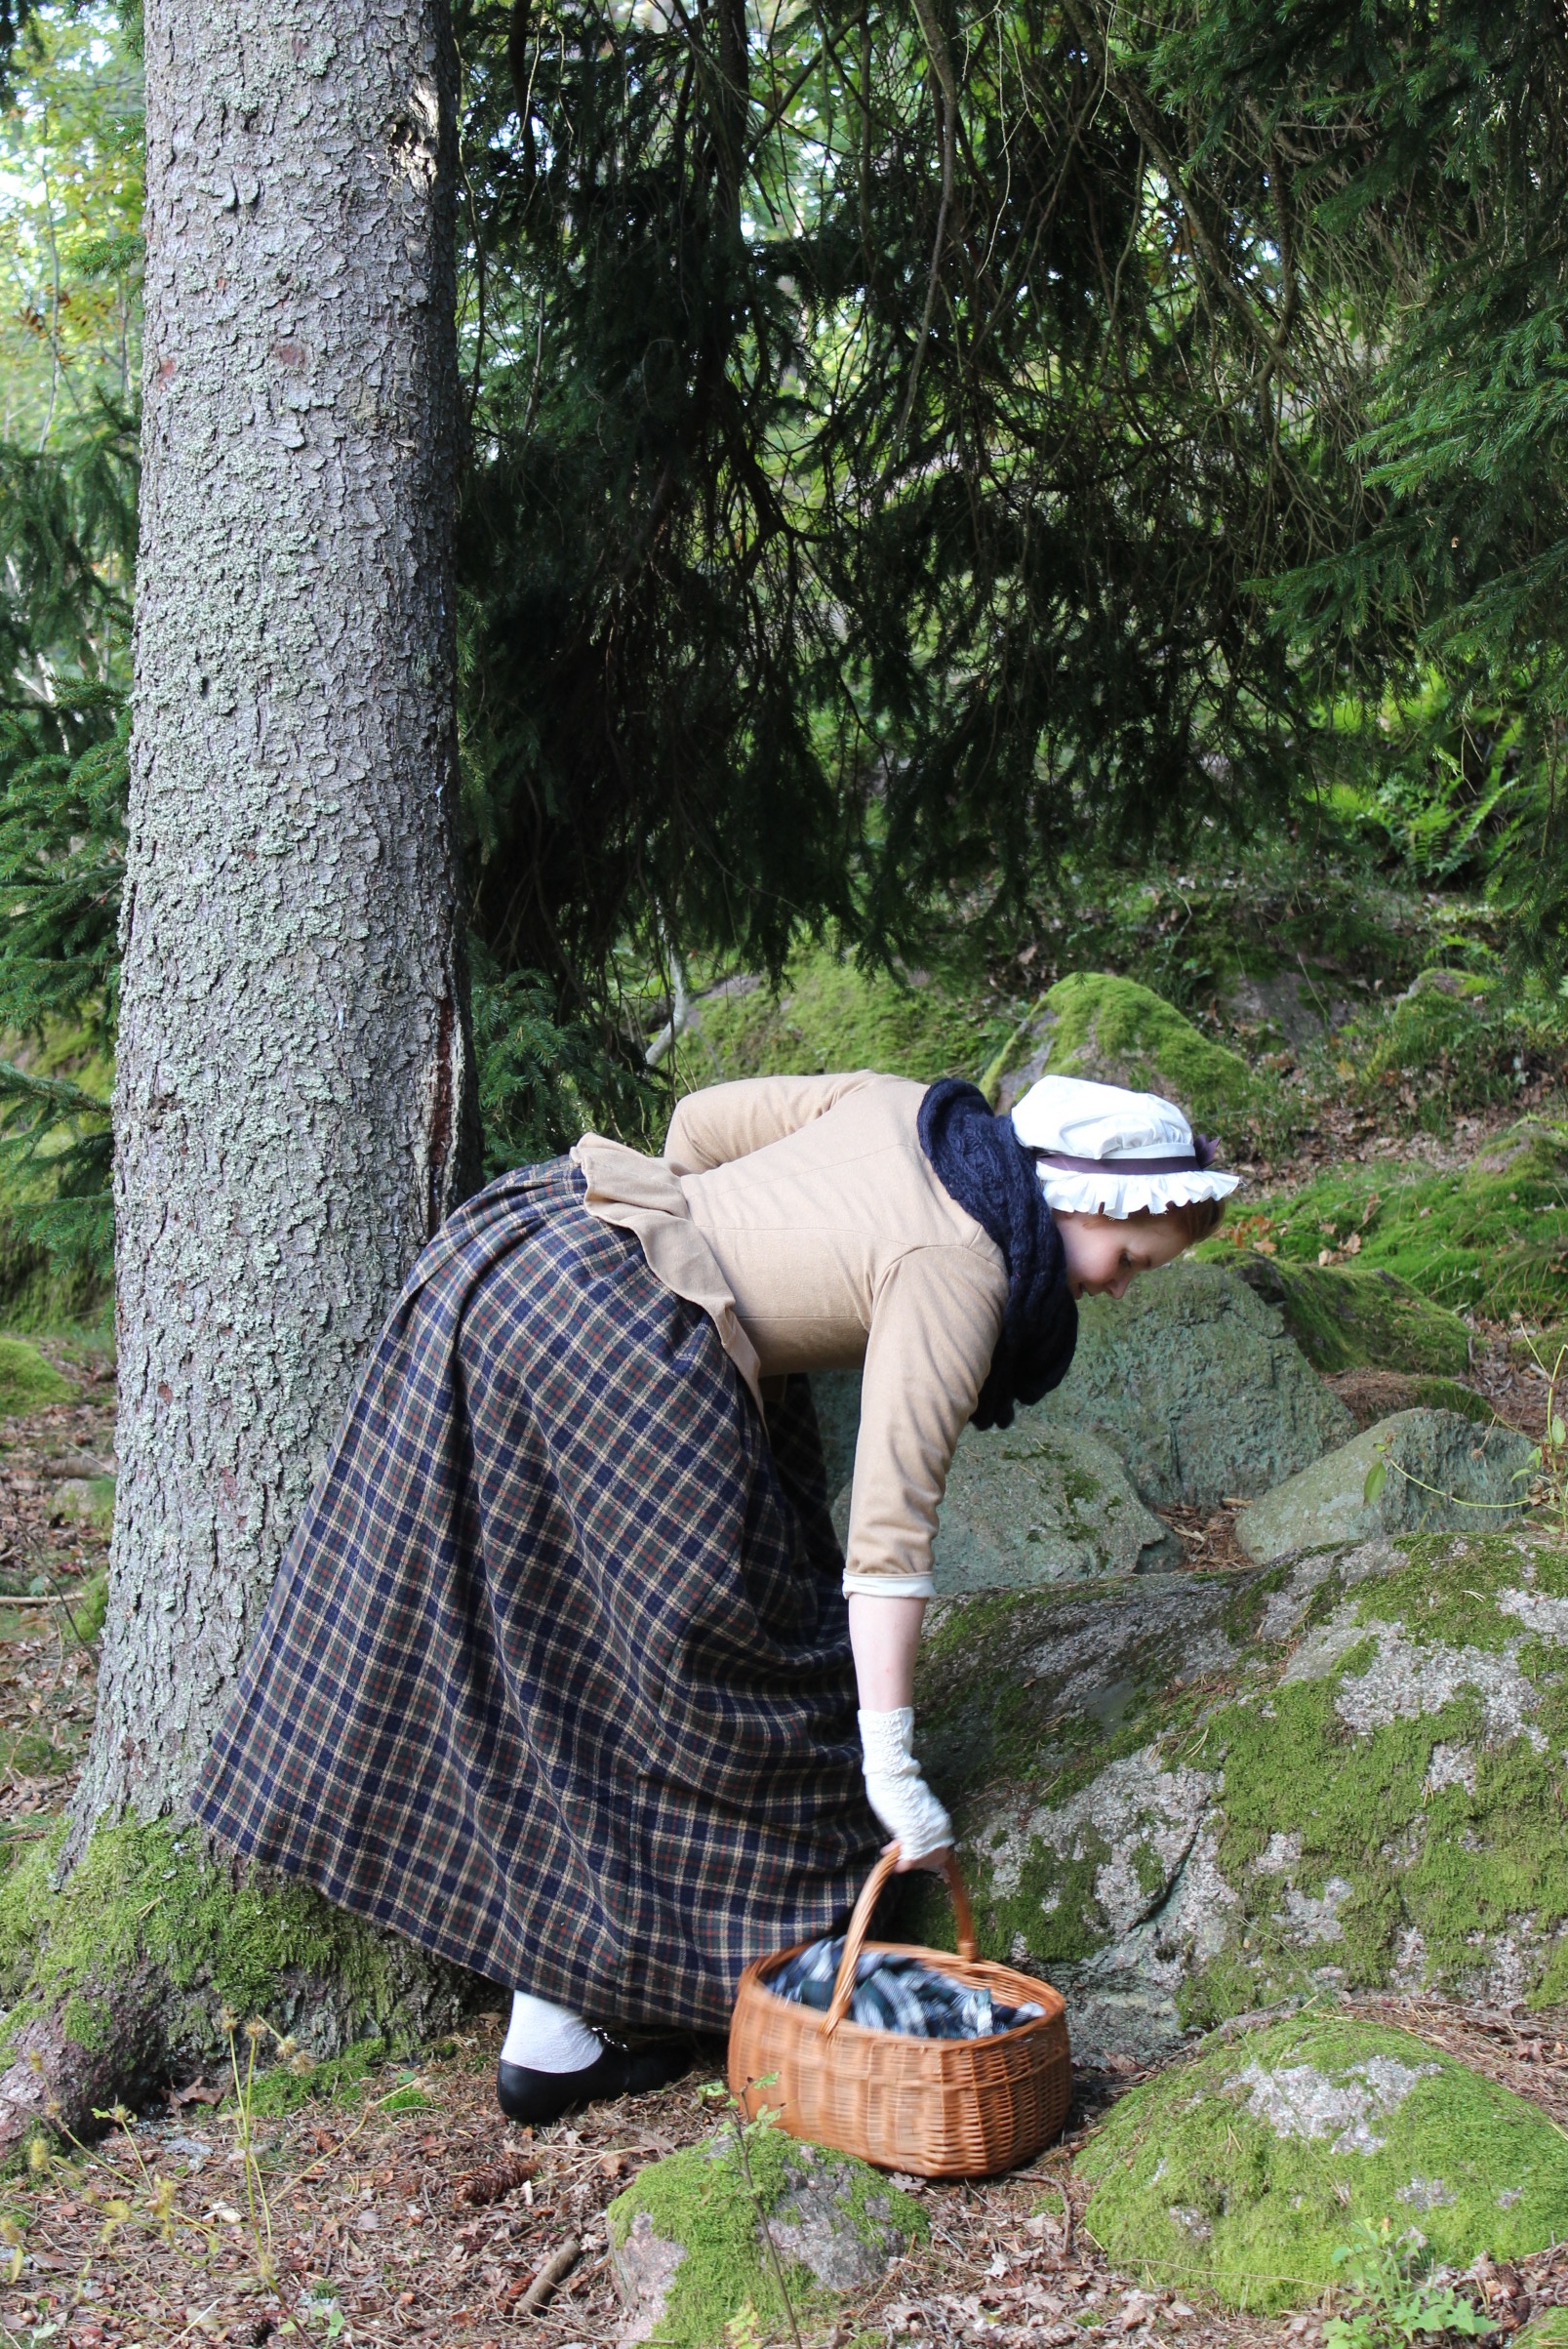
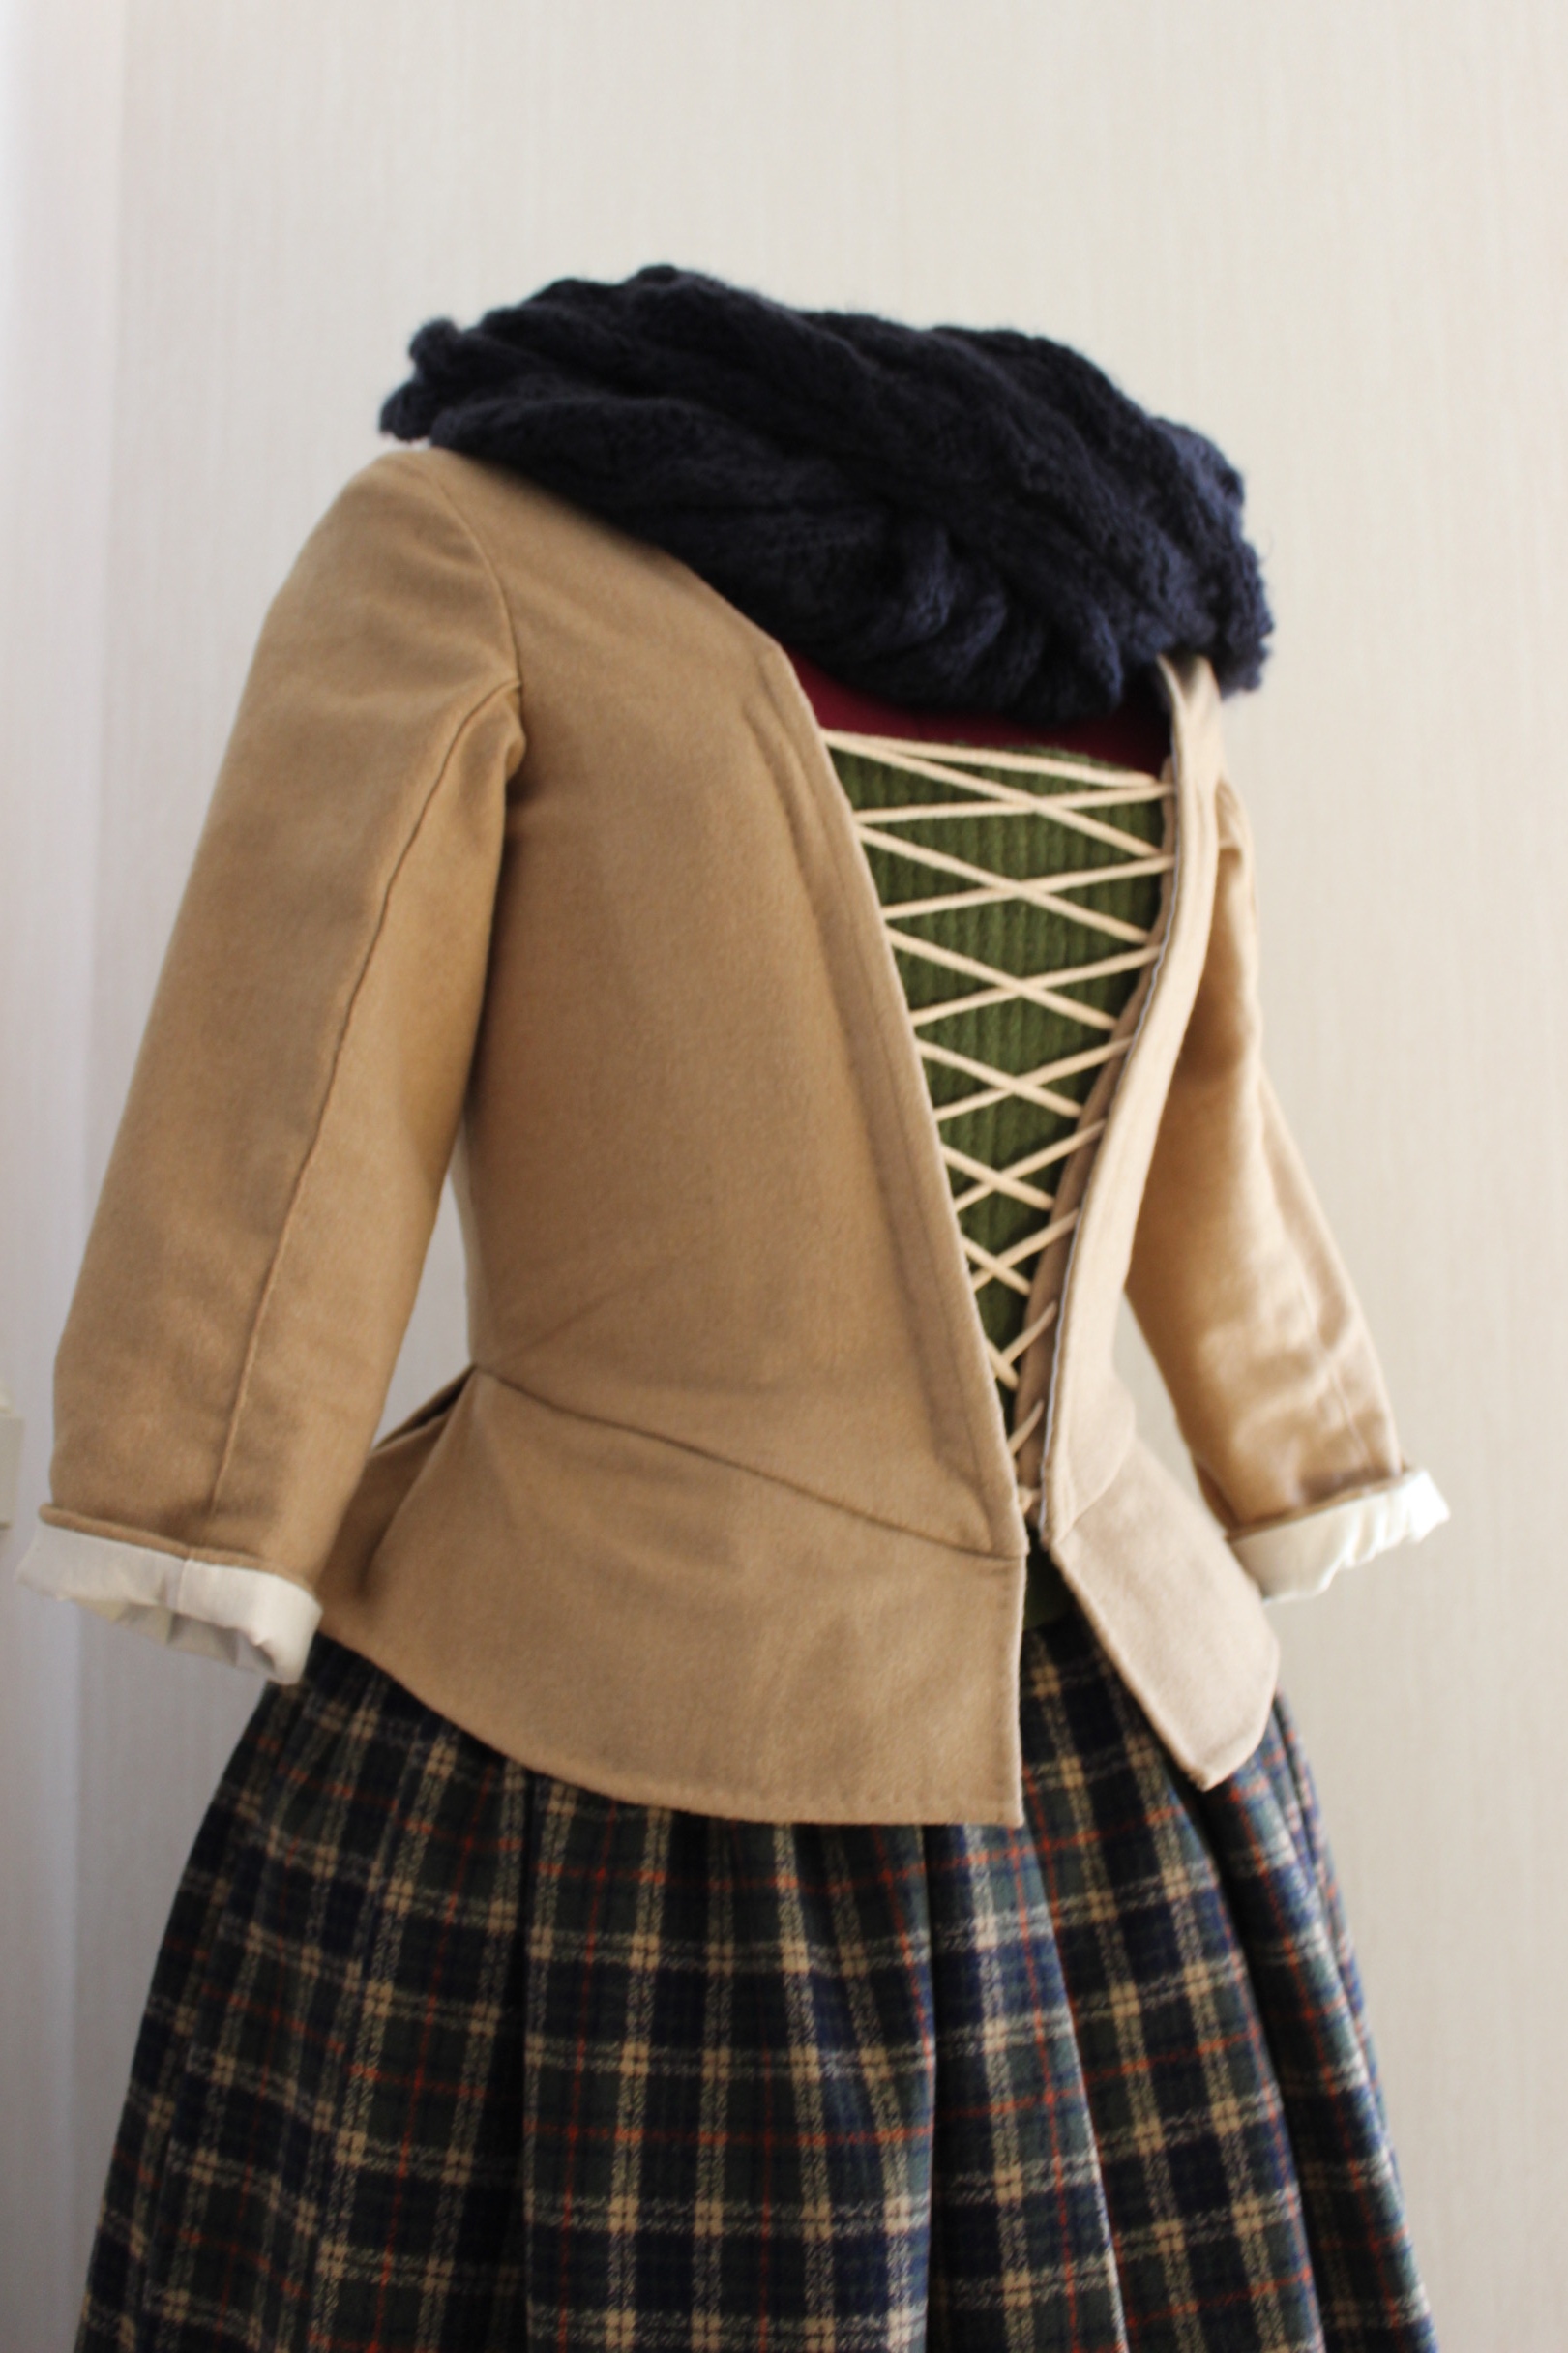
The finished outfit/jacket: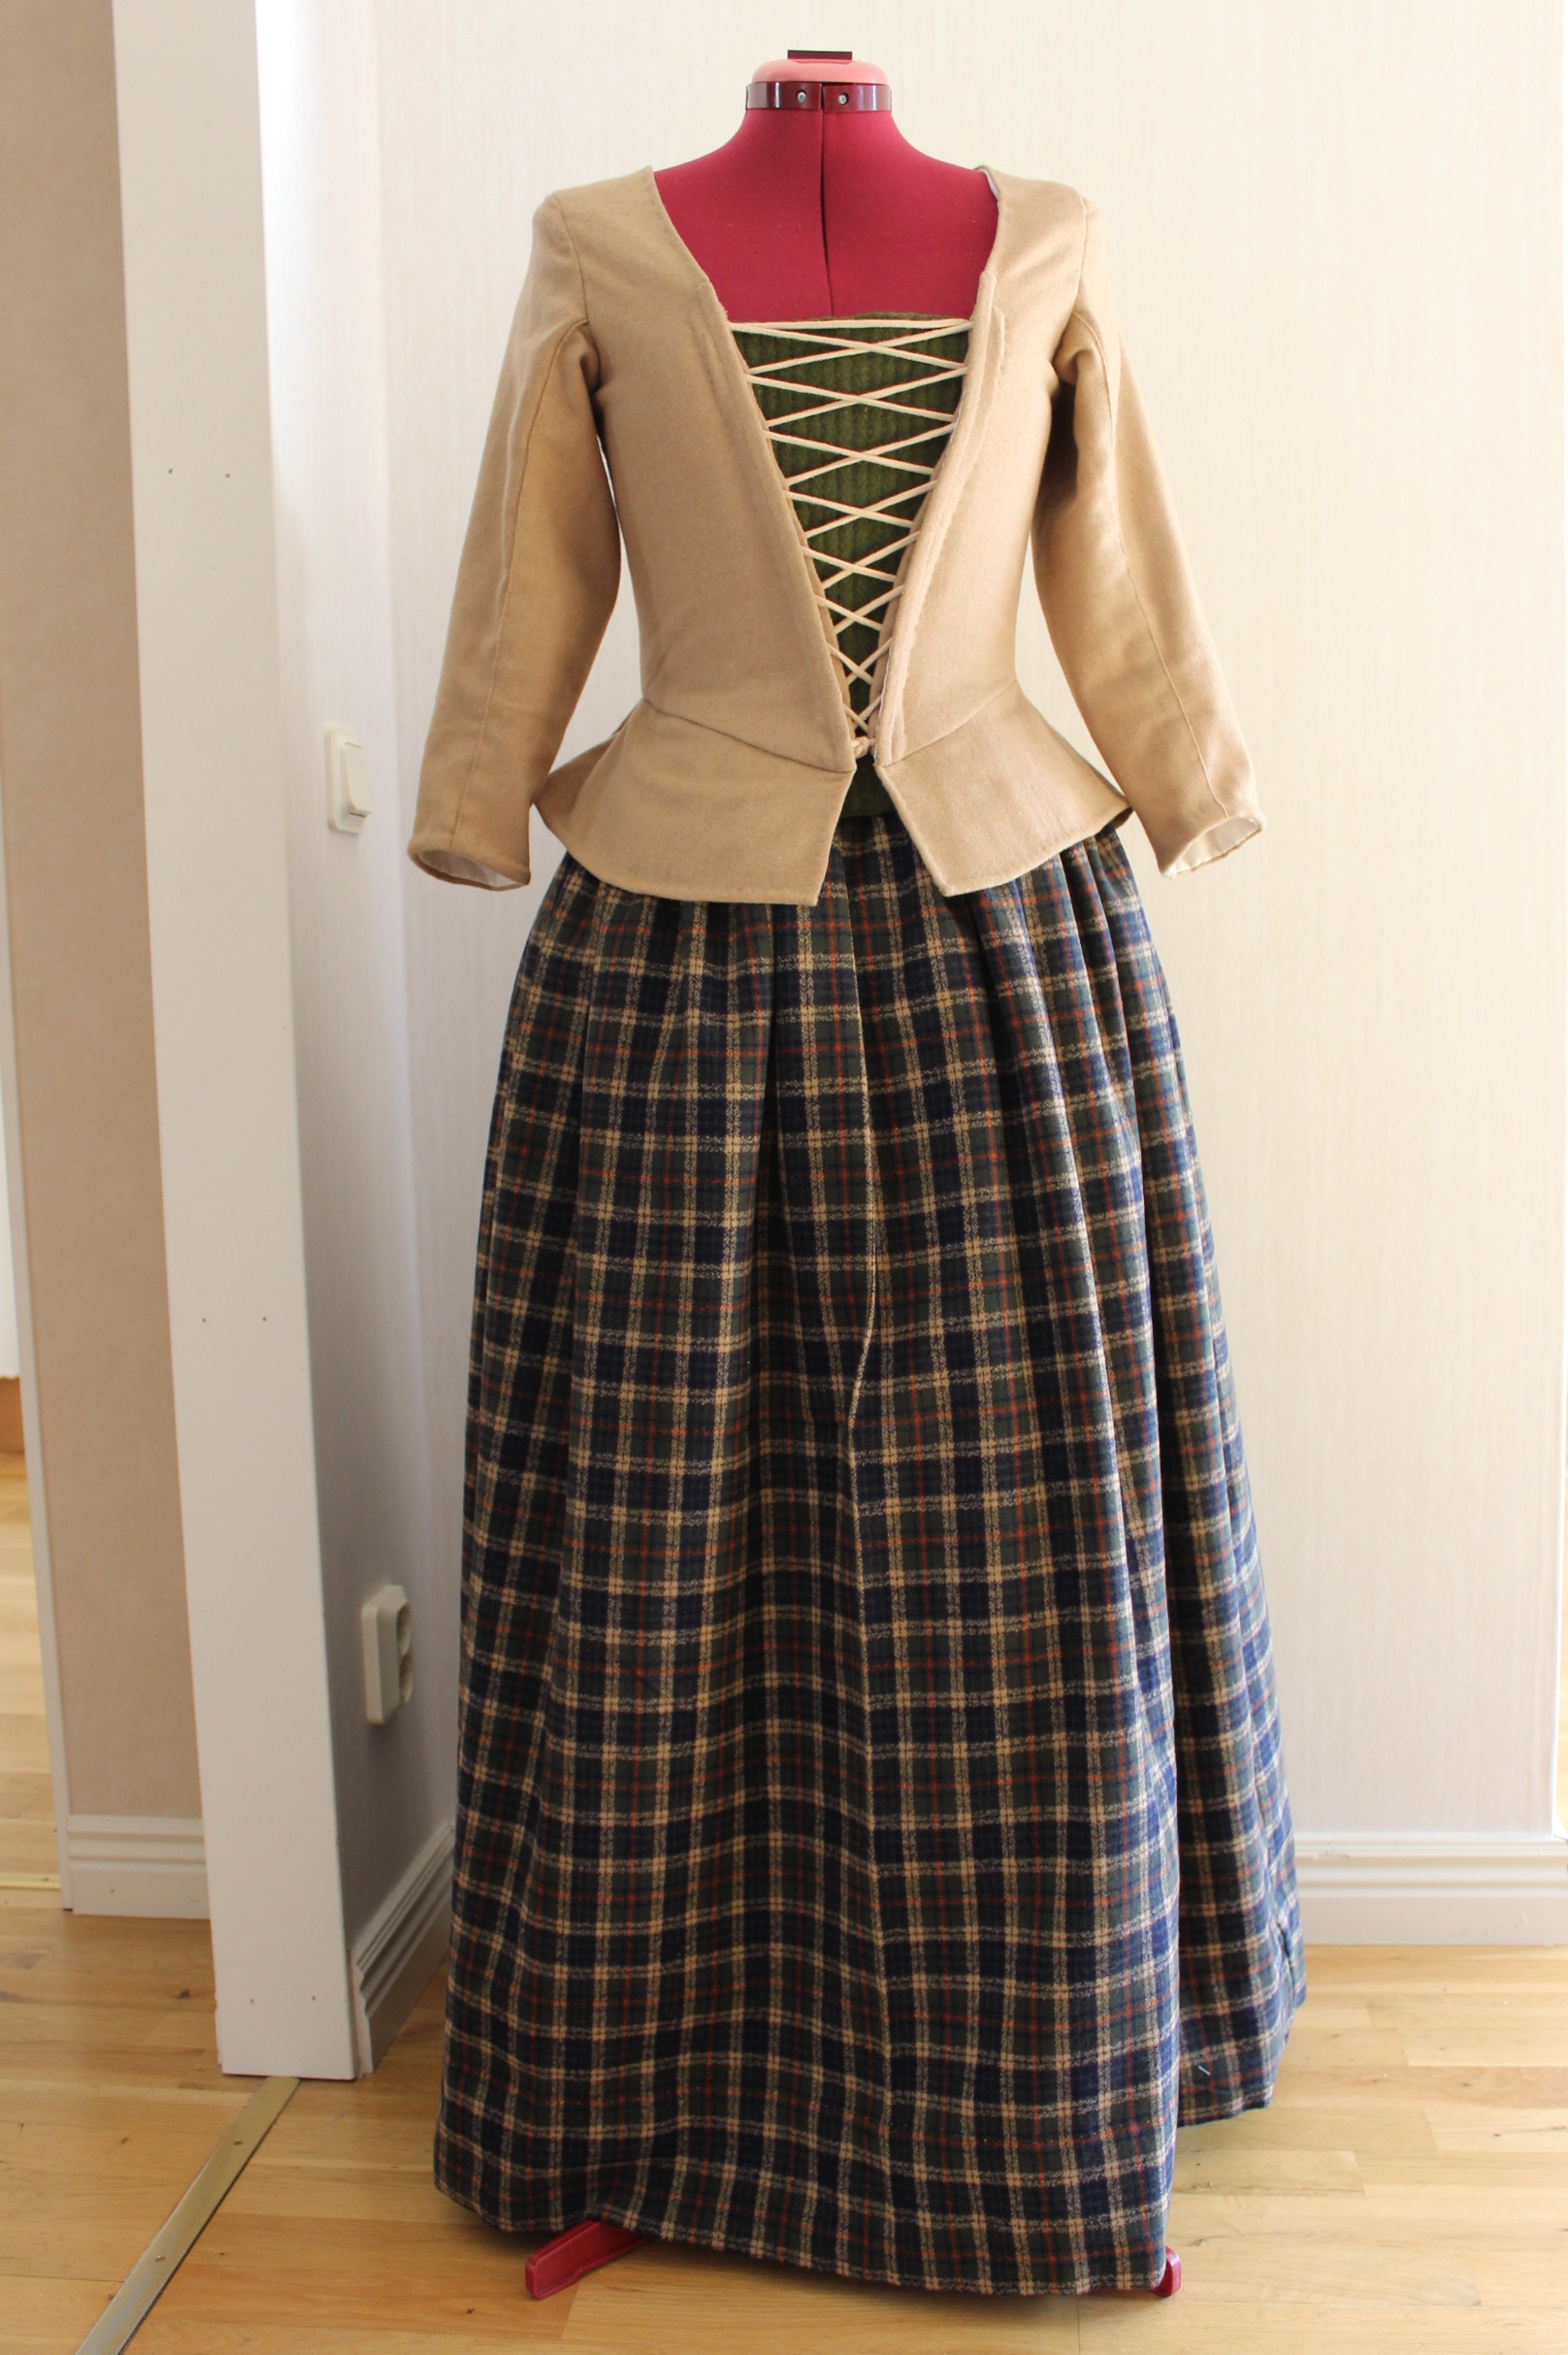


Just the facts:
What: A 18th century jacket and skirt.
Pattern: The jacket is my own draft (yellow Caraco jacket), and the skirt is just two rectangles stitched together.
Fabric & Notions: Skirt – 2,2 m plaid wool, thread and hook & bar.
The bodice: 1 m beige(left over) wool, 1,5 m white cotton for lining and interning, m cotton cord, thread, buttonhole thread, 60 cm plastic boning.
Cost: Everything came from stash but 300 sek would be a fair calculation.
Time: Pretty fast for a complete hand made costume – about 20-25 hours for the whole outfit.
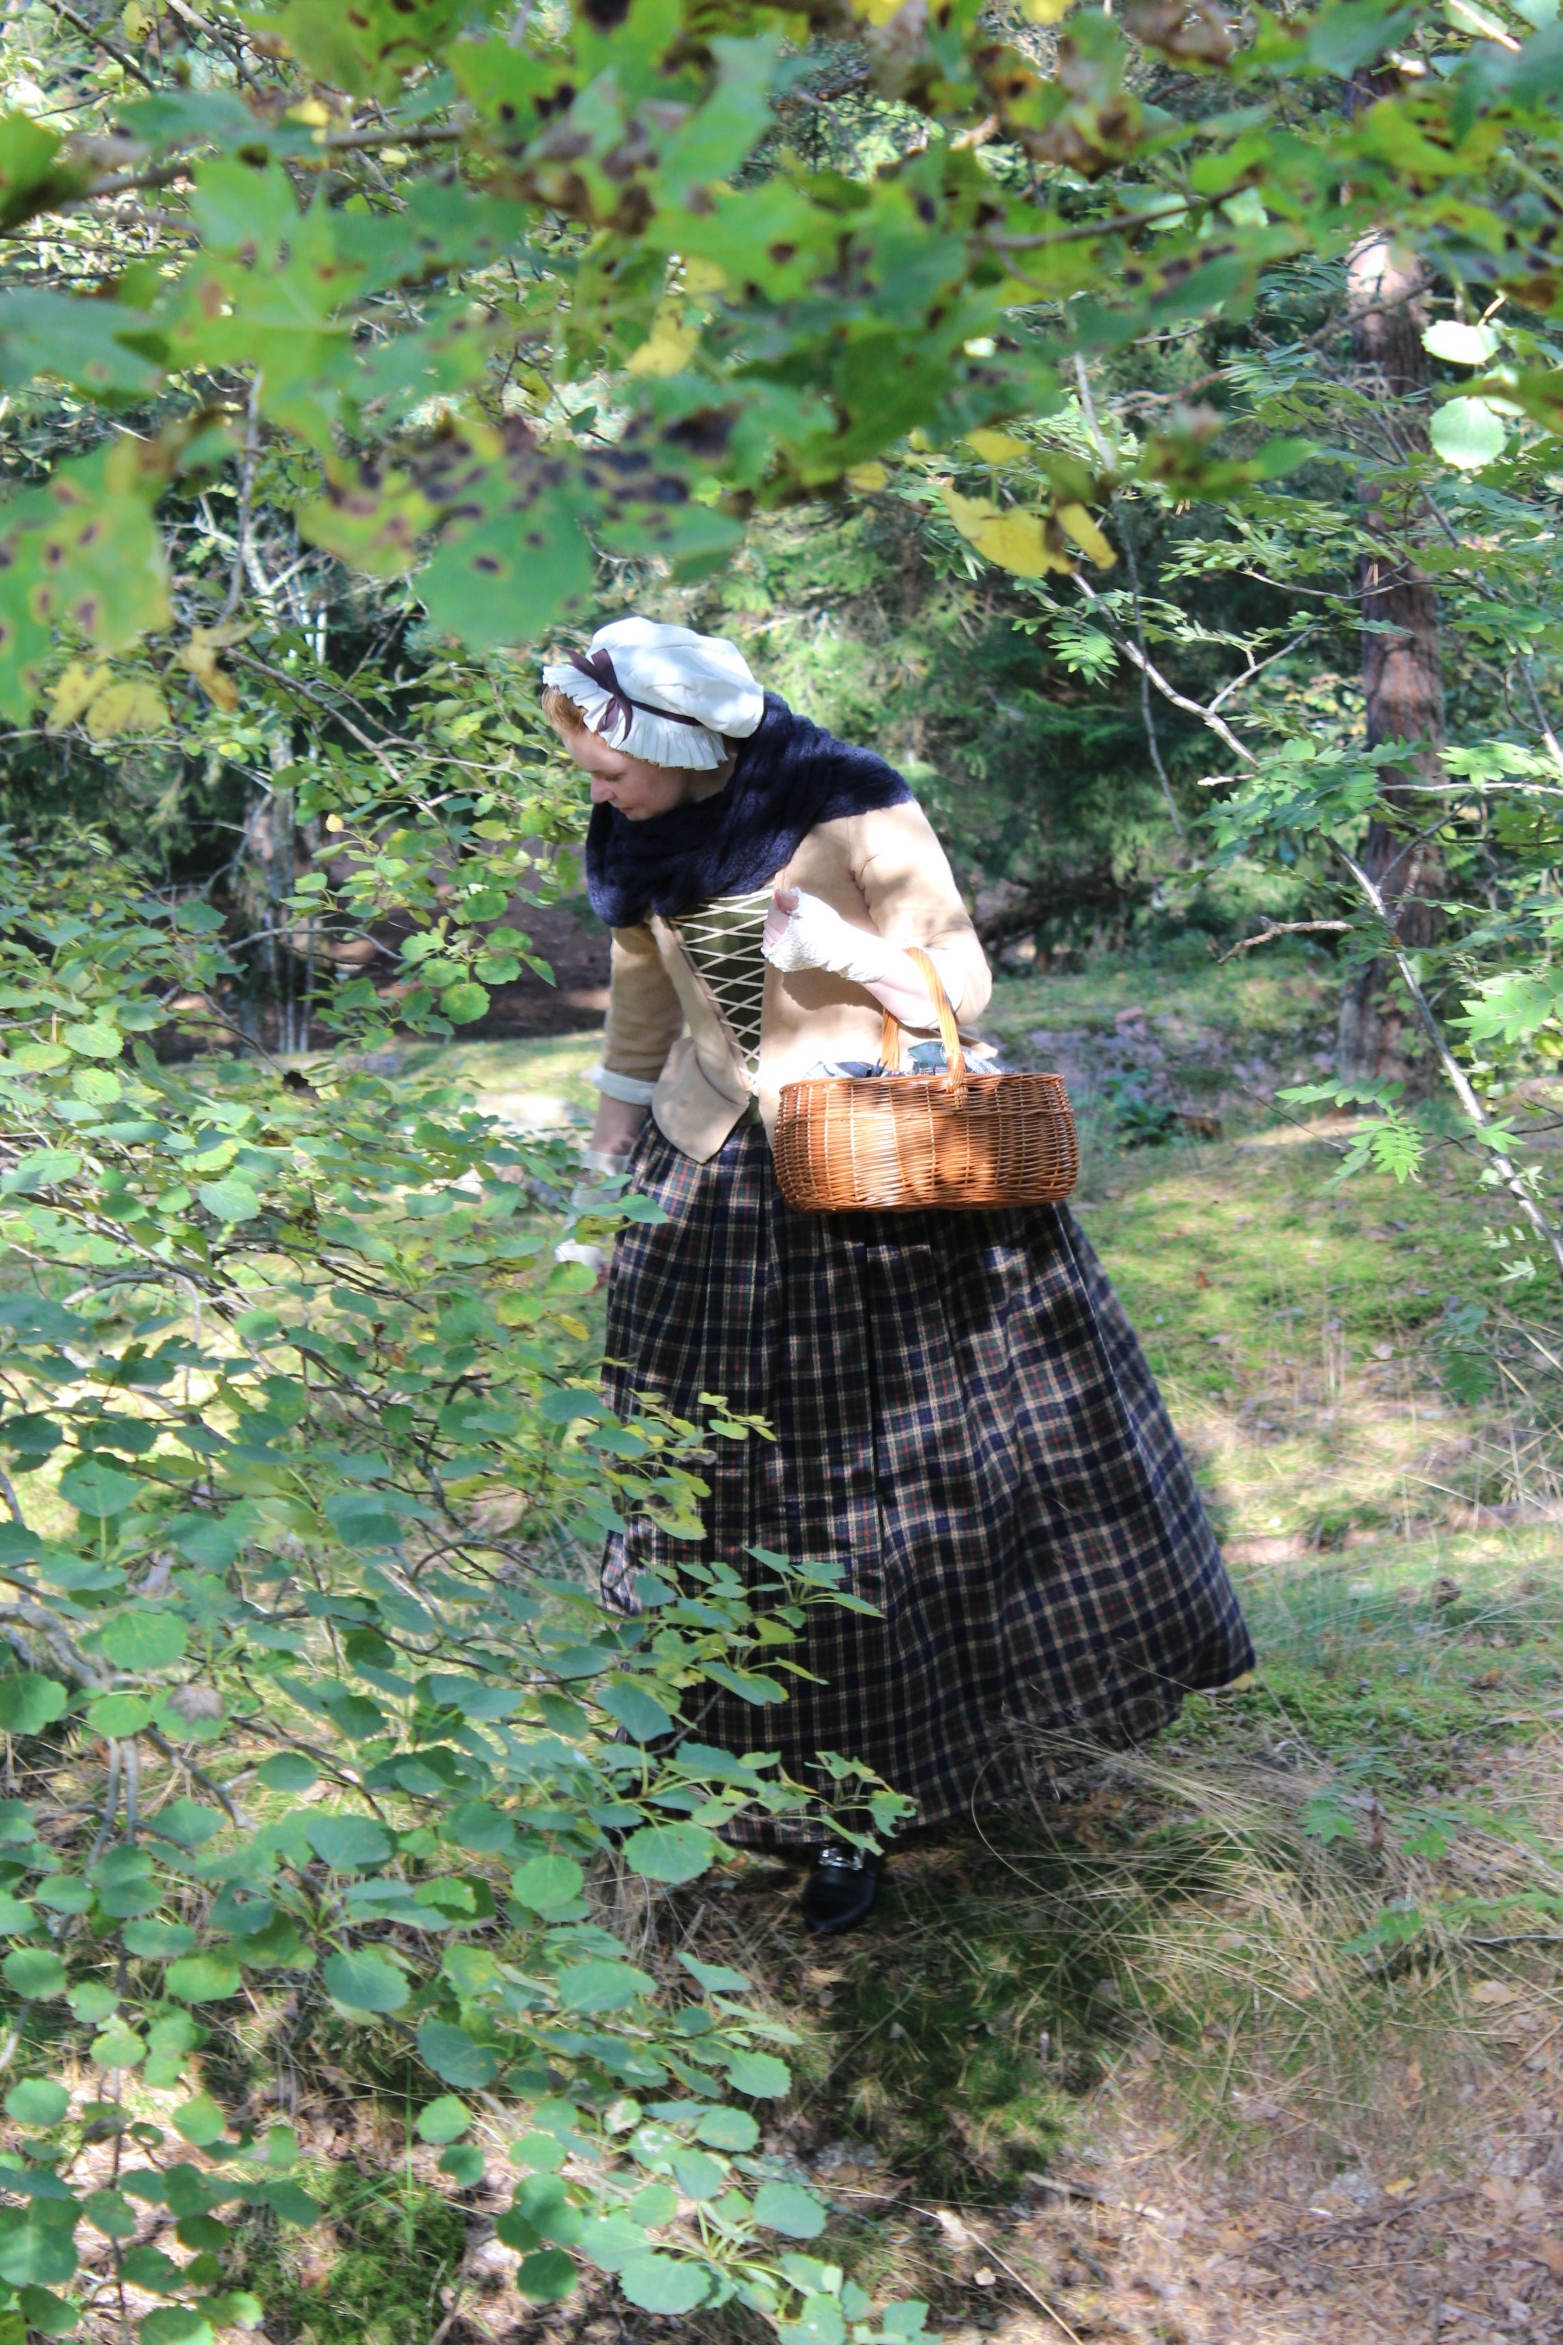
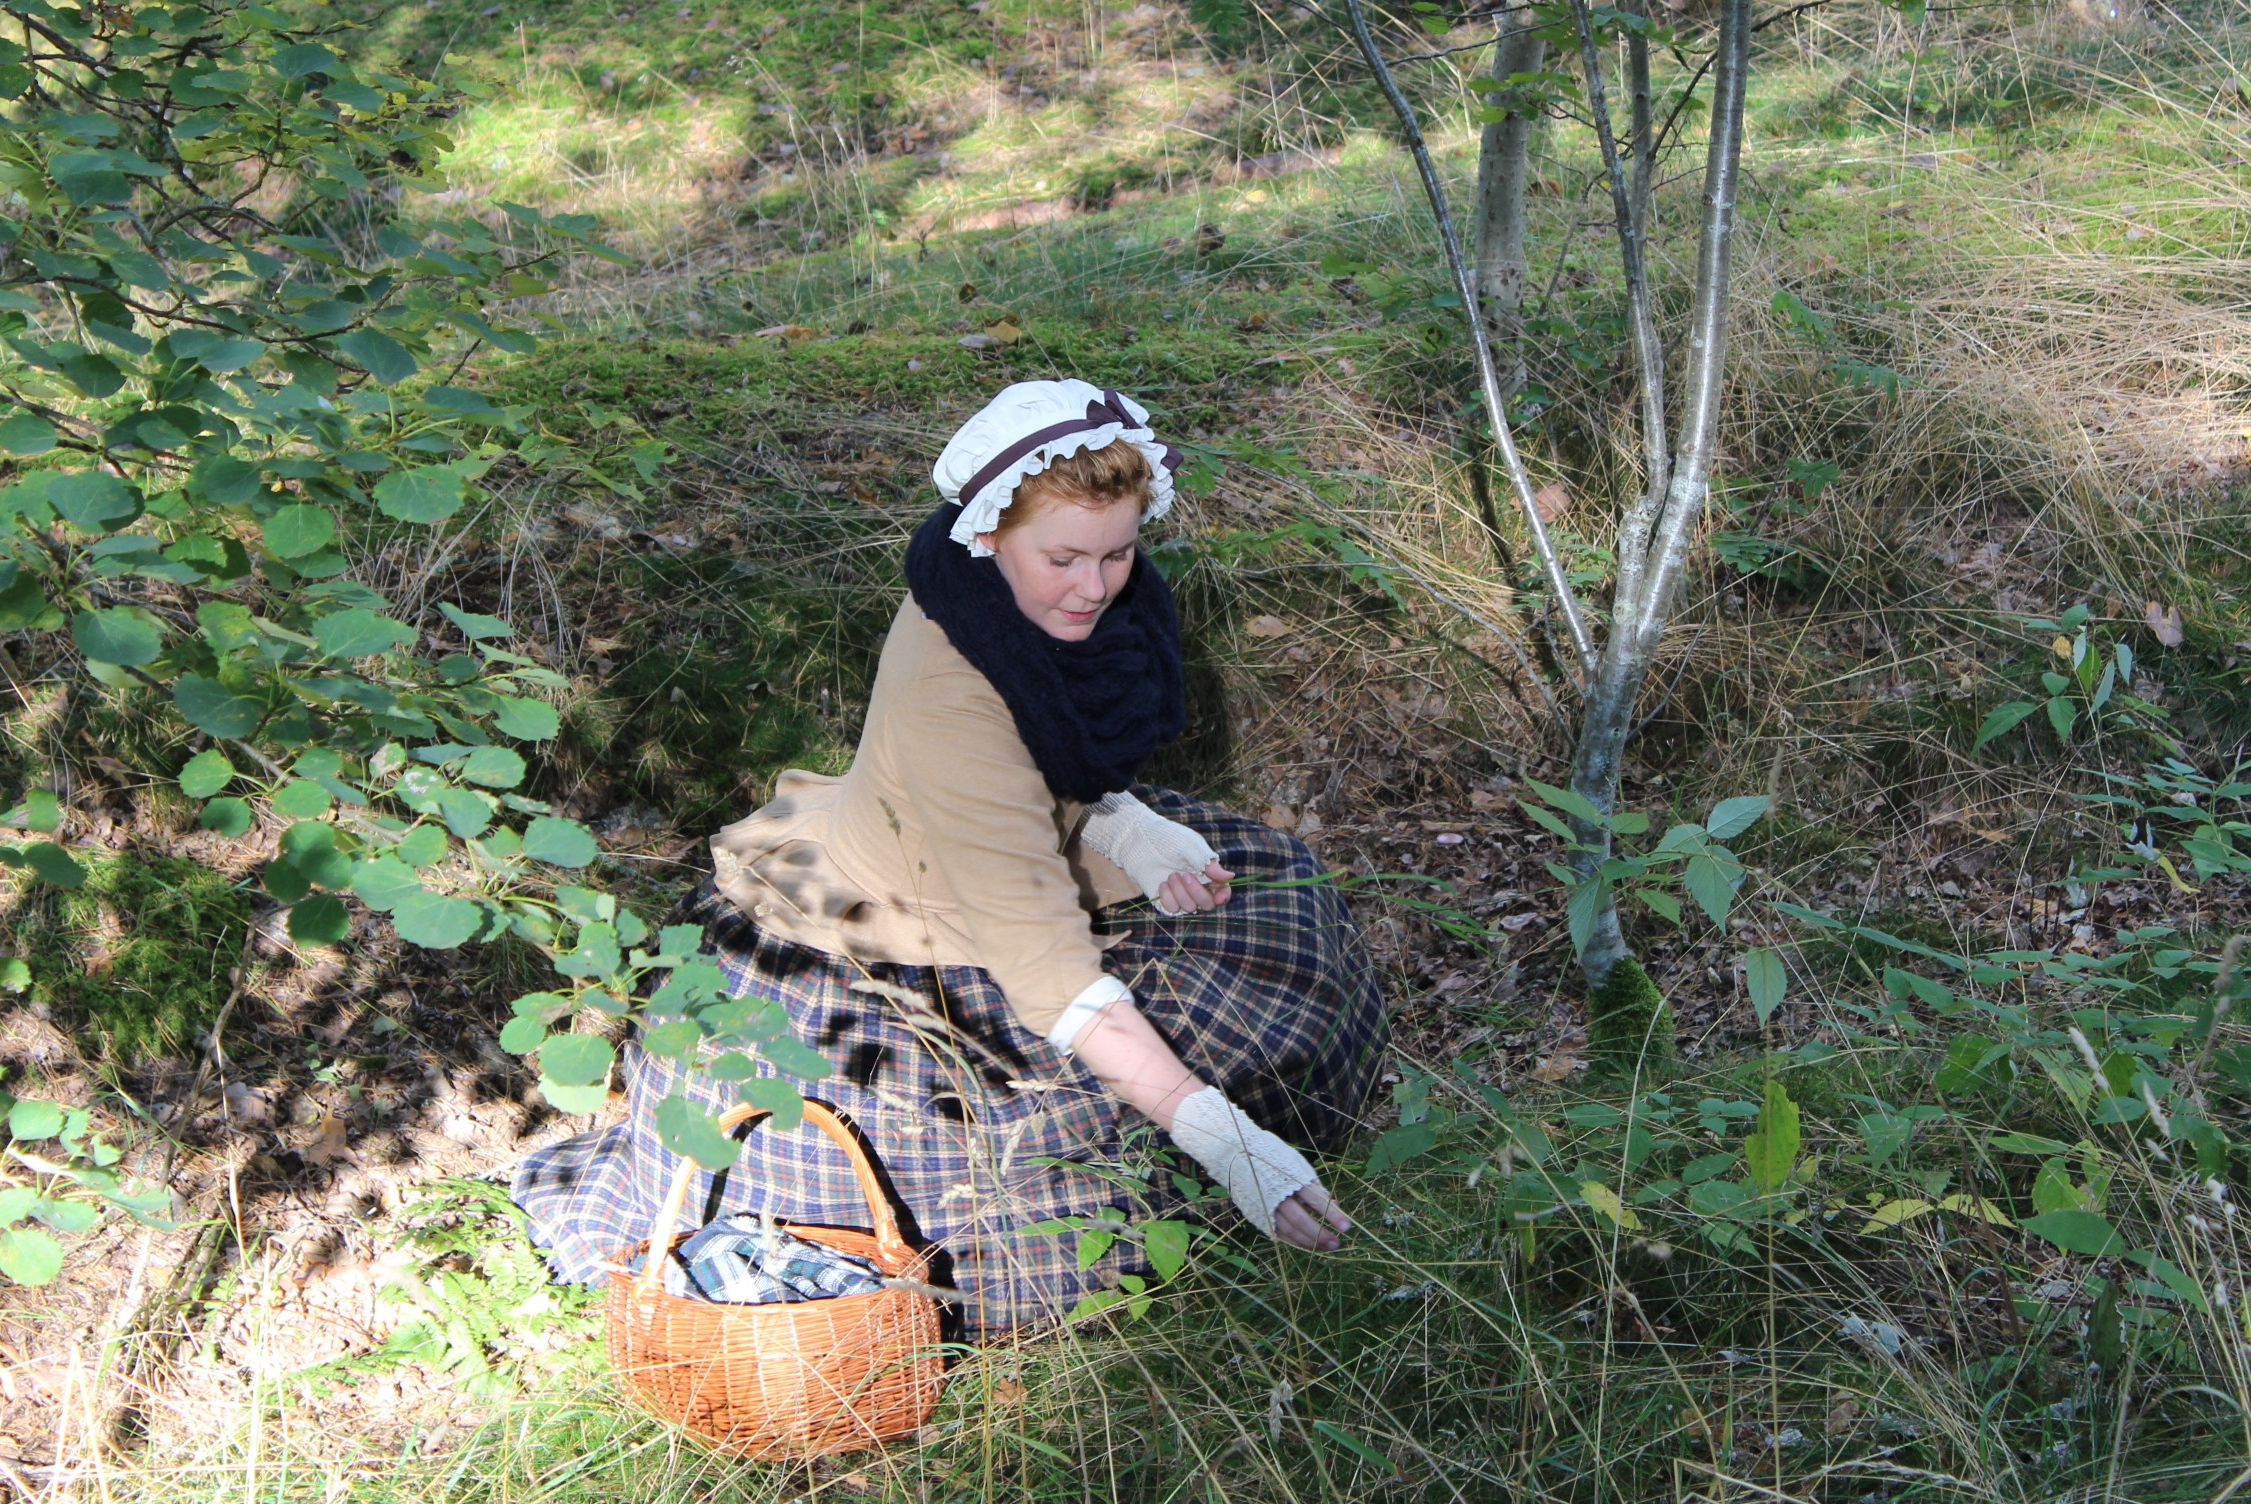
Final thoughts: I really like this outfit. It’s warm and cosy and I really enjoyed wearing it for the photoshoot.
The “Outlander” outfit: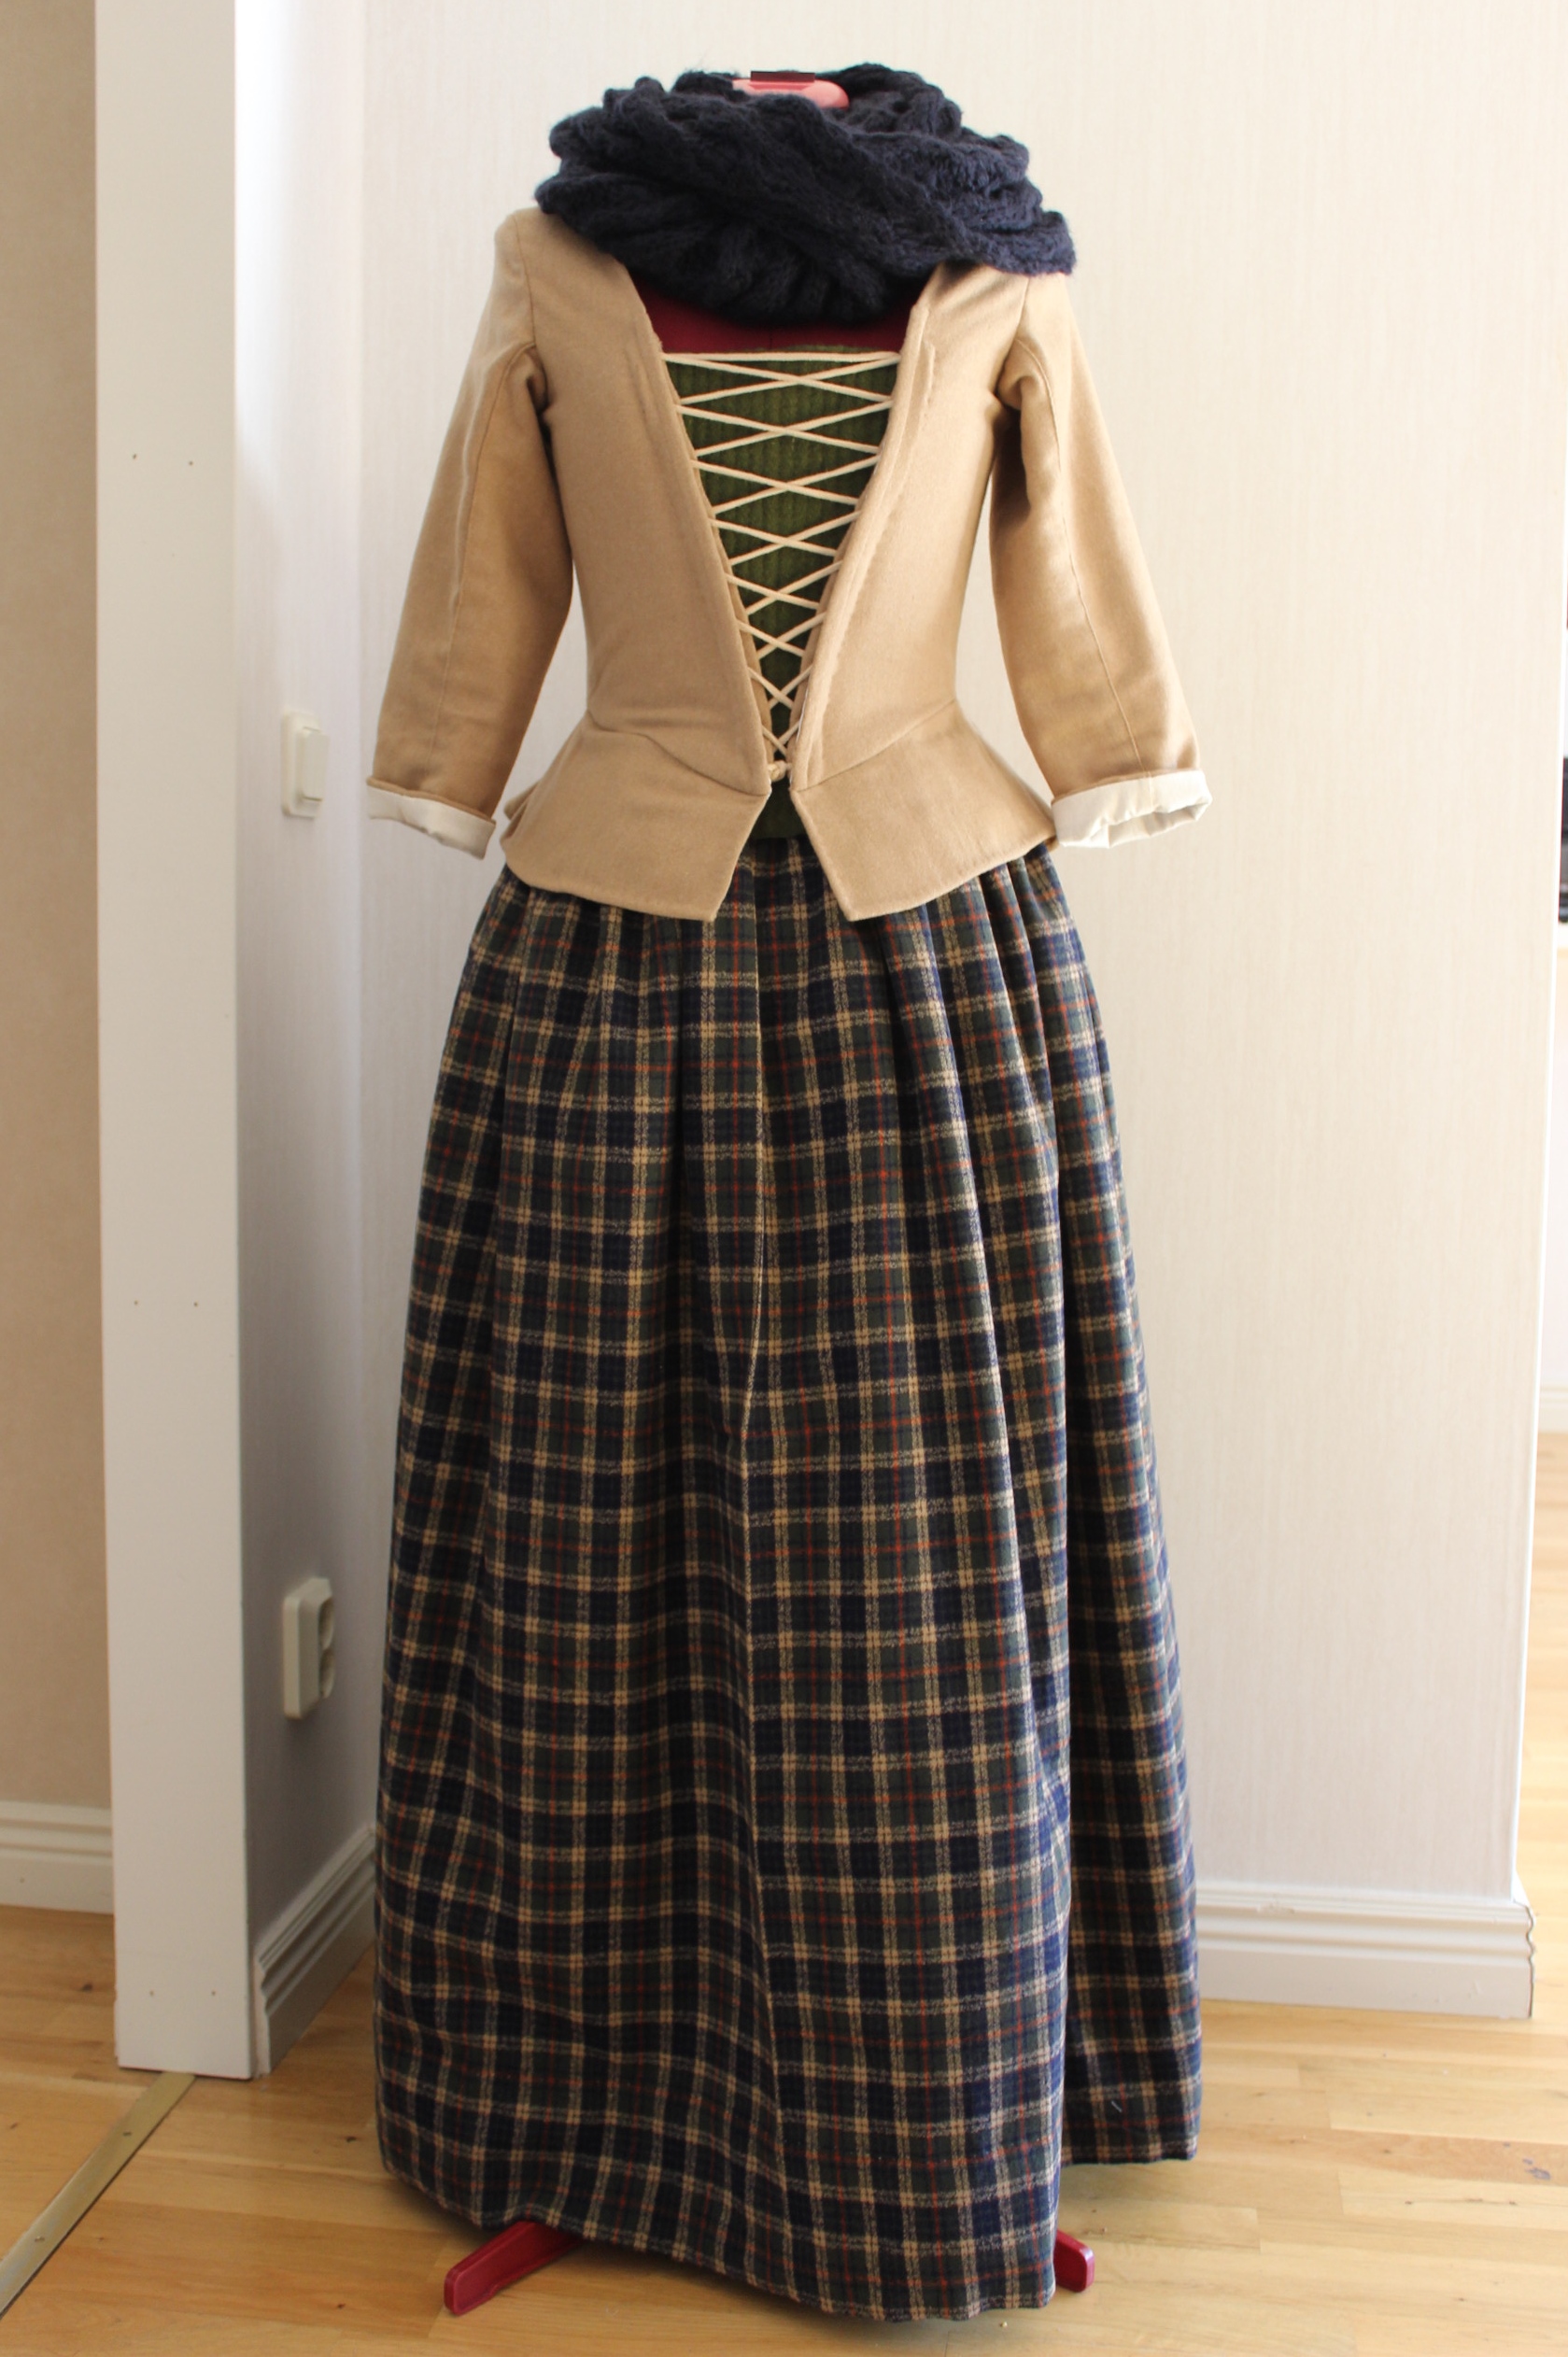
Last months HSM15 Challenge was “Heirlome”, and as never inherited anything suitable and knew nothing about my ancestors I had some trouble deciding what to make for this one.
Basically, I could make whatever I liked as long as it heirs from Sweden.
Initially I thought about making another piece for my national costume – like the jacket, embroidered shawl or headpiece, but since time was short (starting 1 week after deadline) I decided to go with a more classic (and fast) alternative.
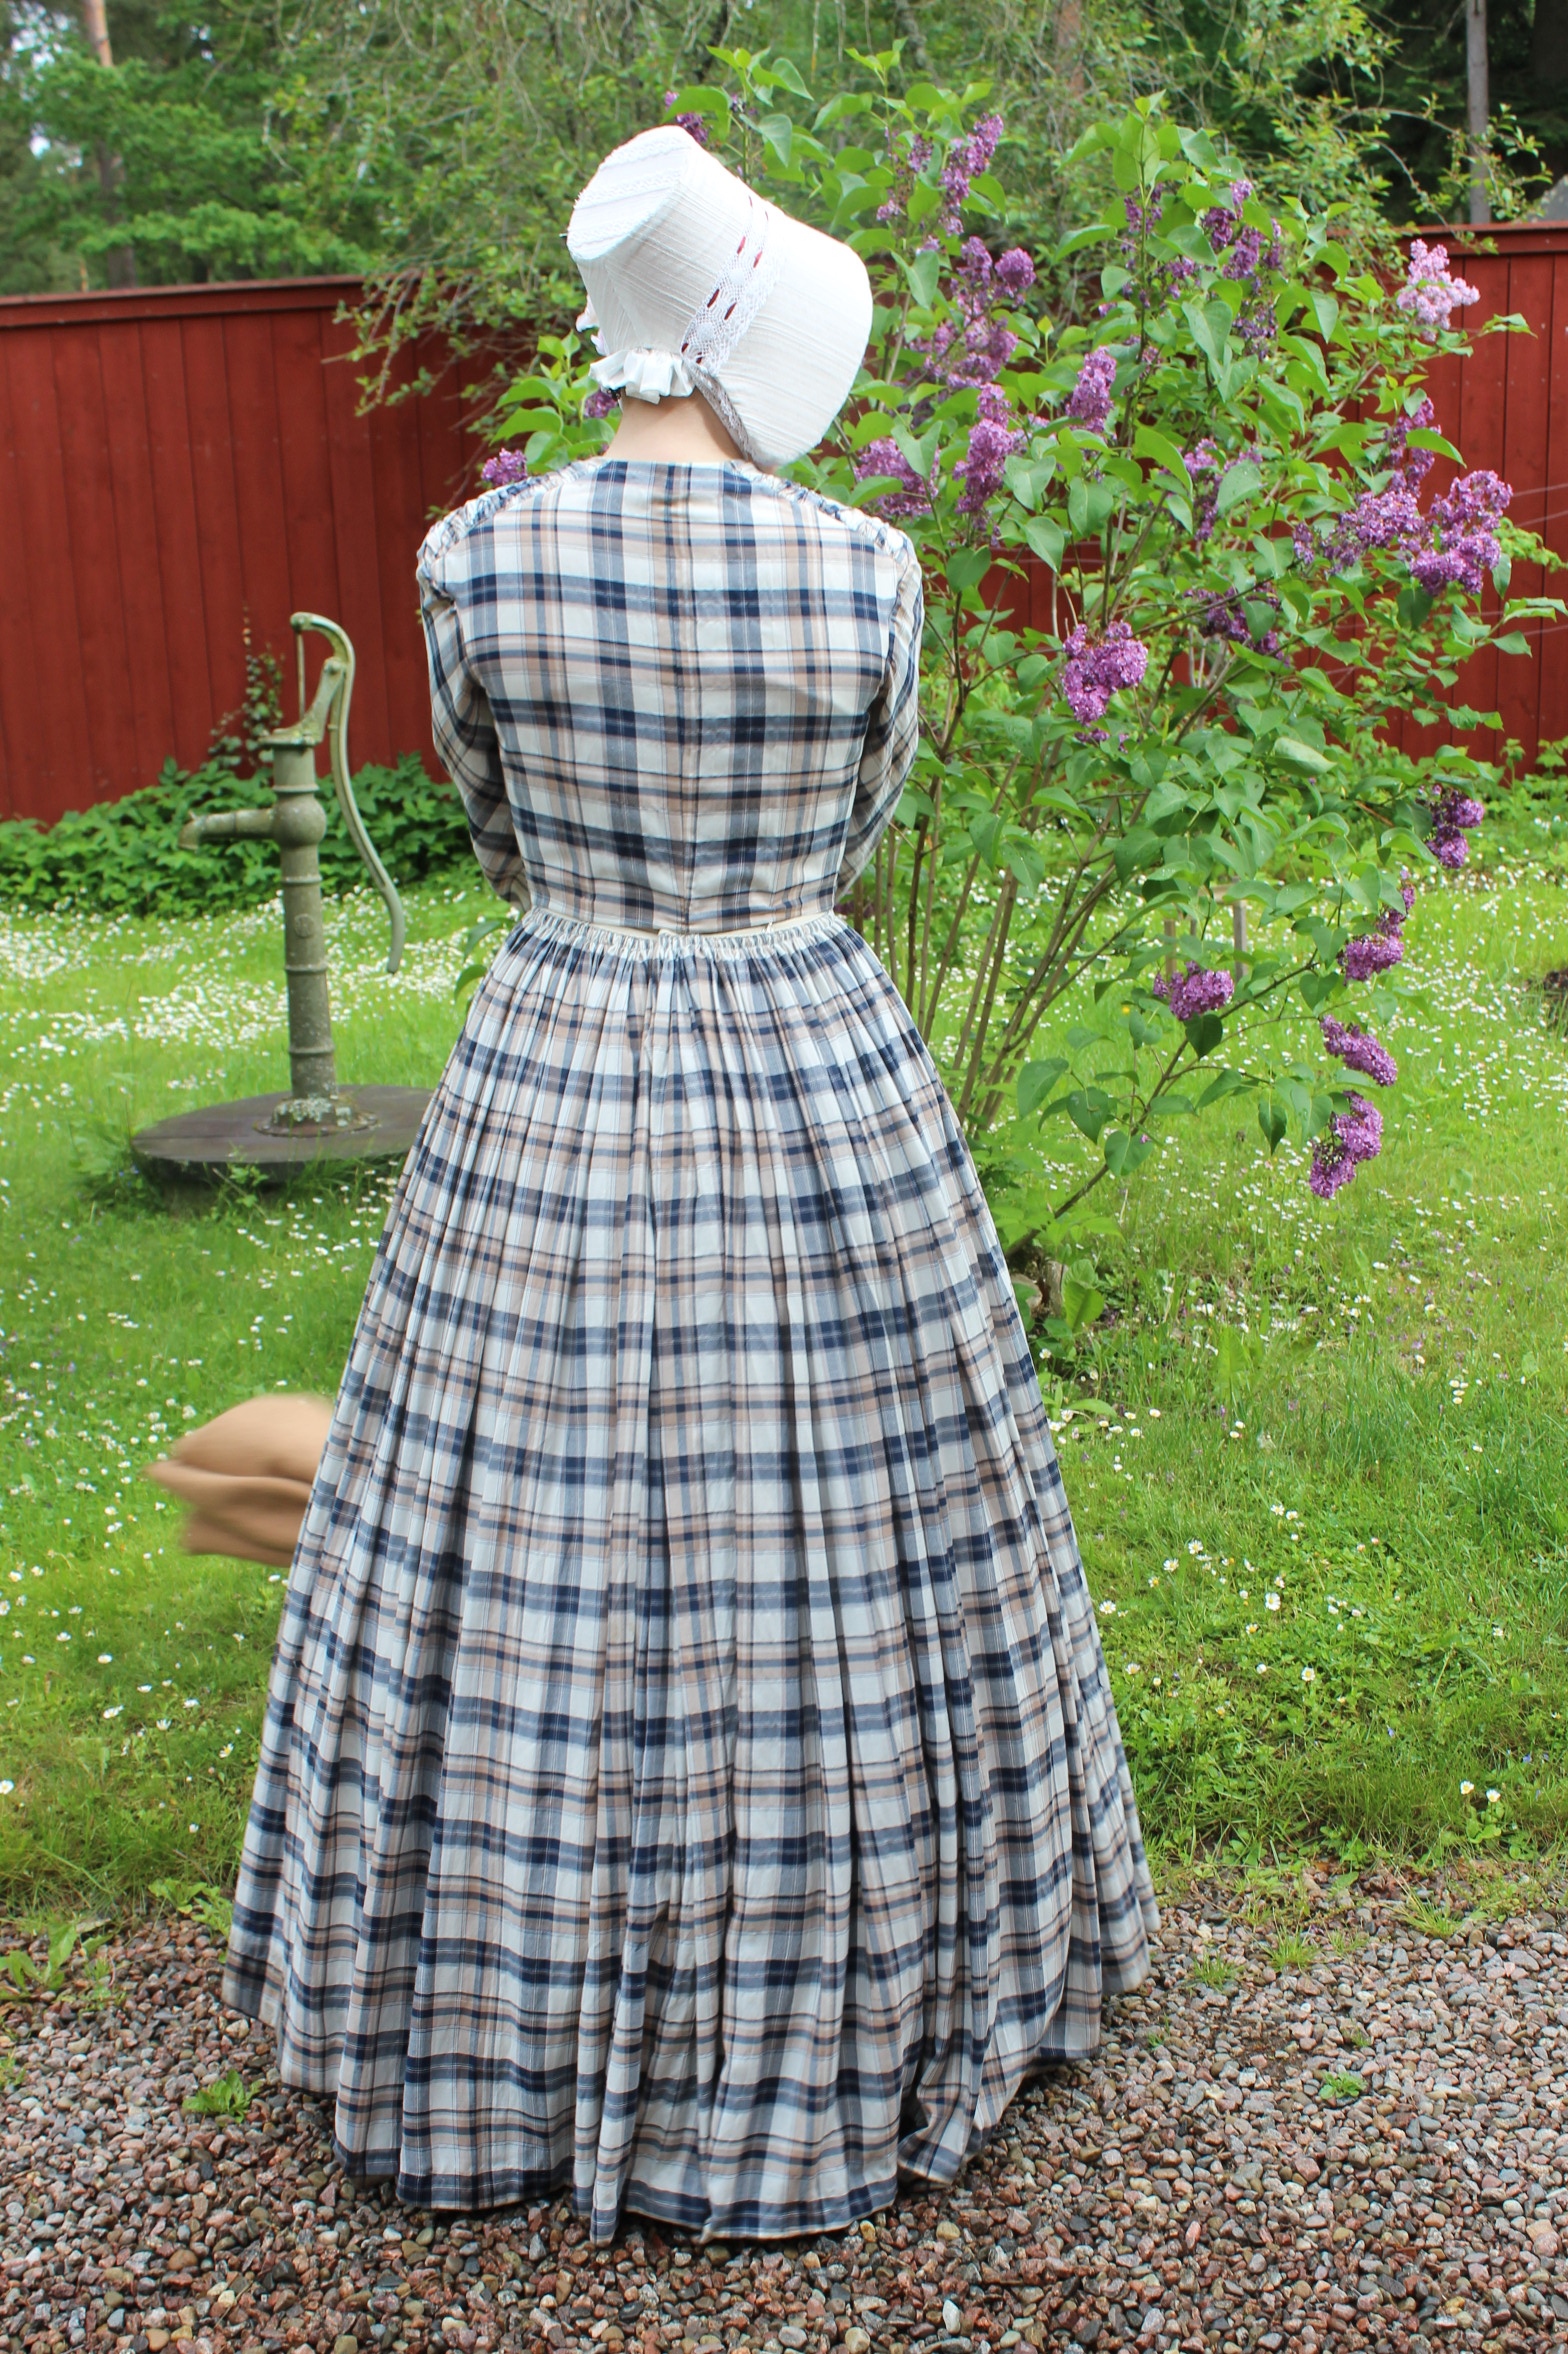
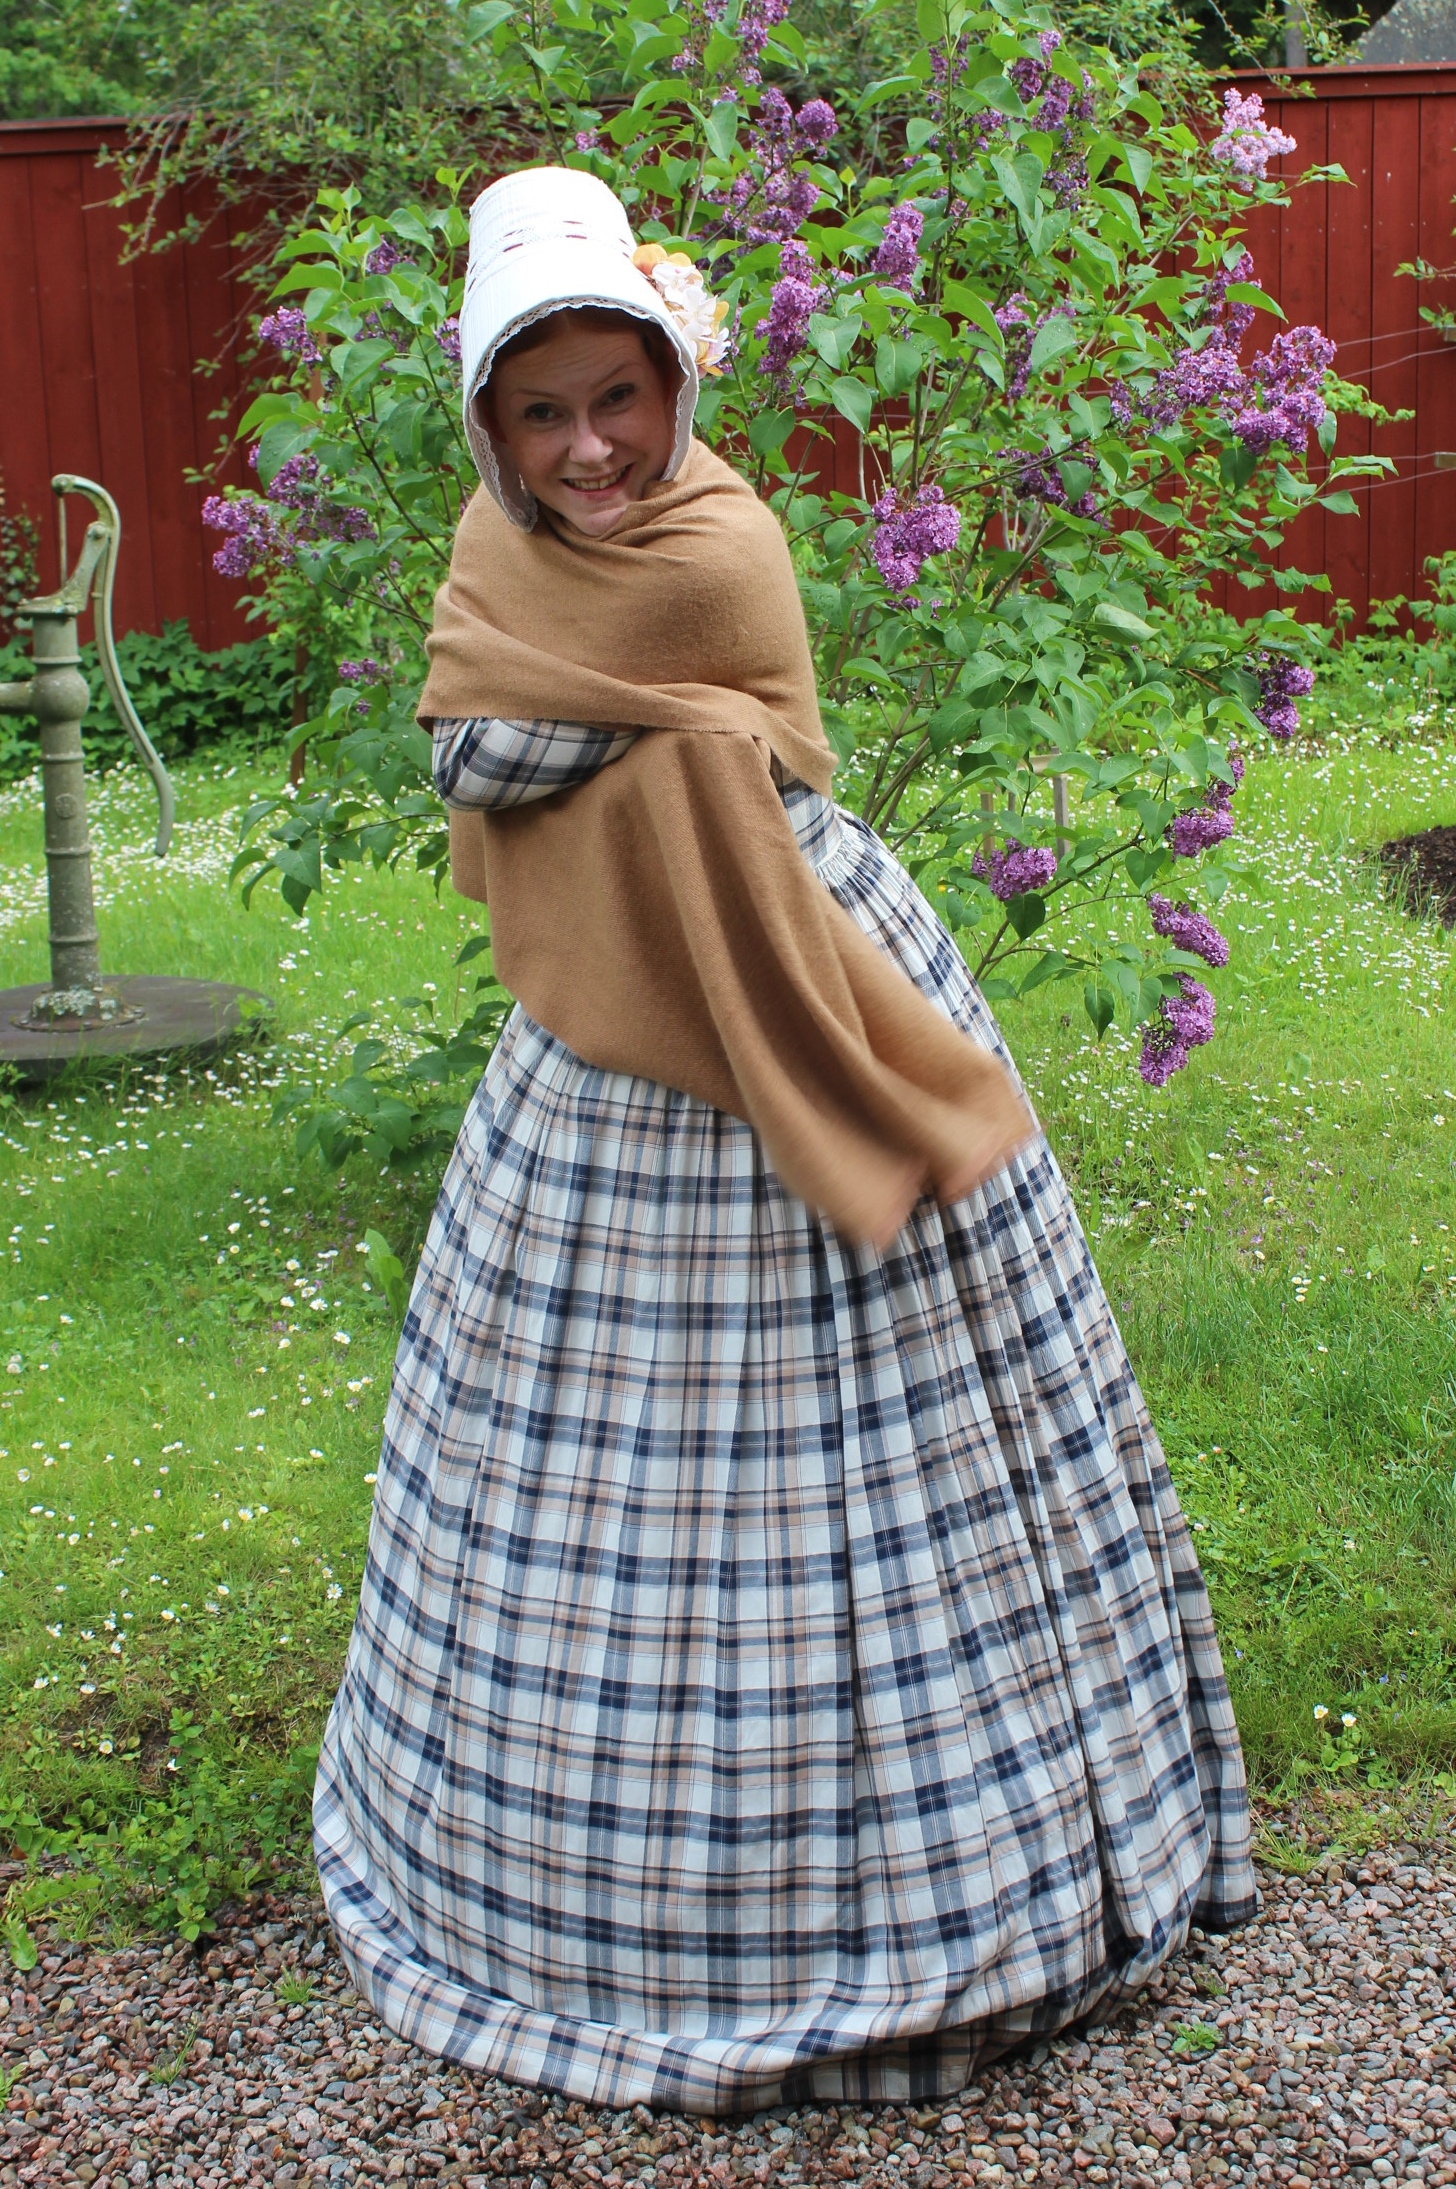
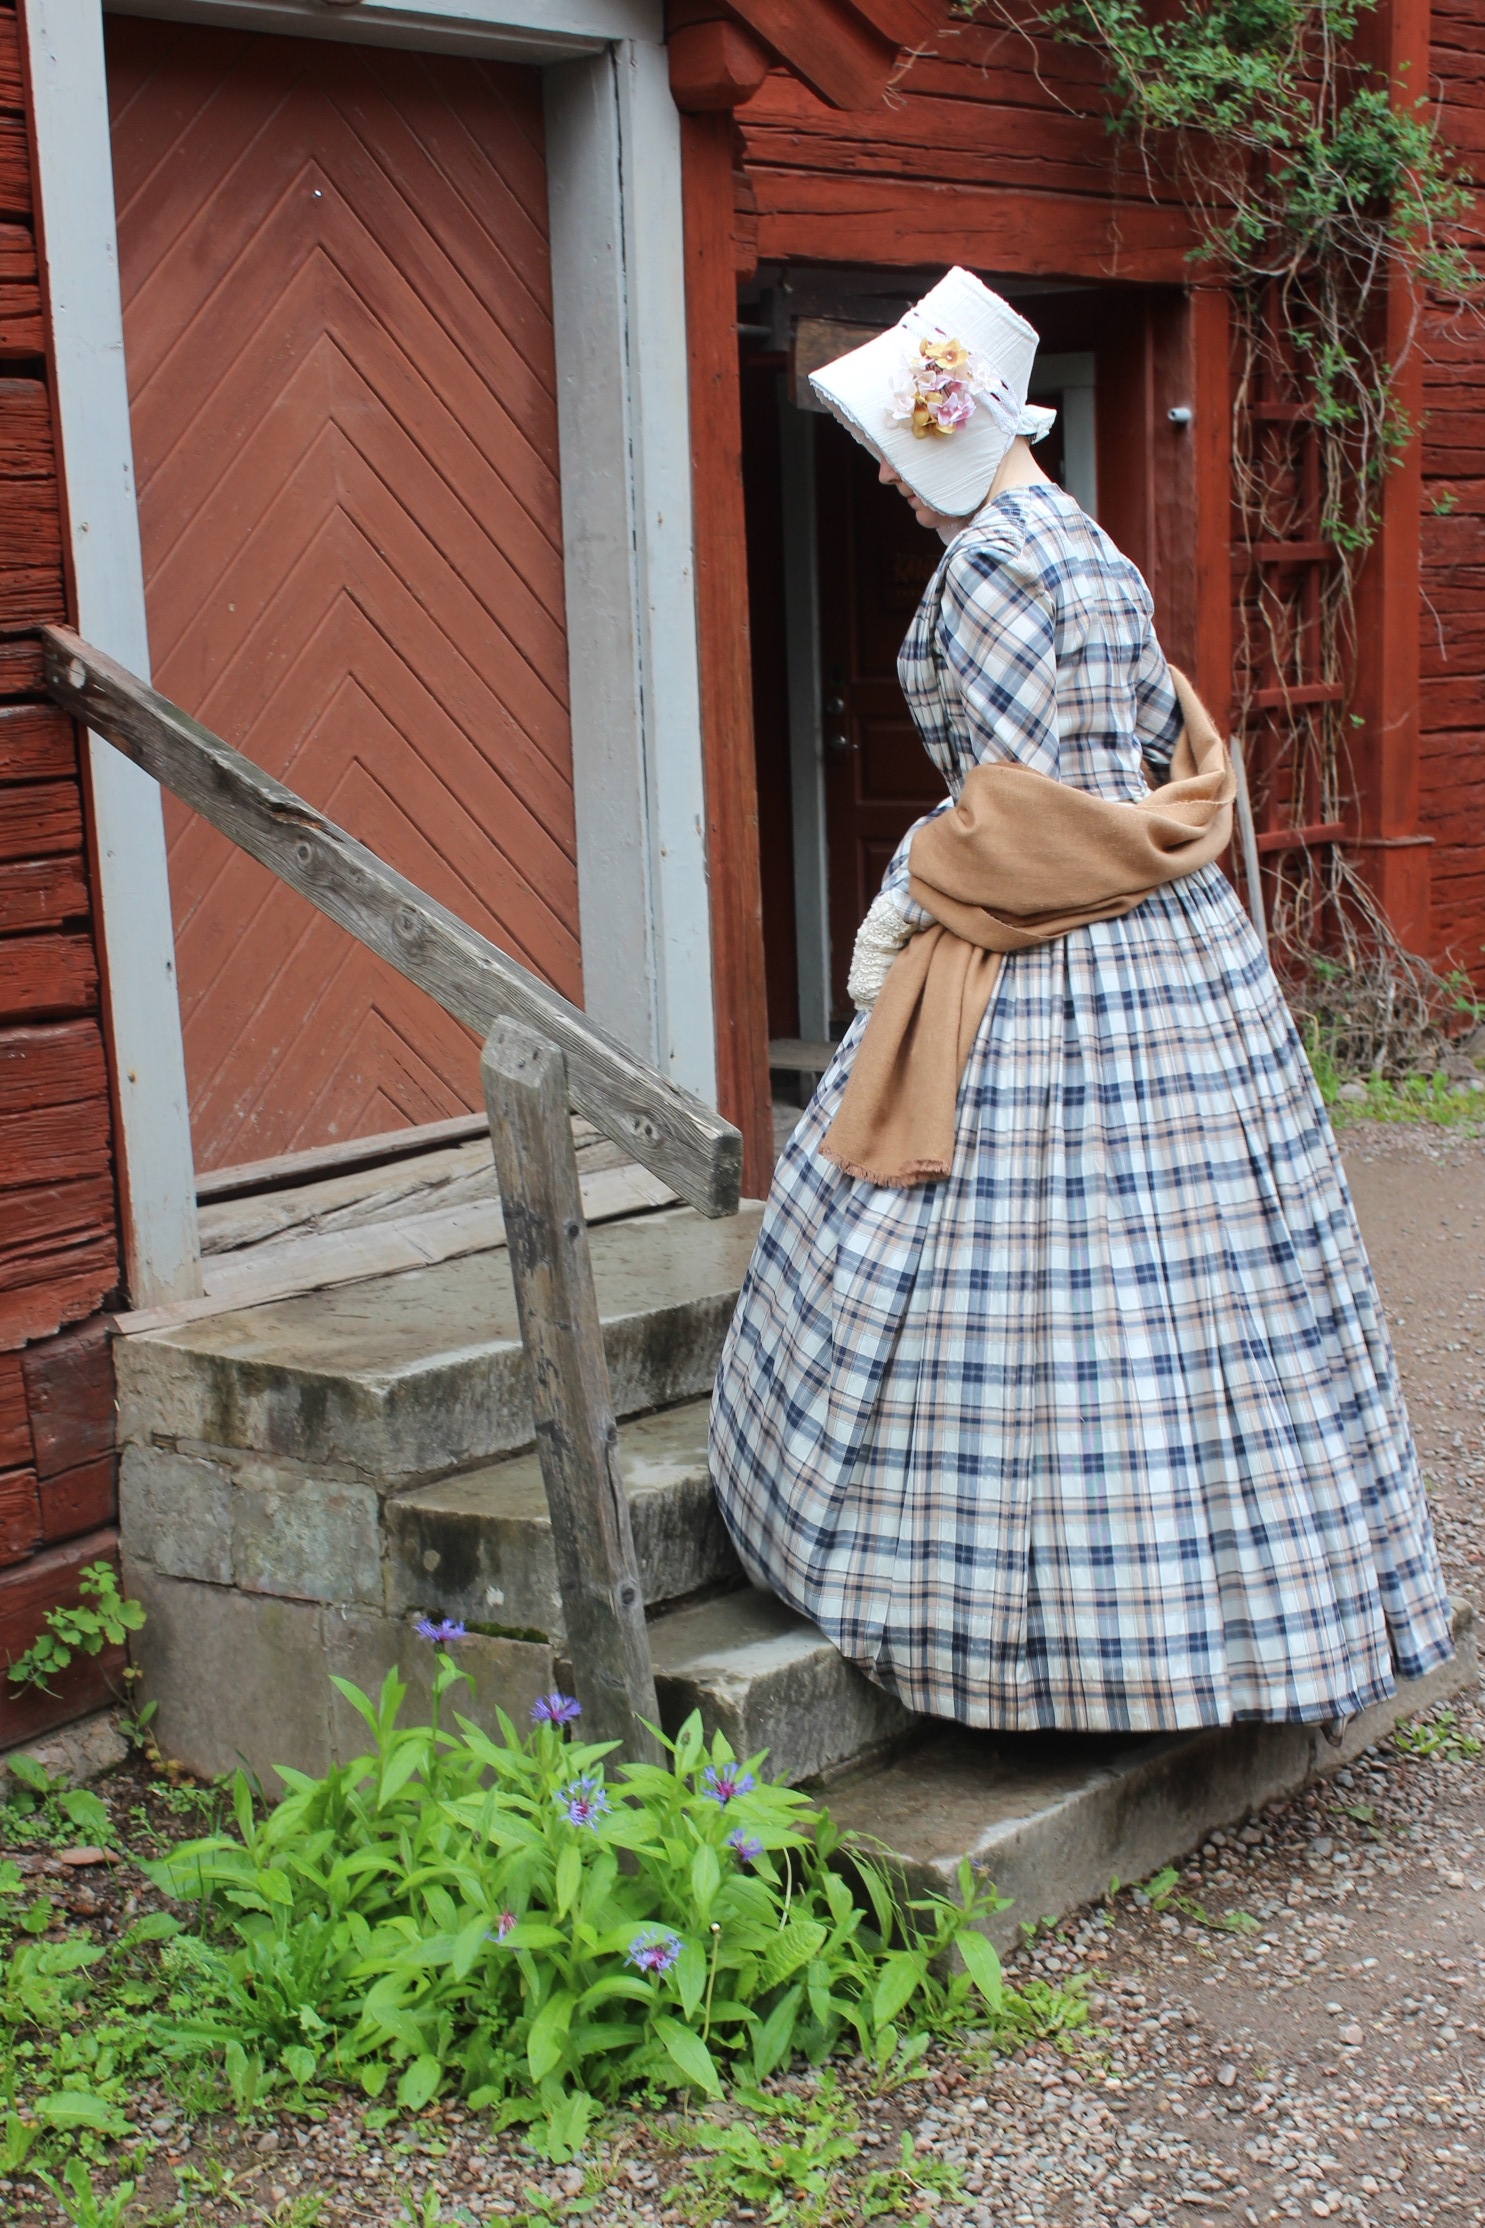
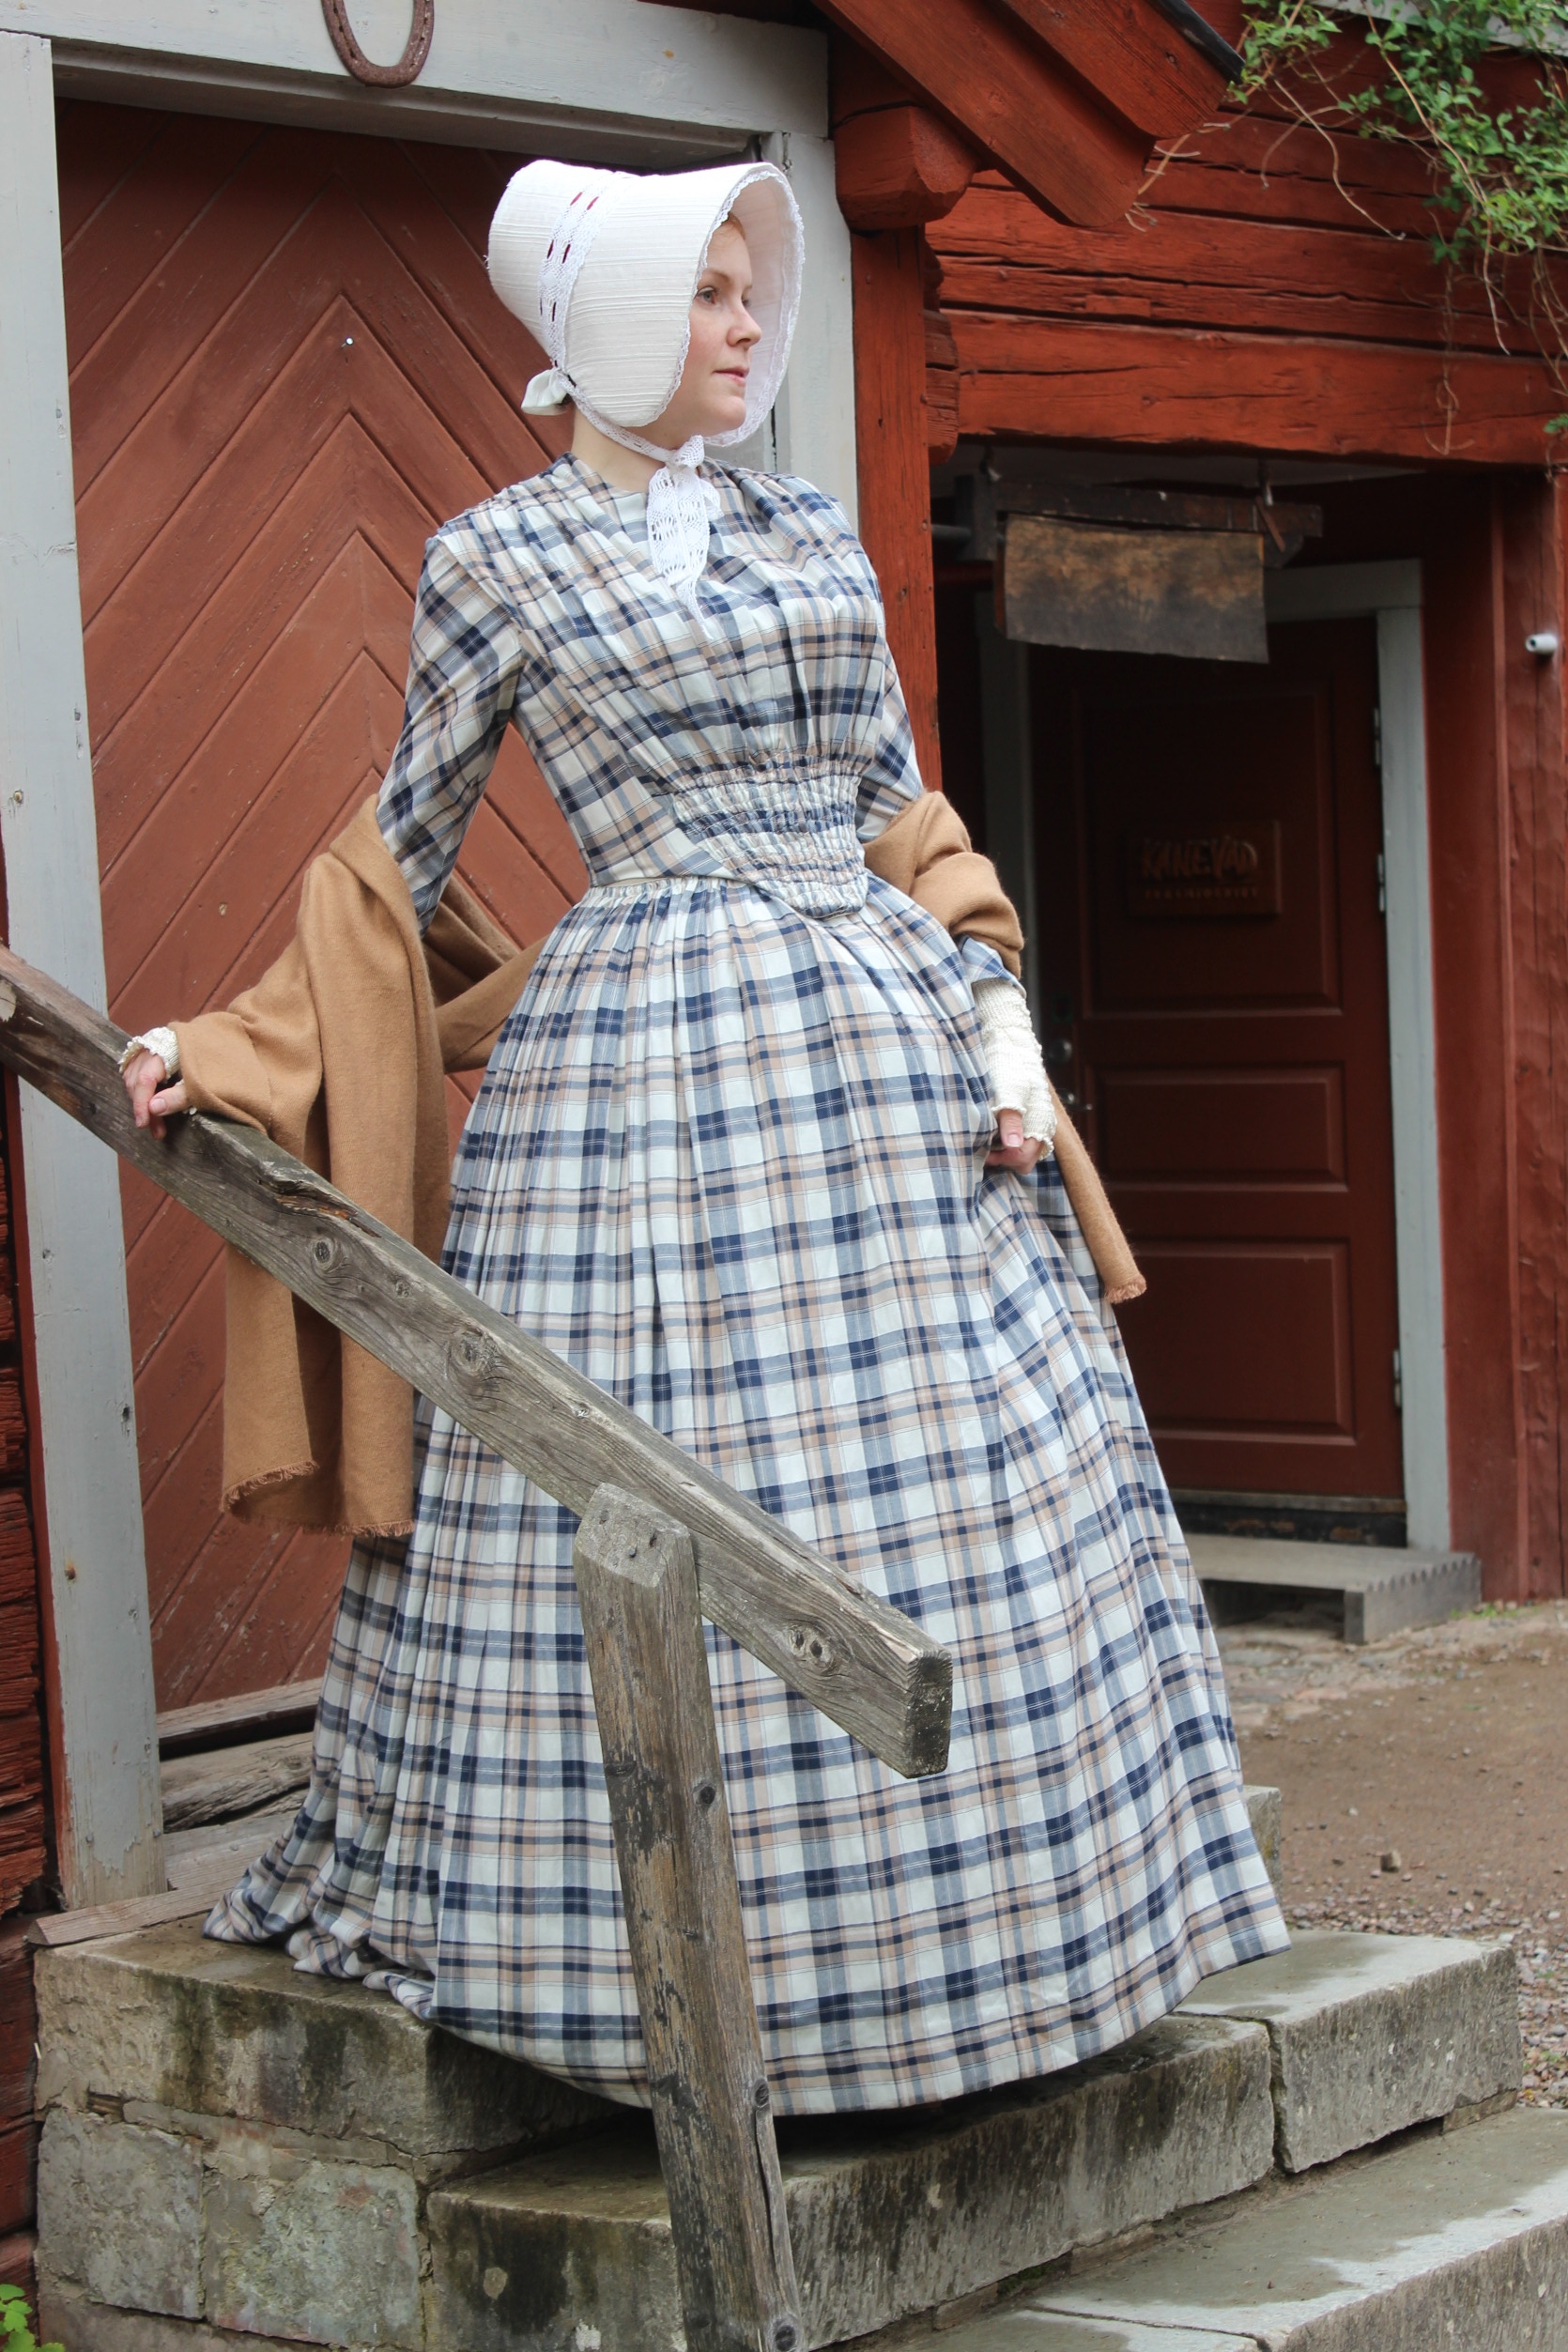
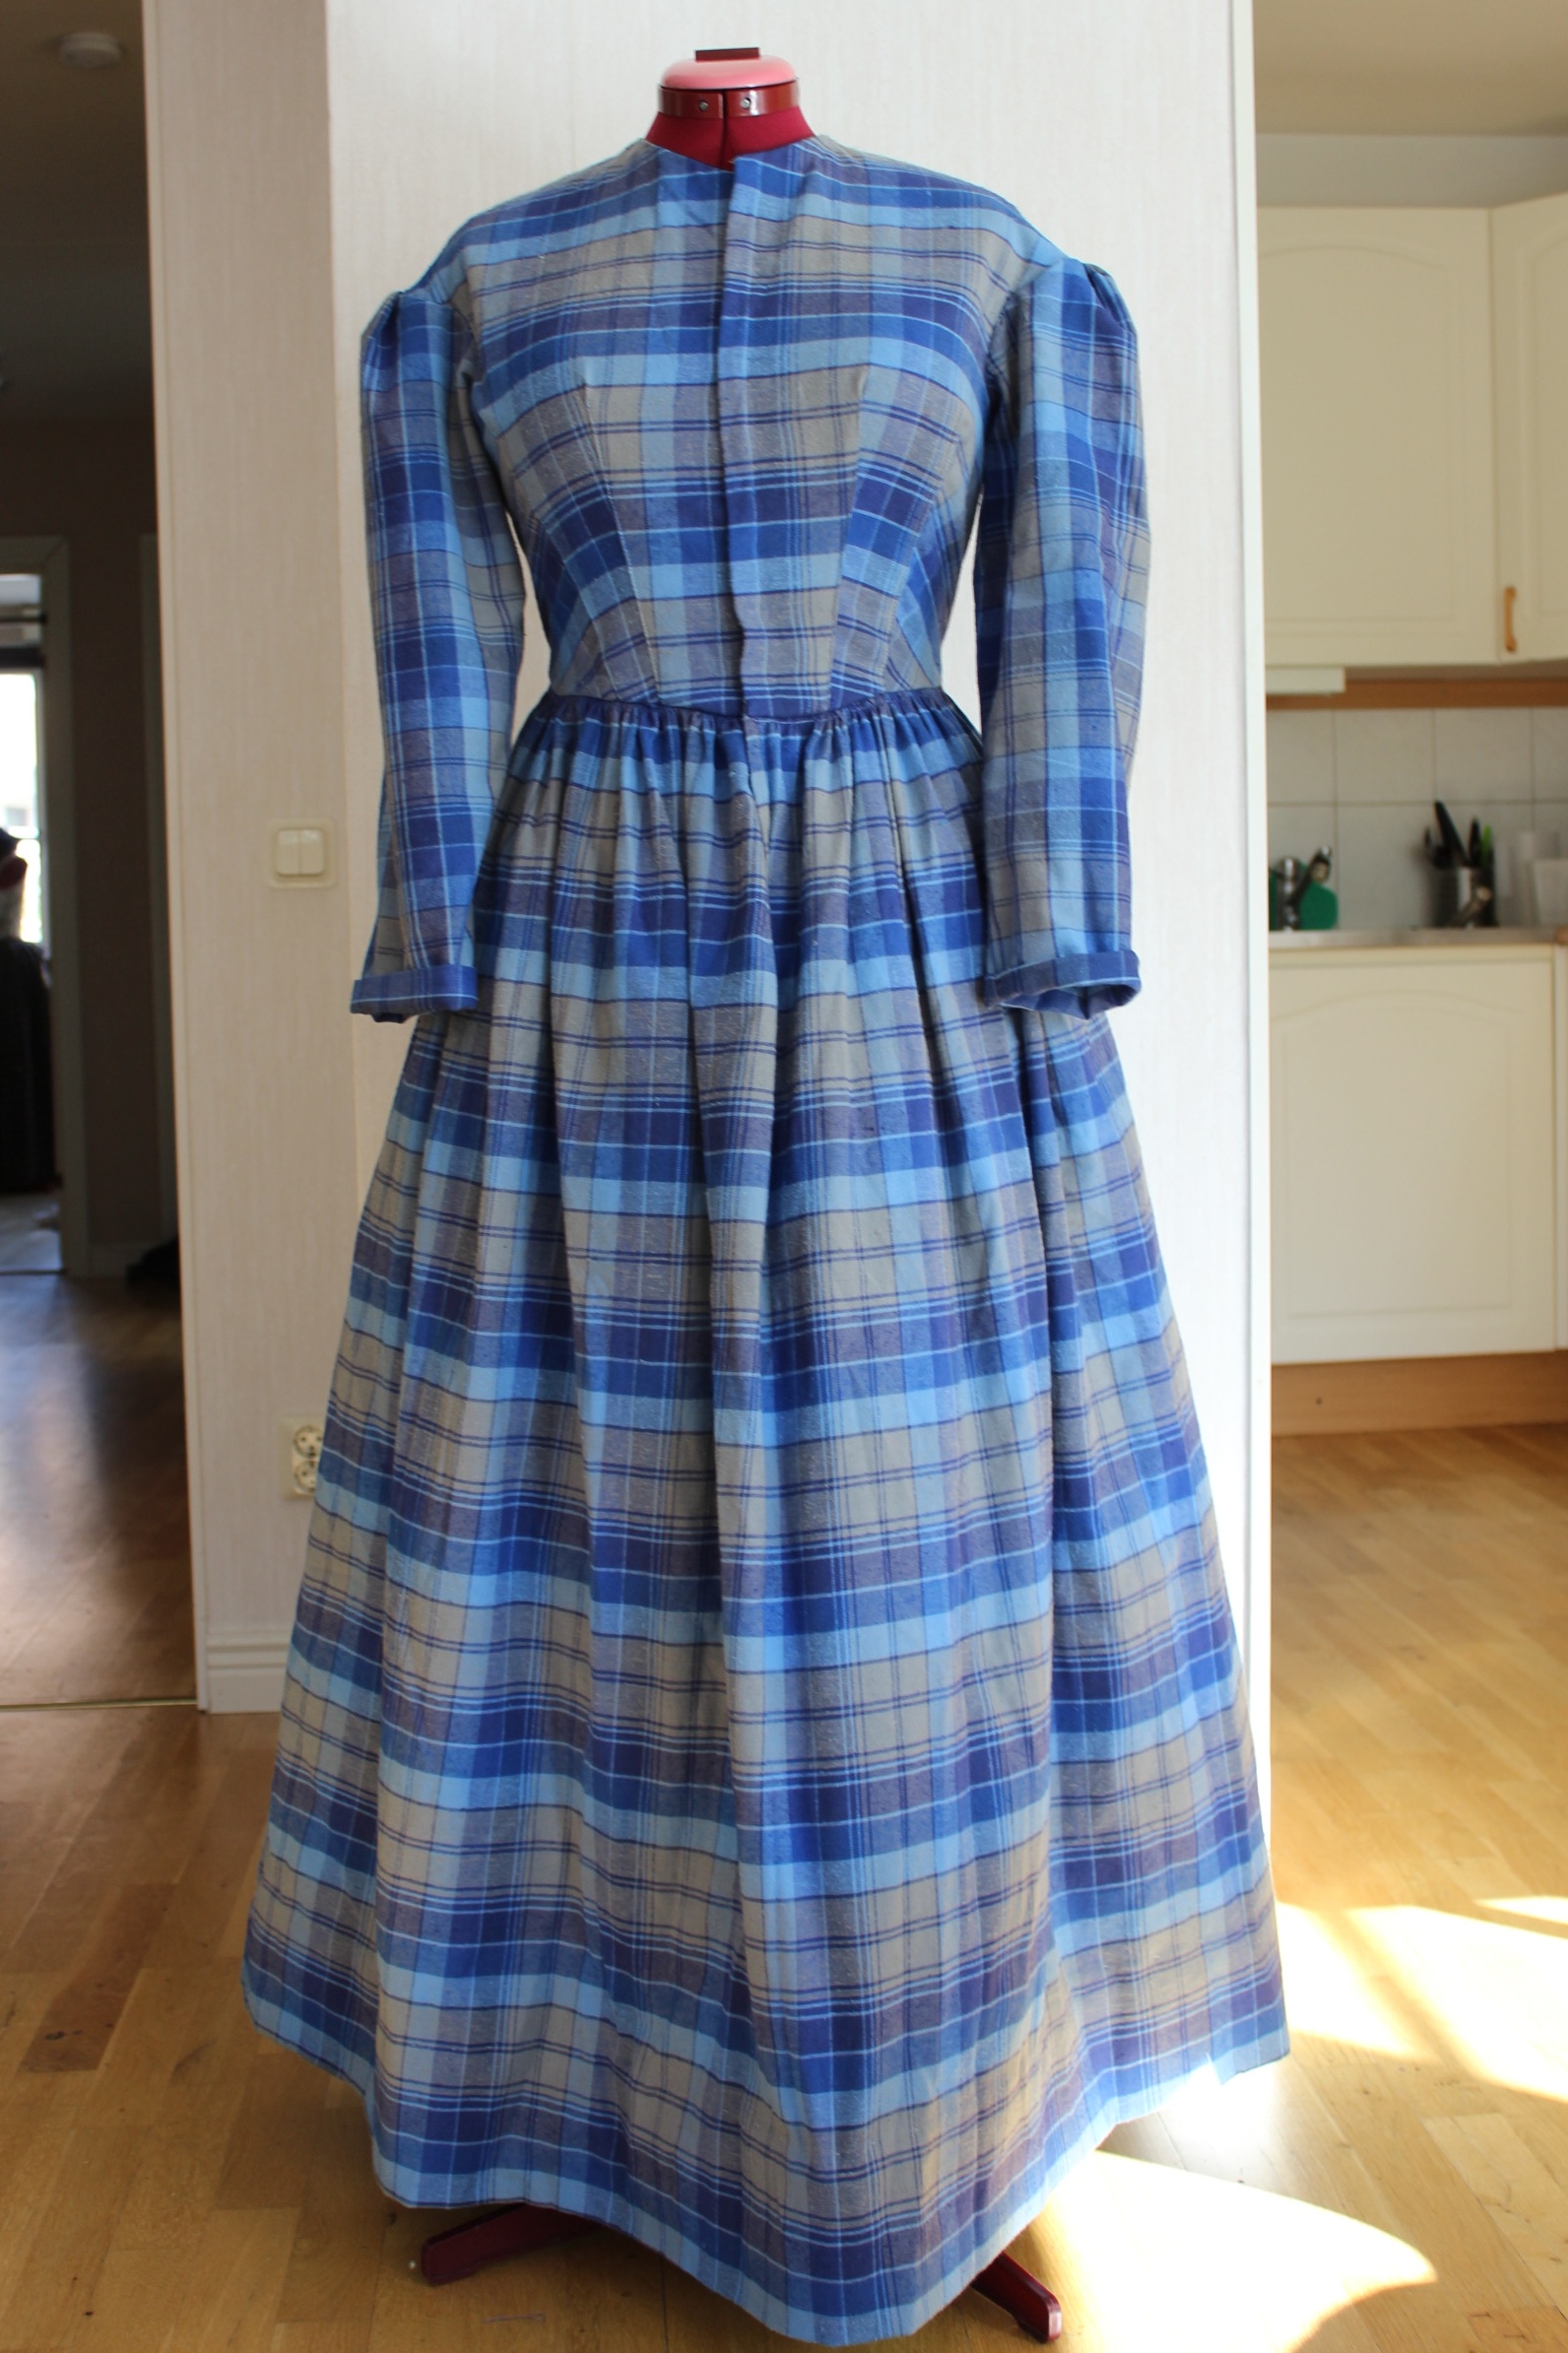
The 19th century farm girl.
 I love this pic of a girl in her finest clothes in front of her home. So refreshing an “real” from all the fancy dresses you see in fashion plates and preserved garments.
Since almost everybody in Sweden heirs from farmers, it seemed logical to assume that so did me and my ancestors.
I found this fabric, 3 m blue plaid cotton flannel, at an online auction site for a real steal of a price.
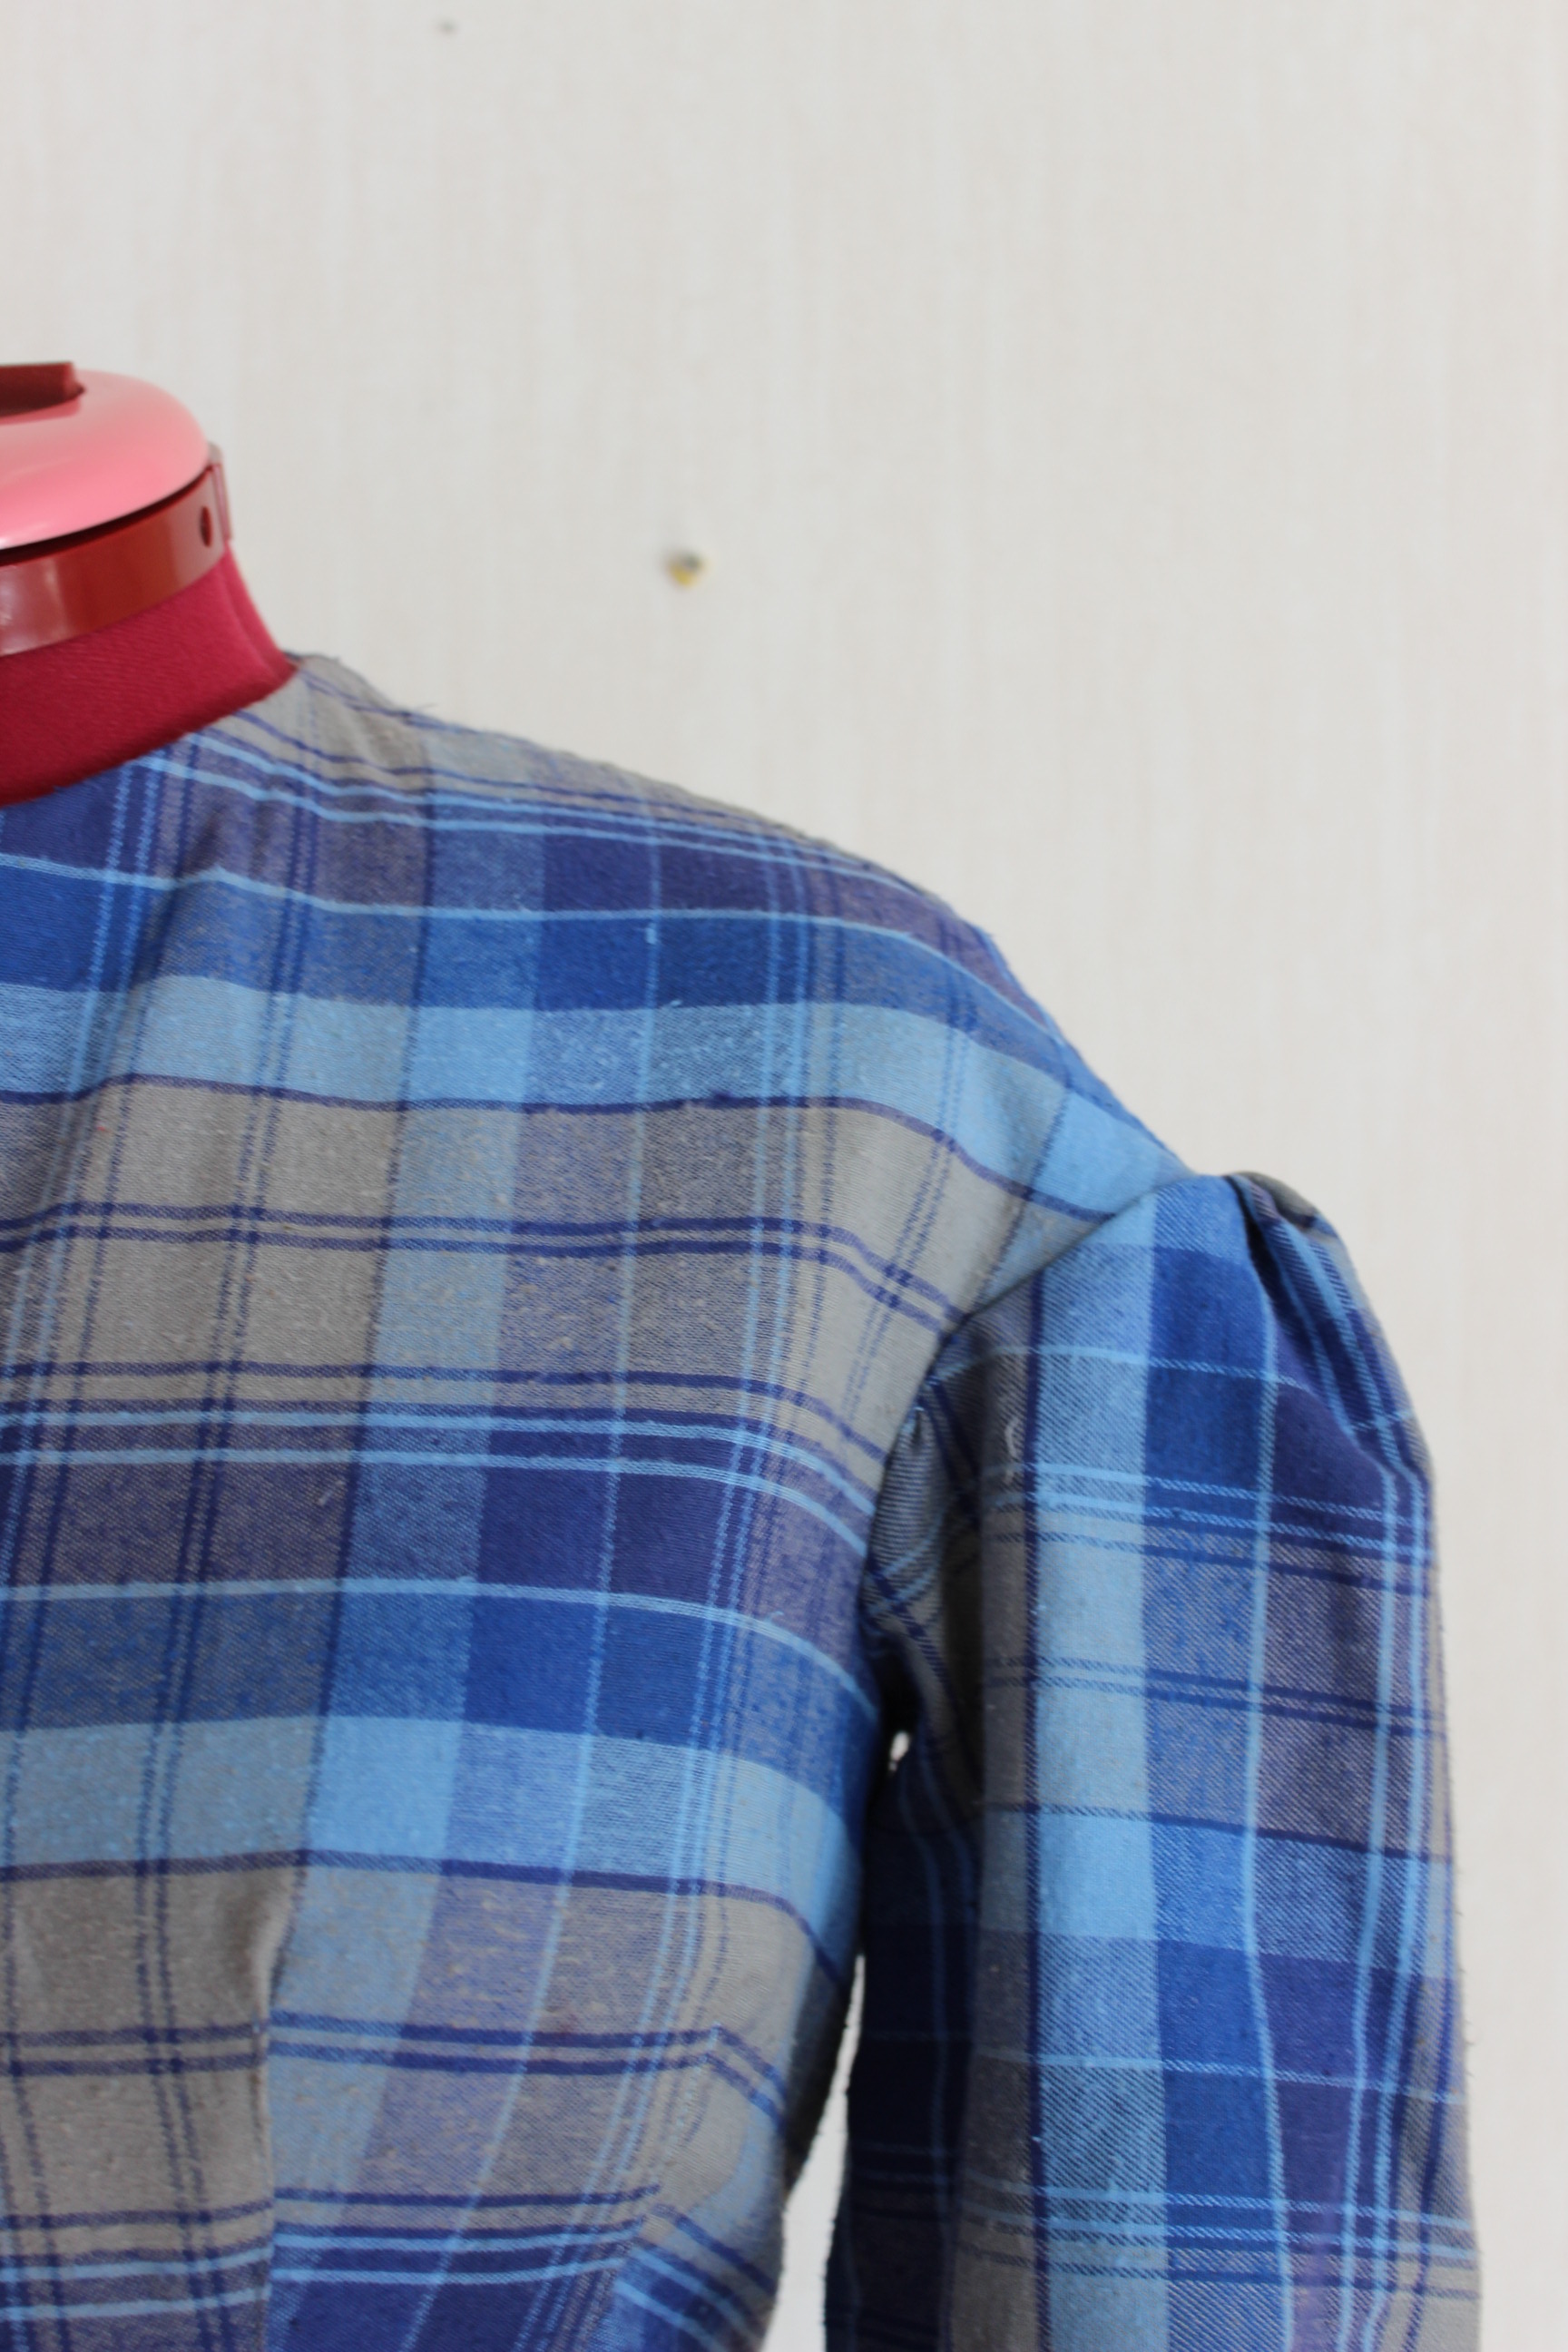
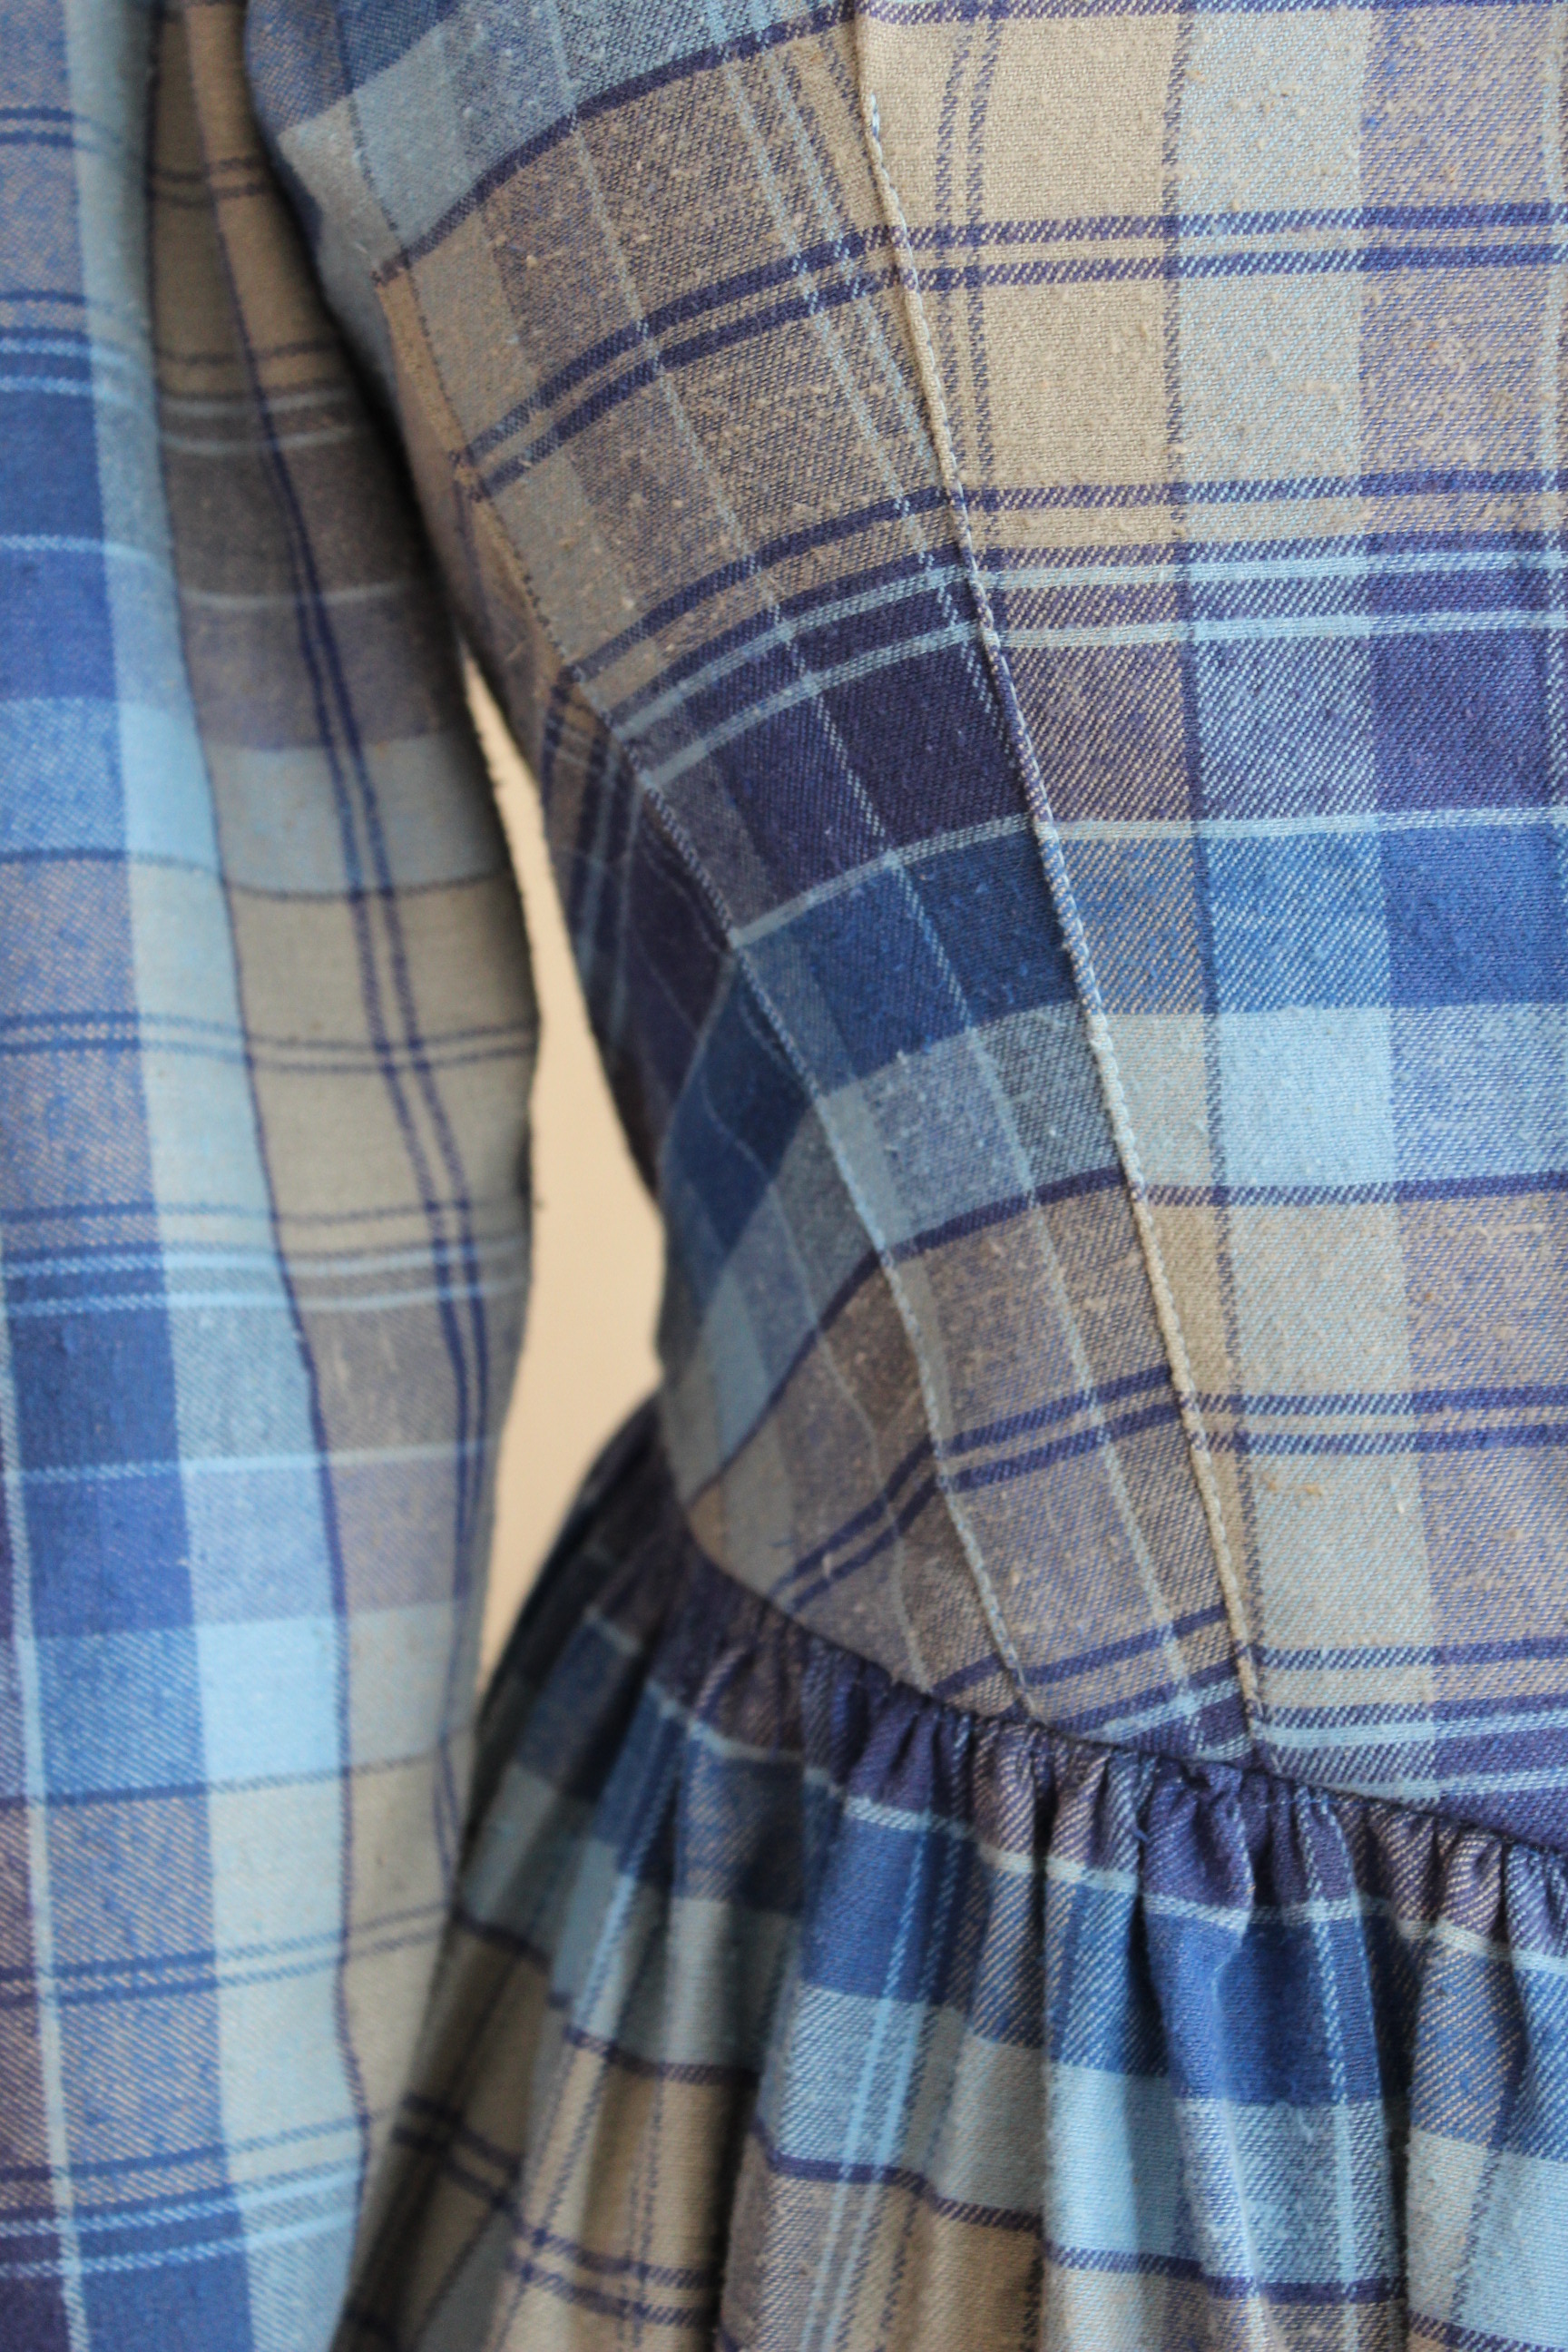
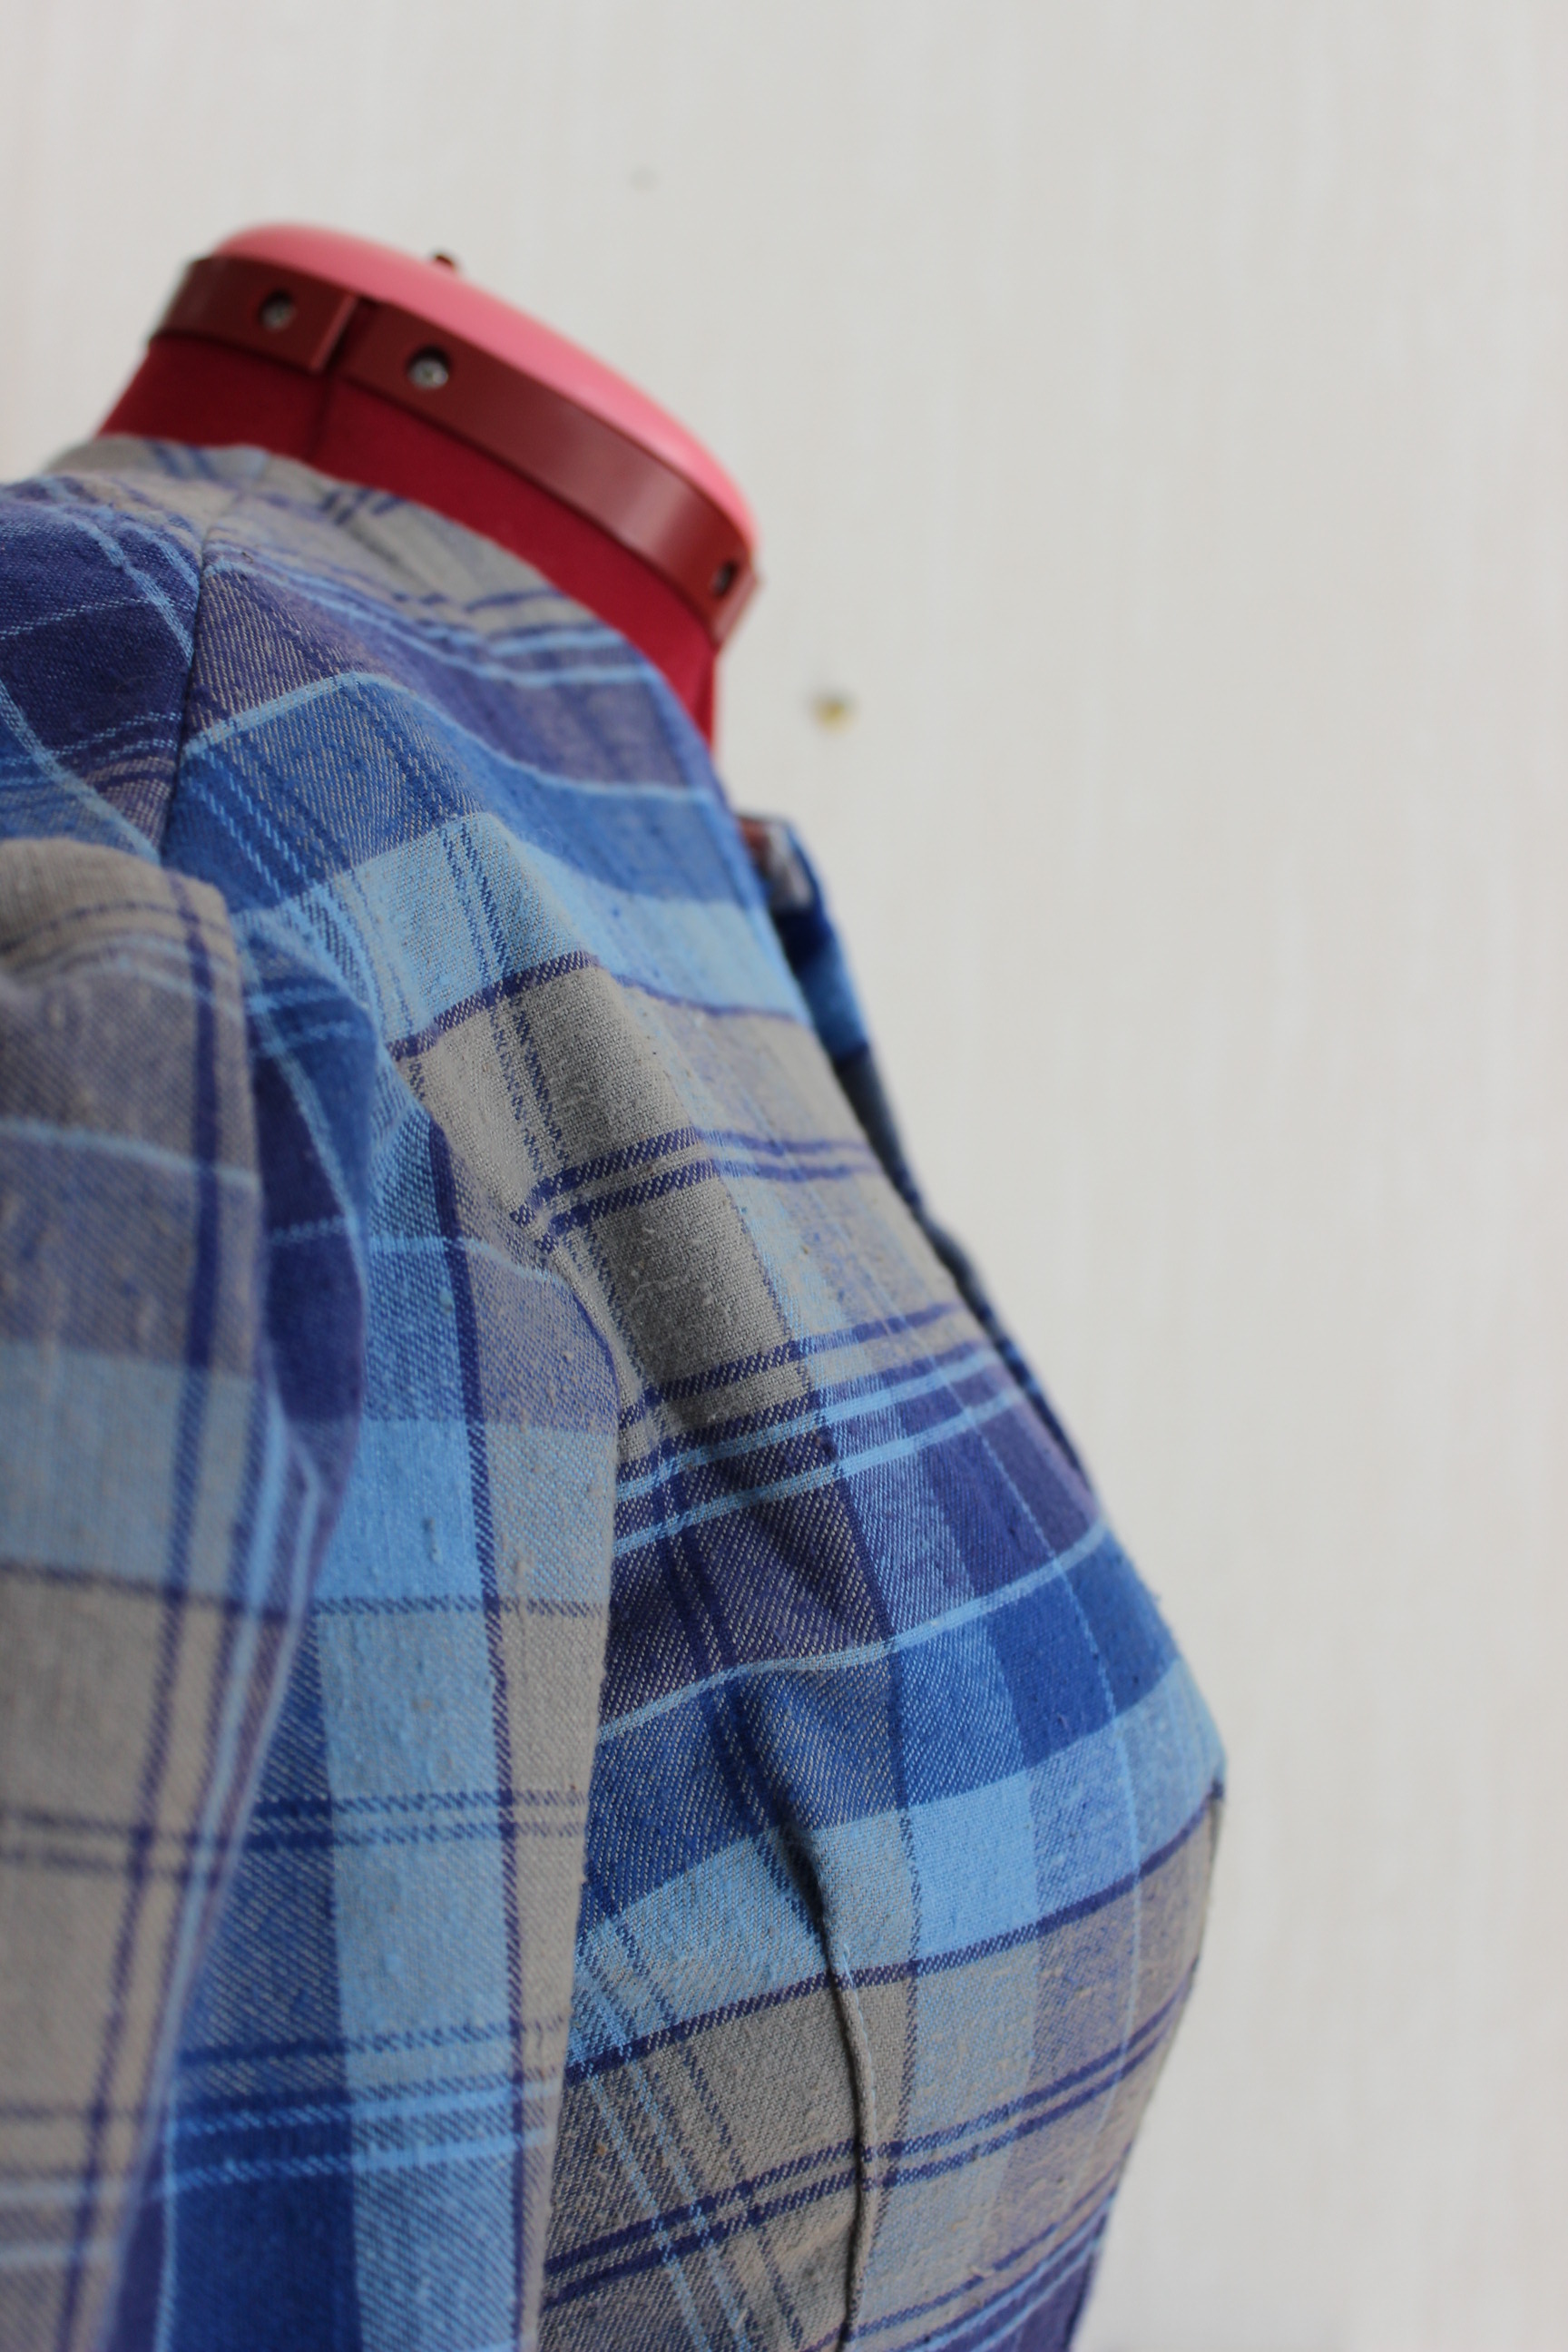
I used my 1840s fan-front dress pattern and cut the fabric down to scraps, carefully matching the plaids.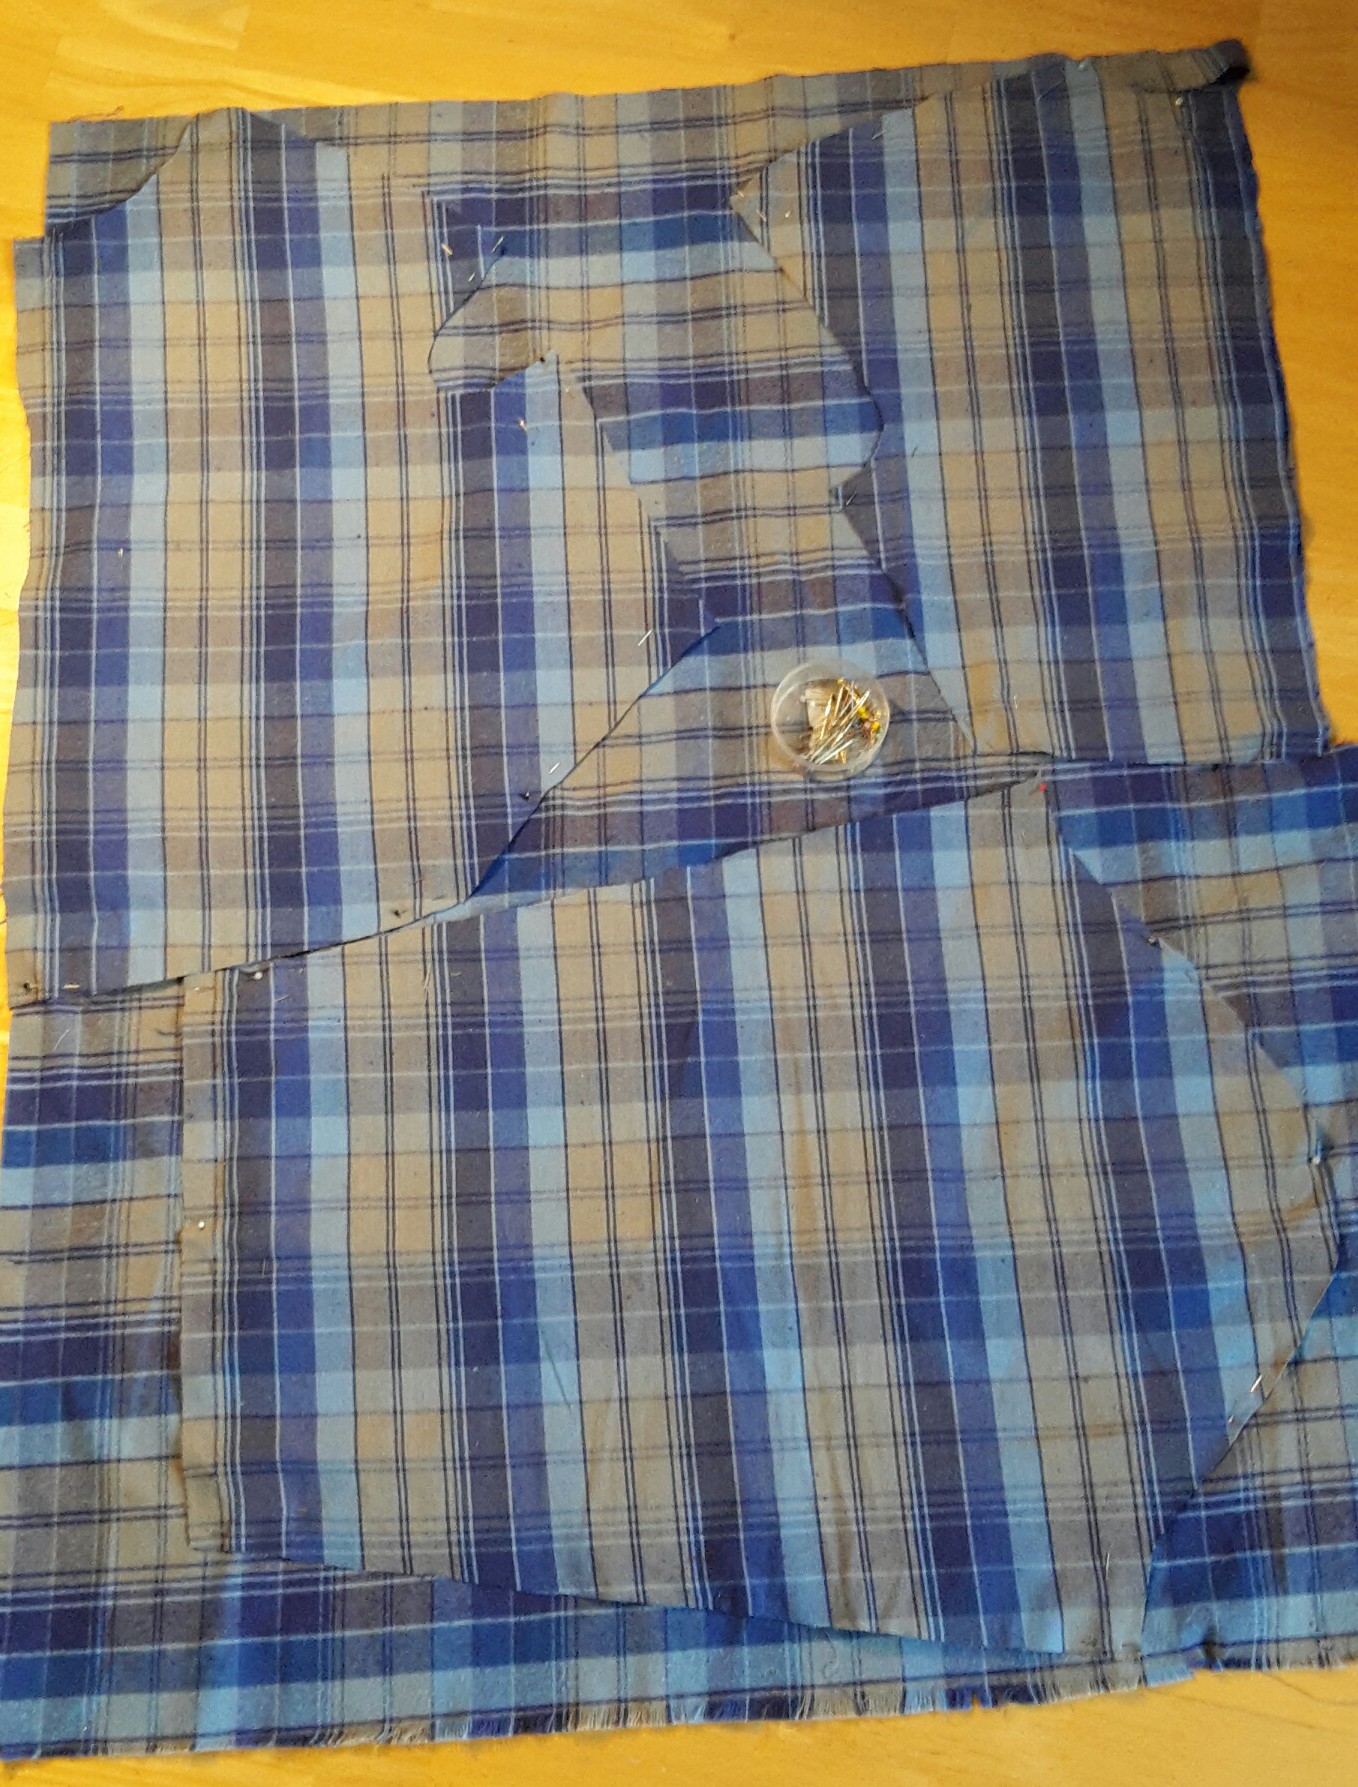
Then I sewed the dress together.
I made it all in three nights, altering between the sewing machine and hand stitching before the TV, and unfortunately “forgot” to take pictures. The sewing was pretty straight forward, so really noting to write in dept about (read about my last dress like this here)
I did however change a few things, from the original green dress, like:
Using darts to shape the front bodice, instead of fixed gathers.  Adding the bodice to the skirt as to make a “whole” dress, and switching the buttons for hooks and eyes.
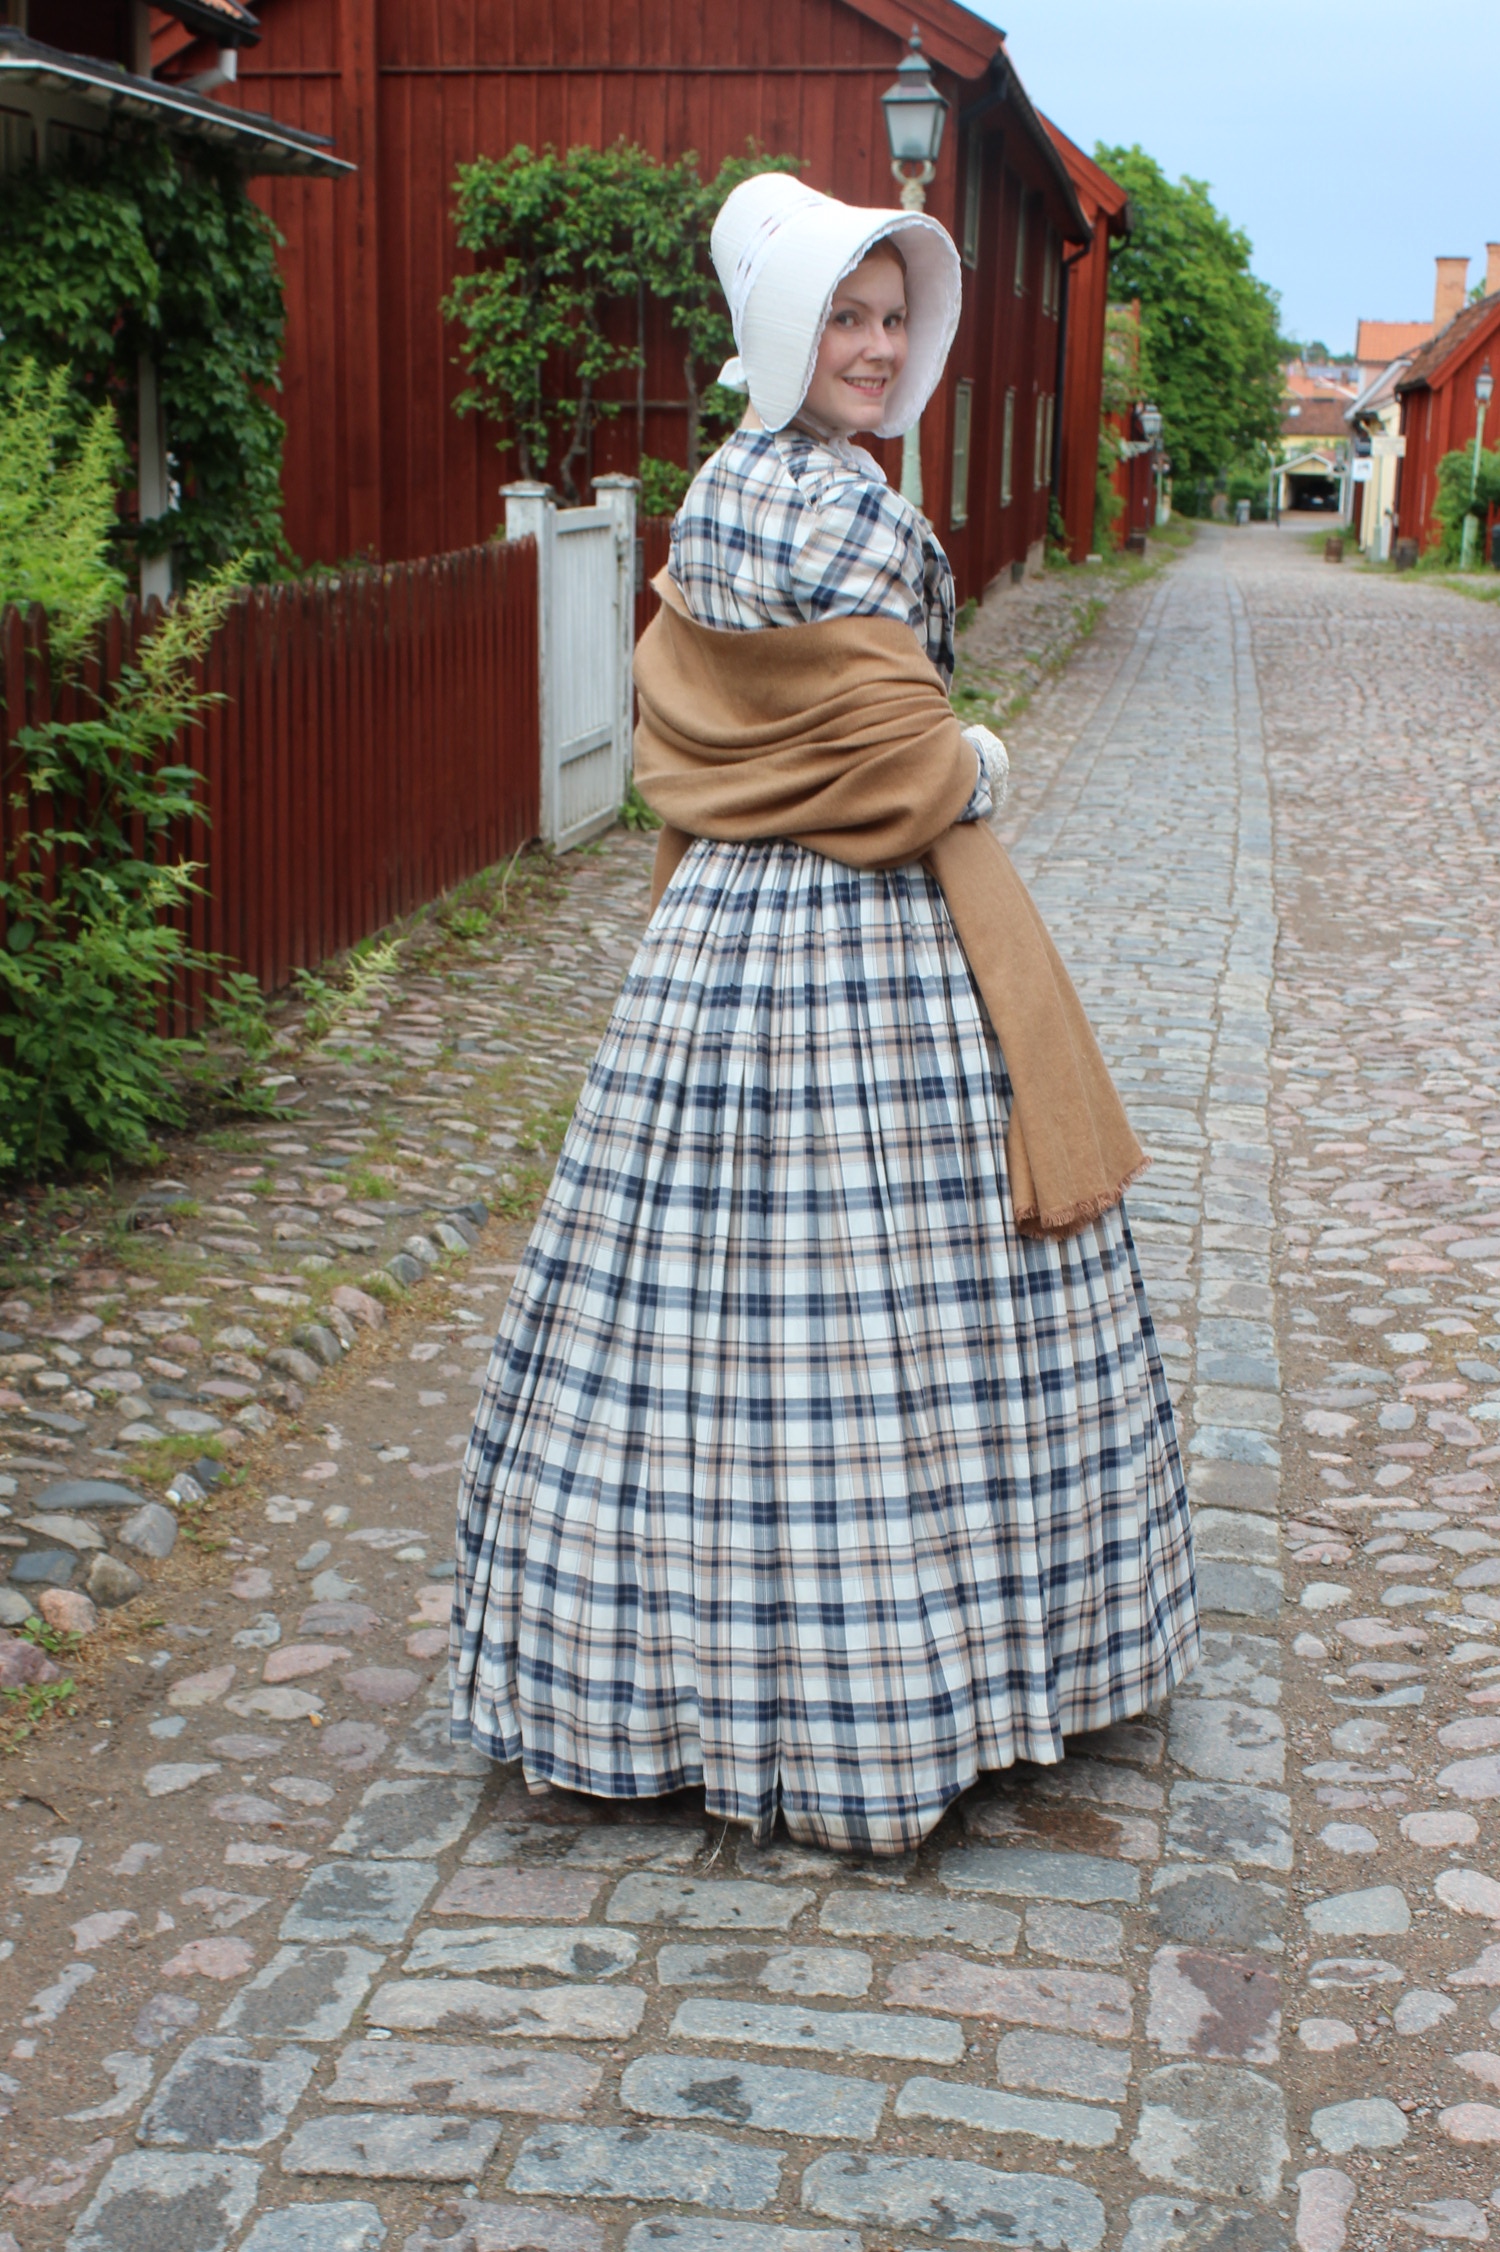
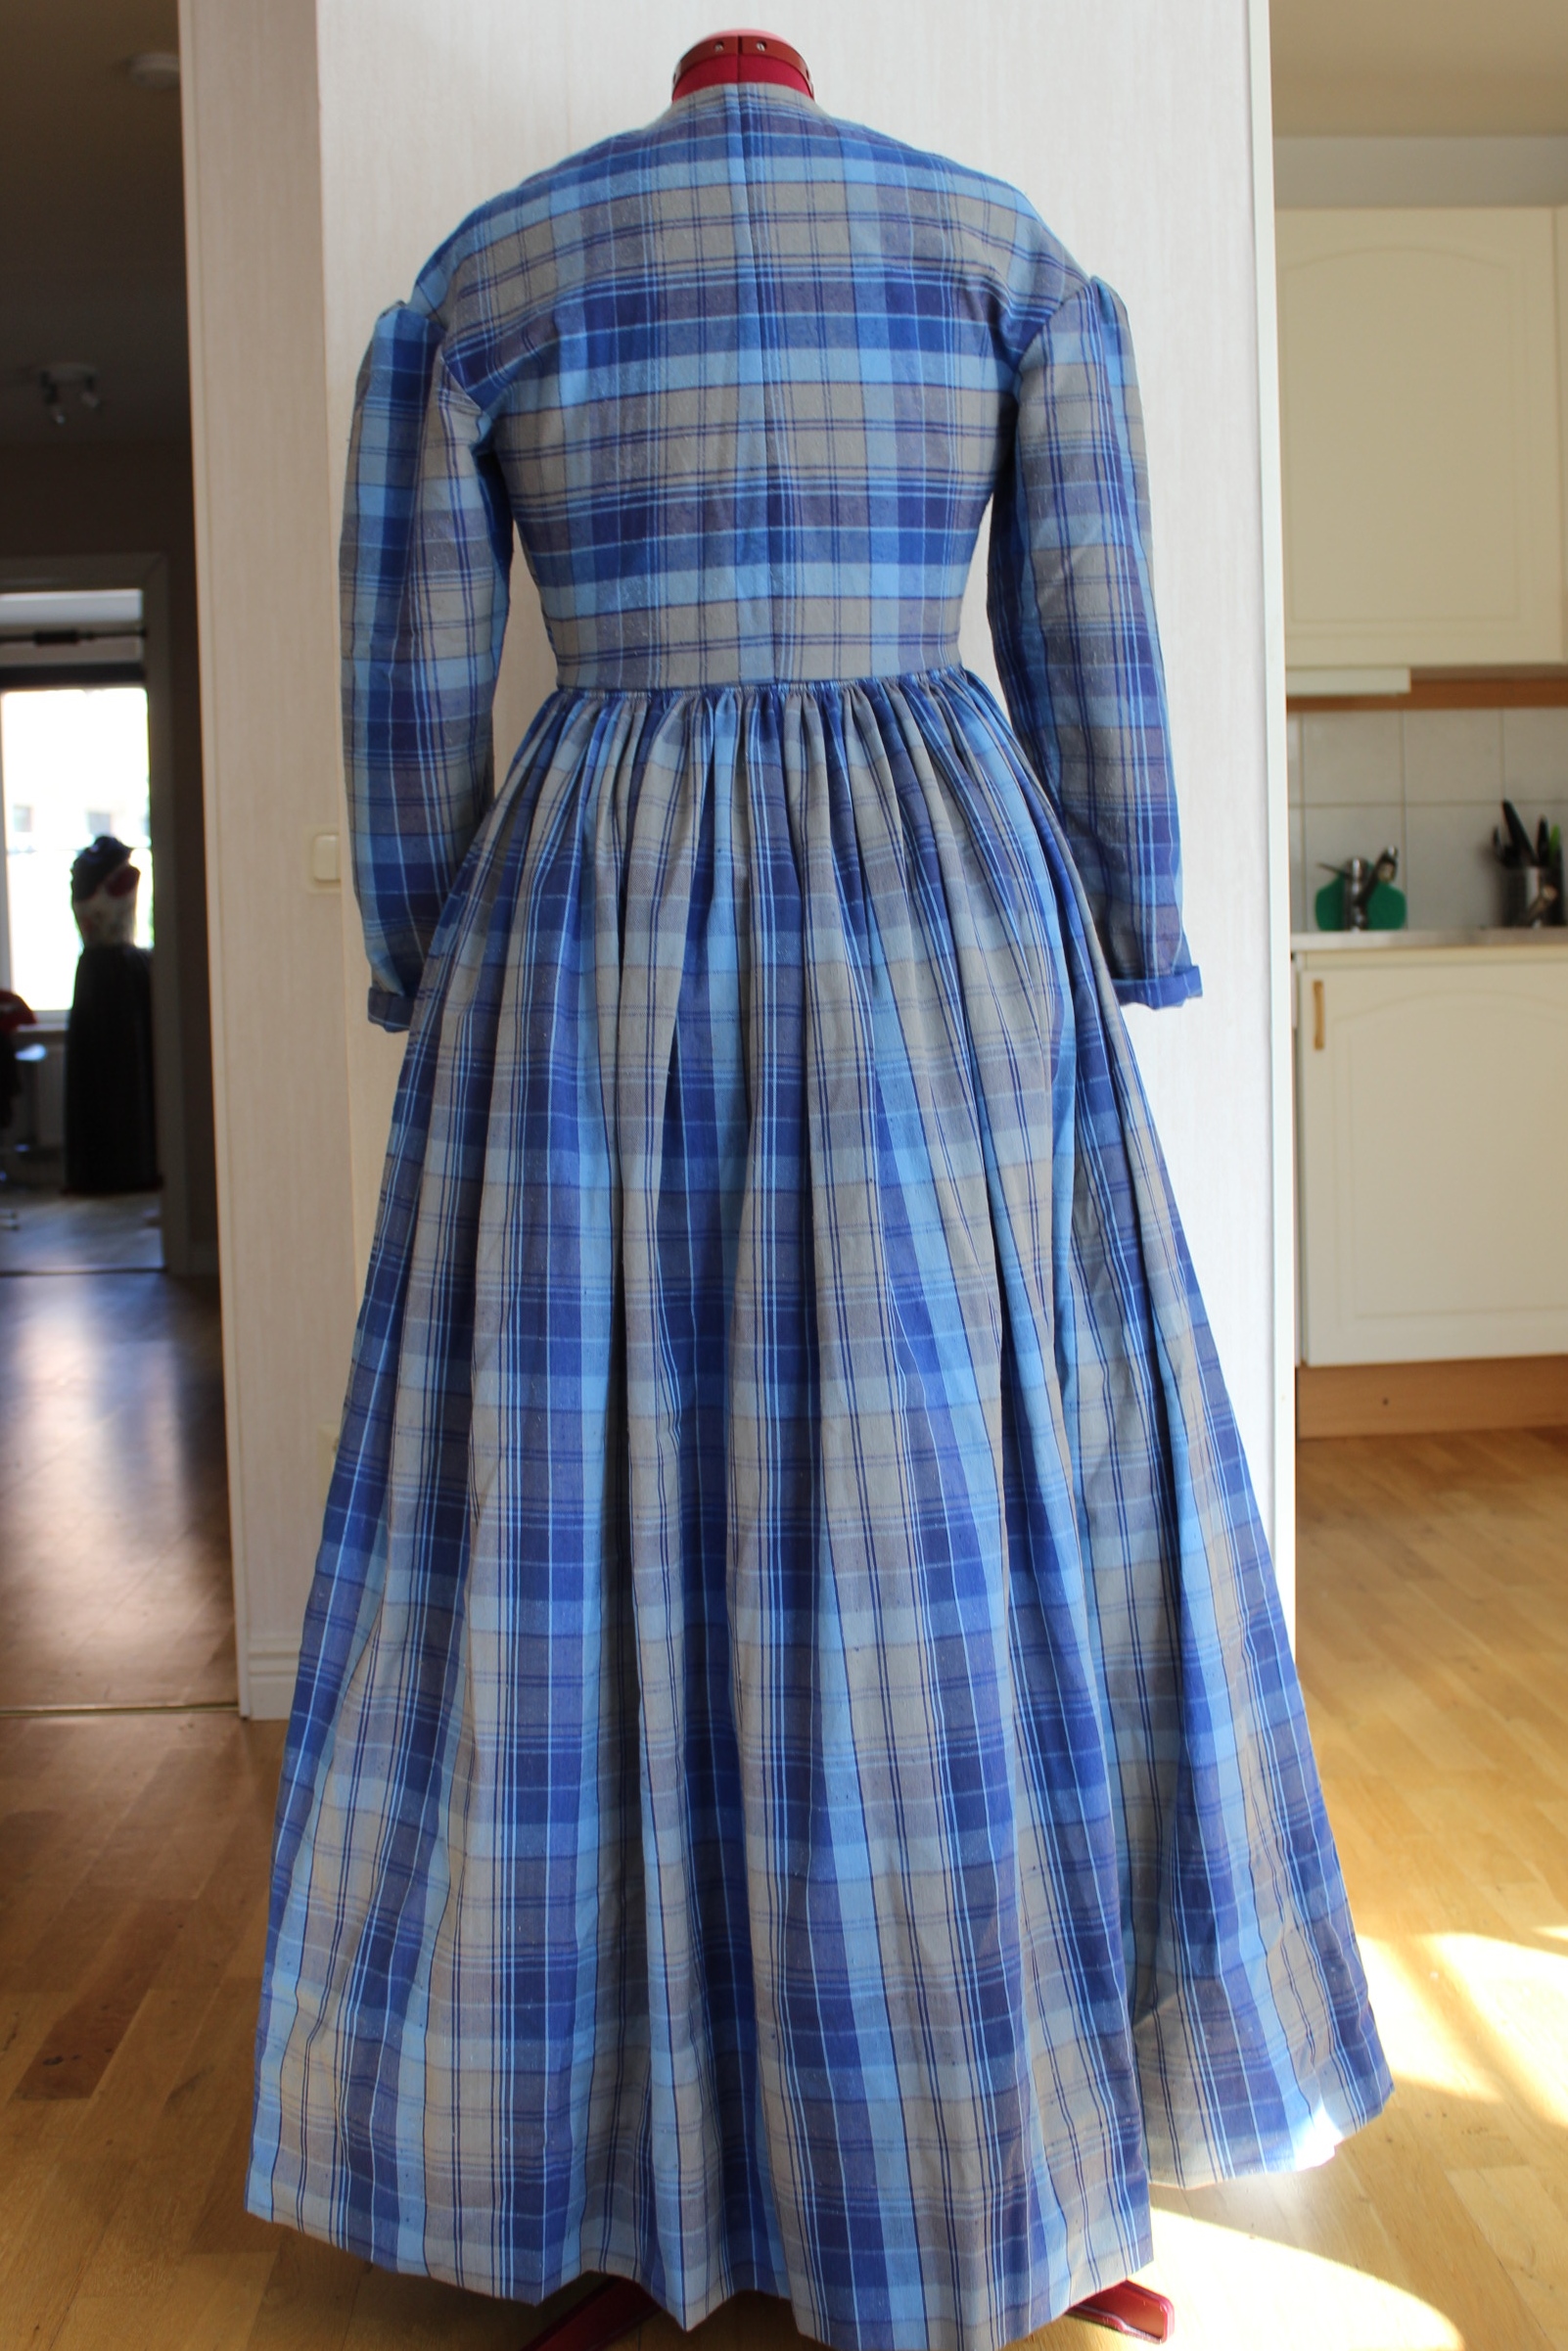
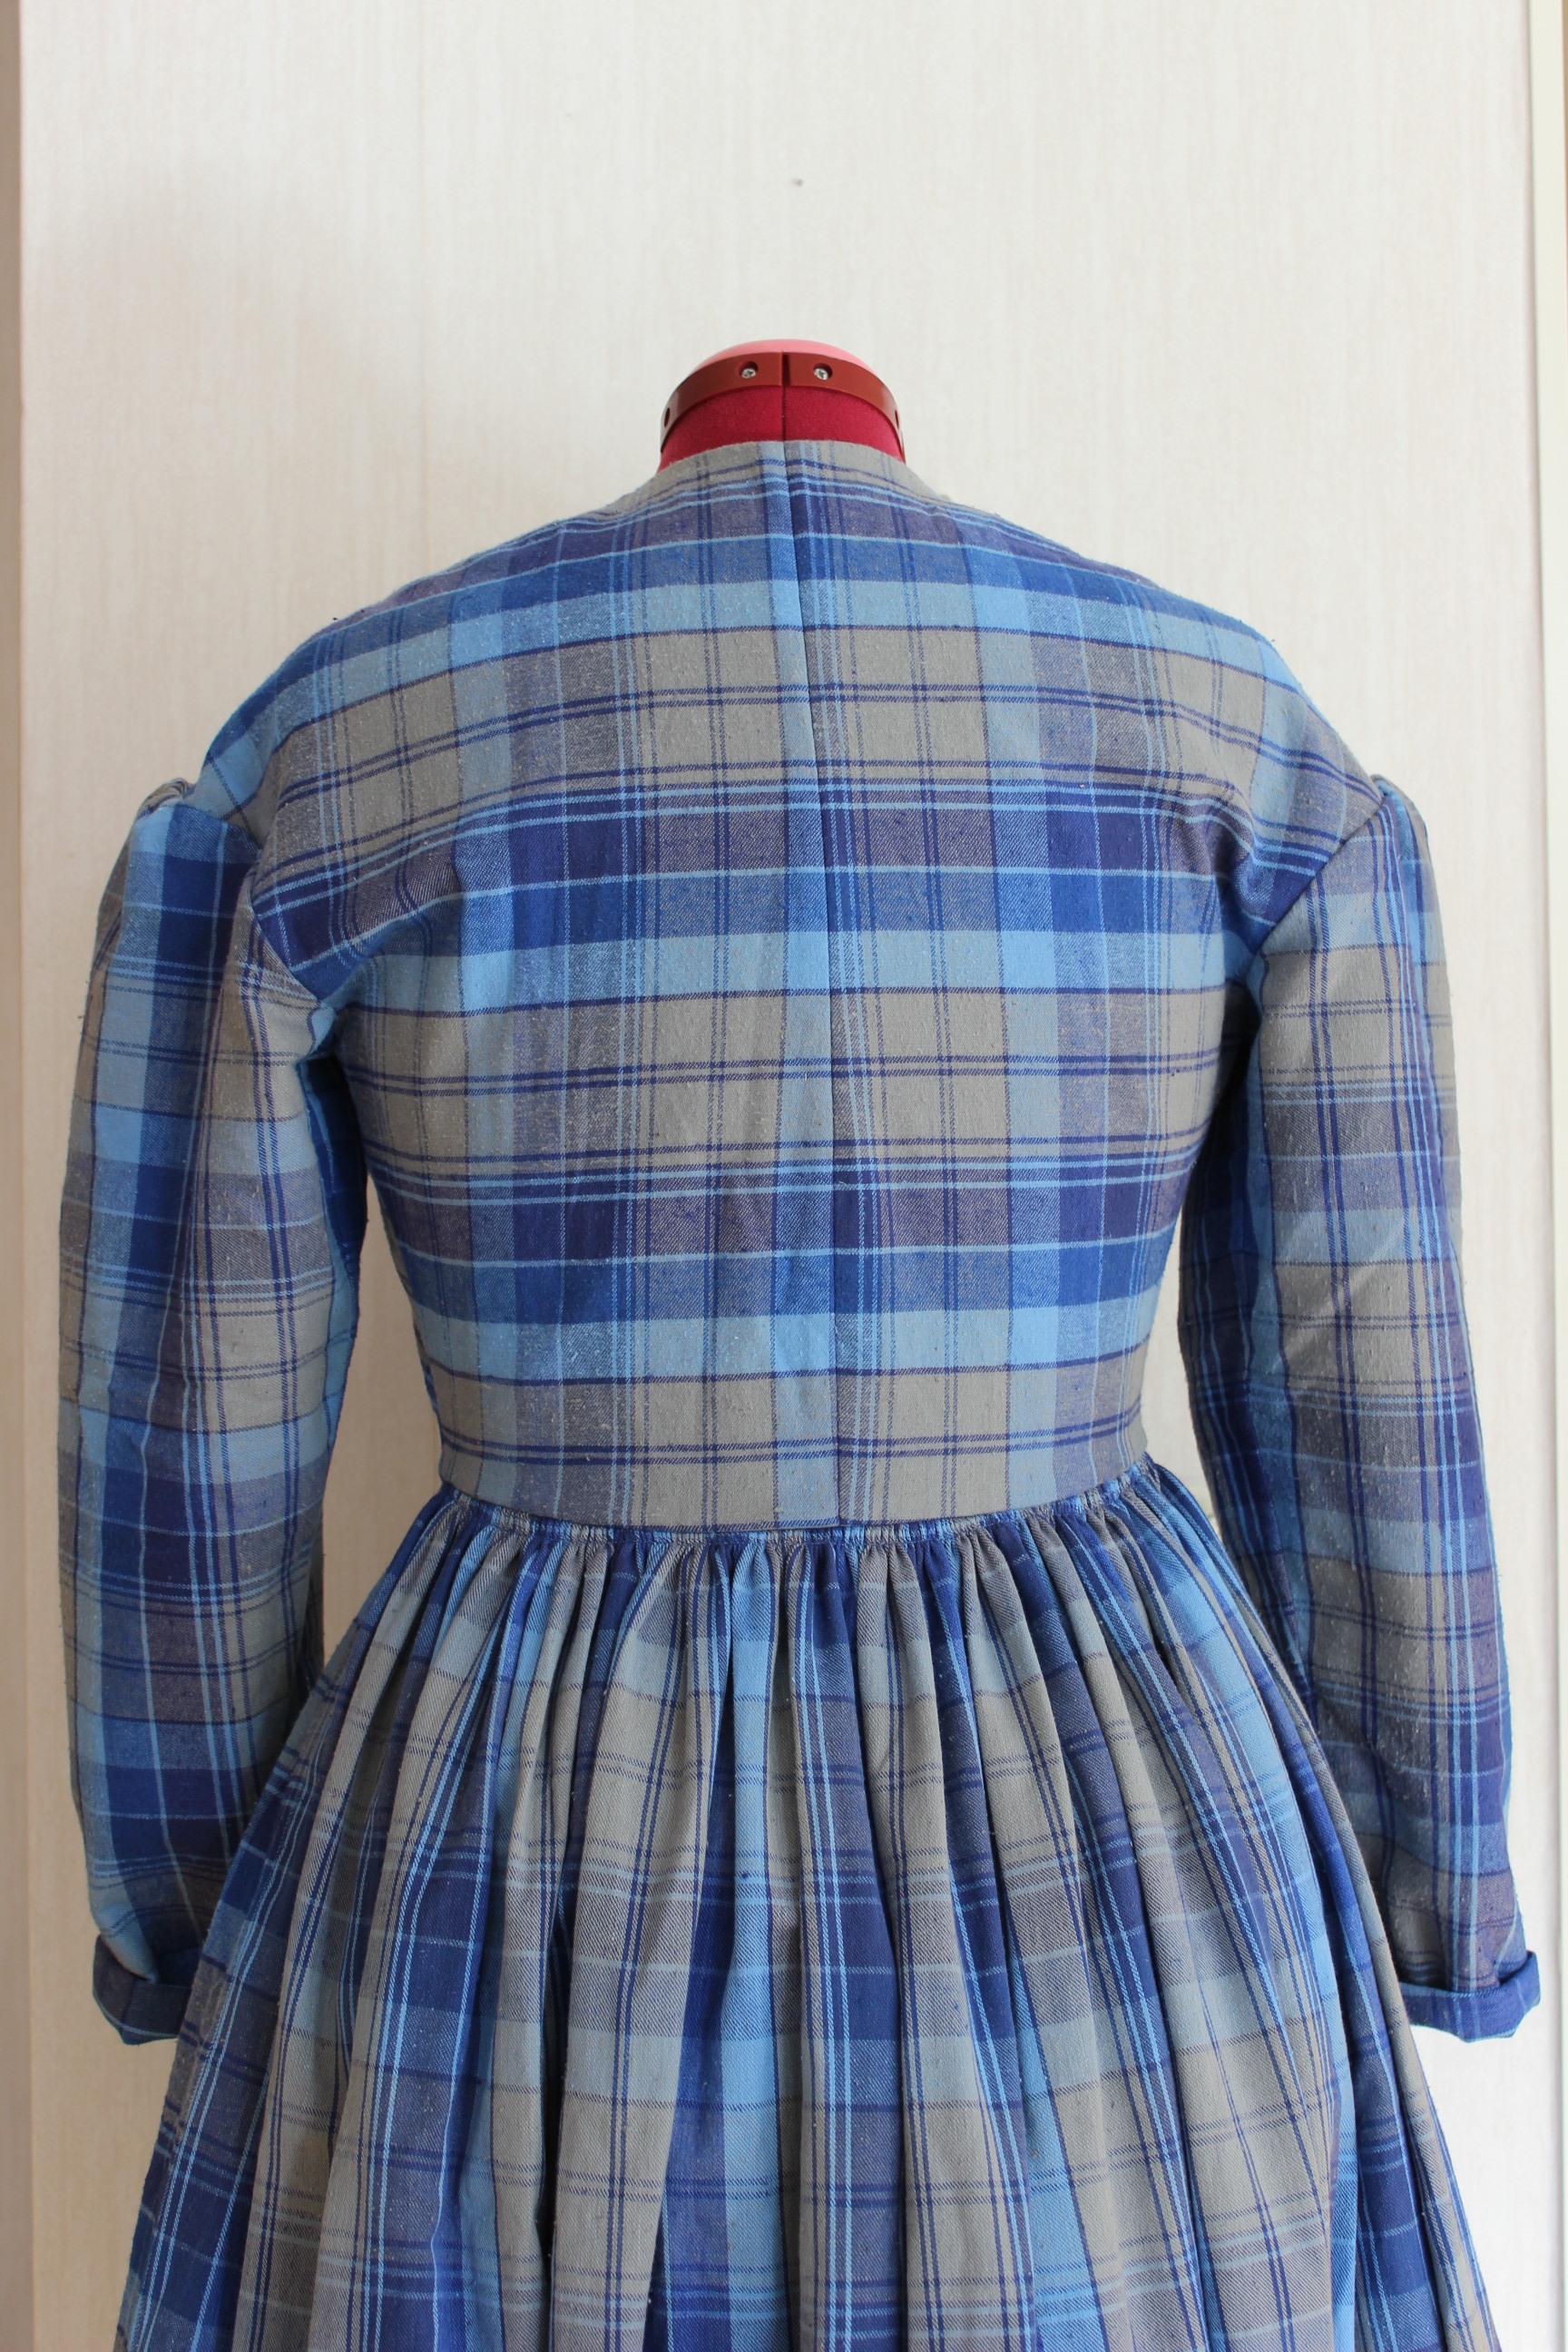
The finished dress:


Just the facts:
Challenge: nr 8/2015 – Heirlome
What: A 1850s working woman’s dress – As my ancestors might have worn.
Pattern: Self drafted about 2 years ago.
Fabric: 2,6 m of plaid cotton flanell, 0,5 m of white cotton lining.
Notions: Thread, hook & eyes, 2 m bias tape.
How historical accurate: So so, the look and fabric is plausible, but I sewed most of it on machine and put in some modern techniques. Maybe 6/10
Time: About 10-15 hours
Cost: About 150 Sek (22 Usd)
First worn: For photos September 12.
Final thoughts: Unfortunately I do not love this dress. I like the idea of it much better then the dress itself.
I’t came out a bit to big for me, and being made to work without a corset I feel a bit frumpy wearing it.
 Accessorized with apron and head-cloth from my national costume
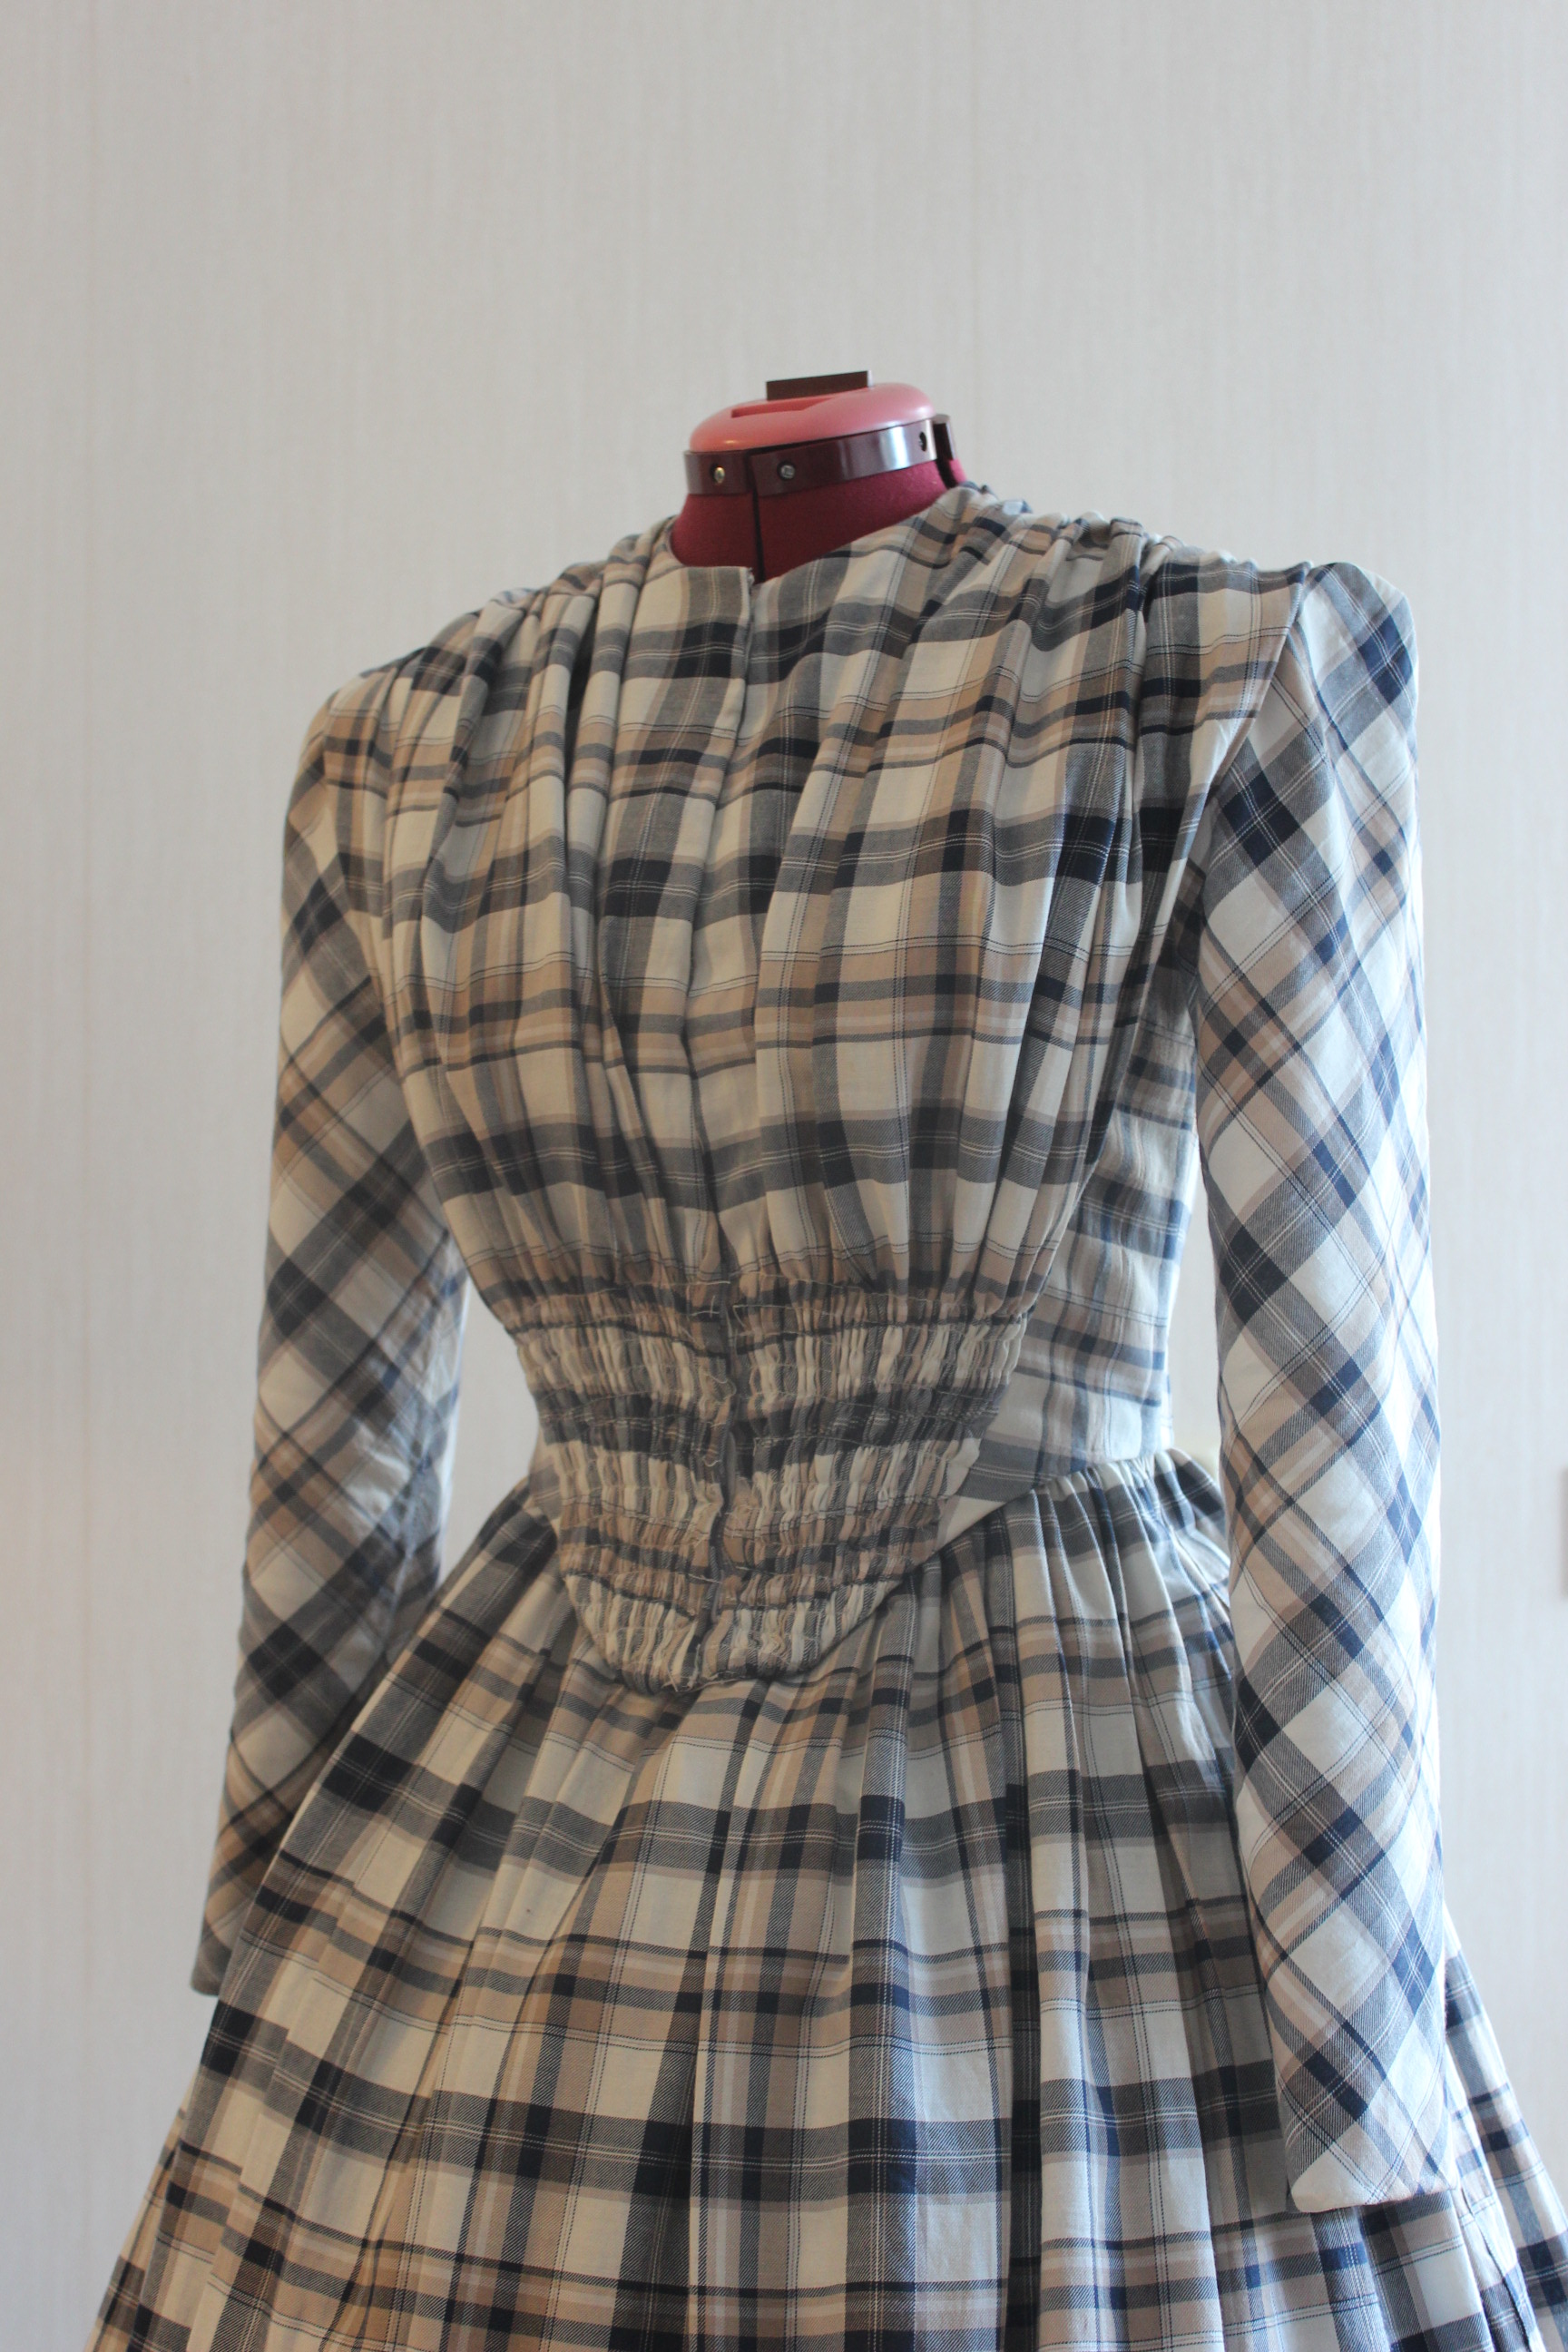
Before I could continue on my 1850s dress bodice, I needed to decide on weather or not to do the gathers (part 1 & 2).
To help decide I posted the question n my facebook wall, and in my historic sewing class, and the answer was unanimous – Do the gathers.
With no time to argue, I got to work, testing the draping on my dressform.

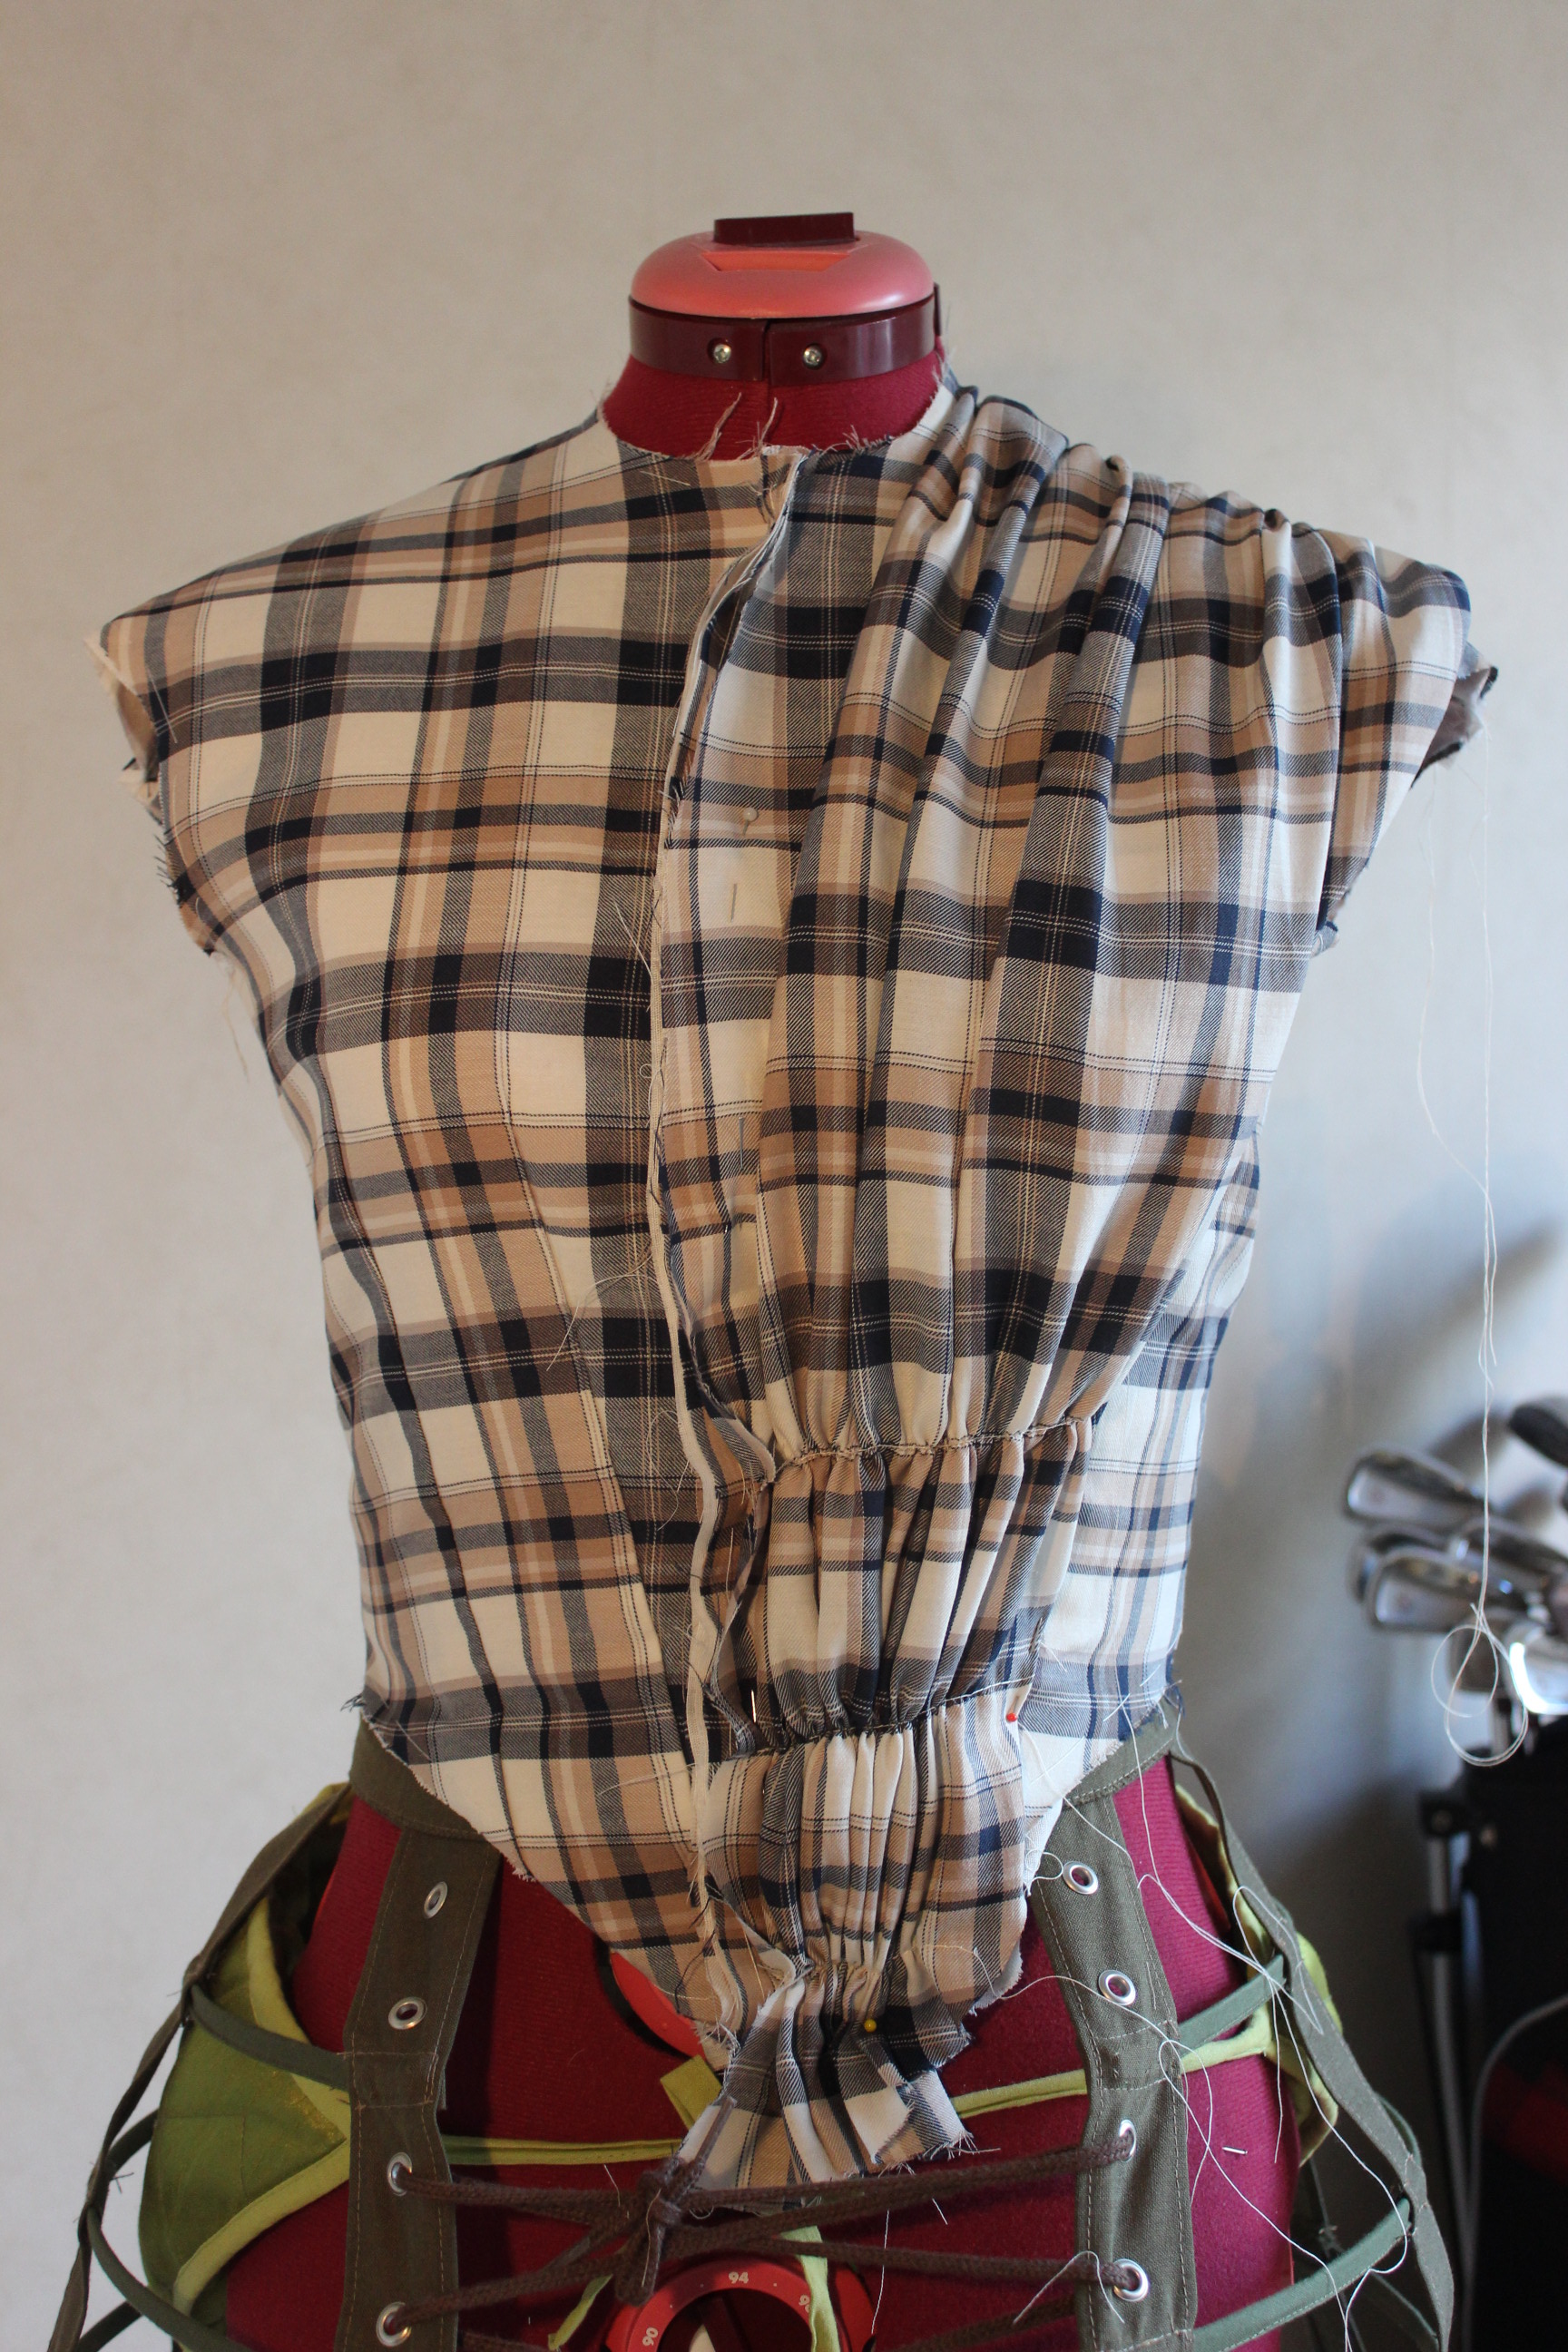
Using three gathering threads to test the draping on the dressform.
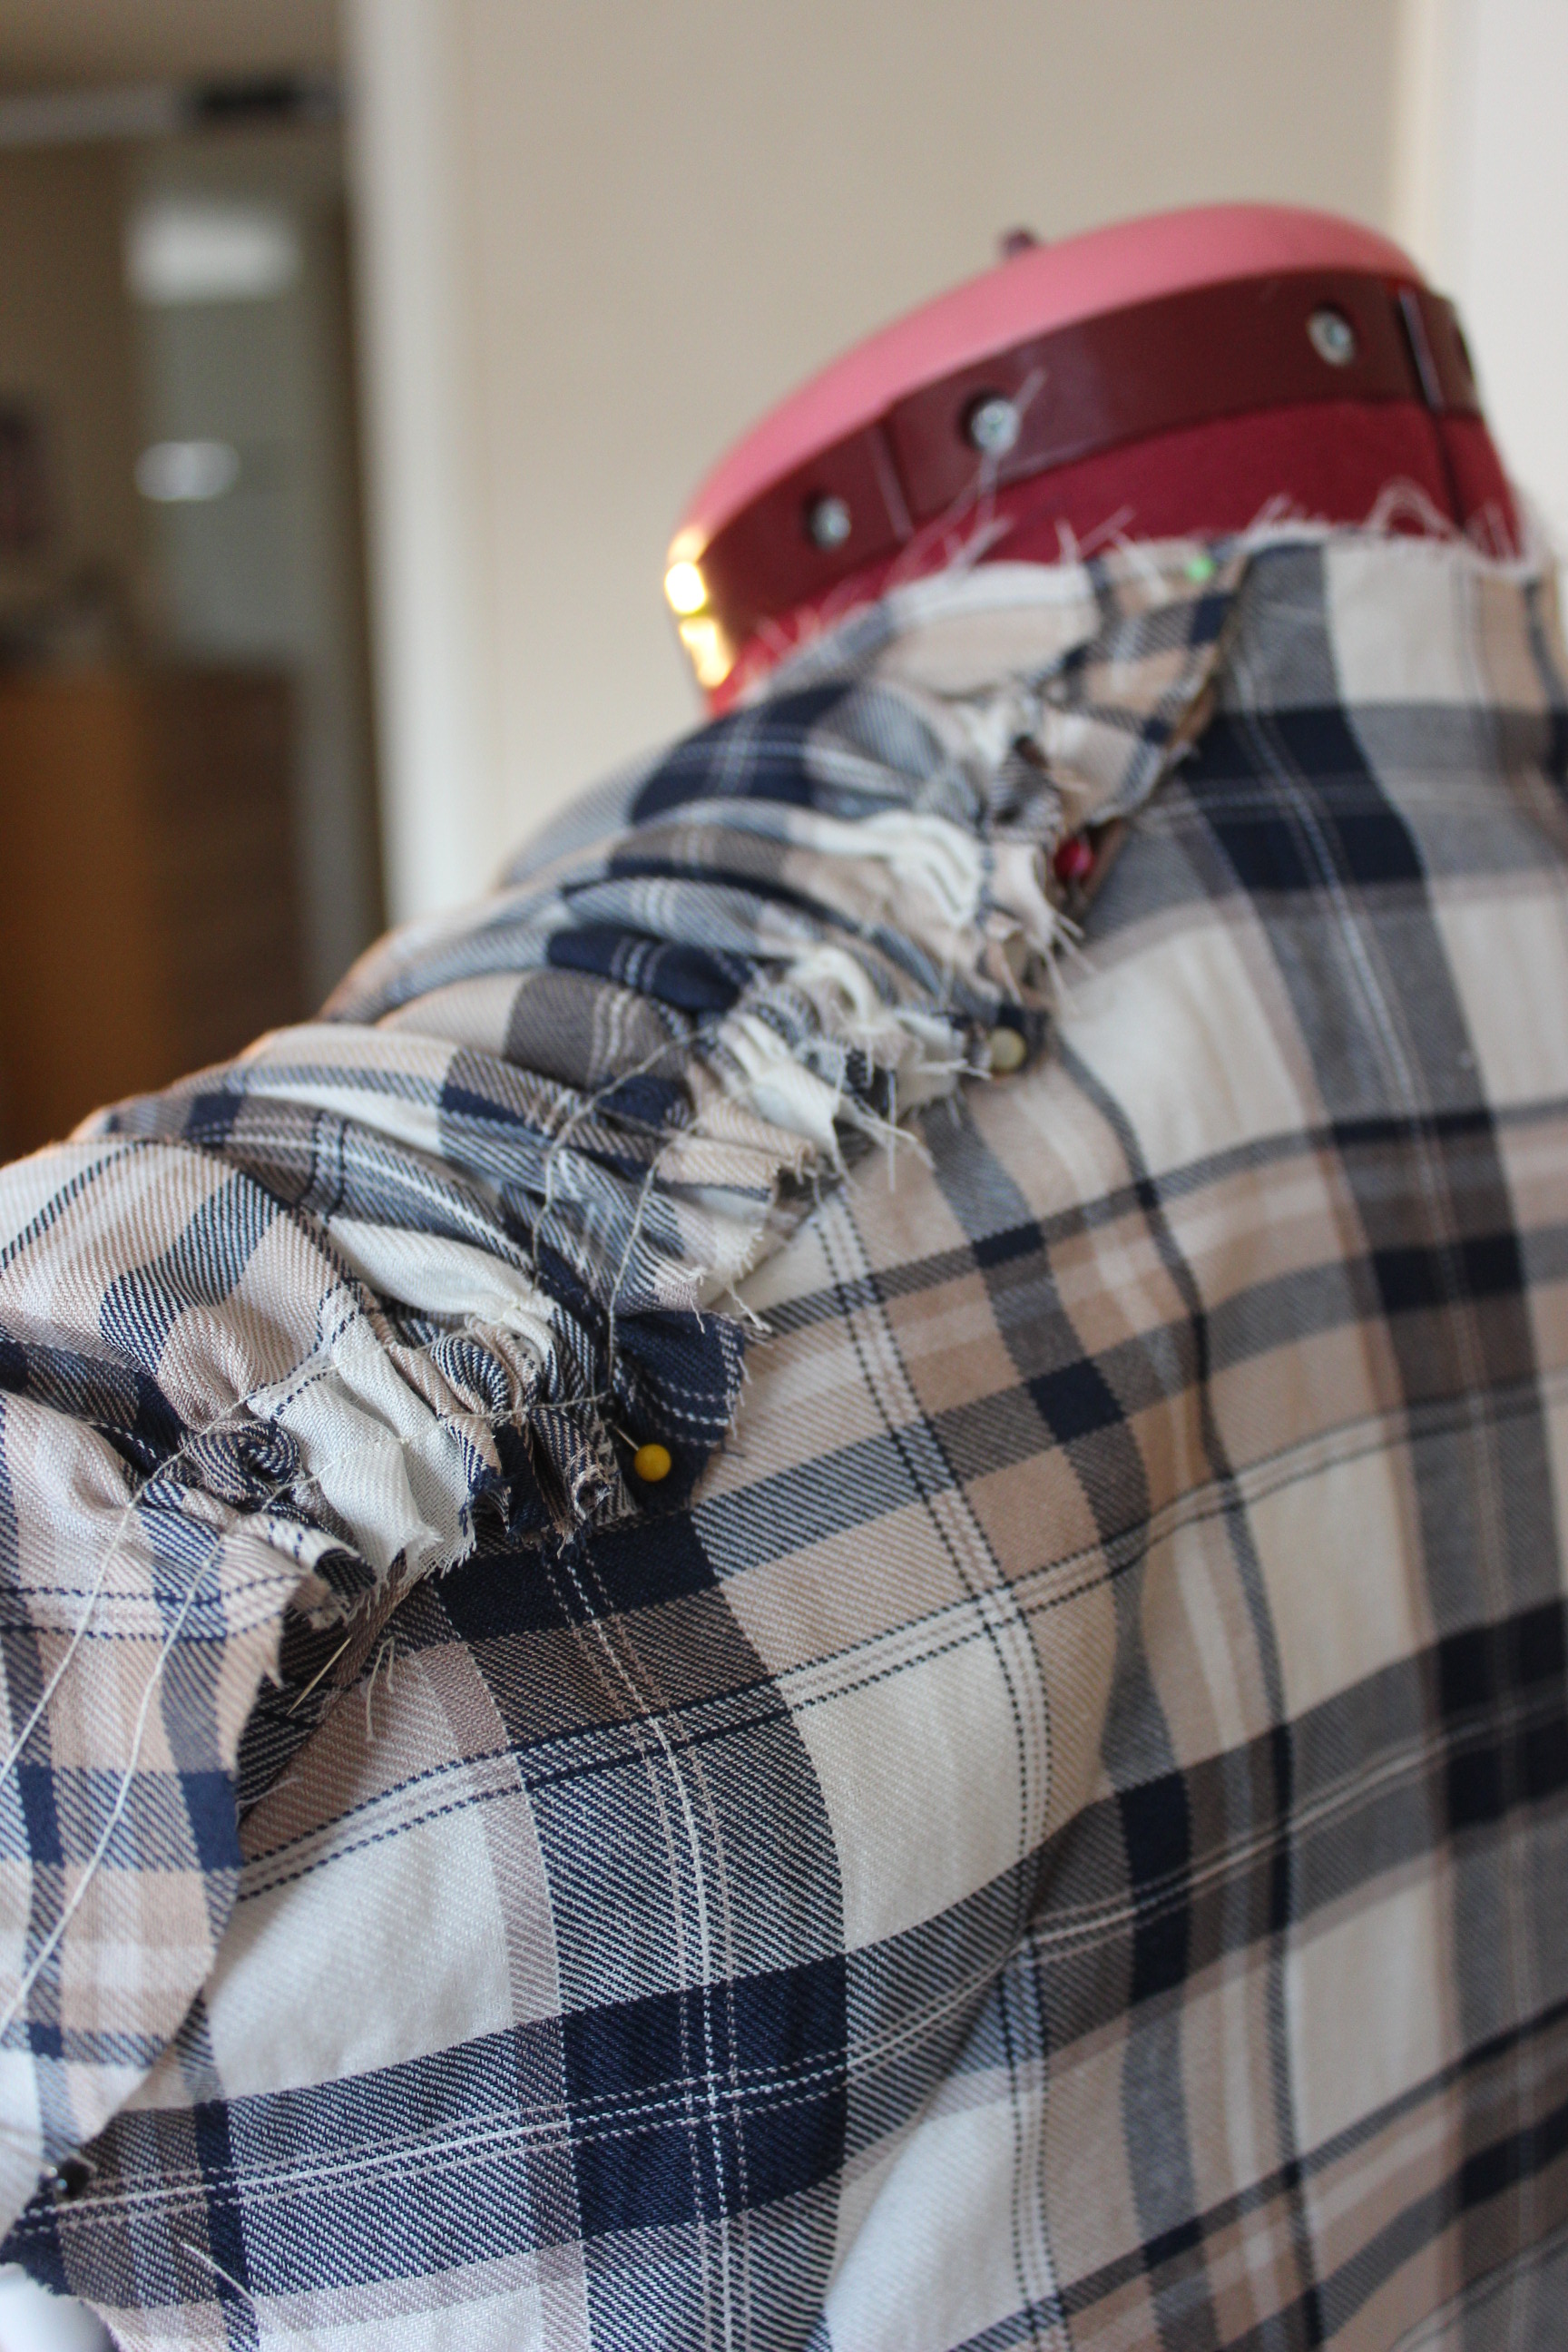
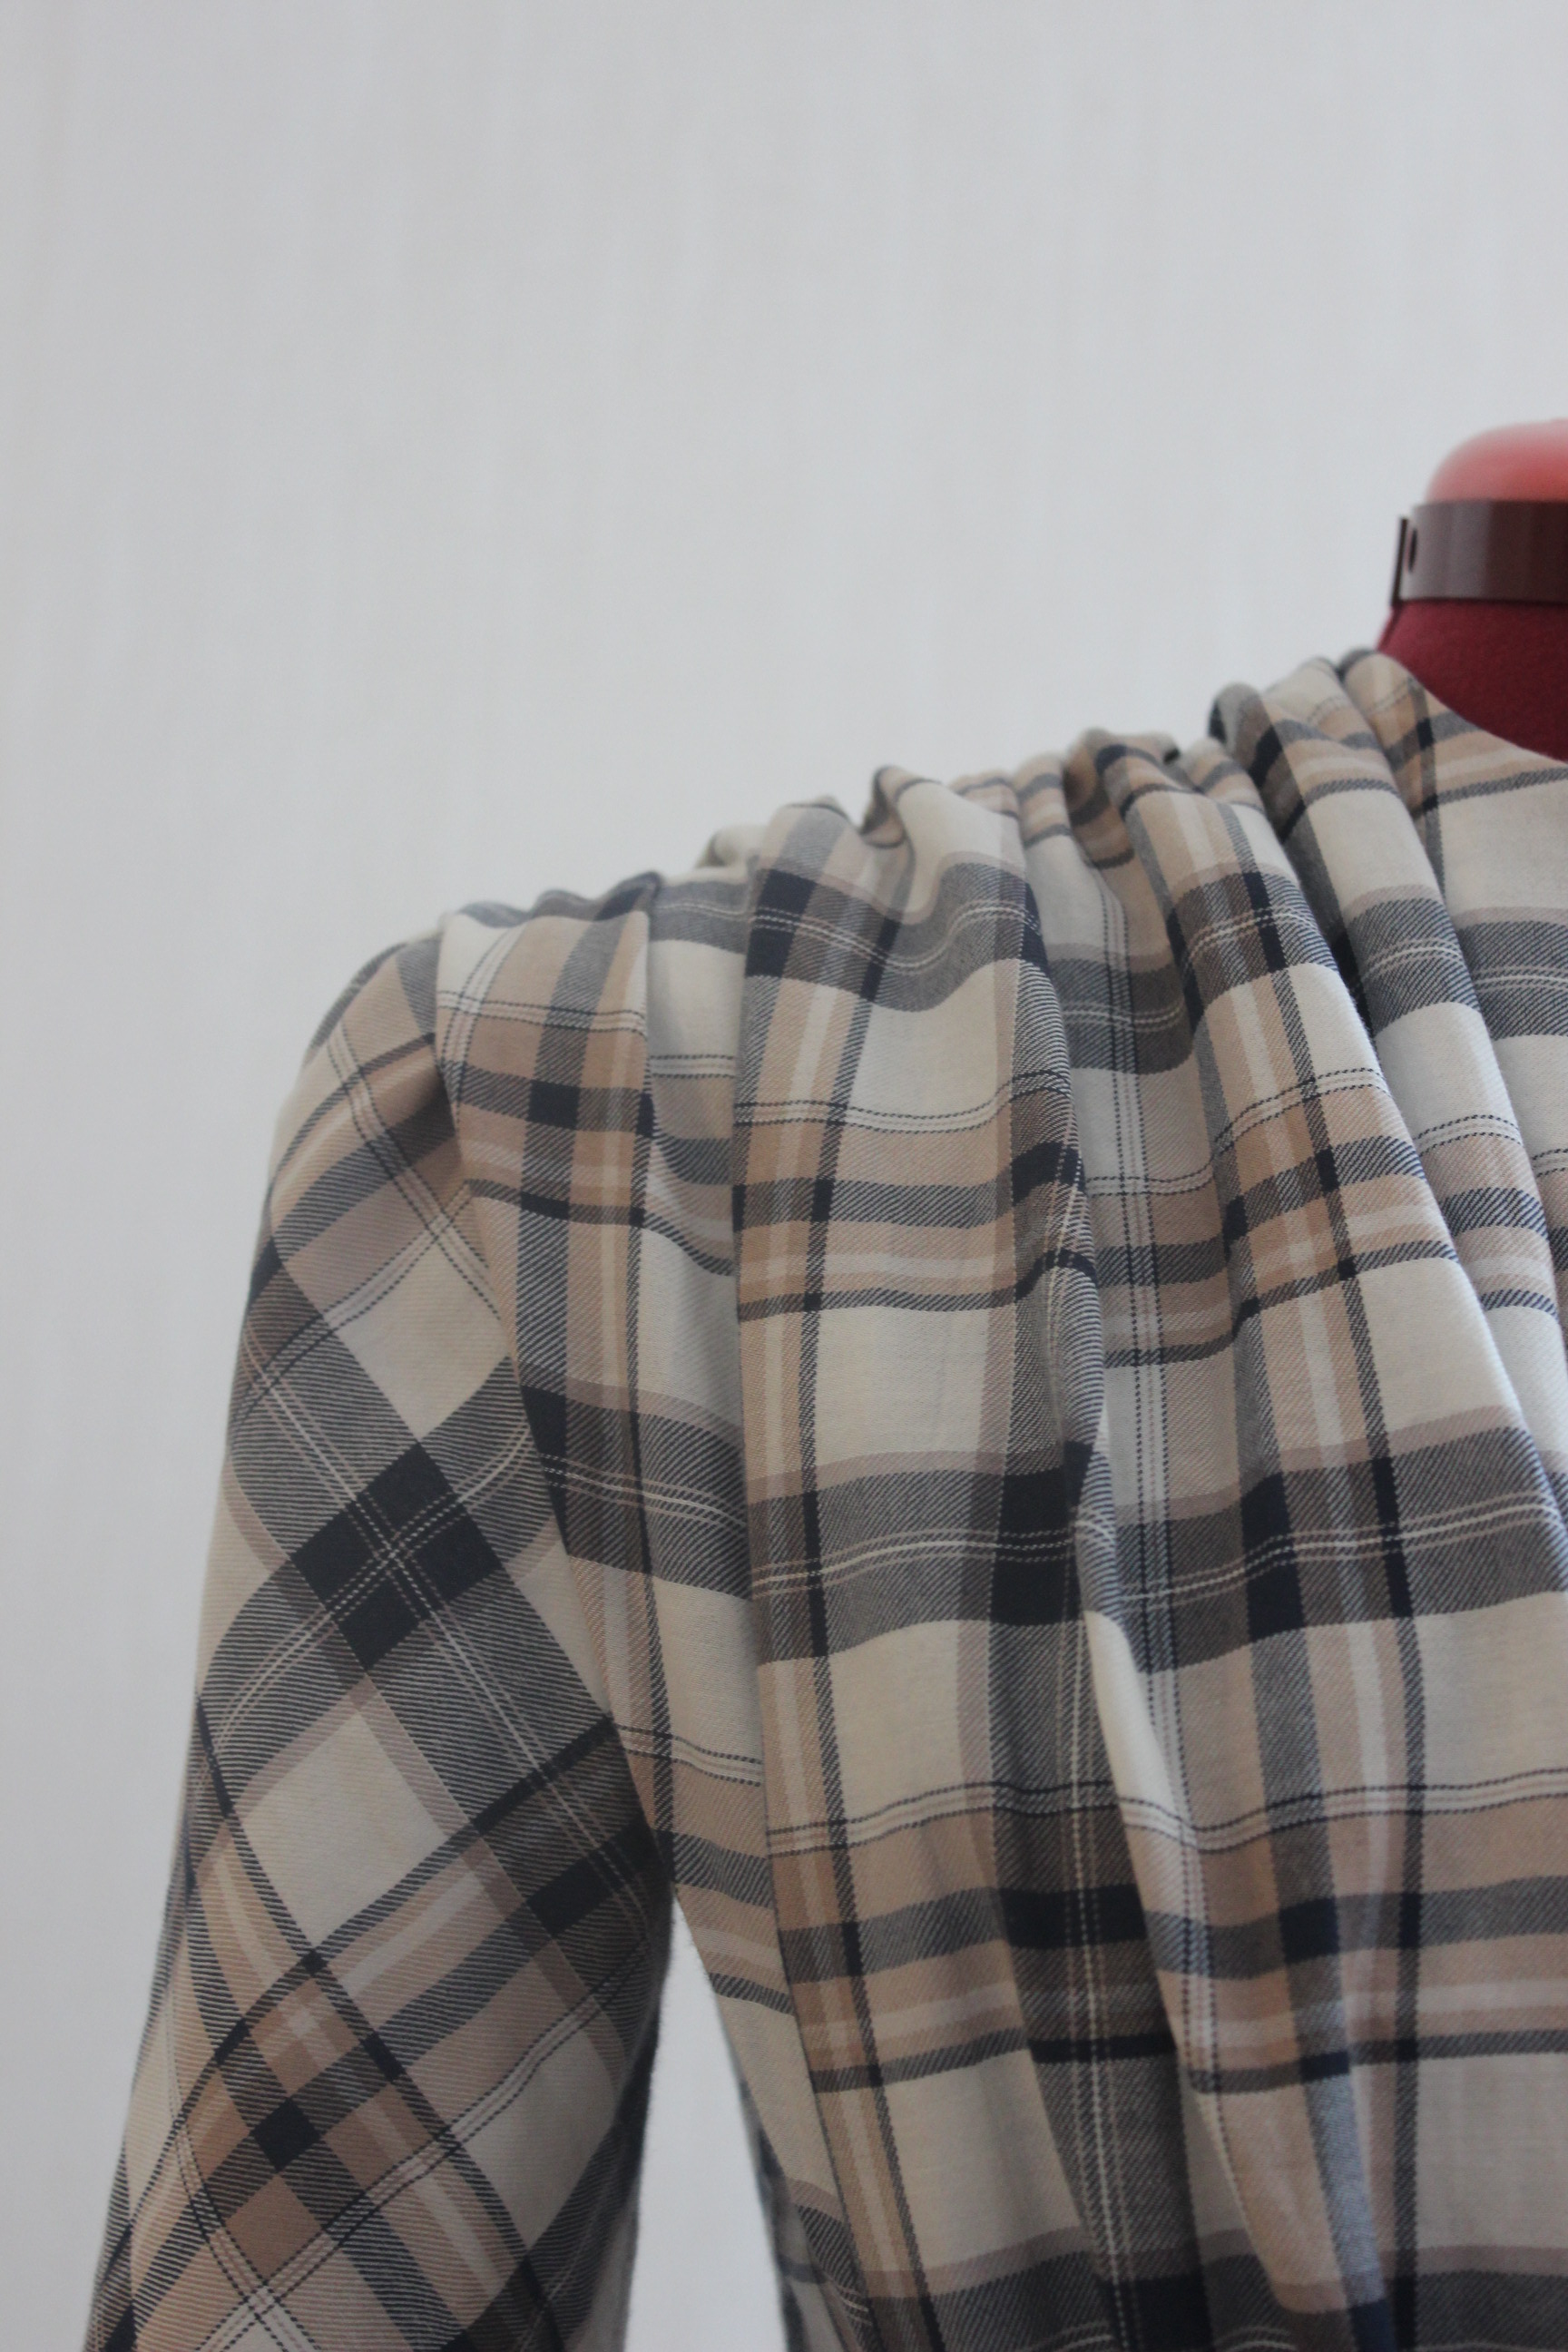
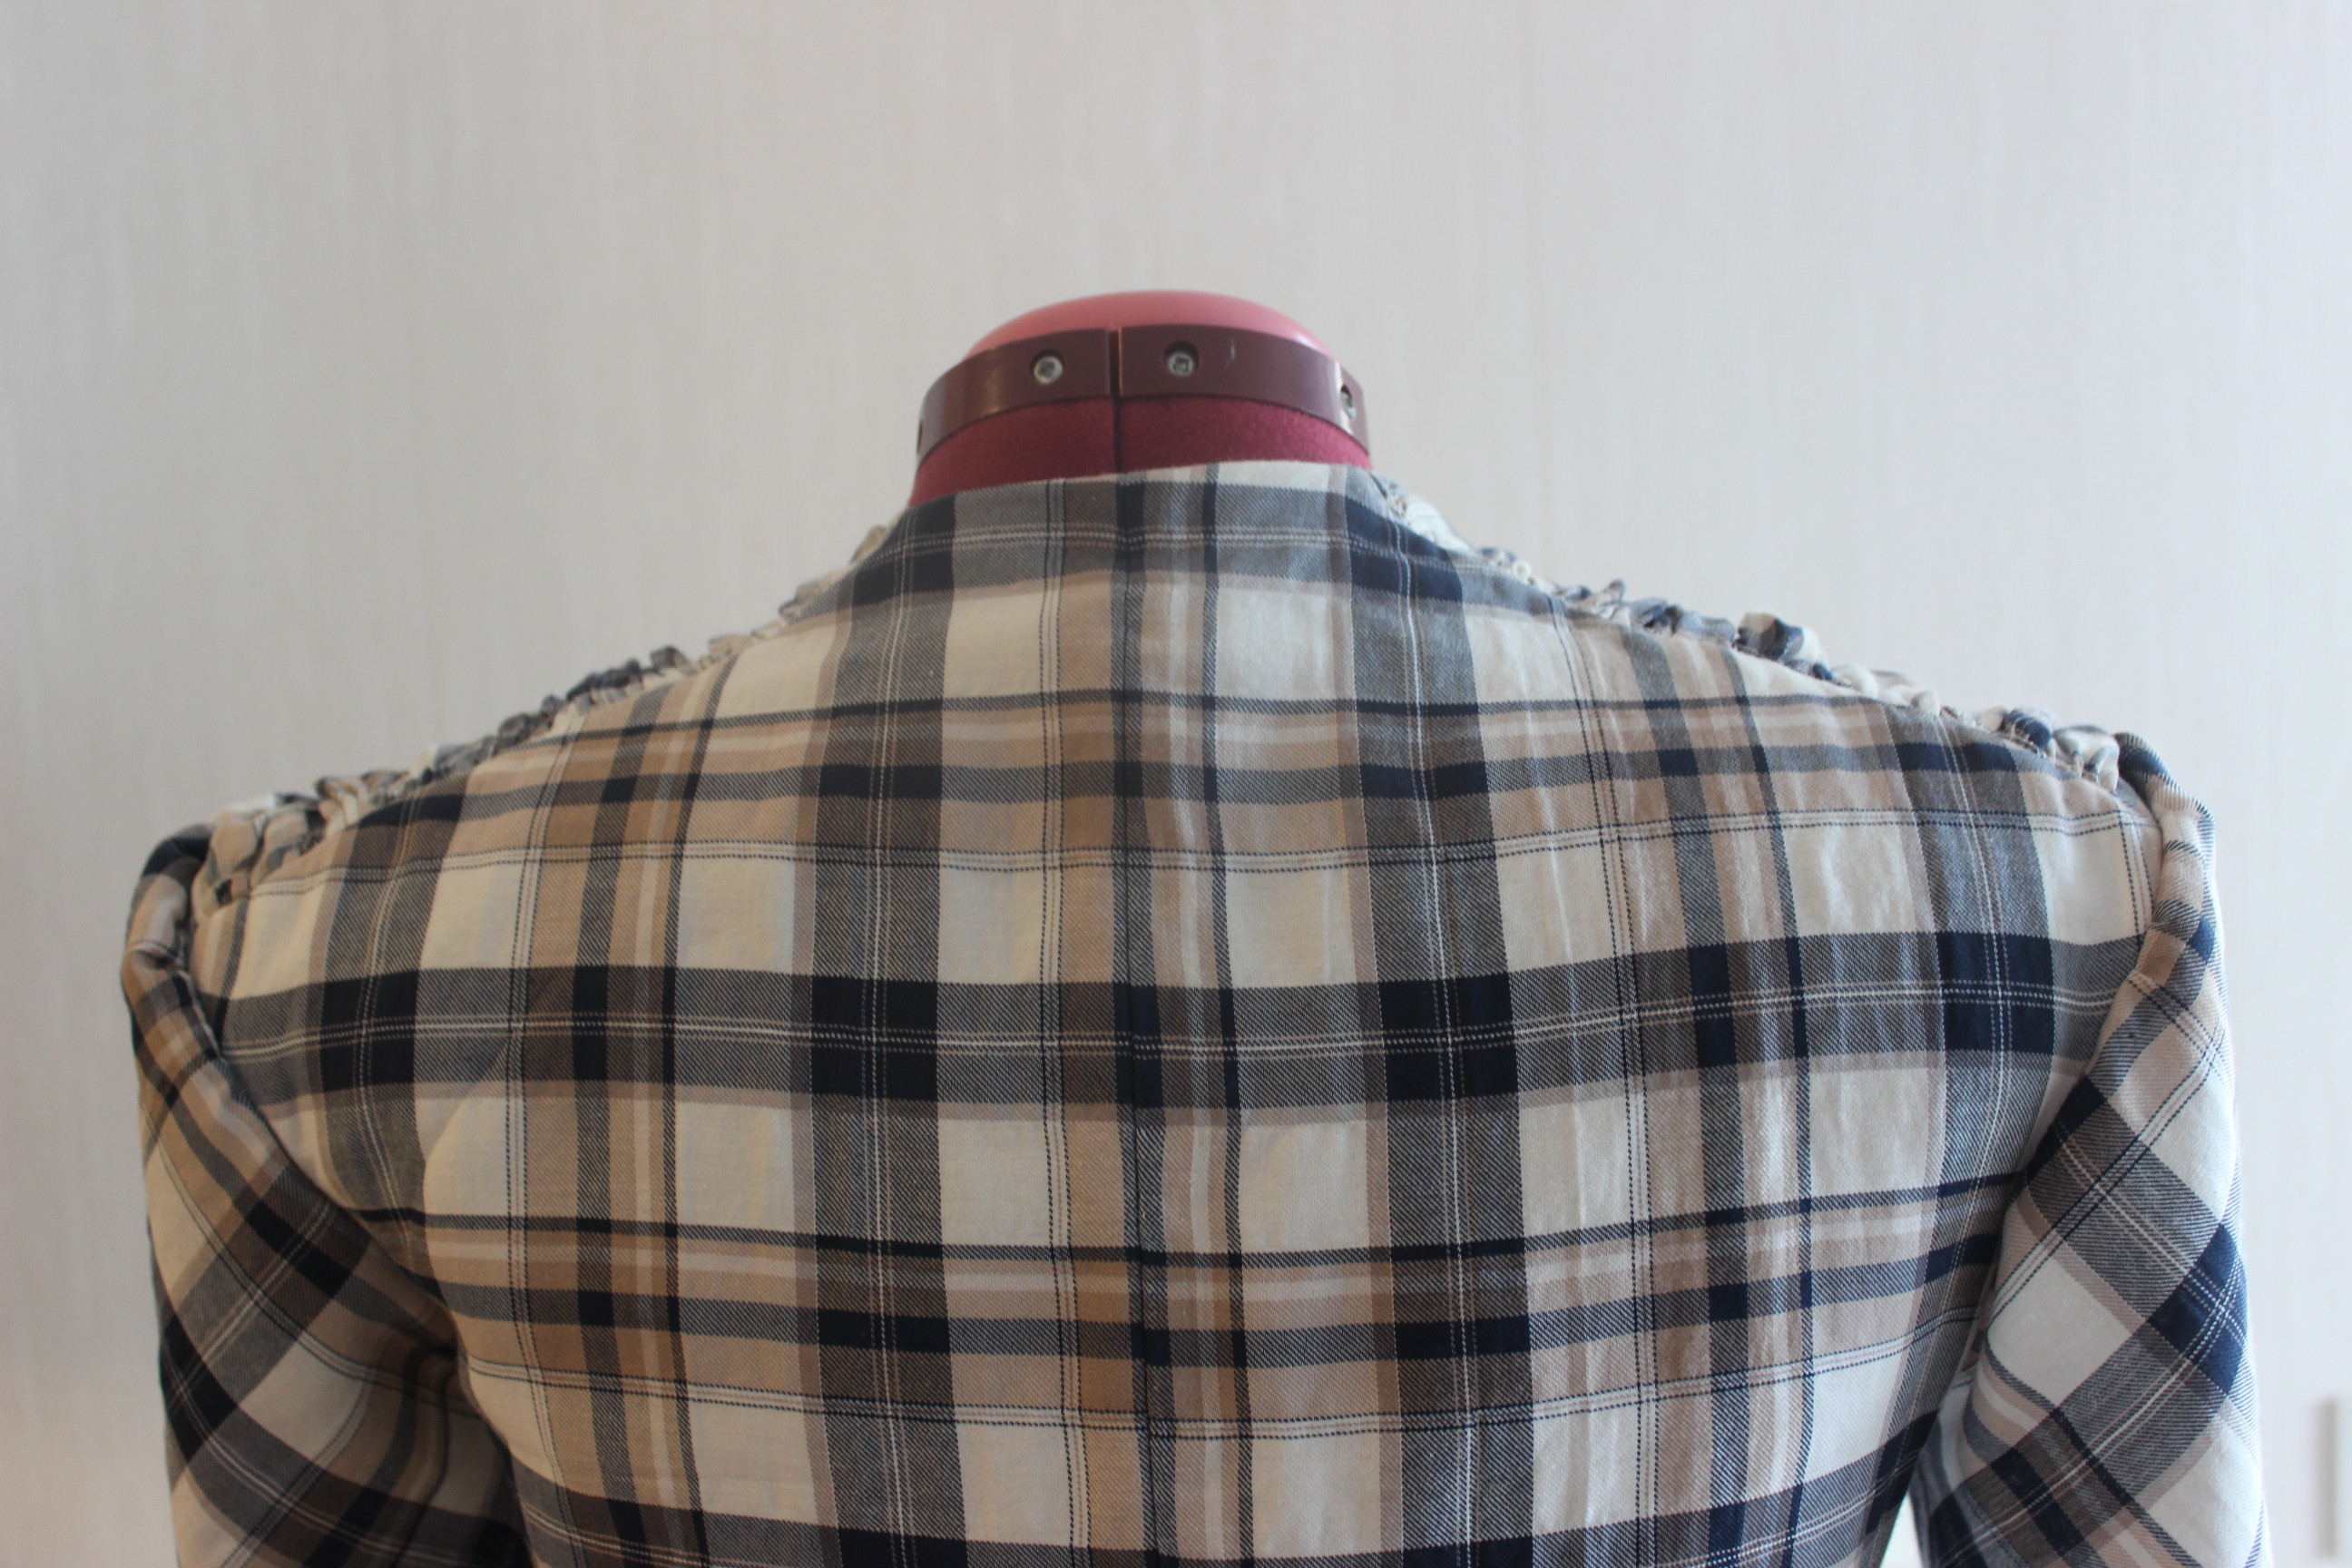
The shoulders being tamed and arranged by two treads of gathering stitches that later is to be hidden in the shoulder seam.
I was not totally happy with the first try at waist gathers (using three threads) so I decided to re-do it using threads every 1-1,5 cm or so.
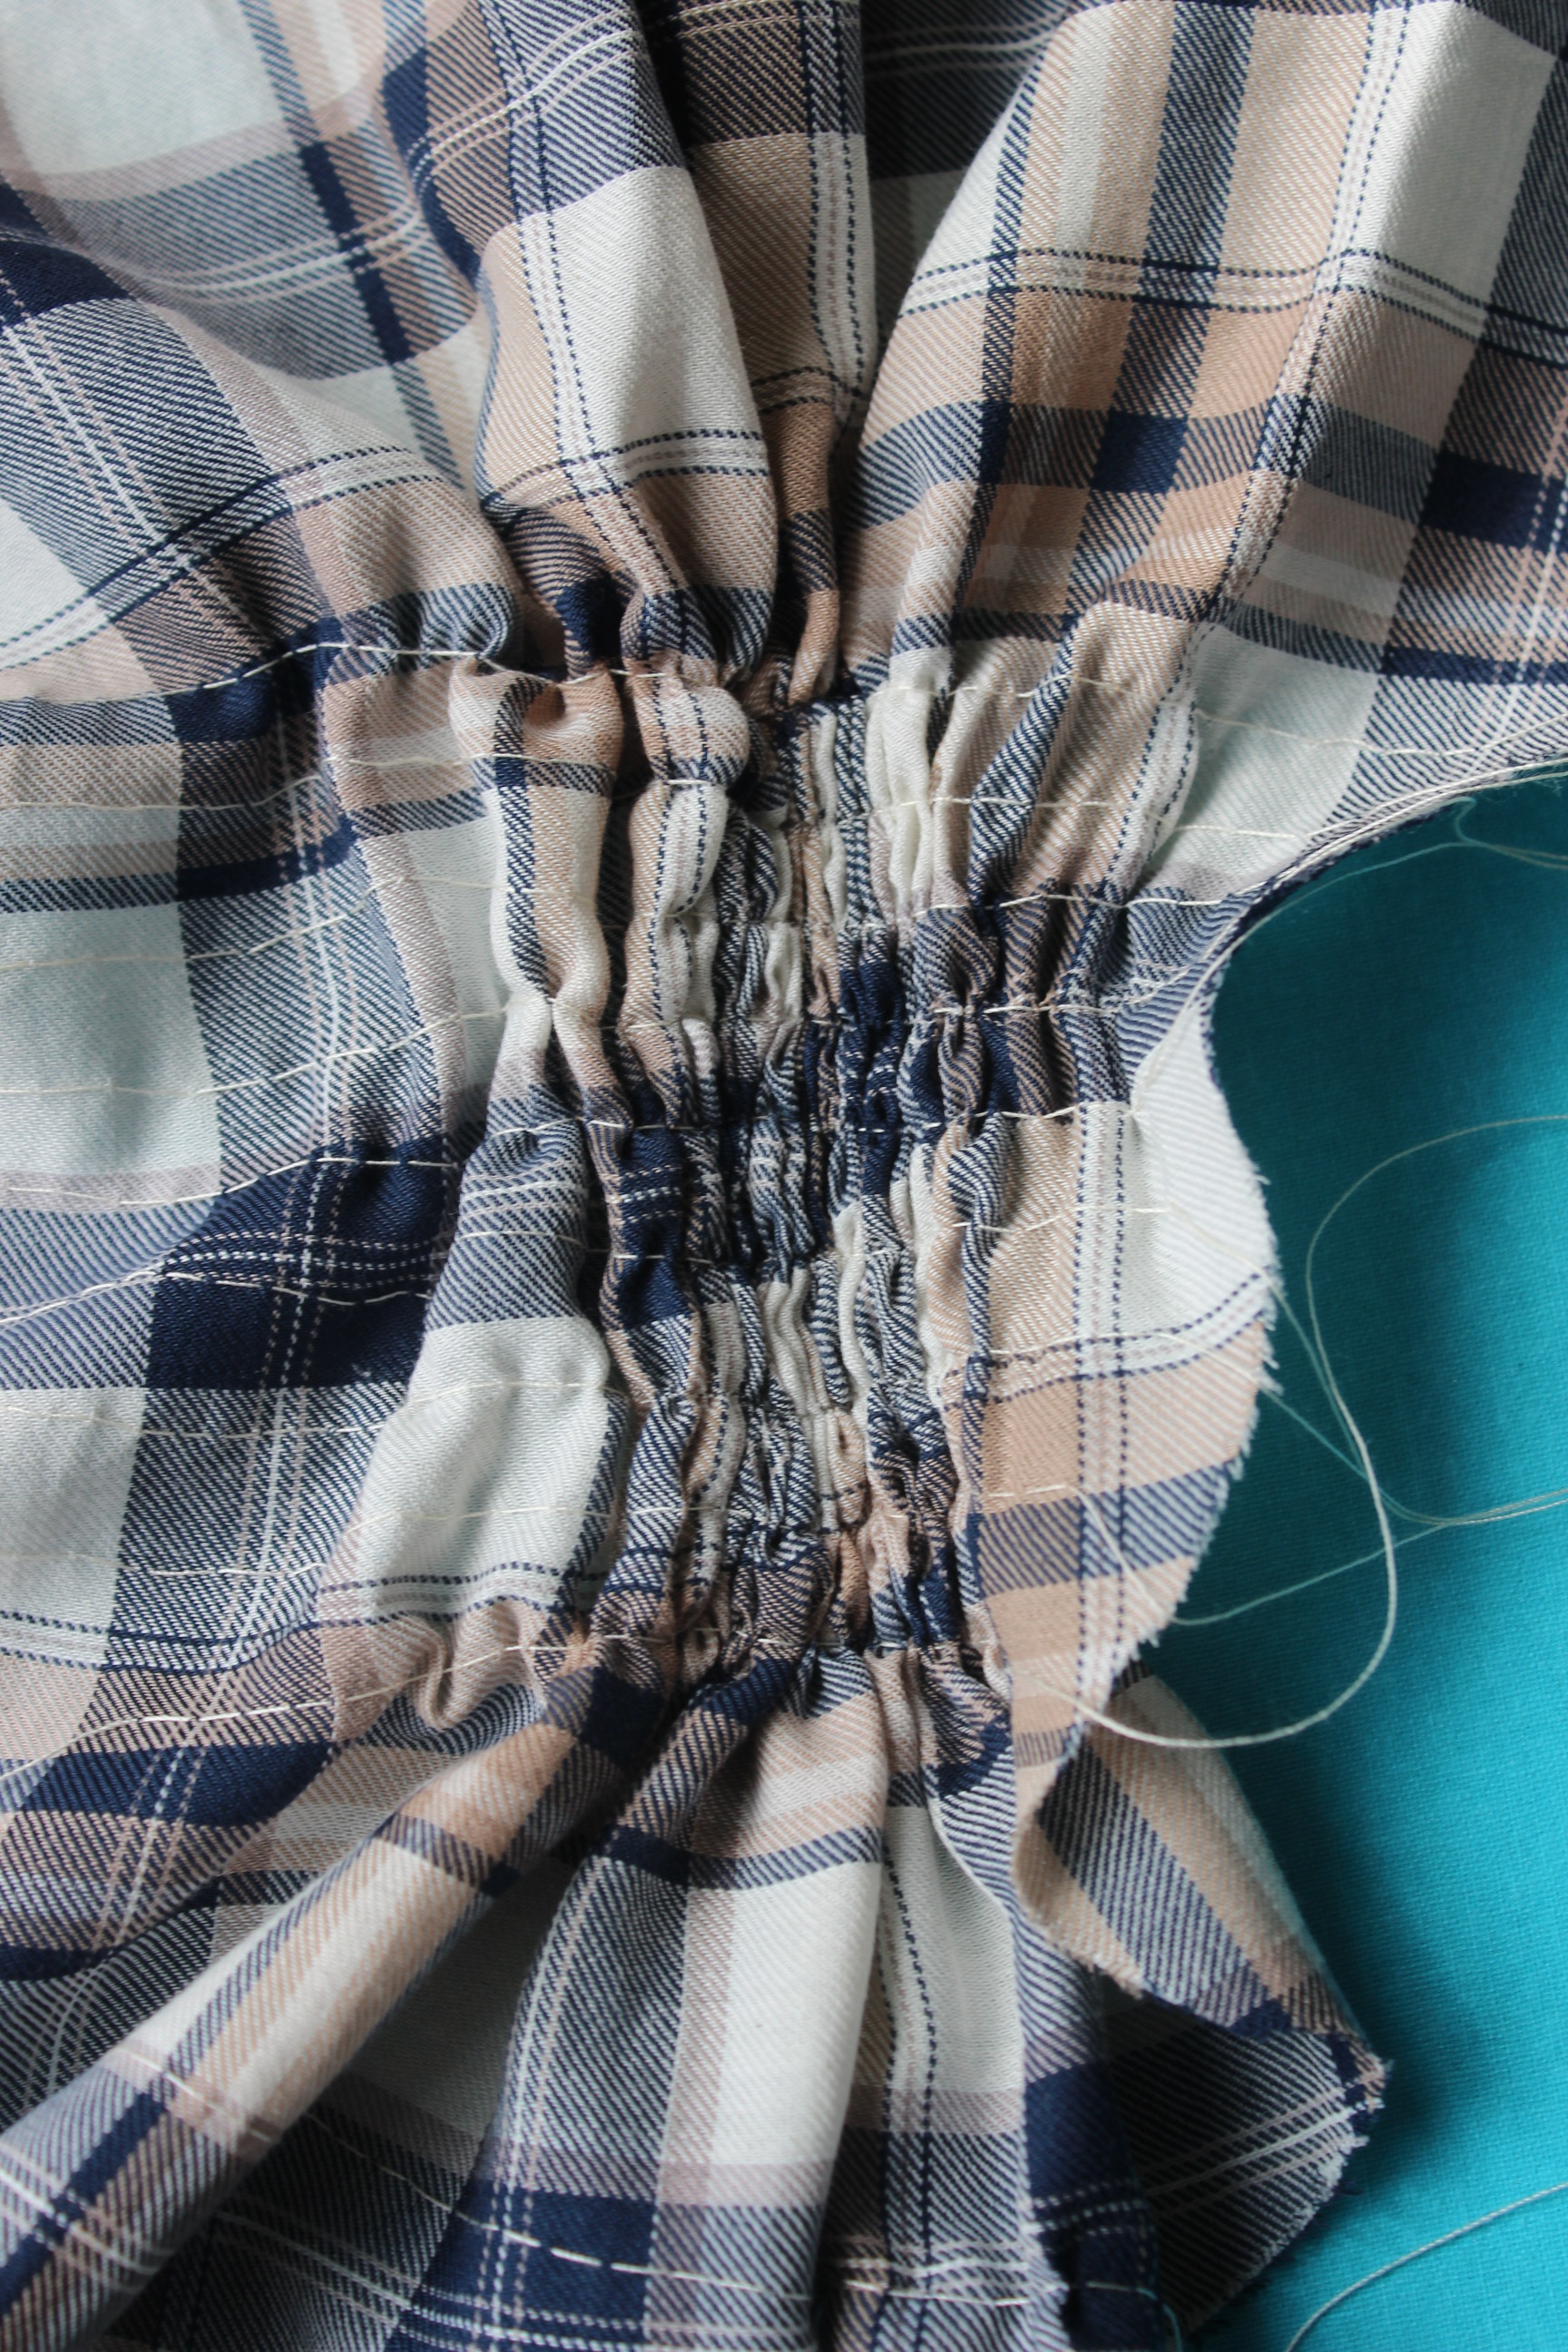 Testing the gathers.
Once I was happy with the technique I pinned and basted the lose front piece to the bodice, carefully matching the tightness of the gathers to hide the darts.
Then I pulled all the treads through and secured them on the back side, before I stitched the whole piece down using hidden slip stitches.  You can see the right side being finished while the left still have all the threads hanging lose.
And then I left it for a few a few weeks, fully occupied by working on my sisters 1860s outfit, training for my big running competition and preparing for vacation on work.
Once I finished all the other things and finally gotten my (well deserved) vacation I once more took on the task of finishing the bodice.
With only one day left to work on the dress before it was to be used, I need to hurry.
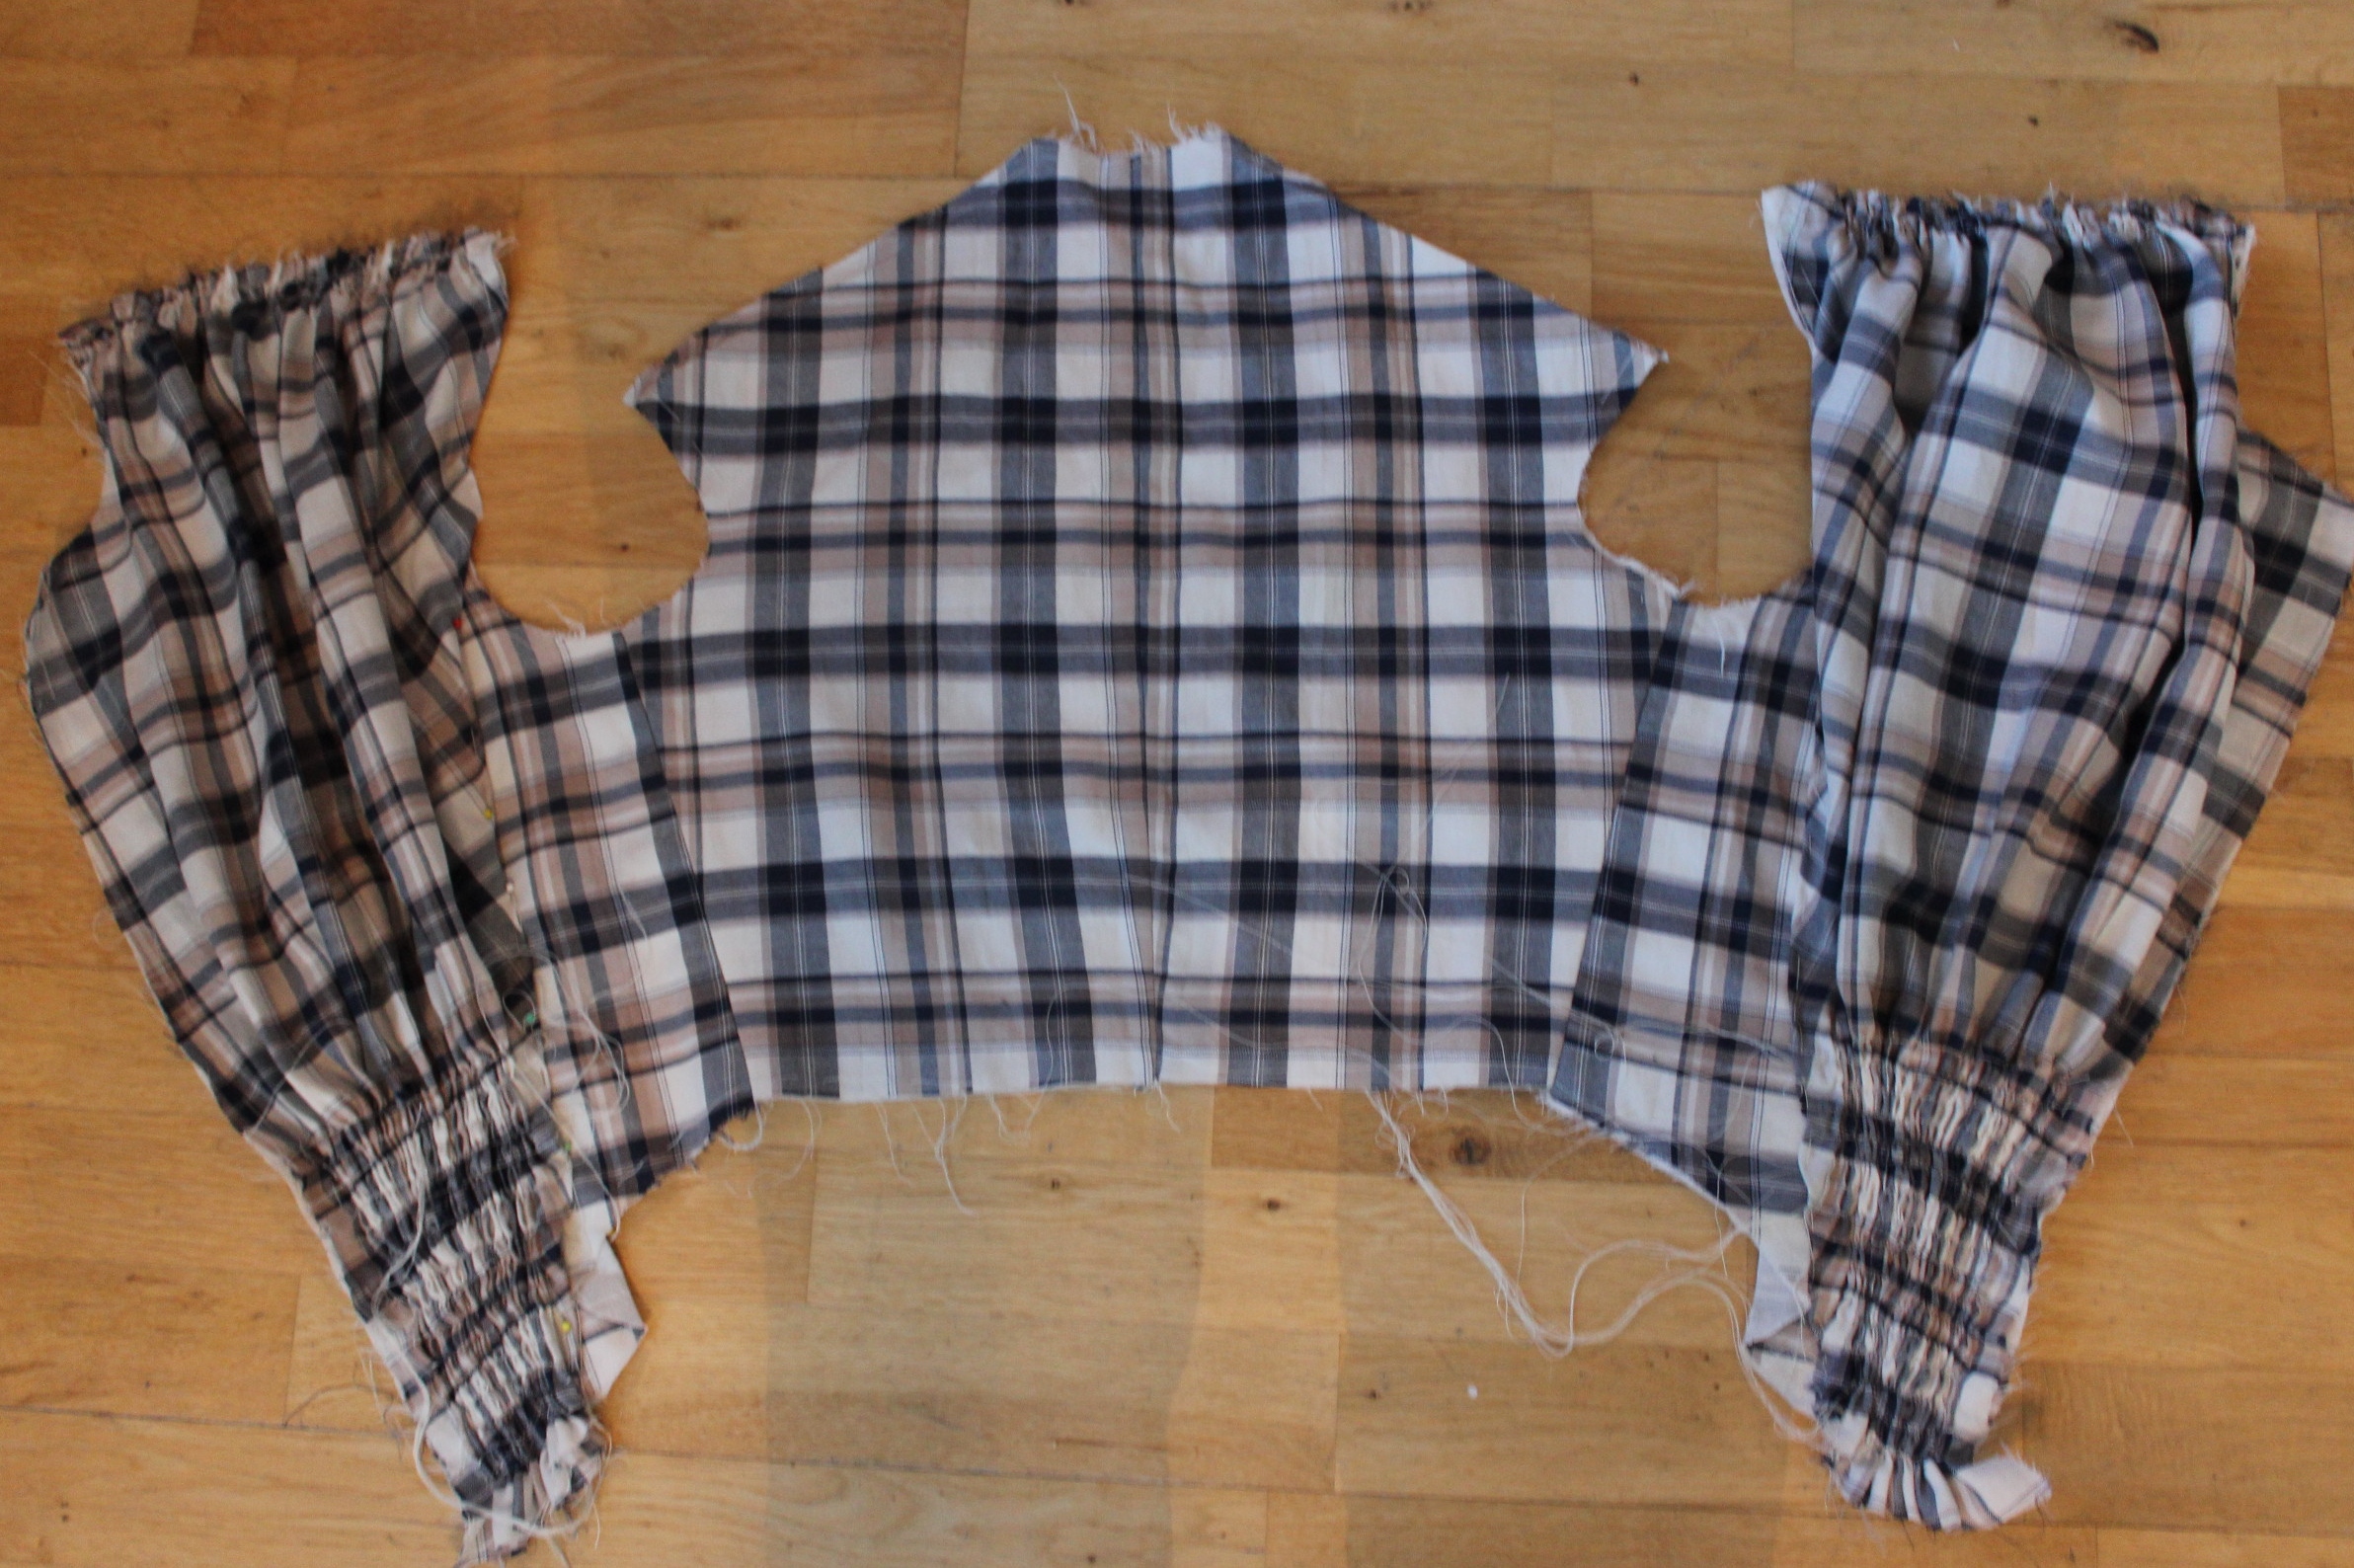
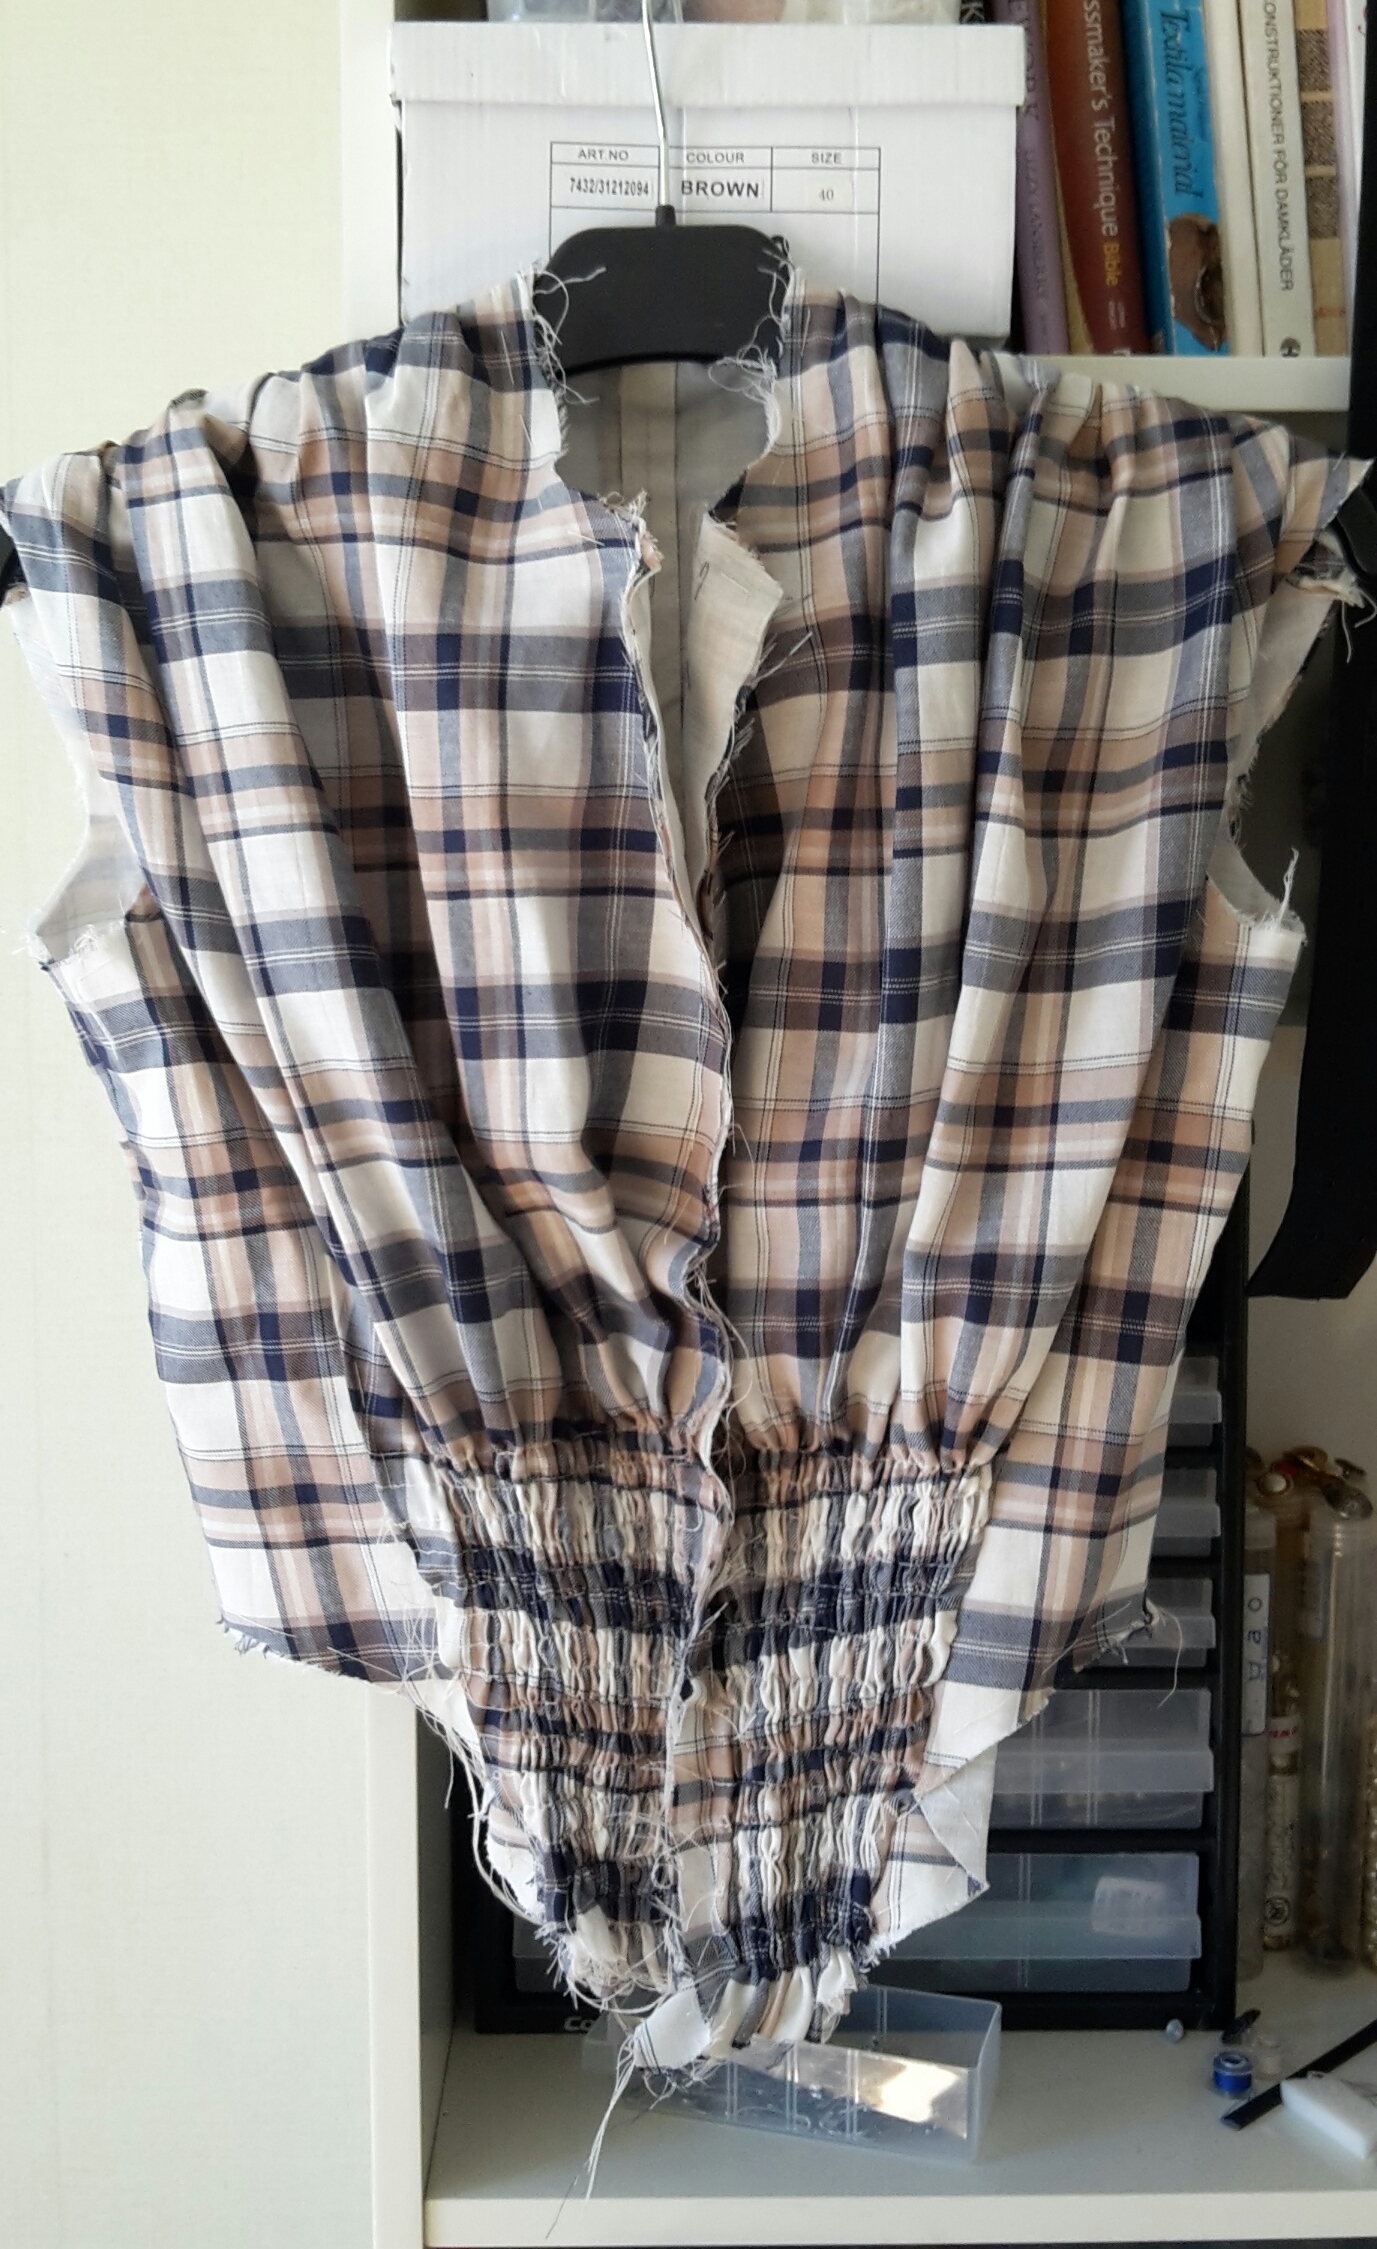 This is how I found the bodice once more the day before the event – When I decided to give it a try, and finish it.
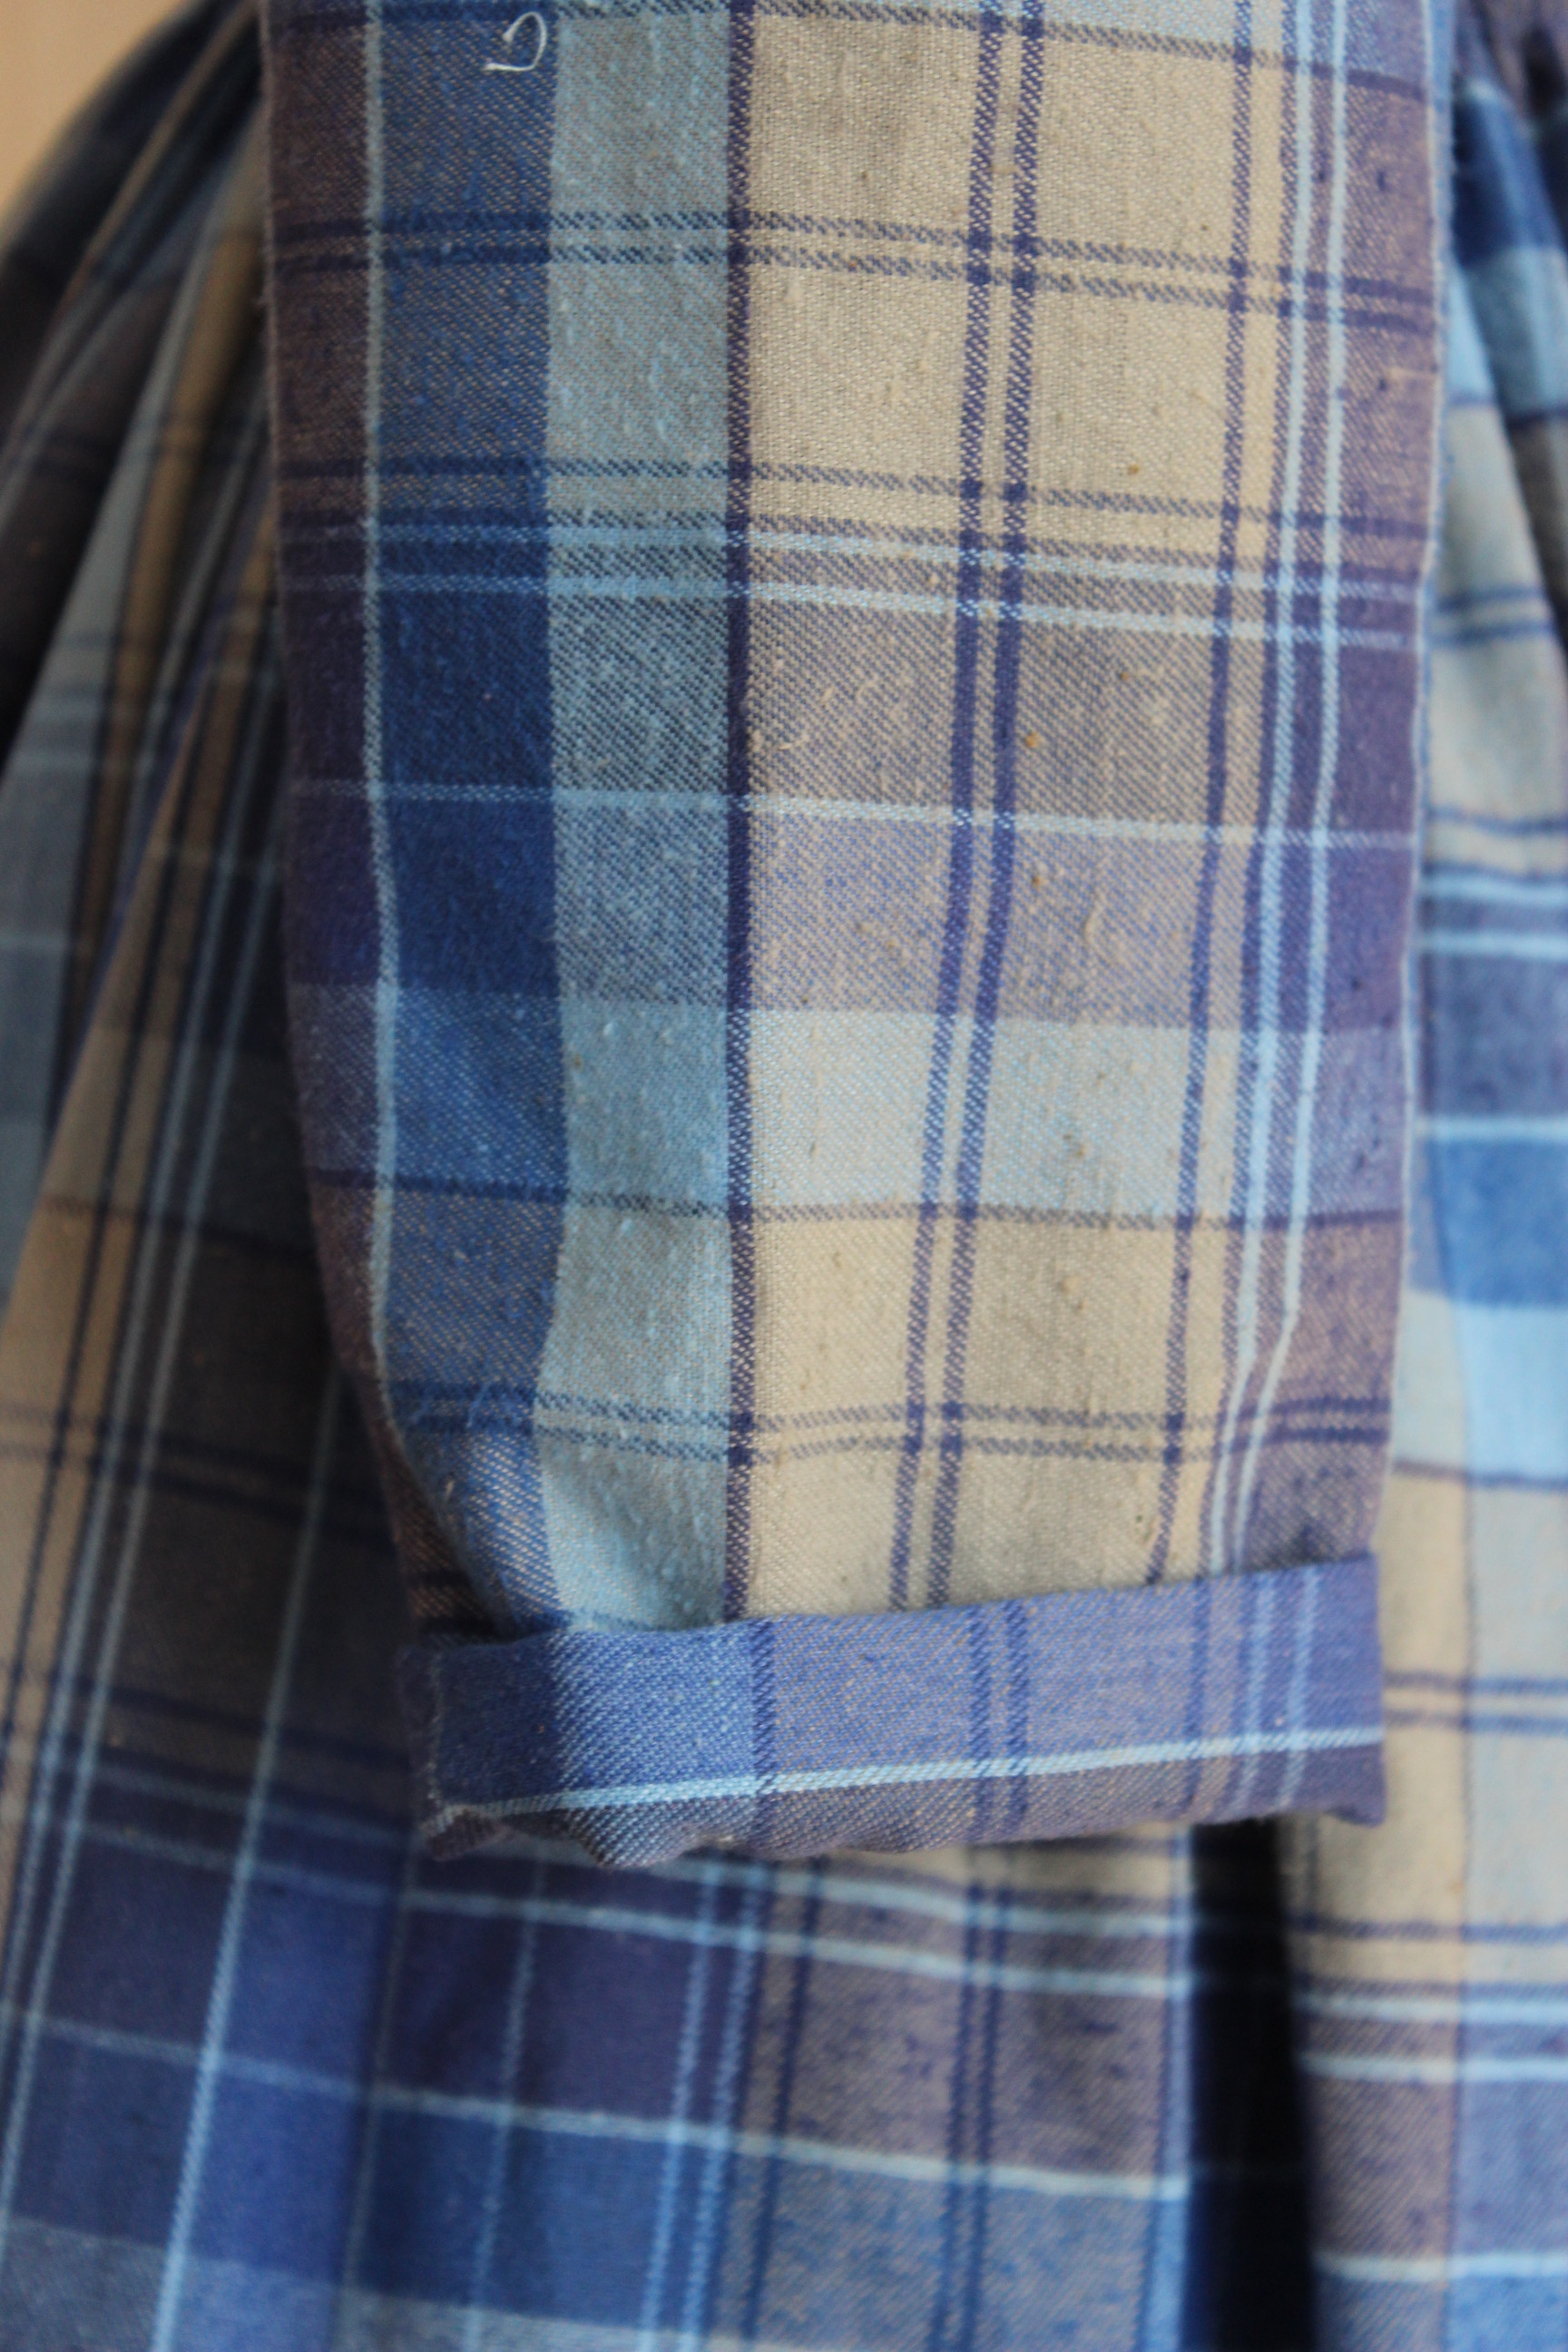
With no time to lose, I pinned and sewed the sleeves together and added them to the bodice using gathering threads at the sleeve head, before turning under 1 cm and hemming them at the wrist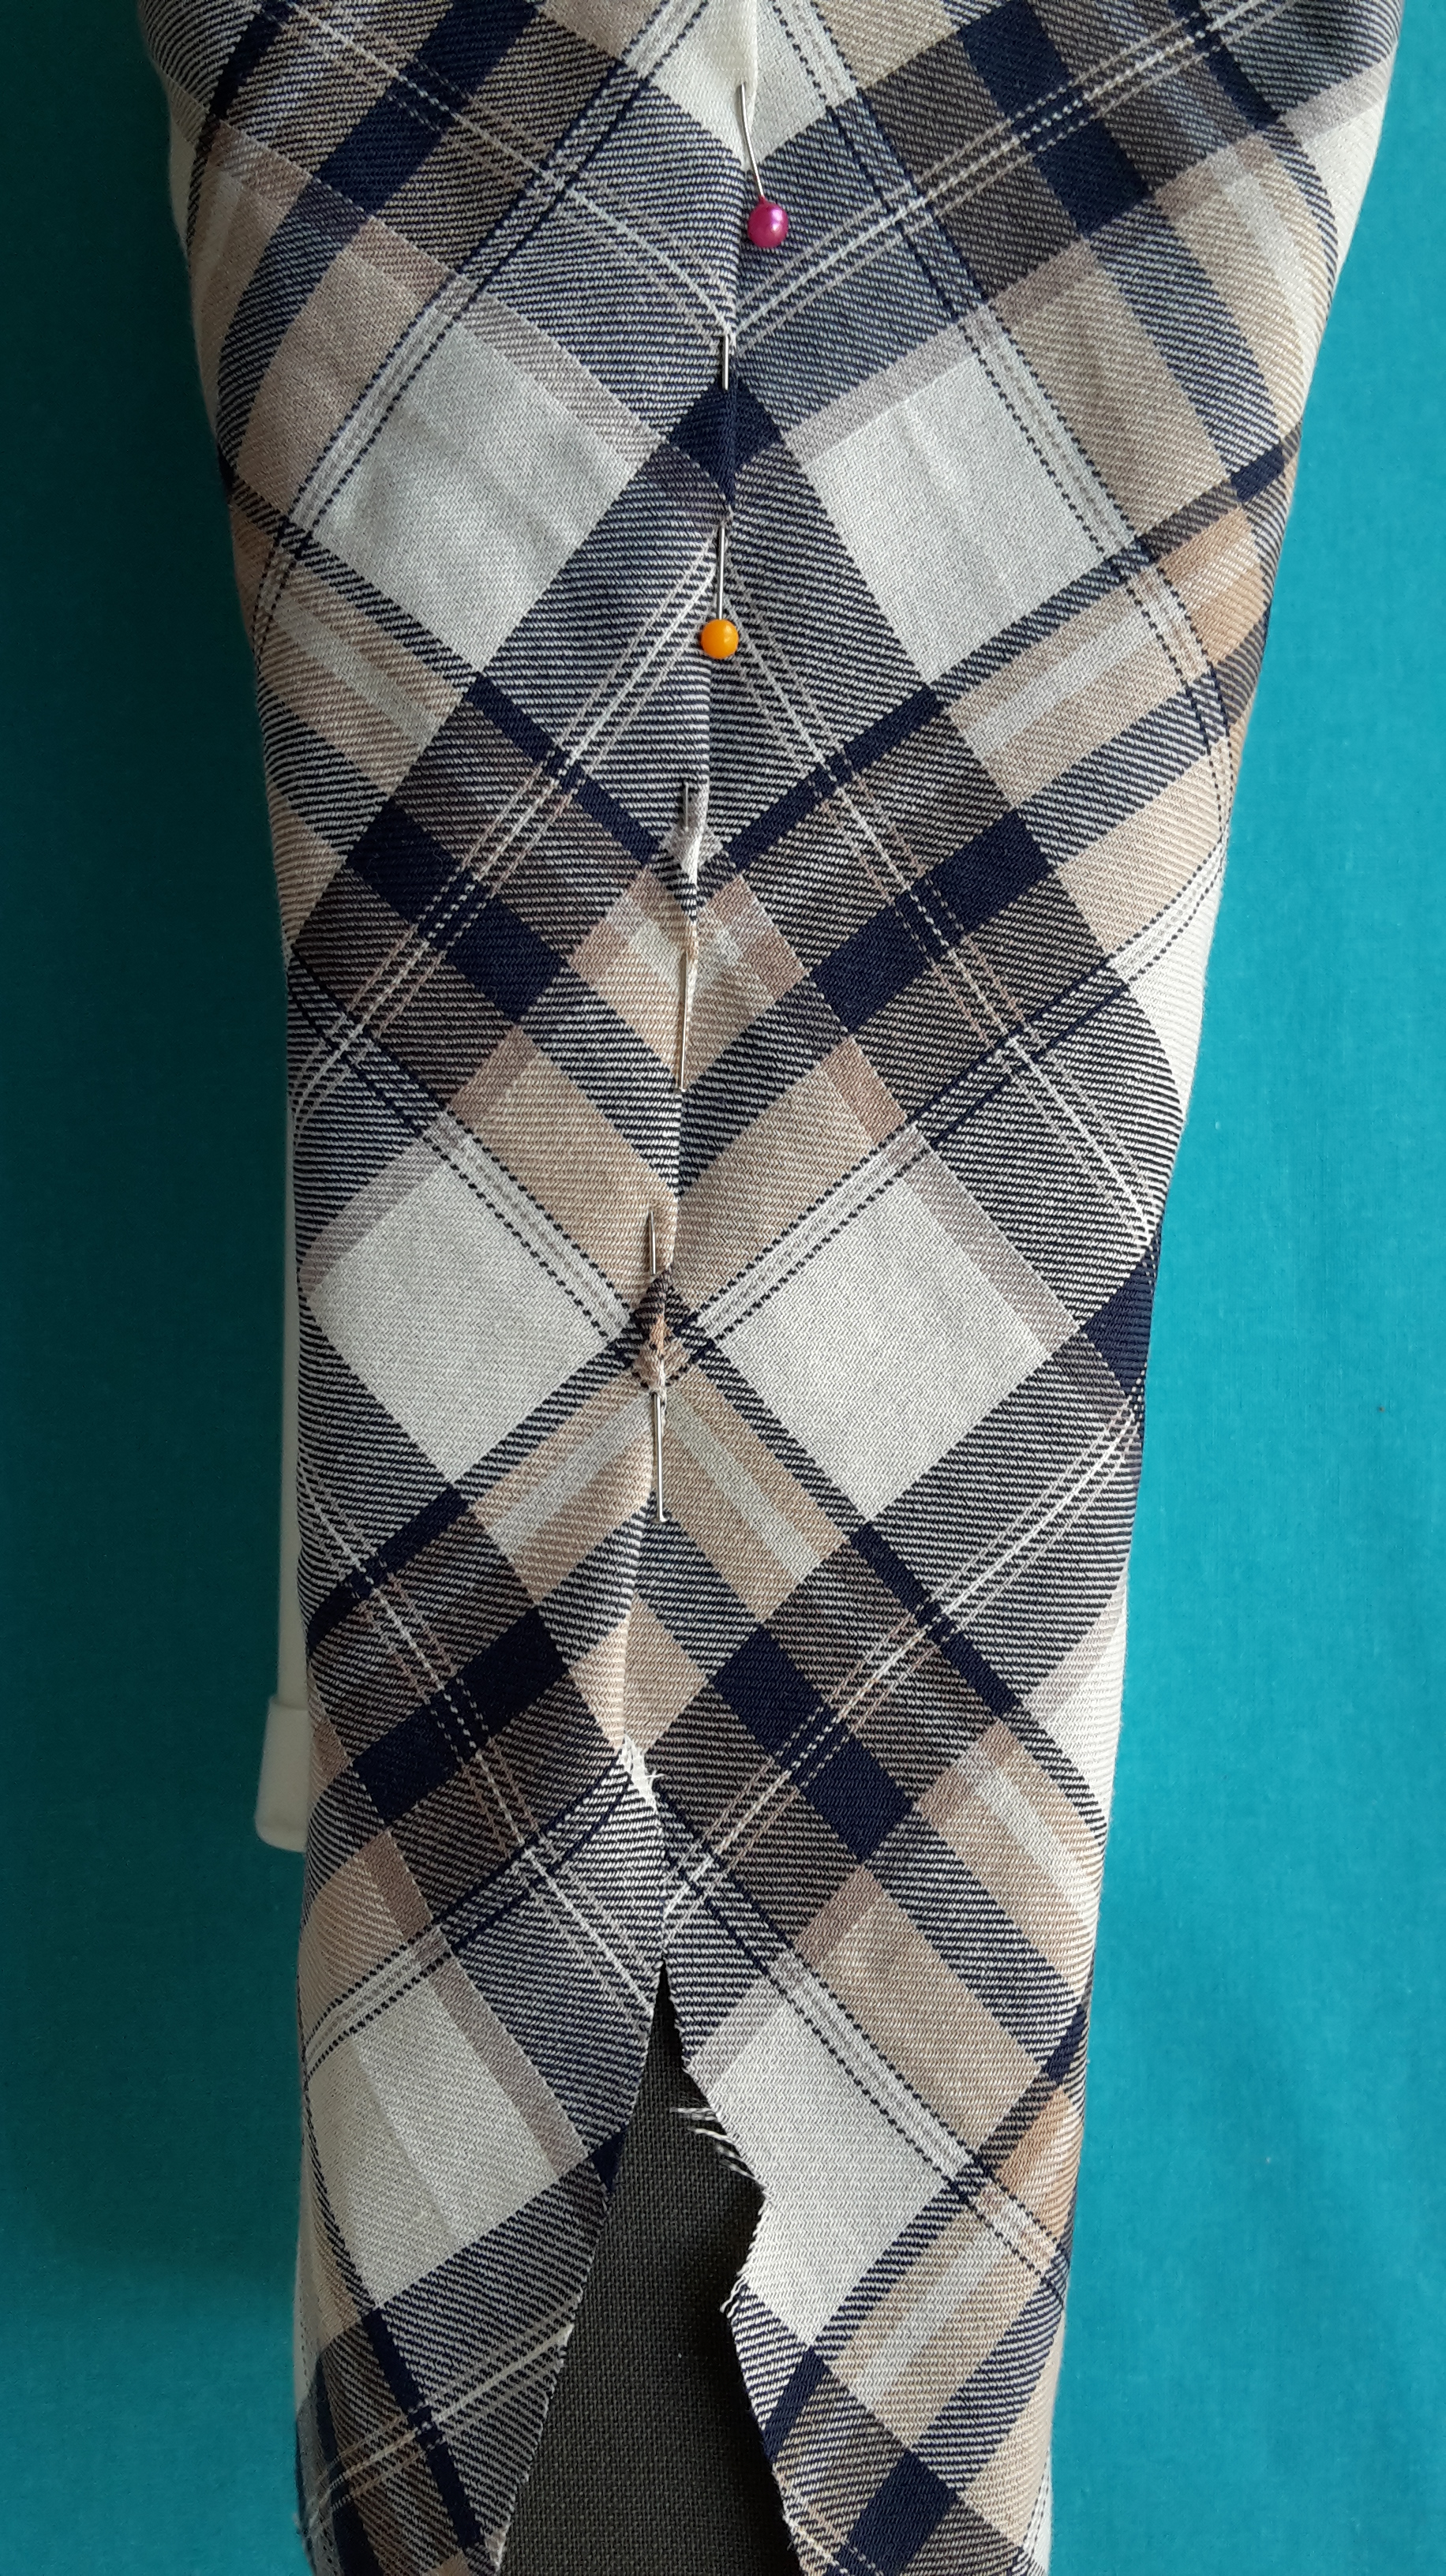 Pattern matching the sleeves
Then I hand stitched the boning channels to the sides, back and darts, and inserted cable tie bones cut to the right length.
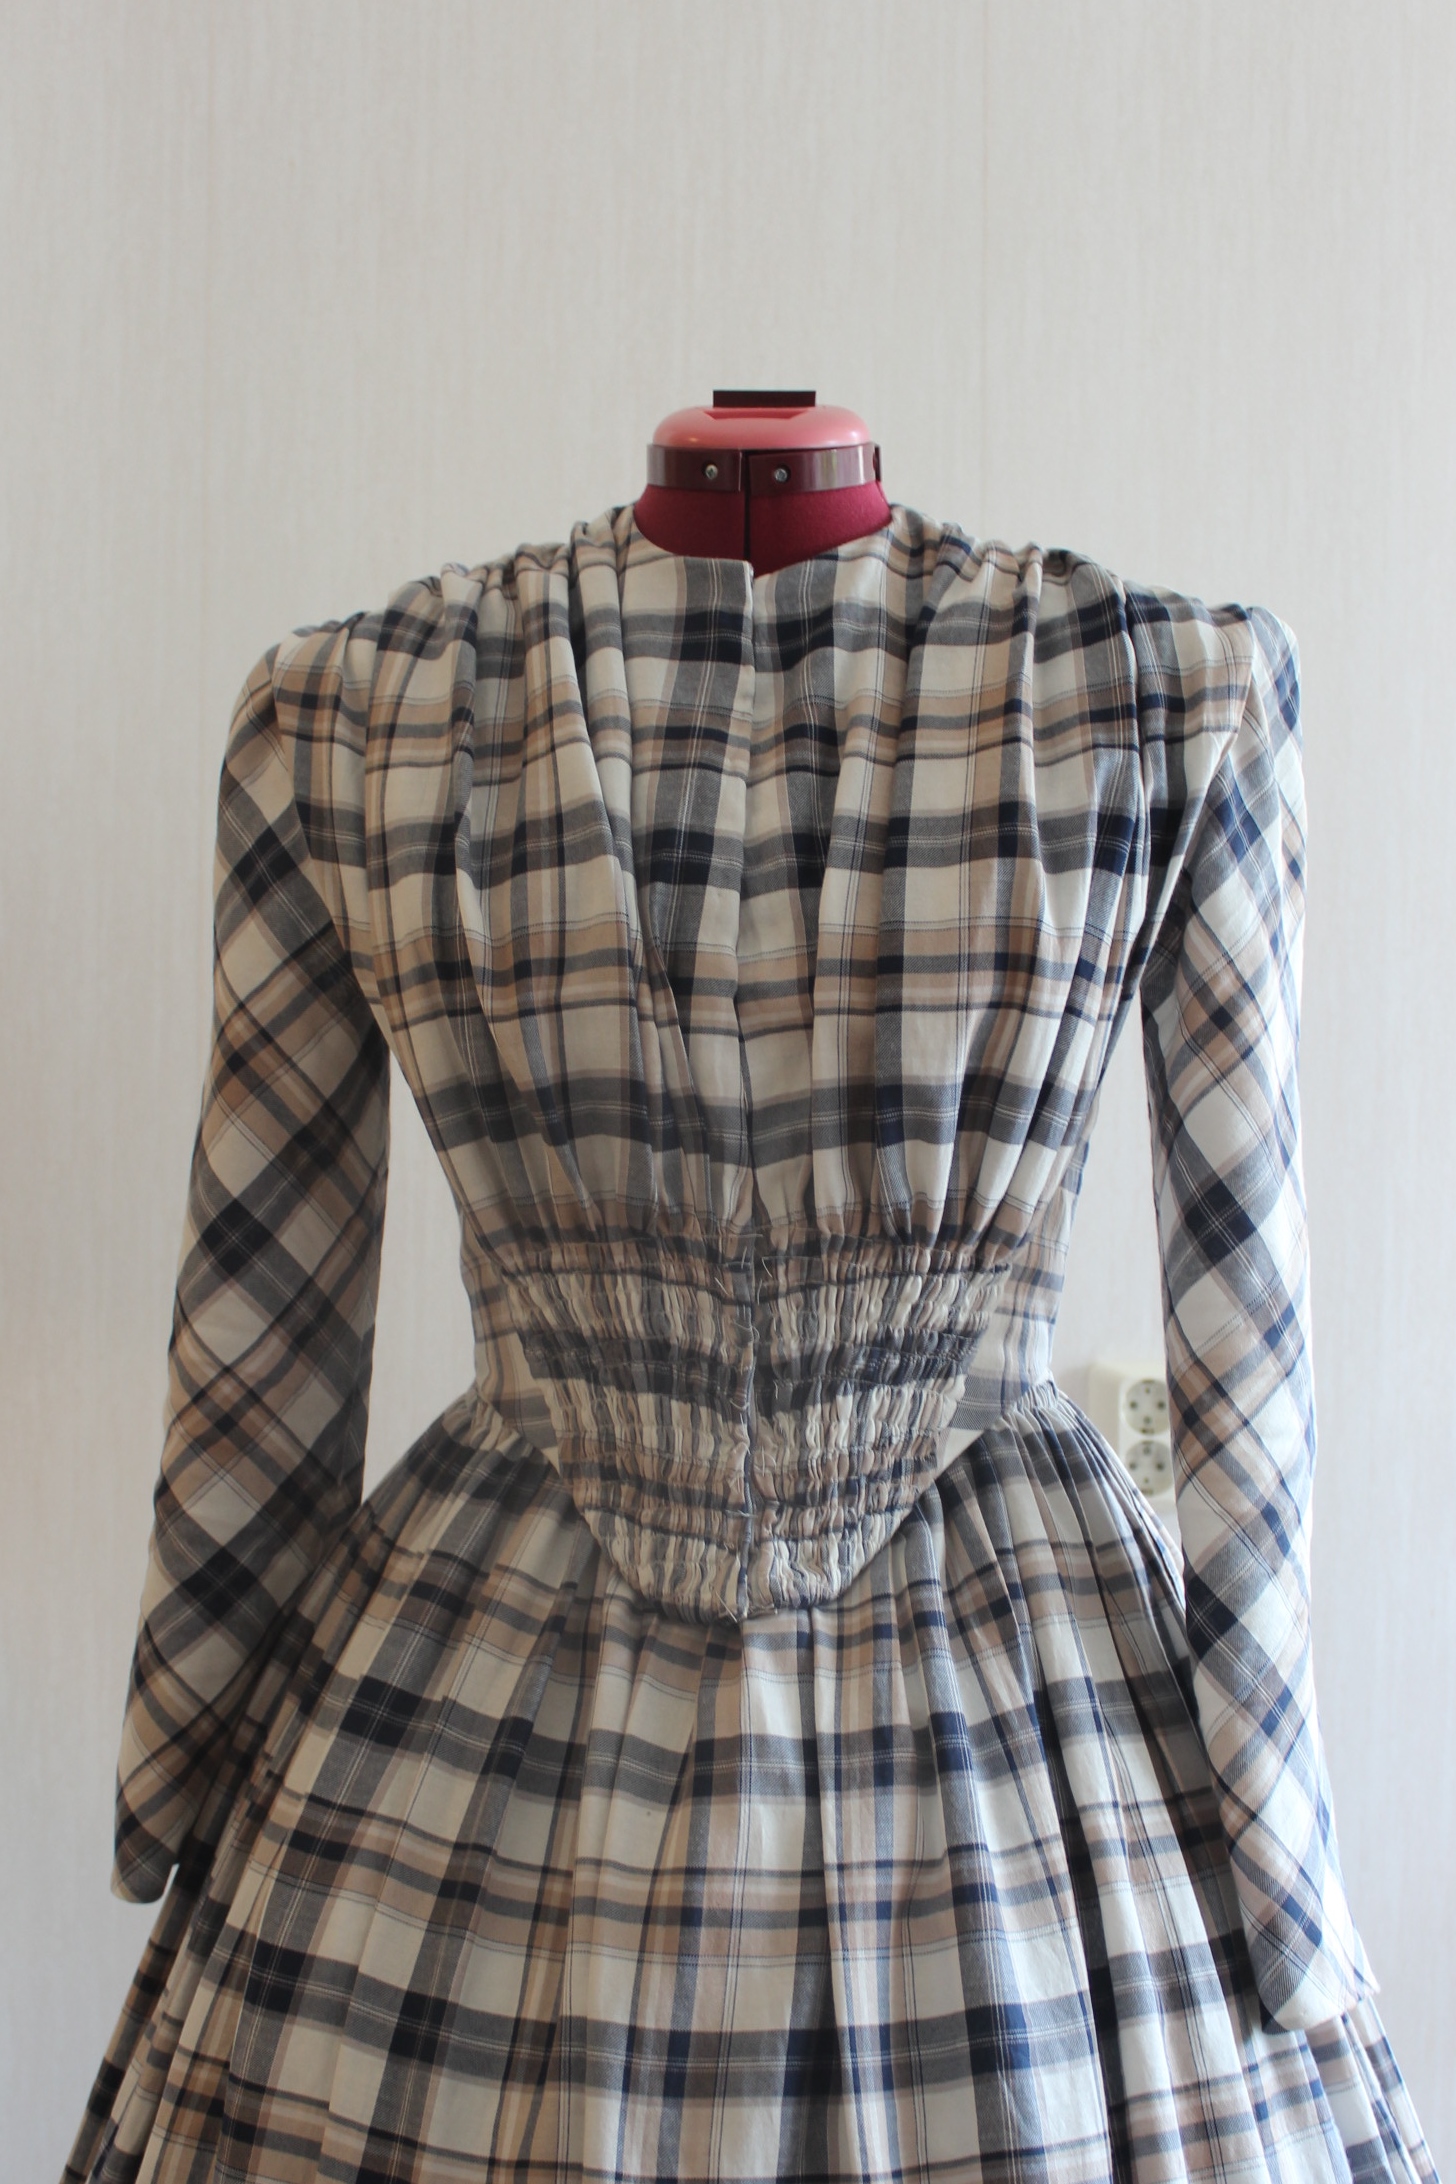
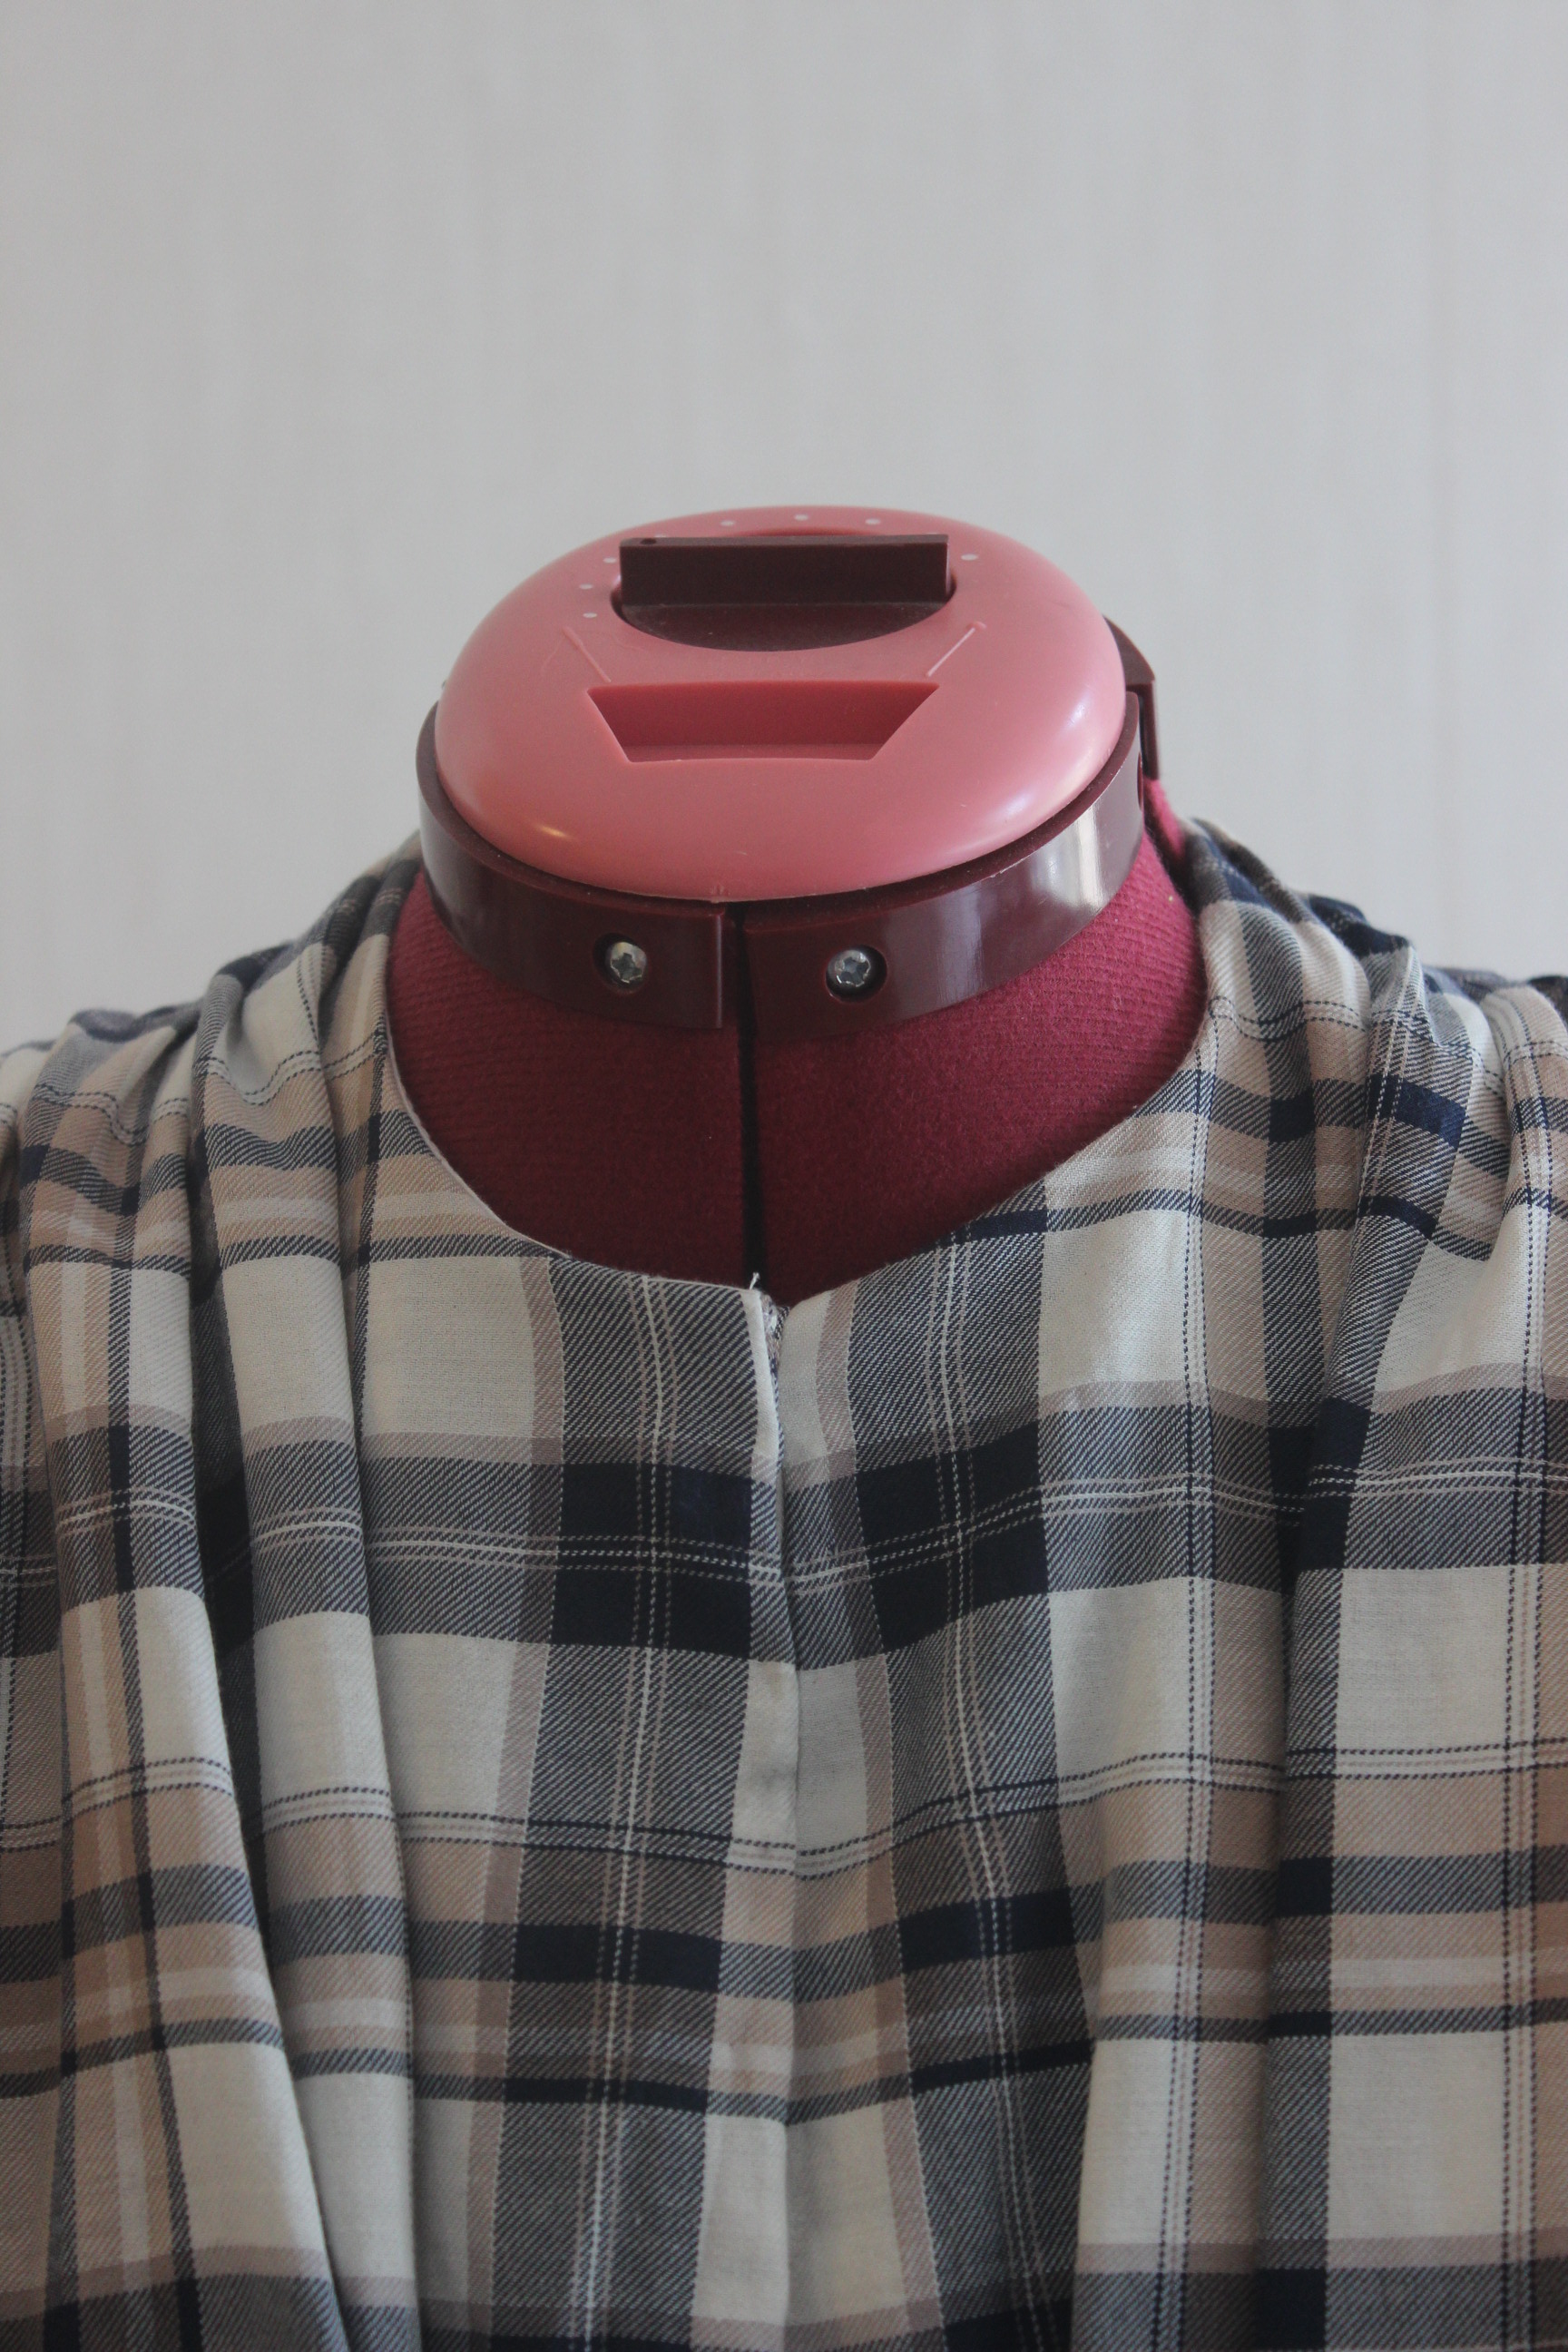
I added a placket to the front edge for the clouser, and pined bias-tape to the neck and bottom edge. 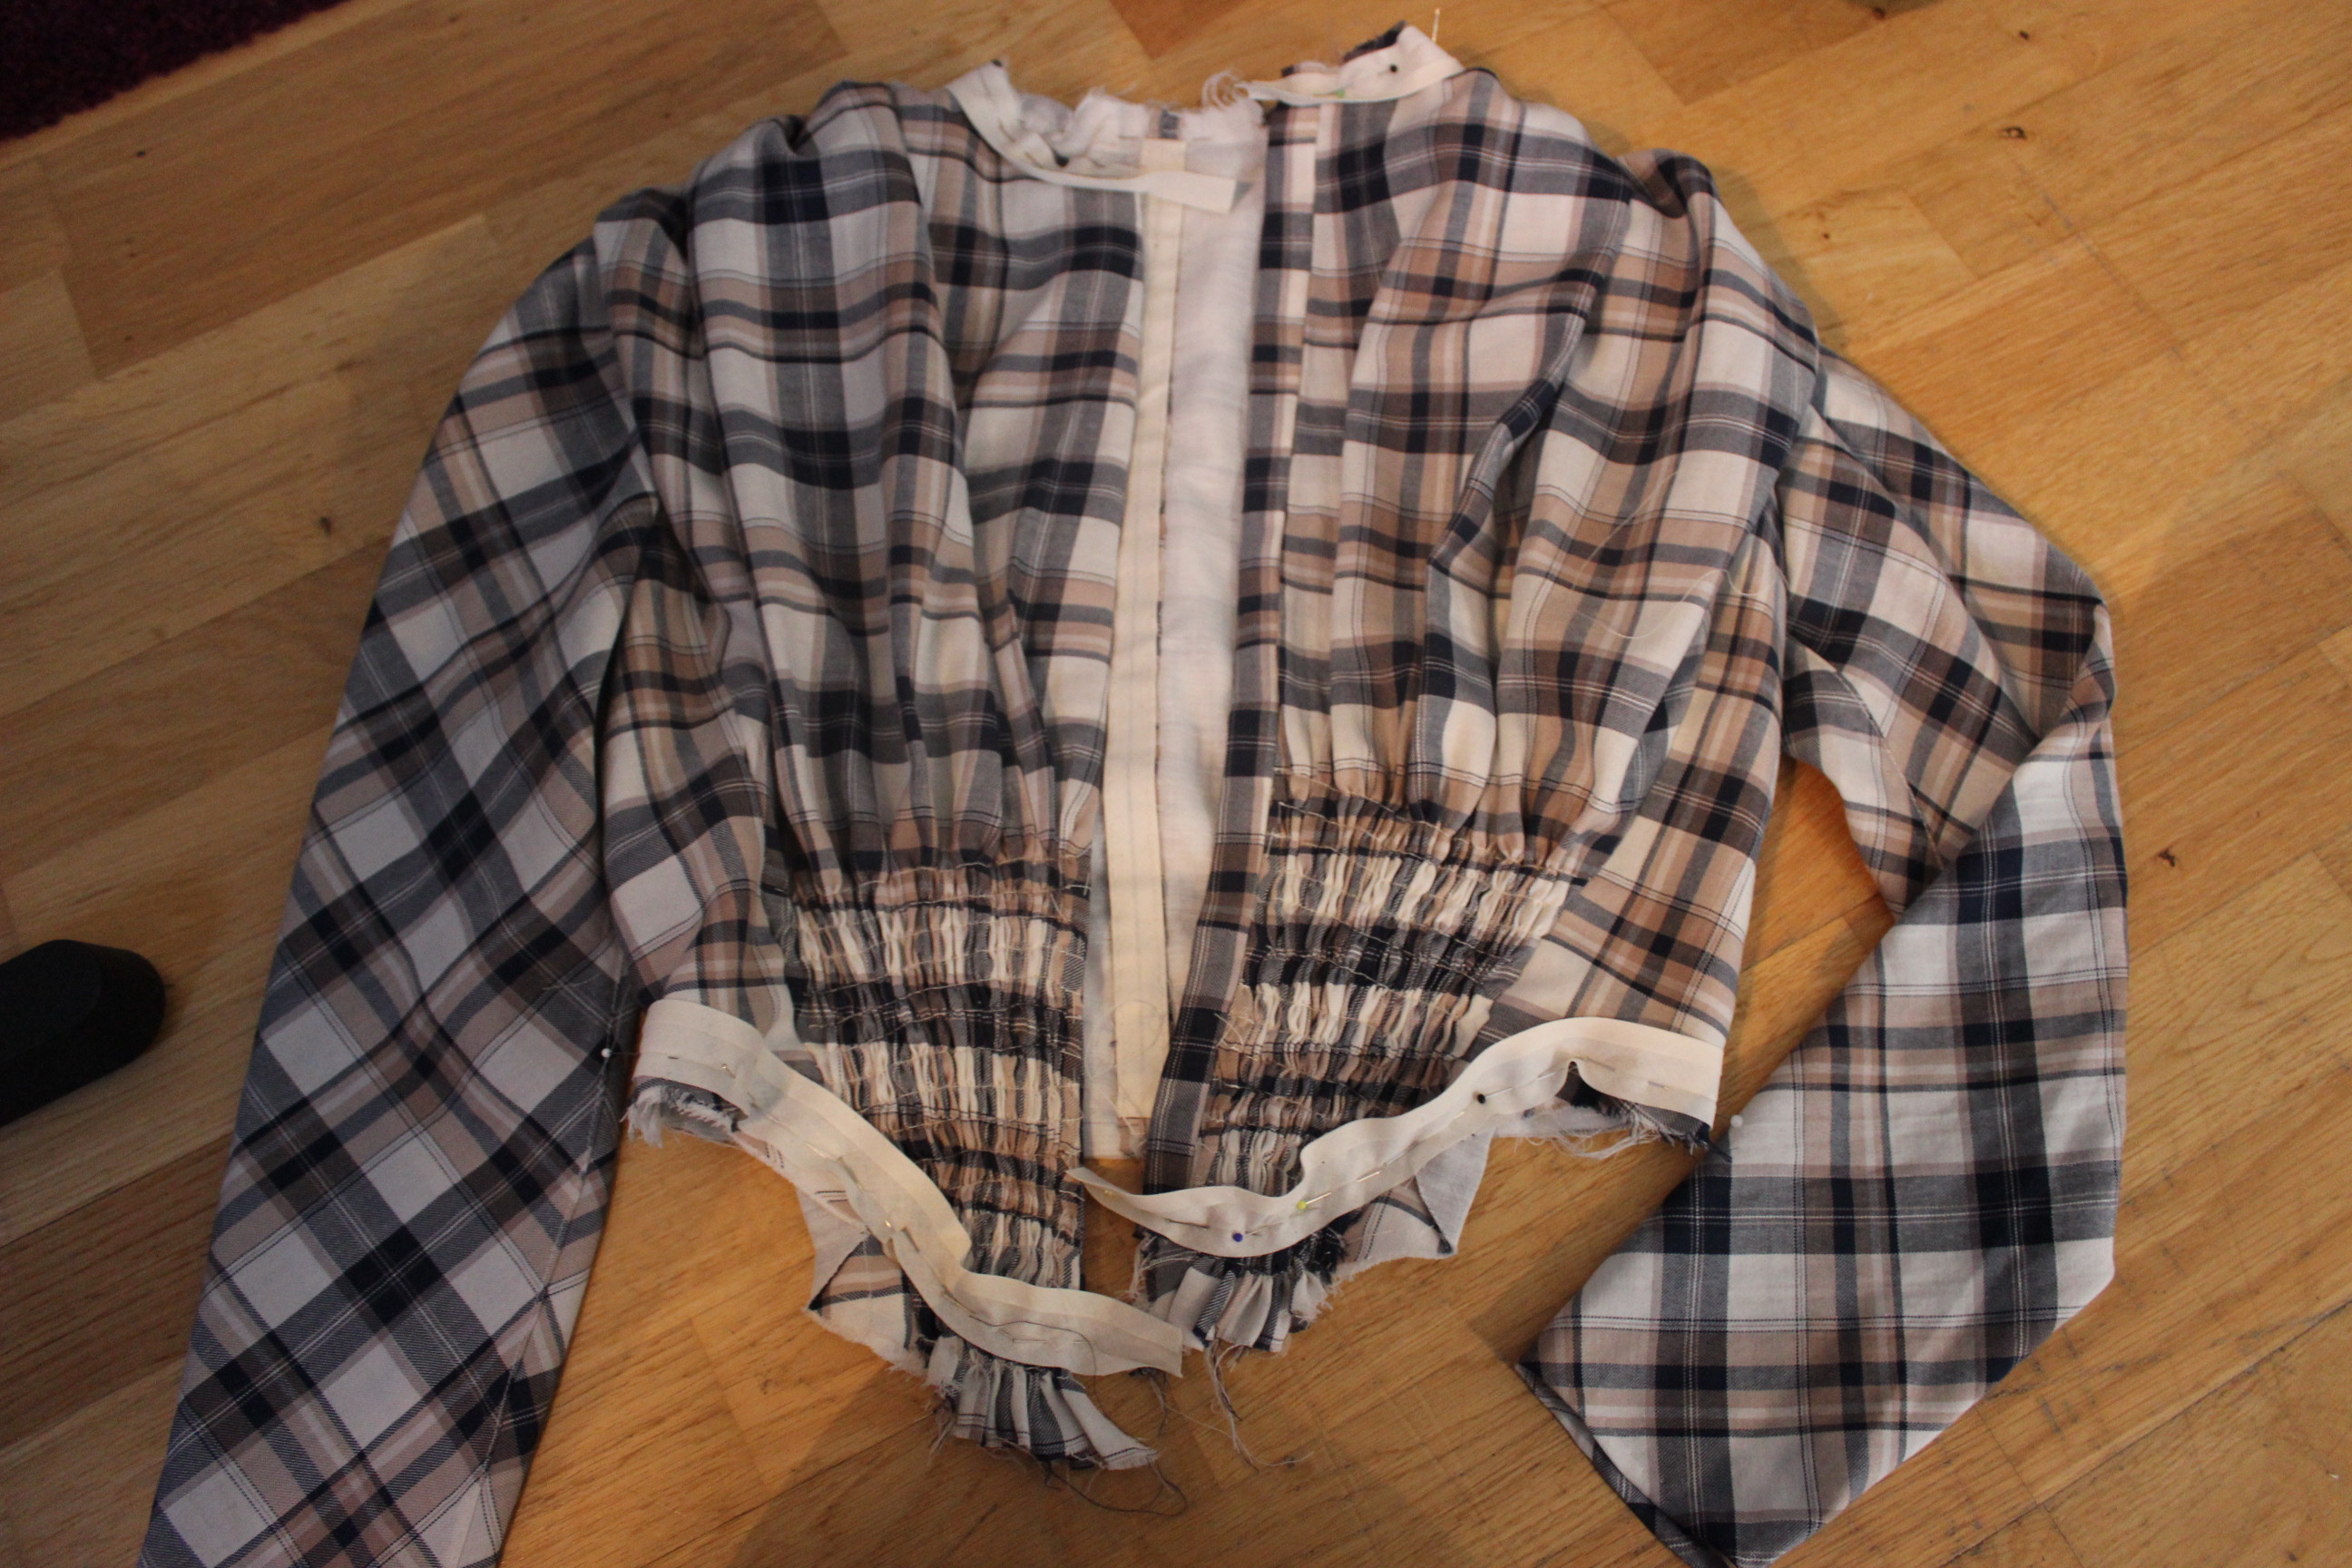
Turning the bias tape at the neck down and securing it at shoulder and back.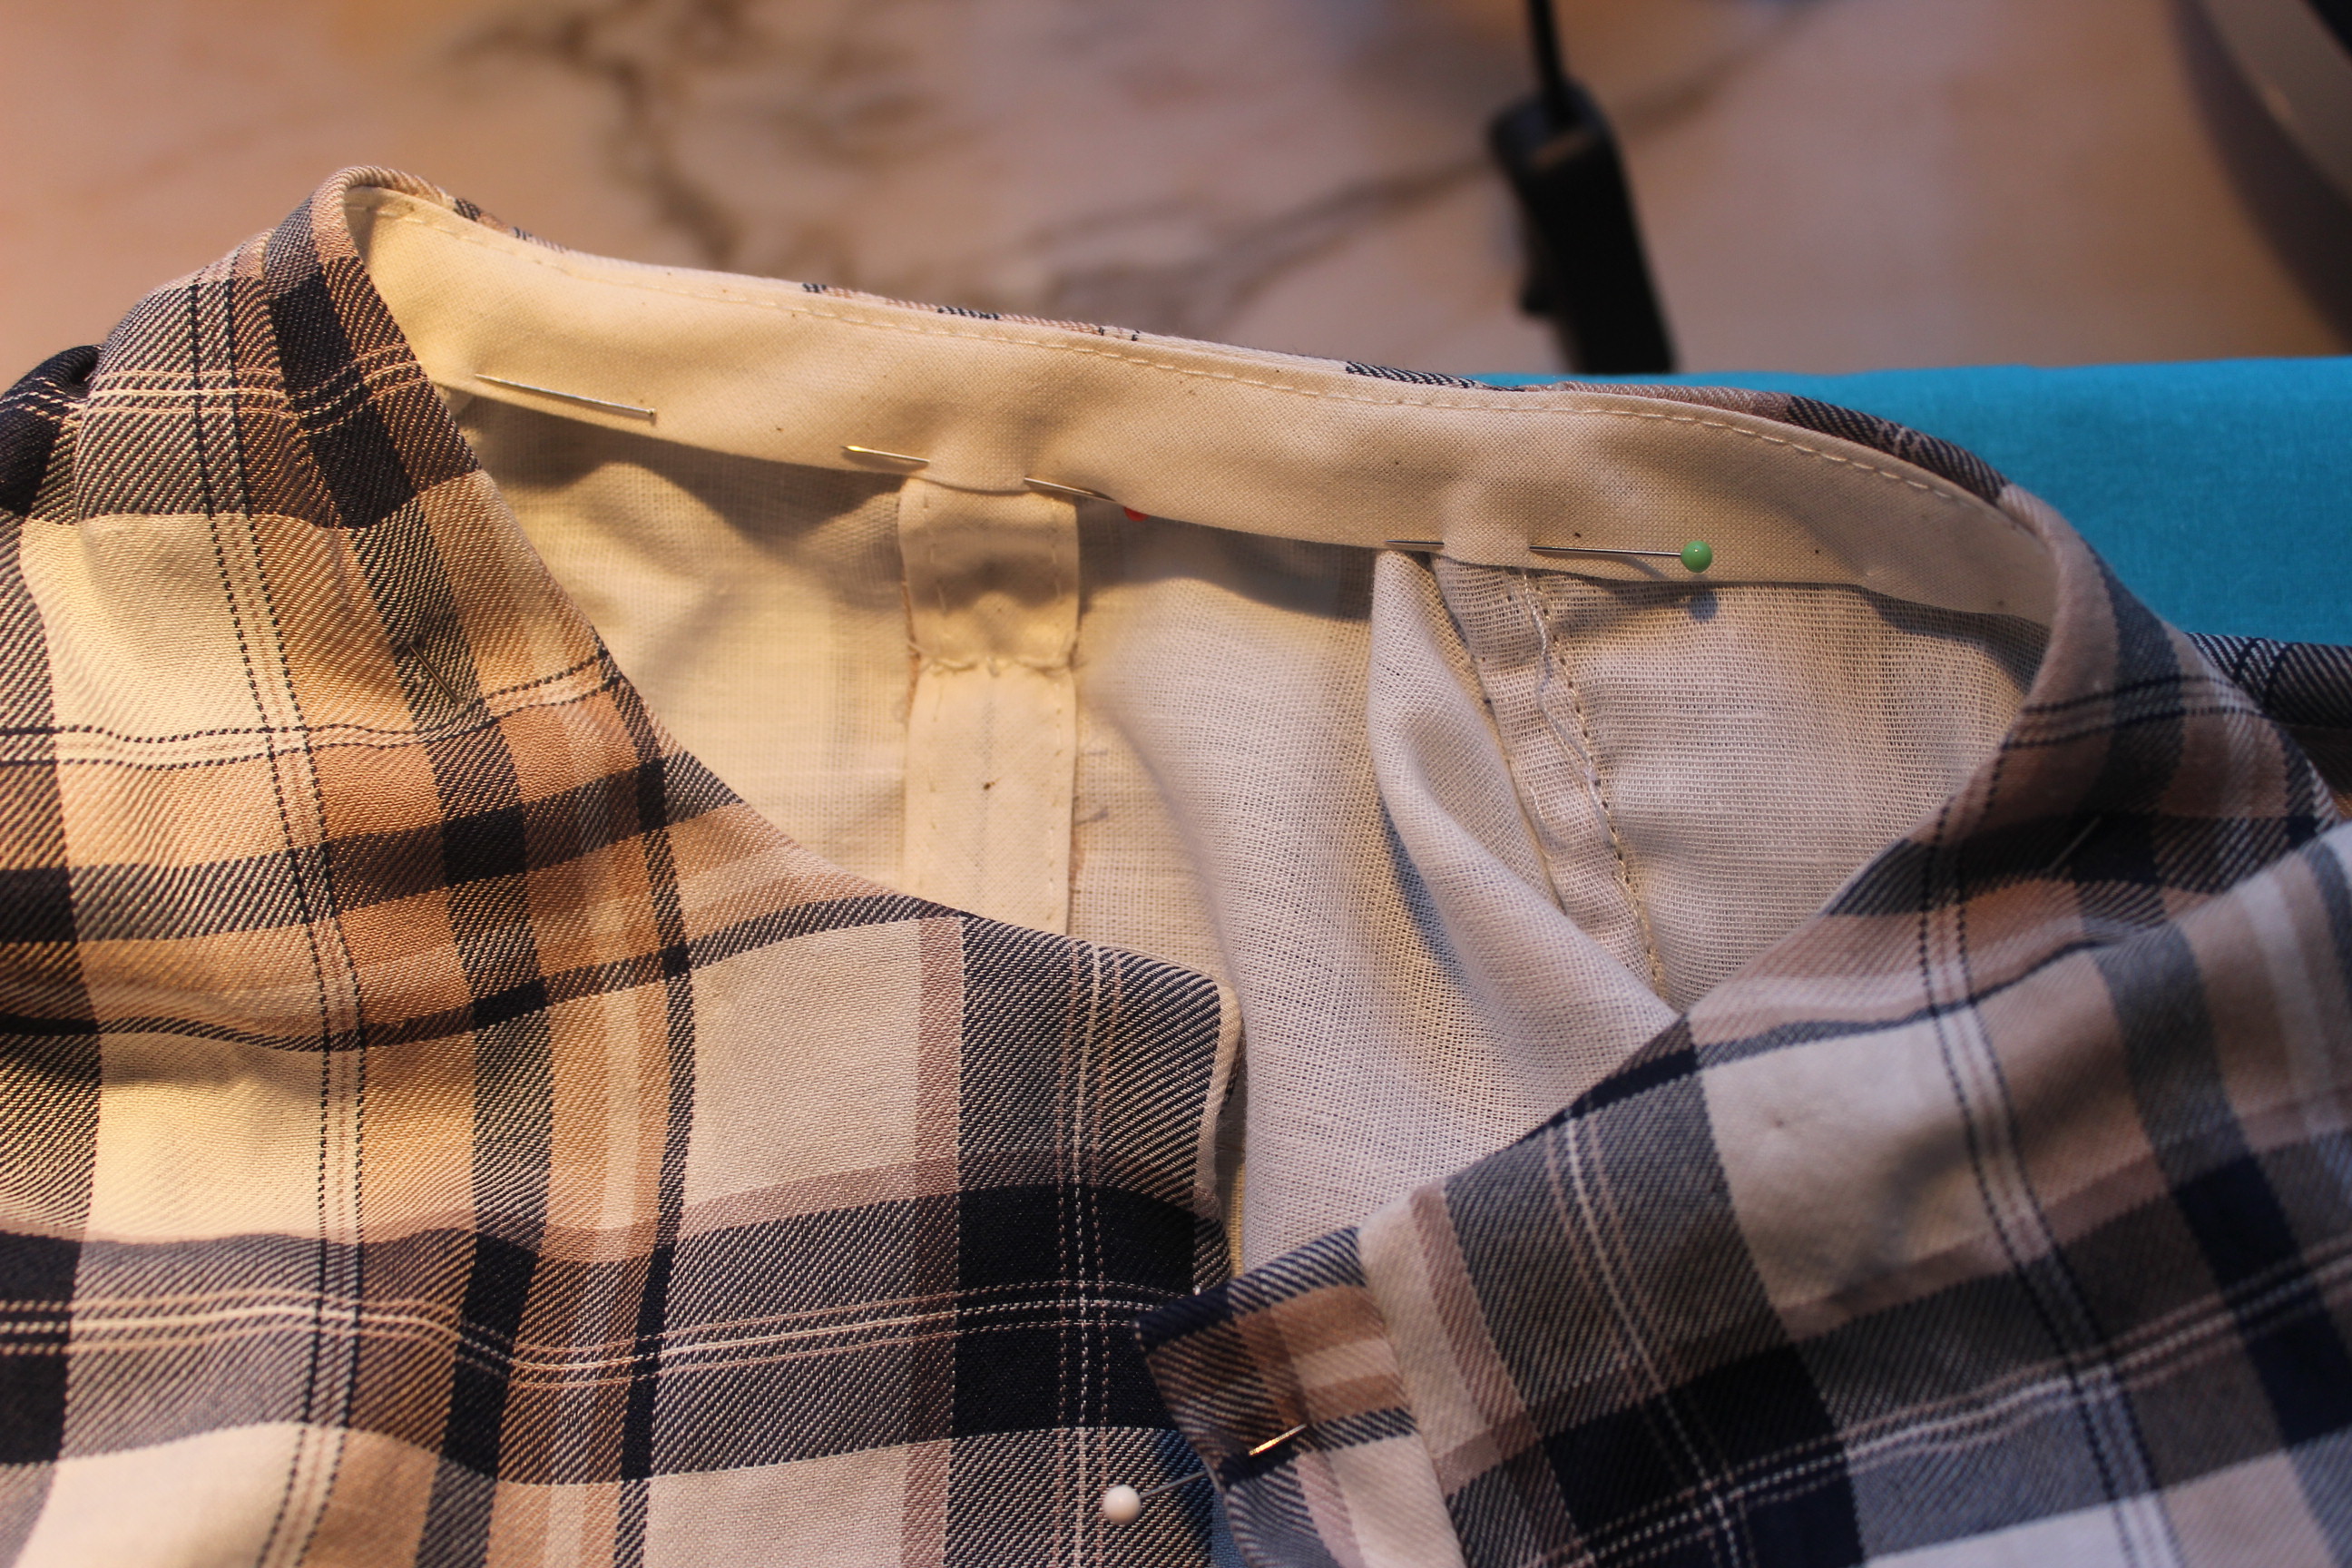
I stitched and turned over the bias-tape at the waist, and slip-stitched it to the inside lining to make a smooth and clean finish.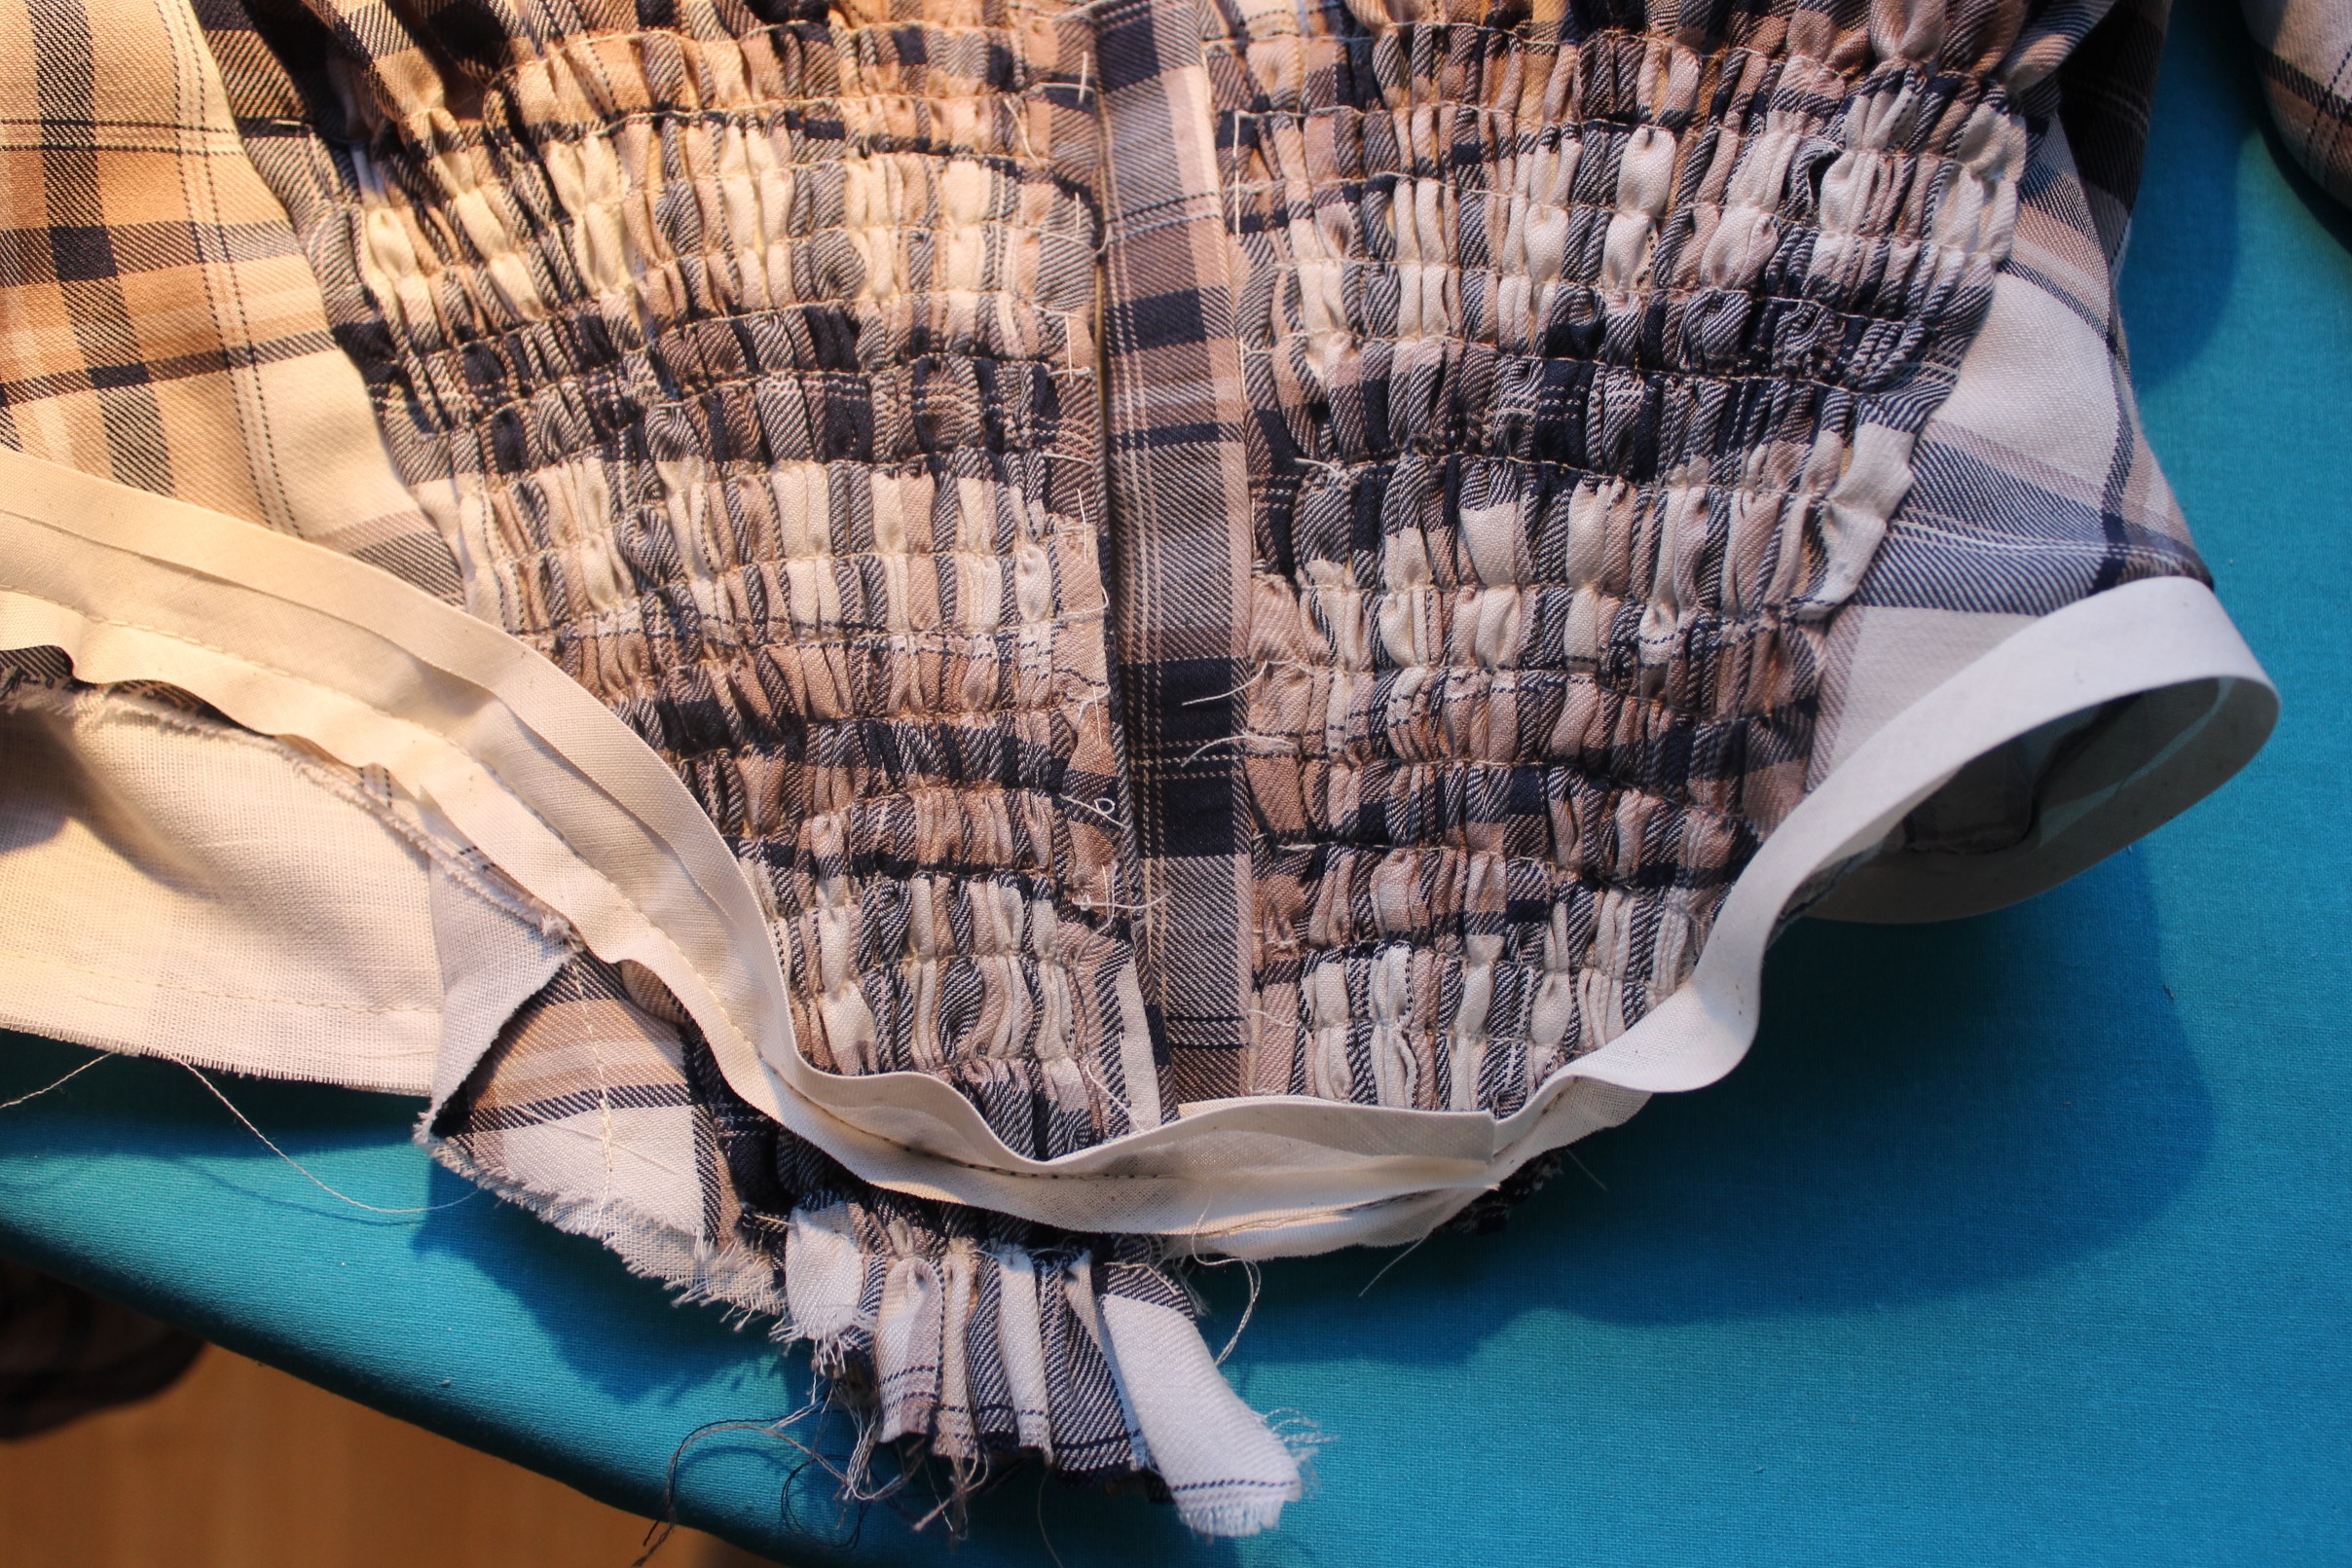

late at night I marked the placement for the hooks and eyes, but I never had the time to finish them before I needed to hurry to catch the buss to the event.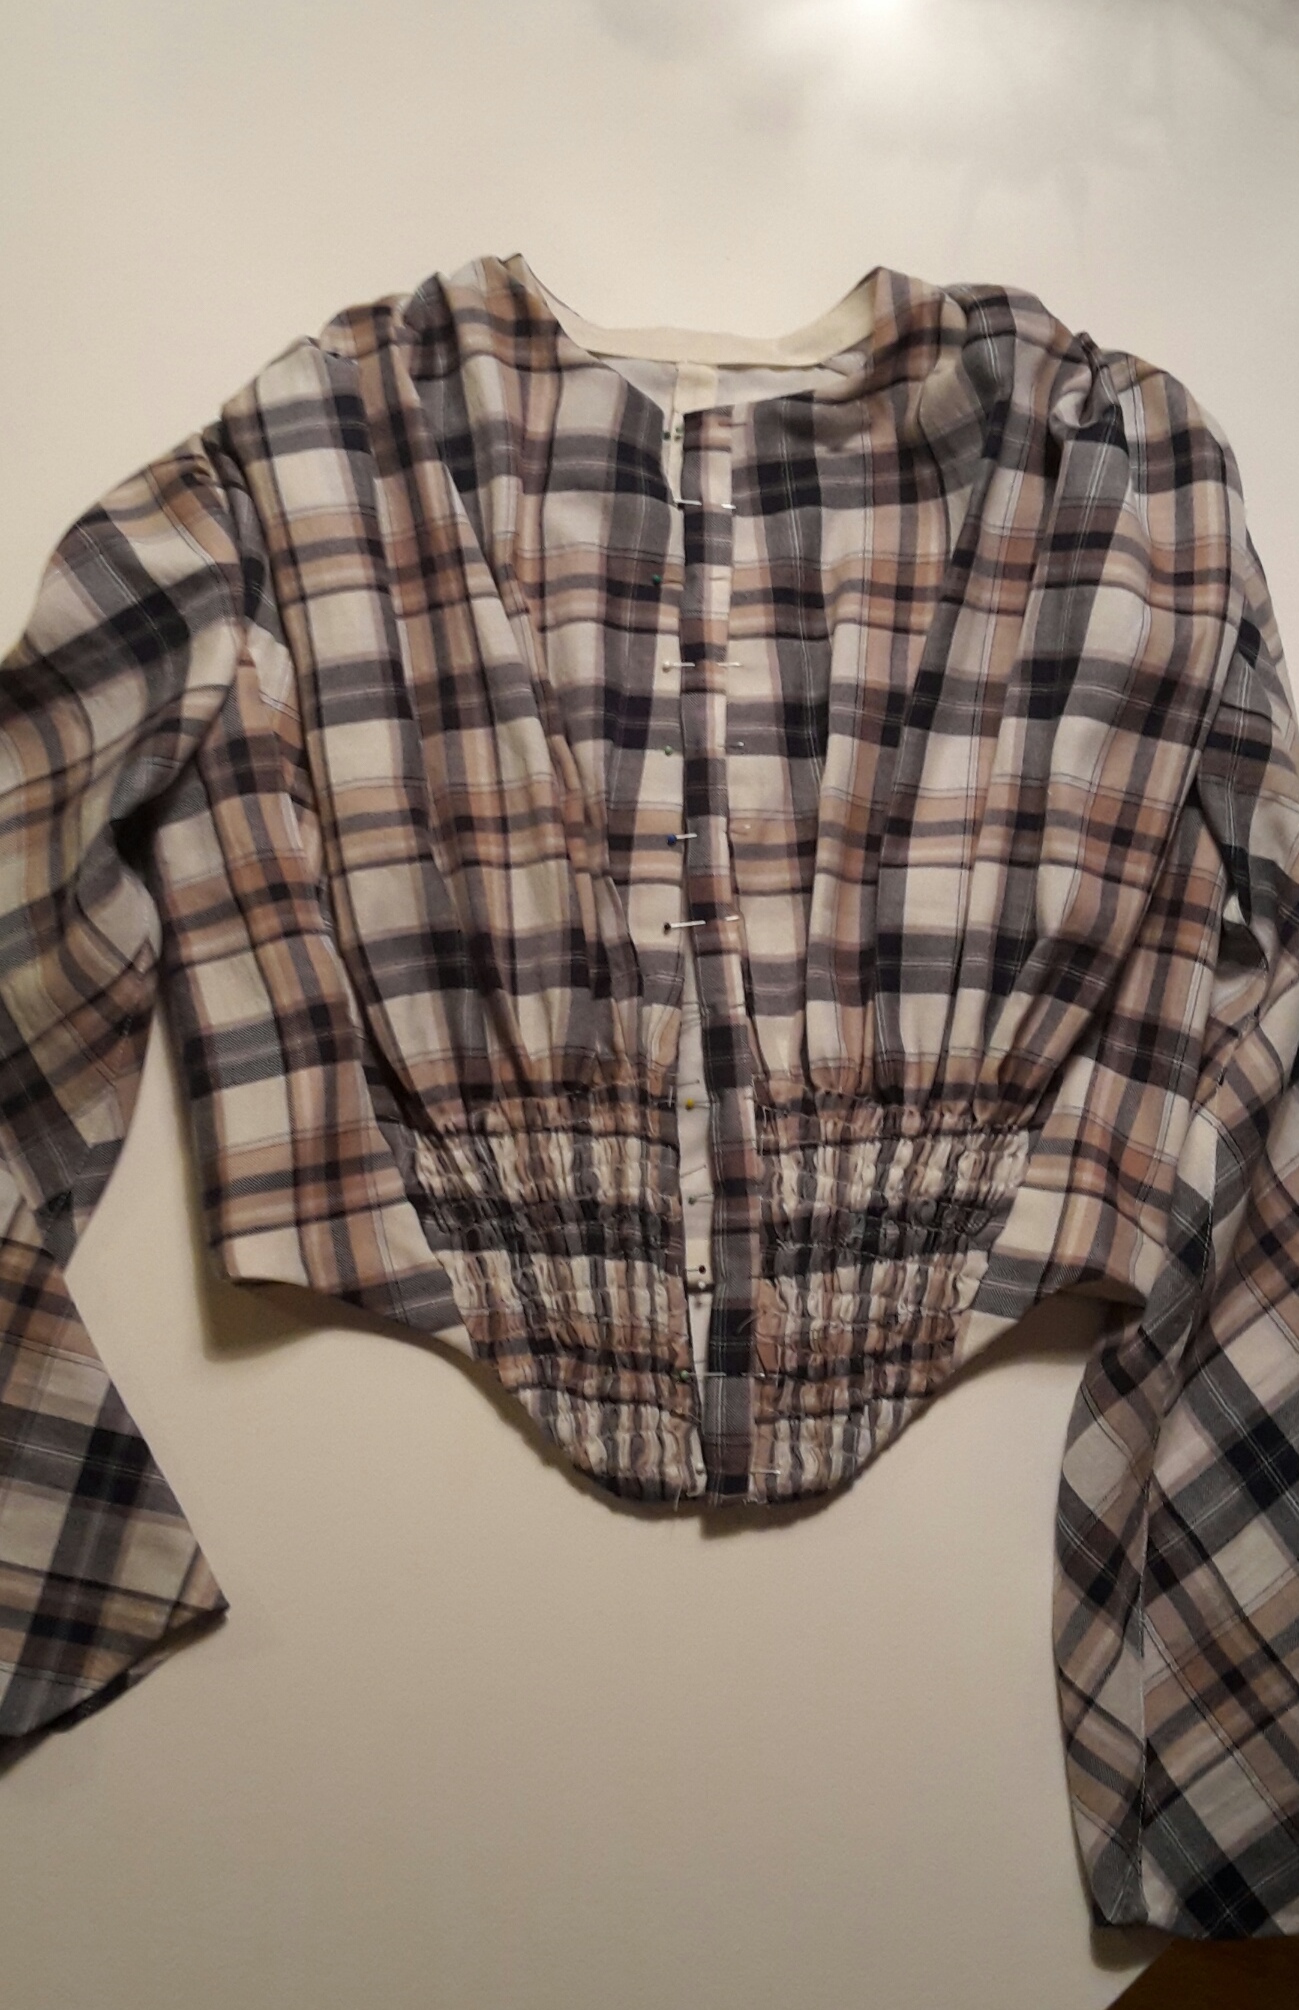 (Instead I pinned it shut)
I also added bias binding to the sleeve edges
Outside and inside of the “finished” bodice:
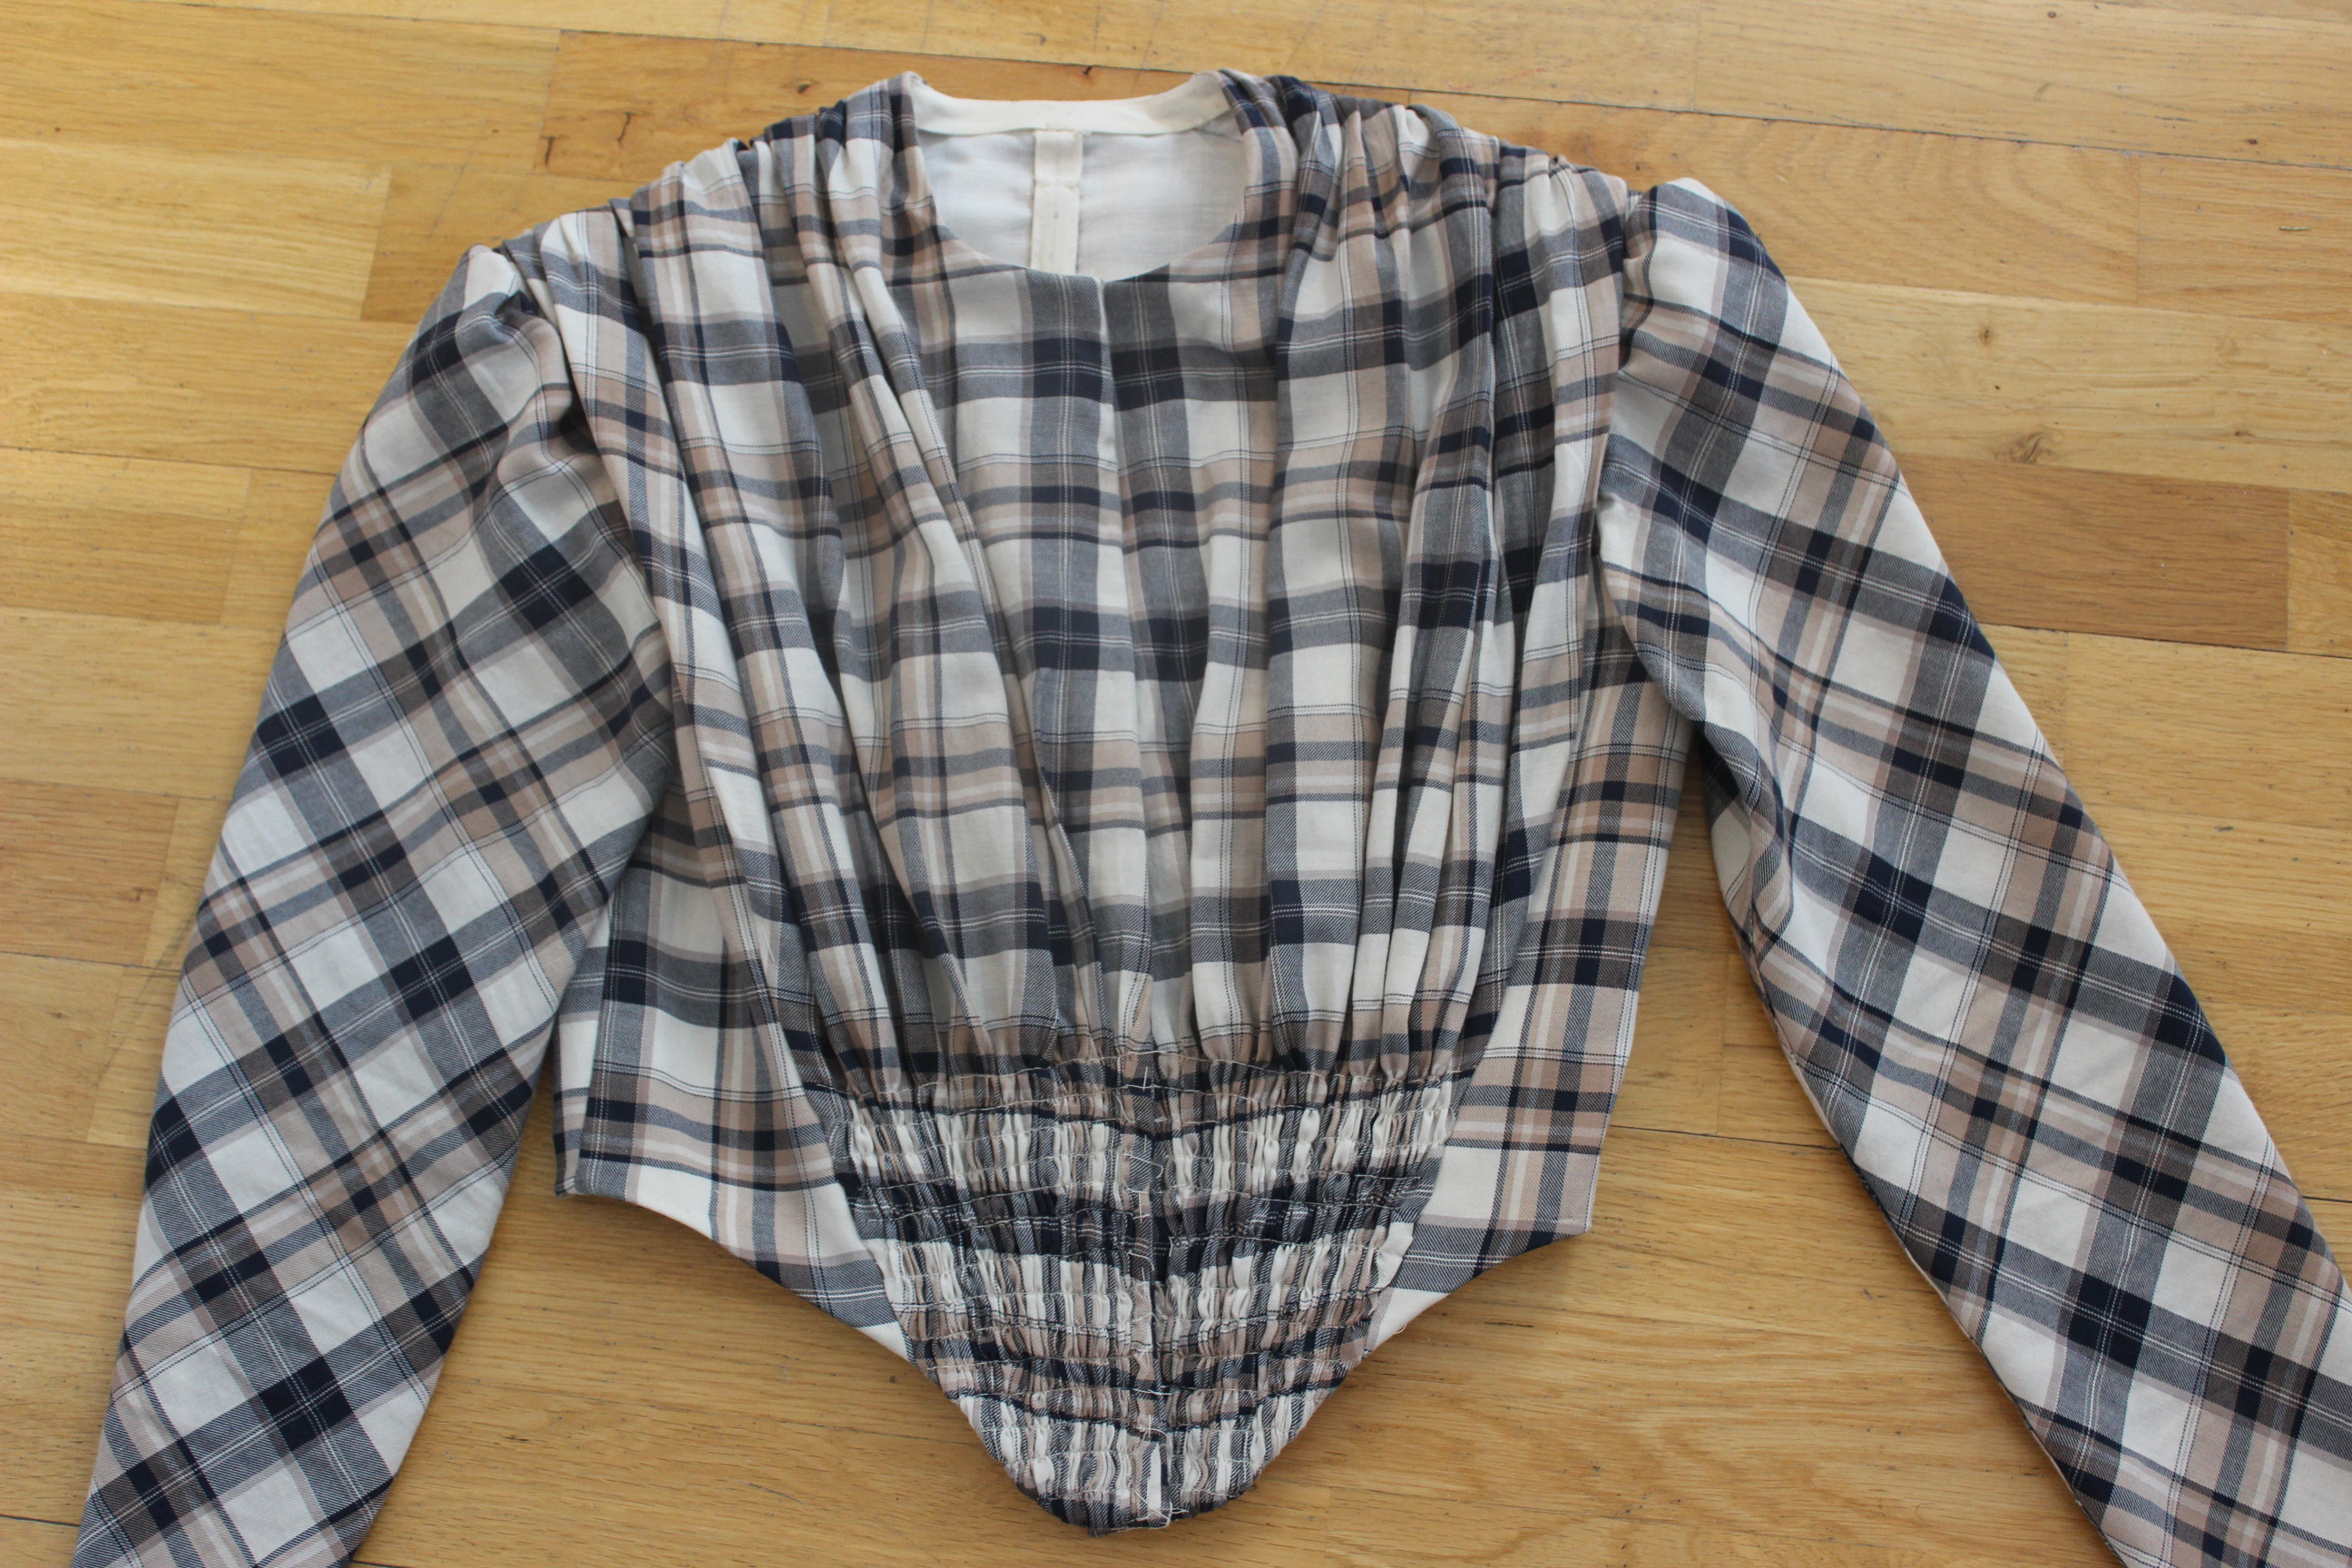

 I didn’t had time to ad the clouser to the front (Edit: Now it’s done).
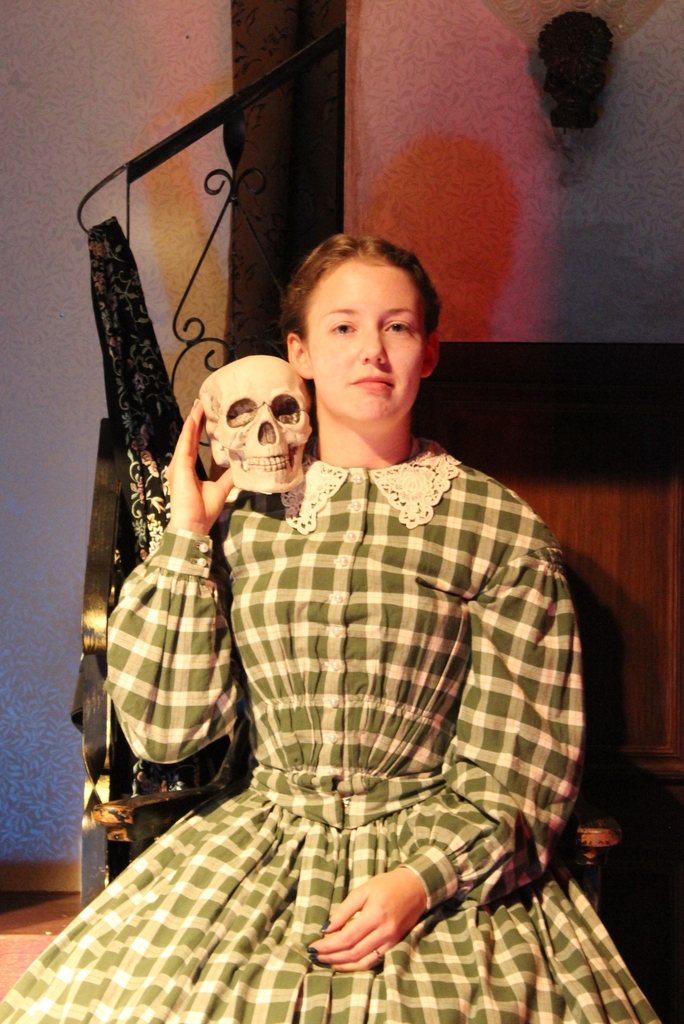
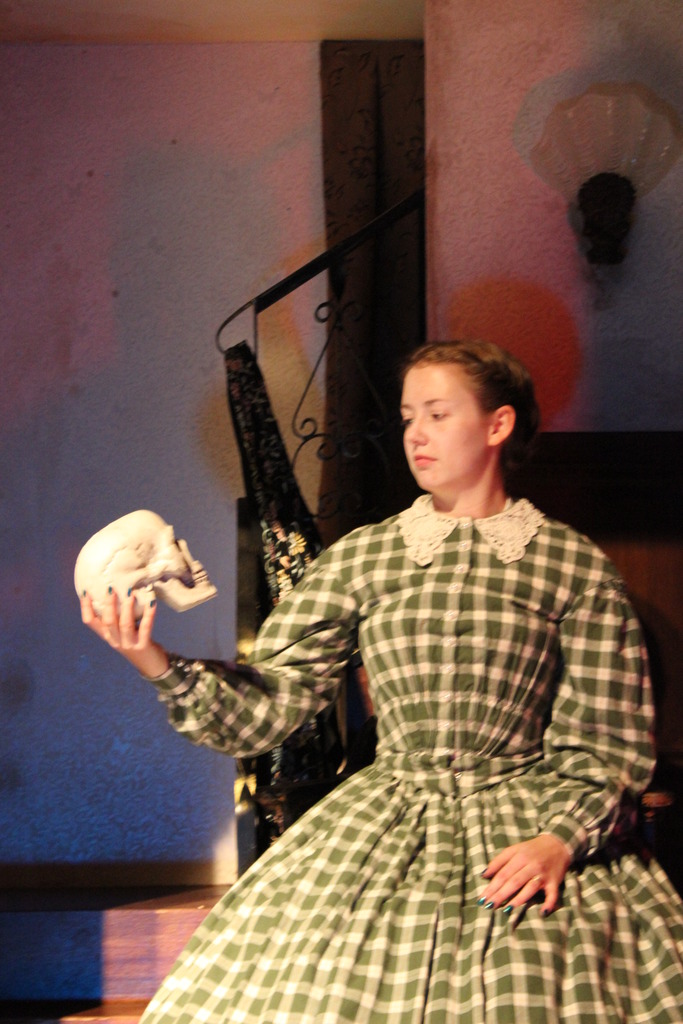
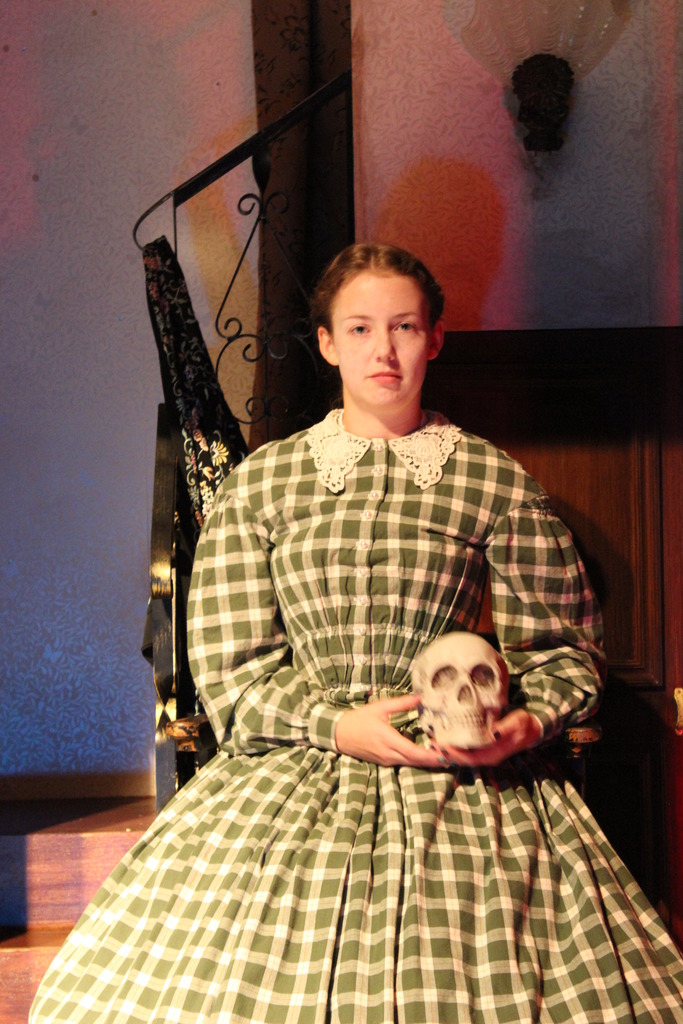
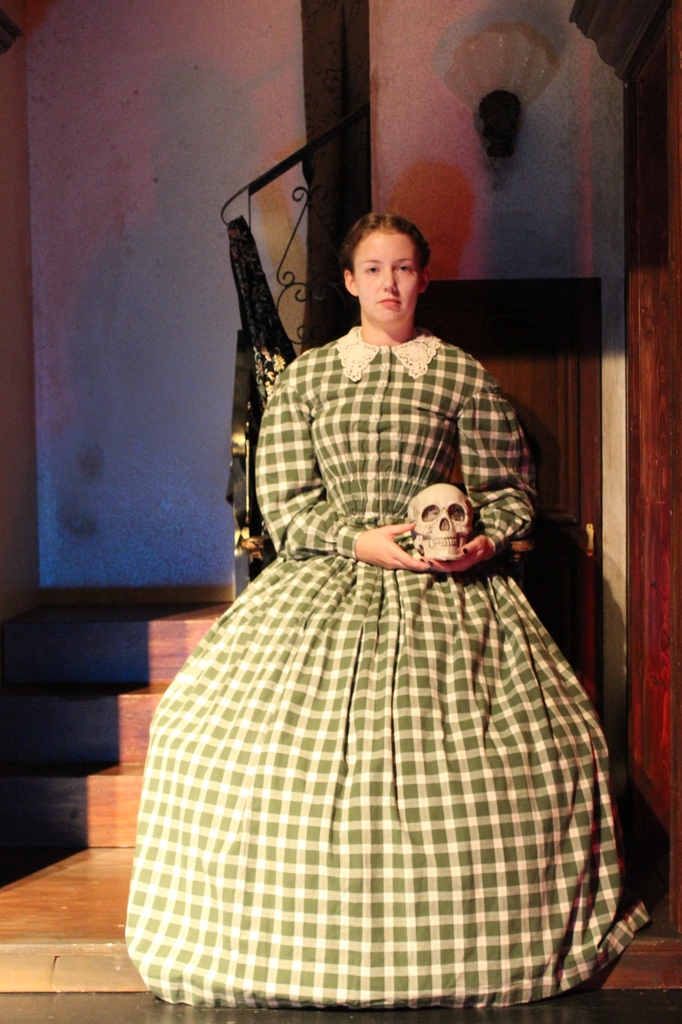
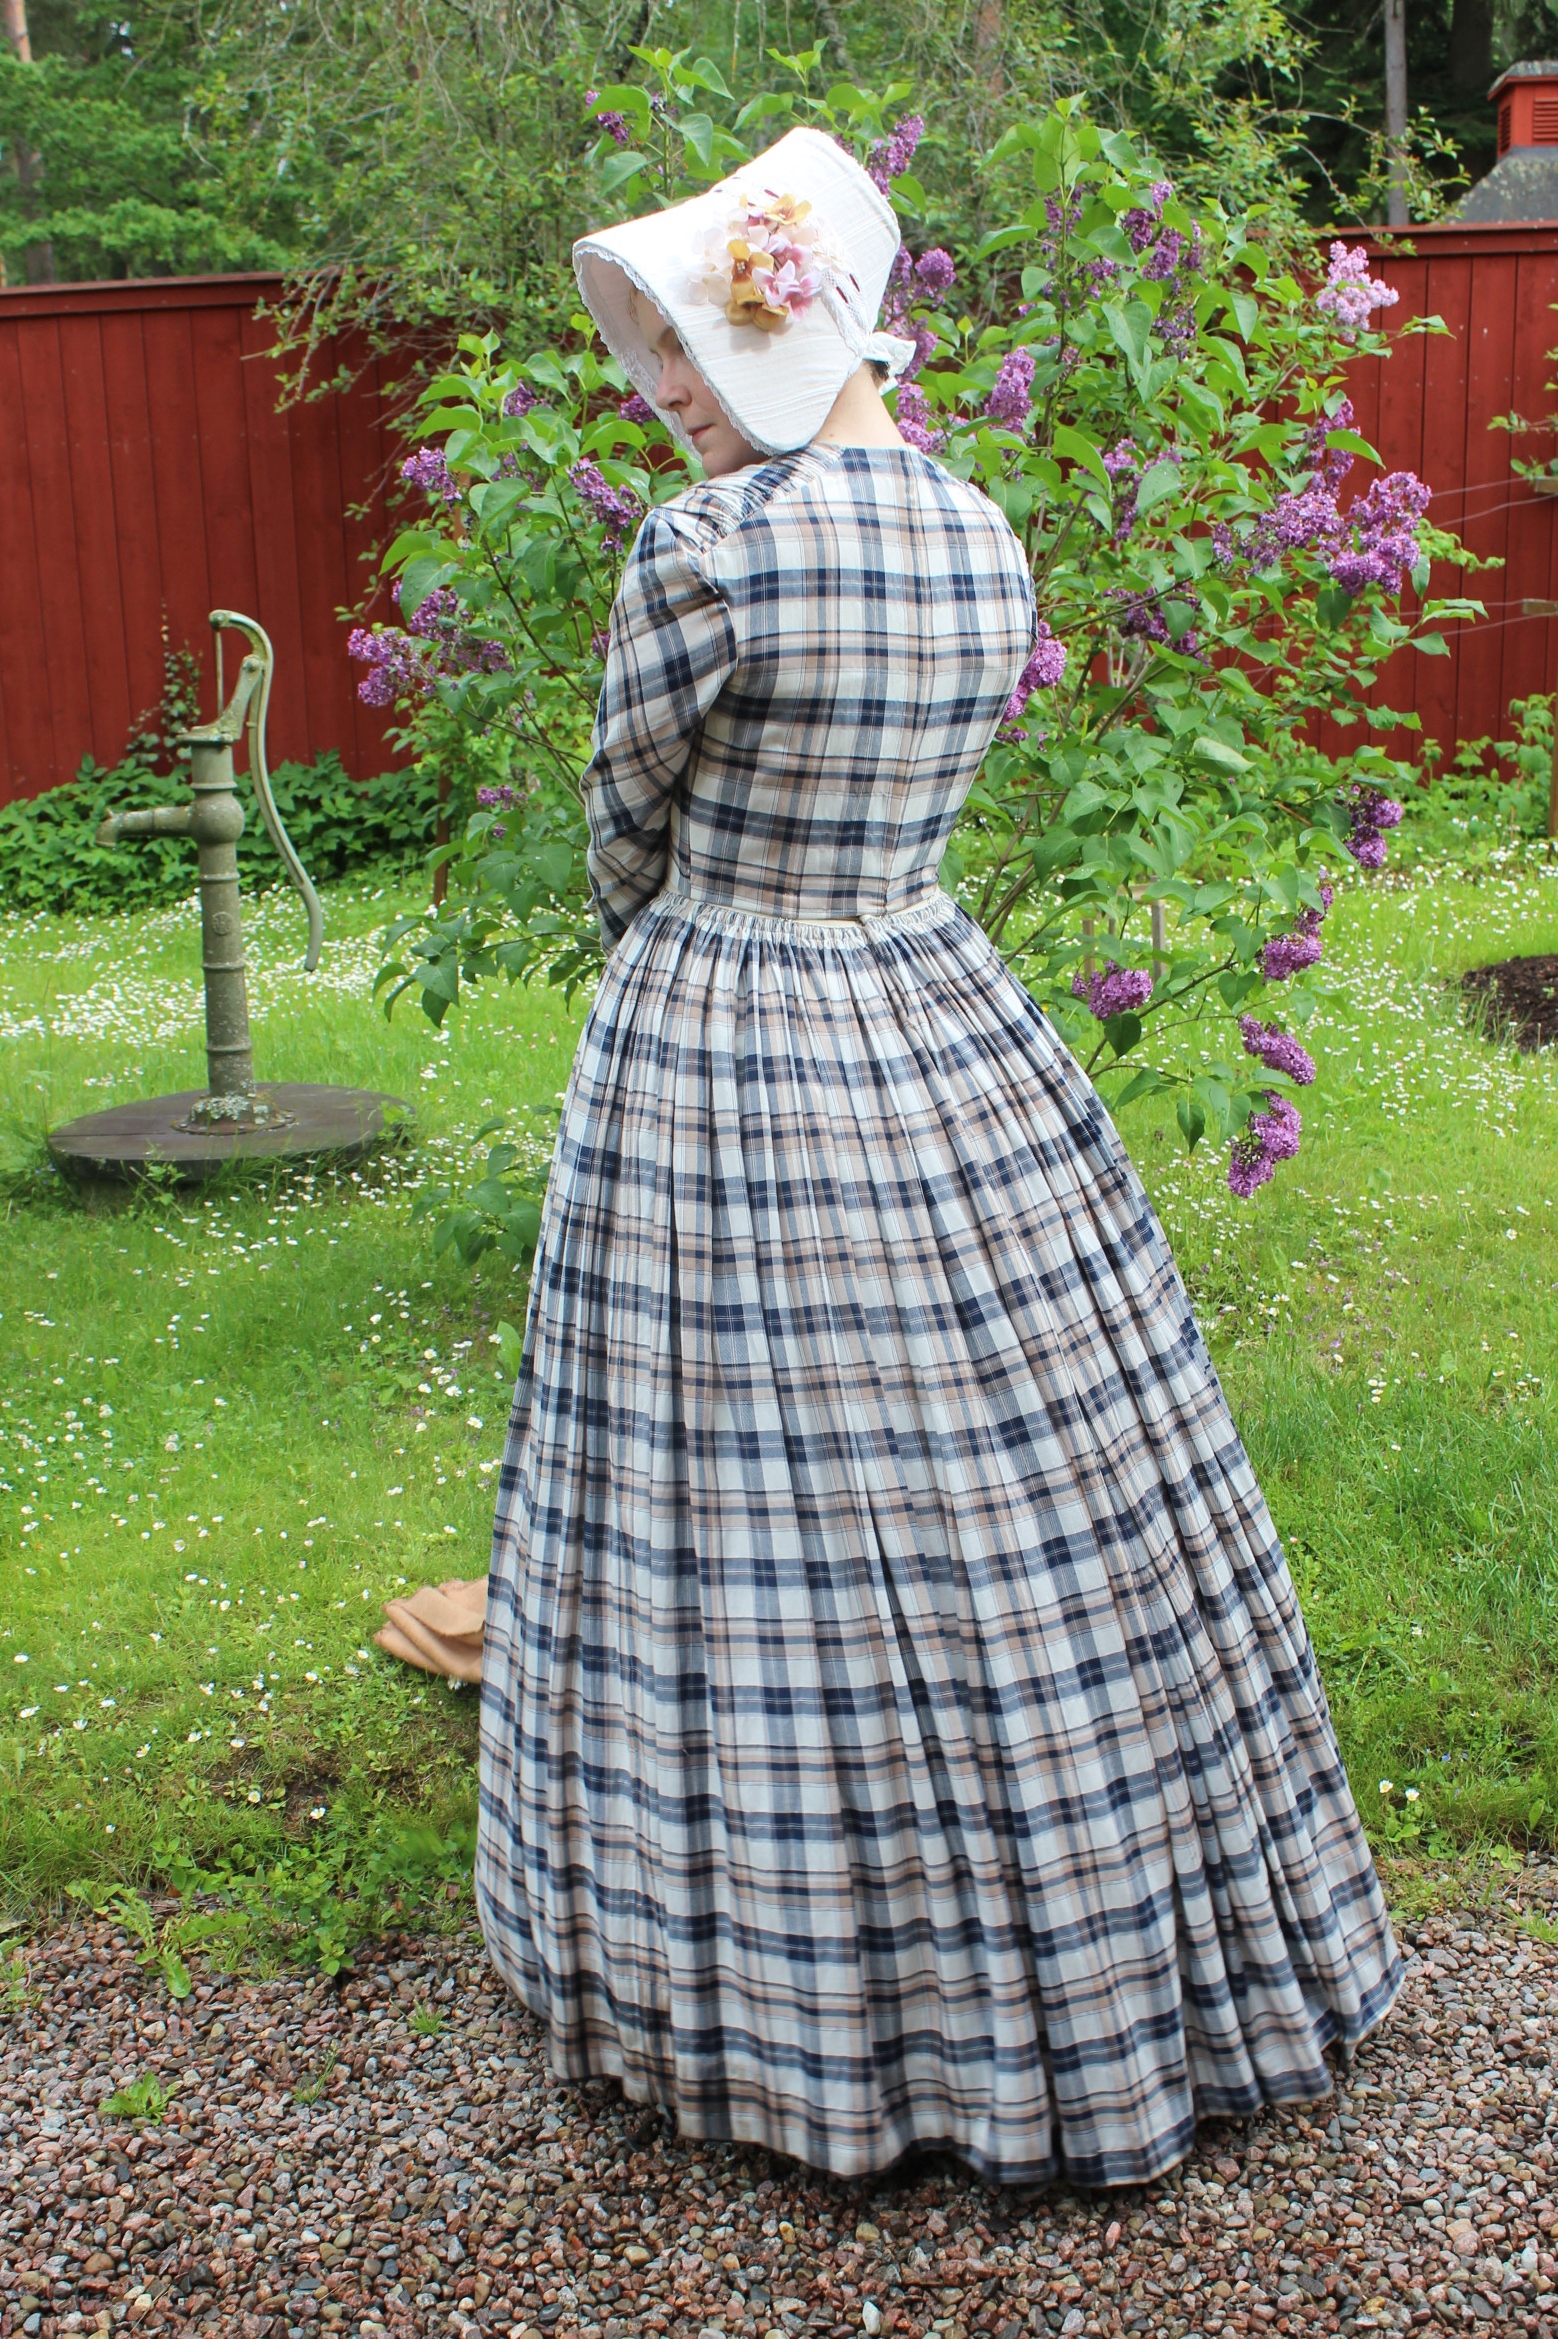
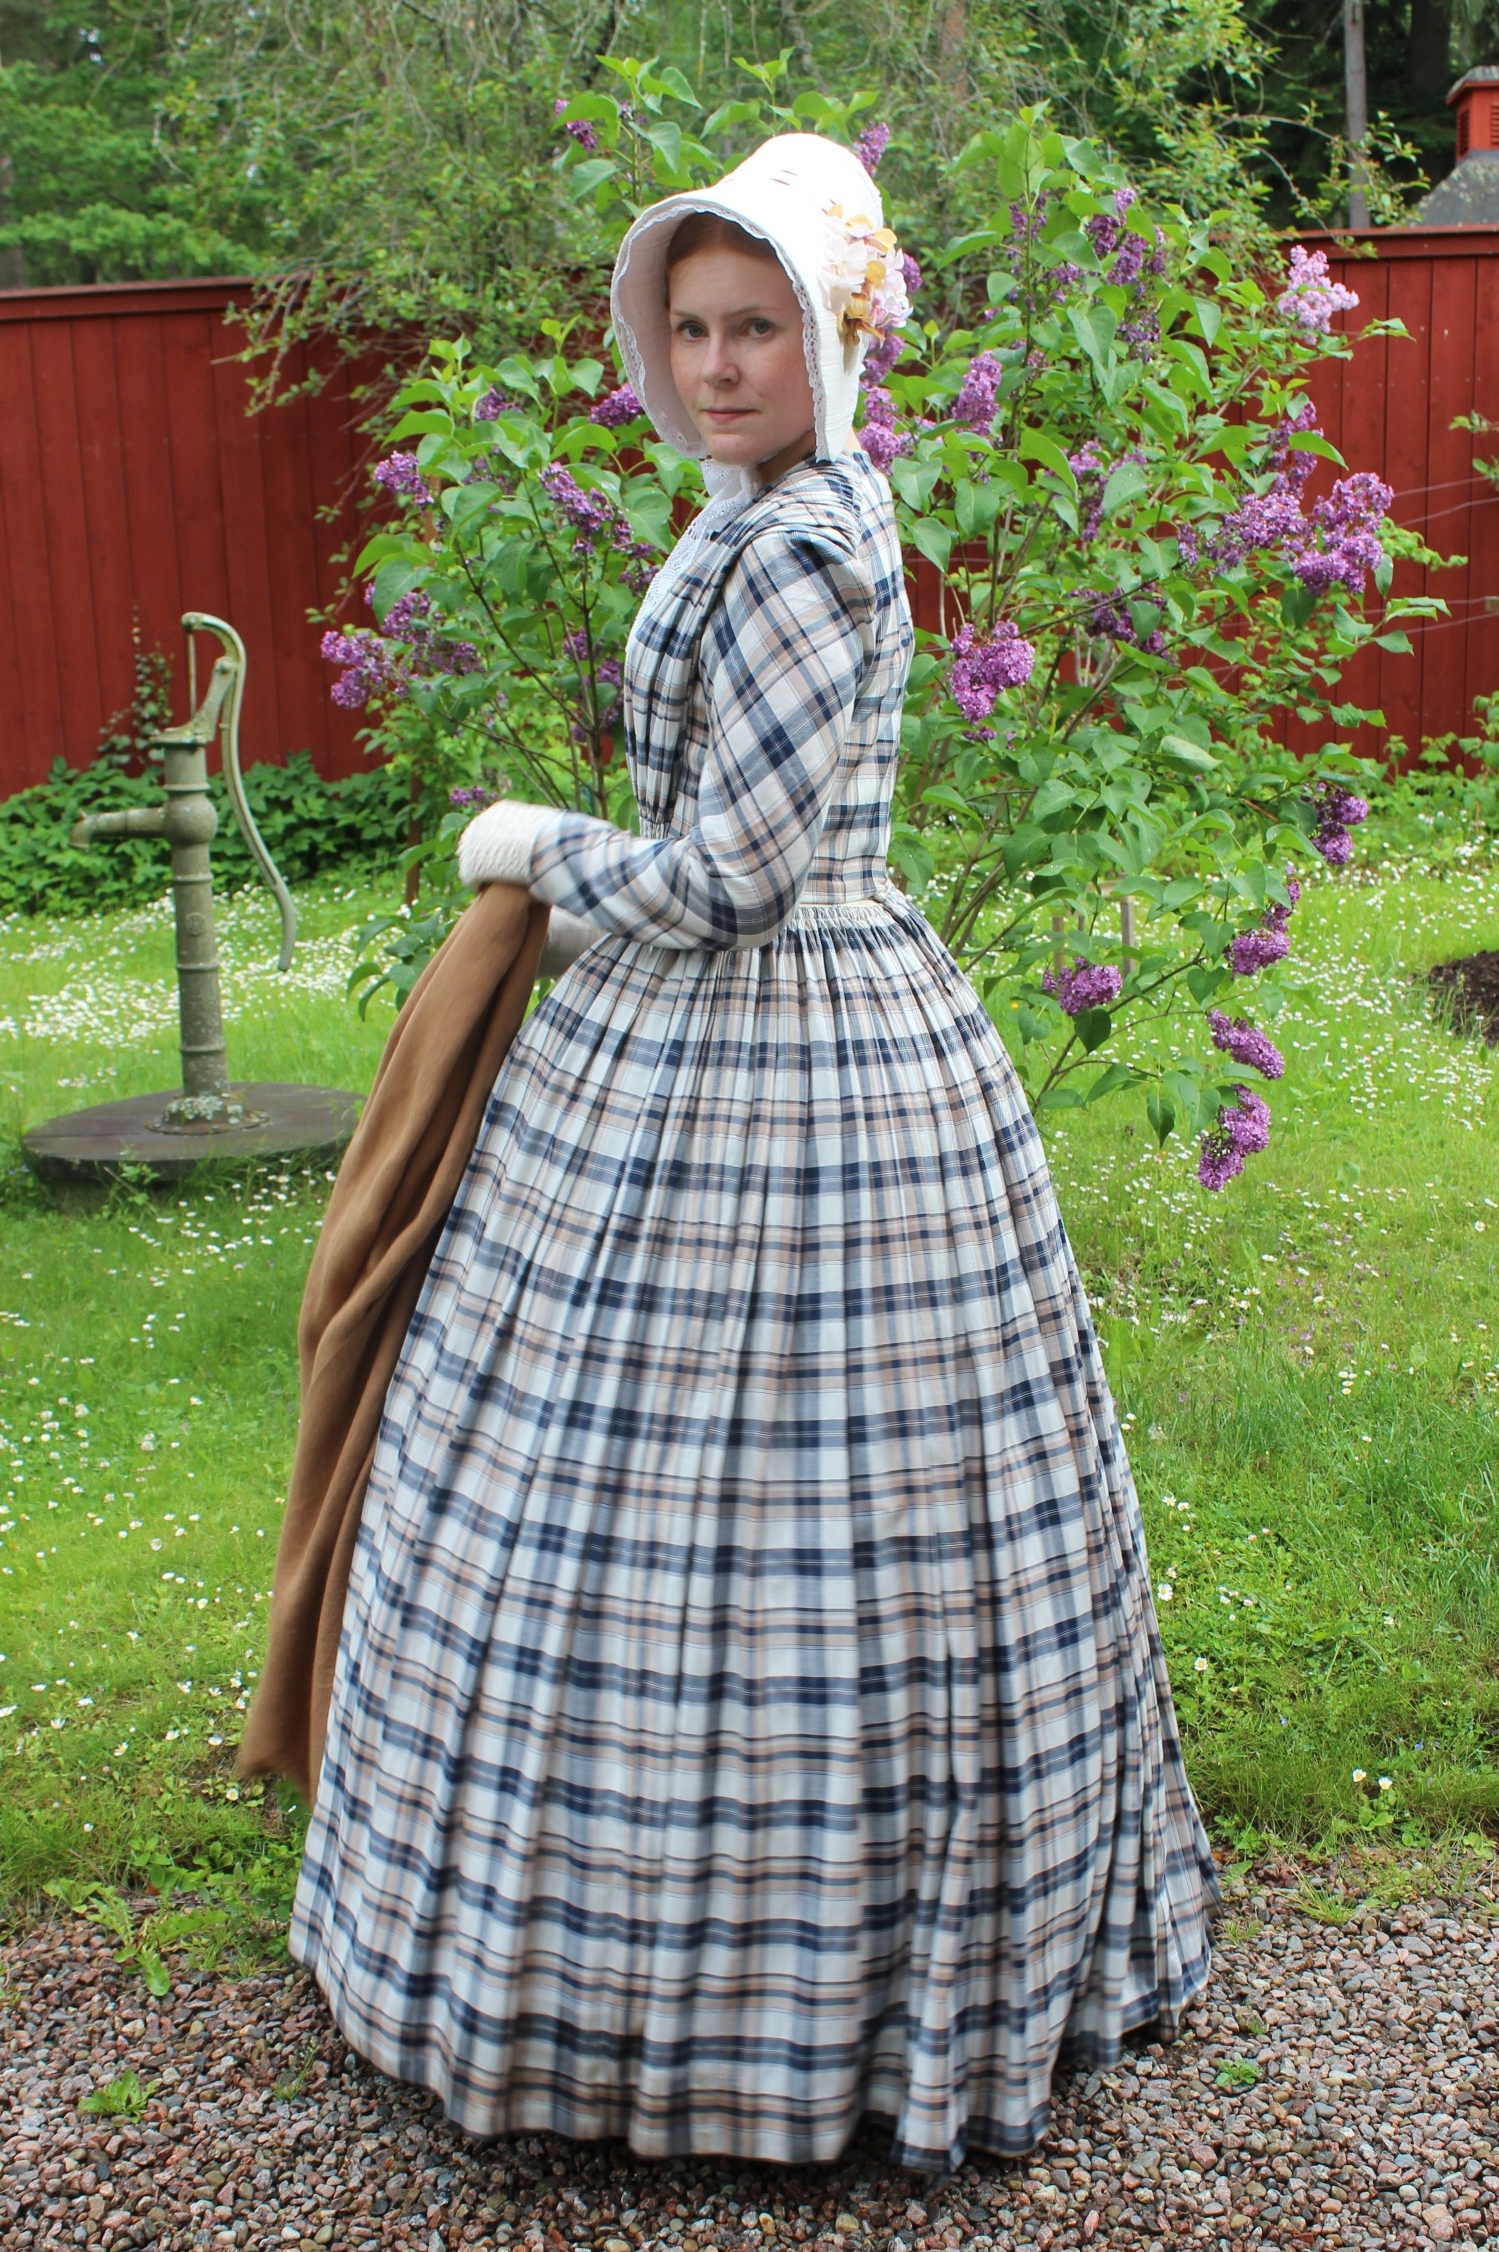
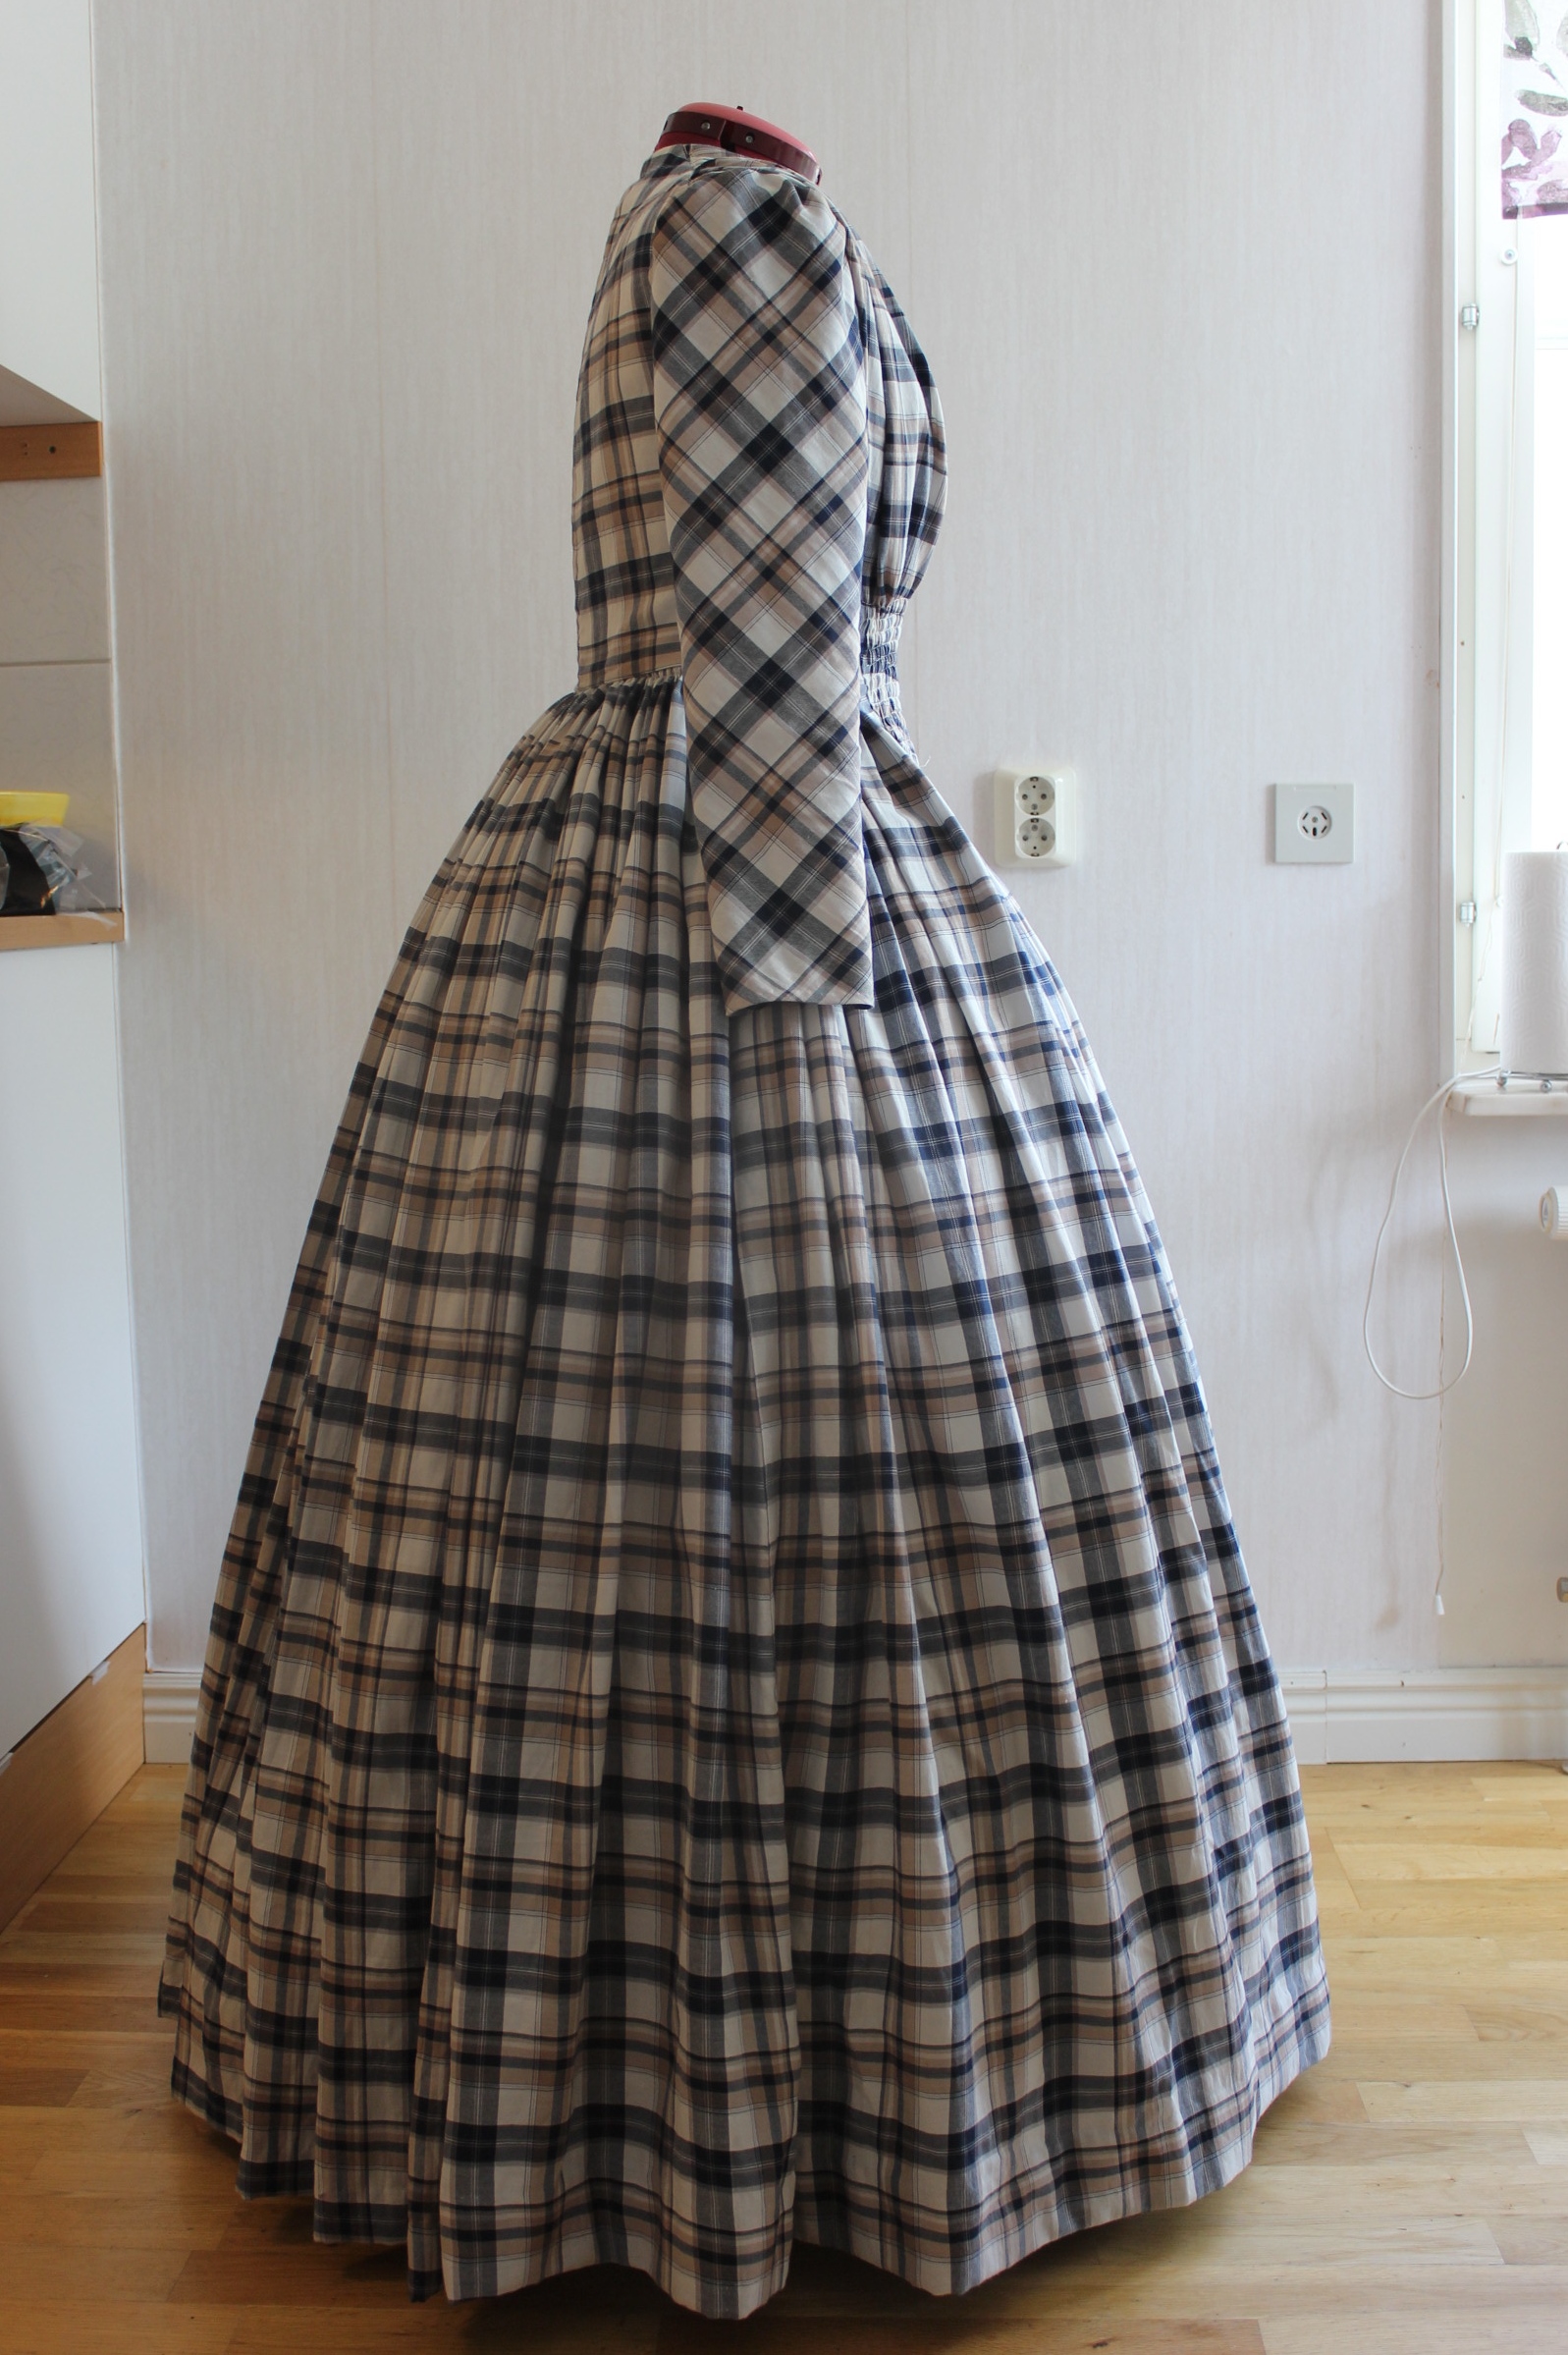
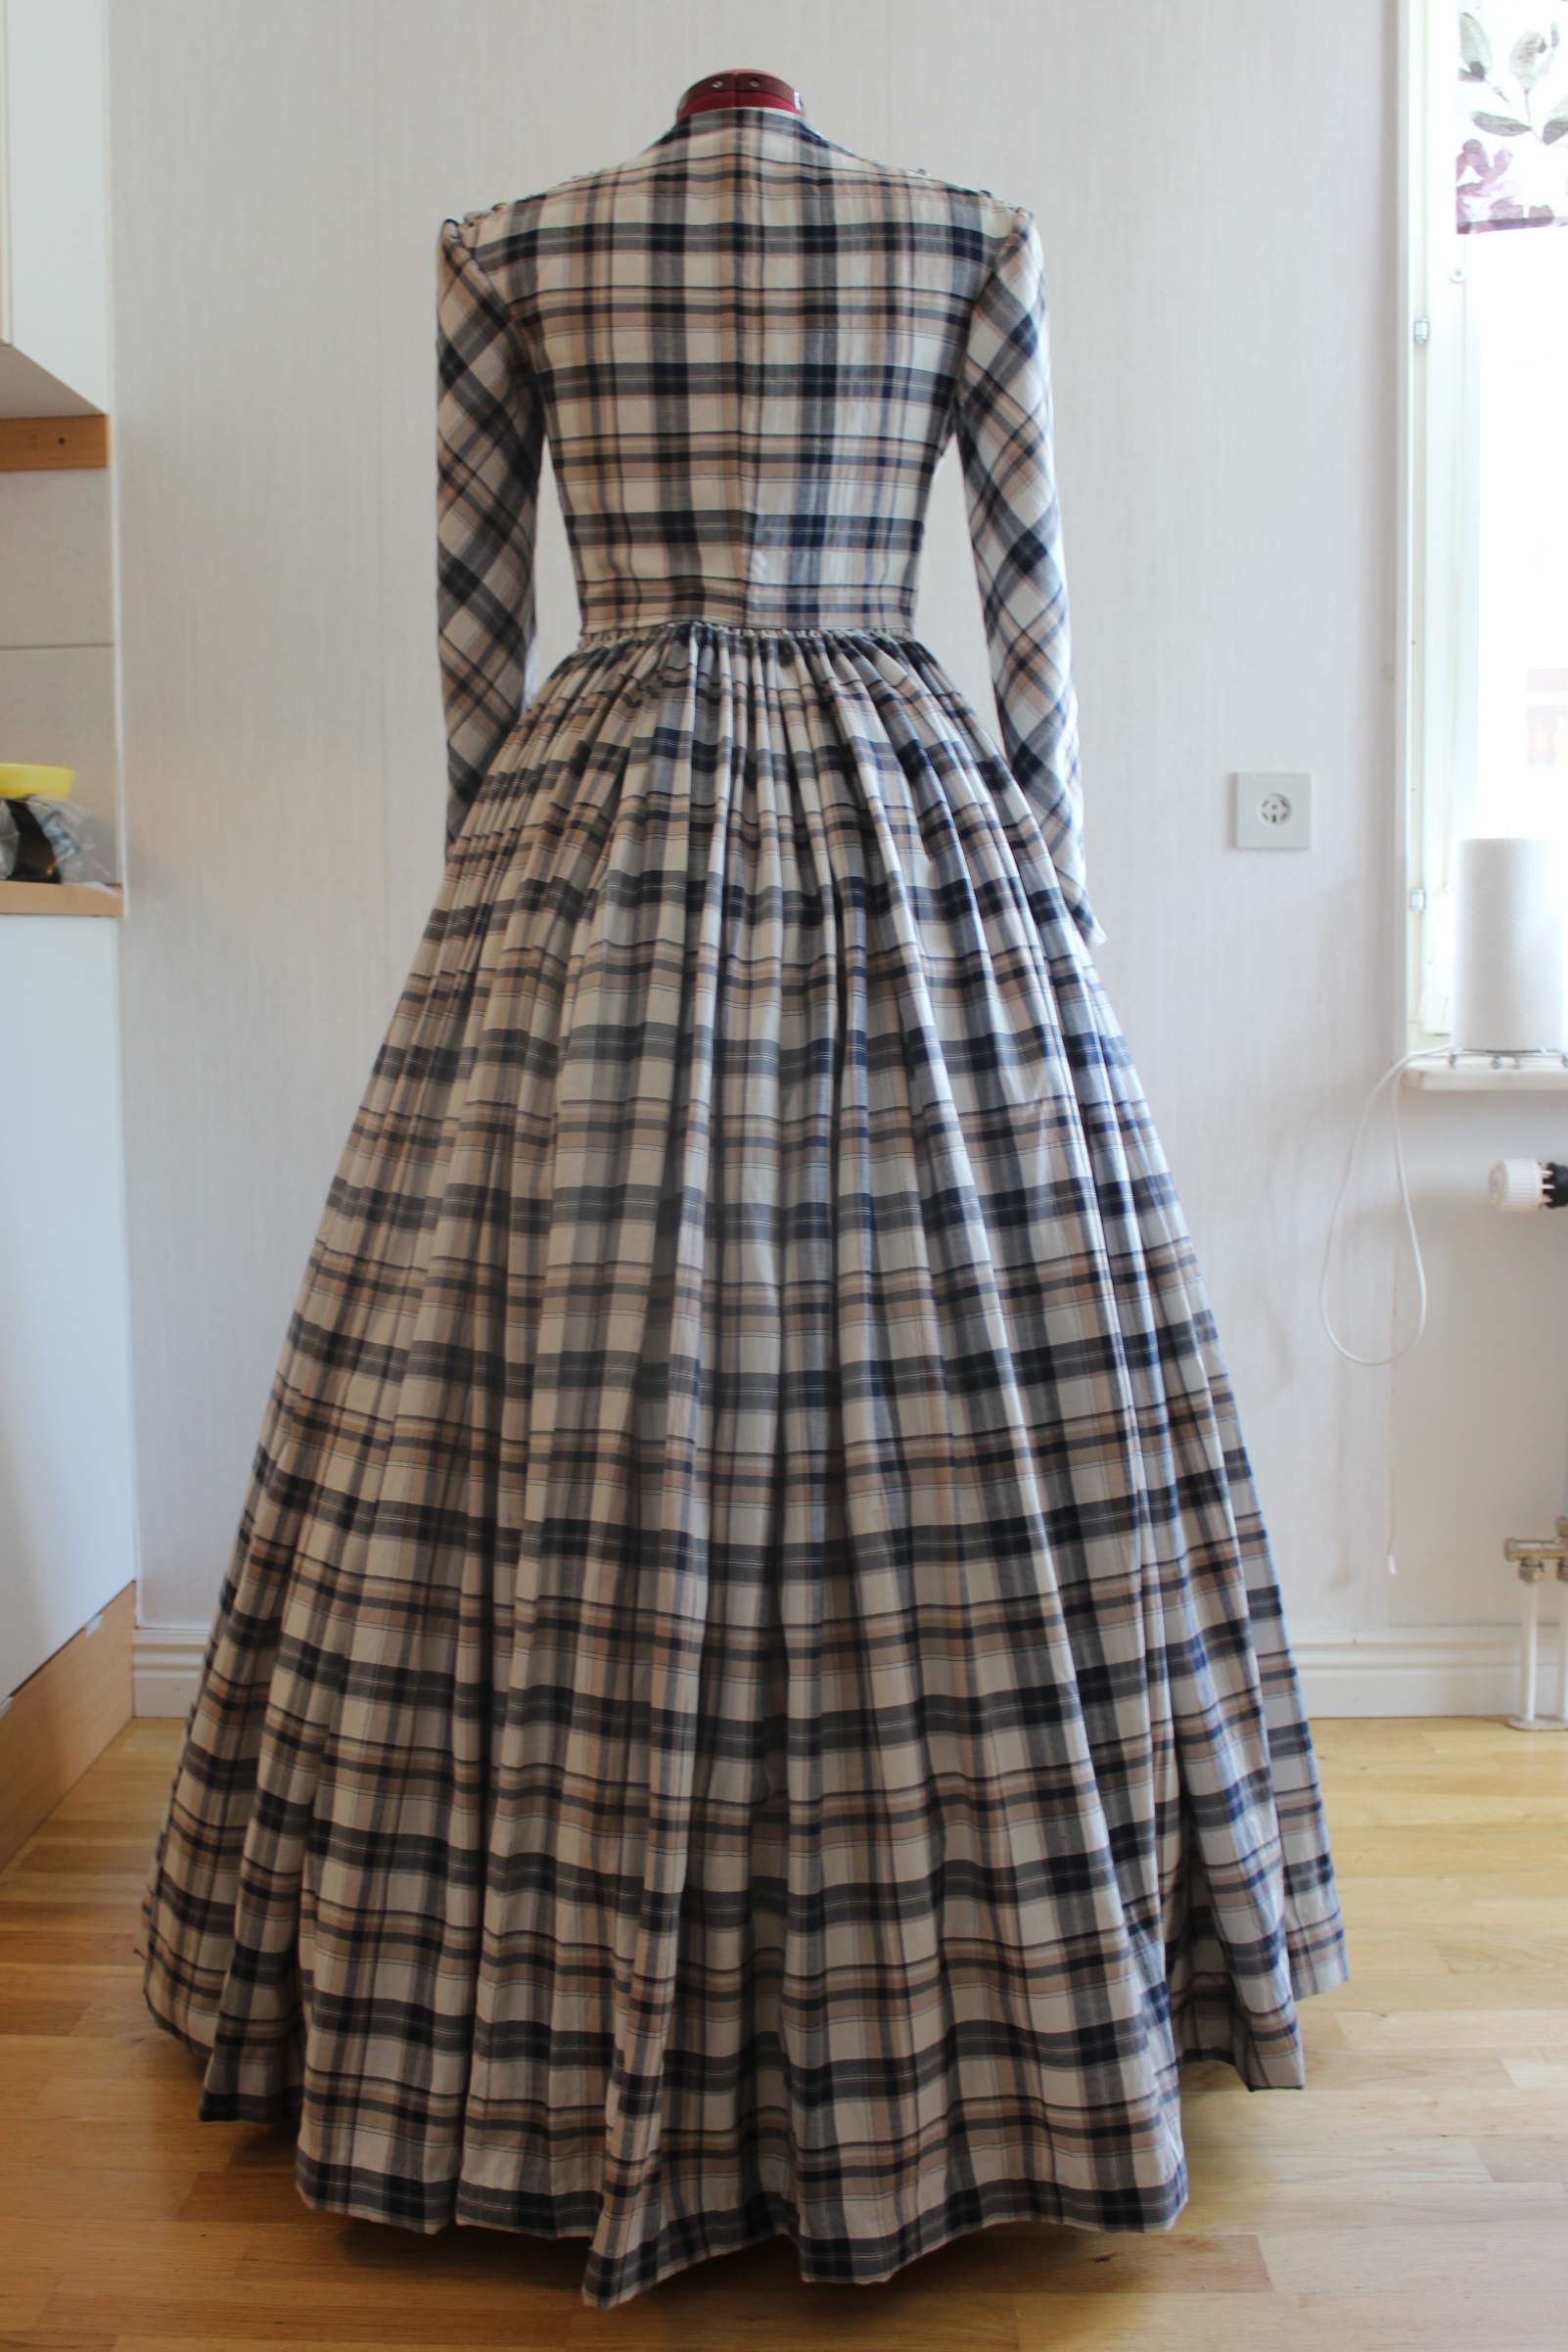
The finished dress: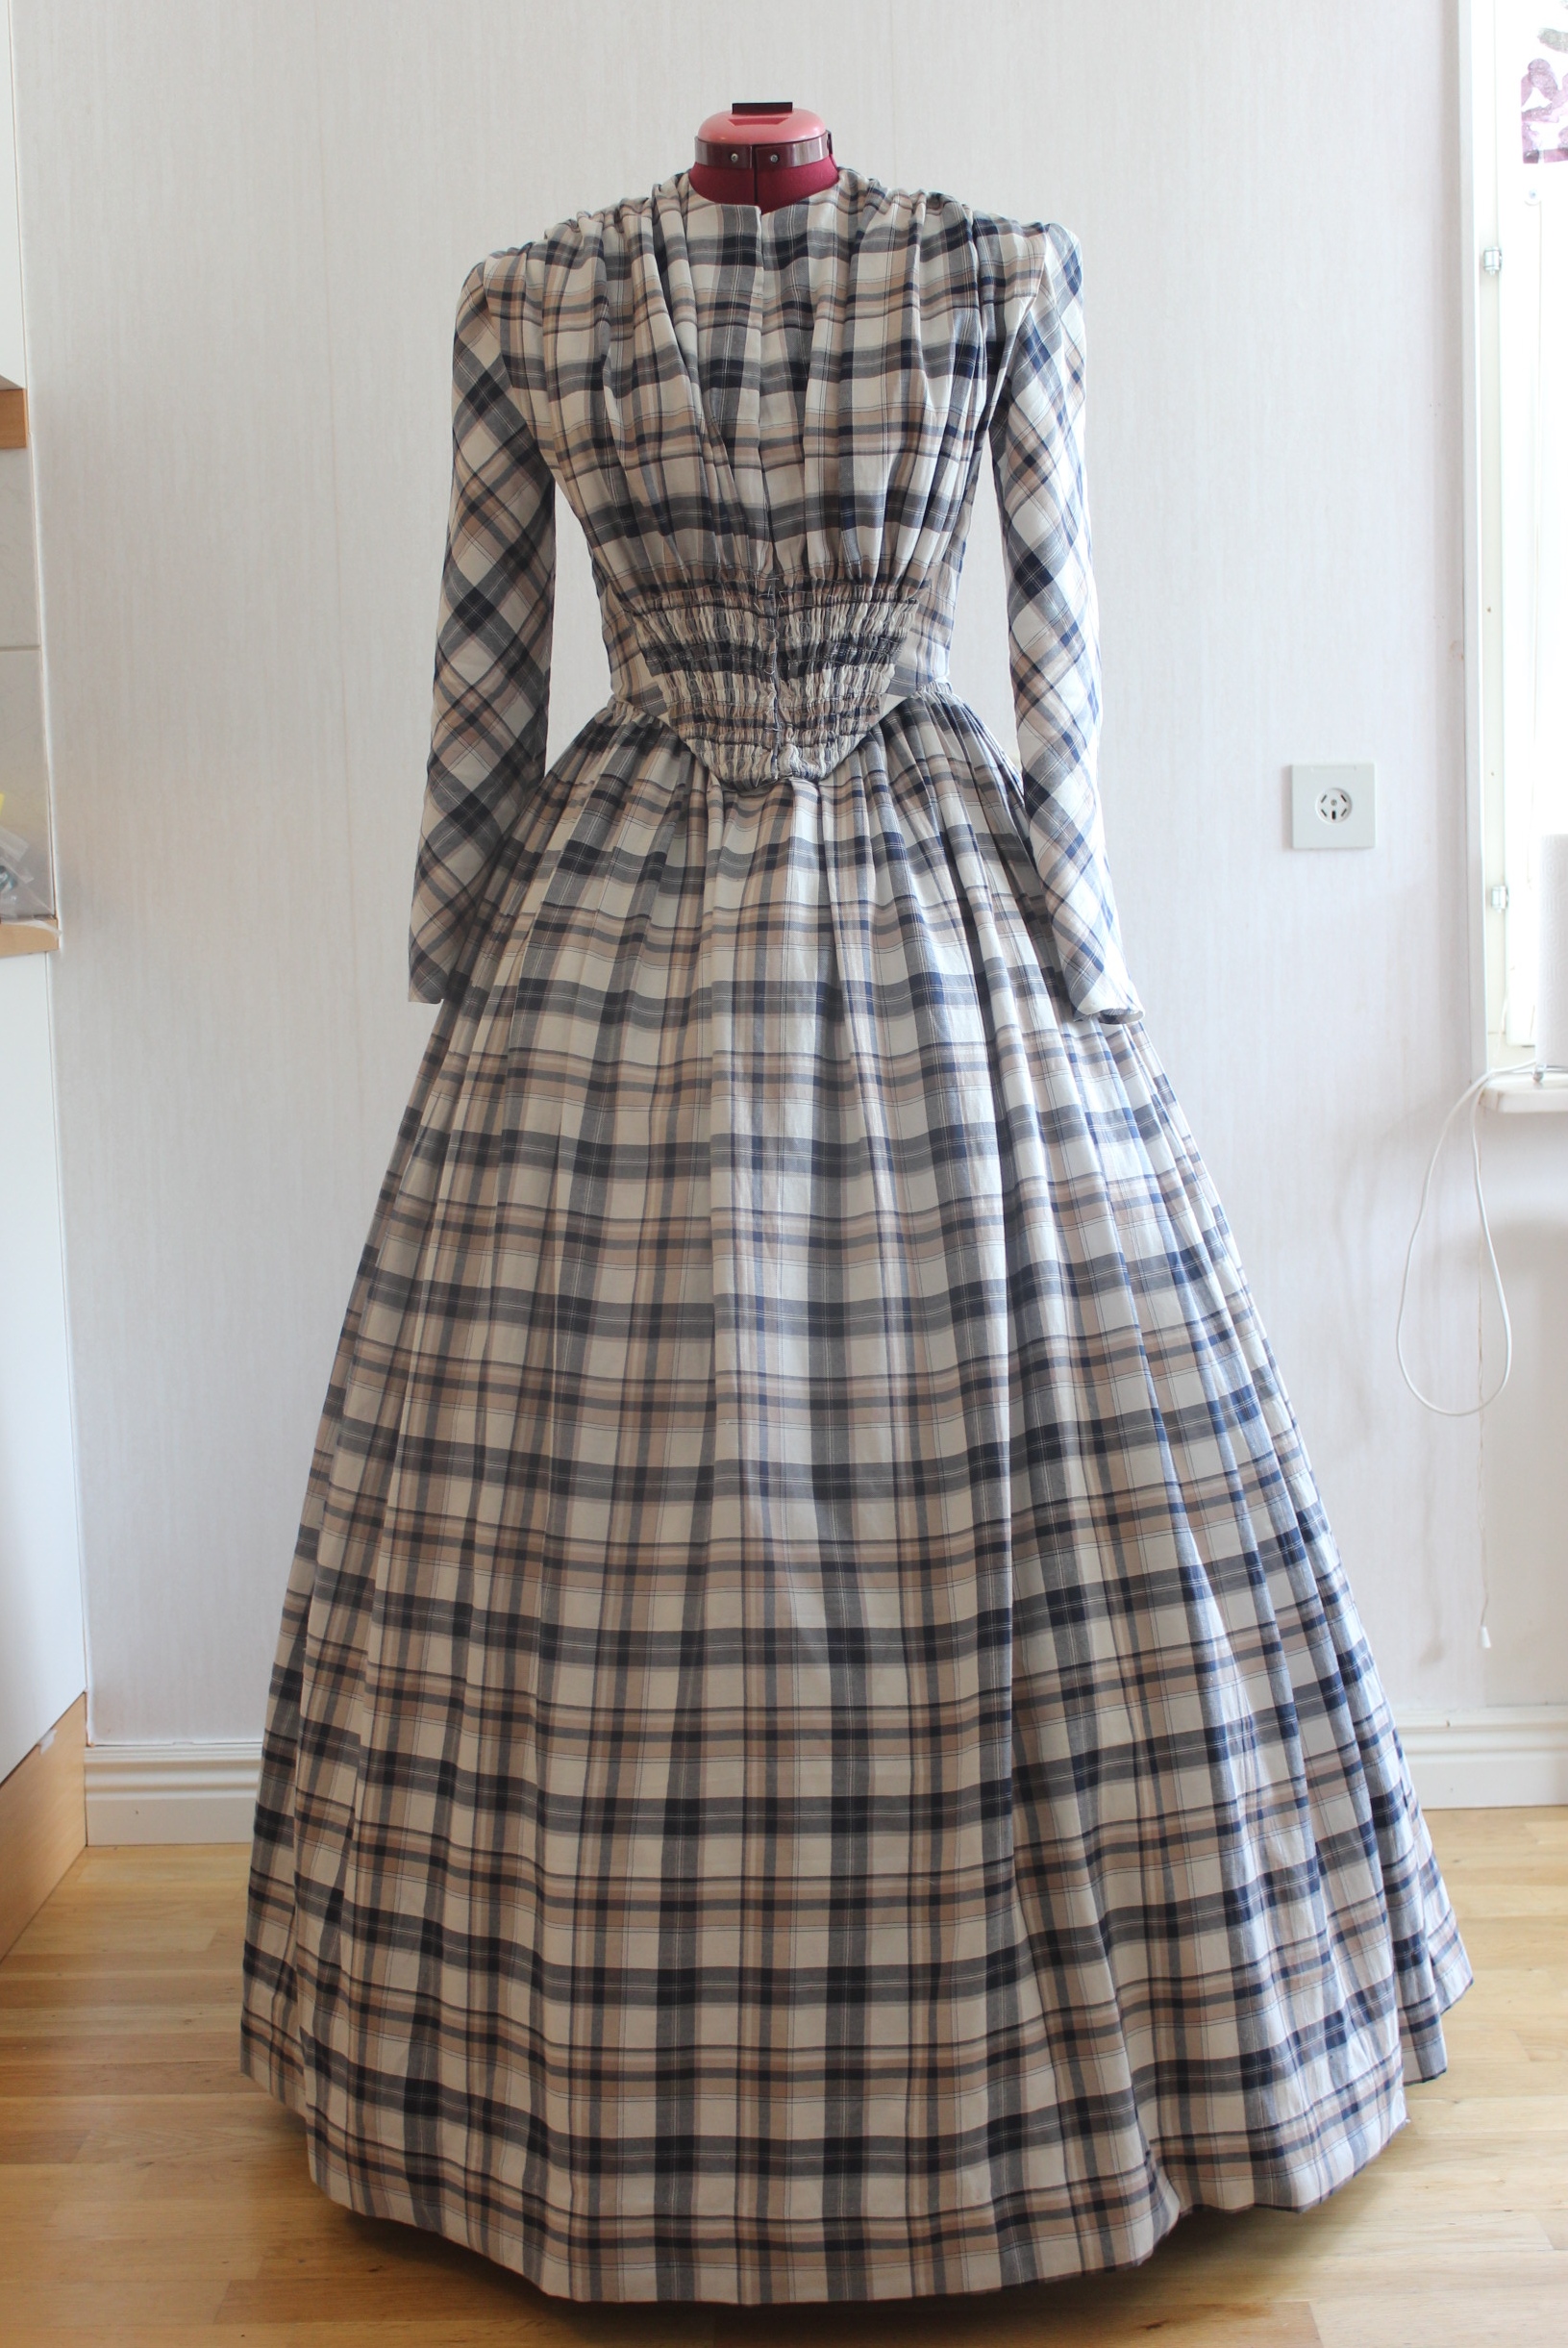


The Facts – Bodice & skirt:
What: A 1850s summer daydress
Pattern: I drafted my own using Janet Arnolds ” Pattern of Fashion” and Nora Waughs “Cut of Womens Clothes”.
Fabric & Notions: Thread, 5 m of light weight plaid cotton, 0,5 of regular white cotton, 1 m cotton tape for waistband, bias tape for boning channels & neck/sleeves/bottom edge binding, Boning, hooks and eyes.
Time: About 10-15 hours – I made most of the dress by machine.
Cost: 300 Sek – the fabric was on Sale and everything else came from stash.
Final Thought: I really love this dress!
I feel so pretty yet comfortable in it. I can move, dance and breath on it and even though it’s long sleeved it’s not hot at all, just perfect for summer.
And I did get lots of compliments at its first outing :-).
All that’s need to be fixed for next time is, adding hooks and eyes for clouser and attachment bodice to skirt.
I also really need to re-set the sleeves. Well nothing is ever perfect 😉
(I’ve now re- set the sleeves, added the hooks and eyes needed at the front and made the bodice and skirt sit firmly together)
After finishing the skirt (and the Lady Mary dress) I continued on to the bodice on my 1850s summer dress.
Using some green cotton from my stash I draped a pattern on my dress-form trying to get as close to the original shape as possible.
Then I cut it out, stitched it together and tried it on.
 bodice with pinned darts on one side.
I pinned the darts while wearing the mock-up. Then I took it of, marked and stitched them shut.
And put it on again for one more try to see if i got it right. Looks pretty good I think.
Then I altered the pattern, taking out a few millimeters at every seam to make it a tad smaller, and shortened the back bodice about a cm to make it end at the waist.
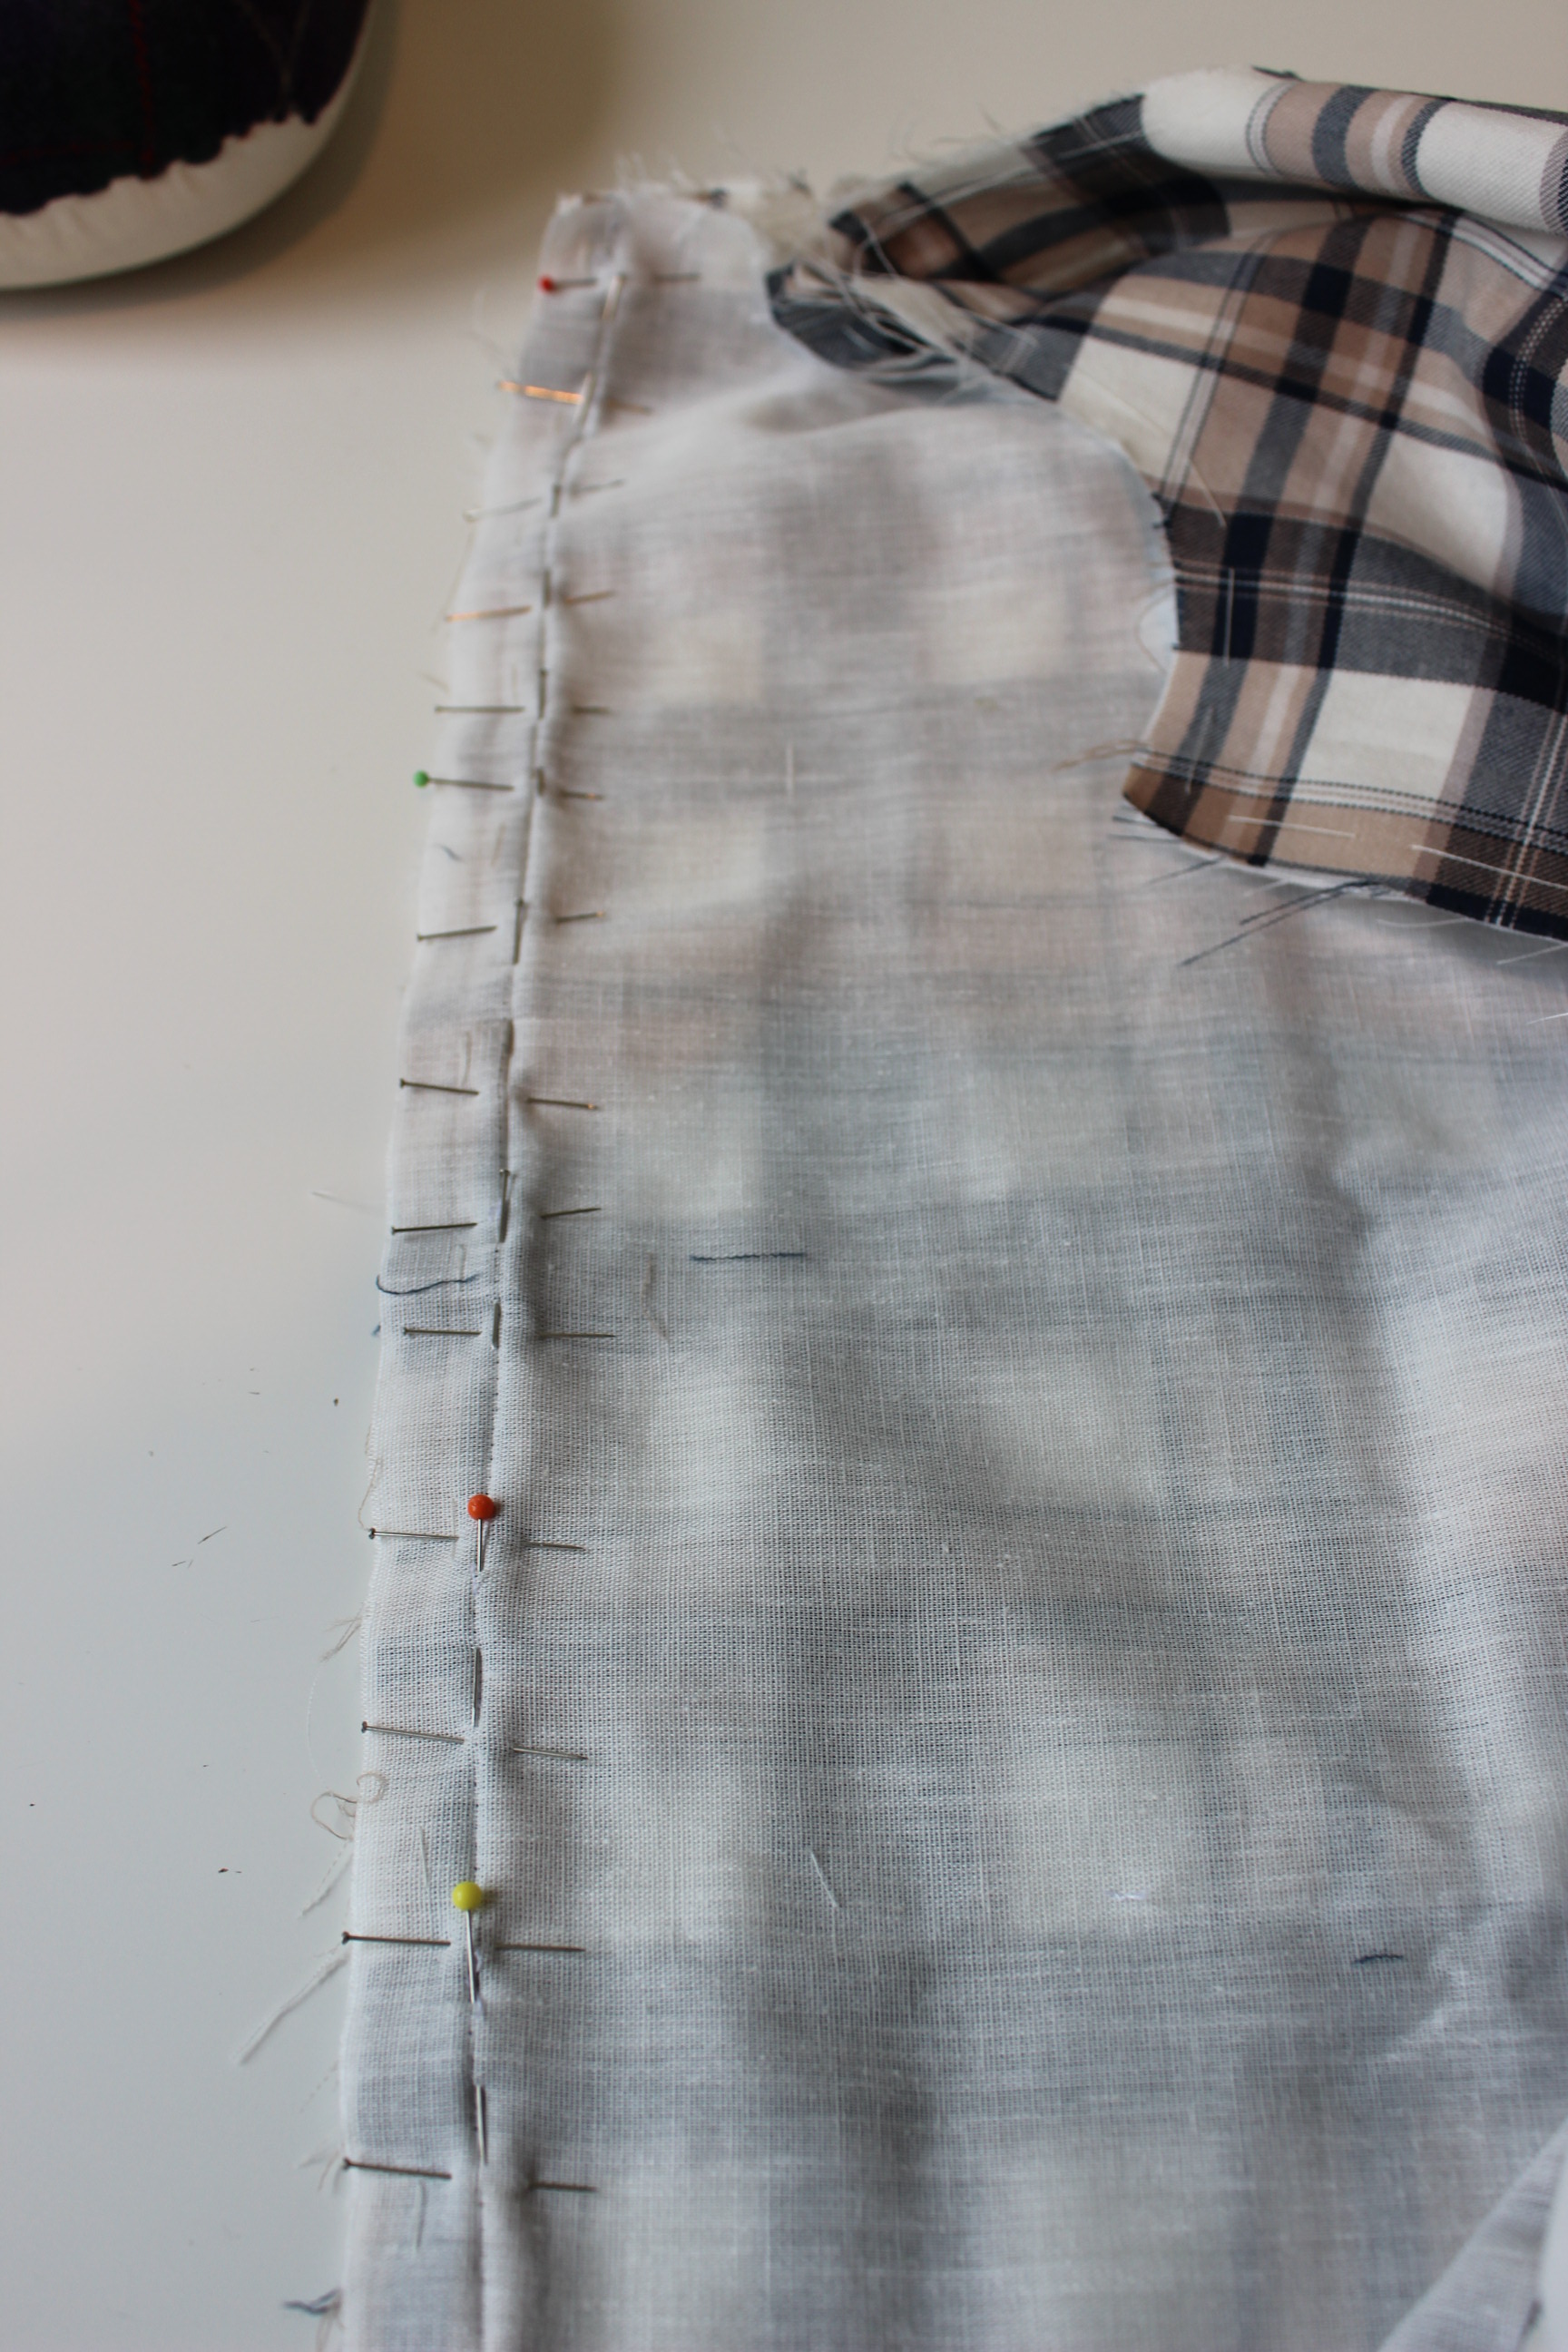
And on to cutting out the pattern.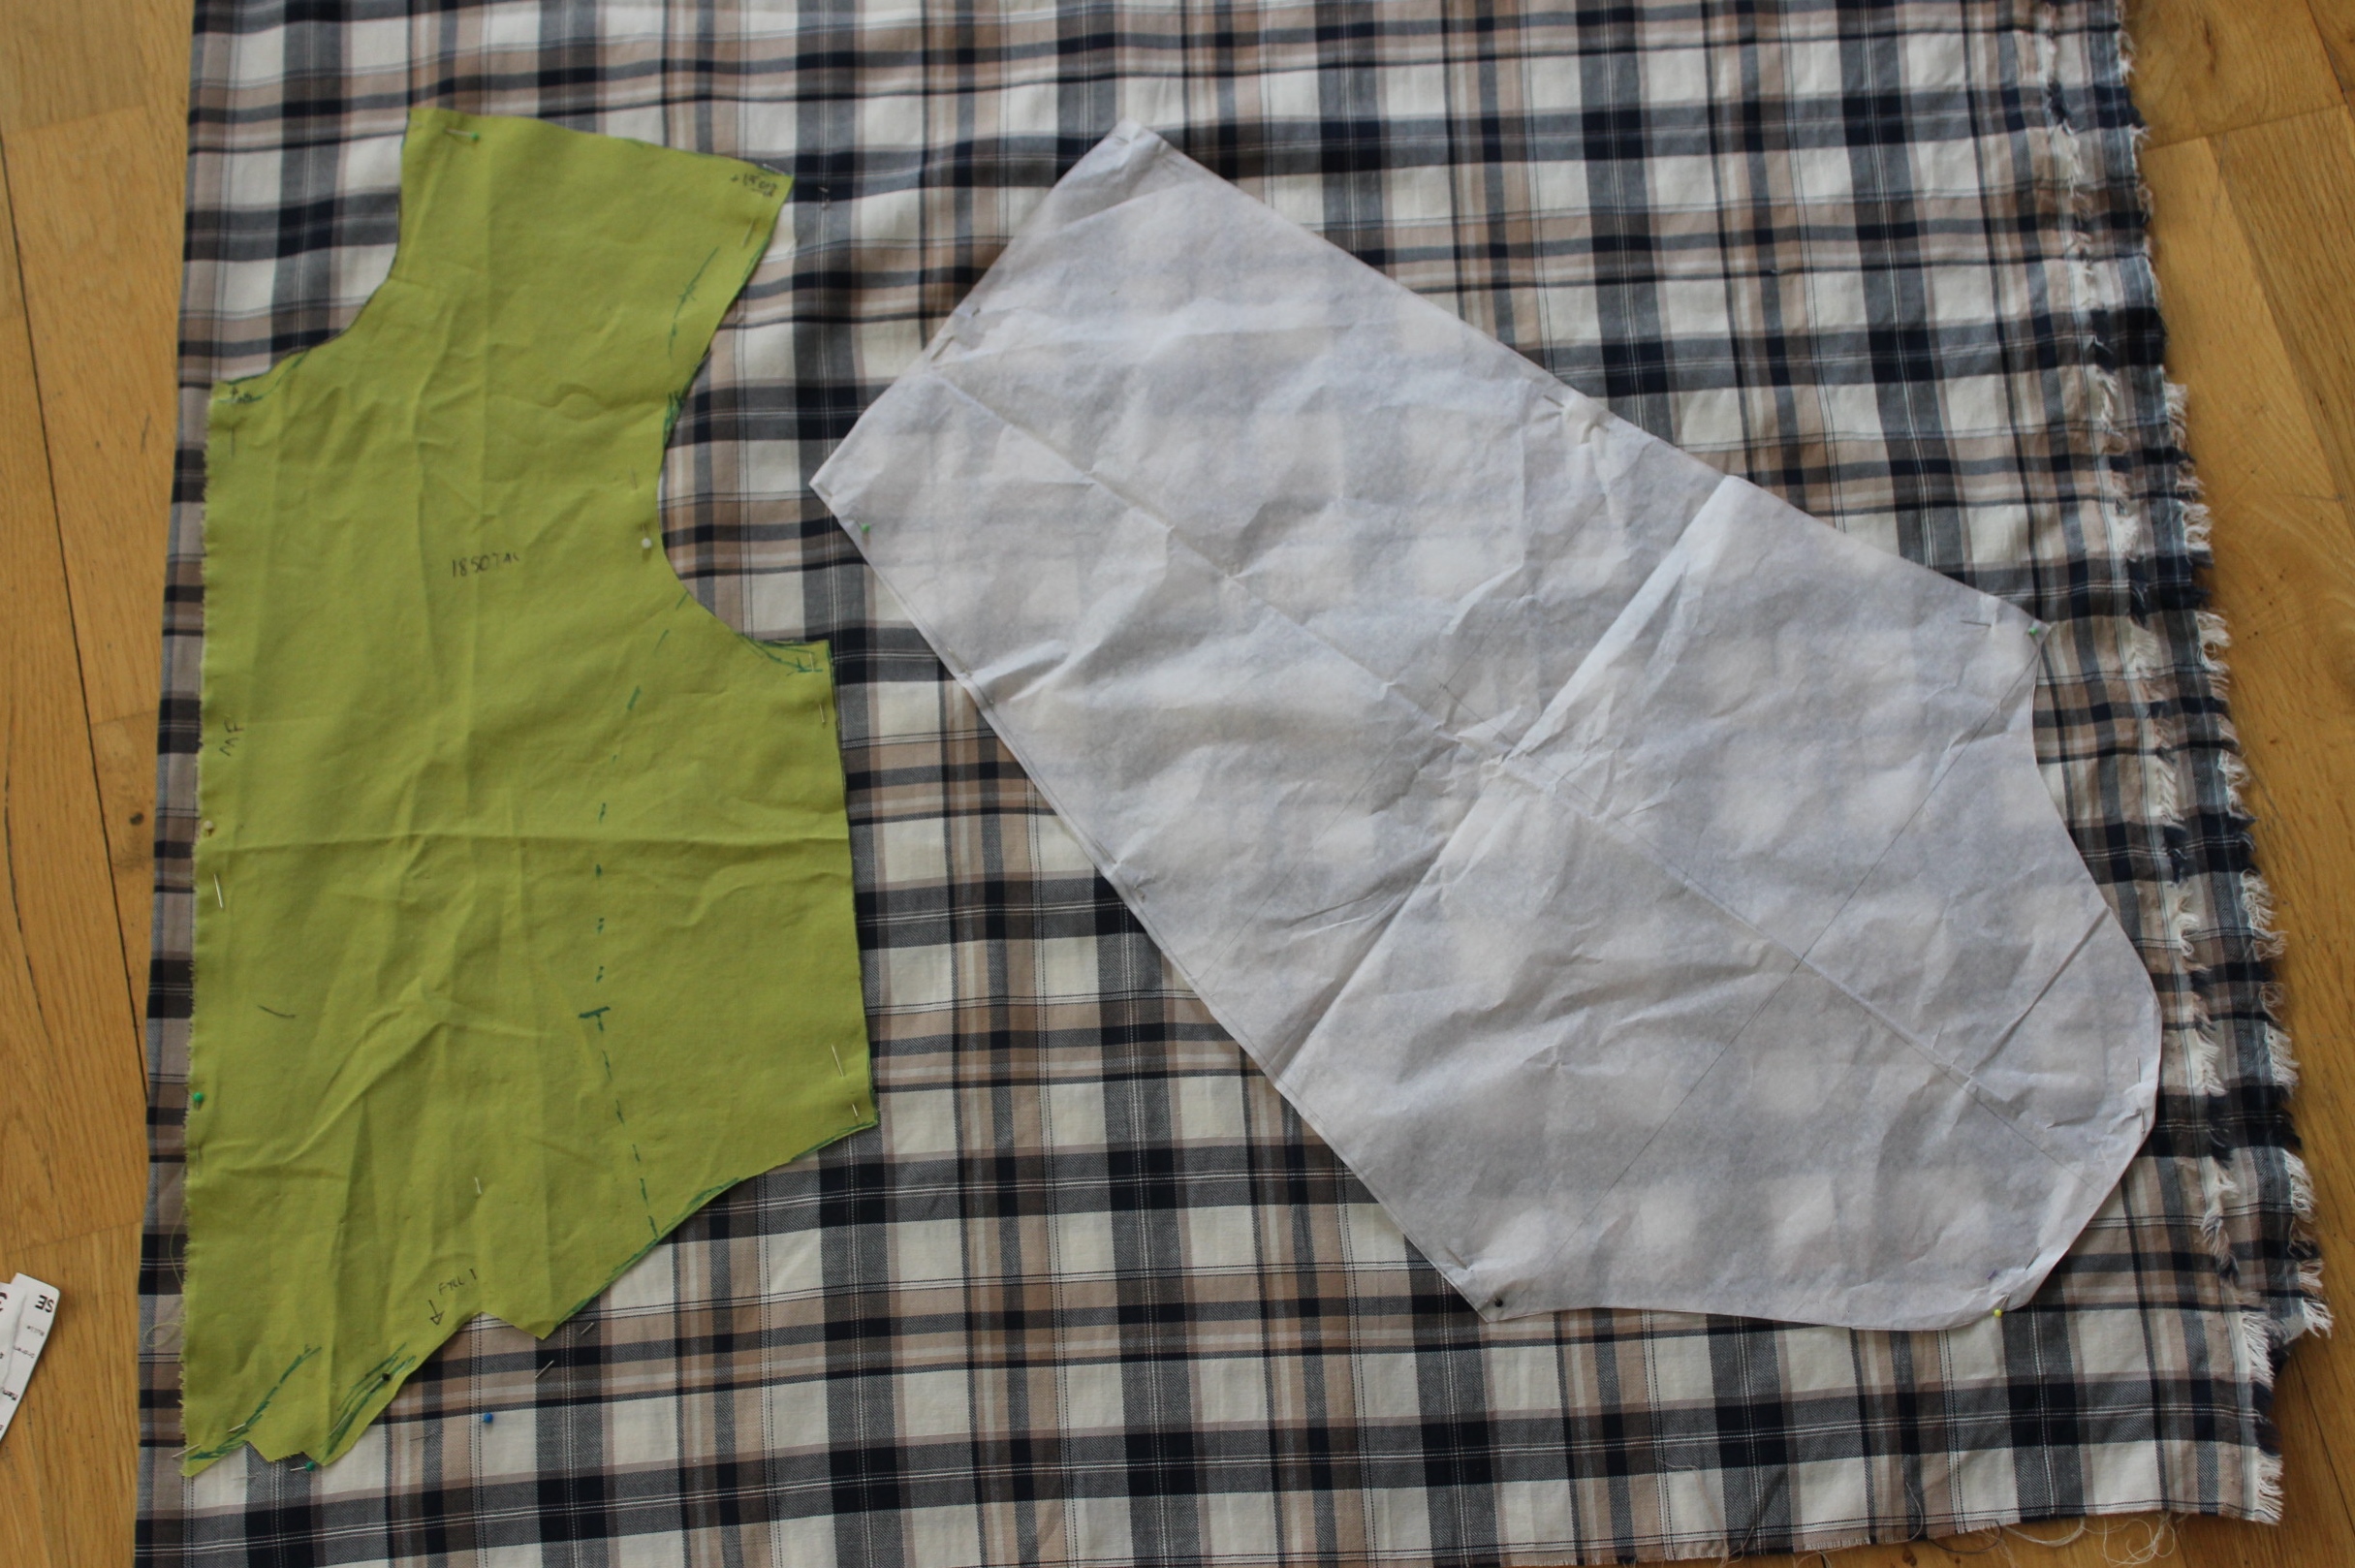 The pattern matching took a while, but whit lots of patients and pinning, I did get it right in the end.
Then I basted the bodice pieces to the interlining (who also served as lining).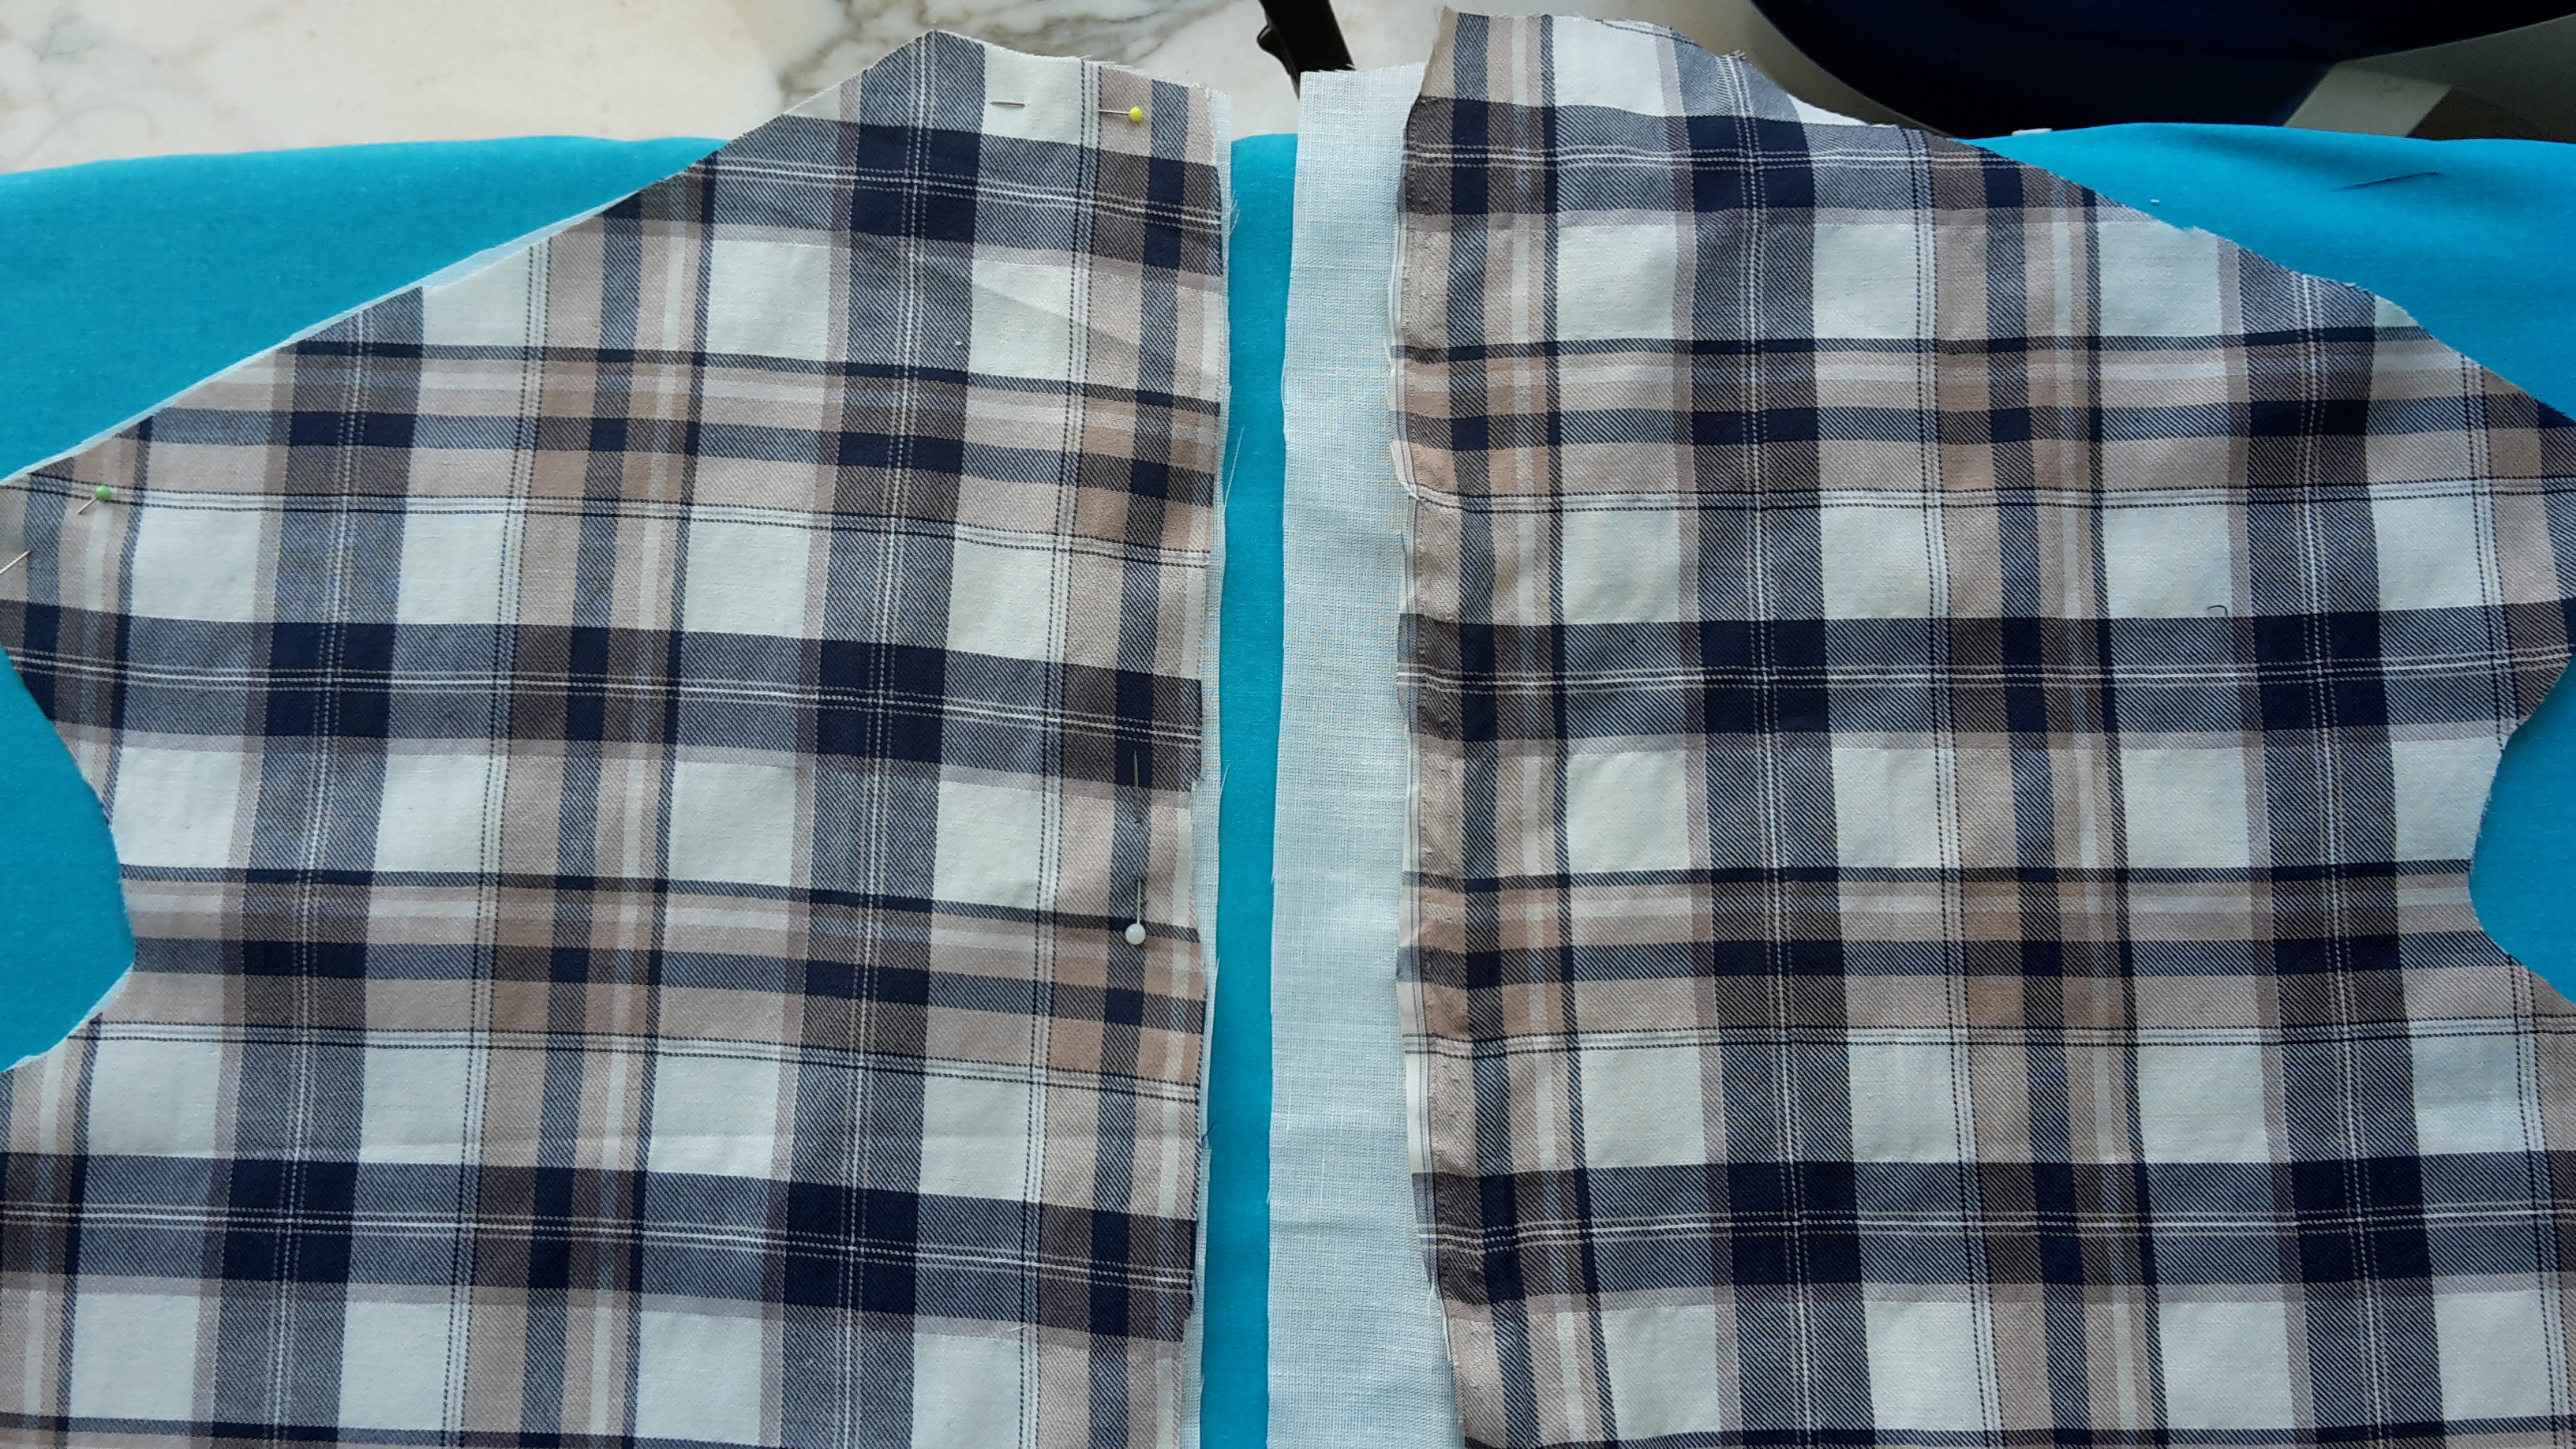 center back being basted.
I stitched the center back seam,but was not happy with the bad matching of the pattern.
 So I ripped out the seam and used three times as many pins as usual to really get the fabric to lay still while sewing (I could just have basted, but was to lazy at that point).
The result was much better, still not perfect, but I figured it wouldn’t show that much once worn.
Then I marked, pinned and stitched the darts on the bodice front piece copying the markings from the mock-up.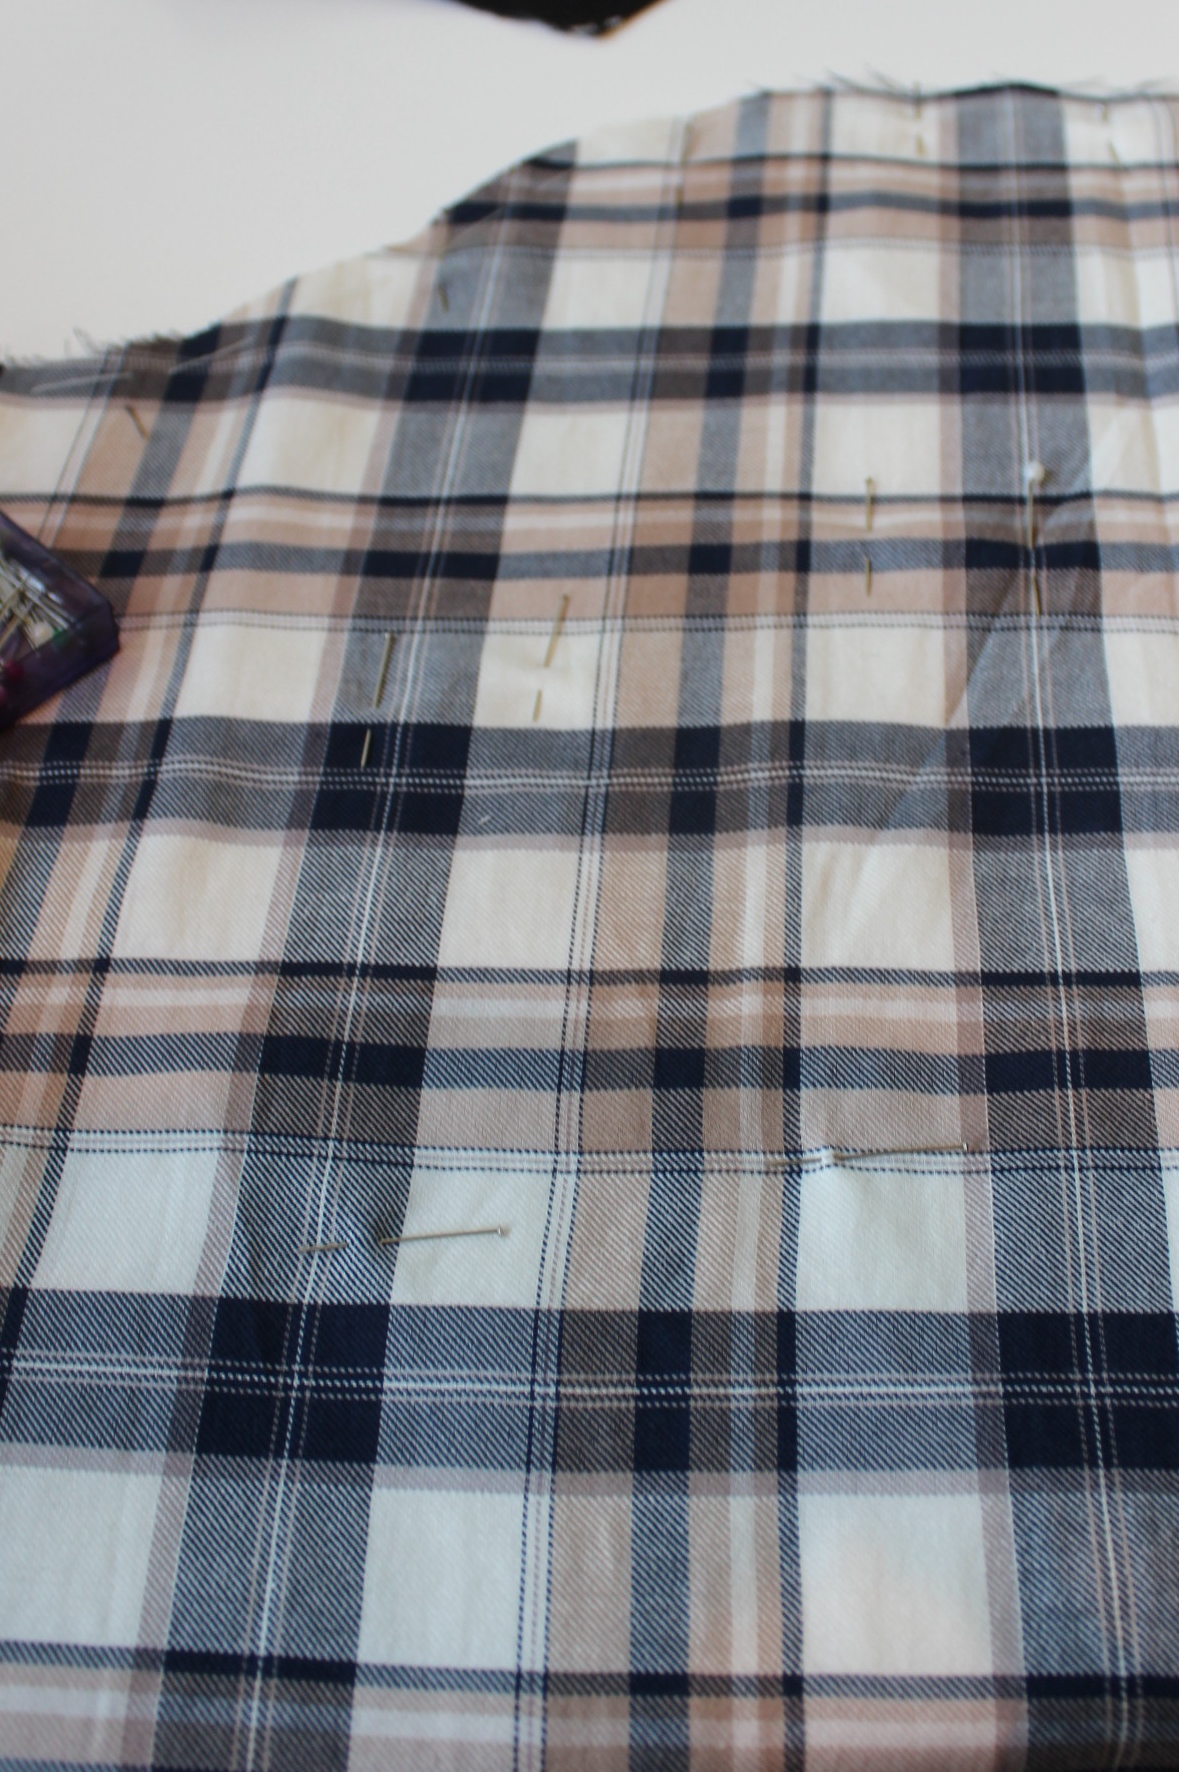
Then it was once more time to lace o the corset to check the fit.
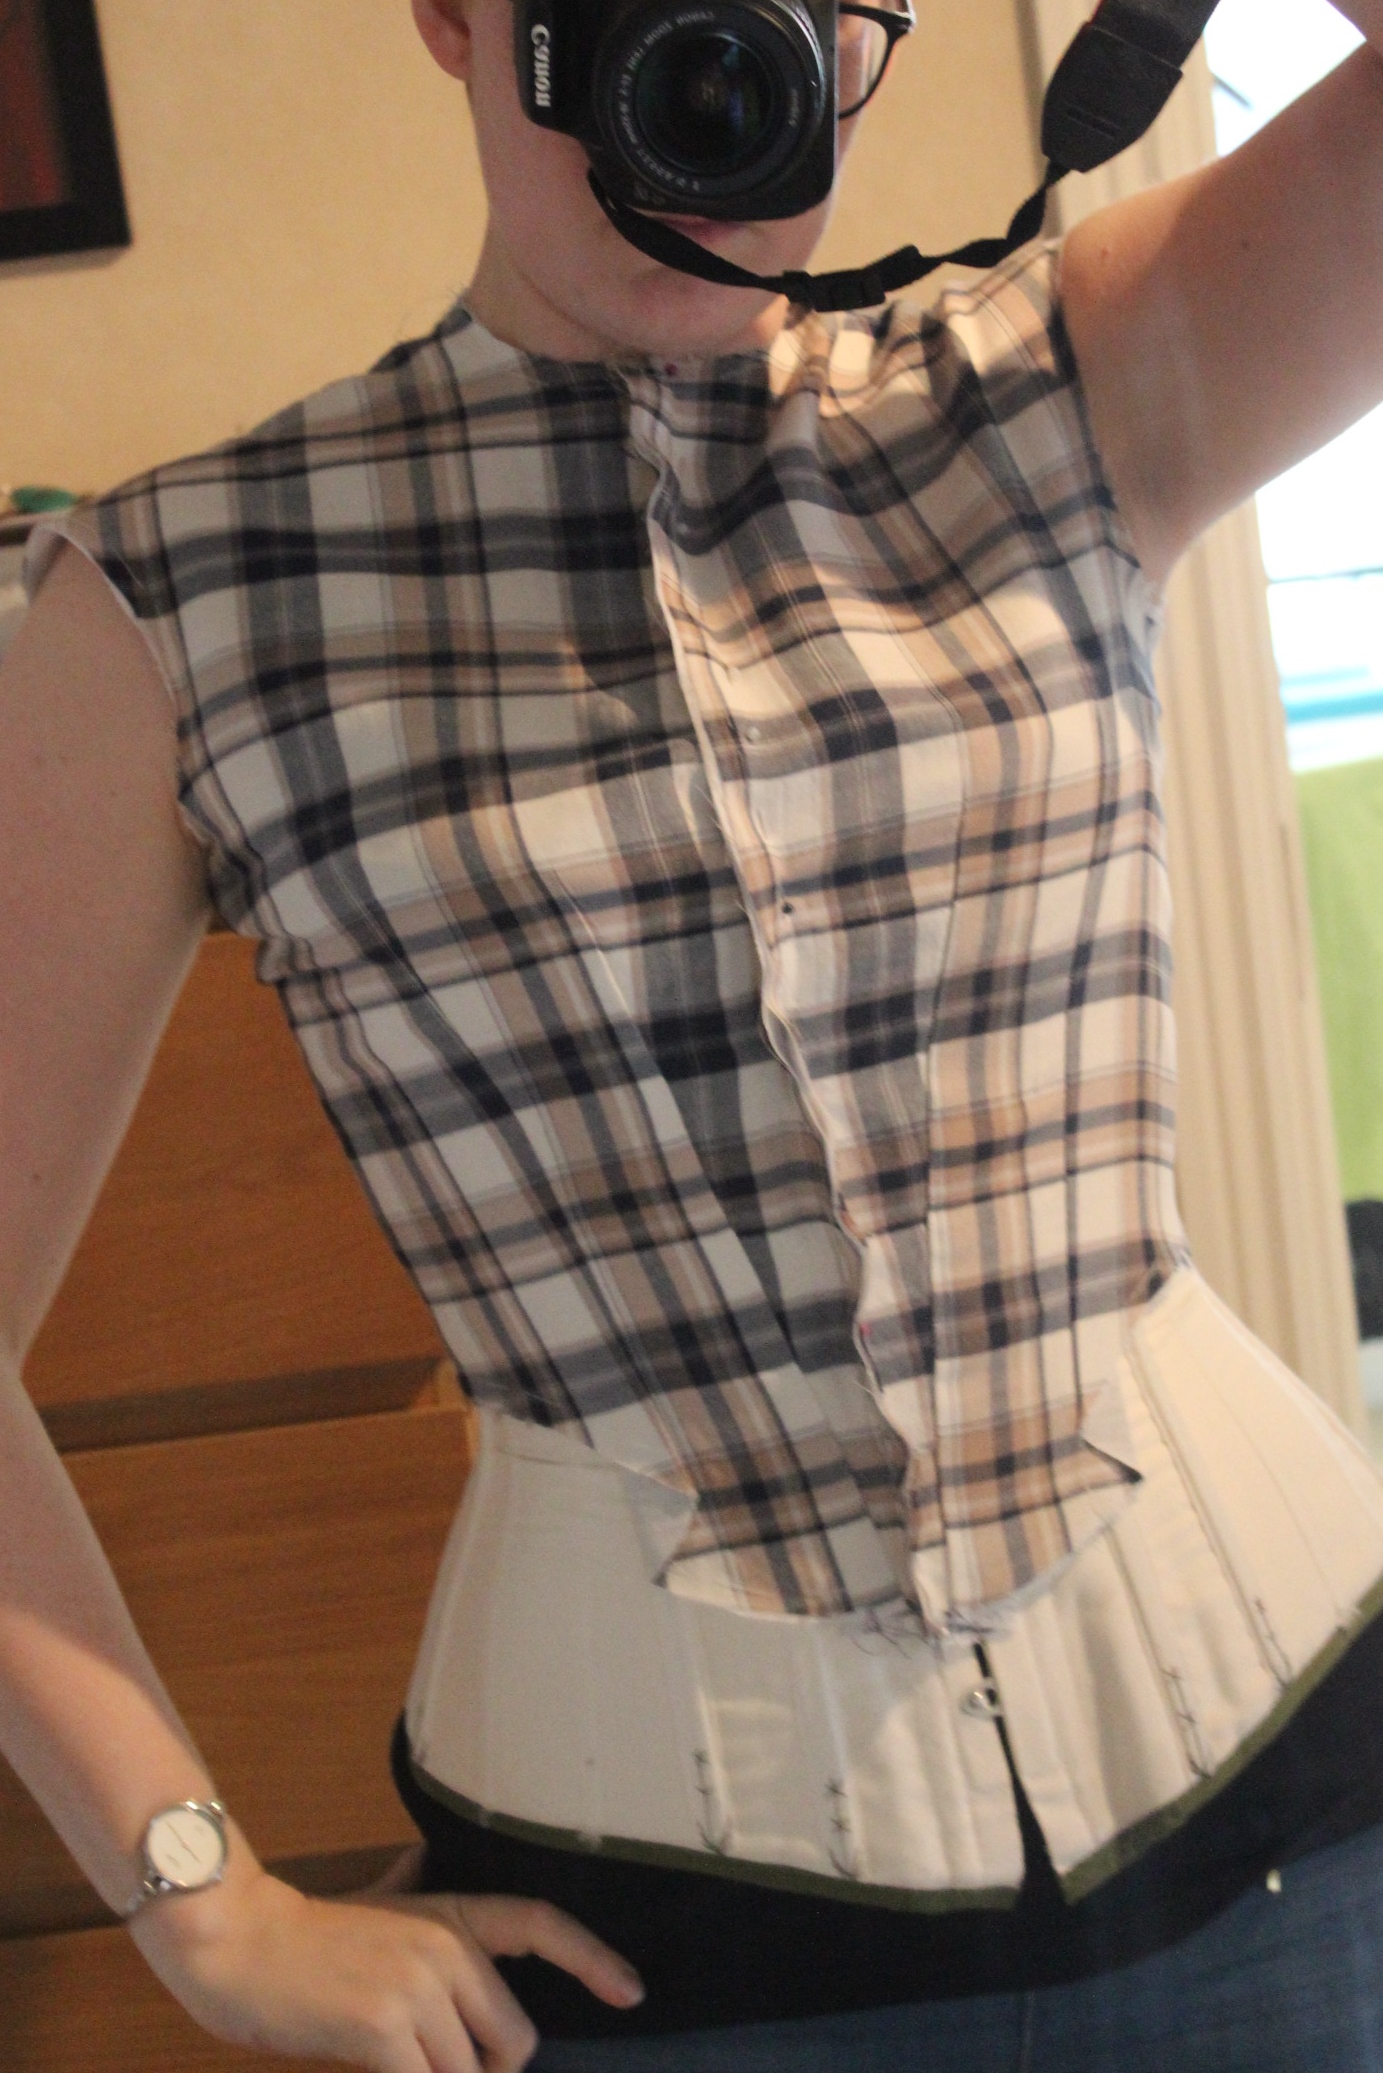
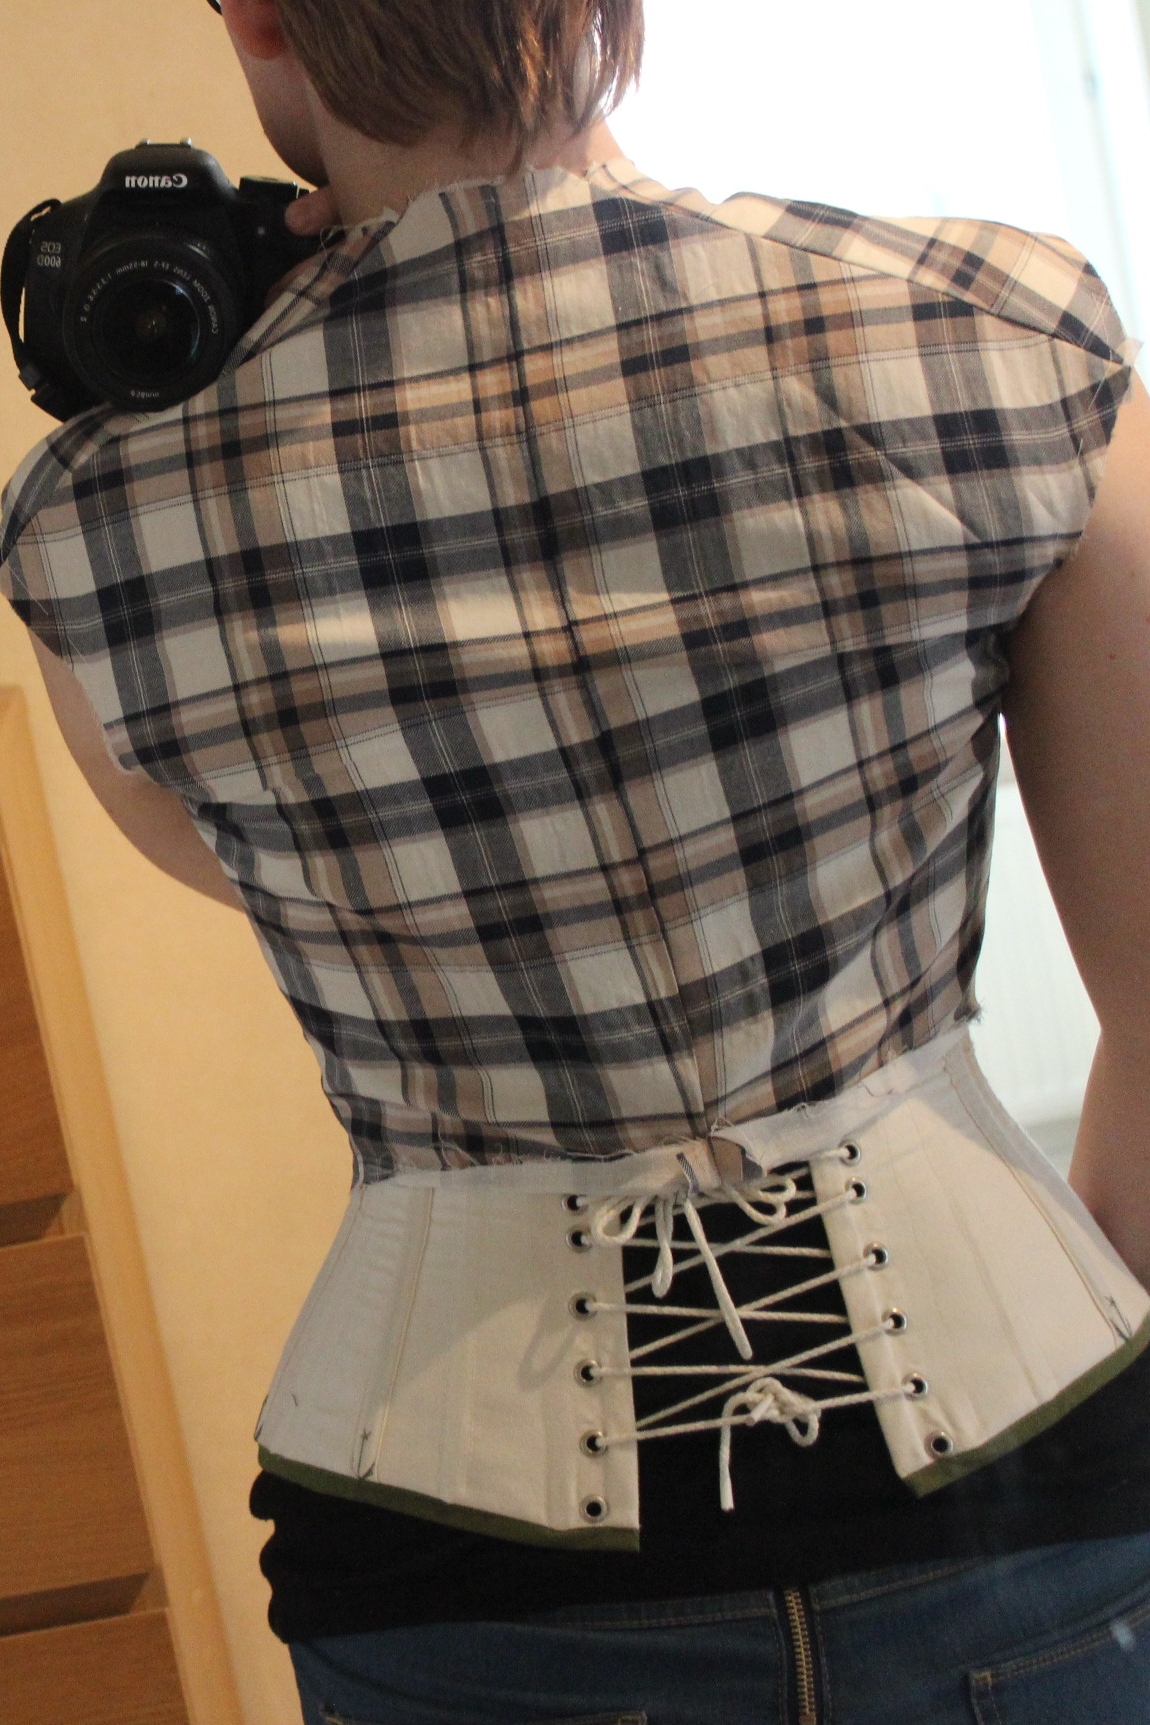
Looks good. the only thing I needed to change was to shorten the back length some more. The vertical crease at the shoulder blades is a consequence of my corset, and will disappear as soon as I get the back boning in.
I really love the look of the bodice at this stage.

 Trying it out with the right underwear…
Now it’s time for the front draping.
I used the pattern piece from my pattern draping, now cut in the plaid cotton, and pinned it to the dressform.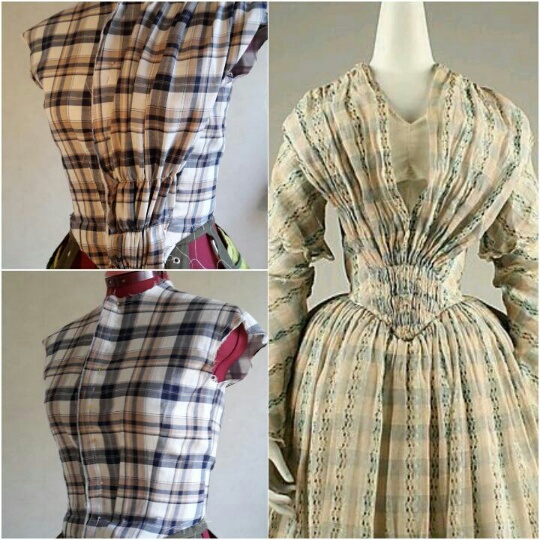 My only problem now was to decide if I really wanted the draping or not.
I loved the clean look of the un-draped bodice (and it would be so much easier and faster to finish), but my I think it was the draping who made me love the inspiration dress so much.
What to do?
To be continued….
For the upcoming 1850s “Crinoline day” I decided i needed a new dress (even though I teqnicly have two perfectly functional ones already – Green 1840s and Brown 1850s Paisley)
This time I wanted to focus on the light summer dresses I’ve seen so many examples of lately.
So I picked one of my favourites as my main inspiration and started looking for fabric. Main inspiration
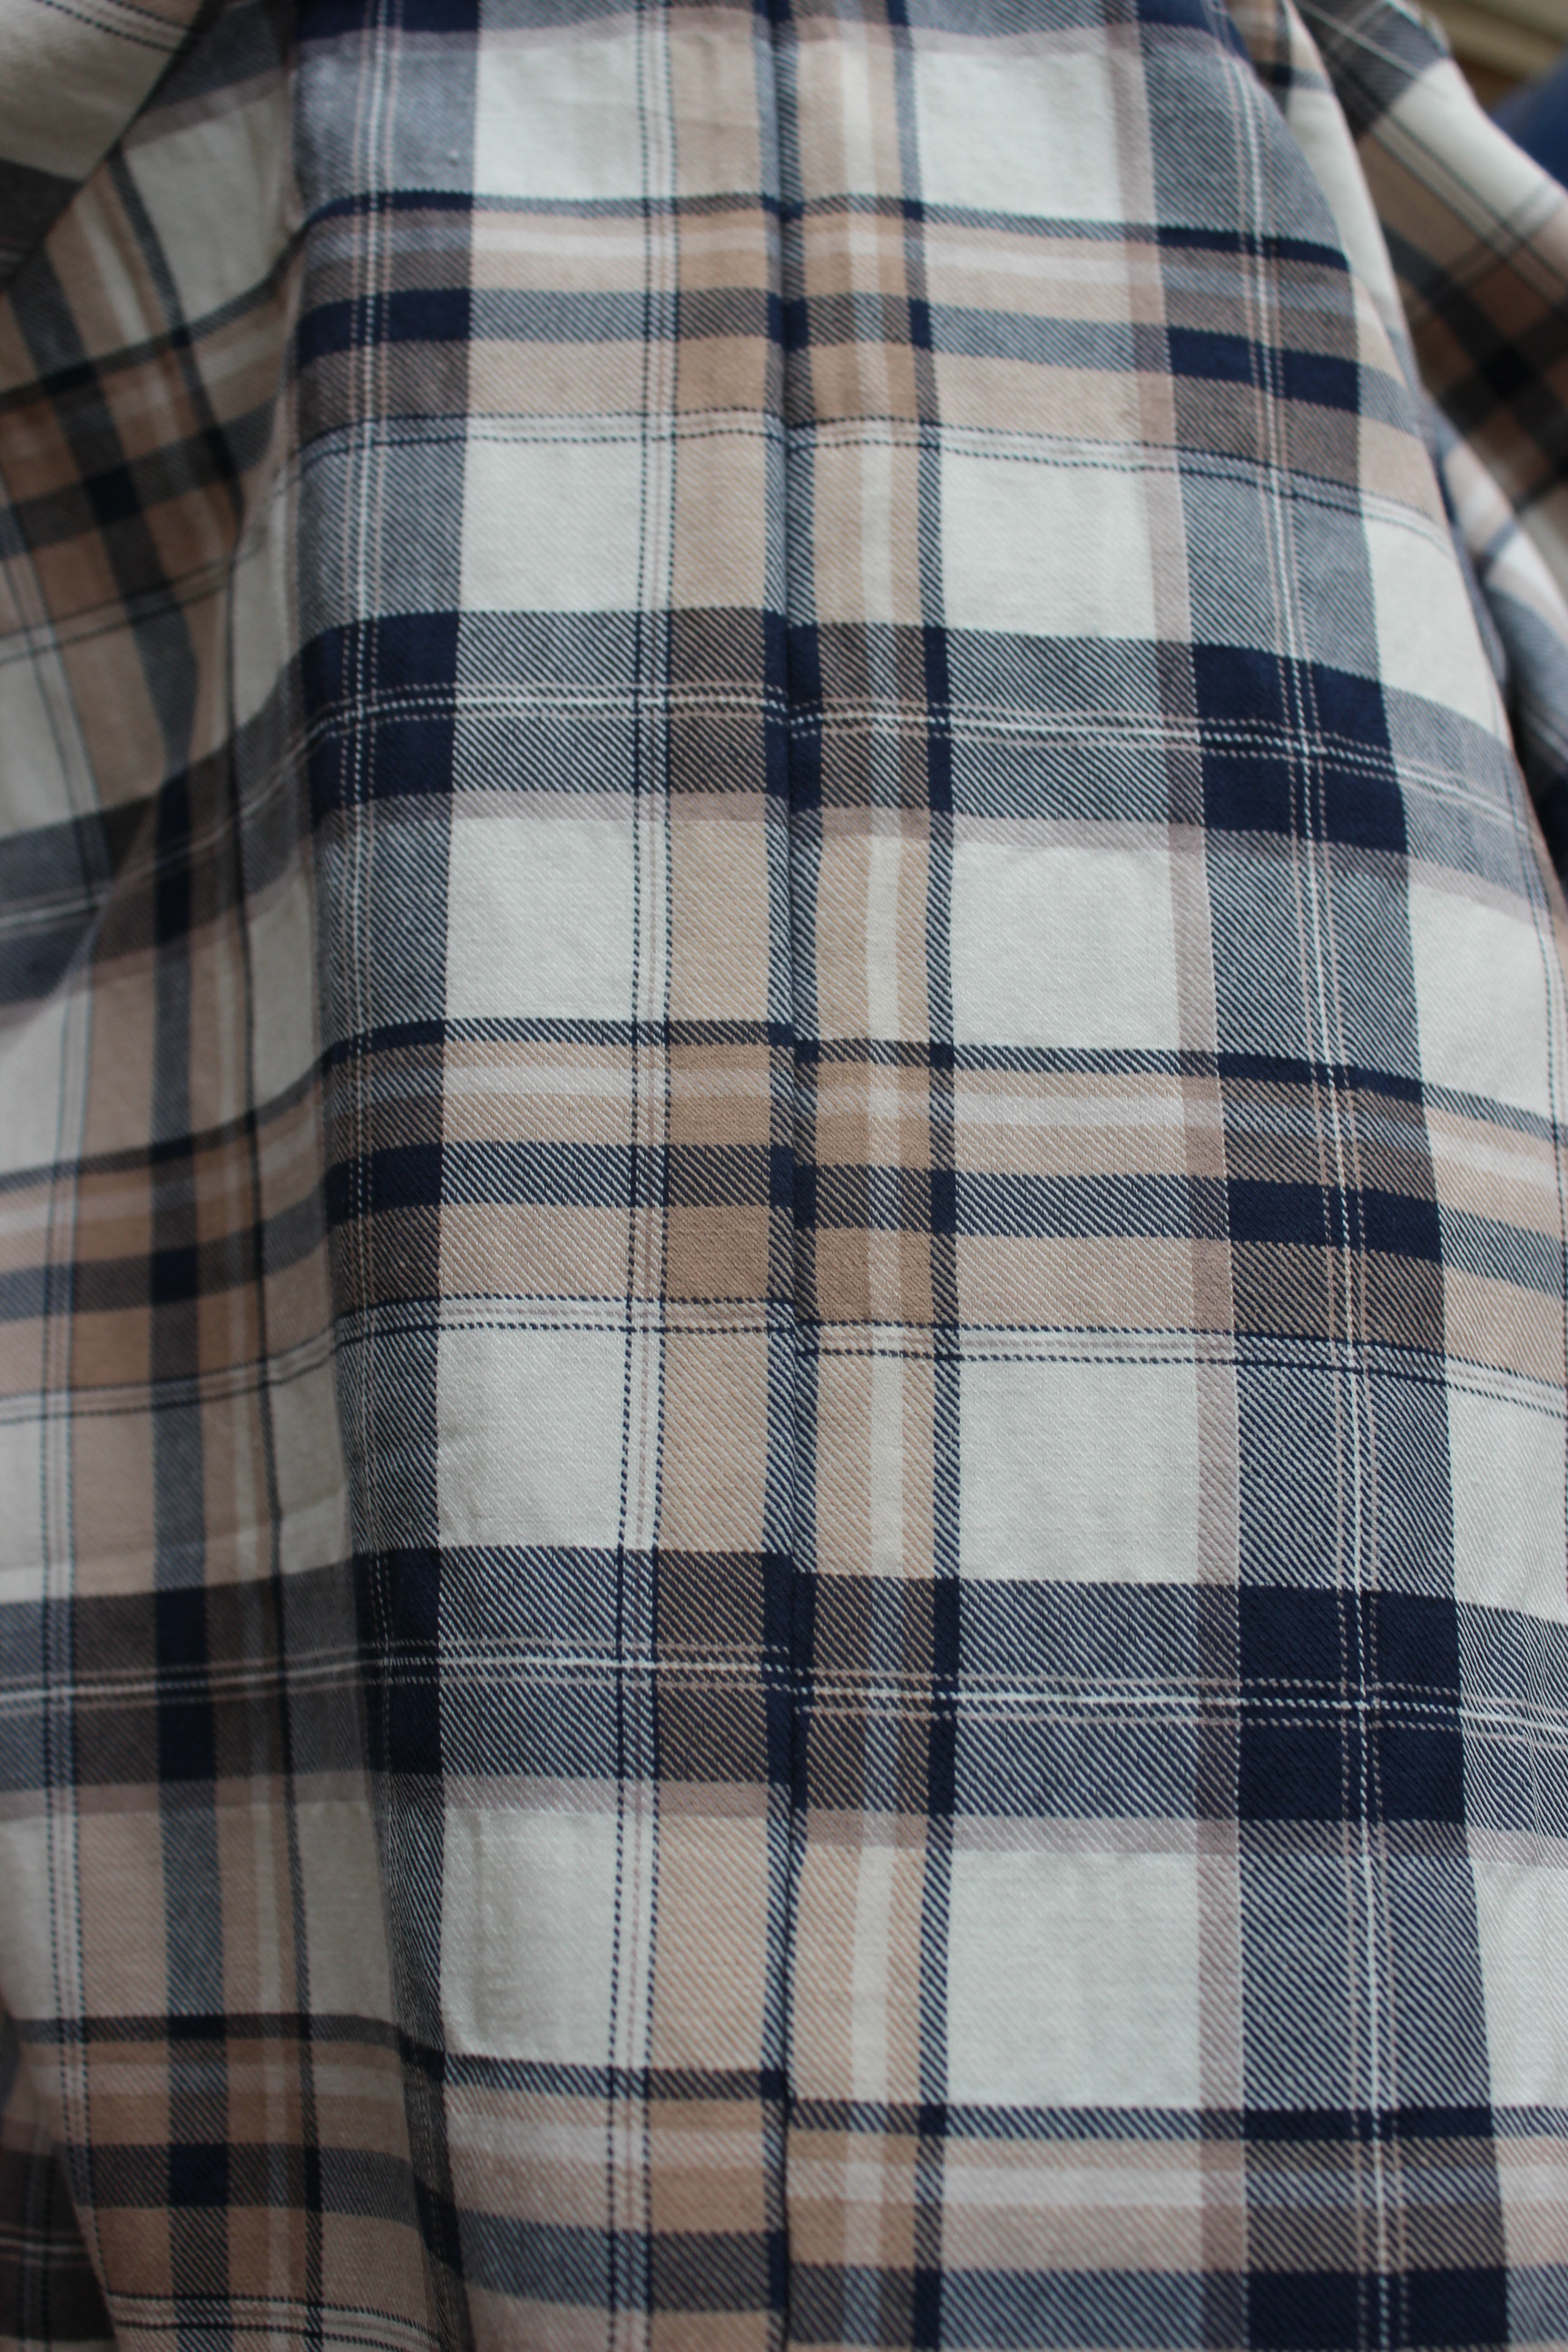
And to my surprise I found the perfect one straight away, and it was on sale. Yay! 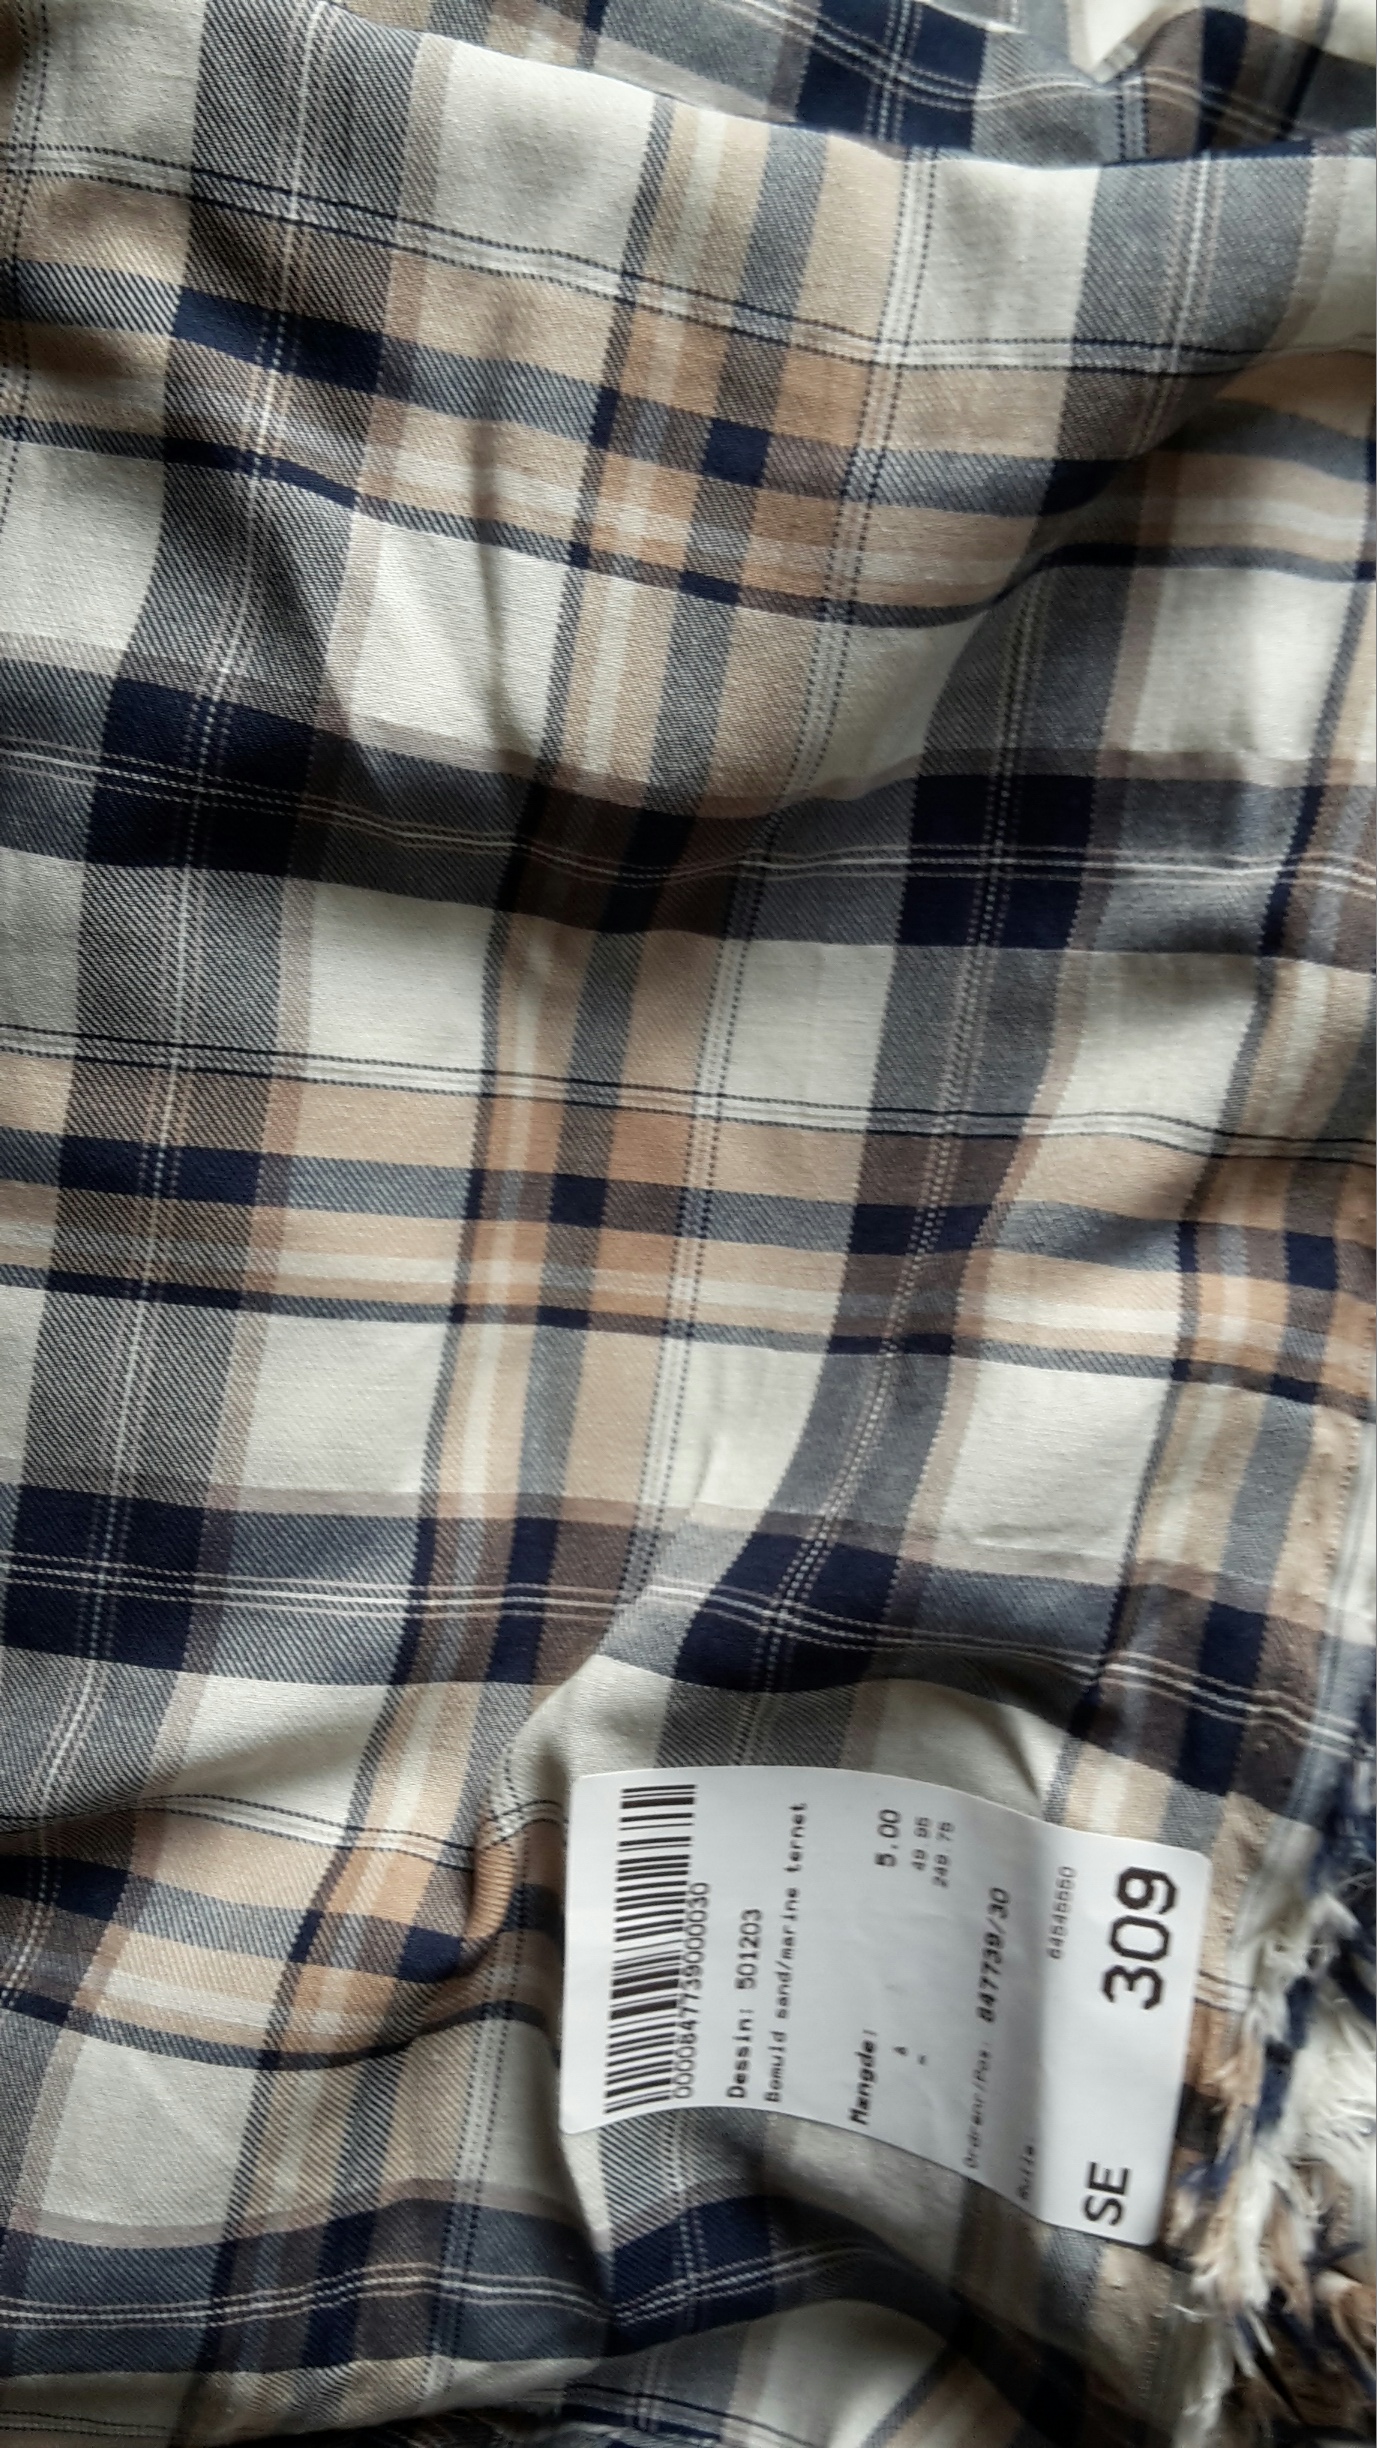 It’s a sheer cotton with the light feel of voile, and a pretty, light plaid pattern with lots of white to make the dress fit for summer.
At the moment I was rushing to finish my “Downton Mary dress“, so I couldn’t comit to the new project straight away, so to get tings moving I decided to start working on the skirt.
I almost used the same simple tequnices as in my sisters 1860s skirt (which I made a month later) – Cuting three skirt lenght of whole fabric widhts, matching the pattern and stitching them togeter to a huge circle.
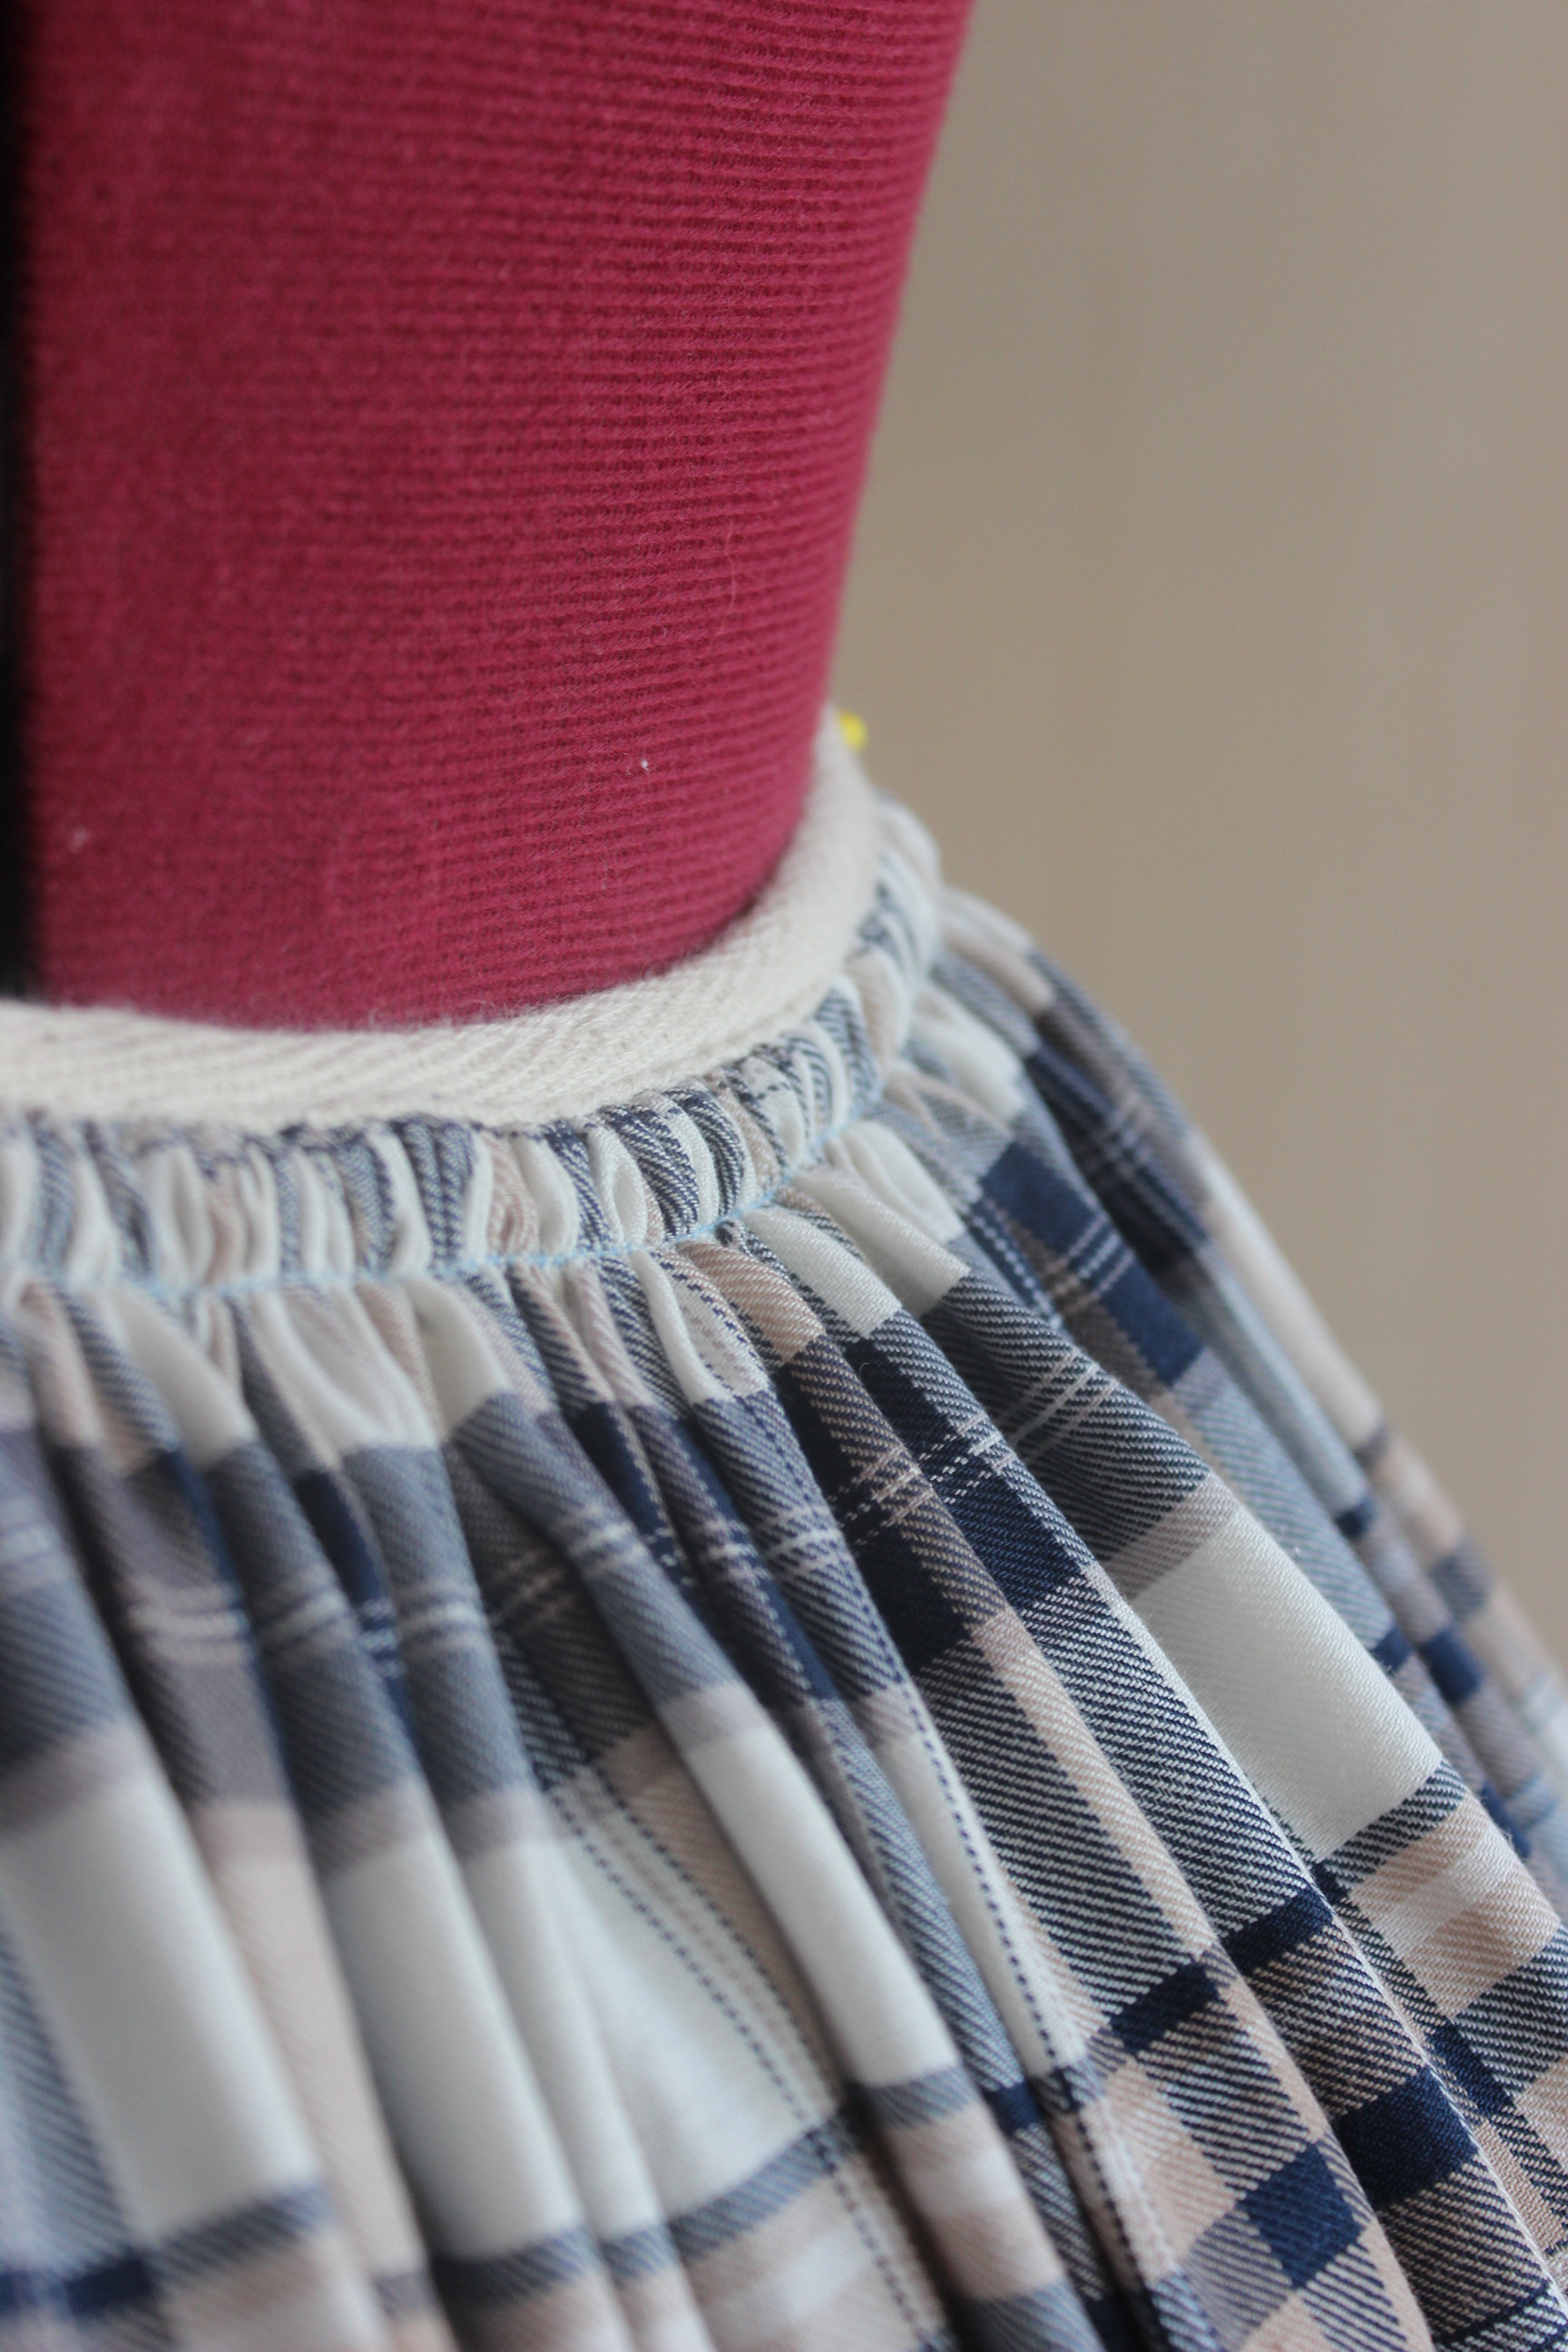
Then I stsitched two rows of gthering stistches at the top and pulled to get the right waist measurment. I purpusly used one fabic widht for the front and two for the back, to disturbute the poufiness to the back.
Then I stitched a cotton tape to the gathered waist  and turn it under by hand to get a small but sturdy waistband.
I used my dressform to measure and pin the skirt lenght  Trying it out on my dressform
and make sure the back clouser looked good. 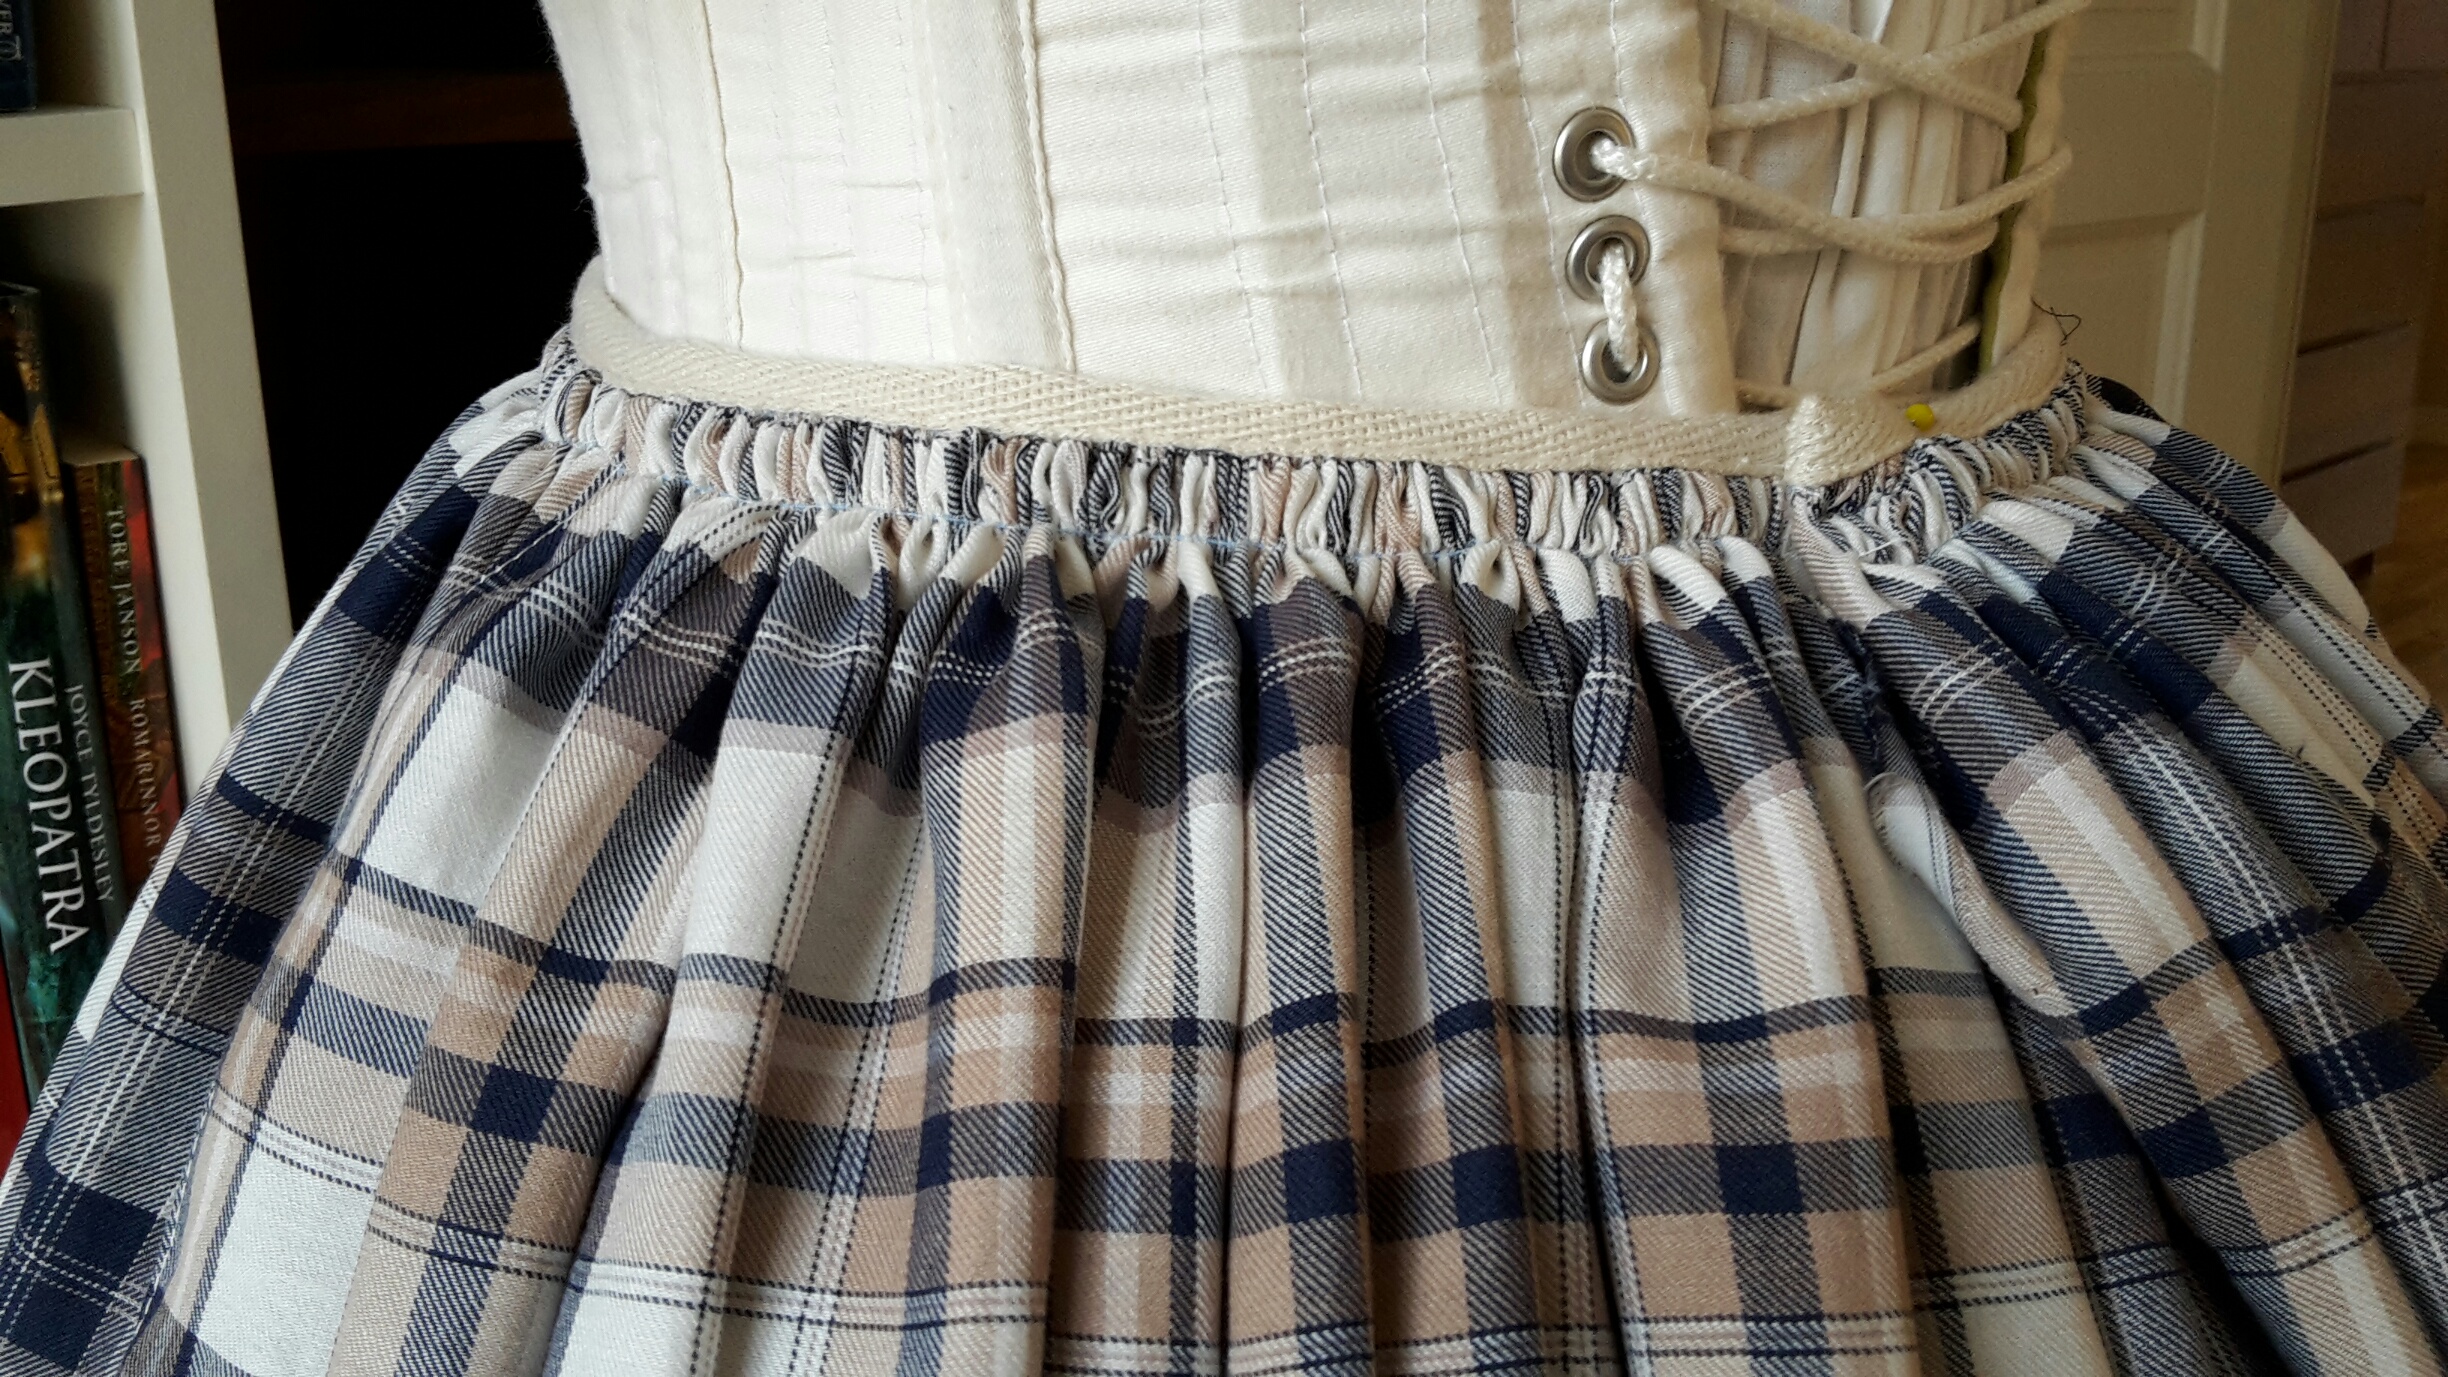
Then I folded, pinned and hemmed the skirt, using 1 cm long heming stitches.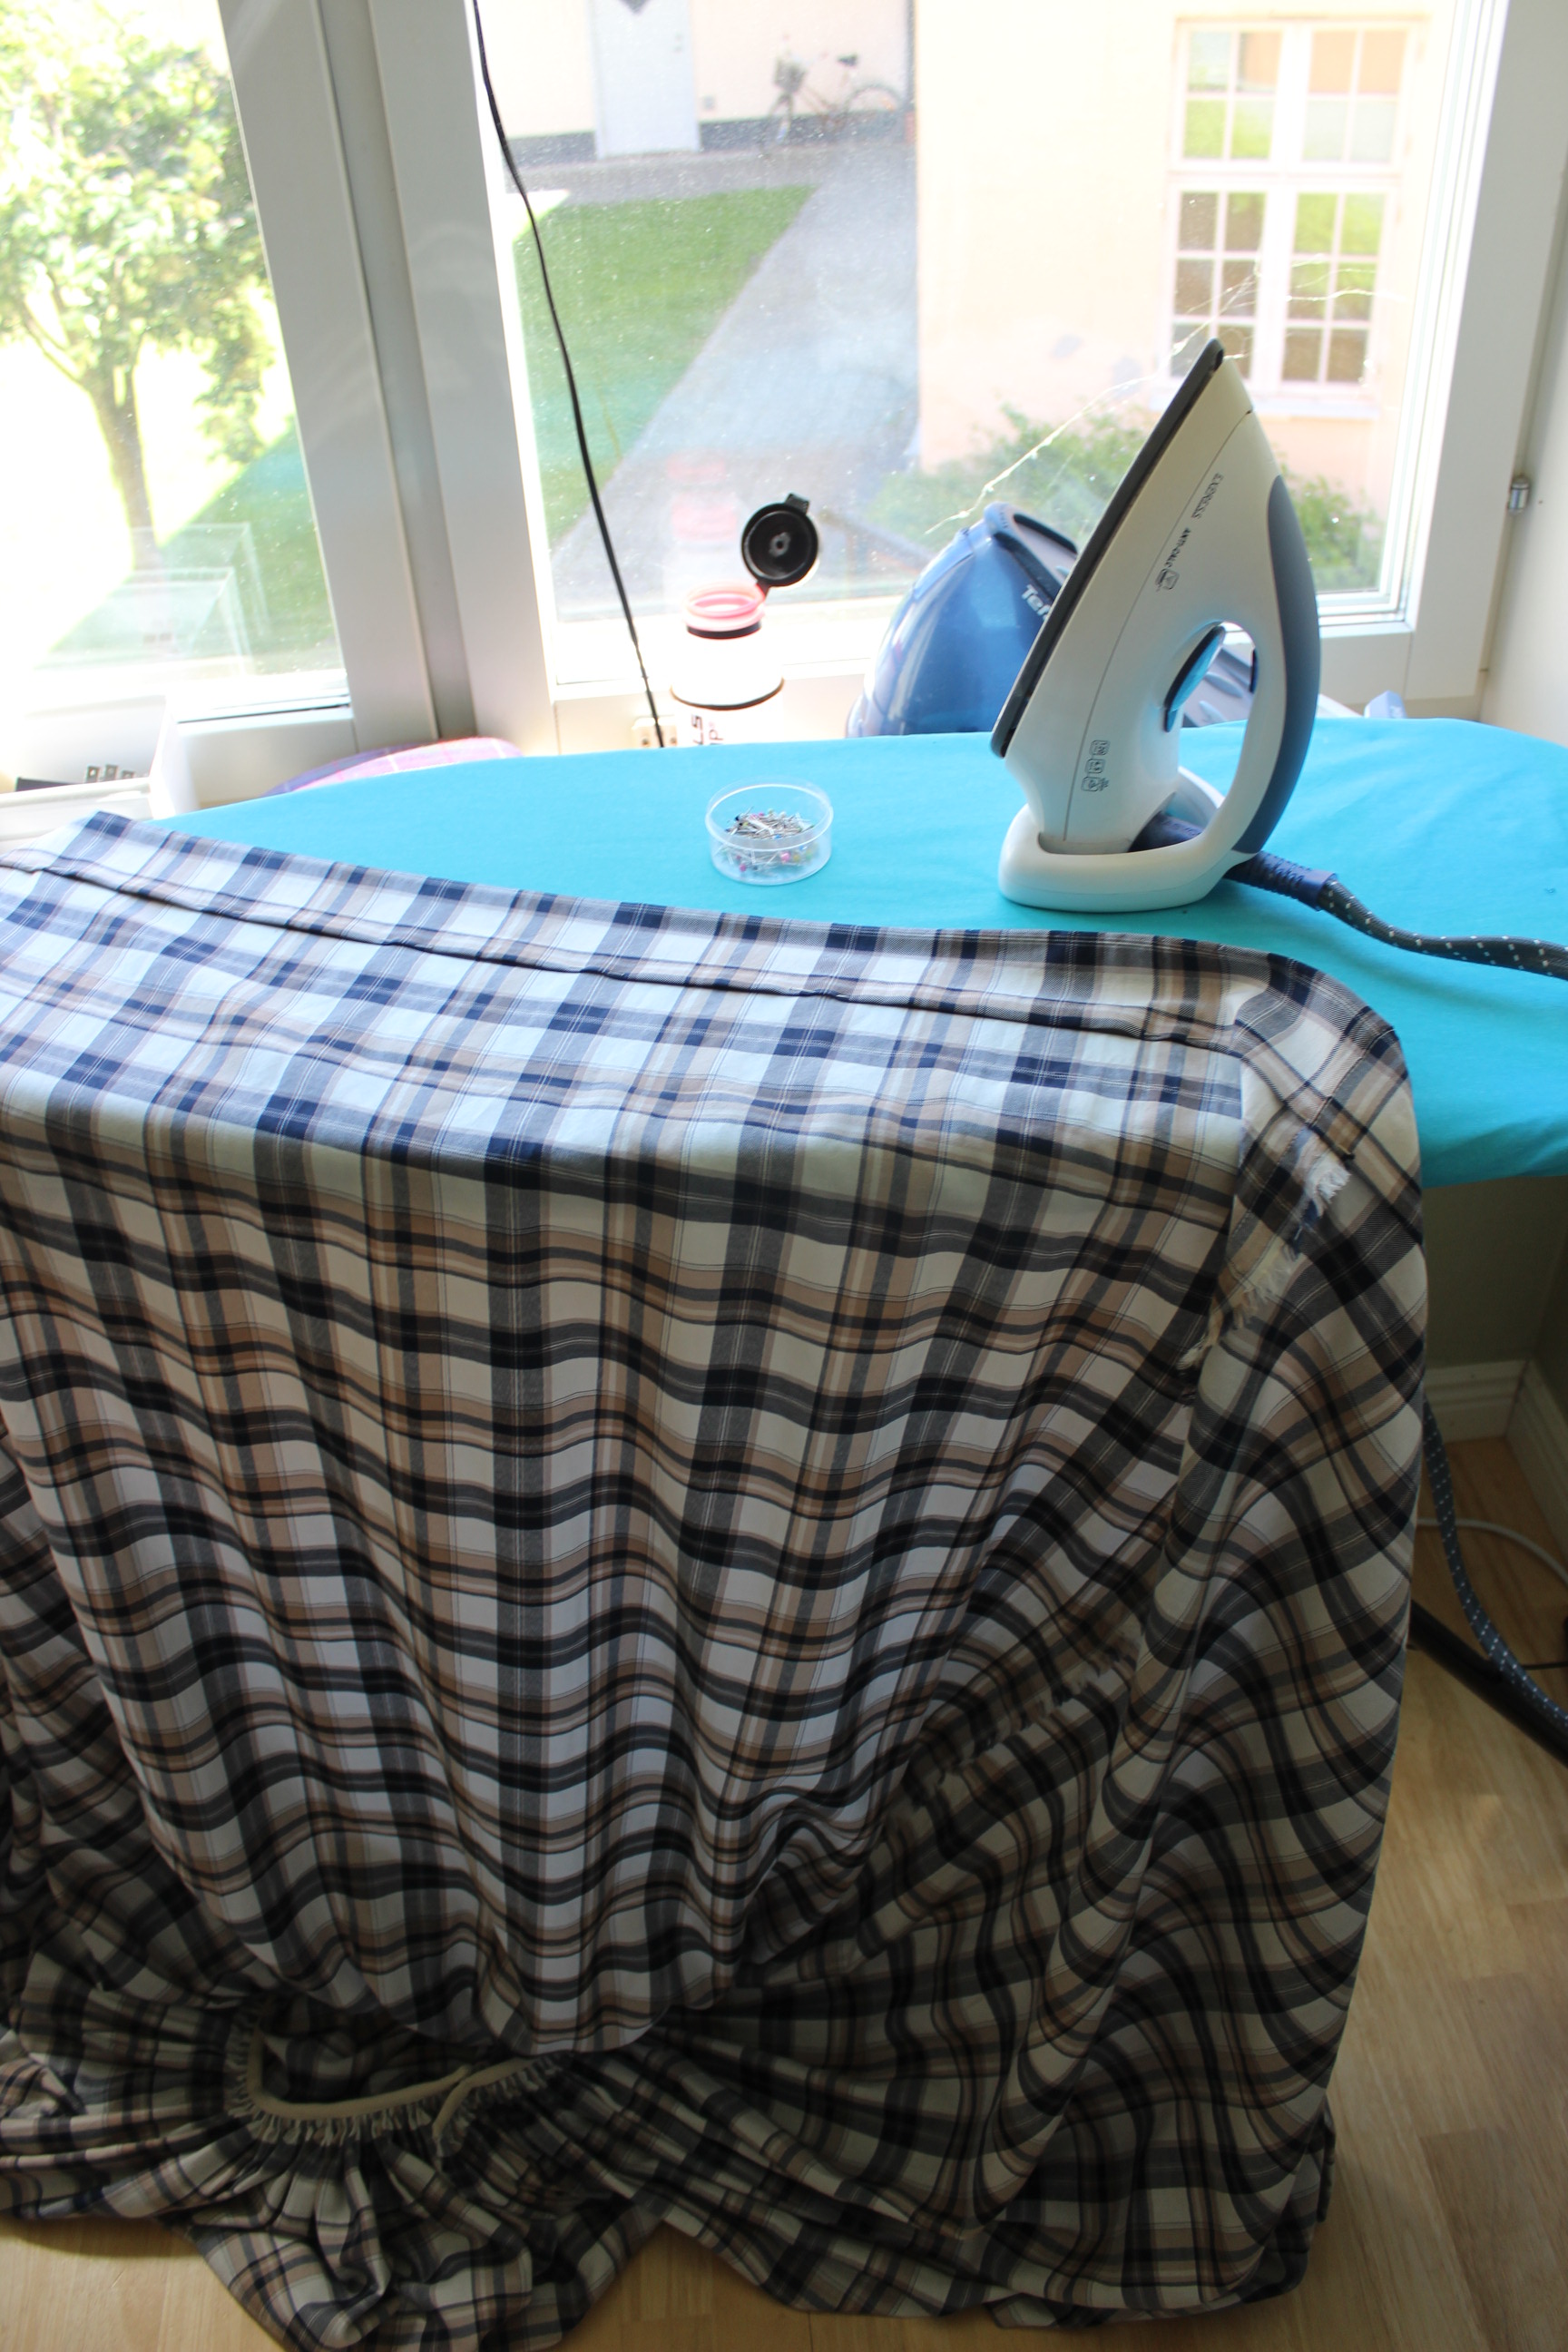
All and all it took about 4 hours and was an evenings welcome break from “Lady Mary”
The finished skirt:
A couple of photos with the skirt, (not) Gabardi blouse and green bonnet:

As you can see I also discovered I needed to shorten the skirt about 5-10 cm – great!
Back to the ironing table…
Nexts up: Construction for the dress bodice…
Yesterday I did my hair, make-up and put on my 1930s Christmas dress, for the photoshoot.
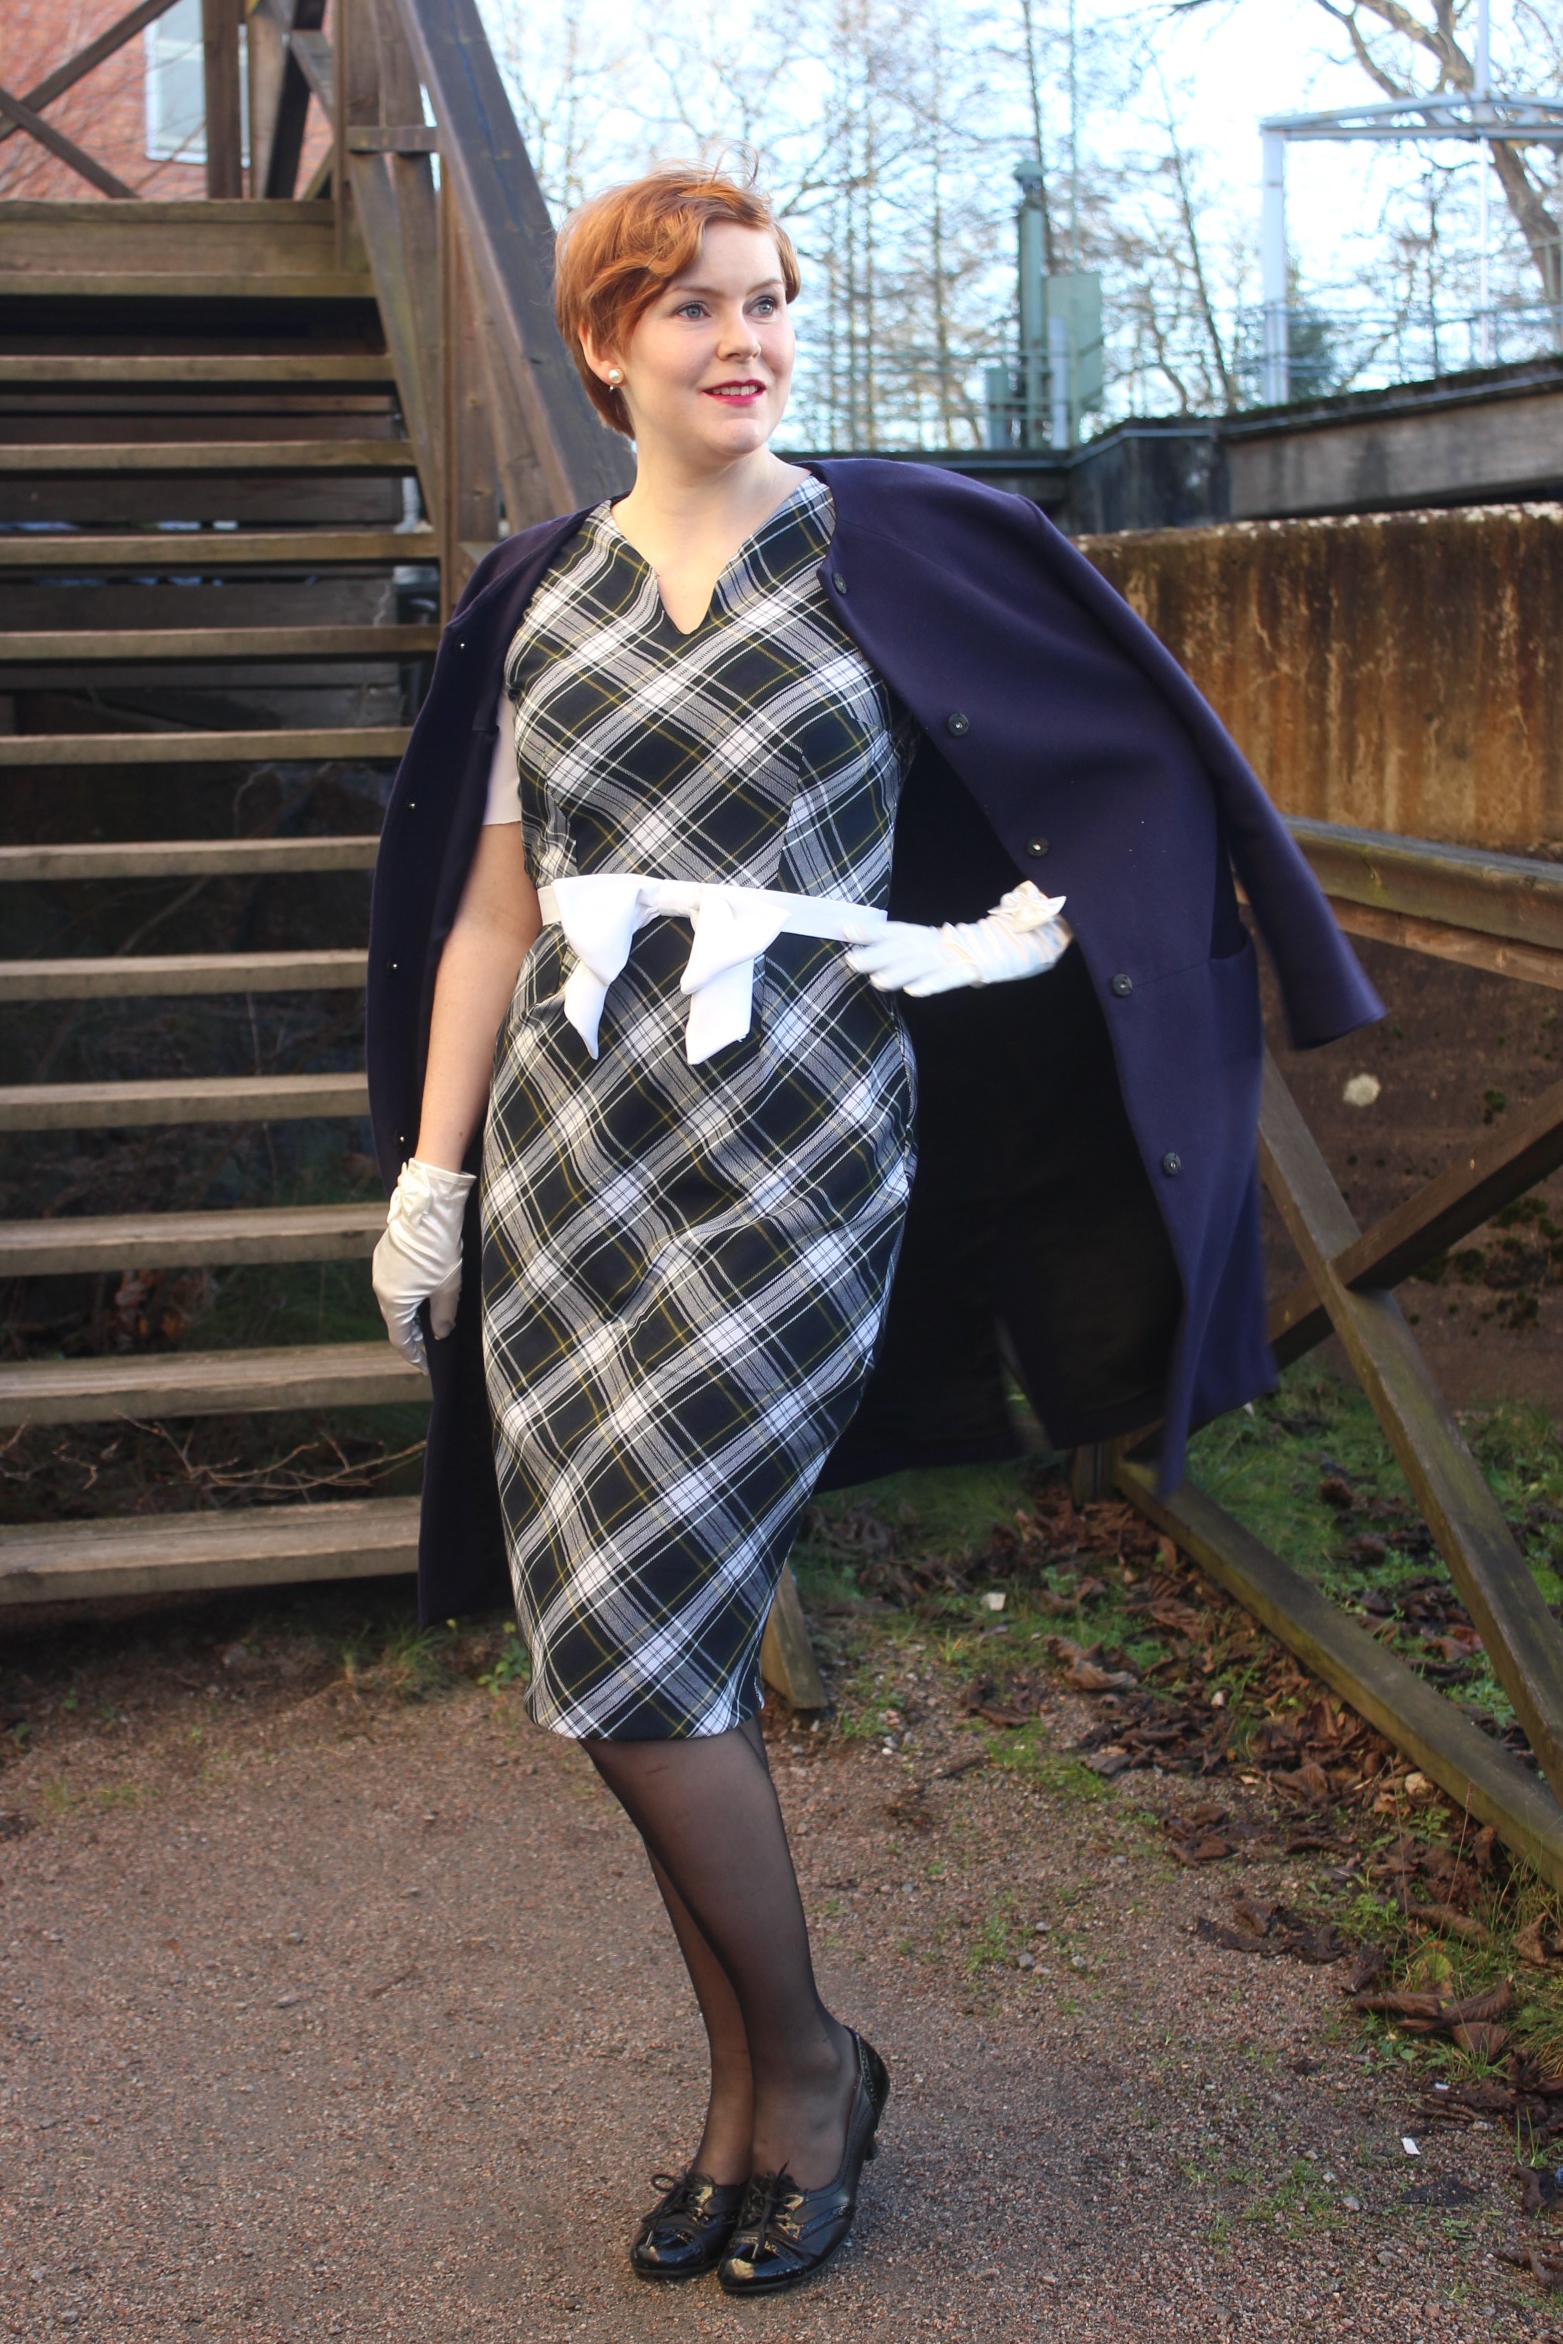
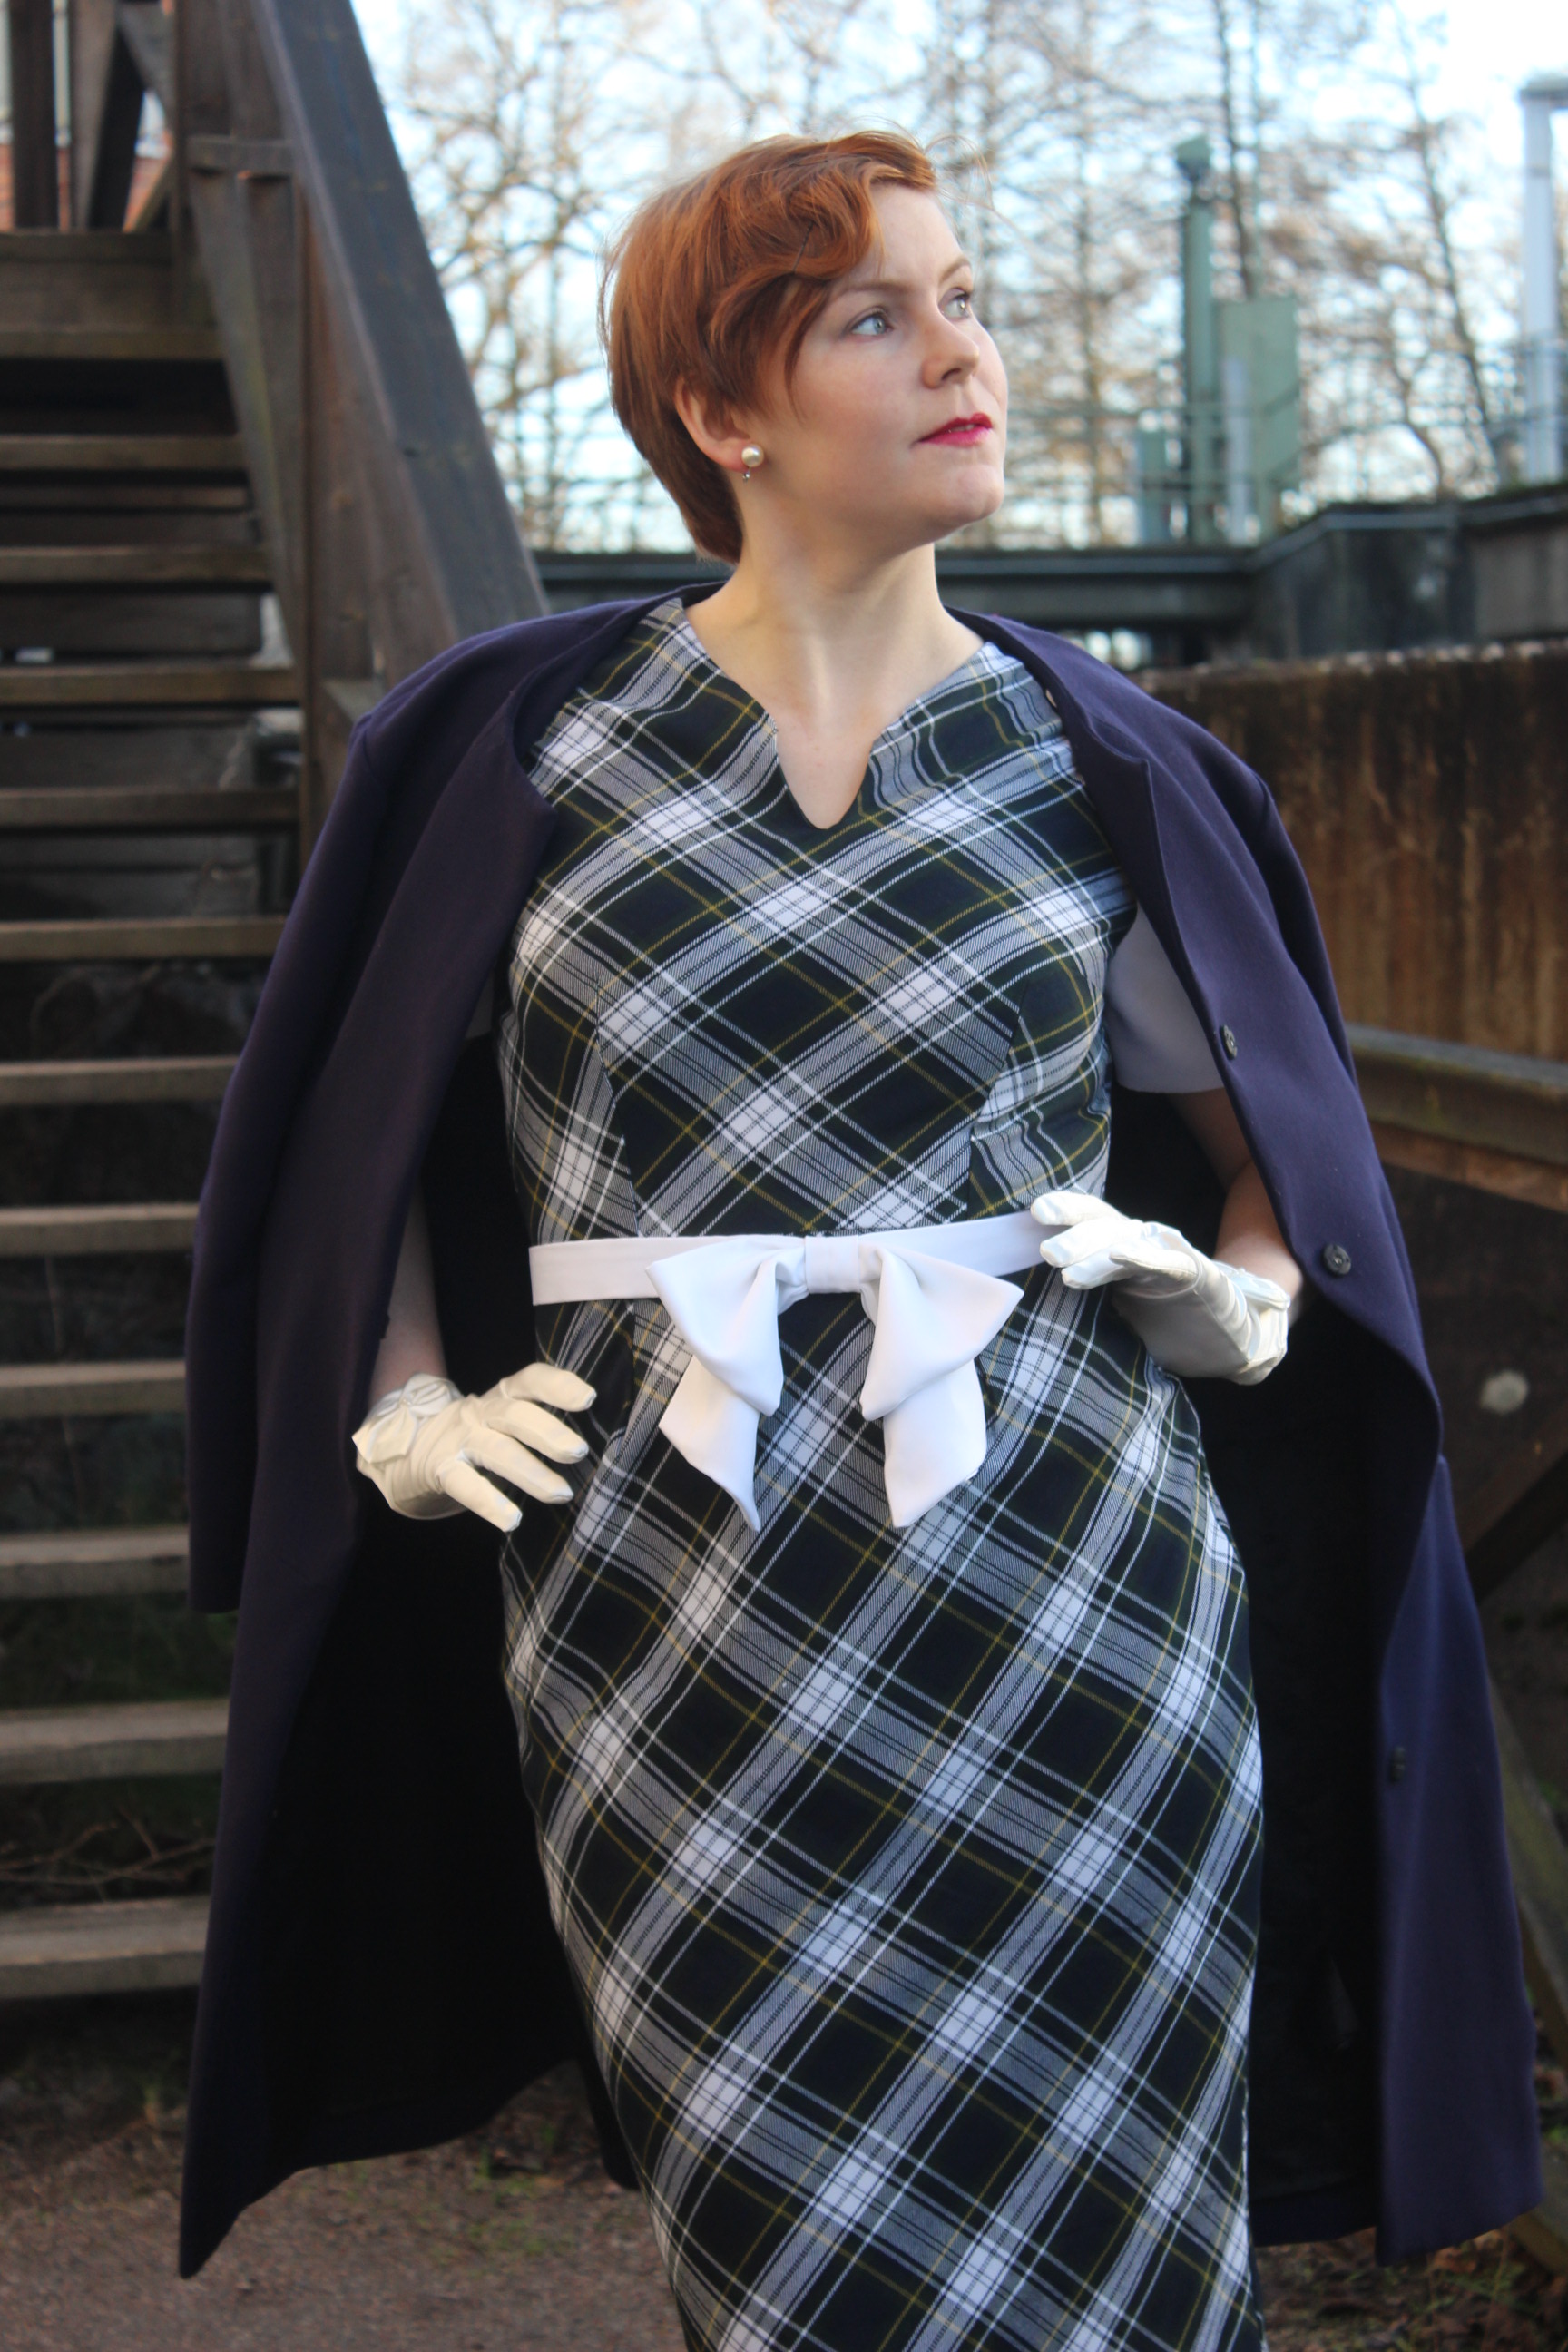
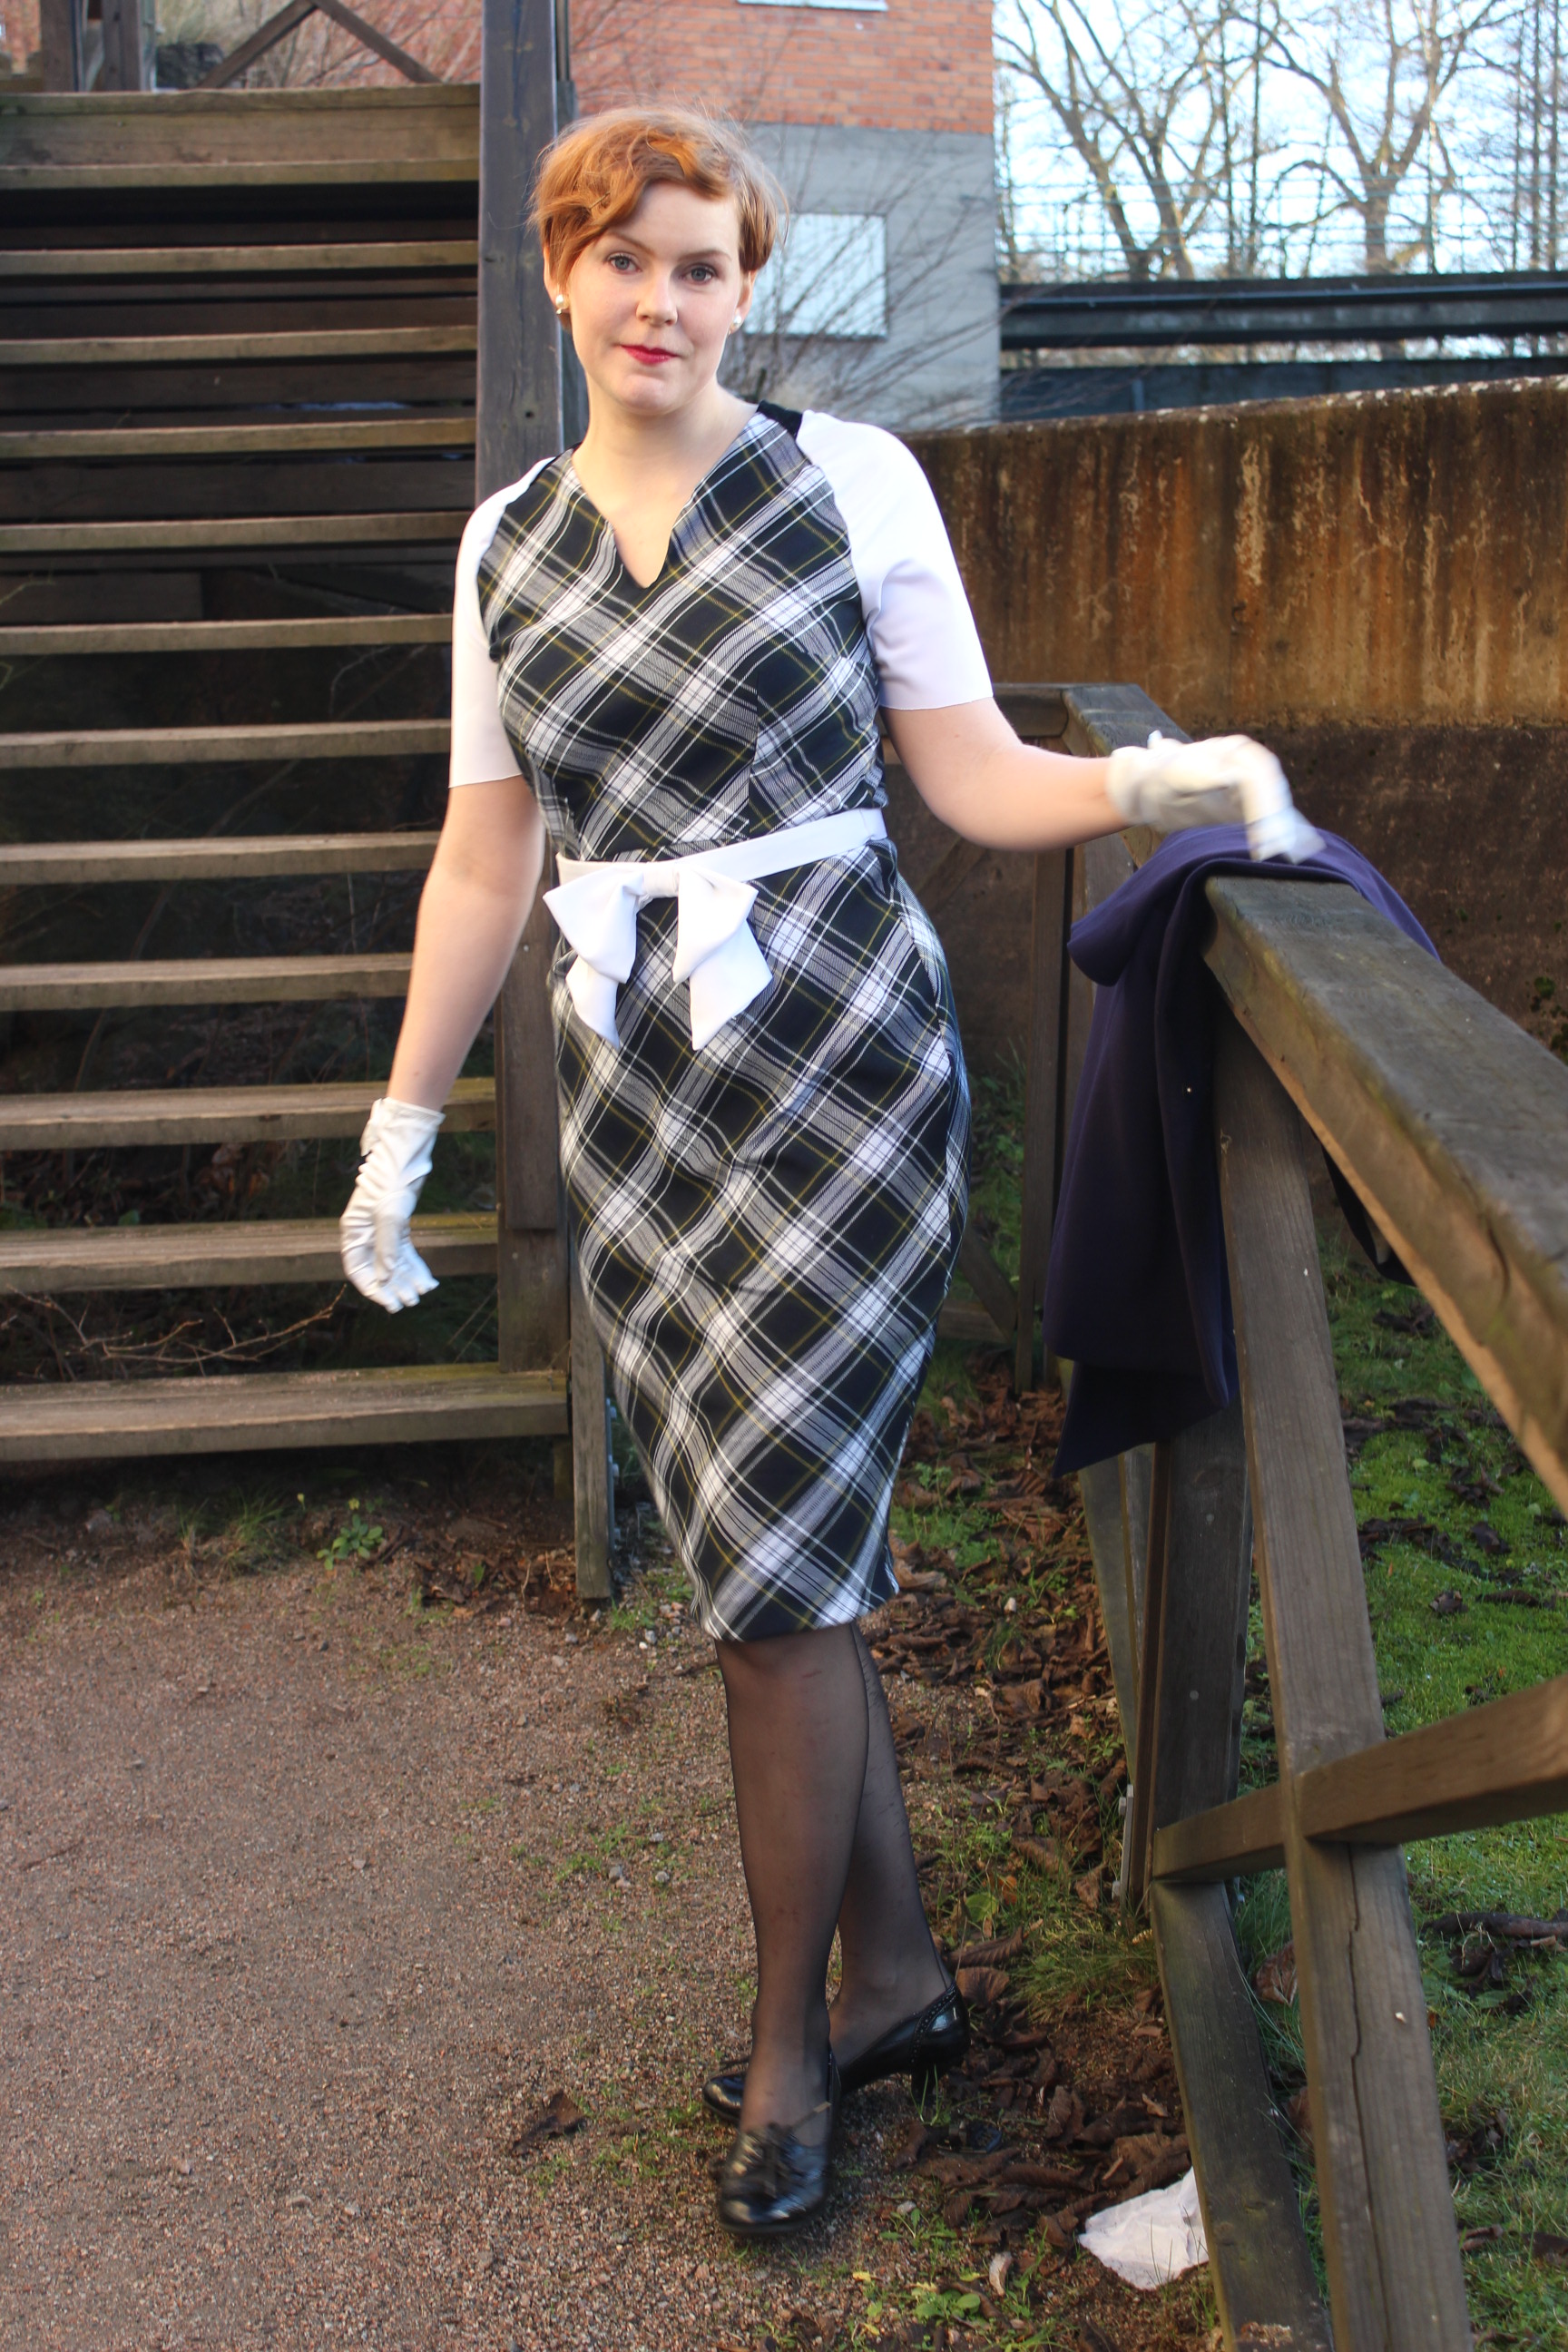
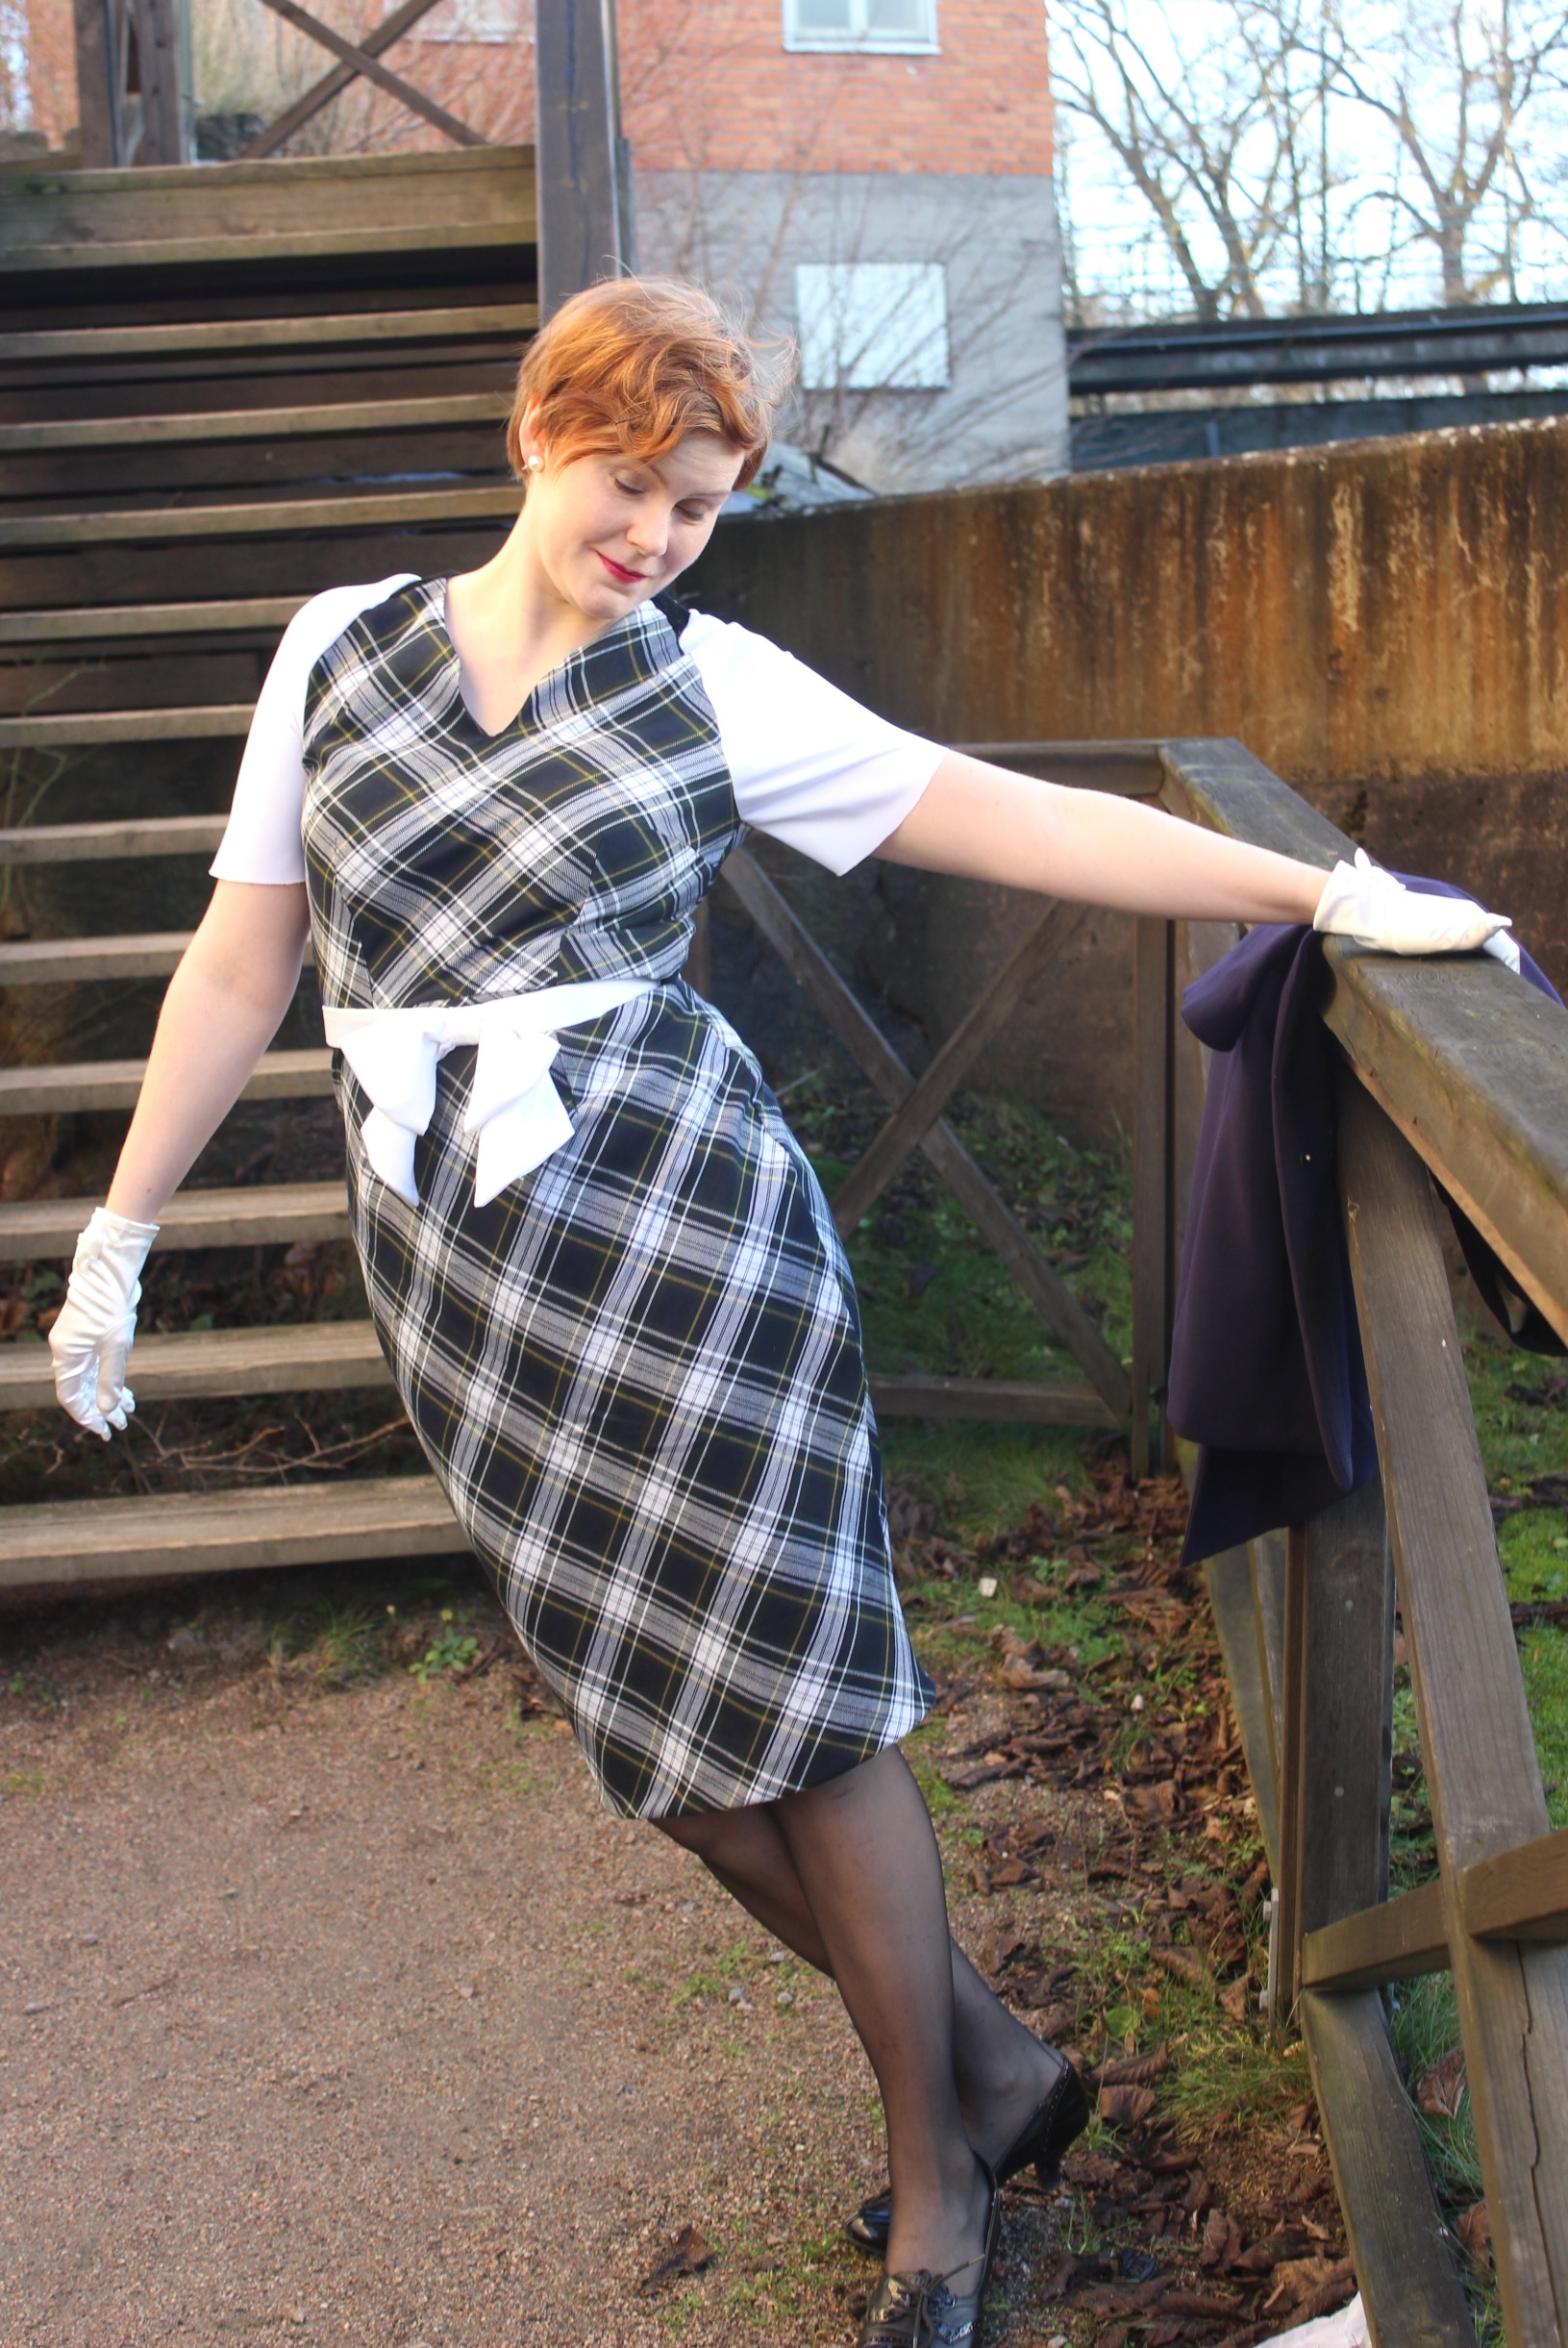
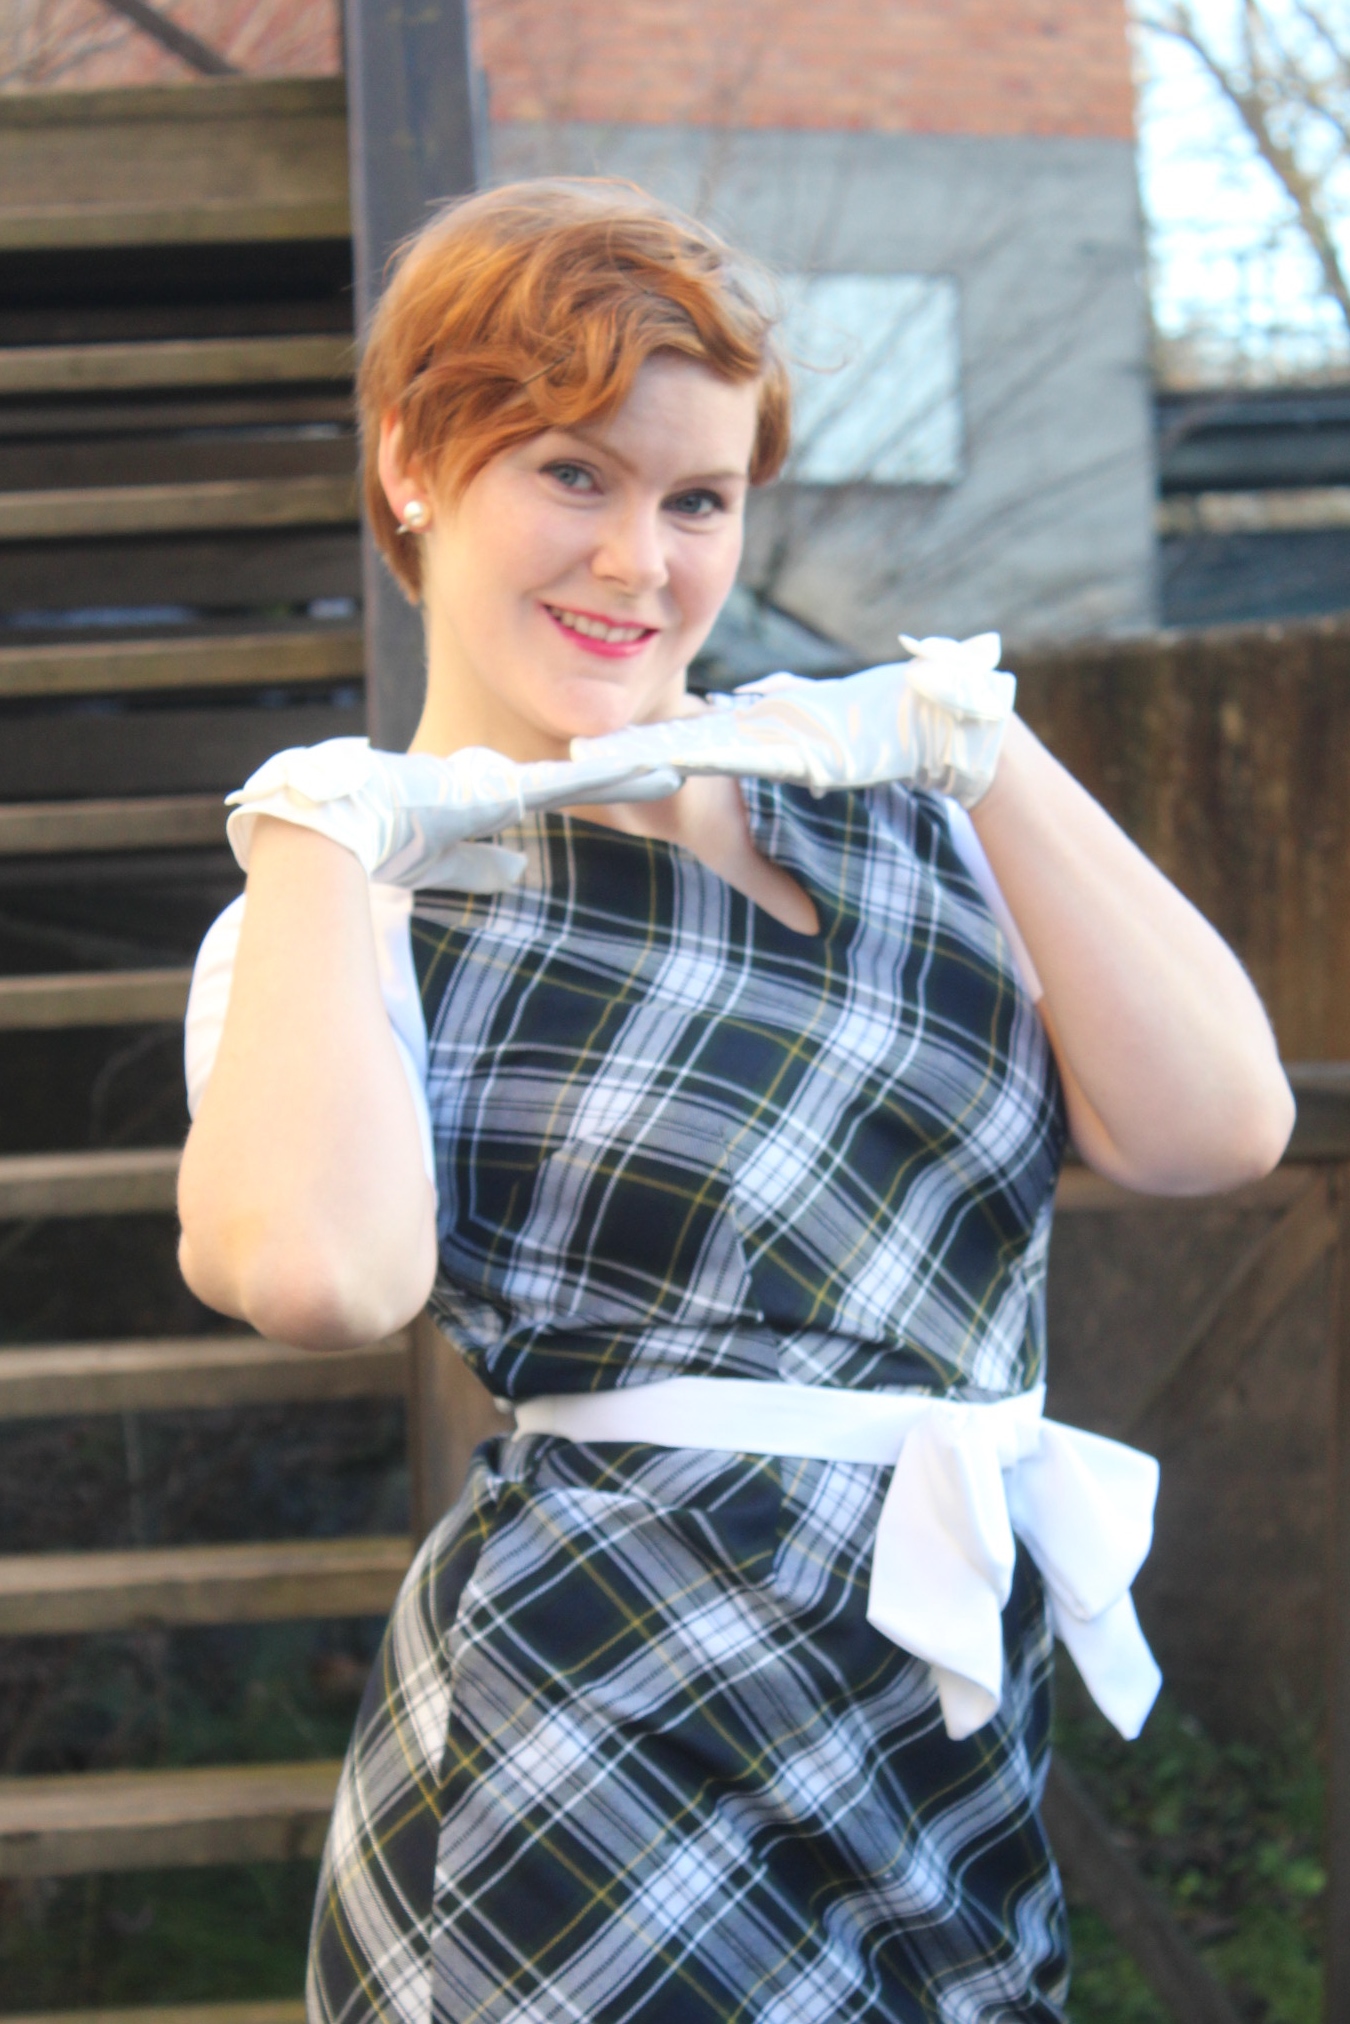
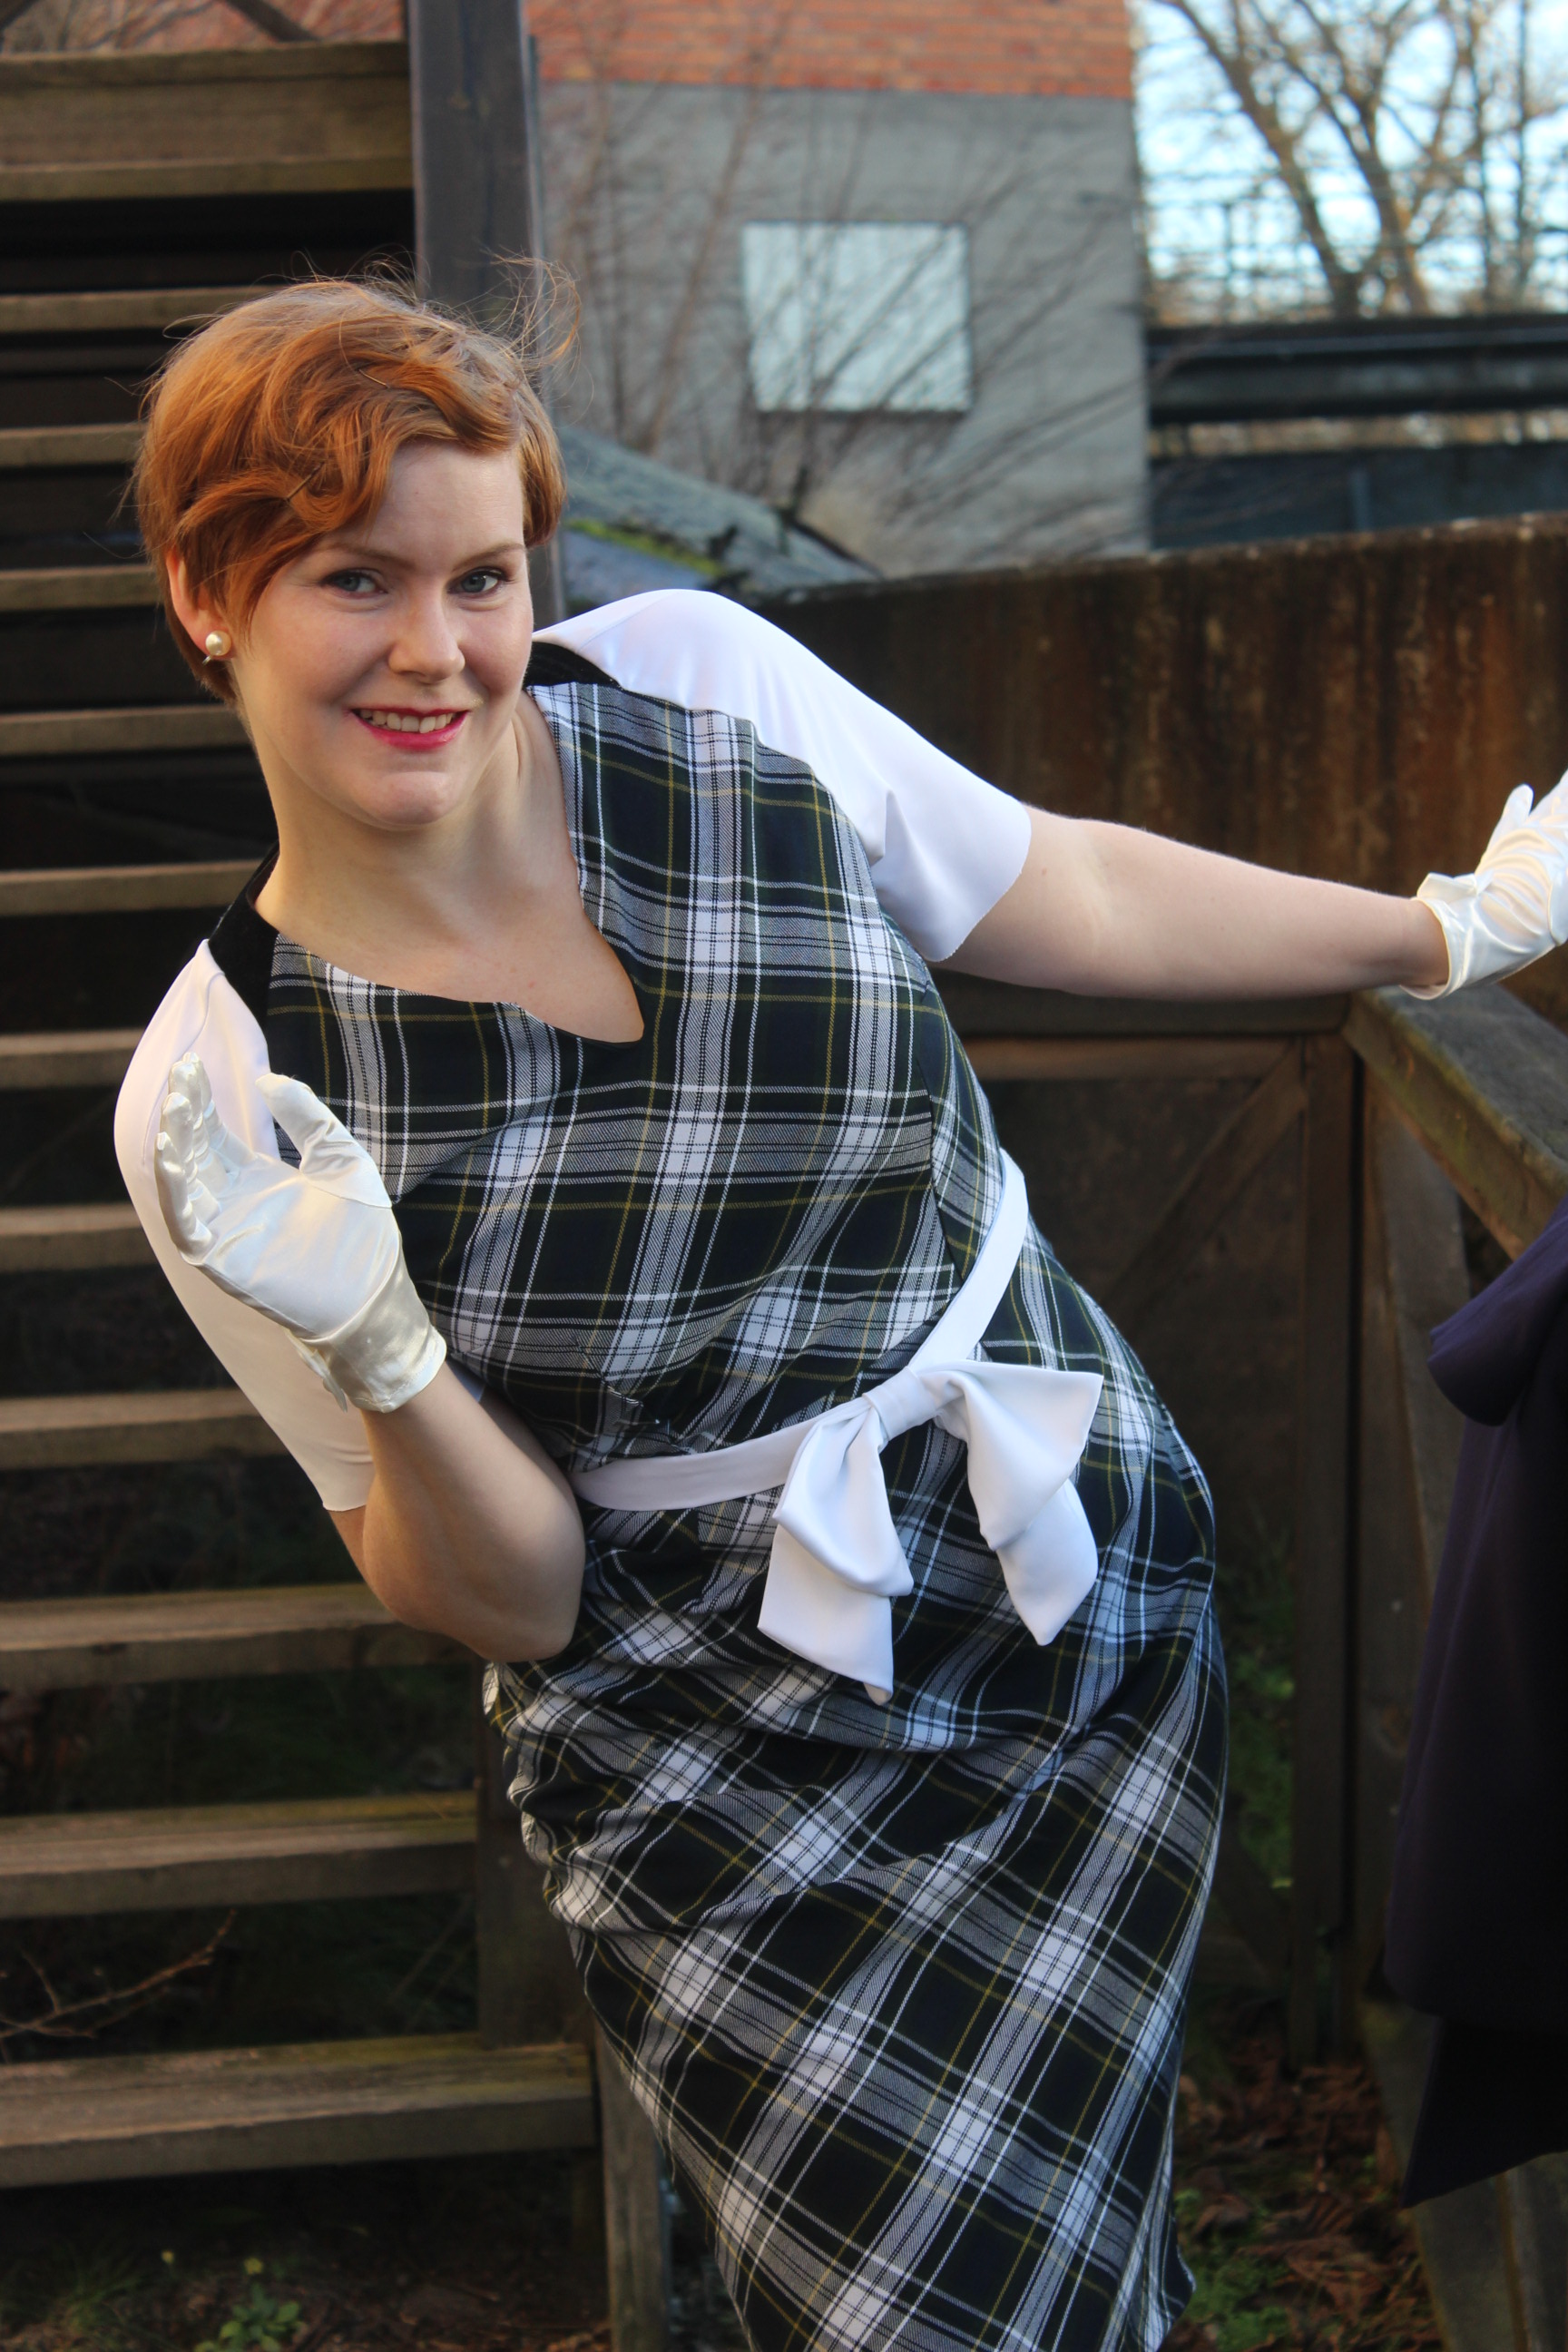
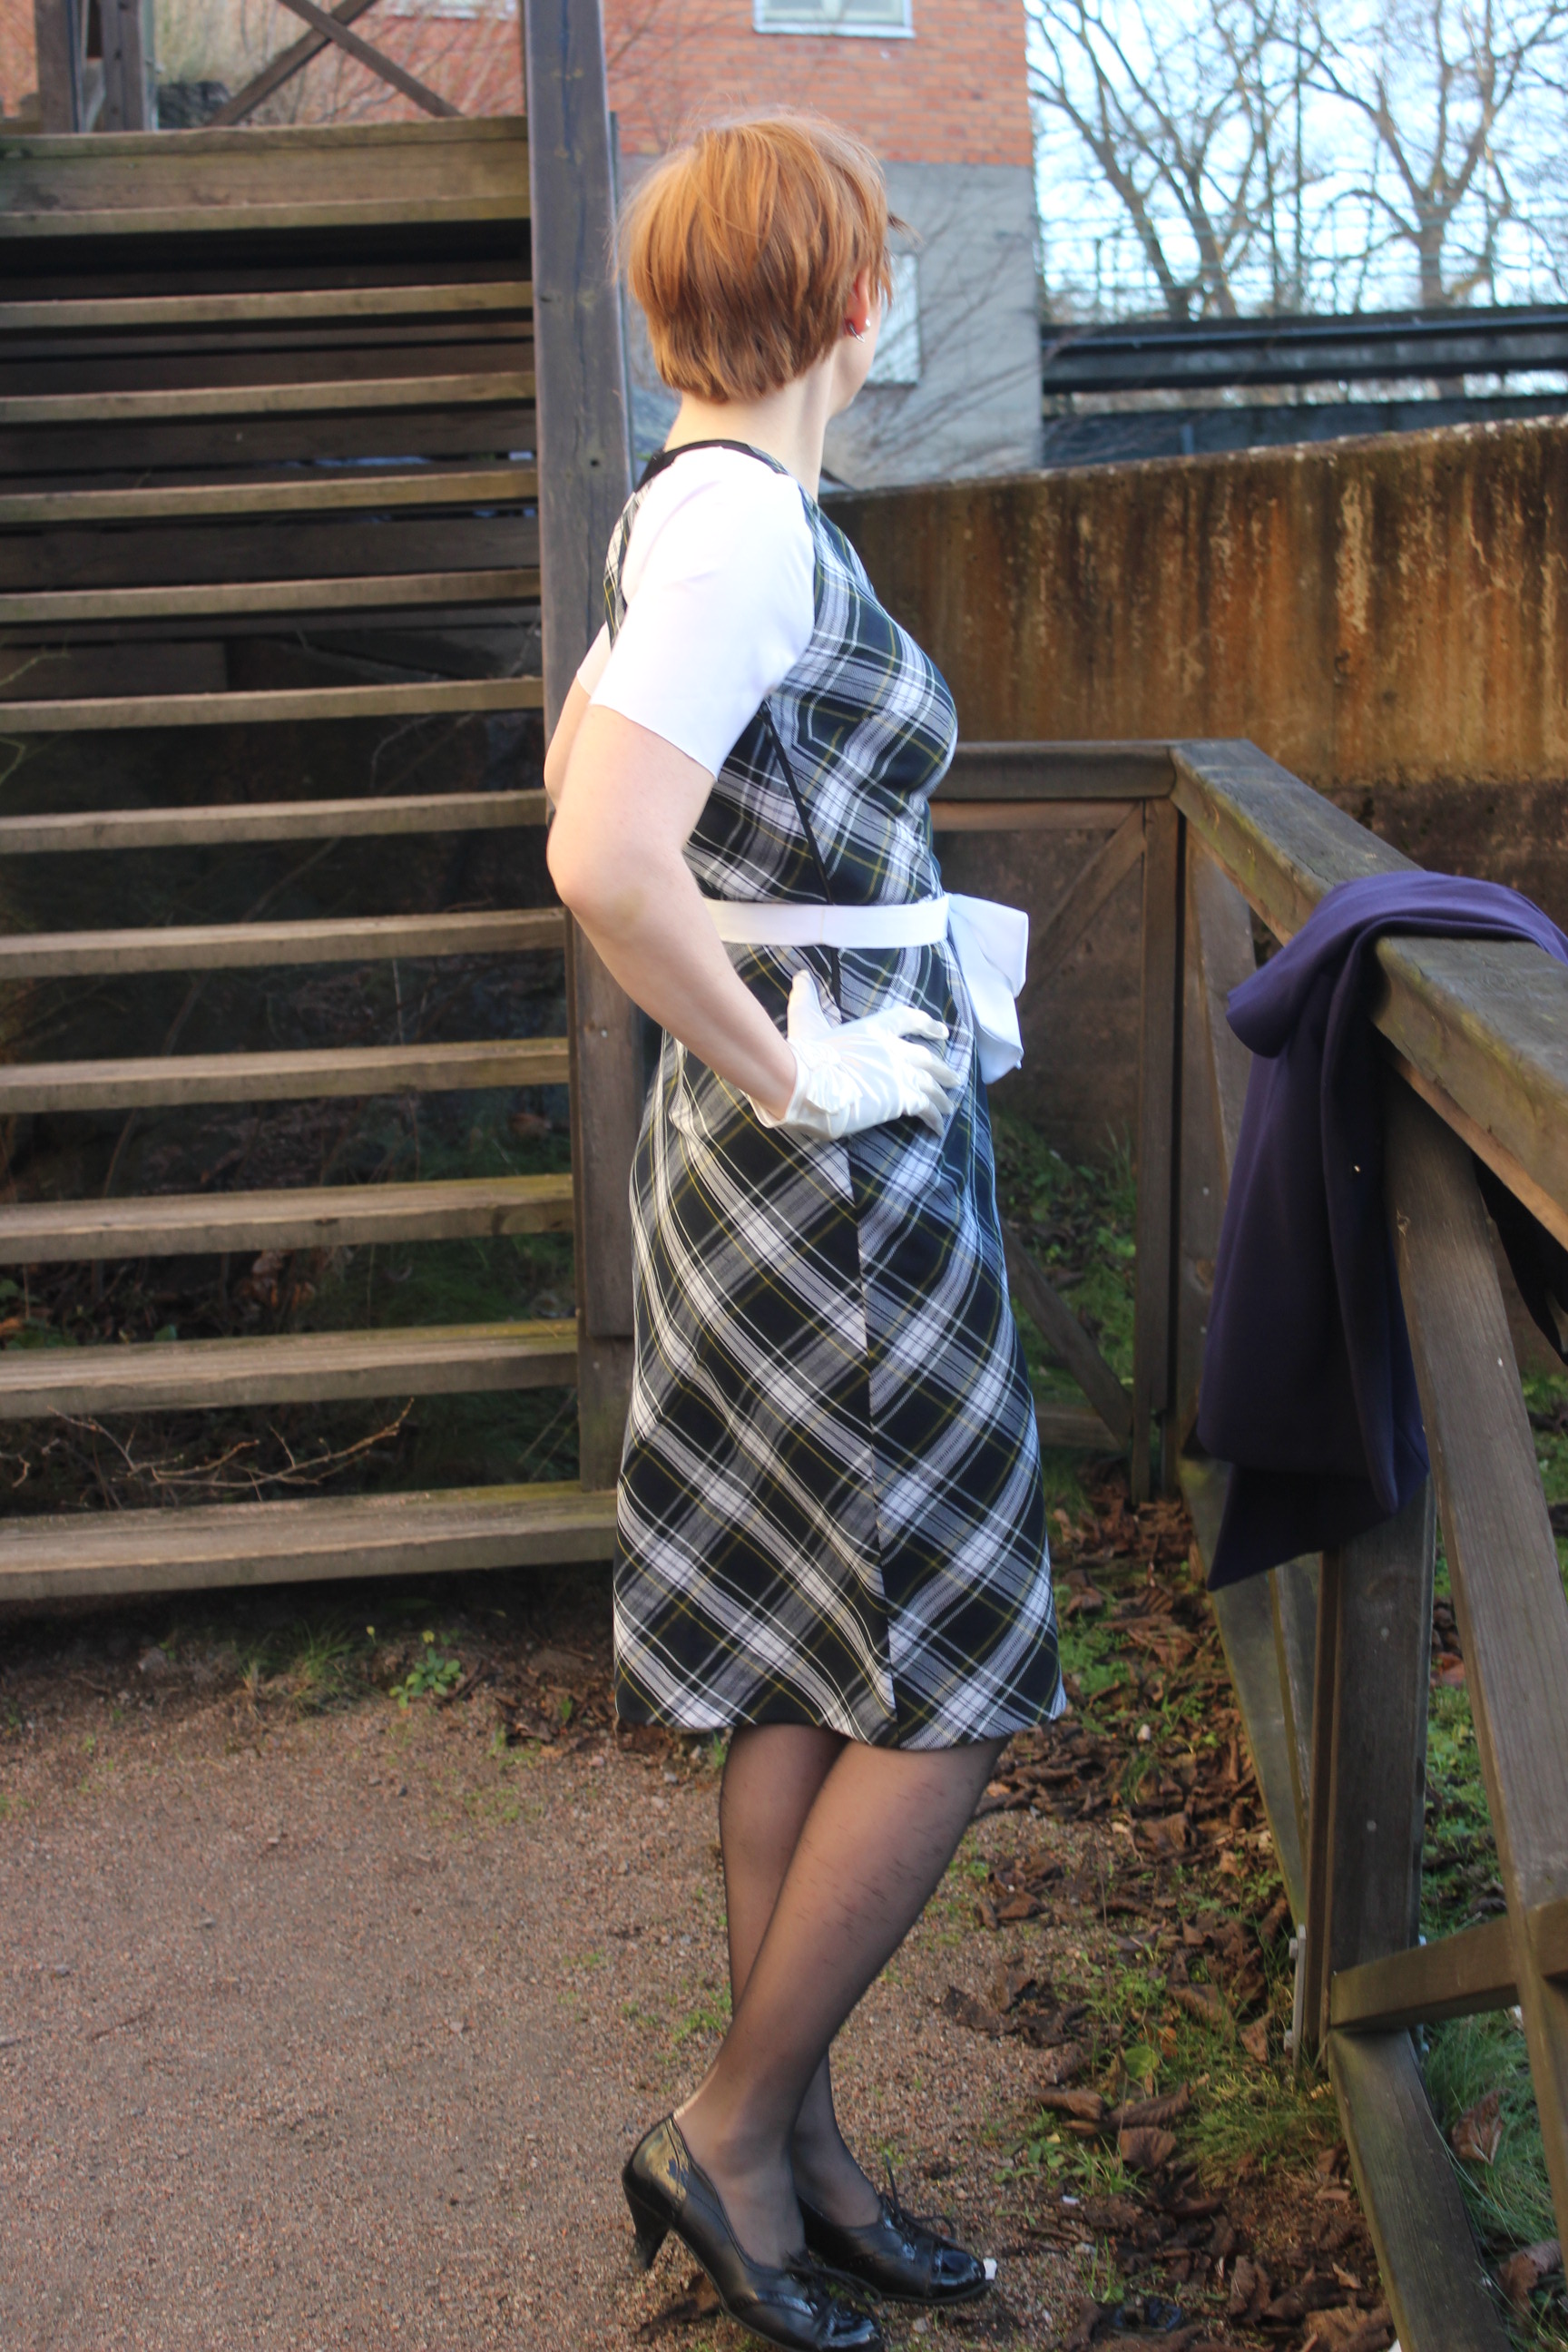


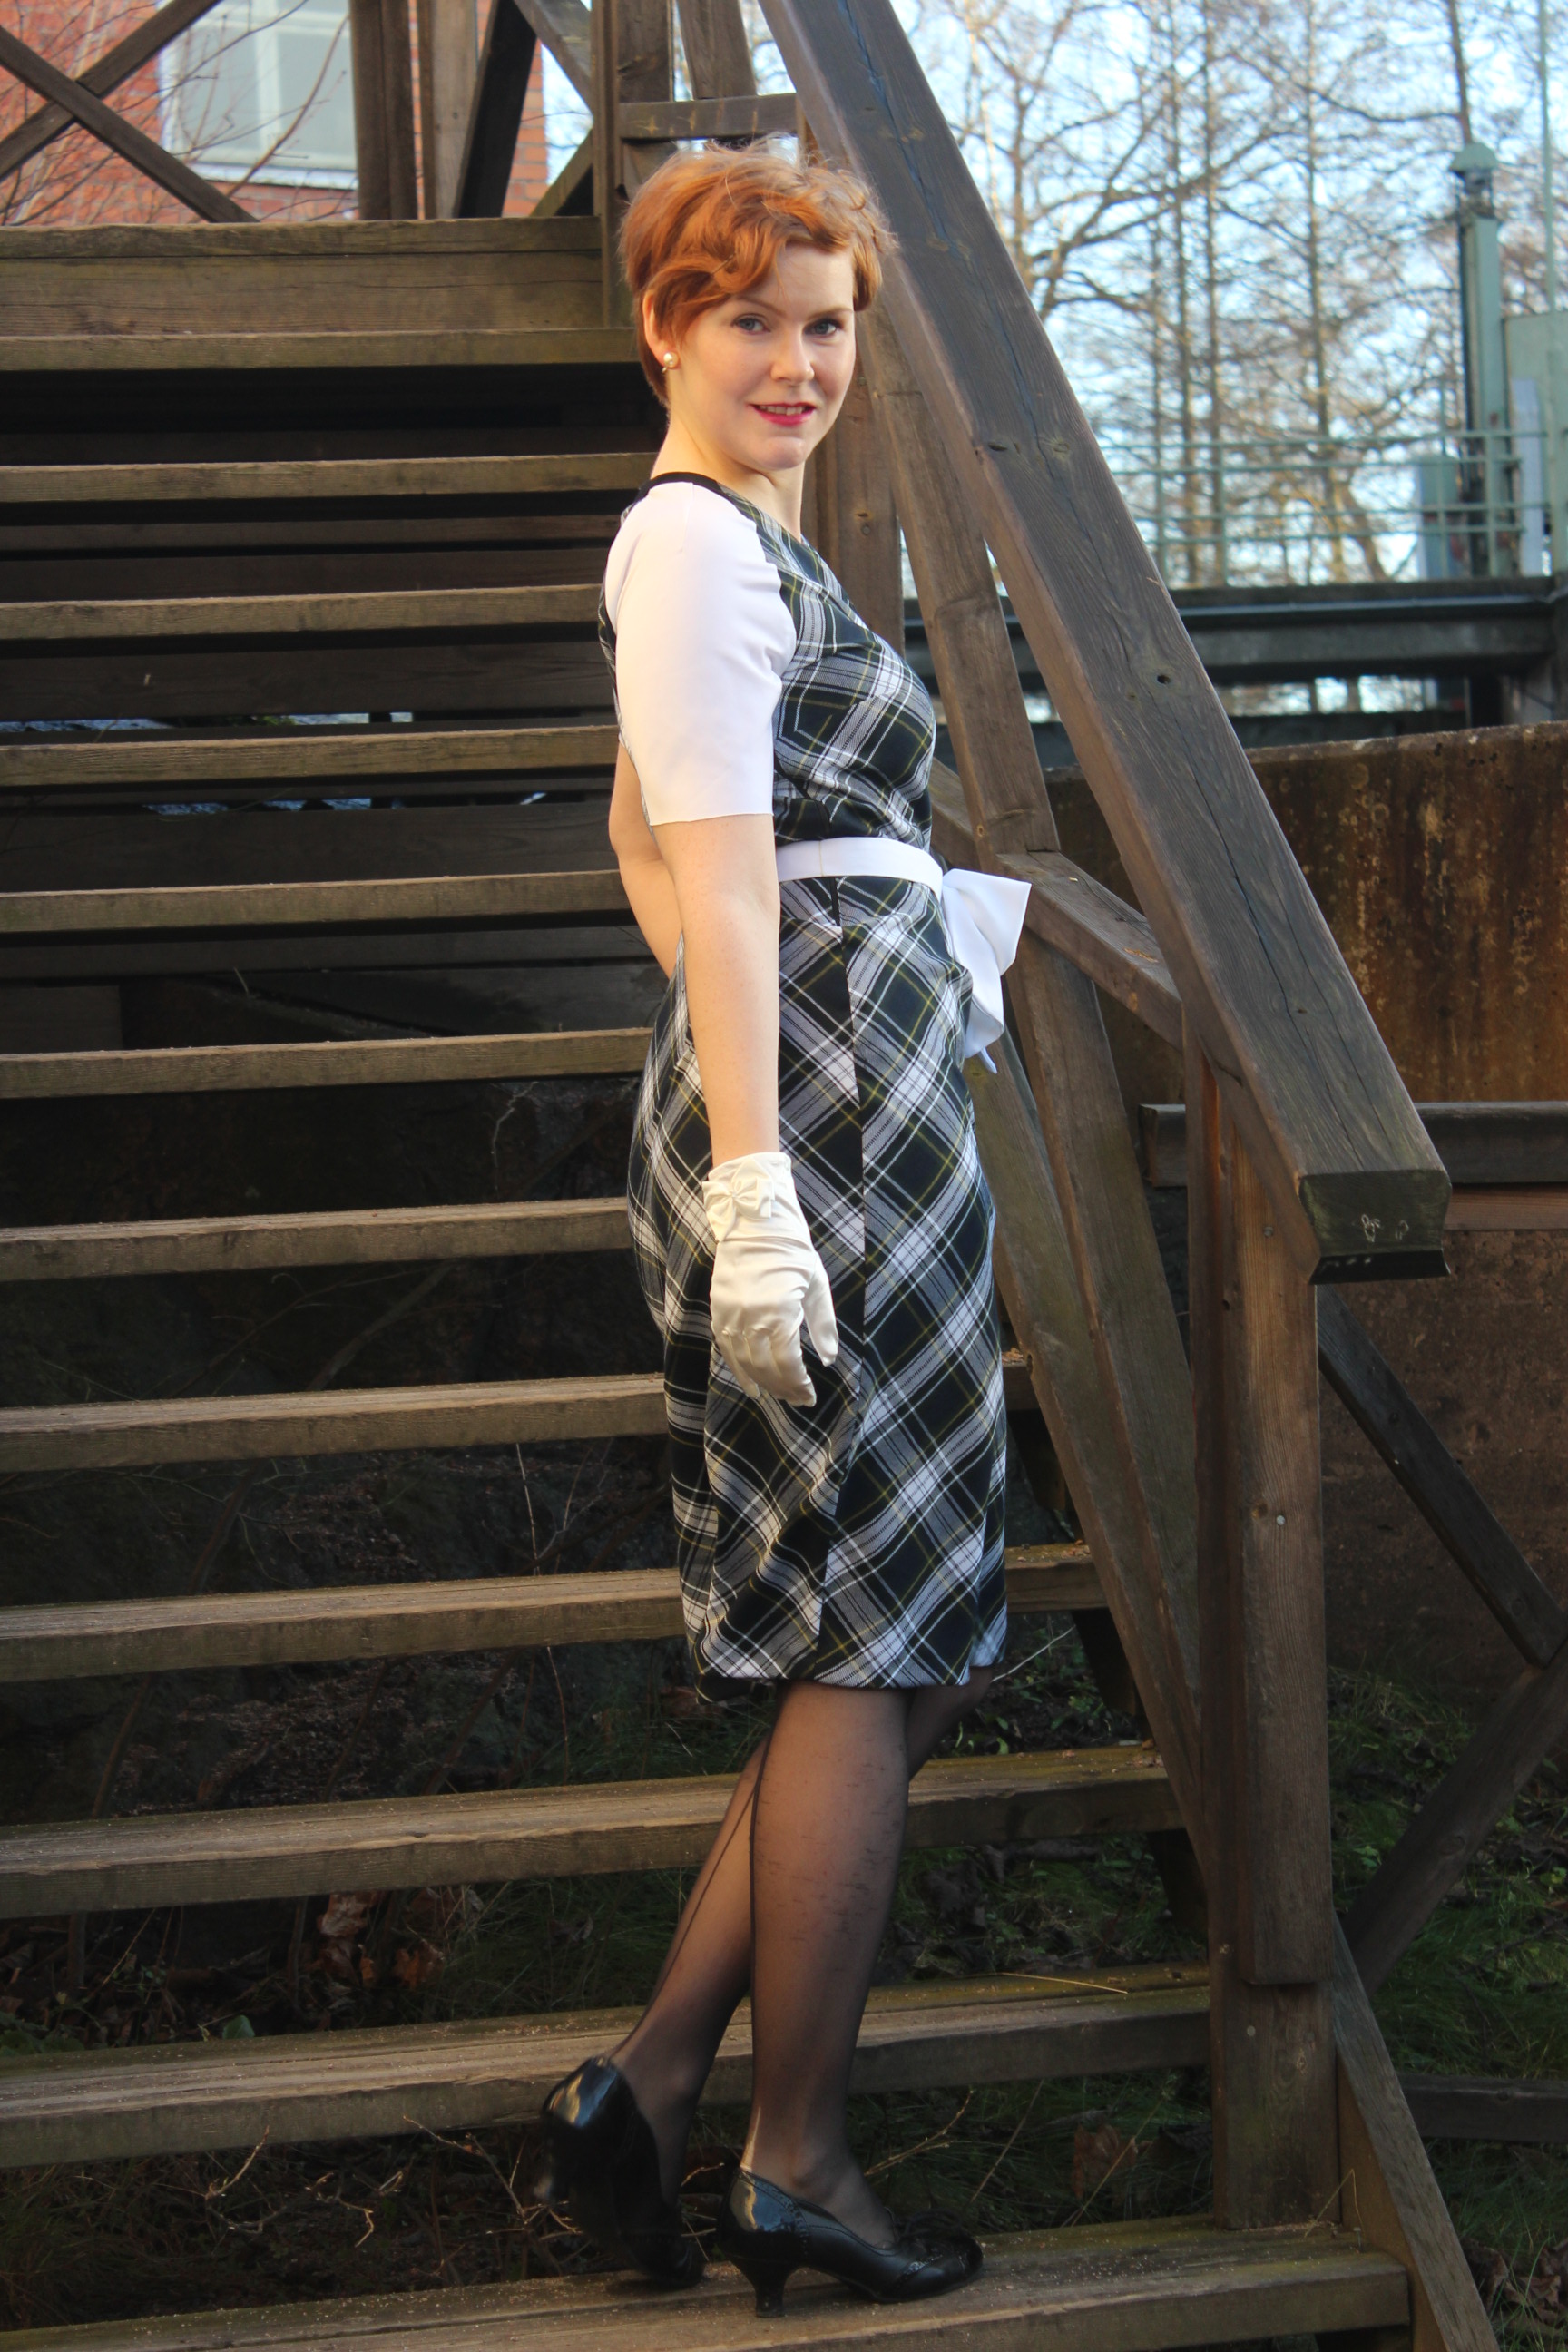


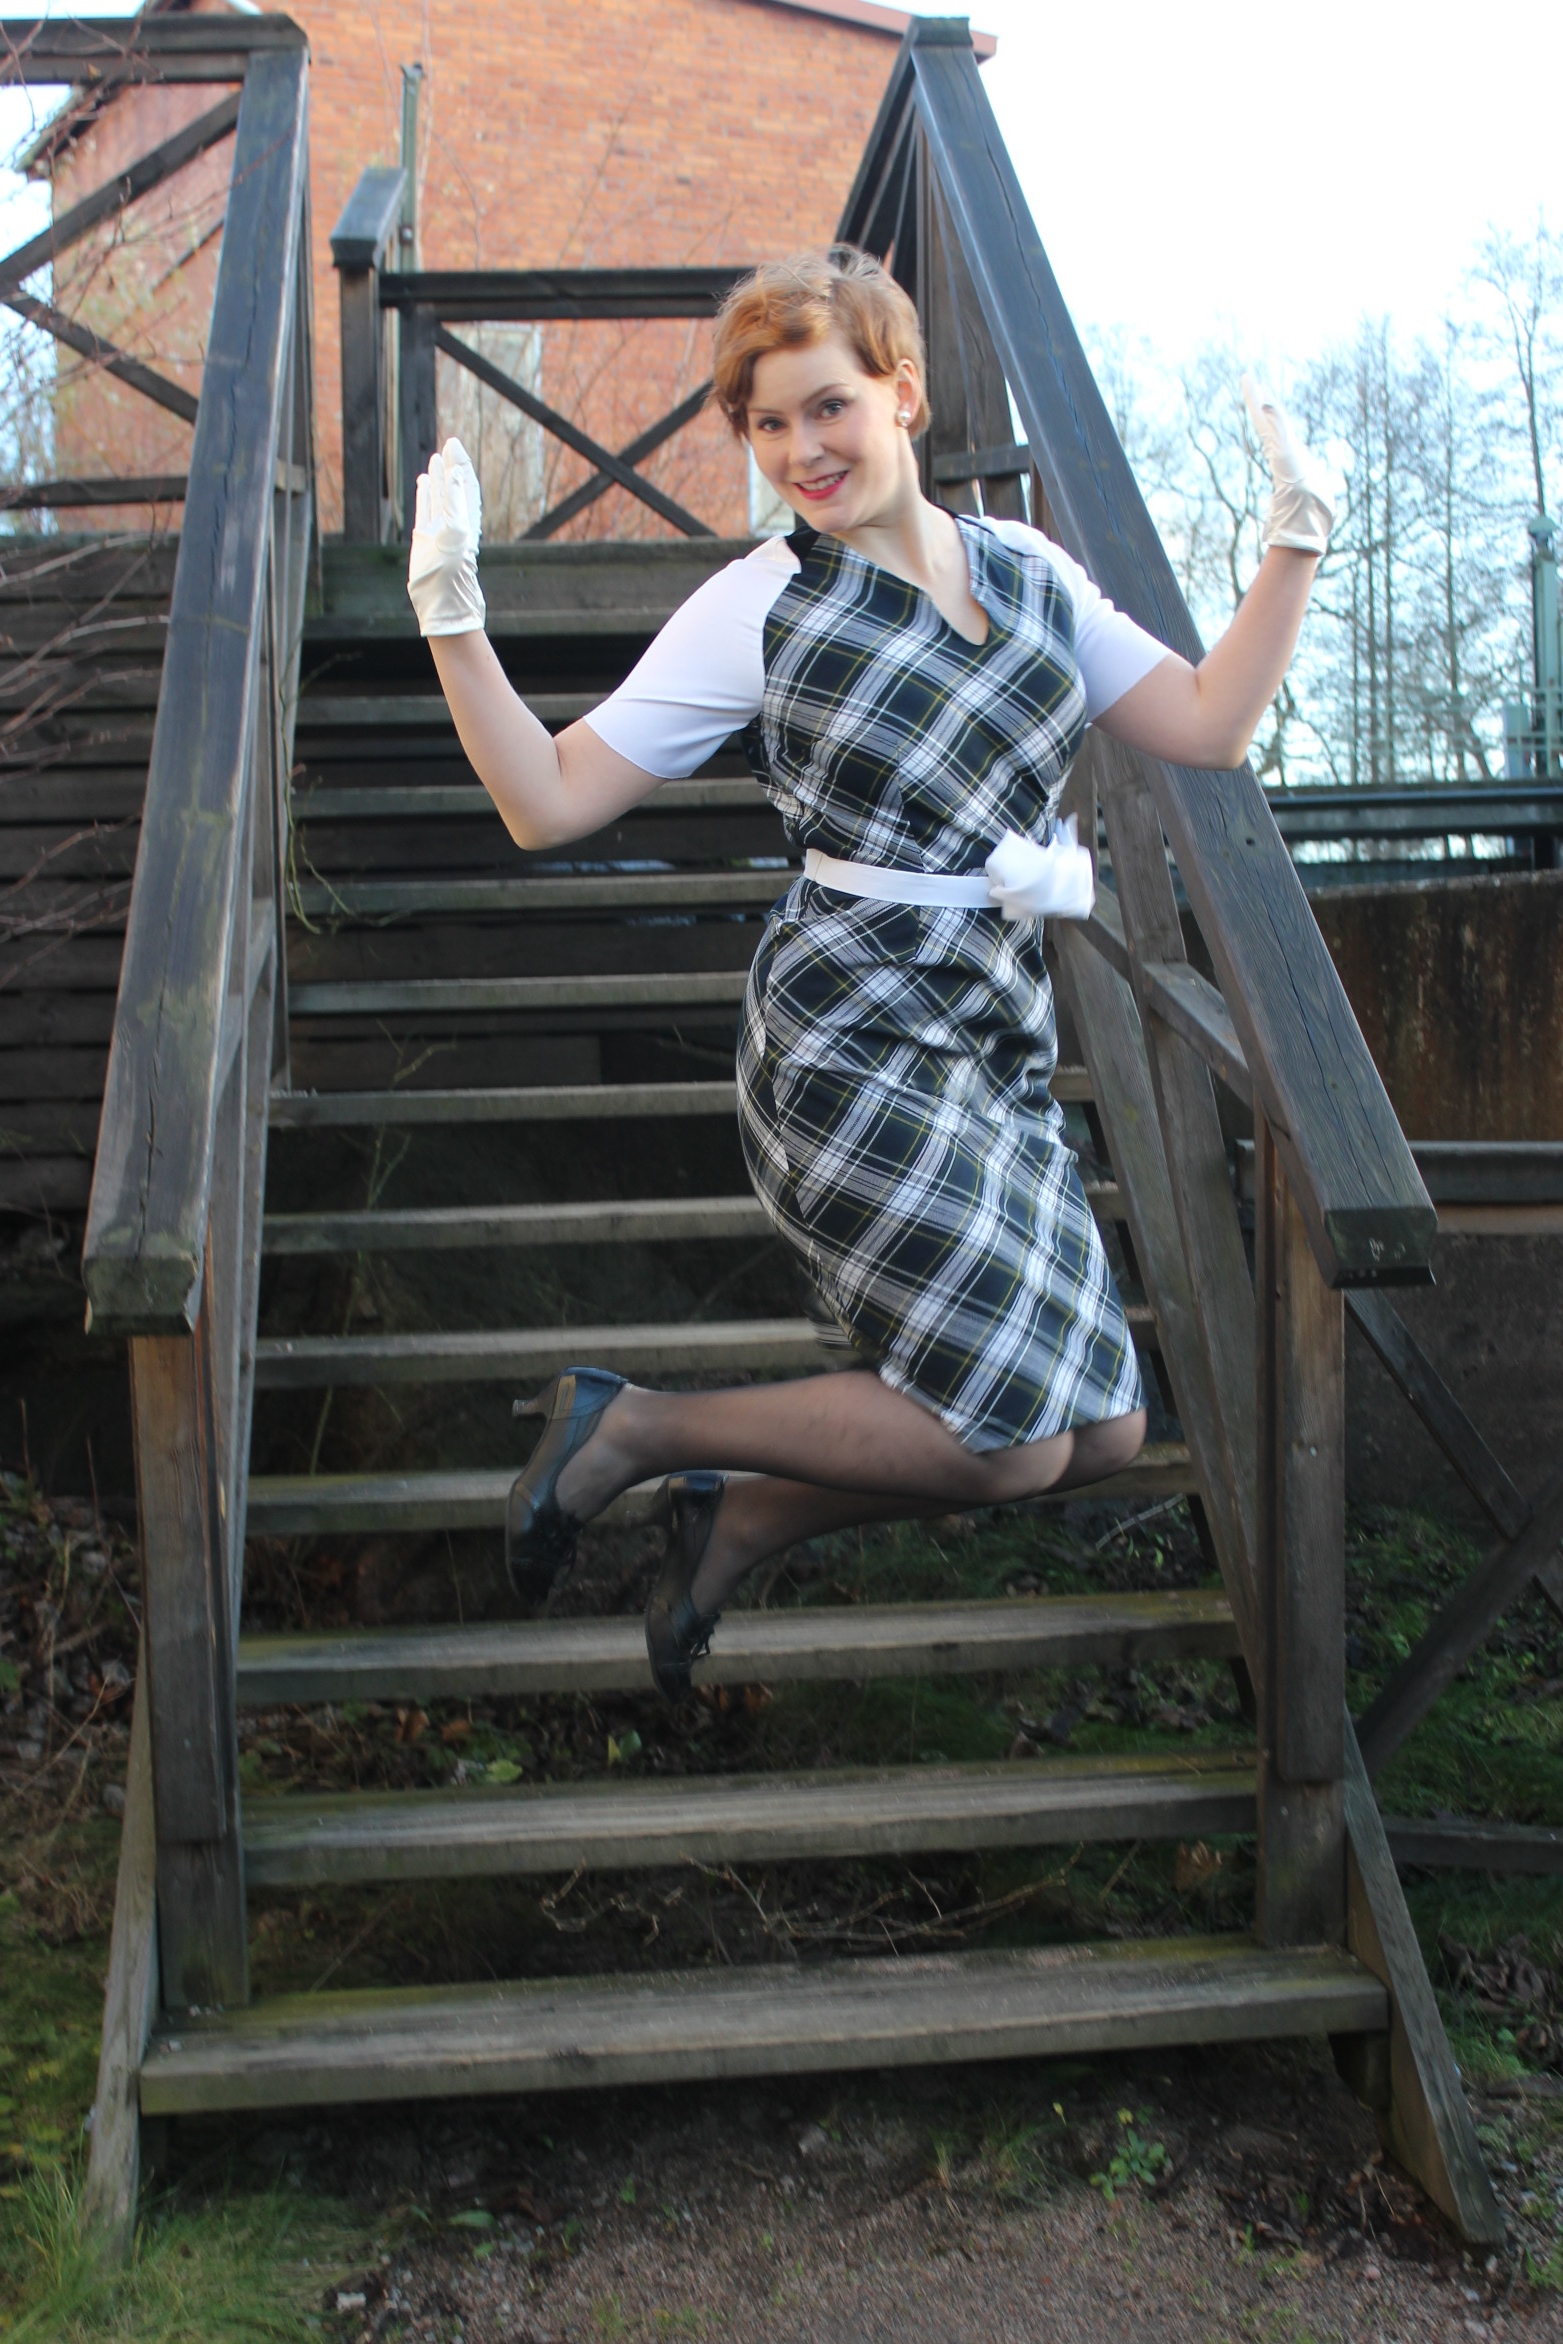
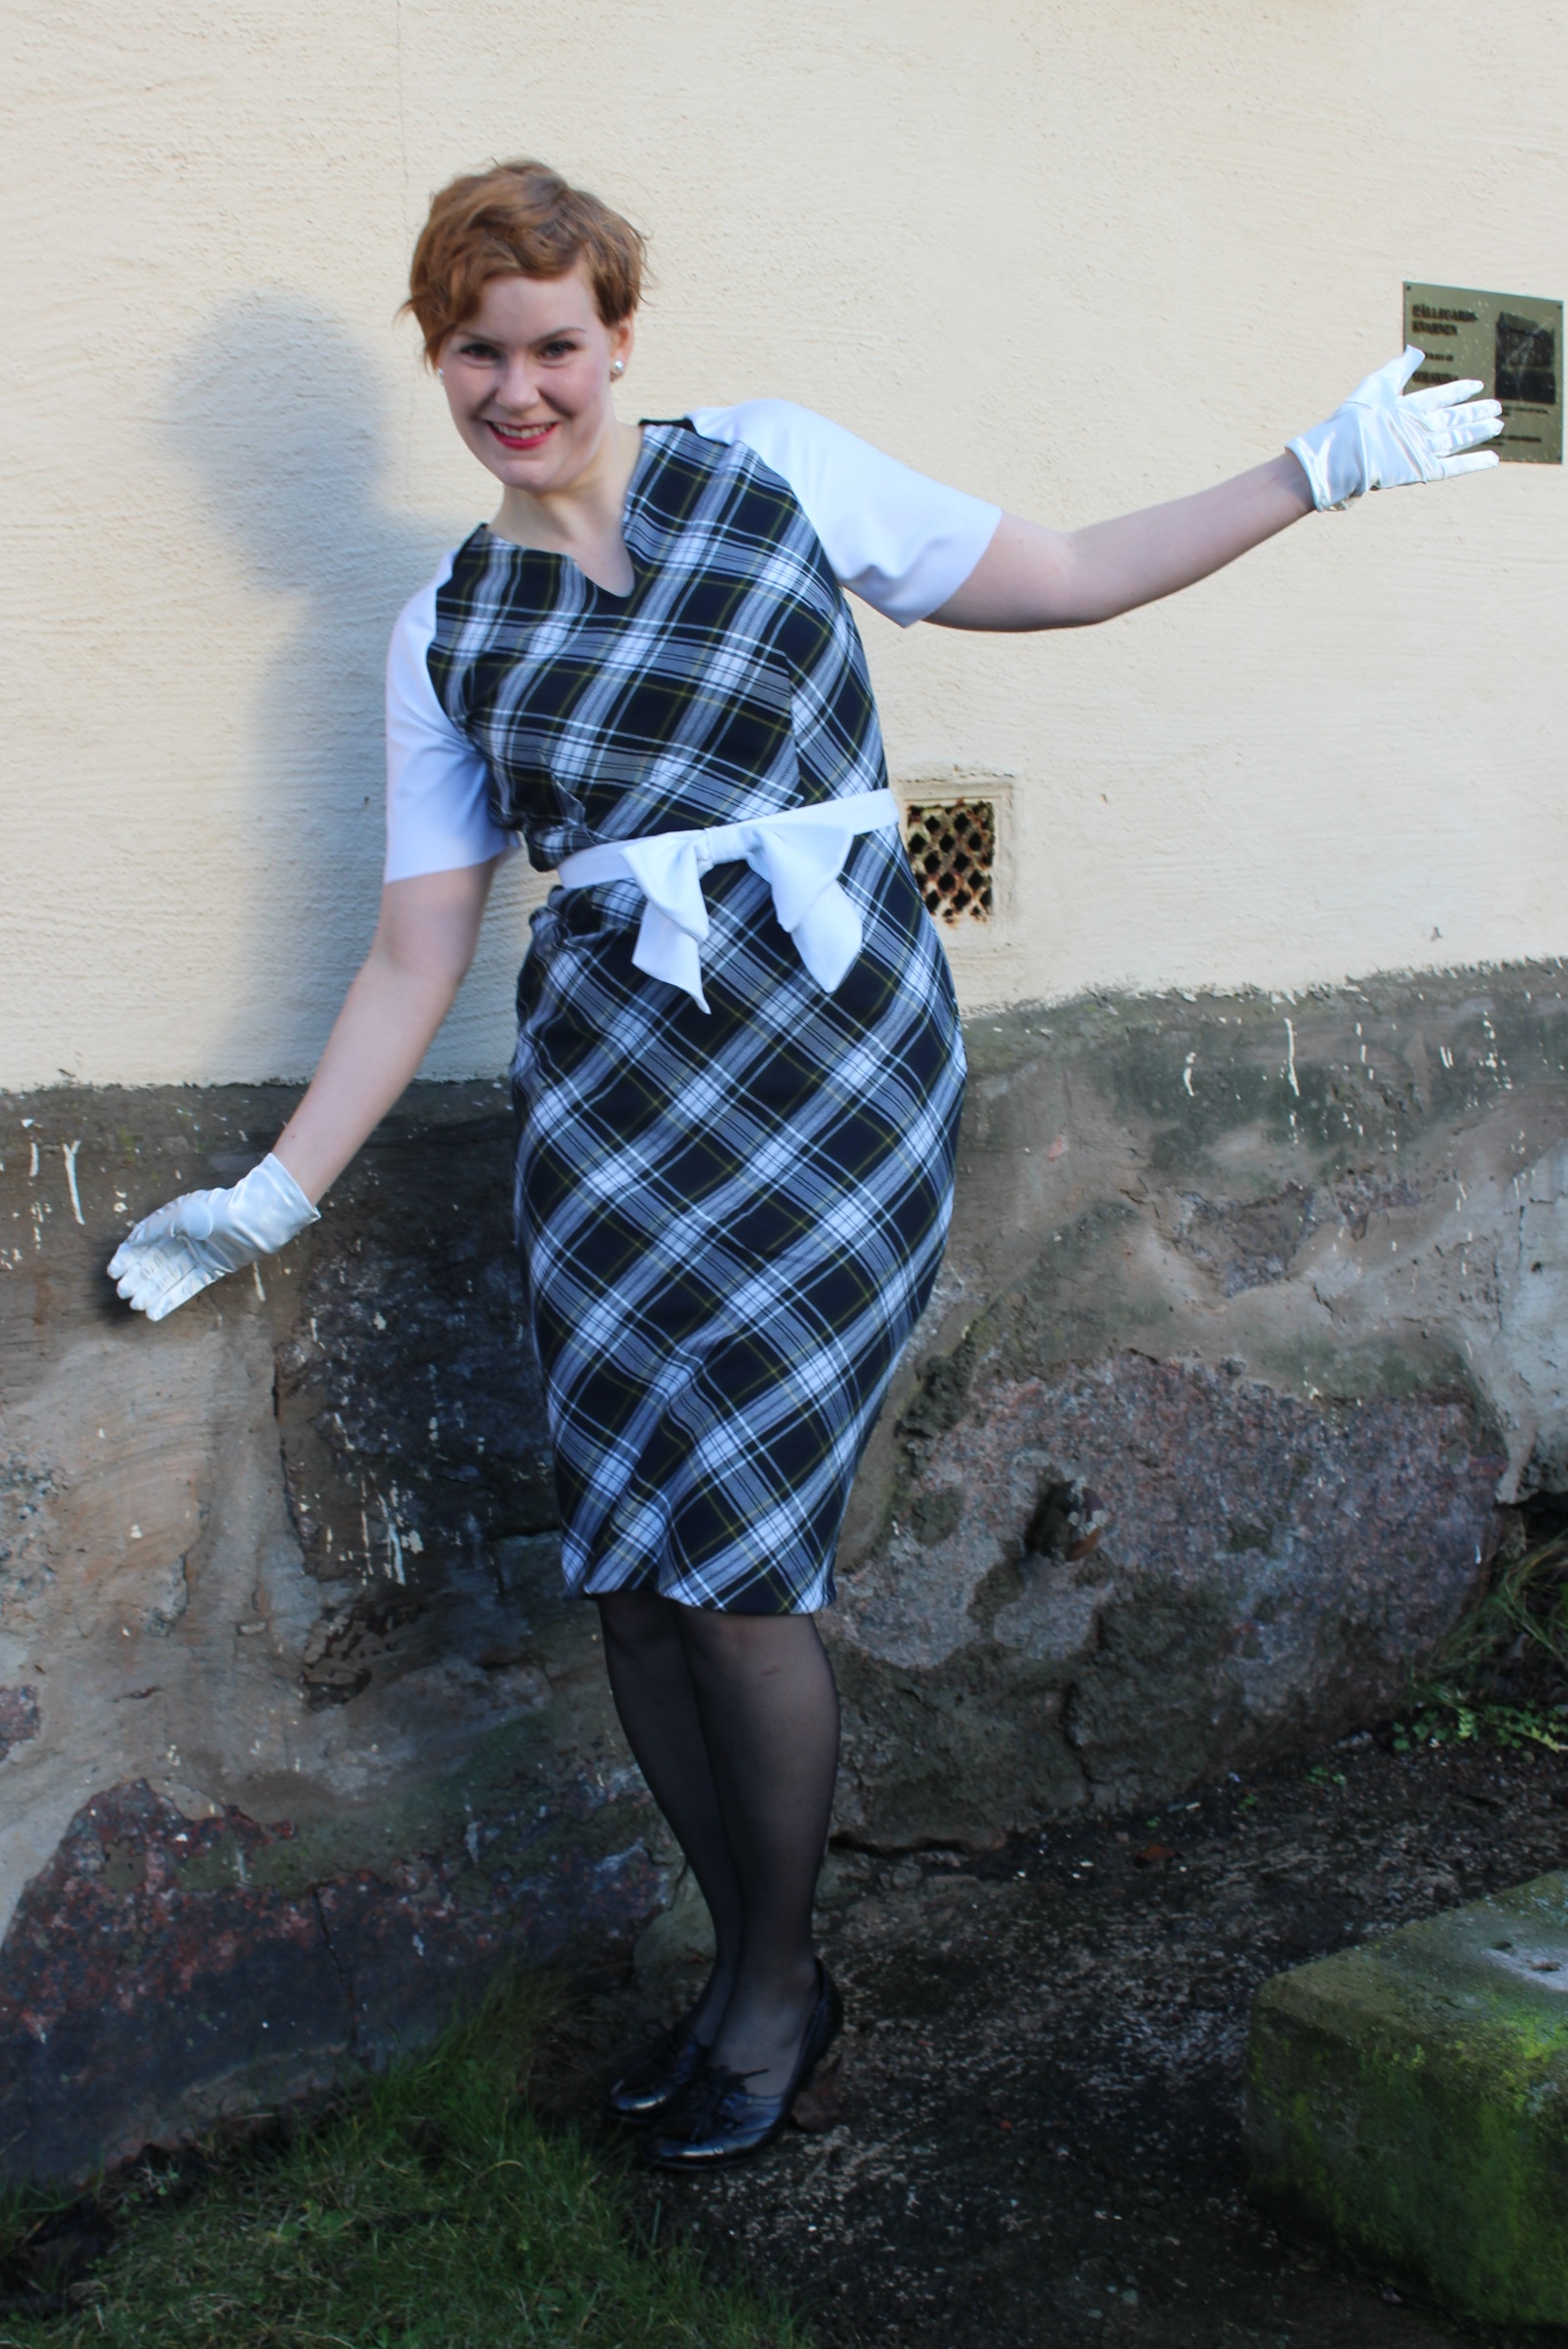
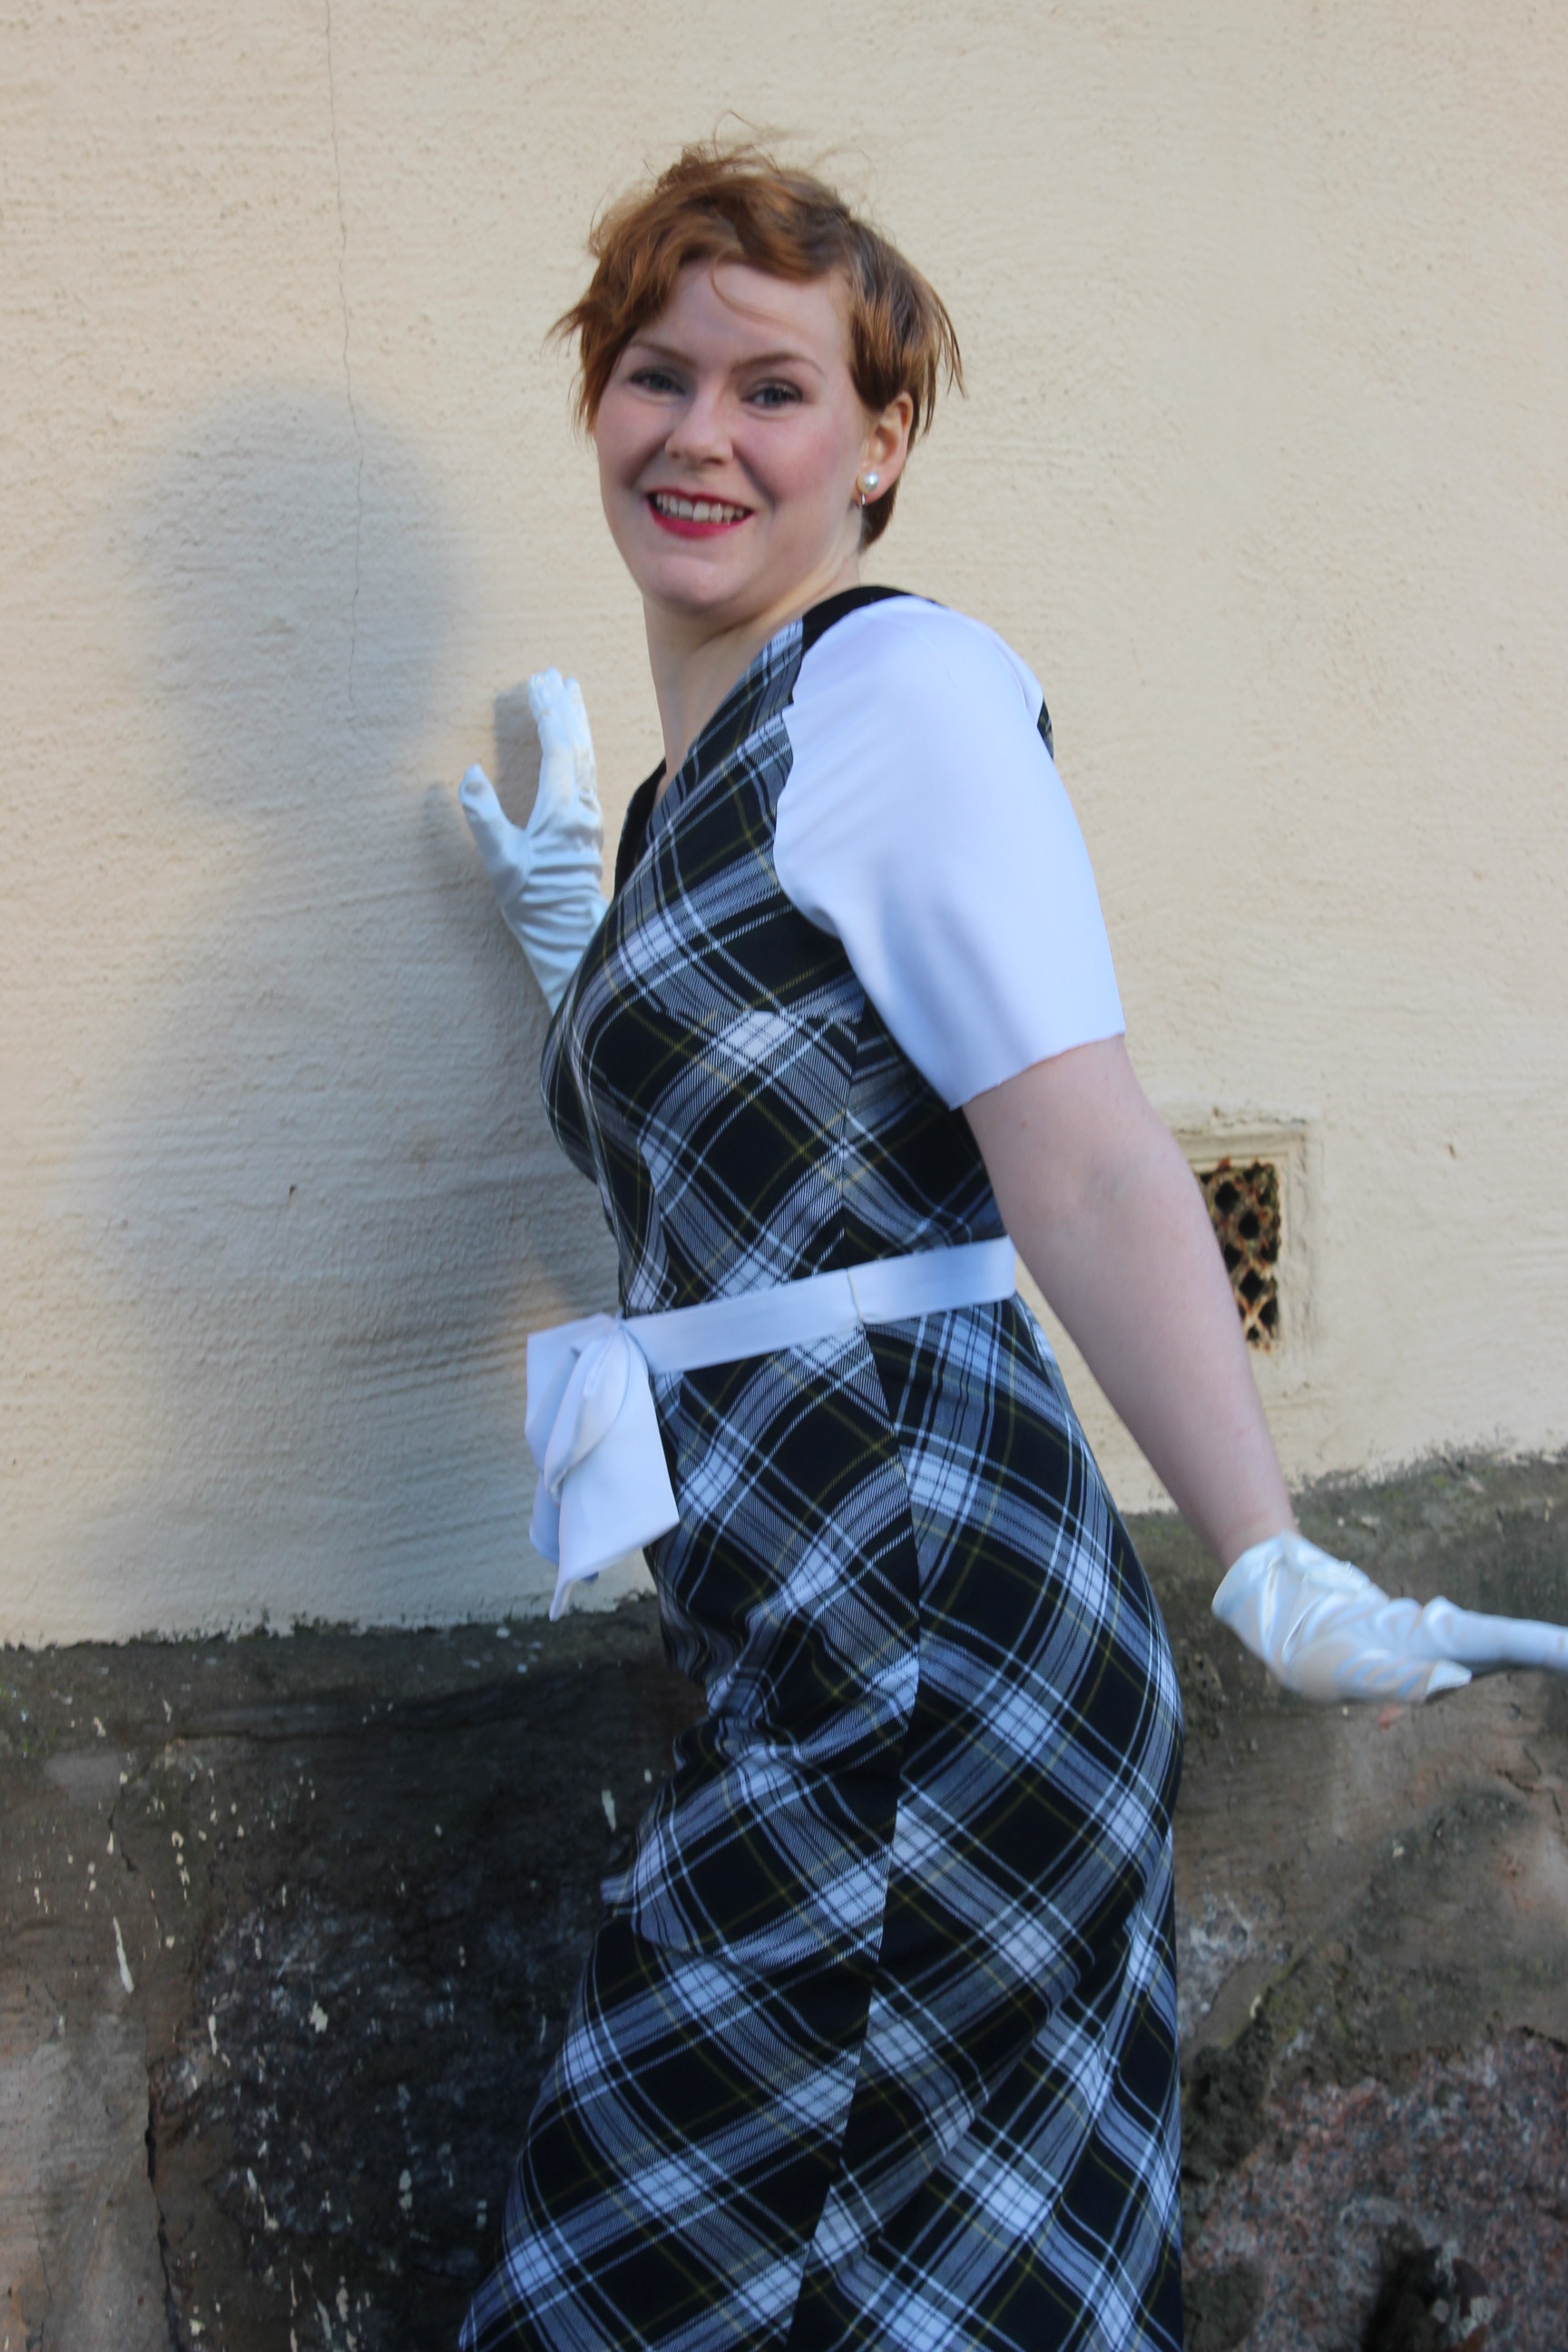
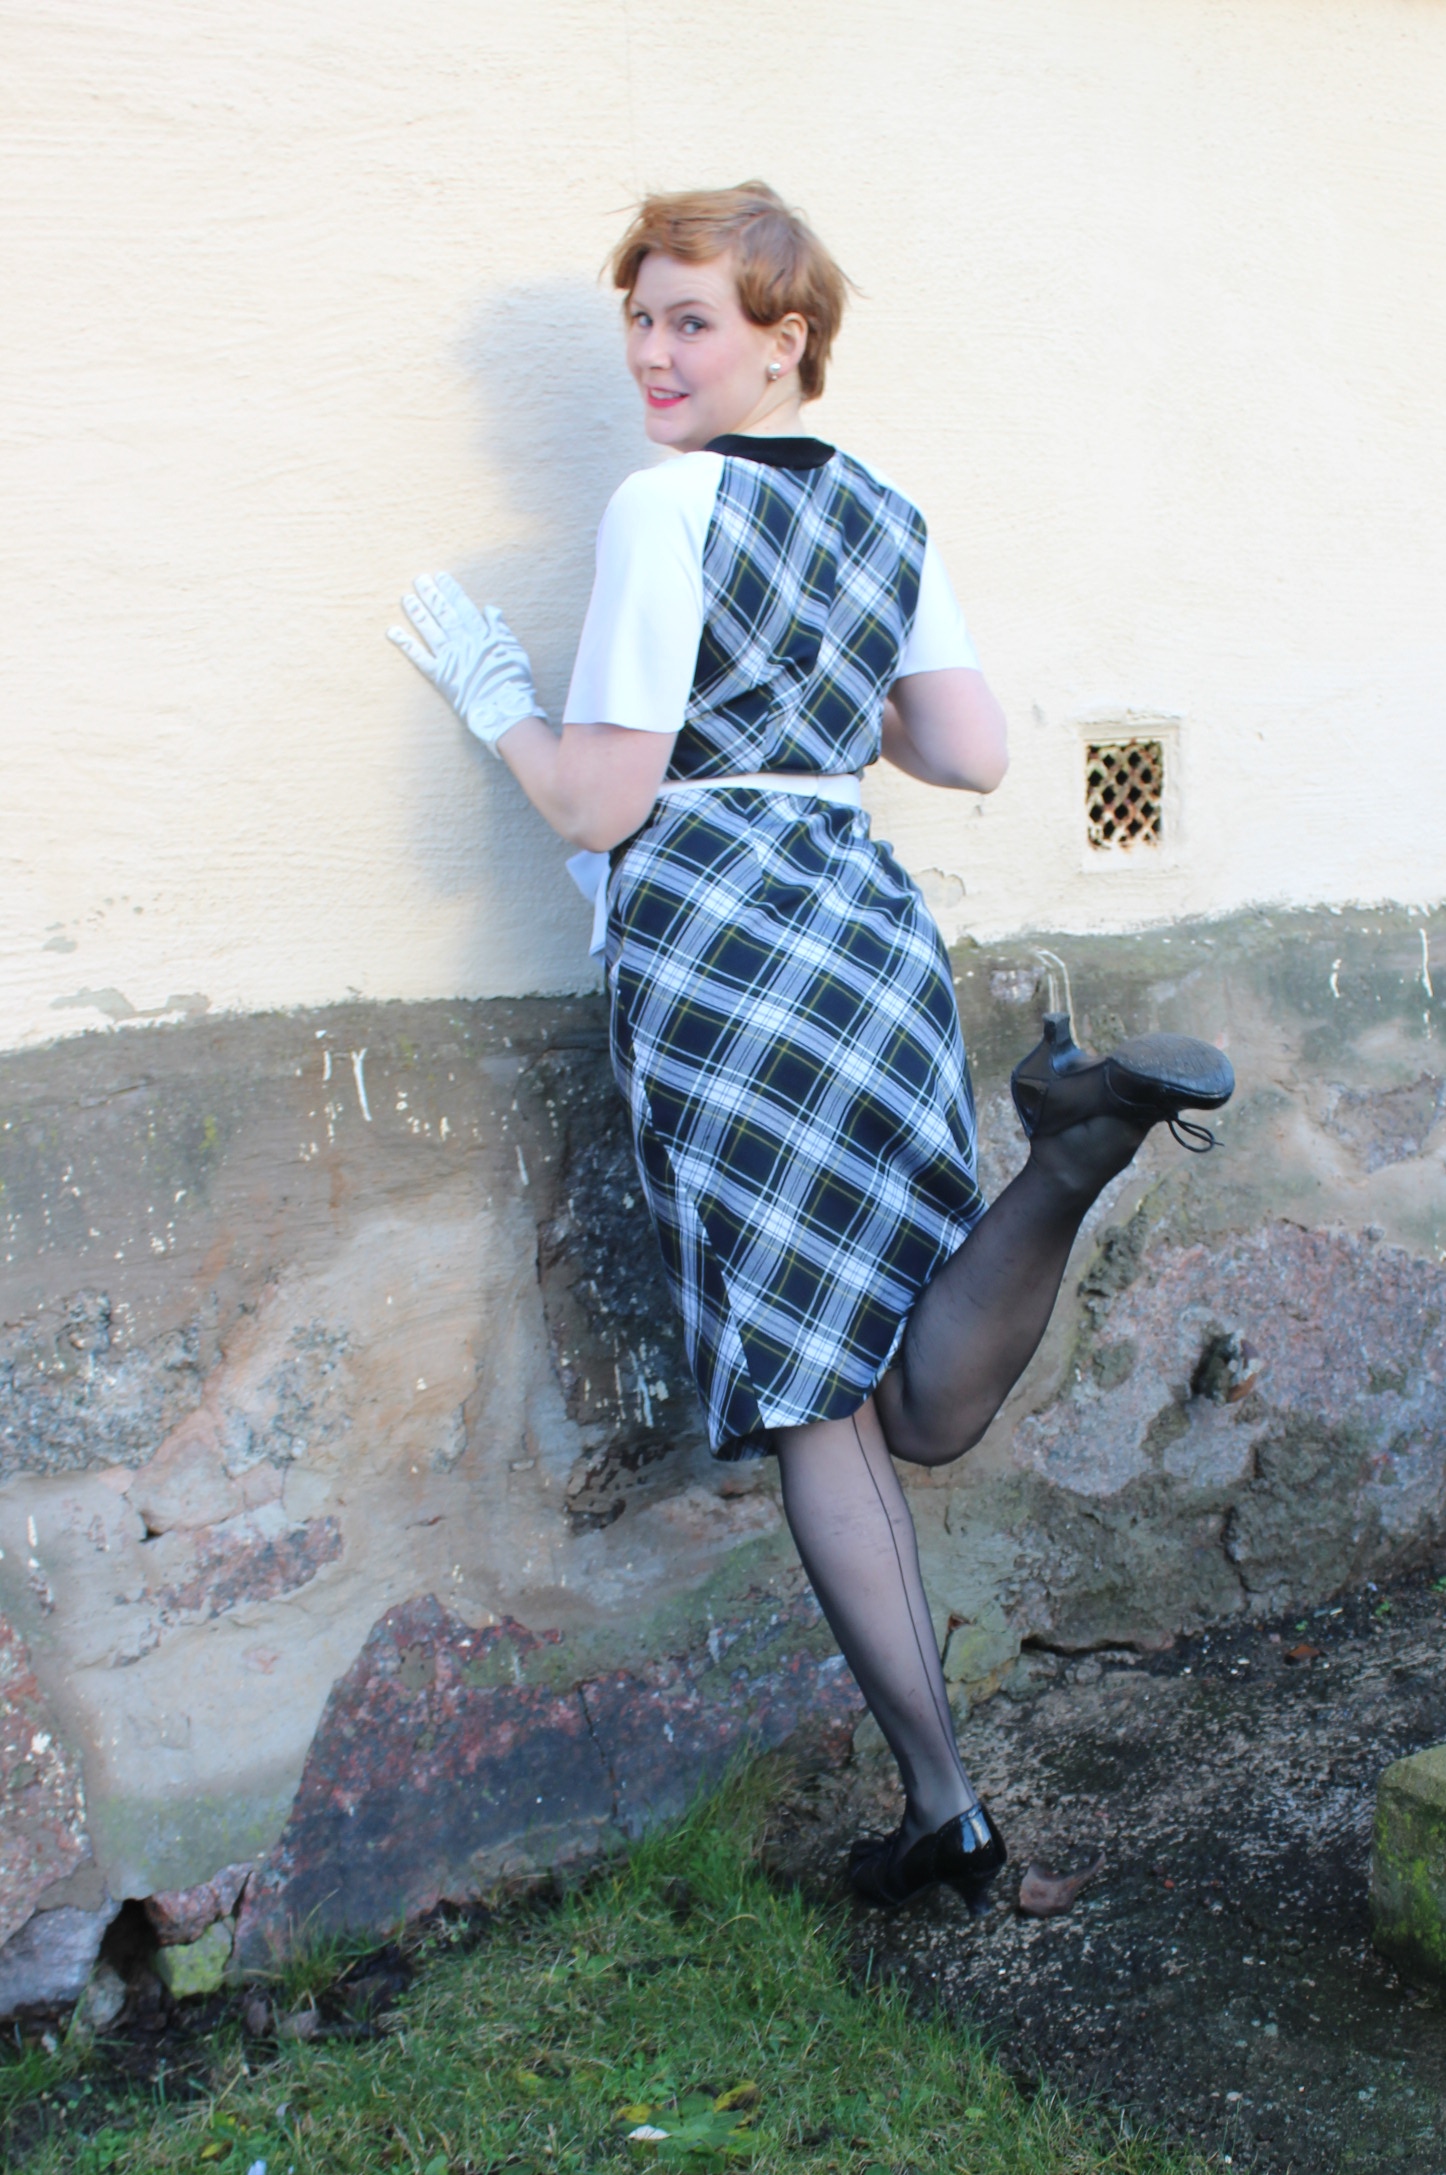

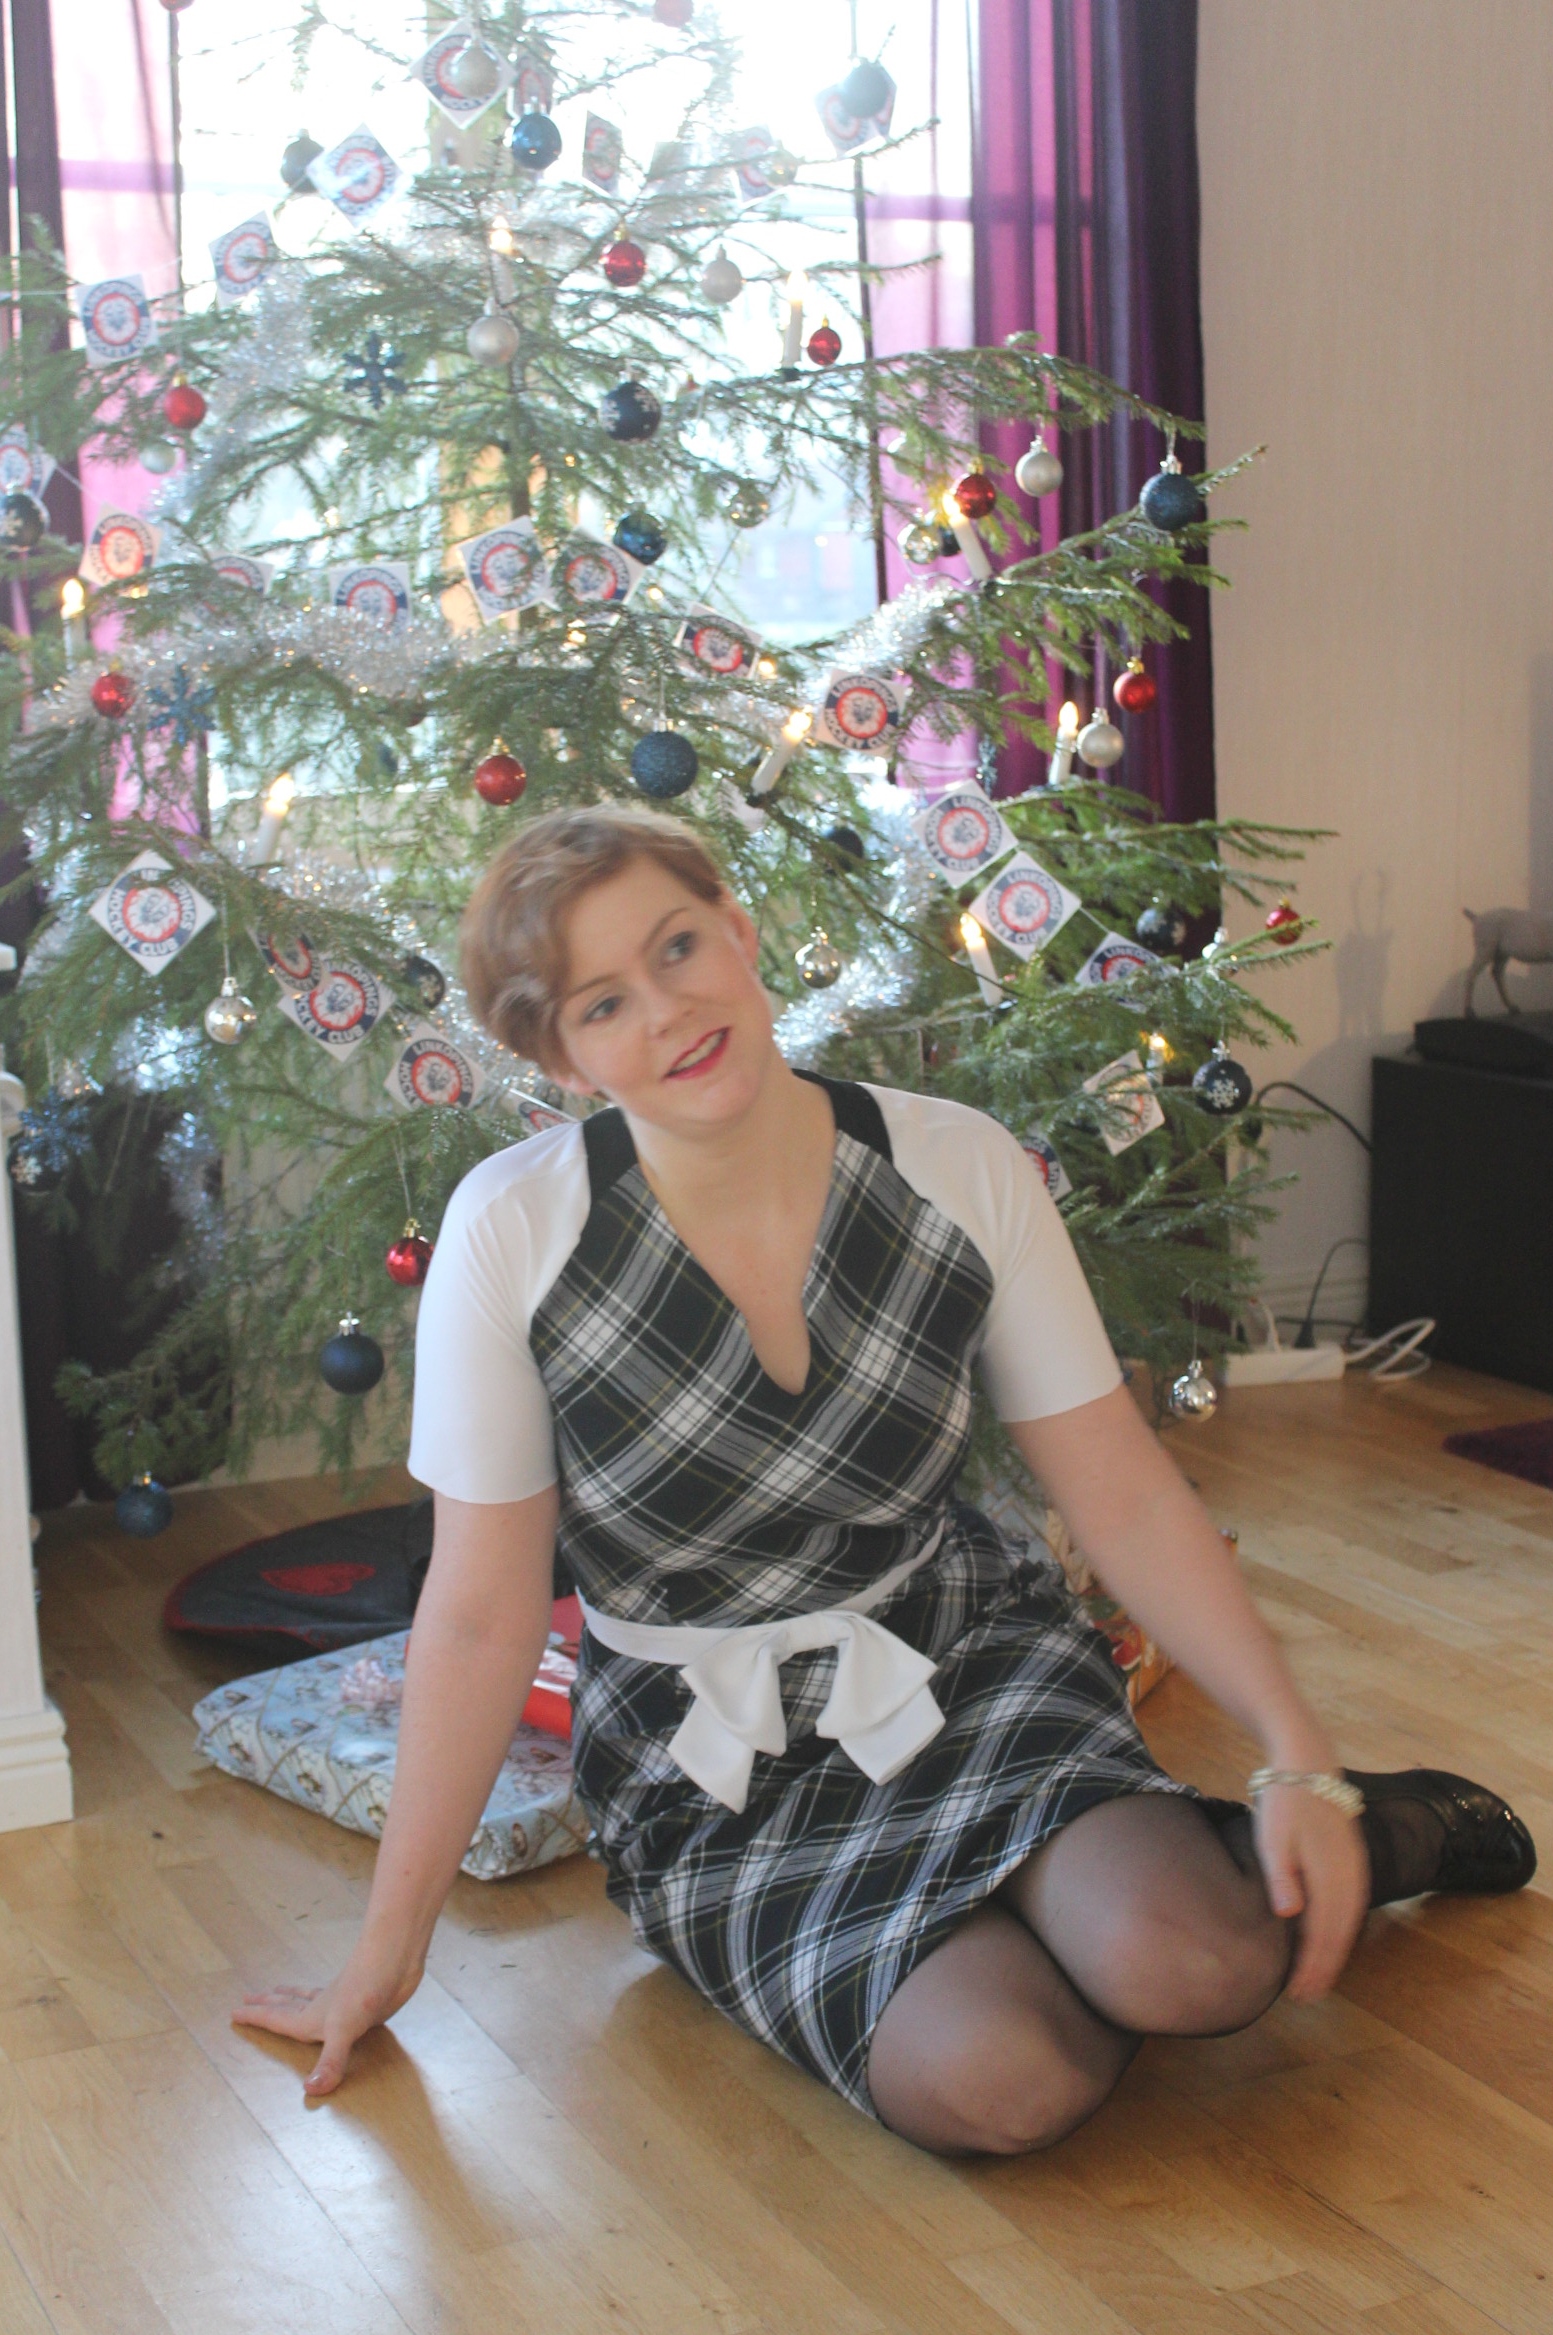 Photo: Maria Petersson
I was a bit skeptical and a bit worried about getting any nice photos, since I didn’t like the fit of the dress at all.
But as my sister (photographer) said – “You seam to have lots of fun in this dress – perhaps you like it after all…”
And looking at the pics I can only say yes, I think I do.
