Shirts for a Gentleman

Last fall, right before I hit the wall sewing wise I’d taken on one of my rare commissions (I don’t usually sew for others unless its totally on my terms).
But when my wonderful dancing master Sievert asked me if I could help him update his historical shirts I couldn’t say no.

He needed both a new medieval and a new regency shirt to use on our dance recitals.

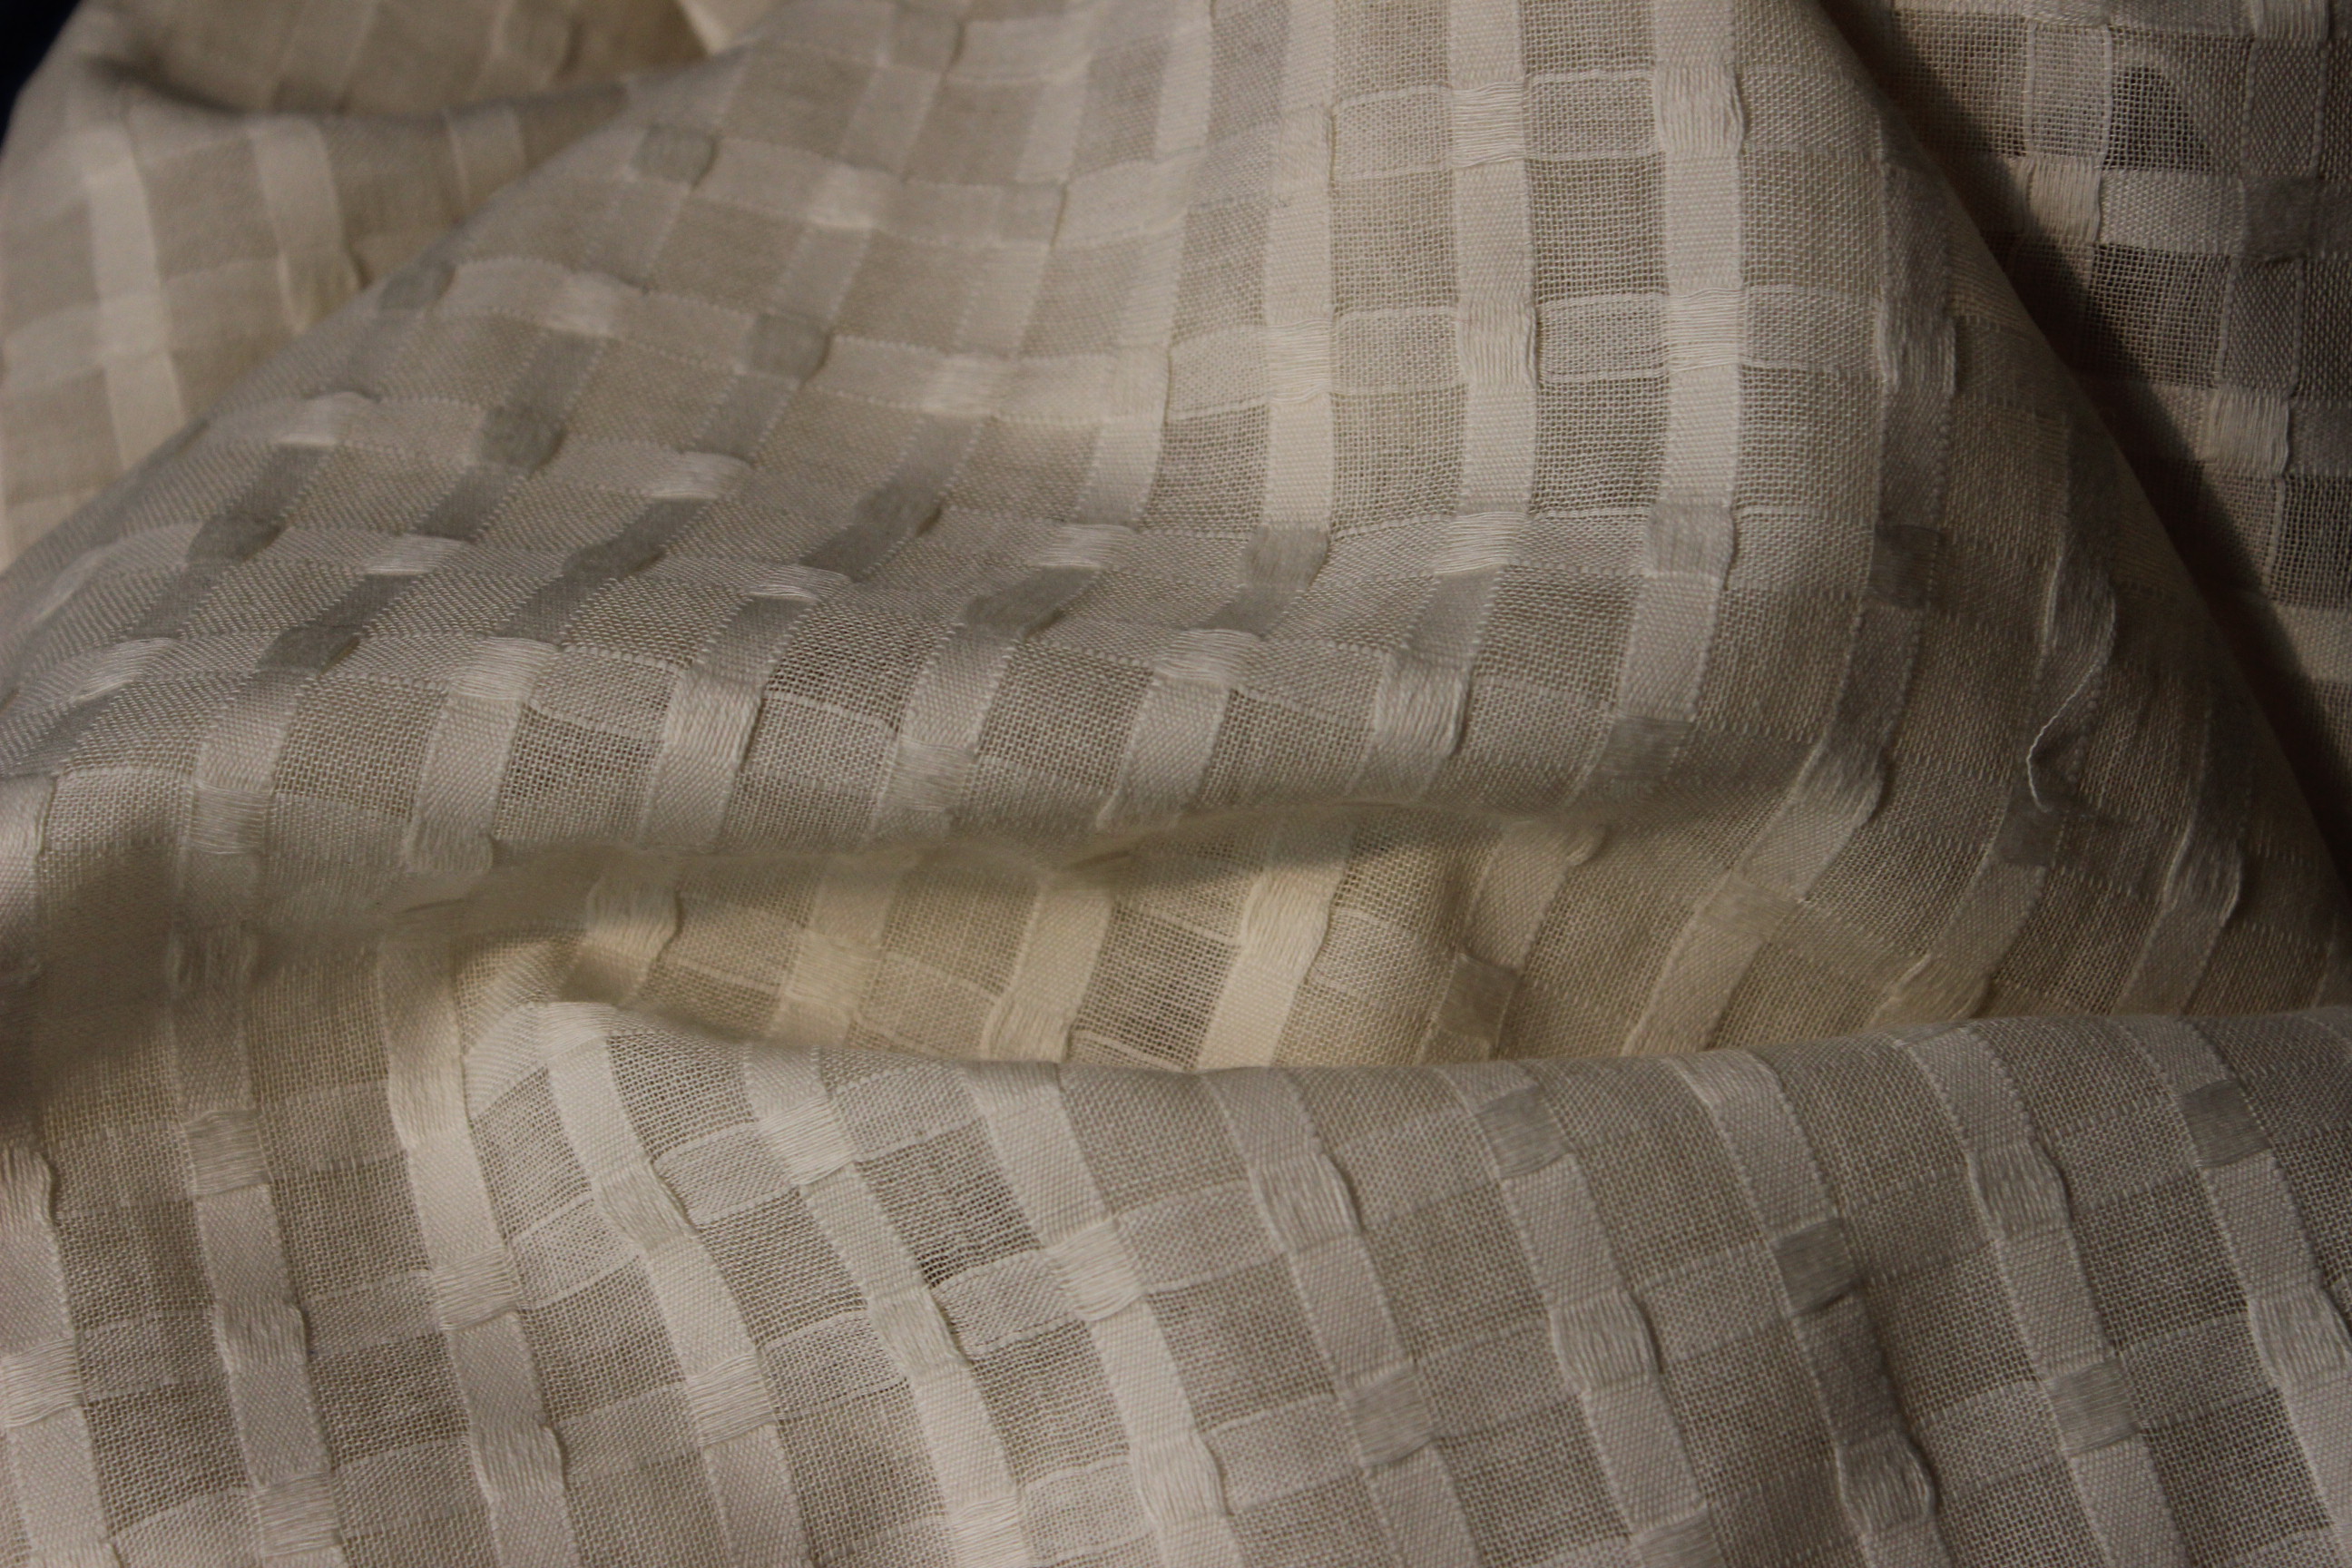
So I got some nice cotton (I know linnen would be more accurate but I was to make them on machine anyway. And they needed to be easy to wash and care for), made some quick pattern calculations and cut the rectangles needed for both the shirts.

Then I stopped, put my head in the sand and closed my eyes to everything sewing/historical (because pregnancy can do that to you)

More then 10 months later (after the birth of my son, and then some), I was once more ready to tackle the shamefully late commission.

So after one intense week of sewing in between feedings, I managed to sew and deliver both shirts.img_0882

The process went pretty fast and straight forward except one little hiccup –
While putting the last hand on and pressing the Medievals shirt I noticed the seam allowance on the outside on one of the sleeves.

Meaning i’ve put it in inside out.

Crap!

So it was on to un-picking the french felled seam (with hand finishing:-( )
img_0391
I then turned the sleeve outside- in and re-attached it, pressed and once more used tiny hand stitches to fell the seam.

There done!

Or, wait a second…

NOOOOoooo!!!

I done the exact same mistake AGAIN!

Some of you might remember that I’ve done this before (on my Borgia chemise les then a month before).

How is it even possible that I didn’t learn?
By now I tossed the damned thing into the corner and went to sleep, debating with myself if I could leave it like that.
Of course I couldn’t – It was  a commission piece after all.

So bring back the seam ripper.

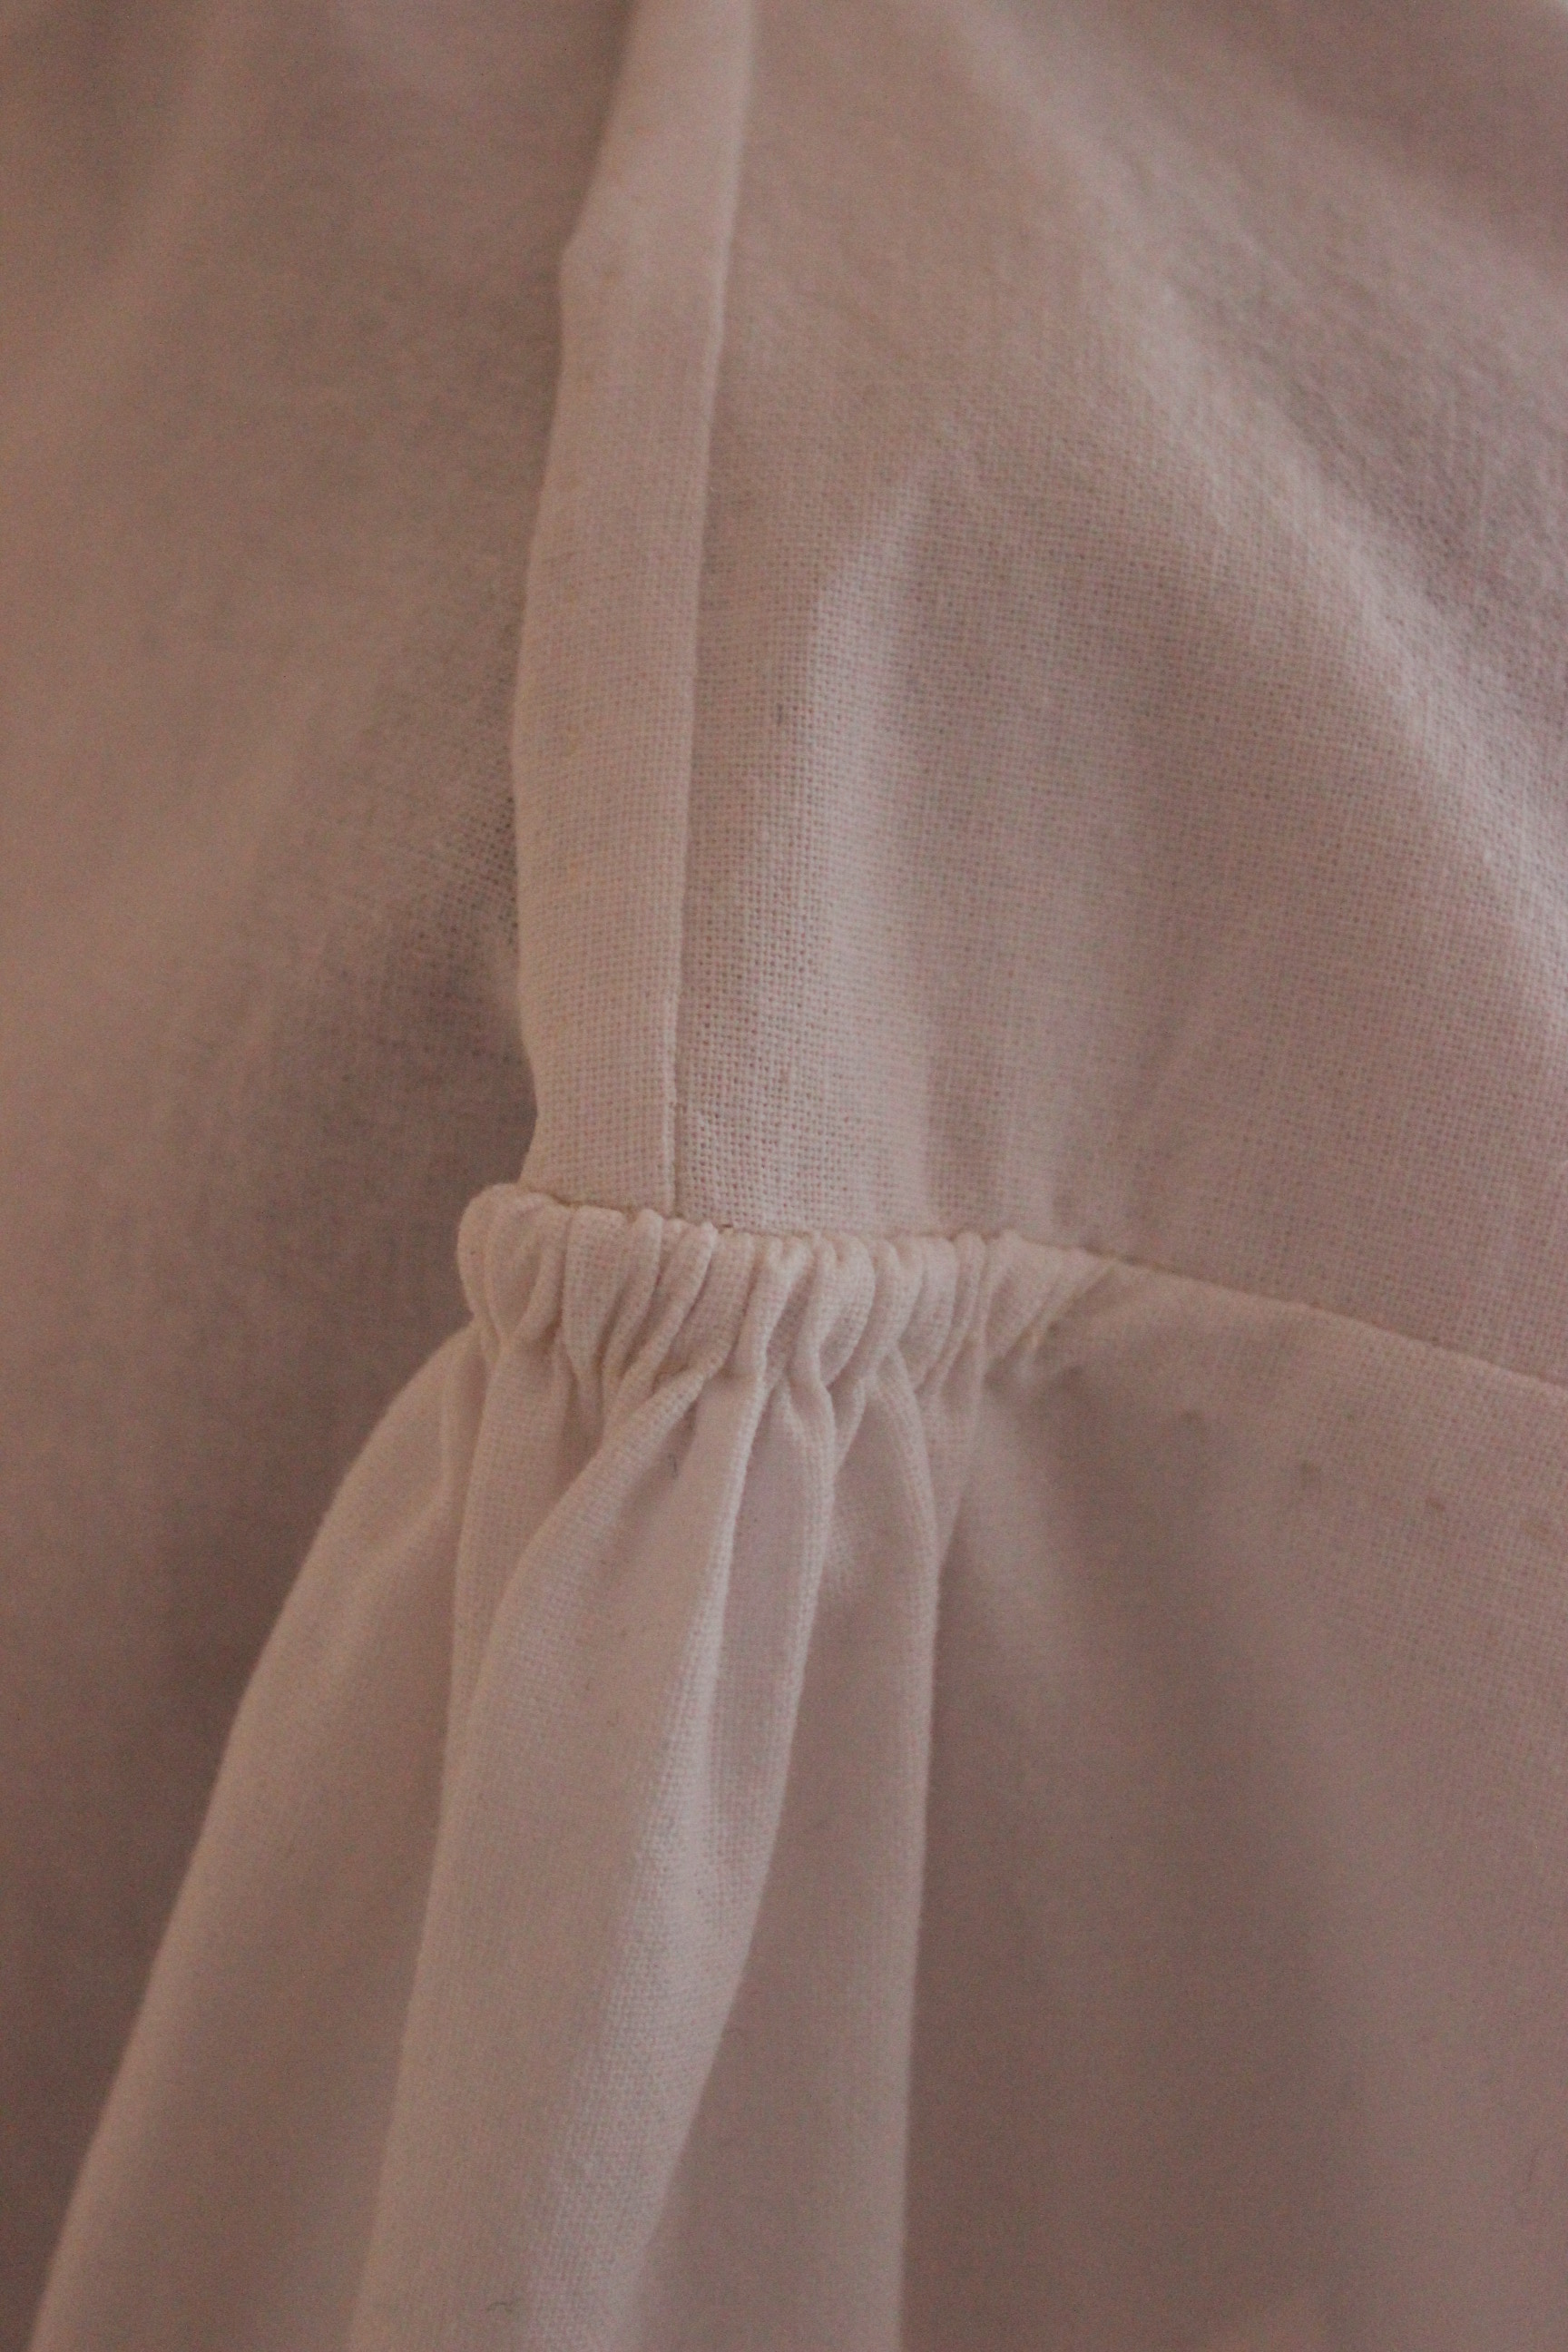
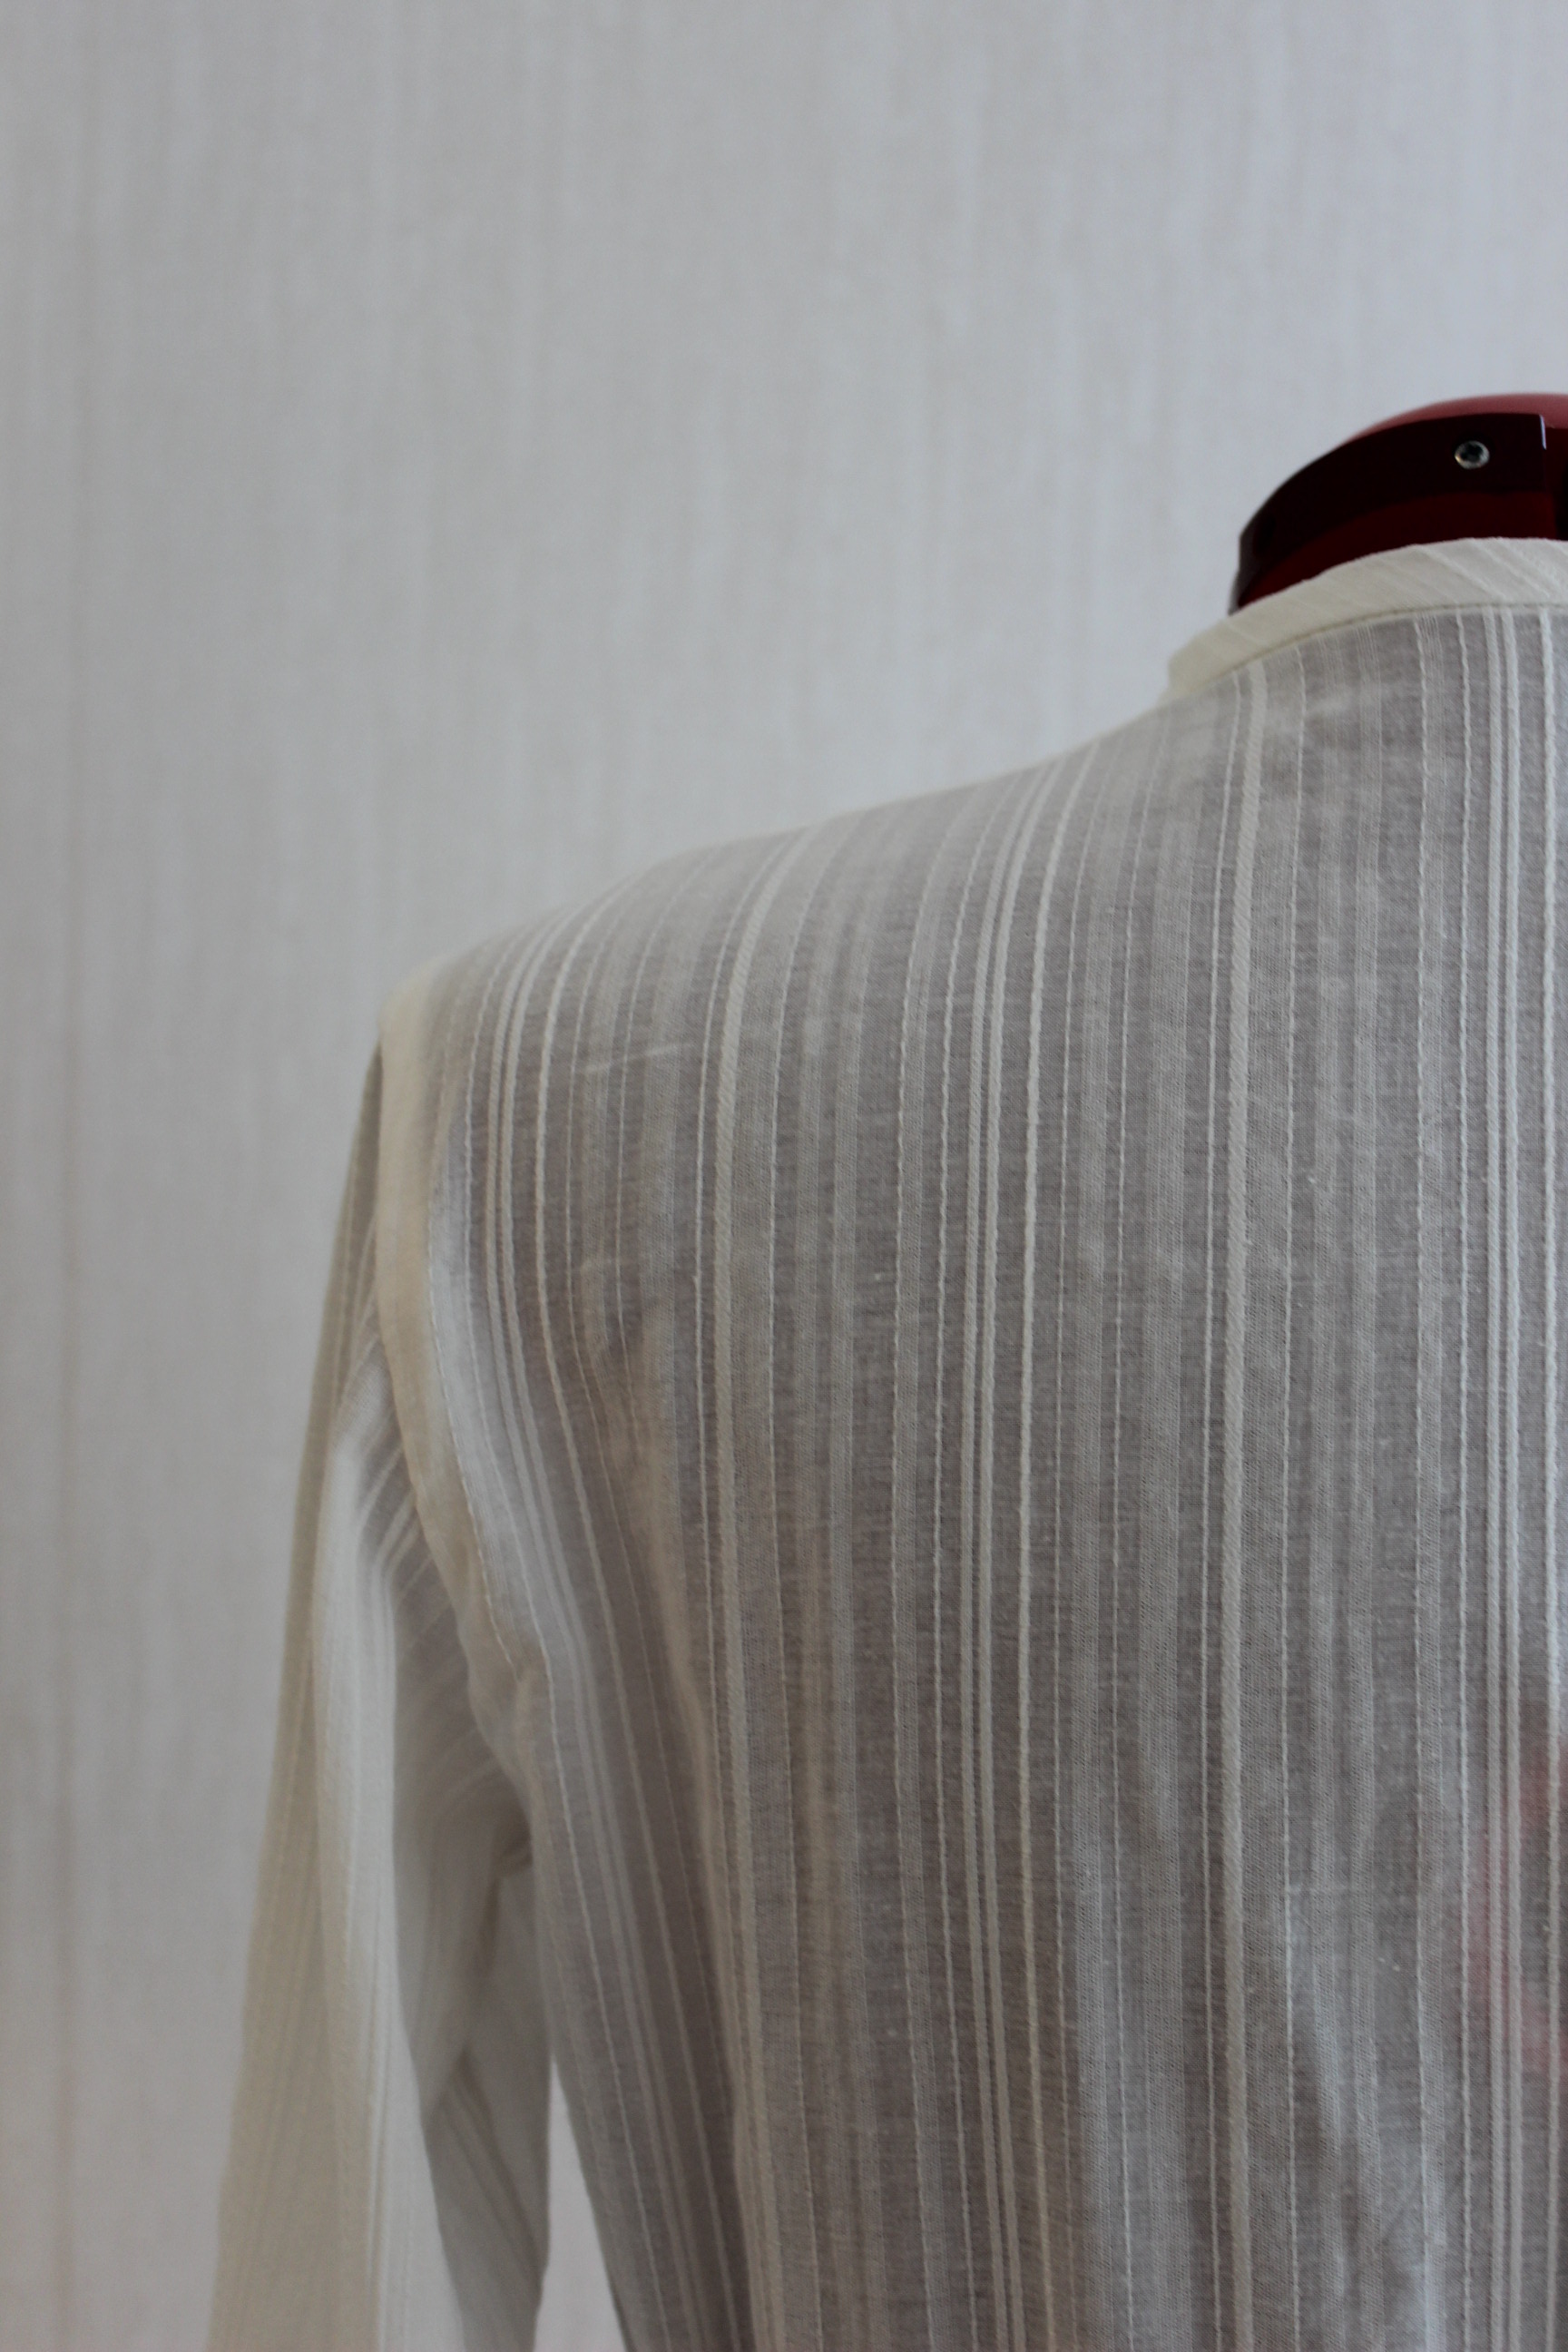
The only trouble was that these folded french seams needs really small seam allowance to look good, and the only way to achieve that is by trimming it after you stitched the first seam. This practice, and the fact I’ve done it wrong not one, but twice, meant that I cut of about 1,5 cm on the left shoulder compared to the right. Making the whole garment a bit of.

Once the sleeve was re-set, a third time, I quickly finished and packed the shirt away, out of sight.

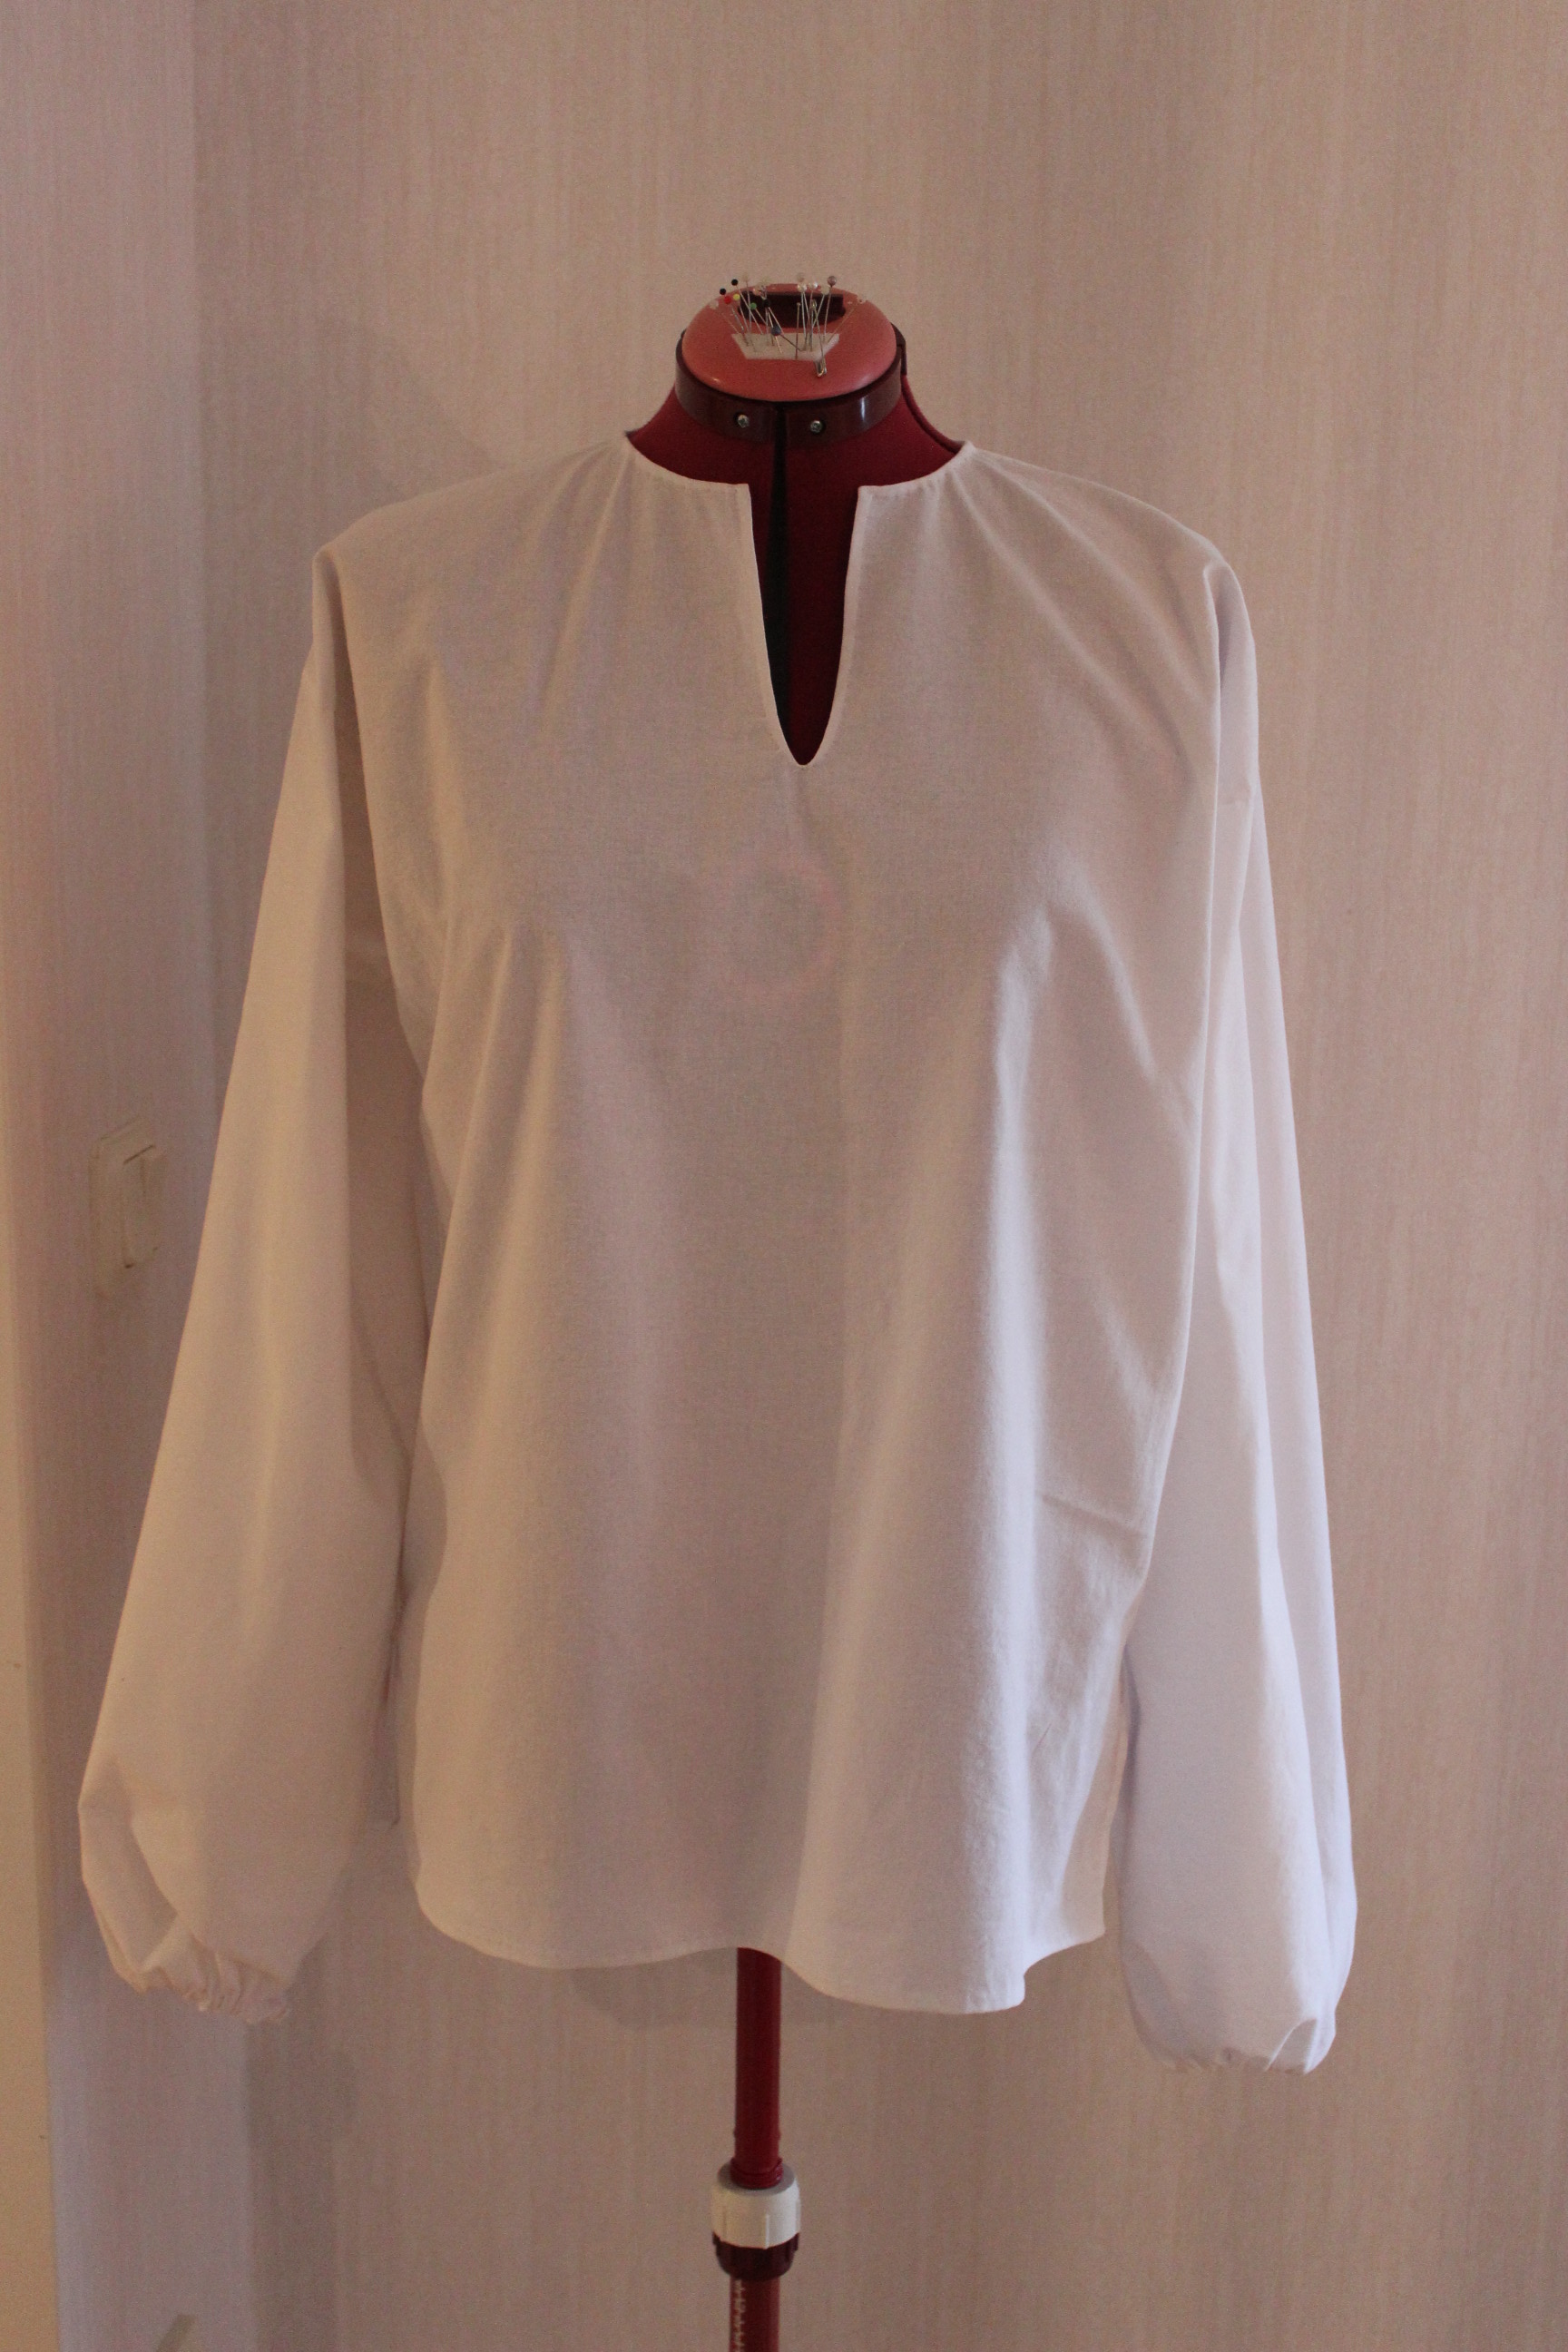
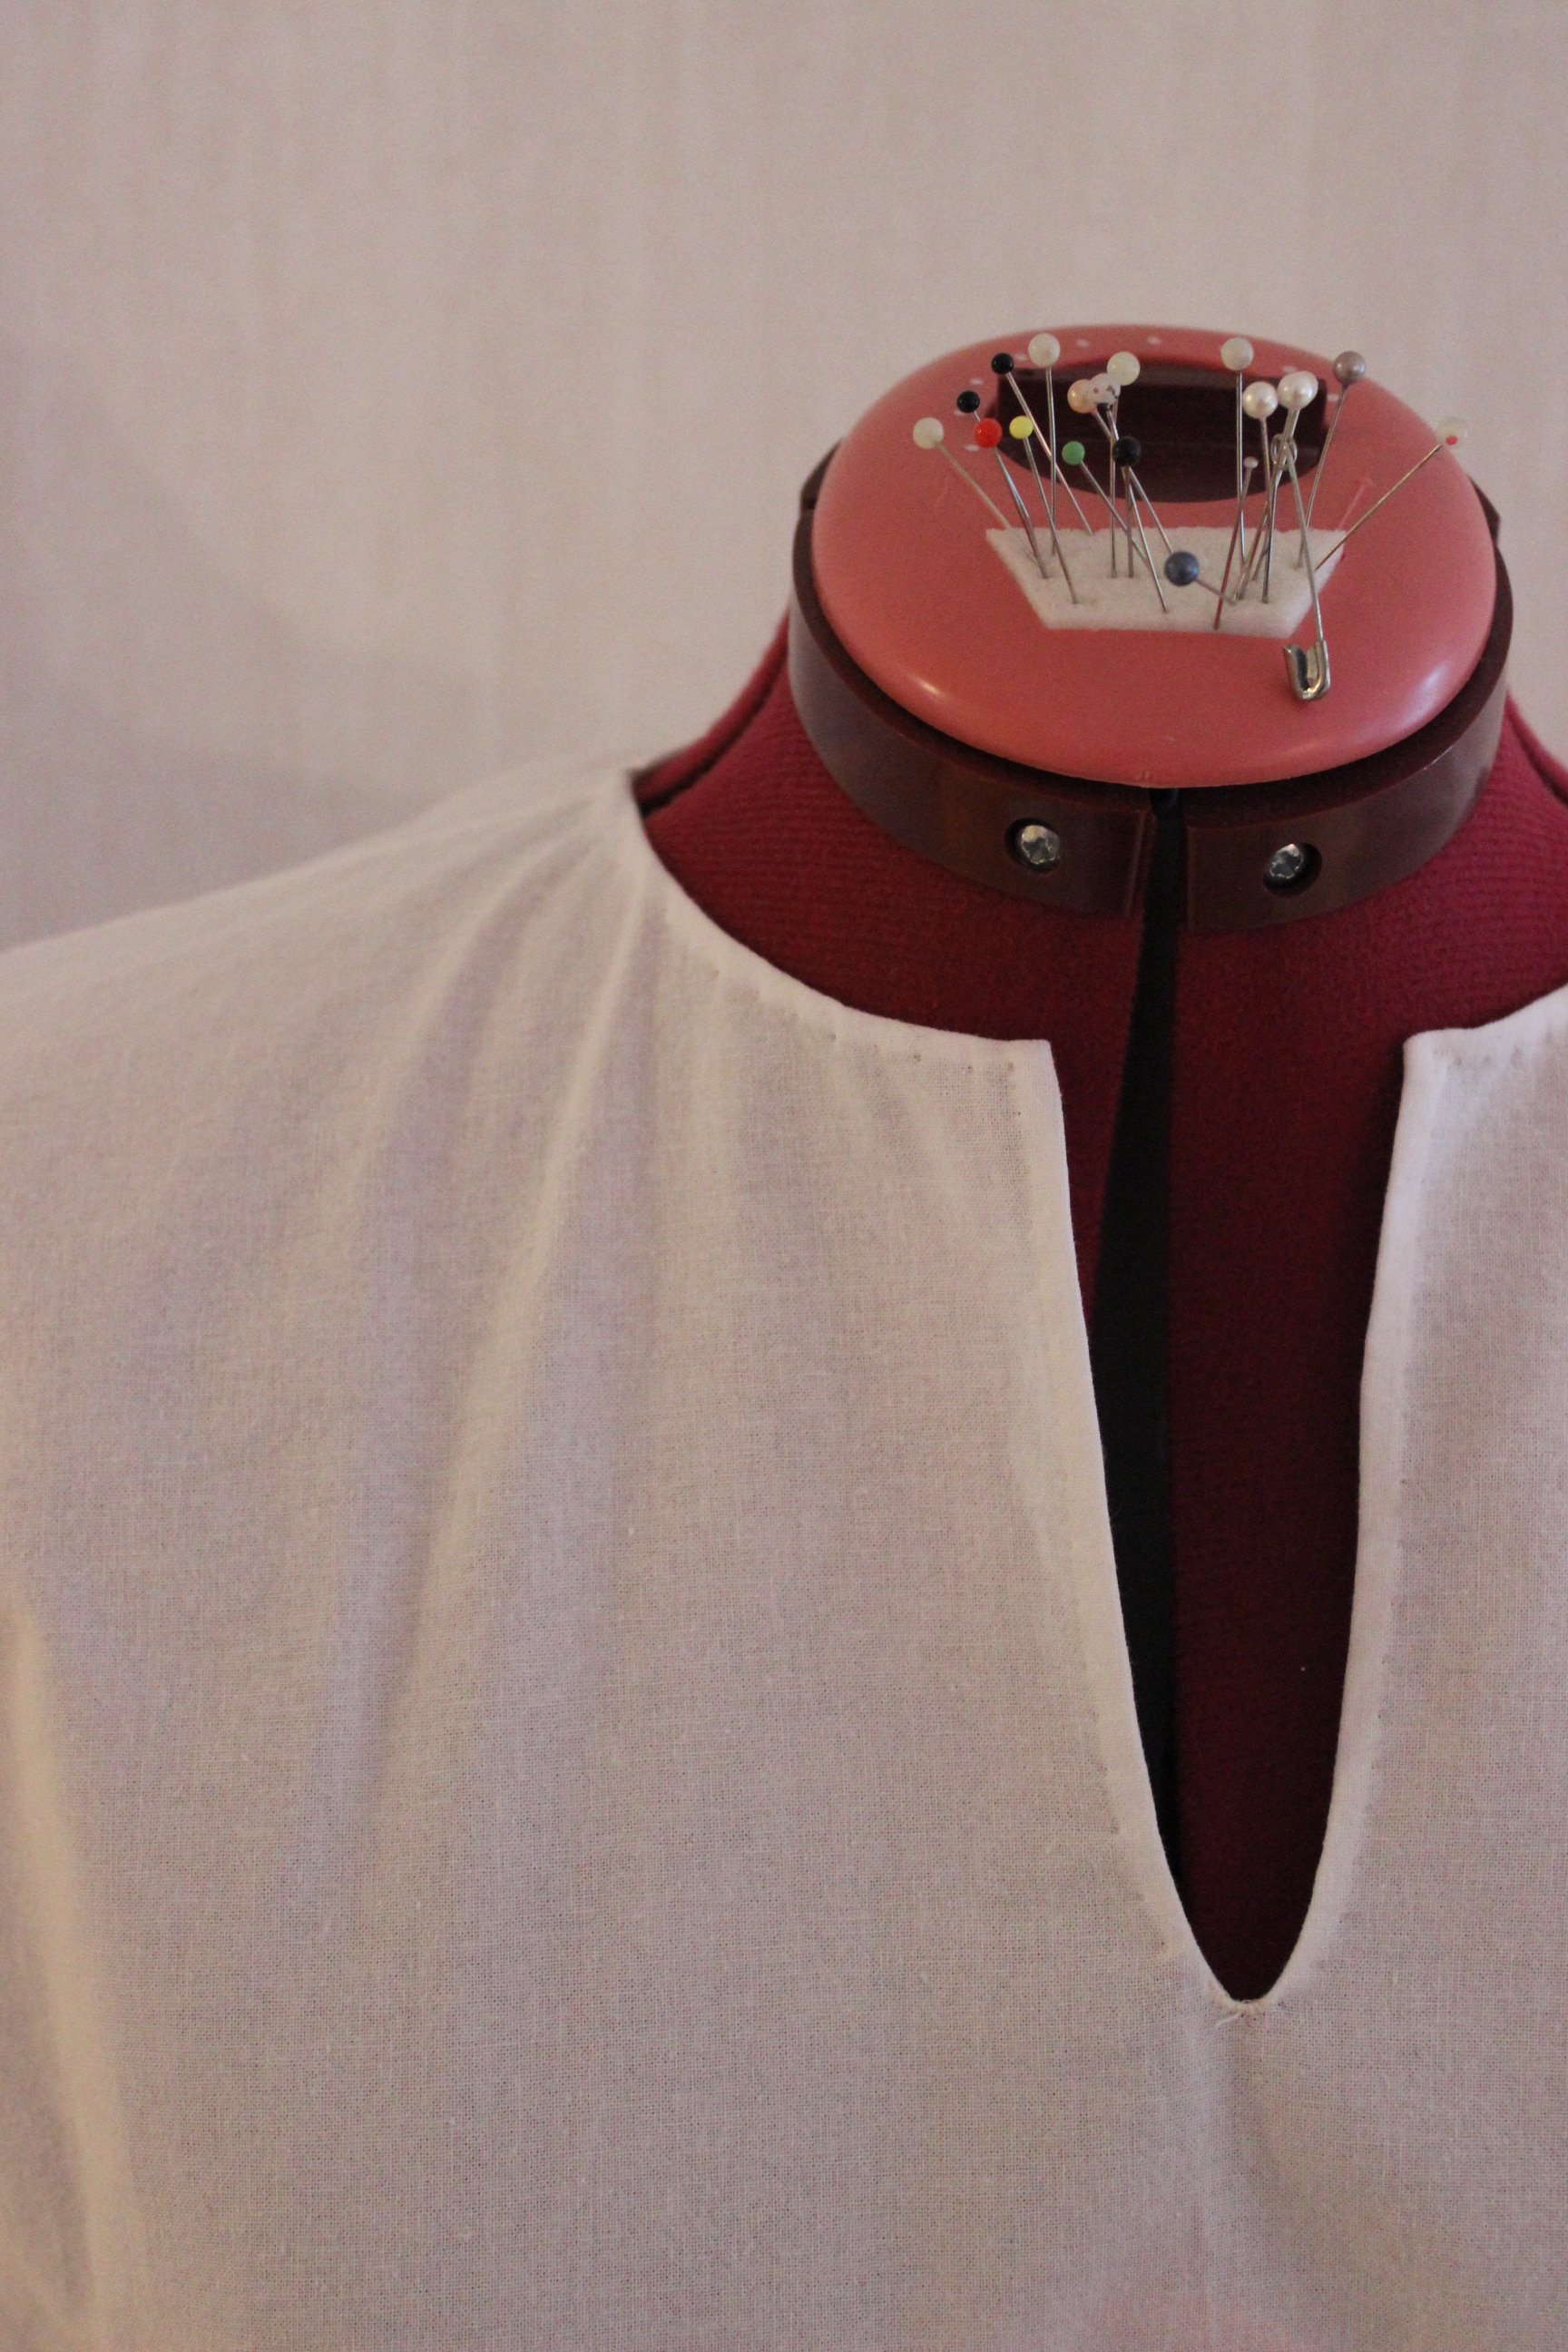
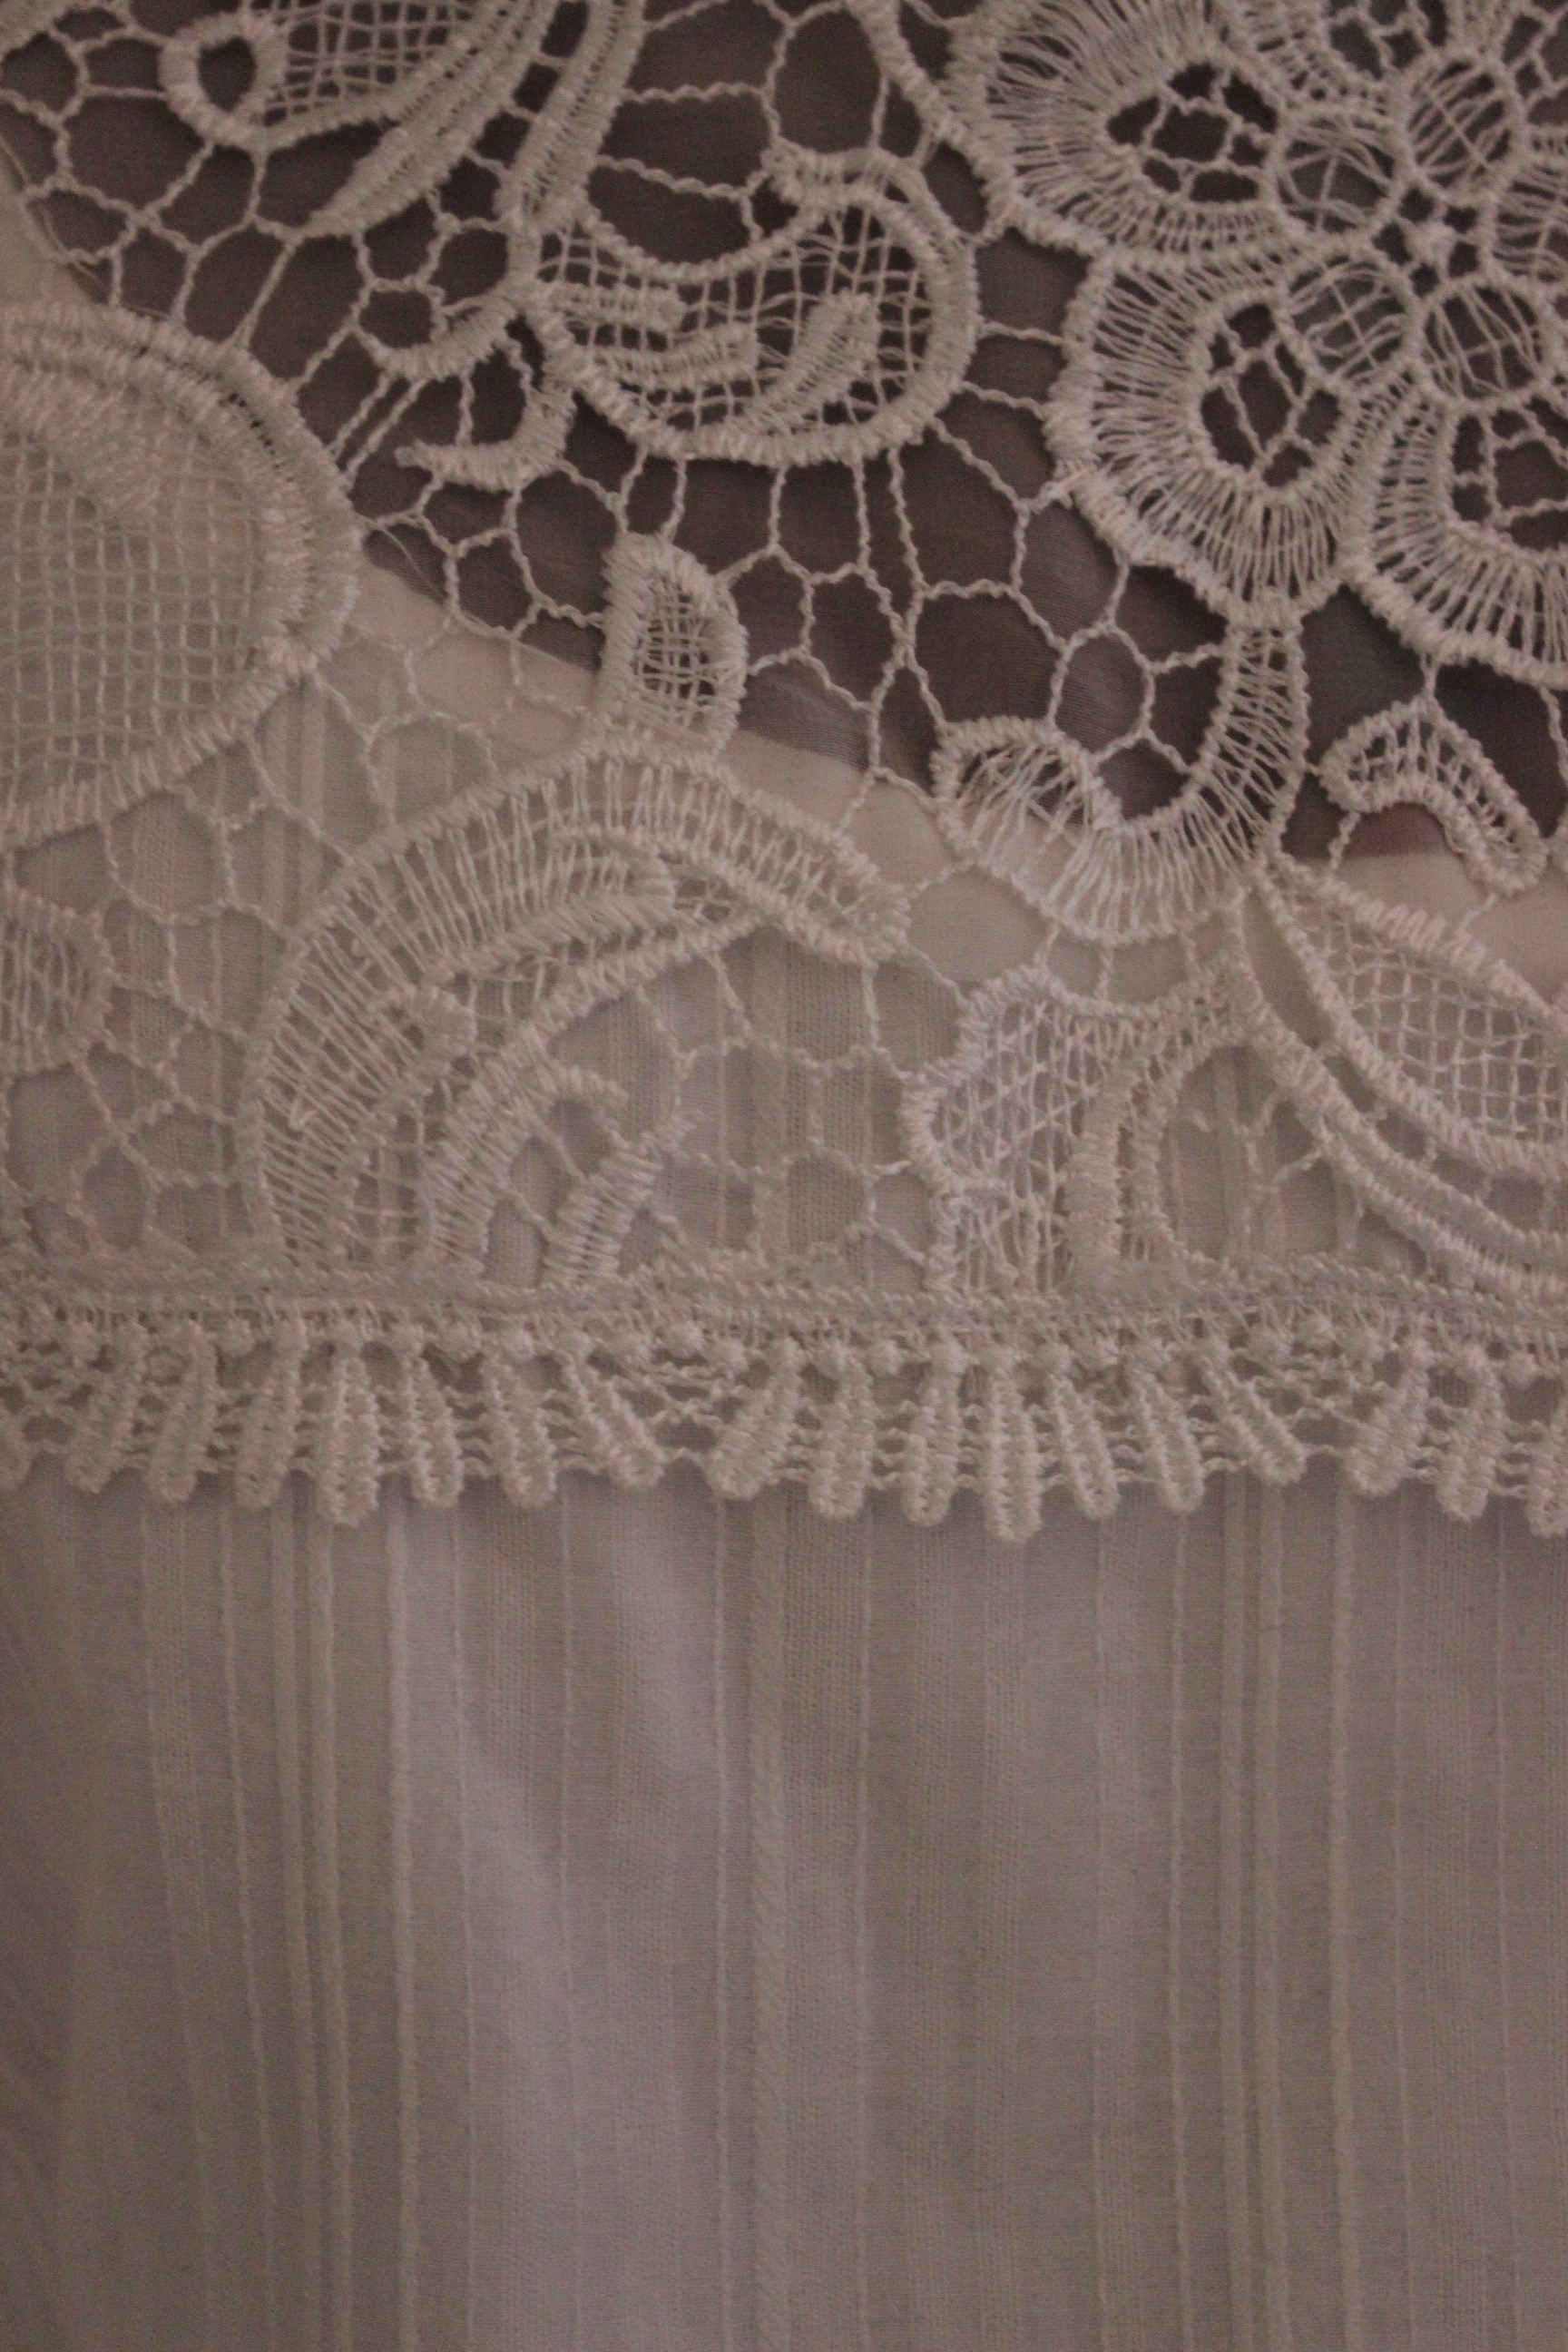
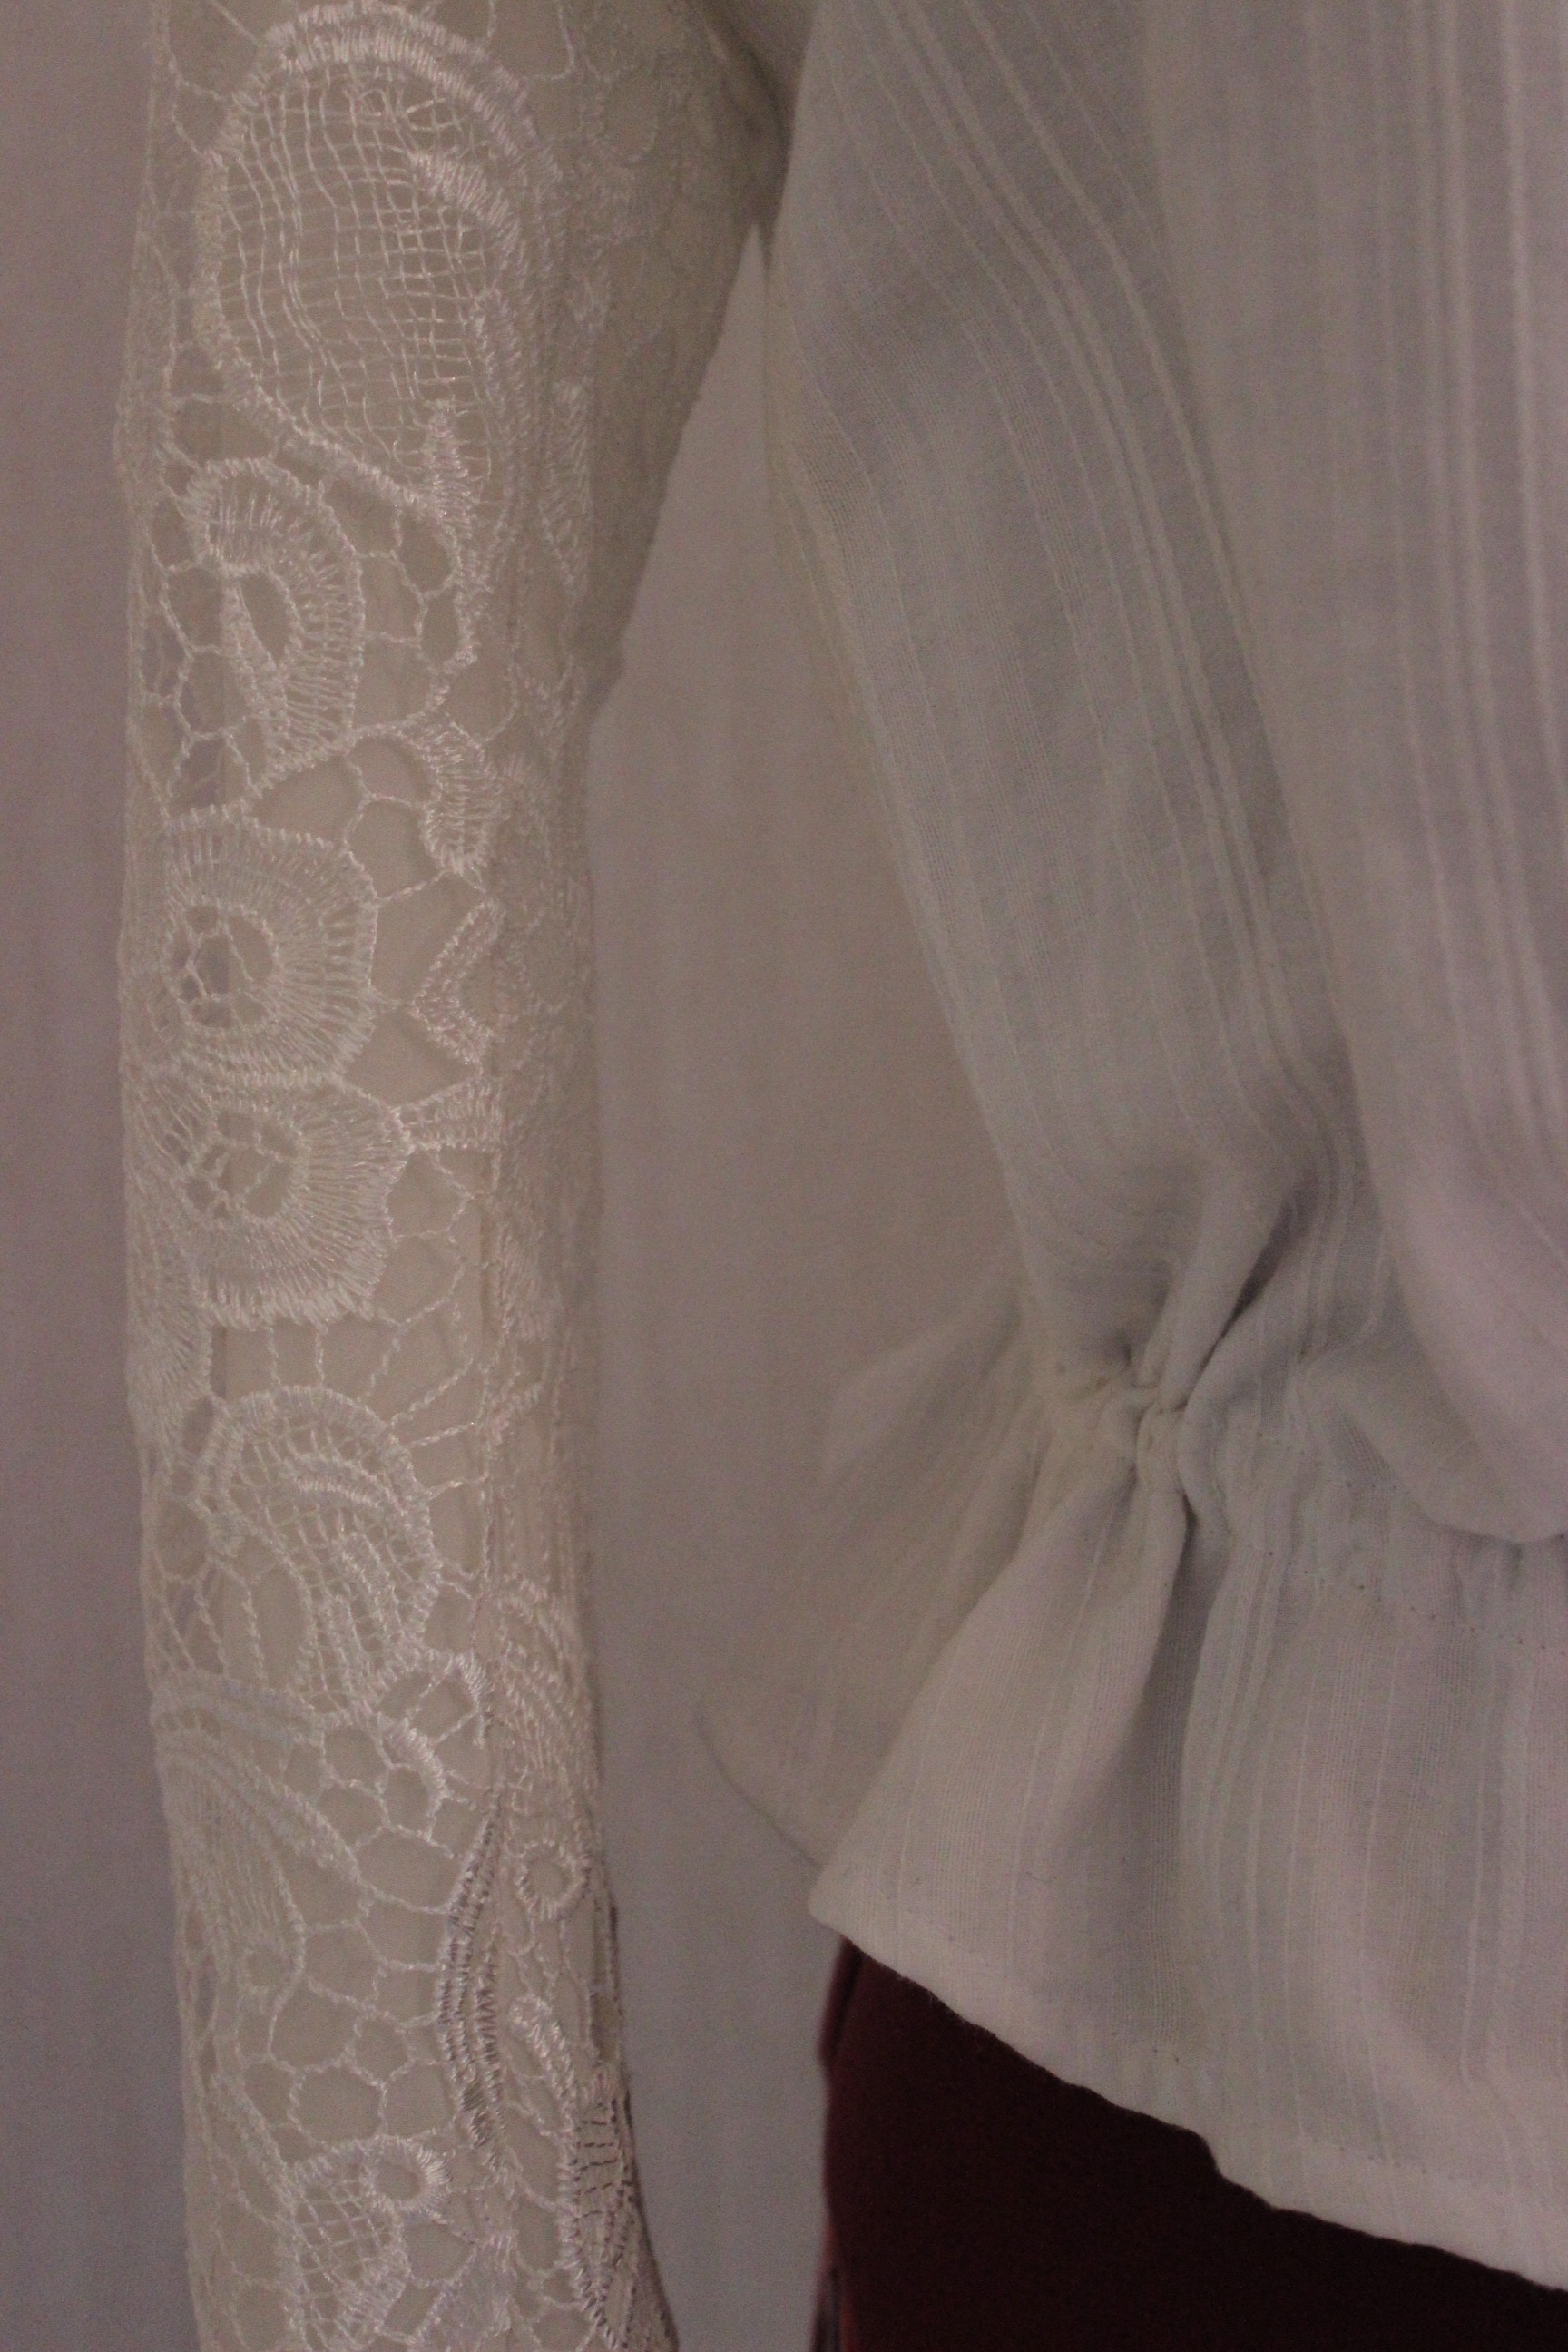
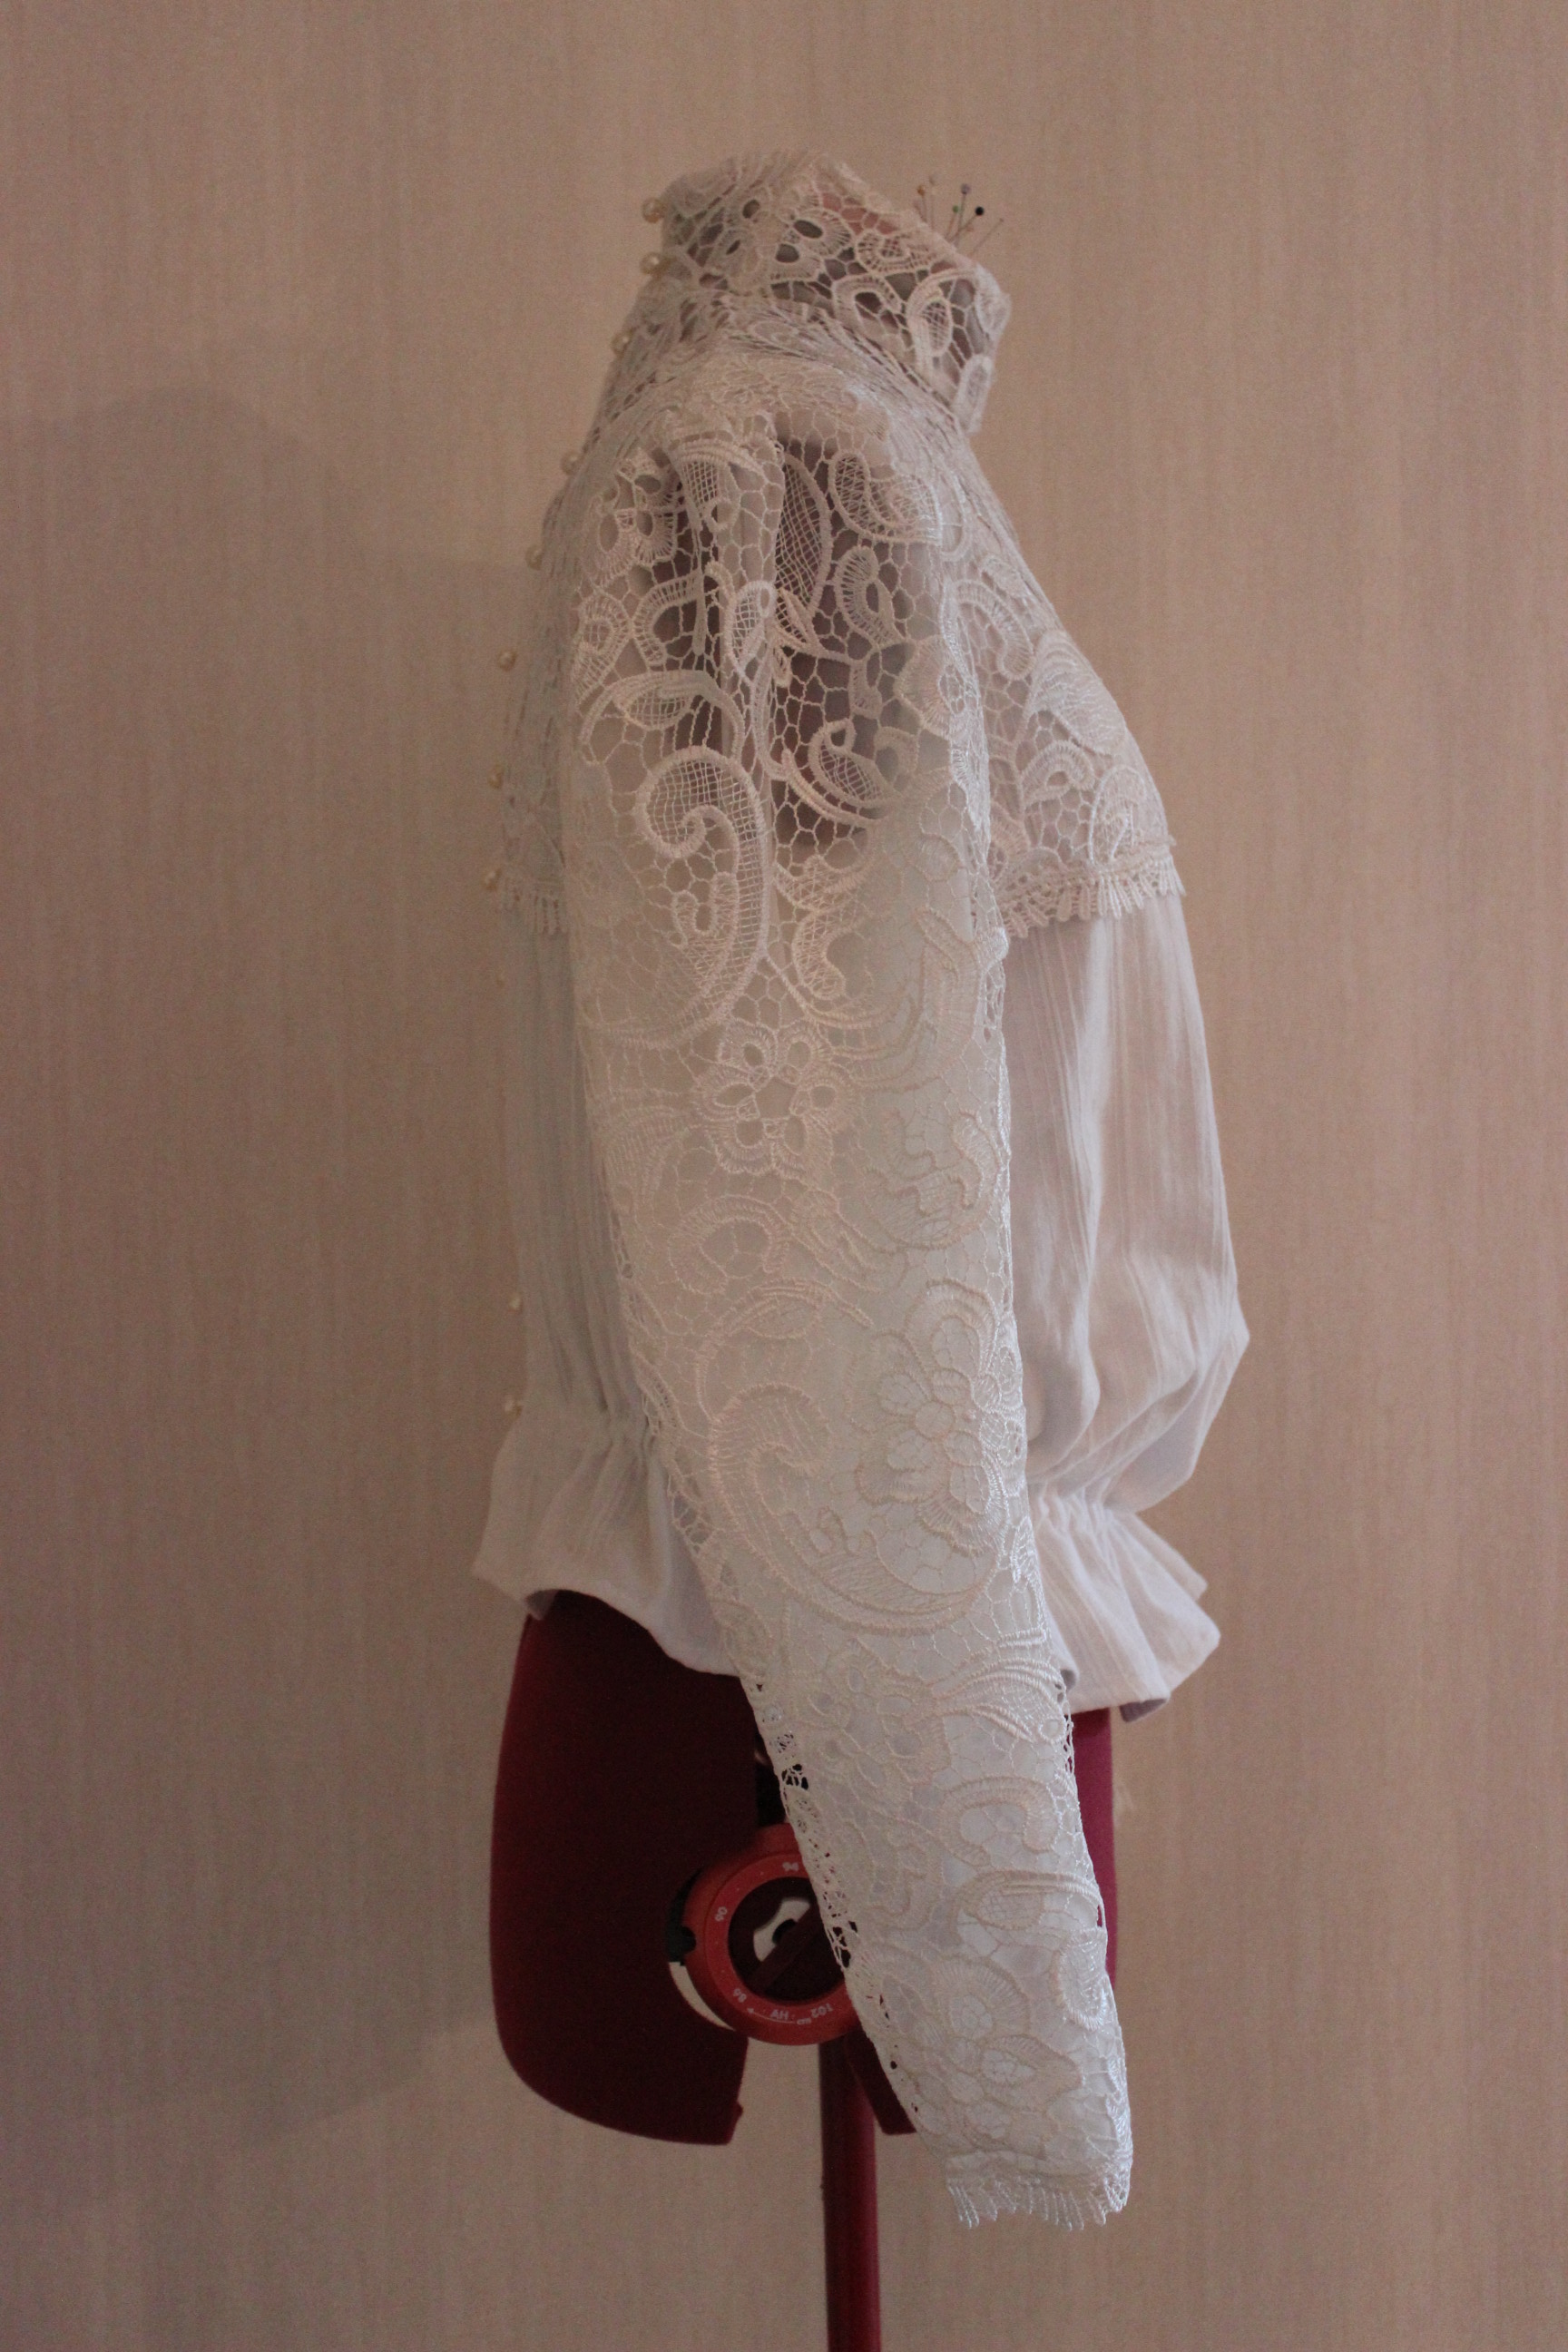
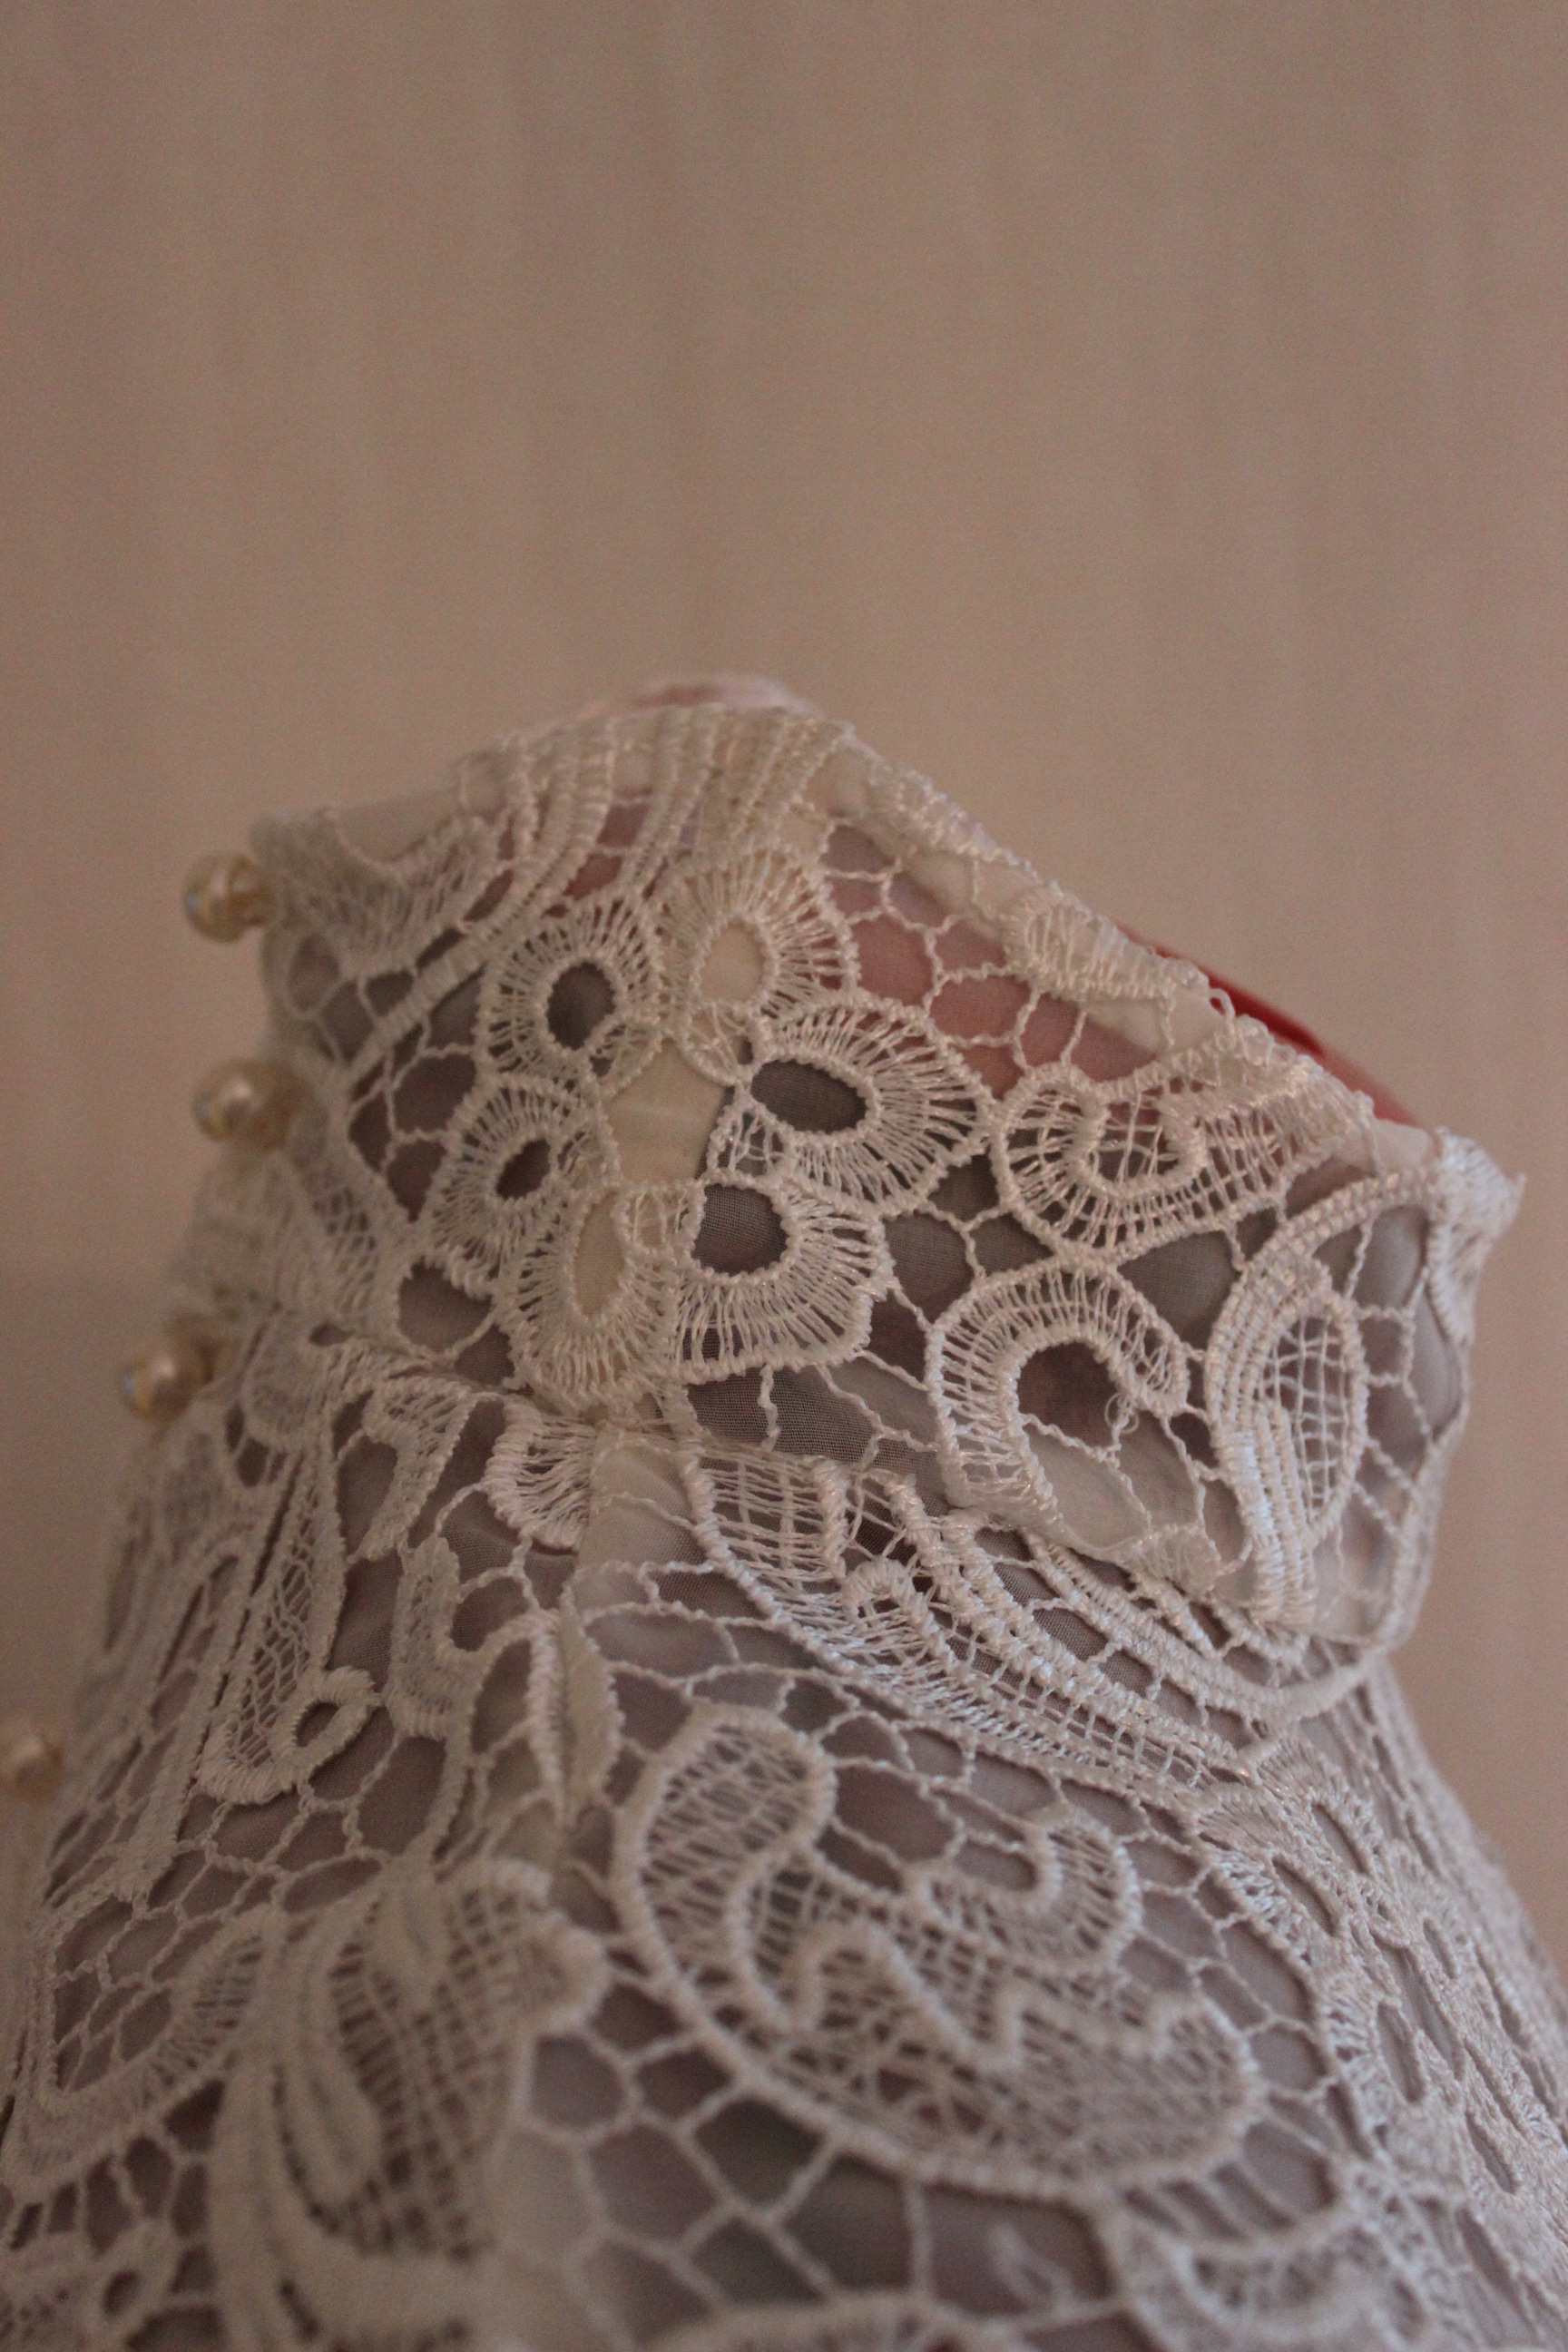
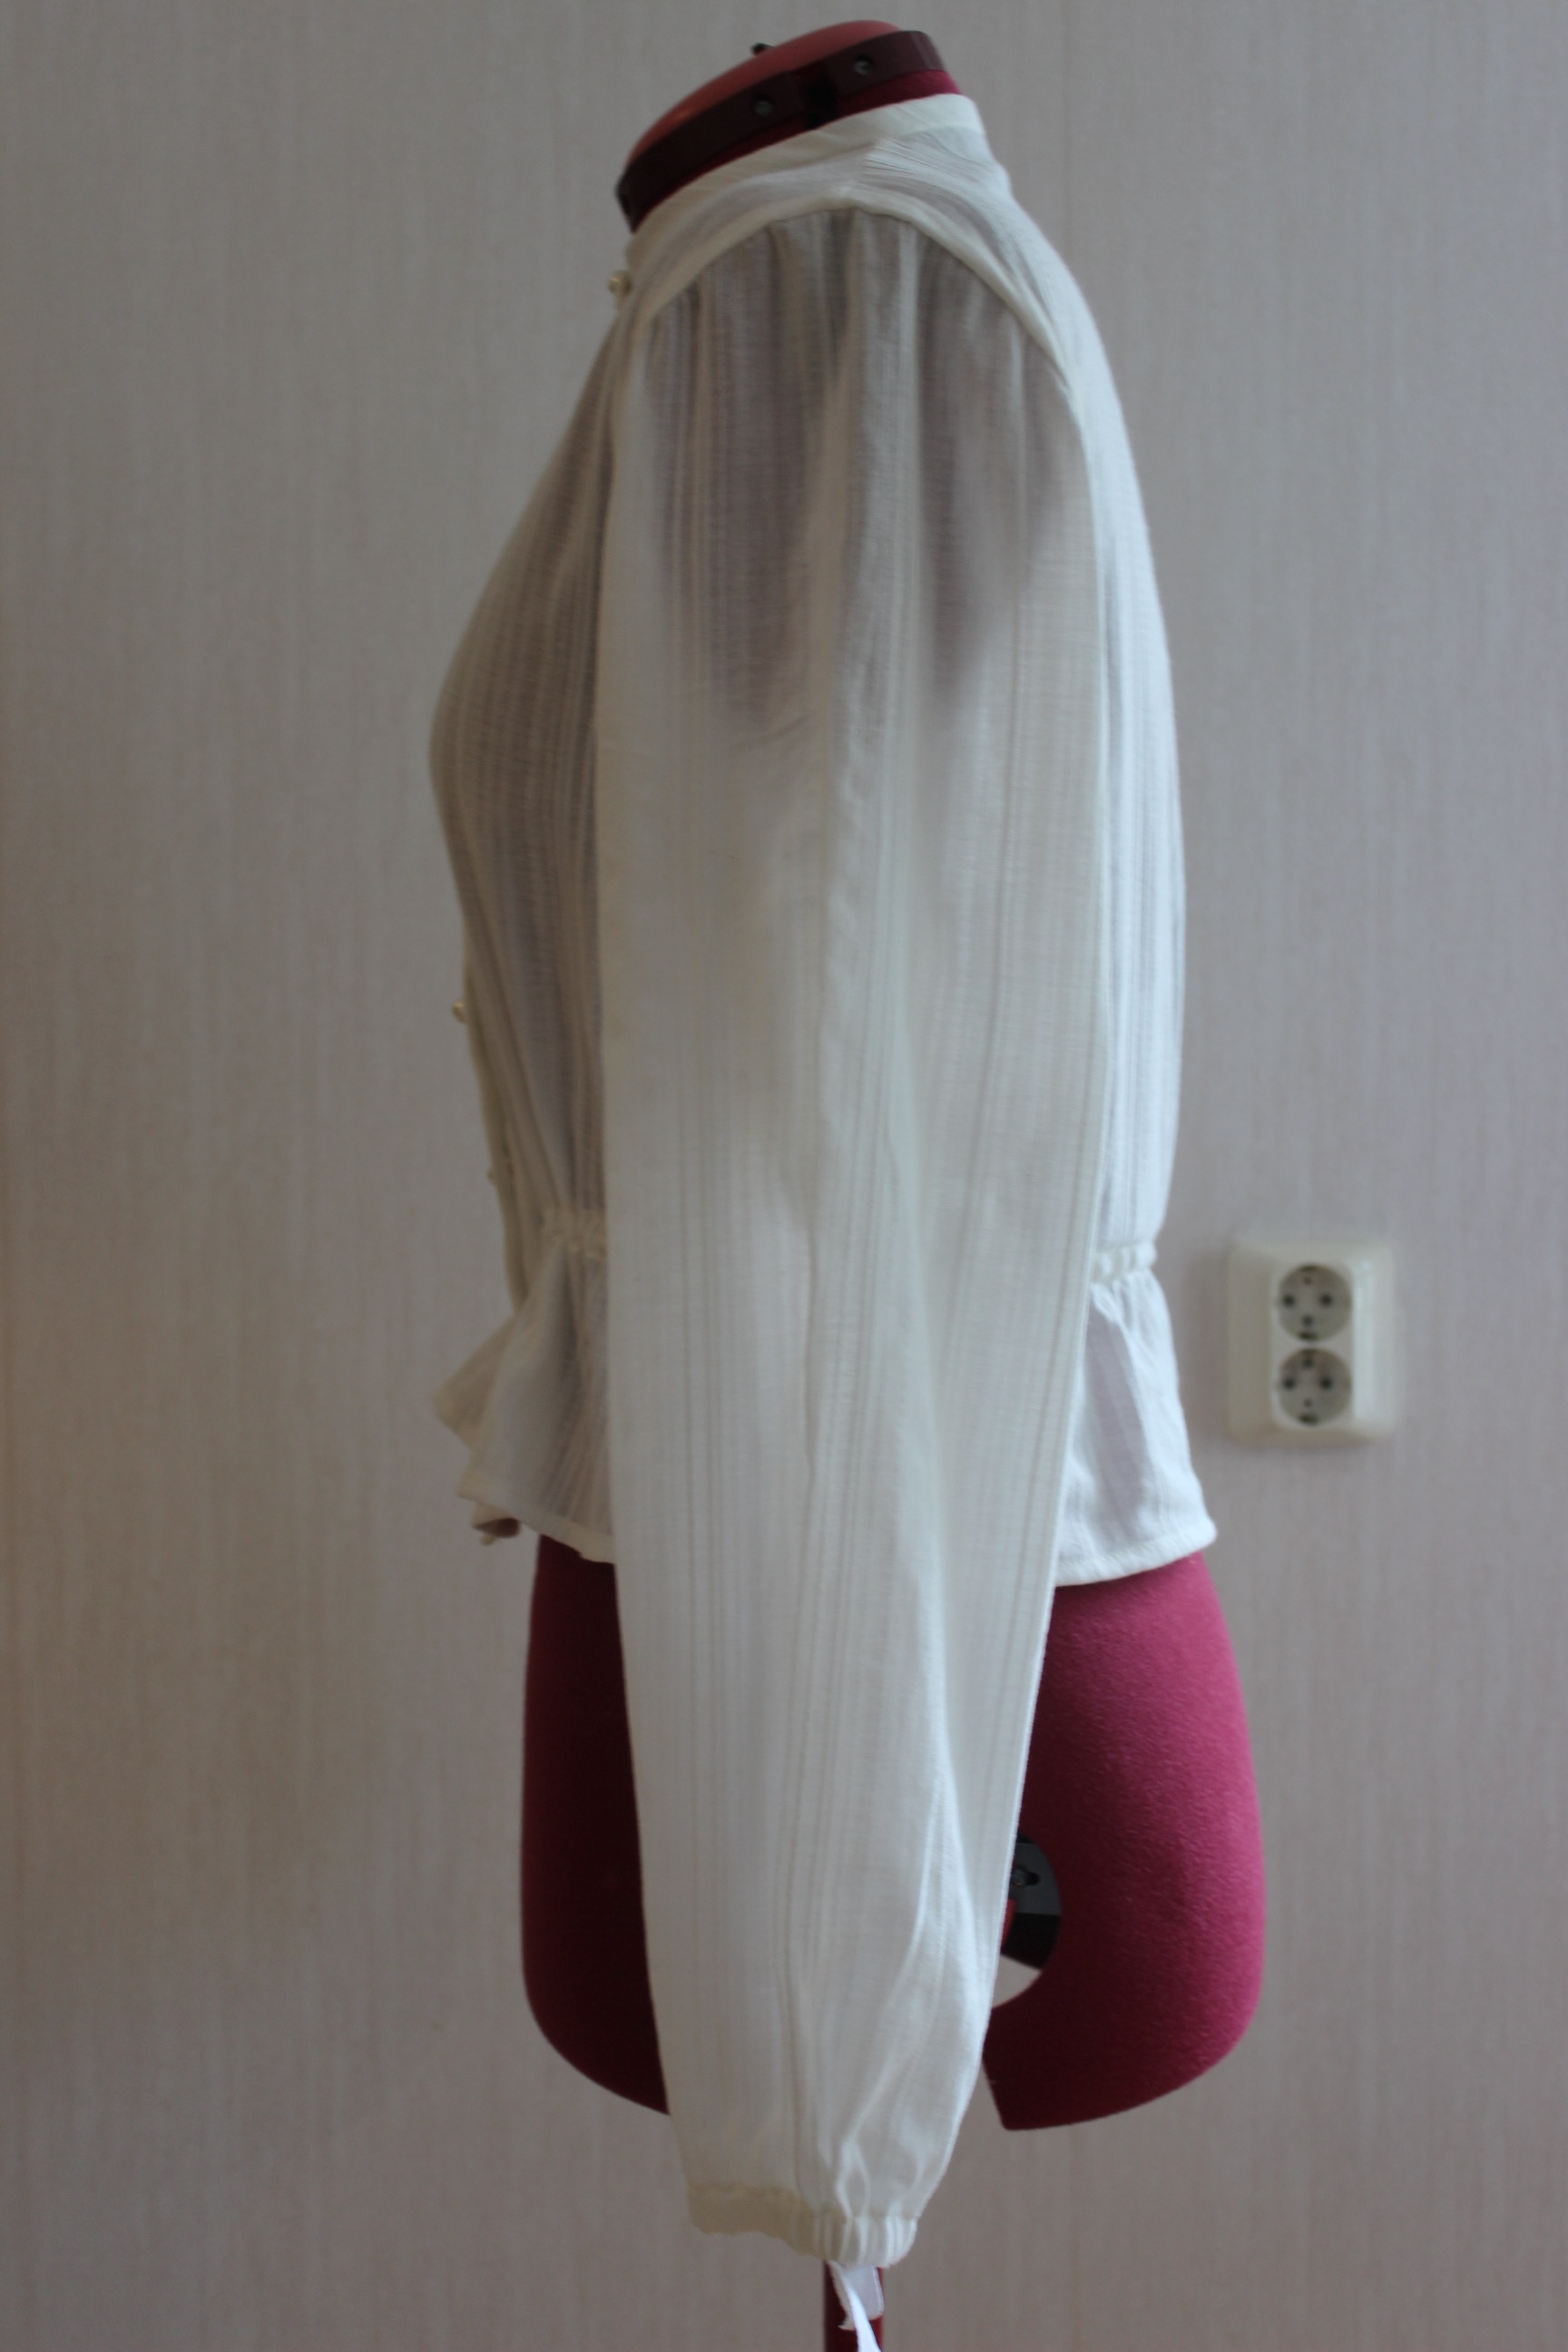
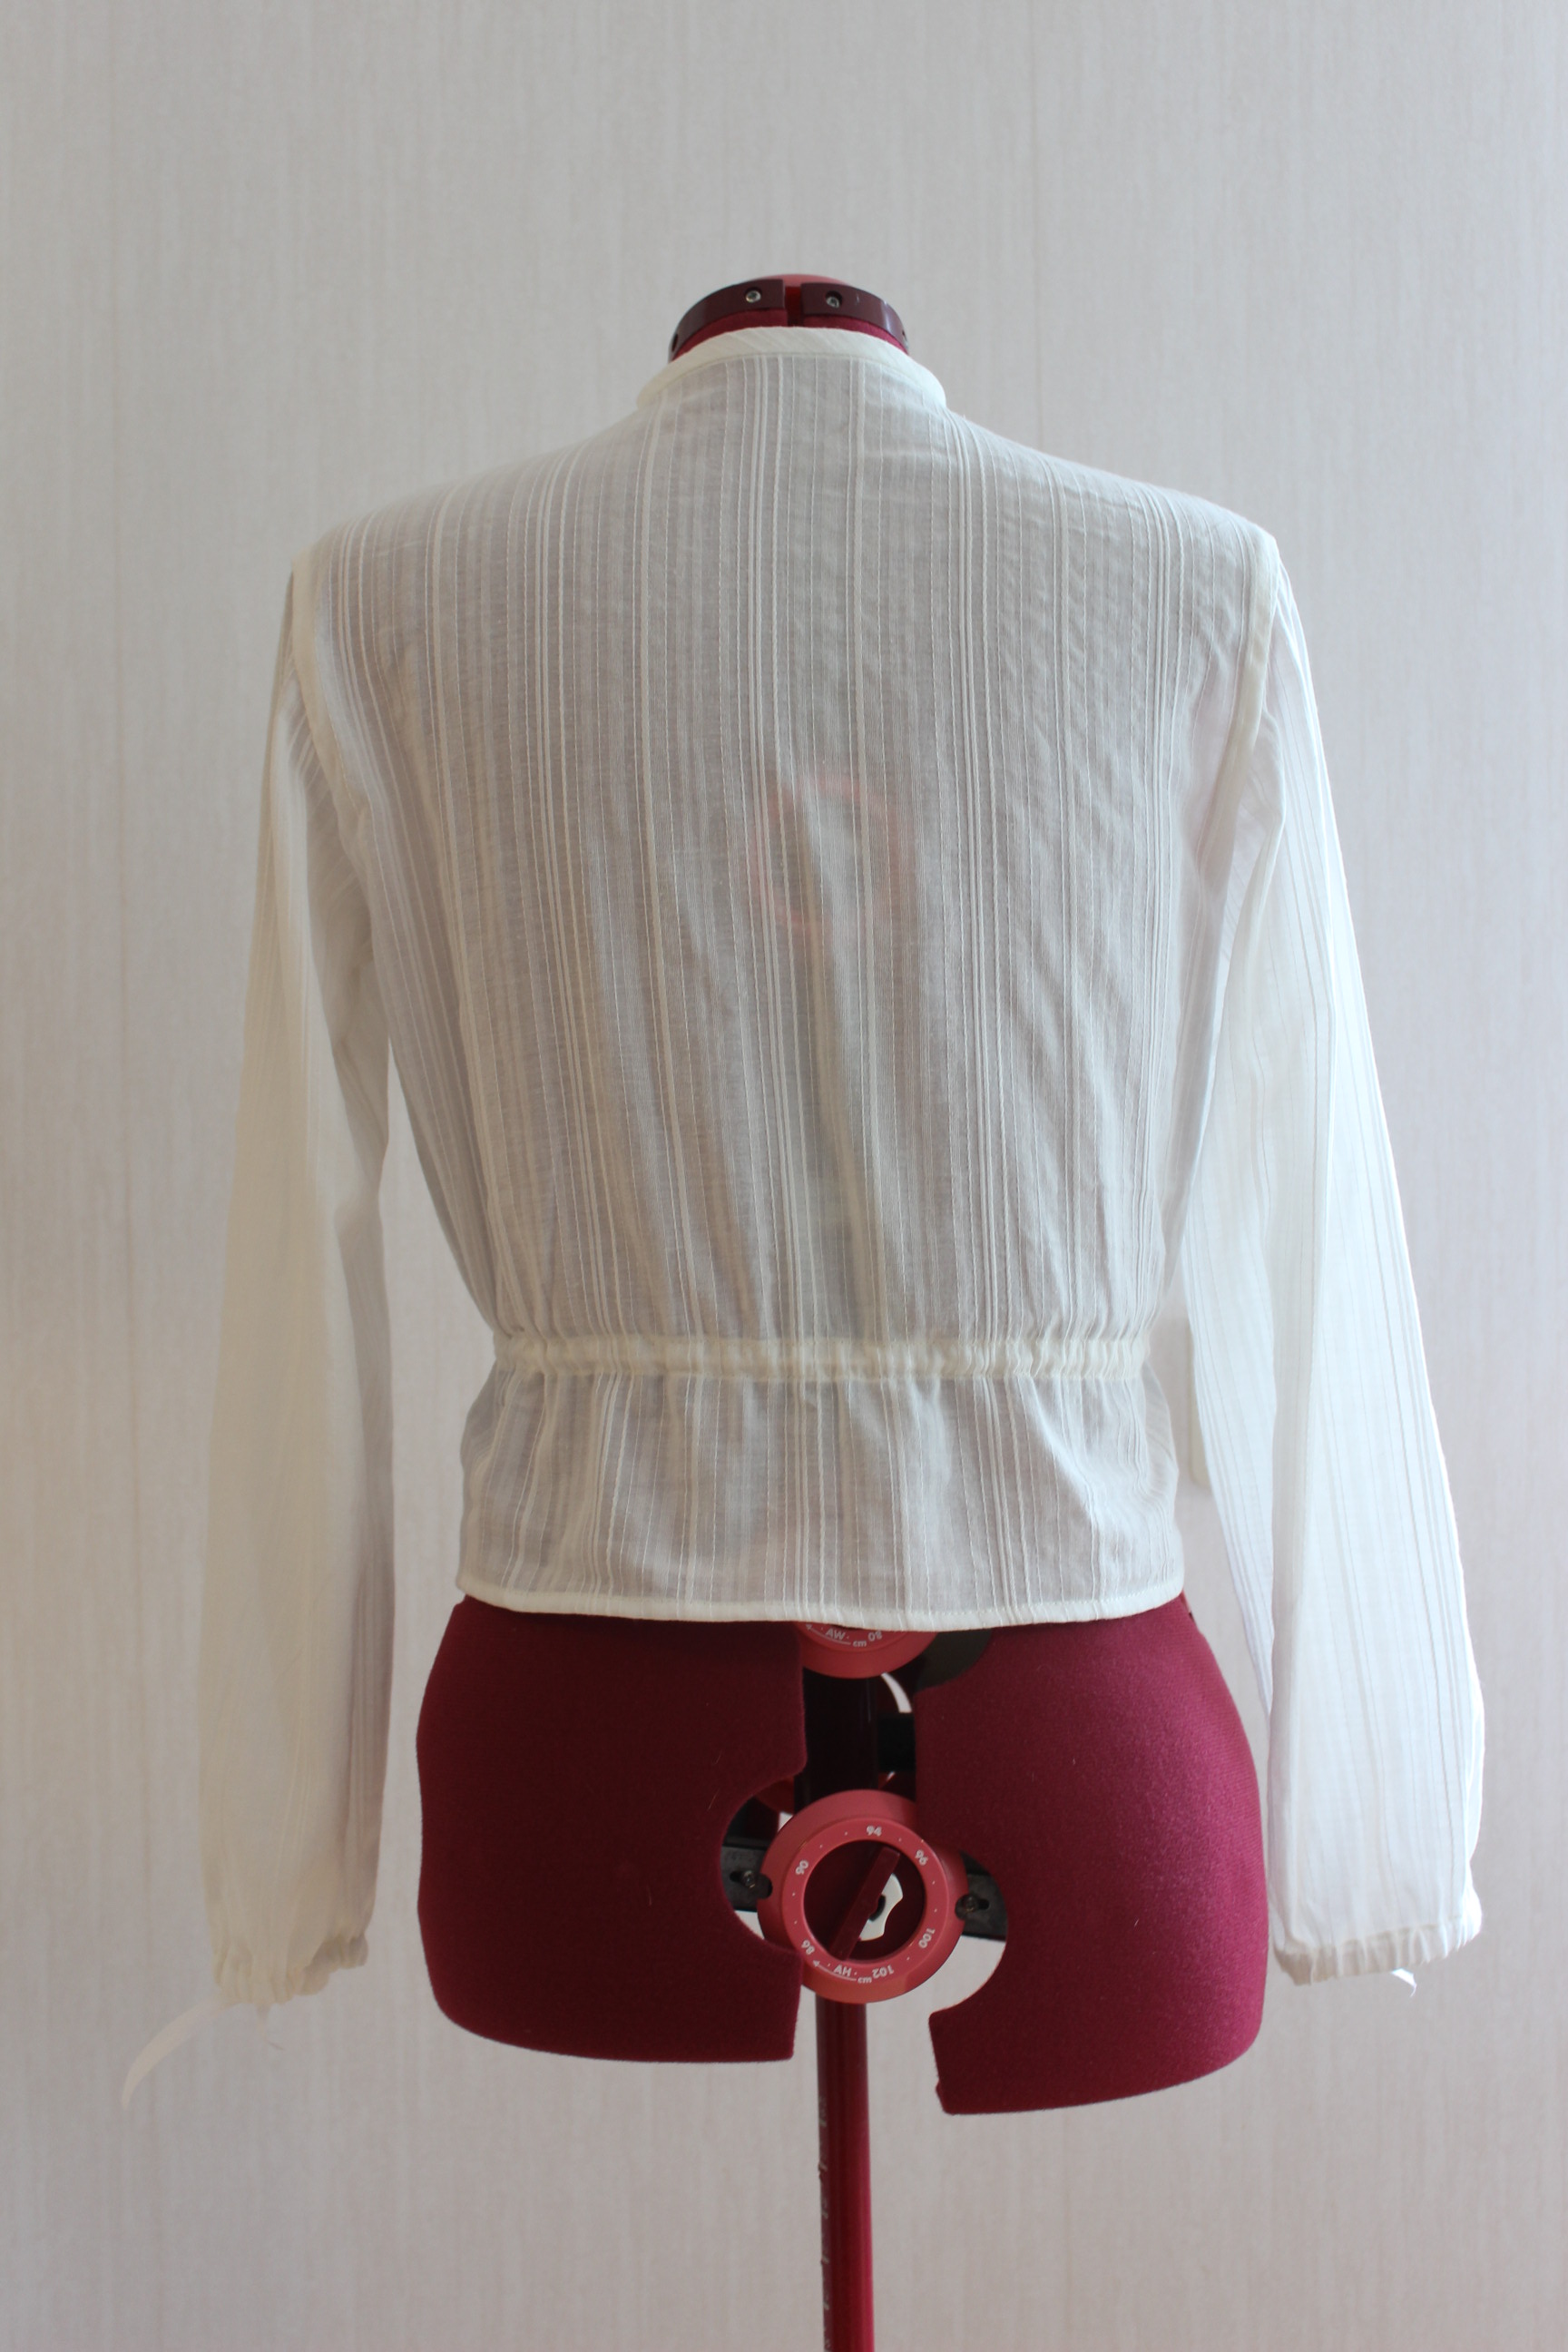
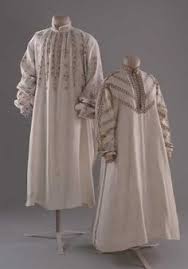
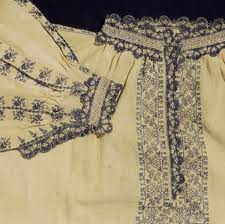
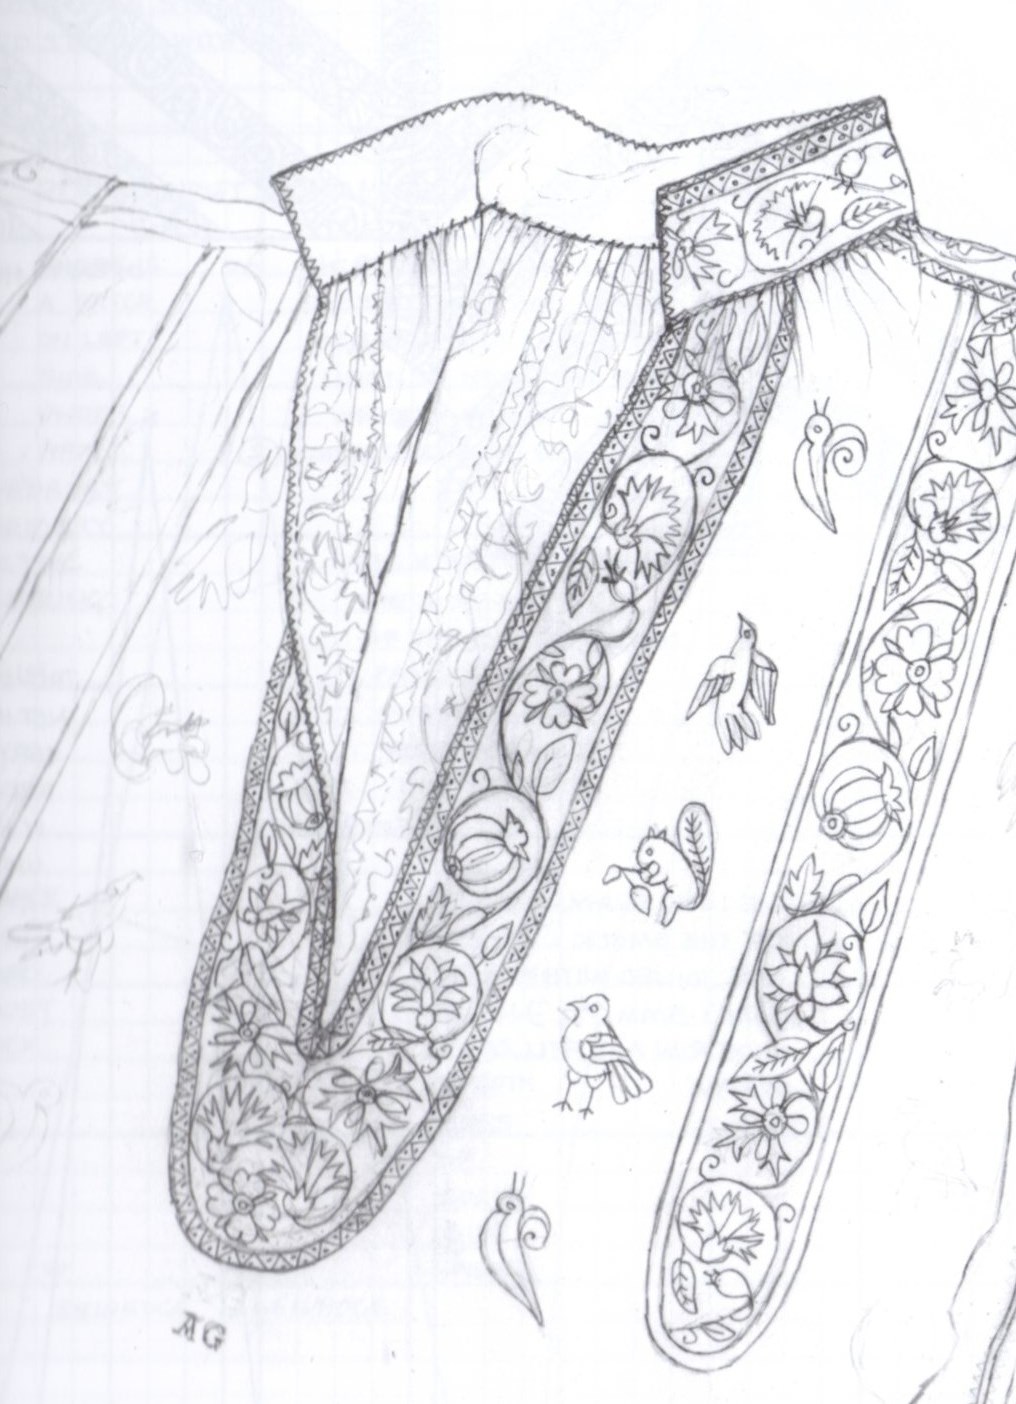
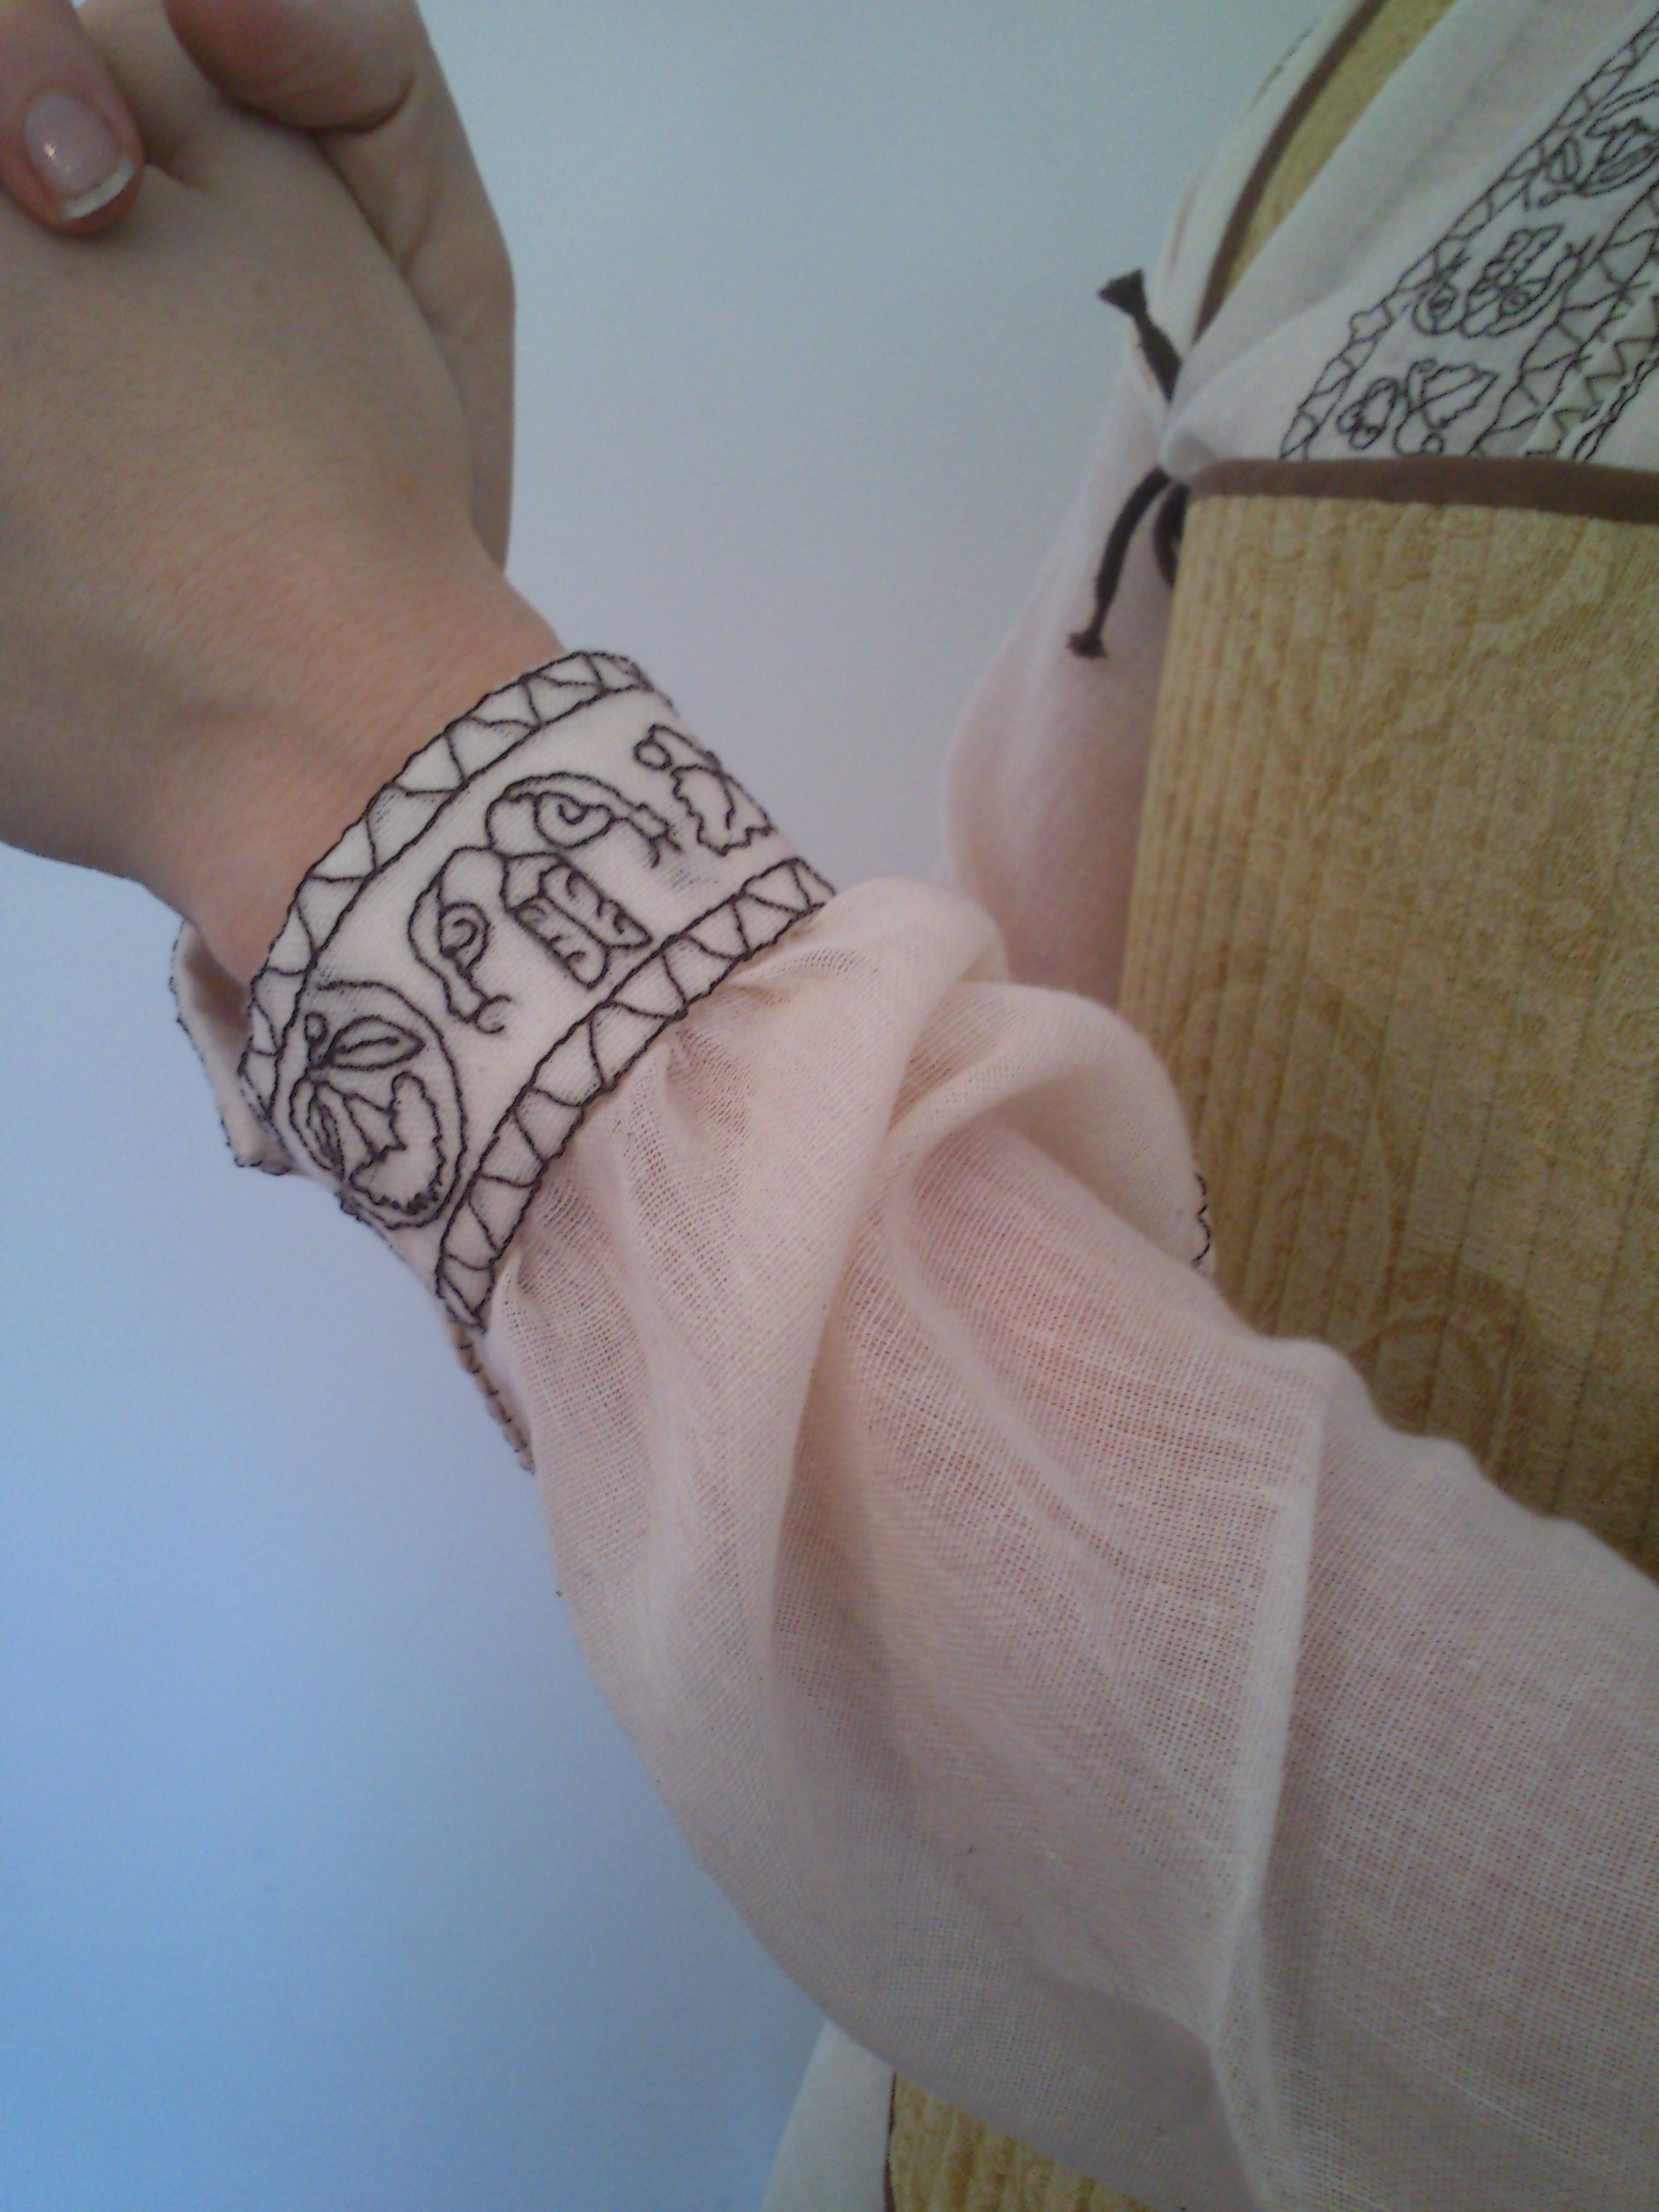
The finished medieval shirt:img_0420

img_0388The final result after all the re-stitching.
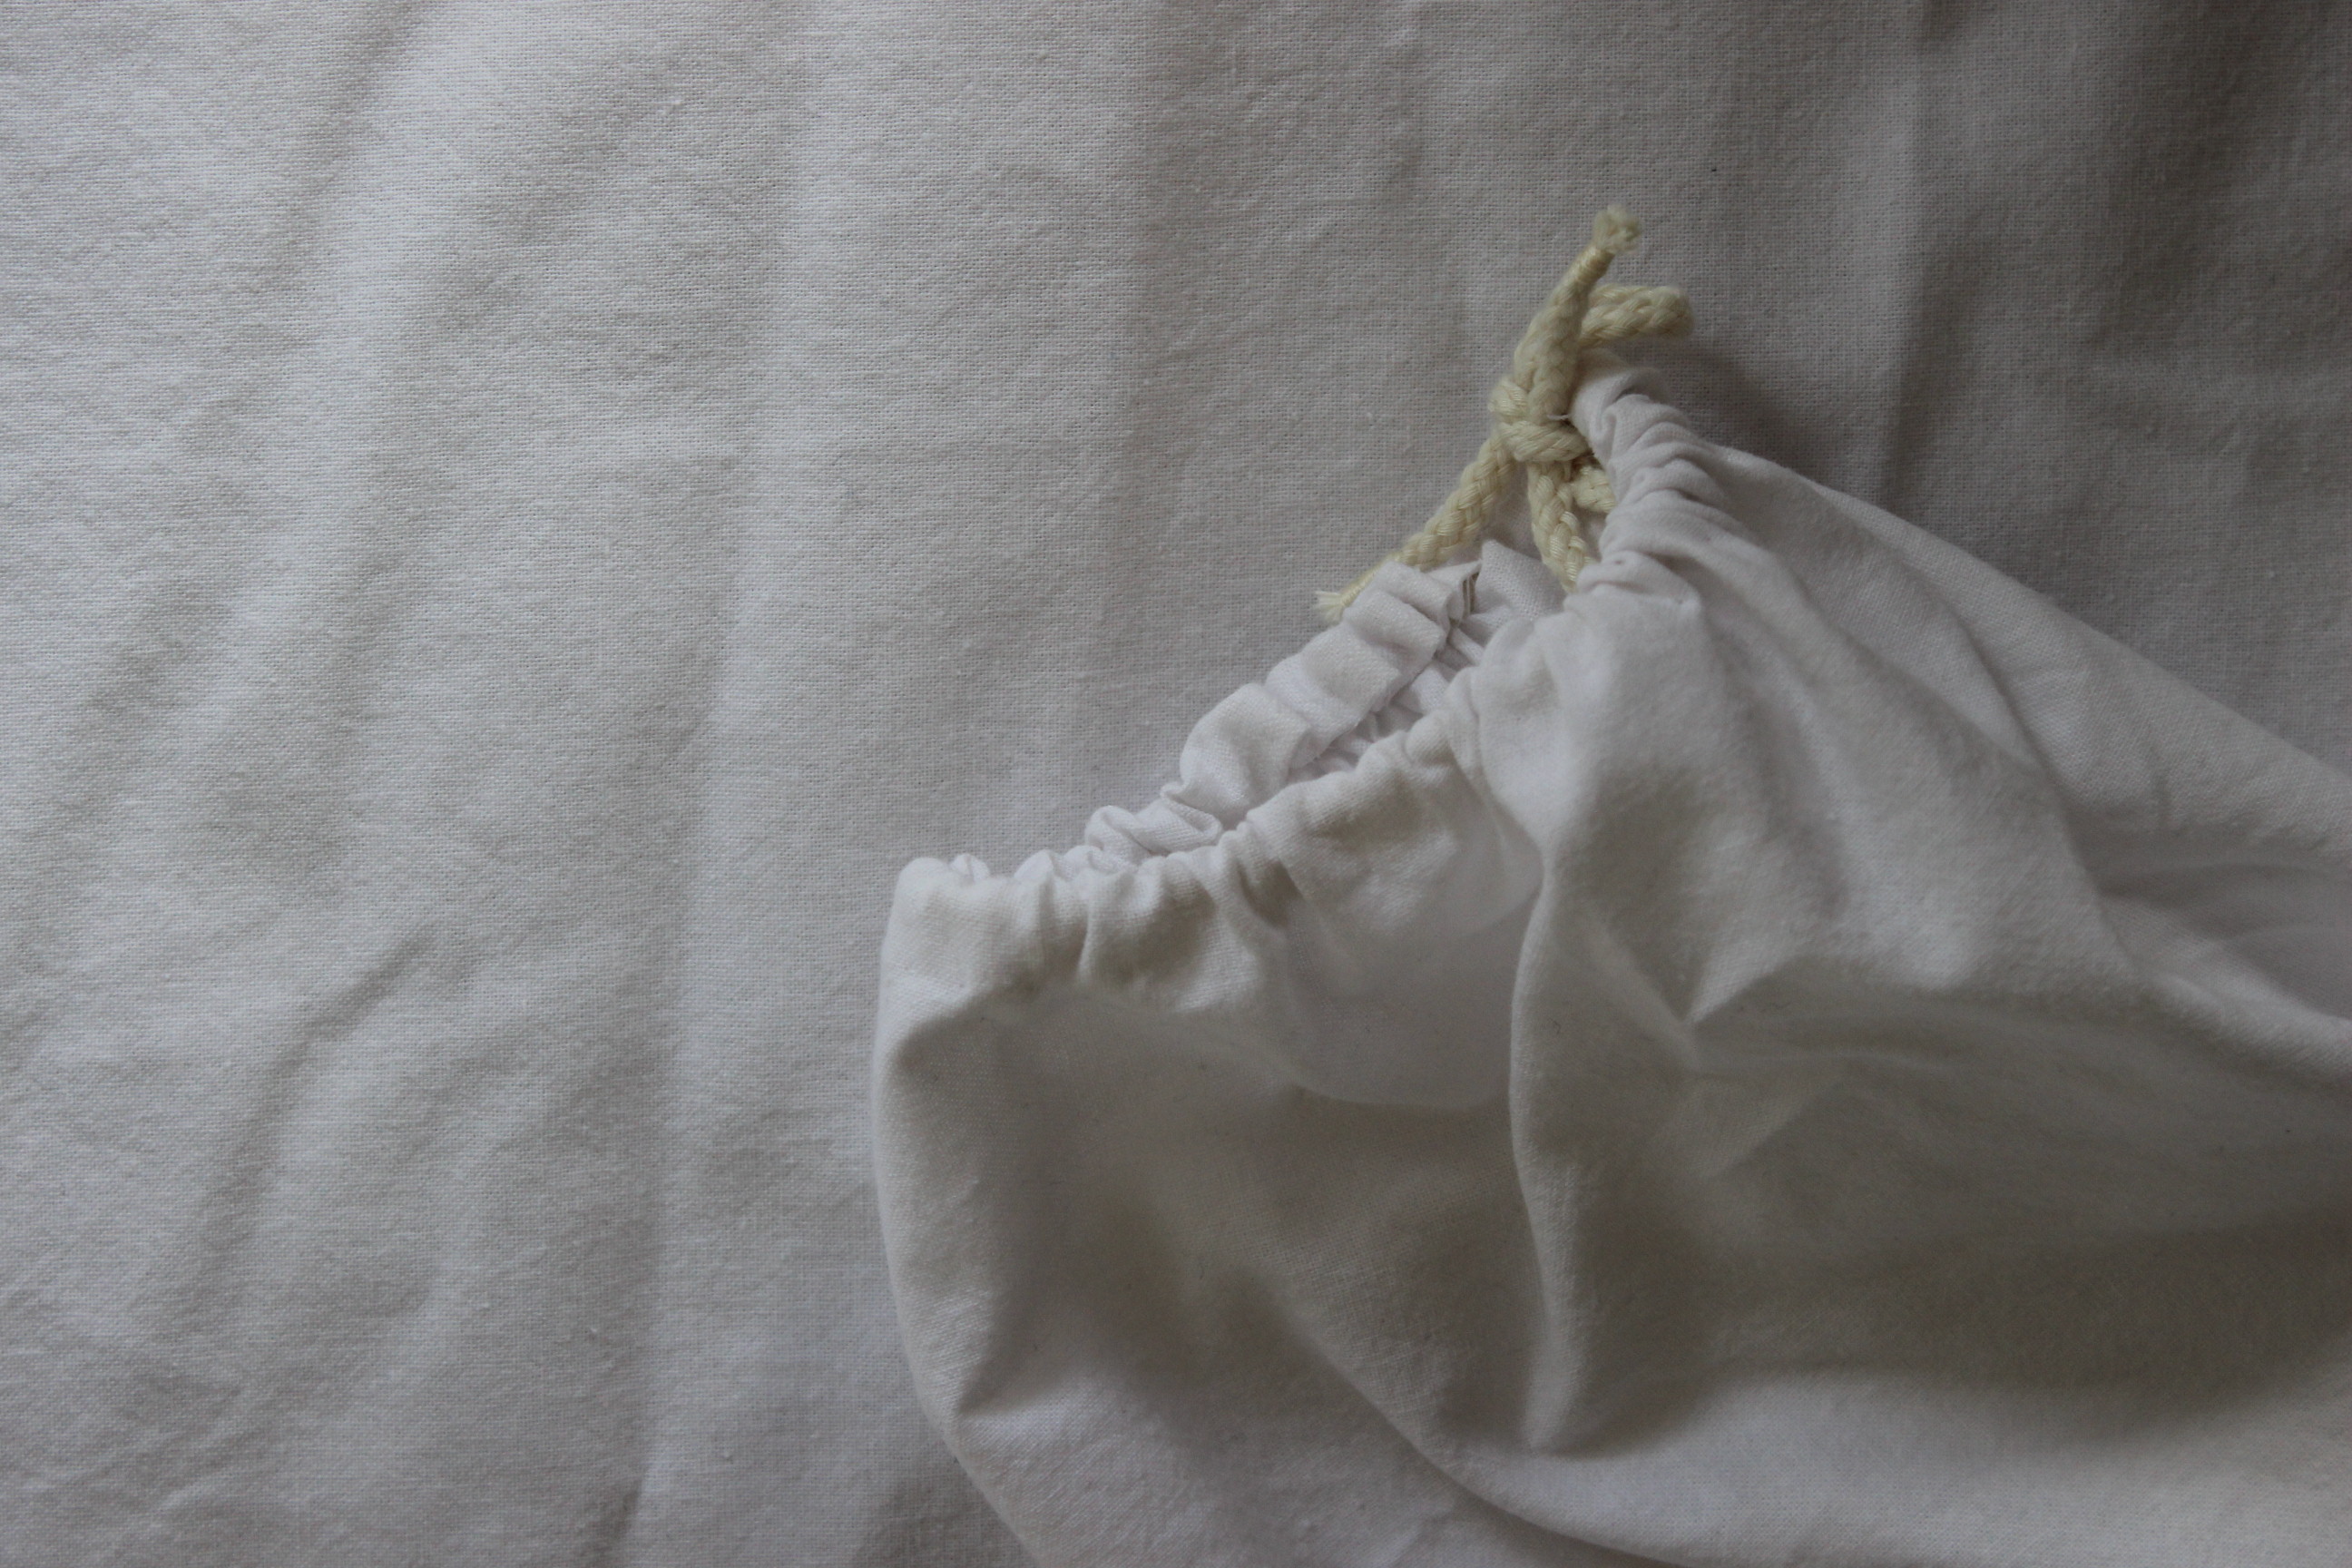
img_0428Sleeve with ties

img_0416

img_0417

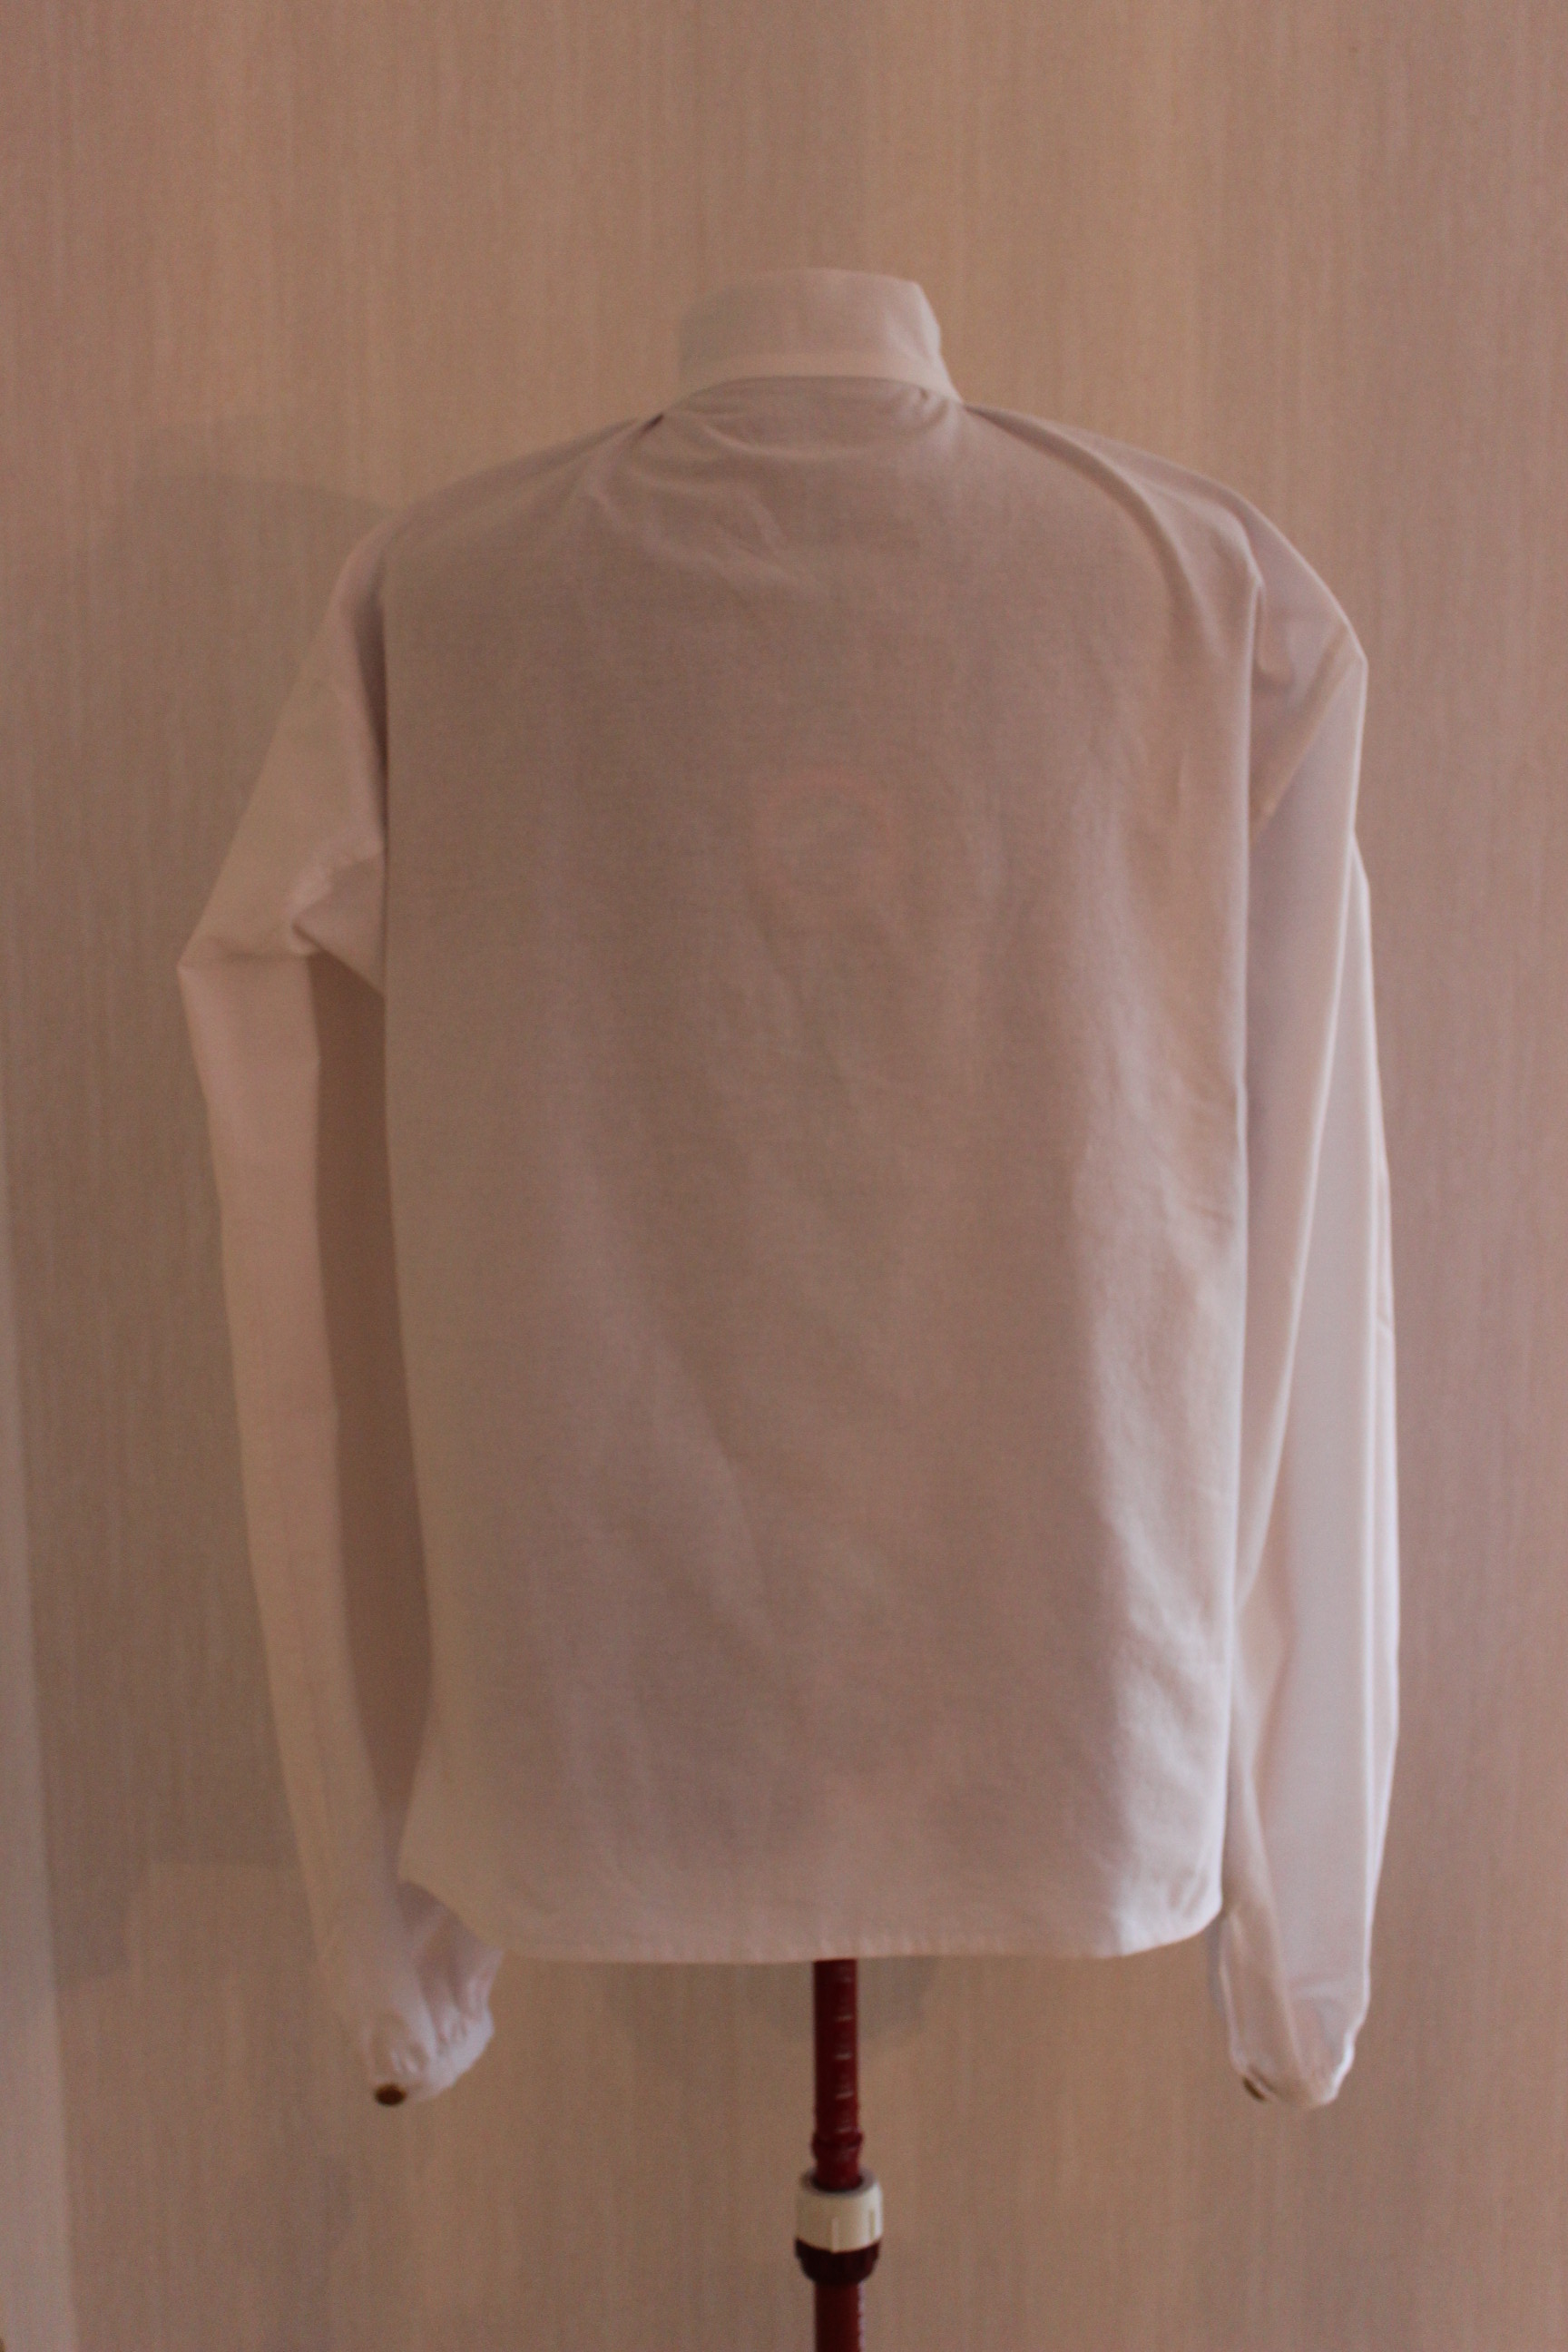
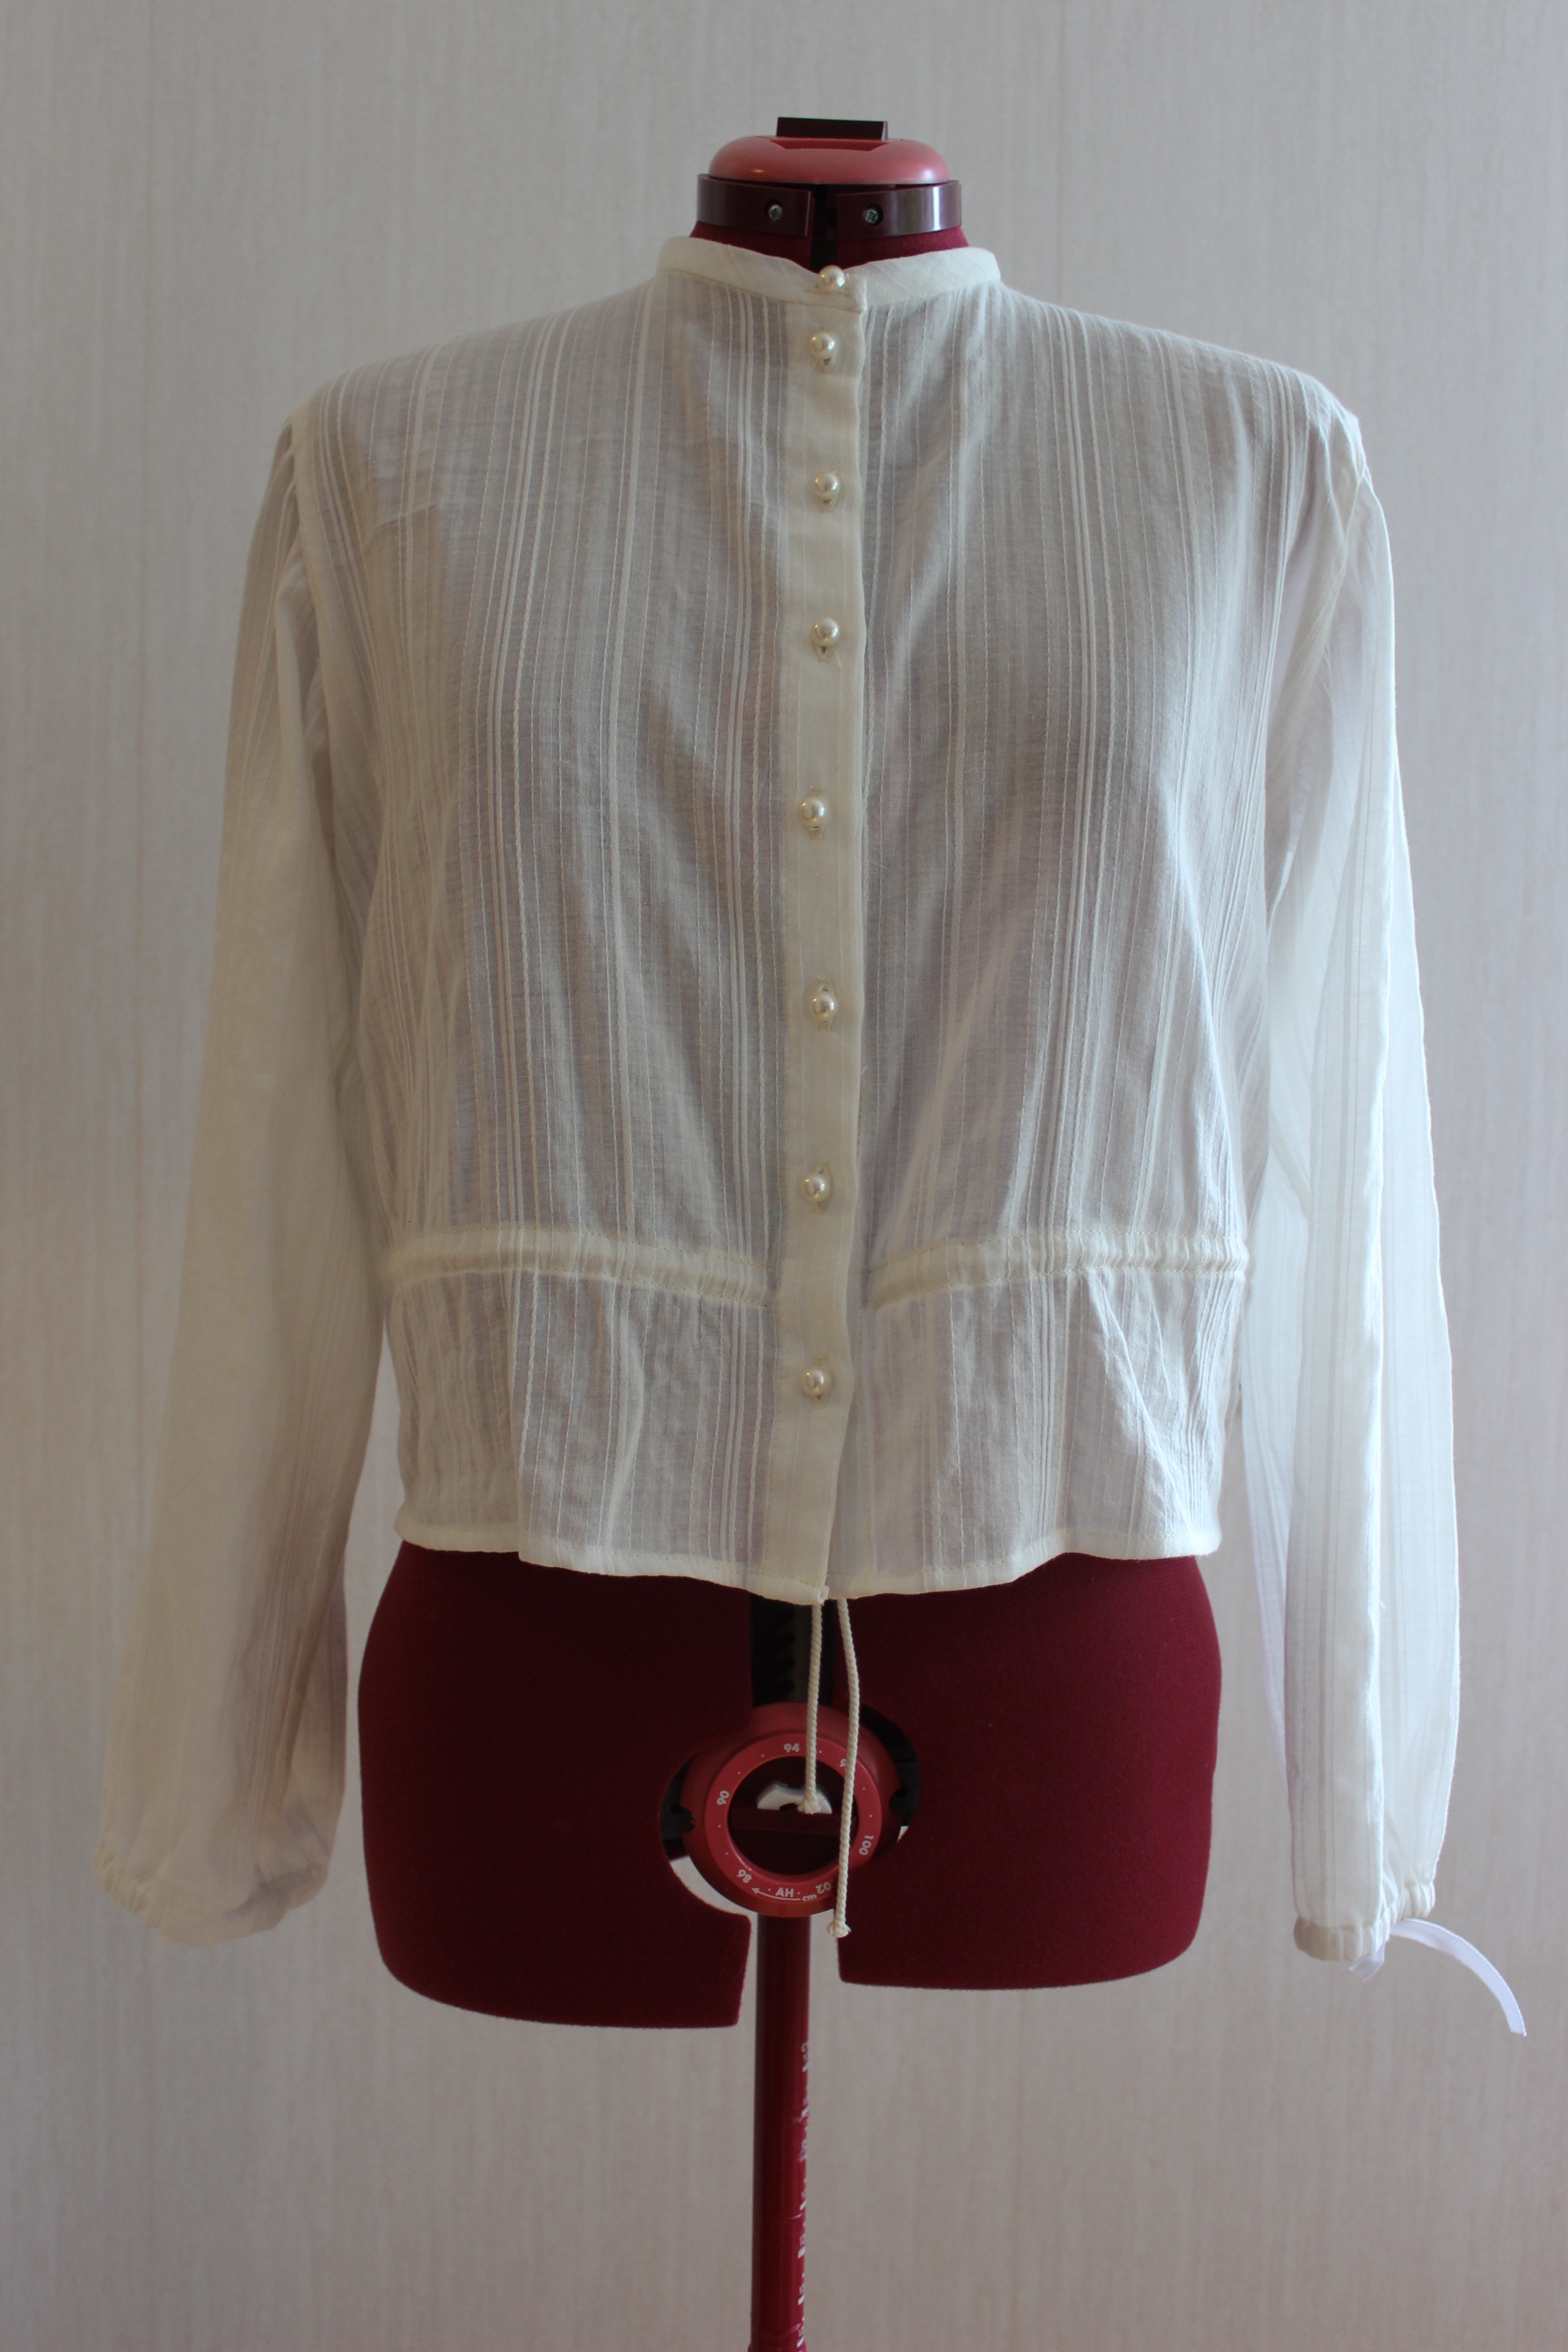
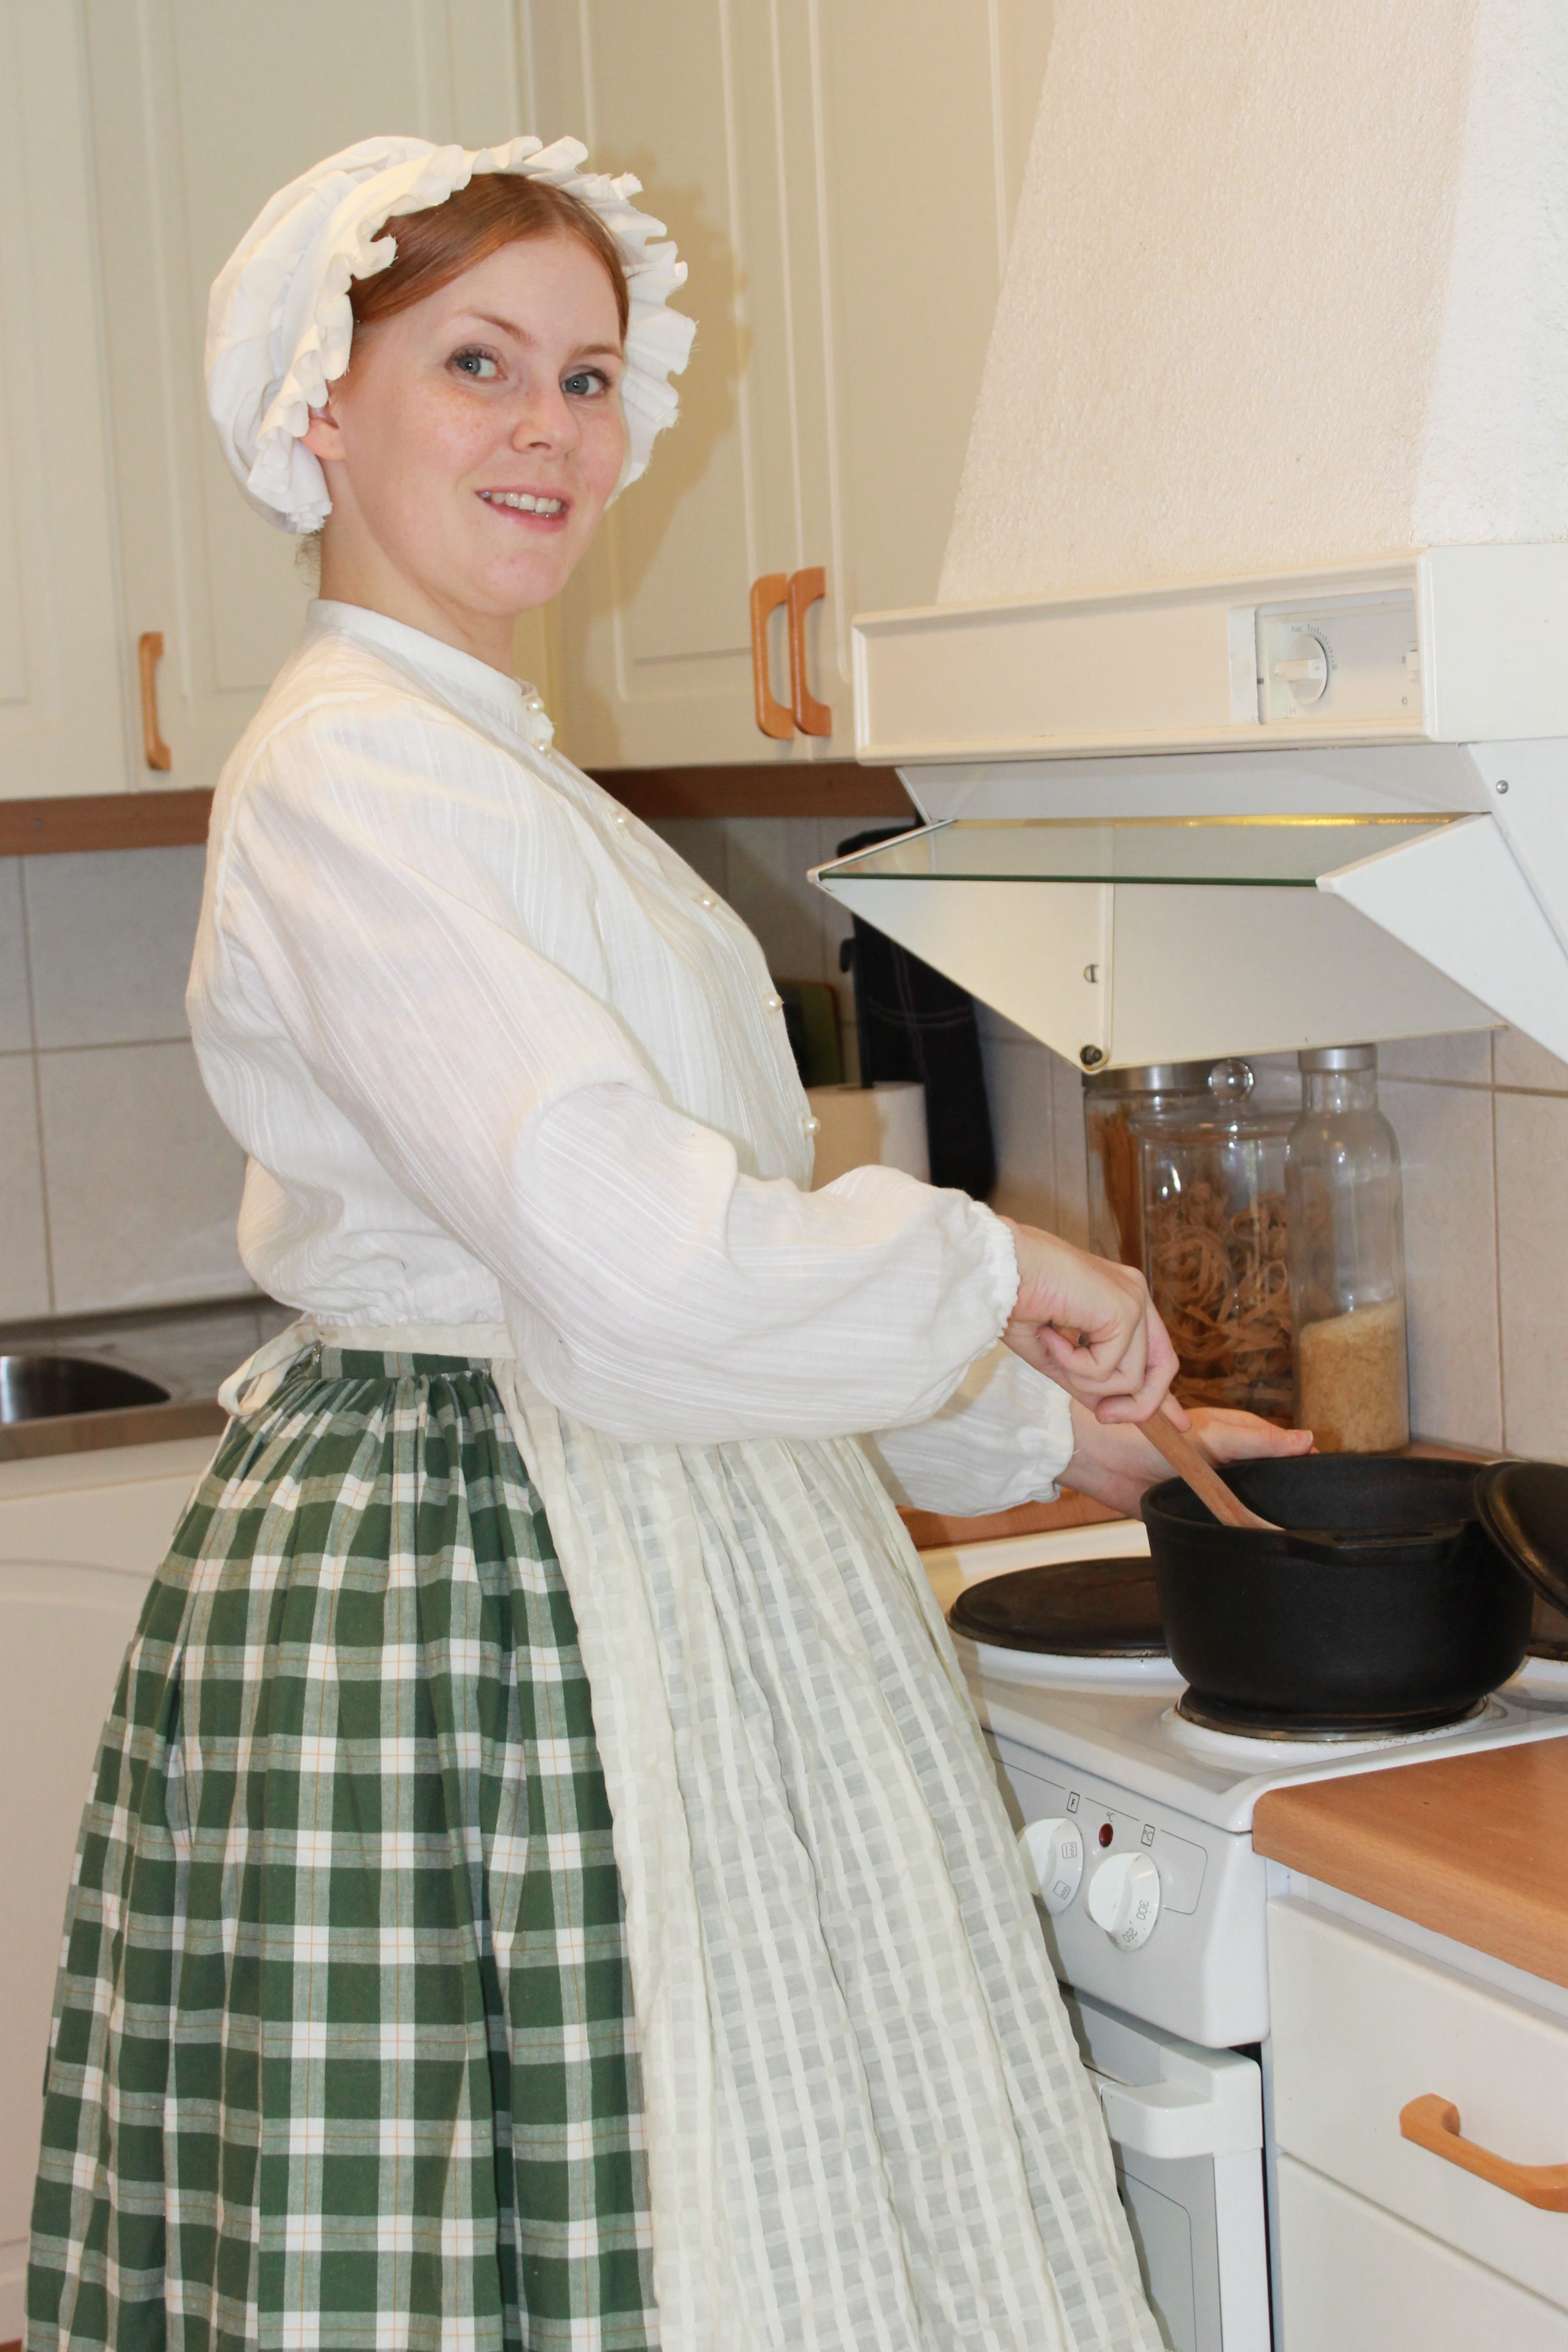
Then it was time to get cracking on the Regency shirt.

This time I didn’t do the same mistake (Hurray!), and the shirt was finished in a few days.

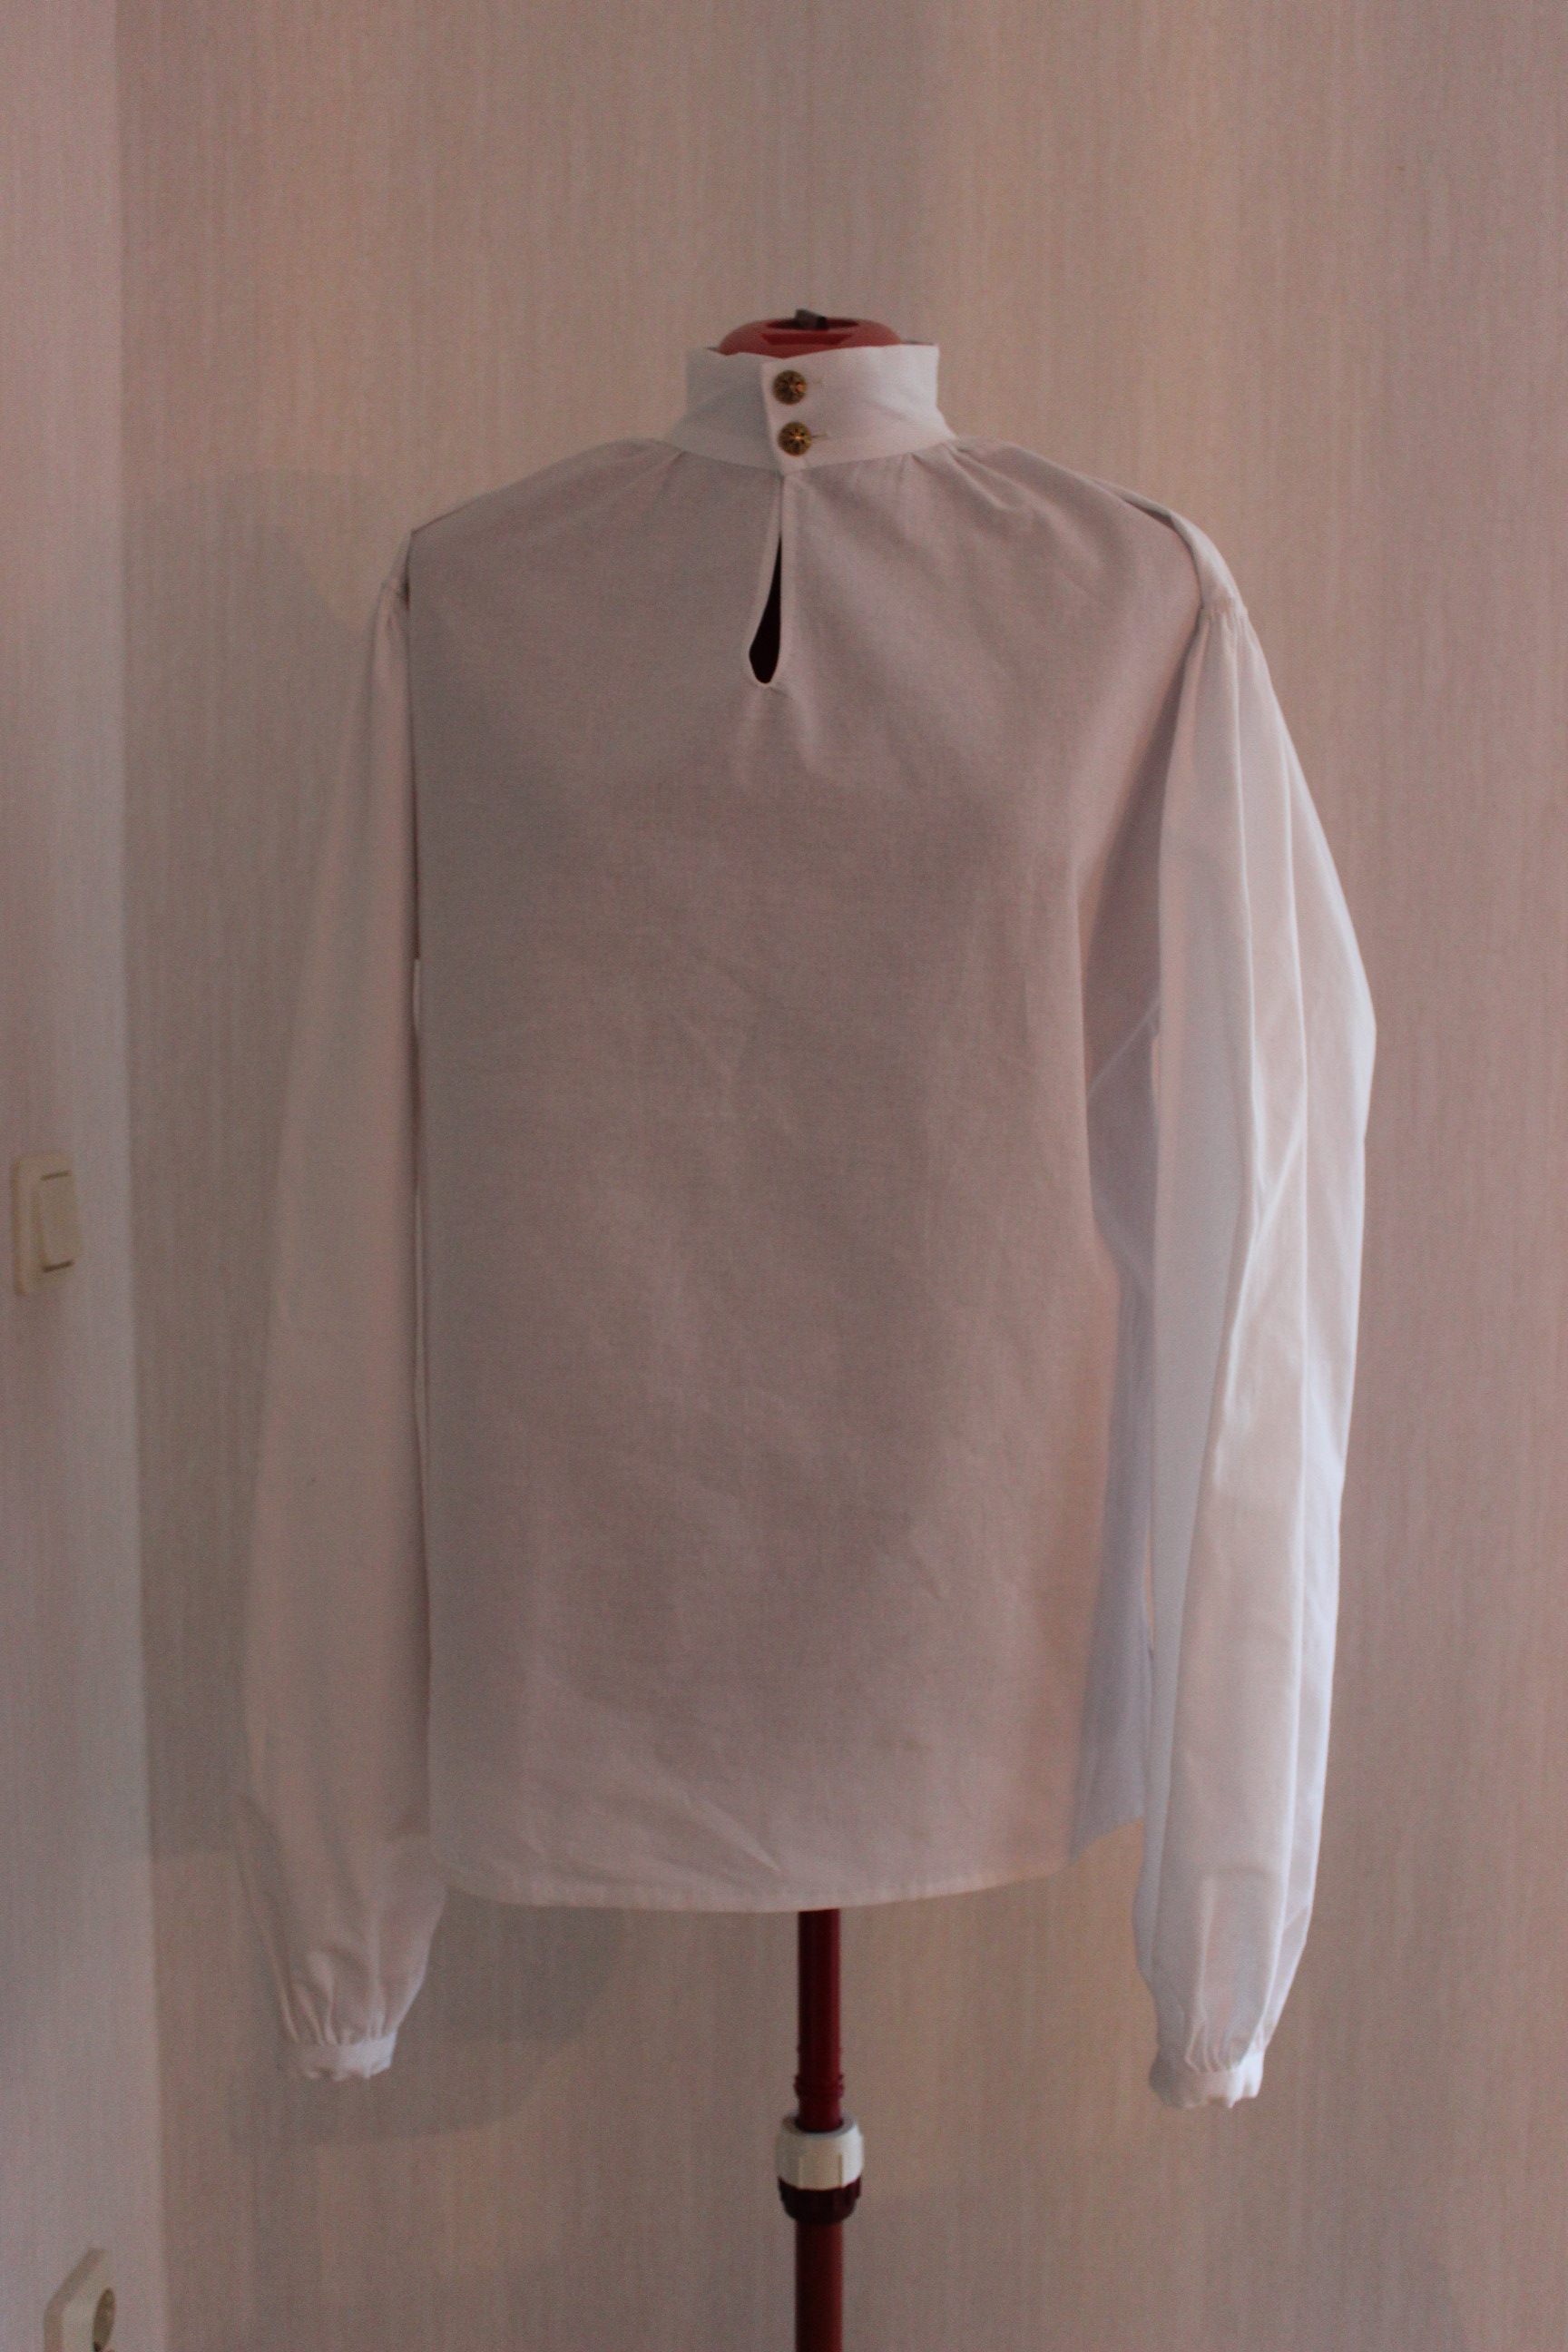
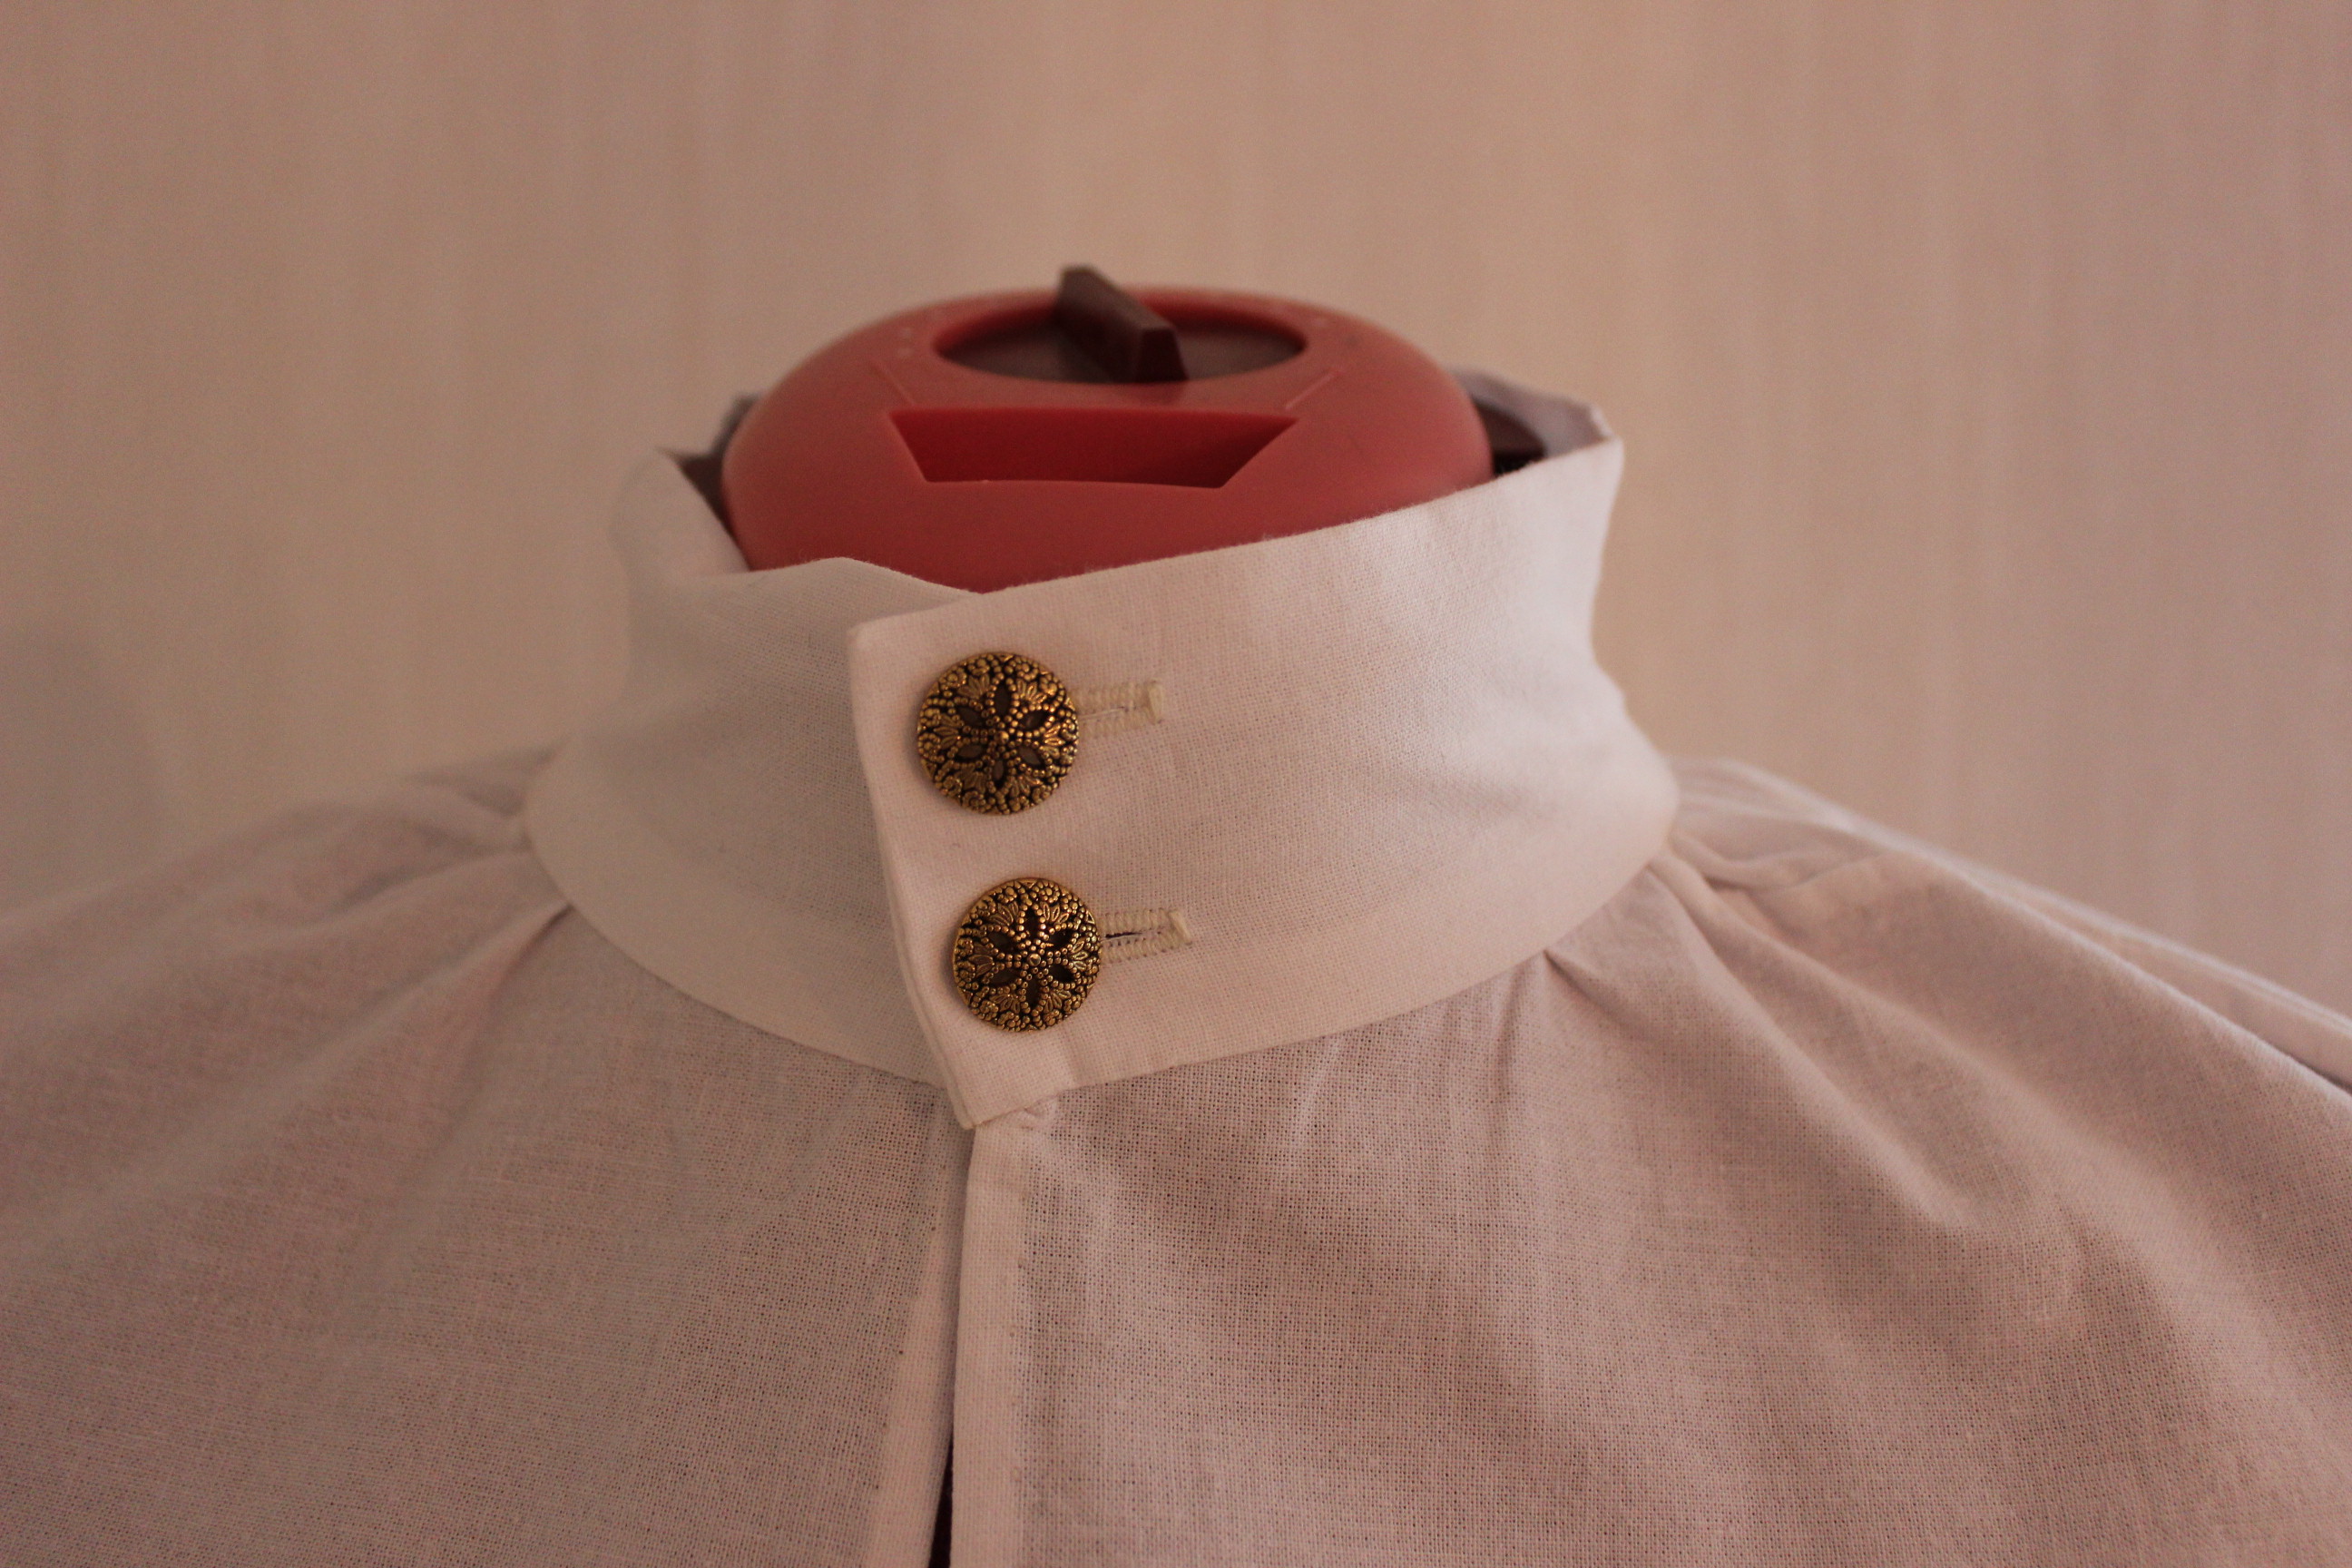
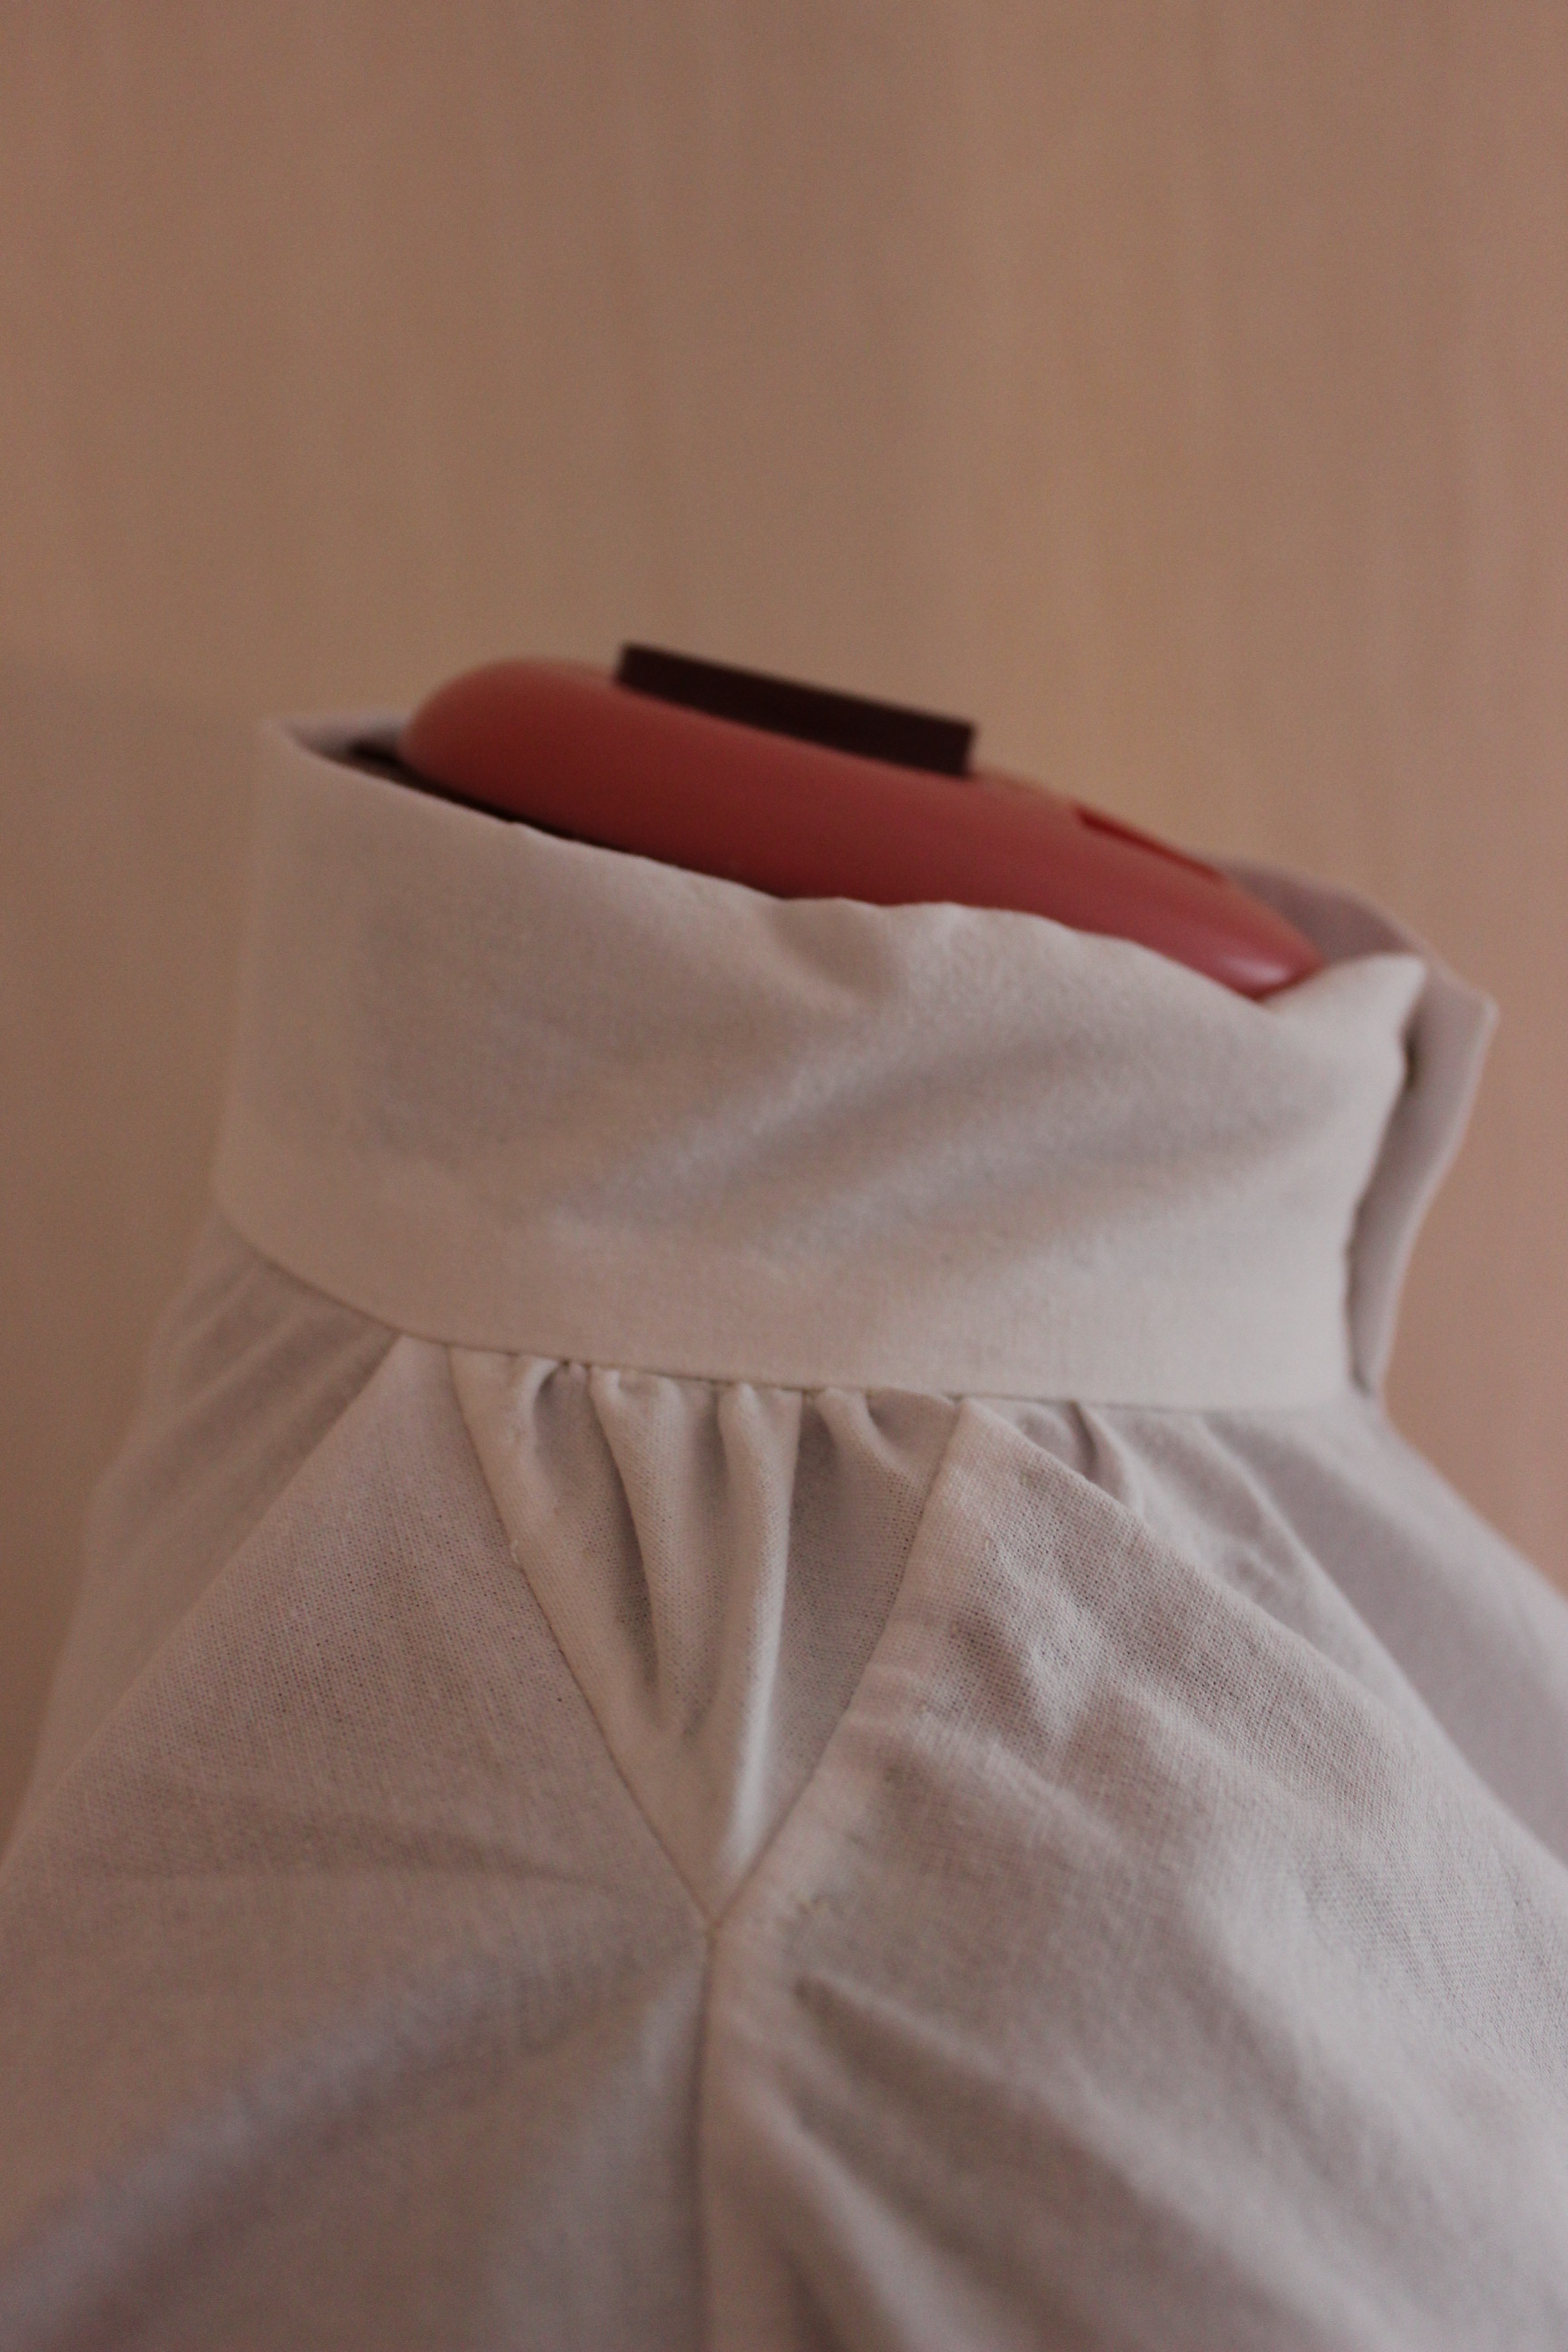
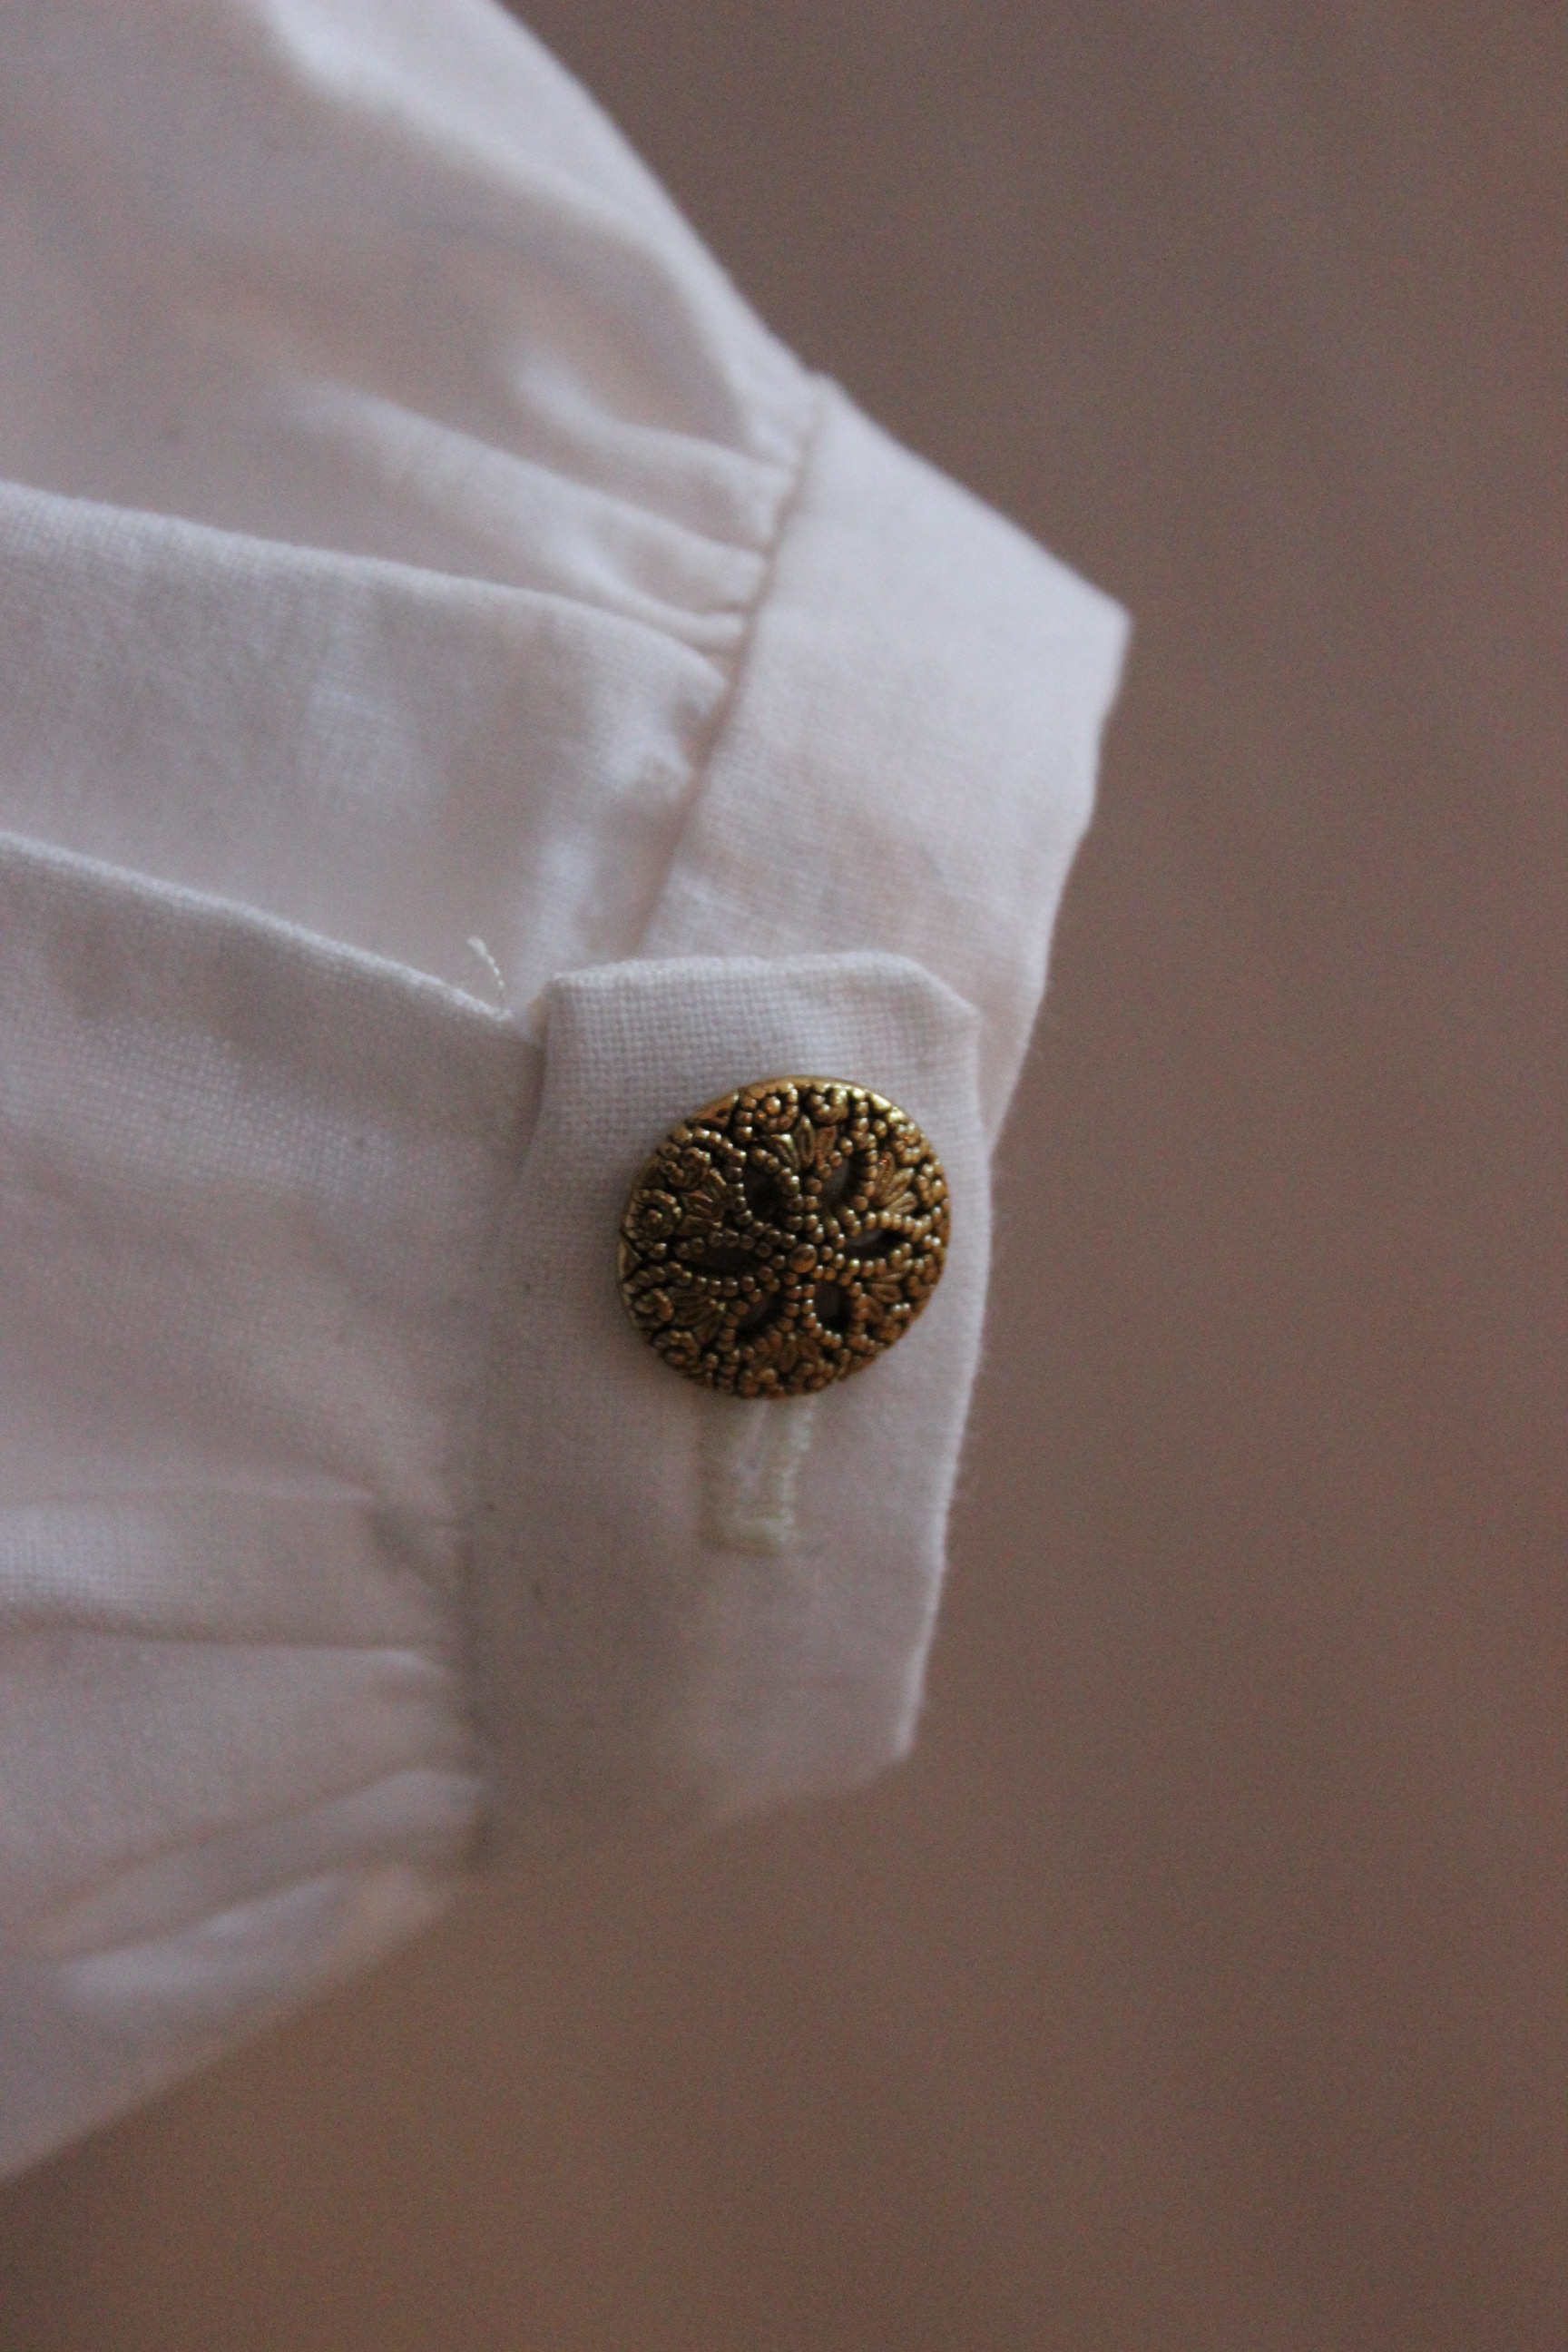
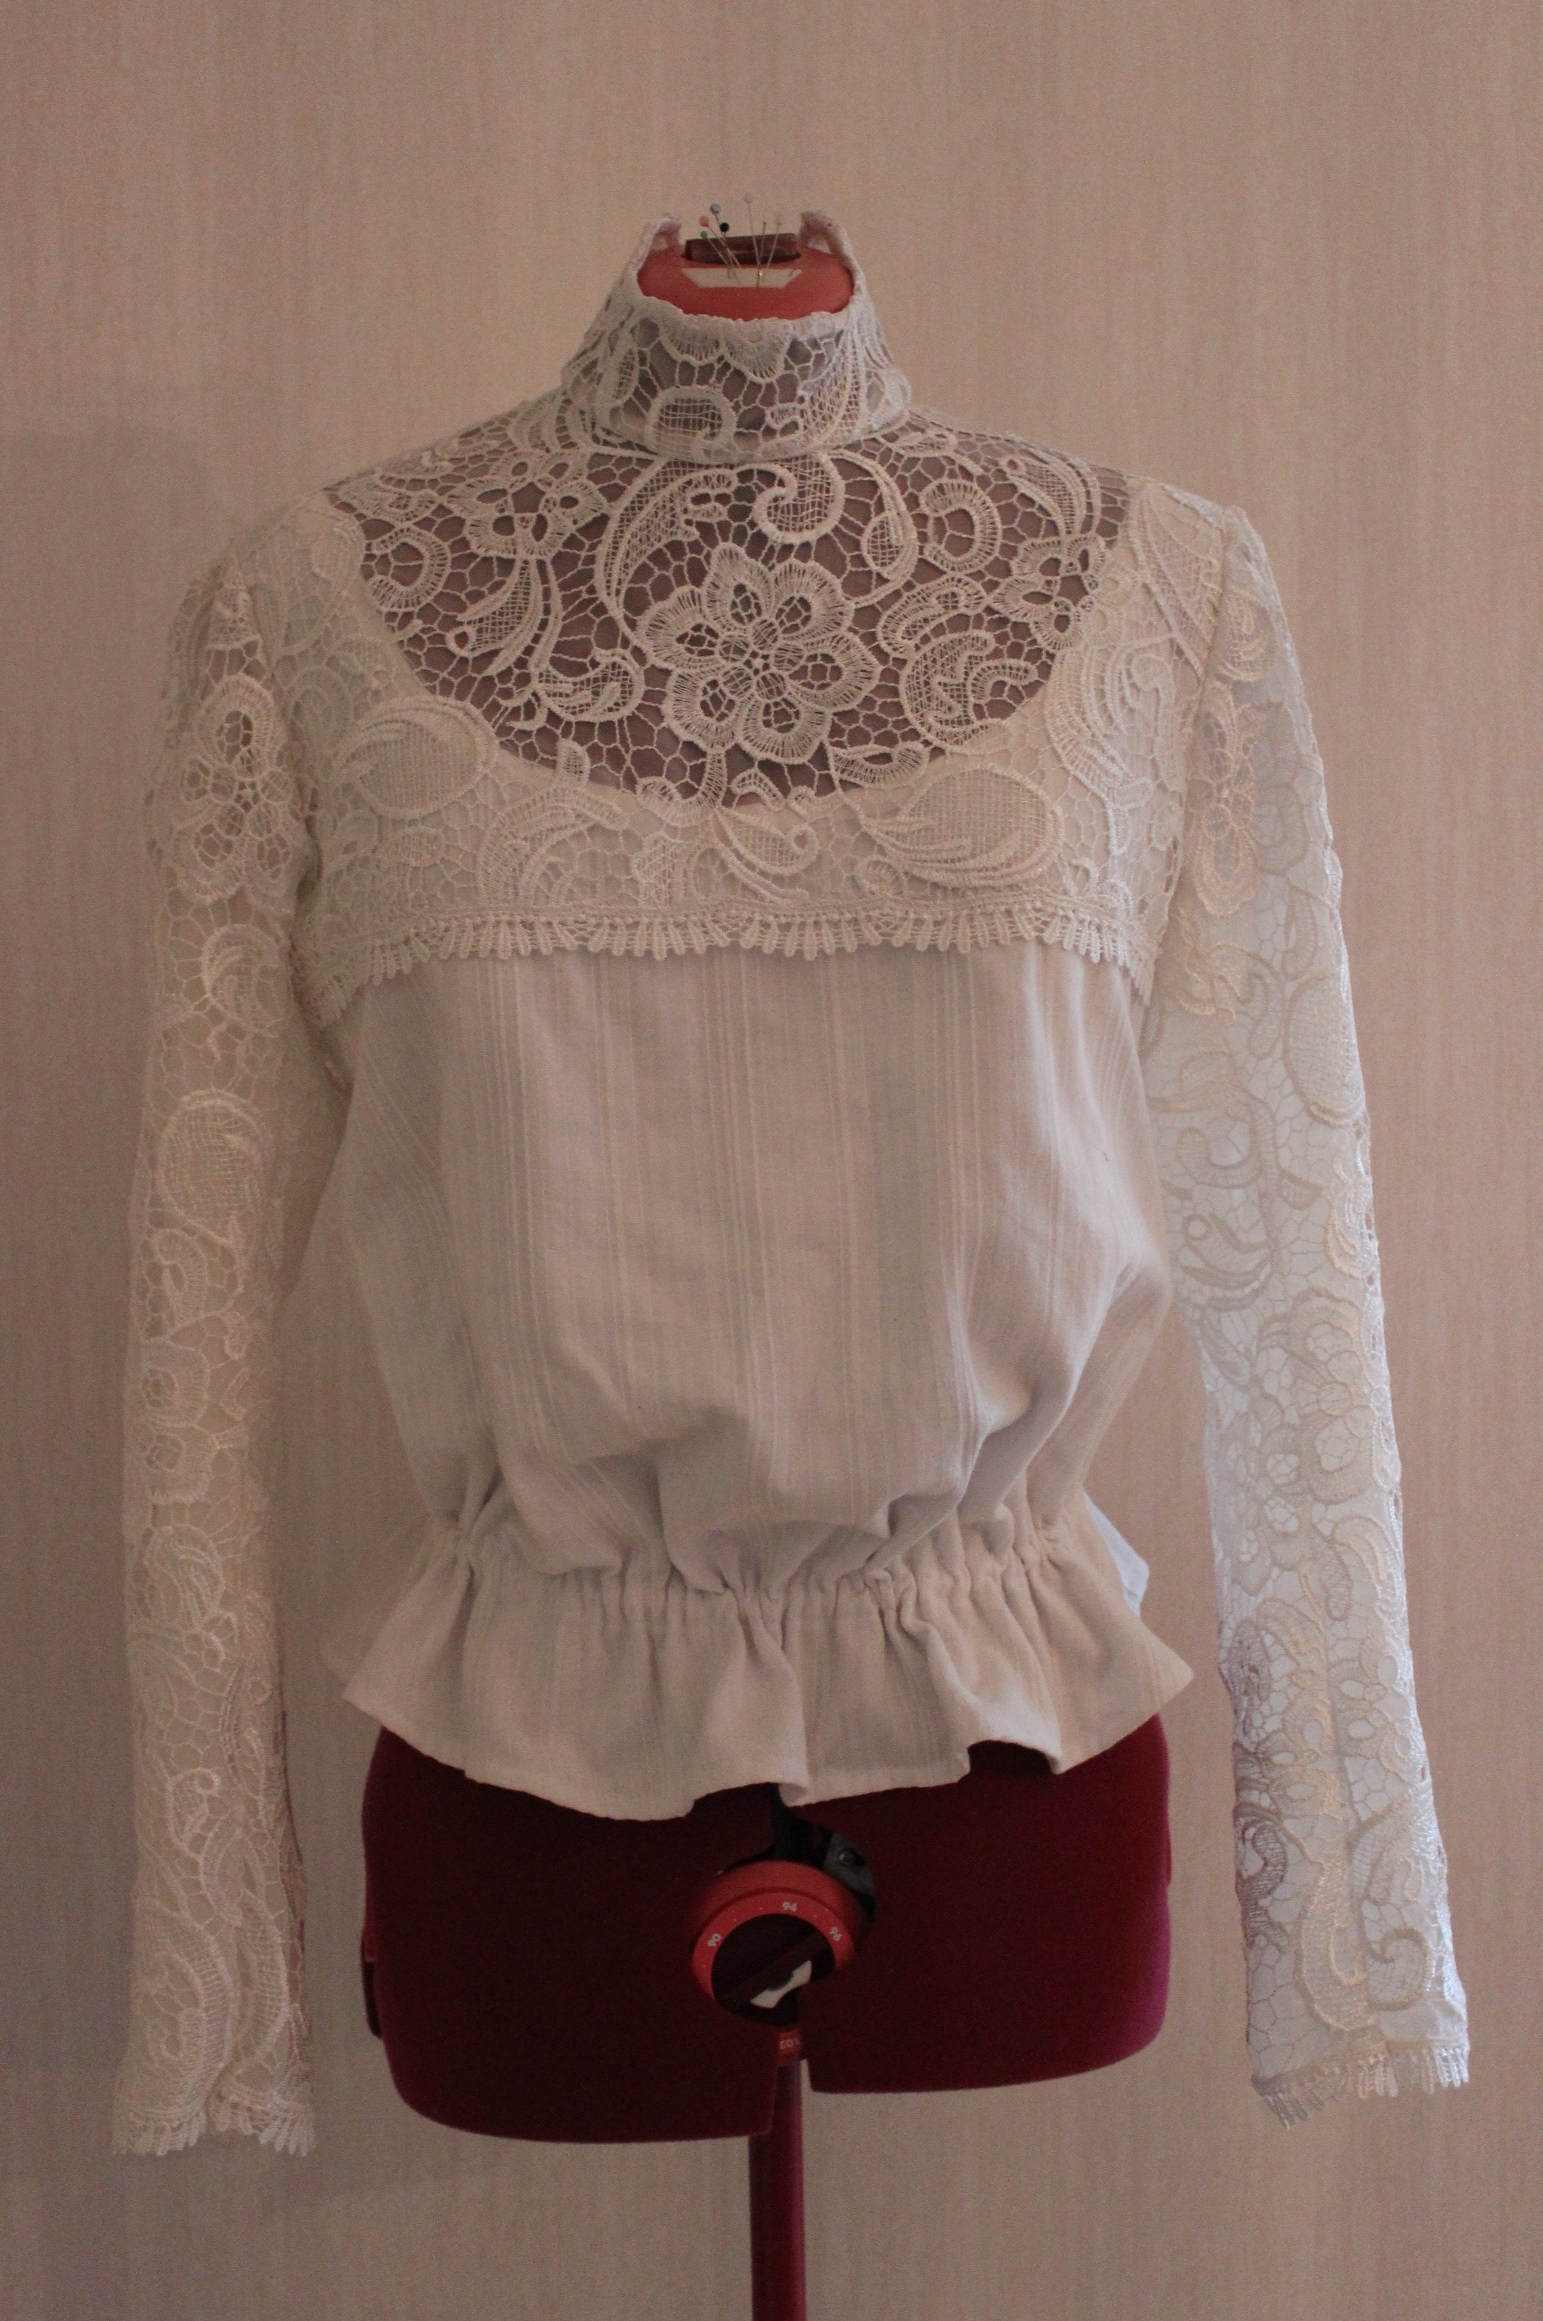
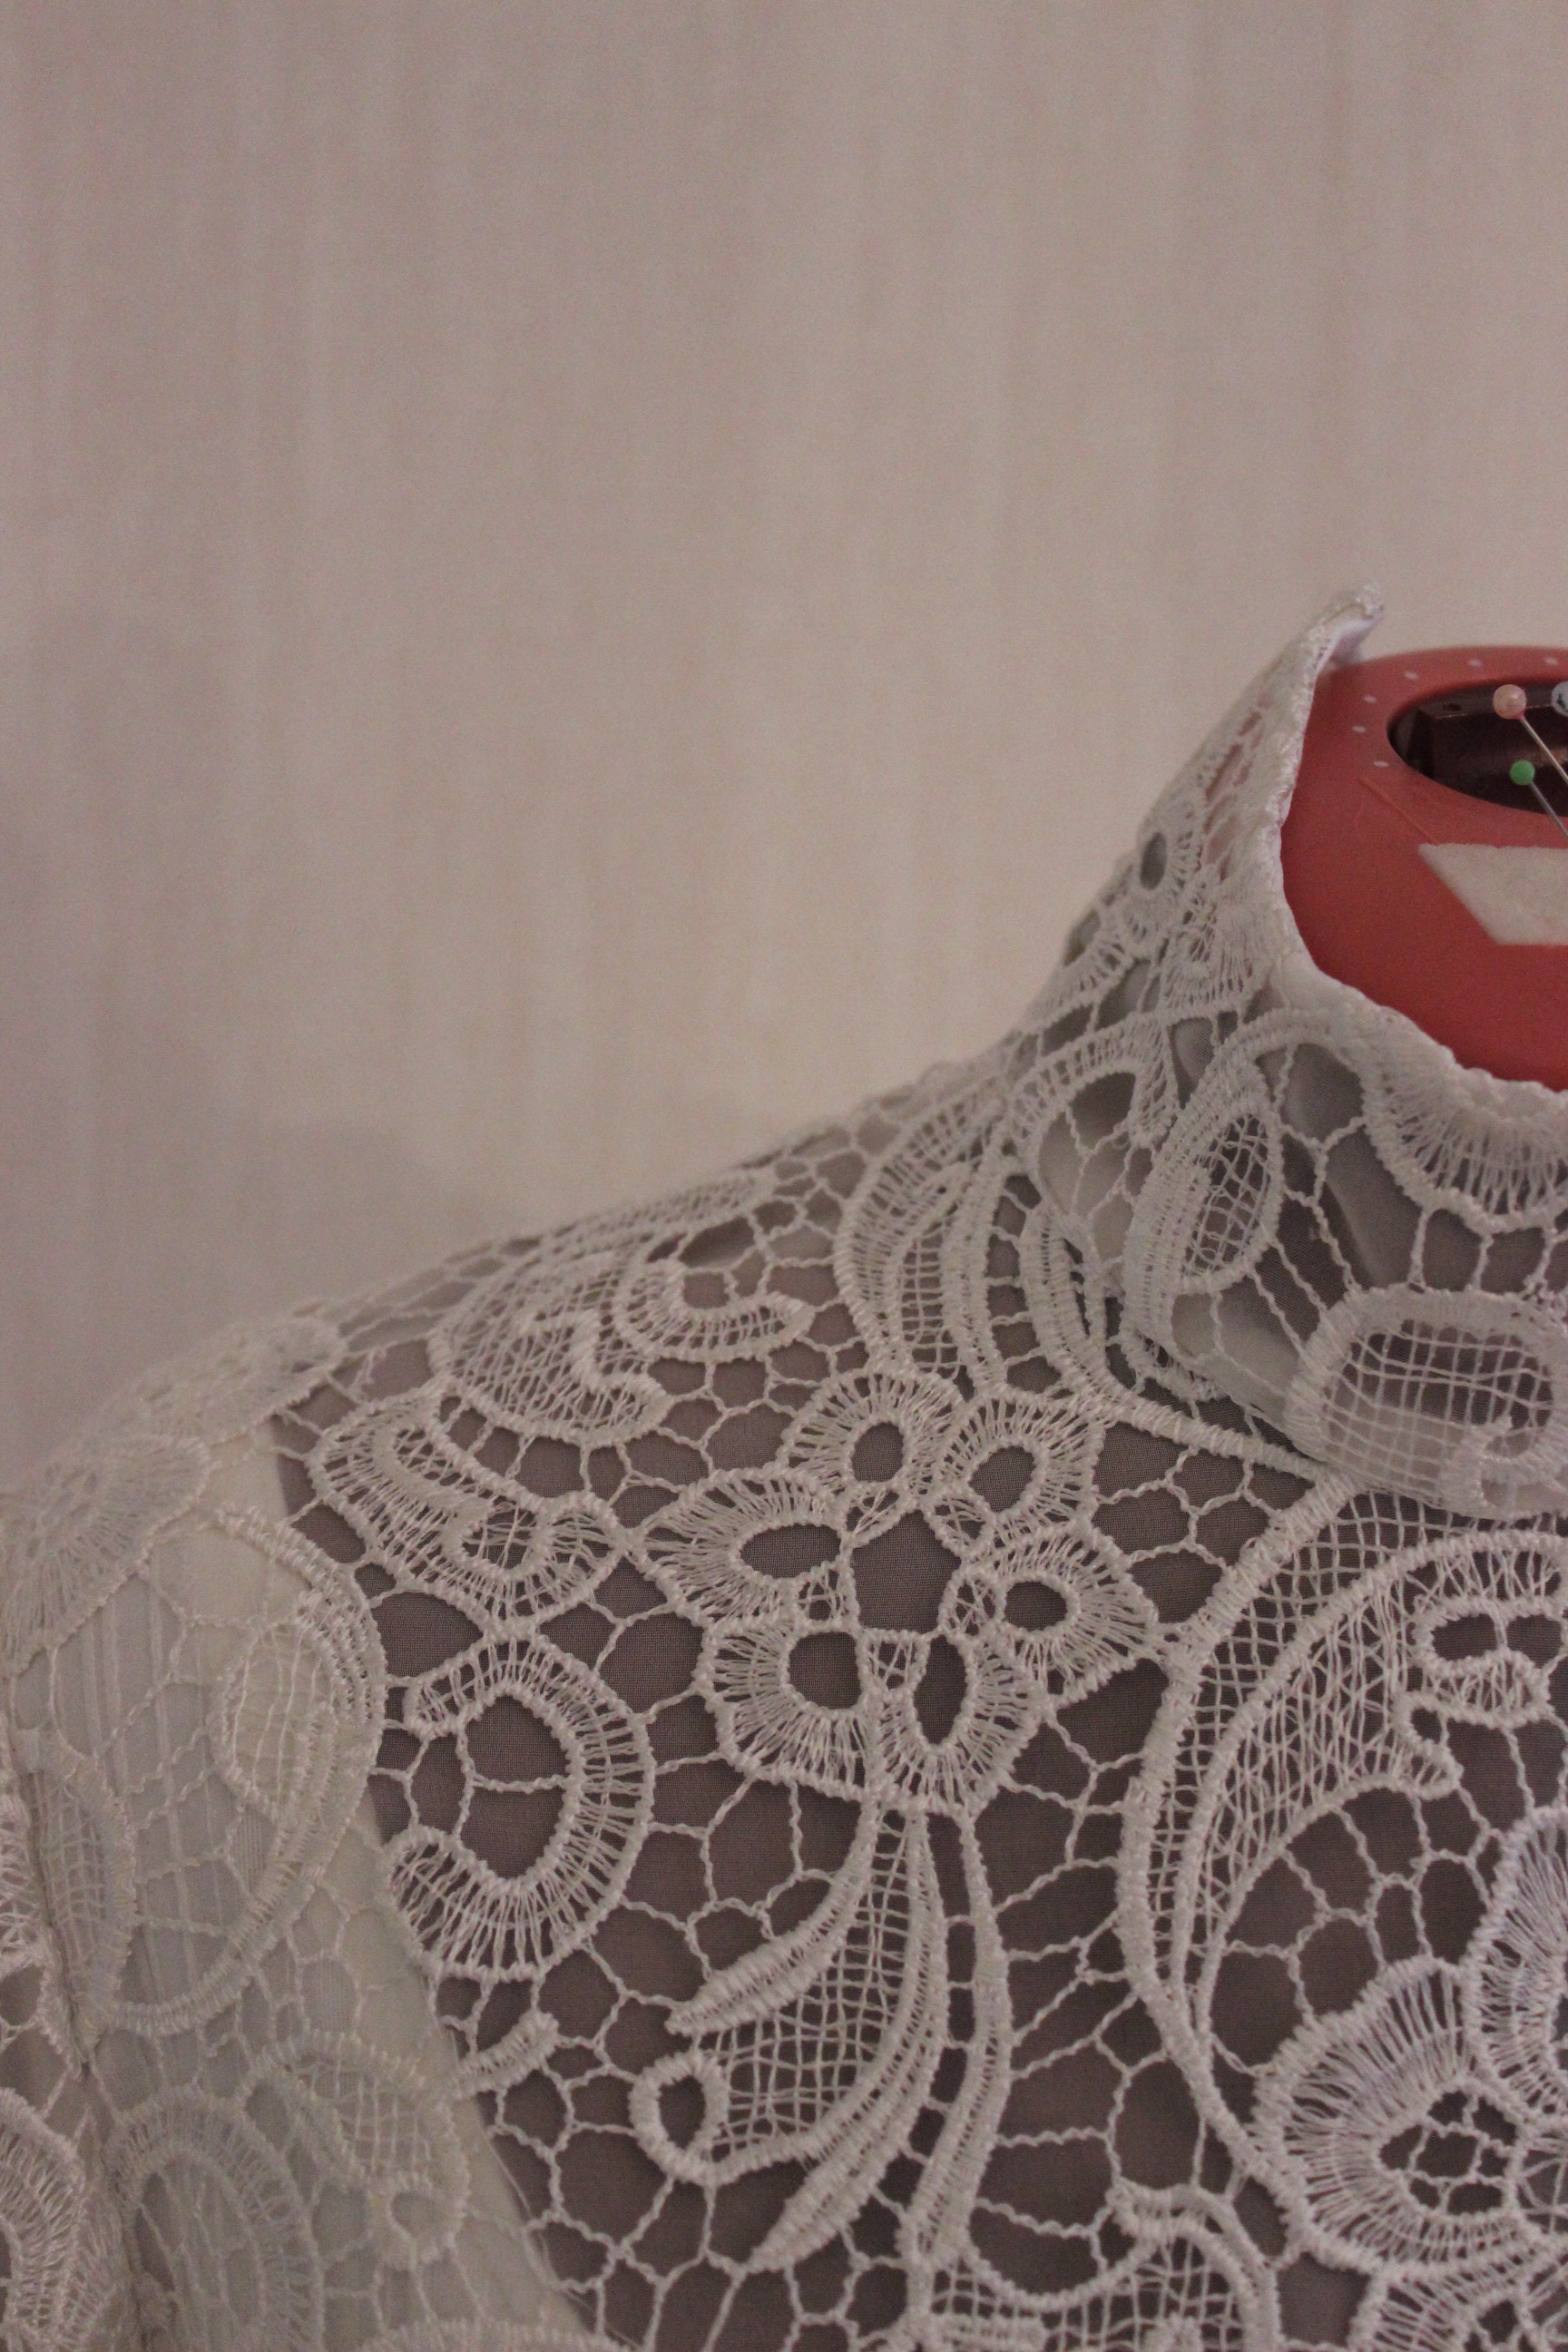
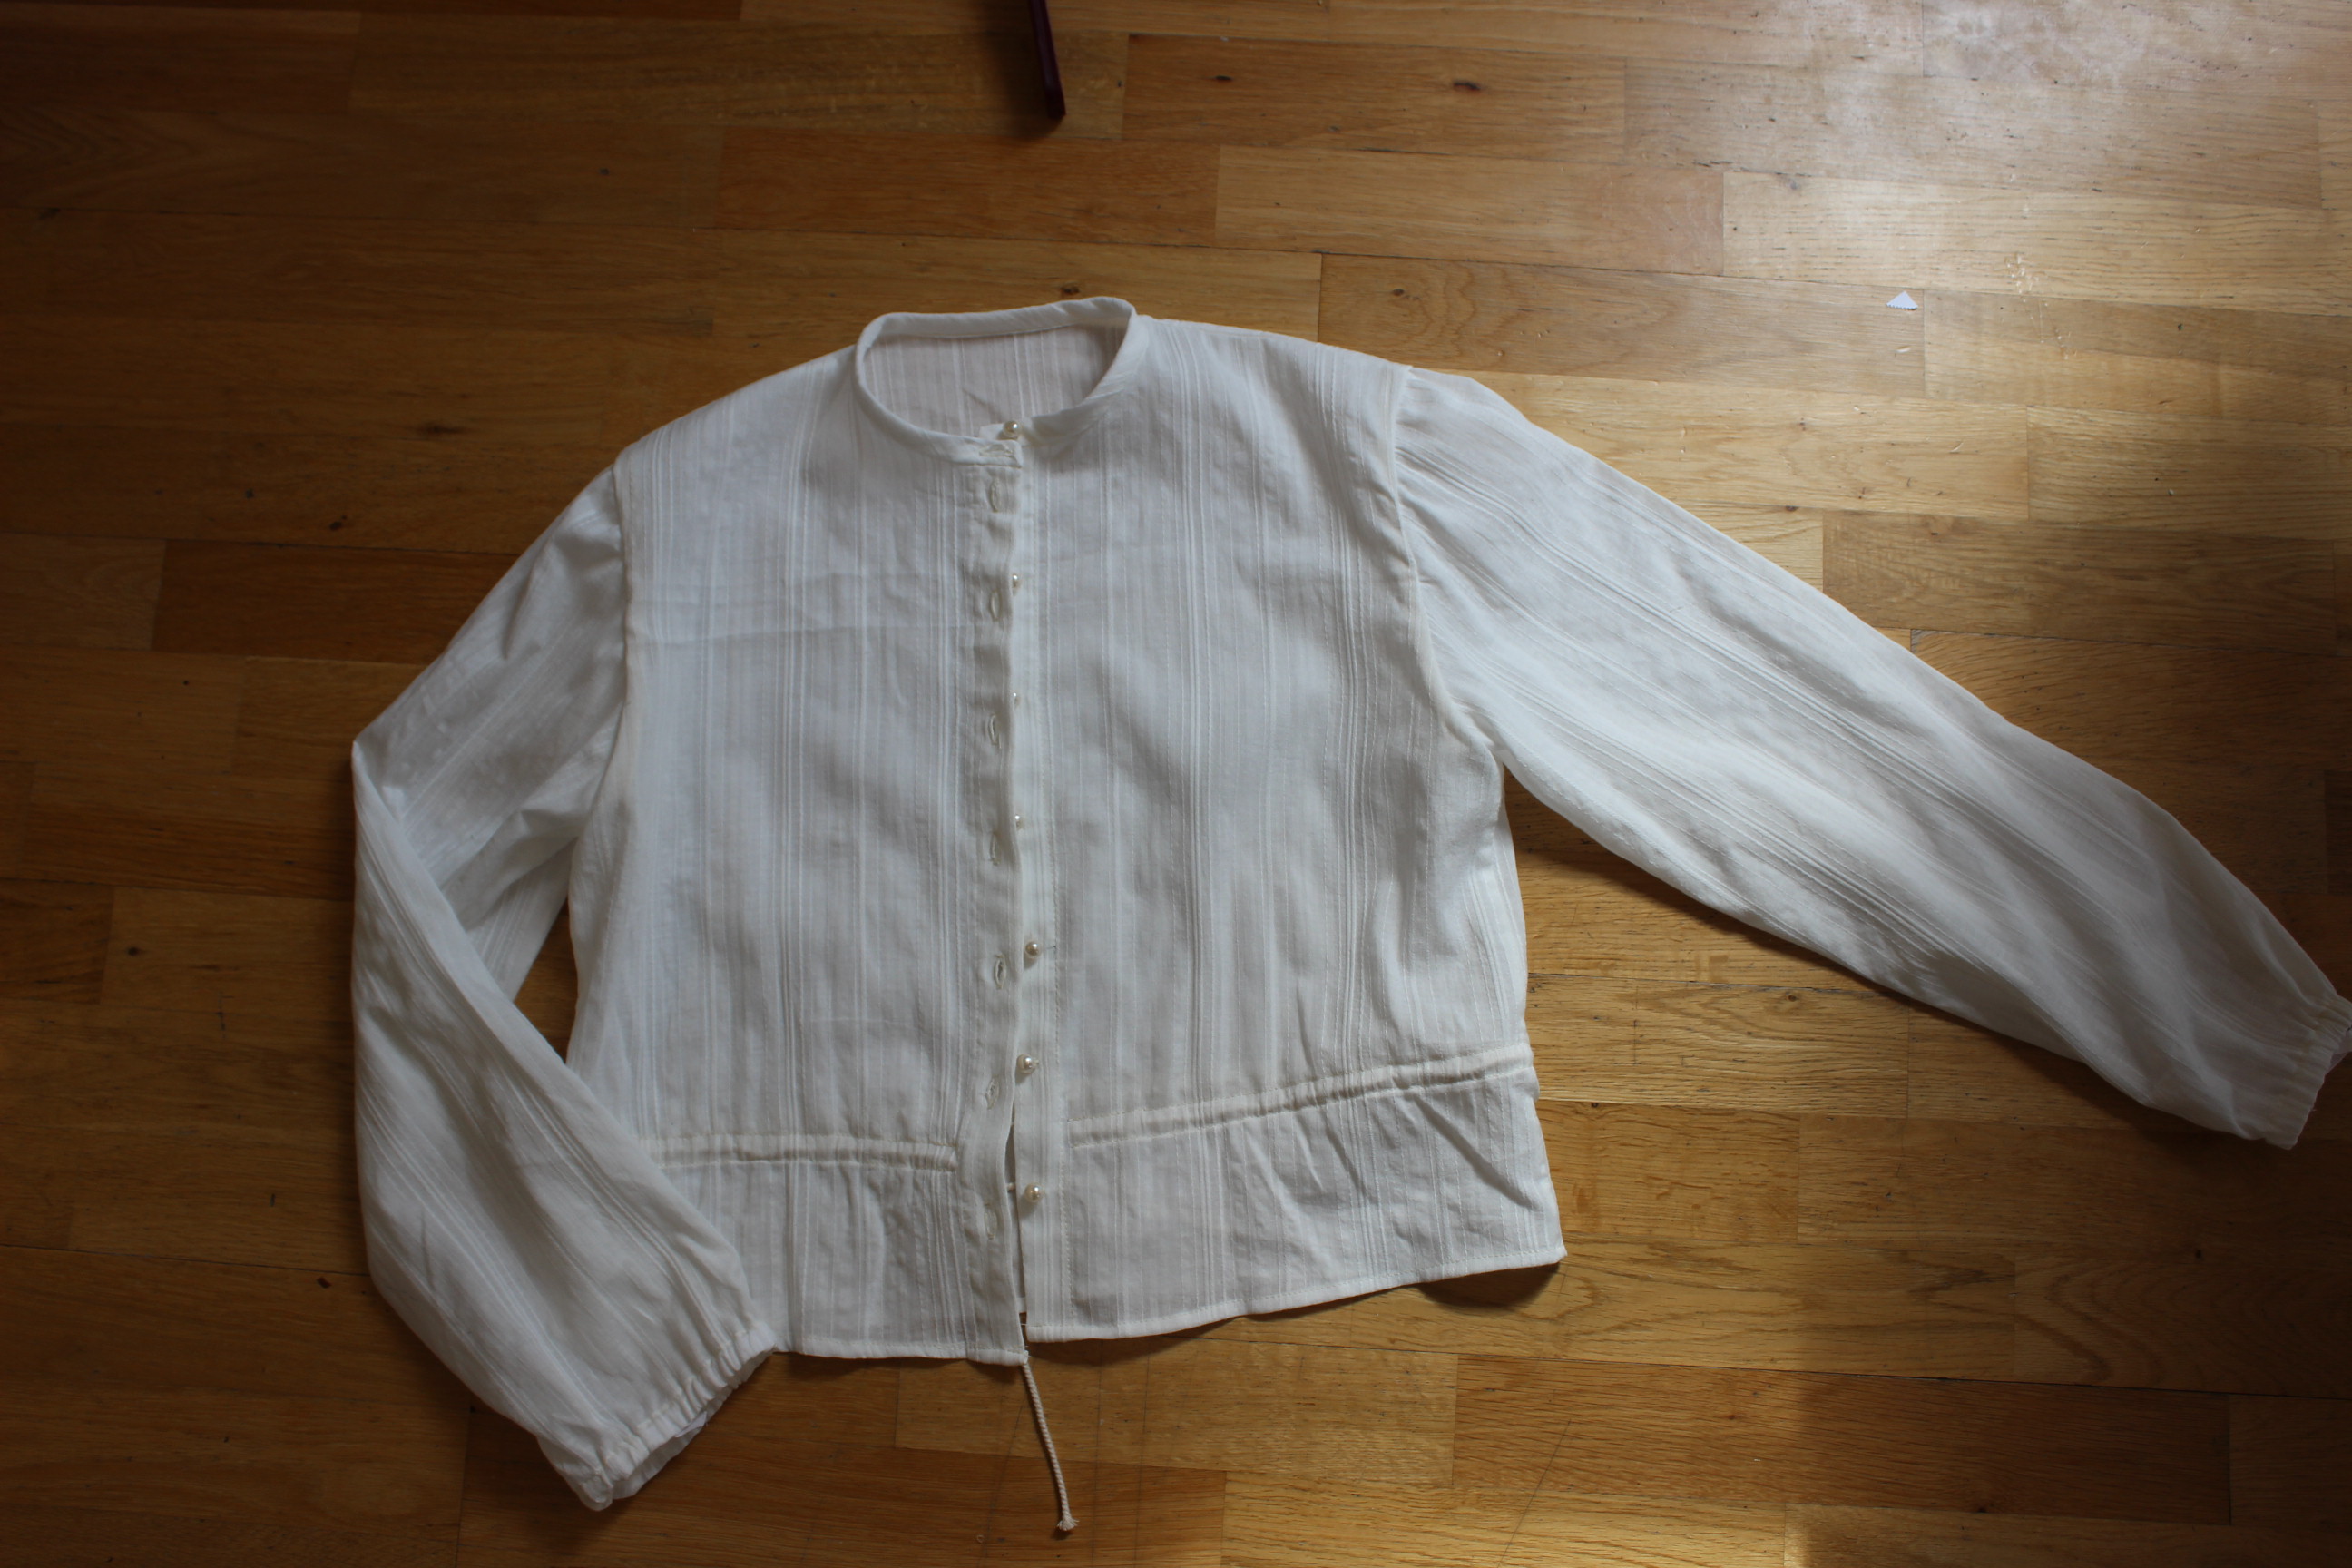
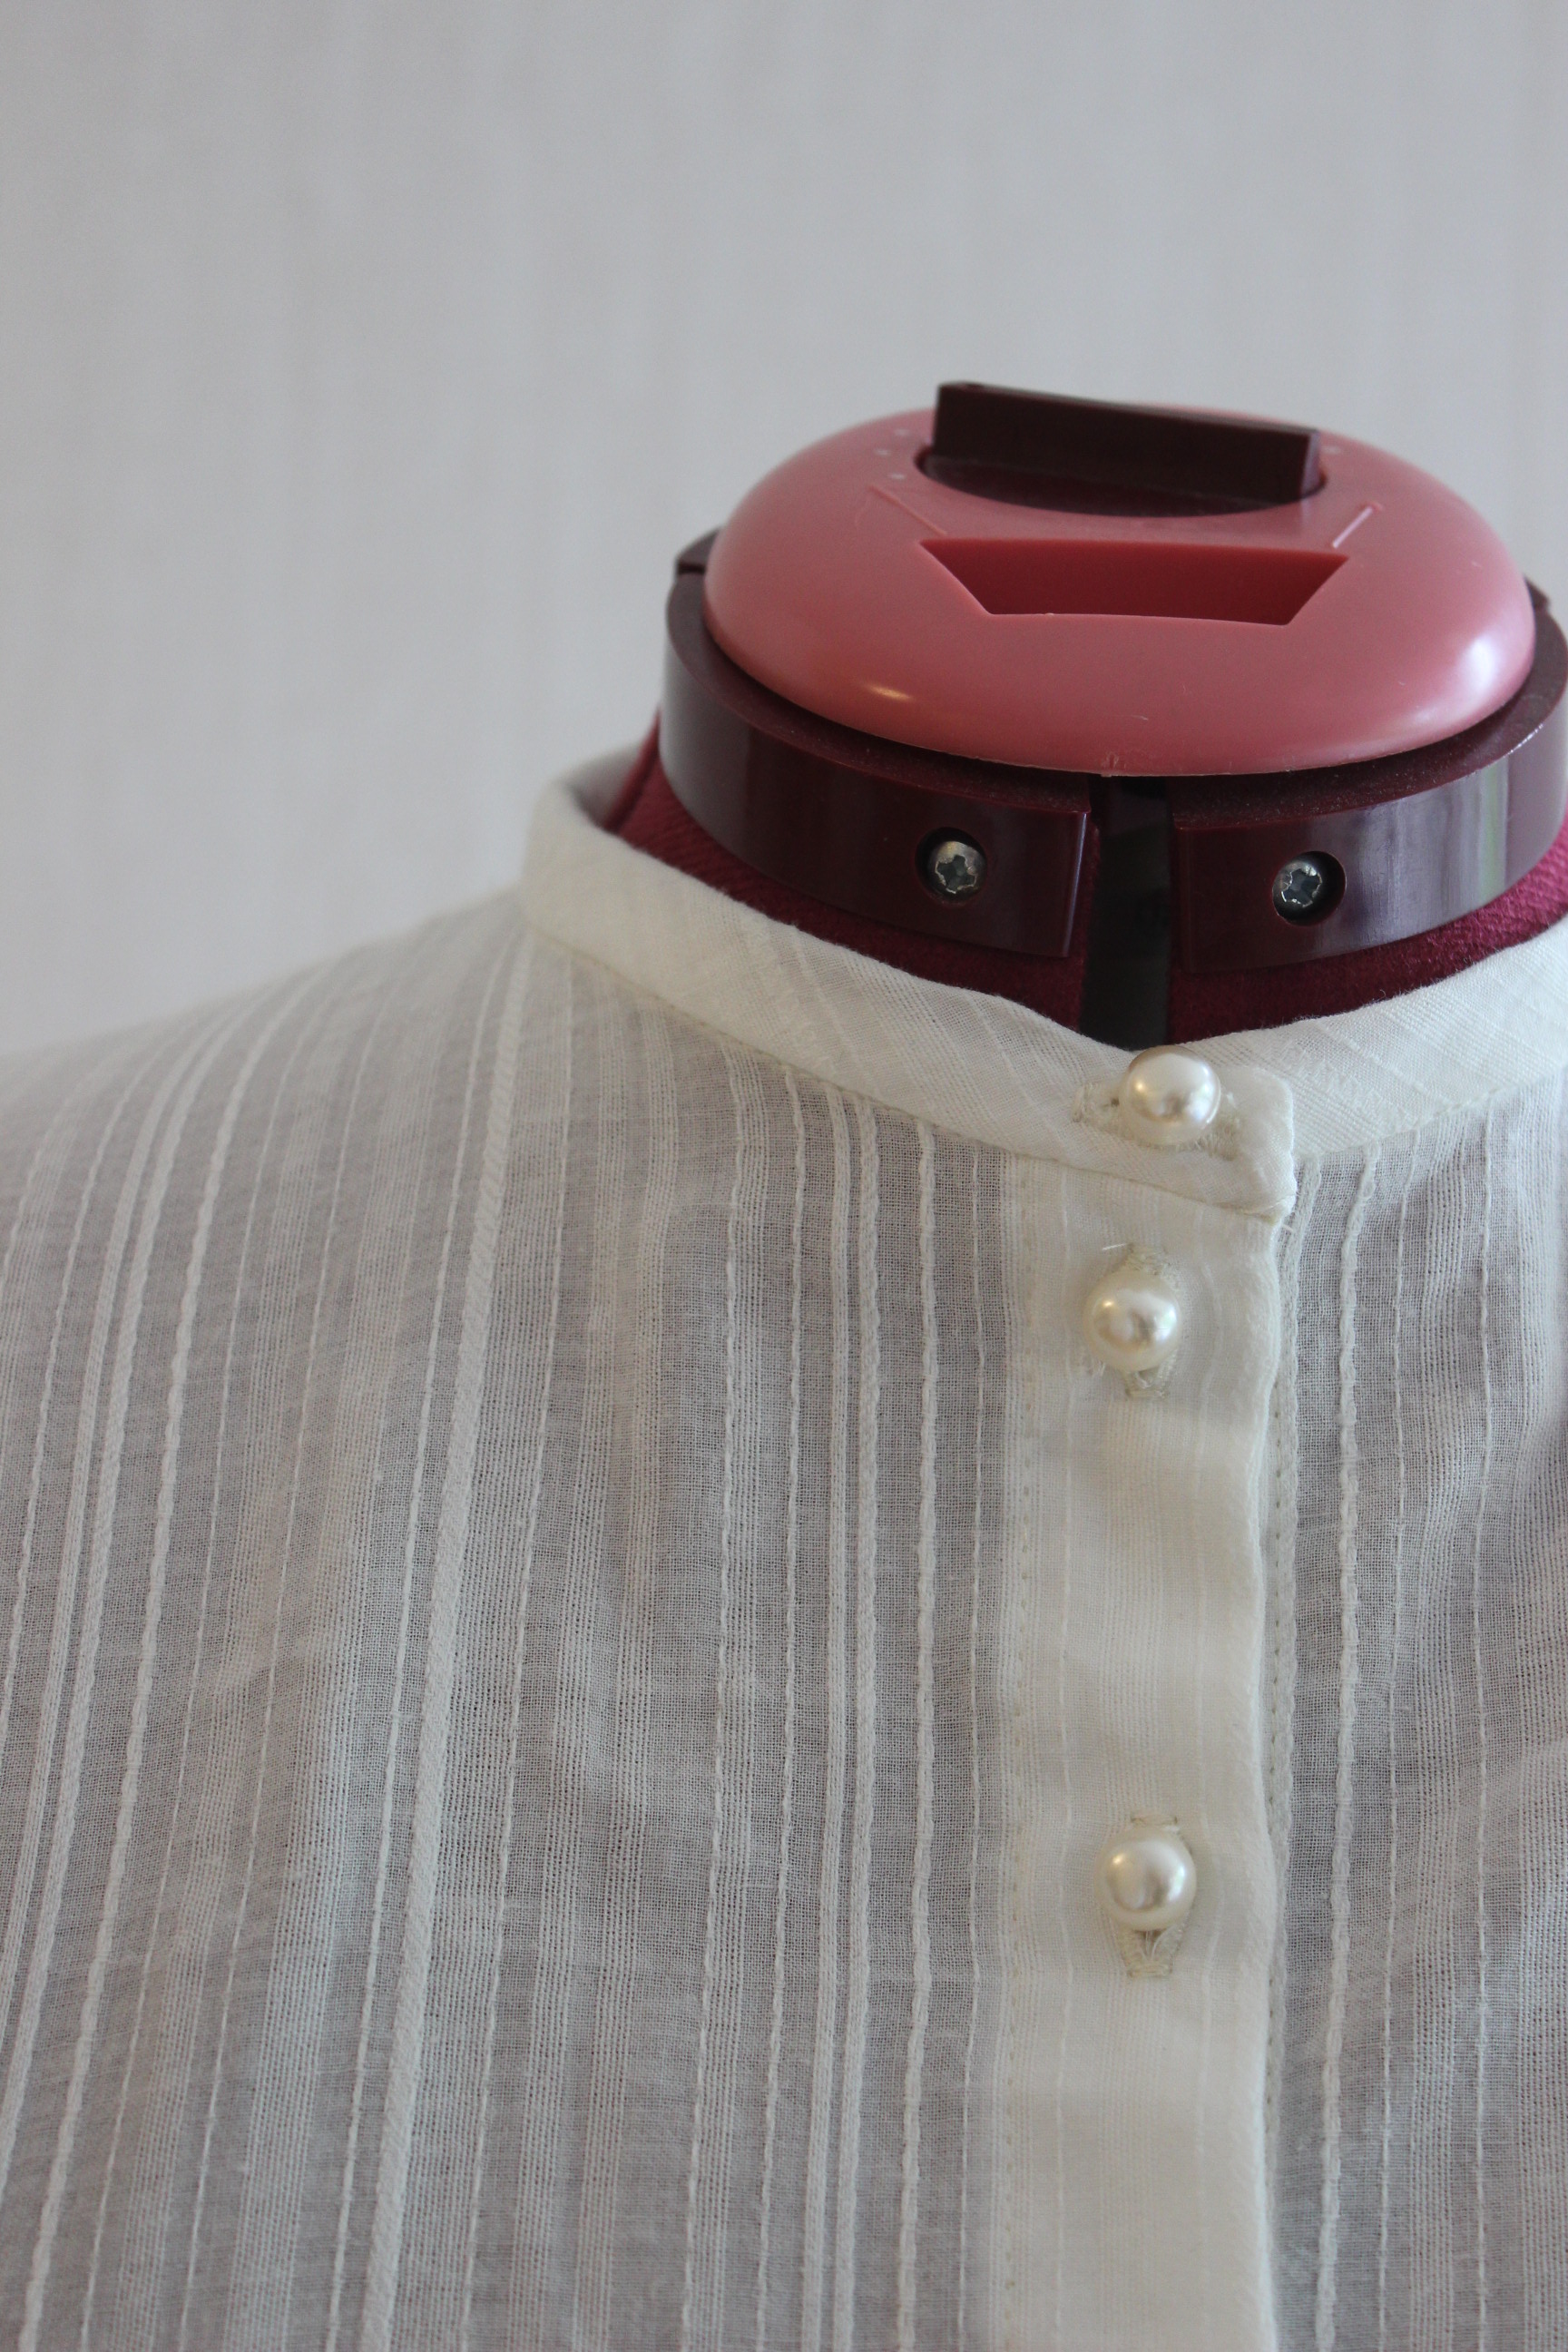
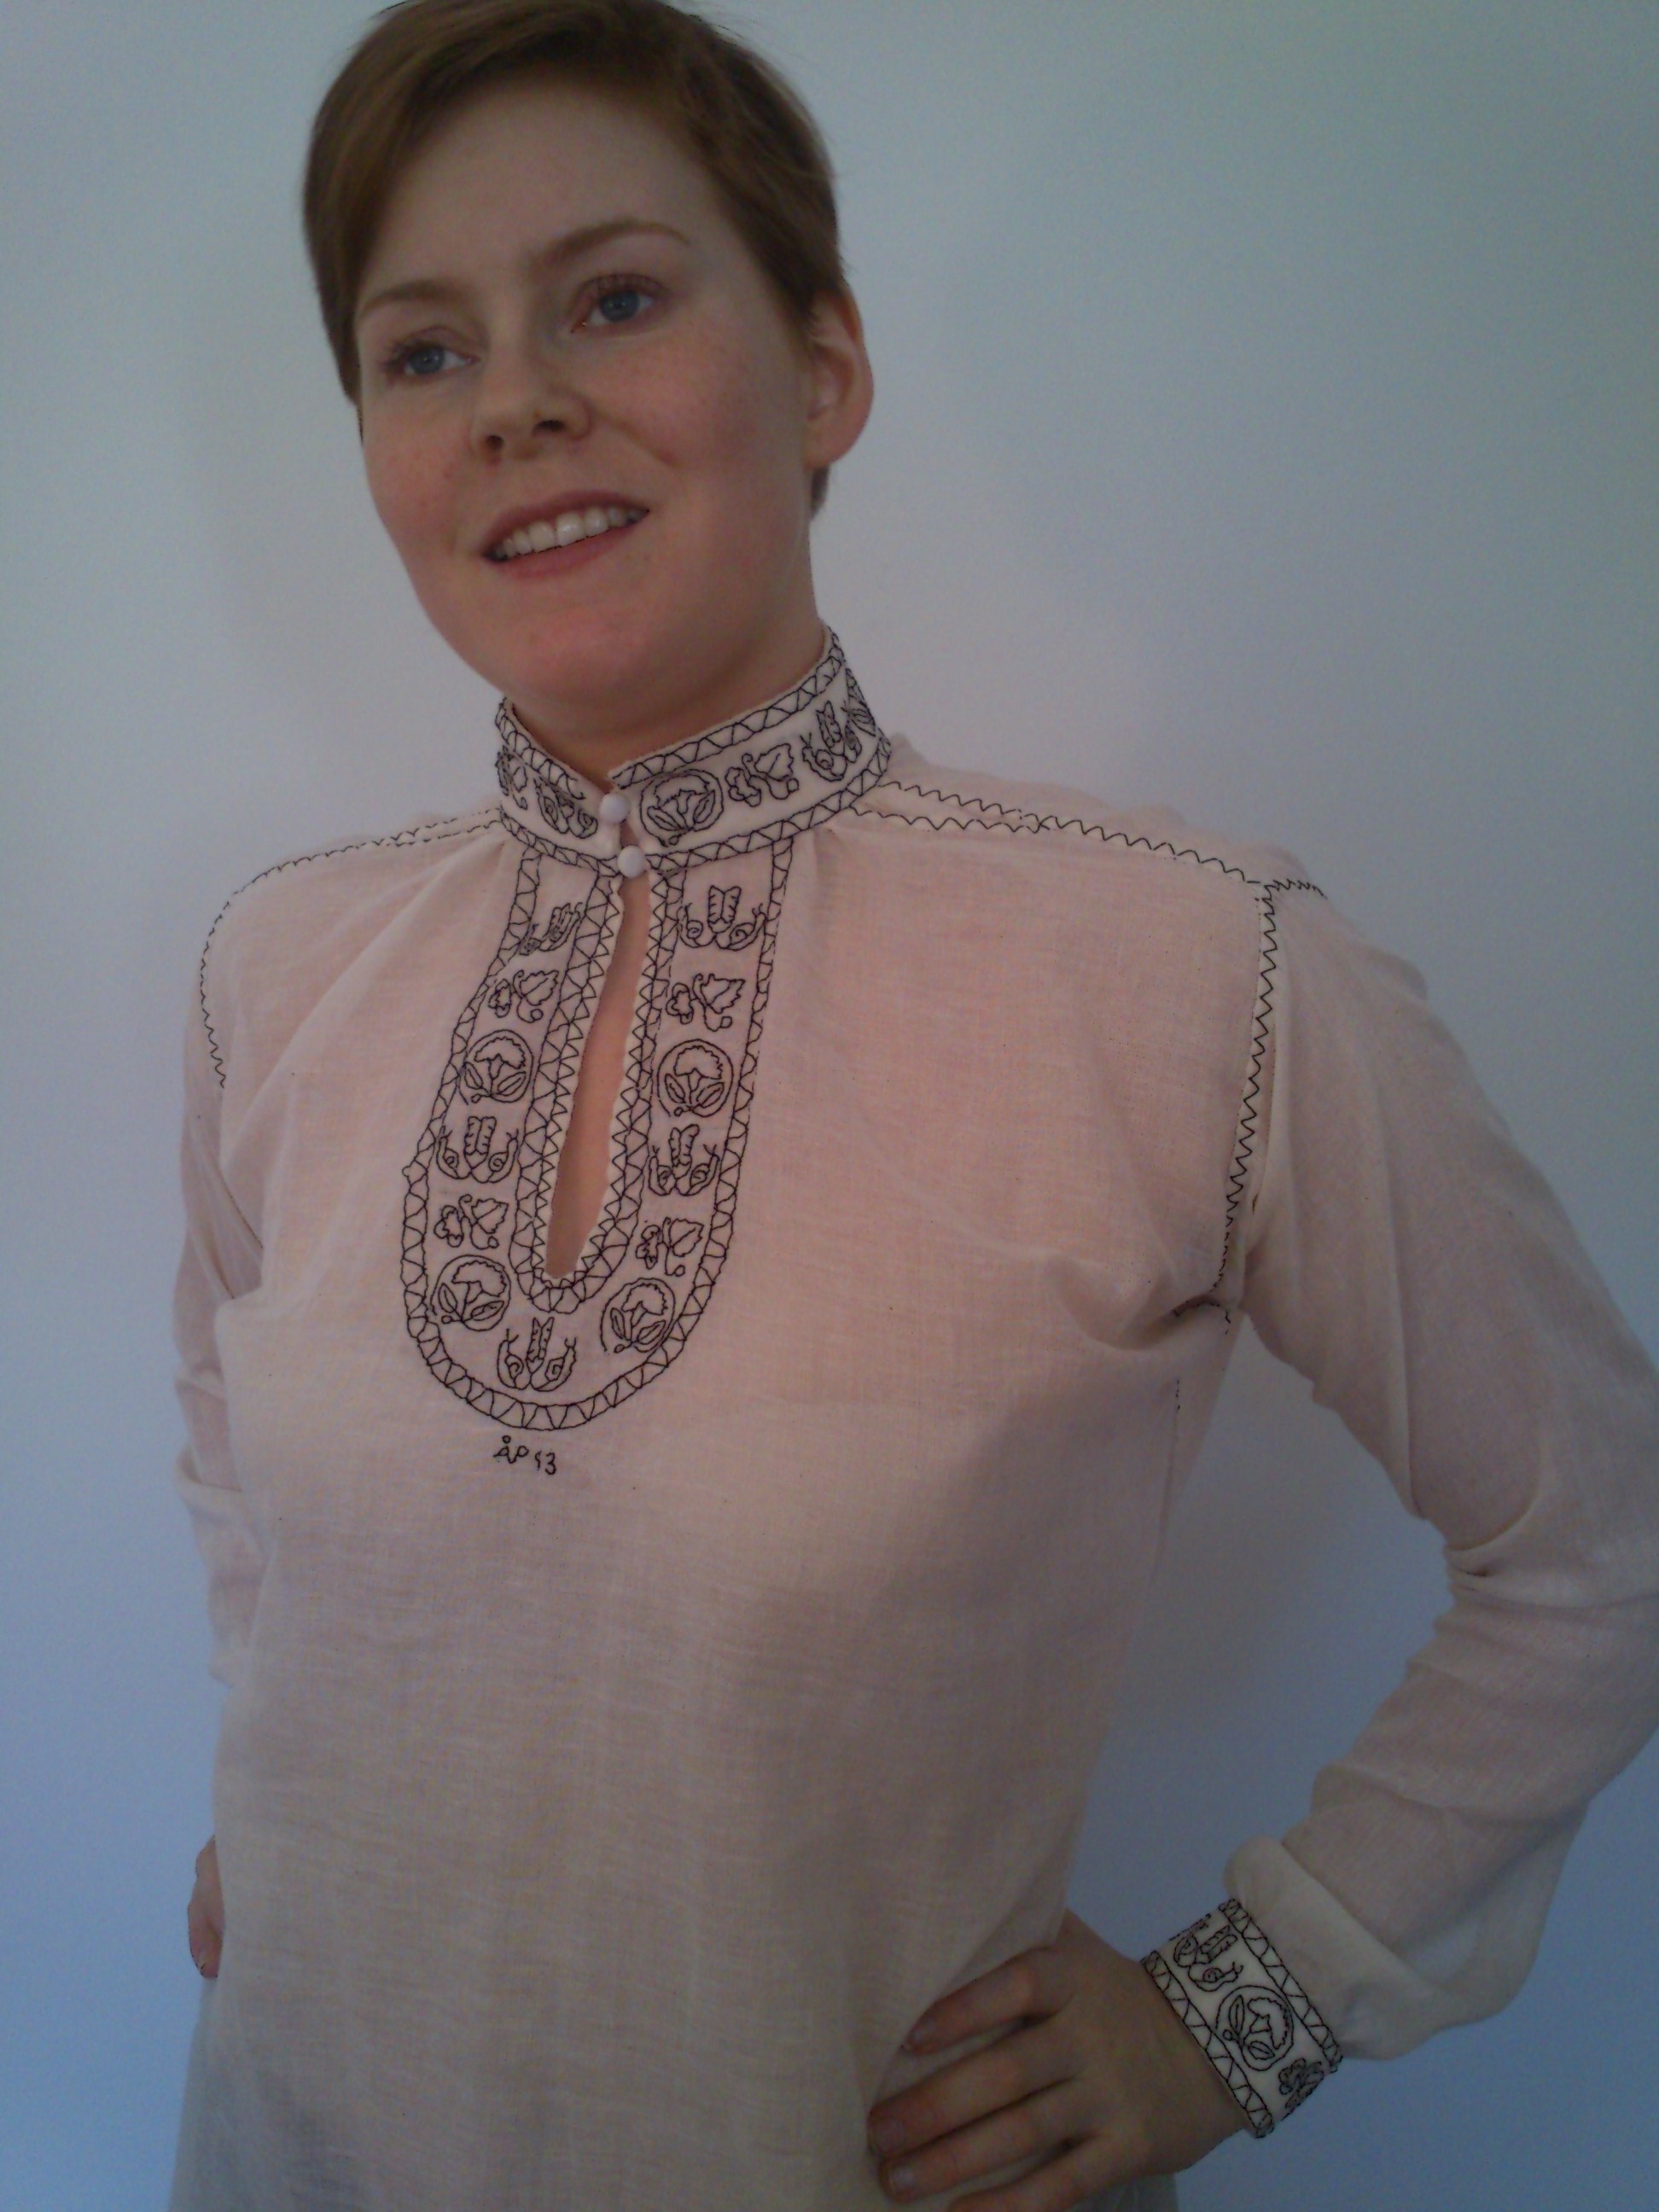
The finished Regency shirt: img_0873

img_0878
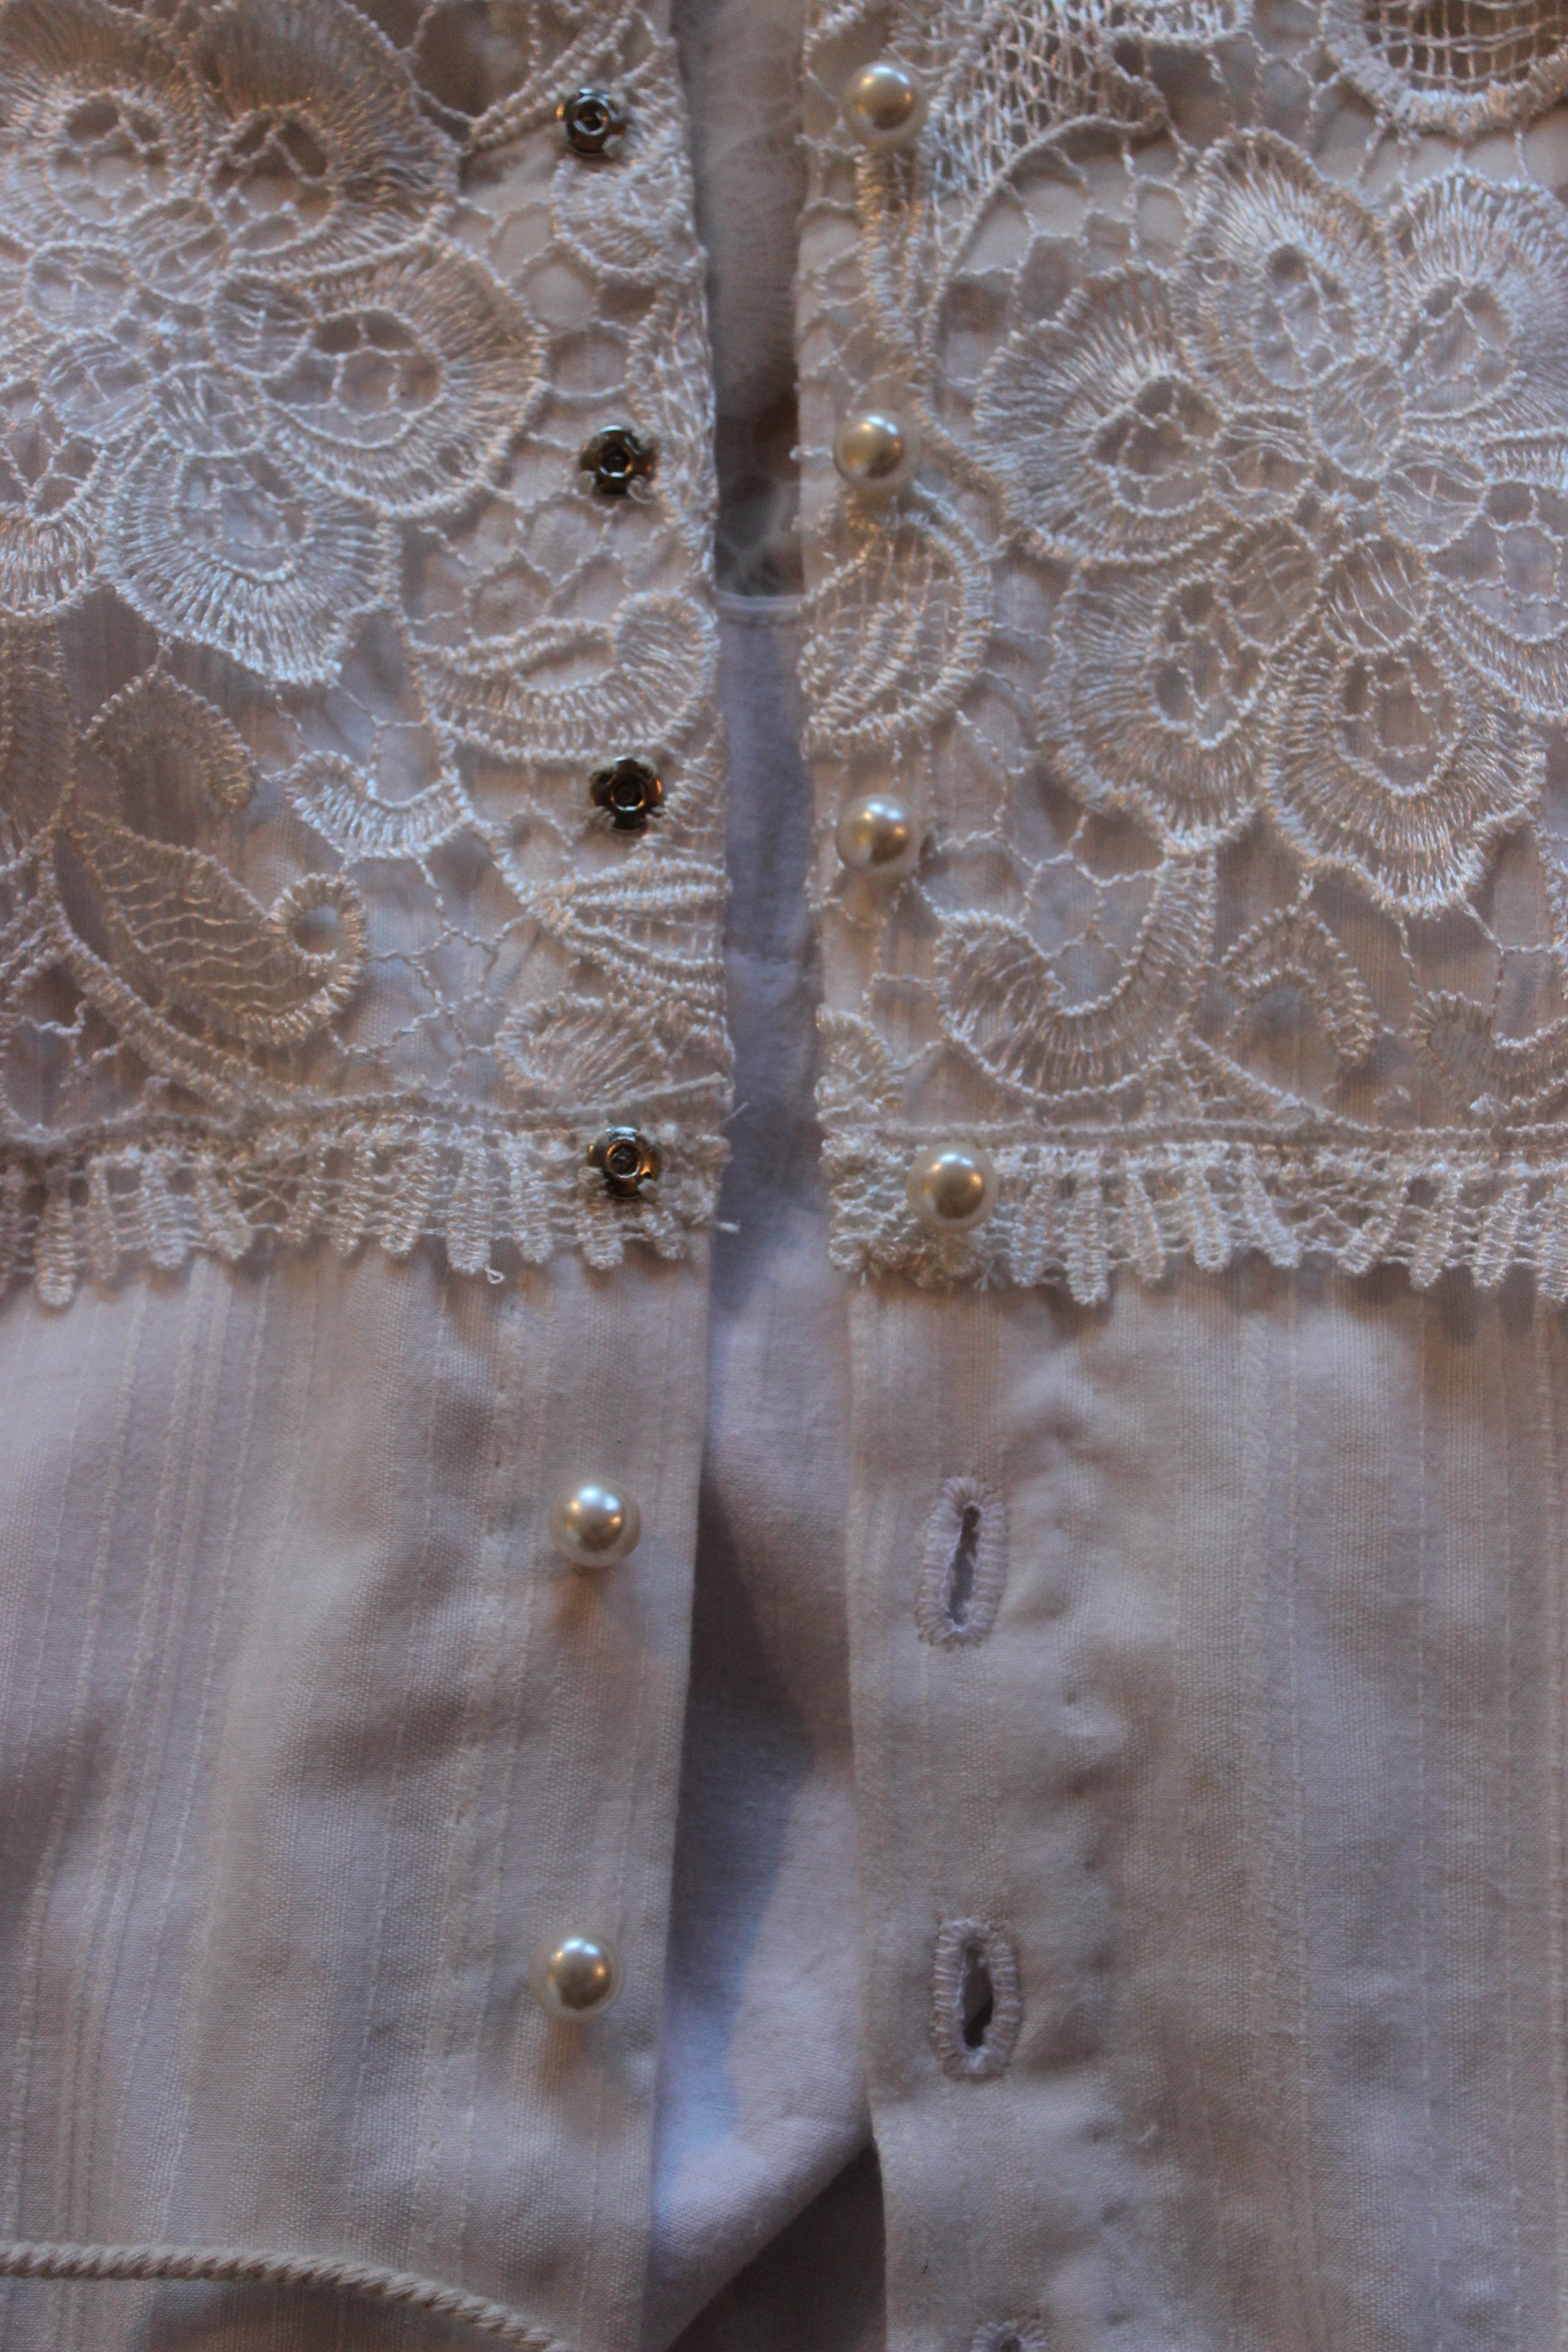
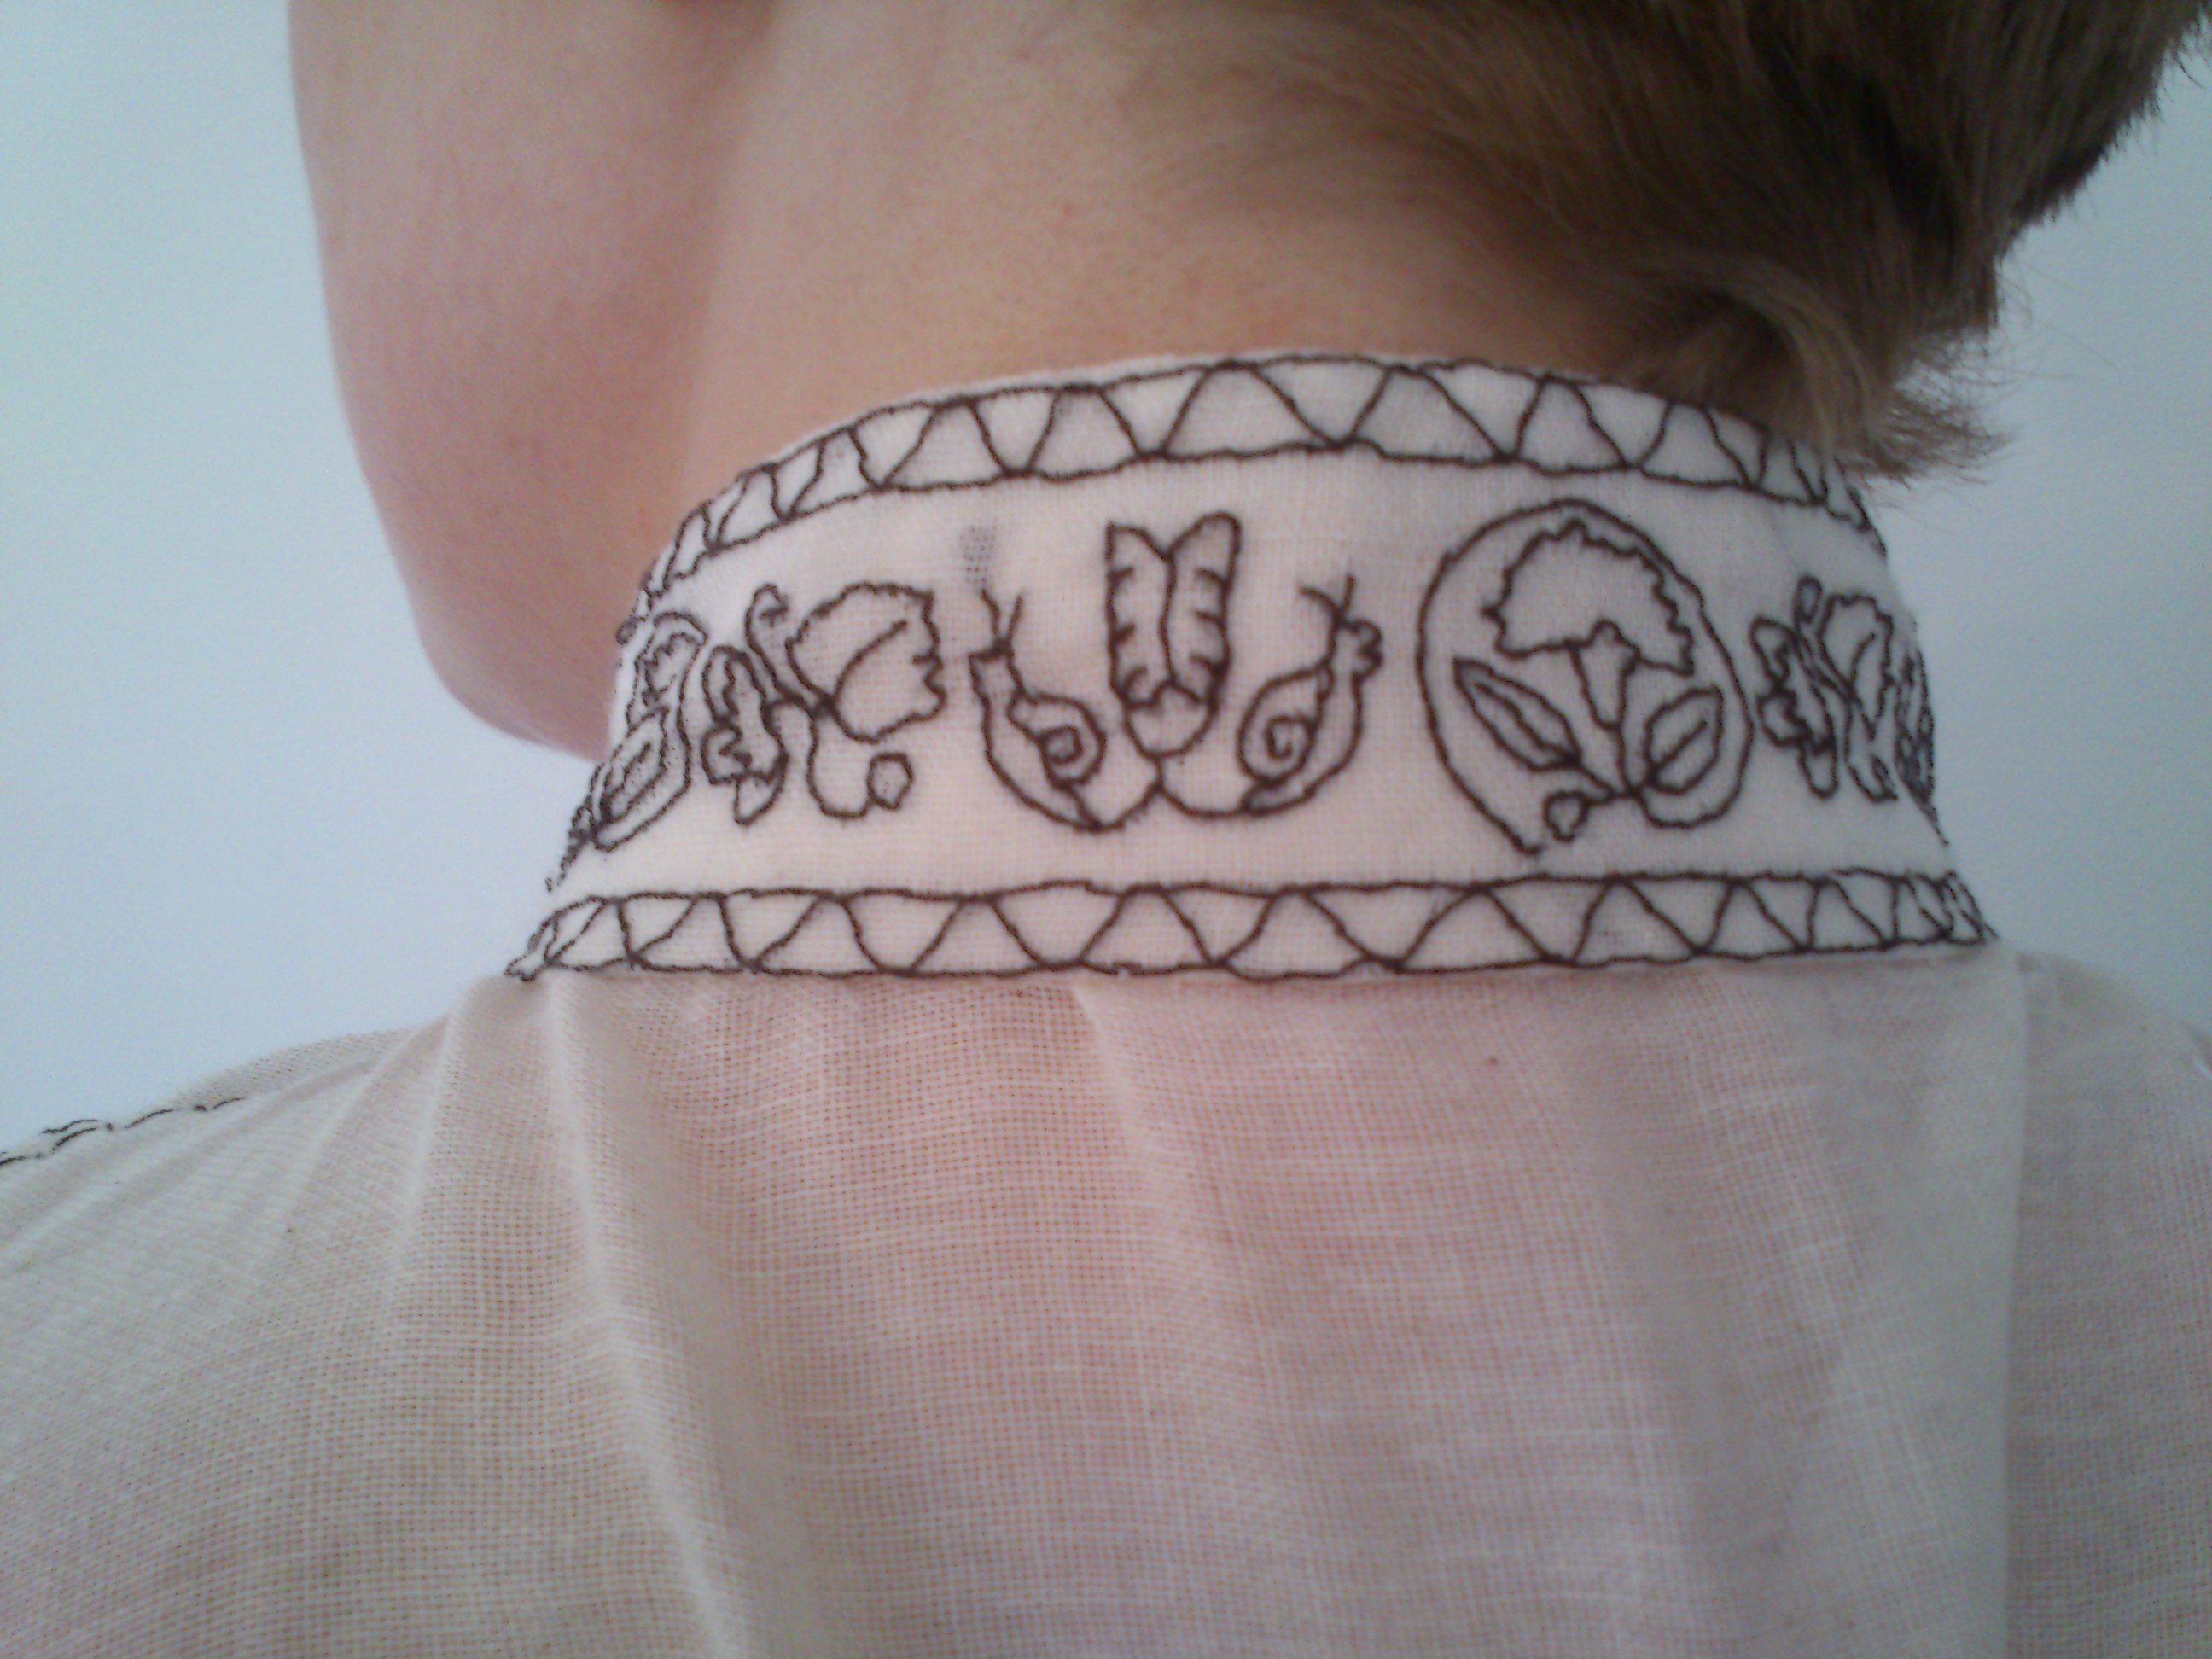
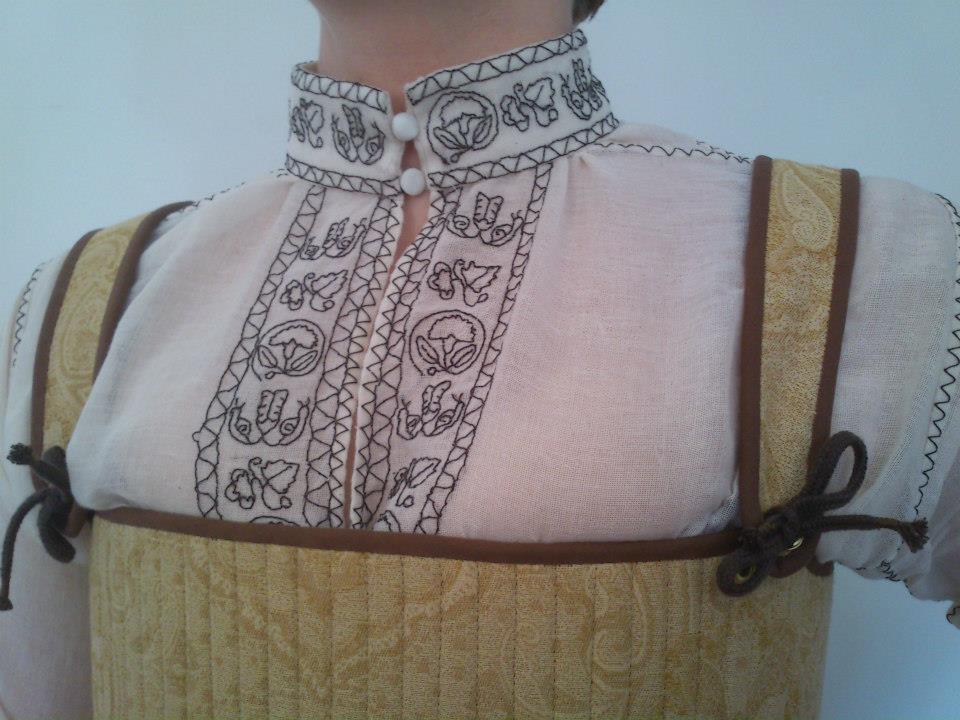
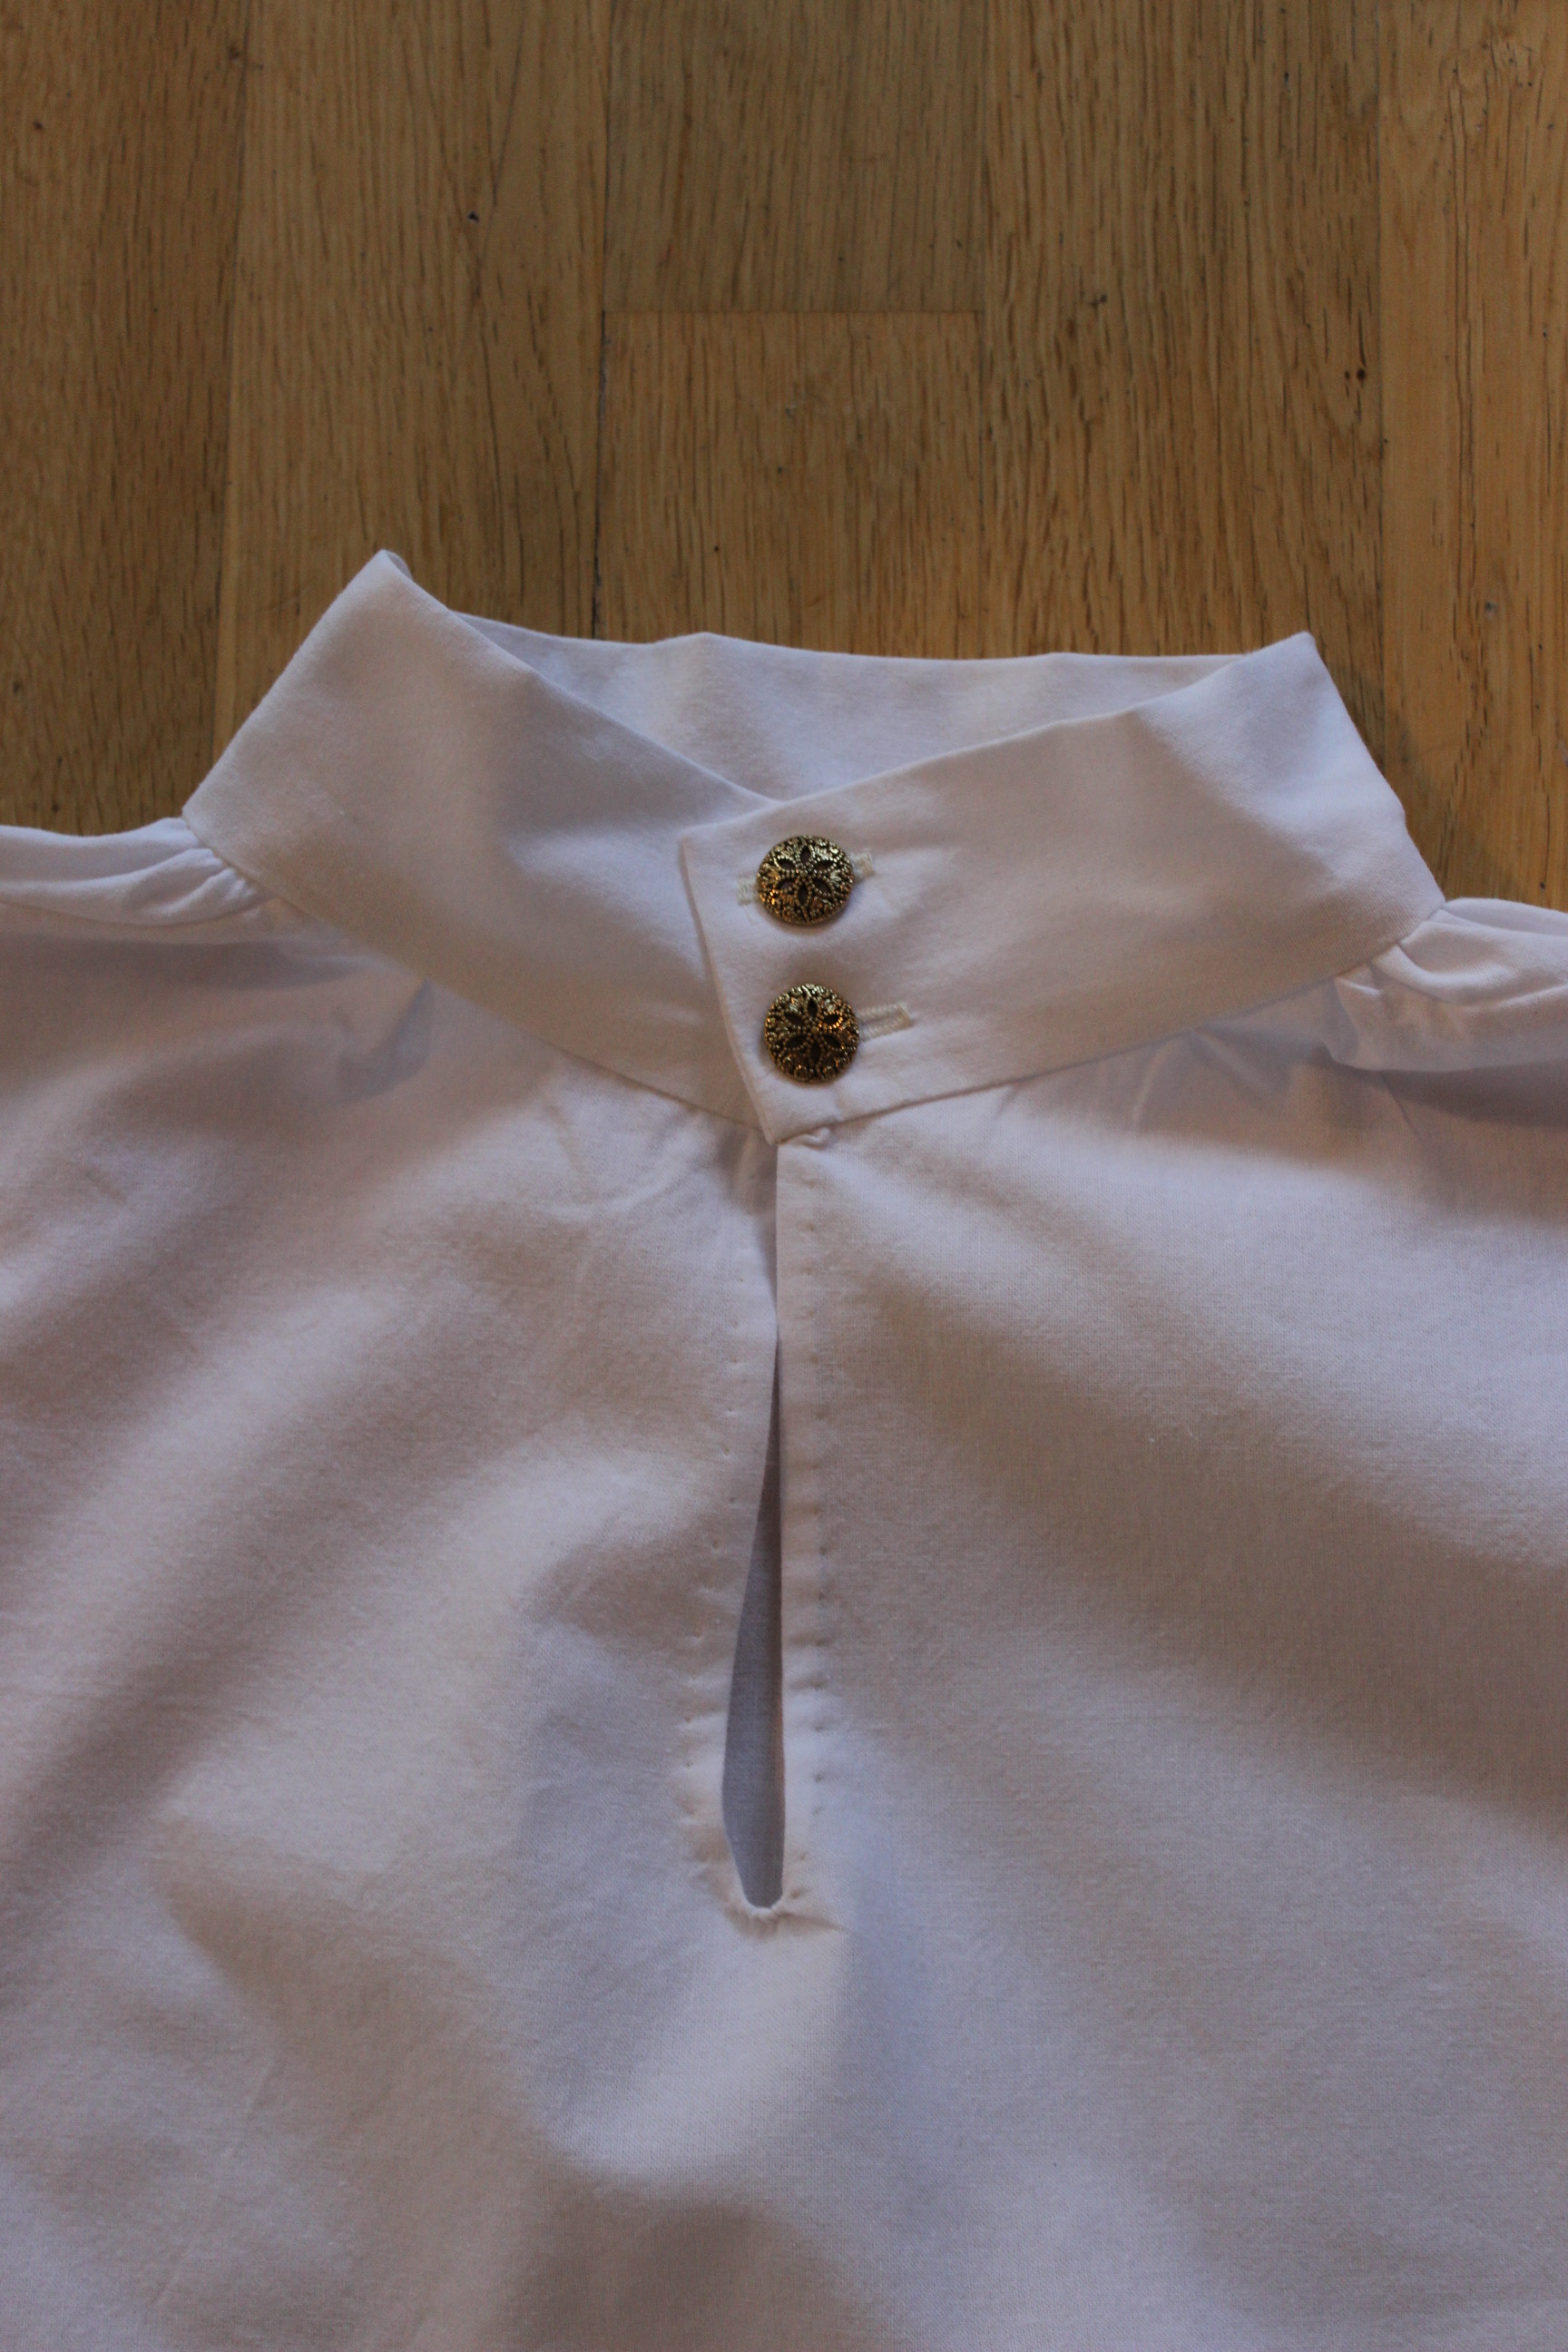
Metal buttons on a standing collar.
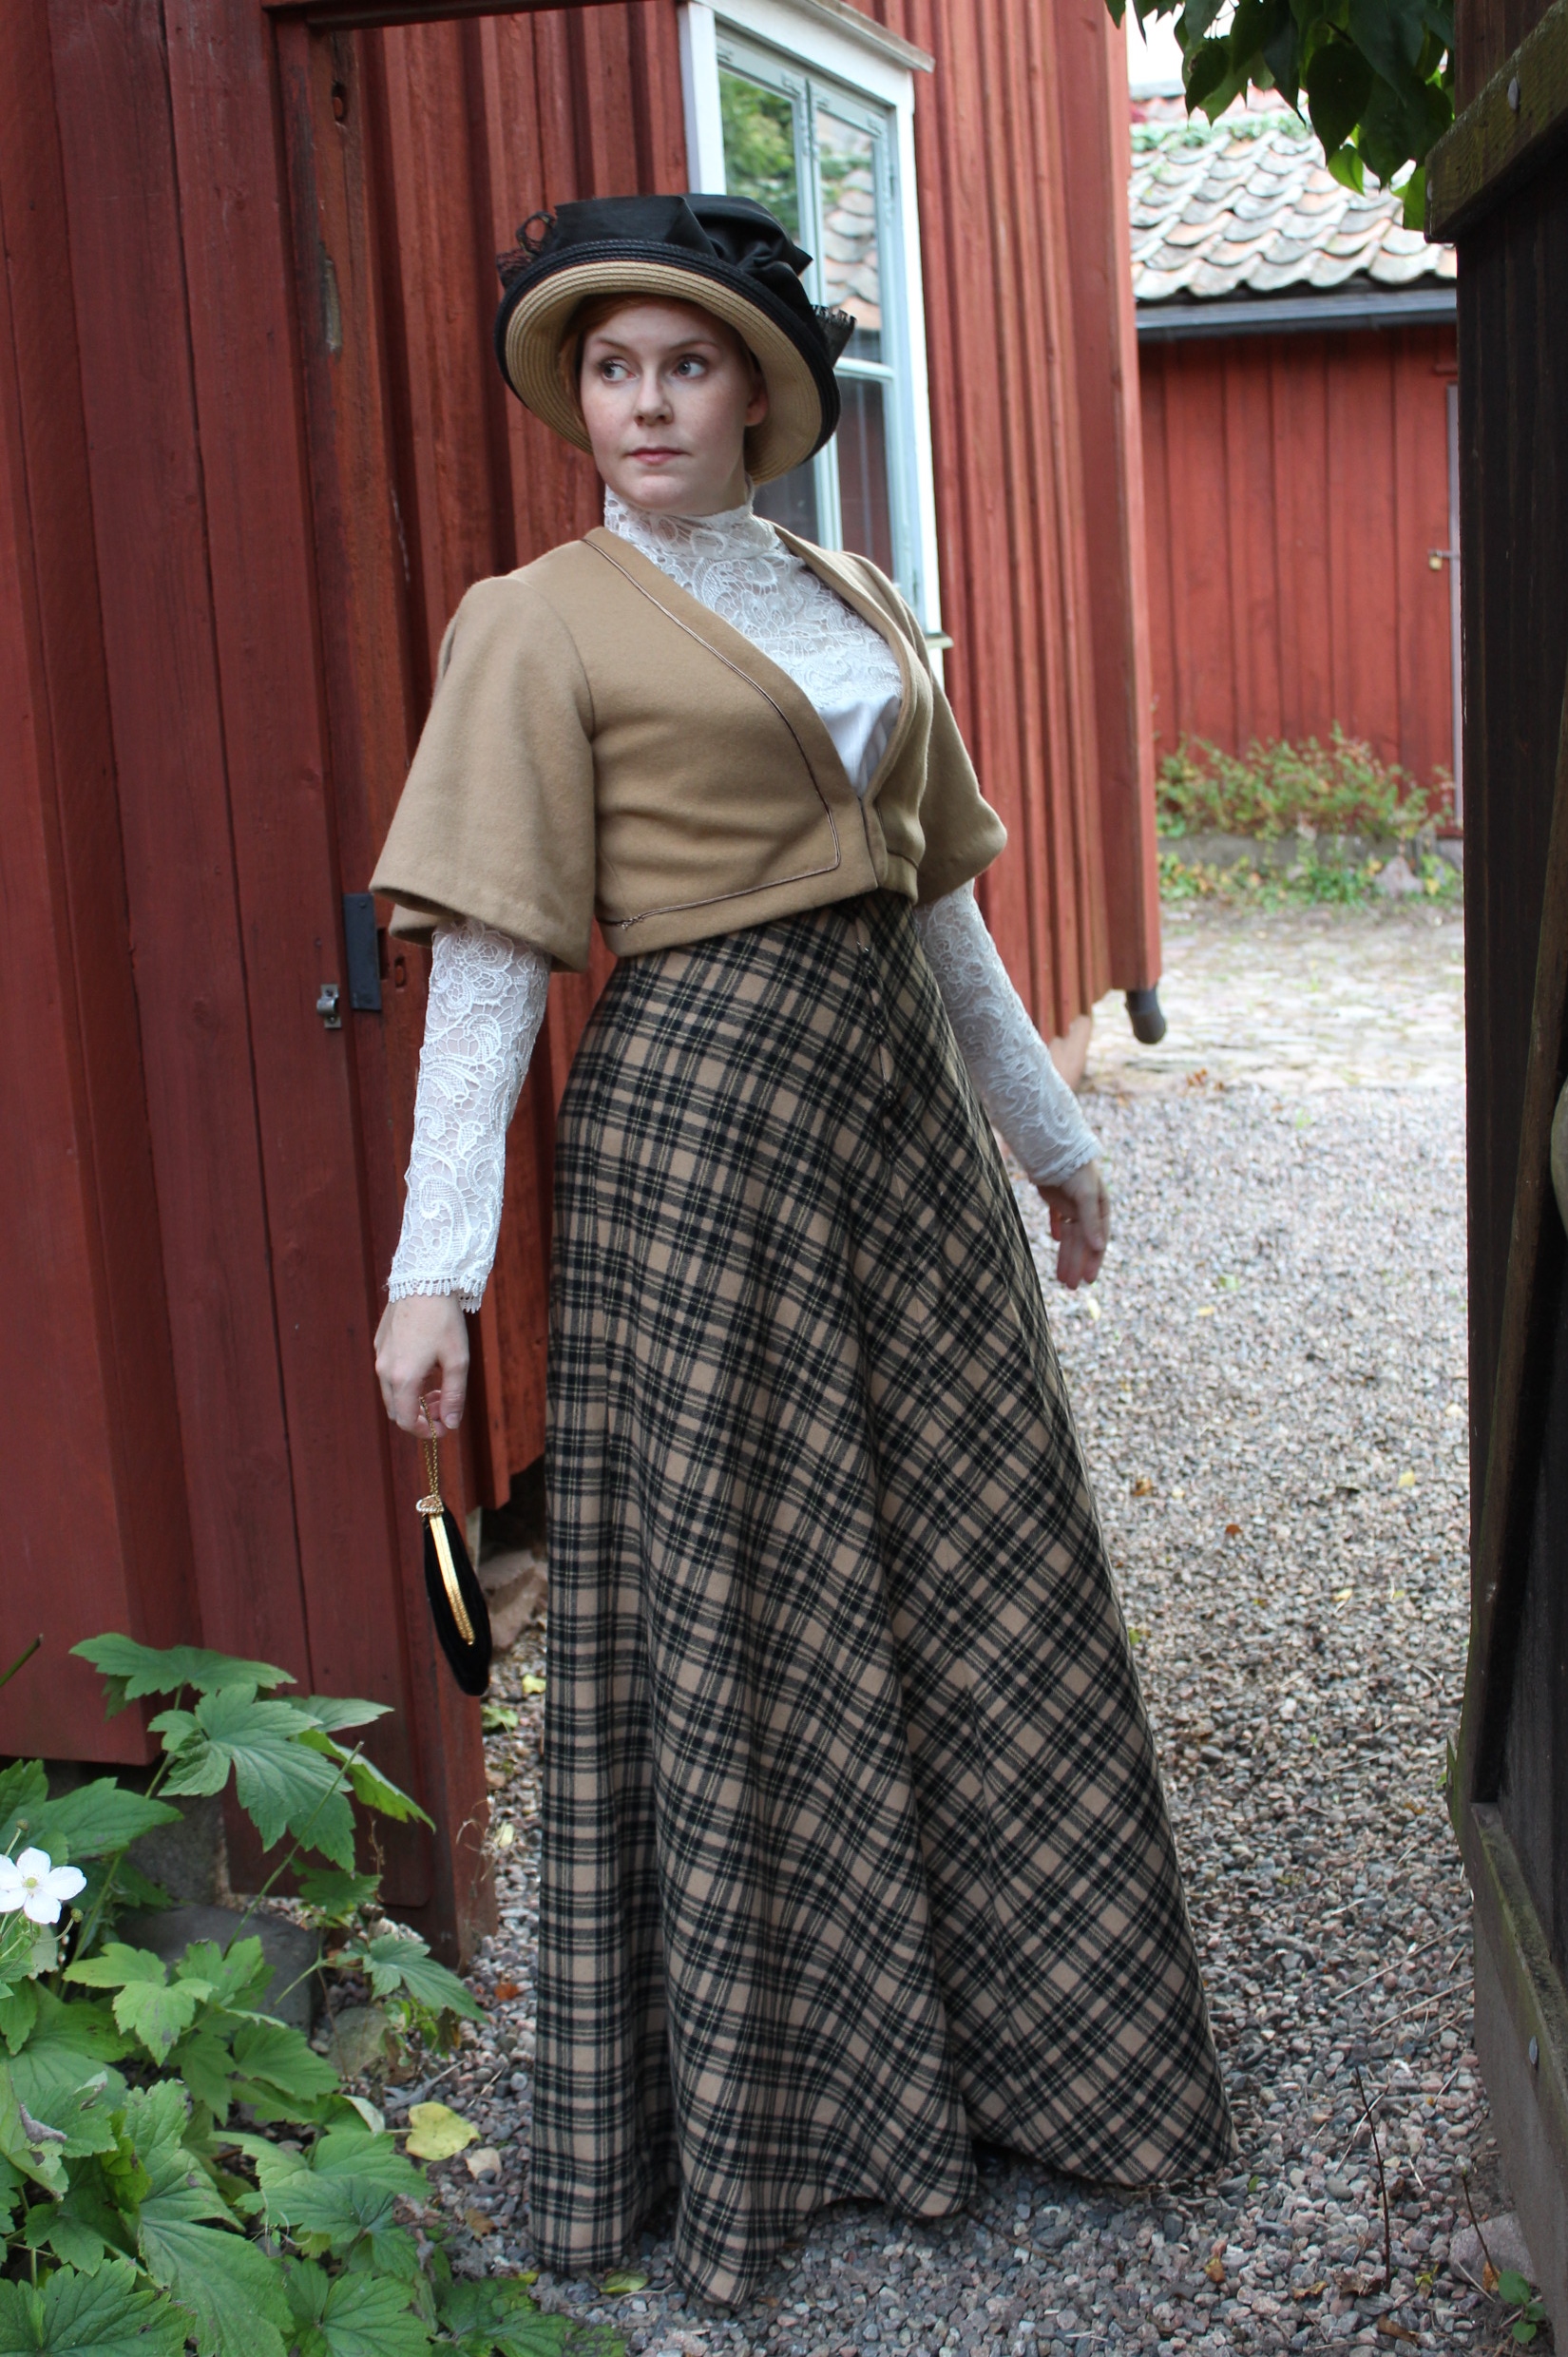
img_0861

img_0863

img_0864

img_0866

img_0870

img_0868

The two shirts now at their new home.img_0884Lets hope he gets a lot of wear out of them.

1900s Autumn Suit – Photoshoot

To get some photos of my new Edwardian wool dress, I took the opportunity to use my fiancees workplace as settings and my sister as photograph.

I’m wearing: The brown/plaid wool skirt, lacy shirtwaist, wool bolero and my Titanic hat (with a quick fix-up) Underneath I have my S-shaped corset, petticoat, chemise, corset cover, stockings and black “American Duchess” Gibson shoes.

IMG_8890

IMG_8898

IMG_8900

IMG_8902

IMG_8904

IMG_8913

IMG_8916

IMG_8935

IMG_8968

IMG_8971

IMG_9041

IMG_9034

IMG_8991

IMG_8993

IMG_9000

IMG_9001

IMG_9005

IMG_9011Photo: Maria Petersson

1900s Lacy Shirtwaist

To have something to wear with my new plaid 1900s skirt, I wanted to make a new shirtwaist (I do love my old one but sometimes (ok, always) you want something new).

And in my stash I found this lovely pattern from “Wearing History” which I bought half a year ago when she had a Sale, and I’ve been dying to try it out.

IMG_6481

As the pattern comes as a “print at home” version, the first thing I needed to do was to cut and assemble the pieces. 20150913_114431_resized

Not sure what fabric to use, I searched through my stash and found the last piece of white striped cotton voile (from which I’ve previously made: A Chemise a la Rein, a 1900s pigeon front dress and a 1850s working woman’s shirt/waist), and a newly required of white cotton lace decorated in lovely flowers.
2013-05-29 17.38.05  Unfortunately I hadn’t enough lace to cover the whole shirt – I could either use it on the bodice and make short sleeves, or I could use it to make long/full sleeves and ad a bit of lace around the collar and shoulders.
After some thinking and experimenting with the pattern layout I decided to go with the full sleeves and then try to get as much of the upper bodice out of it as possible.IMG_8785

I realized pretty soon the lace was way to fragile and “open” for the garment I wanted to make. So I dug out some ivory chiffon from my stash and used it to back all the lacy pieces.IMG_8784
The result was perfect. The sleeves kept their lightness, while the see-thoroughness was dampened and strengthened all at the same time.

I stitched most of the blouse on machine, but all the work with the lace needed to be made by hand.

Unfortunately I’ve been really bad at taking pictures lately but besides from the fiddling to get the lace right, the construction is pretty simple.

Before finishing I did needed to make a decision about how to  end the lace on the bodice.
IMG_8791 IMG_8793
I could either cut it to the neckline and trim it with lace edgings, or I could save as much as possible of the lace and trim the bottom edge across the back and bust.

In the end I opted for the later, thinking I could always go back and change it at a later date if I want to.

To get that nice pigeon “breast effect” I used bias-tape and a cotton cord to gather the waist.IMG_8862The inside of the blouse.

I made a combination of buttons, buttonholes and metal snaps for the back clouser. IMG_8860

The finished Blouse:
IMG_8843

IMG_8845

IMG_8846

IMG_8848

IMG_8851

IMG_8857

IMG_8855

IMG_8852

IMG_8853

IMG_8854The facts:

What: A 1905s shirtwaist

Pattern: “Wearing history” 1900s shirtwaist pattern

Fabric: 1 m of striped cotton voile, 0,5 m of cotton lace, 0,5 m of cotton lining for the bodice and 0,3 m of polyester chiffon for backing of the lace.

Notions: Thread, Buttonhole-thread, bias-tape, cotton cord, 10 cm plastic boning, 13 buttons, 7 snaps.

Time: 10-15 hours.

Cost: 400 Sek if everything been bought new, but since everything came from stash and most of the fabrics was leftovers I wouldn’t say even half.

Final thought: I loved working with this pattern, and I have only myself to blame for not making a mock-up since i had a bit trouble getting the collar to fit properly. And I maybe should have skipped out on adding the second layer cotton to the bodice – It may have looked a bit nicer and softer. I also may have to reset the sleeves without the pleats at the shoulders.
But all in all, I’m pretty pleased with the blouse.

Worn with the skirt:
IMG_8841

IMG_8842

And a preview from the photoshoot:
IMG_9005

Practical (and quick) 1860s blouse

My original plan for the HSF15 challenge 5 – Practicality, a regency day-dress, needed to be postponed so to get time to finish this springs biggest undertaking – a hole new 1850-1860s wardrobe.

So after finishing my not a Garibaldi blouse a few weeks ago, I decided I needed yet another blouse in almost the same style, for my sister to wear at the upcoming “Crinoline day”.

89cd5d40c071b5494b98ca322cef5991My main inspiration was this sever looking young lady.

Since time was sparse, I decided to use the simplest way possible in all things for this blouse.

Staring with the pattern, I used the basic pattern blocks for a regular shirt (just like the picture below), and omitted the collar and cuff.

shirt-sewing-pattern-pieces-540

For fabric I used leftovers from my “Chemise a la Lambelle” & ” Ariel/Camille” dresses, A really nice and strong structured cotton voile(?)2013-05-29 17.38.05

Unfortunately I forgot to take any photos of the construction process, but it was so simple and went so smooth that I just kept sewing and finished over one afternoon.

IMG_6828

IMG_6826

Basically I just stitched the bodice together using french seams, added the small collar, sewed the buttonhole-stand and added buttons and (machined) buttonholes.IMG_6829
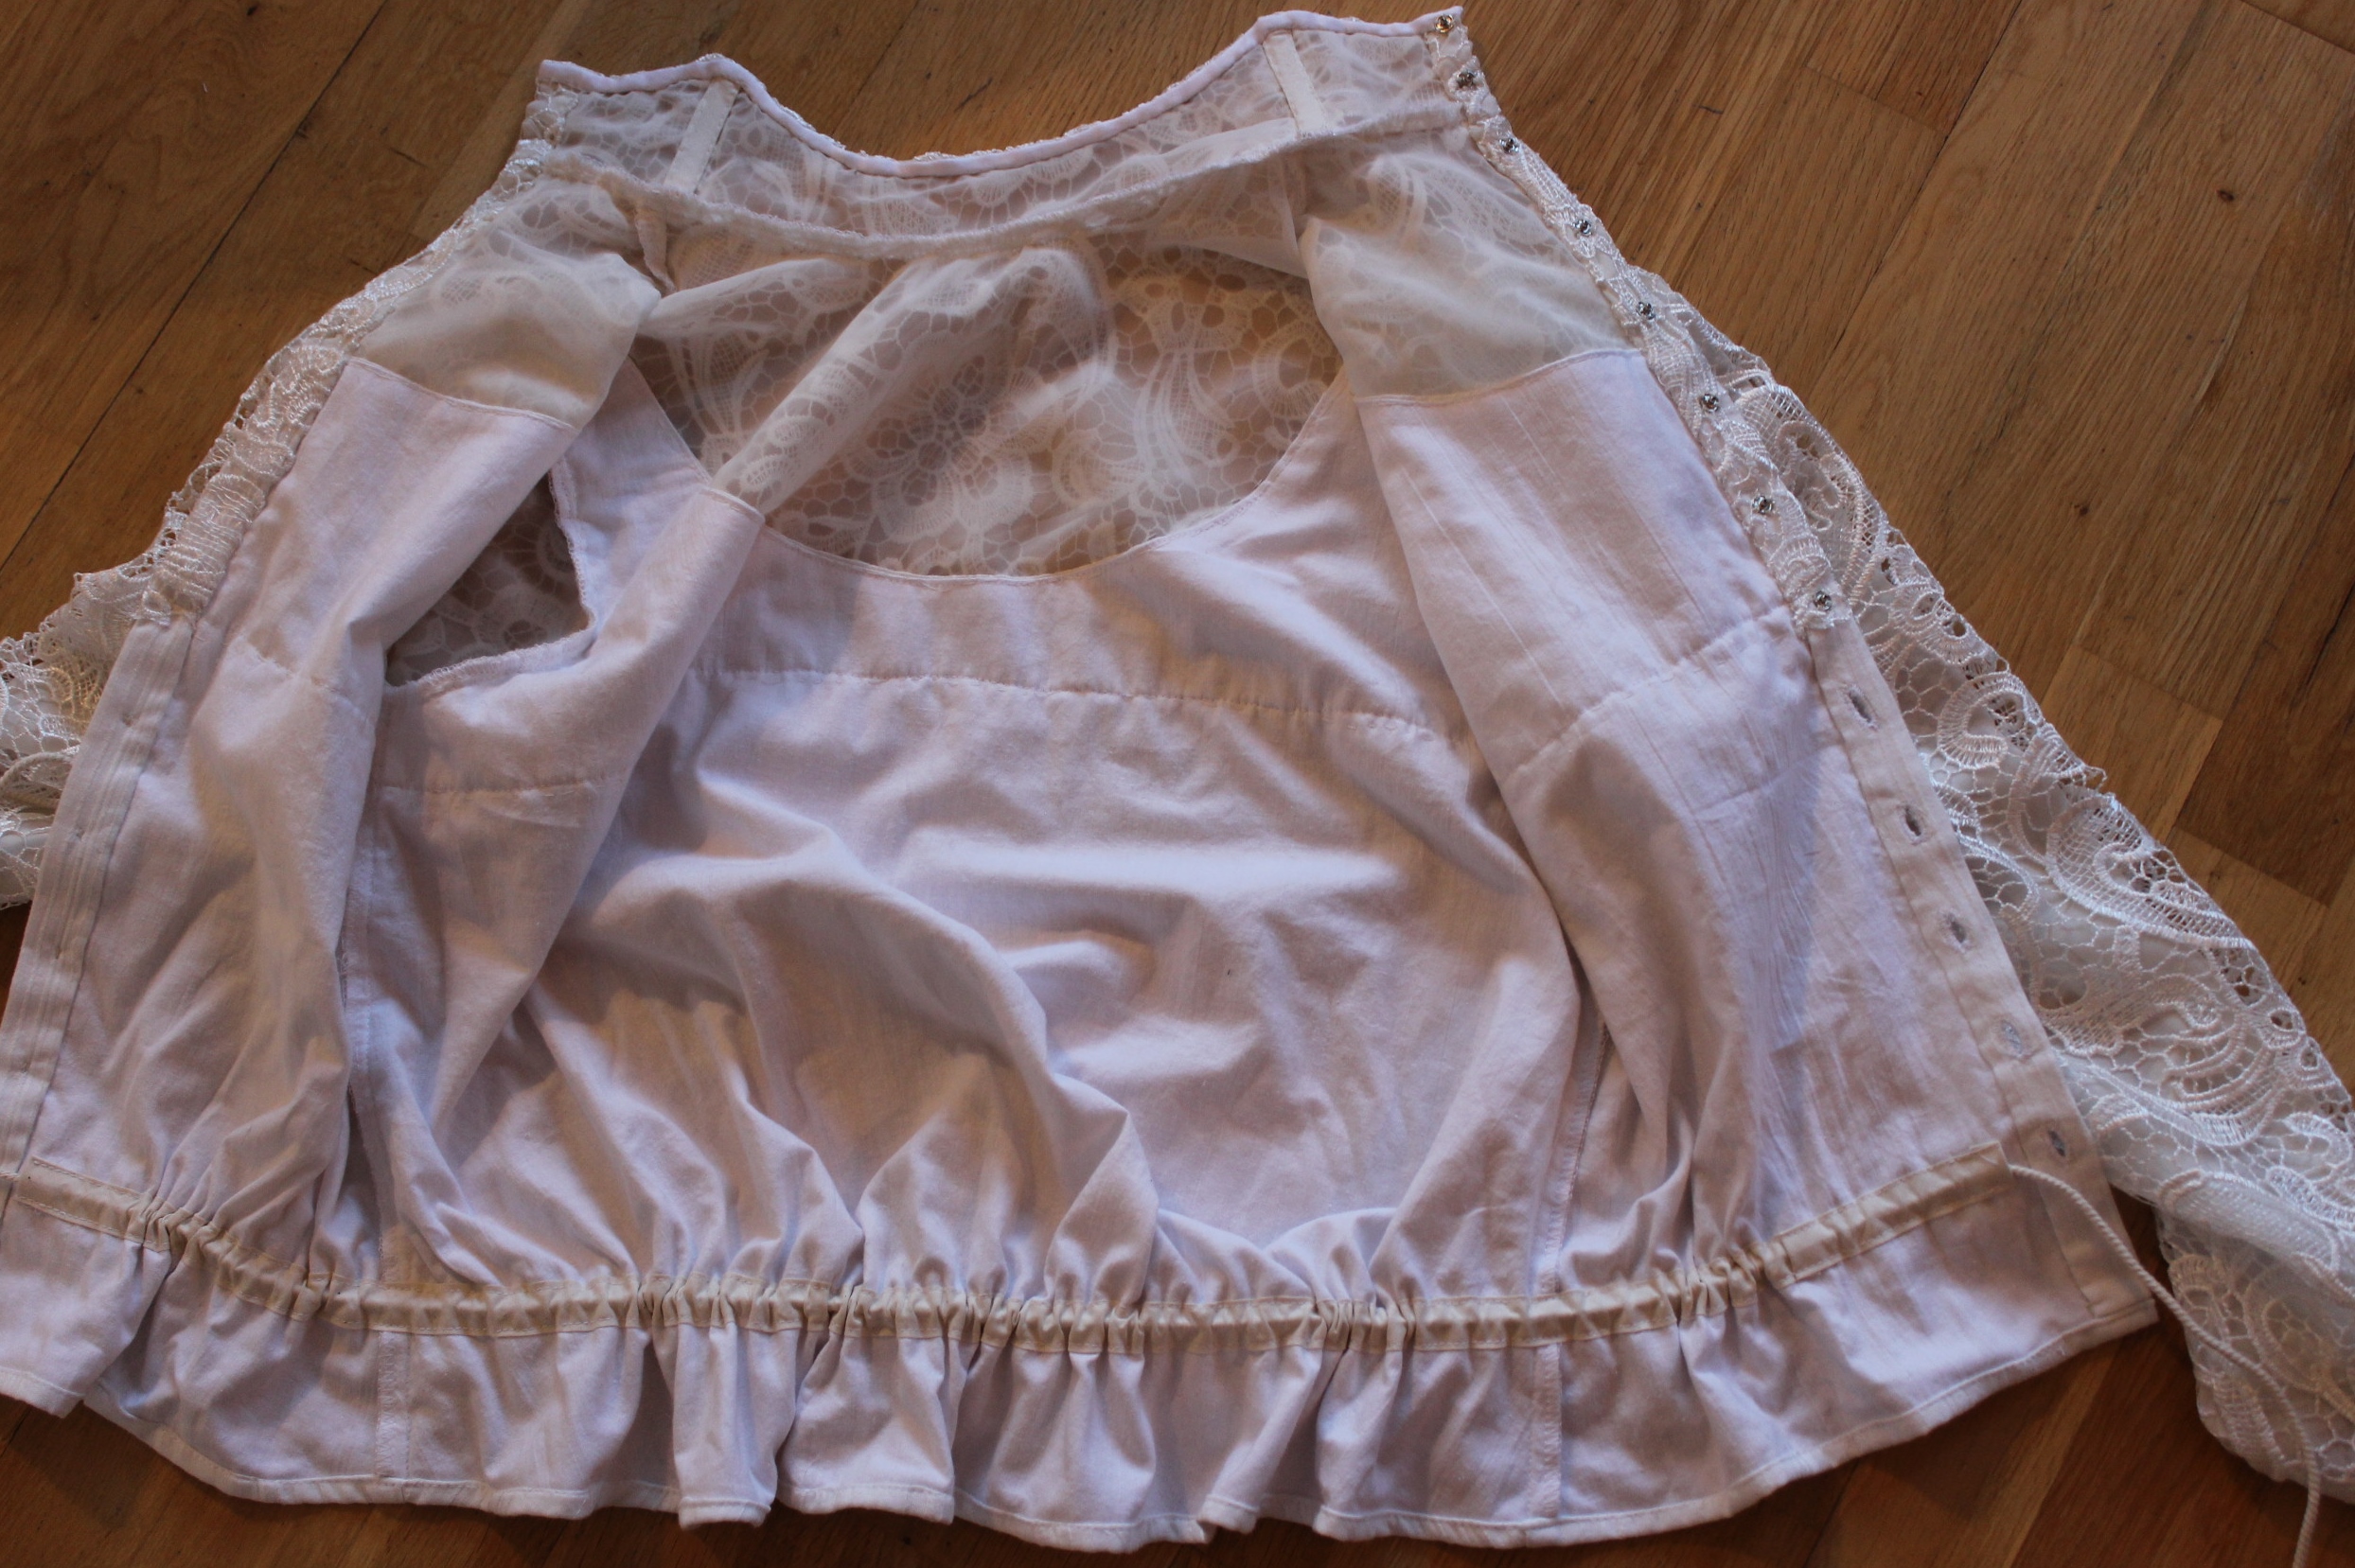
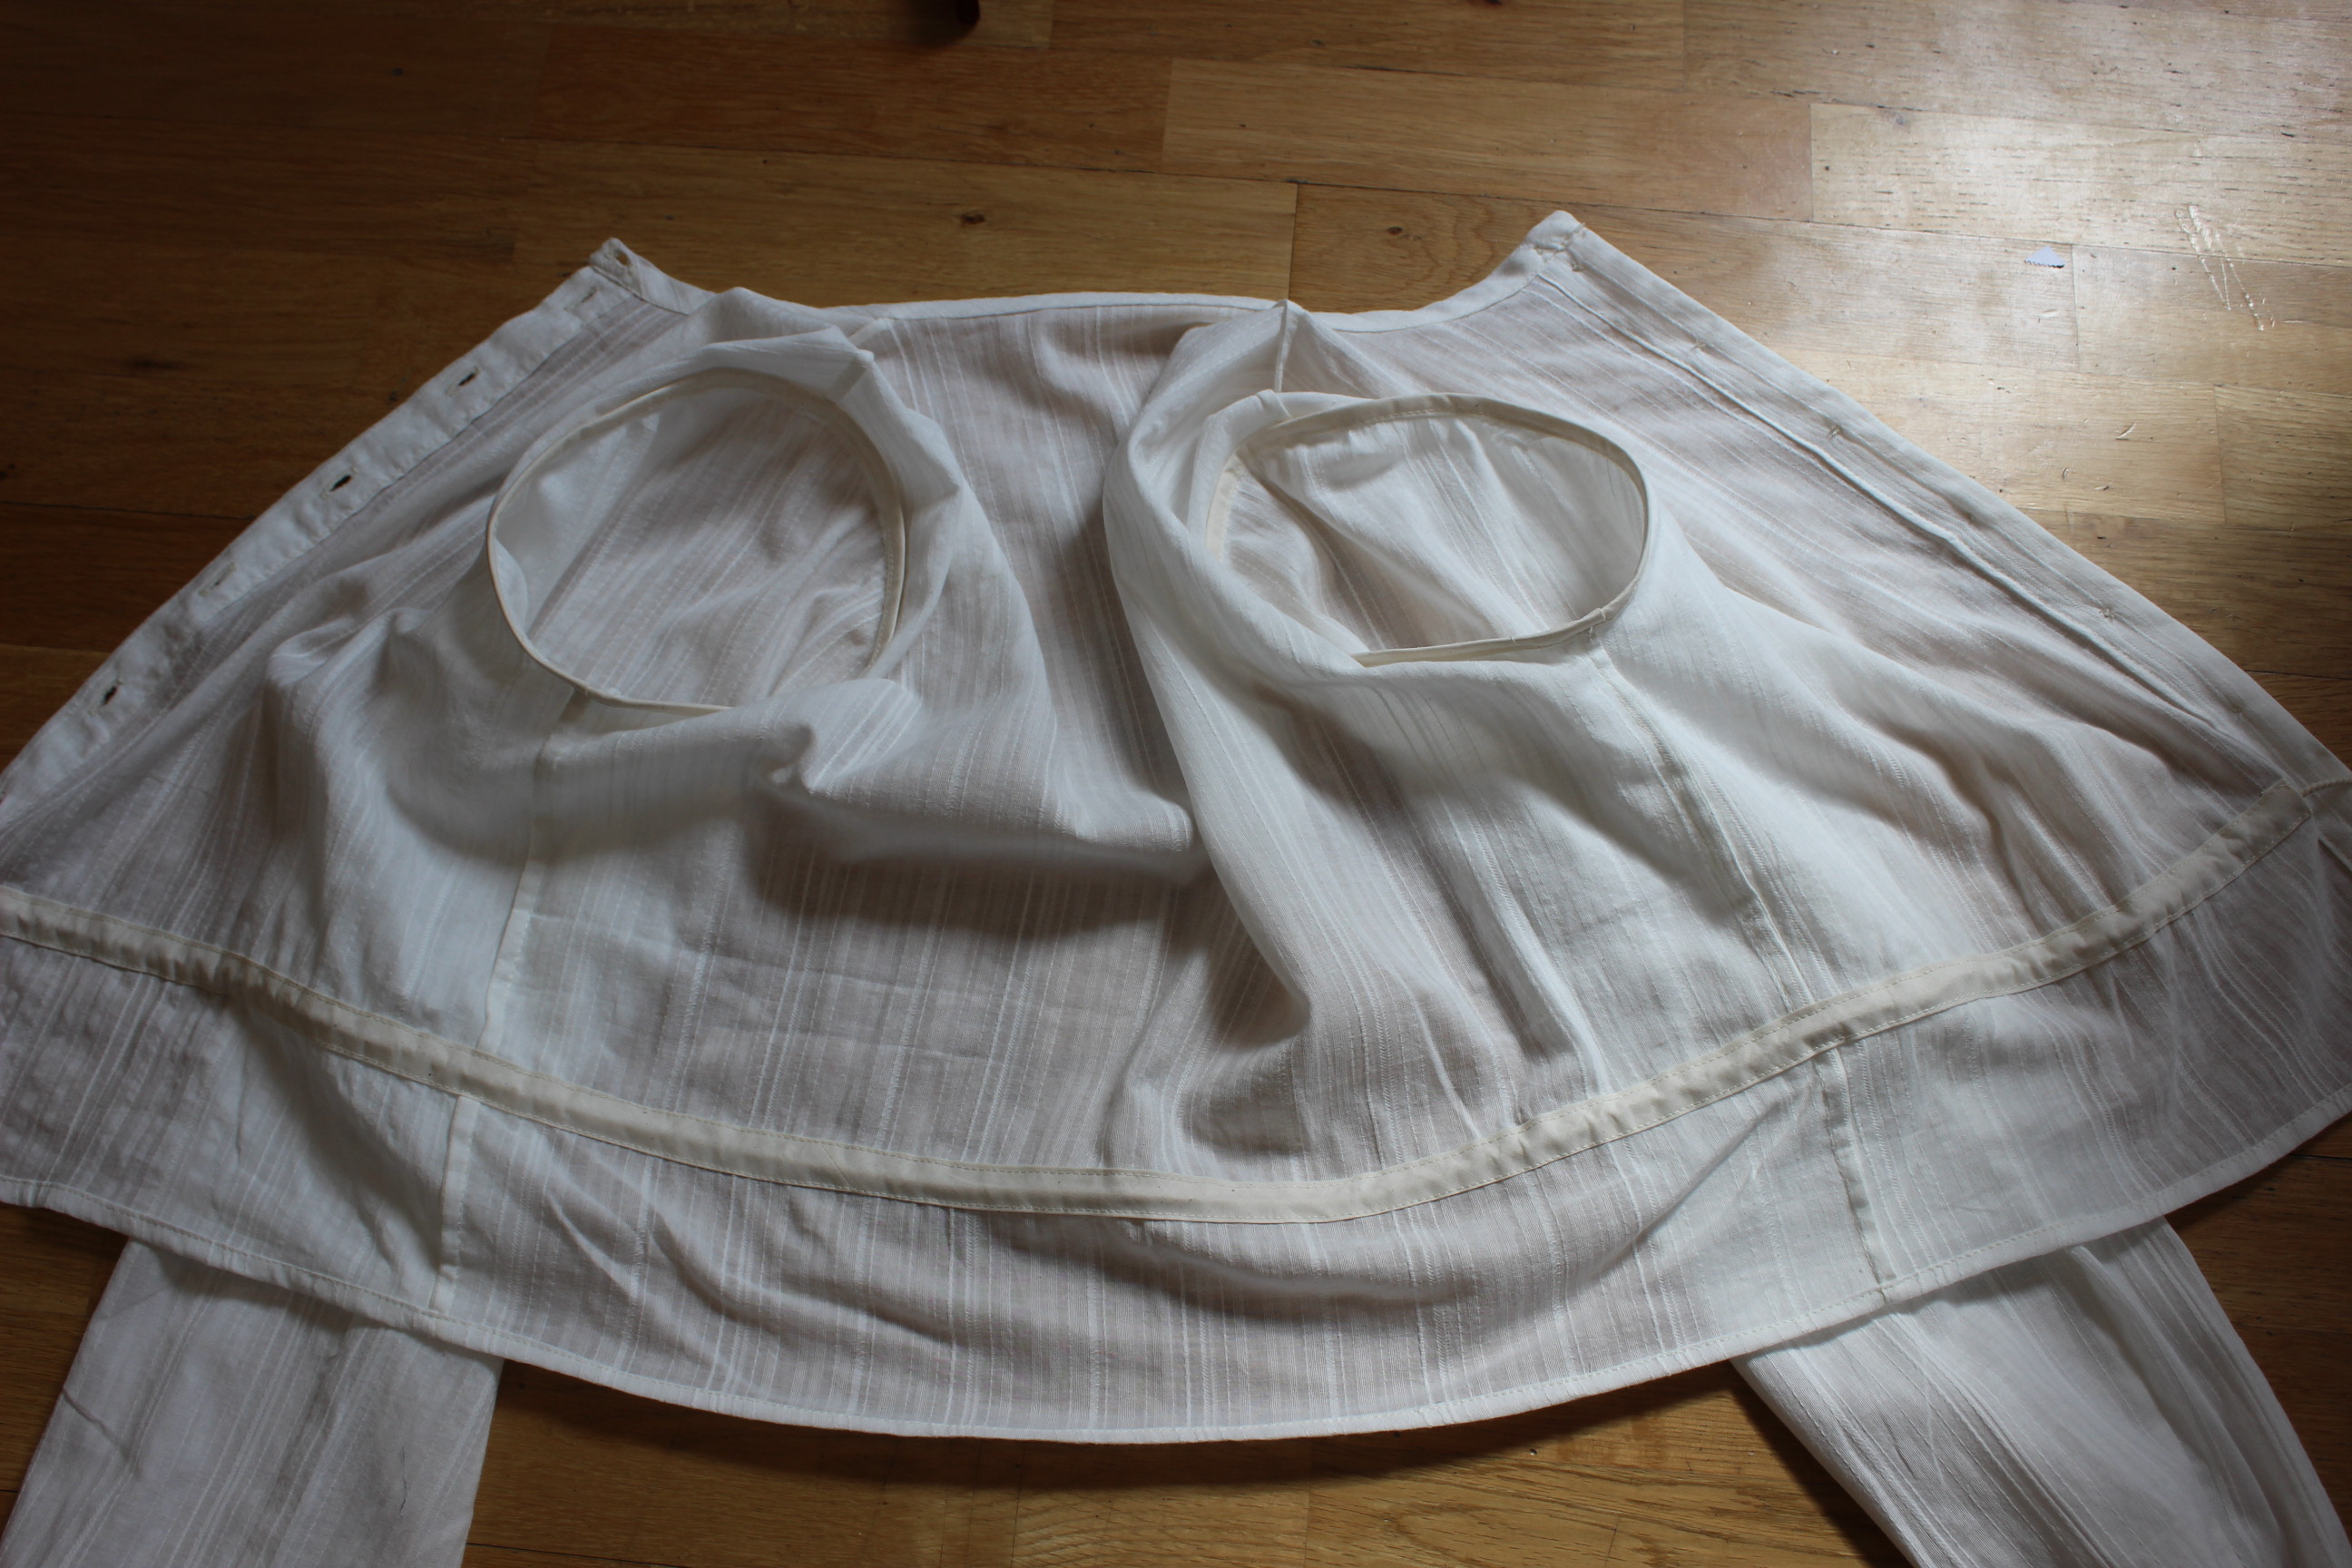
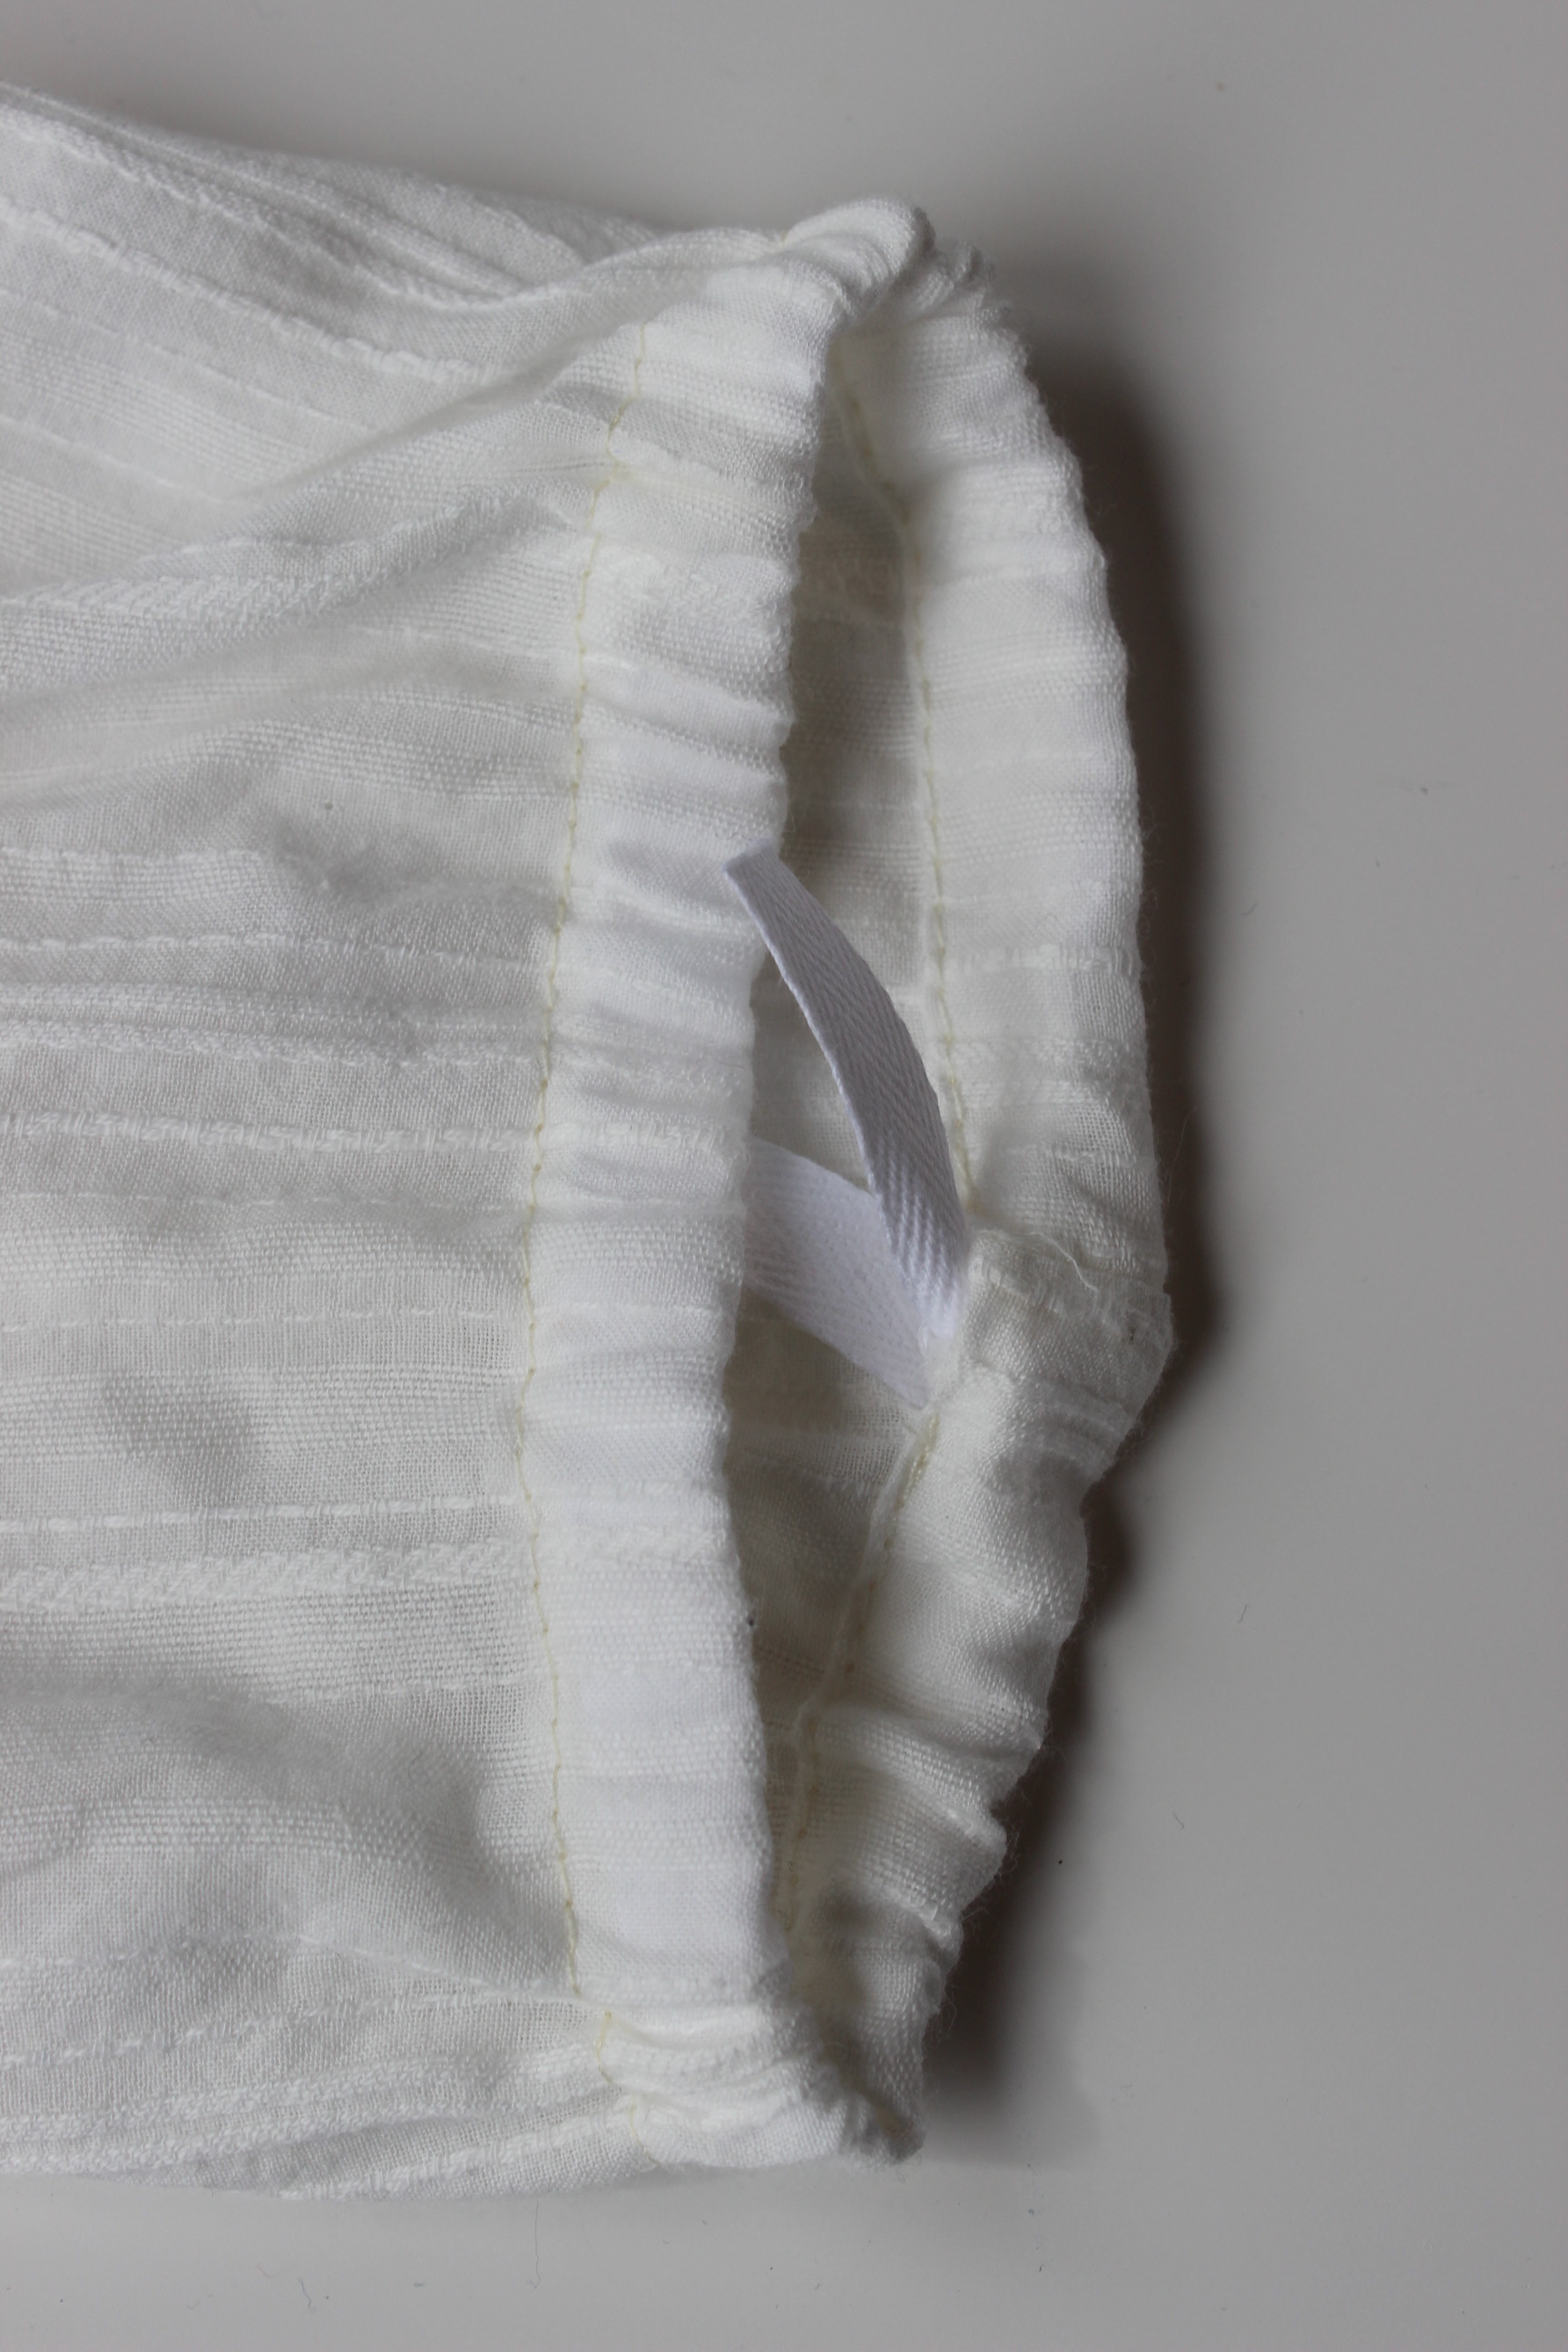
Sewed and set the sleeves, covering the seams with bias-tape to get a clean finish. Then I hemmed the shirt, added the bias-tape for the drawstring waist.
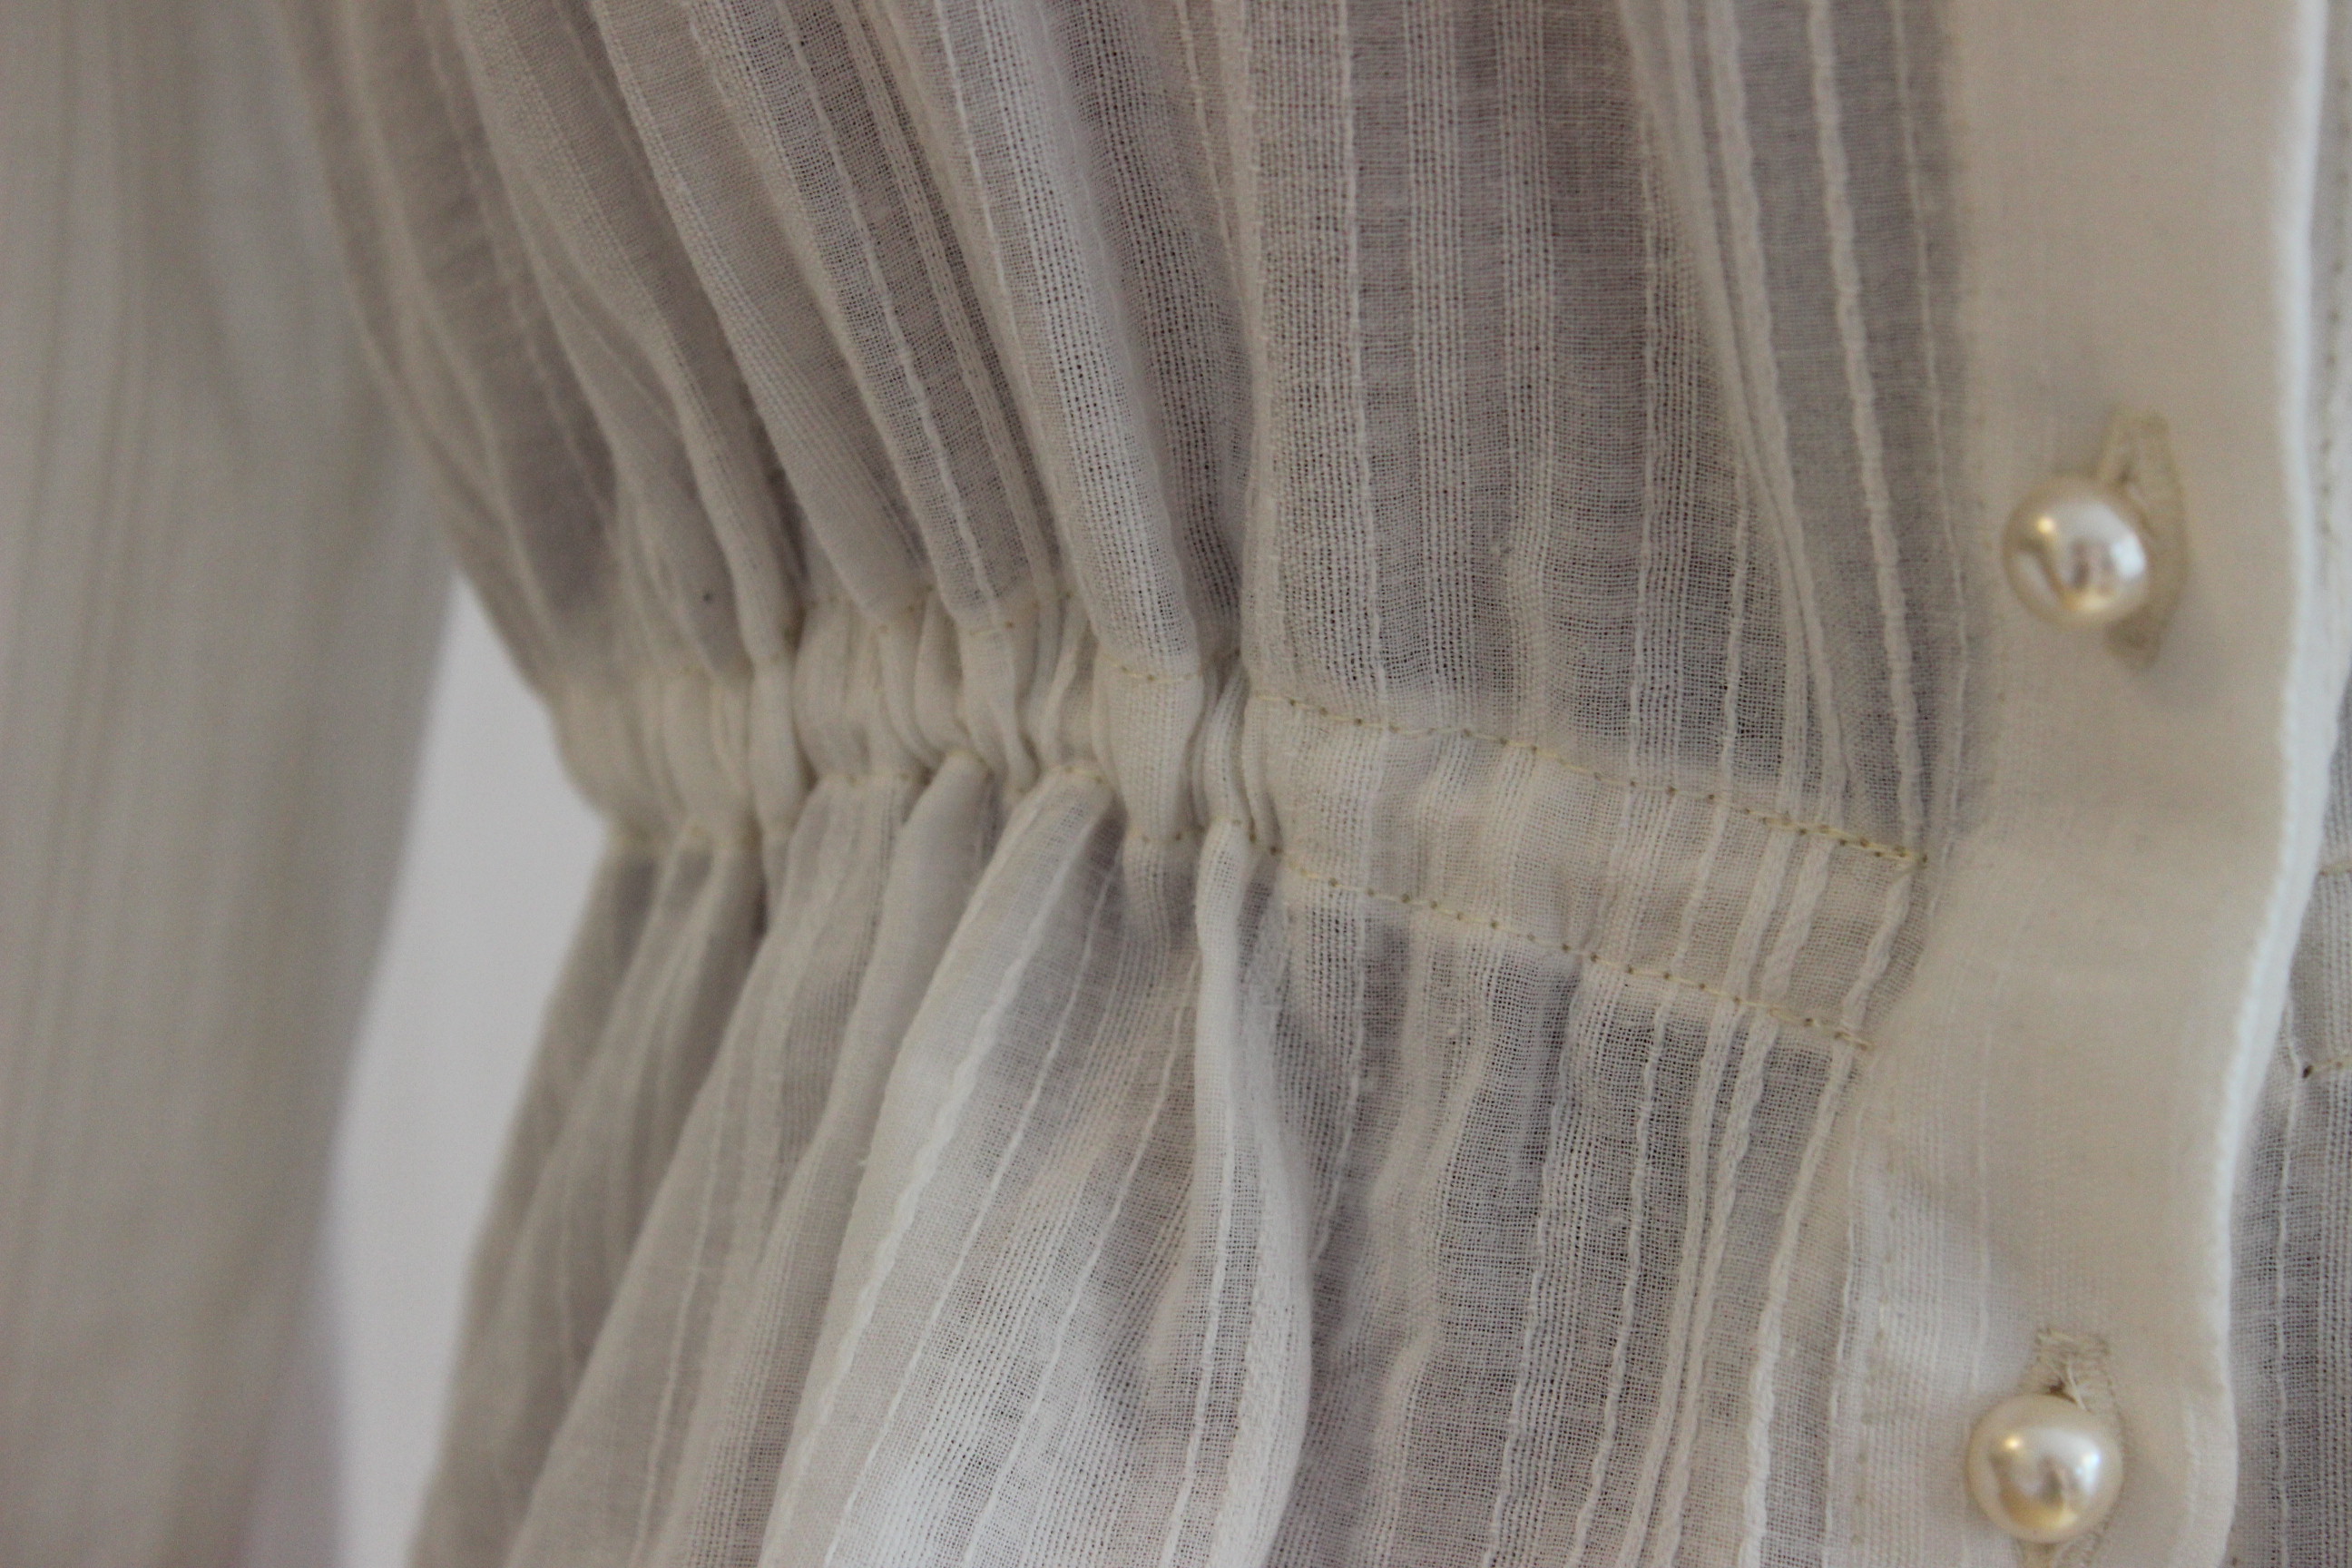
IMG_6819

And finished of by folding, stitching and adding the ribbons for the wrist ties. IMG_6835

The finished Shirt:IMG_6825As its biggest size

IMG_6813

IMG_6816

IMG_6814

IMG_6820

IMG_6821

IMG_6823

And a quick “practicality” photoshoot:IMG_4982Cocking food in my extremely old fashioned kitchen…

IMG_4989

IMG_5003

IMG_5012

IMG_5019

IMG_5043

IMG_5038

IMG_5030

IMG_5052

IMG_5057

Just the facts:

Challenge: nr 5/2015 “Practicality”

What: a 1850-1860s shirtwaist

How it fit into the challenge: The shirt is perfect for the everyday wear of a lower(or higher) class women doing households chores or taking a stroll in the park. That fabric is durable and easily washable and the style of the shirt with its drawstrings at waist and wrists makes it fit several different sizes of women.

Pattern: None, I just used the basic shapes of any shirt pattern.

Fabric: 1 m of structured cotton voile.

Notions: Thread, buttons, scraps of cotton ribbon at wrists, cotton string and  bias tape for waist shaping.

How historical accurate: So so, the garment (and fabric) did exist, but I didn’t used any accurate pattern, and I did sew it all on my sewing machine – even the buttonholes. I would say about 5/10

Time: about 4 hours

Cost: at most 100Sek (16Usd) – Everything was from stash and leftovers from other projects.

First worn: at June 6th for photos, but will get a proper outing June 13 when my sister wears it for our “Crinoline day”

Final thoughts: I loved how fast and easy it went together, and I think it looks great both paired with”Peasant” garb and “finer lady’s” garb (as is the way my sister will wear it).

Embelish a 16th century Shirt

I knew I wanted to push my bounderys with the 4th HSF Challenge: Embelishment, last spring.

Since I’m not much for the over-the-top, decorated things, I decided to make something quite stylished yet advanced.

I’ve been wanting to make one of these shirts, decorated with an embrodery technique called blackwork, for a long time. And this seamed to be the time to make it.

images

hämta

I used Janet Arnolds “Patterns of Fashion nr 1” as a reference.img303

And designed my pattern of flowers and shapes.img303 - Kopia

I drew a design of 3 diferent flower/animal shapes and traced them to the sheer linen fabric. Then I used a heawy buttonhole thread to work the embrodery.

I knew it would take some time to embroder the shirt, but I was shocked to discover exactly HOW slow it went. Each little flower took about 45-55 min and each row of rick-rack took 2 hours.

This slow paste made me change the original plan of embroder the whole shirt, to only doing the cuffs, collar, neck border and rick-rack on the seams.

Sadly I seem to have lost all my in progress shoots, but here are some of the finished shirt.

2013-03-01 14.41.06

2013-03-01 14.33.45

2013-03-01 14.34.51

2013-03-01 14.32.22

2013-03-01 14.35.30

63268_10200634023514639_769913574_n

2013-03-01 14.33.57

Just the facts:

Challenge: nr 4 Emelishment.

What: A 1550-1600s shirt.

Pattern: Janet Arnolds “Patterns of Fashion nr 1”

Fabric: 1,5m of sheer soft linnen.

Notions: white sewing thread, 2 spols of brown buttonhole thread and 4 buttons.

How historical accurate: Pretty good, except the terrible quality of my stiching, and the fact that it will be worn by a woman. But it is totaly hand sewn and have the right look of it. So mabe 7/10.

Time: (Way to long) About 100 hours.

Cost: about 100 Sek (11Usd)

Fist worn: For a photoshoot in mars 2013.

16th century Corset & Shirt

For the HSF Challenge 3: Under It All, back in february, I decided to start the foundation on my planed 1550s dress (which I still haven’t gotten around to make).

So I decided to make a corset similar to theese two.

MG_7070

4538806930_7ed18b9605

Using the corset pattern from “The Tudor Tailor”. I printed the pattern and made some changes to match my mesurments.

500%-förstorad

Then I cut the fabric, interlined it, and stiched the corset compleatly on the machine. I inserted the bonning, set the gromets and sewed on the bias-tape.

Unfortanly I didn’t think of documenting the steps while sewing (this was before my bloging days) so there are no construction photos.

But there are finished ones.

IMG_4026IMG_4032

IMG_4027

IMG_4036

IMG_4033

One thing I didn’t accounted for was the amount of fabric the bonning would “eat”. While inserting the bonning the corset shrunk quite a bit, and I ended up needing to do some piecing to make it fit properly.

IMG_4039

When the corset was finished I decided to also make a shirt to wear underneath.

images[4]

I used a lovely cotton voile, and sewed the shirt compleatly by hand (and still didn’t take any construction photos).

IMG_4023

Finished Shirt and Corset.

2013-02-09 15.45.57

2013-02-09 15.46.02

2013-02-09 15.46.25

2013-02-09 15.46.30

Just the facts:

Challenge: Nr 3 Under it All

What: A 1550s Corset and Shirt

Pattern: Shirt – Janet Arnold “Patterns of Fashion 4 – c.1600-1610 smock. Corset – “The Tudor tailor” Dorothean bodies.

Fabric: Shirt – 2 m of checkered cotton voile. Corset – 0,5 m of leftover golden/yellow curtan-fabric, 1 m brown cotton for lining and interlining.

Notions: Shirt – Thread. Corset – Thread, Bias-tape, gromets, boning and lacing cord.

How Historical Accurate: Shirt – Completly hand sewn, but the cotton tread and fabric is not correct for the period. Corset – Not realy. The achived shape is just about right, but all the sewing and material is modern.

Time: Shirt – about 8 hours. Corset – 3 Days of work.

Cost: Shirt – 150Sek (16Usd). Corset –  300 Sek (40Usd).

First worn: Only at photoshoots so far.