1865s Kaki Walking suit (HSM 7/2017)

HSM 7/2017 – Fashion Plate

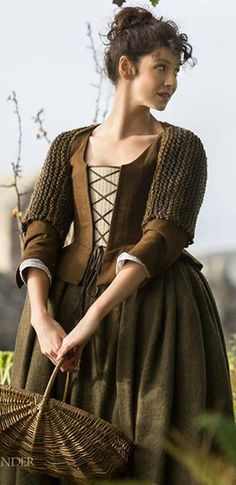
I knew from the start this challenge would be an easy one (or hard, depending on how you see it), cause I often use pictures and extant garment as my inspiration. The only trouble was to pick which one to make.

But since my sister needed a new 1860s outfit for an upcoming event and I already had this pic saved on my ” wish to make someday” list, The choice turned out easier then expected.
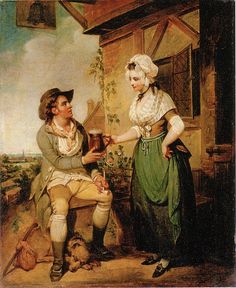
Fashion plate from 1862

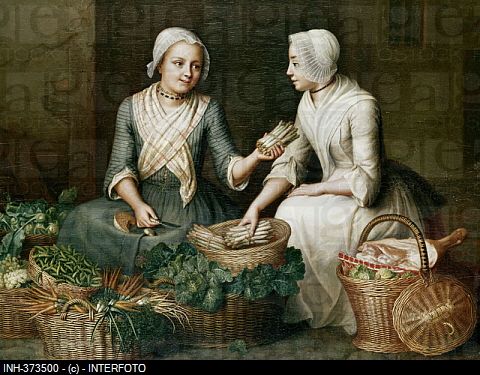
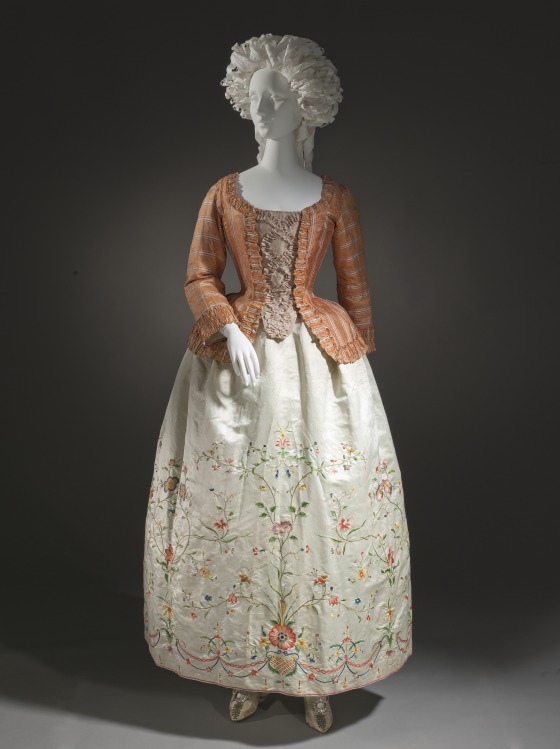
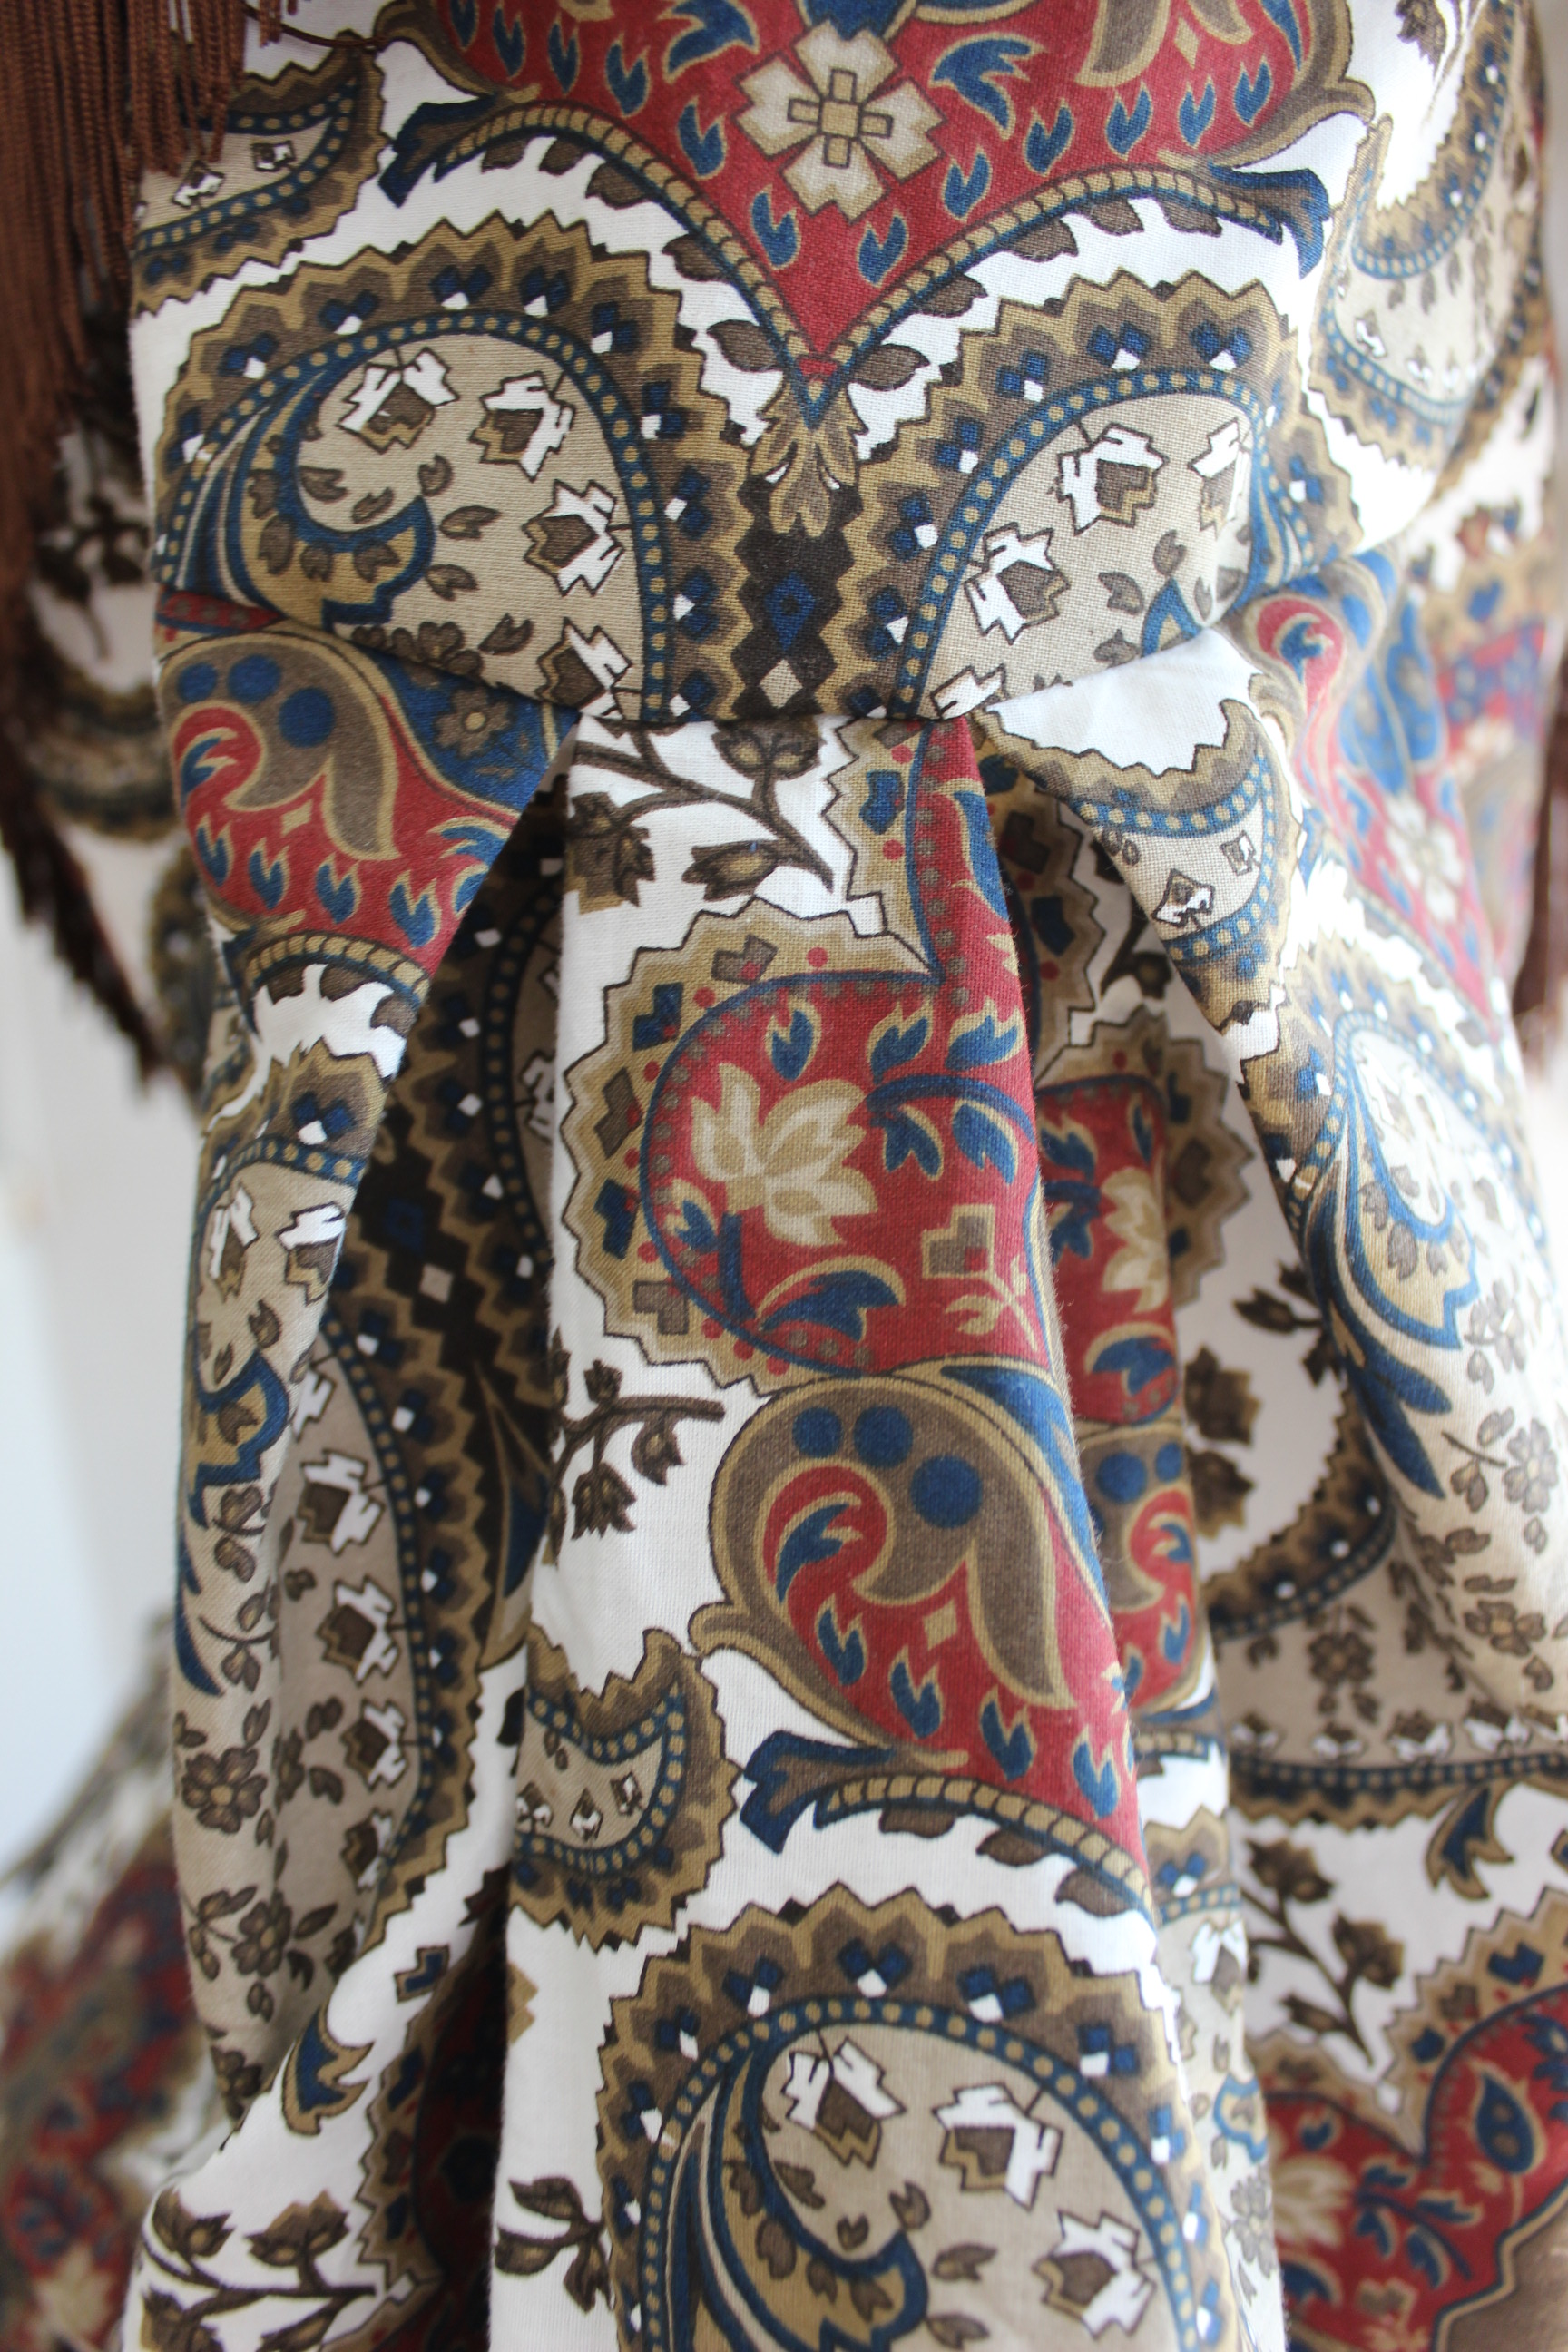
Close-up on the outfit I planed to make.

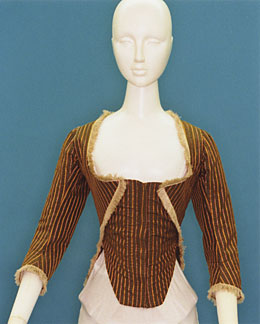
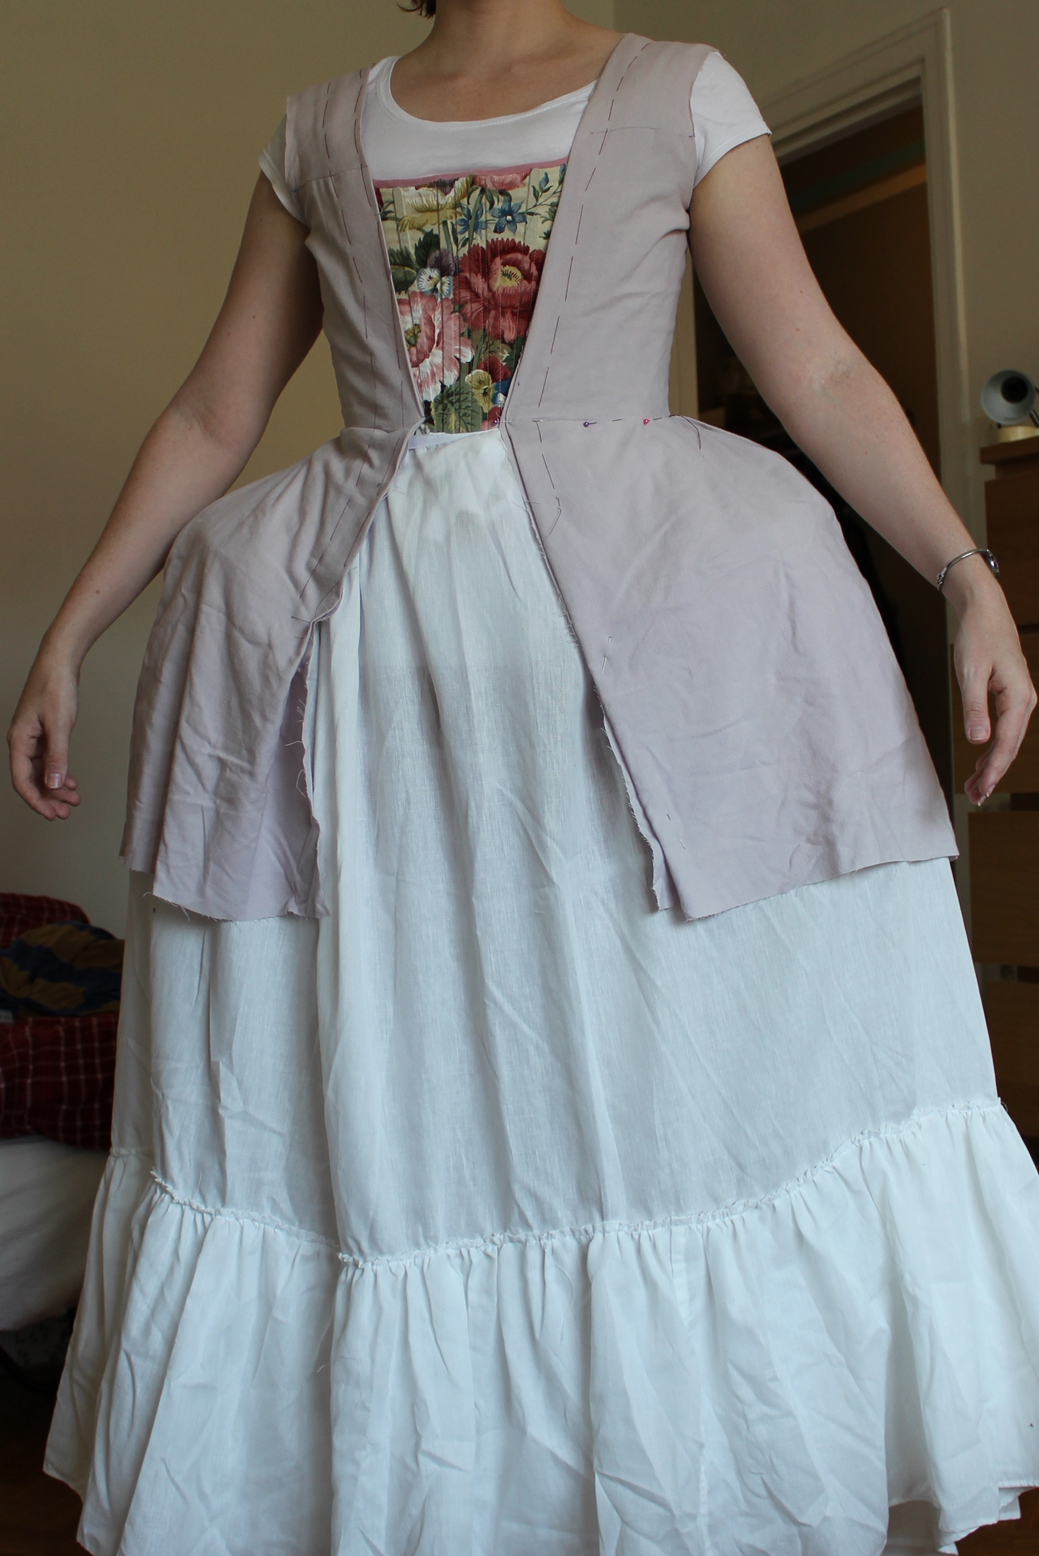
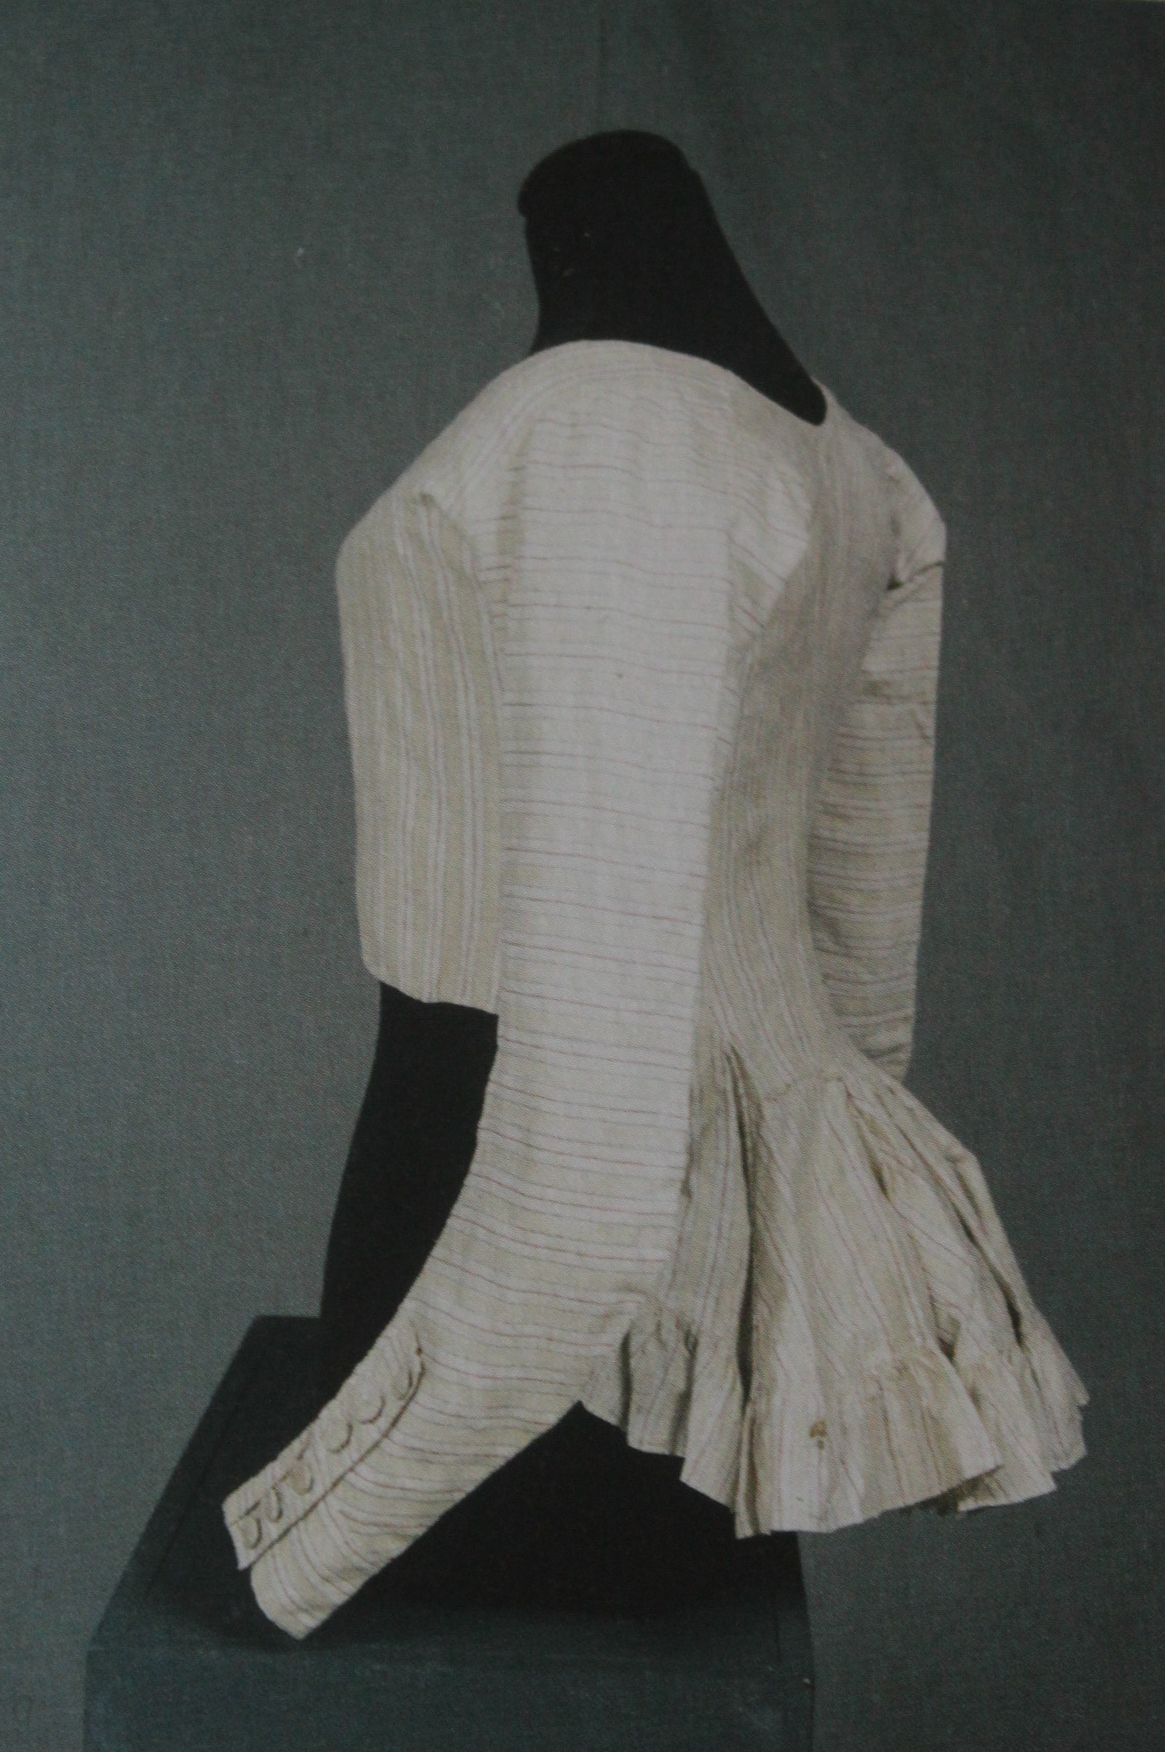
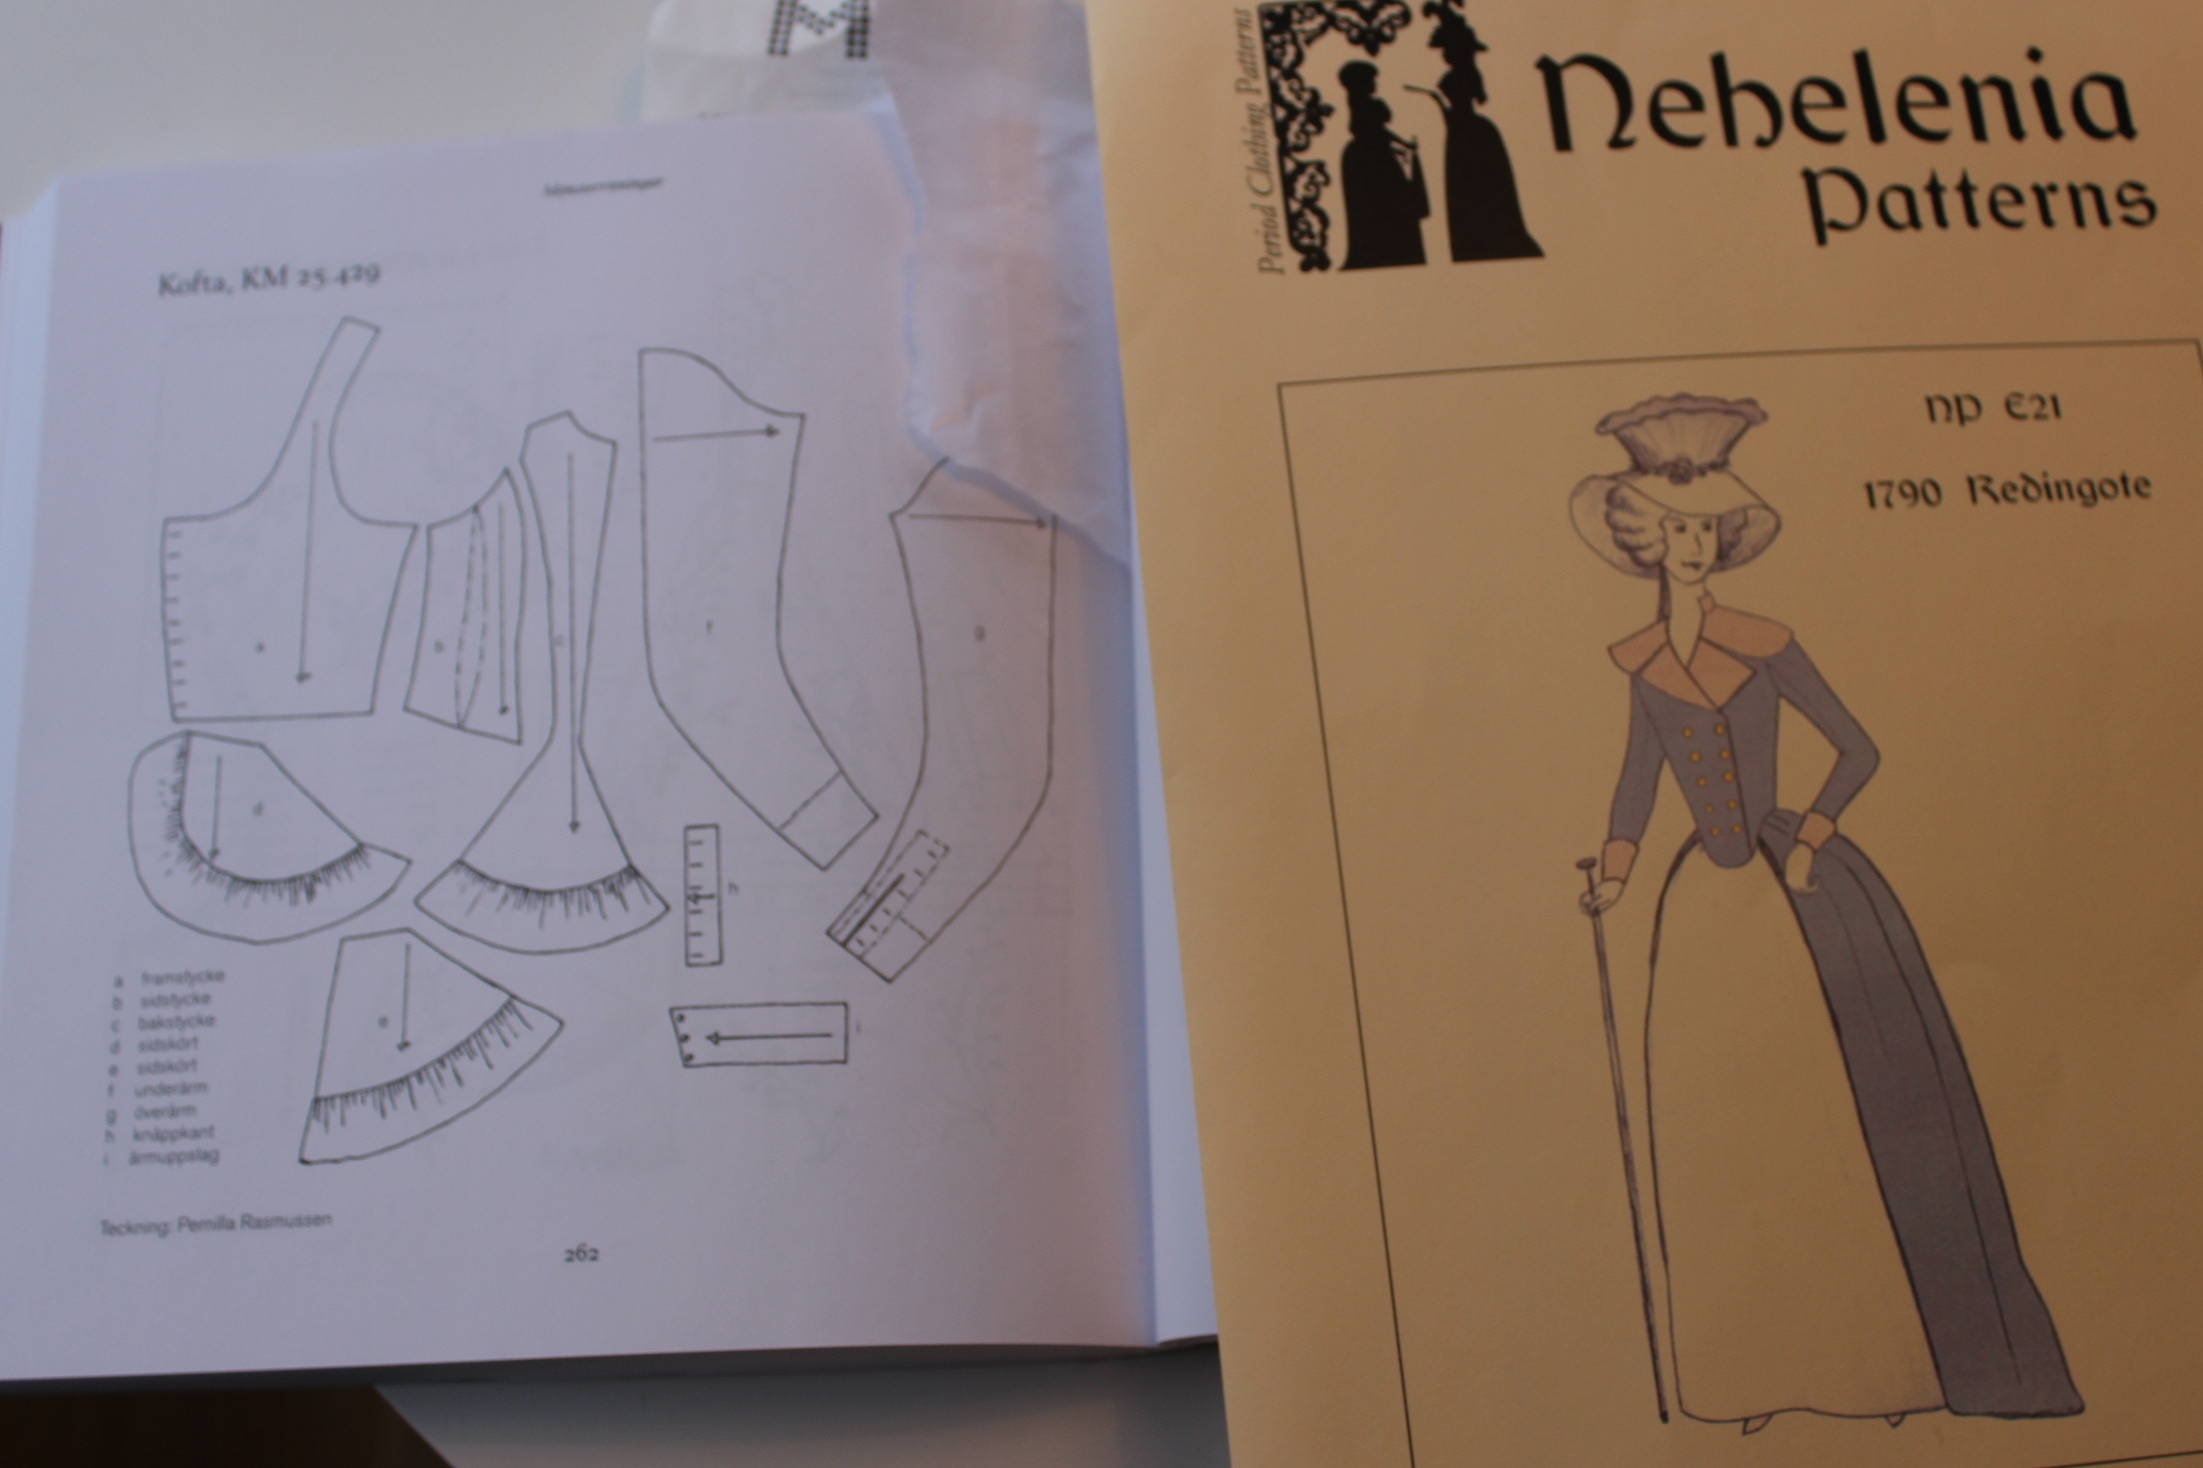
I also looked at some extant garments for additional inspiration and style choices. Then I got to work.

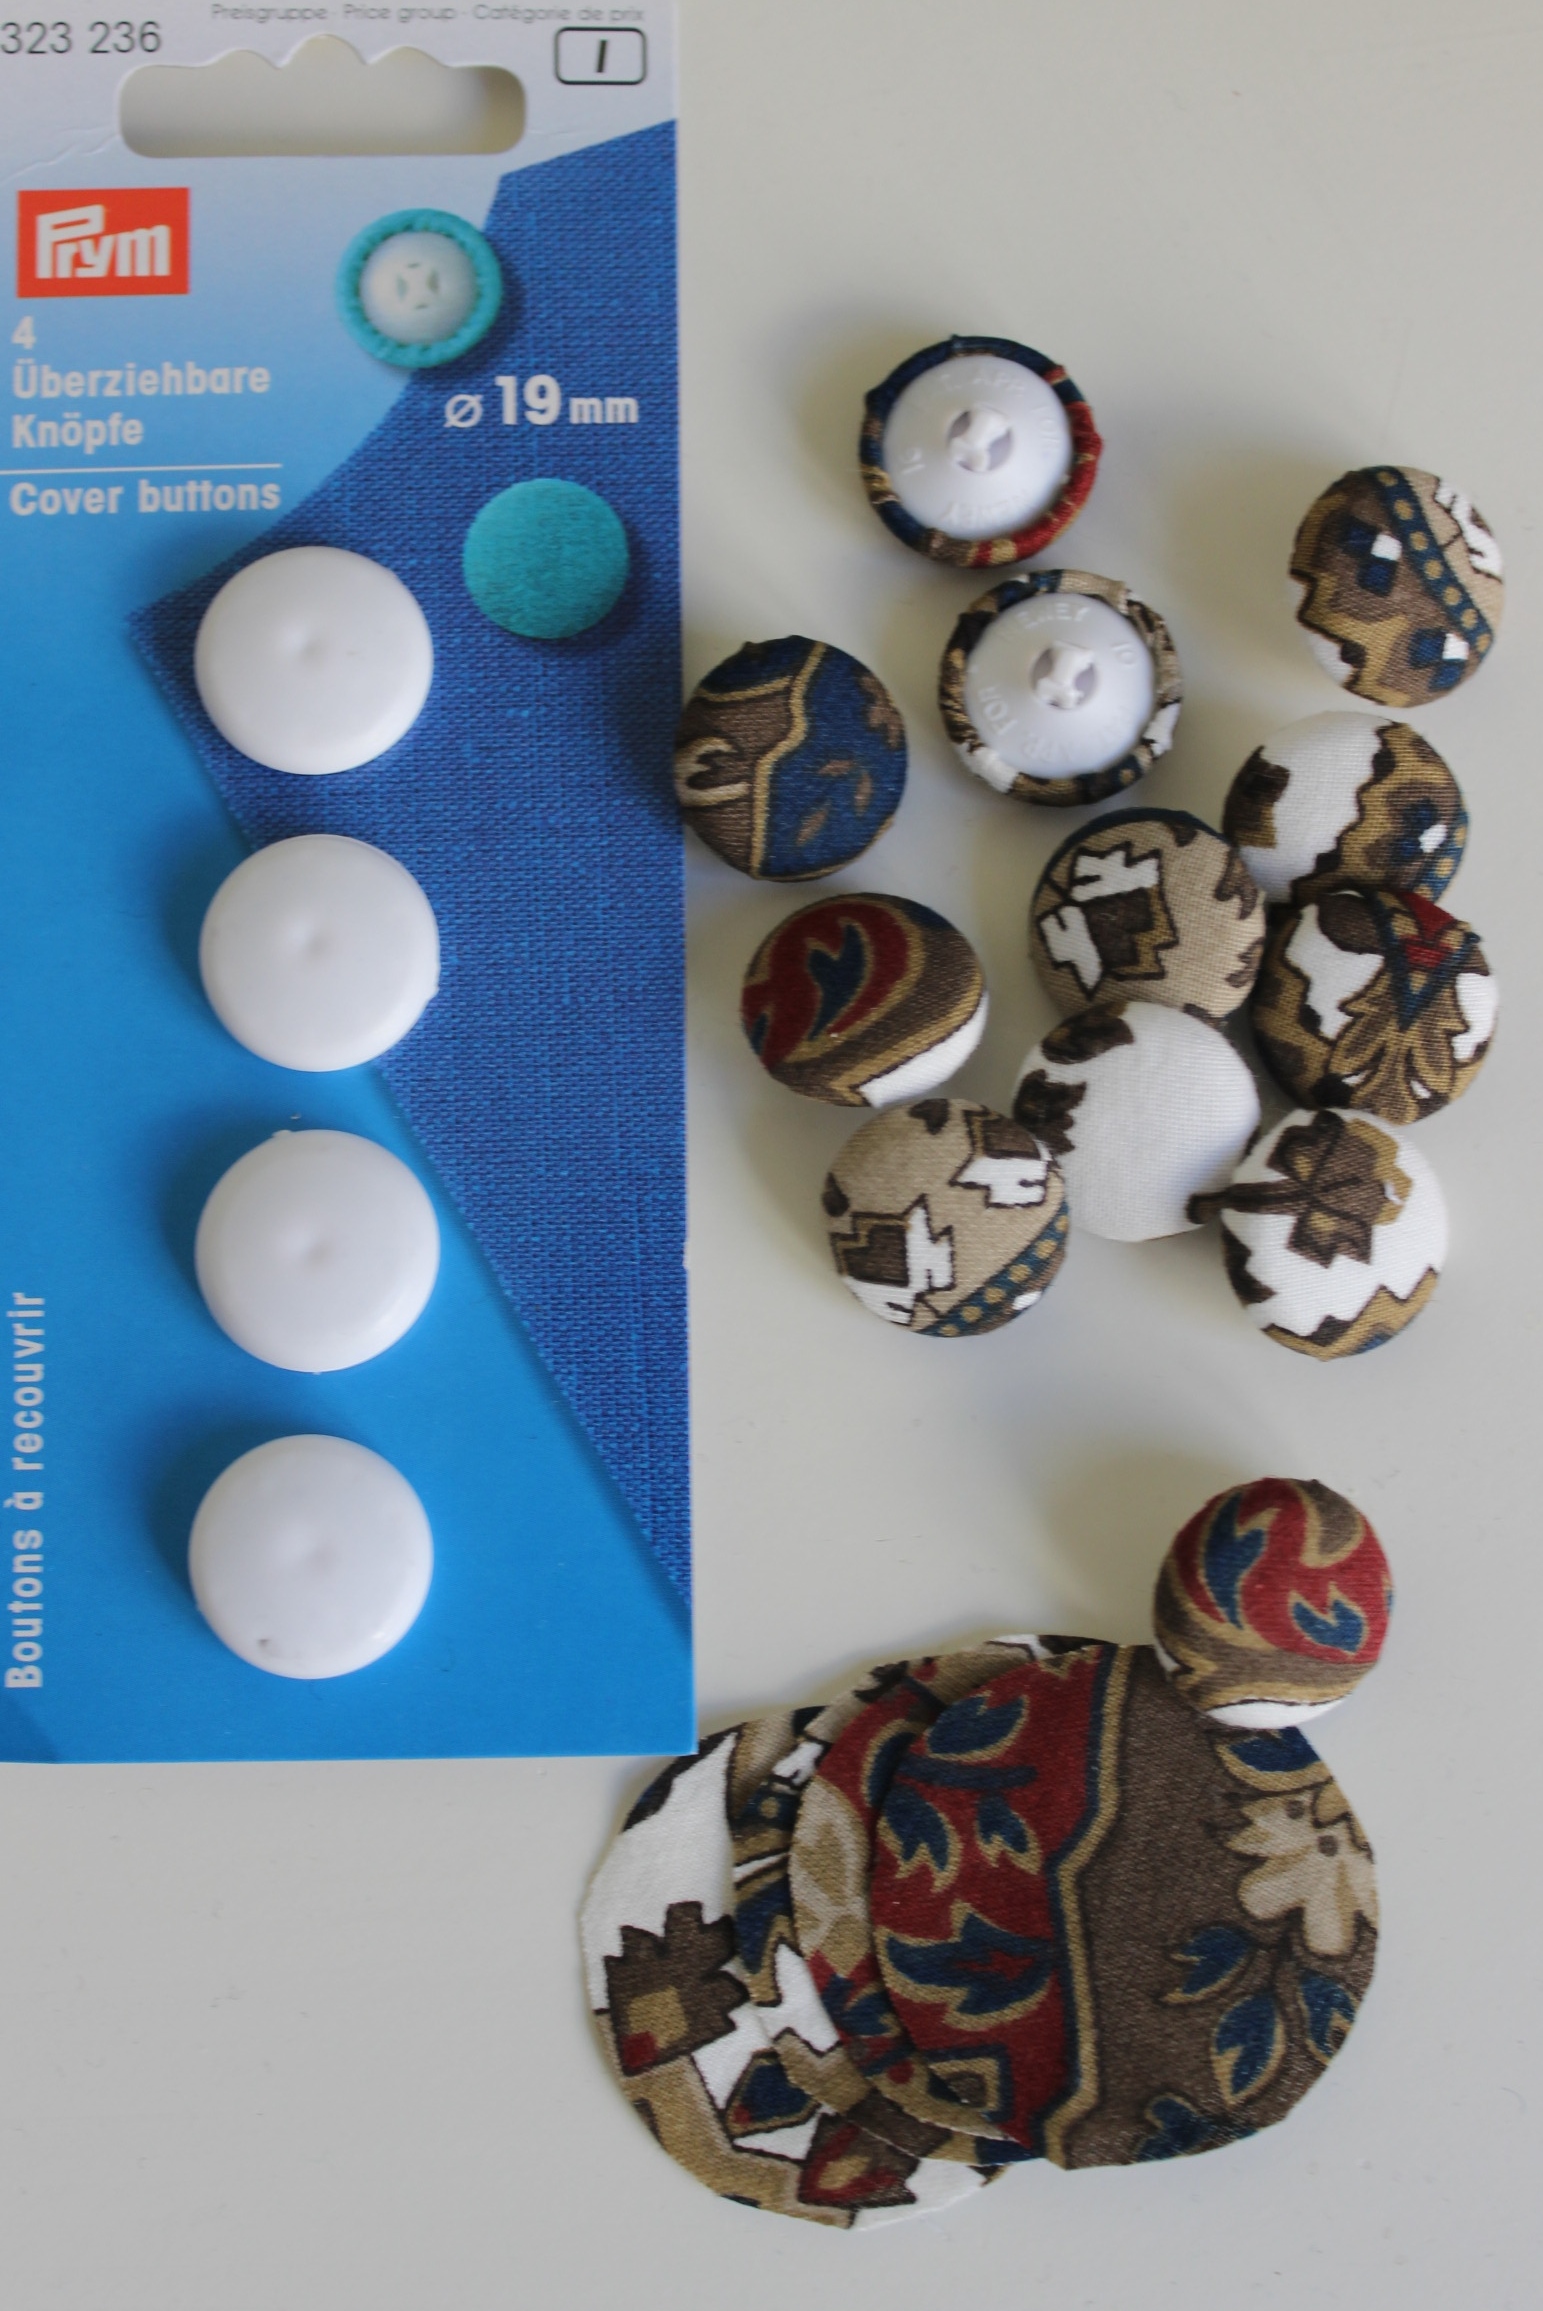
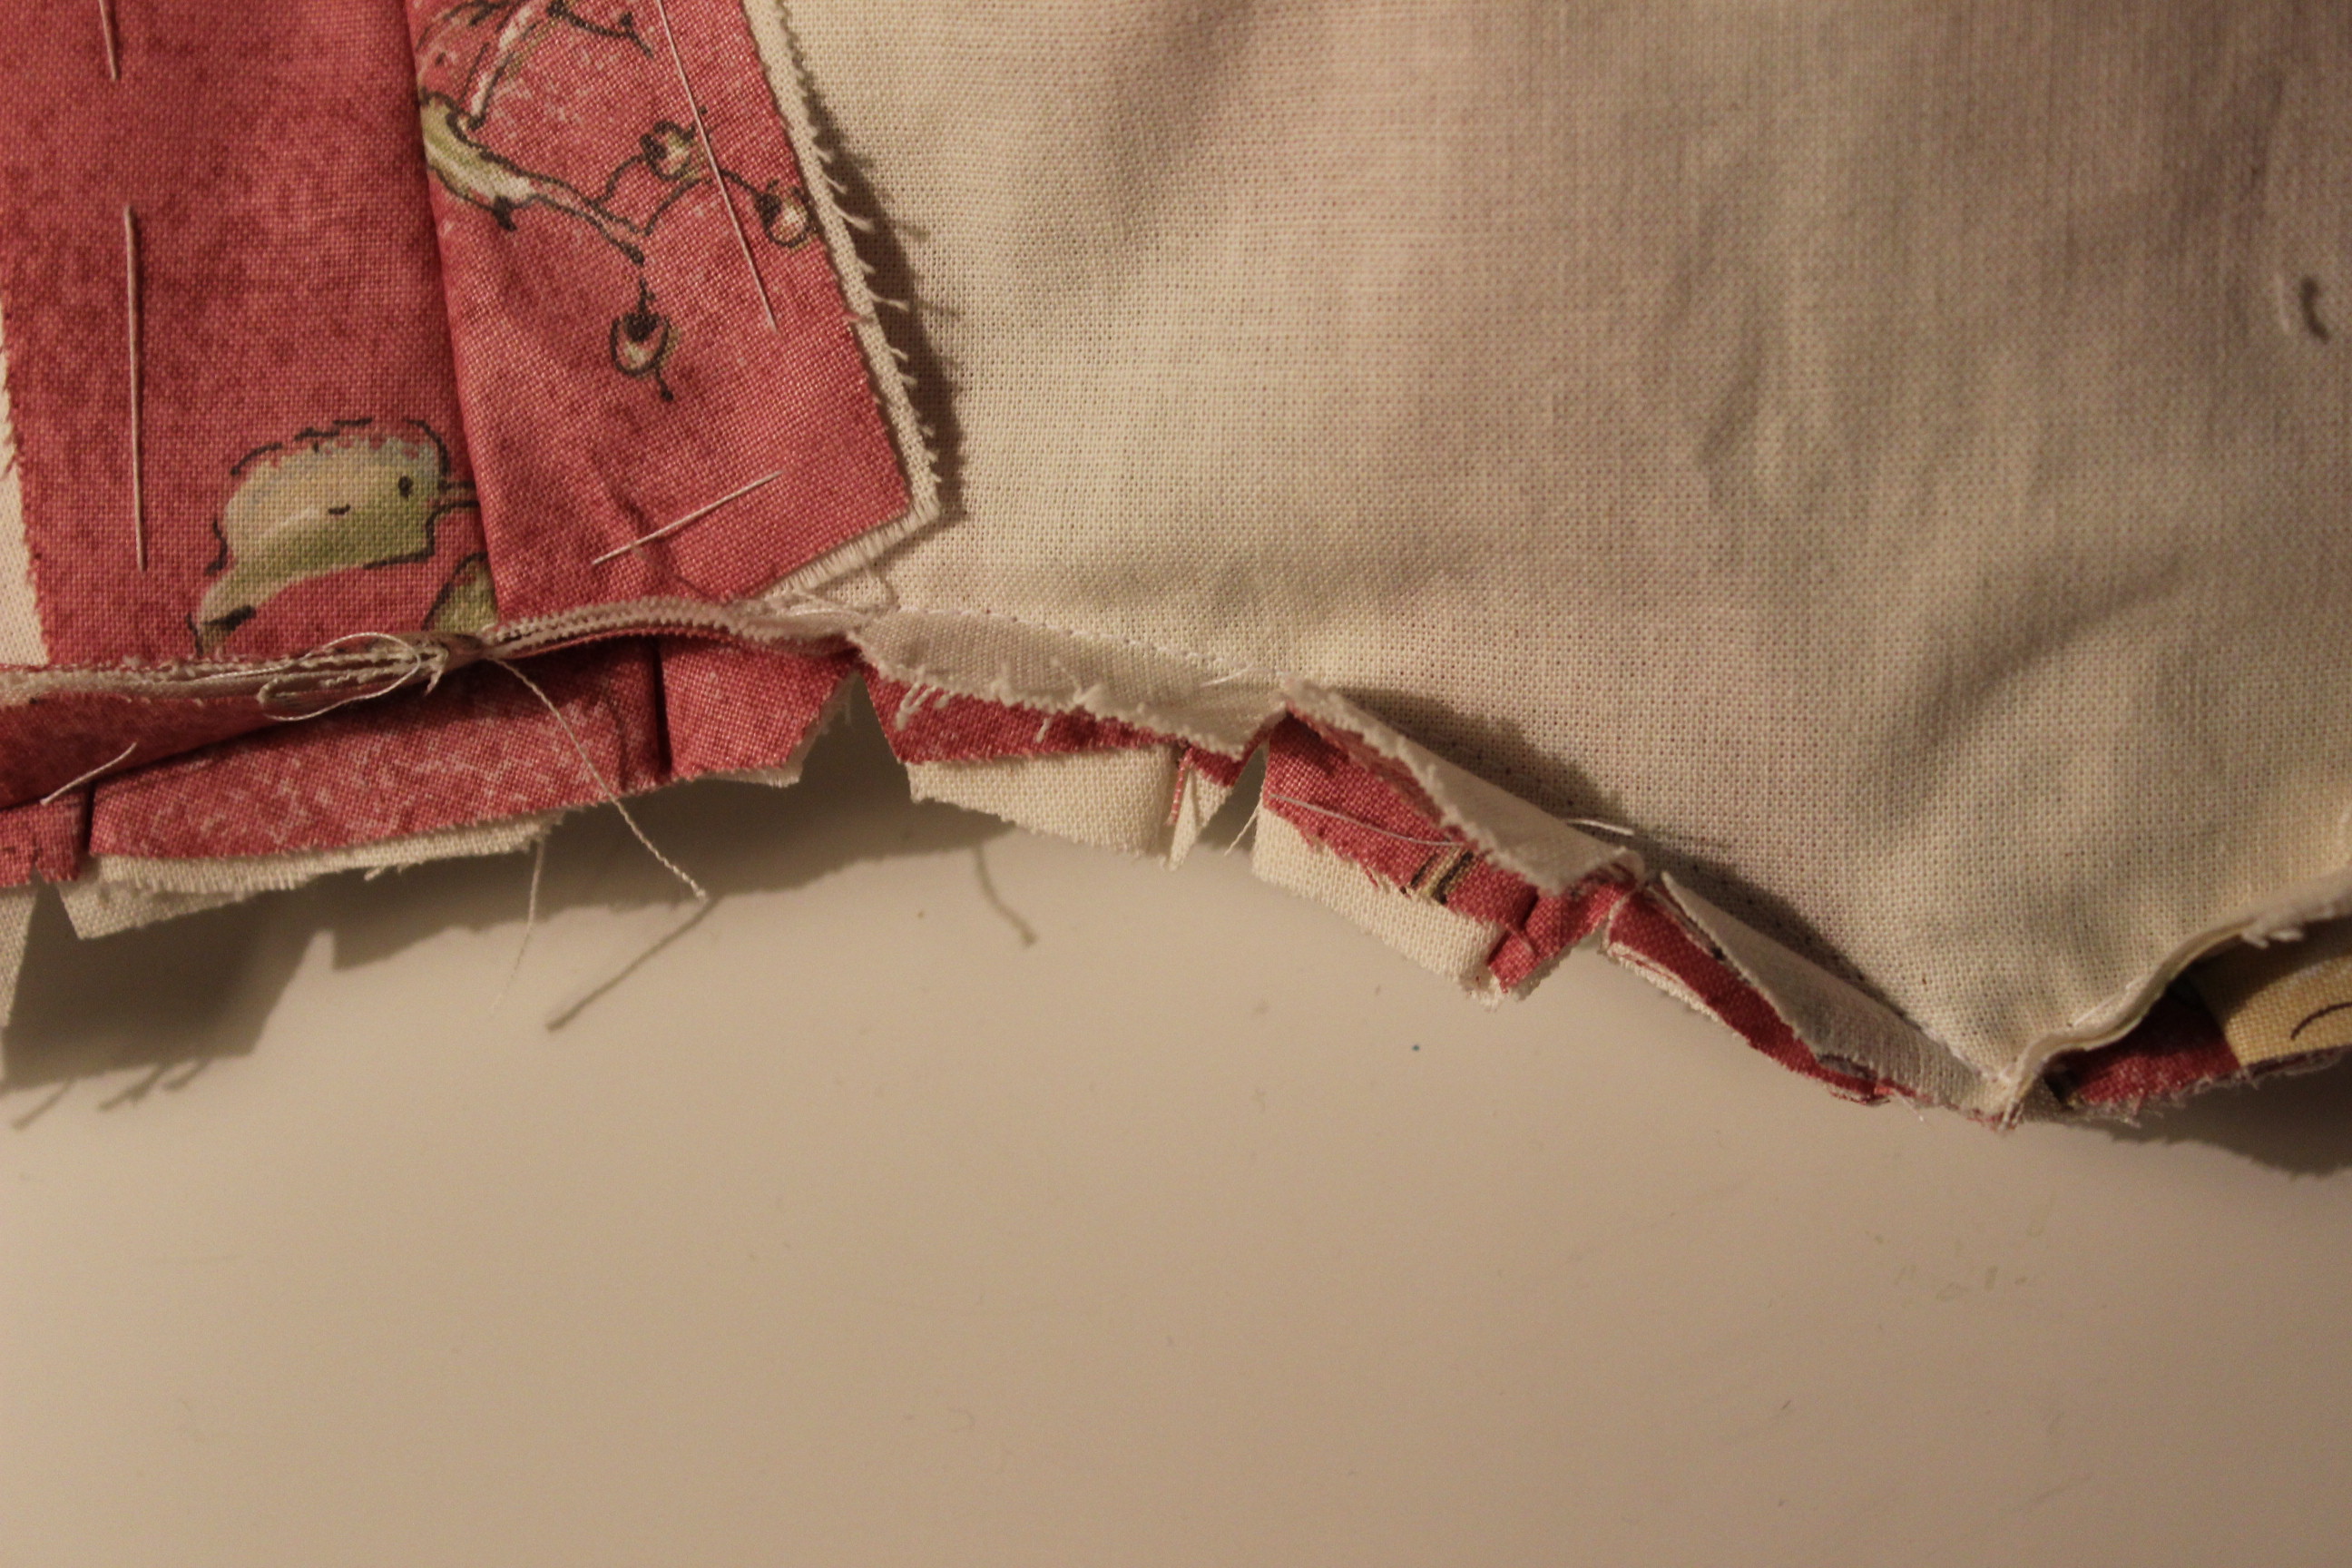
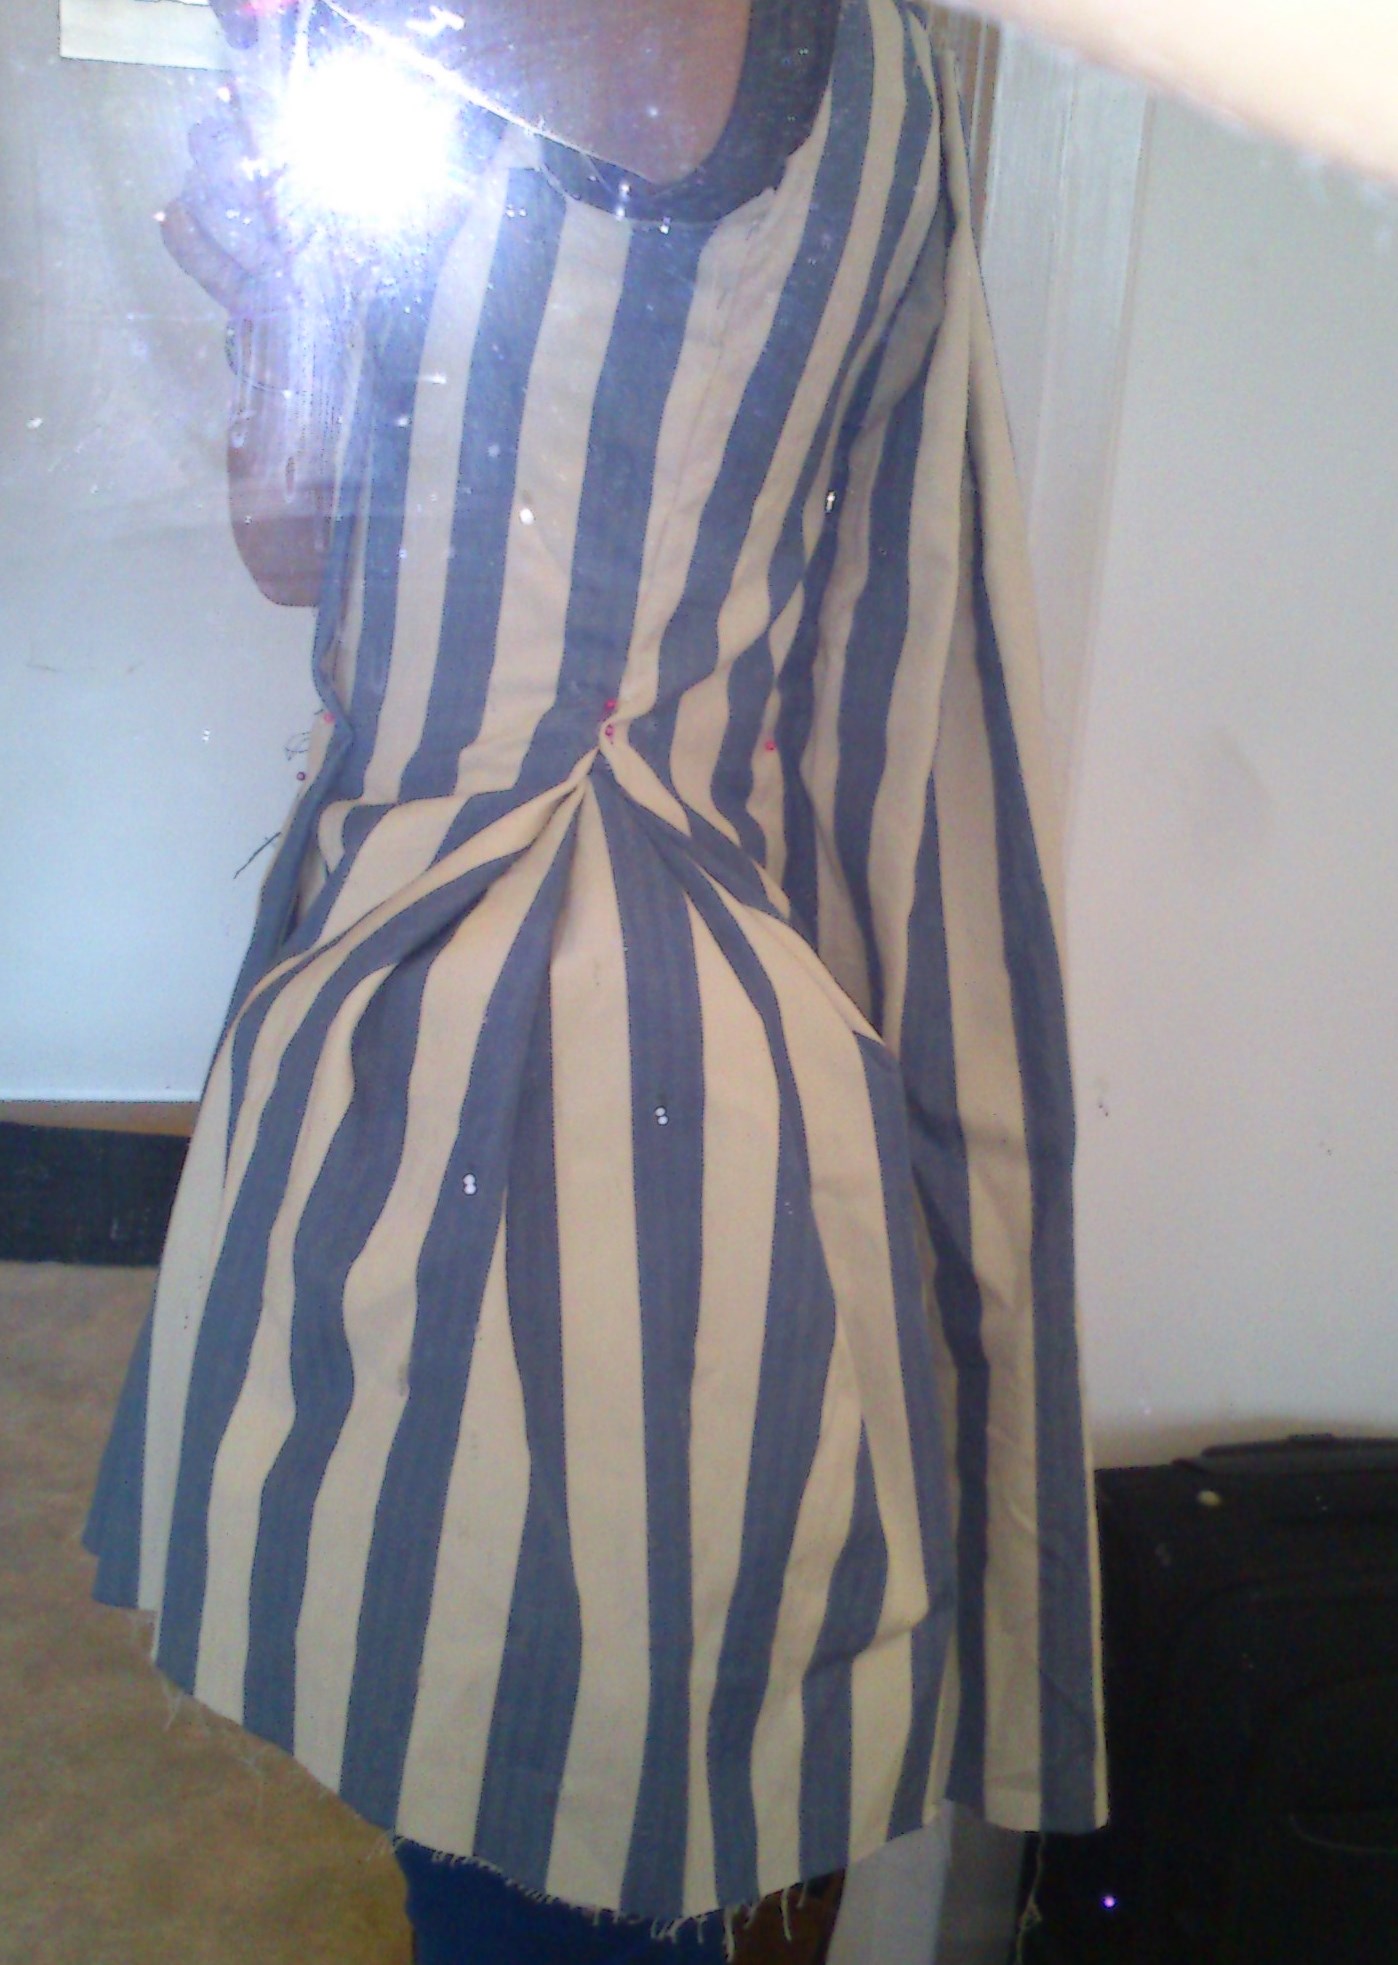
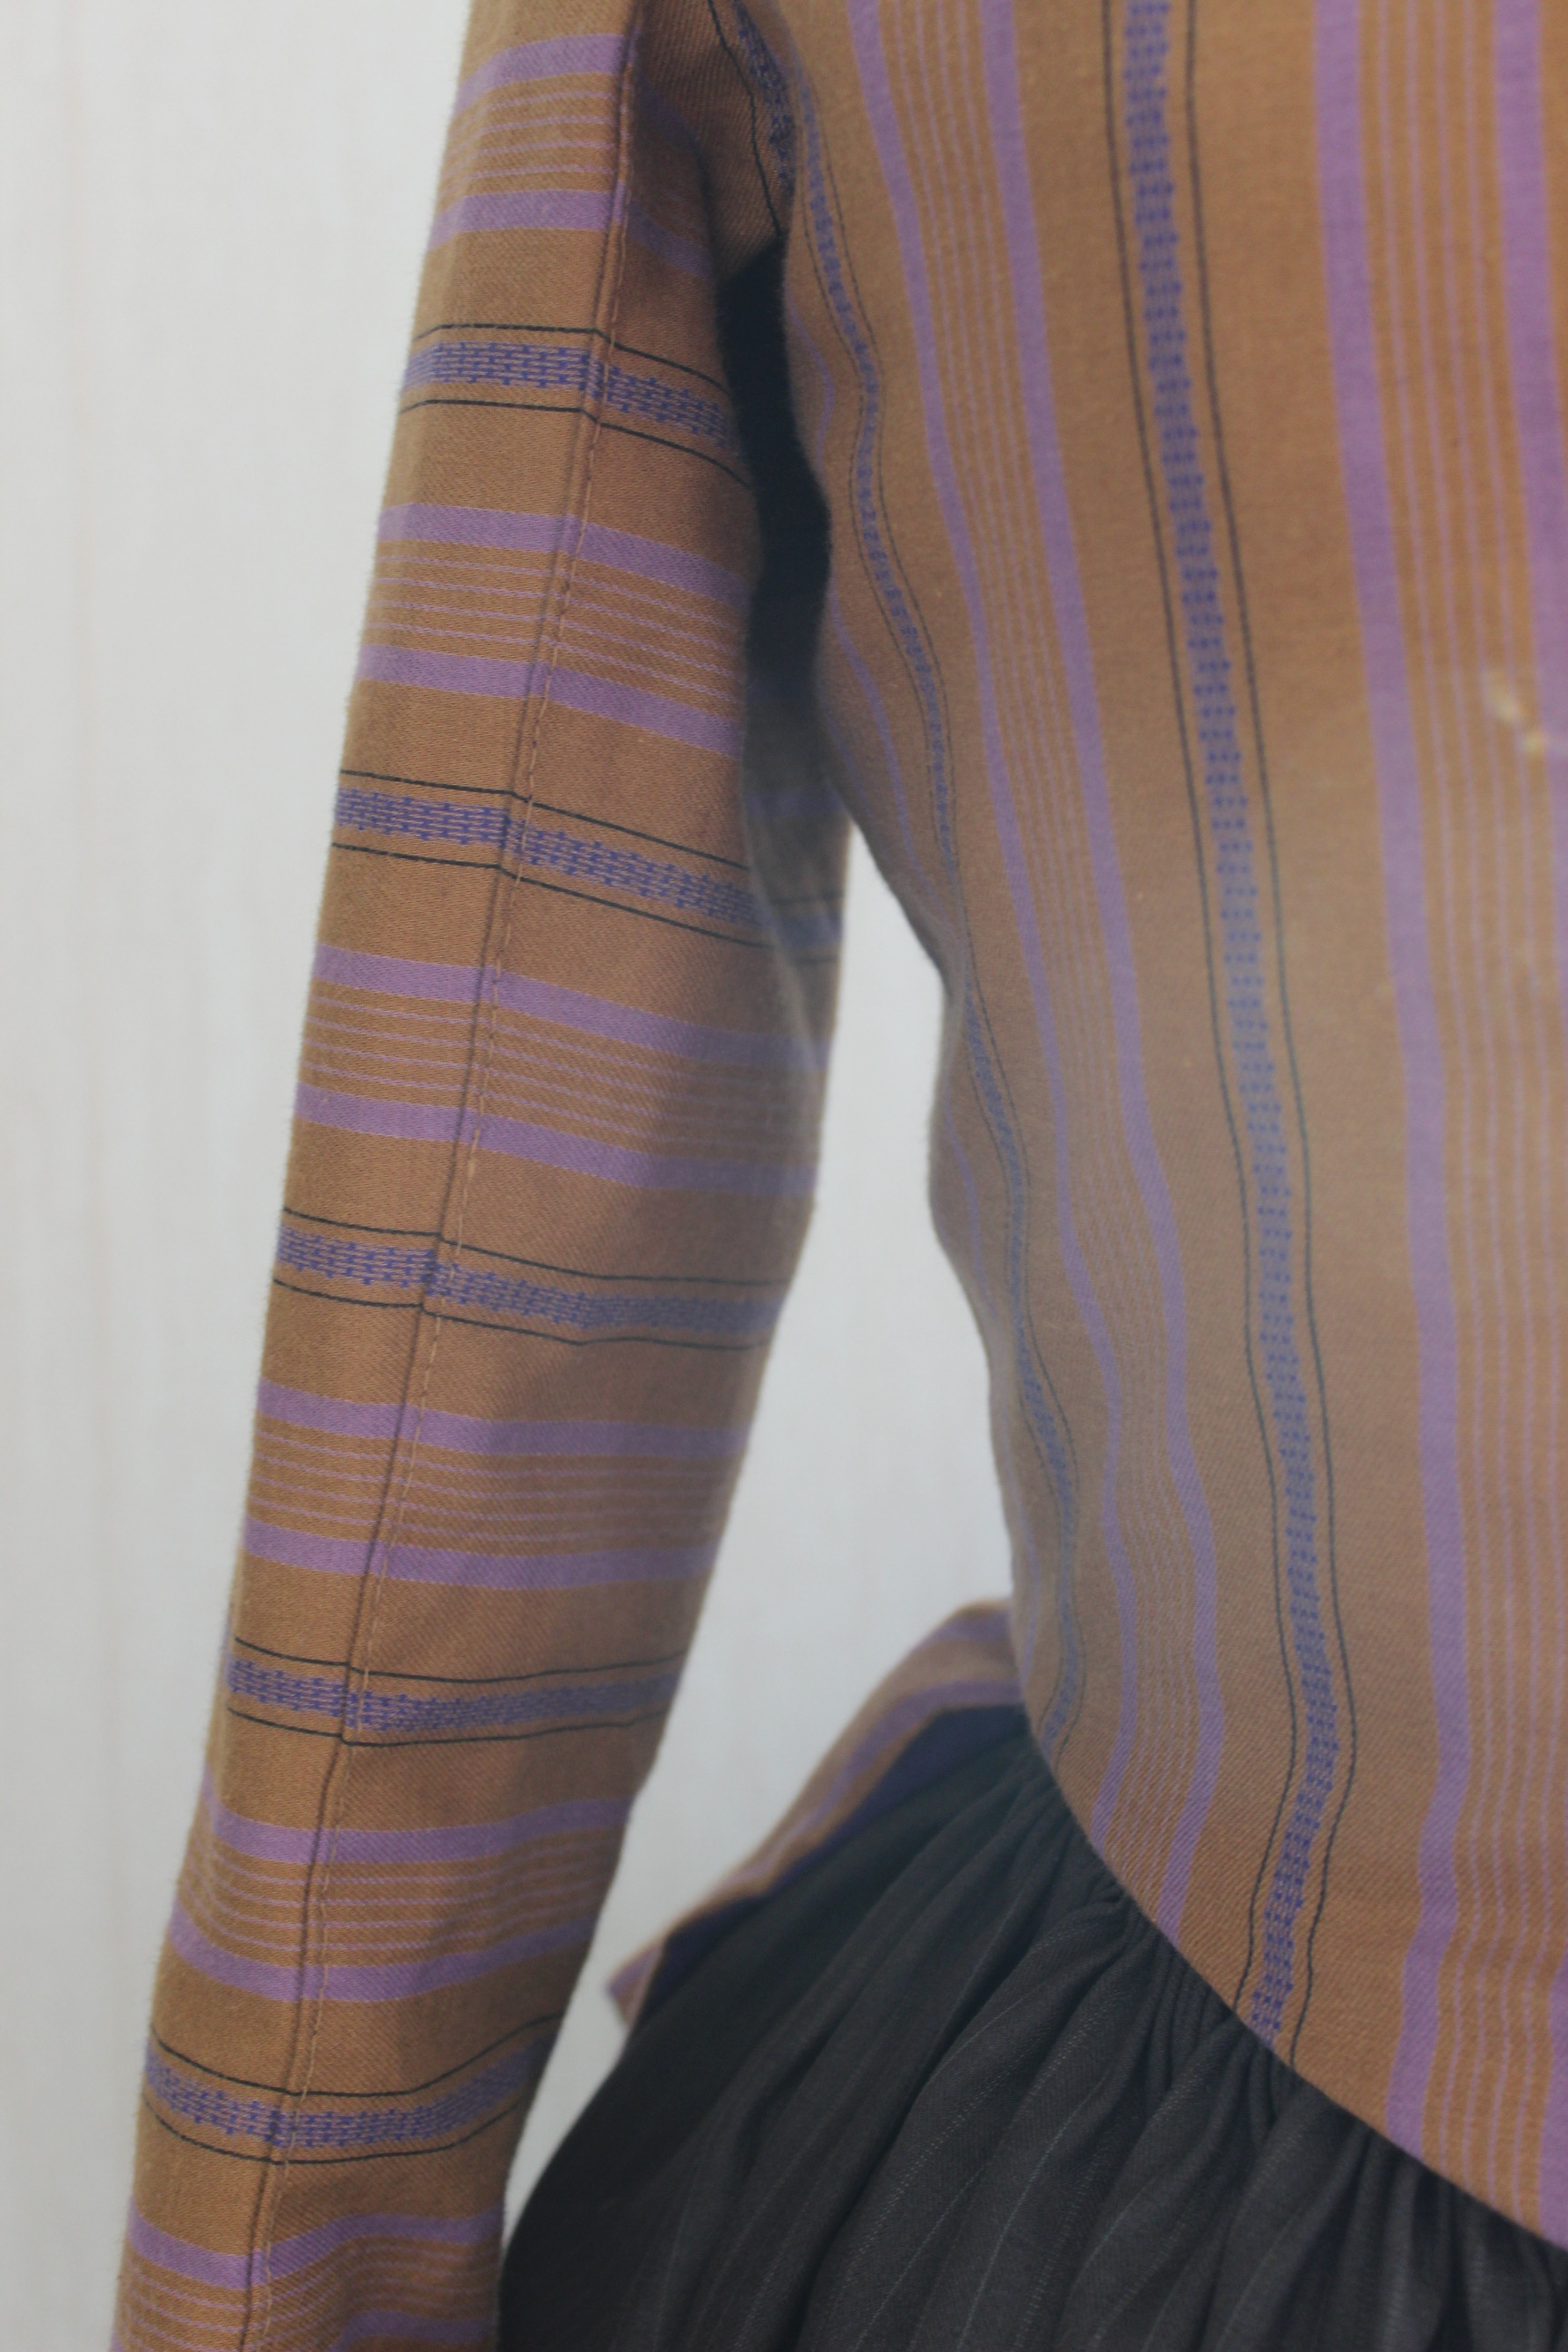
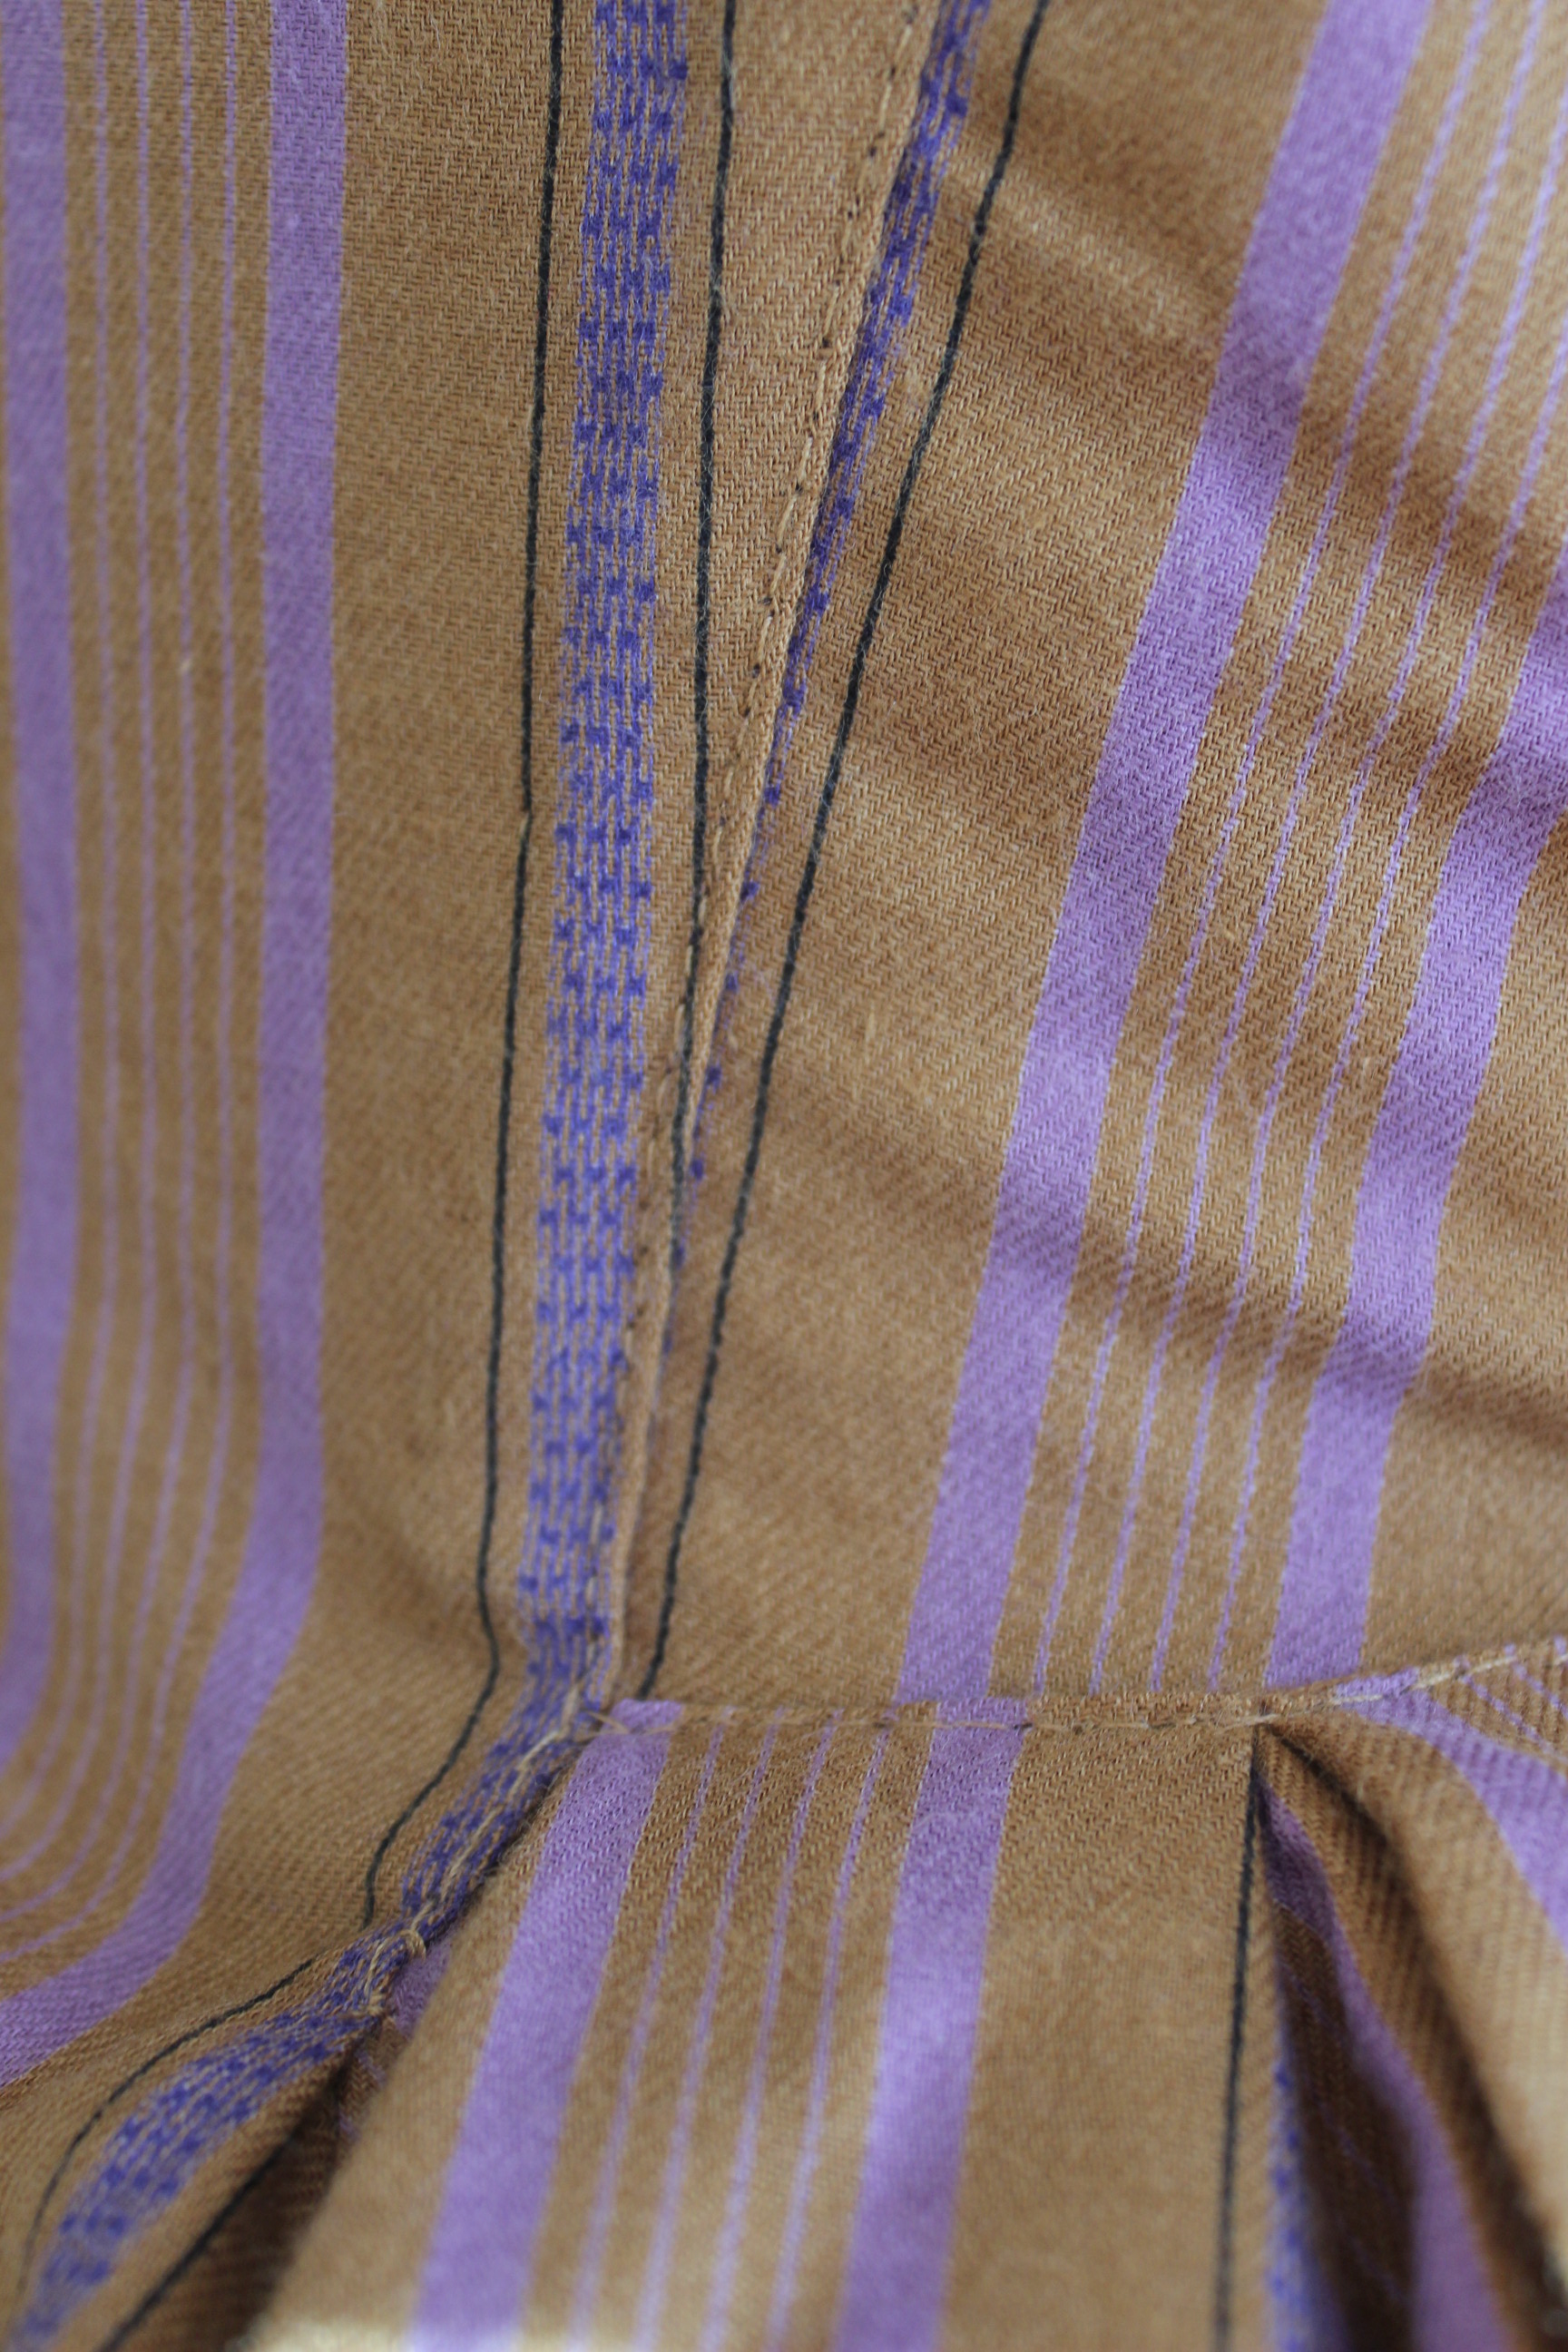
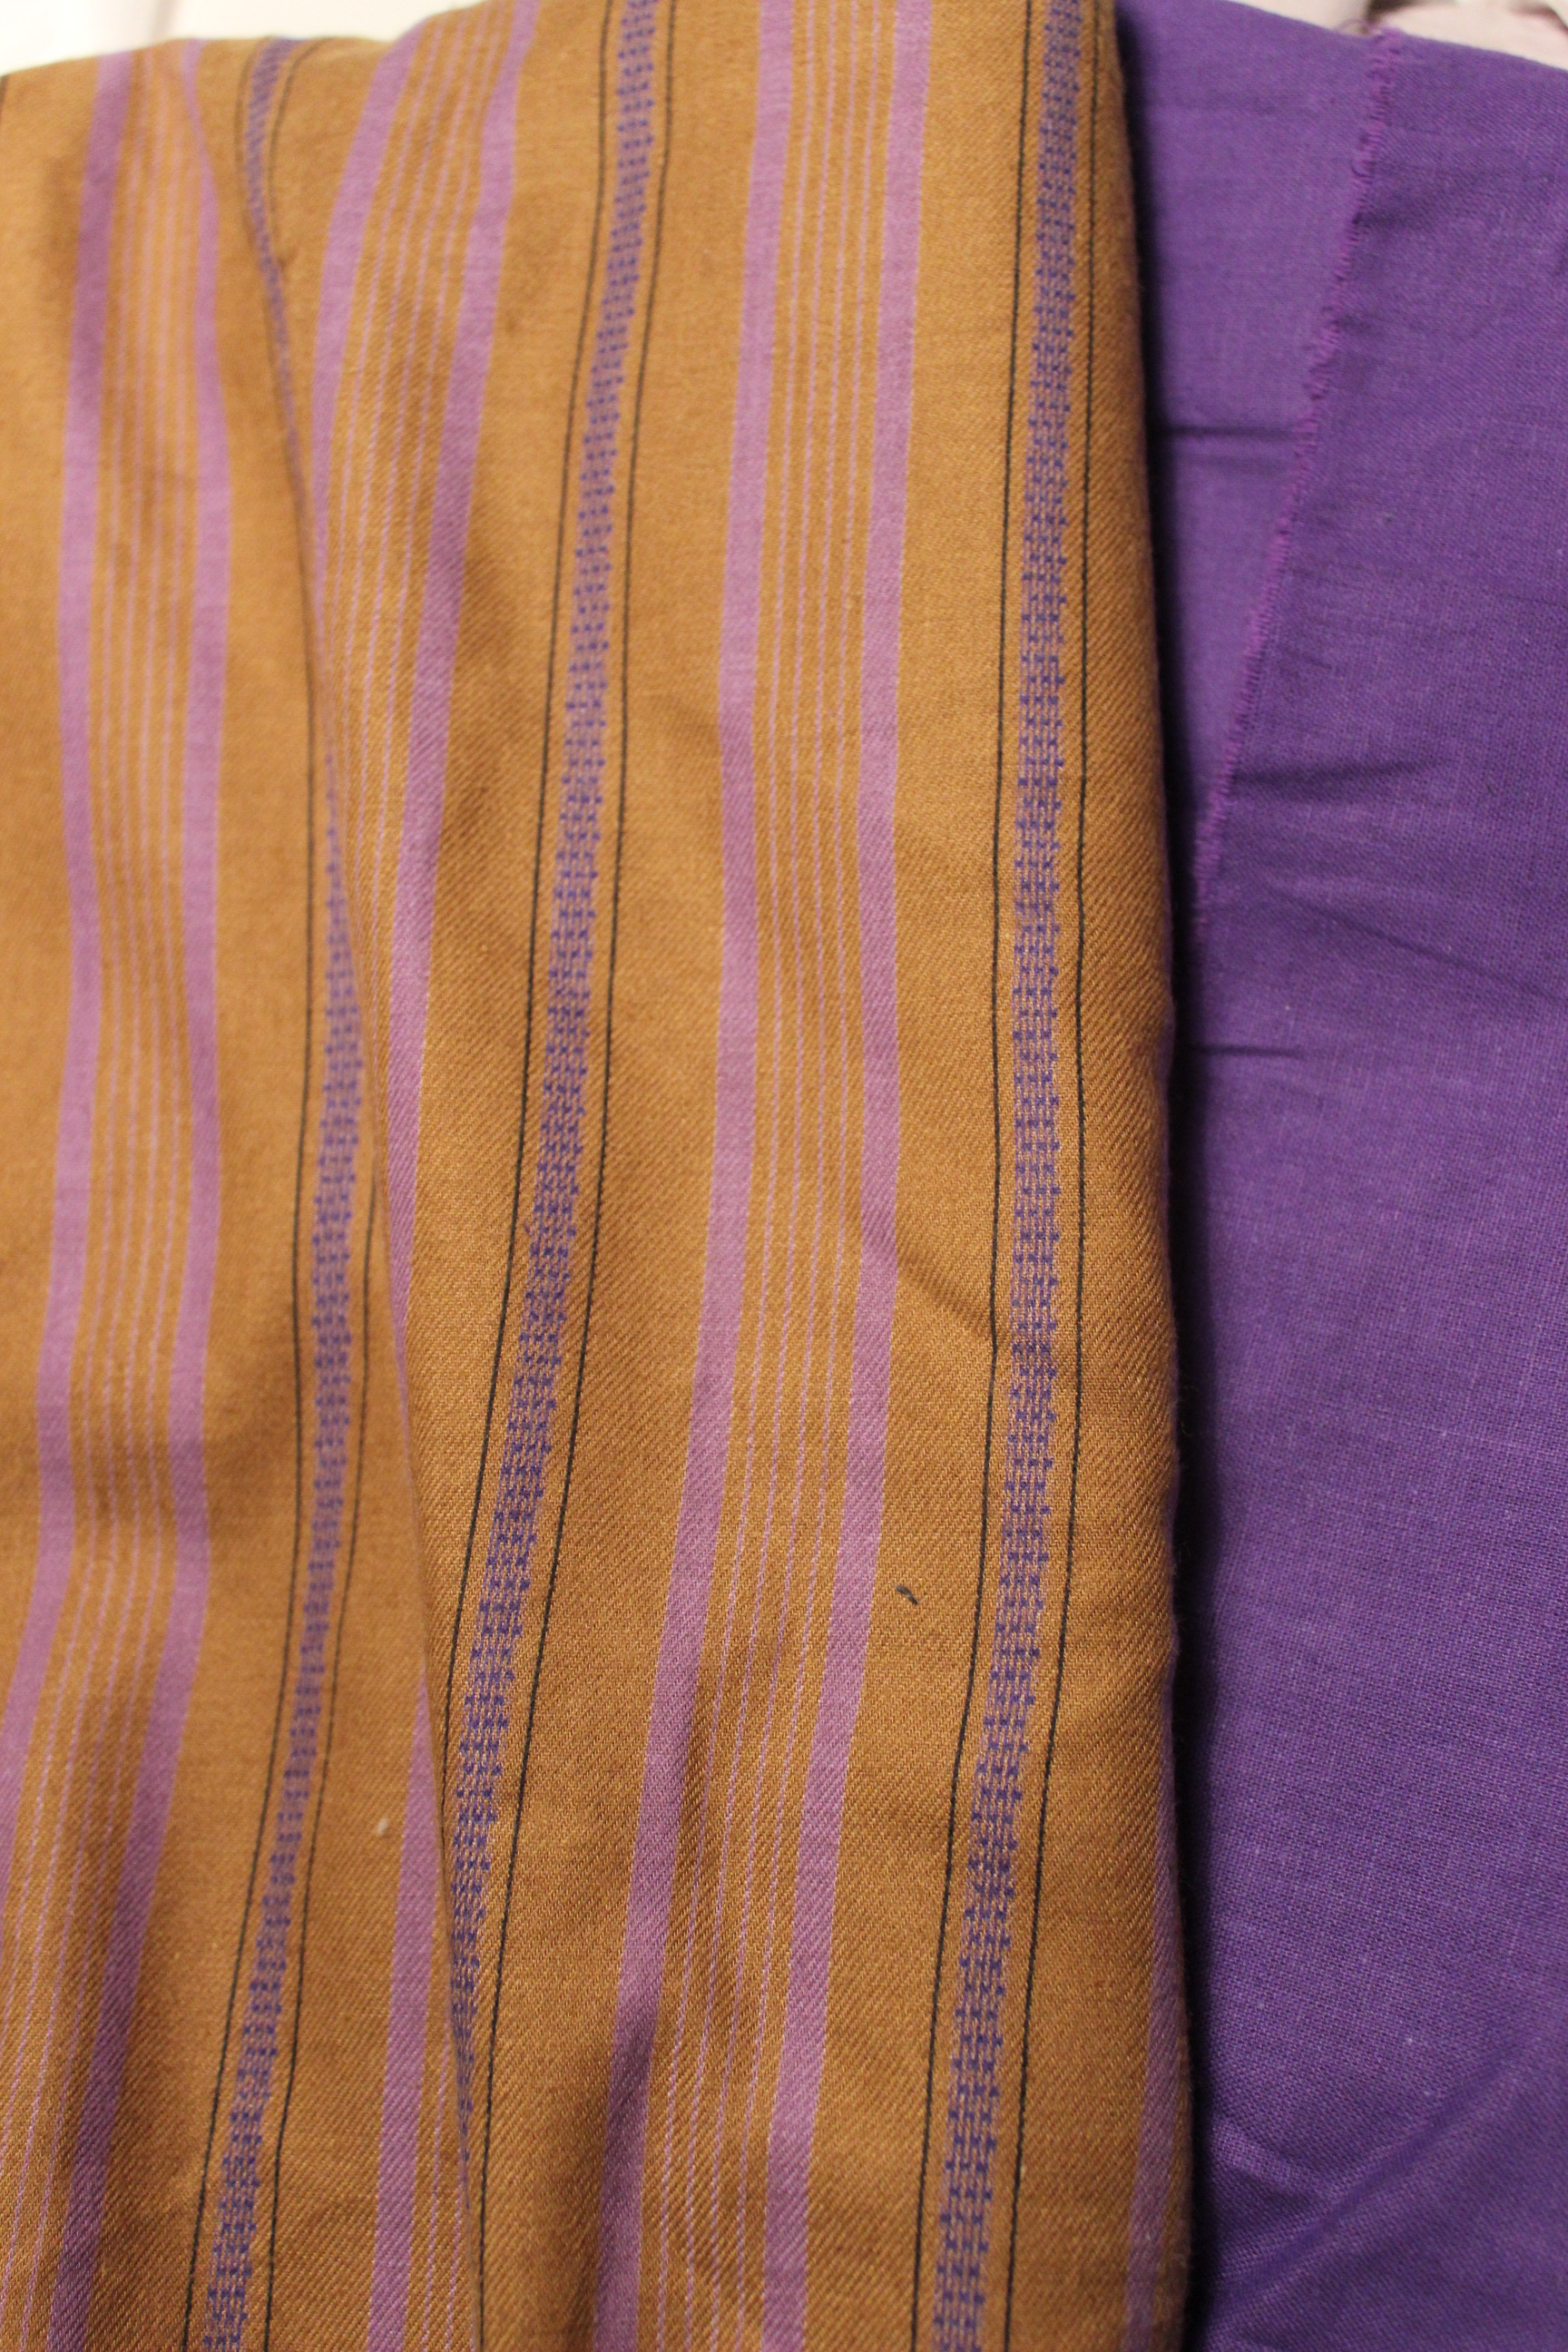
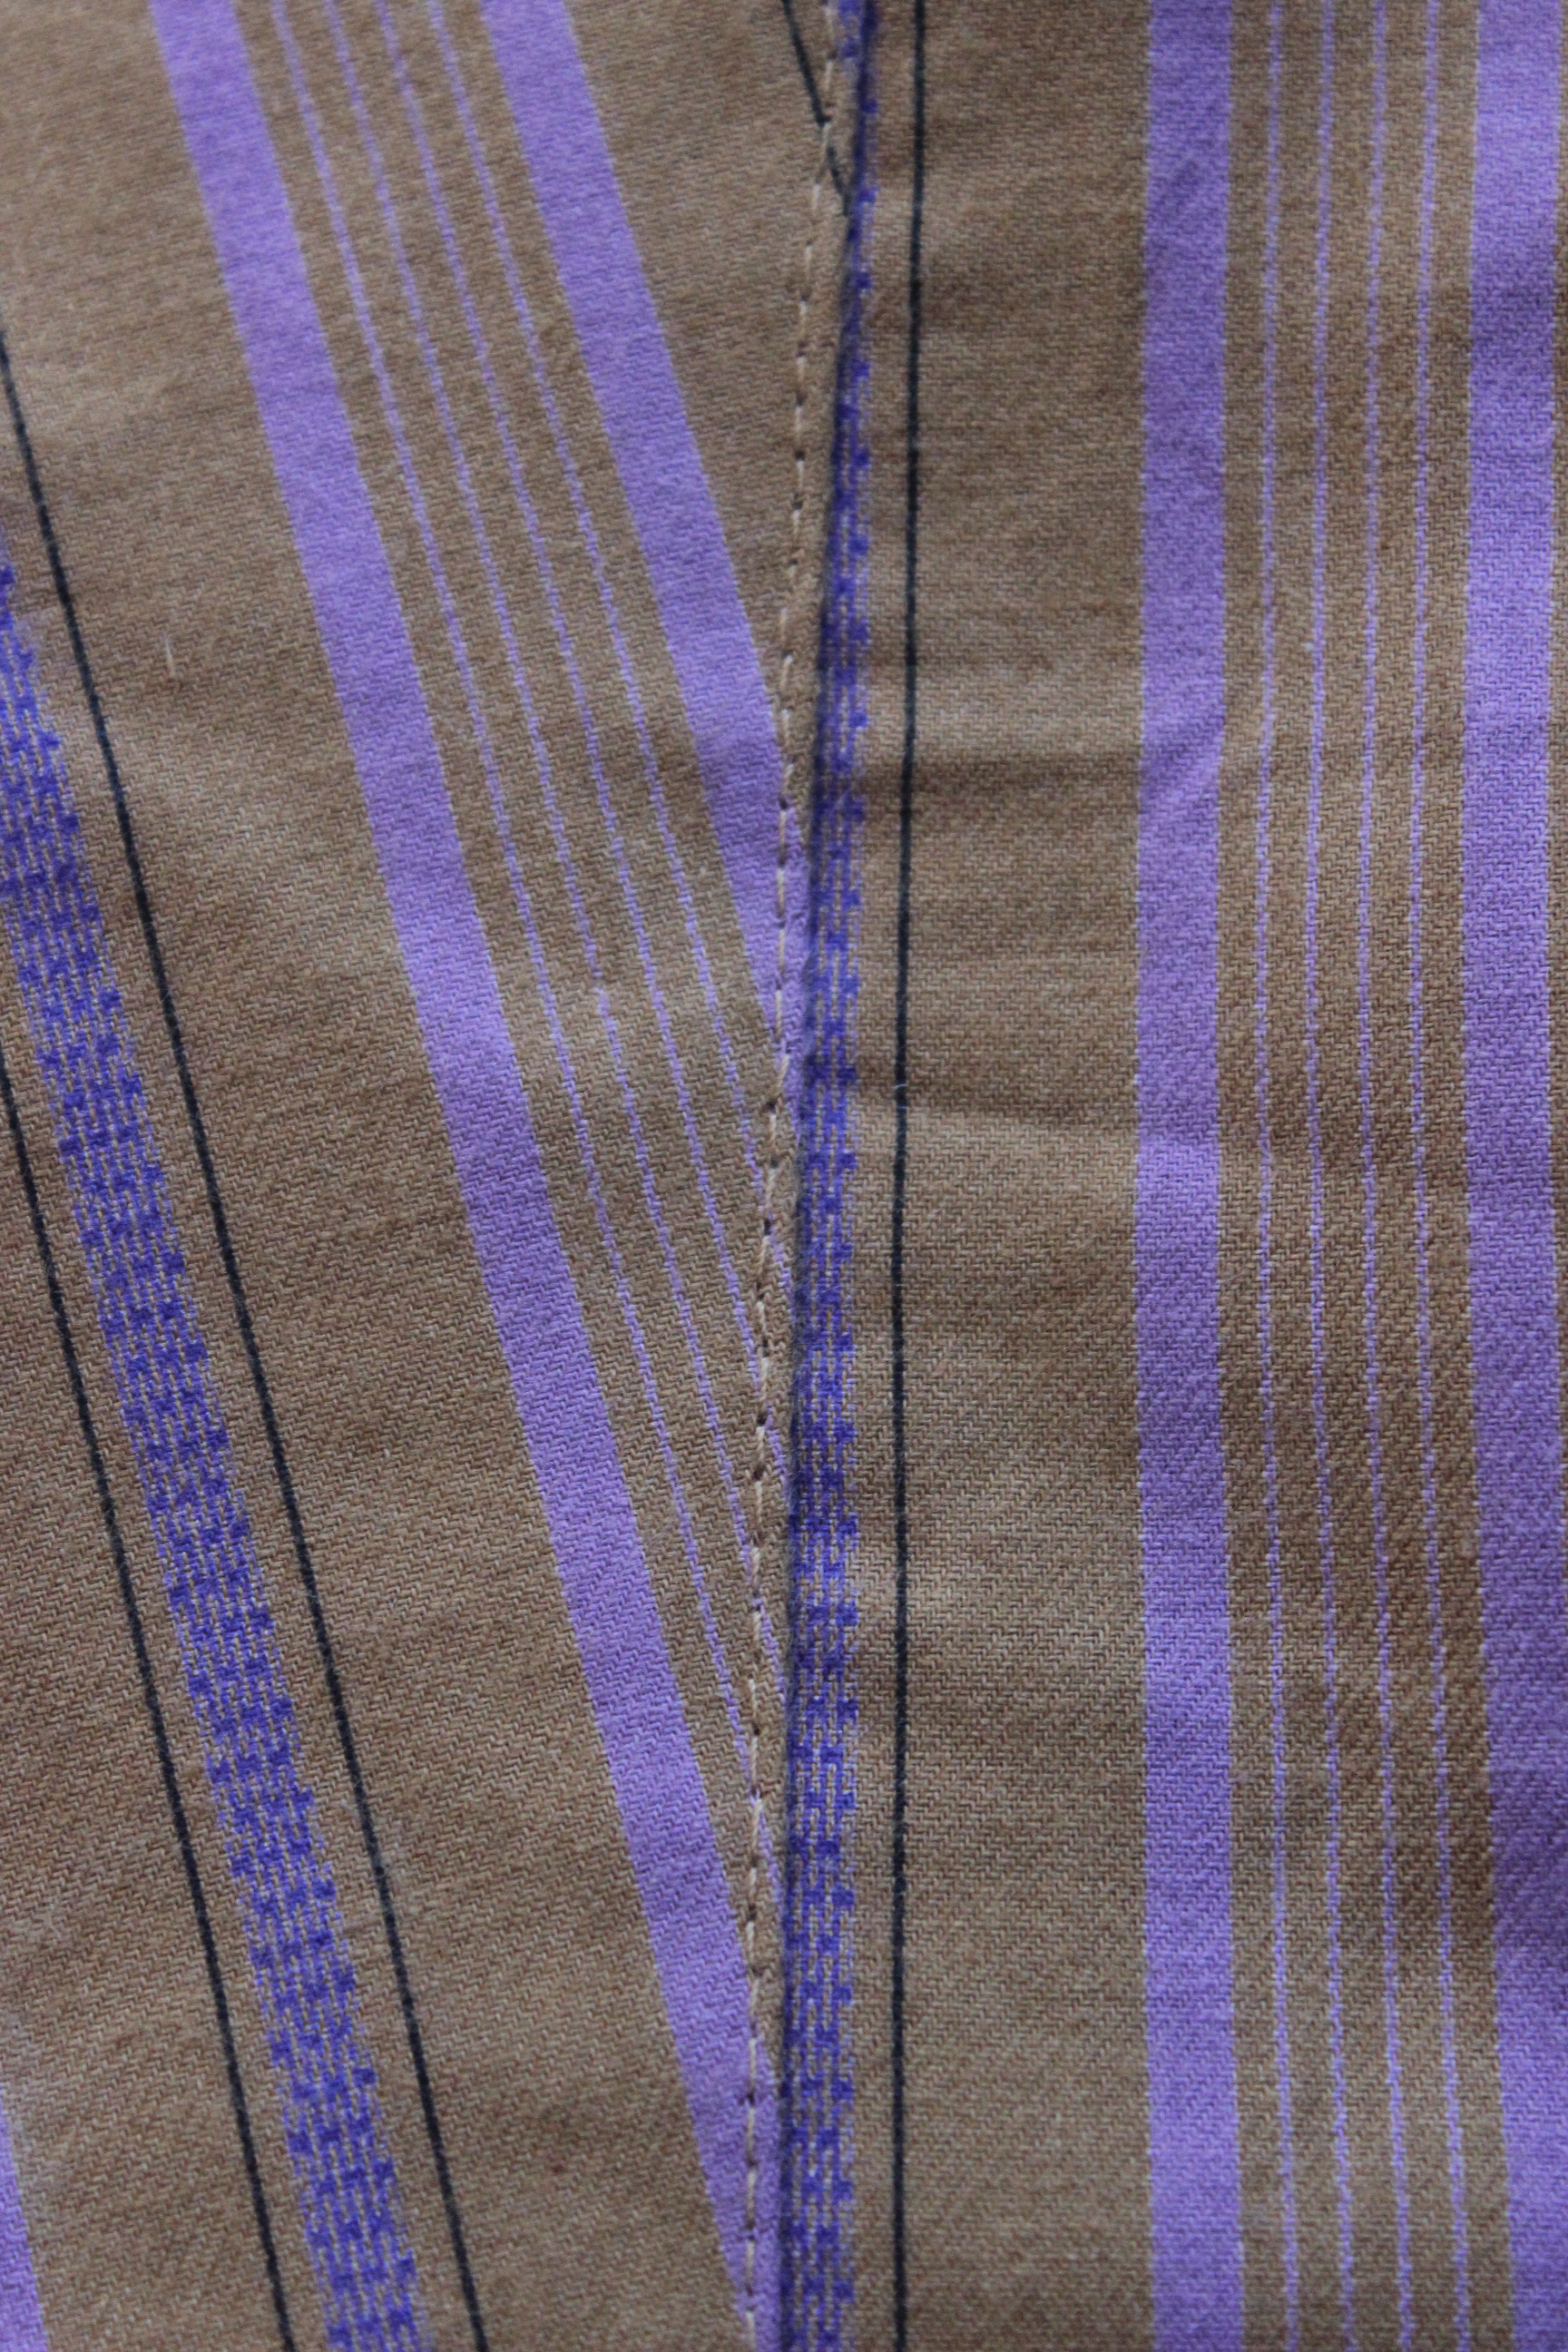
Using two beige cotton sheets from IKEA.
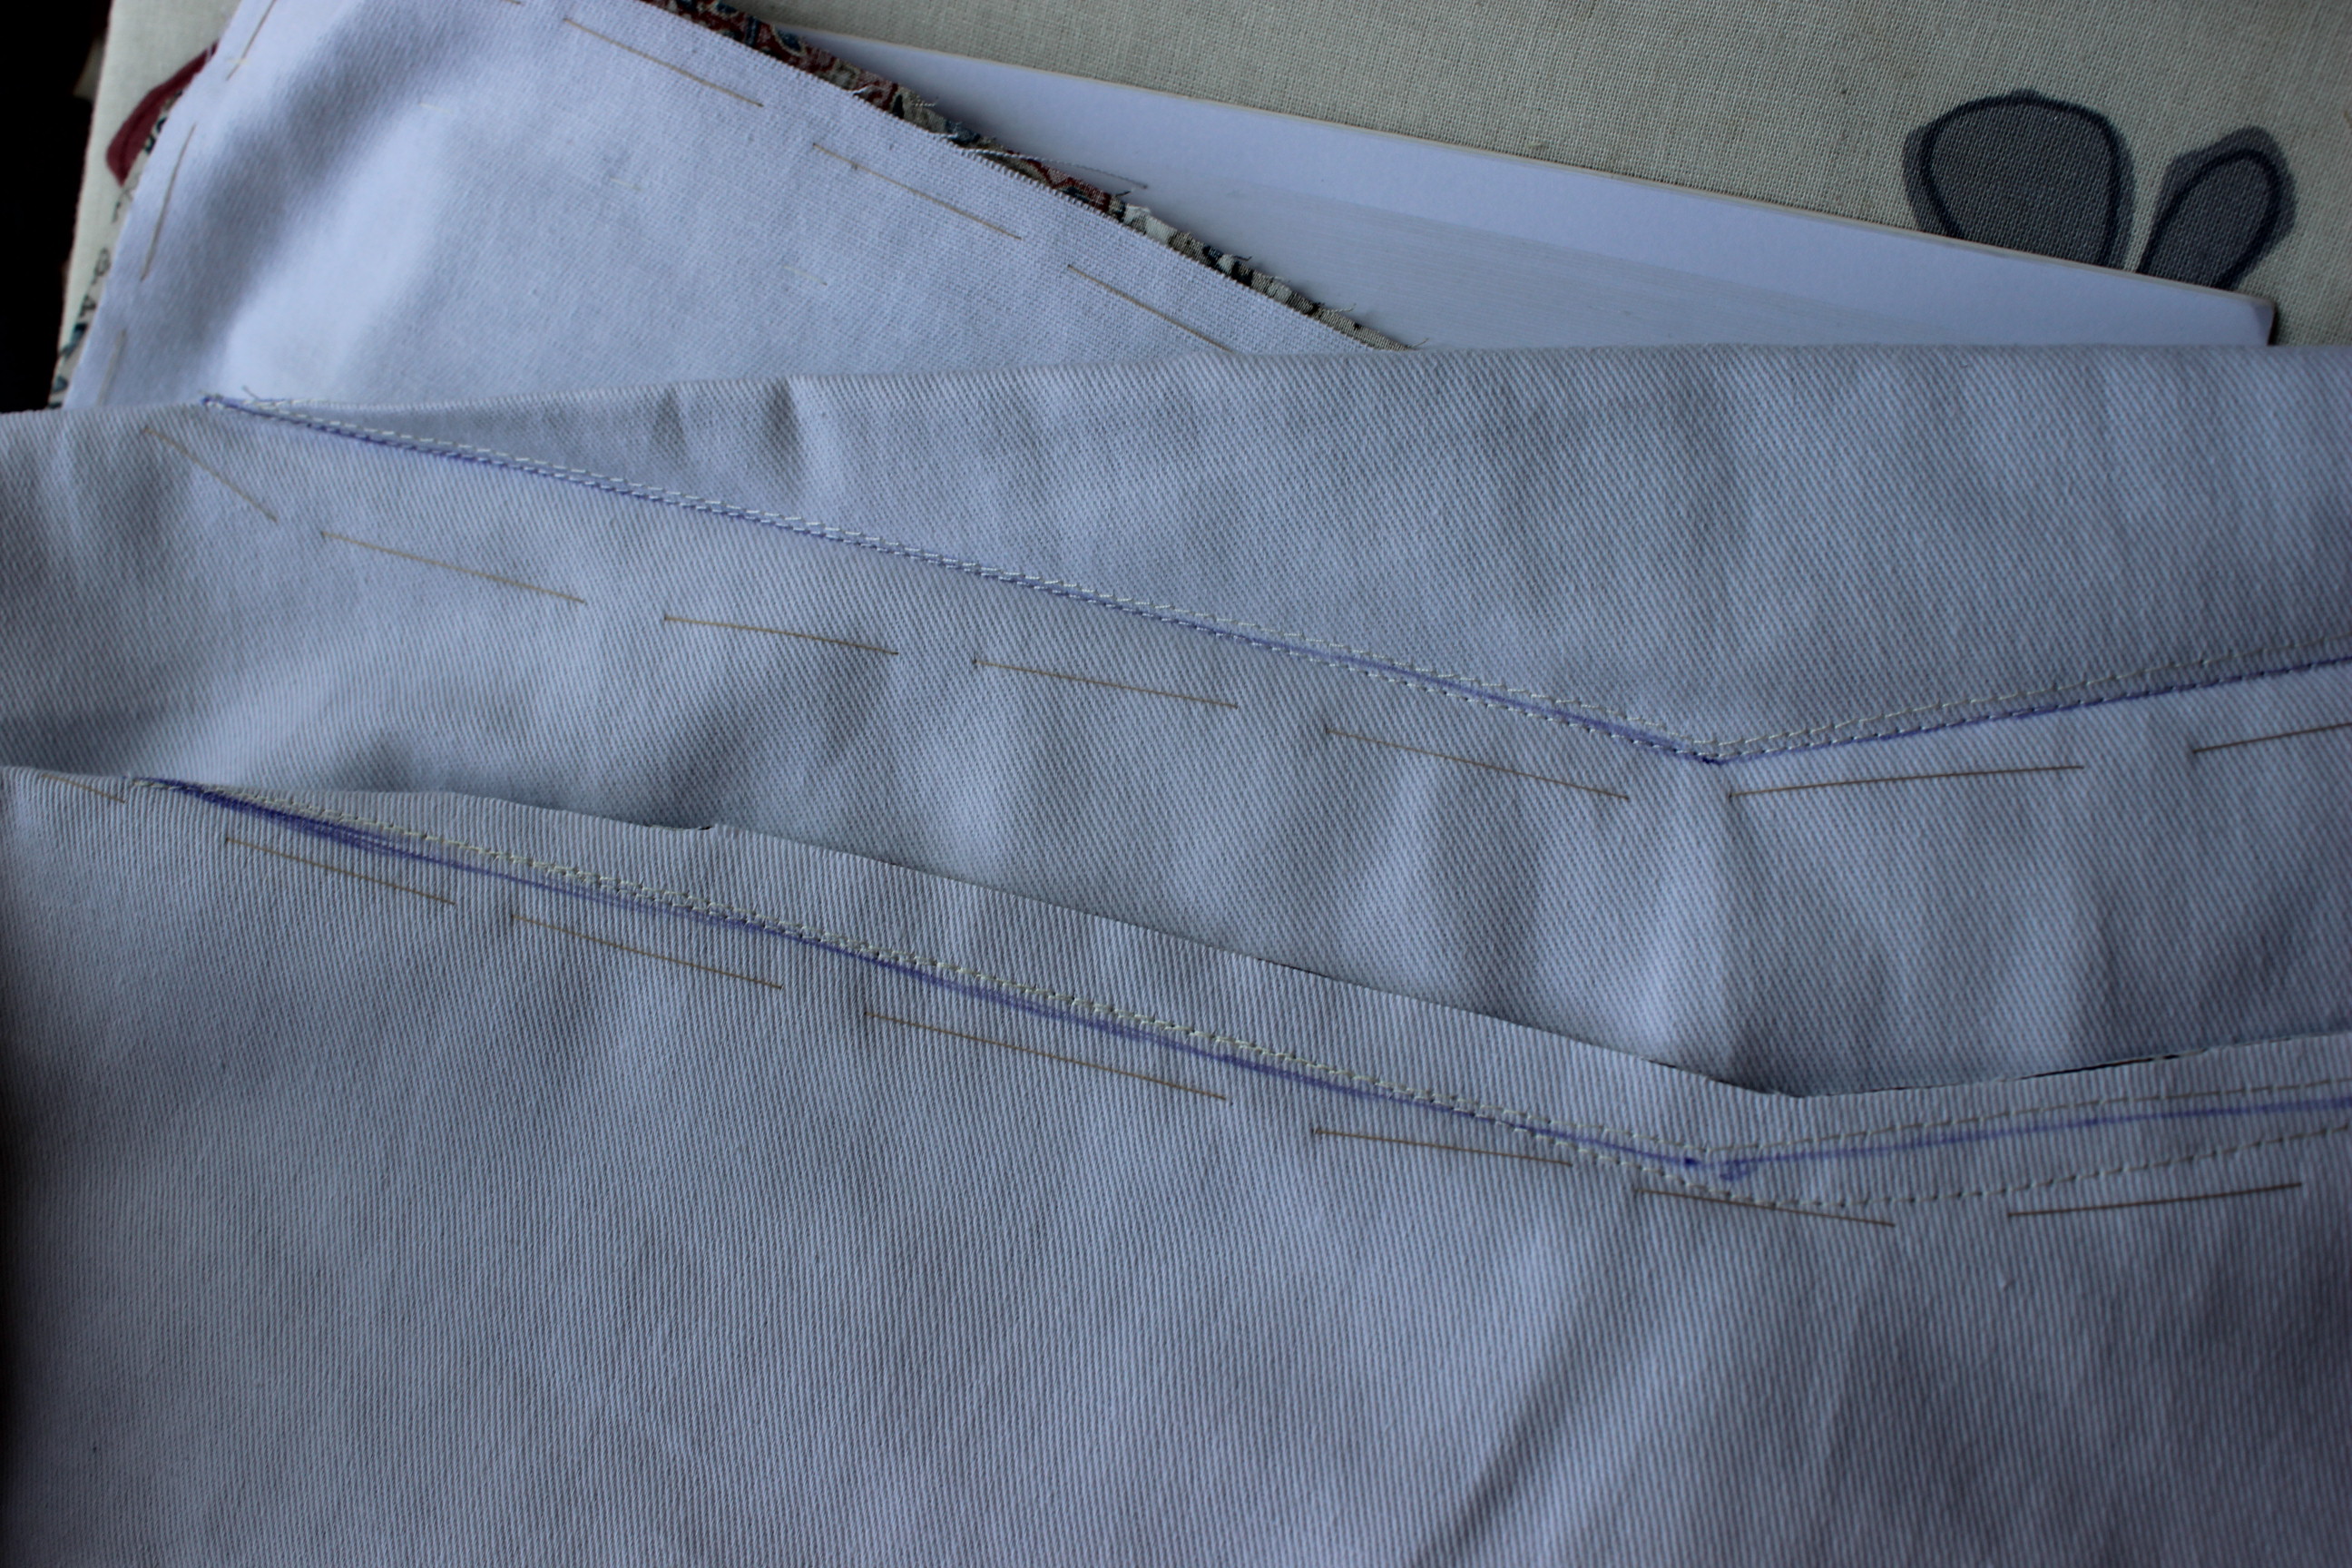
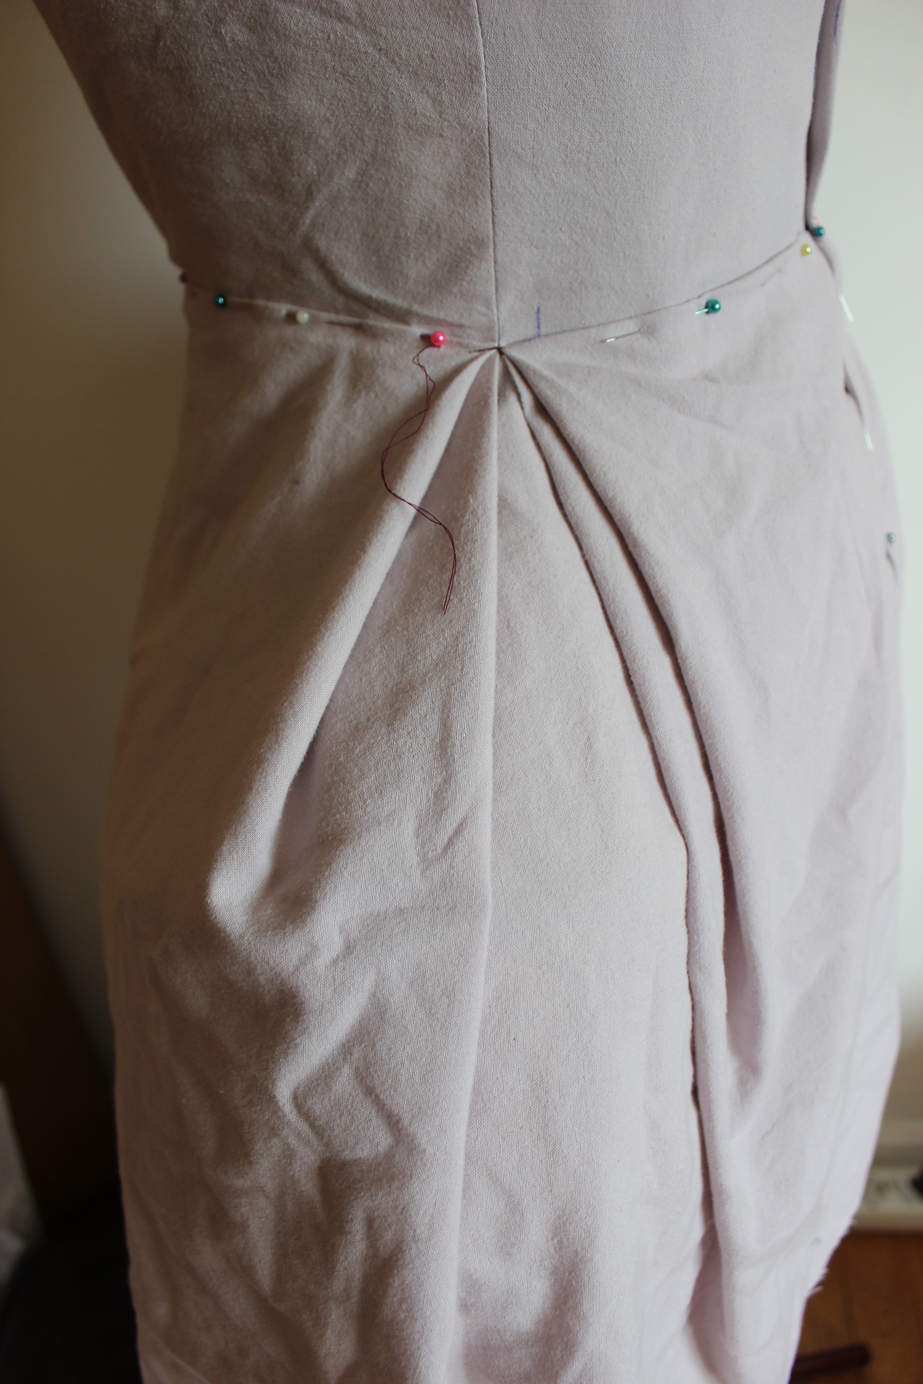
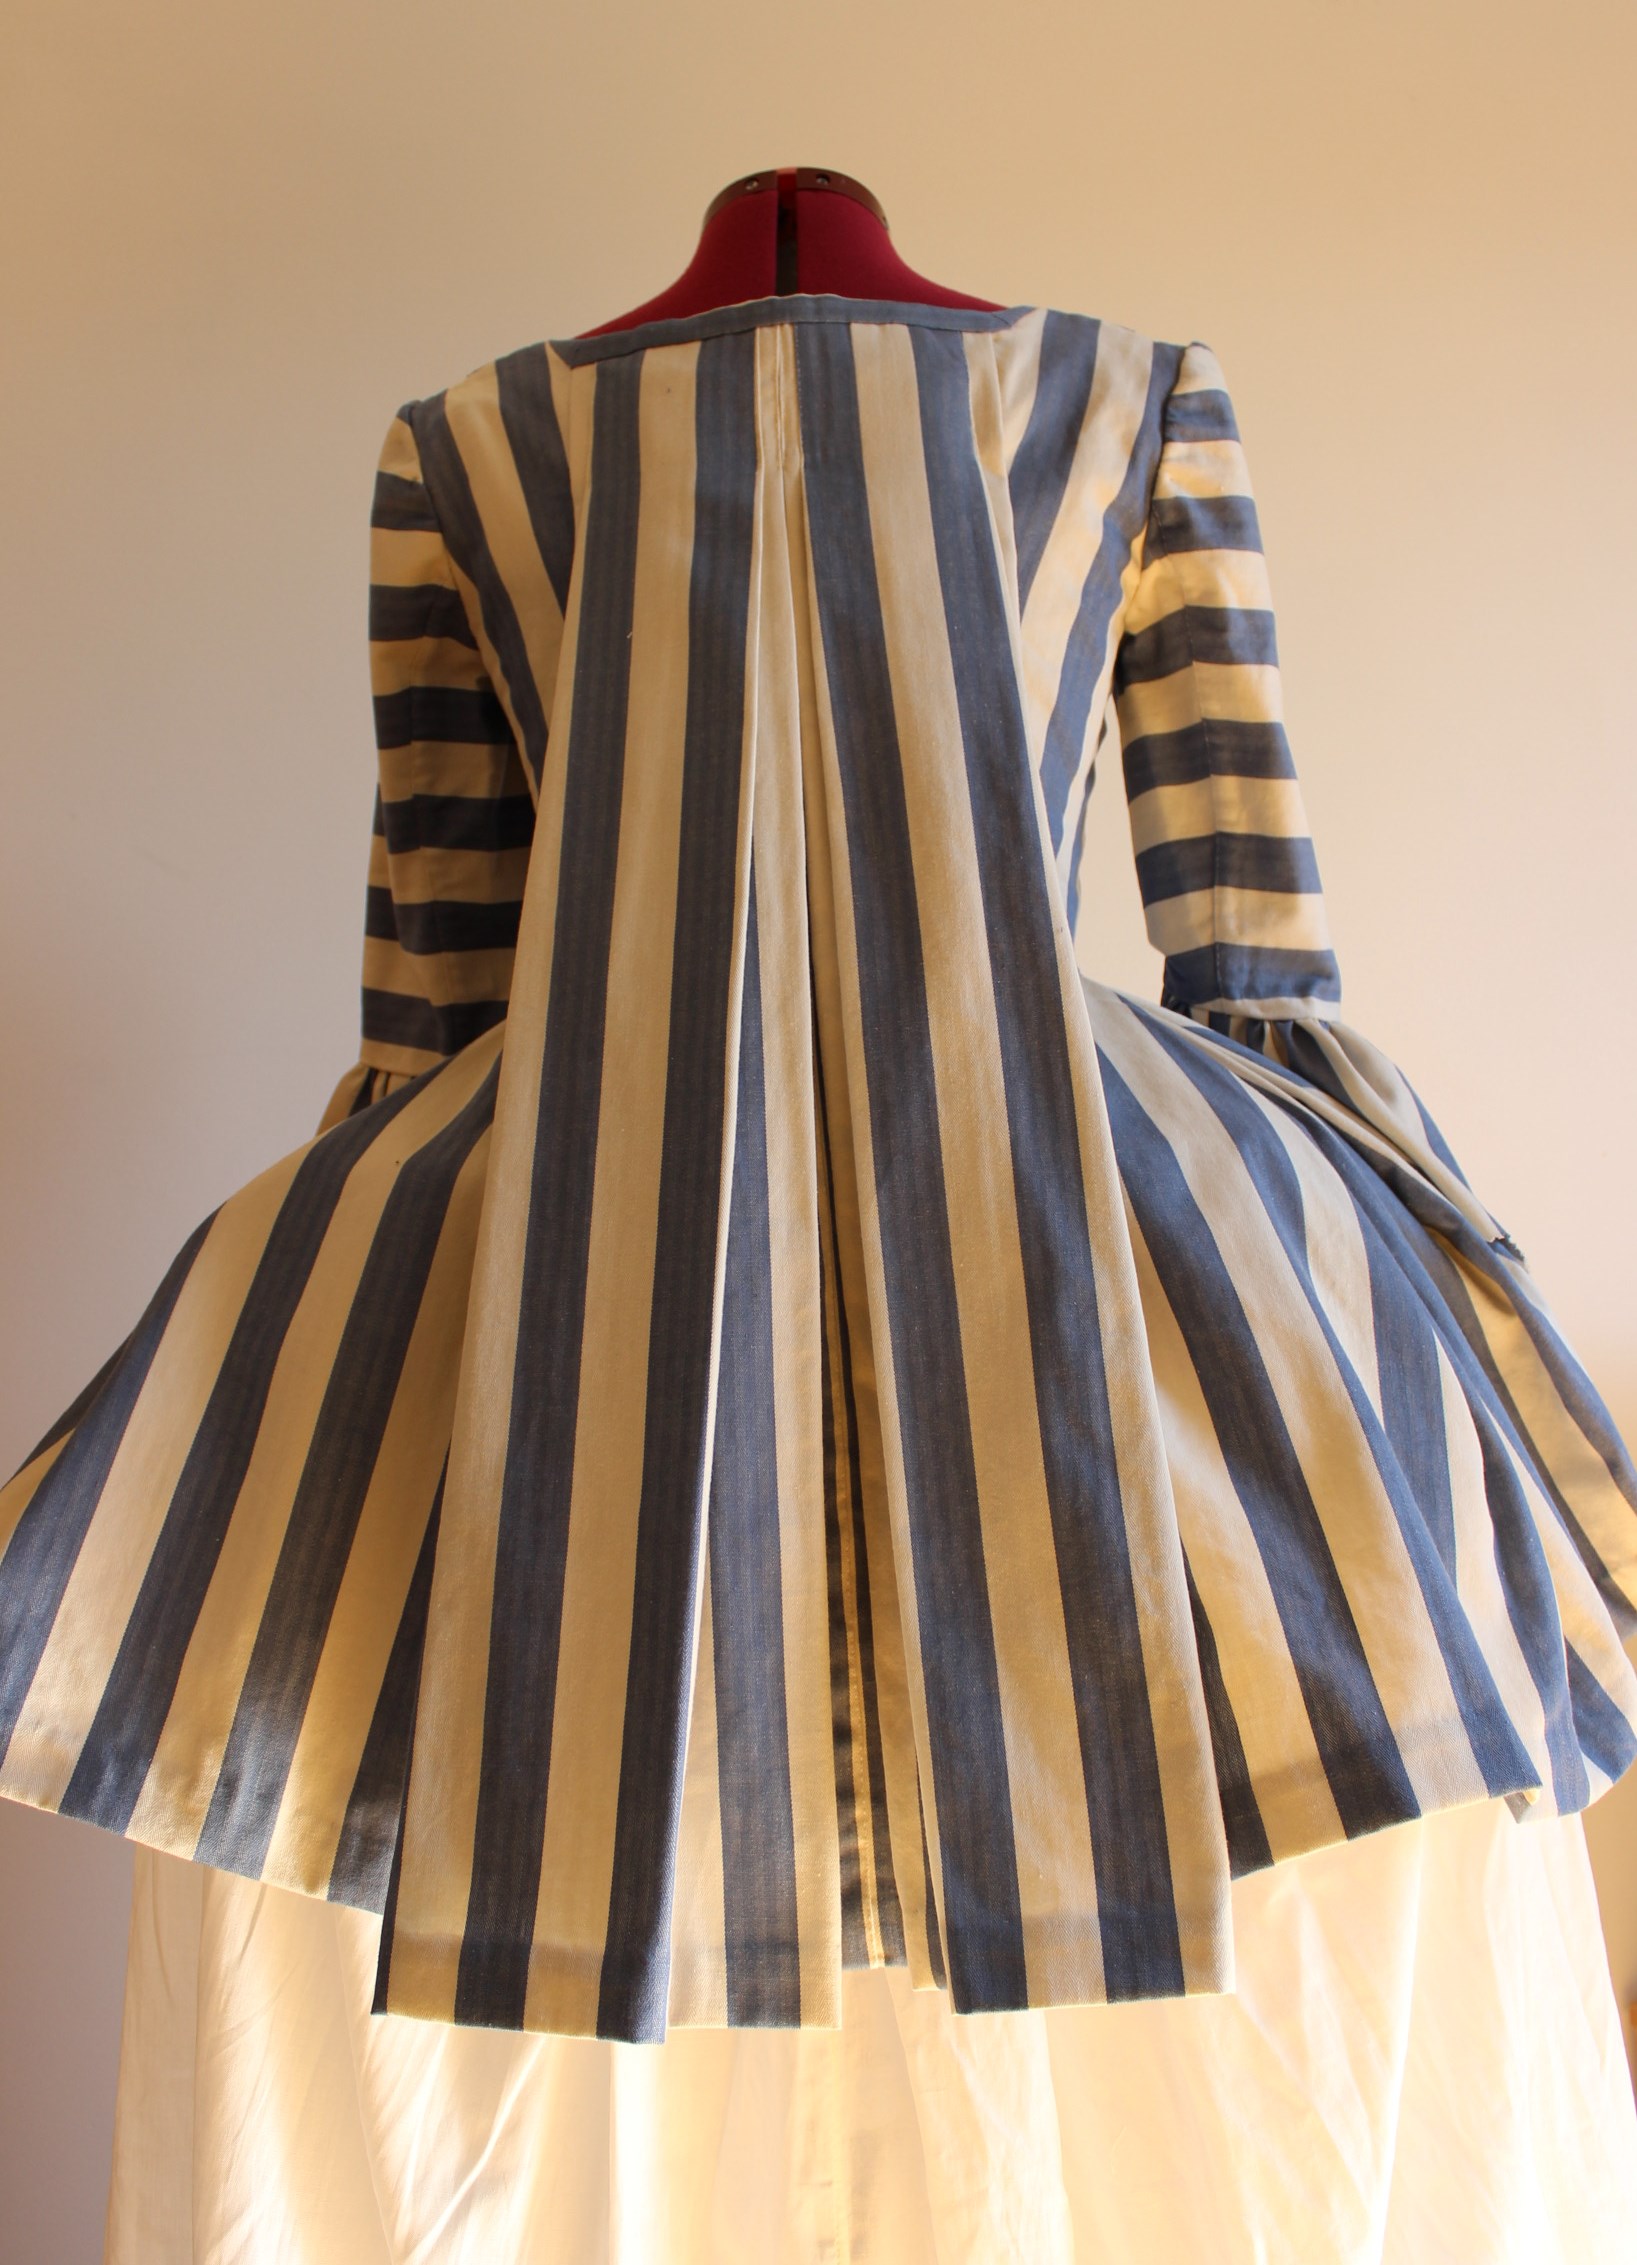
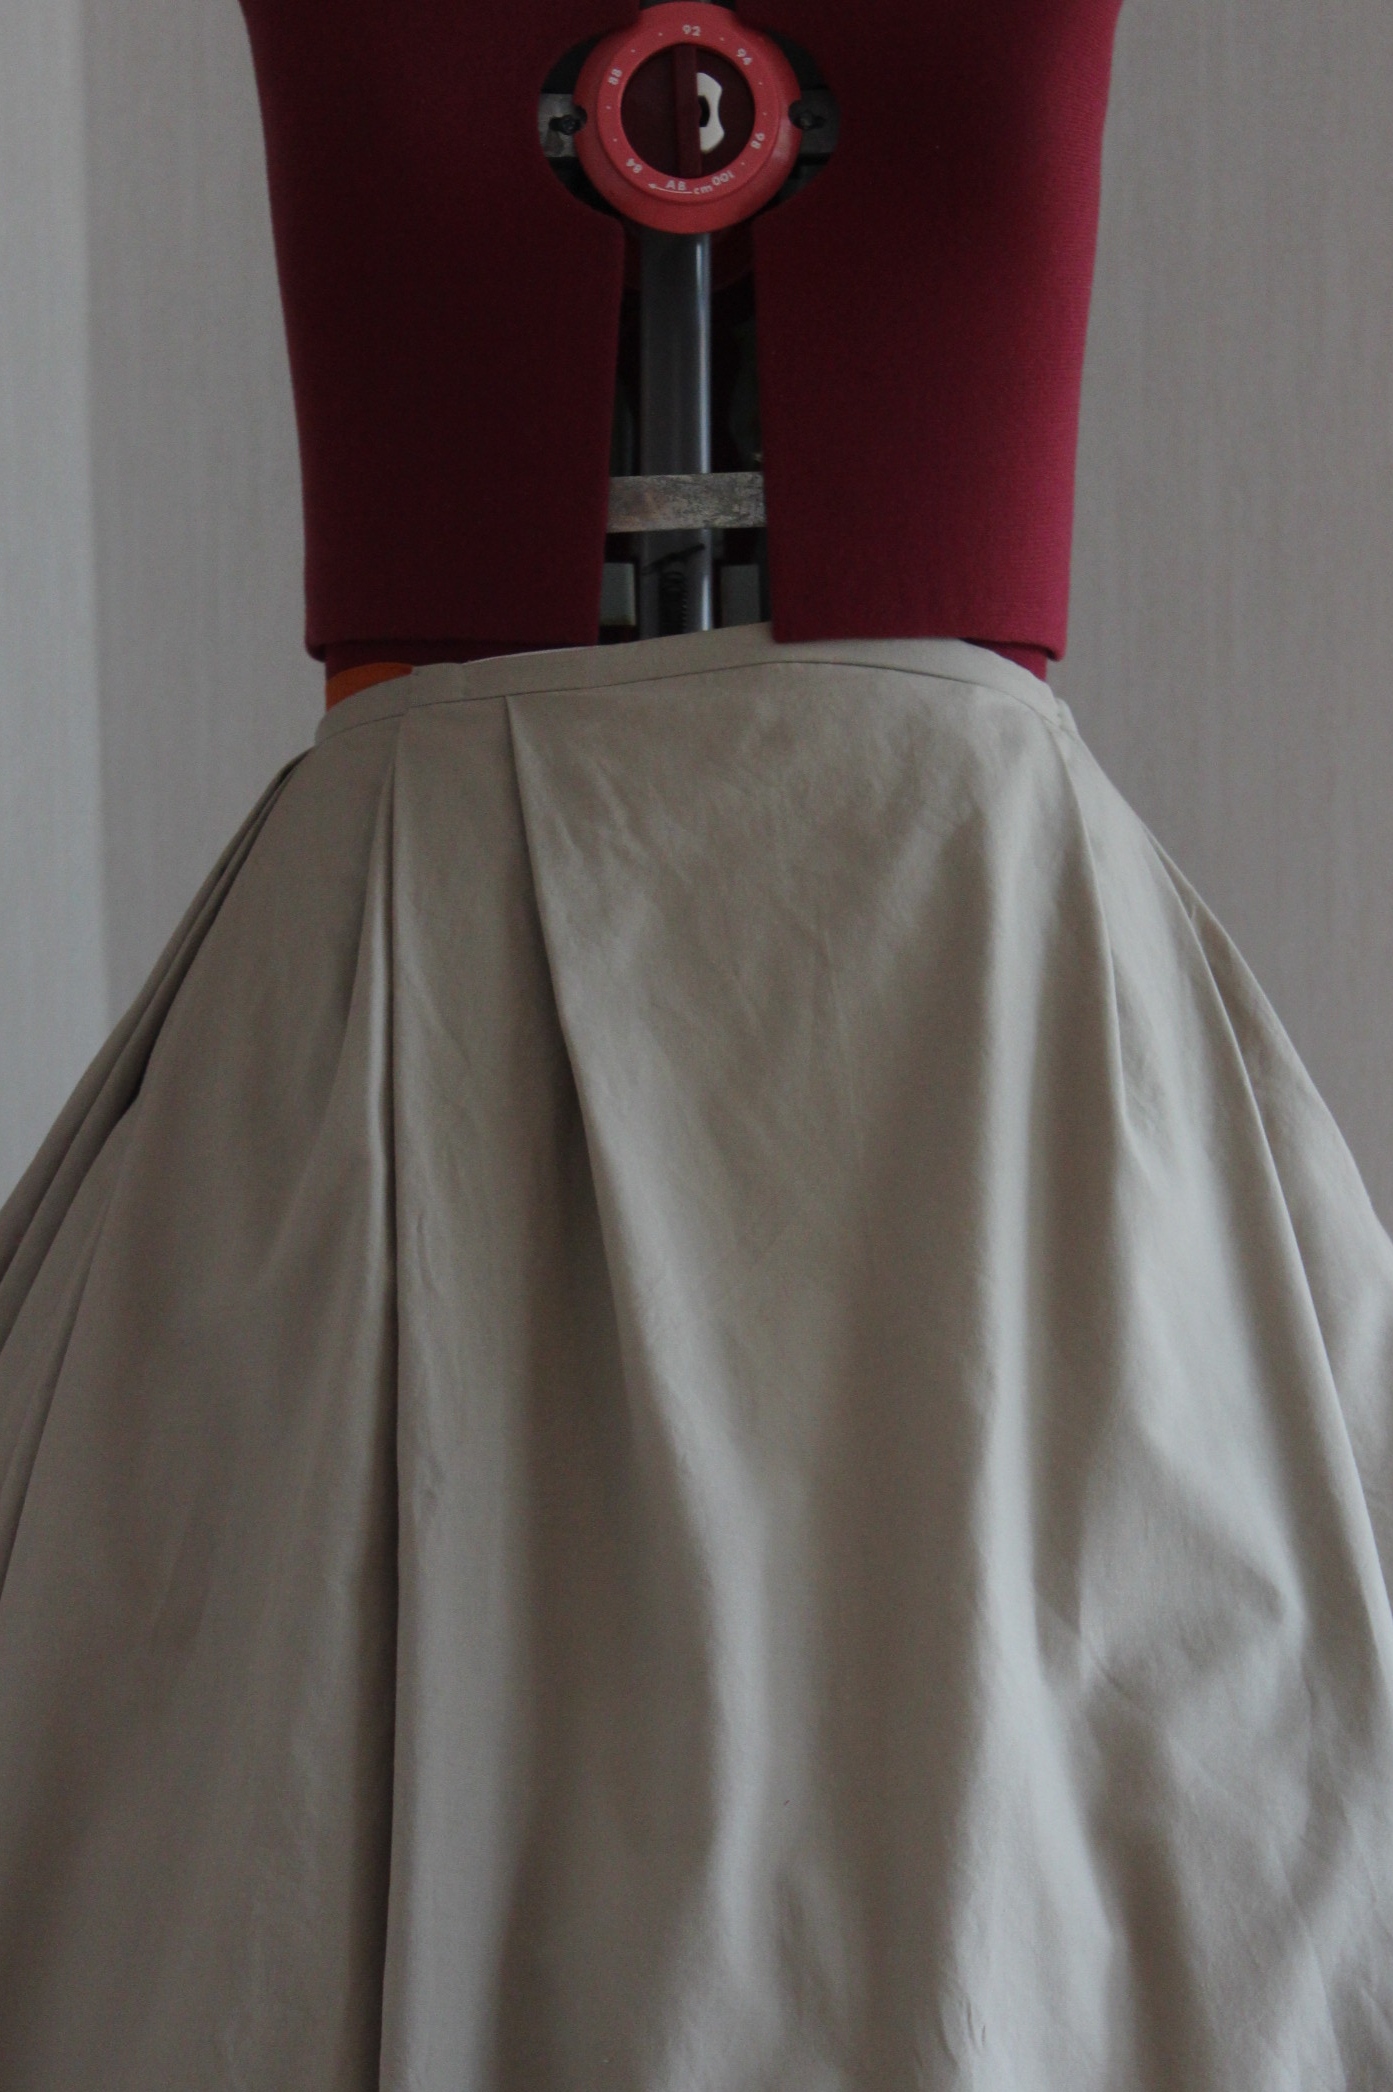
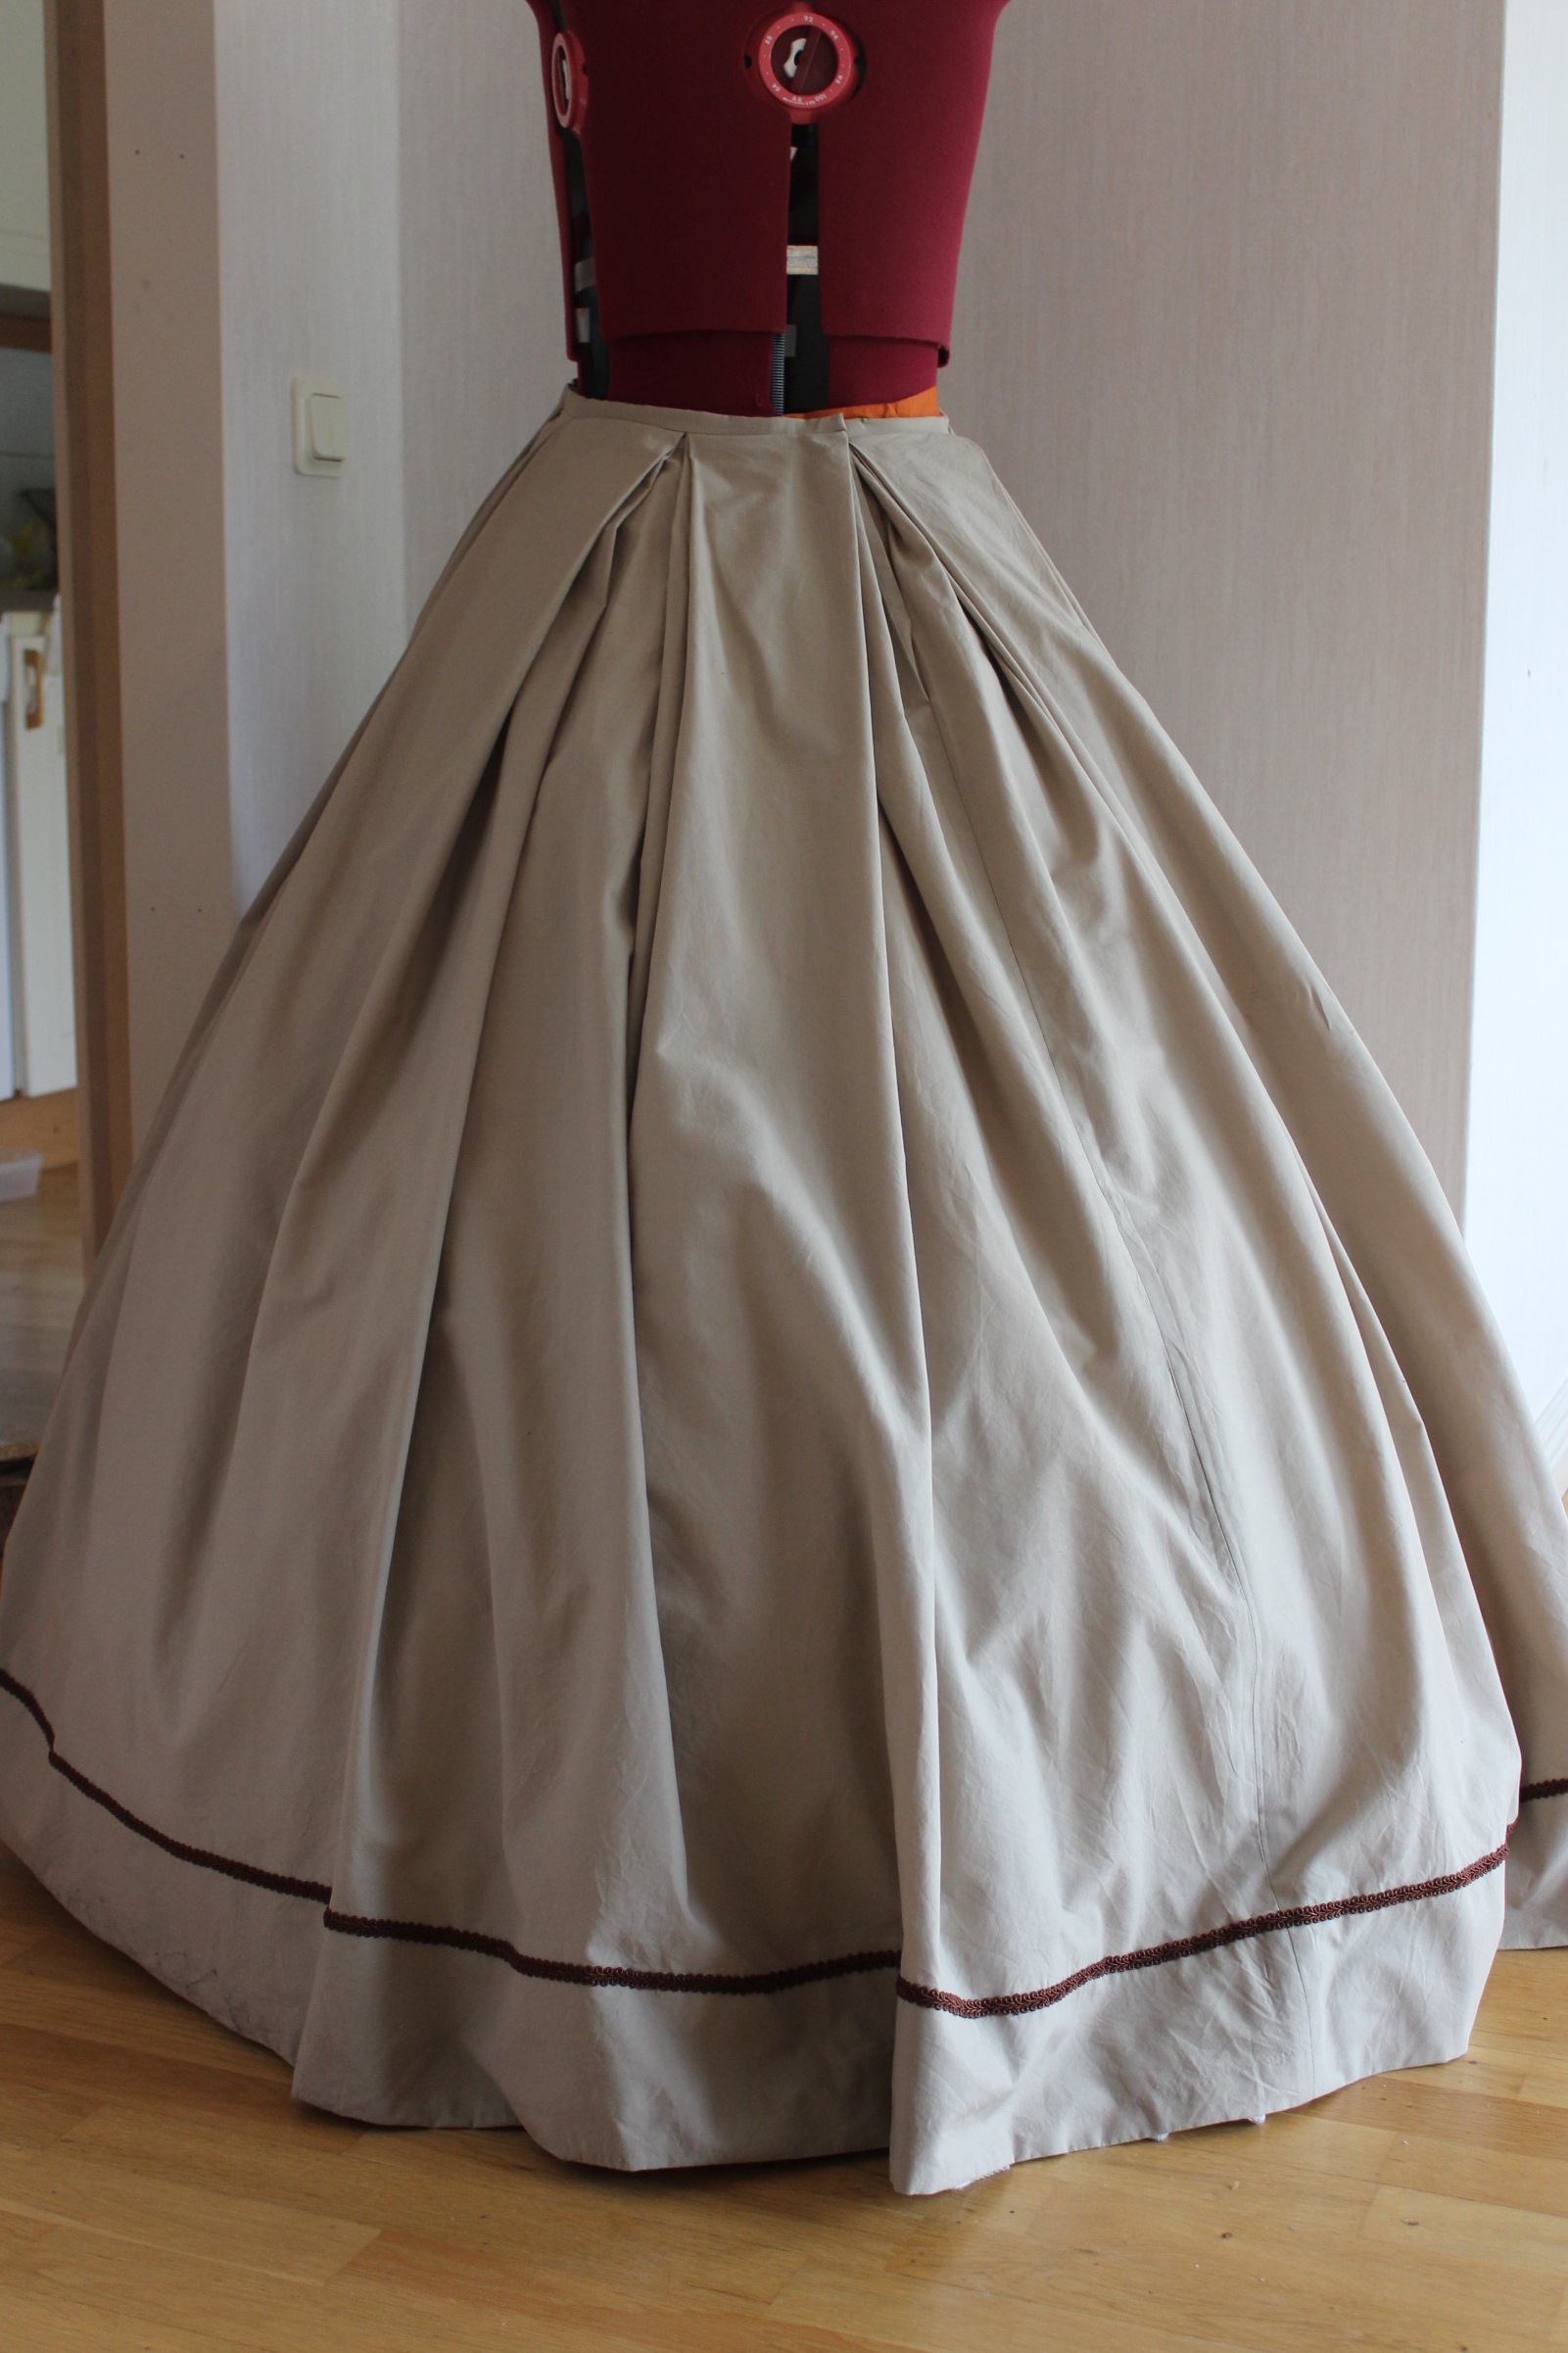
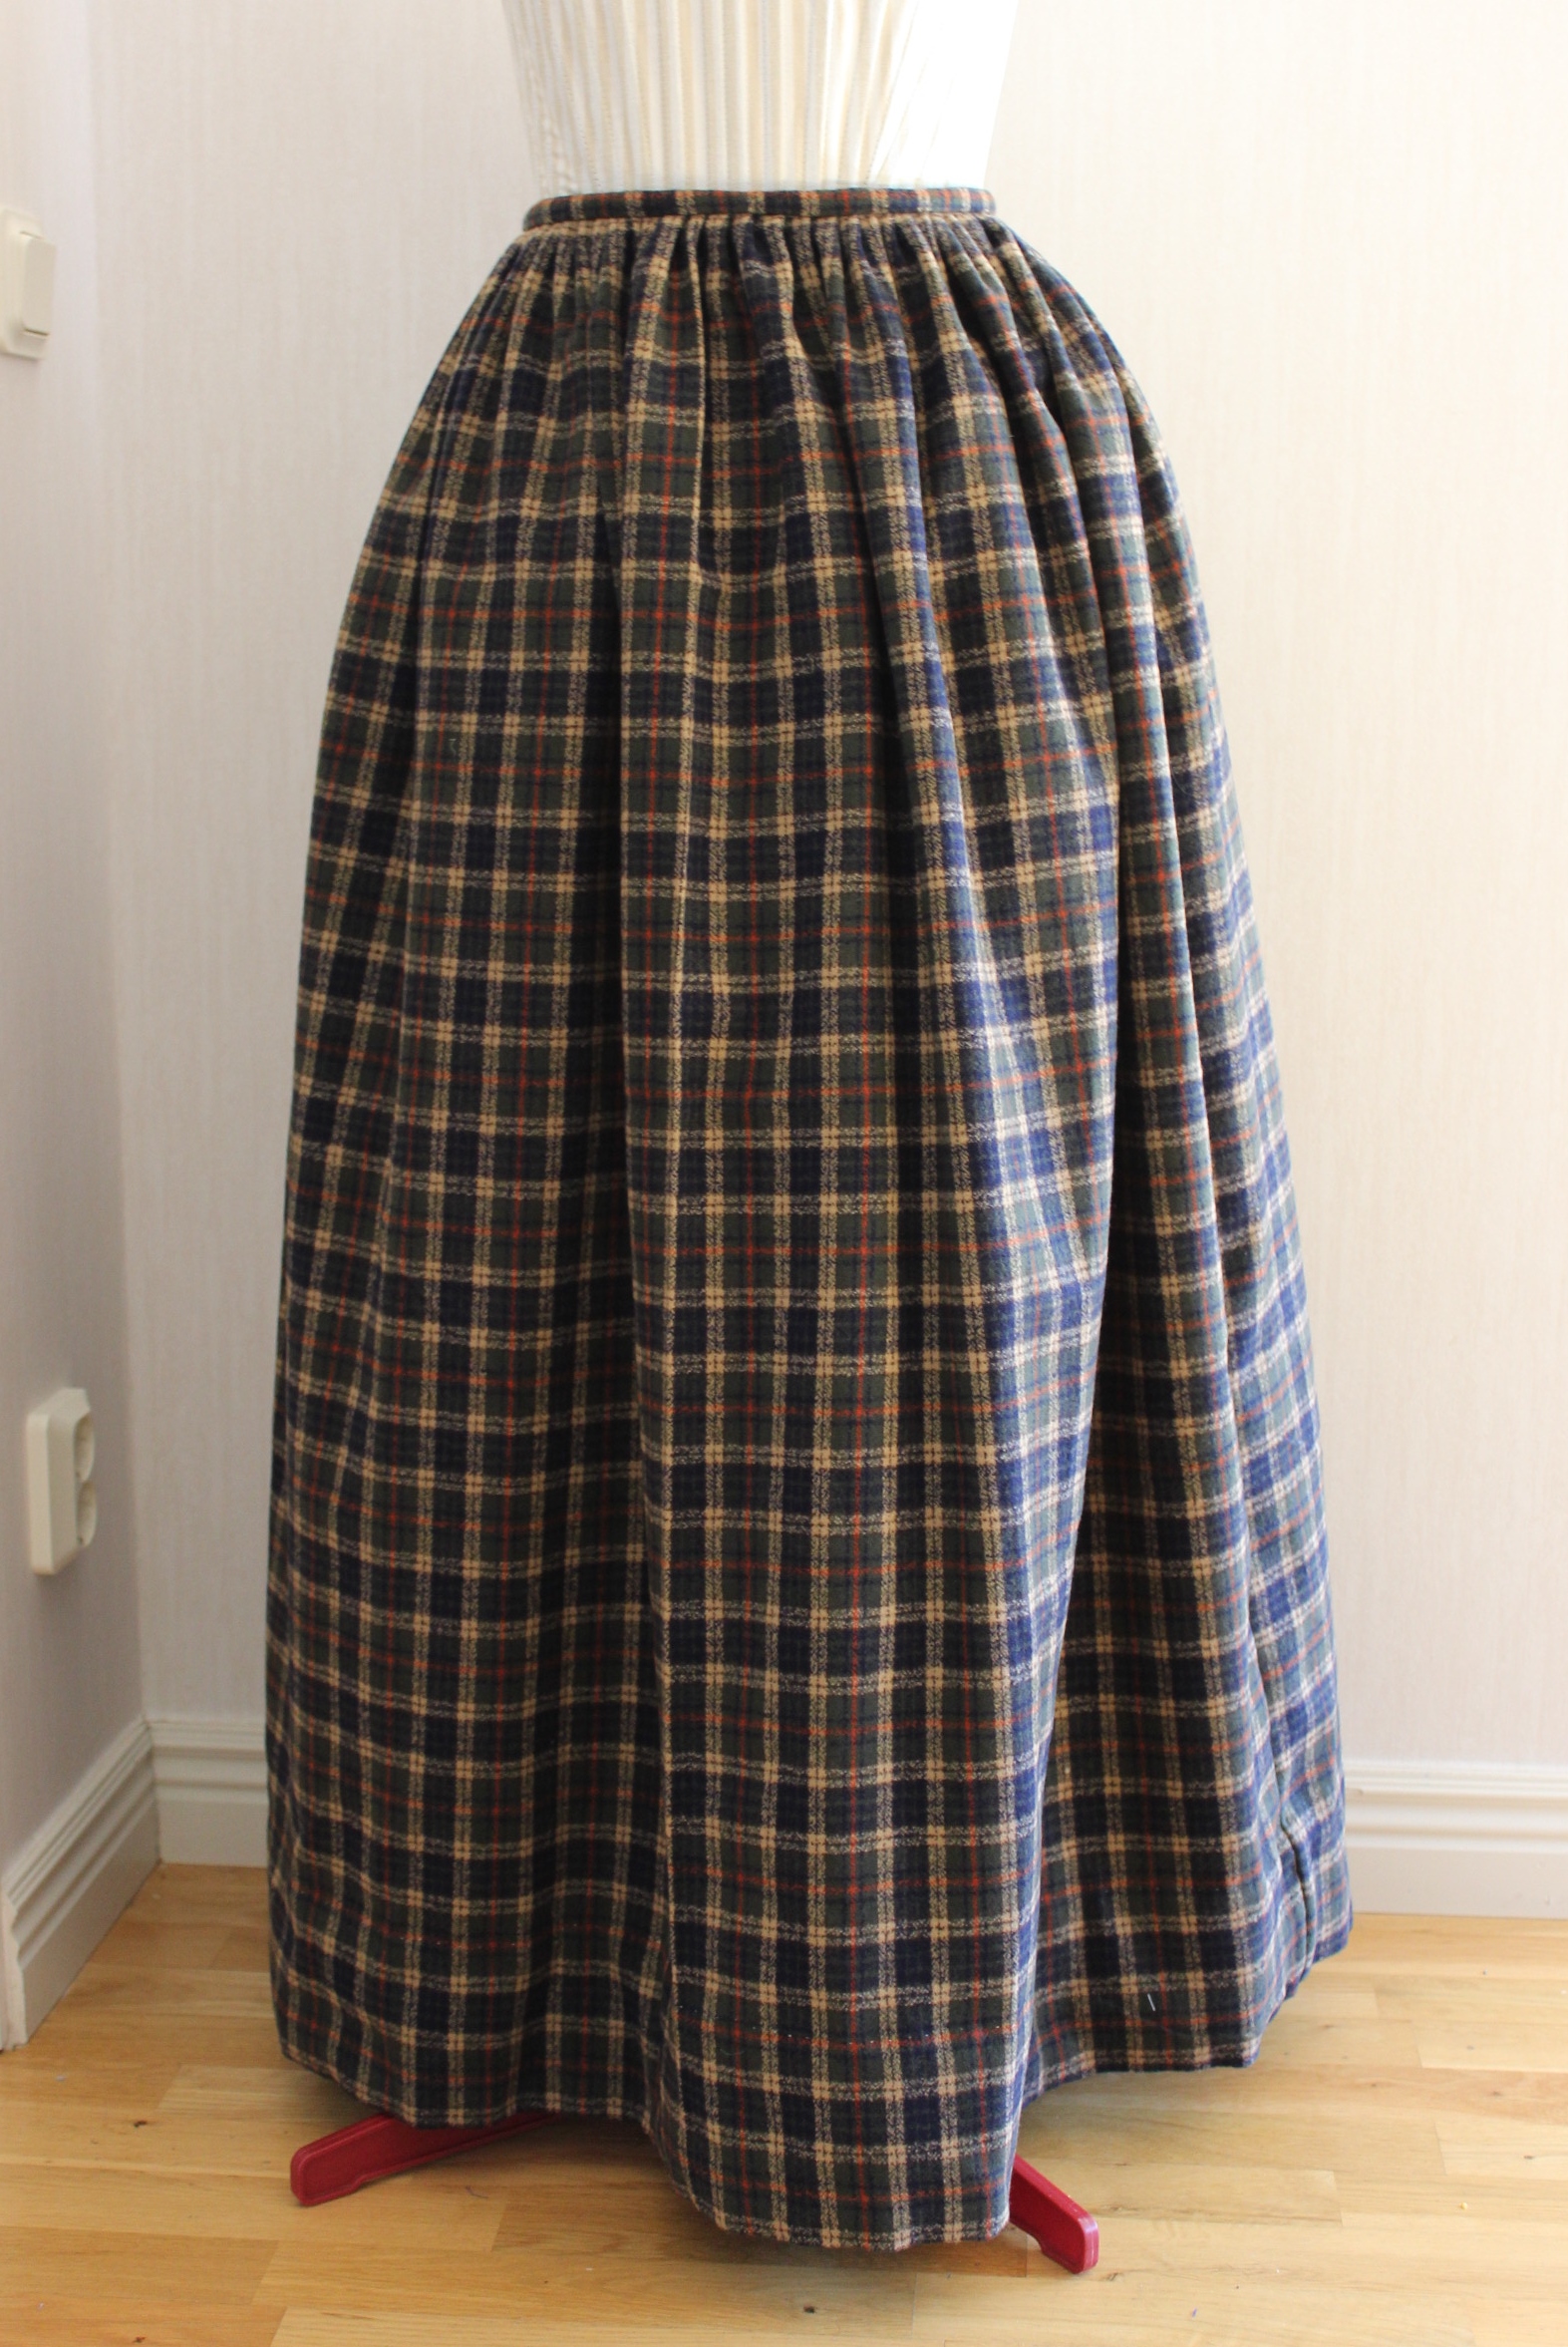
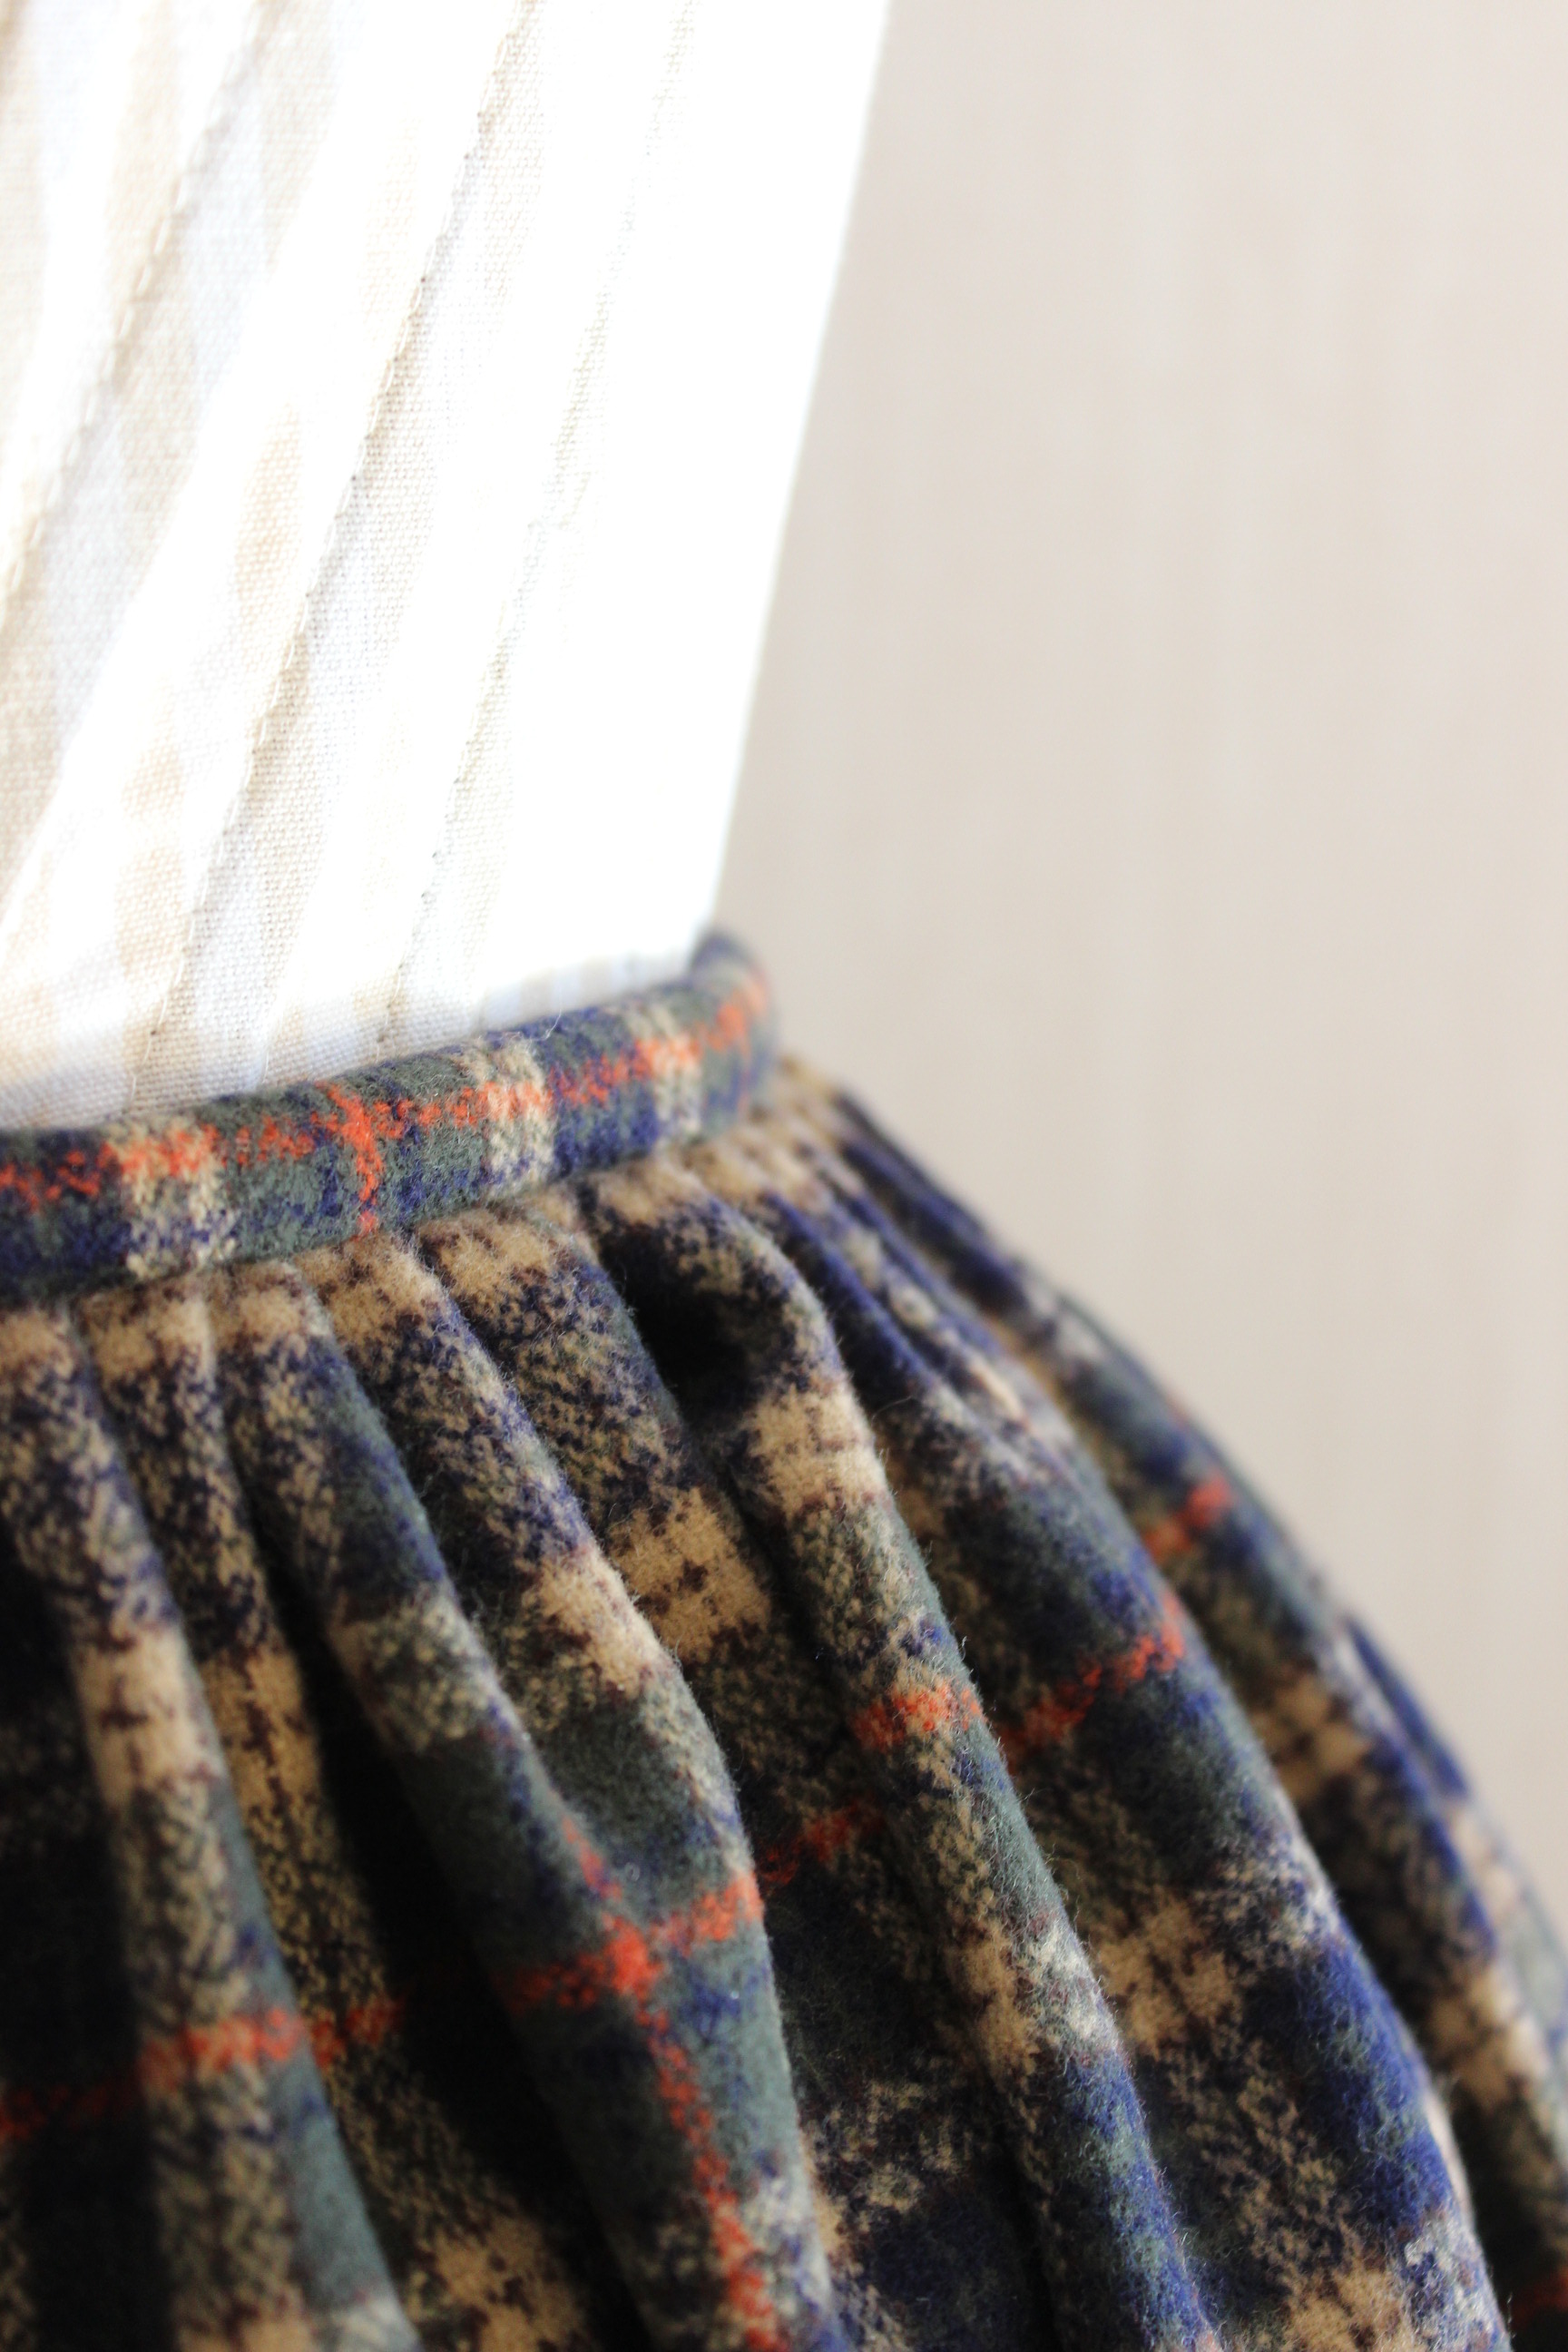
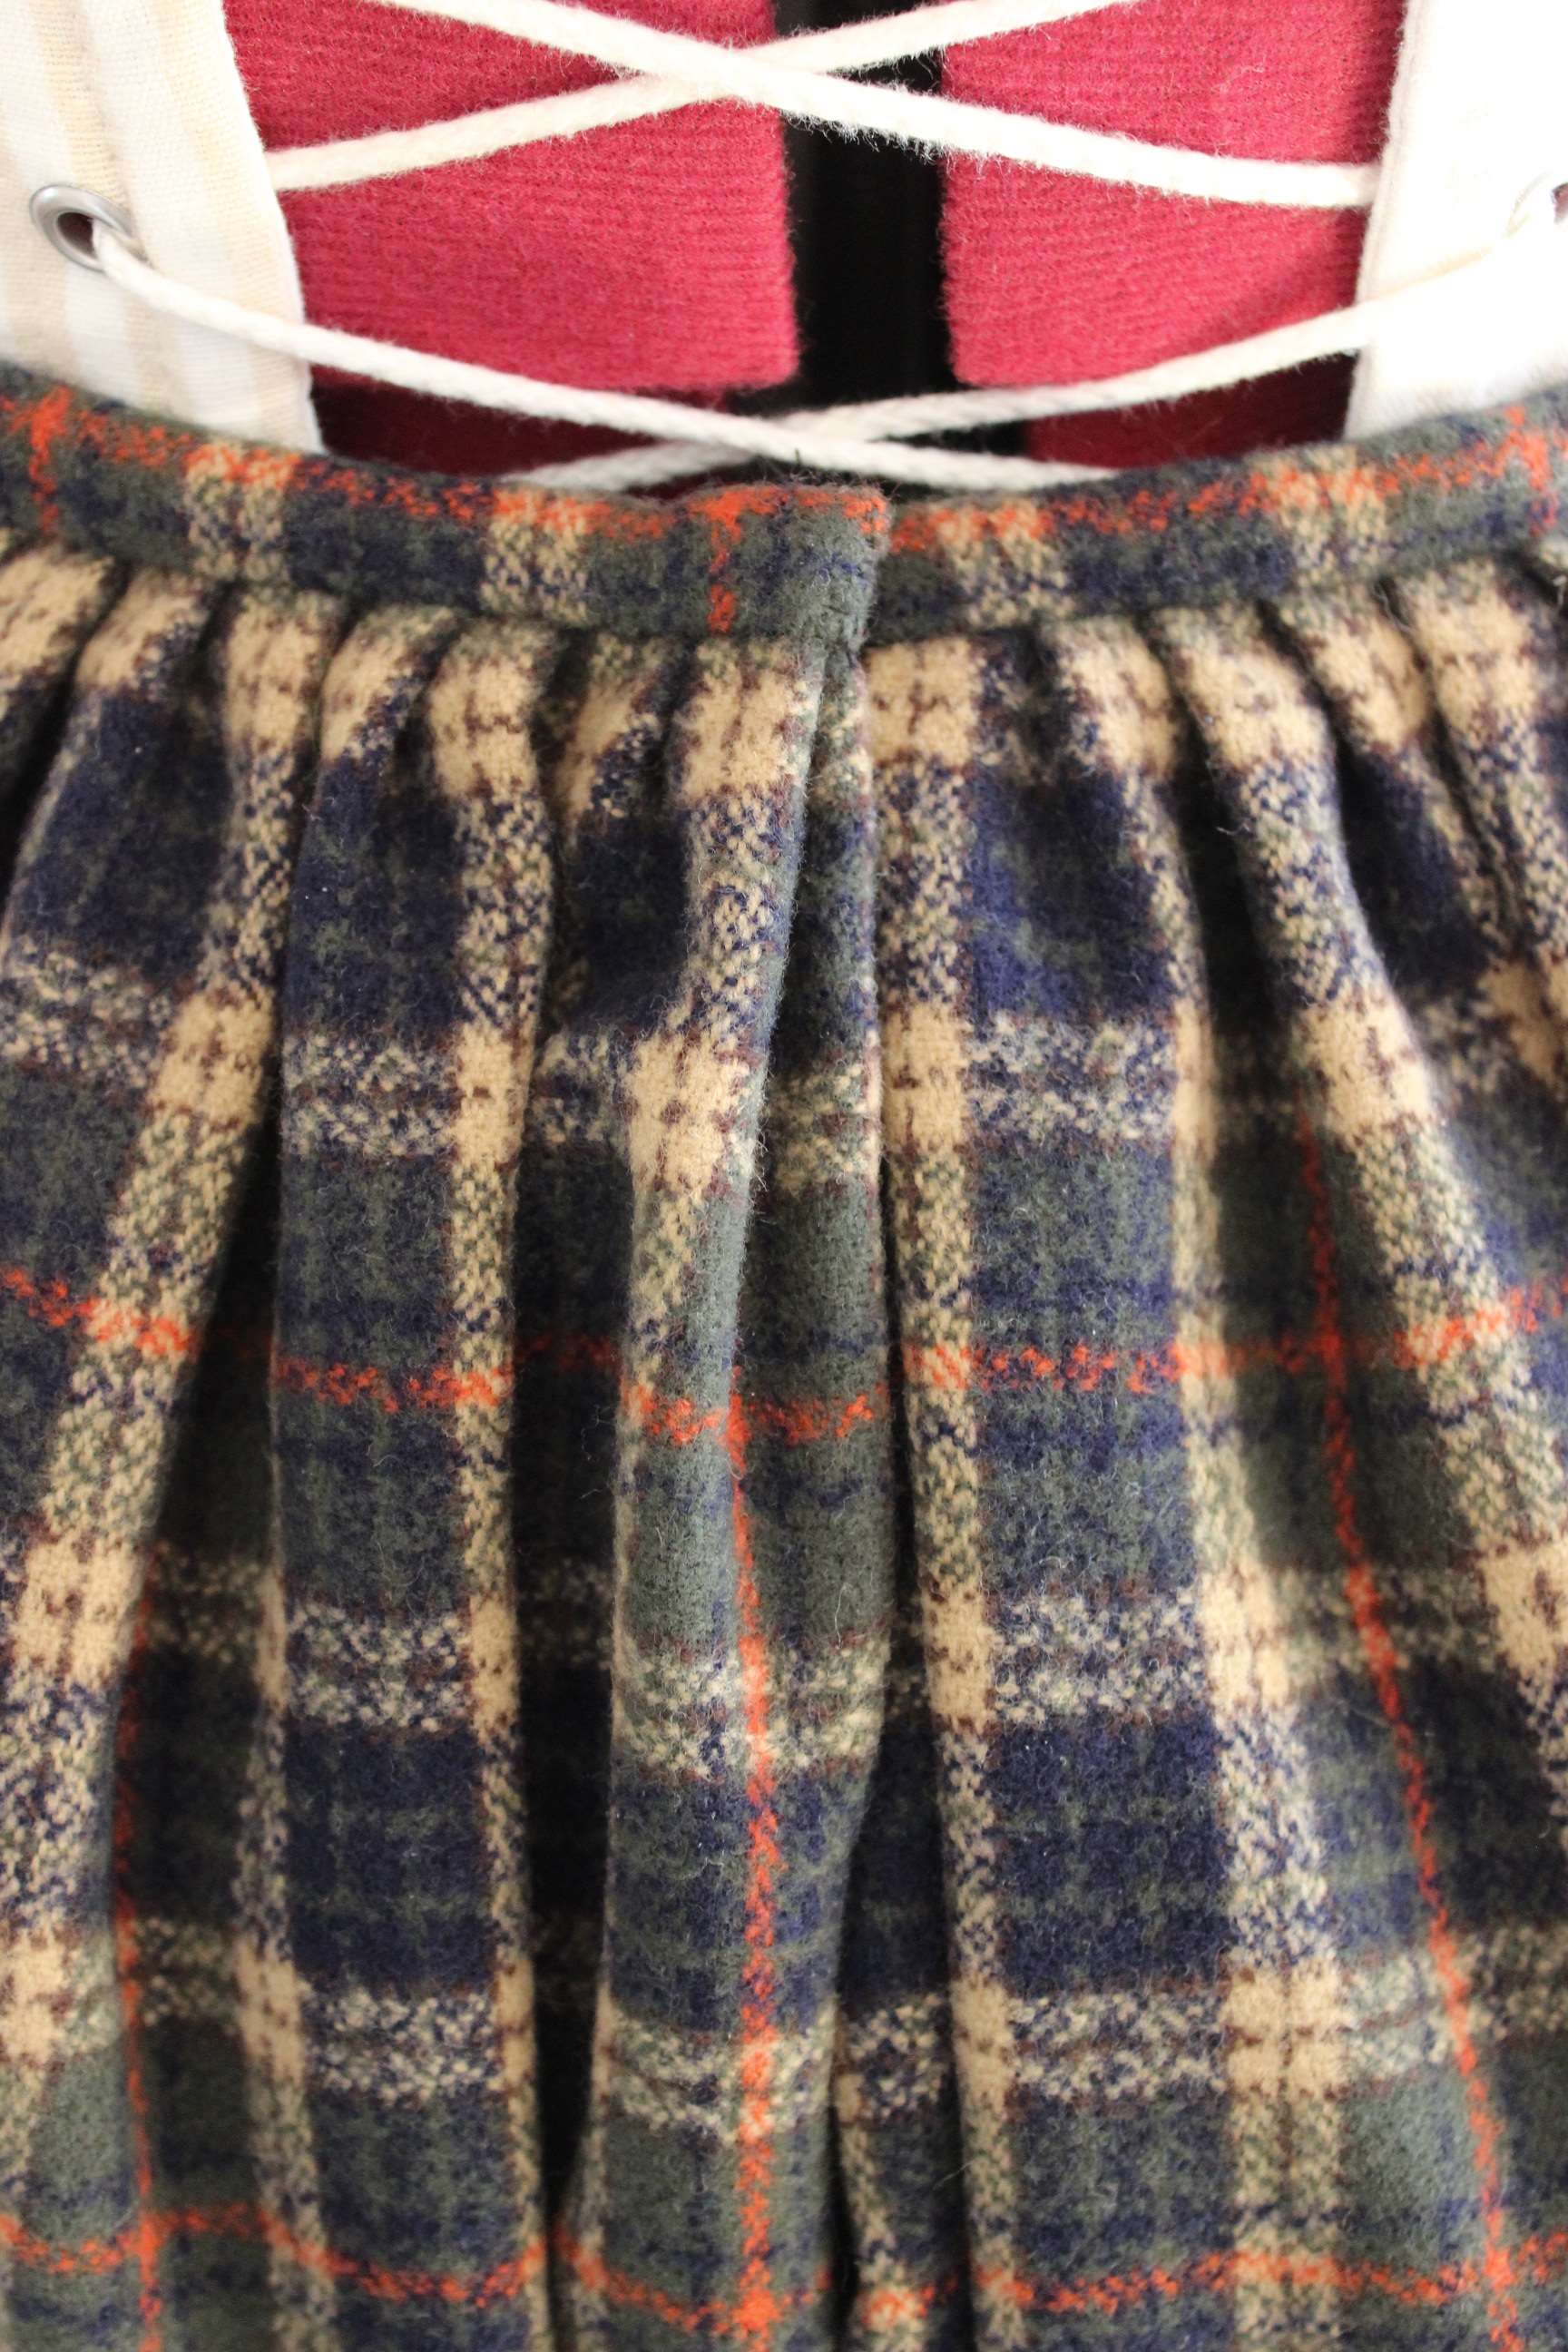
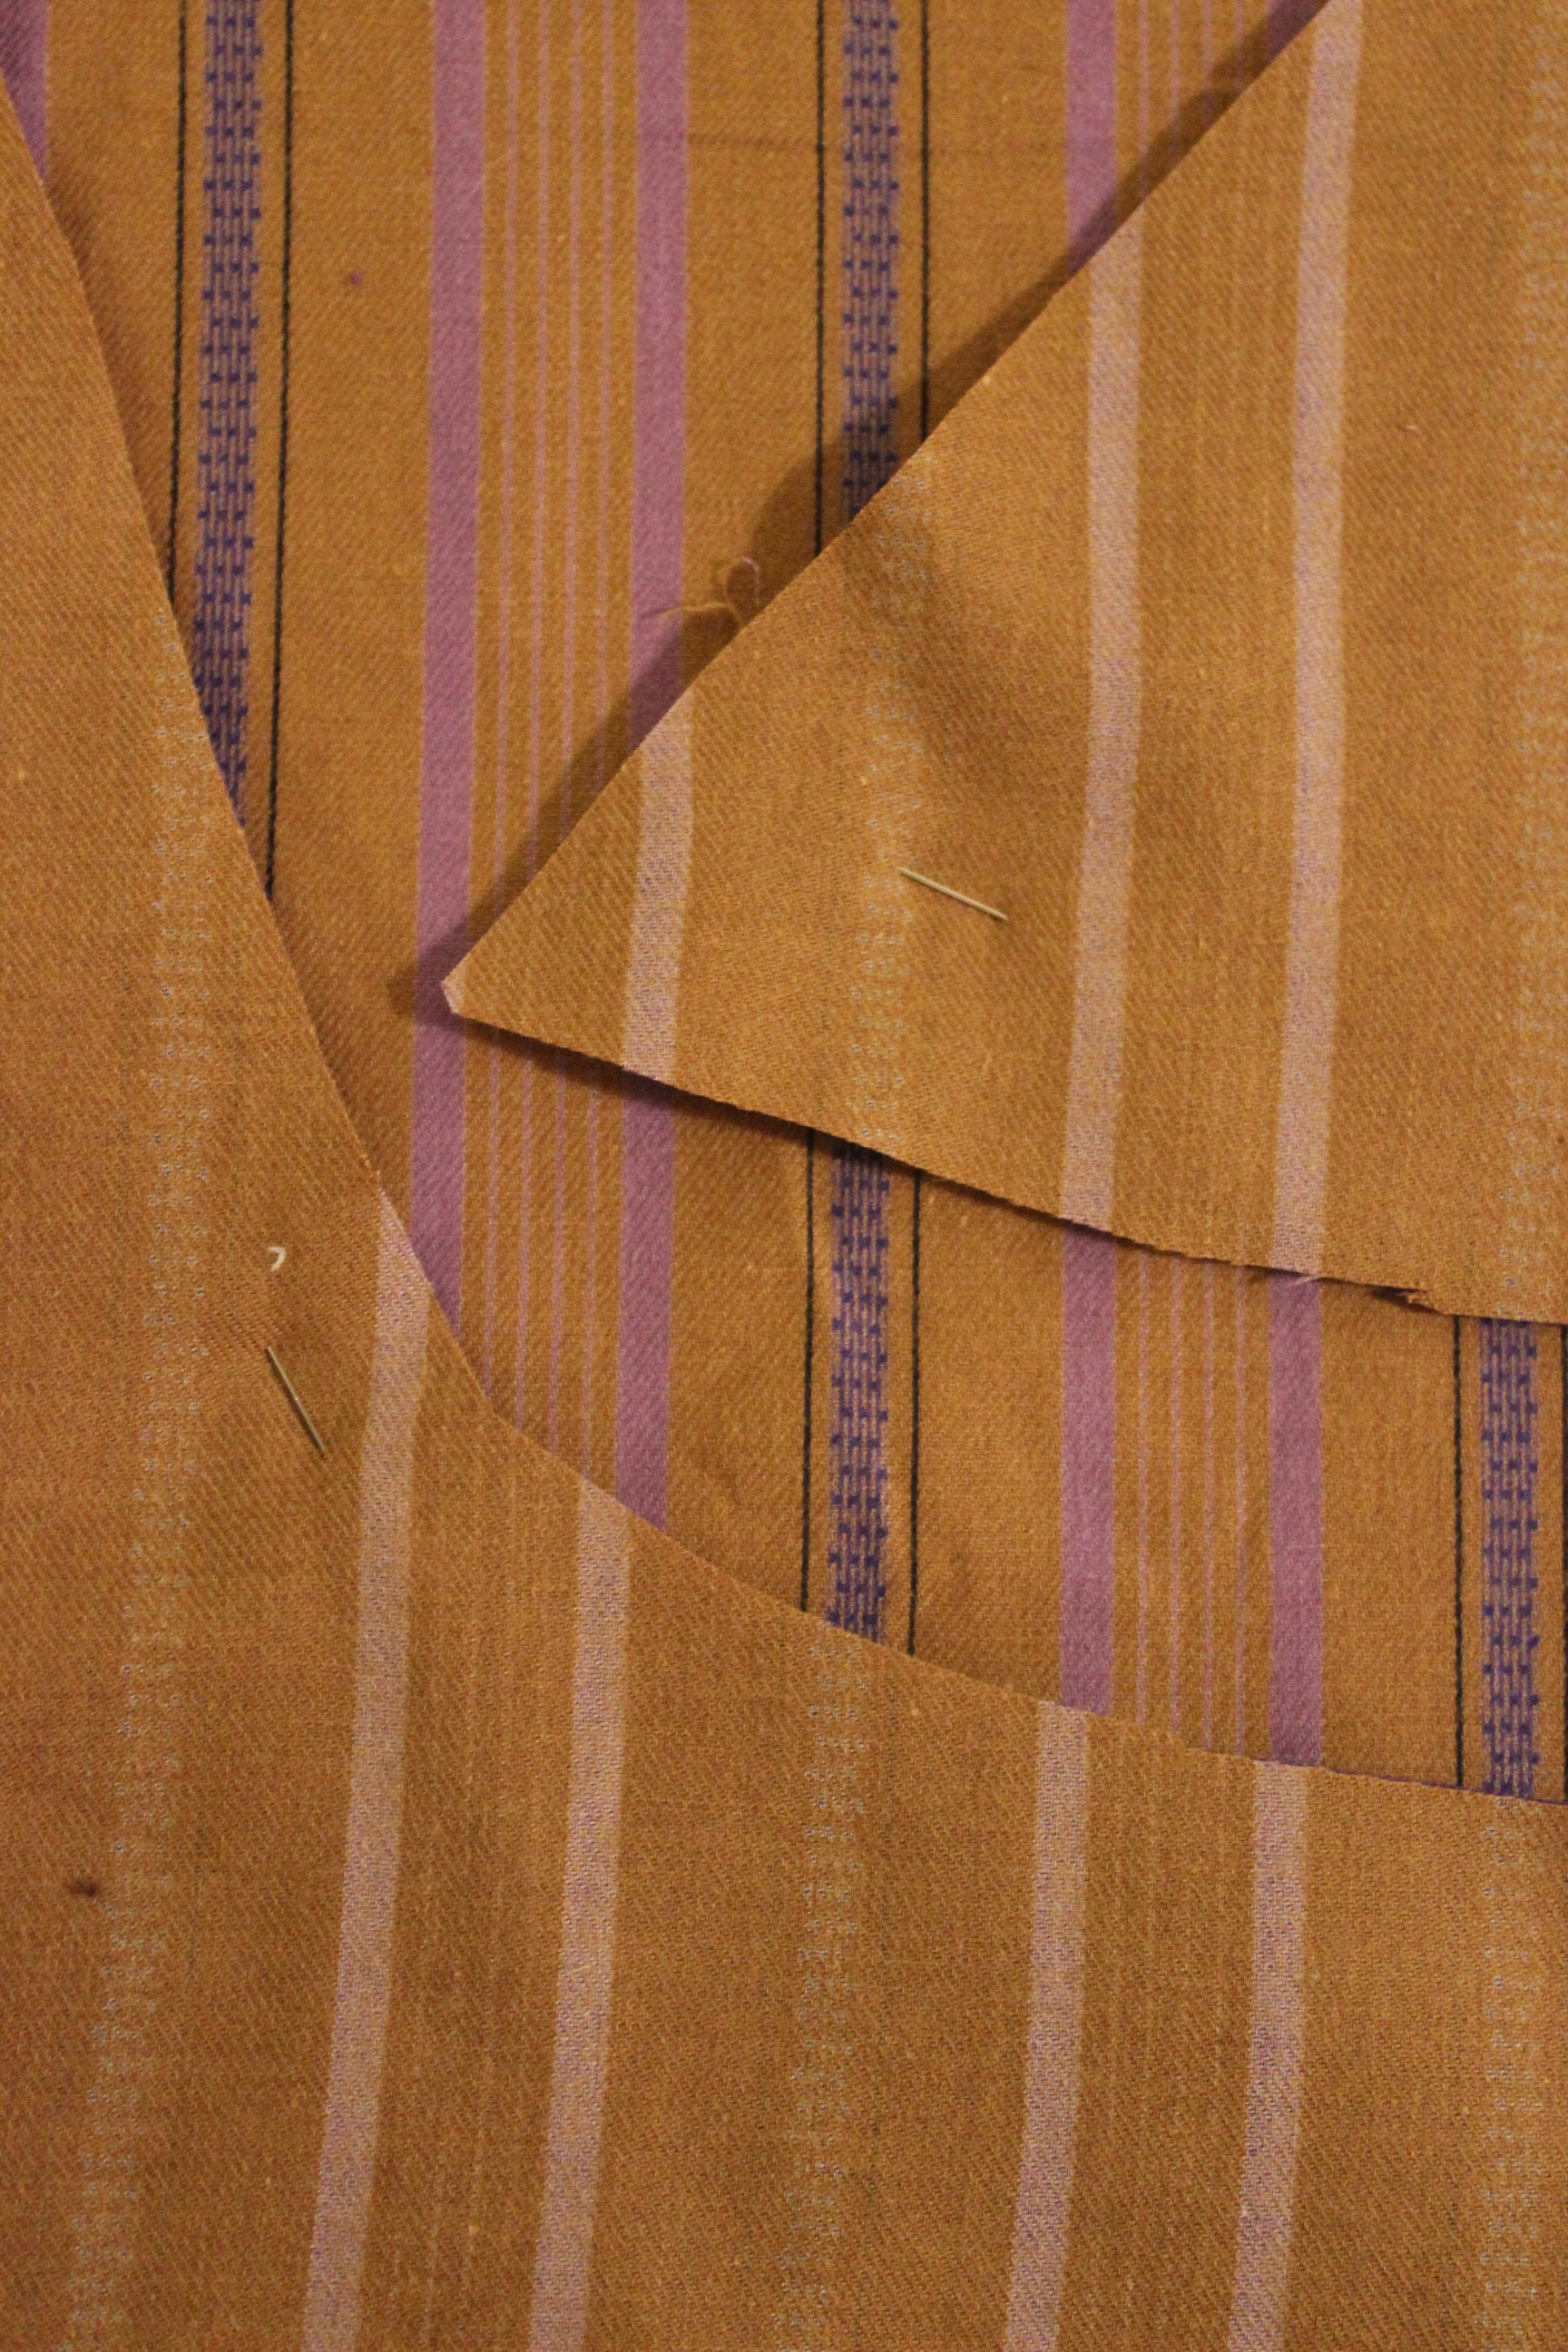
I started by cutting the skirt and used the same method and calculations as my latest 1860s dress, stitching the skirt together. This time it went a lot faster, since I already had the measurements and the technique down.

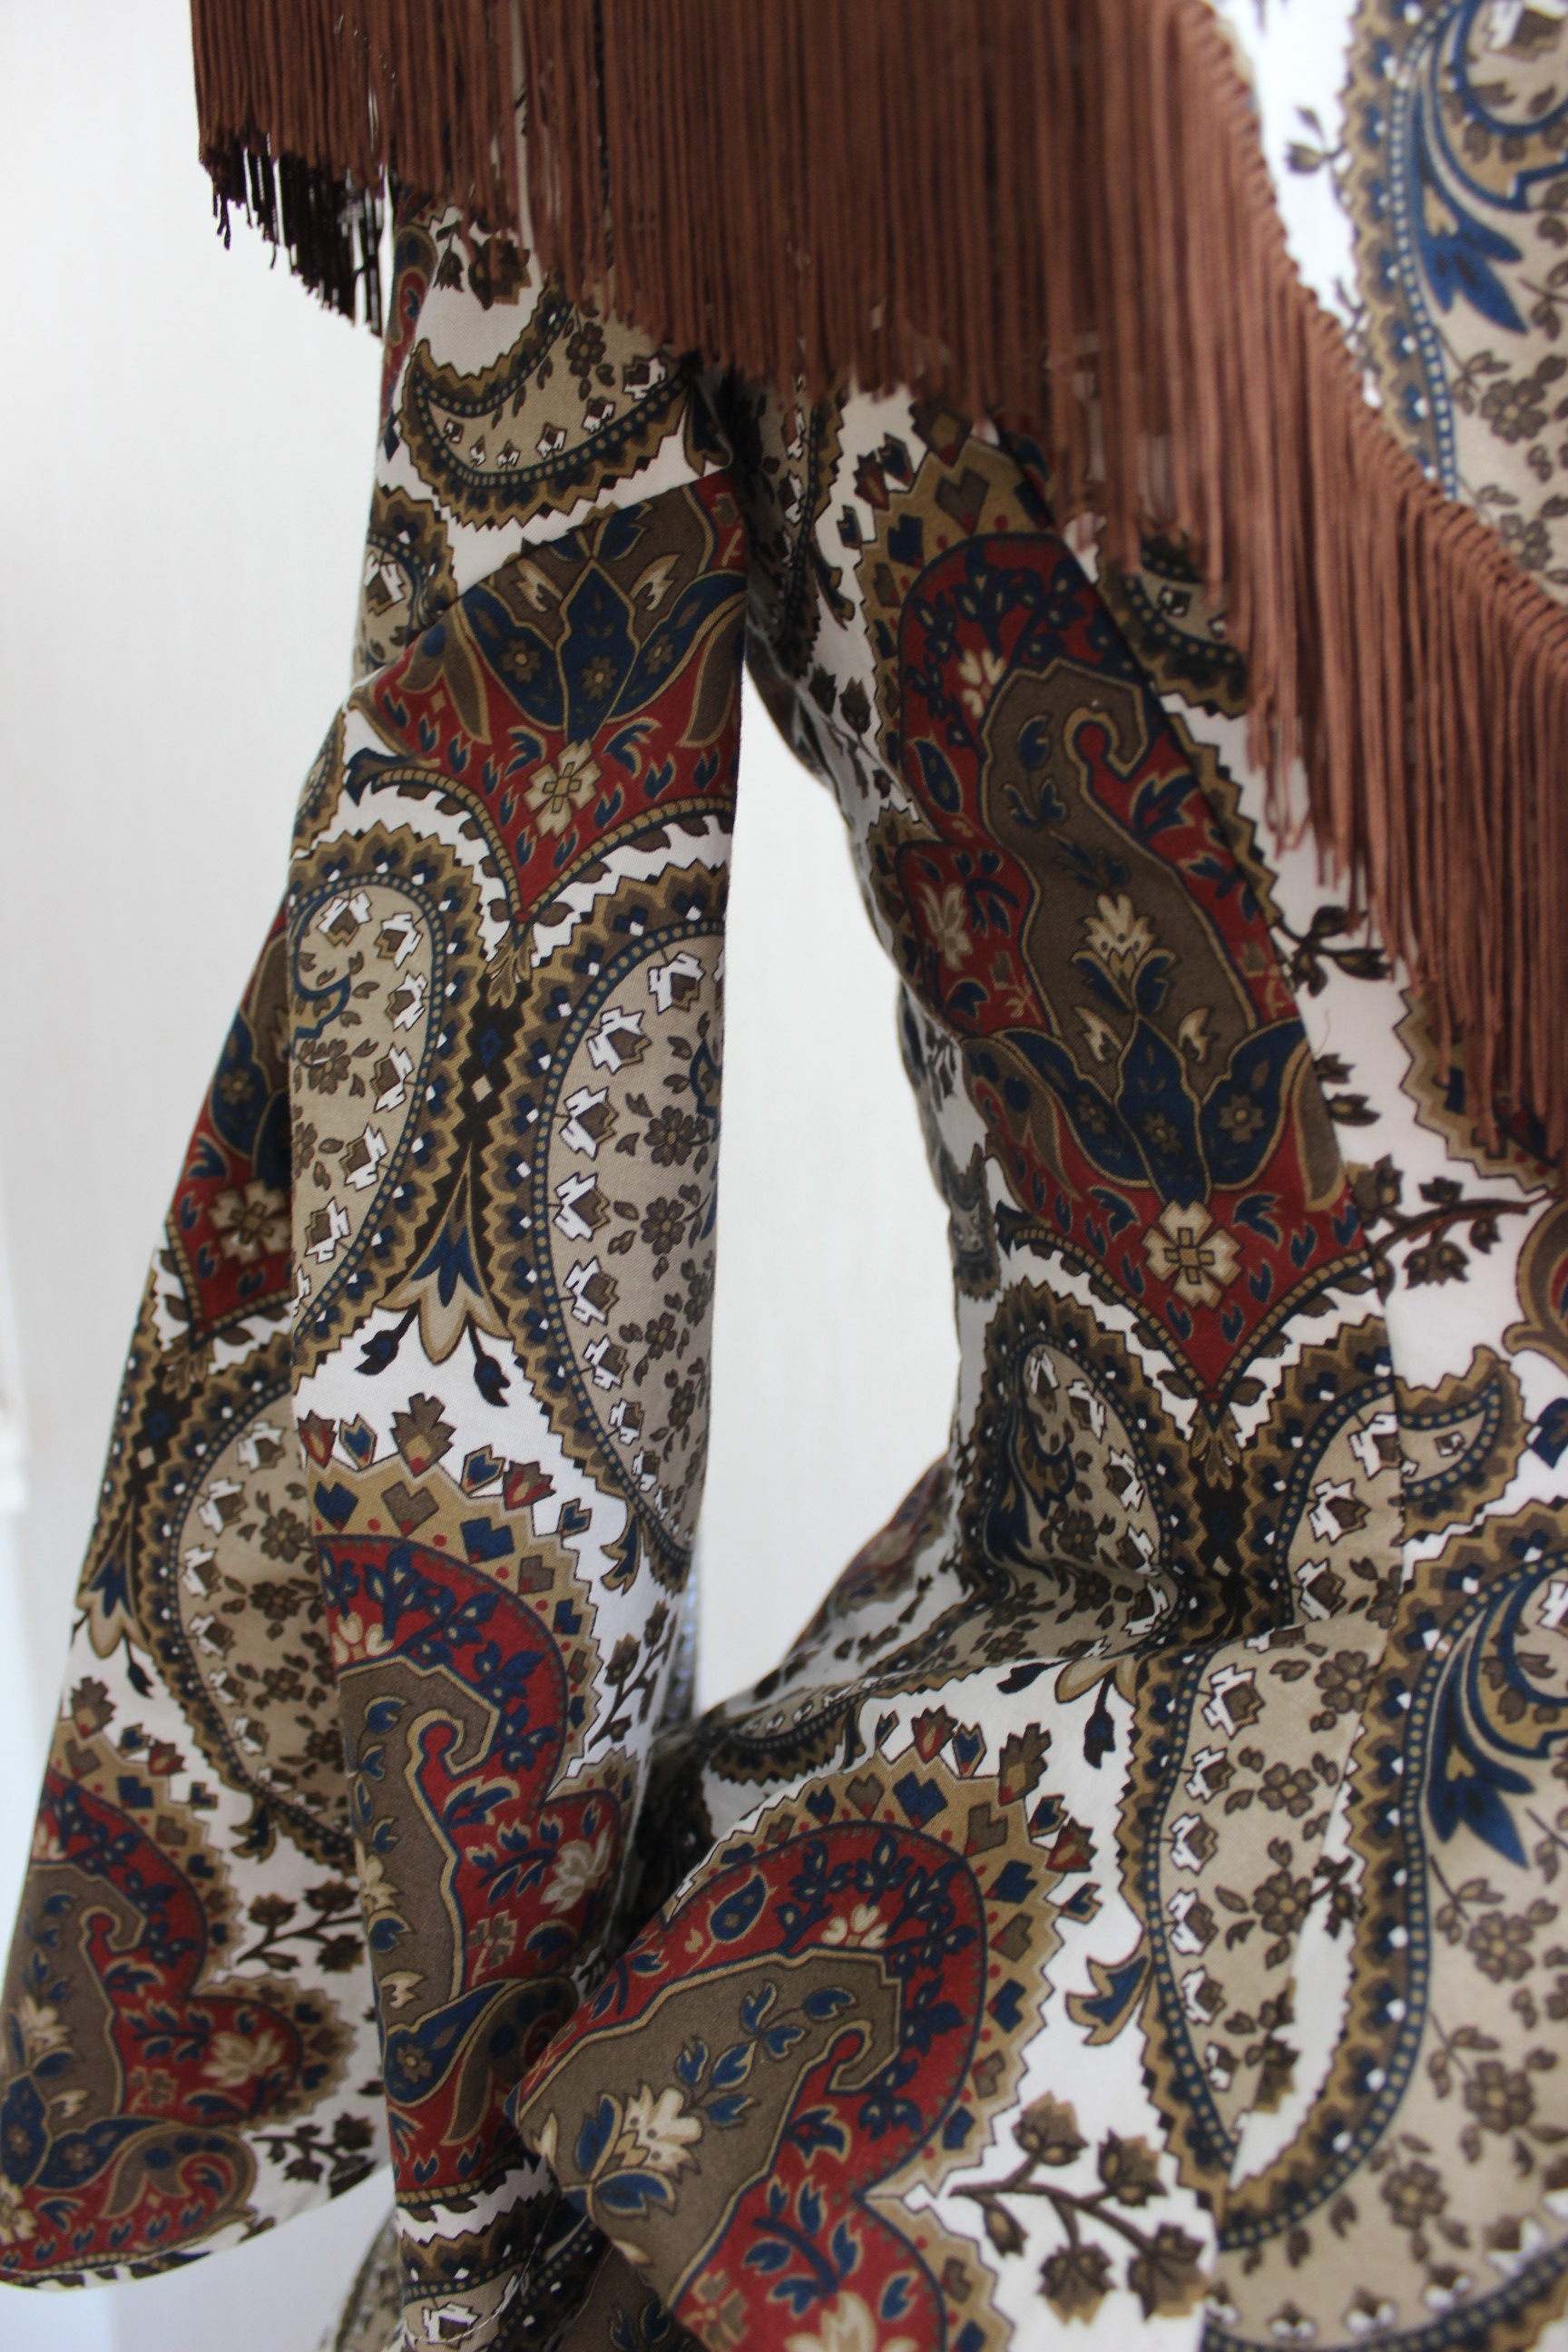
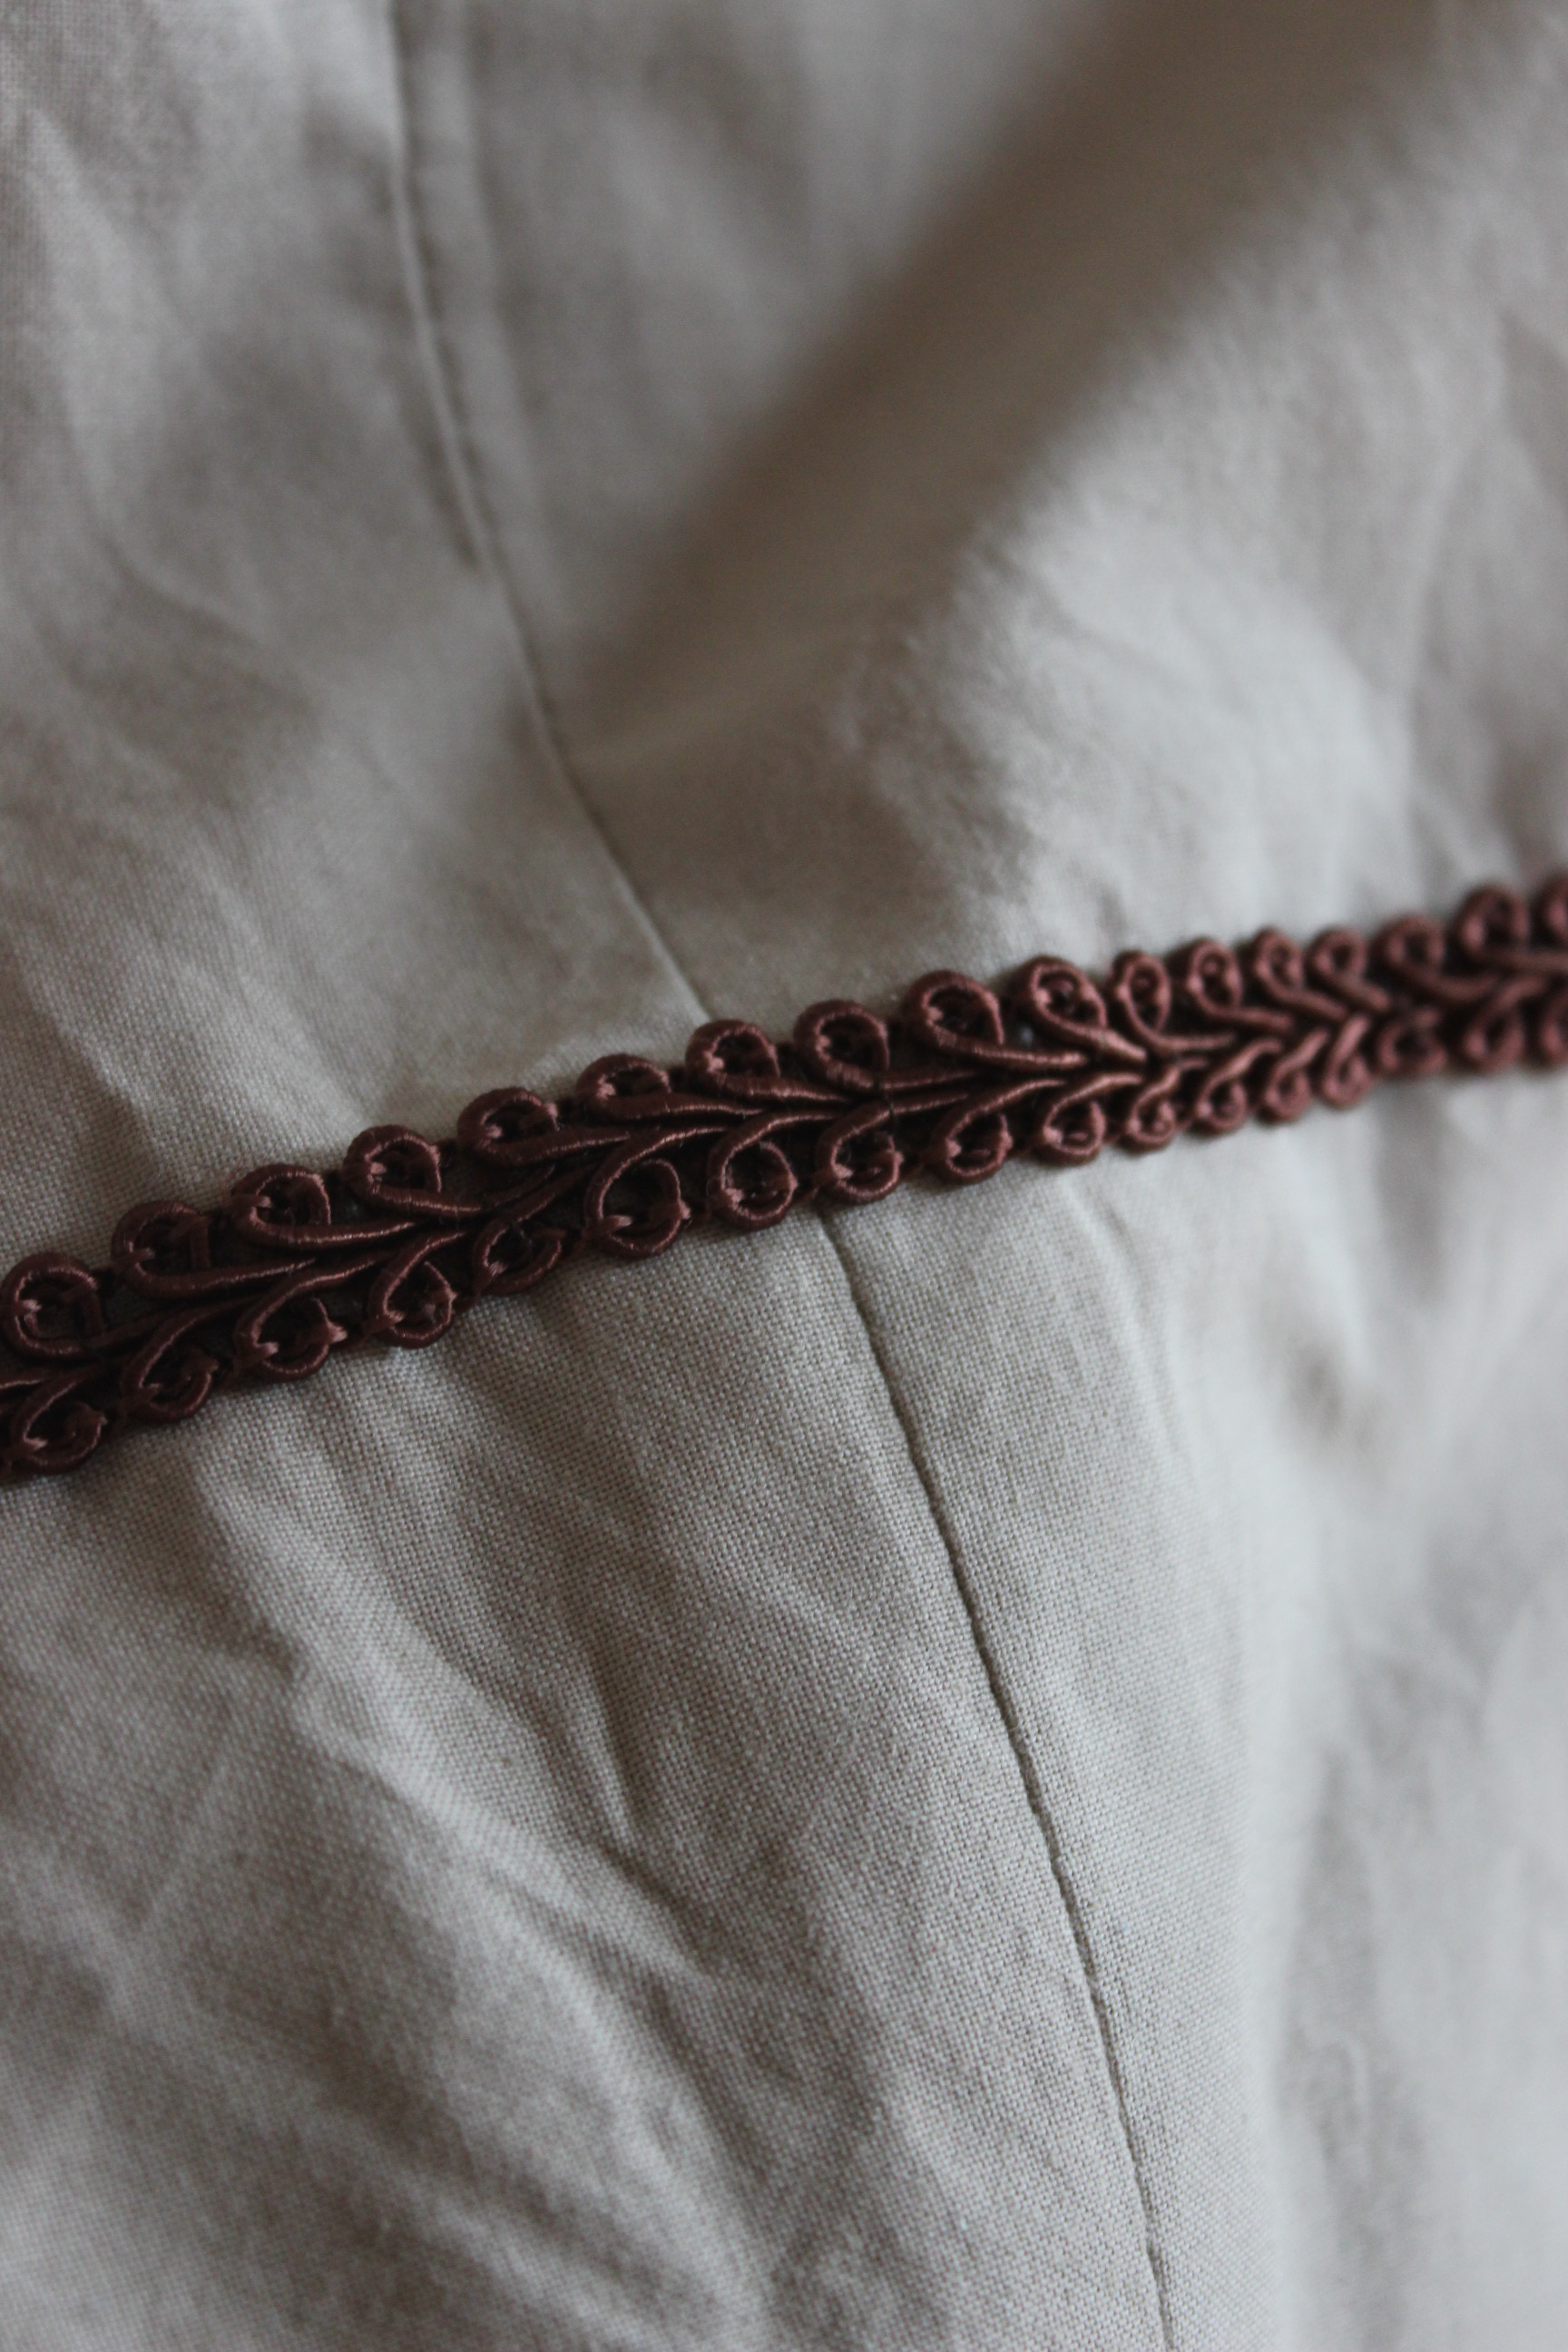
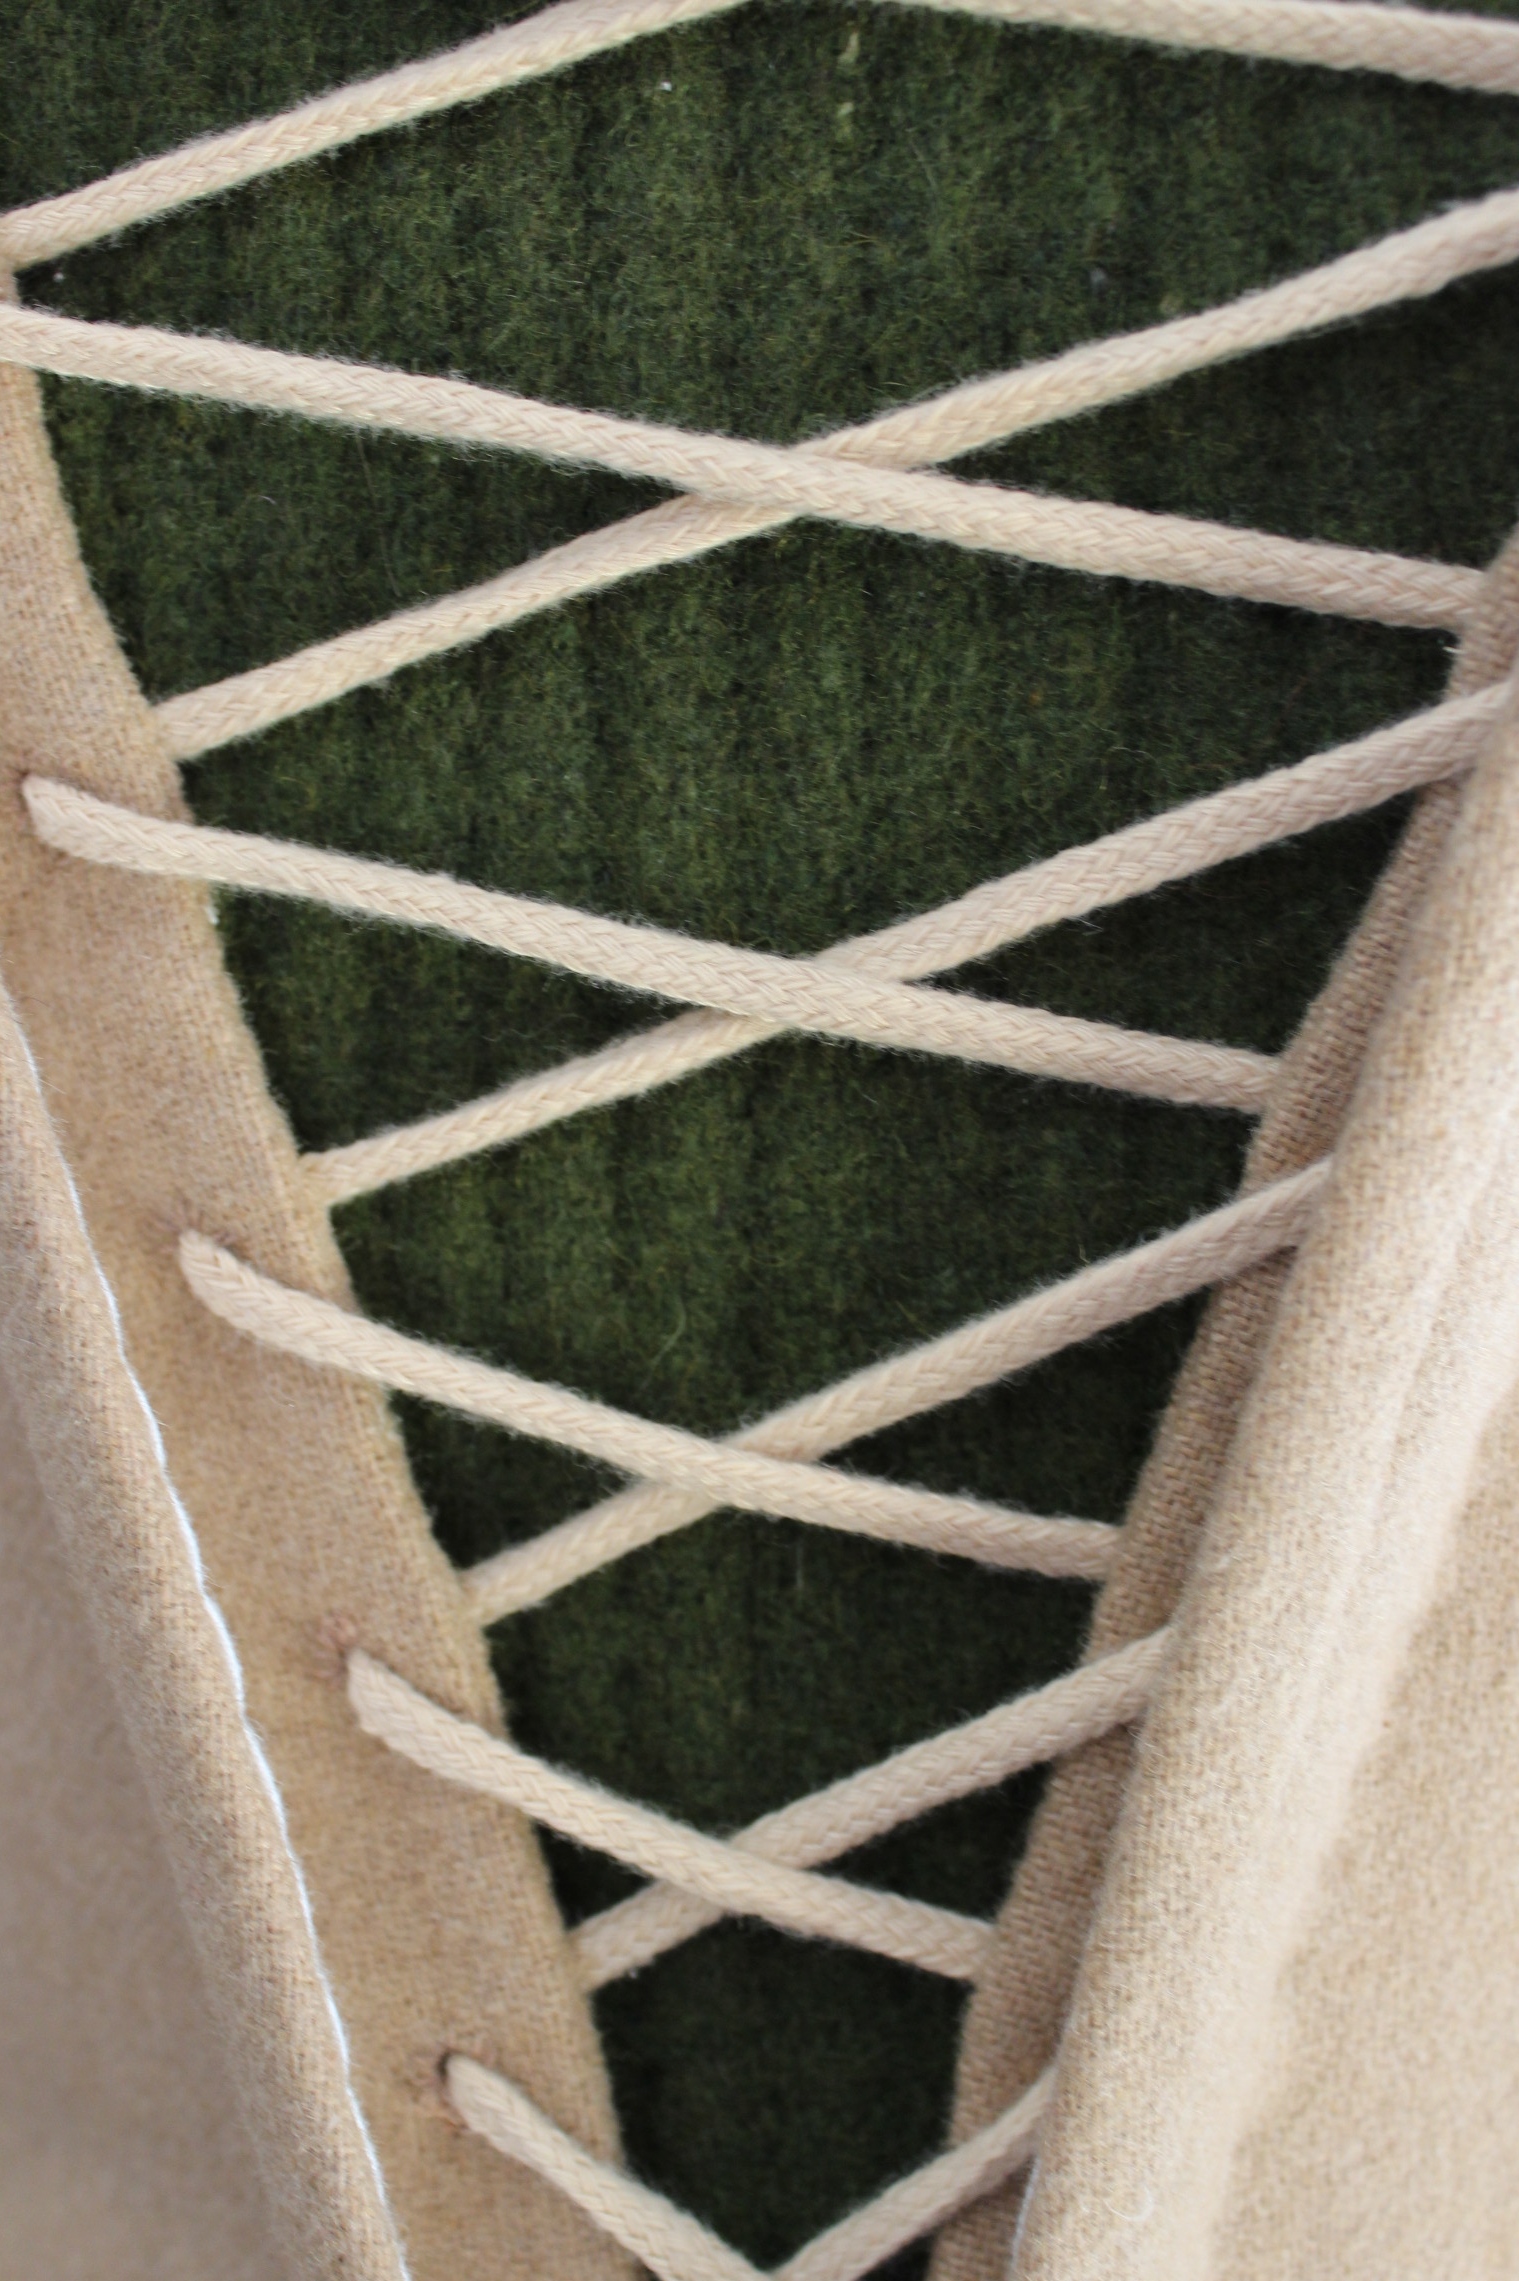
Once it was stitched and hemmed (after quick fitting) I added a singel row of braid around the bottom. Even though my insoiration din’t have one, I really liked the way t looked, and how it connected with the decoration to be made on the jacket.   

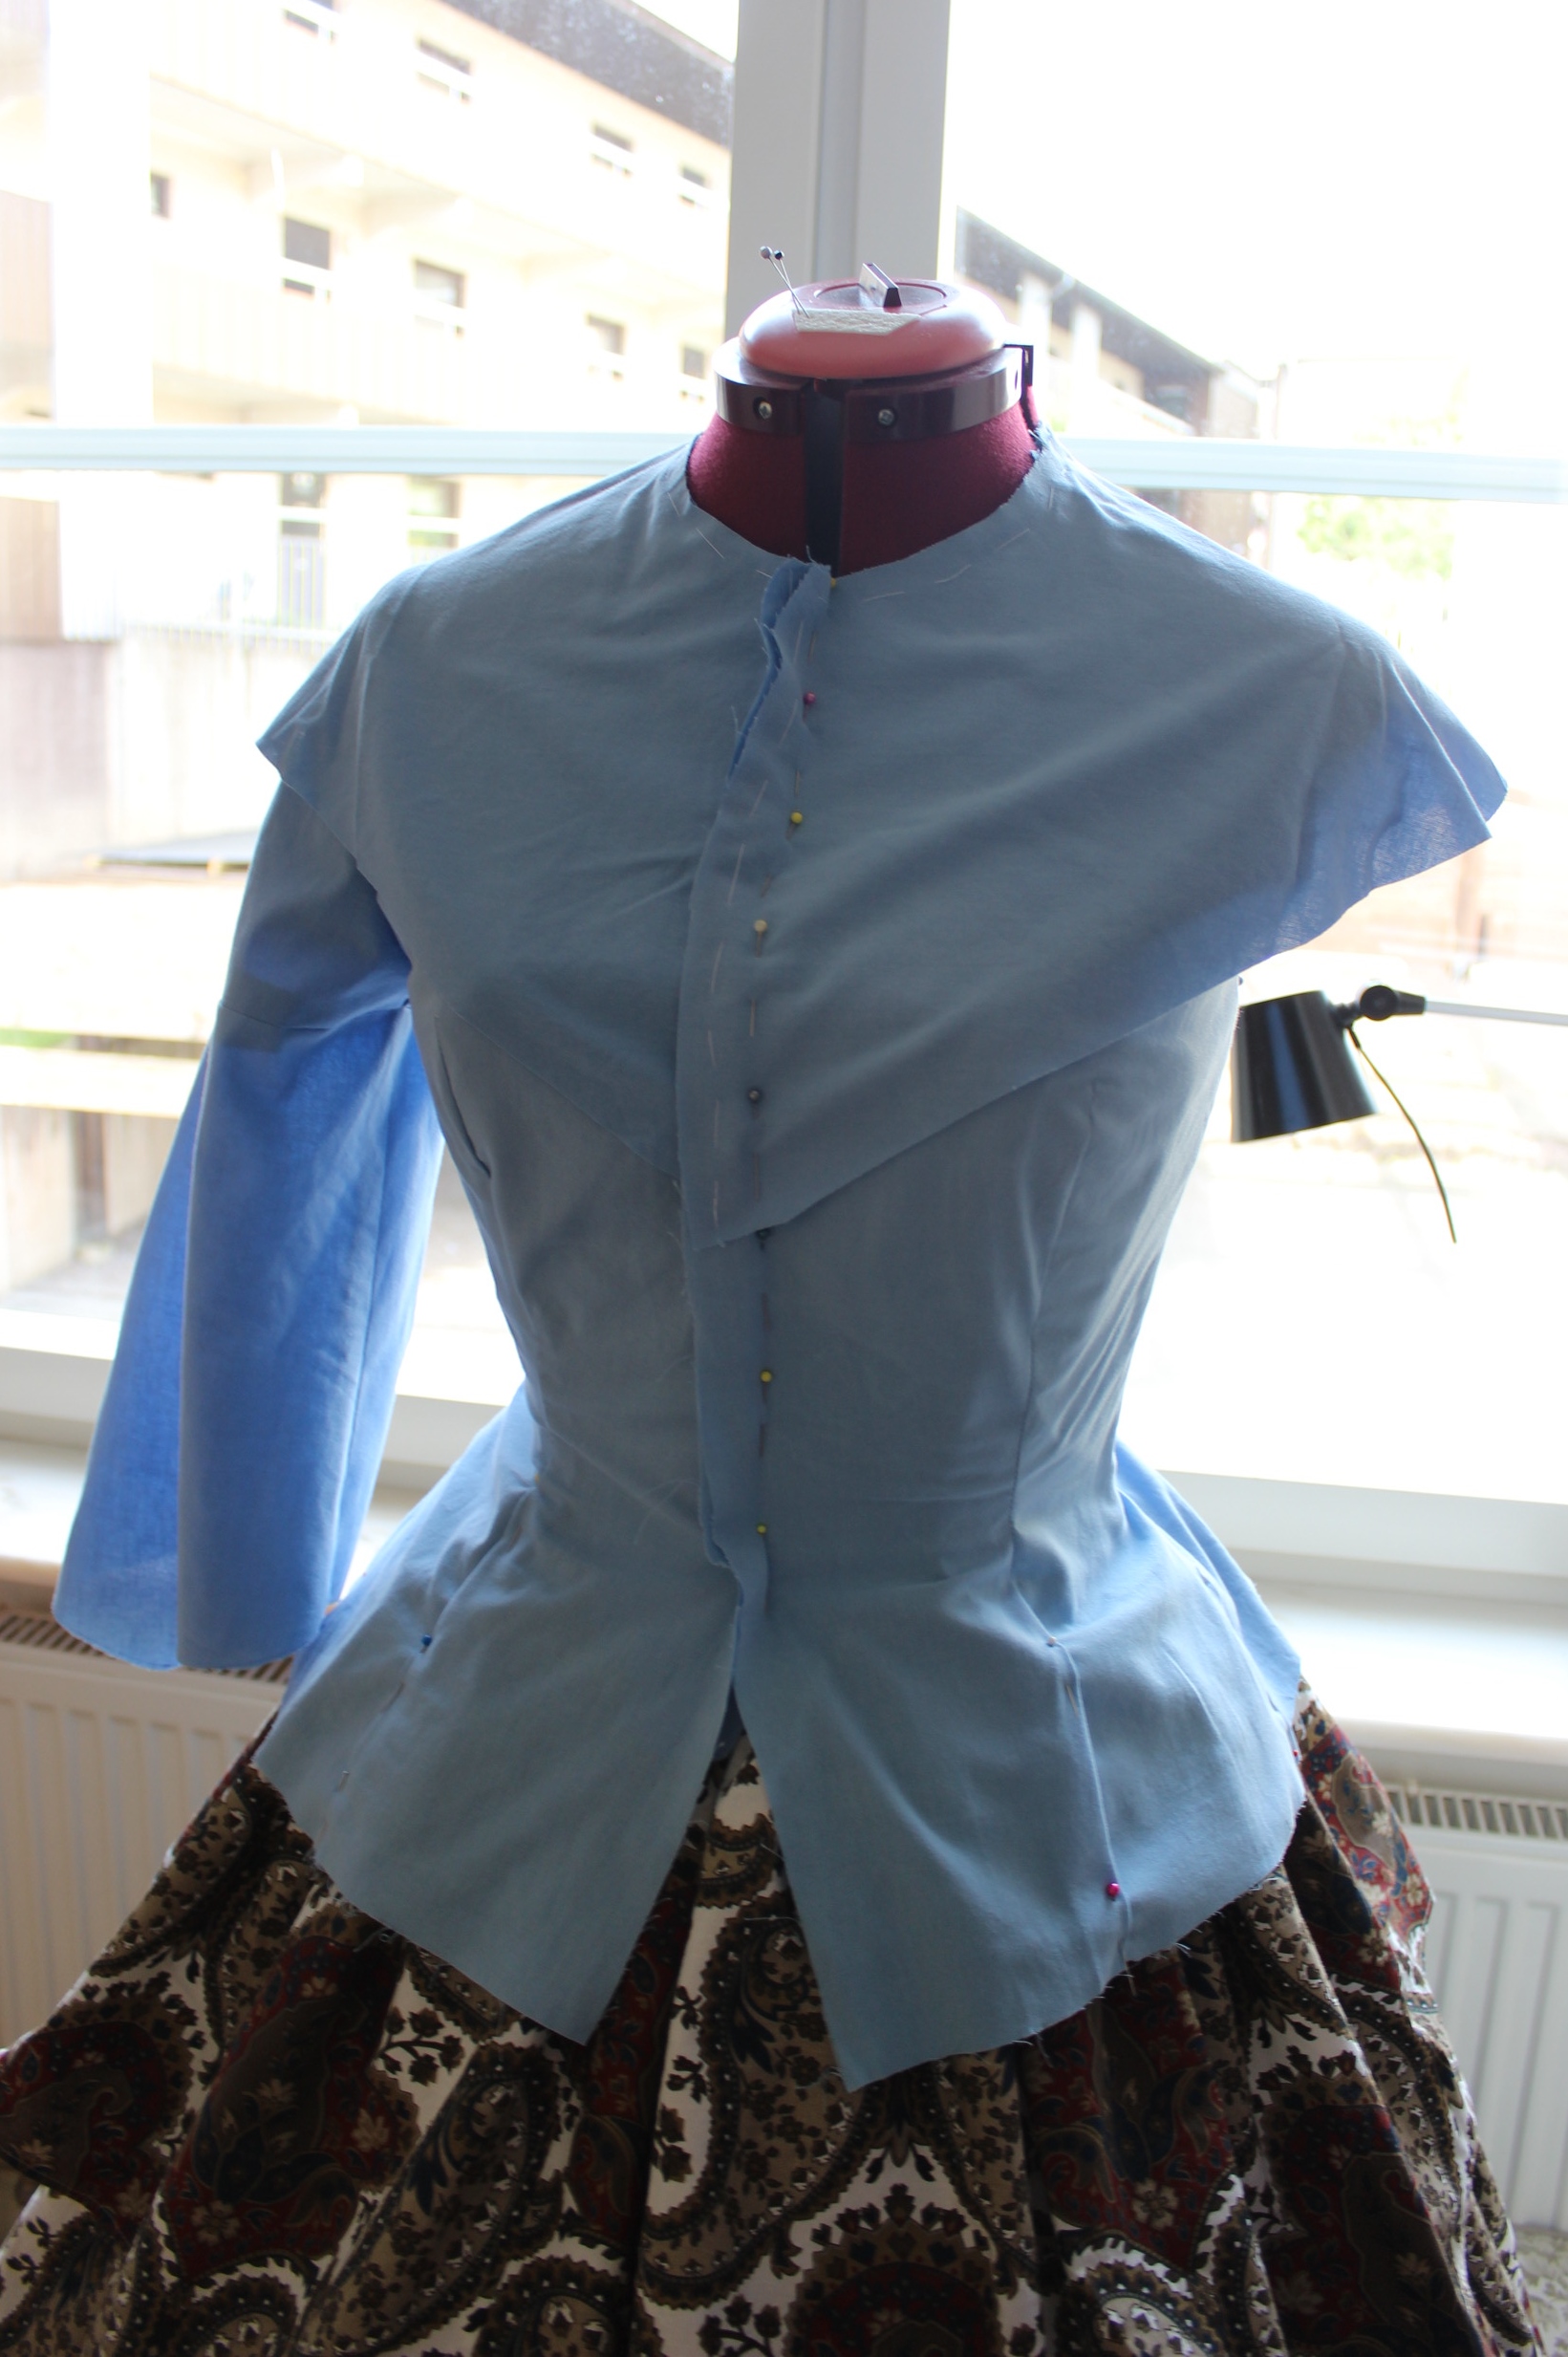
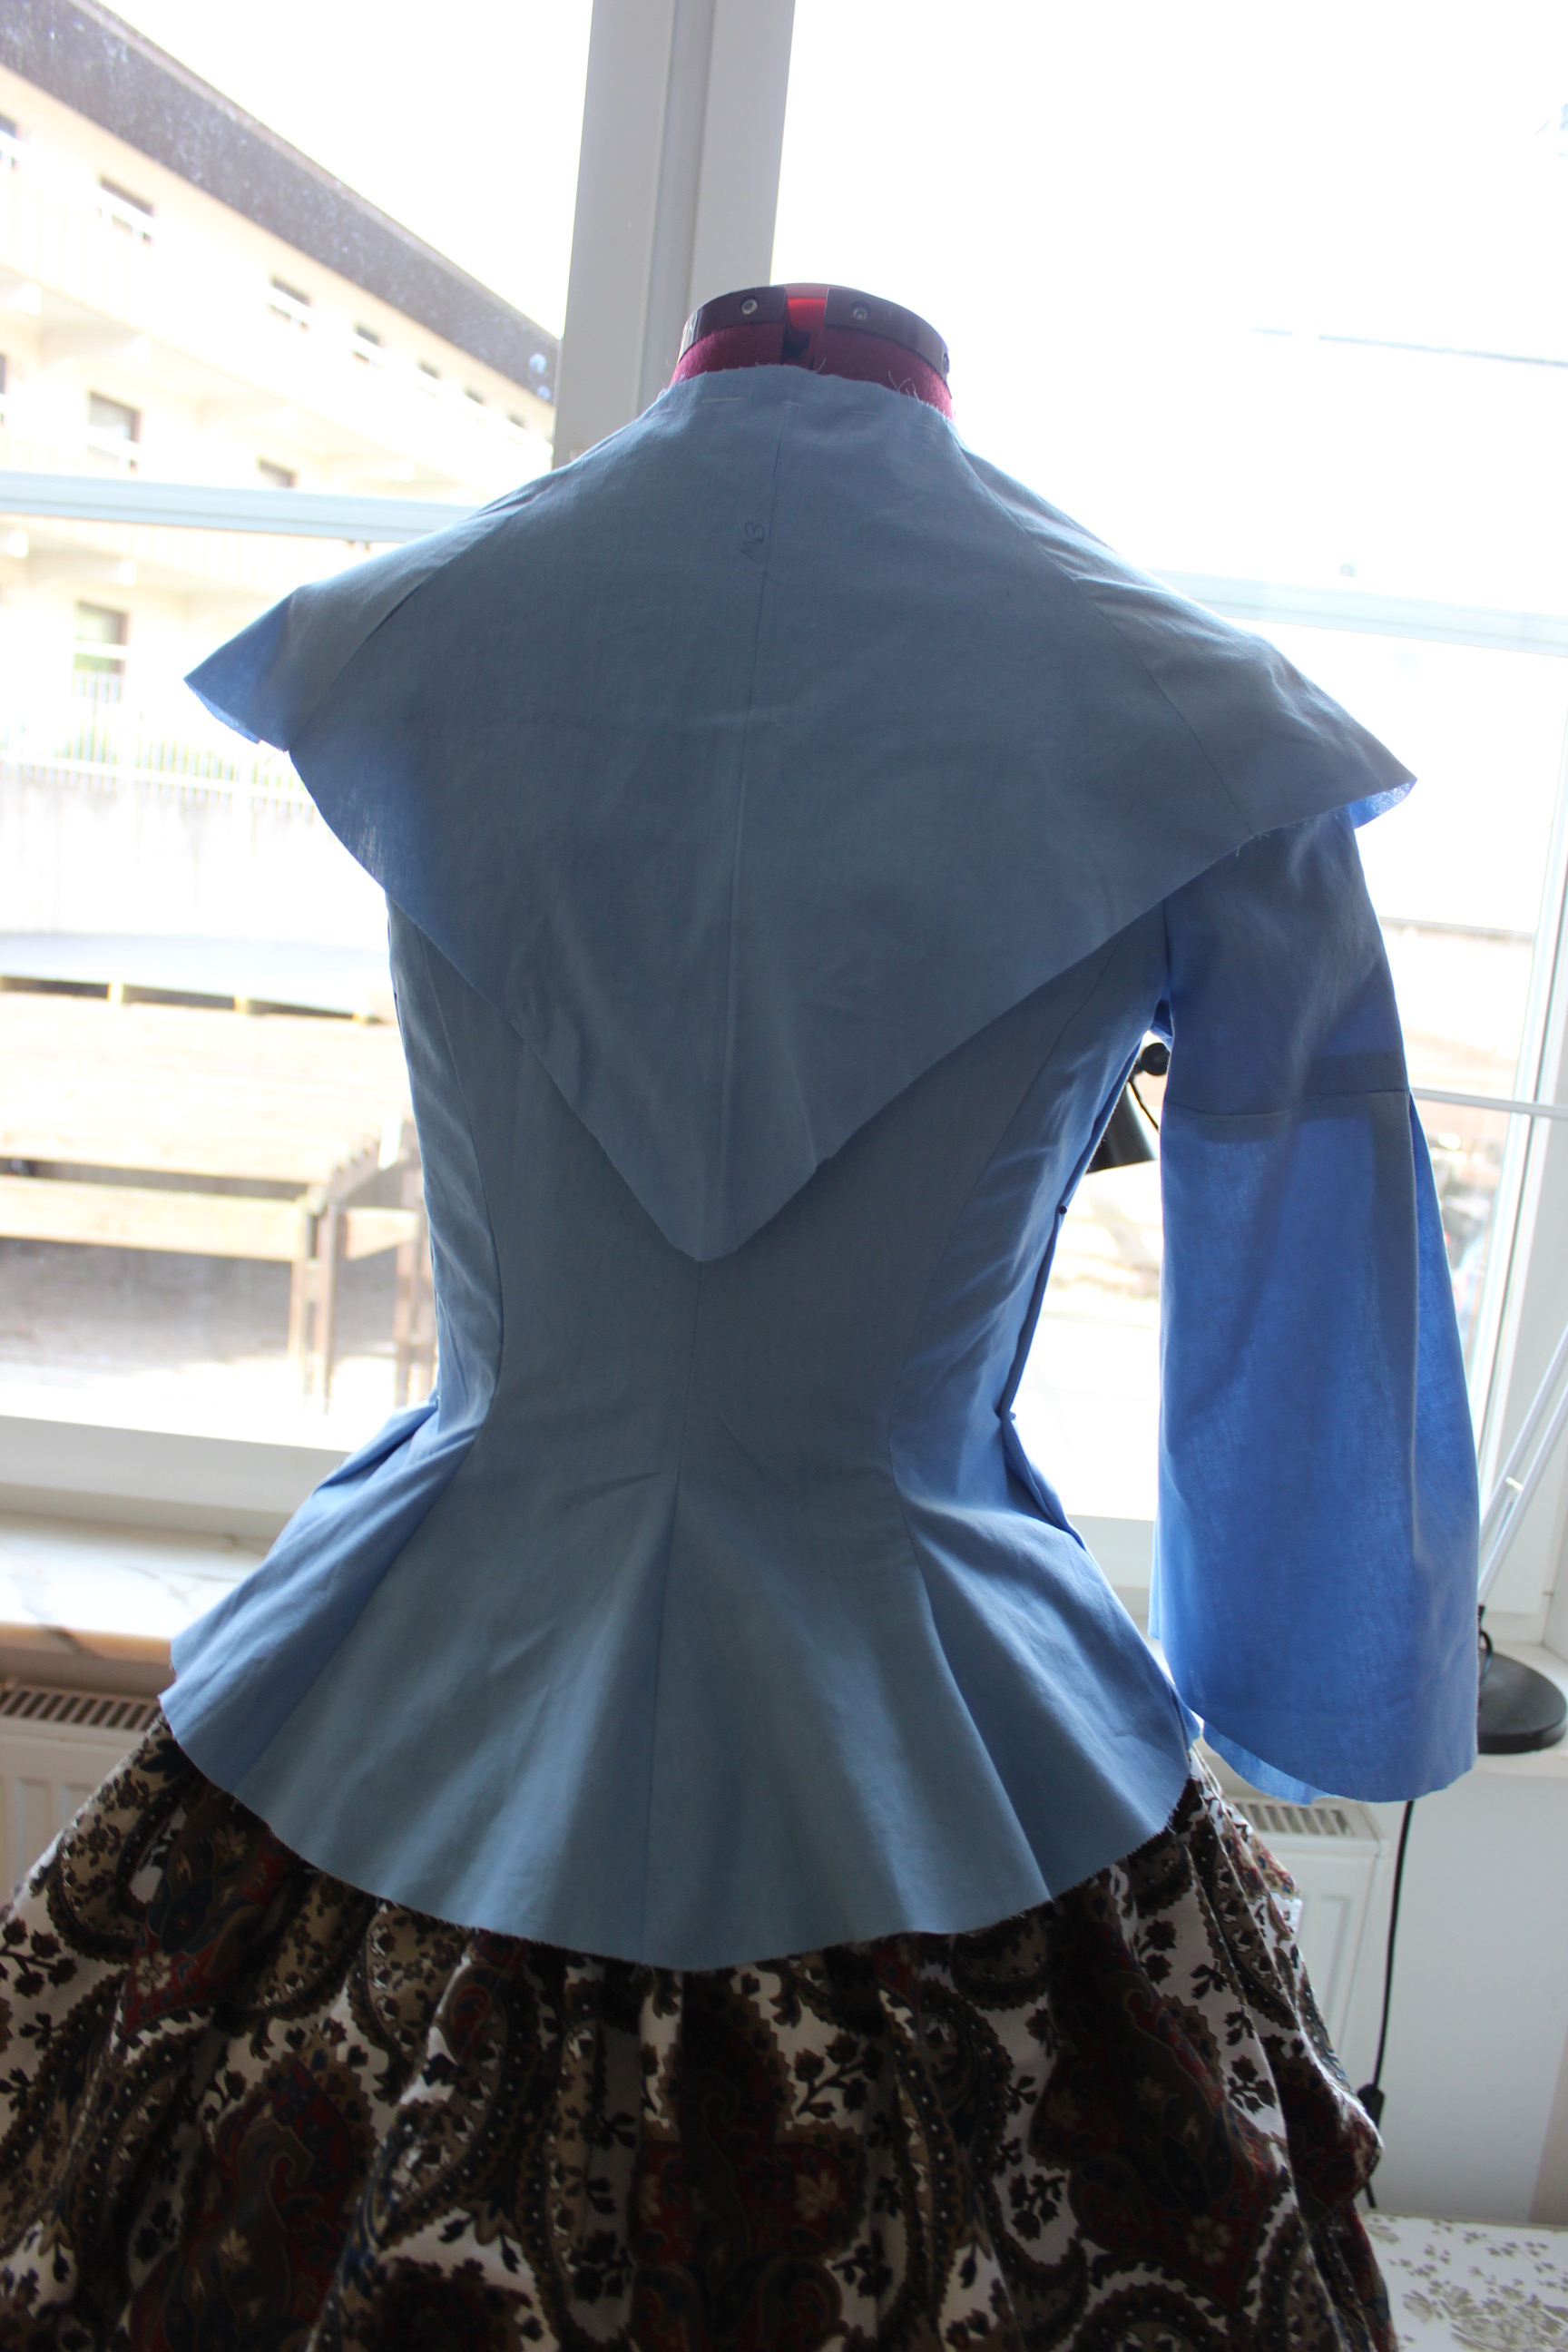
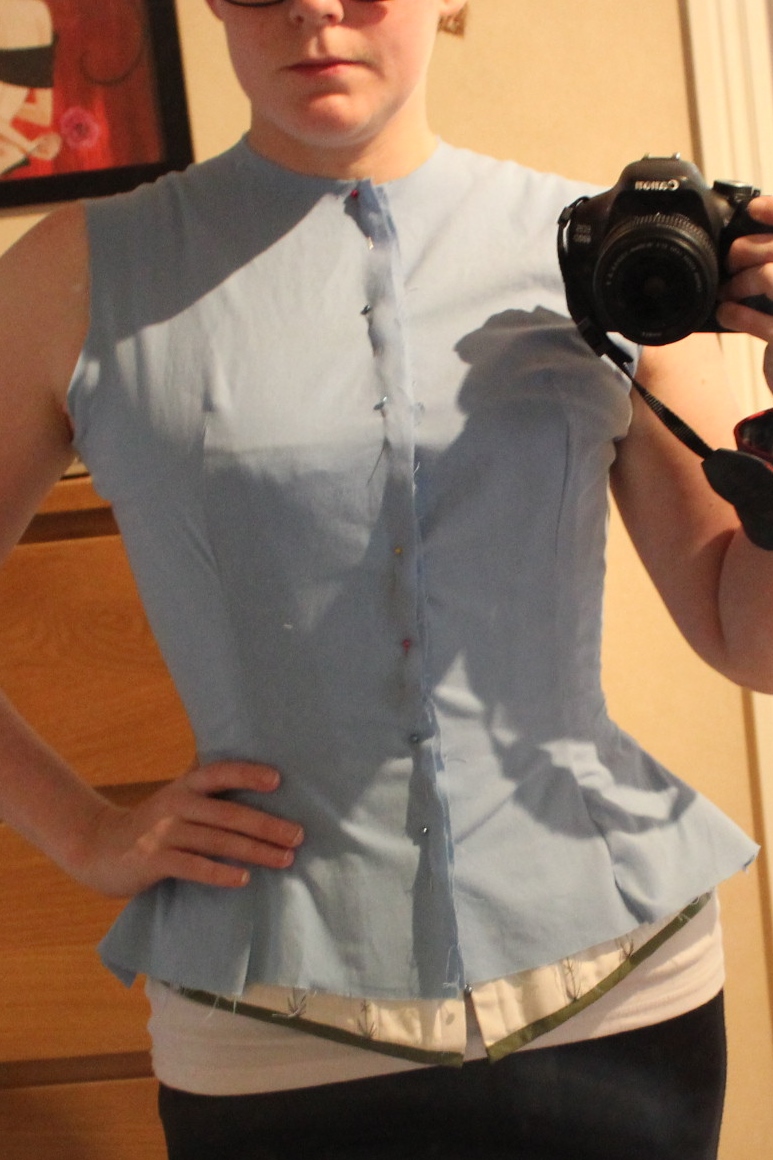
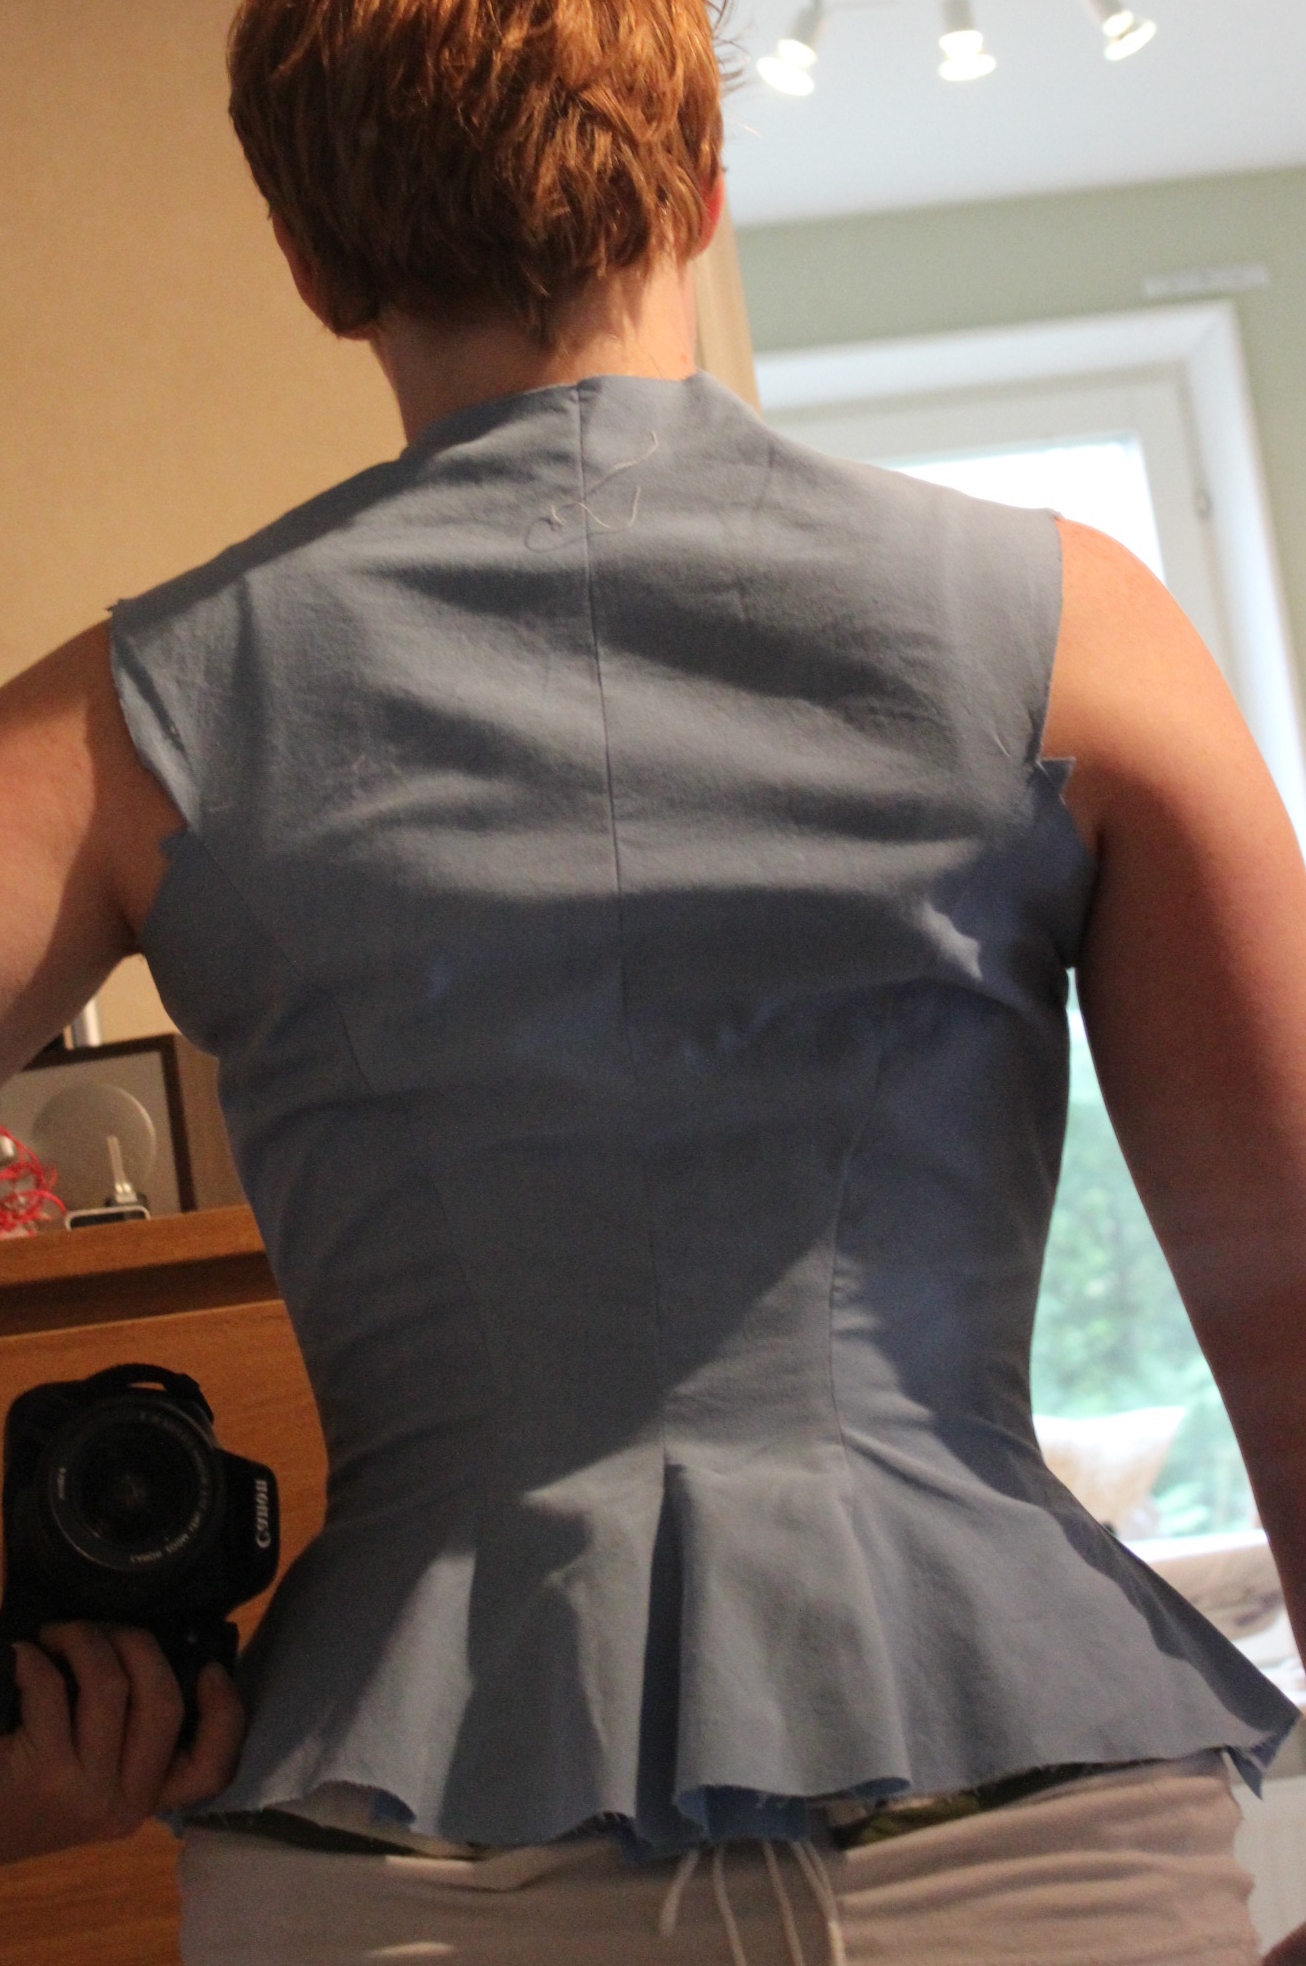
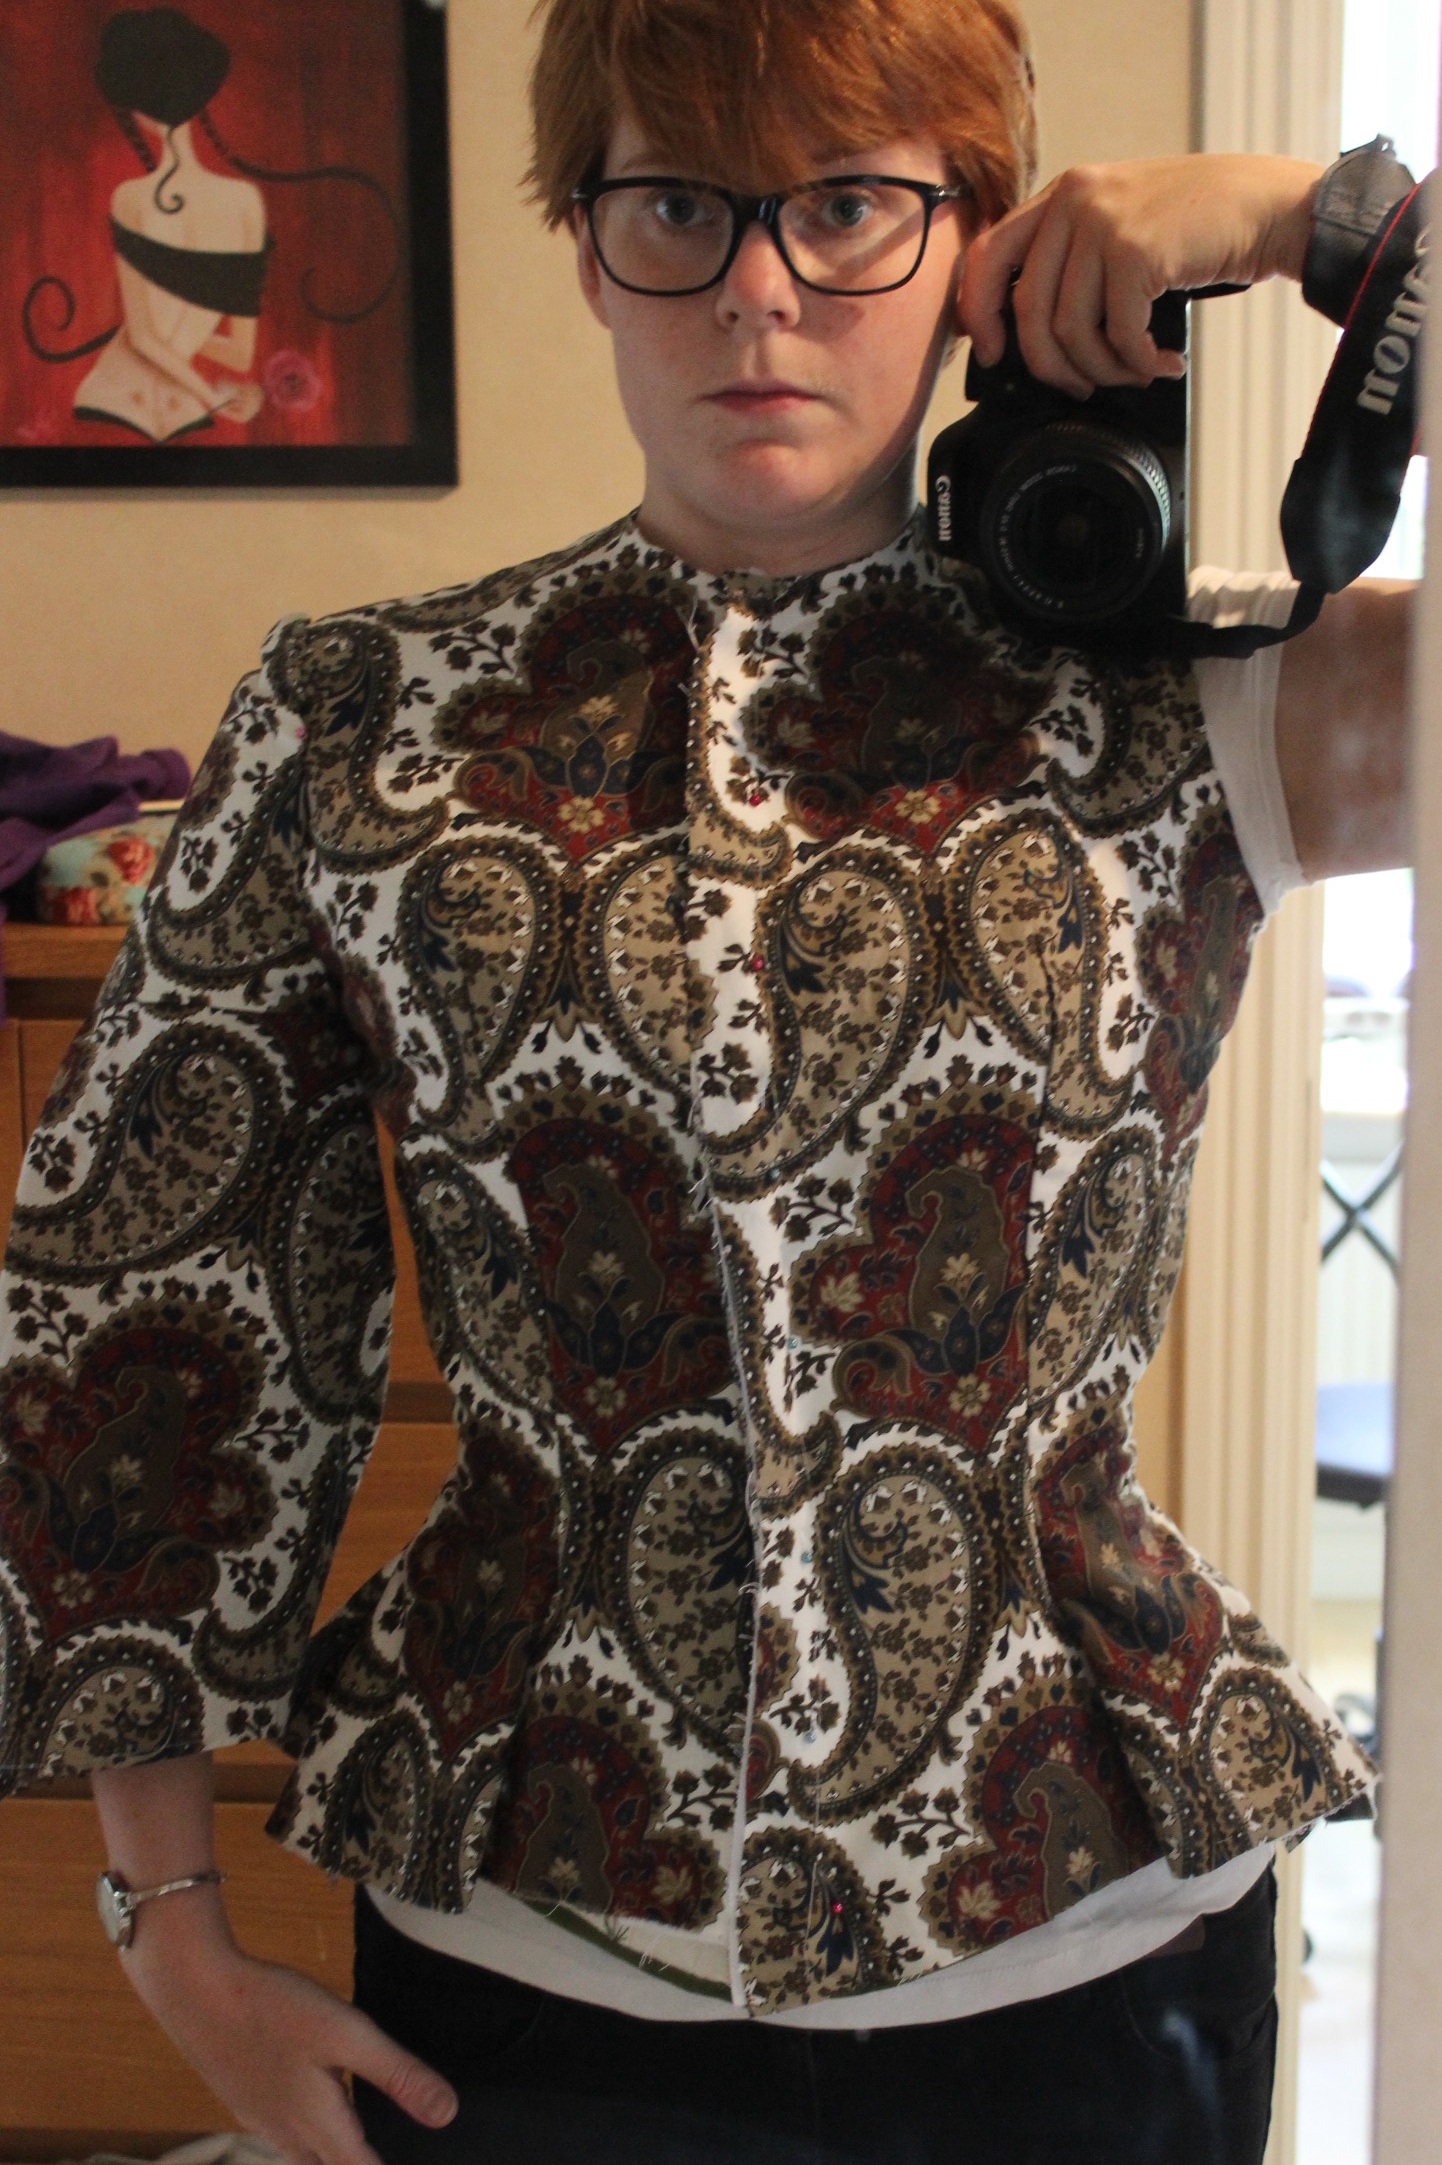
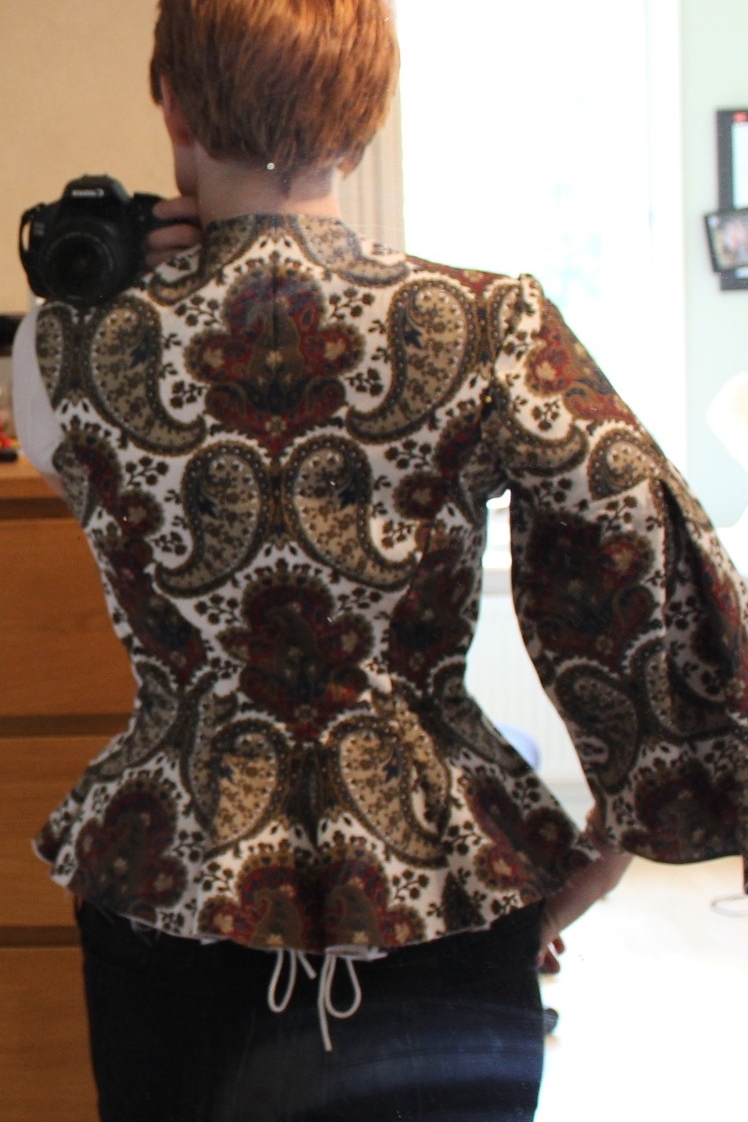
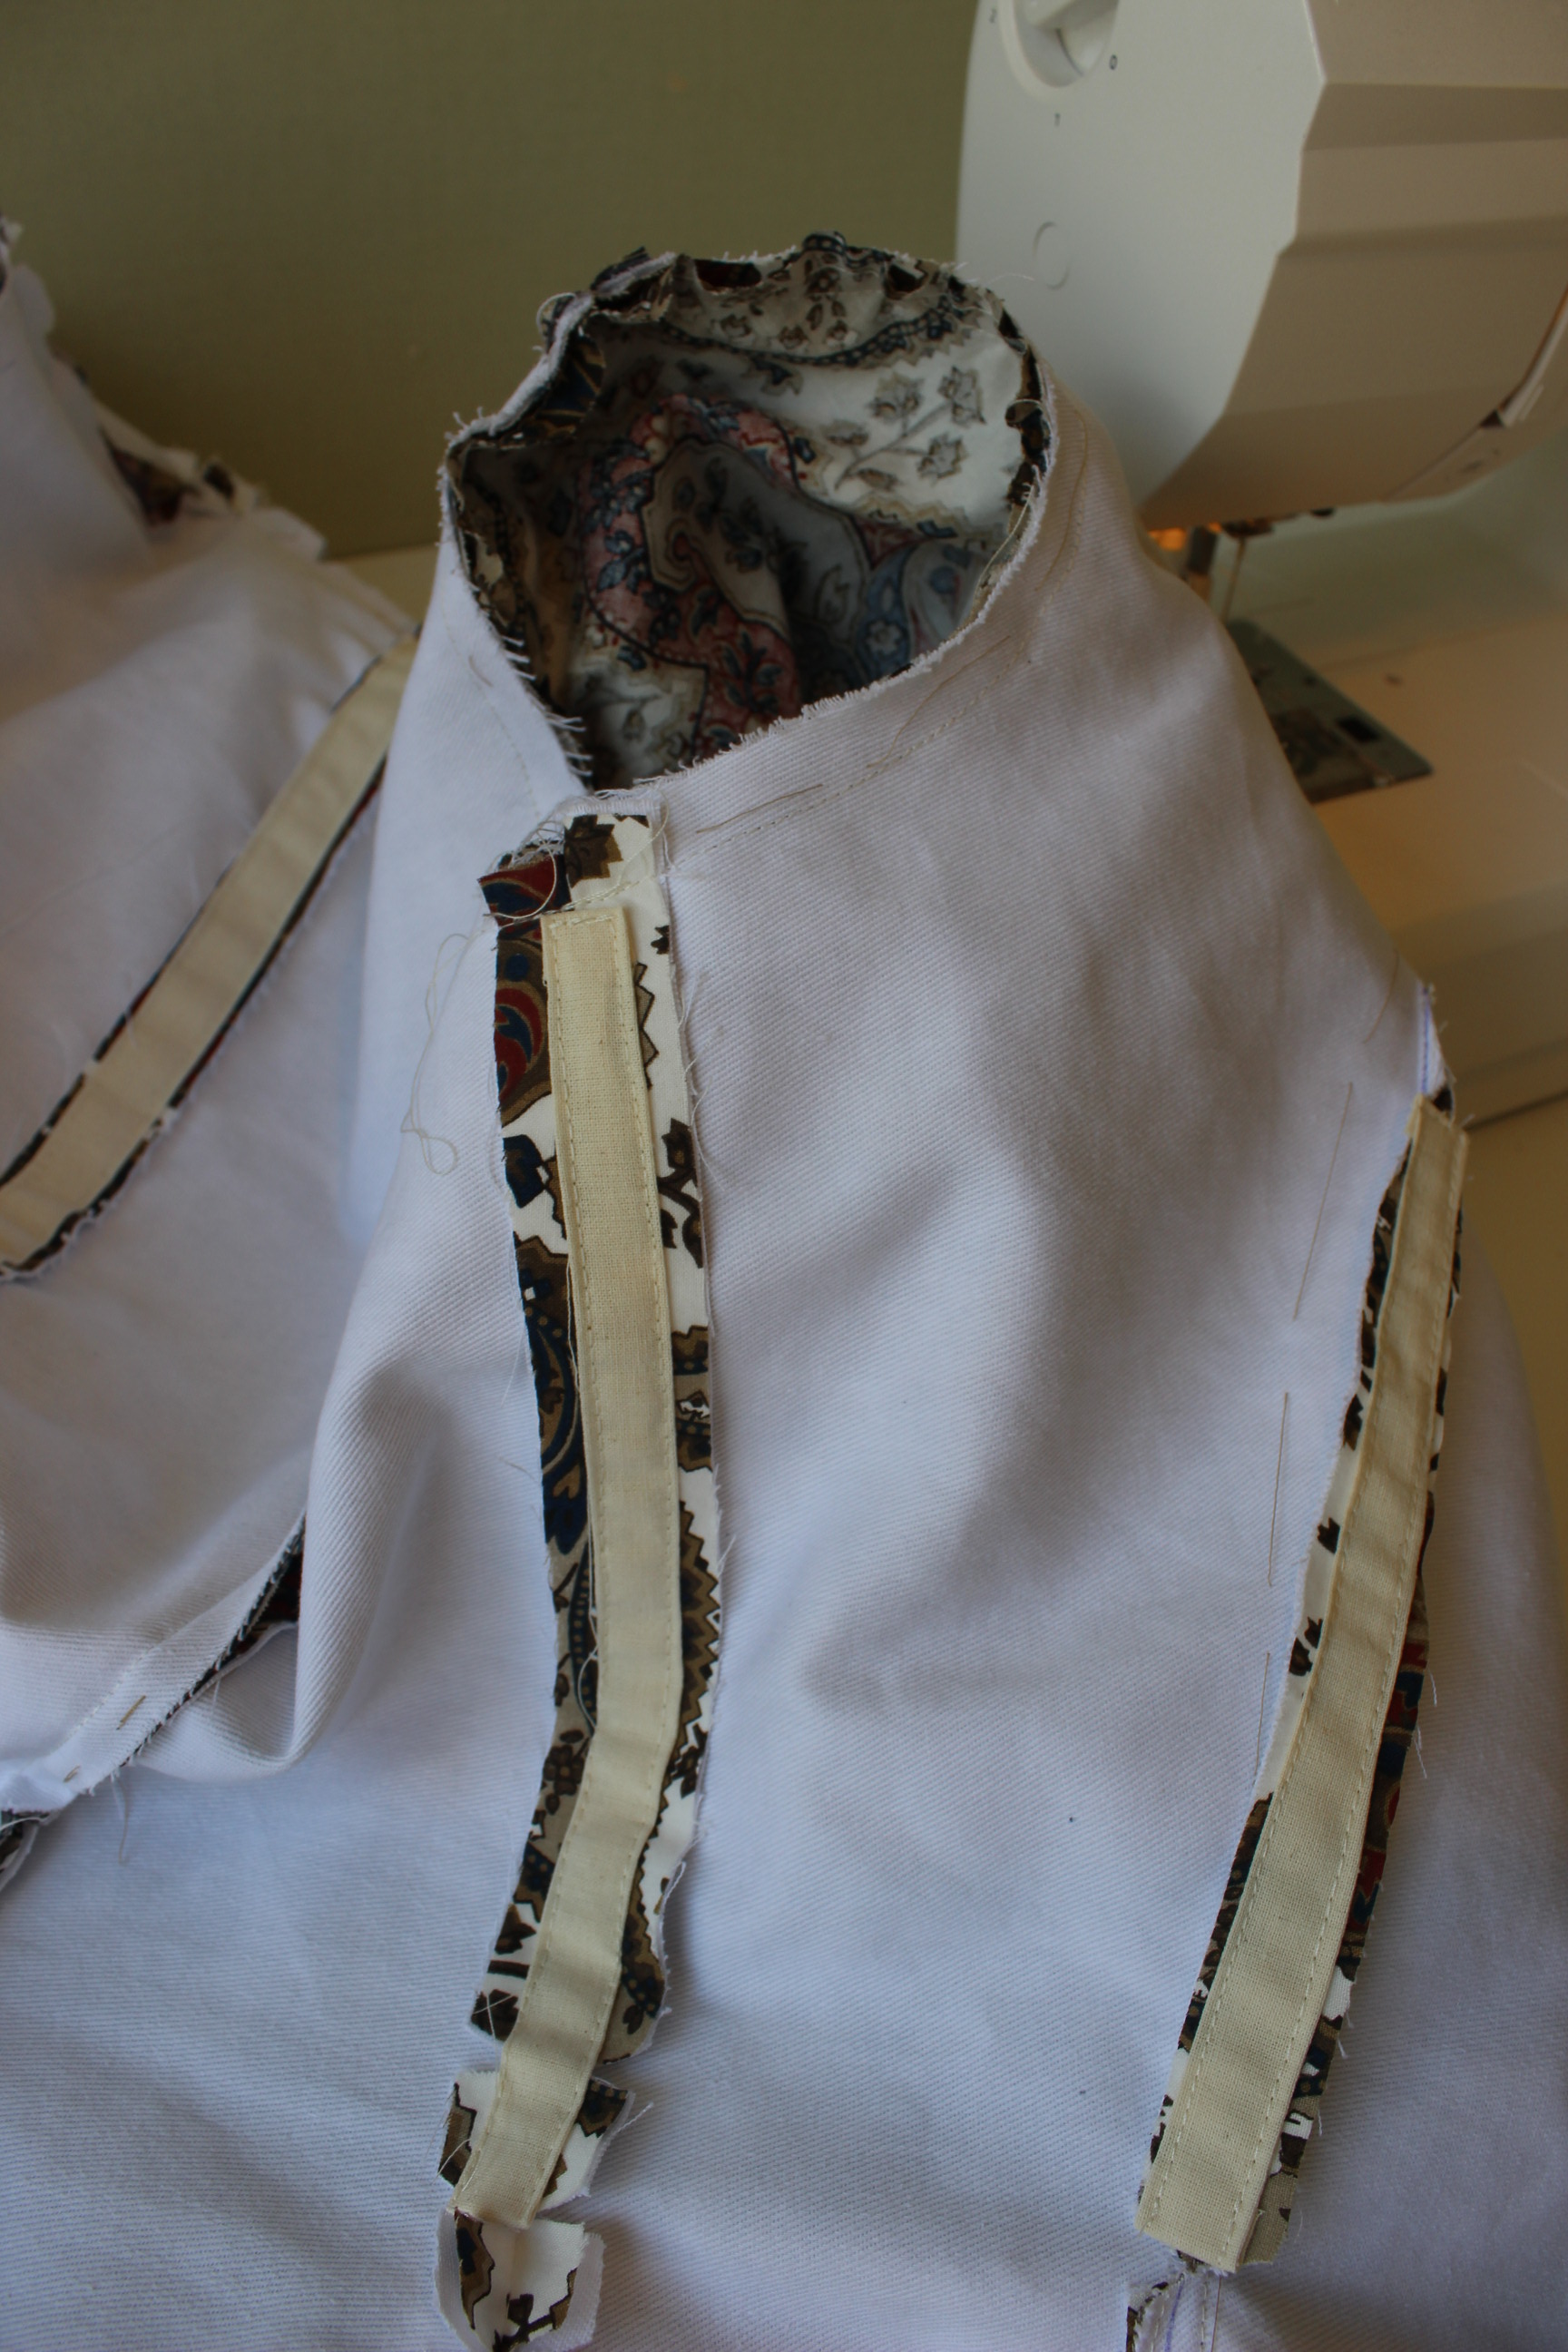
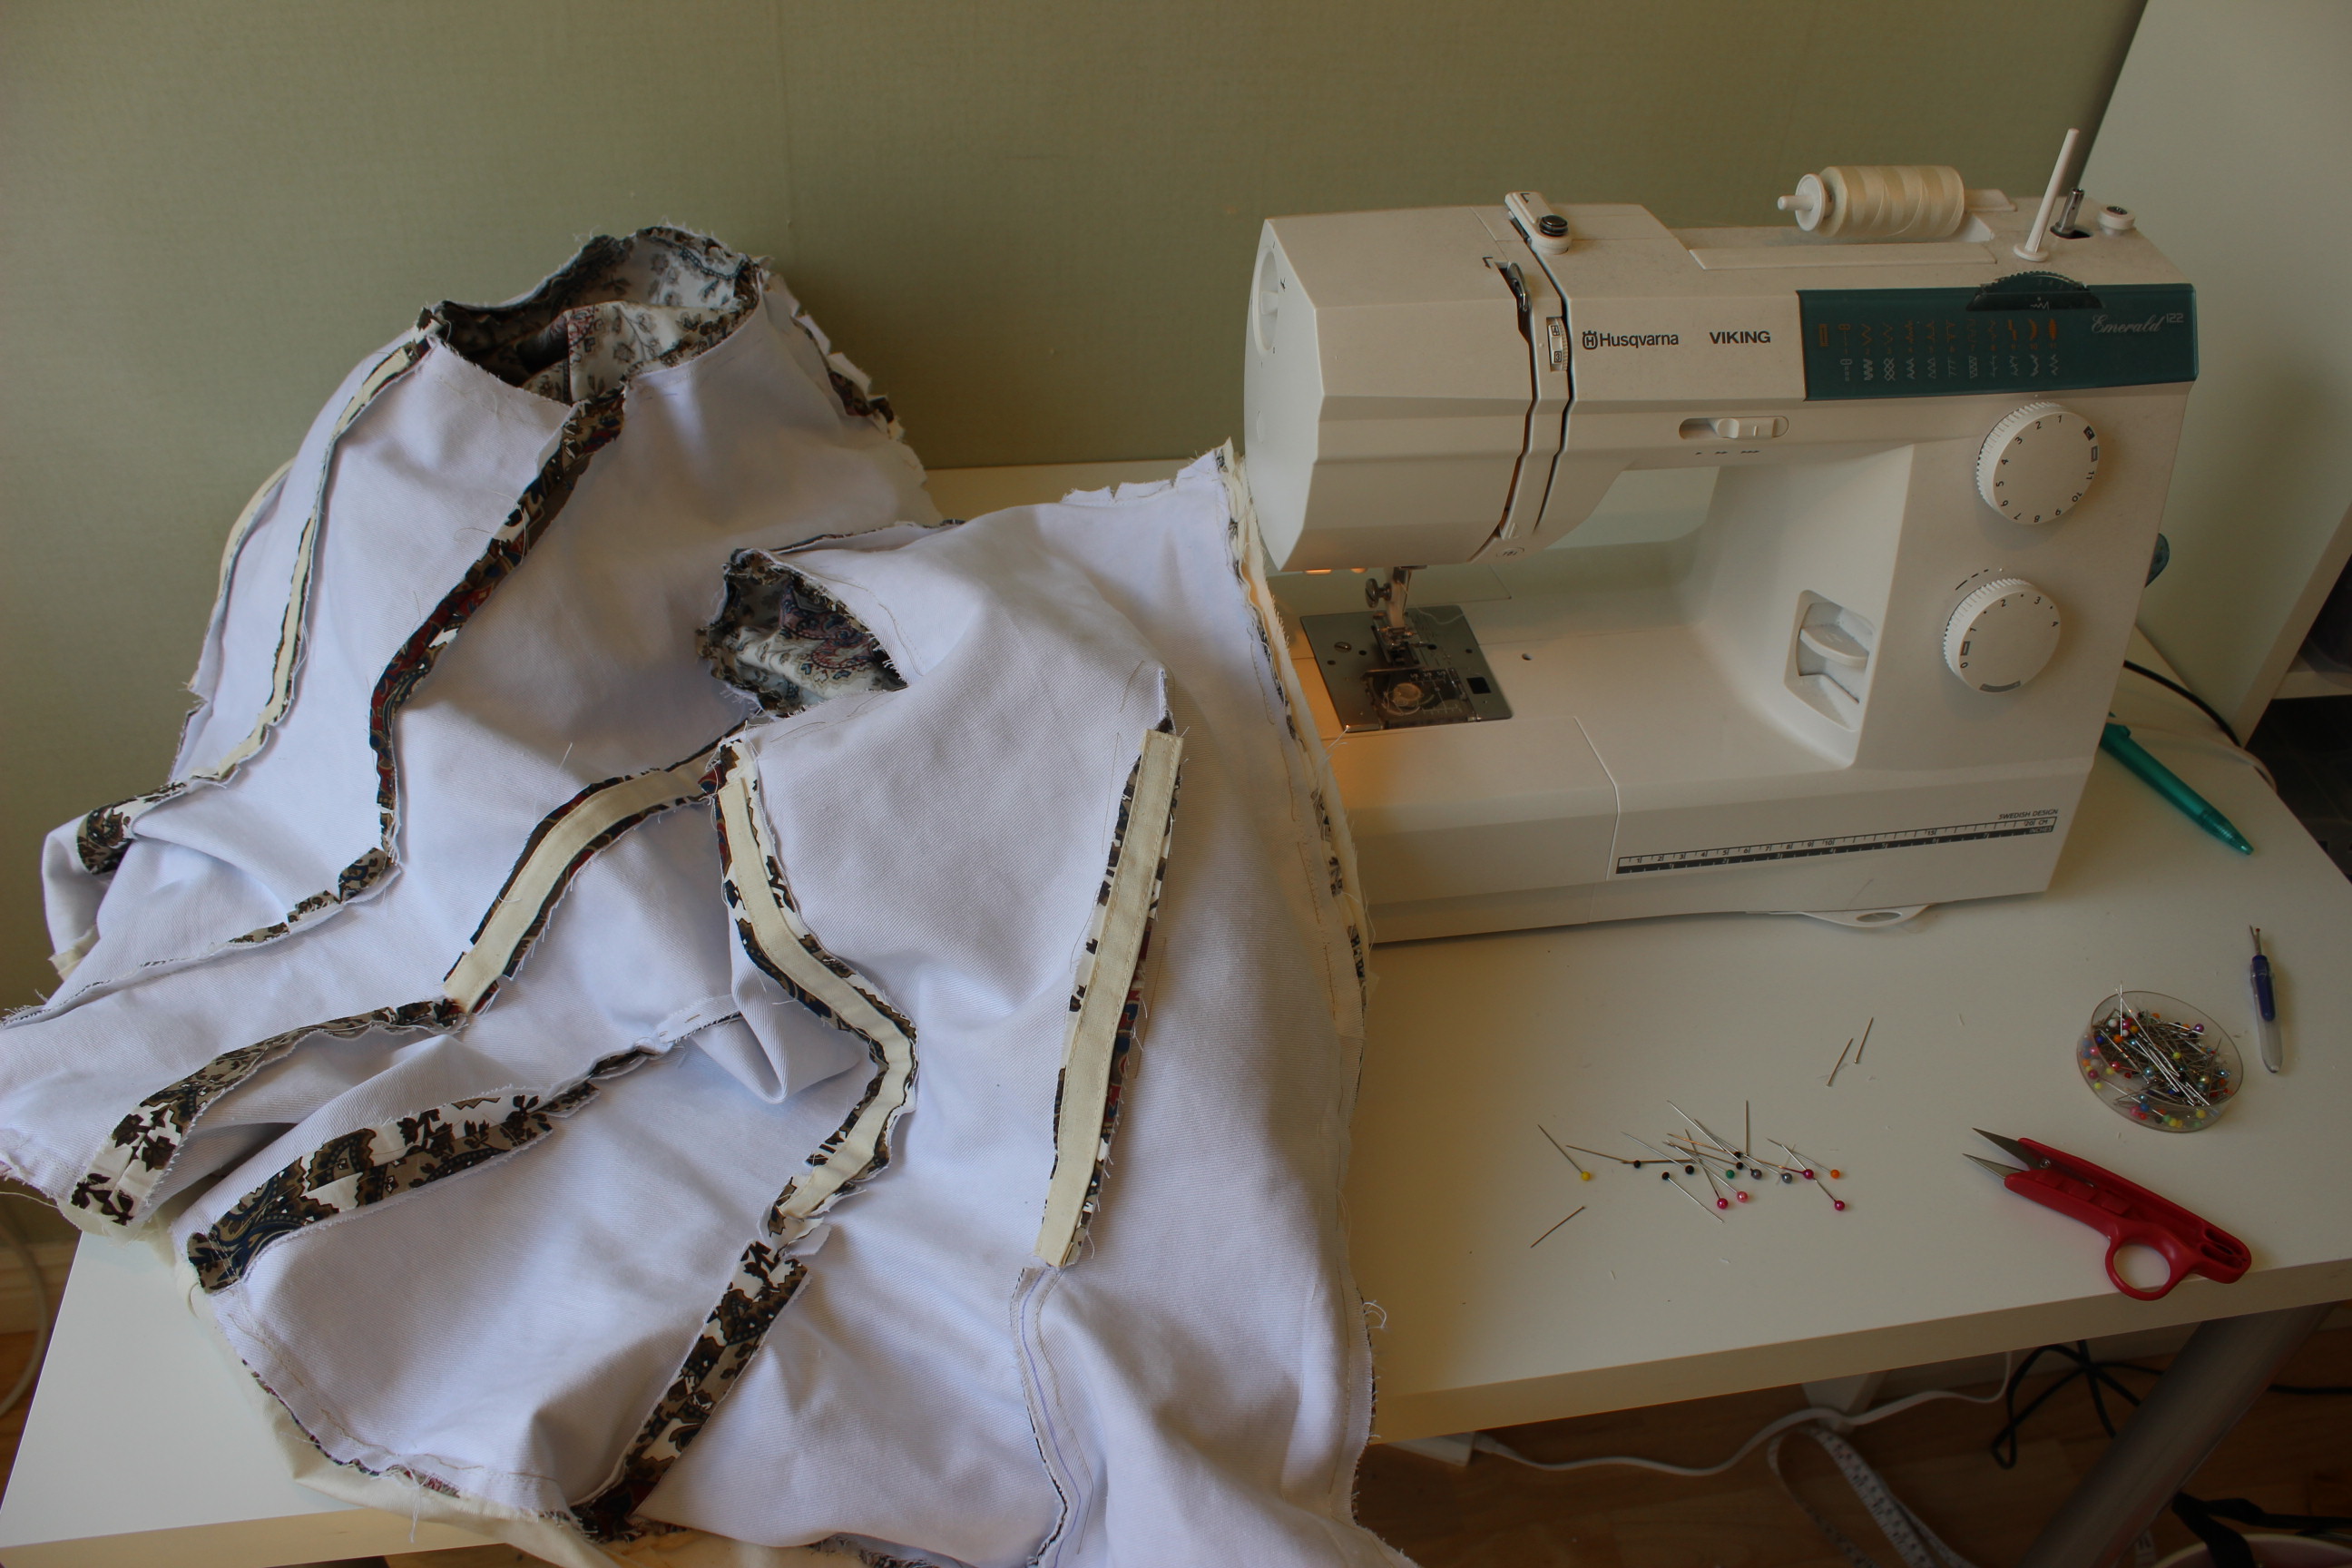
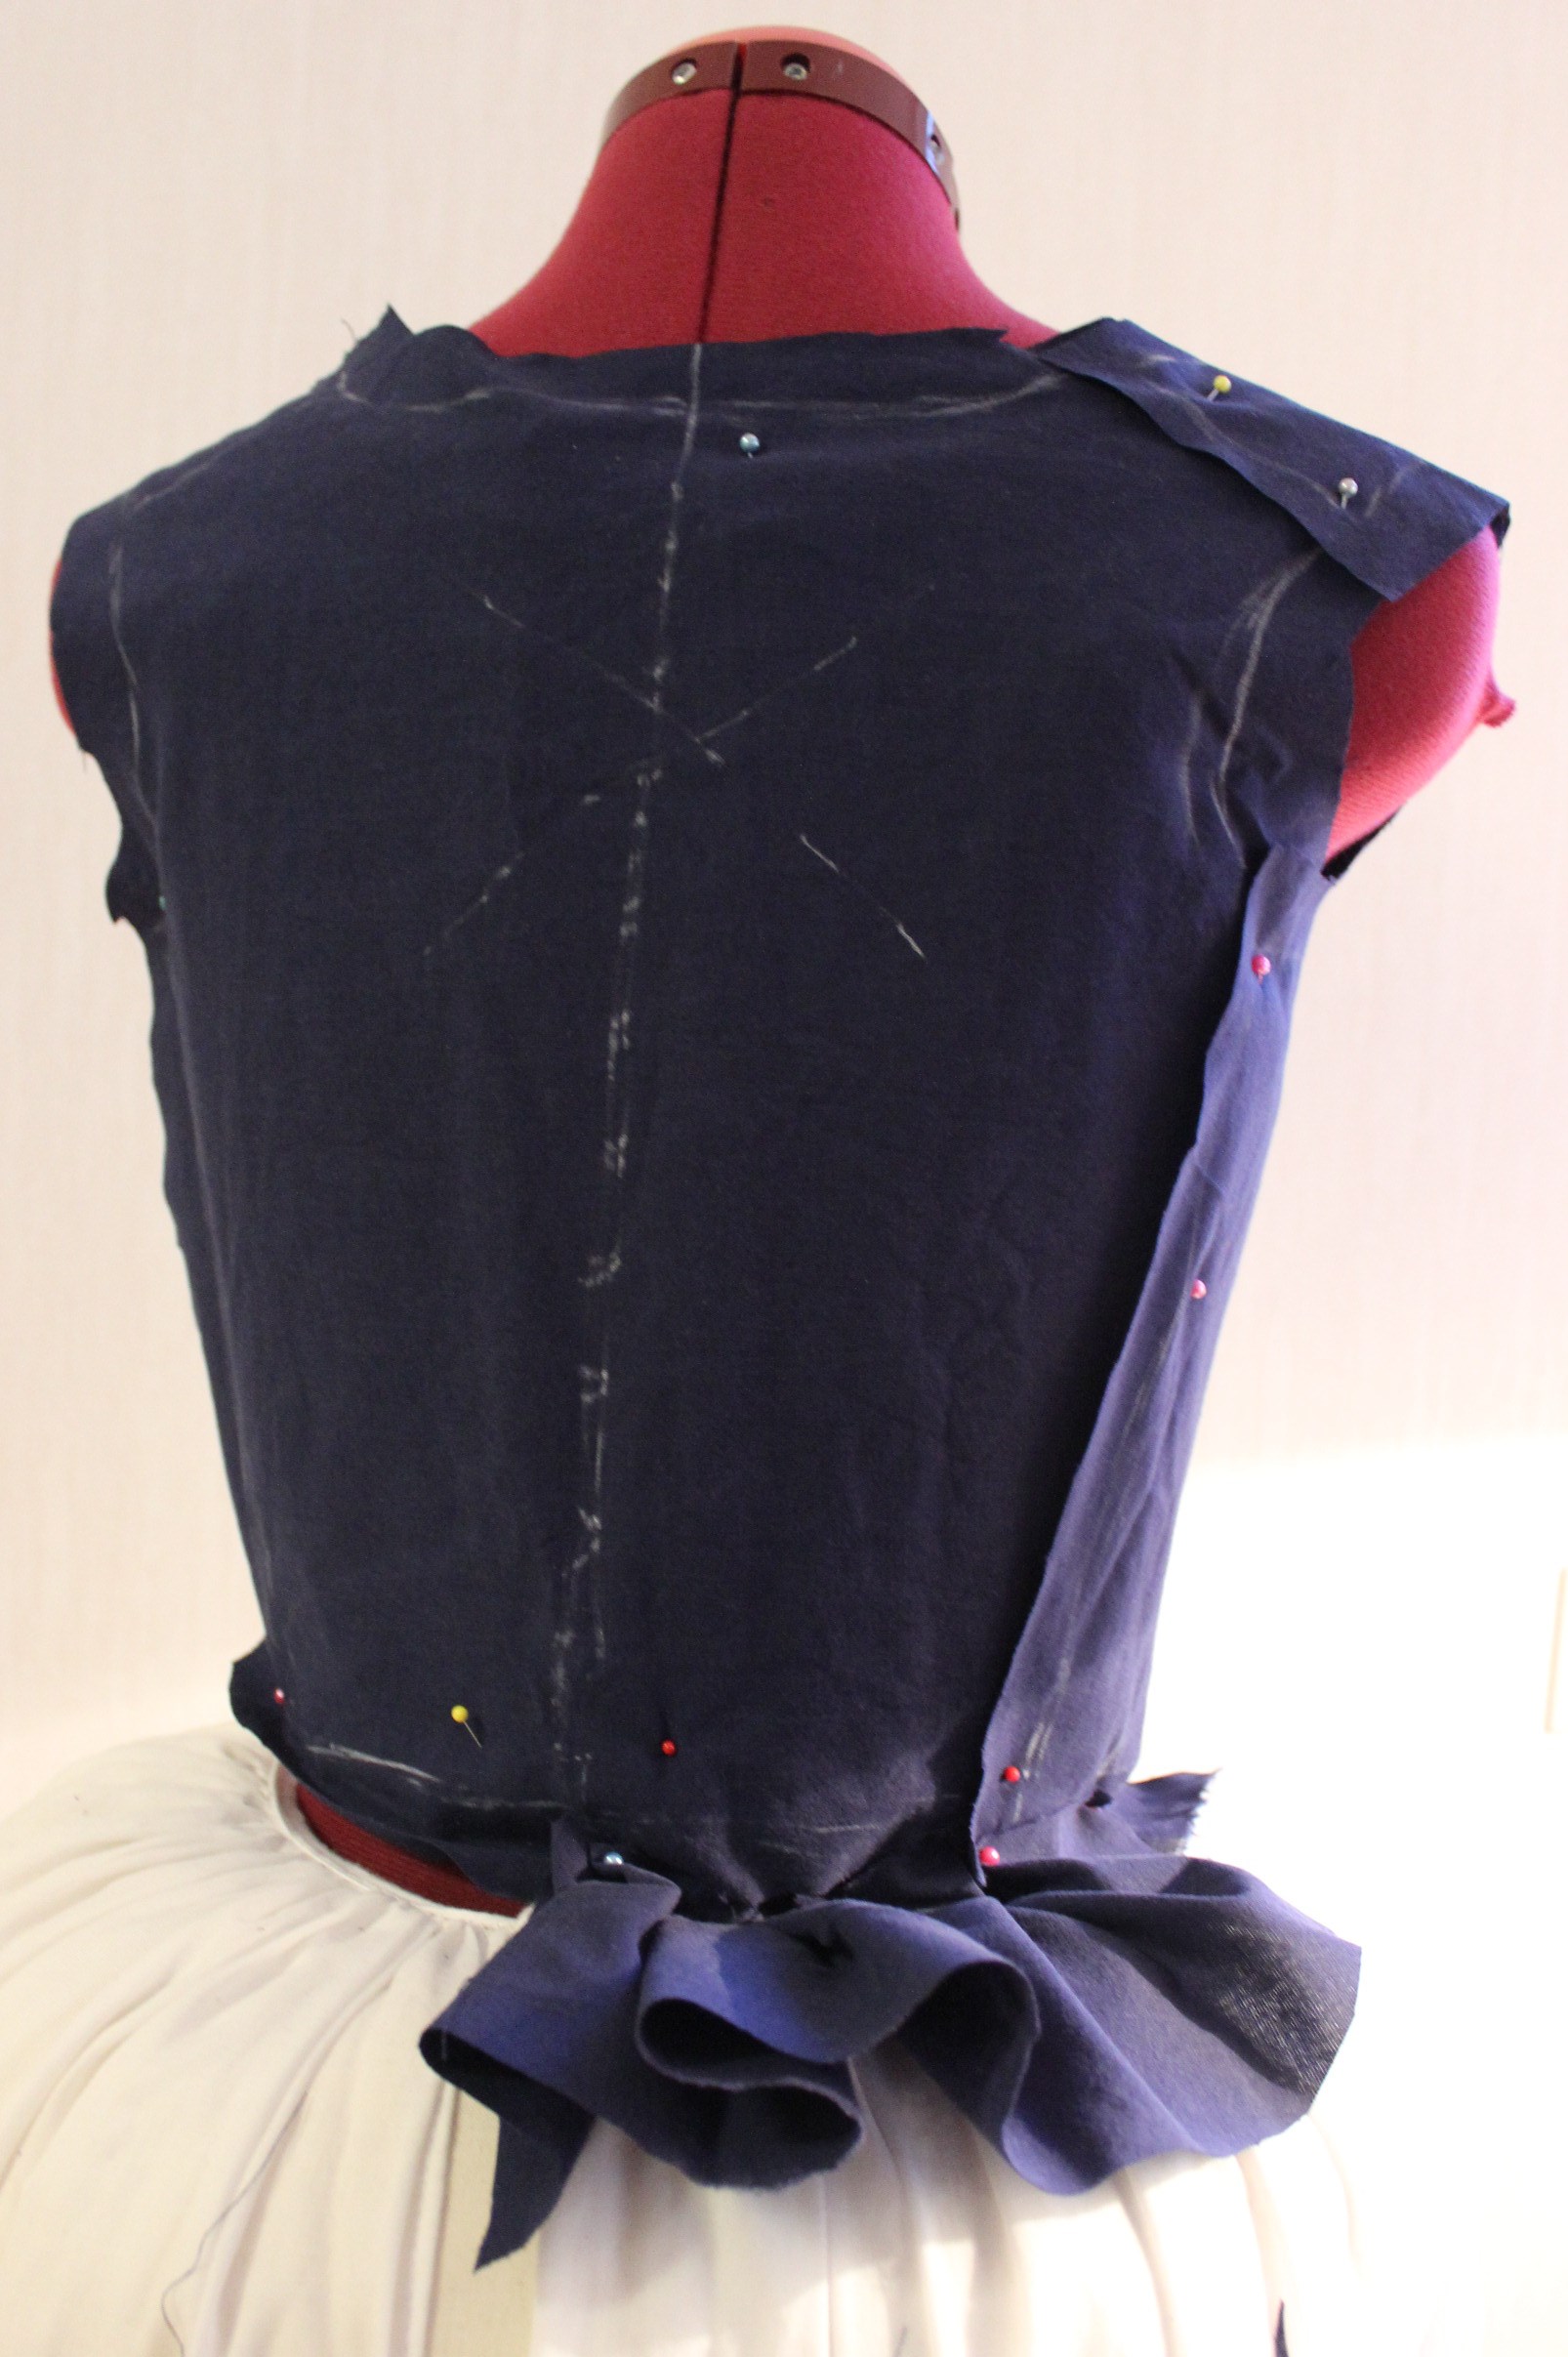
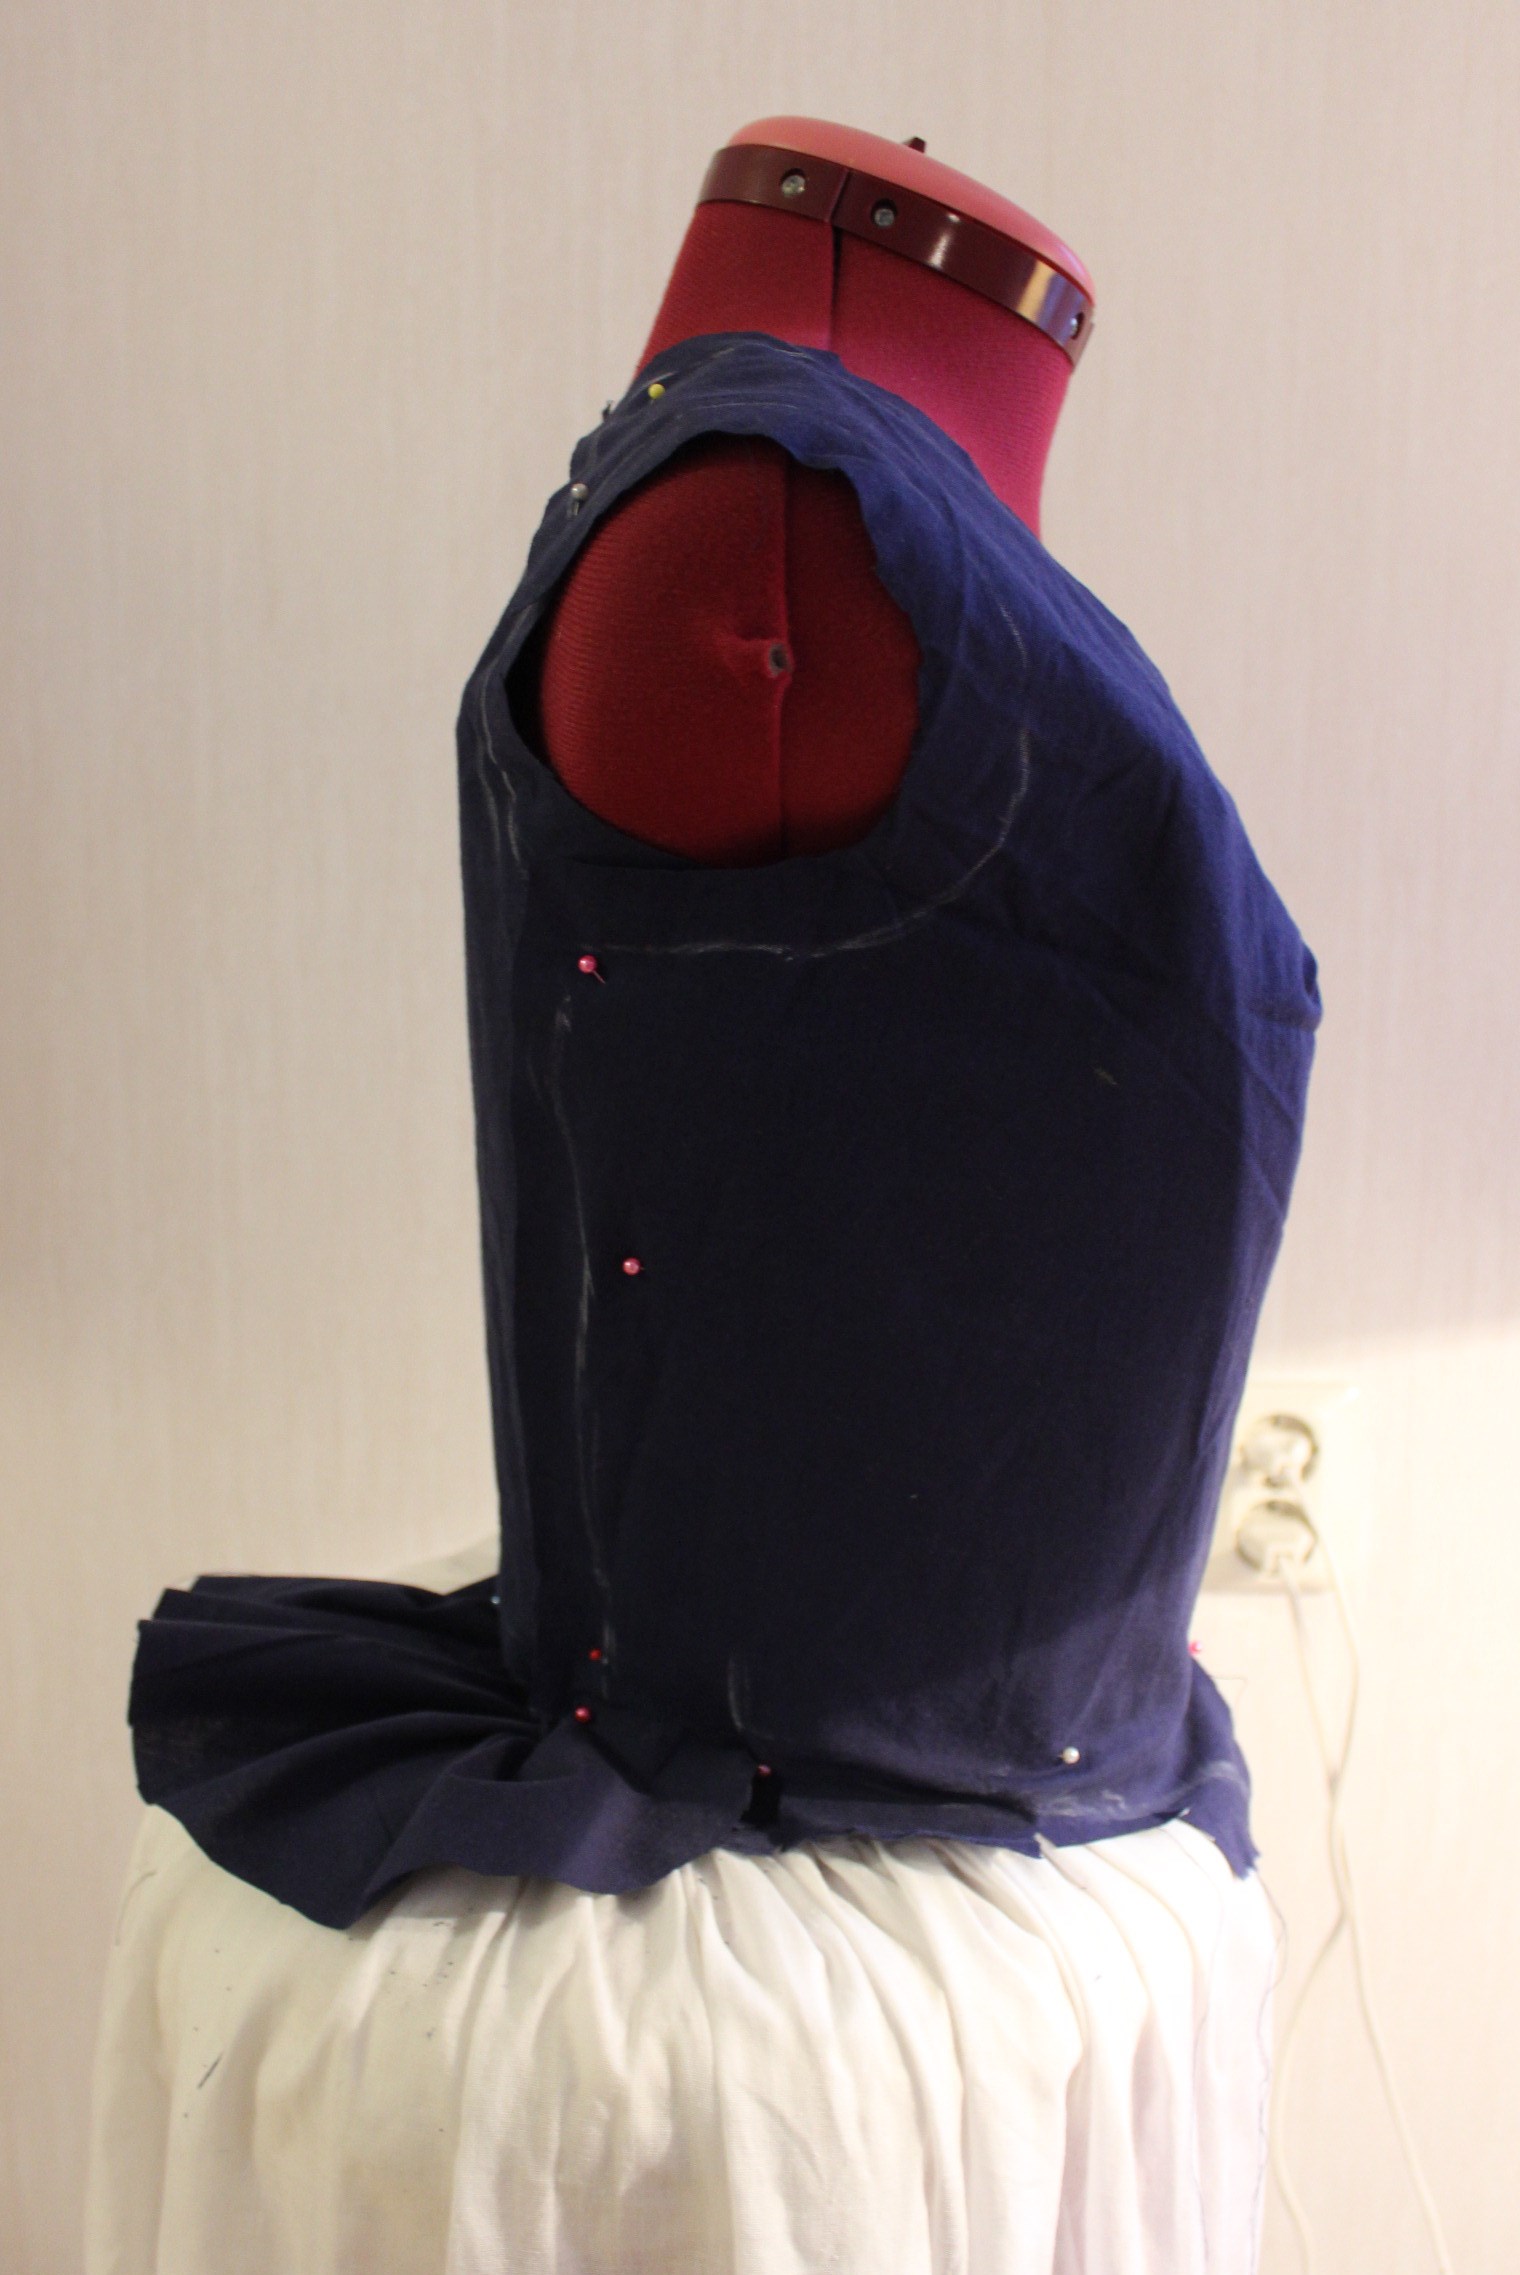
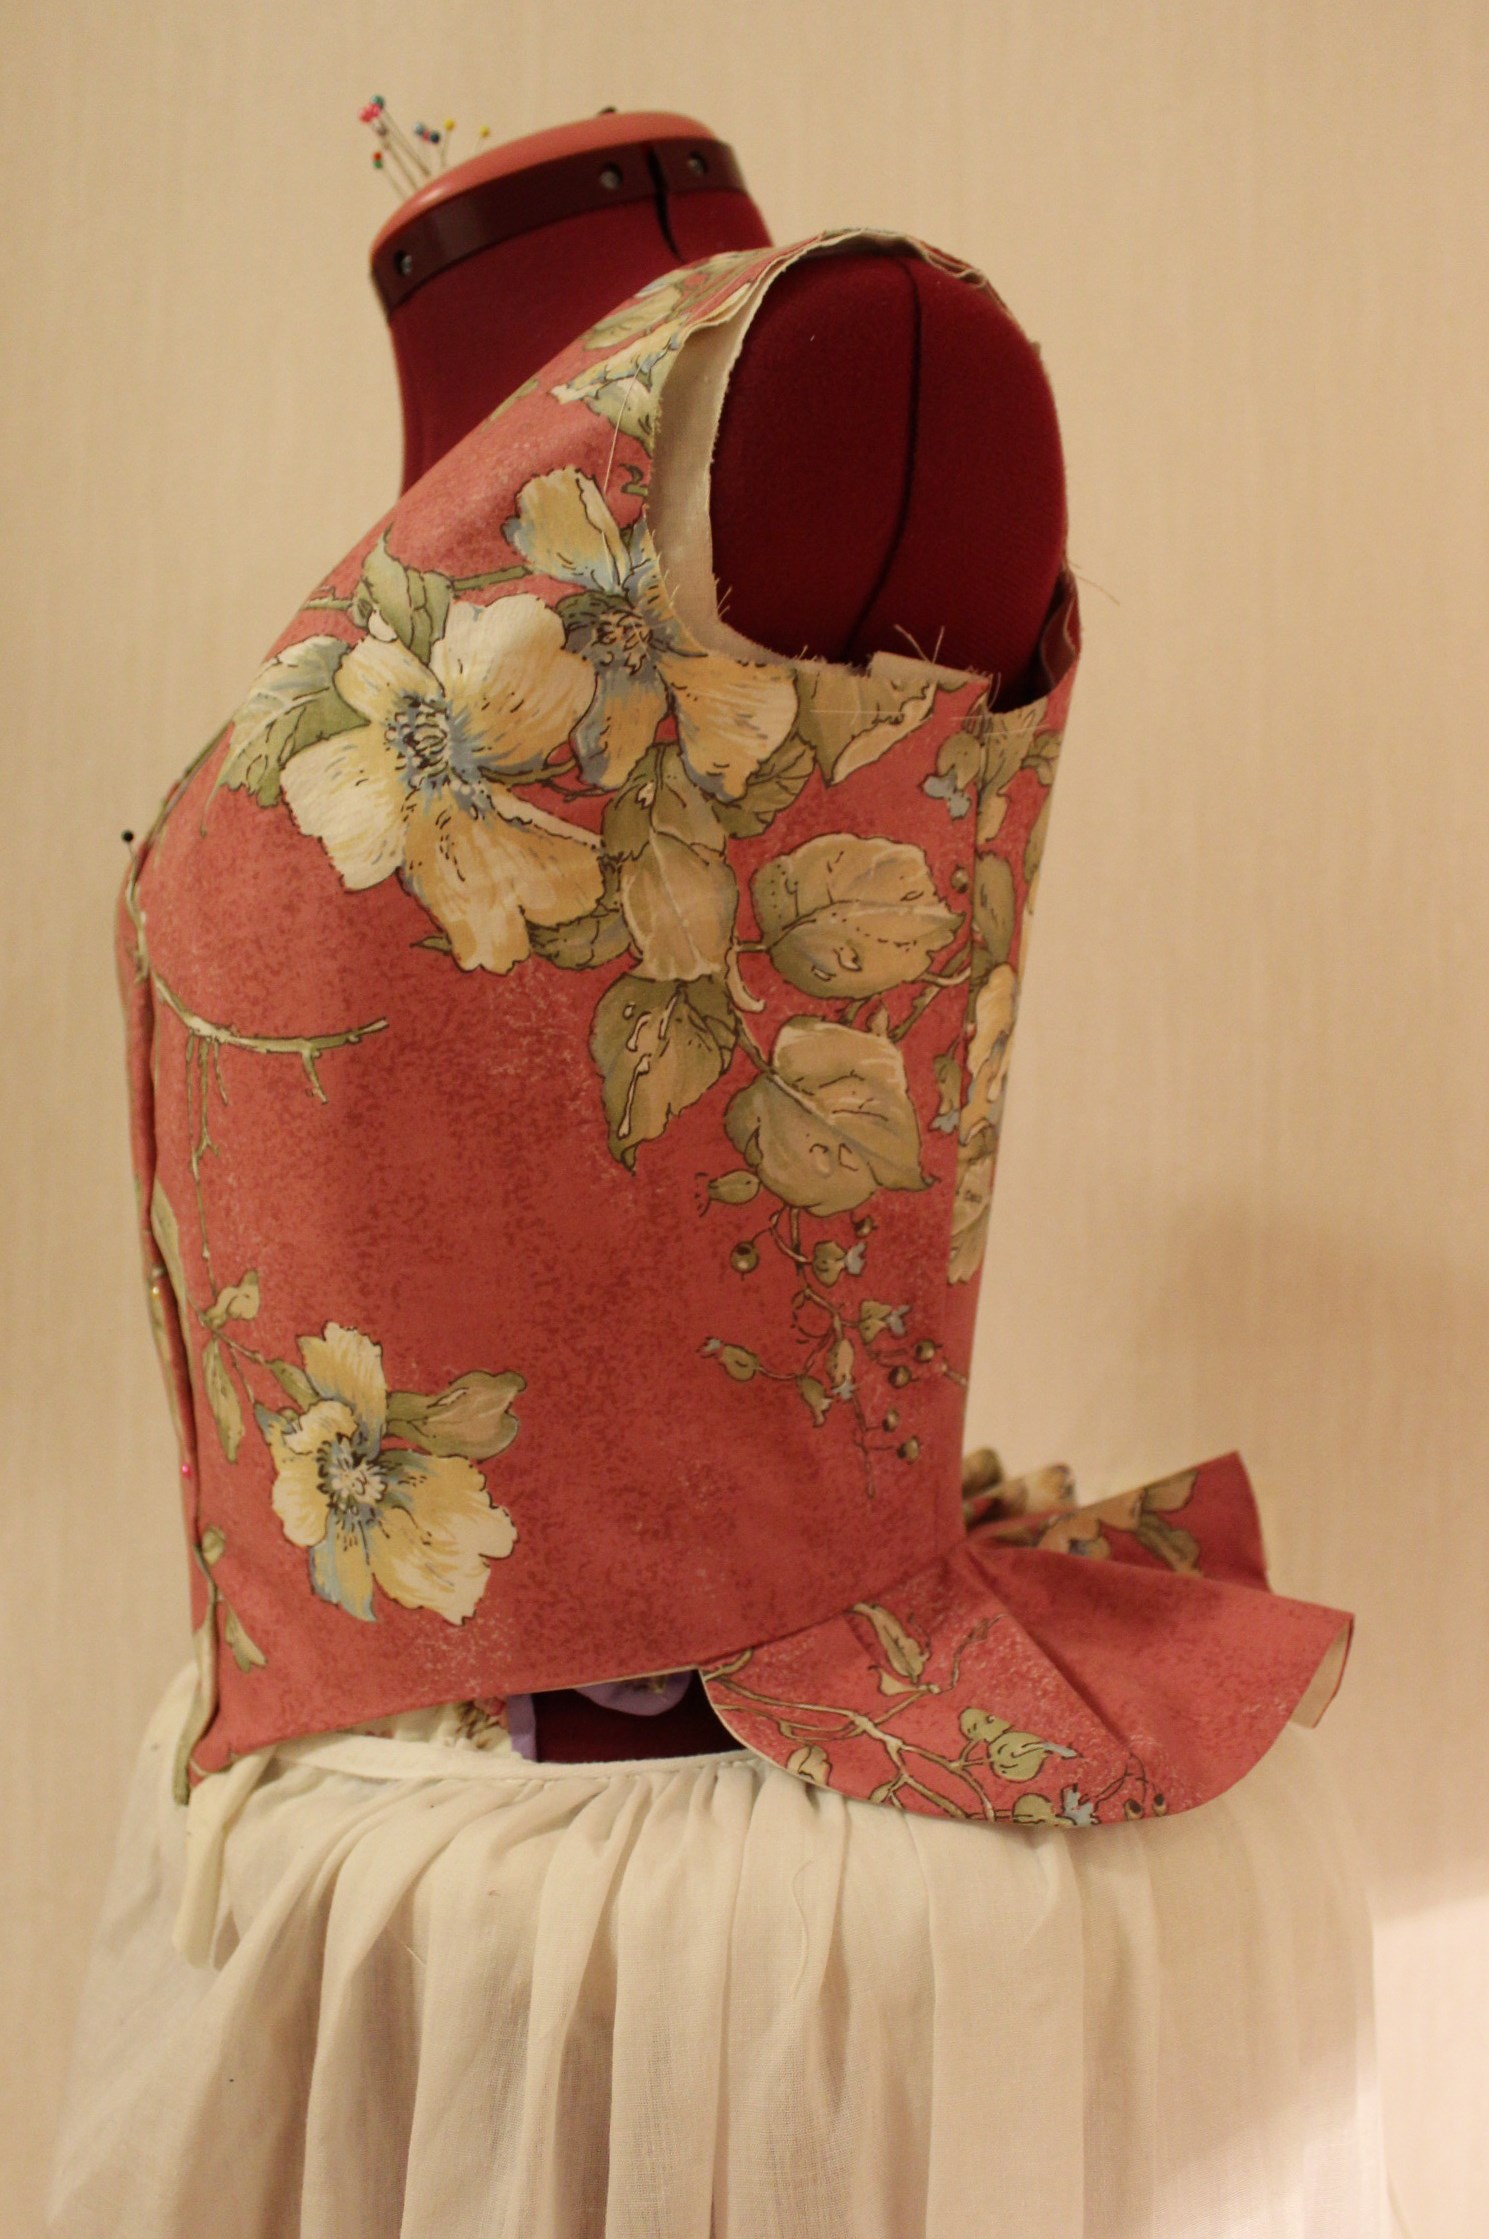
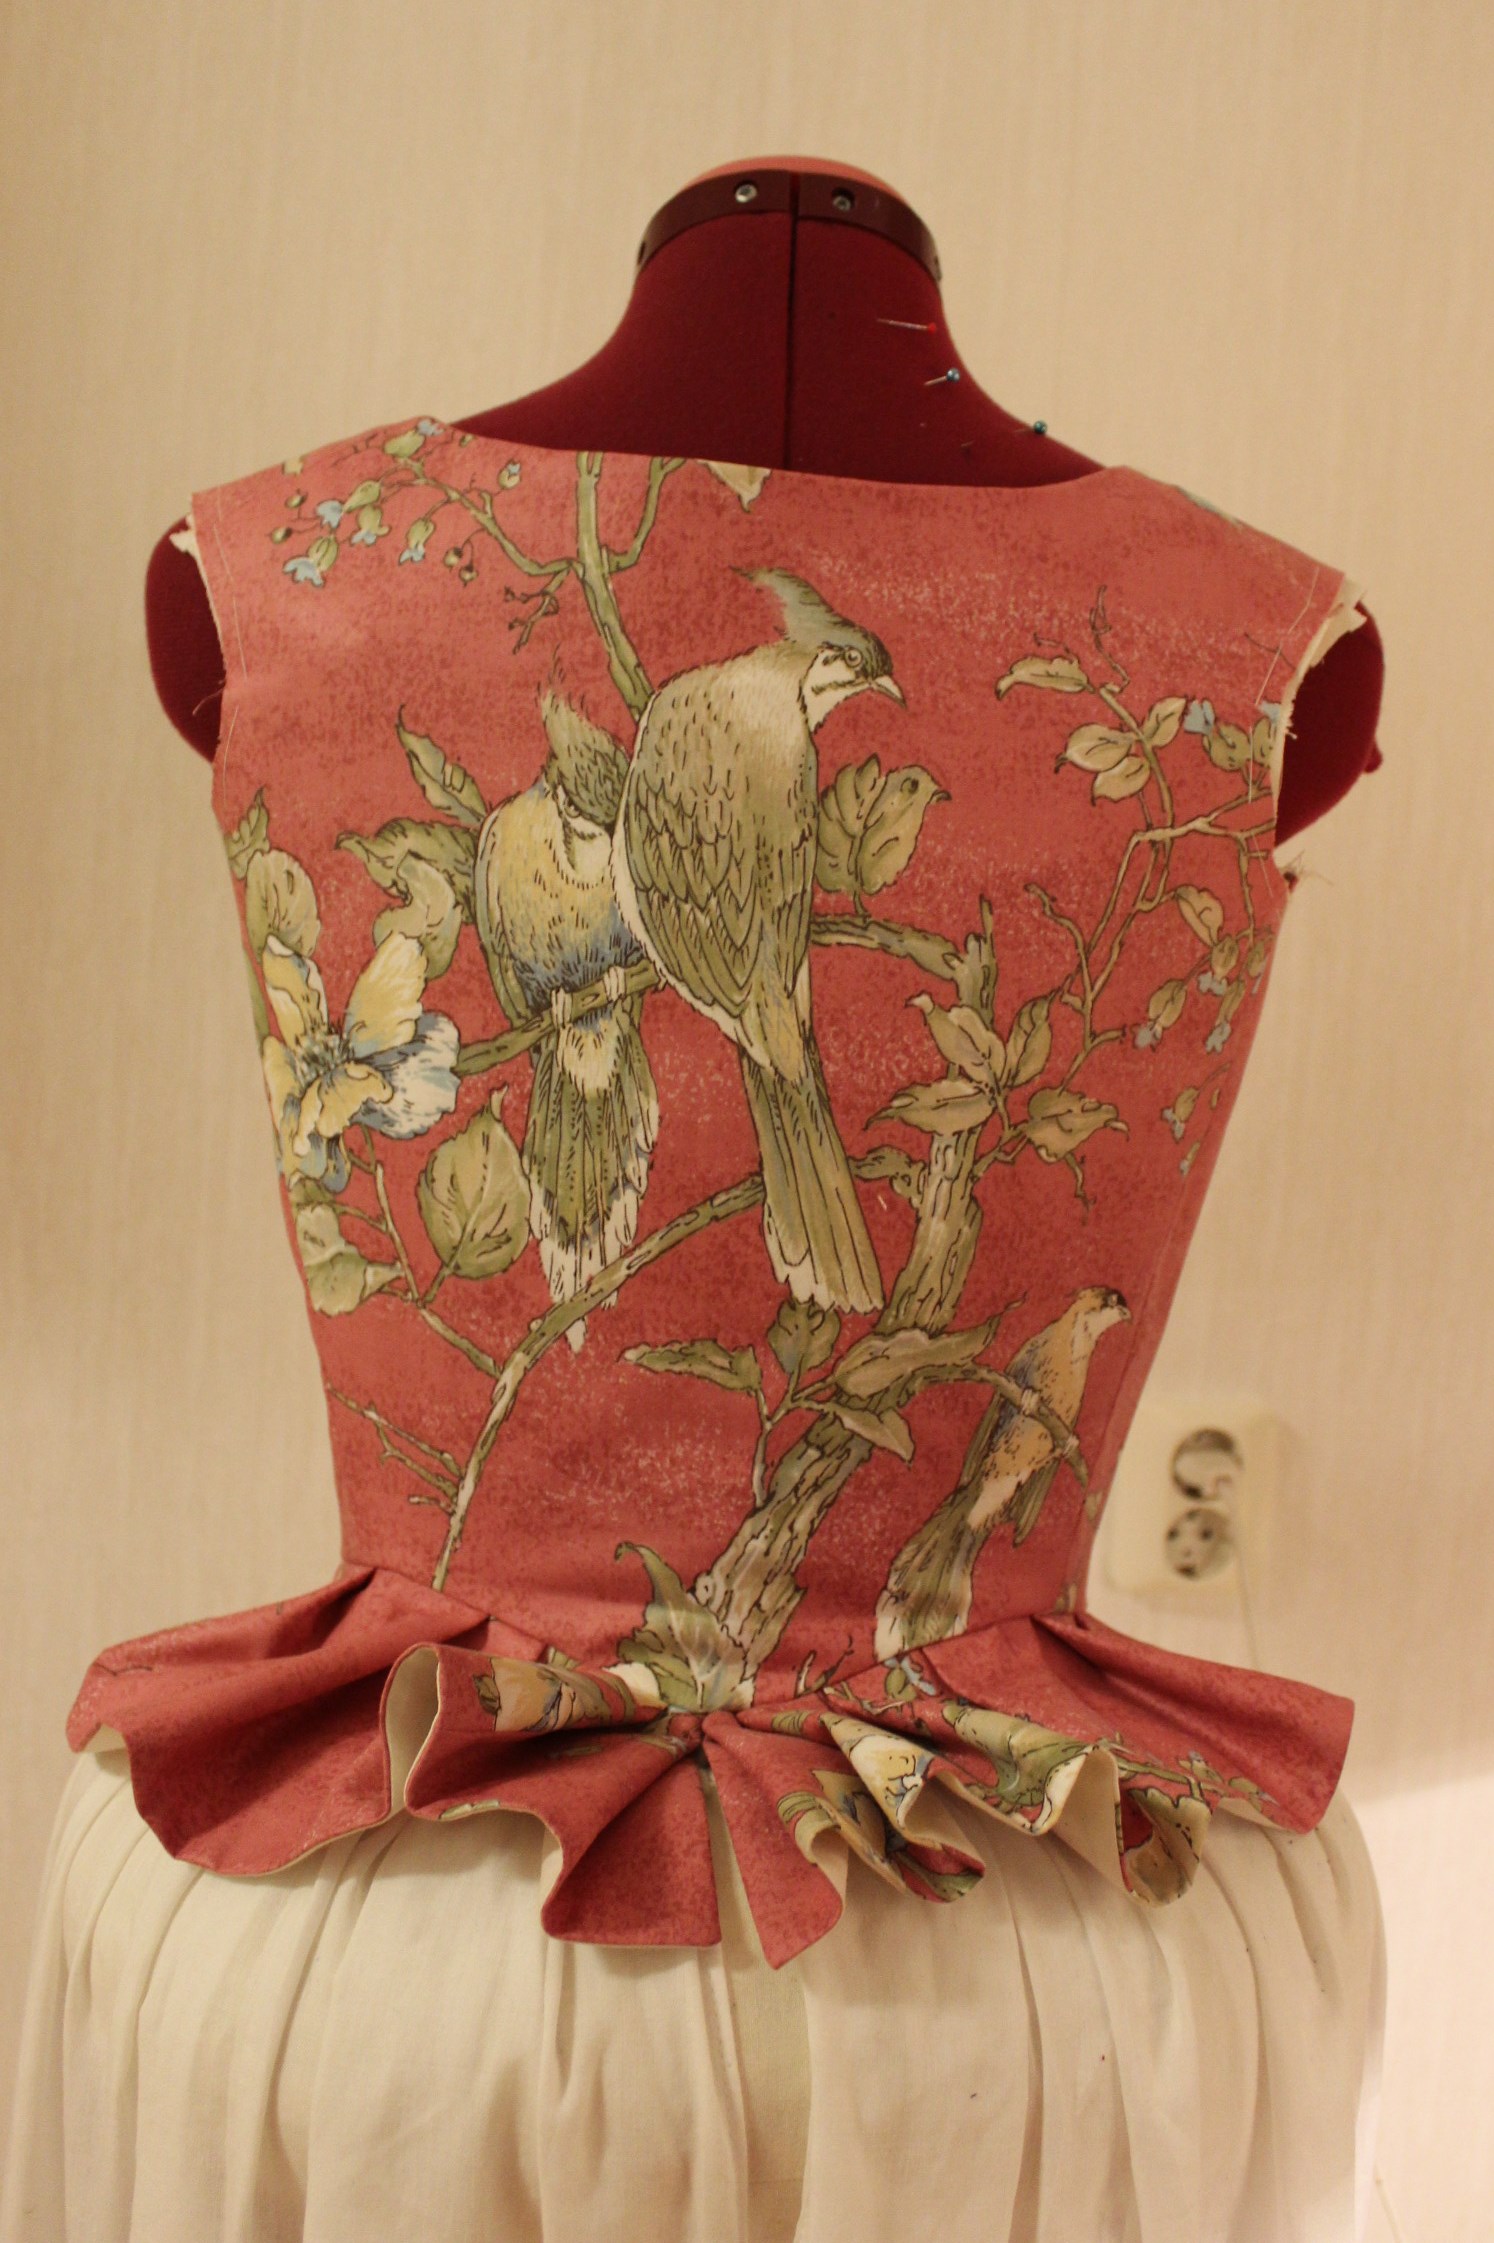
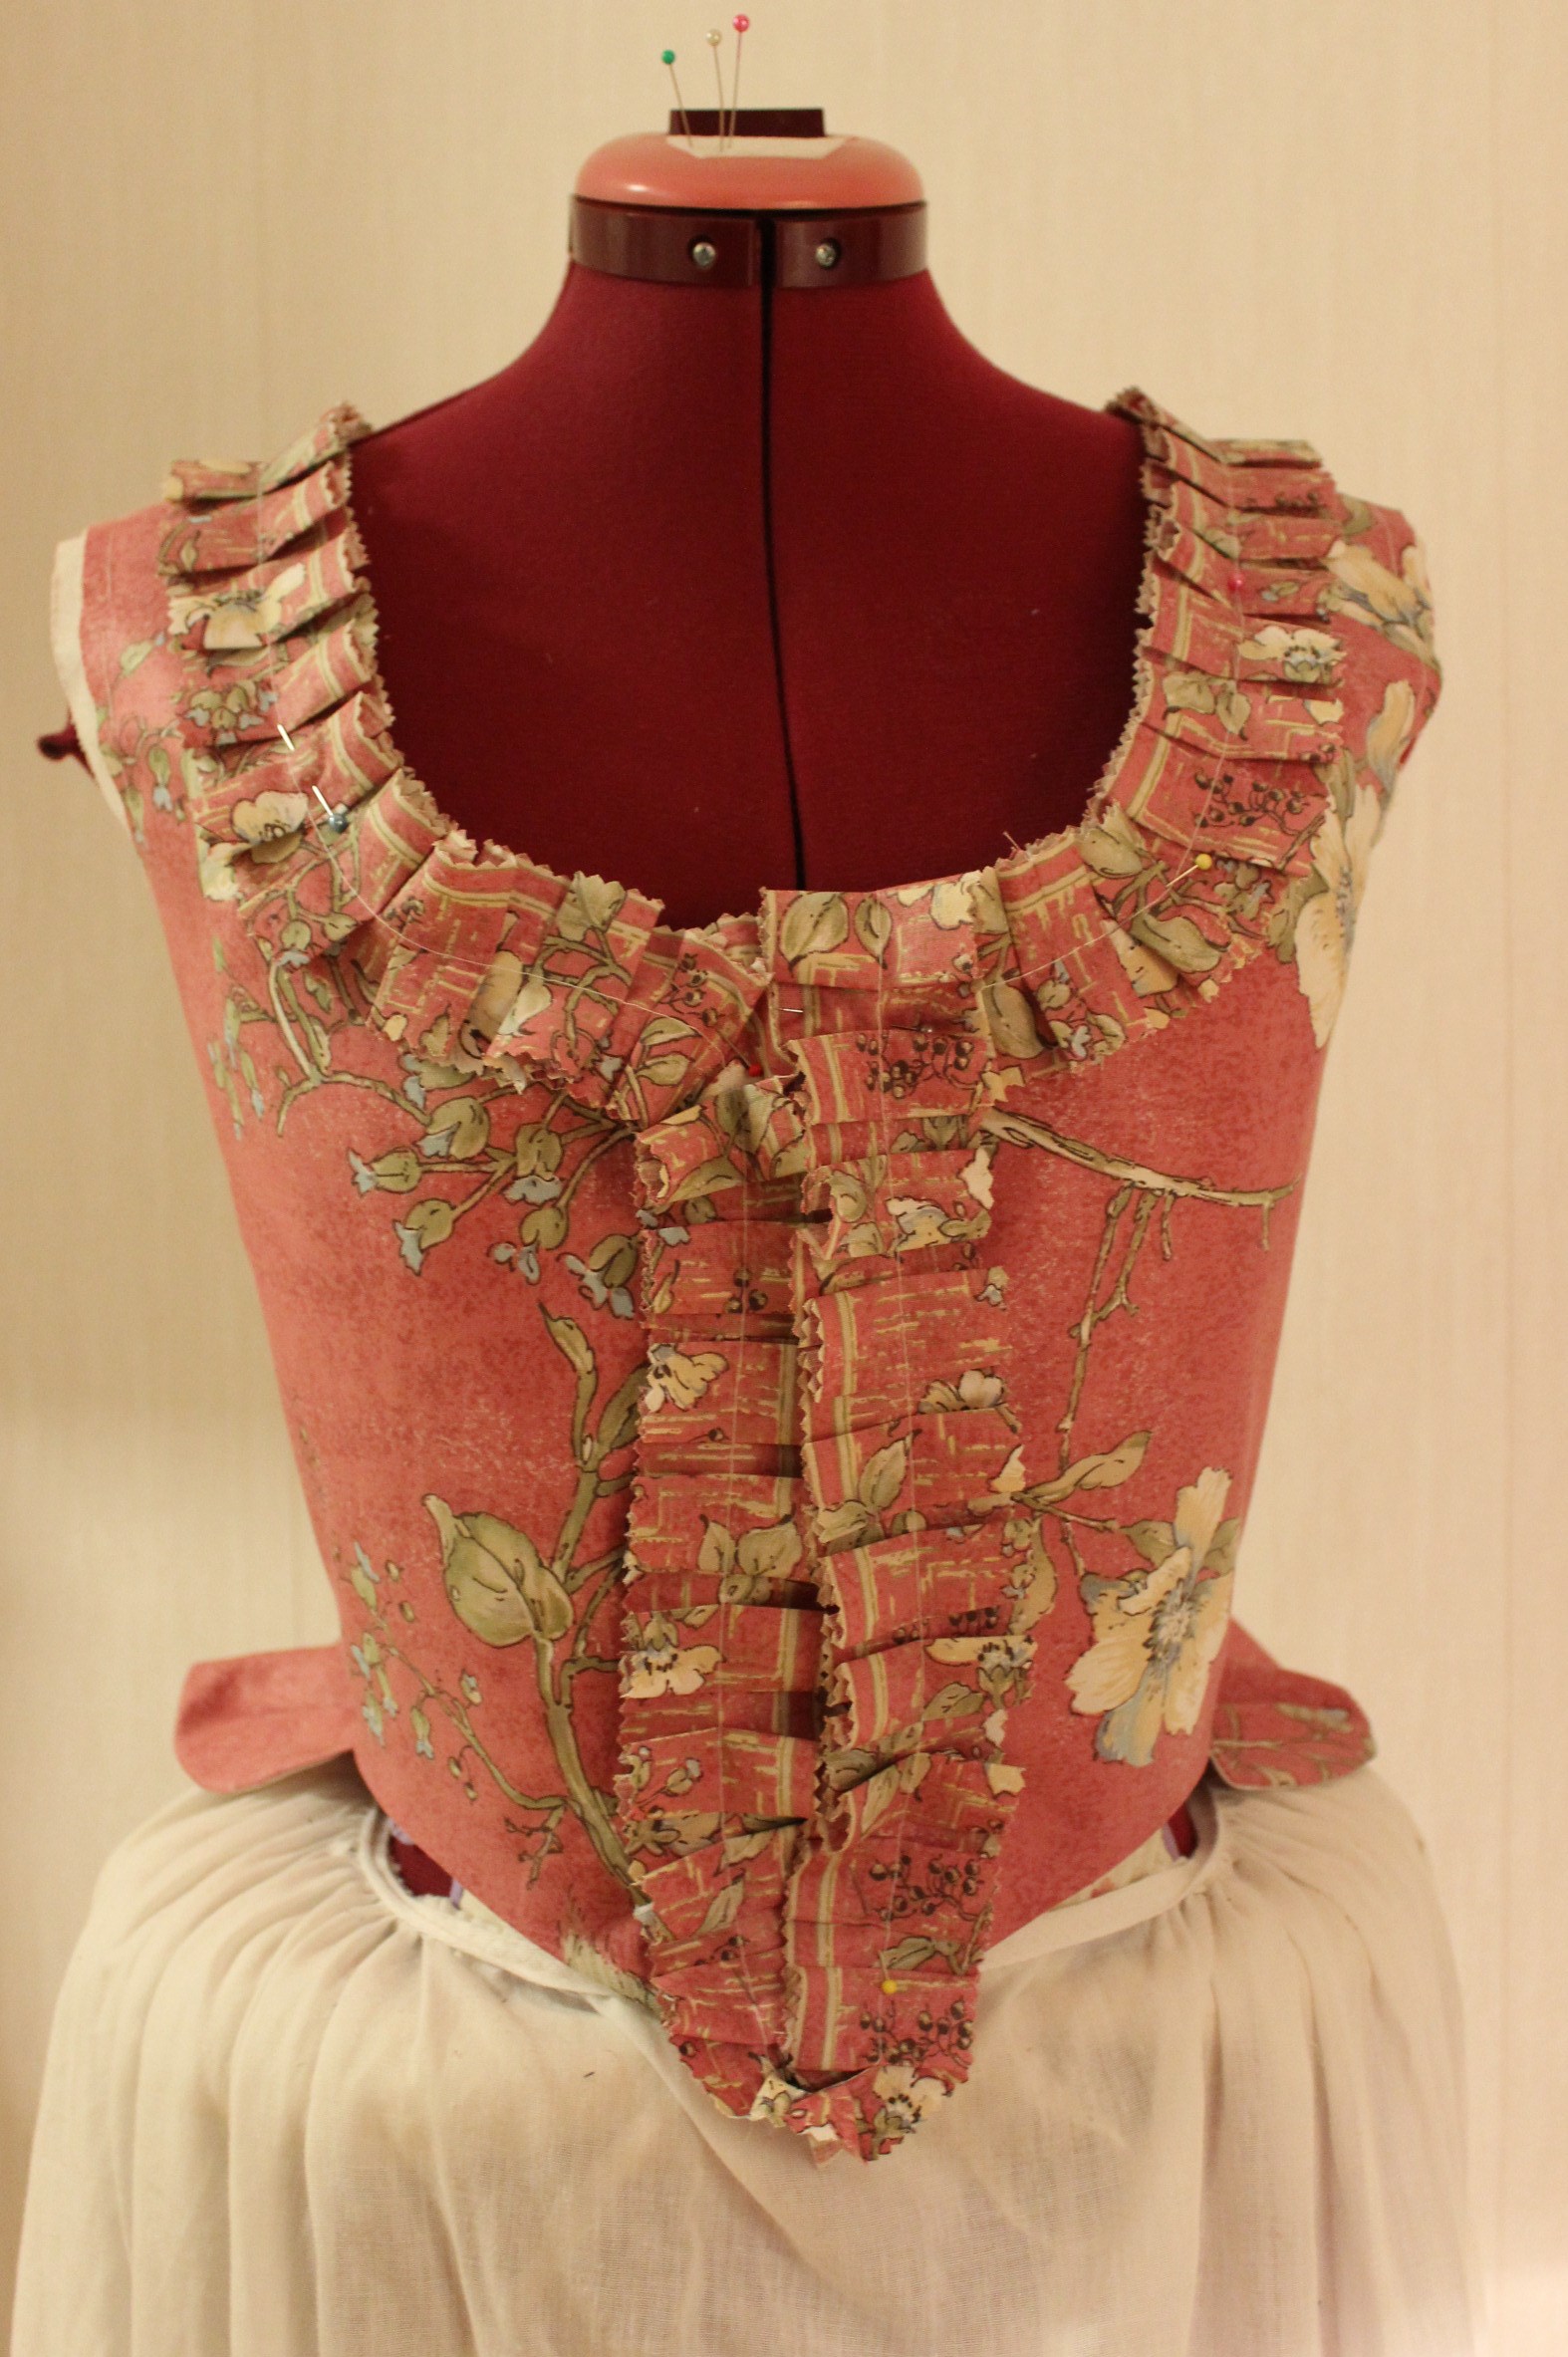
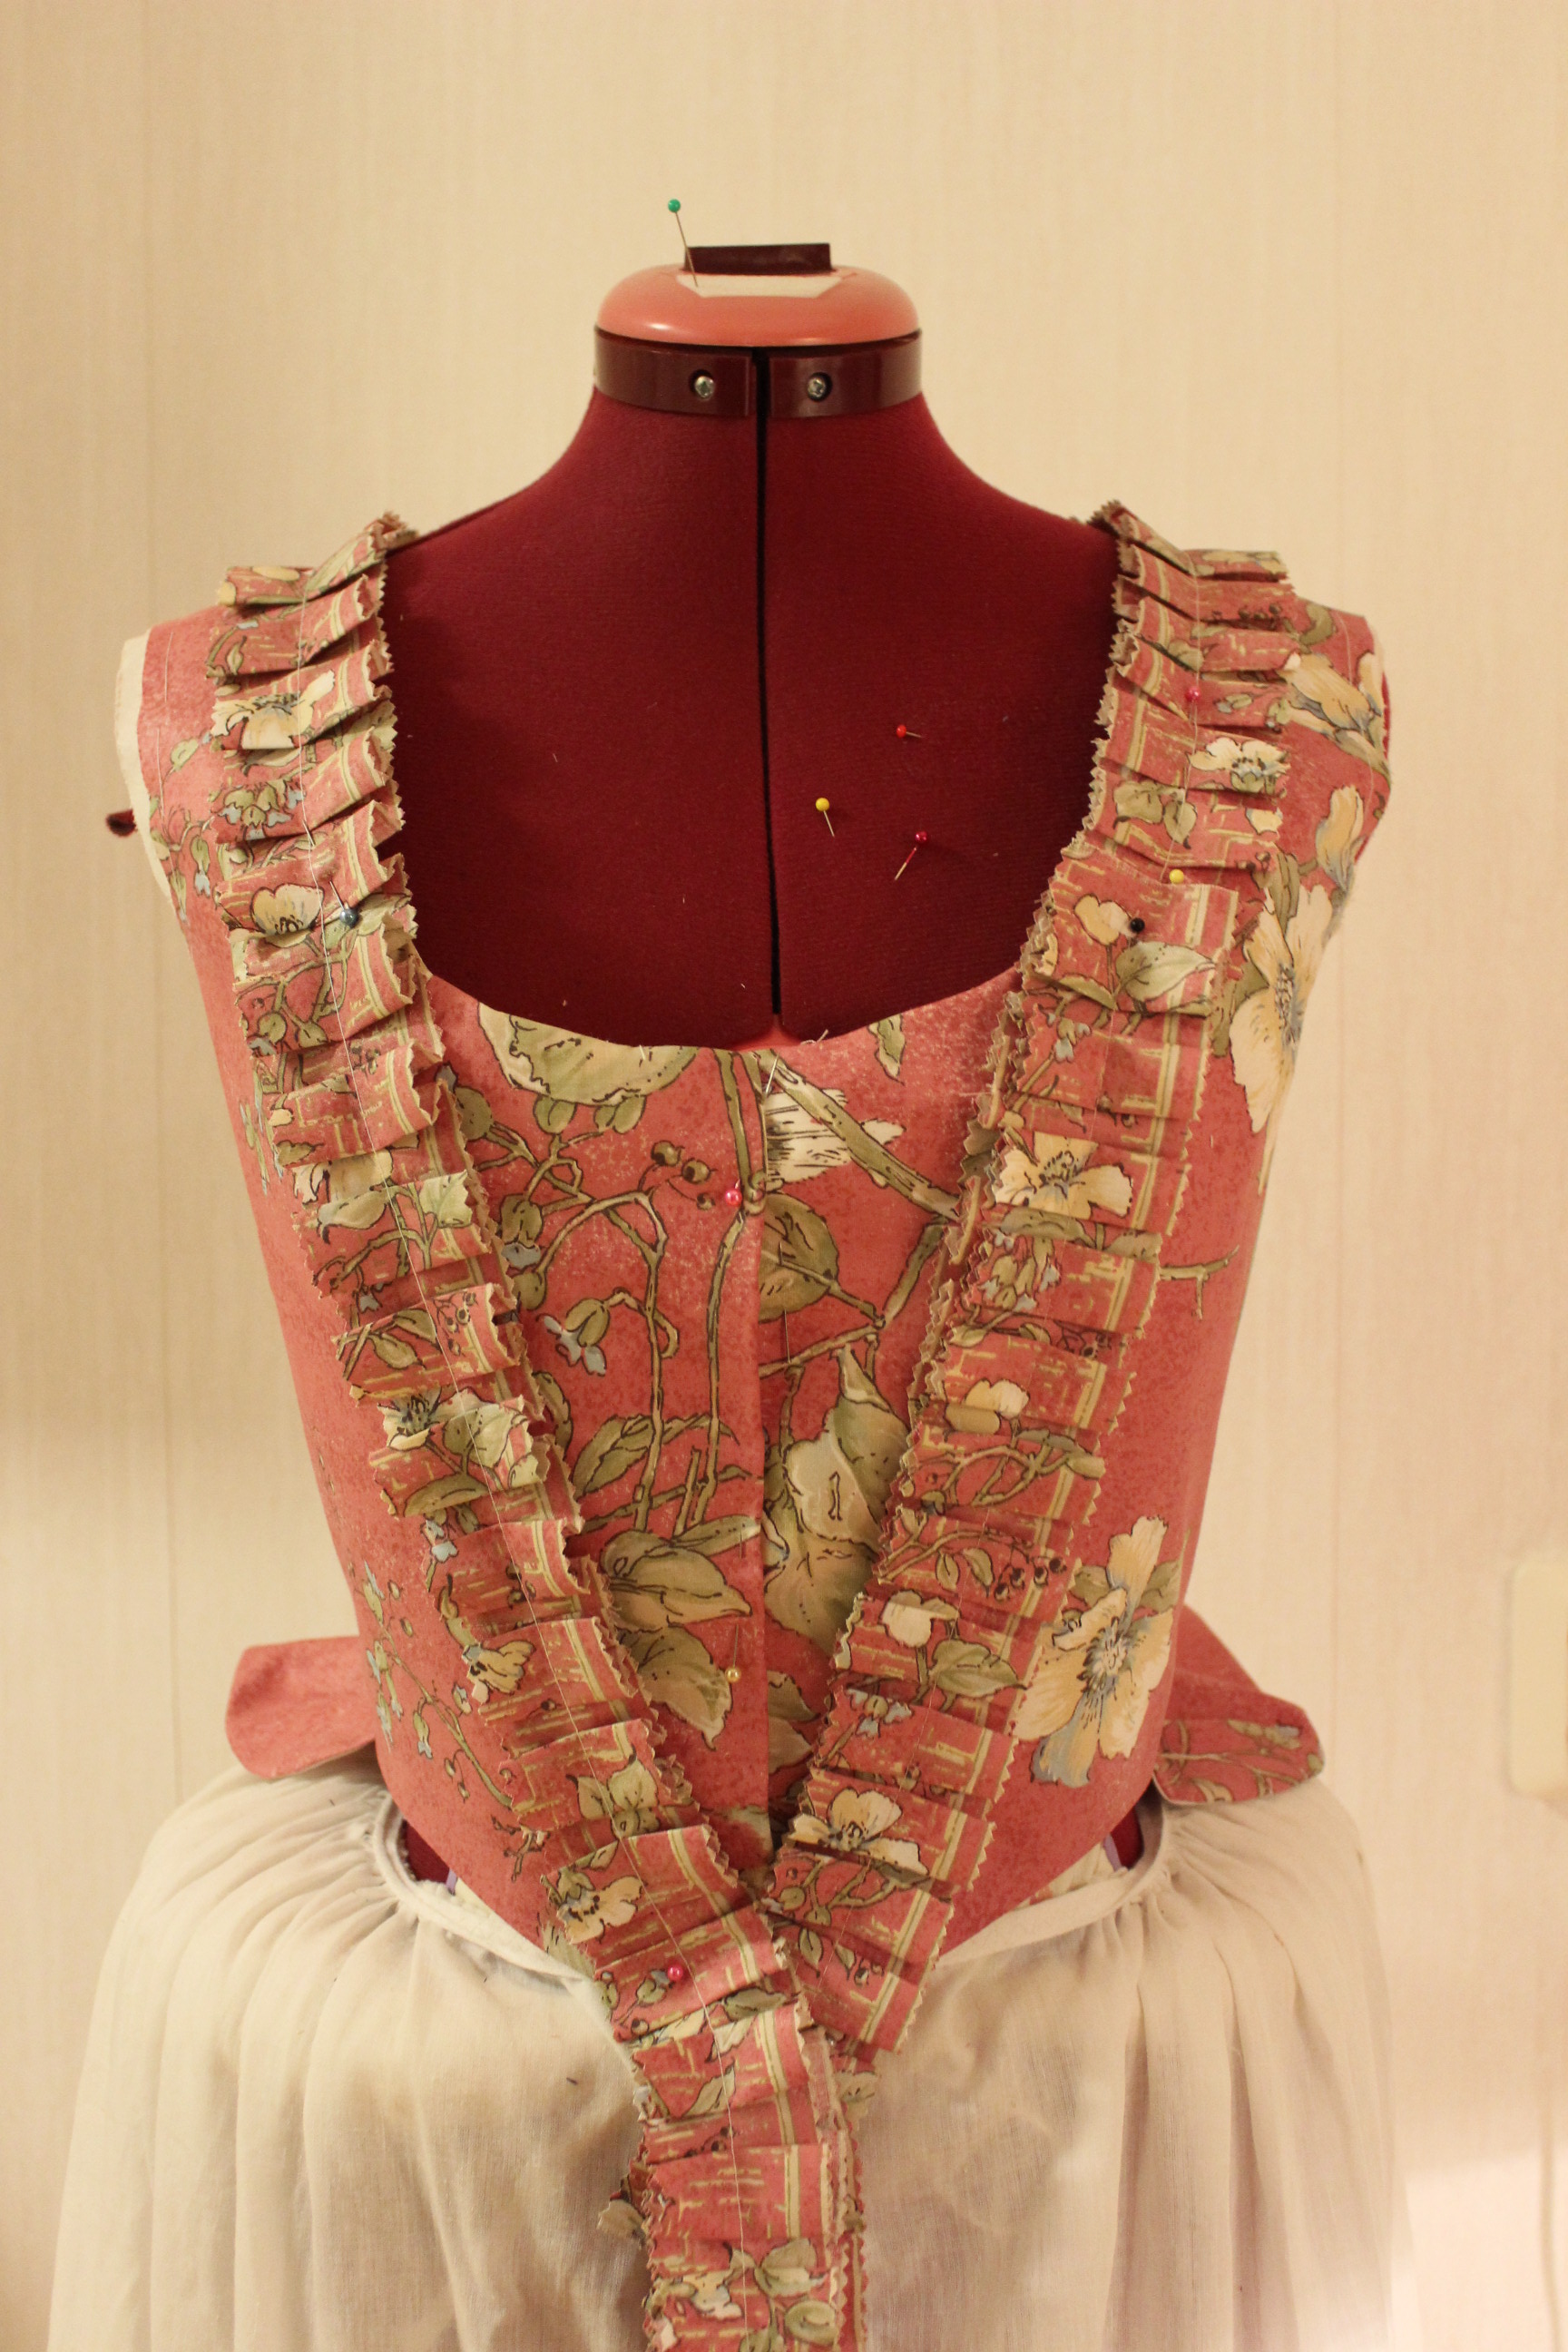
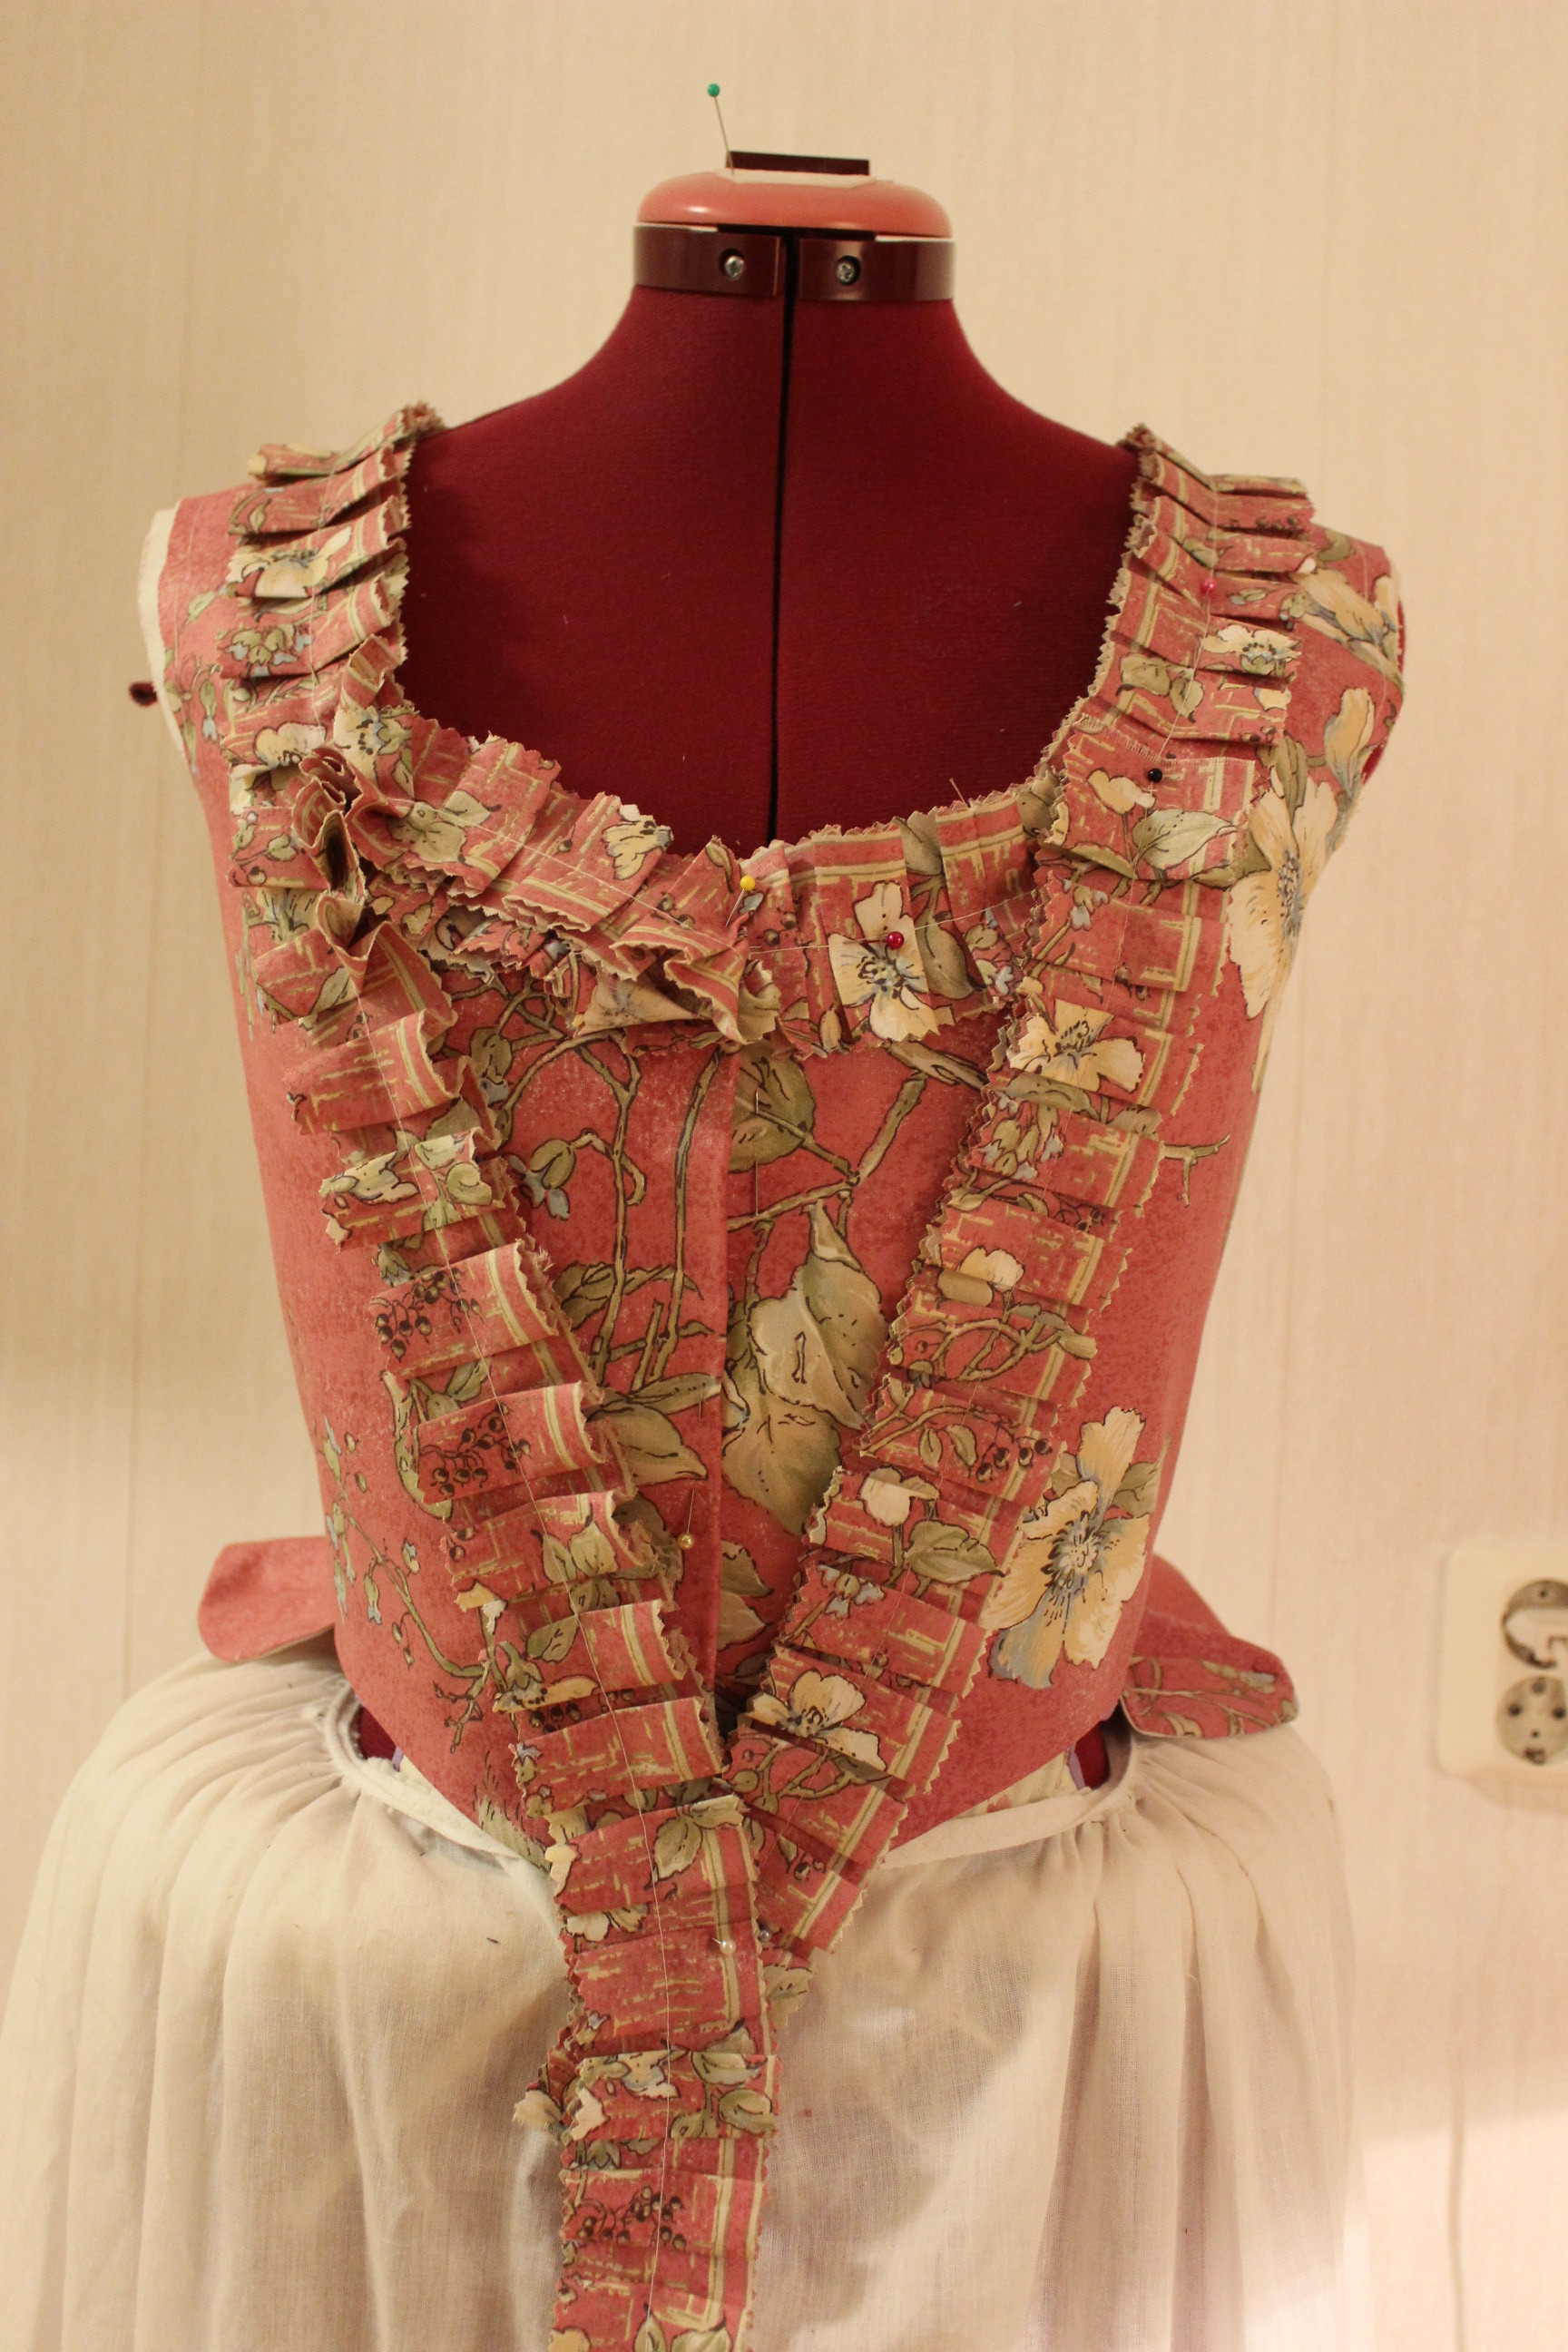
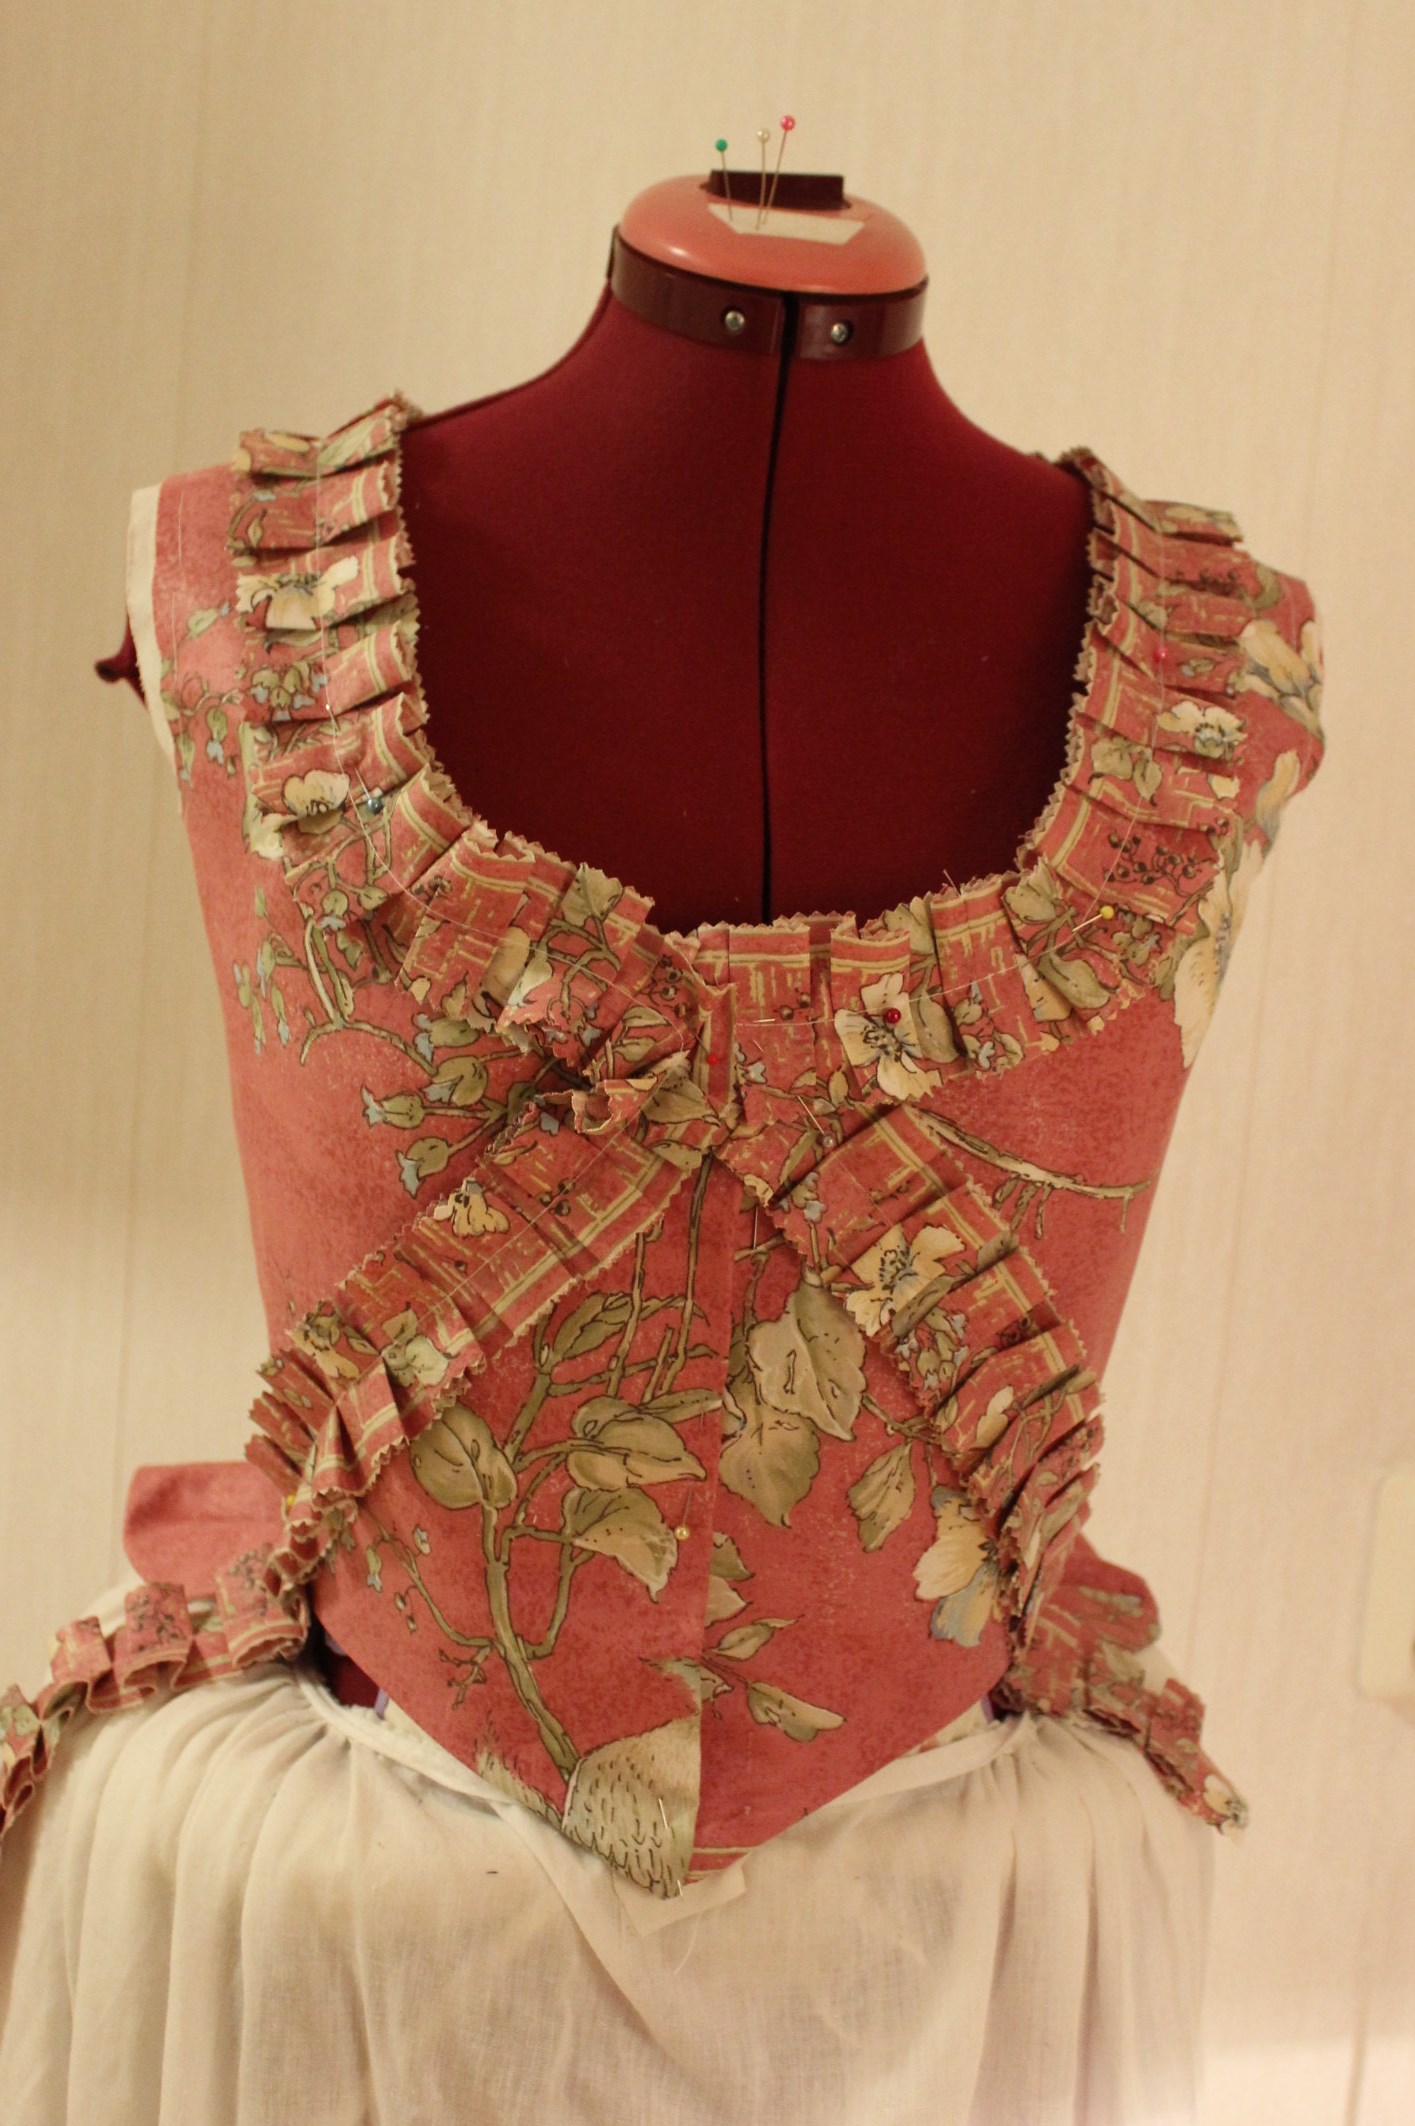
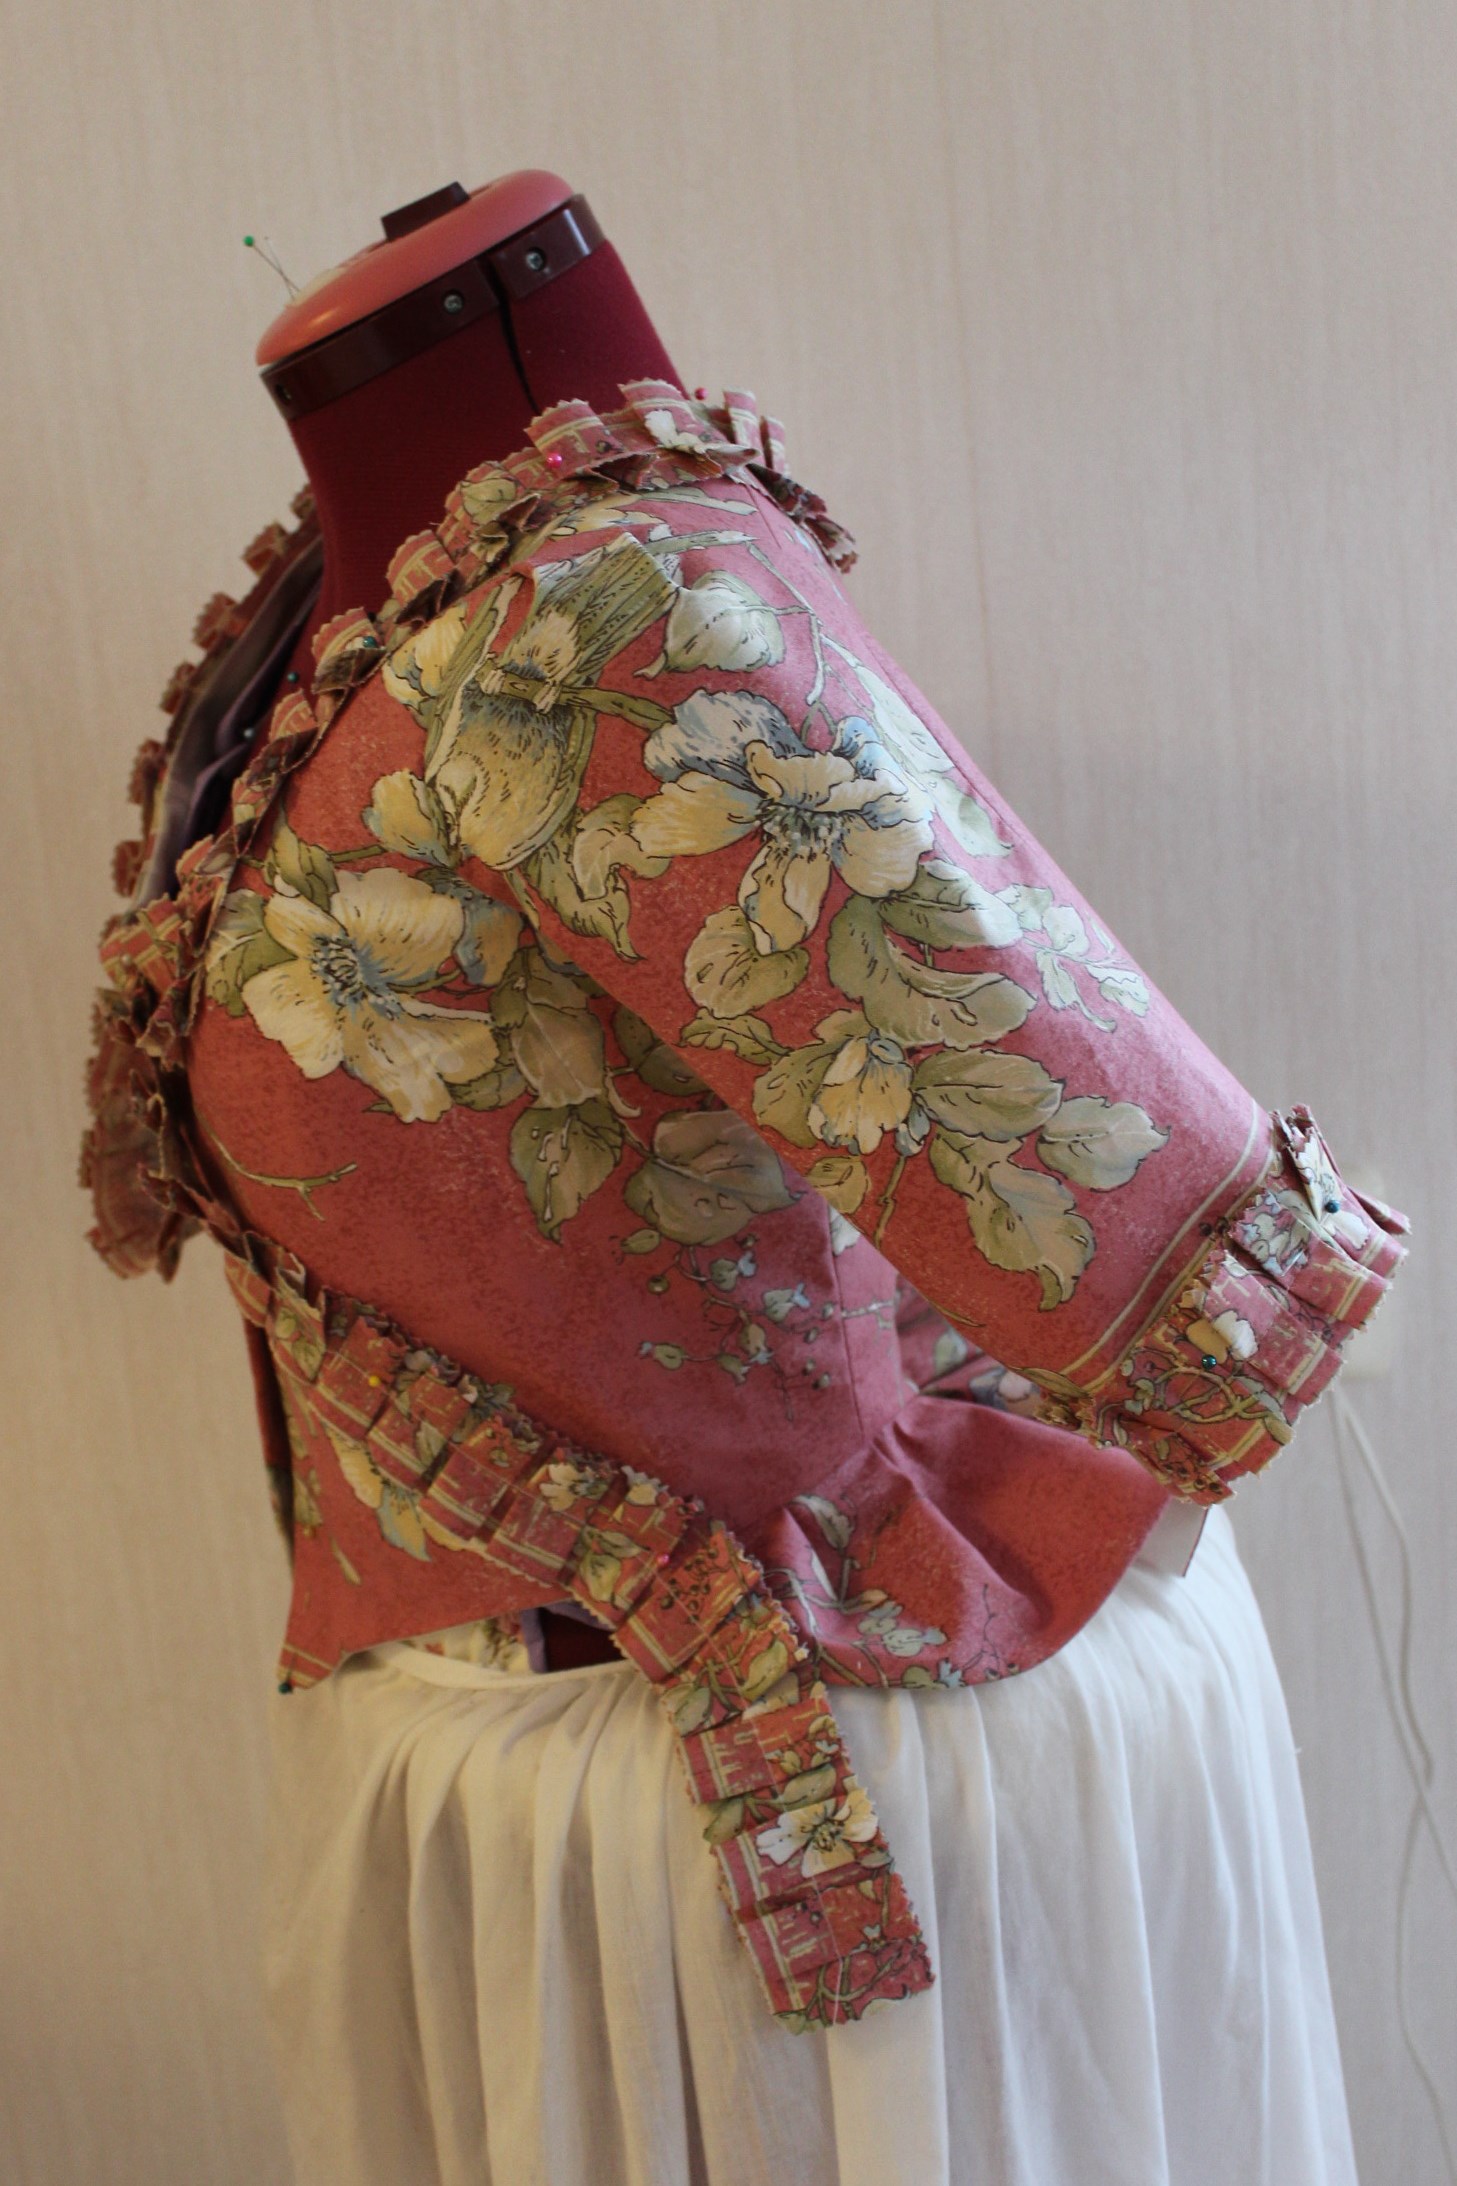
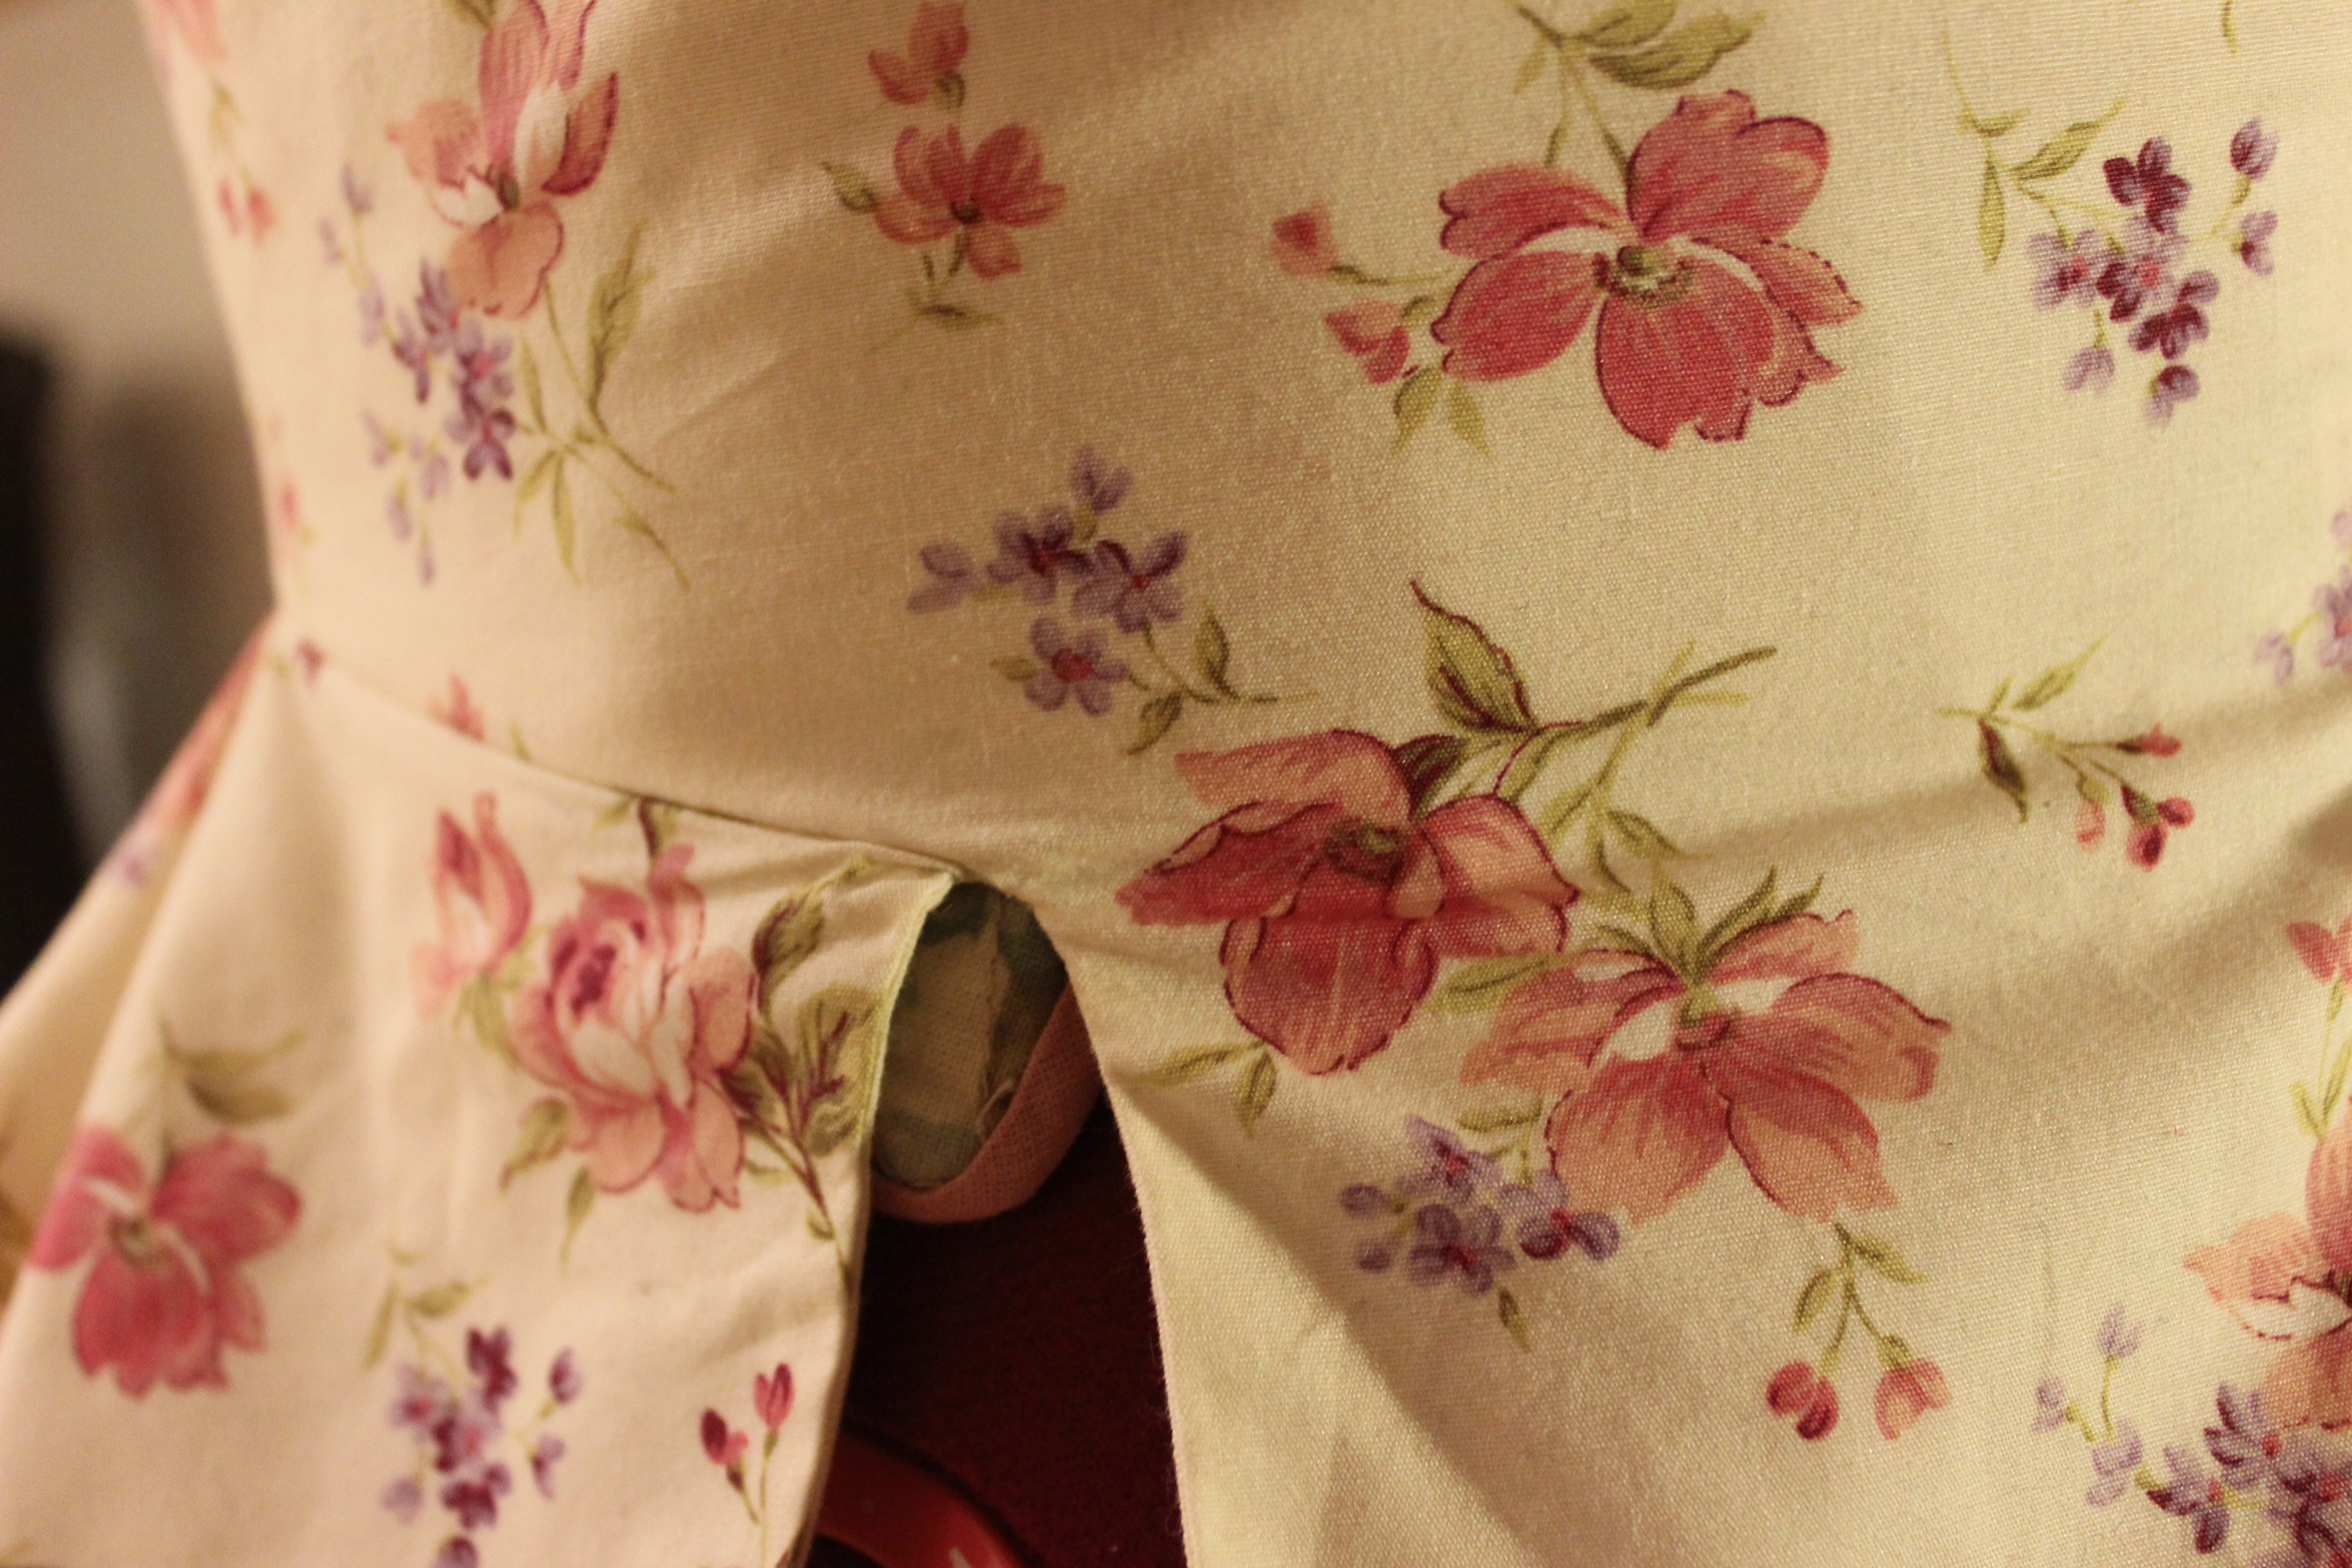
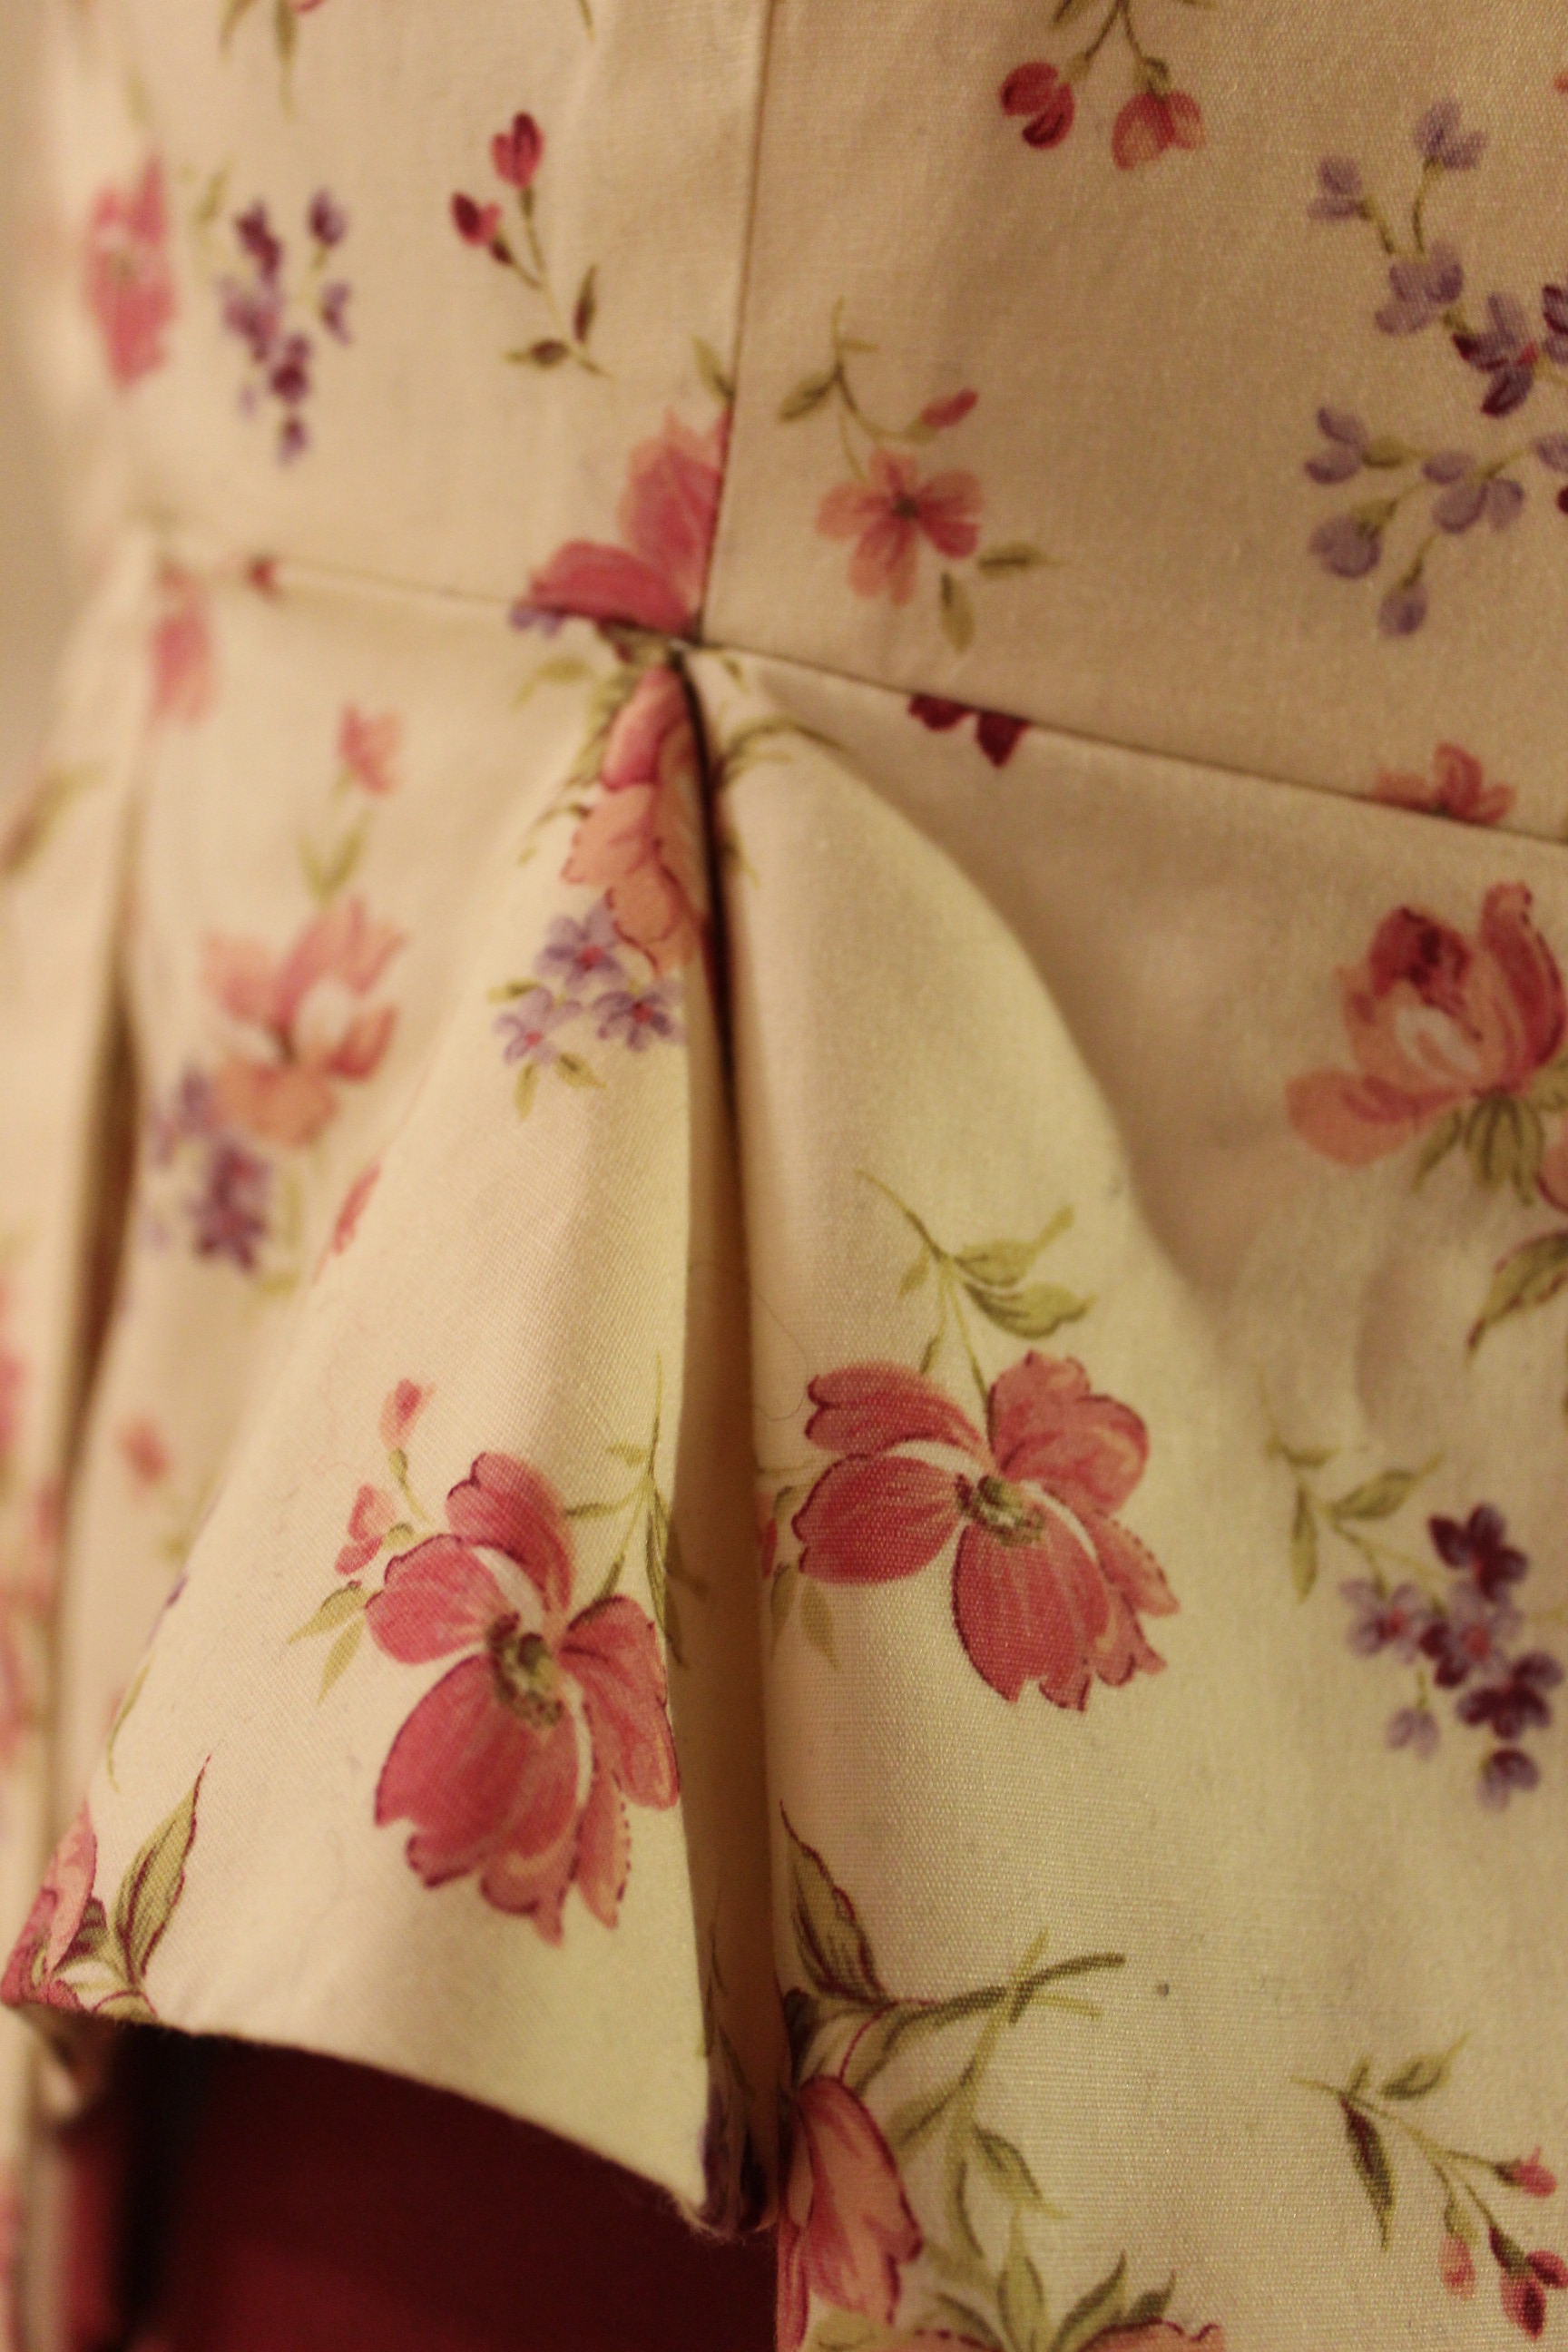
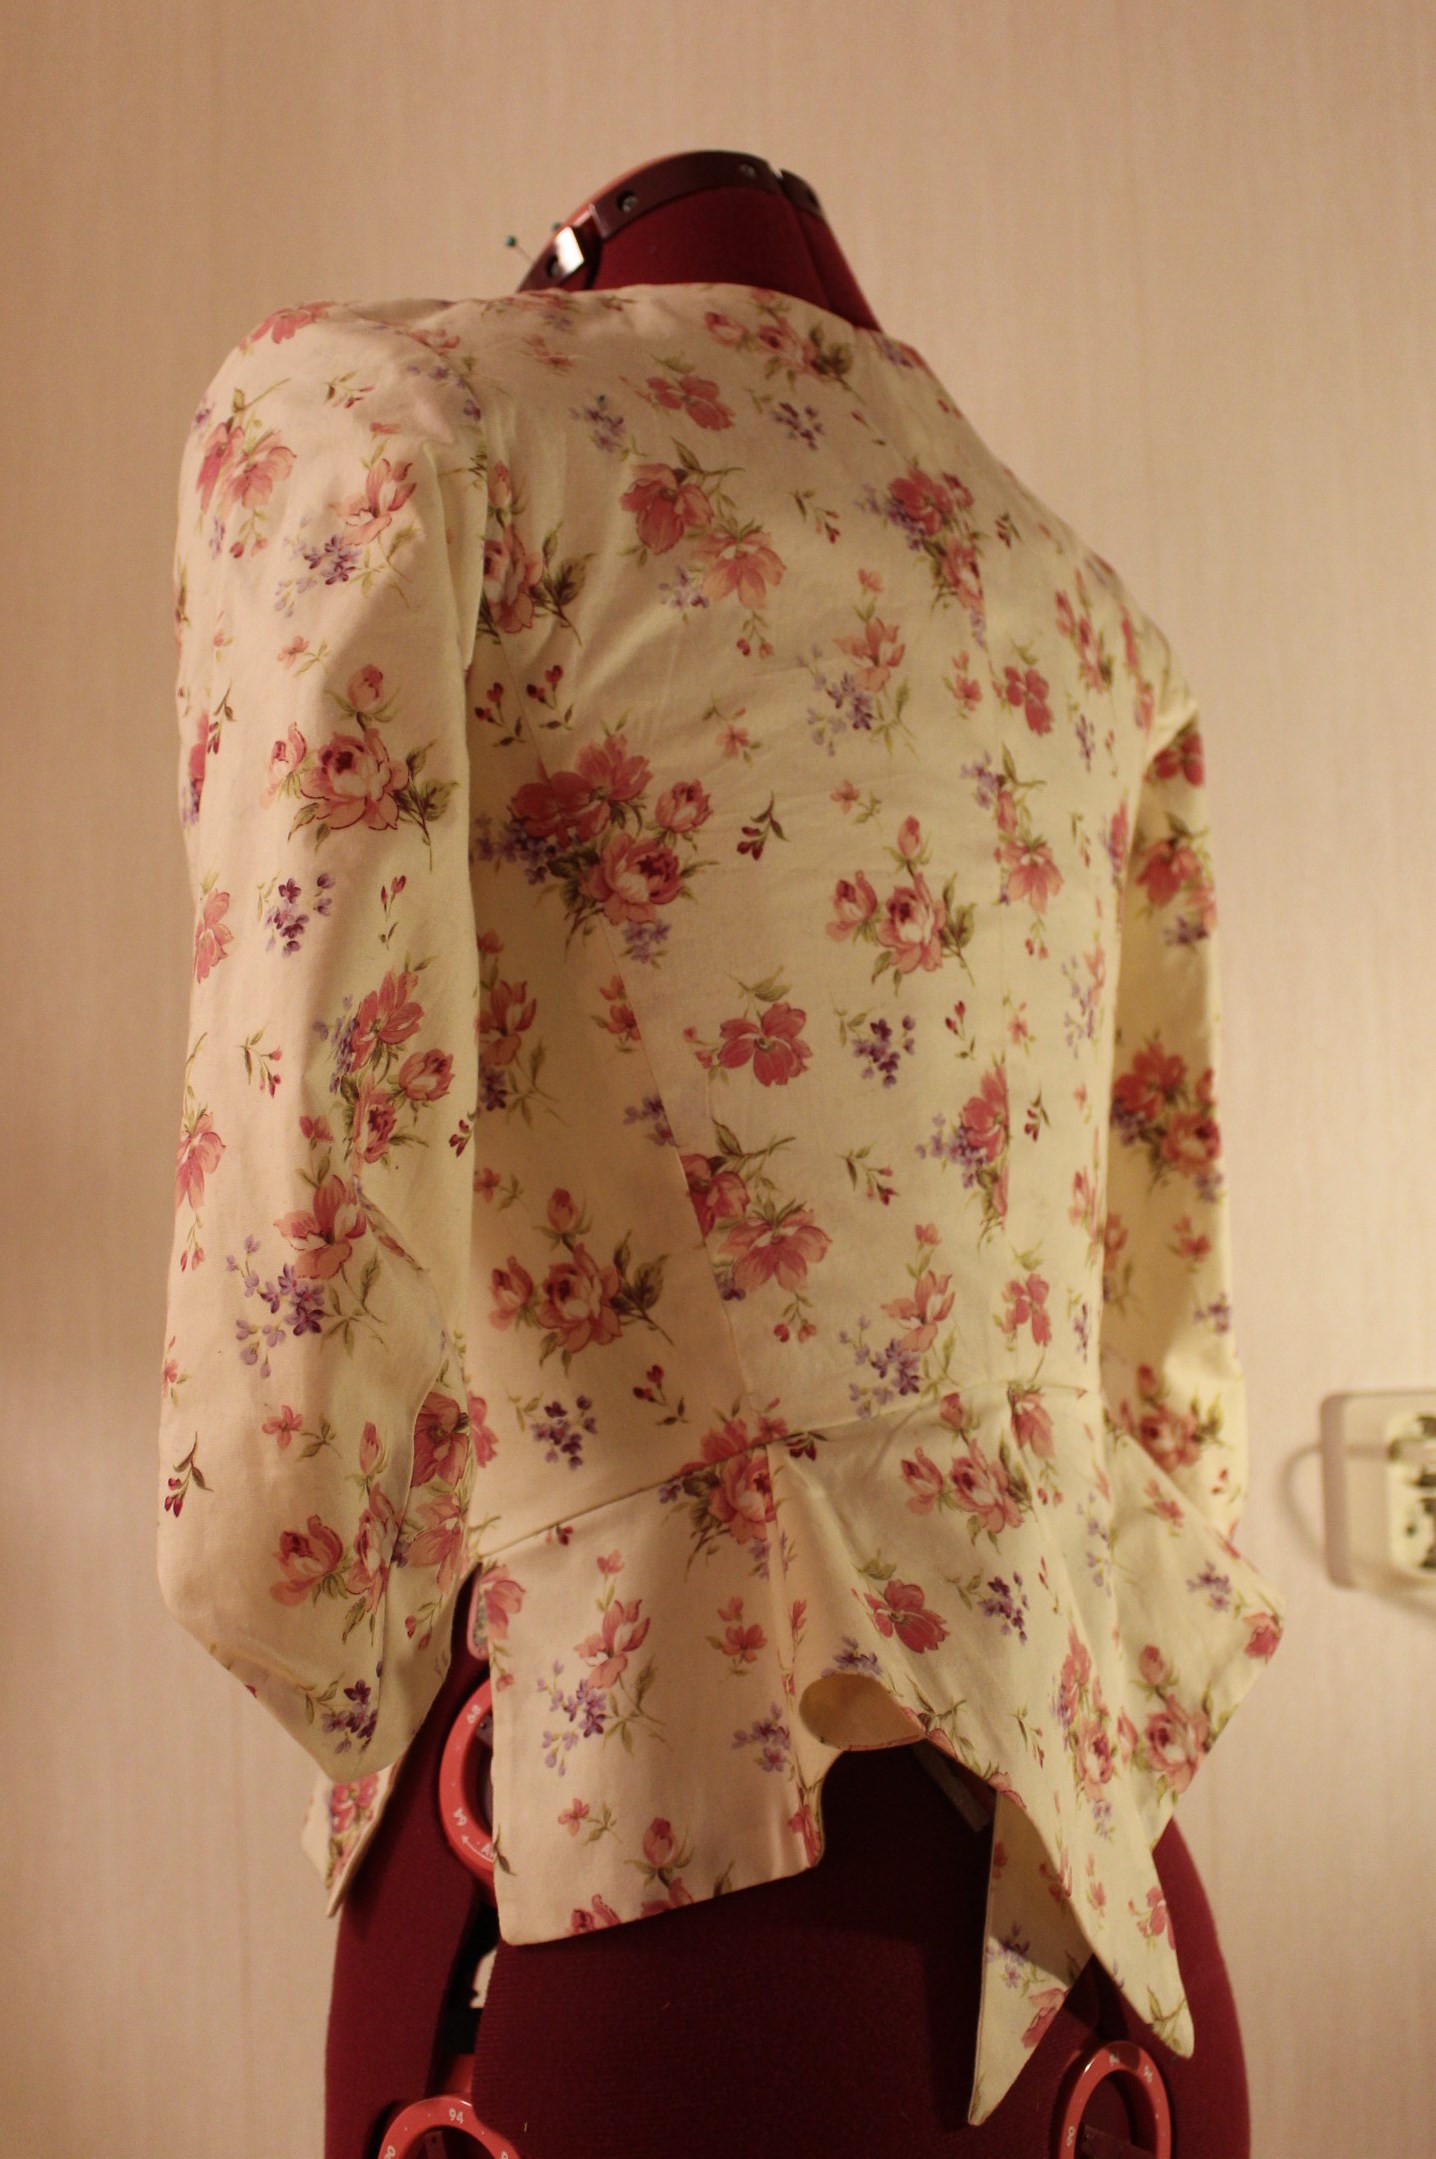
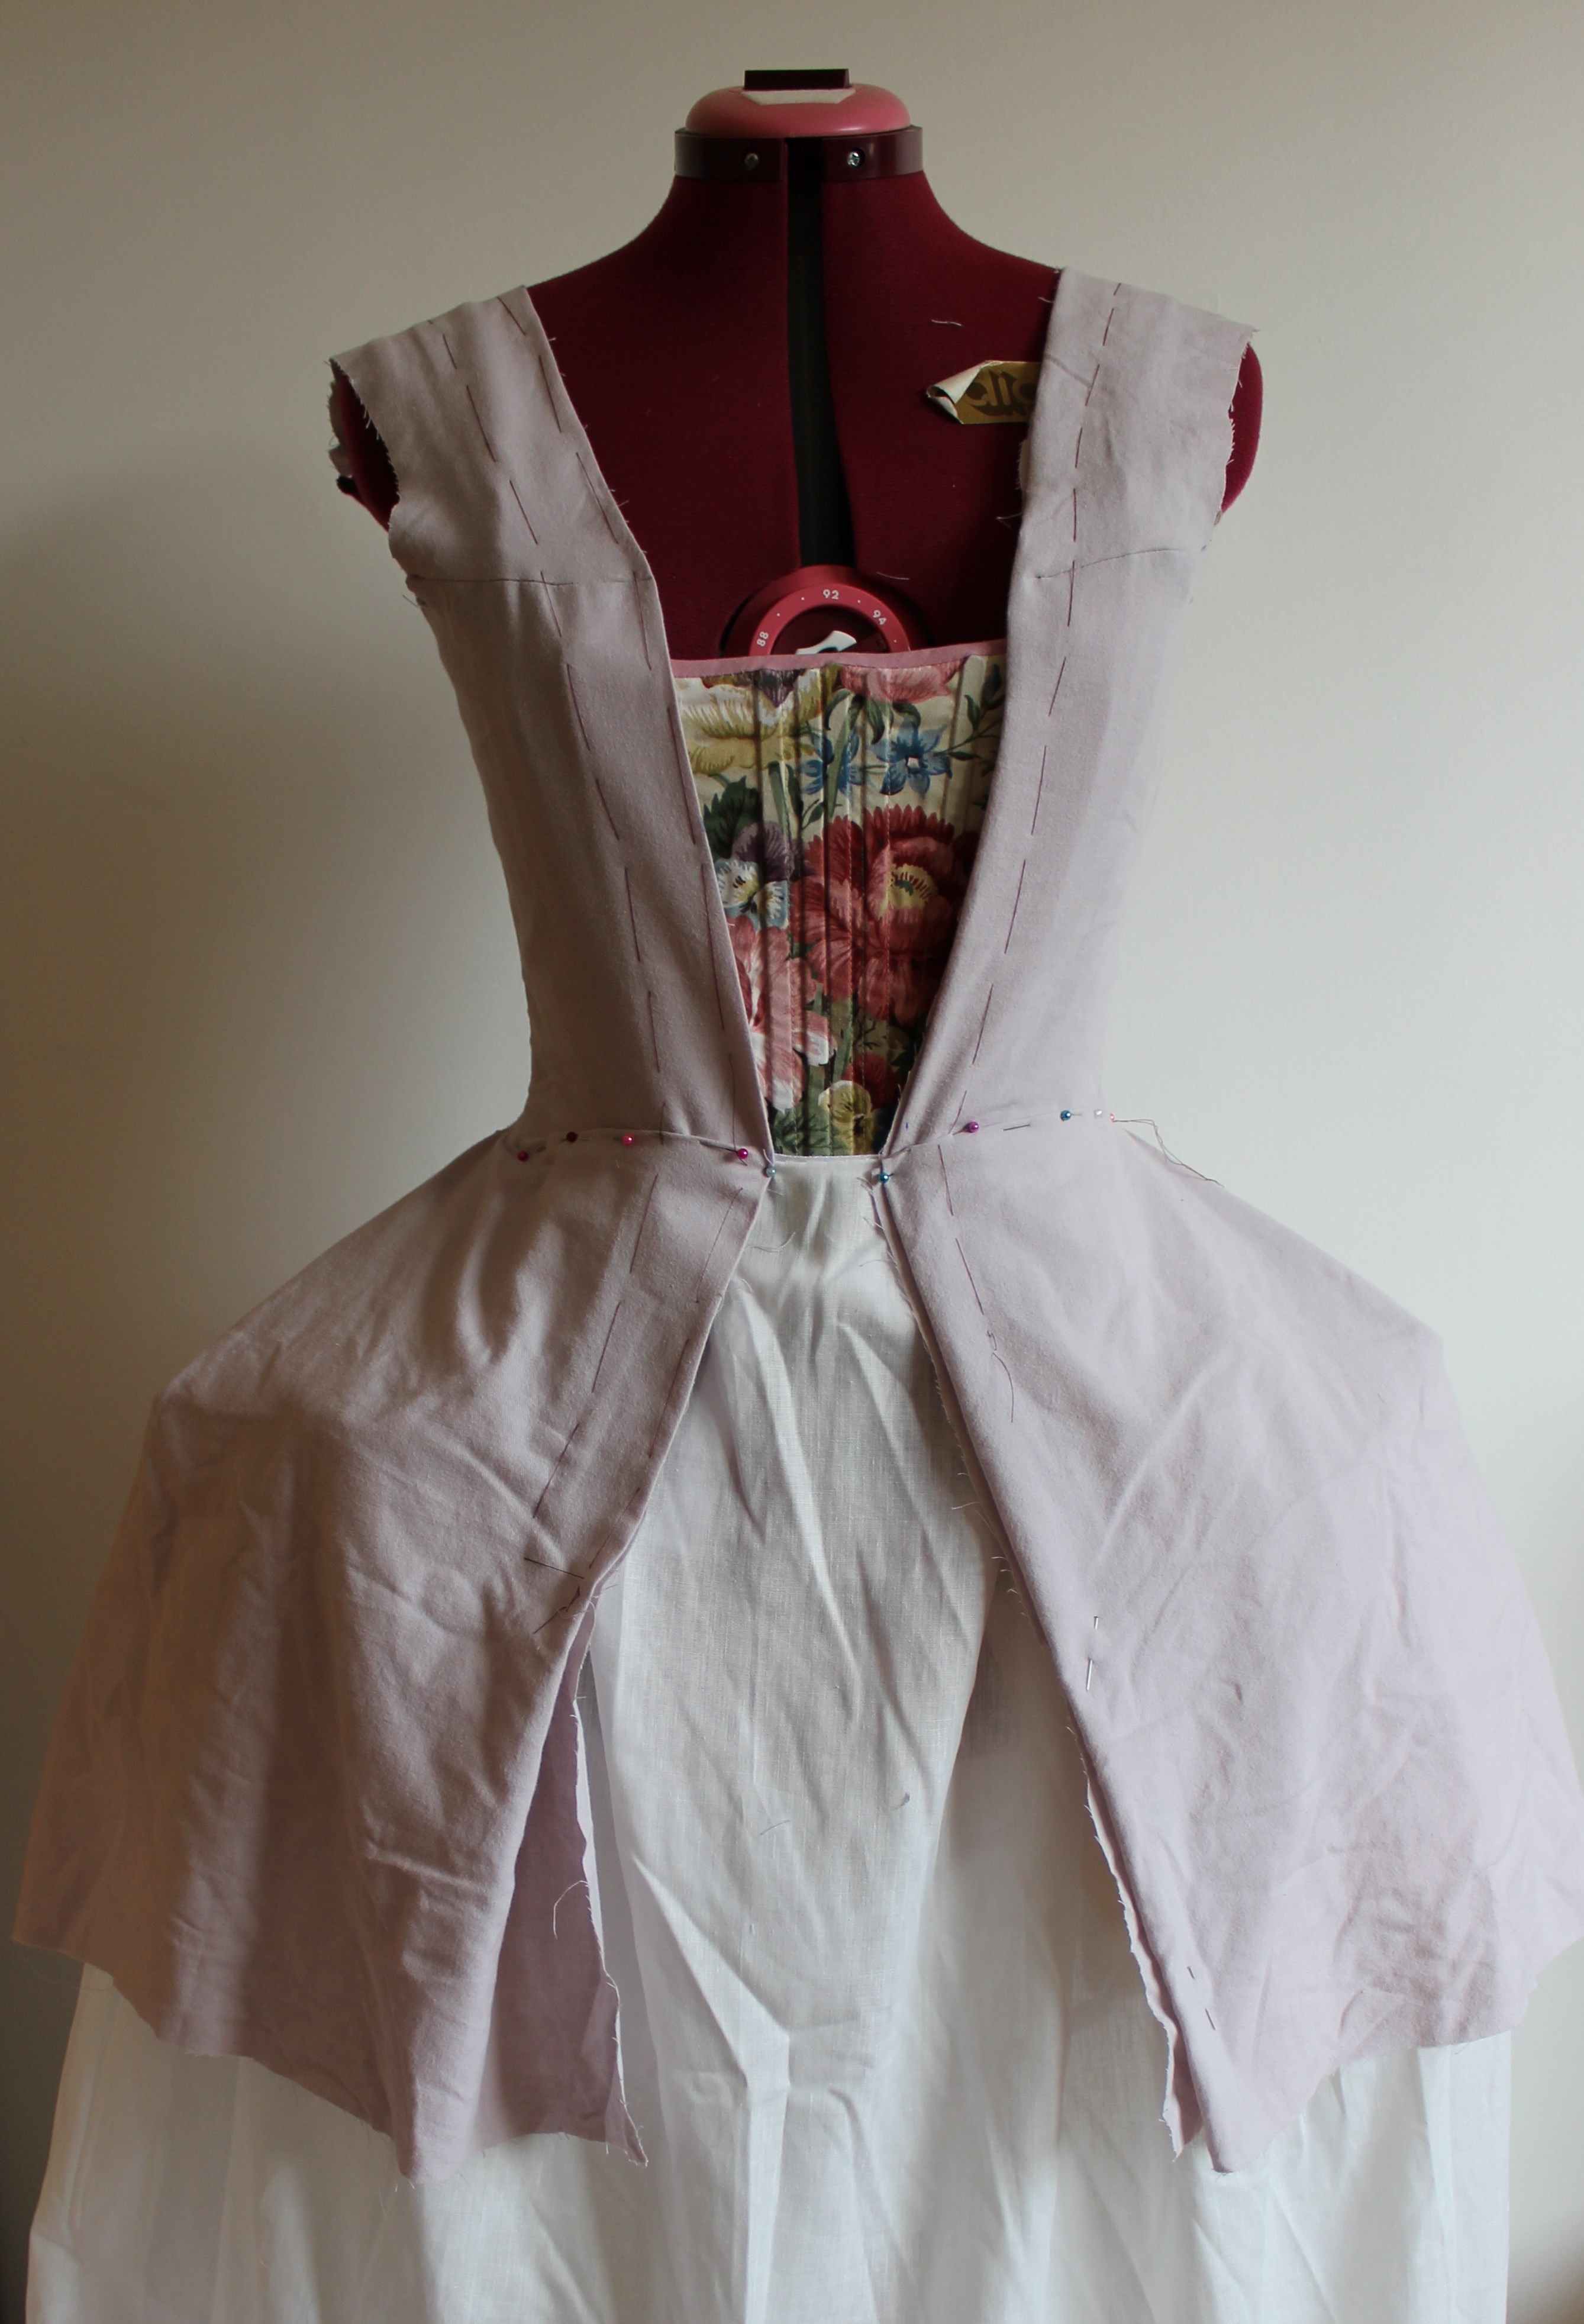
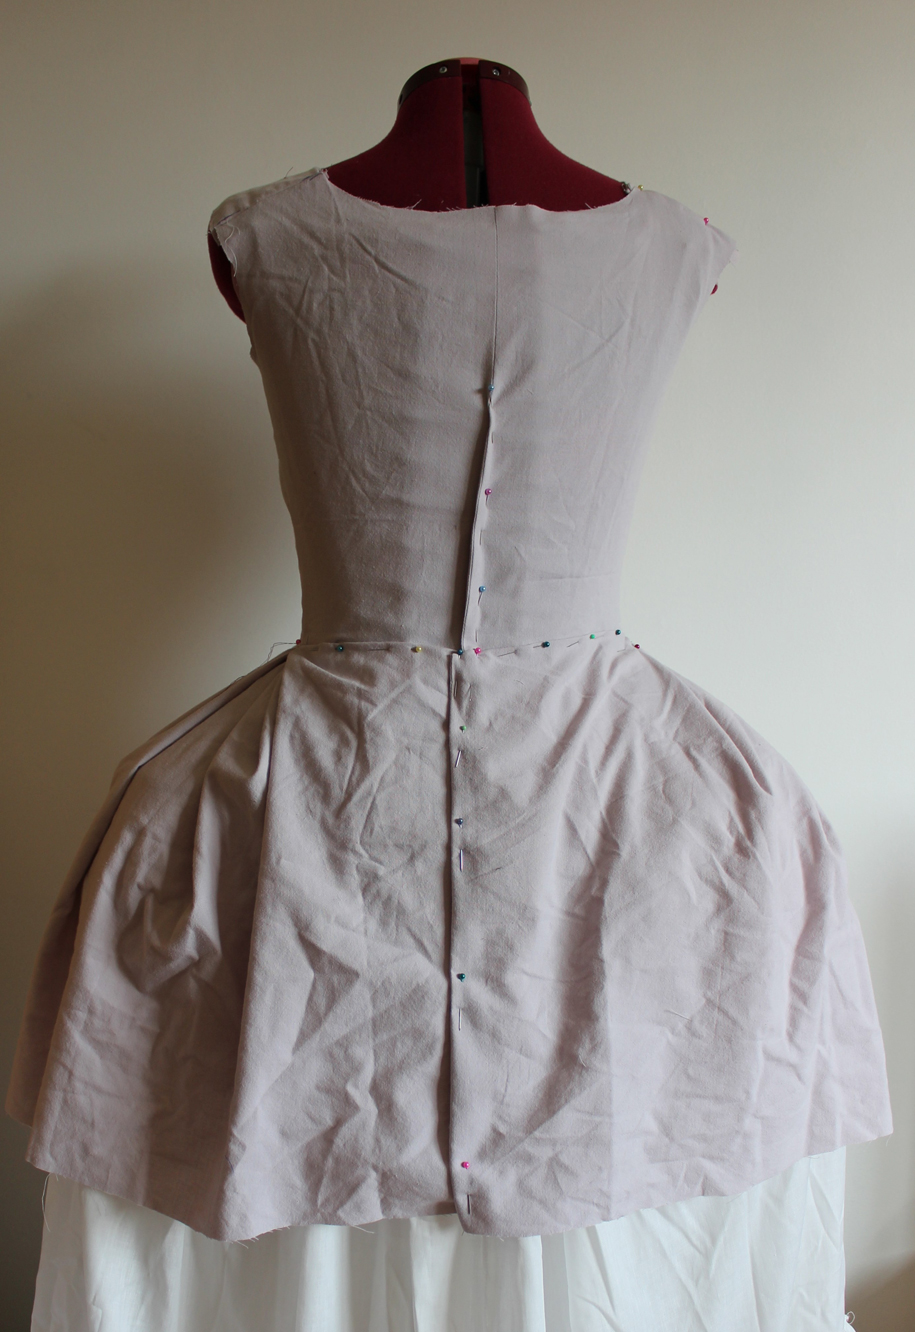
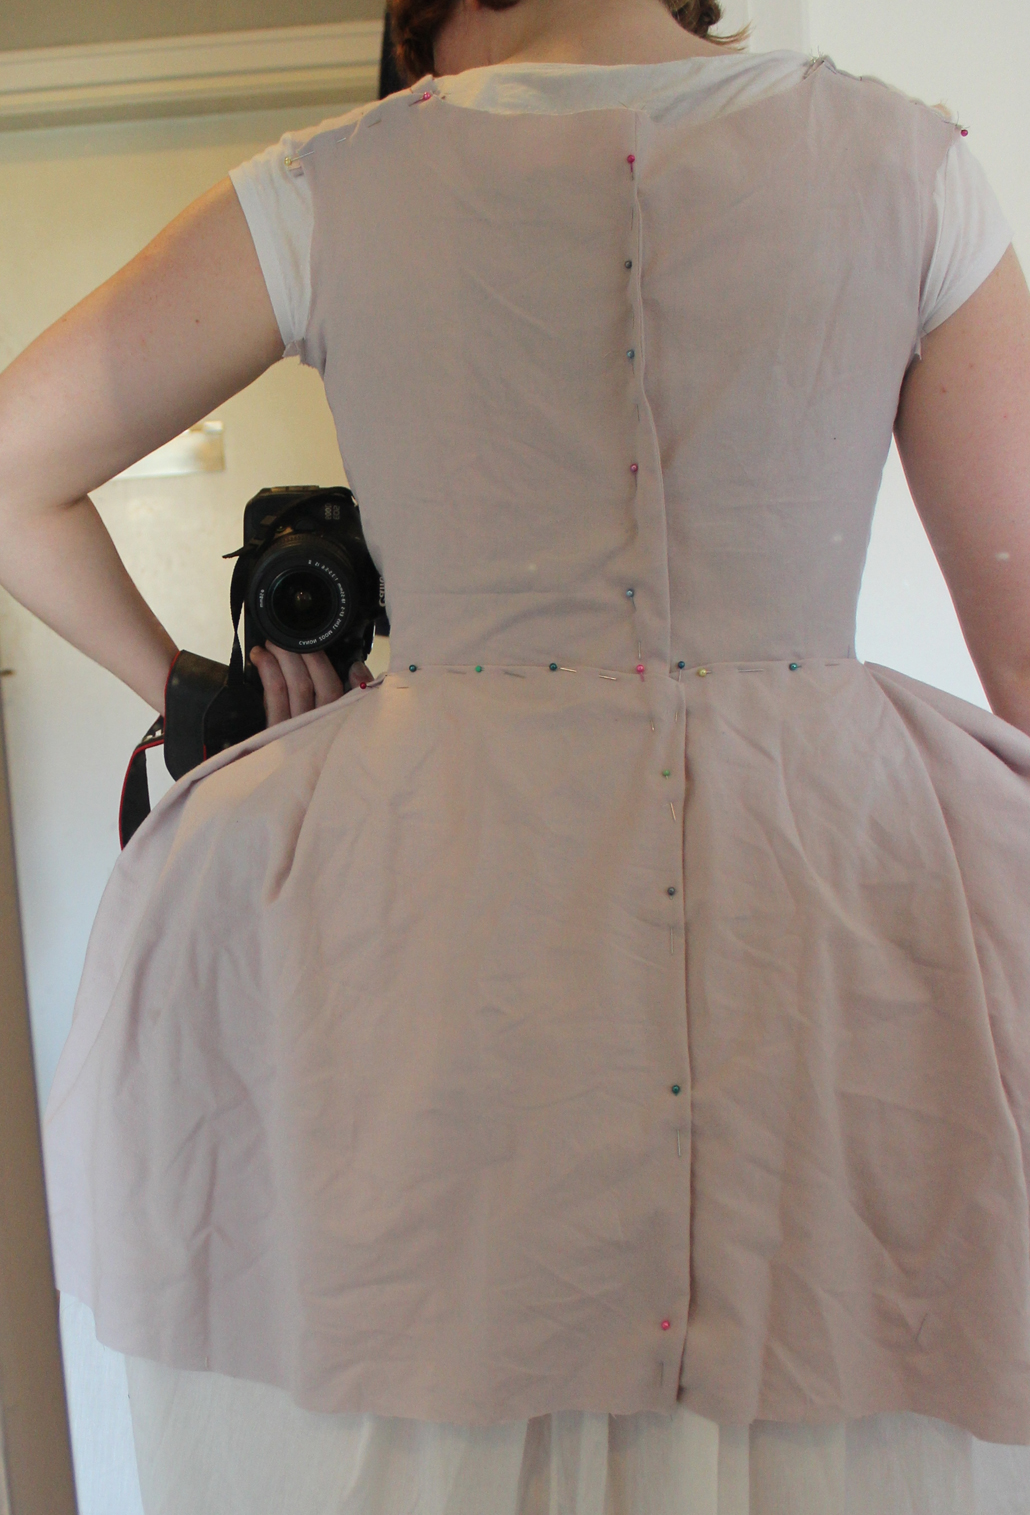
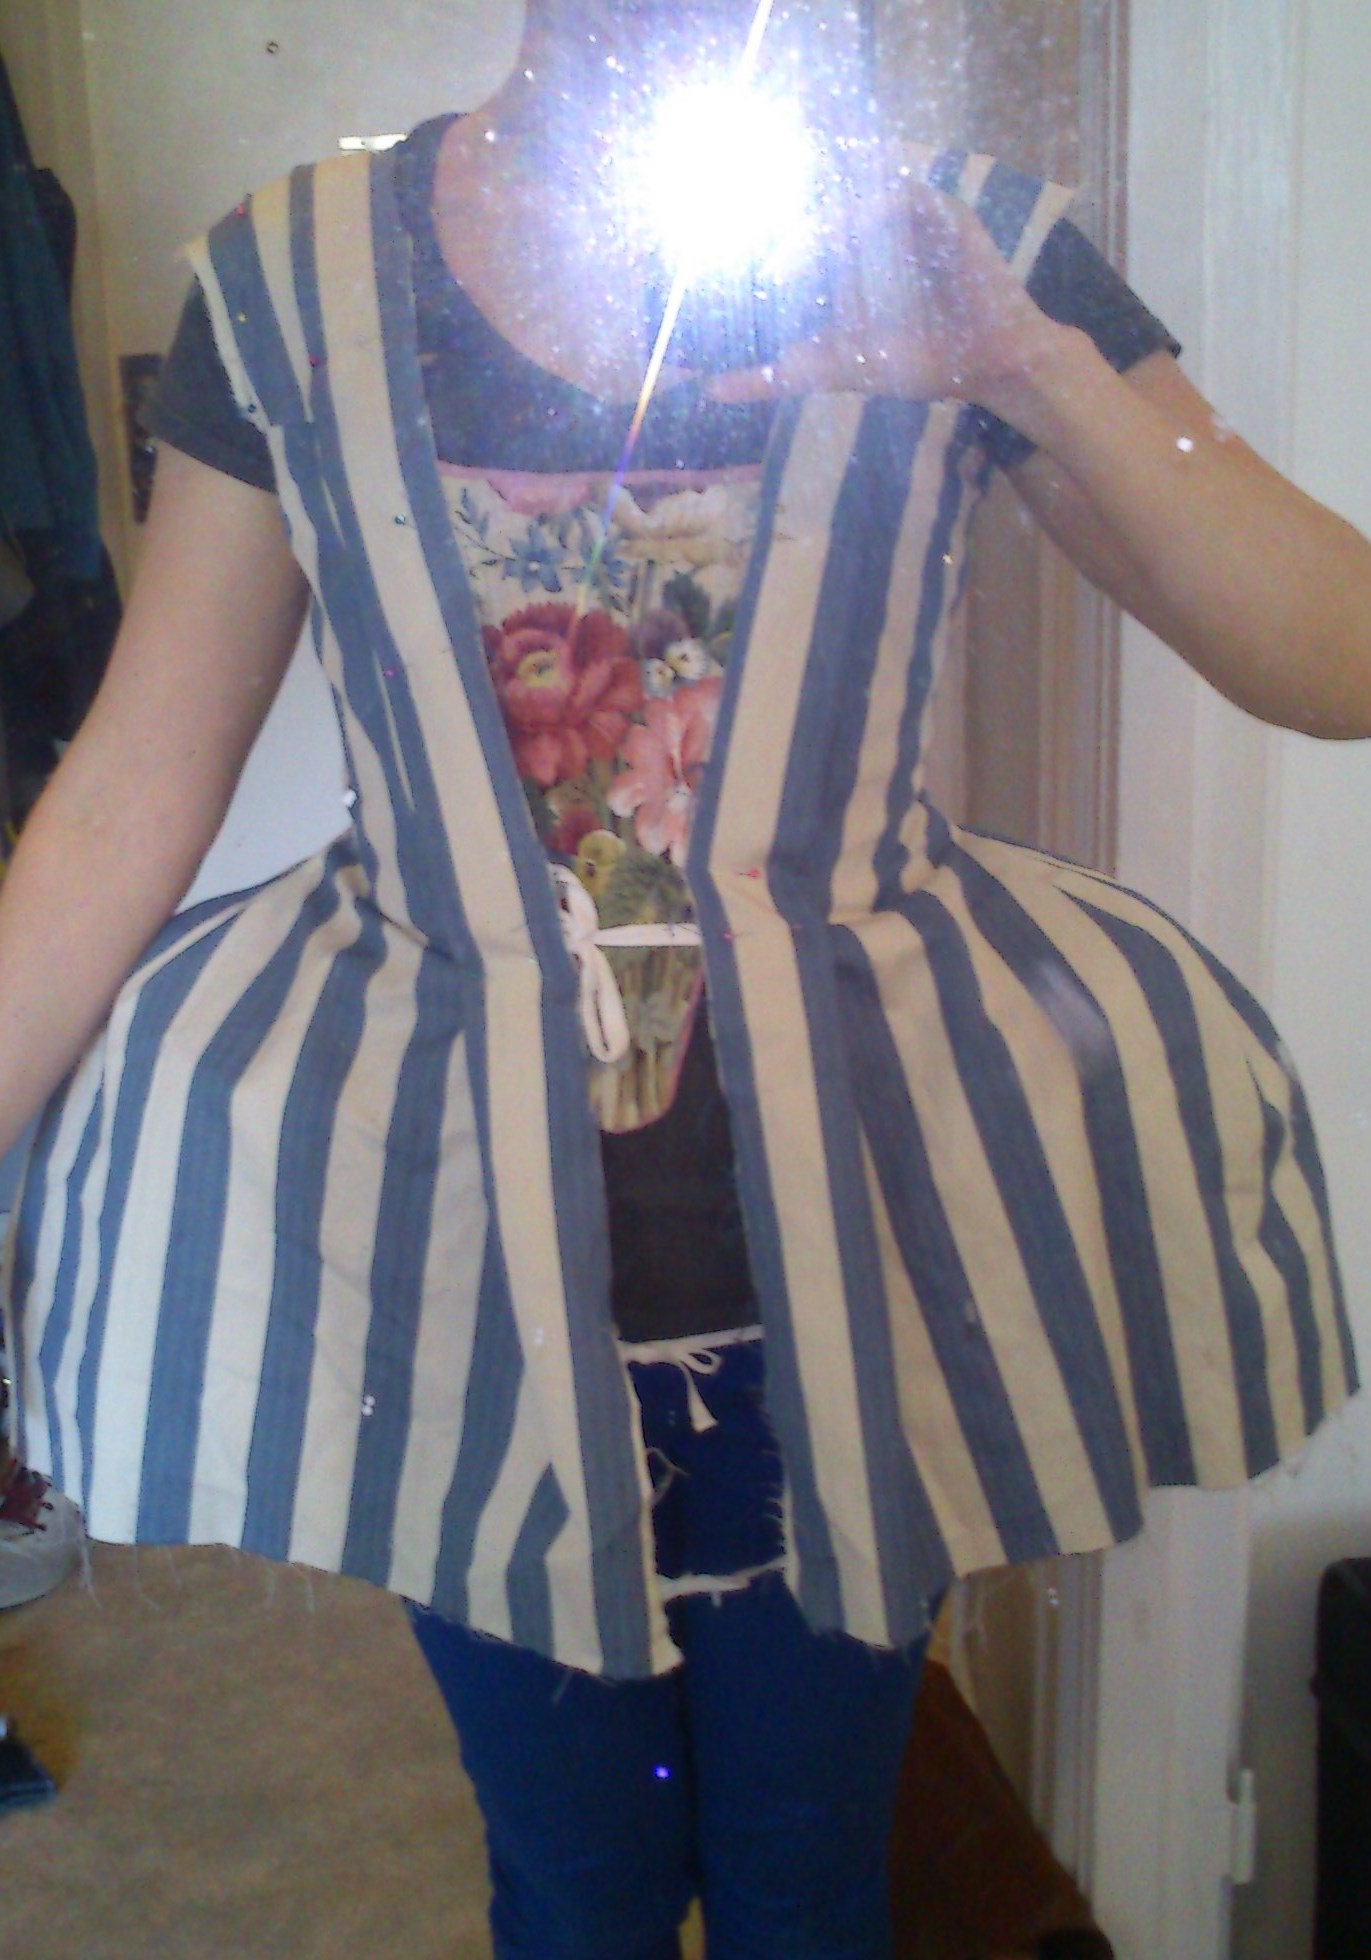
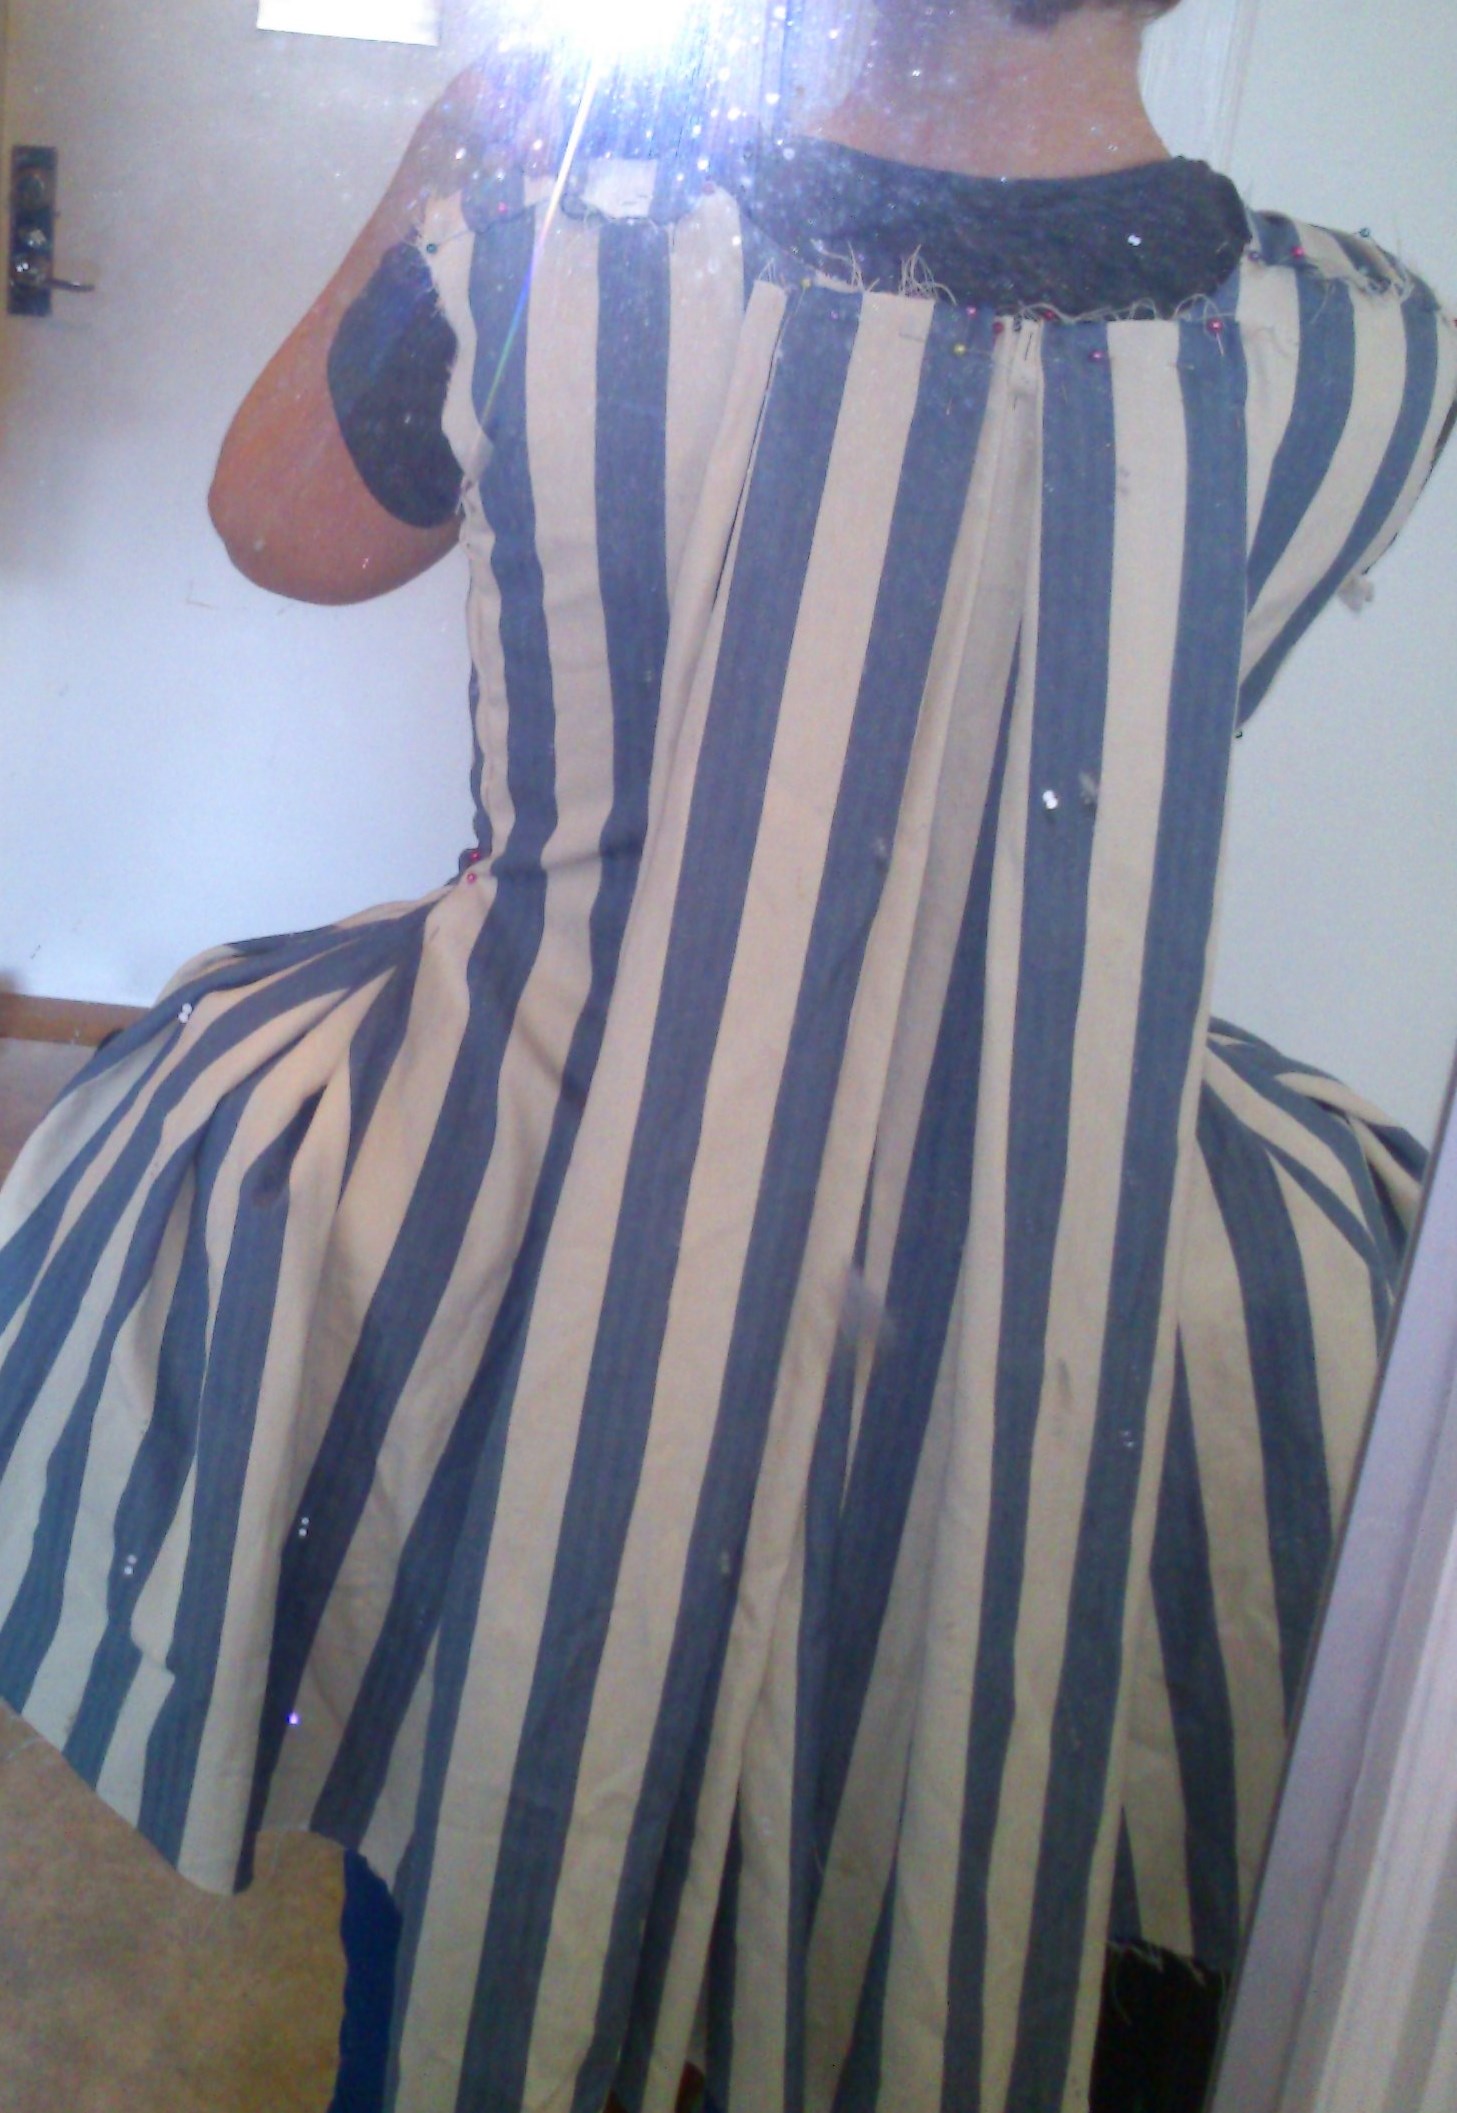
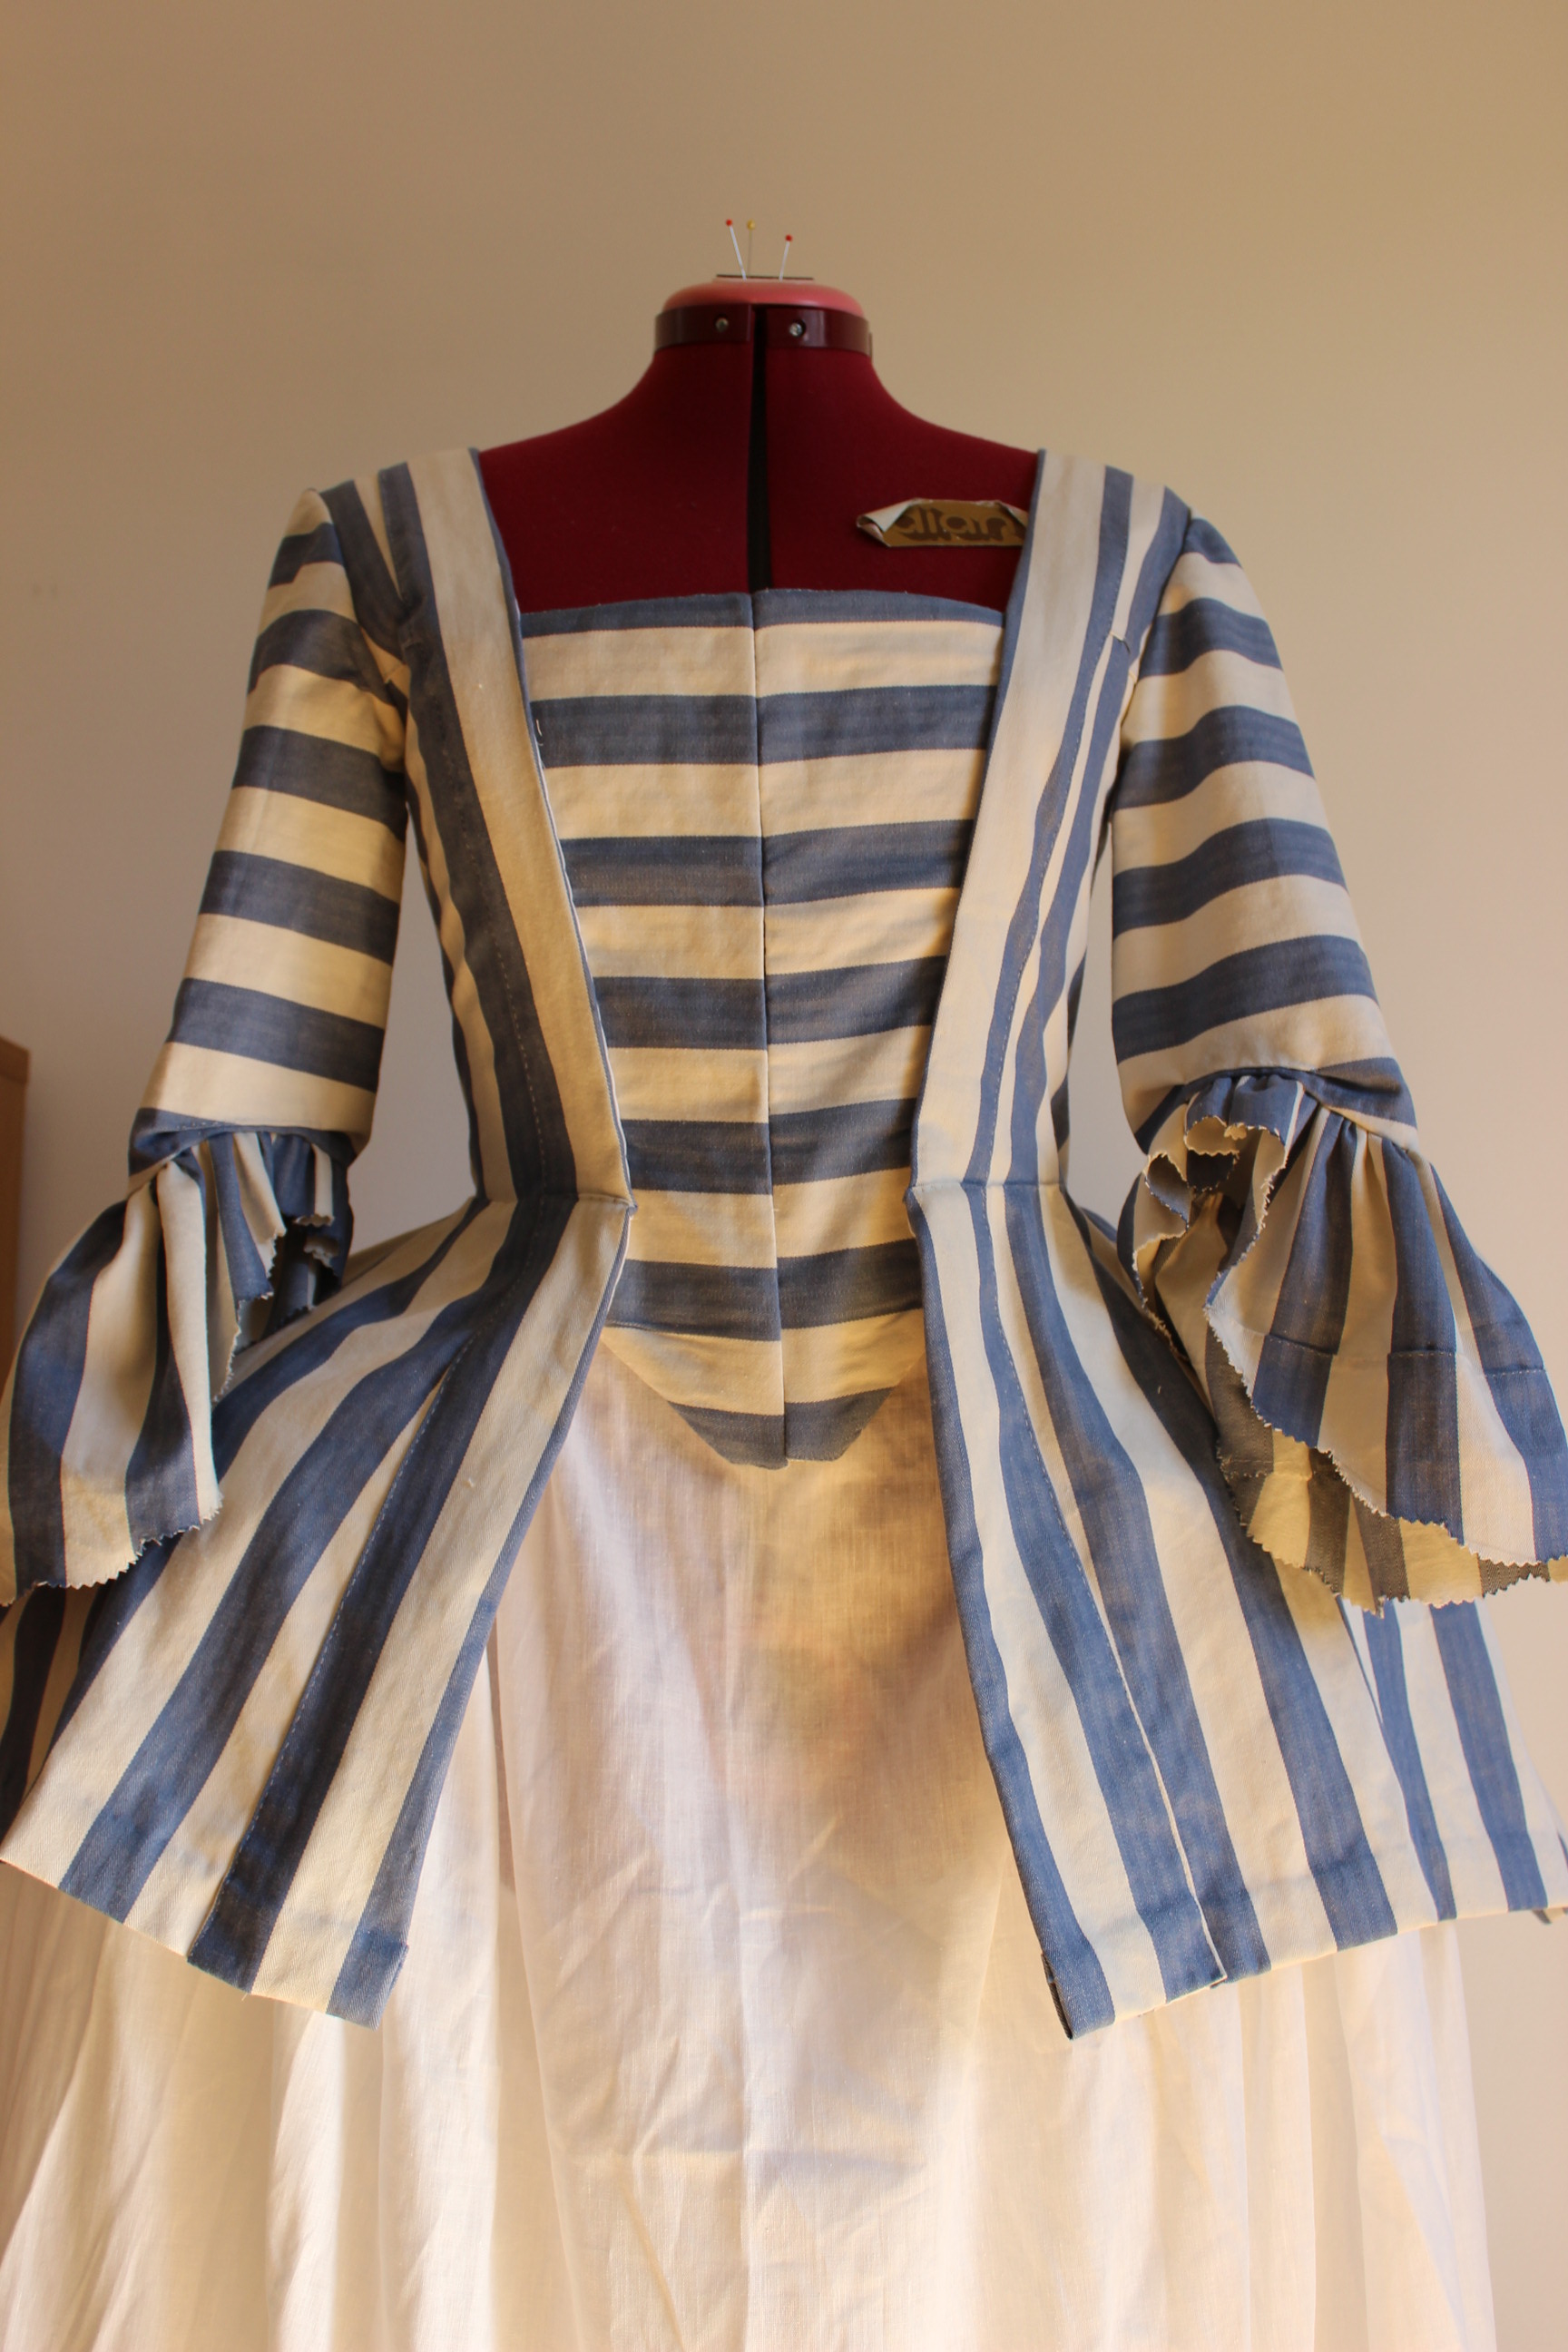
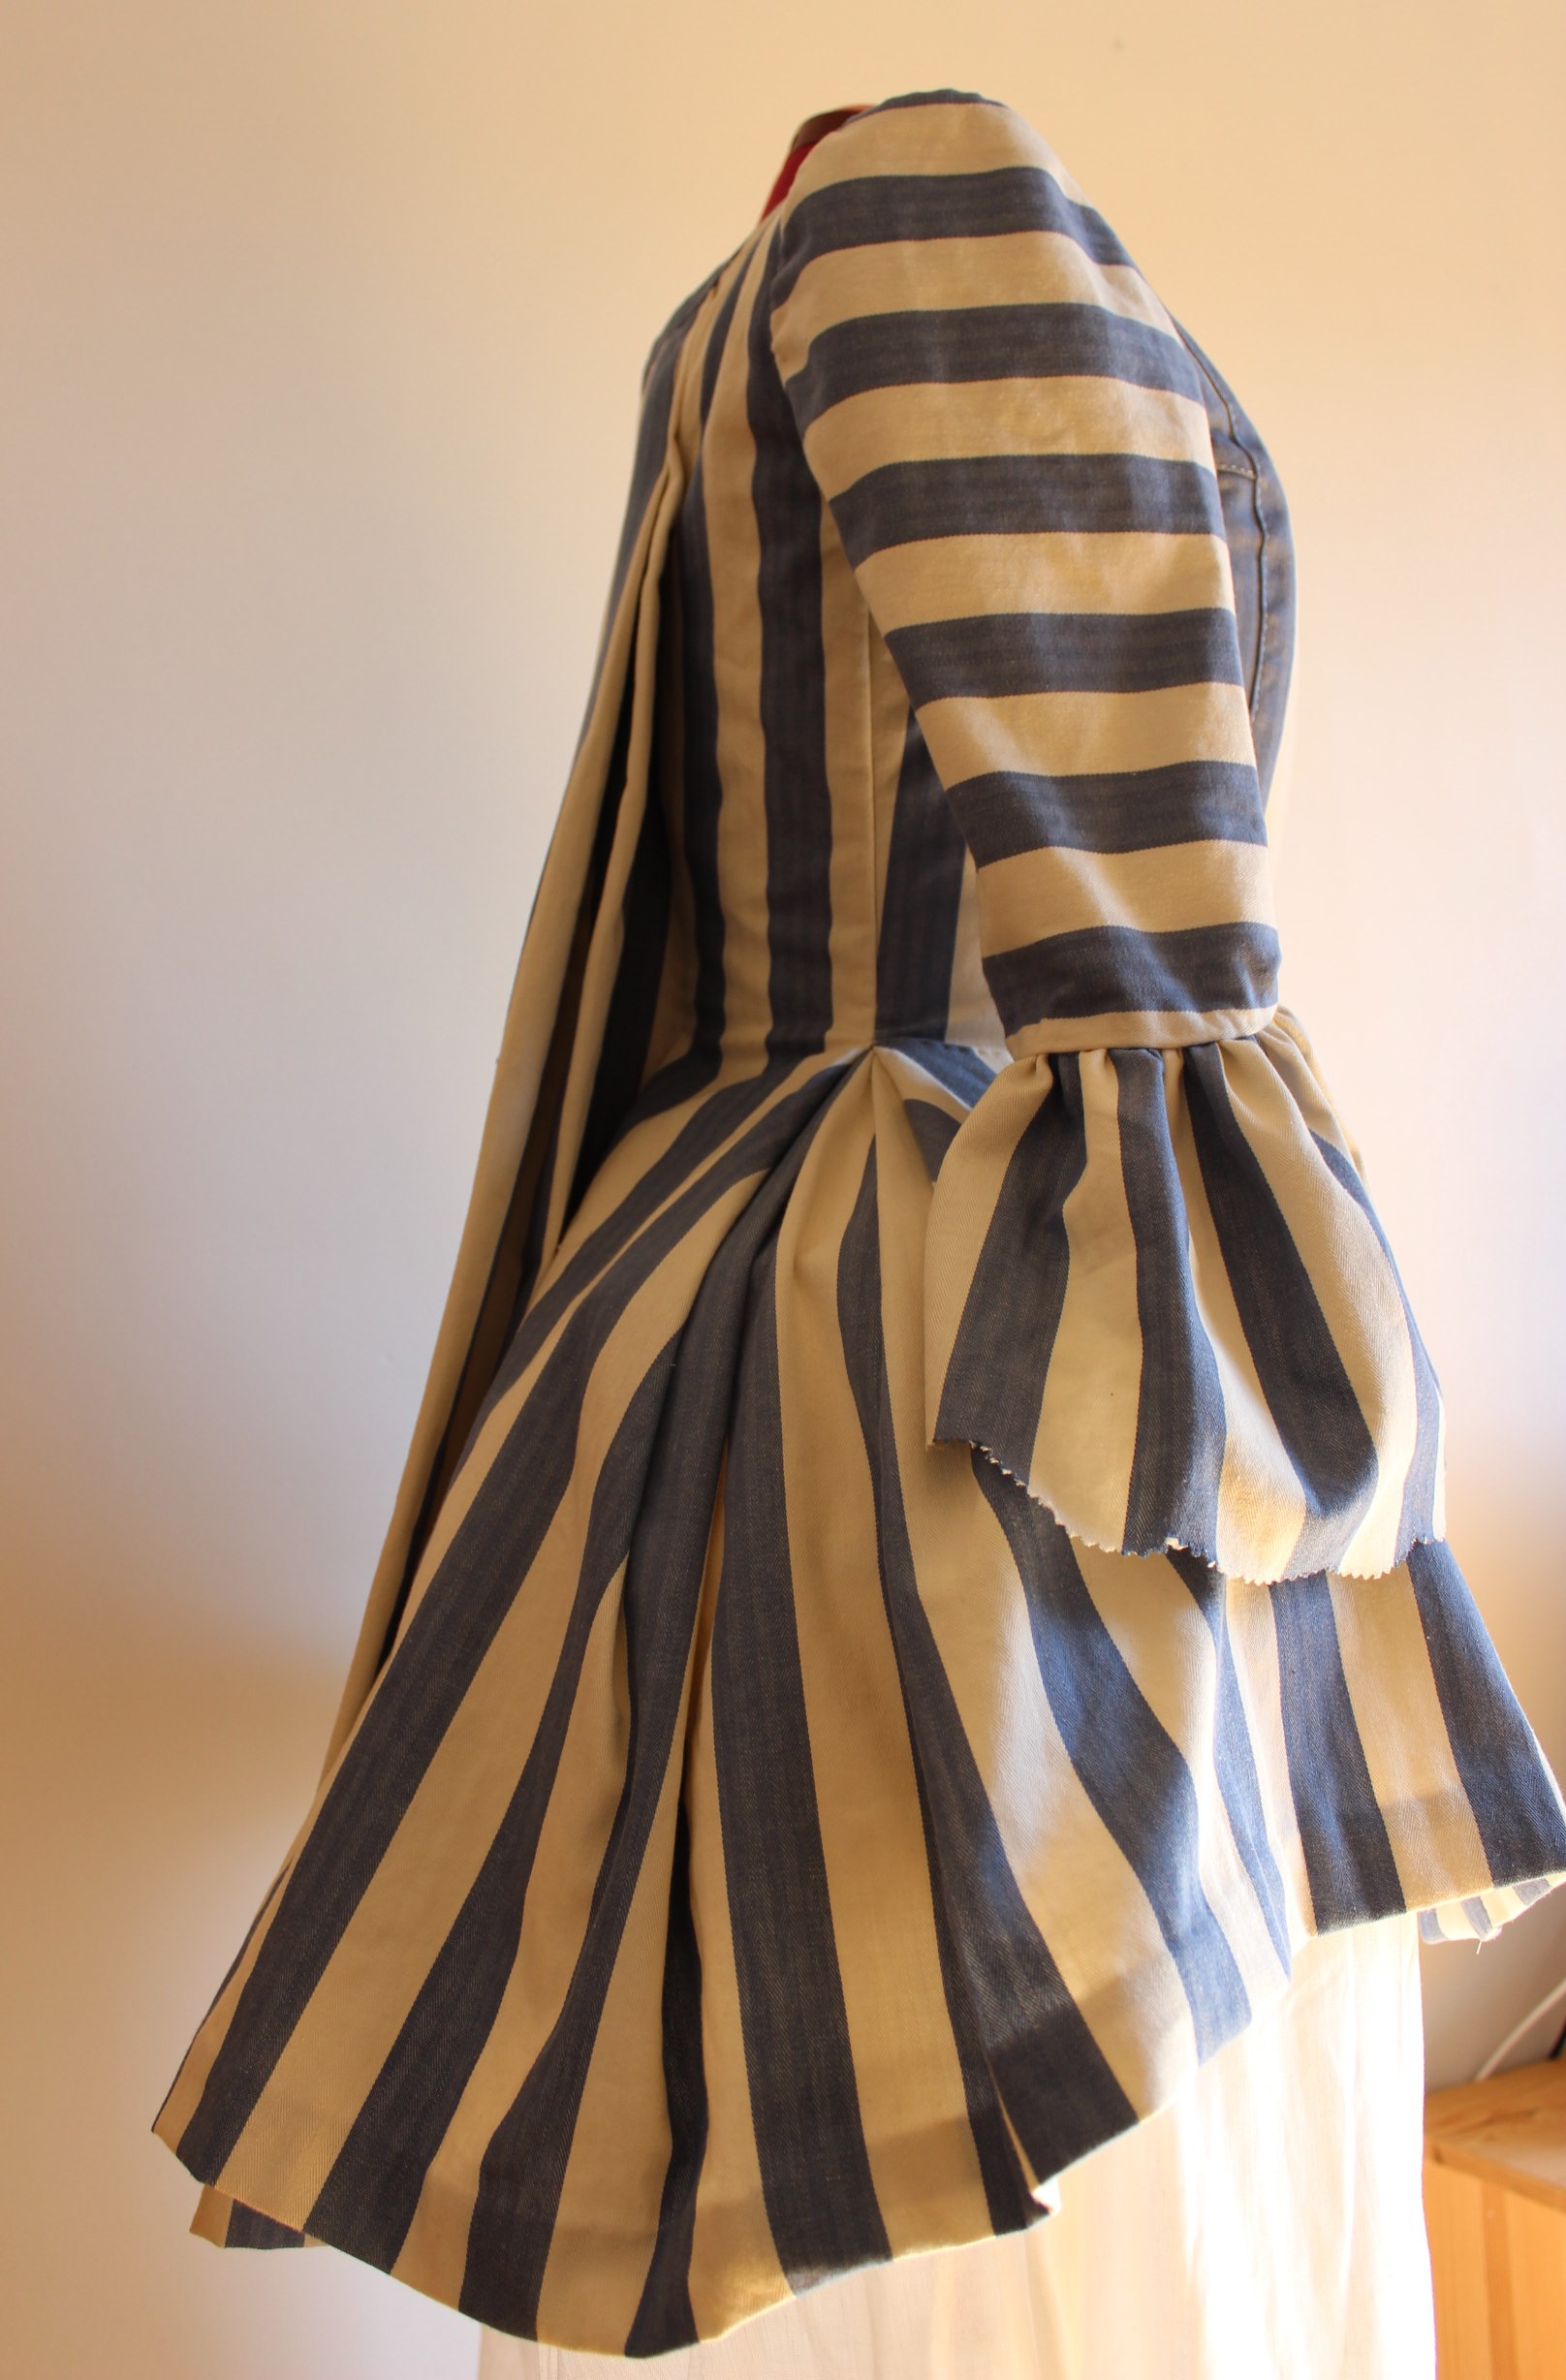
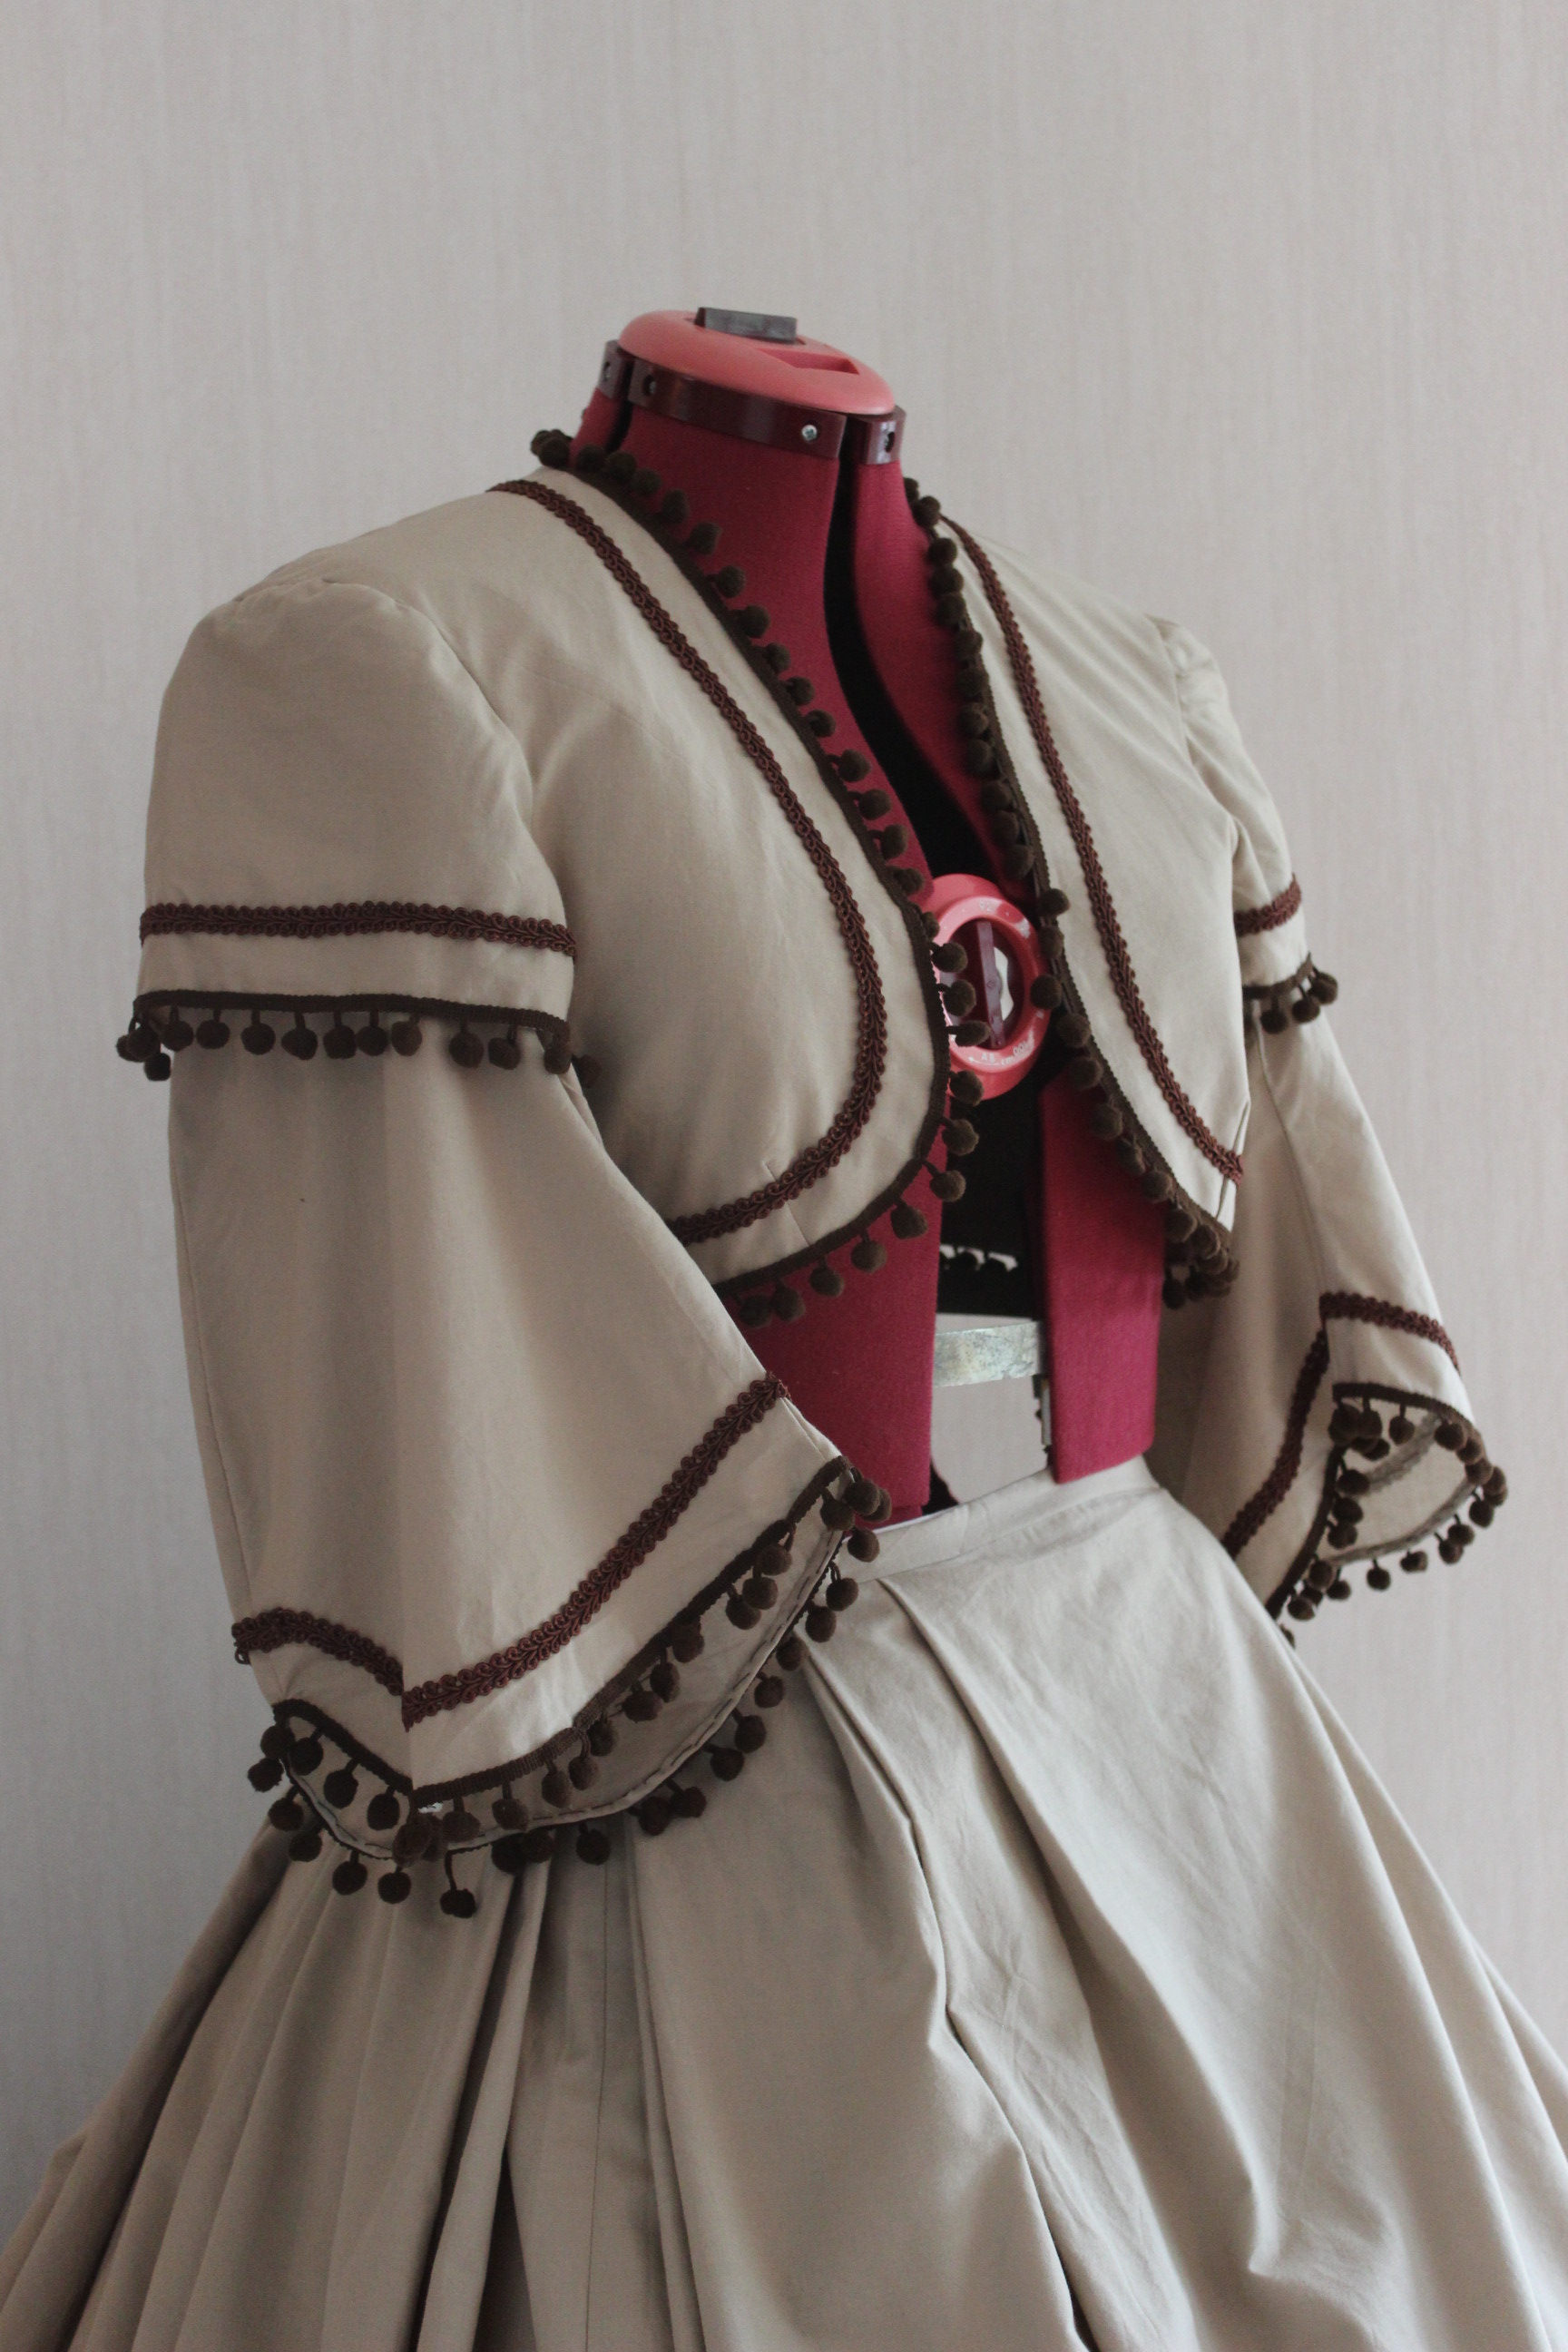
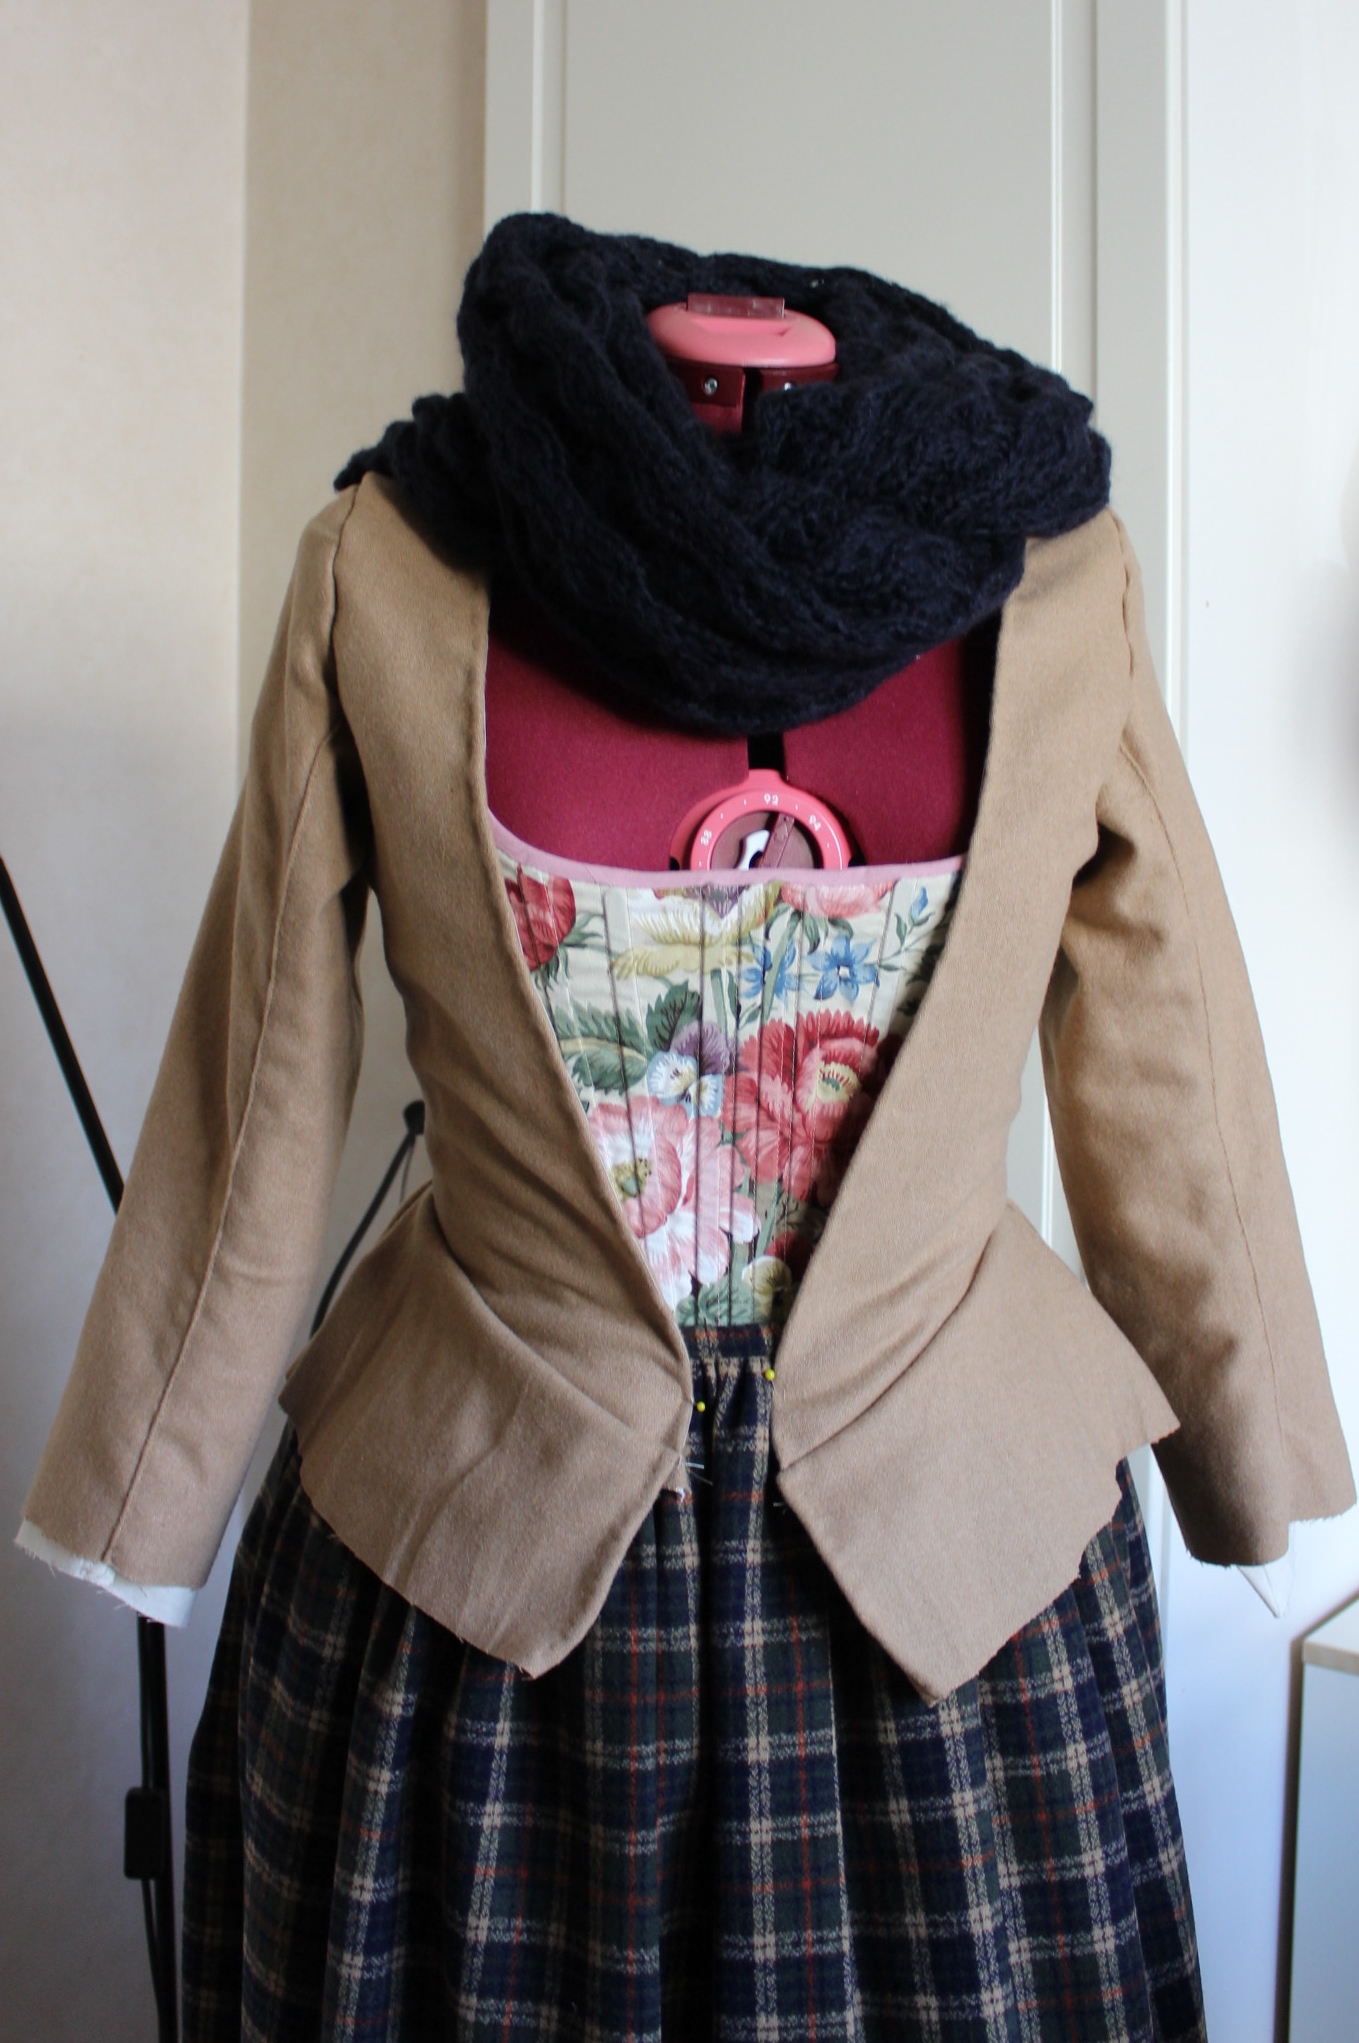
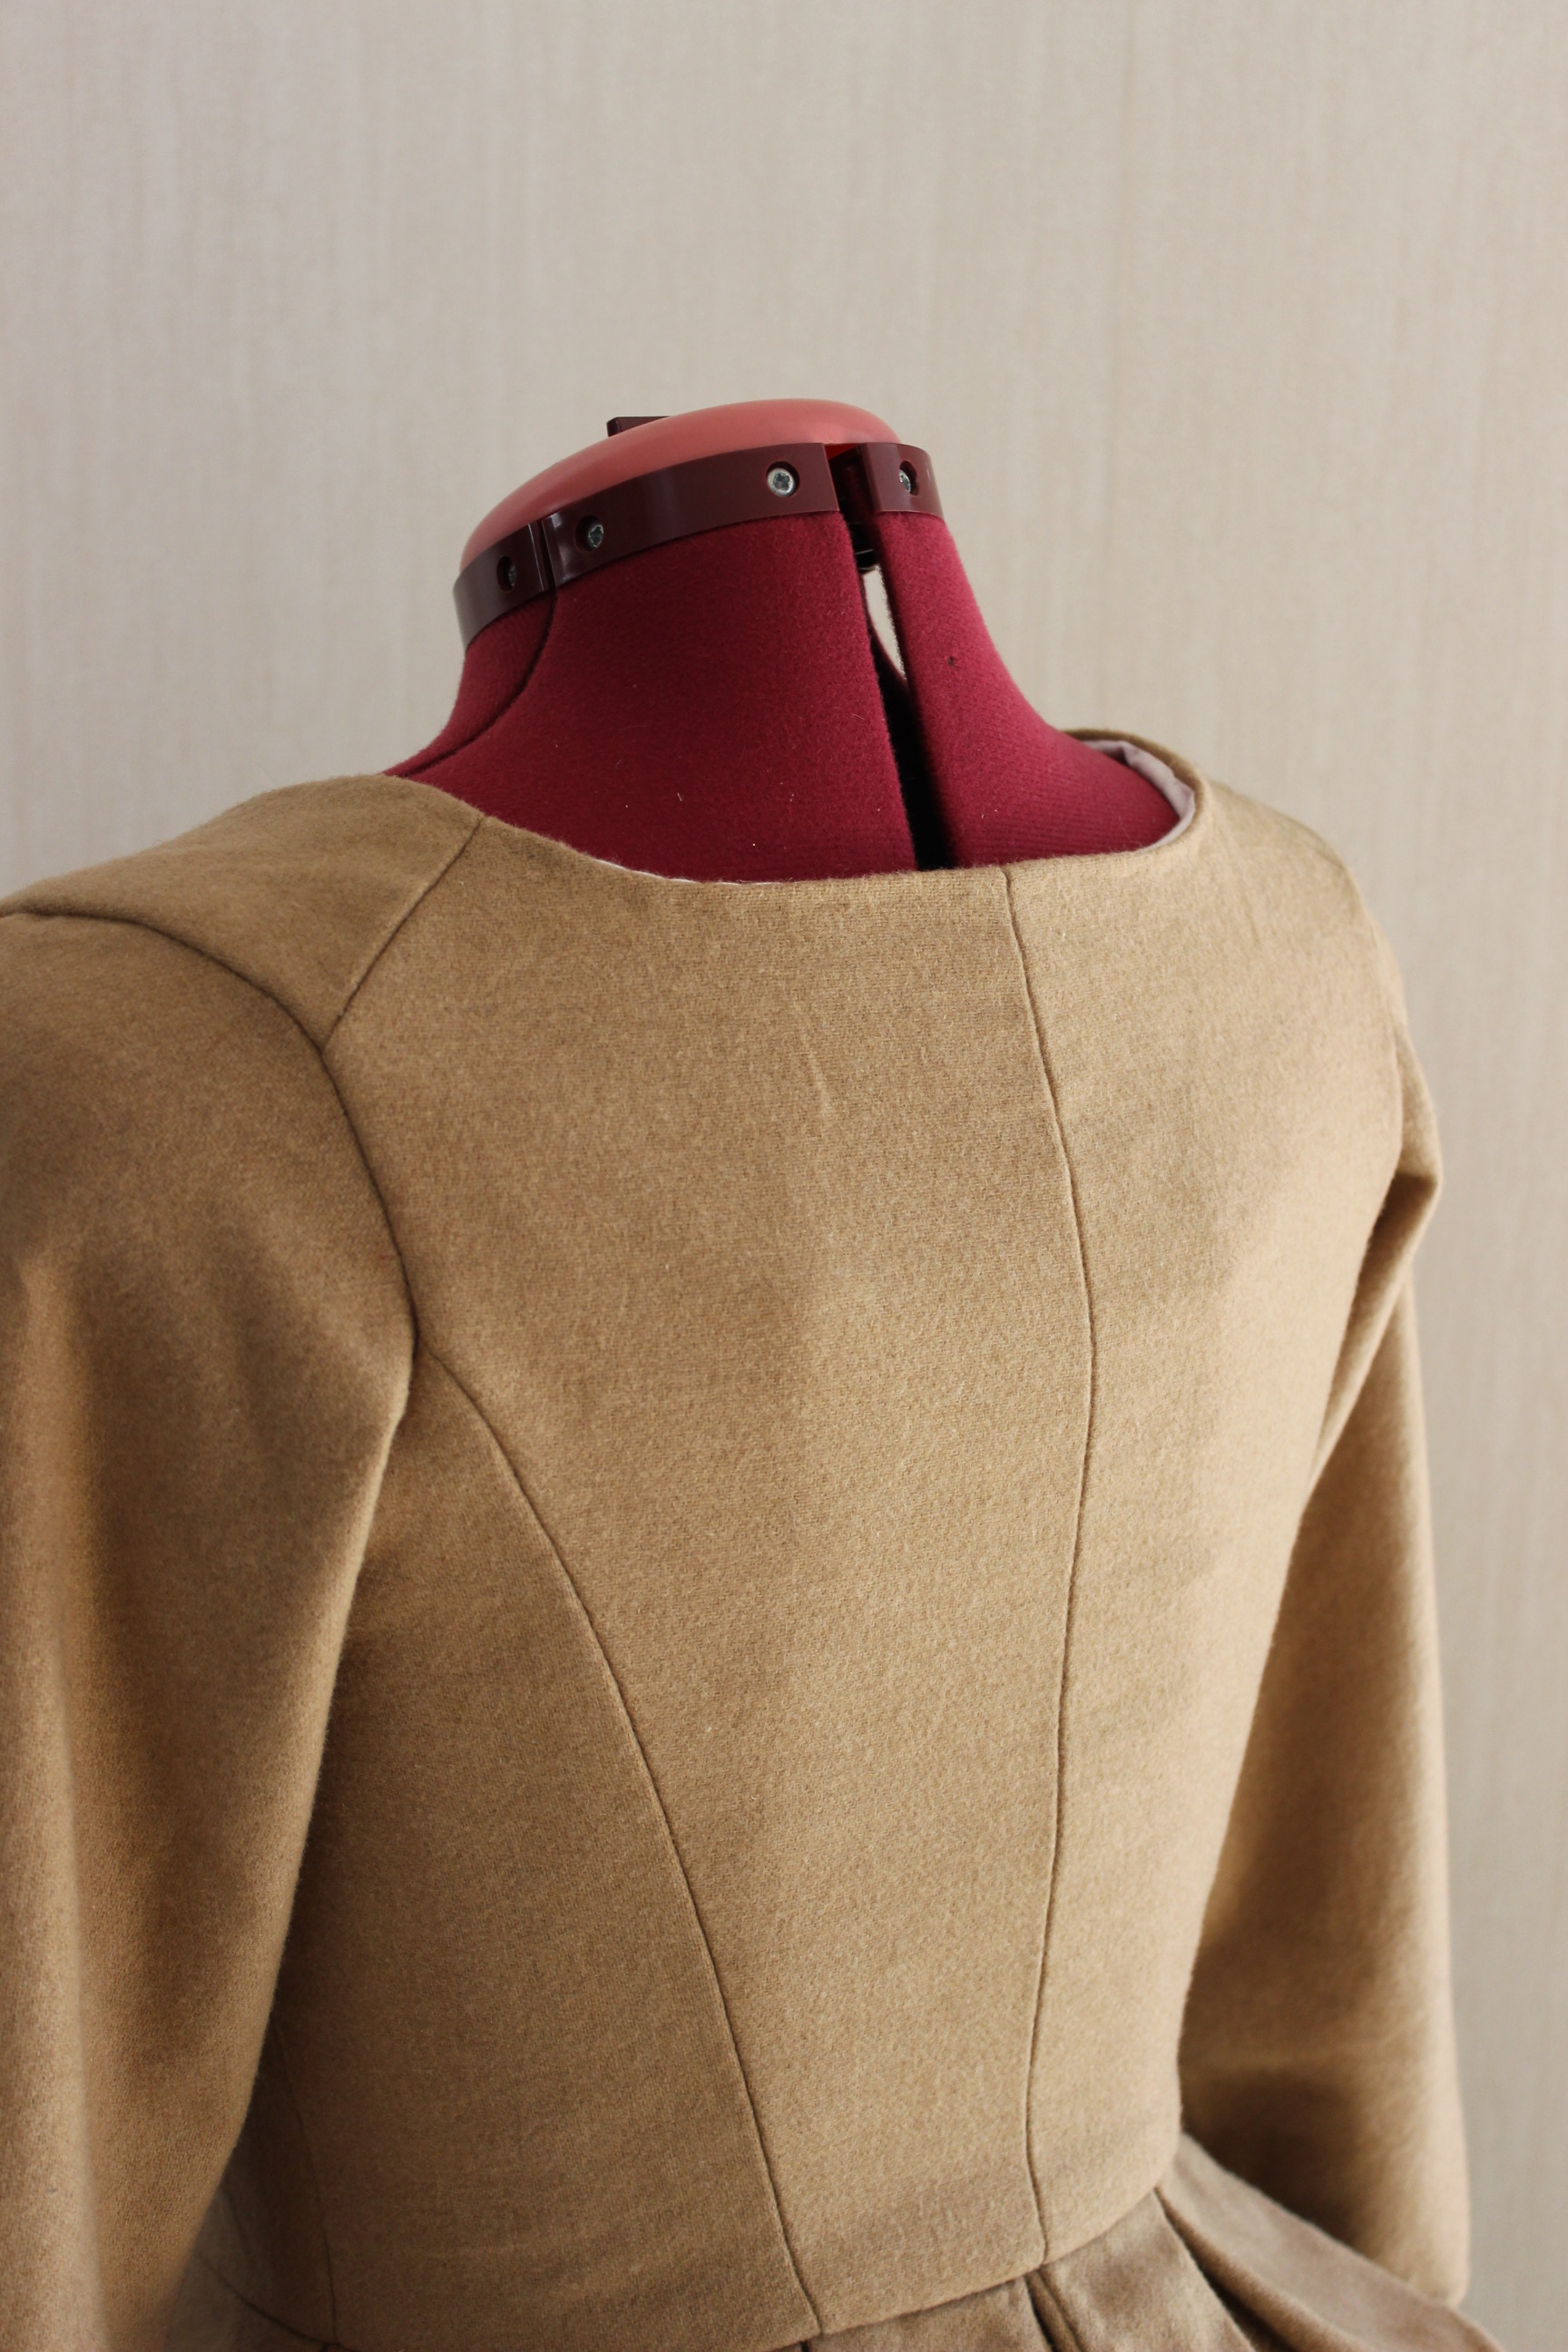
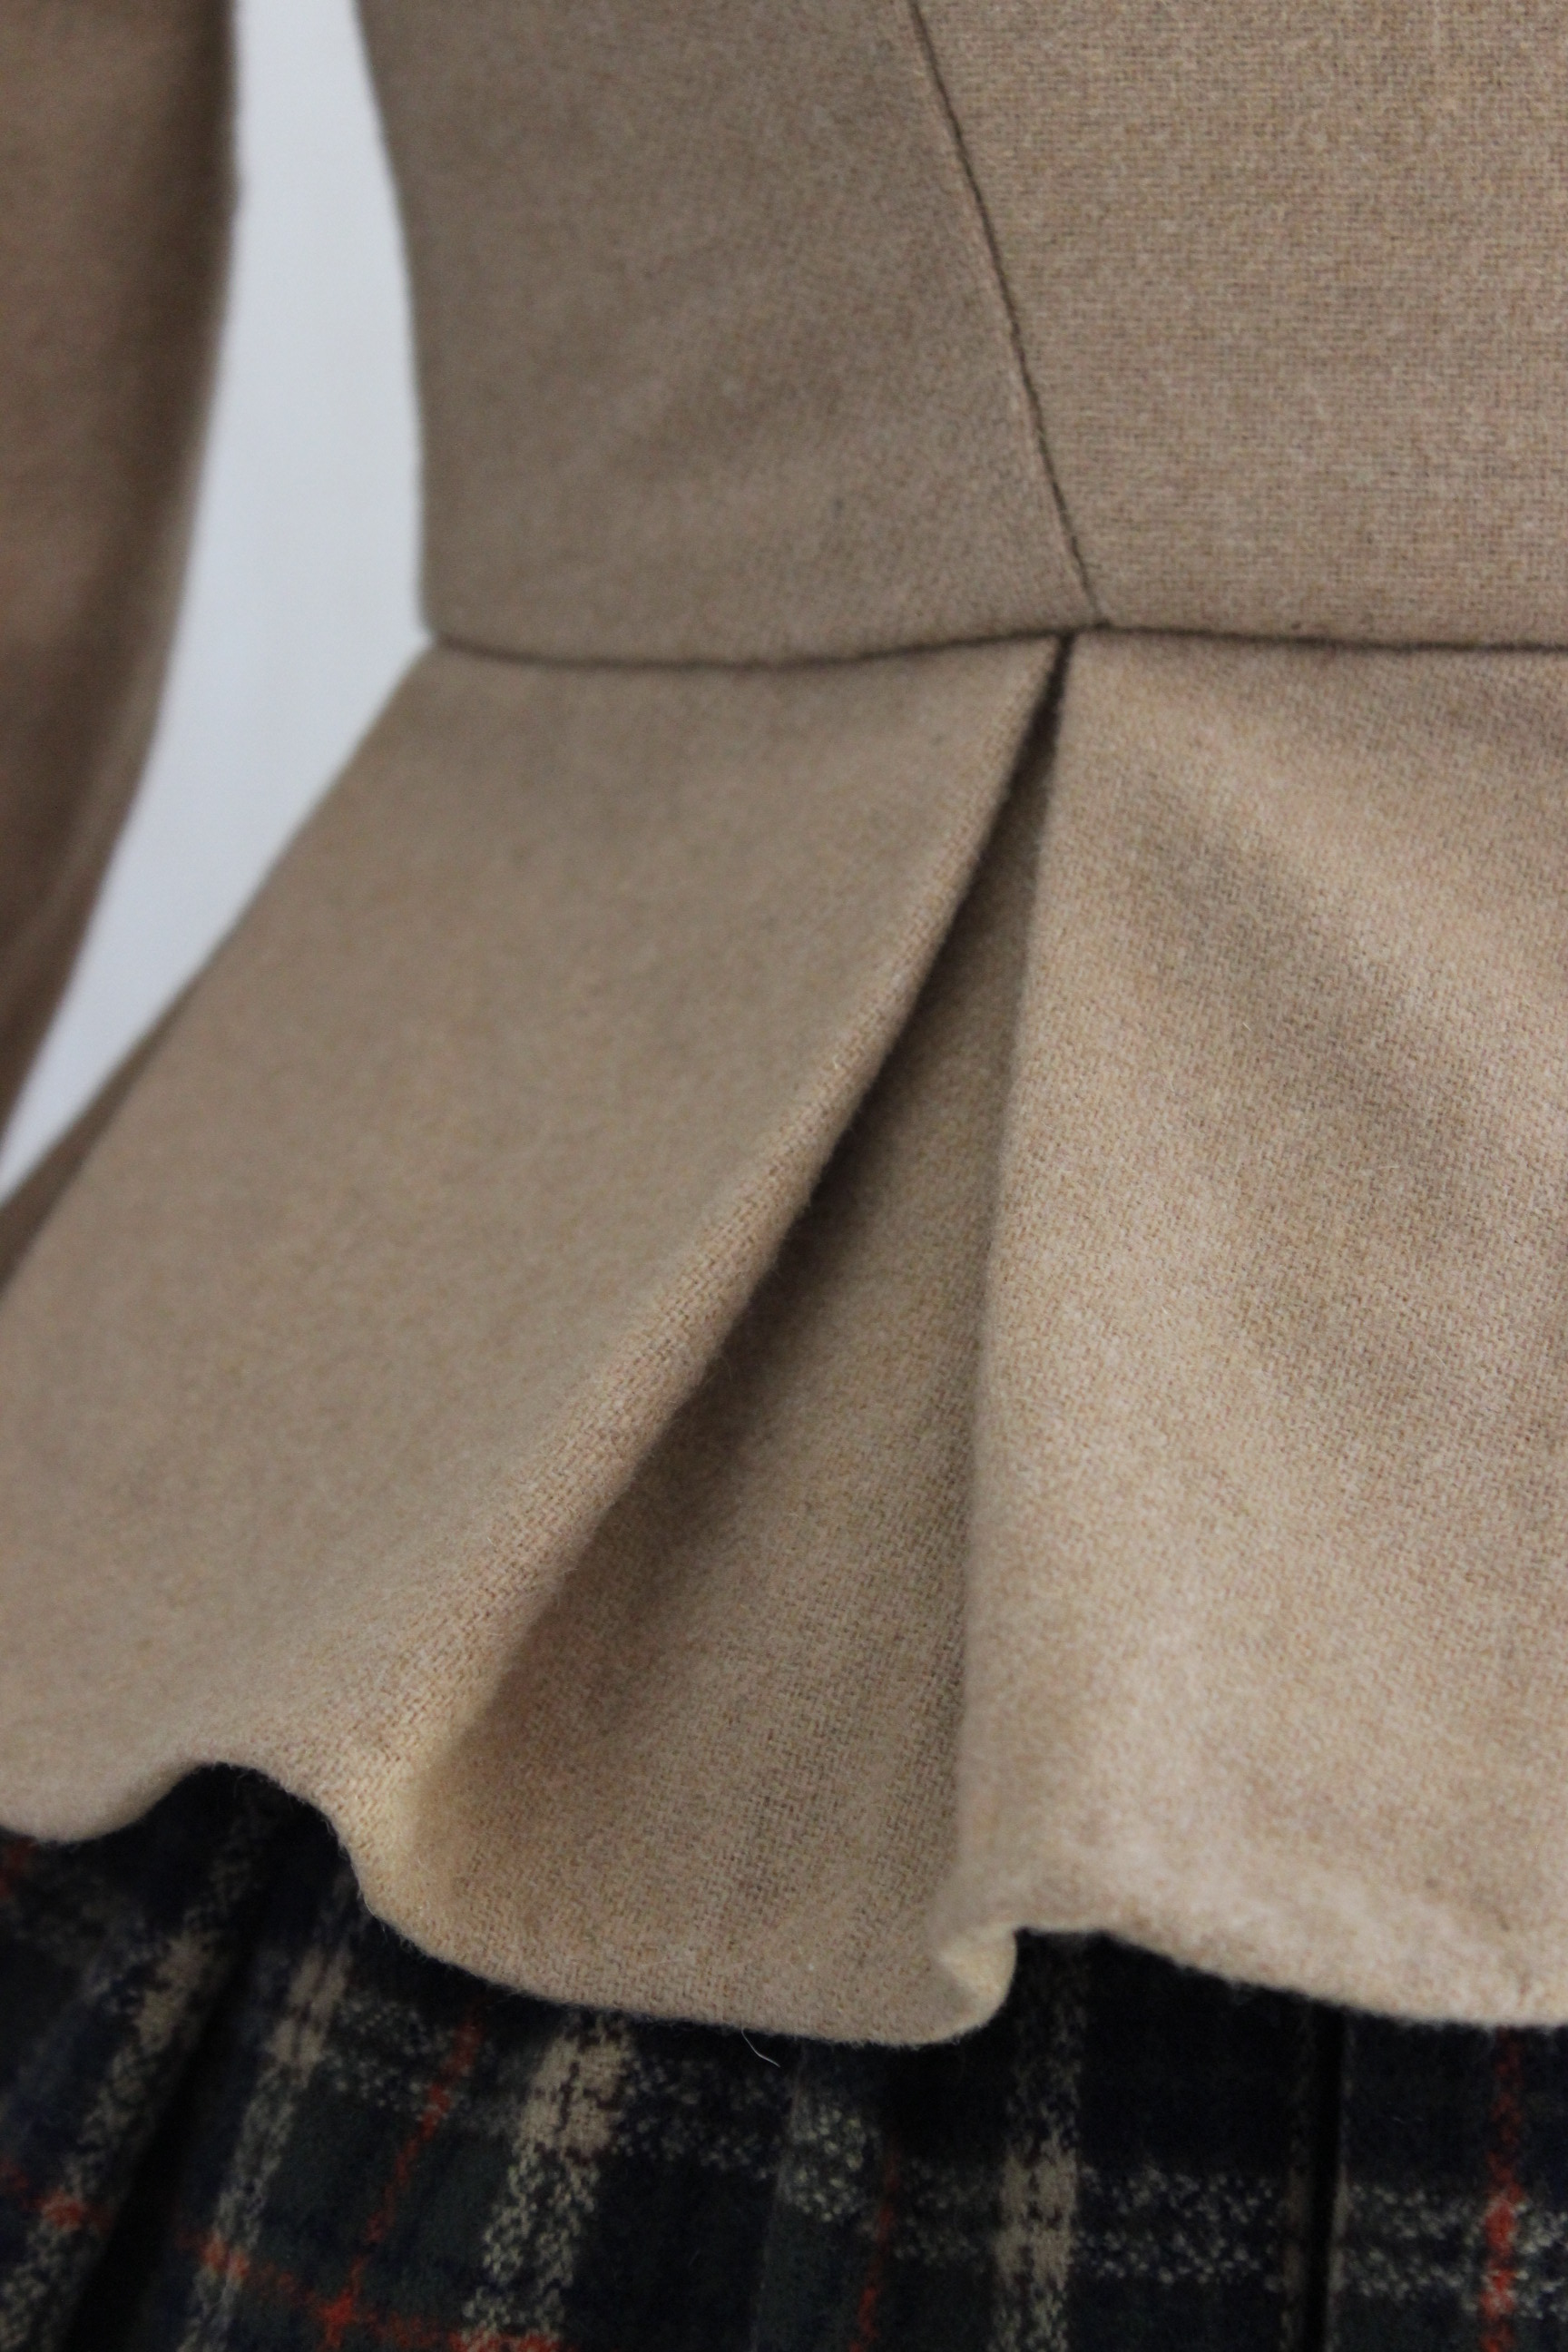
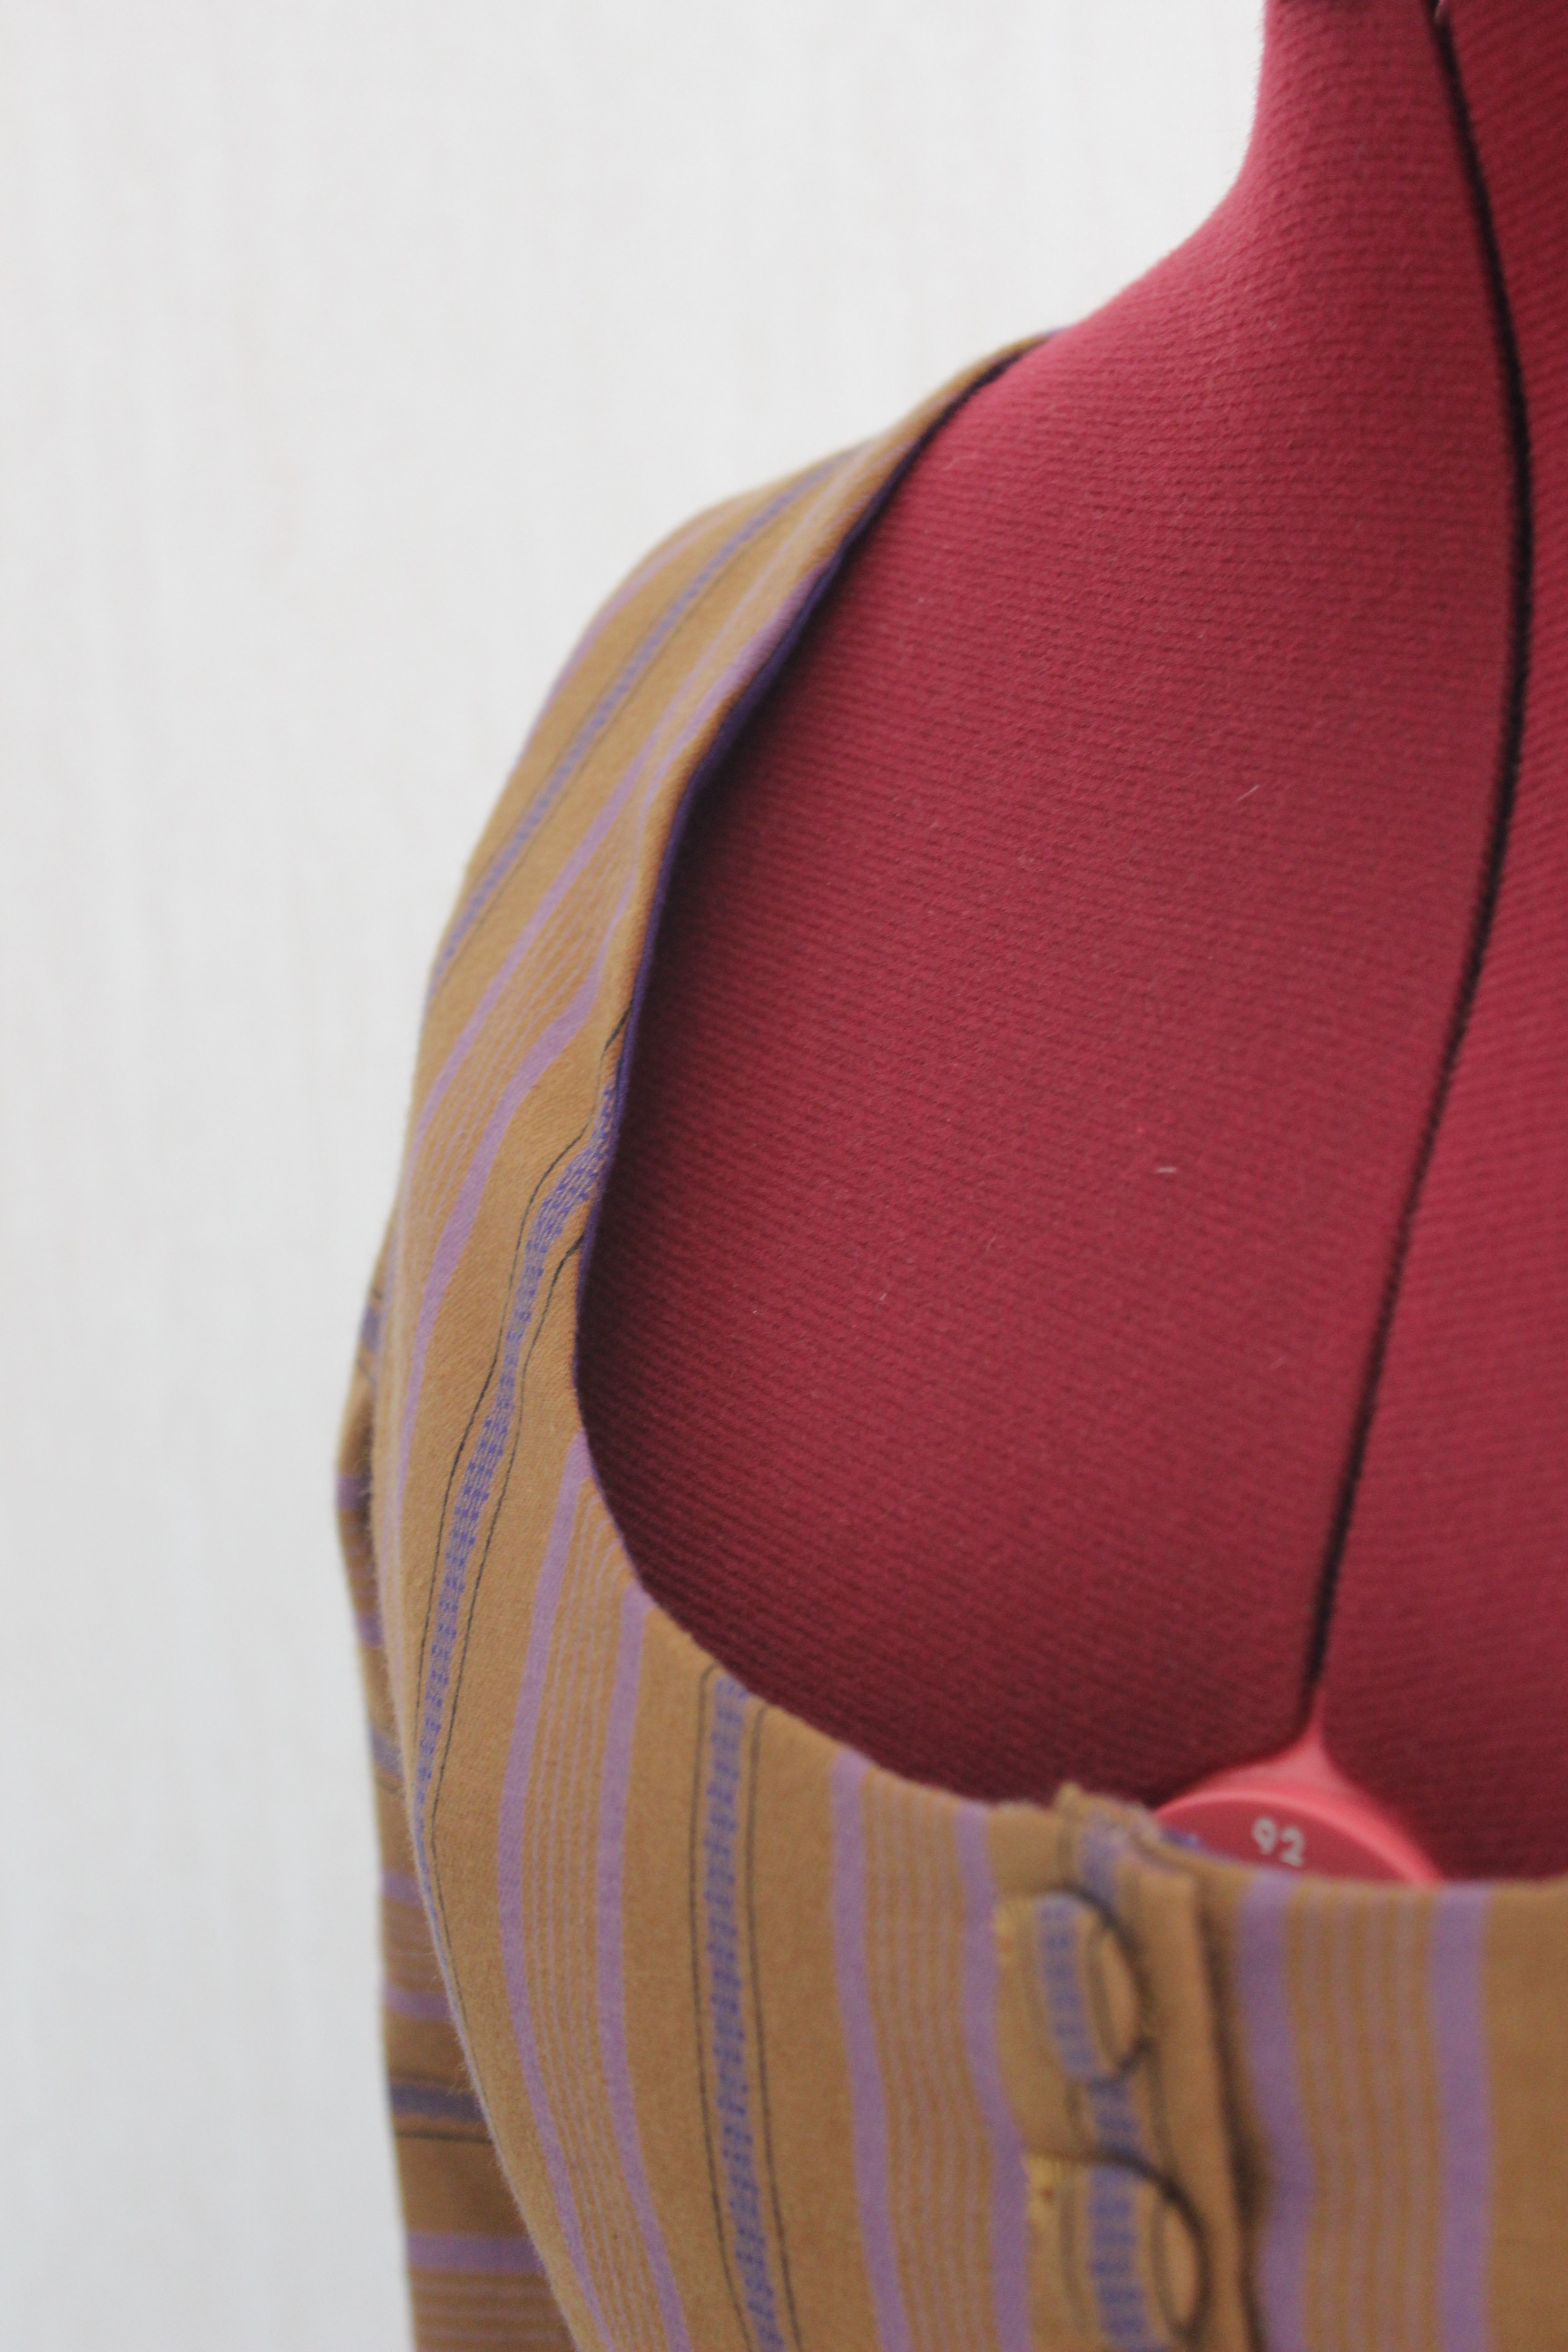
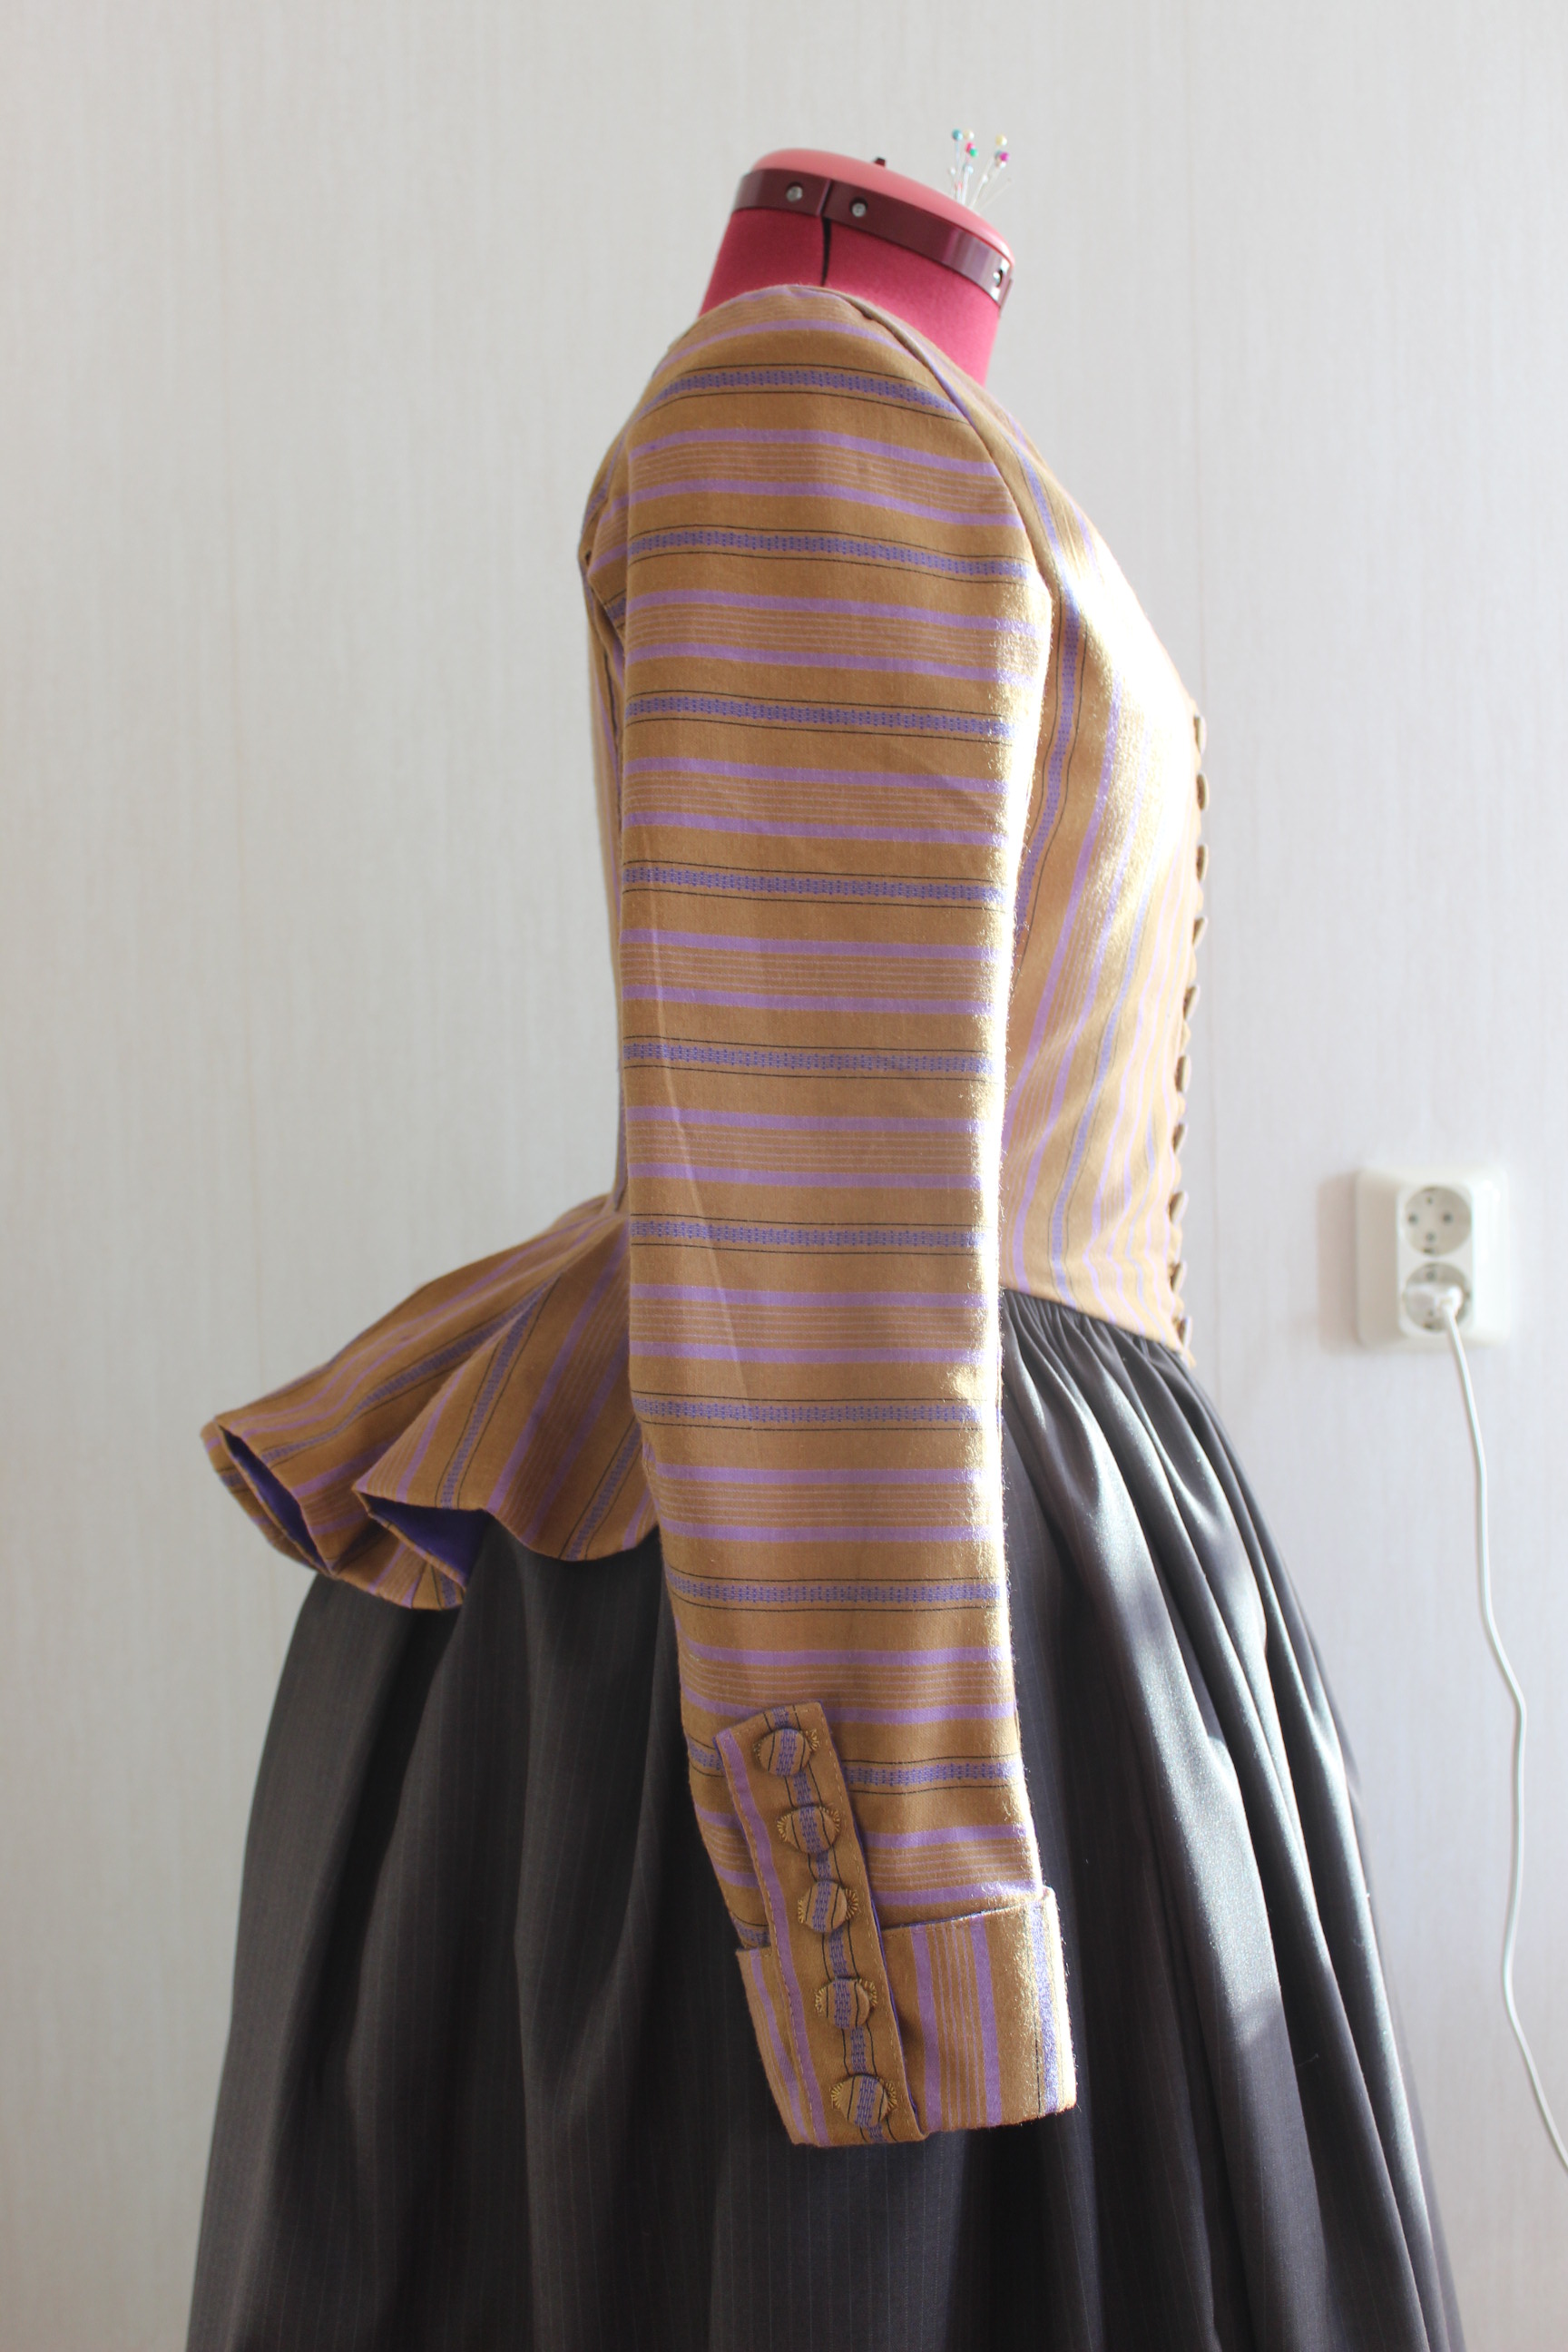
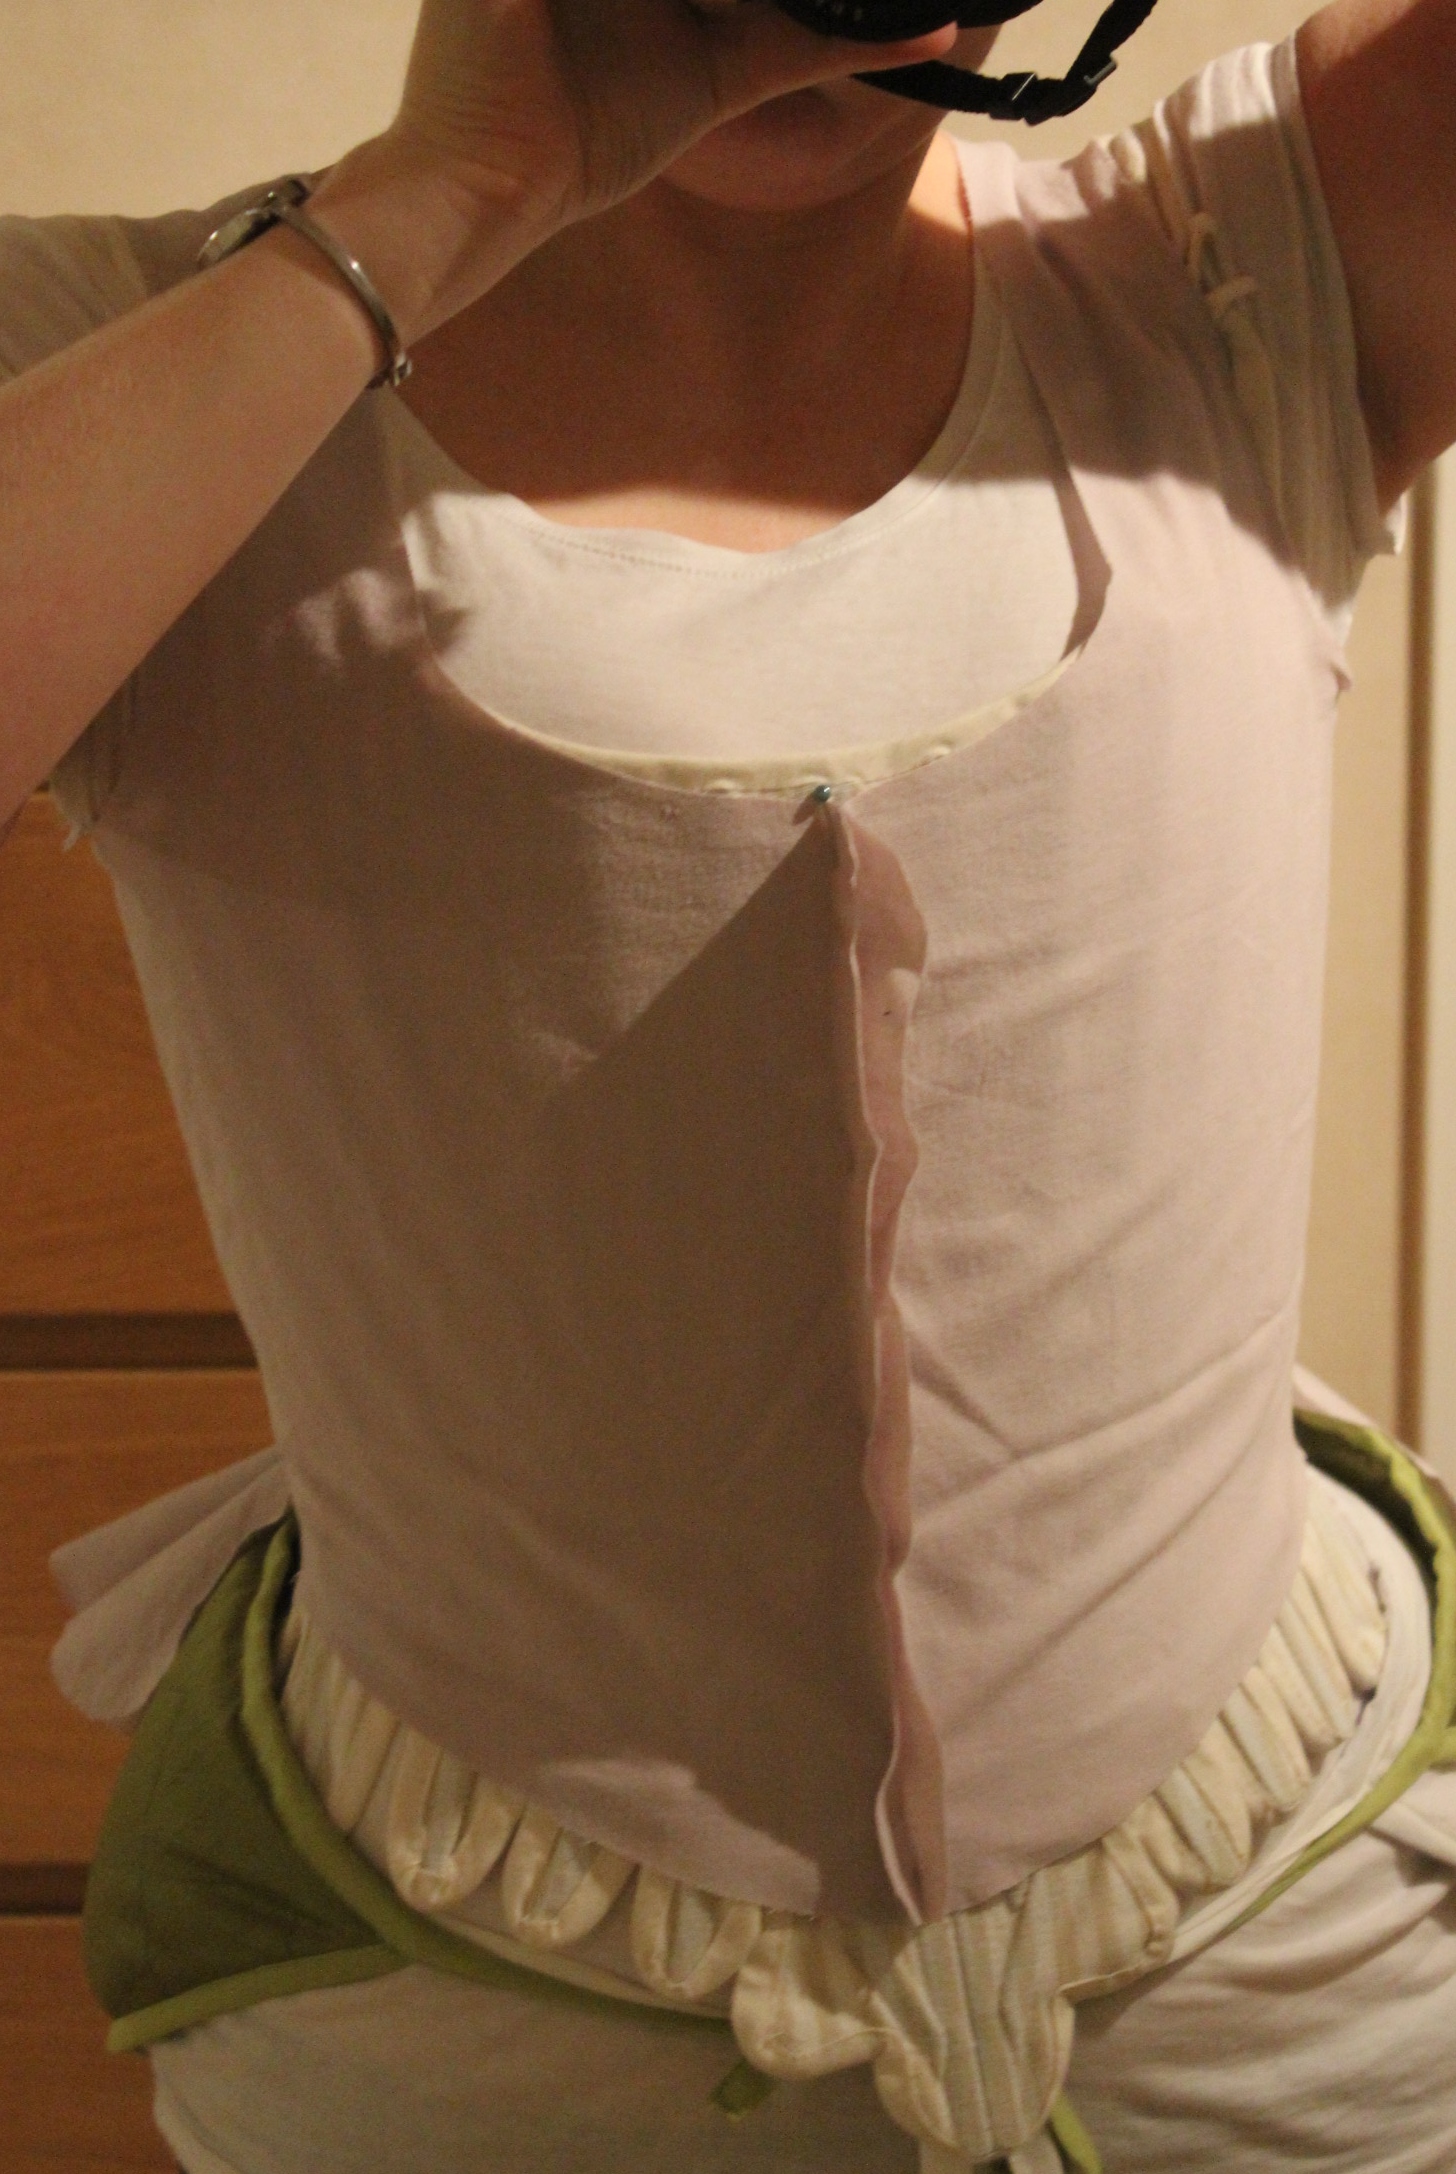
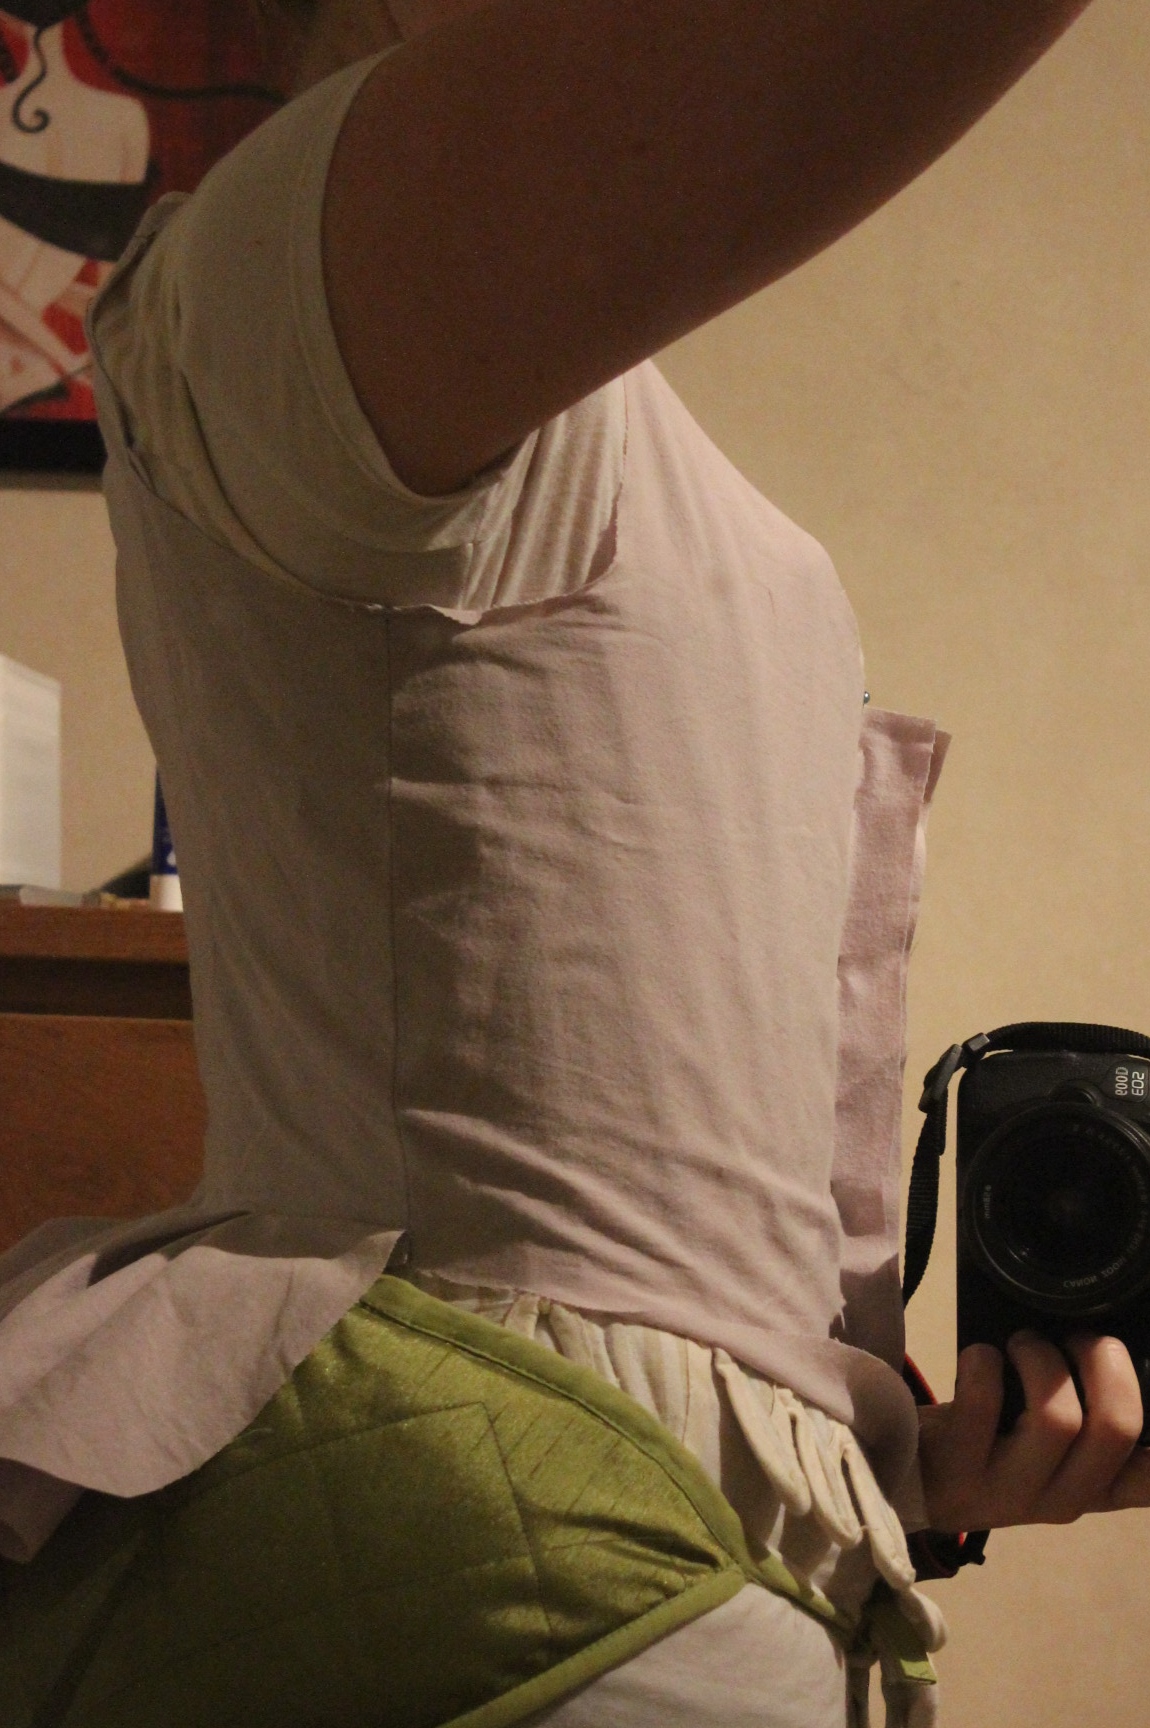
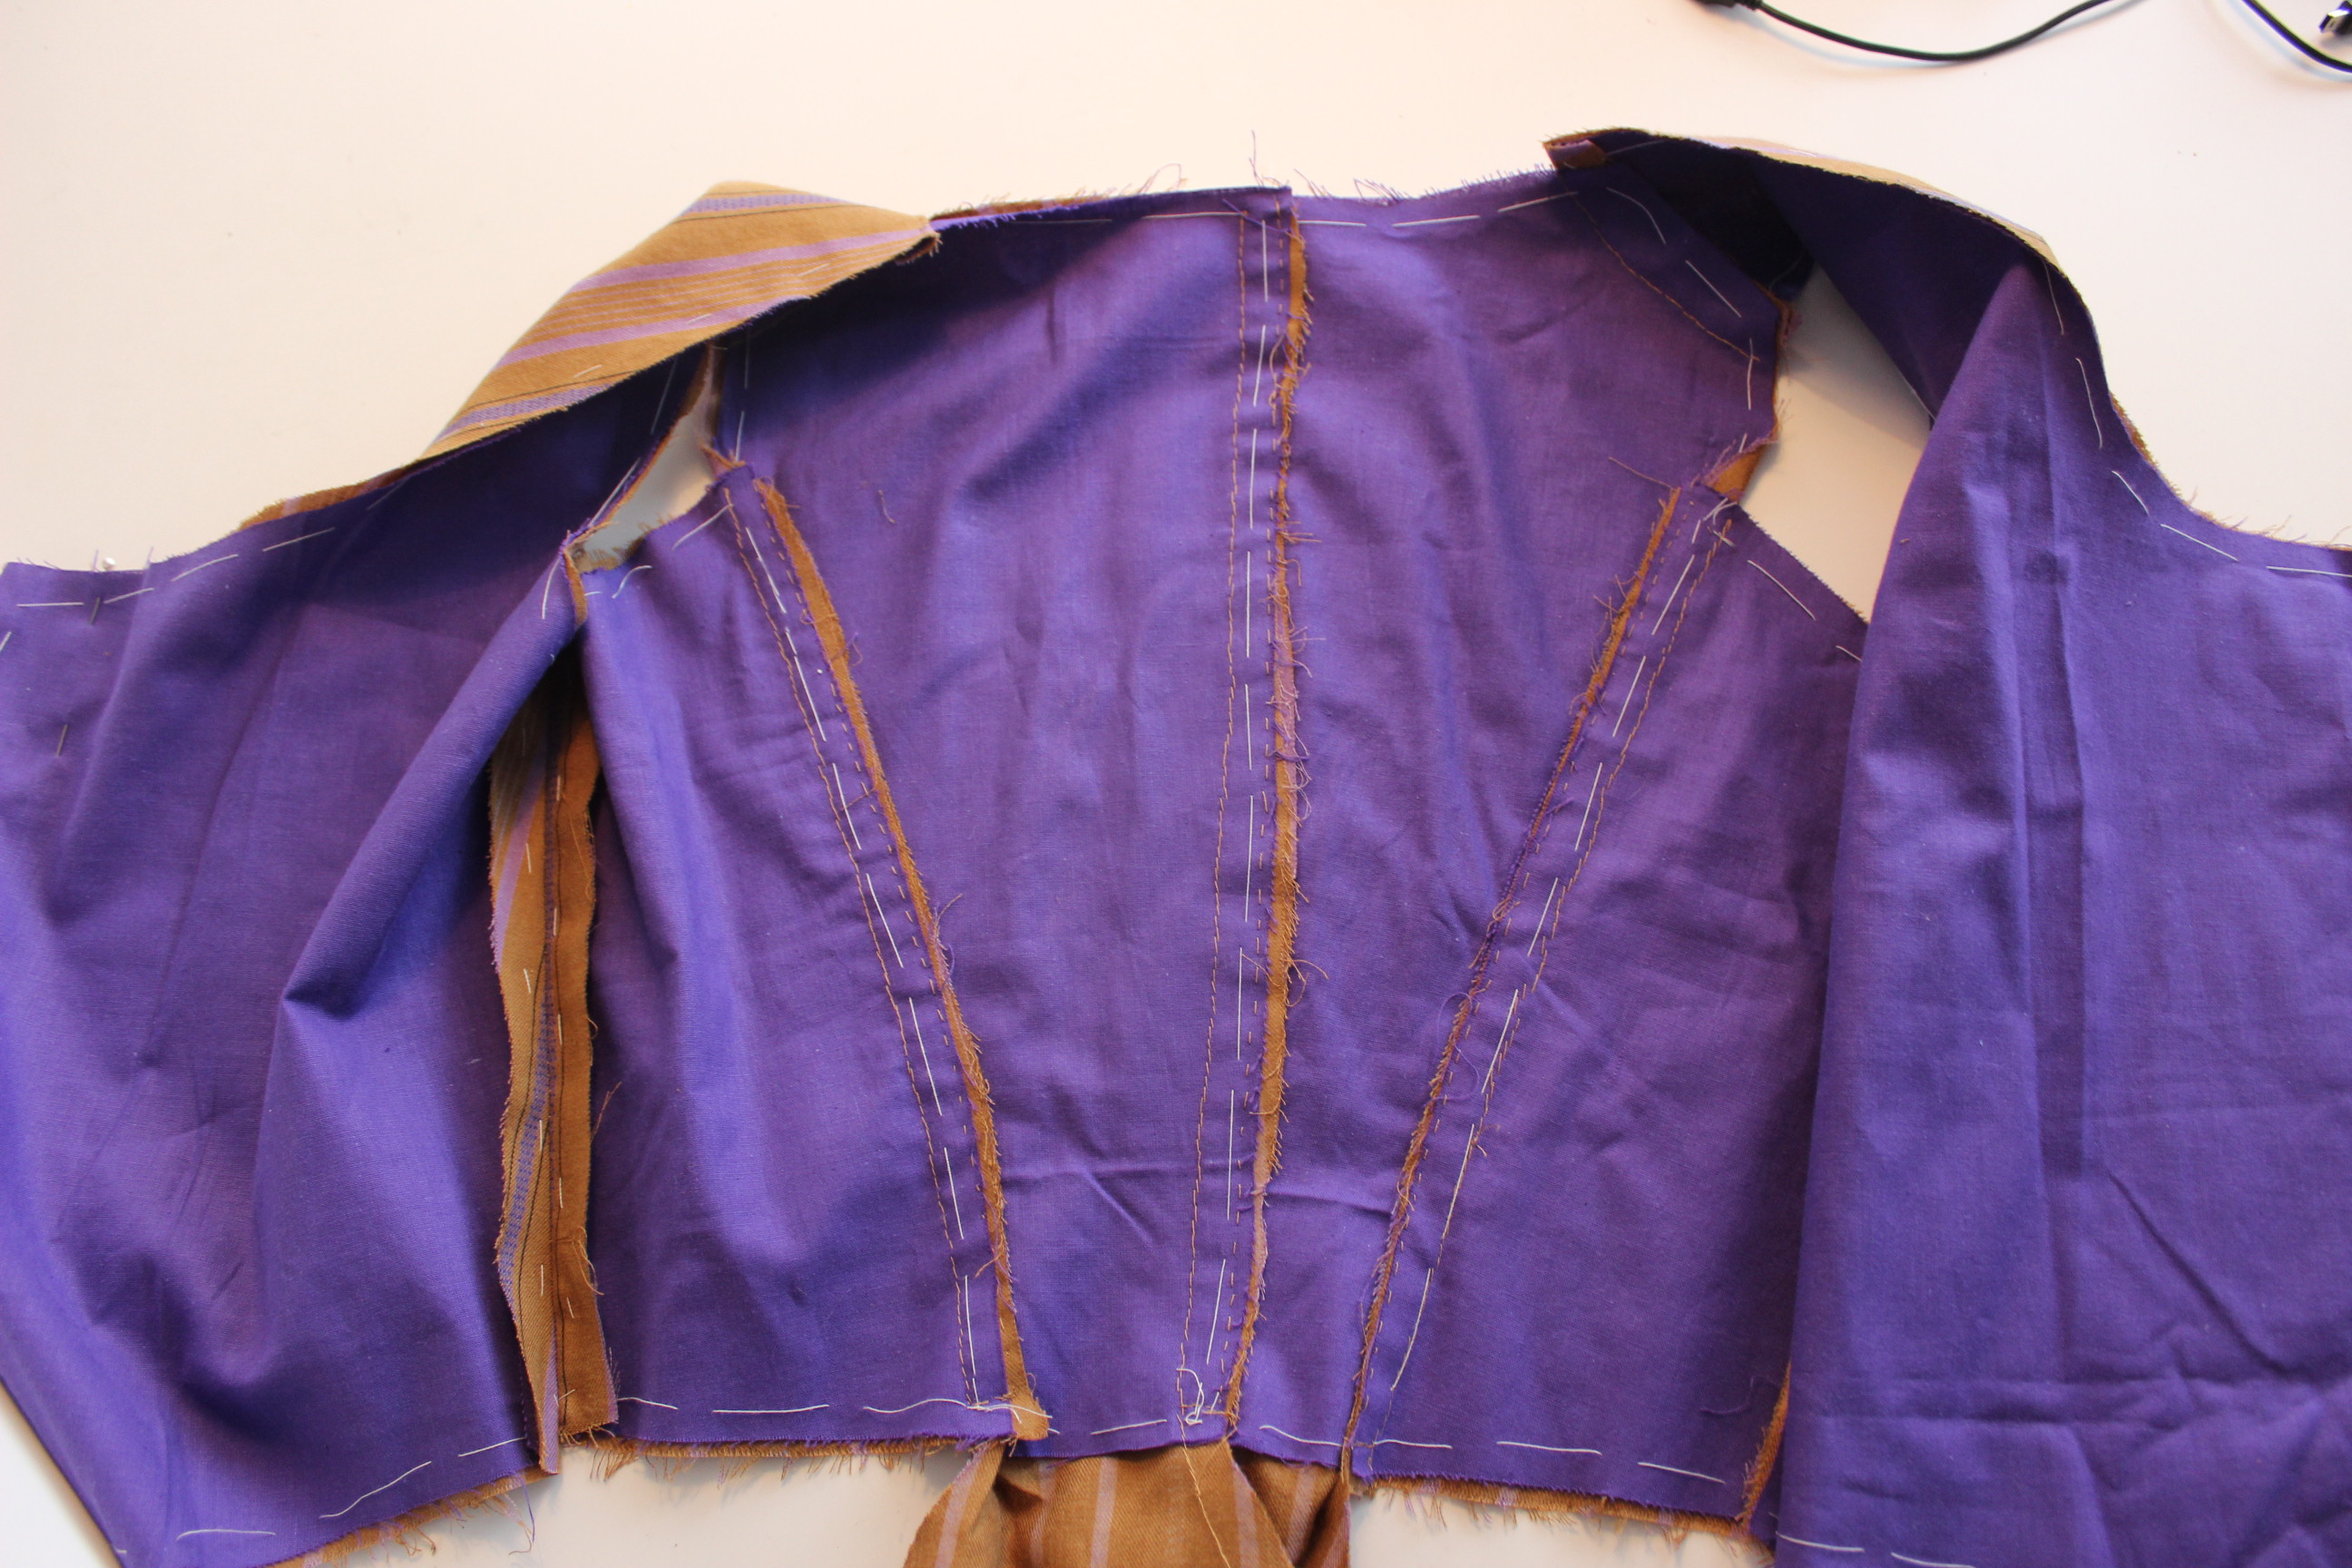
Then it was time for the jacket.

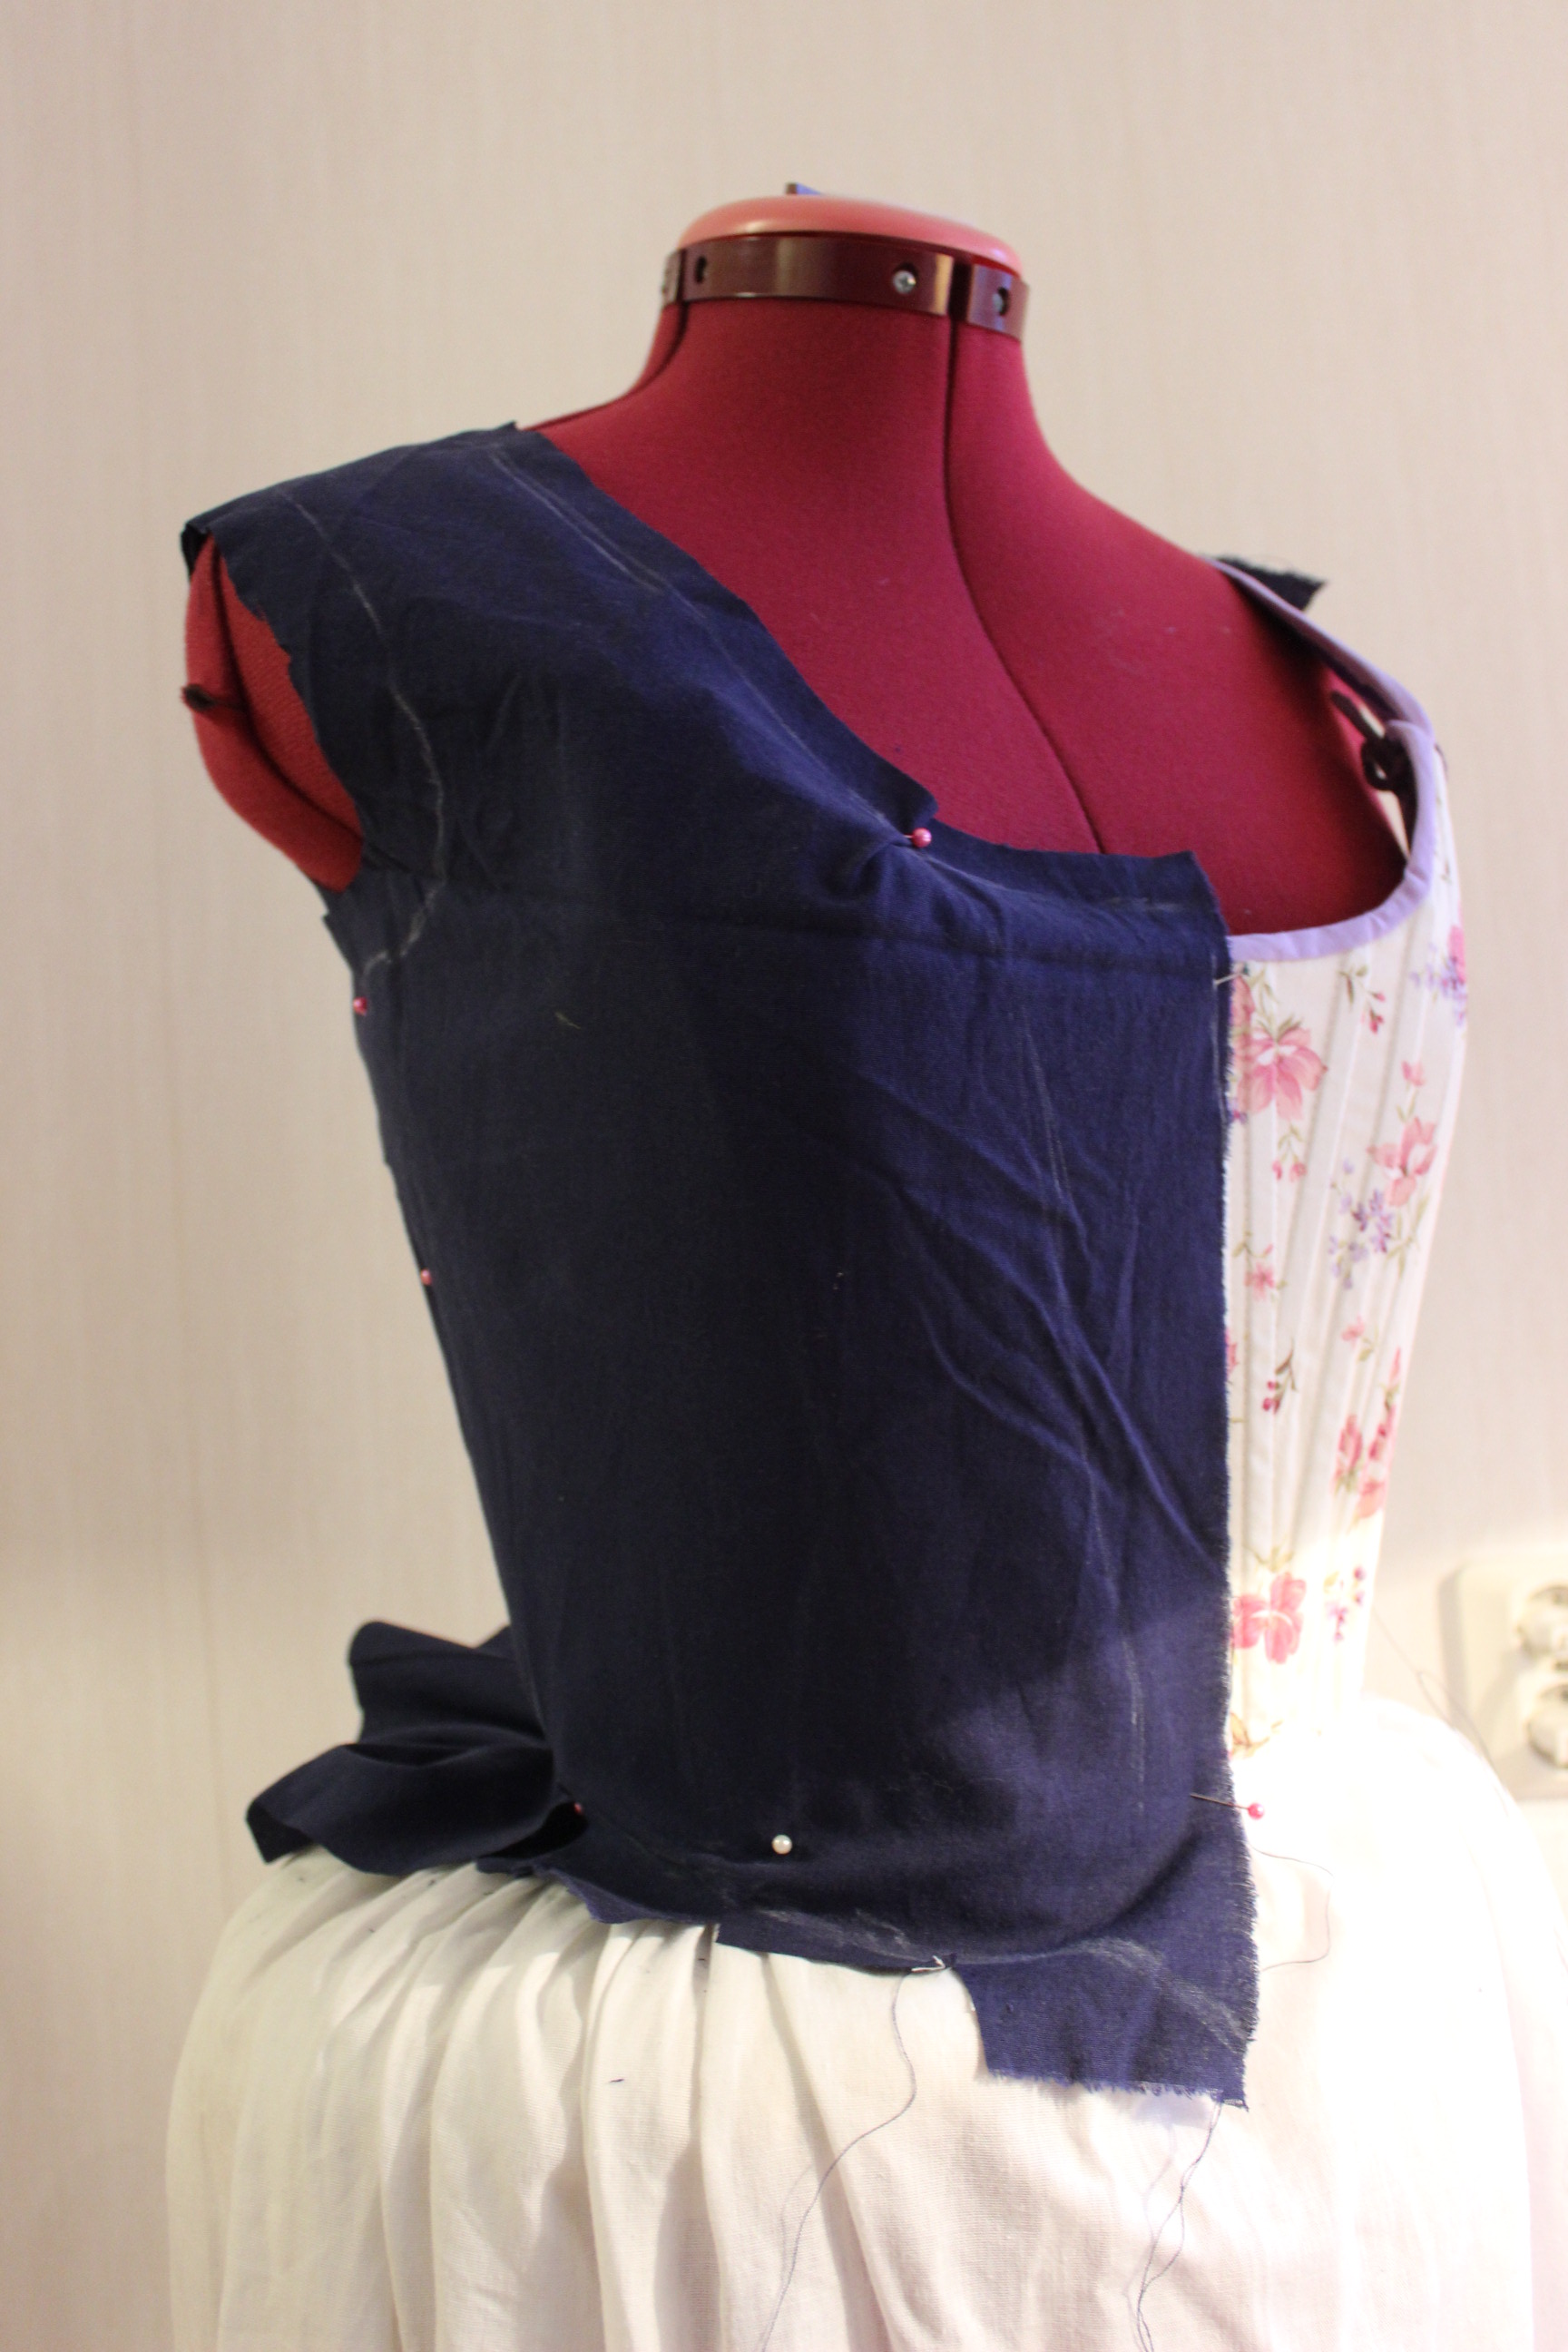
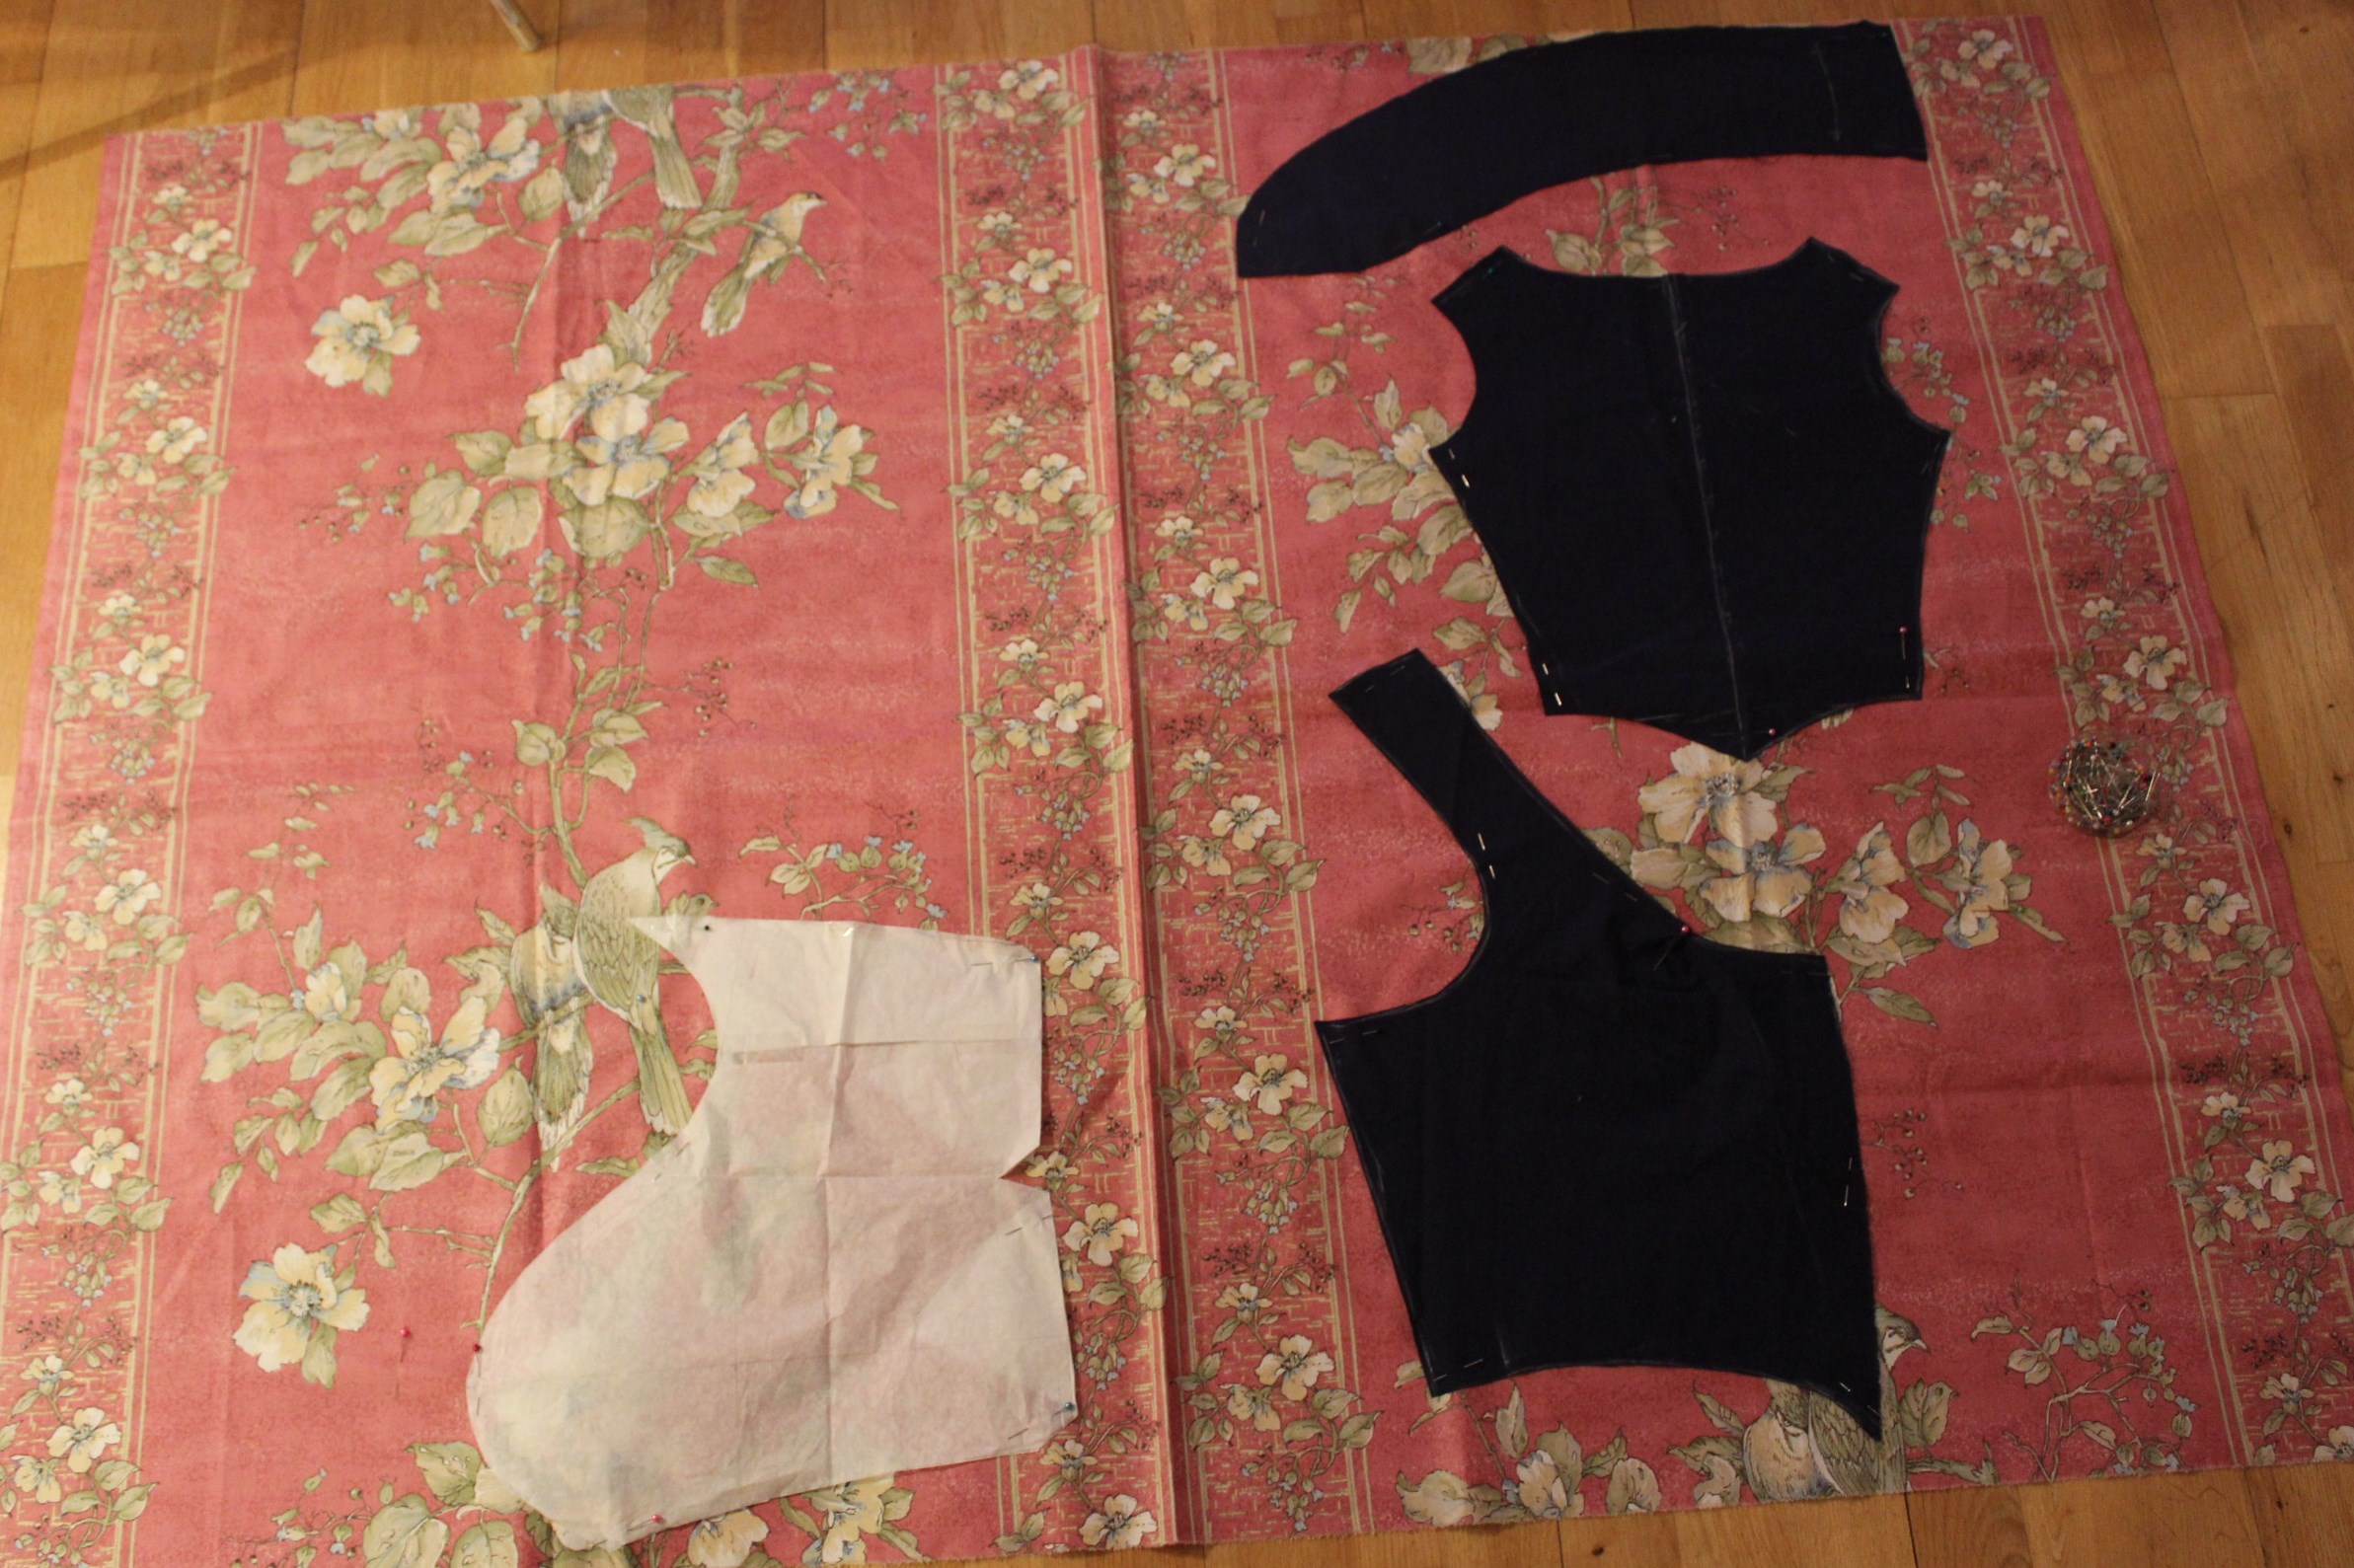
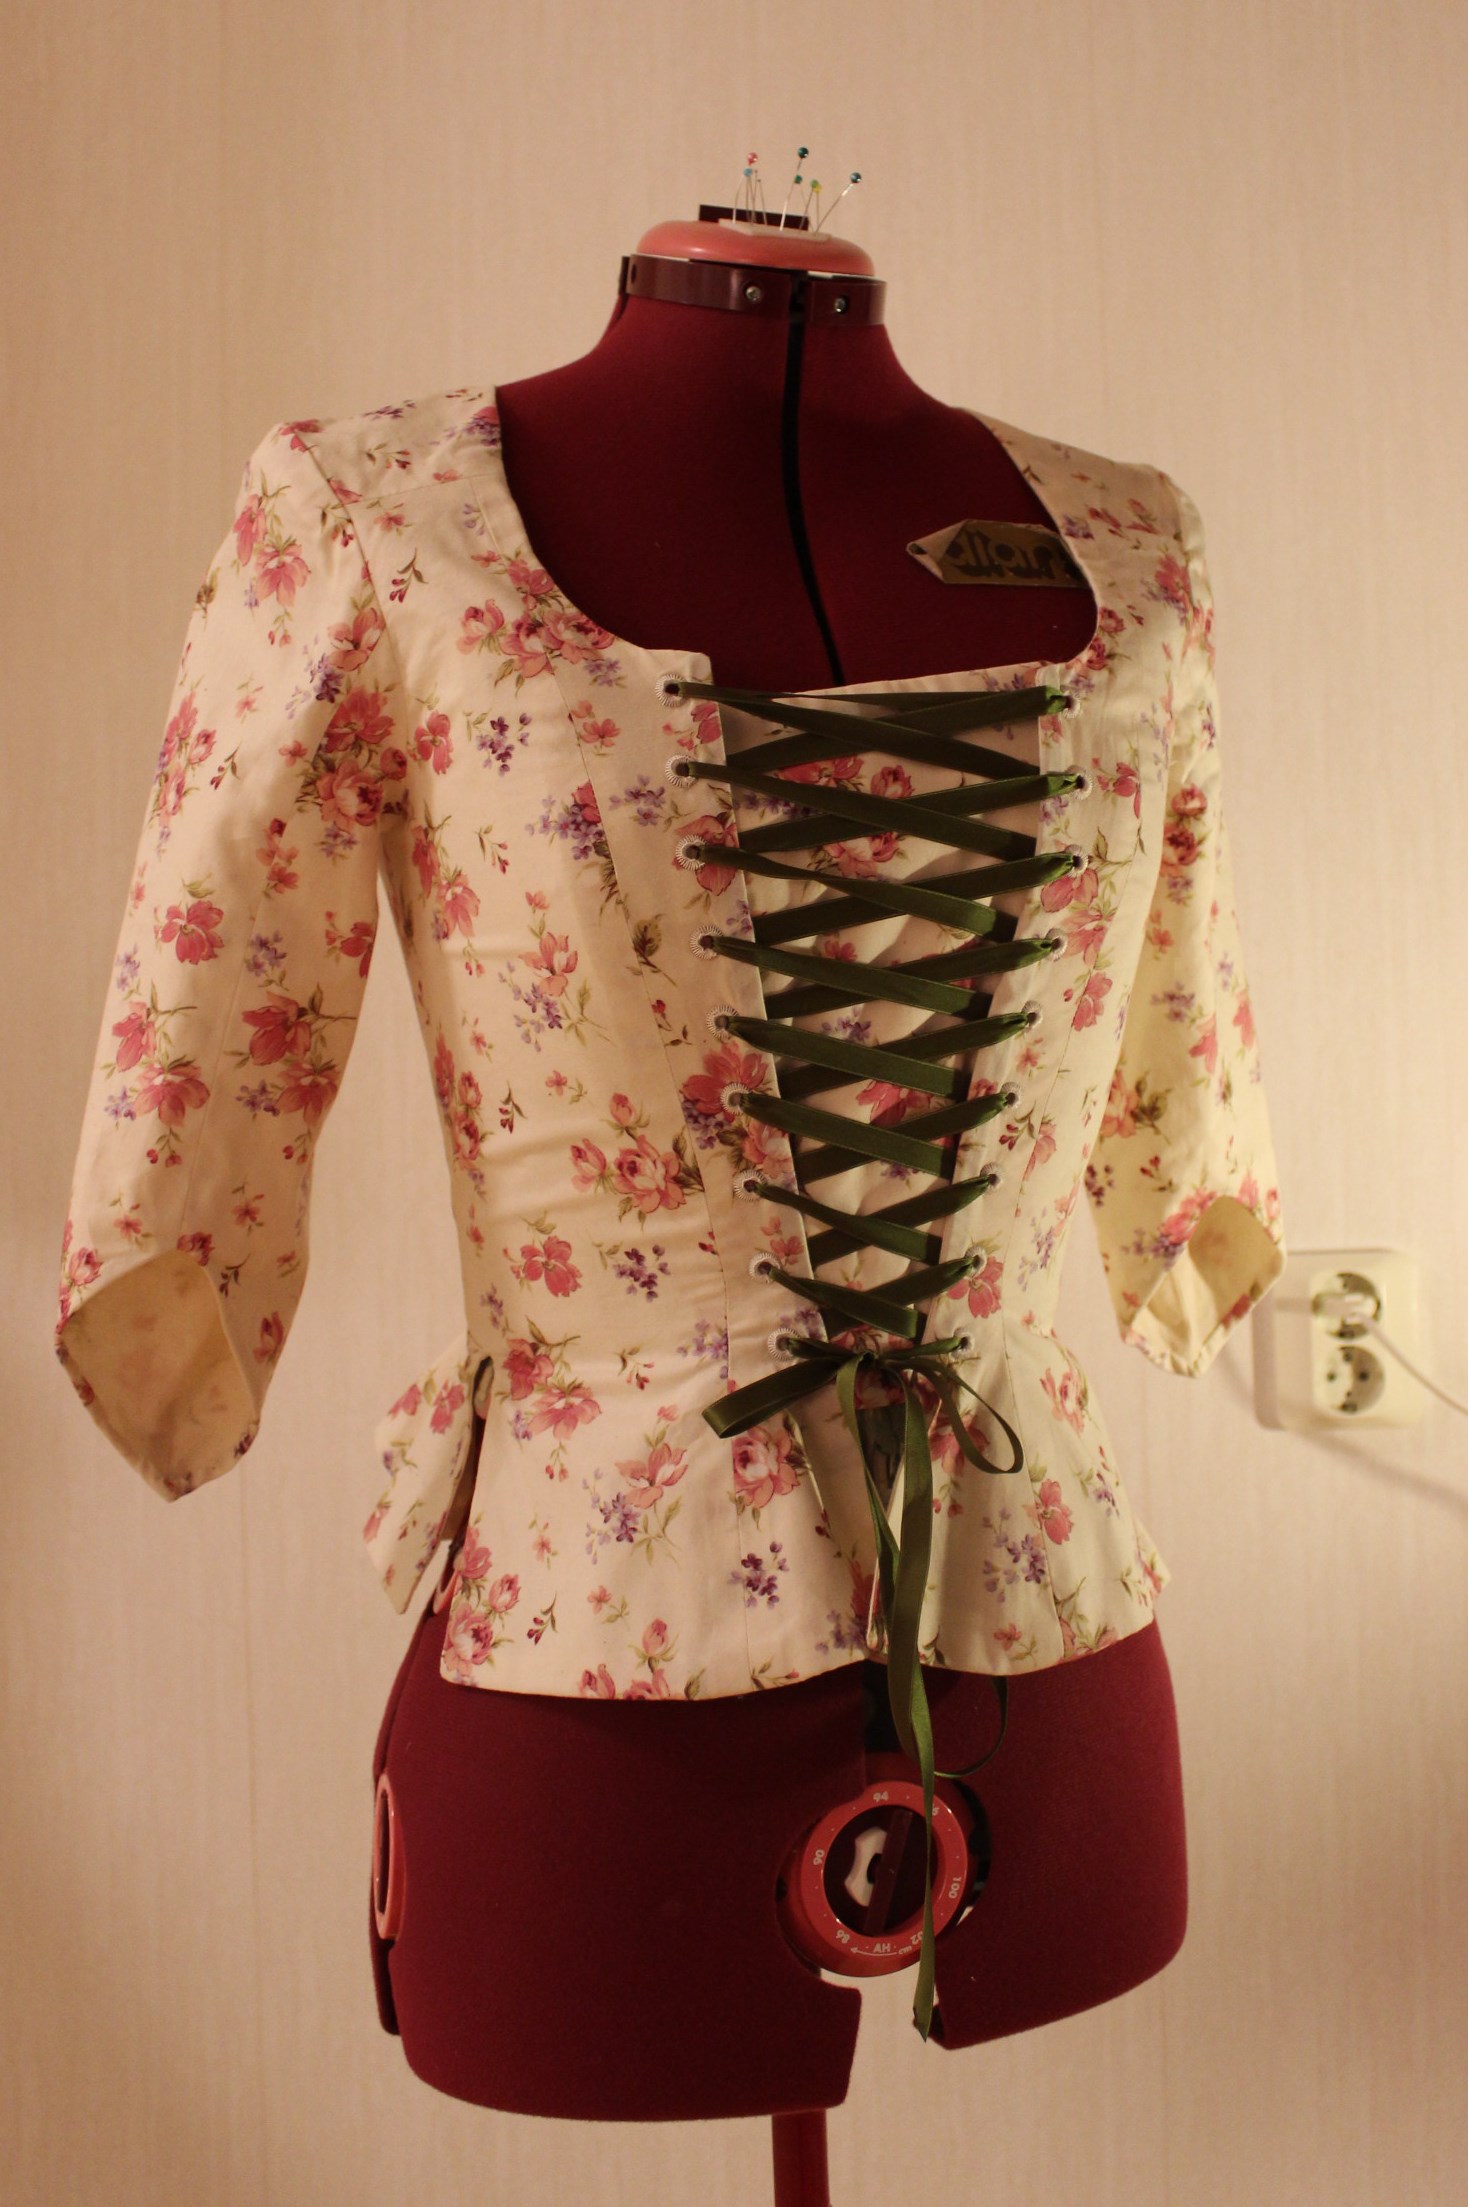
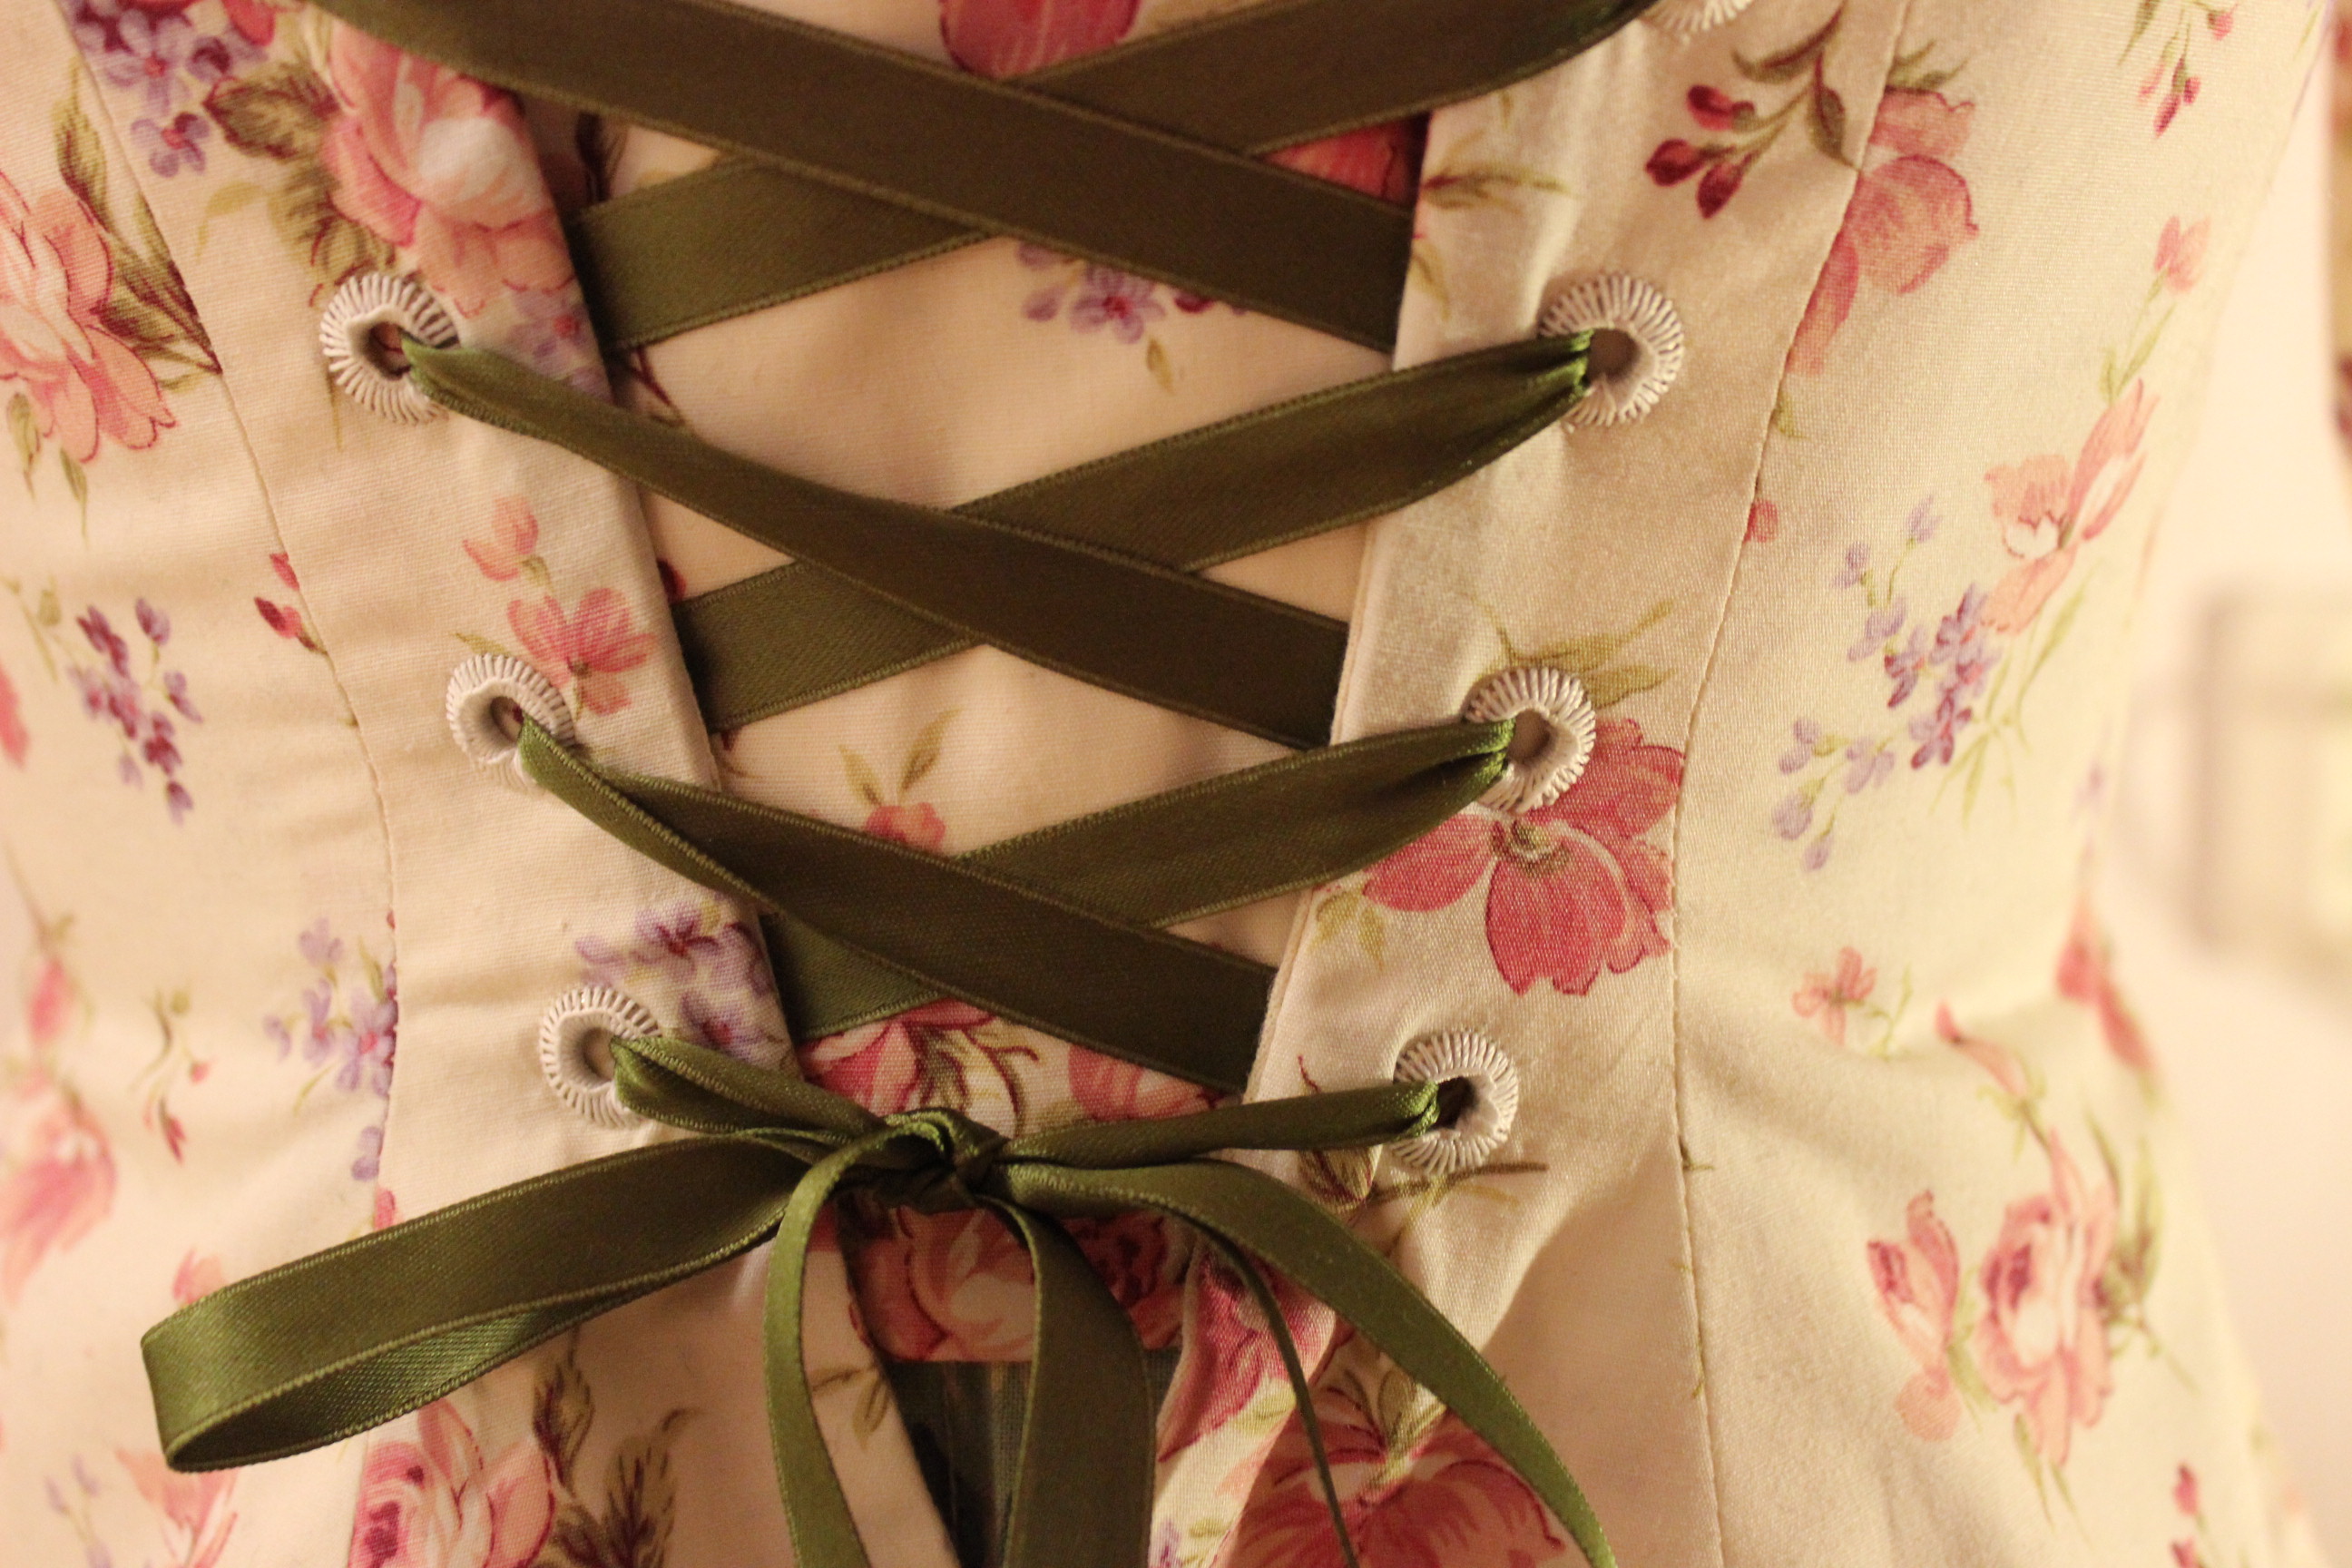
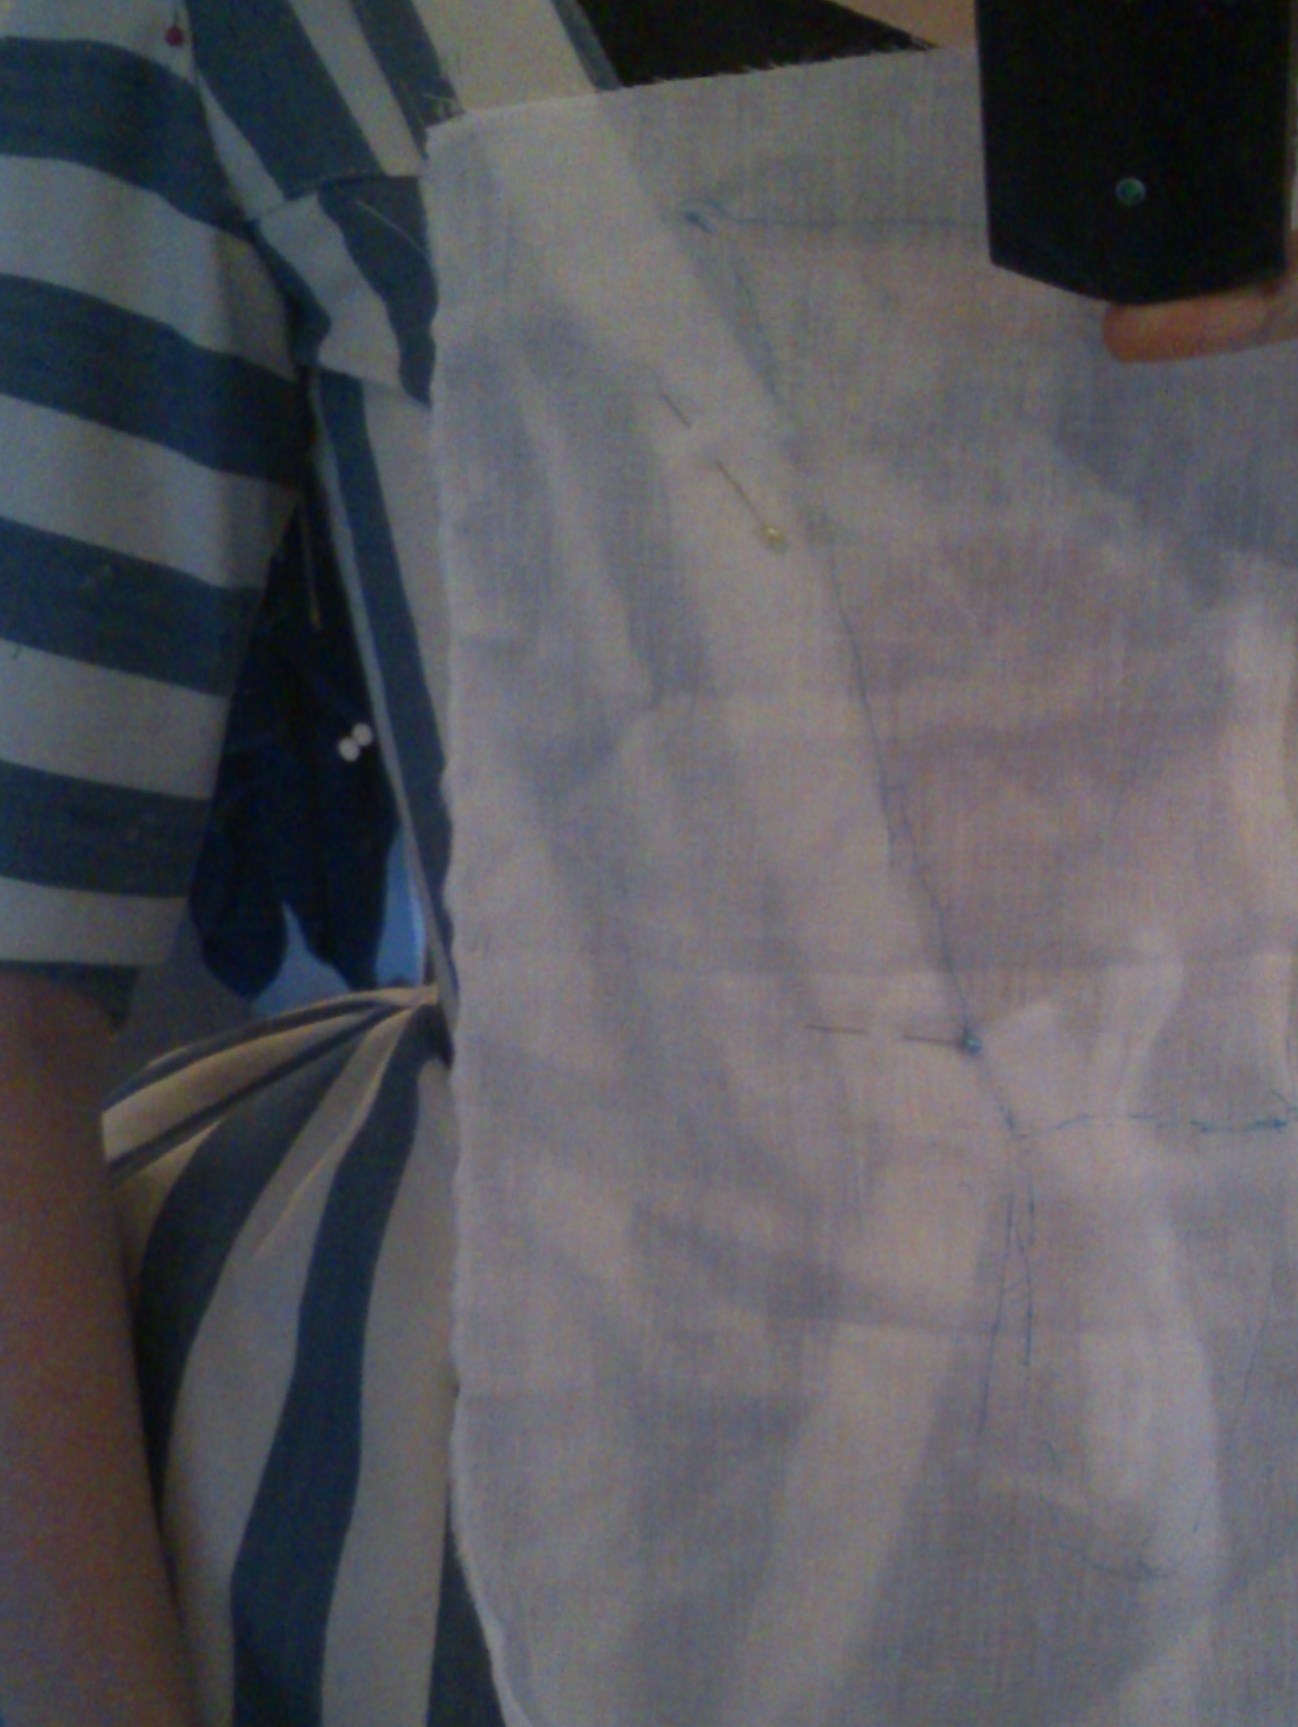
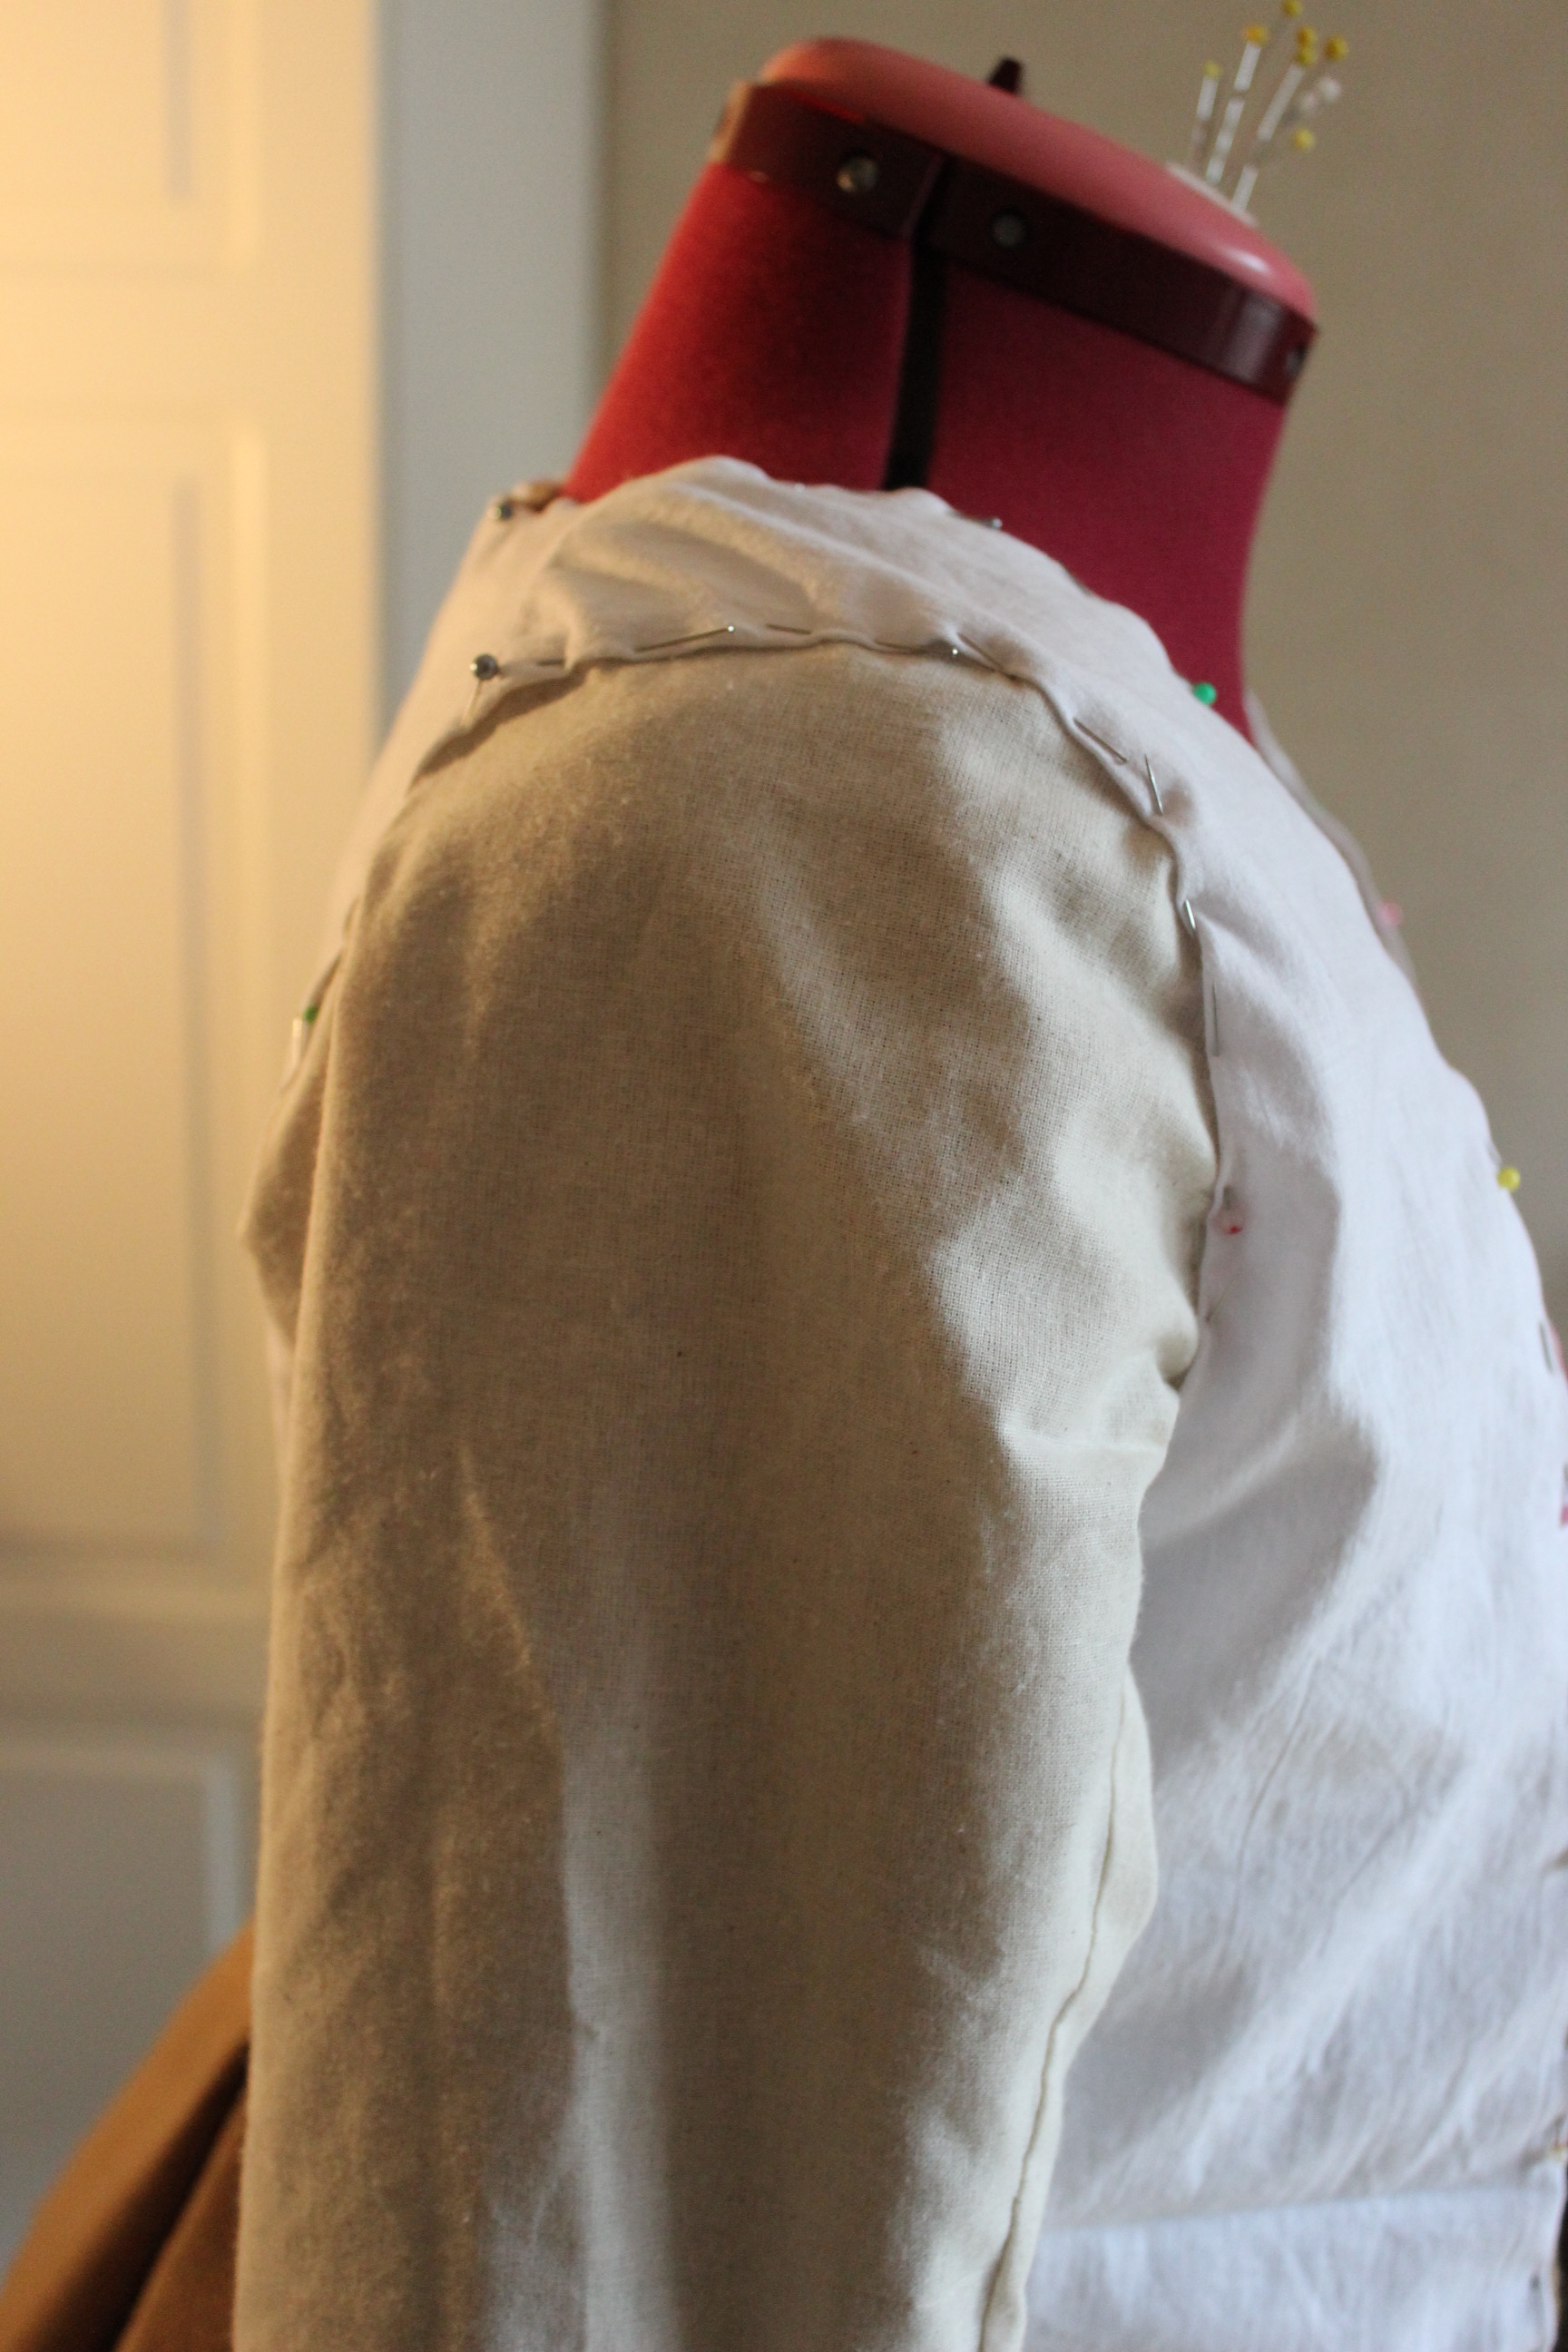
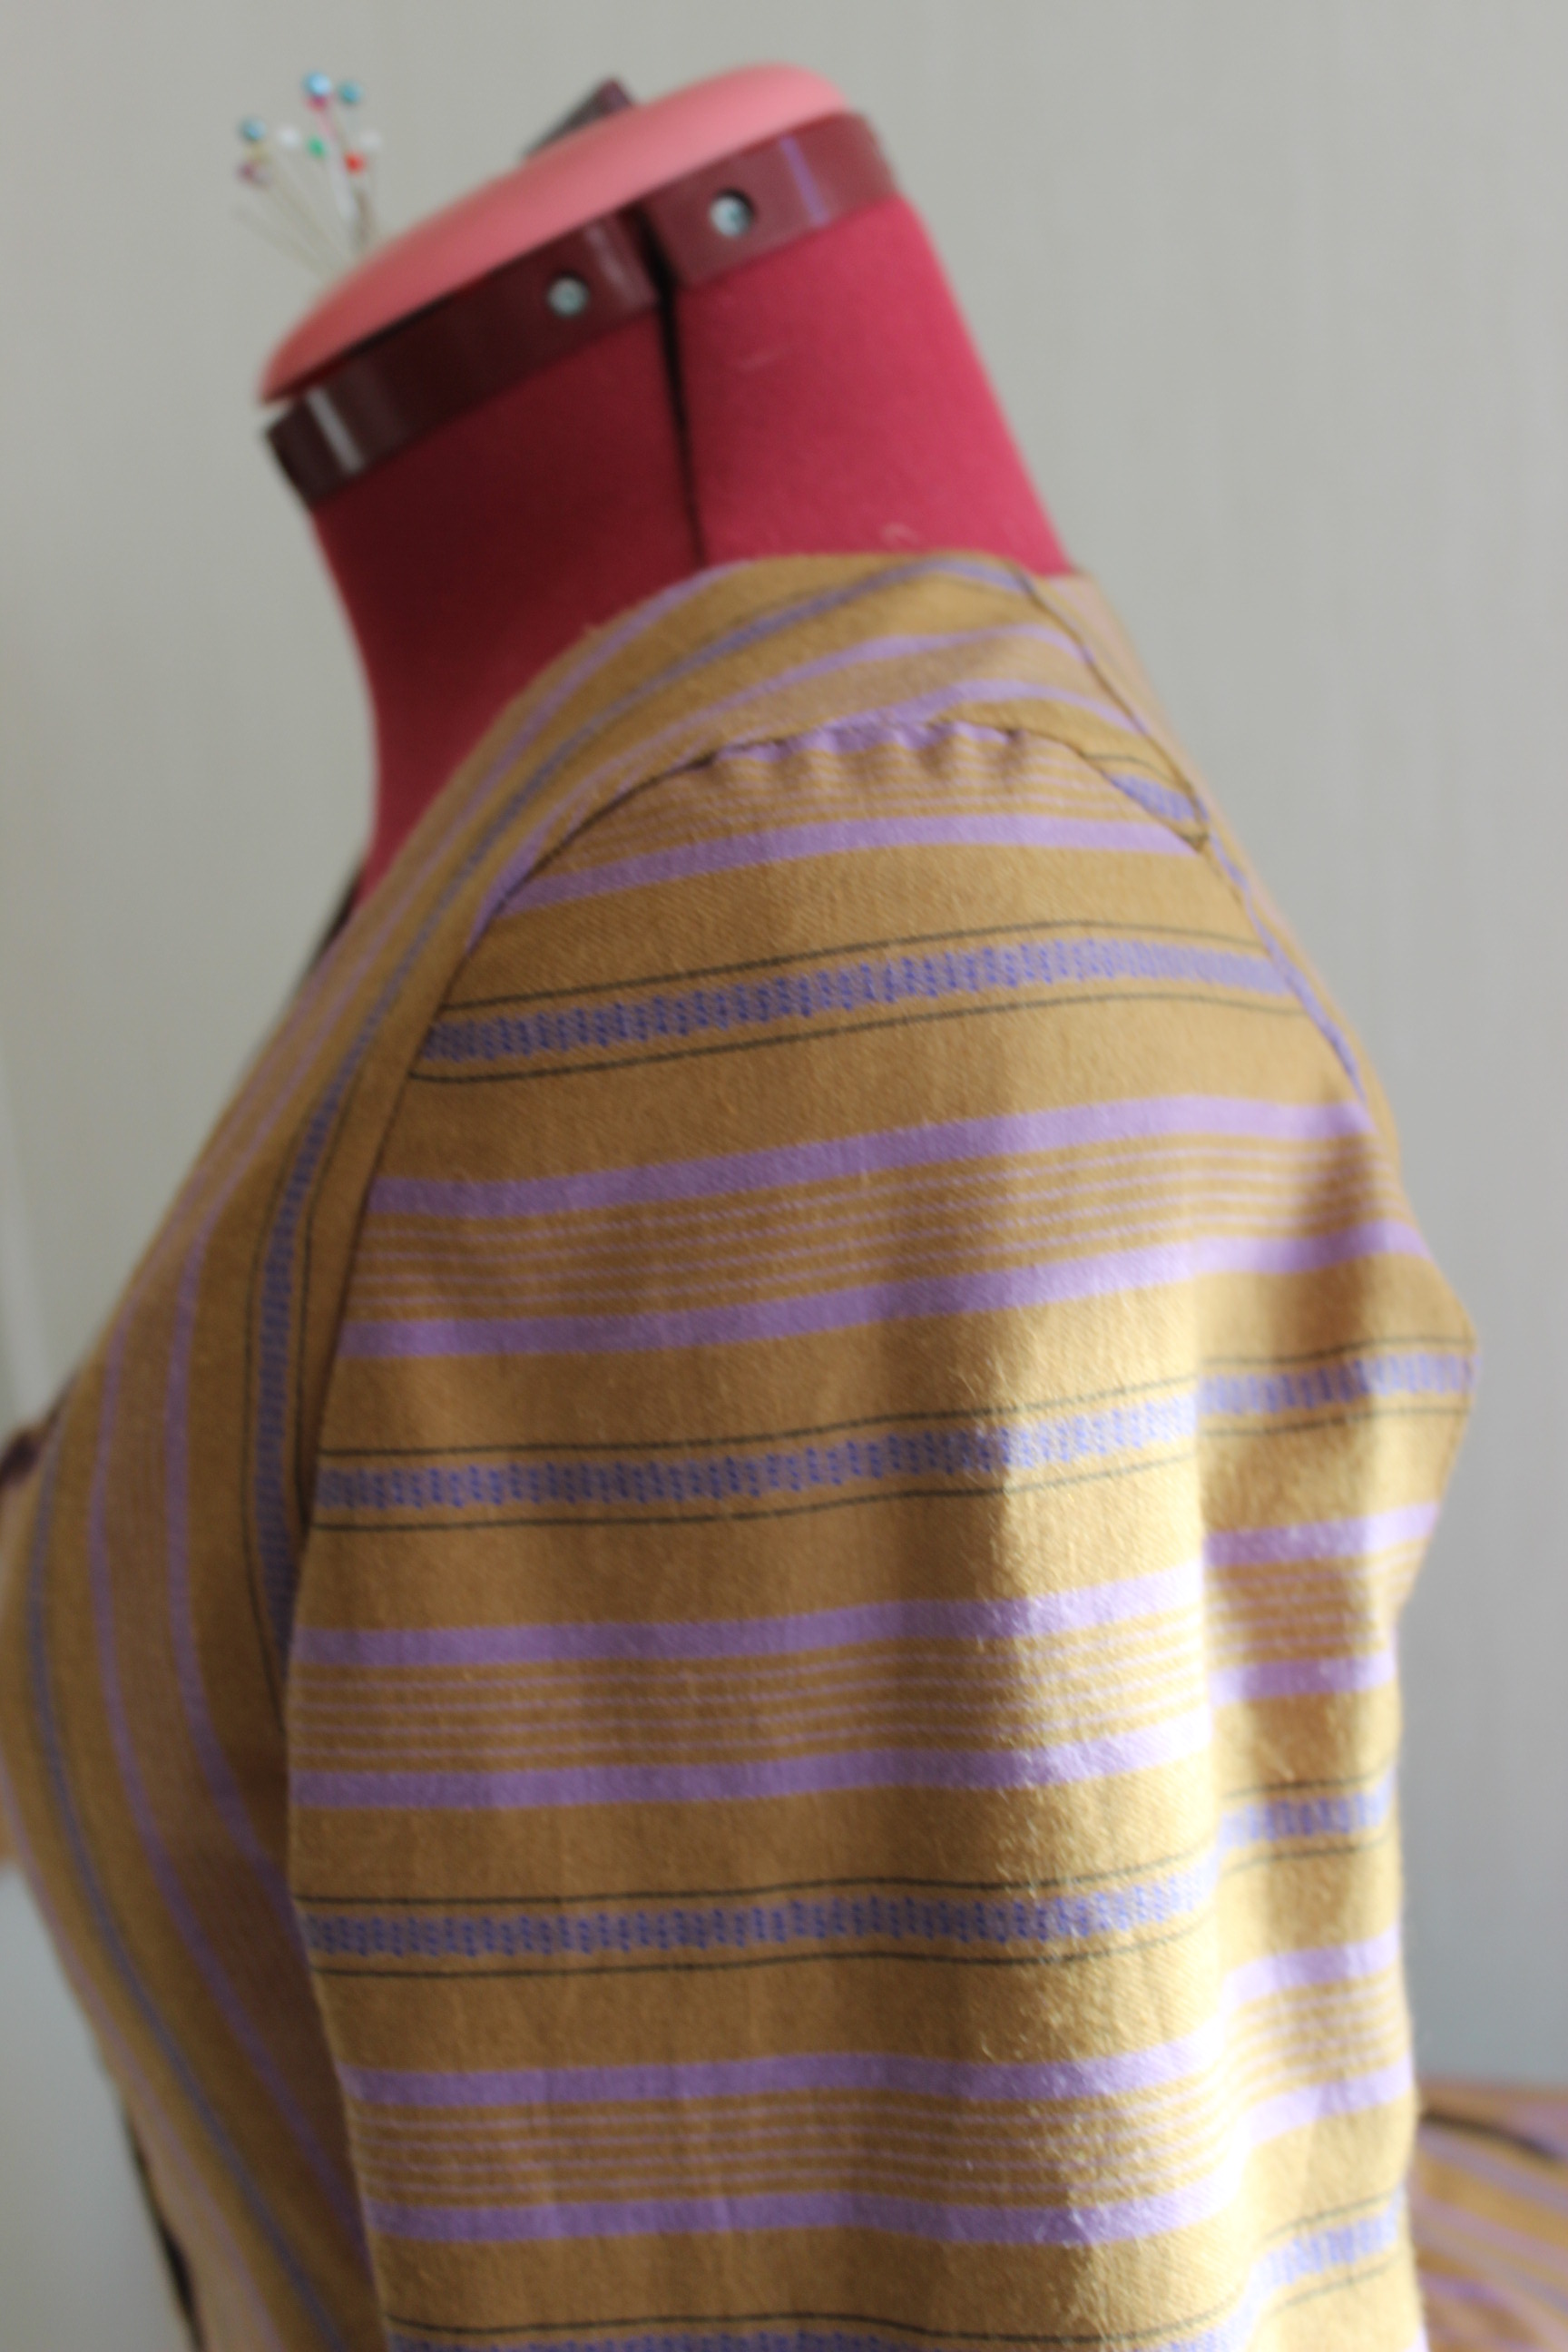
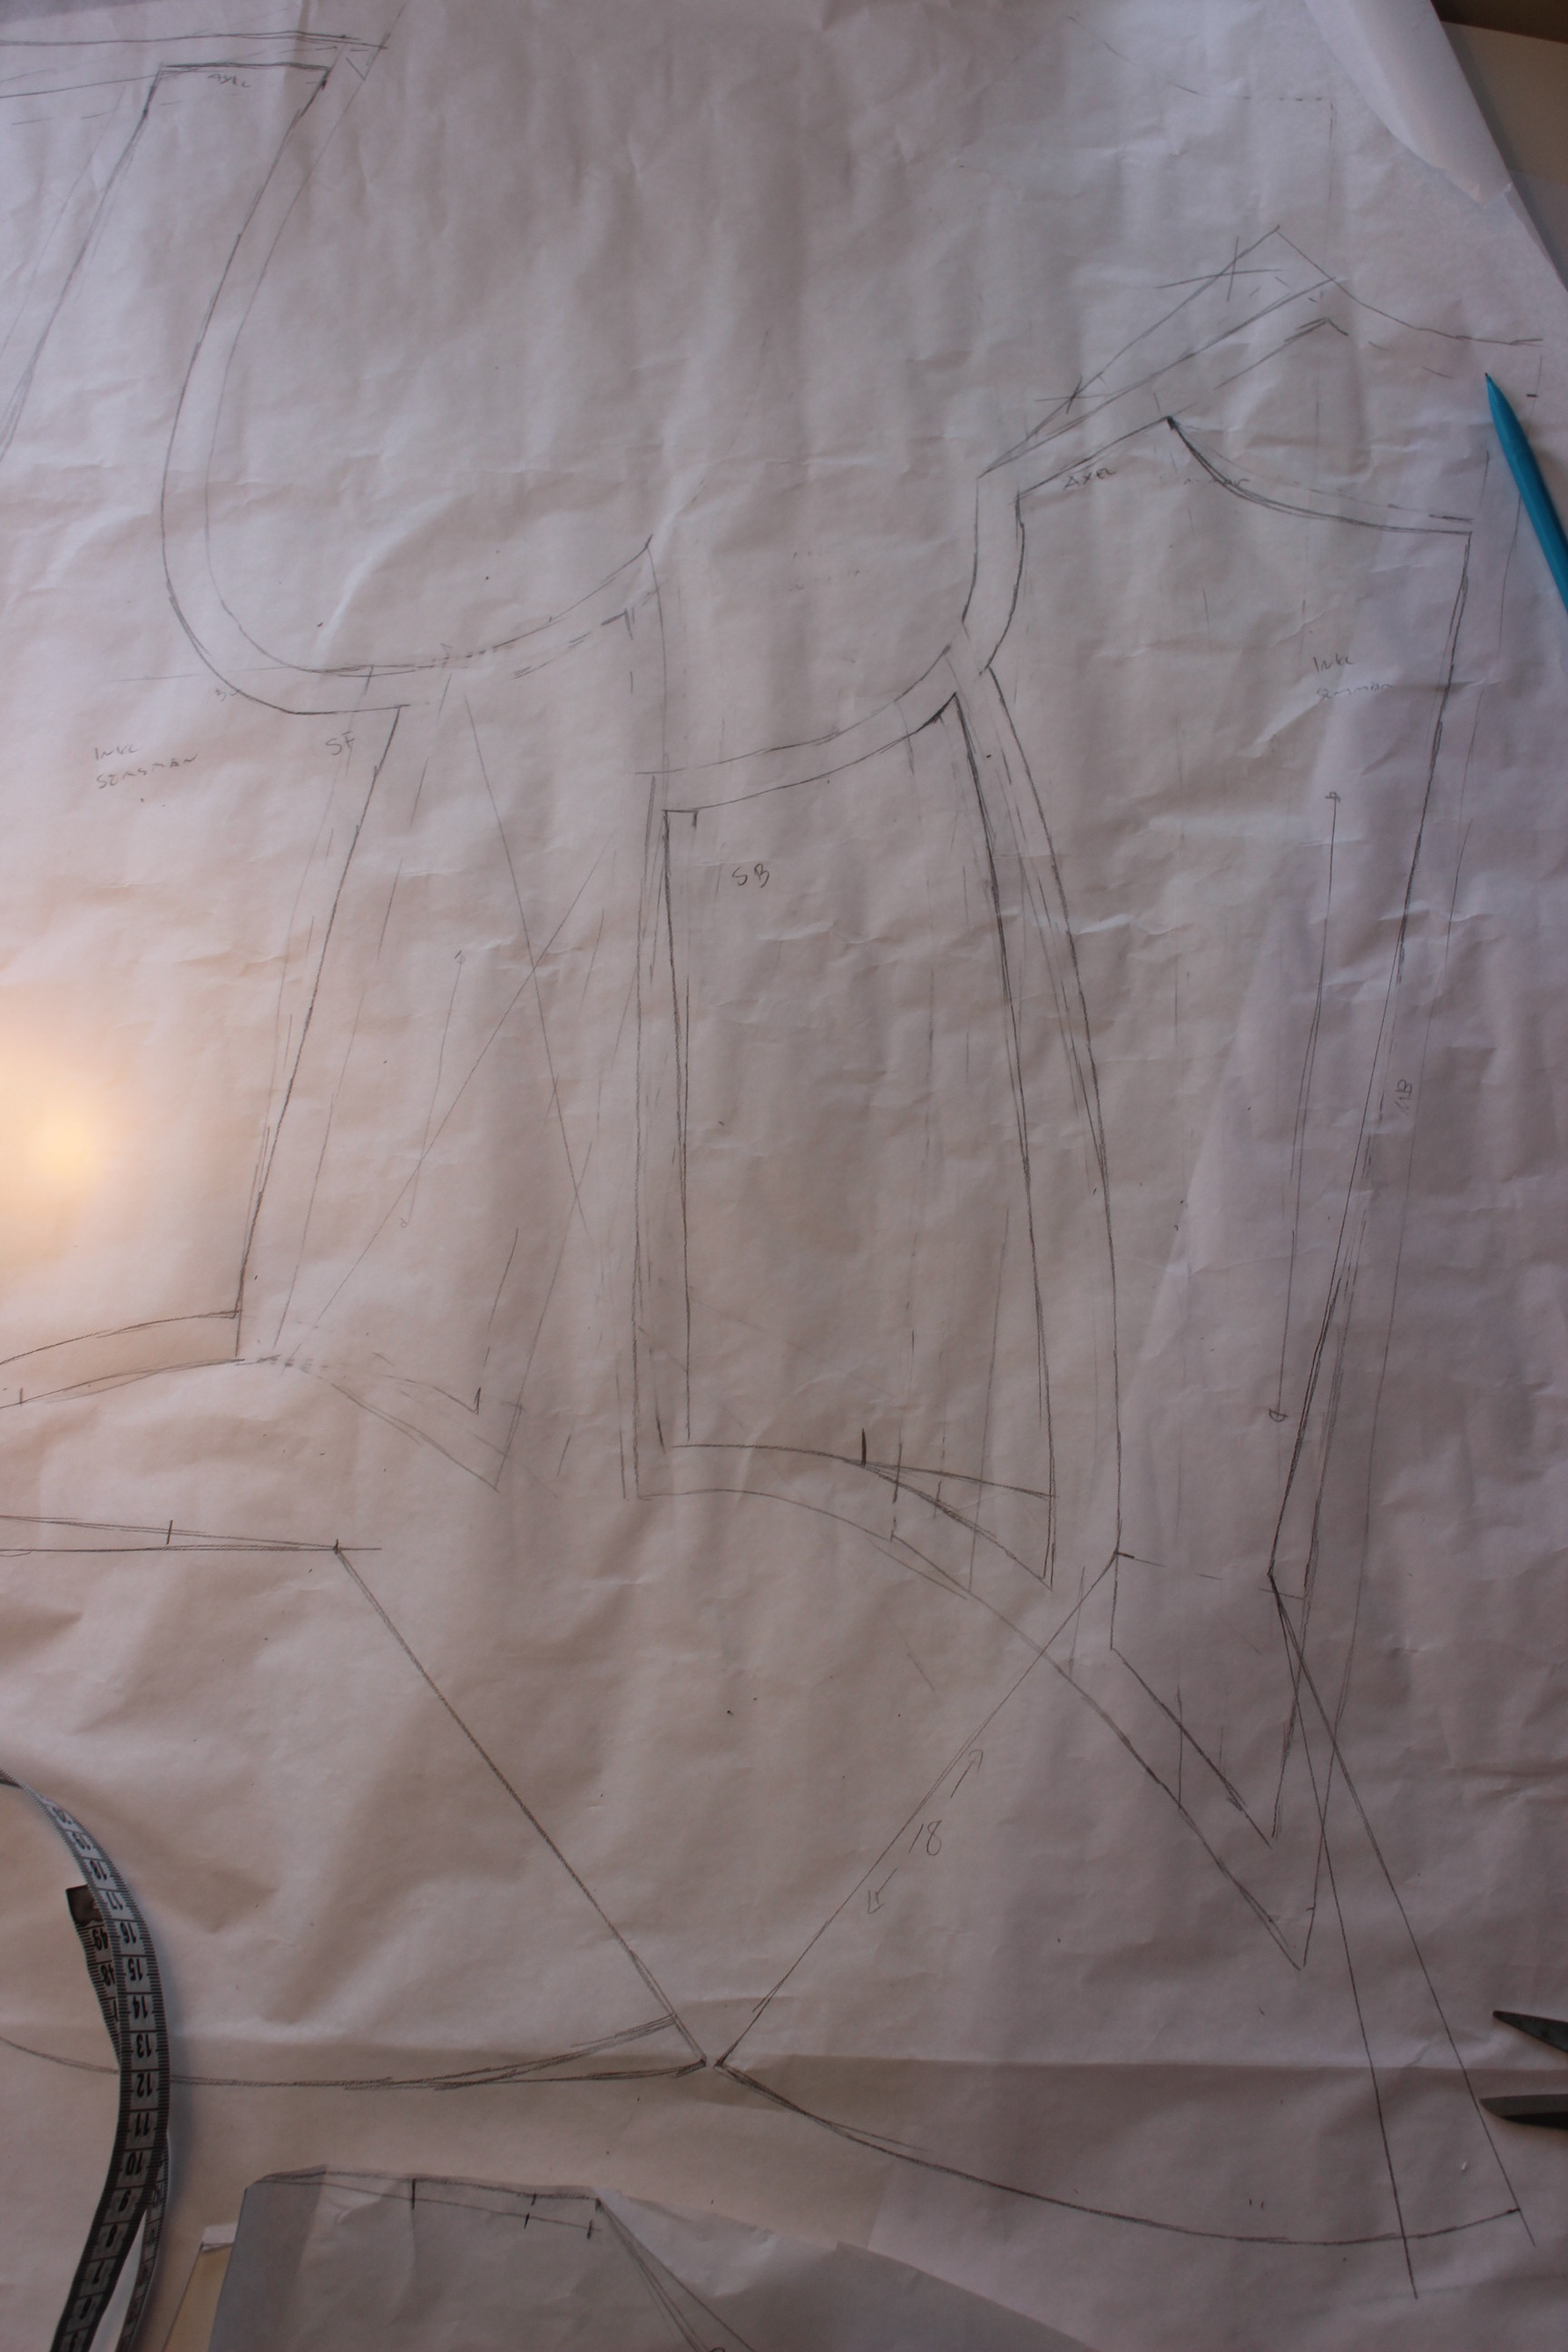
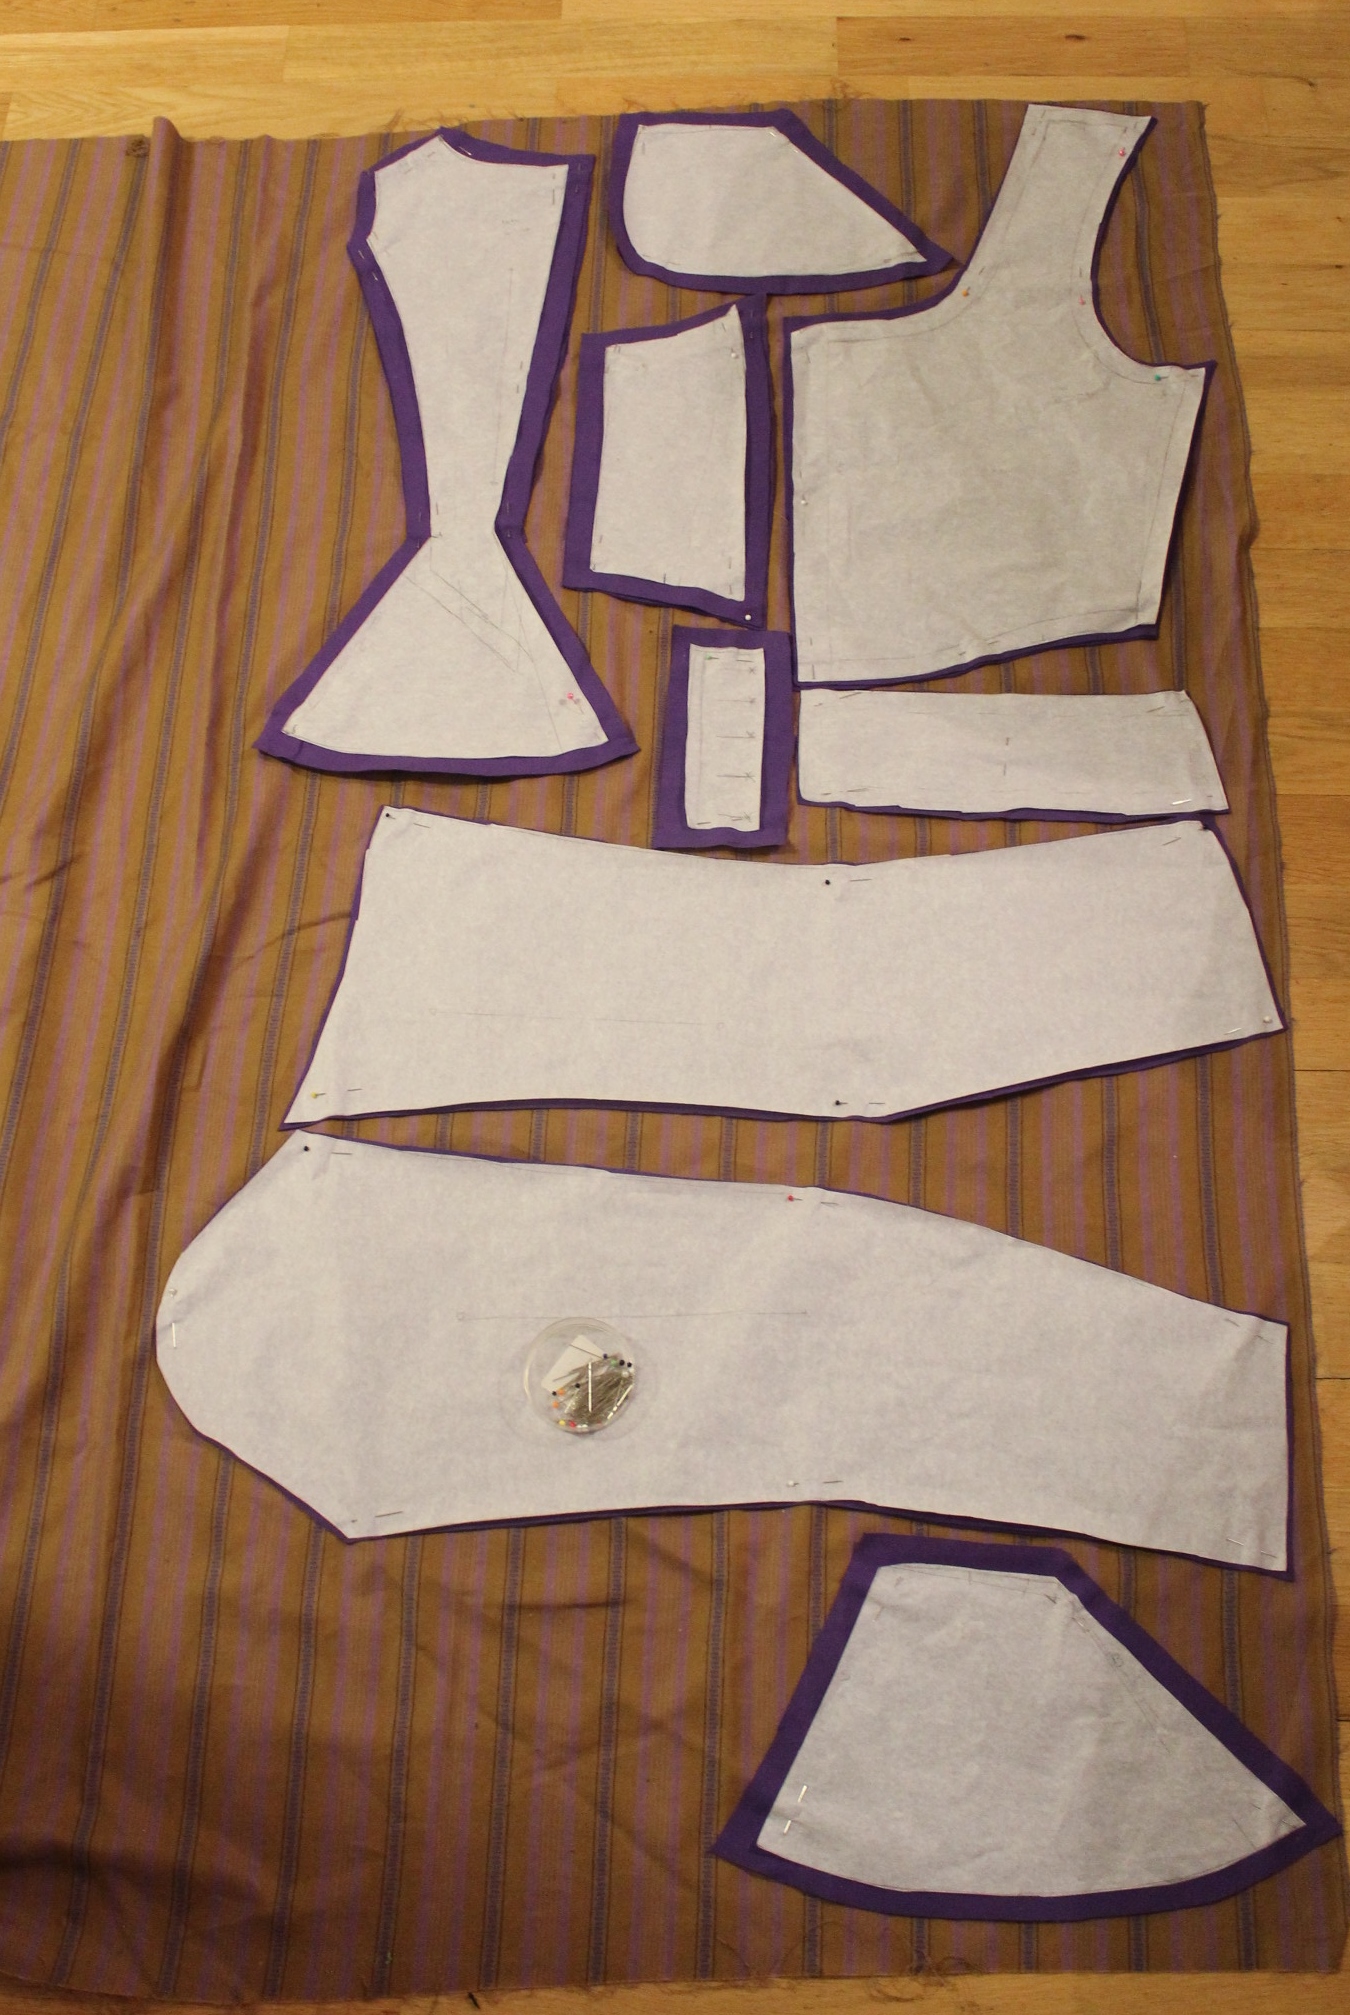
After some quick research and studying of pattern-diagrams and extant jackets on the internet I drafted my own pattern from my usual modern templates.

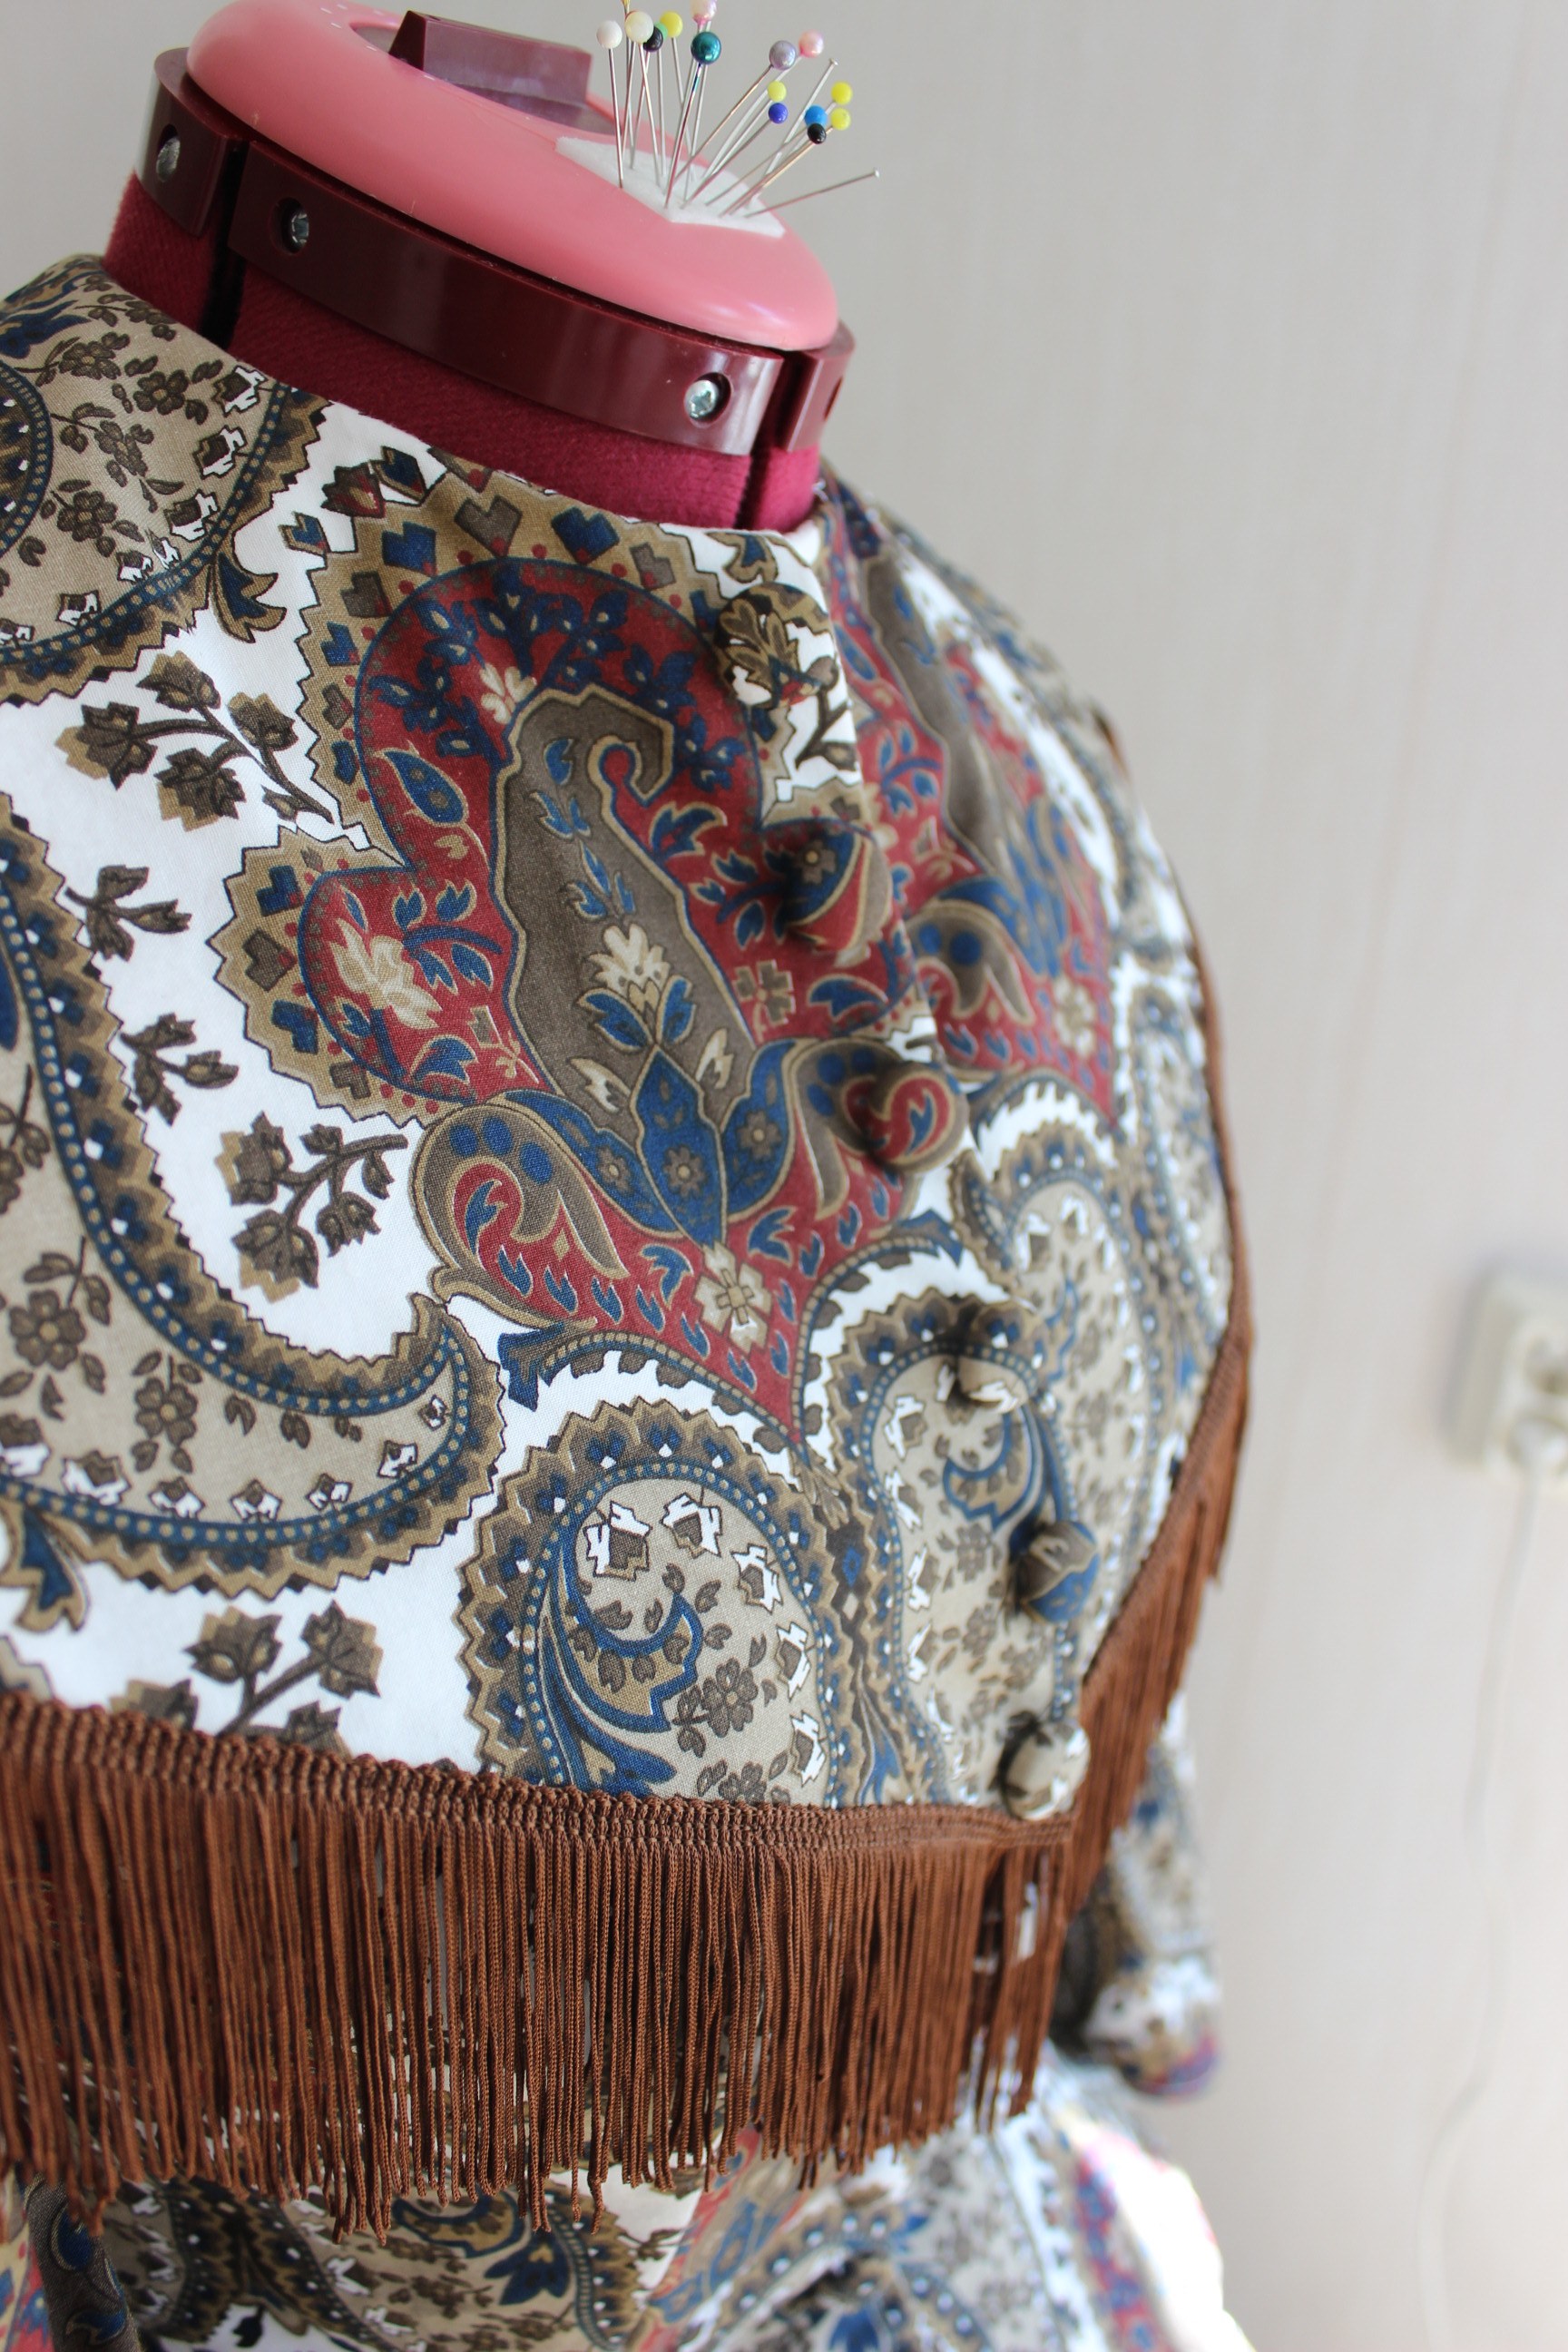
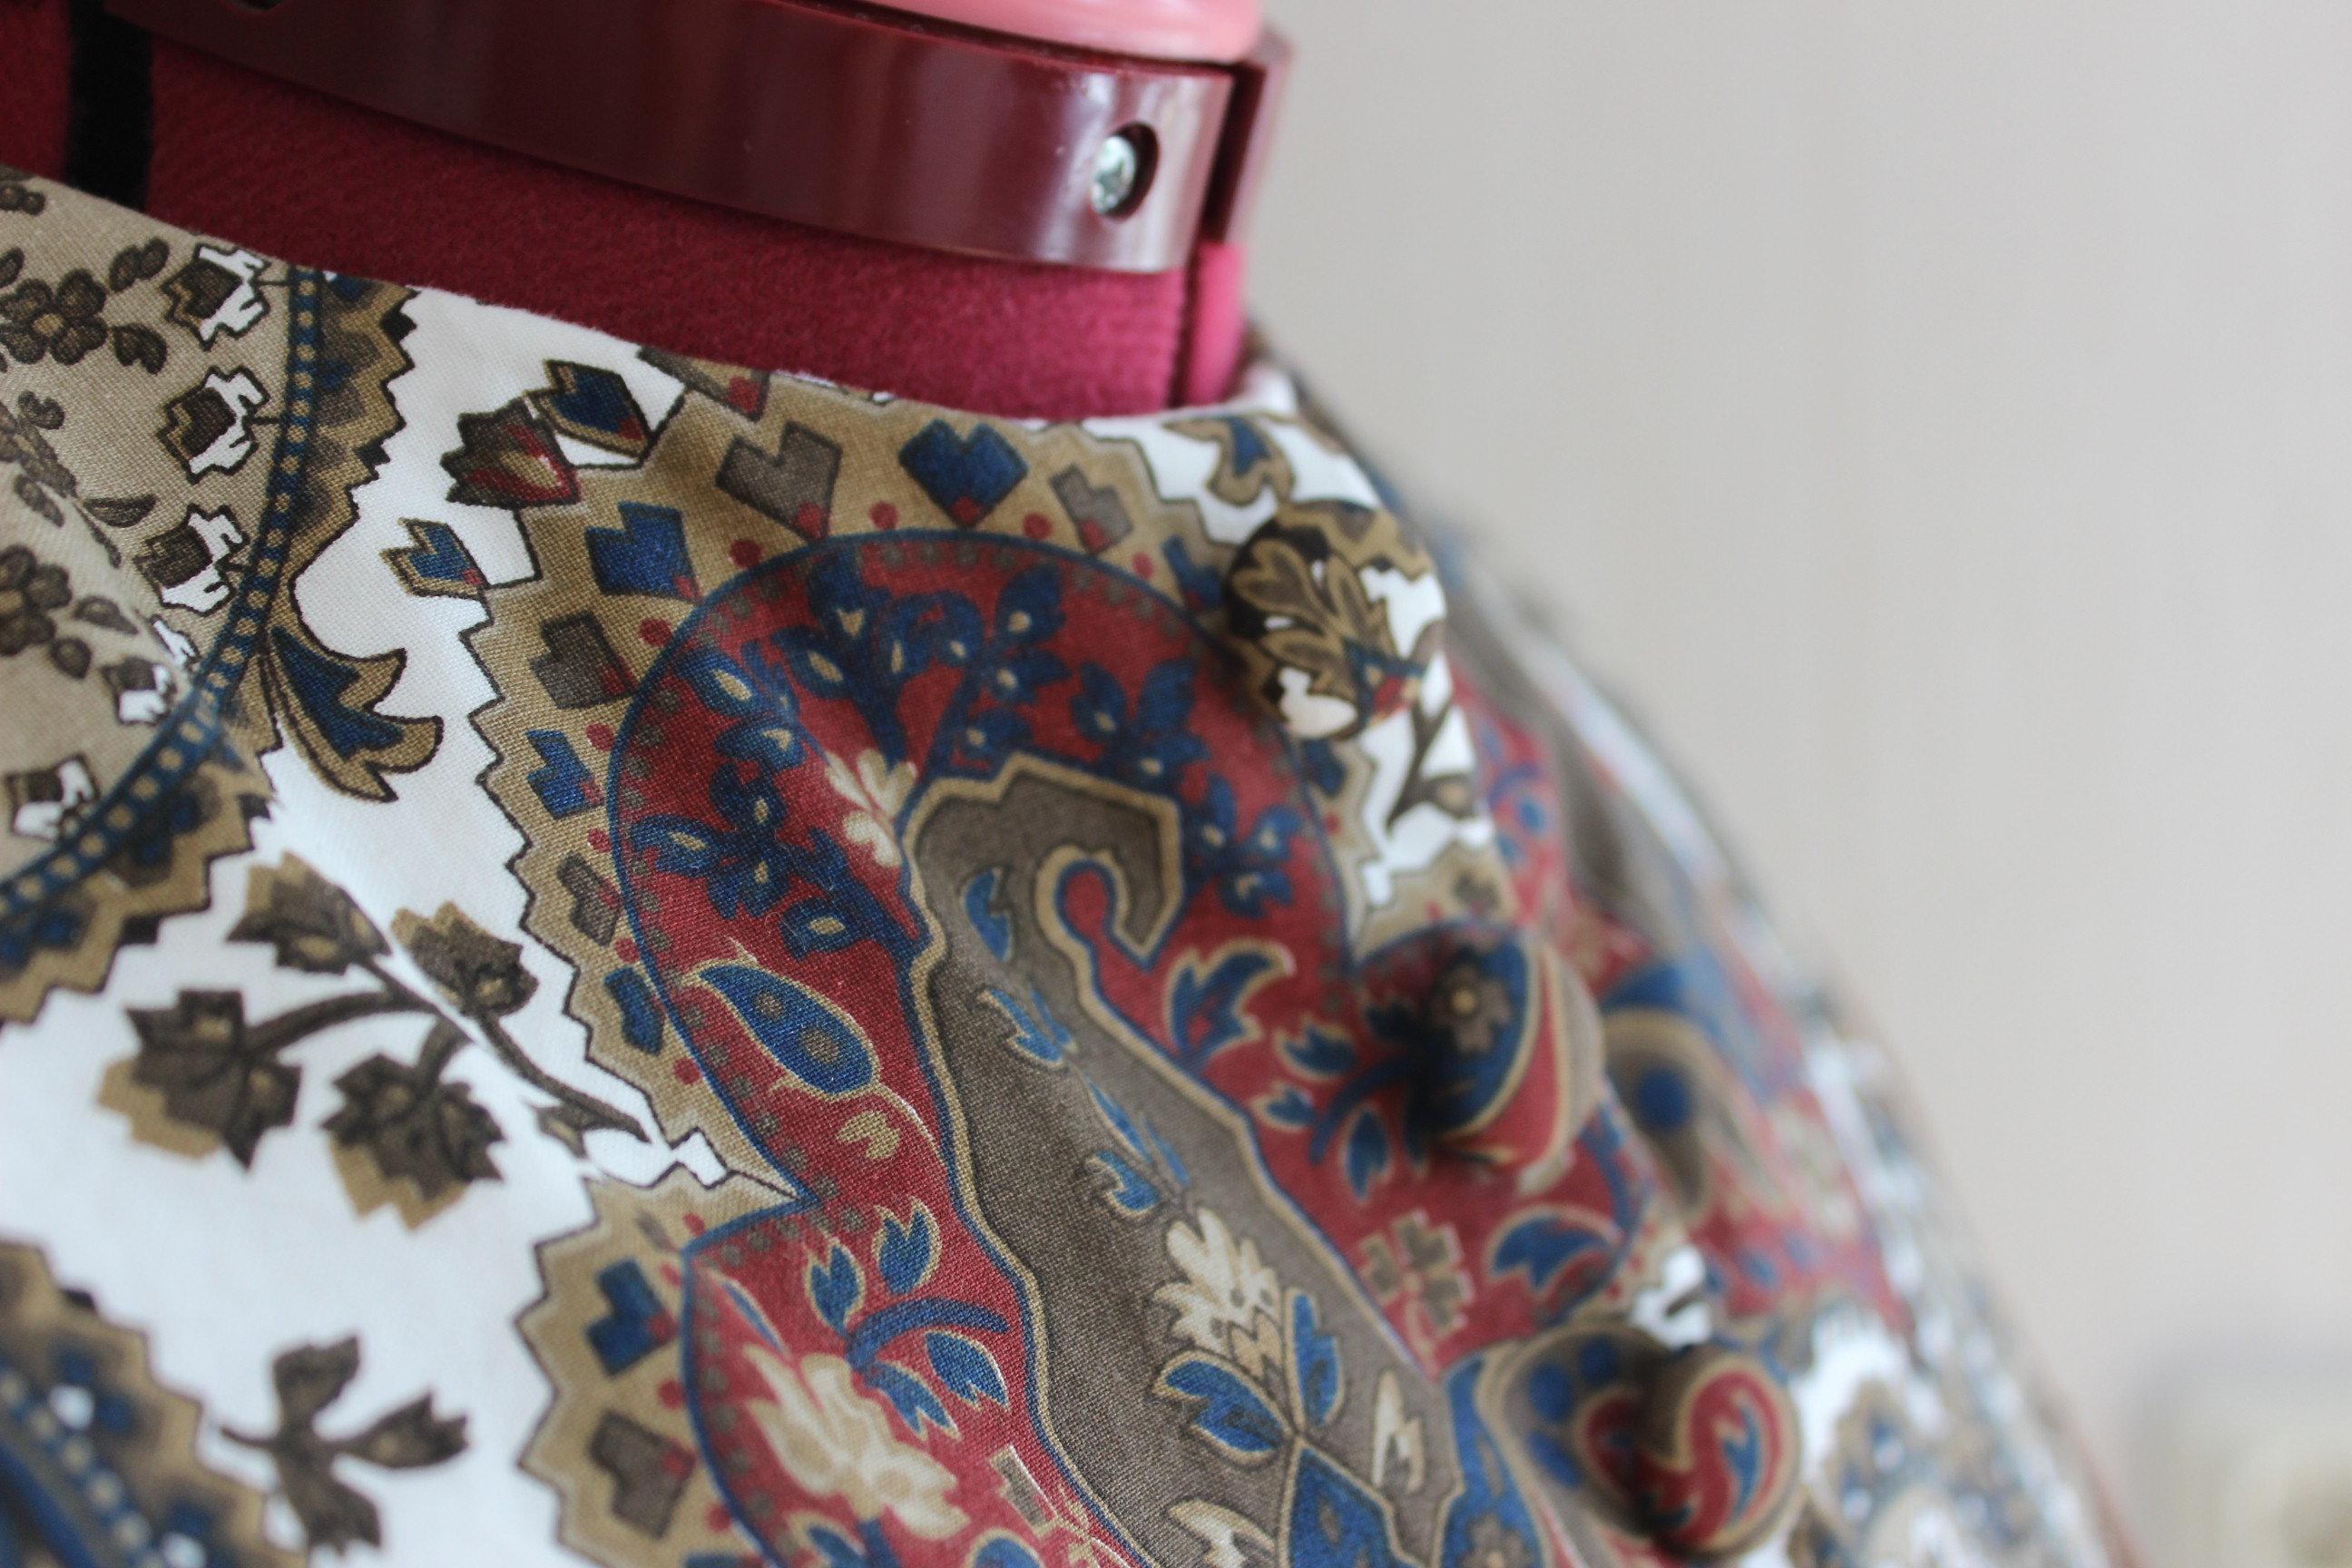
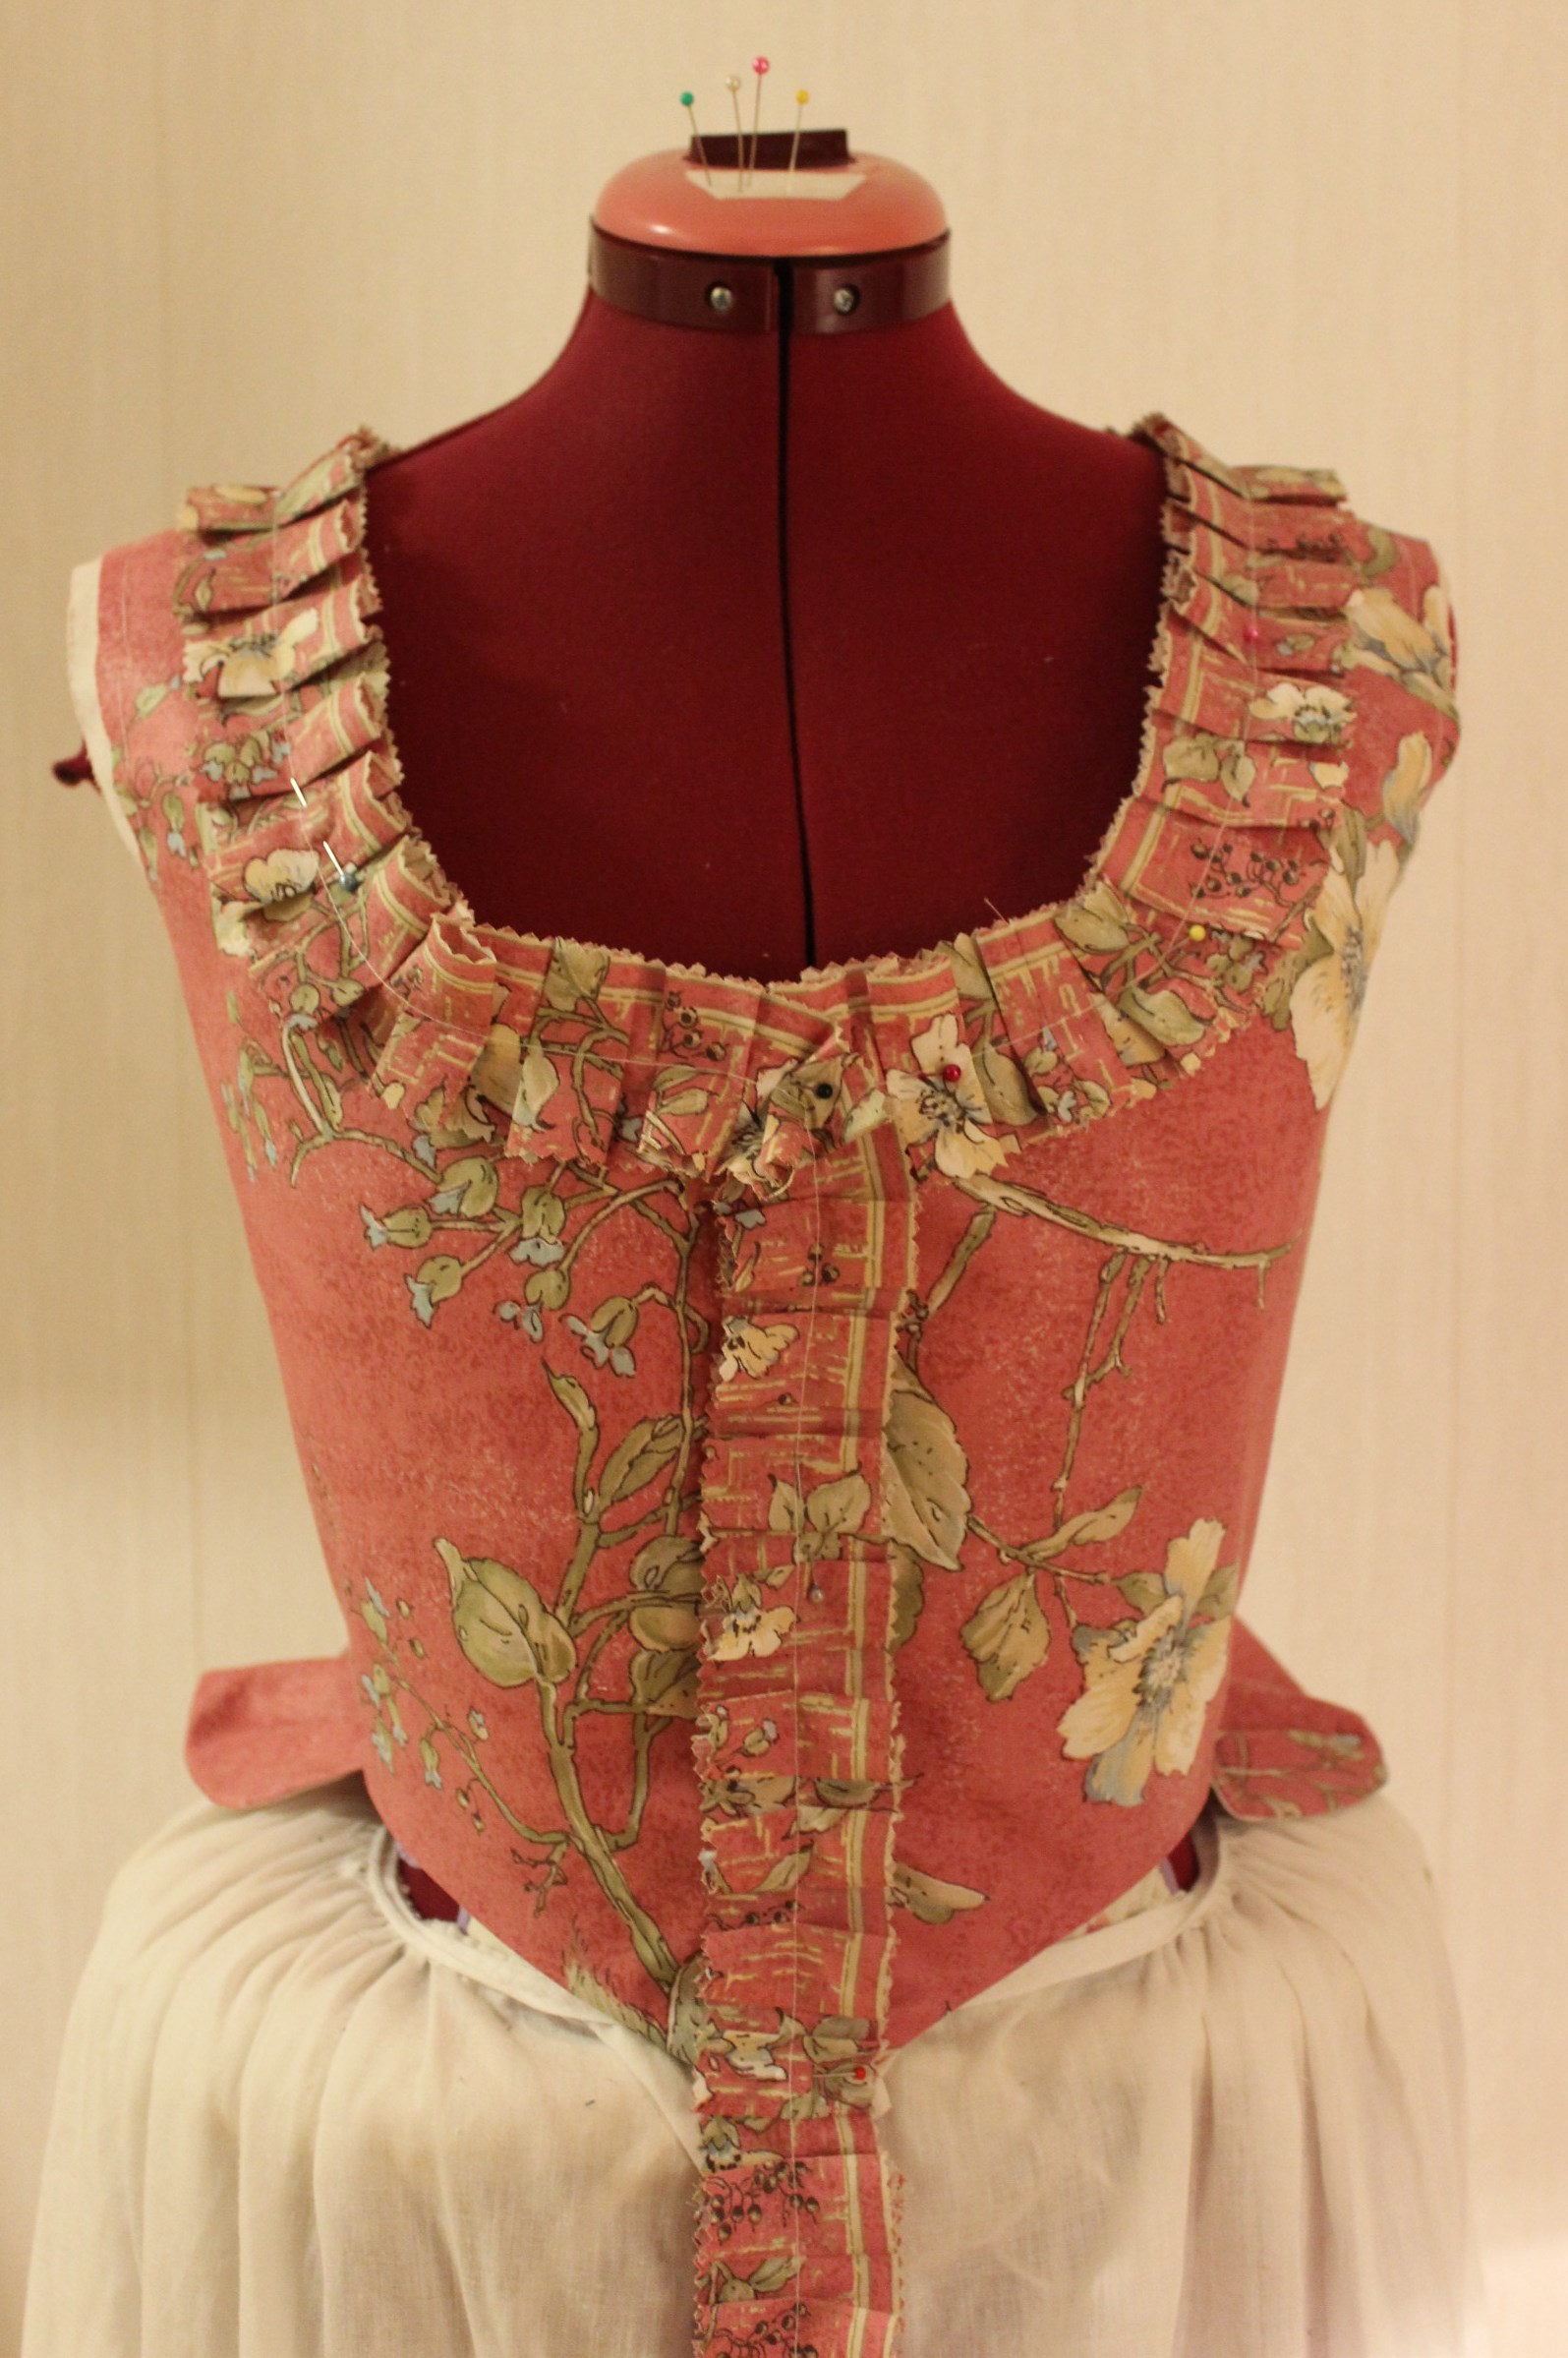
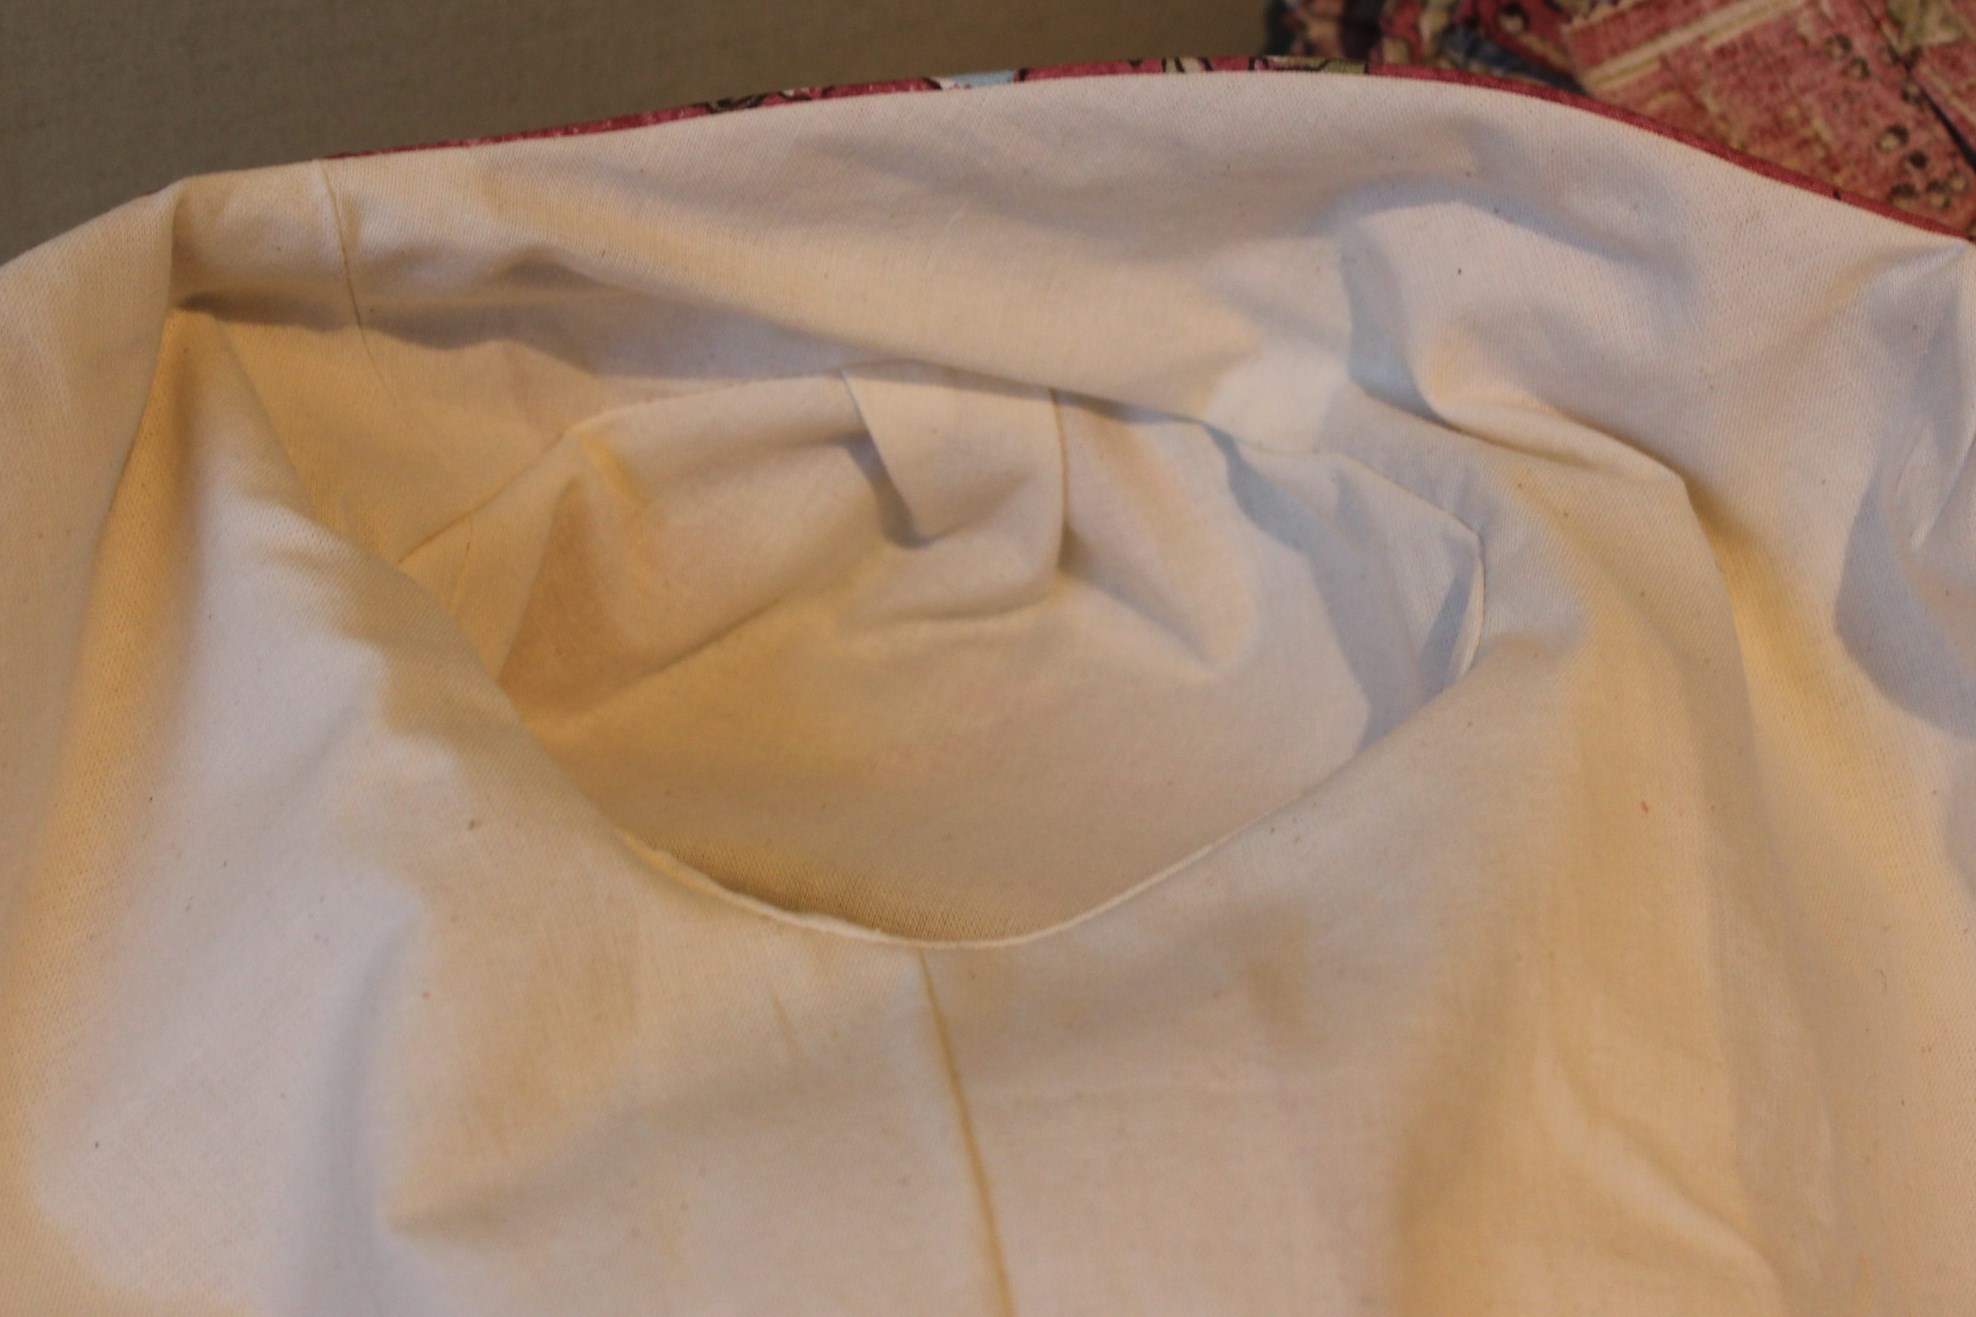
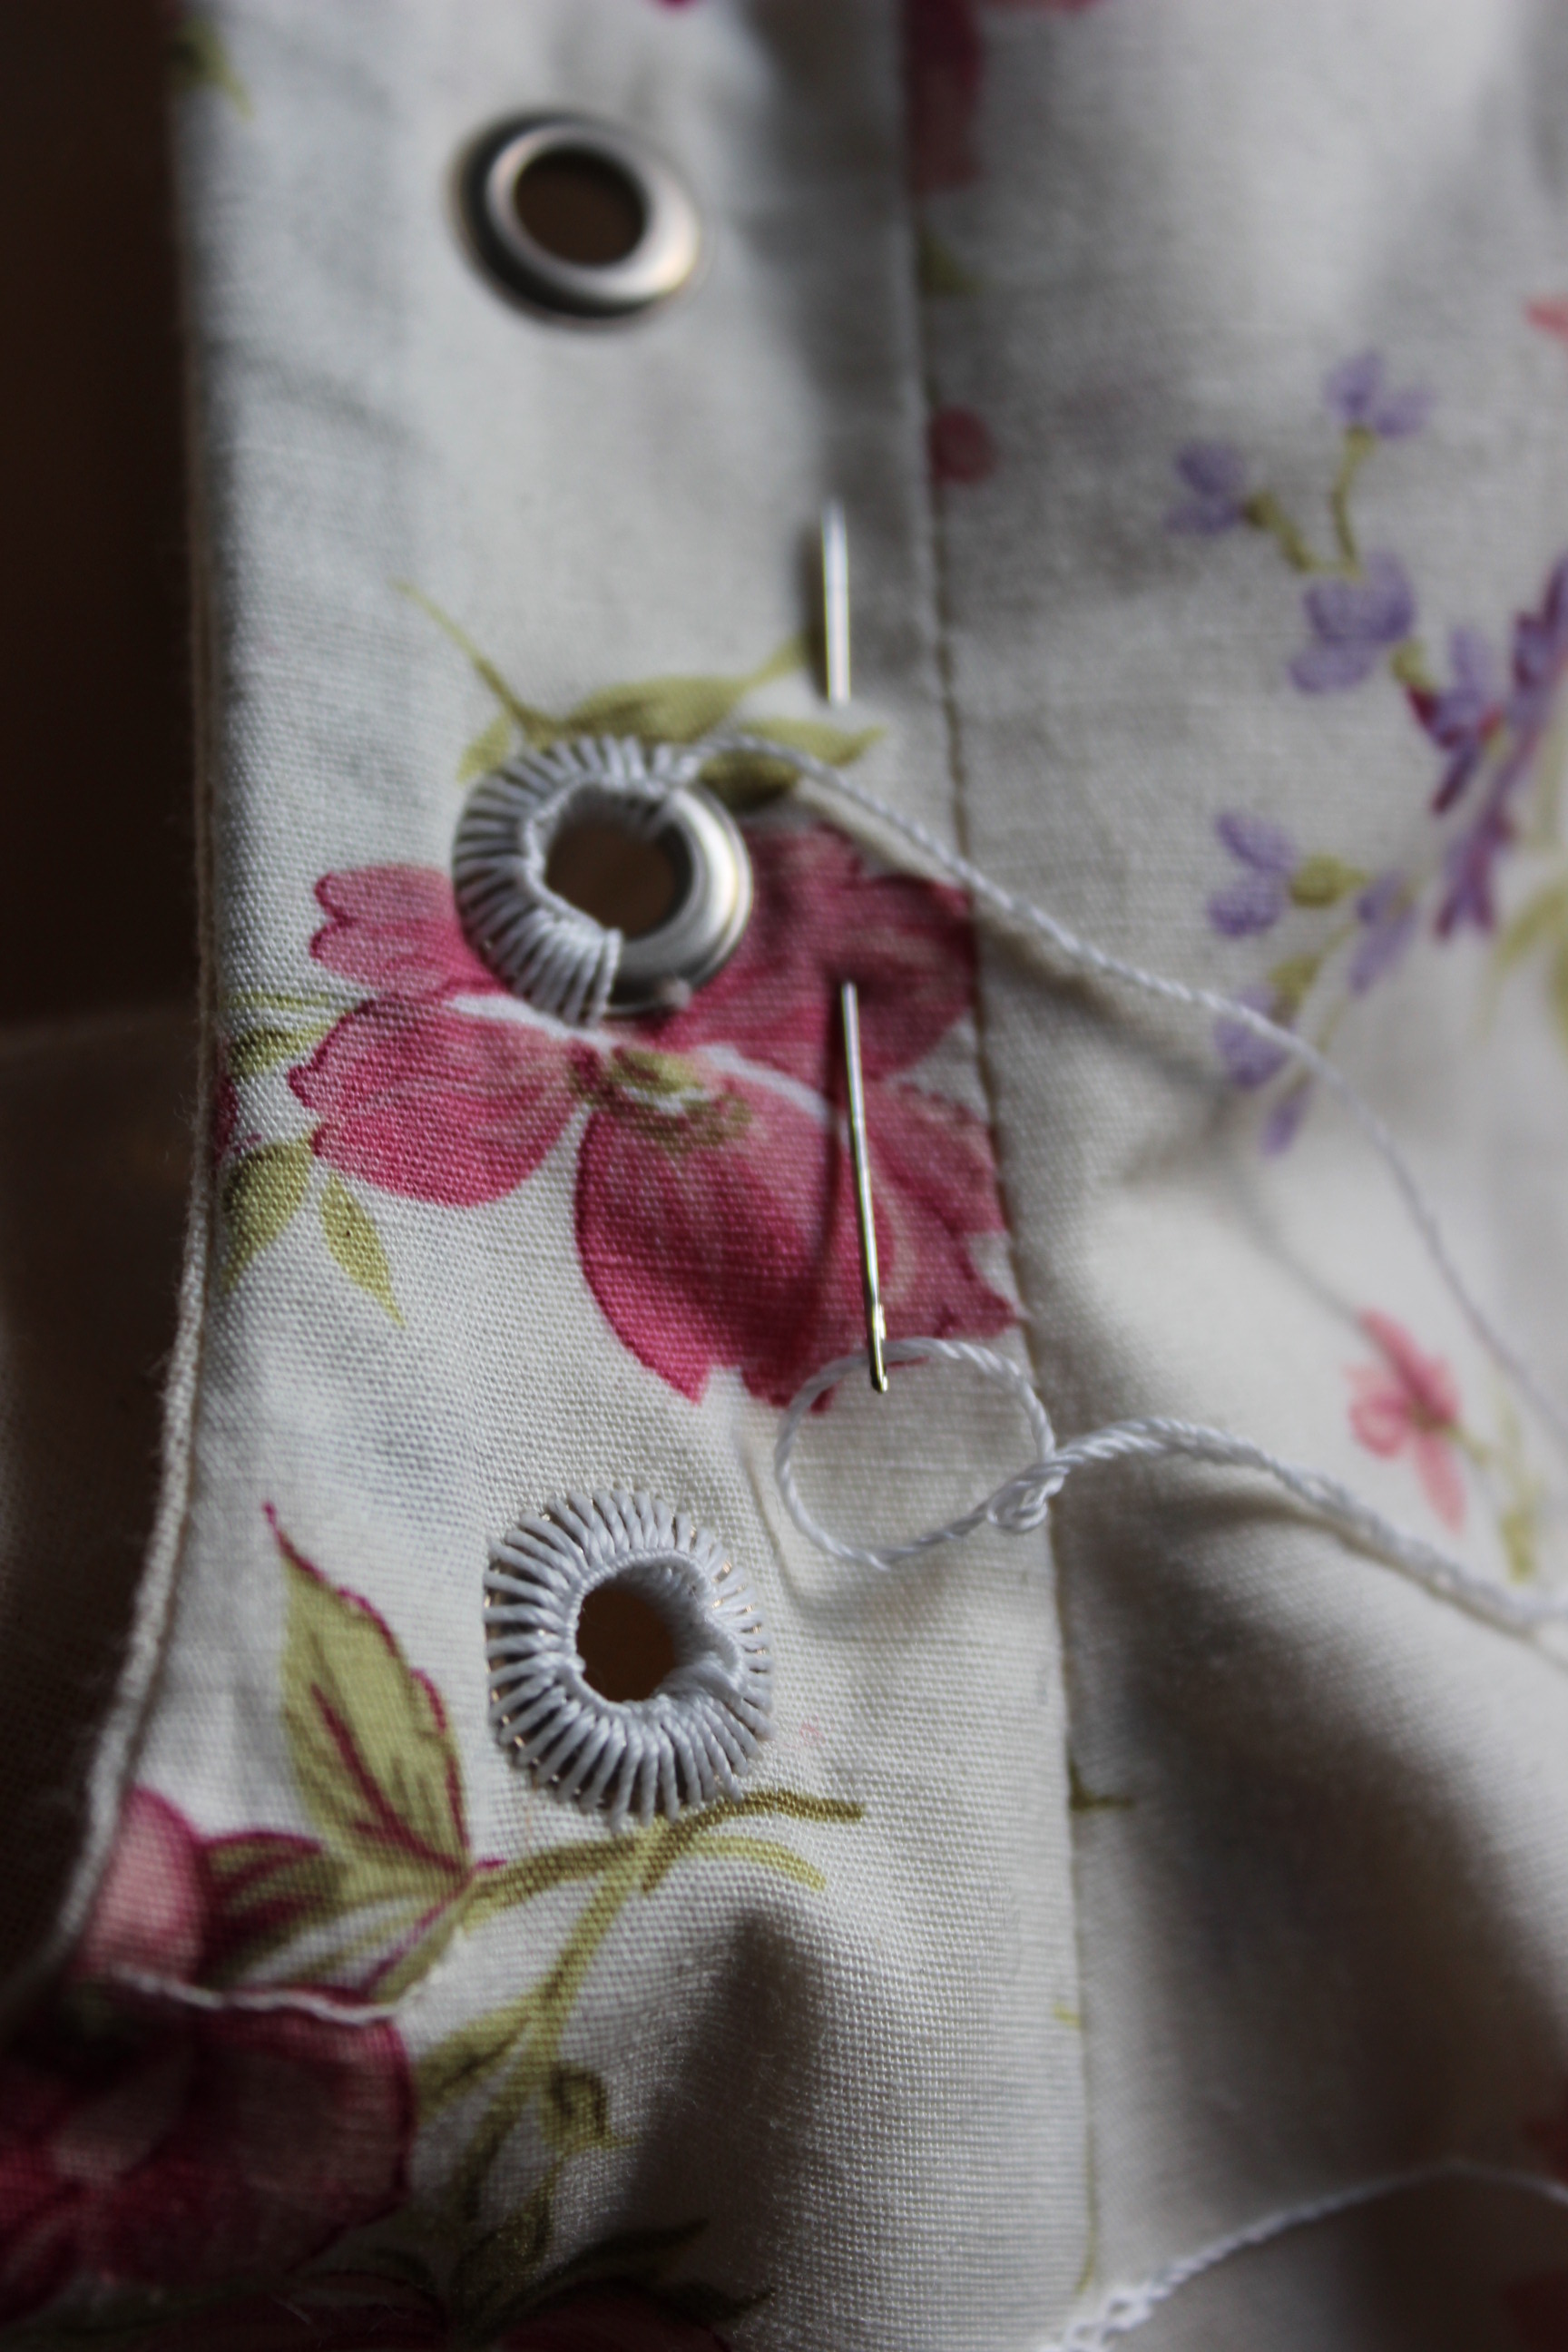
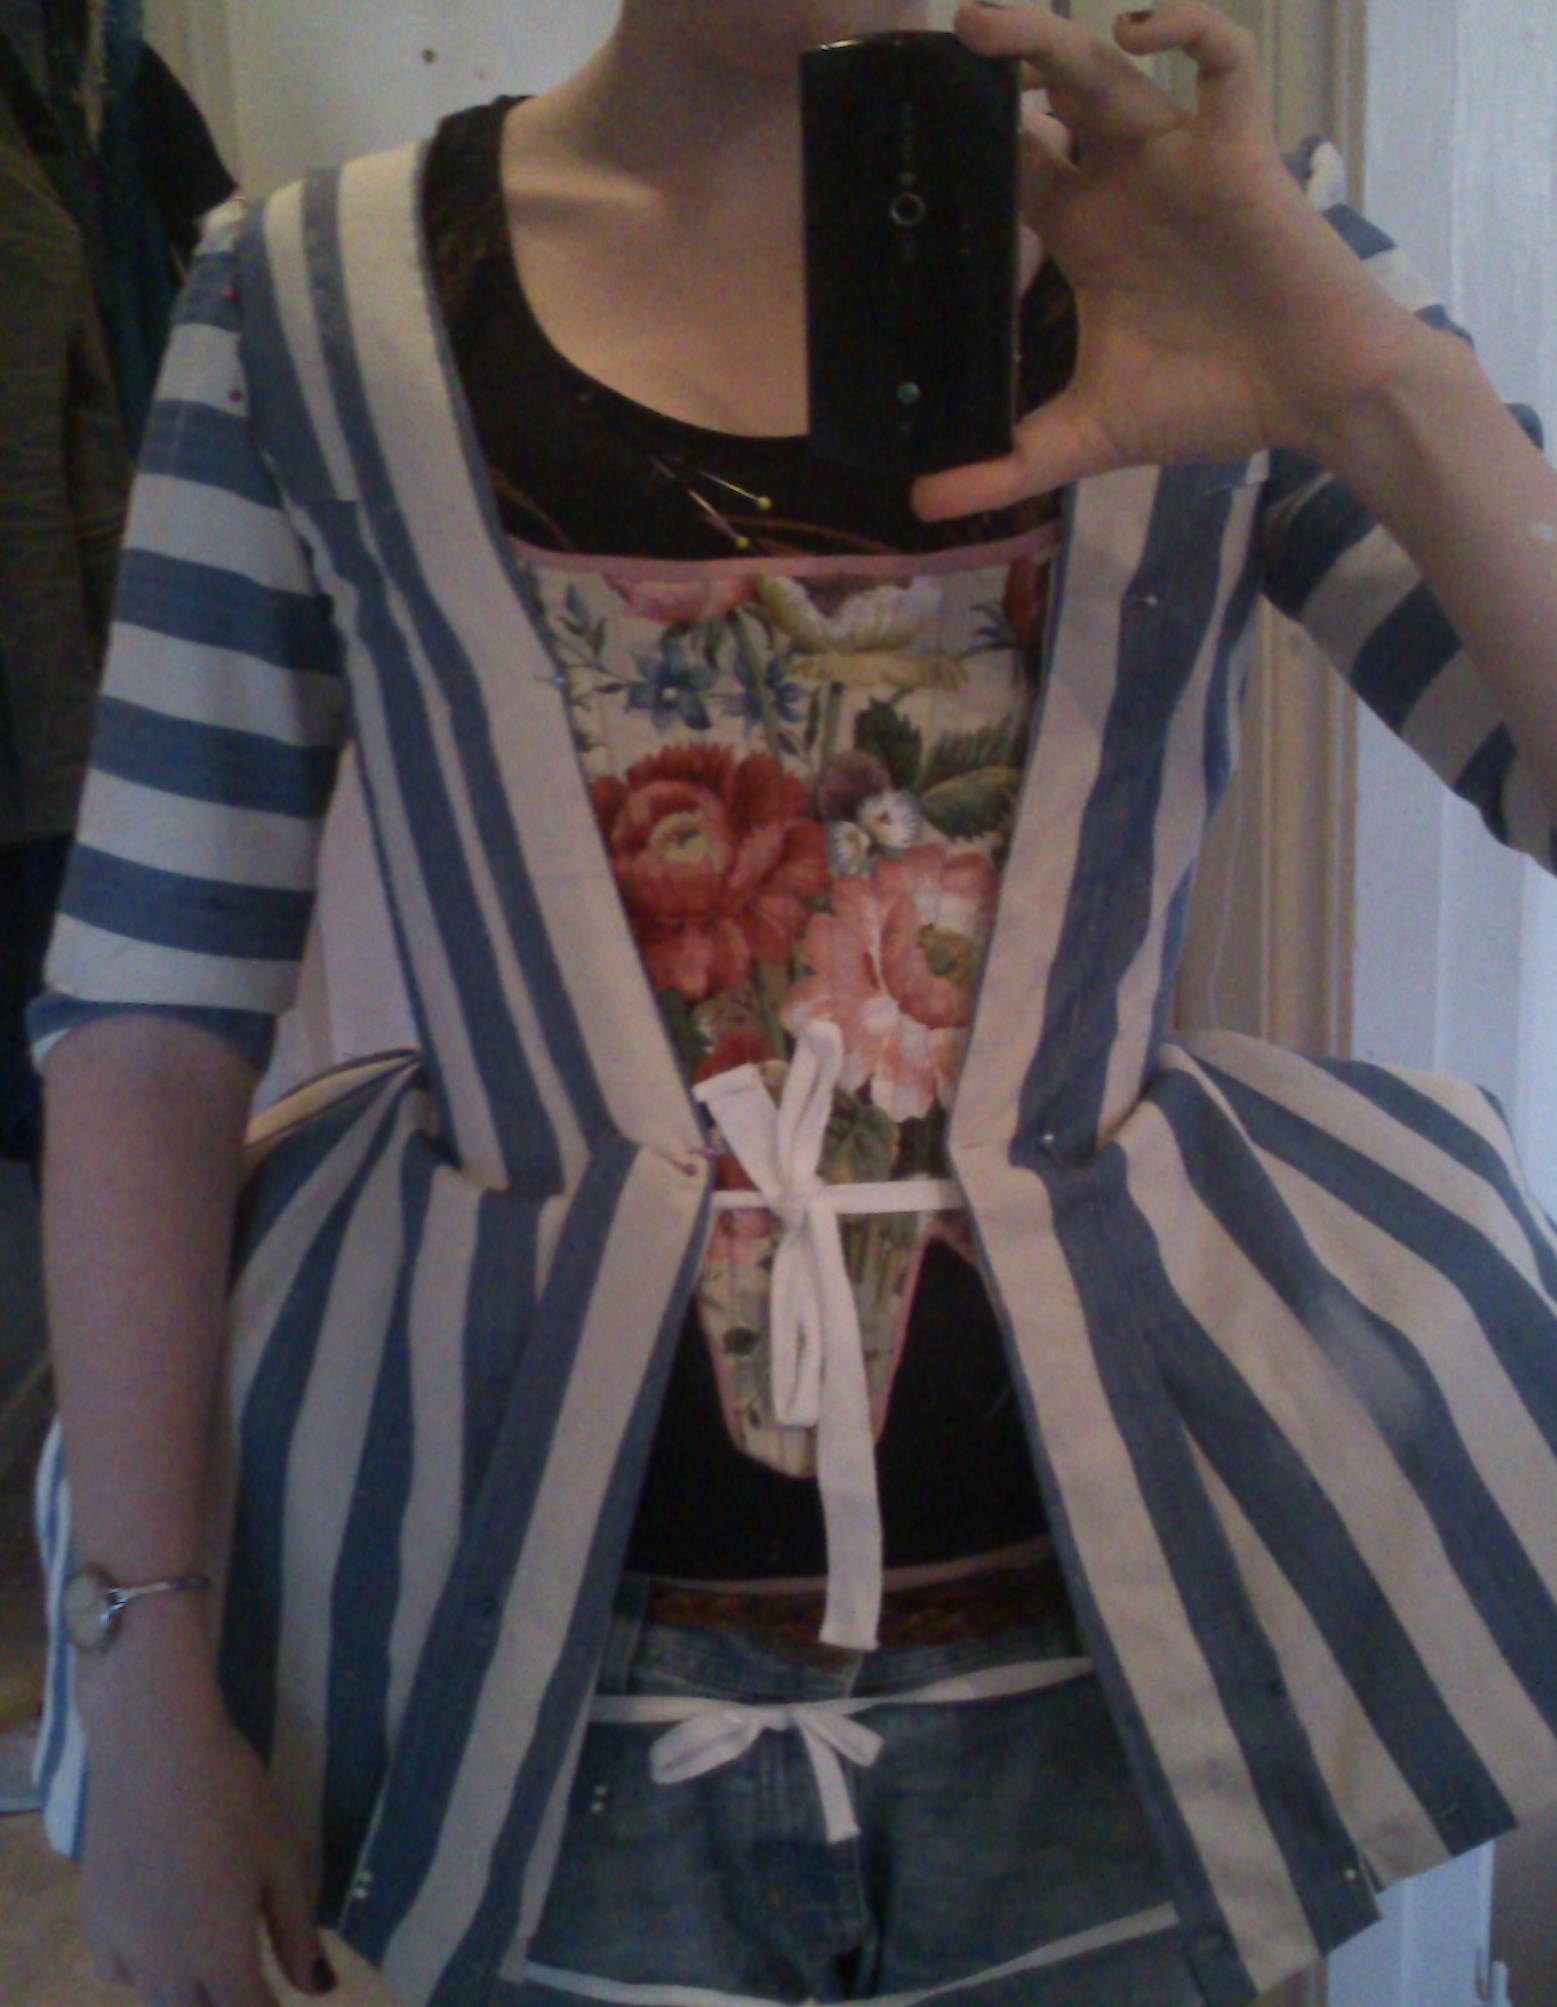
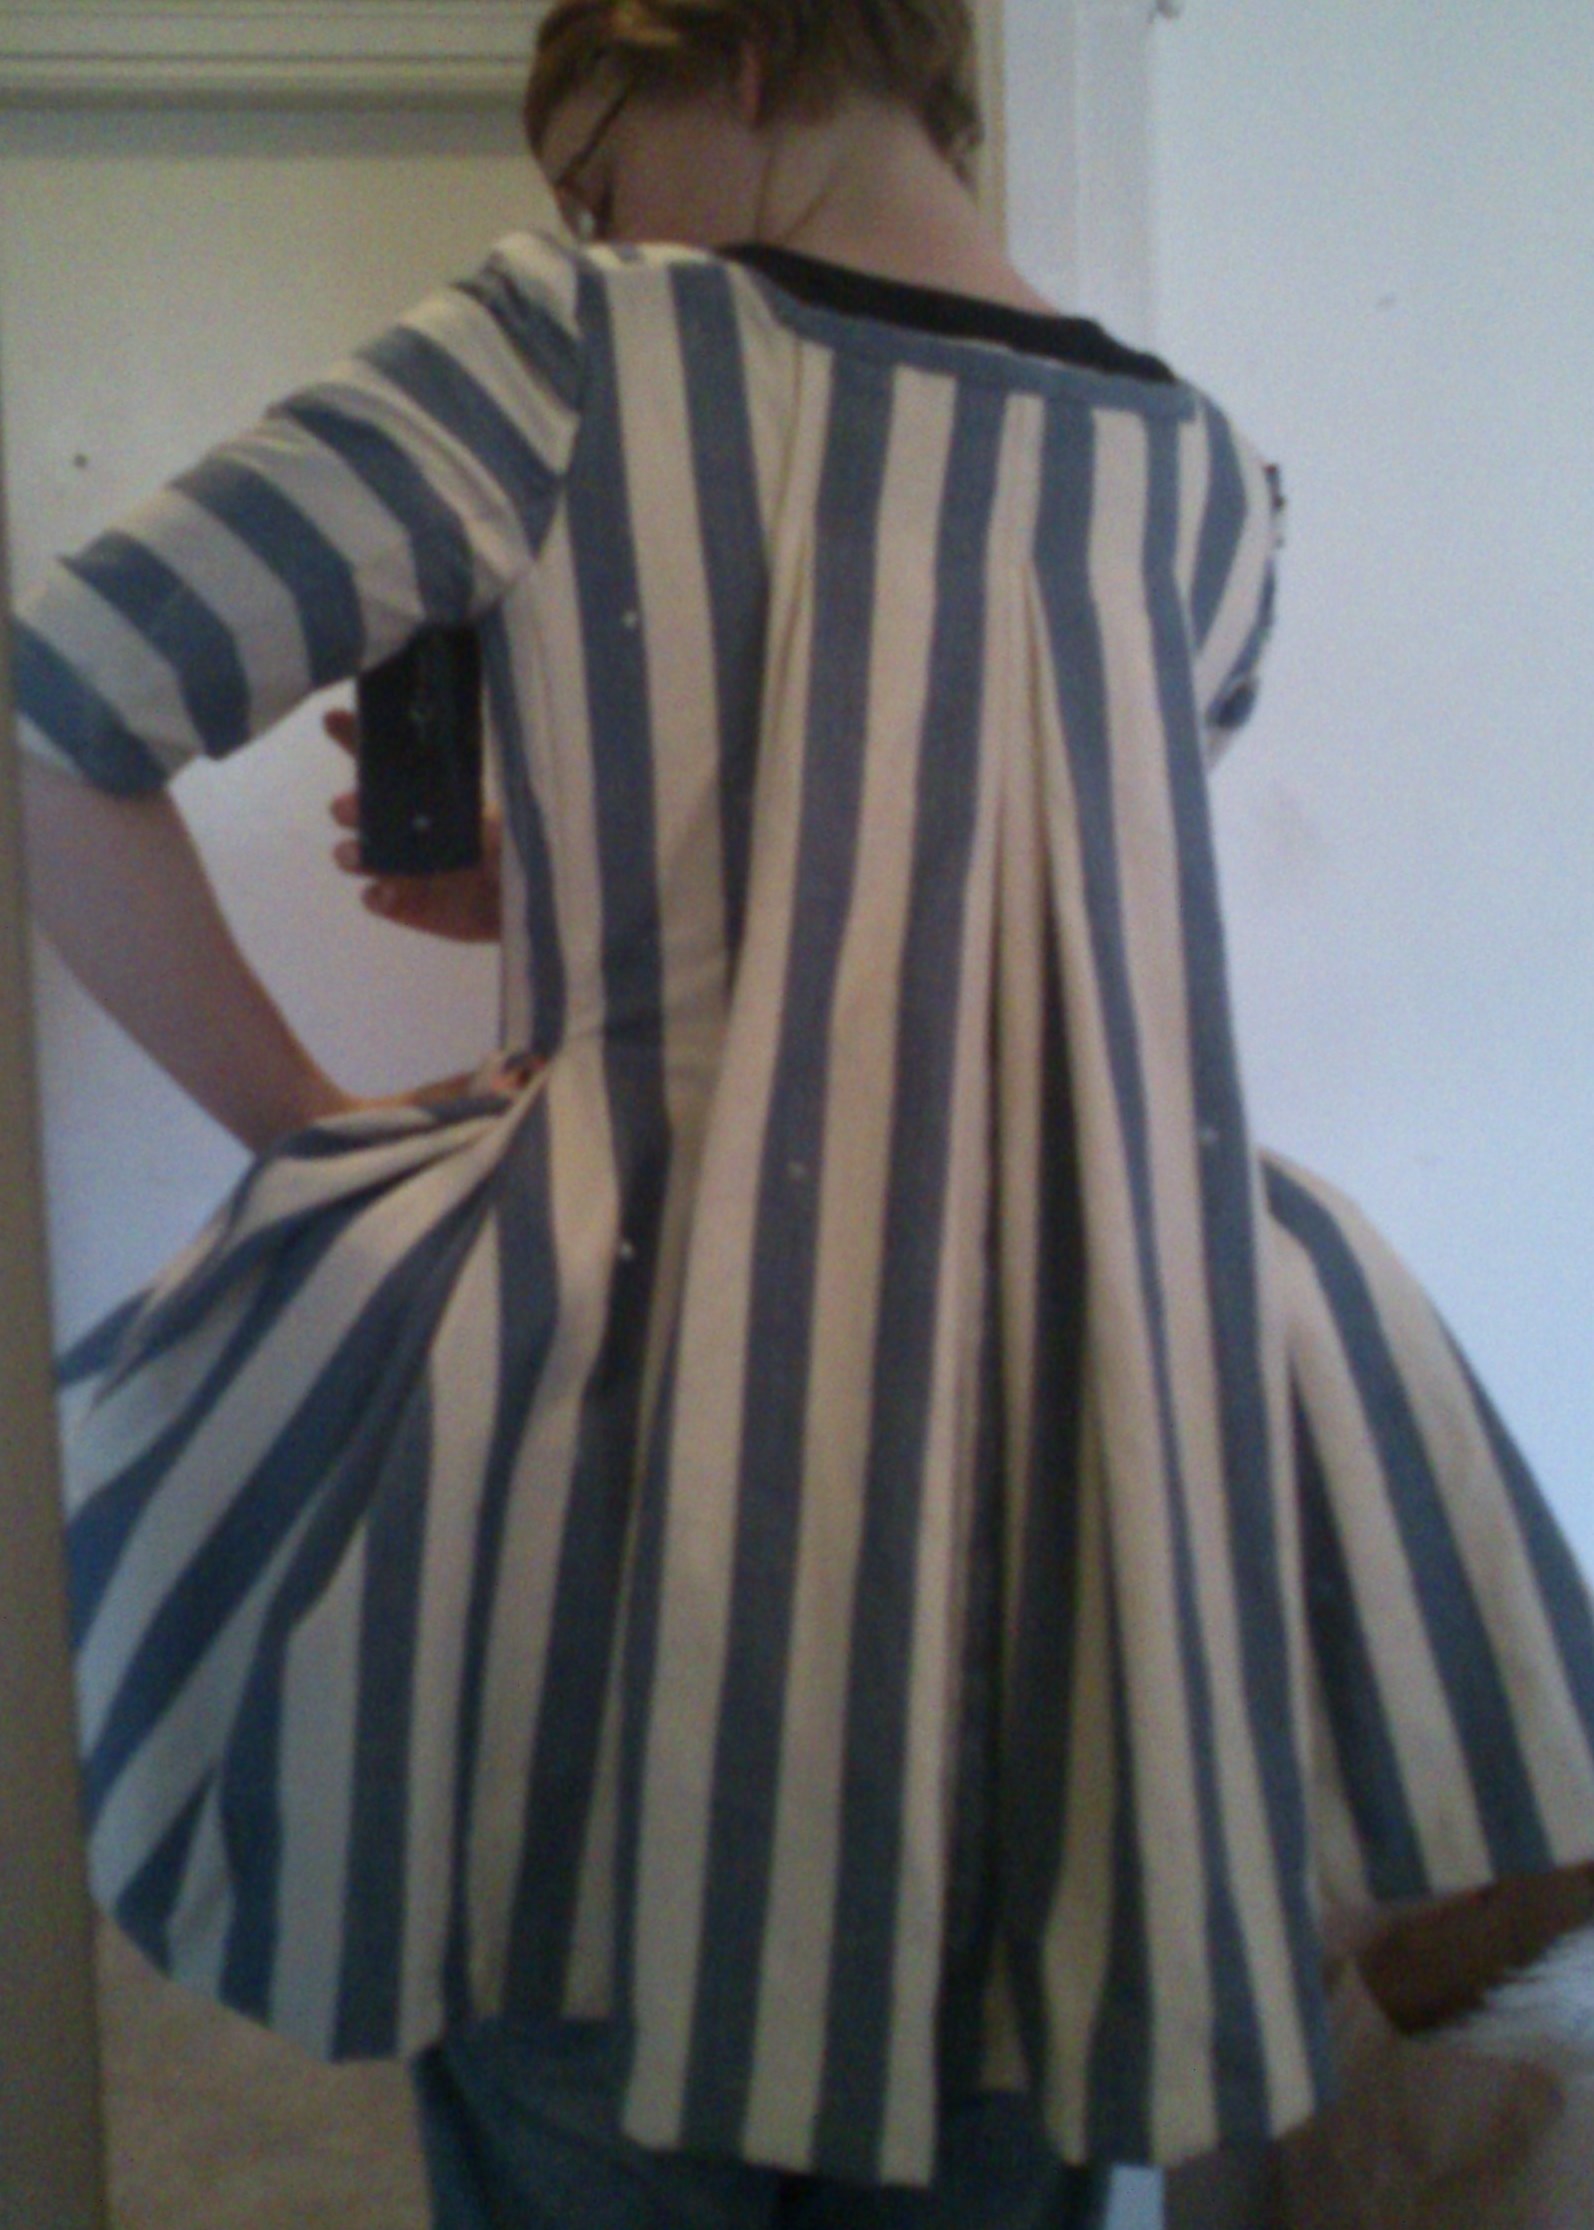
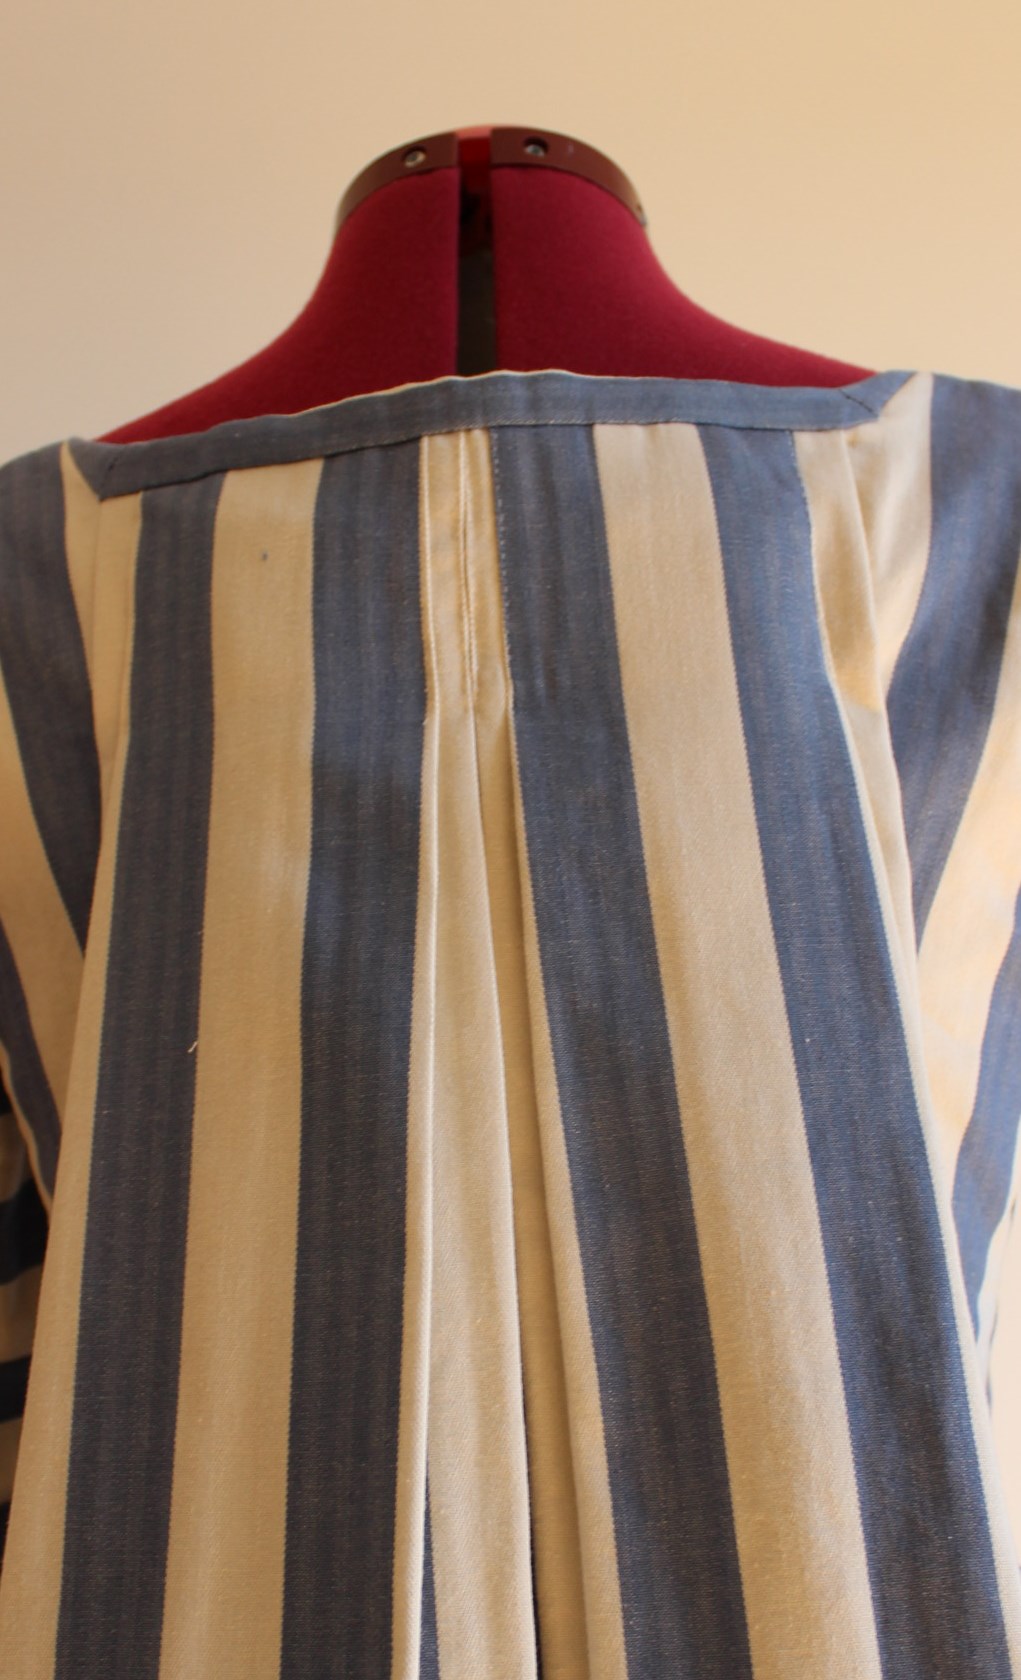
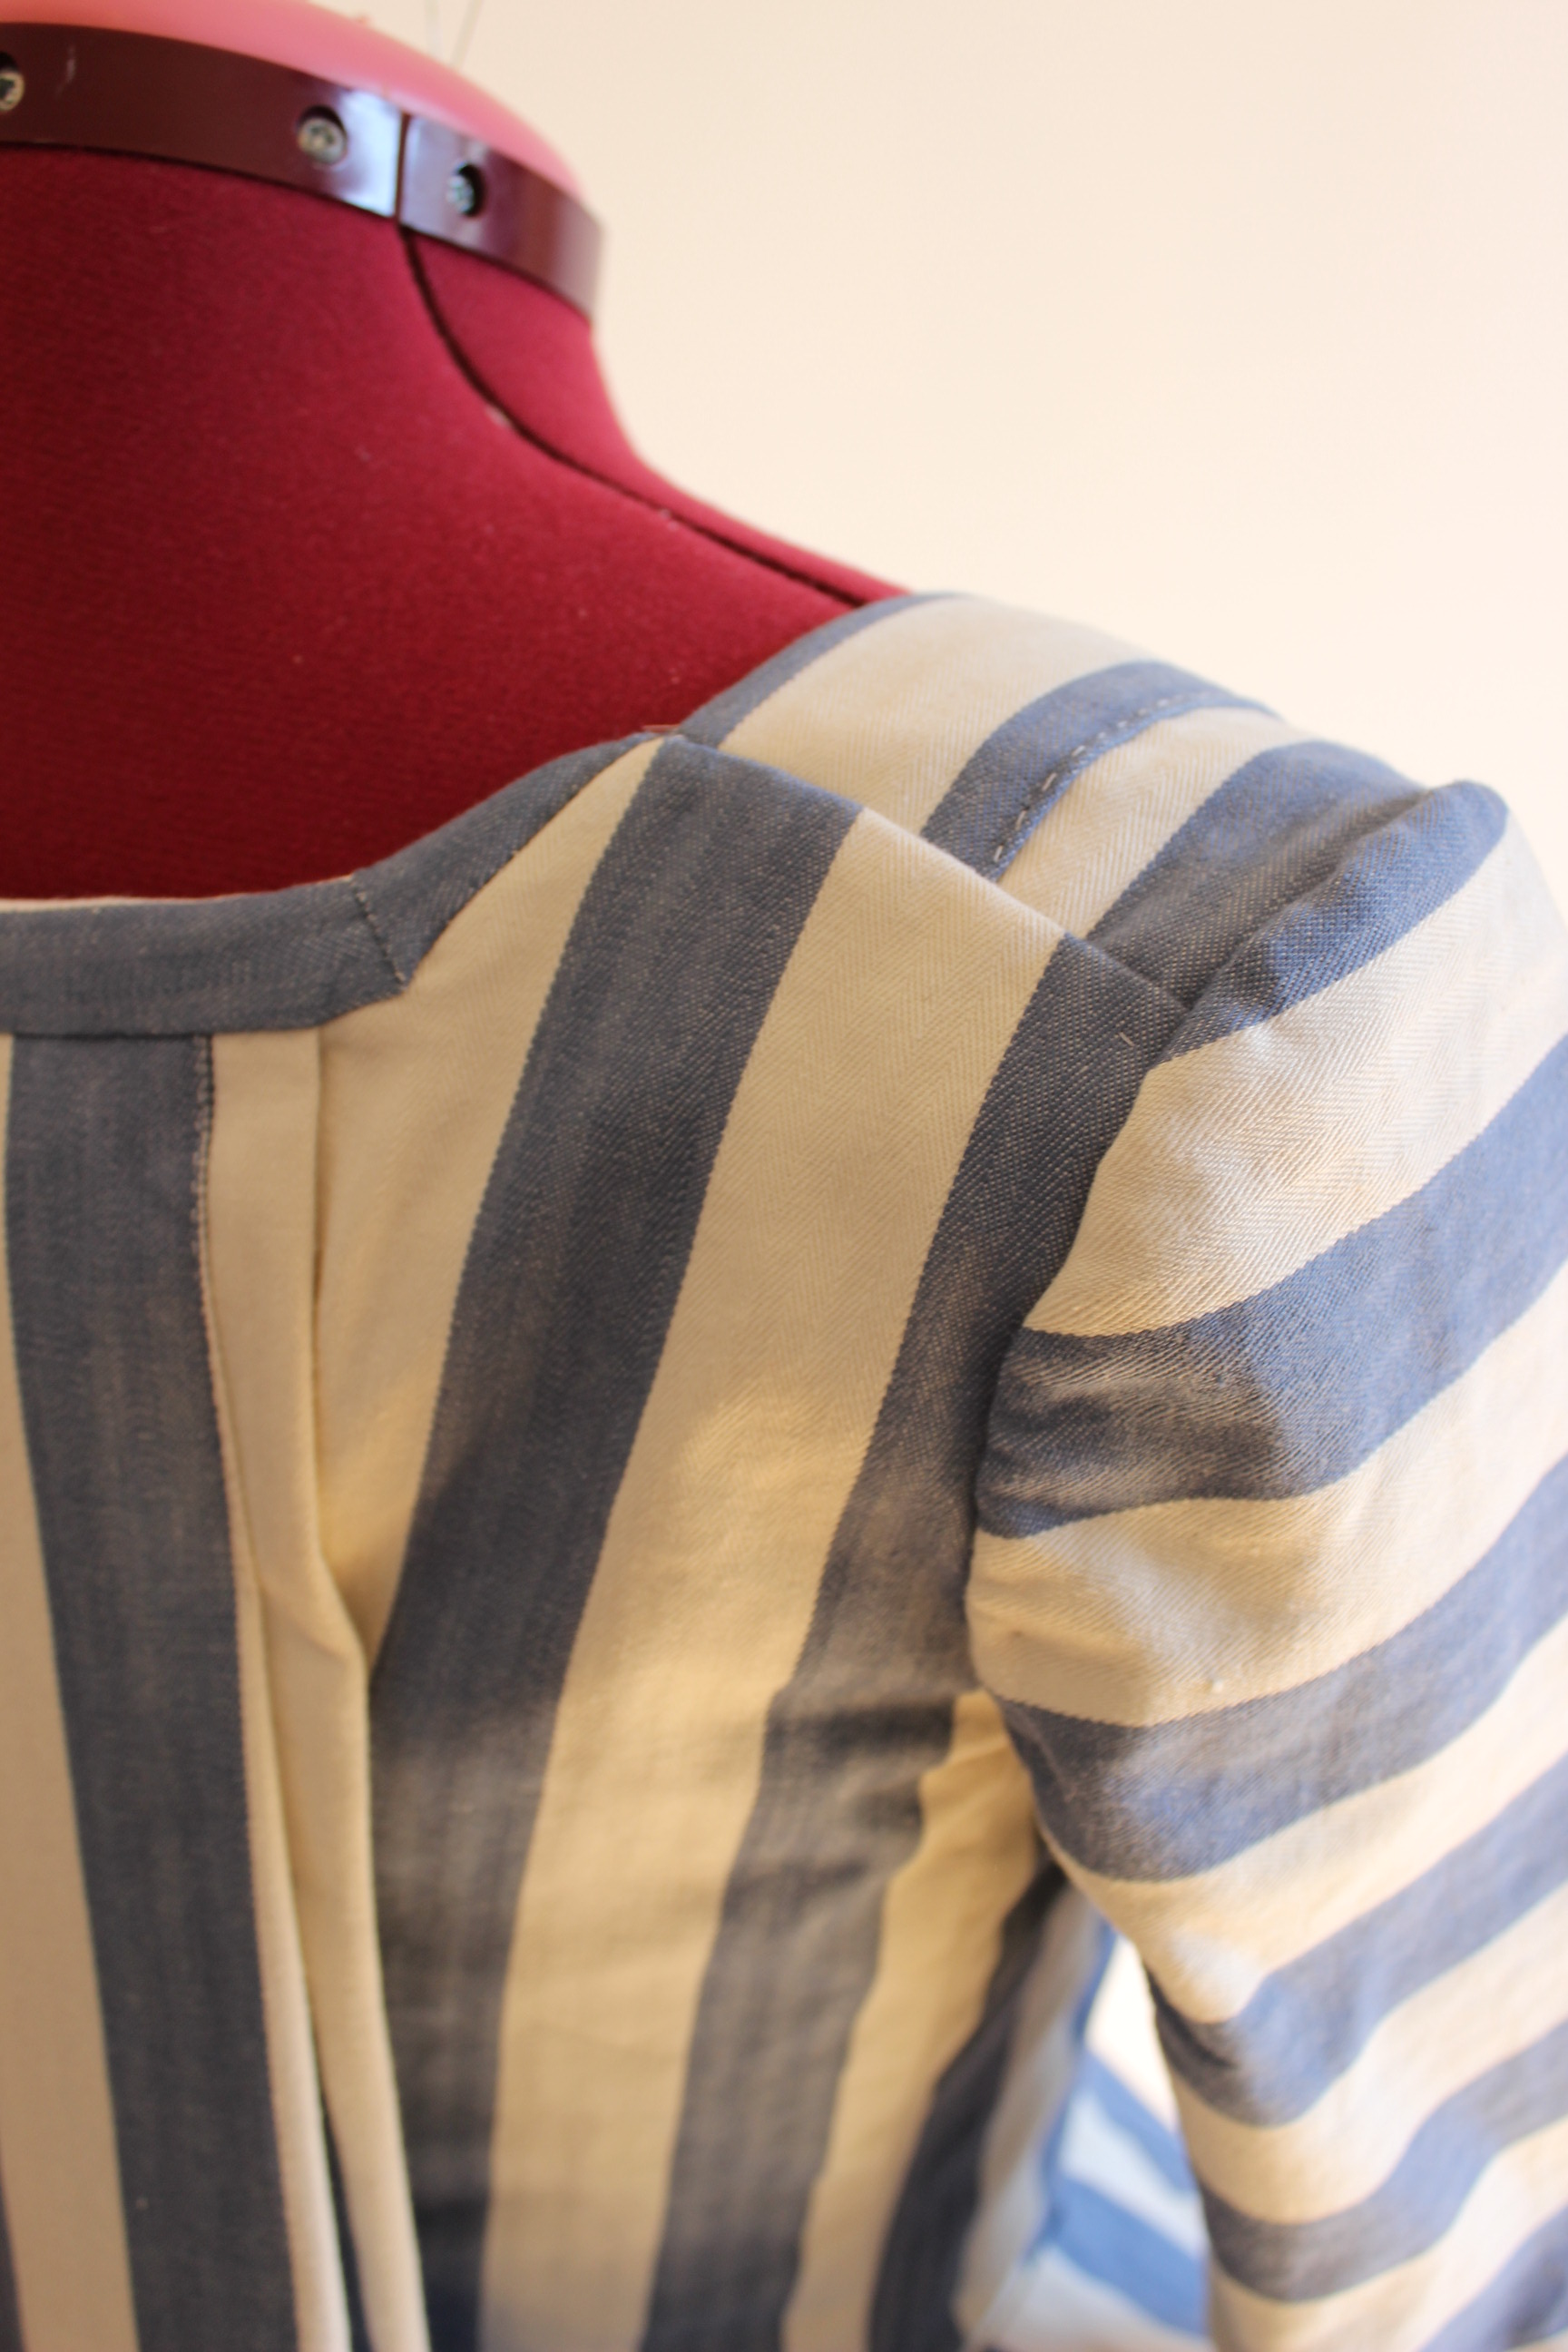
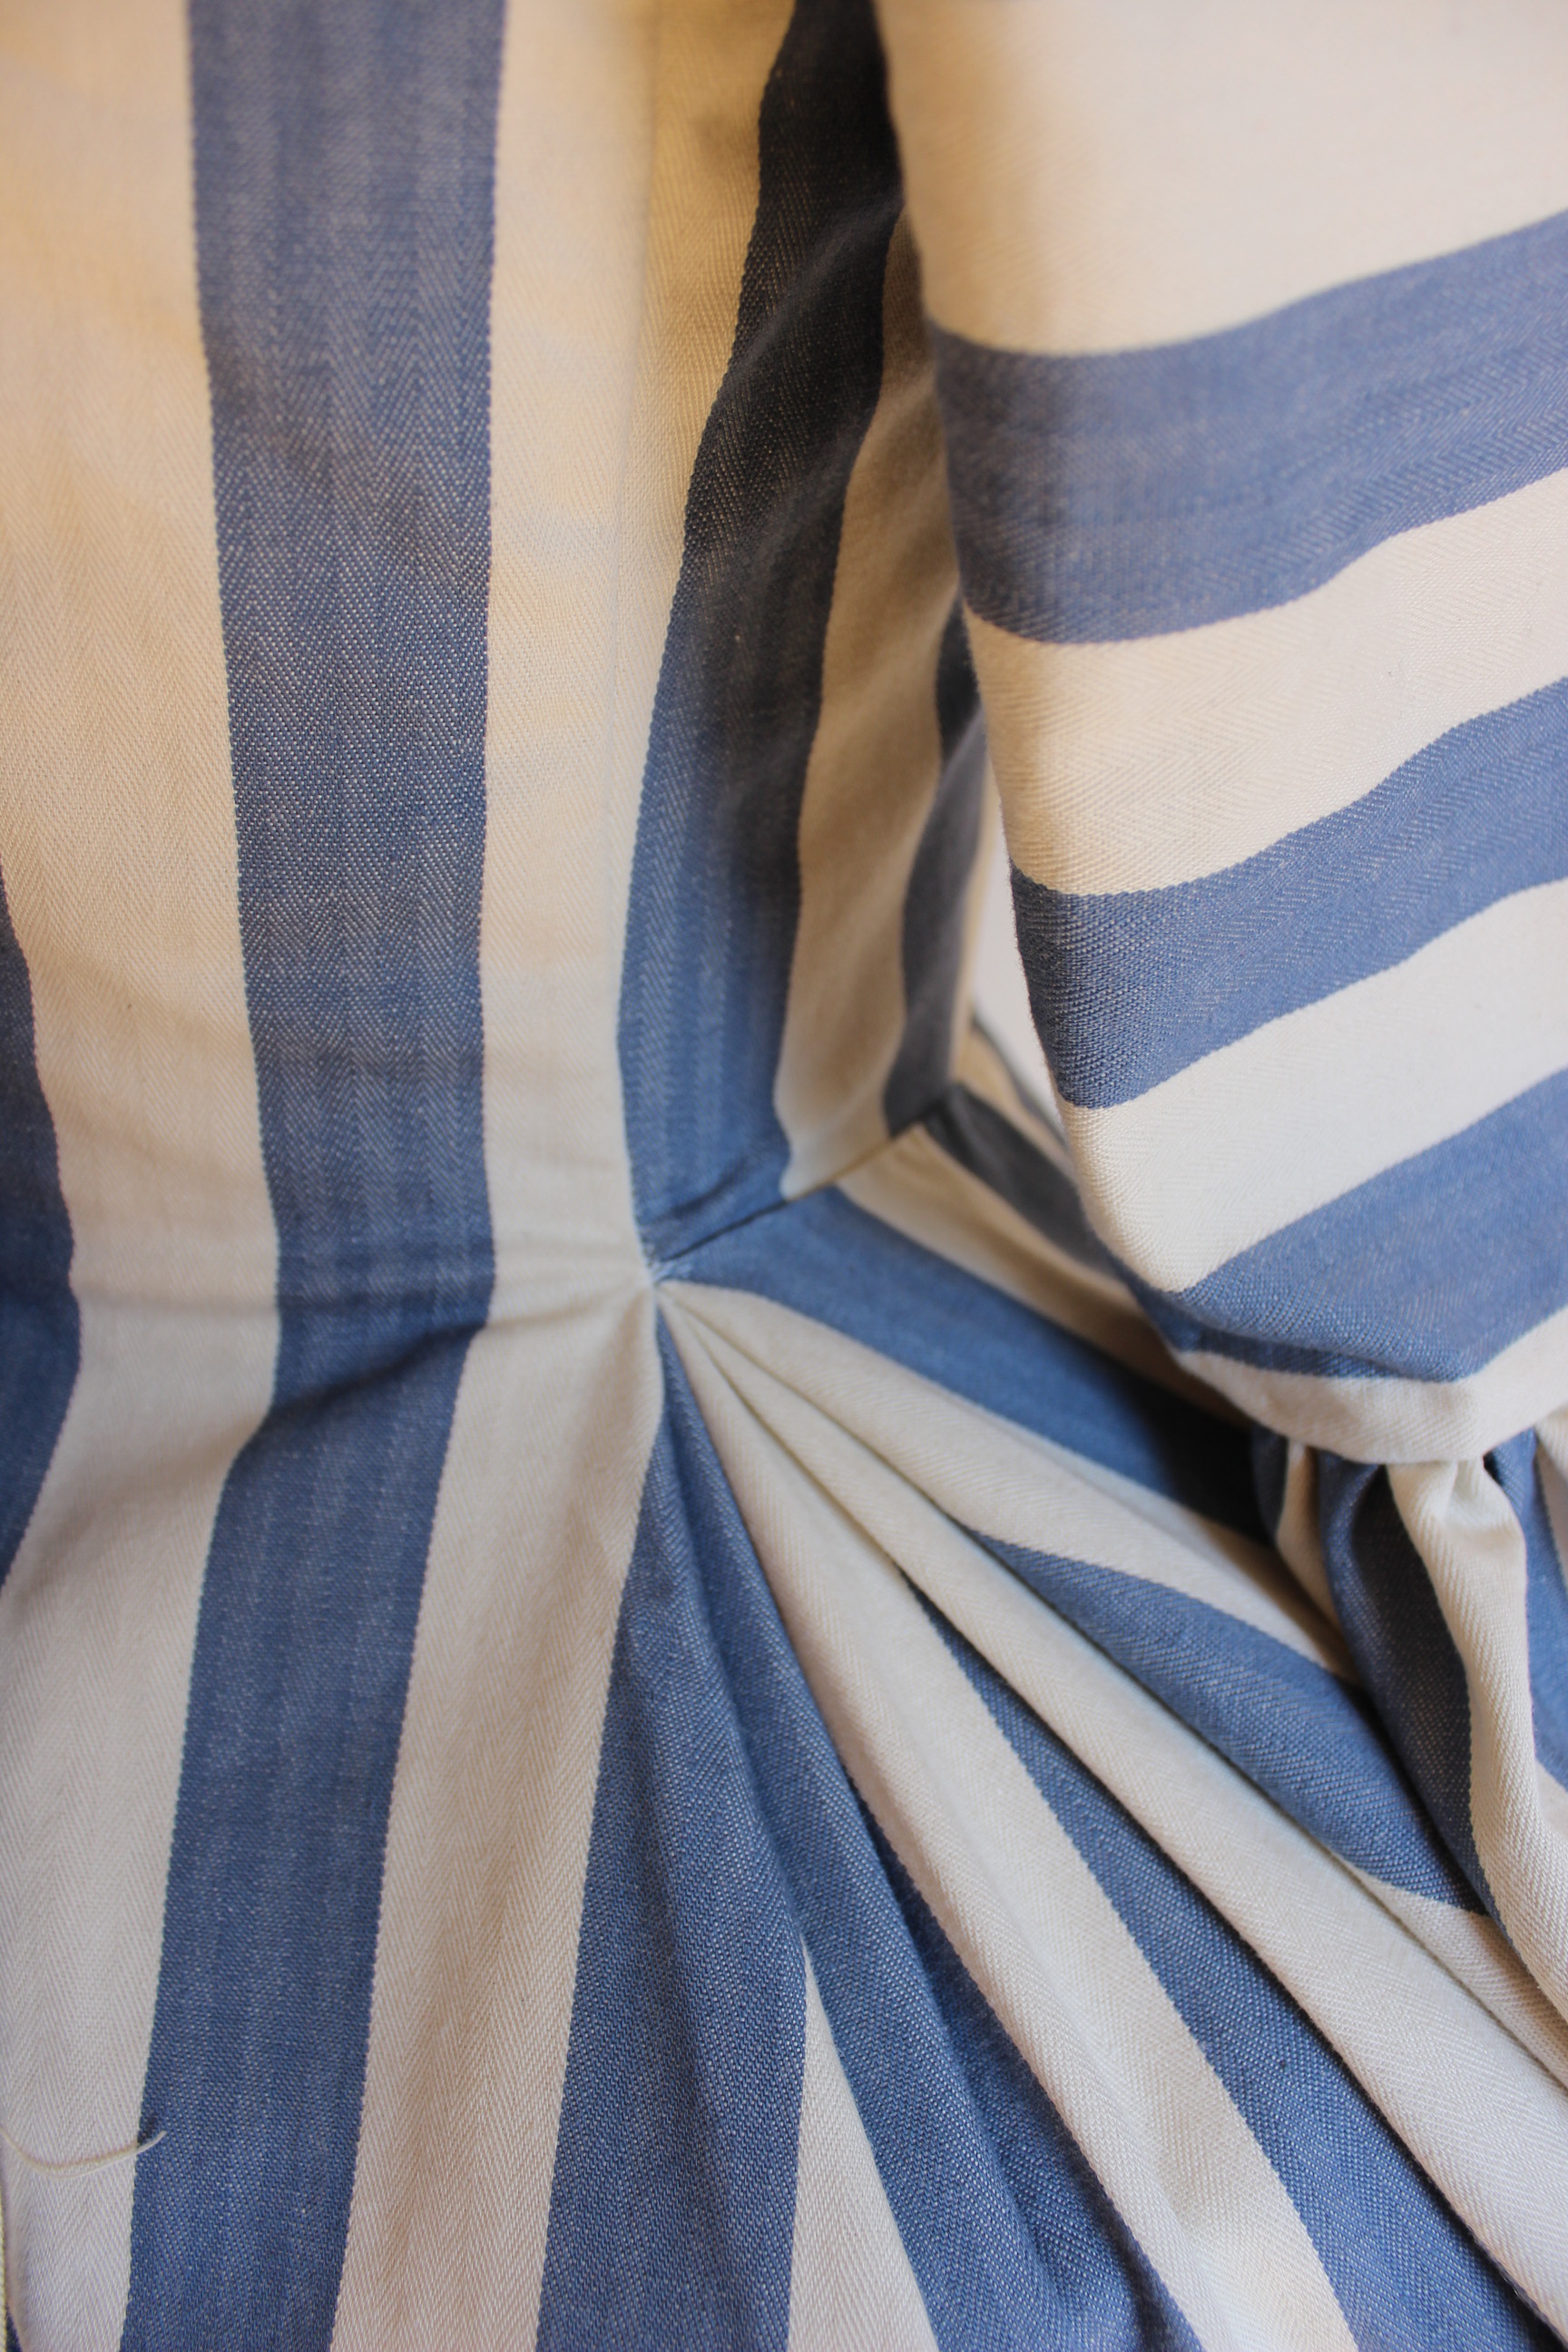
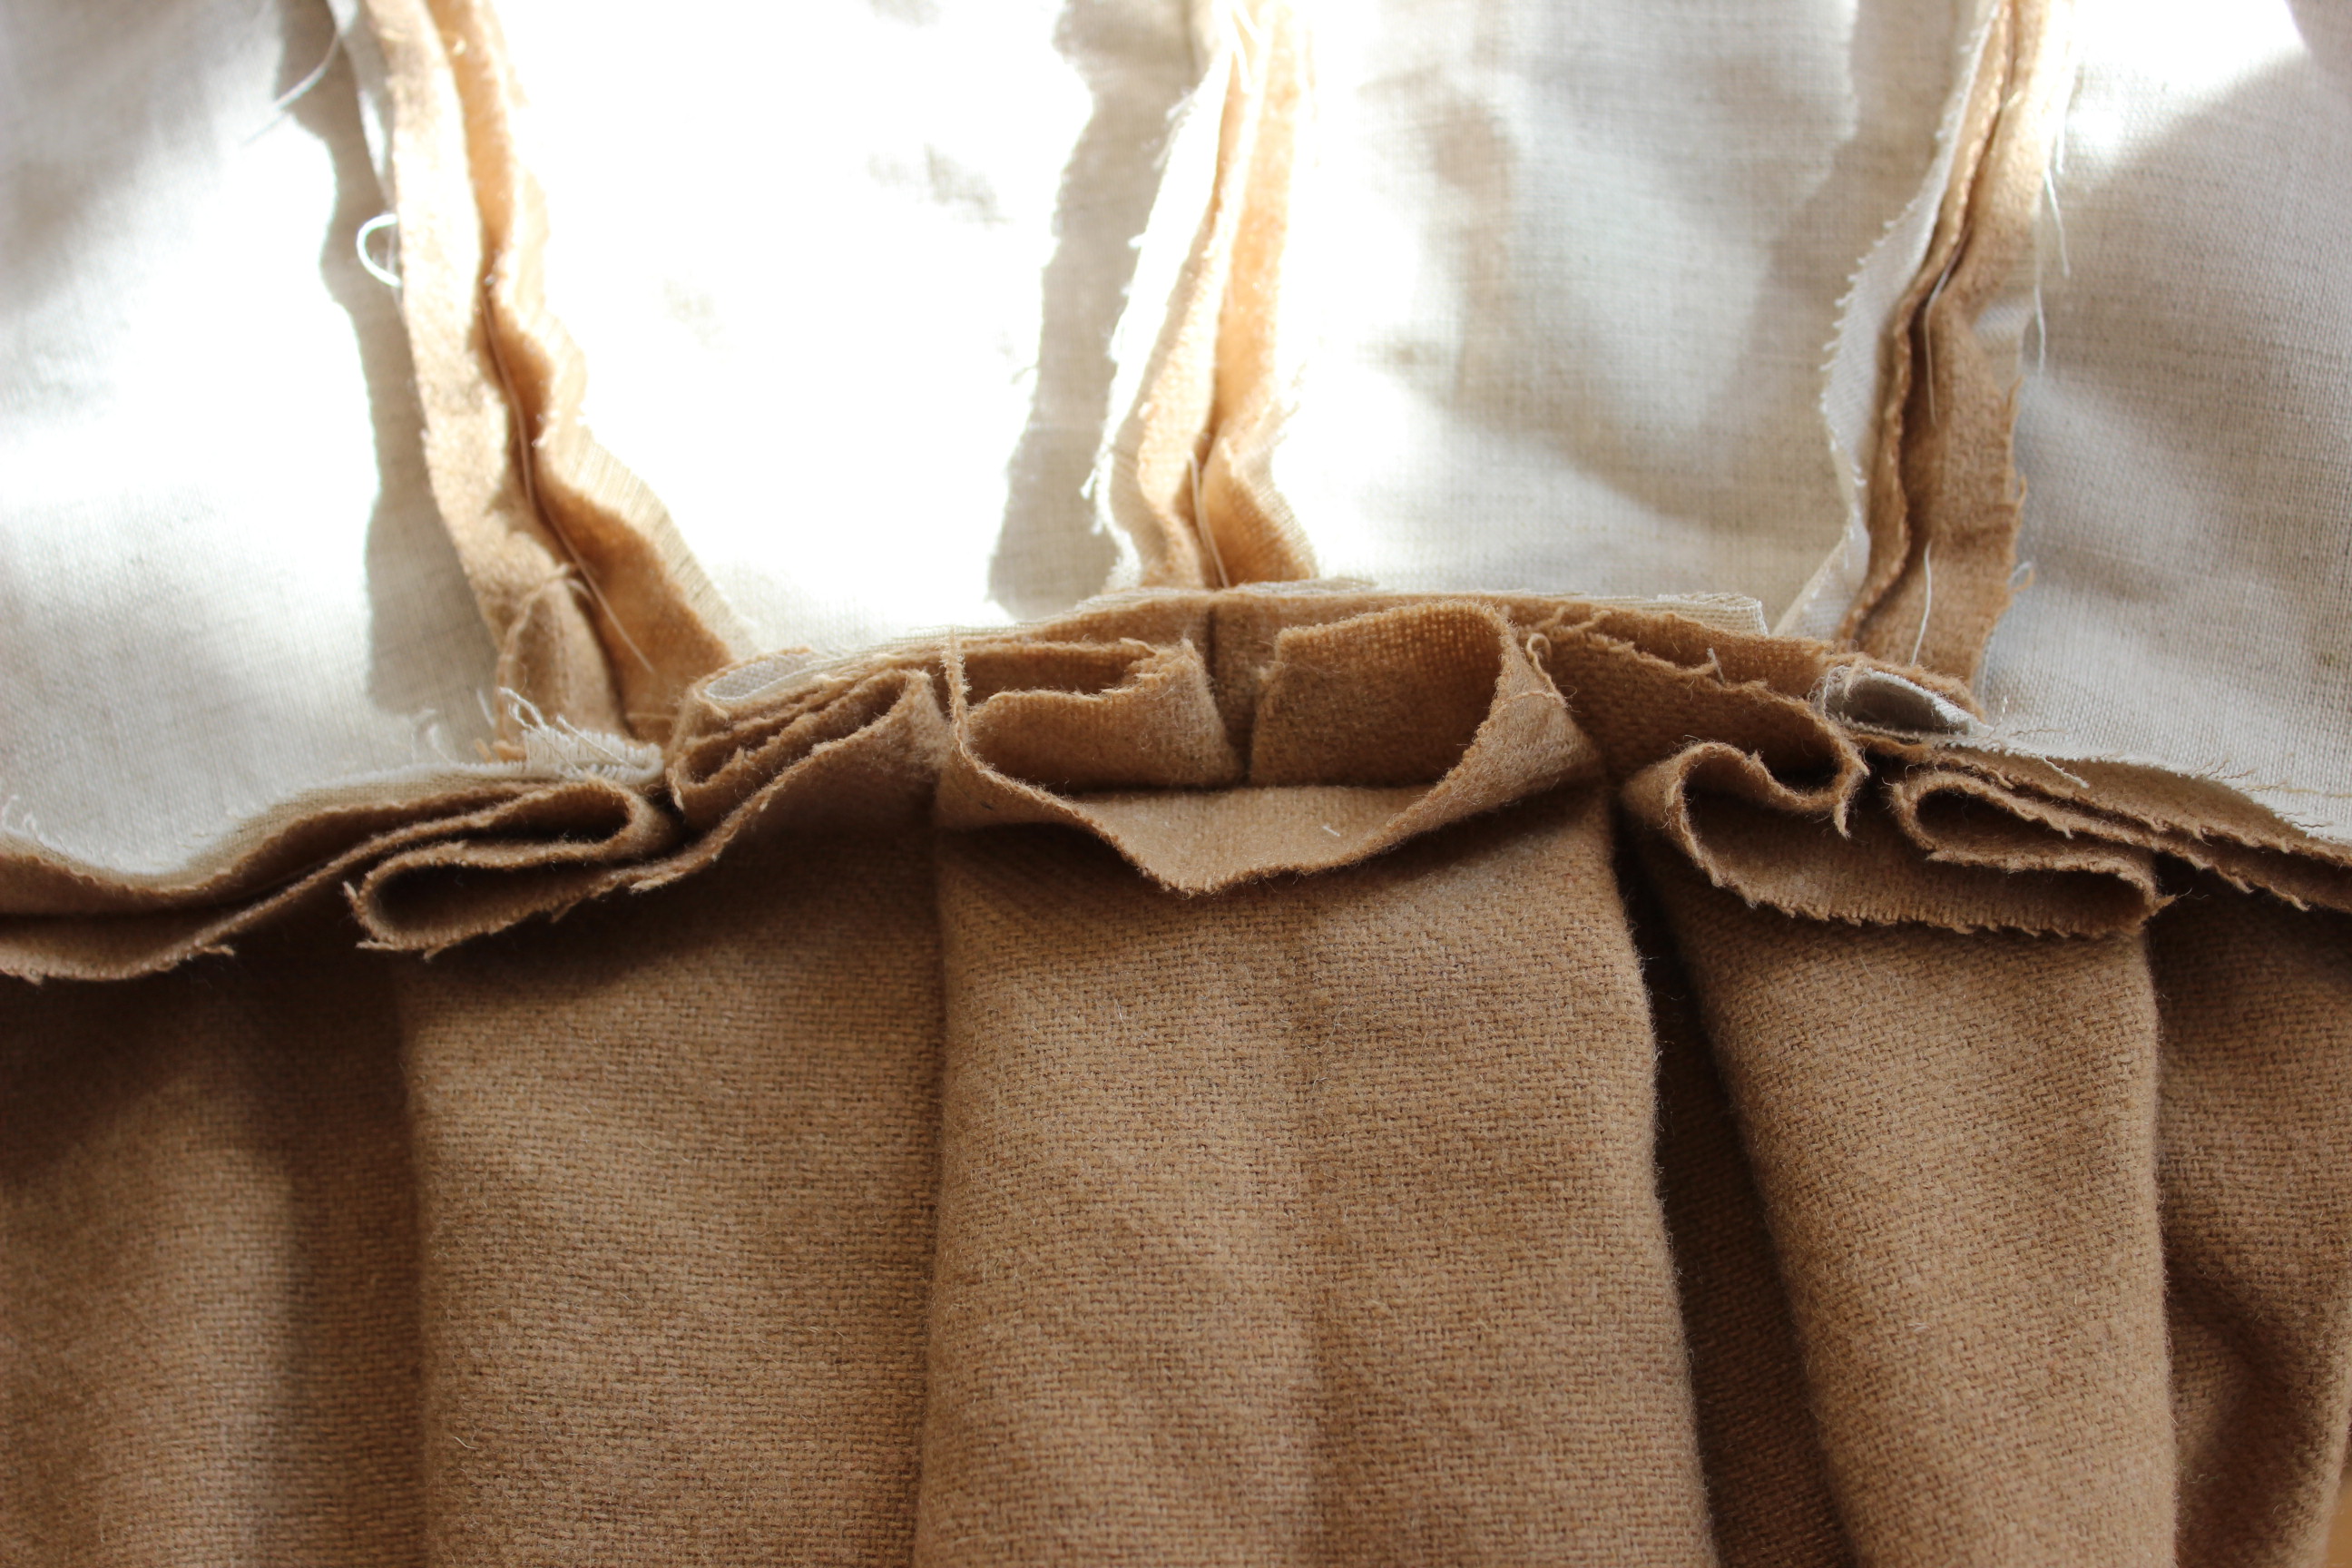
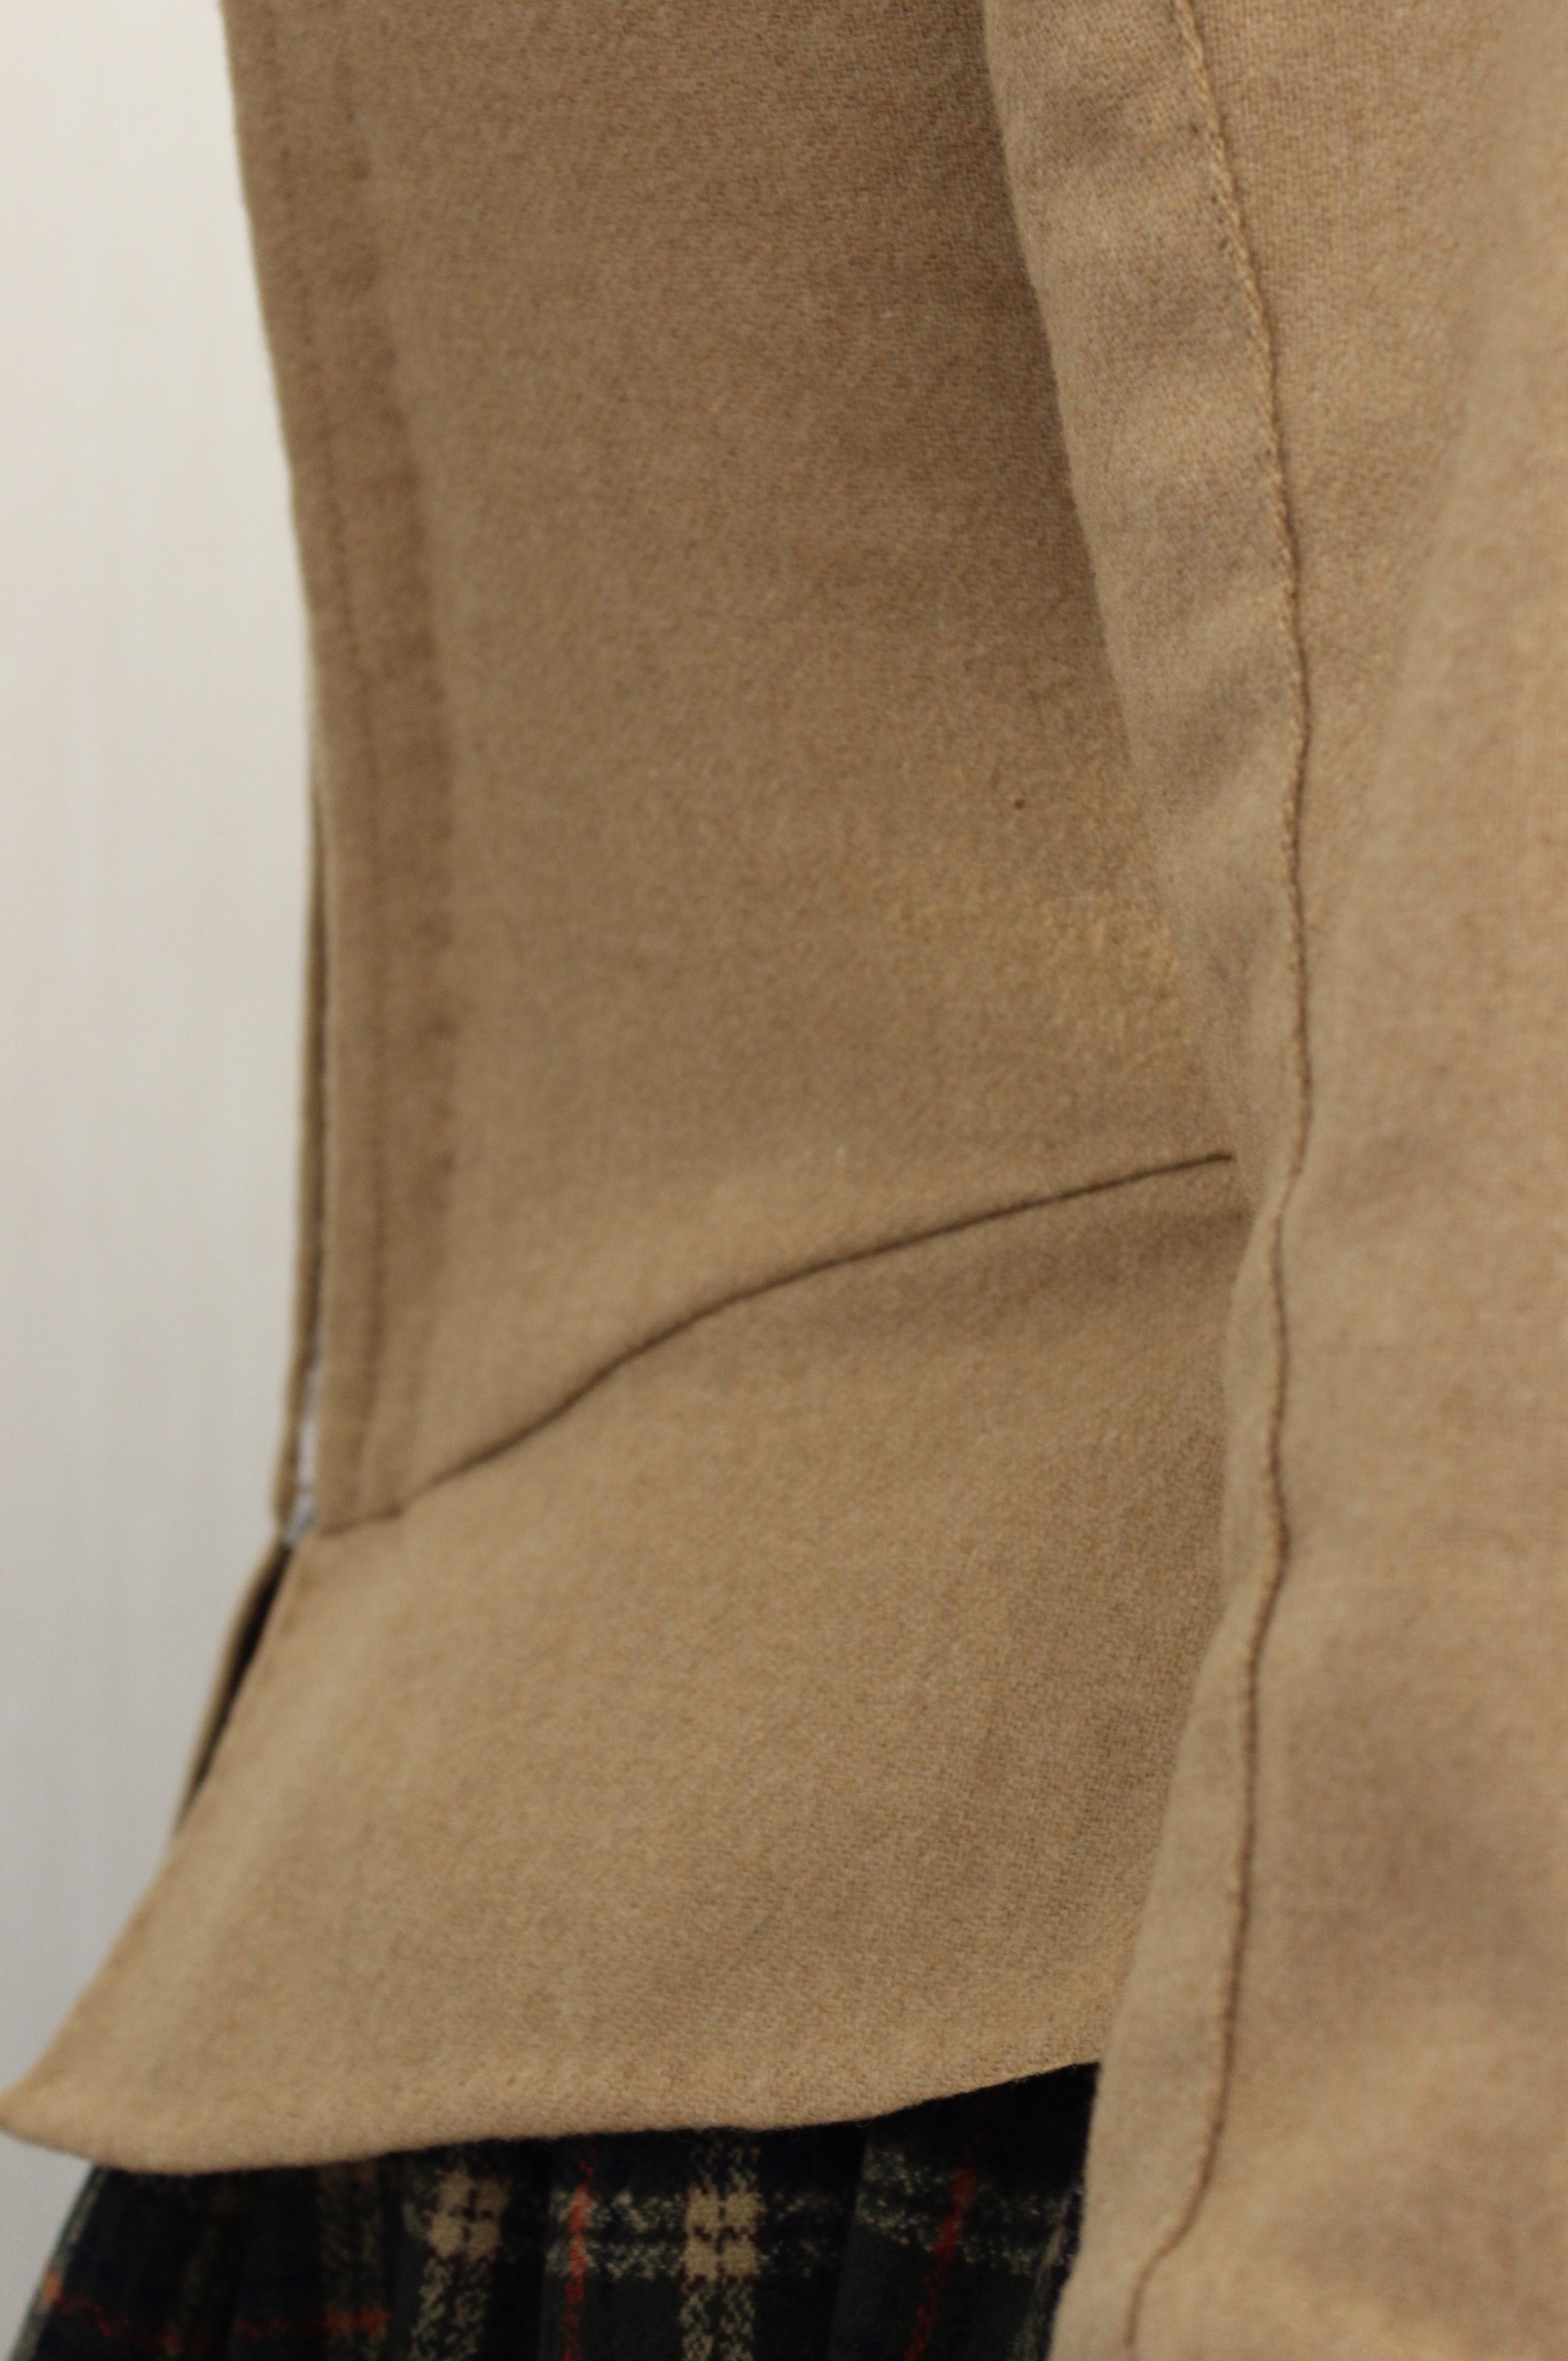
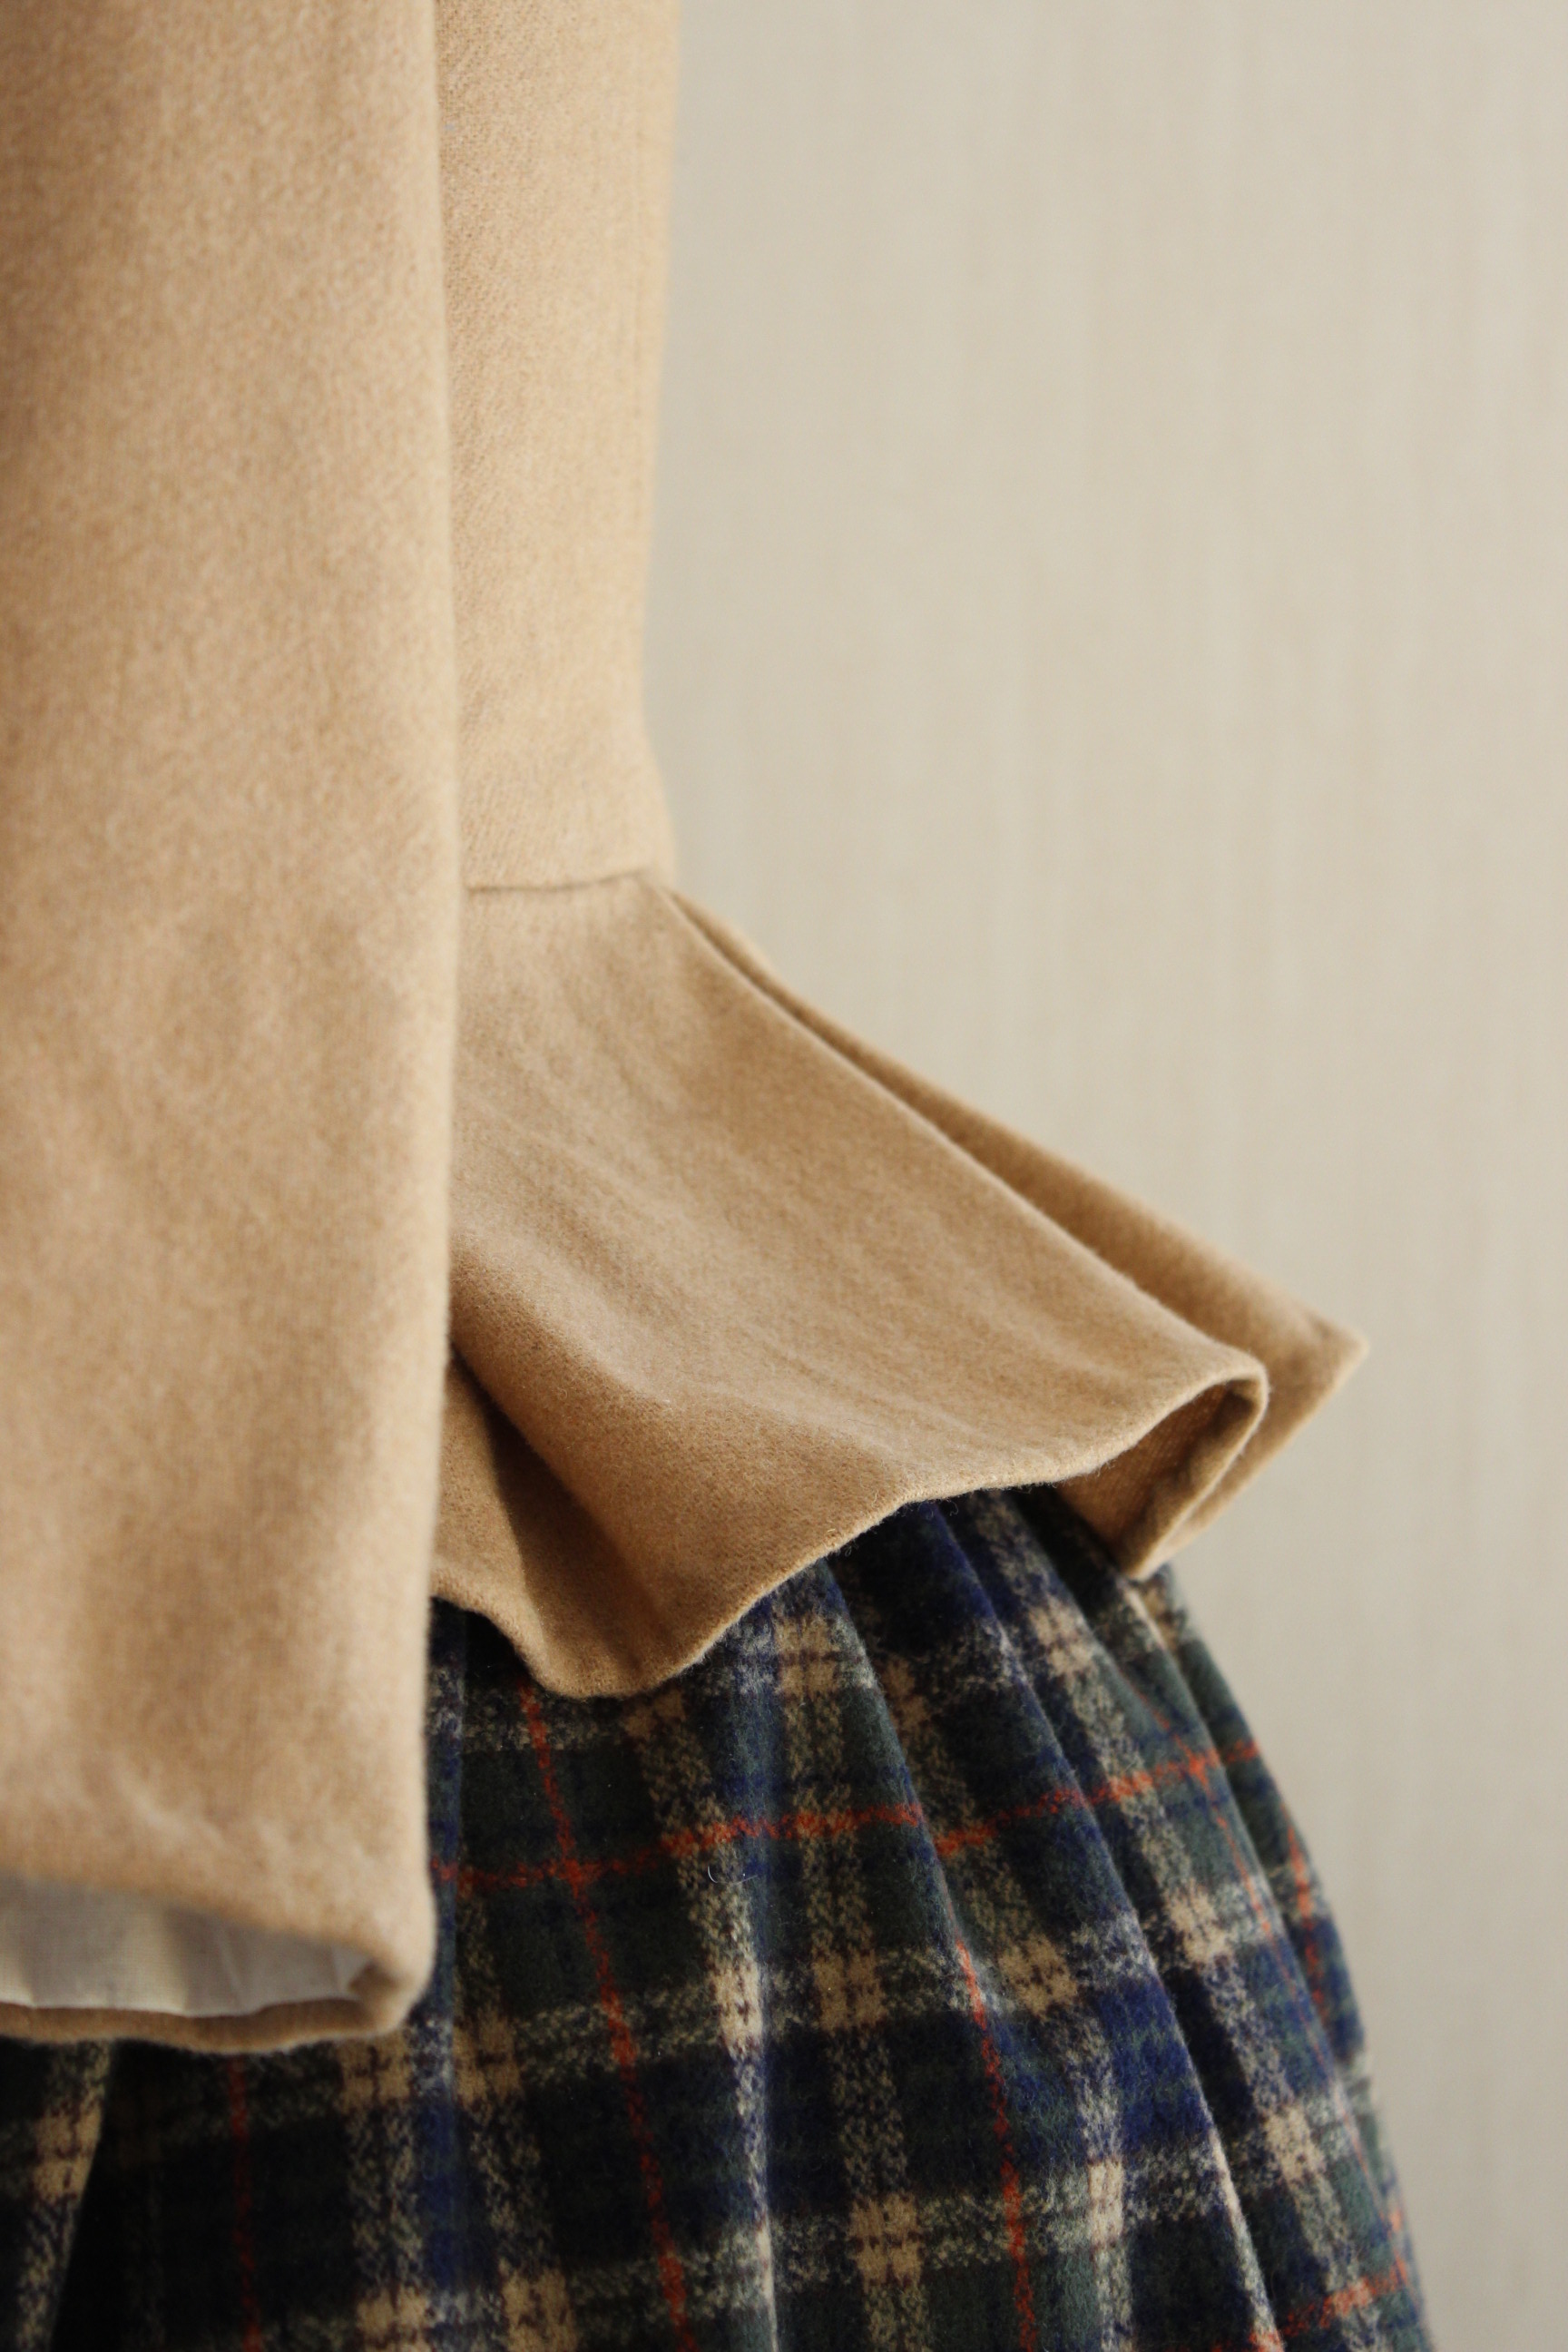
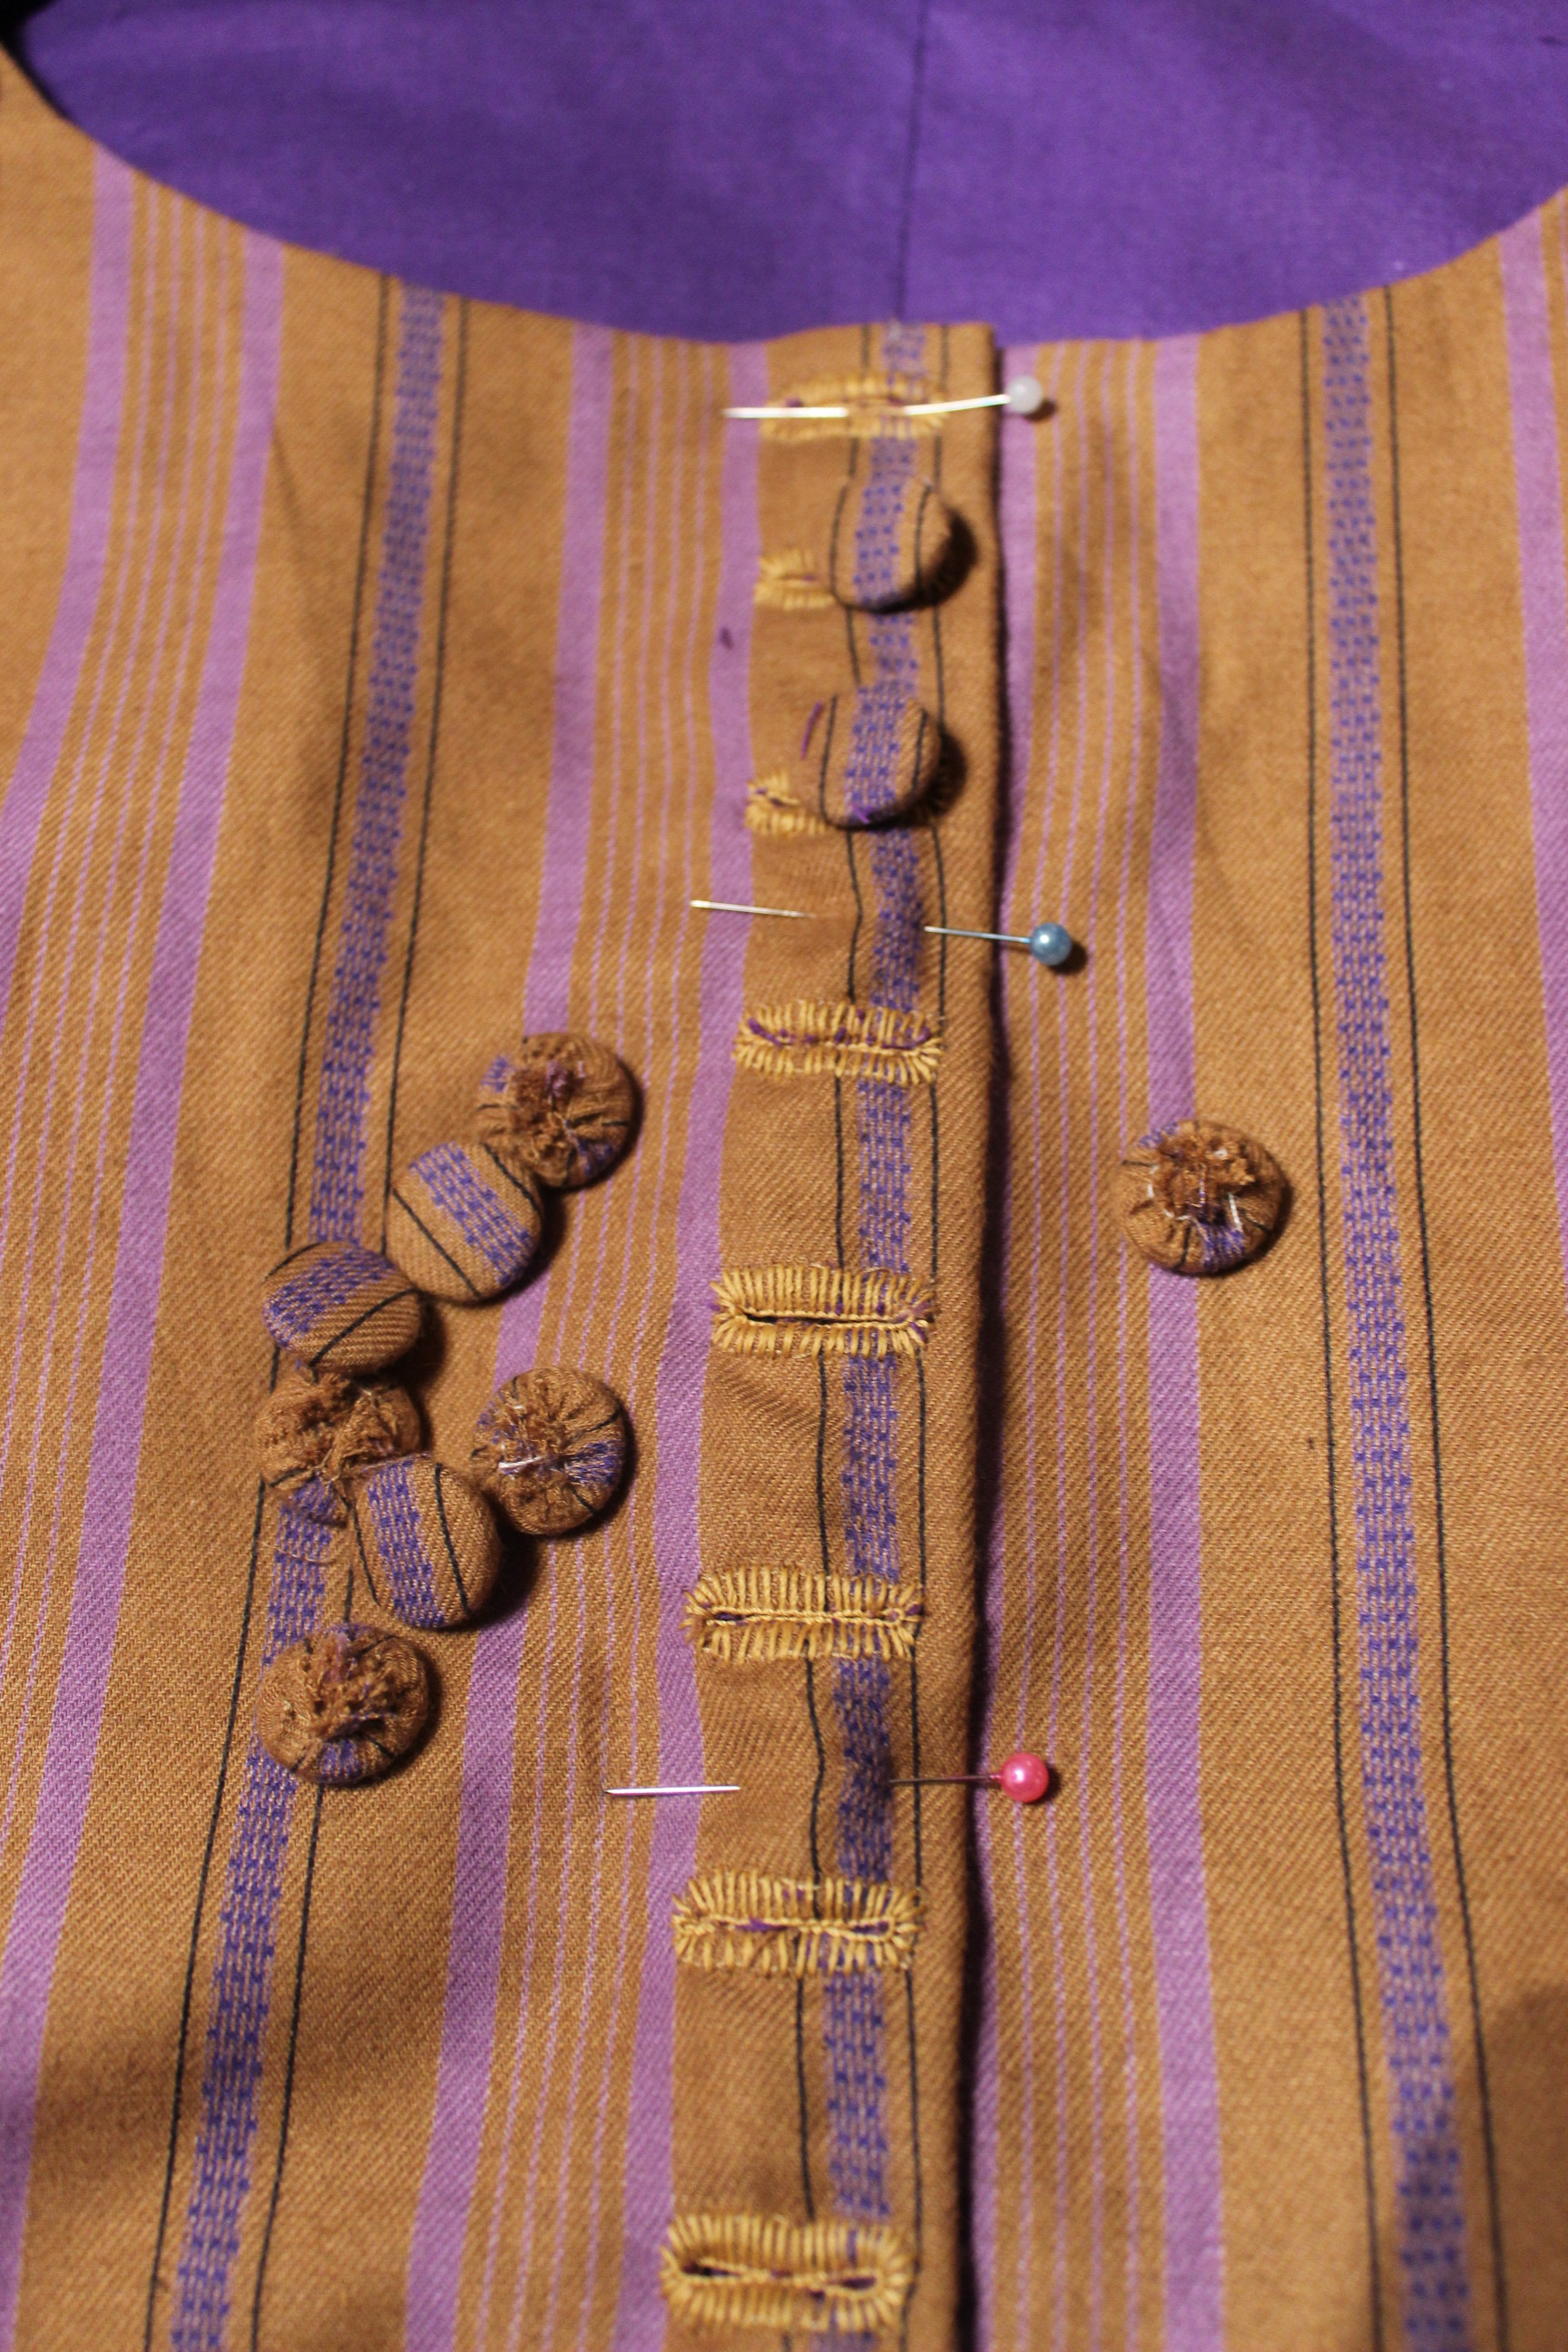
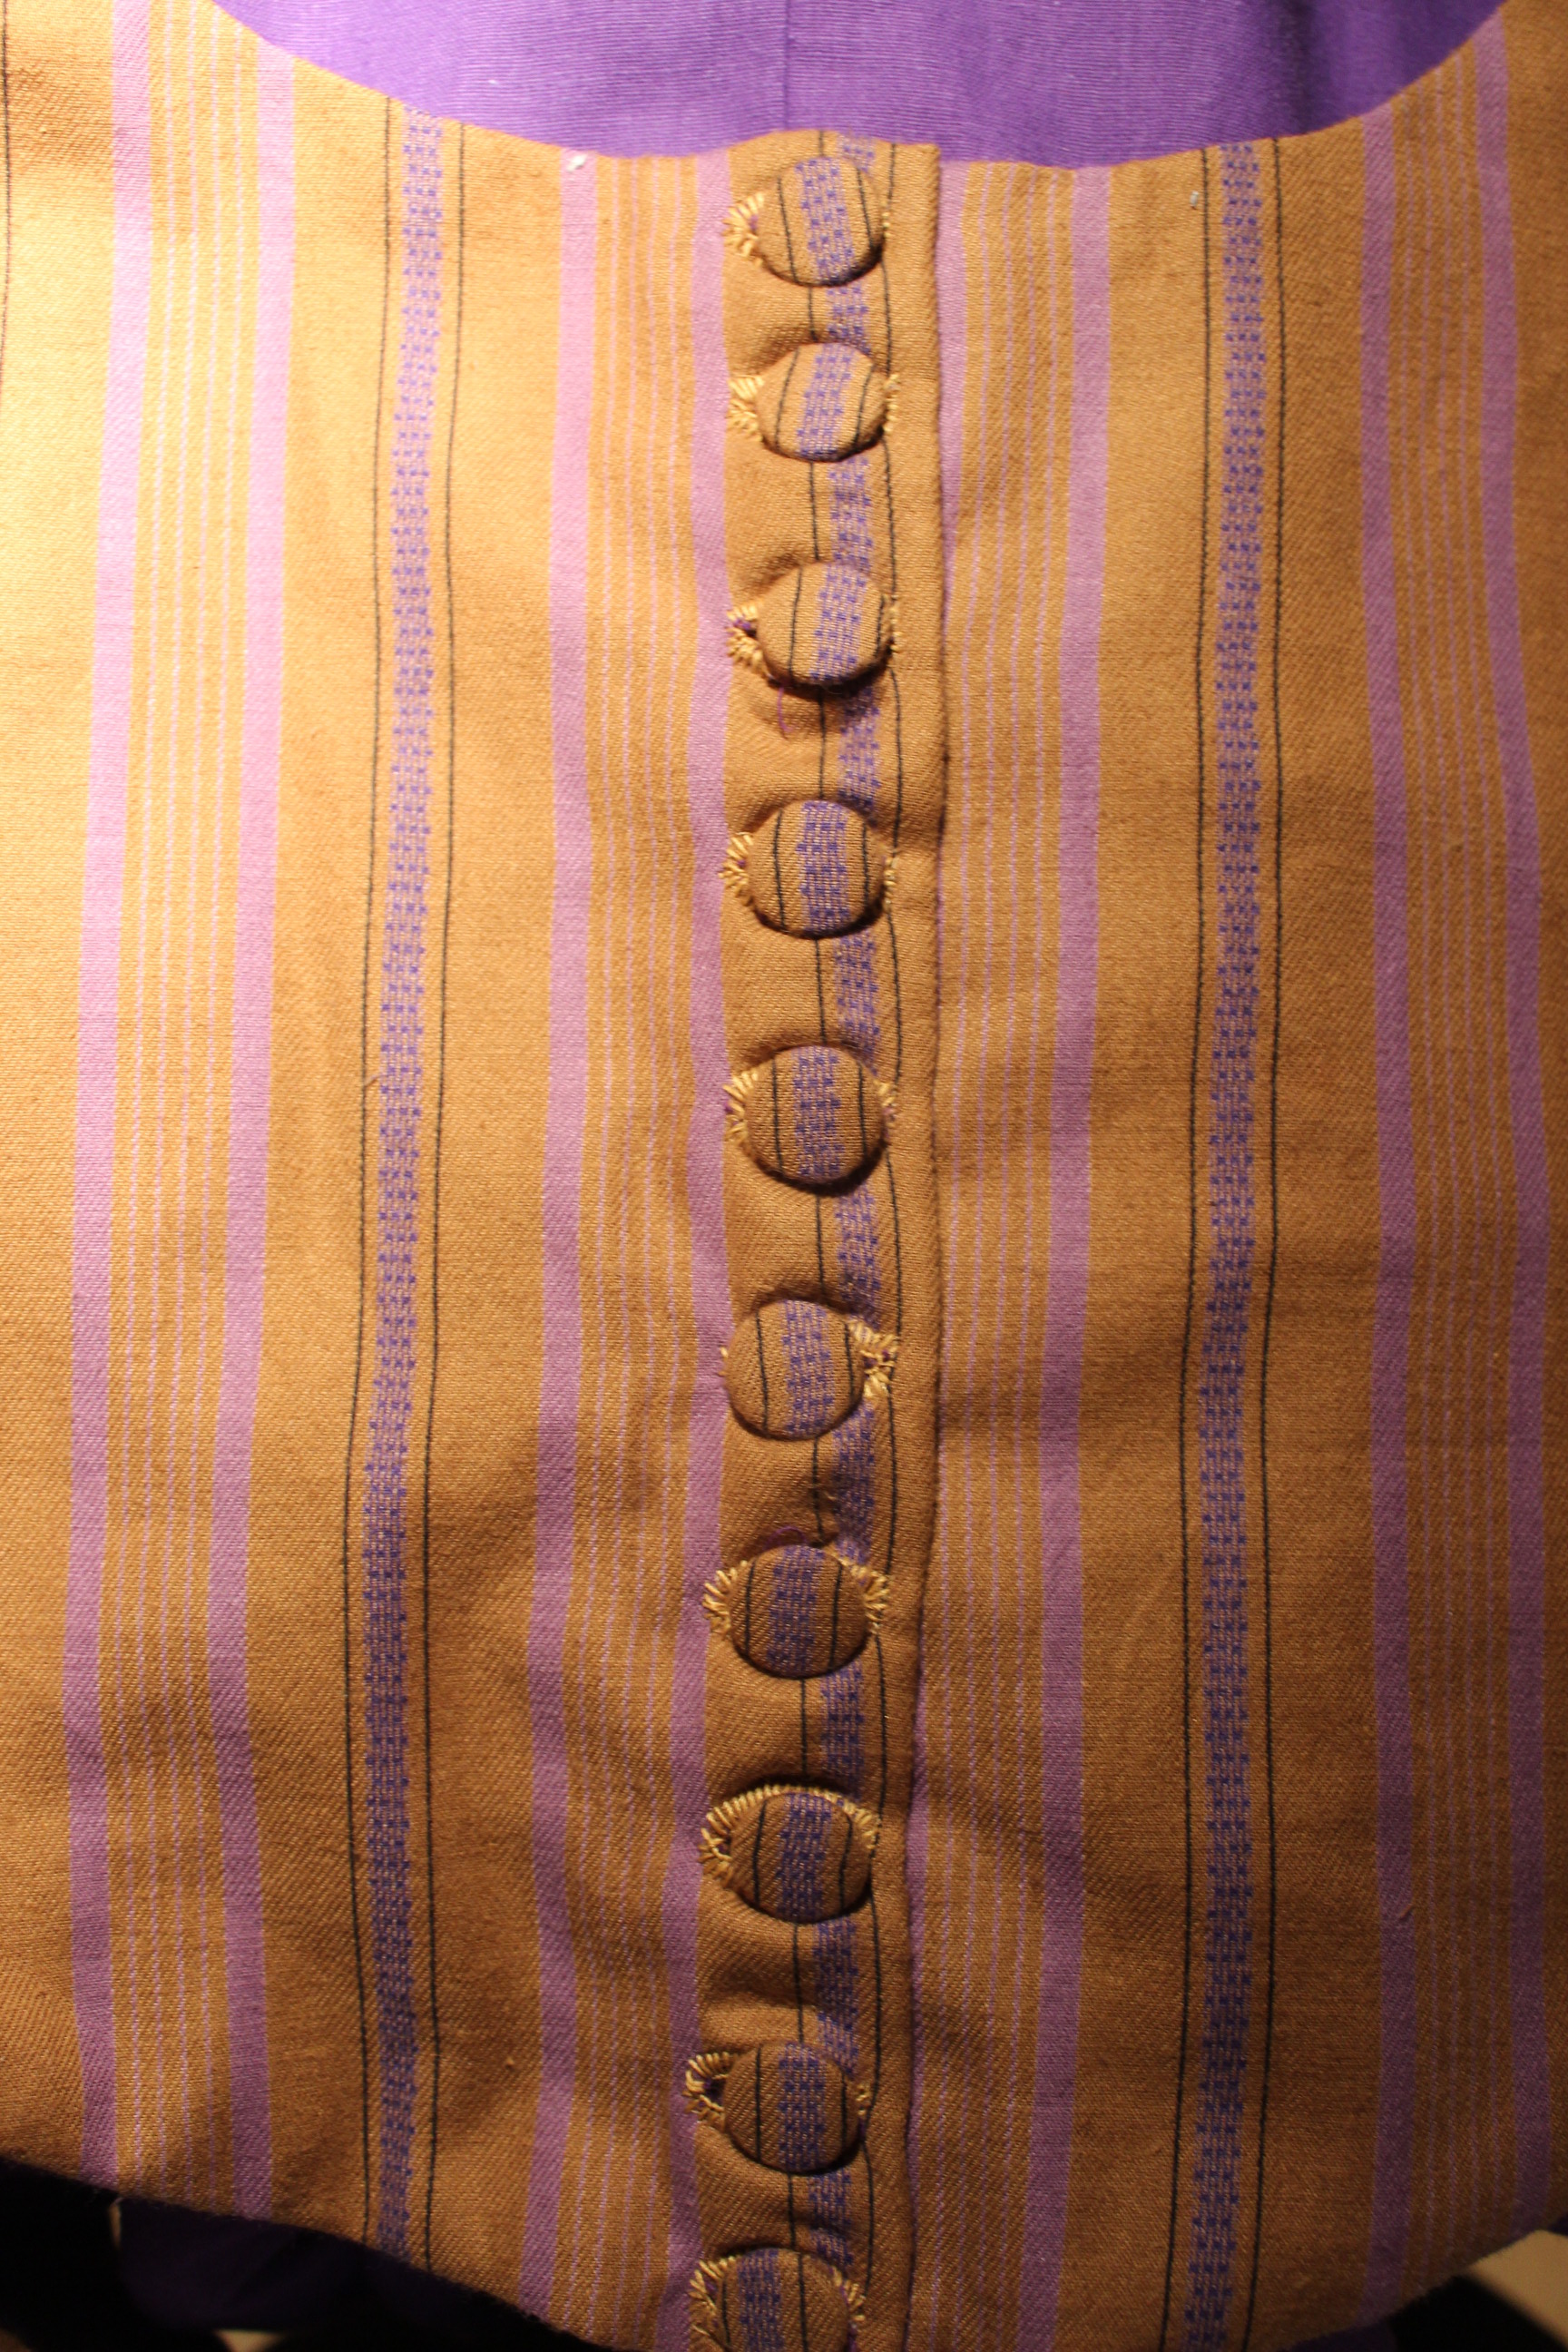
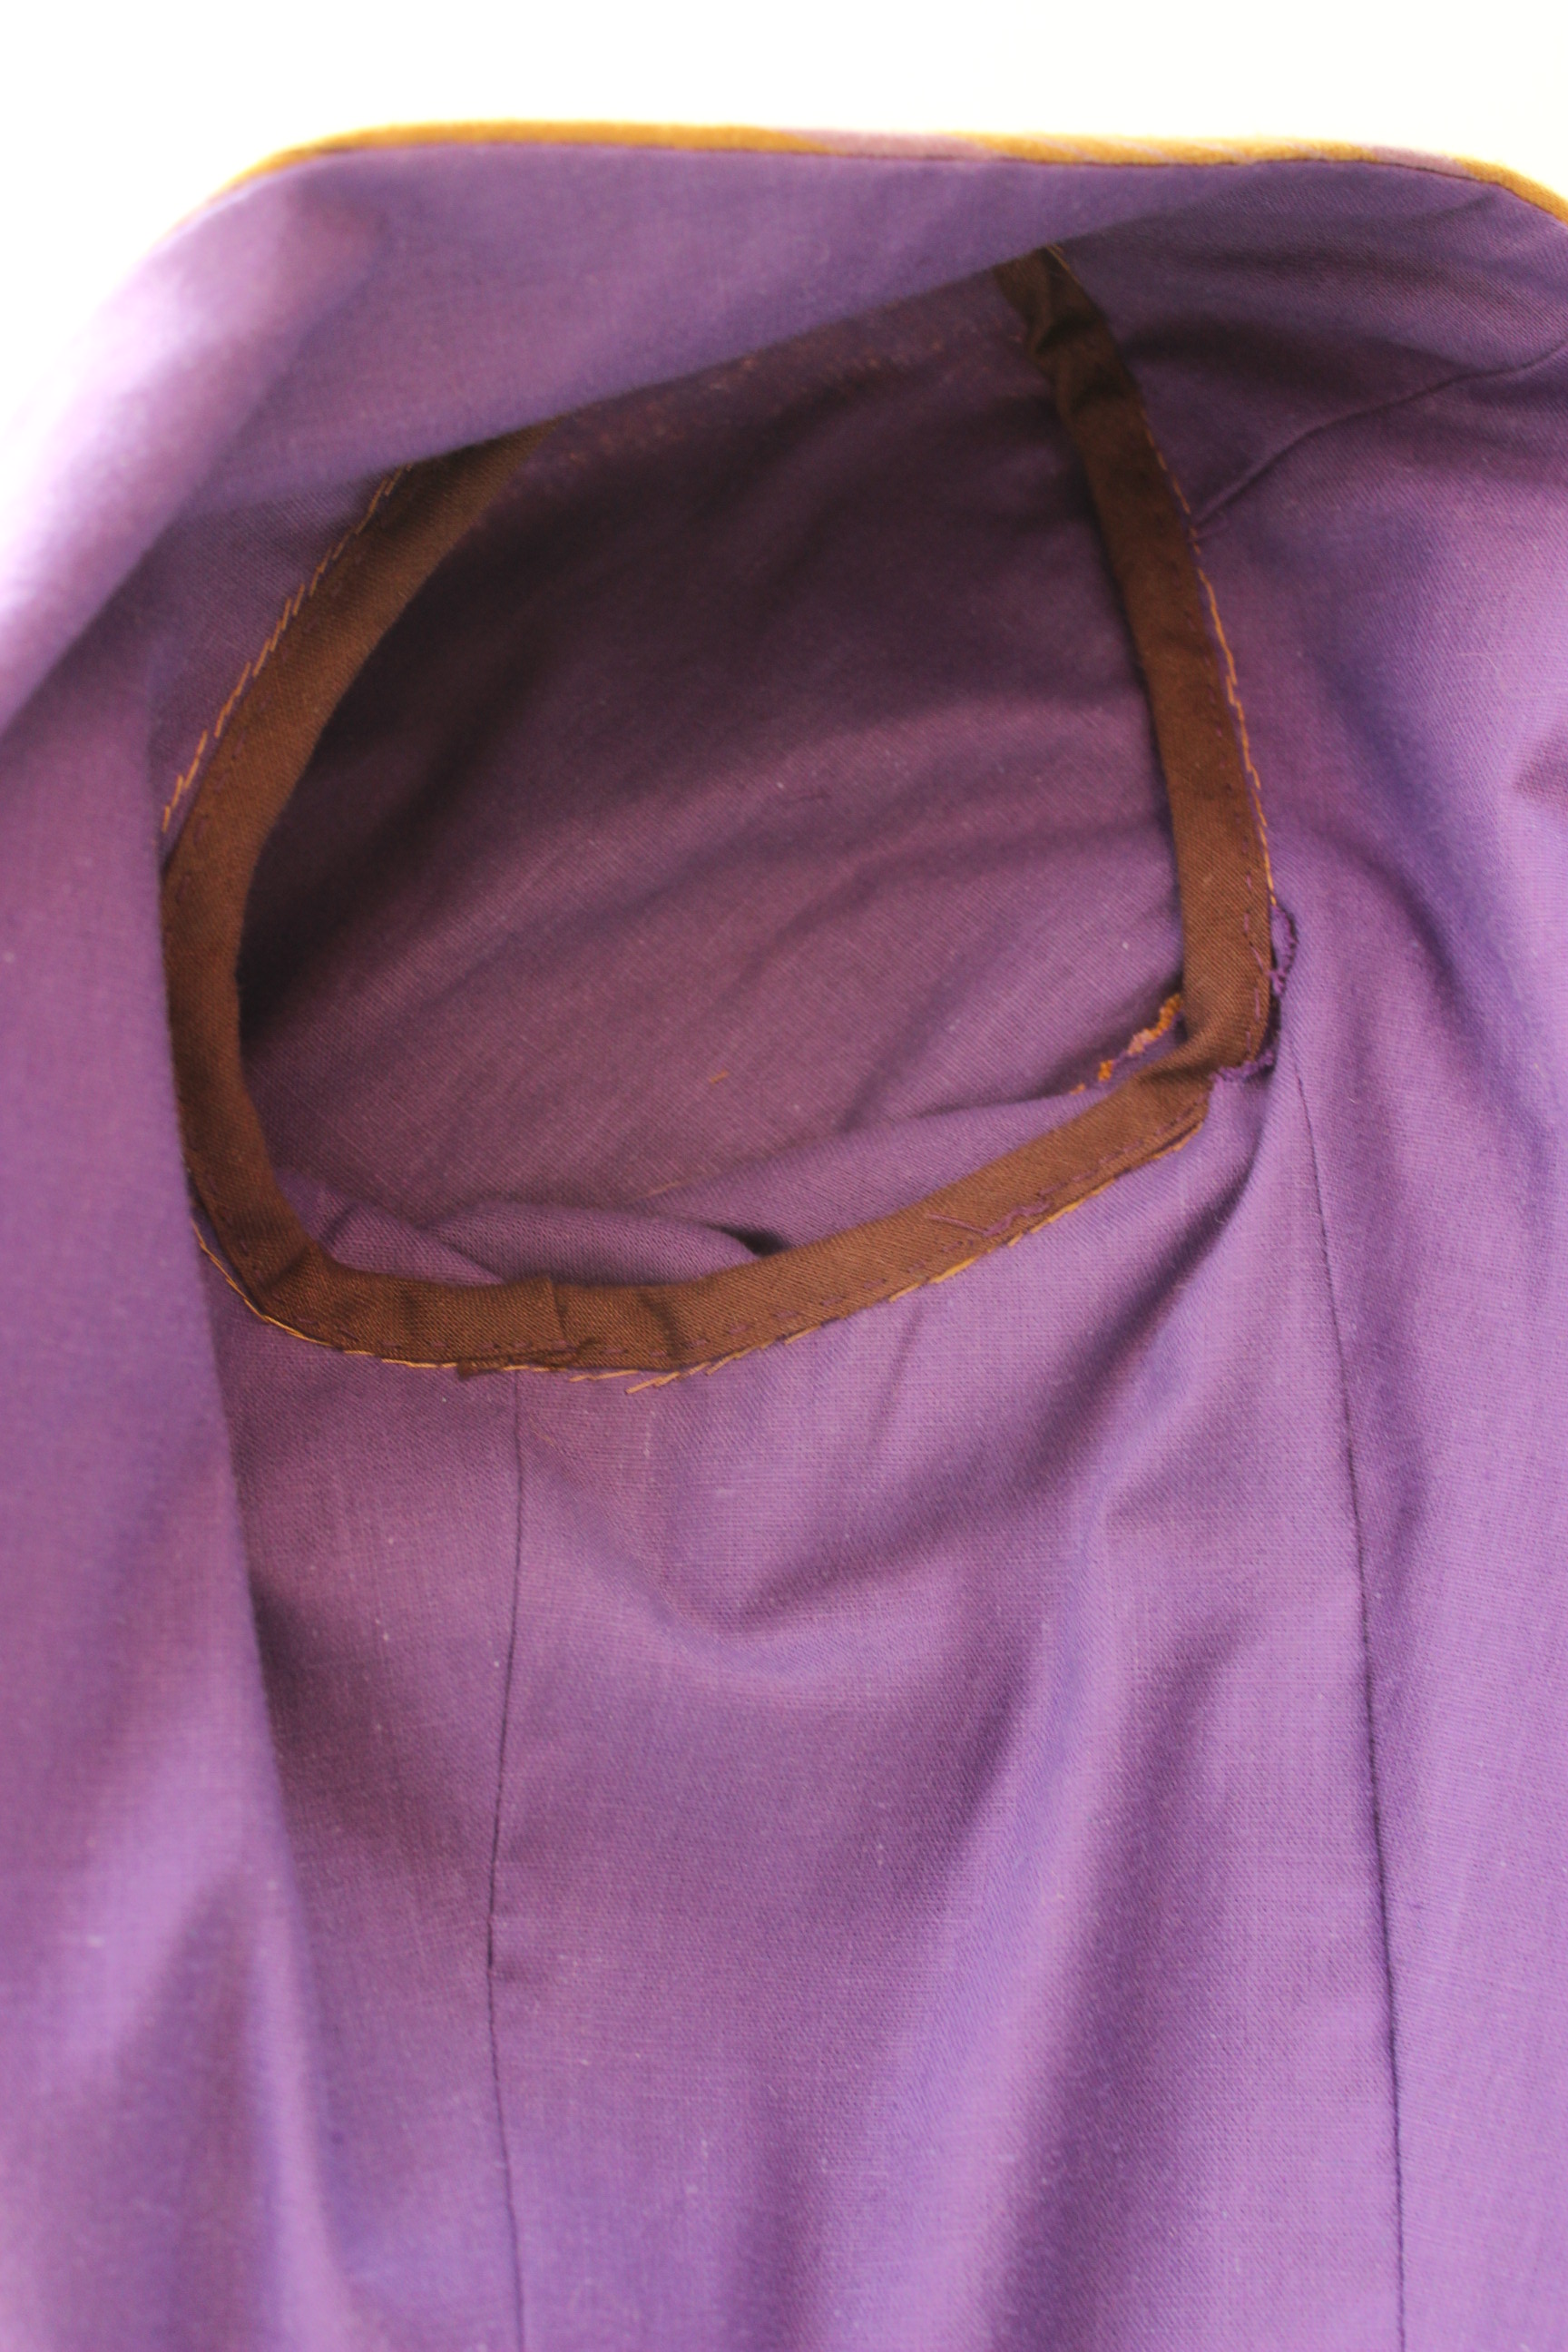
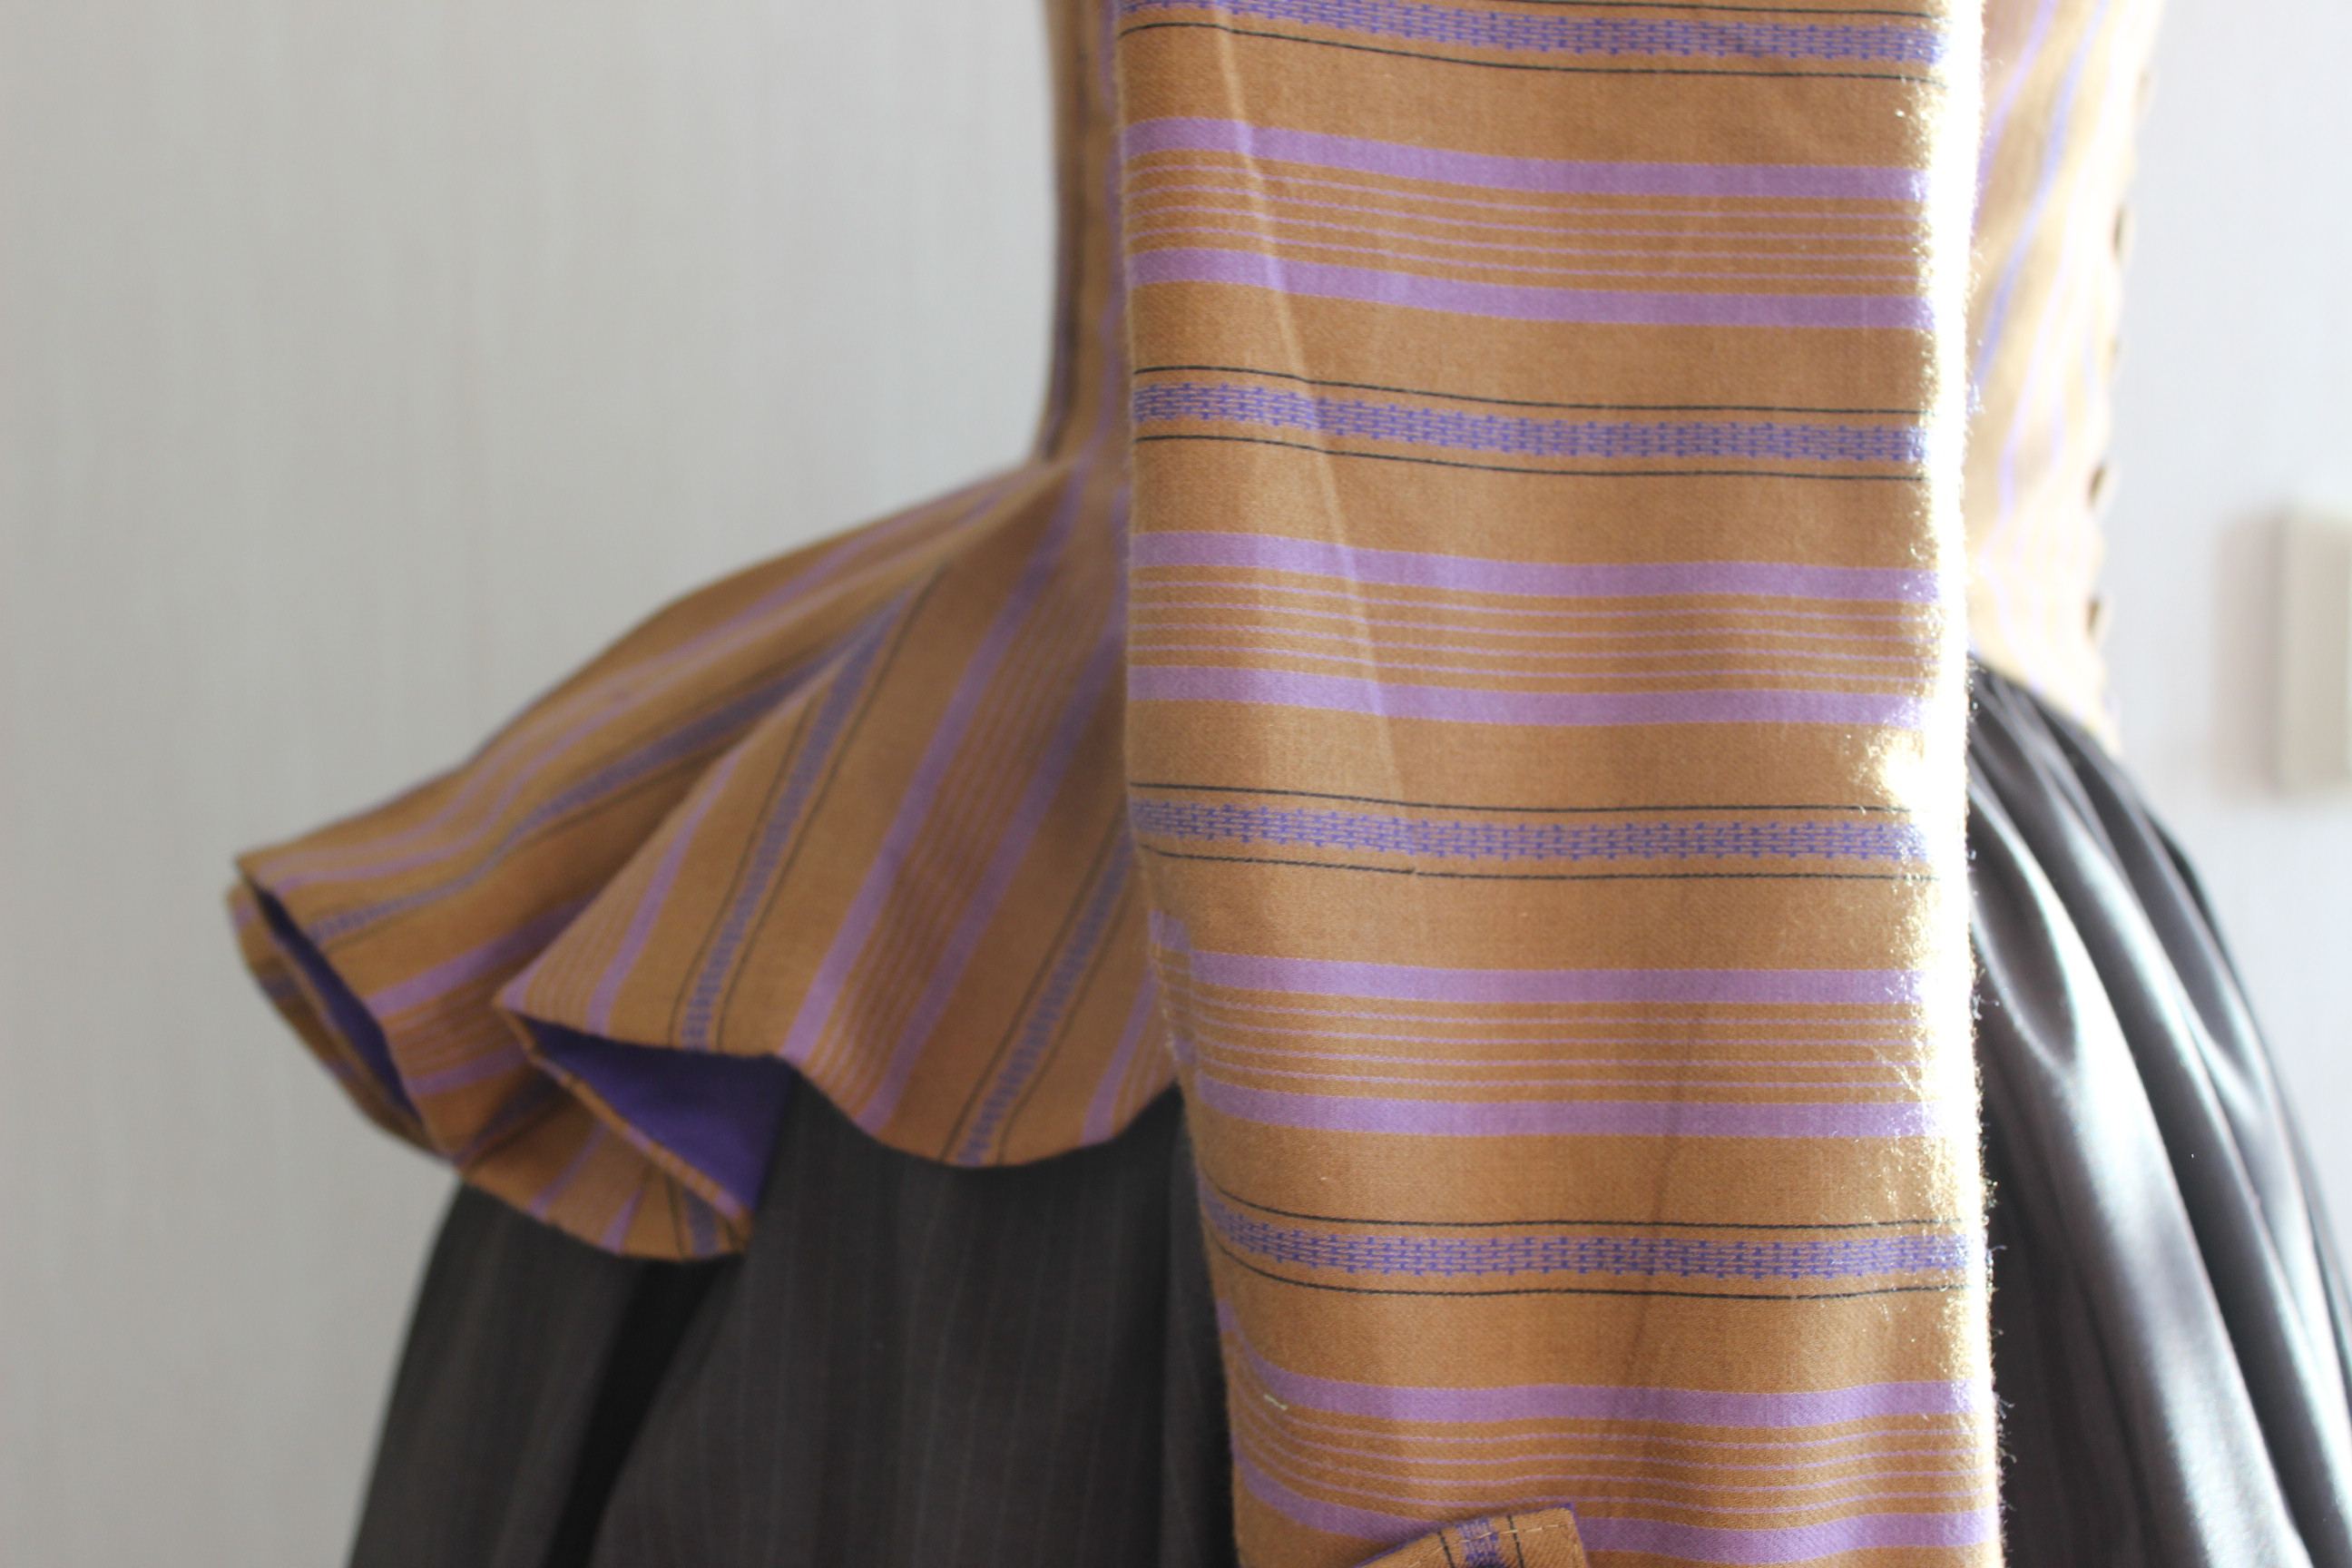
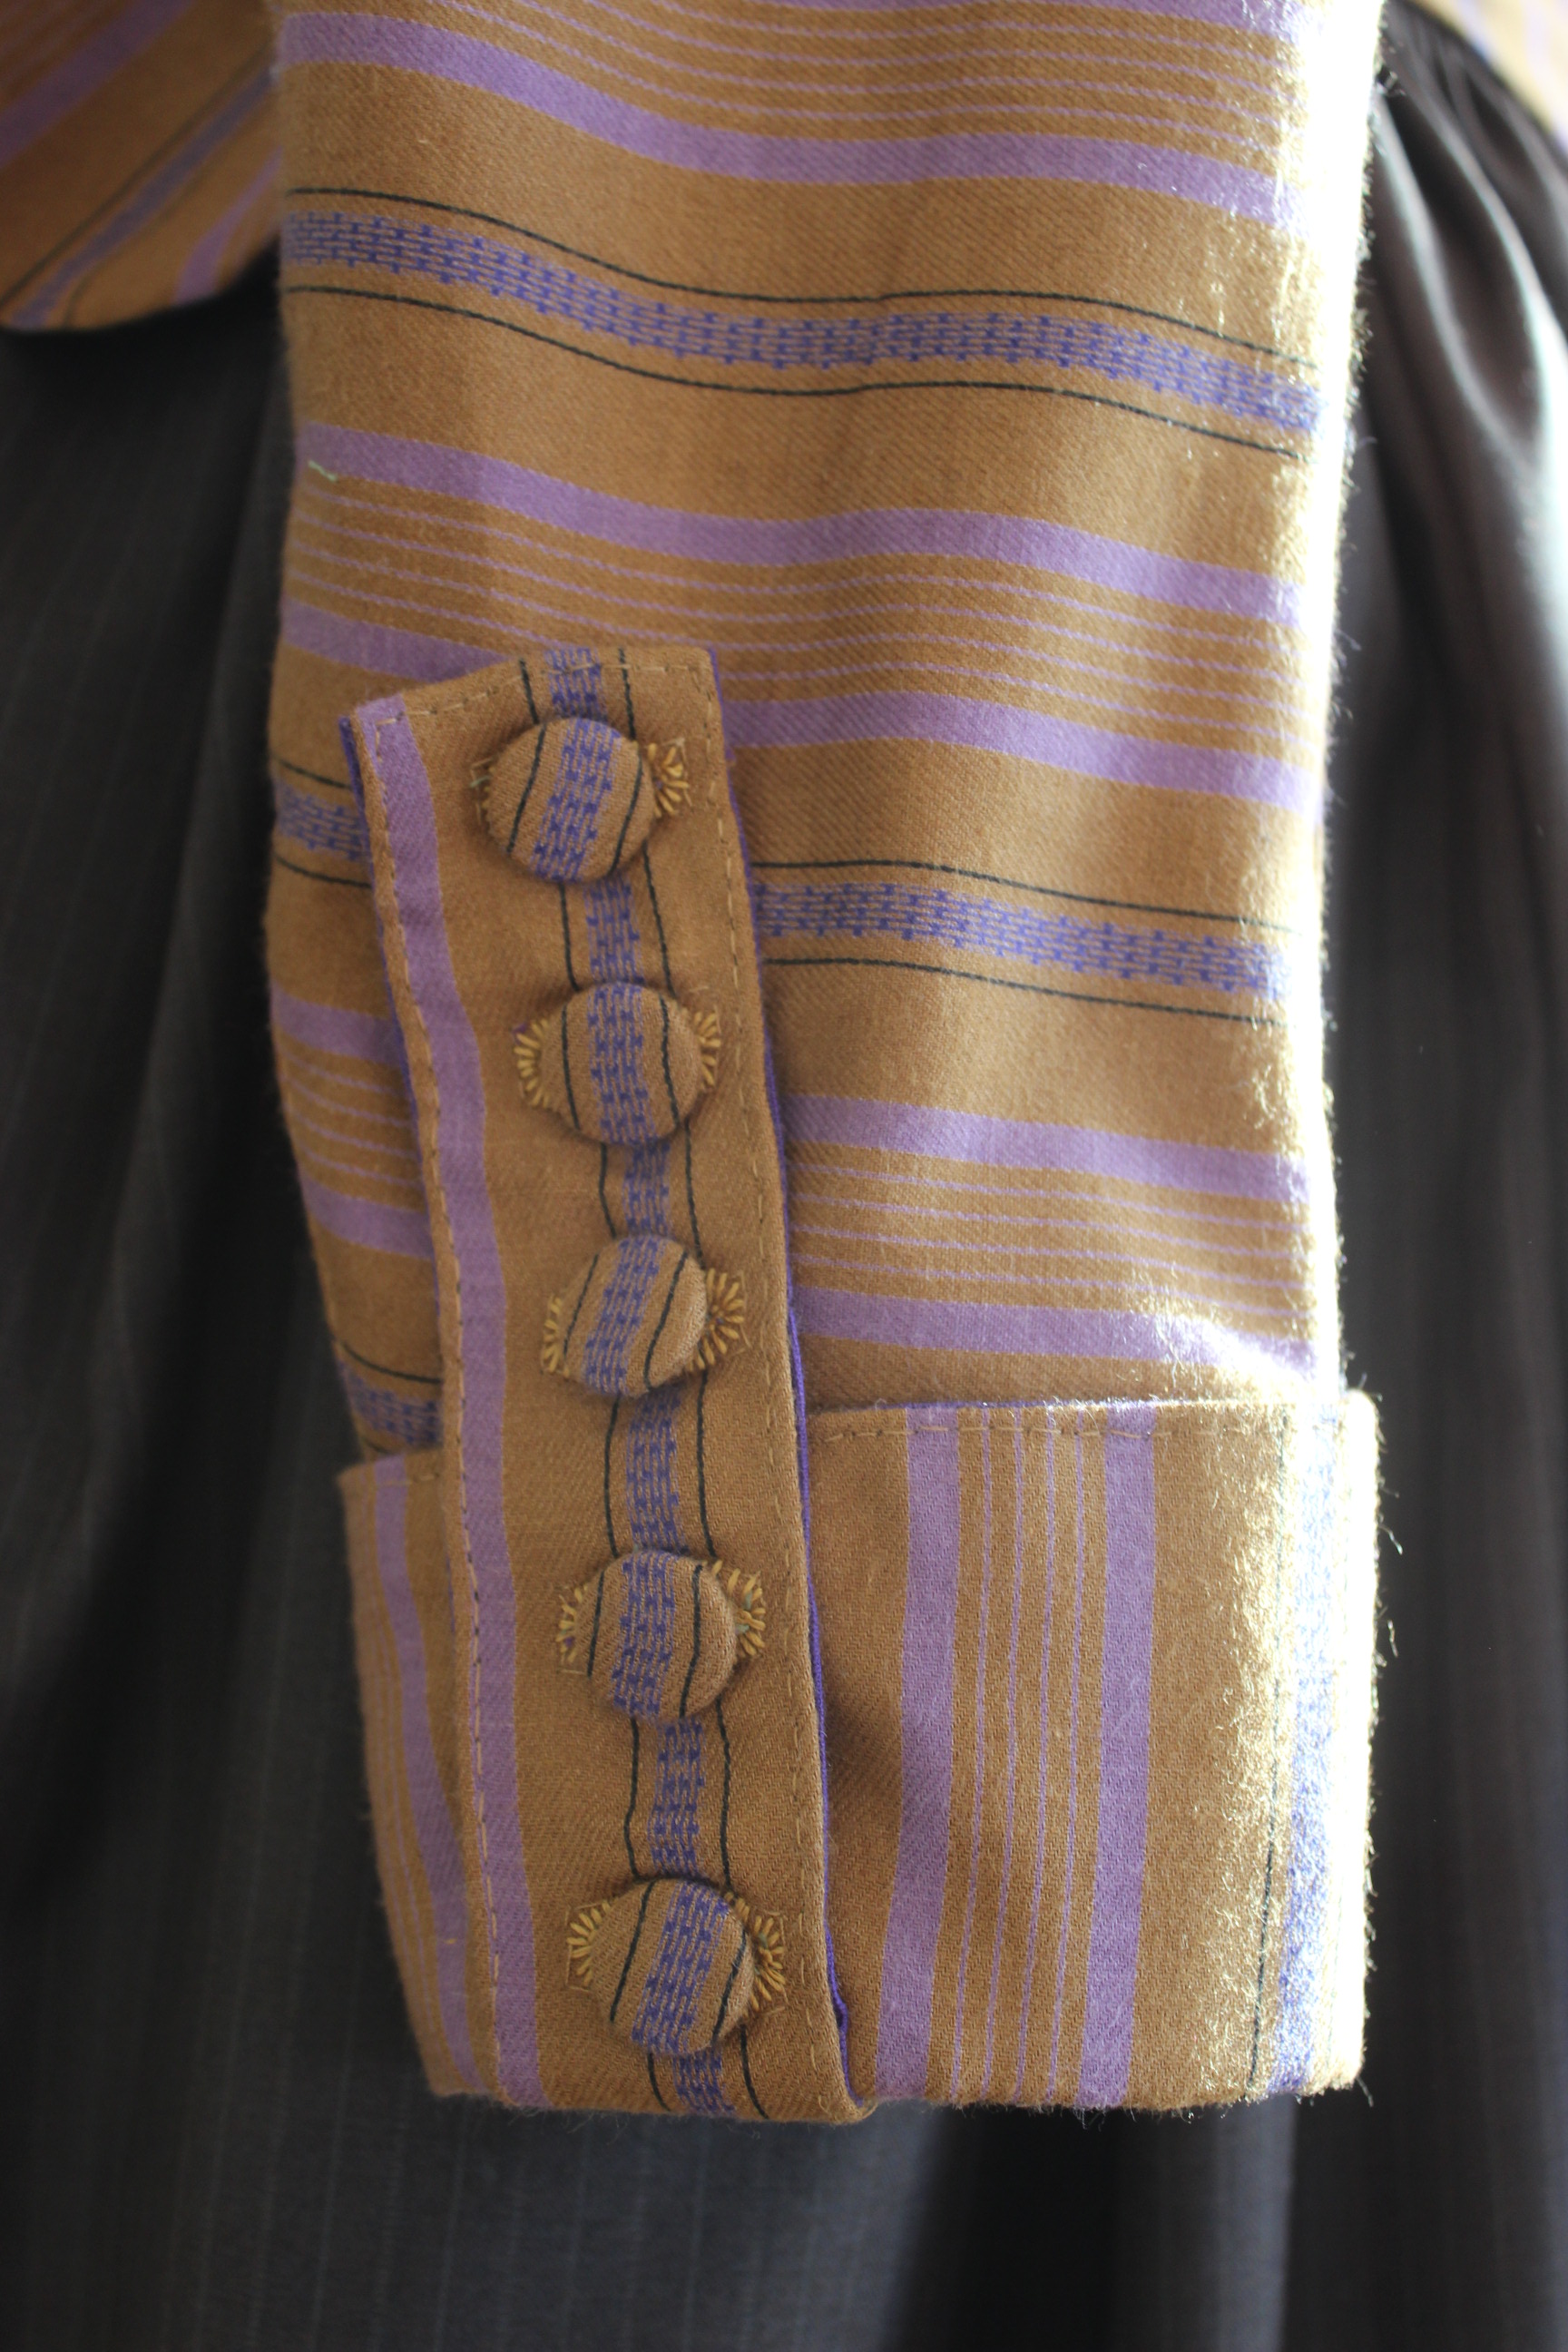
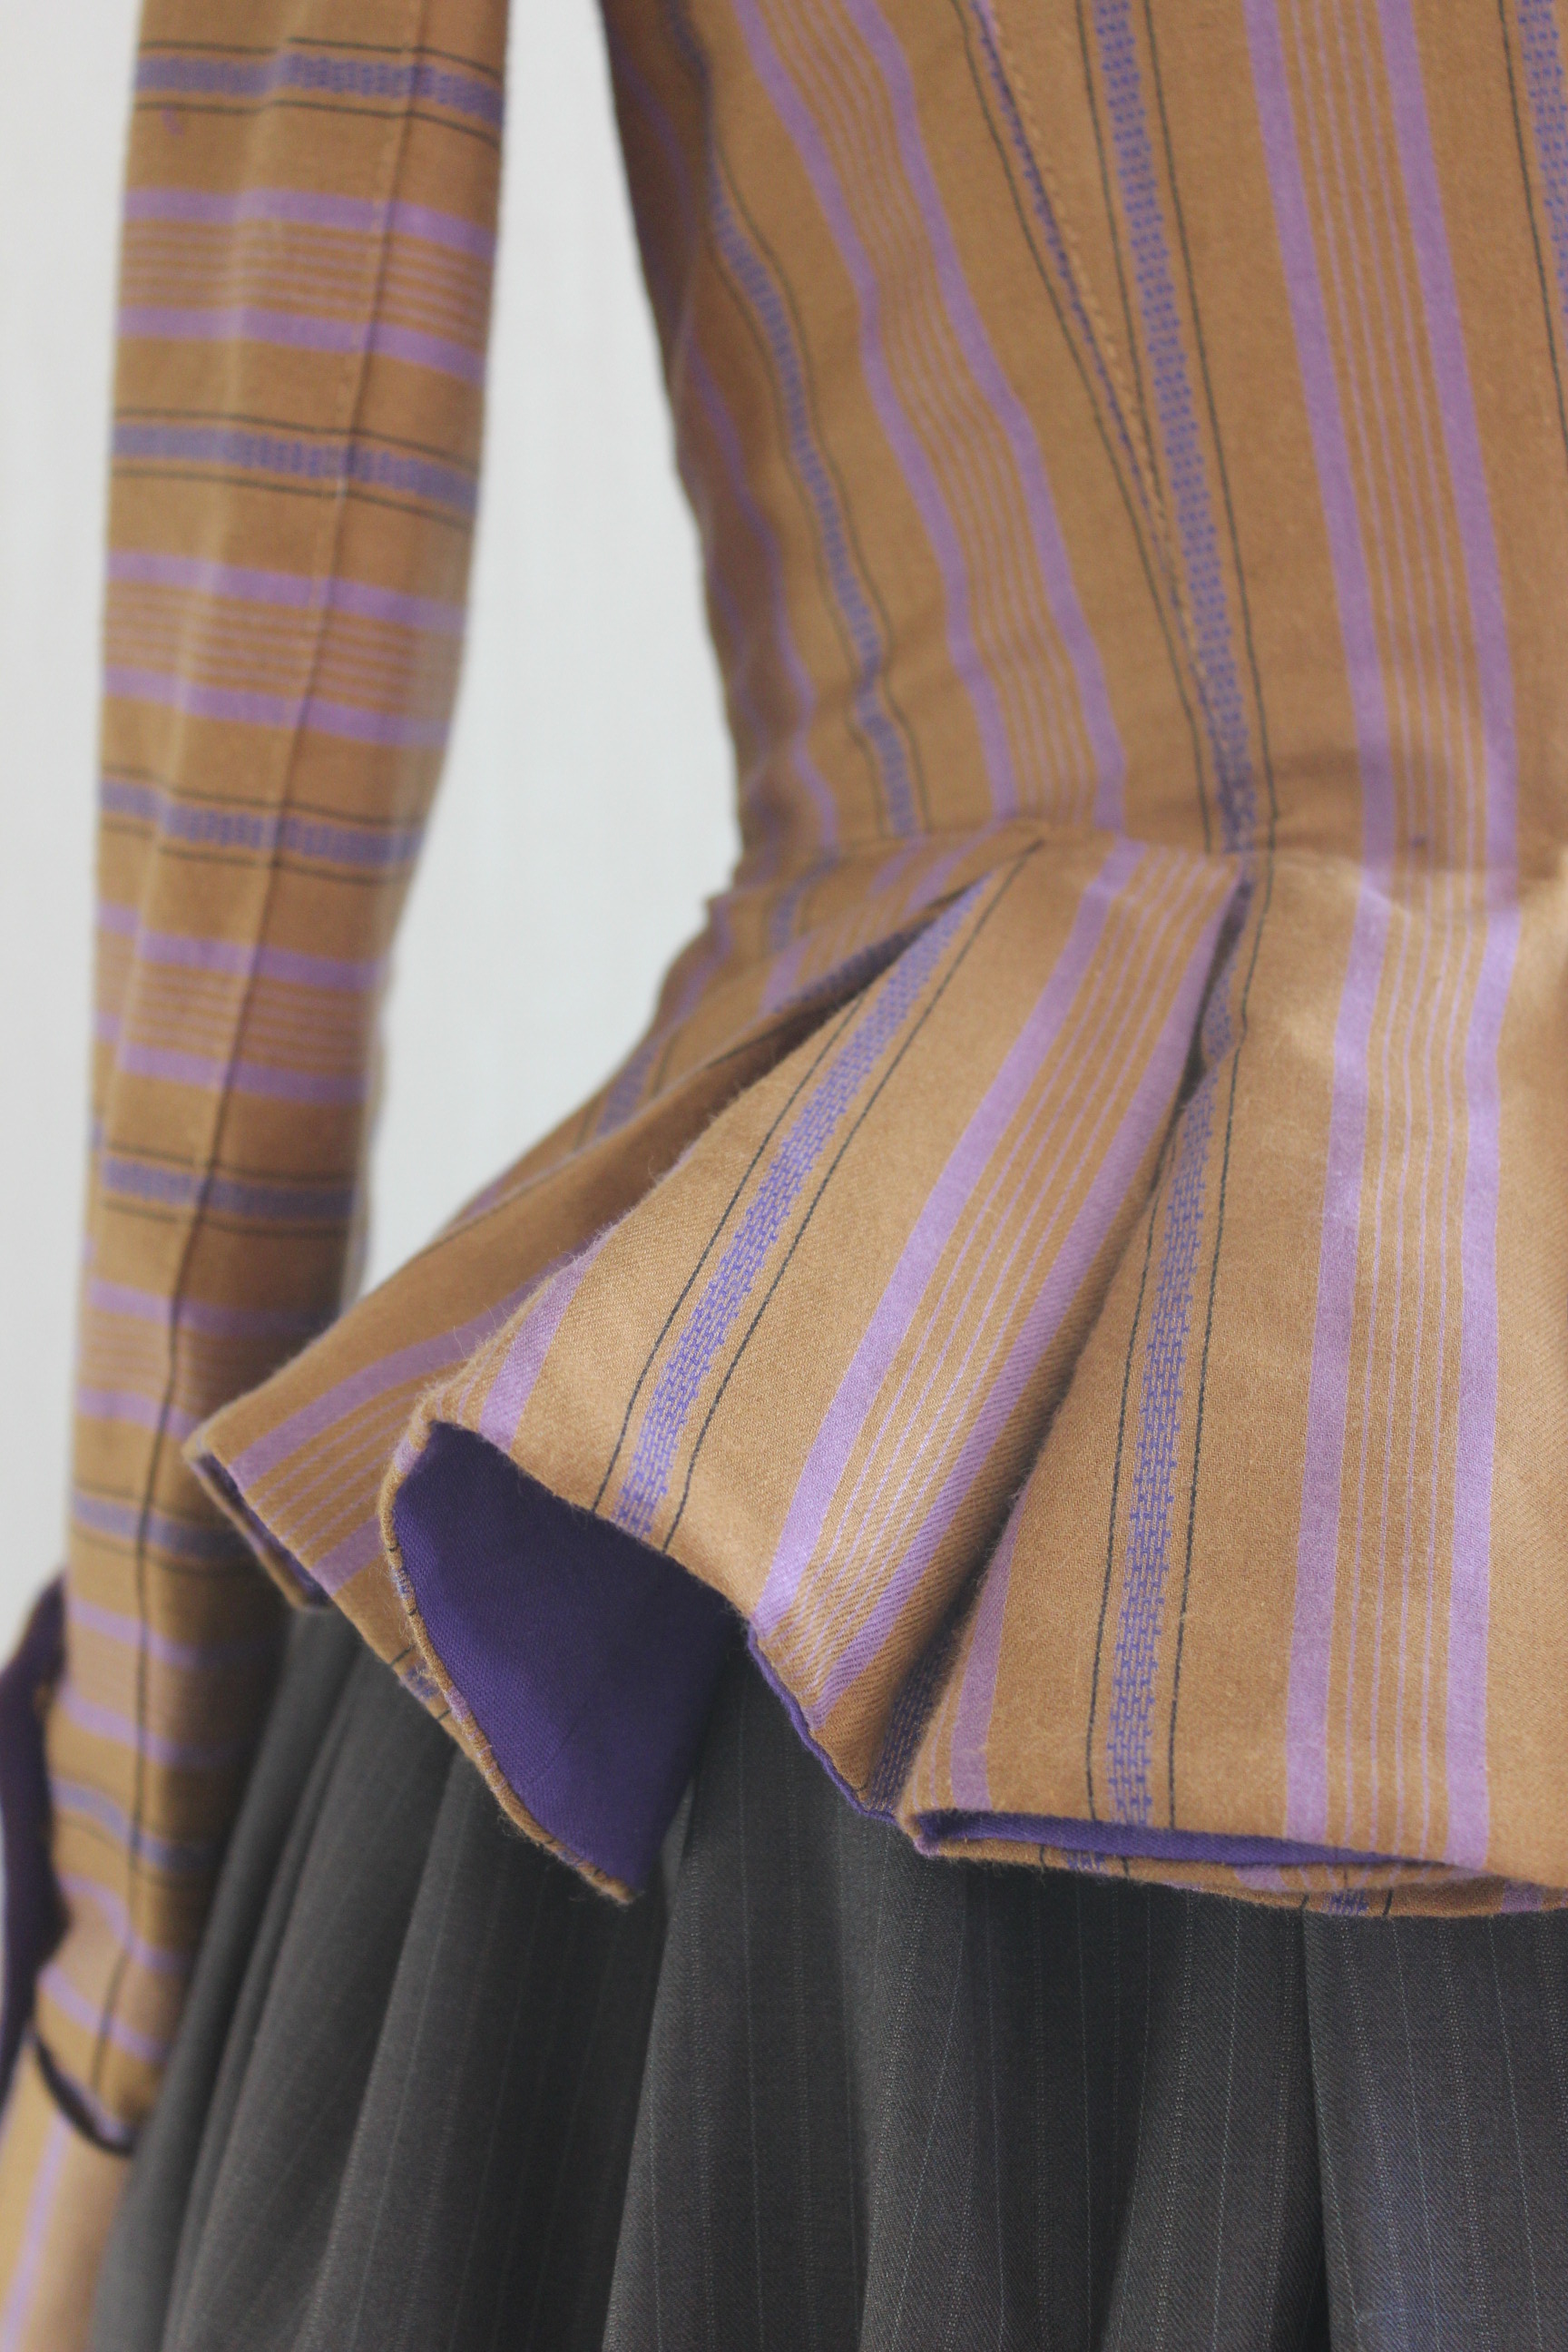
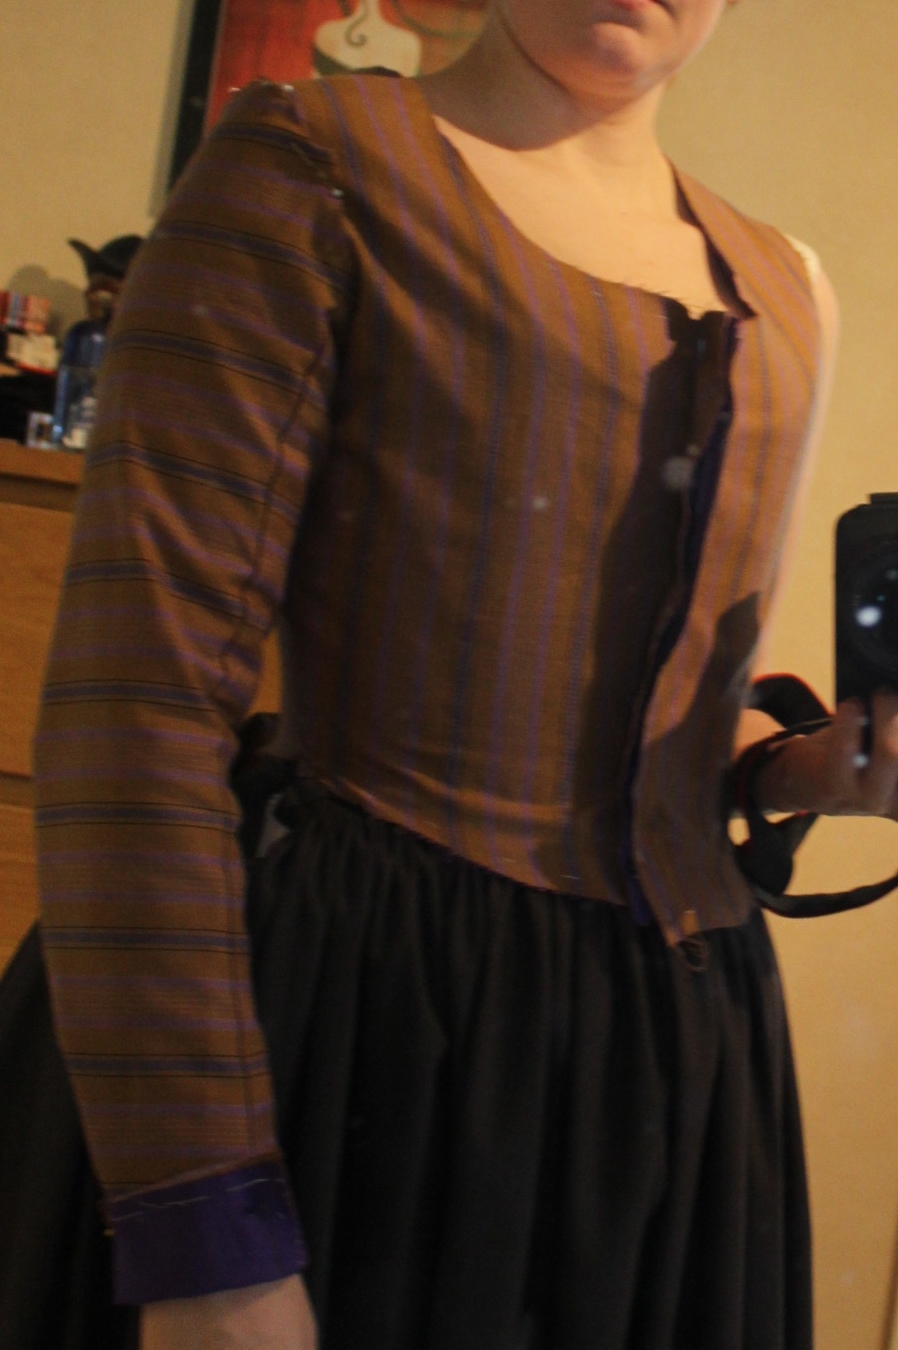
Then I stitched it together, inserted the double sleeves, added lining and begun working on the trimming.

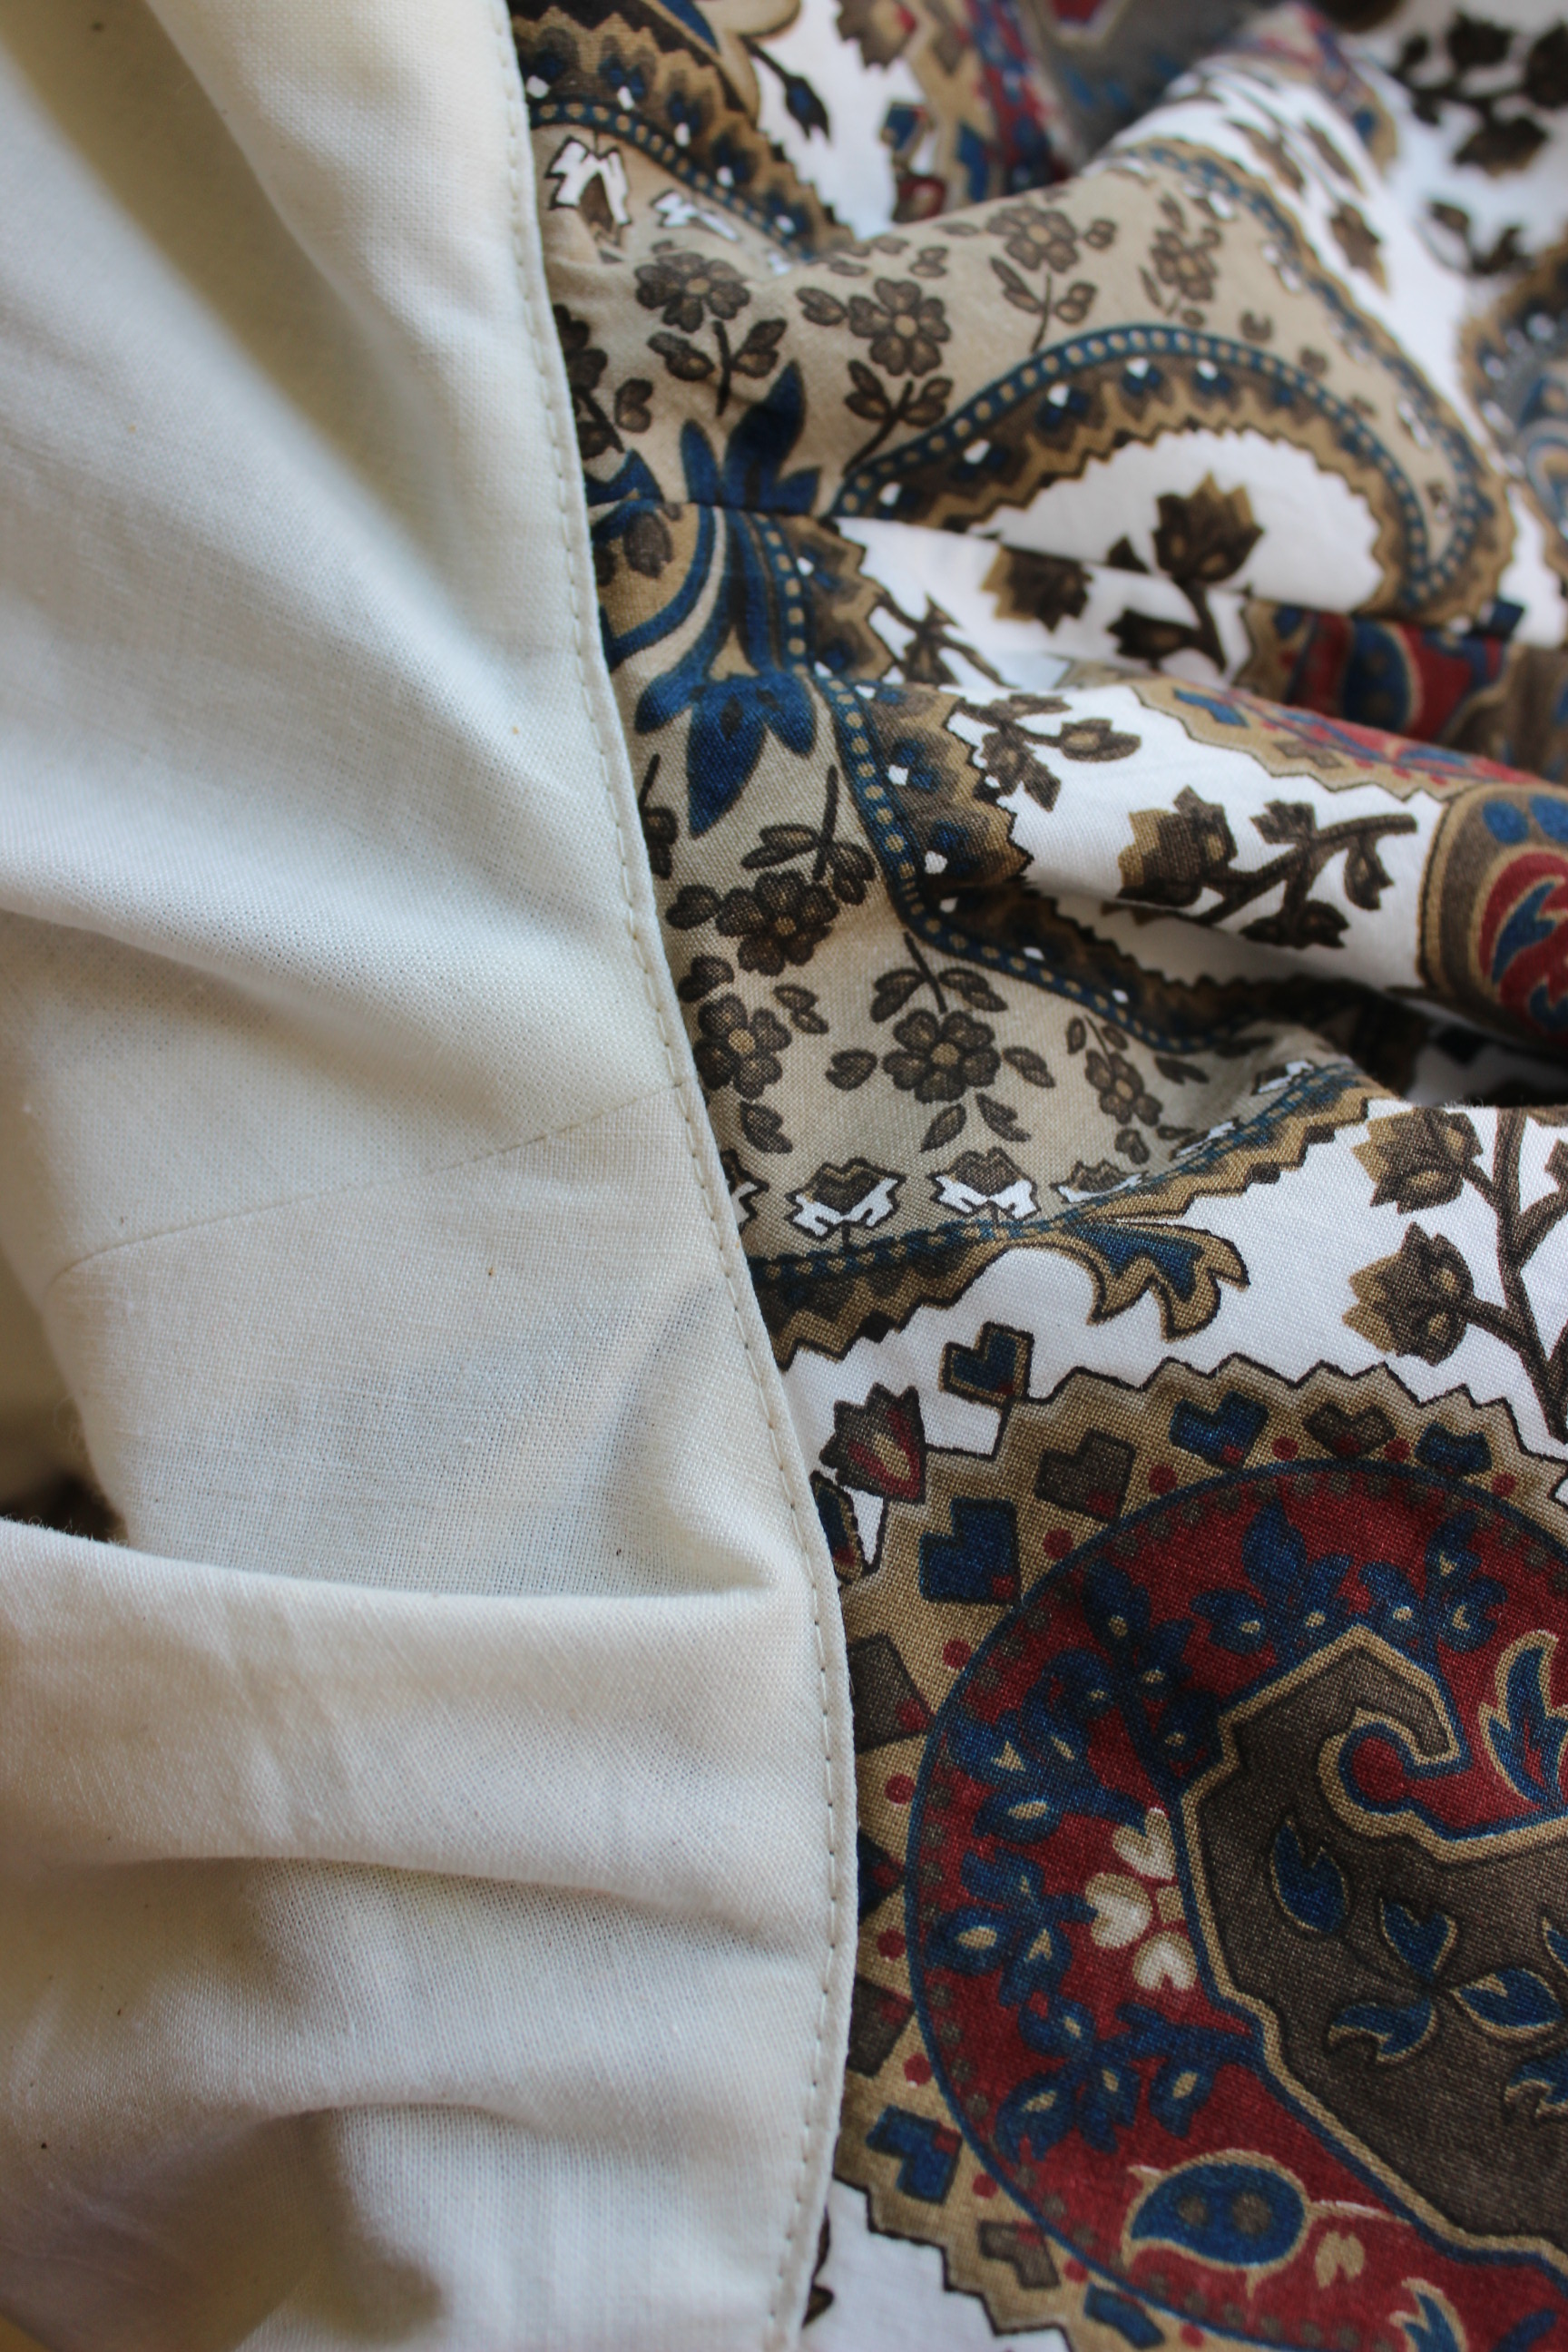
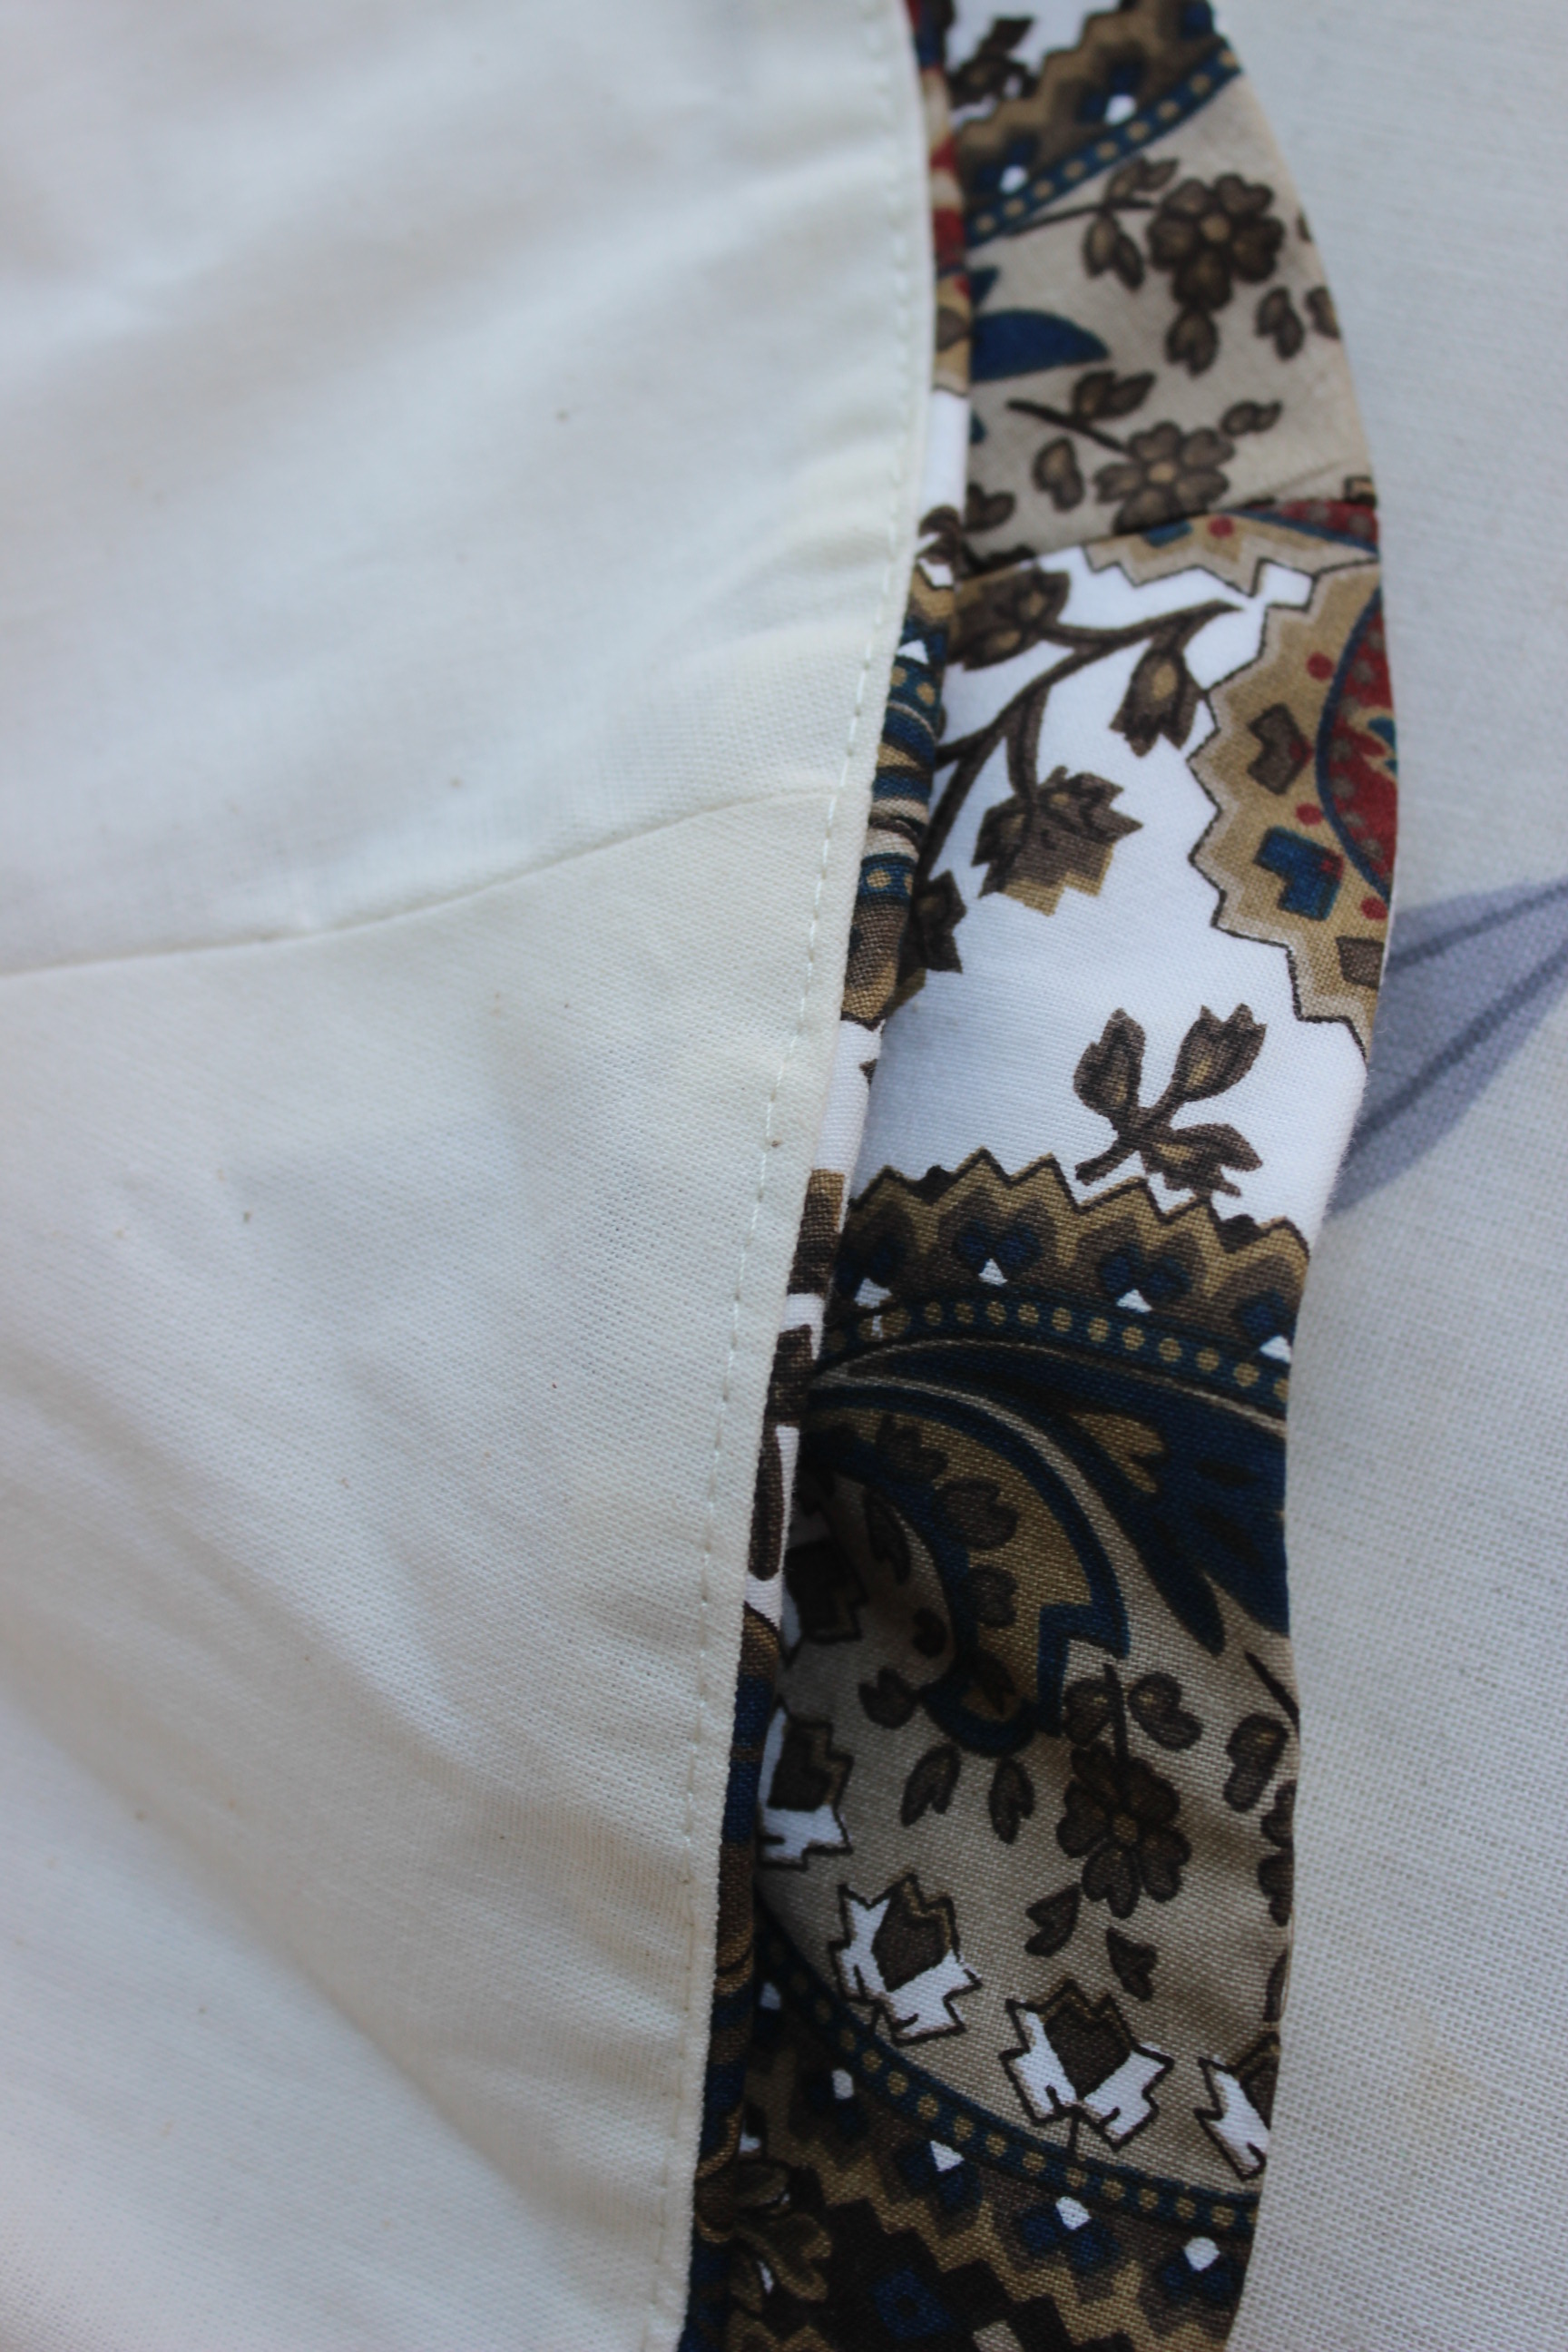
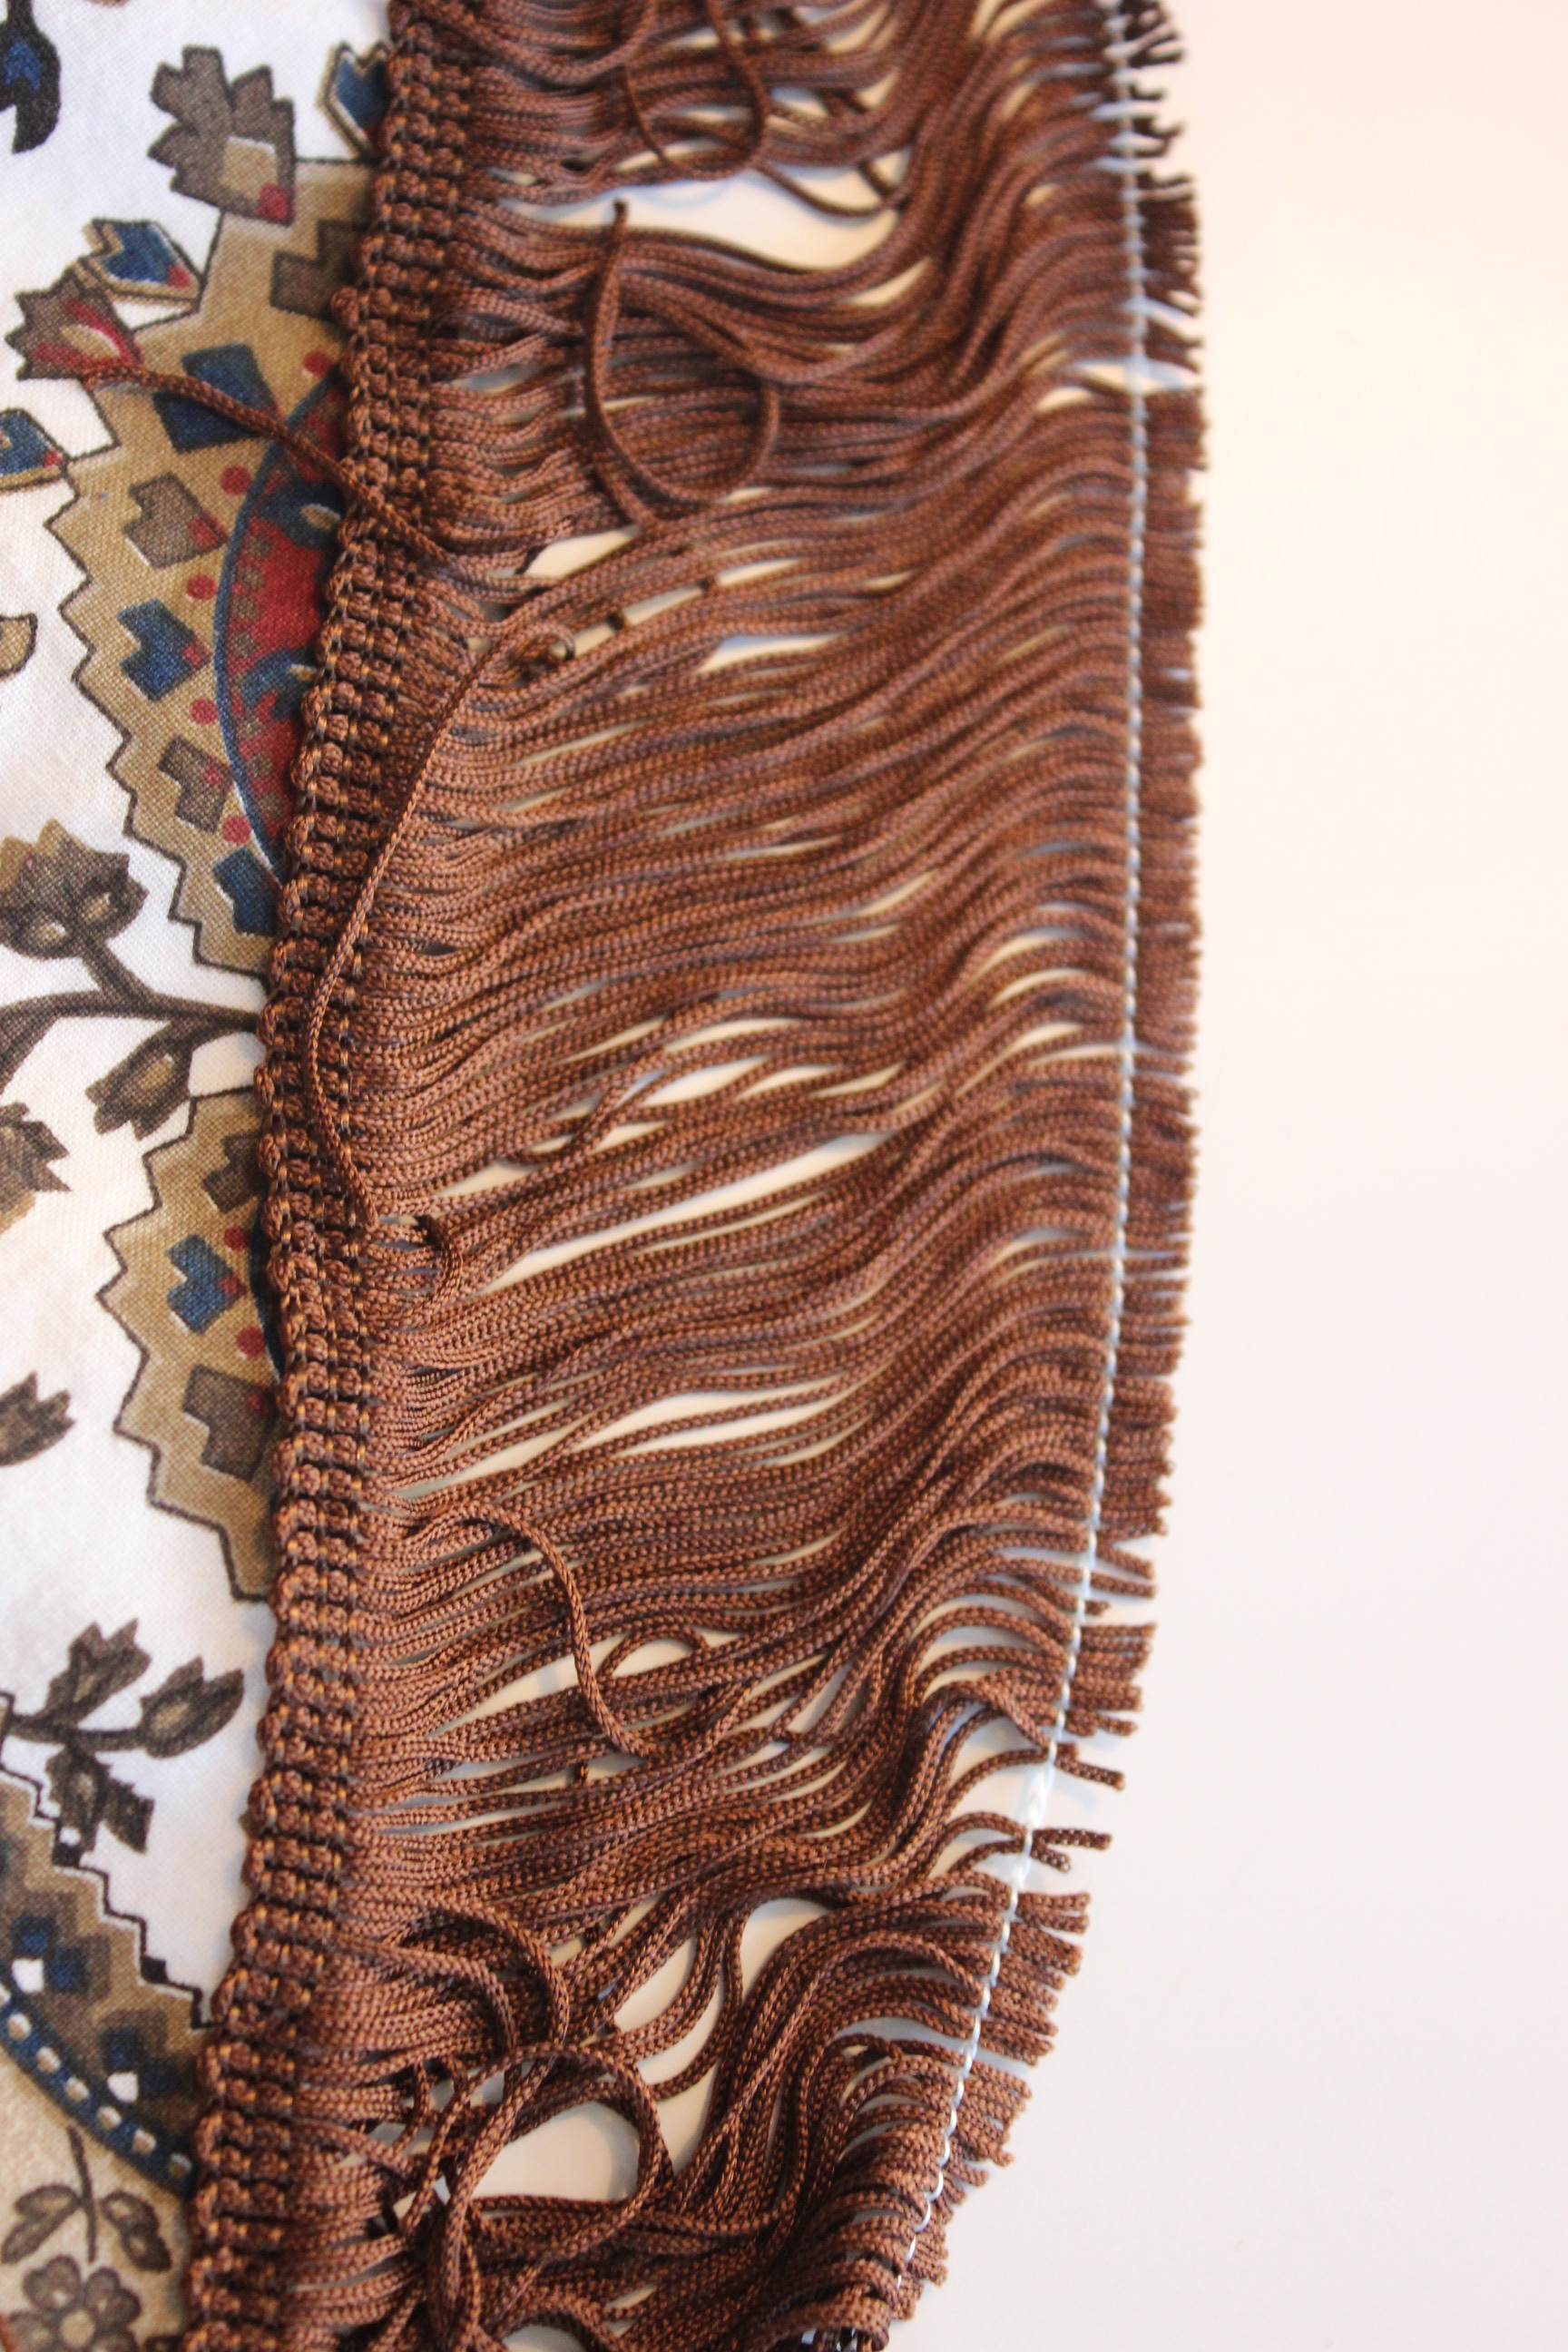
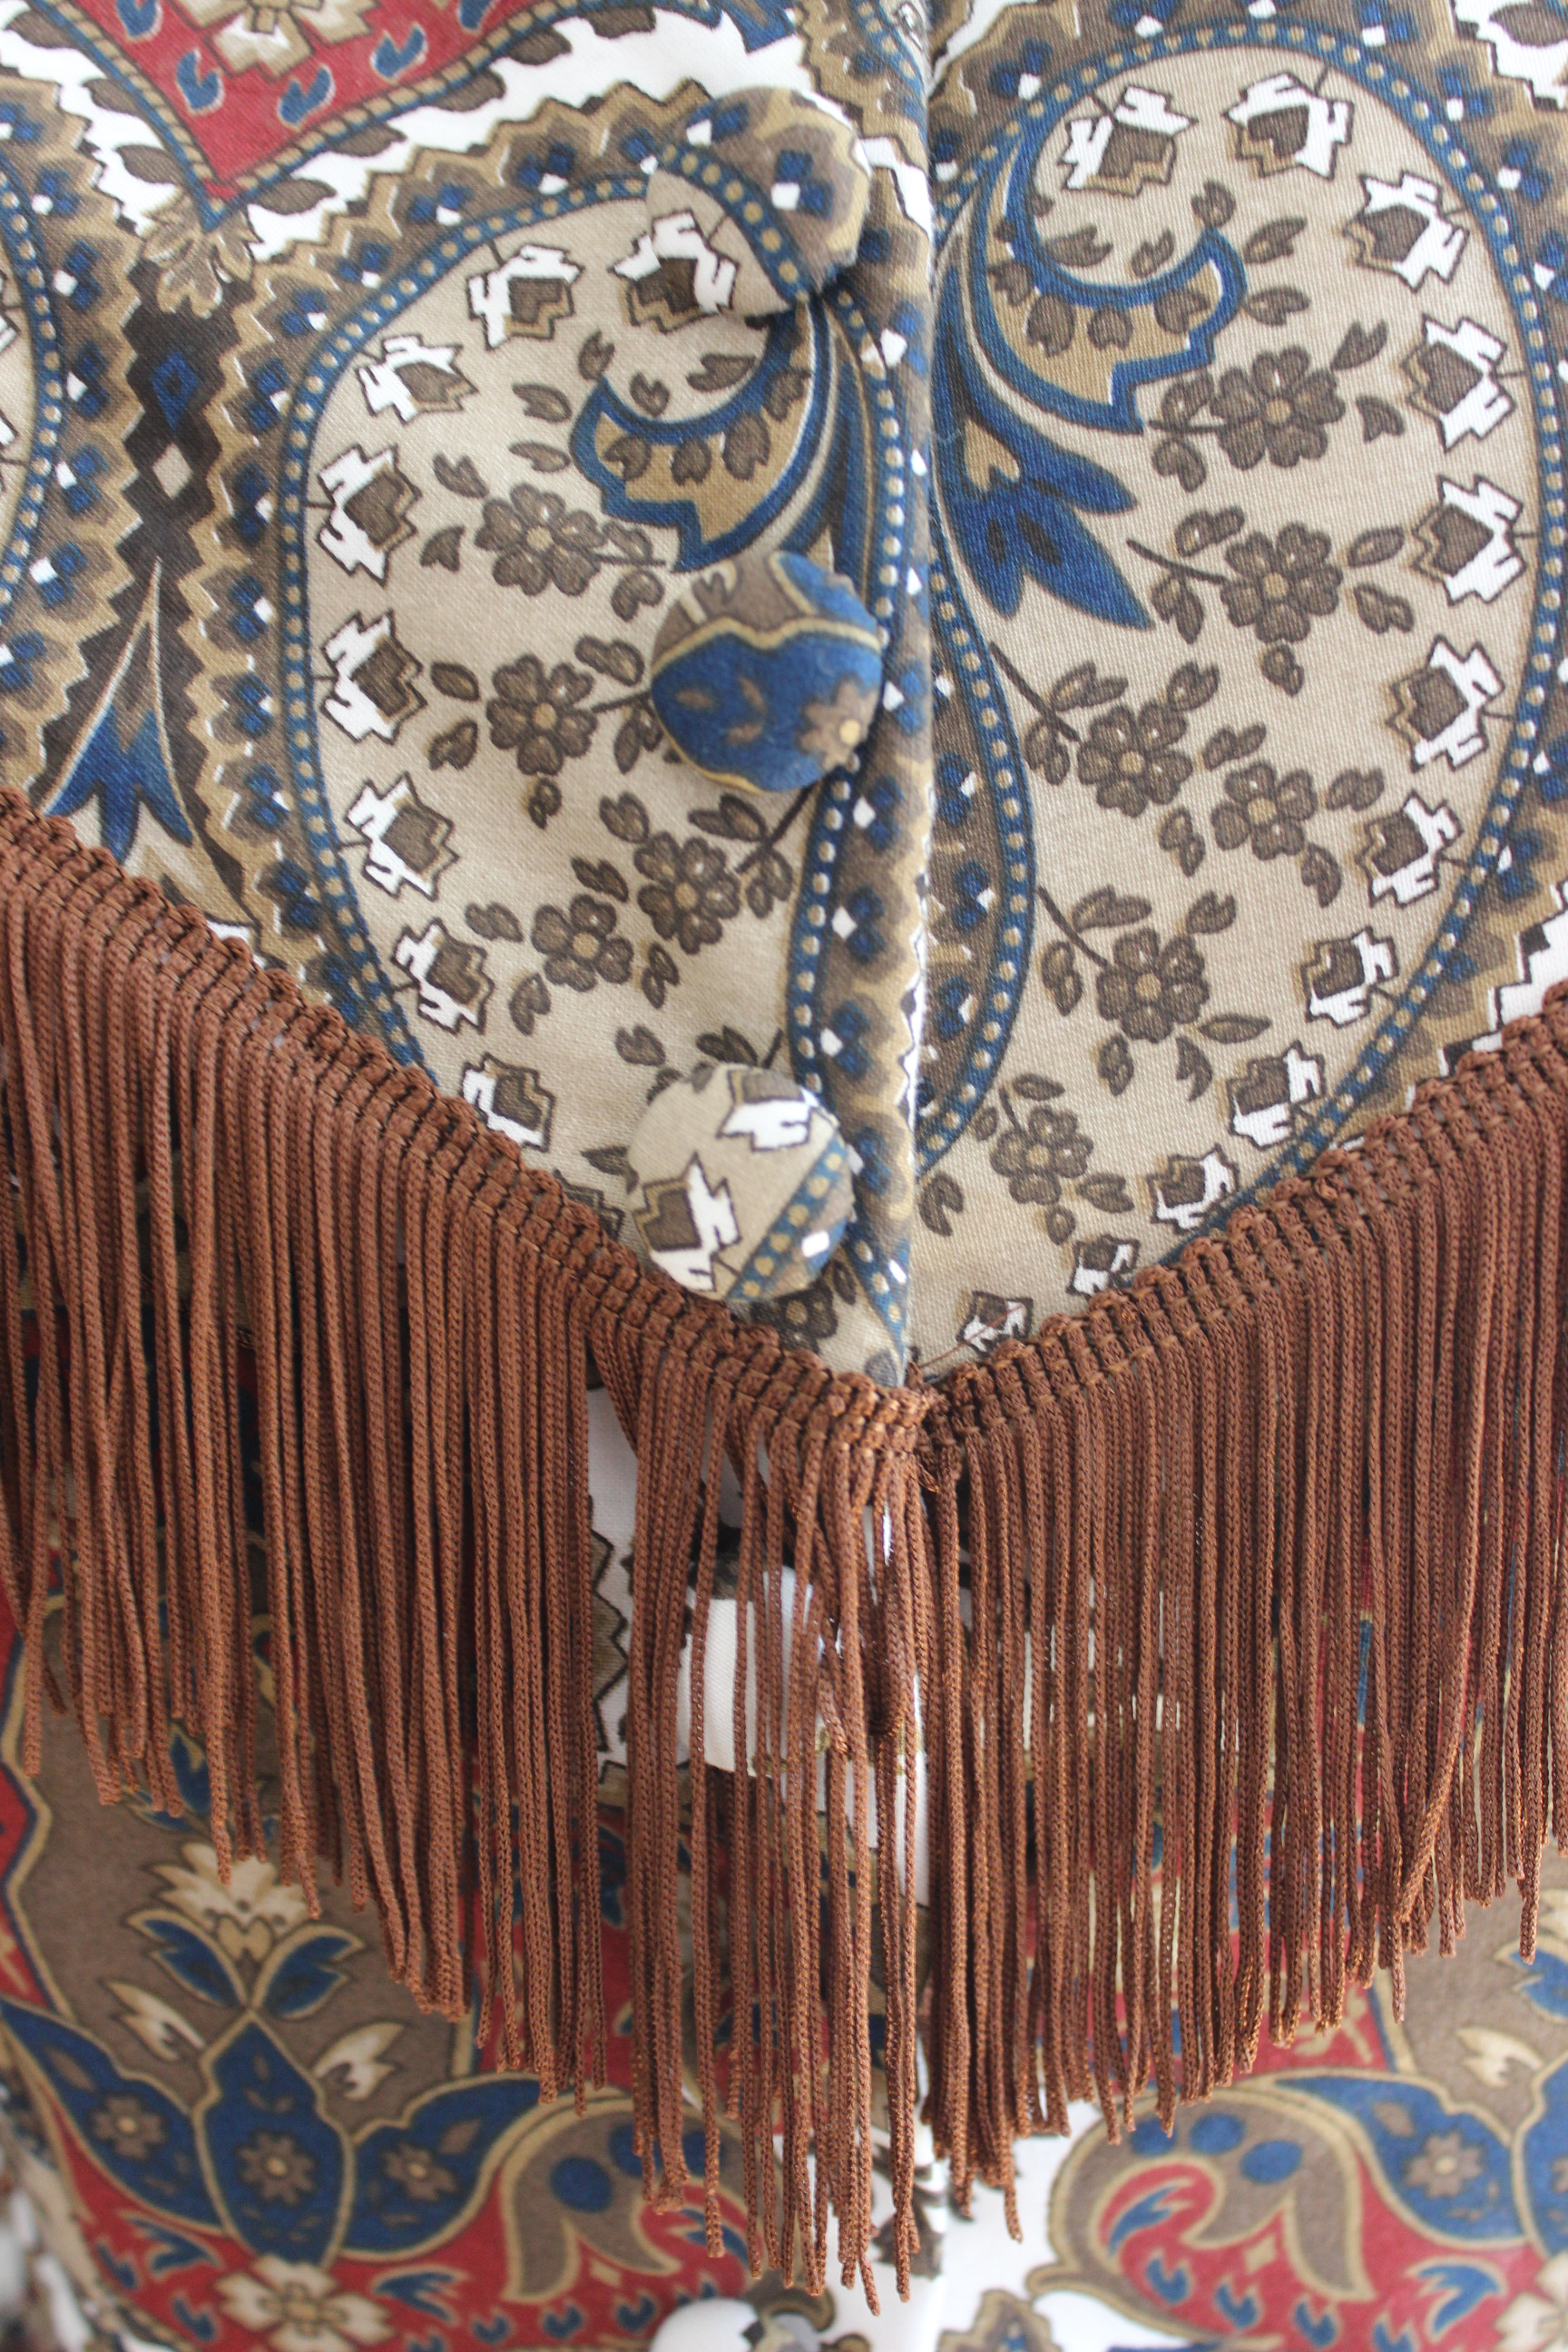
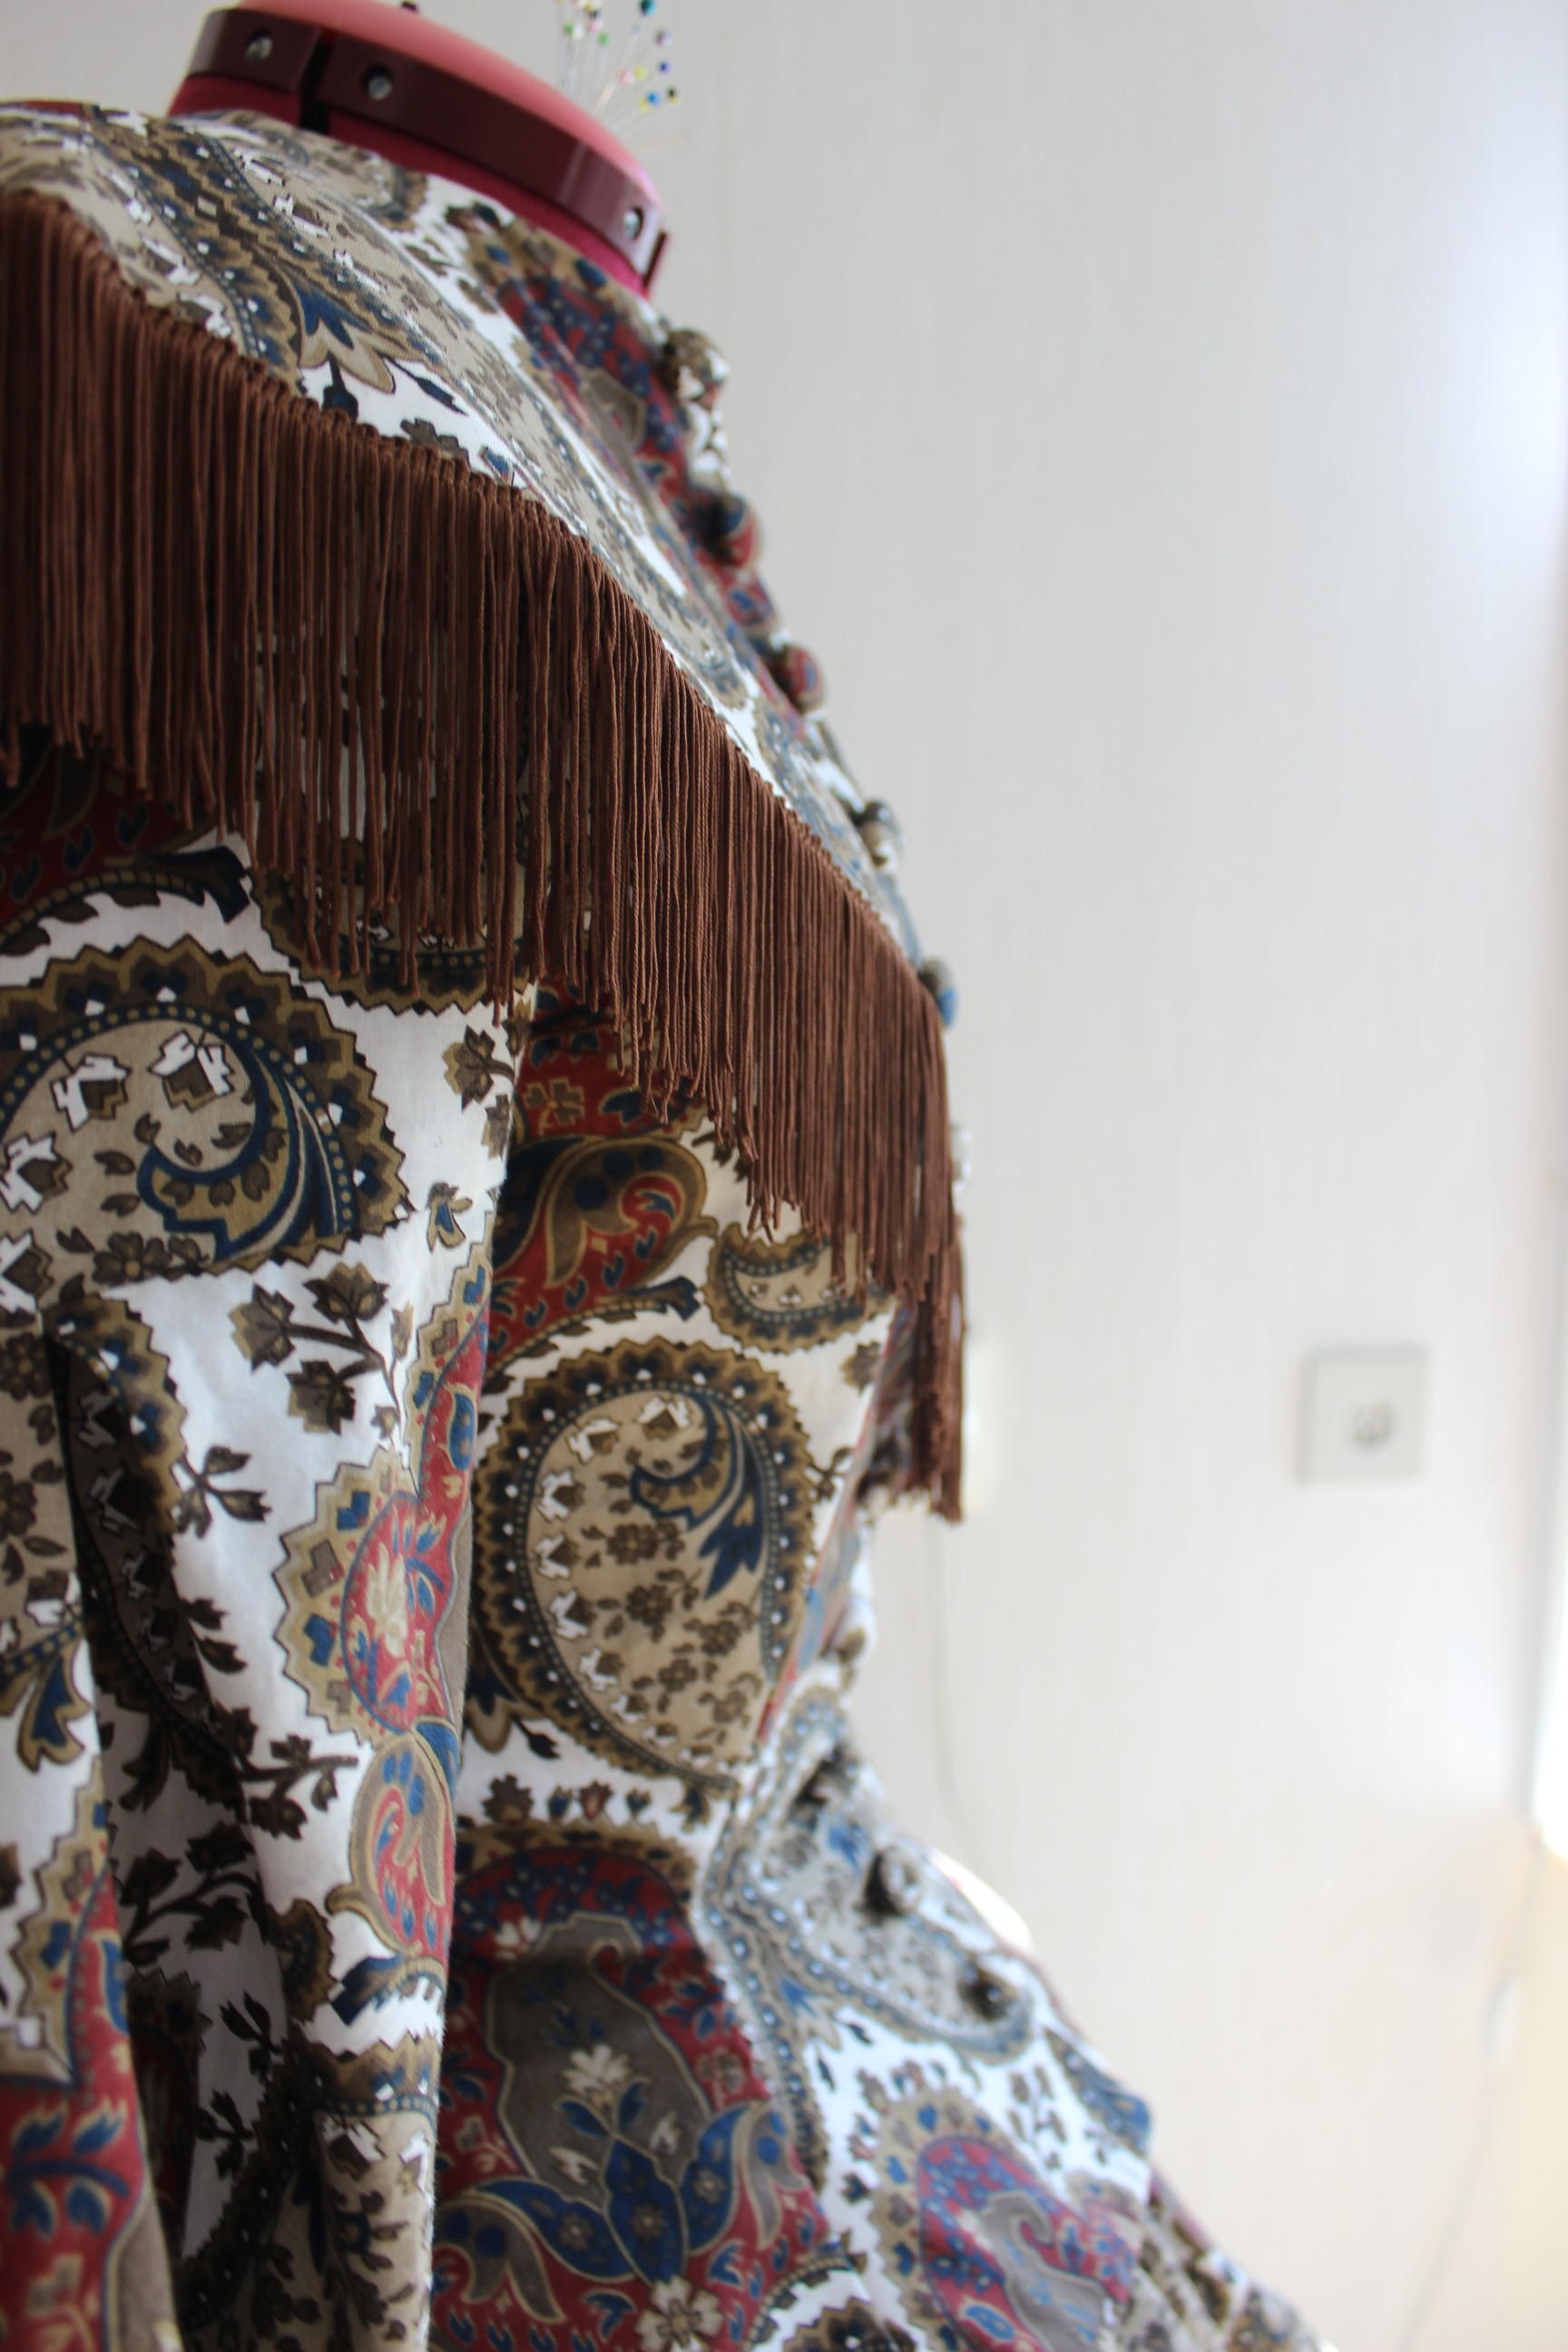
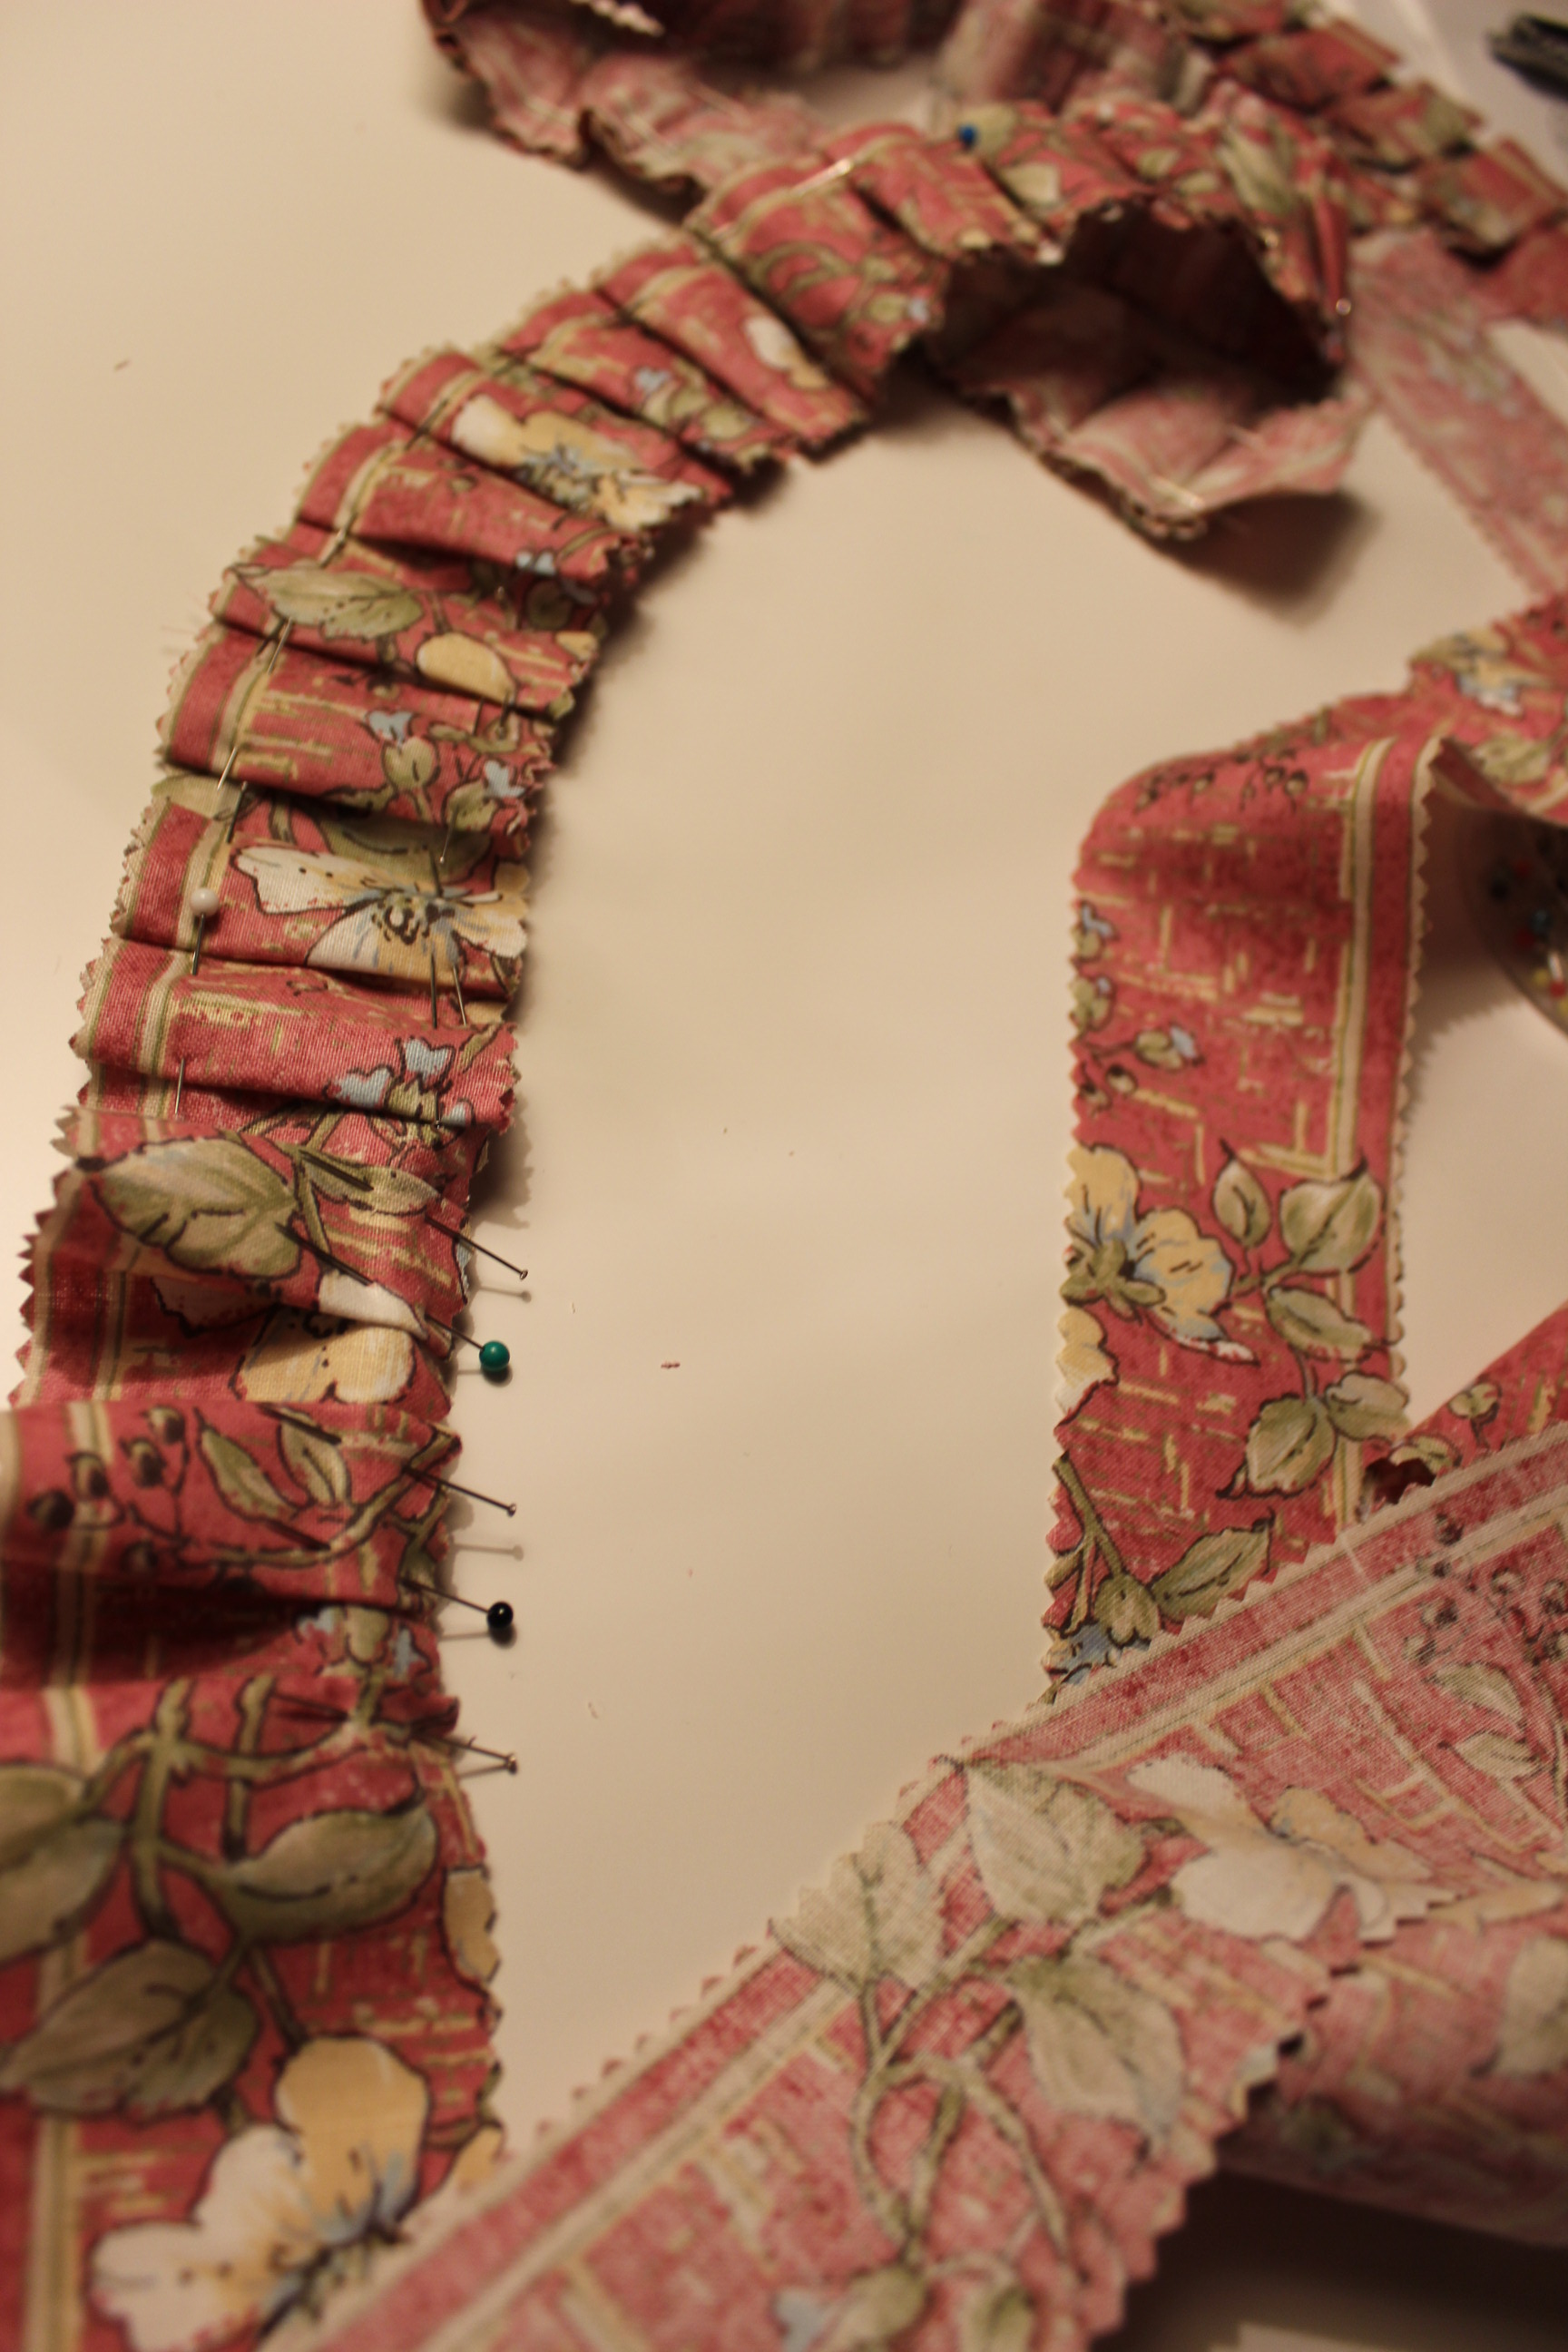
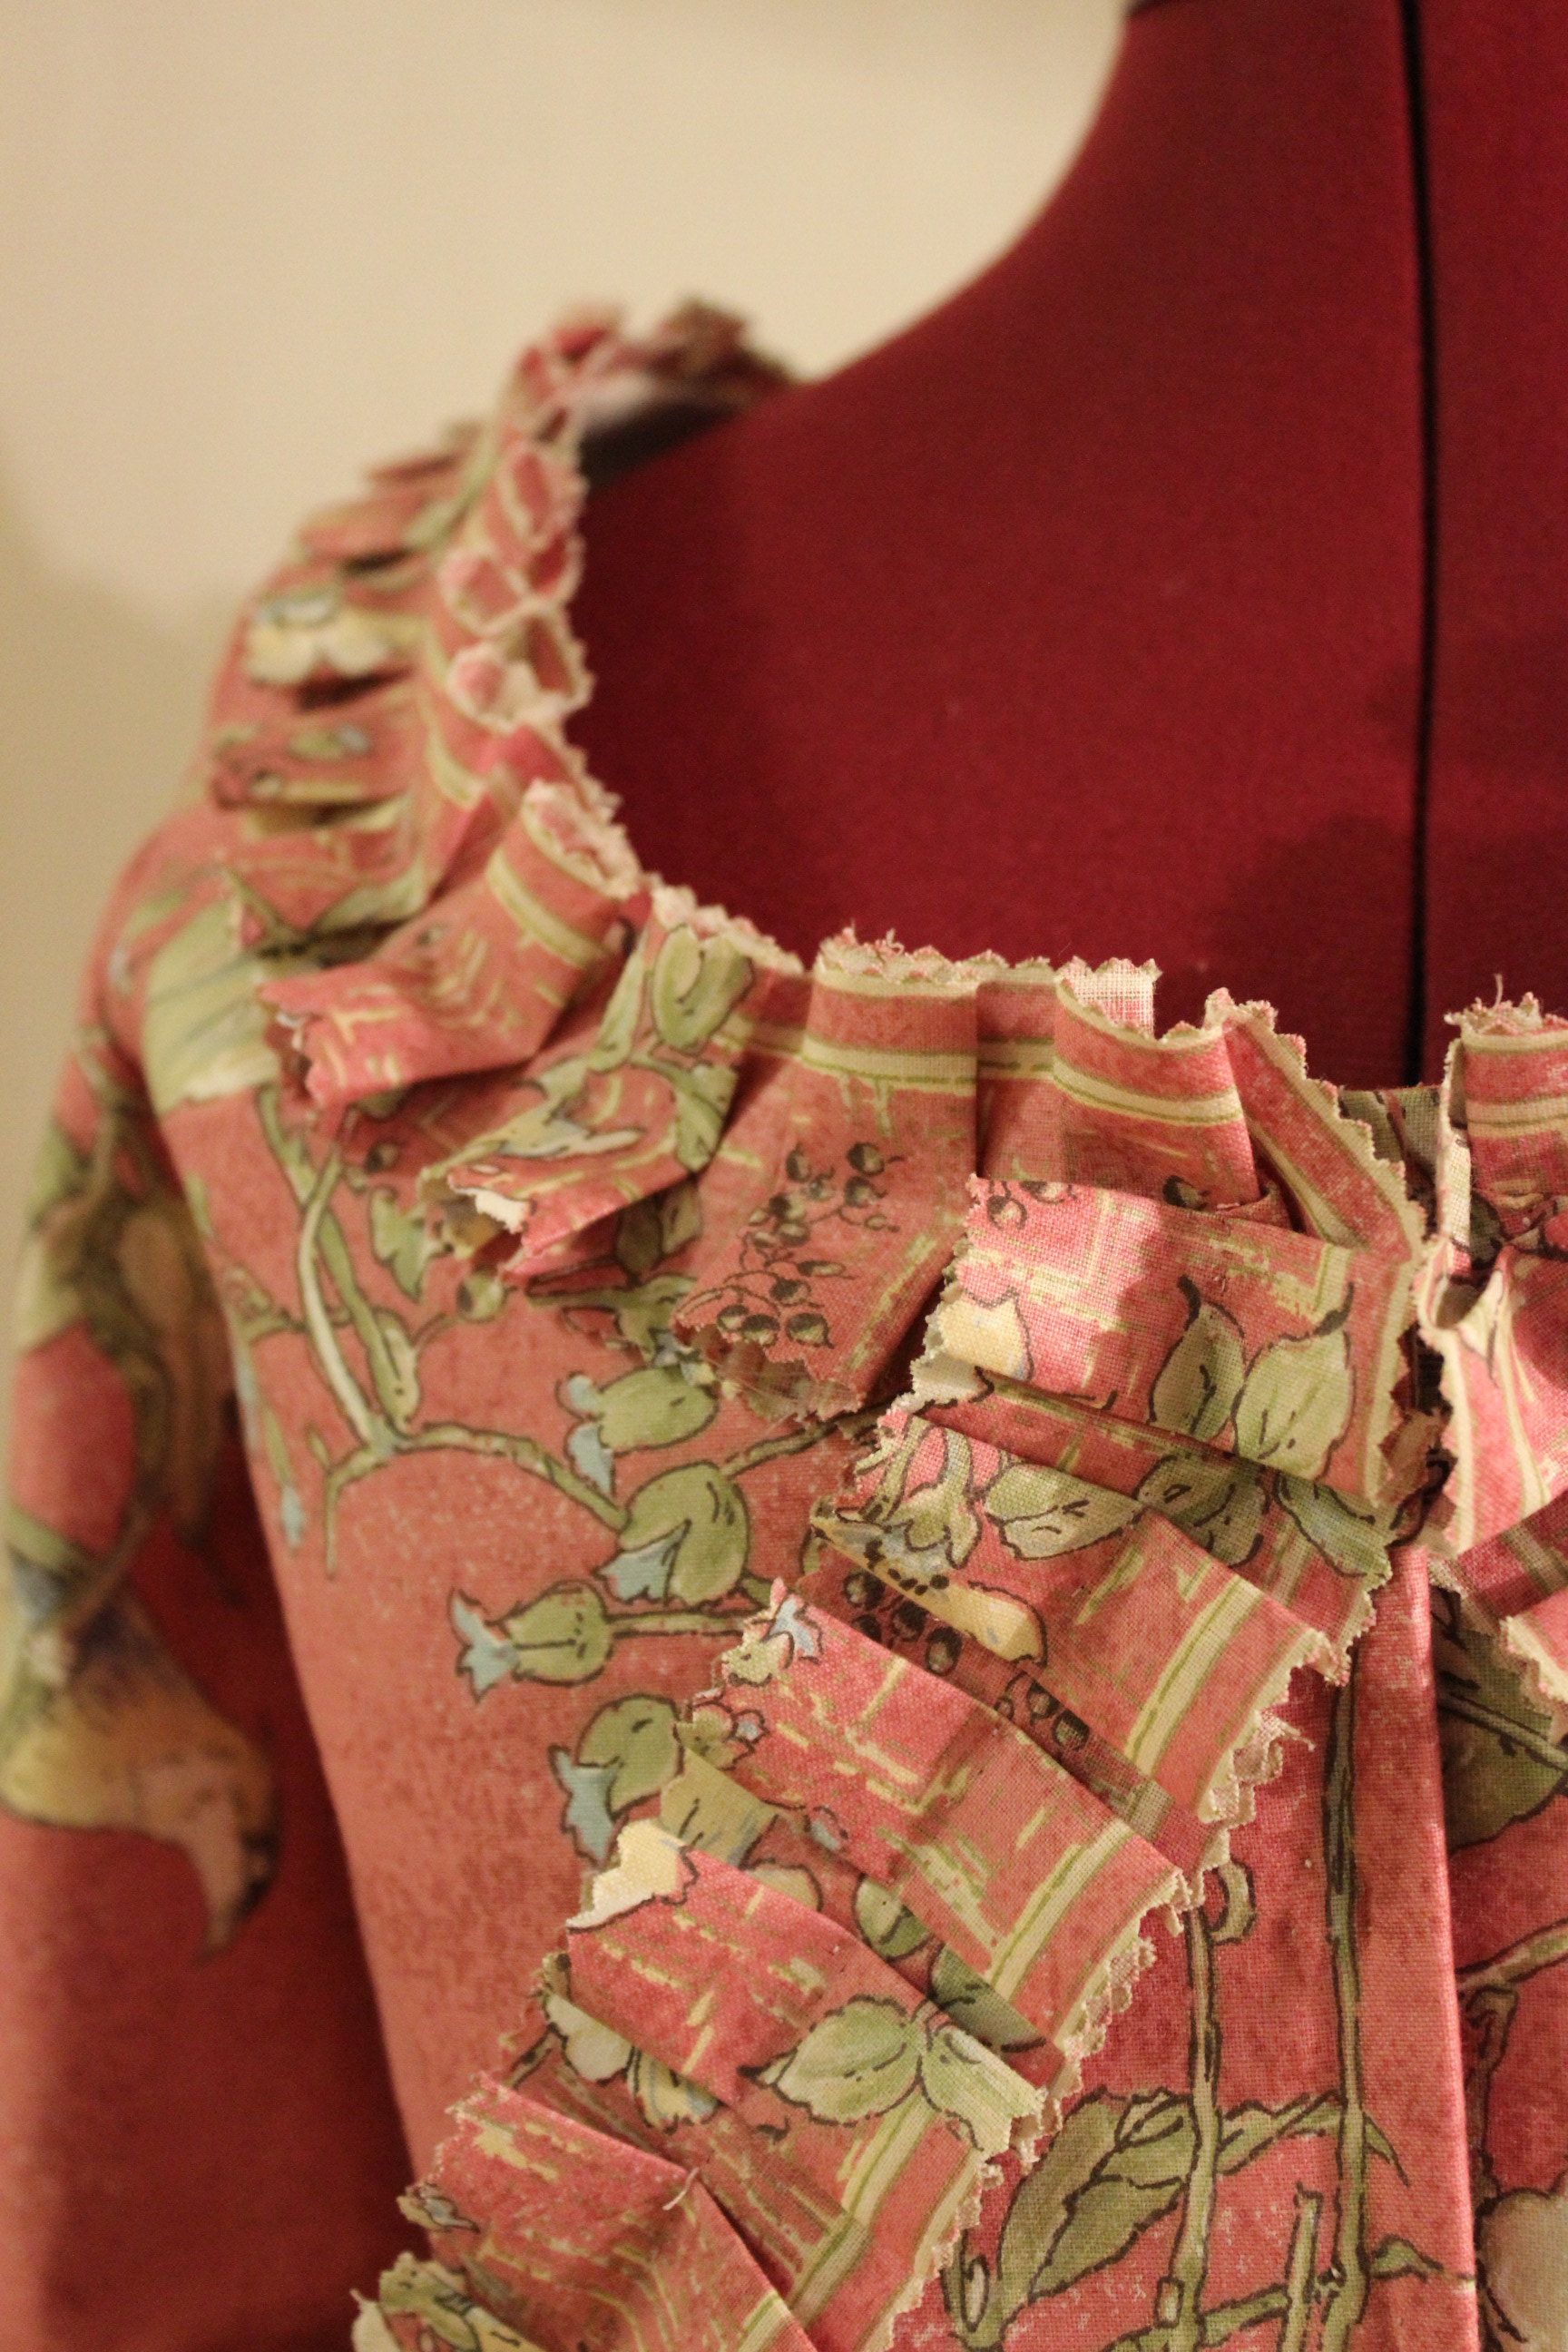
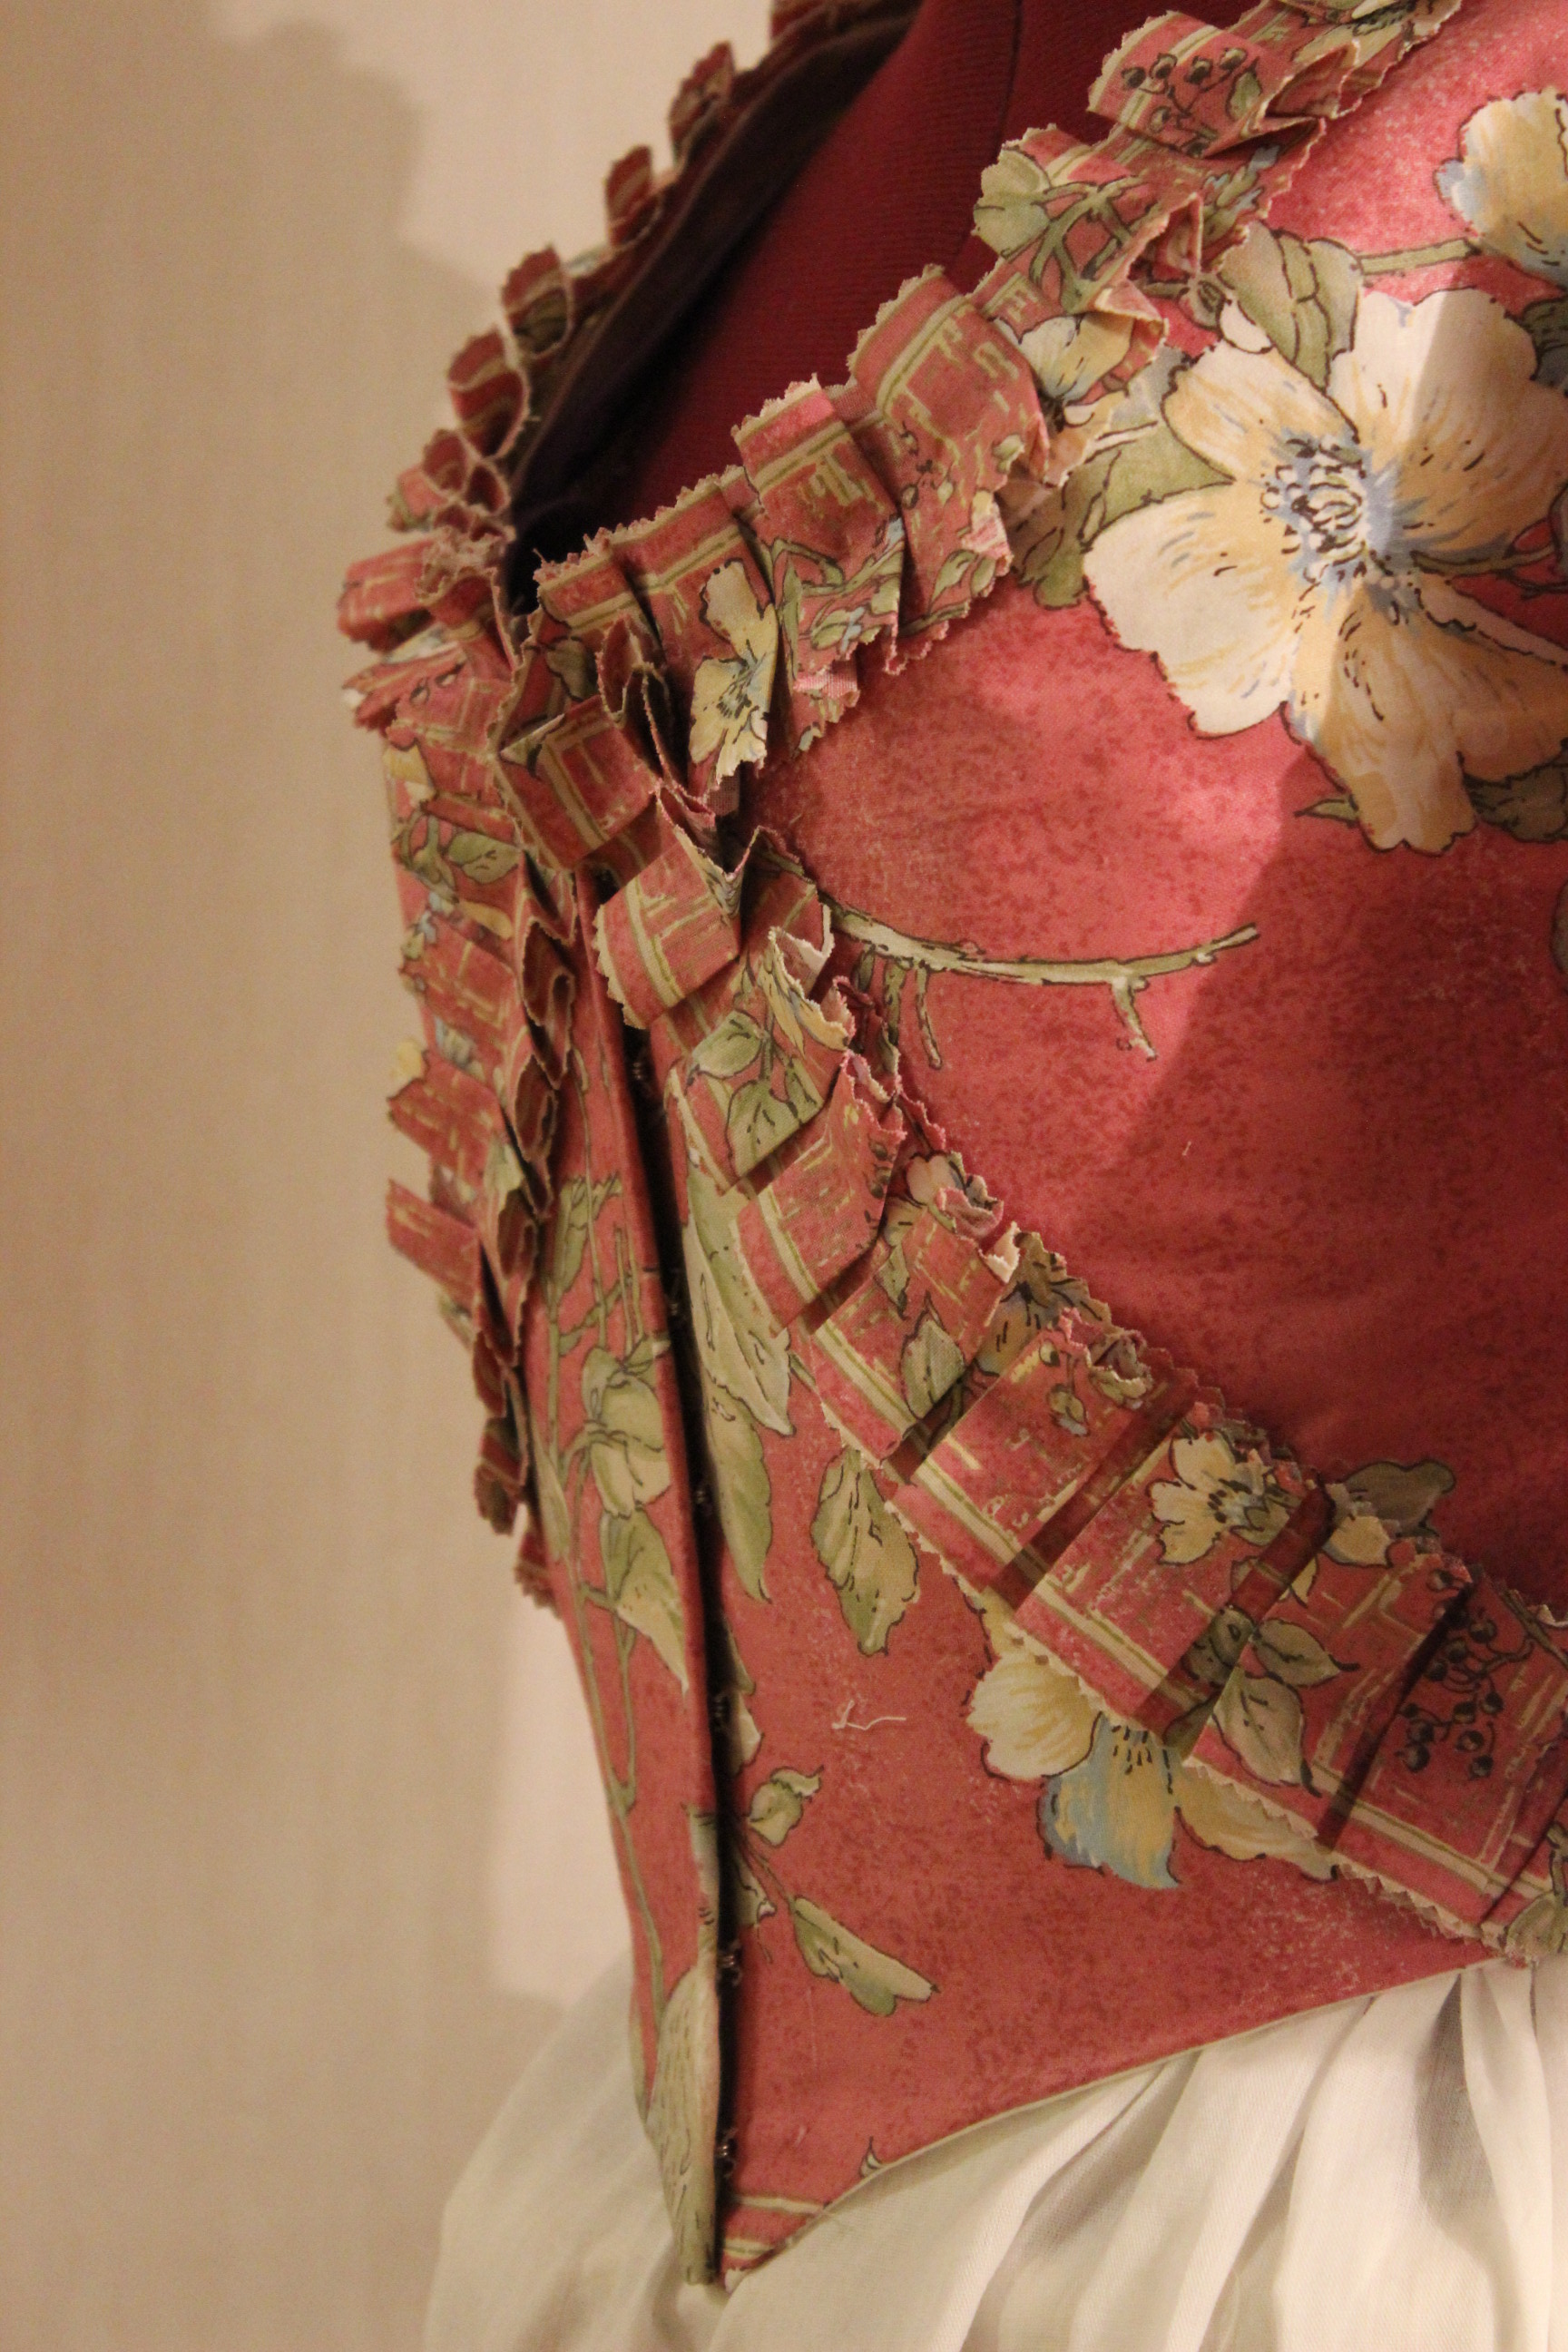
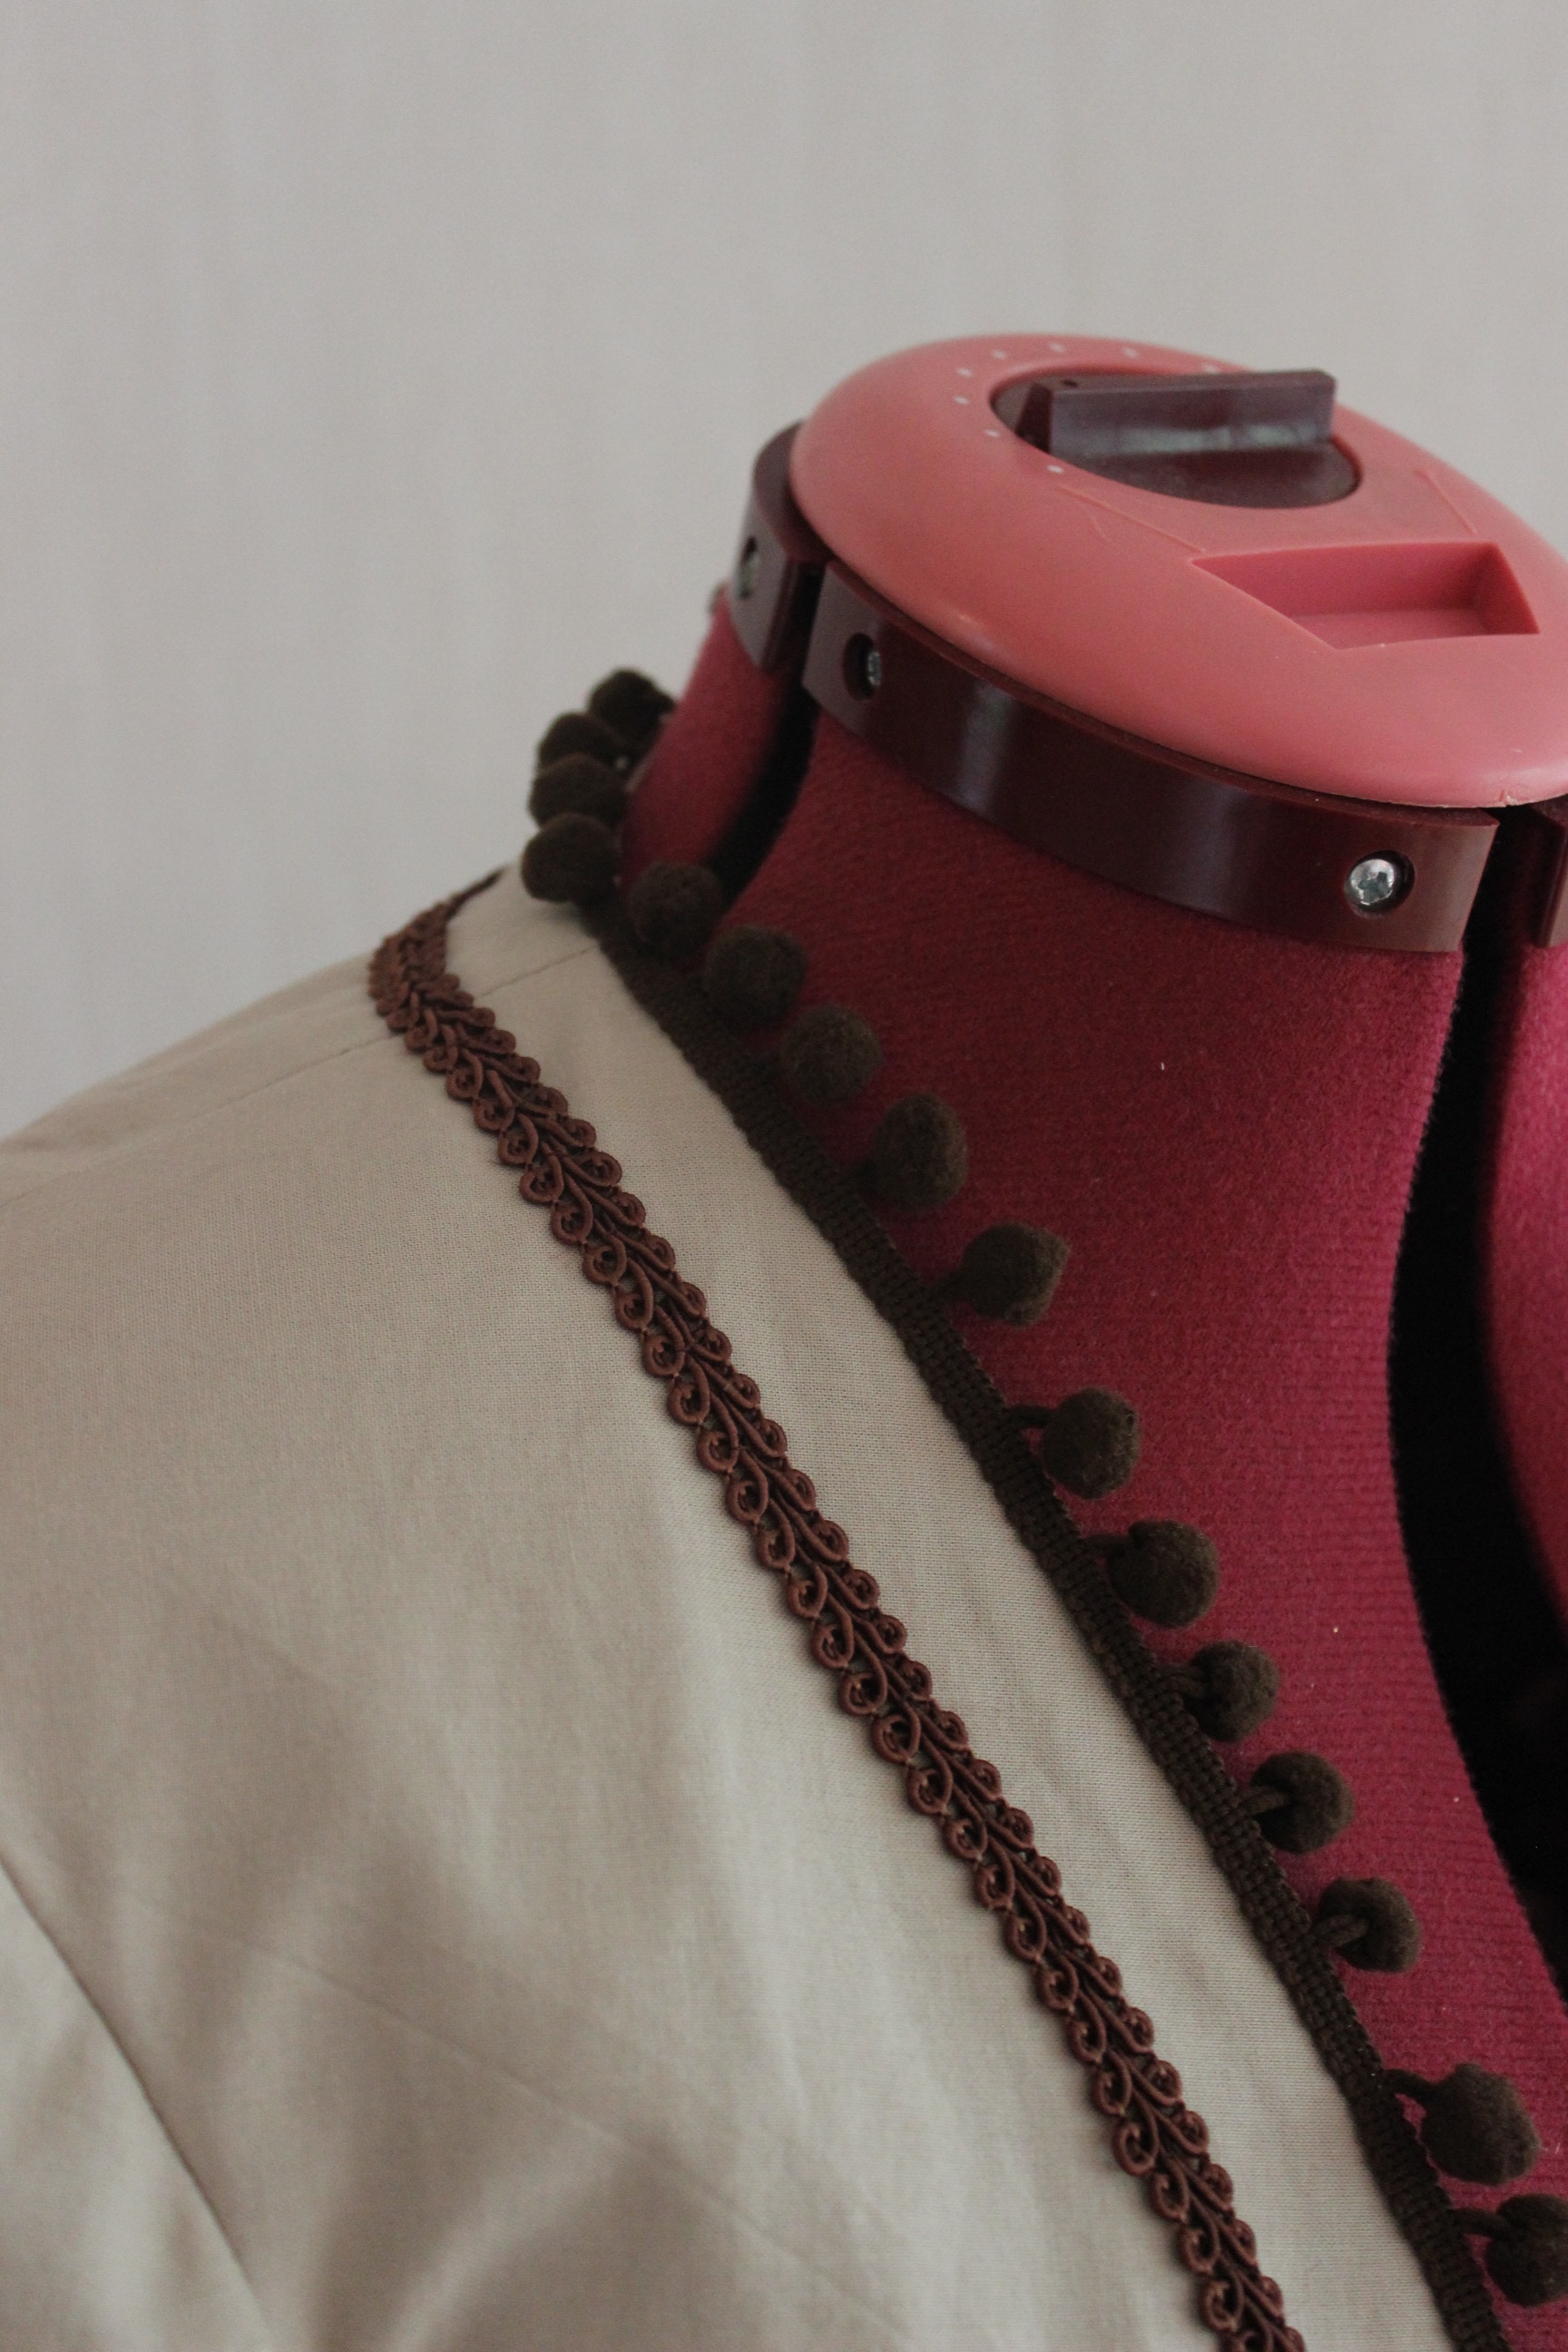
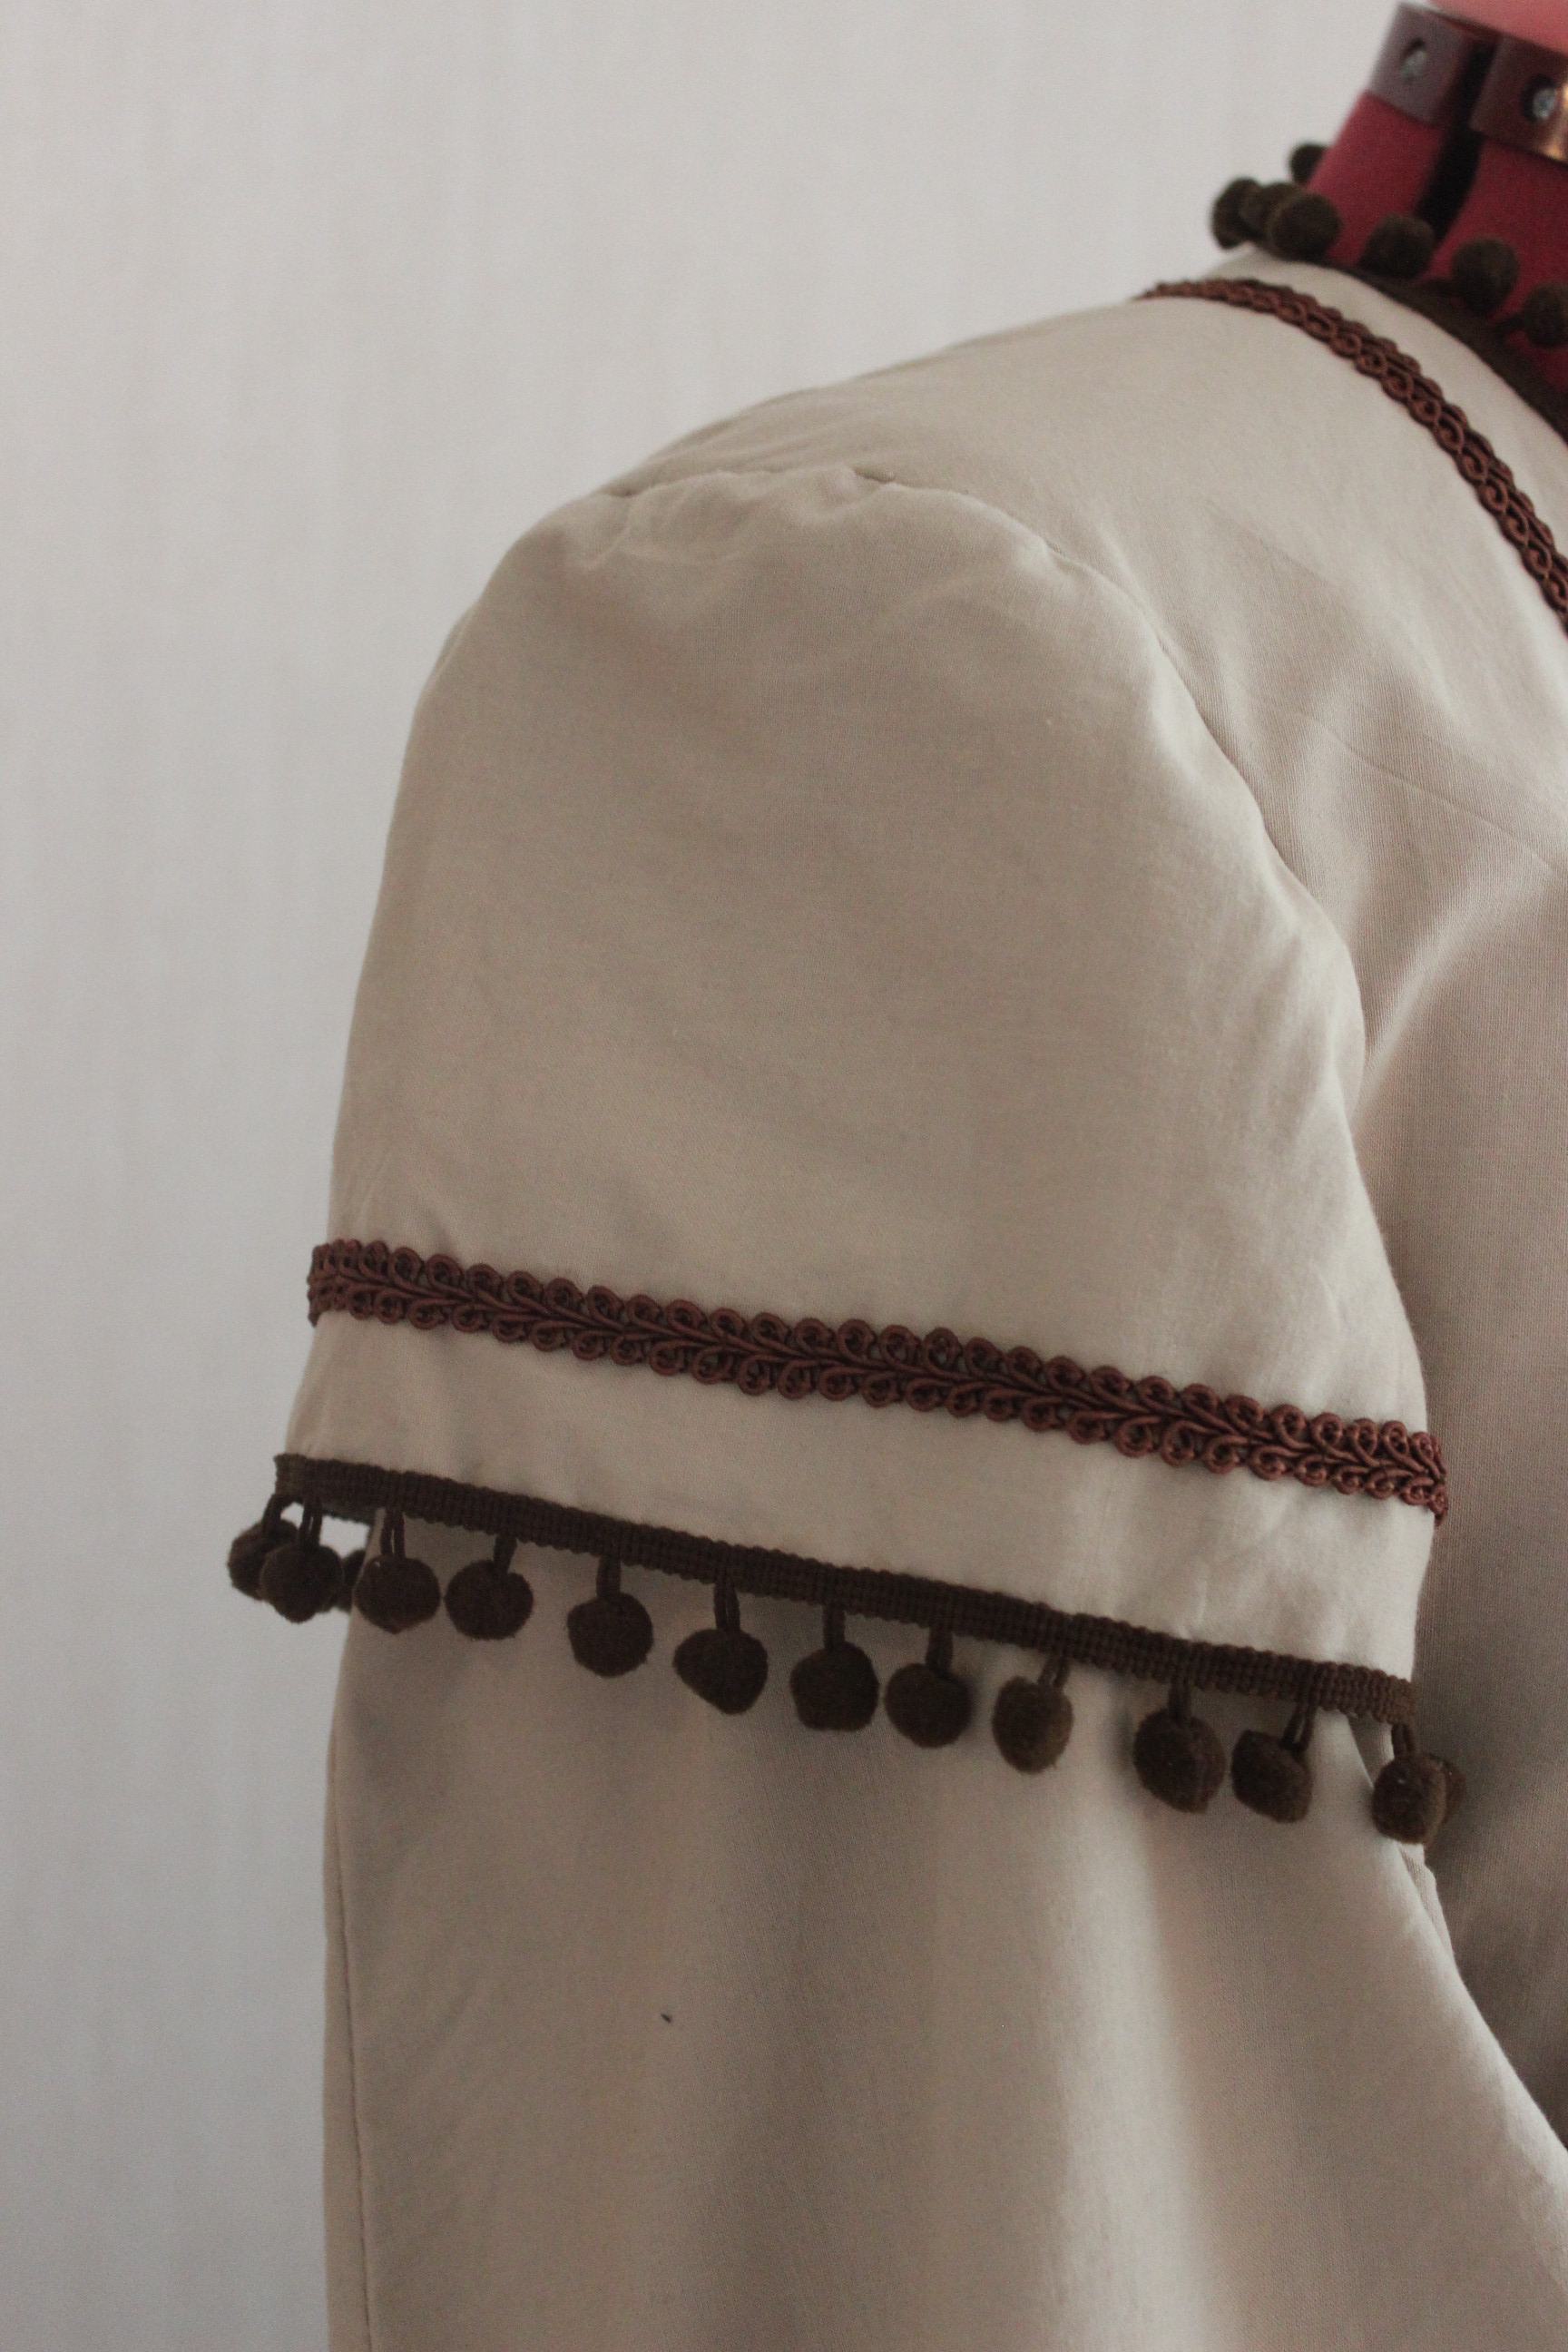
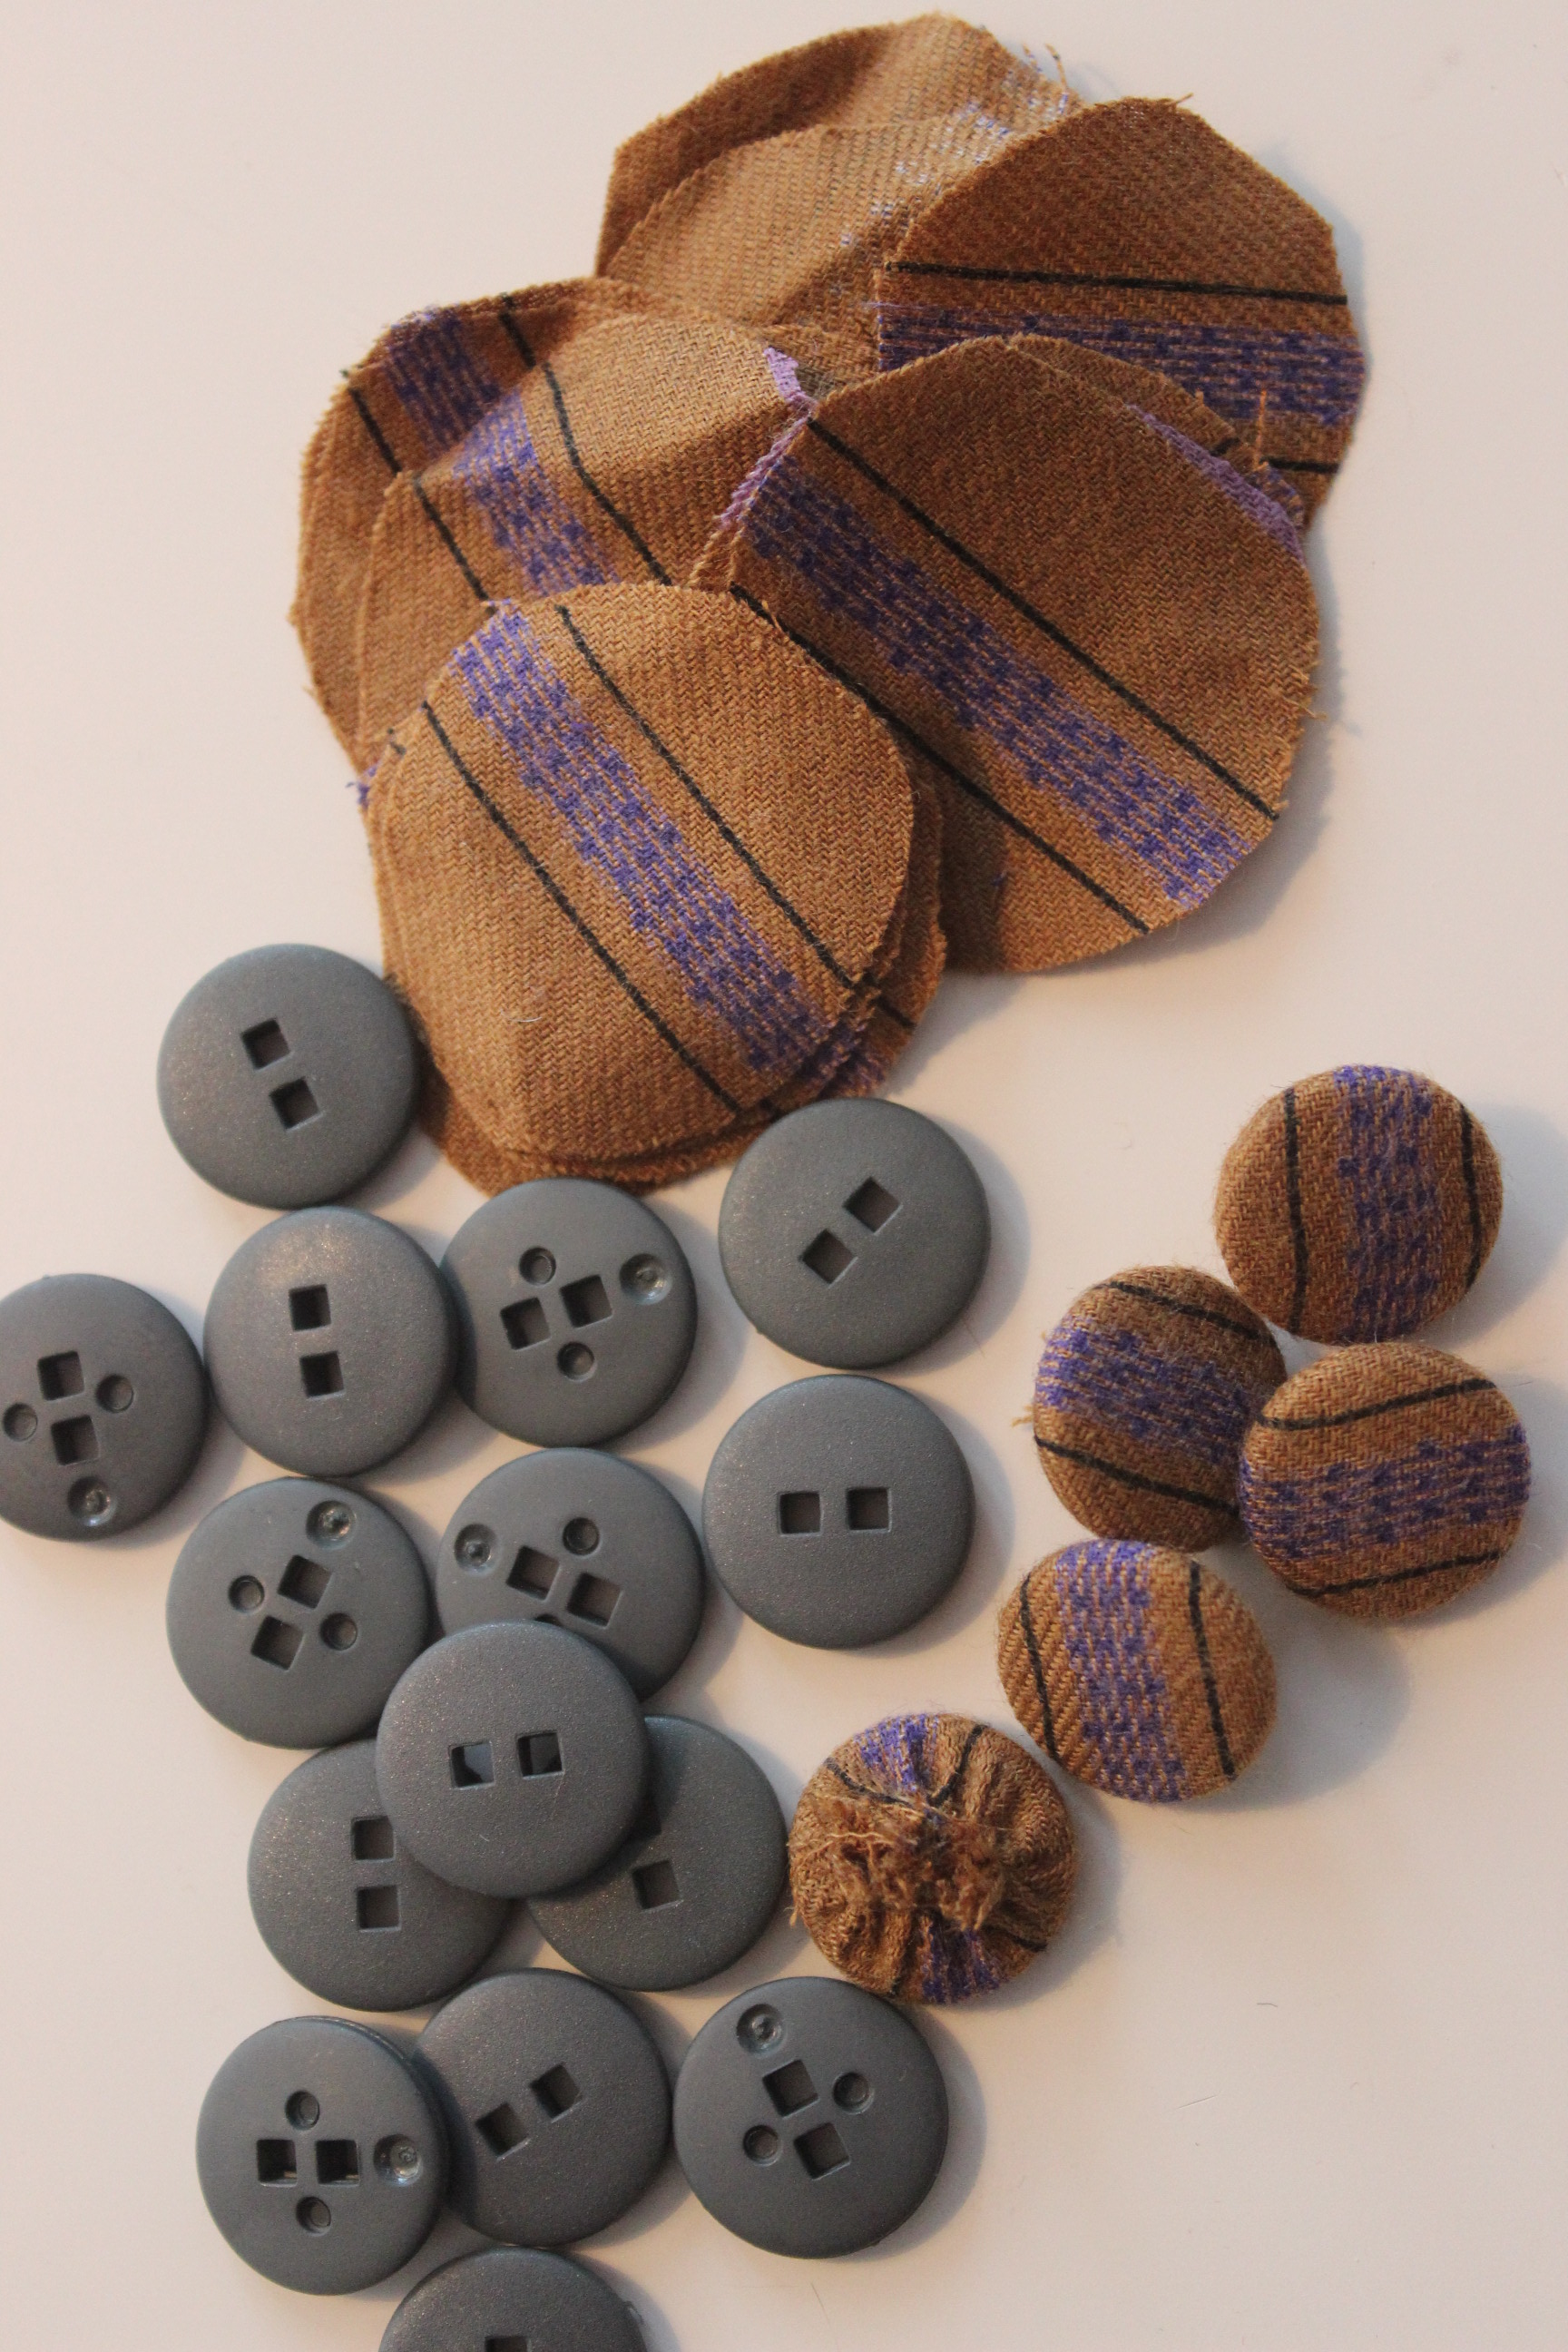
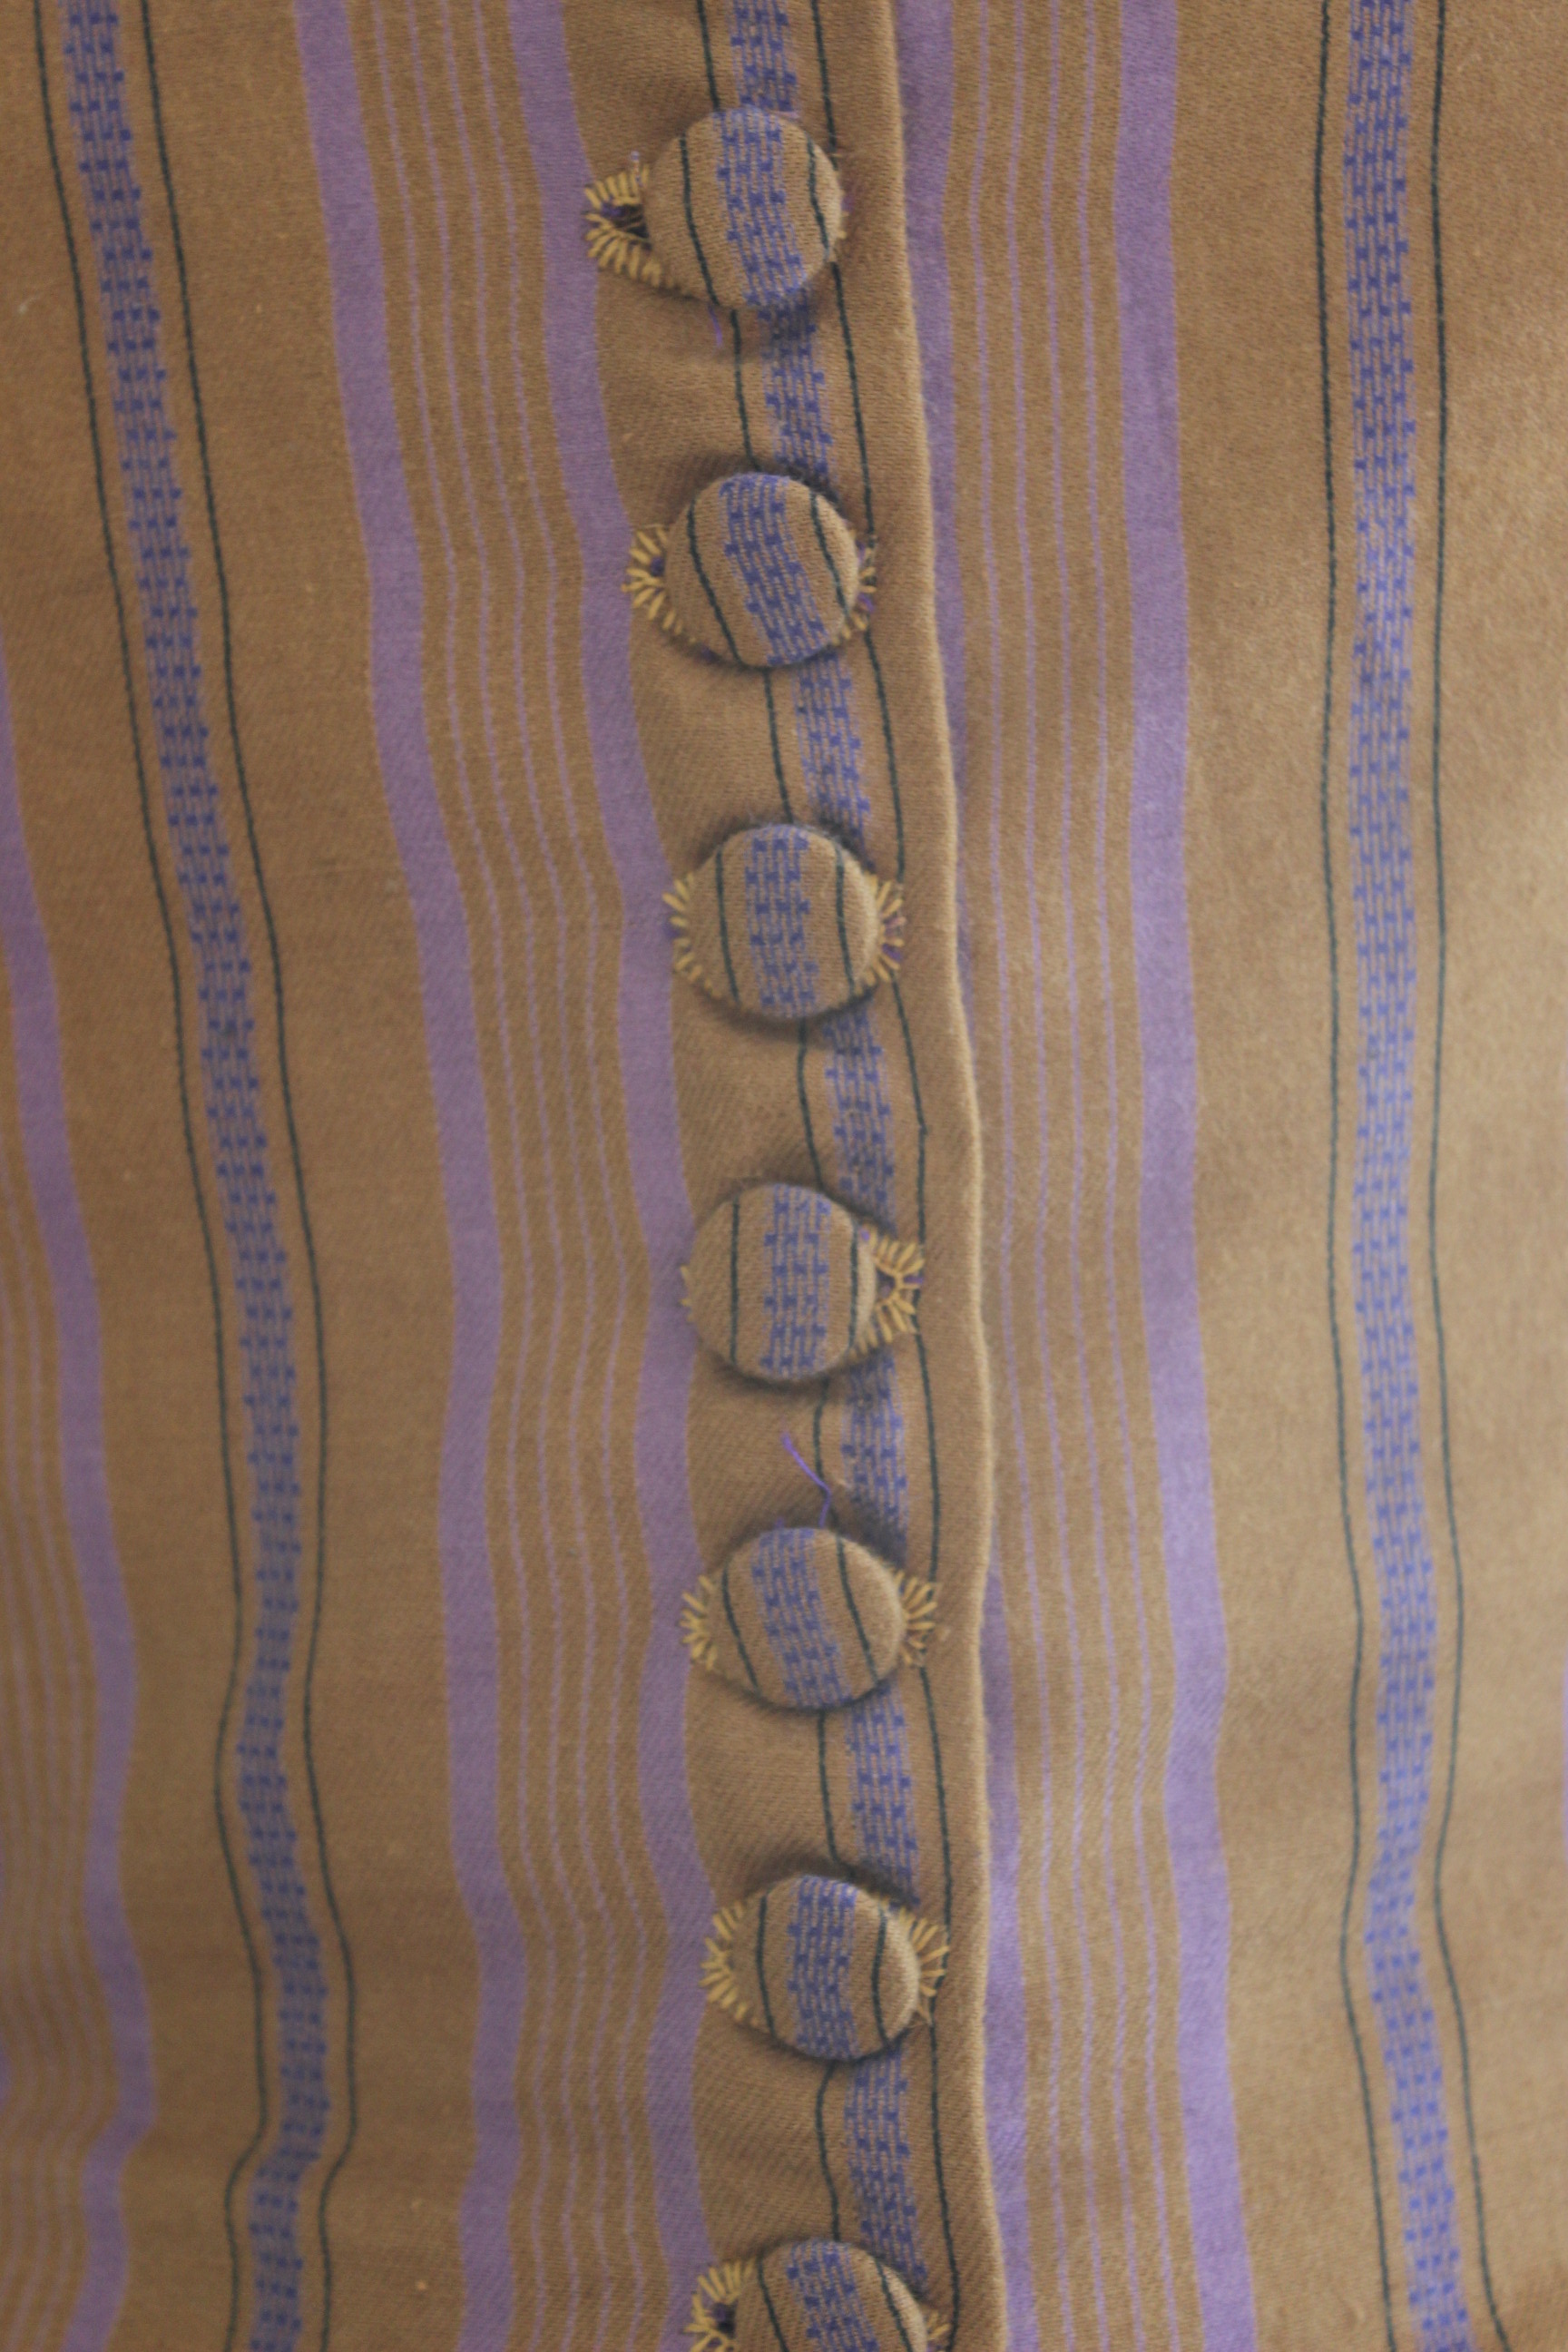
 I used the same furniture braid as on the skirt combined with a brown pom-pom trim also from my stash.
Even though they weren’t a perfect match color-wise the effect was really nice.

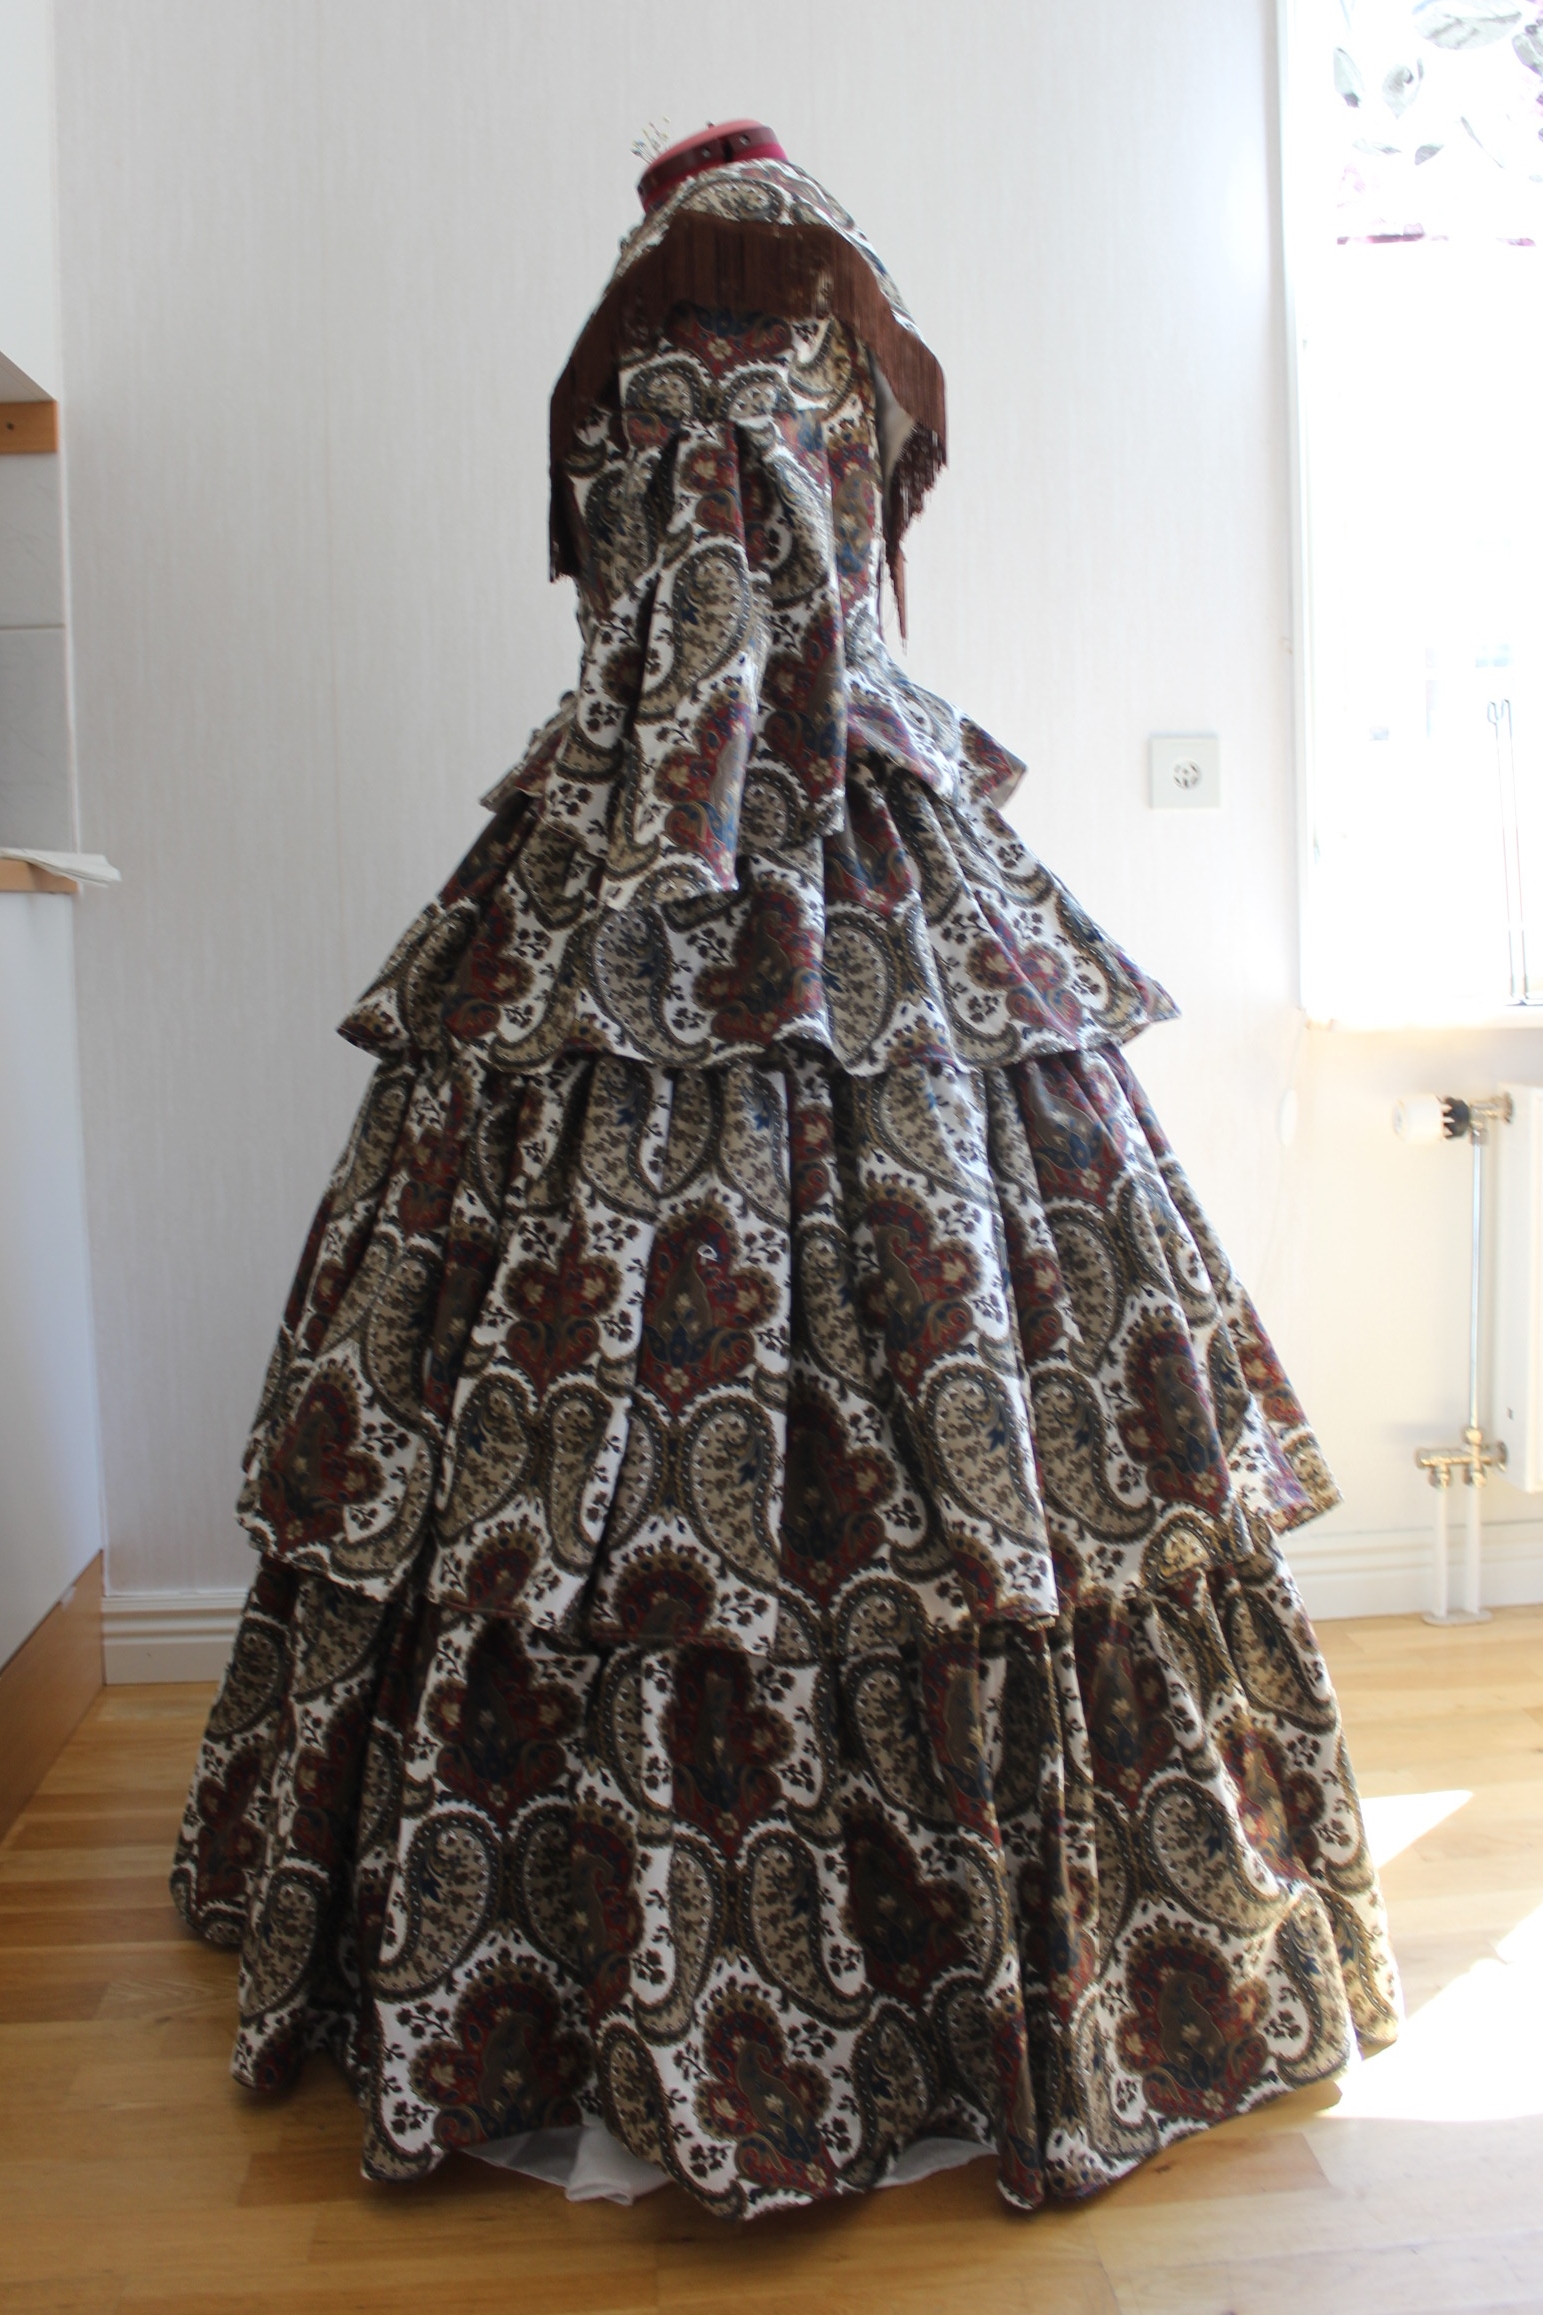
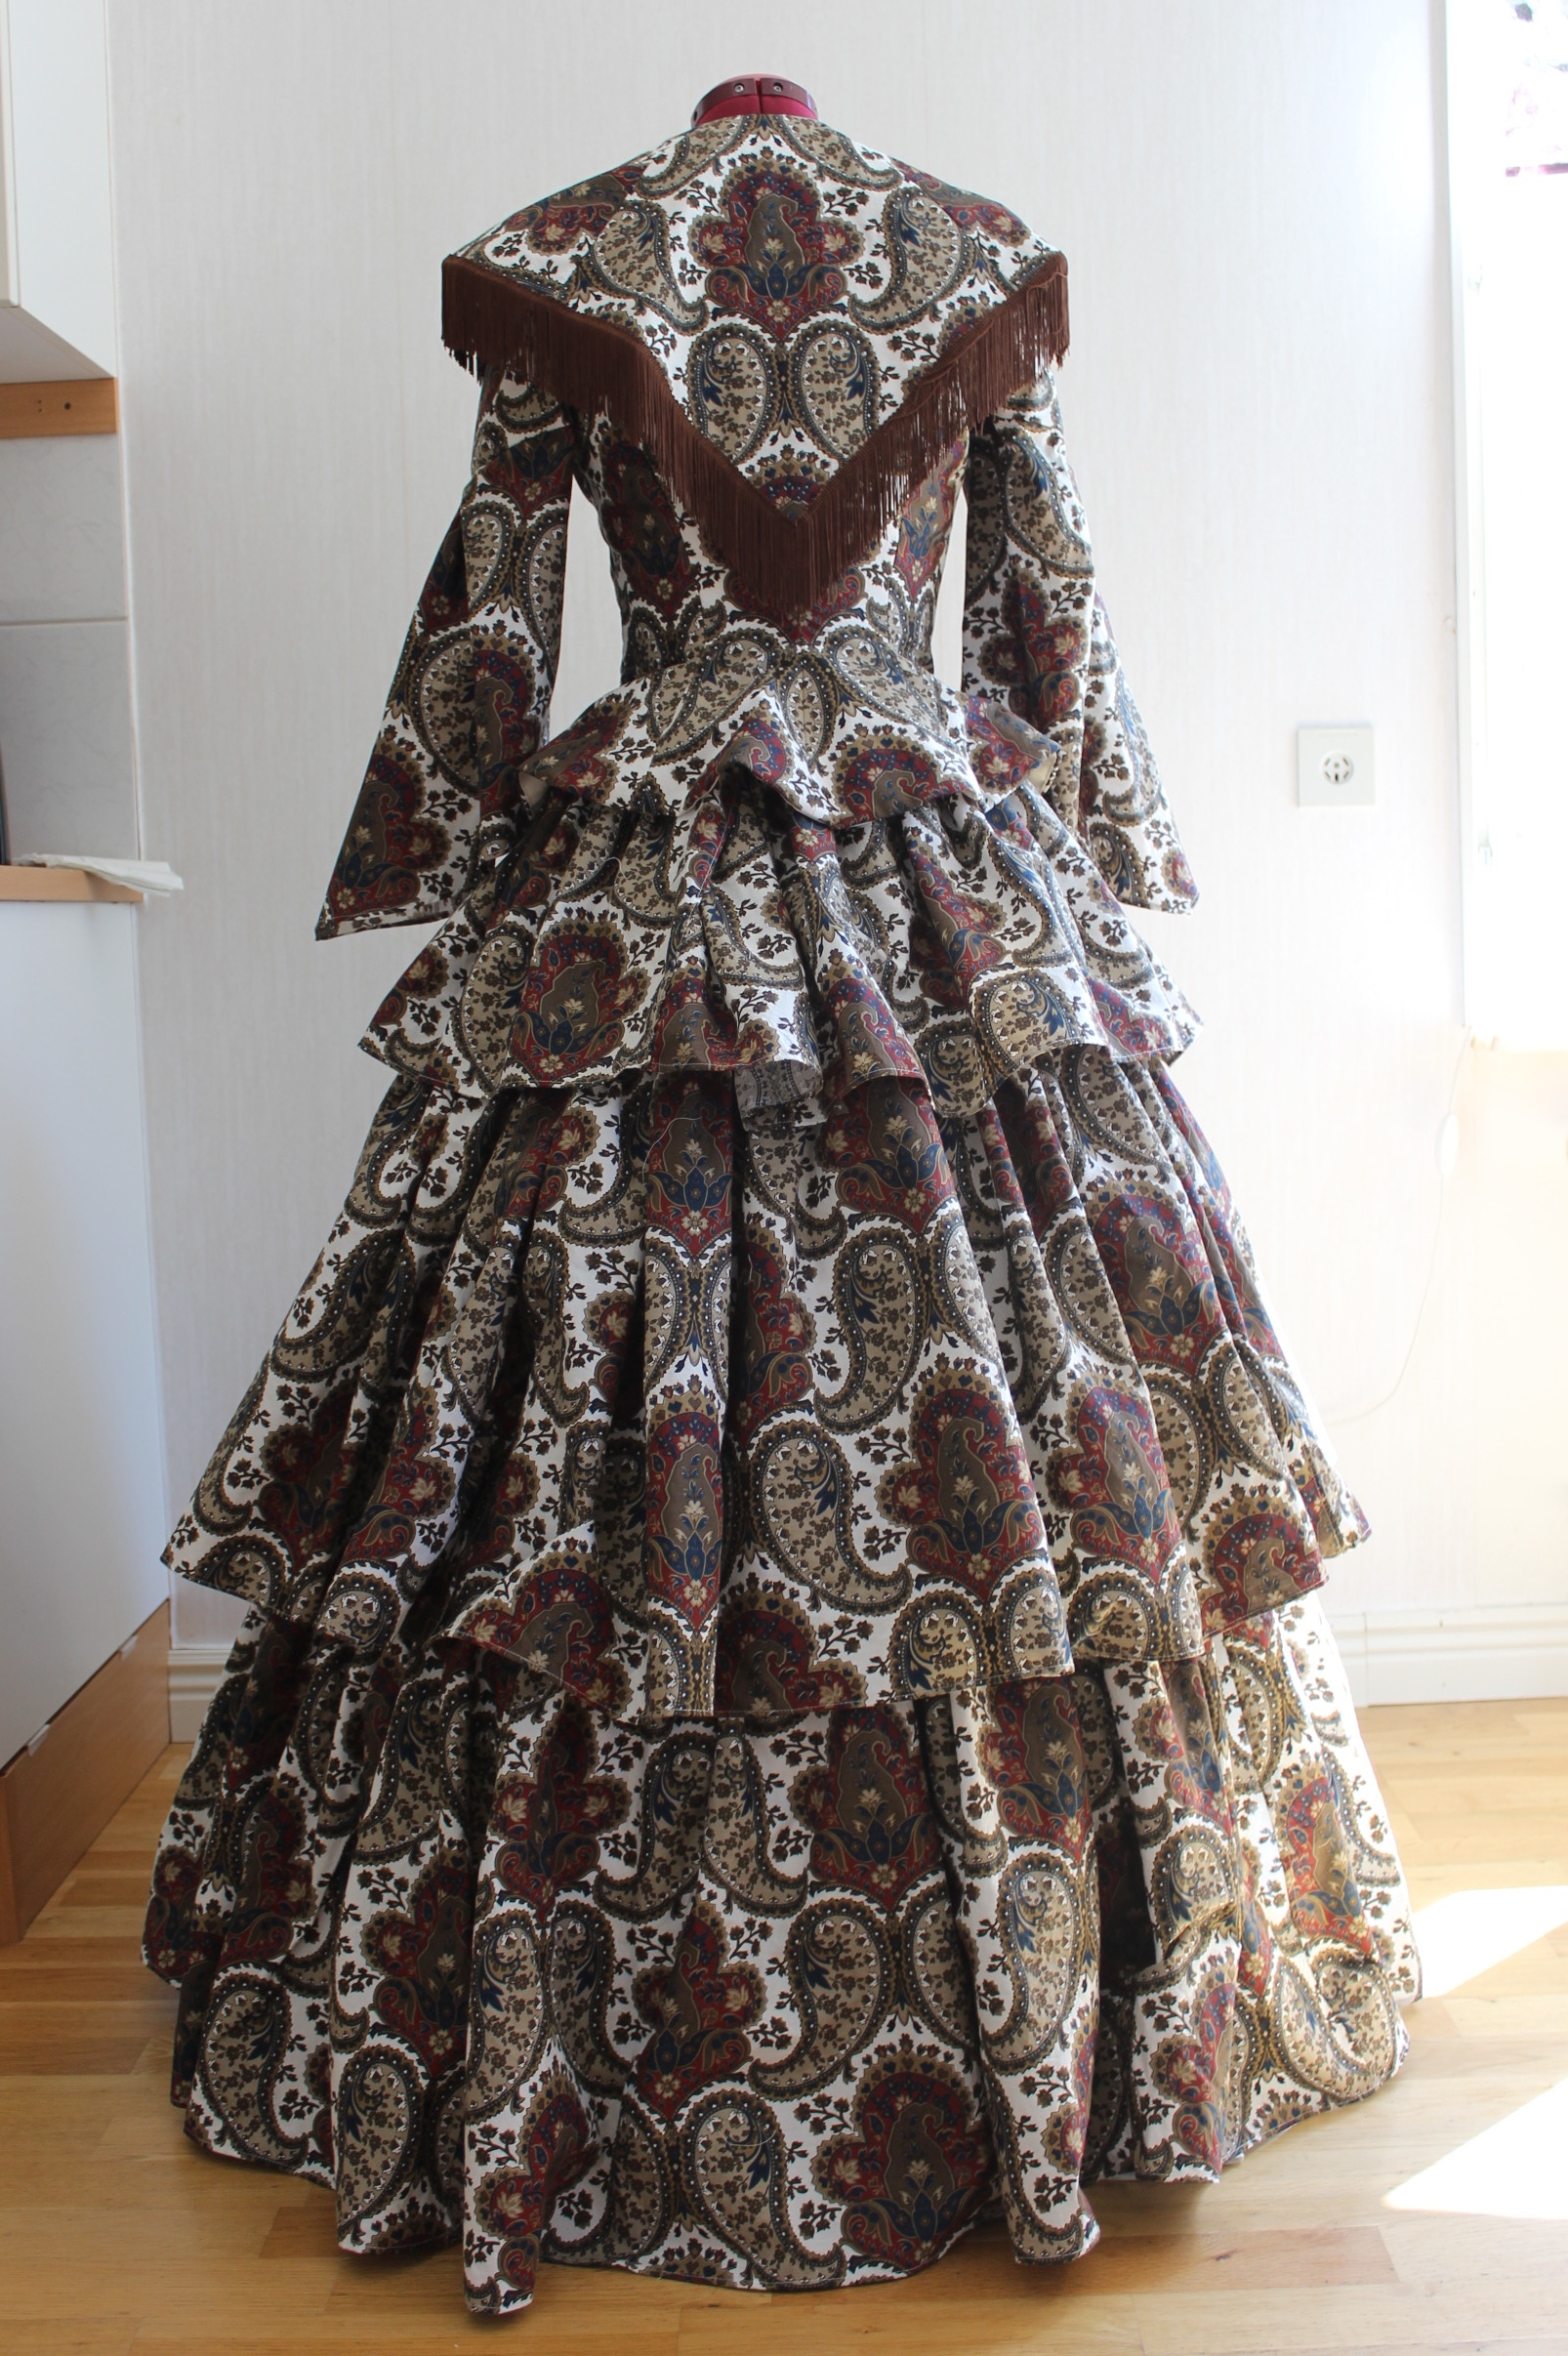
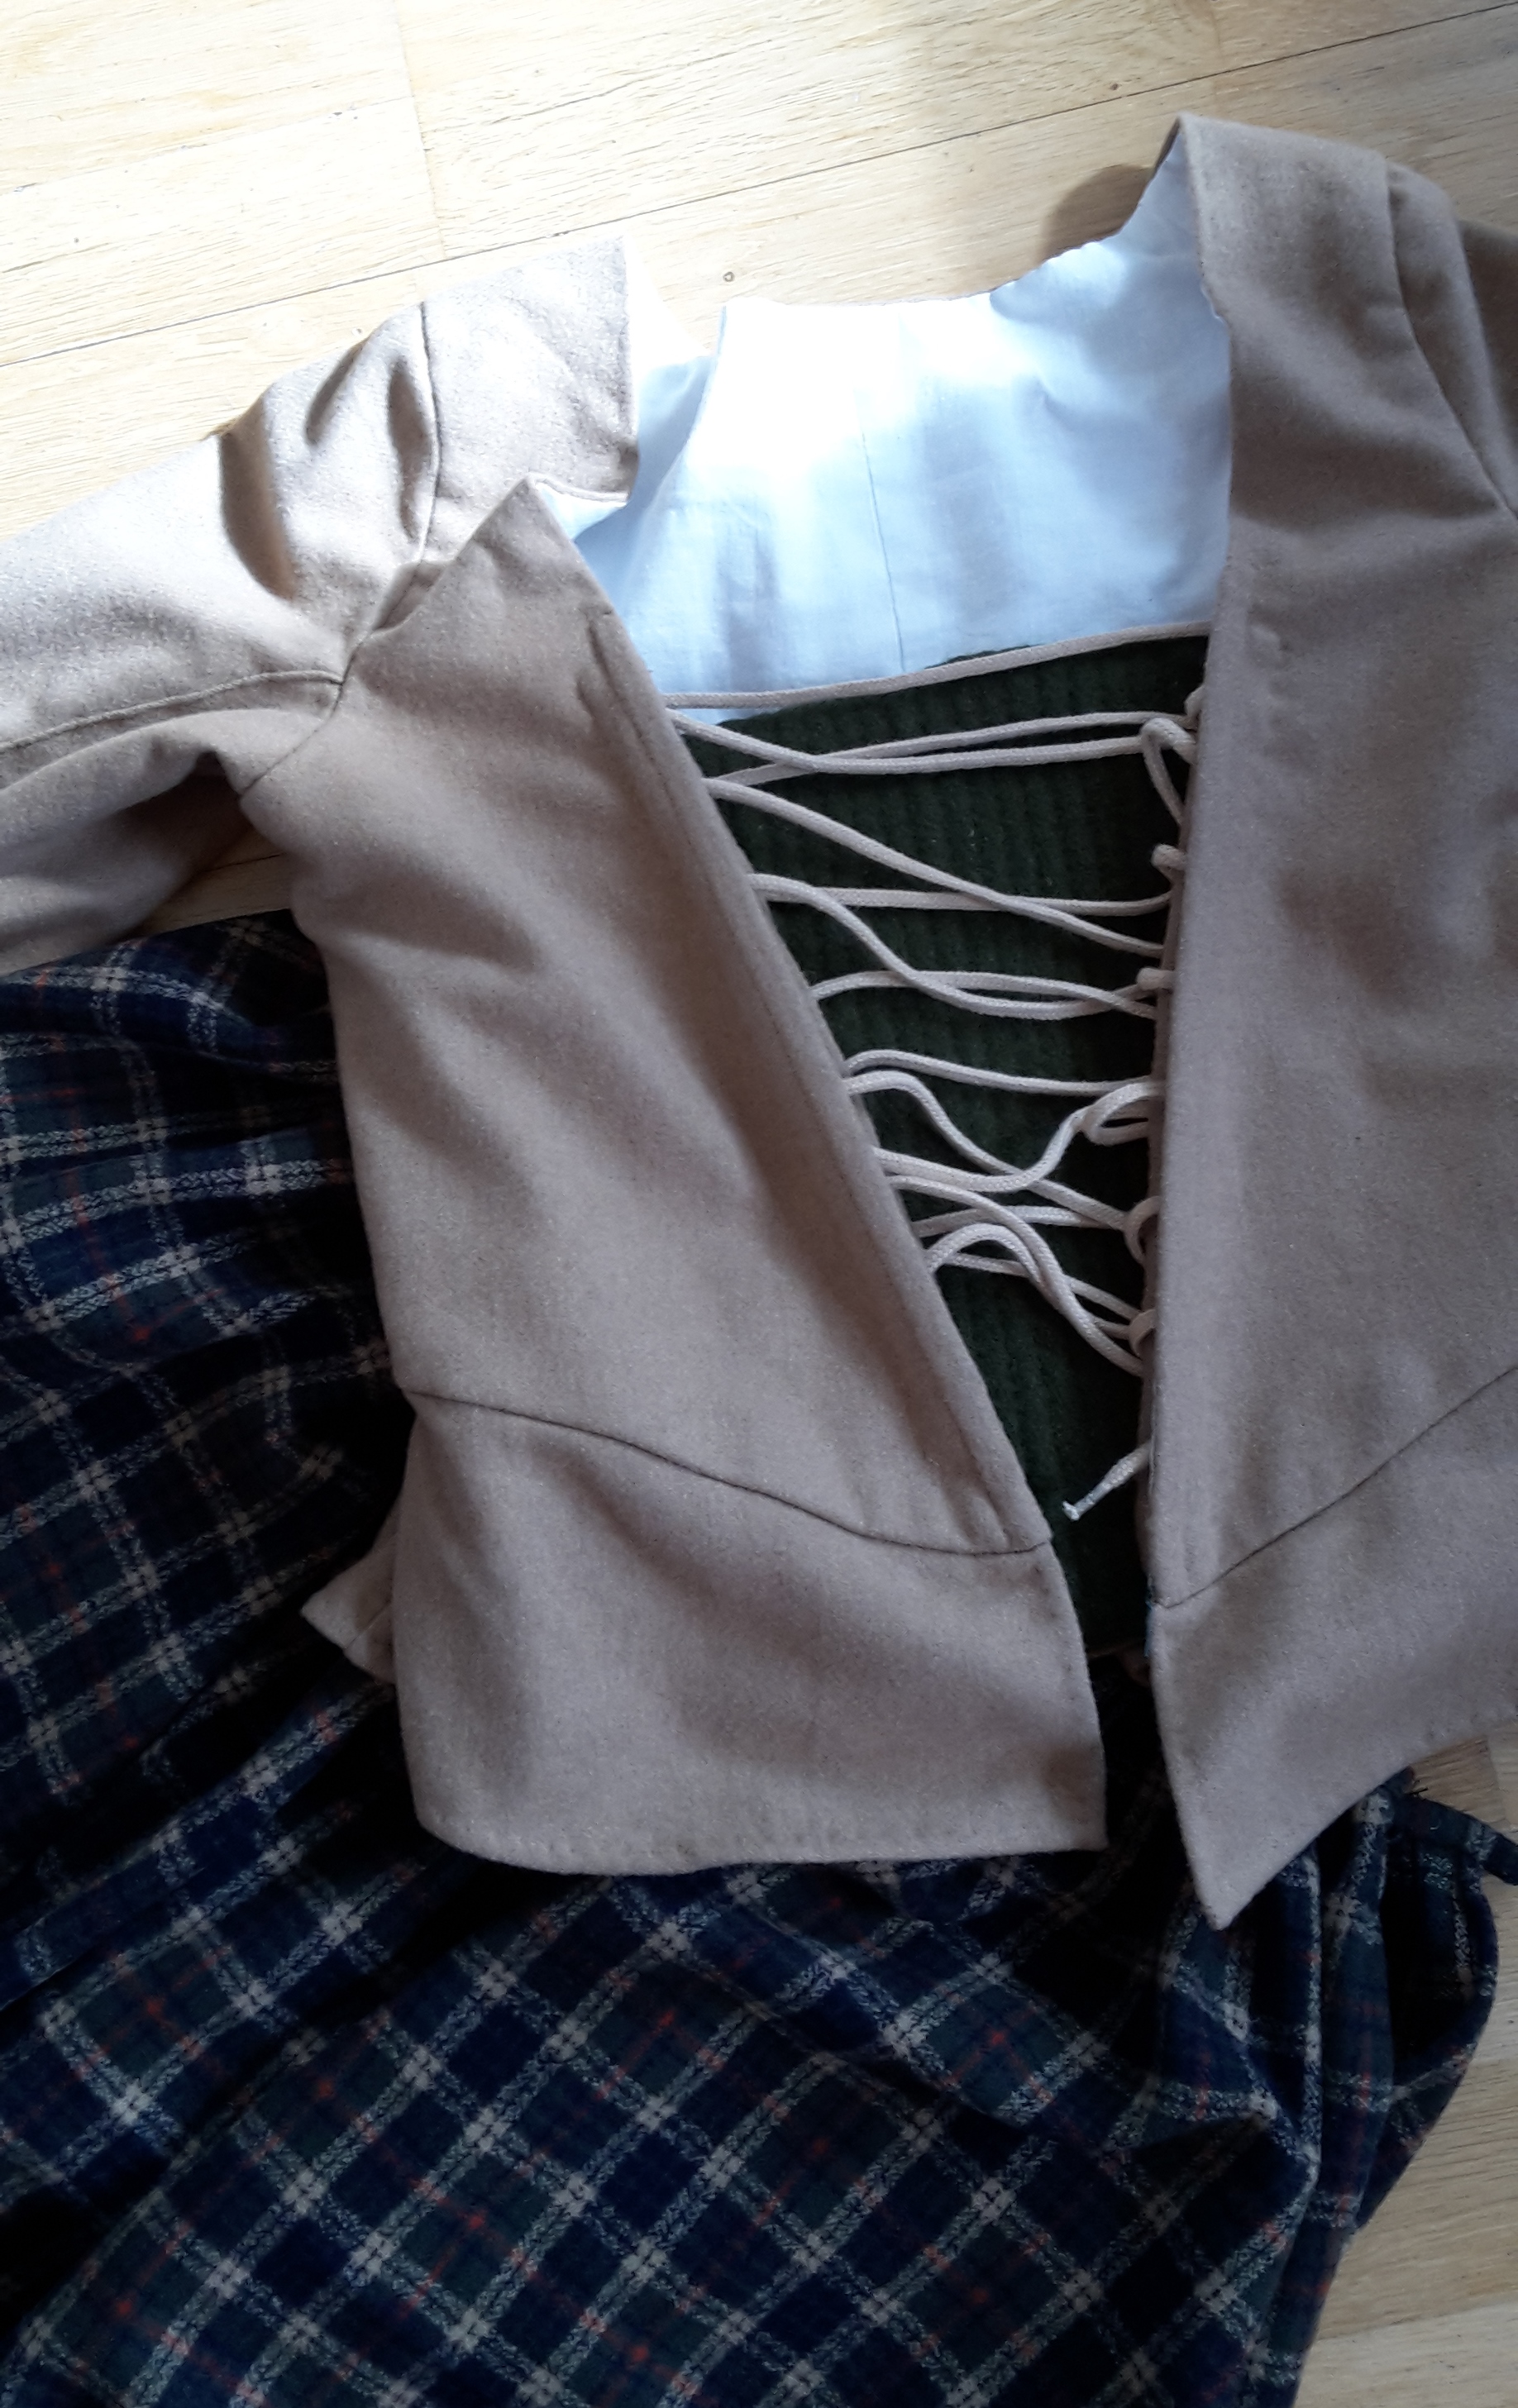
A quick pic of the just “finished” outfit on the floor. Now all that was needed was some pressing and the right accessories. 
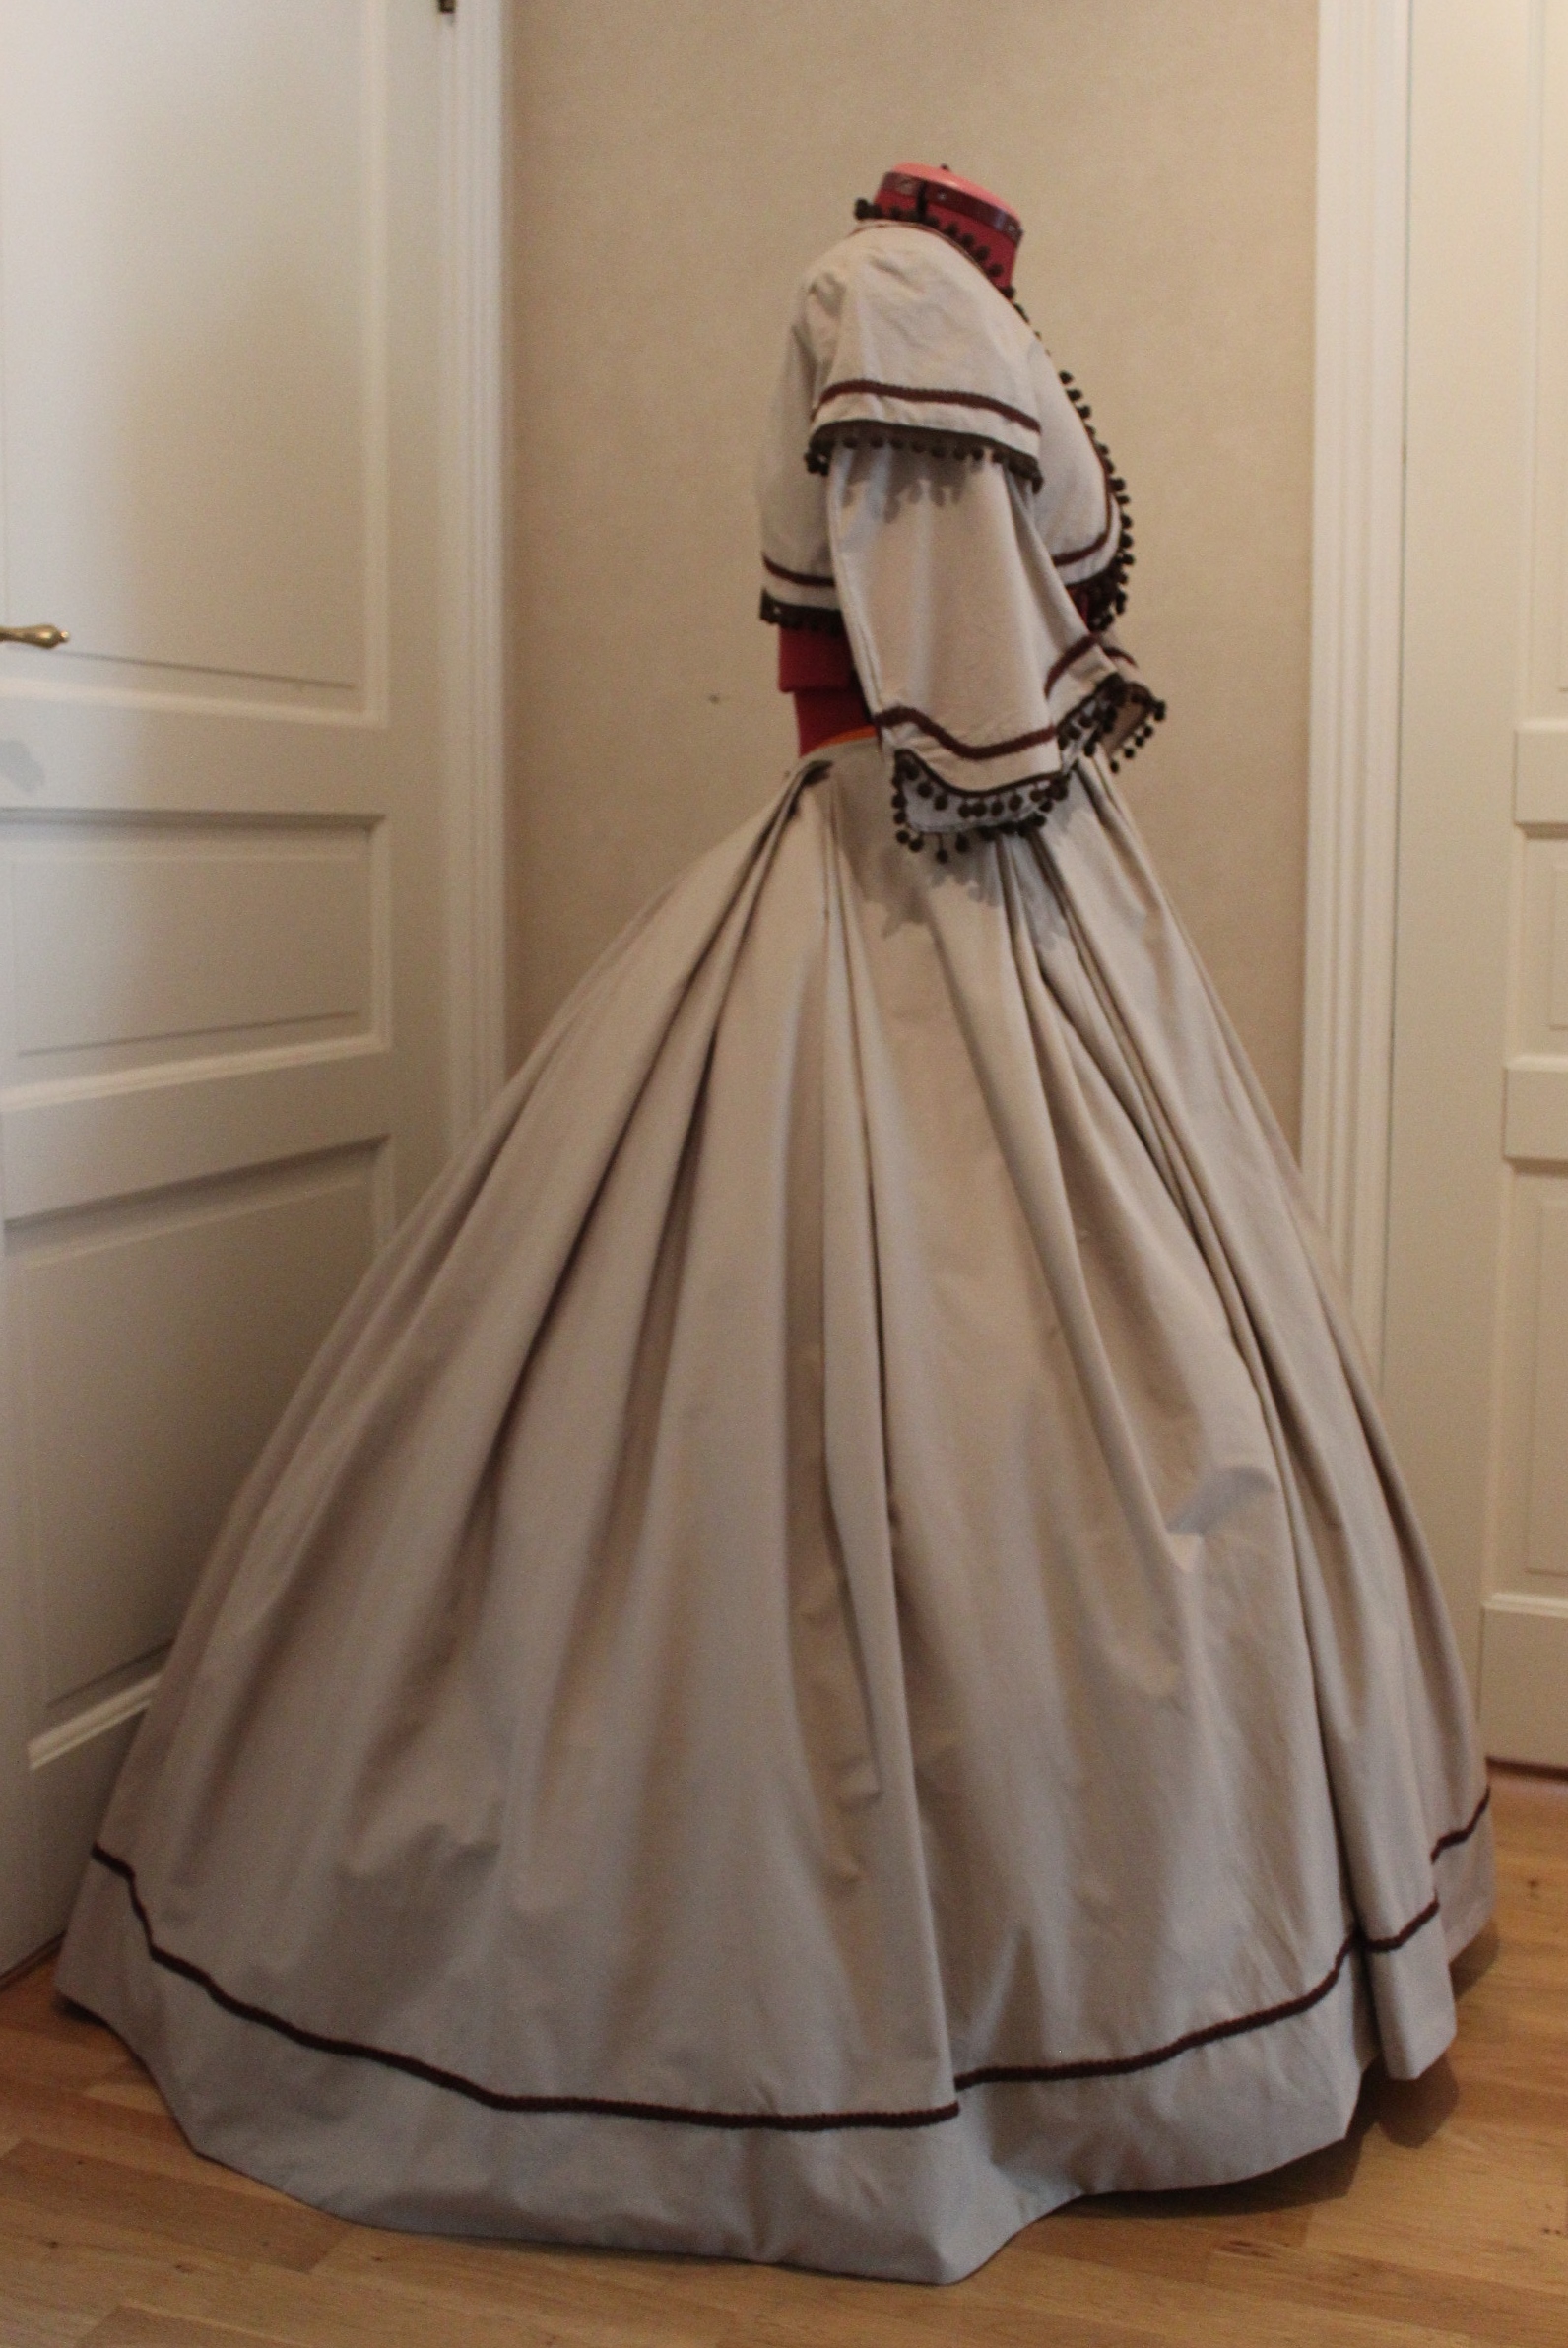
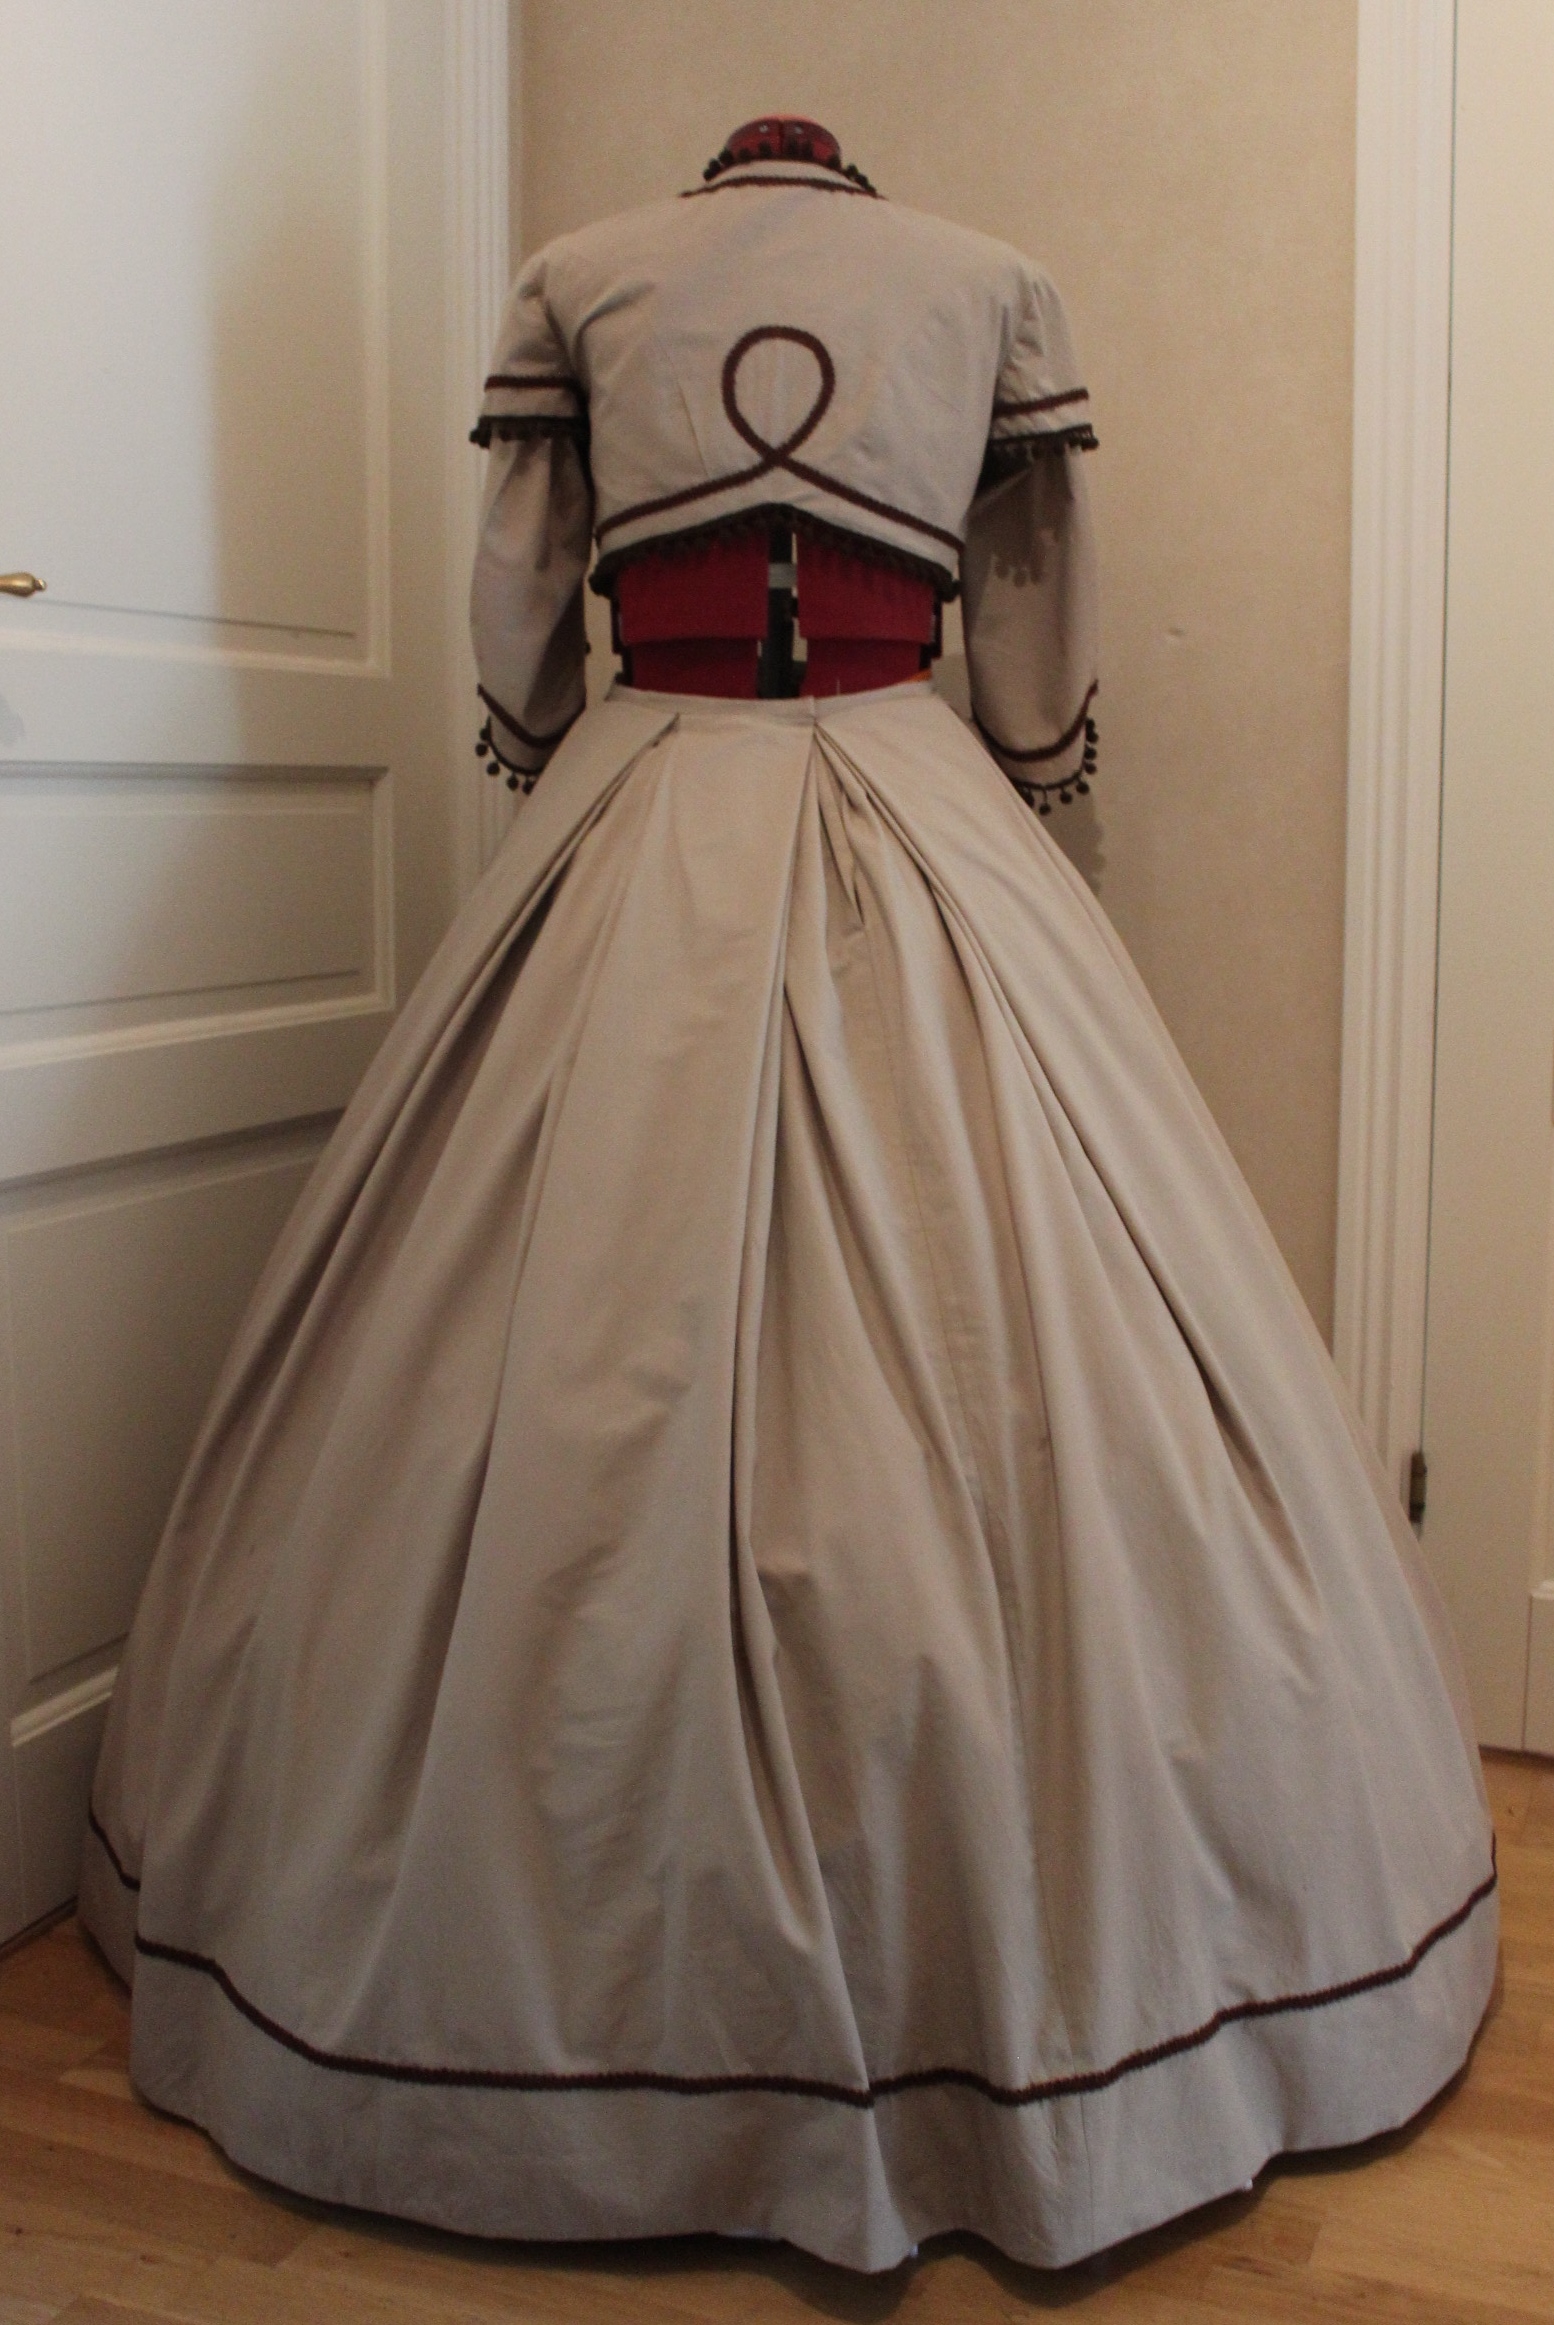
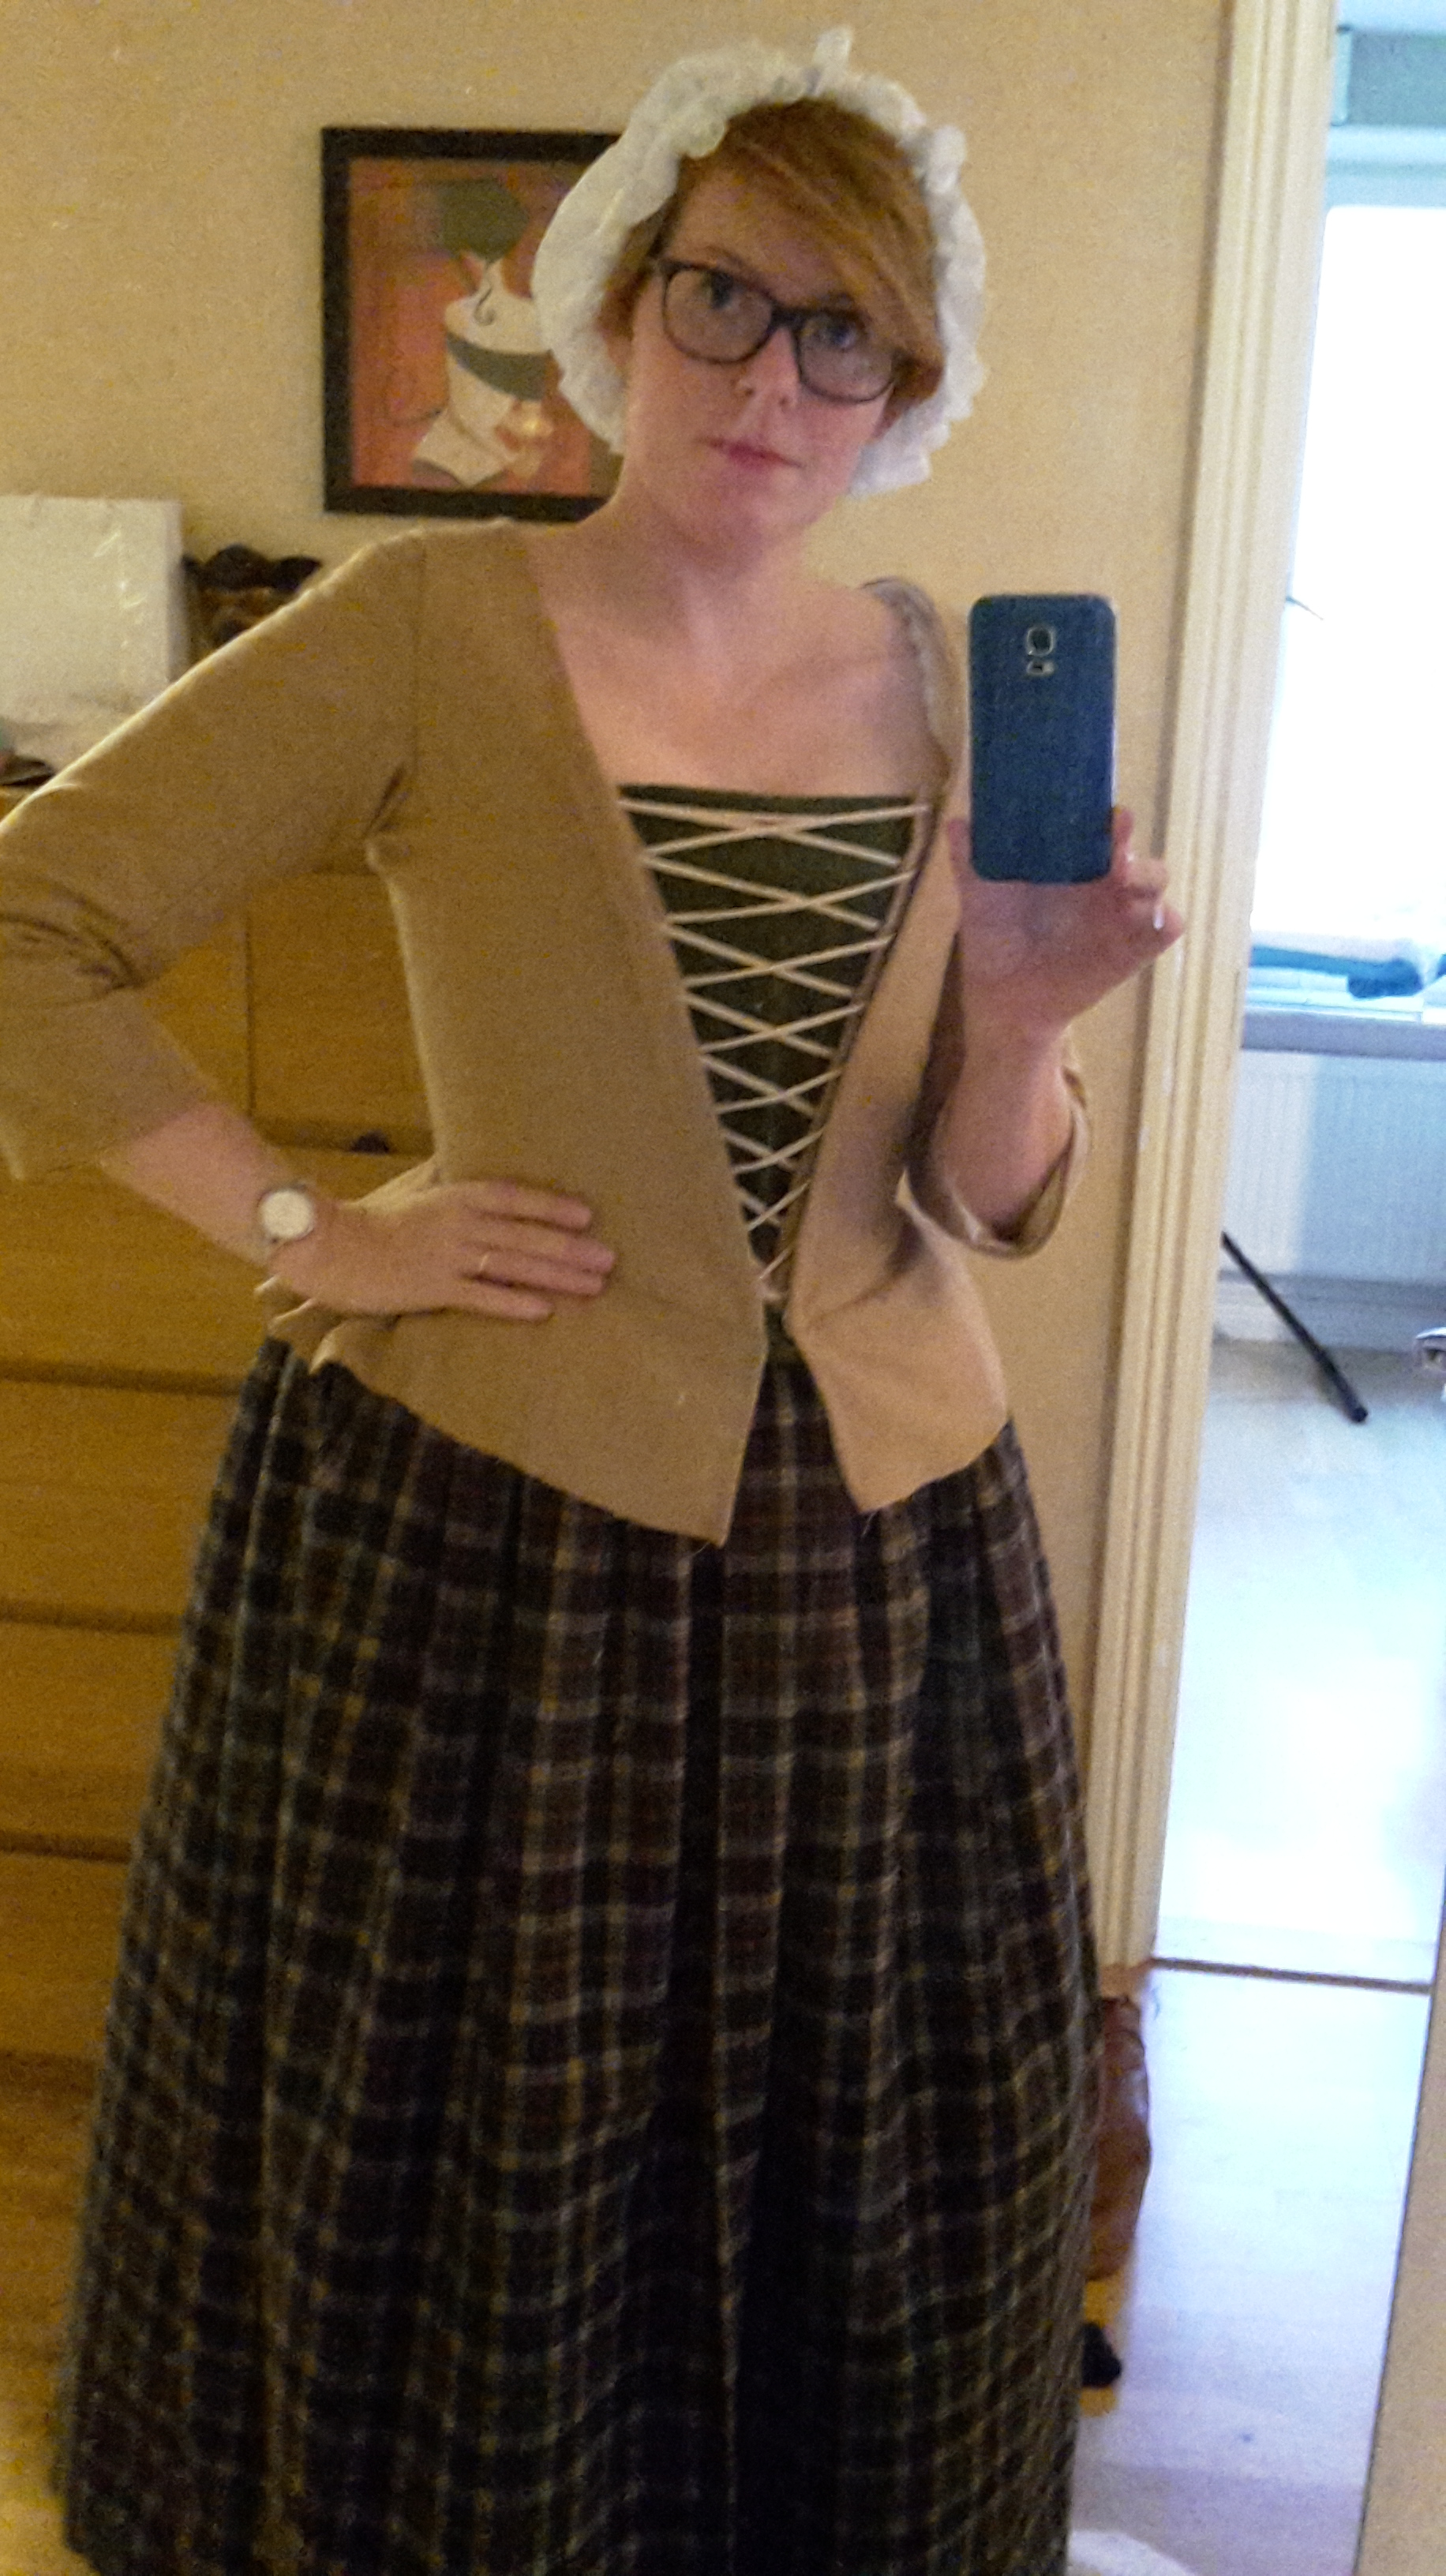
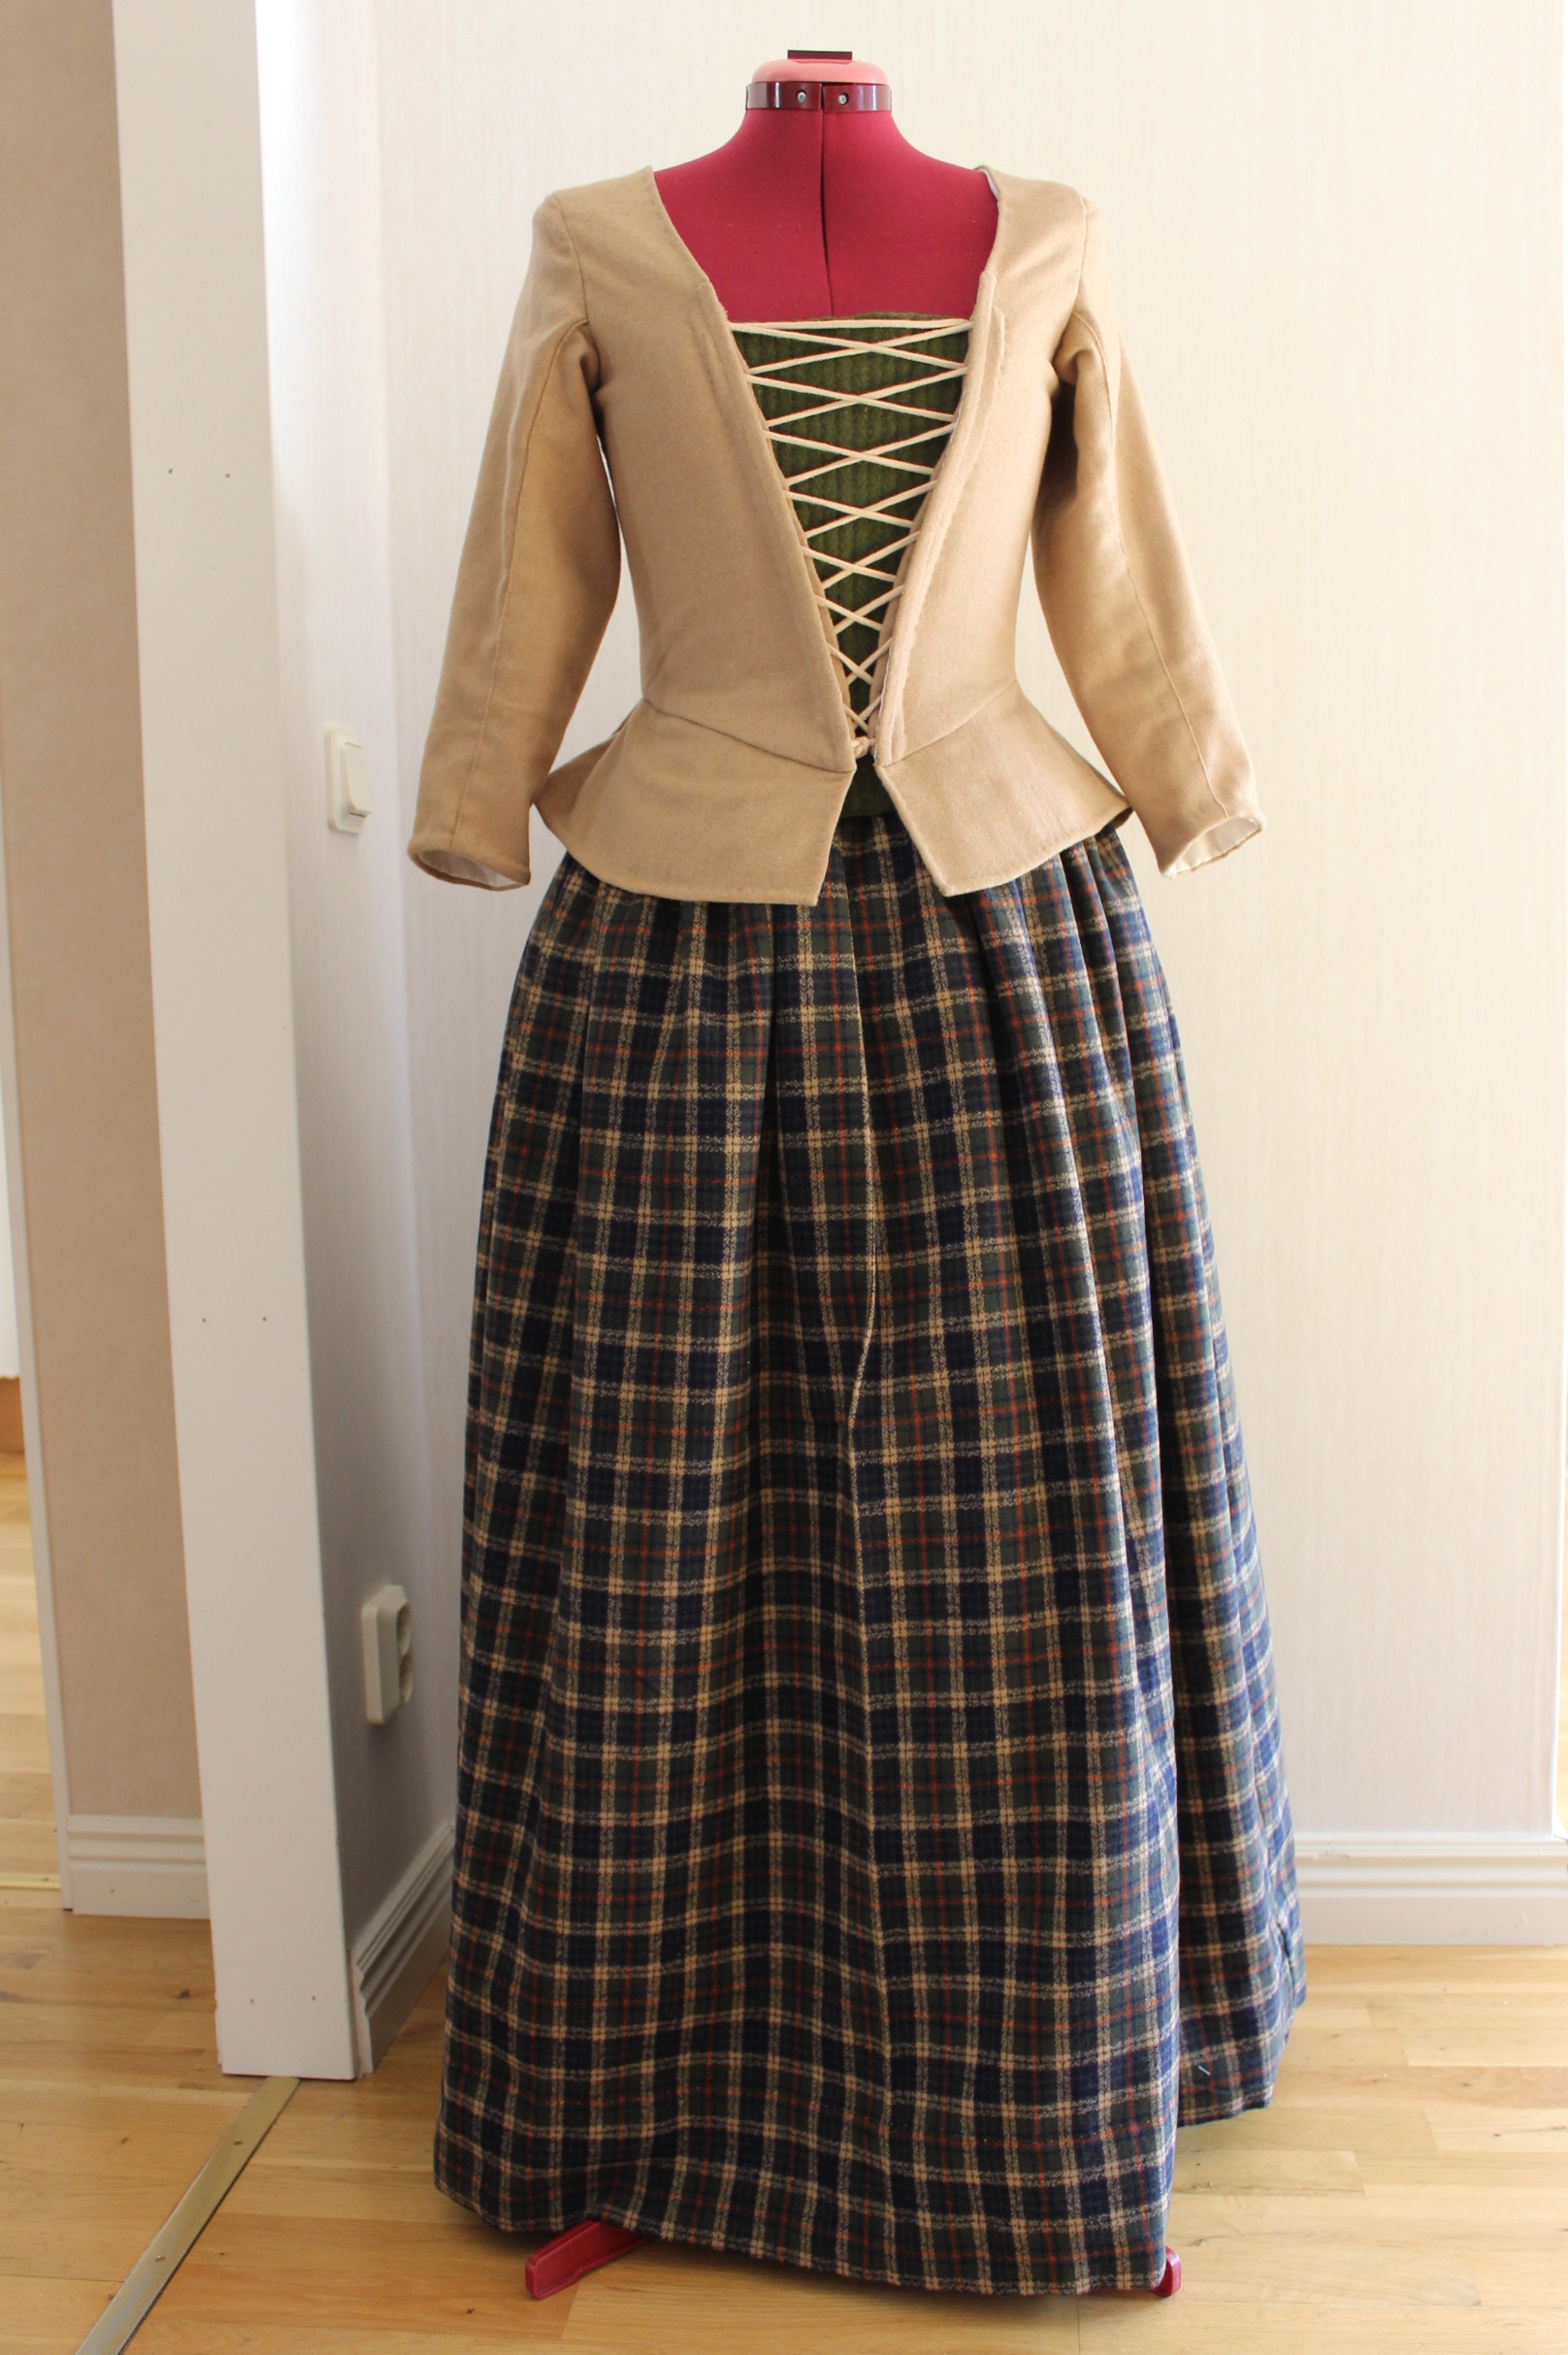
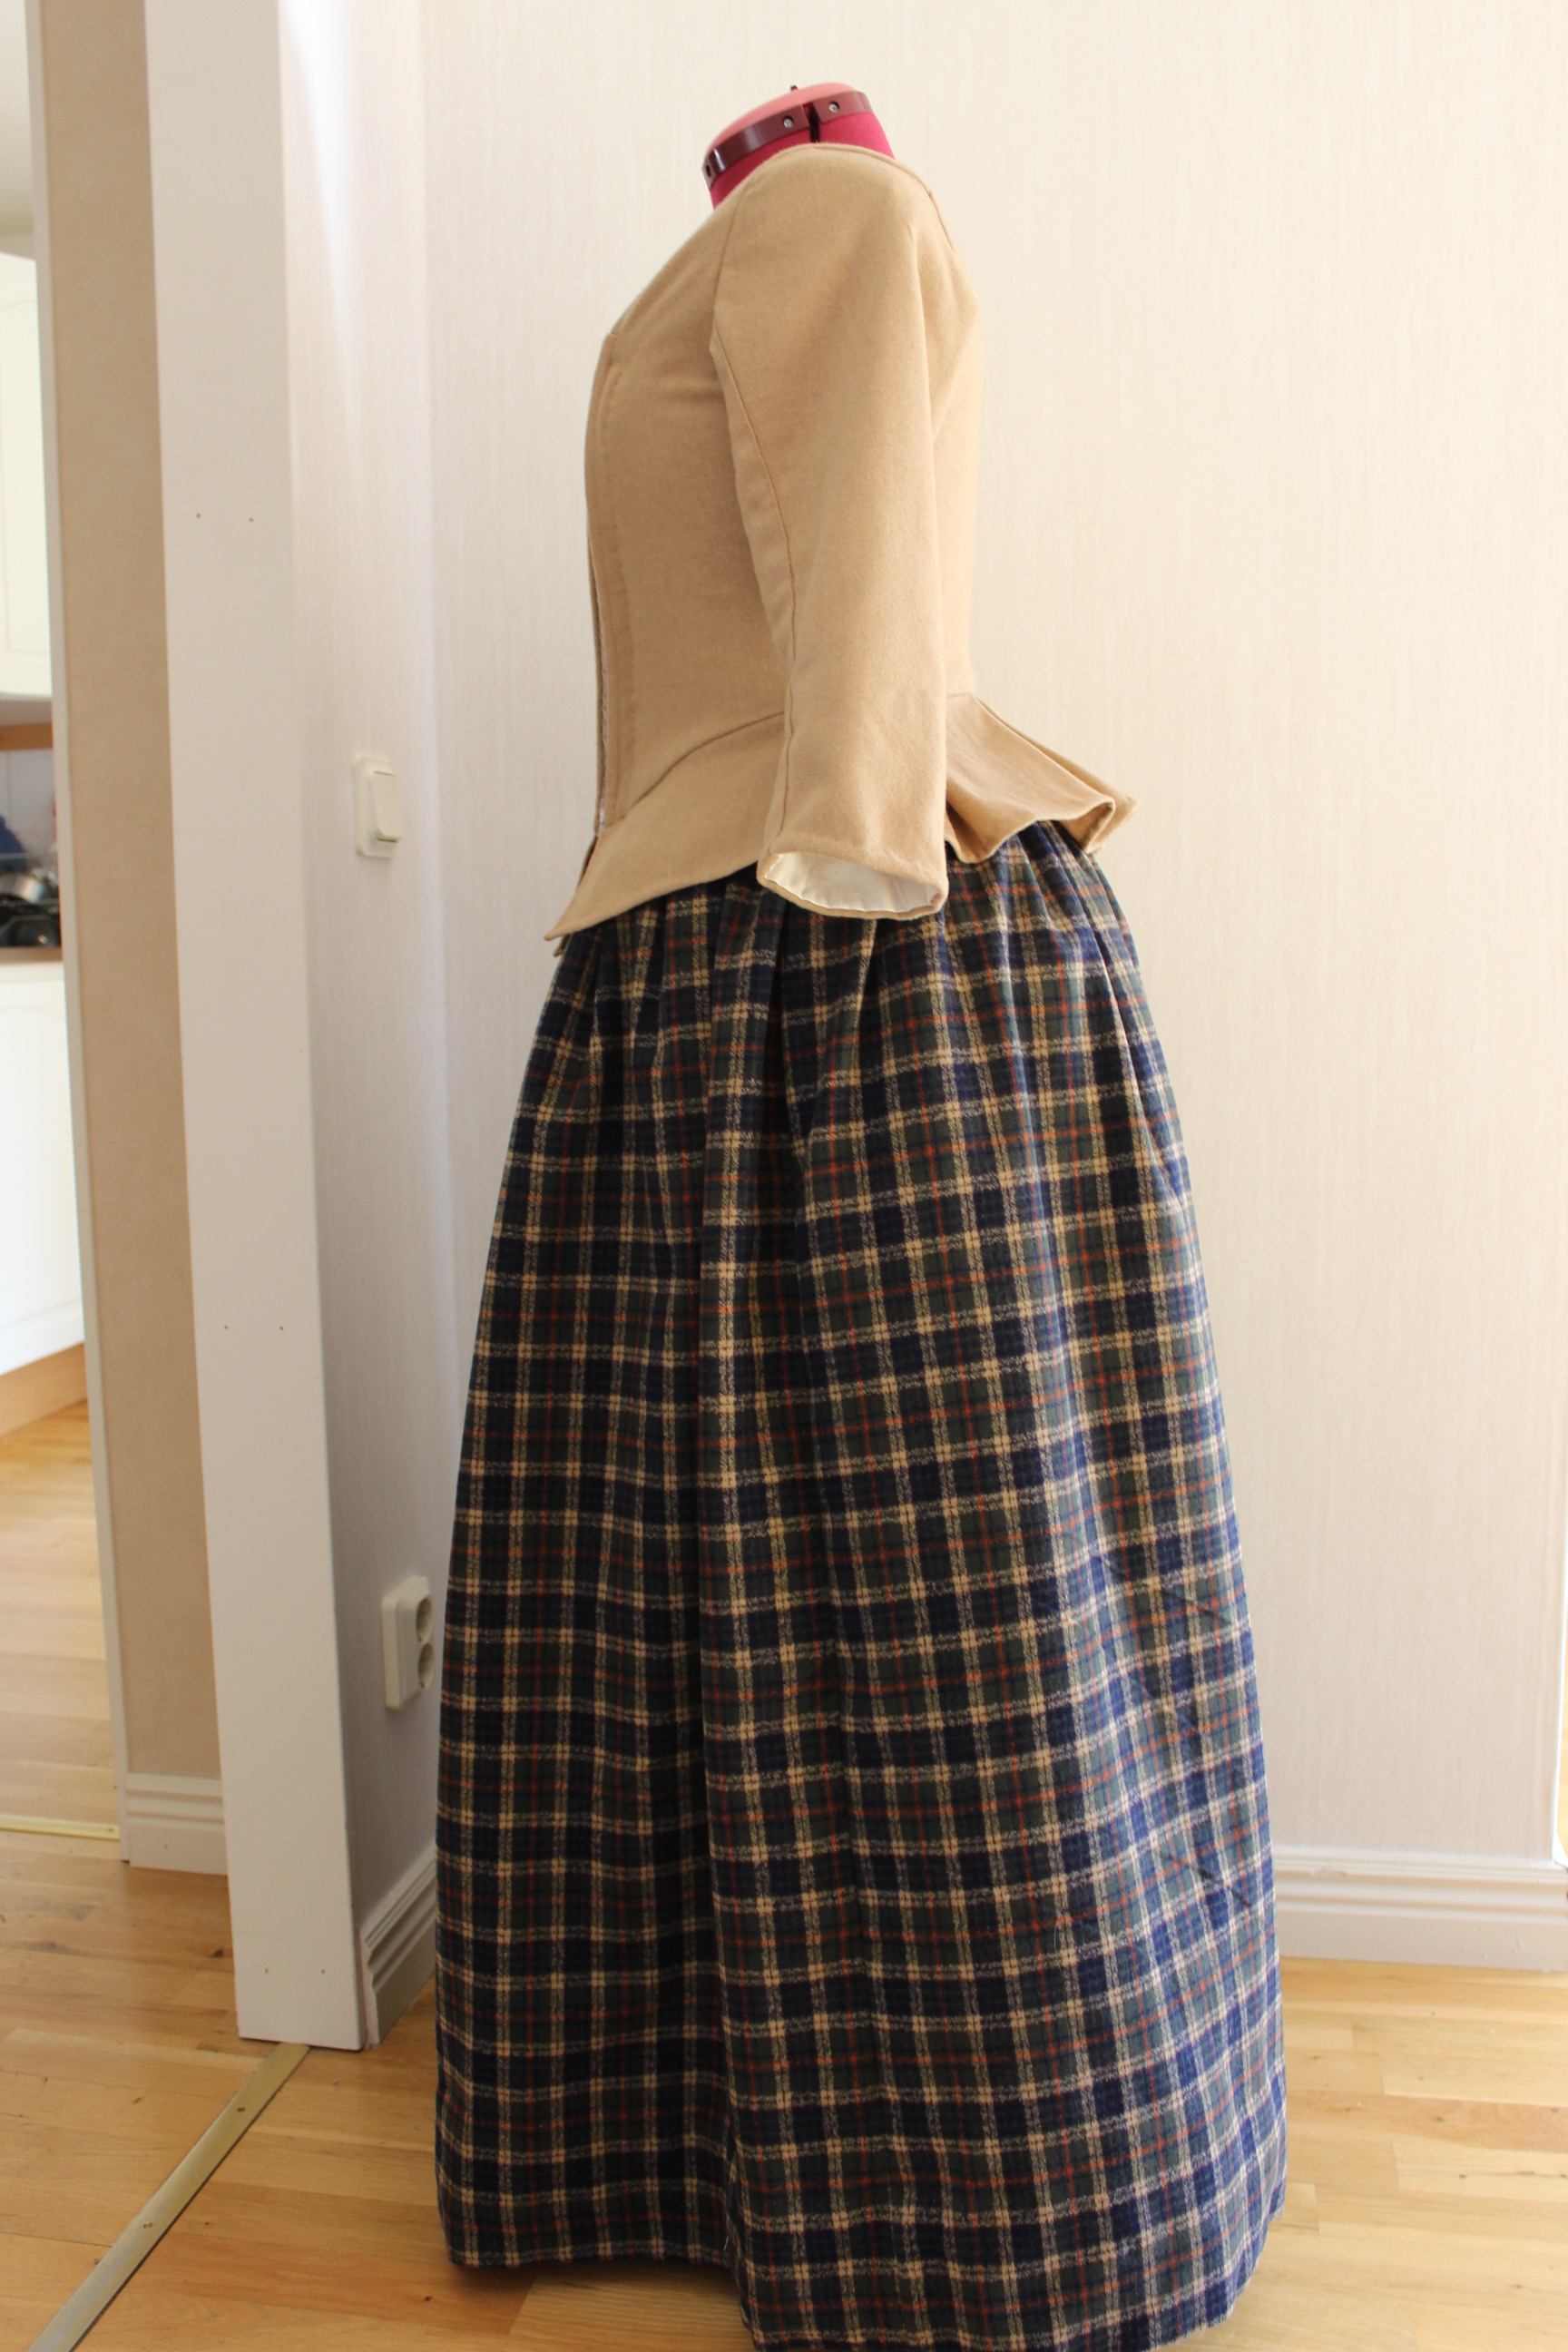
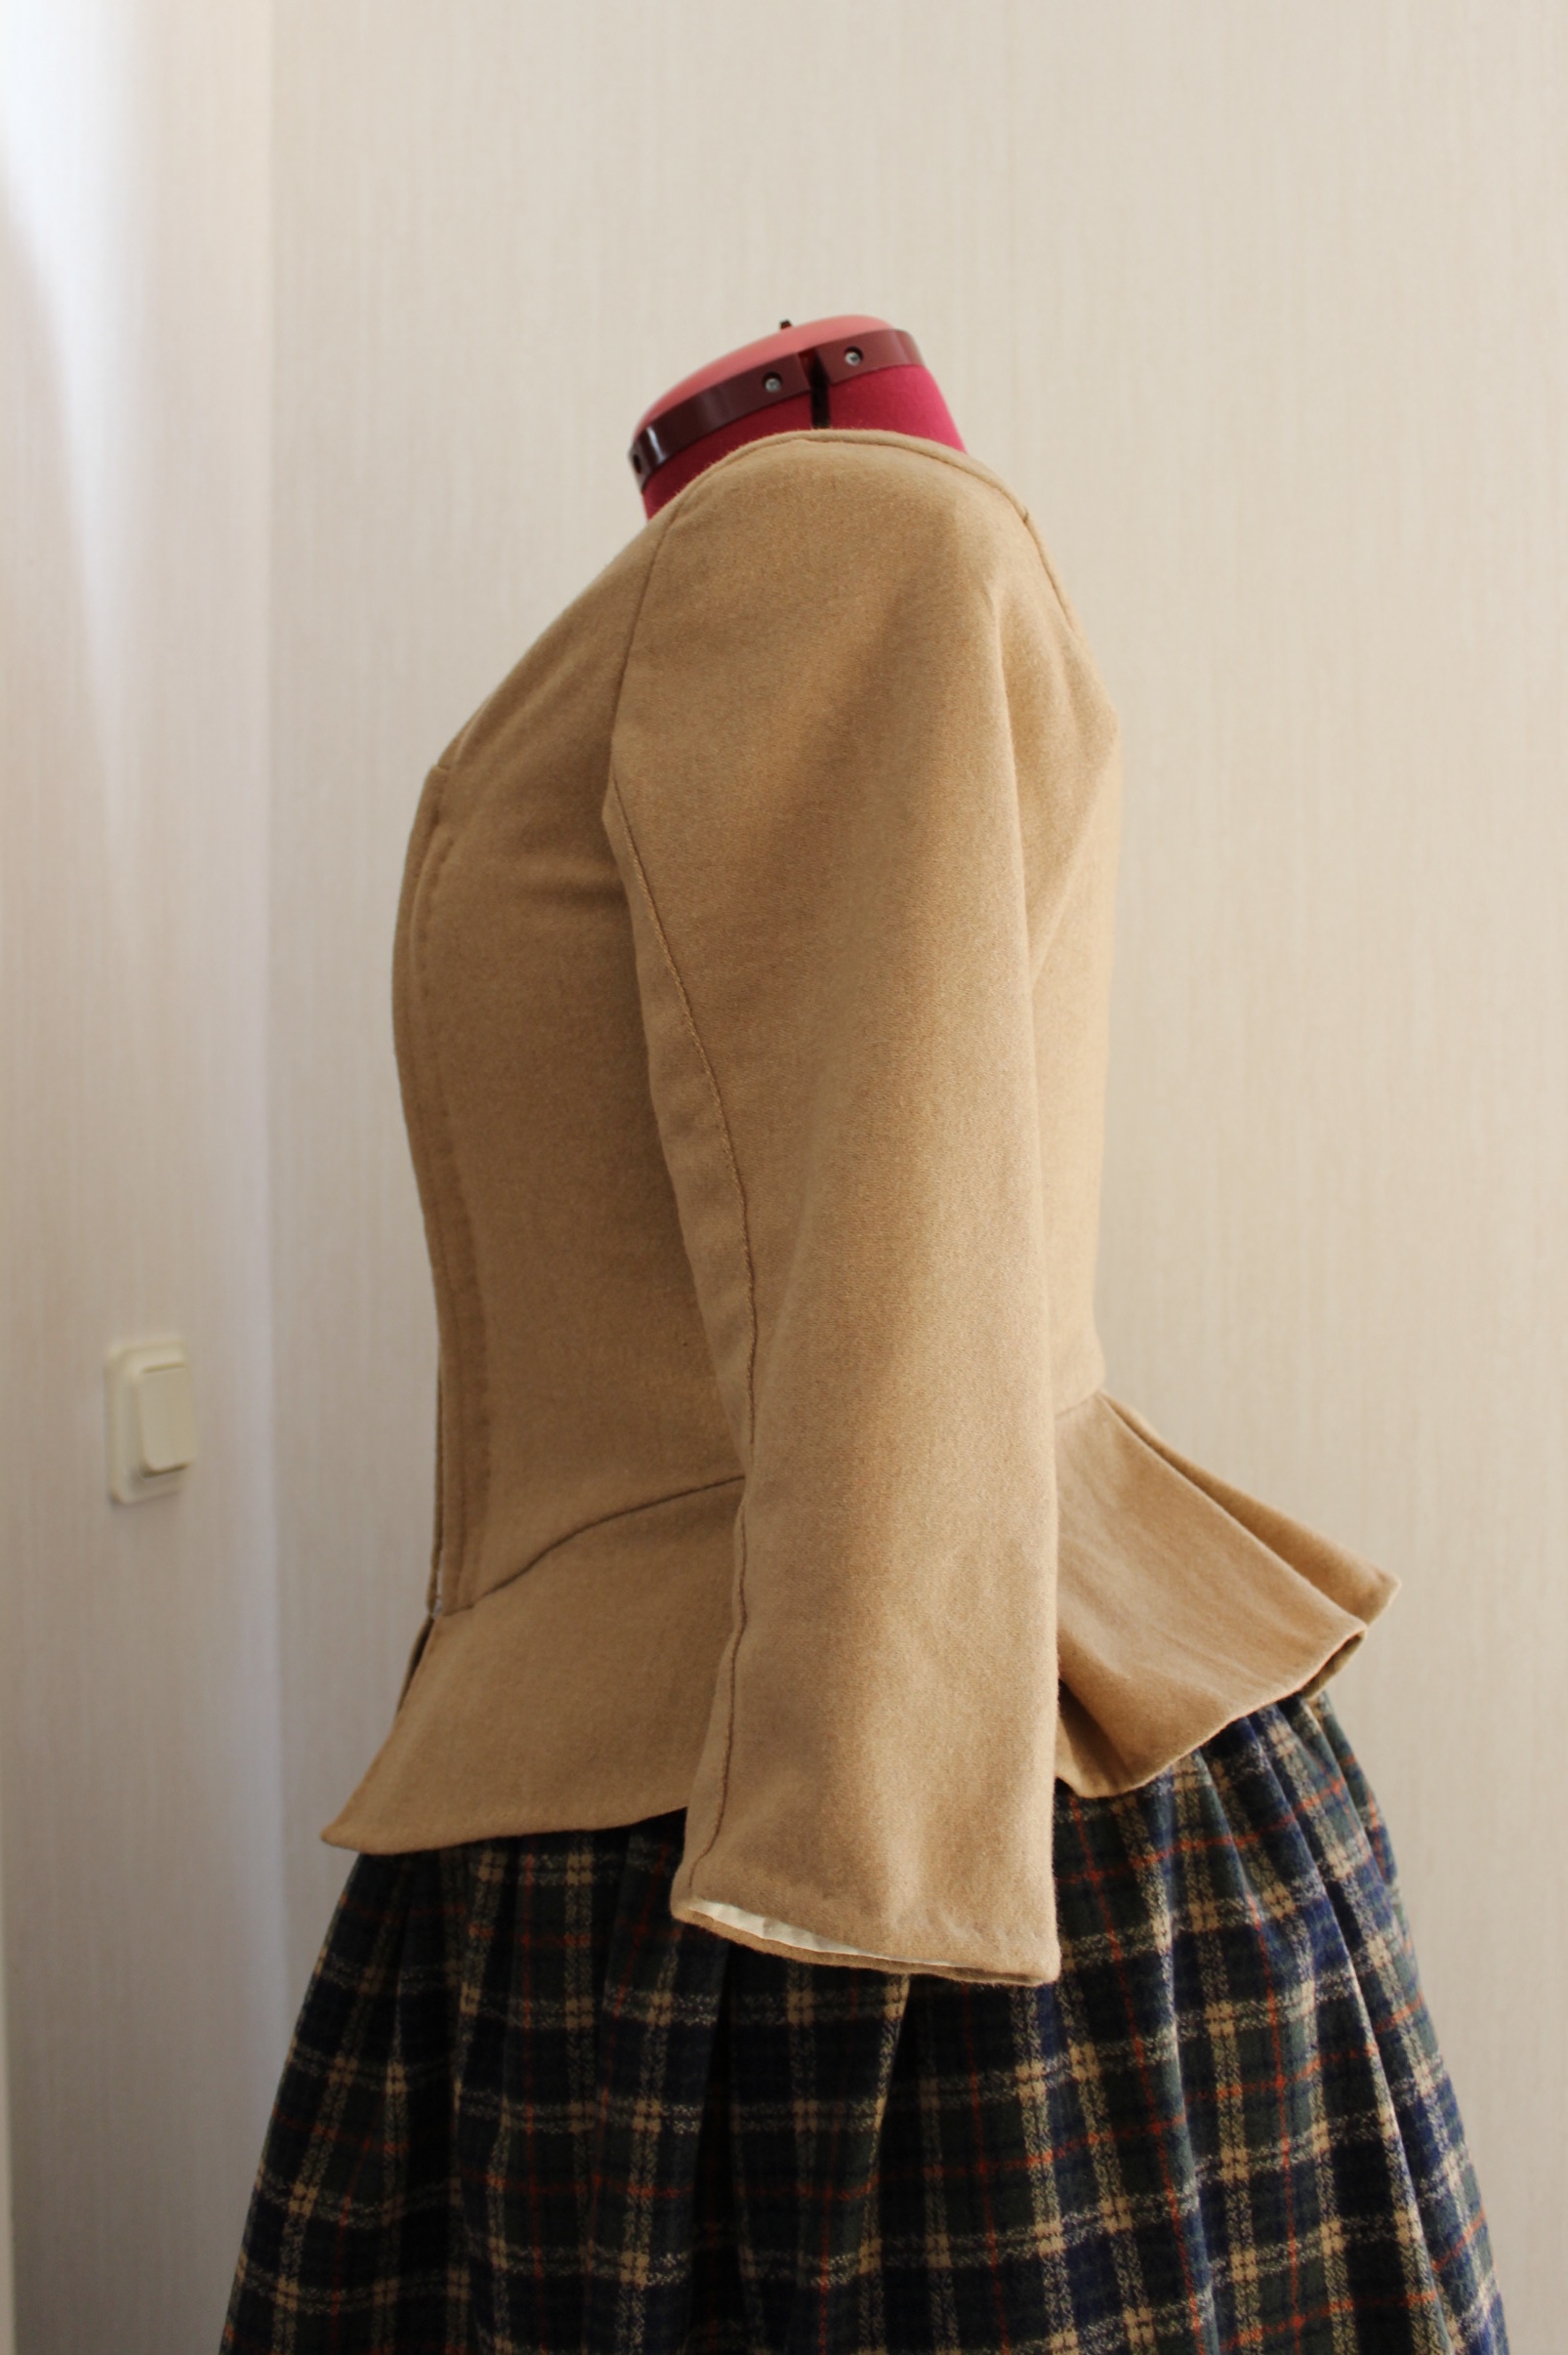
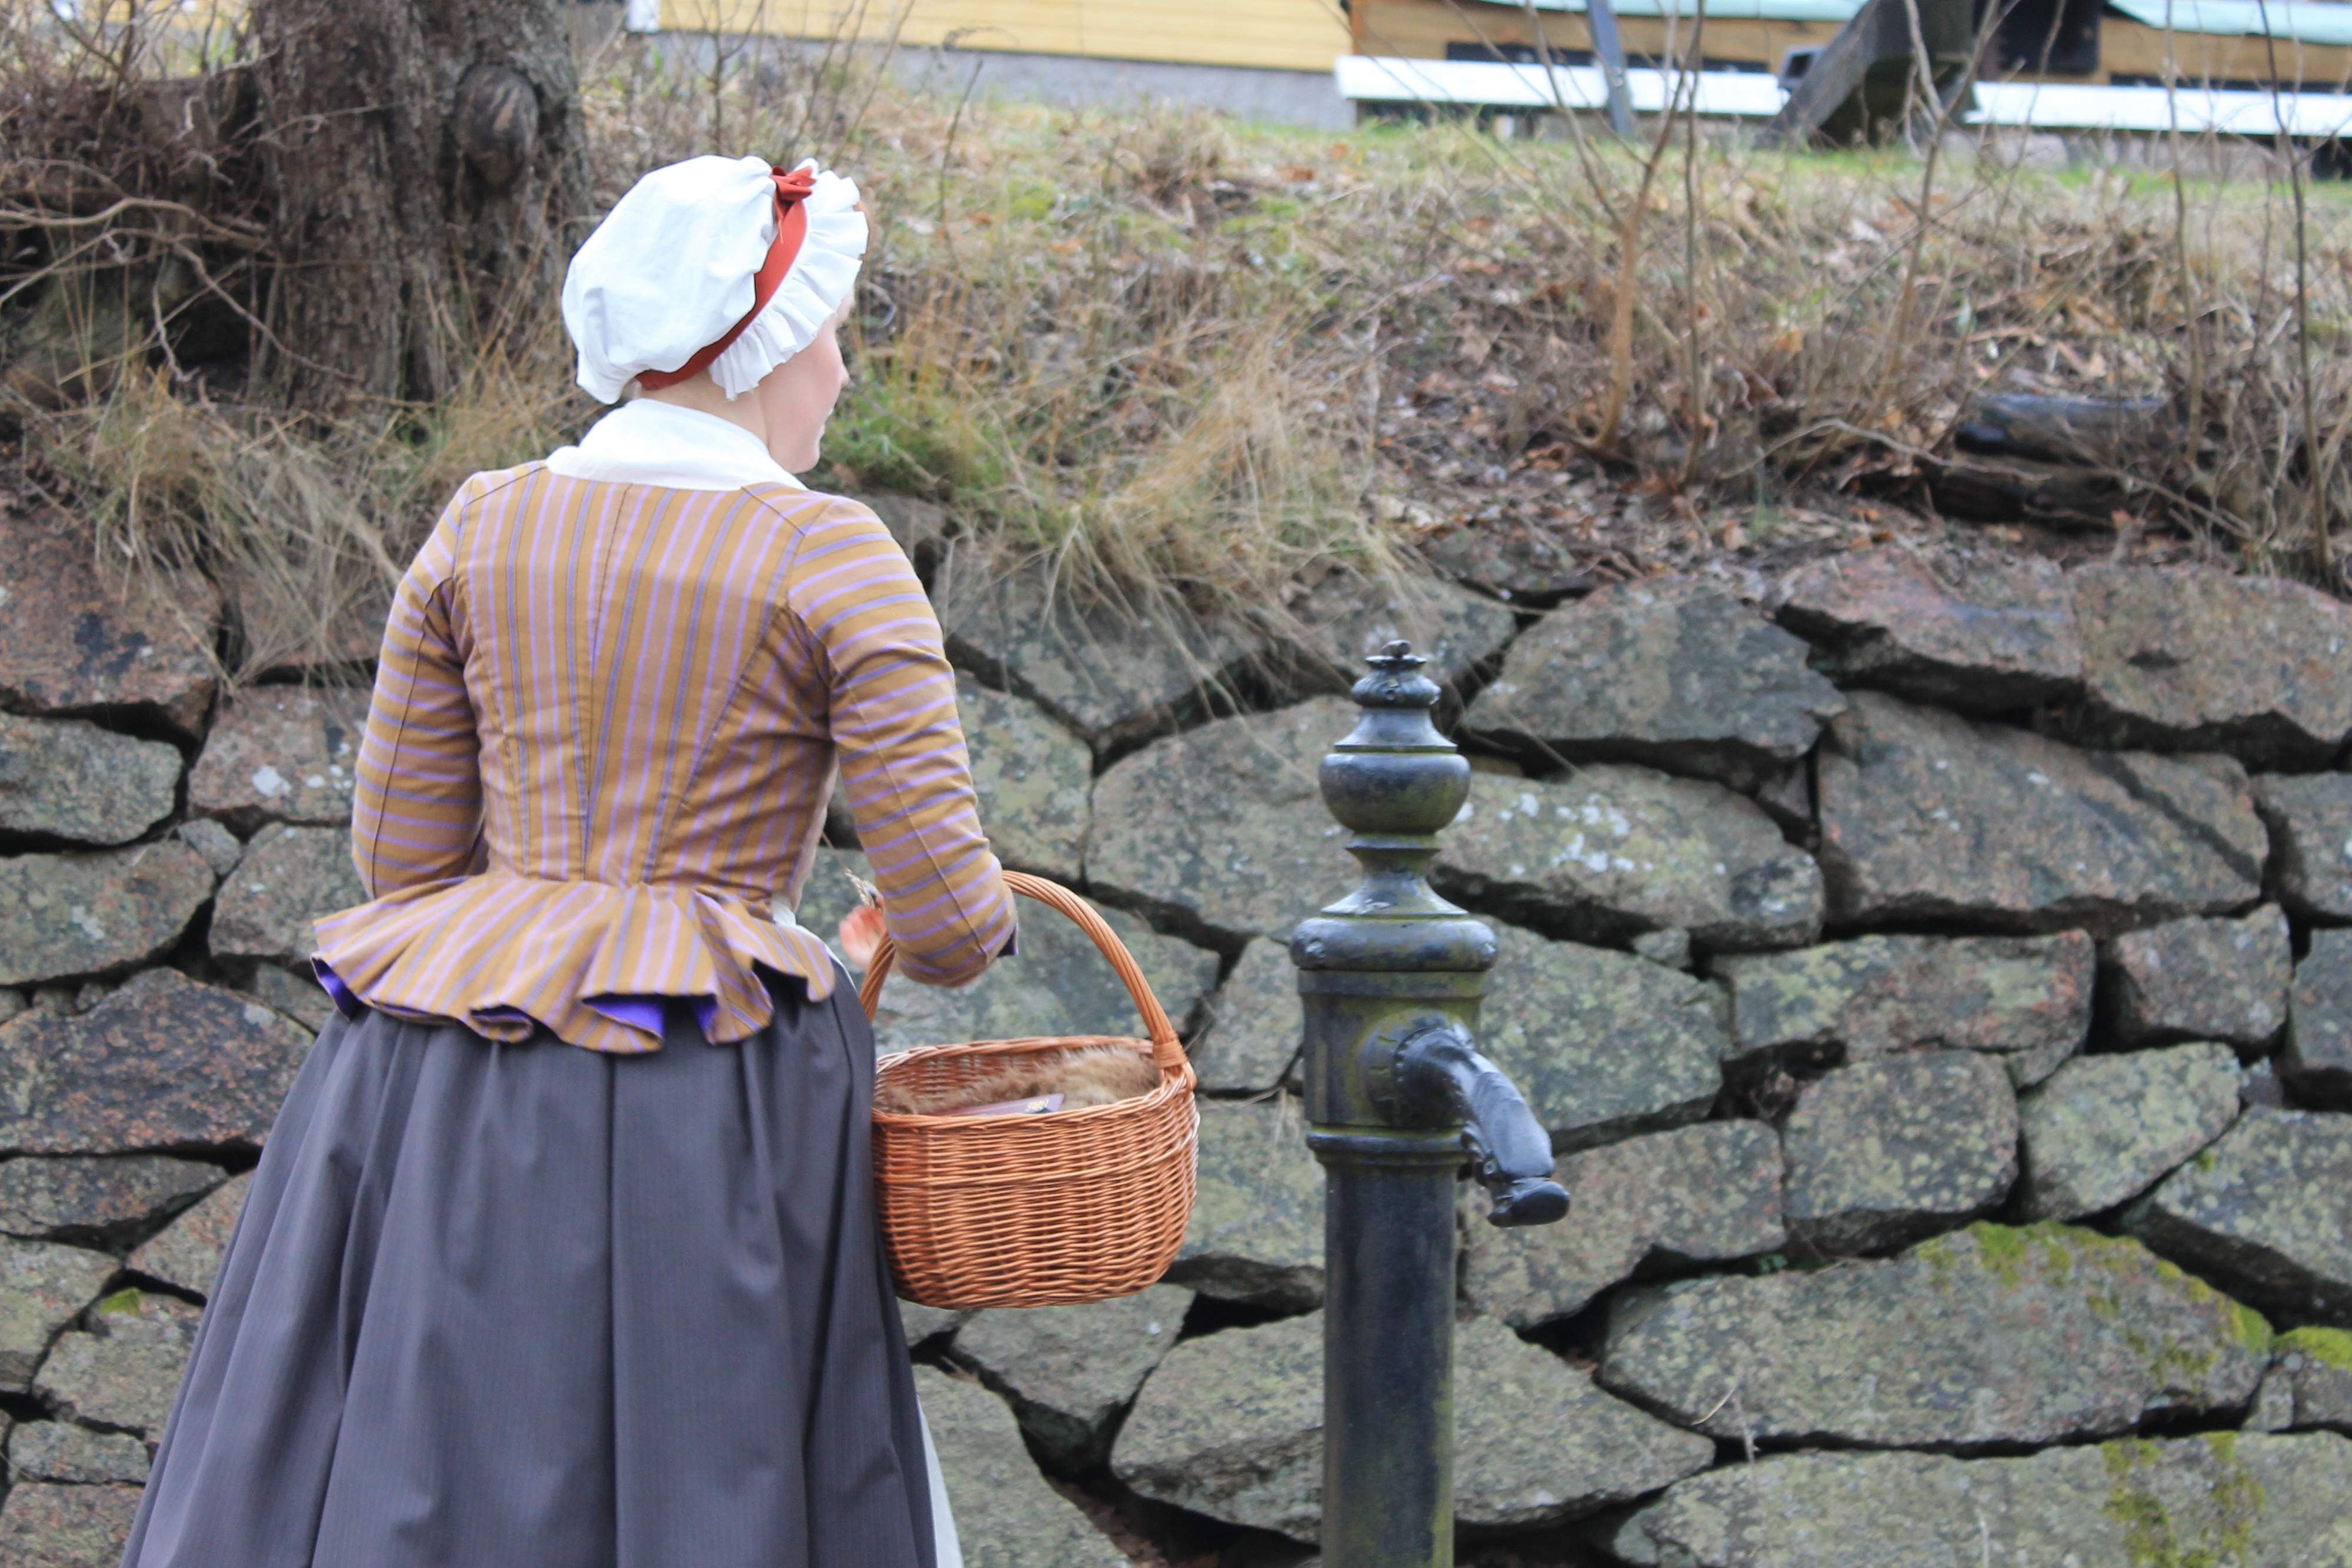
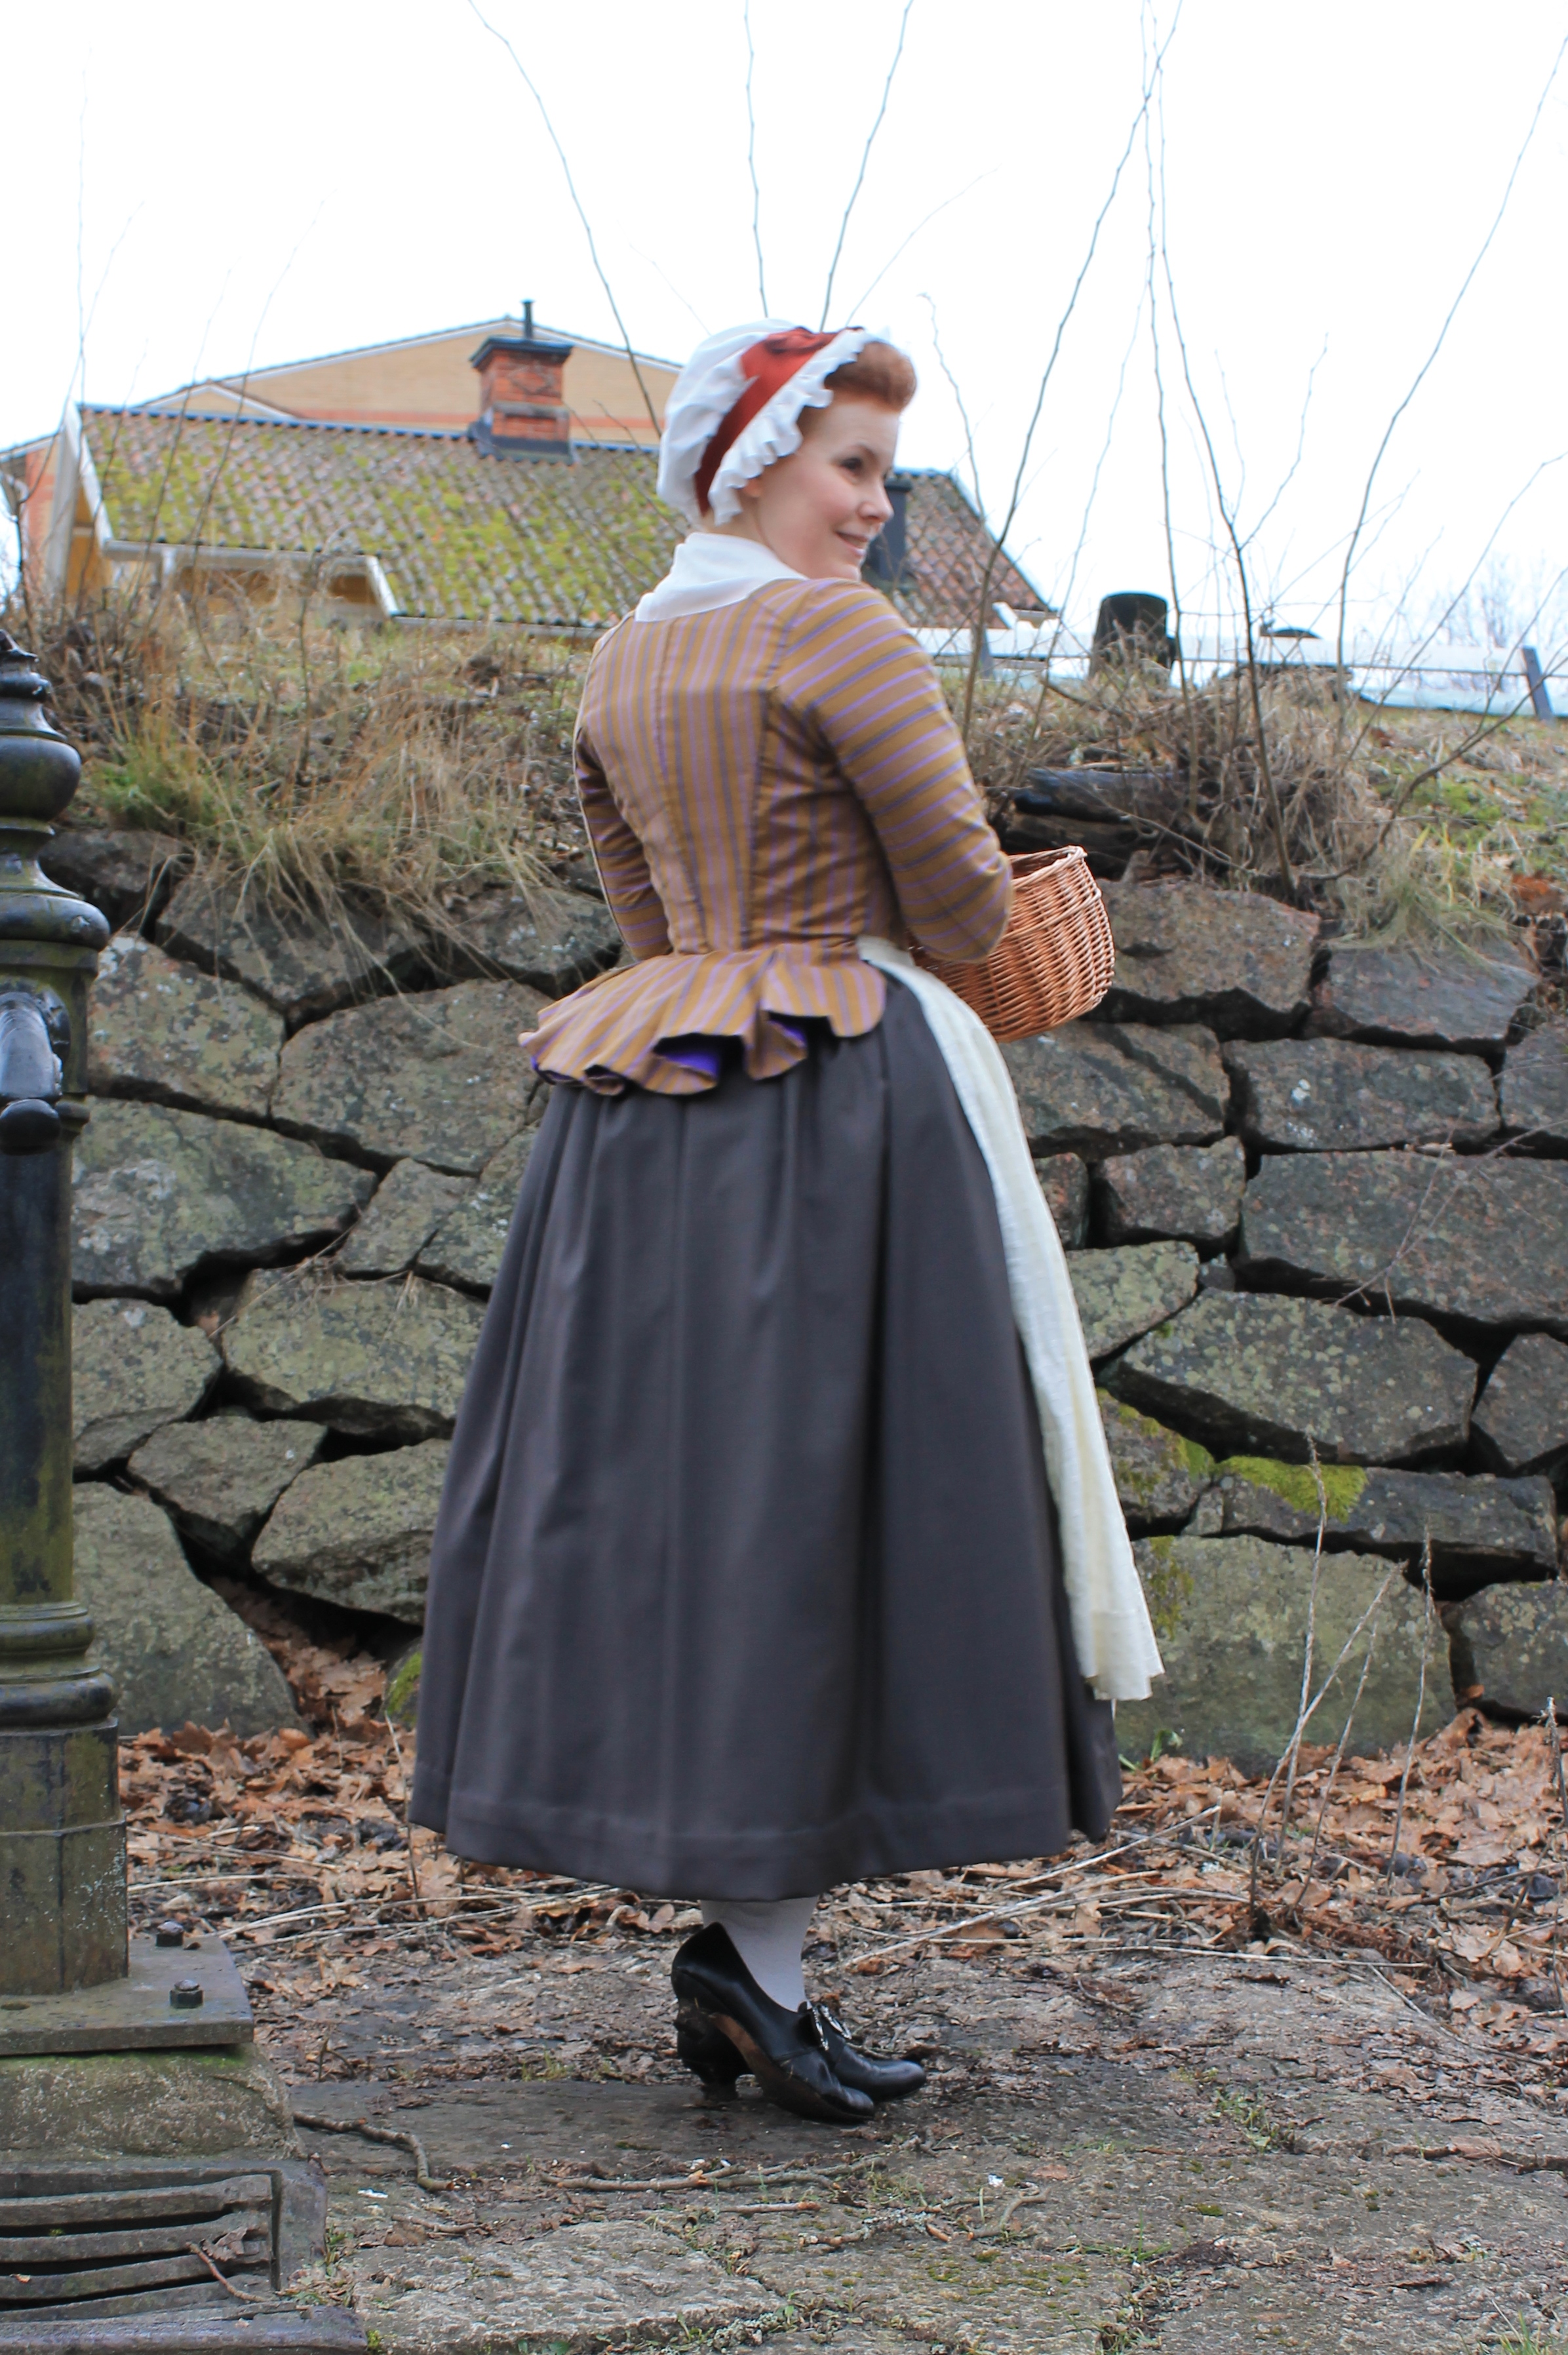
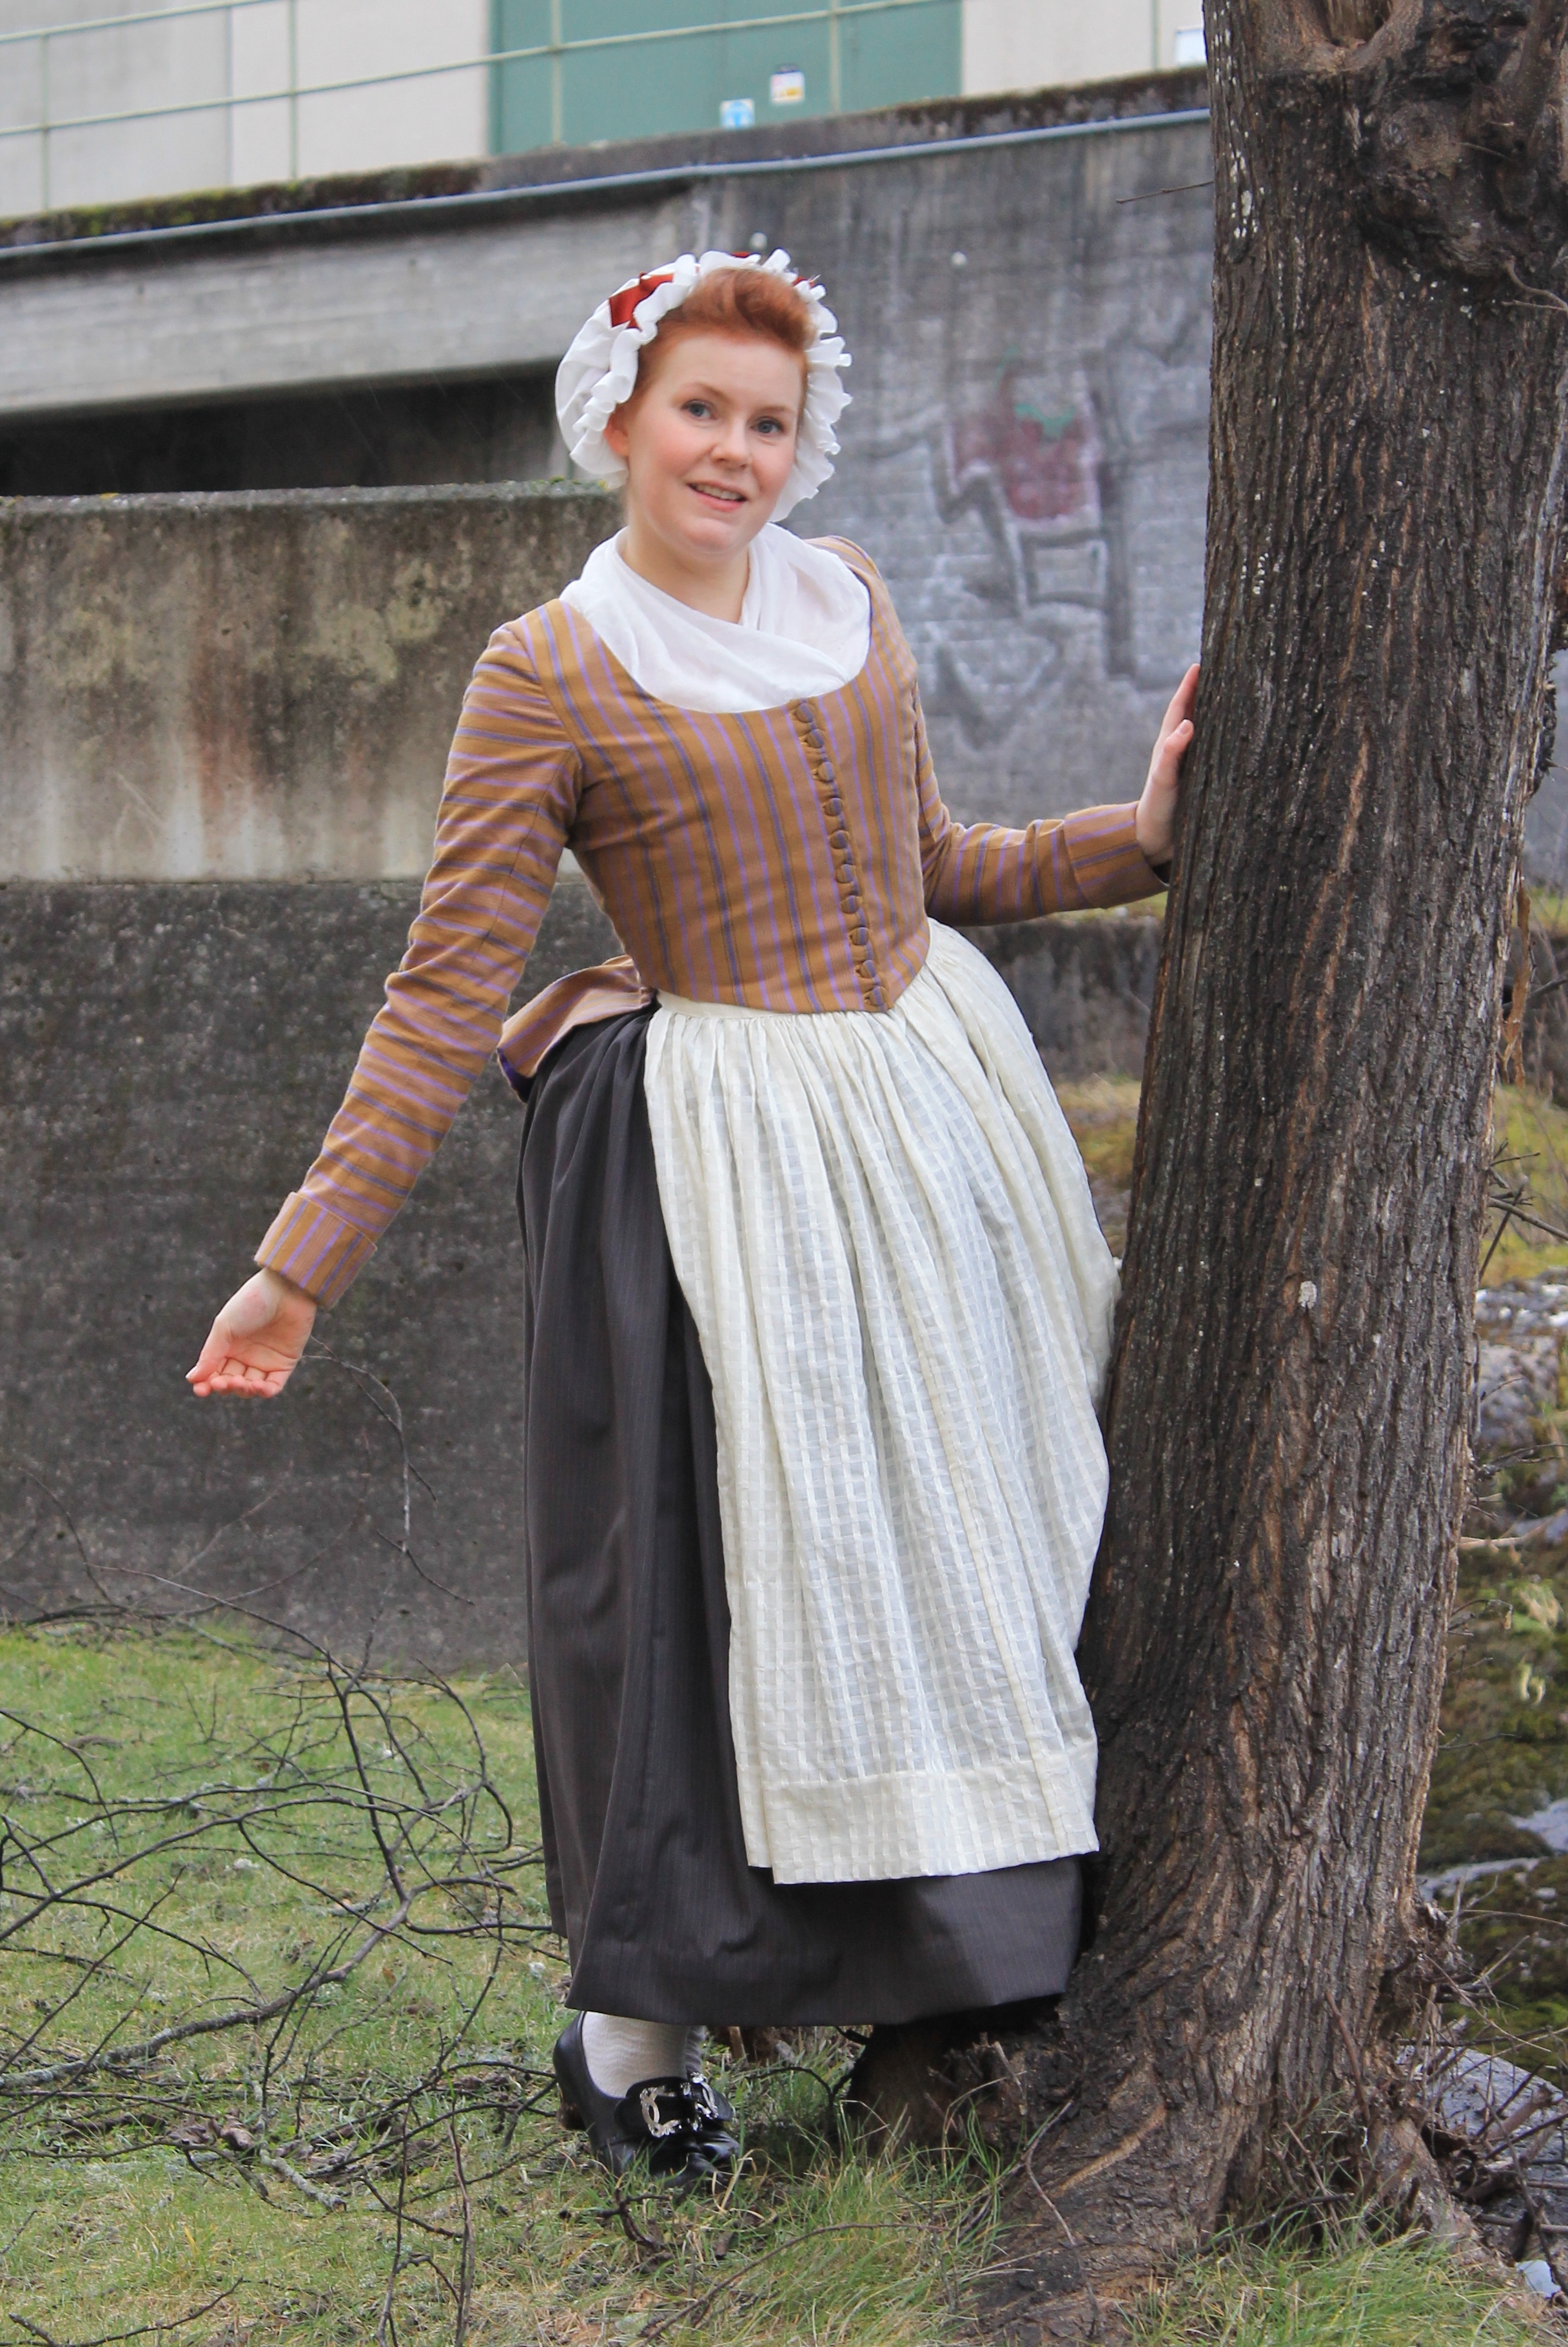
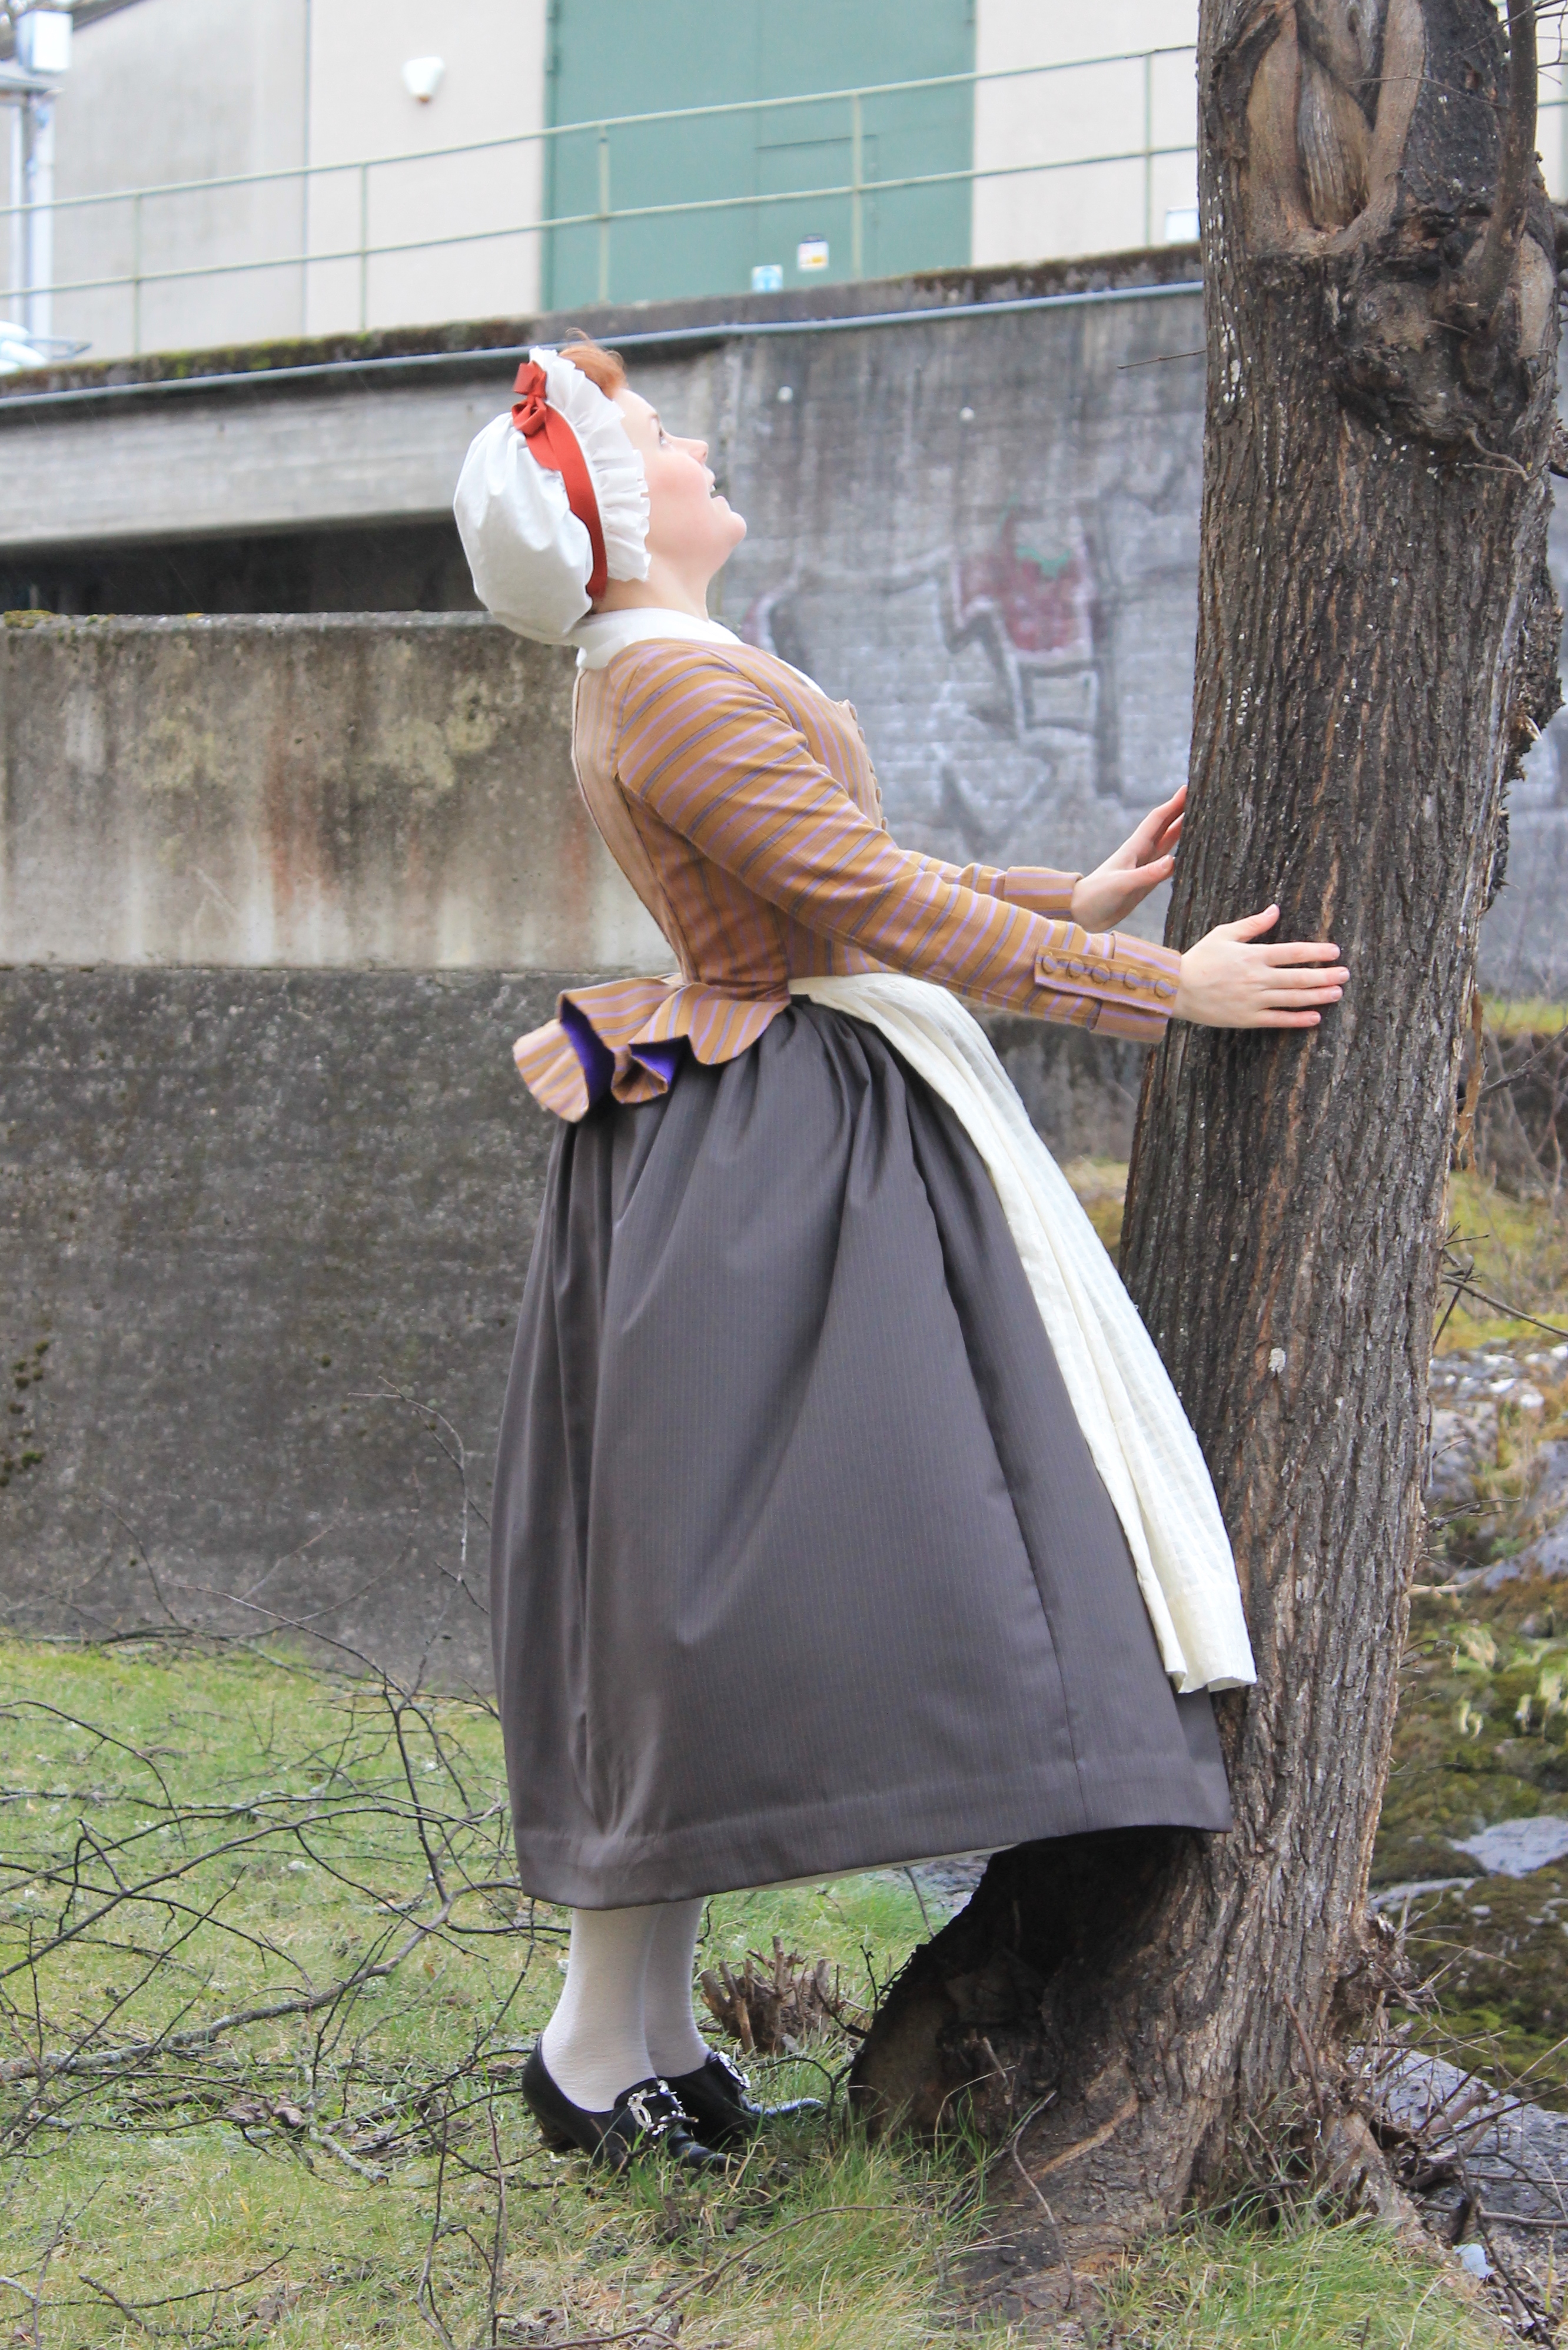
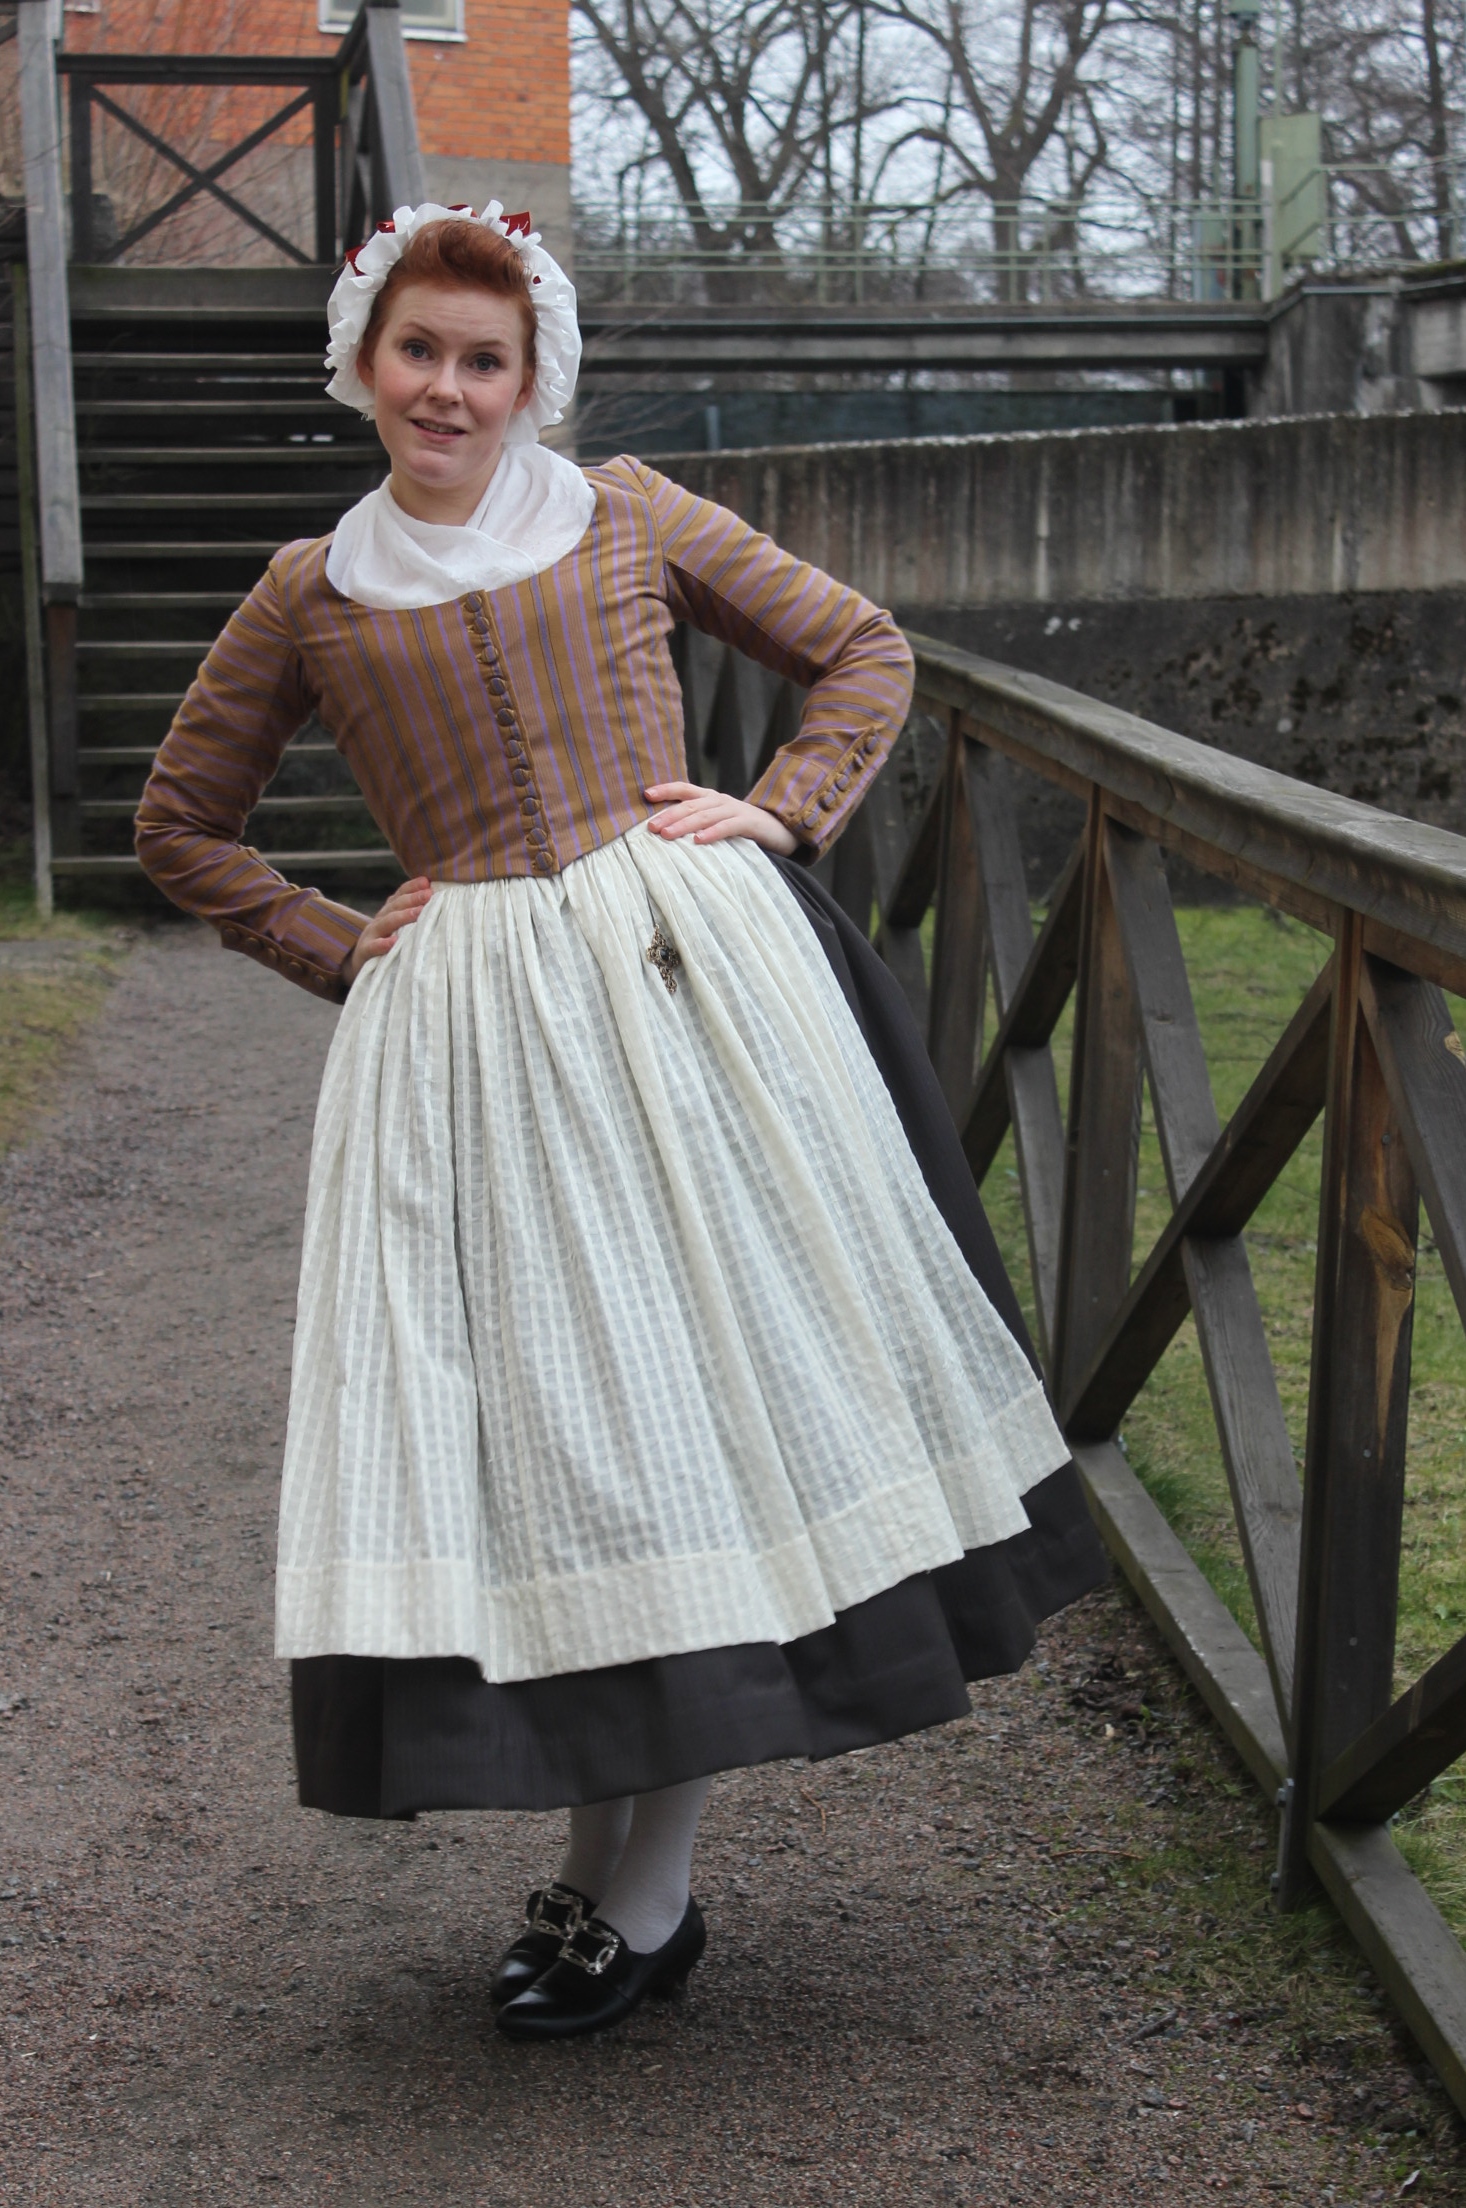
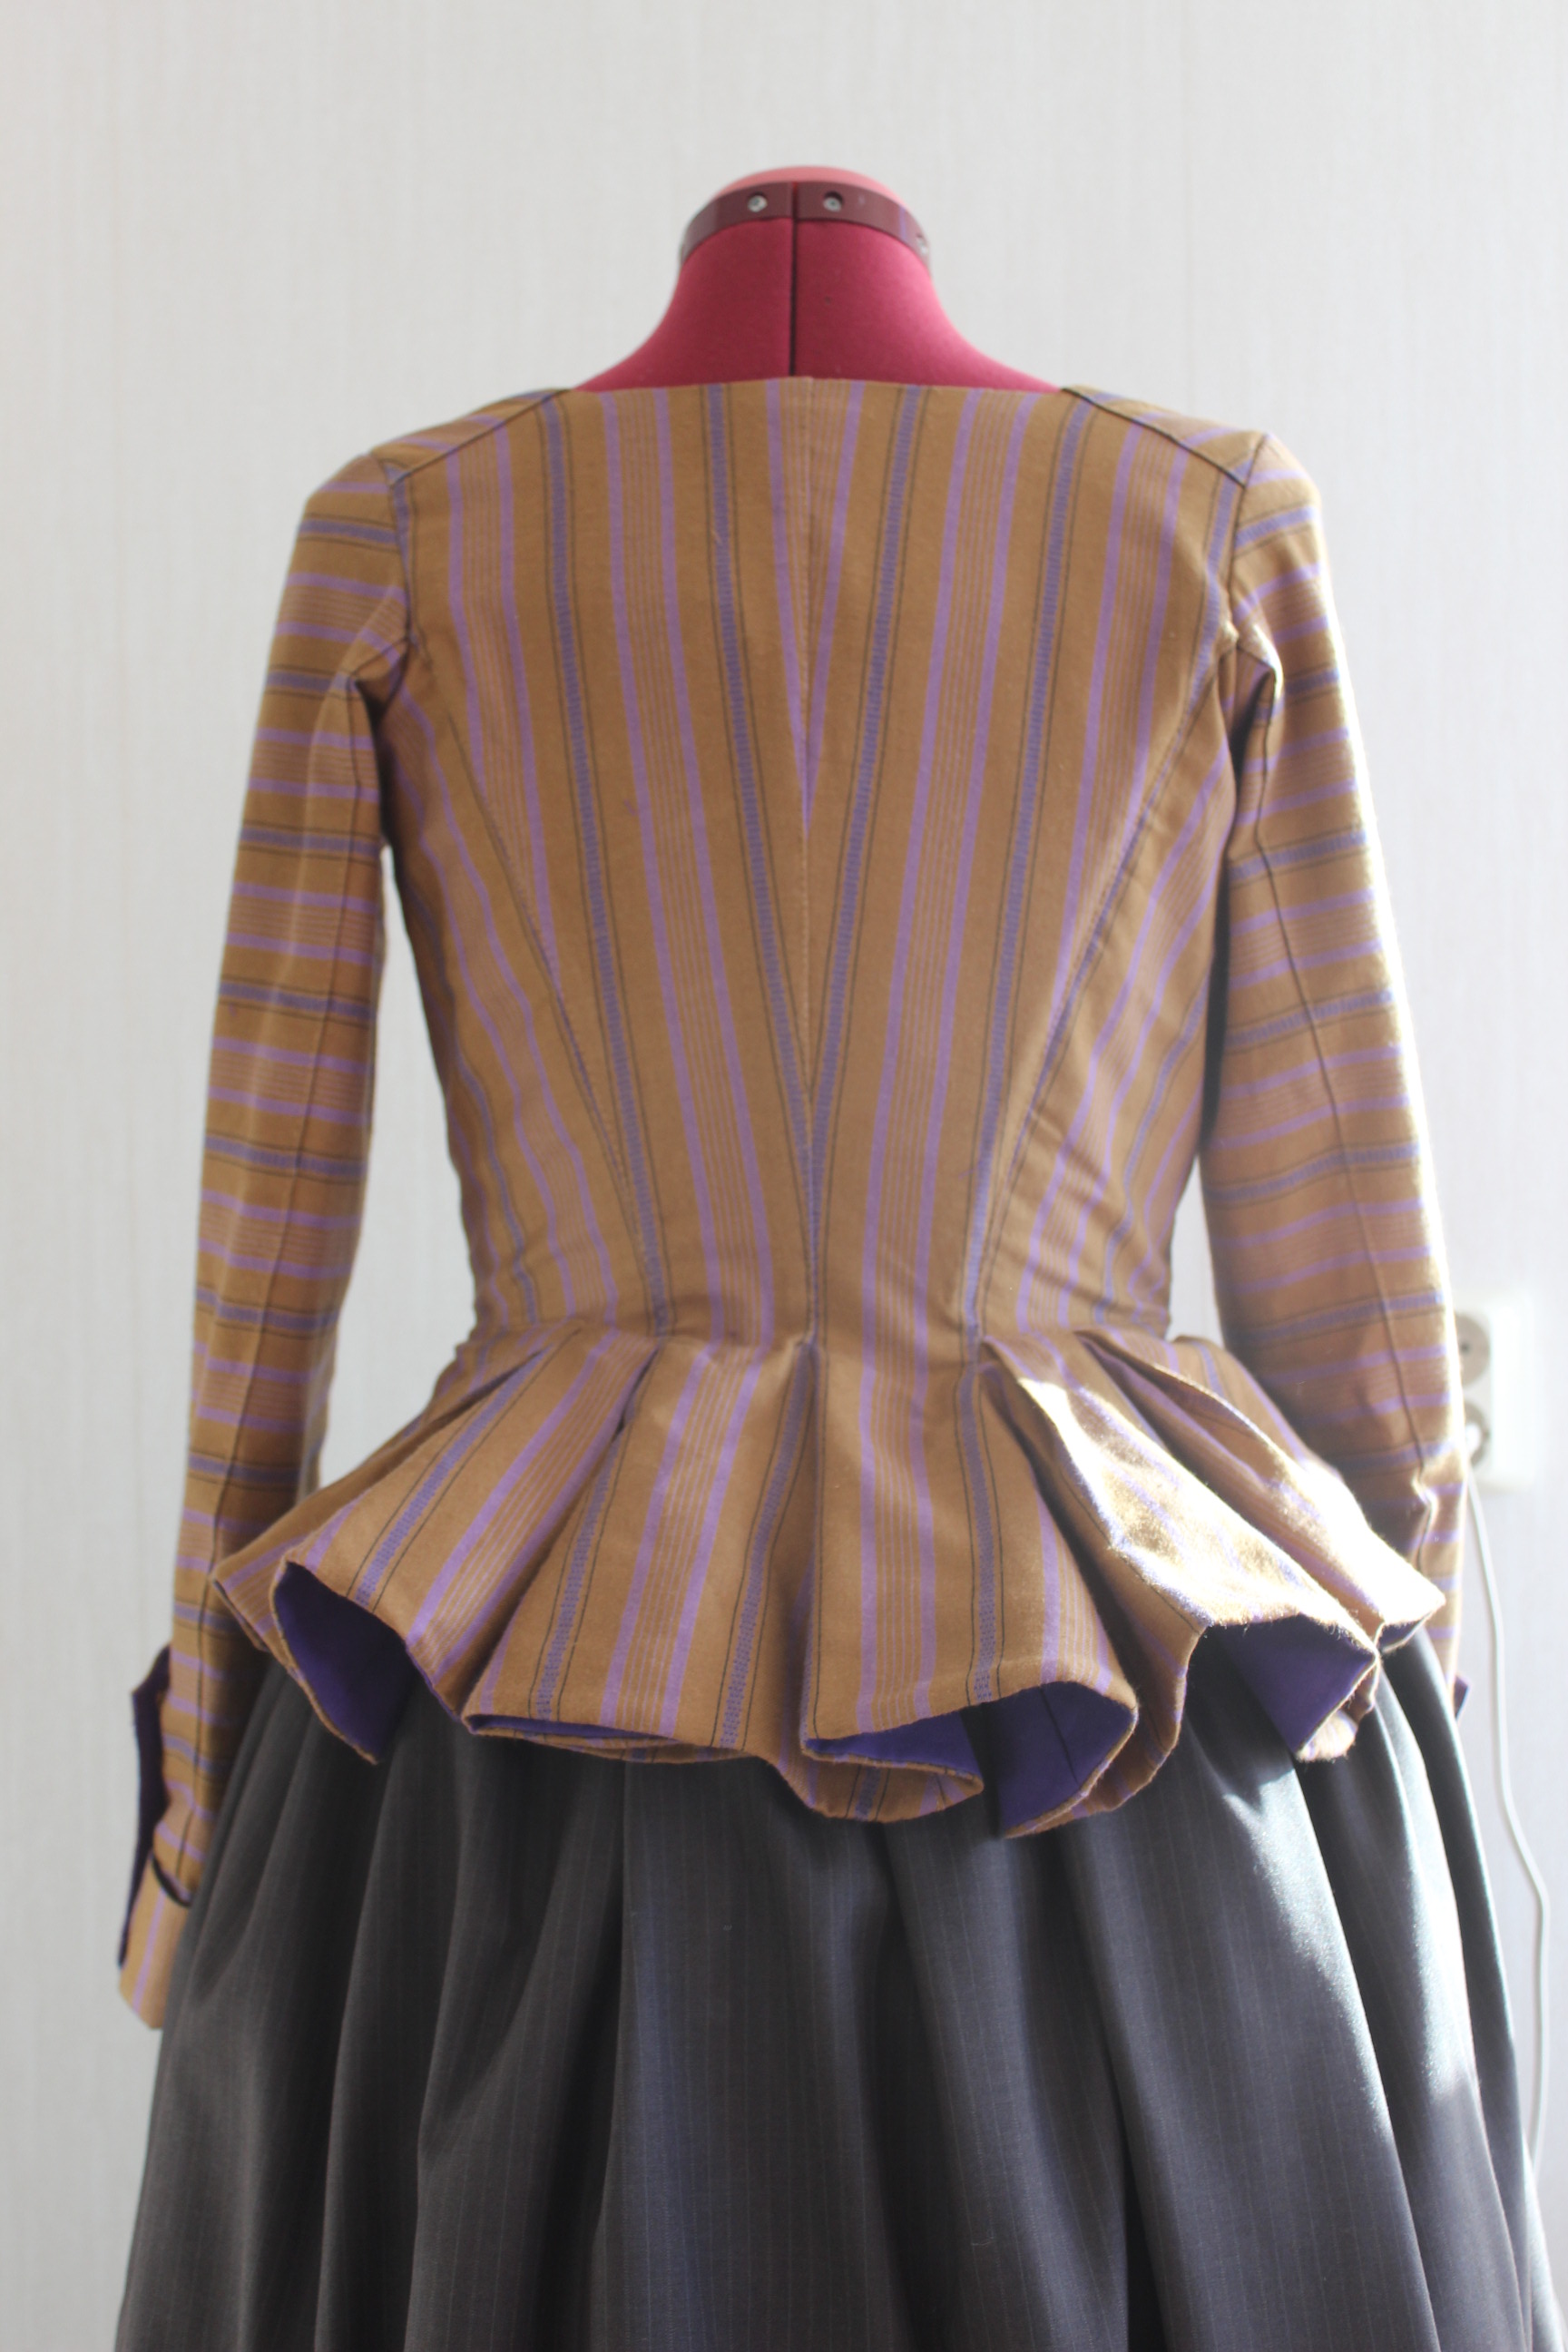
The finished dress: 

Just the facts:

Challenge: Nr 7 2017 – Fashion plate
“Make an outfit inspired by a fashion plate […]”

What: A 1860s Walking ensamble – Skirt and Zouvare Jacket)

Pattern: None – I drafted my own based on pictures and pattern drafts from the time.

Fabric & Notions: 2 beige cotton sheets (150 x 200cm/each), thread, hook and eye for skirt closure, 6 m of tapestry braid and 2 m of pom-pom trim.

How historical accurate: So so – The look and the pattern are good, but the fabric is way to thin and should have been either a thin wool or a heavier cotton. Also it’s stretching it a bit time wise by saying they used sewing-machines at this time, so thats another “wrong”. Maybe 7/10

Time: About 10 hours. more  then half of which went into hemming and trimming by hand.

Cost: About 150-200 Sek (all trim was in my stash from a notions clear-out a few years ago)

First worn: On June 10 for “The day of the Big Crinolines”.

Final thoughts: I think it turned out pretty good. My sister looked like she had fun wearing it and the whole outfit came together really well.


18th century Outlander Garb

After studying the various looks of the character Clare in the series “Outlander”, comparing them to the fabrics from my stash I decided to go for the simple laced up jacket and skirt that’s became symbolic with the series.4714dc59393b6c63c5000f447531e4c3

I started by making a skirt out of some plaid wool I found in my stash (which I’ve bought on sale about a year ago).IMG_8618

The construction is really simple, since it’s basically two widths of the fabric sewn together and gathered to a waistband.IMG_8623I used some linen scraps for he hem facing and hooks and bars to close the waistband.

The finished skirt: IMG_8646

IMG_8650

IMG_8647

IMG_8651

Then I started on the bodice.
Using the pattern from the yellow caraco jacket, only changing the front to accommodate a stomacher instead of button closer, and adding a peplum at the bottom edge.

I used some leftover beige wool for the jacket, interlining it with some linen scraps and dark green wool for the stomacher – all made to match the plaid of the skirt.20150906_105227_resized

It went together pretty fast even though I made it completely by hand.IMG_8629

IMG_8628The peplum being attached.

IMG_8630IMG_8633
Trying the jacket on my dressform.

I attached the lining made from two different pieces f left over cotton sheets. IMG_8640

Then it was time for the eyelets to be made, using a separate fabric strip attached hidden under the boned front edge.20150919_183851

The finial thing to make was to ad channels and boning to the stomacher.IMG_8685

The skirt and jacket ready to be packed for the photoshoot. 20150920_125242

The finished outfit/jacket:IMG_8657

IMG_8658

IMG_8665

IMG_8667

IMG_8660

IMG_8662

IMG_8671

IMG_8670

IMG_8672

IMG_8674

IMG_8675

IMG_8680

IMG_8678

IMG_8659

Just the facts:

What: A 18th century jacket and skirt.

Pattern: The jacket is my own draft (yellow Caraco jacket), and the skirt is just two rectangles stitched together.

Fabric & Notions: Skirt – 2,2 m plaid wool, thread and hook & bar.
The bodice: 1 m beige(left over) wool, 1,5 m white cotton for lining and interning, m cotton cord, thread, buttonhole thread, 60 cm plastic boning.

Cost: Everything came from stash but 300 sek would be a fair calculation.

Time: Pretty fast for a complete hand made costume – about 20-25 hours for the whole outfit.

Final thoughts: I really like this outfit. It’s warm and cosy and I really enjoyed wearing it for the photoshoot.

The “Outlander” outfit:IMG_8652

IMG_8655

Tavern Wench/Maid – photoshoot

Her are the photos of my recently finished Maid Costume.

I’m wearing:
The Yellow Caraco jacket (part 1 & part 2), brown short skirt,  stays, quilted petticoat, and accessories as cap, fichu, apron, bumpads, stockings, black shoes, bible and a cross necklase.
IMG_5961

German maid, evidence of patterned jacket worn with solid skirt - kopiaInspiration

IMG_4587

IMG_4597

IMG_5974“This is my favourite part… but I’m having a bit trouble living by it…”

IMG_4609

IMG_5989

IMG_6010

IMG_4627

IMG_4631

IMG_6002

IMG_6006

IMG_4680

IMG_4681

IMG_6016

IMG_4666

IMG_6047

IMG_4710

IMG_4690Photos: Elin Evaldsdottra och Maria Petersson

Stash-busting 18th century Caraco (part 2)

Here comes the finishing steps of making my yellow Caraco jacket (read Part 1).

After the assembling of the bodice, and insertion of the lining to the jacket, it was time for the clouser.
Since it is was a stash-busting challenge, I knew I needed to find some solution in my own bins. And after some searching I did. 20 small buttons.IMG_5043Trying out the layout on the pattern, 10 on the bodice front and 5 each on the sleeves.

Even though hey might have worked as they where, I decided to cover them in self fabric.IMG_5156Cutting small circles to cover the buttons, making sure the purple stripe is centered on all of them.

Then it was time to start on the buttonholes.IMG_5380Markings and buttonholes on the sleeves.

And on to the bodice front.IMG_5400Pinning the edges together to mark the button placement through the buttonholes.

Once the clouser was done, I thought it looked pretty shabby, puckering and not laying flat at all.IMG_5404

Thankfully the problem was adverted once I realized I hadn’t pressed the buttonholes properly.
And once I did they looked so much better.

IMG_5407Hard to tell from this picture, but the difference are really obvious in real life.
Lesson learnt – don’t cheat on the pressing!

Then it was time to attach the sleeves.
I stitched them from the inside and covered the raw edges with a bias tape (also left-over scraps) IMG_5497

Then I finished the jacket by inserting a few plastic bones in the front and back seams, giving it a good press and putting it on the dressform for pictures. IMG_5496The purple lining makes me so happy.

Finished:IMG_5455

IMG_5481

IMG_5460

IMG_5458

IMG_5461

IMG_5486

IMG_5464

IMG_5462

IMG_5465

IMG_5466

IMG_5475

IMG_5468

IMG_5474

IMG_5478

Just the facts:

Challenge: nr 3/2015 Stash-busting

What: A 1780-1790s working class jacket

Pattern: A combination of the “Kofta KM 25.429 (jacket) pattern from “Skräddaren, sömmerskna och modet” (“the Tailor, the Seamstress and the Fashion”) and Nehelenia patterns nr E21 1790s Redingote.

Fabric: 1,5m of yellow/lilac striped cotton, 2 m of purple cotton for lining and interlining.

Notions: Thread (purple and yellow), yellow buttonhole thread, 4 cable ties for boning and 10 buttons.

How historical accurate: As much as I could, and to the best of my abilities. The fabric and colors are plausible, the patterns and construction are accurate and came from good sources. I hand stitched the whole garment using period techniques. The only thing I can think of that not right are the use of plastic boning and polyester thread for the buttonholes. I give it 8/10.

Cost: 10 Sek (1,6 Usd) since almost everything came from stash and was leftovers from previous projects. The only thing I bought was the yellow buttonhole thread.
But if you would buy it all anew I’d say about 250 Sek (36 Usd).

Time: It went pretty fast considering it is all hand sewn. About 10-15 hours I think.

First Worn: on February 28 for photos. I started the jacket with the intention of wearing it to a 18th century Tavern Event in beginning of February. But as it happened I newer went. Hopefully I will get another chance later this spring.

Motivation/ How It fit into the Challenge: Even though it did not use up a lot of fabric, I think the jacket serves the challenge both in using leftover stash fabrics and notions, and in helping me re-discover all the little pieces of left over fabrics I already own.
I also think the garment itself is suitable as the women who wore such jackets would not be splurging on new fabrics.

Final Thoughts: I really loved making this jacket. It was such a joy how fast and easy it came together, and I think it looks adorable. I want to make lots more of these jackets.

IMG_5489Accessorized and ready for more pictures.

Stash-busting 18th century Caraco (part 1)

I found this fashion plate on Pinerest in early January an knew immediately I wanted to make something similar for an 18th century Tavern event I planed to attending in early February (unfortunately life happened and I ended up not going, but at least now I have a costume if the opportunity arises again).

German maid, evidence of patterned jacket worn with solid skirt - kopiaI made the skirt and shortened my apron to match.

Then it was on to the jacket.

In the book “Skräddaren sömmerskan och modet” by Rasmussen, I found the description and pattern for this jacket called a “Kofta” which translates to “a kind of soft jacket”. IMG_5036With it’s short front, tails/peplum at the back and long sleeves, it was perfect!

For pattern I used the “Kofta”-pattern combined with my new favorite 18th century pattern, the “1790s Redingote” from Nehelenia Patterns.IMG_5030

I made a franken-pattern, using parts of this and parts of that to get the shape as I wanted. IMG_5039

Then I cut and made a mock-up.
IMG_5063 IMG_5069
IMG_5061The fit was surprisingly good, and all I needed to do was to lower the neckline a bit (I made the decision to make a wide neckline instead of the high one from the fashion plate), and trim the peplum a bit.

Then it was on to the fabric.
Keeping in with my New years resolution, I decided to go through the stash before heading to the store.
That turned out to be a really good thing, since I found exactly what I needed – A soft yellow cotton with purple stripes in a odd (left over) length, that would be on exactly enough for his project. And a purple cotton lawn I previously used for mock-ups, which would be great for lining and interlining. IMG_5044Then I realized that this project would fit perfectly into the HSM/15 nr 3 – Stashbusting, and did a little happy dance (to my hubby’s surprise).

I cut the pieces one layer at the time, to make sure to line all the stripes perfectly. IMG_5079Laying the first layer up side down on the second layer makes it possible to perfectly match everything.IMG_5082

I basted the whole garment together for a first try on.
IMG_5142 IMG_5134
Some minor alterations like shortening the sleeves and lower the neckline a bit more was all that needed to be made.

I stitched the pieces together using period techniques (stitching from the outside),IMG_5148 making sure to line the stripes properly.

IMG_5150From the inside you can see the purple interning and boning channels sewn into the seam allowance.

IMG_5147
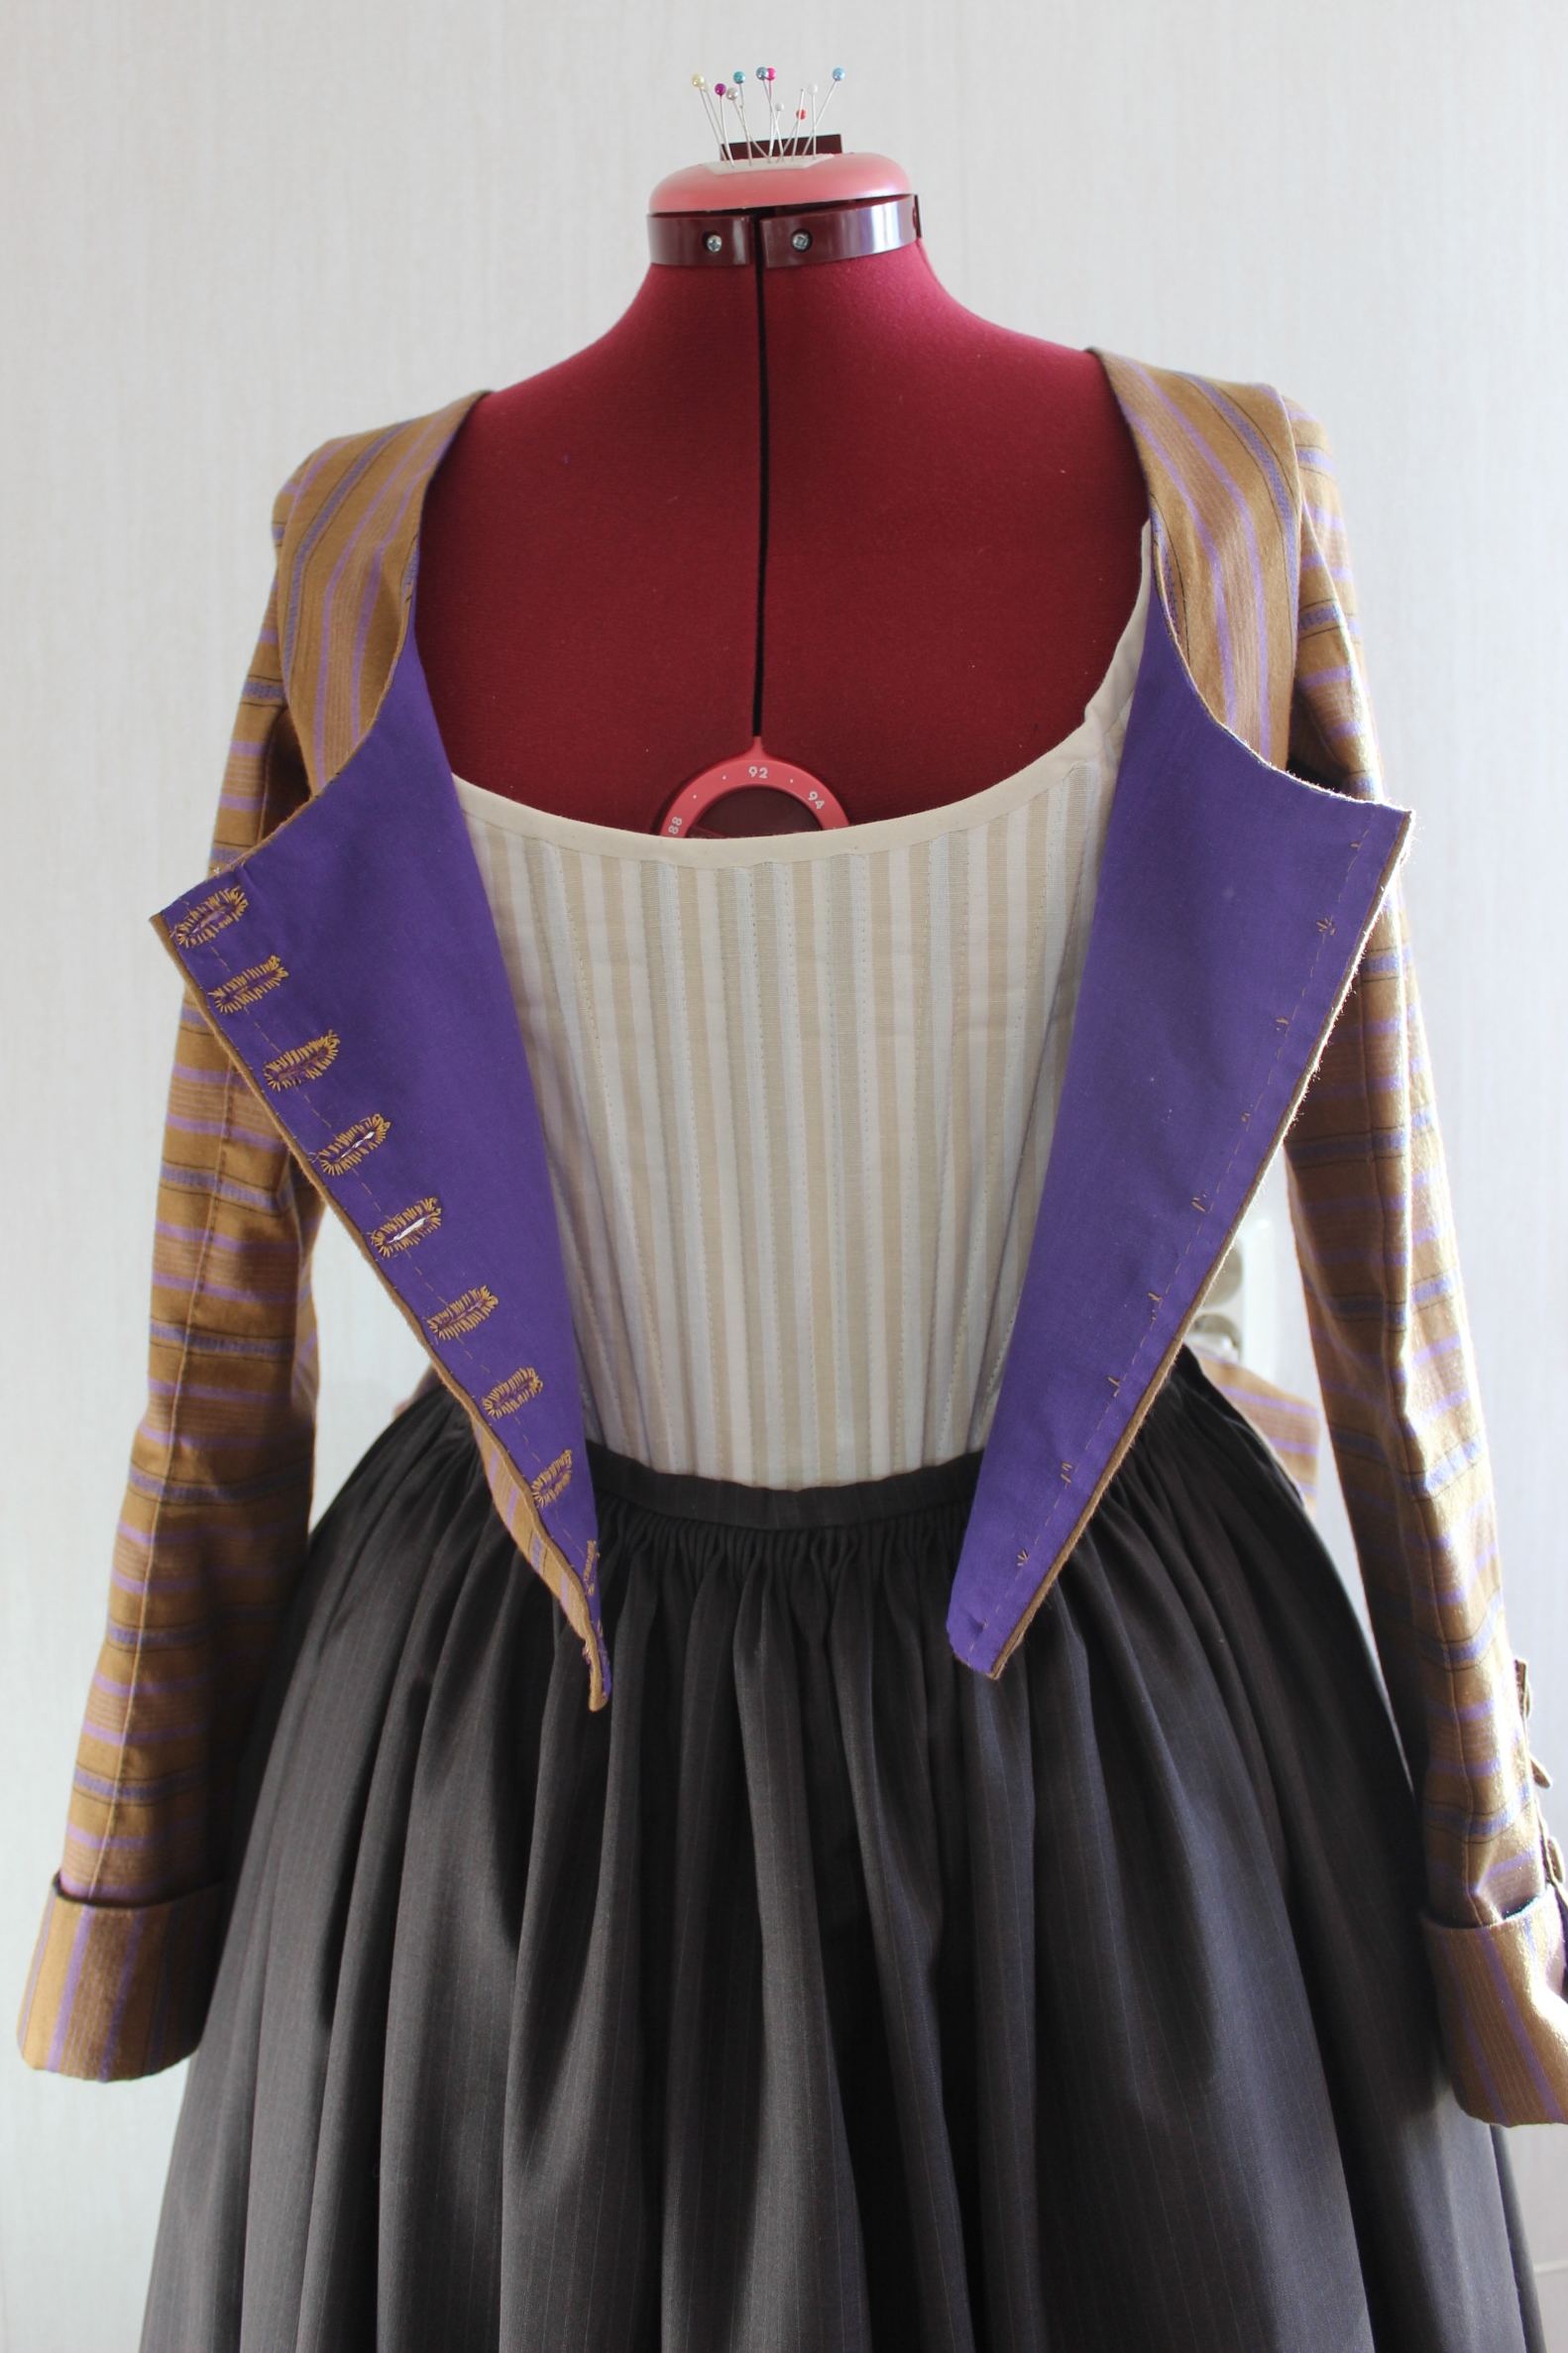
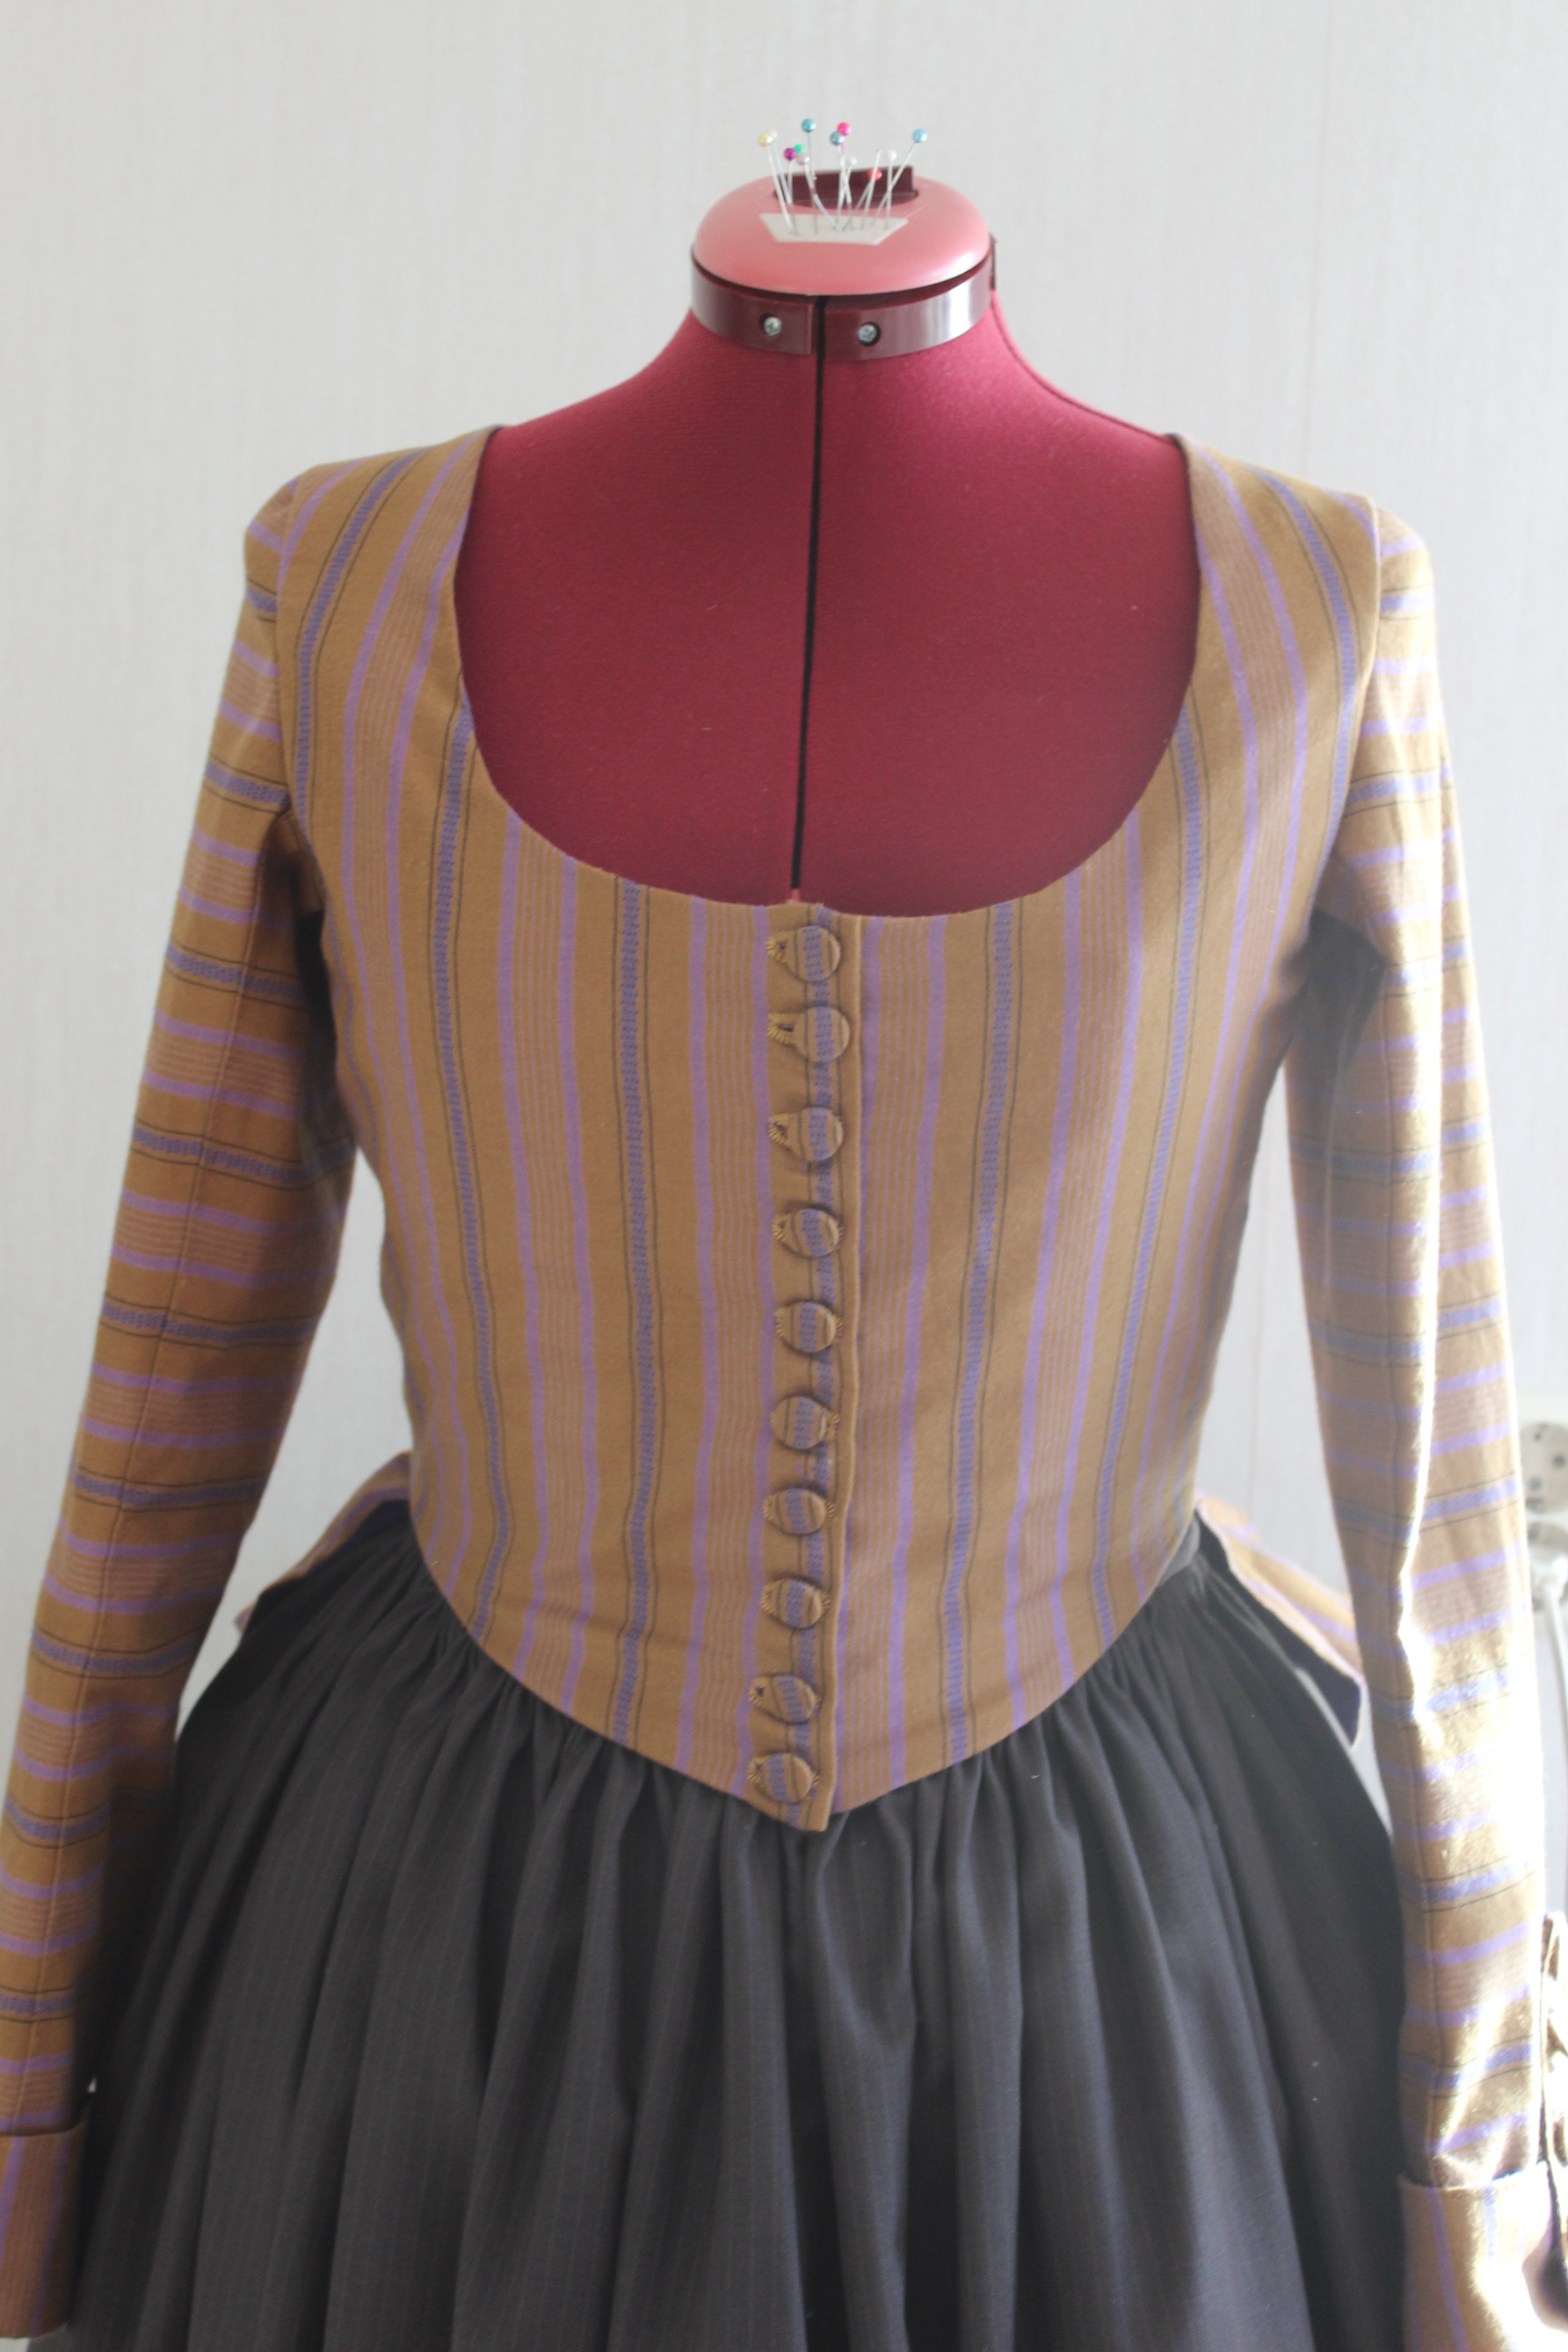
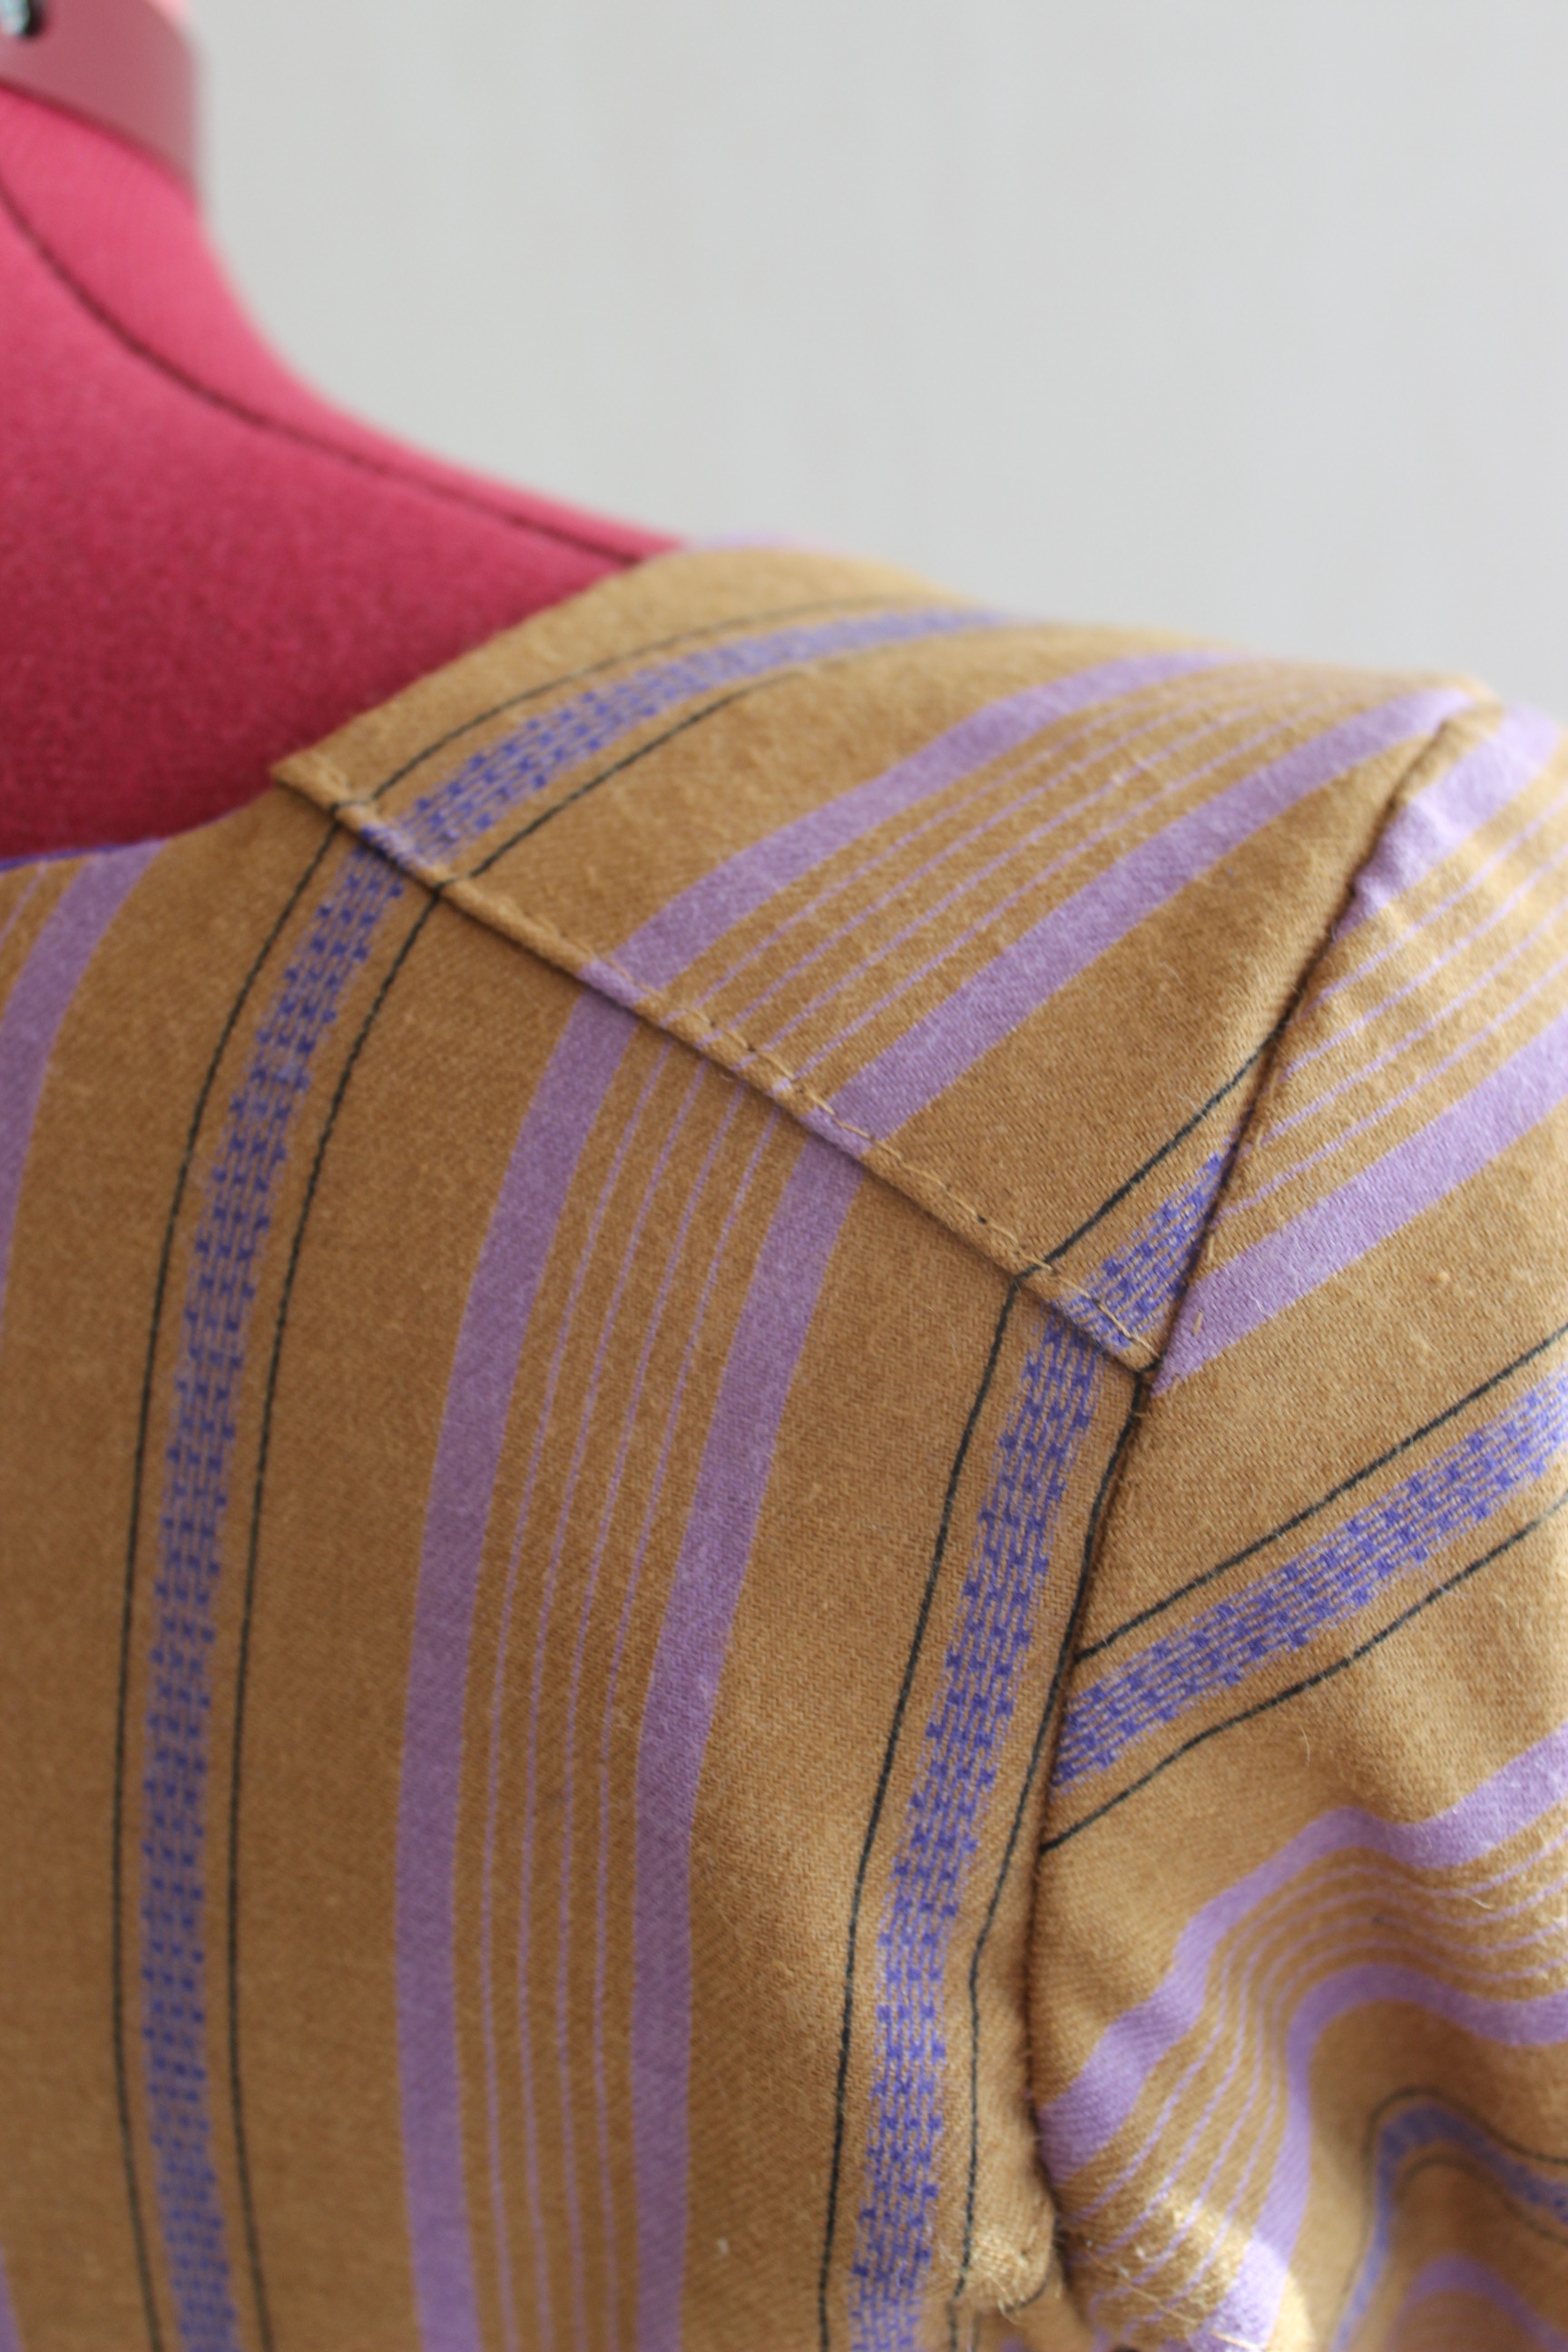
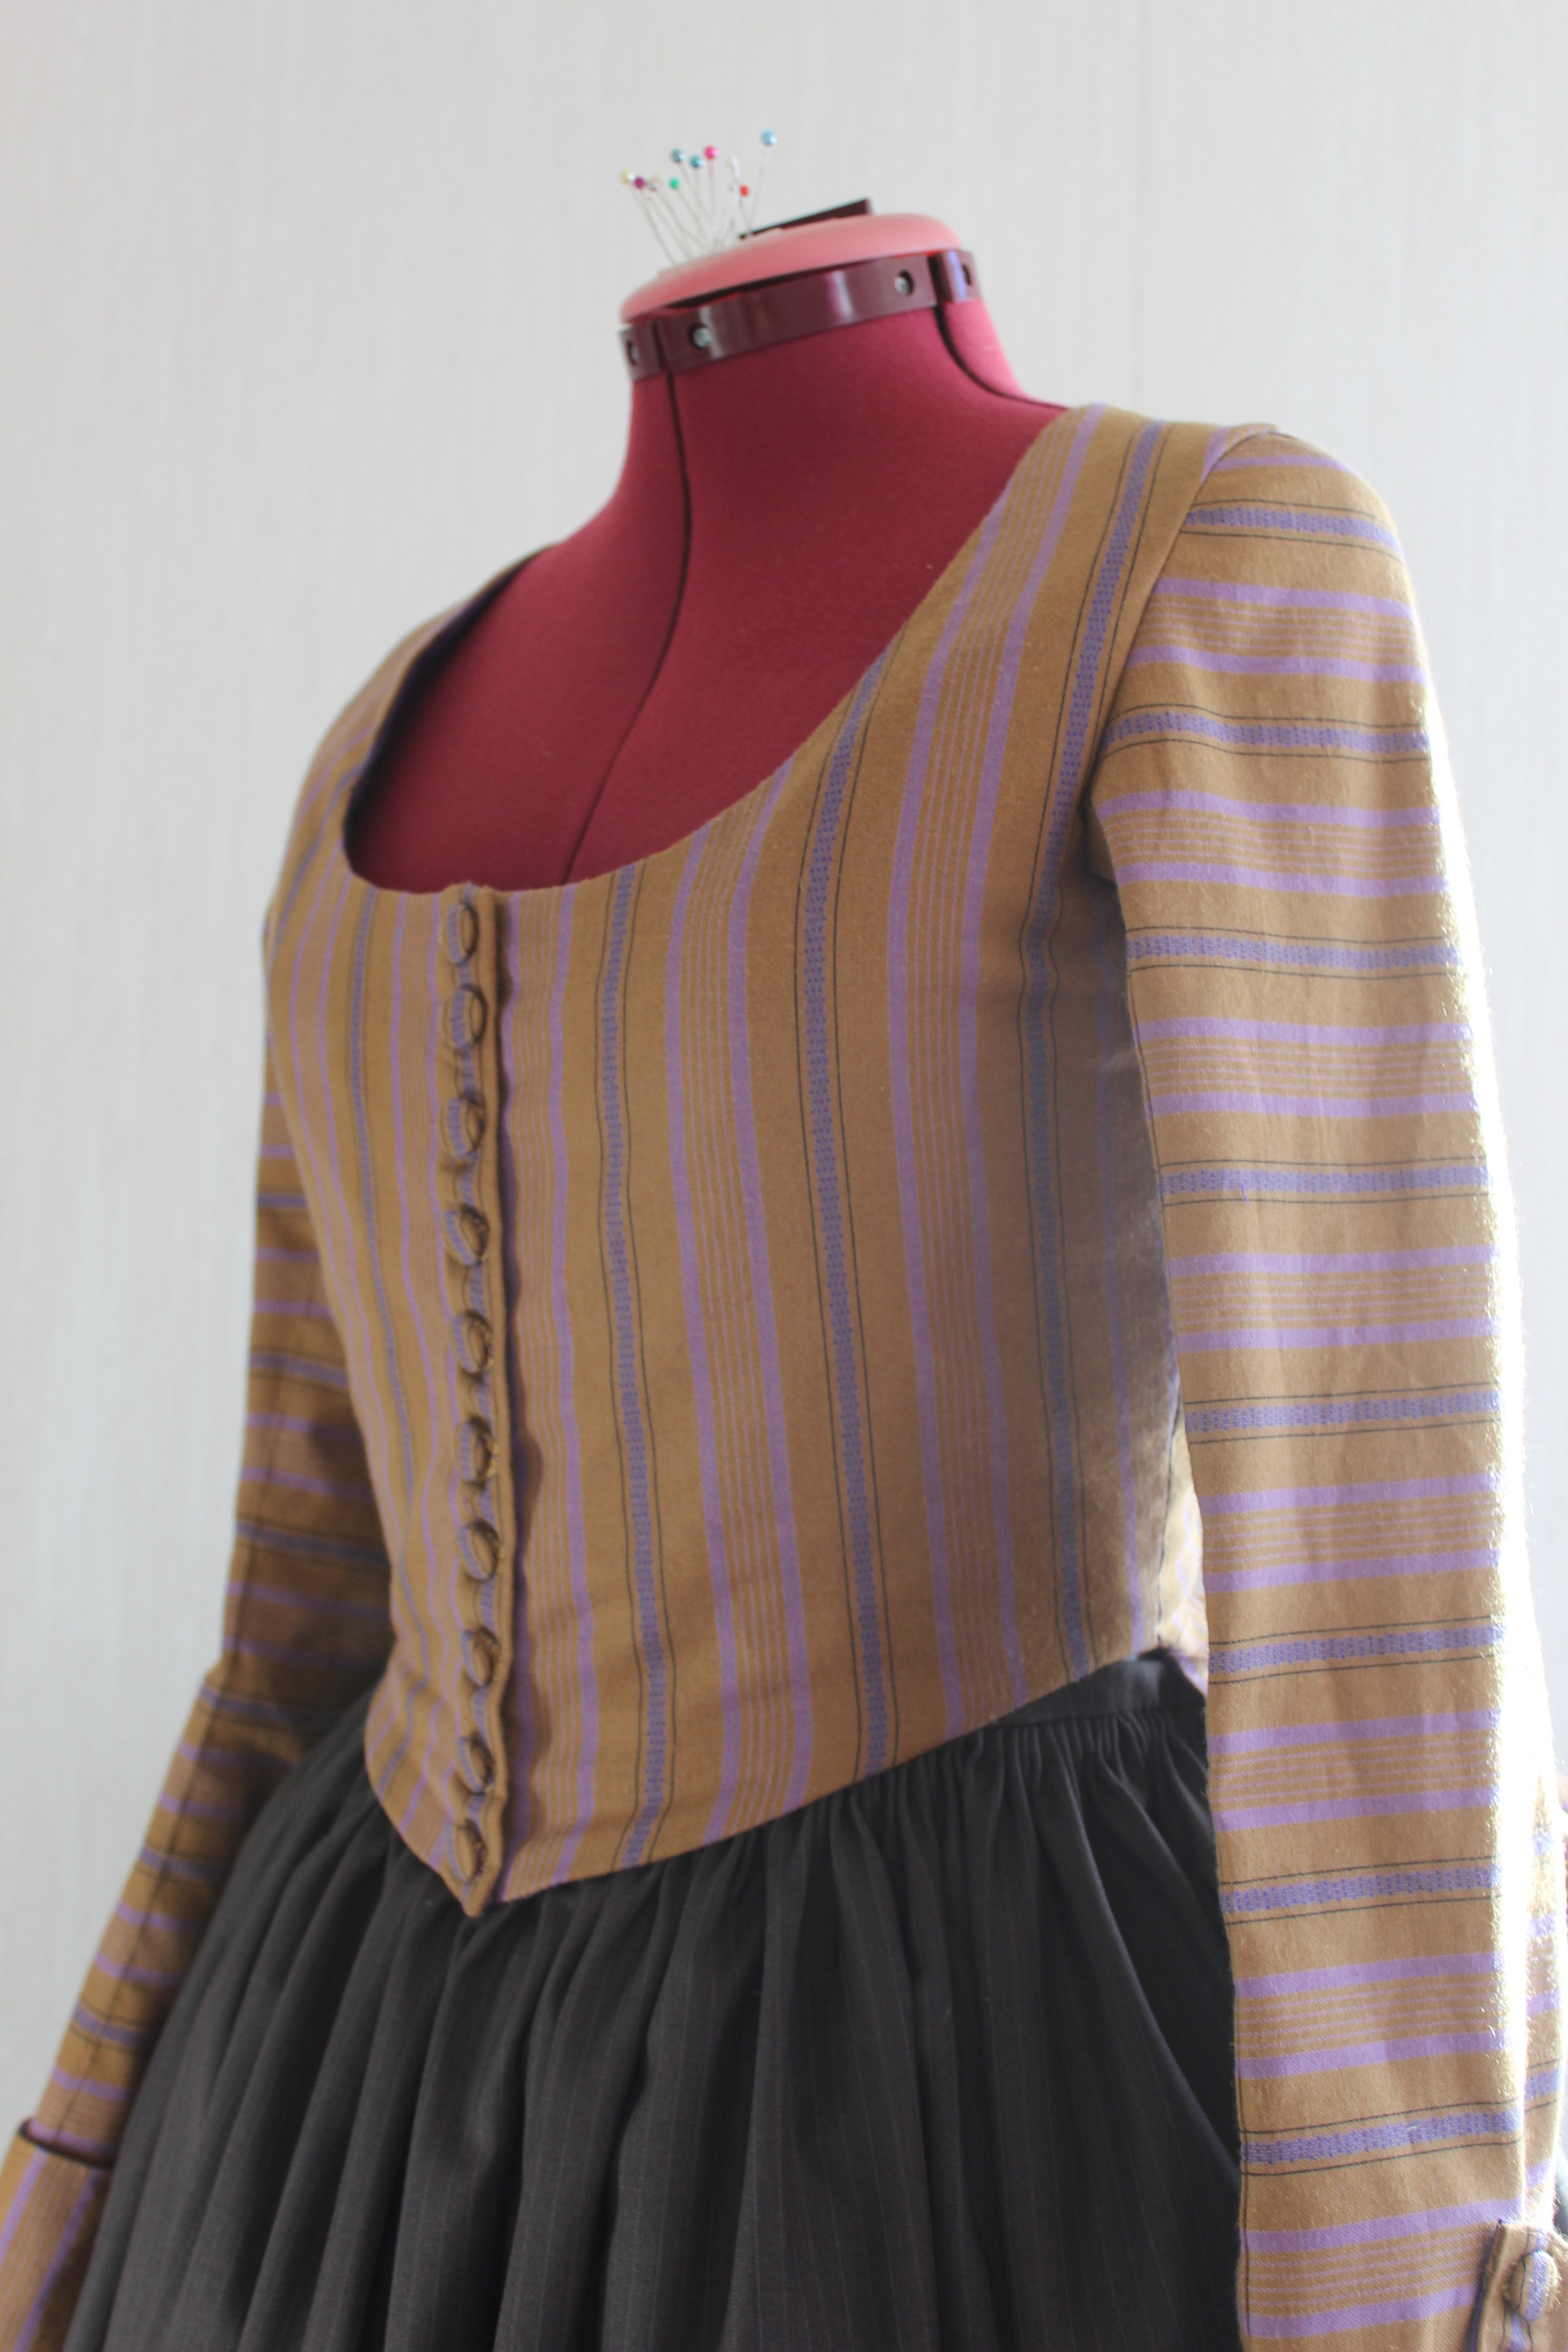
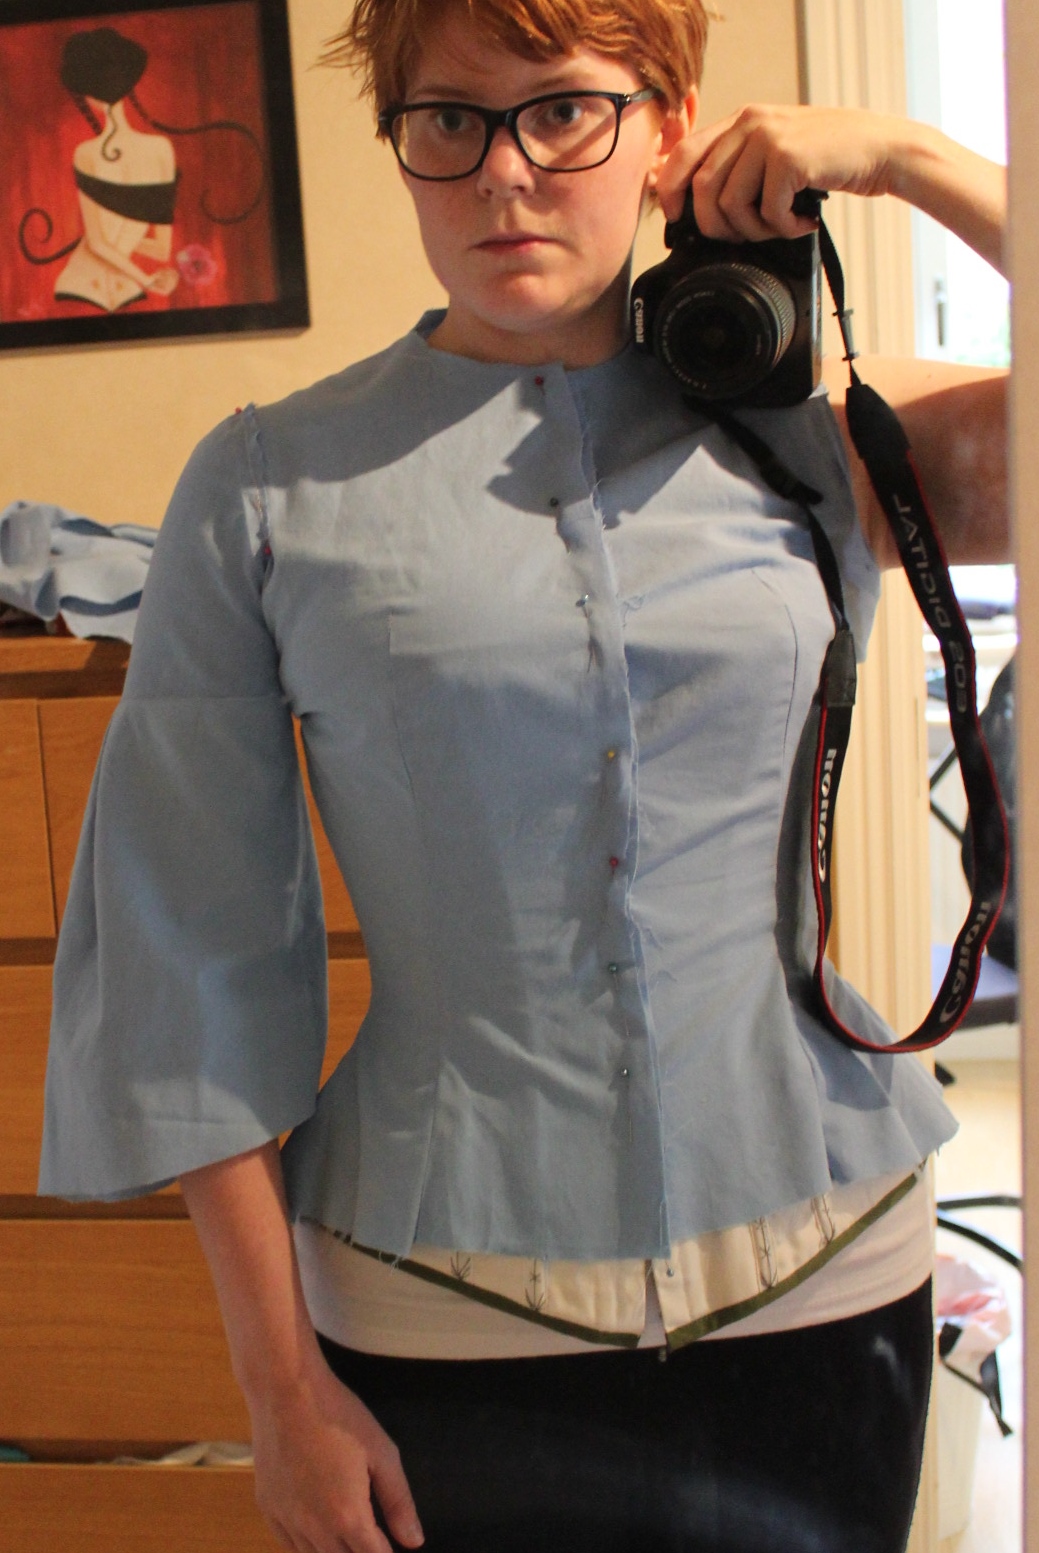
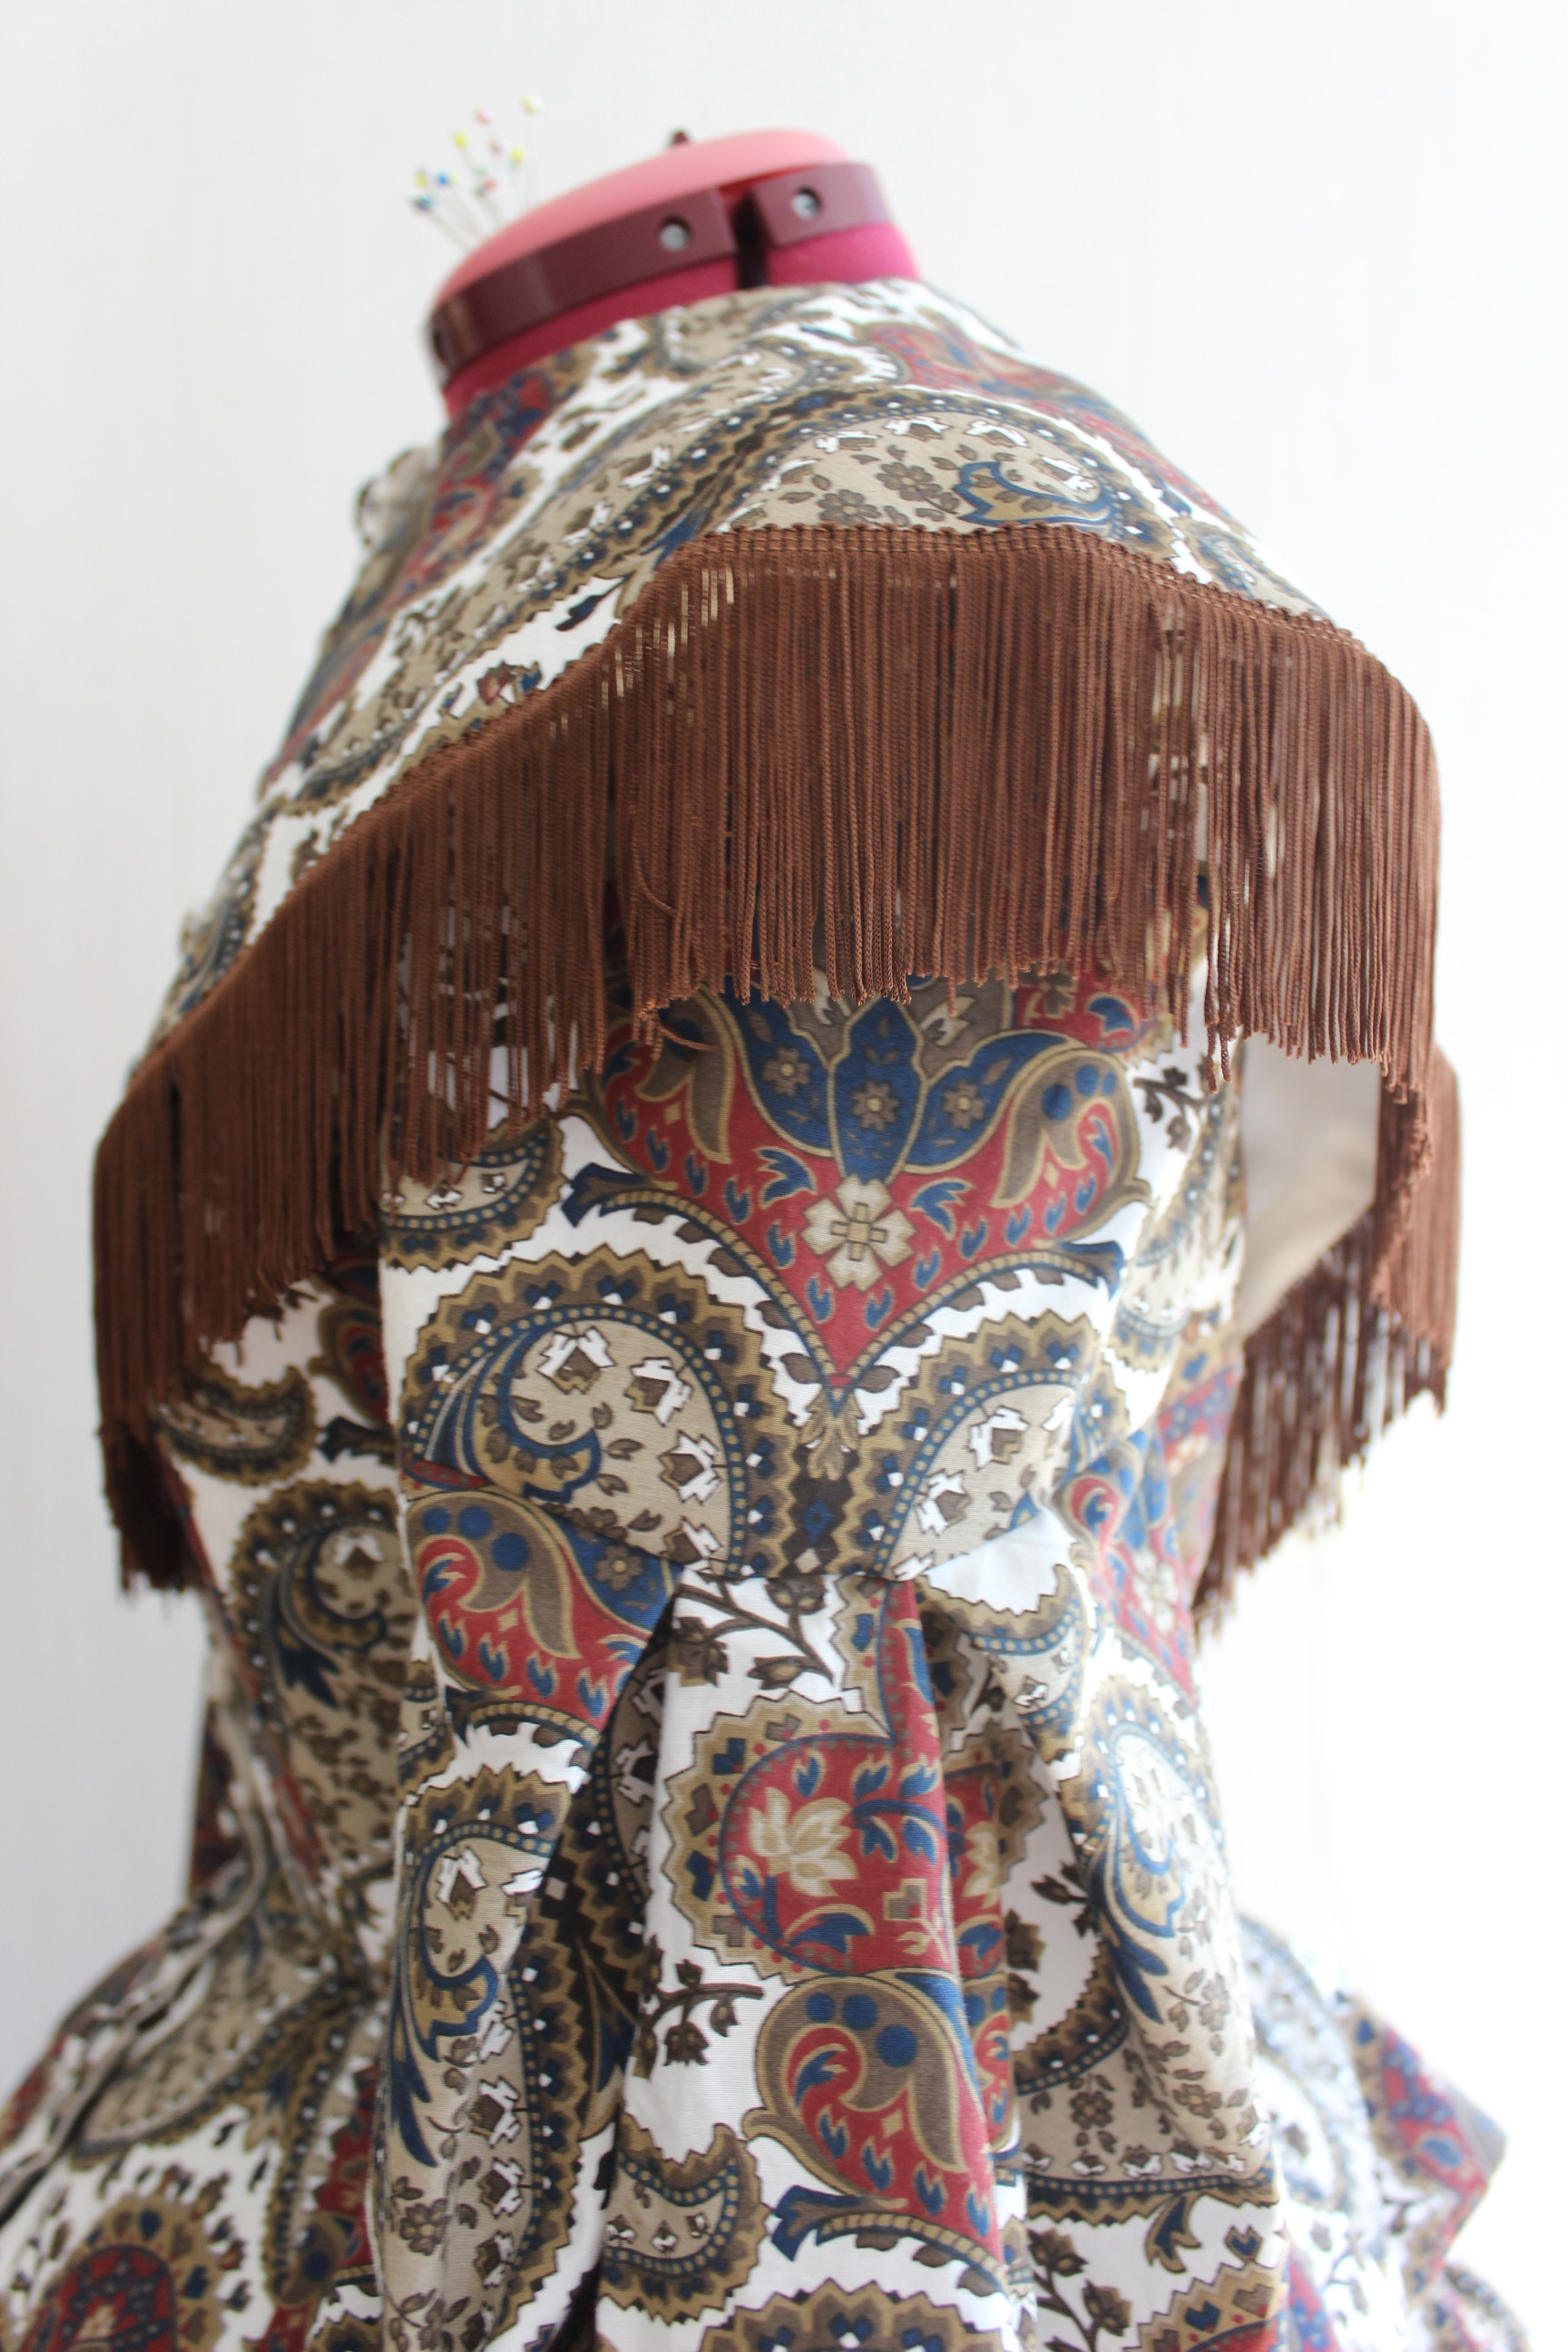
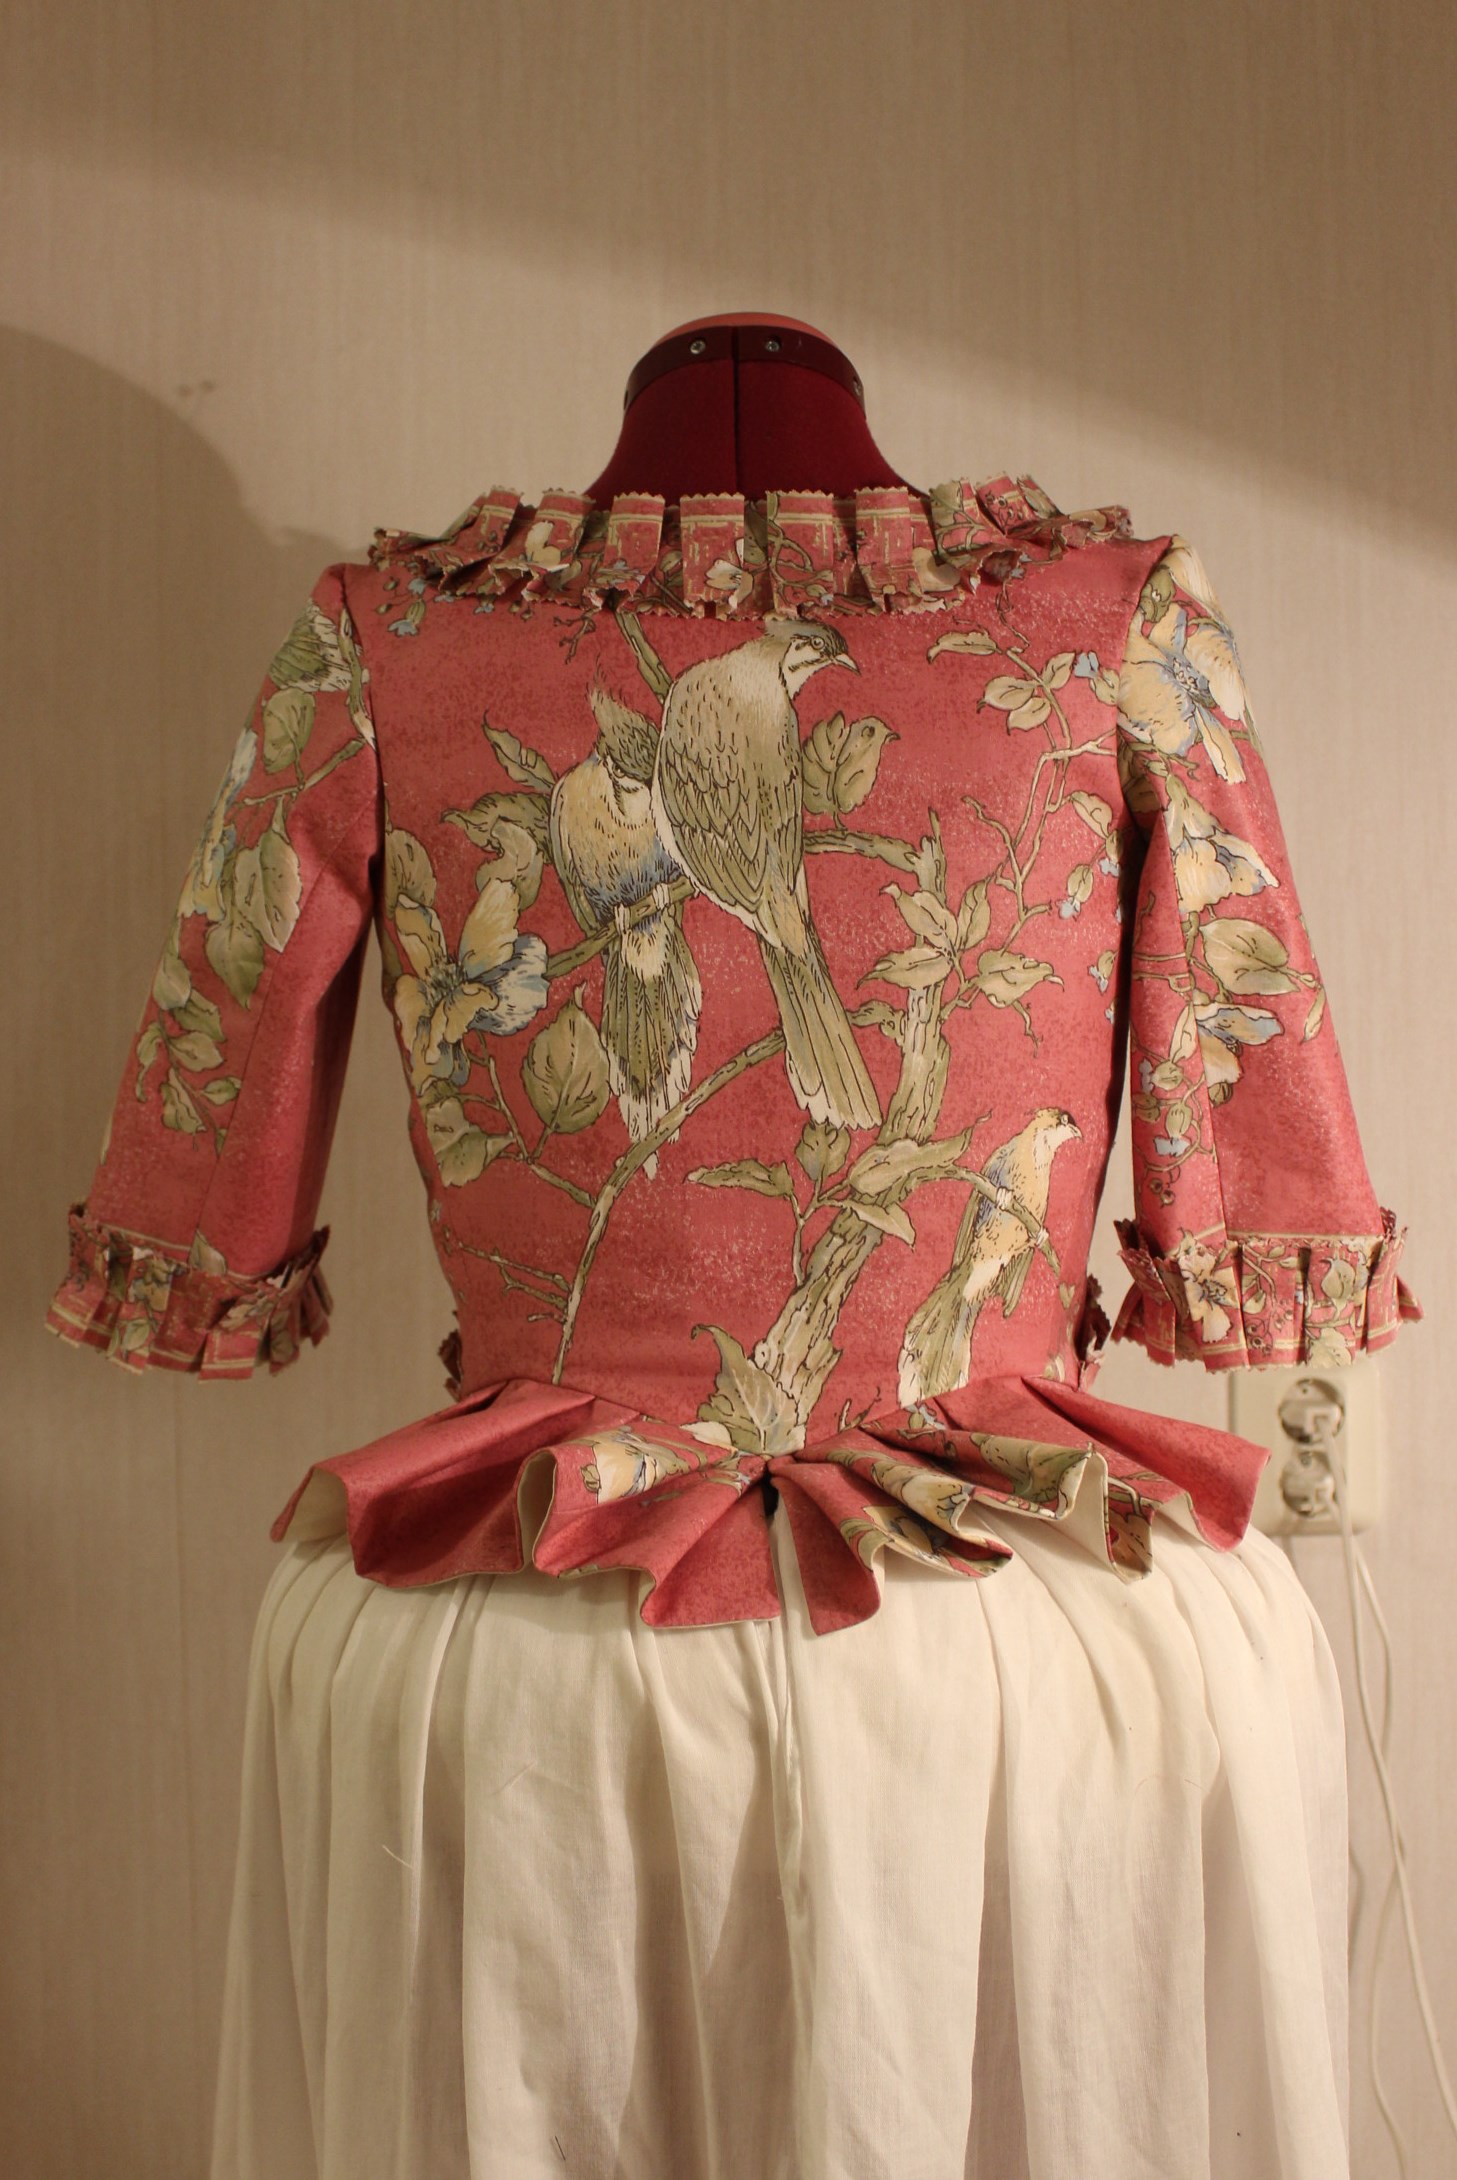
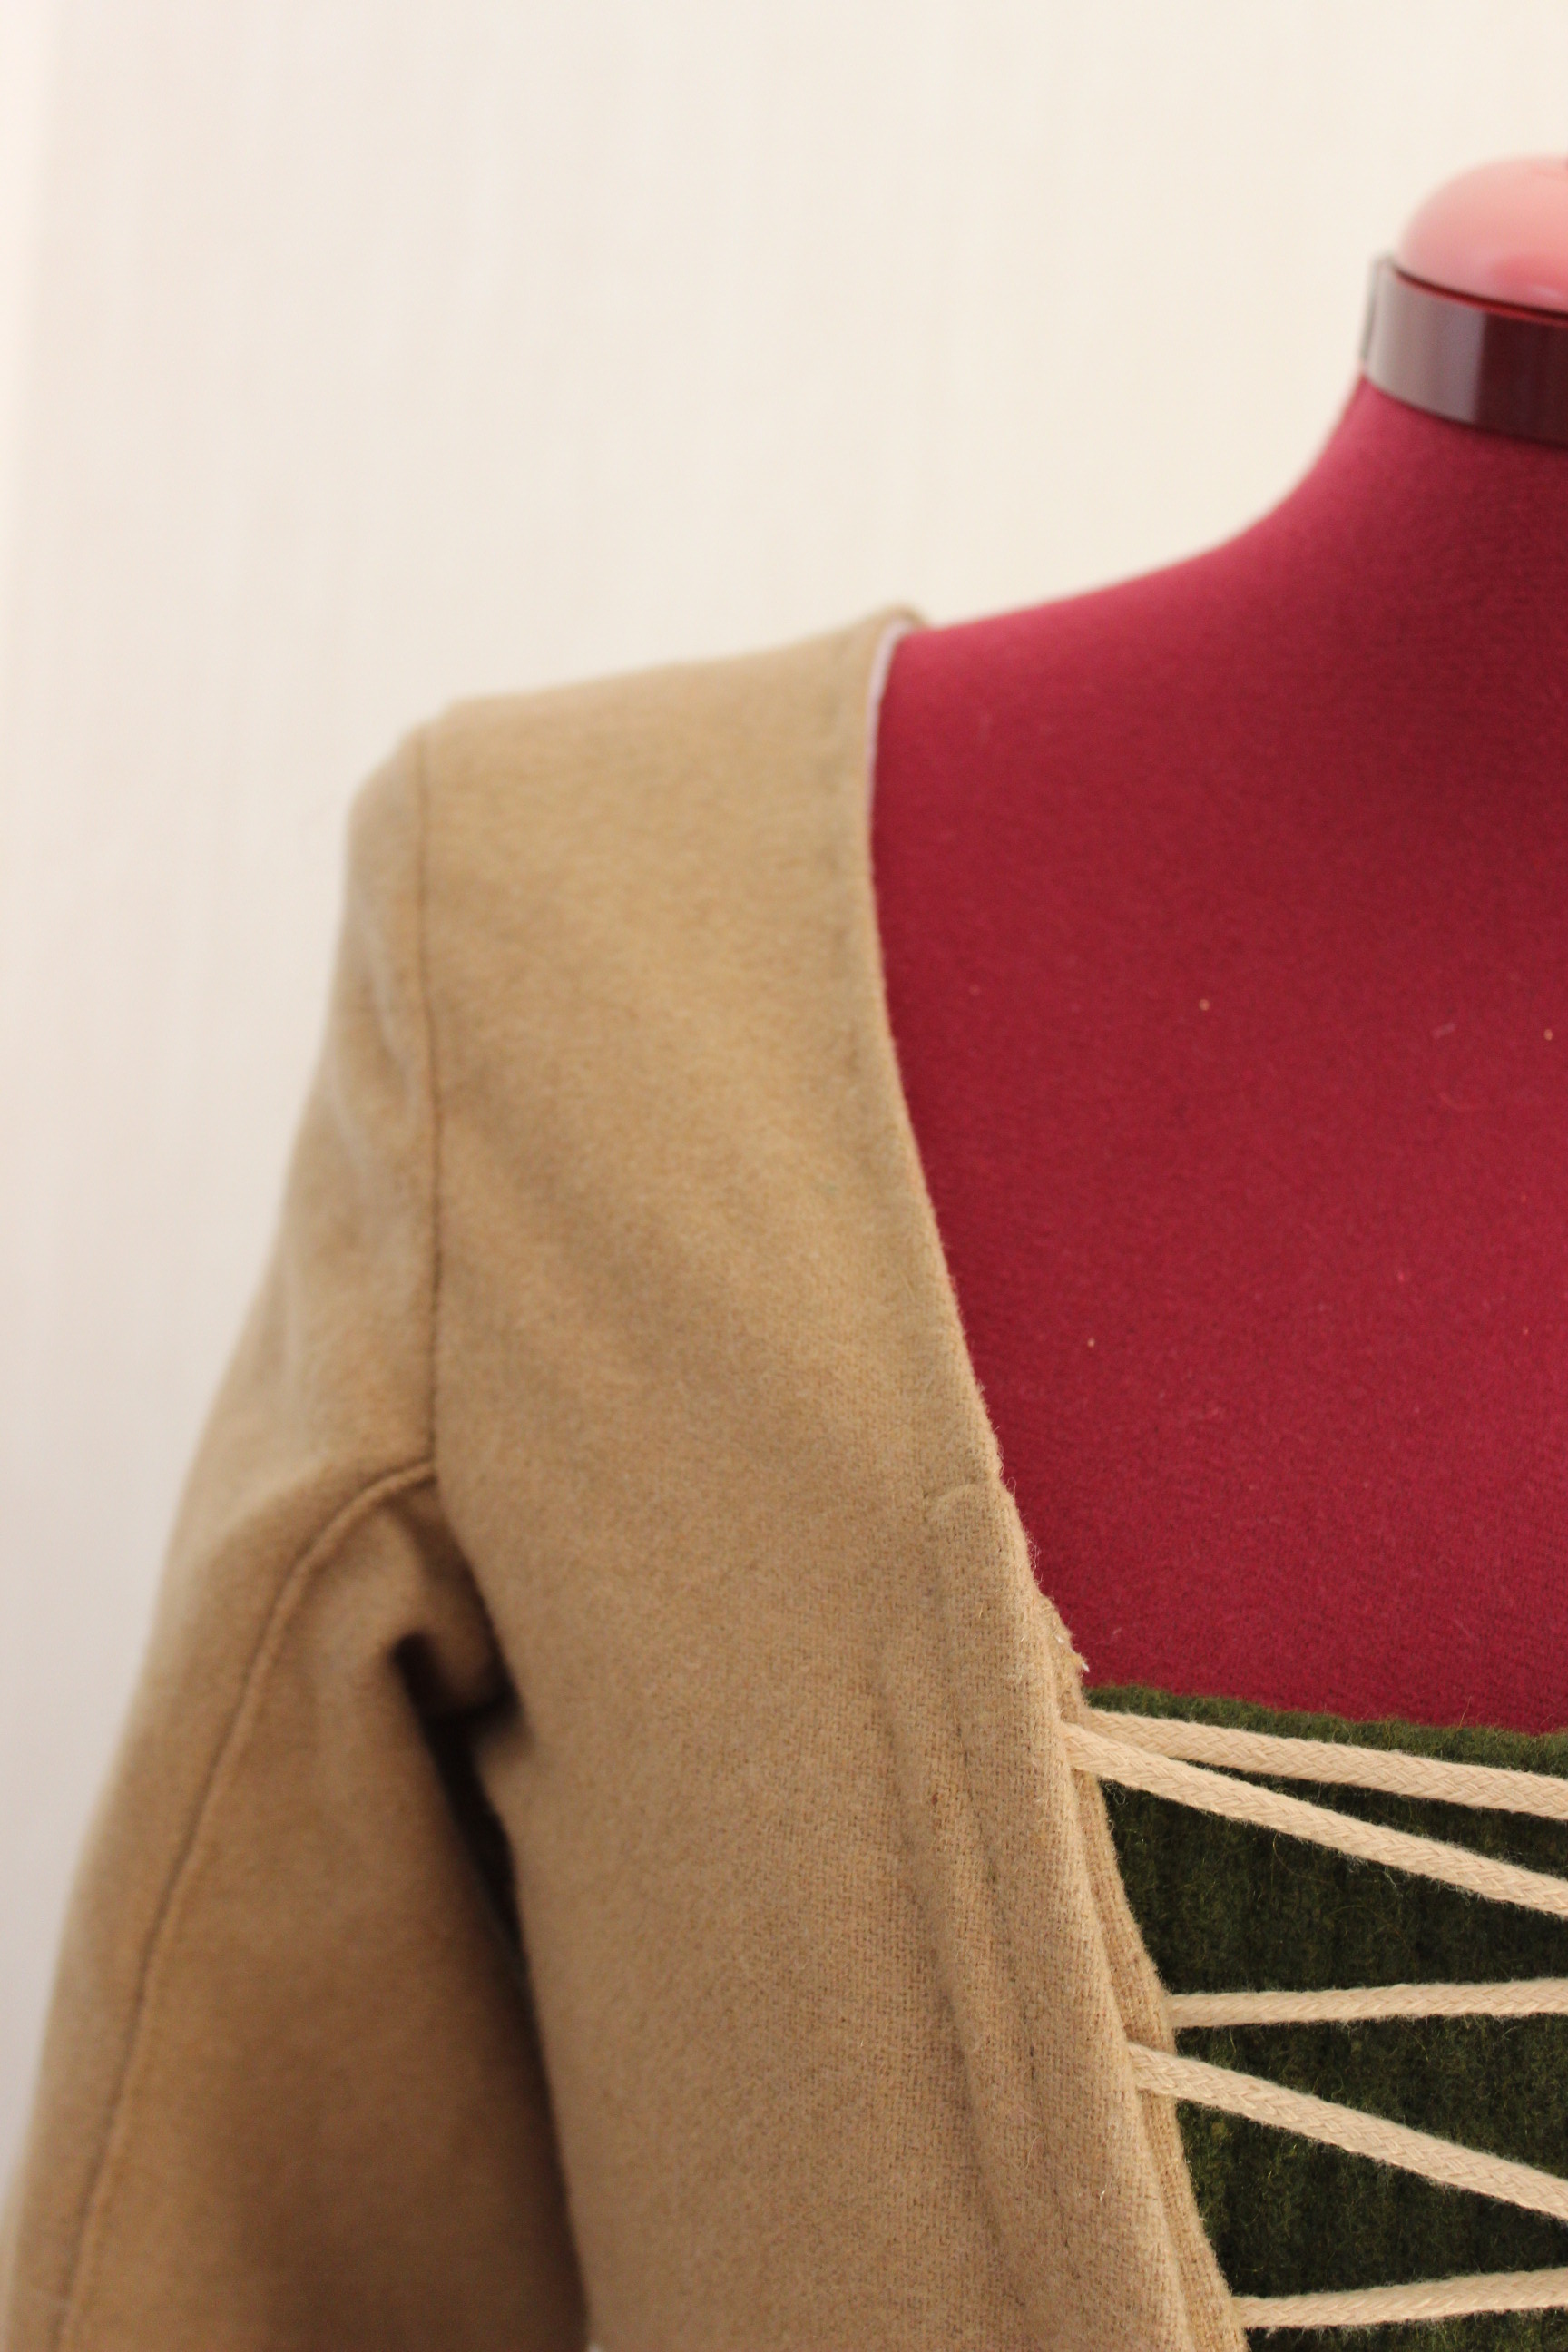
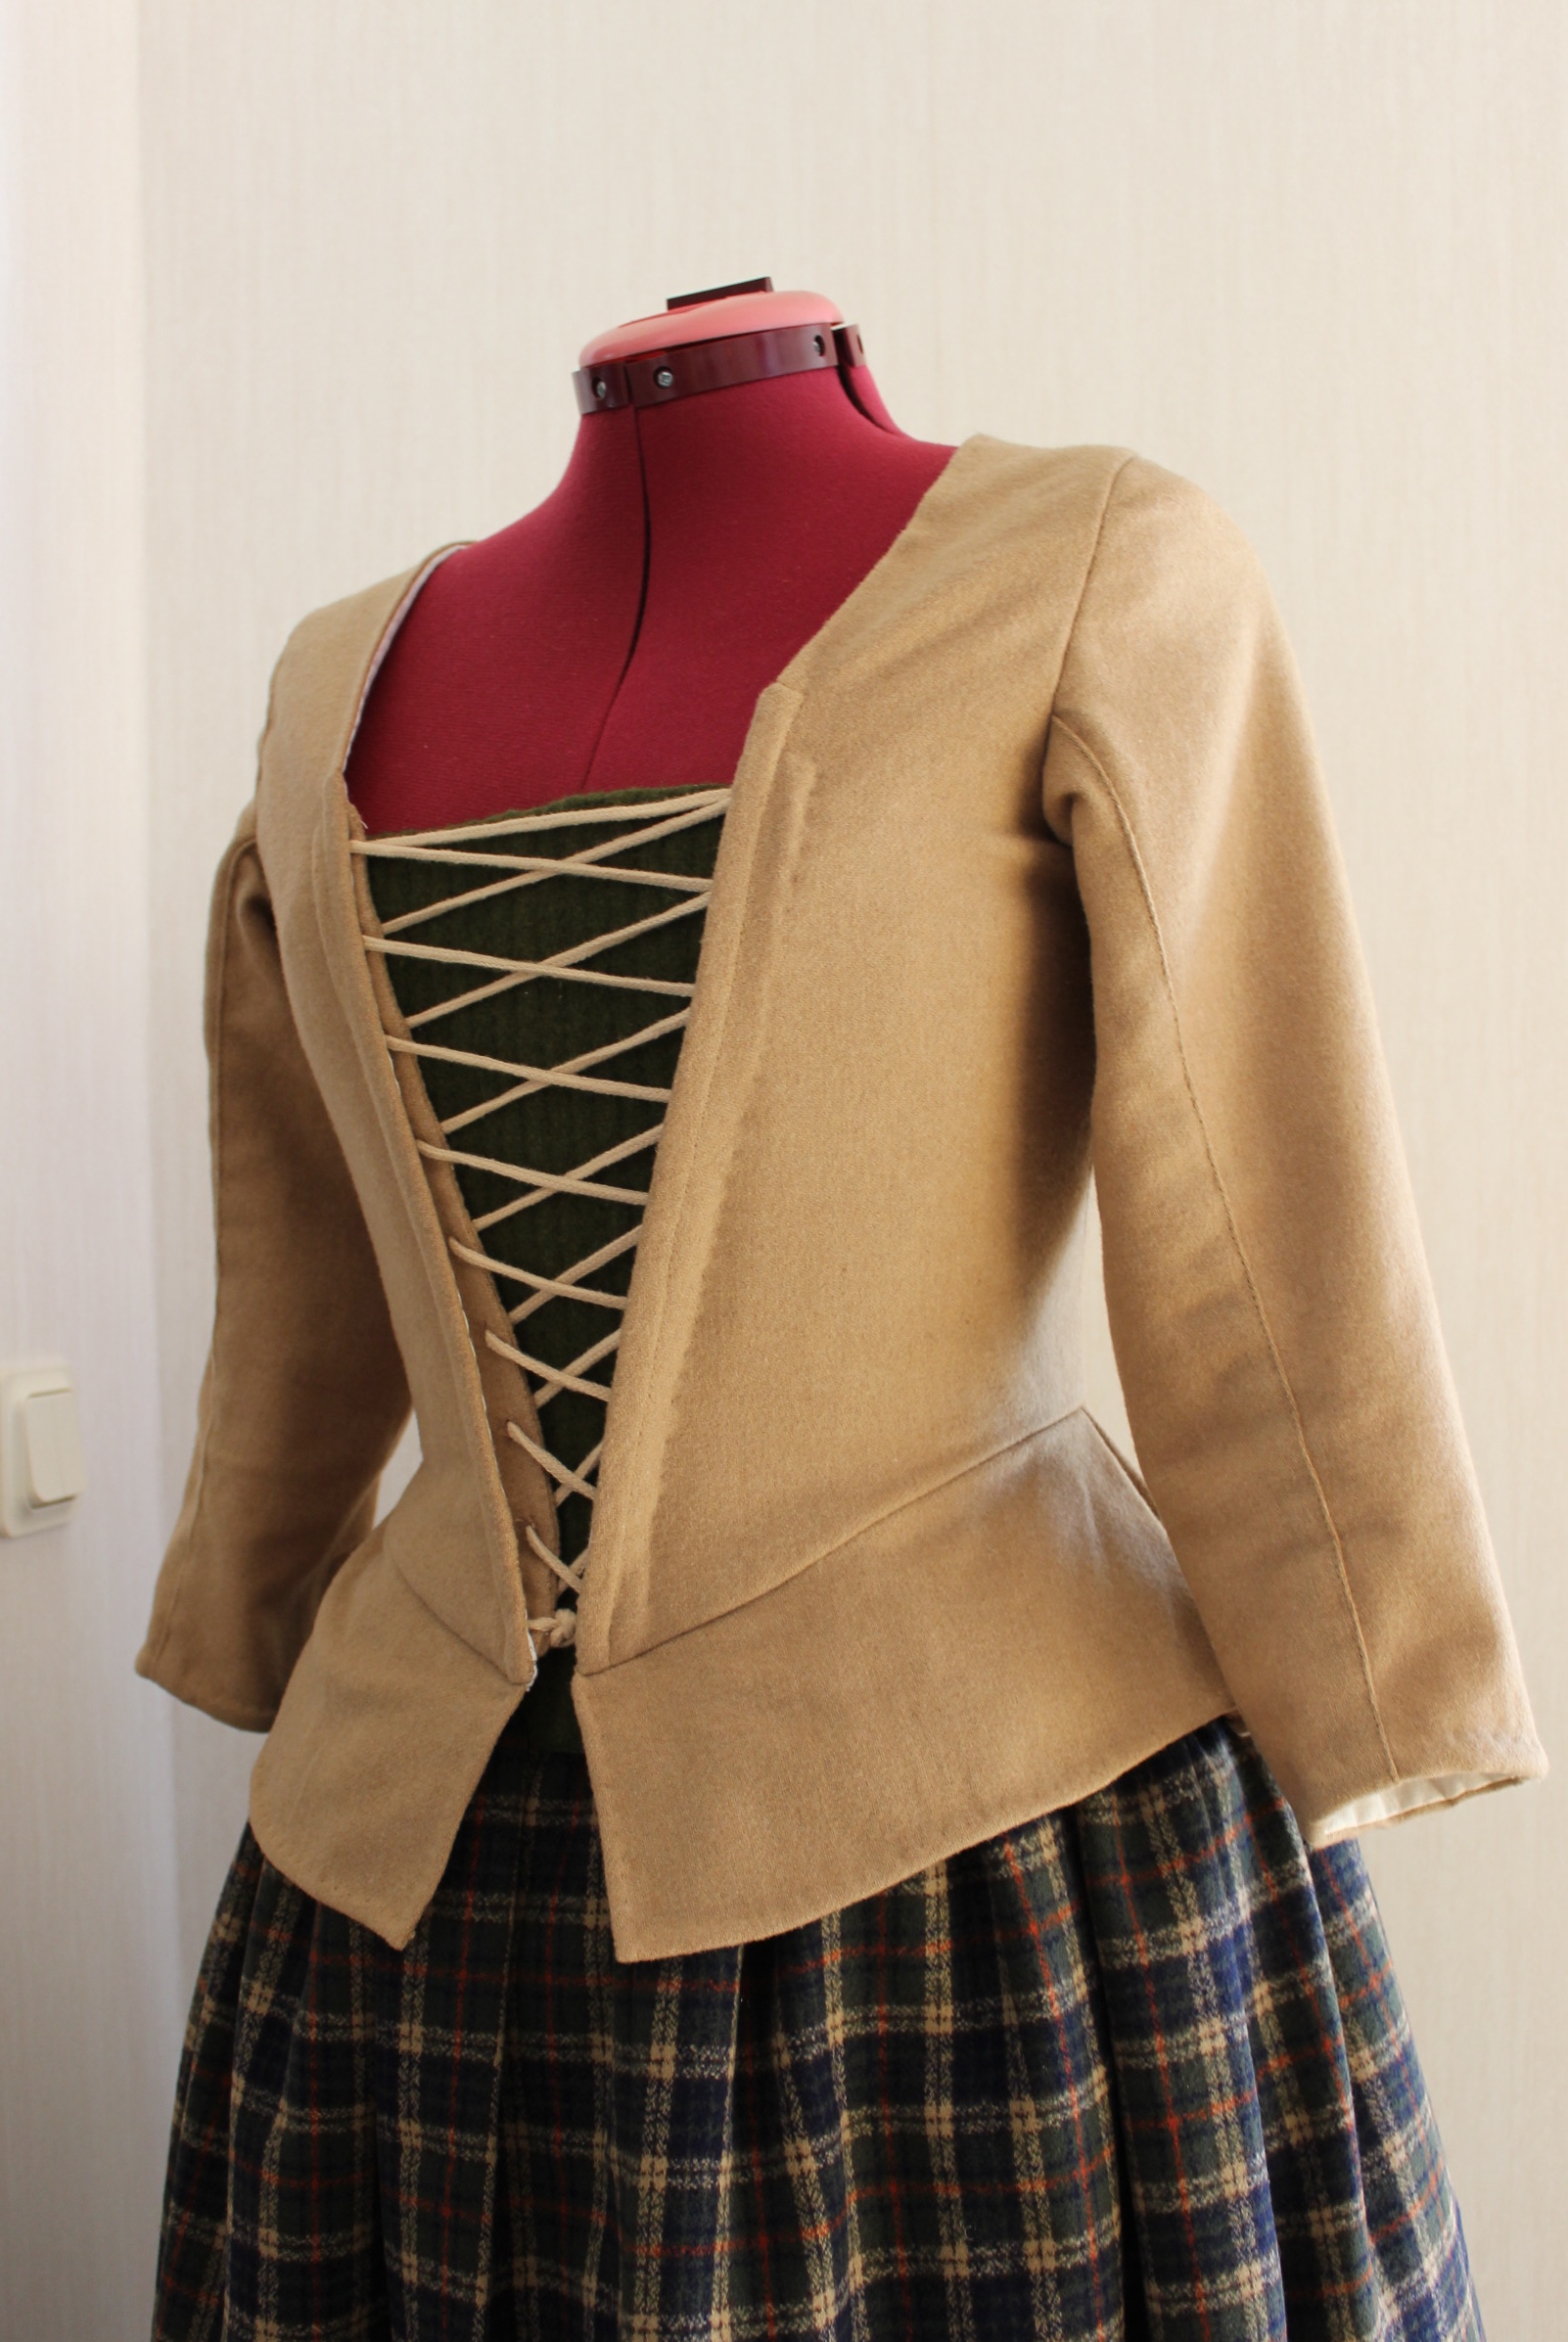
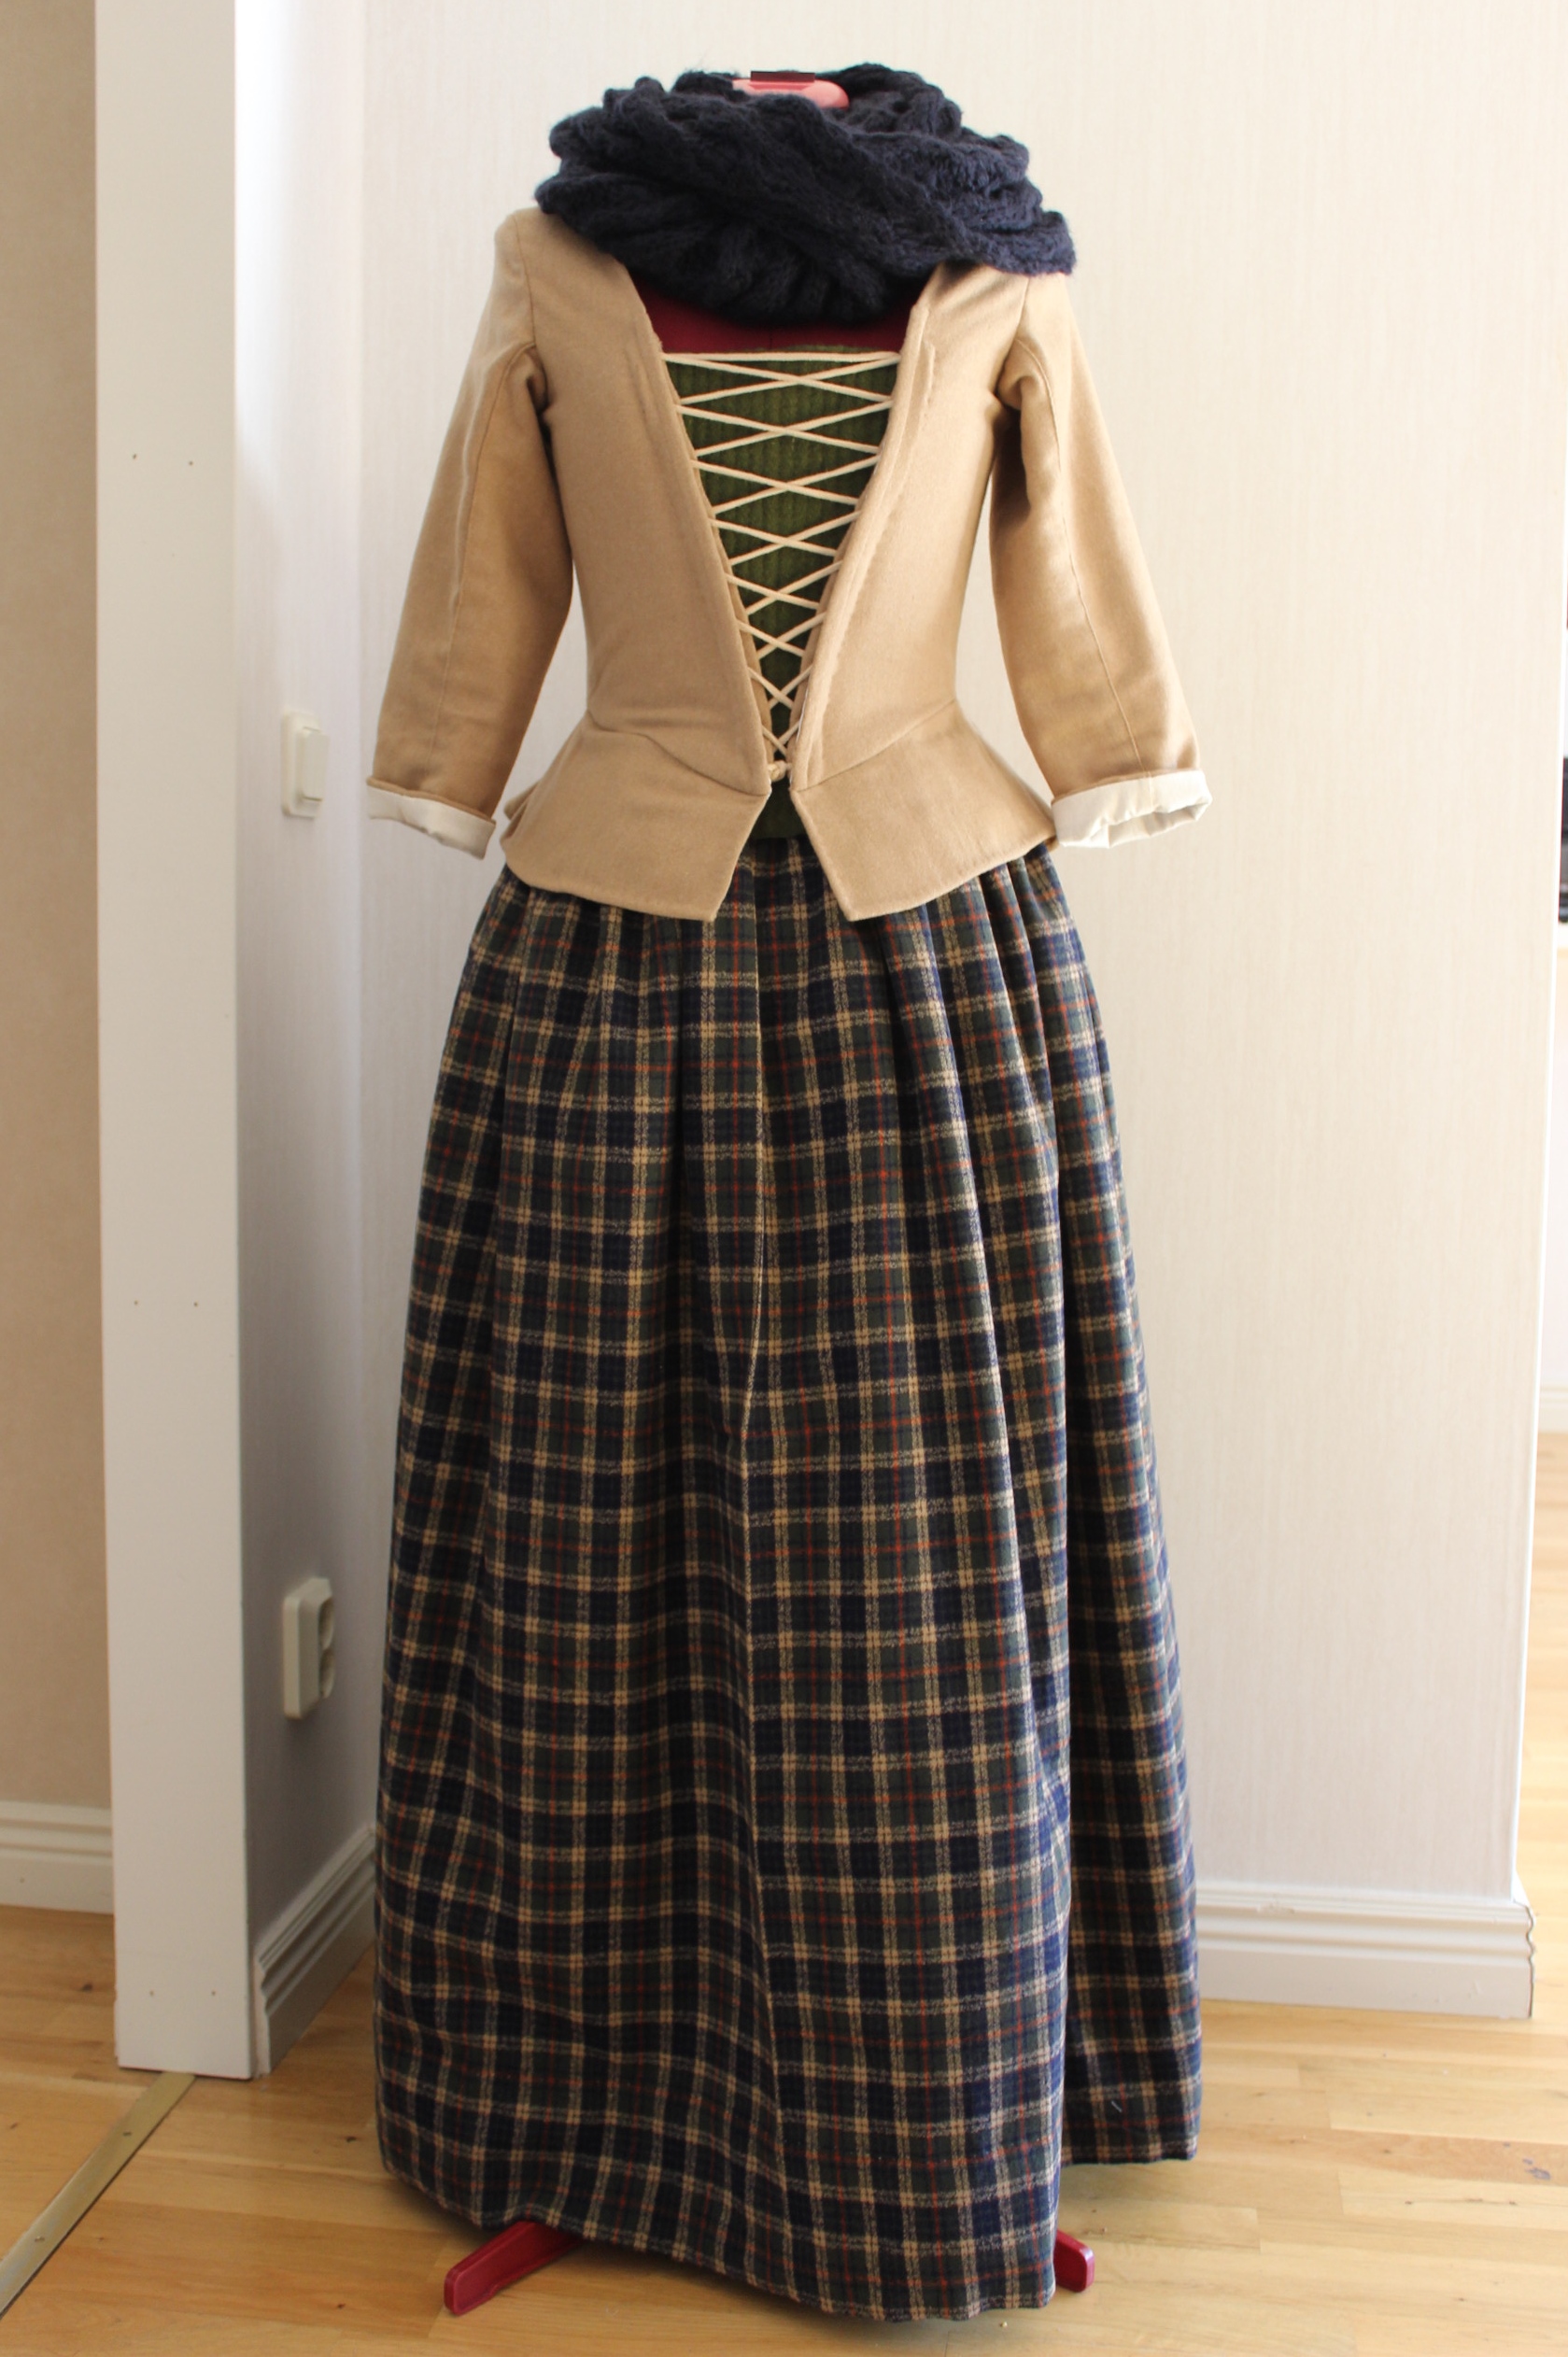
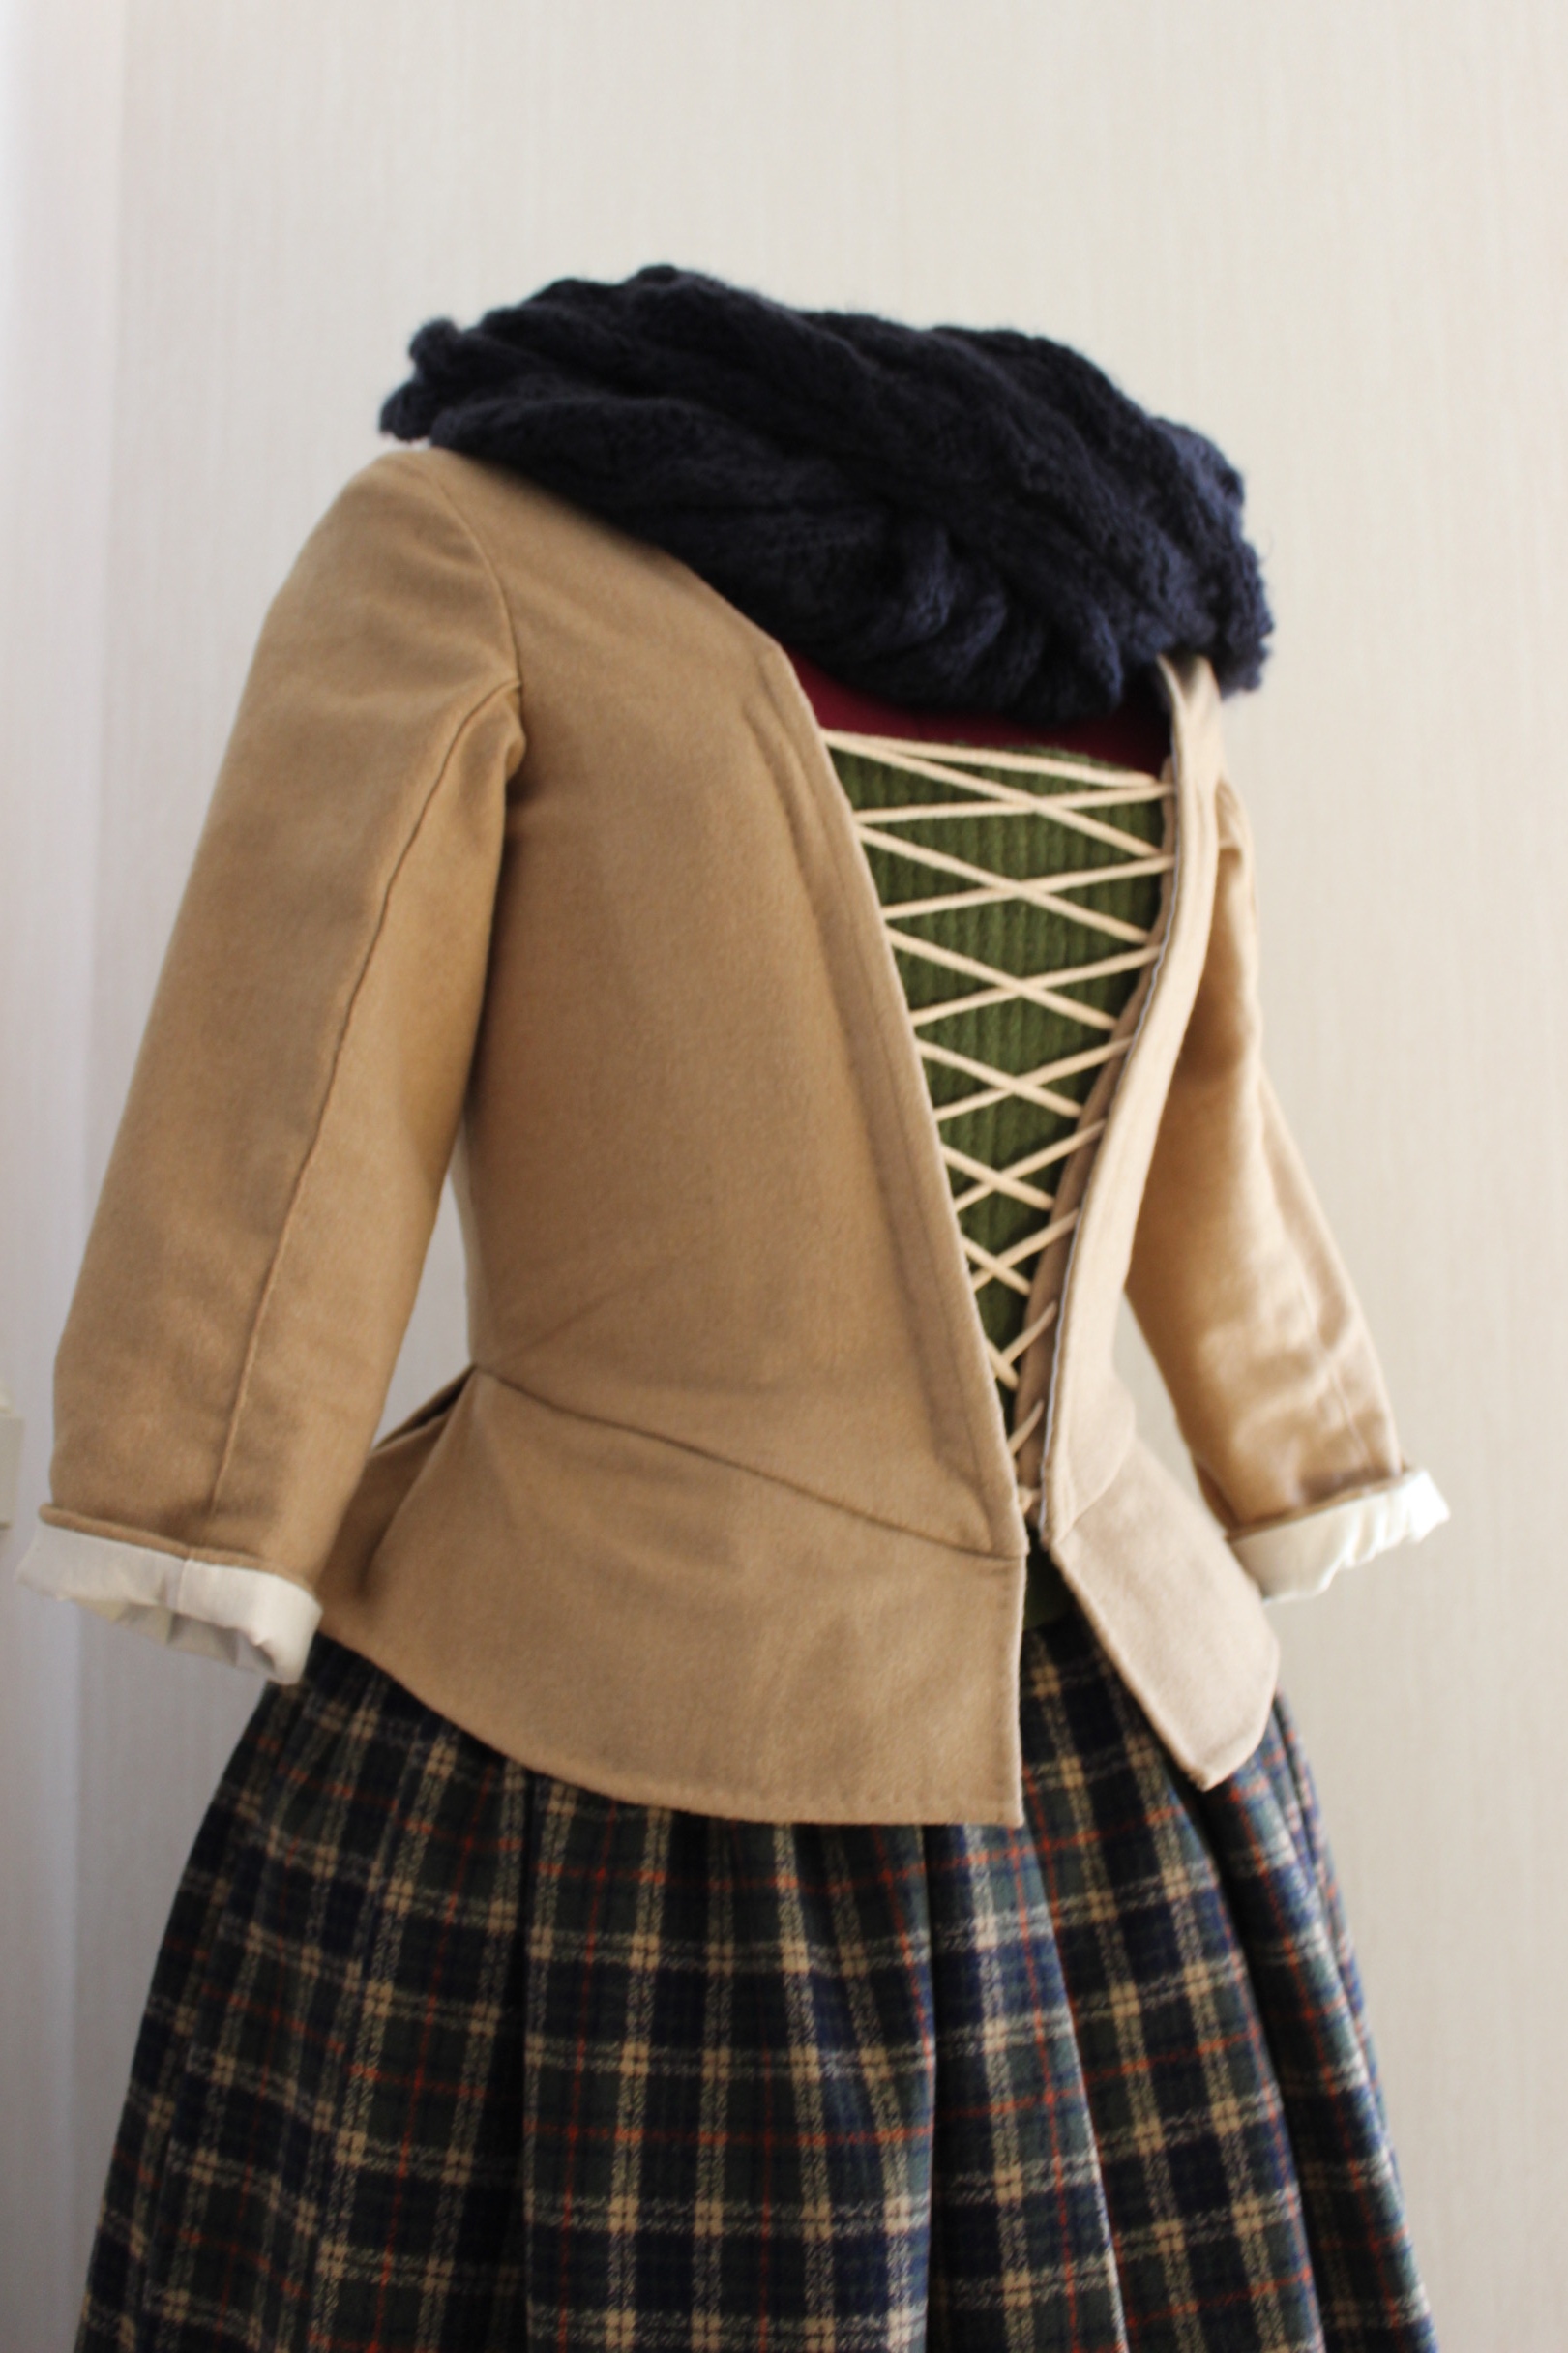
I love the look of the bodice like this – perhaps I need to make a waistcoat from this pattern.

To be continued…

1850s Paisley Day-bodice

After finishing the 1850s skirt for the 14th HSF challenge I started on the jacket.
I knew I wanted a fitted jacket with a bit of a peplum and a sculpted neckpiece on top, like the ones in Nancy Bradfeilds “Costume in Detail” DSC_1449 (1)

Draping the pieces on my dressform.
IMG_9730 IMG_9729

And the neckpiece.
IMG_9732 IMG_9731

I then cut and made a mock-up, and let it rest upon my dressform for a week when we were abroad on vaccation.
IMG_9946 IMG_9947

Coming home again, I put it on to check the fit.
IMG_0003IMG_9987
It did needed some changes (hard to se in this pick due to the pining I’ve made on the inside), but for the most part it worked pretty good.

IMG_0009Trying out the sleeve pattern.

IMG_0013The biggest change I neede to make was to lover the wasit and to take it in a bit more.

Here you can see the new lower, and the old un-picked waist placement, and the amount needed to be taken in at each seam. IMG_0014

Then it was time to cut the pieces.IMG_0017I needed to ration the fabric very carefuly to make sure I had enough to get the print matched on each piece. It was a bit tricky but I manadged to fit all the pieces pretty much the way I wanted.

I’m particulary proud of the center back (which unfortanly won’t even show beeneth the neck piece).IMG_0018After basting the interlinig to the paisley, I sewed the pieces together and tried it on.
IMG_0040 IMG_0046
This time it looked rater good.

When I was sure about the fit, I cut all the wide seam allowence down, and trimmed away all the exess fabric at the darts.IMG_0064Huge un-cut and cut dart.

Then it  was time for the linnig, which I putt in using the “bag method”. and to make sure all the edges would turn nicely I made notches in the allowence of all the curved seams.IMG_0094Notches on the neck-seam.

All this trimming and notching left my sewing room a mess. IMG_0097Lots of thread and fabric scraps.

I also took the time to under- stich the neck and hem to make sure the edges was nice and crisp, and would not be able to peek out.
IMG_0098 IMG_0101

Then it was time for the boning. Well actually I should have done this before putting in the lining, but forgot and thous needed to do it the harder way, trying to avoid getting the lining intangeled with the chanels.IMG_0123anyhow, I sewed the boning chanals to the seam allowences using self made bias-strips. Then I cut, shaped and put in the plastic whalebone, starting on the sleeves.

IMG_0120The jacket almost done, inside-out, on my sewing table.

When the bones and the sleeves were inserted and the lining was sewed down nicely it was time to deal with the clouer of the garmnent. I used several self covered buttons and stiched them to the front. IMG_0072But since I didn’t had the energy (nor time) to make buttonholes I put the buttons on the outside, and stitched hooks and bars underneat to use as clouser.

And lastly I pinned and sewed on the brown fringe to the edge of the neckpiece.IMG_0142This is the only fringe I’ve ver used, and I love how it’s sewed at the end to prevent the fringes from getting caught in your stiches. When finished sewing you just cut the stich away, and you have a nice straight fringe. It’s great.

The finished dress (Jacket and Skirt)IMG_0144

IMG_0145

IMG_0159

IMG_0160

IMG_0155

IMG_0154

IMG_0149

IMG_0157

IMG_0158

IMG_0162

IMG_0152

IMG_0165

Just the facts:

Challenge: nr 14: Paisley & Plaid.

What: a 1850 daydress (bodice and skirt).

Pattern: None, draped my own using “Costume in detail” as a general guide.

Fabric: Two bedsheets with duvet covets from IKEA, 1,5 white cotton sheets for lining and 1 m cotton twill for interlining.

Notions: Jacket – Thread, 3 m of plastic boning, 3 m of self mde bisatape, 12 buttons, 14 pair of hooks adn eyes, 1,5 m of brown fringe. and only thread and hook and eye for the skirt.

How Historical accurate: So so. I think it does look the part but I’m not sure about the messy pattern. Cotton is legit and paisley was a popular pattern during this time, but I doubt that the dressmaker using cotton in her daydress would have had a sewingmachine.

Time: About 15-20 hours total.

Cost: 300 Sek (48 Usd) for the whole dress.

First worn: Ony for photos so far. I meent to wear it at a victorian picknic in july but the weater was way to hot for all the layers, so ended up using another costume instead.

Final thoughts: I’m not totaly happy about how messy the print looks made up in this dress. And I could have spent some more time getting the pattern to mach up and also making the neckpiece fit better.
All in all I think it was a funny project and I hope I get to wear it sometime.

A Pink Caraco Gift

When the HSF challenge 3- Pink, was announced in december I was more then sceptical. I am certainly not a fan of pink, I wouldn’t even think of wearing it.

But a challenge is a challenge…

And I decided to face my fears (not a fear really, more of a huge distaste) and do the challenge – and do it all the way.

So searcing my stash for something pinkish (yeah right, good luck) I actually came up with two workable fabric options. One pale pink cotton sheet, and a couple of metres of pink/white checkered linnen curtains – both fabric’s been given to me at some point.

Still not sure of what to make, thinking about something regency, 18th century or early 20th century, I decided to wait until the big opera gown was finished, in late januray, to decide.

Perhaps it was faith, since I found the most wounderful fabric at an internet auction 2 weeks ago.180551824_21ee55d7-97ff-4039-a871-e3a62da1ef96 I emedetly know I needed that fabric. So I bidded on it and won. And a week ago it arrived.

Despite the fact the amount of fabic was really limited (only 1m), I decided to try to get a 18th century Caraco jacket out of it.

But since I’t will need to be a fairly smal jacket, I decided to make the jacket as a “thank you” gift to sister M. She is always so nice and wounderful and helps me with my projects, and without complaining photographs my costumes out in the freezing snow. Thank you so much for everything!

I’m thinking something like this.274015958547564766_VevBYigl_f

So I put my sisters corset on my dressform and started to drape the pattern.

IMG_6070 IMG_6067

IMG_6068

Then I used a good hour trying to get the pieces out, getting the print in the exact way I wanted.IMG_6077

I sewed it togehter using modern sewing methods.IMG_6118

Snipping the allowence to keep the curved edges nice and smooth.IMG_6120

I put the bodice back on the dressform to get a feeling for how it would look.

IMG_6122 IMG_6123

Pretty nice, and I particulary like the birds placements on the back.IMG_6125

I pleated the trim which I cut from the fabric edges.IMG_6082

Then I needed to decide on how to place it. Playing around with it, I came up with 5 alternatives.

IMG_6134IMG_6136

IMG_6142 IMG_6139

IMG_6137I think I like this one the best (let’s just hope my sister like it aswell).

Then I put in the sleevesIMG_6144

Getting all the seam-allownces between the layers.IMG_6145

When I started to pin on the trim, I discovered something strange…IMG_6150…A hint: You will have to keep your hands behind your back…

So I ripped the sleeves out (all four of them) and switched the sides. But the result was the same, only worse. So for the second time in on hour, I ripped the sleeves out. Grrr. IMG_6152I gave up the idea of a nice finished inside, and basted the lining and the outer fabric together. And stiched the sleeves in one last time (after pinning it in on the dressform).

IMG_6178

Then I pinned and hand-stiched on the trim. I used the hooks and thread eyes to lock the light bones on the outer edge of the front.

Finished:IMG_6154

IMG_6168

IMG_6163

IMG_6156

IMG_6159

IMG_6160

IMG_6161

Just the Facts:

Challenge: Nr 3 – Pink.

What: A 1770s caraco jacket.

Pattern: Draped my own using Janet Arnolds “Patterns of Fashion”.

Fabric: 1 m of printed pink qvilting cotton, 1 m of white cotton sheet.

Notion: Thread, 8 hooks and 0,6m of syntetic whale bone.

How Historical Accurate: Not at all. The general look of it is plausable, but the fabric, the print and the construction methods are all wrong and modern. But to be fair – this project was never meant to be accurate.

Time: 12 hours.

Cost: 100 Sek (16 Usd).

First Worn: Not yet (I’m not even sure it will fit her).

Final Thoughts: I like the jacket and would gladly wear it if it would have fit me. Hopefully my sister will like it as much as I do…

Re-make of the Flowery Jacket

This is my first entry to the HSF14, and I submit it as a “Light Entry” for the 1th challenge: Make-do/Mend.

Ive been so pre-ockupied with all my other sewing and work and moving recently, so there has really not been any time left to fix those litle things thats been bugging me about some of my costumes. But now I finaly got the time (at relatives on chrismas) to finish the re-modeling of my 18th century flowery jacket. You can reed more about the original jacket here.

I loved this jacket ever since I made it  2 years ago, even now when I lernt a bit more about historic clothes it’s still one of my favourite items. But latley the fit of it have been bugging me.

2013-04-07 13.37.55 2013-04-07 13.37.34

It’s a bit long in the back and the gromets really need to be covered with thread.

And this challenge gave me the motovation I needed to finaly get it done.

Since there’s not much interesting going on in the sewing I forgot (read: decided not to) take any process photos. But I did snap one with my phone on christmas-eve when working on the eyelets.

IMG_4447

Finished:IMG_4781

IMG_4784

IMG_4799

IMG_4786

IMG_4791

IMG_4792

IMG_4789

Just the Facts:

Challenge: nr 1 – Make-do/Mend. (Light Entry)

What: Fixing some issues on a 18th Century Jacket.

Pattern: None this time (originaly from Baumgarthers “Costume Close-up”)

Fabric: None

Notions: Sewing thread and ivory buttonhole thread.

How Historical Accurate: Not much. Re-modeling and re-fitting of clothes was common practice, but since gromets didn’t even existed back then I’d say 3/10.

Time: 3 Hours

Cost: 30 Sek (2Usd)

First Worn: Hopfully this summer for picknicks and plays.

Final Thoughts: The back of the jacket, do look very short on my dessform. But I decided that’s because she is somehow lening forvard, and I have a realy straight posture, which causes my back to look shorten then it realy is.

Robes and Robings

I bought this blue and white striped cotton for 15 Sek/m a while back, and since it was the last 2,5m on the bolt I decided it would make a perfect 18th or 19th century jacket.

IMG_0026

So when the 17th HSF challenge was announced as – Robes and Robings, it was the perfect opportunity to use the fabric.

“And what are robings?  They were also called robins and round robins.  Basically they are the trimming round the neck and down the front of 18th and early 19th century gowns and pelisses.” quote from the Dreamstress in her annoncement of the challenge.

As usual I started with some inspirations pictures.

tumblr_m7dx481rUn1r7jdxuo3_500

Killerton-Kil-W-04253

Kyoto red stripe(quite a pink-orama)

As pattern for the jacket I turned to Janet Arnold, and her beautiful 1750s pet-en-l’aire (jacket).

2013-09-14 16.42.23

2013-09-14 16.44.11

So I put the corset and pocket-hoops on my dressform and started to drape a pattern.

IMG_0794IMG_0793

IMG_0797

Then I removed it, sewed and tried it on as a mock-up.

IMG_0803IMG_0805

IMG_0811

After a few alterations it was time to cut the fabric.

IMG_0826 left and right sides being cut separatly so to mach the stipes perfectly.

I used plain white cotton as lining, and started the handsewing by working the eyelets into the back of the linning.

IMG_1549IMG_1542

I basted the lining to the striped fabric as a interlining.

Now it was time to arrange the backpleats. Something that took a bit of time and carefull forcing of the fabric.

Then everything went pretty fast, and I sewed the shoulders, the hip-pleats and the side seams. And I tried it on for further adjustments.

2013-08-25 16.24.522013-08-25 16.26.28

2013-08-25 16.25.35

I needed to make a few alterations and then I continued by folding and hemming the layers seperatly, and cut and turned under all the seam-allowences. I attached the sleeves and made the elbow flounce.

2013-09-02 18.31.262013-09-02 18.32.08

I’m a bit worried by the wrinkles in the waist. I had hoped to be able to make the jacket without a waist seam. But I had to give in to the wrinkles and decided to sew them down as they lay, creating a false seam.

2013-09-02 18.30.53

I draped the stomacher straight to the body when wearing the jacket, to get the opening and sizing right. I cut the stomacher in two parts, who closes at center front by hooks and eyes.

The hole jacket are compleatly handsewn and I’m very proud of it. I used up every single piece of the fabric and manadge to only piece it in one place – the left sleeve flounce.

And thisweekend me and my sister had a photoshoot of the jacket paired with the separate skirt, that I will show you pictures of in my next post.

Some finished pictures on the dressform.

IMG_1561

IMG_1565

IMG_1564

IMG_1575

IMG_1567

IMG_1573

IMG_1578

IMG_1570

Just the facts:

Challenge 17. Robe and Robbings

What: A pet-en-l’air (Jacket)

Year: 1745-1755.

Pattern: Janet Arnolds “Pattern of Fahsion 1” A pet-en-l’air

Fabric: 2,5 m of striped cotton, and 2,5 m white cotton-sheet for lining.

Notions: Thread, hooks and eyes, lacing cord, plastic boning for the stomacher and lacing.

How historical accurate: My closest yet. Compleatly handsewn with period stiching, pattern and cutting methods. I’d say about 90%.

Time: 25 hours

Cost: 100 Sek (11USD)

First worn: On the photoshoot mid sep.