I tend to think these “make-do/repair/re-make – challenges” are pretty boring. And I never know what to make and feel kind of uninspired by the whole thing.
But then something always happens.
I guess it’s due to my ever growing costume wardrobe, and my inpatients (often pressed by deadlines) to get stuff finished, that I always end up with several entry’s for the “re-make” HSM challenges.
The first one, this time, is the fixing up of my 16th century “Pair of bodice” (corset) that I made as one of my first historic pieces back in 2013.
 Mighty proud back then
Since I’ve long been dreaming of expanding my 16th century wardrobe (and just recently got both patterns and a lovely black wool for a robe) I decided it was time to go through the existing pieces to make sure they where up to speed.
 2013, and just starting to ventur into the world of historic costuming


February 2017, and still a novice (tough a bit more knowable)
The corset fit me almost the same as back in 2013, but that was not enough anymore.
It needed to be fixed.
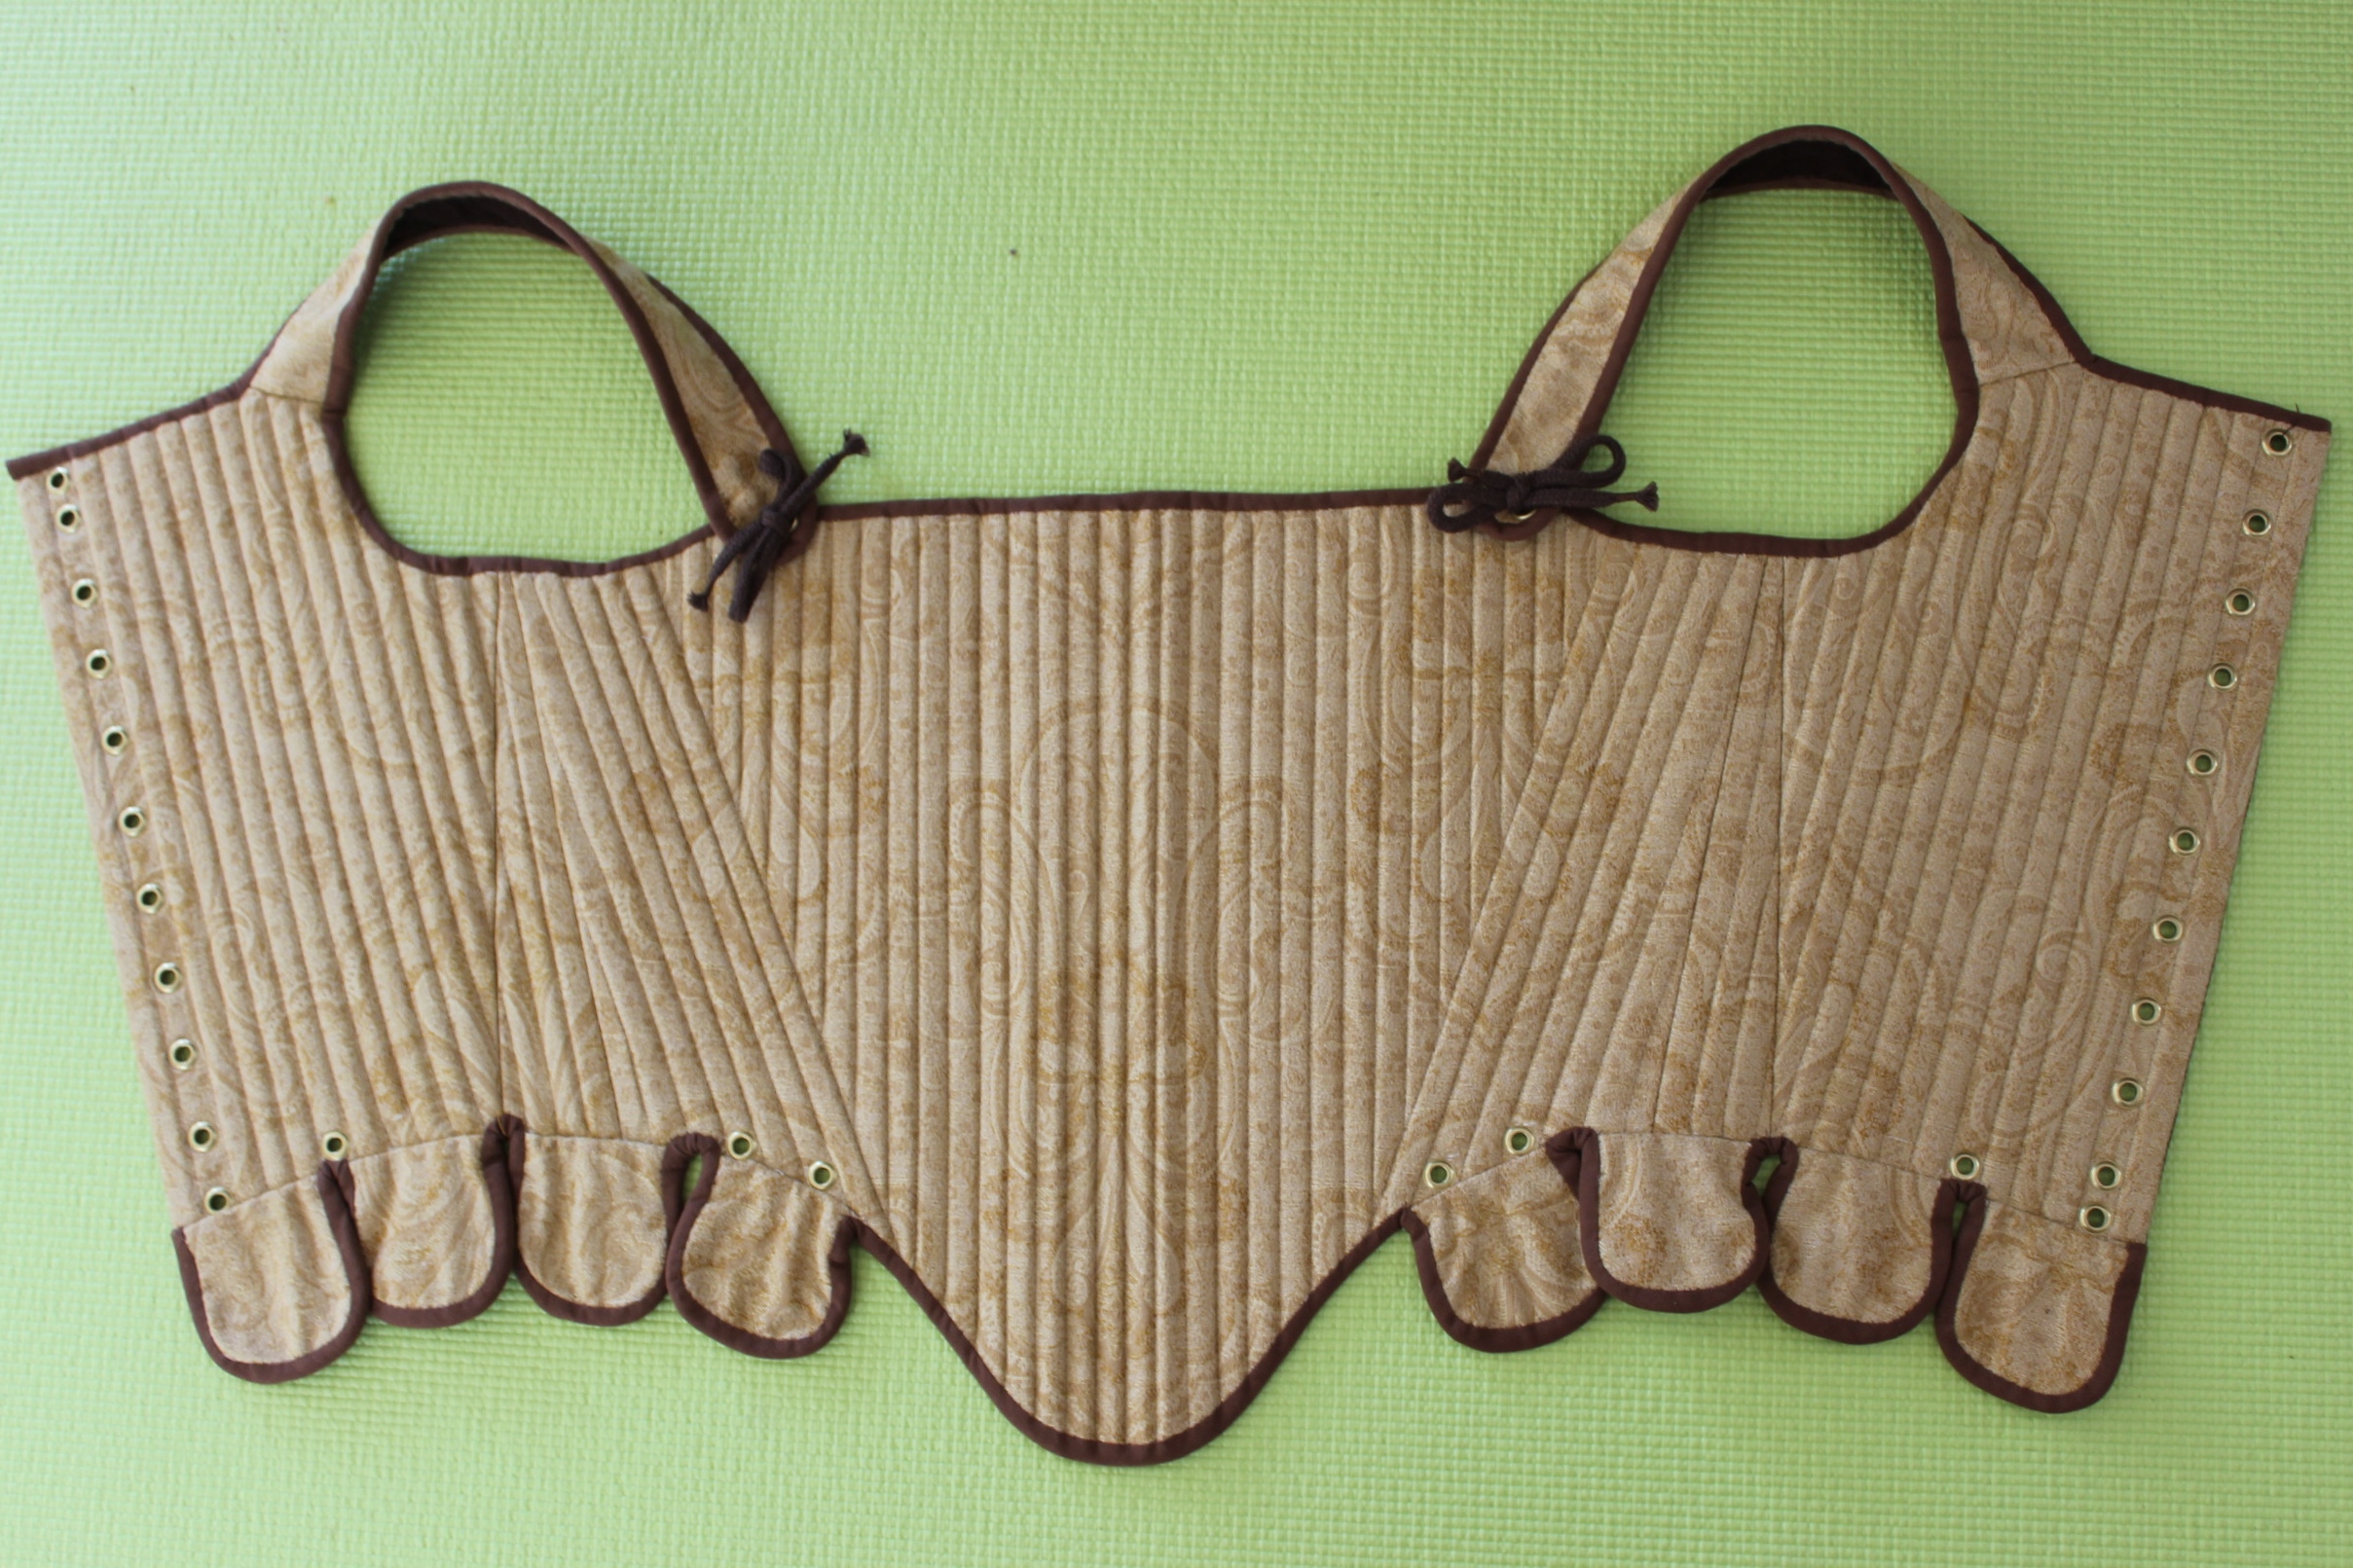
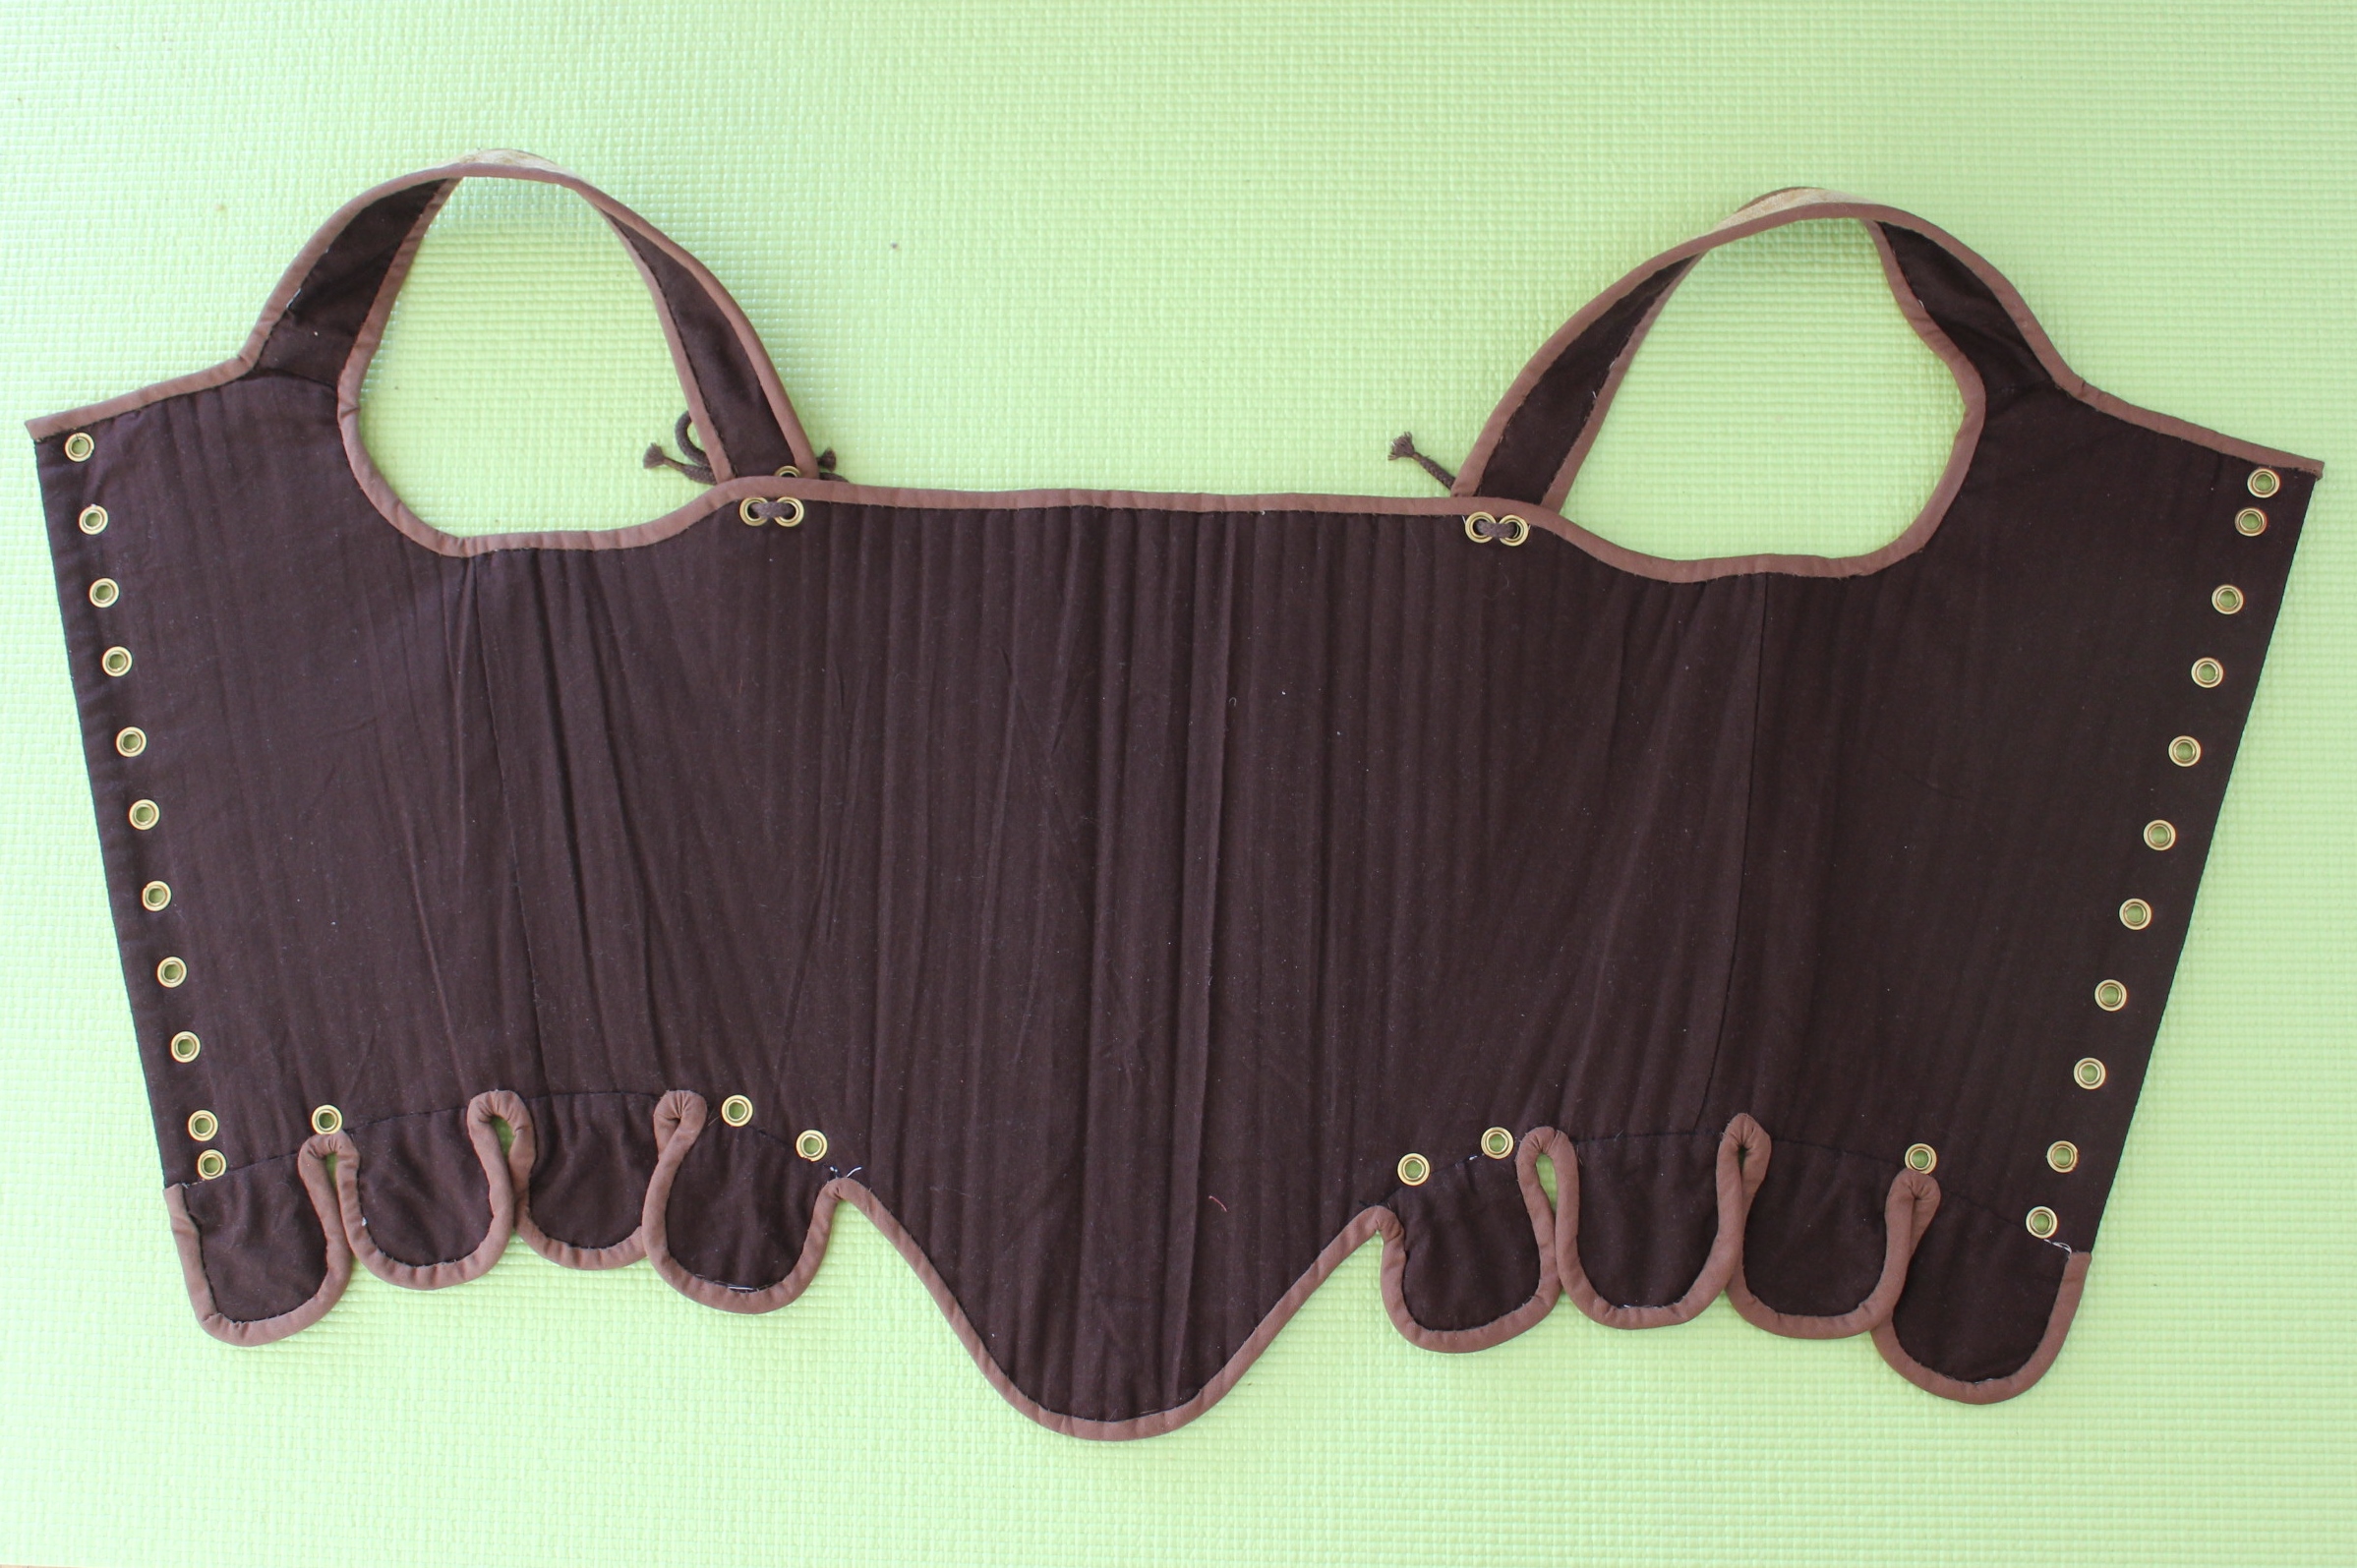
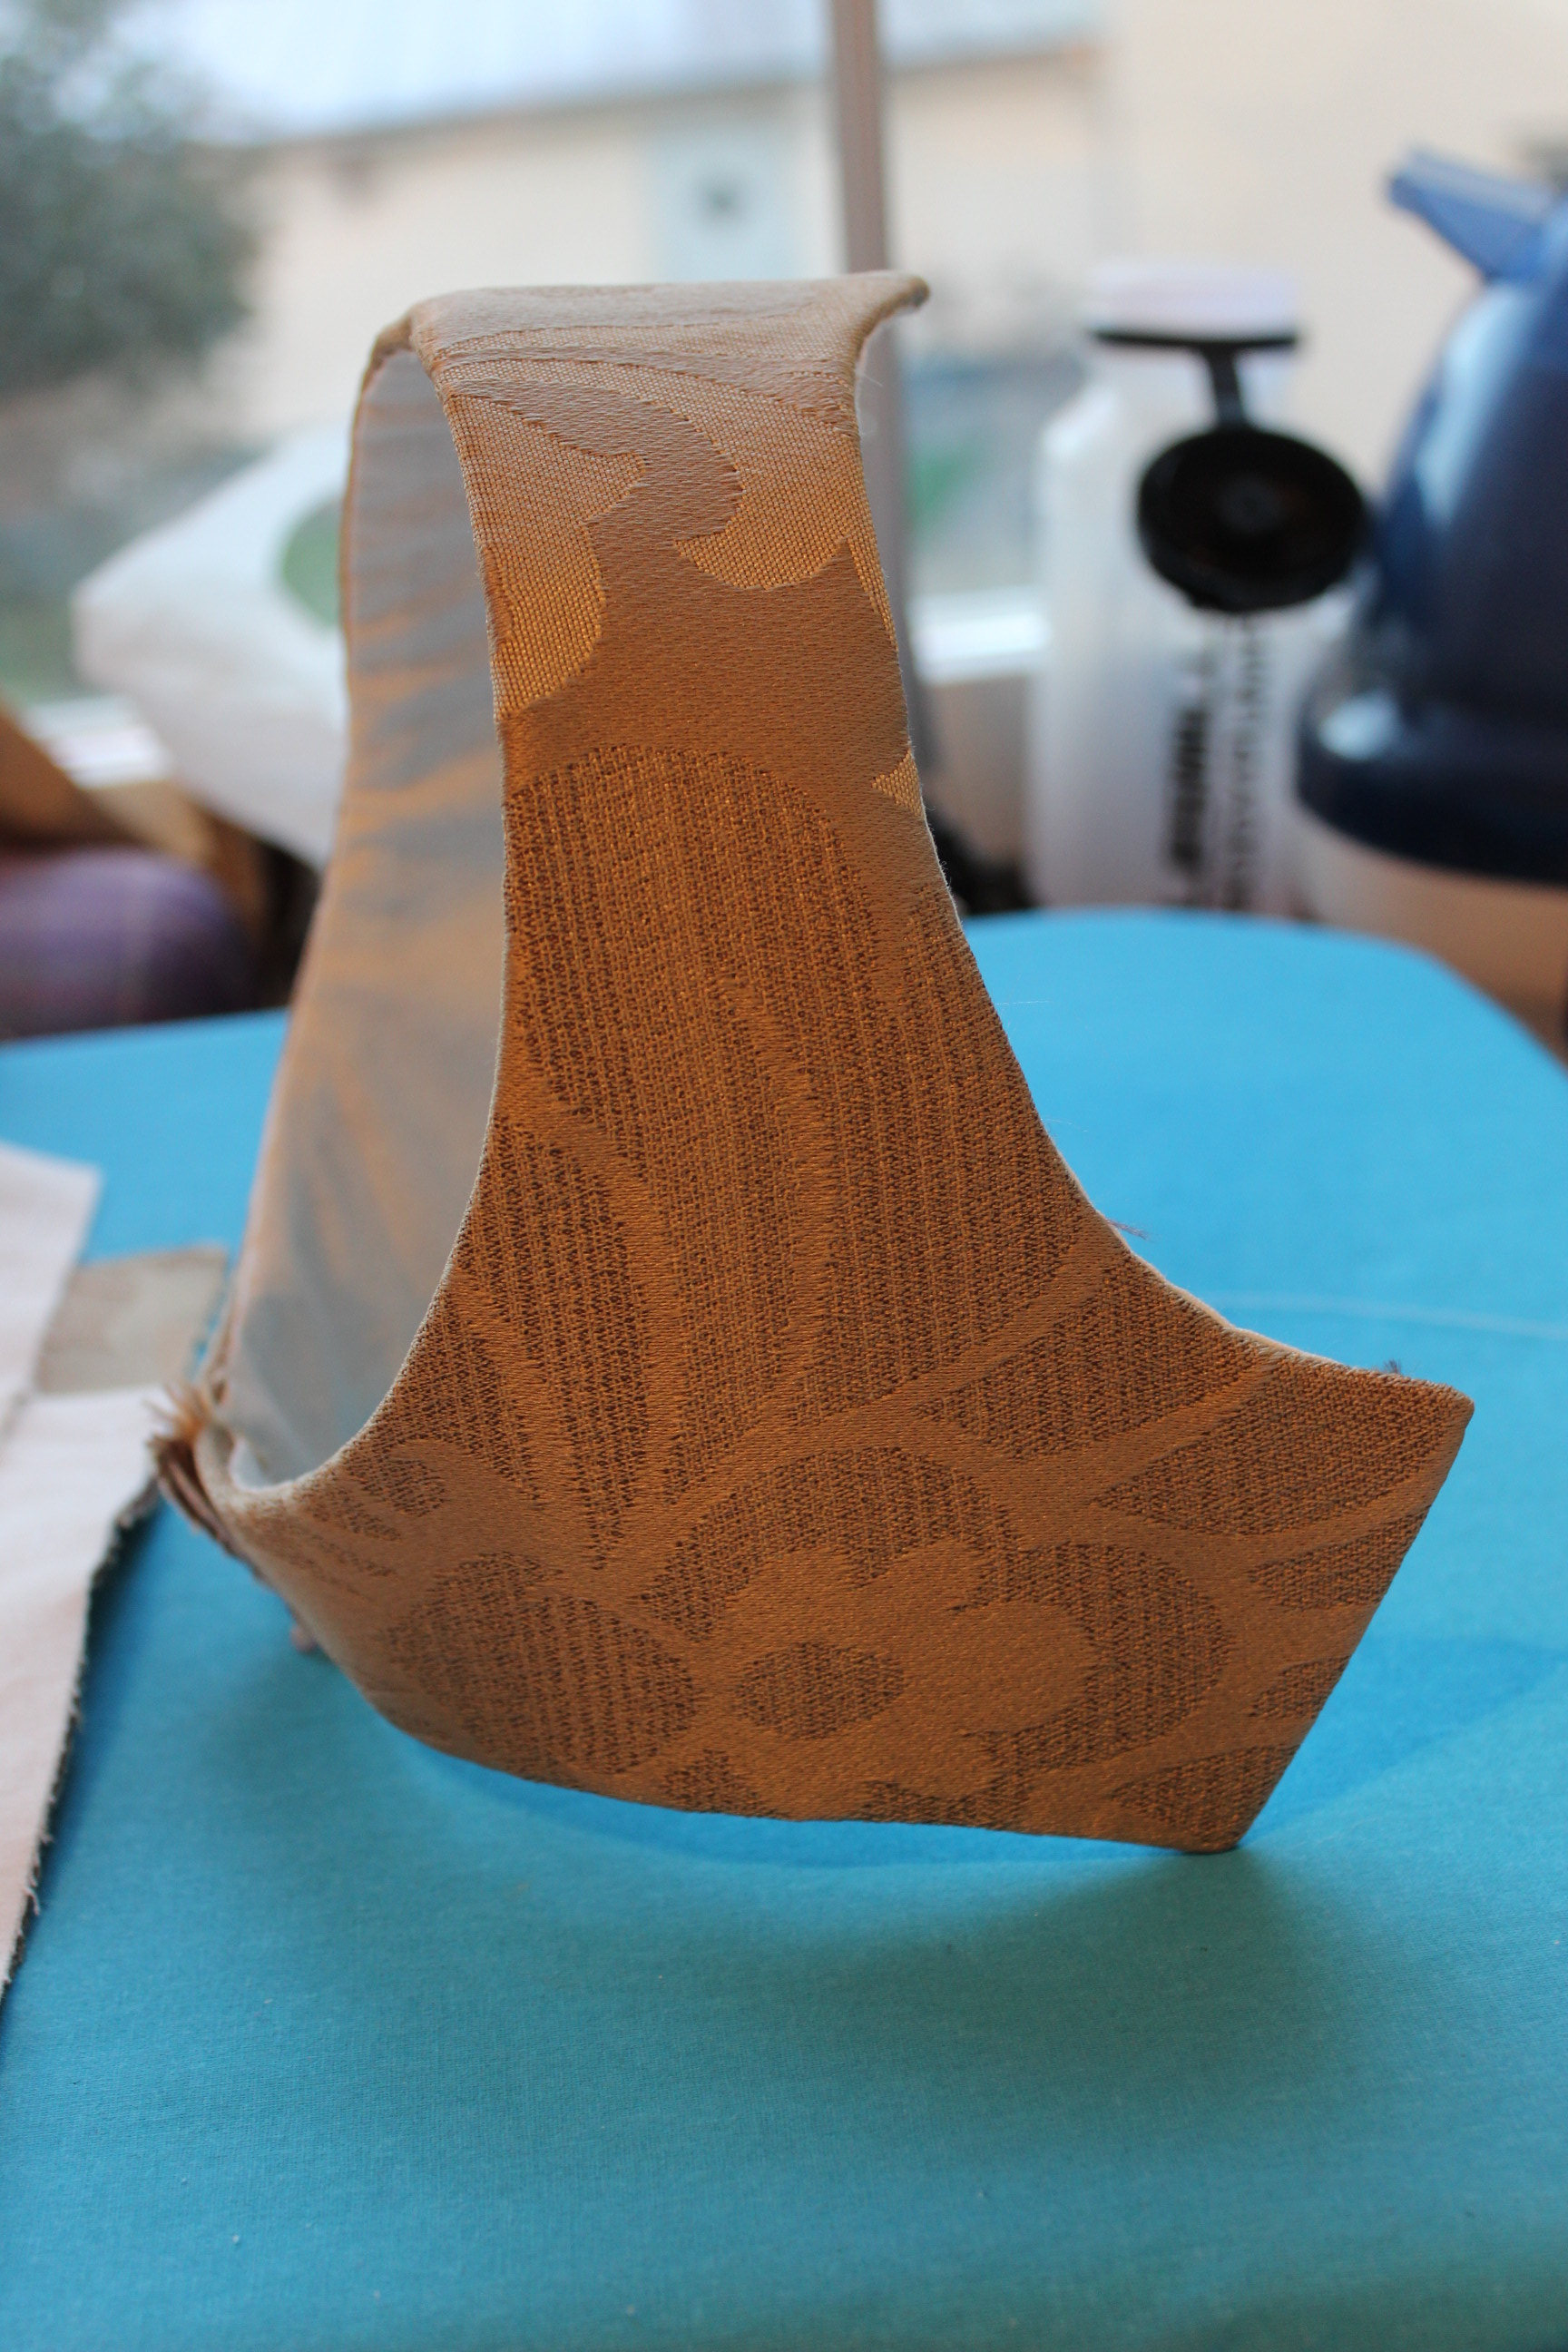
Here is how it looked before I dug my seam-ripper into it.


The first thing I did was to take my measurements, and they tuned out (as I expected) to be the exact same with and without the corset on. I know that the 16th century silhouette don’t call for any sliming of the torso, but a column to get the right look of the garment. But despite that I wanted to minimize my “column” as much as possible – Oh the vanity…
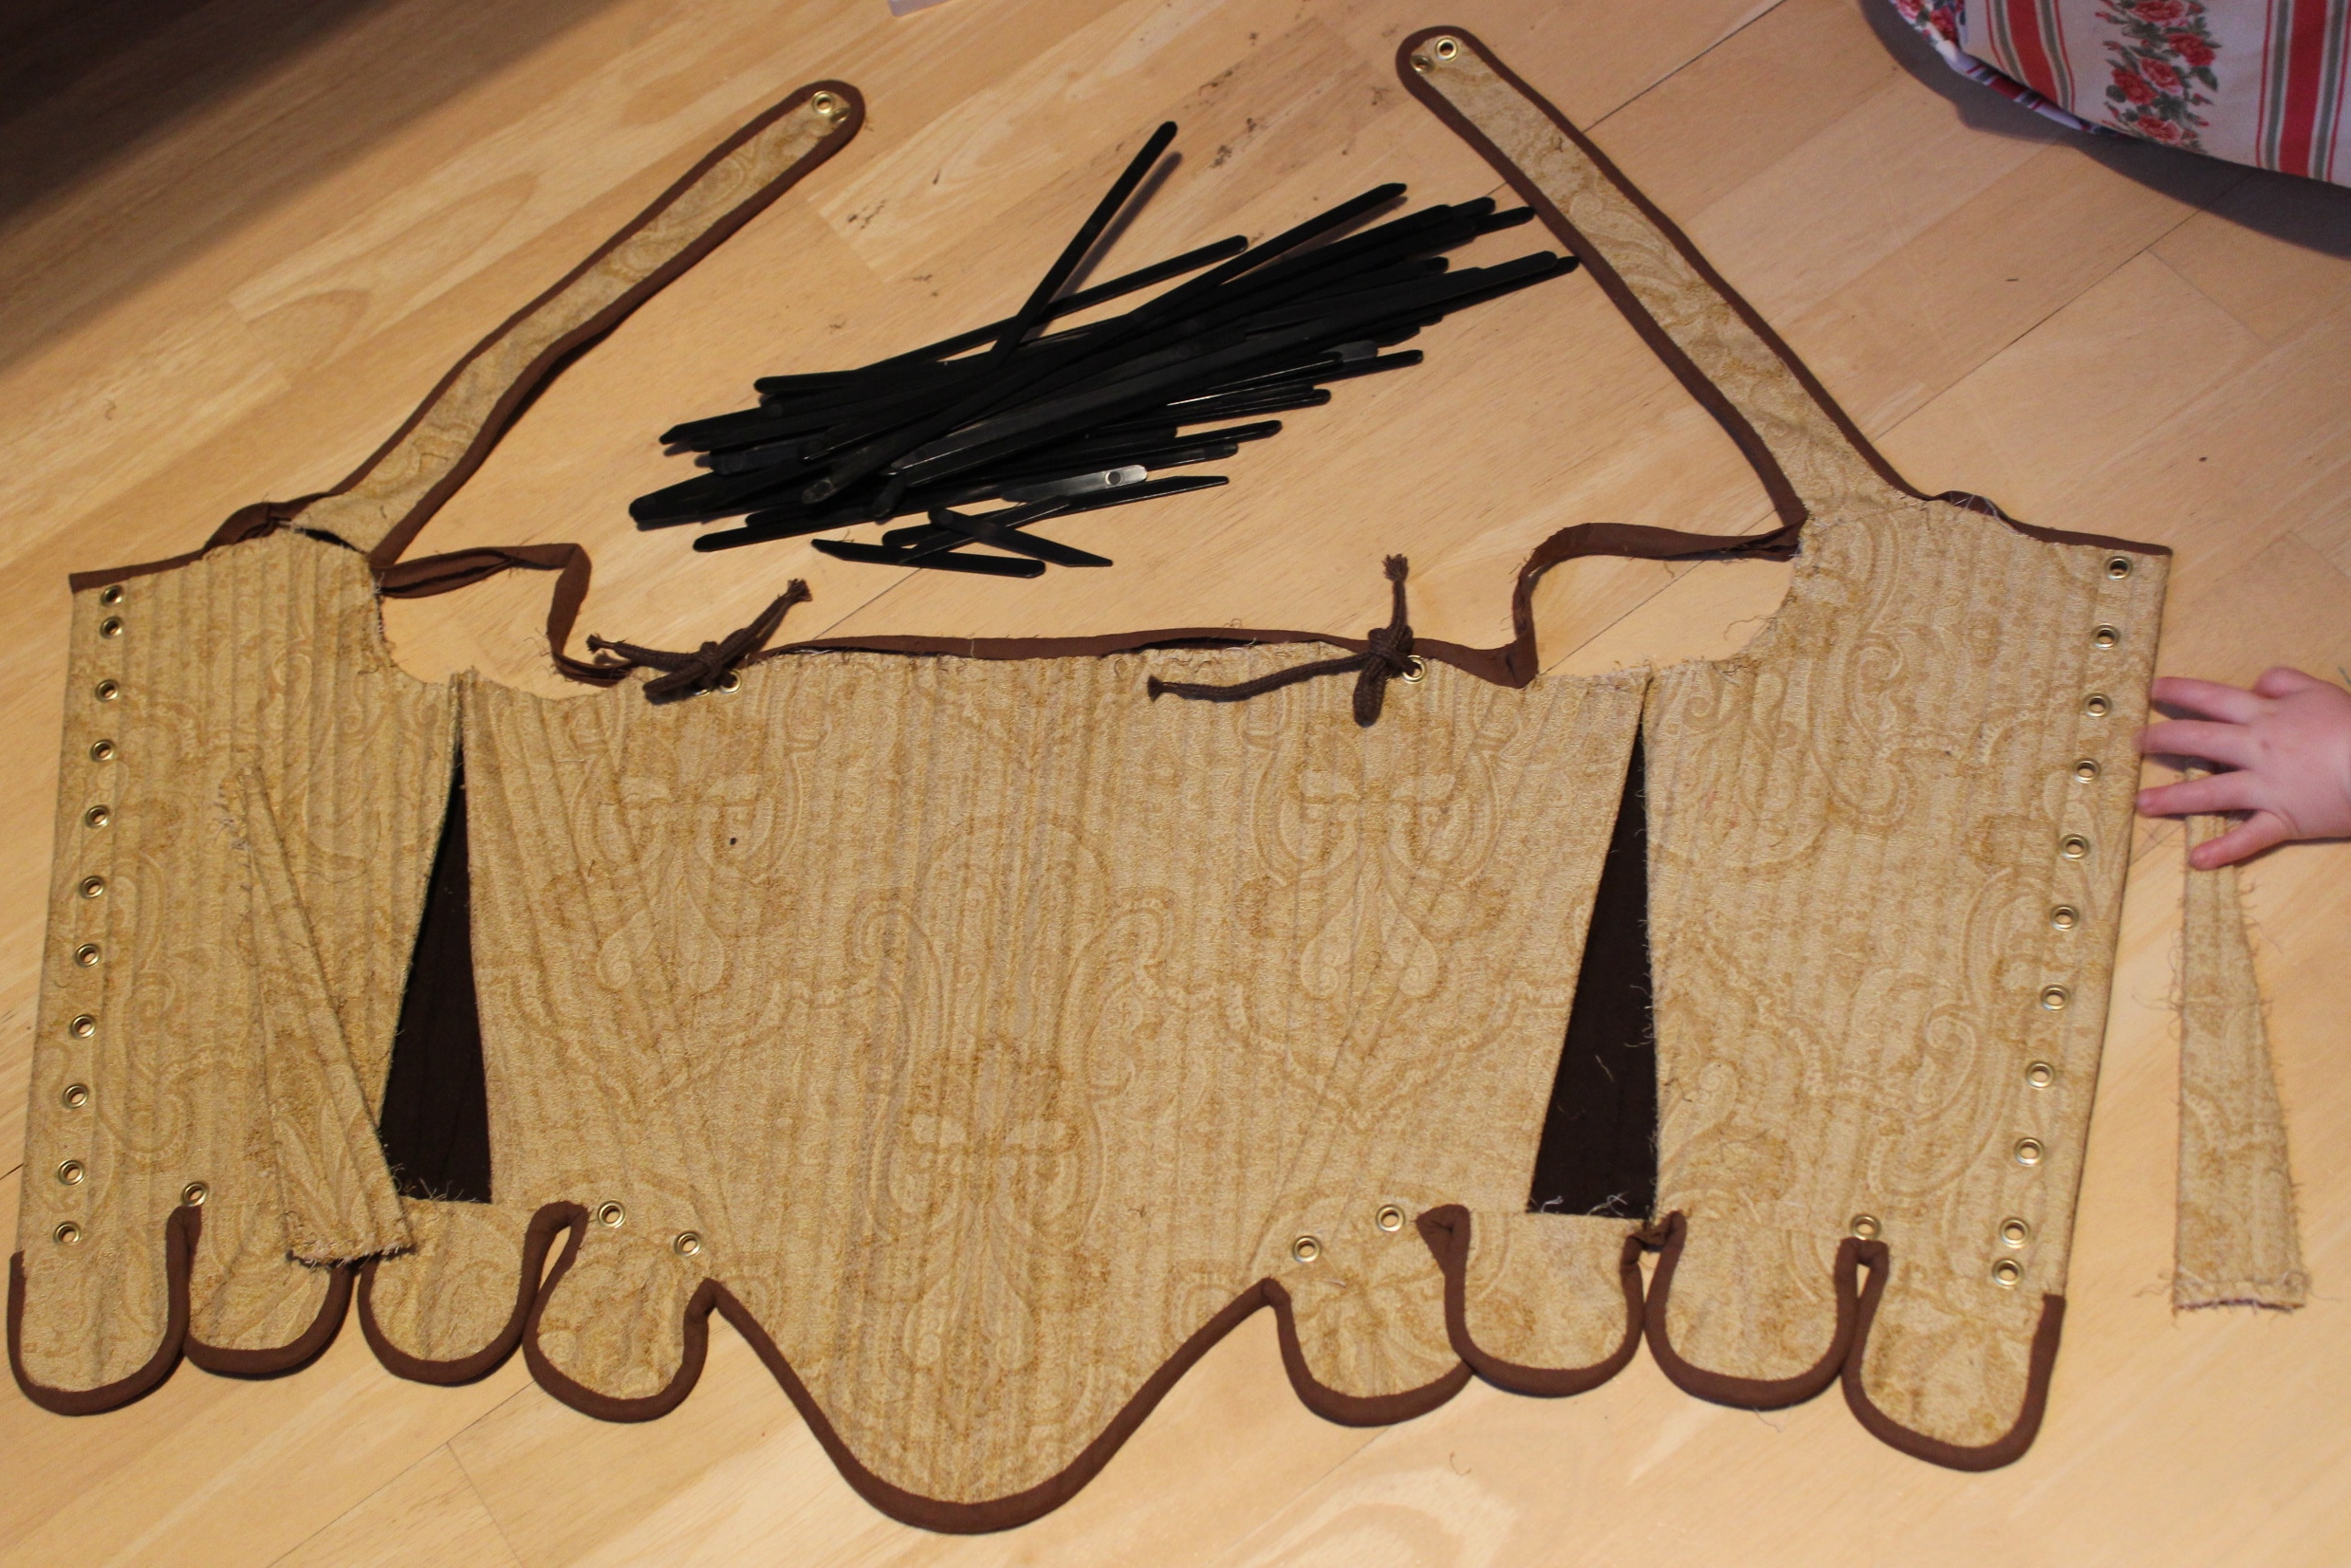
One of the biggest problem in this was the thick (2-3mm) plastic zip-ties I used to completely bone the bodice.
They build on to the outside of the corset to give me the bigger/same size as un-laced.
So they had to go.
Or at least most of them.
After I unripped the bias tape covering the upper edge, I removed every other bone at the front, all bones at the sides and only left a few ones a the back. I also cut the remaining bones down a god cm to make them fit better into the channels.
 Cutting down the plastic boning.
Once the bones was gone I faced another problem – now the whole thing was a bit to big…
So I grabbed my seam-ripper, and got to work removing the piecing I added for exactly the same (opposite?) reason when I made the bodice. 
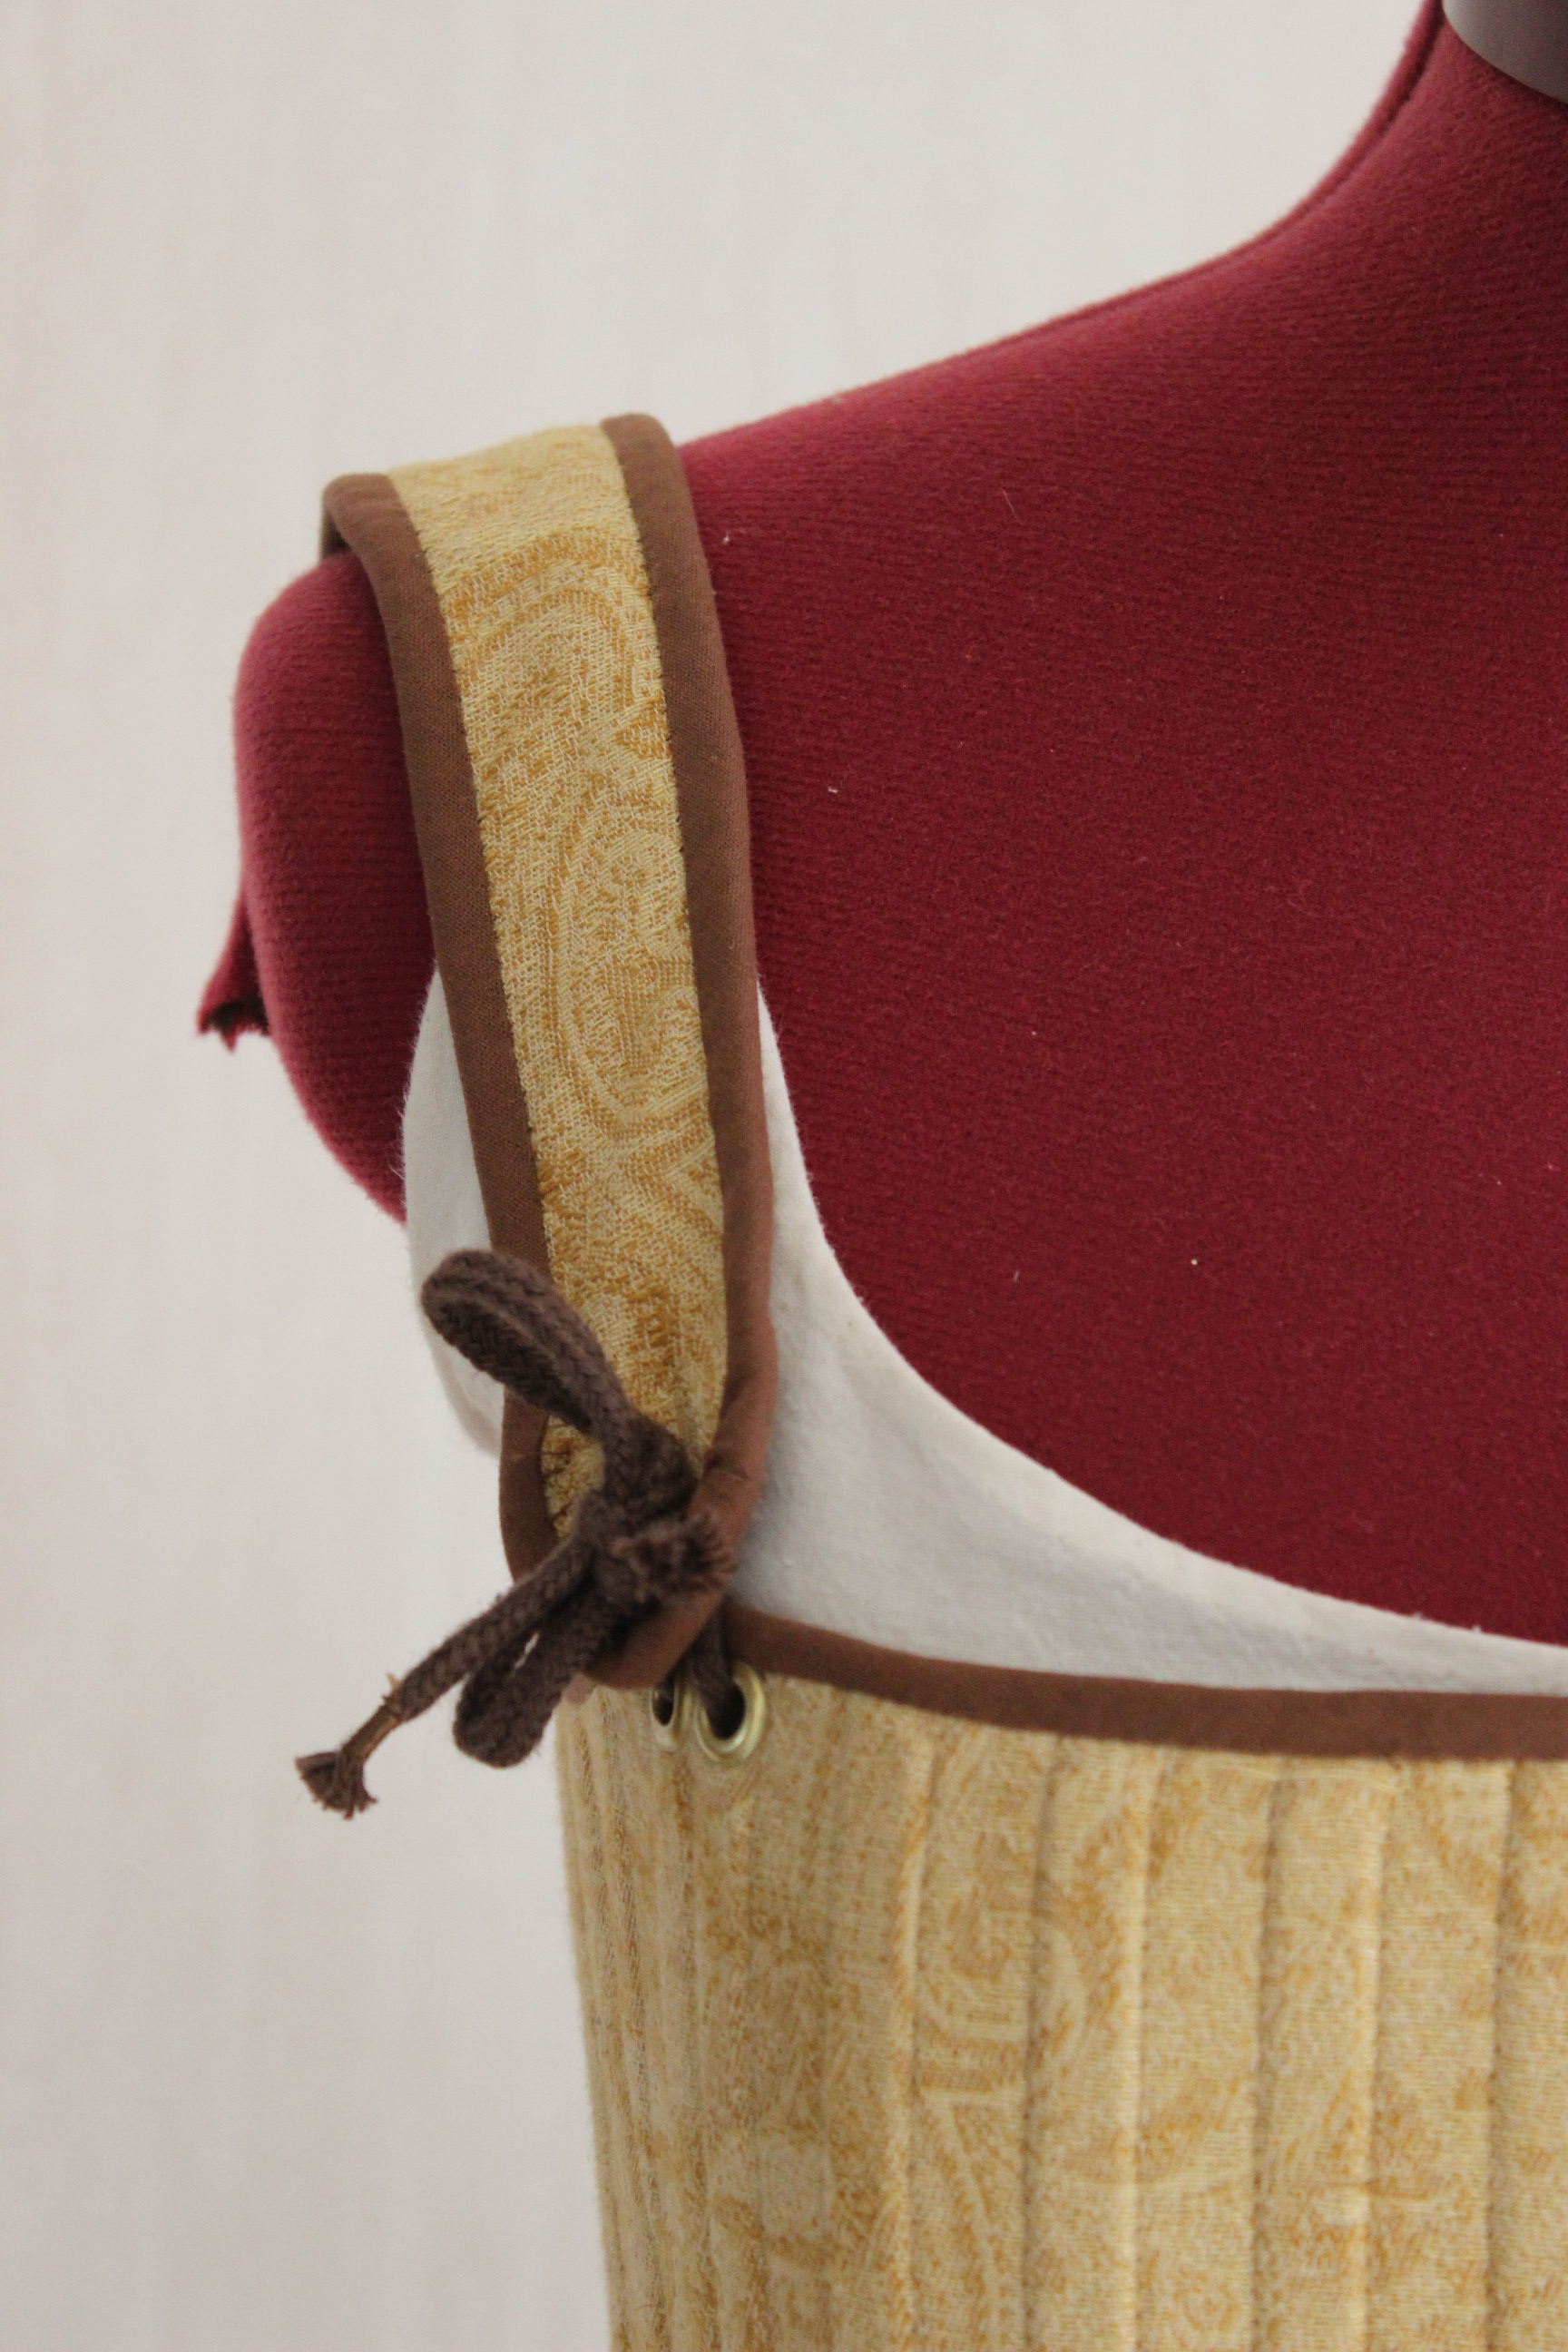
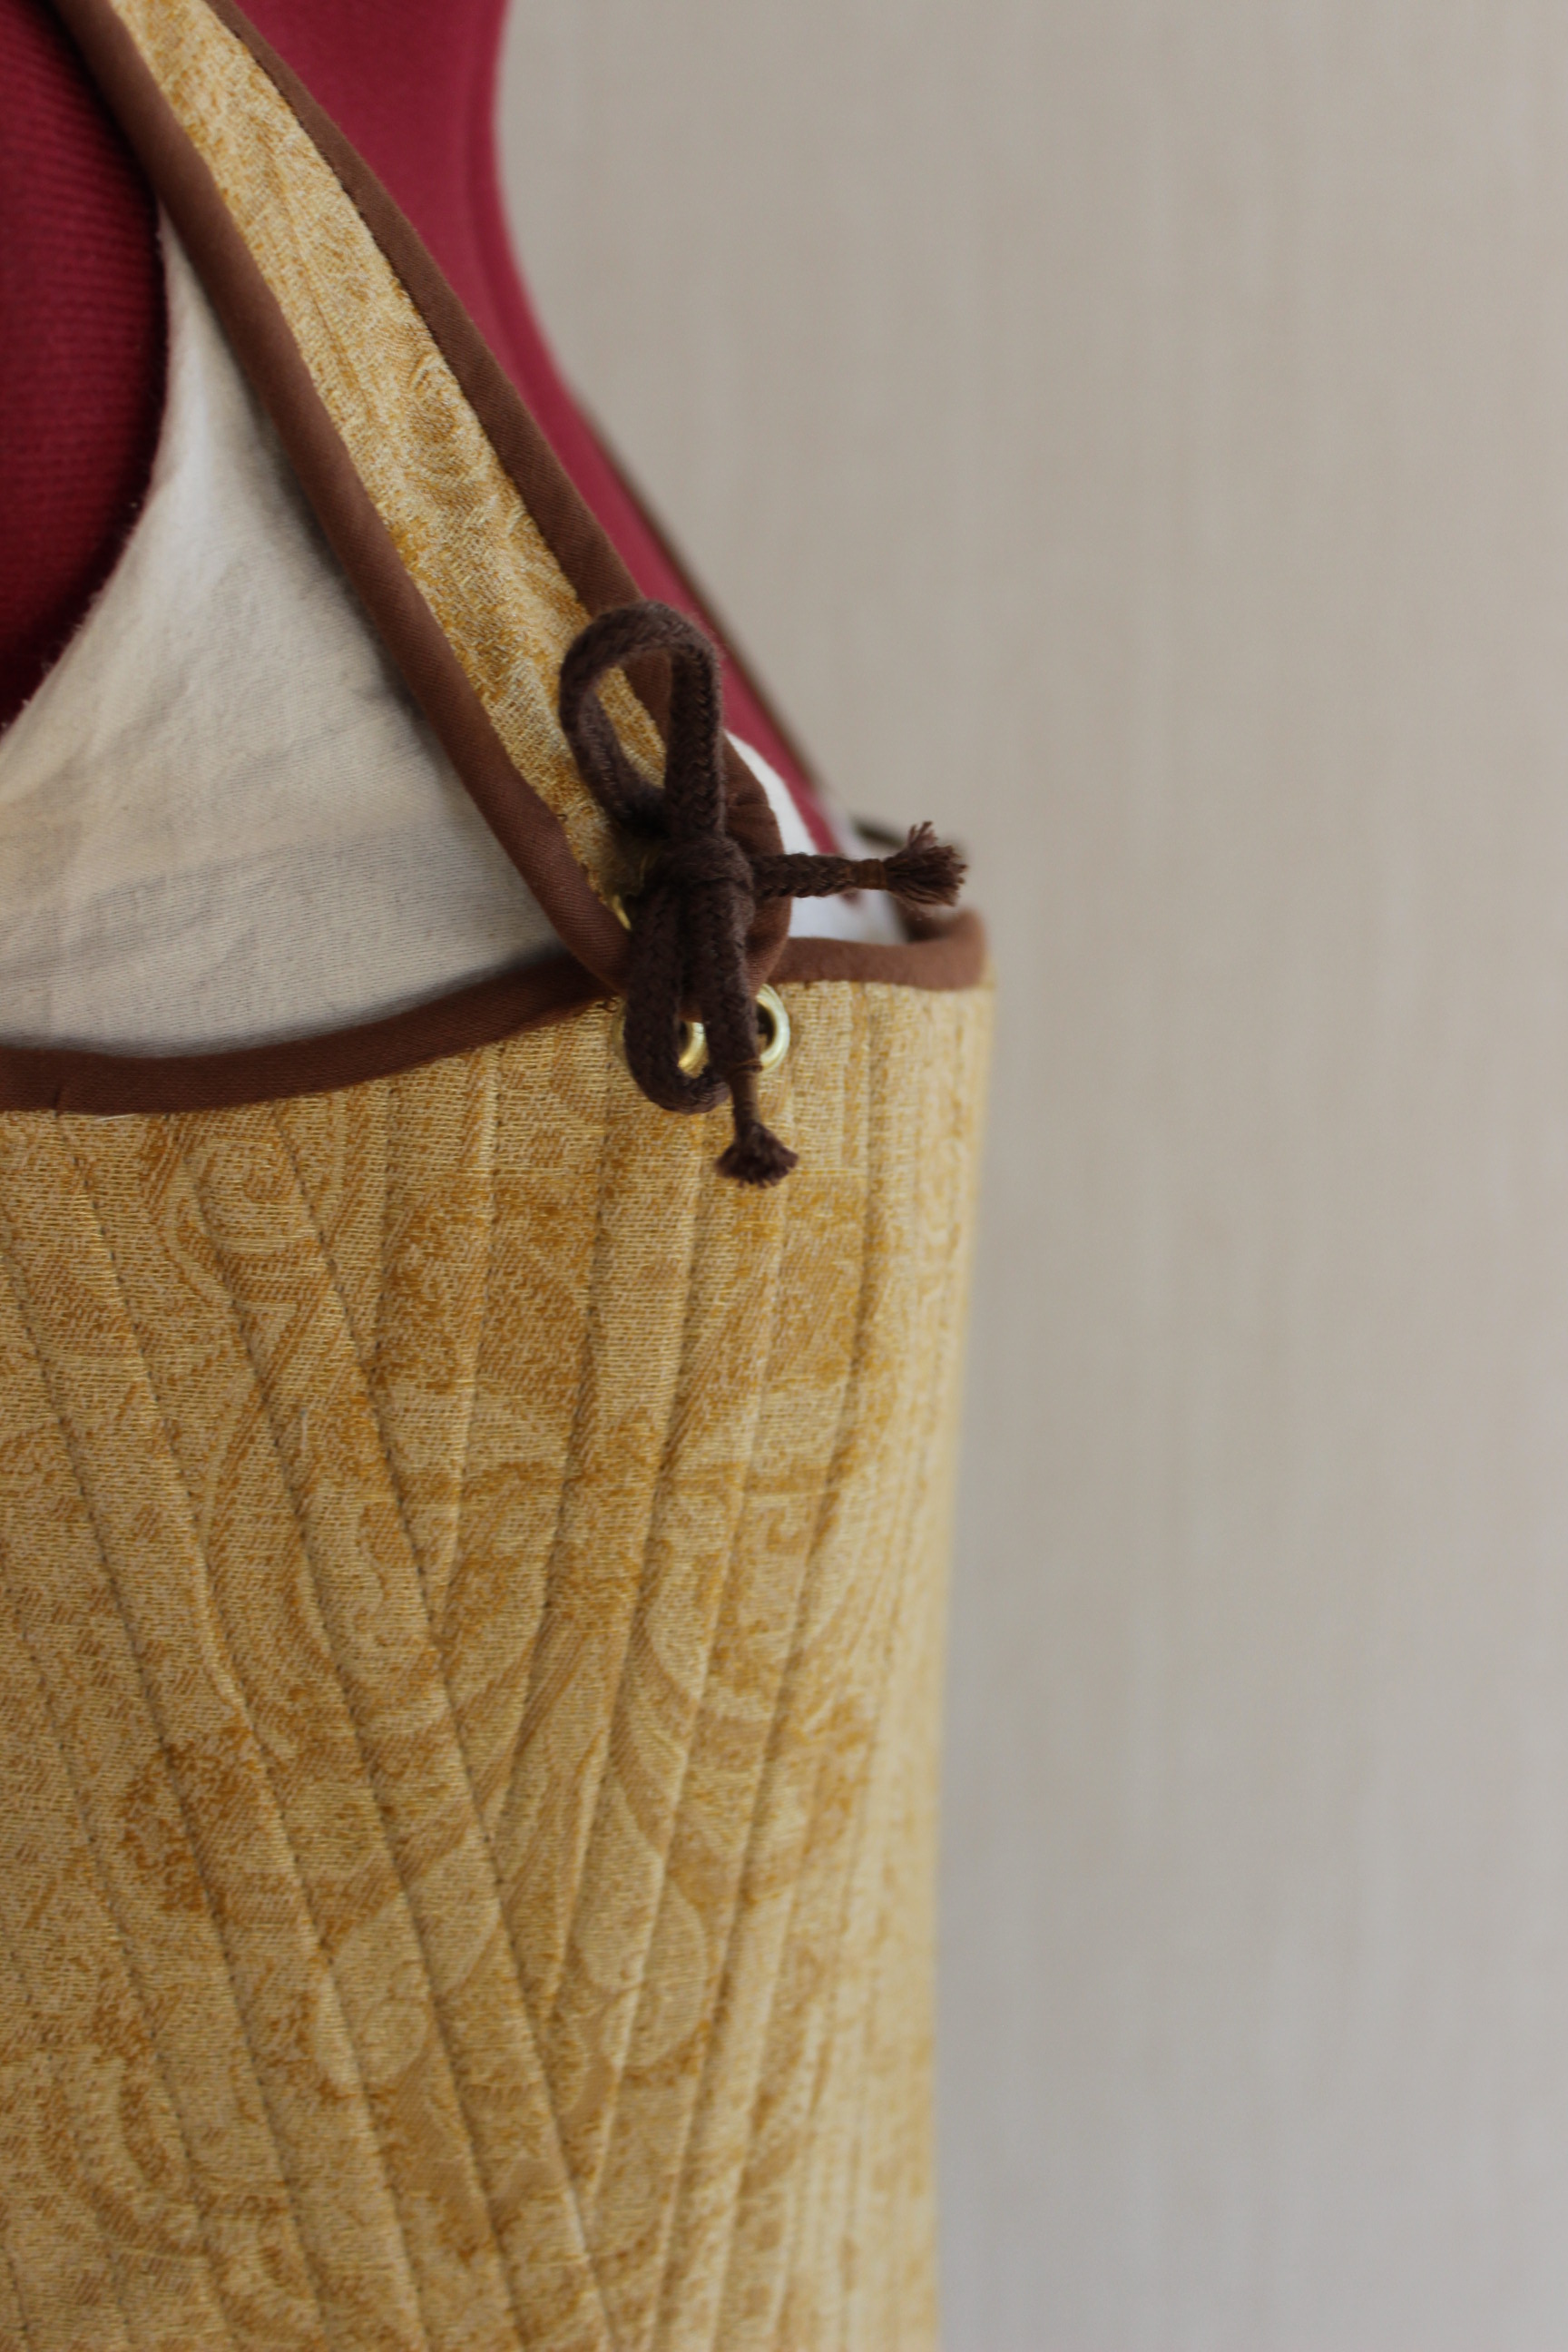
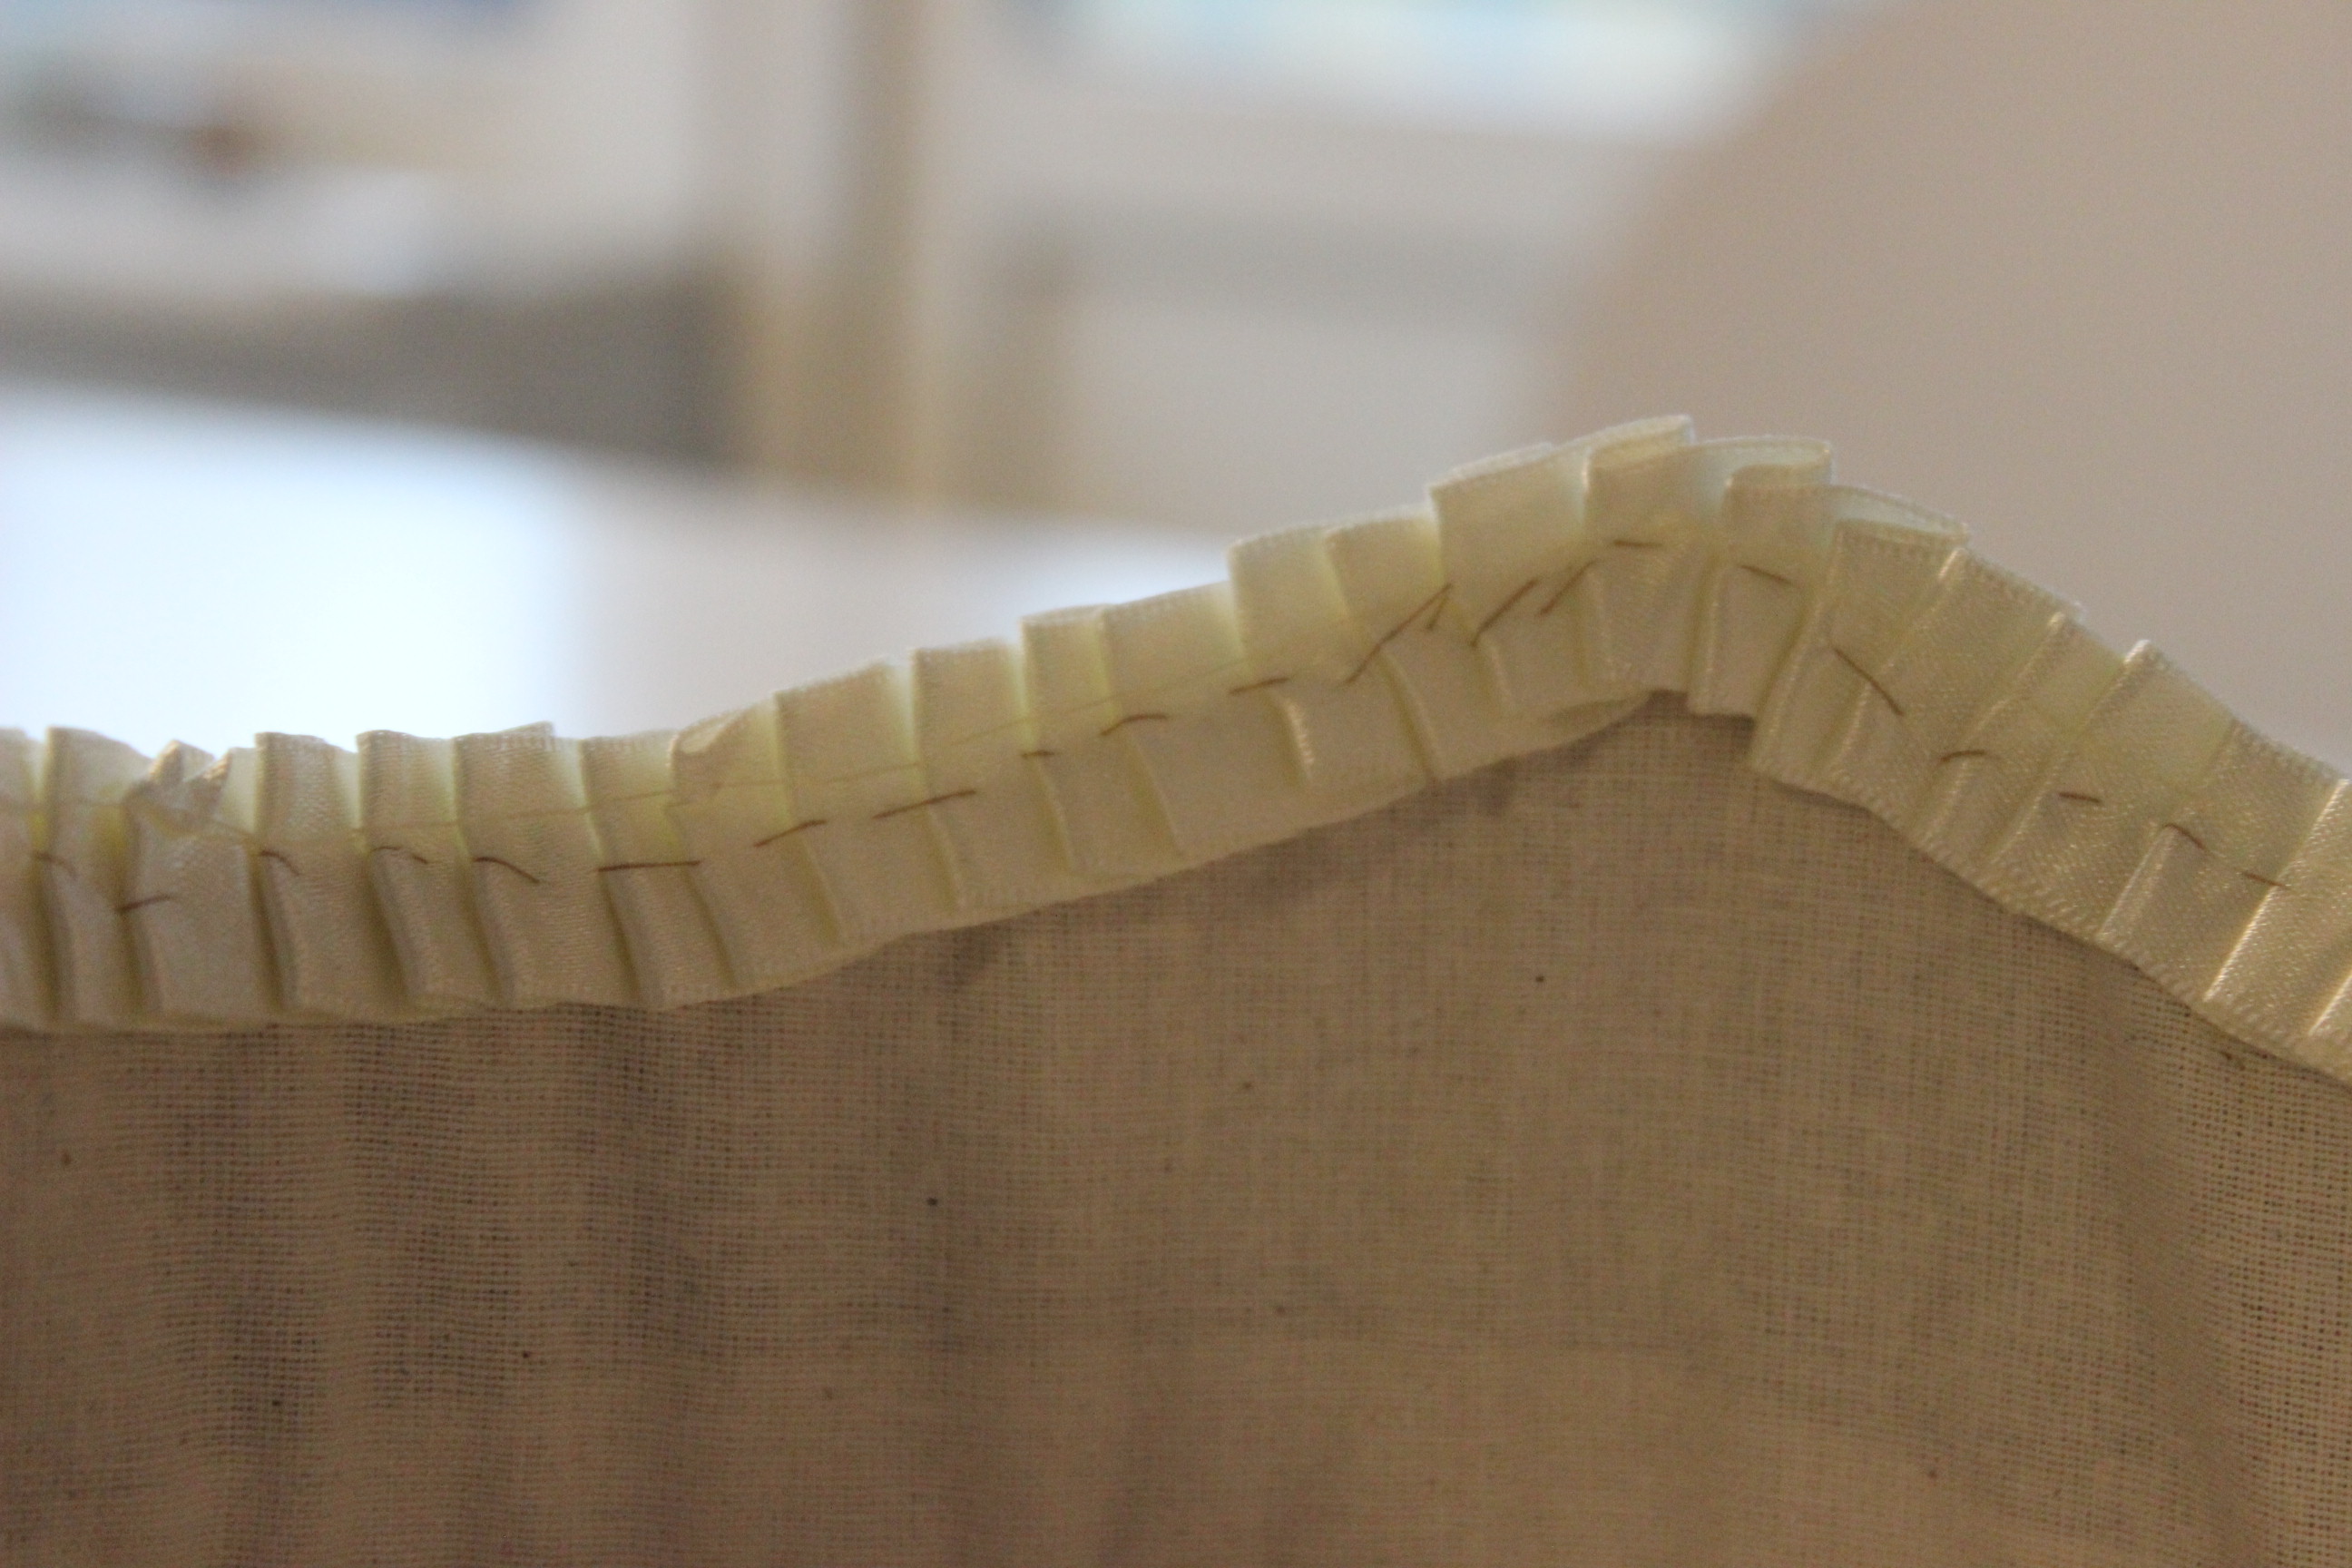
Once almost all the upper binding was removed, I also took the opportunity to shorten the shoulder straps.
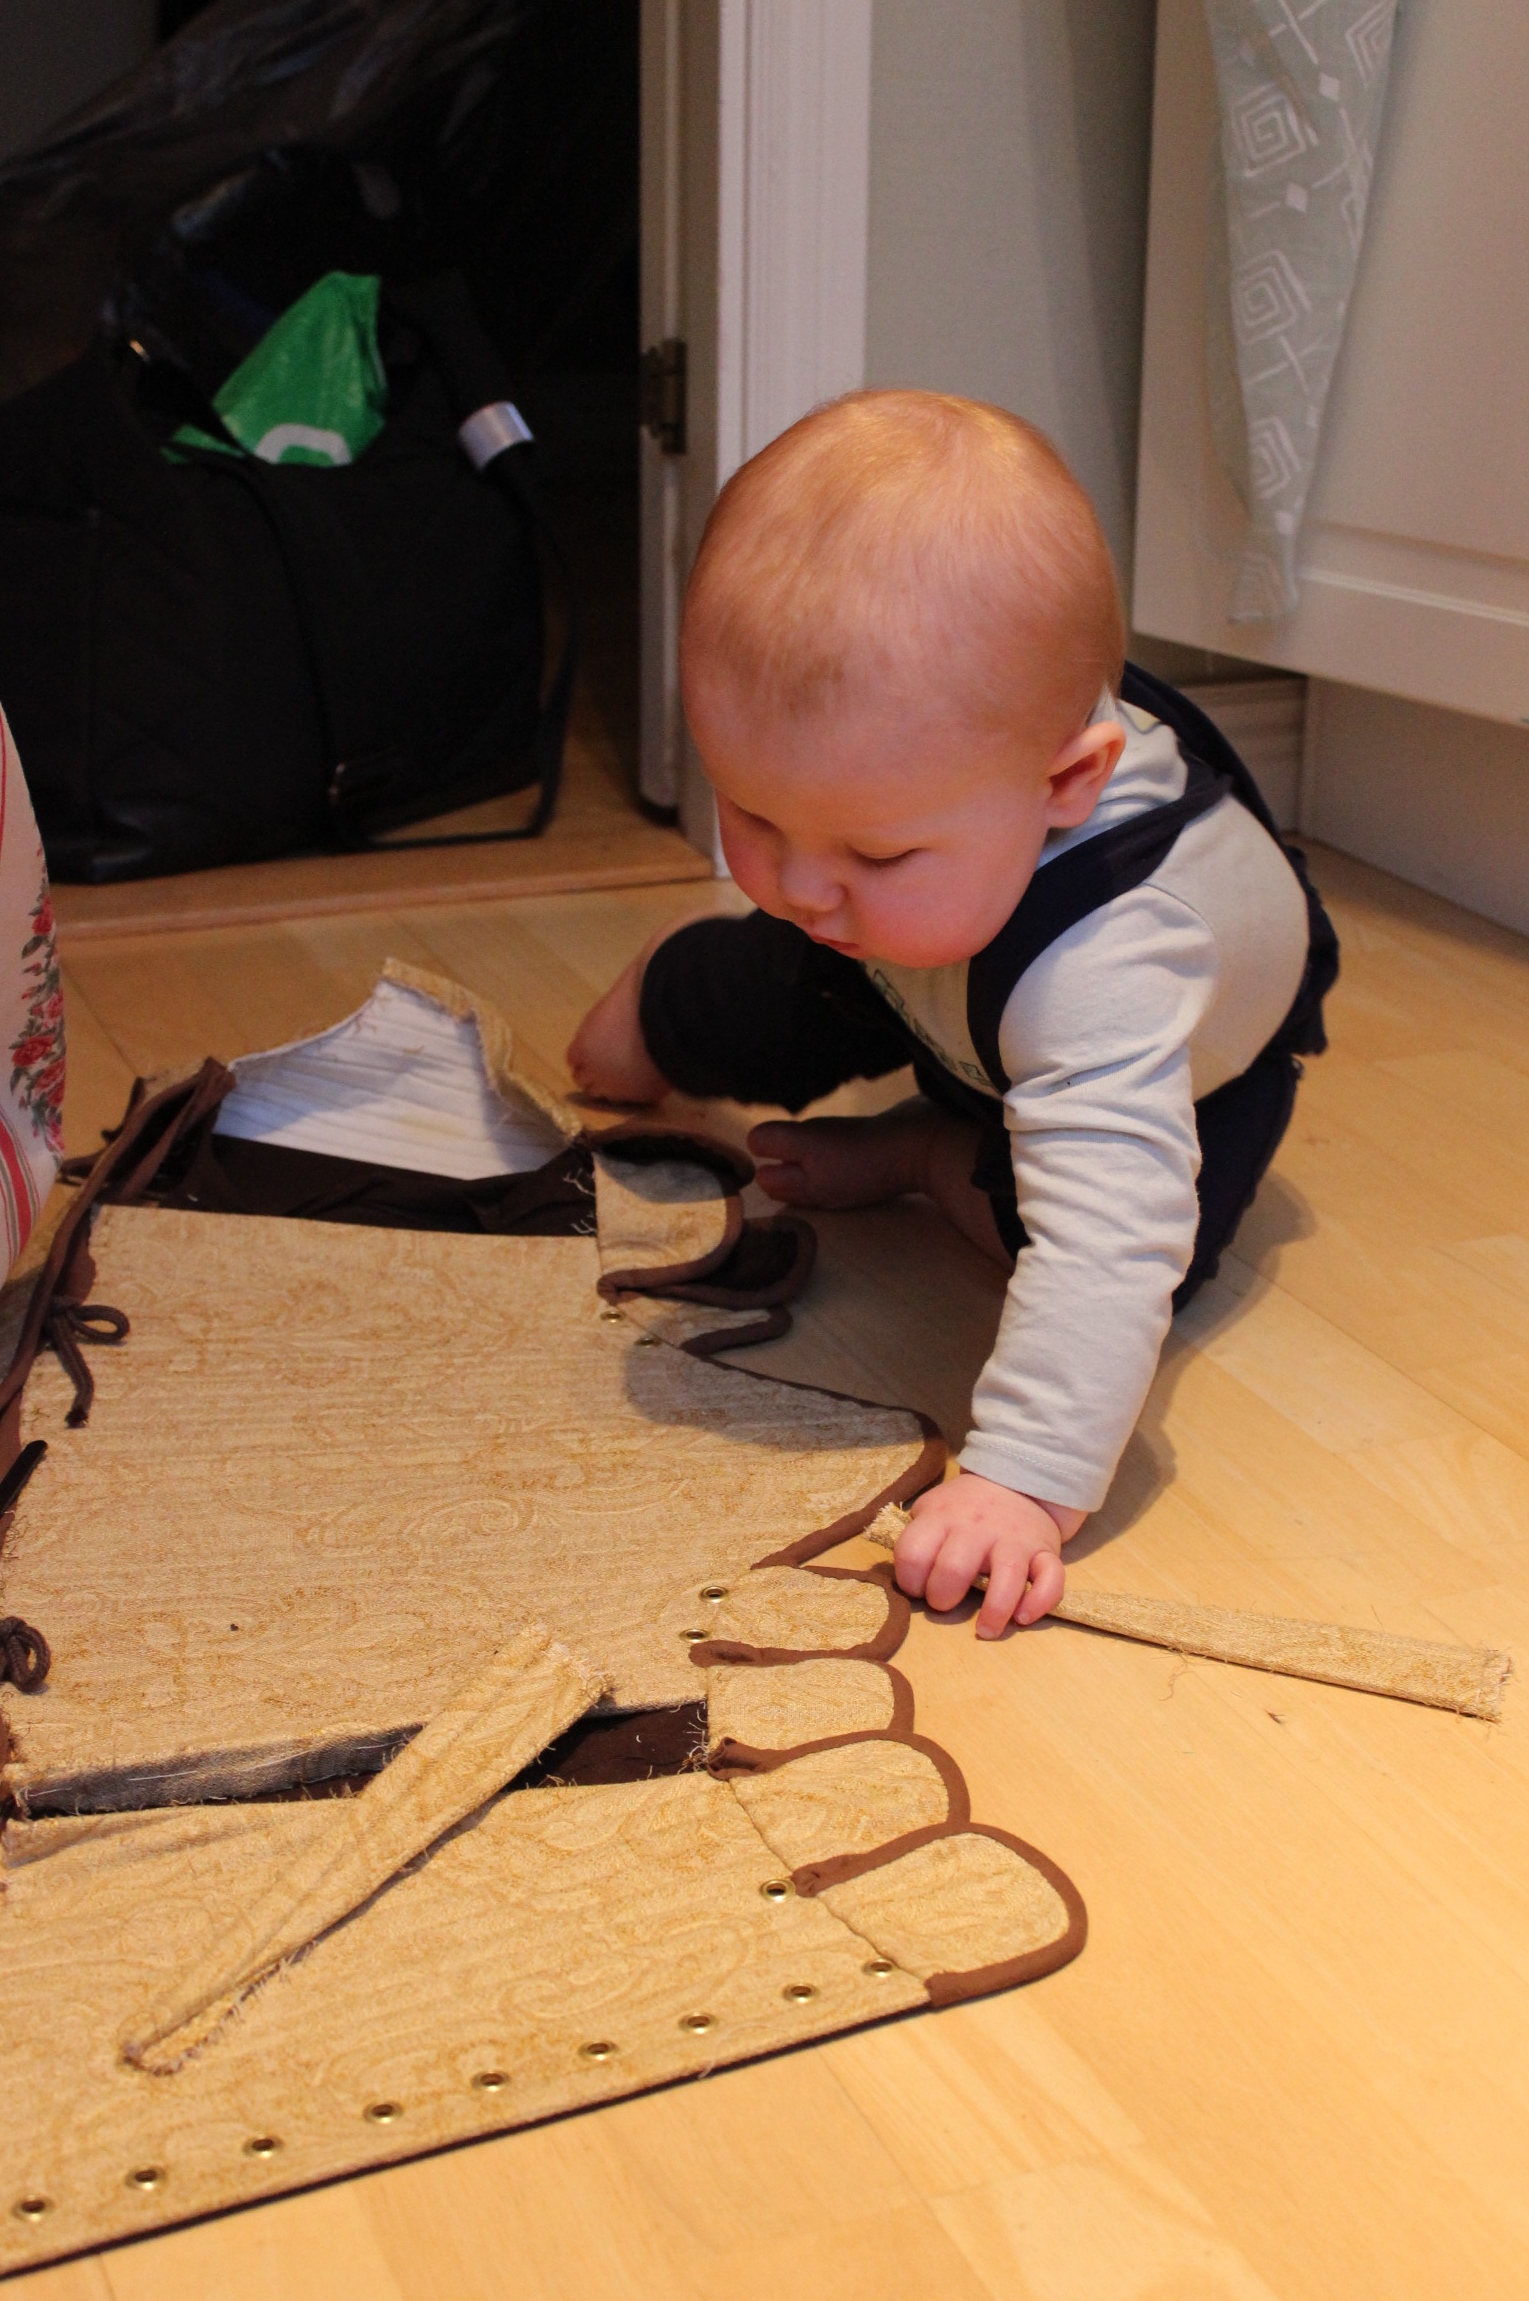
By now the corset looked like some kind of roadkill, with everything hanging lose and the big pile of boning sticking out.

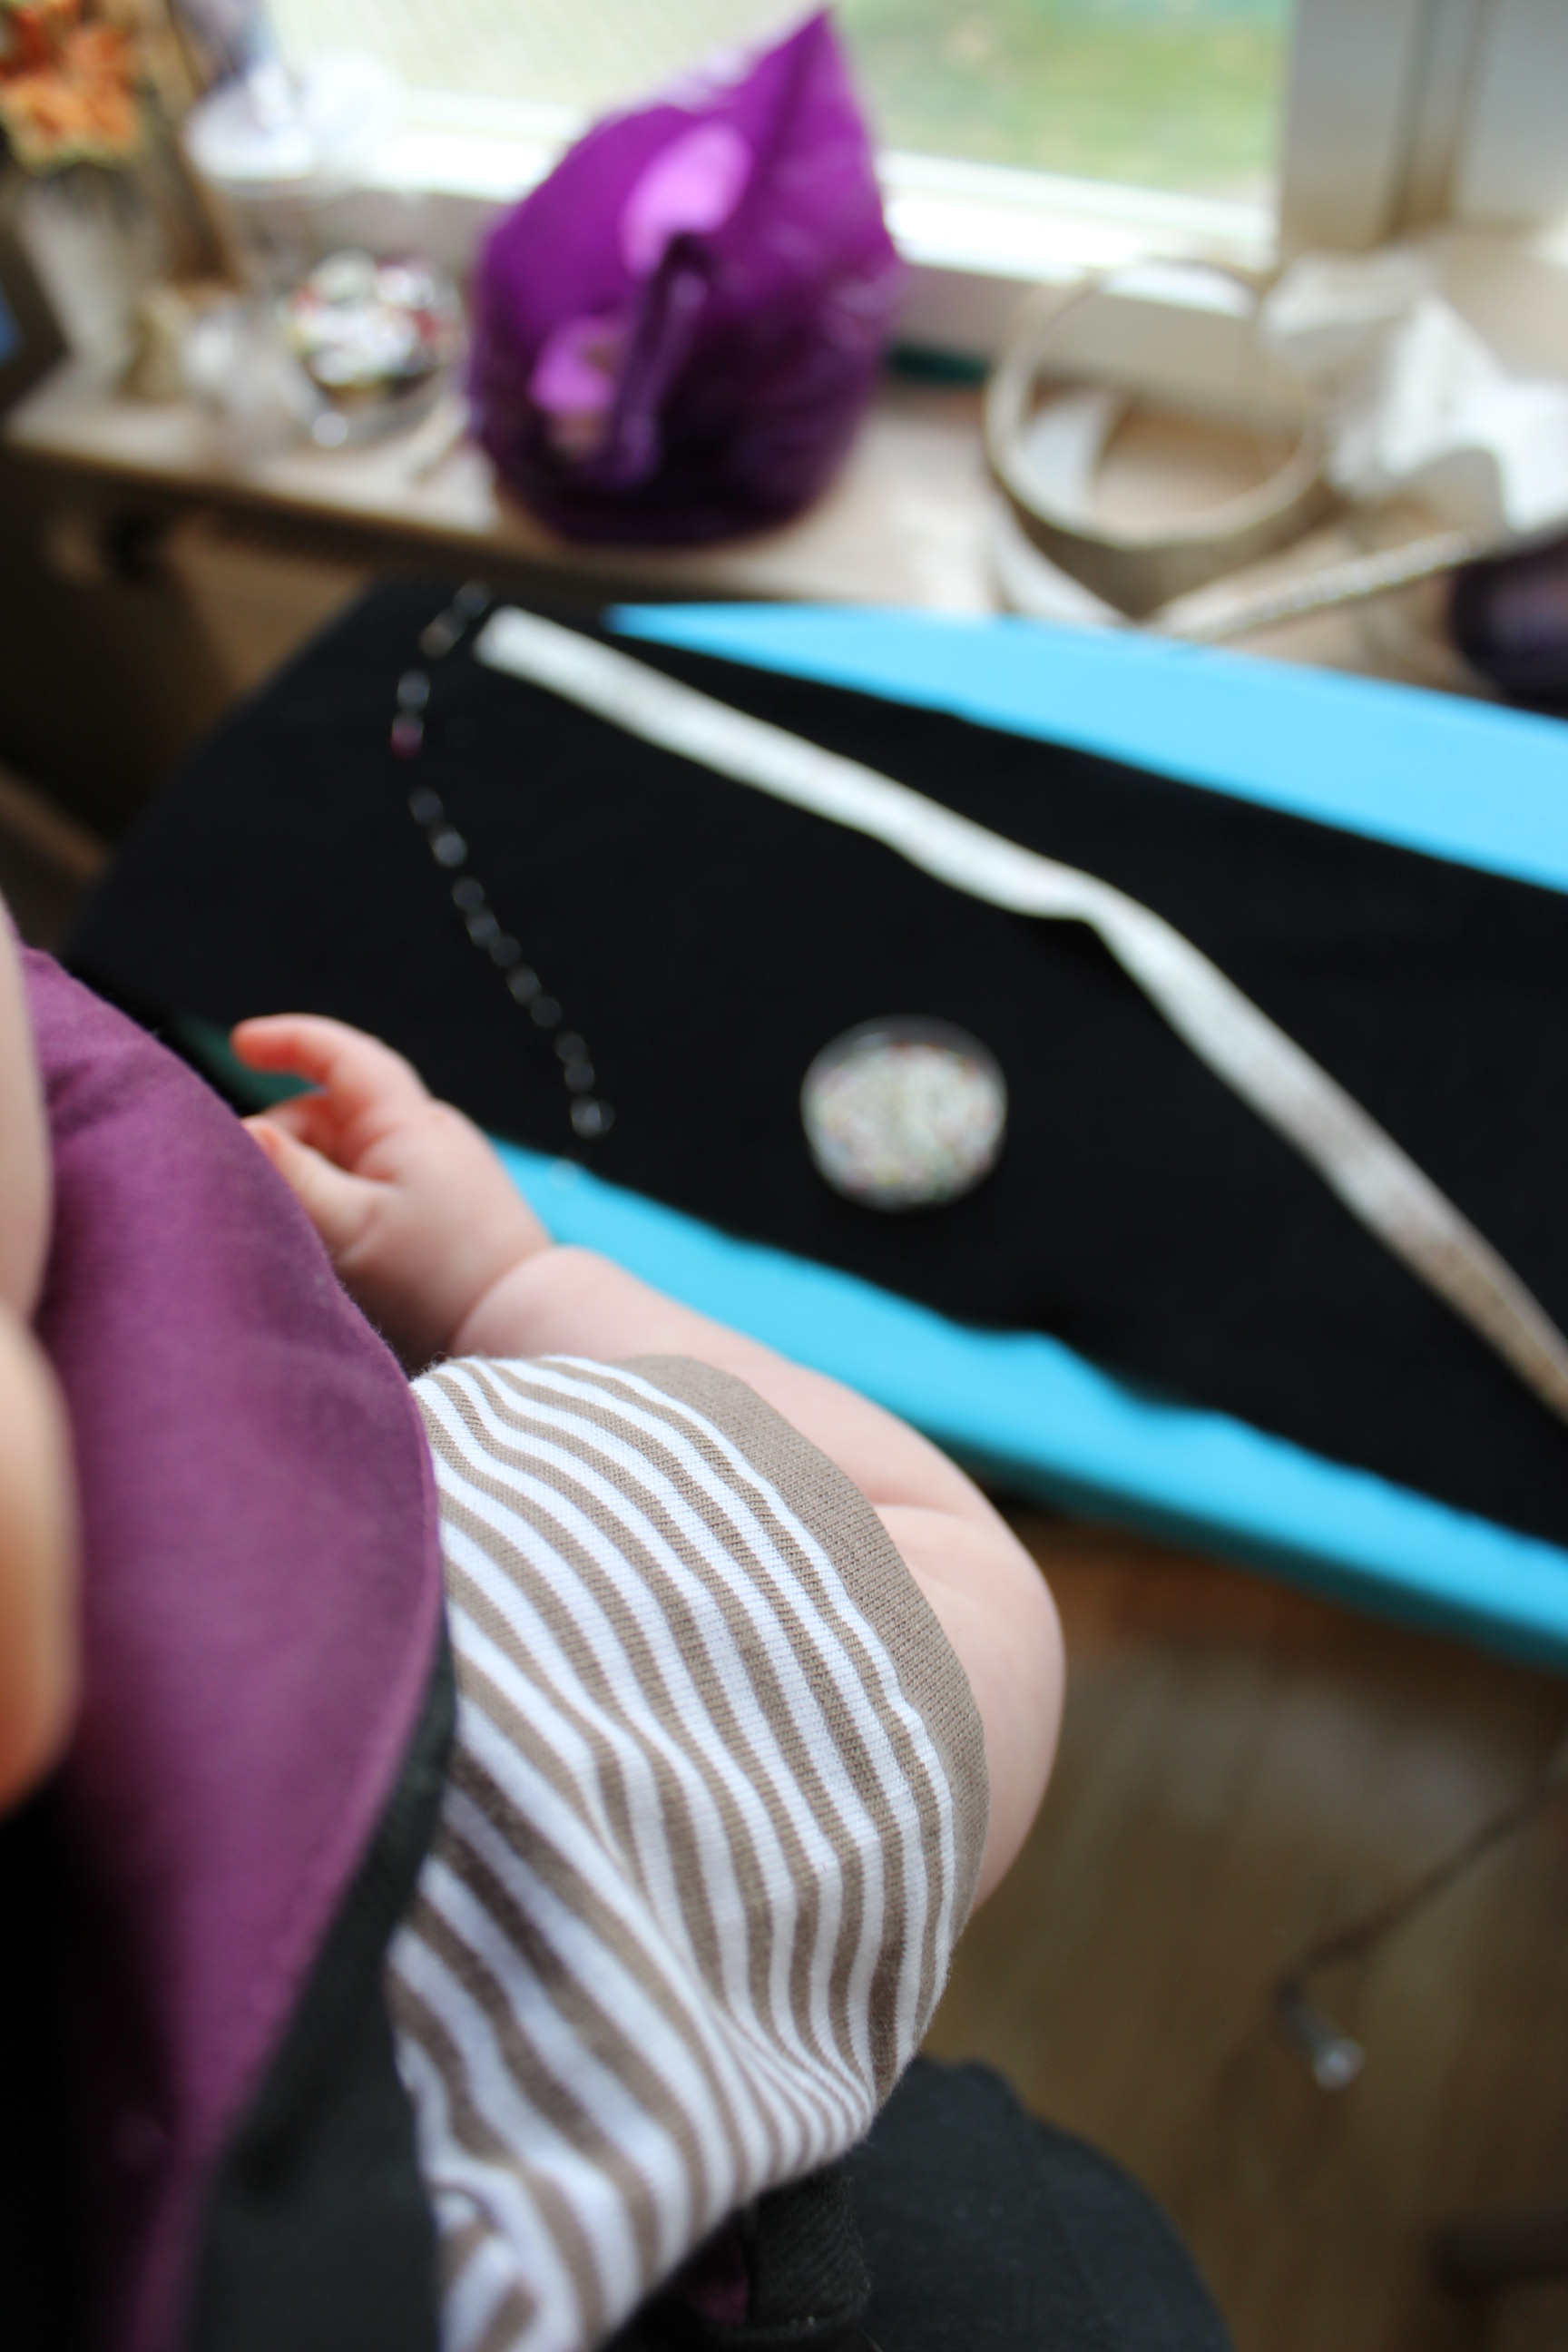
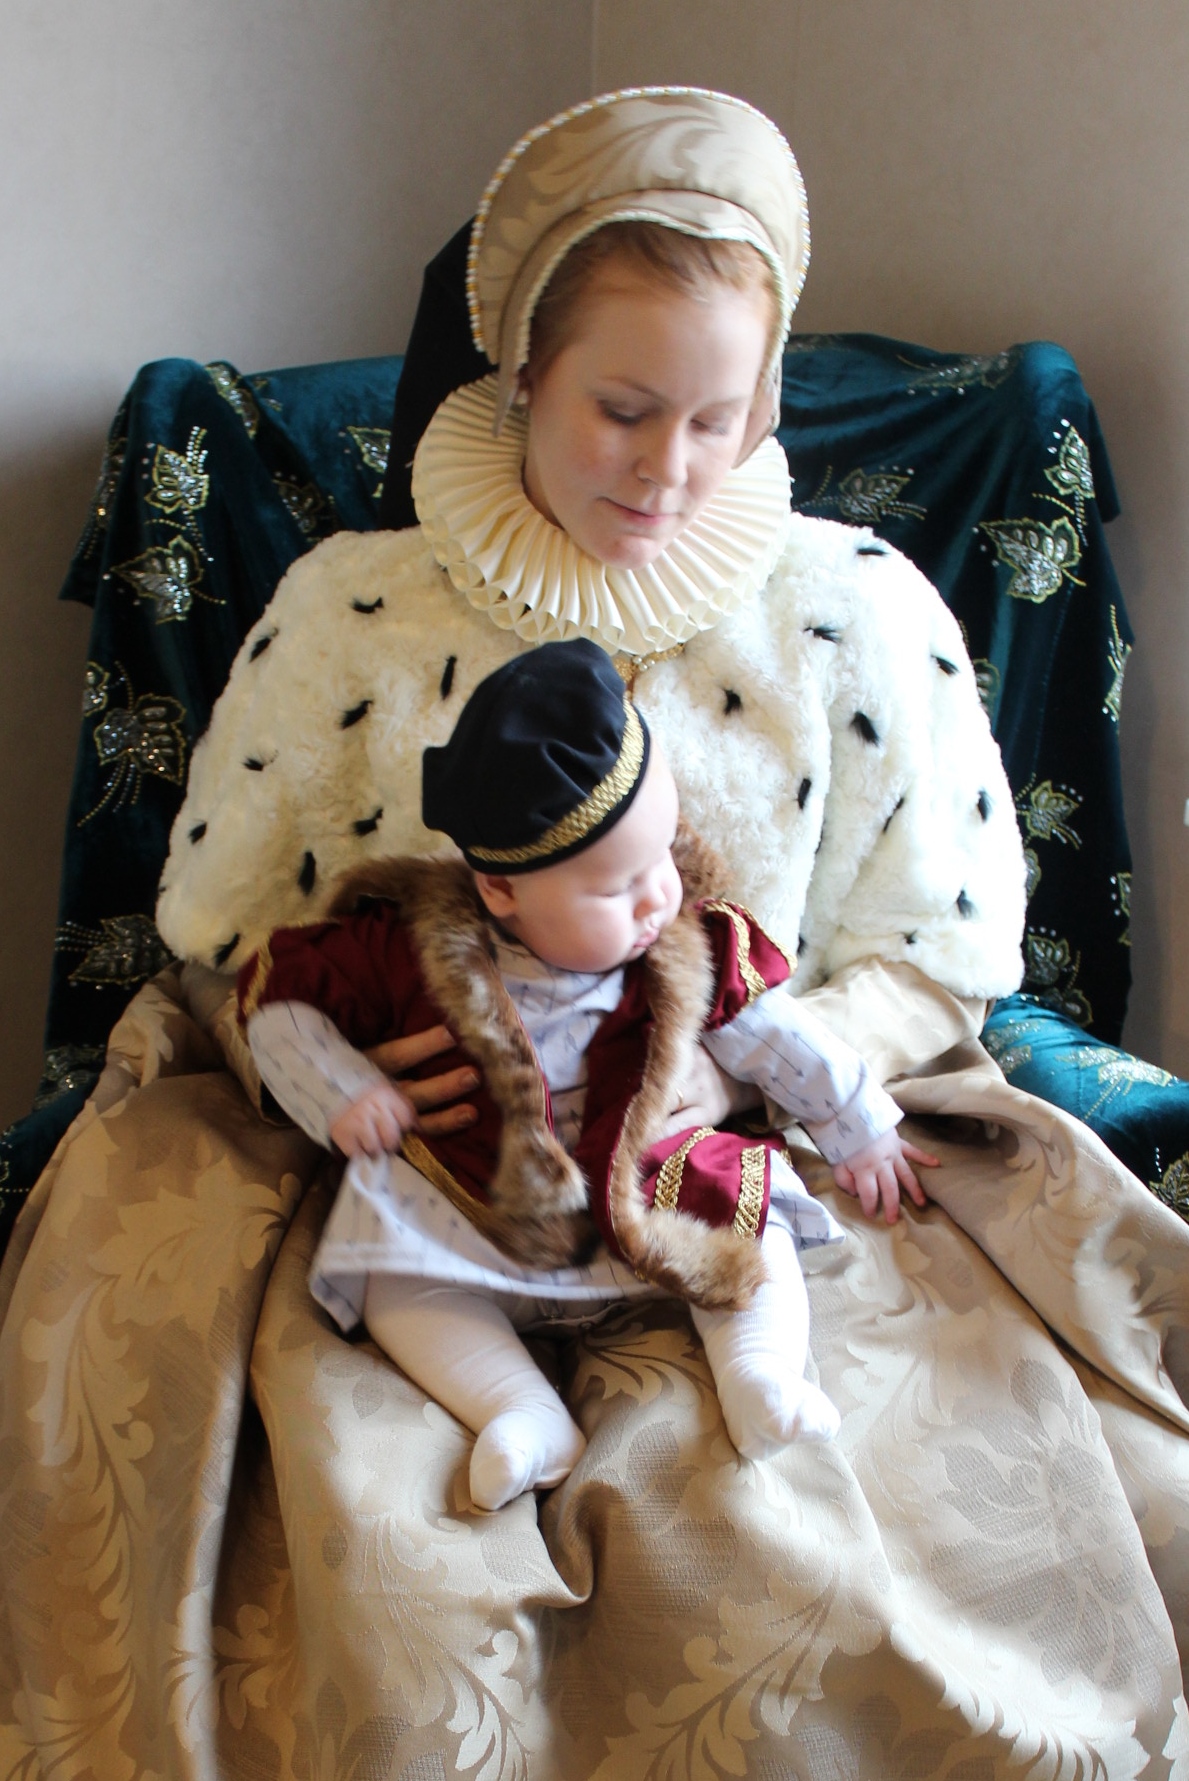
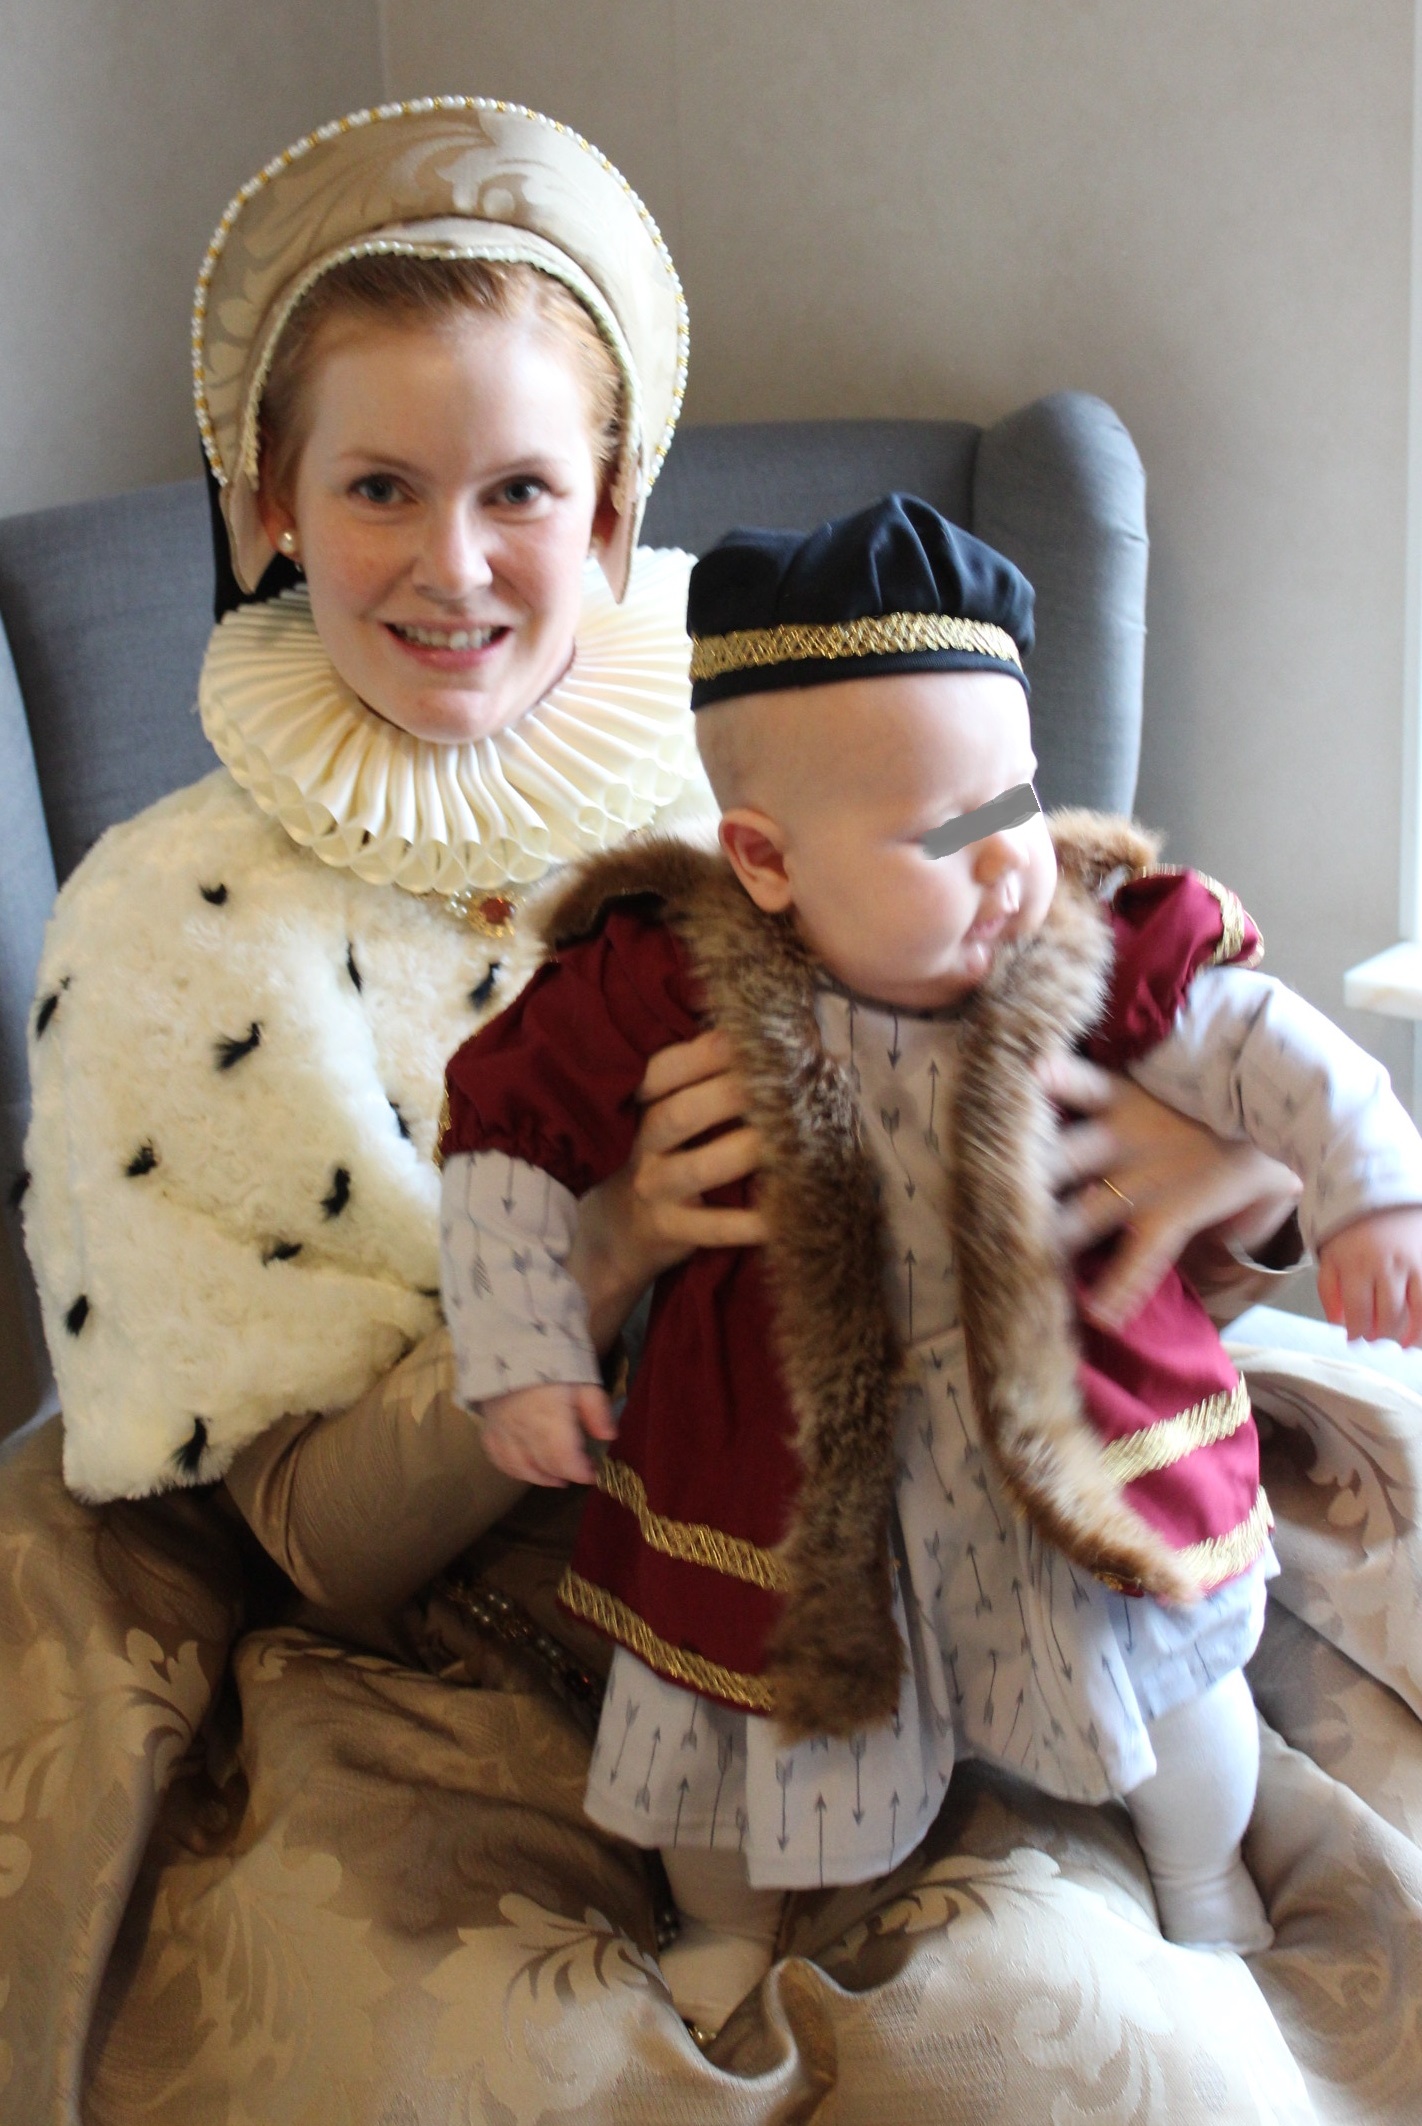
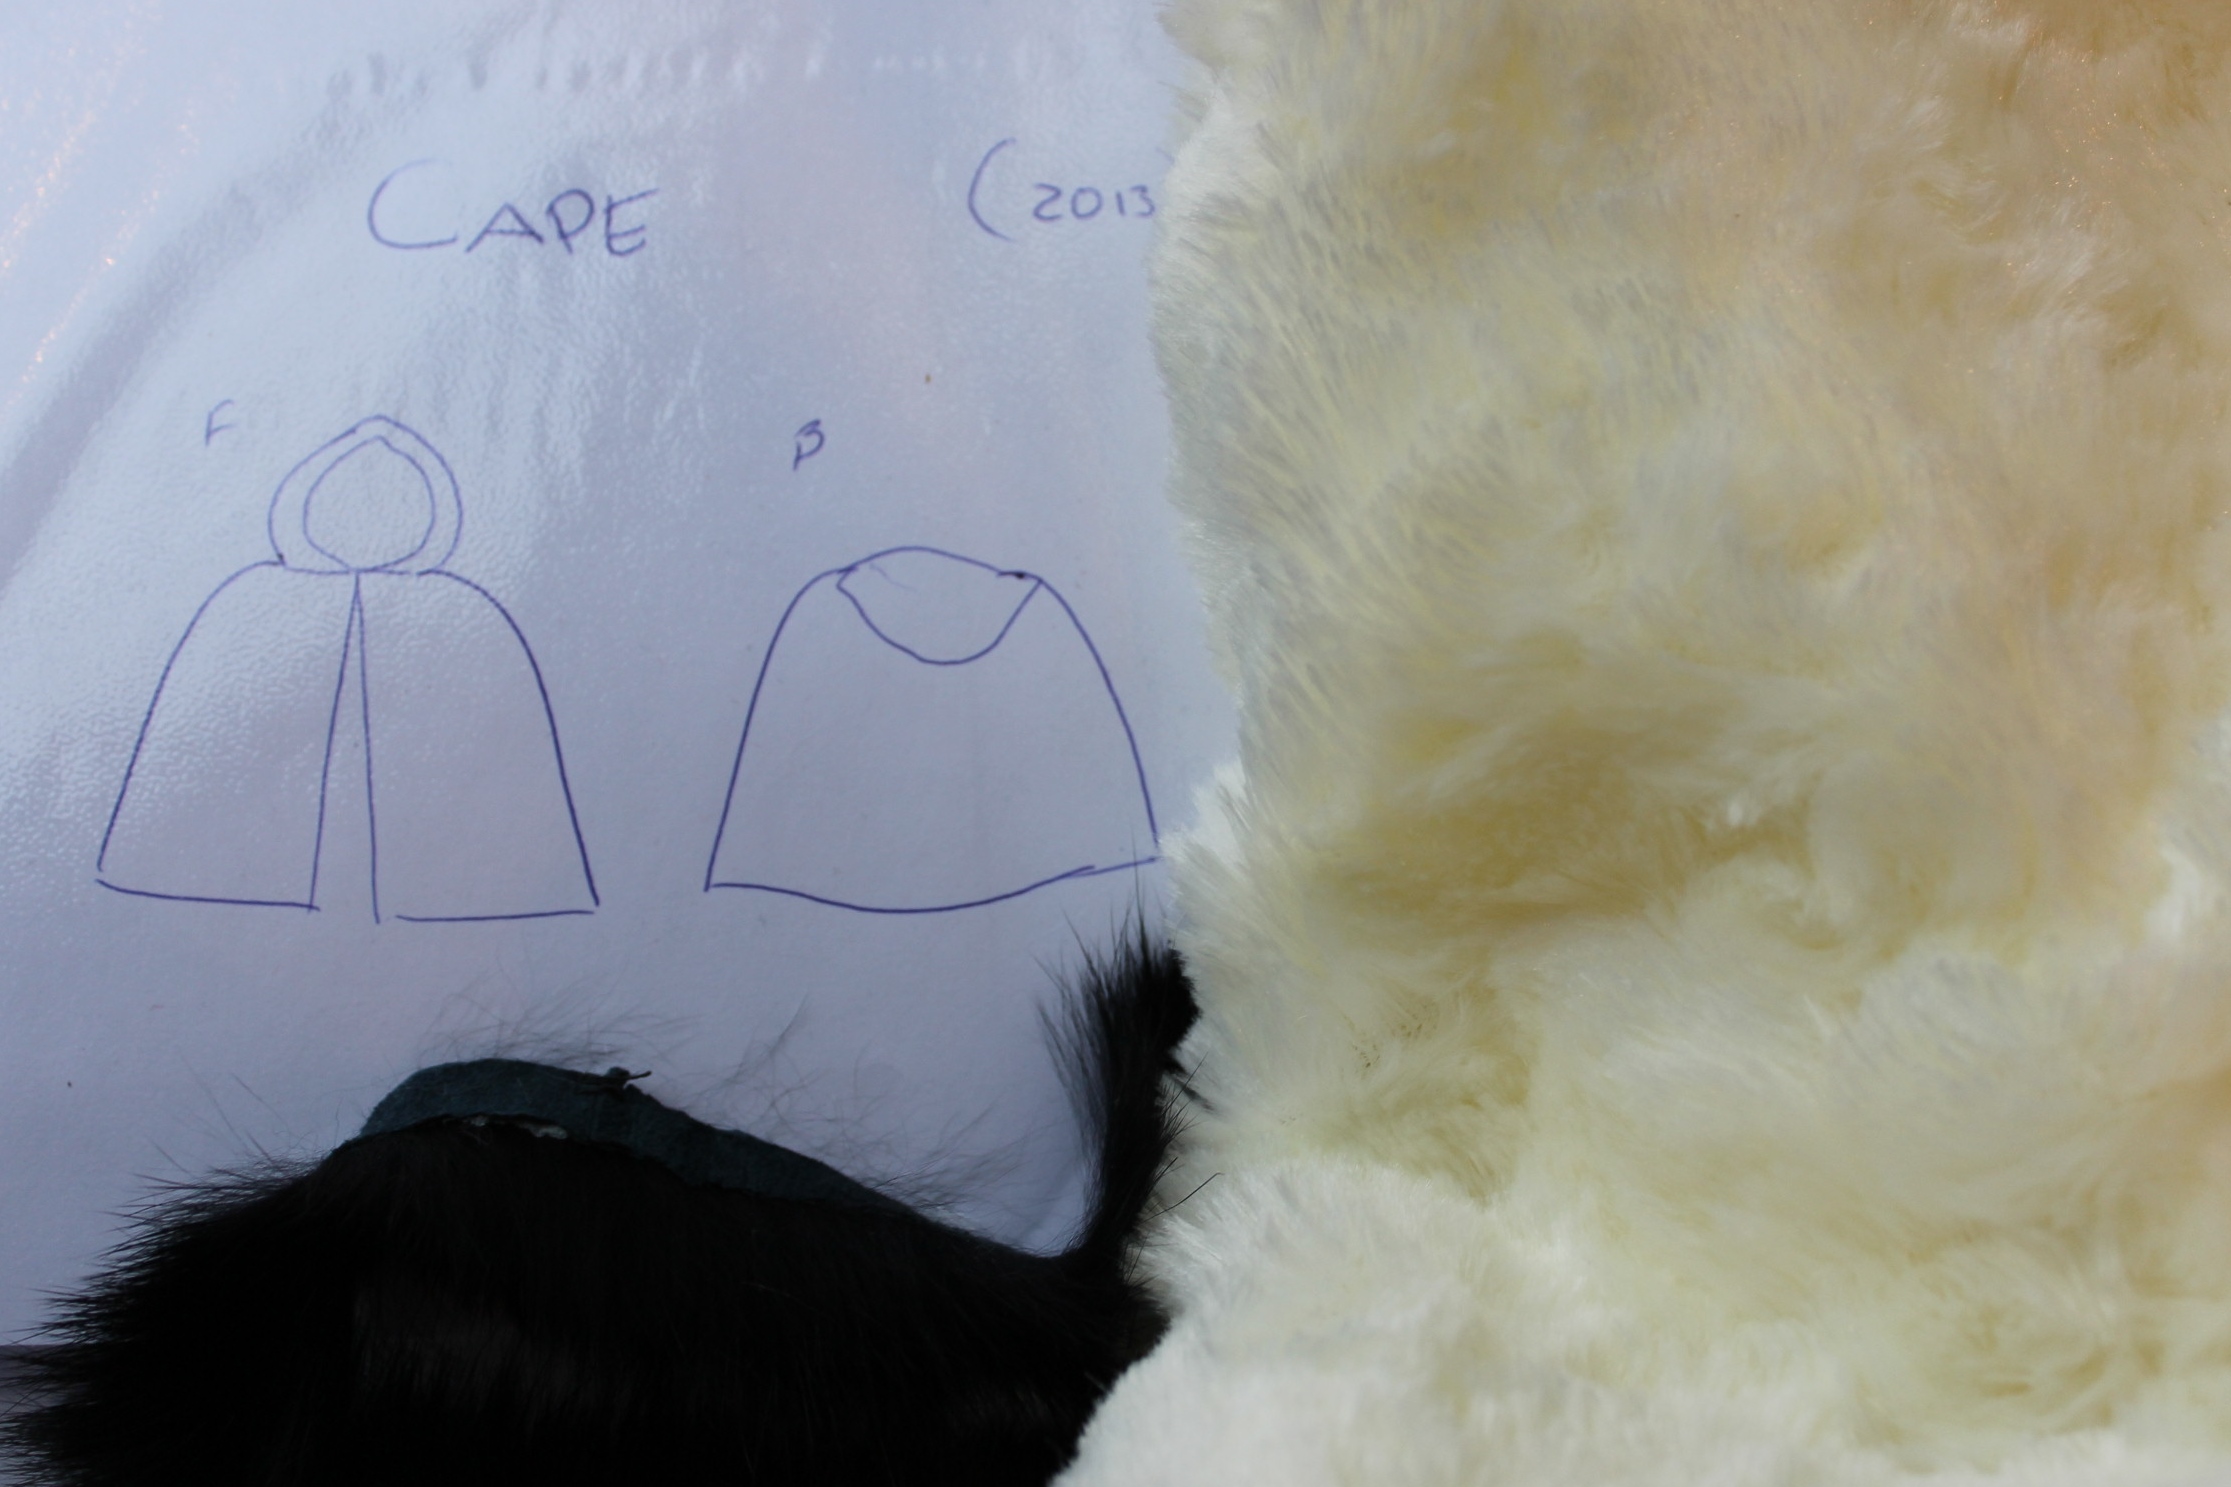
 Quality control by my tiny “helper”
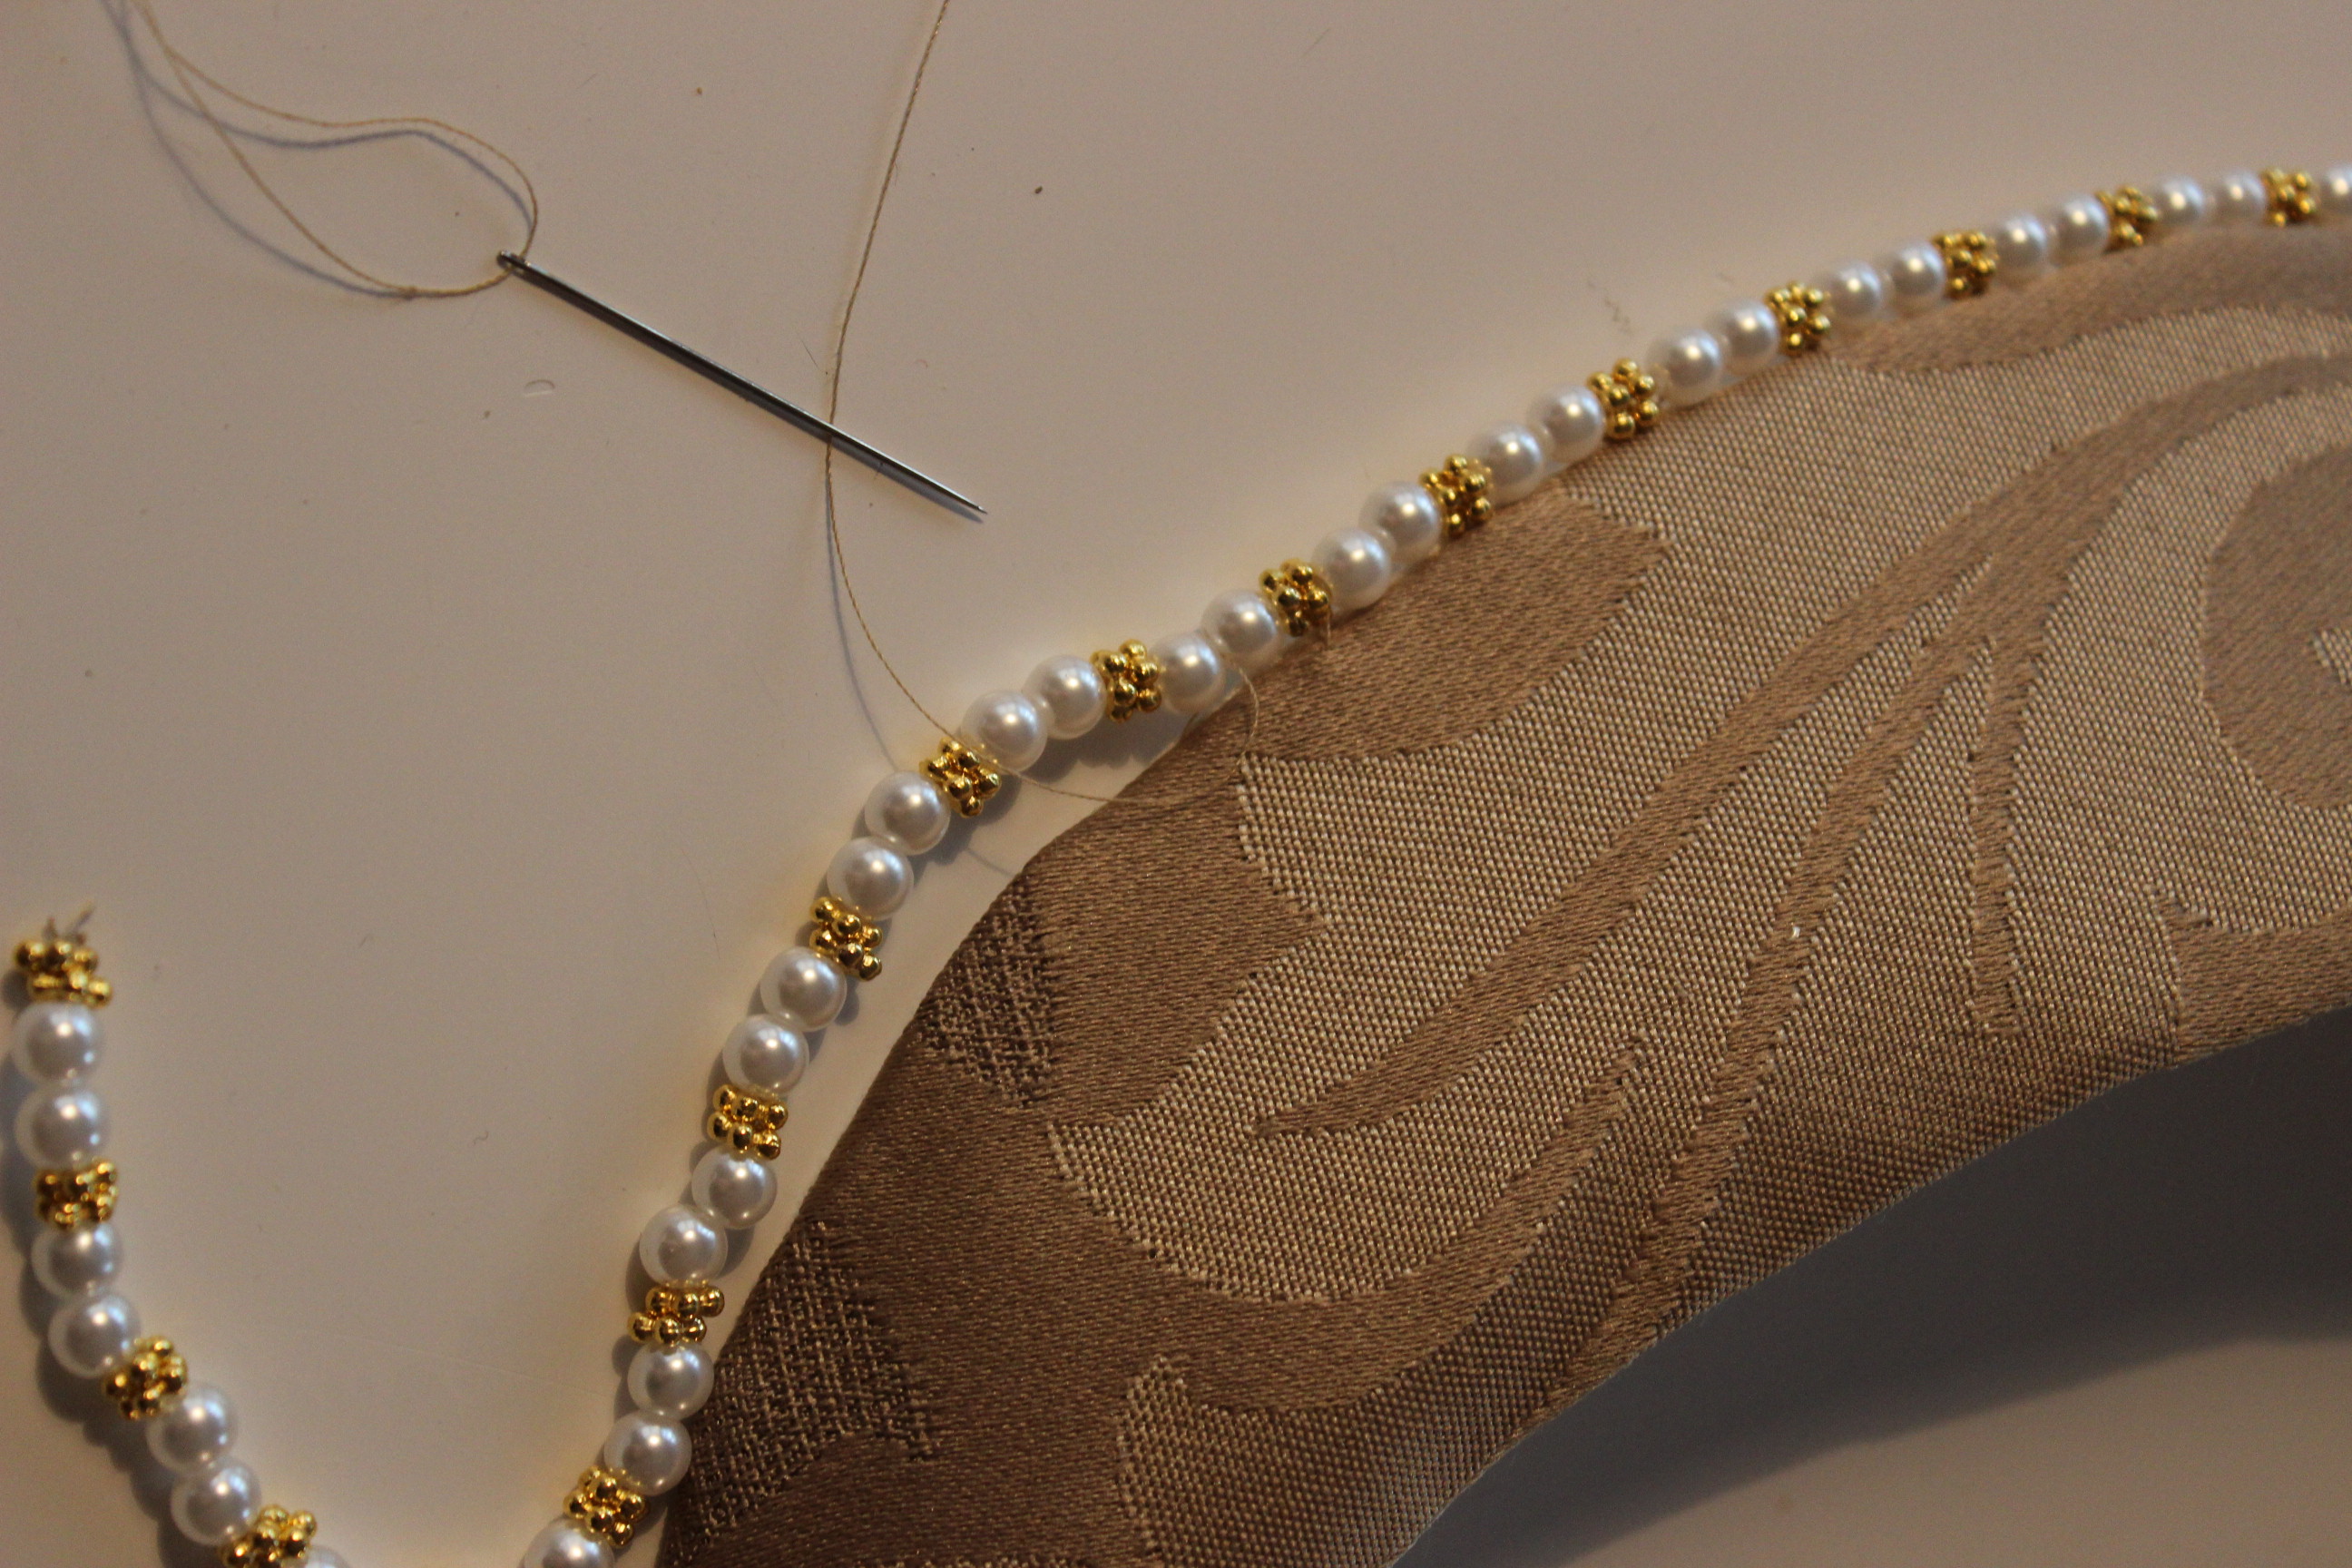
Then all that was left was to stitch everything back again.
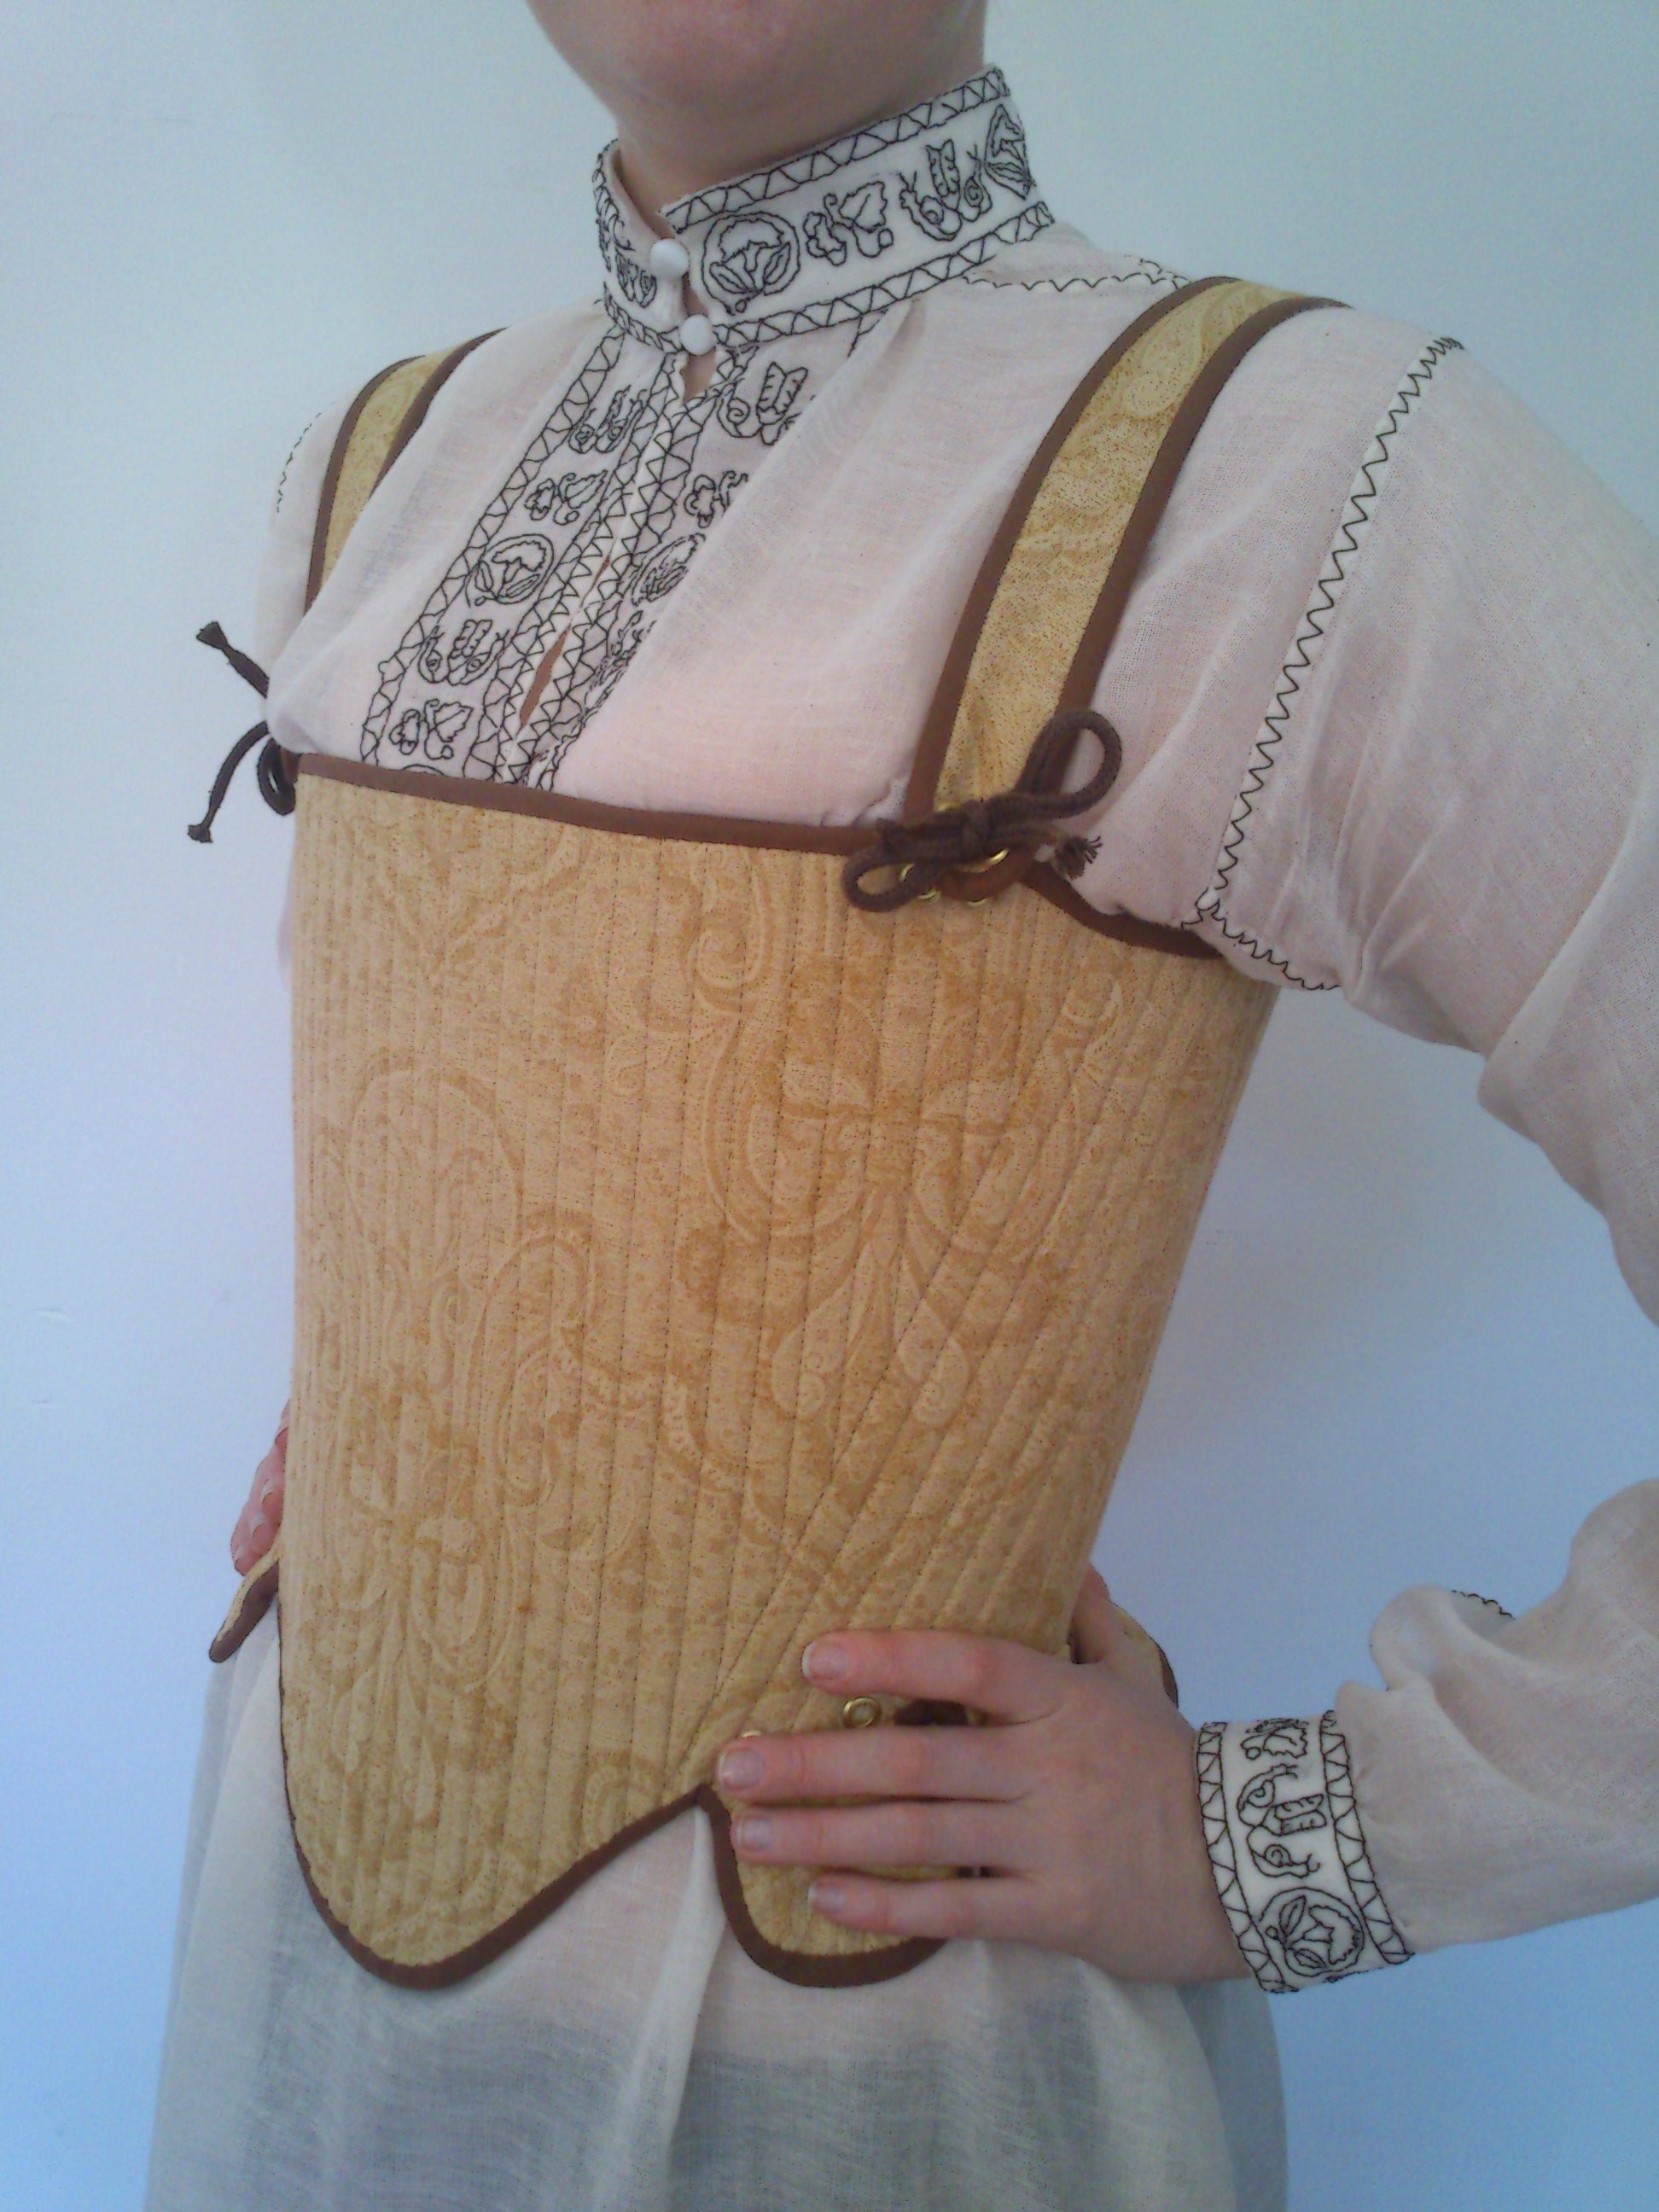
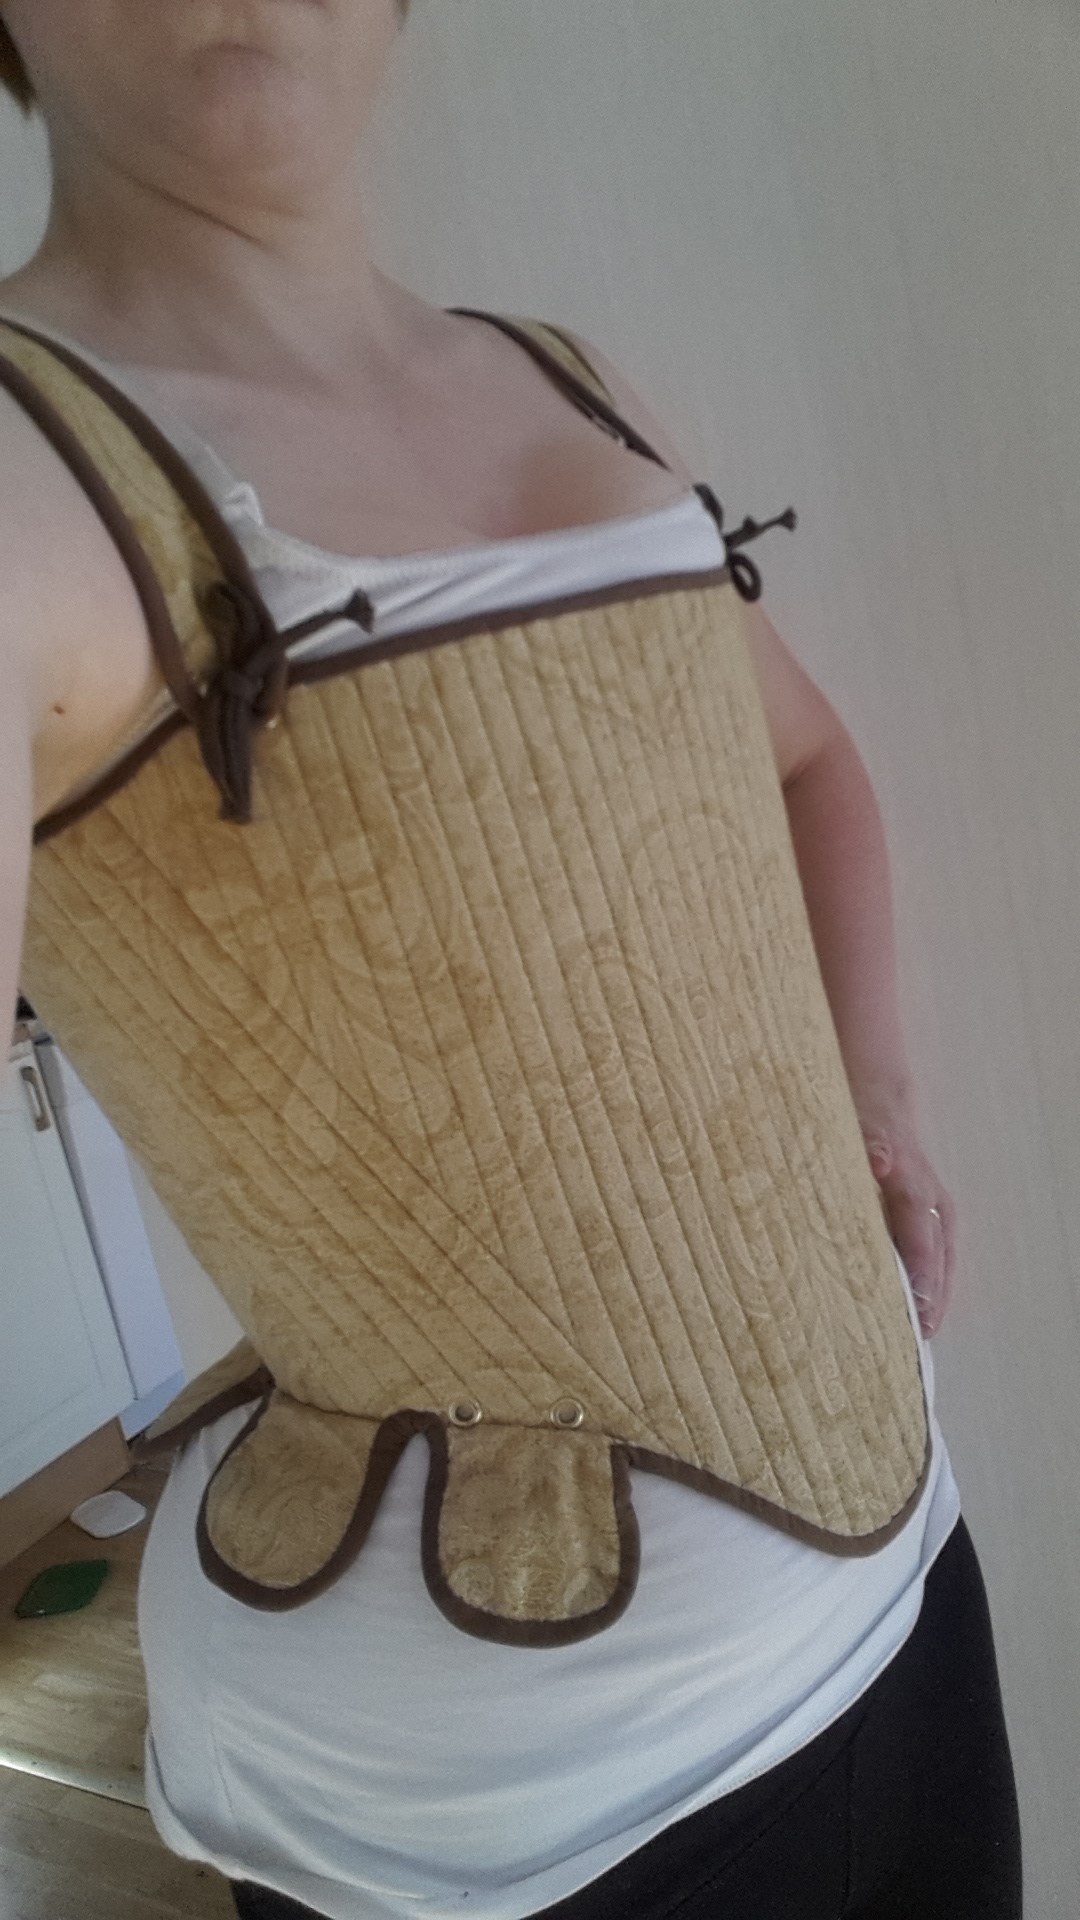
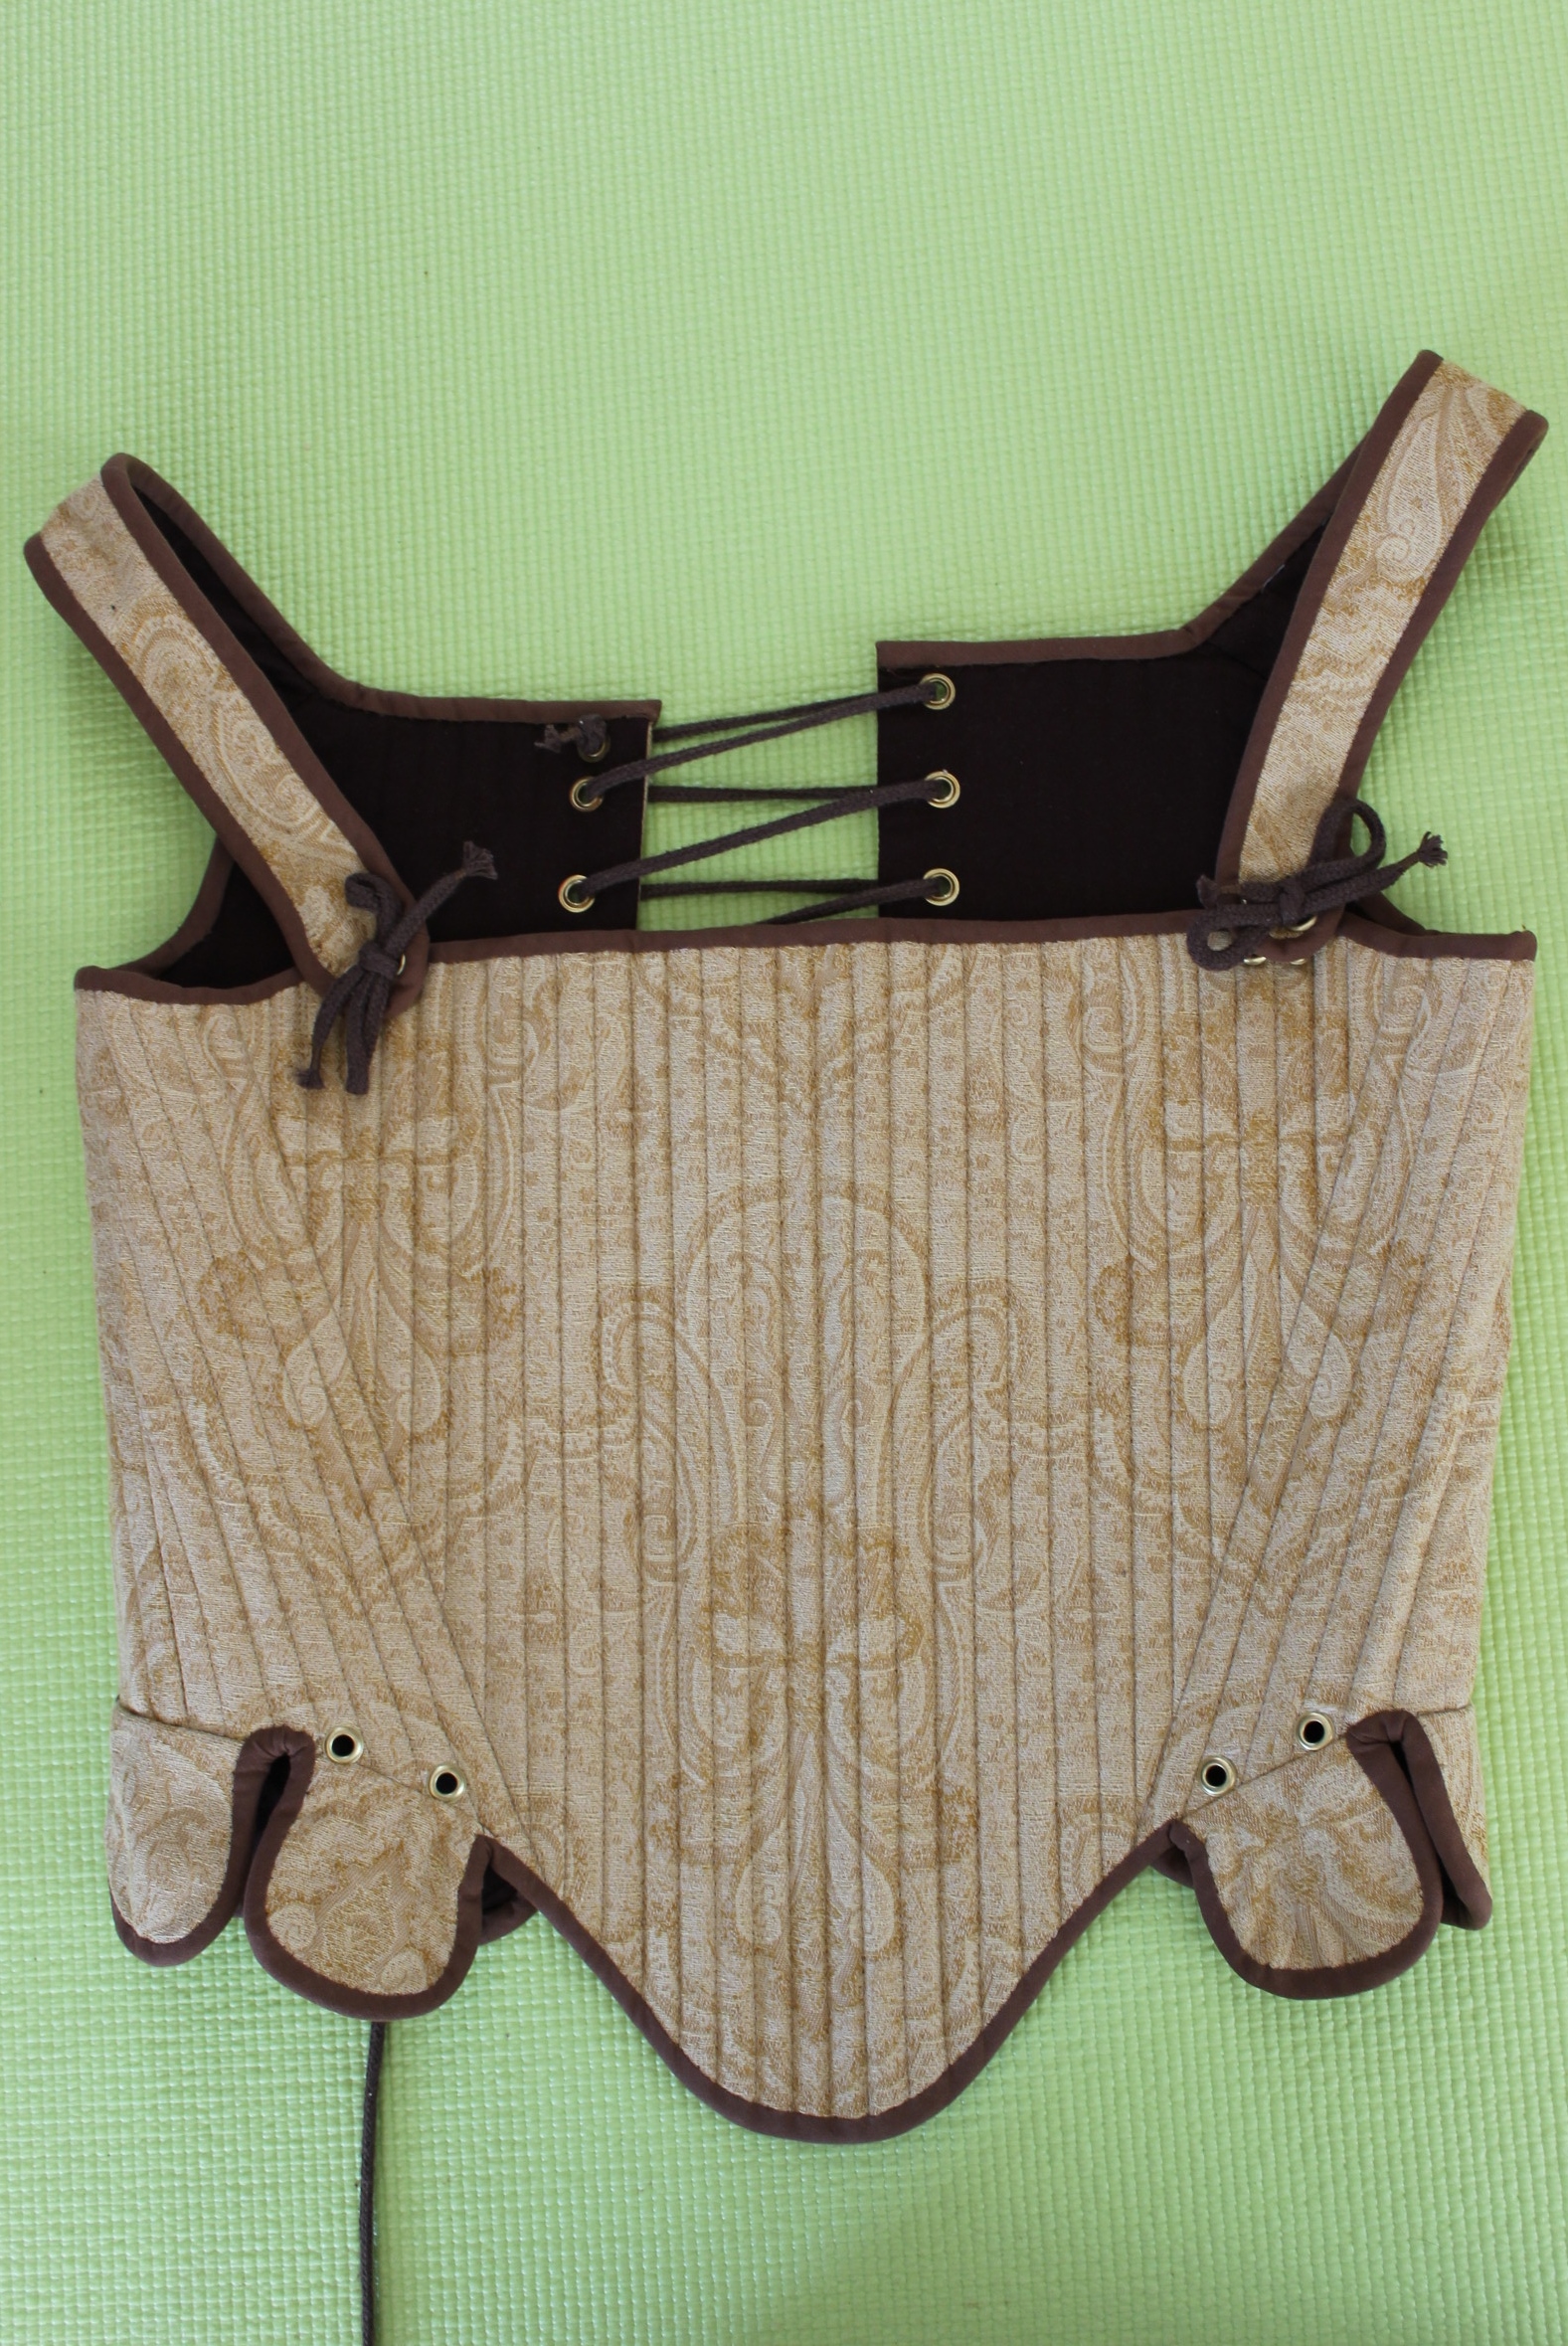
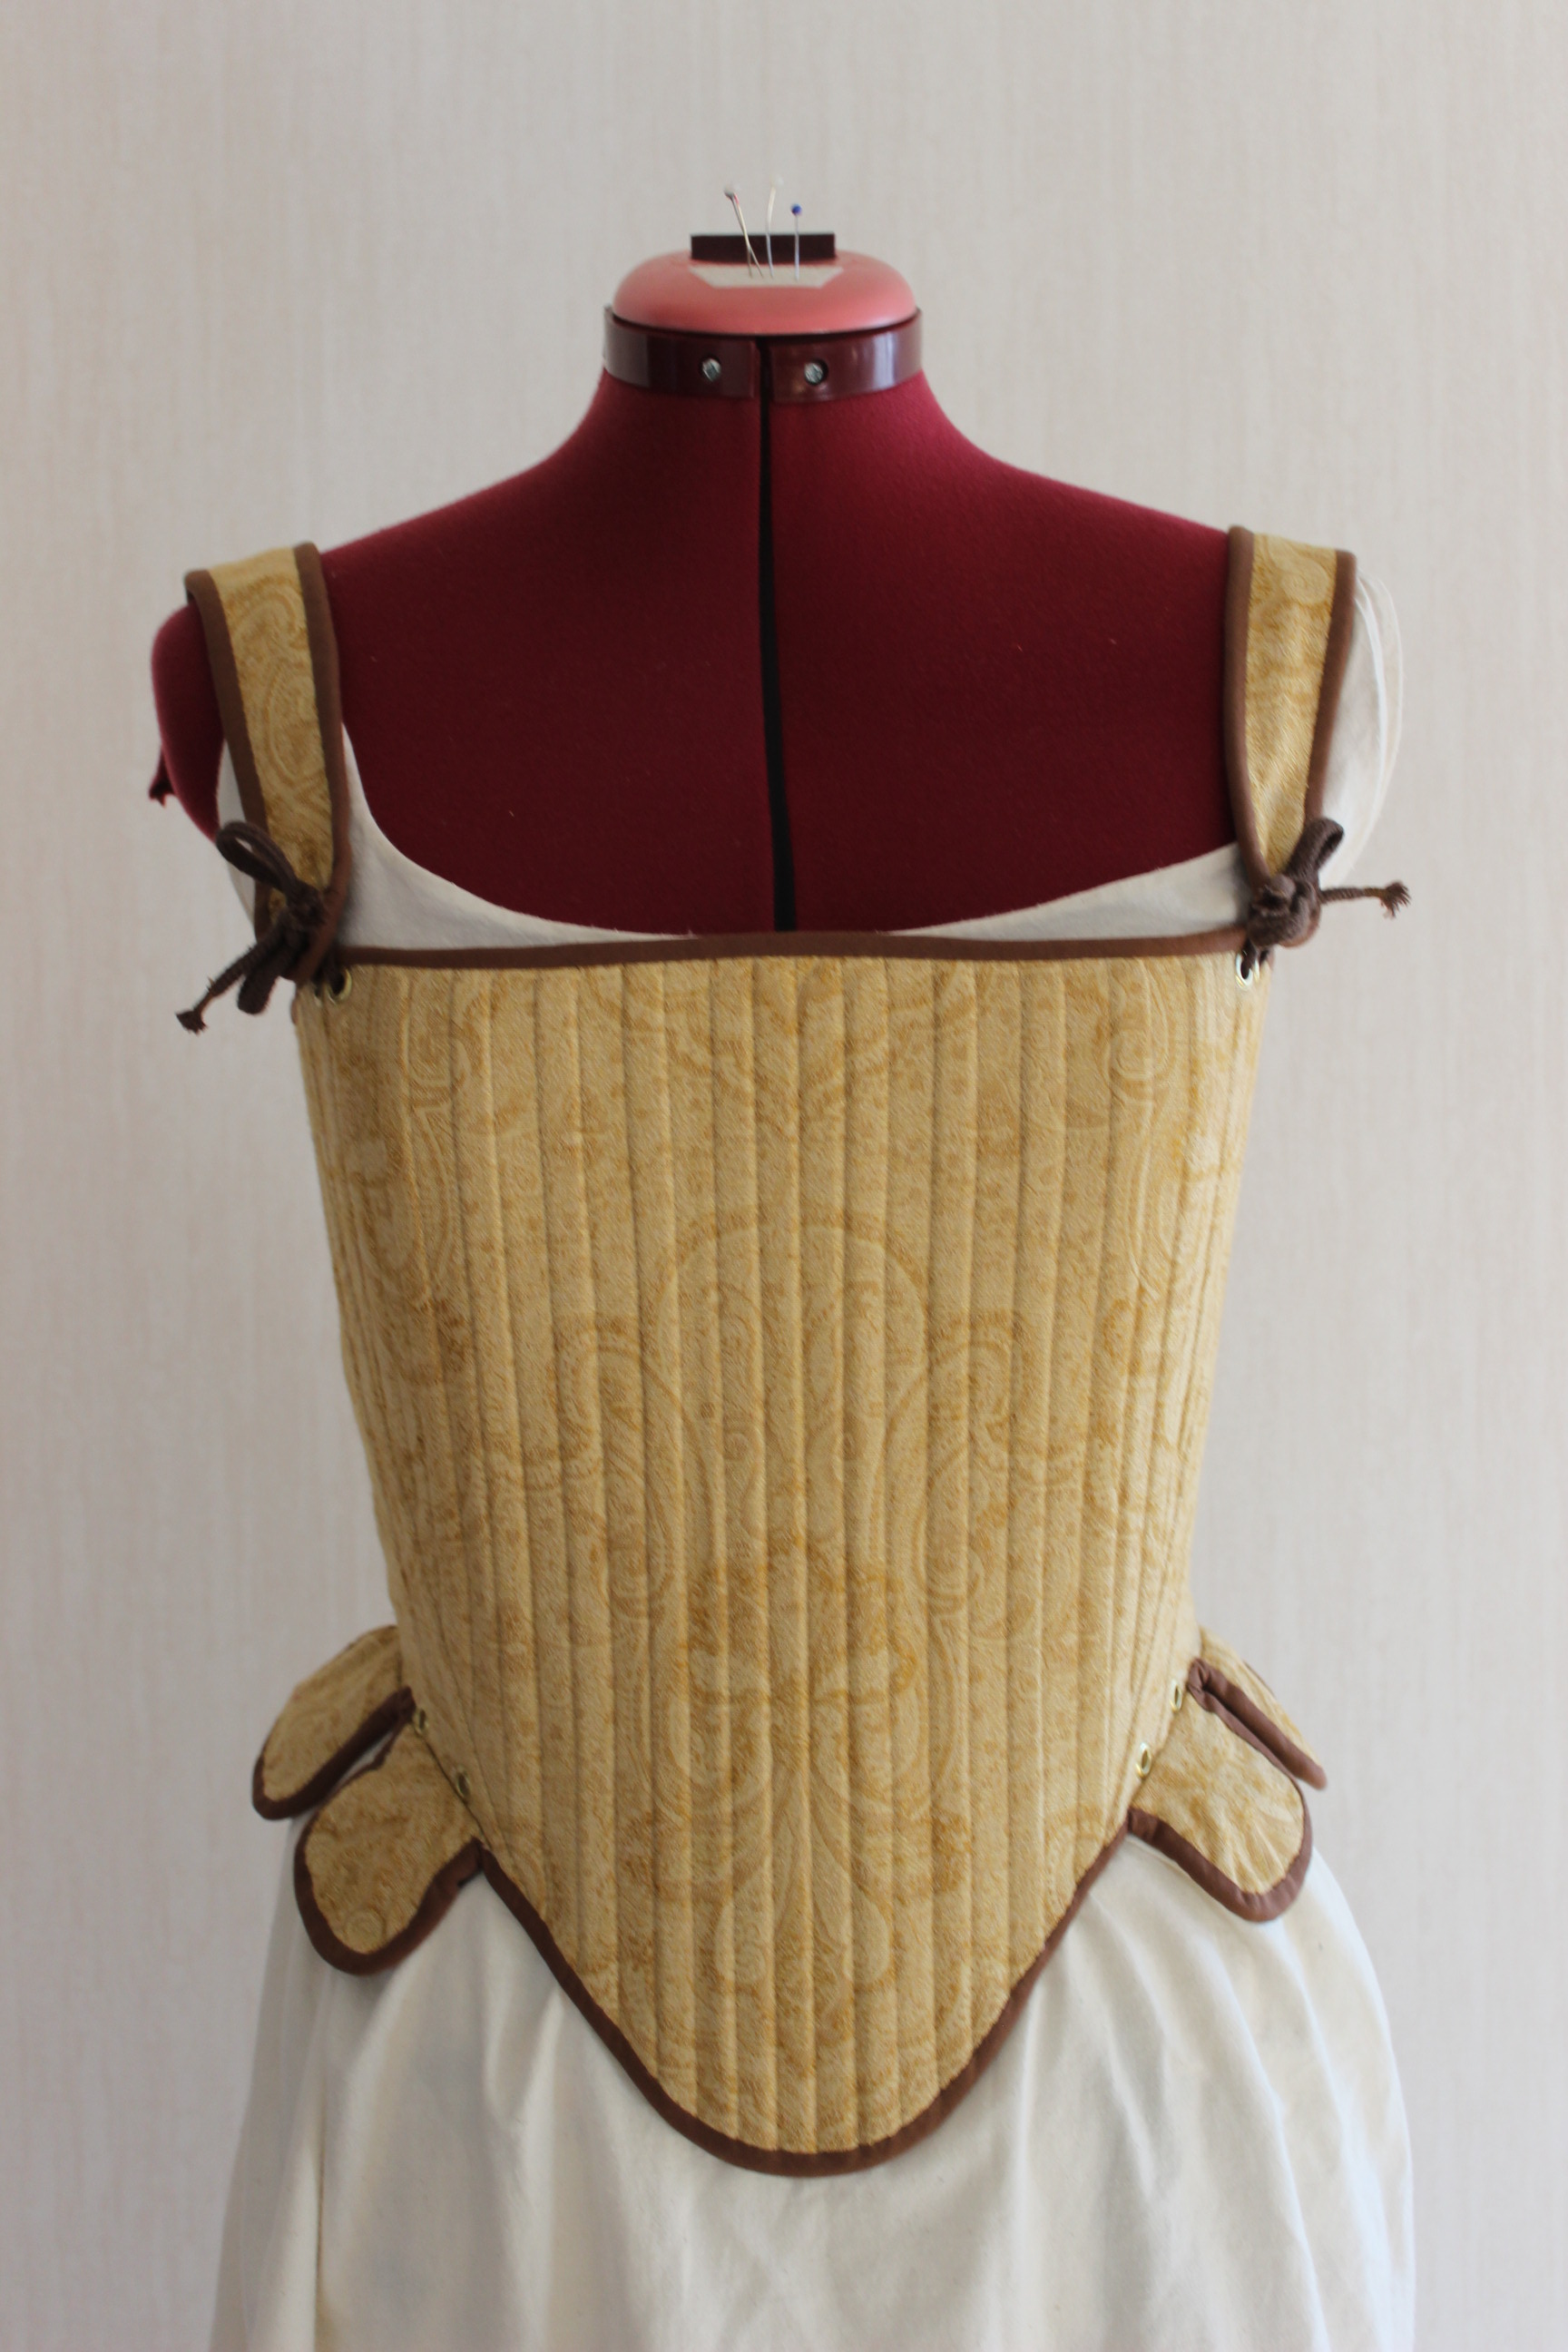
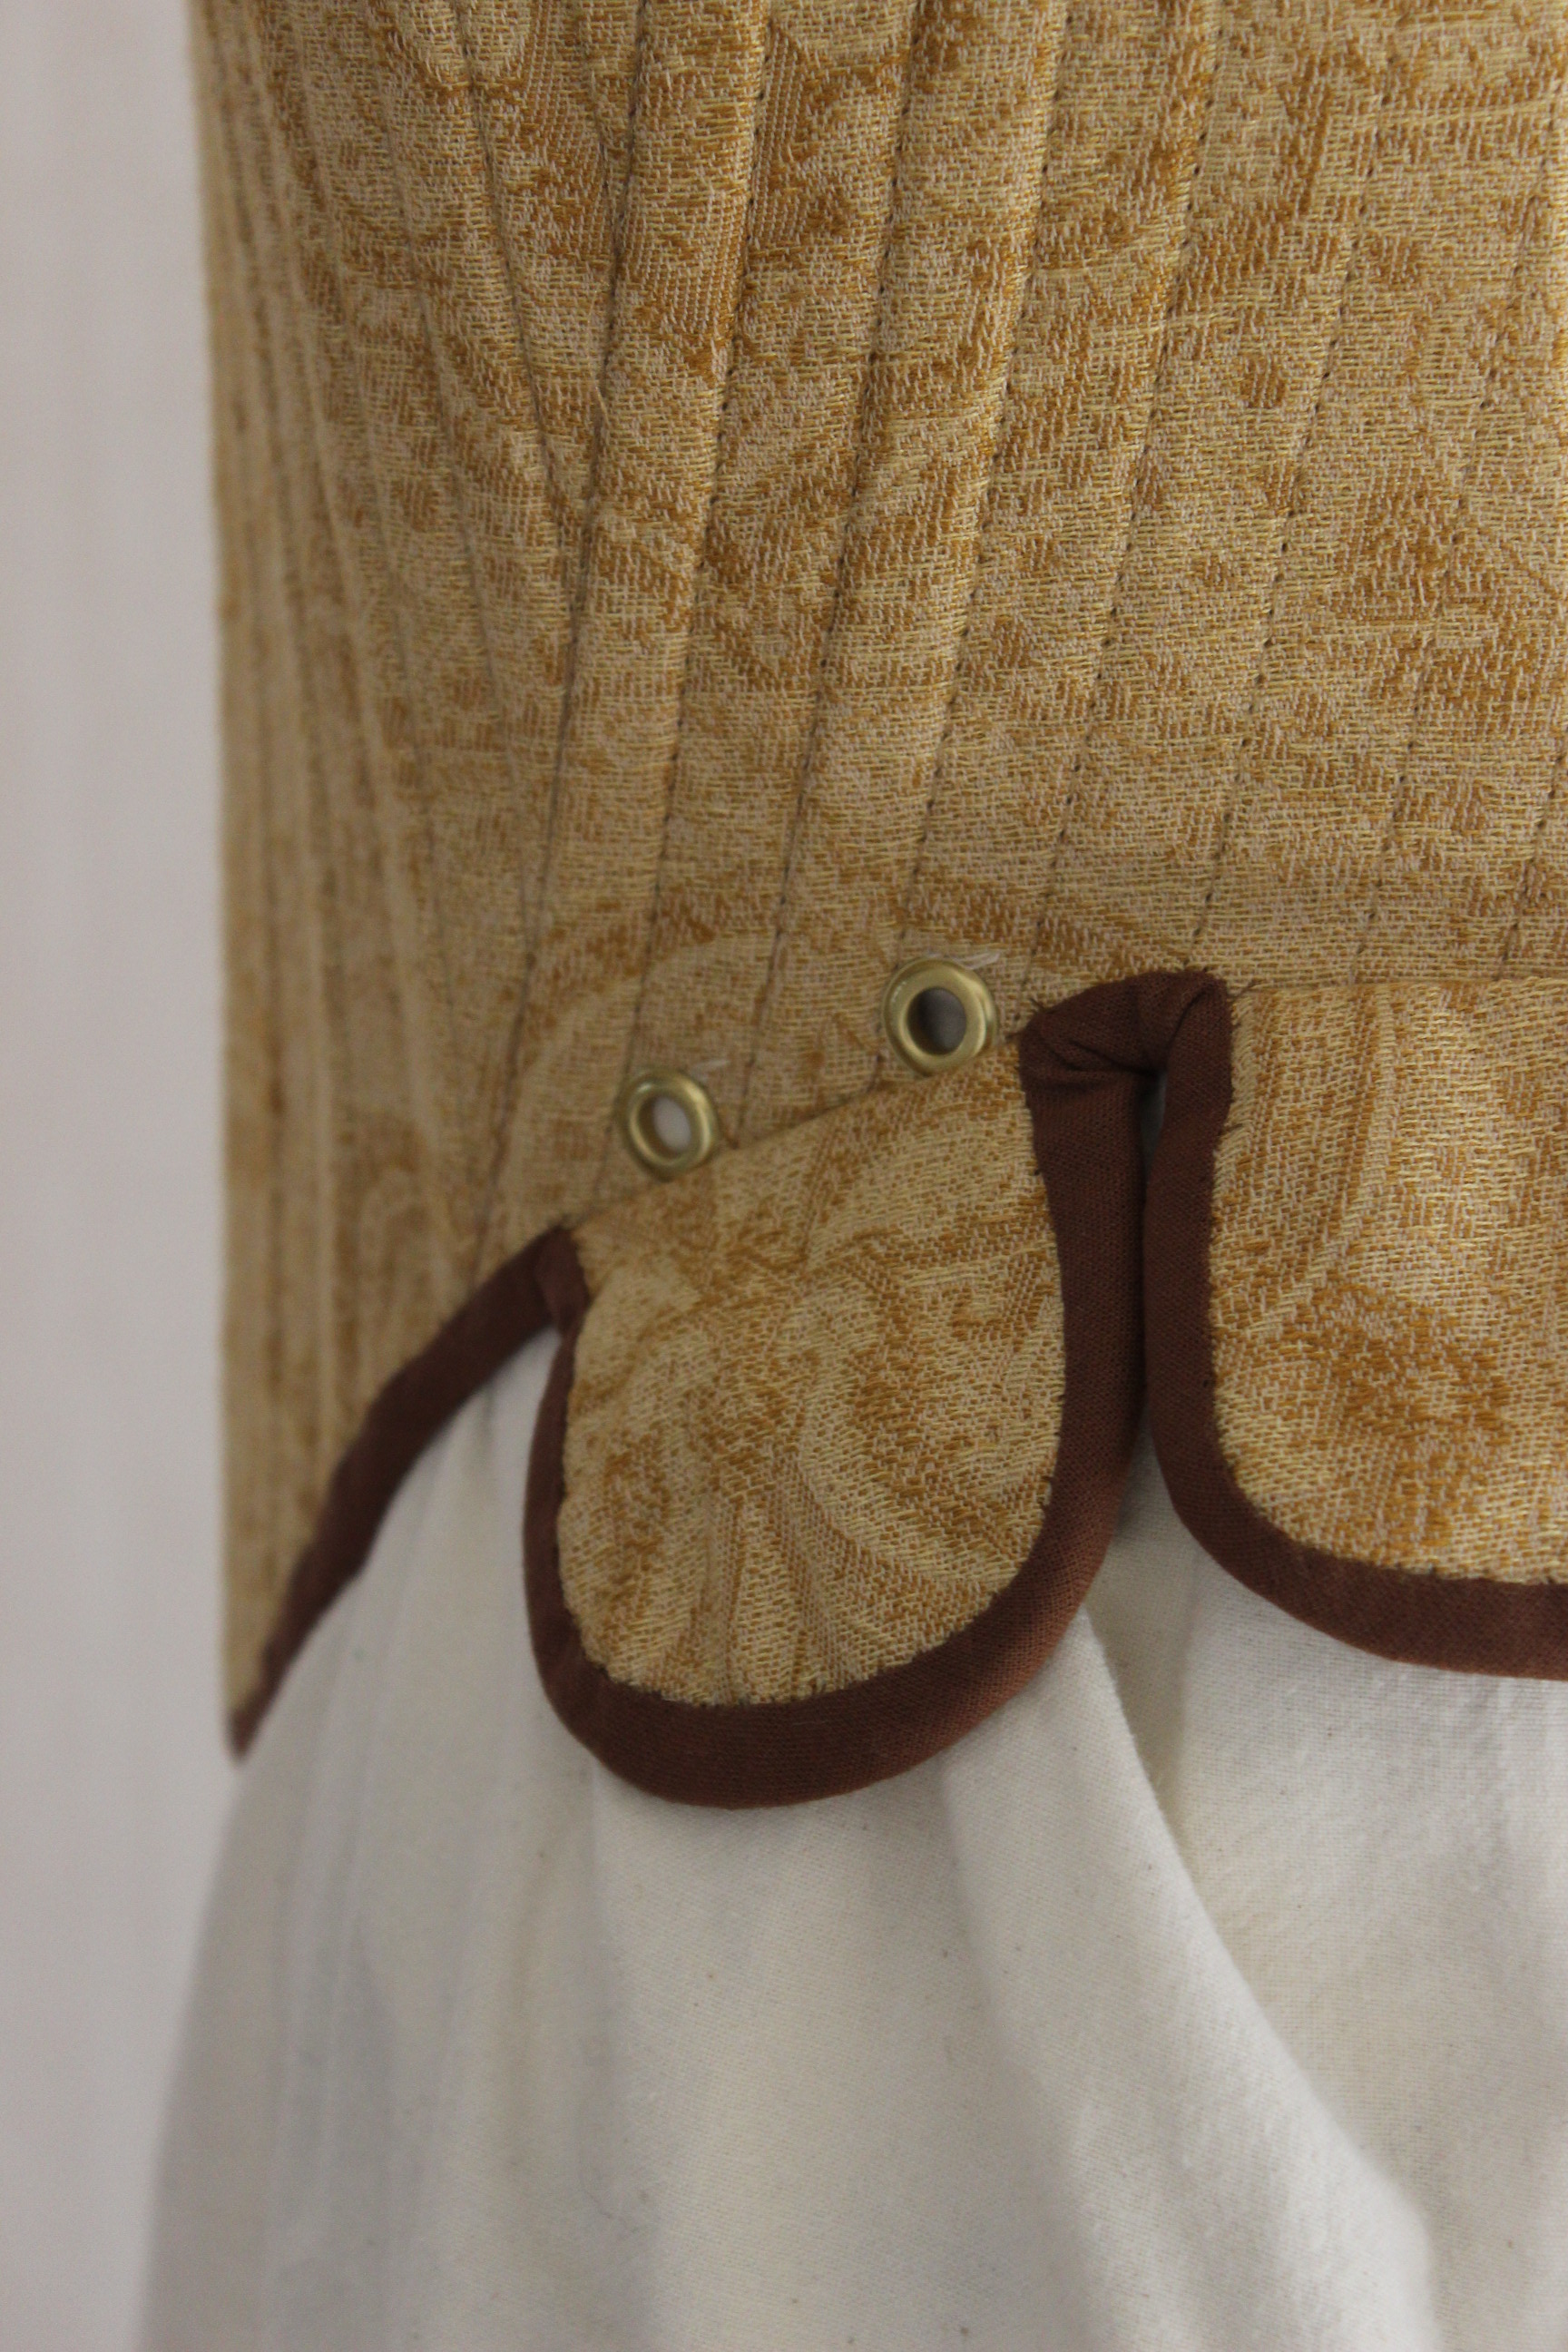
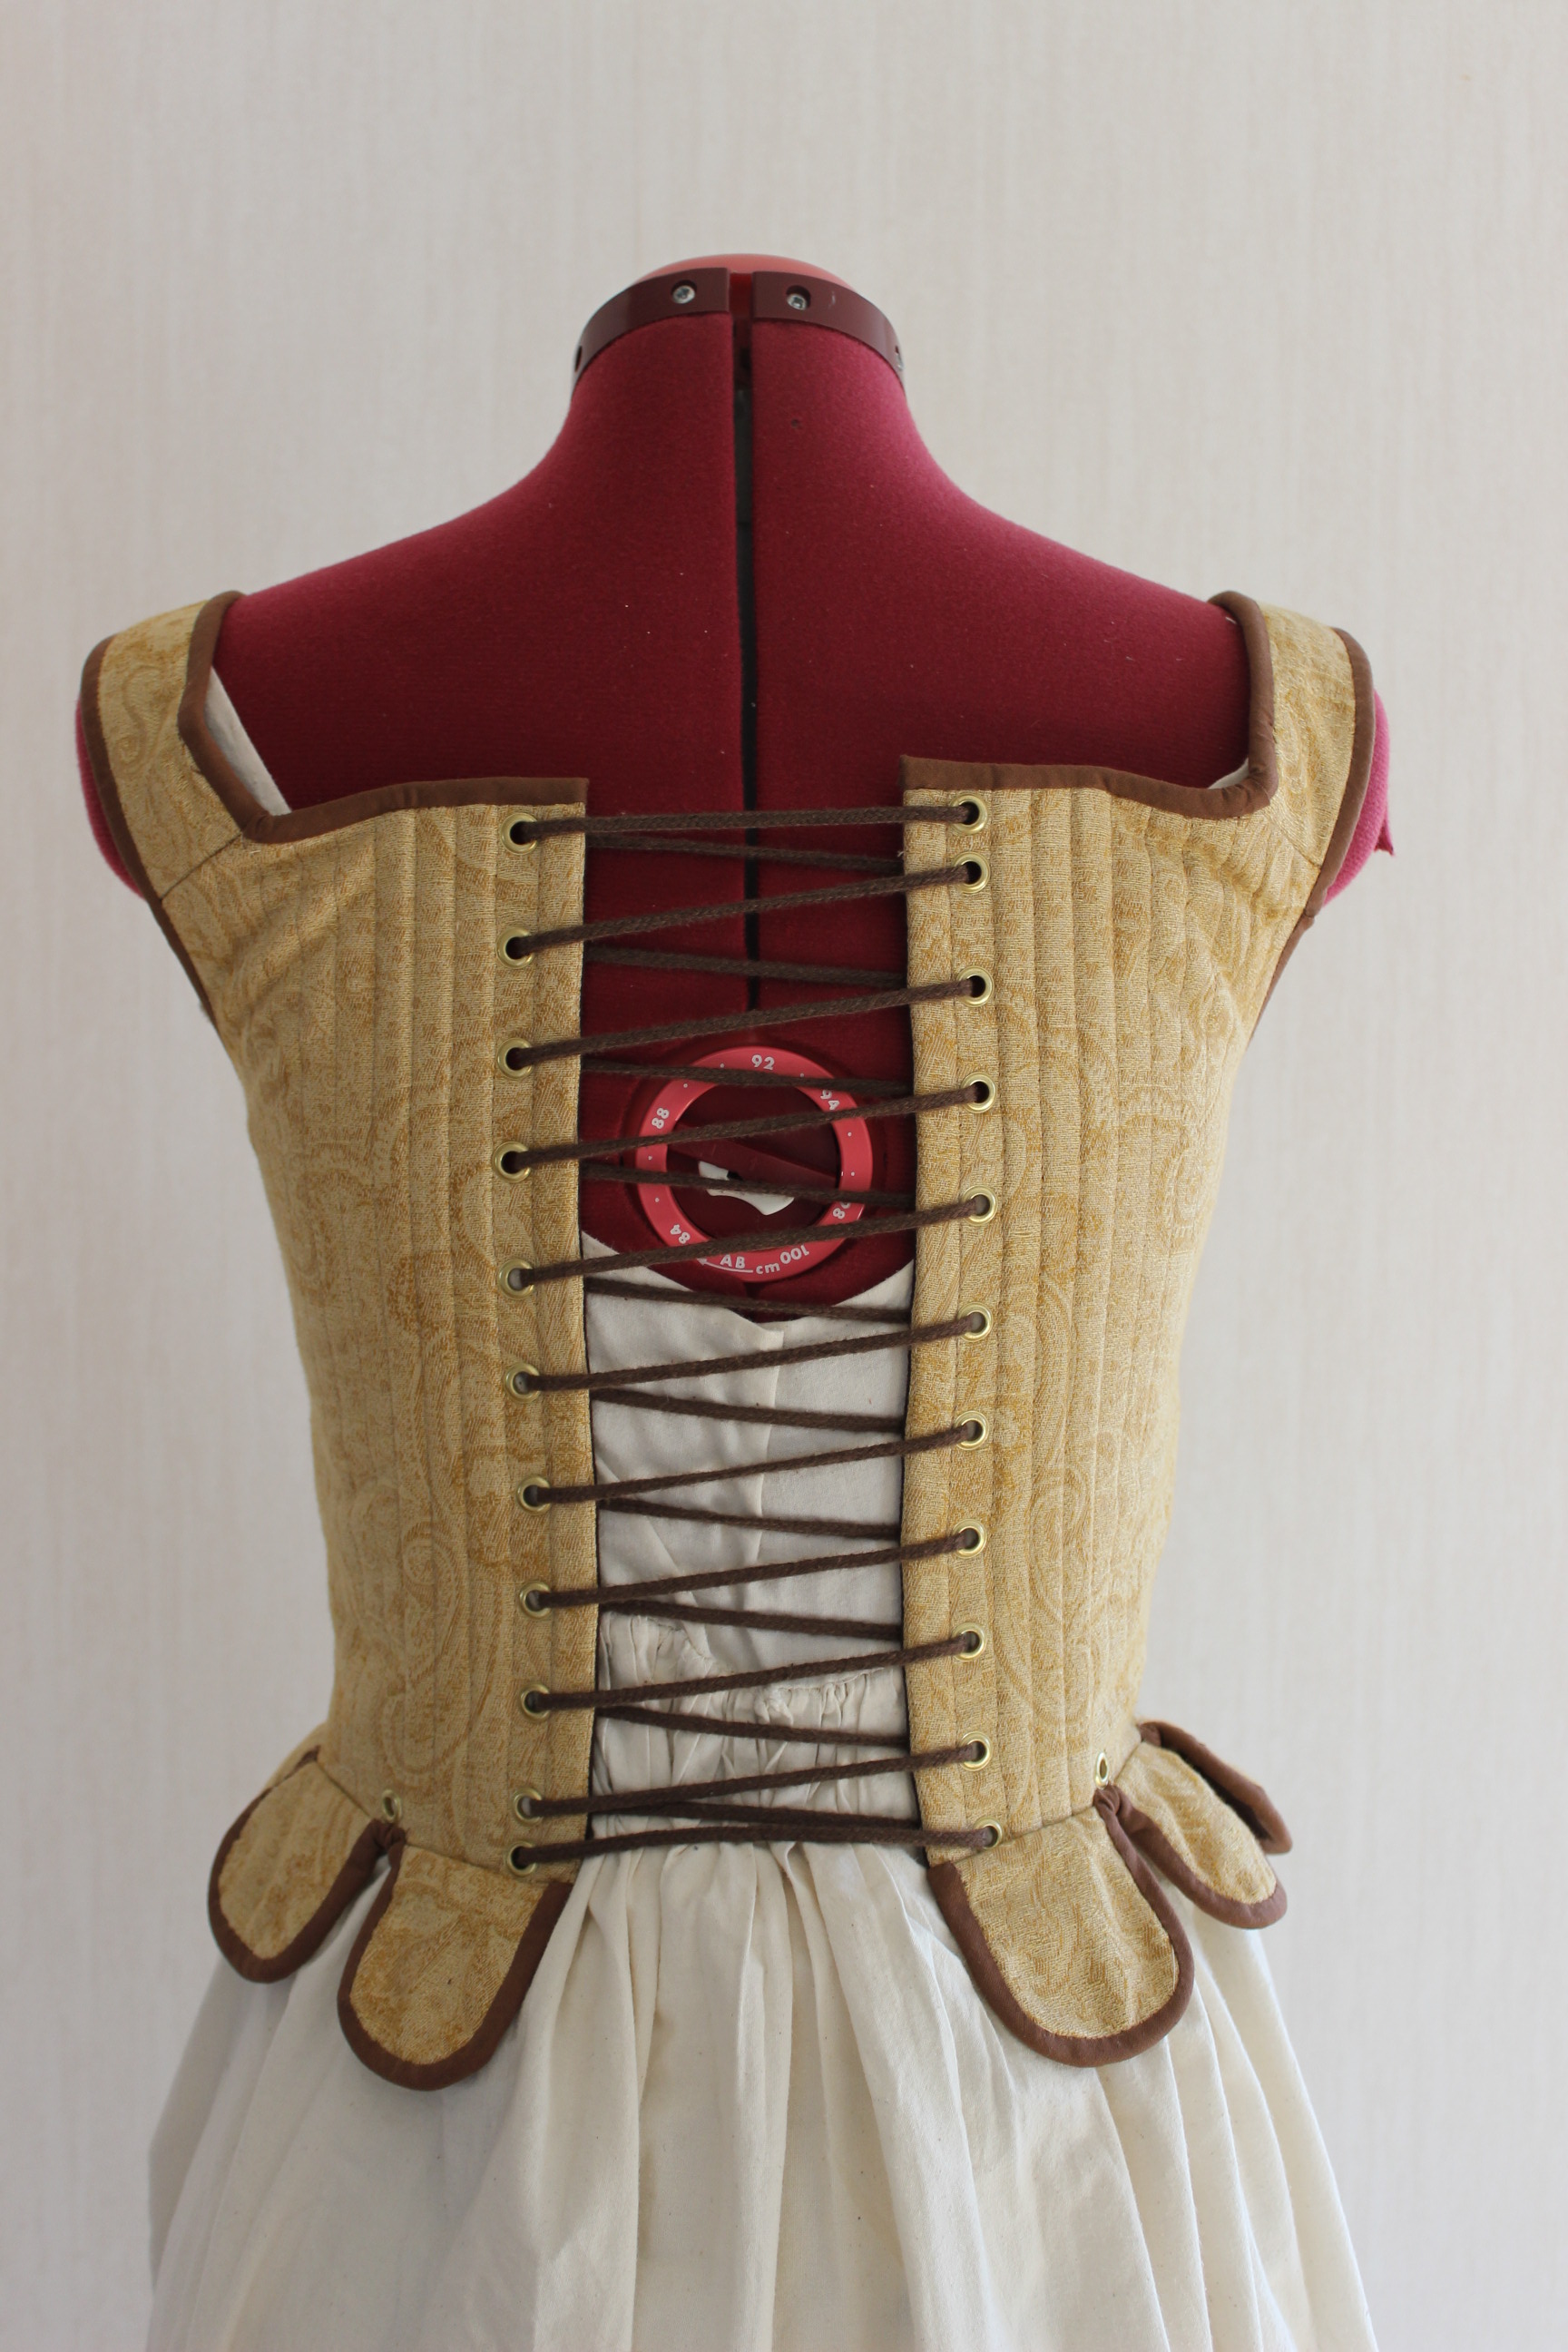
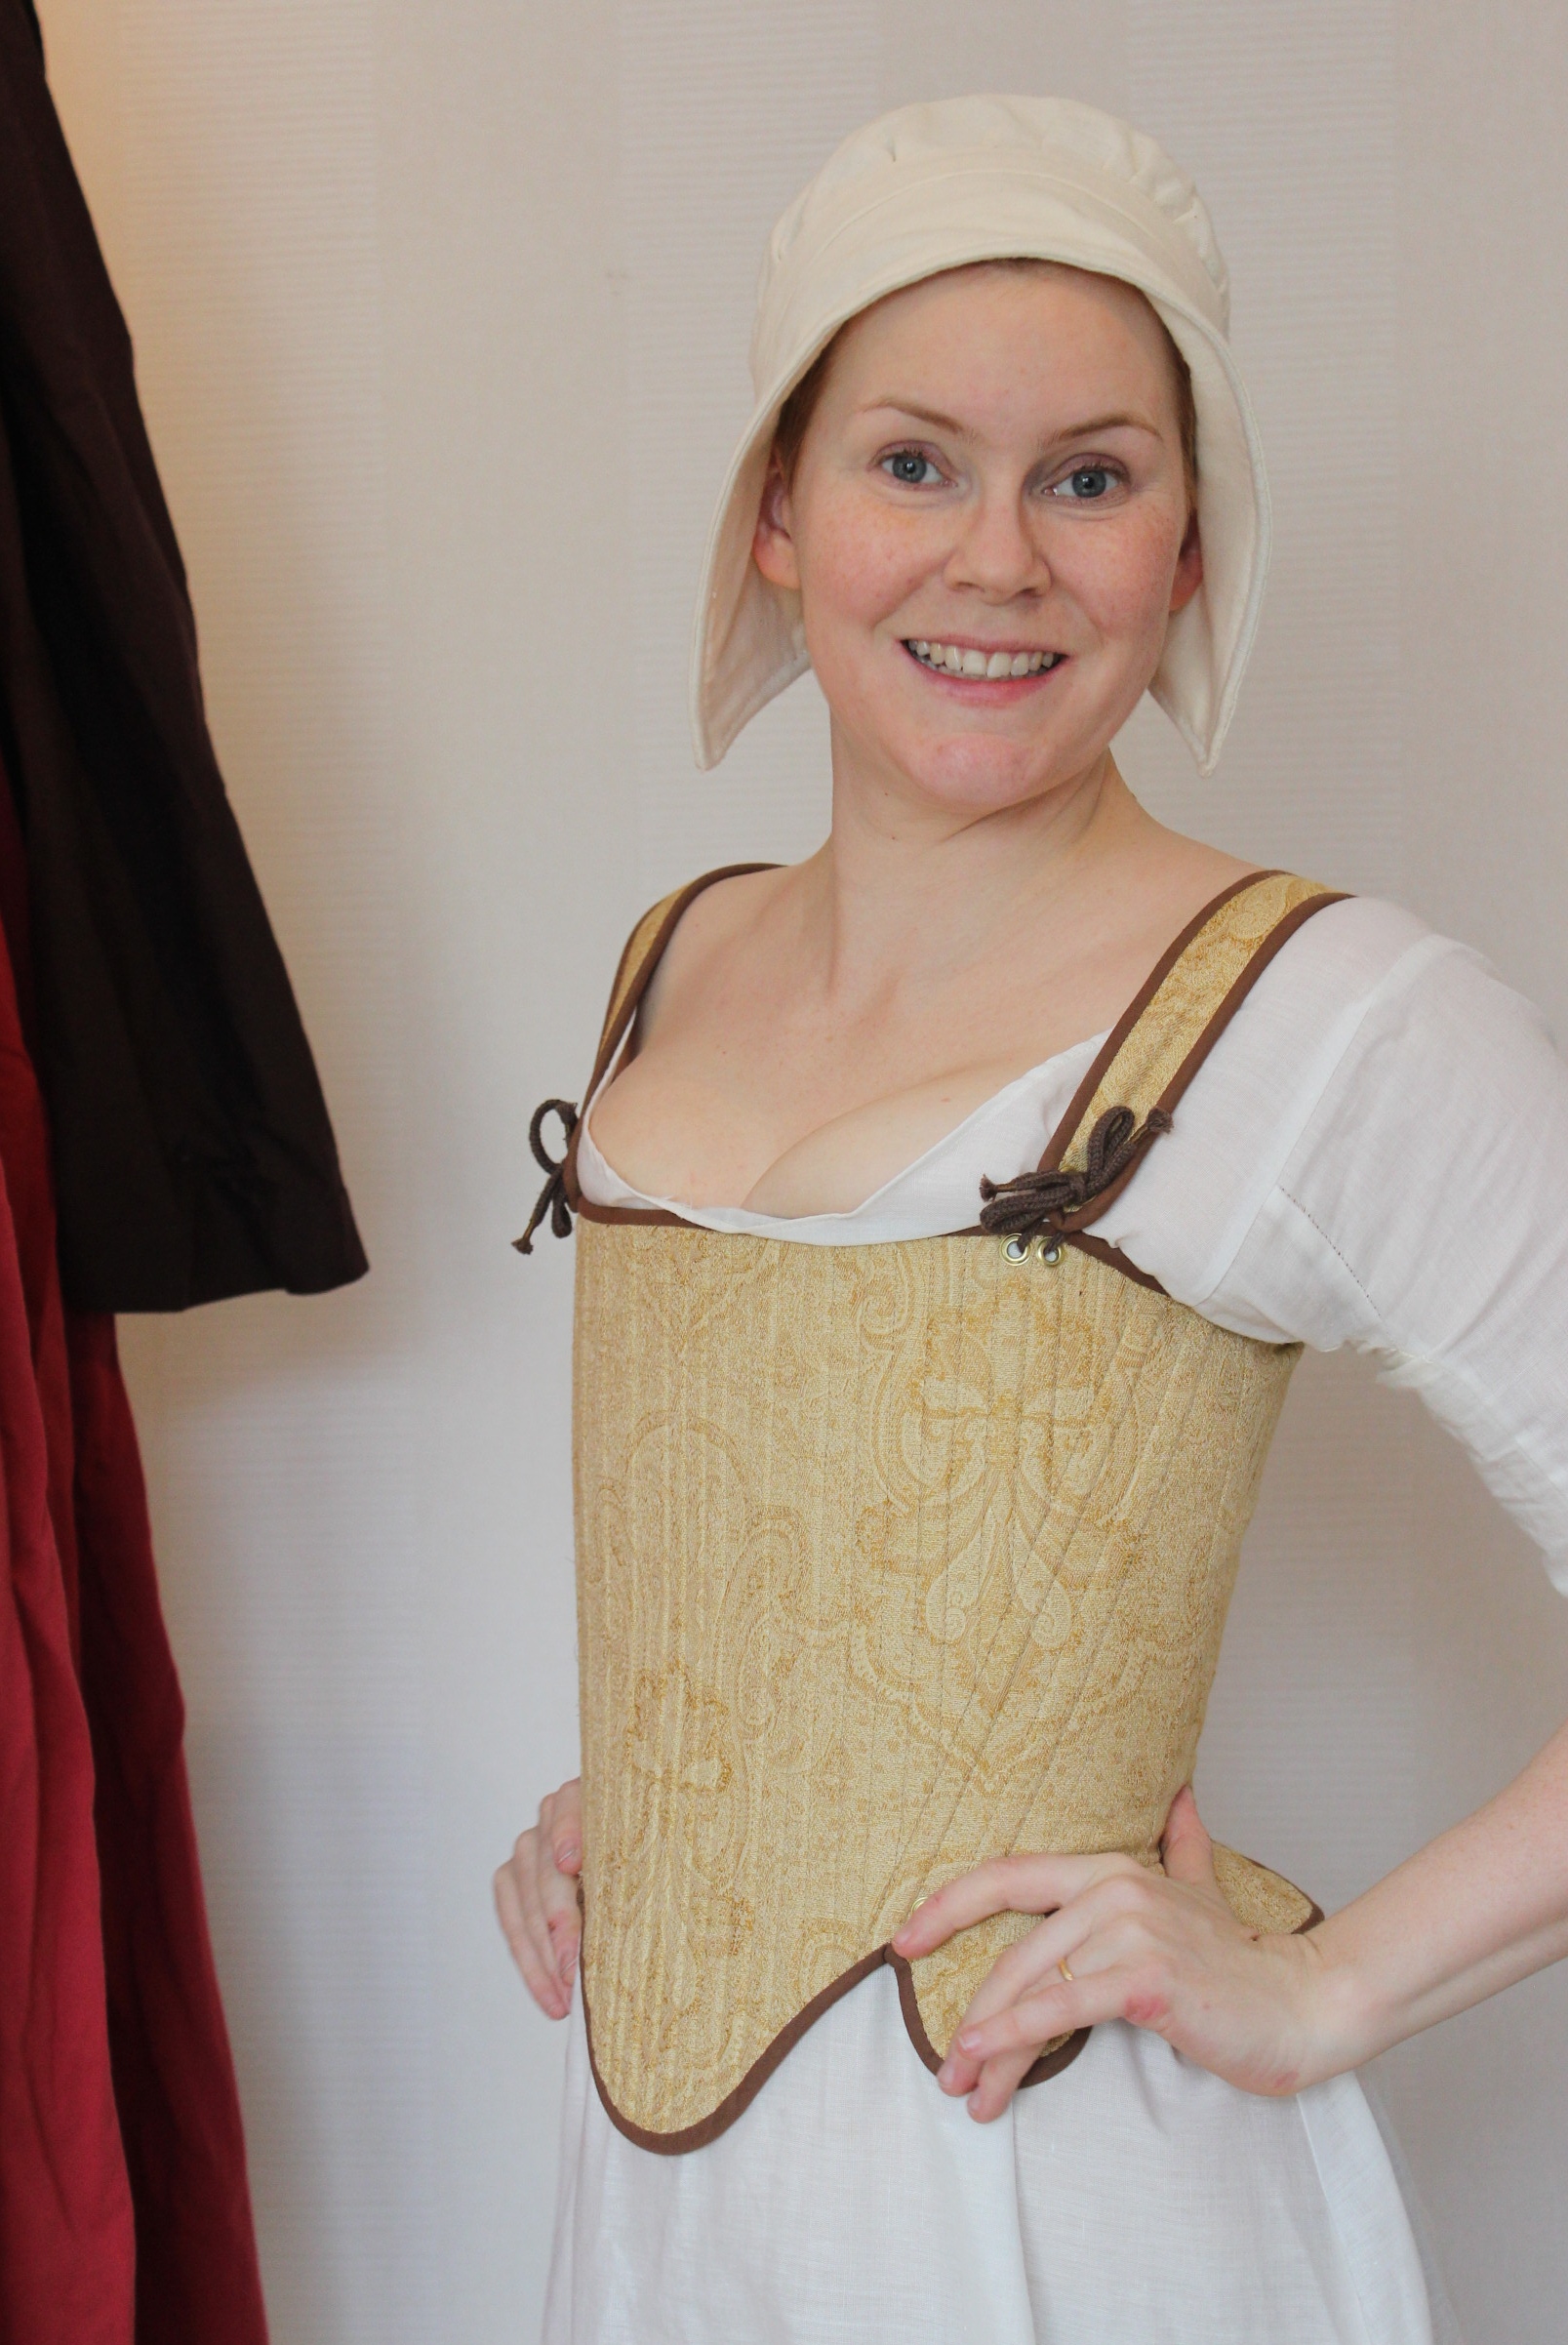
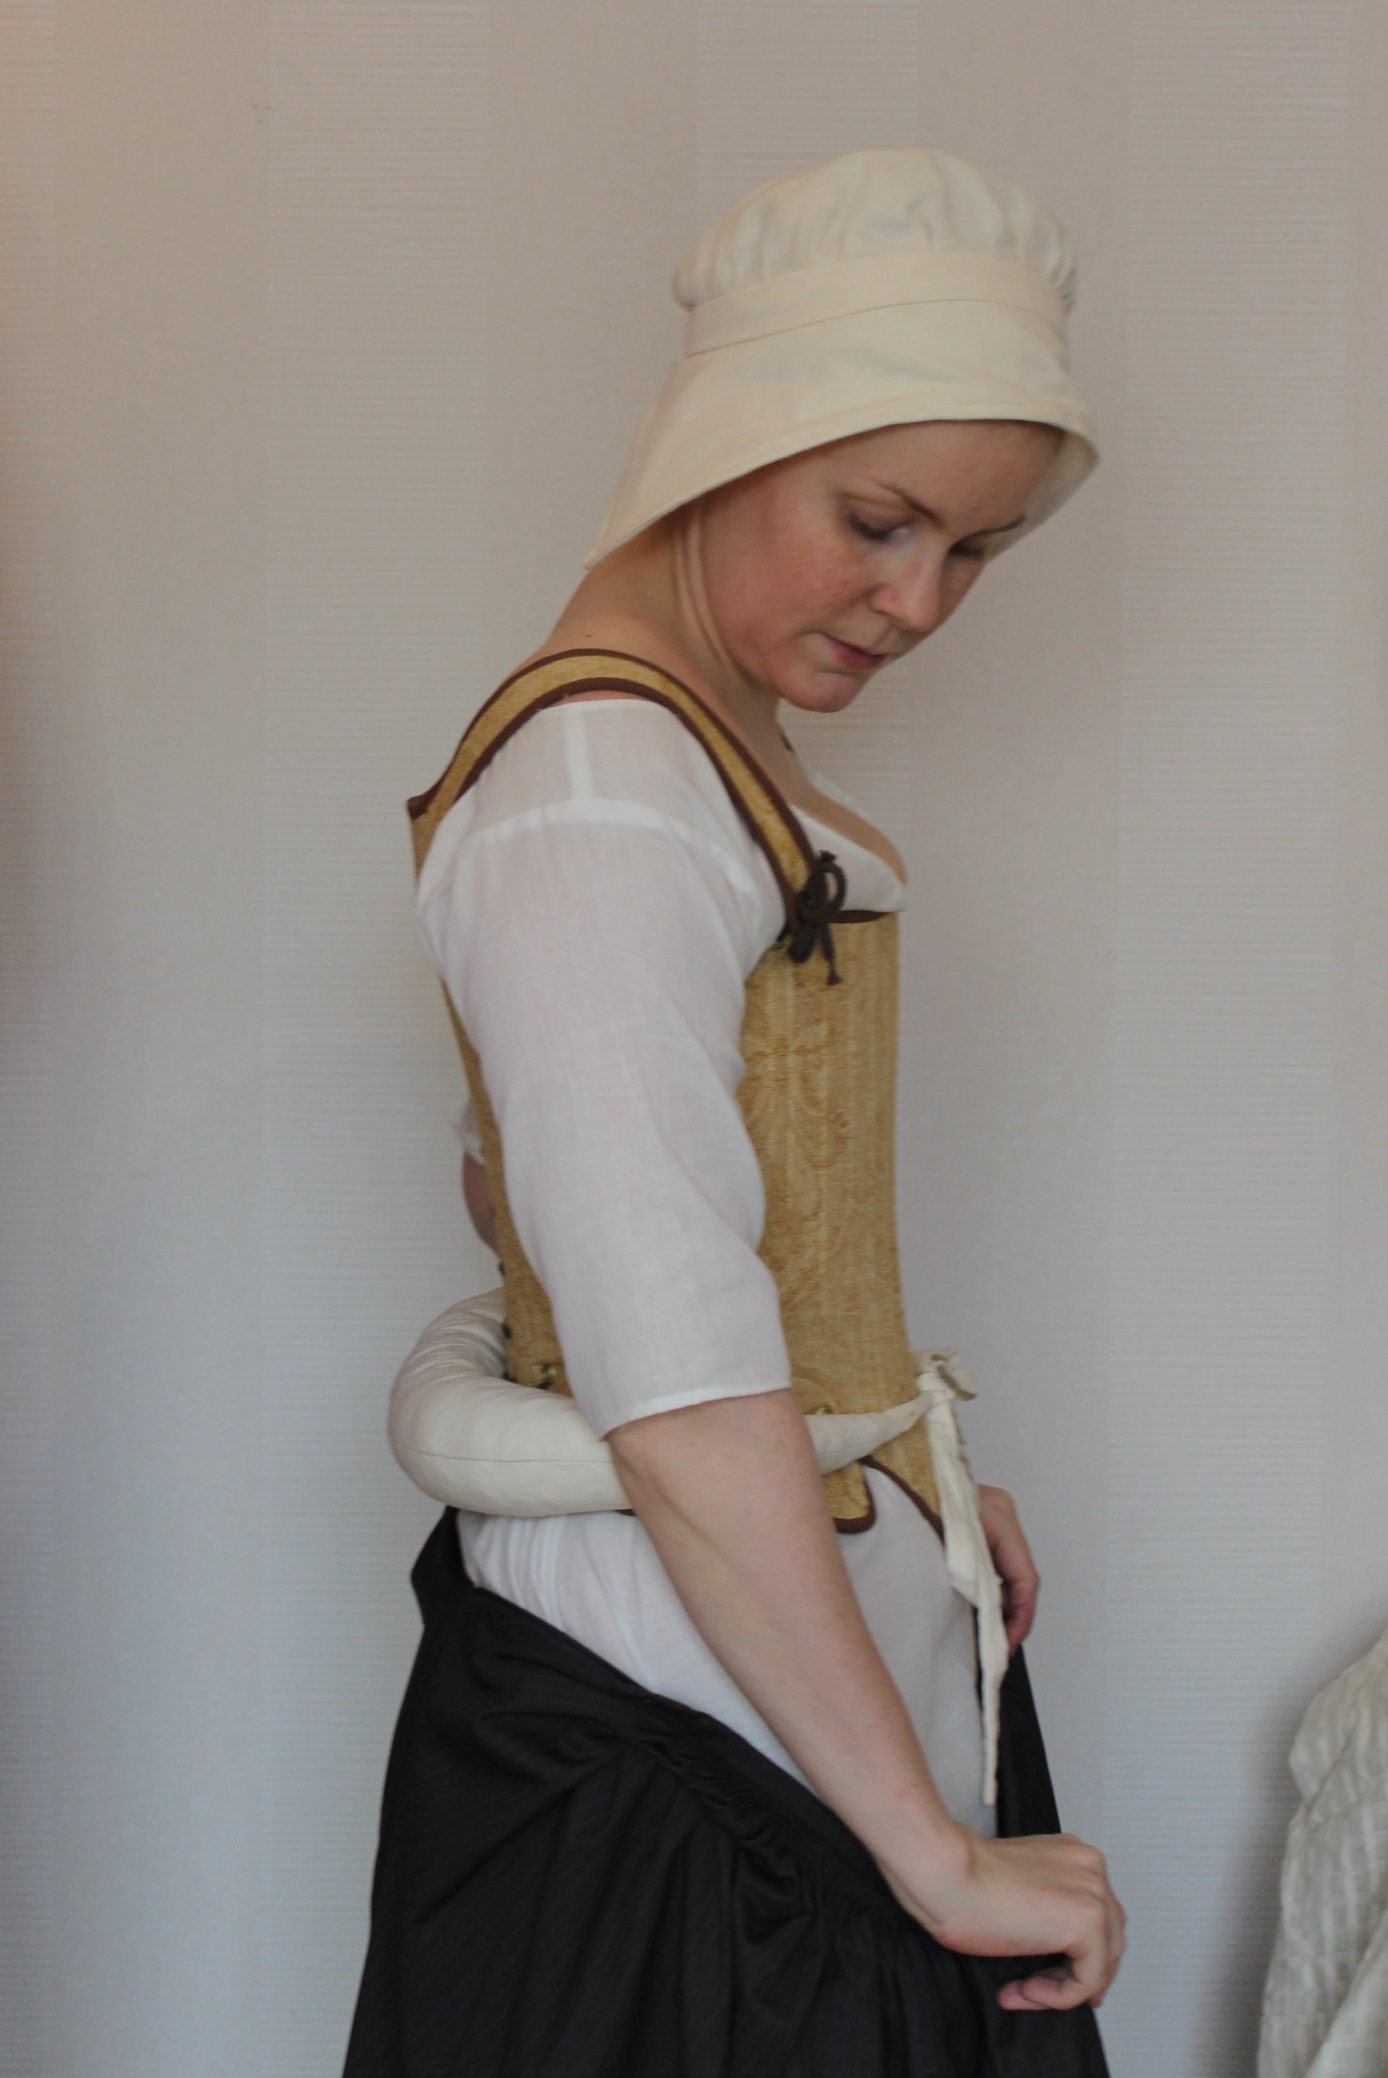
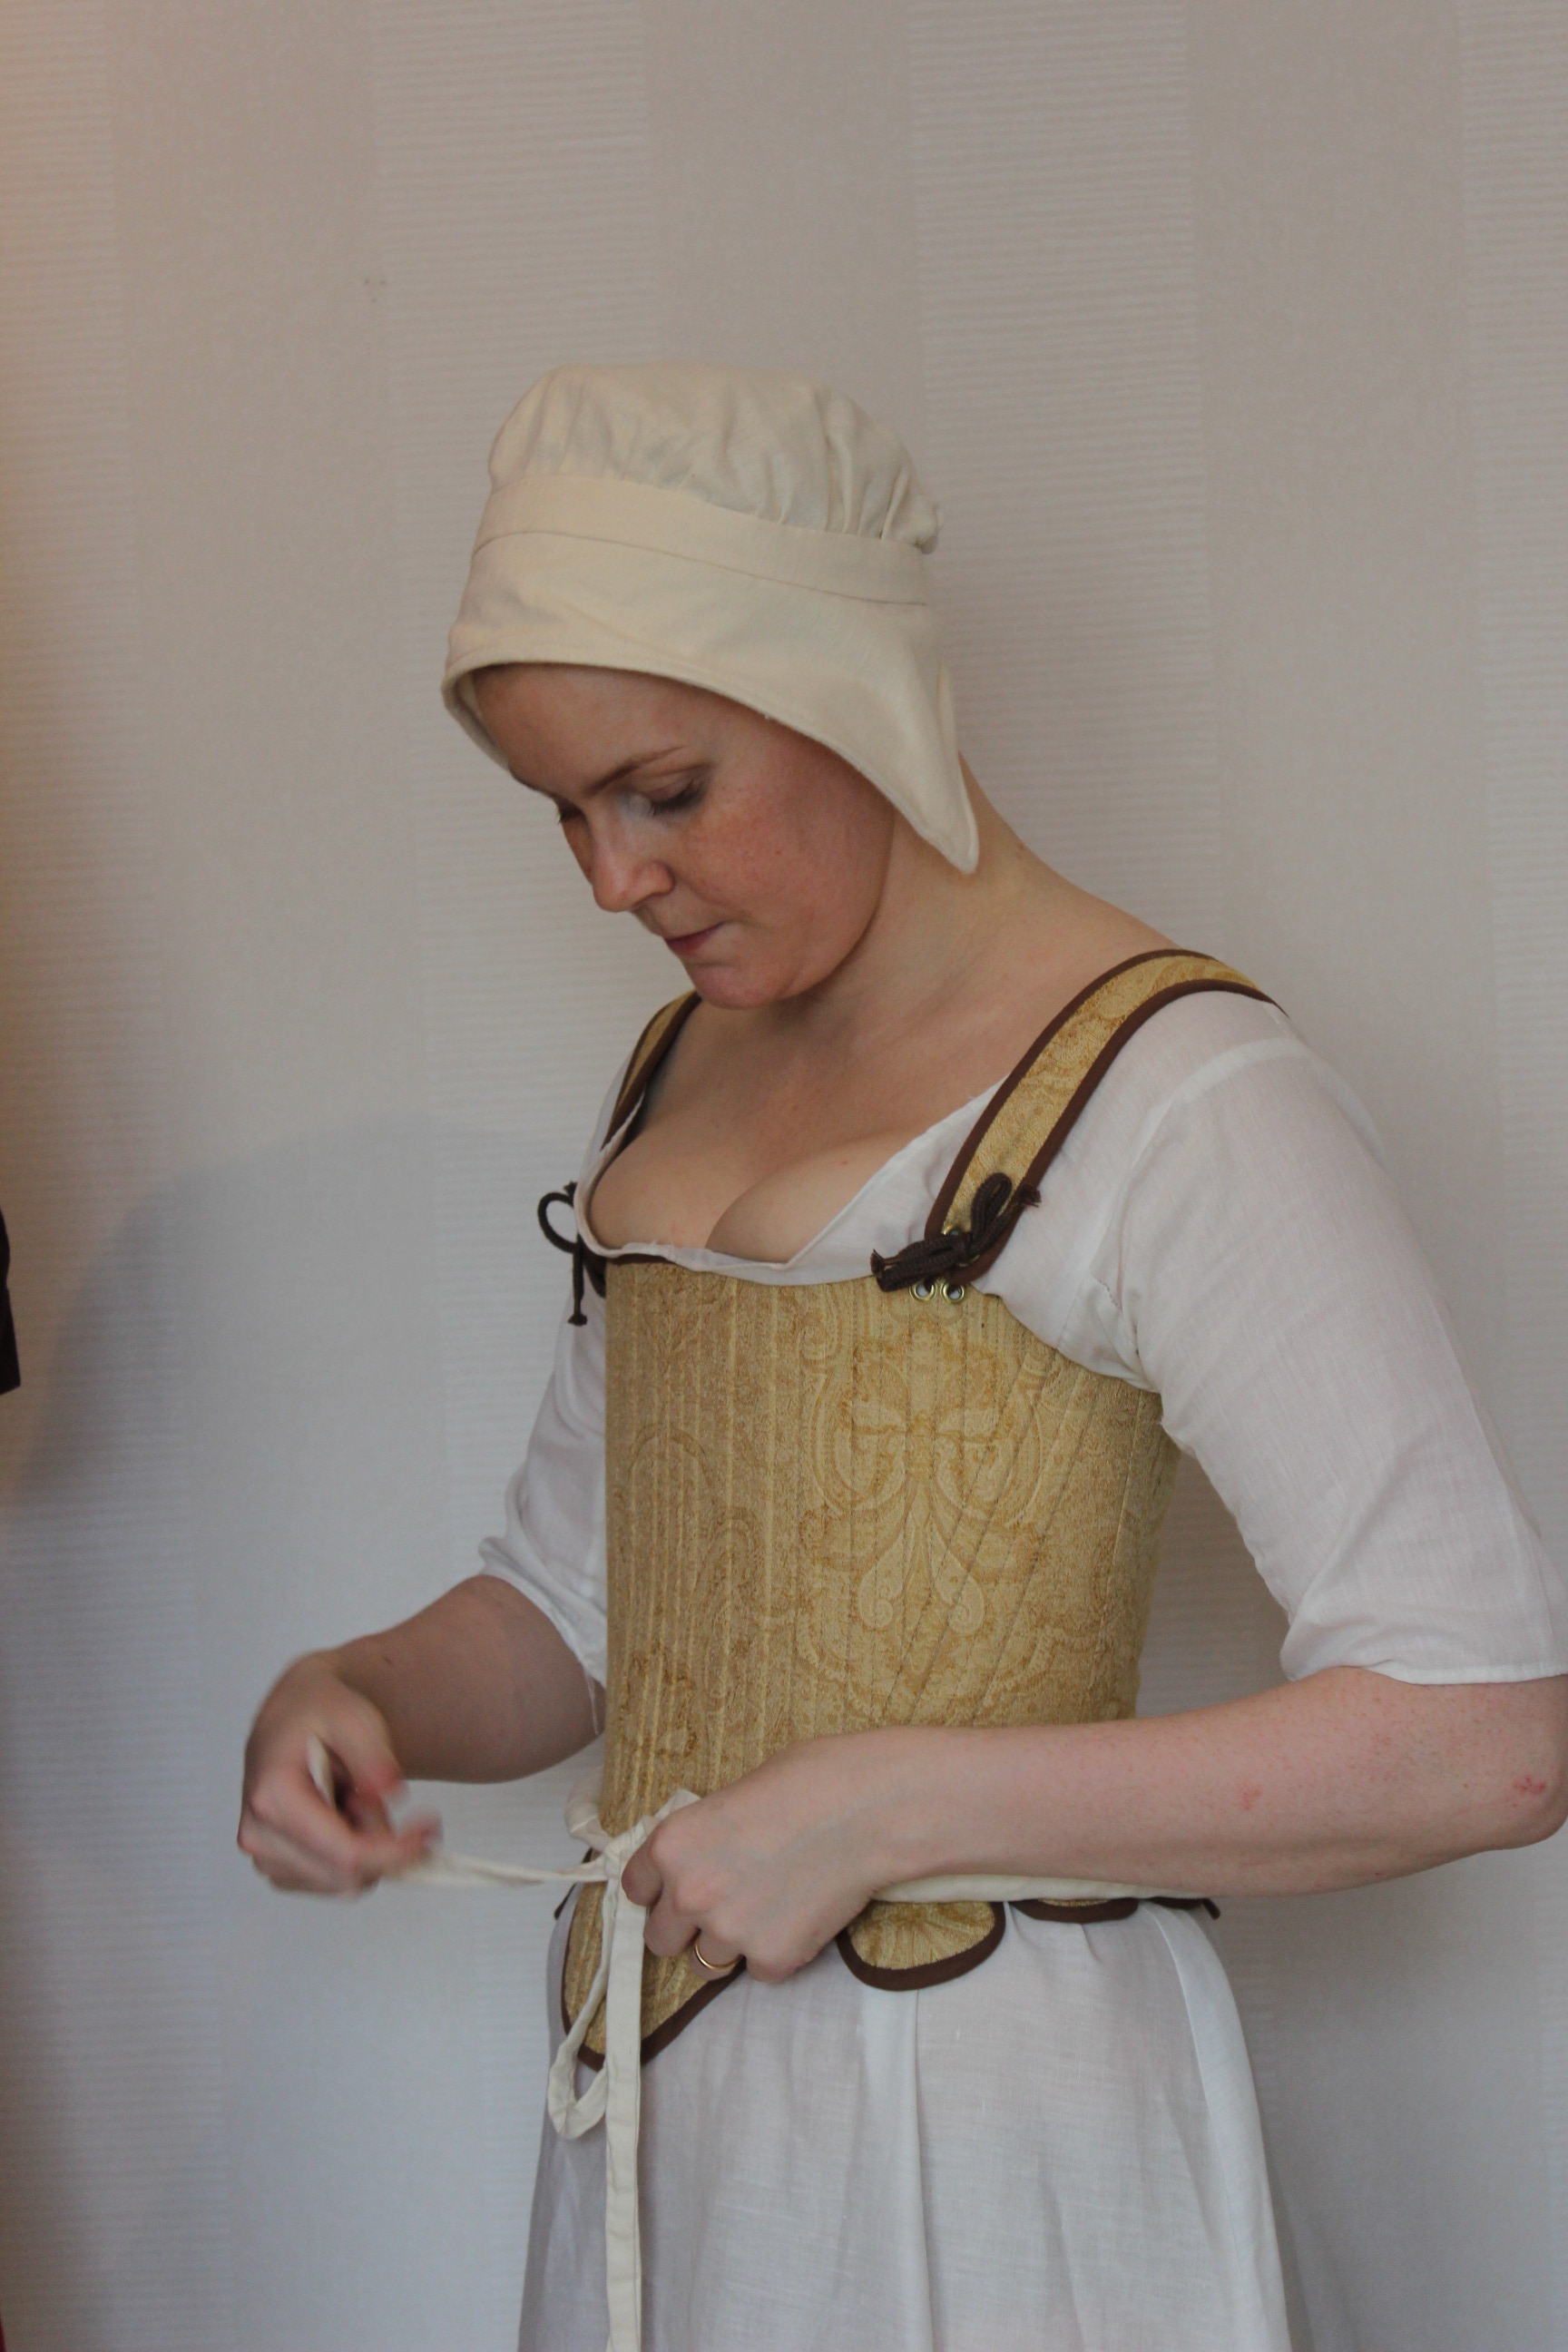
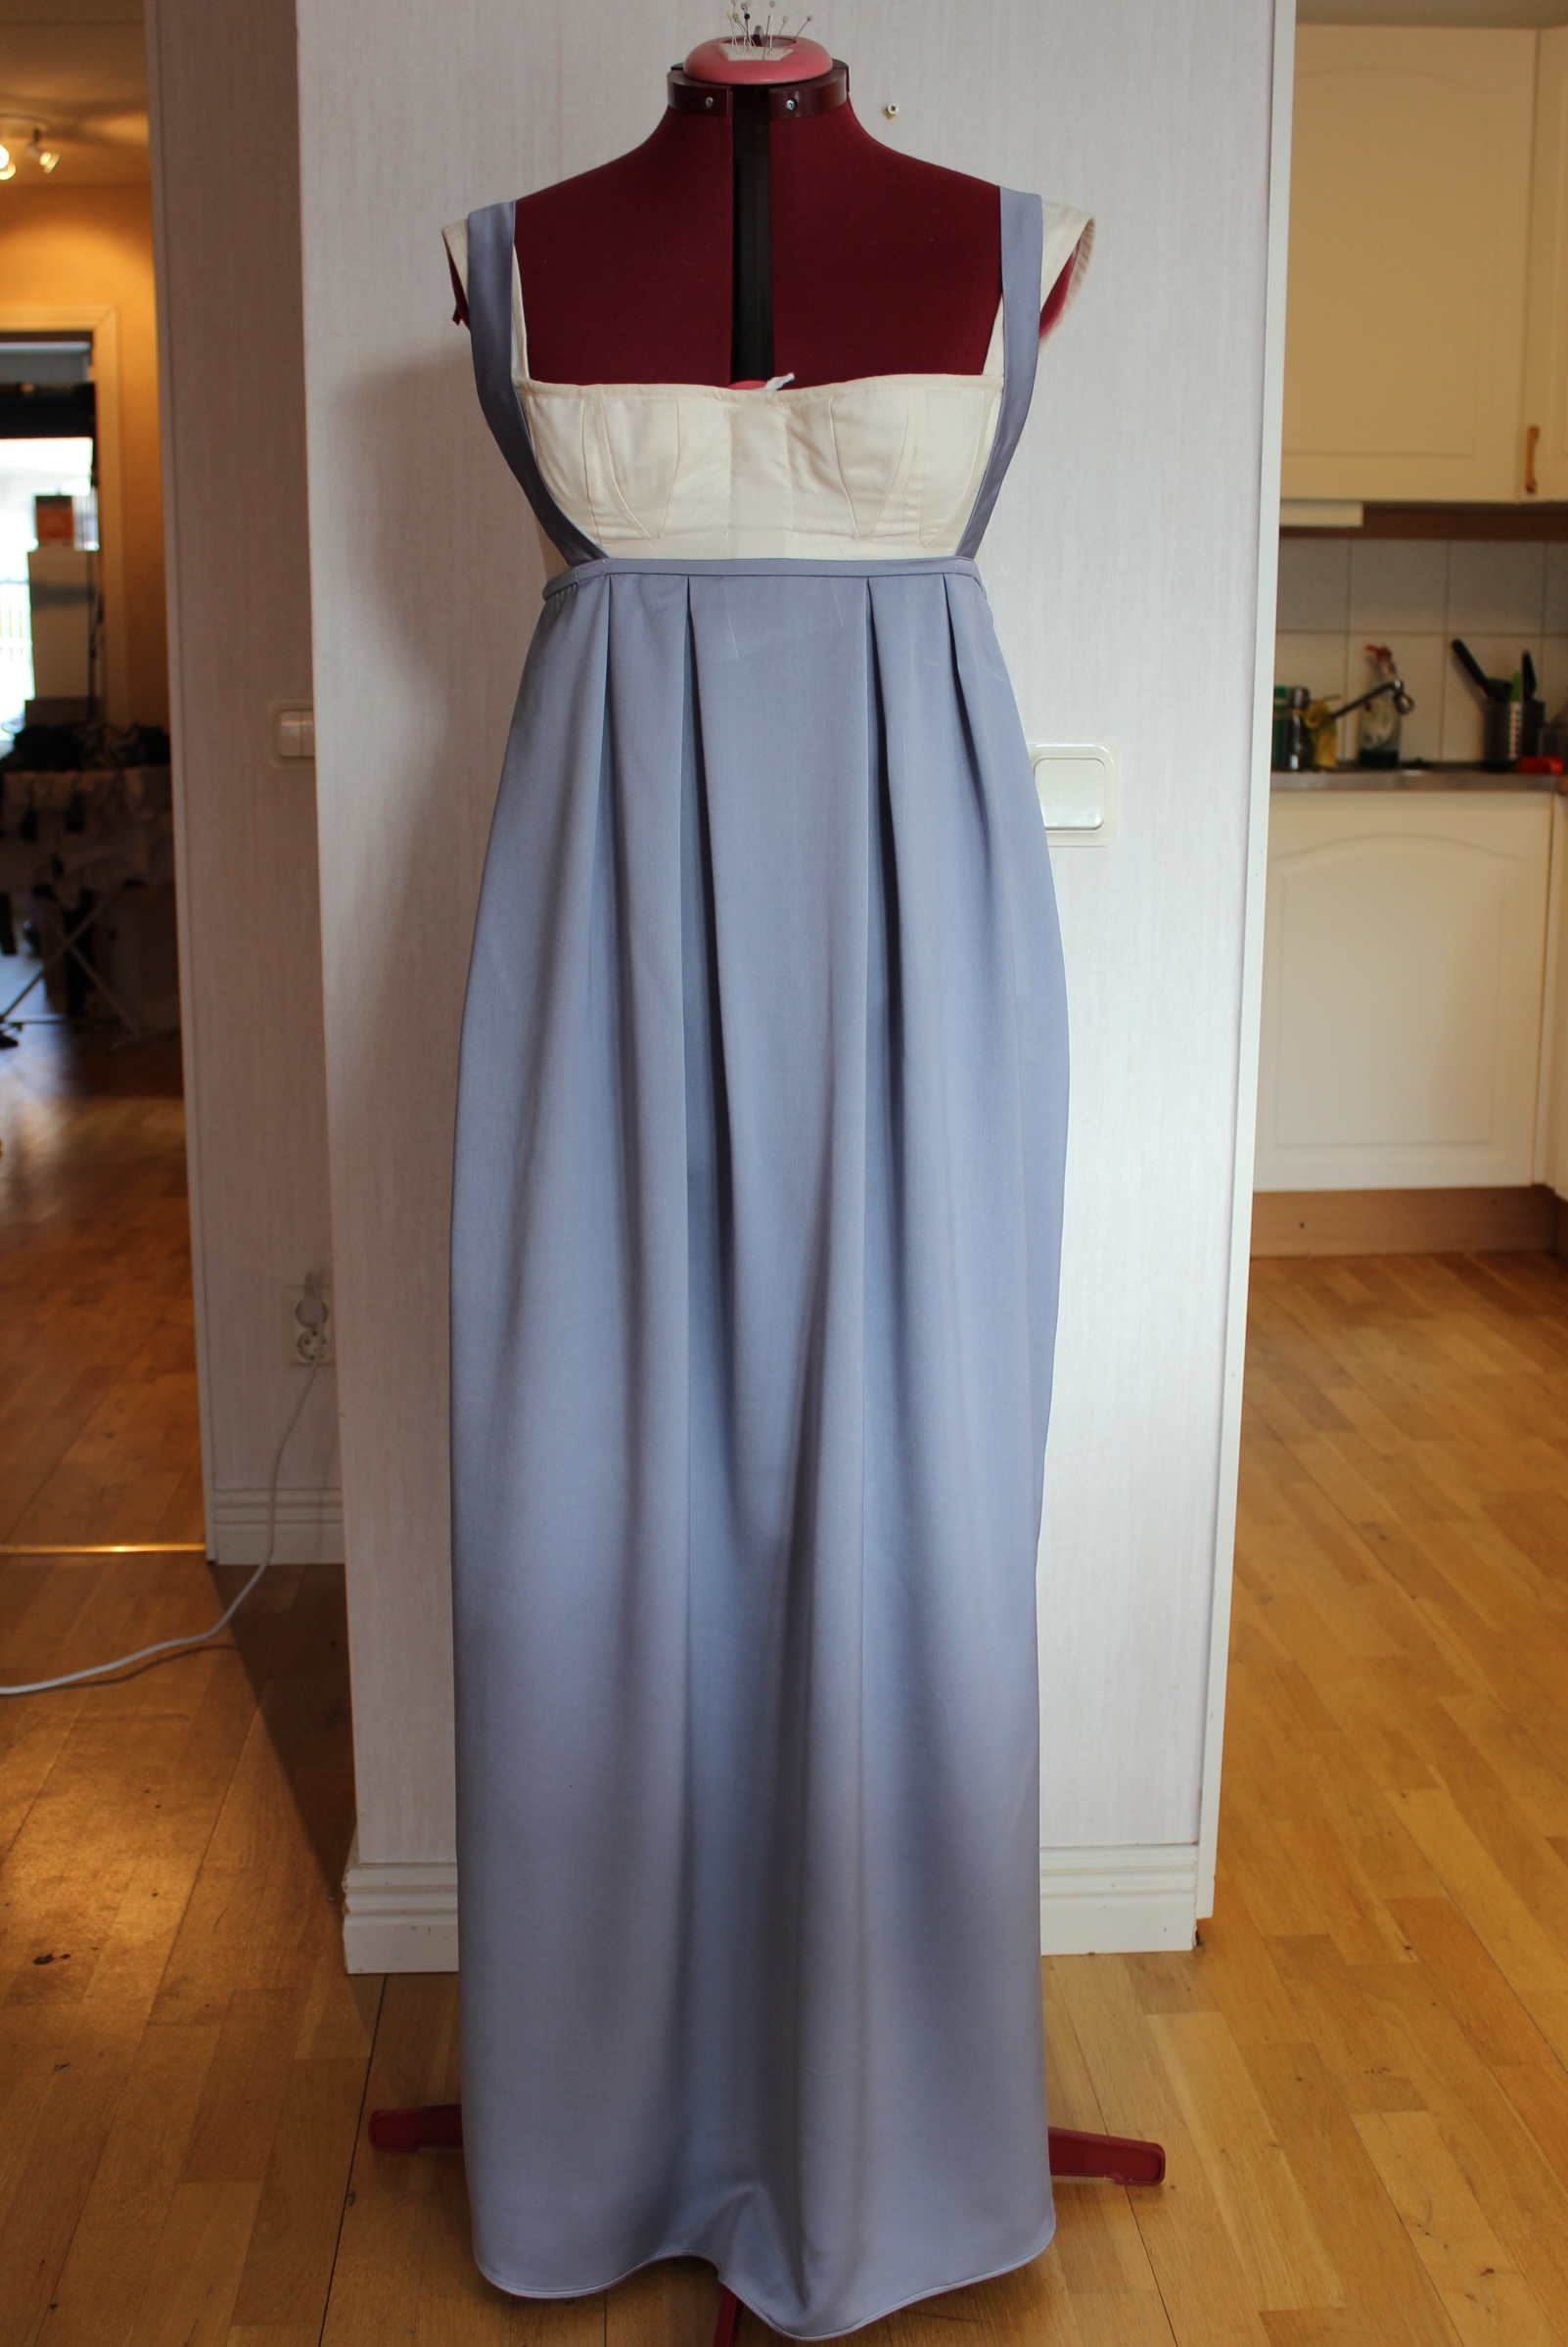
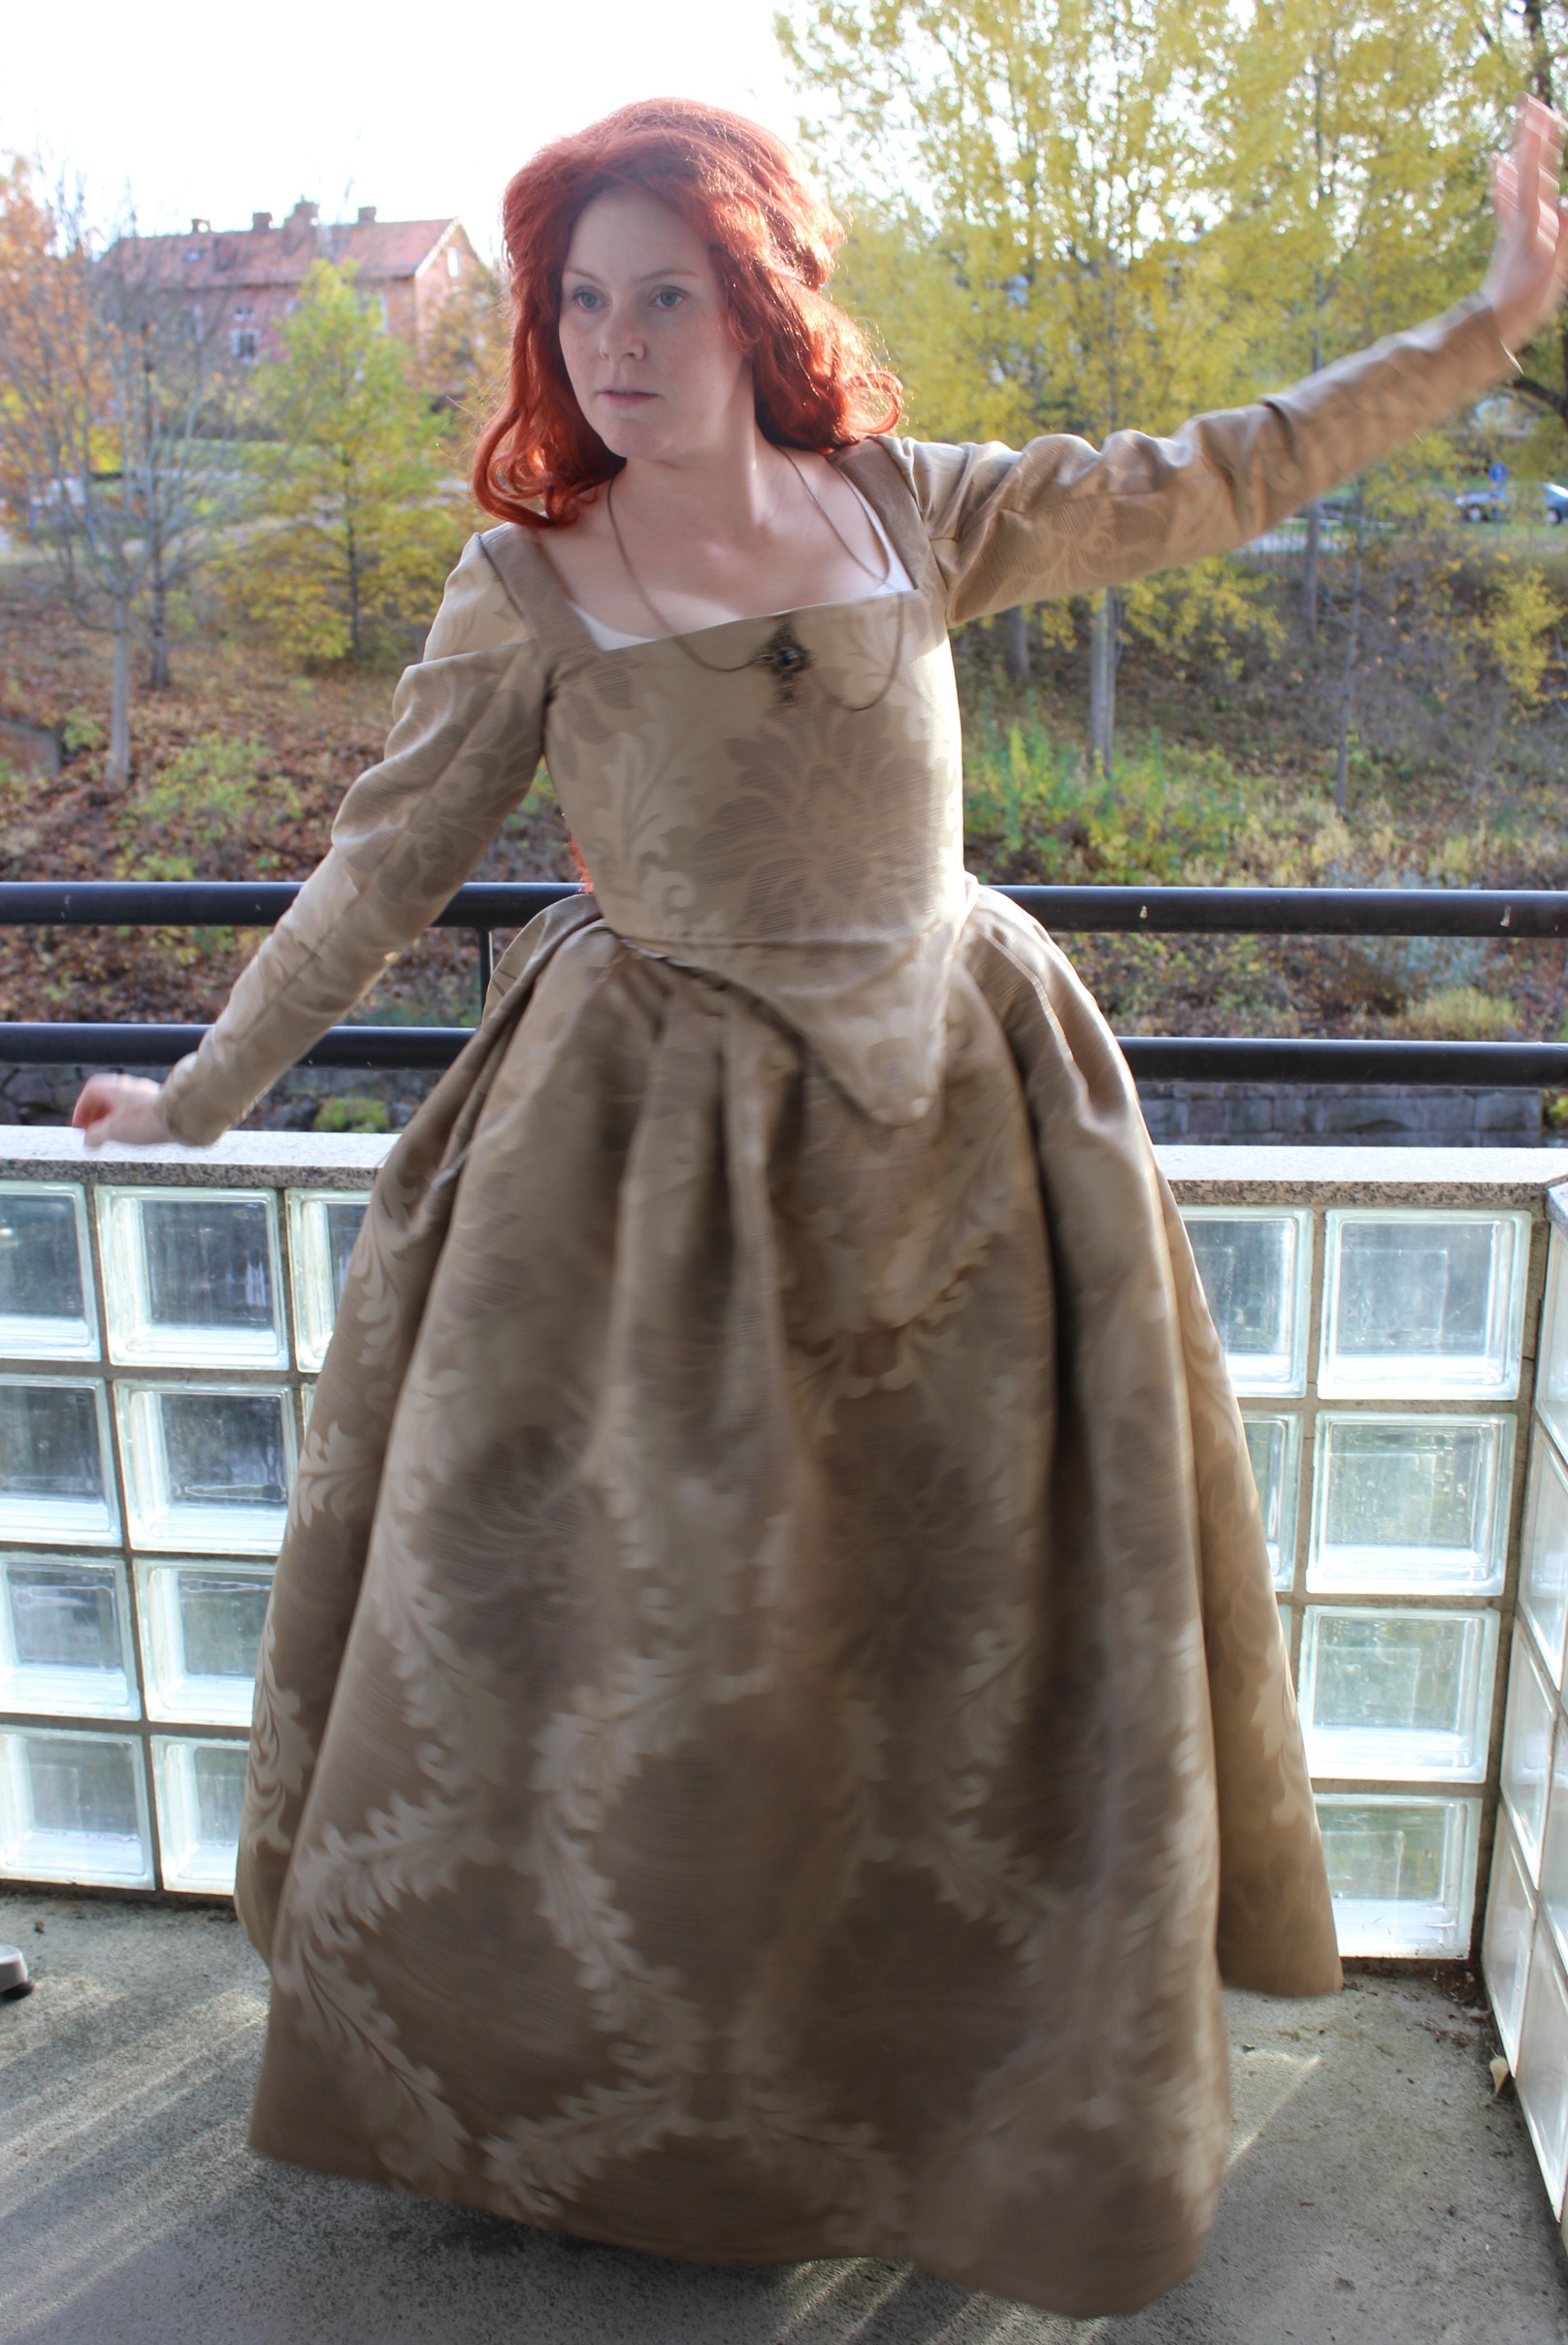
The finished Pair of bodice:


All the facts:
Challenge: nr 2/2017 – Re-make
What: The re-make of my 16th century “Pair of bodice”
How It fit the challenge: I re-made the pair of bodice to better fit my current skill and body, making it a lot more likely I will actually wear them. I also got a lot leftover boning from the fix-up, that I can use for other projects down the line.
Pattern: None
Fabric/Notions: Thread
How historical accurate: Not at all except the shape. The whole thing is made with machine, in synthetic brocade using both plastic boning and metal eyelets (so sorry you guys…). But it is a clear example of how my knowledge and skill have grown and since they will never be seen, it don’t bother me as much as it probably should. about 3/10.
Time/Cost: About 3 hours and it didn’t cost me a thing (of one thing I gained a few cents with the opportunity to re-use the left over bones).
First worn: Beginning of Mars for photos
Finished thoughts: I’m happy that I now might finally wear them 🙂
***
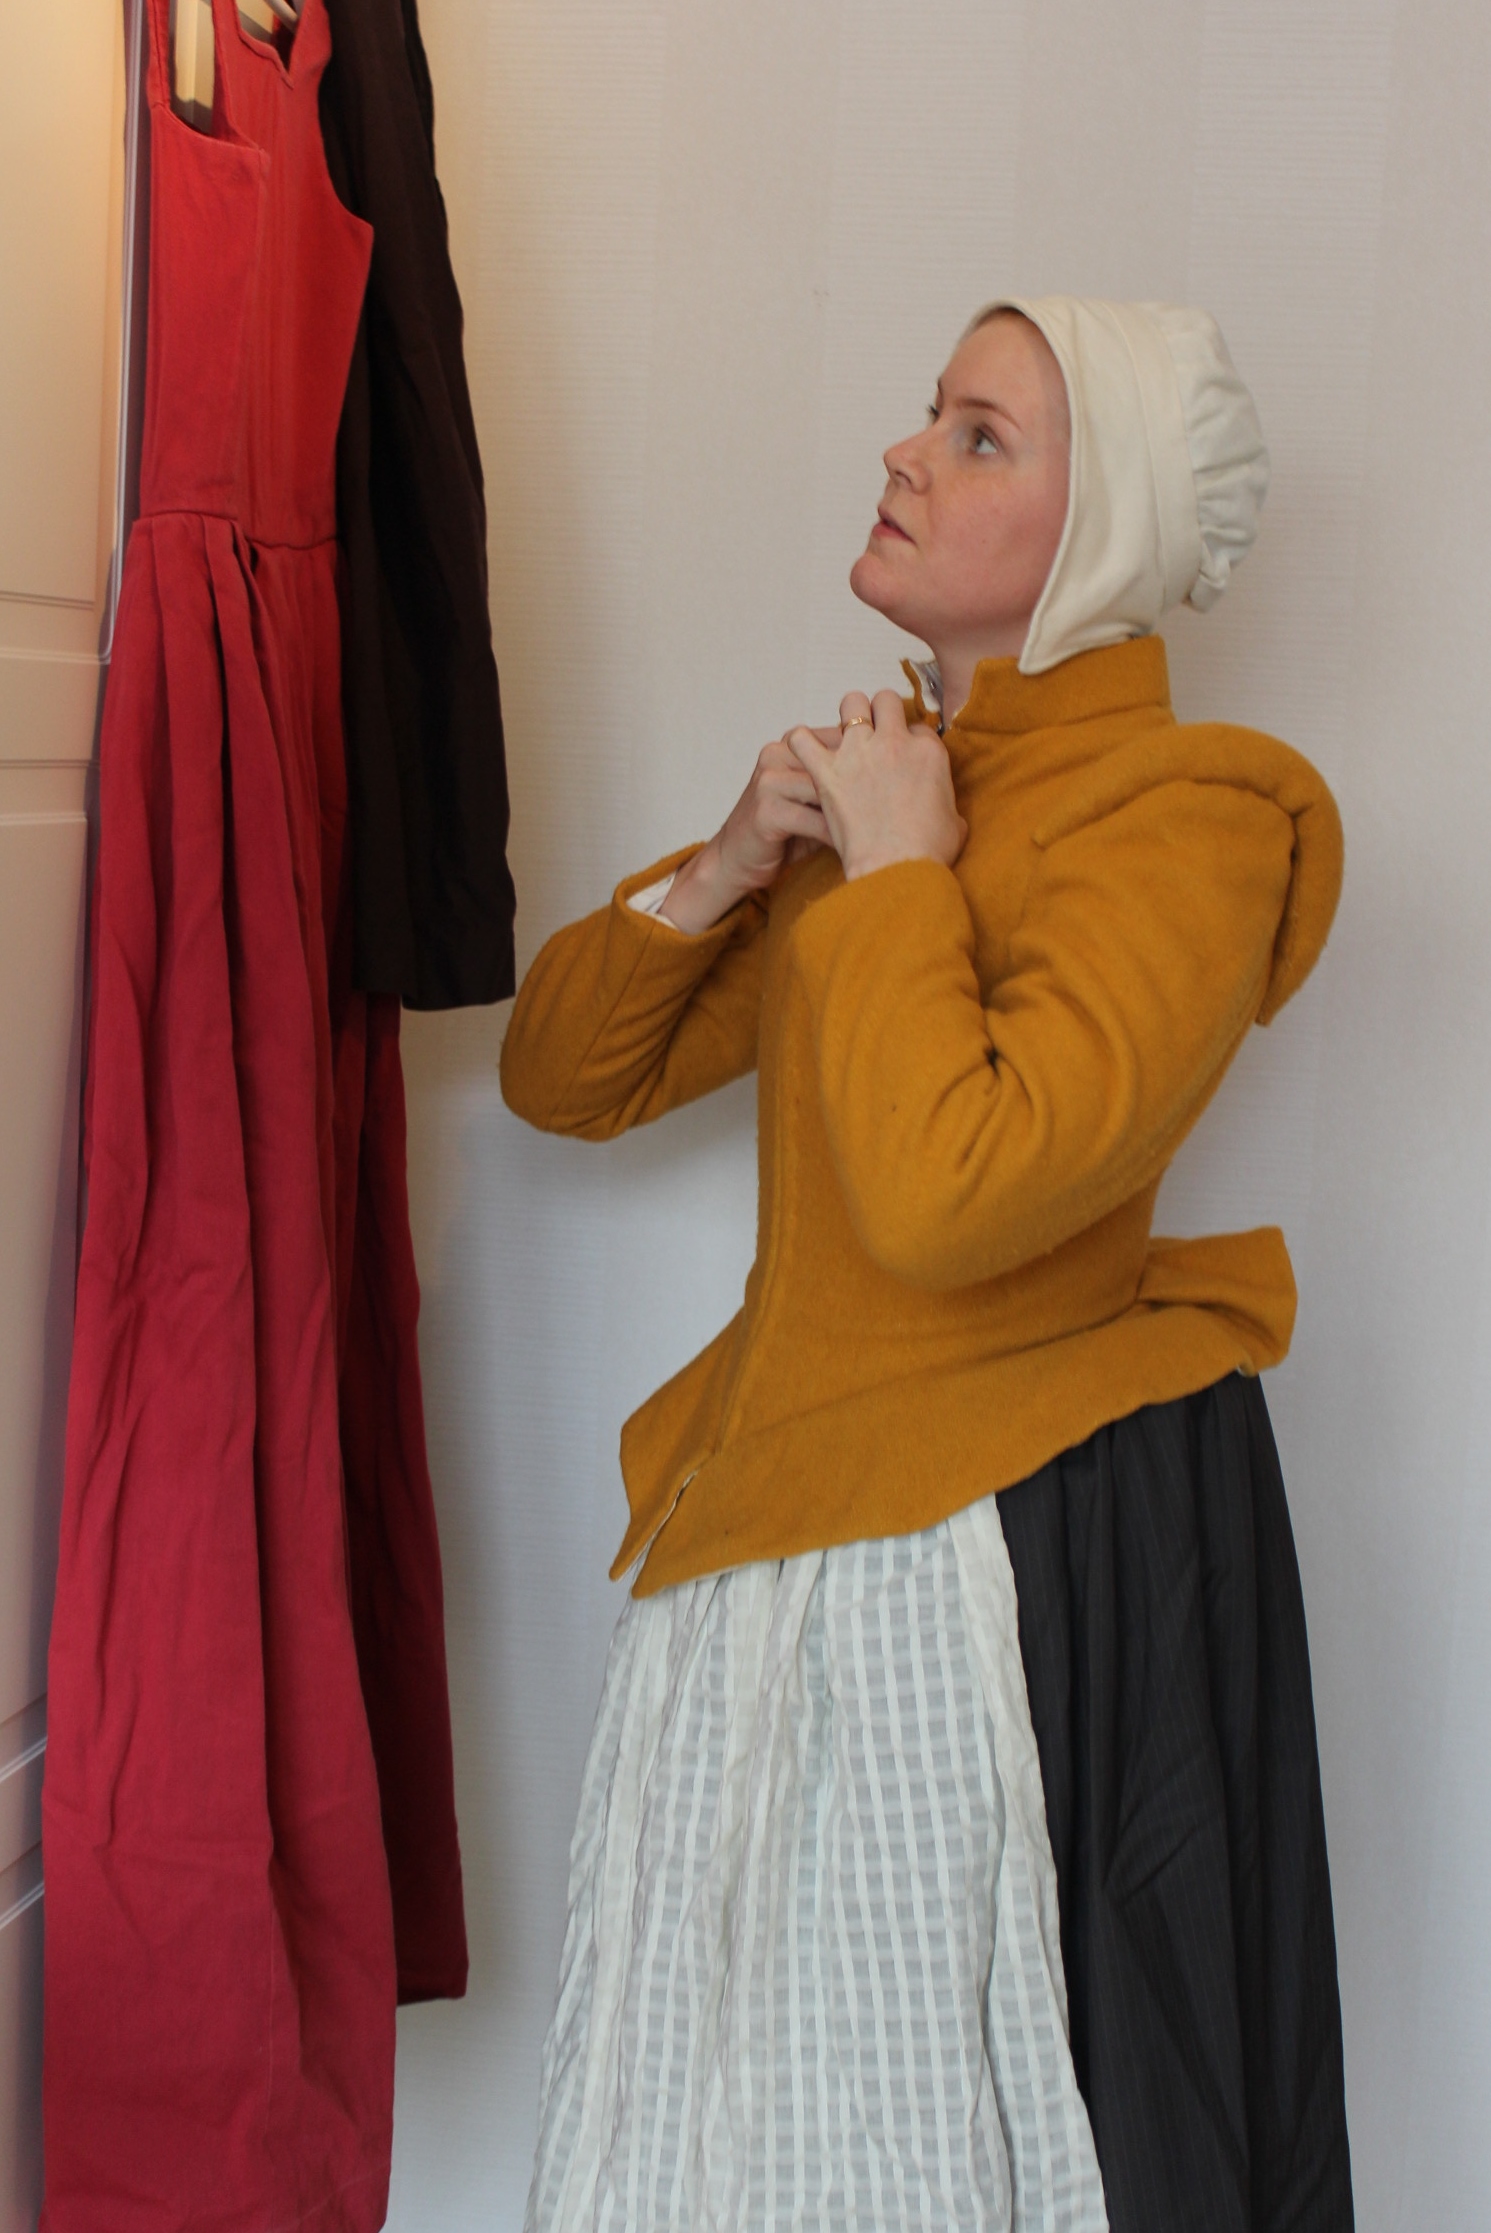
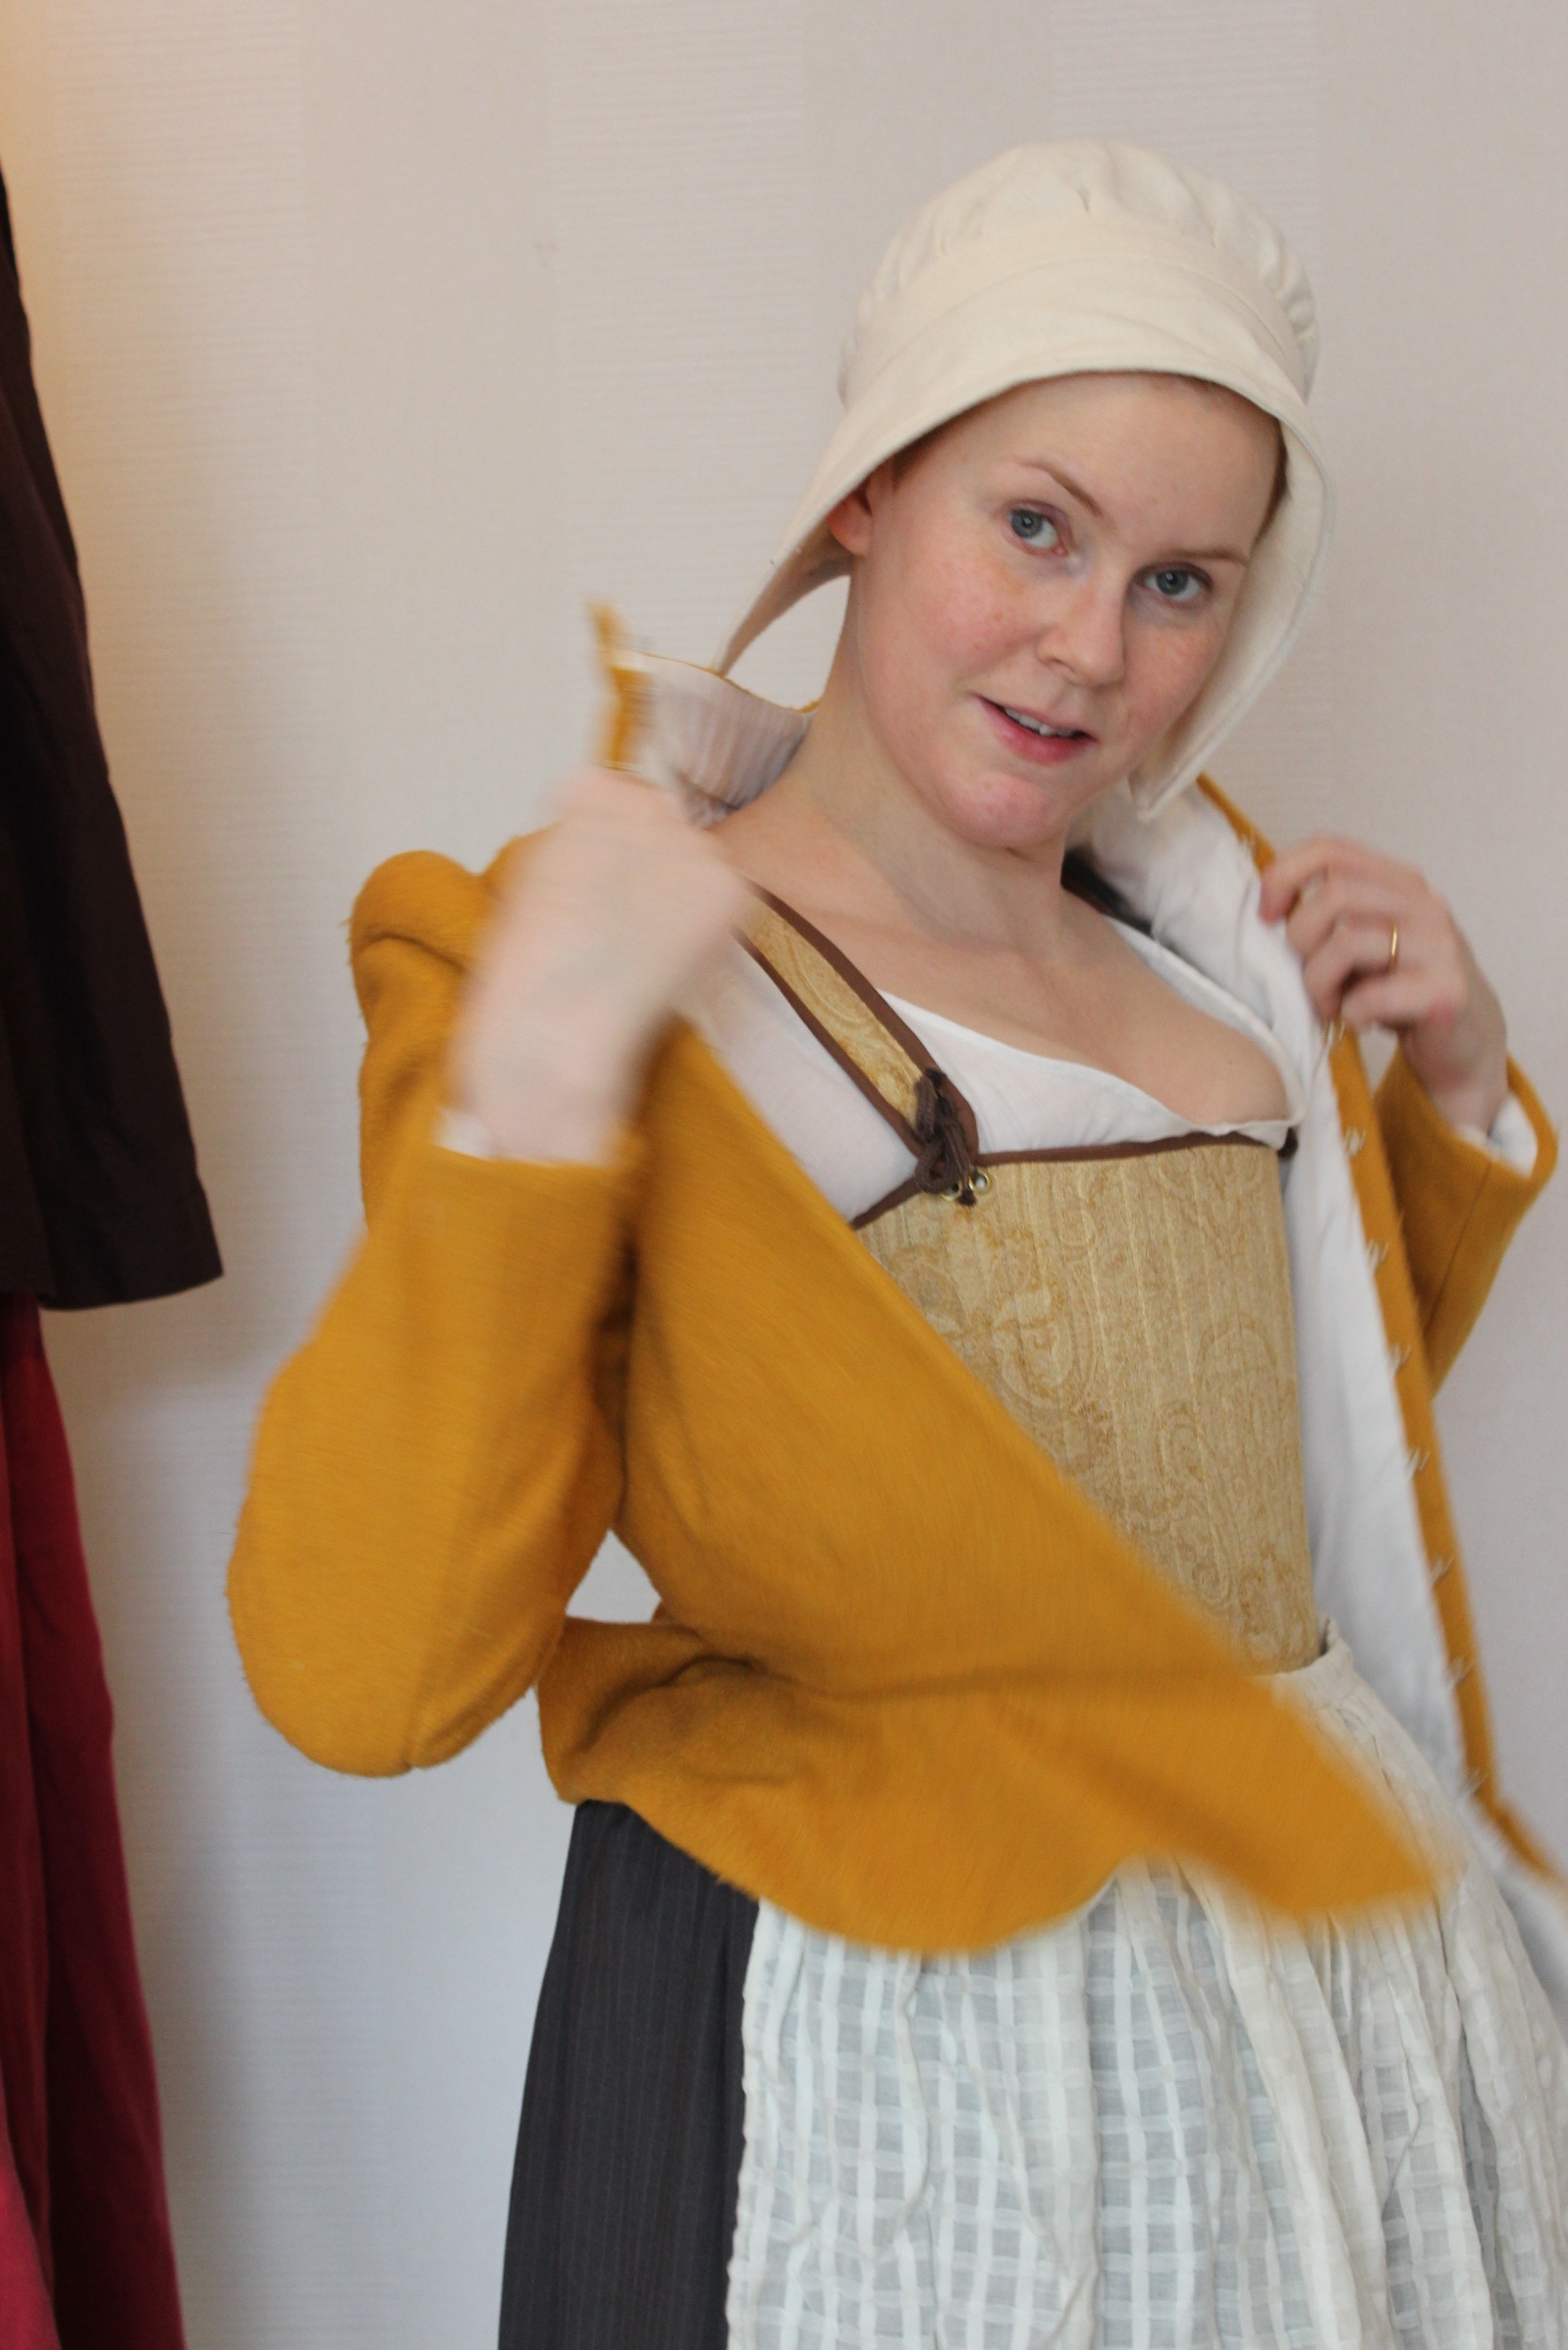
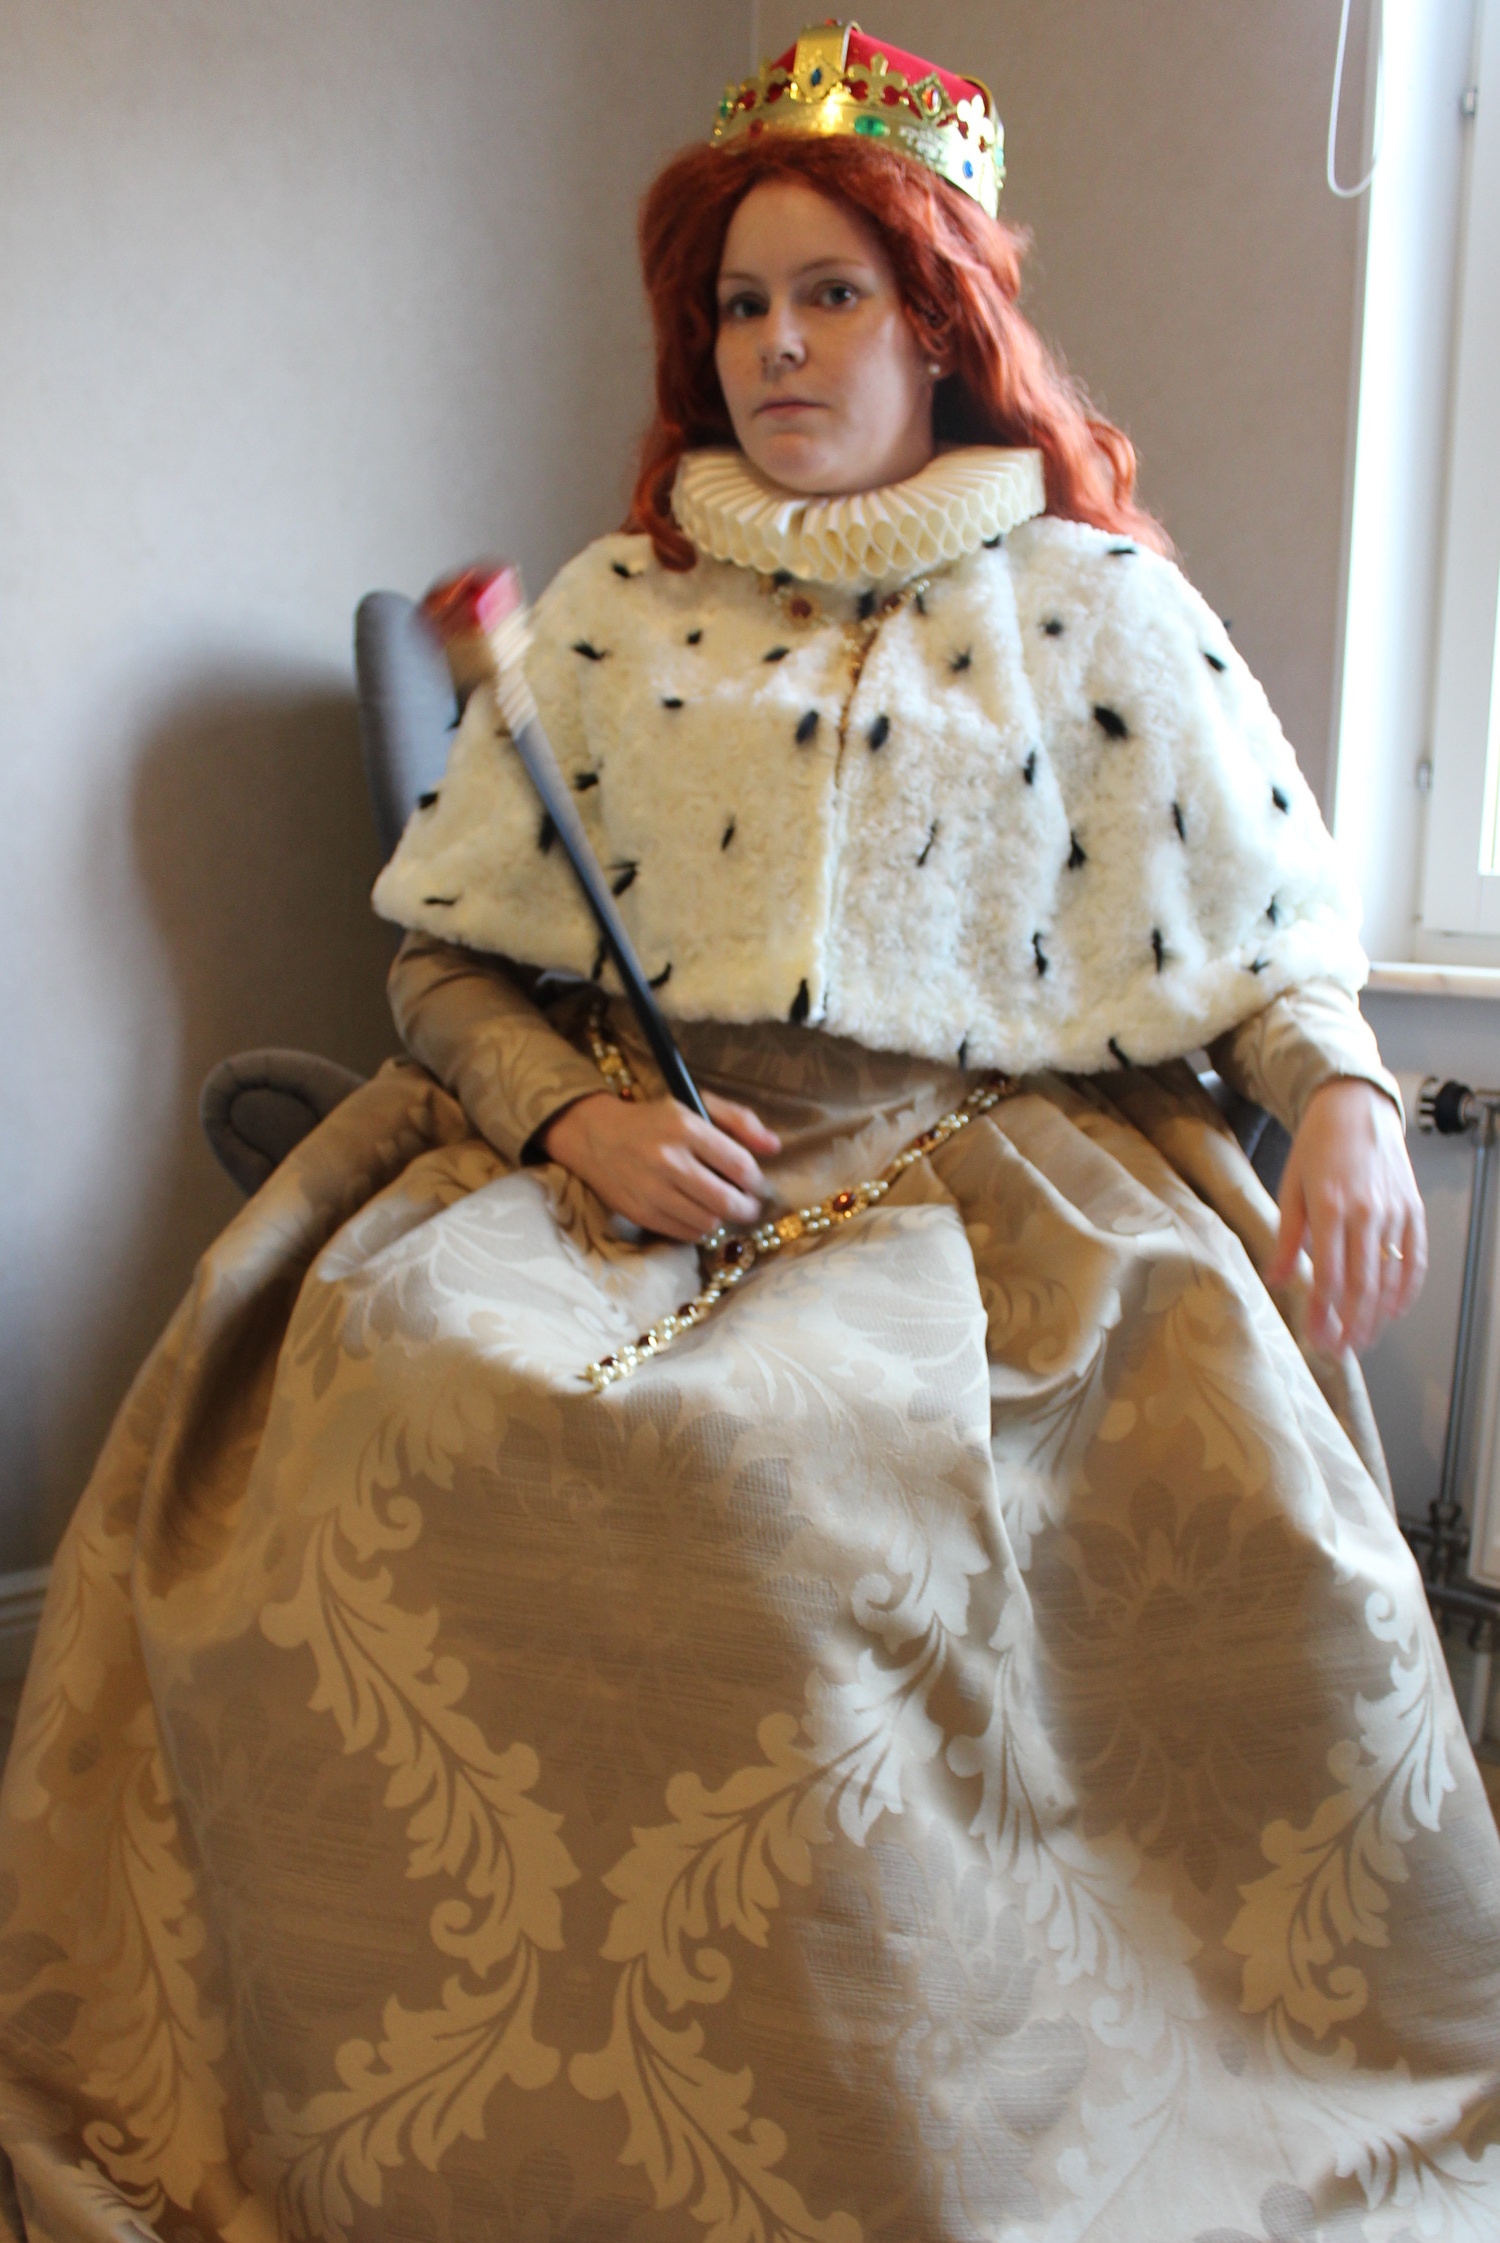
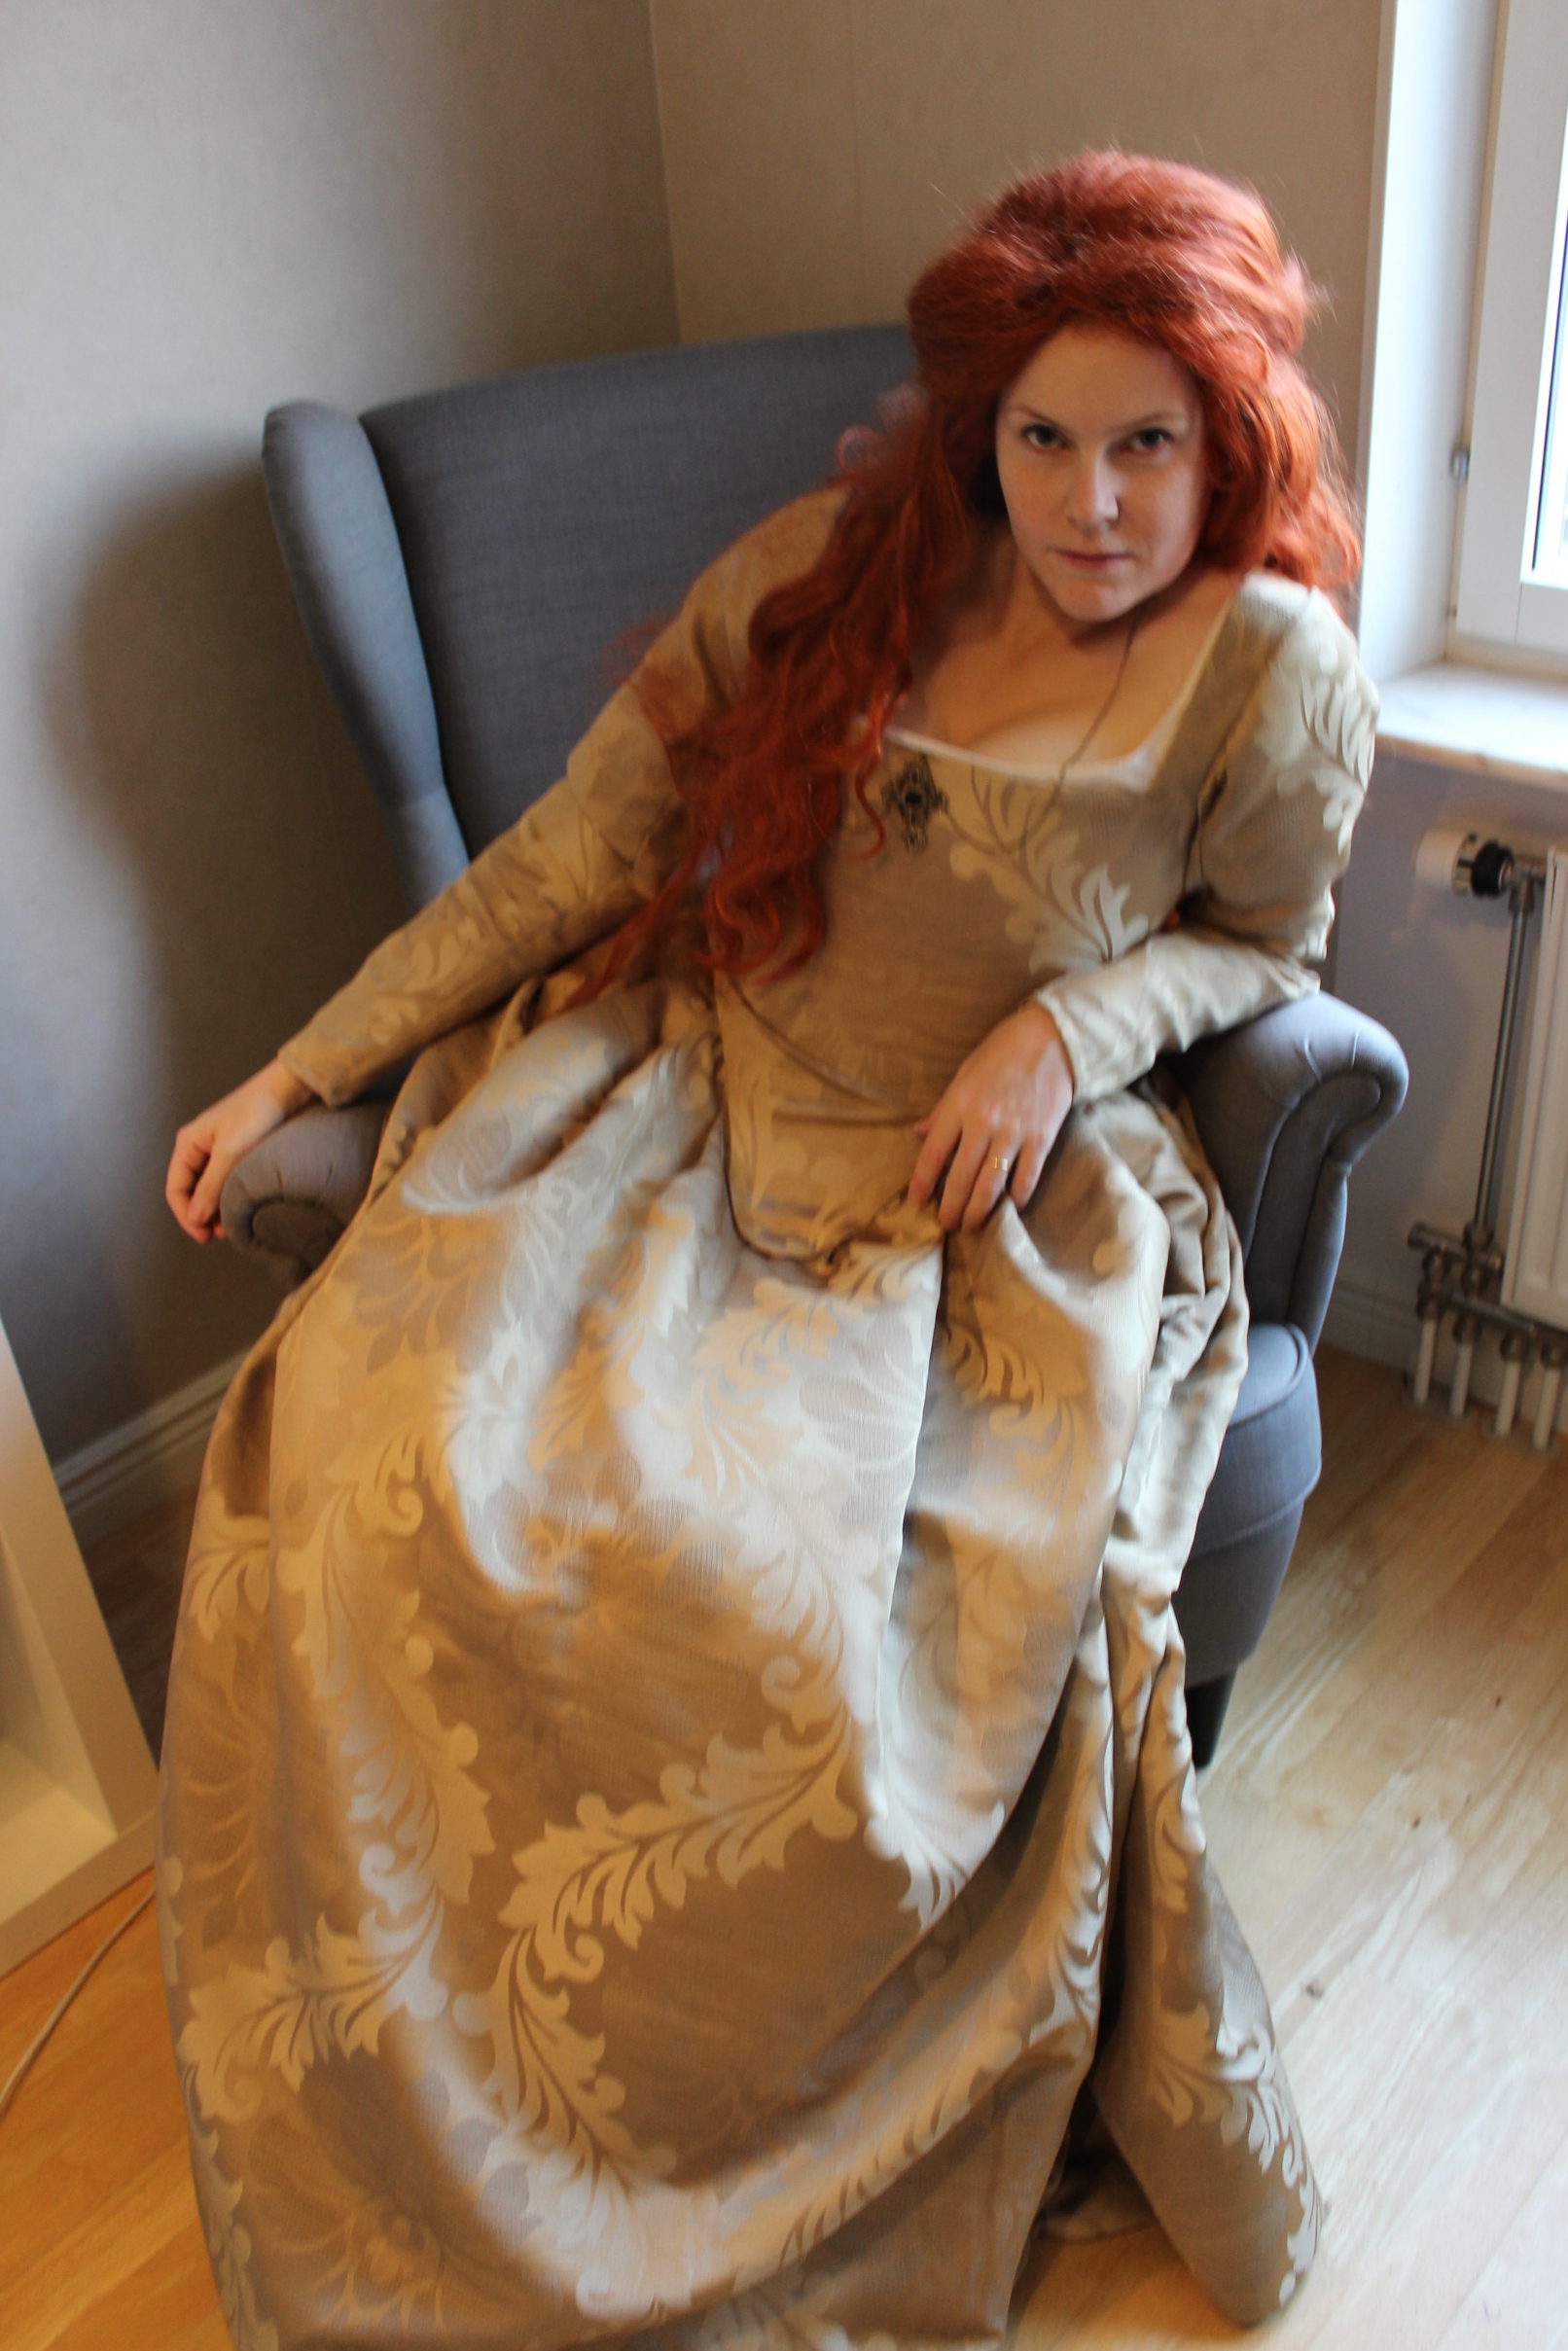
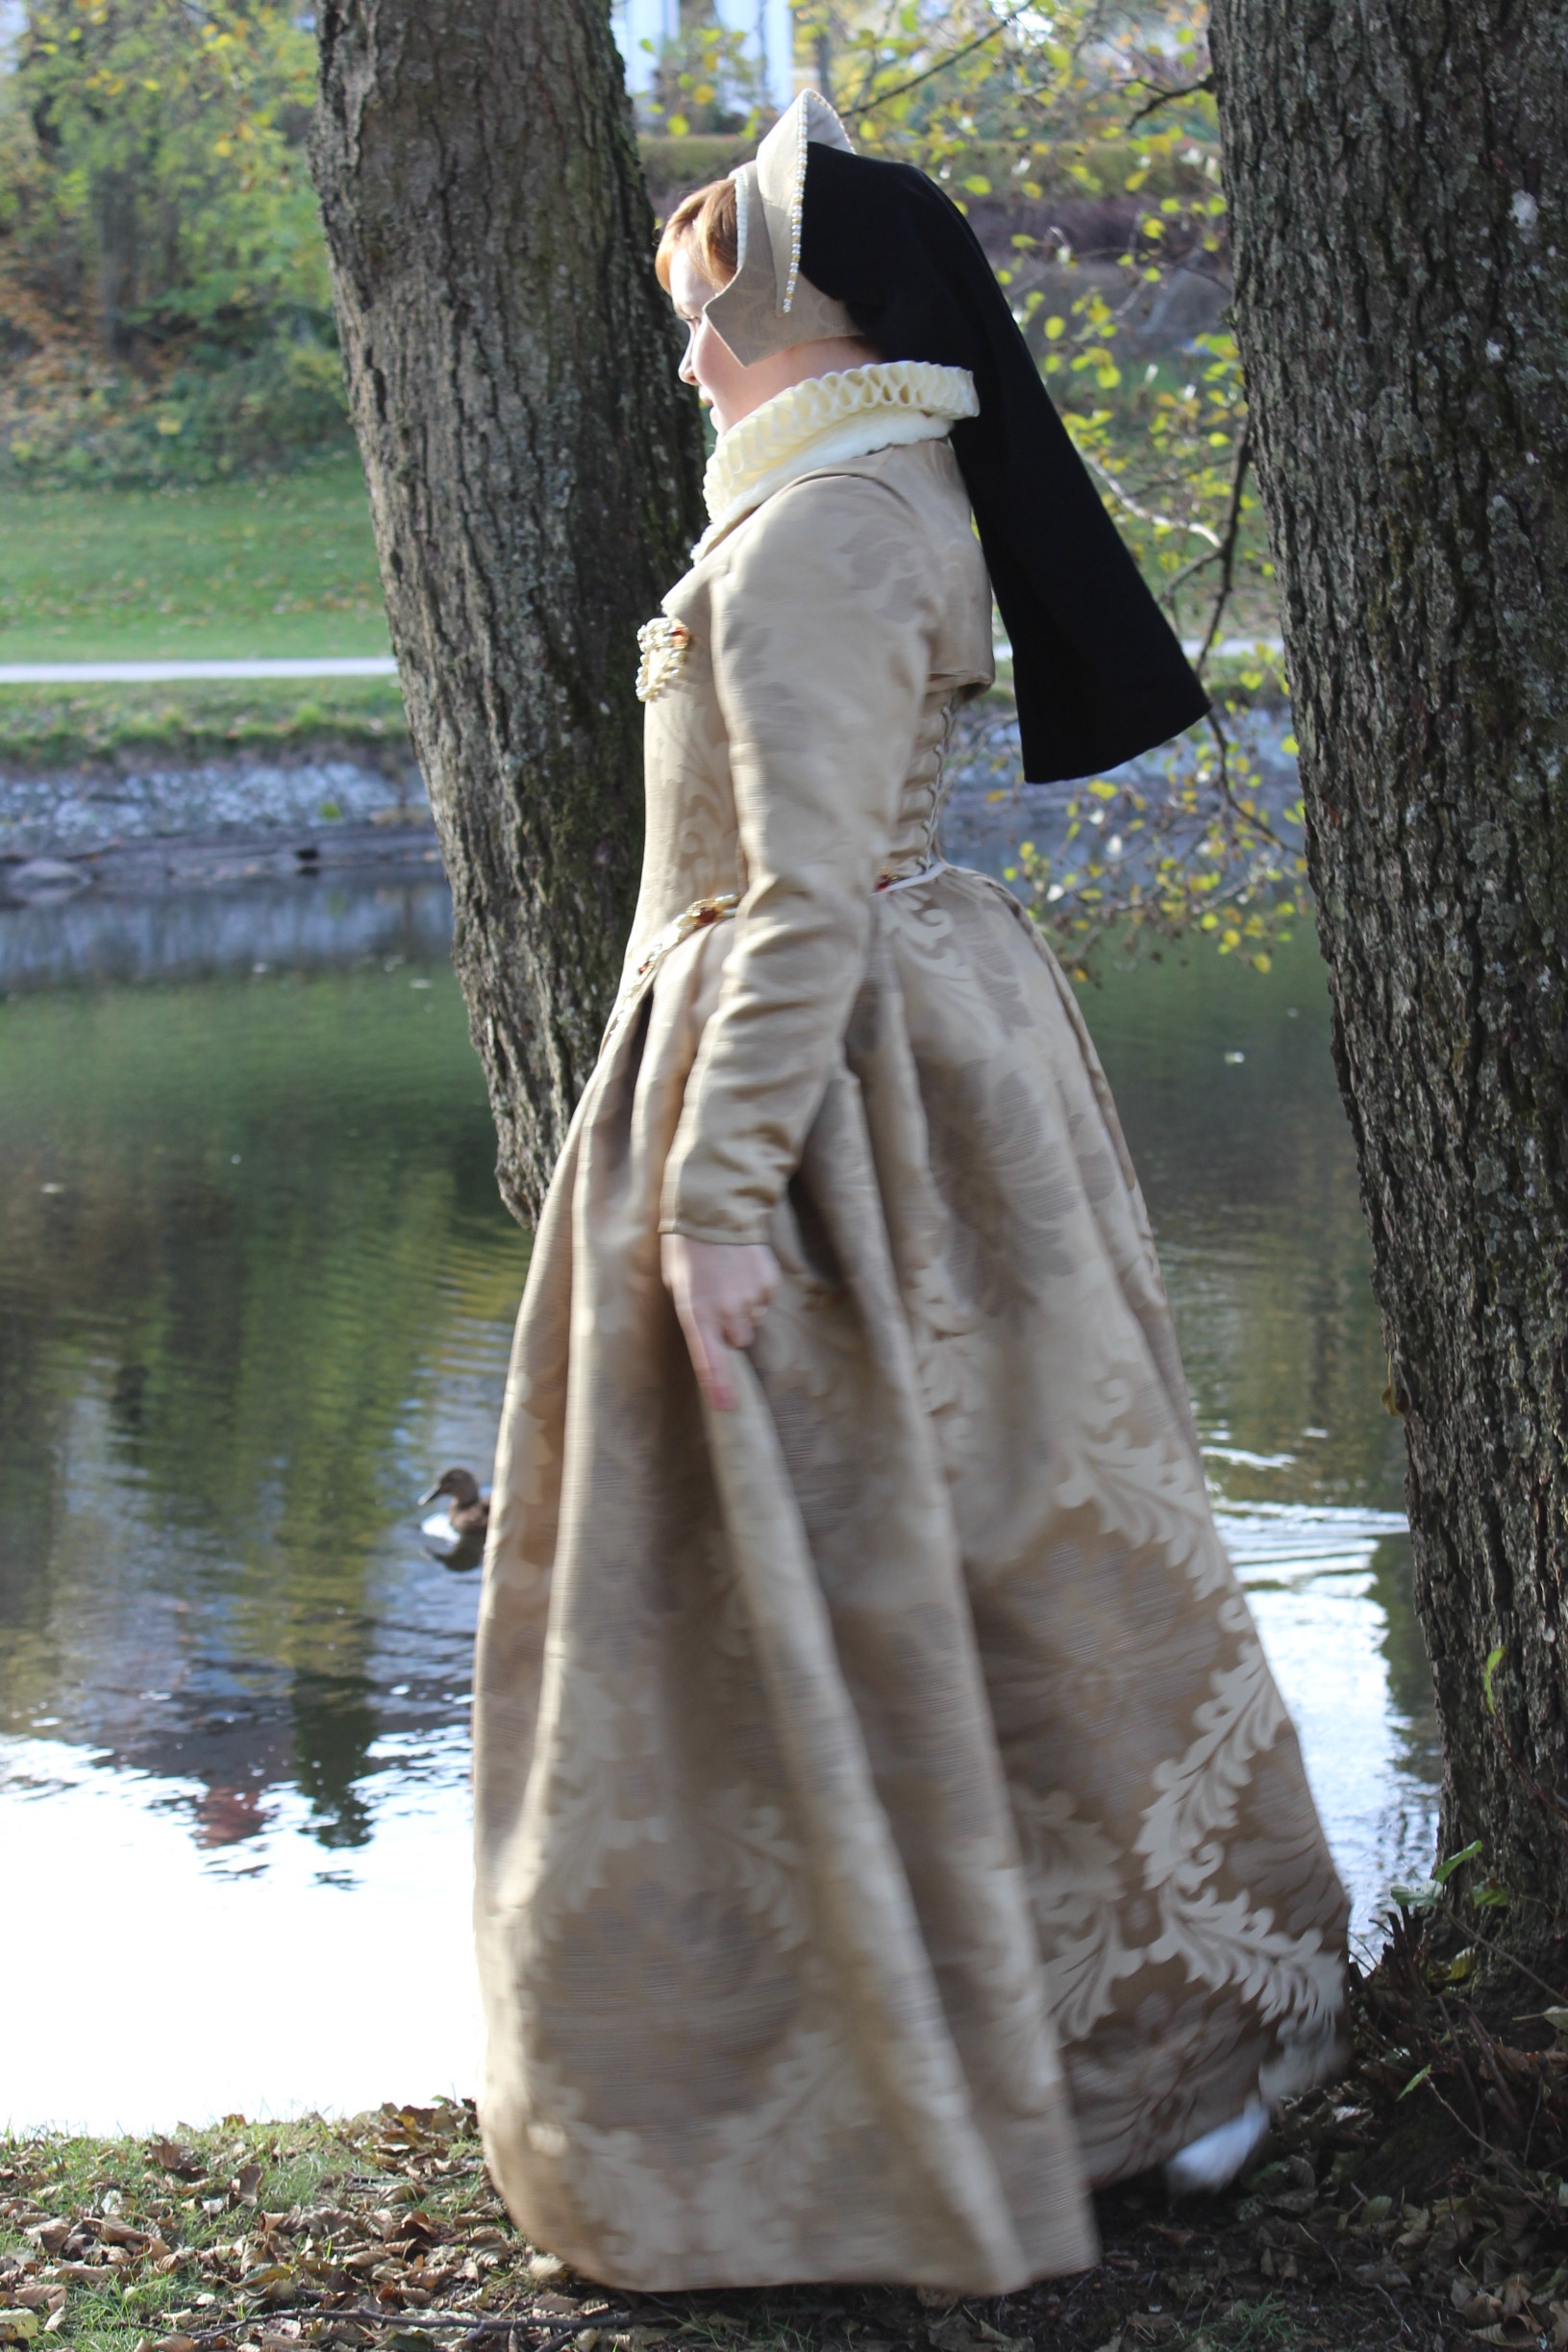
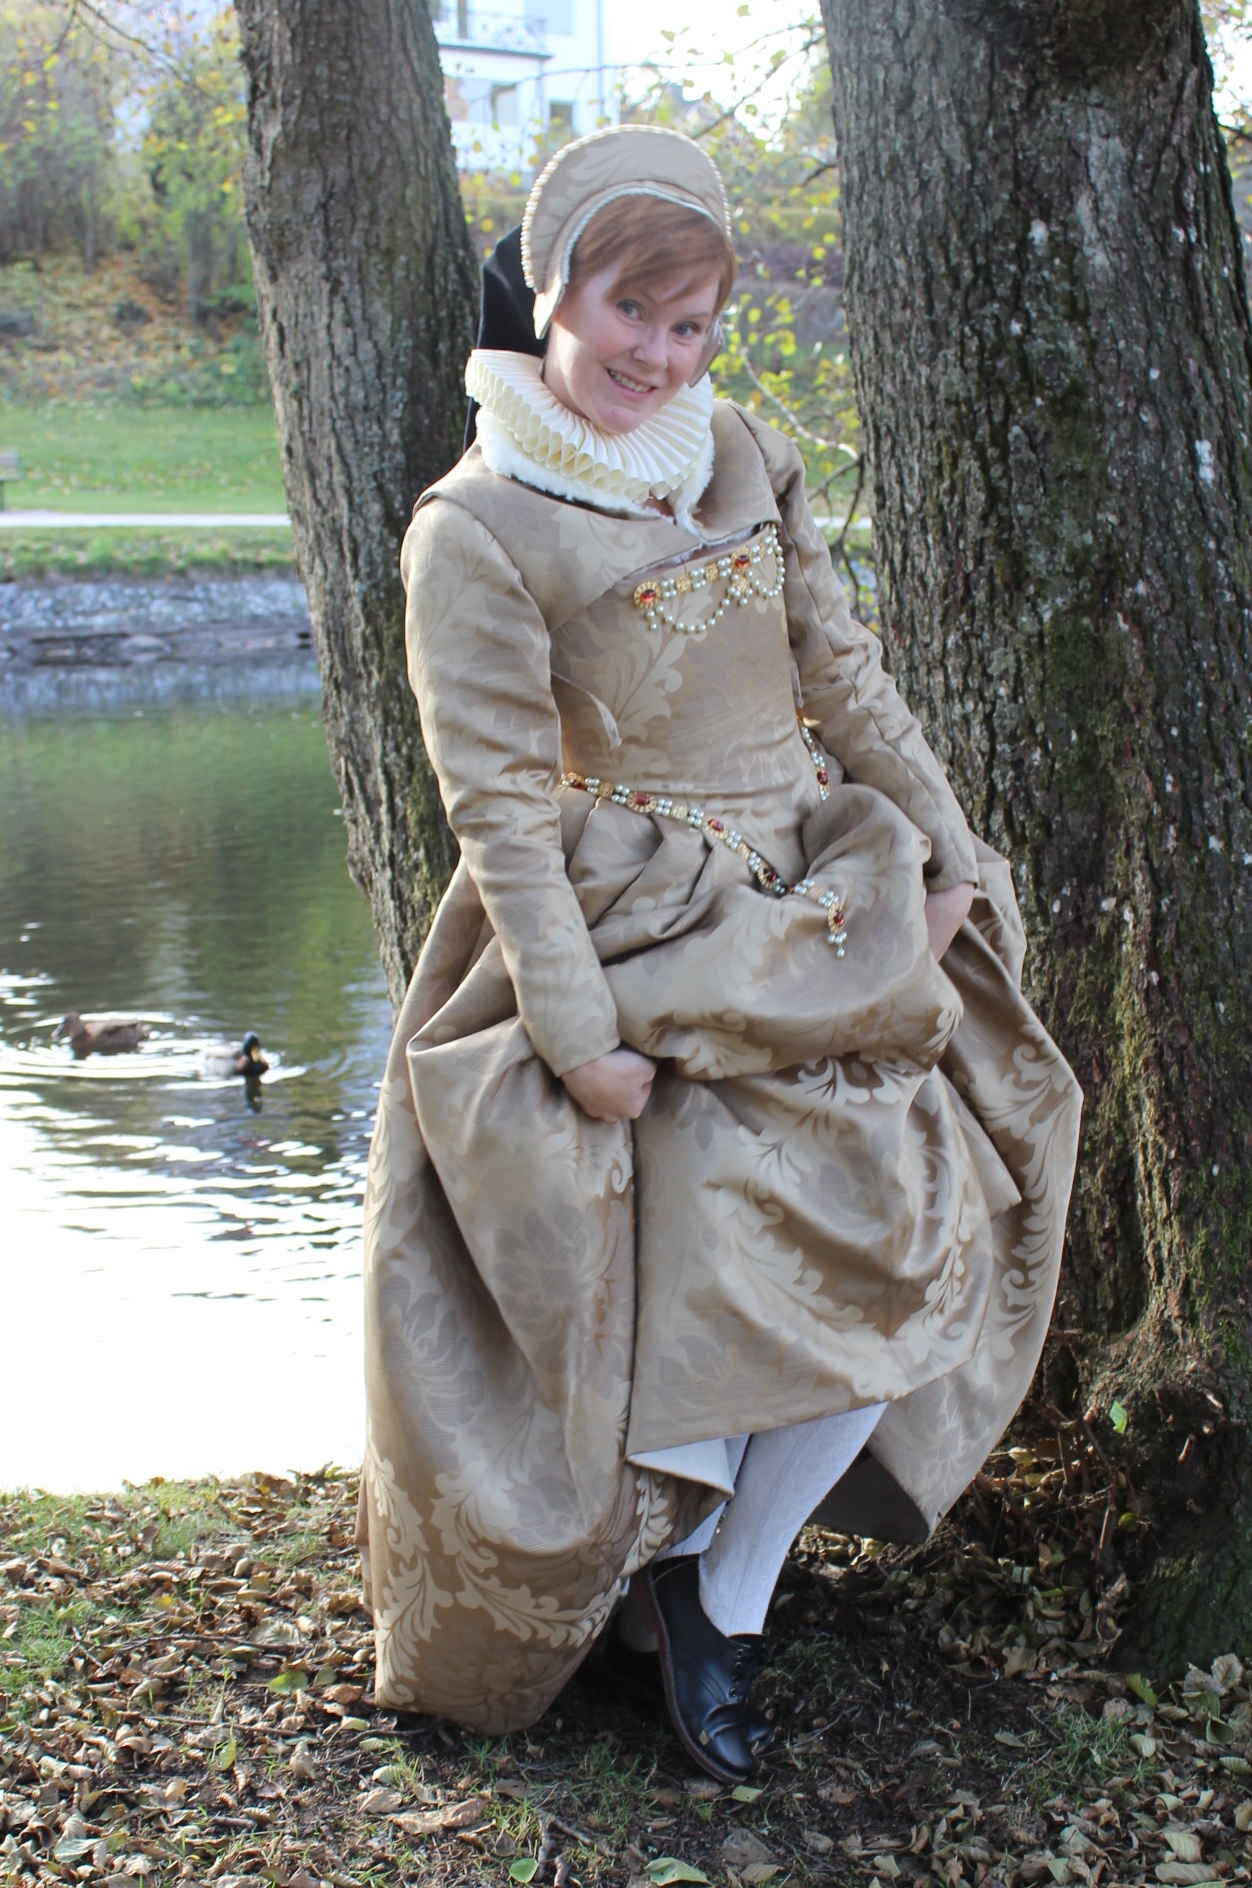
And here’s a complimentary “striptease” 🙂


 photos by: Elin Evaldsdotter


 “Freedom, like everything else is relative” (The Handmaid’s tale 2017)
 “Ignoring isn’t the same as ignorance, you have to work at it” (The handmaid’s tale 2017)
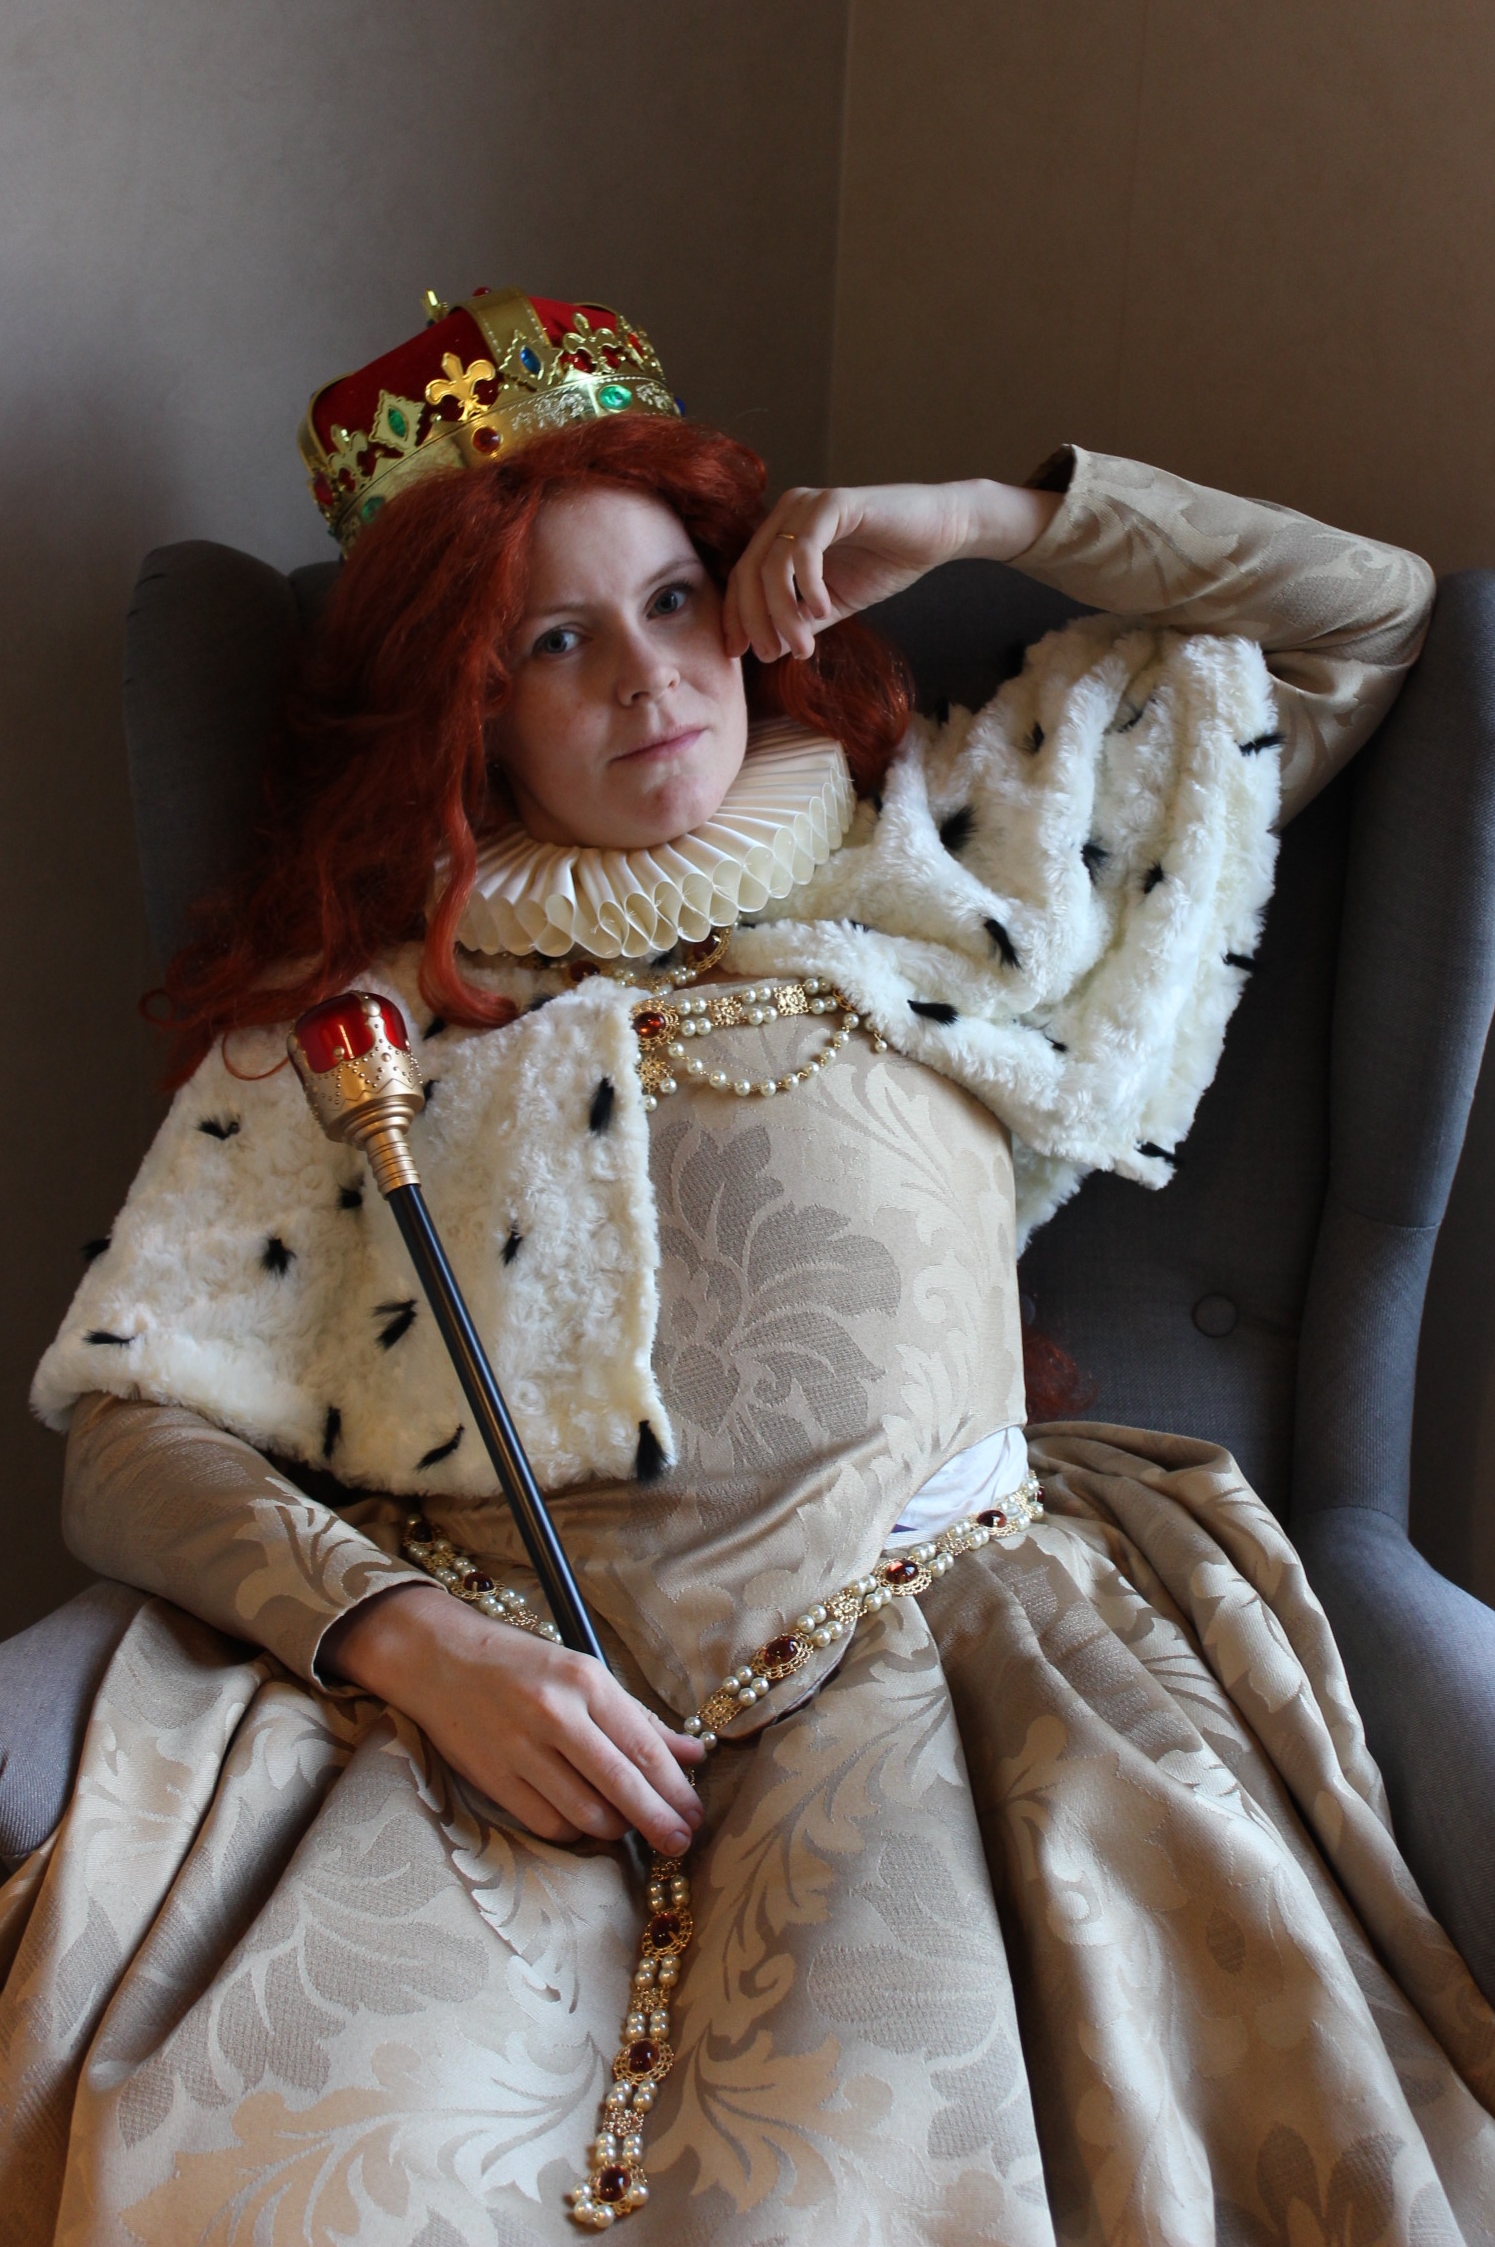
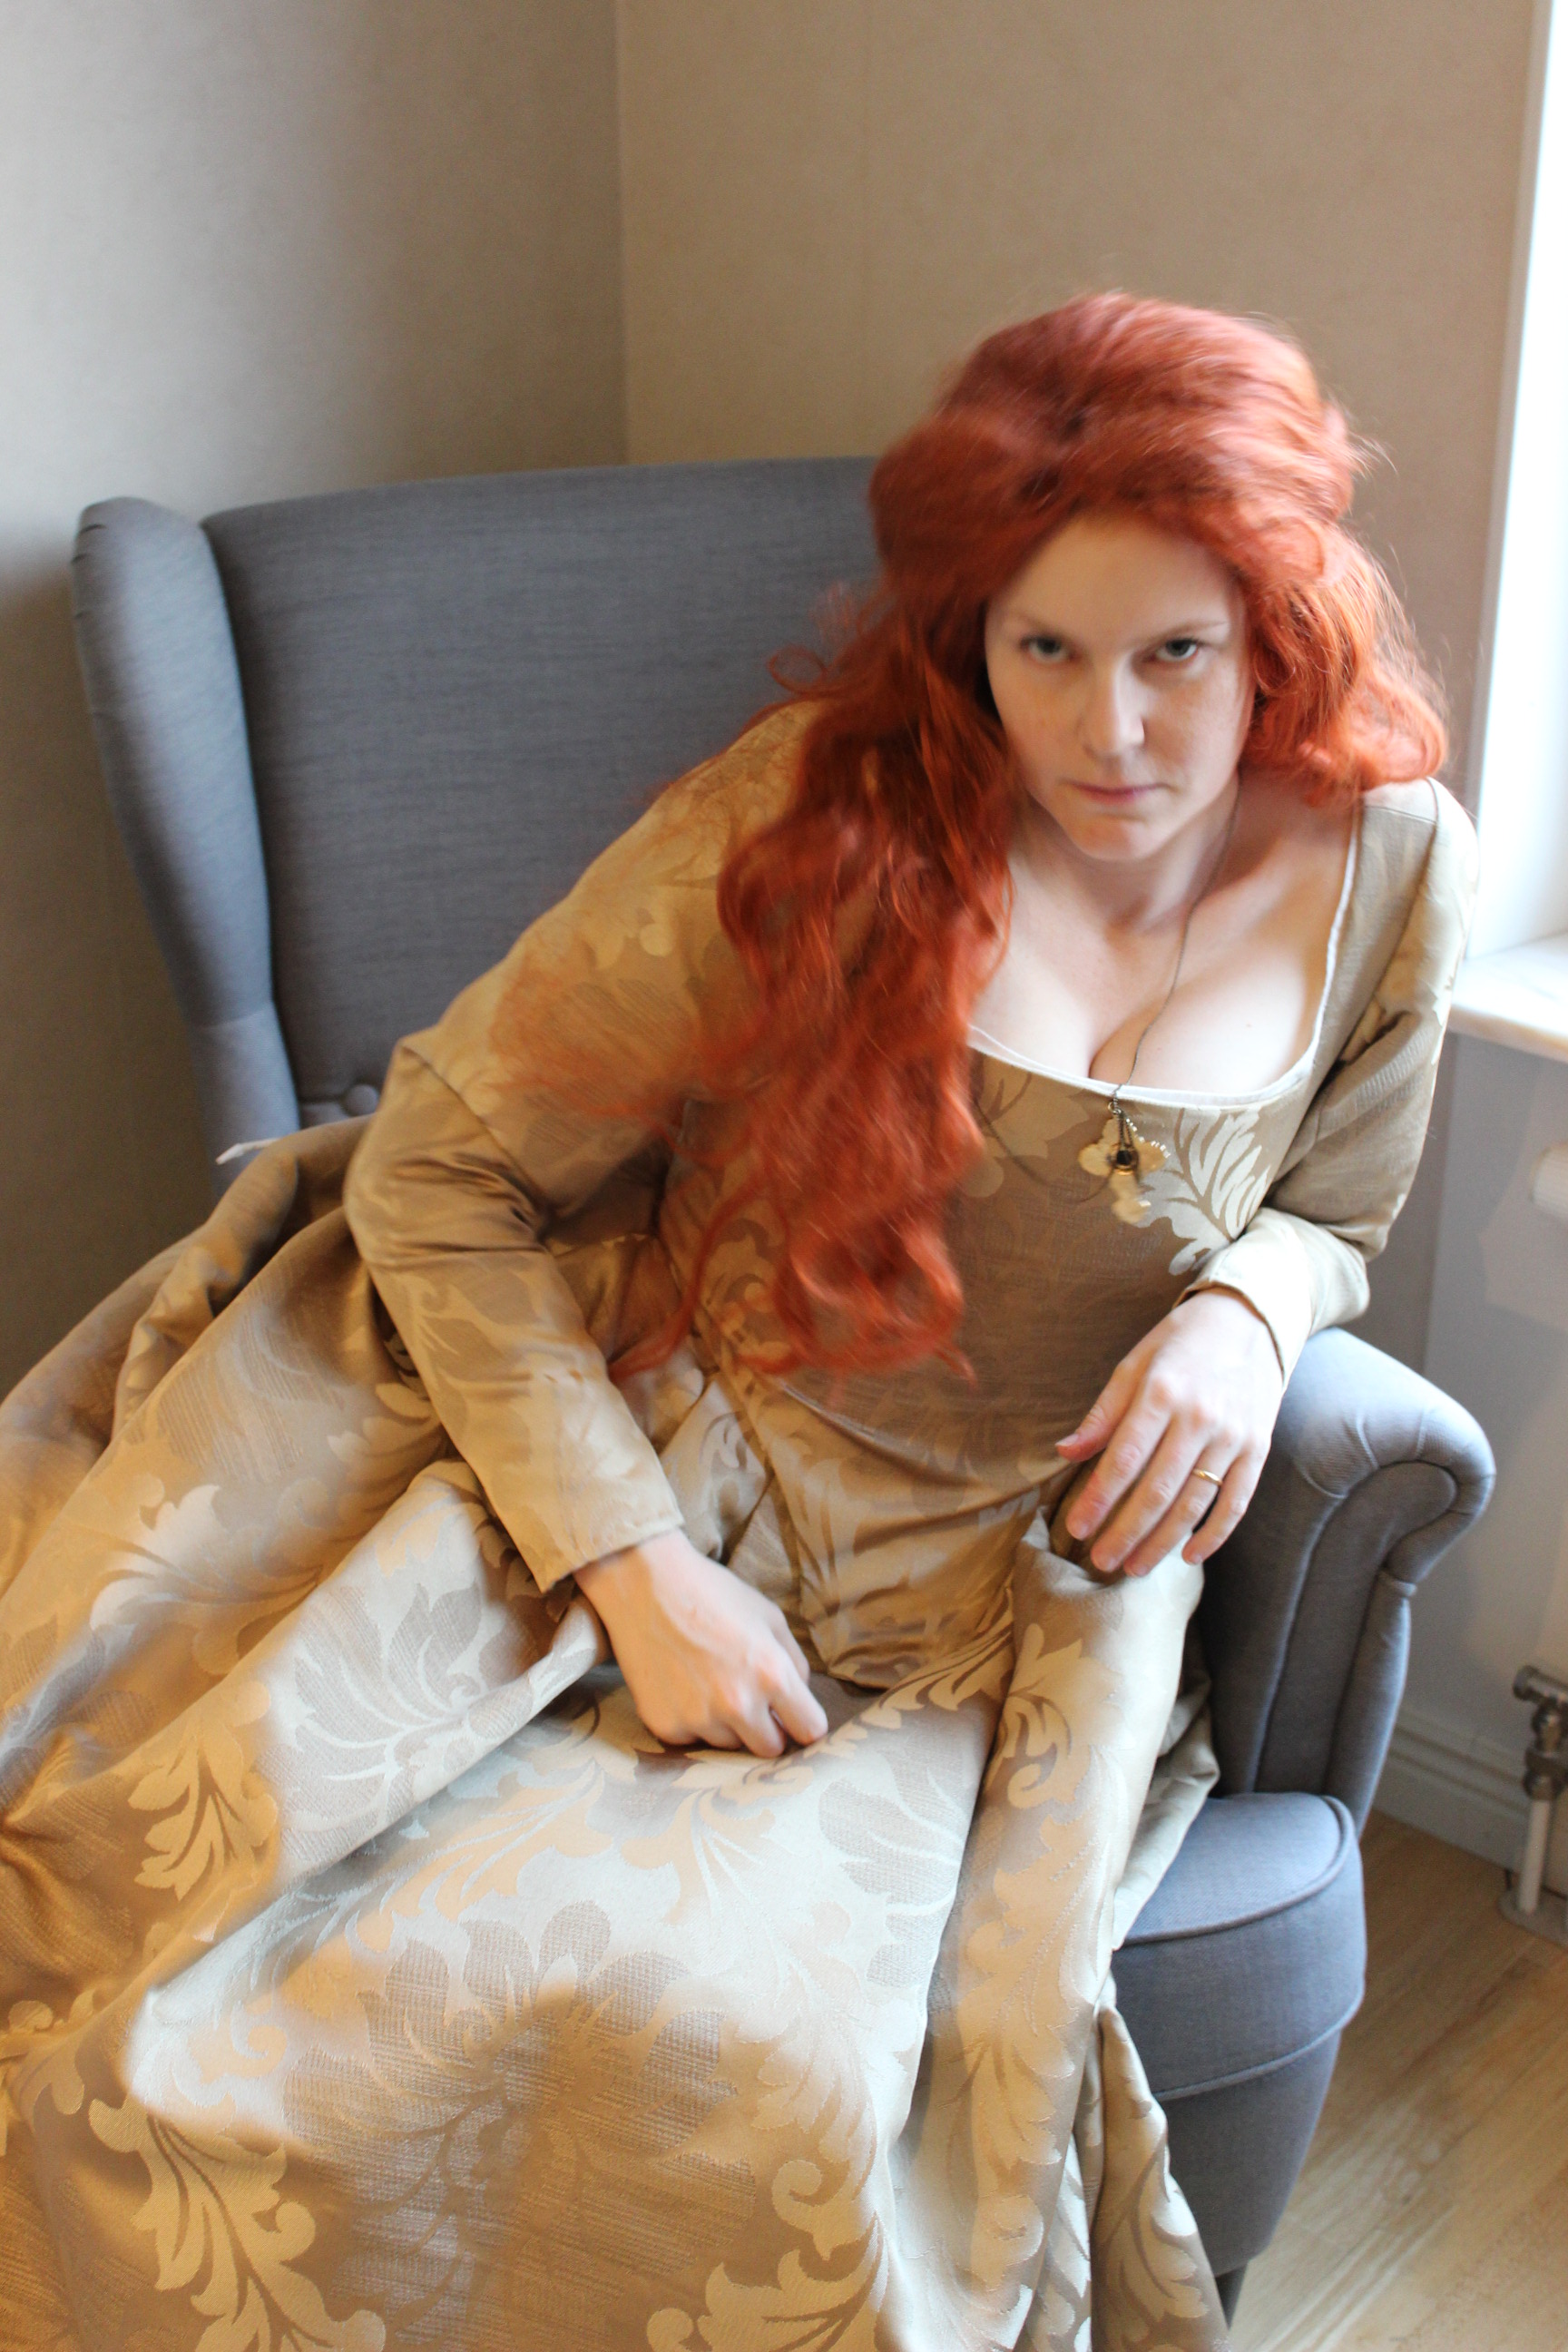
 “Under his eye…”
 “Nolite te bastardes carborundorum/ Don’t let the bastards grind you down” (The handmaid’s tale 2017)

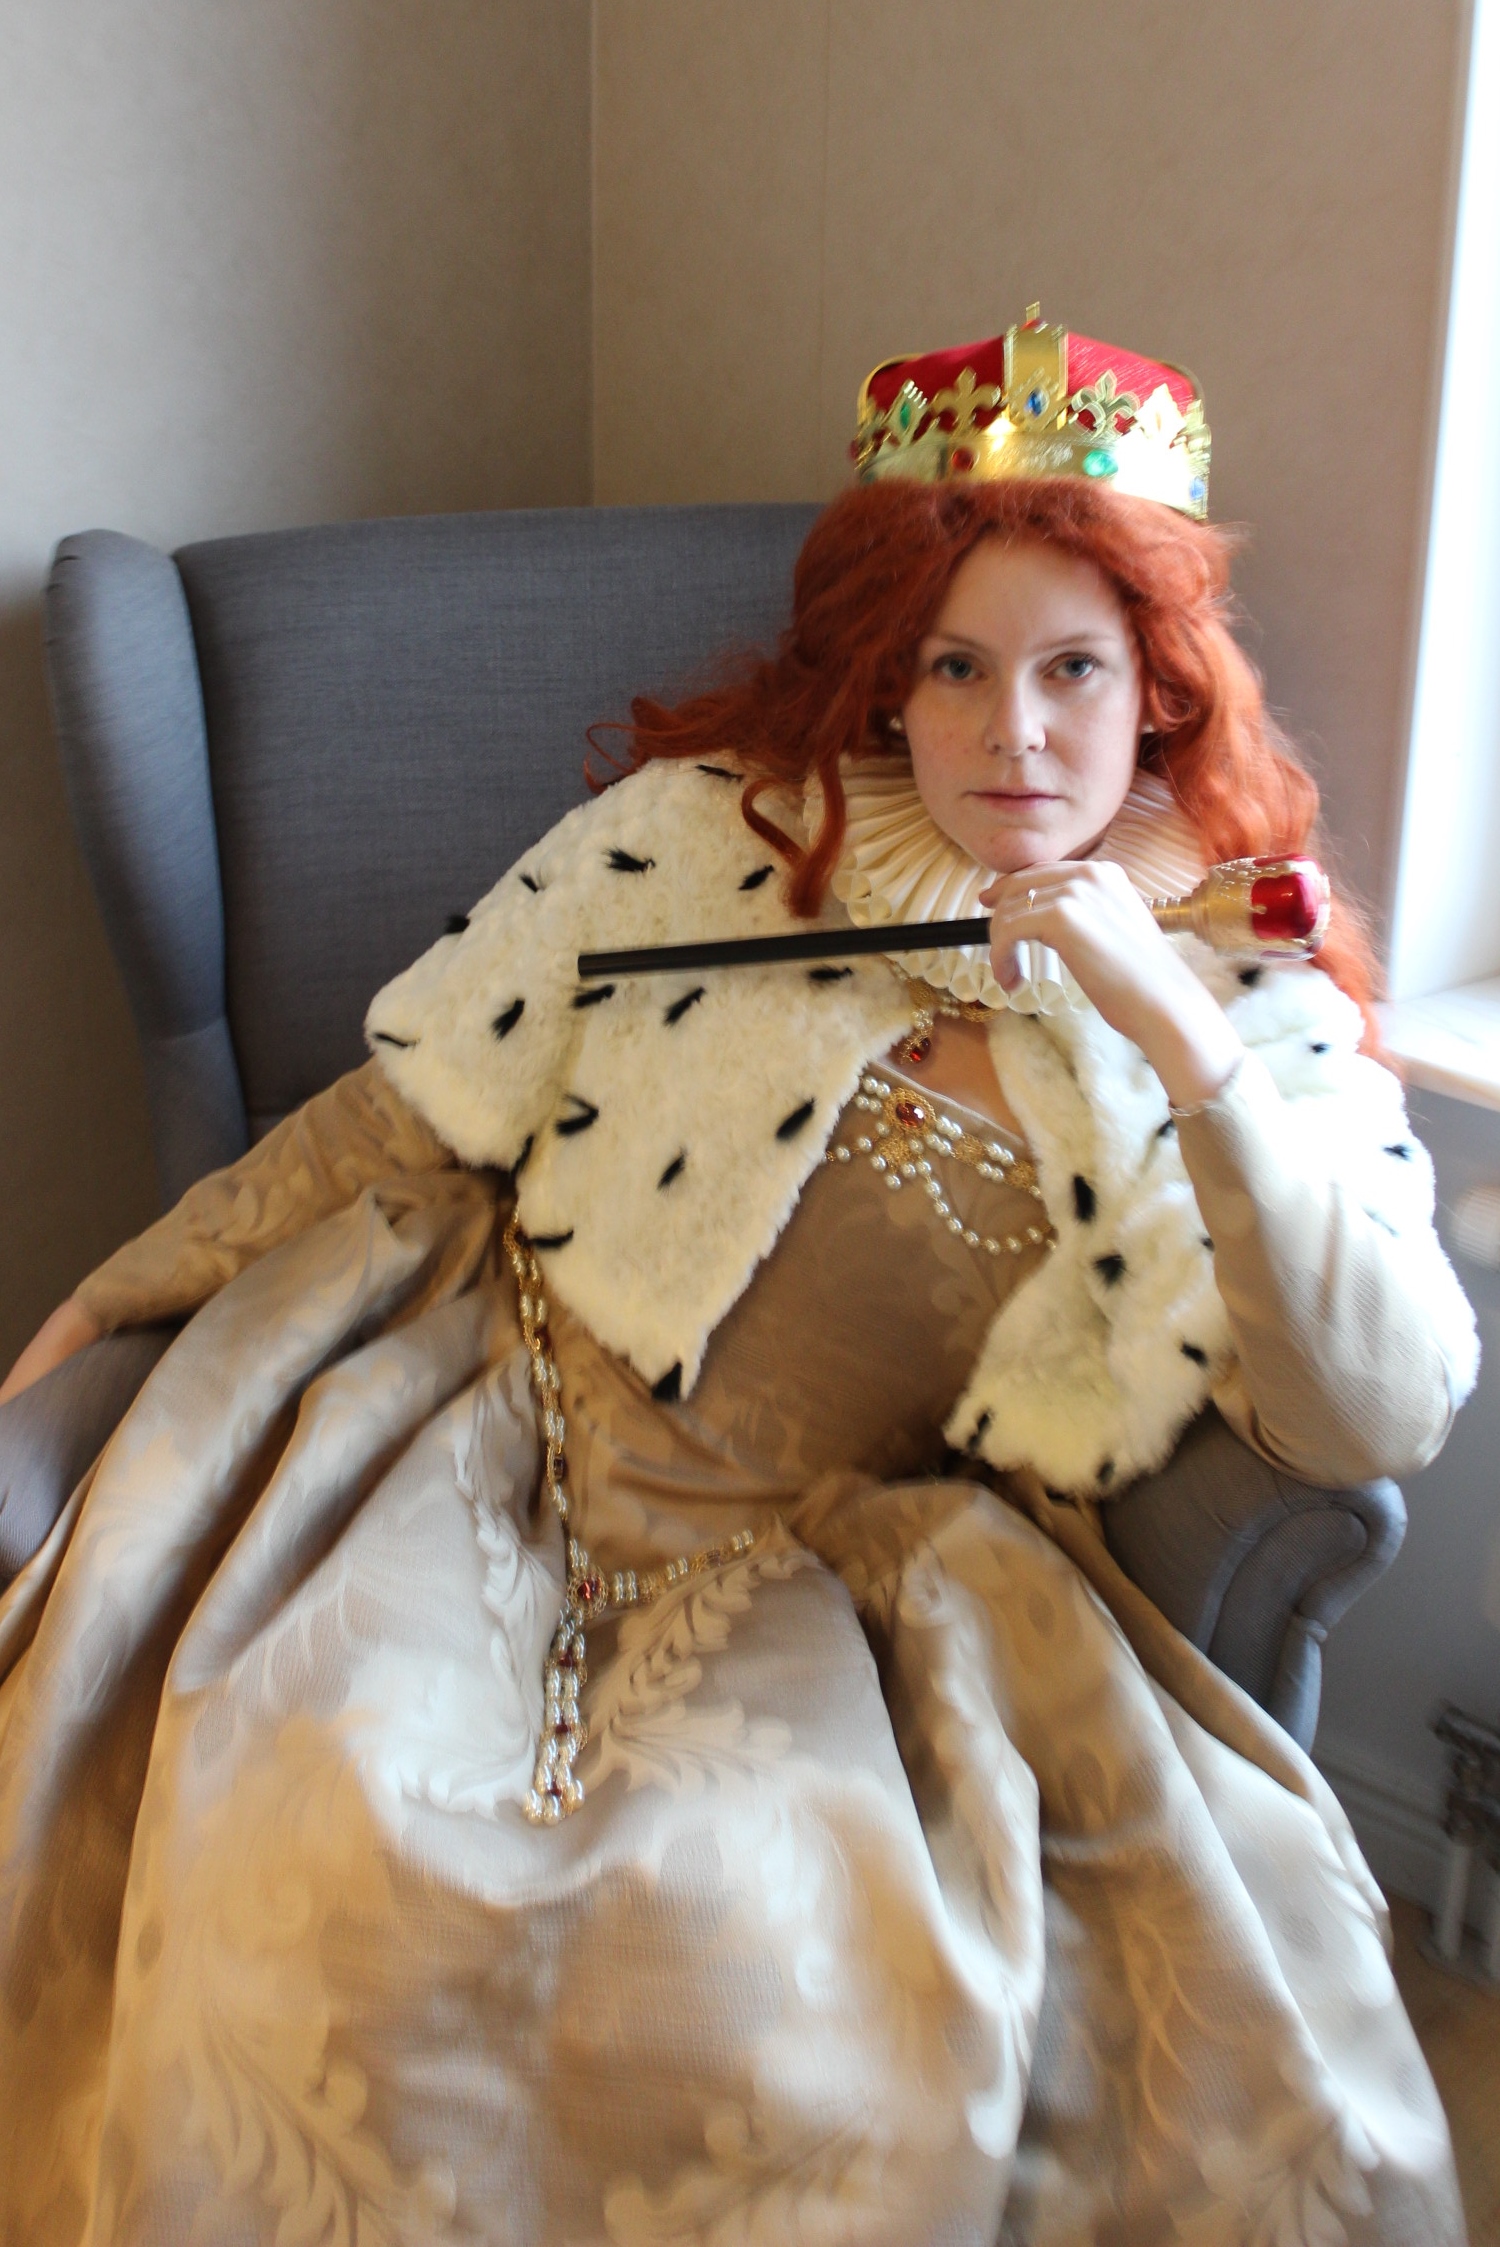
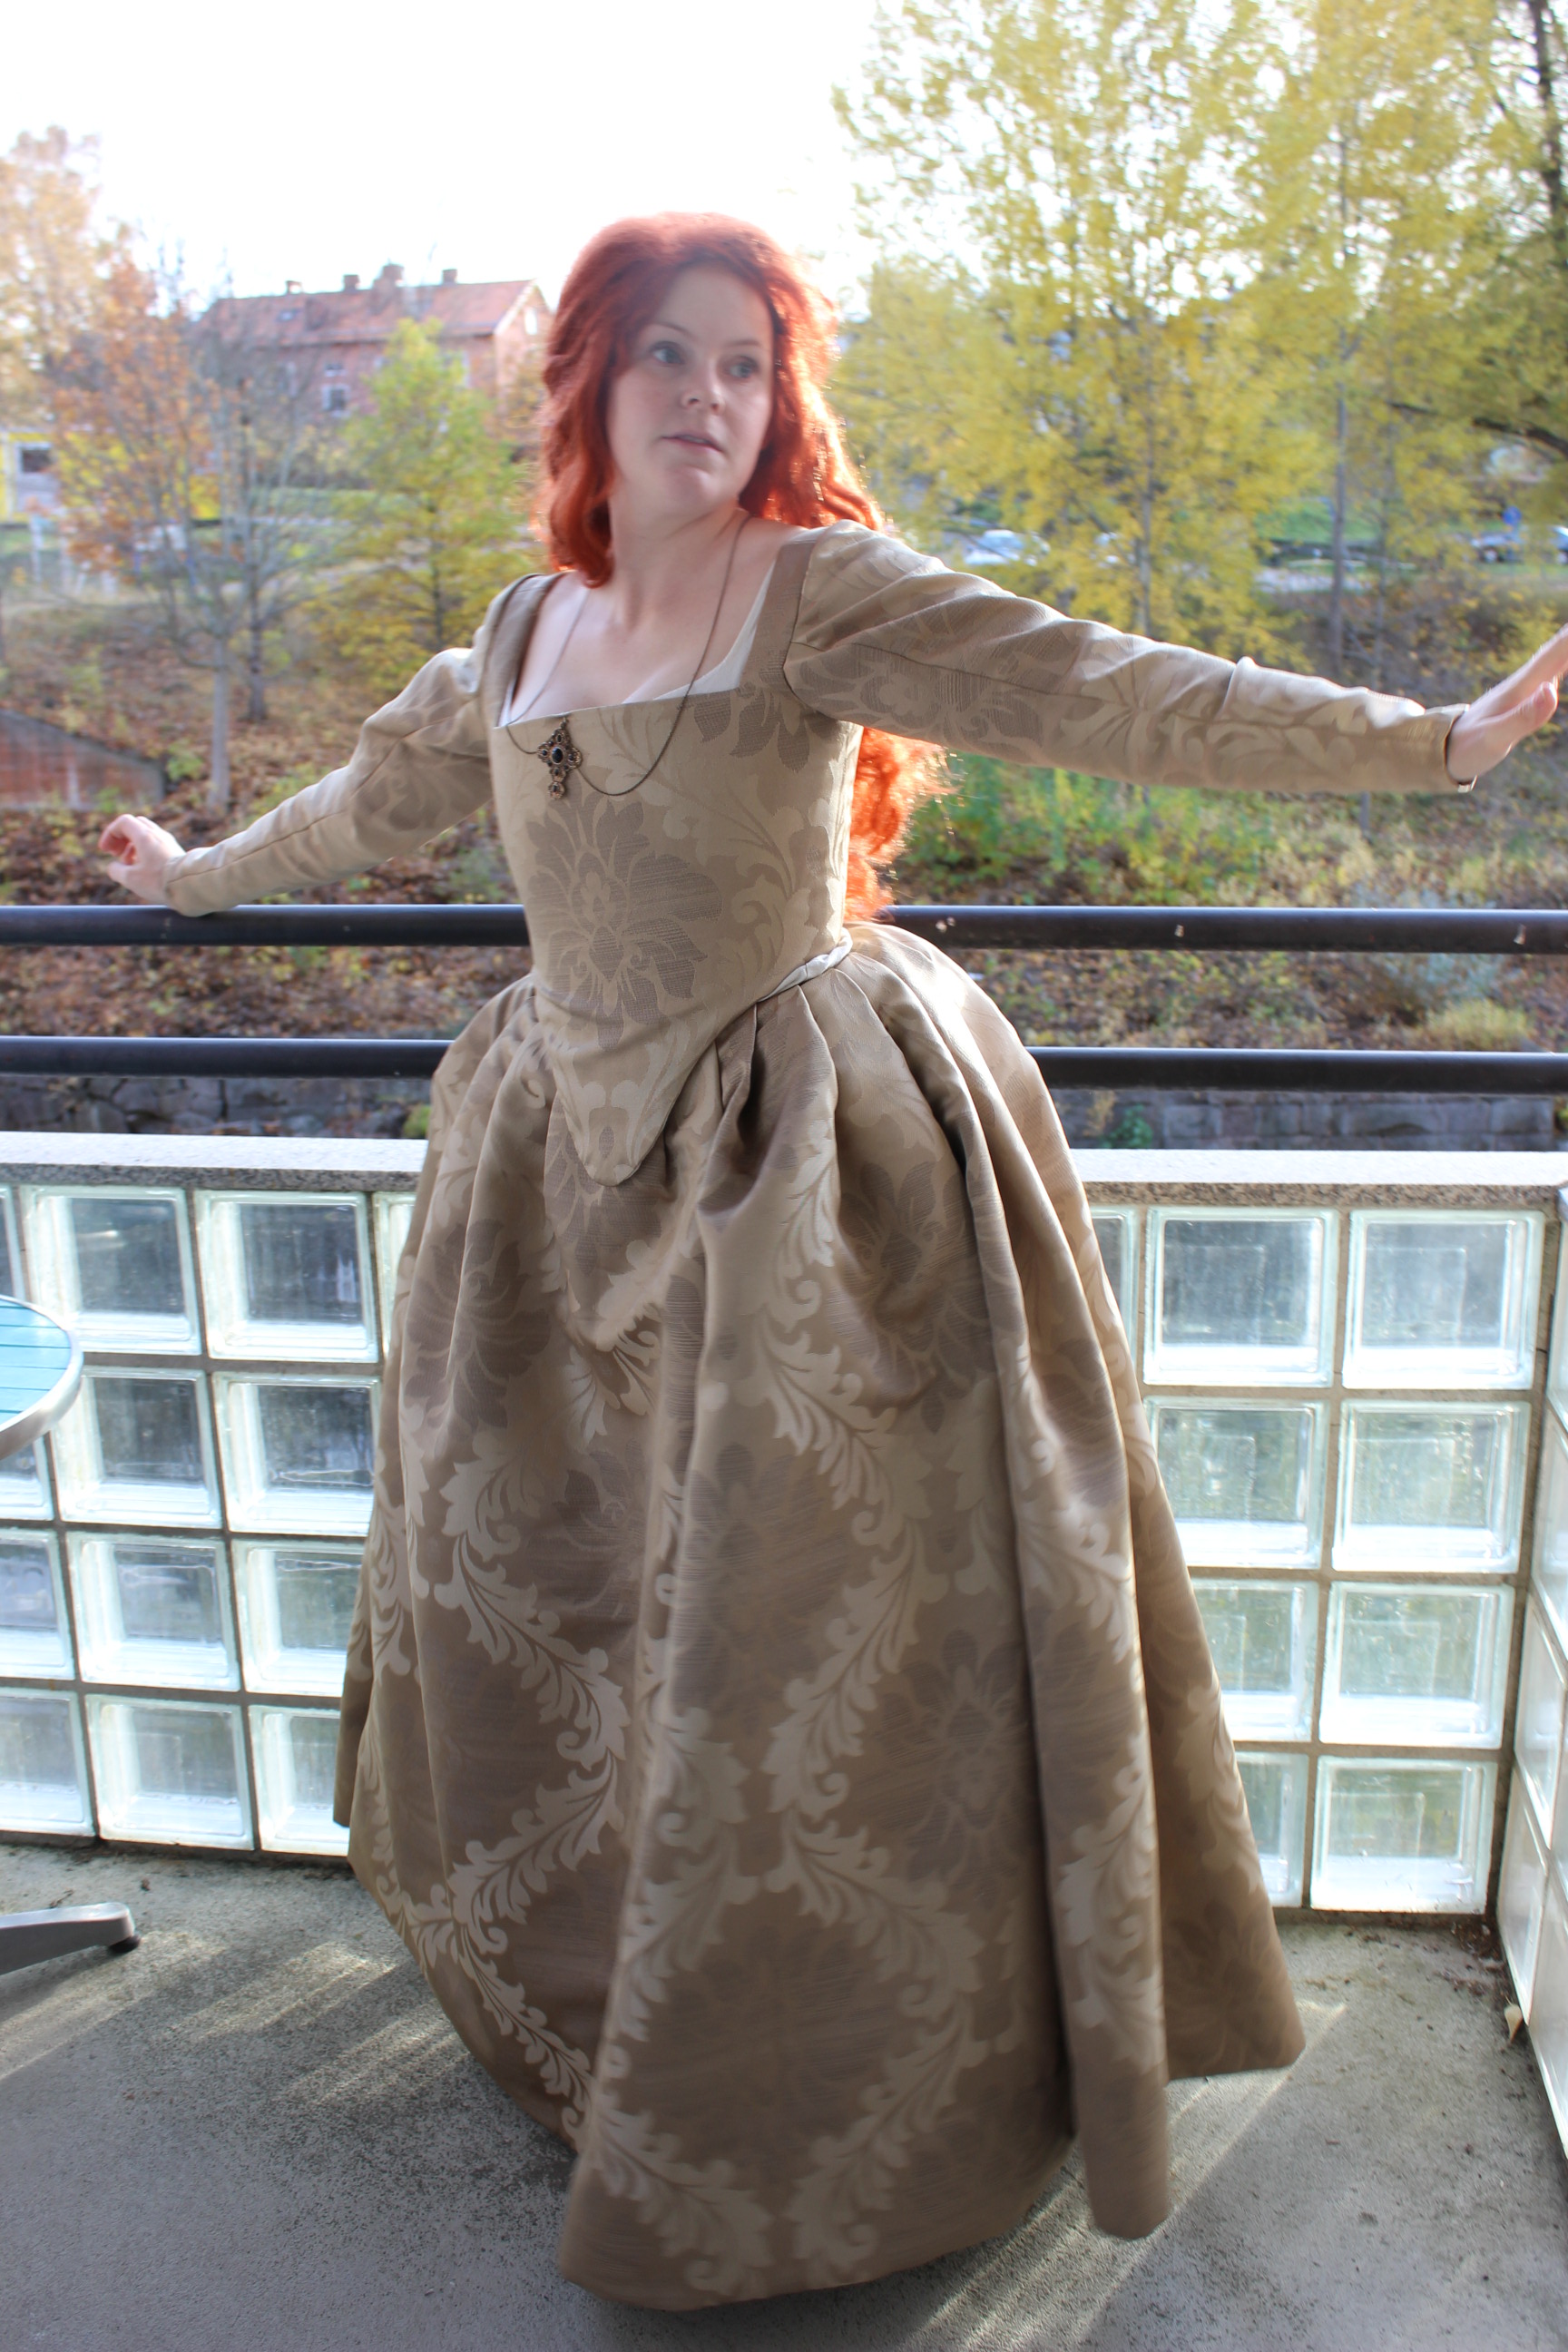
 “They should never have given us uniforms, if they didn’t want us to be an army” (Handmaid’s tale 2017)
 “Ordinary is what you’r used to” (the Handmaid’s tale 2017)
 “Better never means better for everyone…It always means worse, for someone.” (“Handsmaid’s tale 2017)
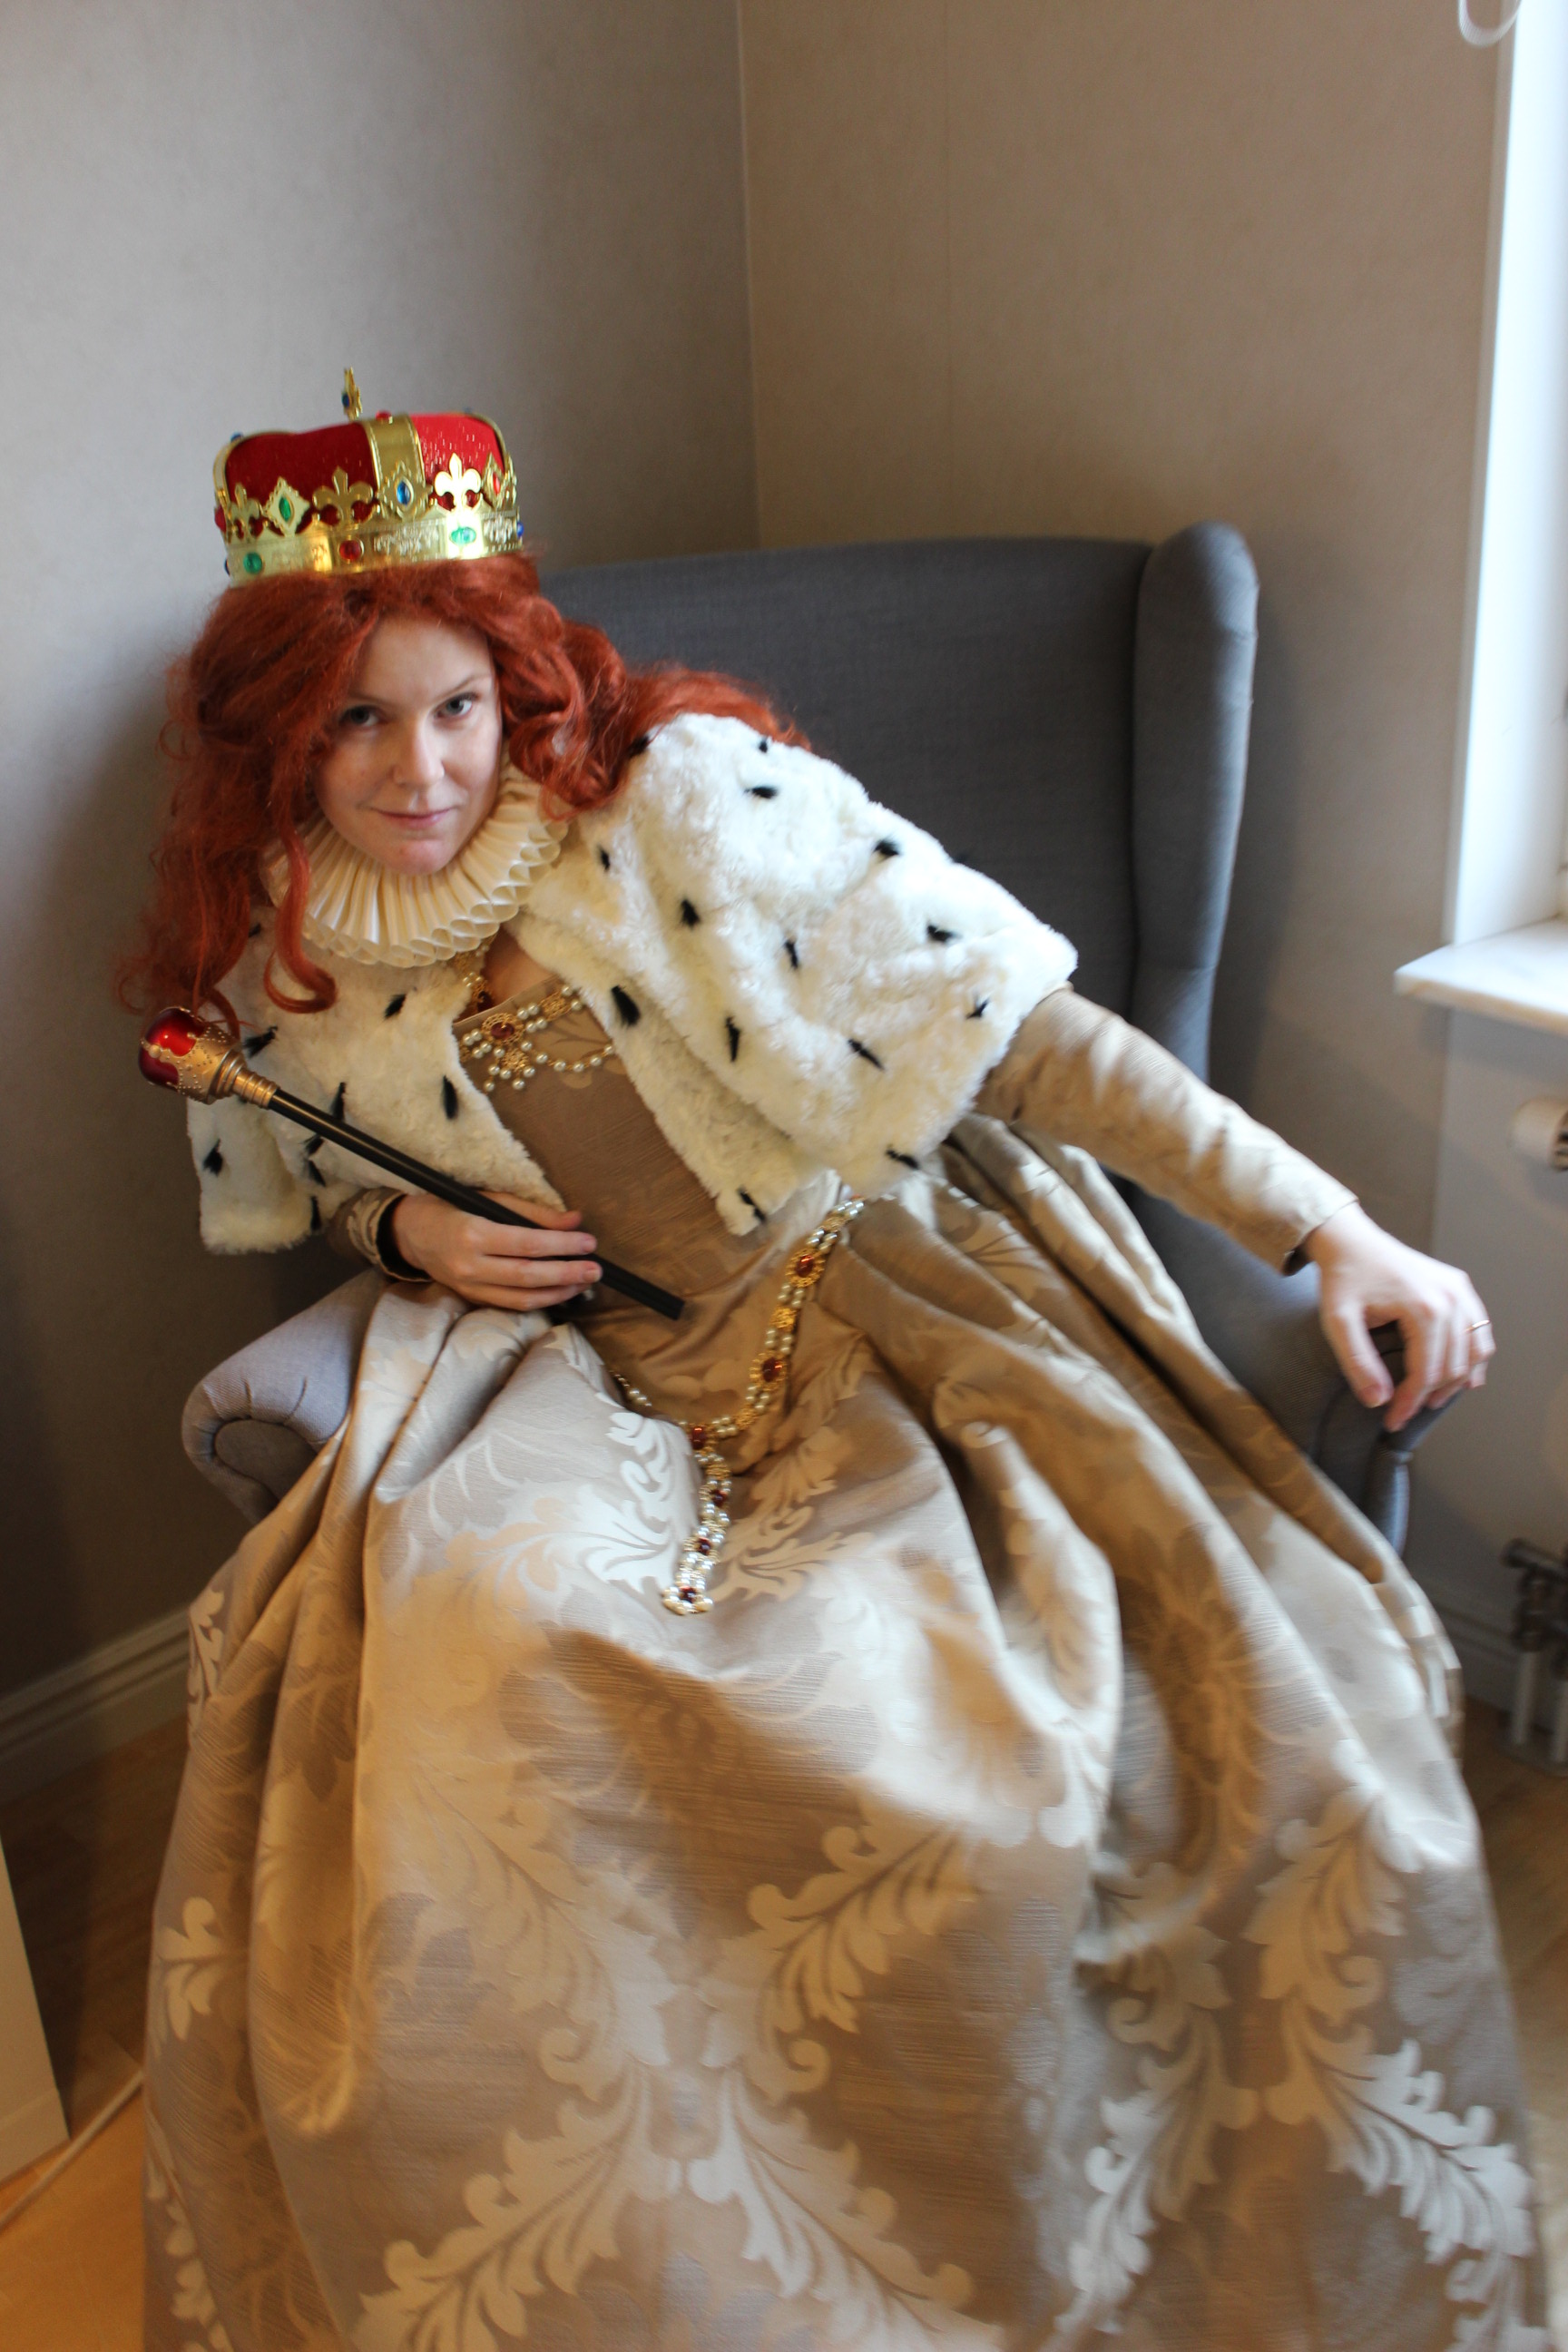
 “Stop! Don’t touch my baby girls rights!”
 “Praised be, bitch!” (Handmaid’s tale 2017)


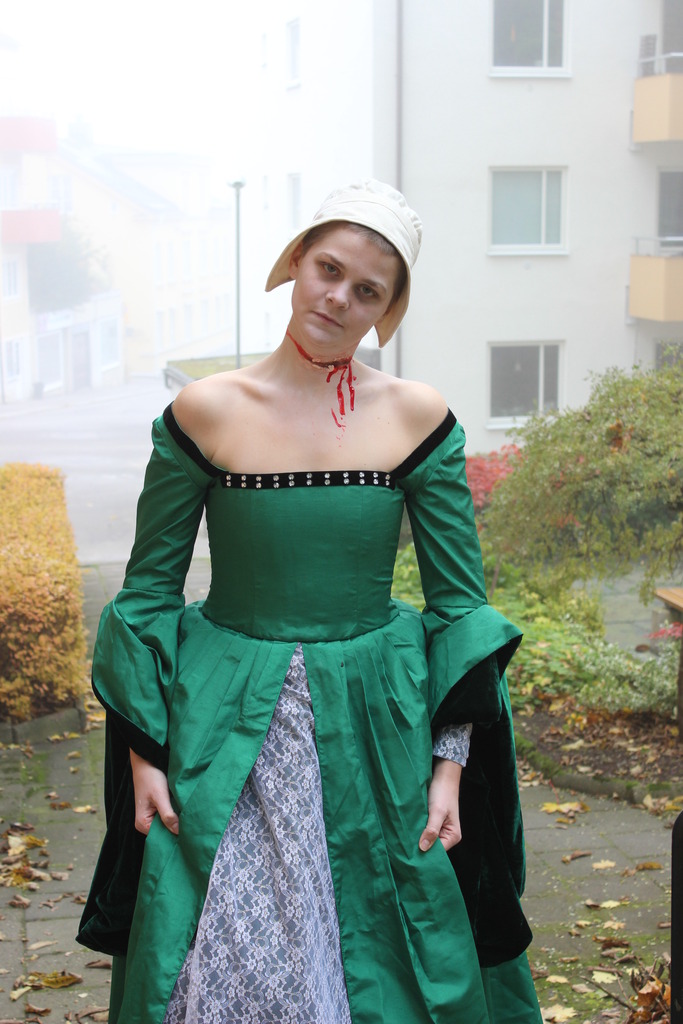
 Modell: Ebba Petrén (& Elin Evaldsdotter)


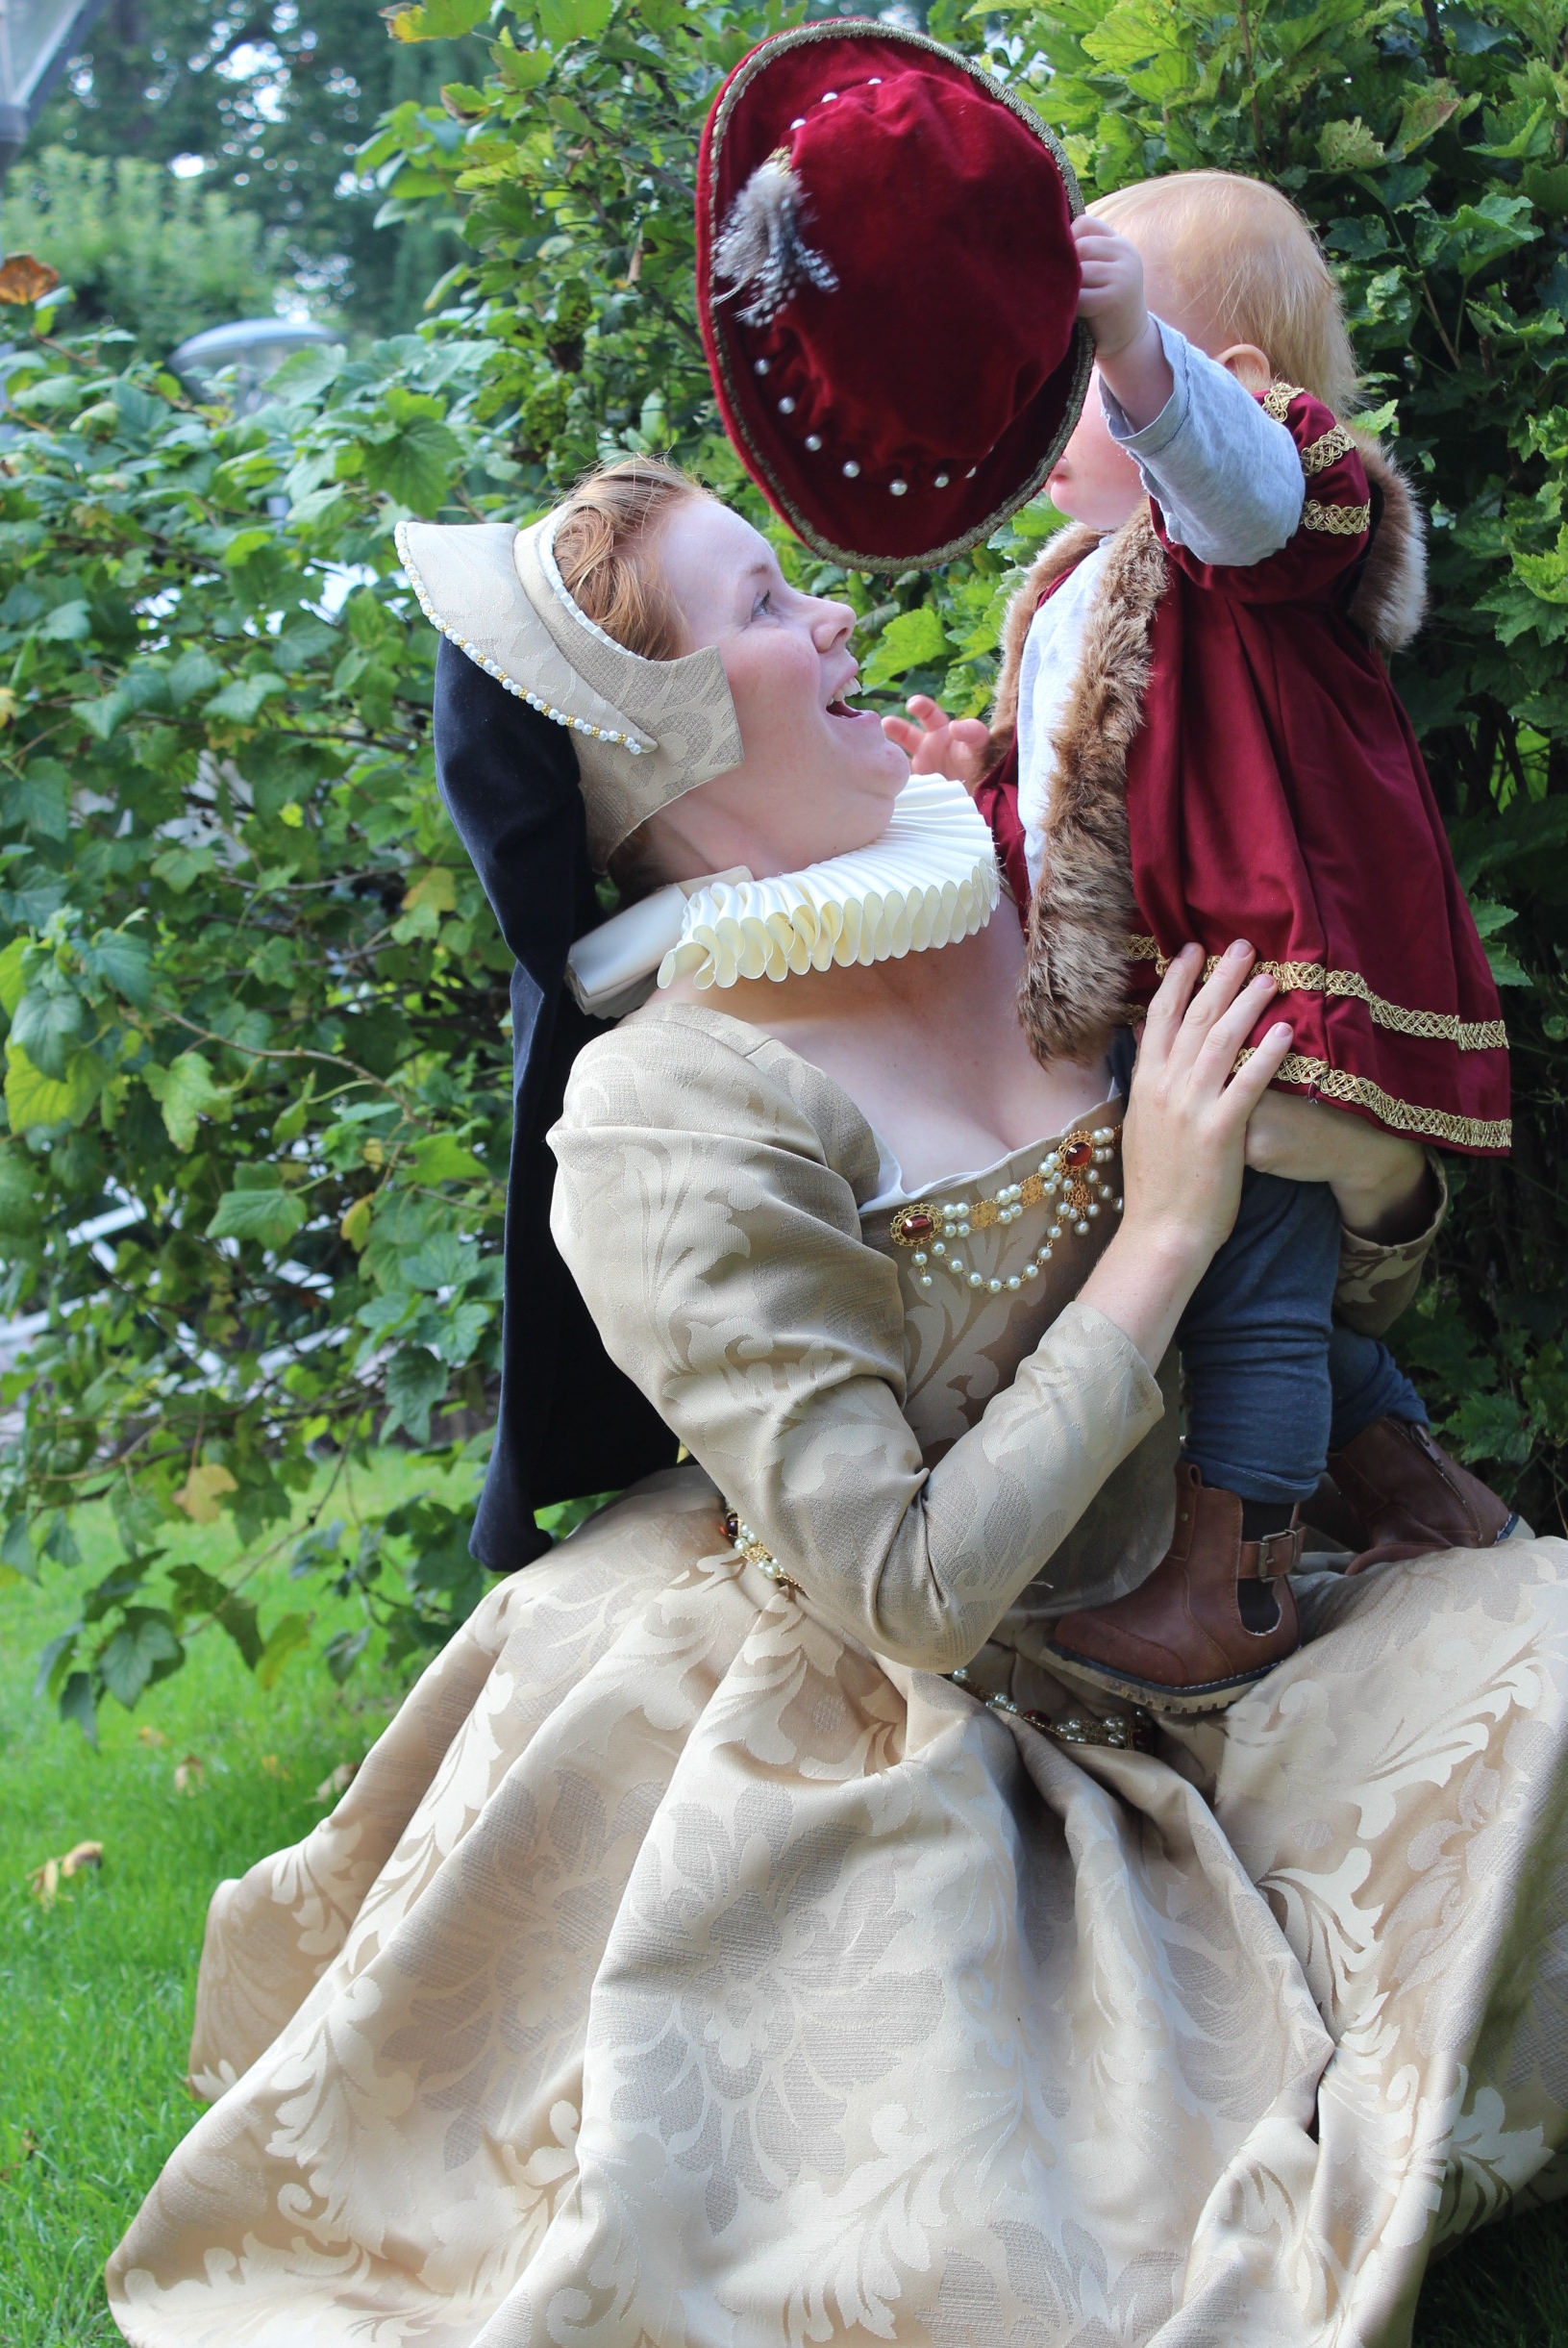
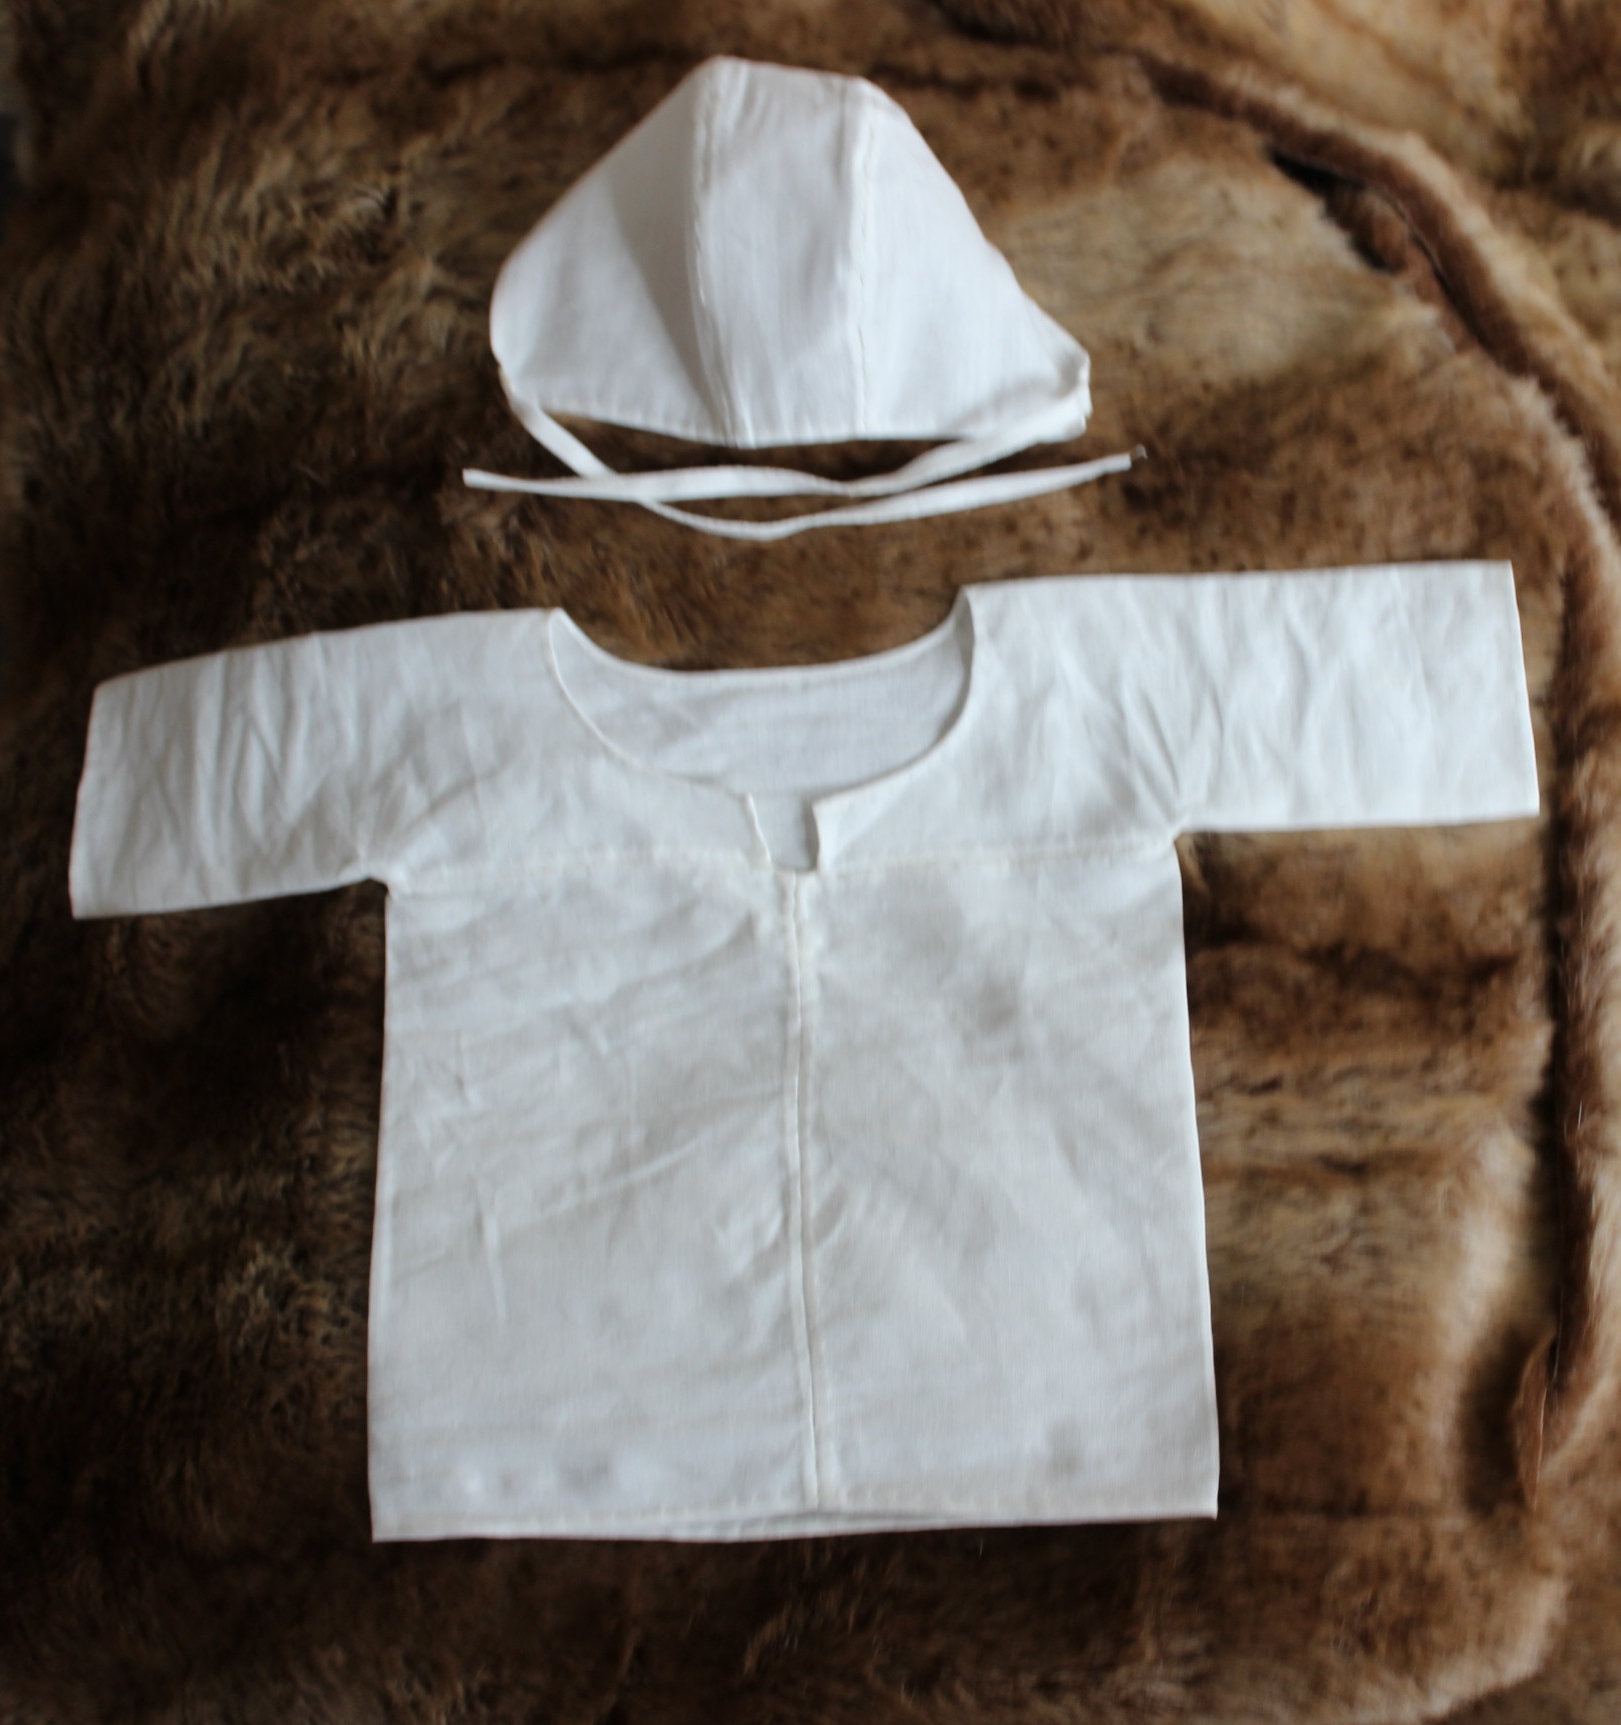
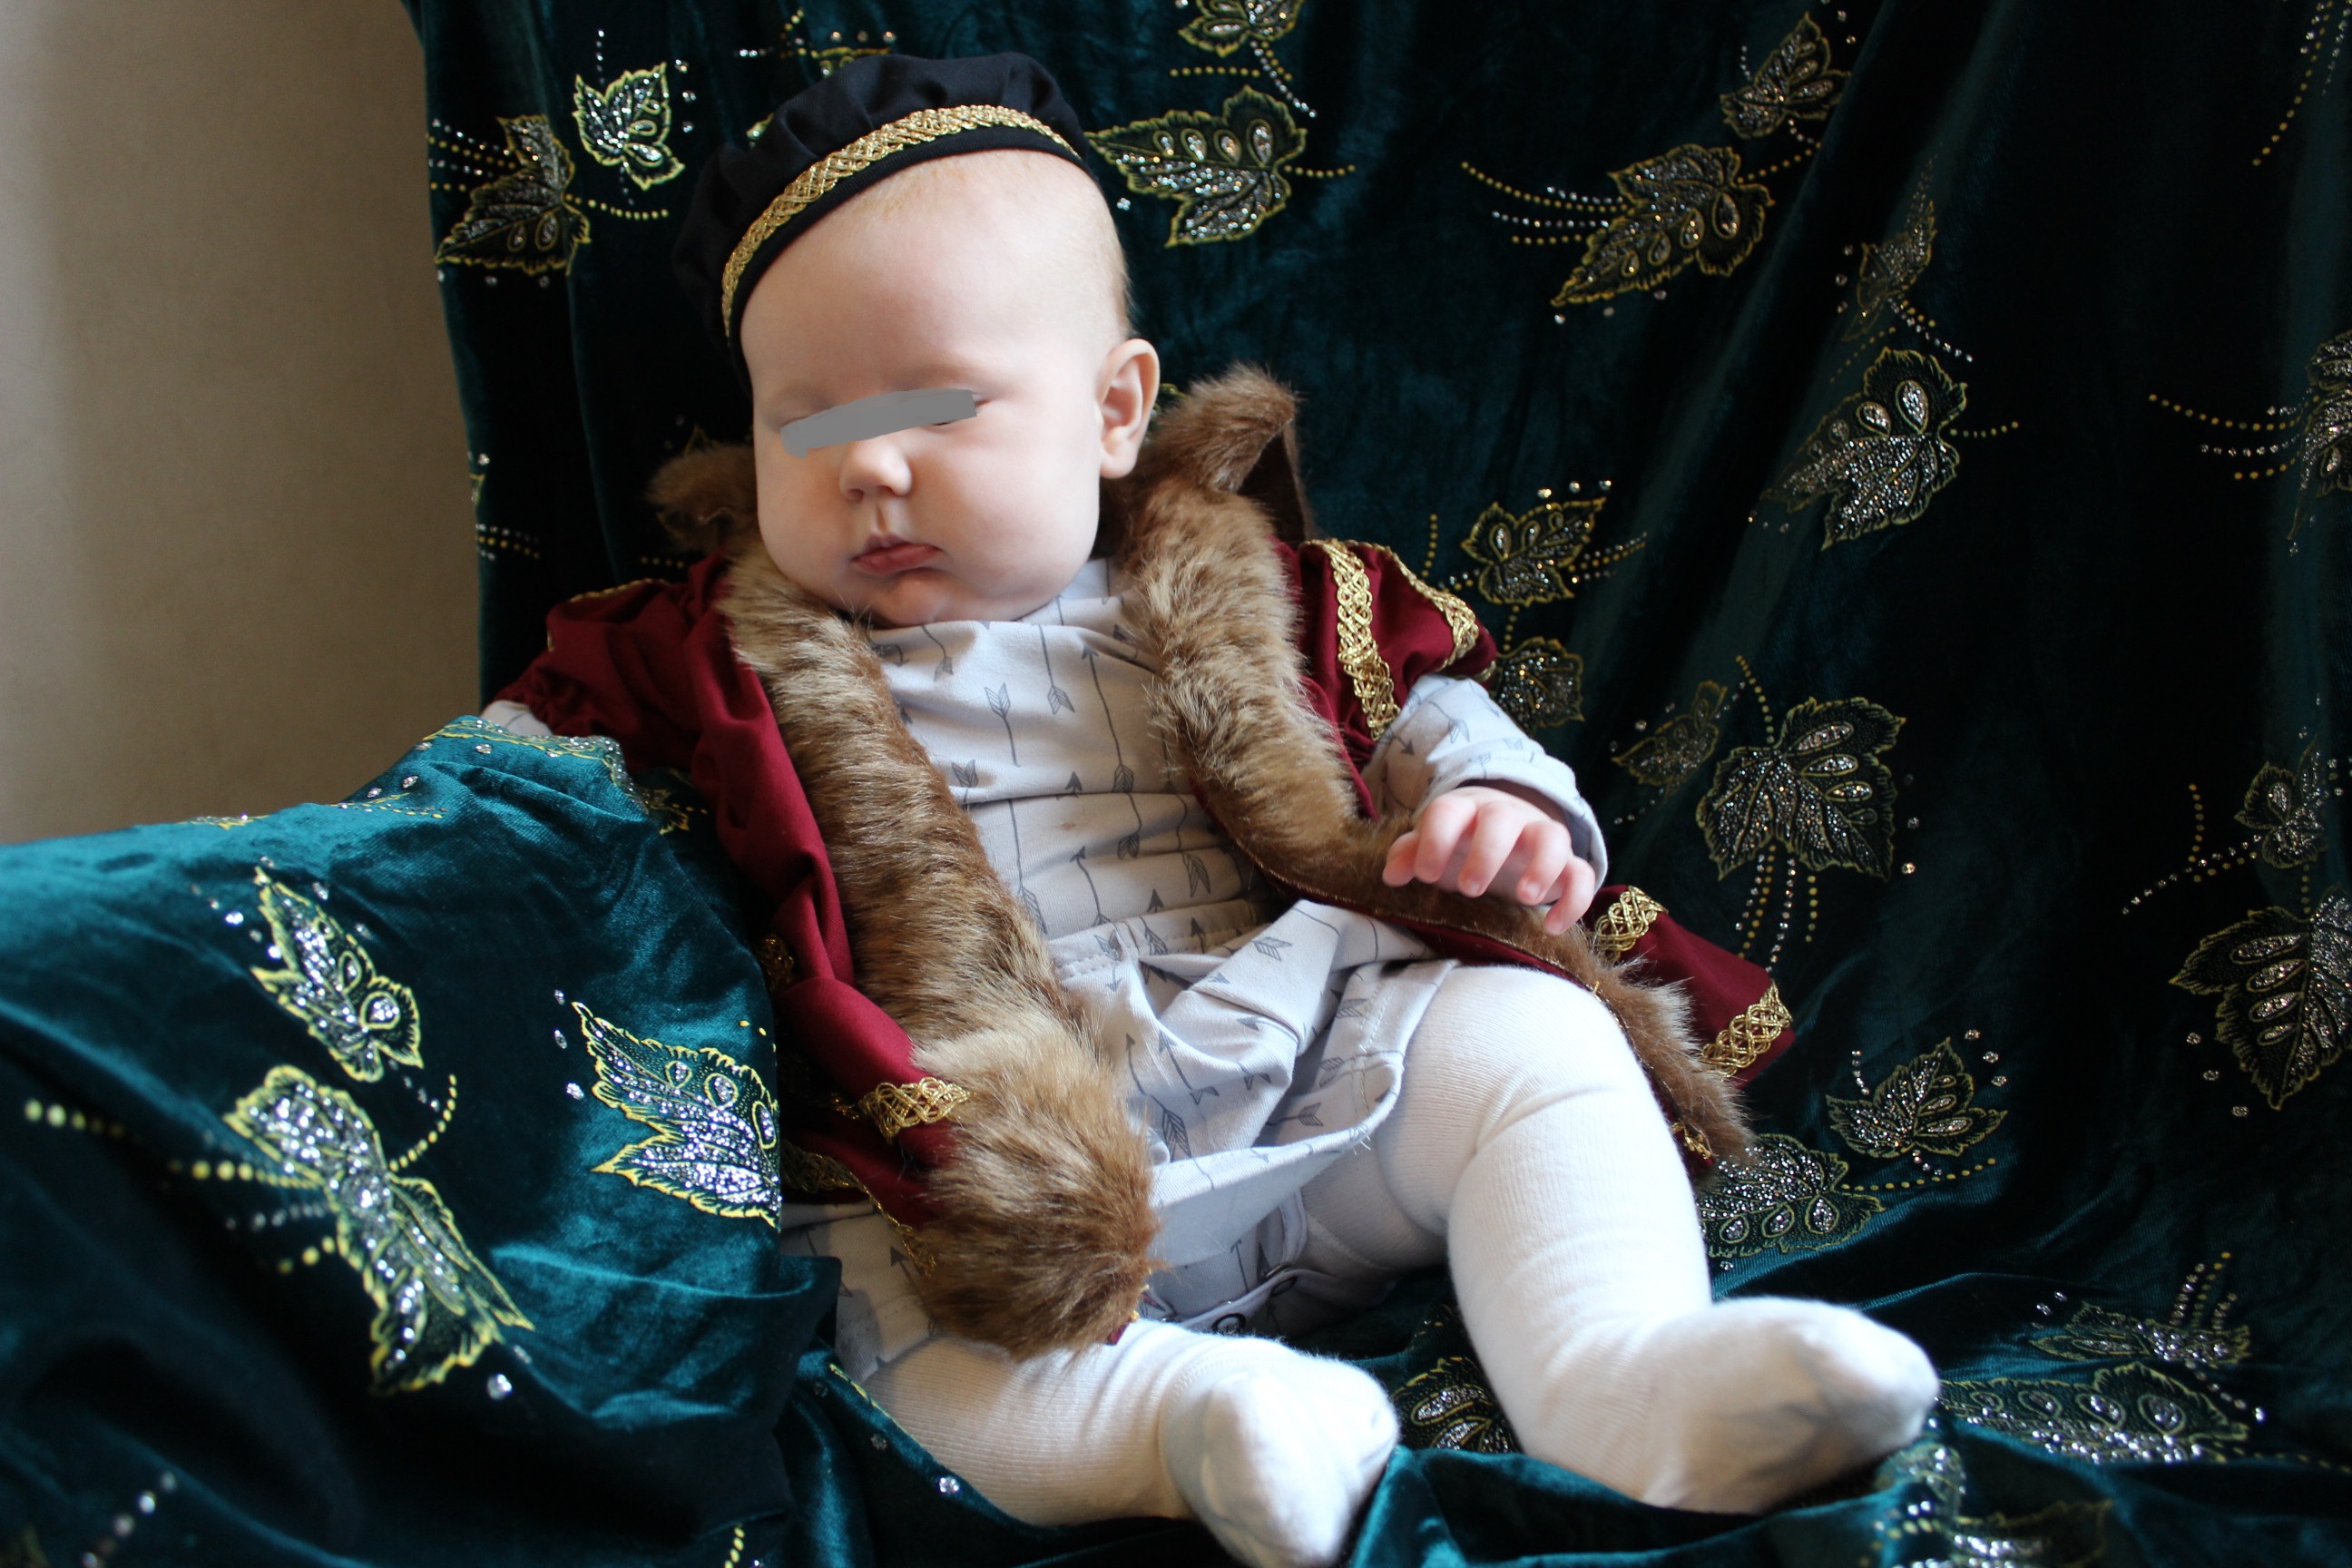
 Besides from the coat and hat (which he needed for head covering), he wears a regular gray long sleeved t-shirt and pants pared with his autumn boots.


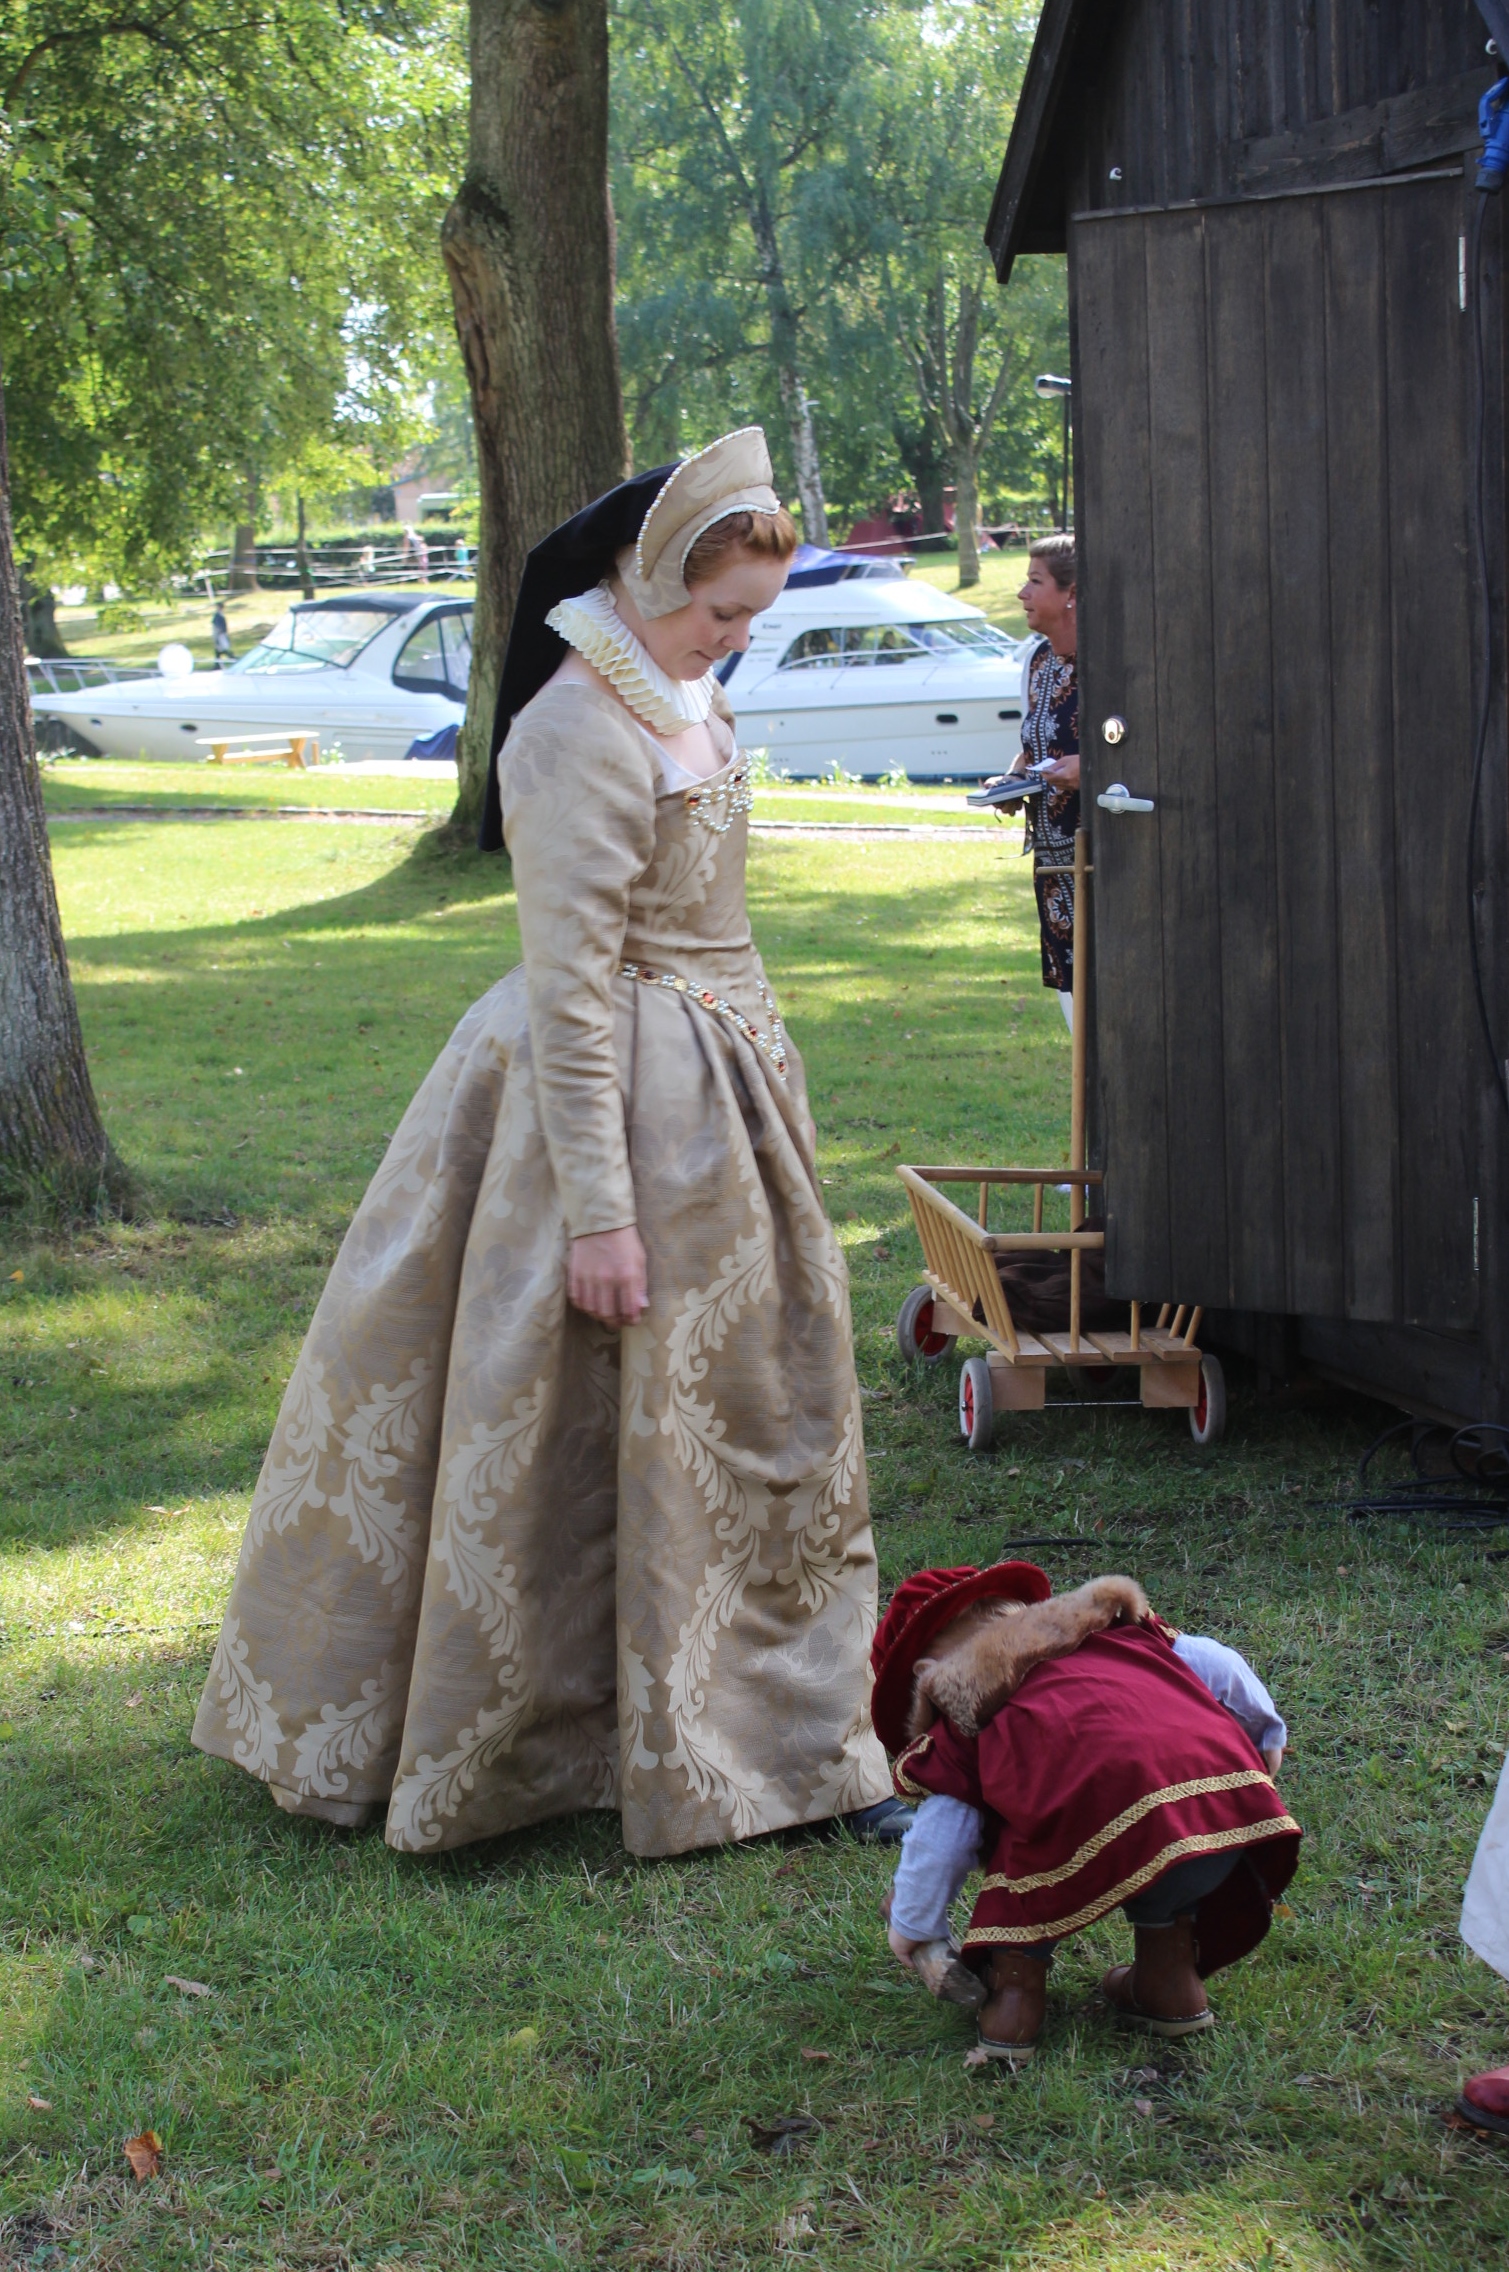


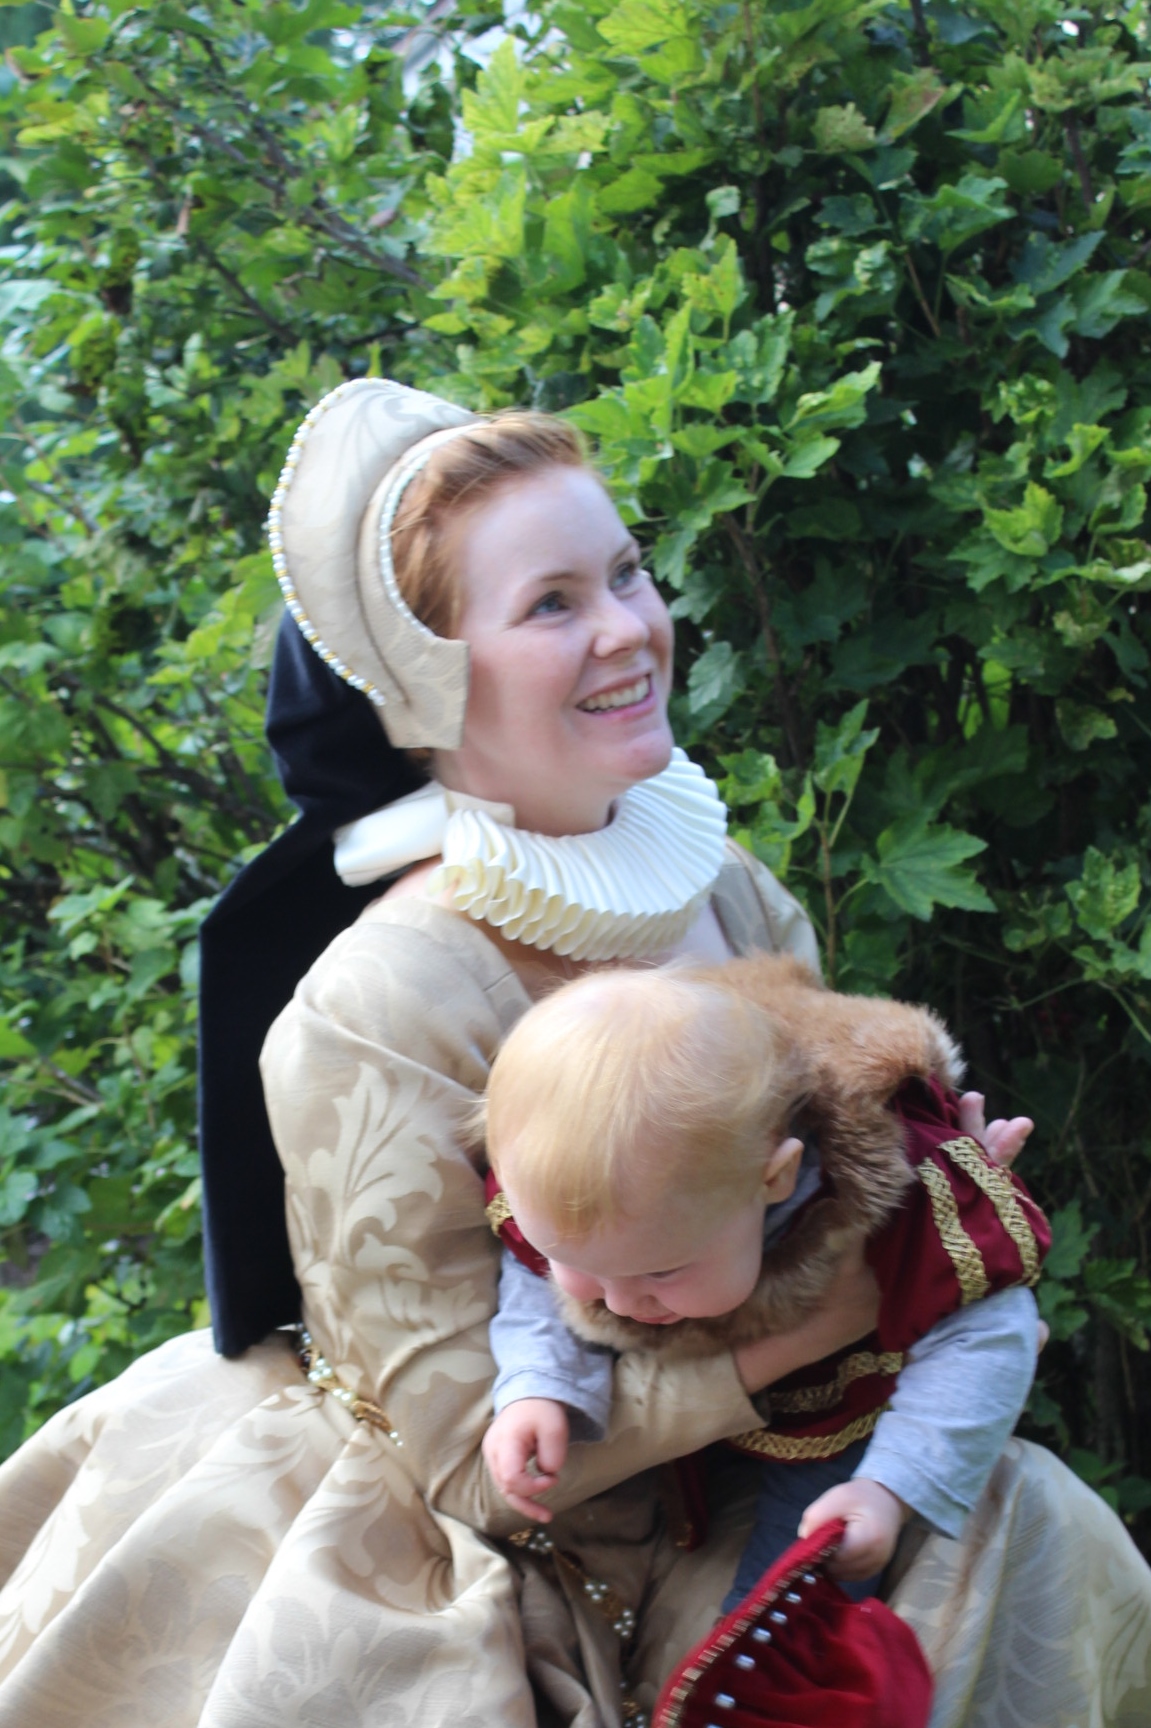
 I do think we made for quite a sight.
 After lunch we stopped to take a break and to play a bit in the parks playground.
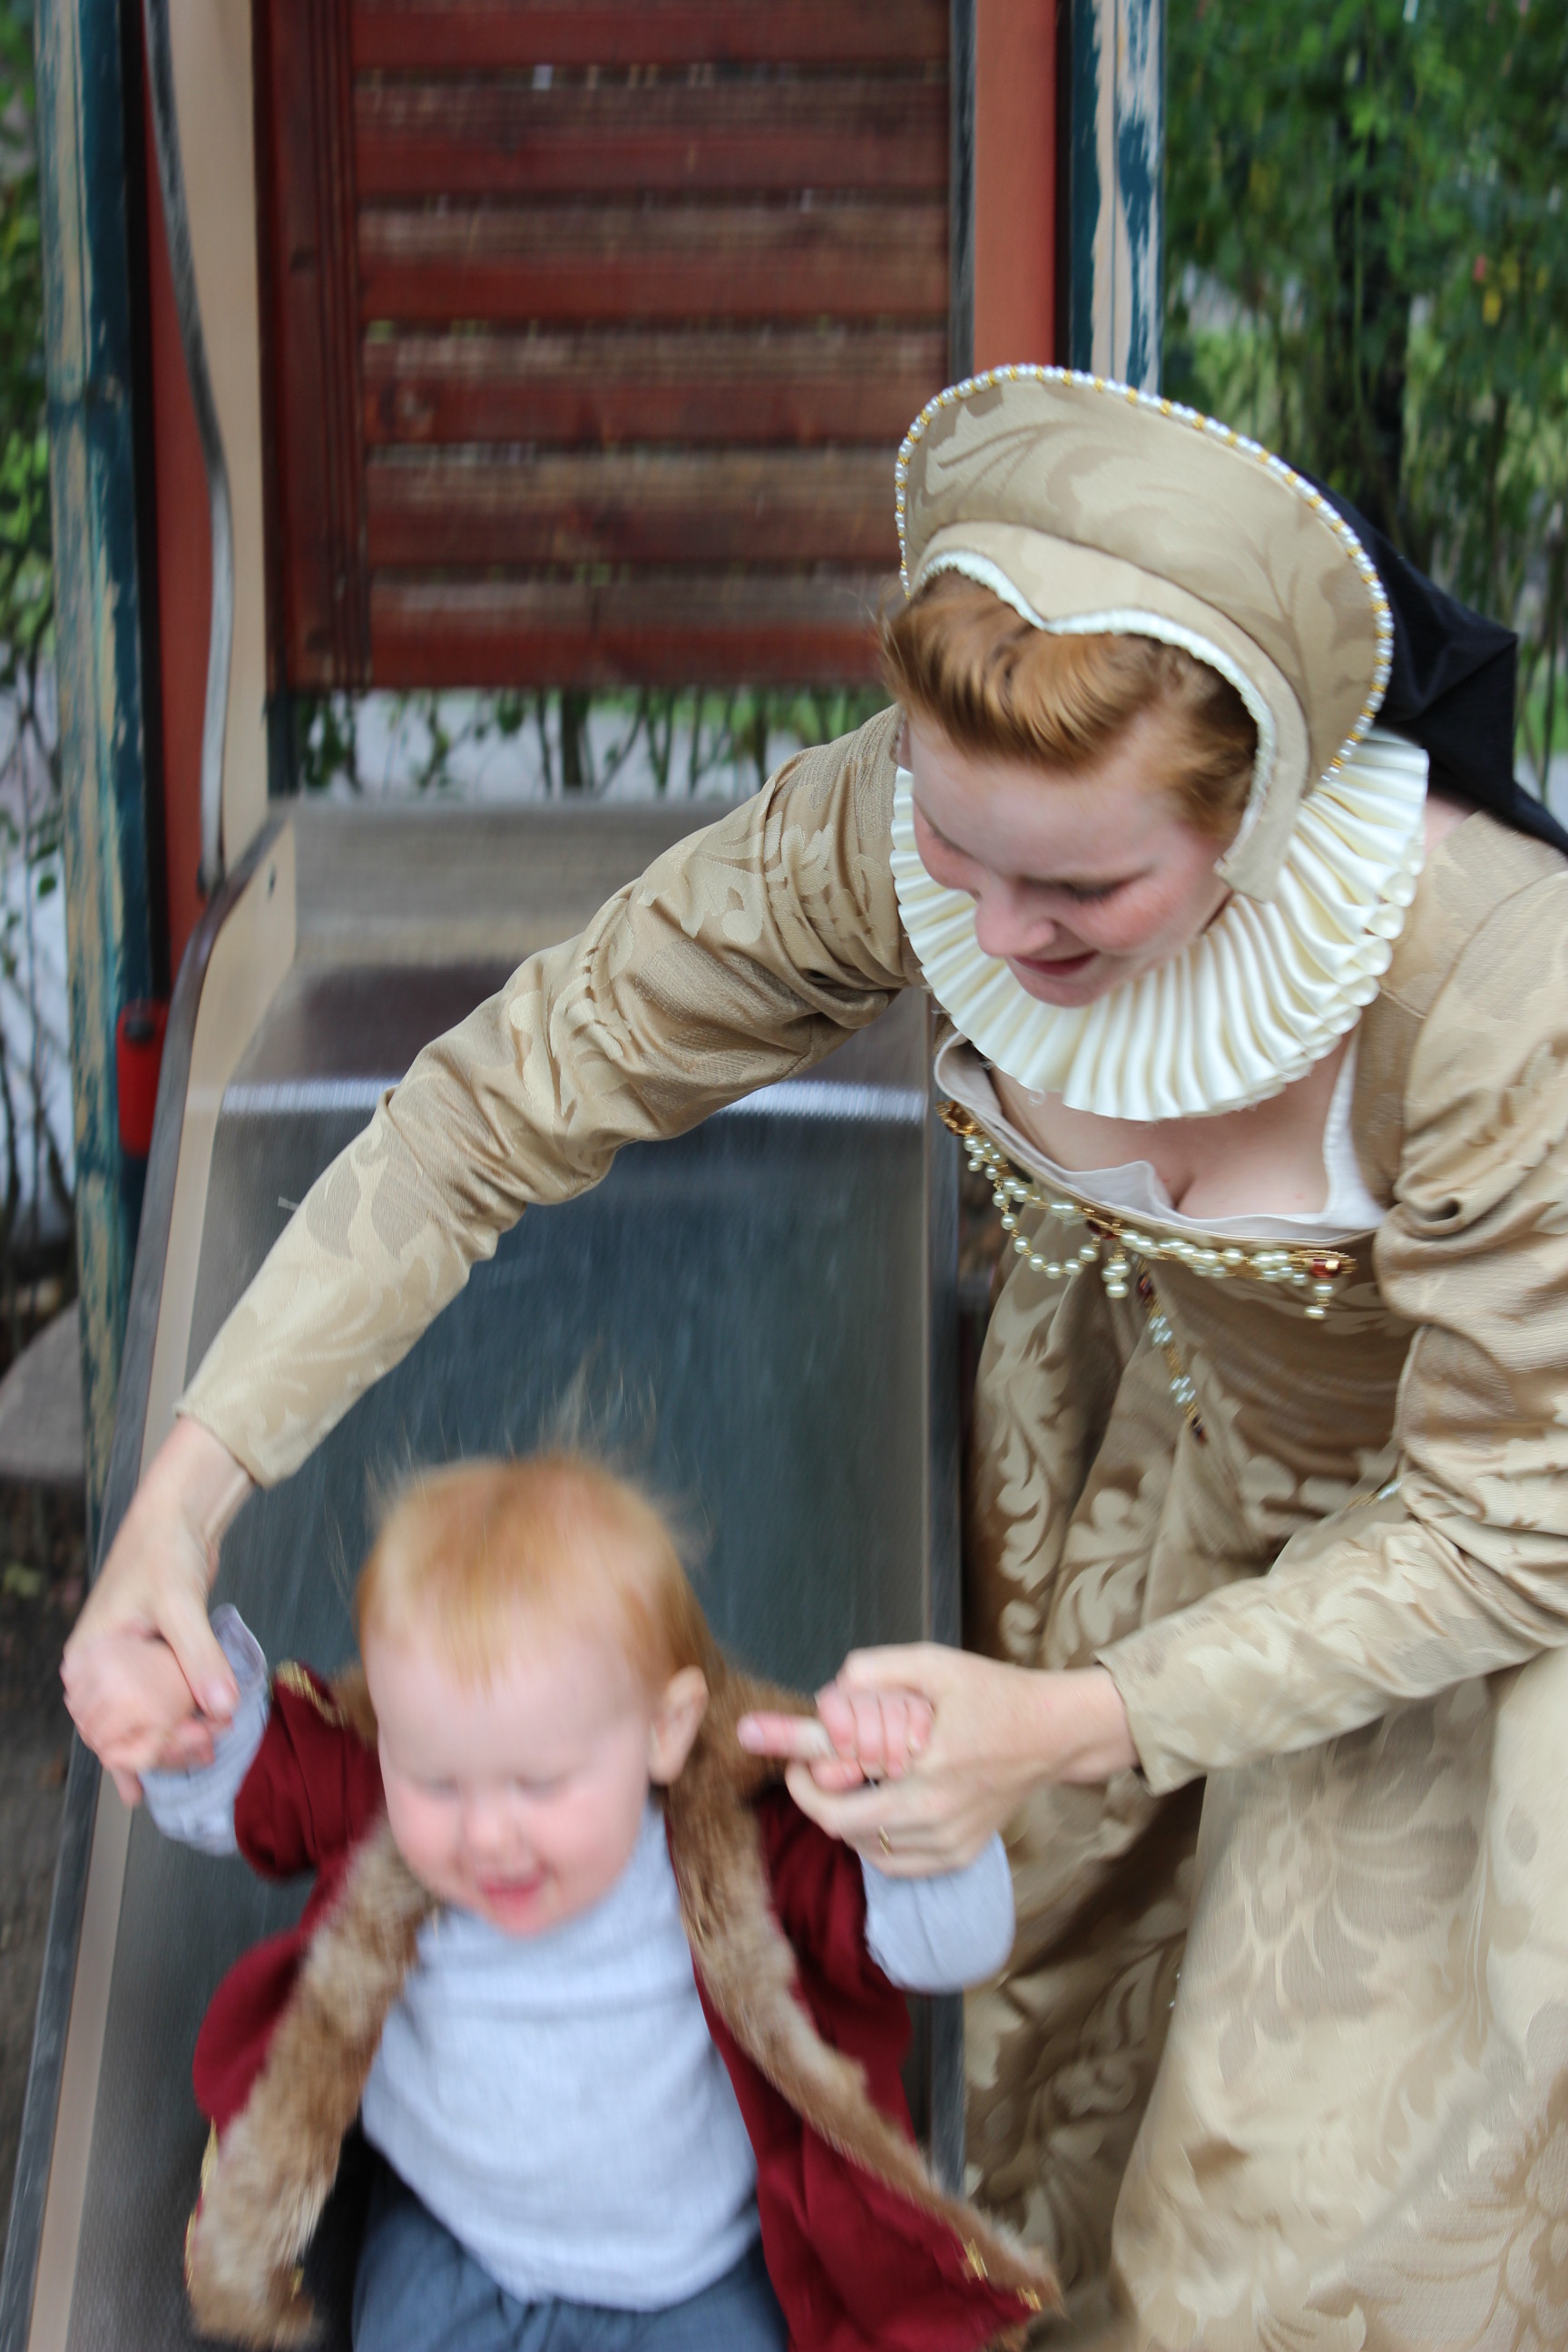


 Ha ha, I love that my sister tries to play with him and how he’s much more interesting in the gravel:-D
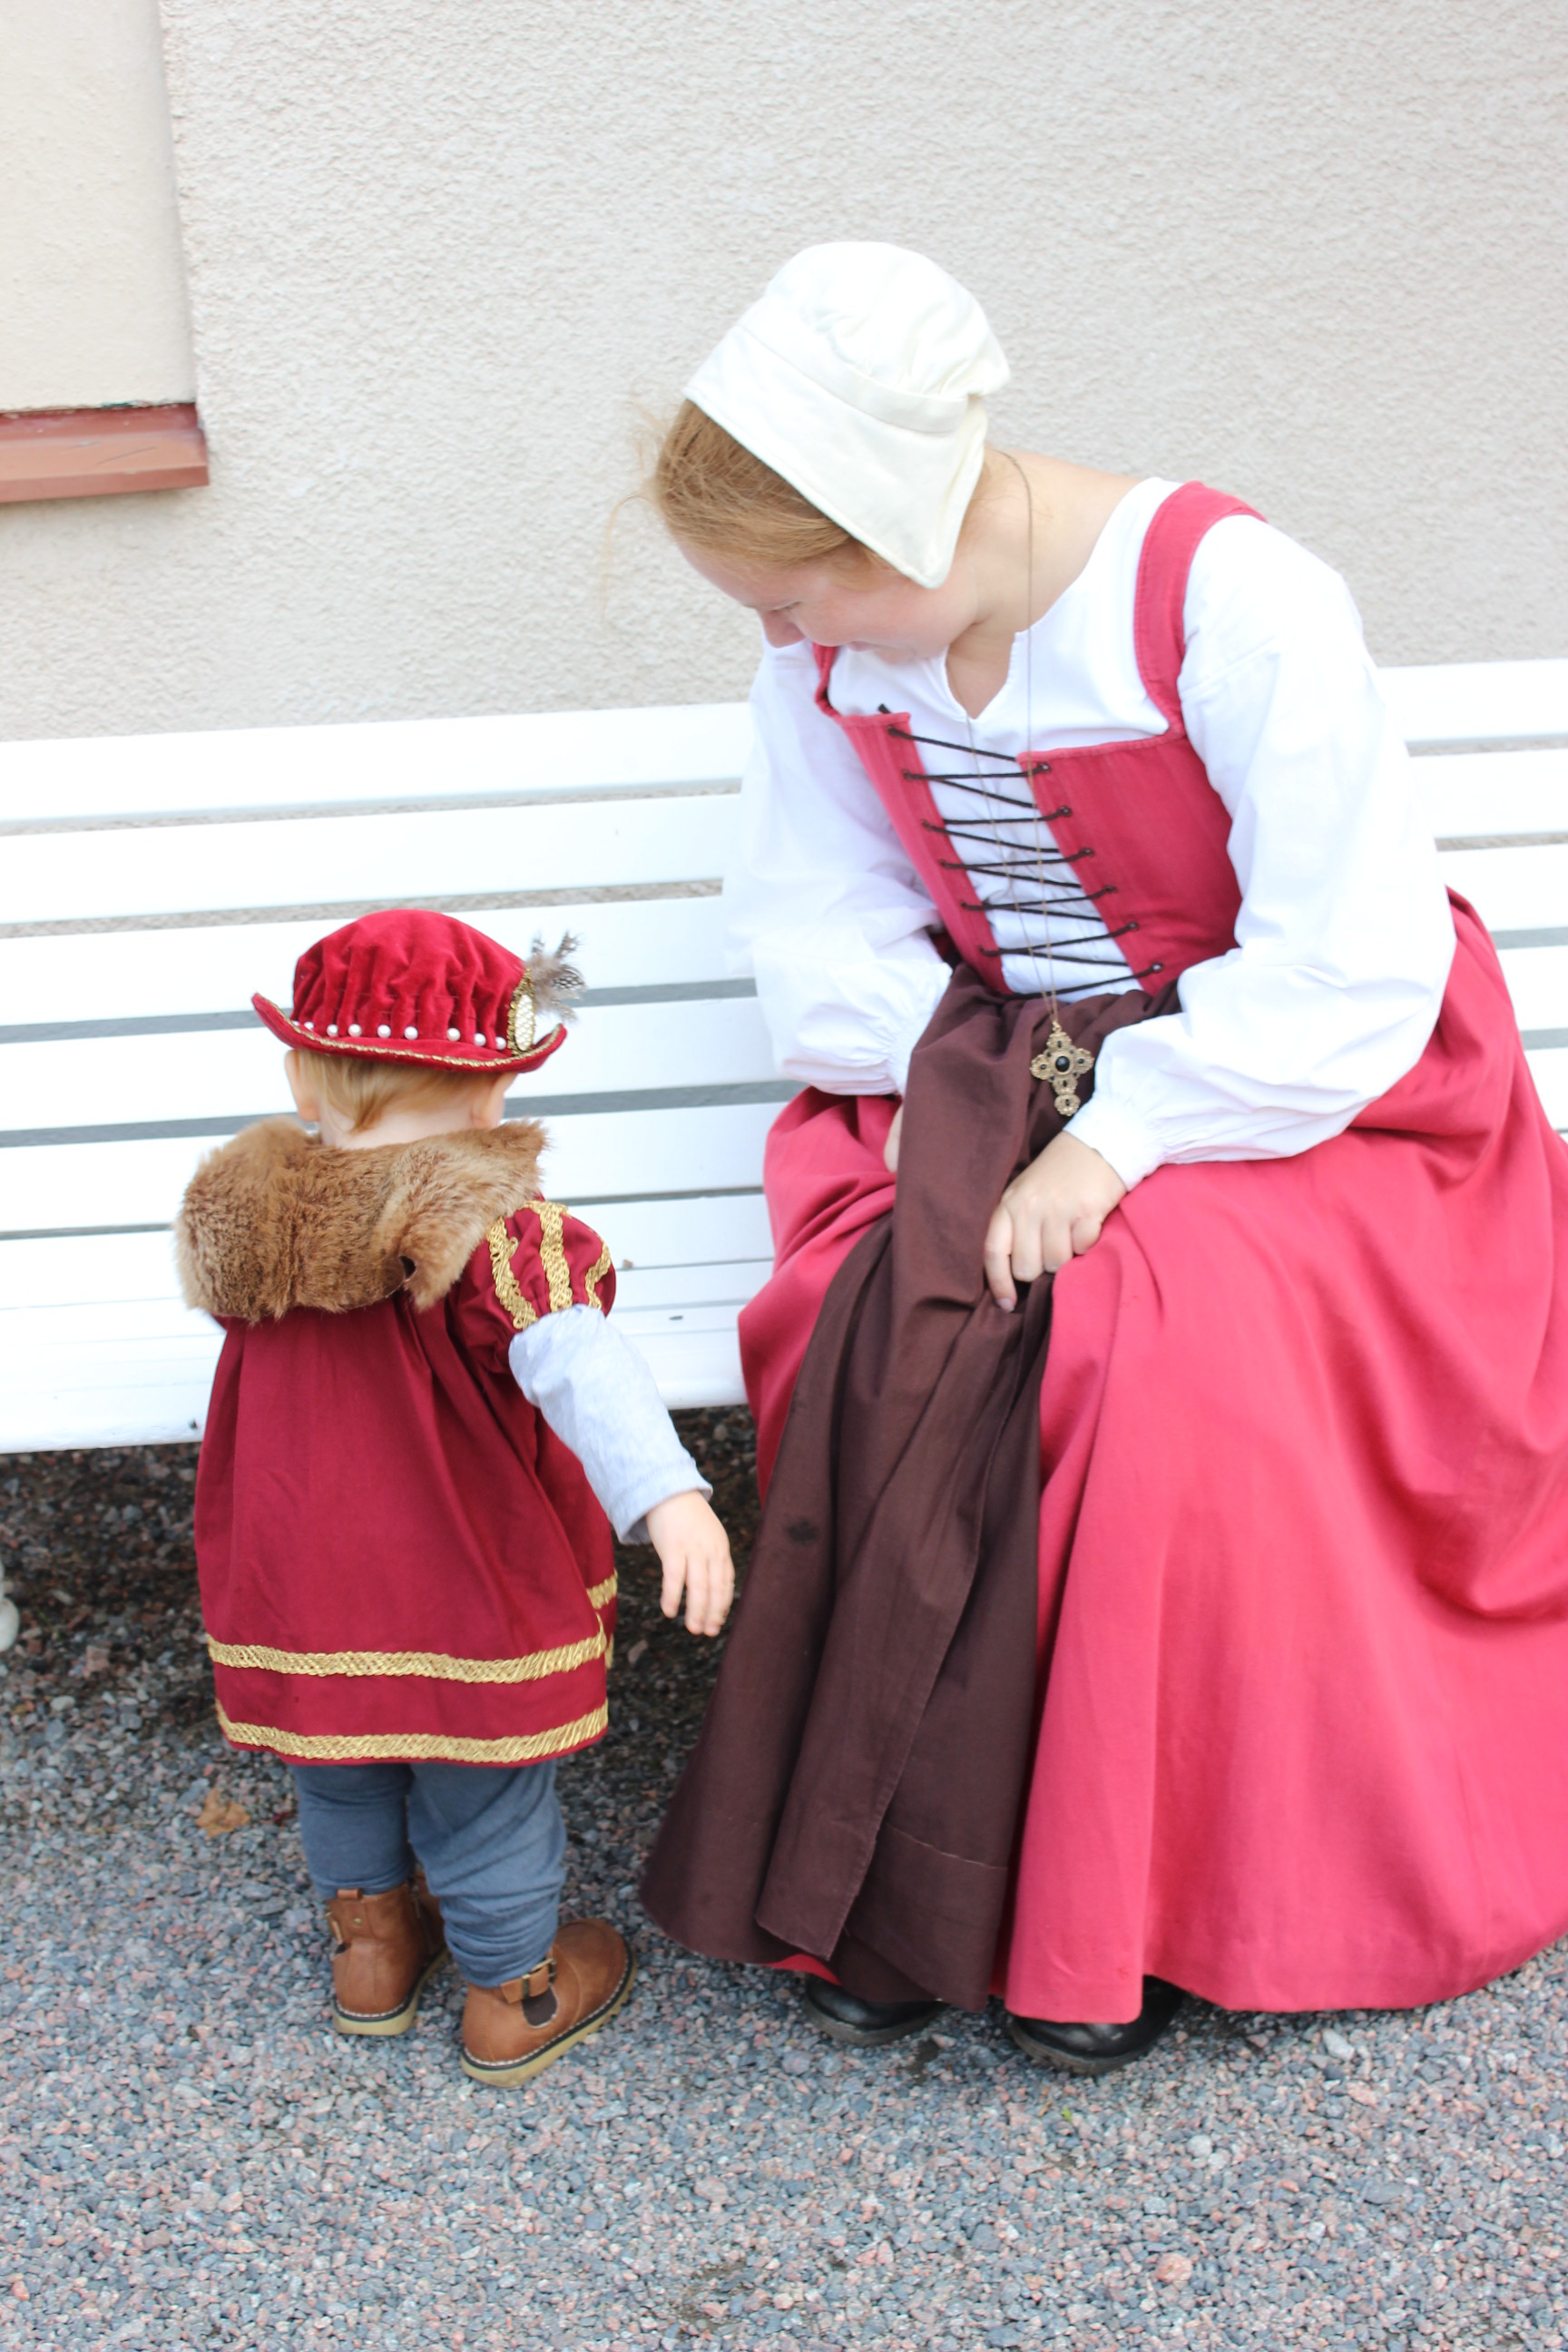
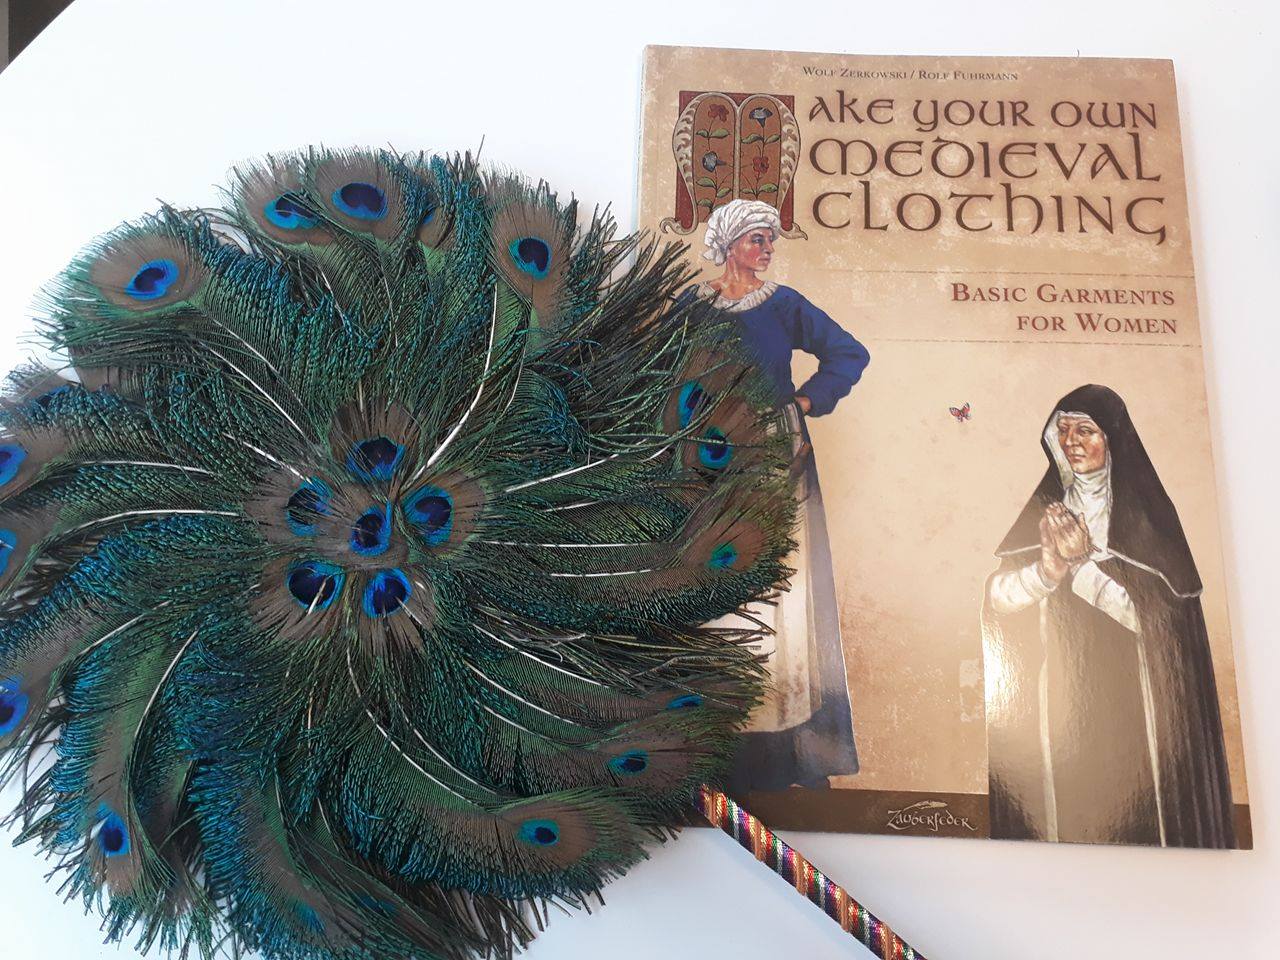
 Met a knight of the crusades
  and looked at some more pretty things (that we didn’t buy).
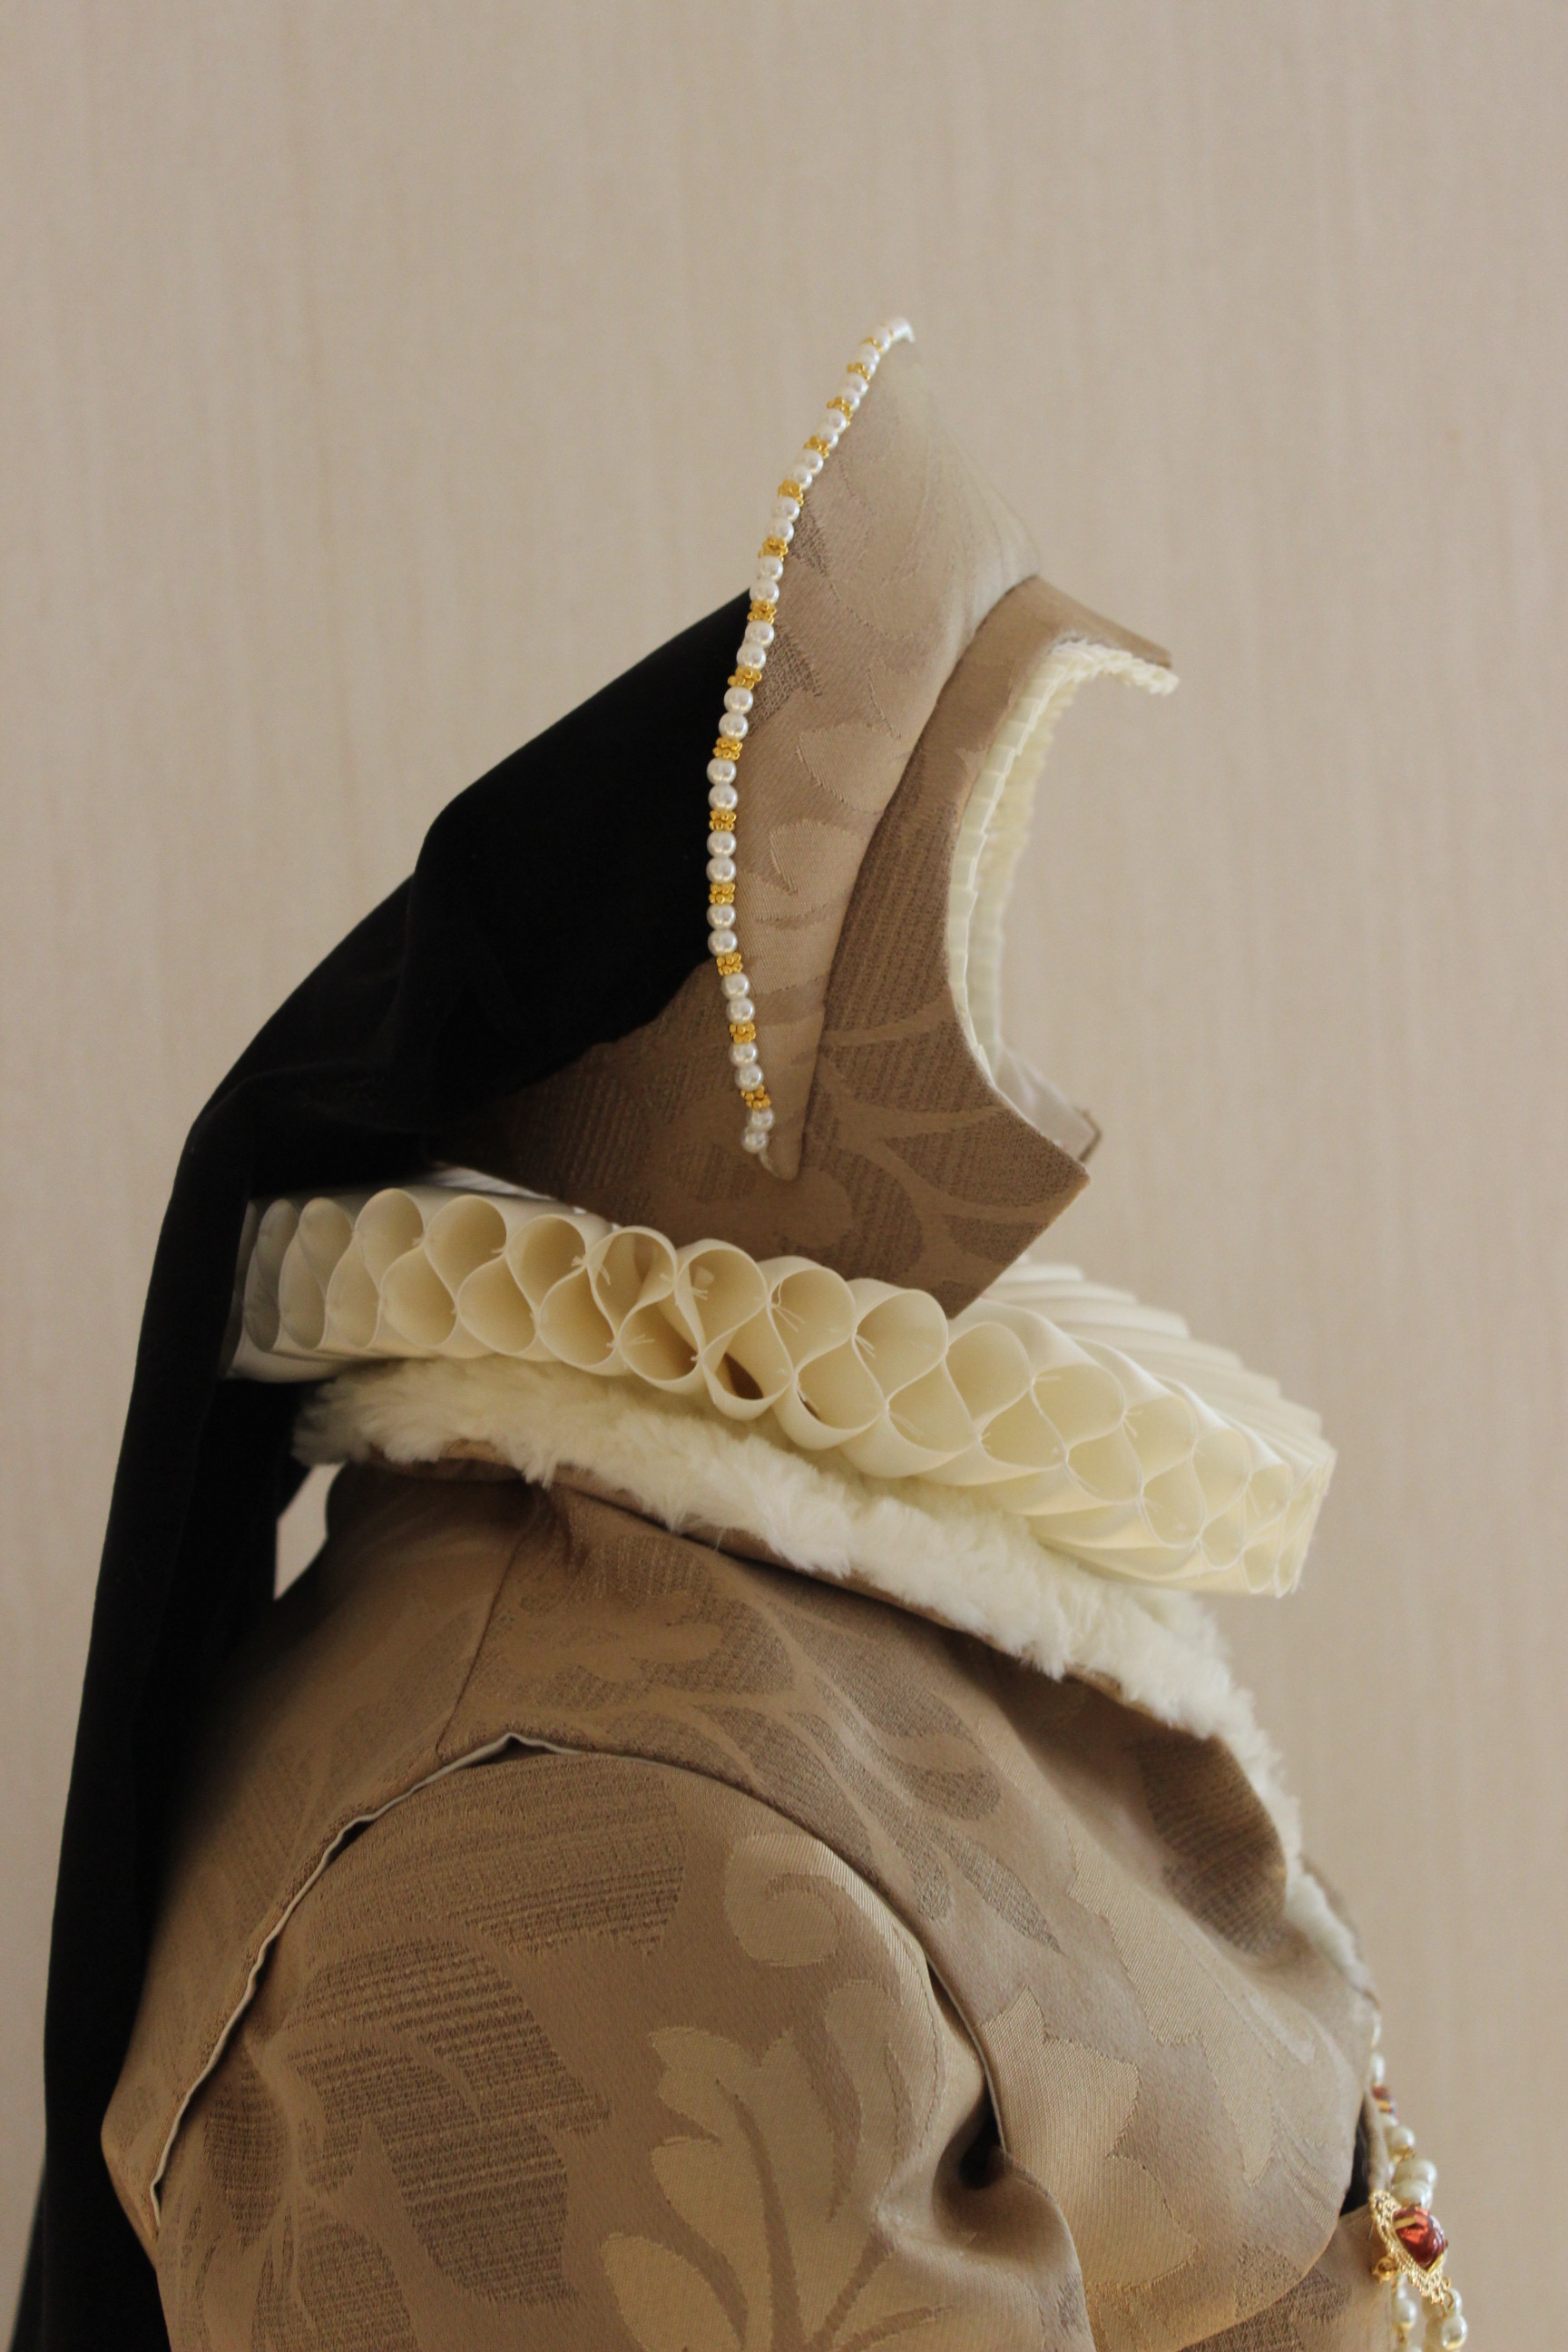
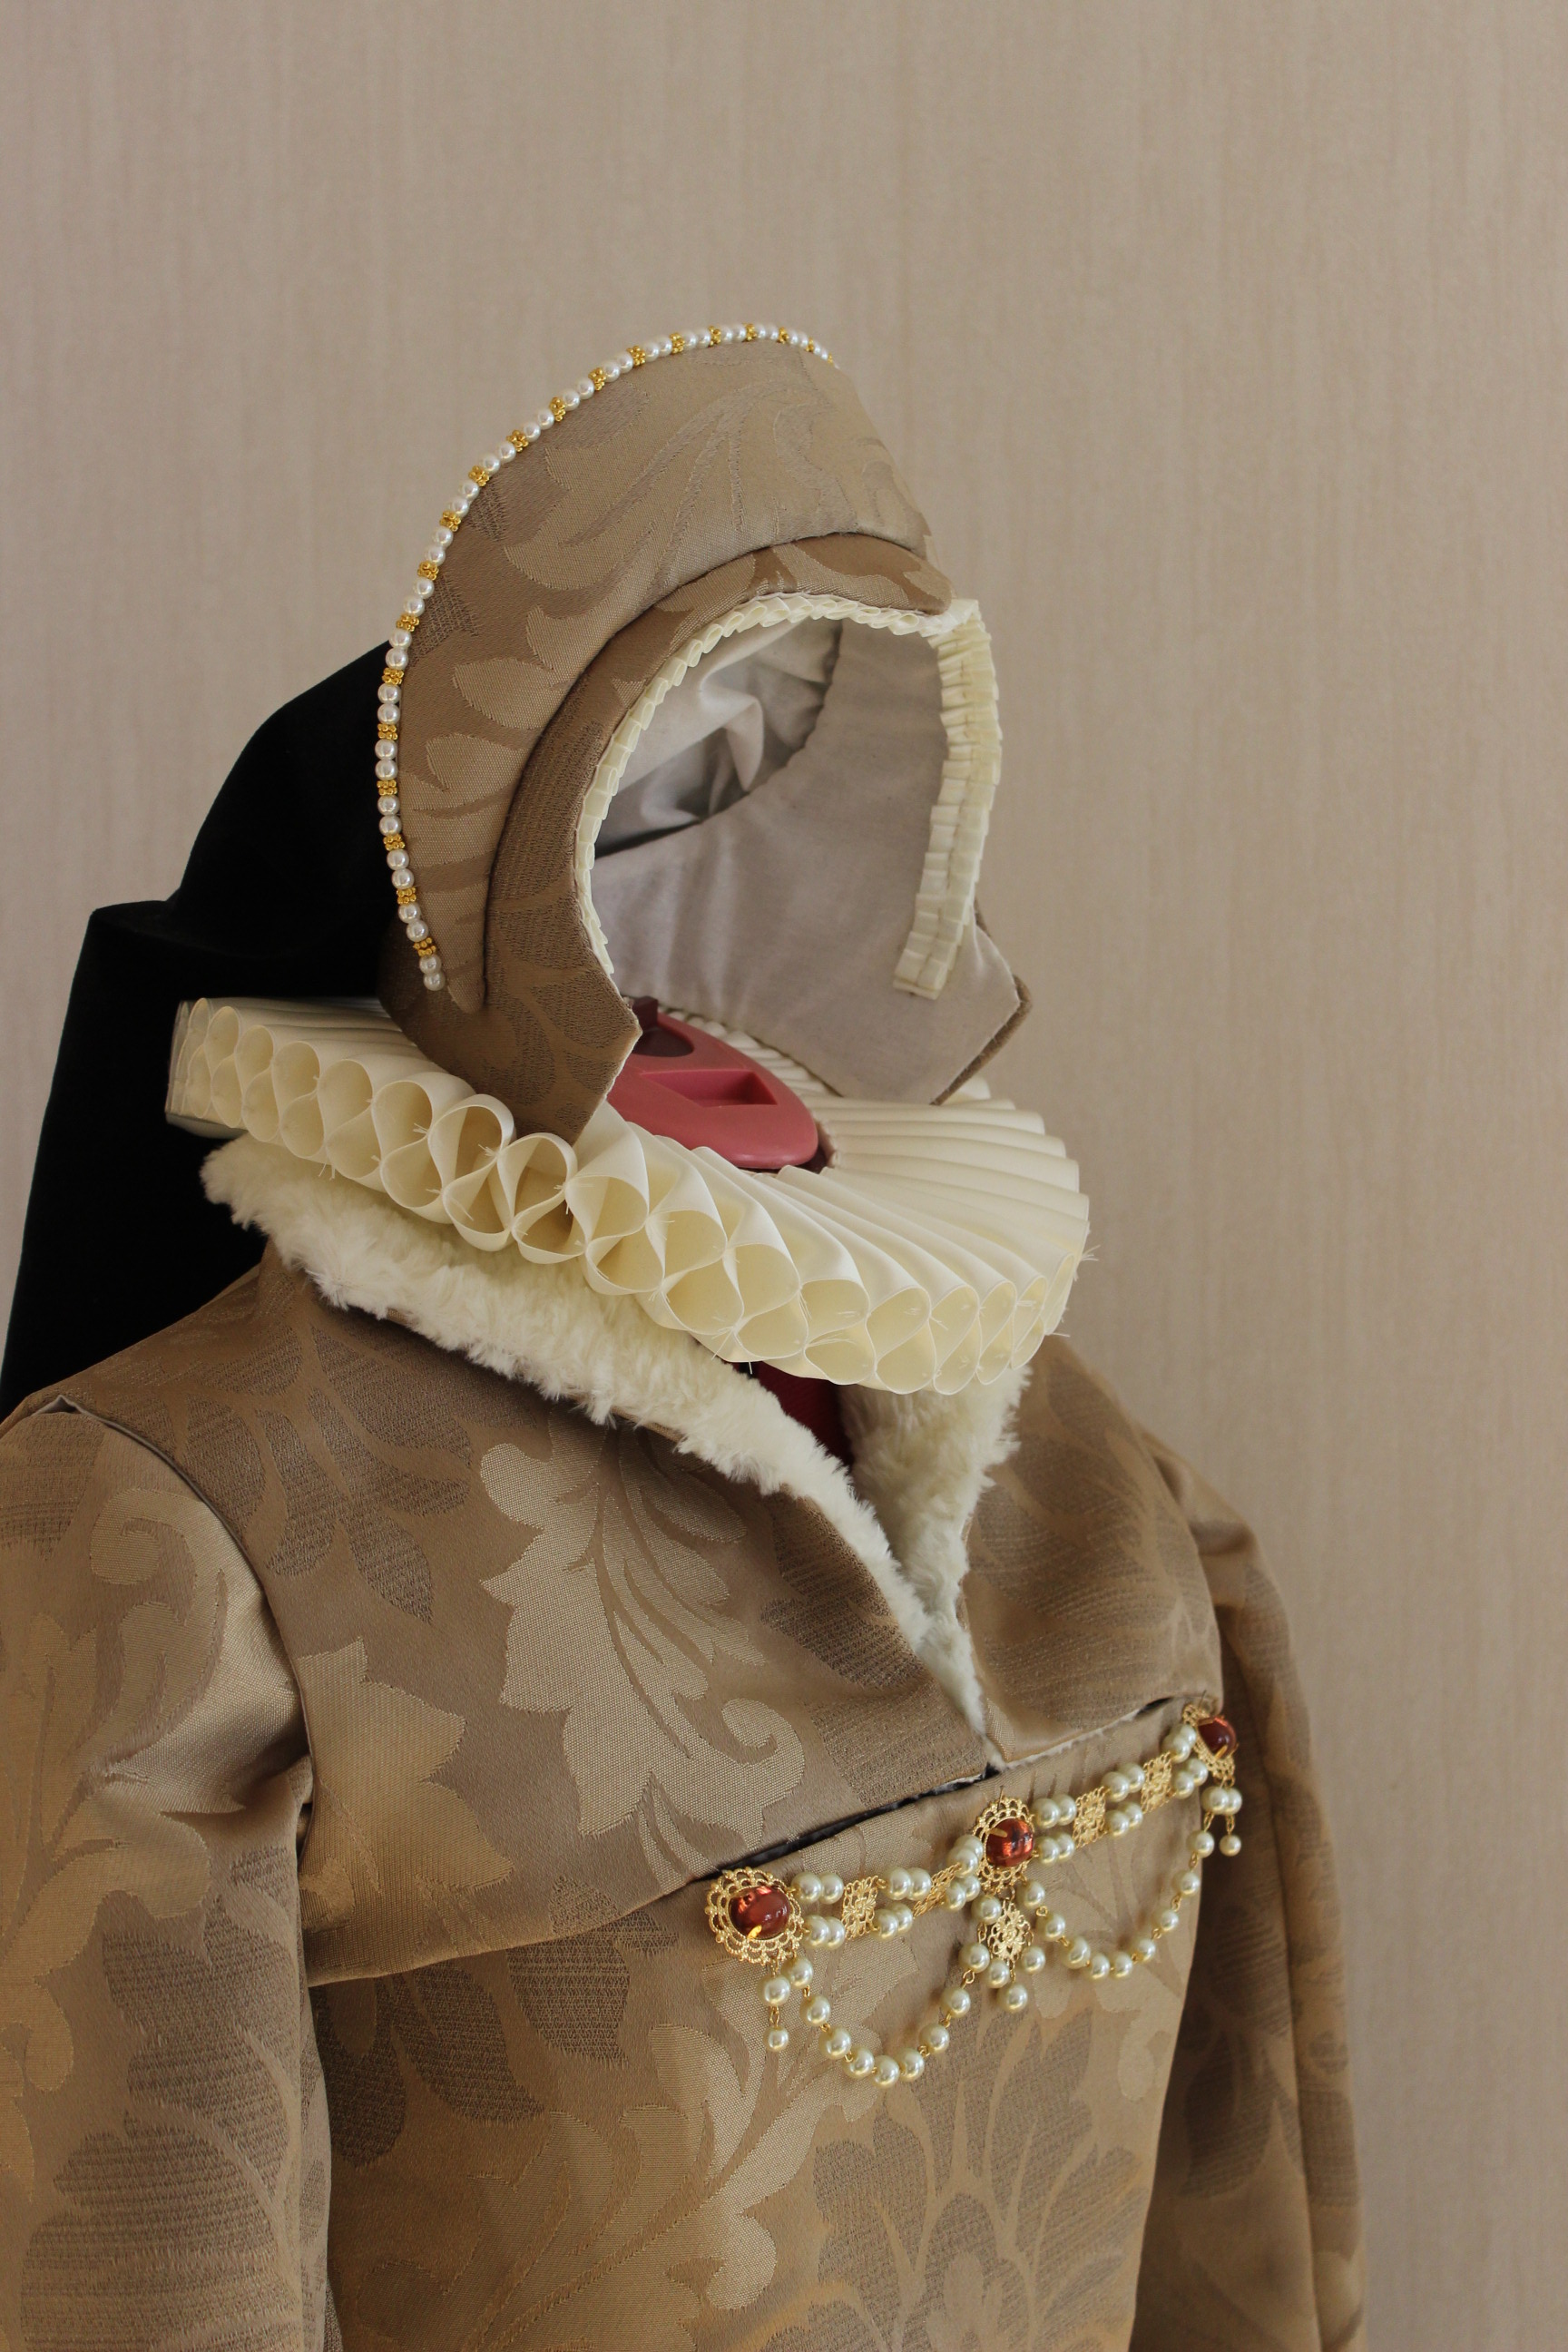
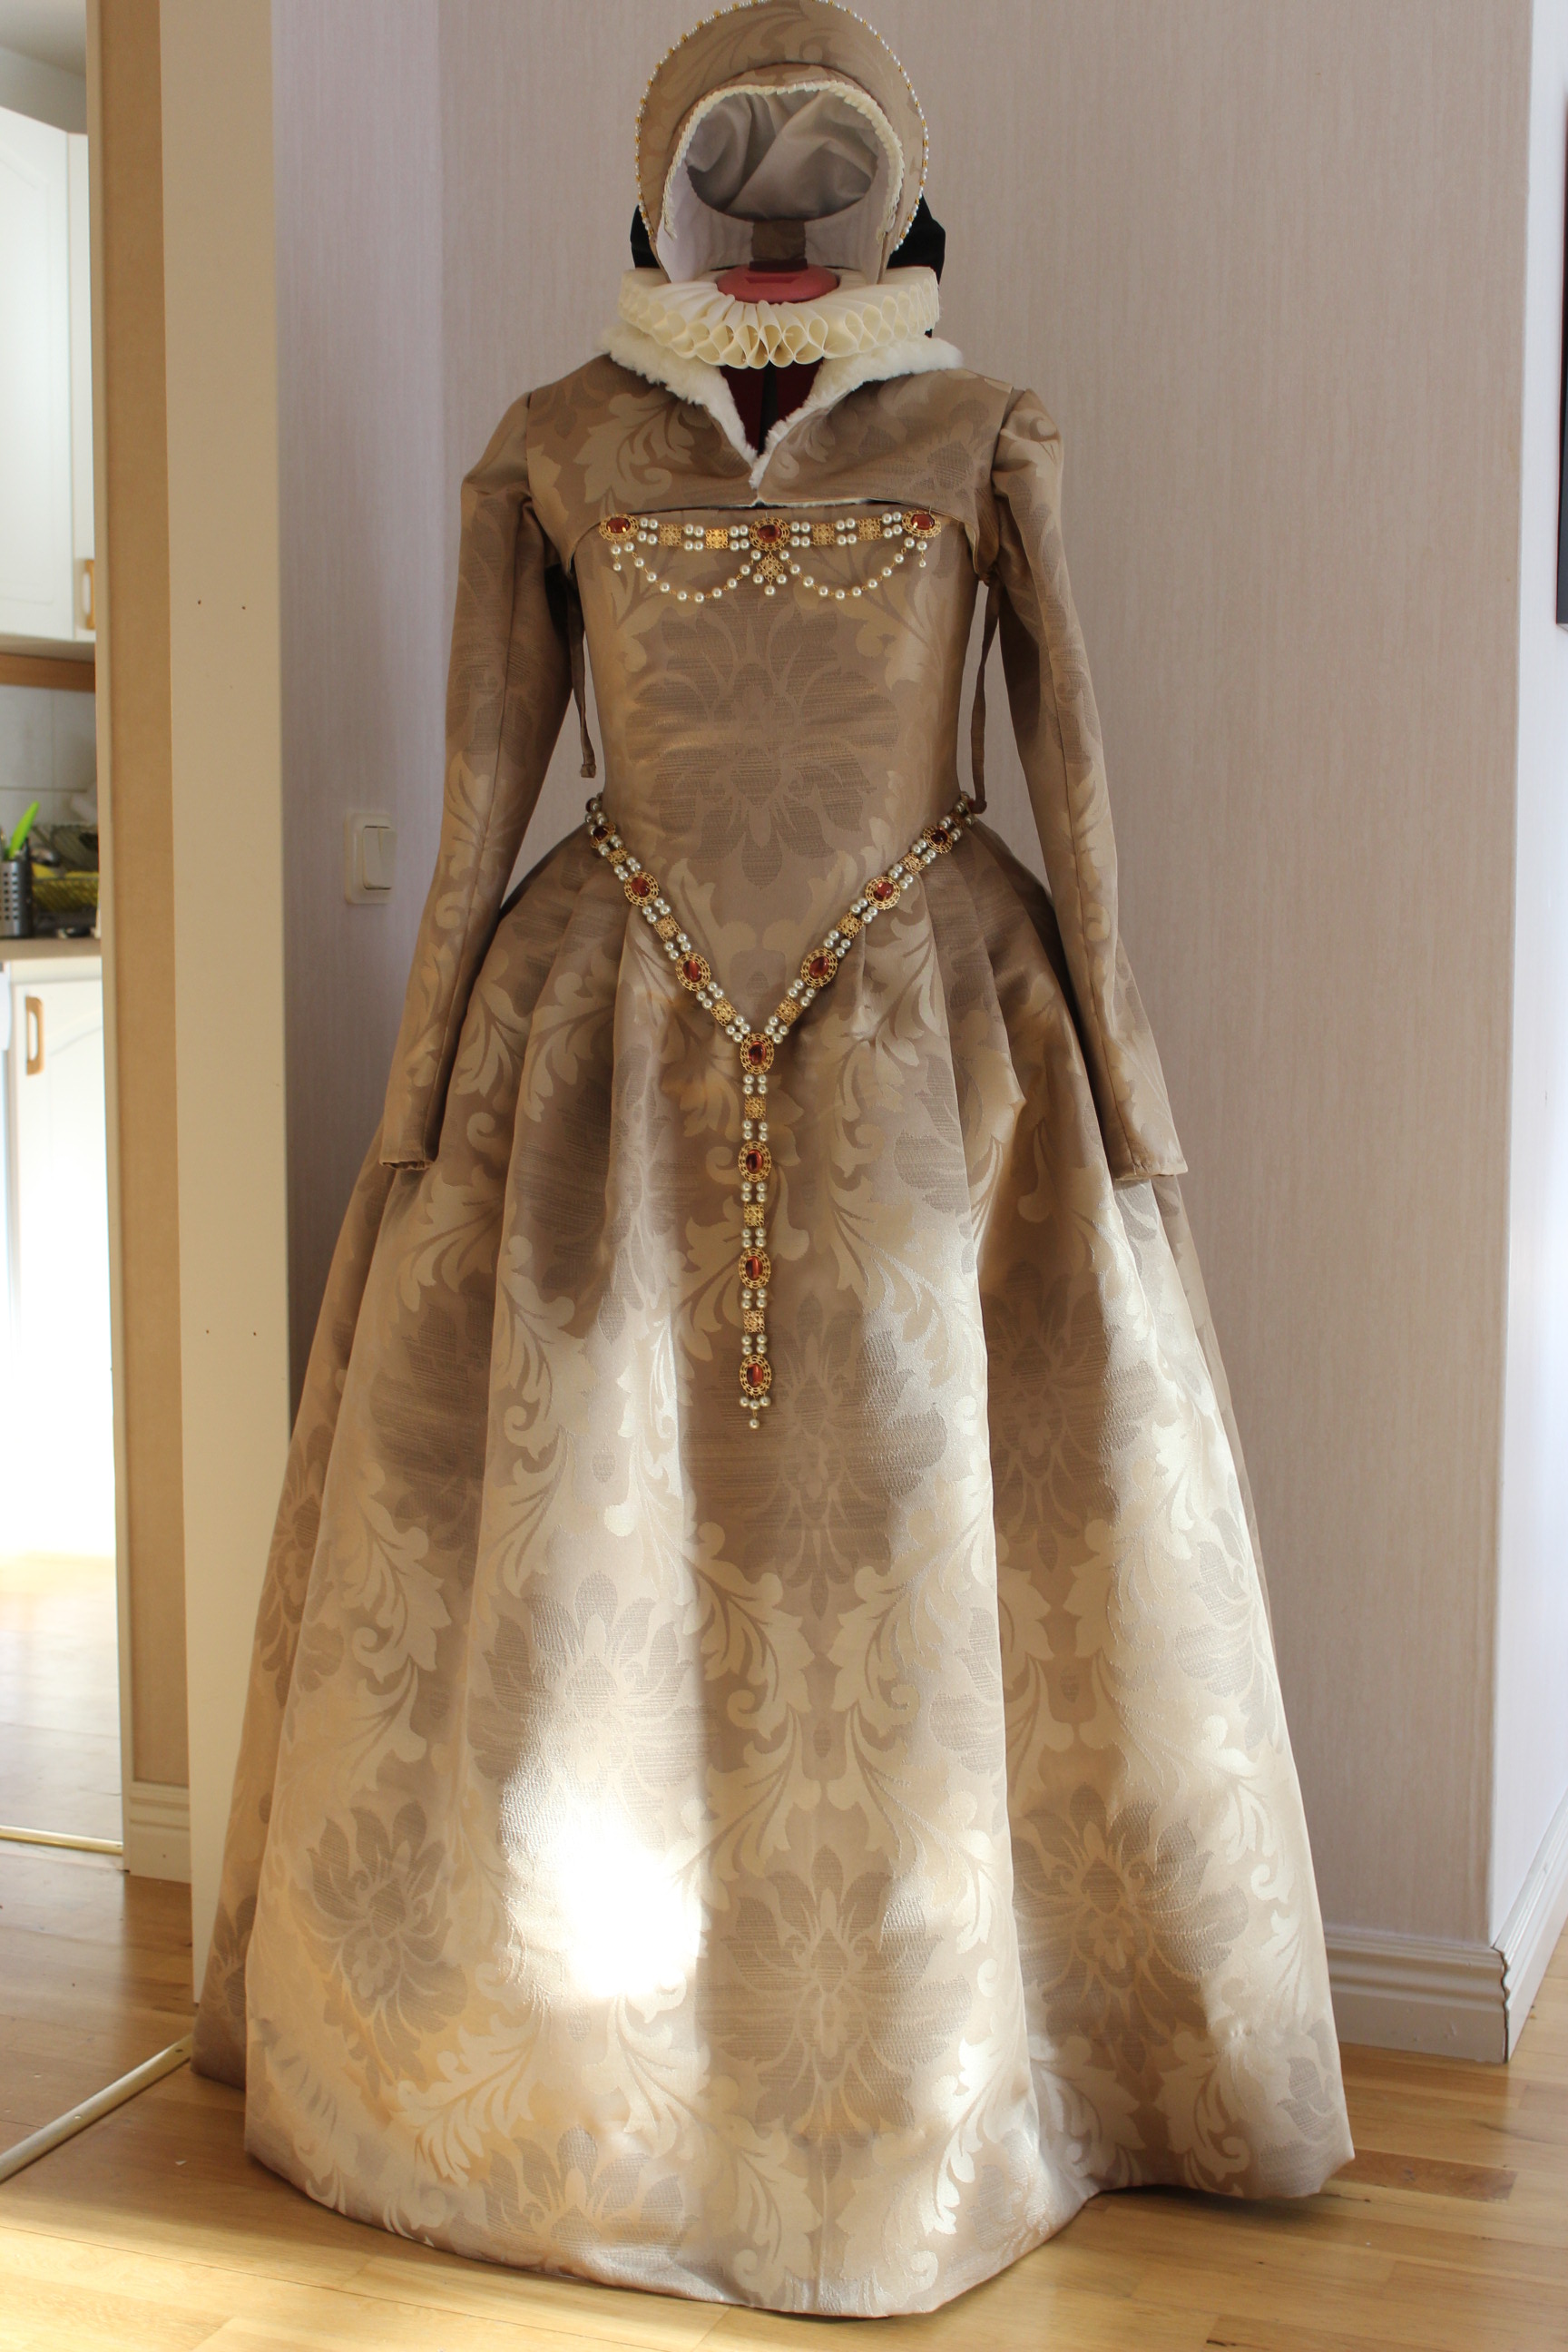
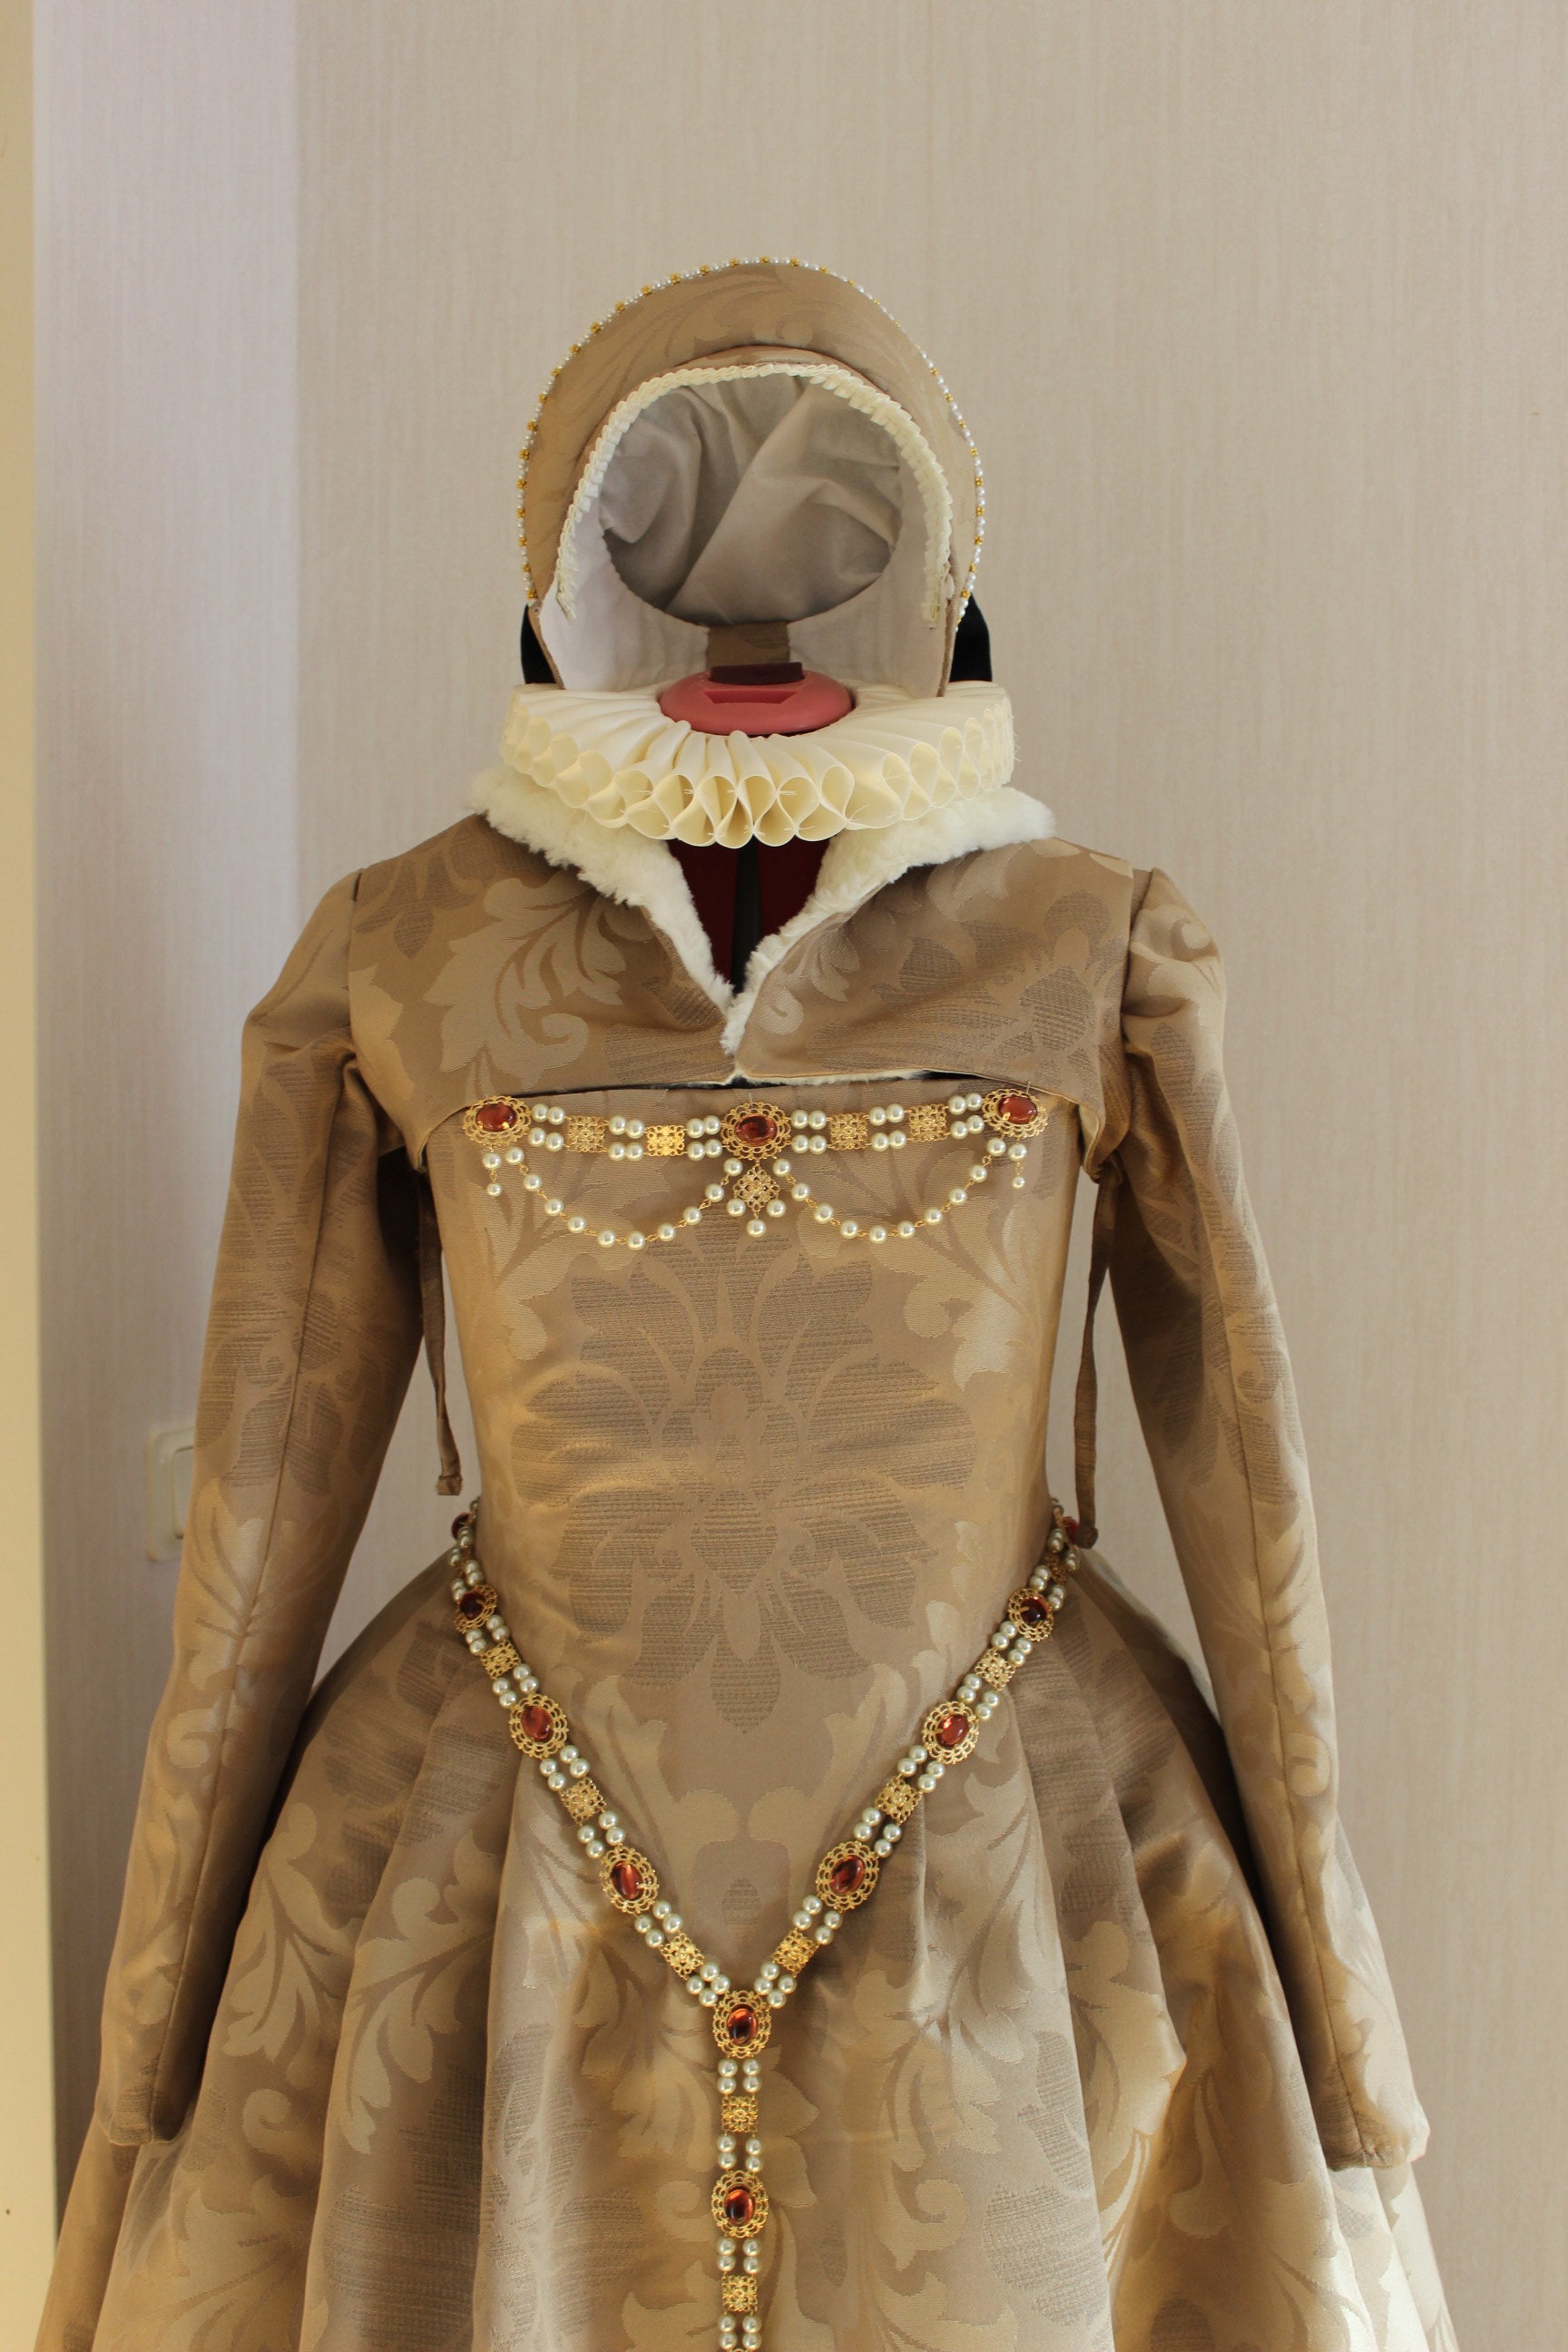
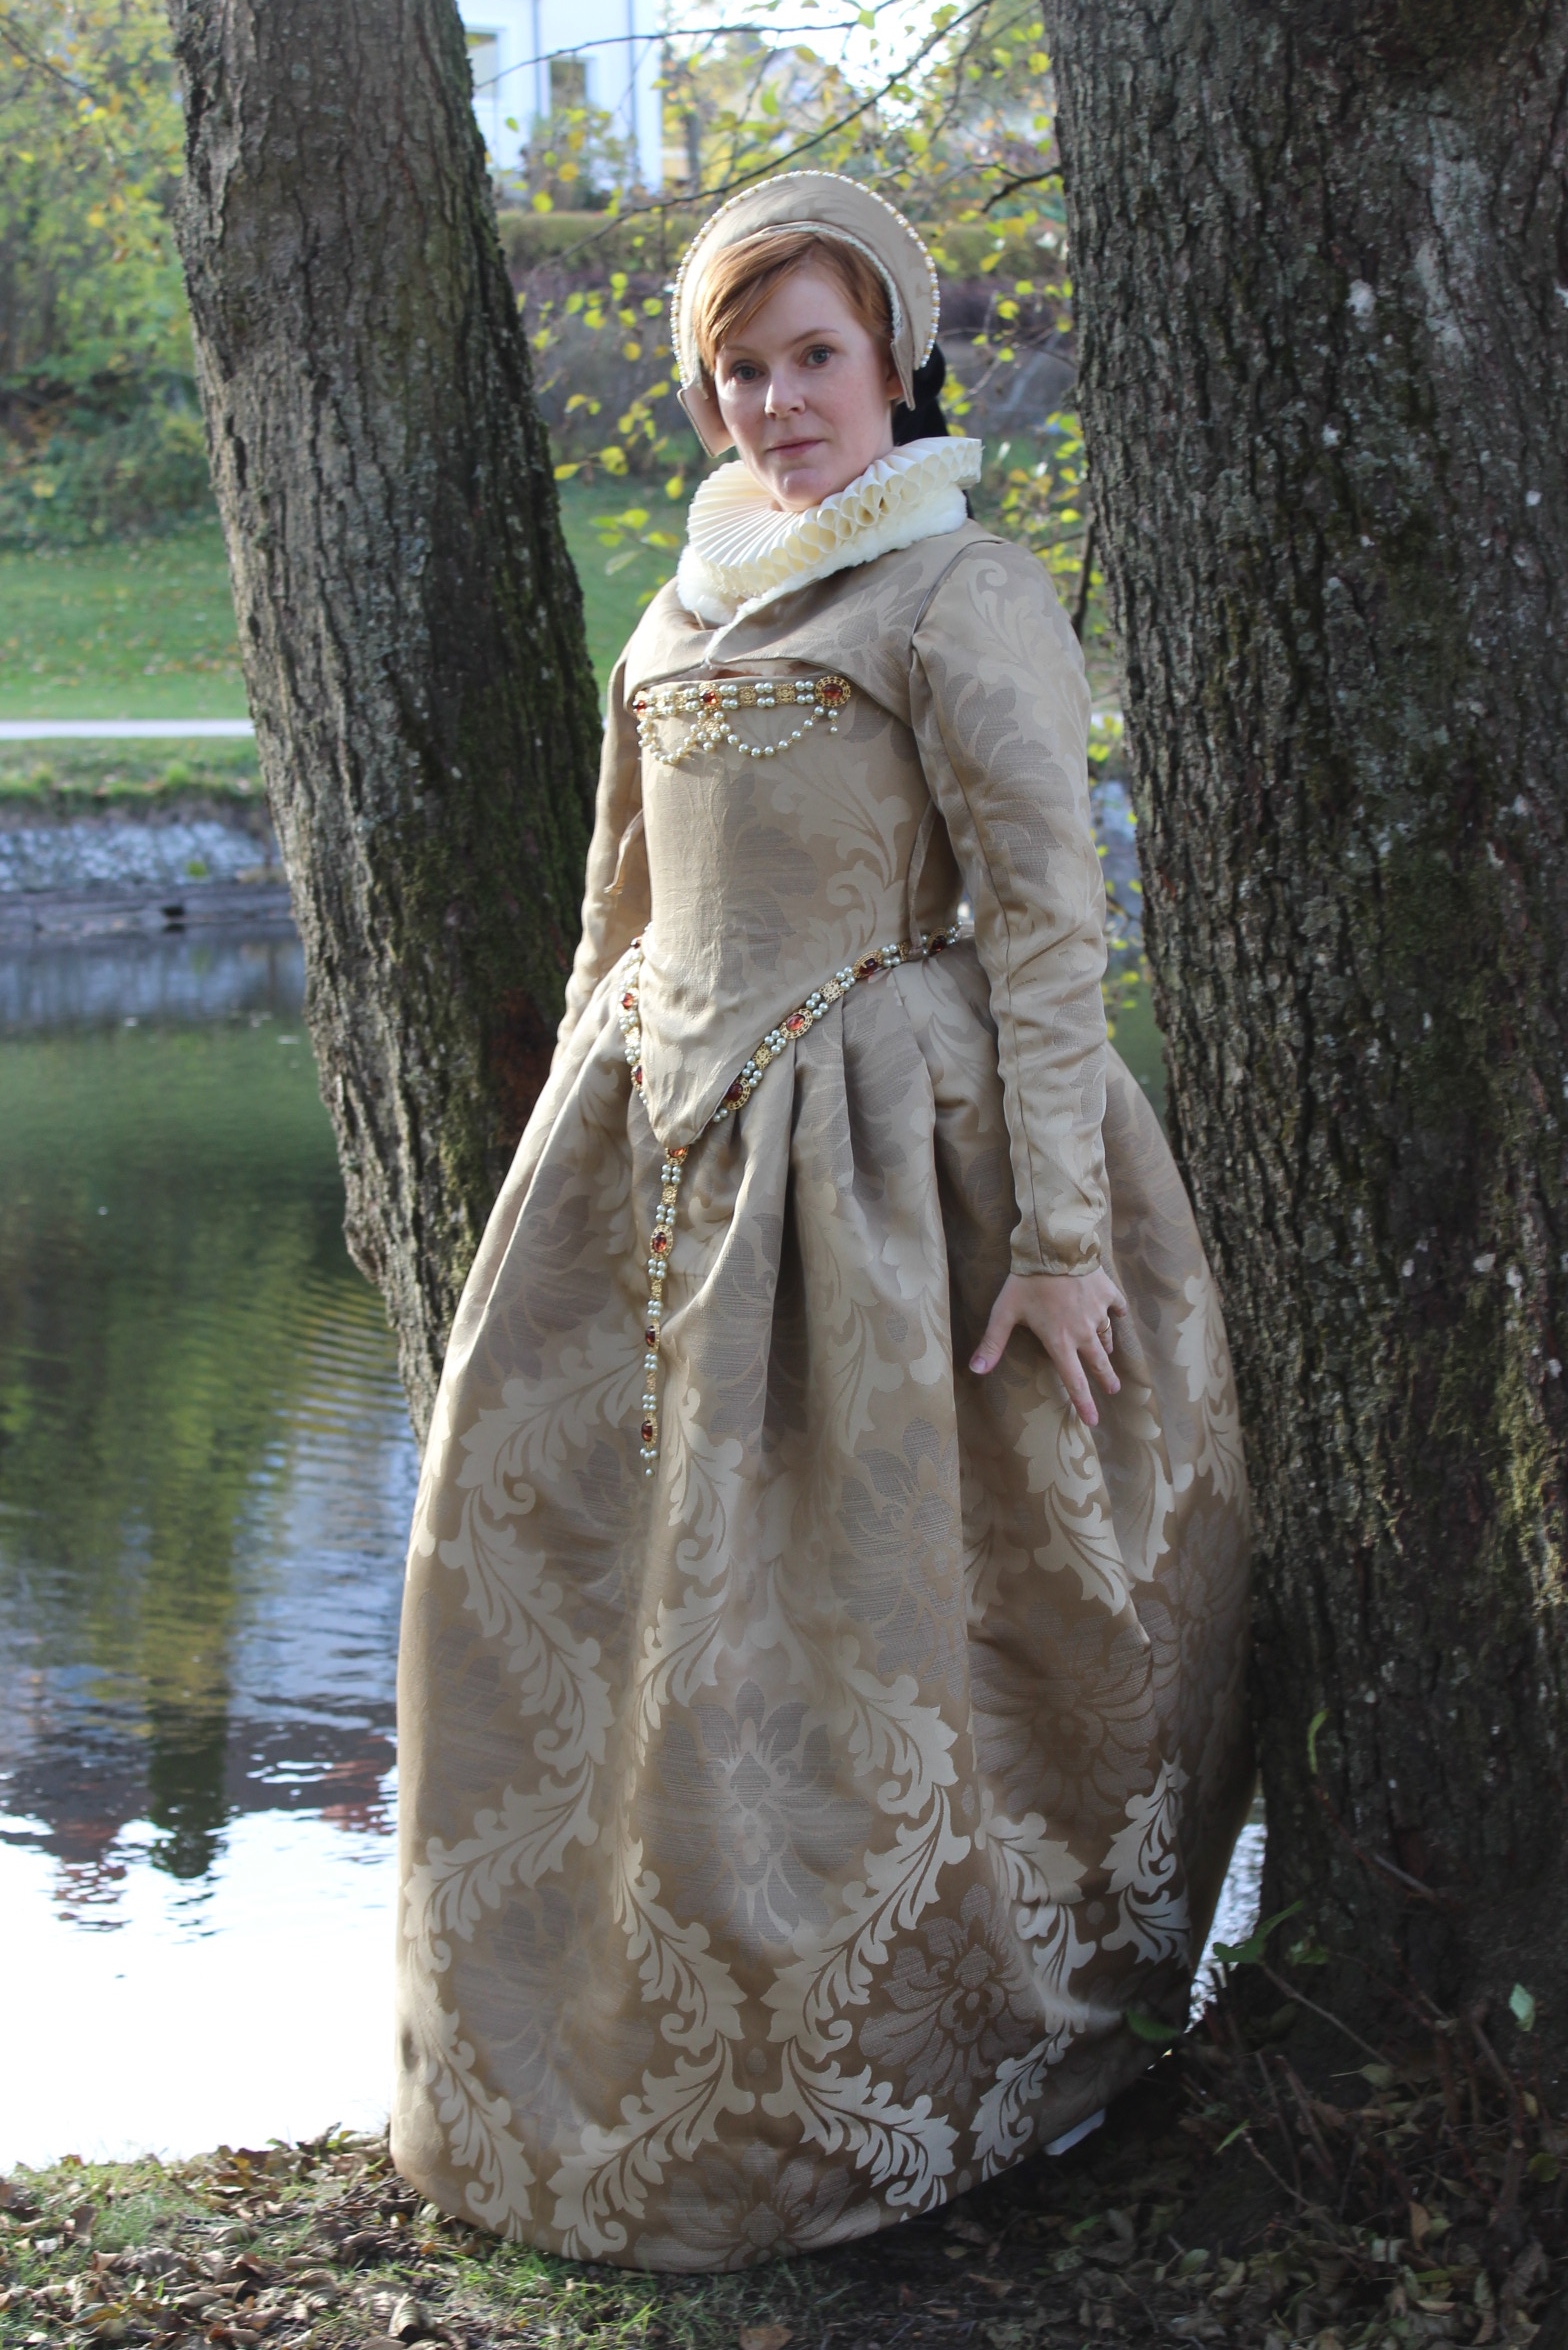
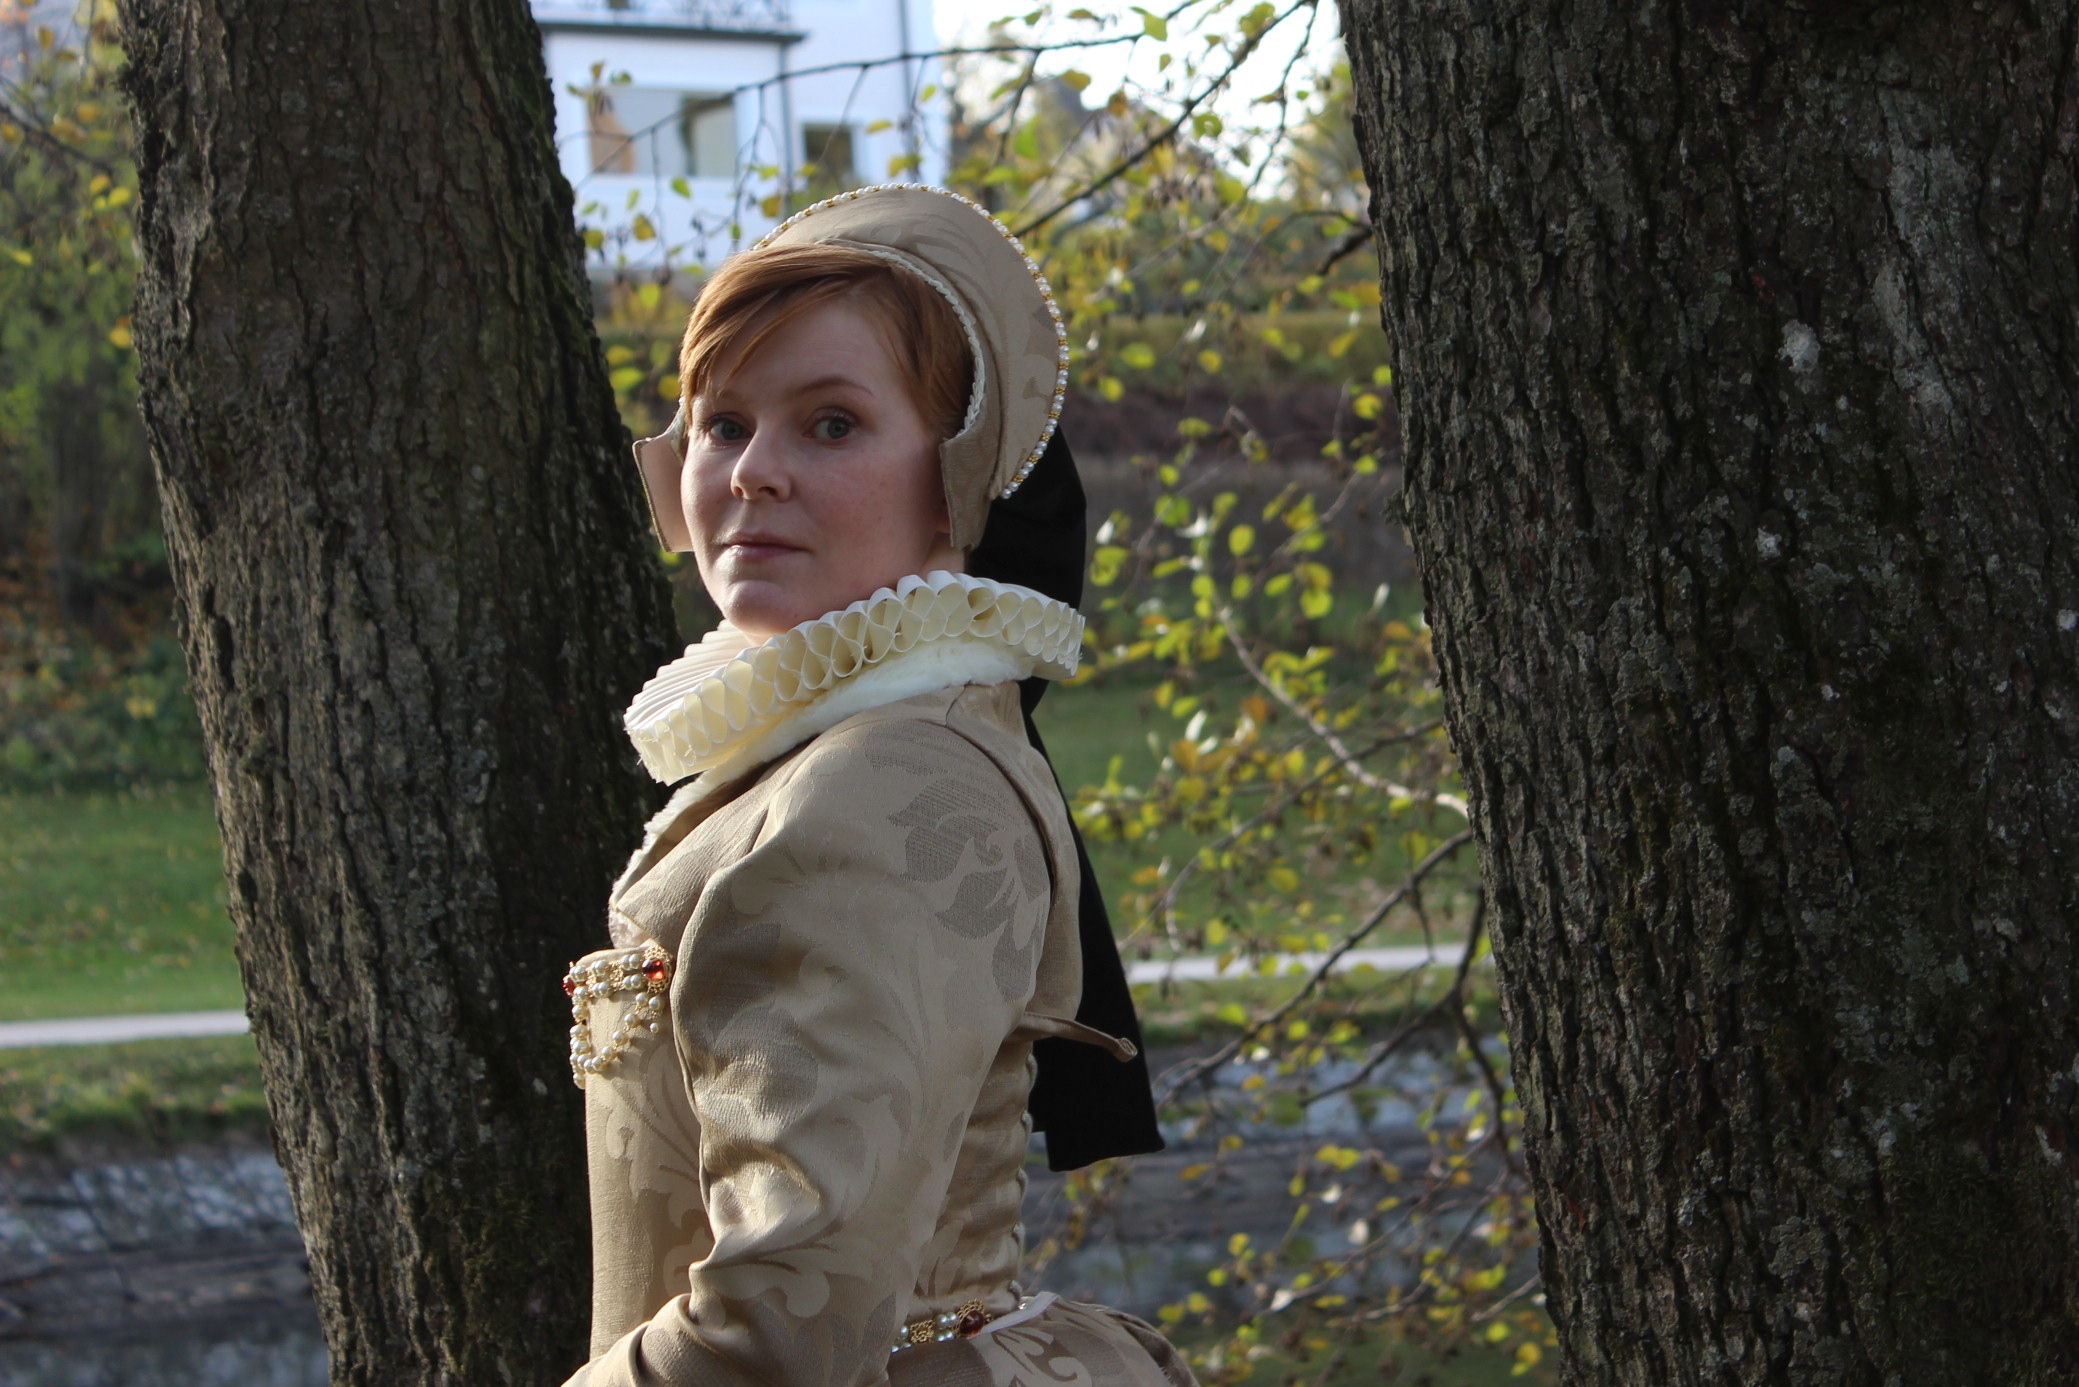
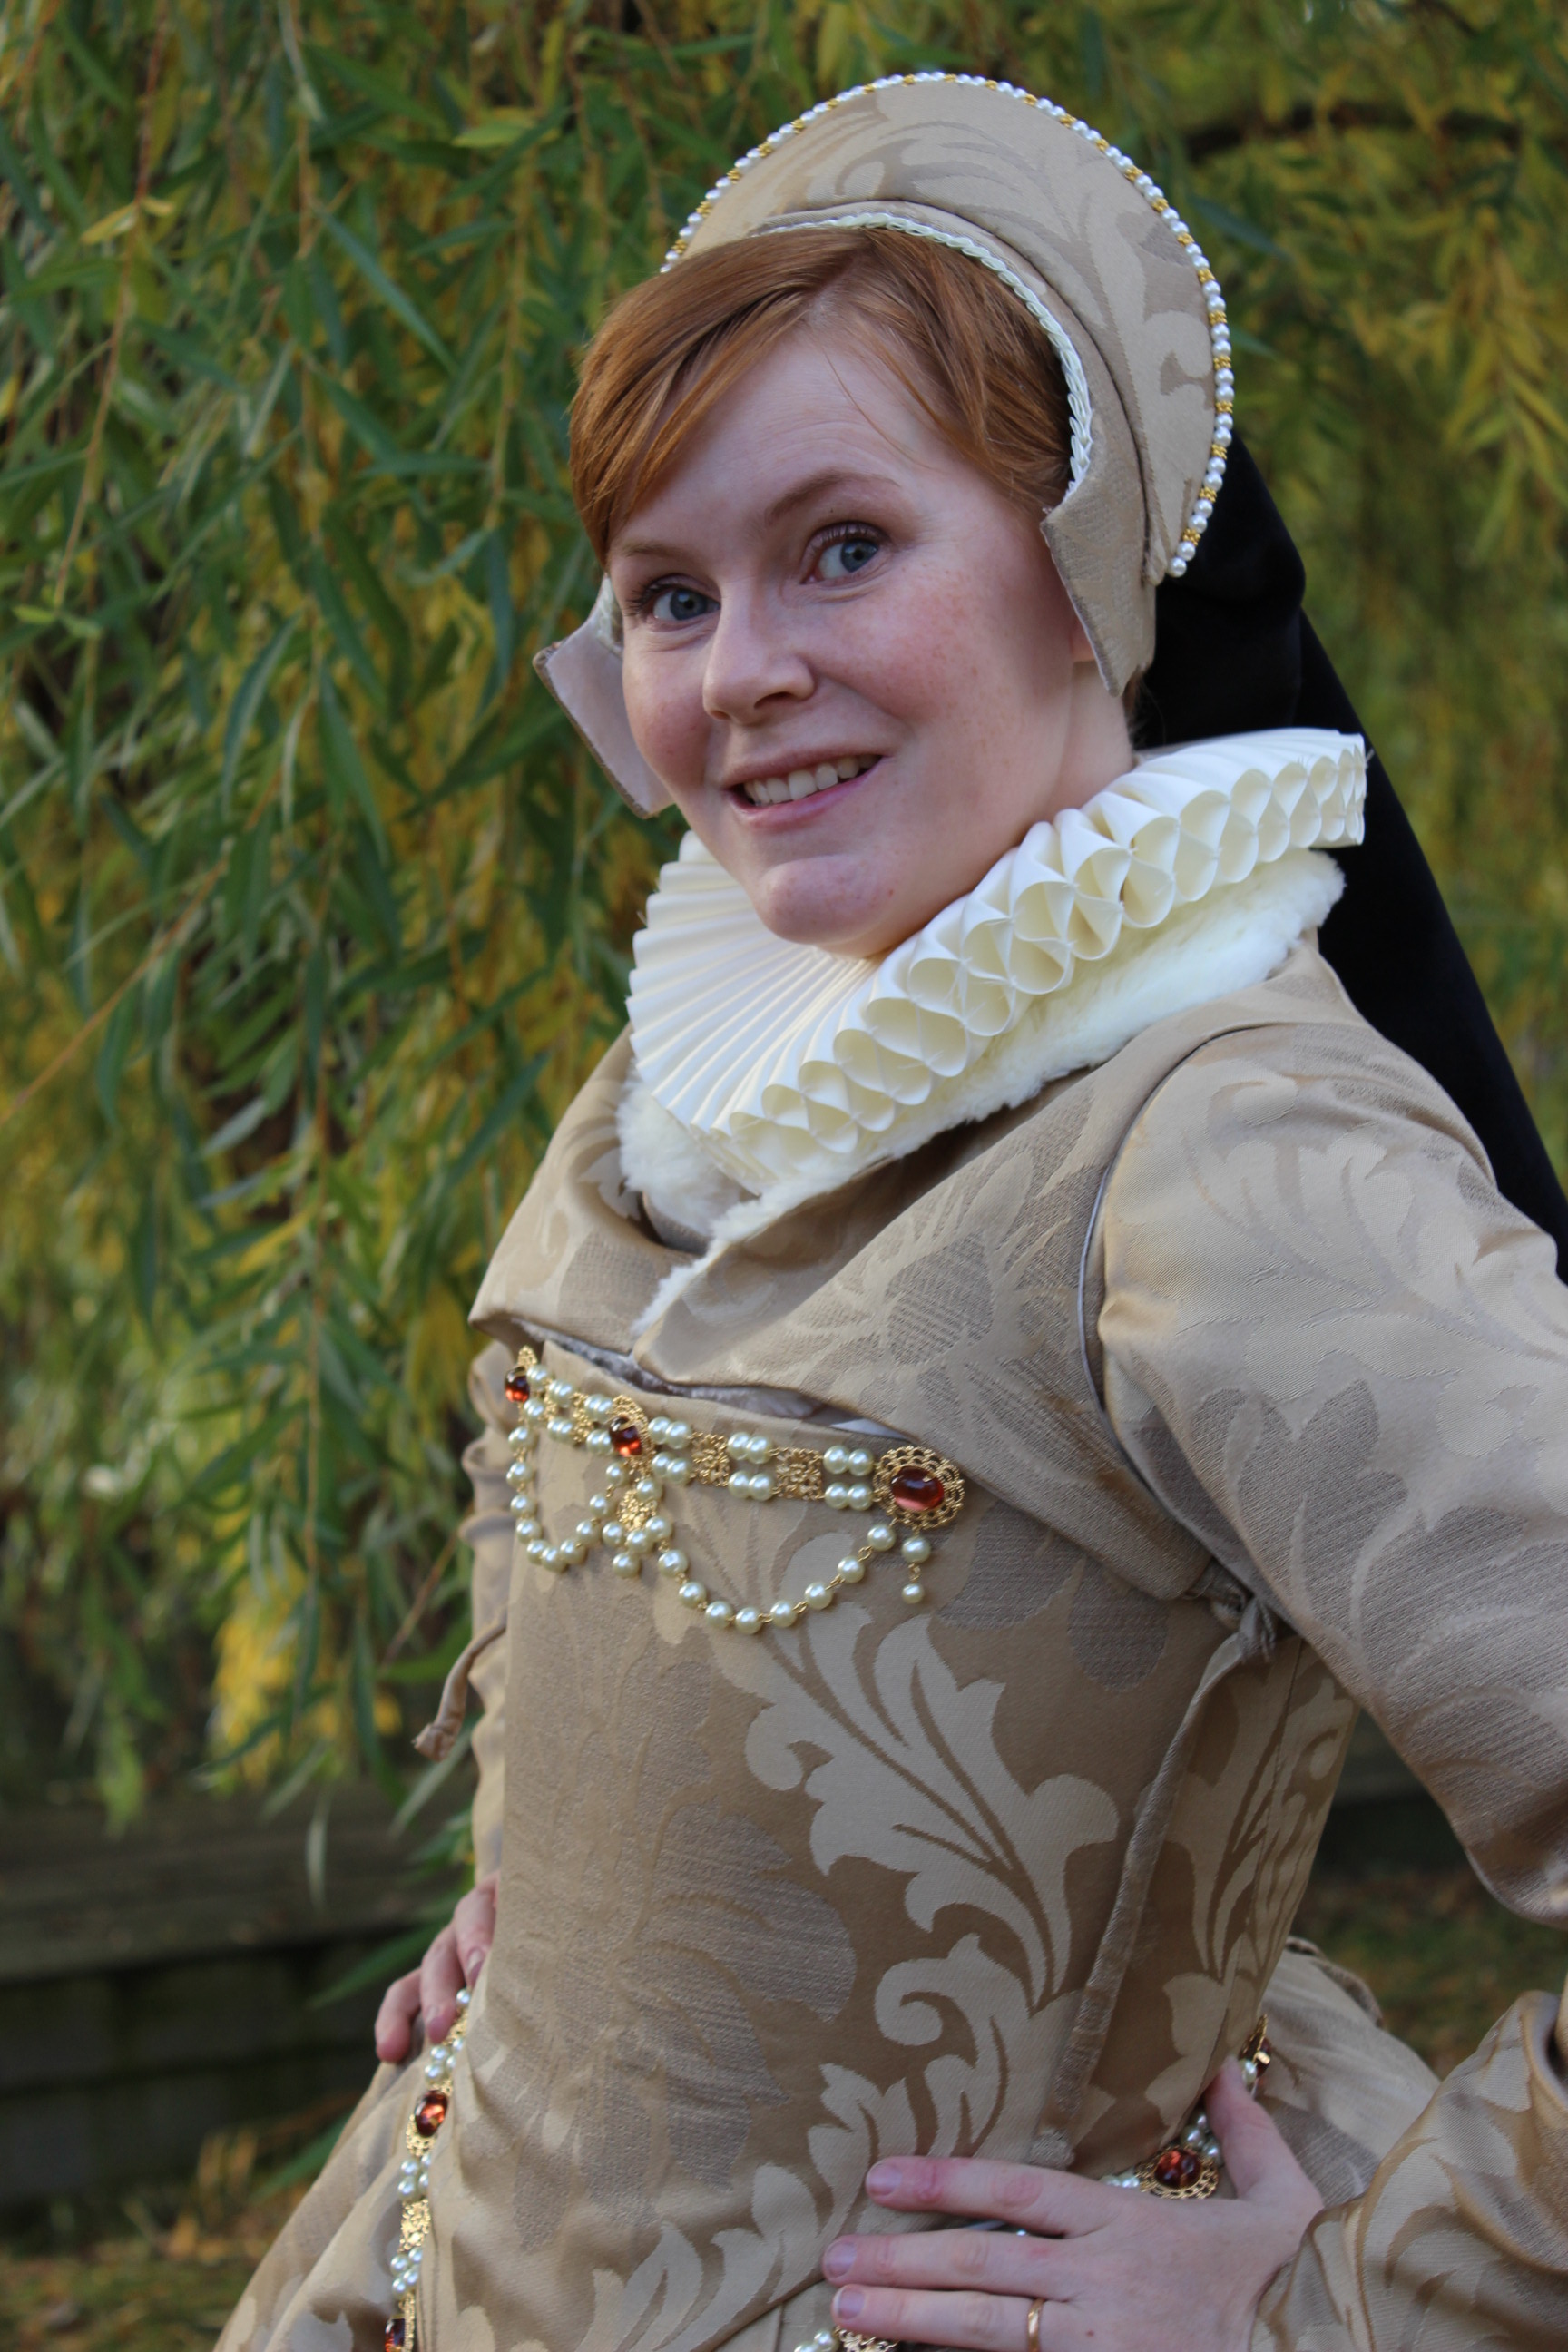
 Renaissance ladies.
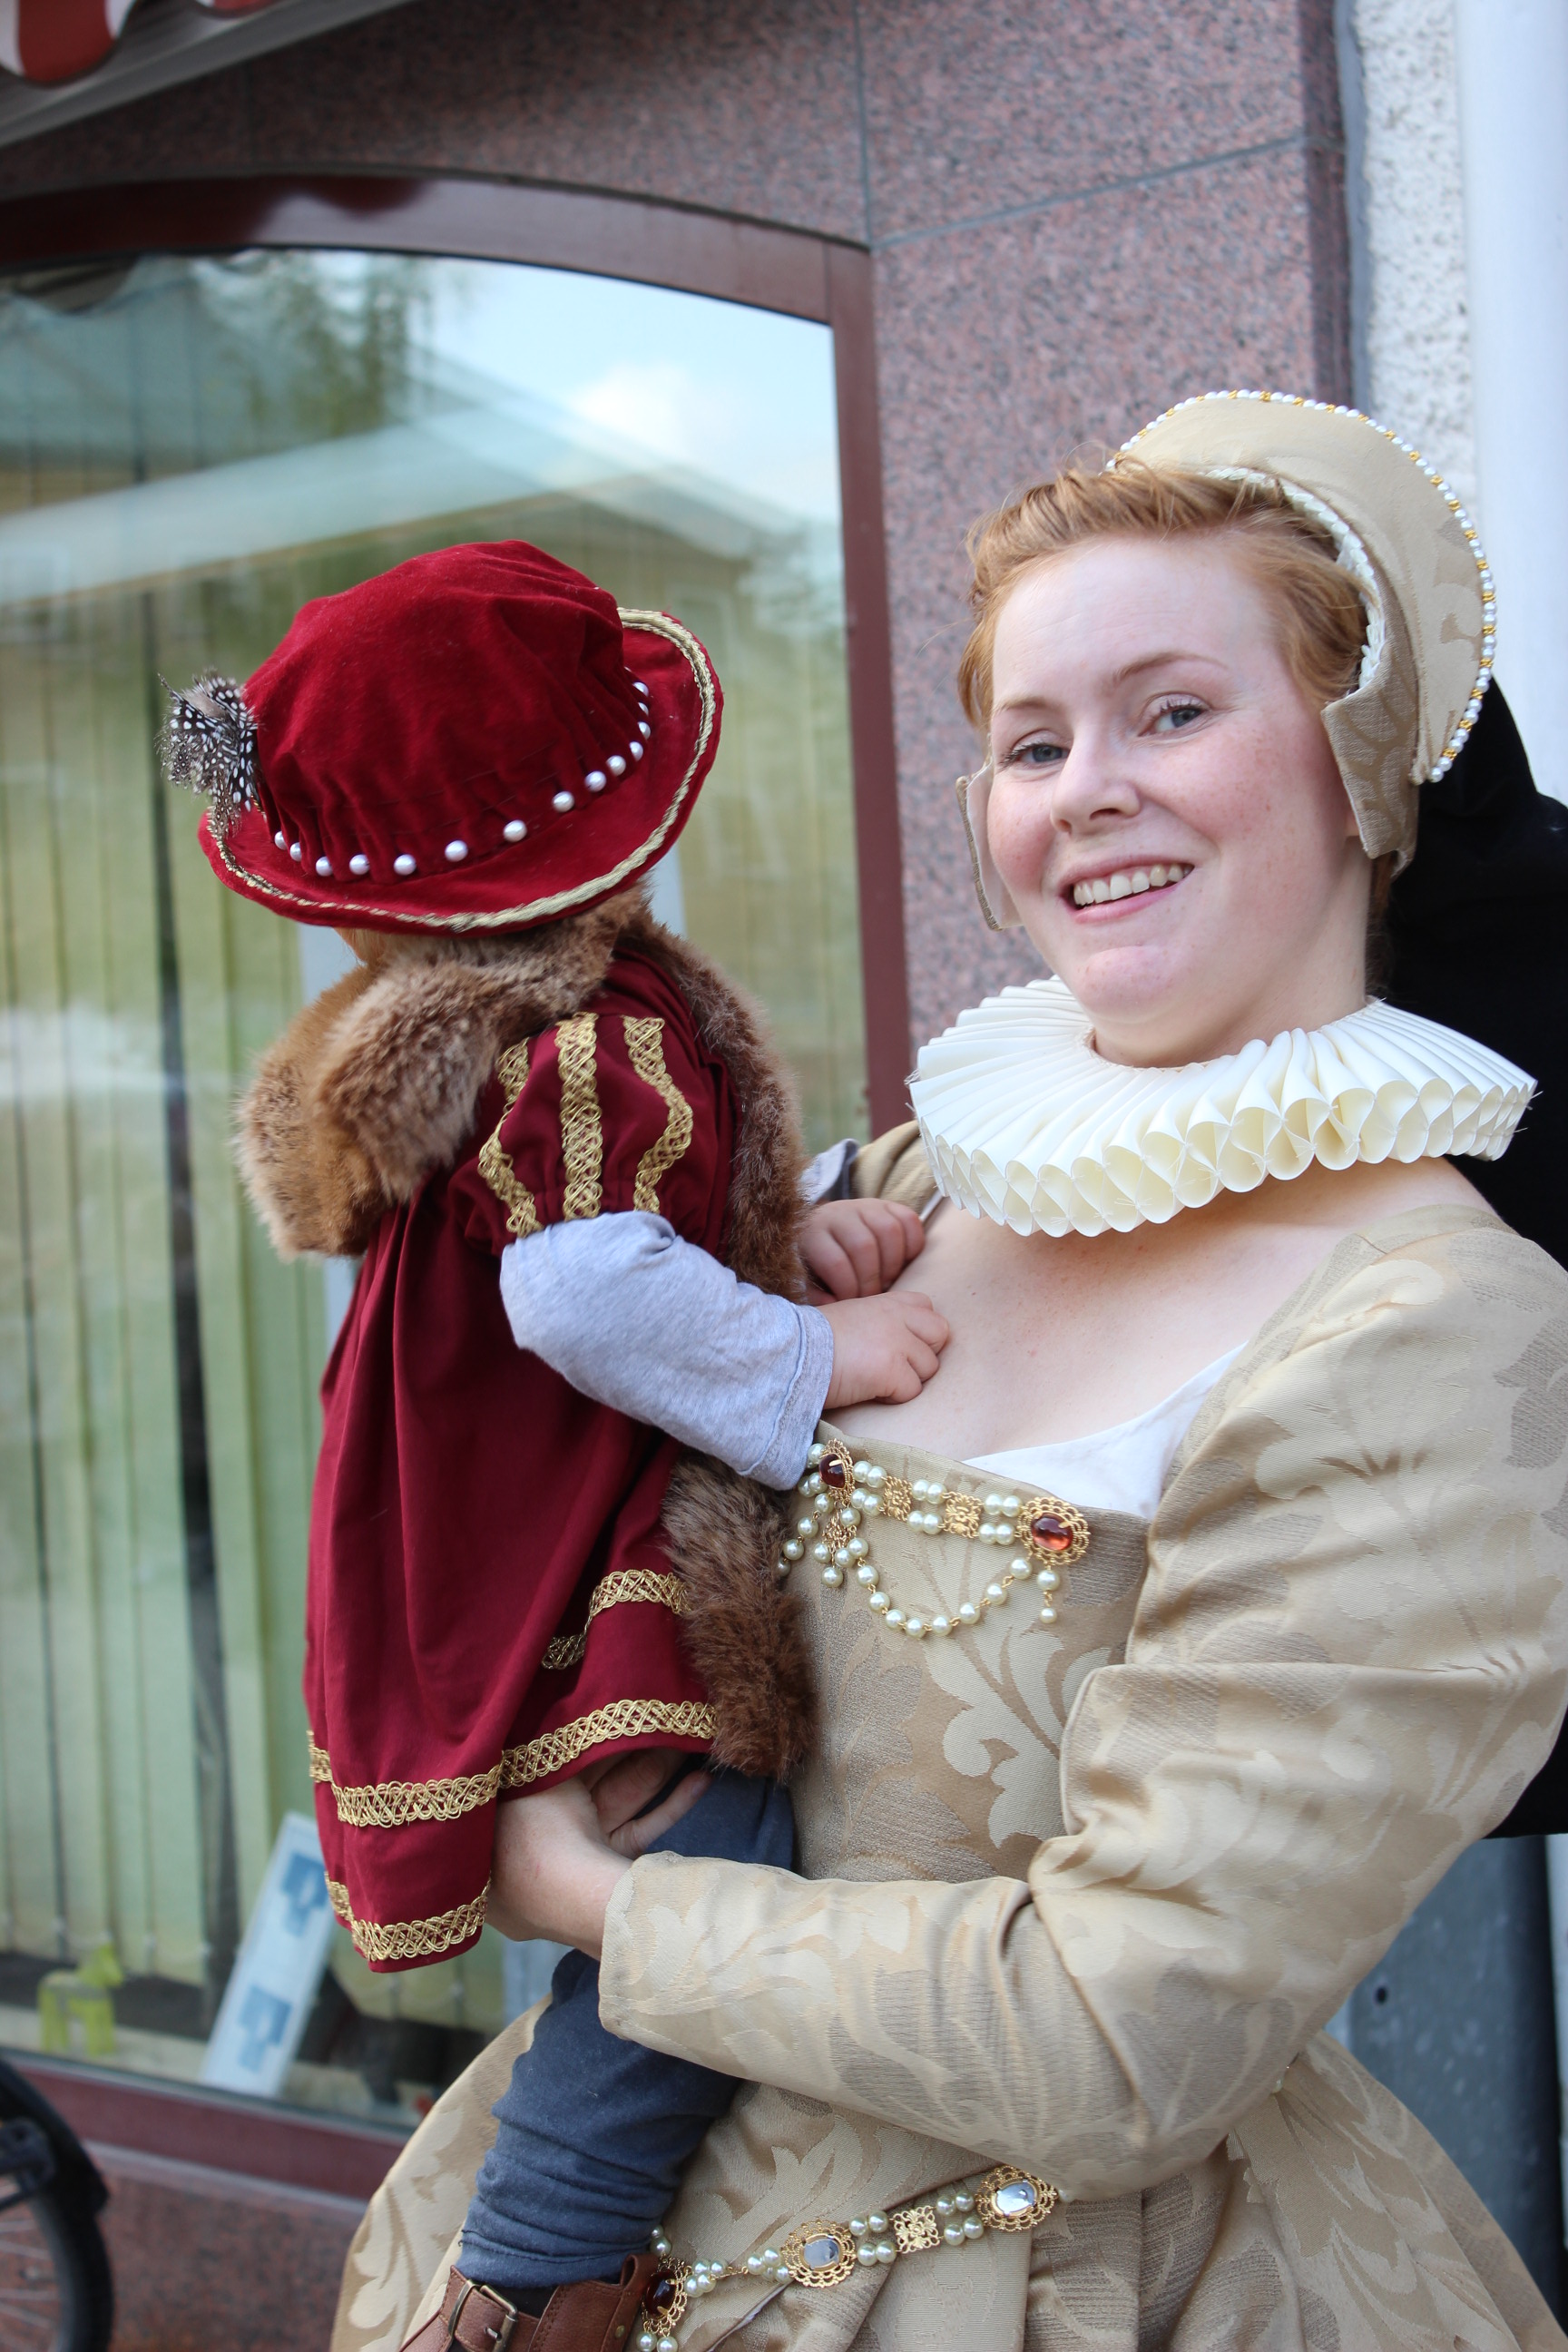


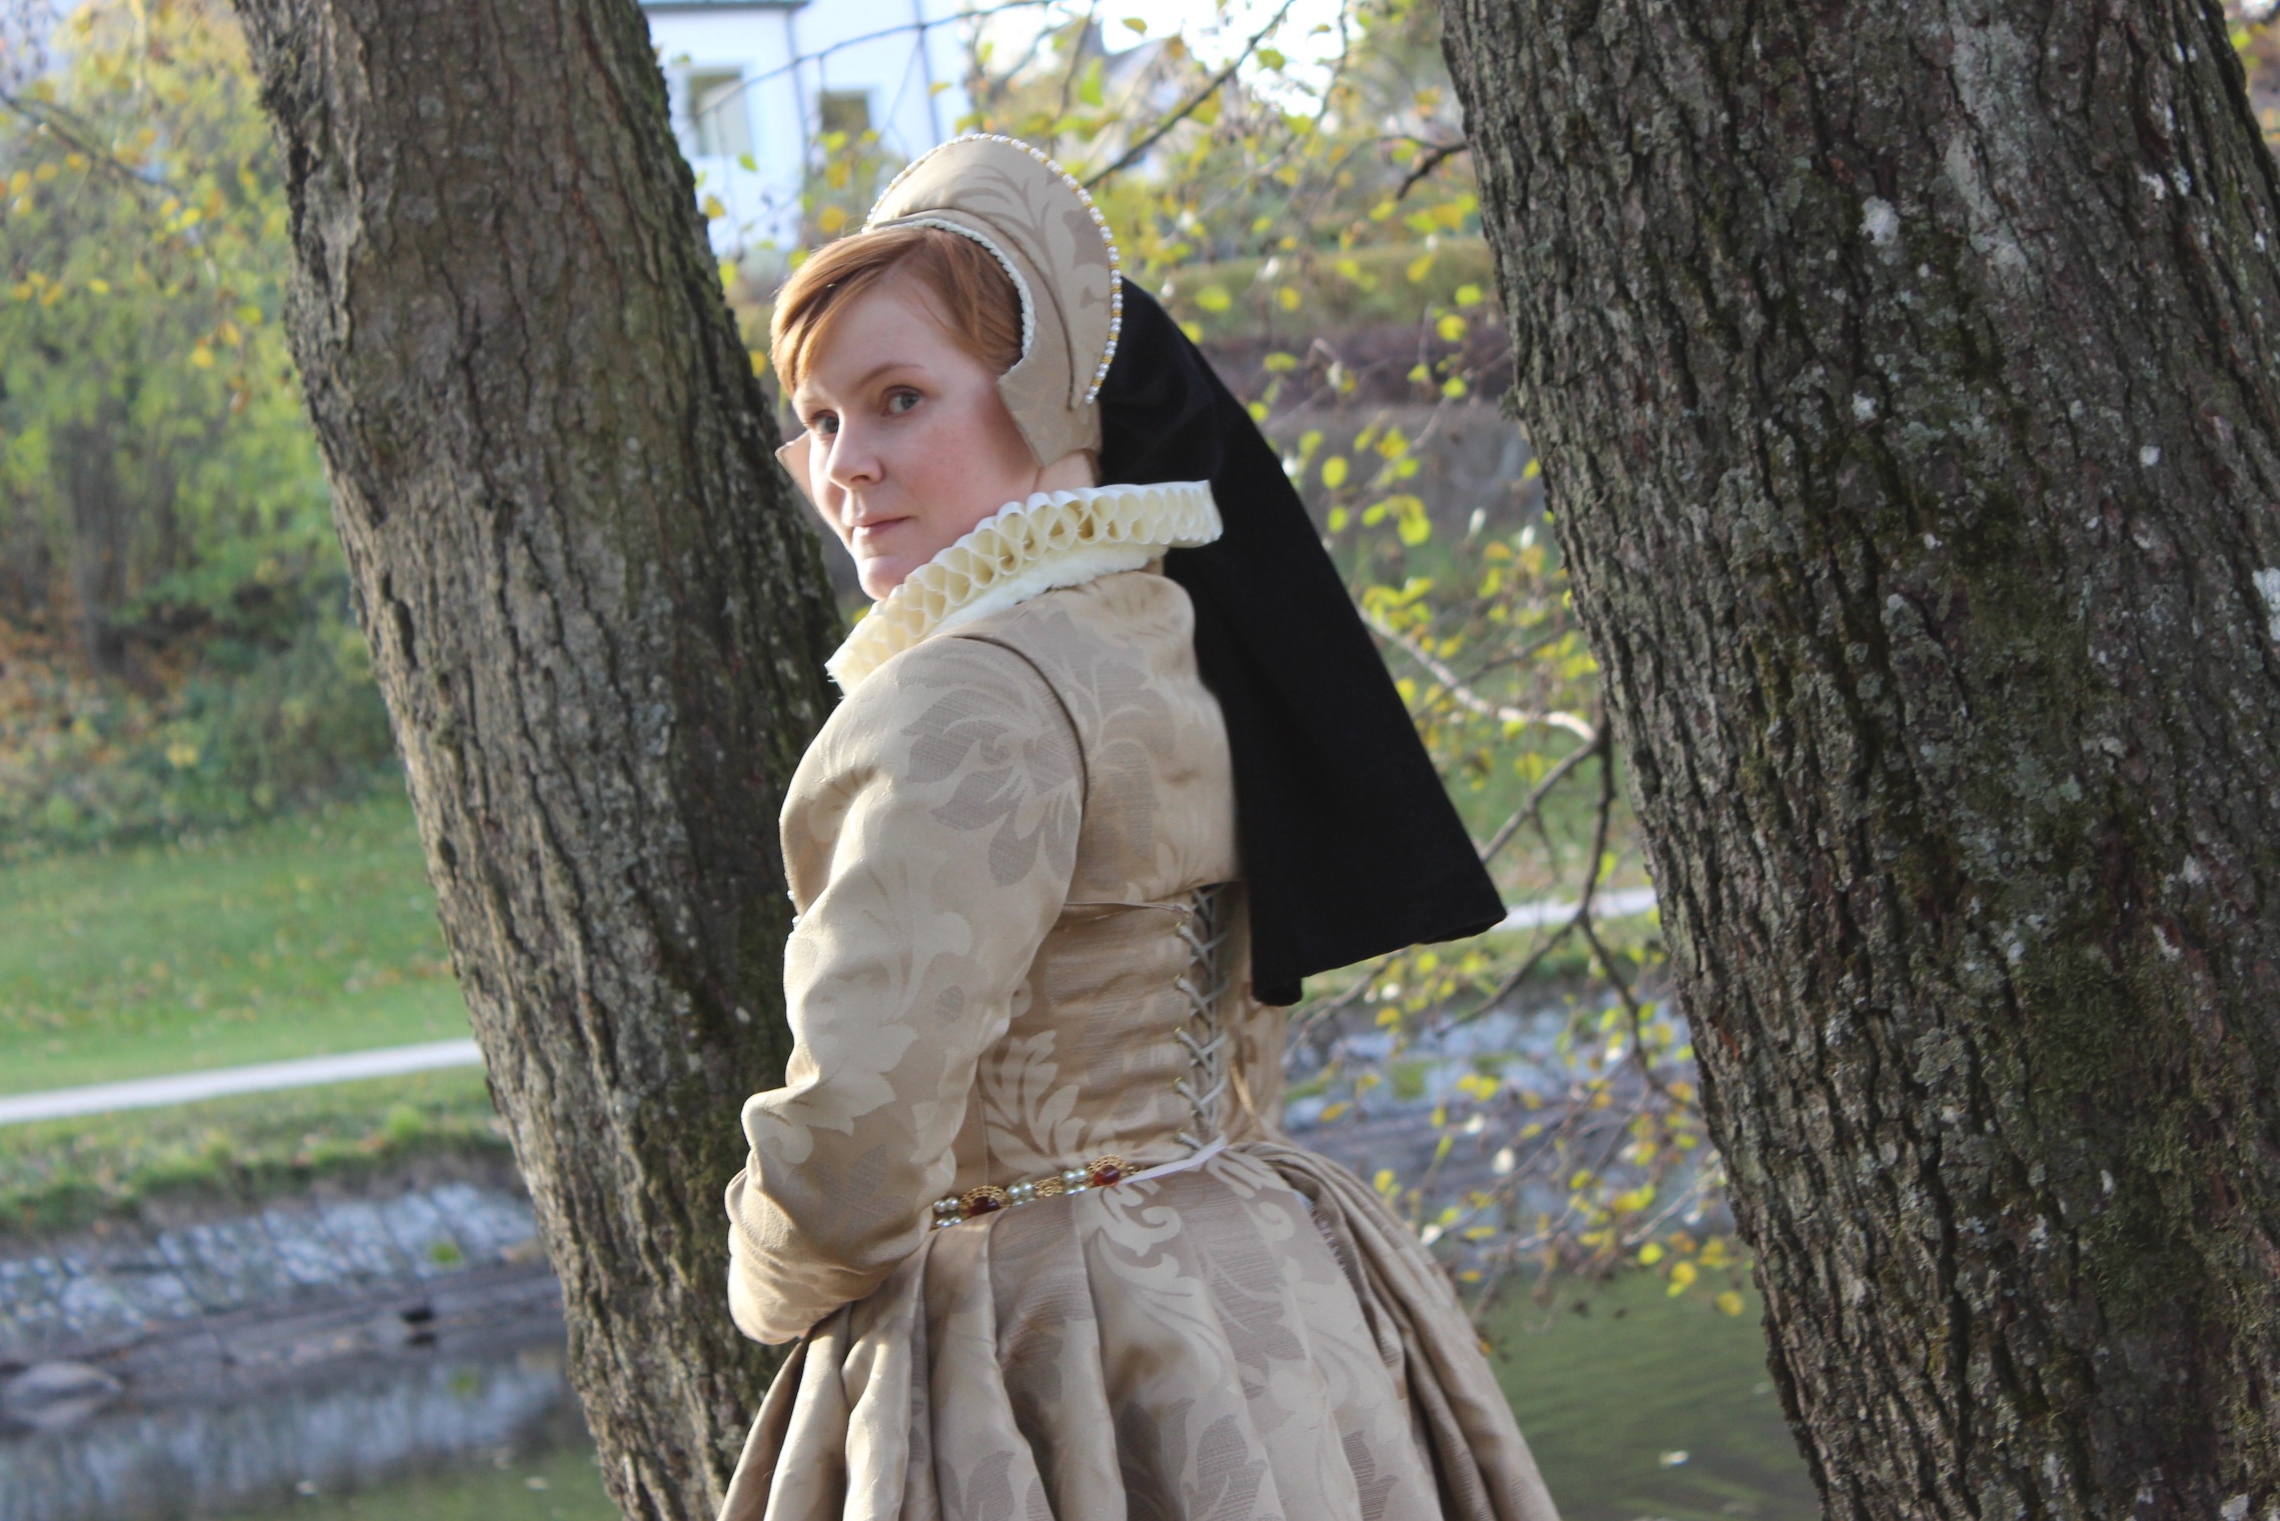

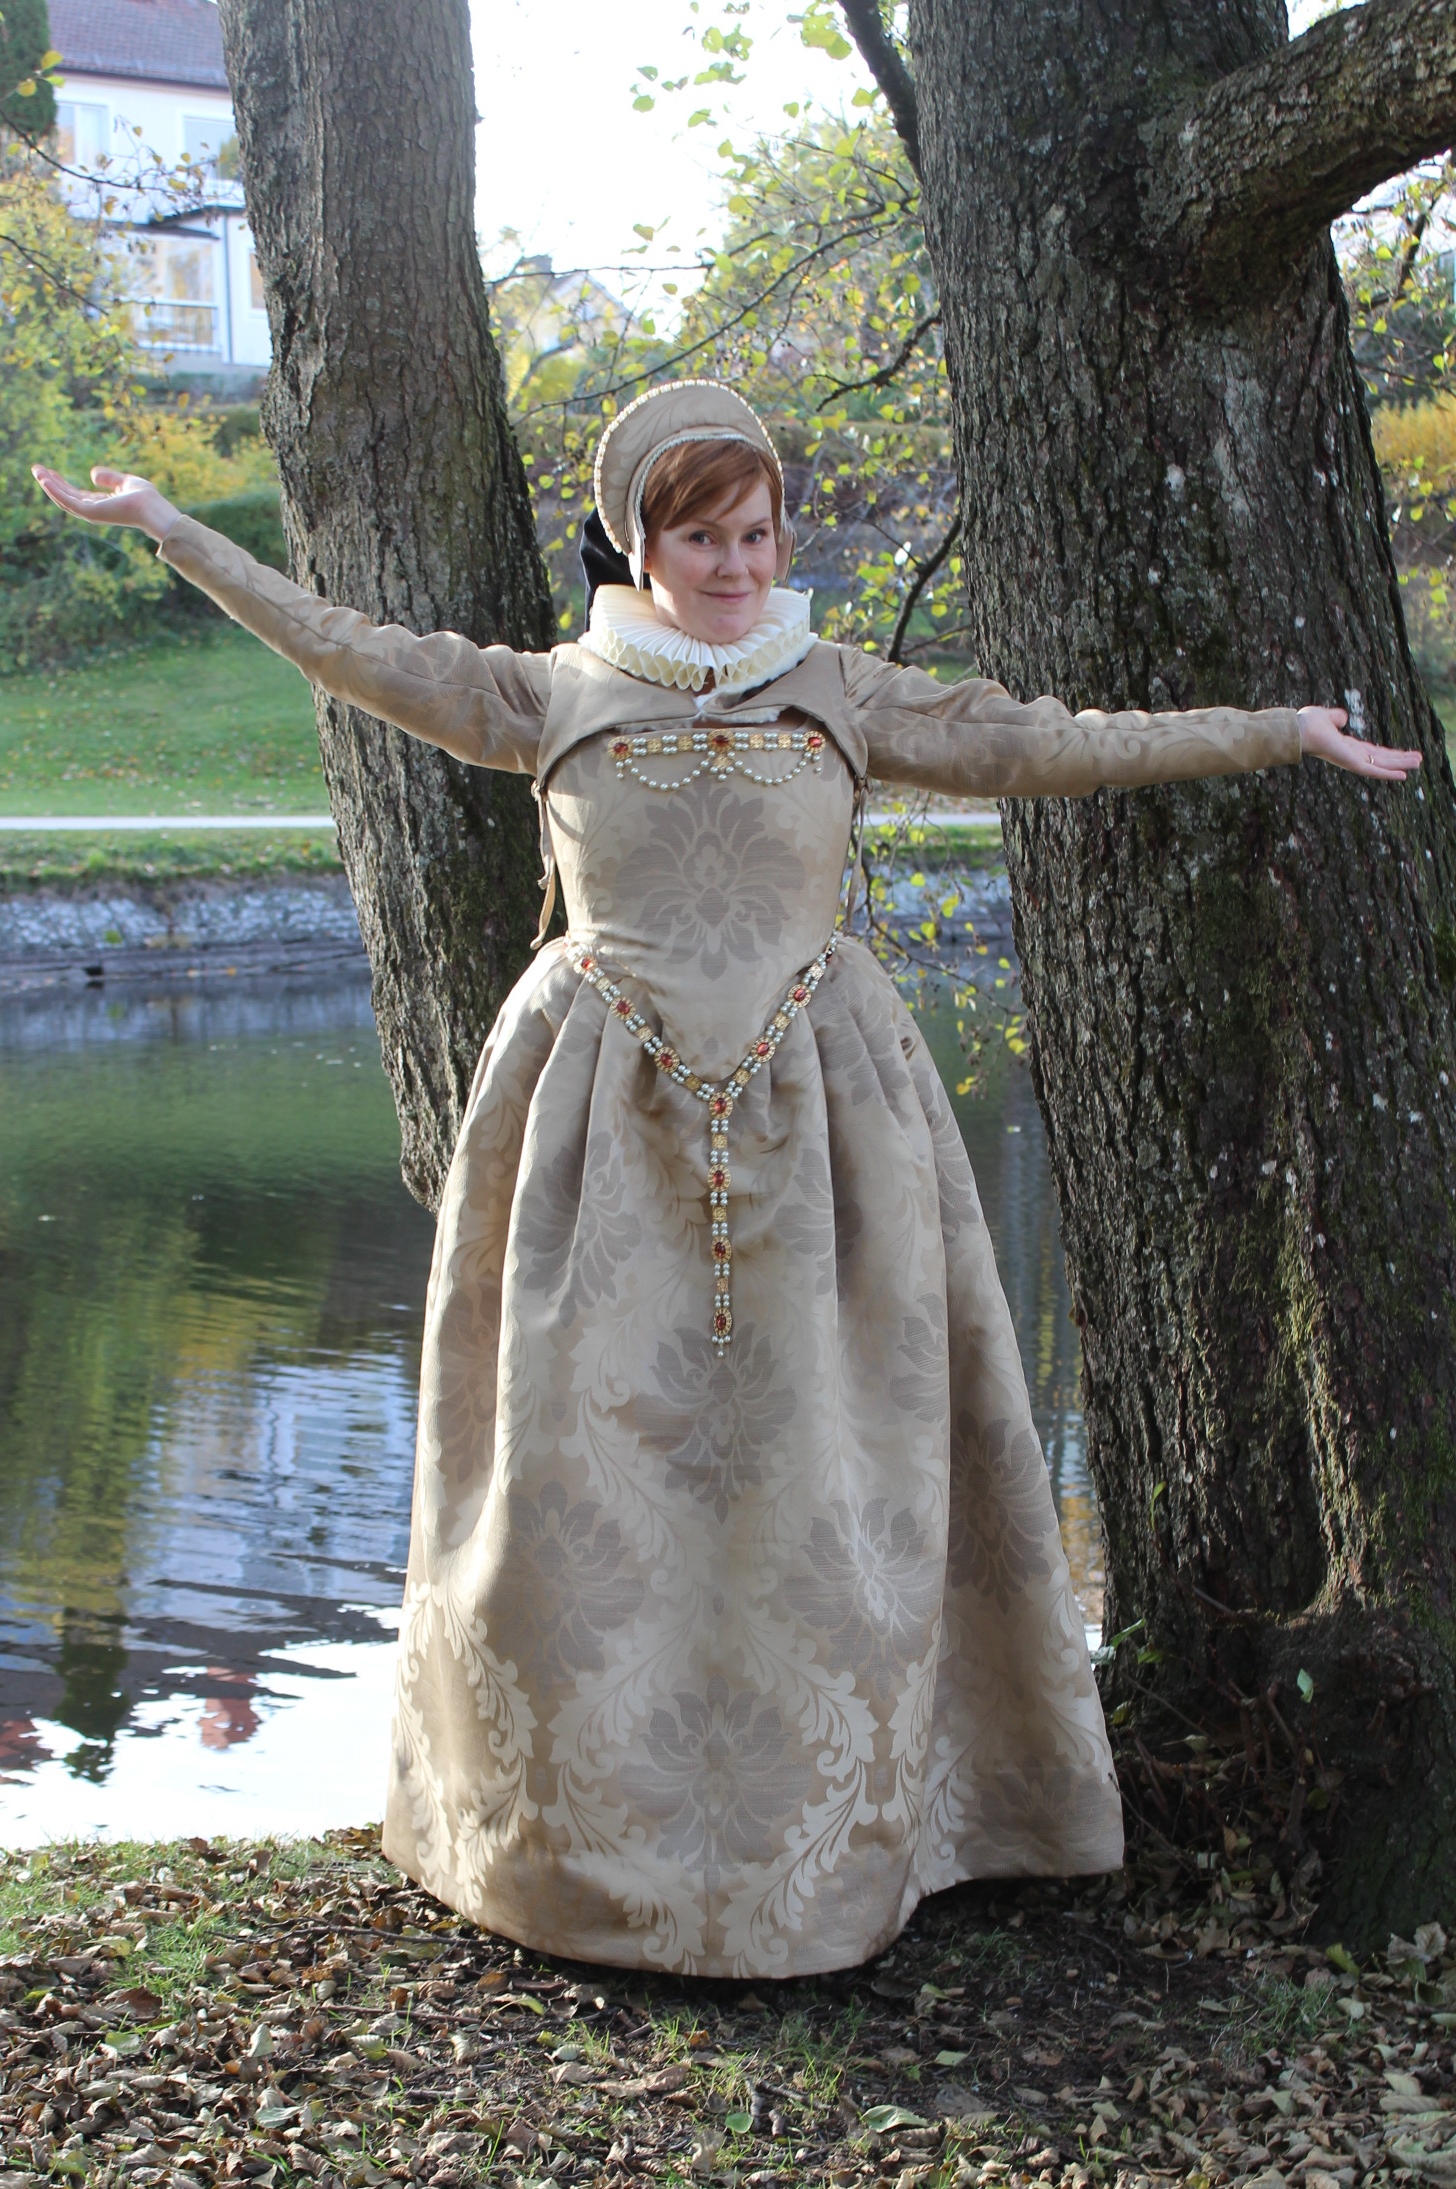

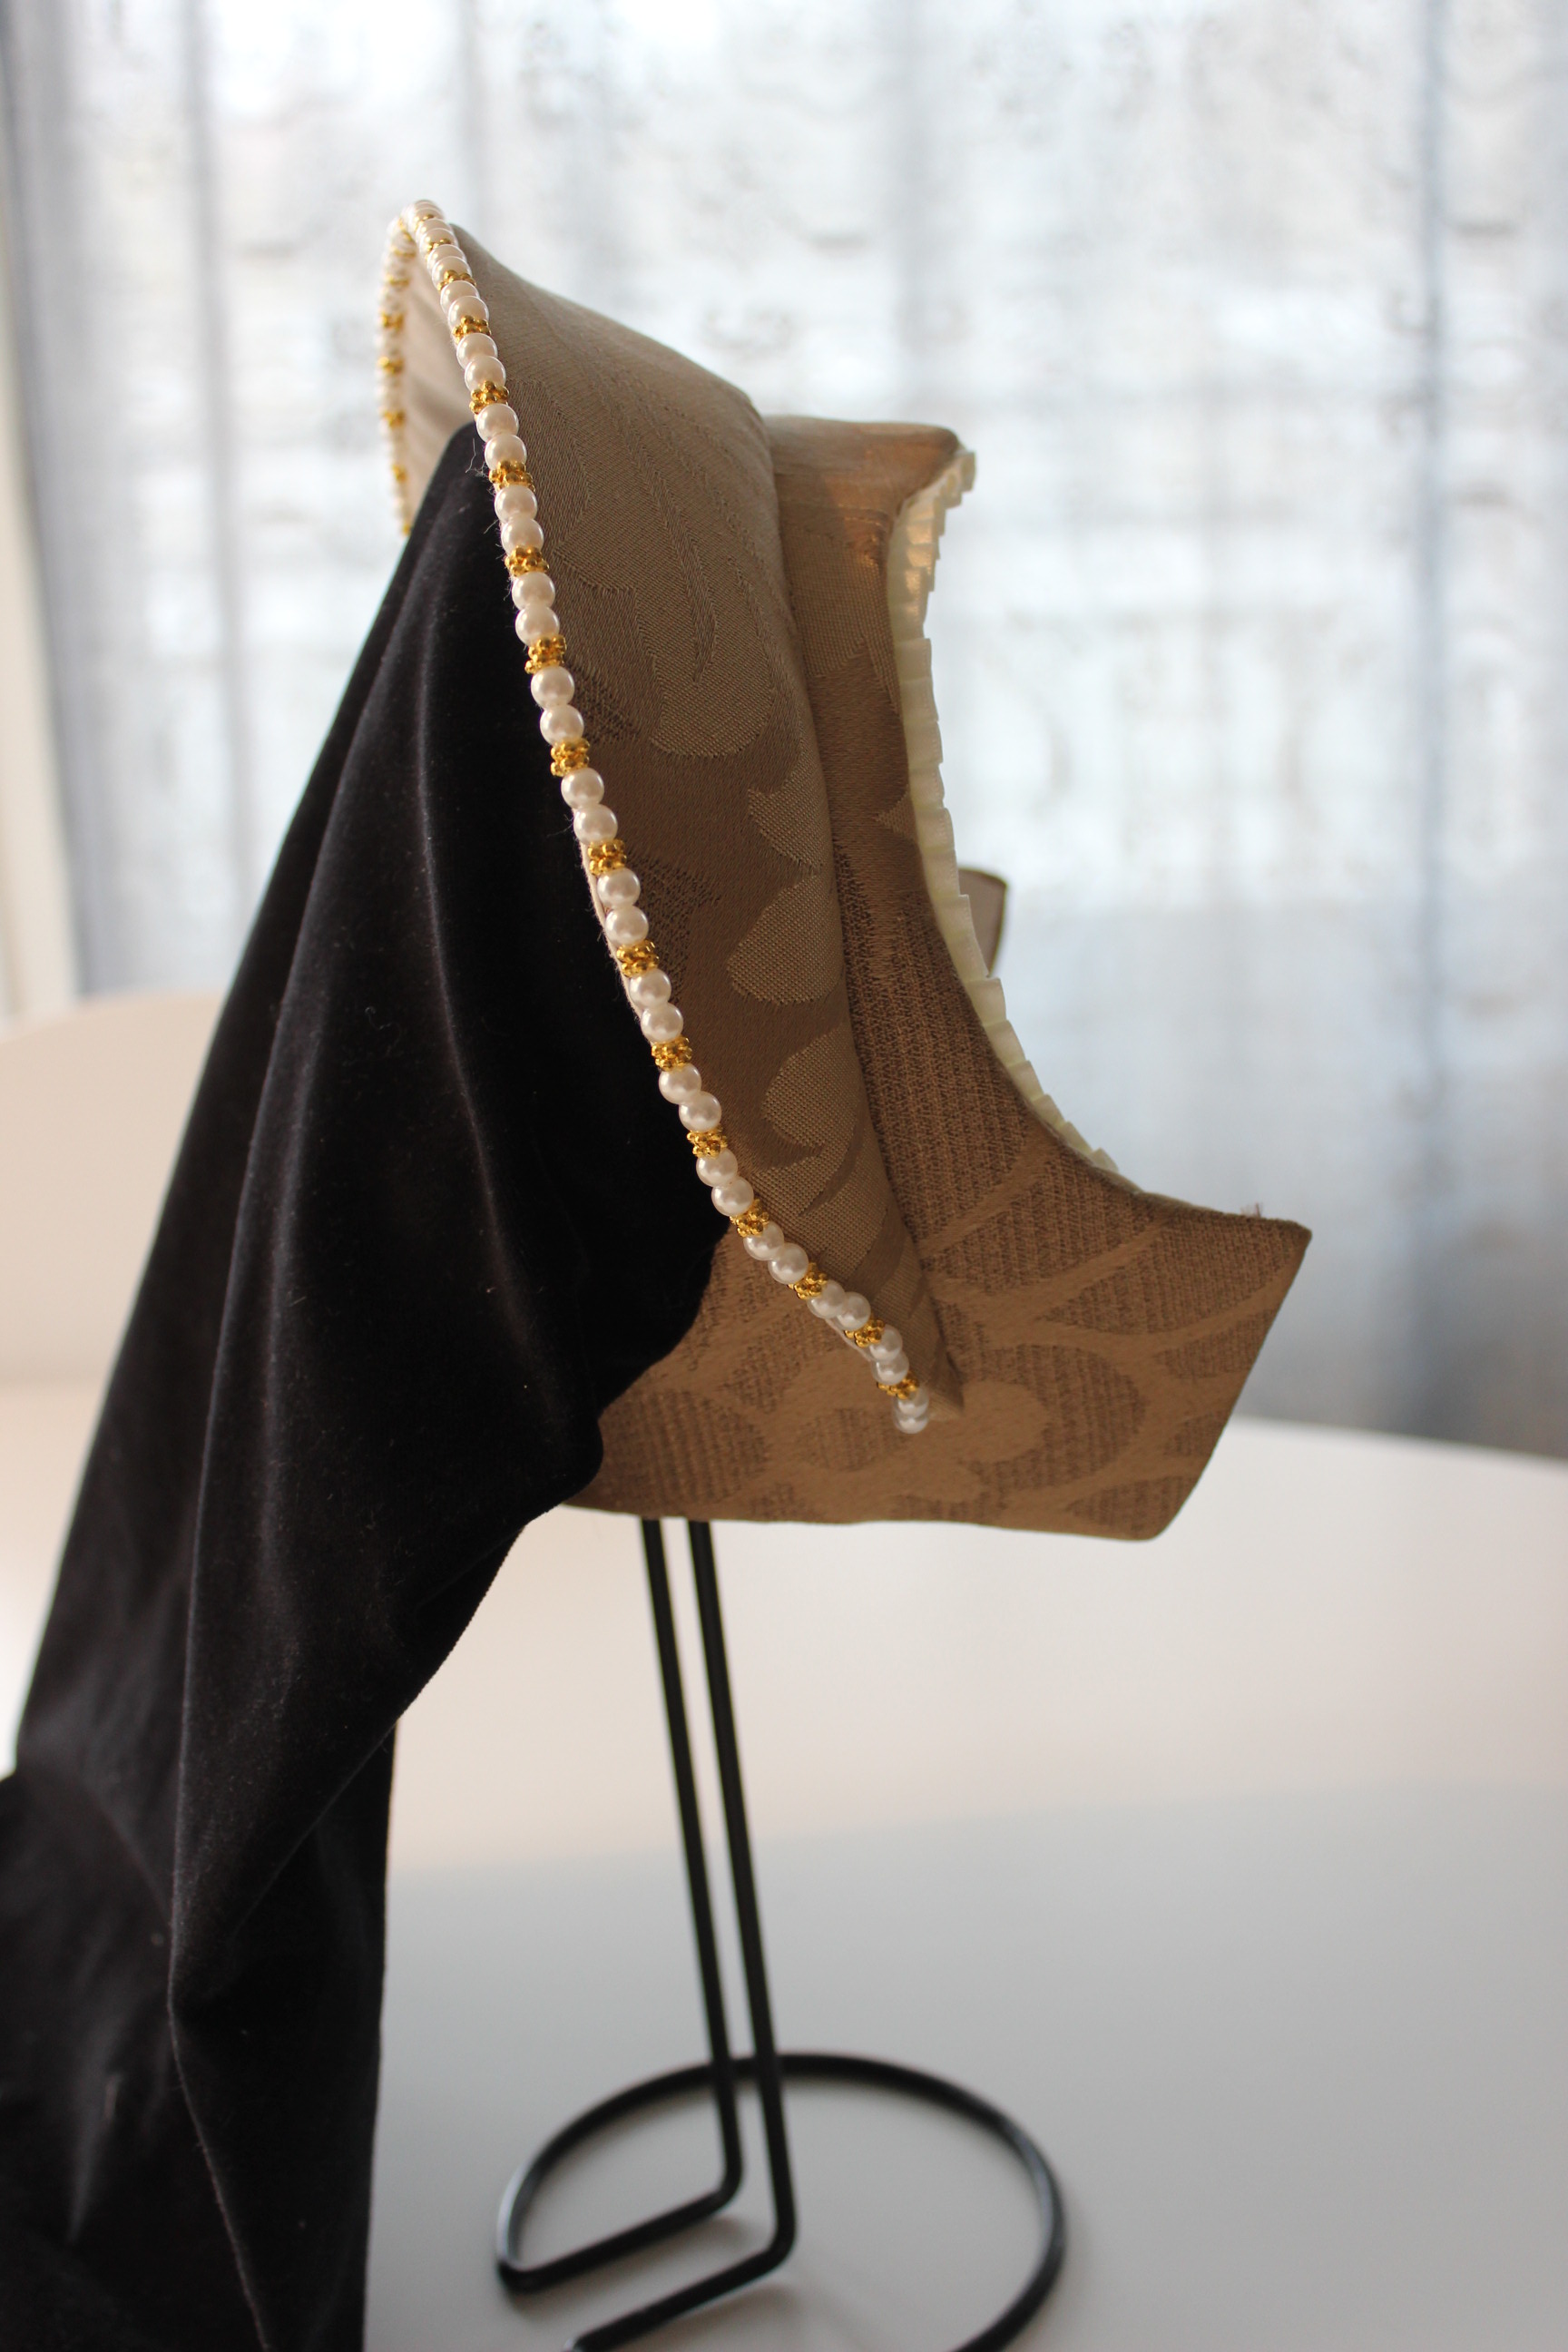
 Elizabeth I in “power suit” and crazy perm – and some kind of french(isch) hood.


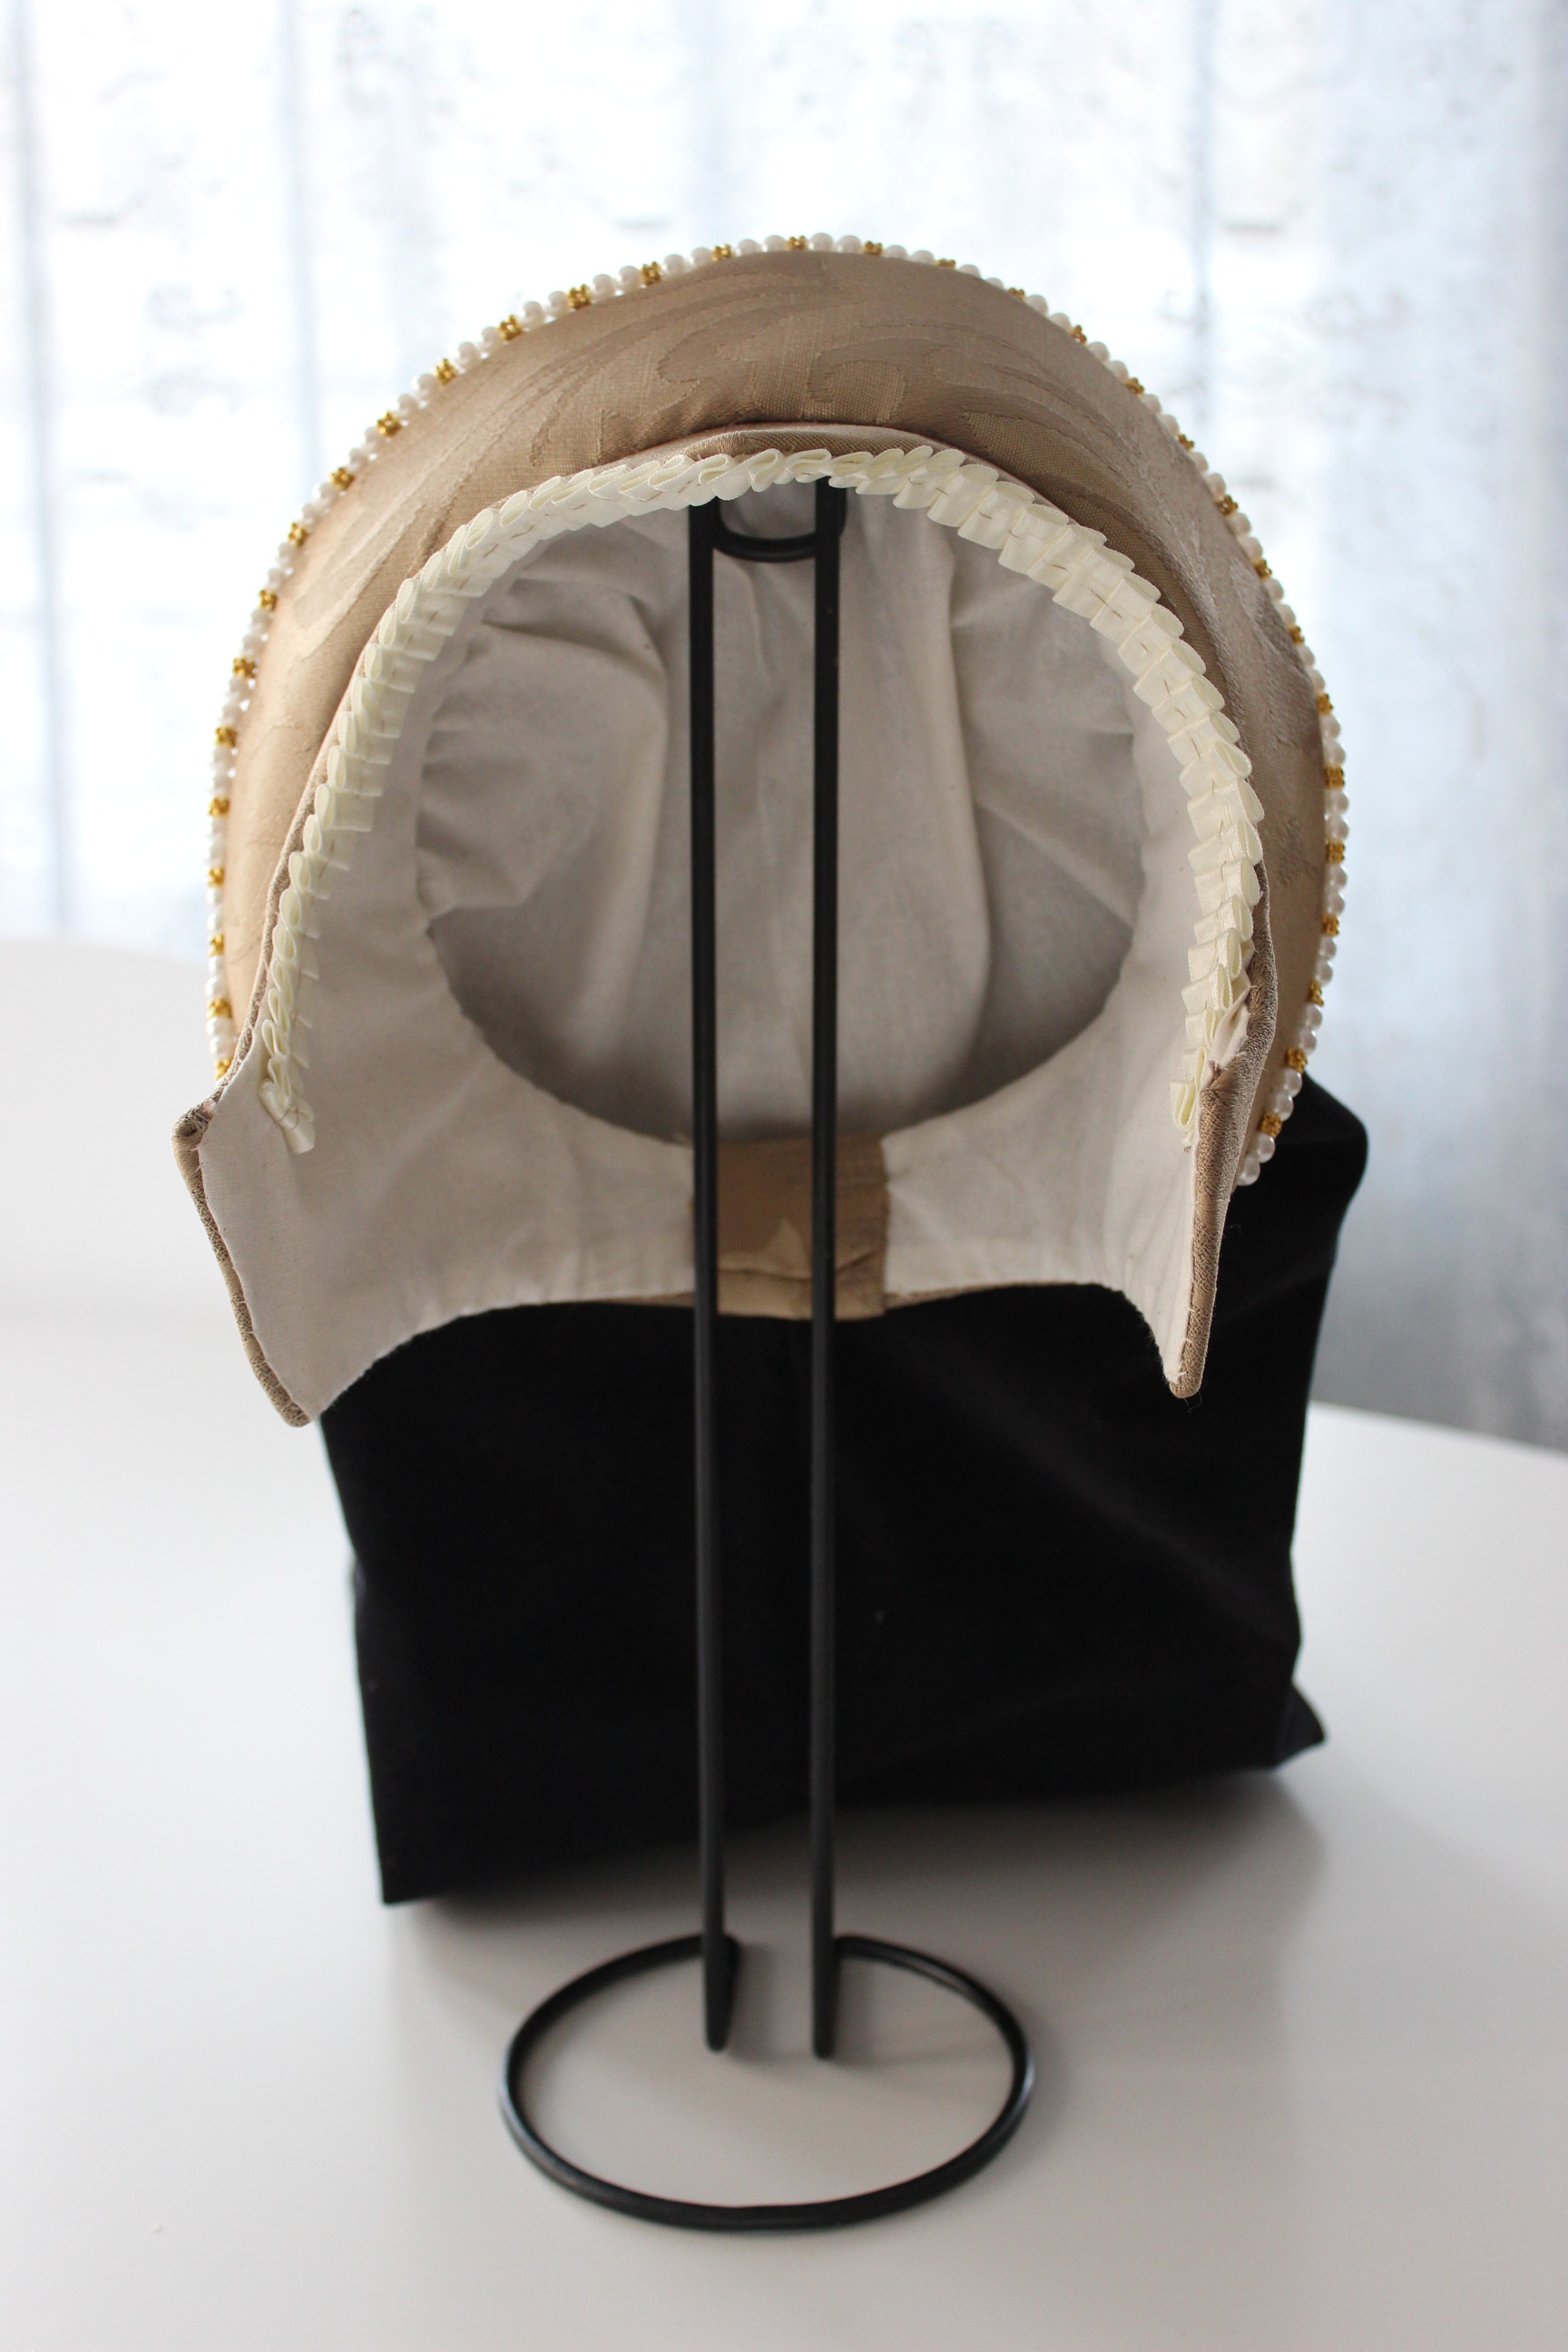
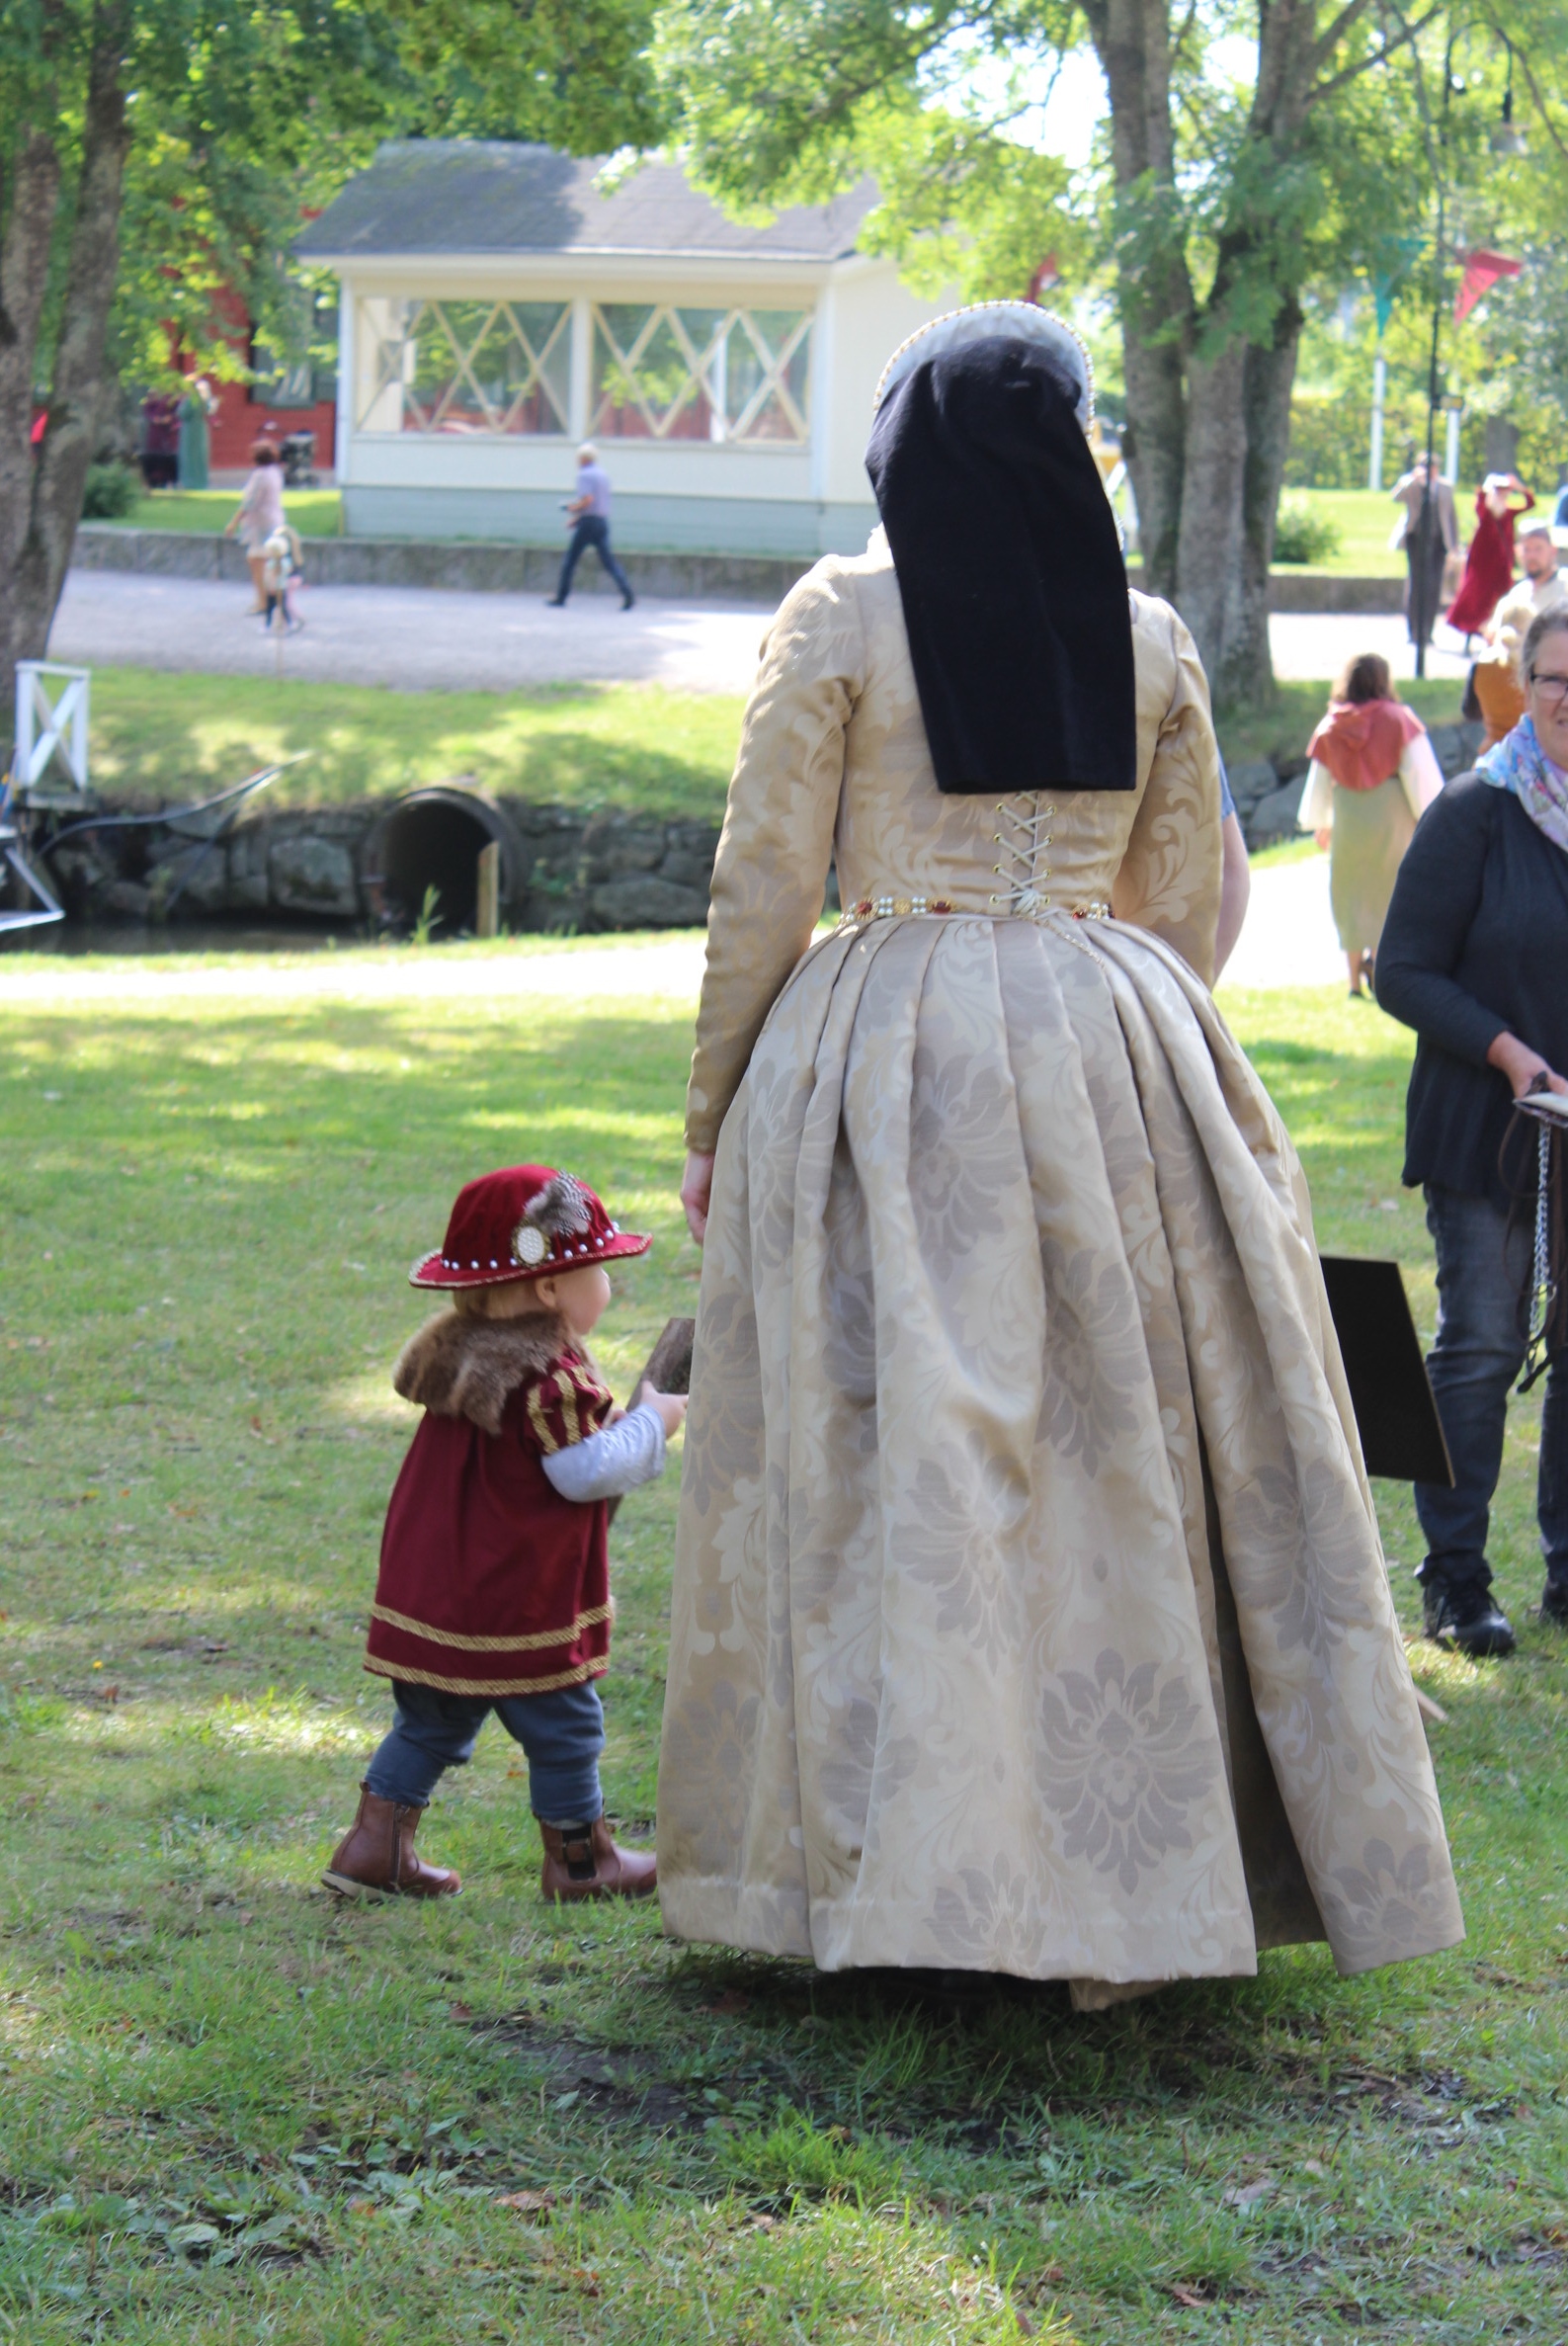
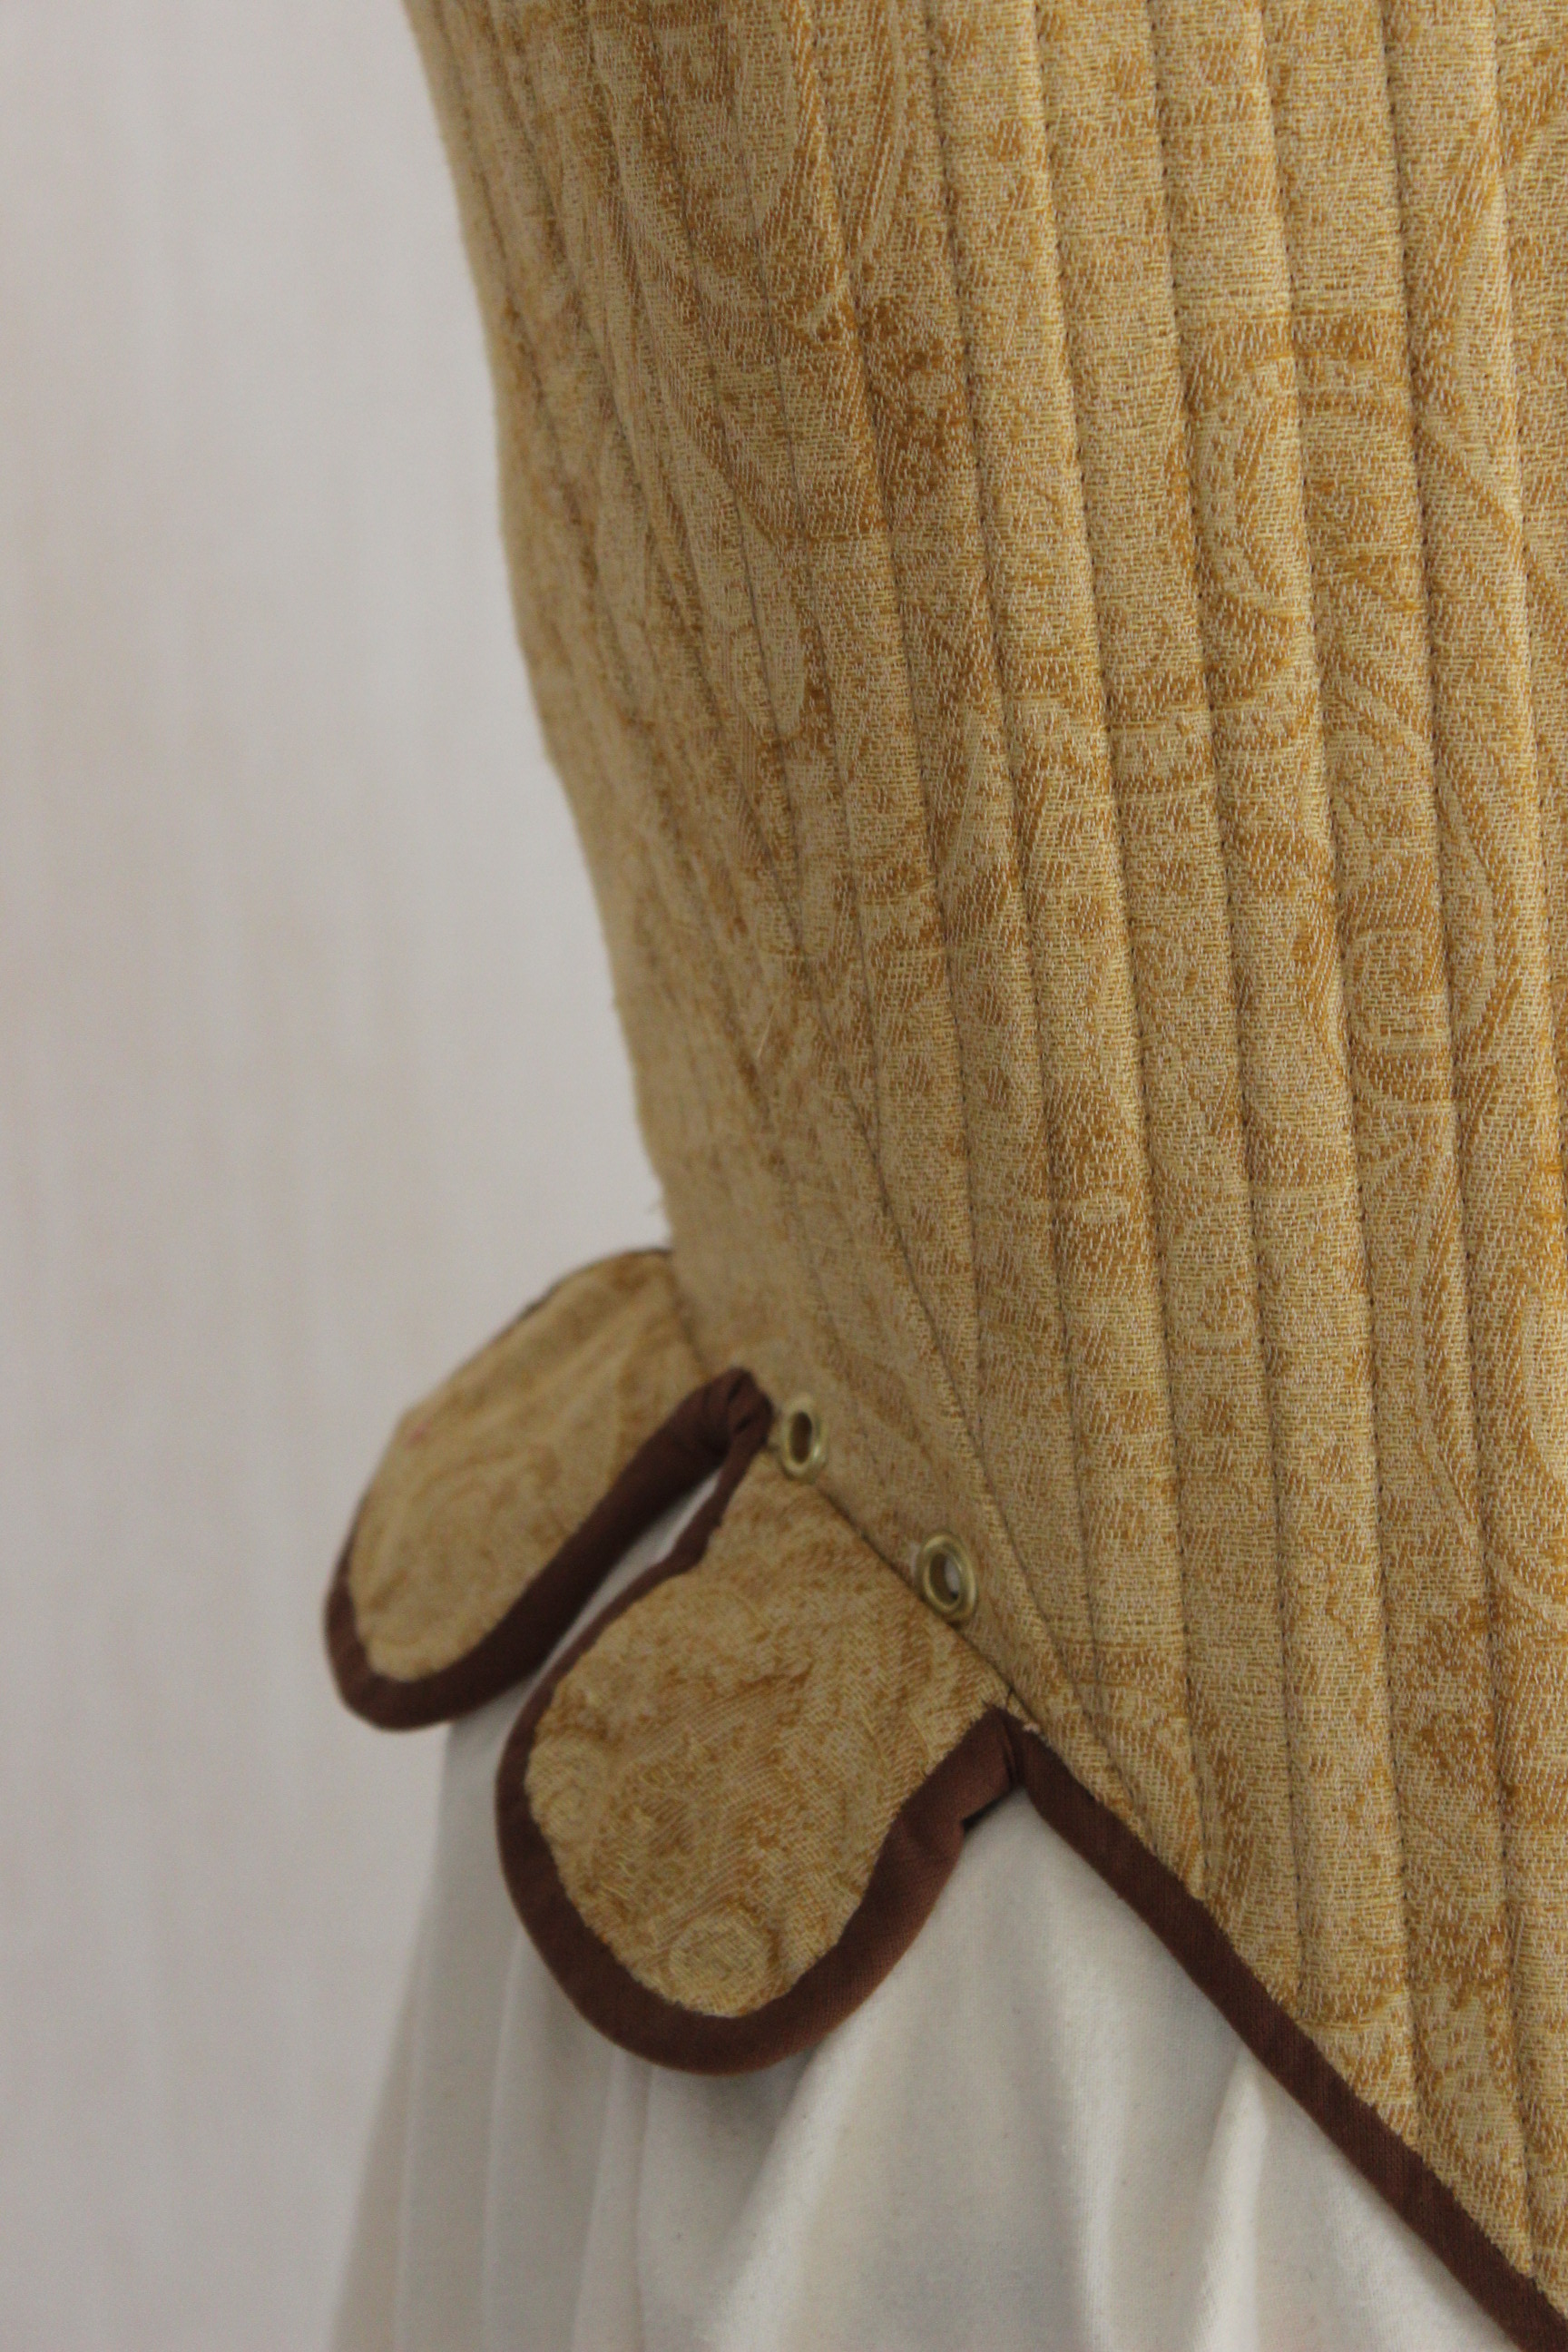
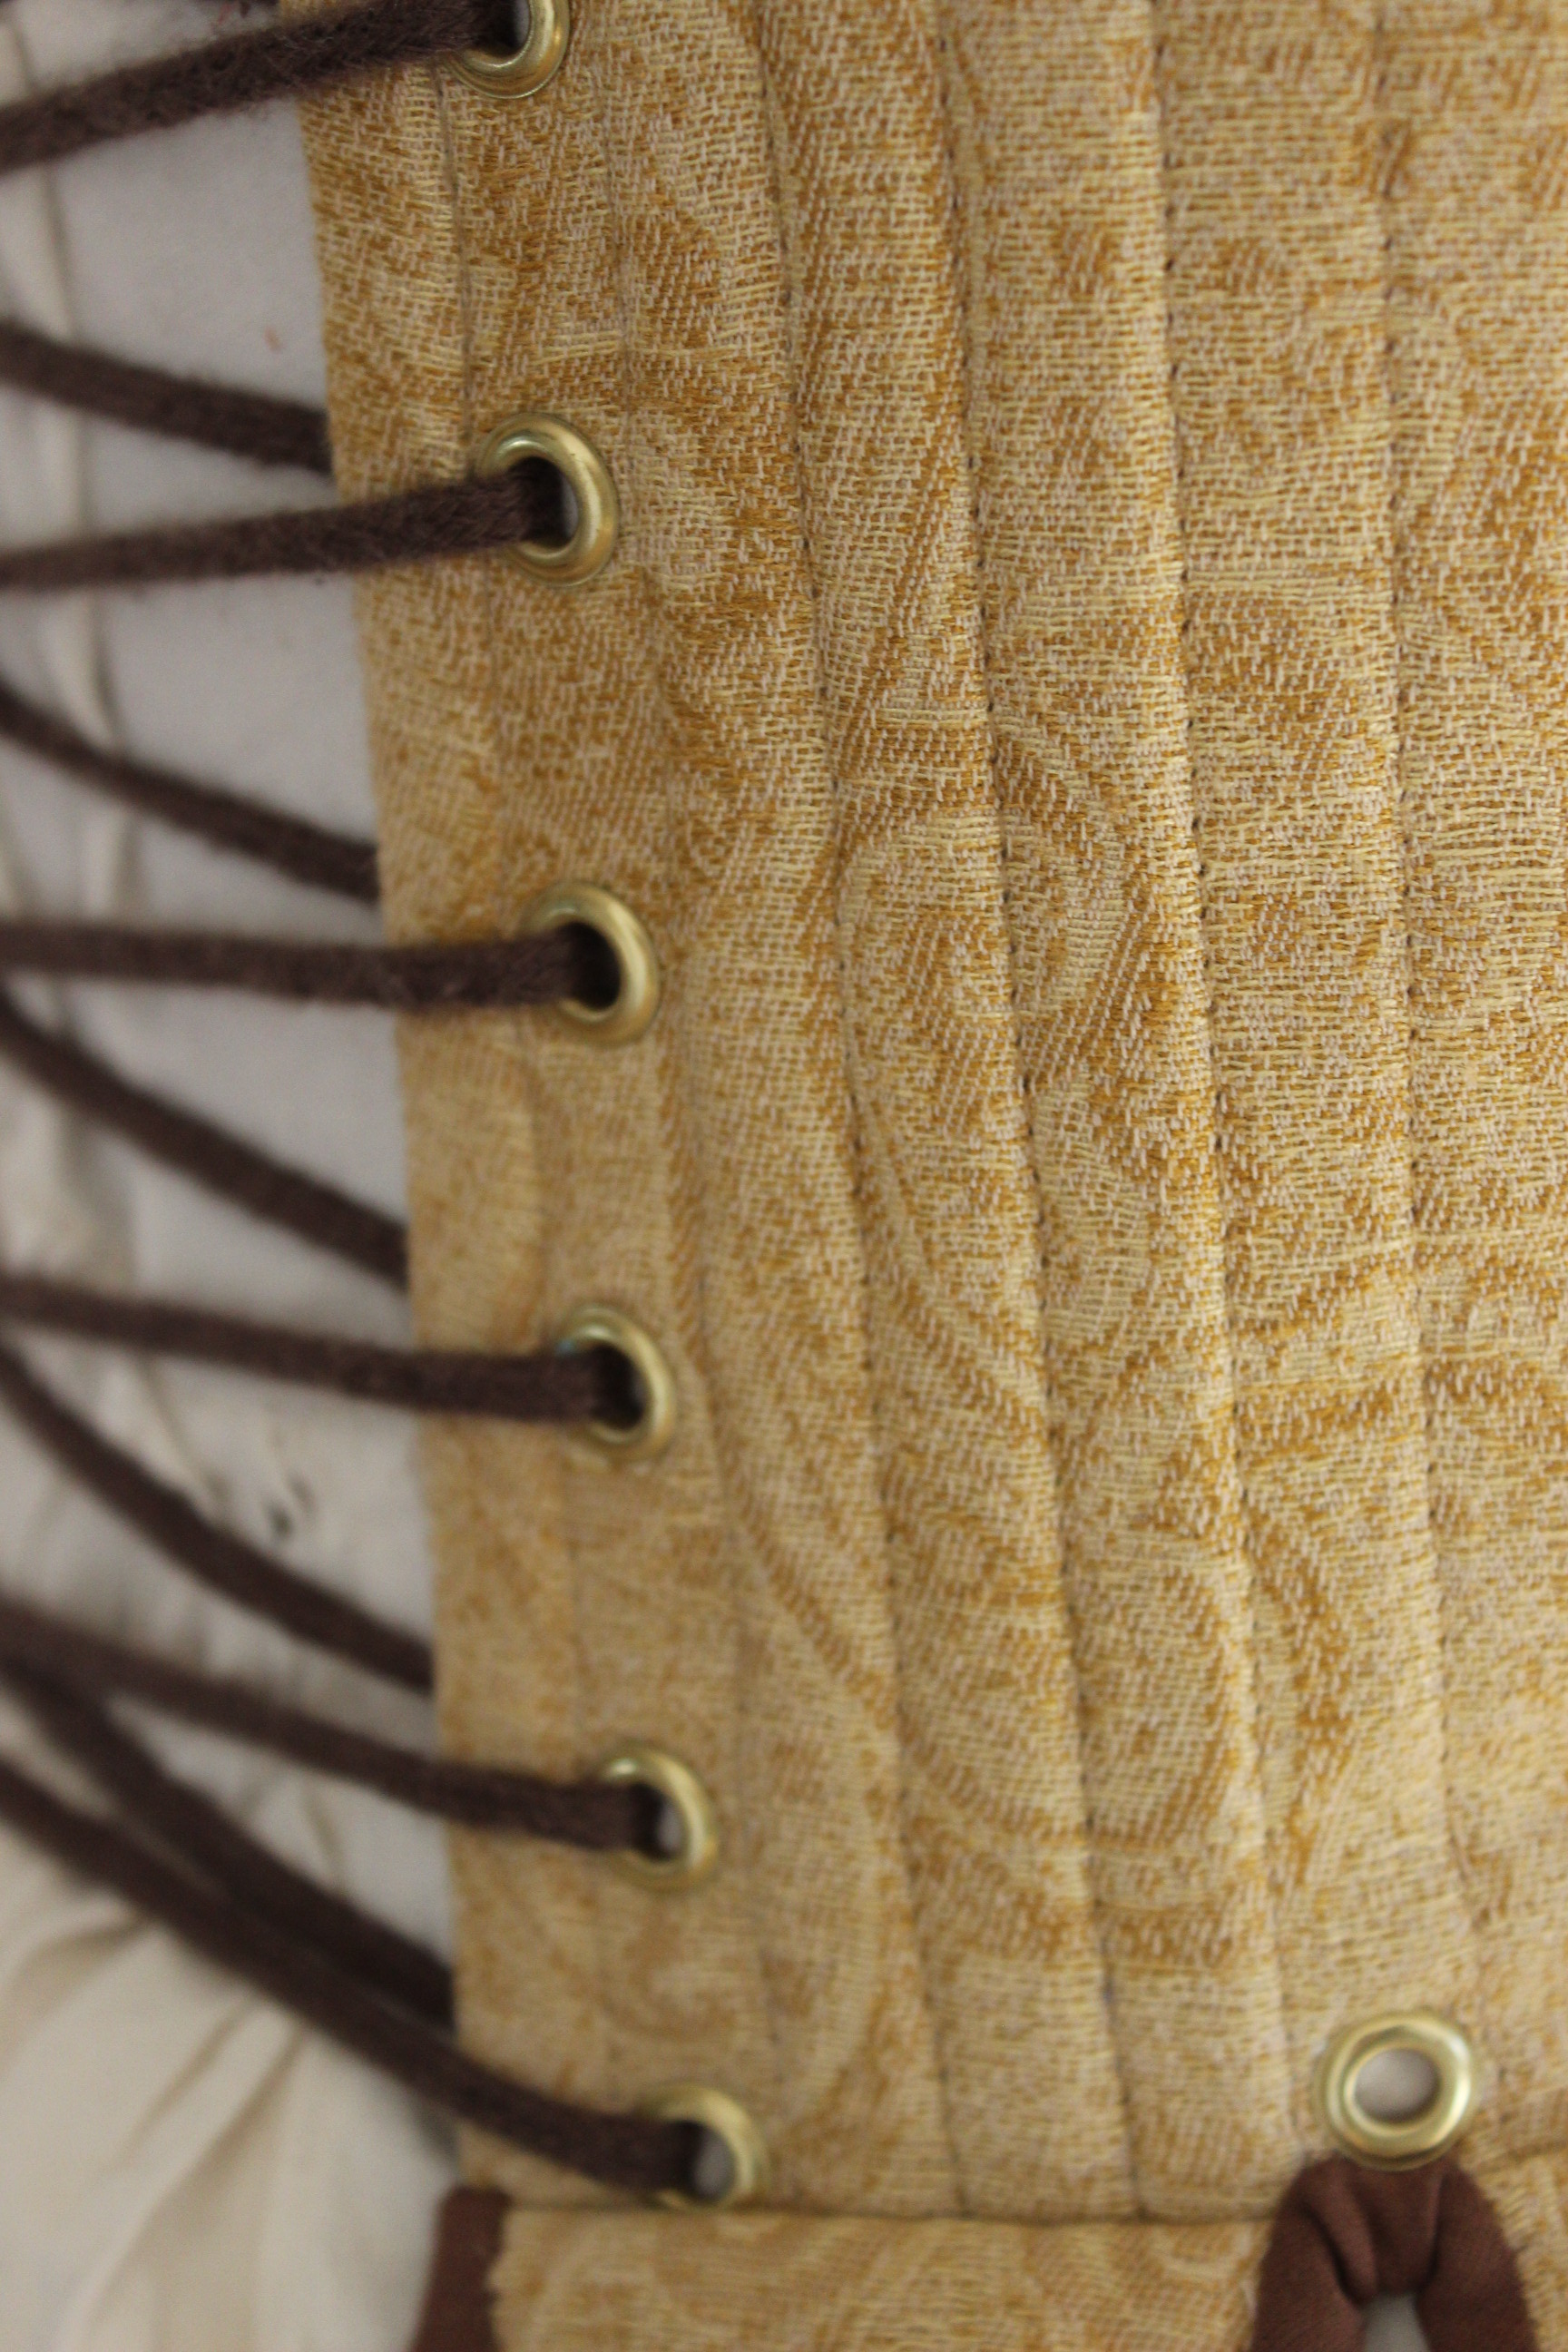
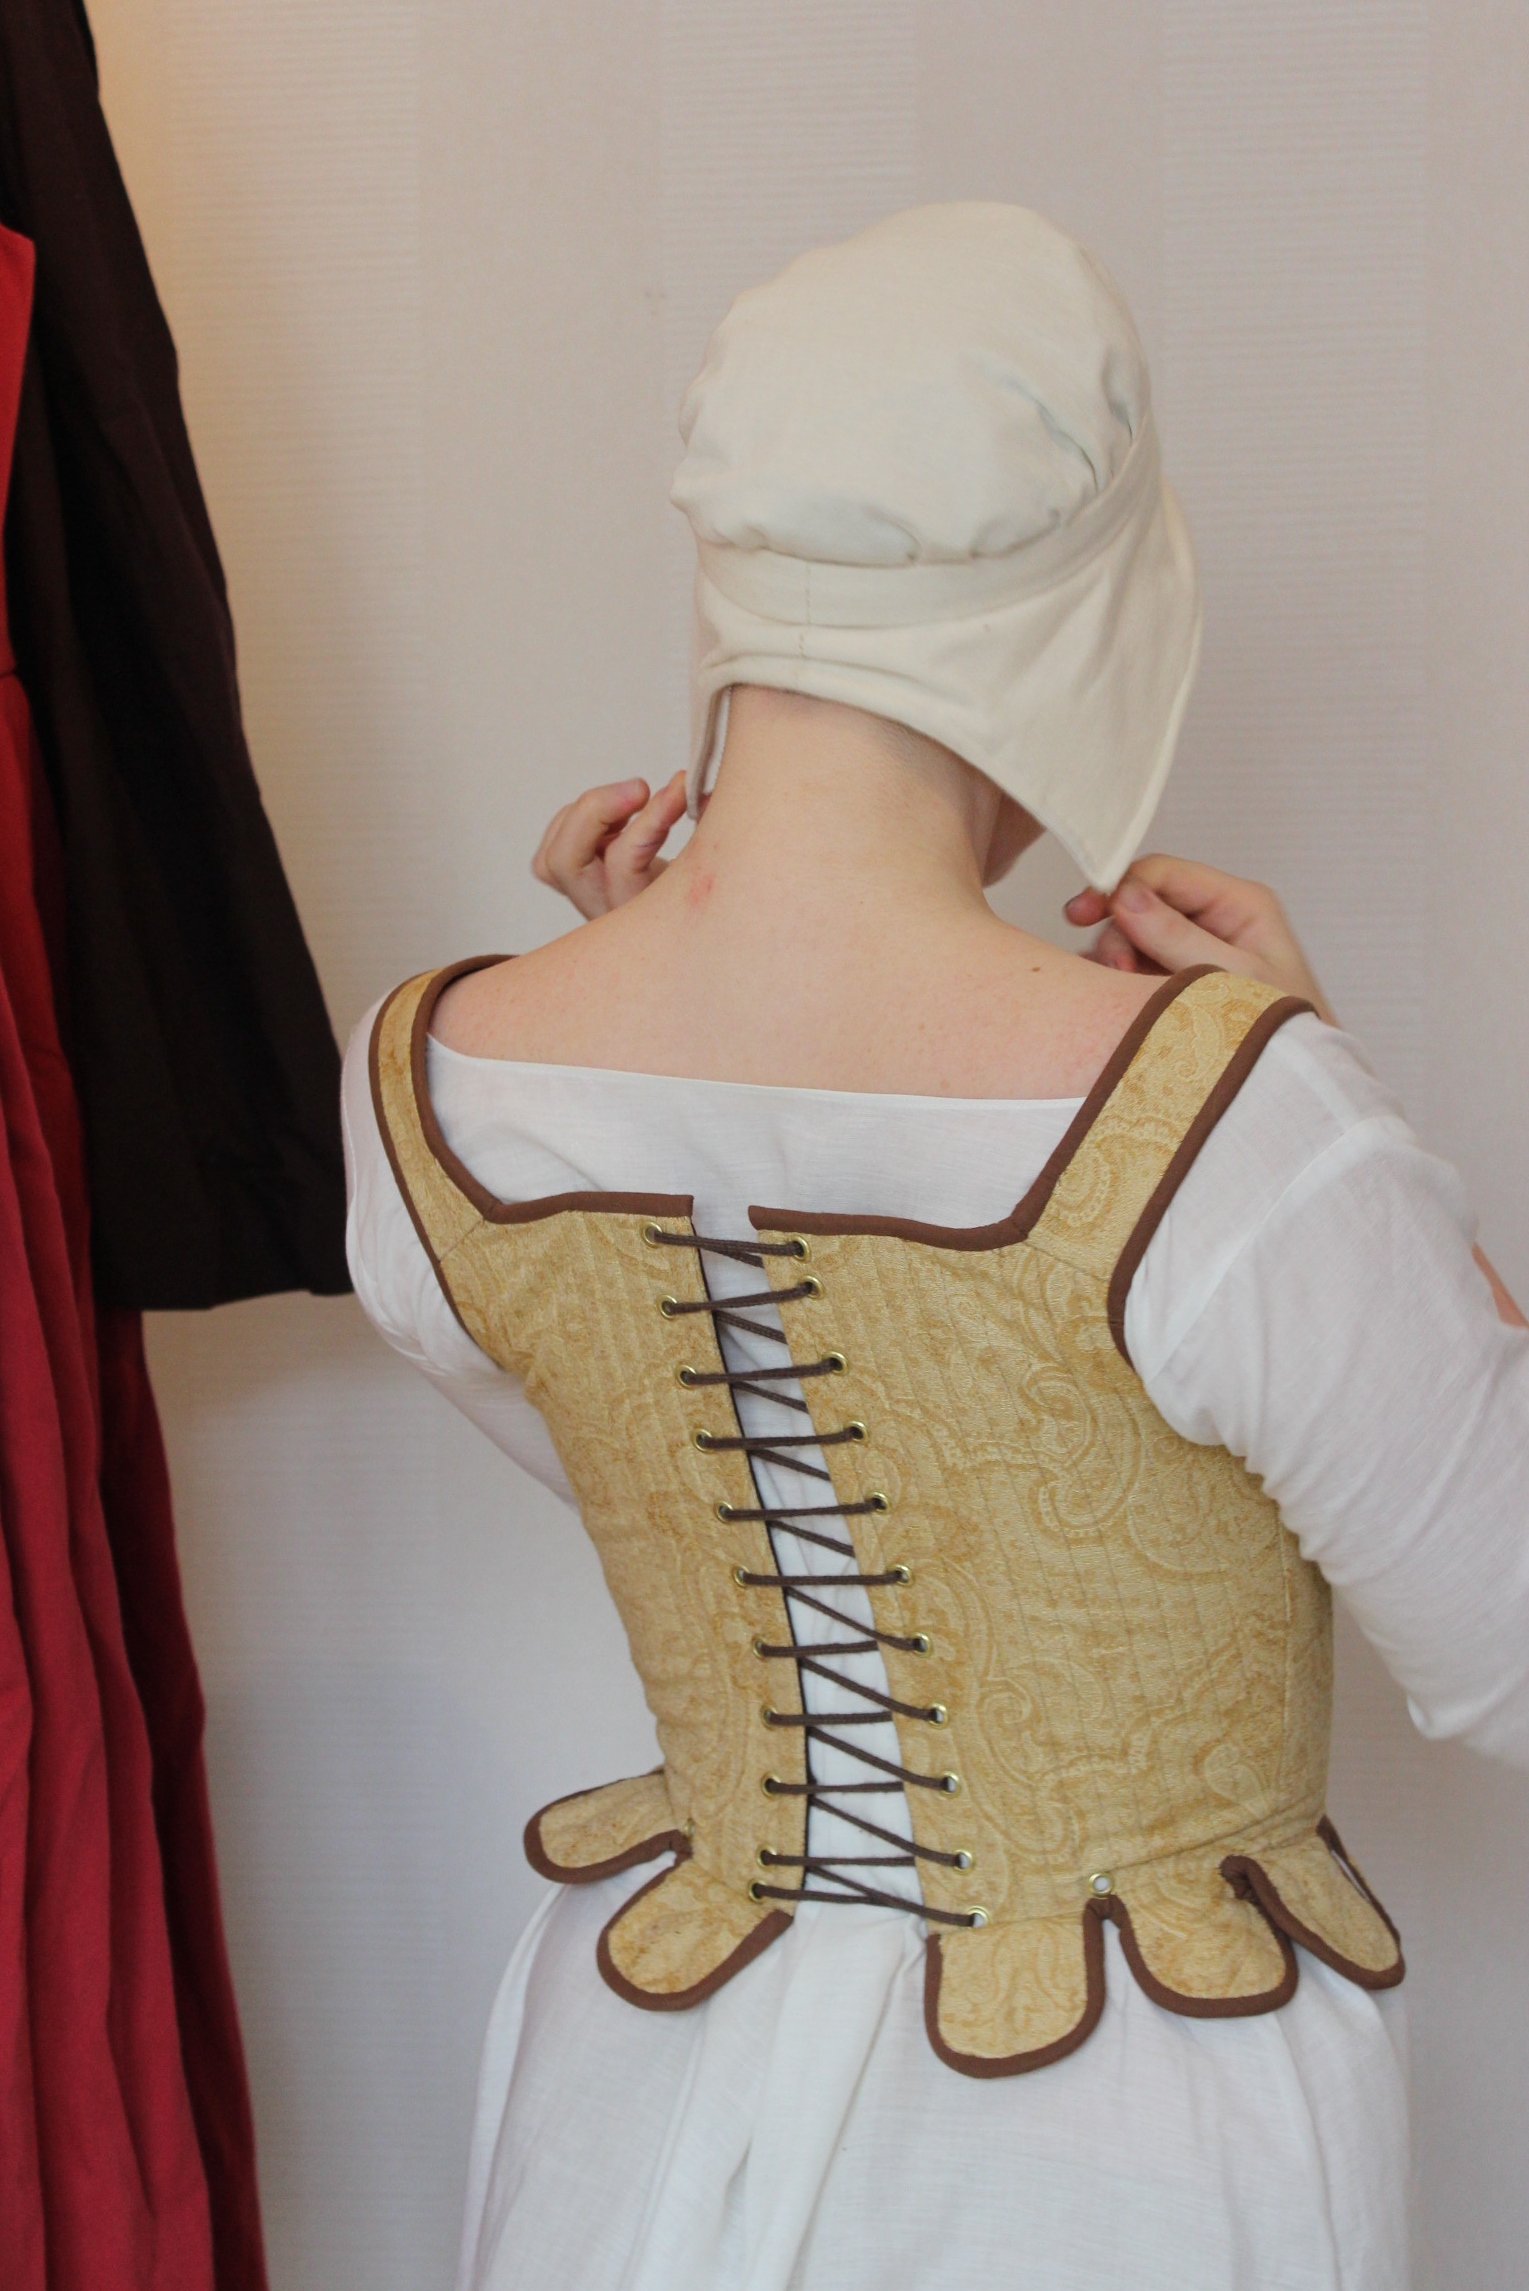
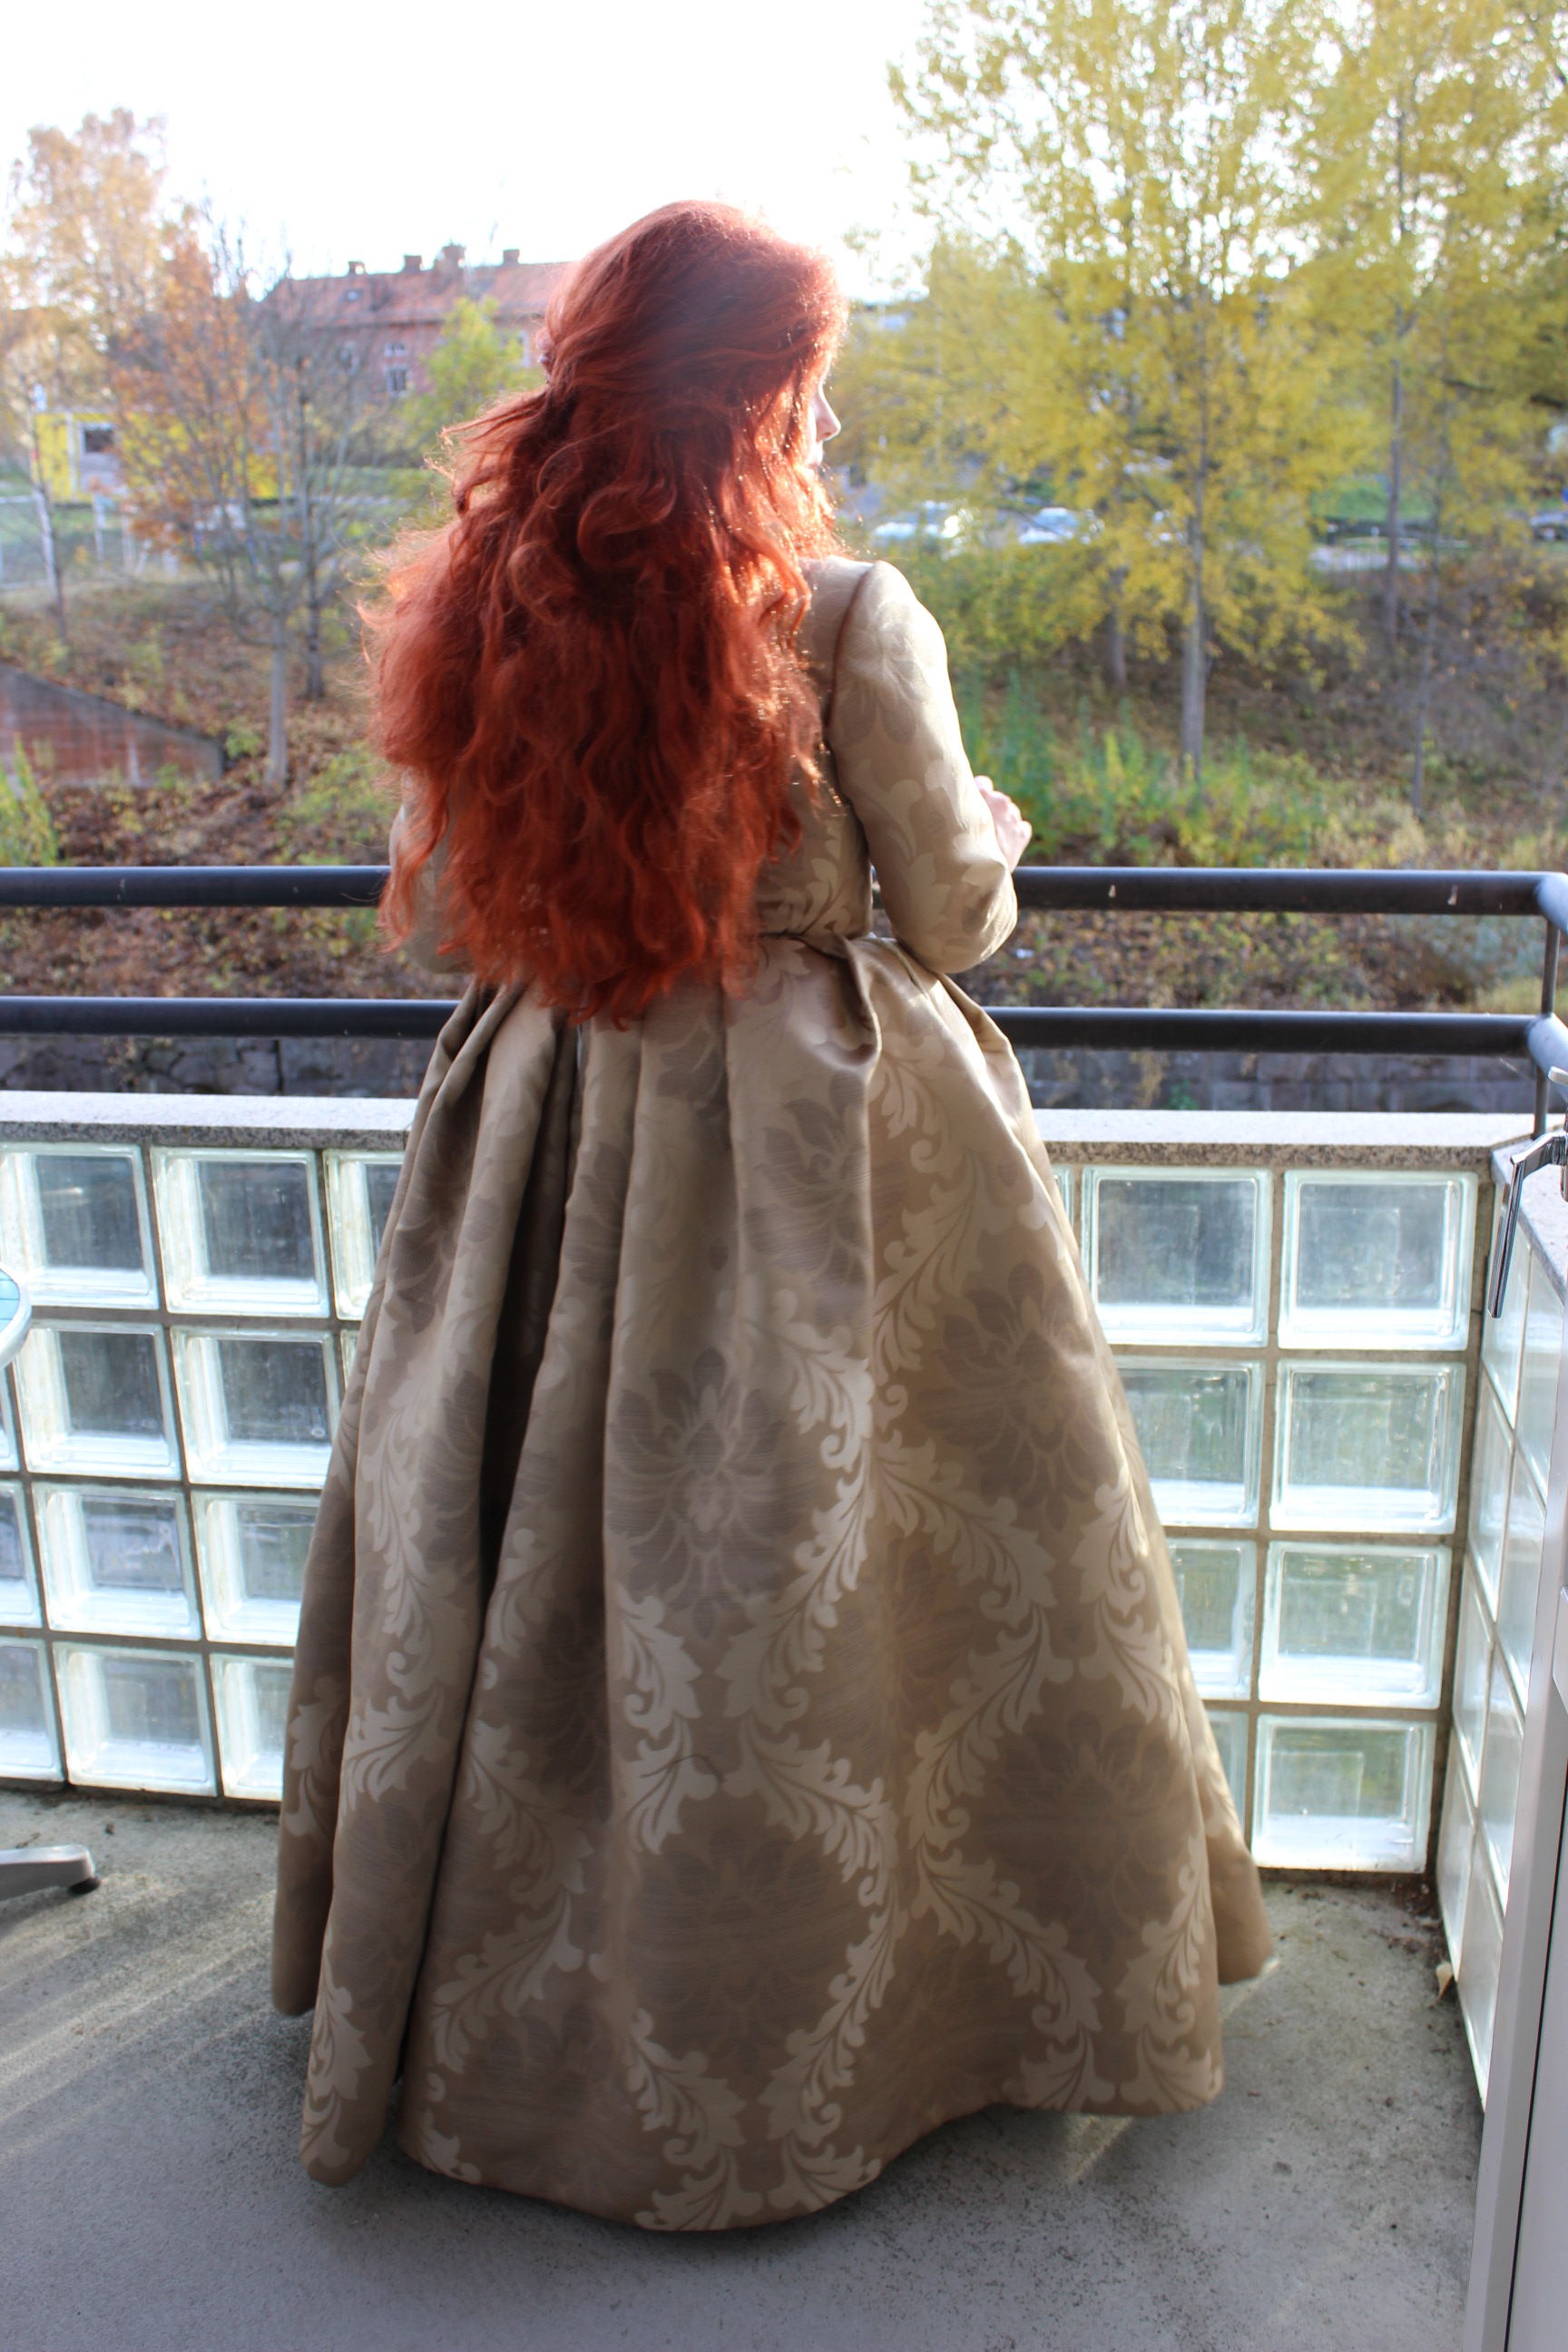
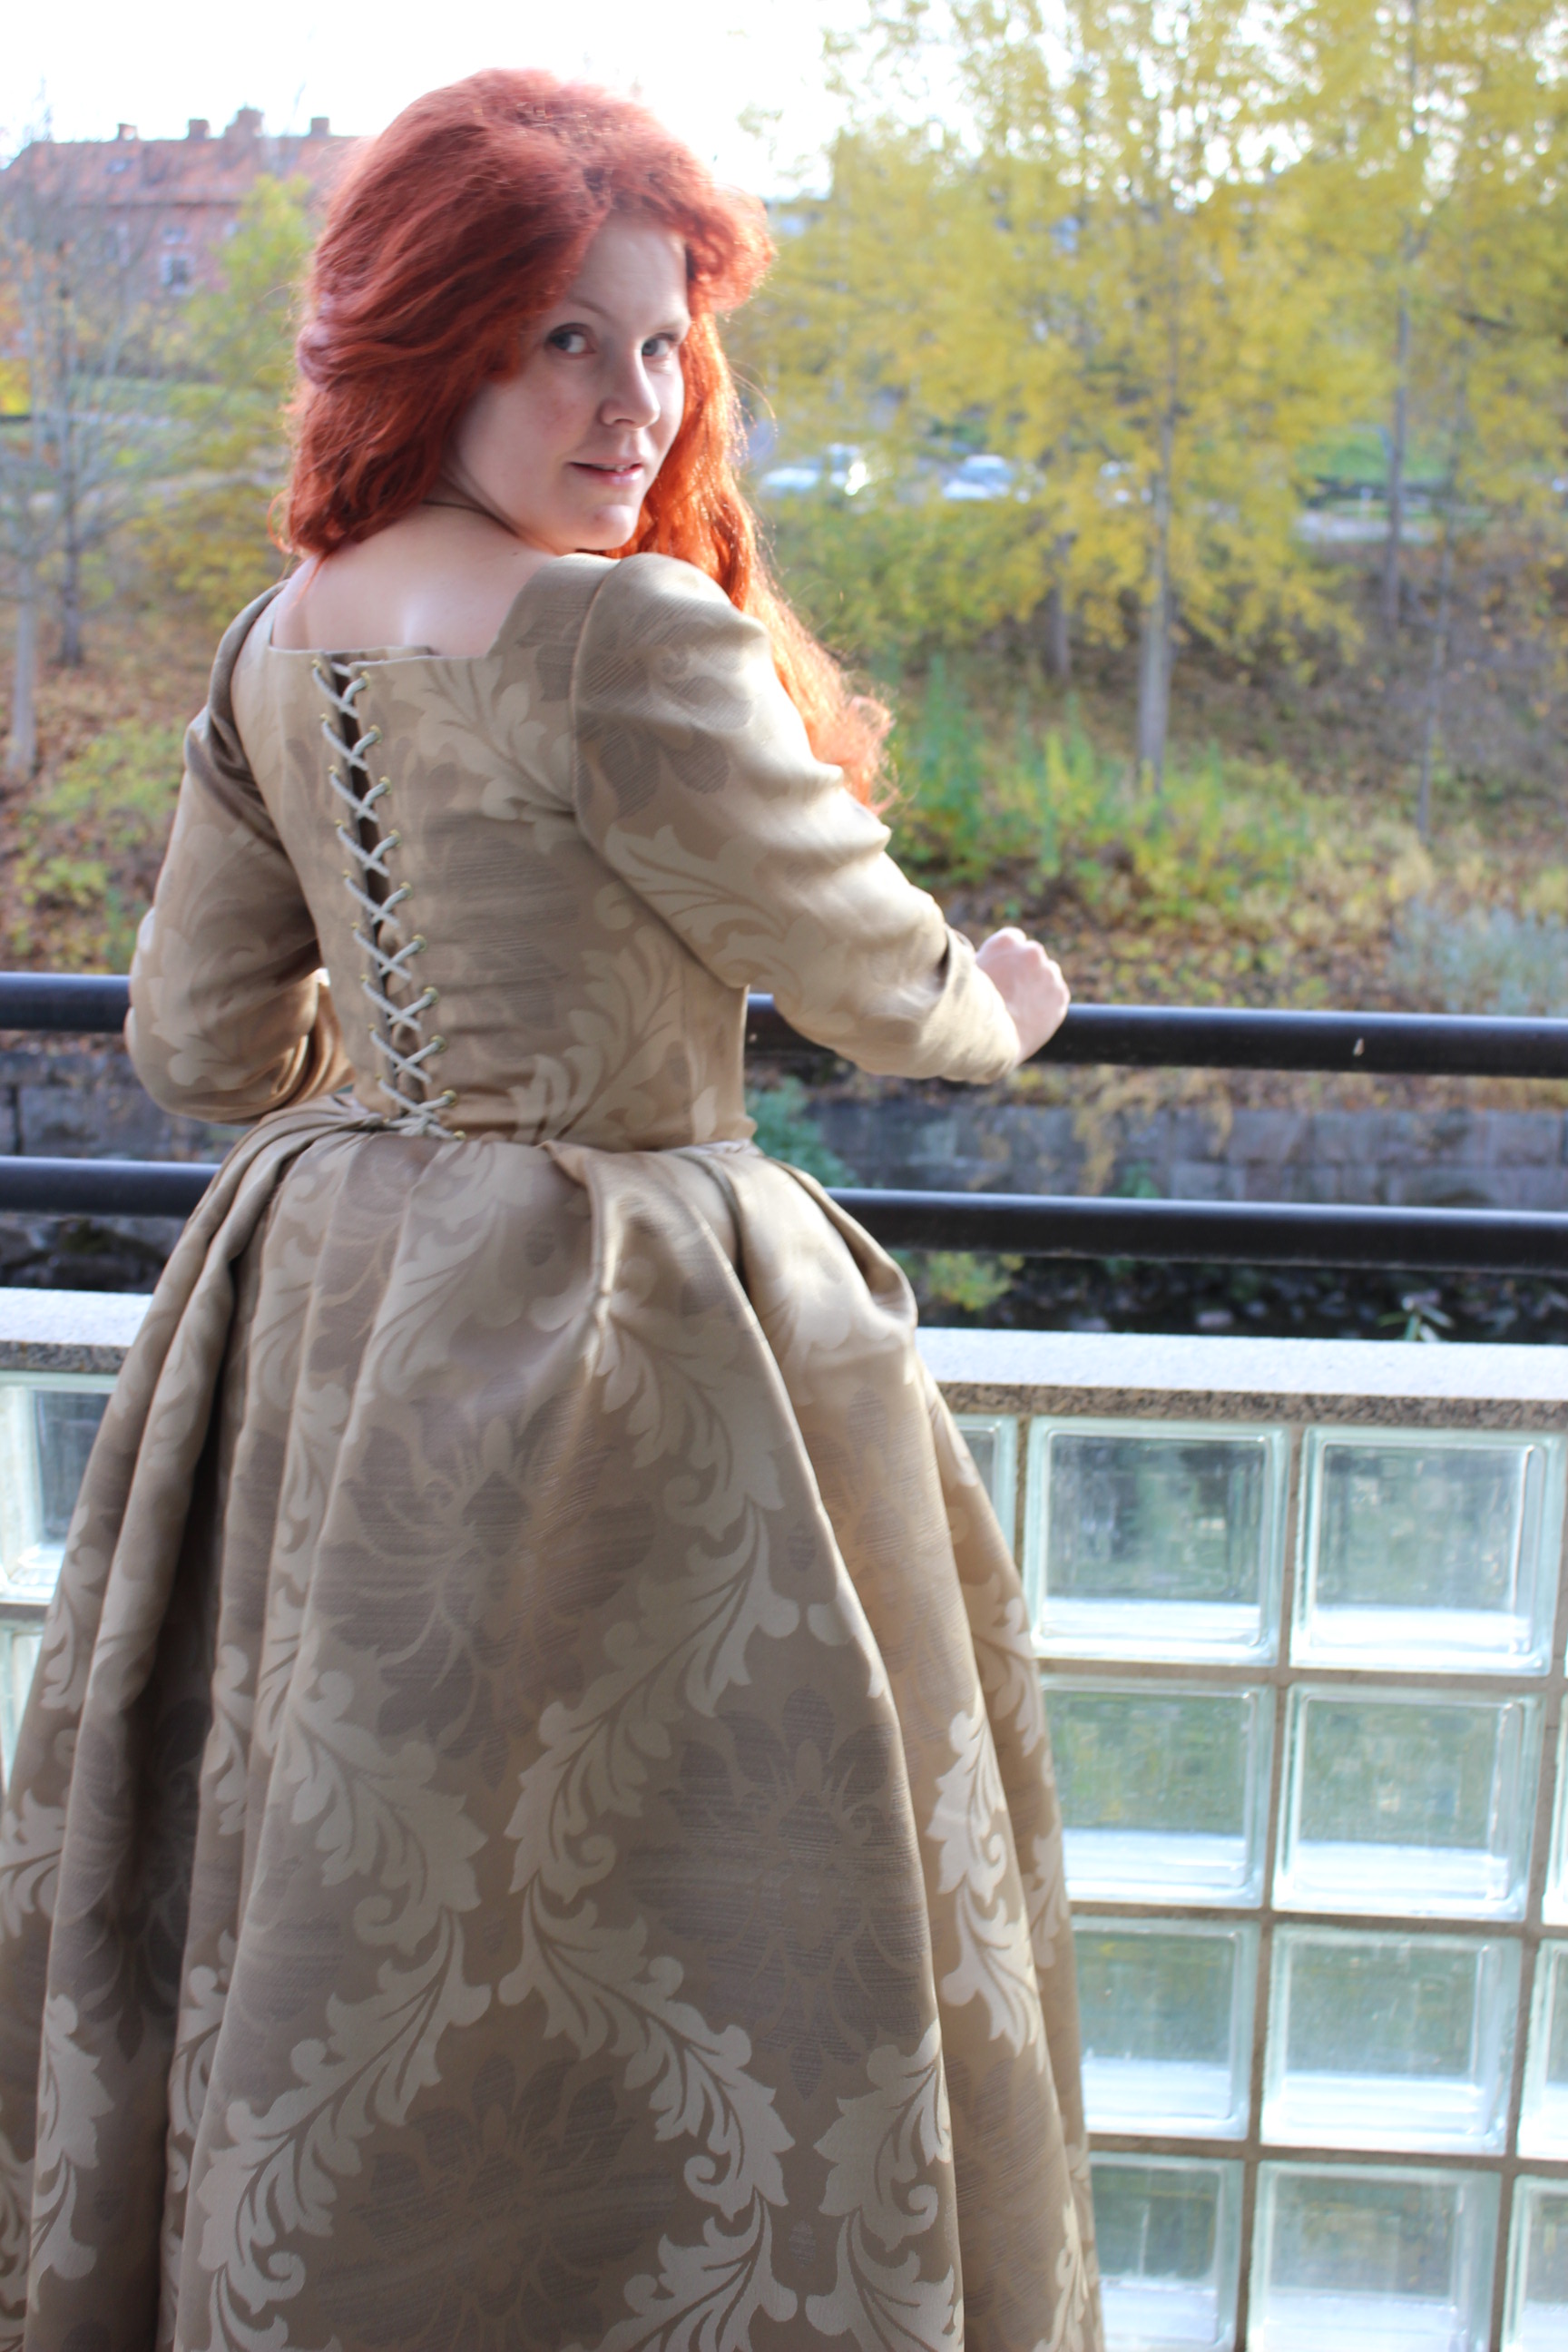
 Here you can also see covering of the piecing at the back.
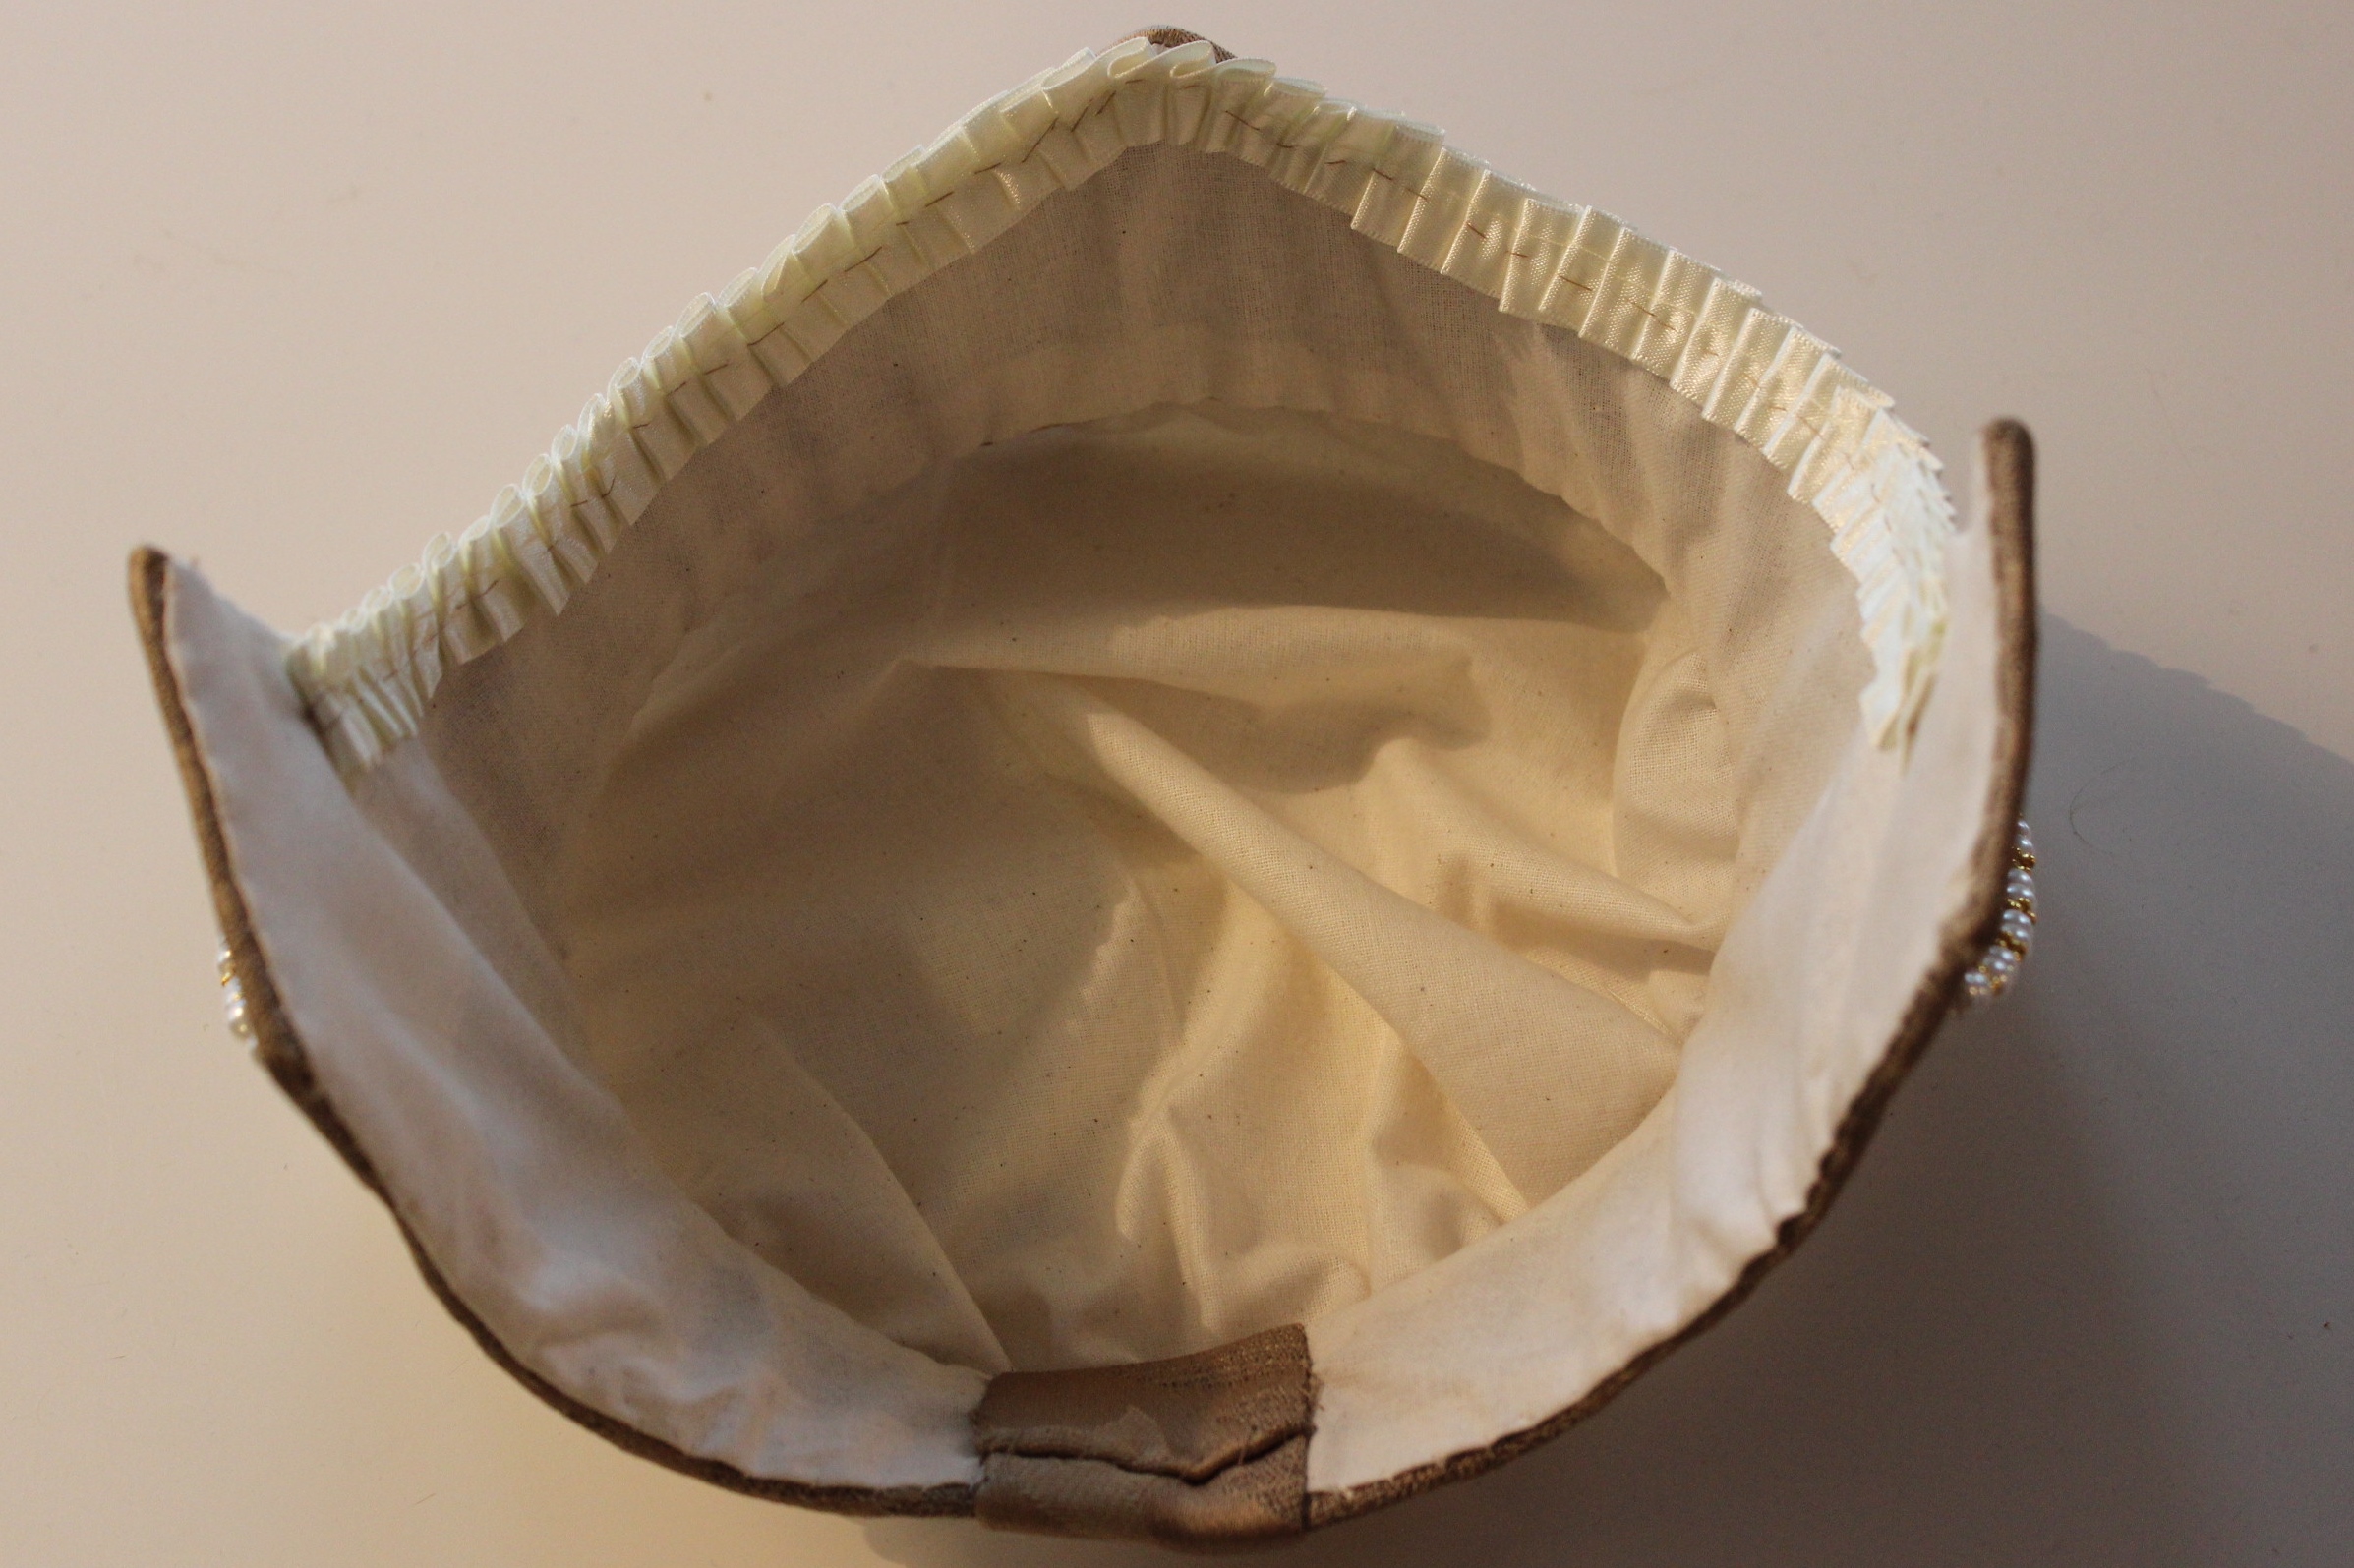
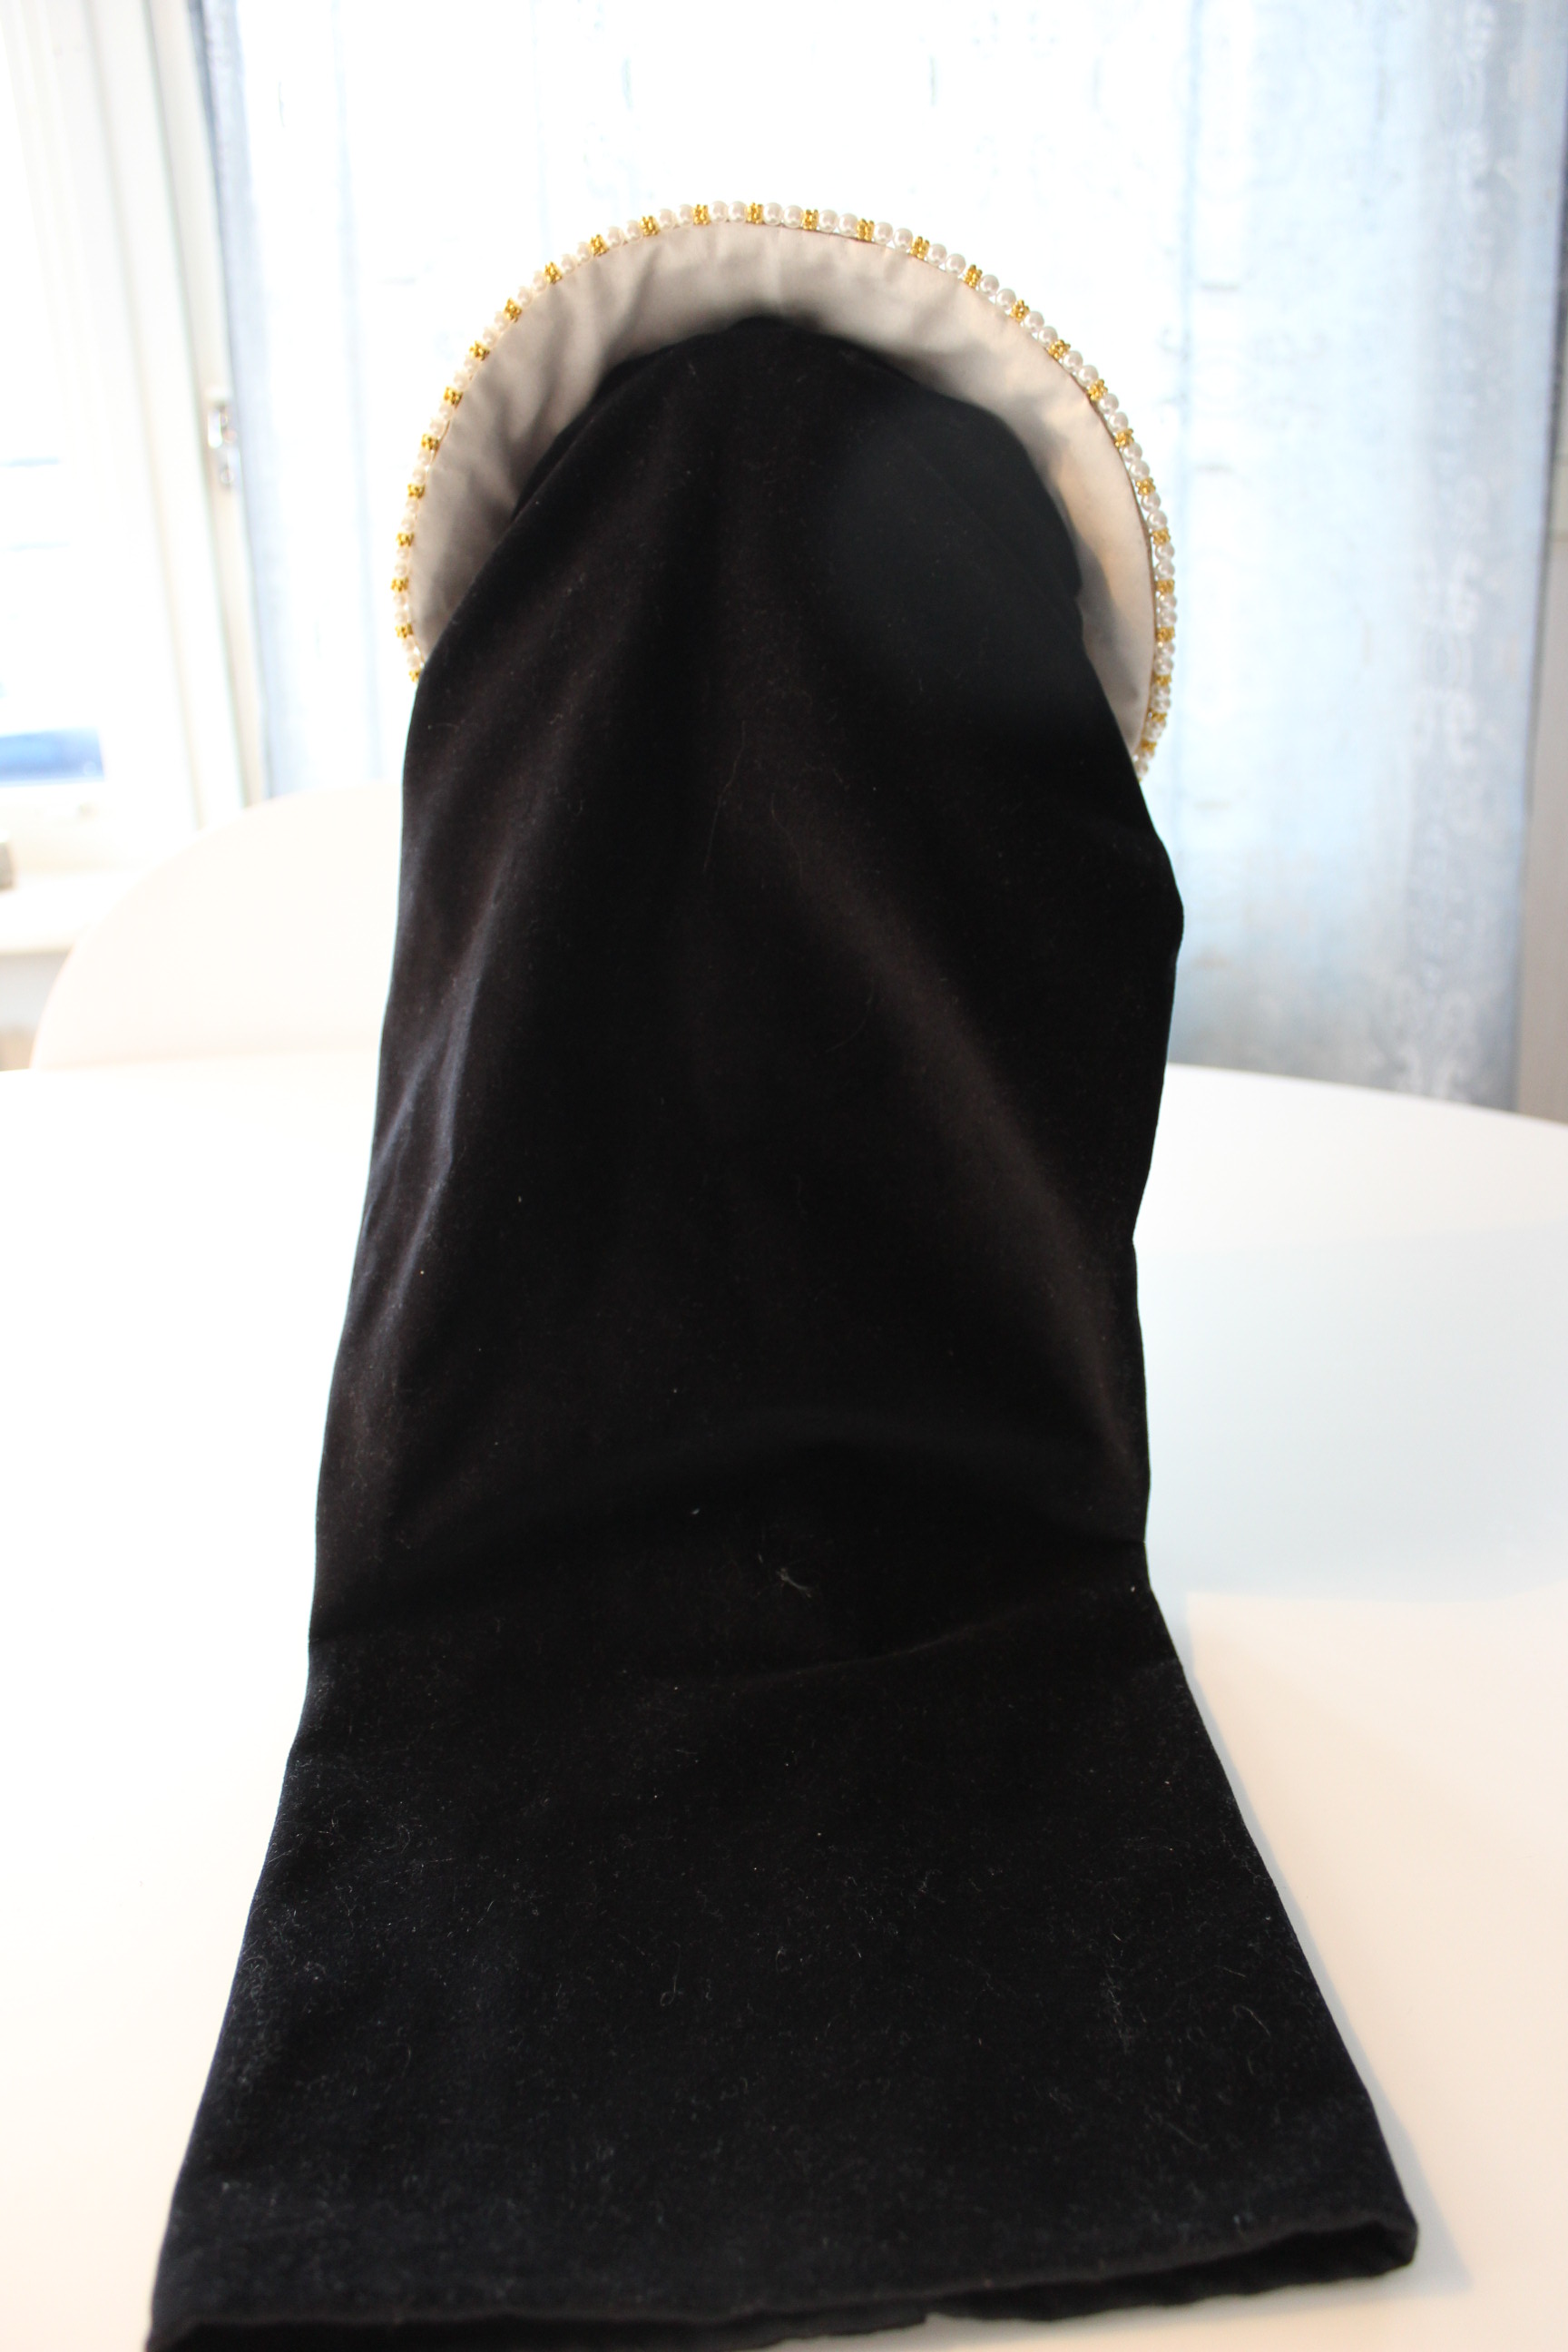
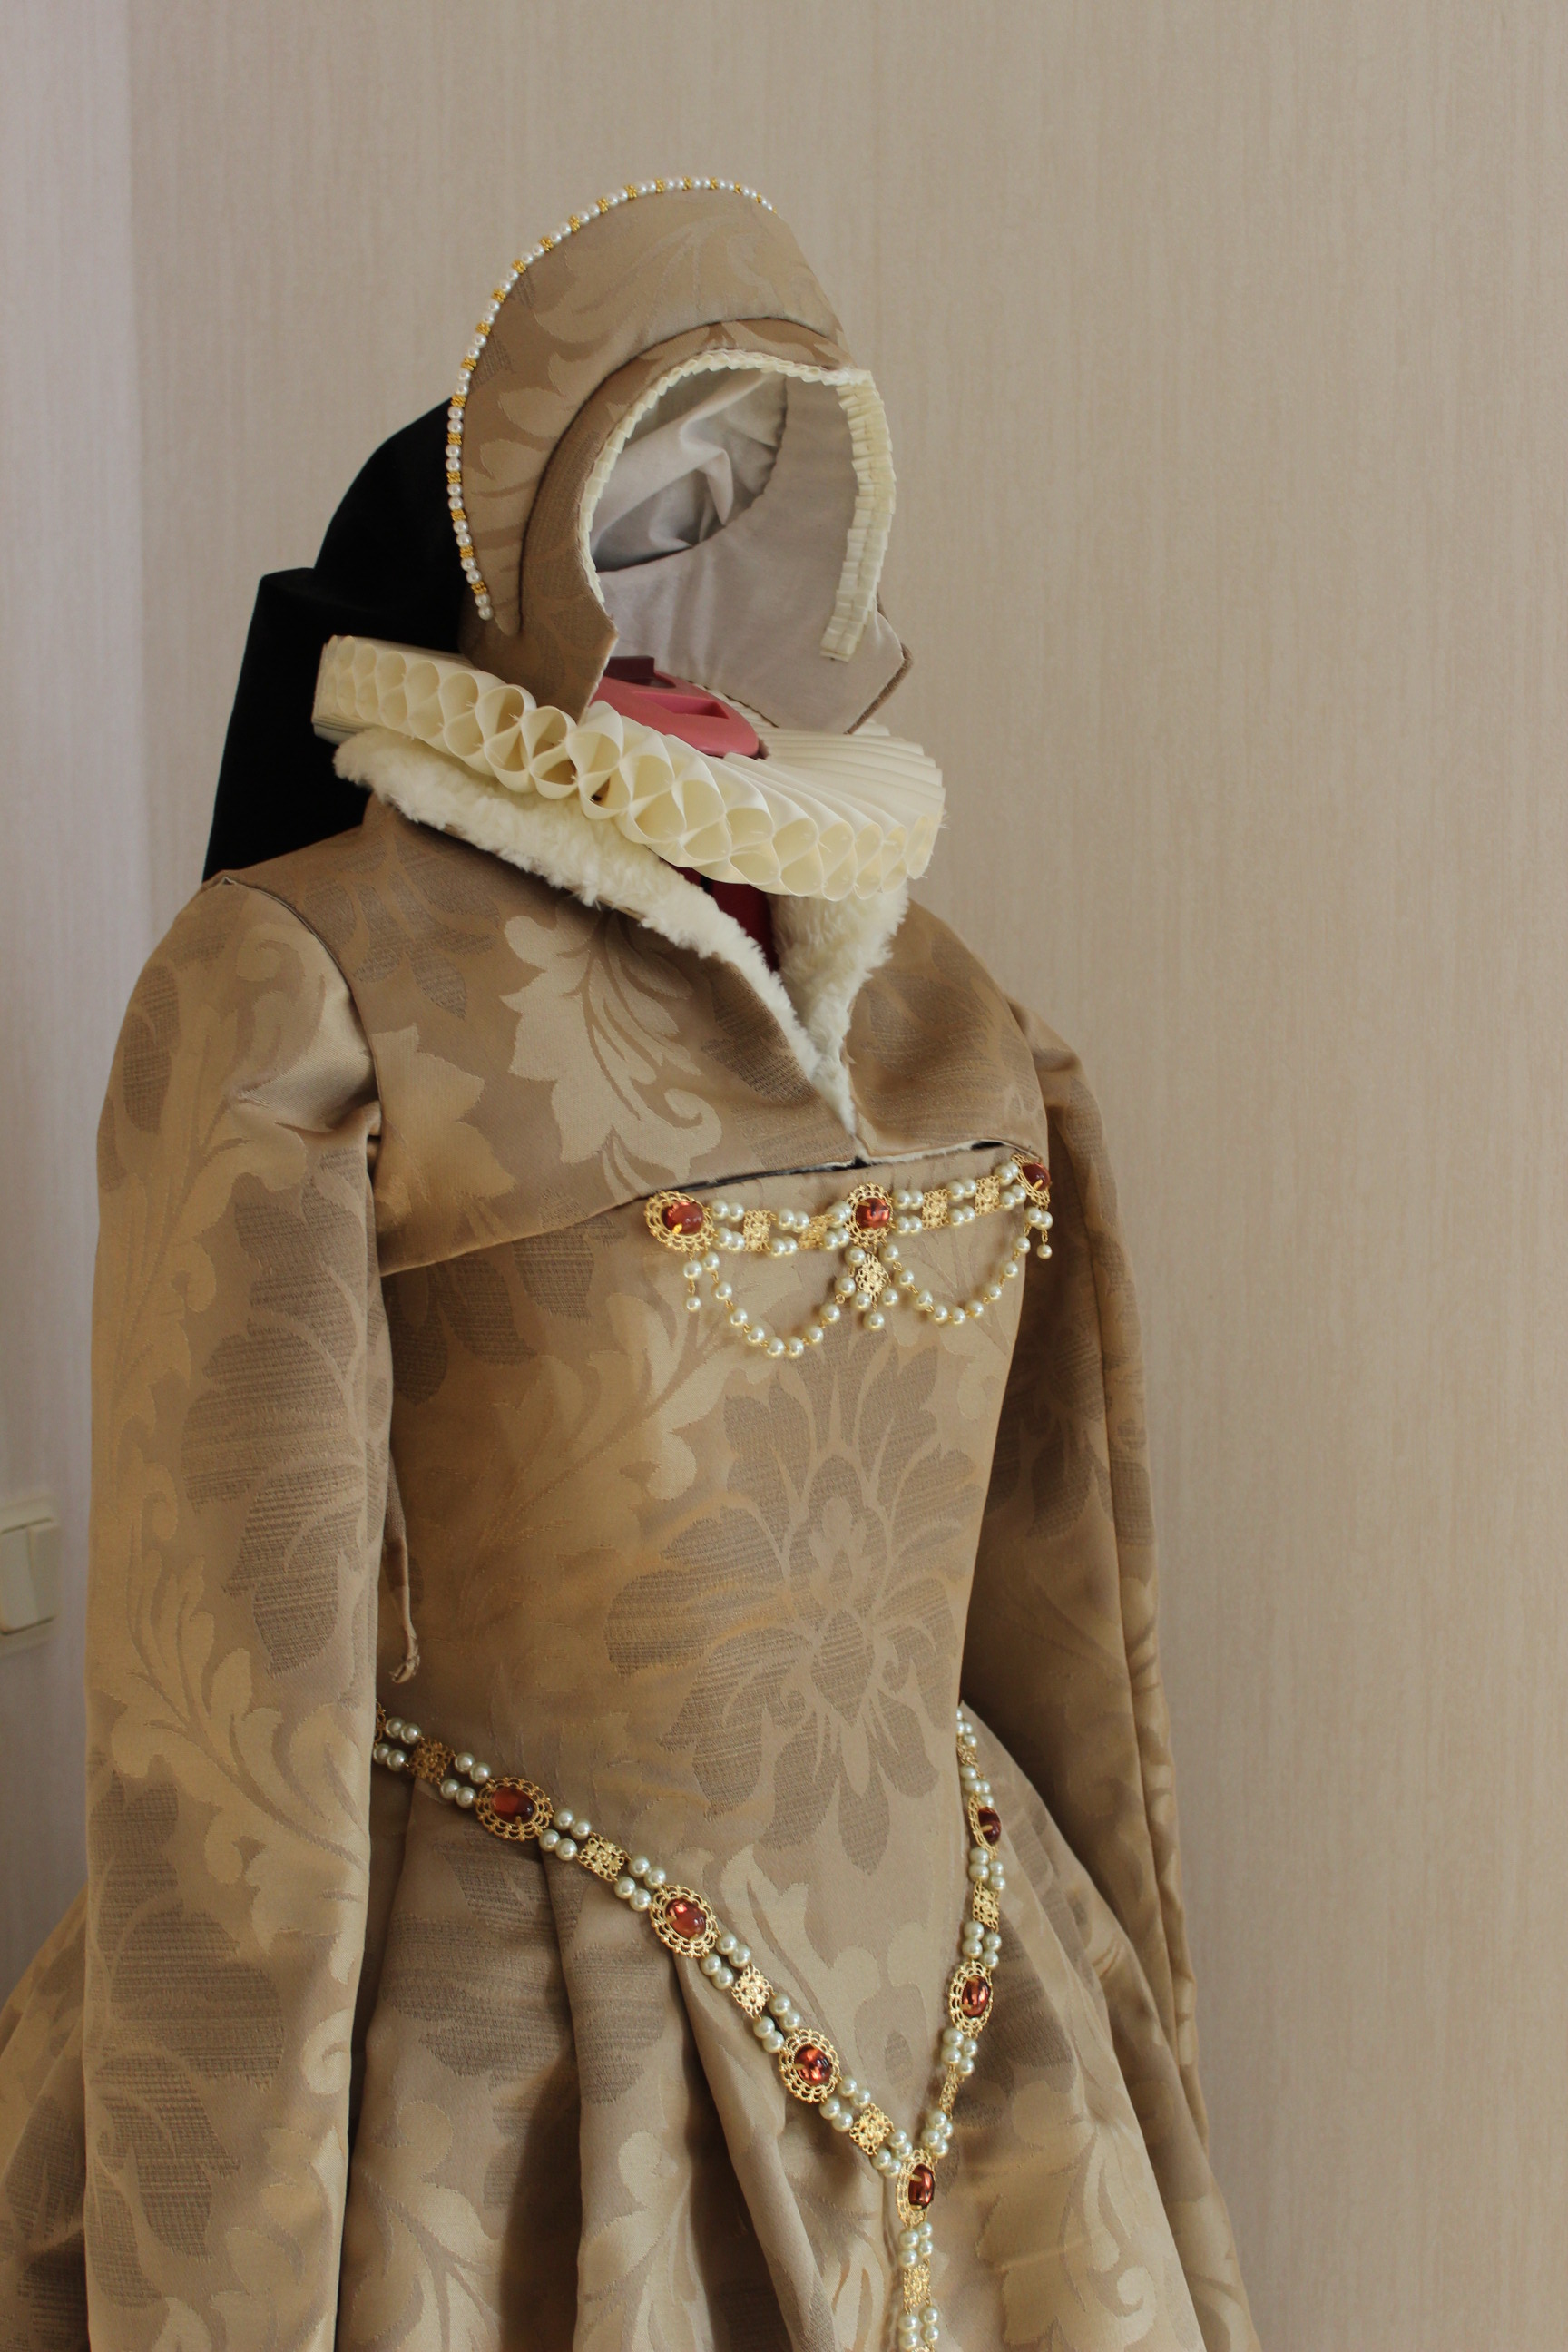
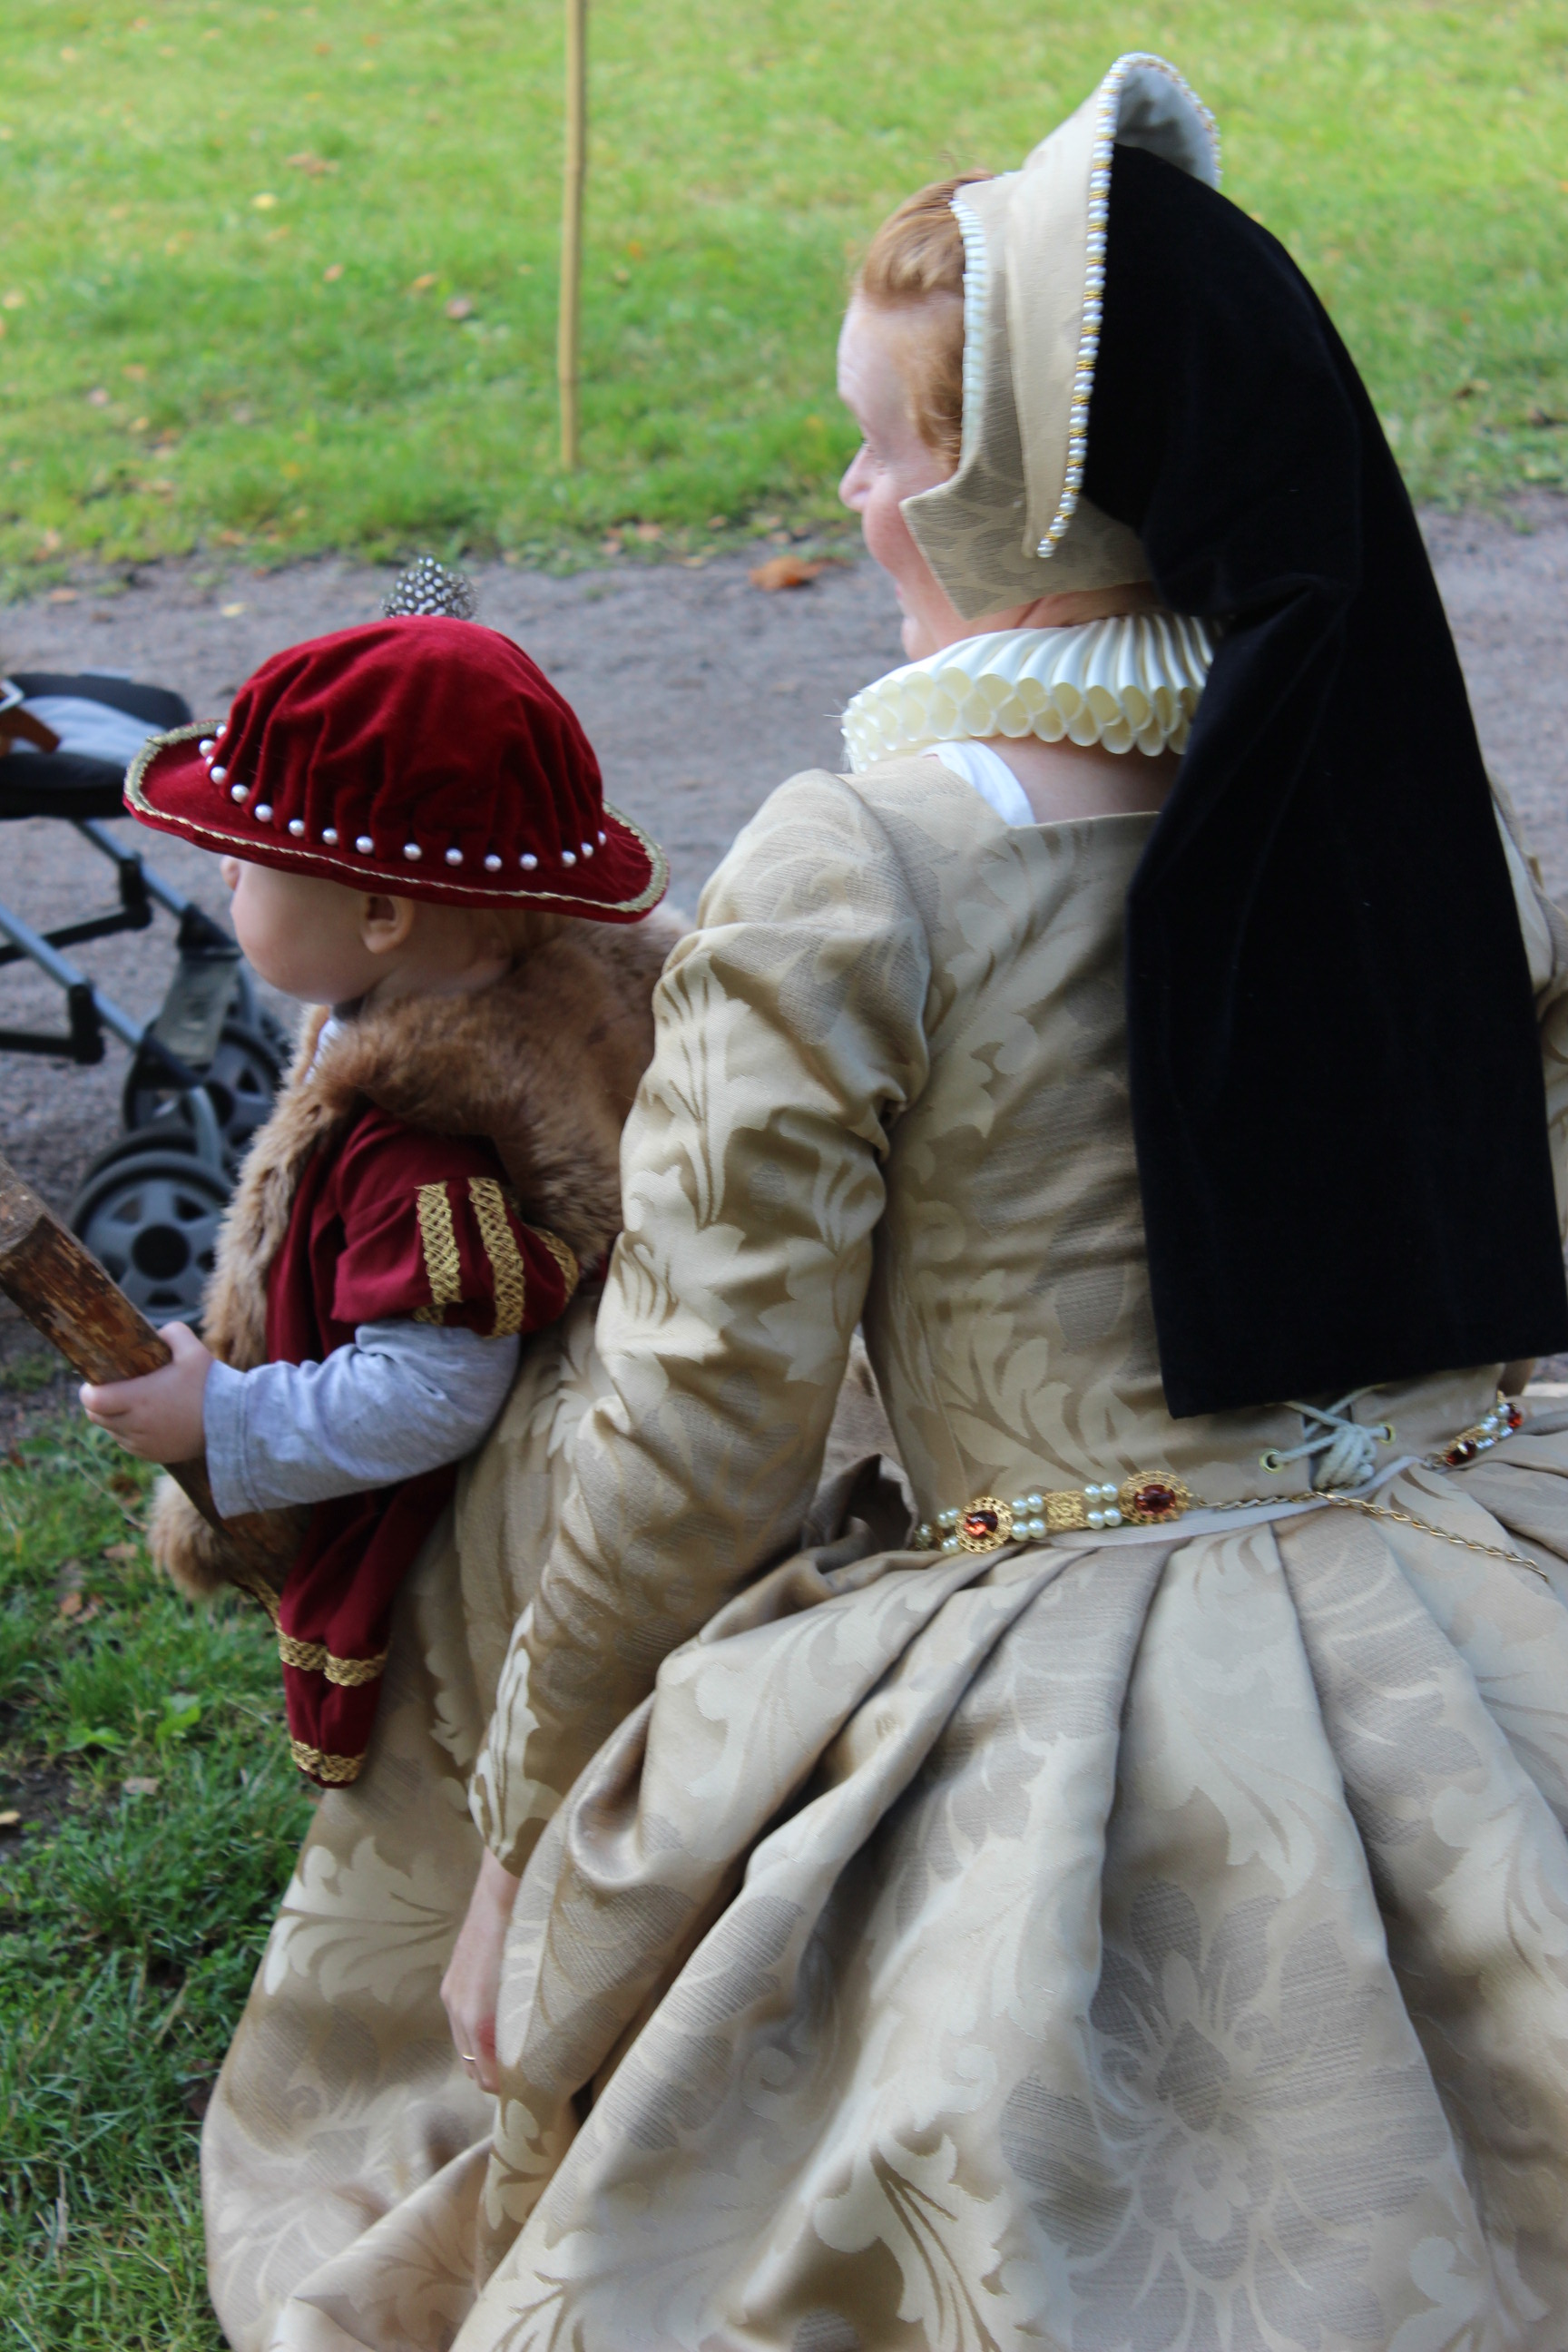
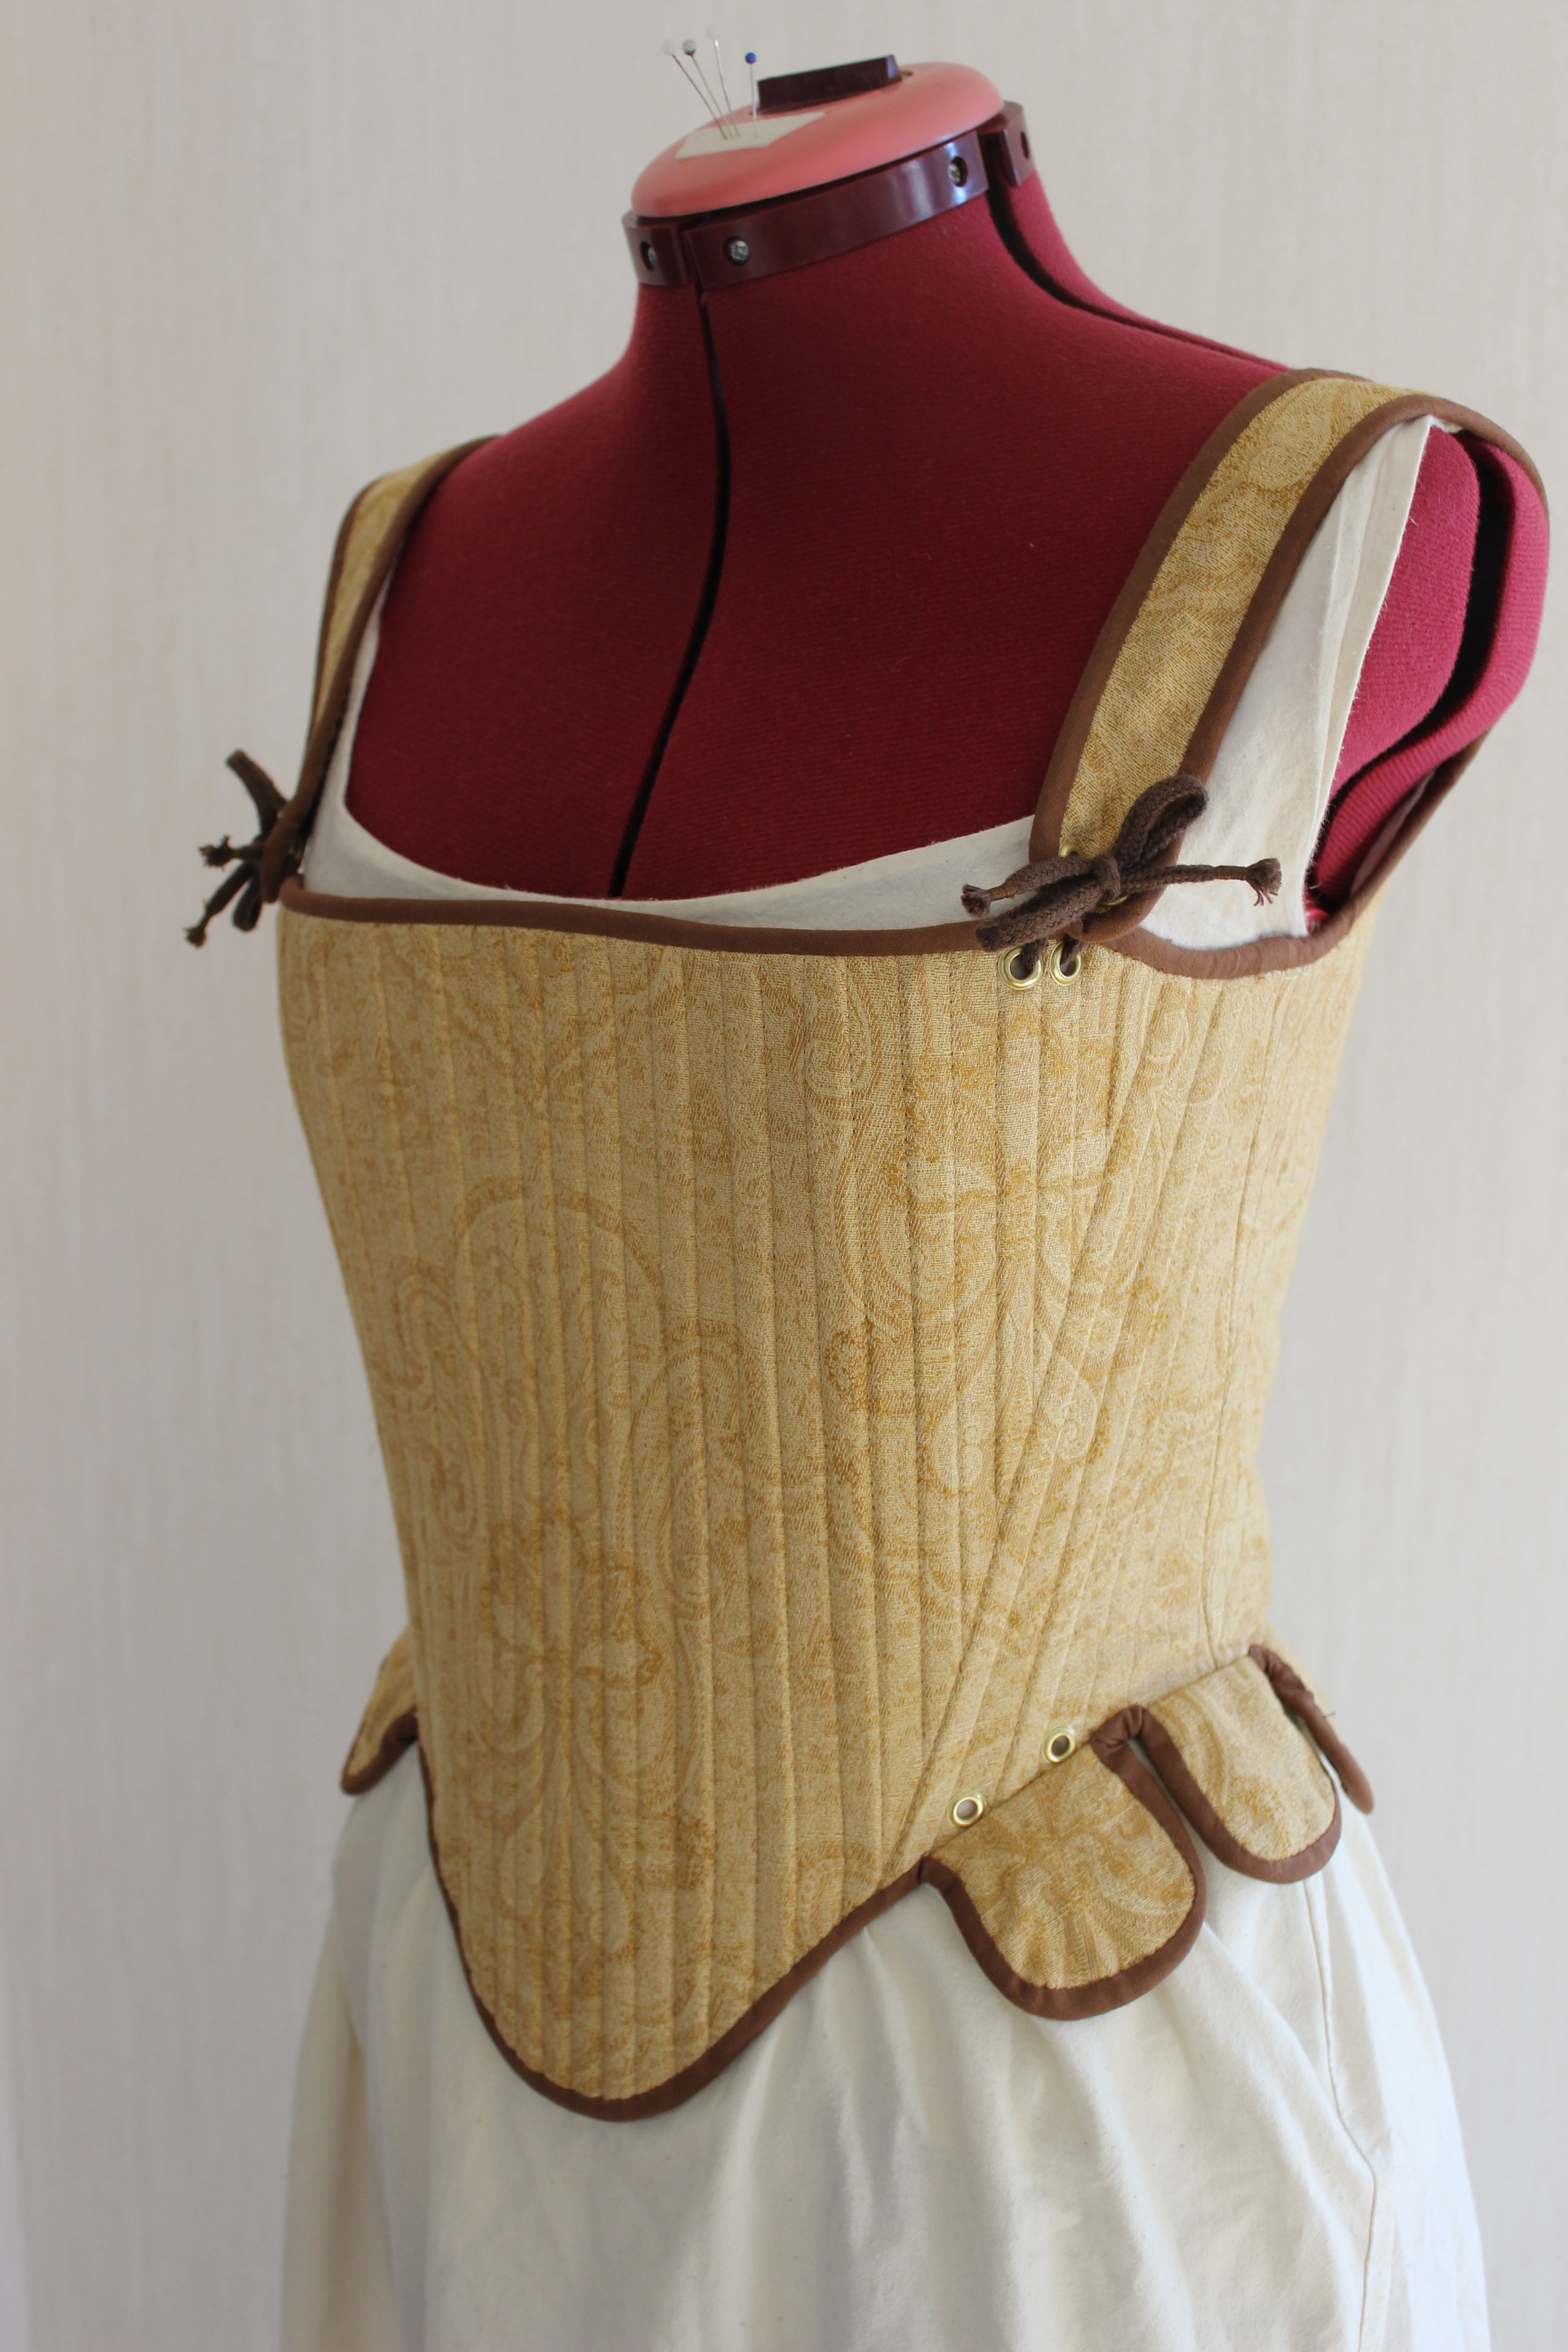
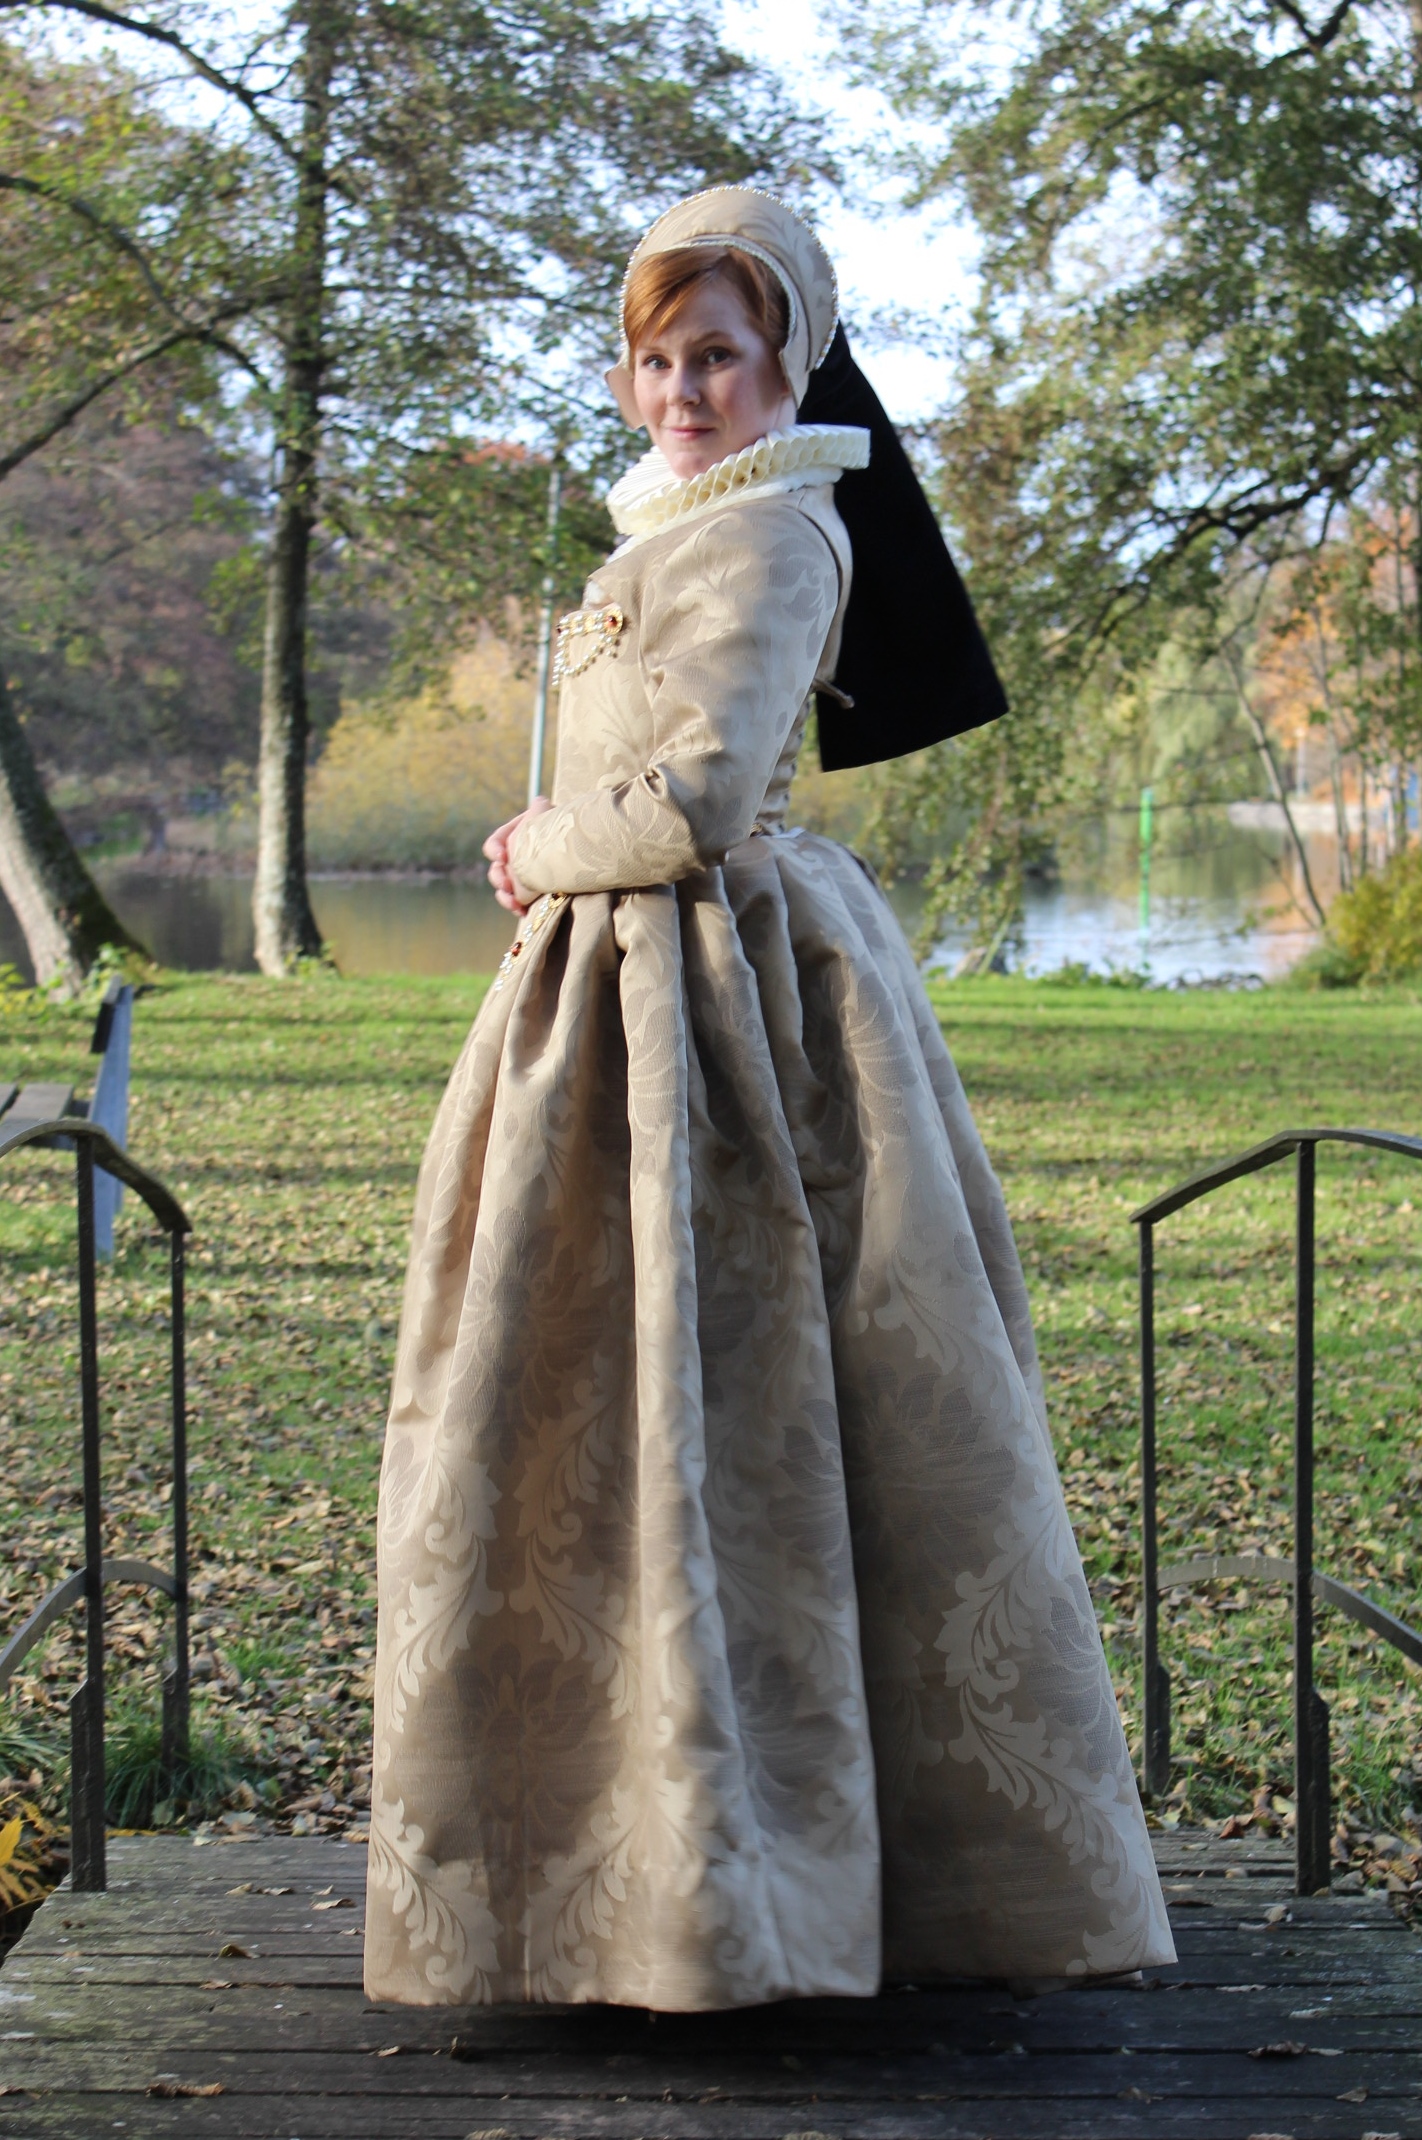
 From the side.