For the HSF nr 9: Black & white, I decided to make some pieces I’ve needed to make my next big costuming project work.
Since my plan is to make a compleatly hand made Robe Anglaise as the next challenge (due 1 june) I needed to give myself a head start. So by making a simple piece for this one, I could save some time and make it possible to start the Anglaise earlier.
The theme of this challenge fit perfectly for some of the pieces I needed for the “Art” gown to be finished.
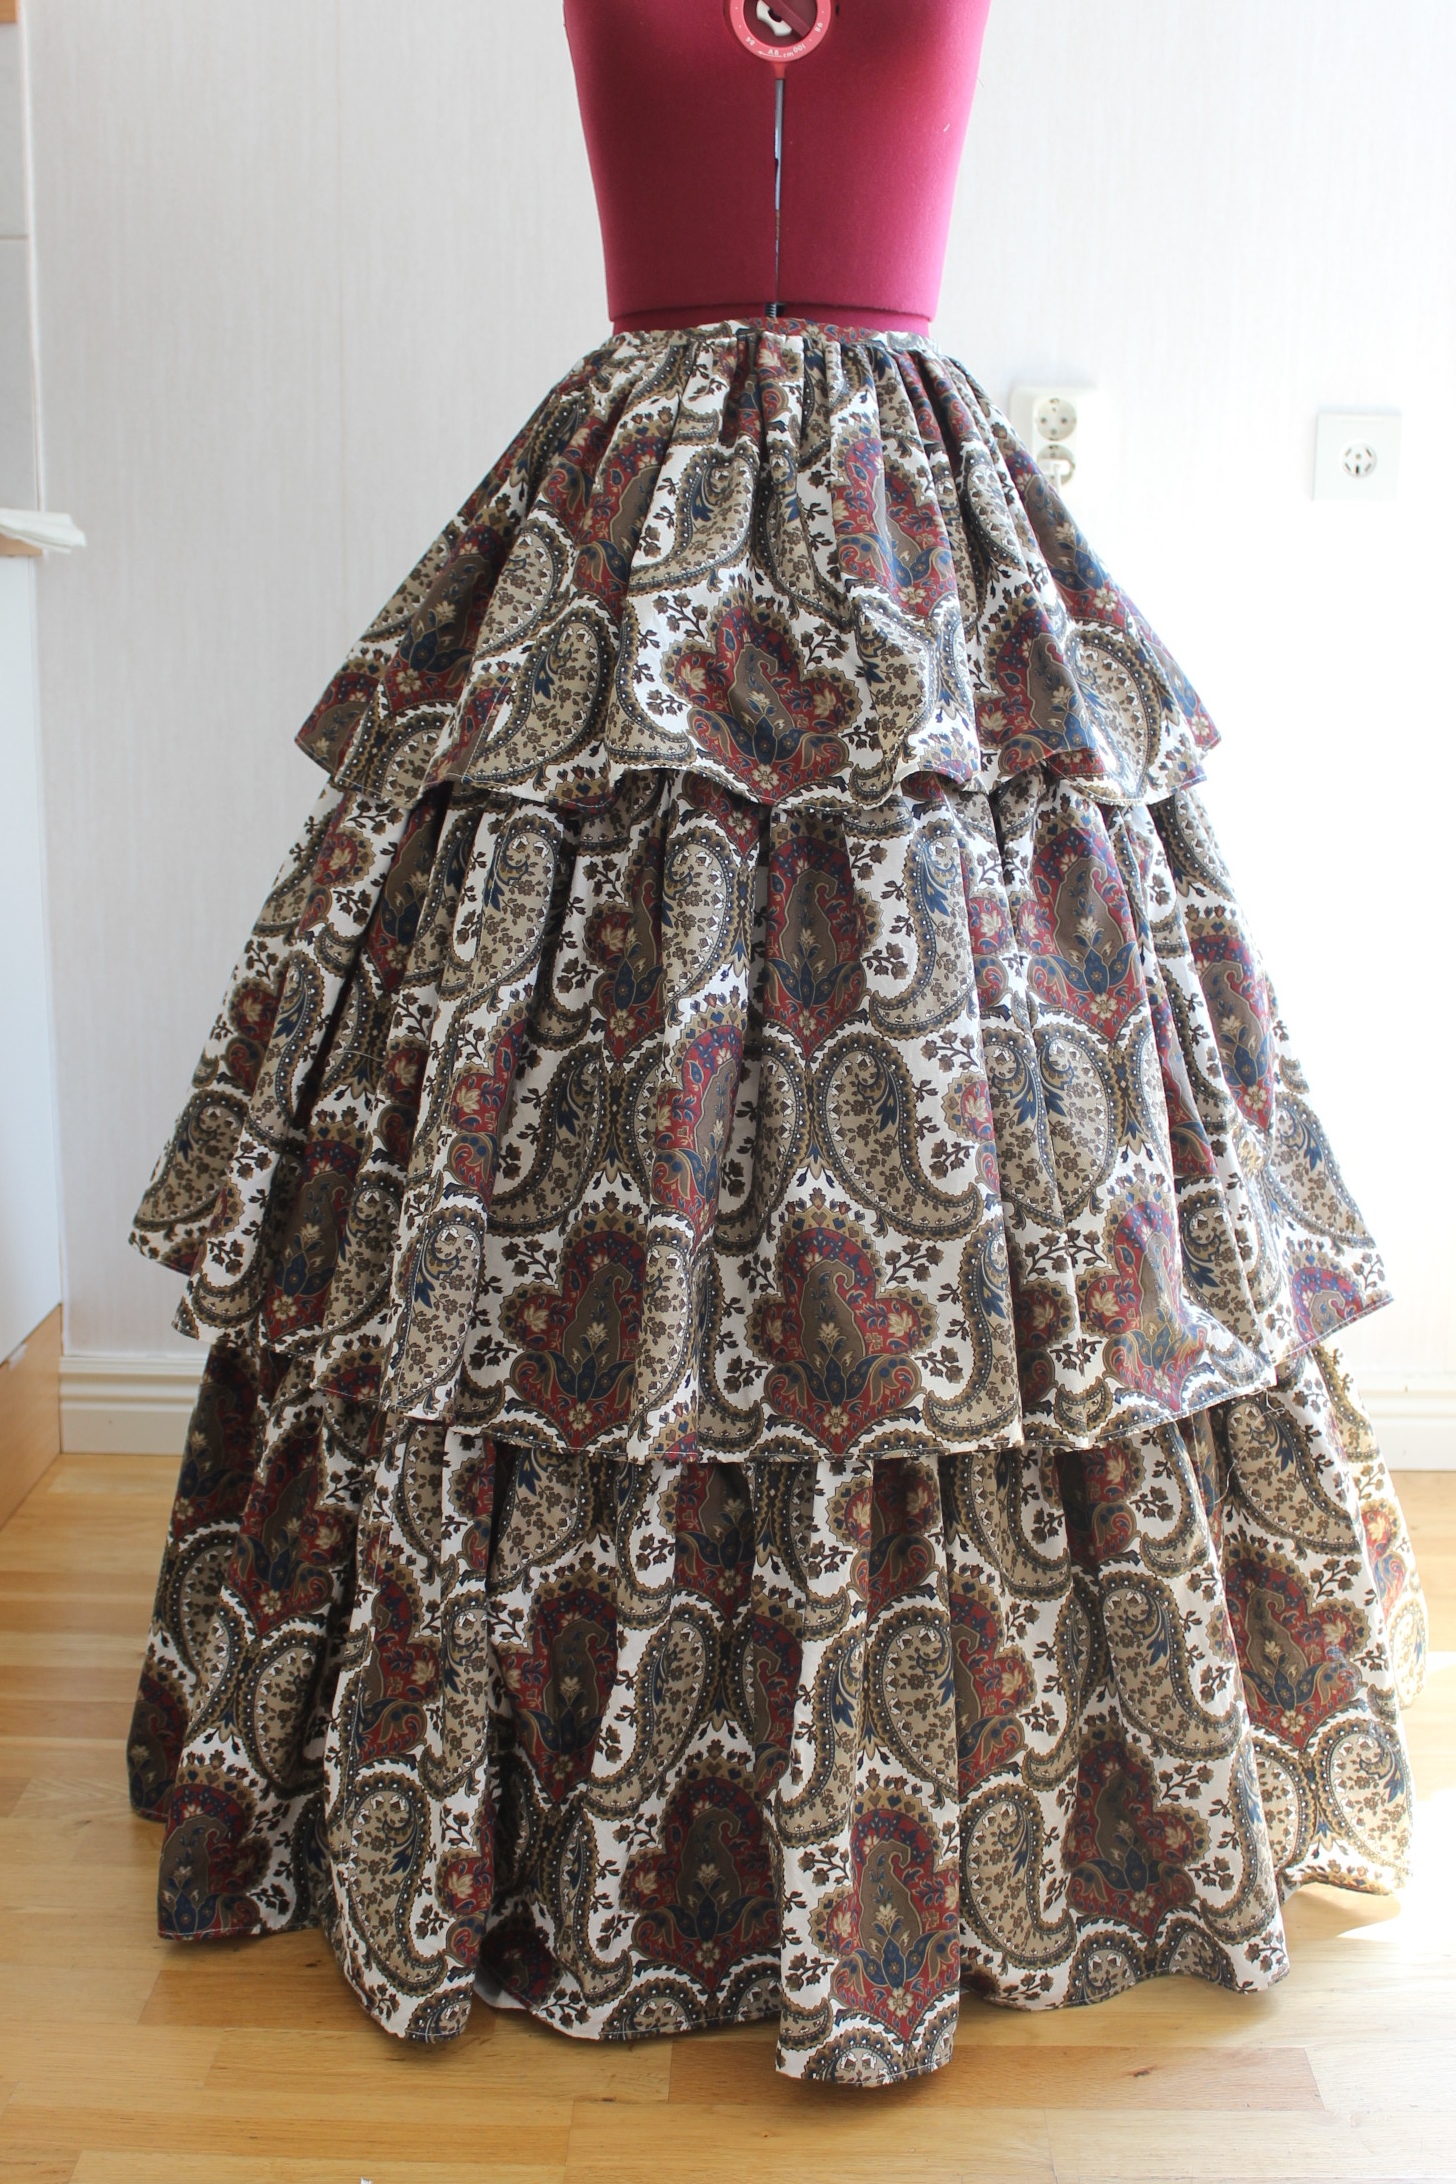
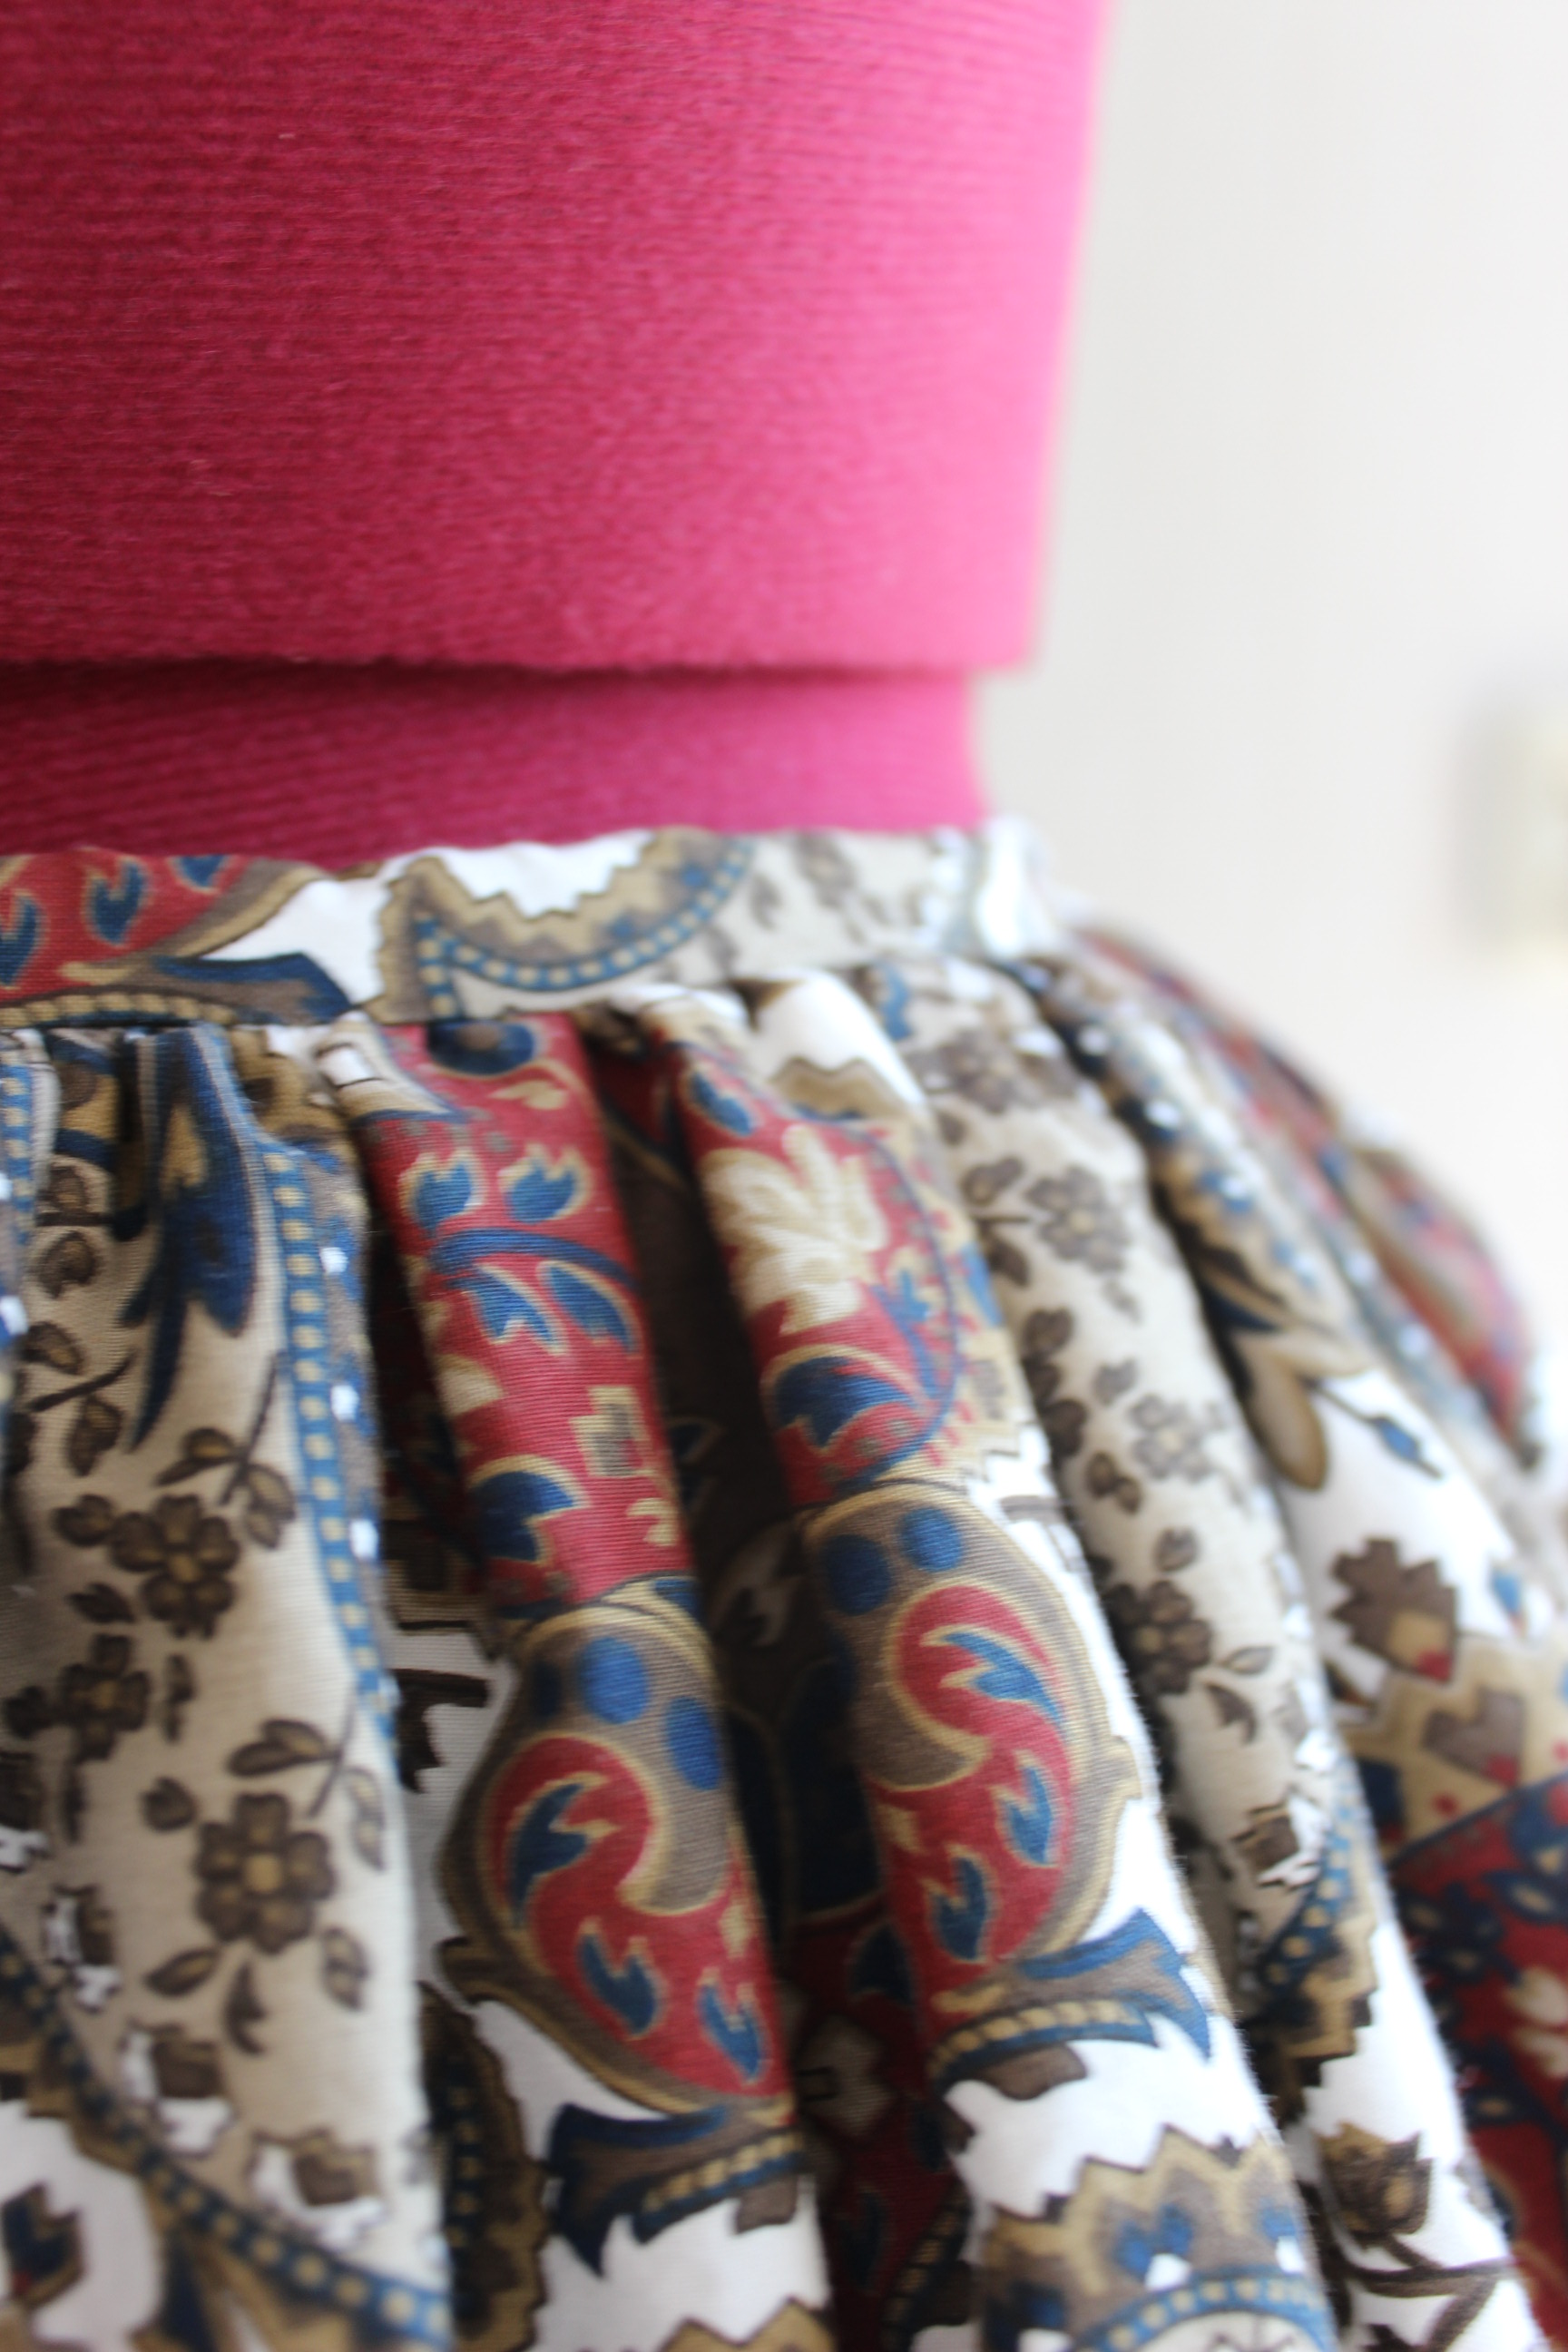
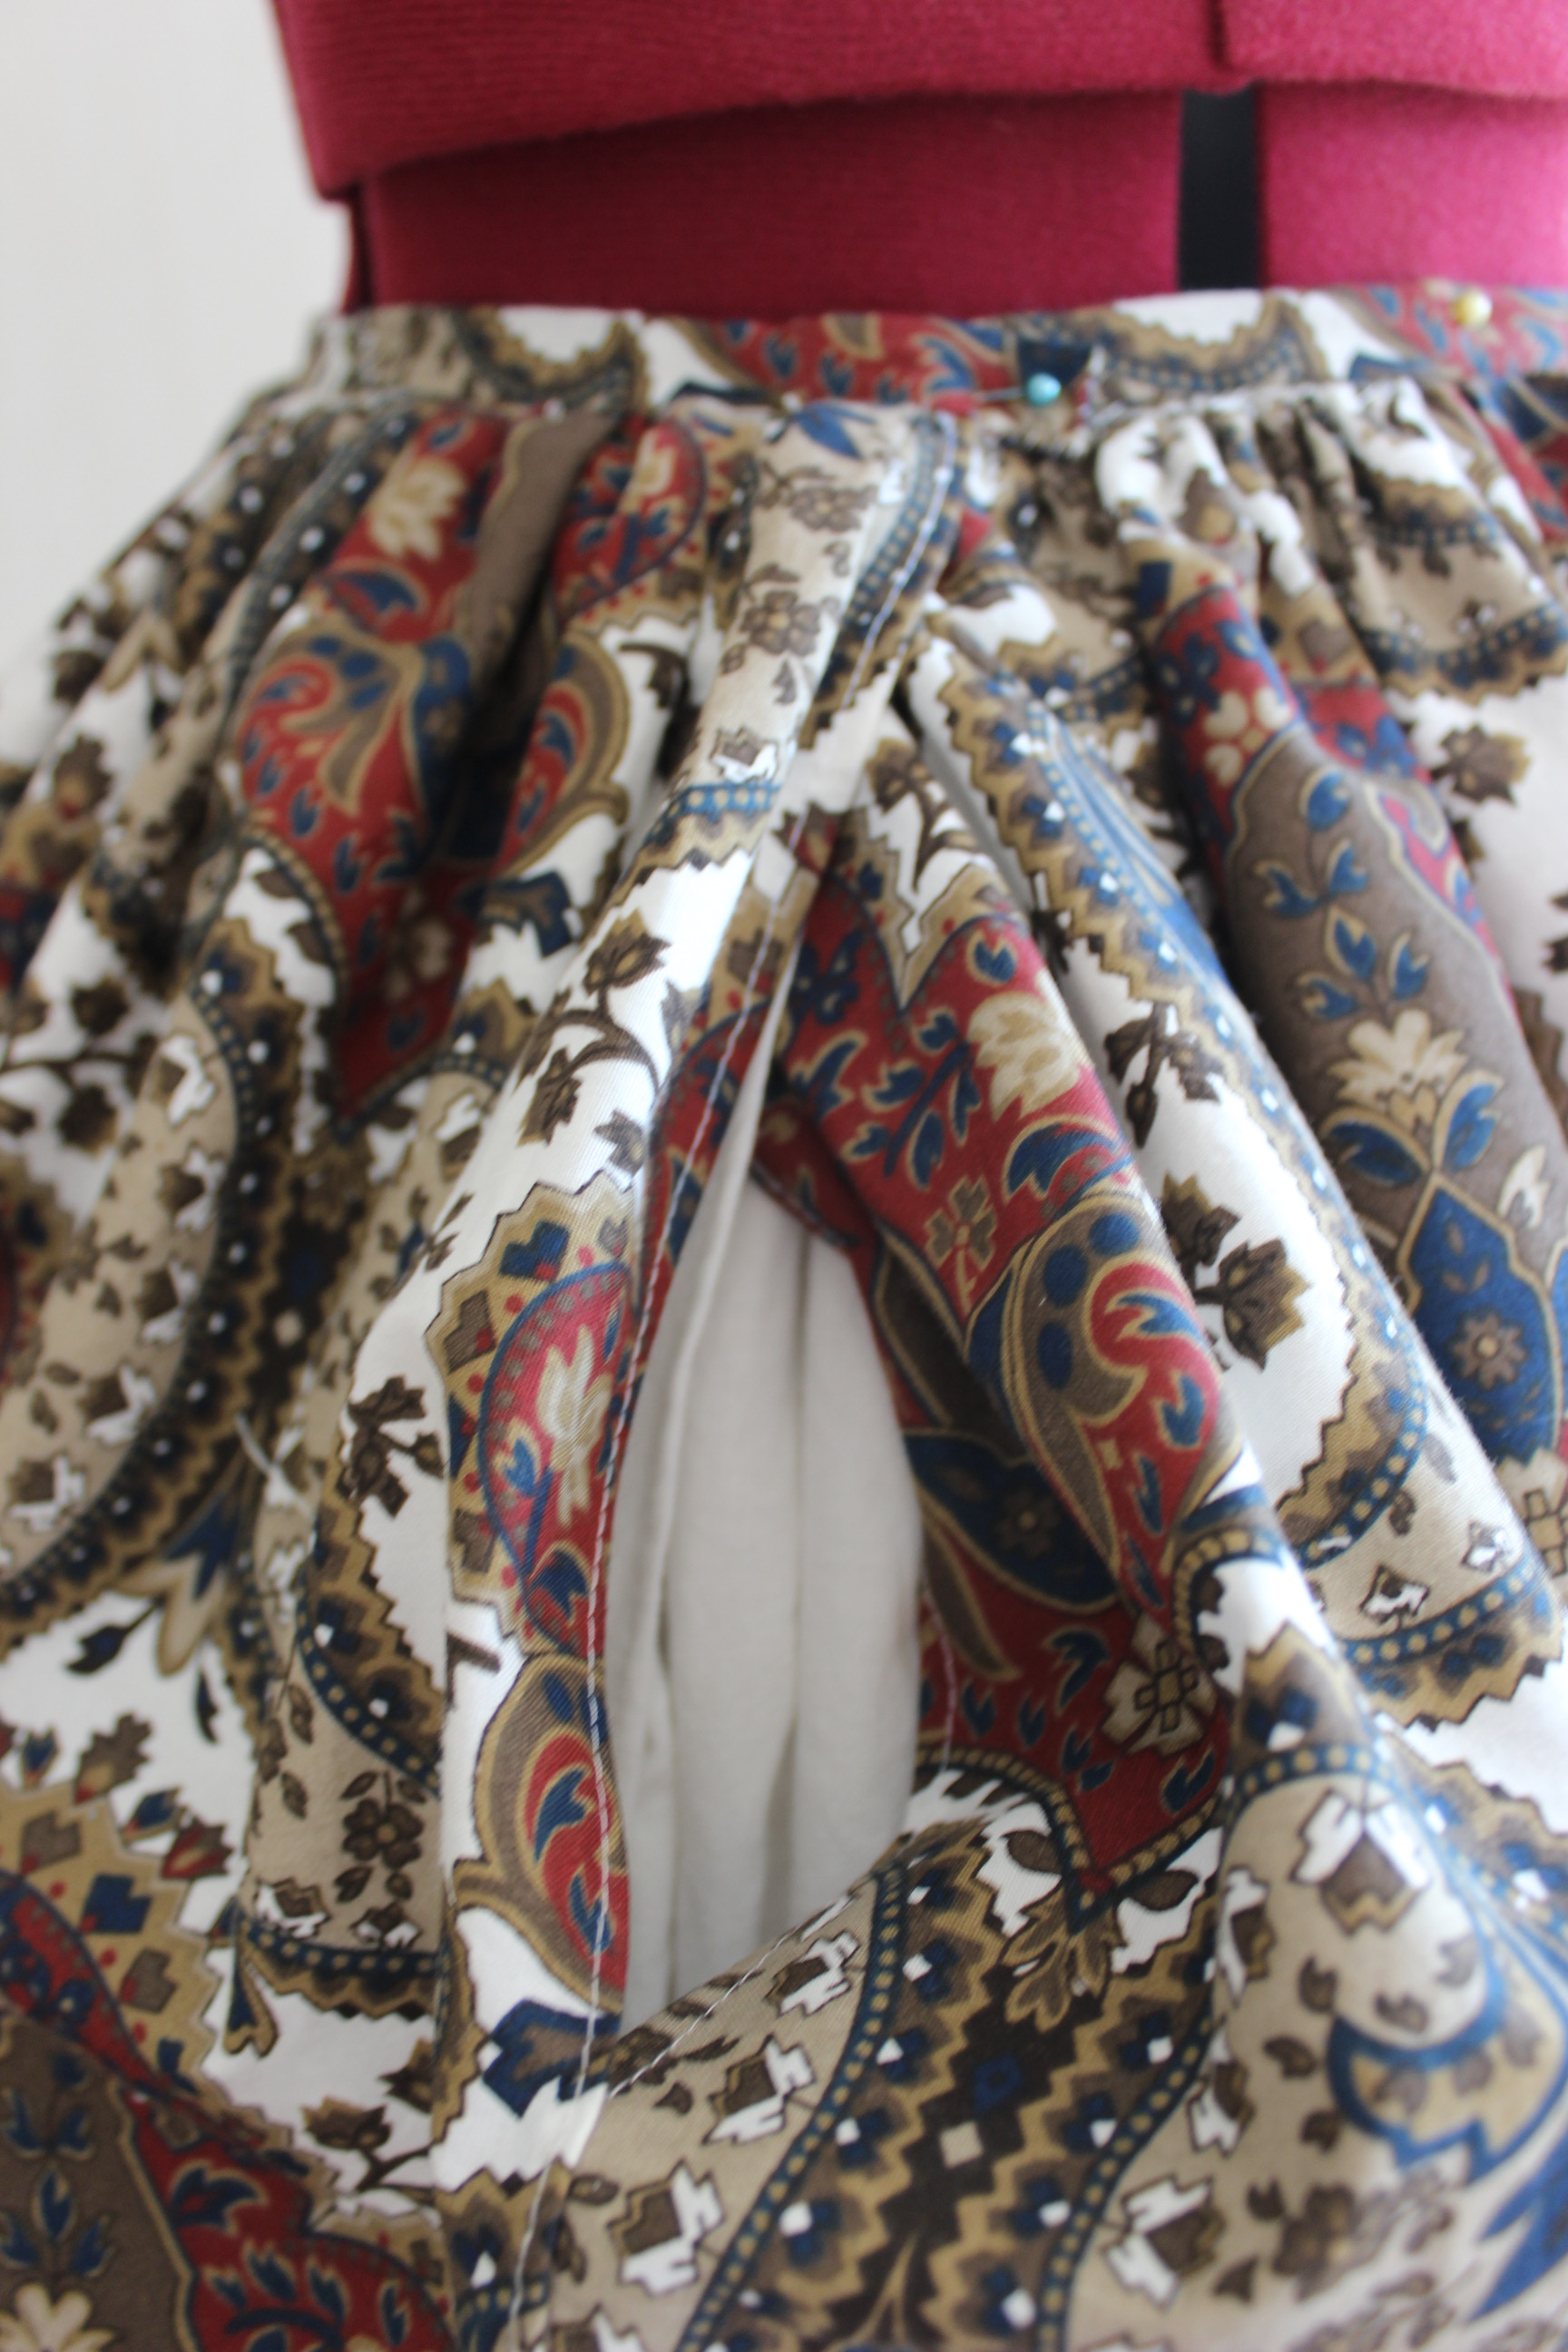
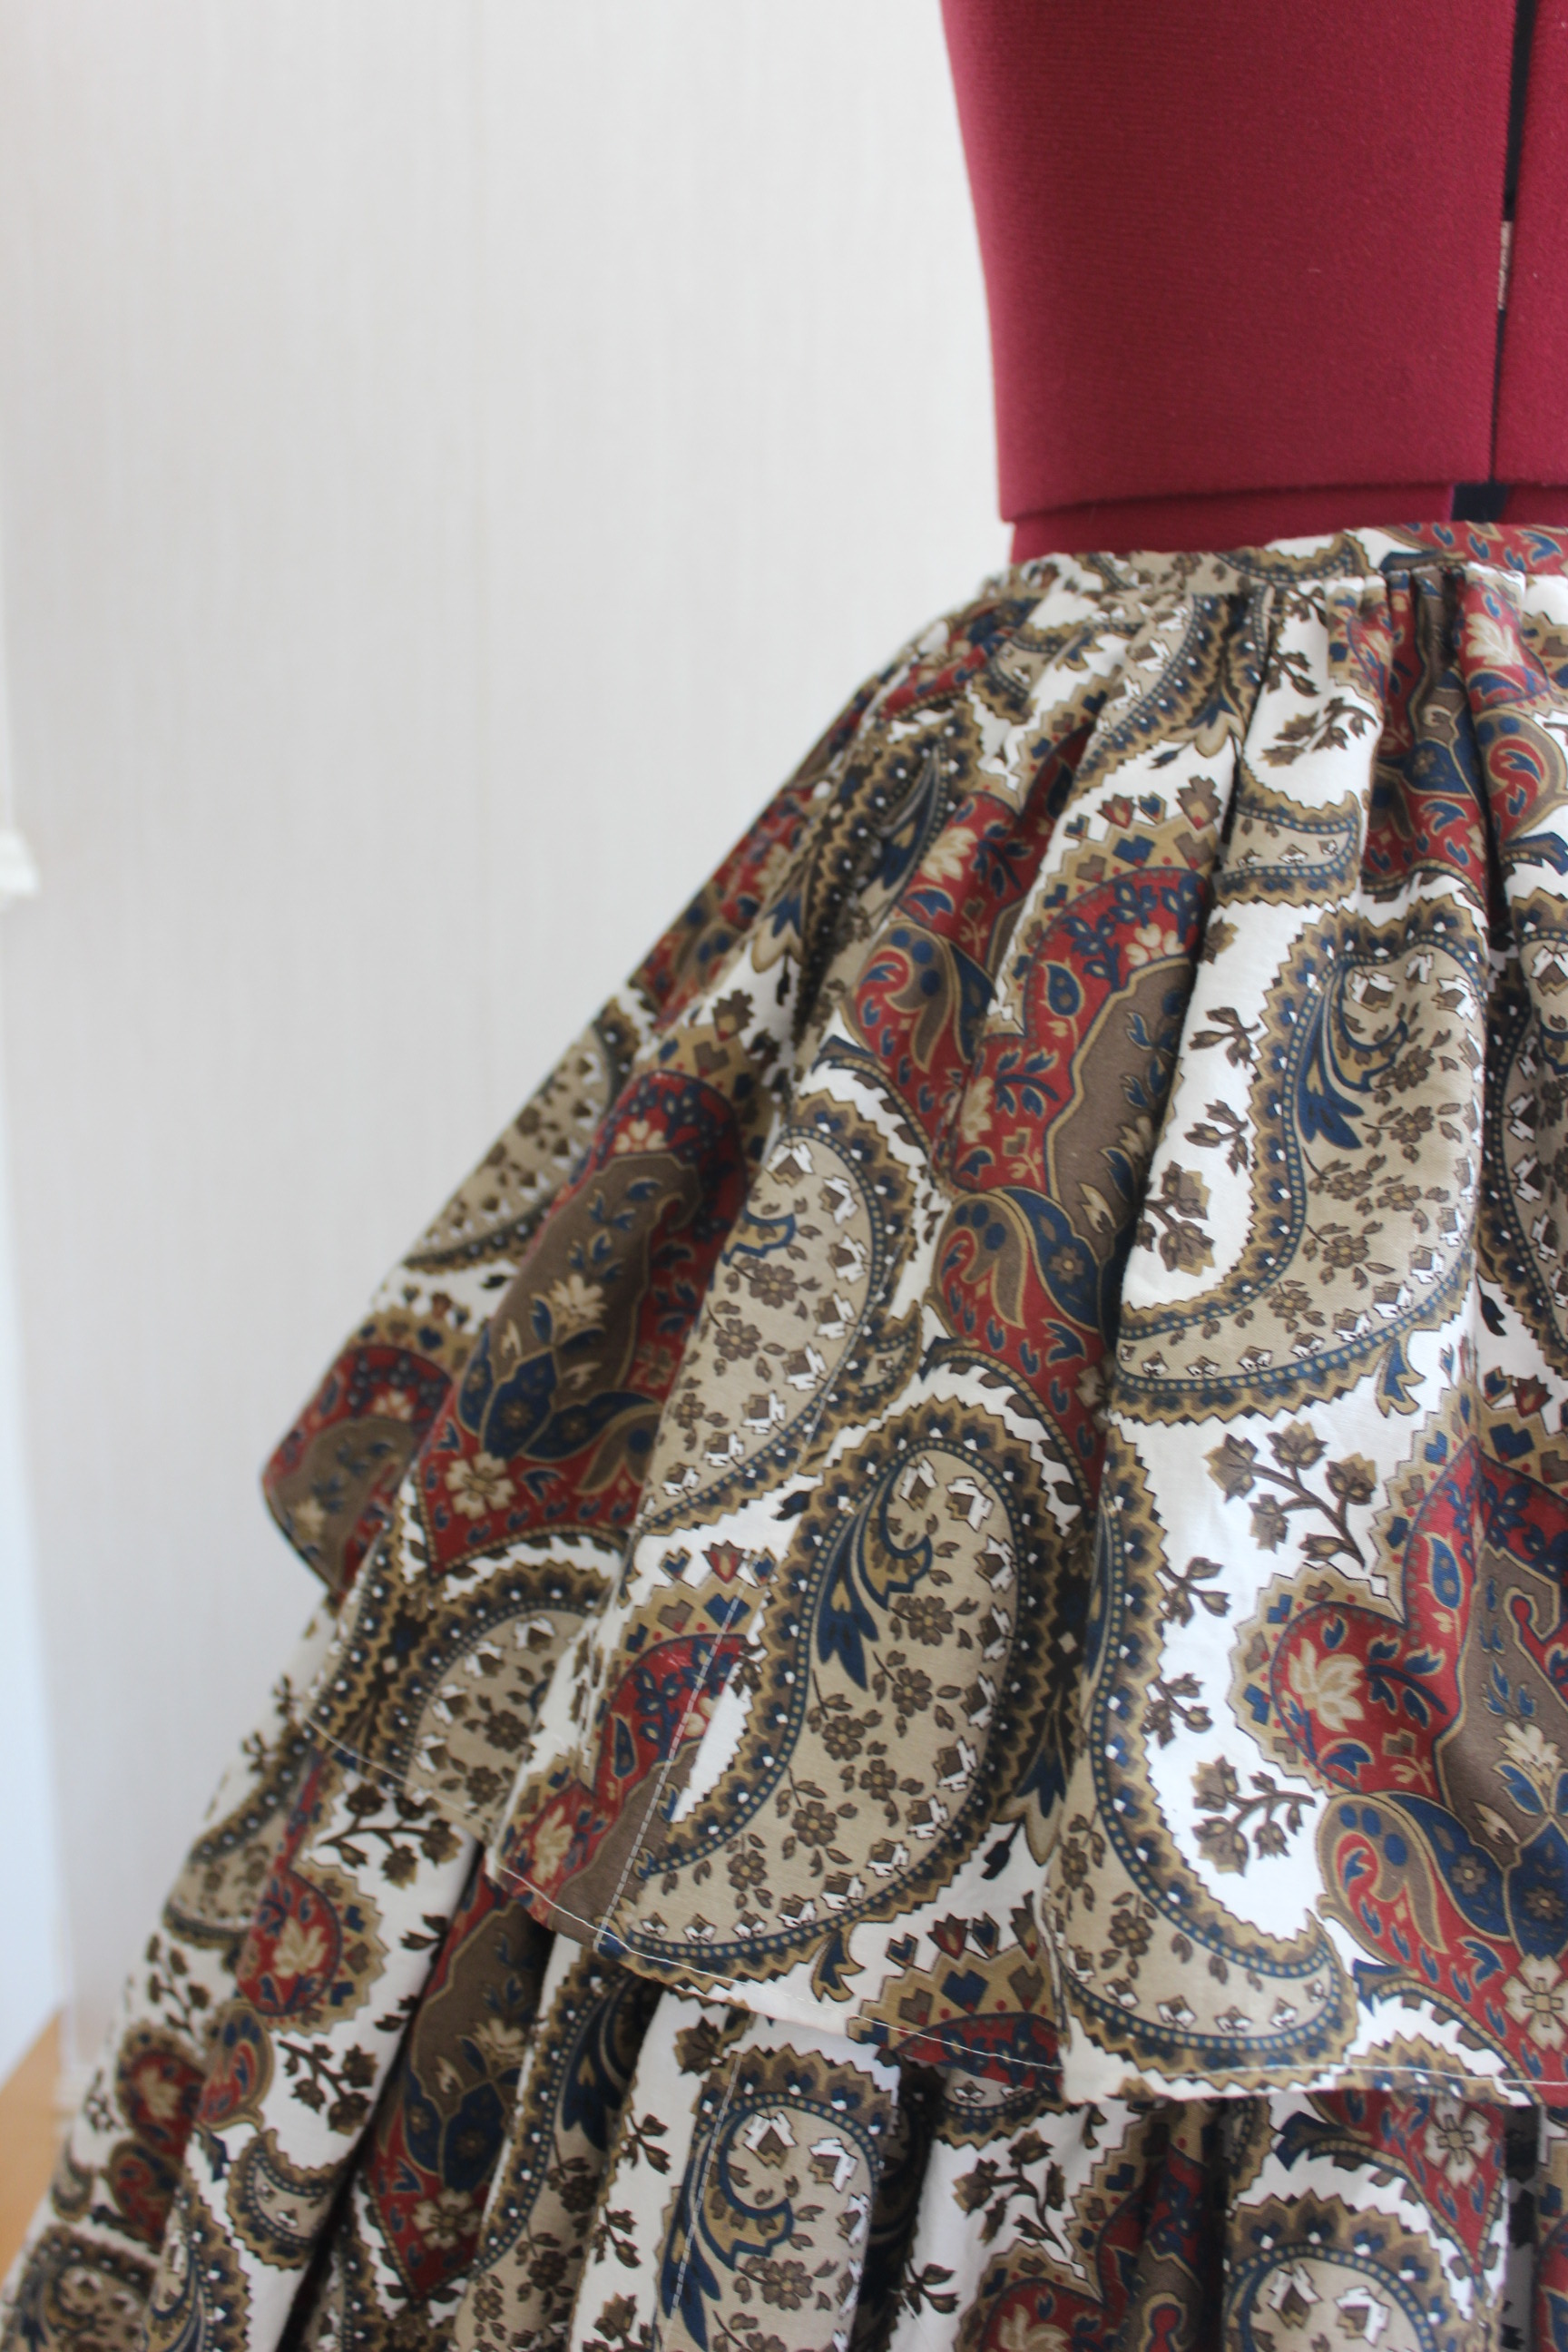
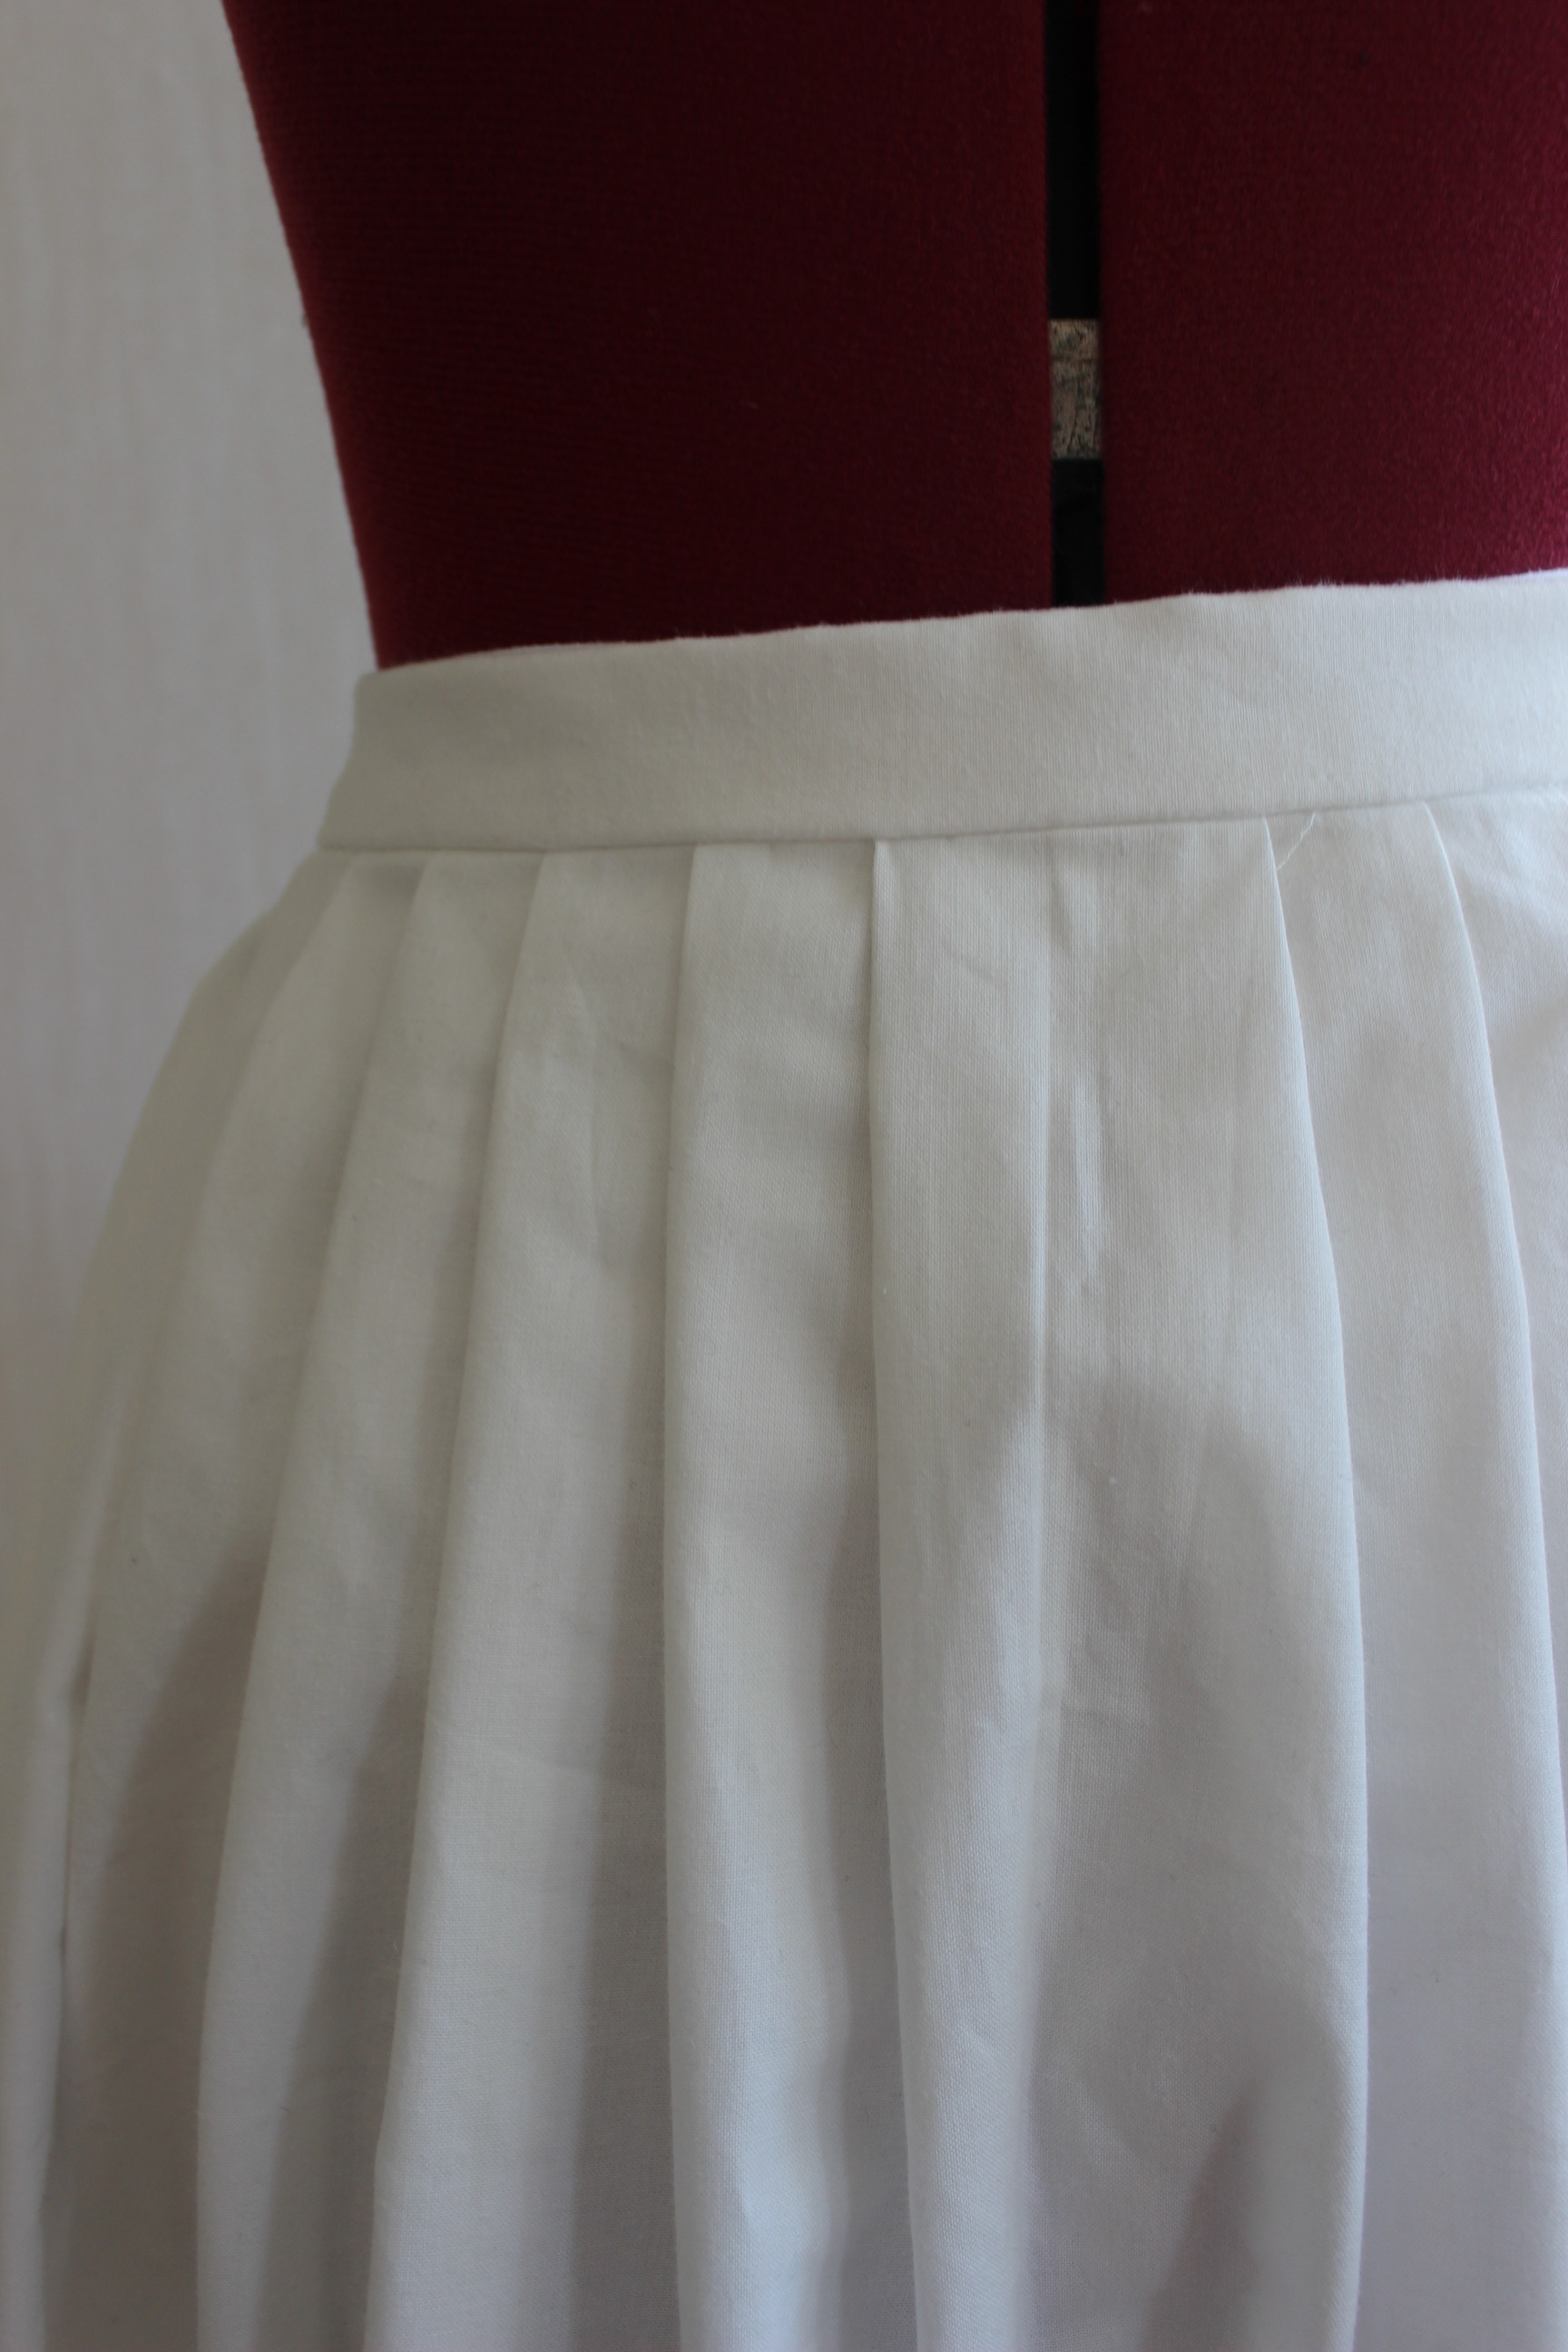
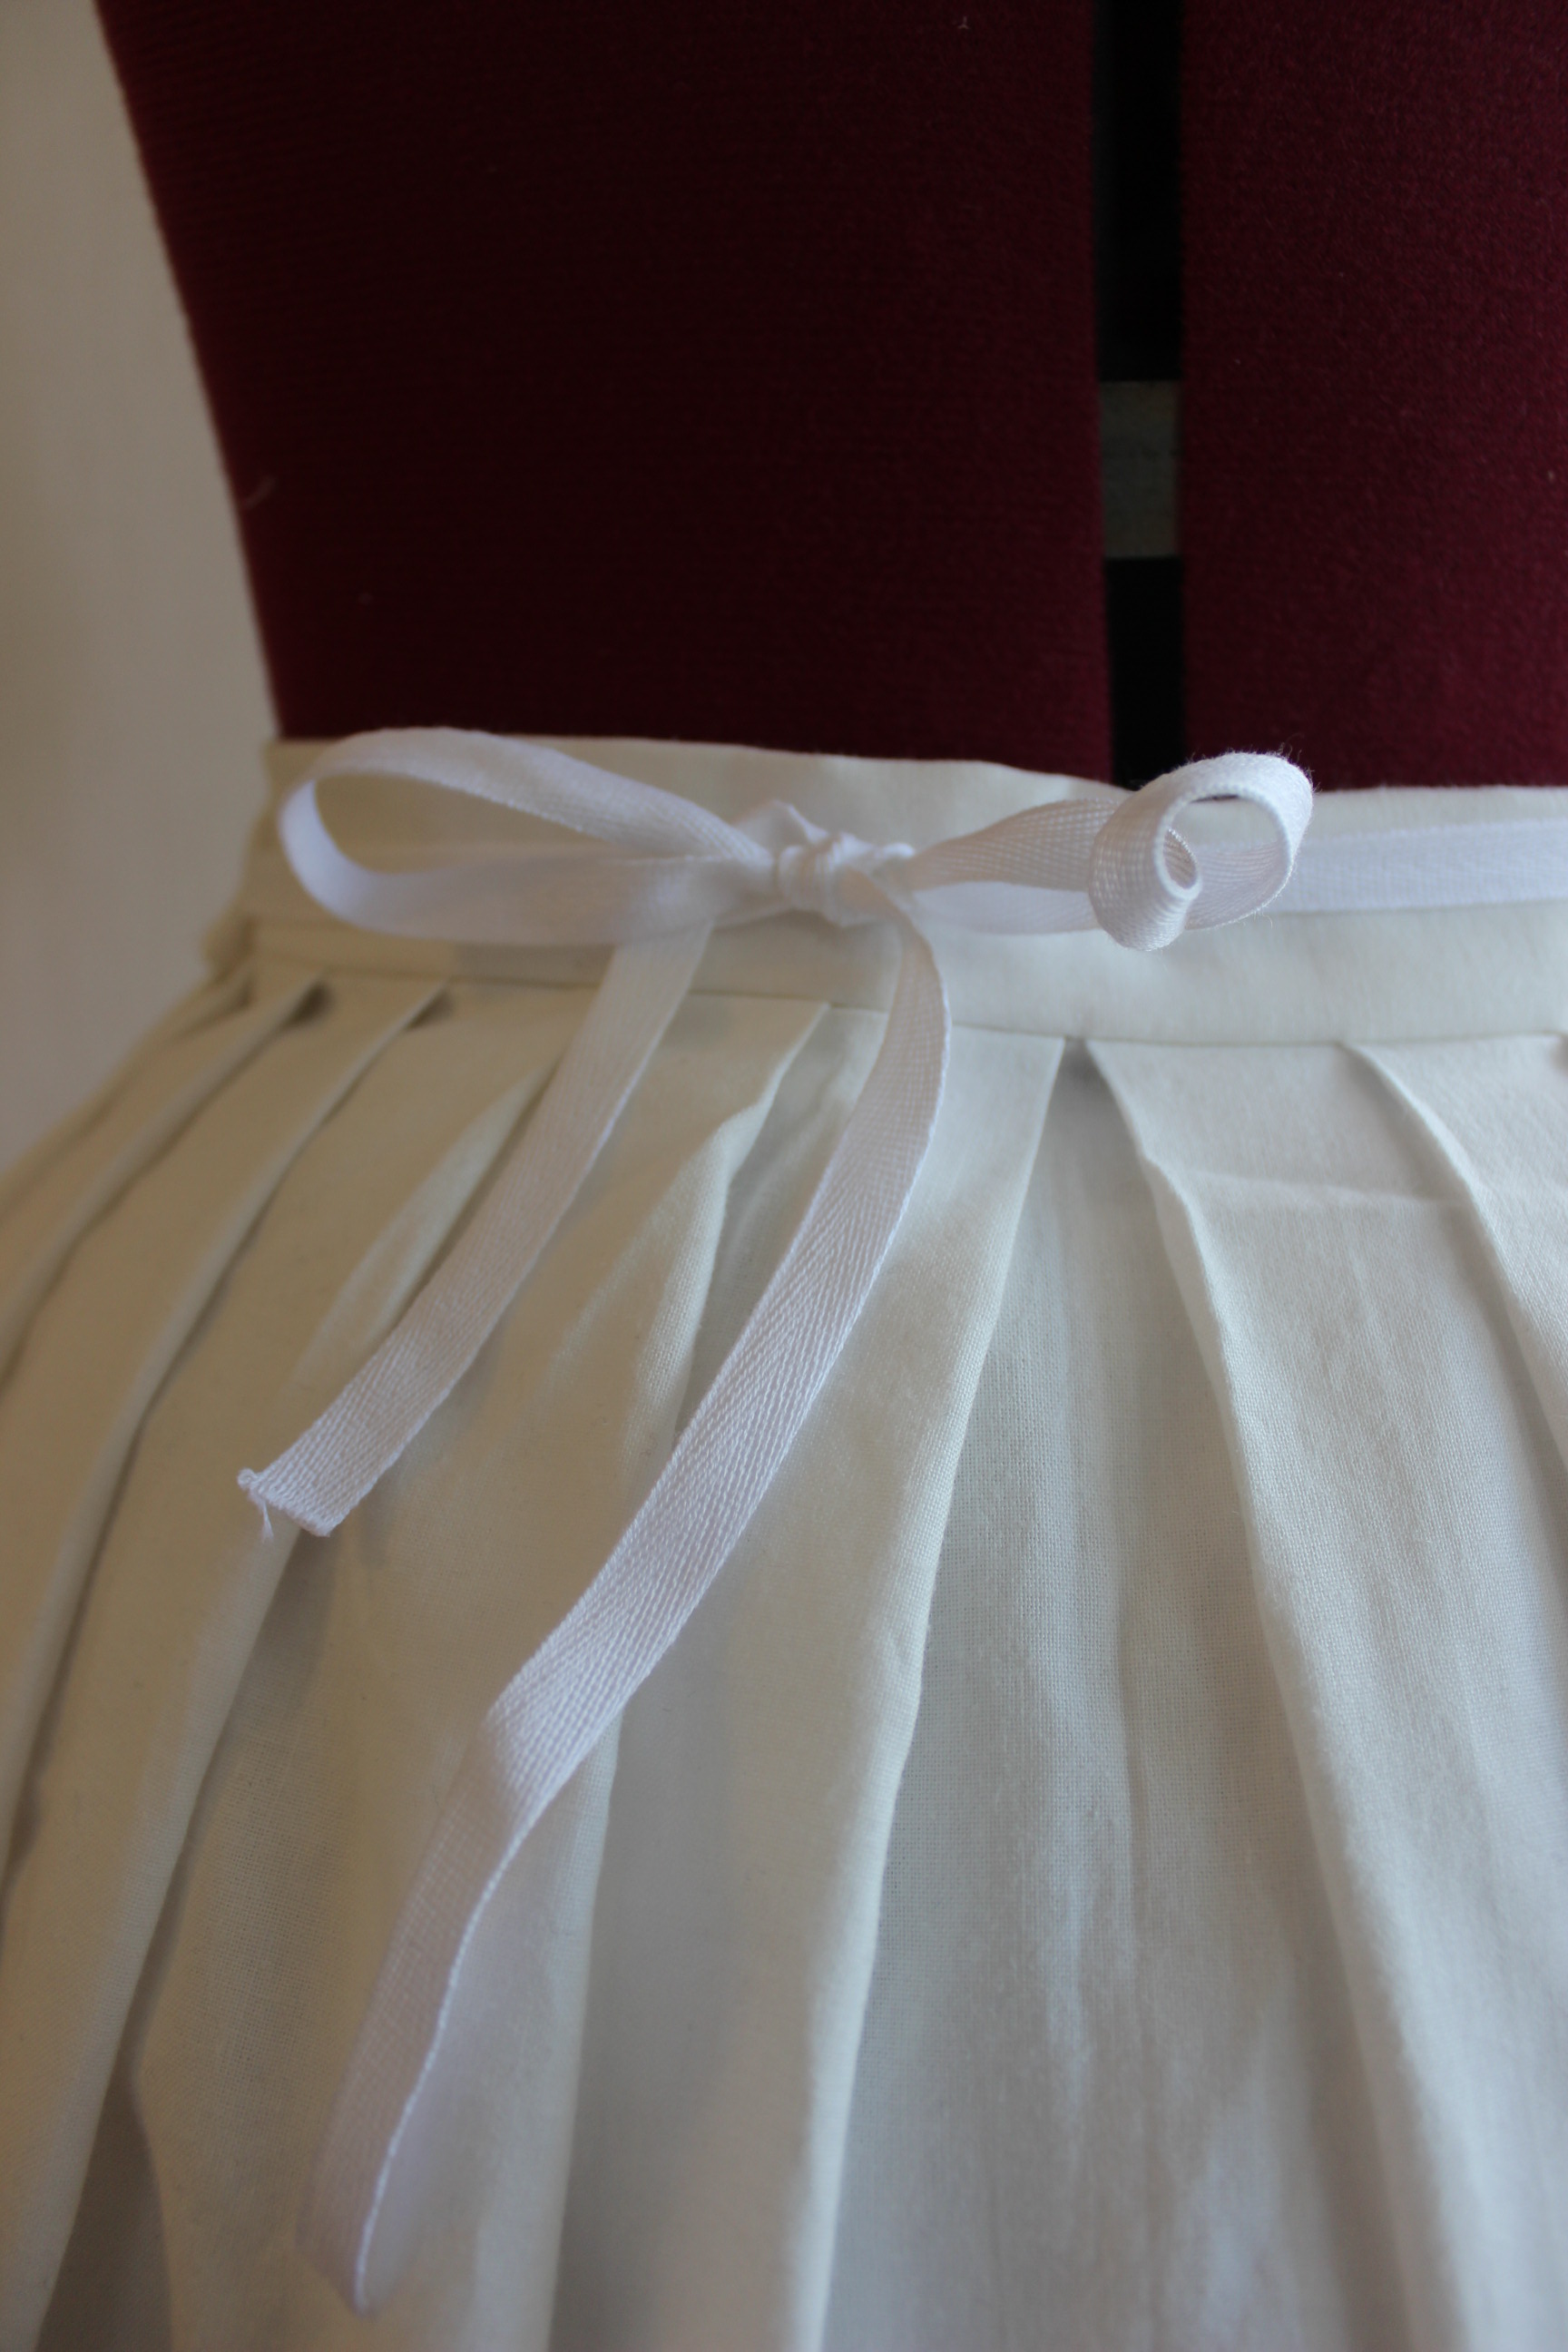
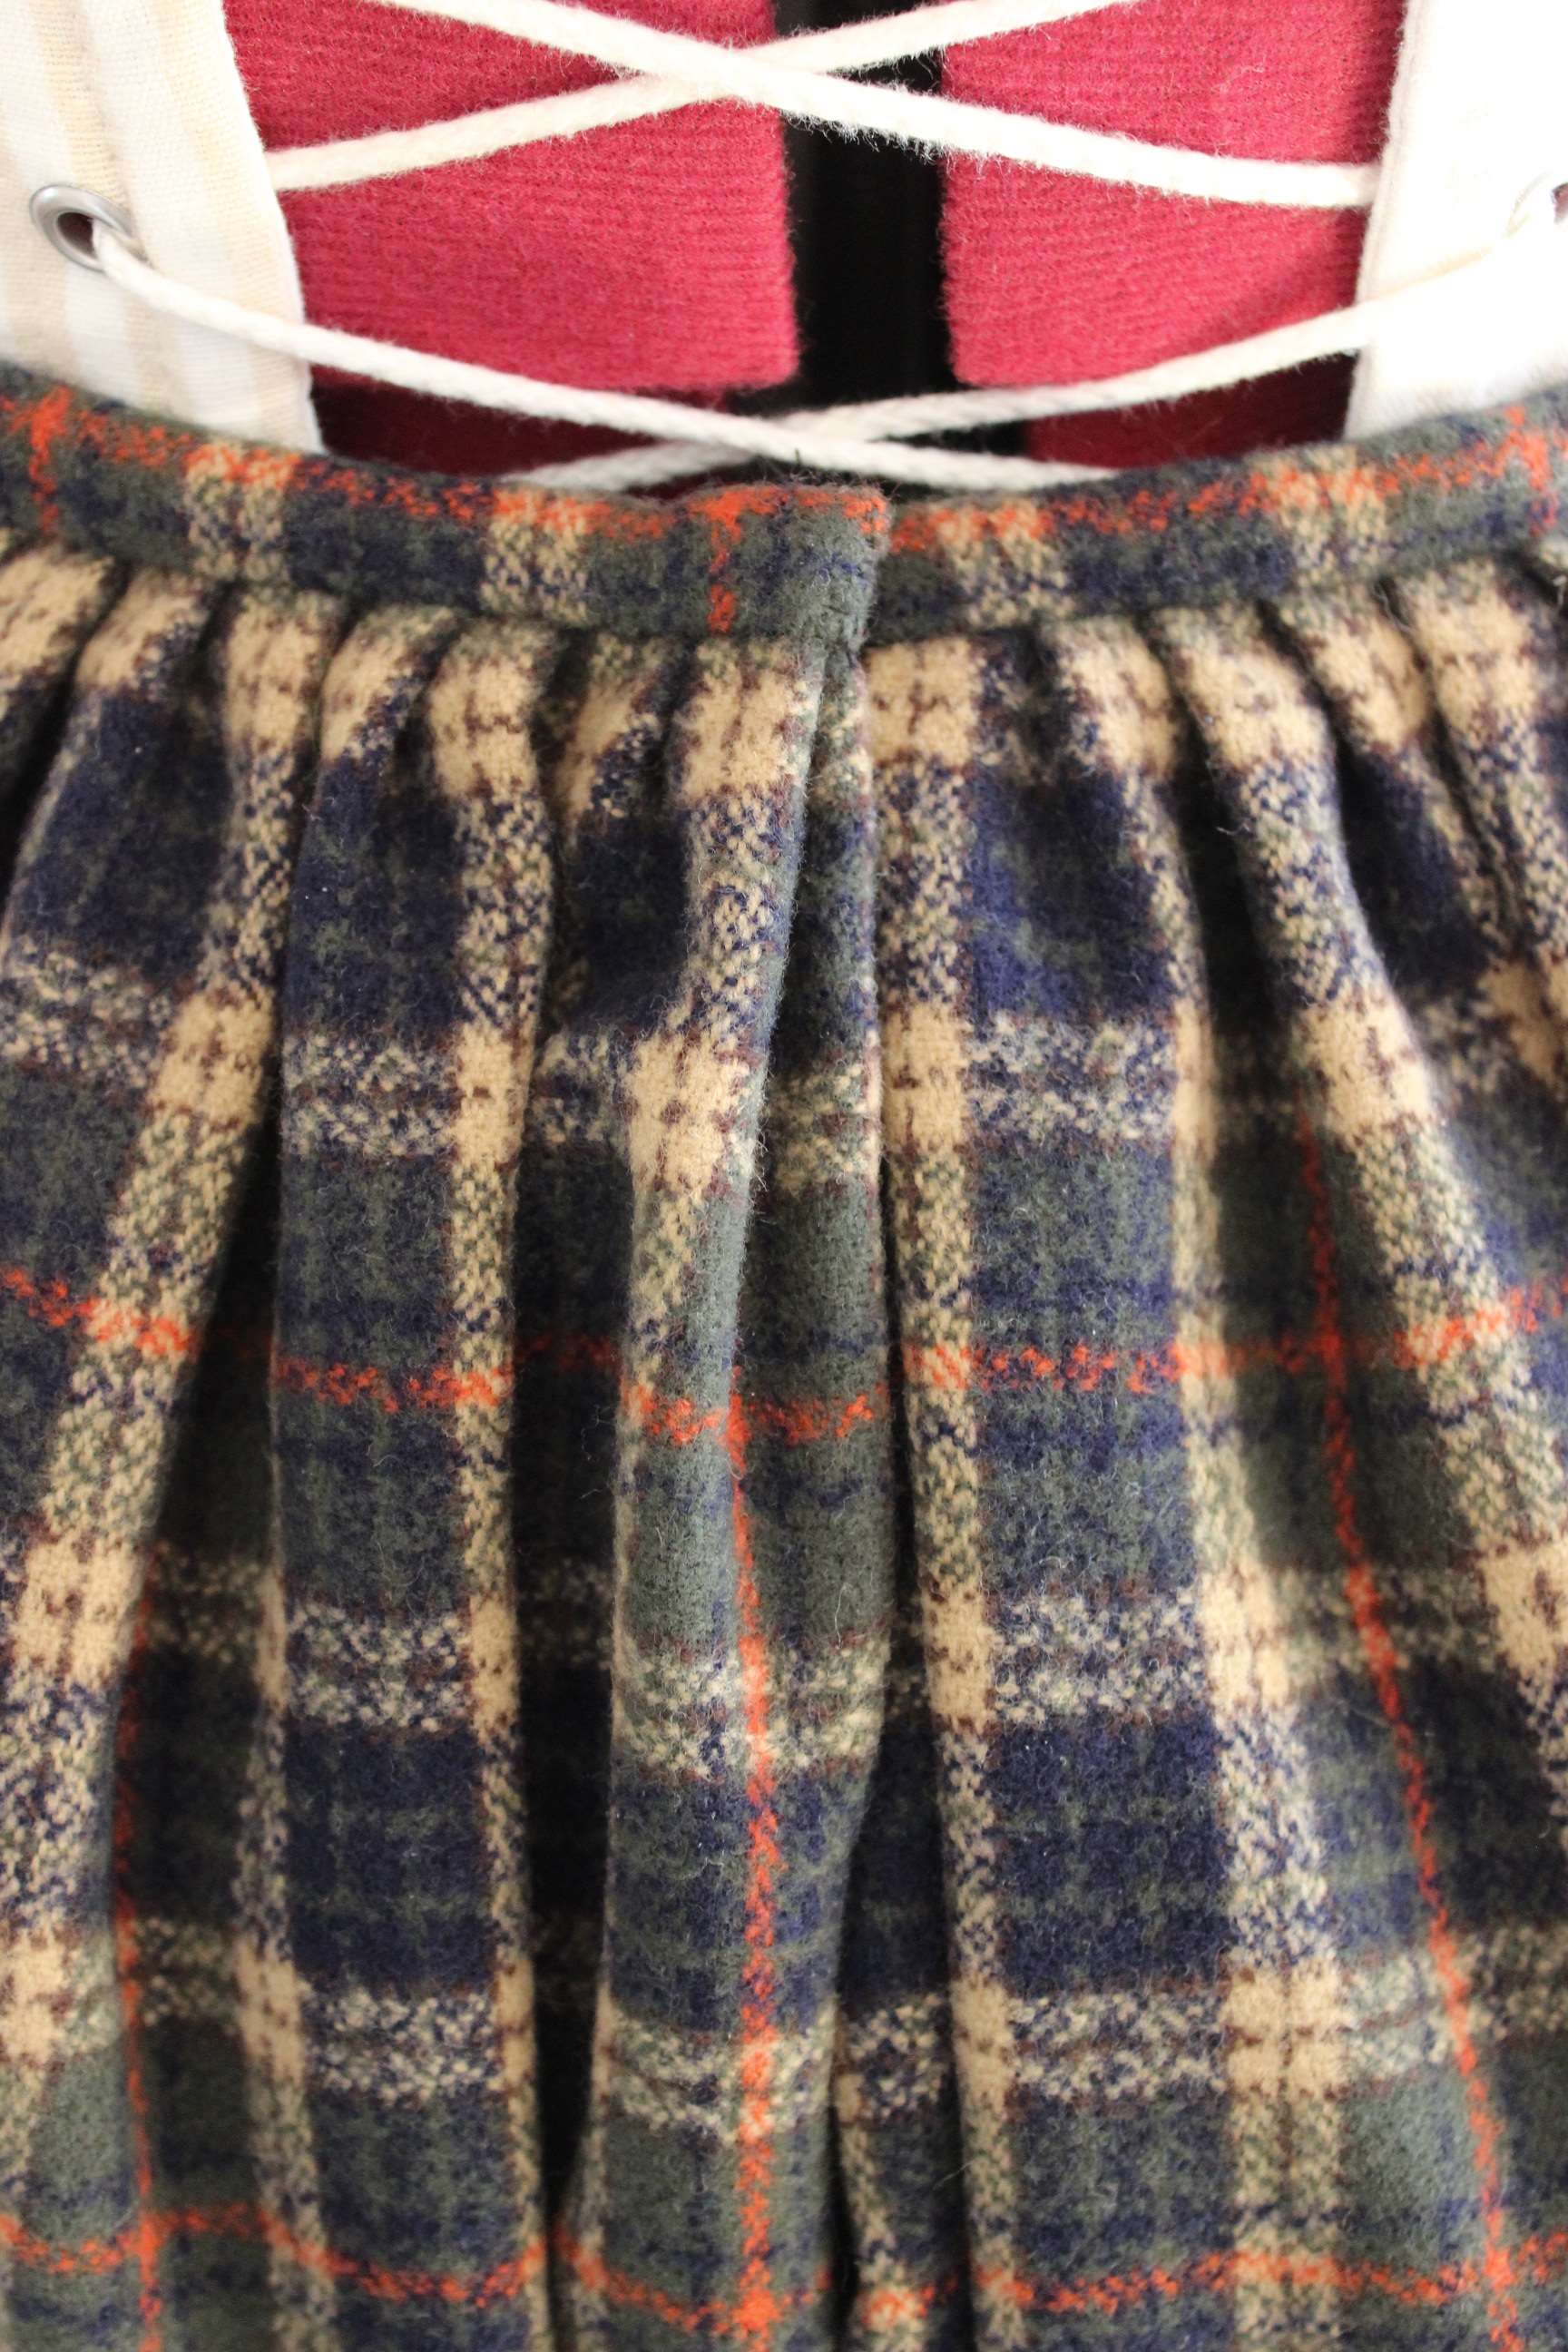
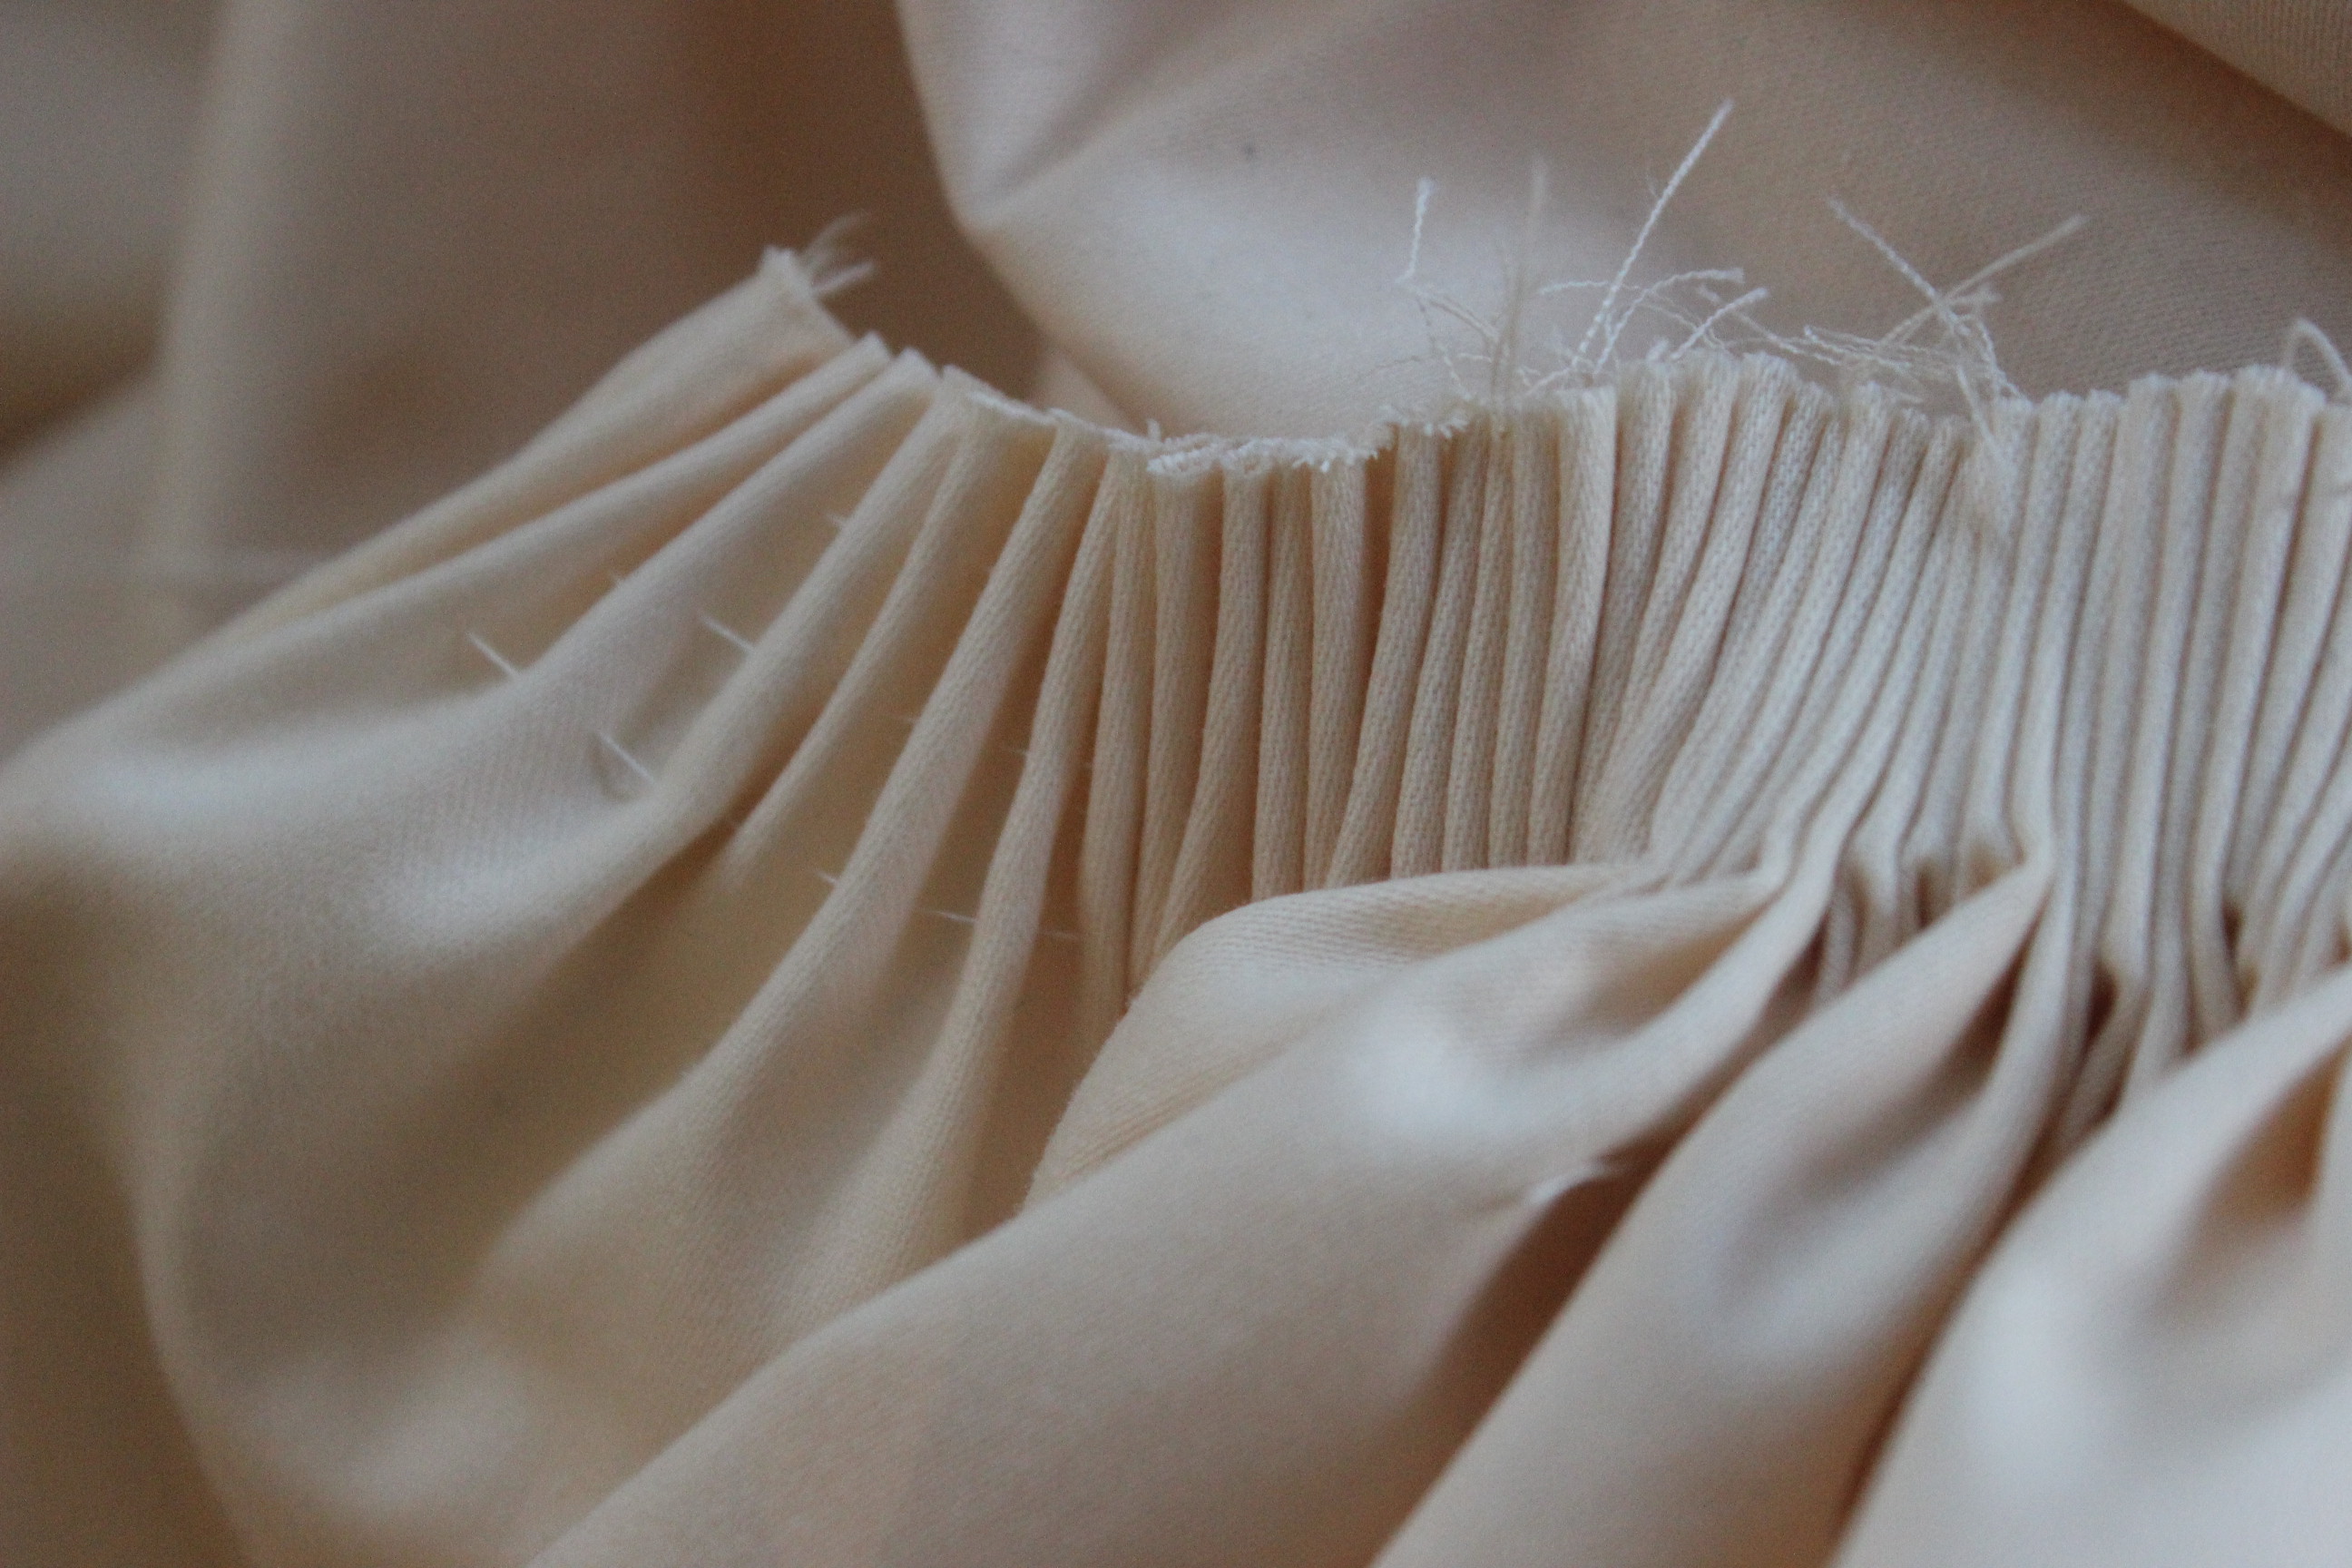
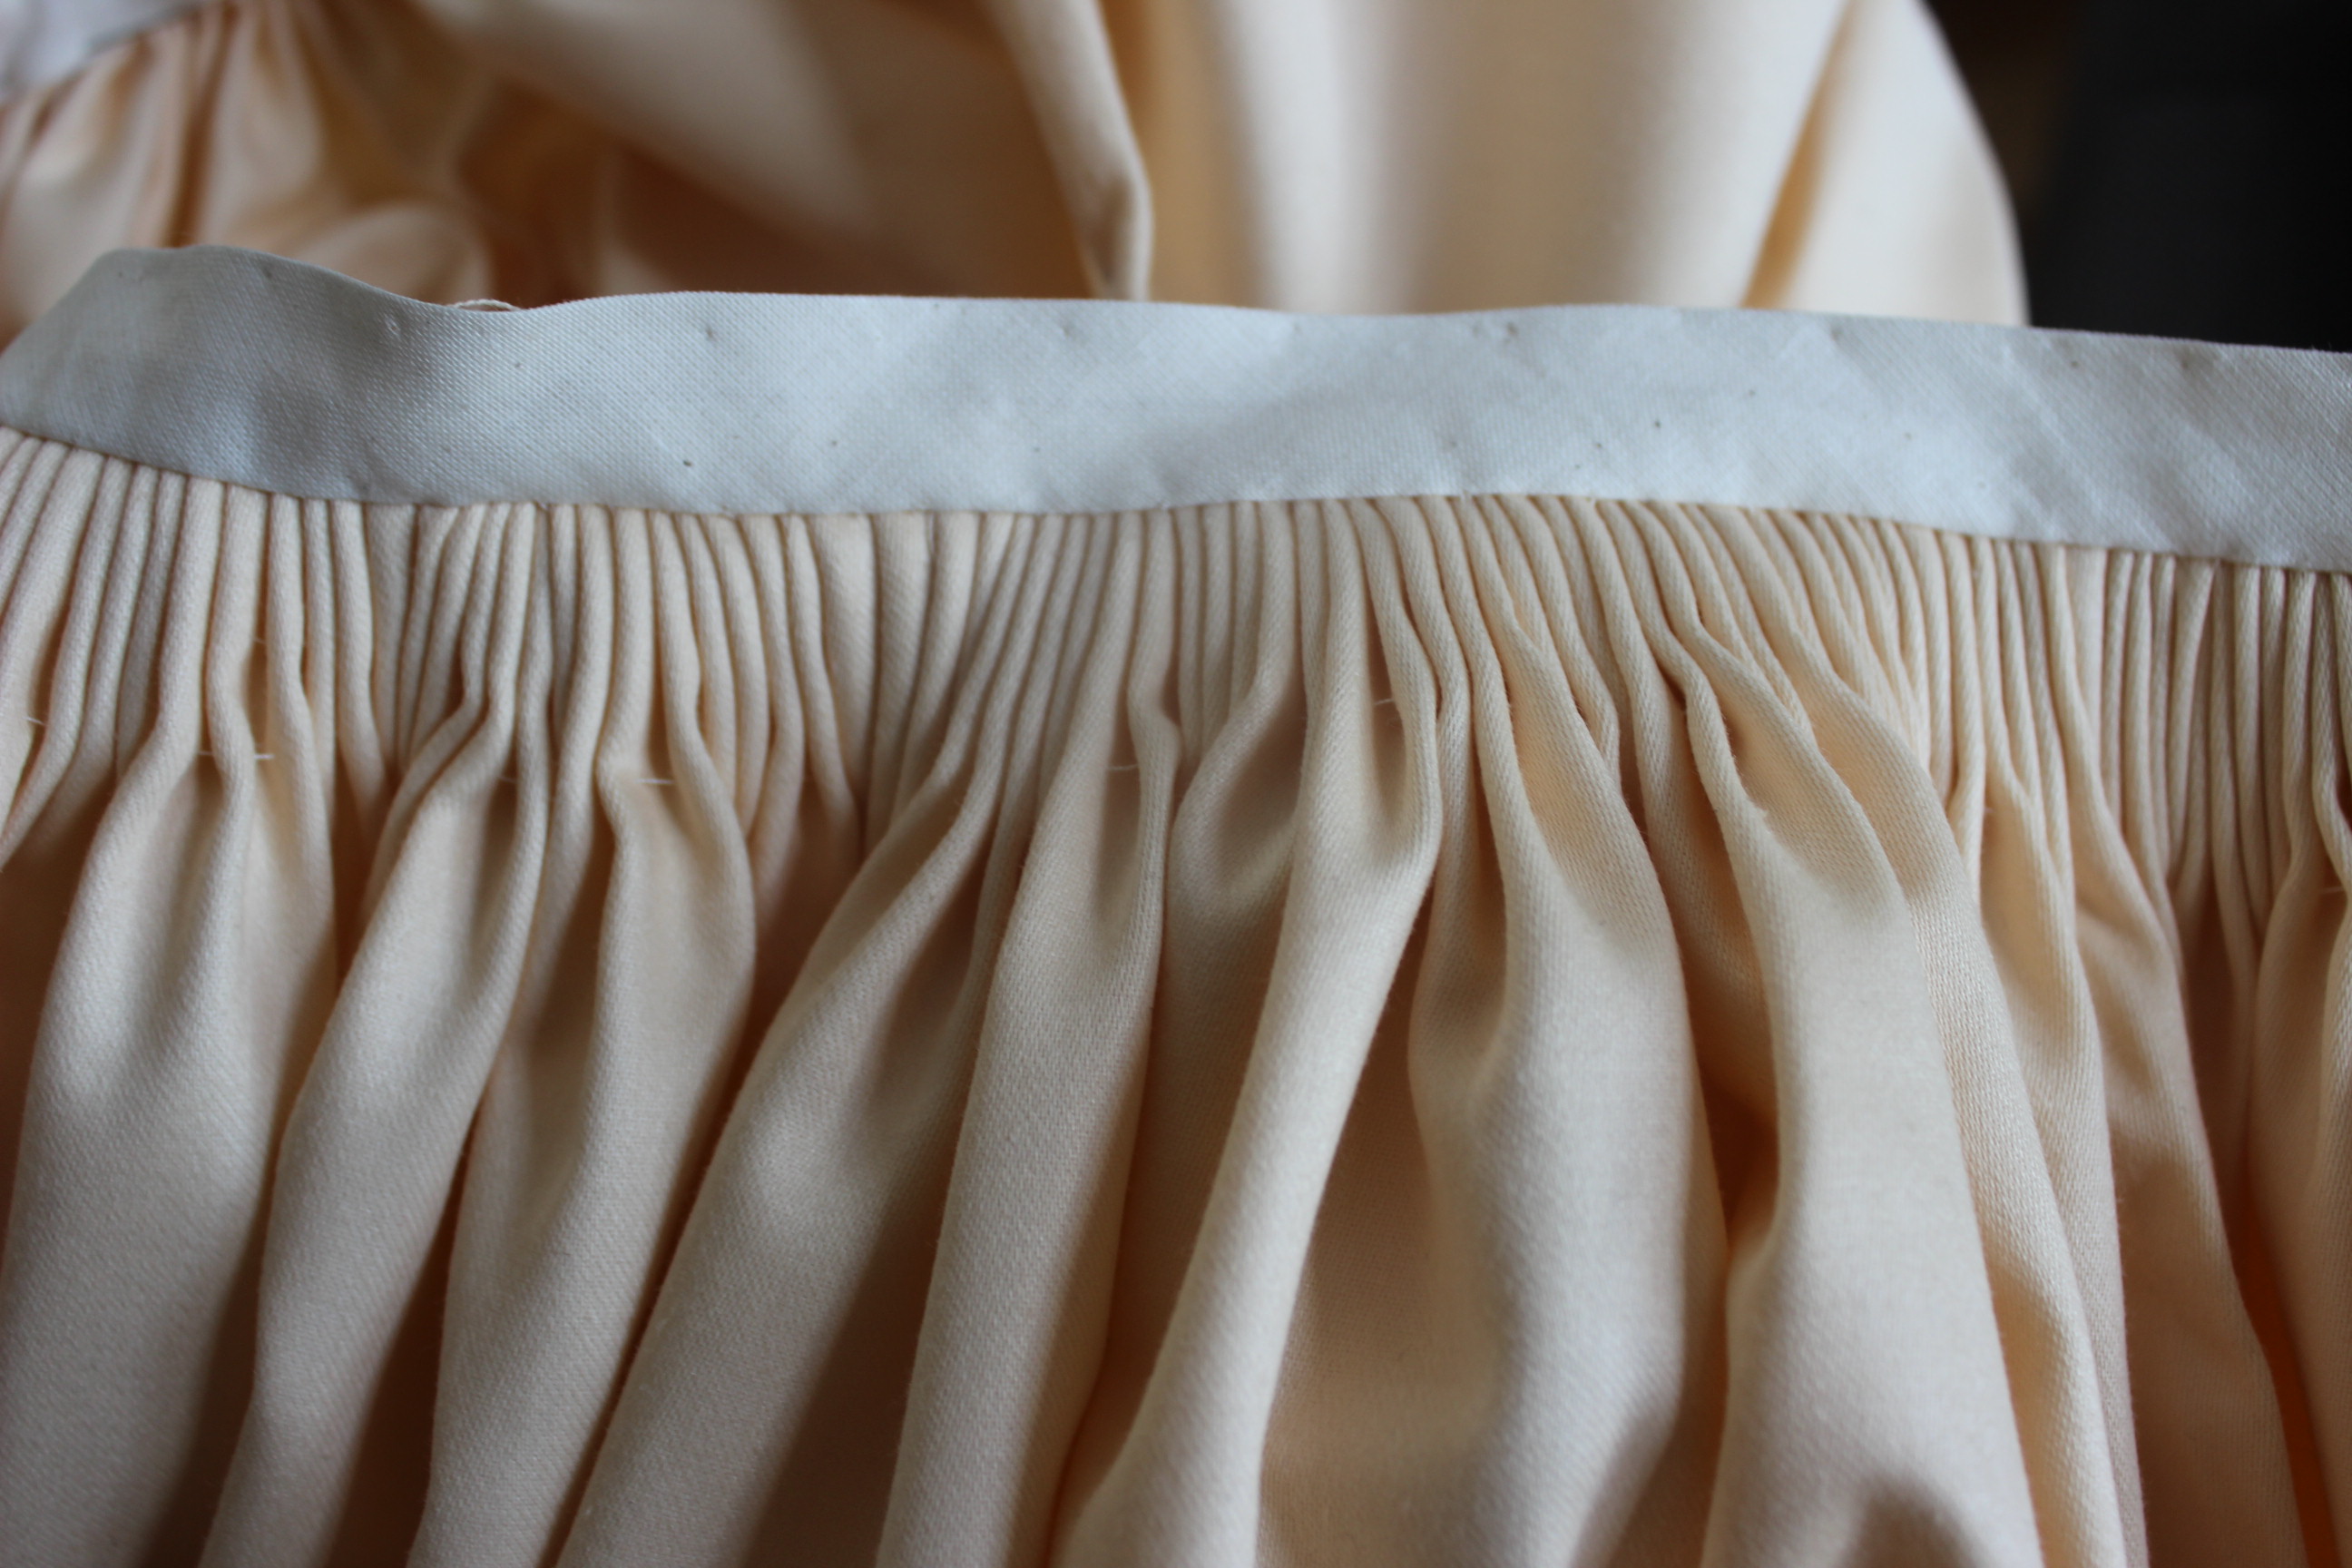
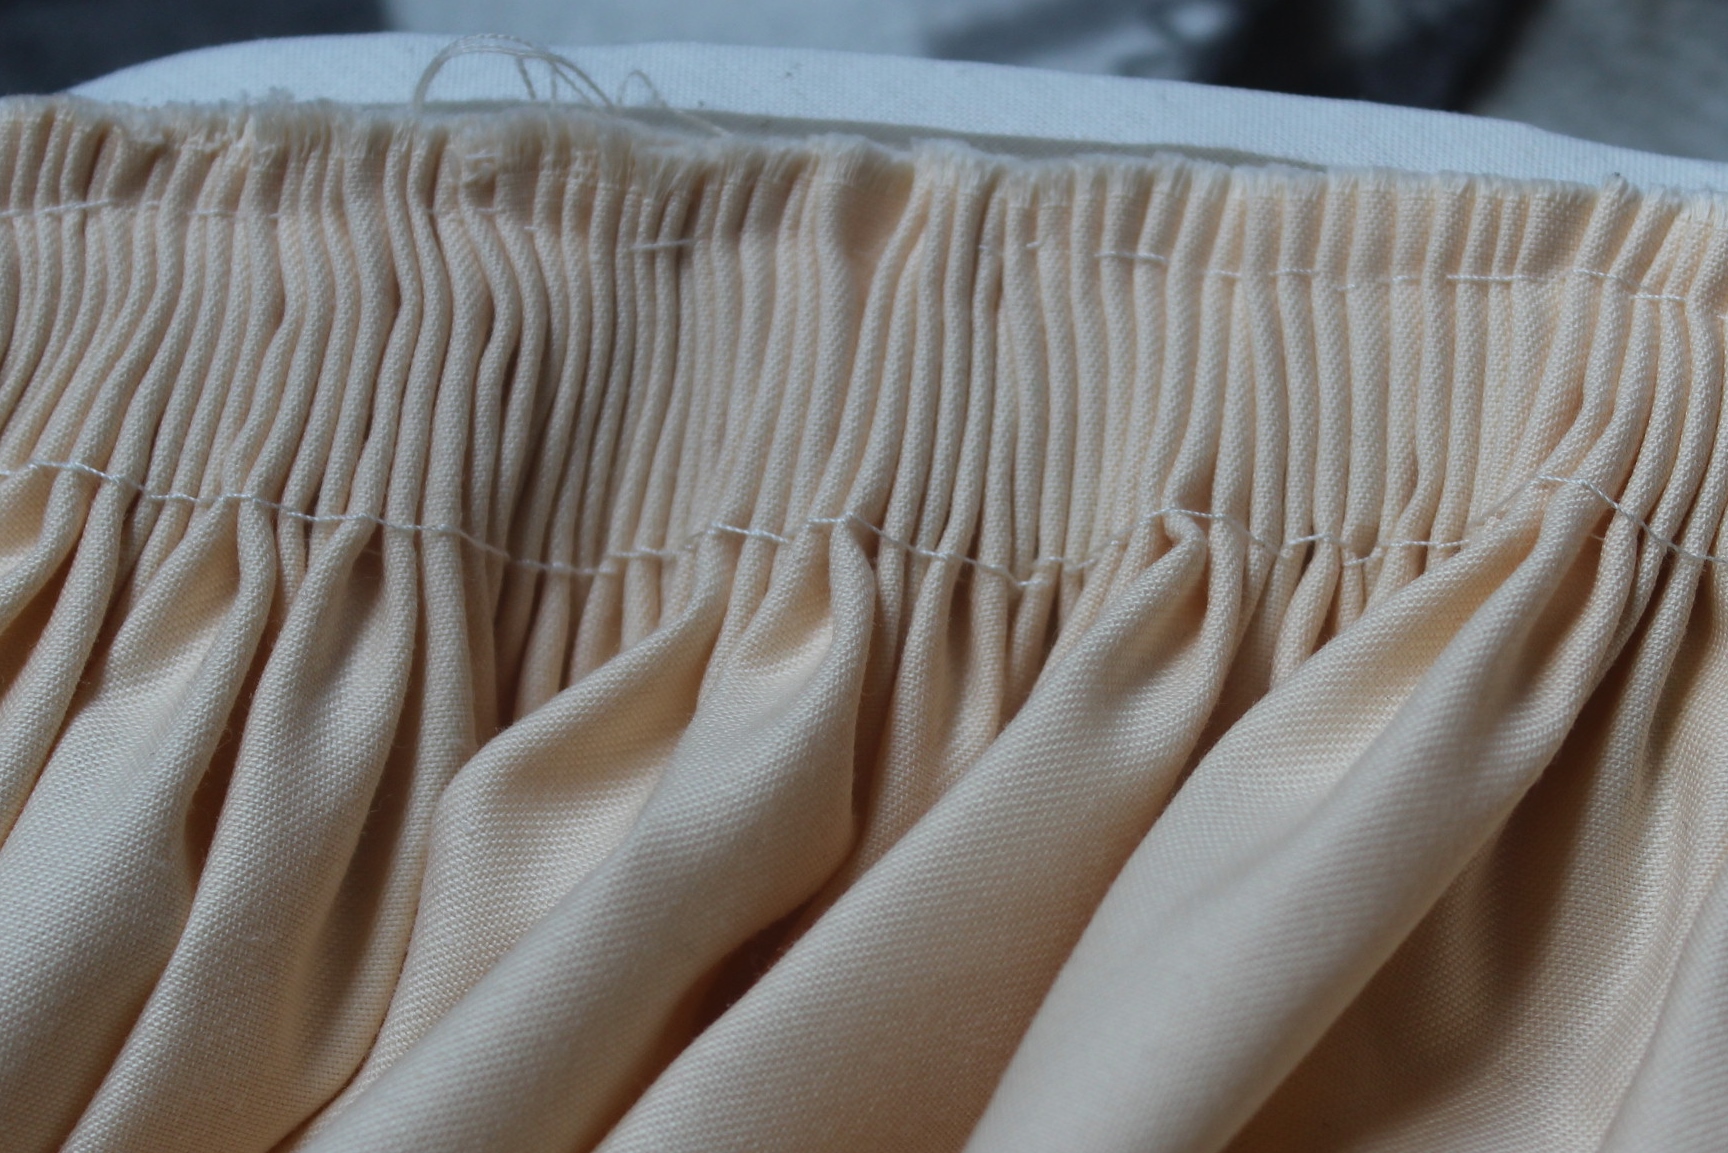
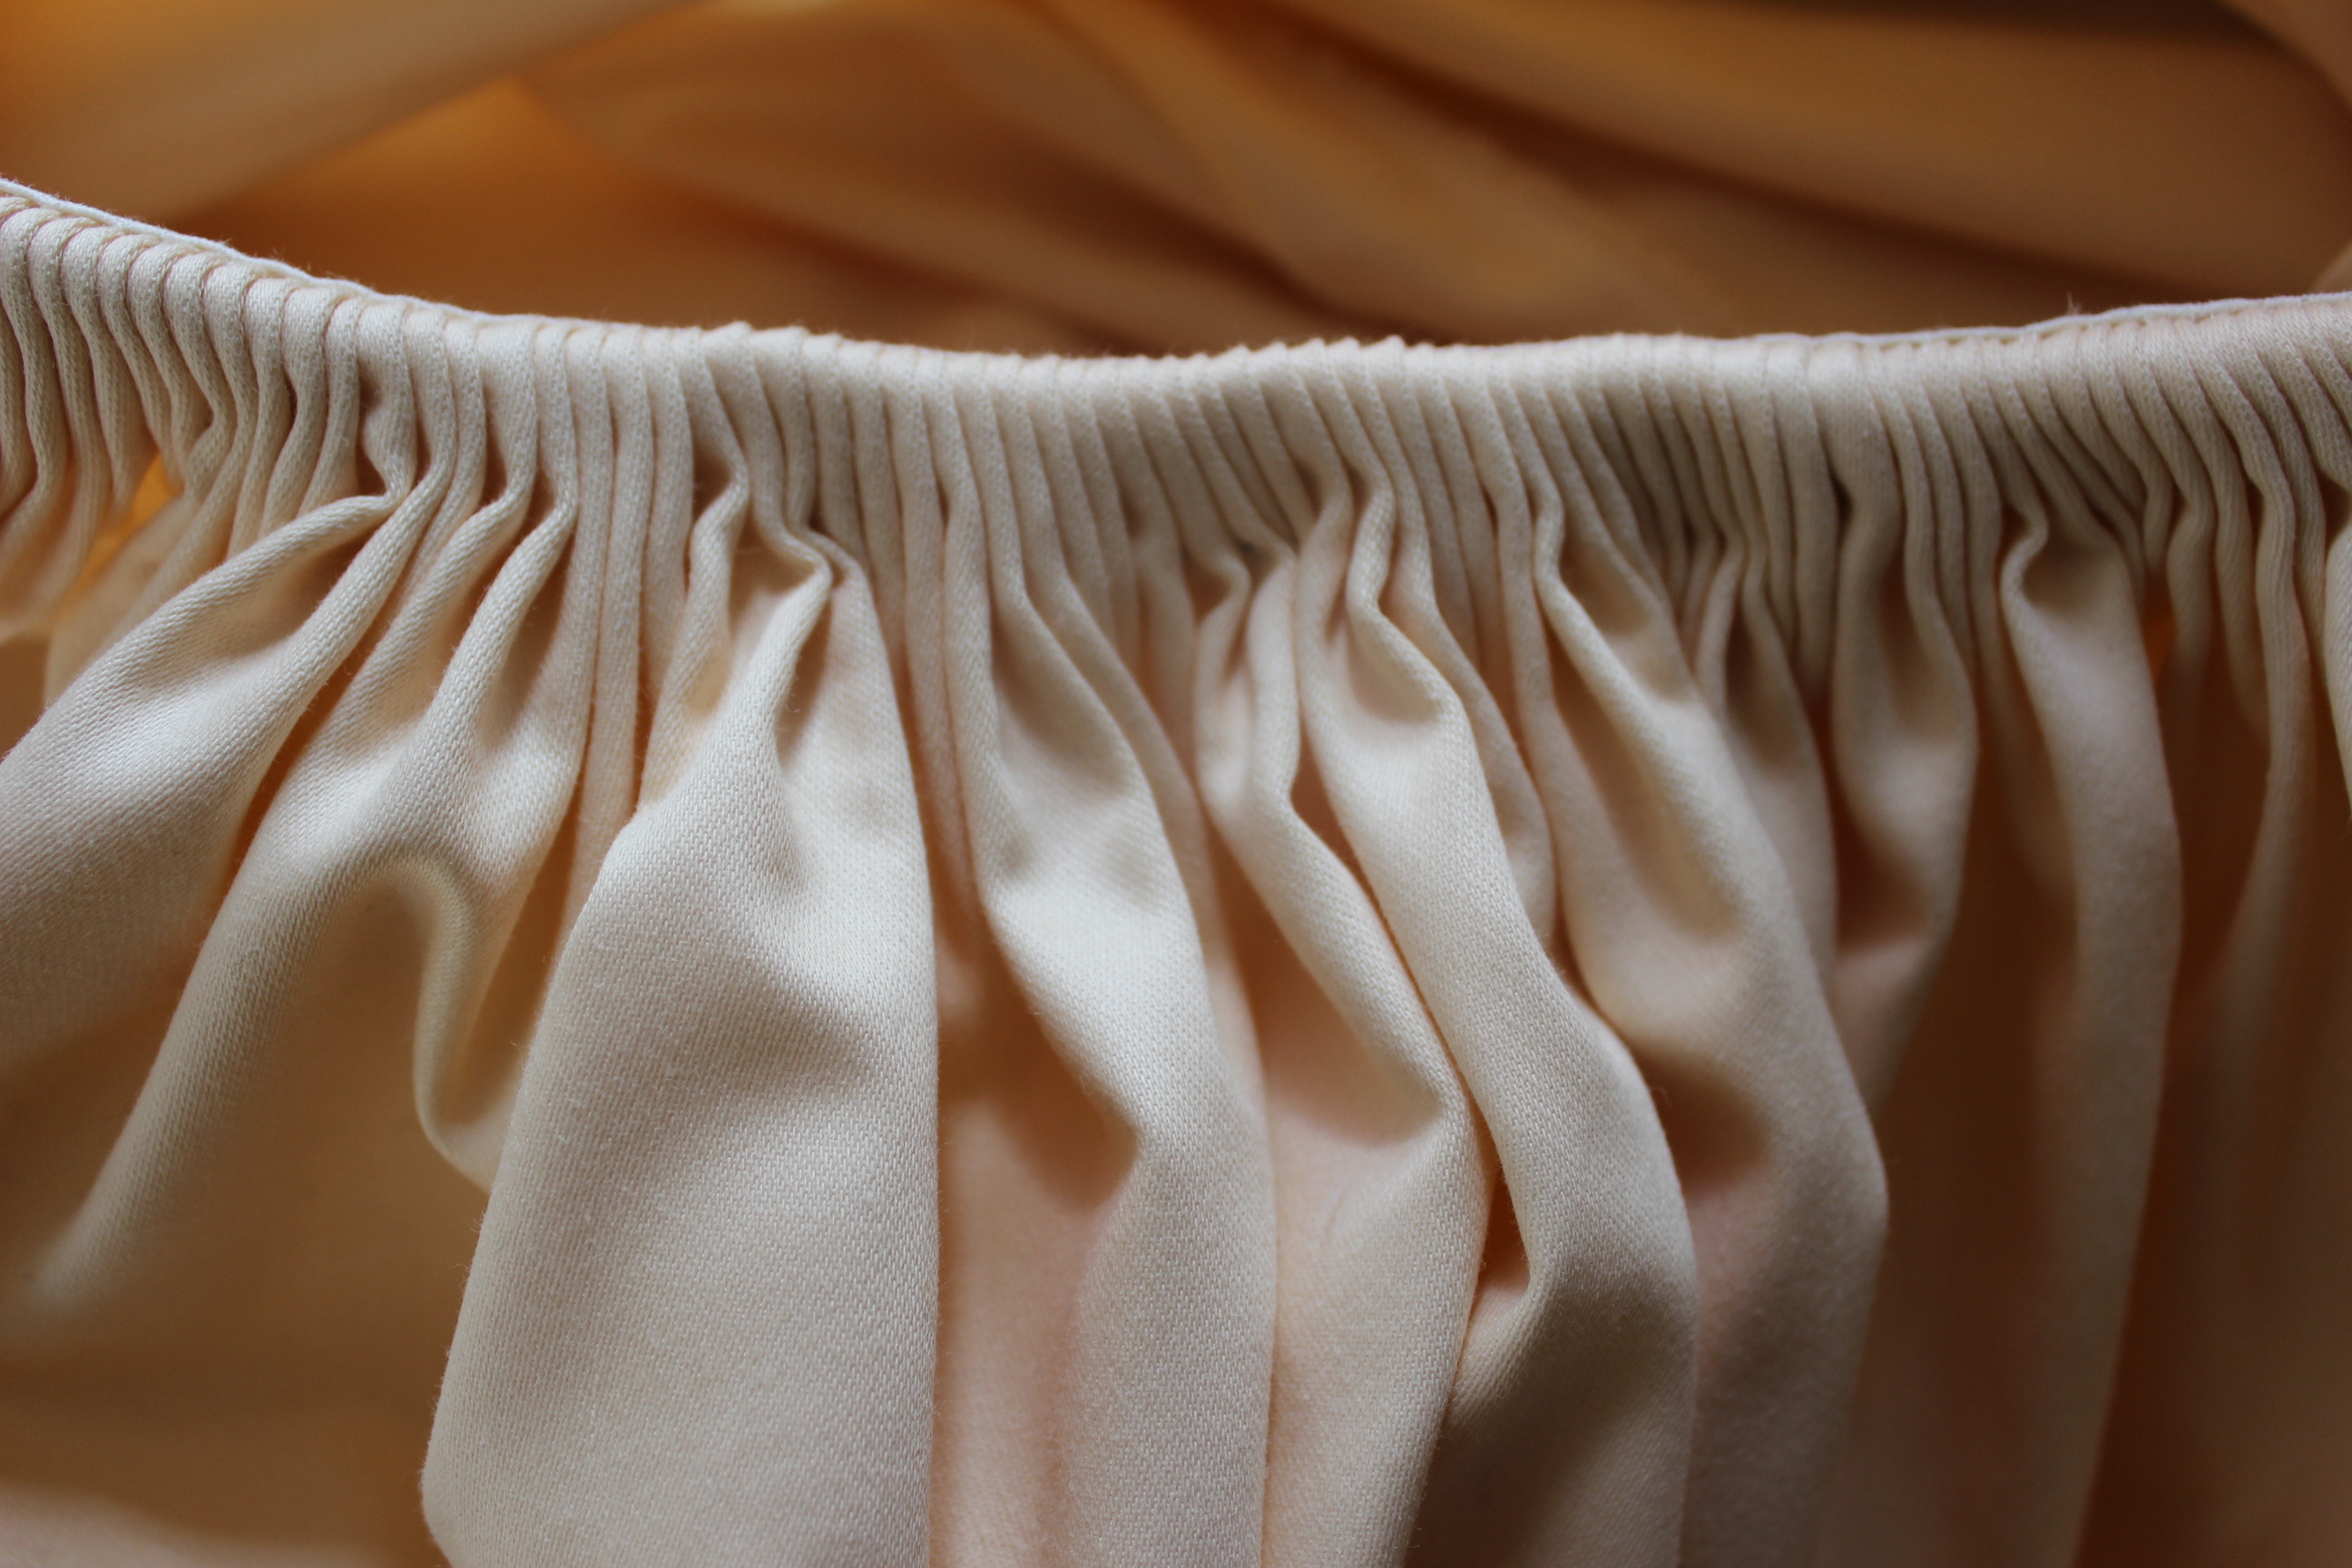
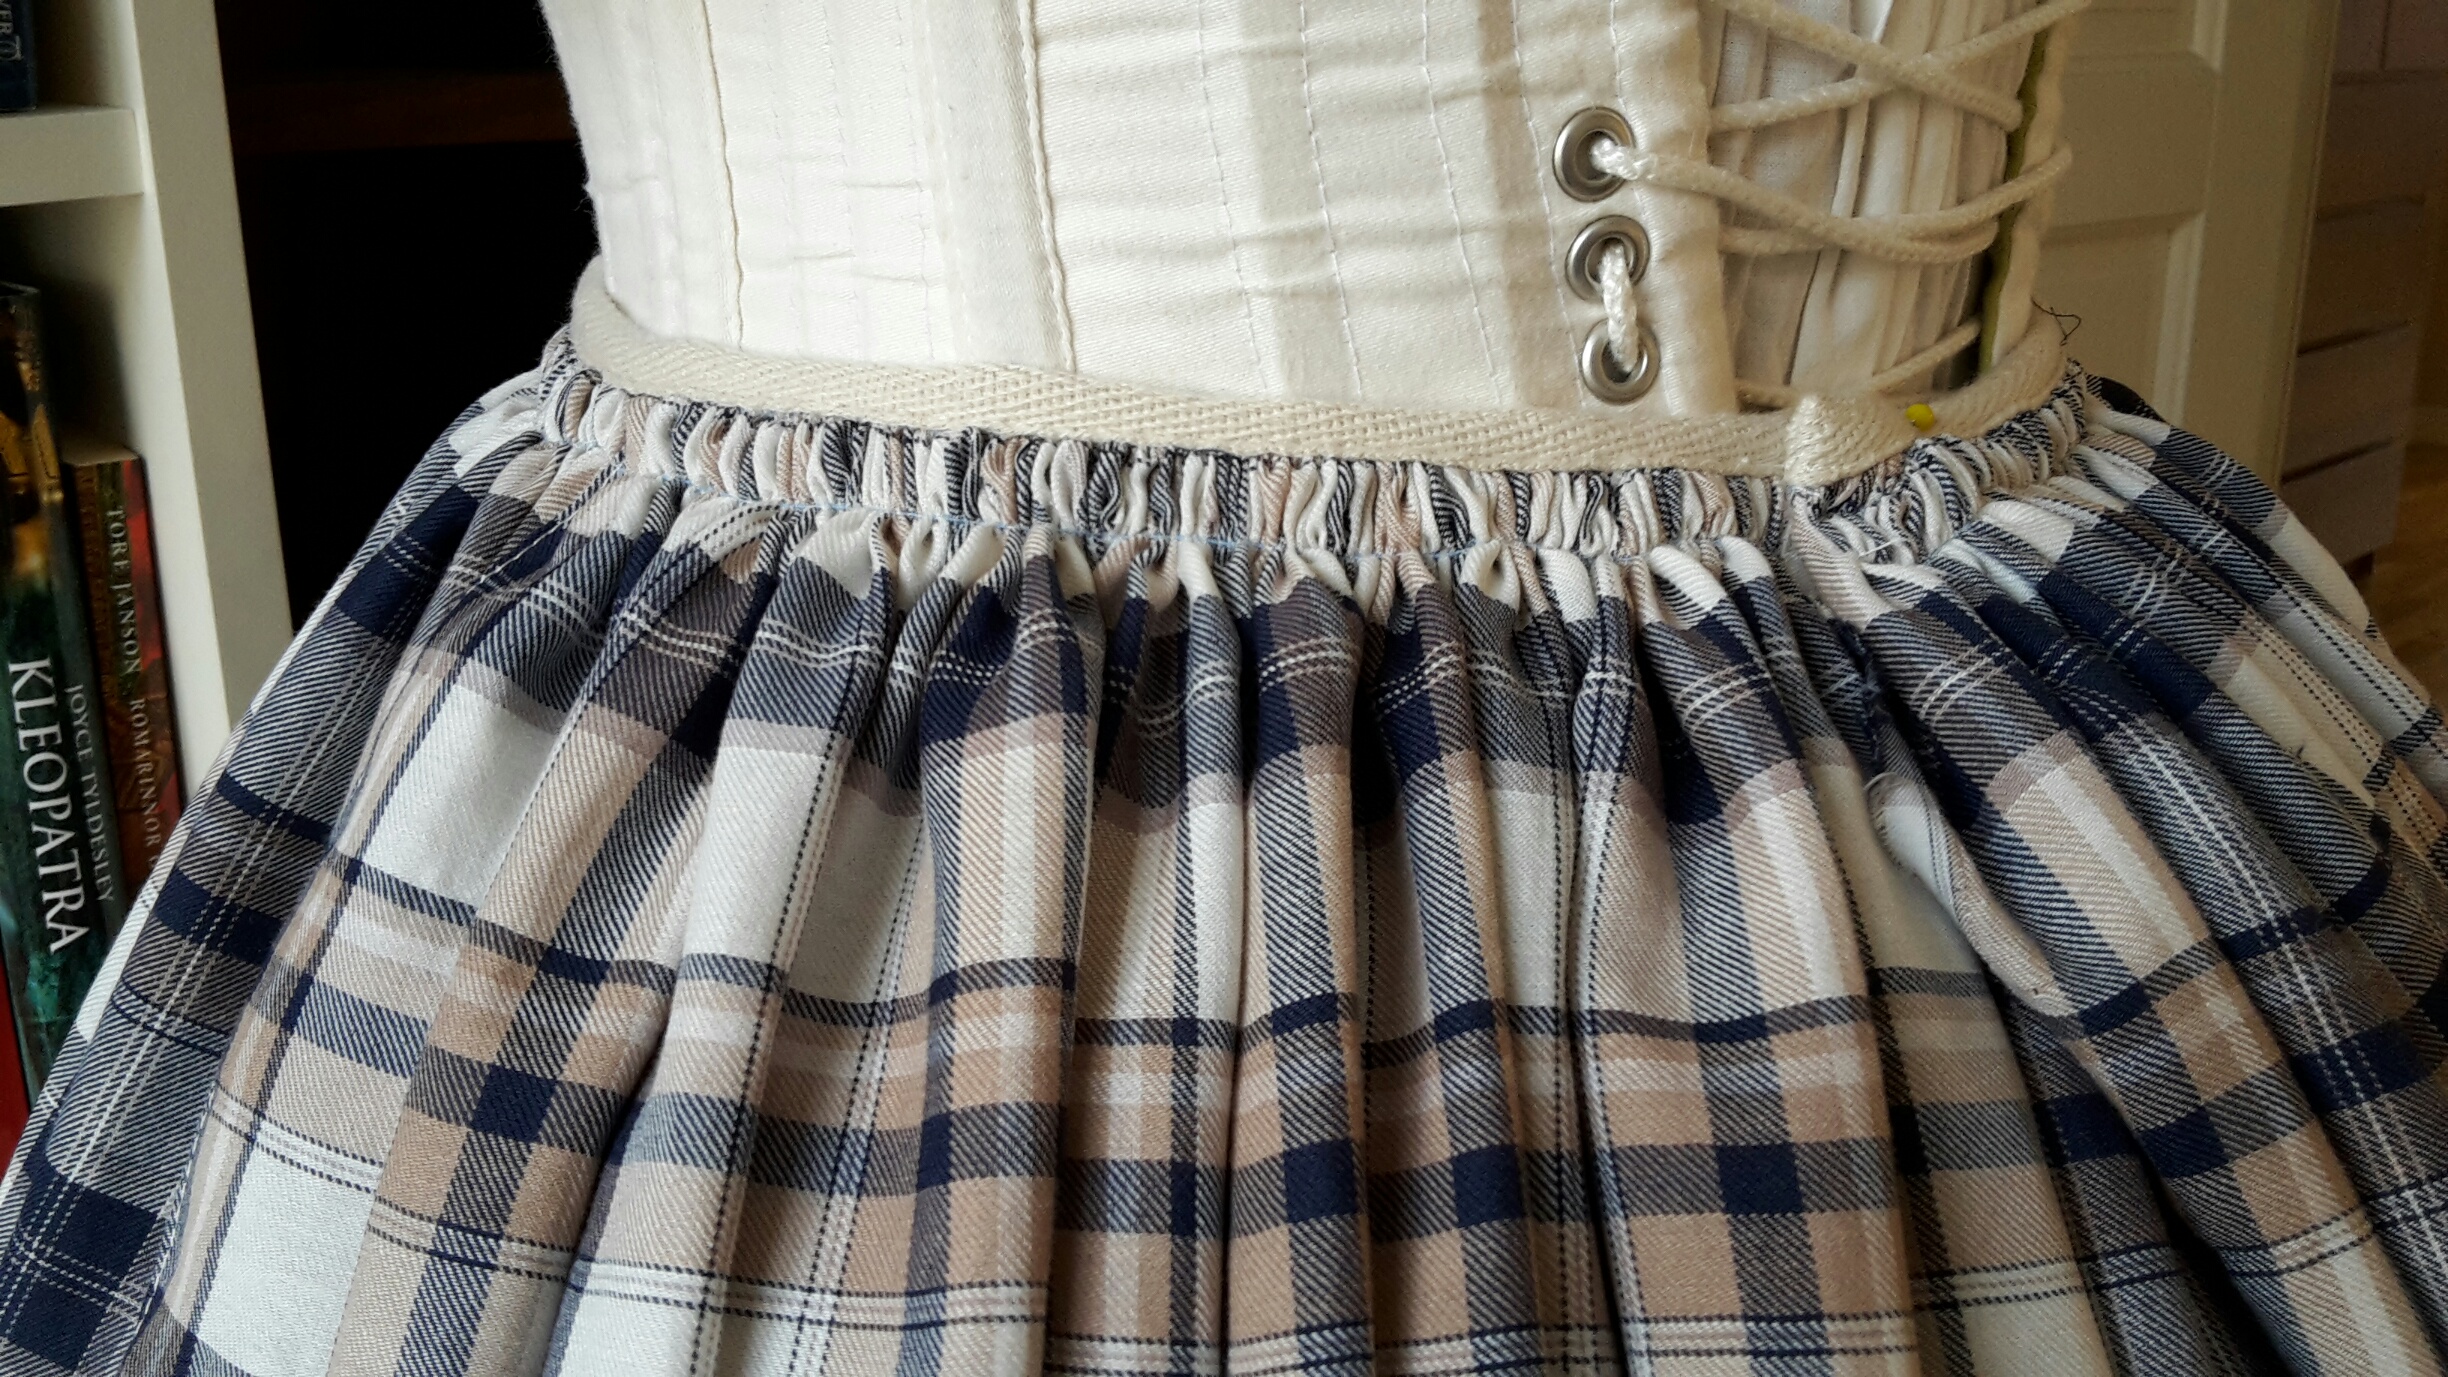
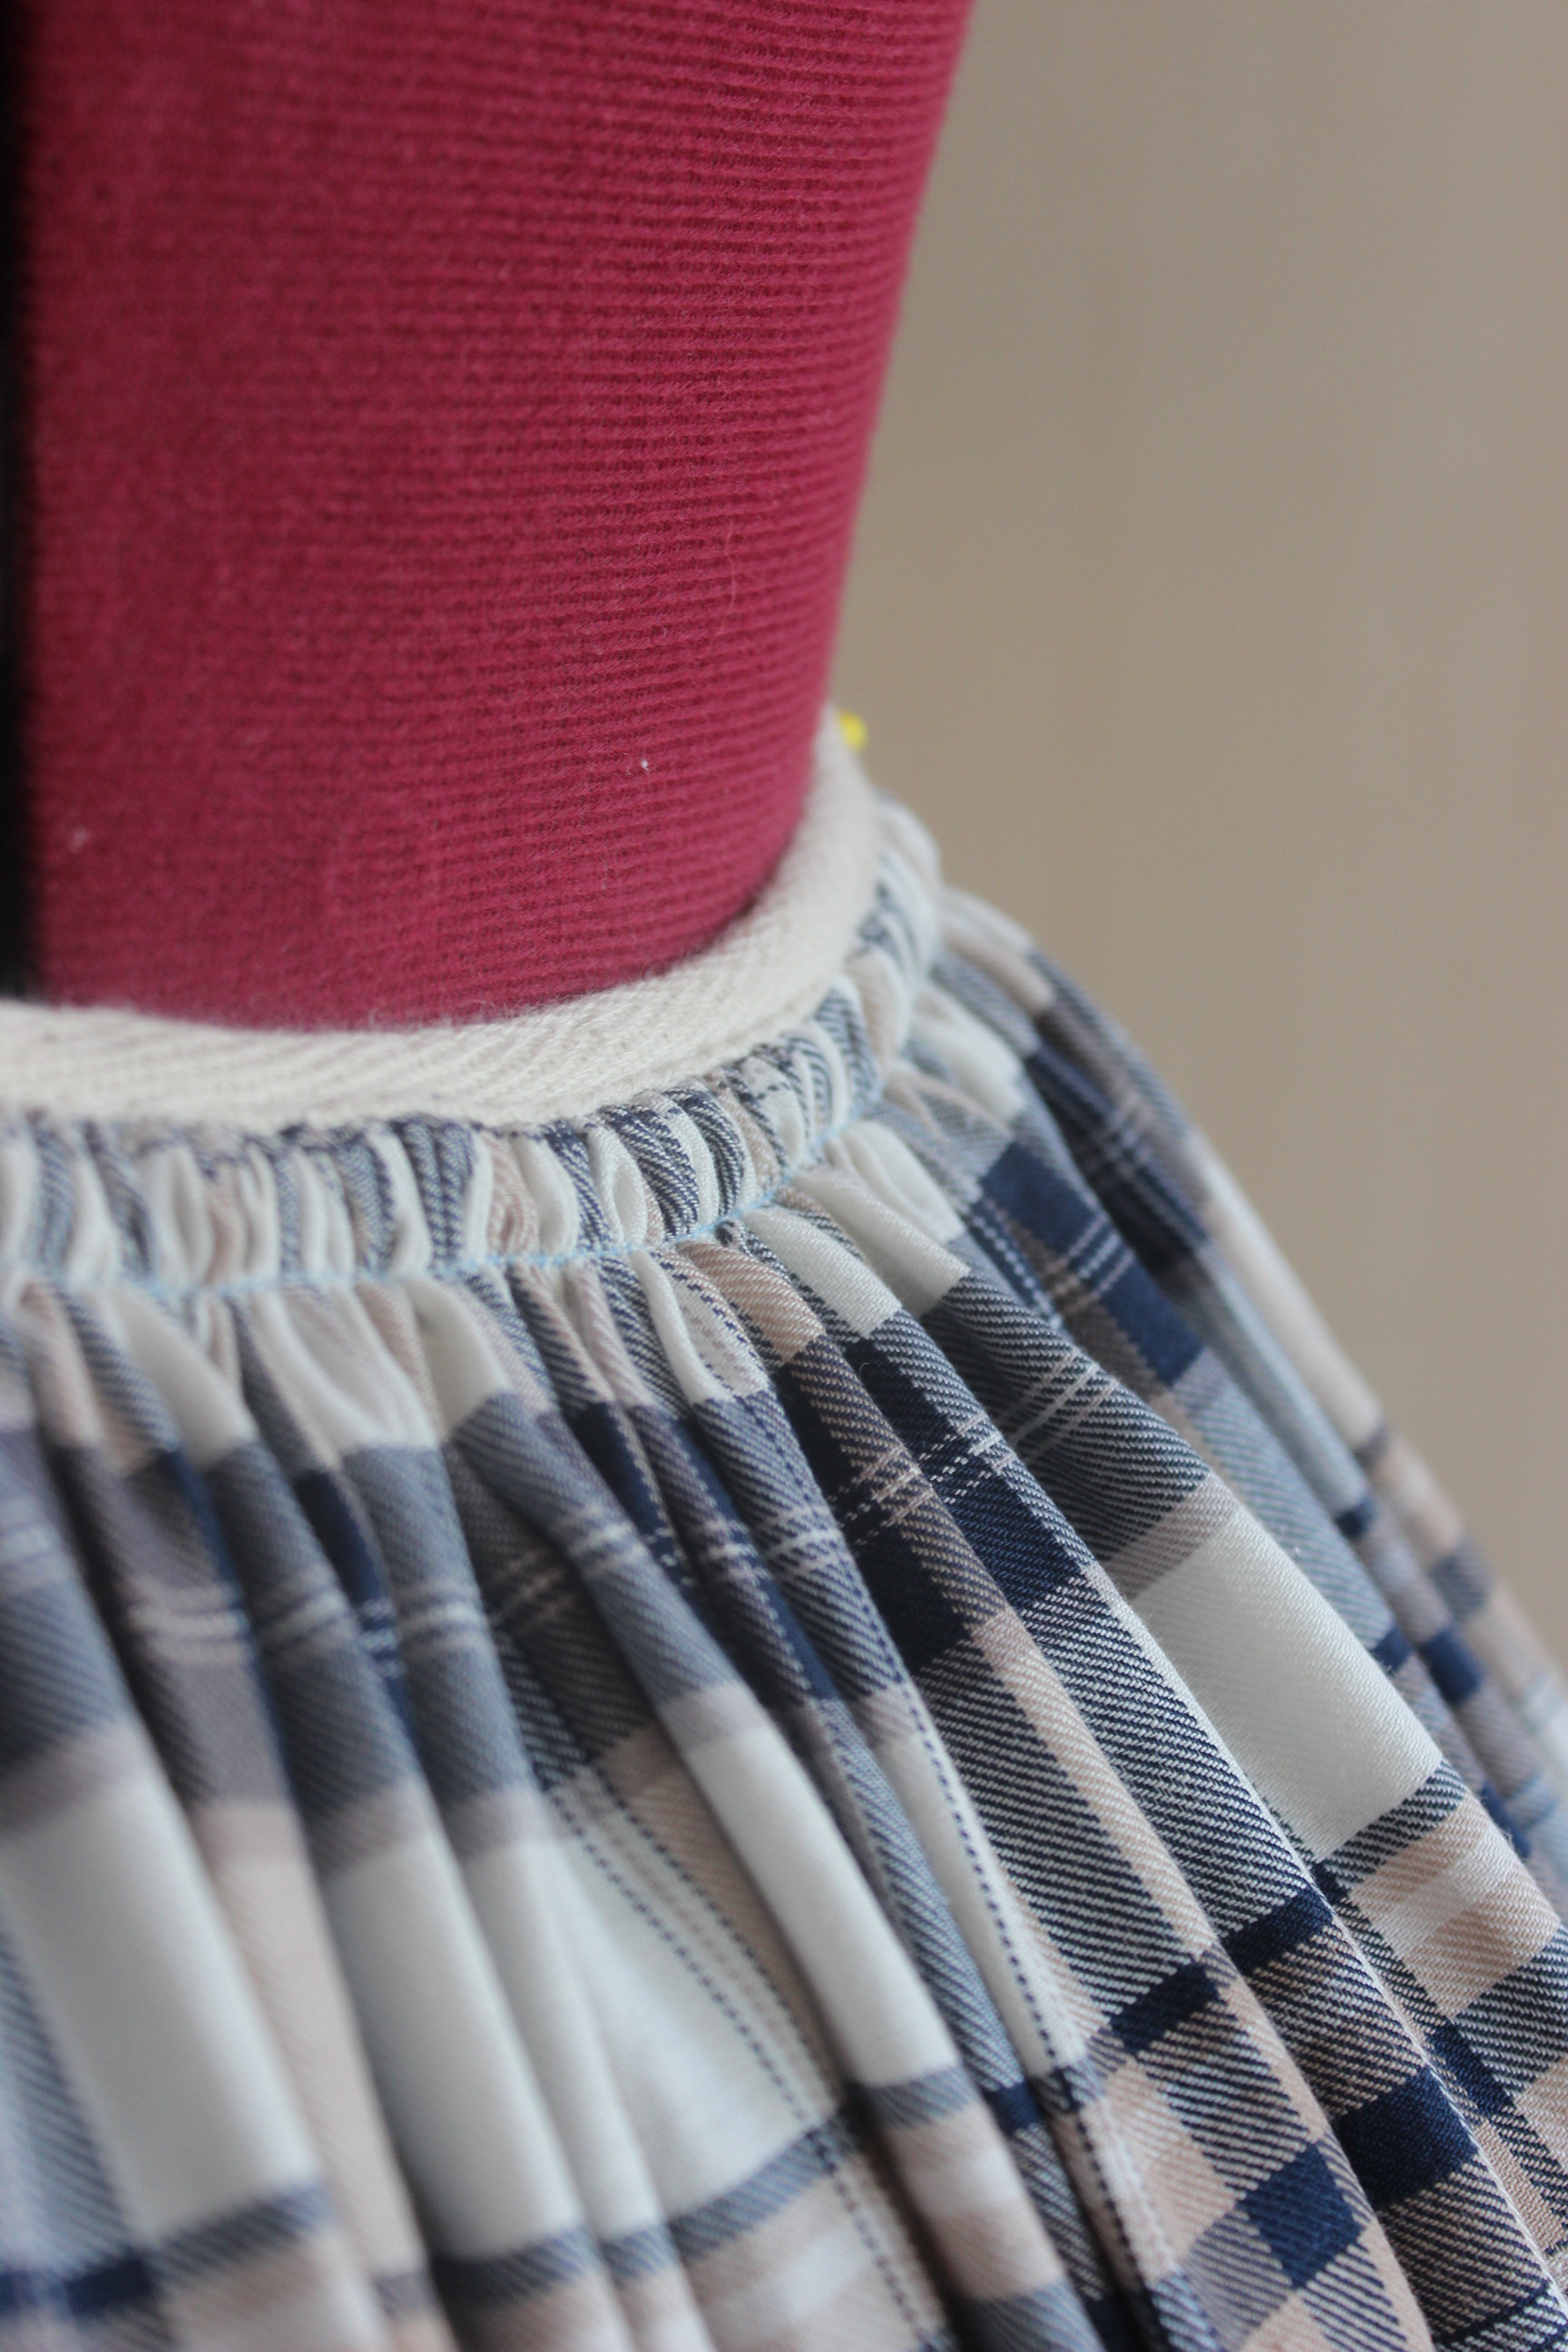
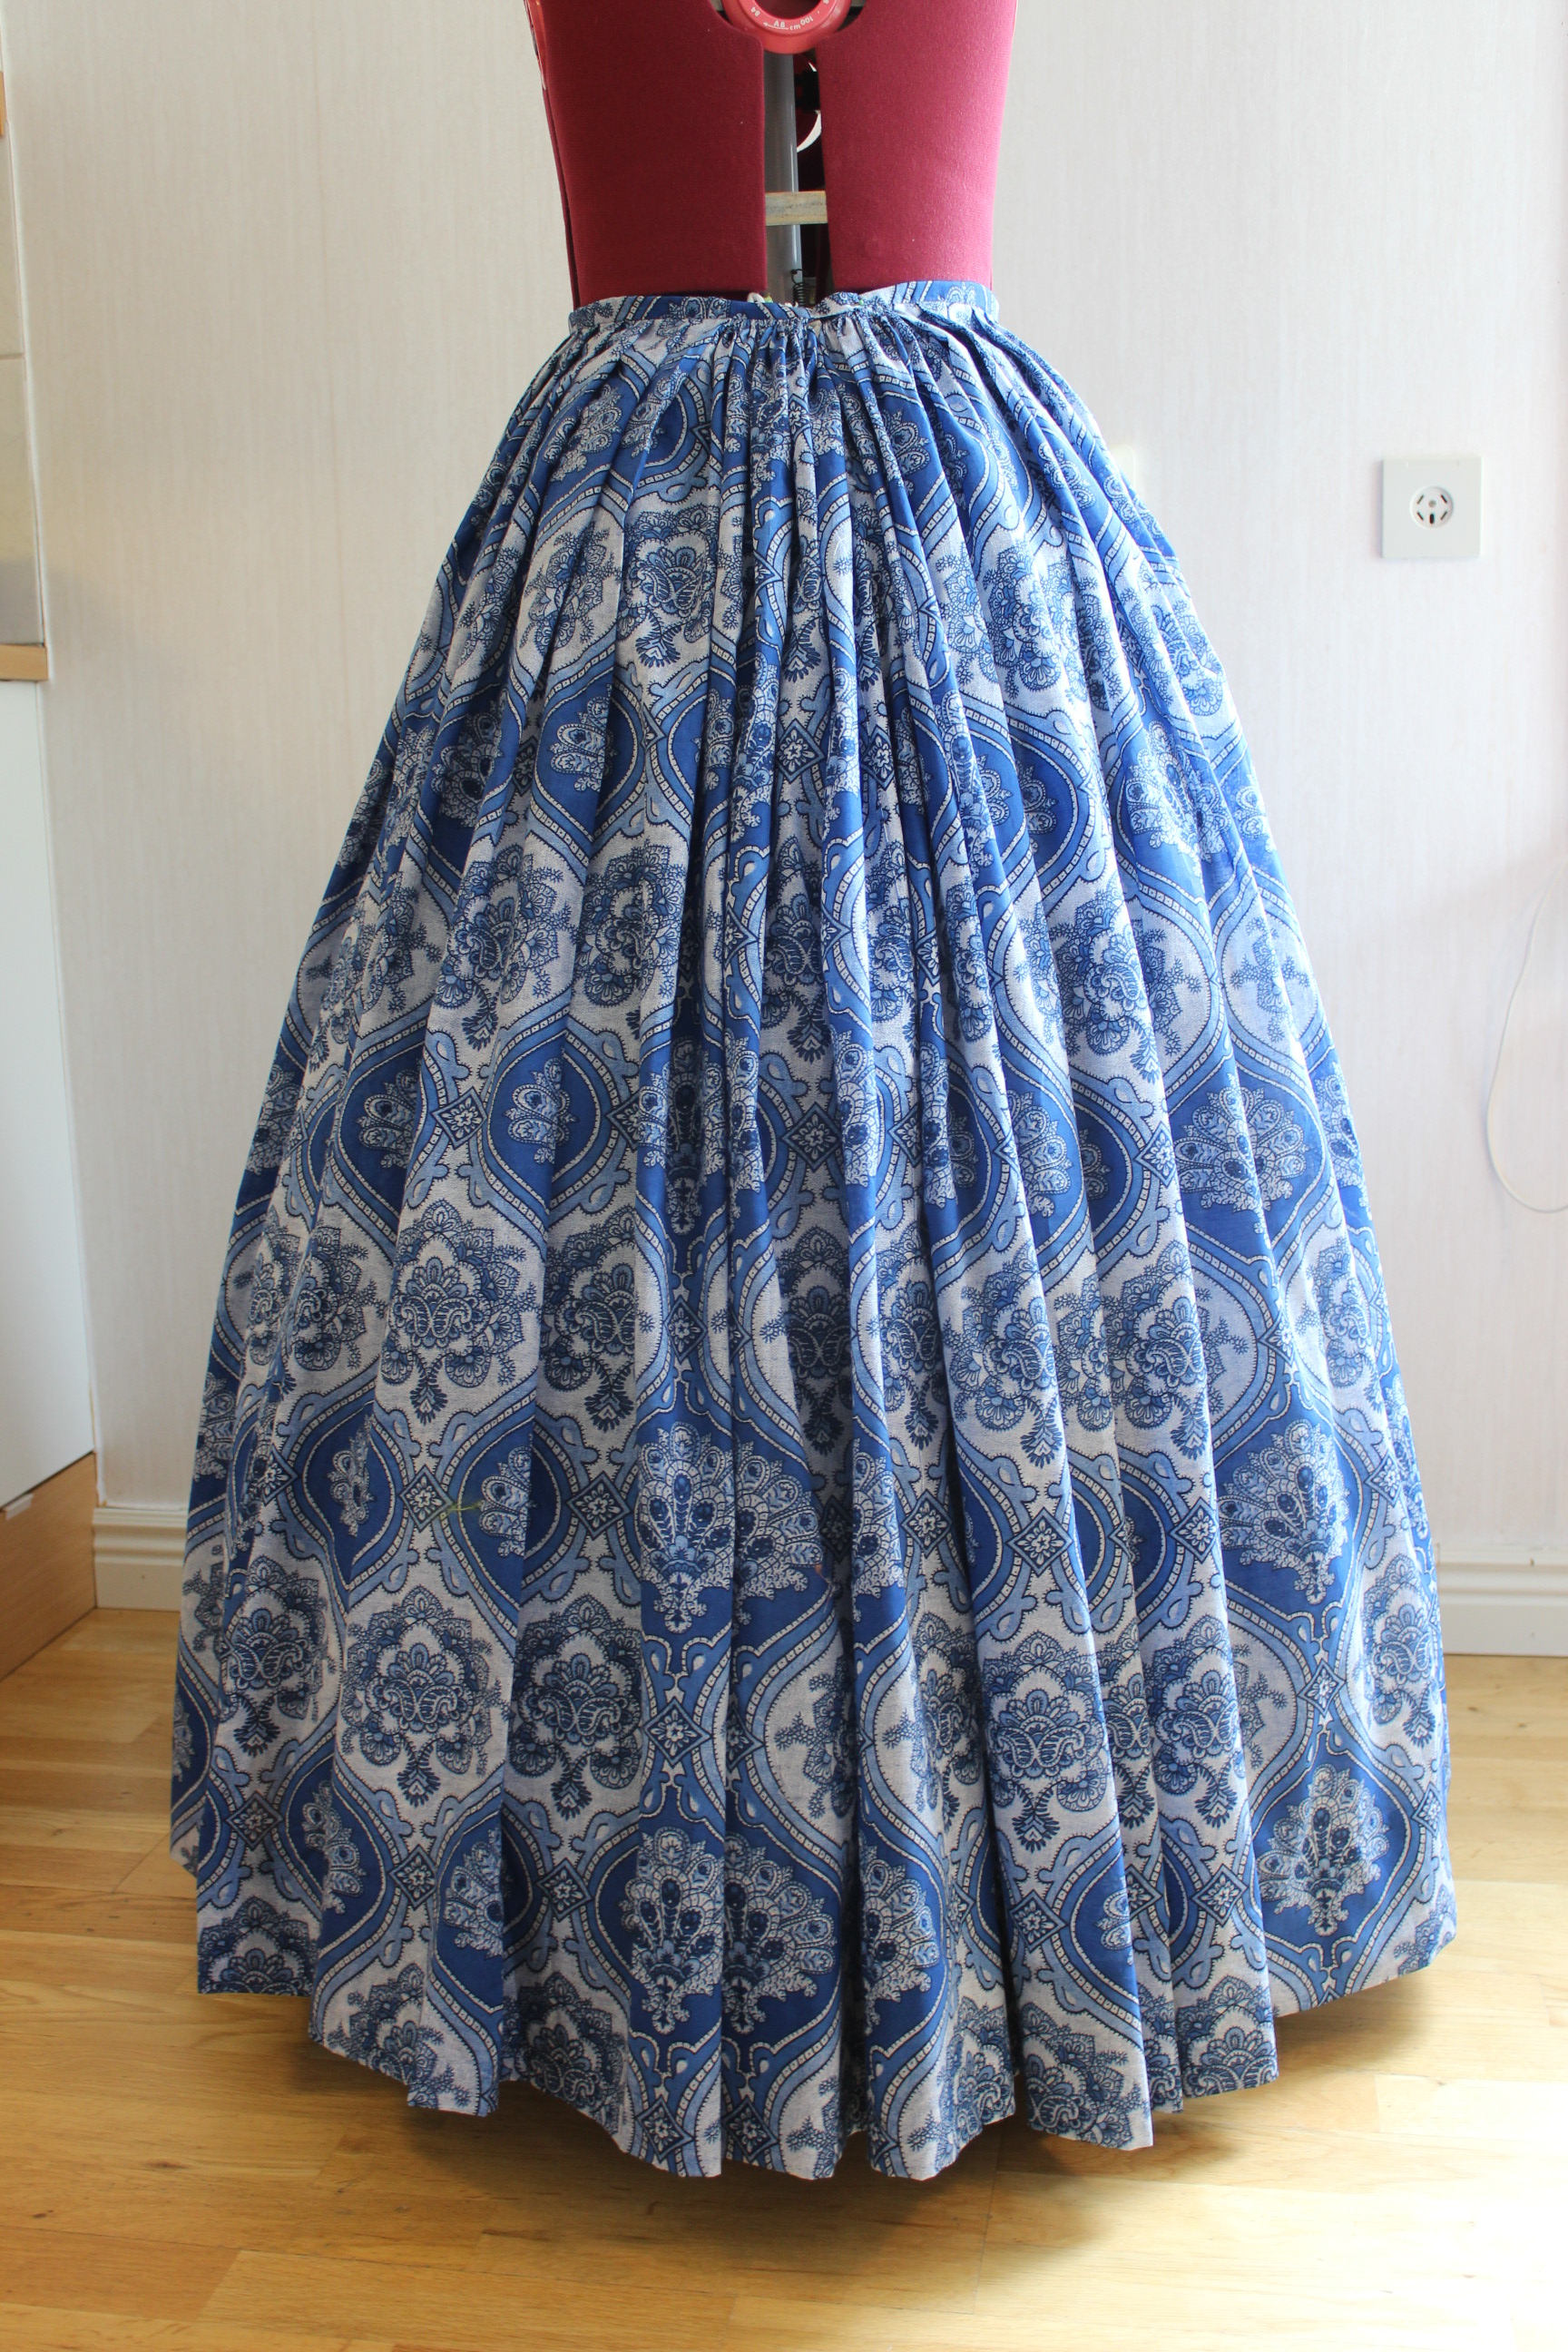
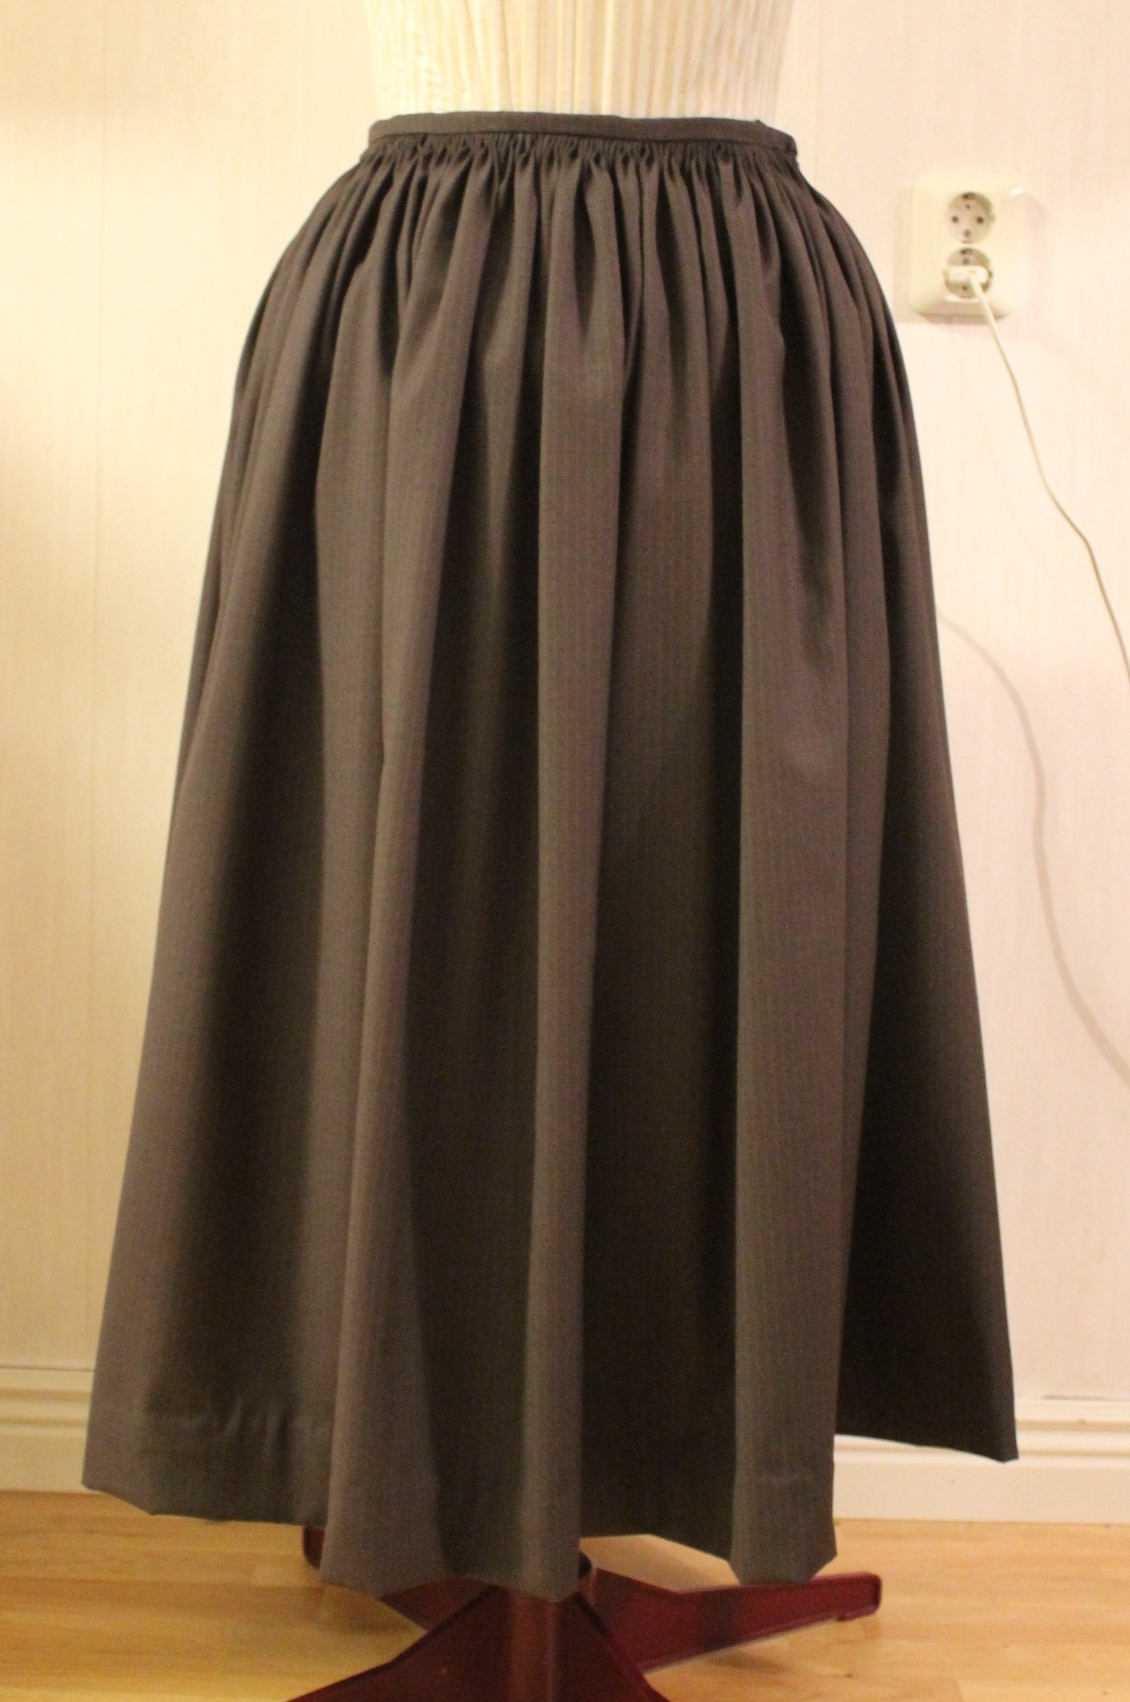
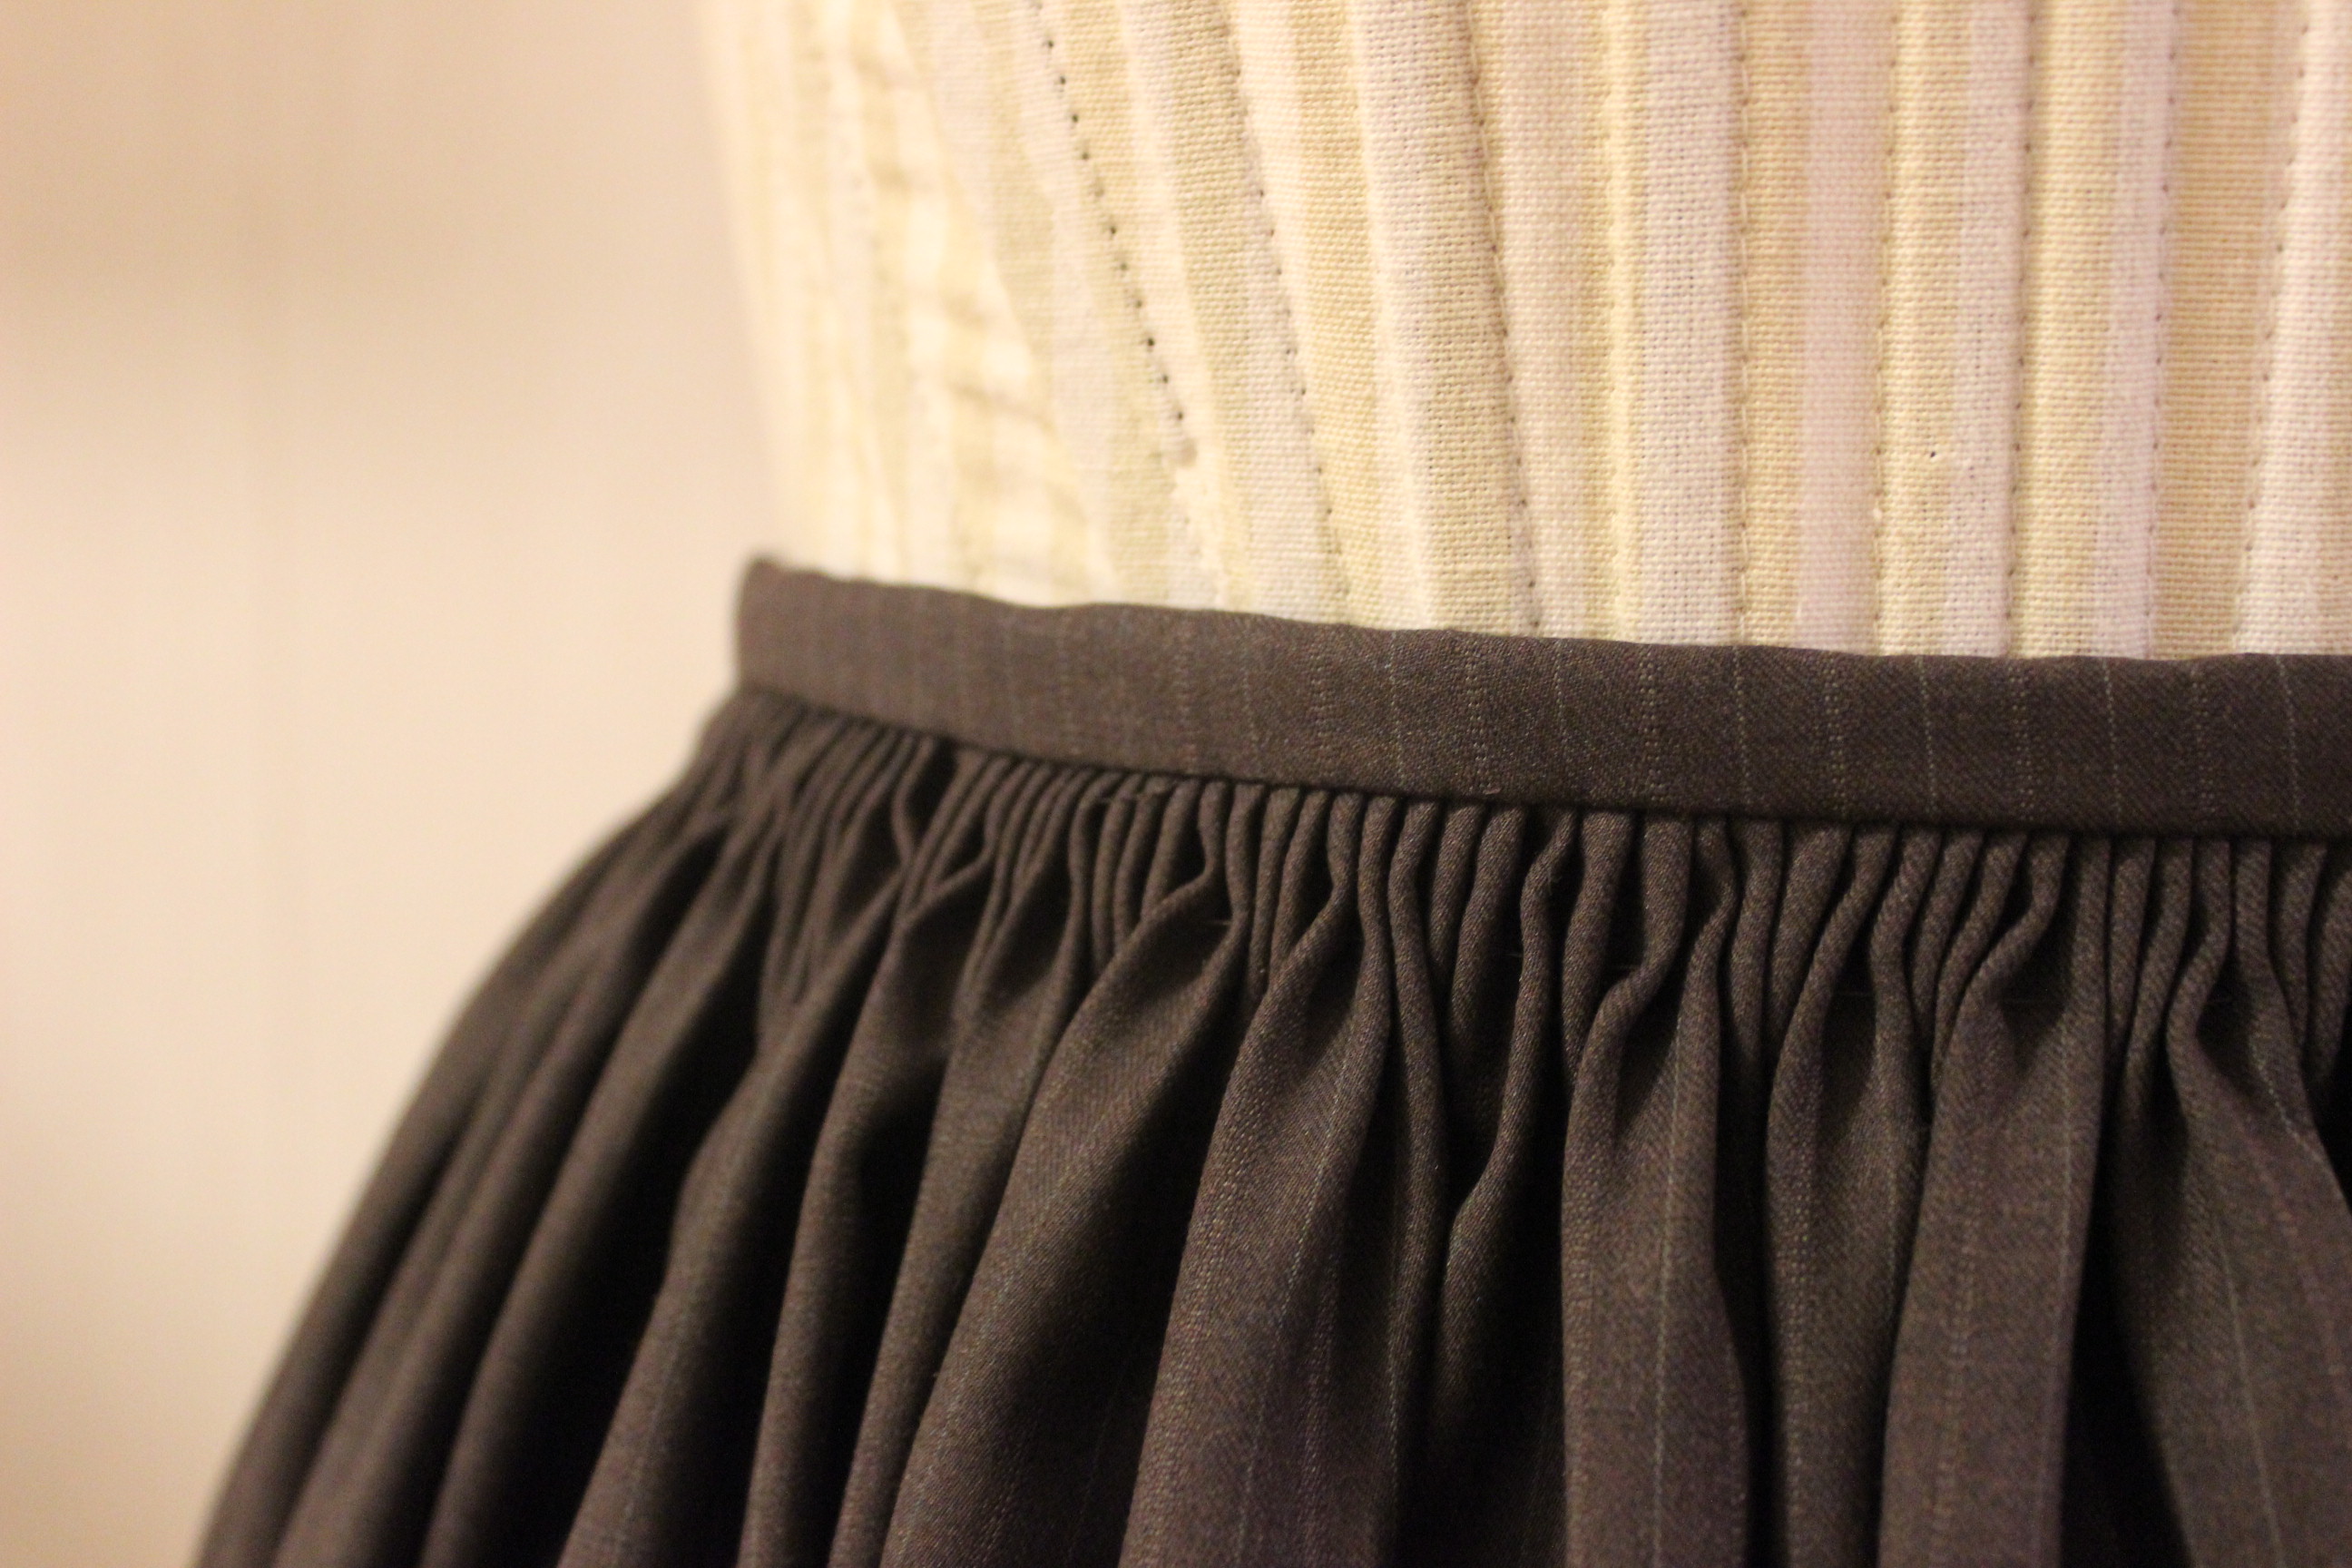
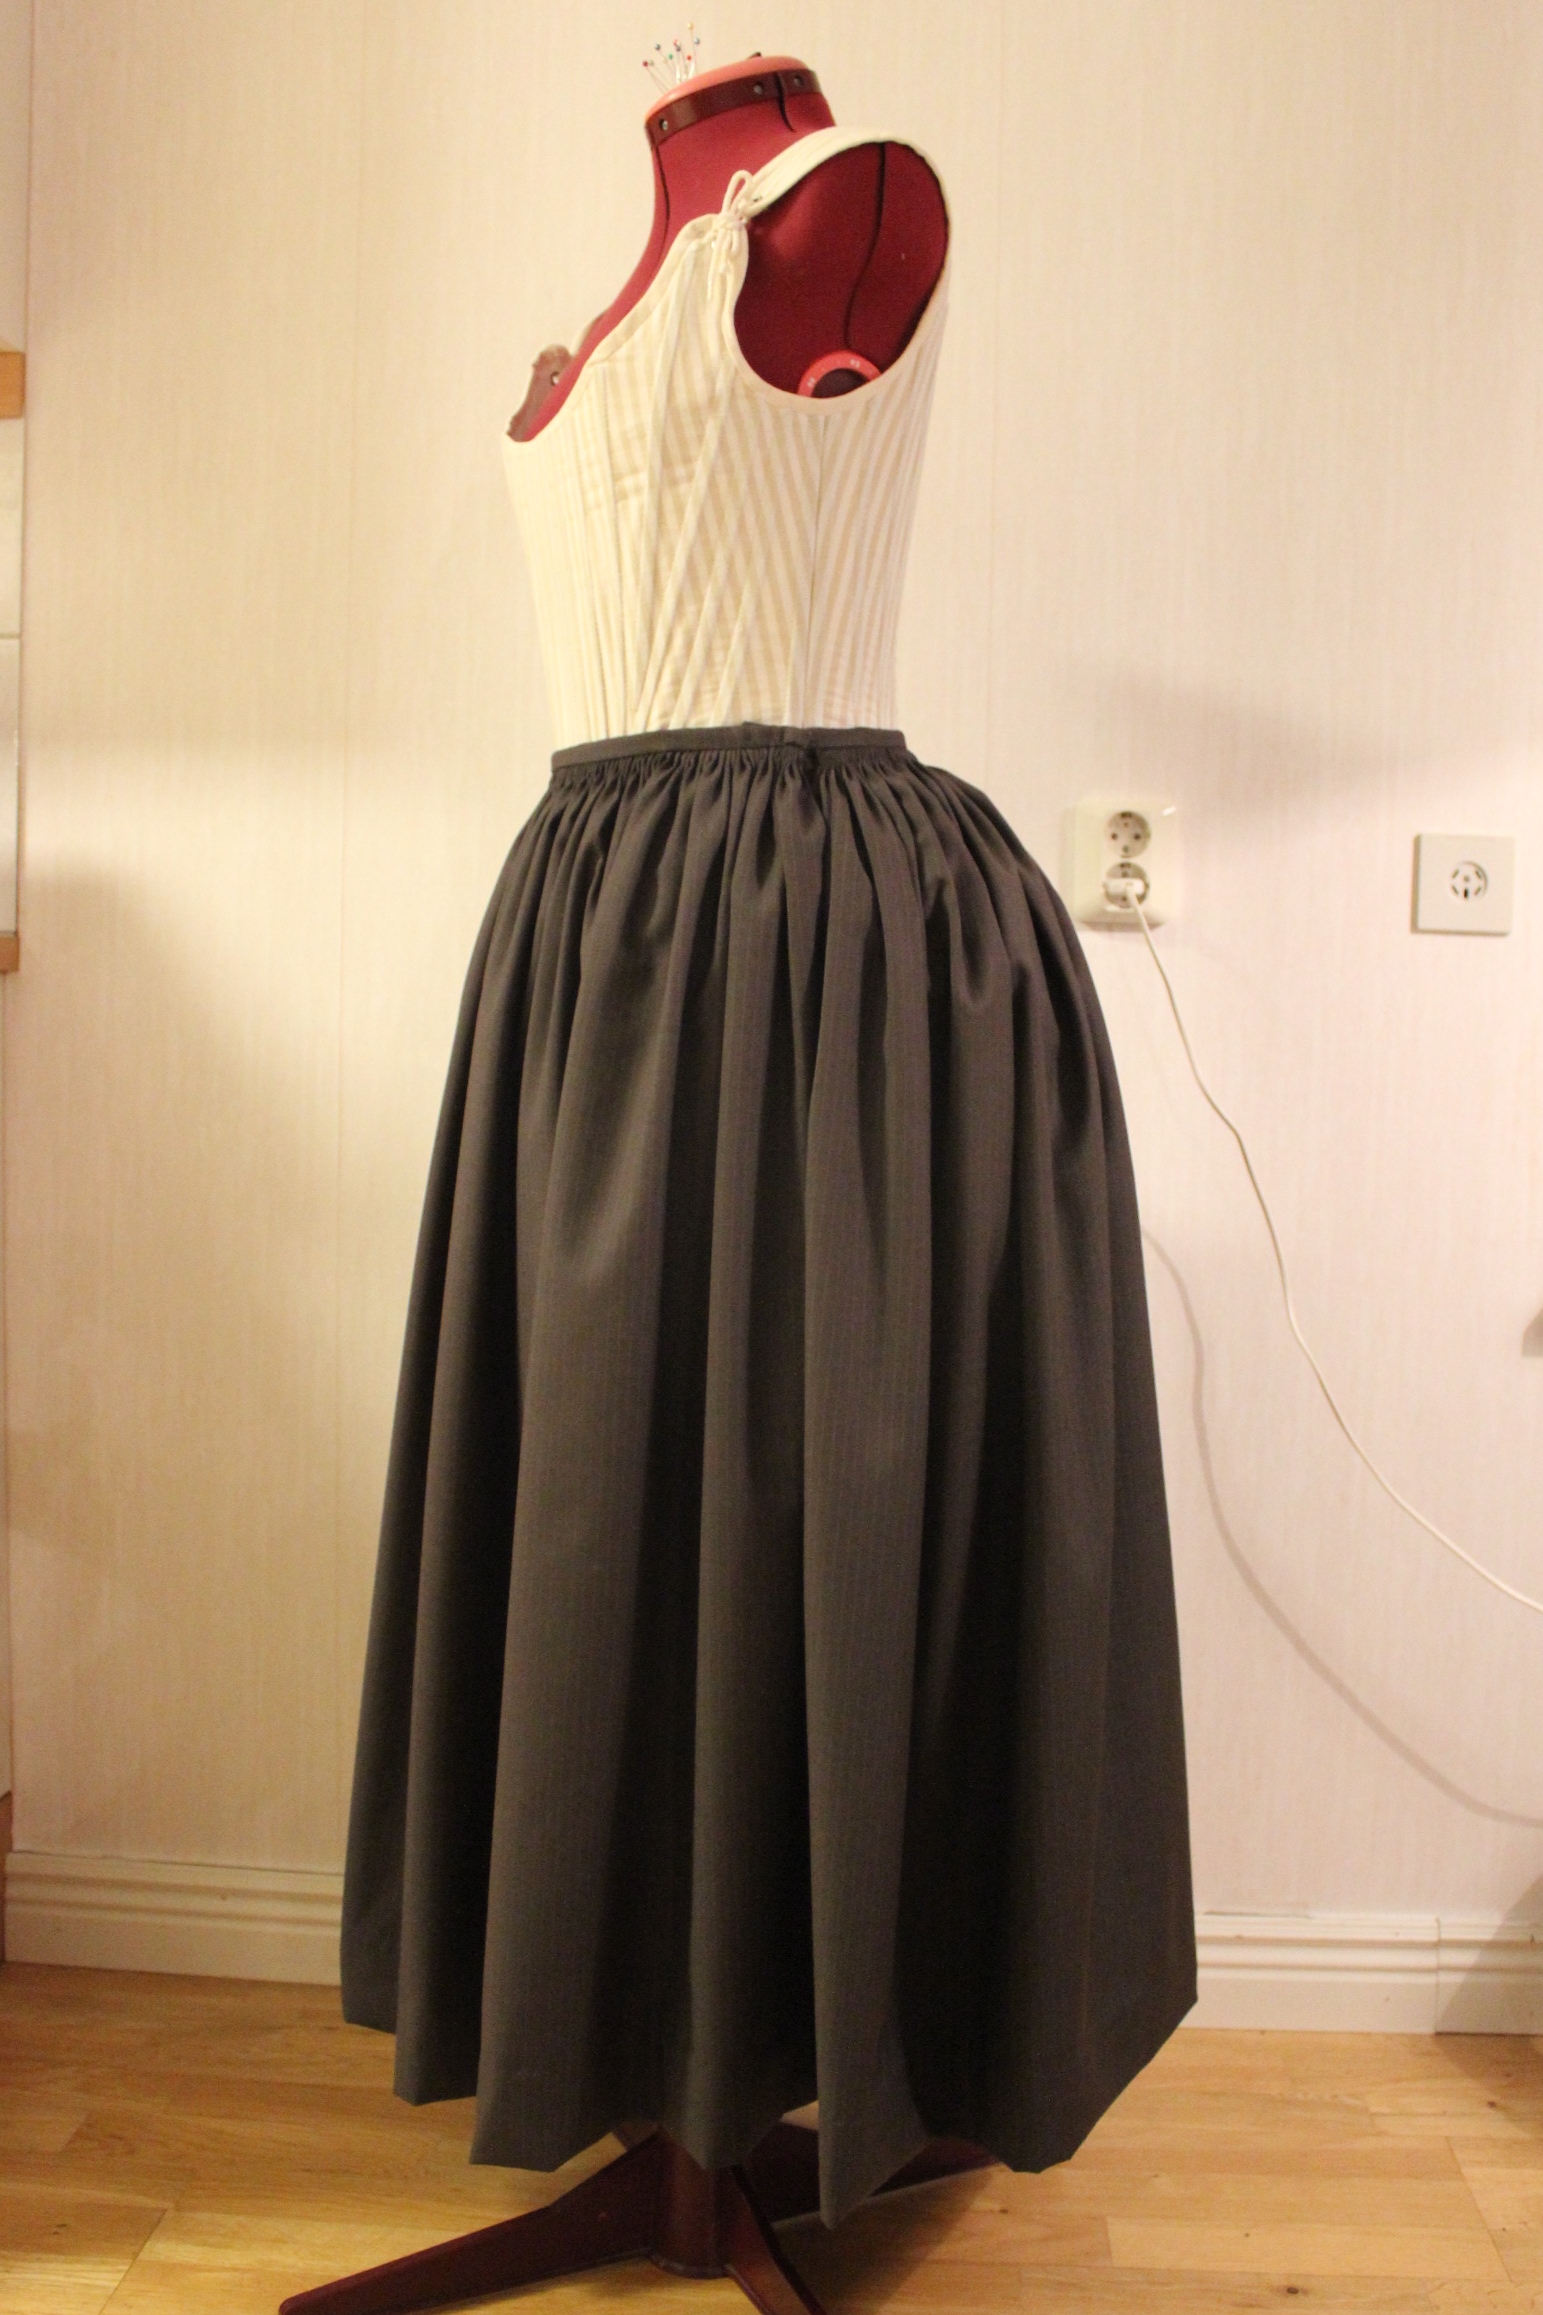
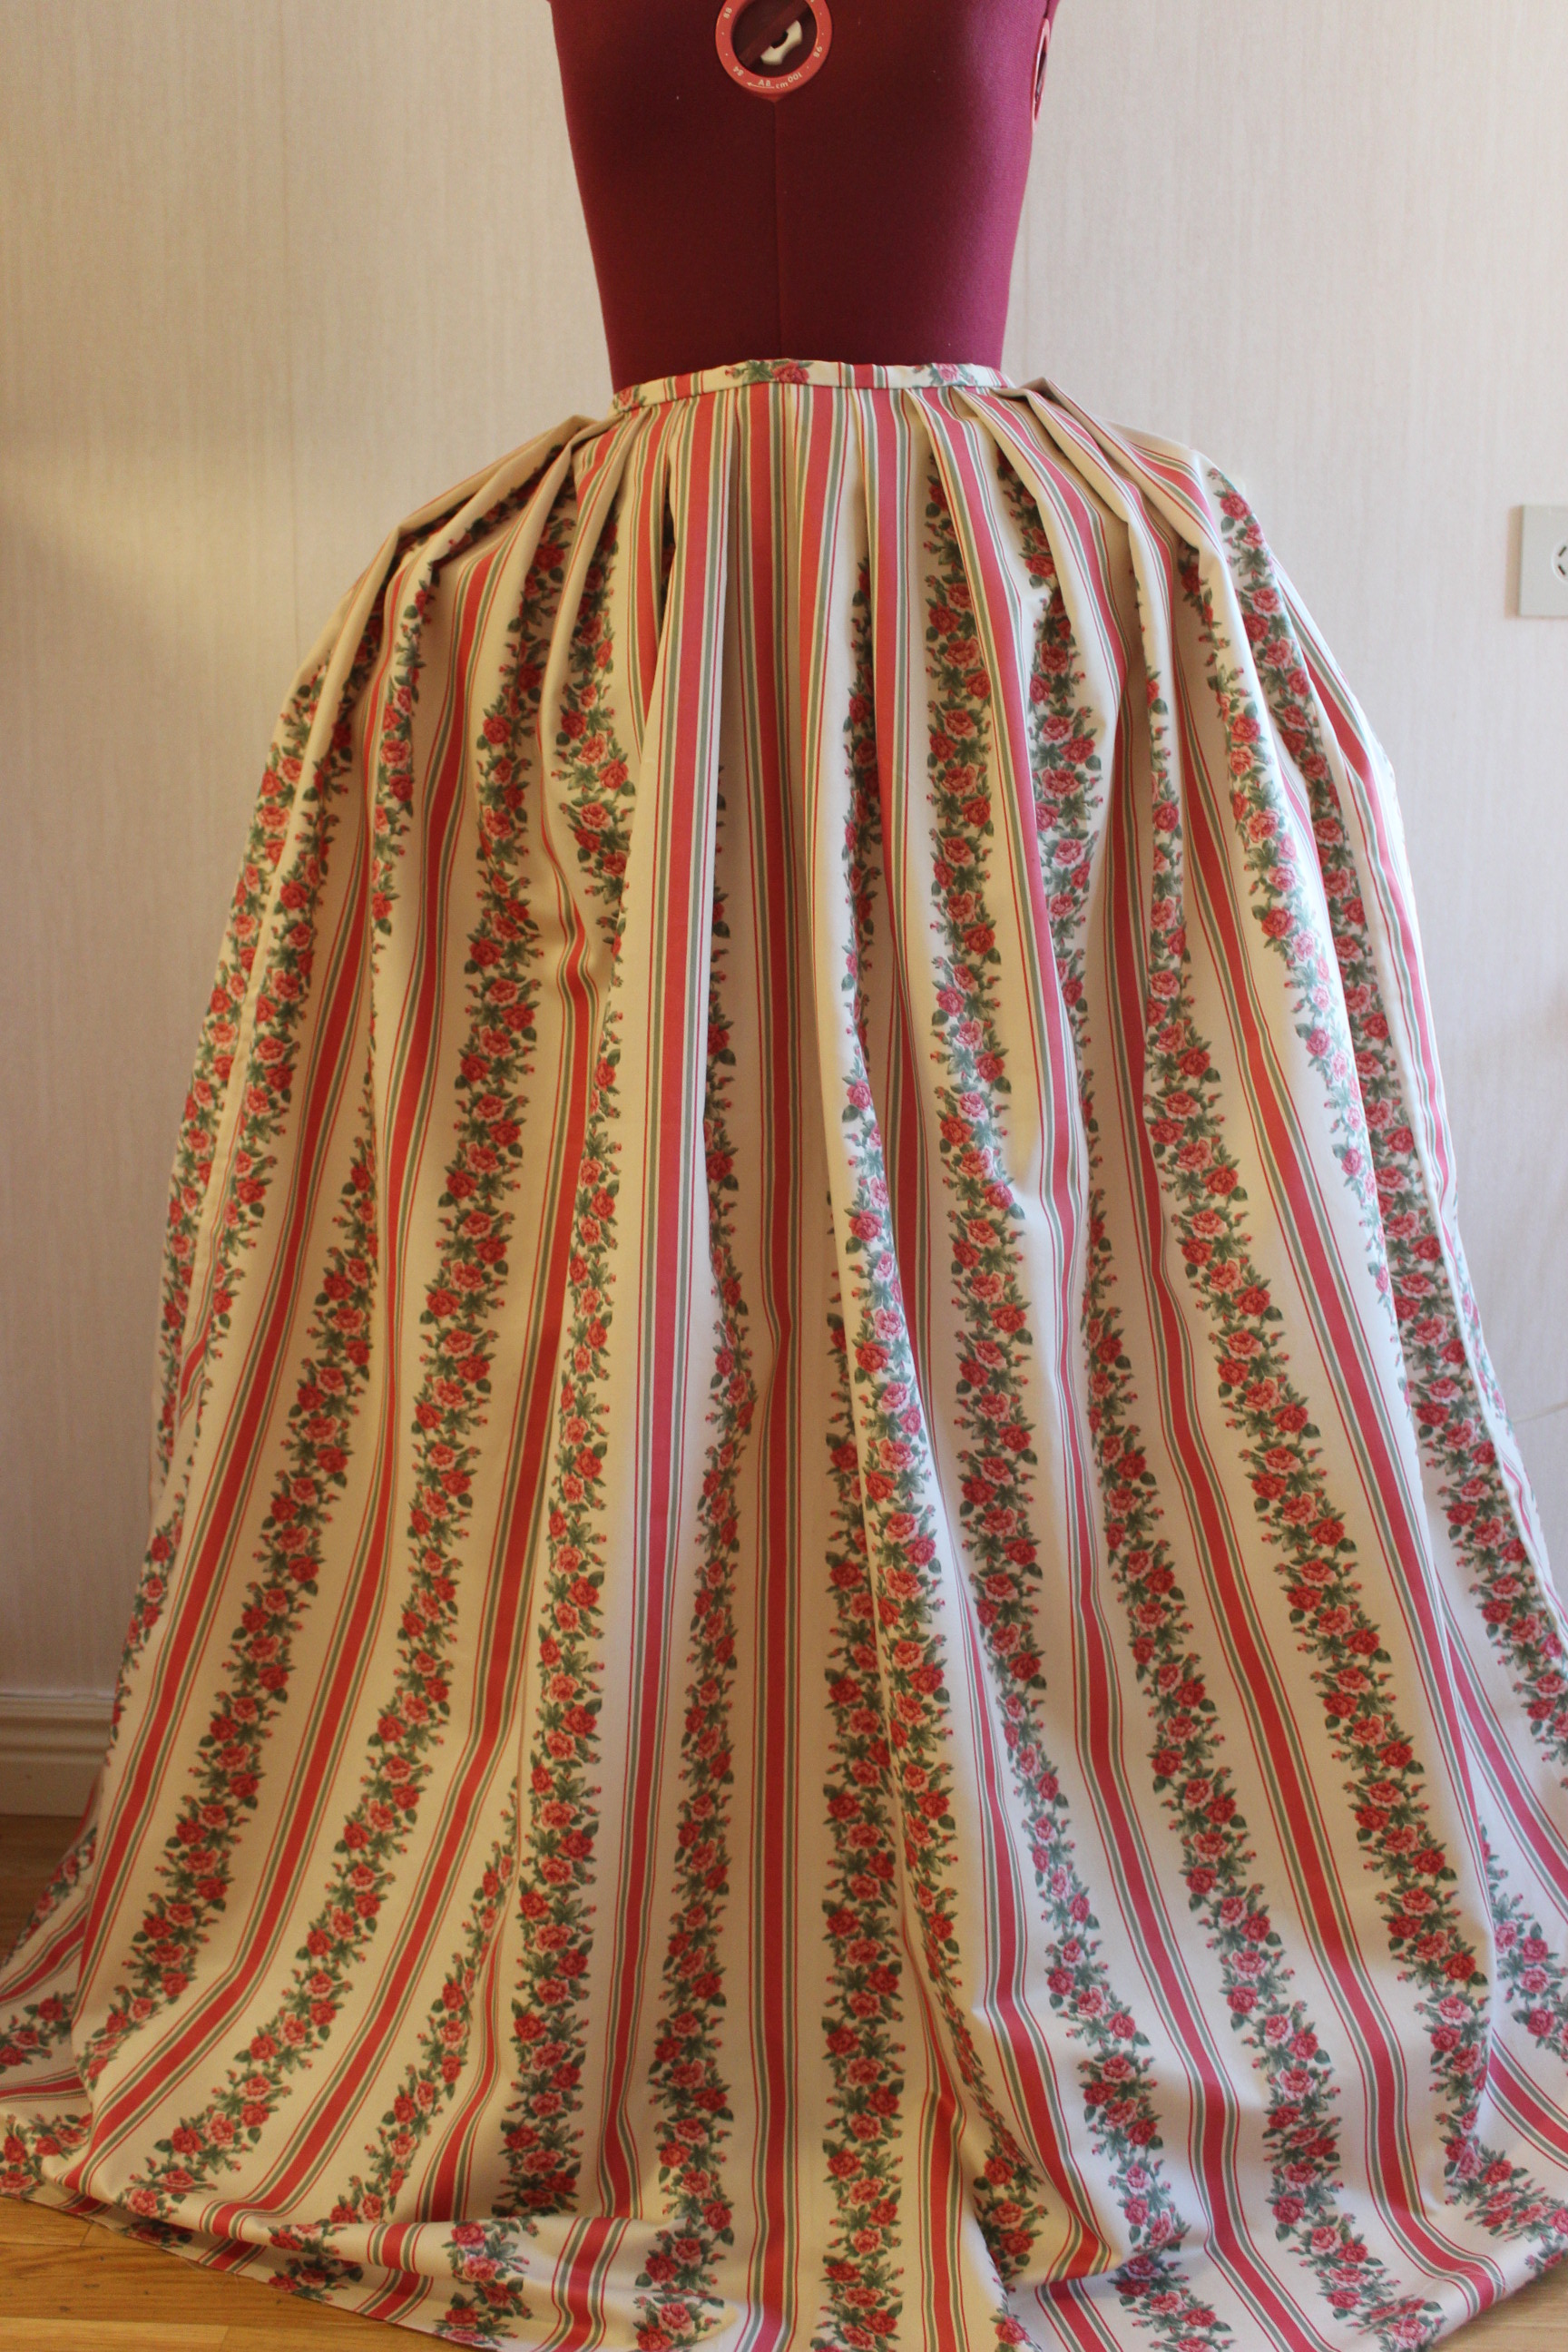
First: The skirt.
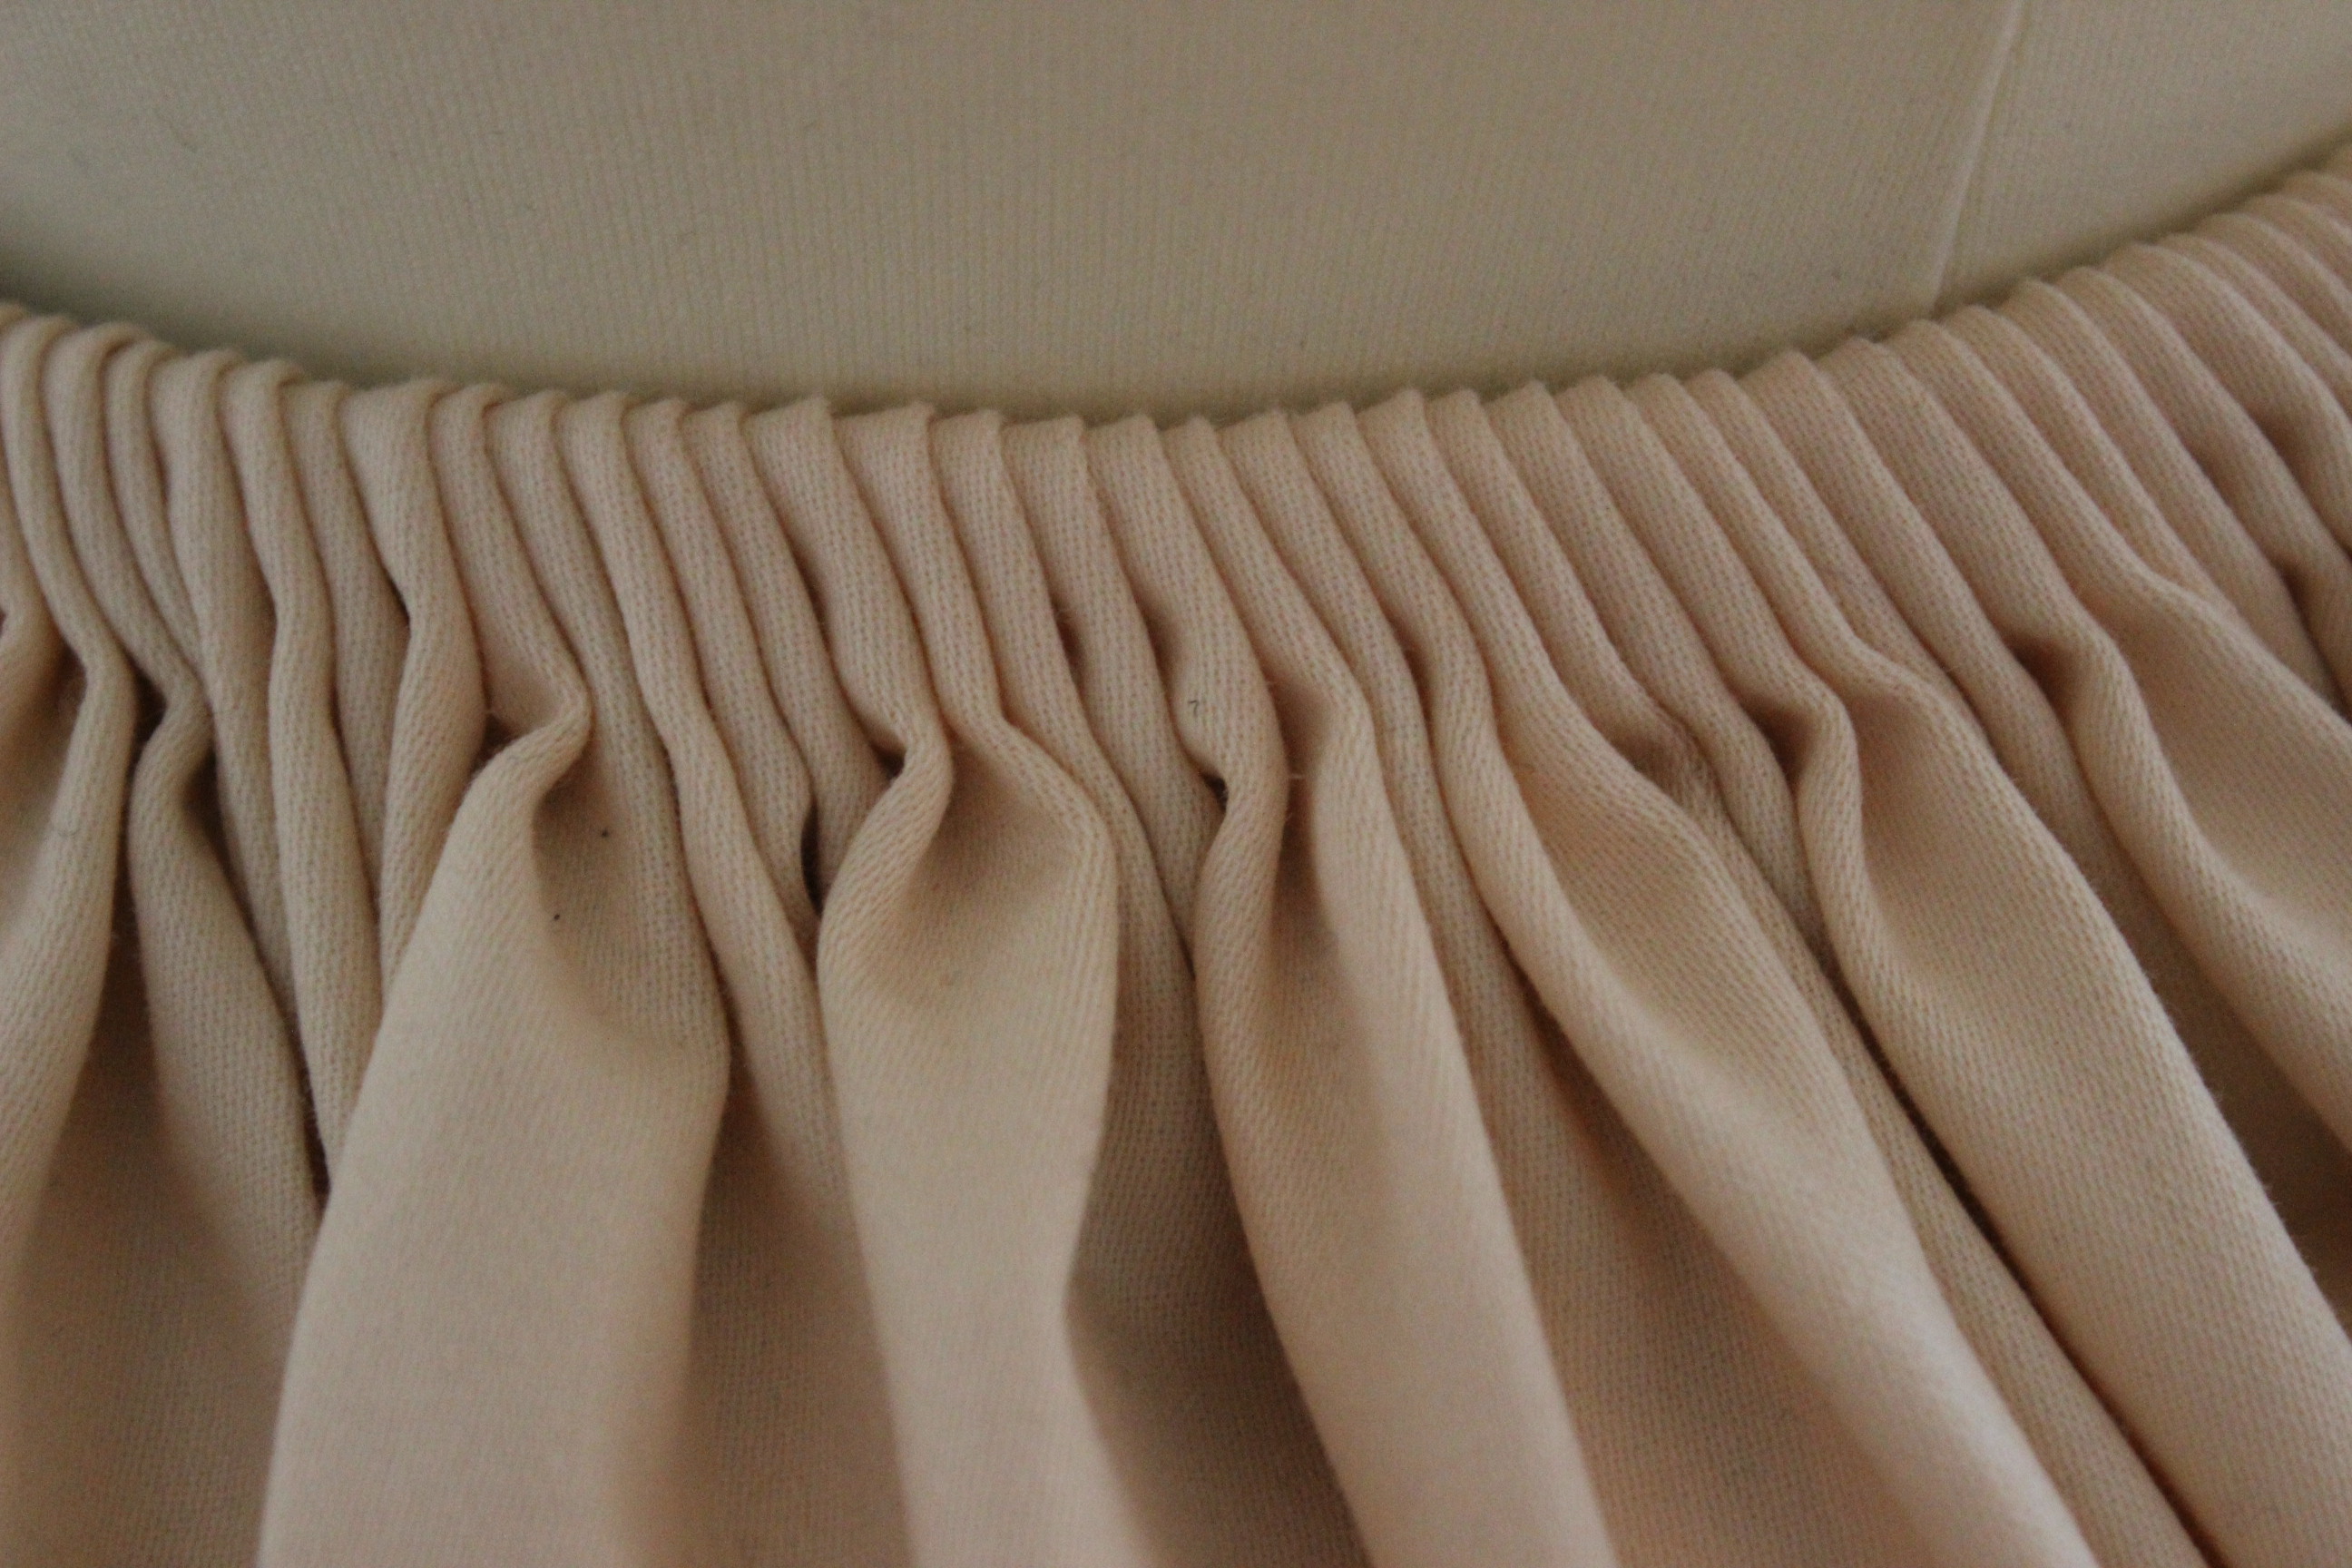
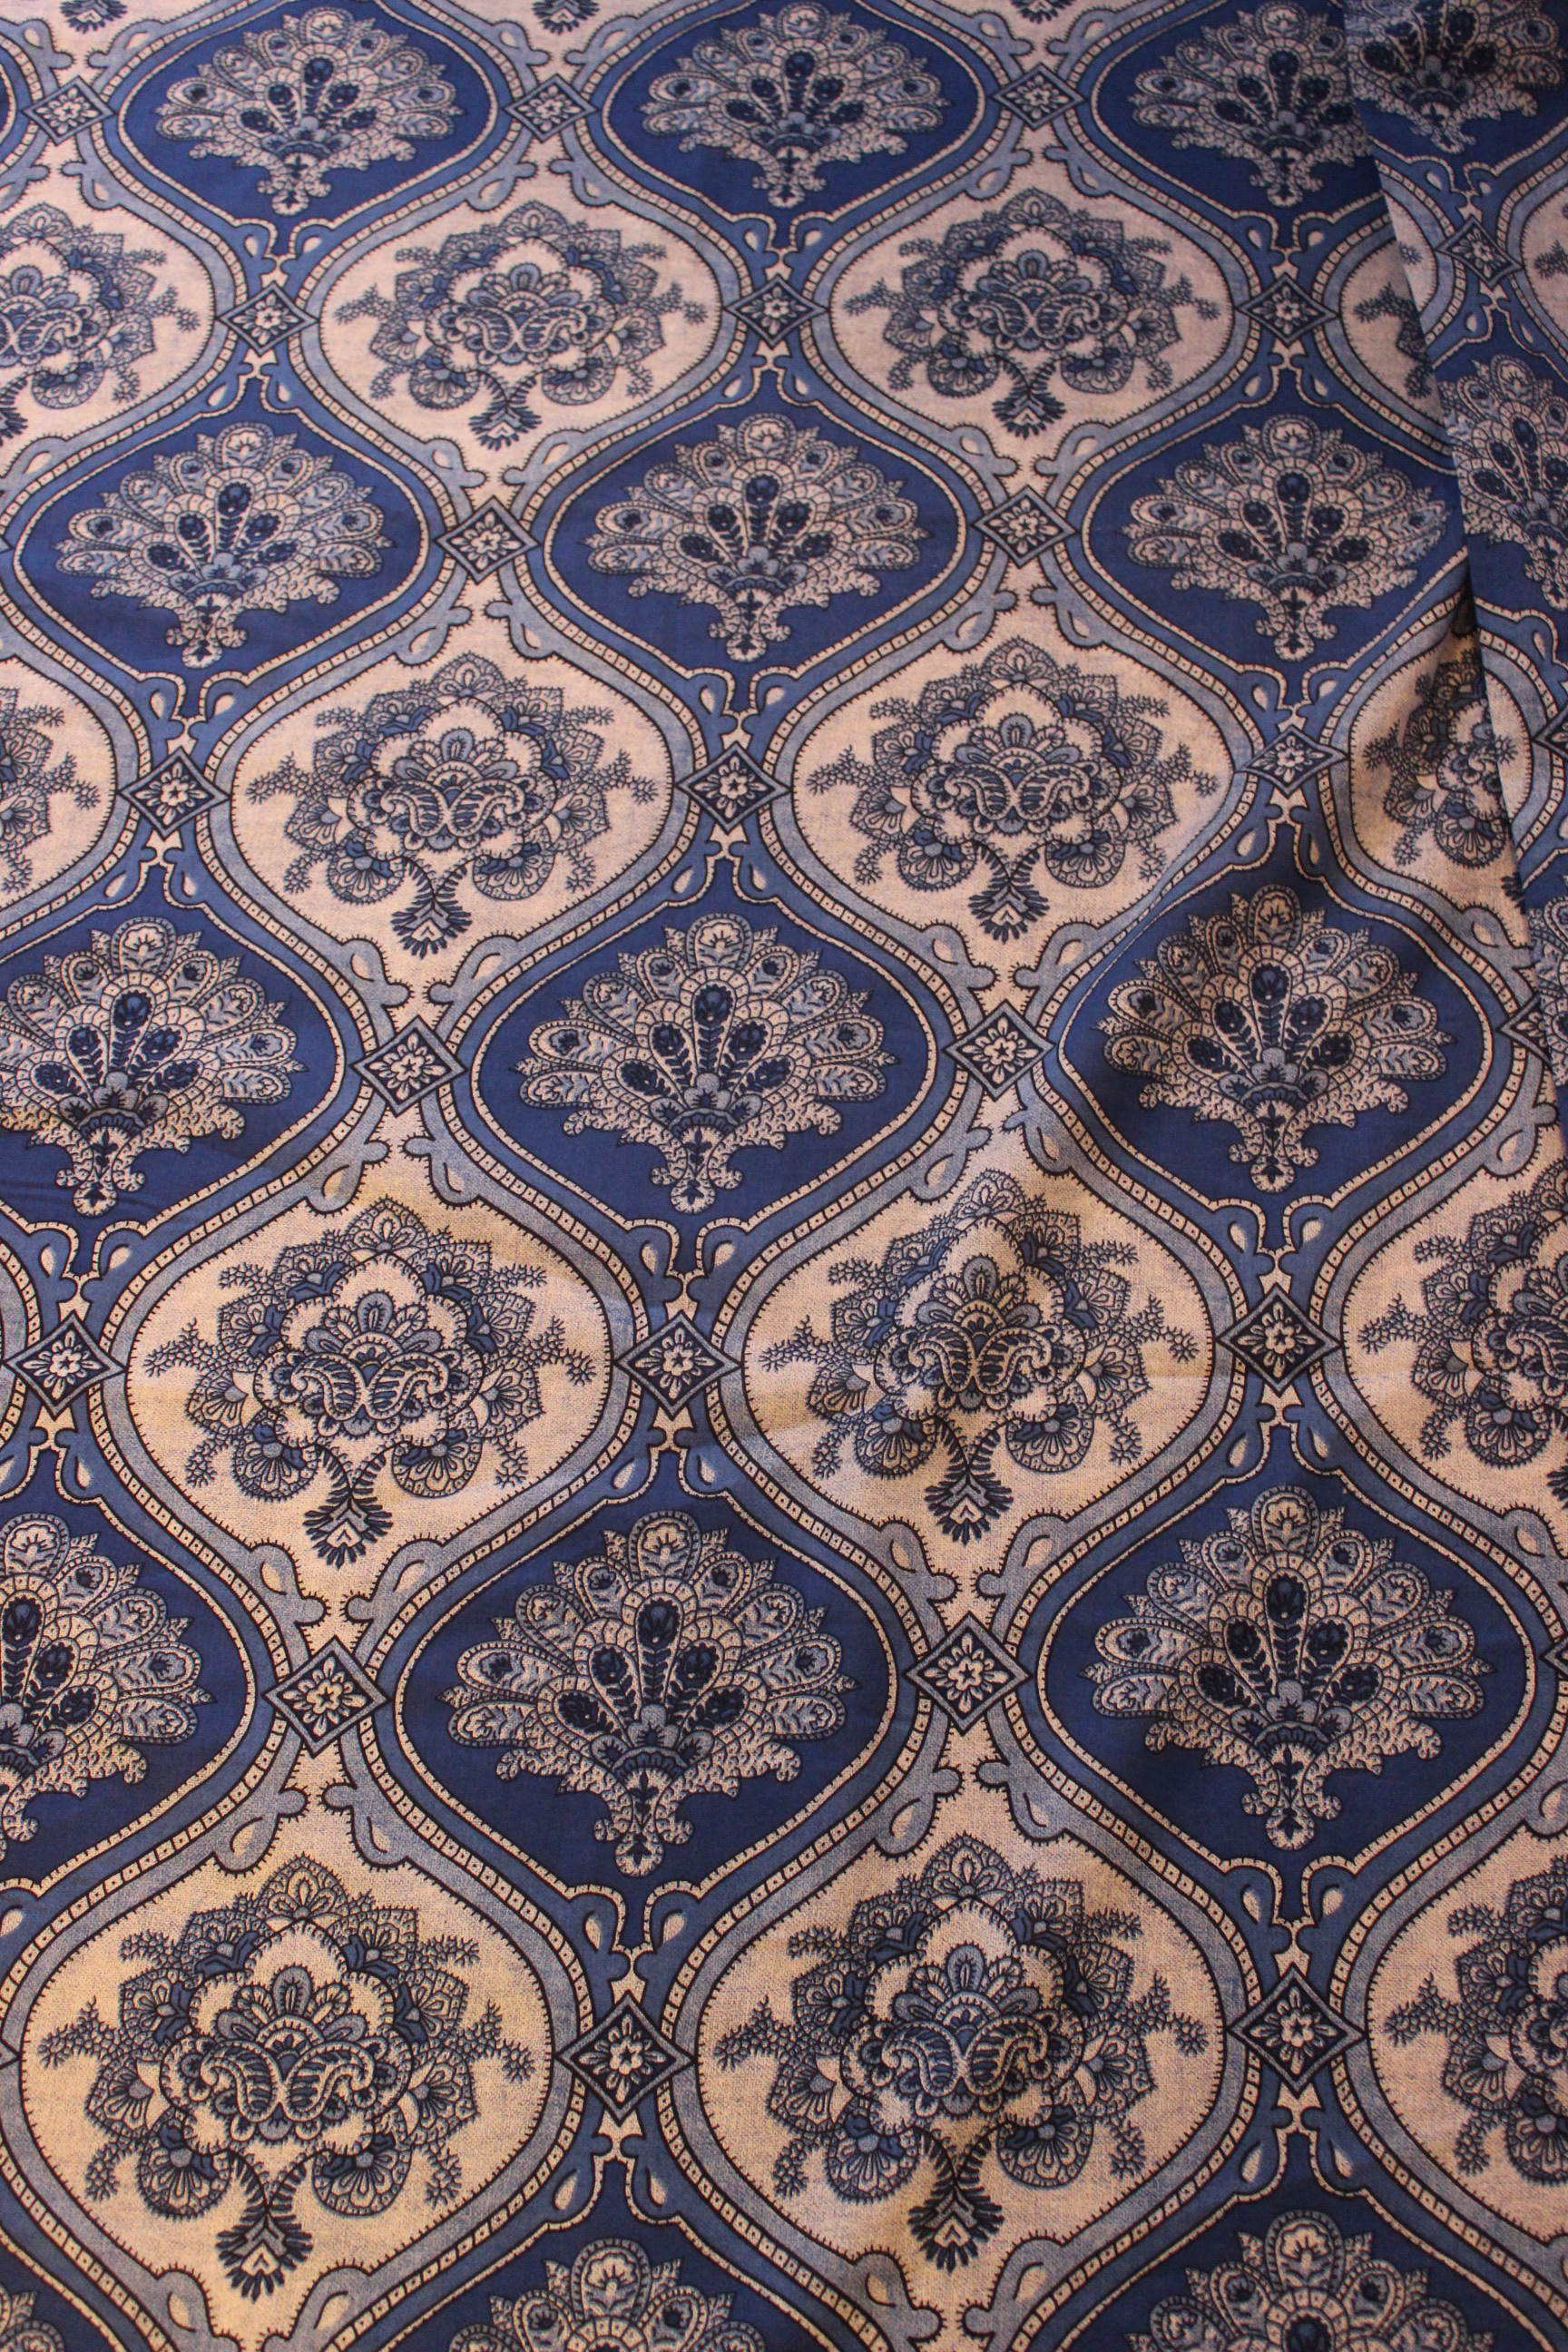
A 18th century petticoat/skirt made from regular white cotton (I needed it to be both quick and cheap).
I used a regular white cotton fabric that I found in my stash.
Since I made almost the exact skirt for the previous challenge, I won’t bore you with construction detals, but instead go straight to the Finished photos. (If you’re still want to know how I made it, take a look at my Pastell UFO skirt.


 Just The Facts:
Challenge: nr 9: Black & white.
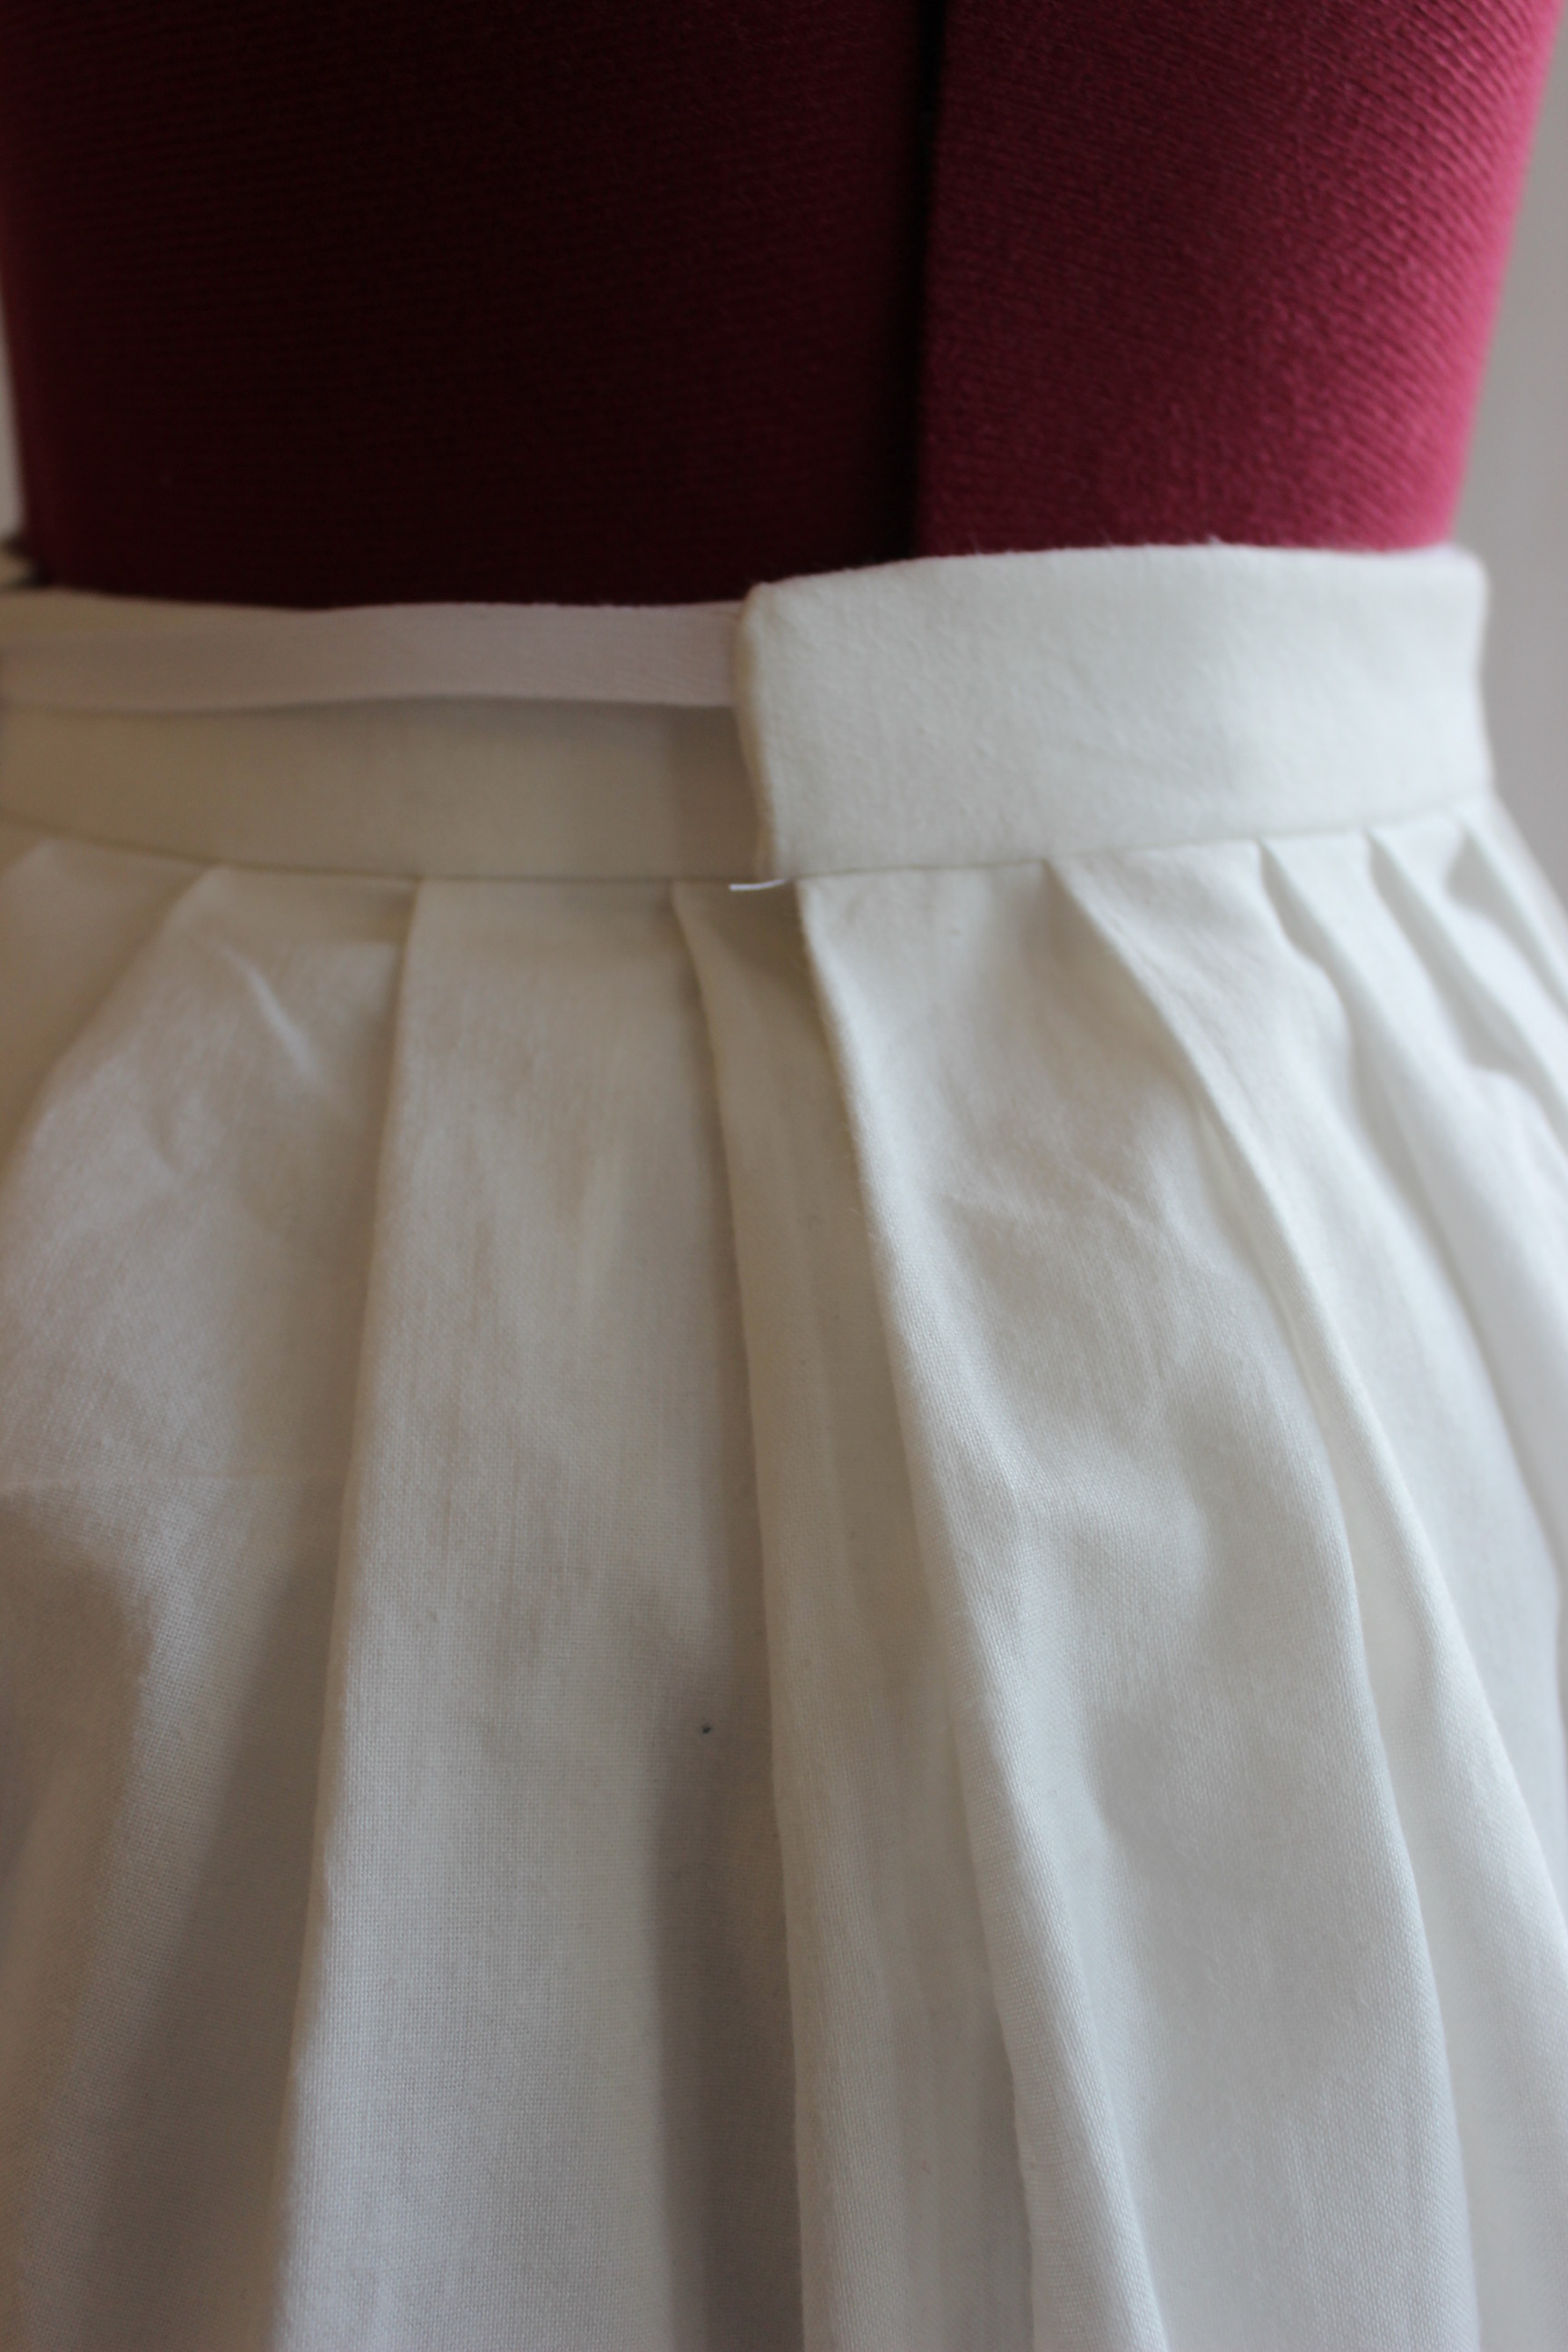
What: A 18th century skirt/petticoat.
Pattern: None, just measured and cut.
Fabric: 2,5 m of white cotton sheets.
Notions: Thread and 2 m cotton ribbon for tying at the waist.
How Historical Accurate: So so. The time constraint caused me to sew it by machine (and Ialso do think it is stupid to handsew pieces which are clearly in the wrong material). But the shape and construction are plausable.
Time: 4 hours
Cost: 60 sek (9Usd)
First worn: Not yet. But hopefully at june 6 for a huge costuming event.
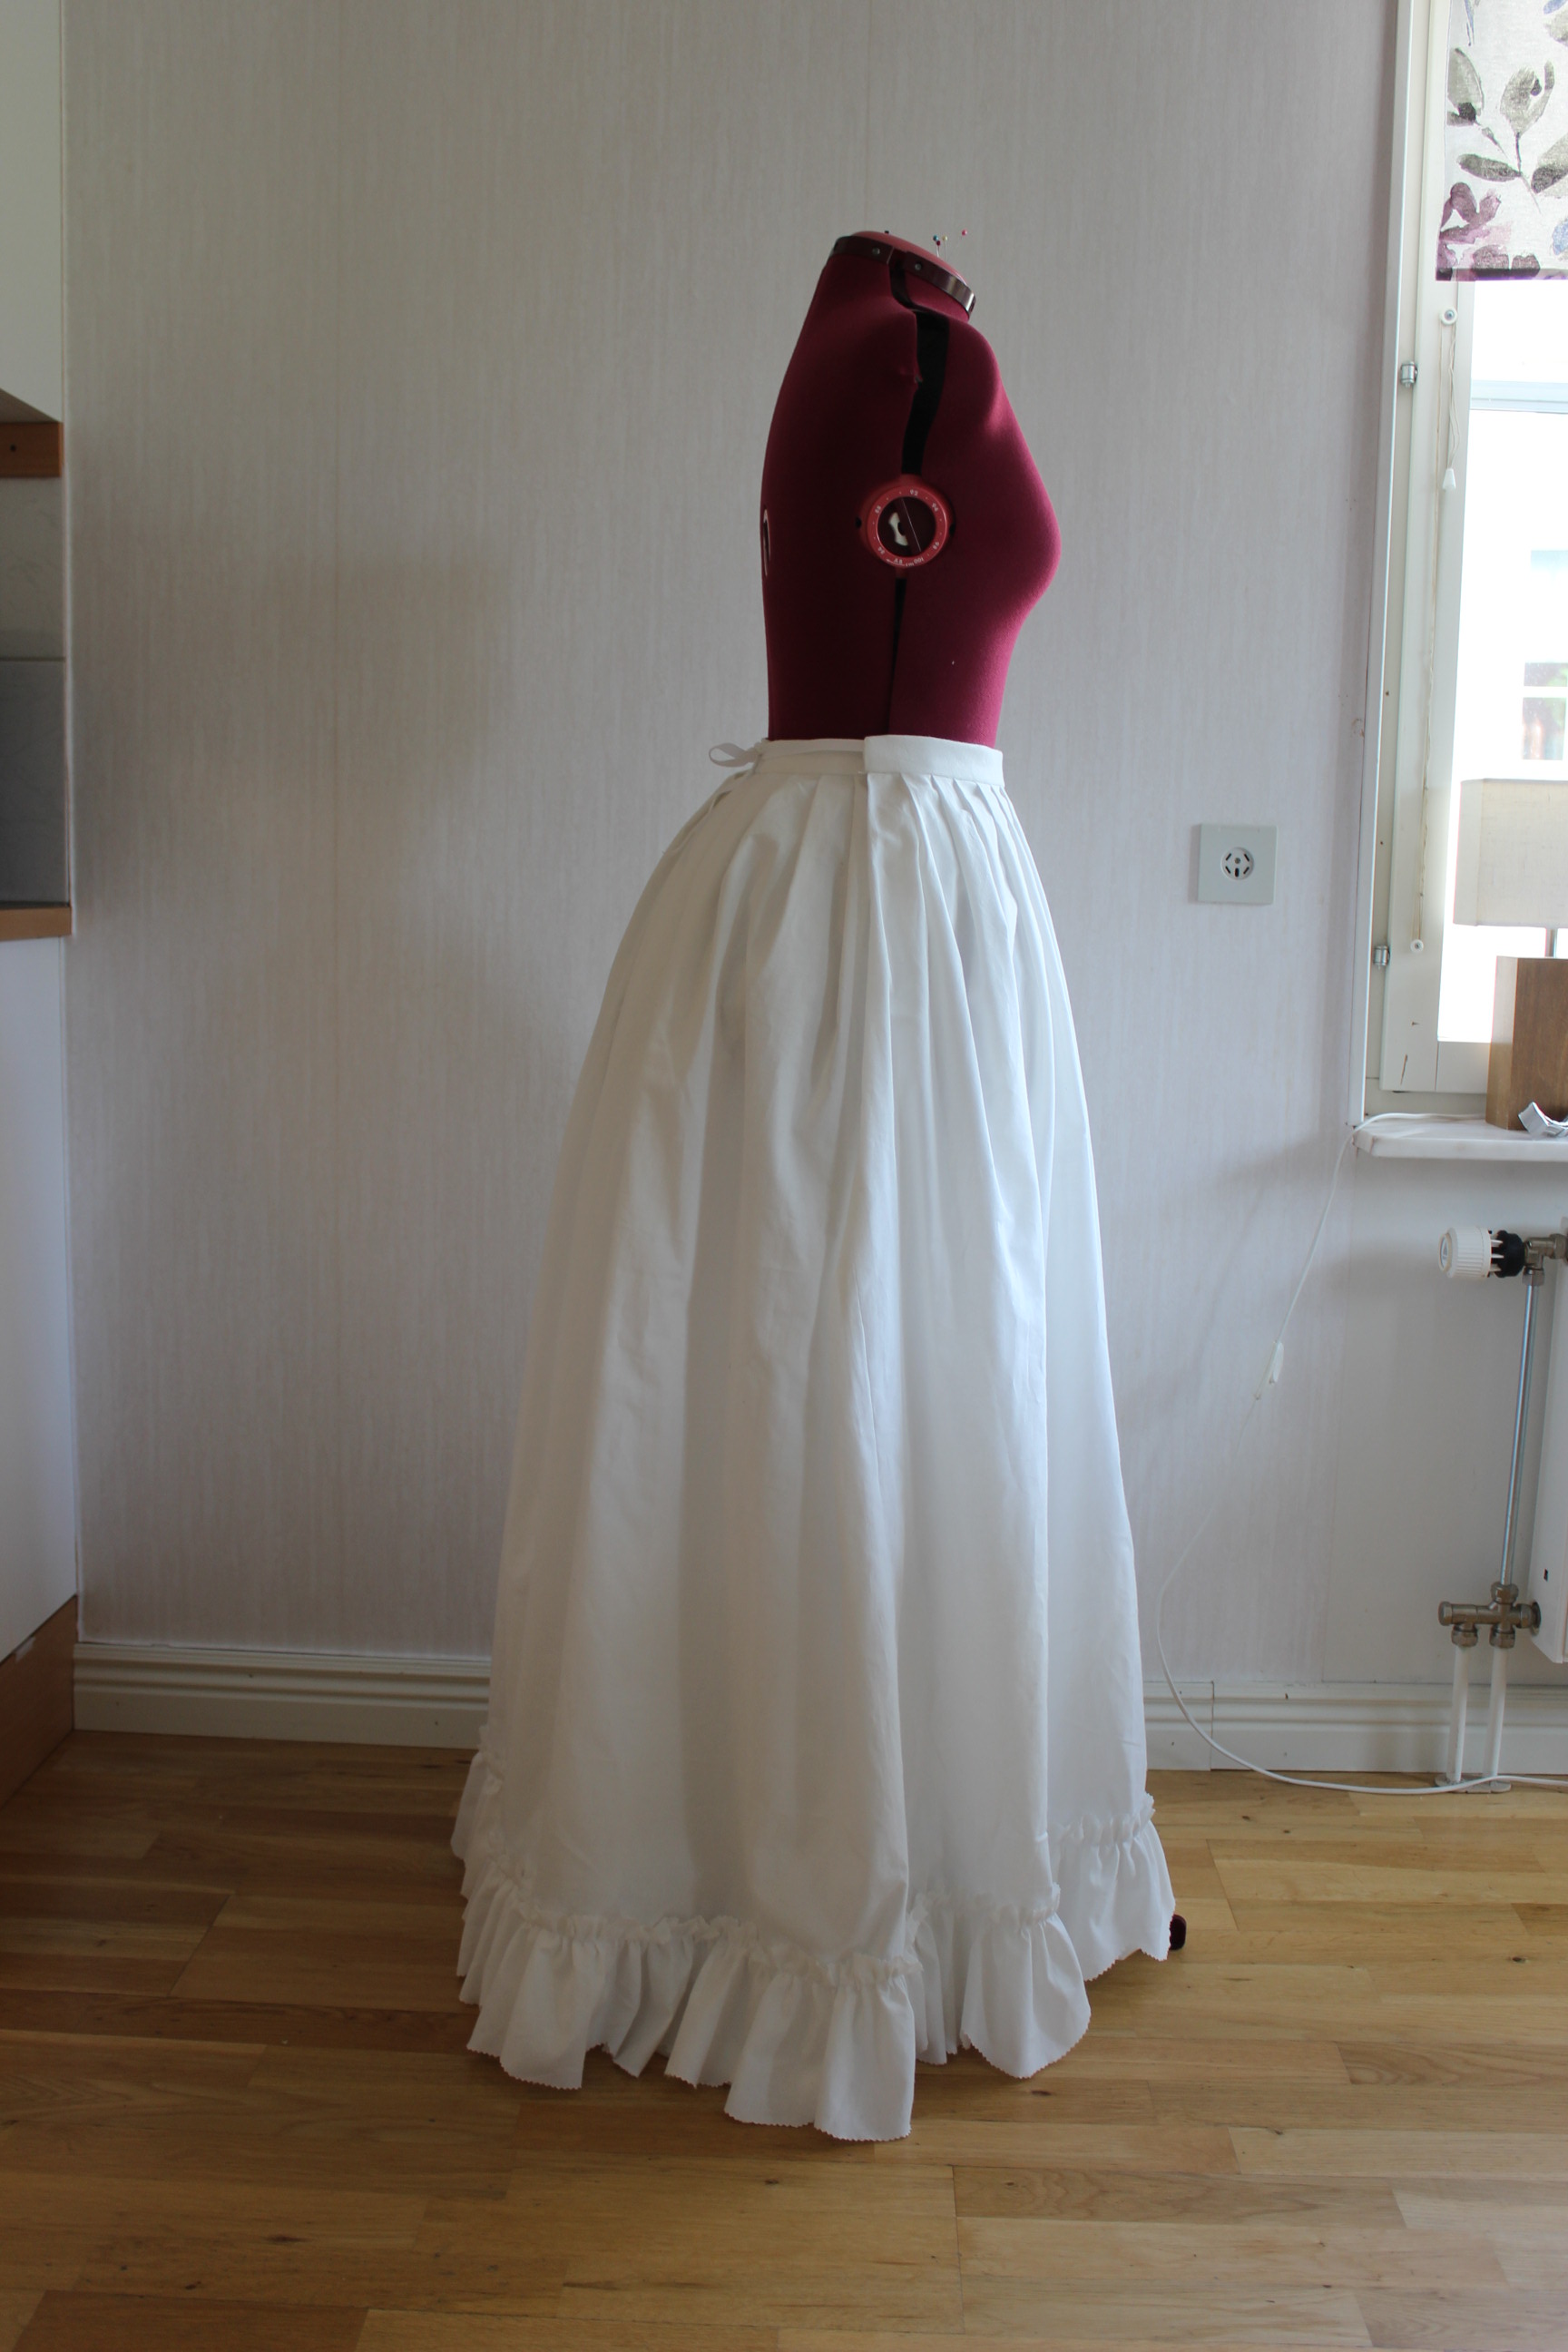
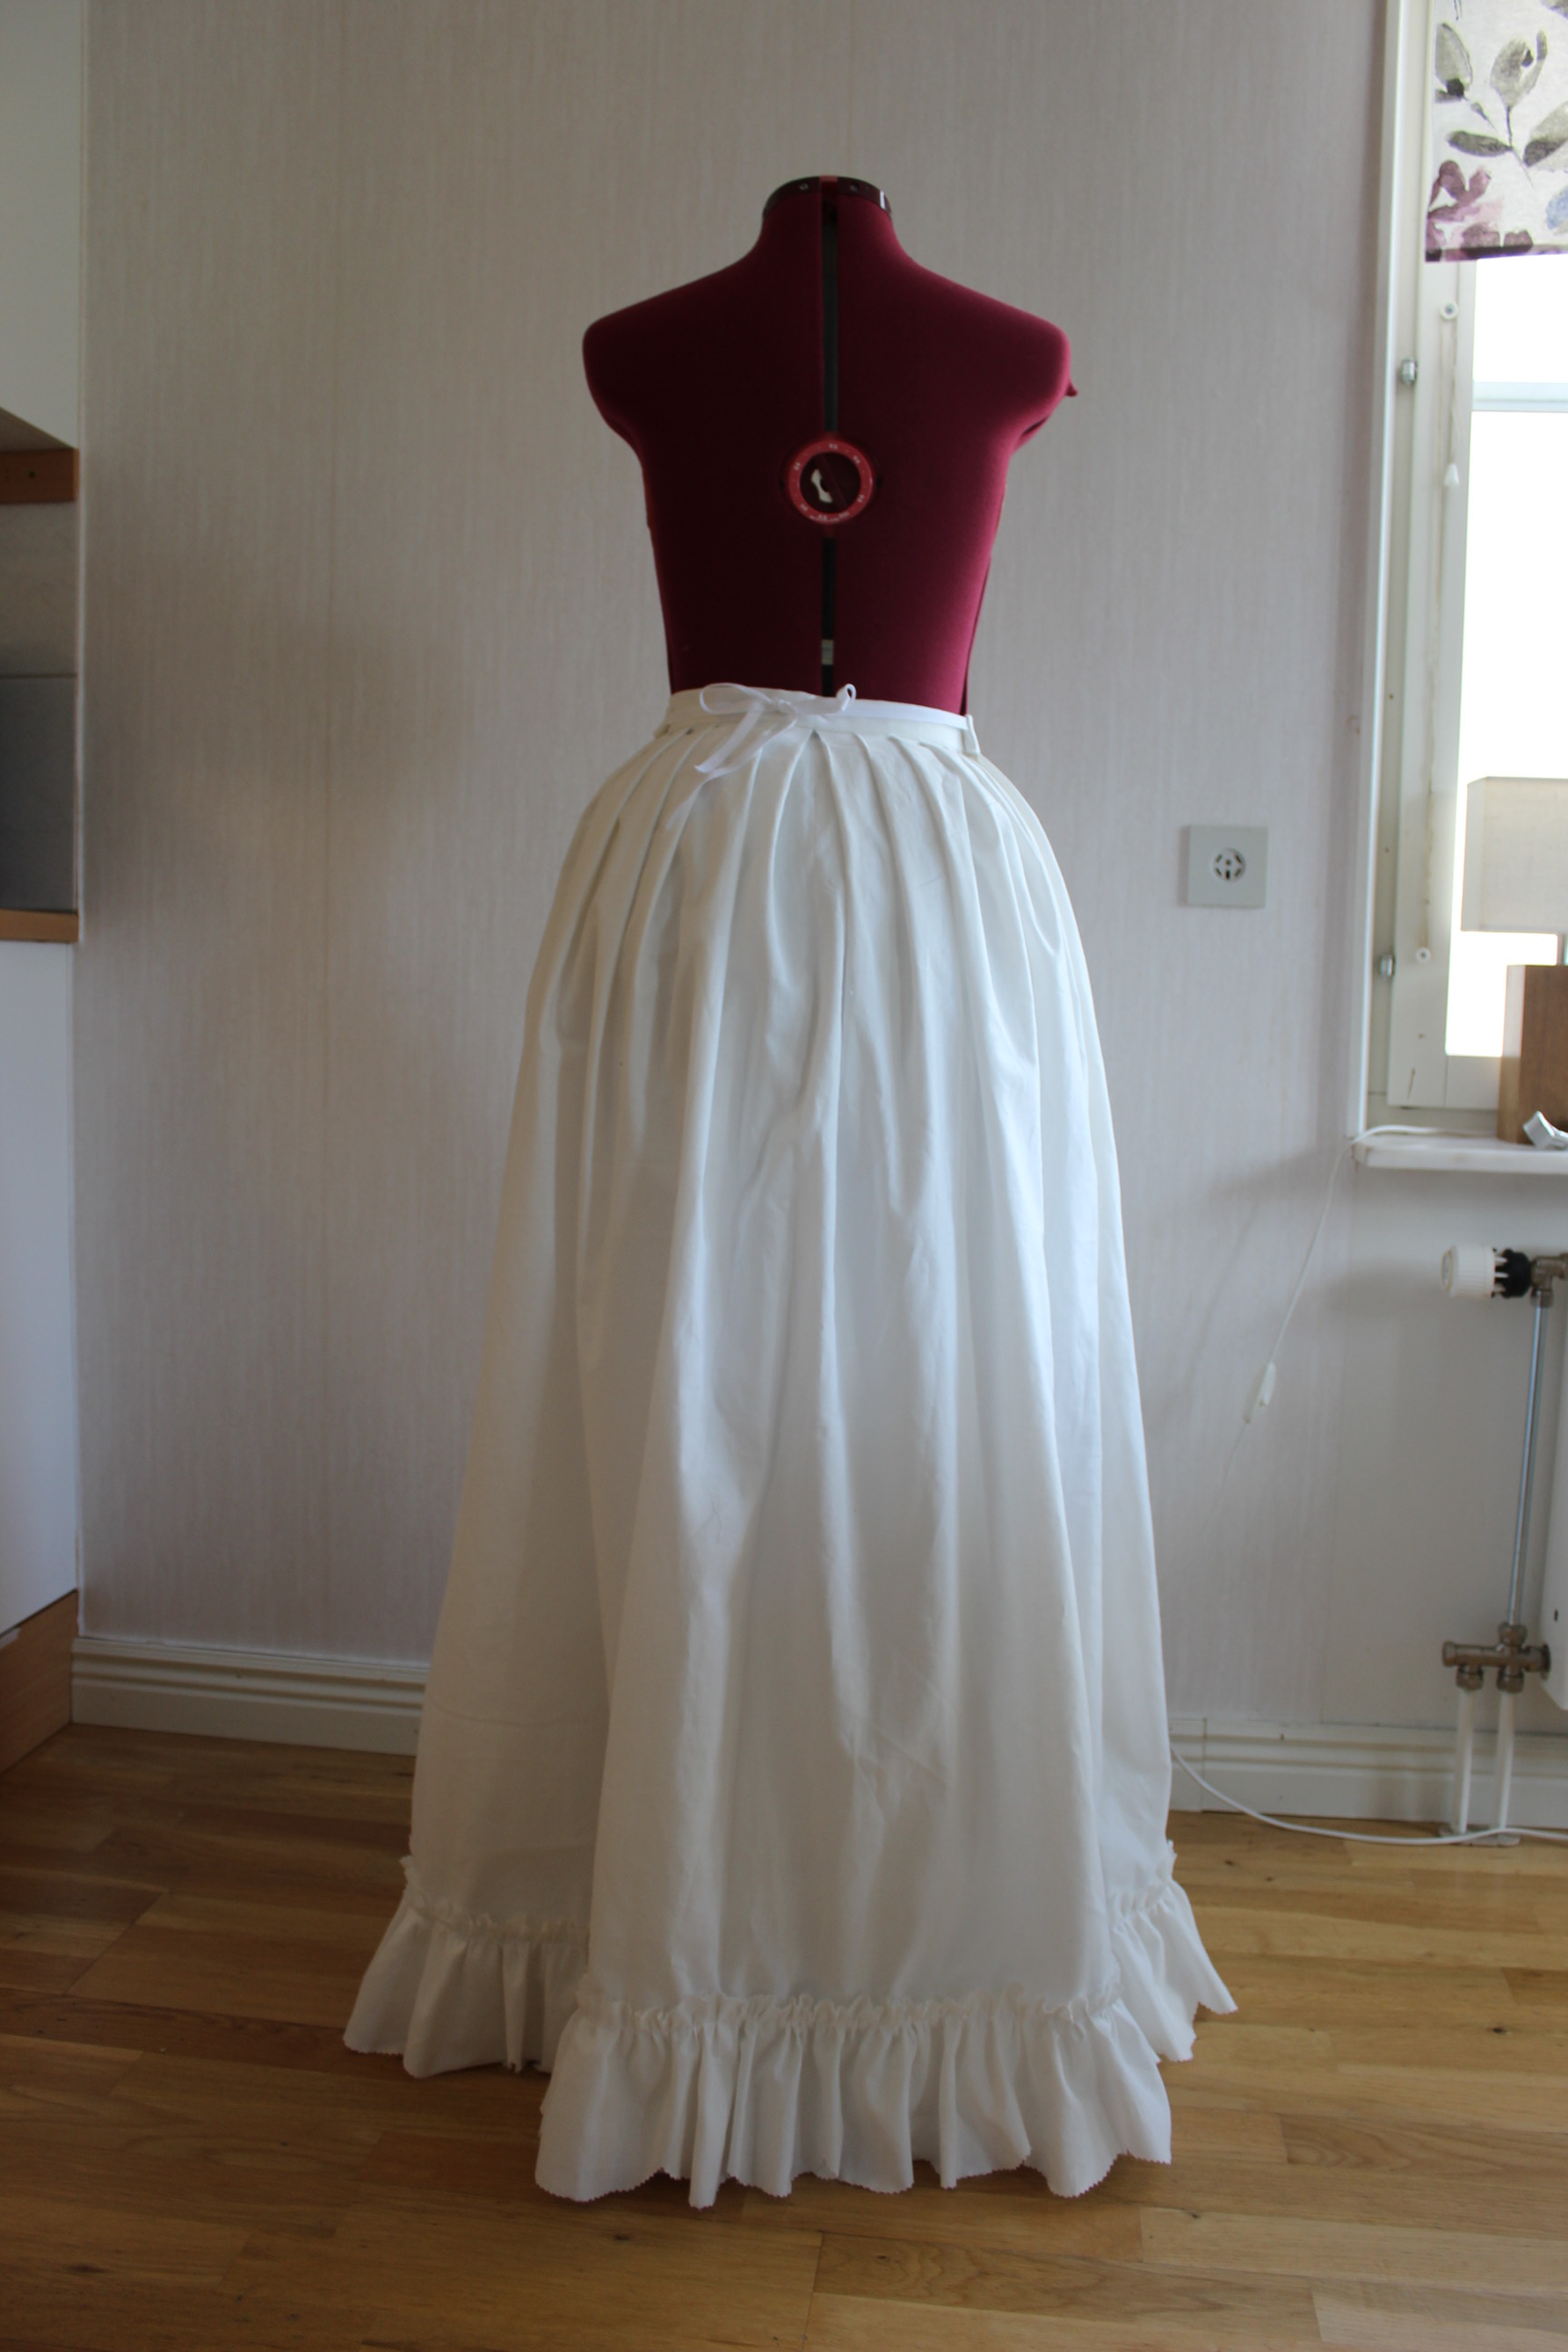
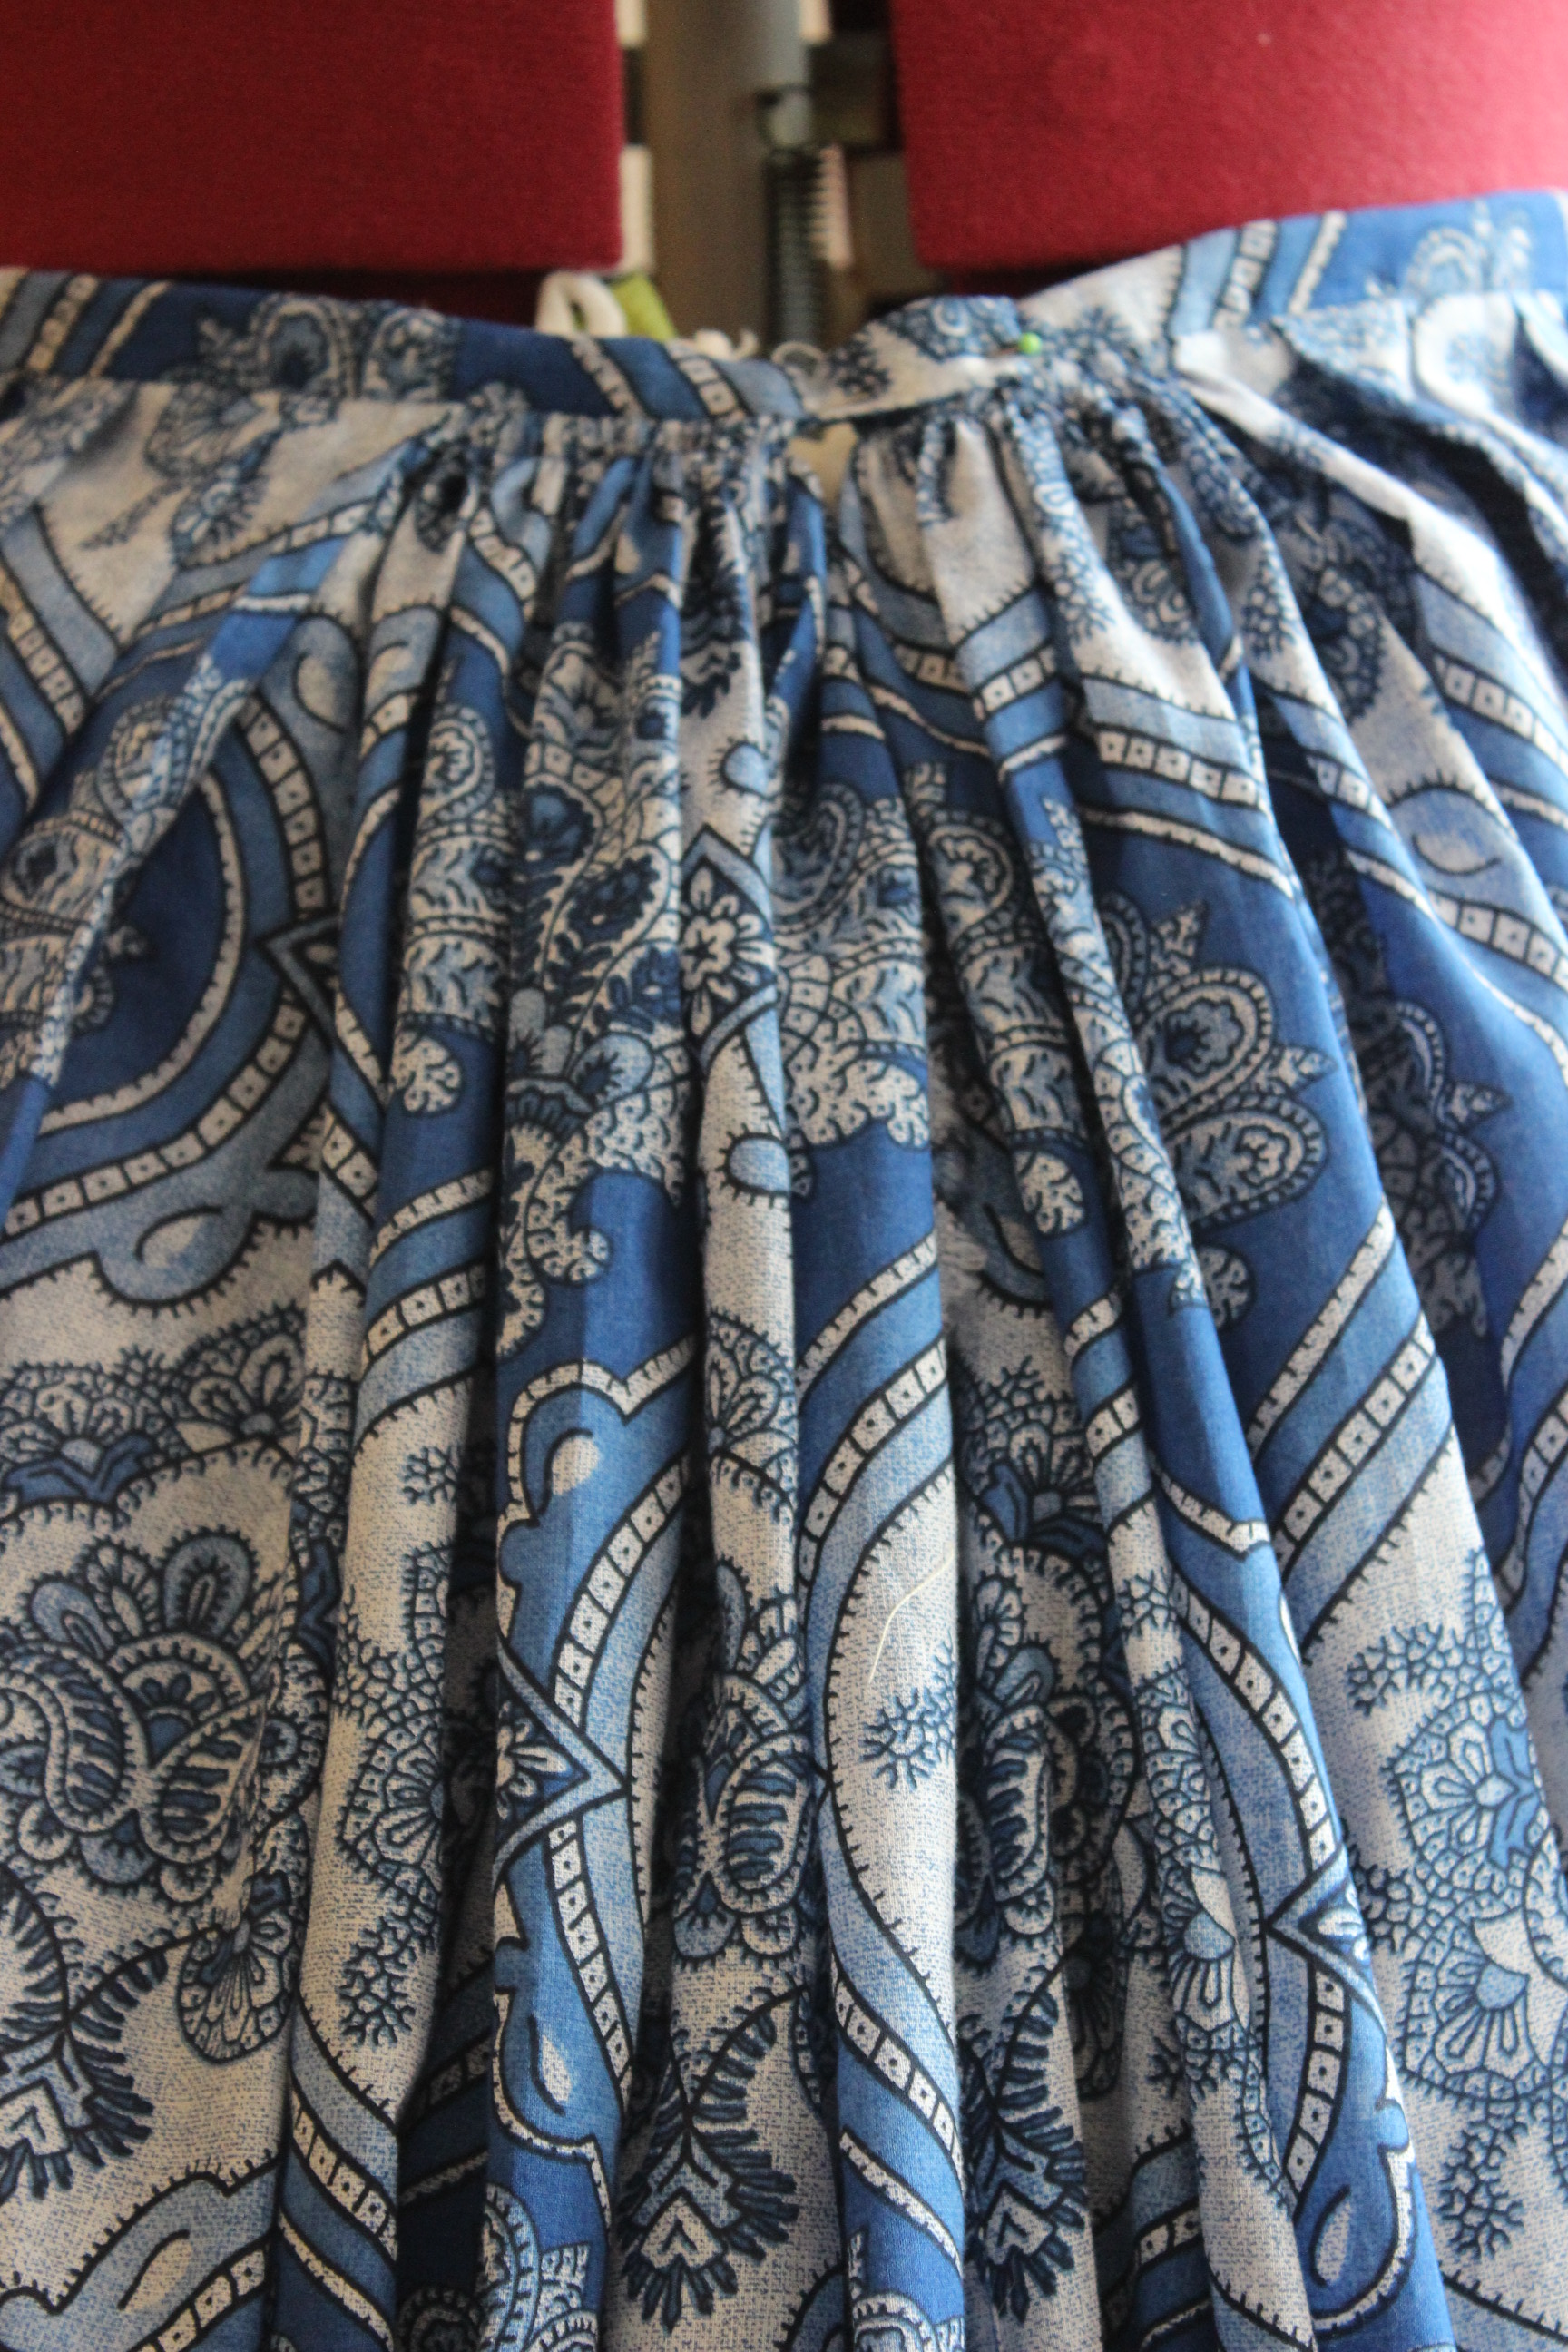
Final thoughts: I had some trouble deciding on the bottom flounce.The original calles for fringes, but there was no way I was going to get hold on some cheap and sutable ones in time. I did try to make my own, but they lacked the weight neccesary to hang nicely. In the end I opted for a narrow flounce, and I’m pretty happy with the result.
***
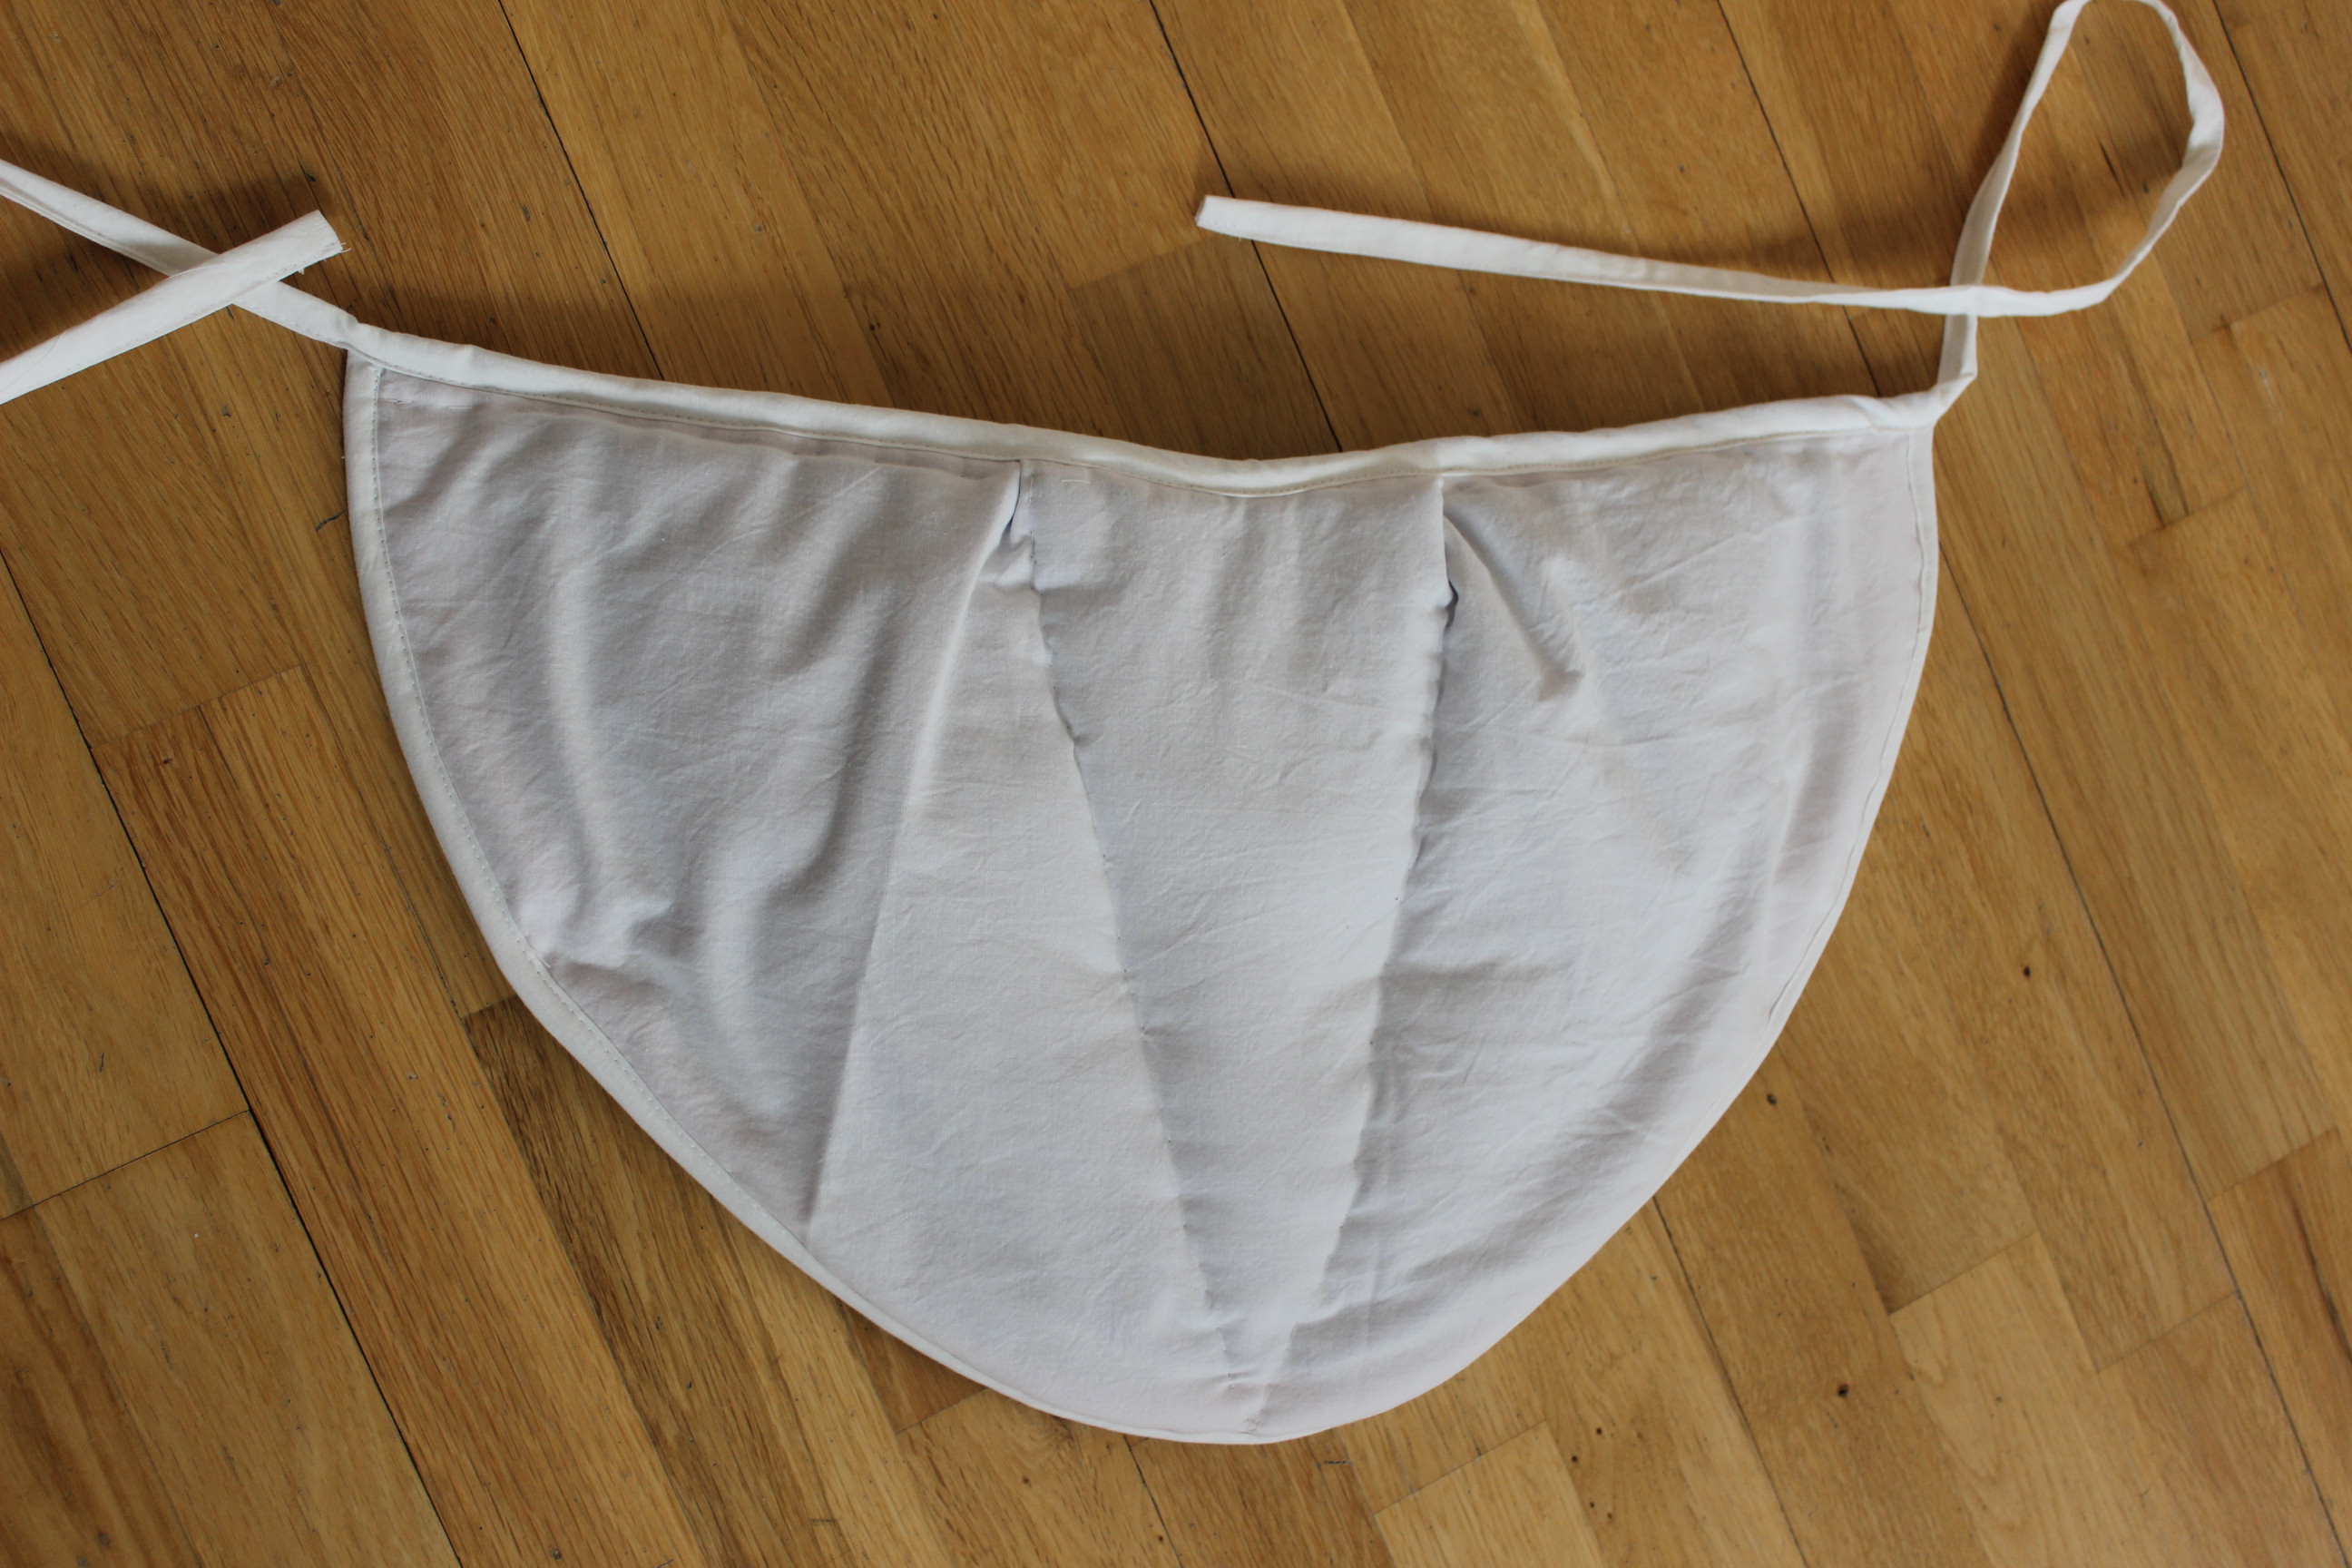
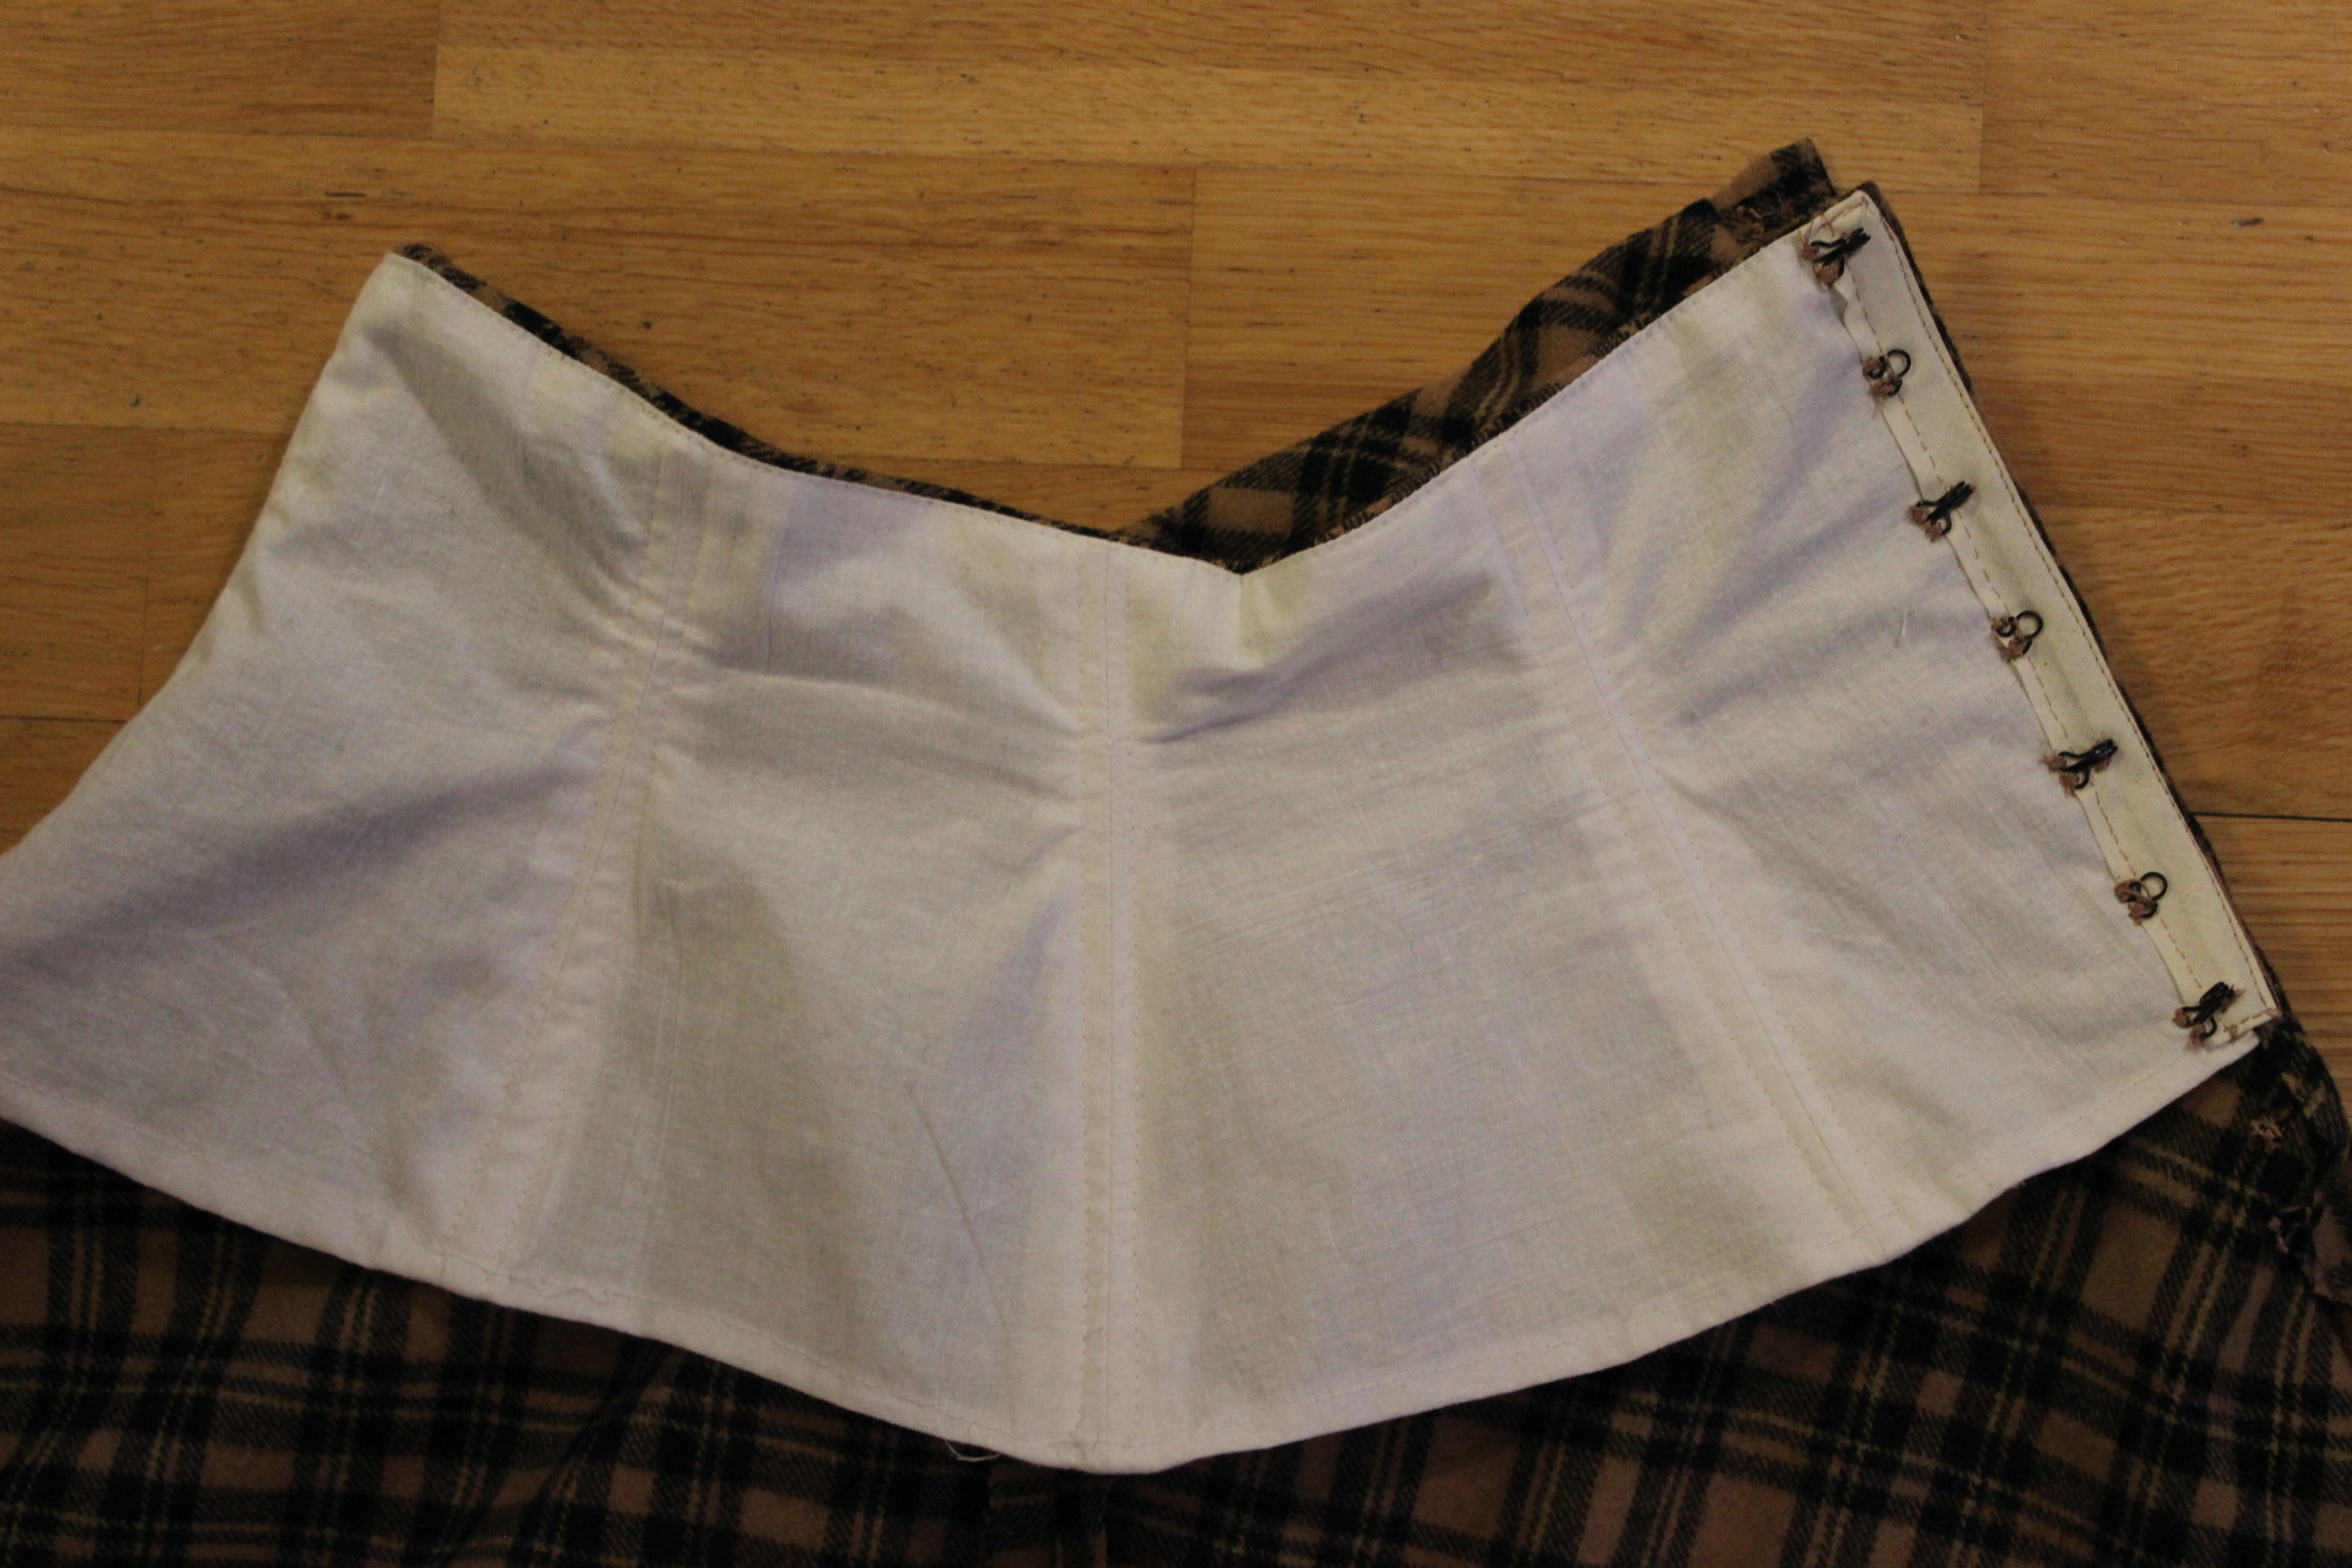
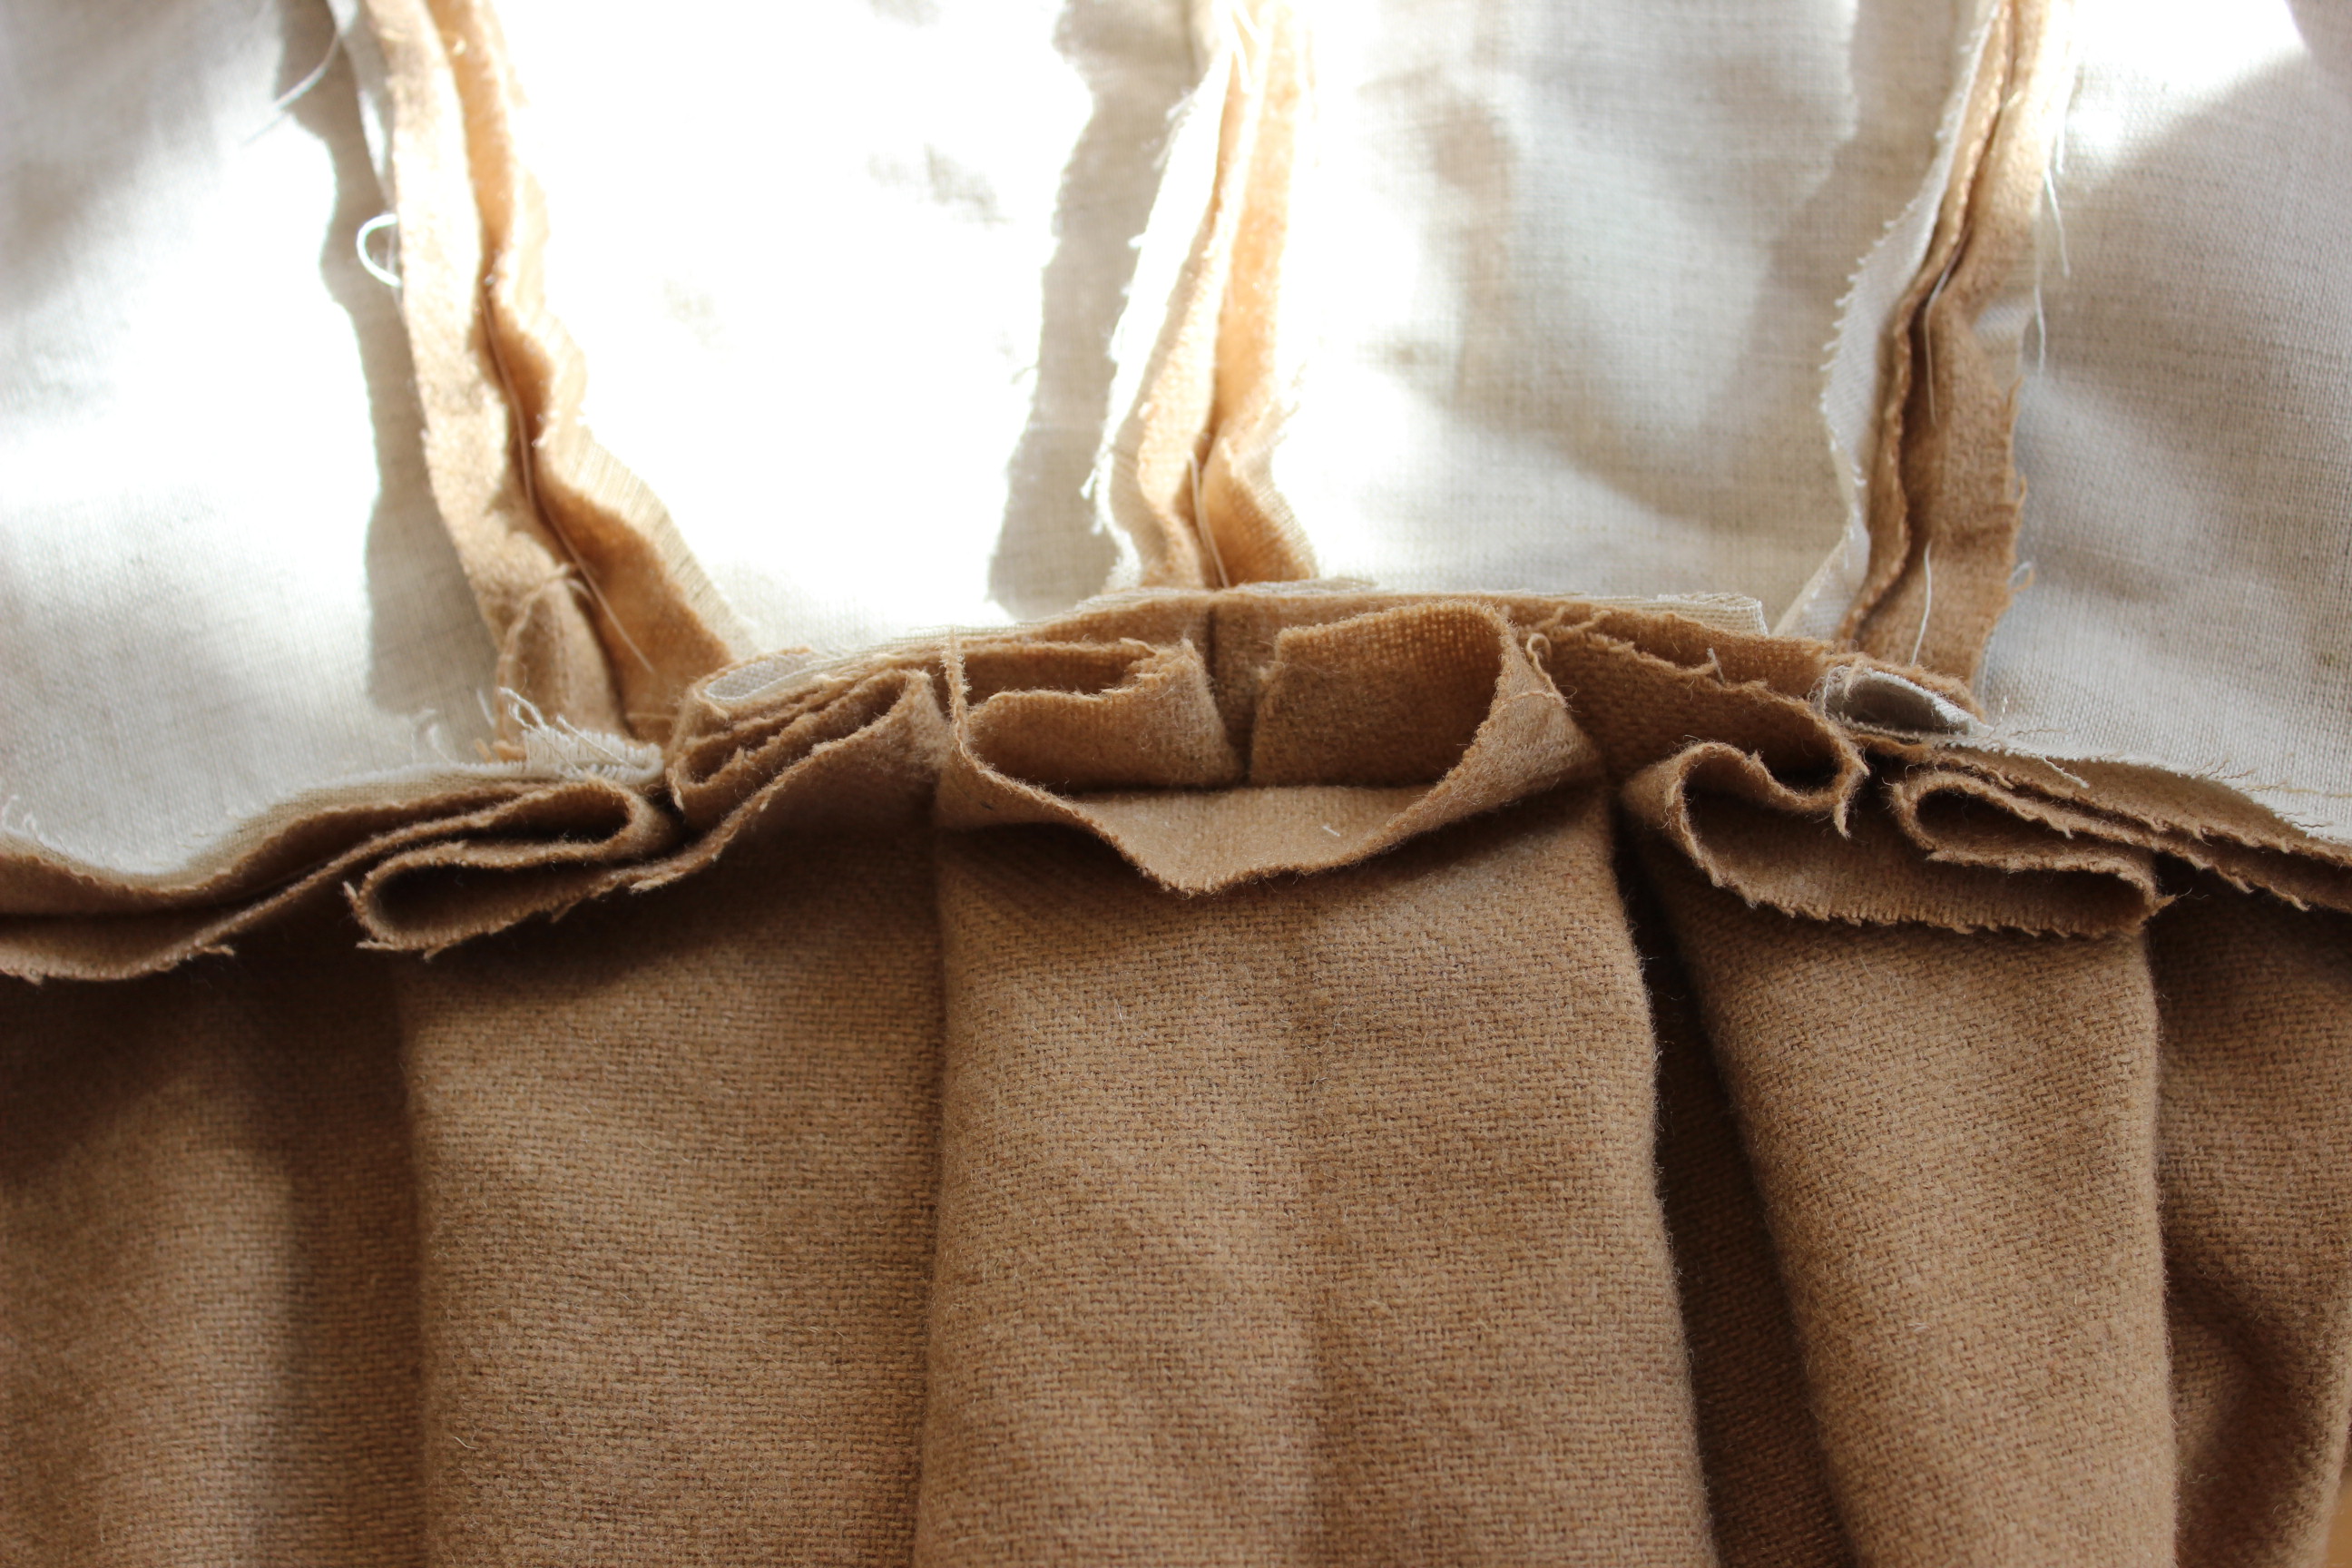
The second thing I needed was a bigger bumpad.
I’ve made a temporary one about a month ago, to wear with my Edwardian dress. However, I didn’t had the time to finish it, so last night I picked it up again.
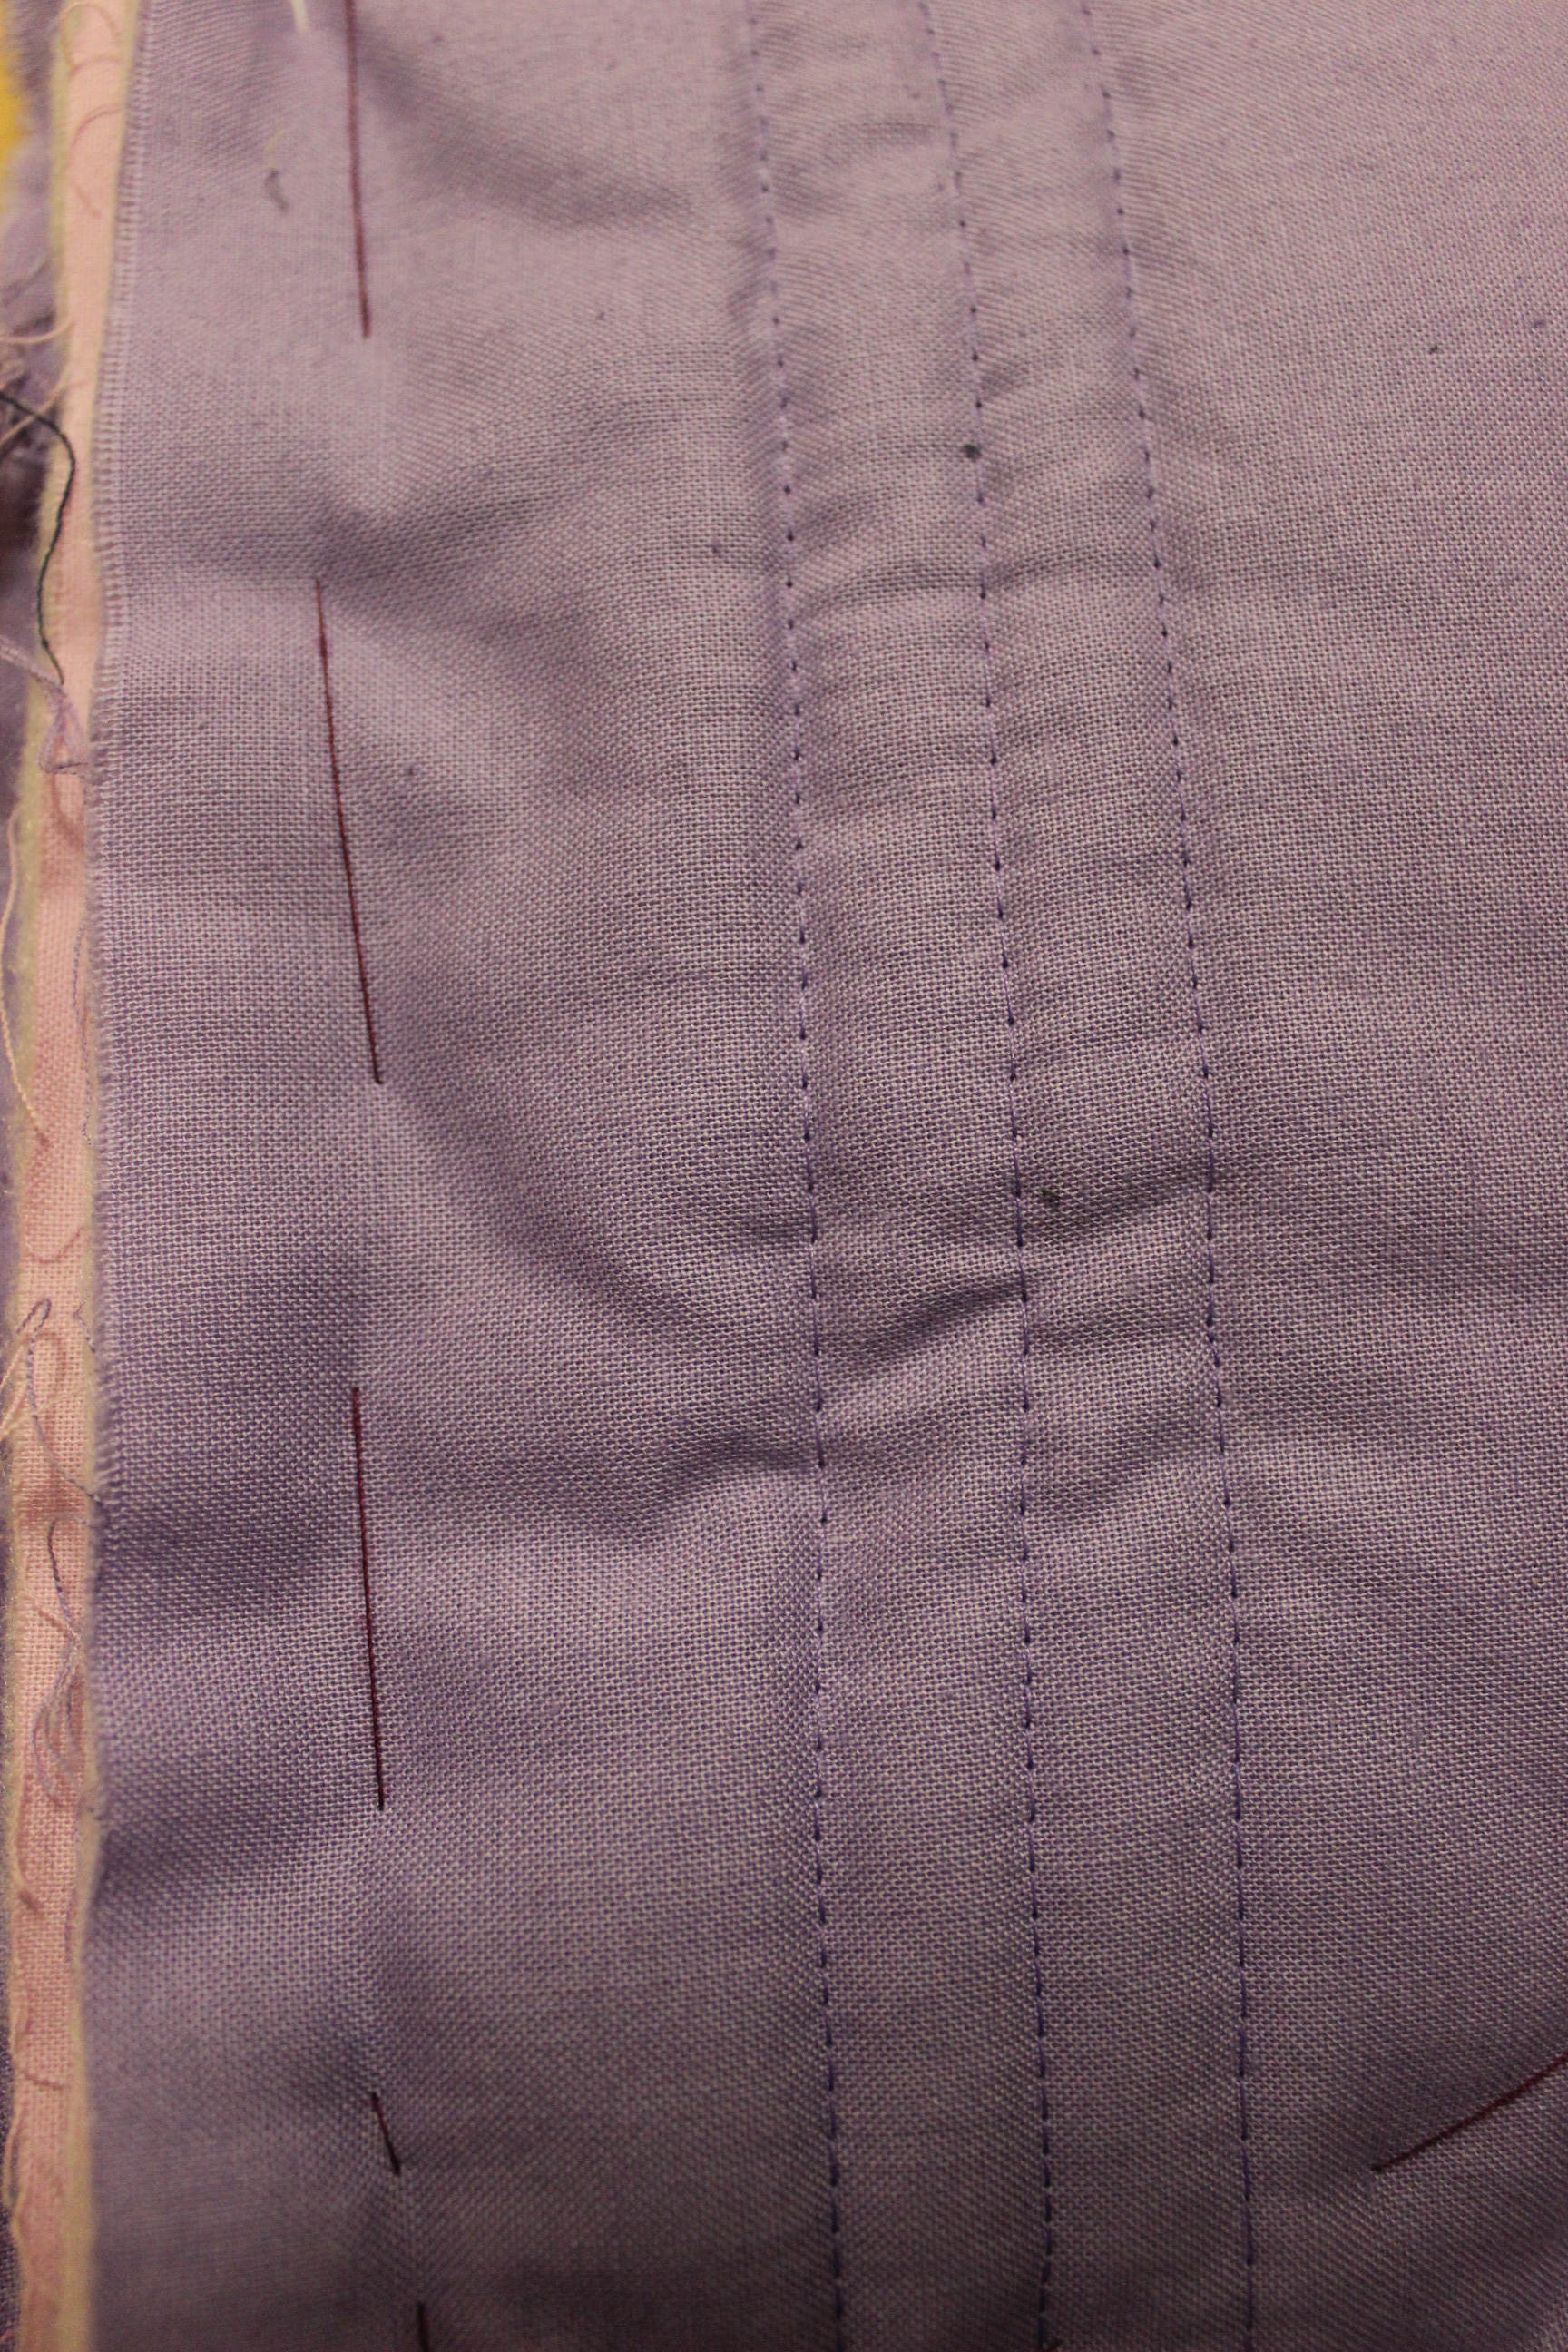
 Pink and purple cotton basted to several layers of quilt padding.
 It was originaly ment to be a quilted petticoat, but as you can see, I didn’t get very far.
I covered the pad in white cotton, leftover from a previous project. Making self fabric bias-tape to trim the edges and make tying ribbons.
 It was such a quick and easy project.
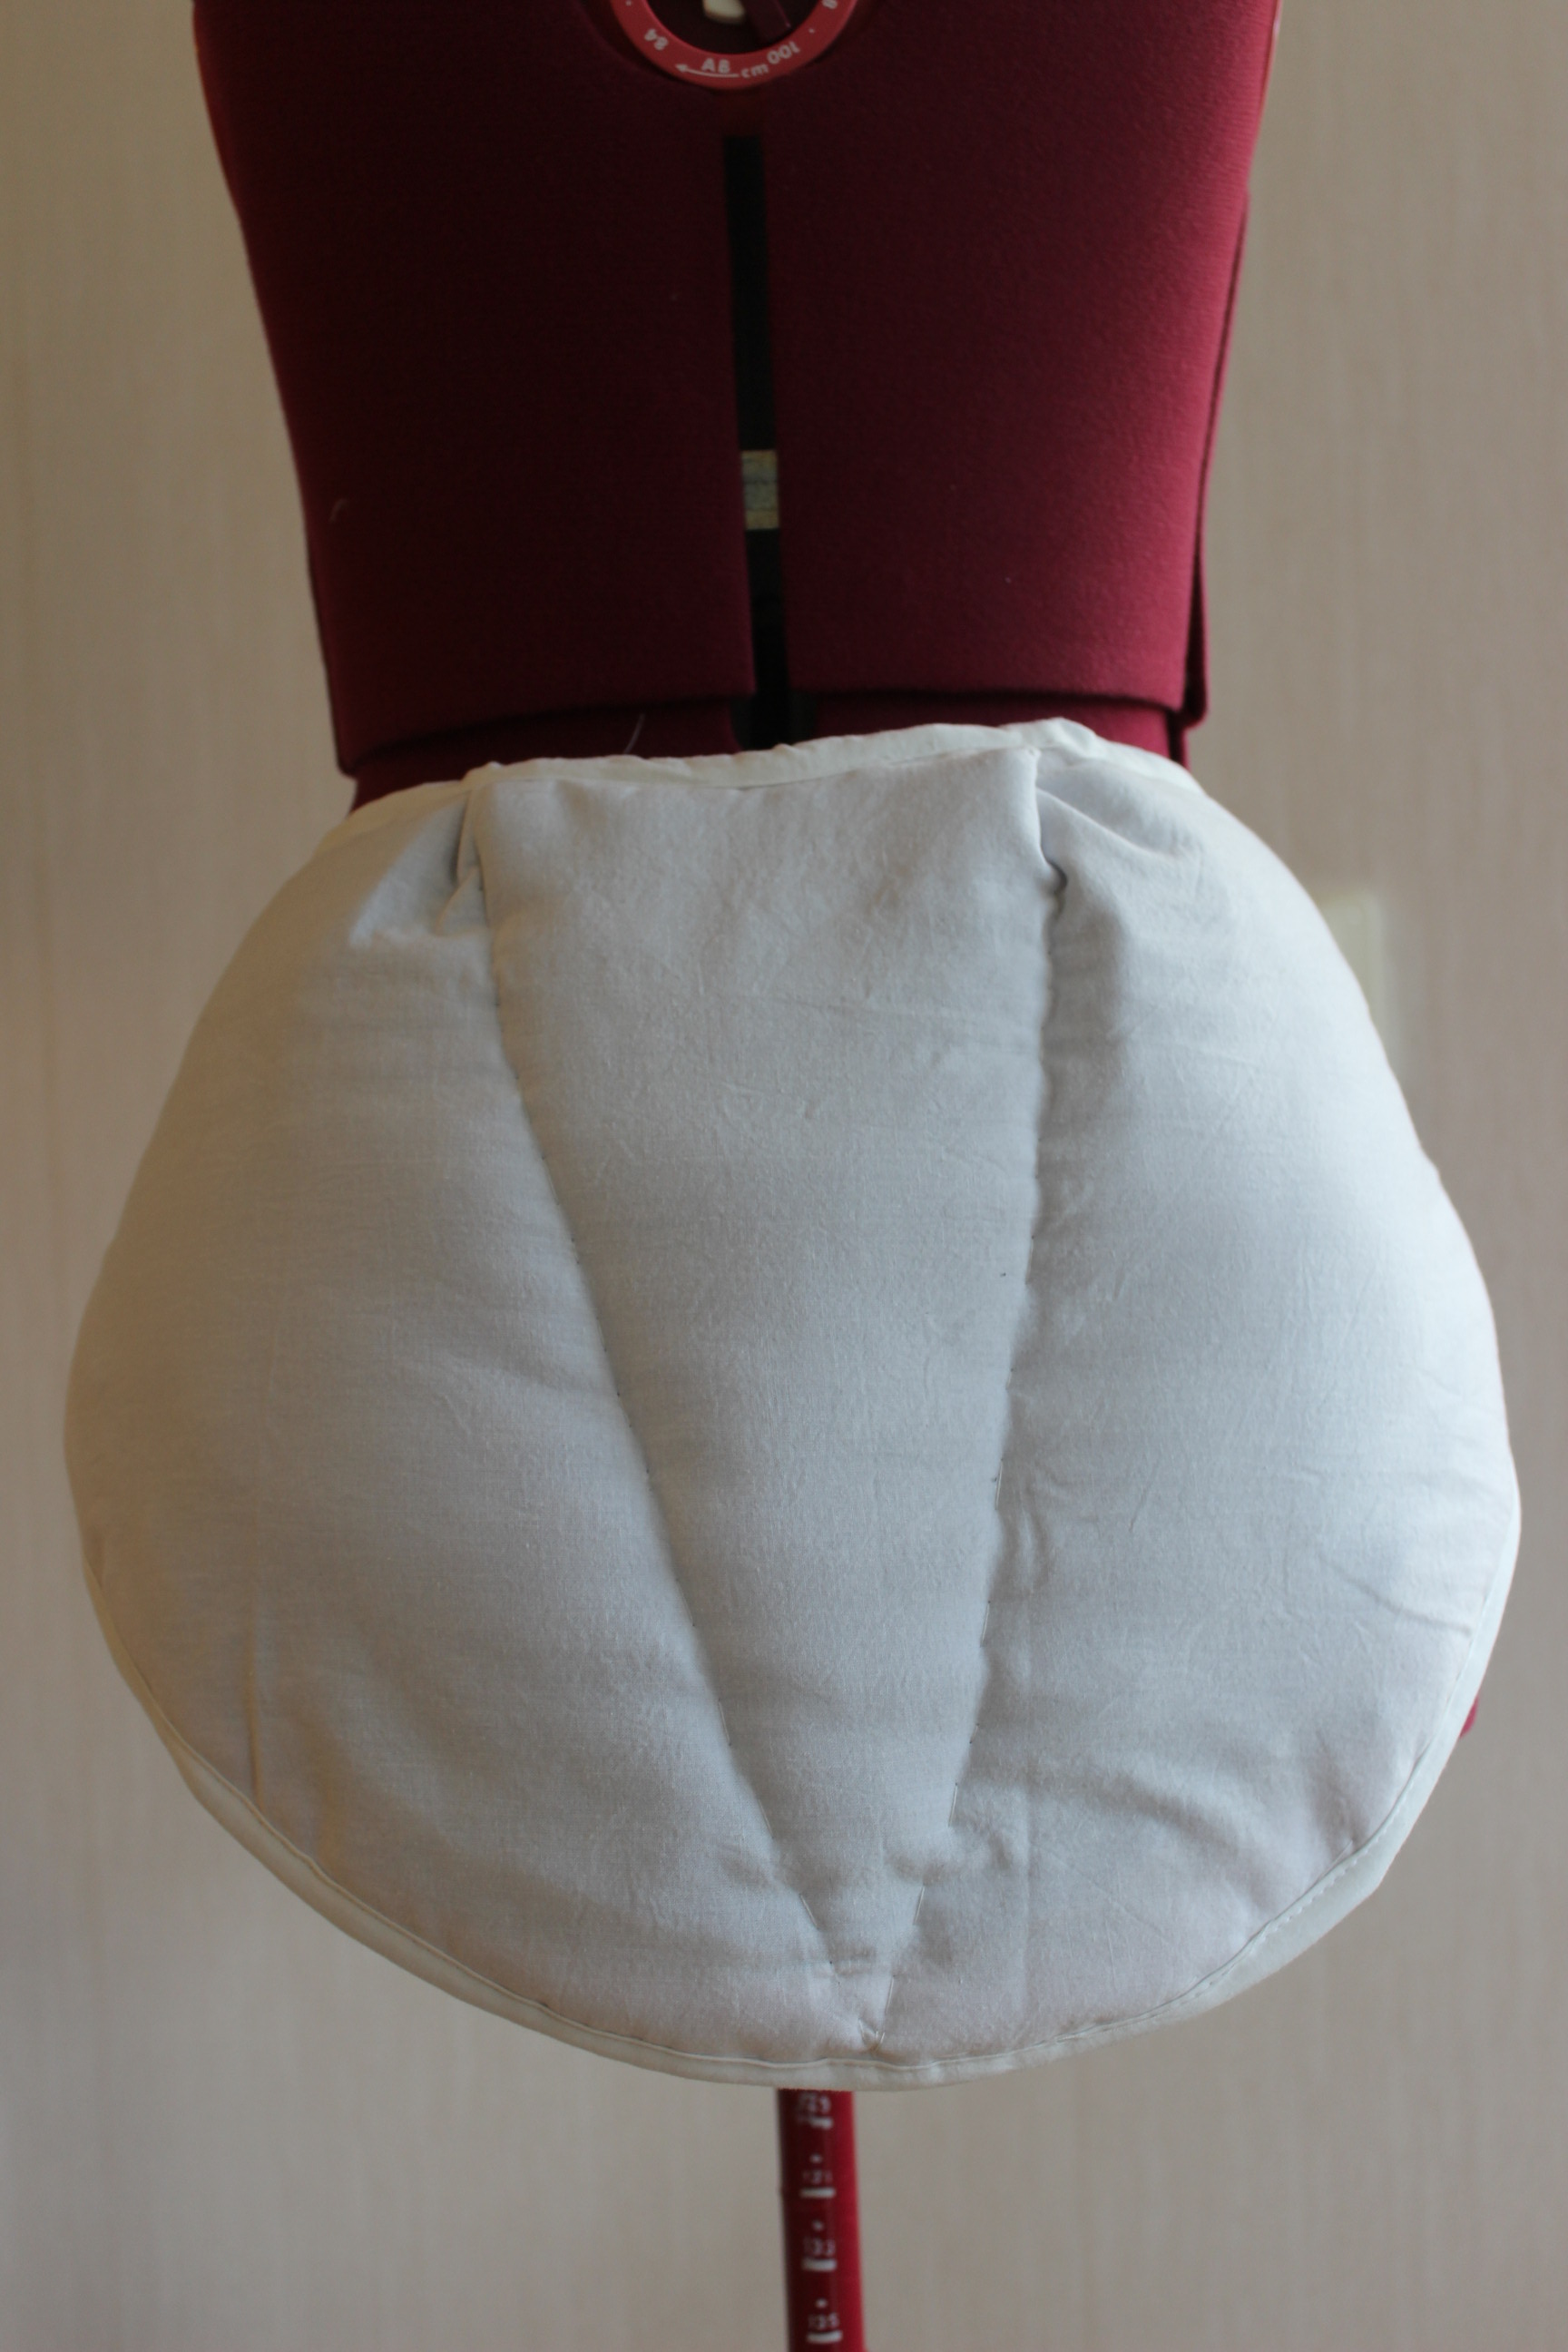
Finished:


Just the facts:
Challenge: 9 – Black and white
What: A bumpad – 18th century to early 20th century.
Pattern: None
Fabric: 0,5 m of white cotton (originaly 0,5 m of quilting padding and some leftover fabric scraps).
Notions: Thread.
How historical accurate: Not at all. Maybe the shape will pass, but the construction, material and look is all wrong.
Time: 1 hour (perhaps 30 min more, if it hadn’t been half finished already).
Cost: Nothing since I only used leftover scraps.
First worn: Not yet. But hopefully at june 6 for a huge costuming event.
***
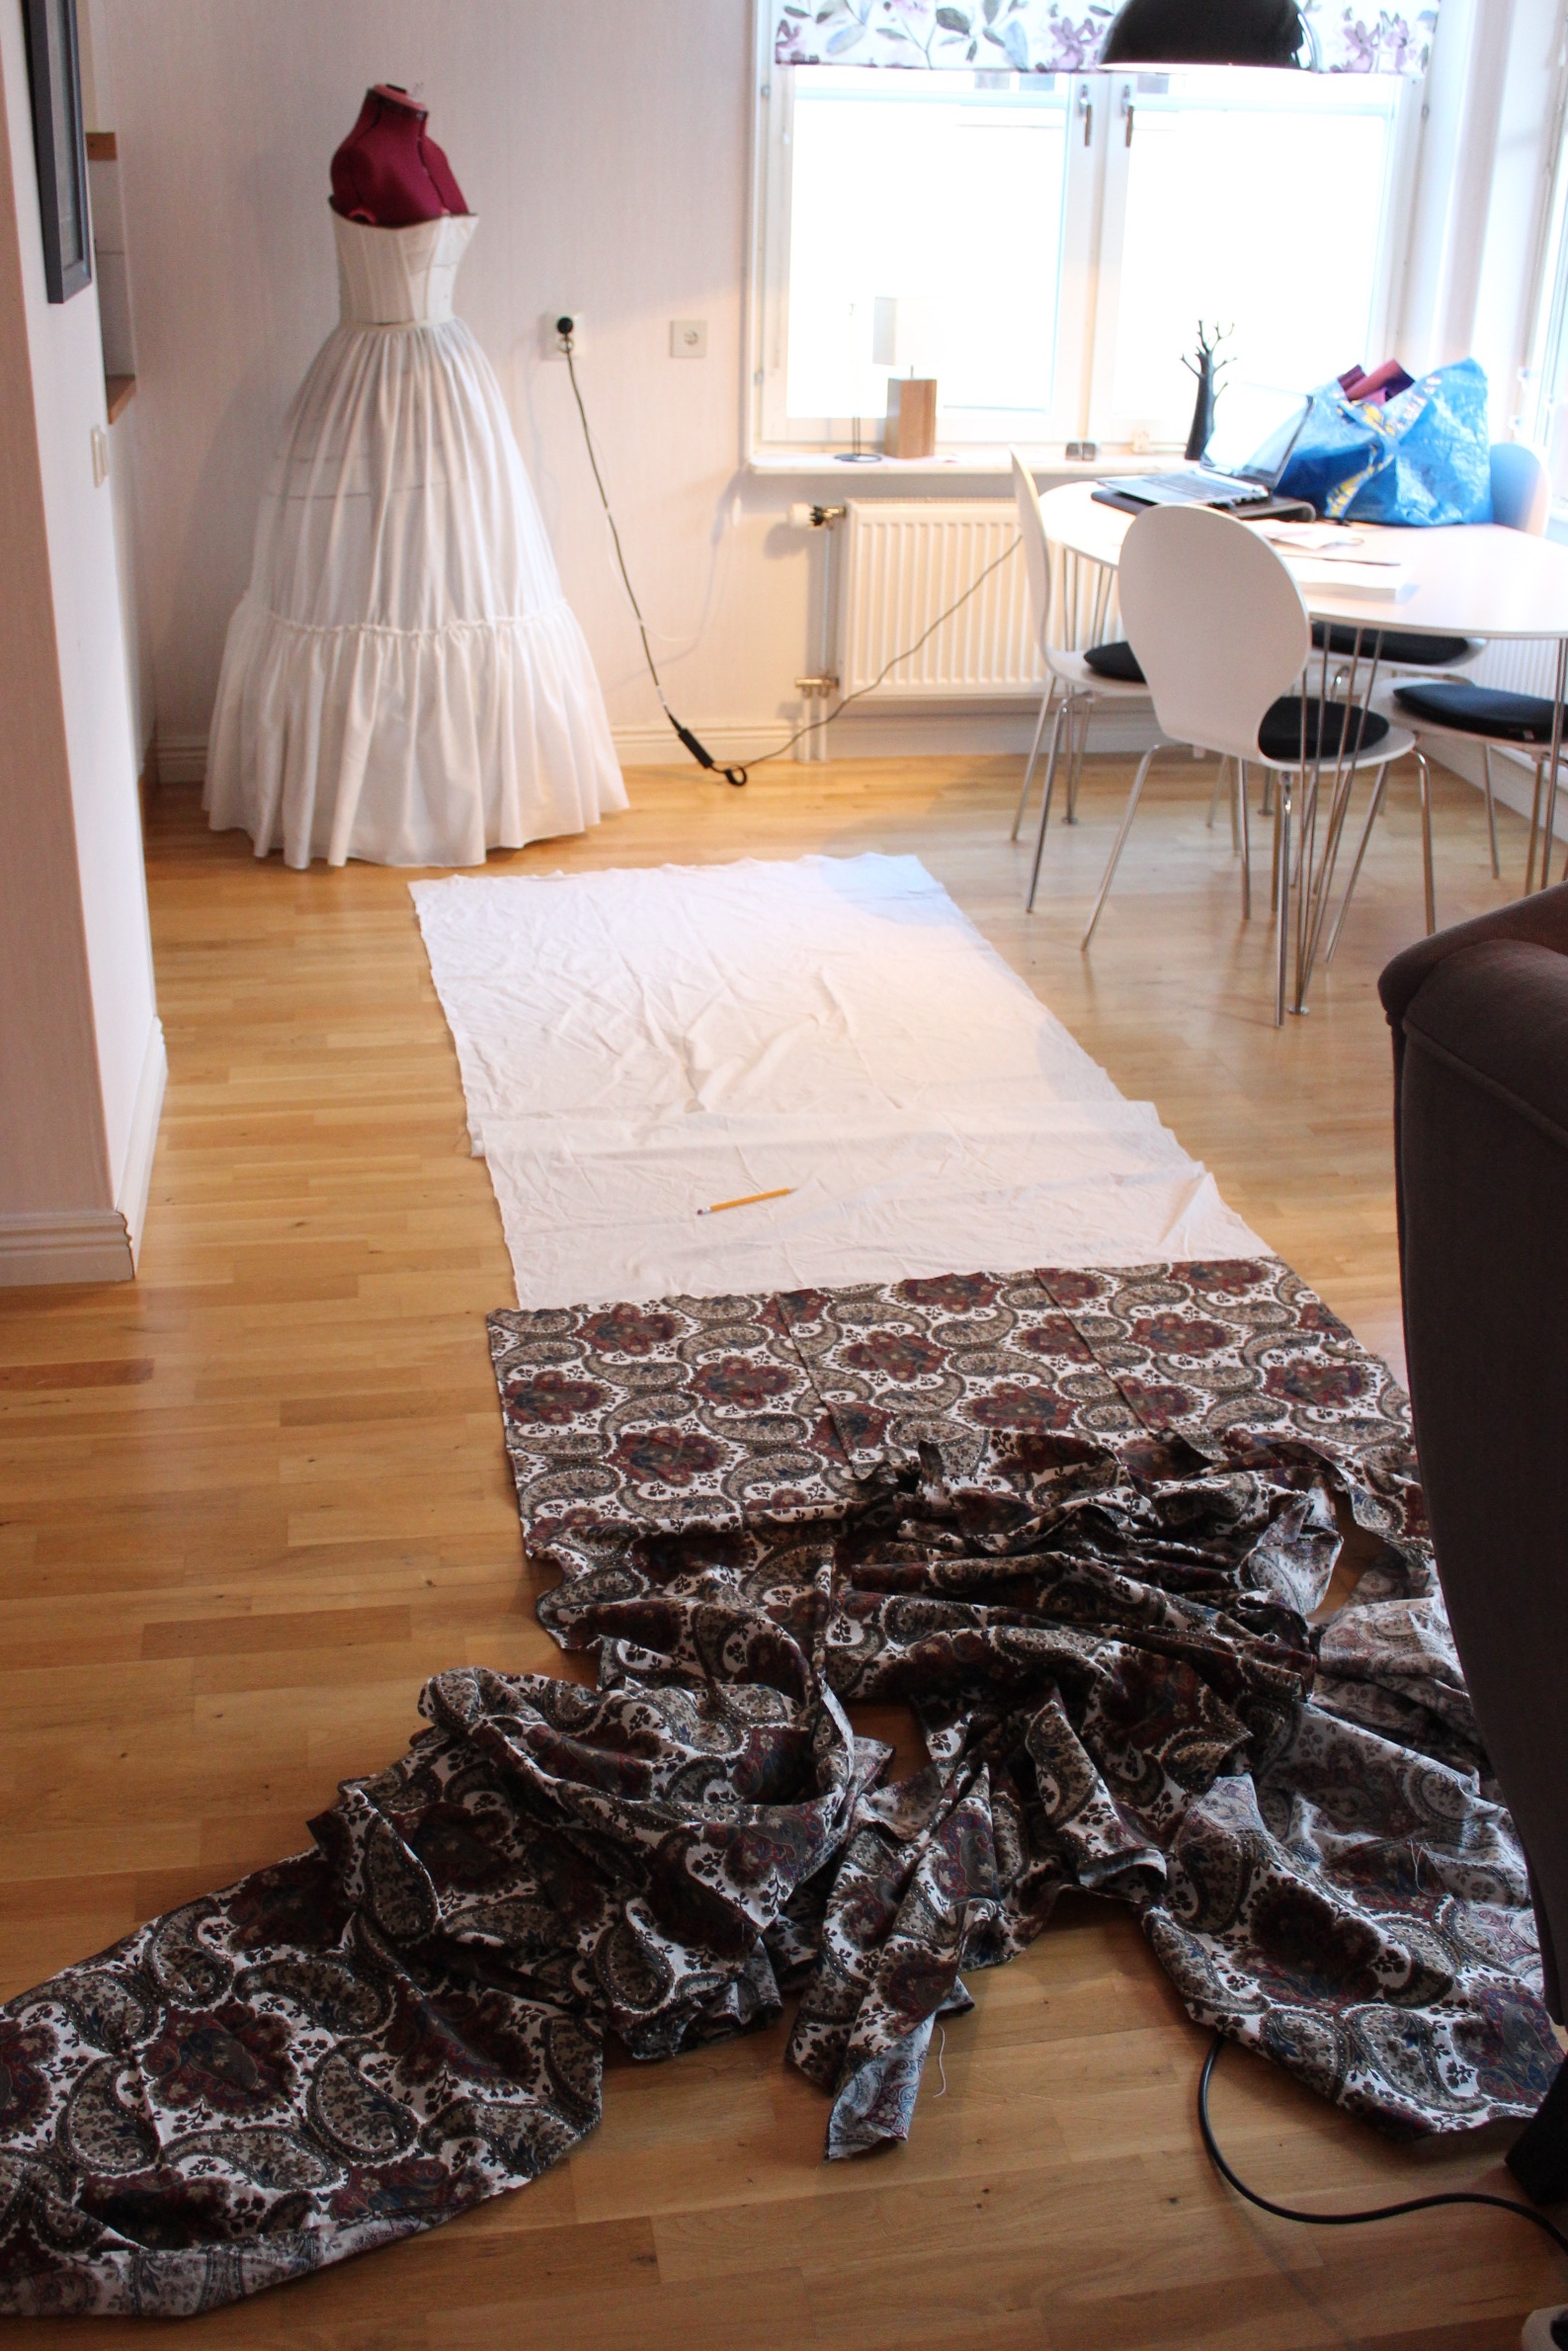
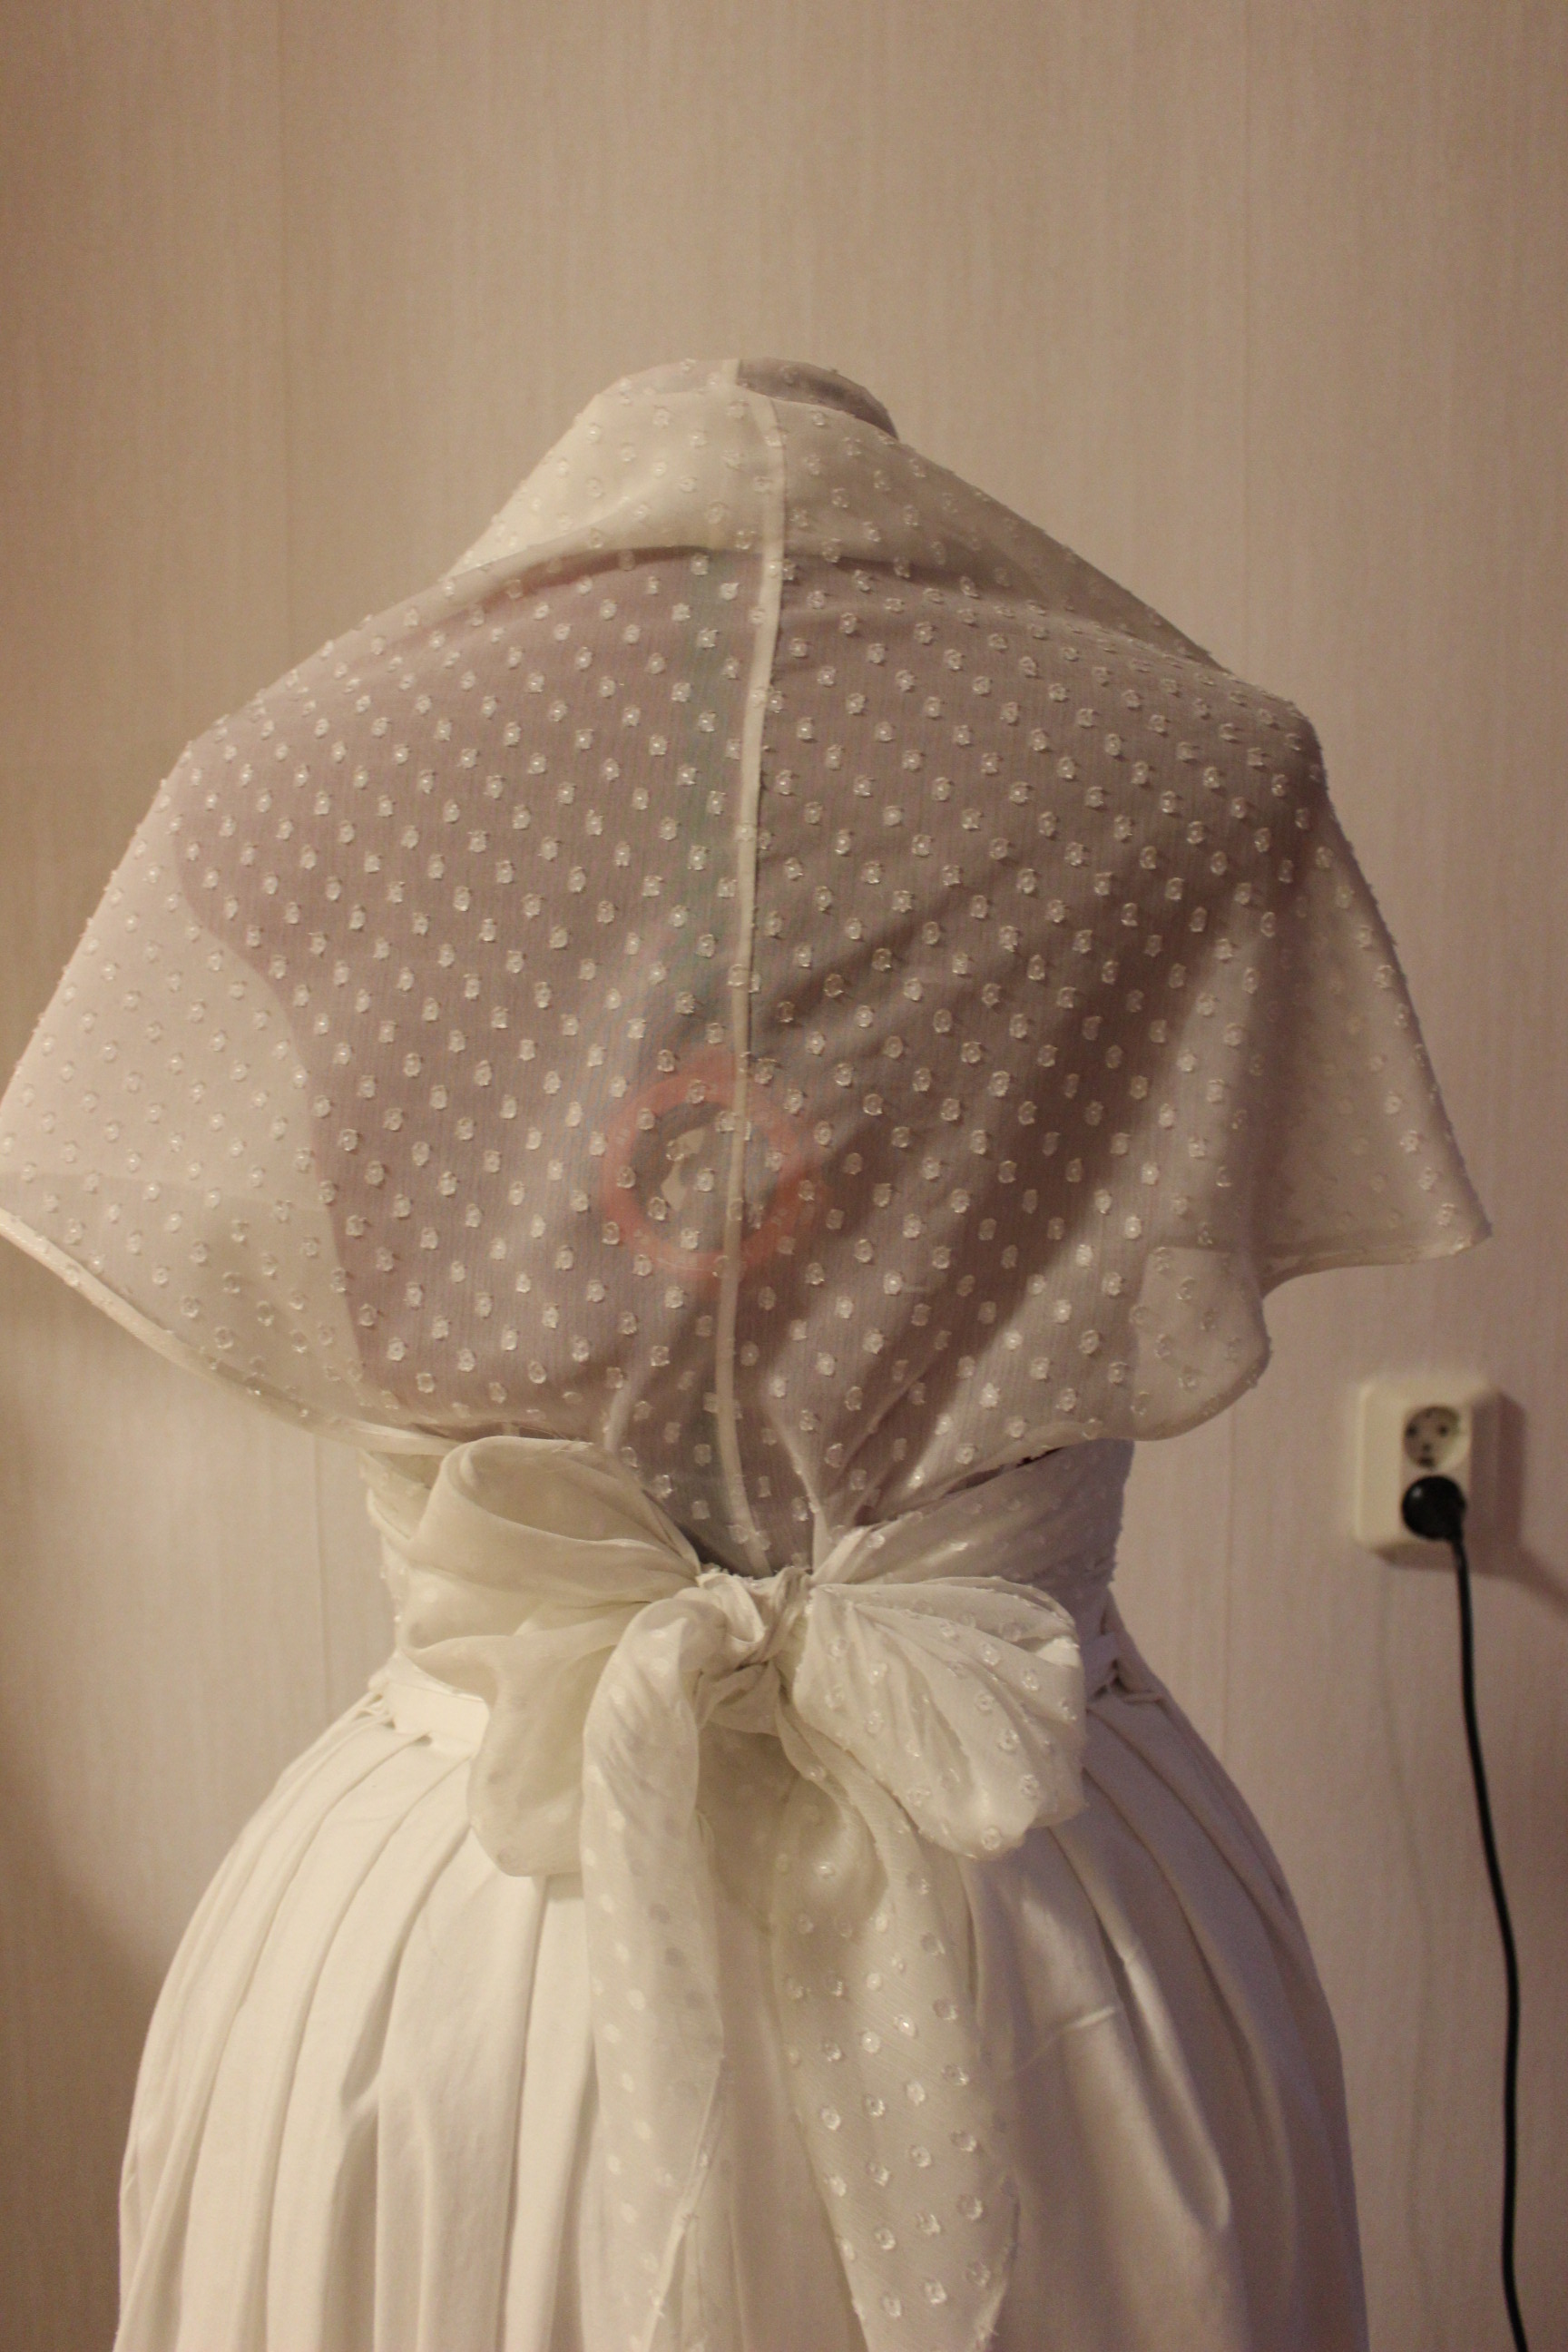
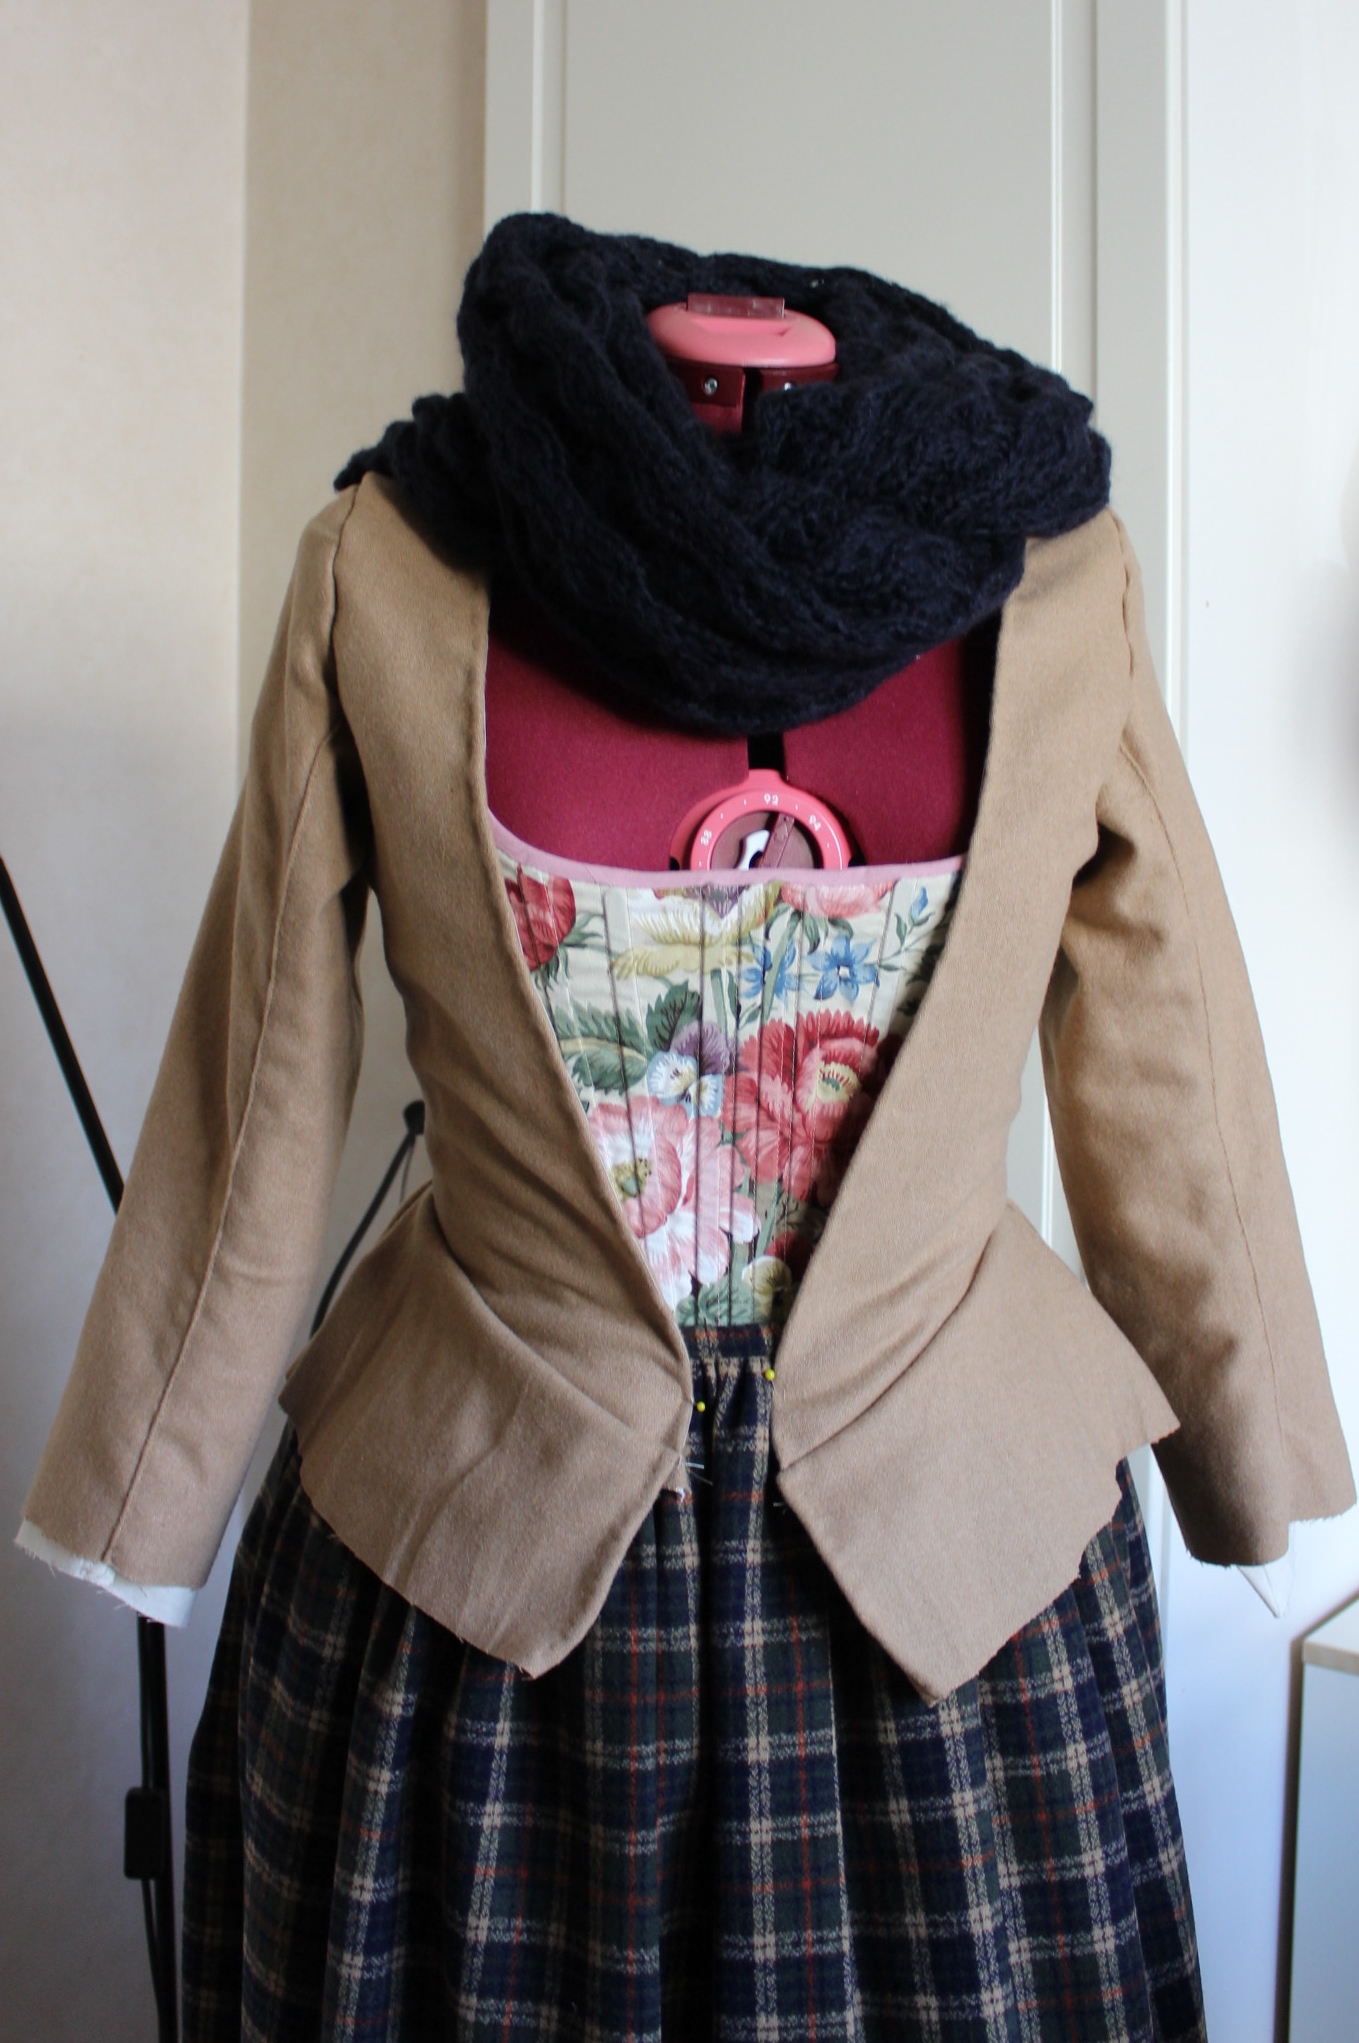
I had time to make one final item before the deadline – a fichu.
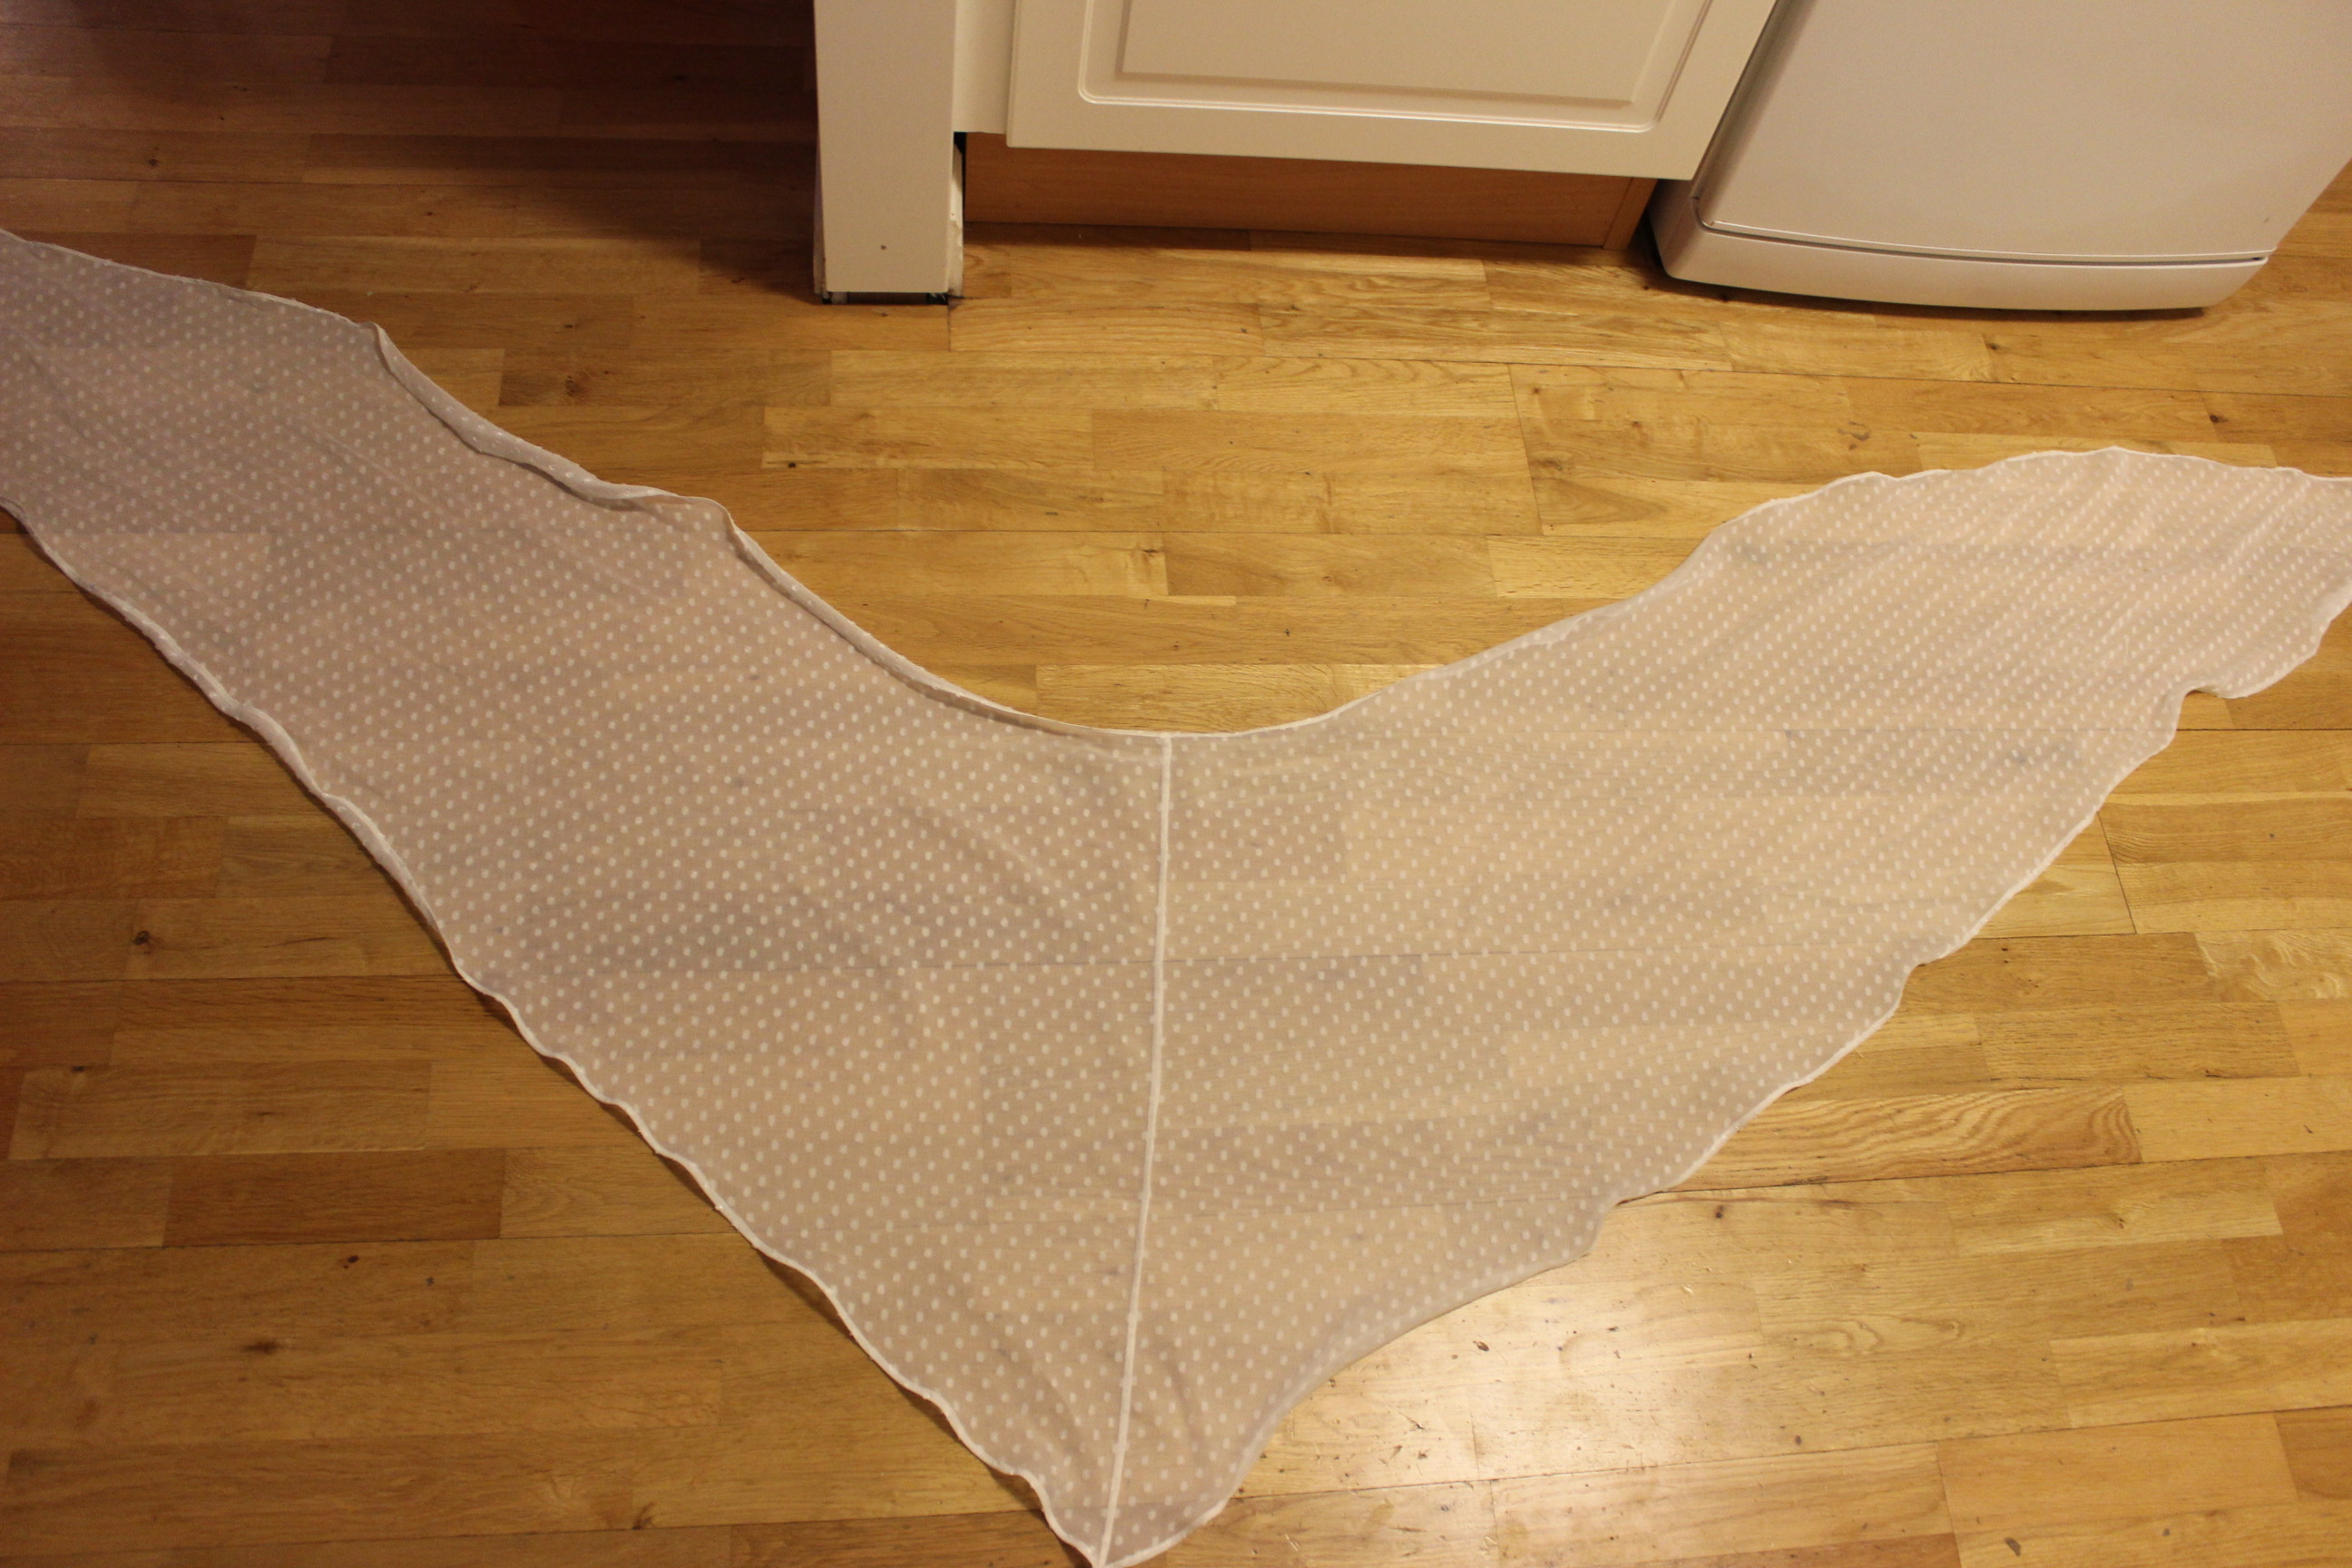
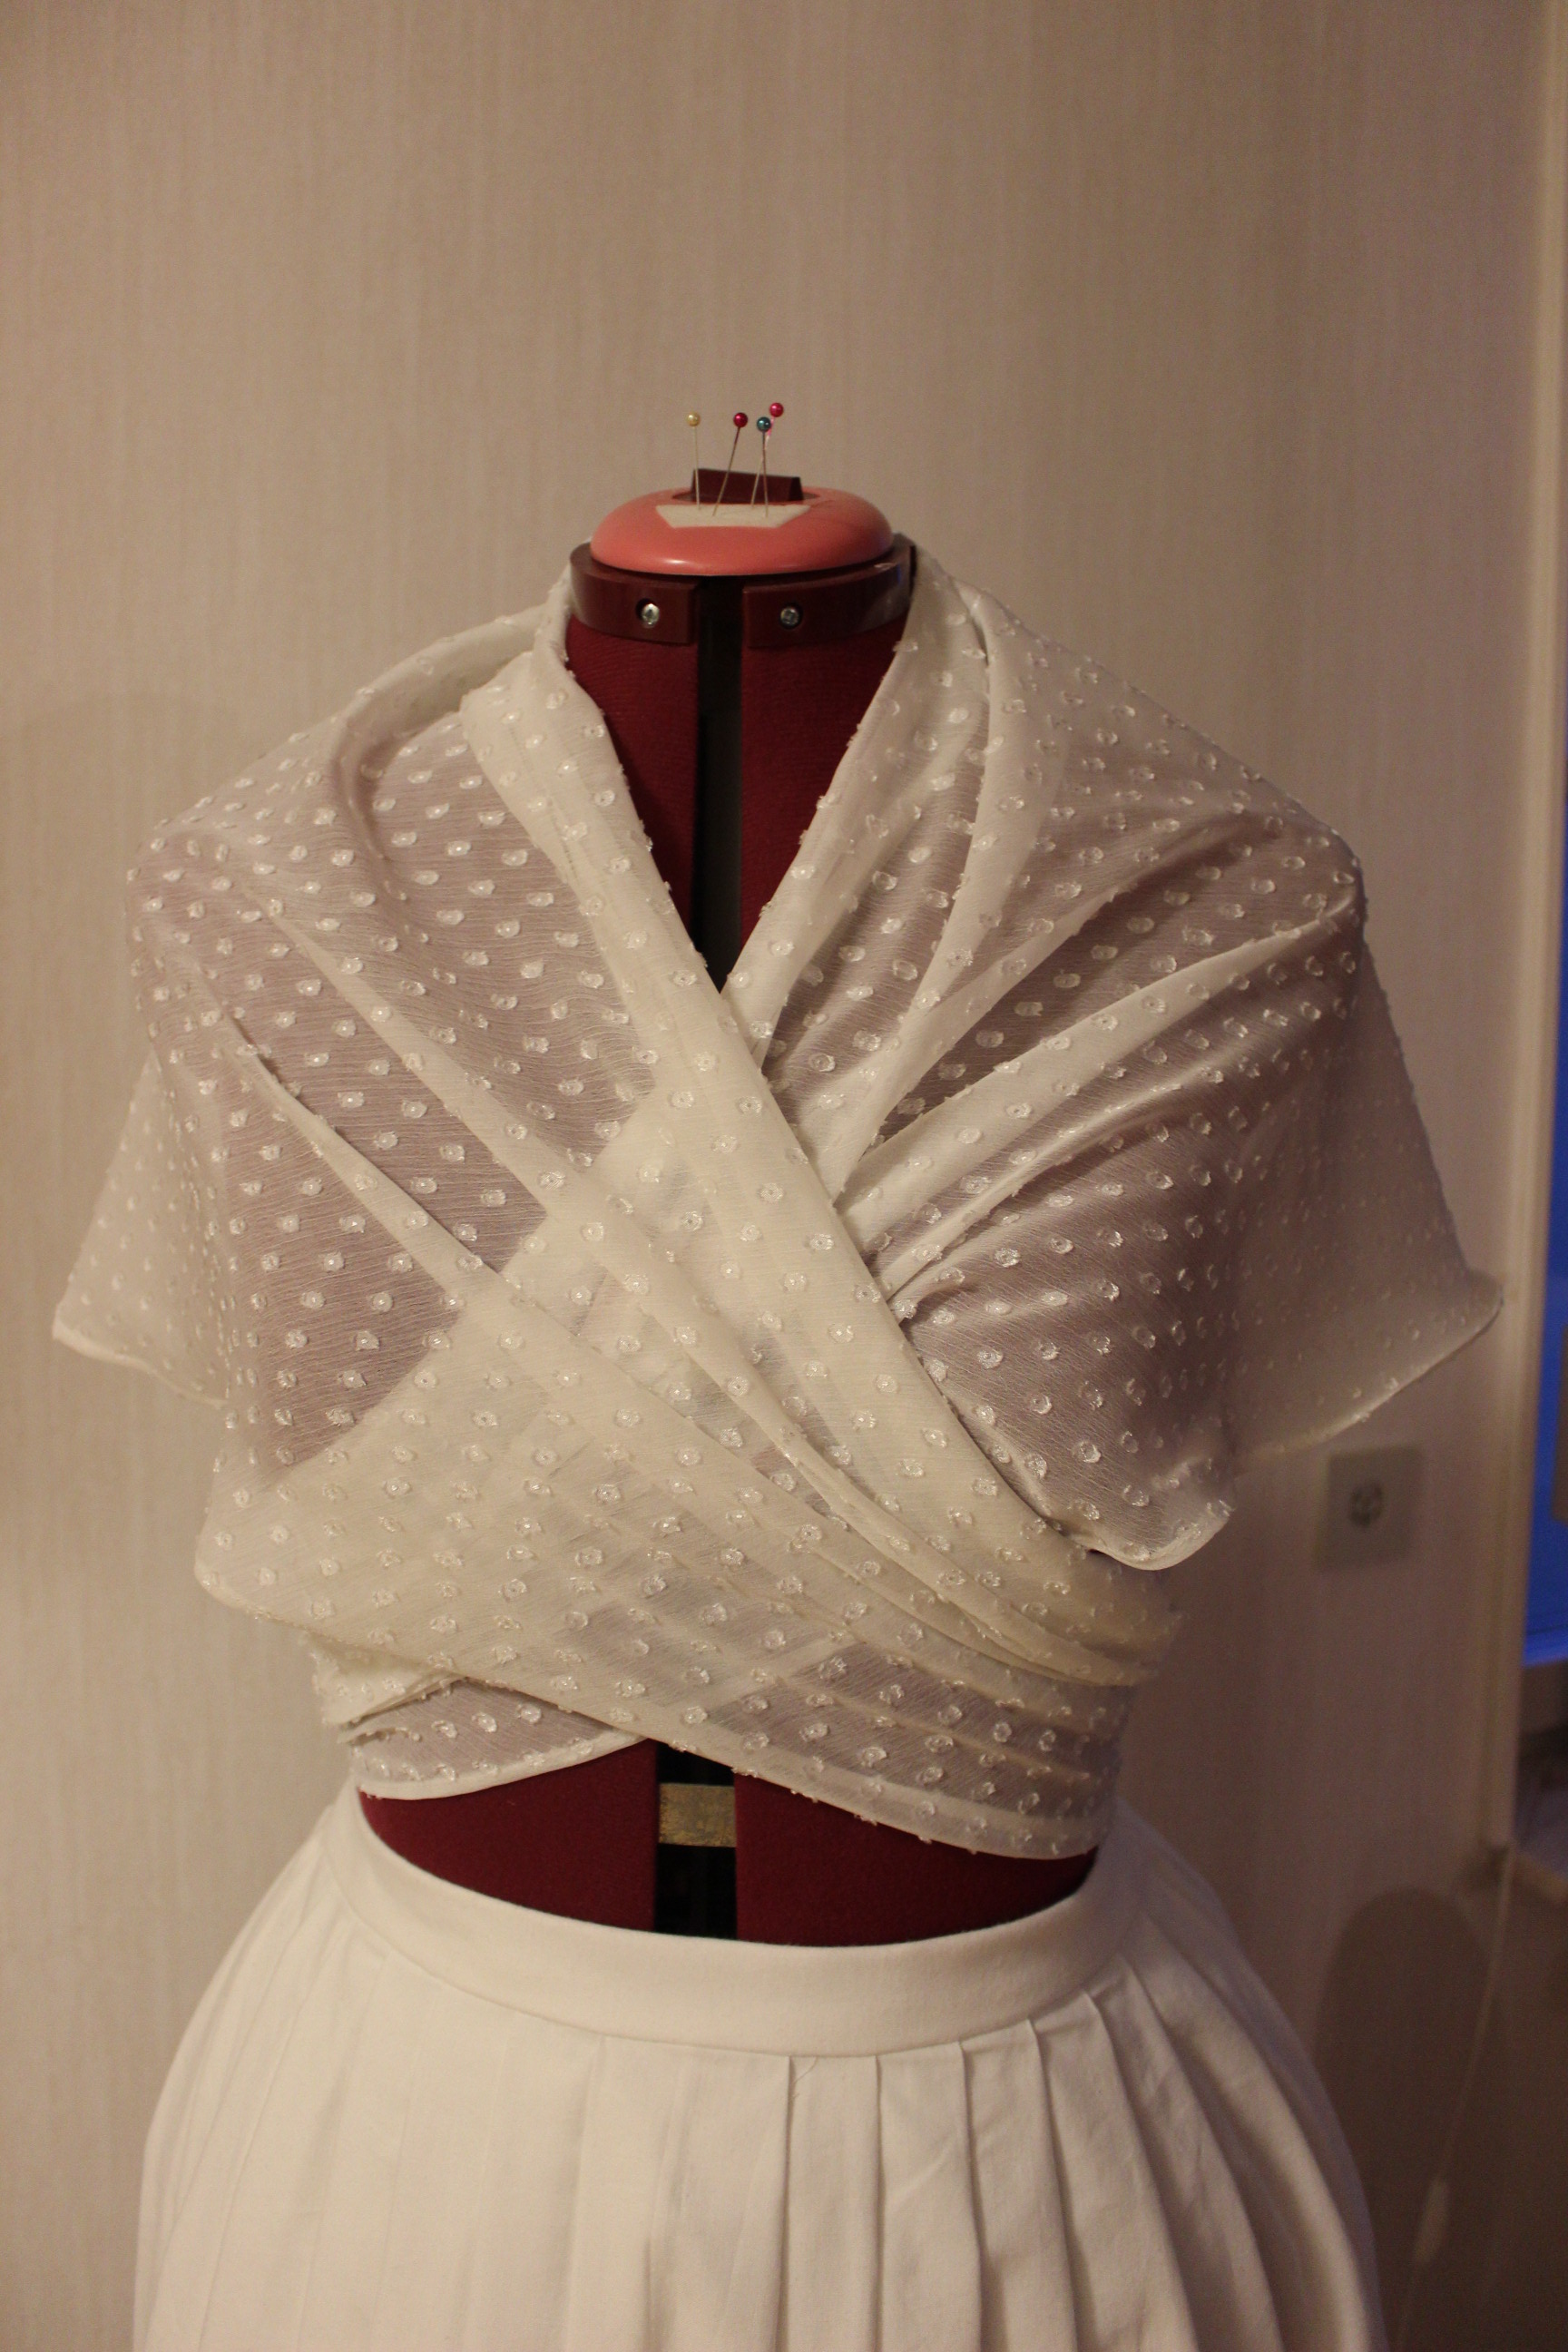
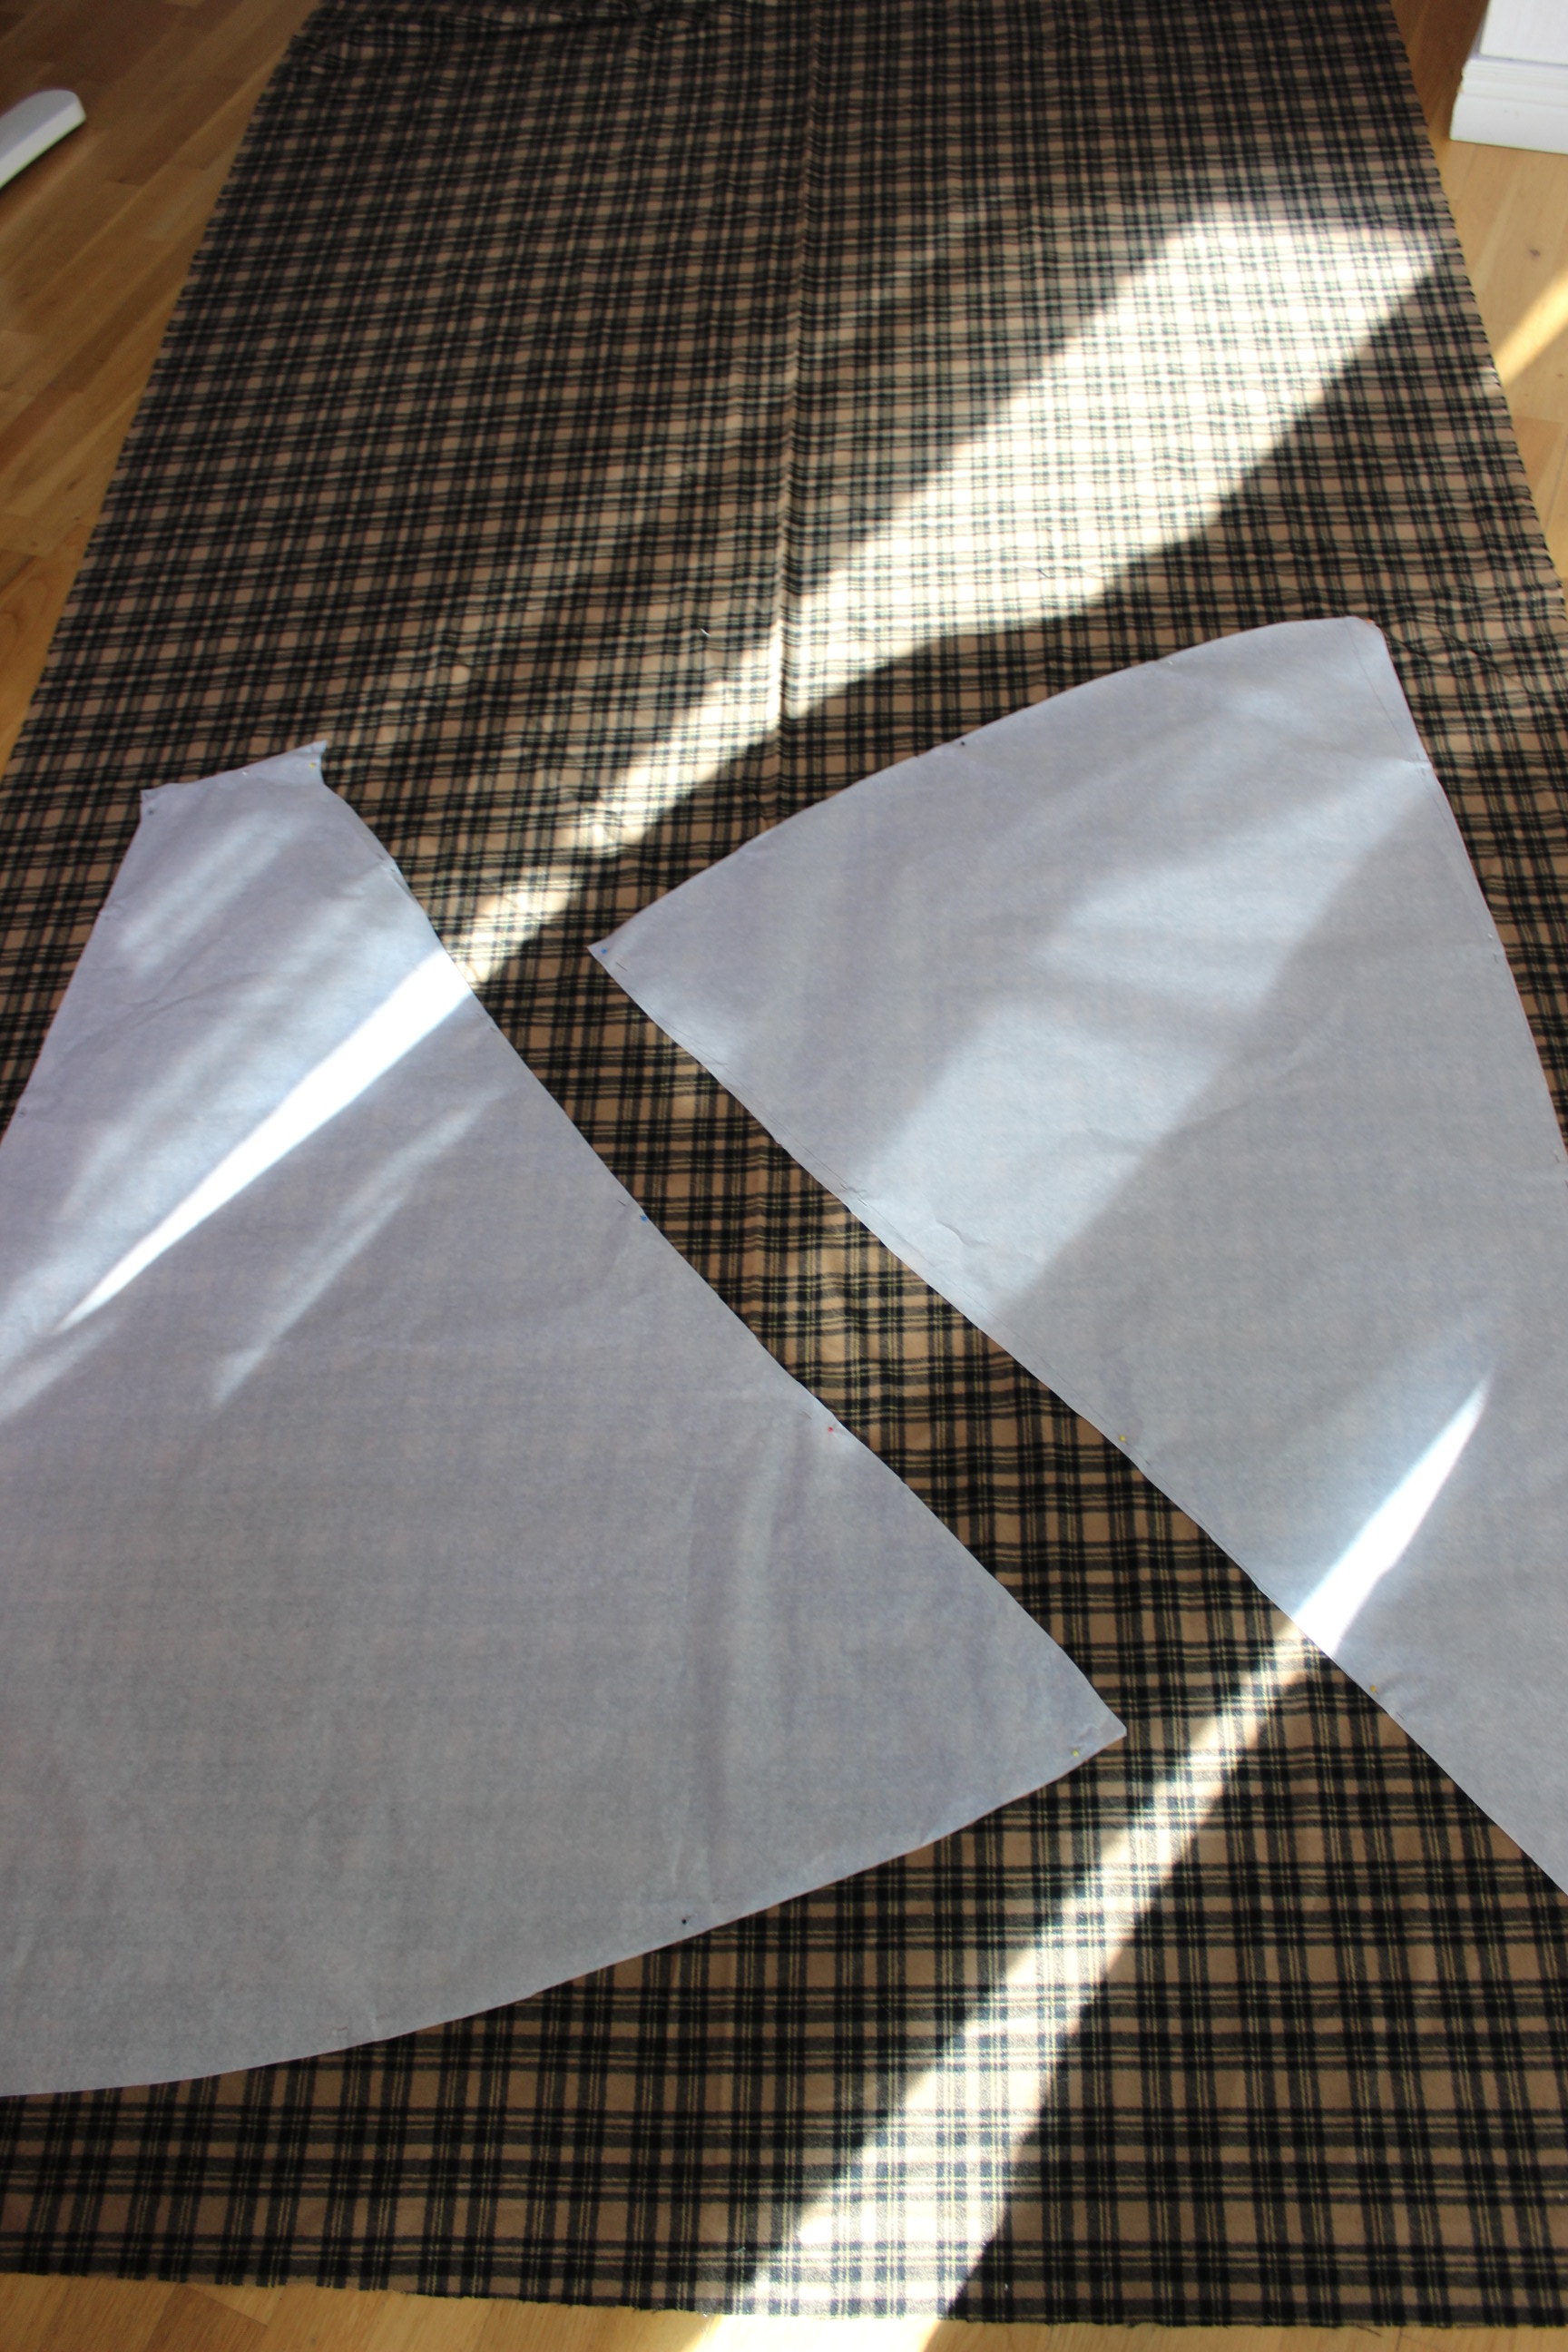
I wanted to make one large enough to wrap around the body and tie in the back, like you se in many paintings from the 1780s.
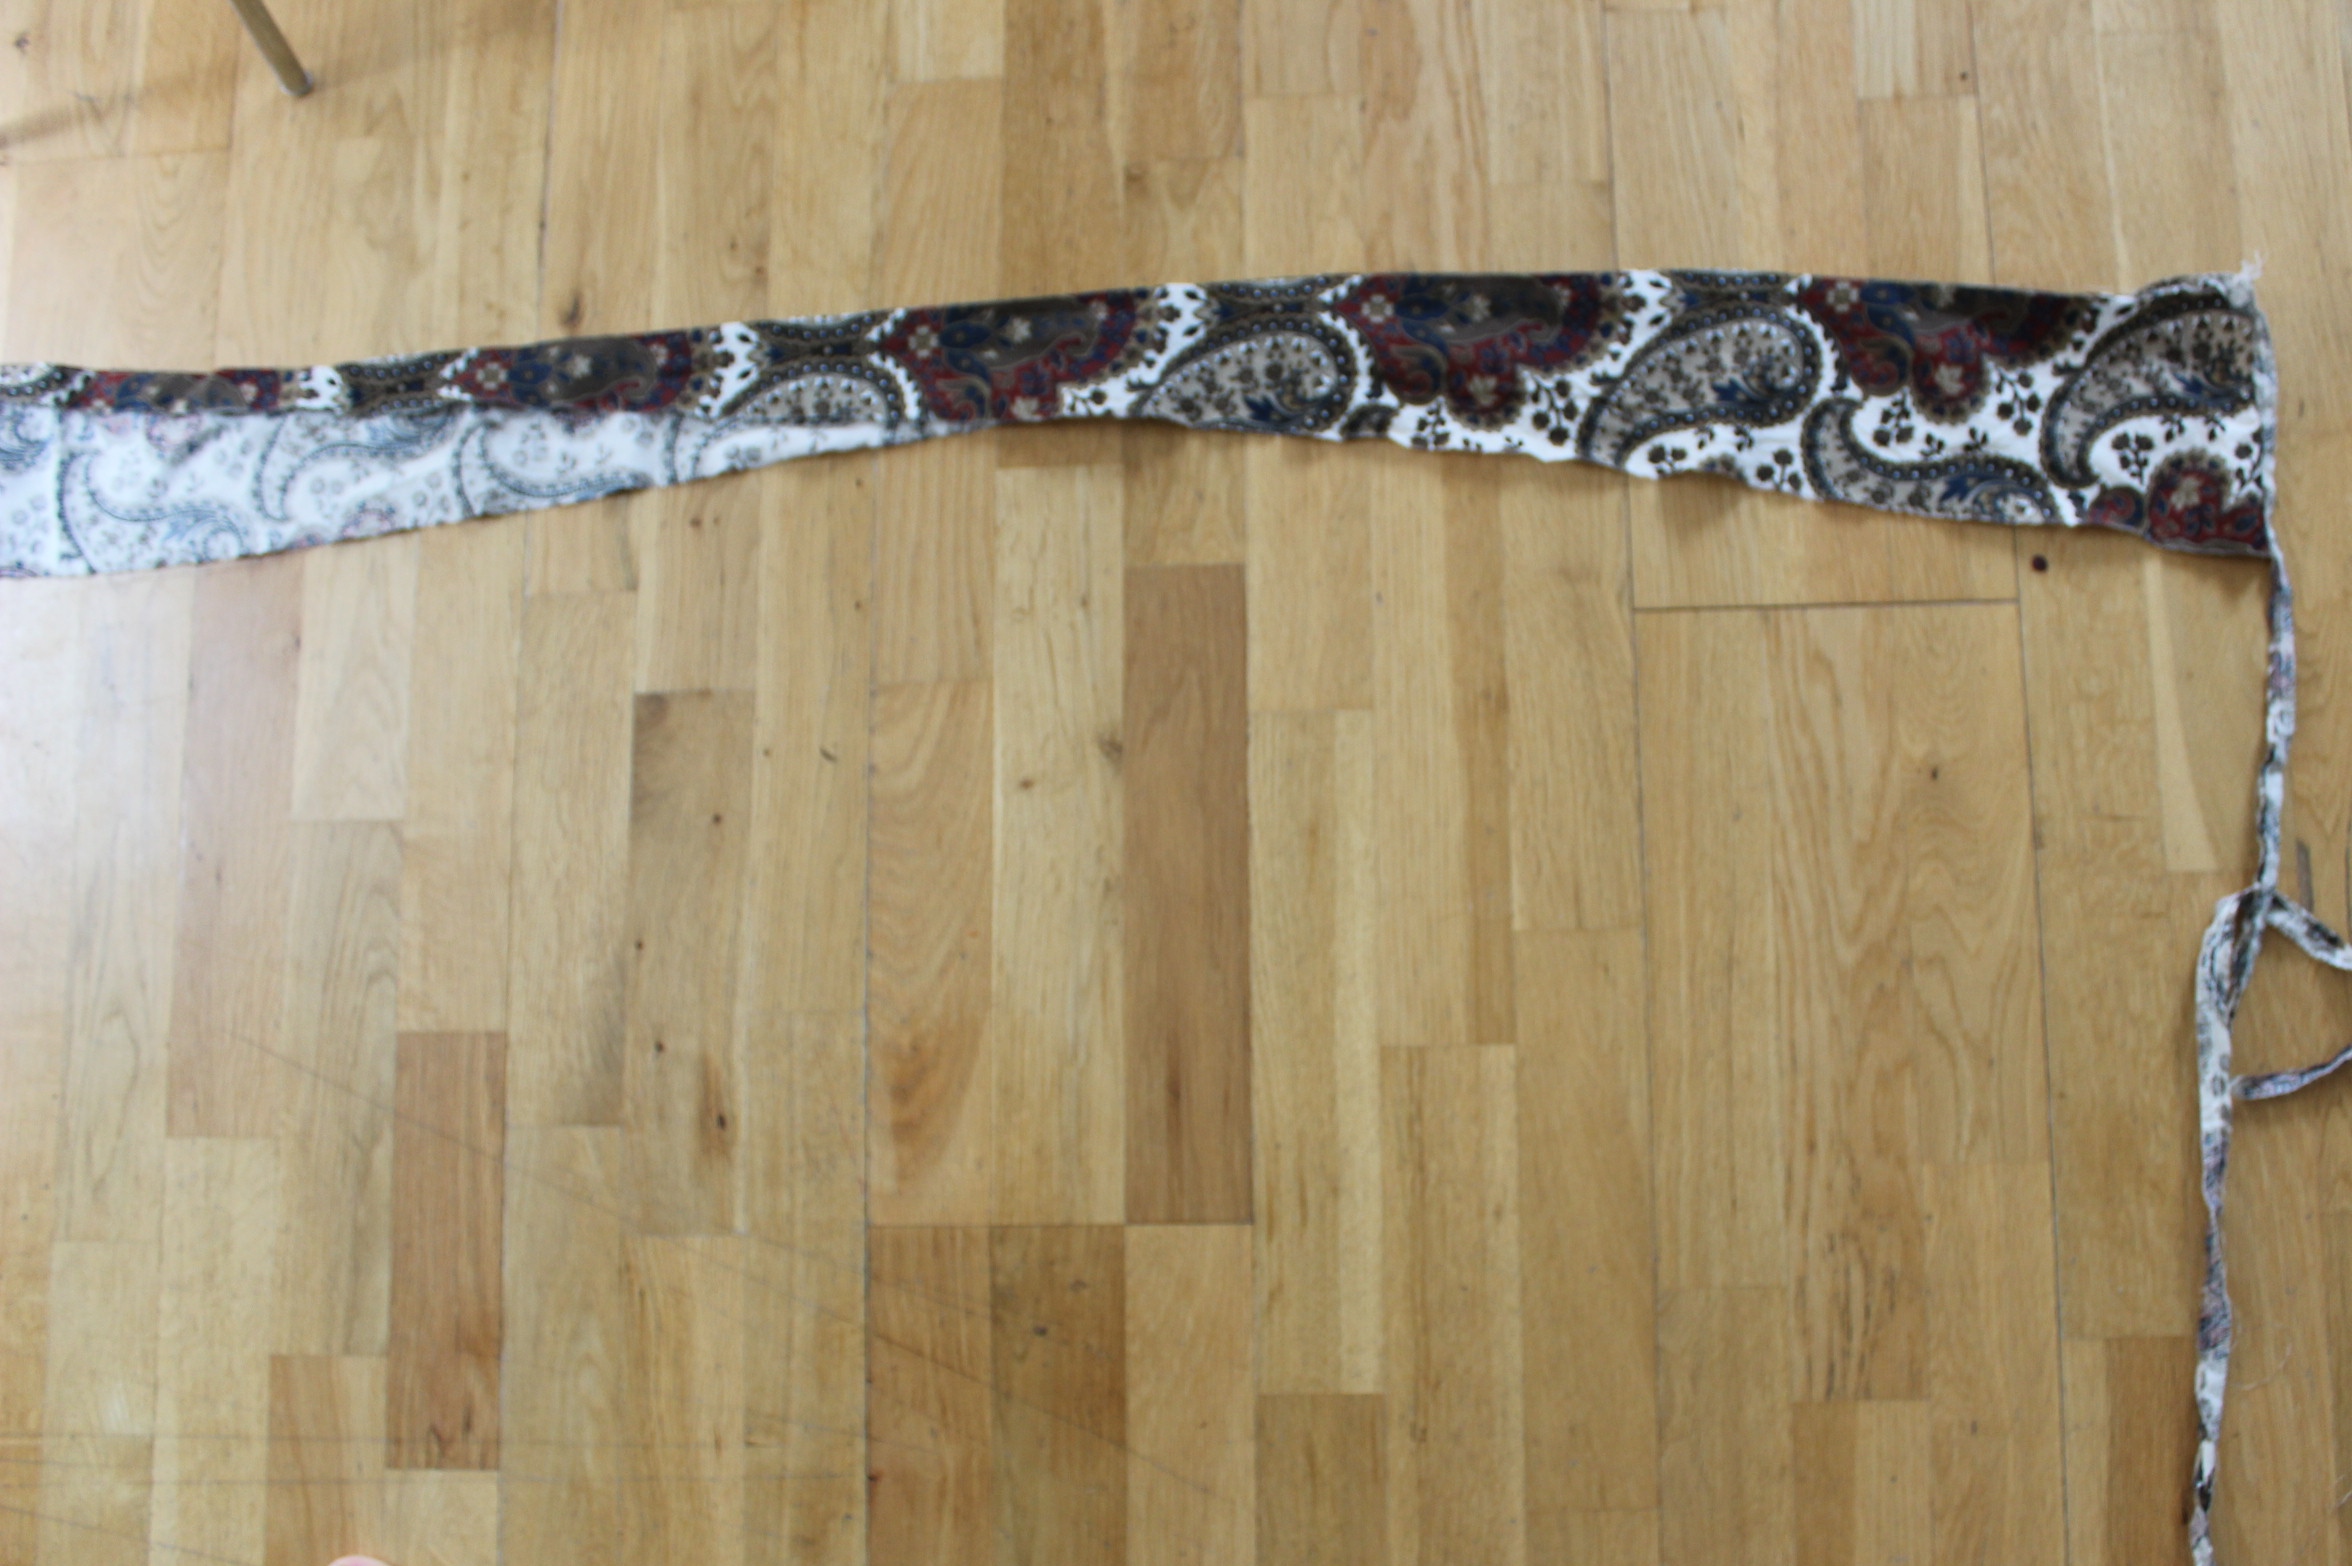
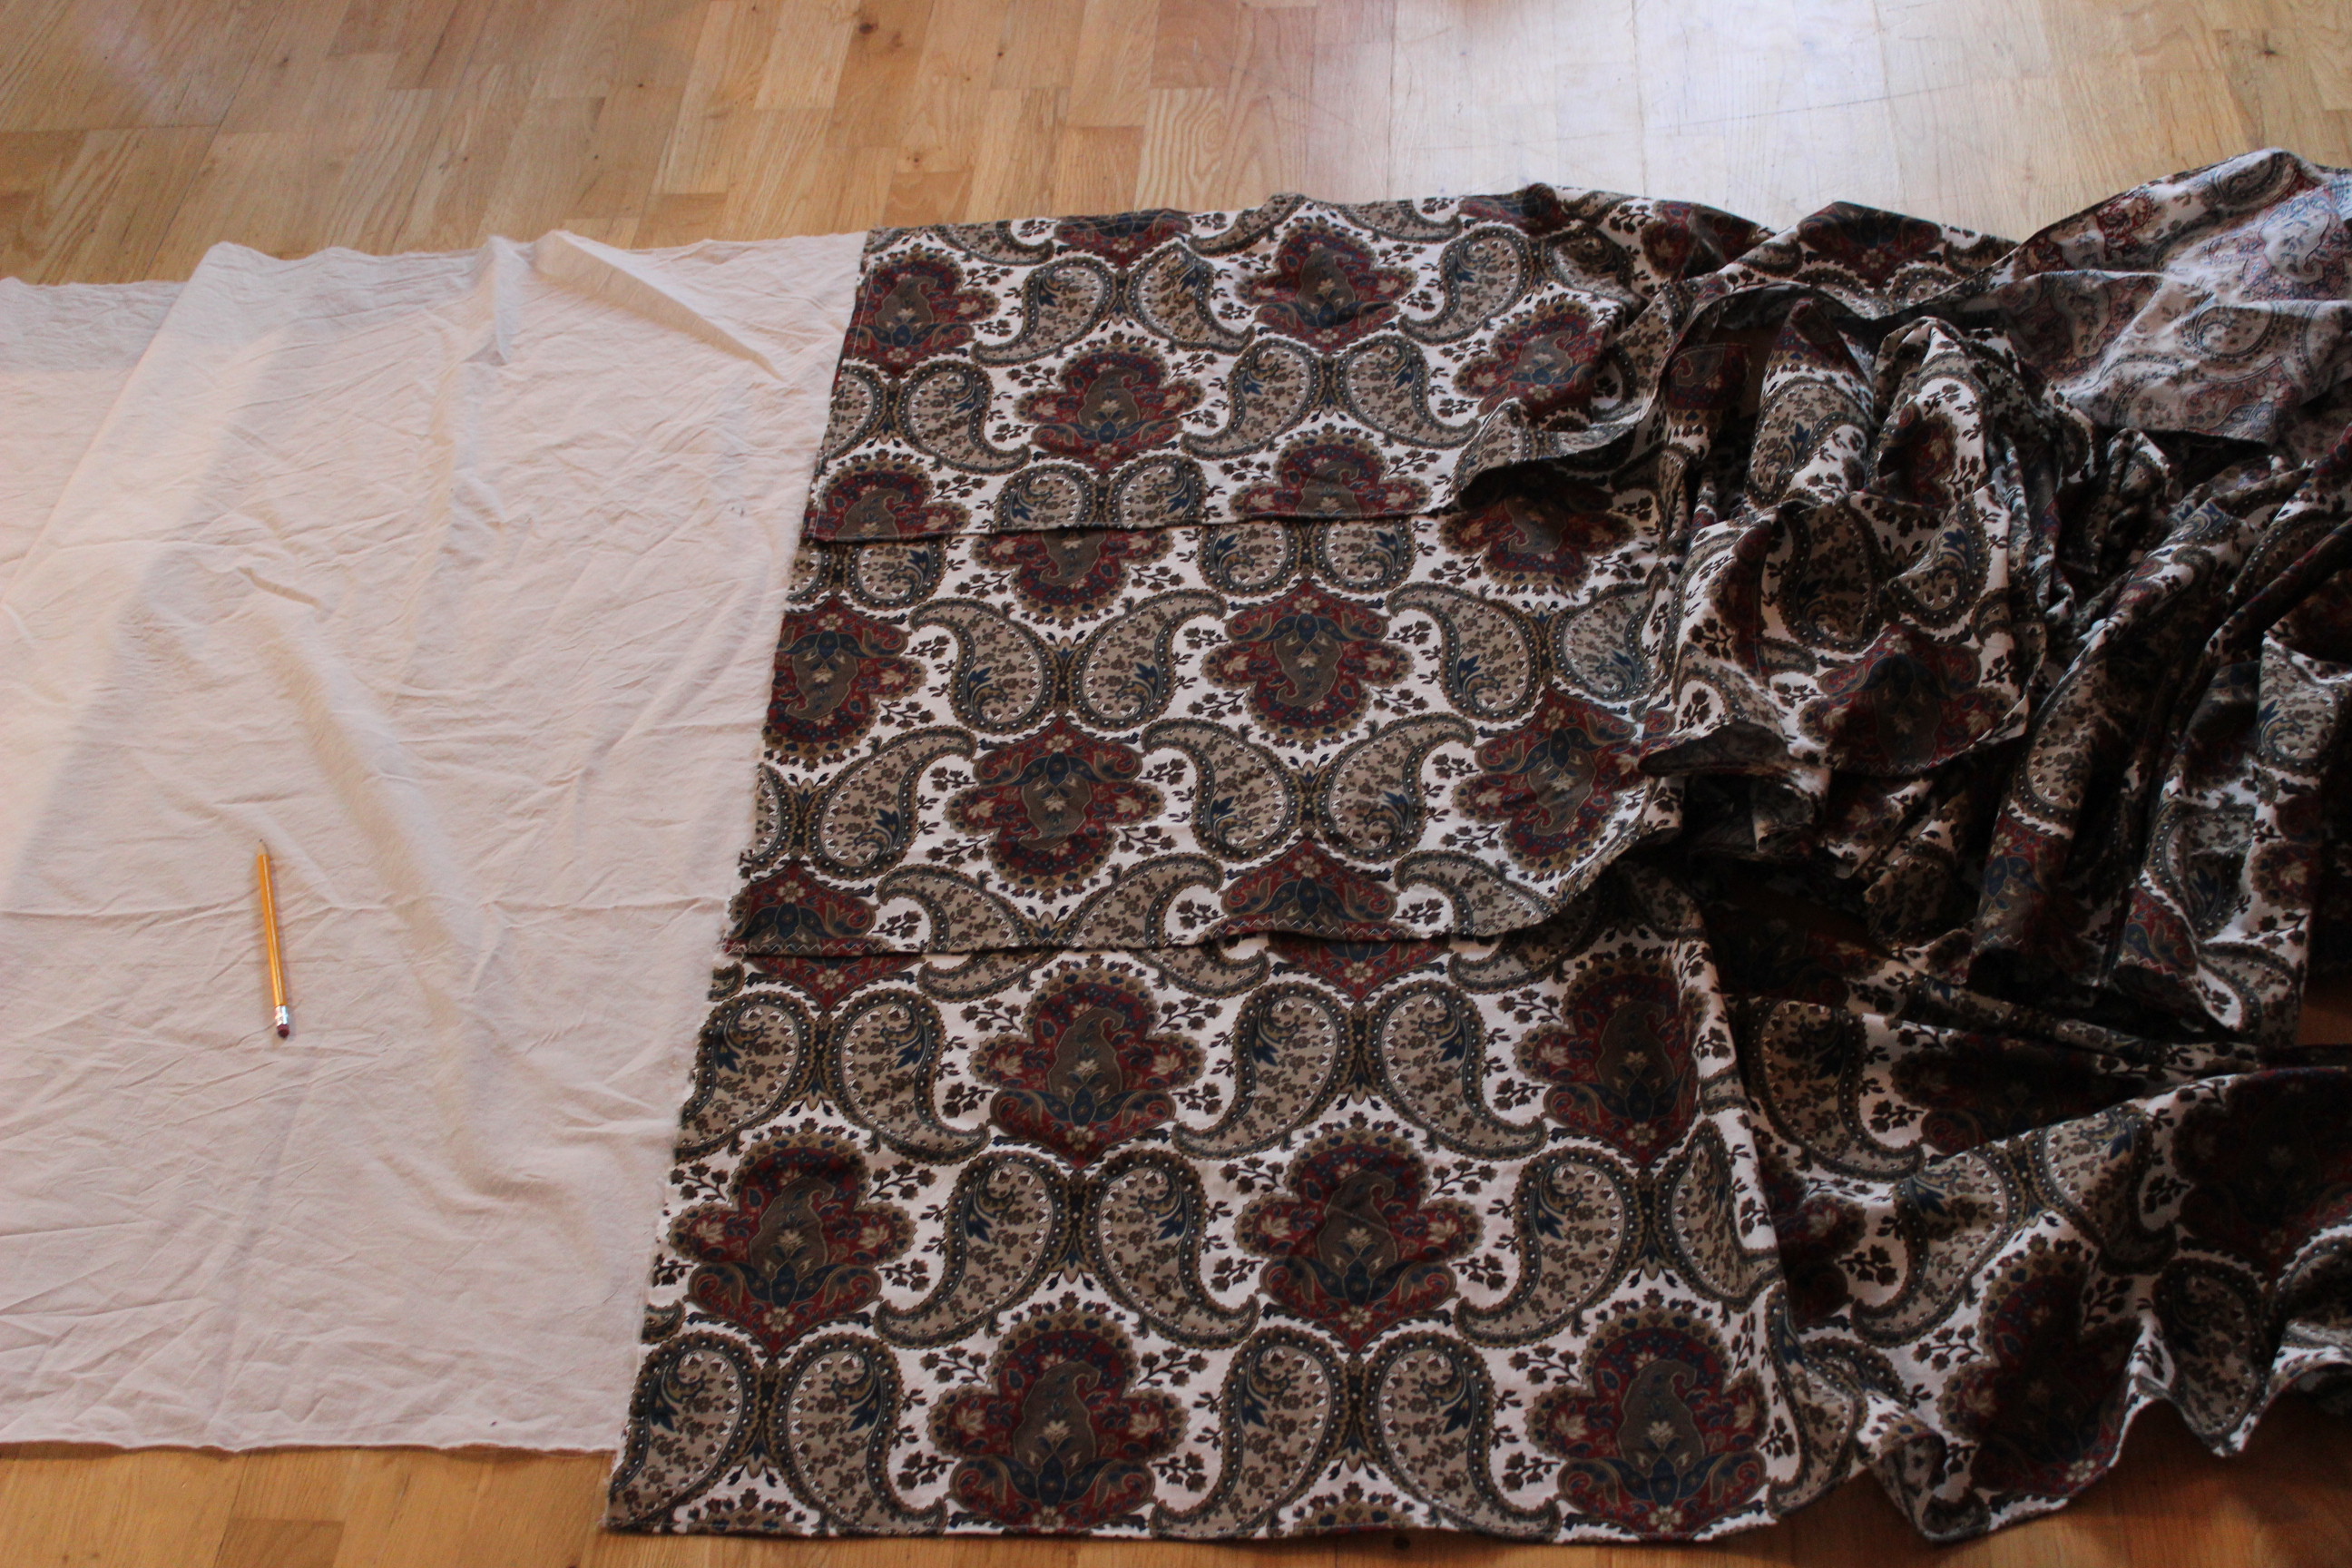
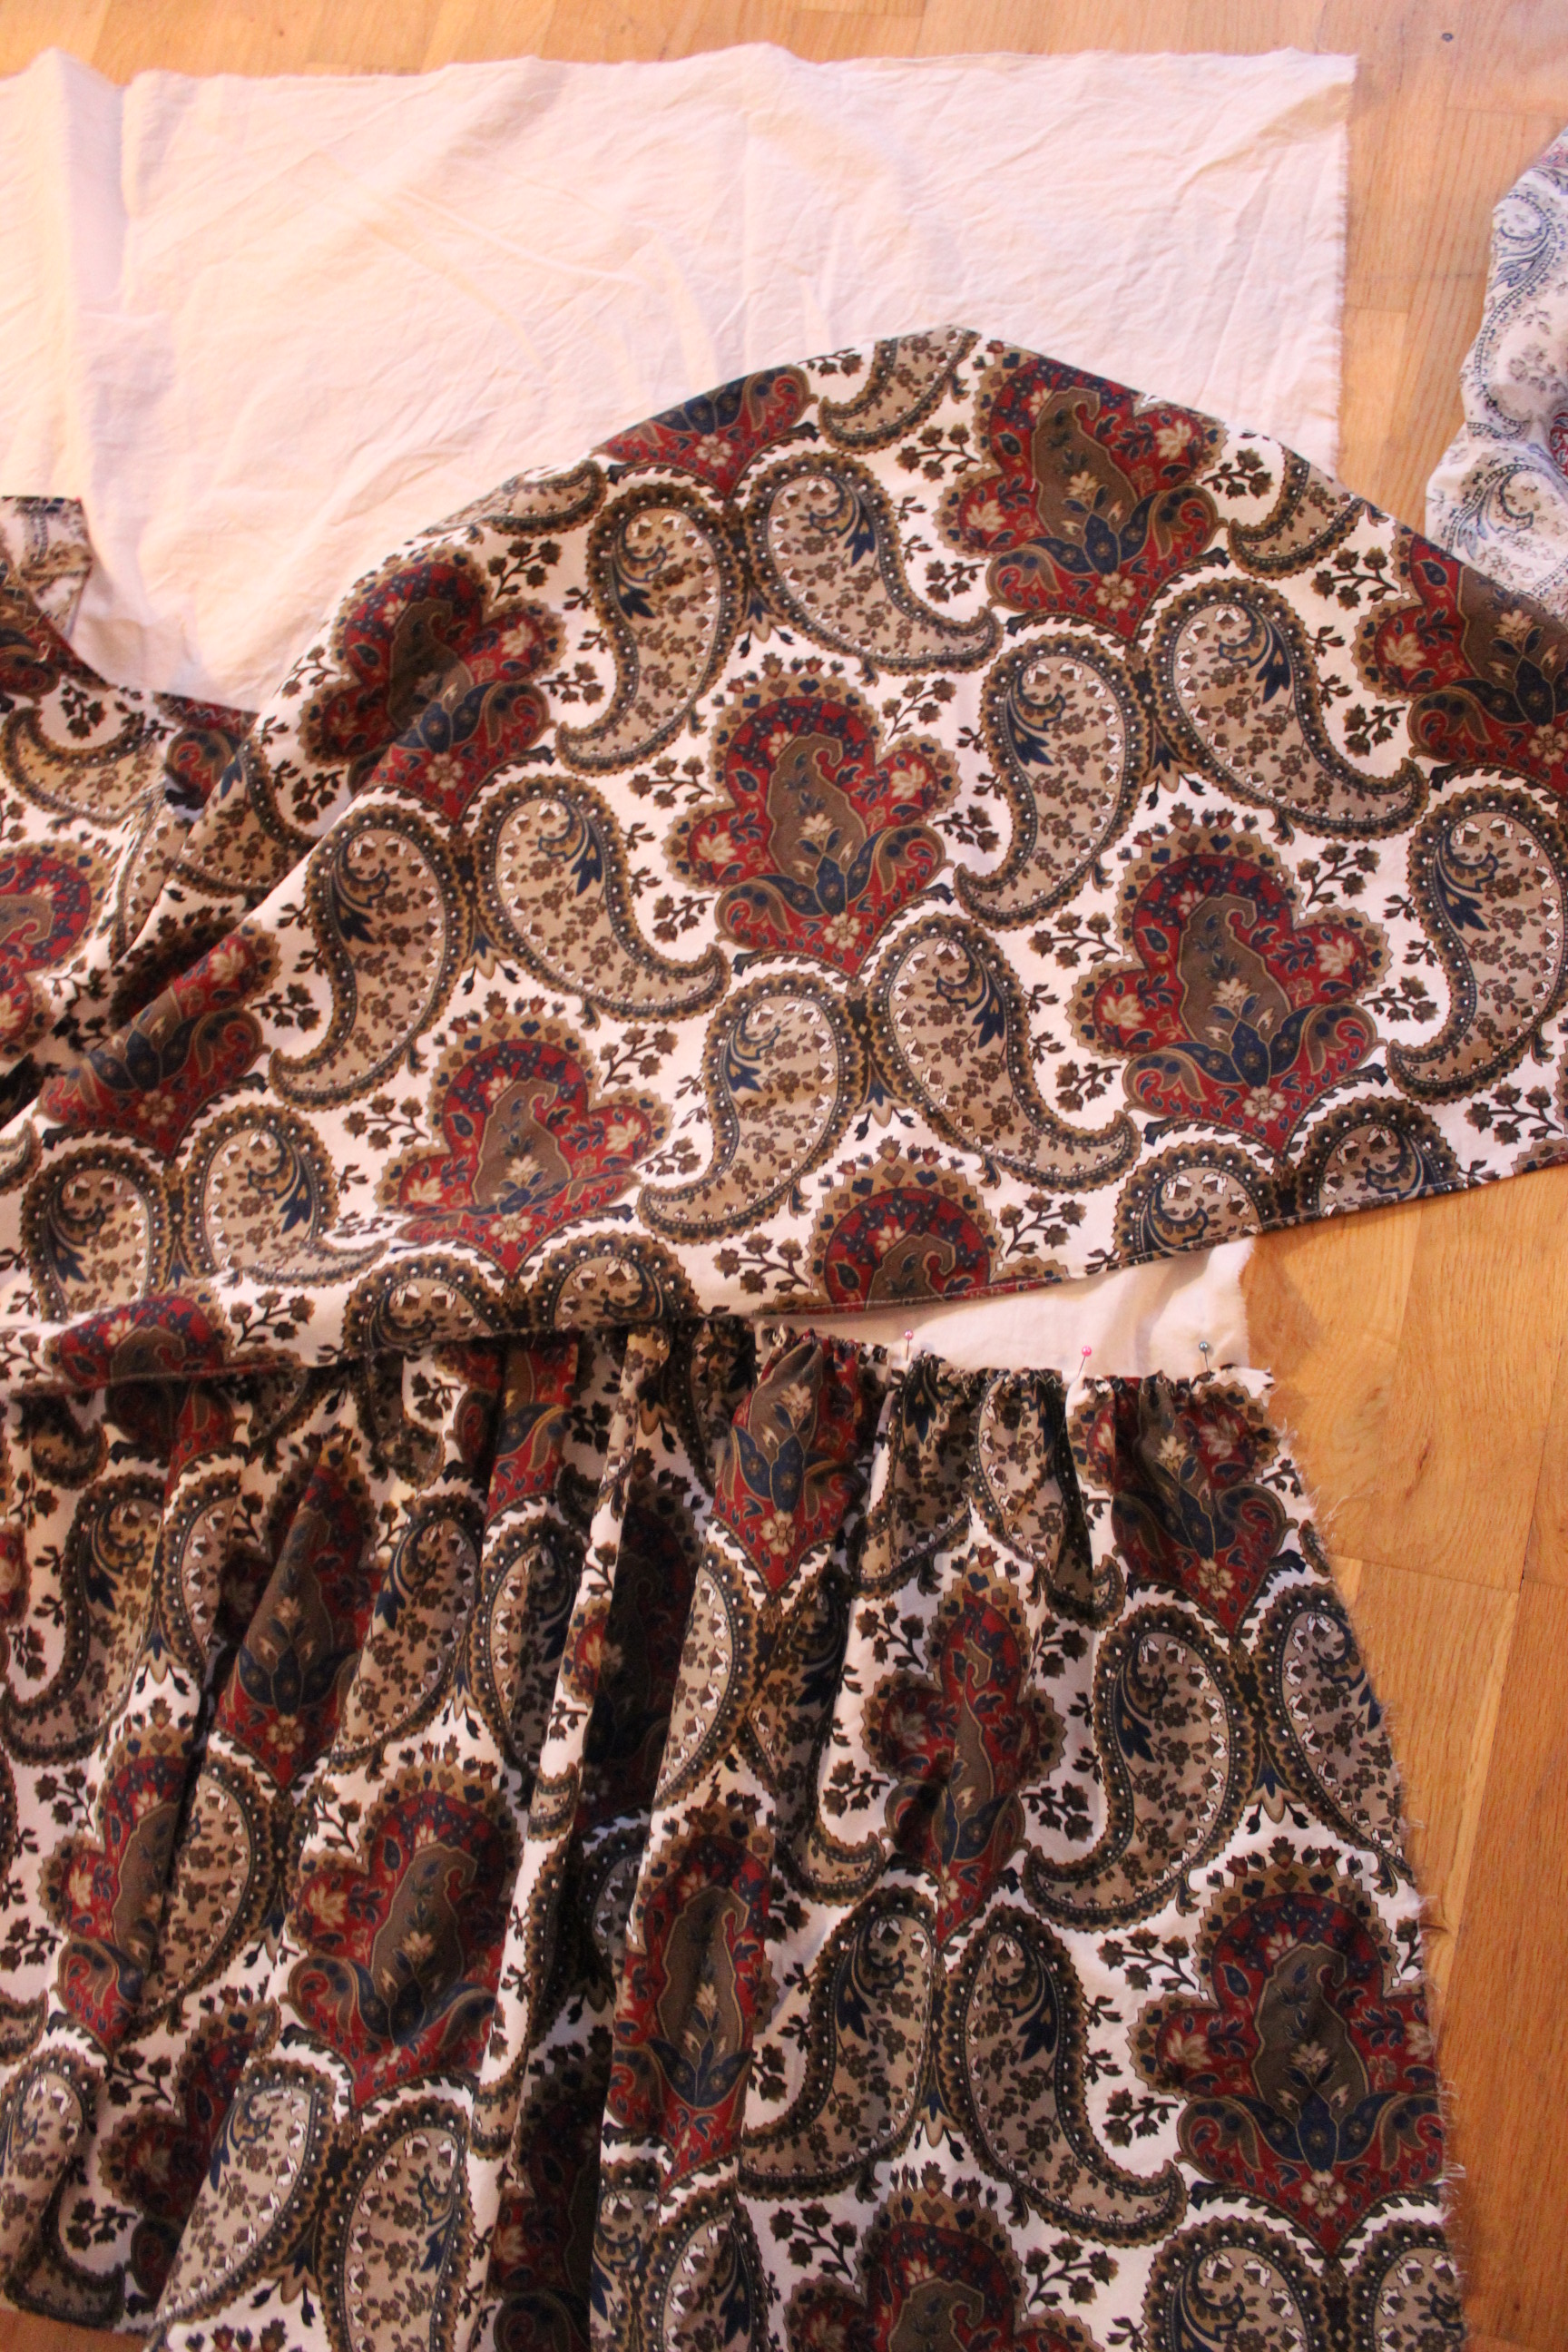
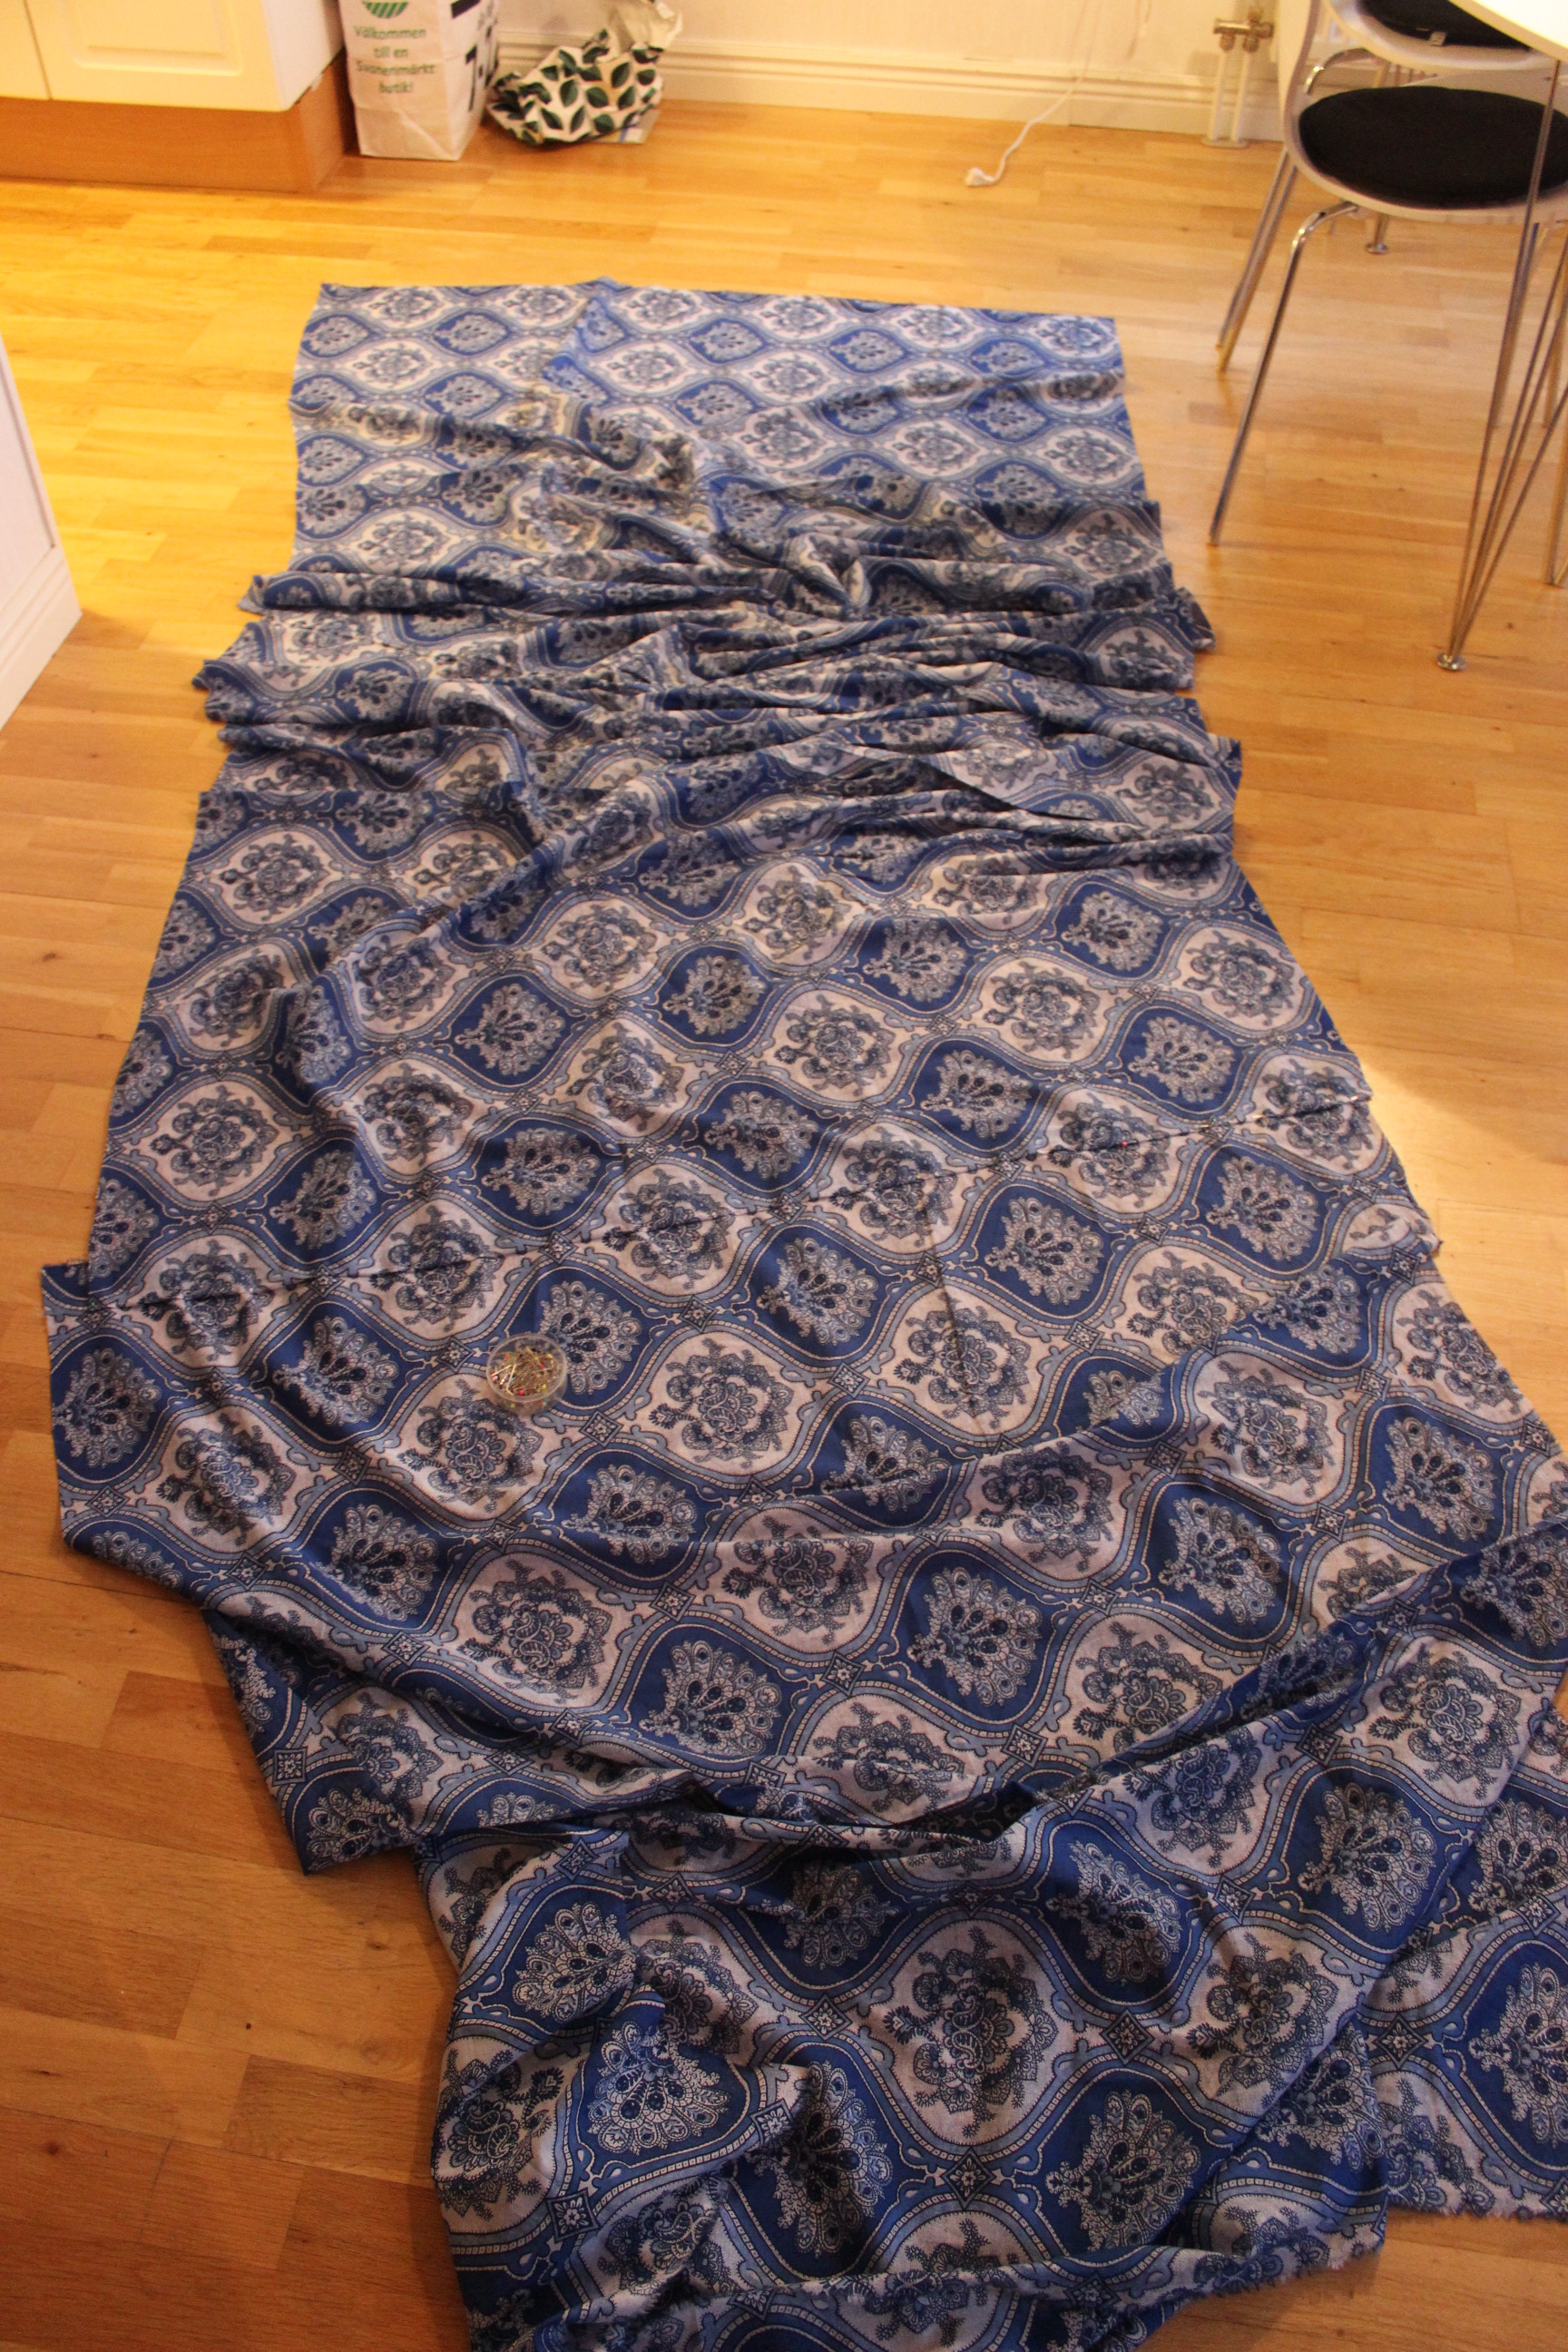
Using some adwise I got on the internet, I cut two large triangles and stiched them togeter to make one huge.
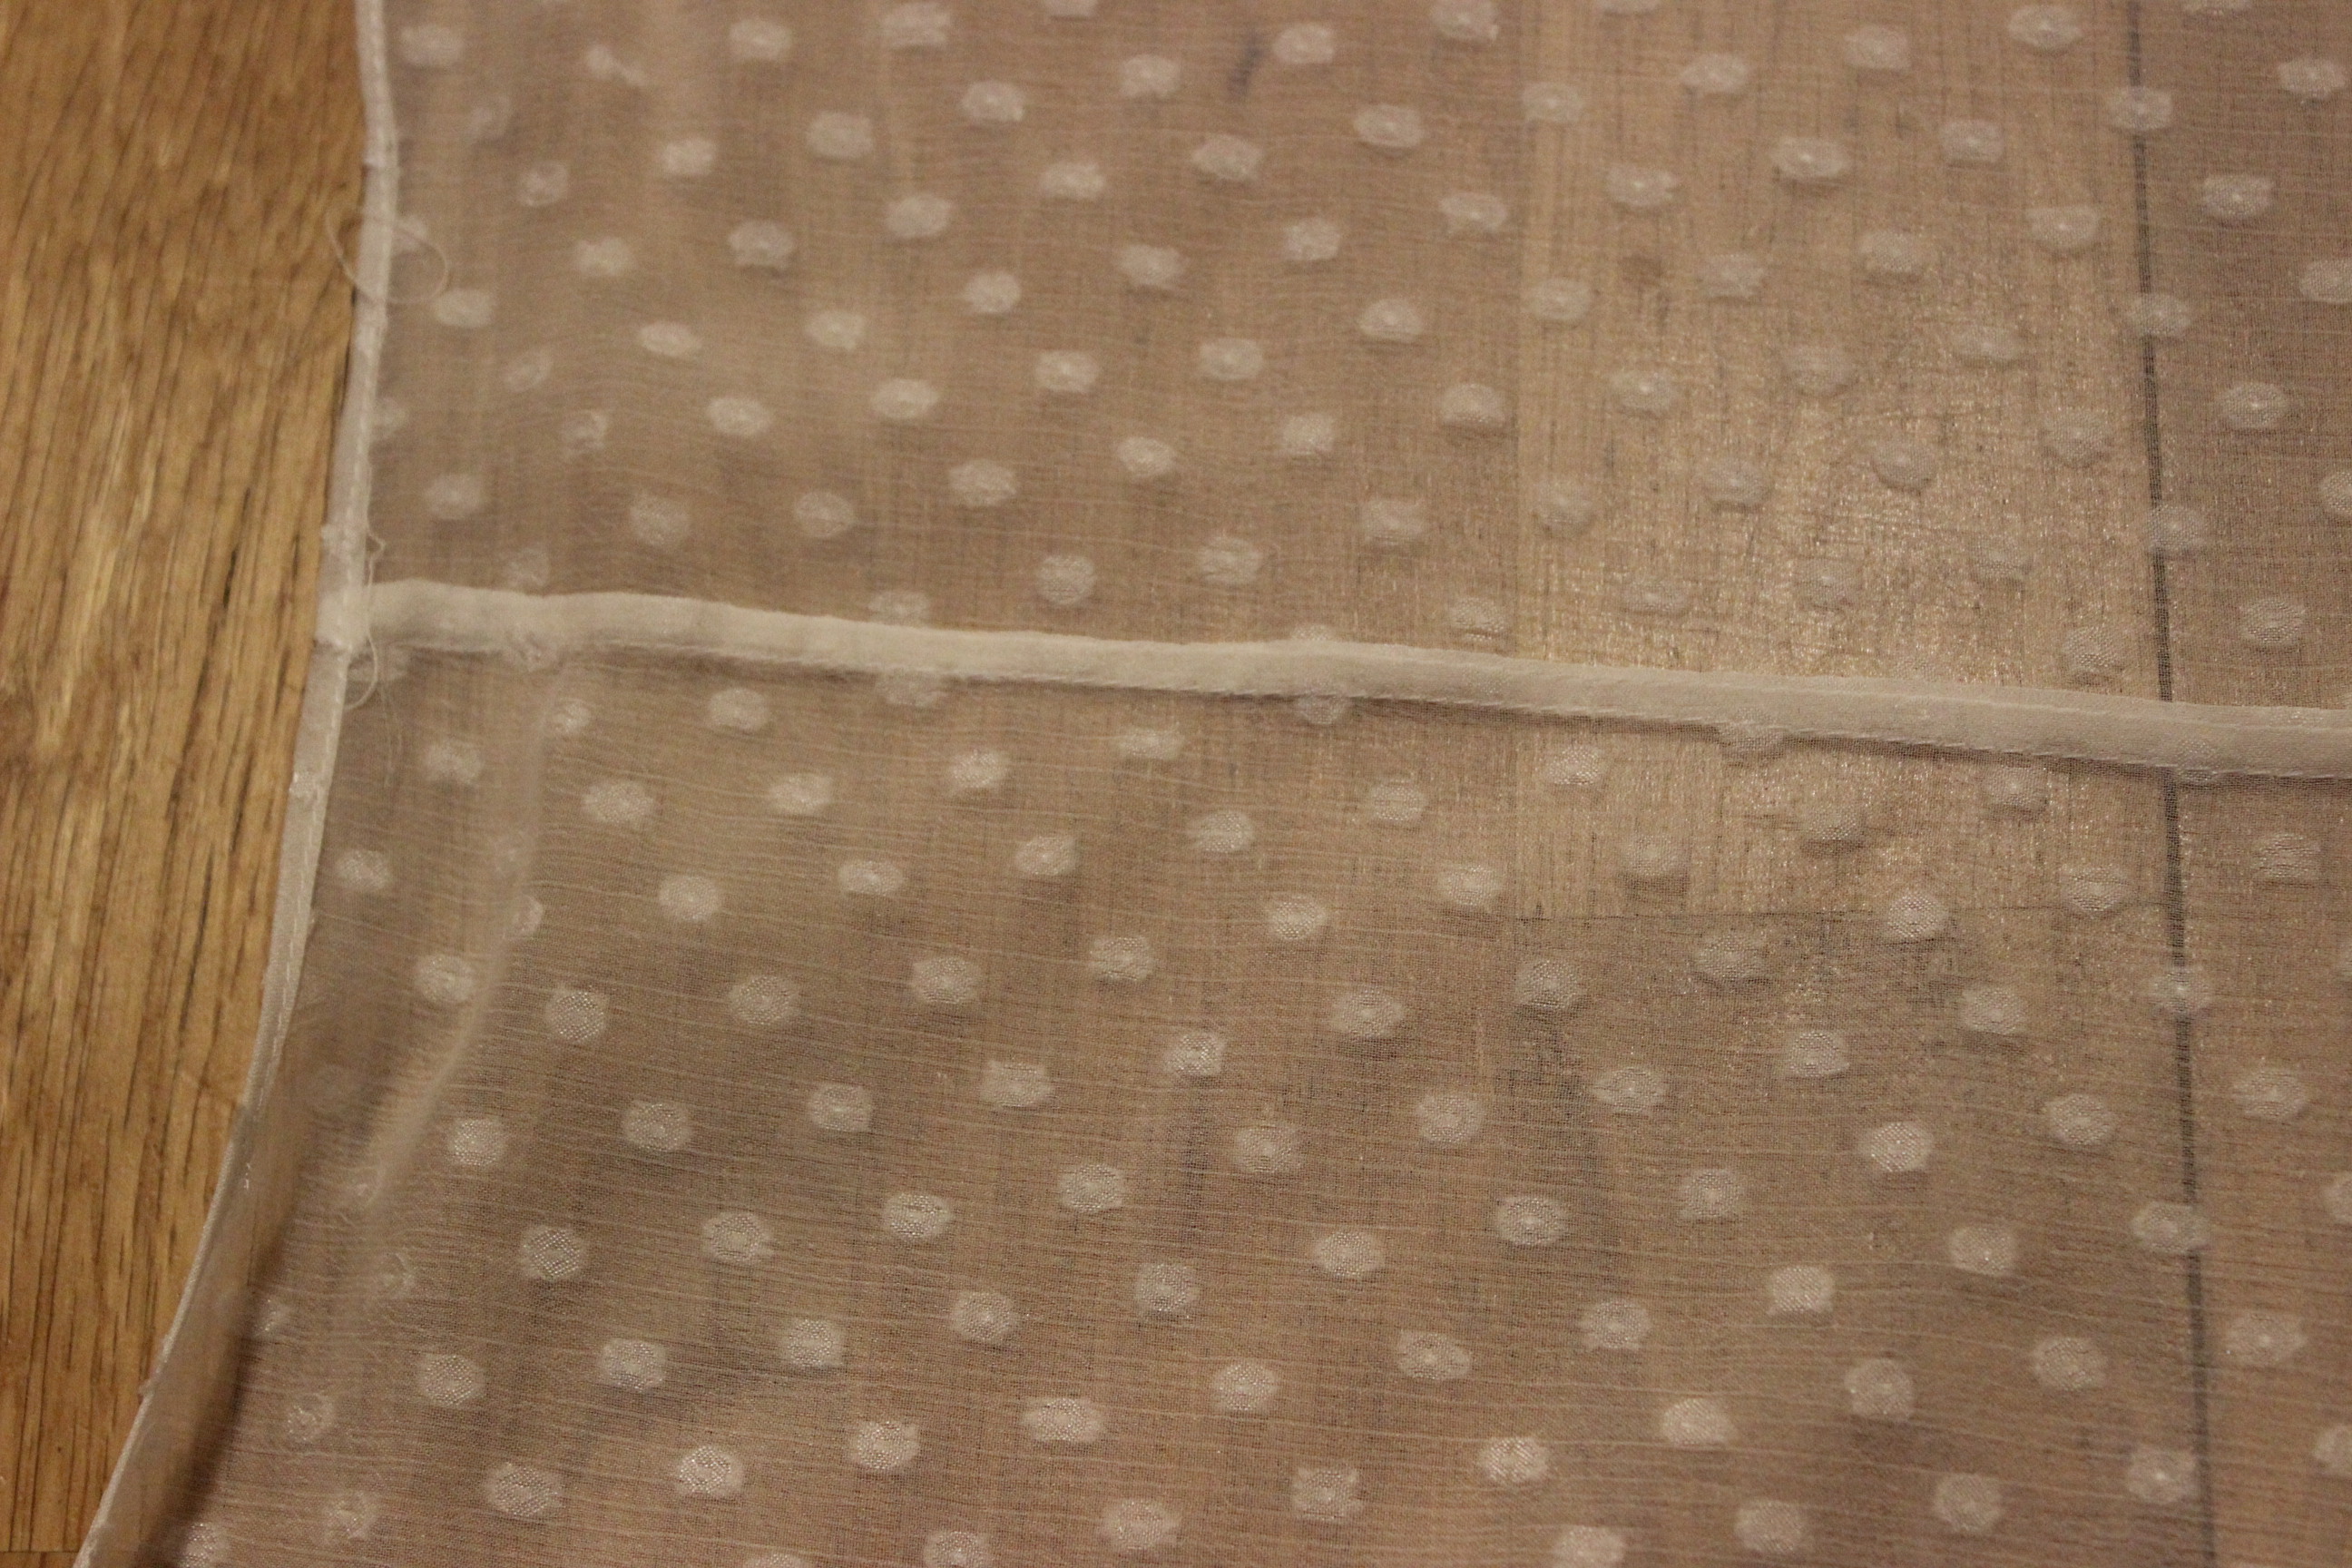
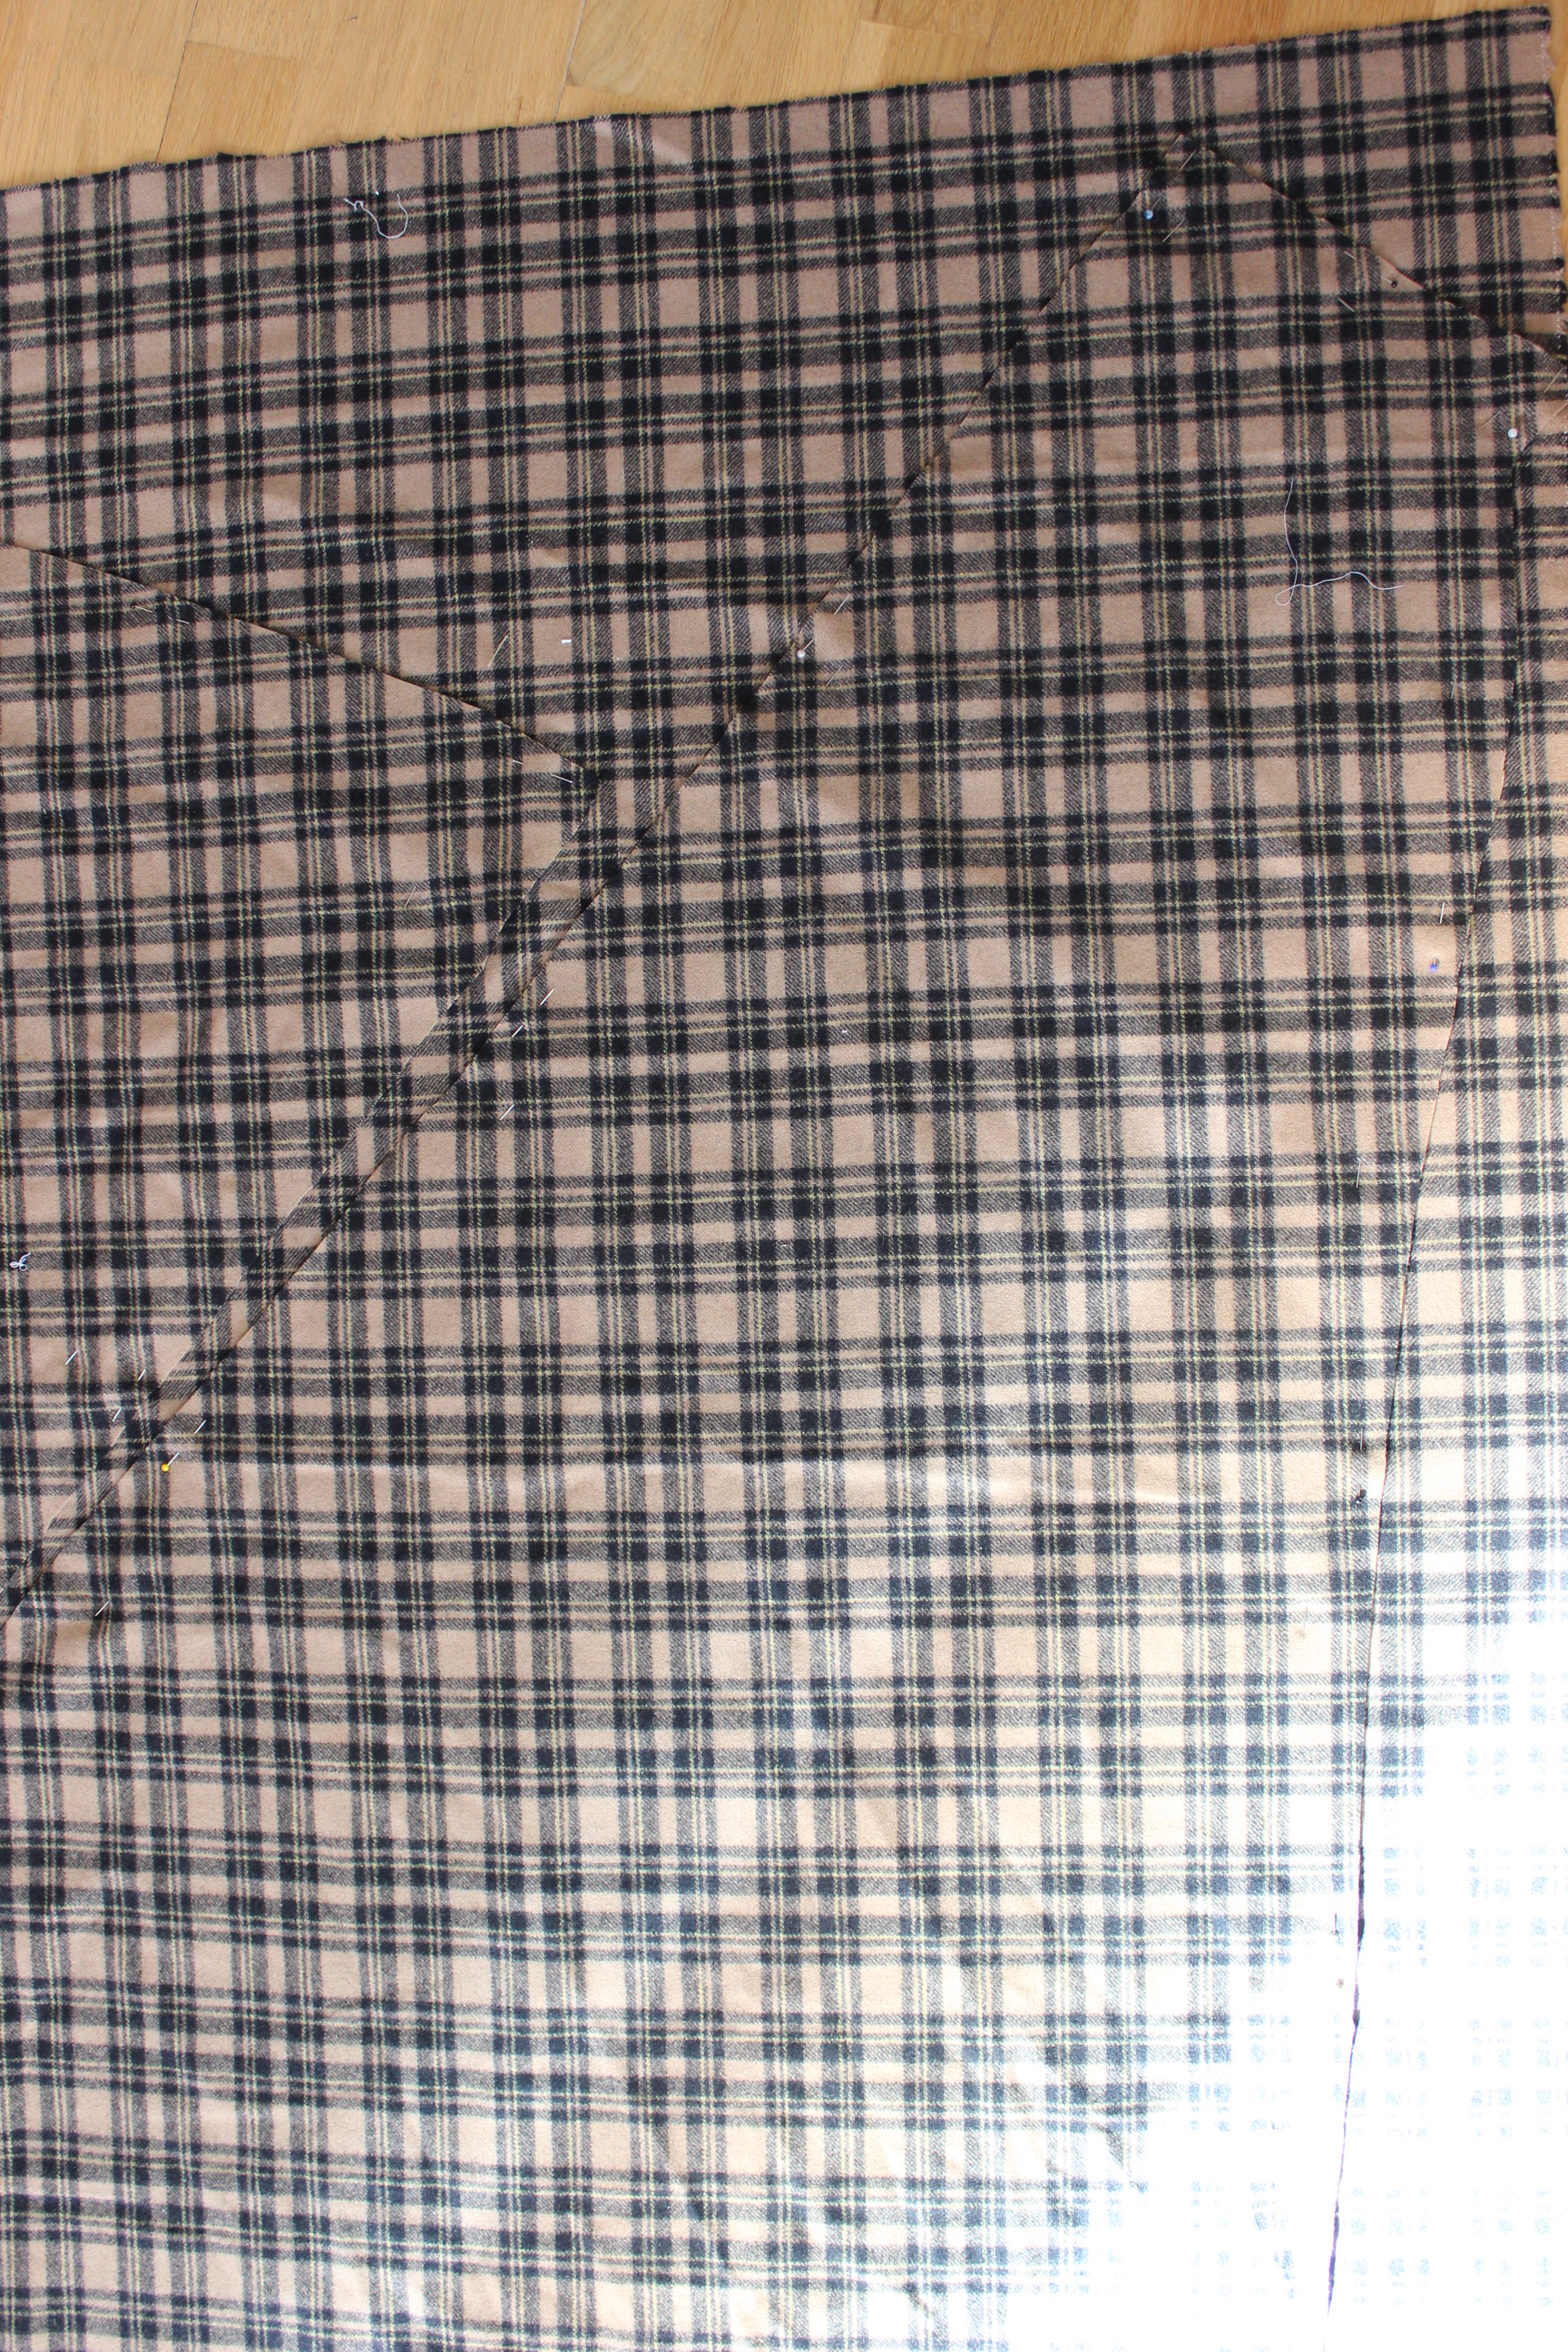
Then I shaped and rounded of the neck, to make it wrap better around the neck. I french seamed the center back, and hemmed the whole thing – everything by machine. 
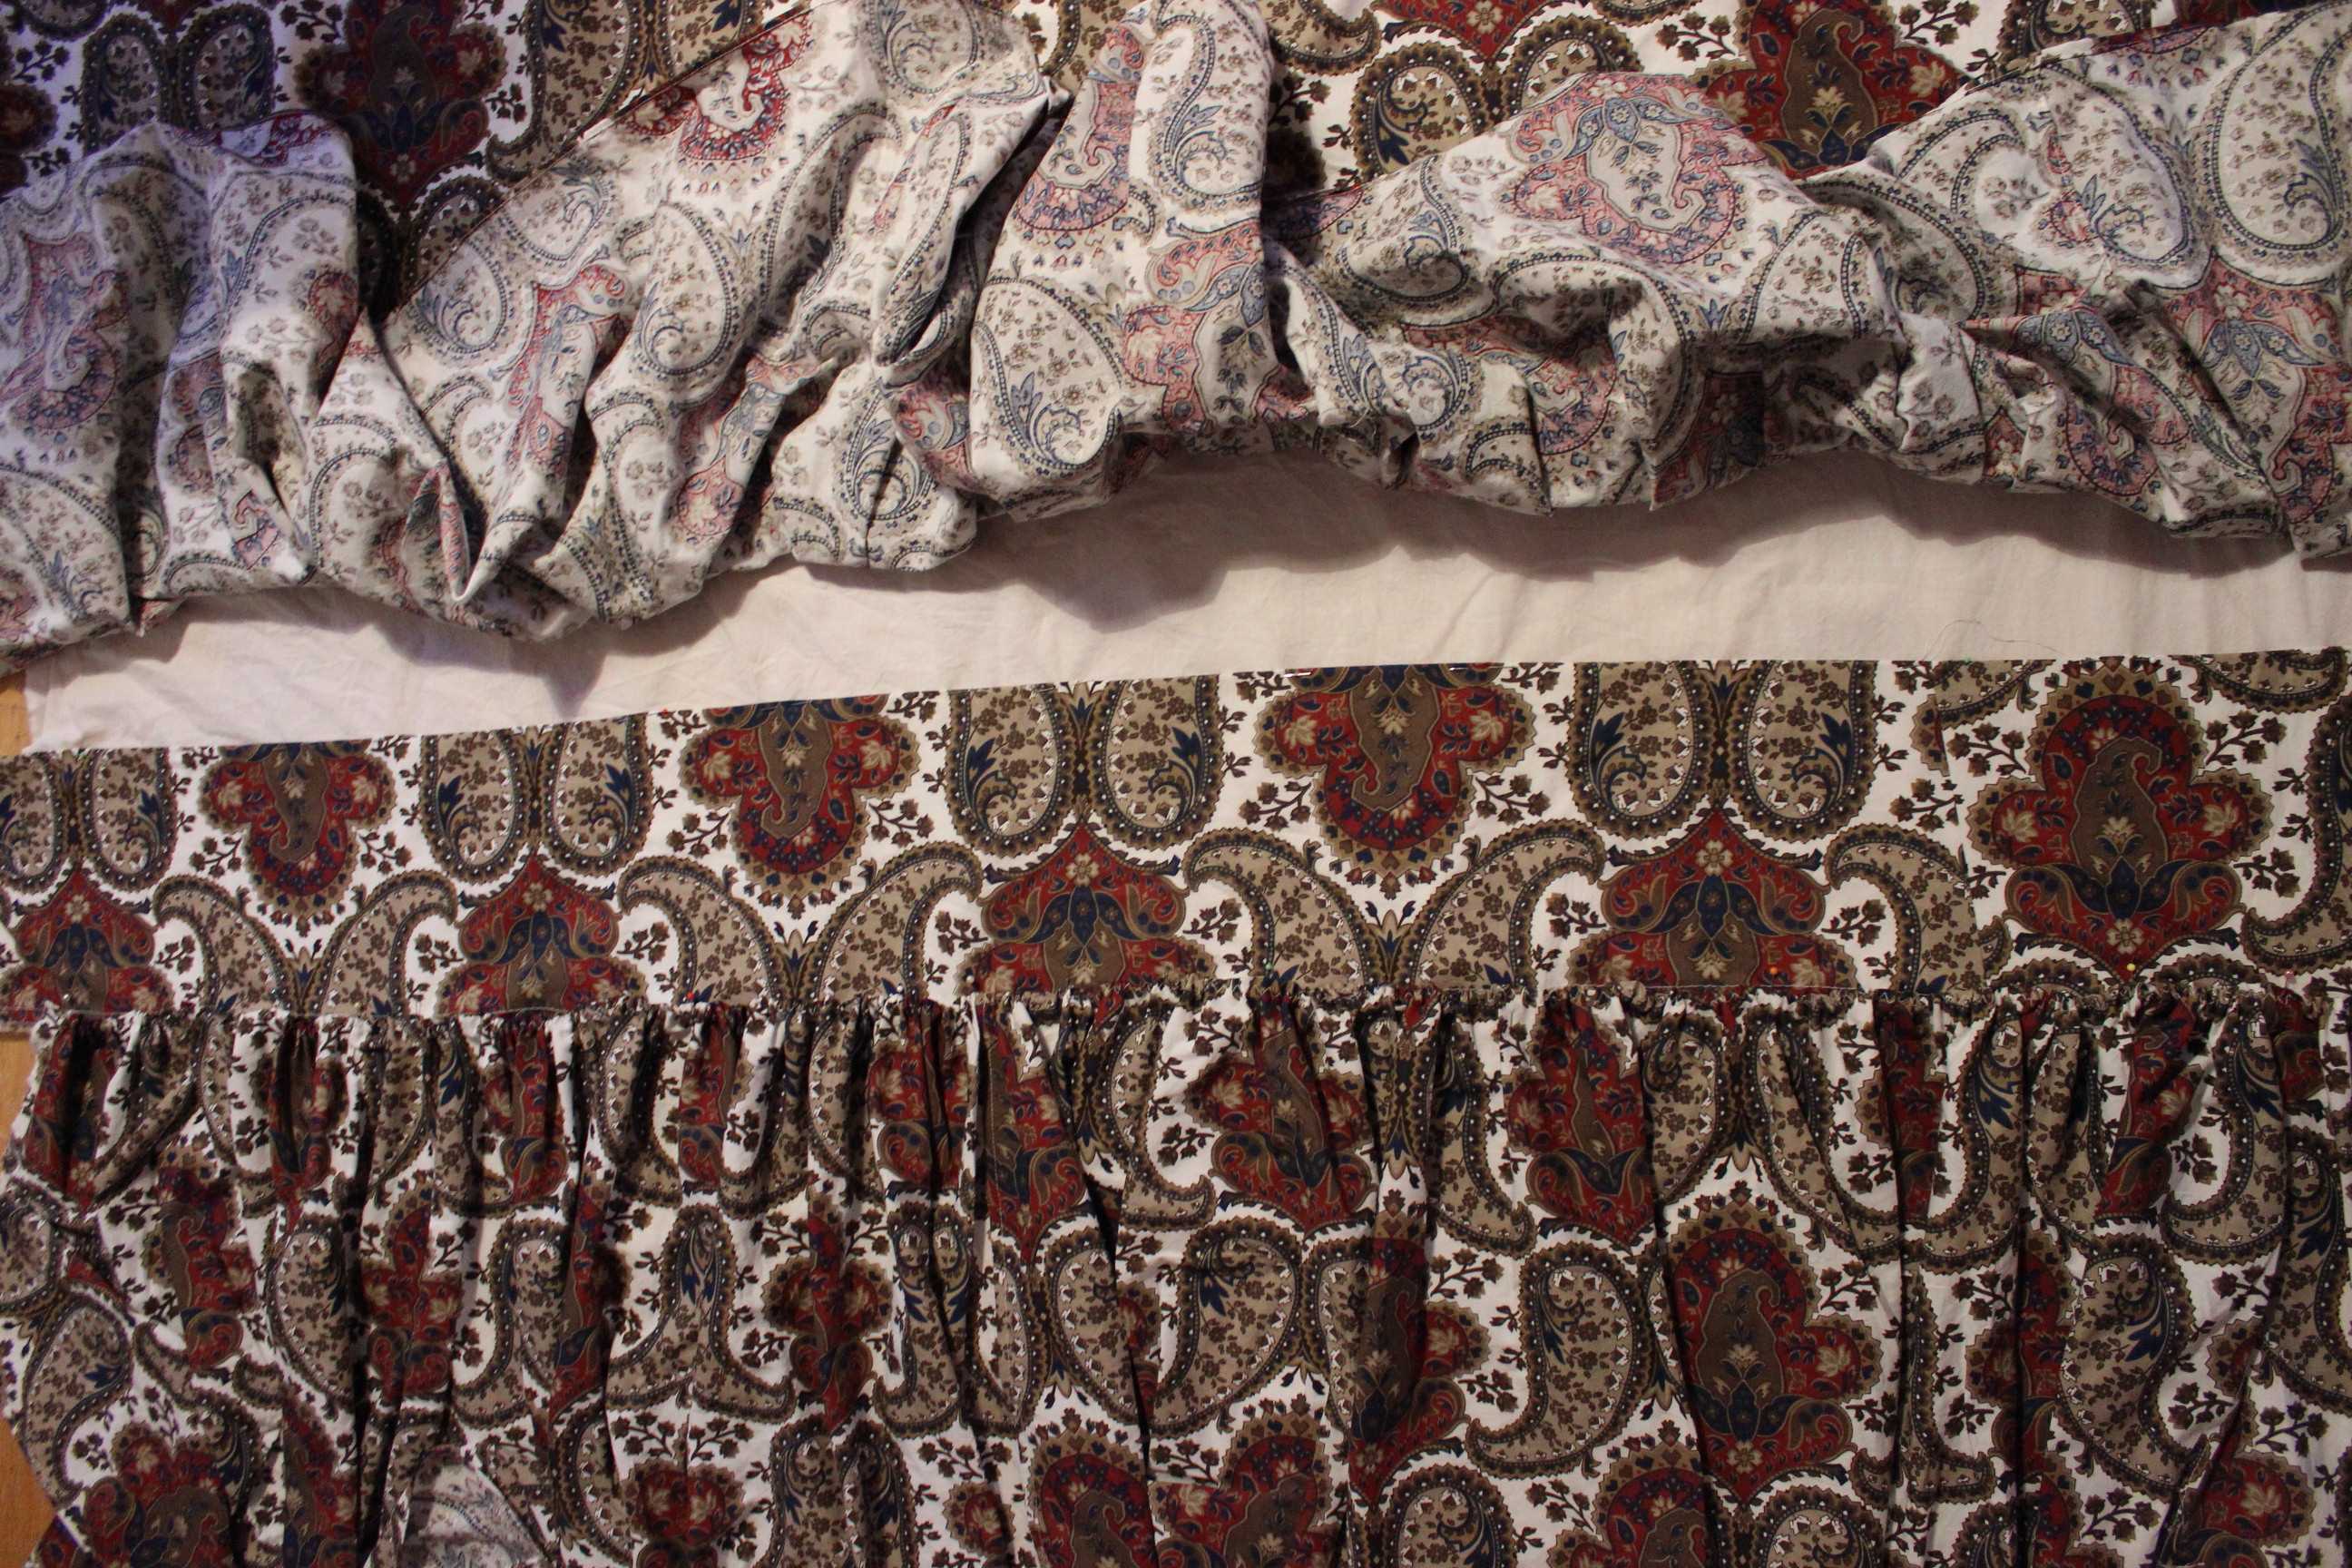
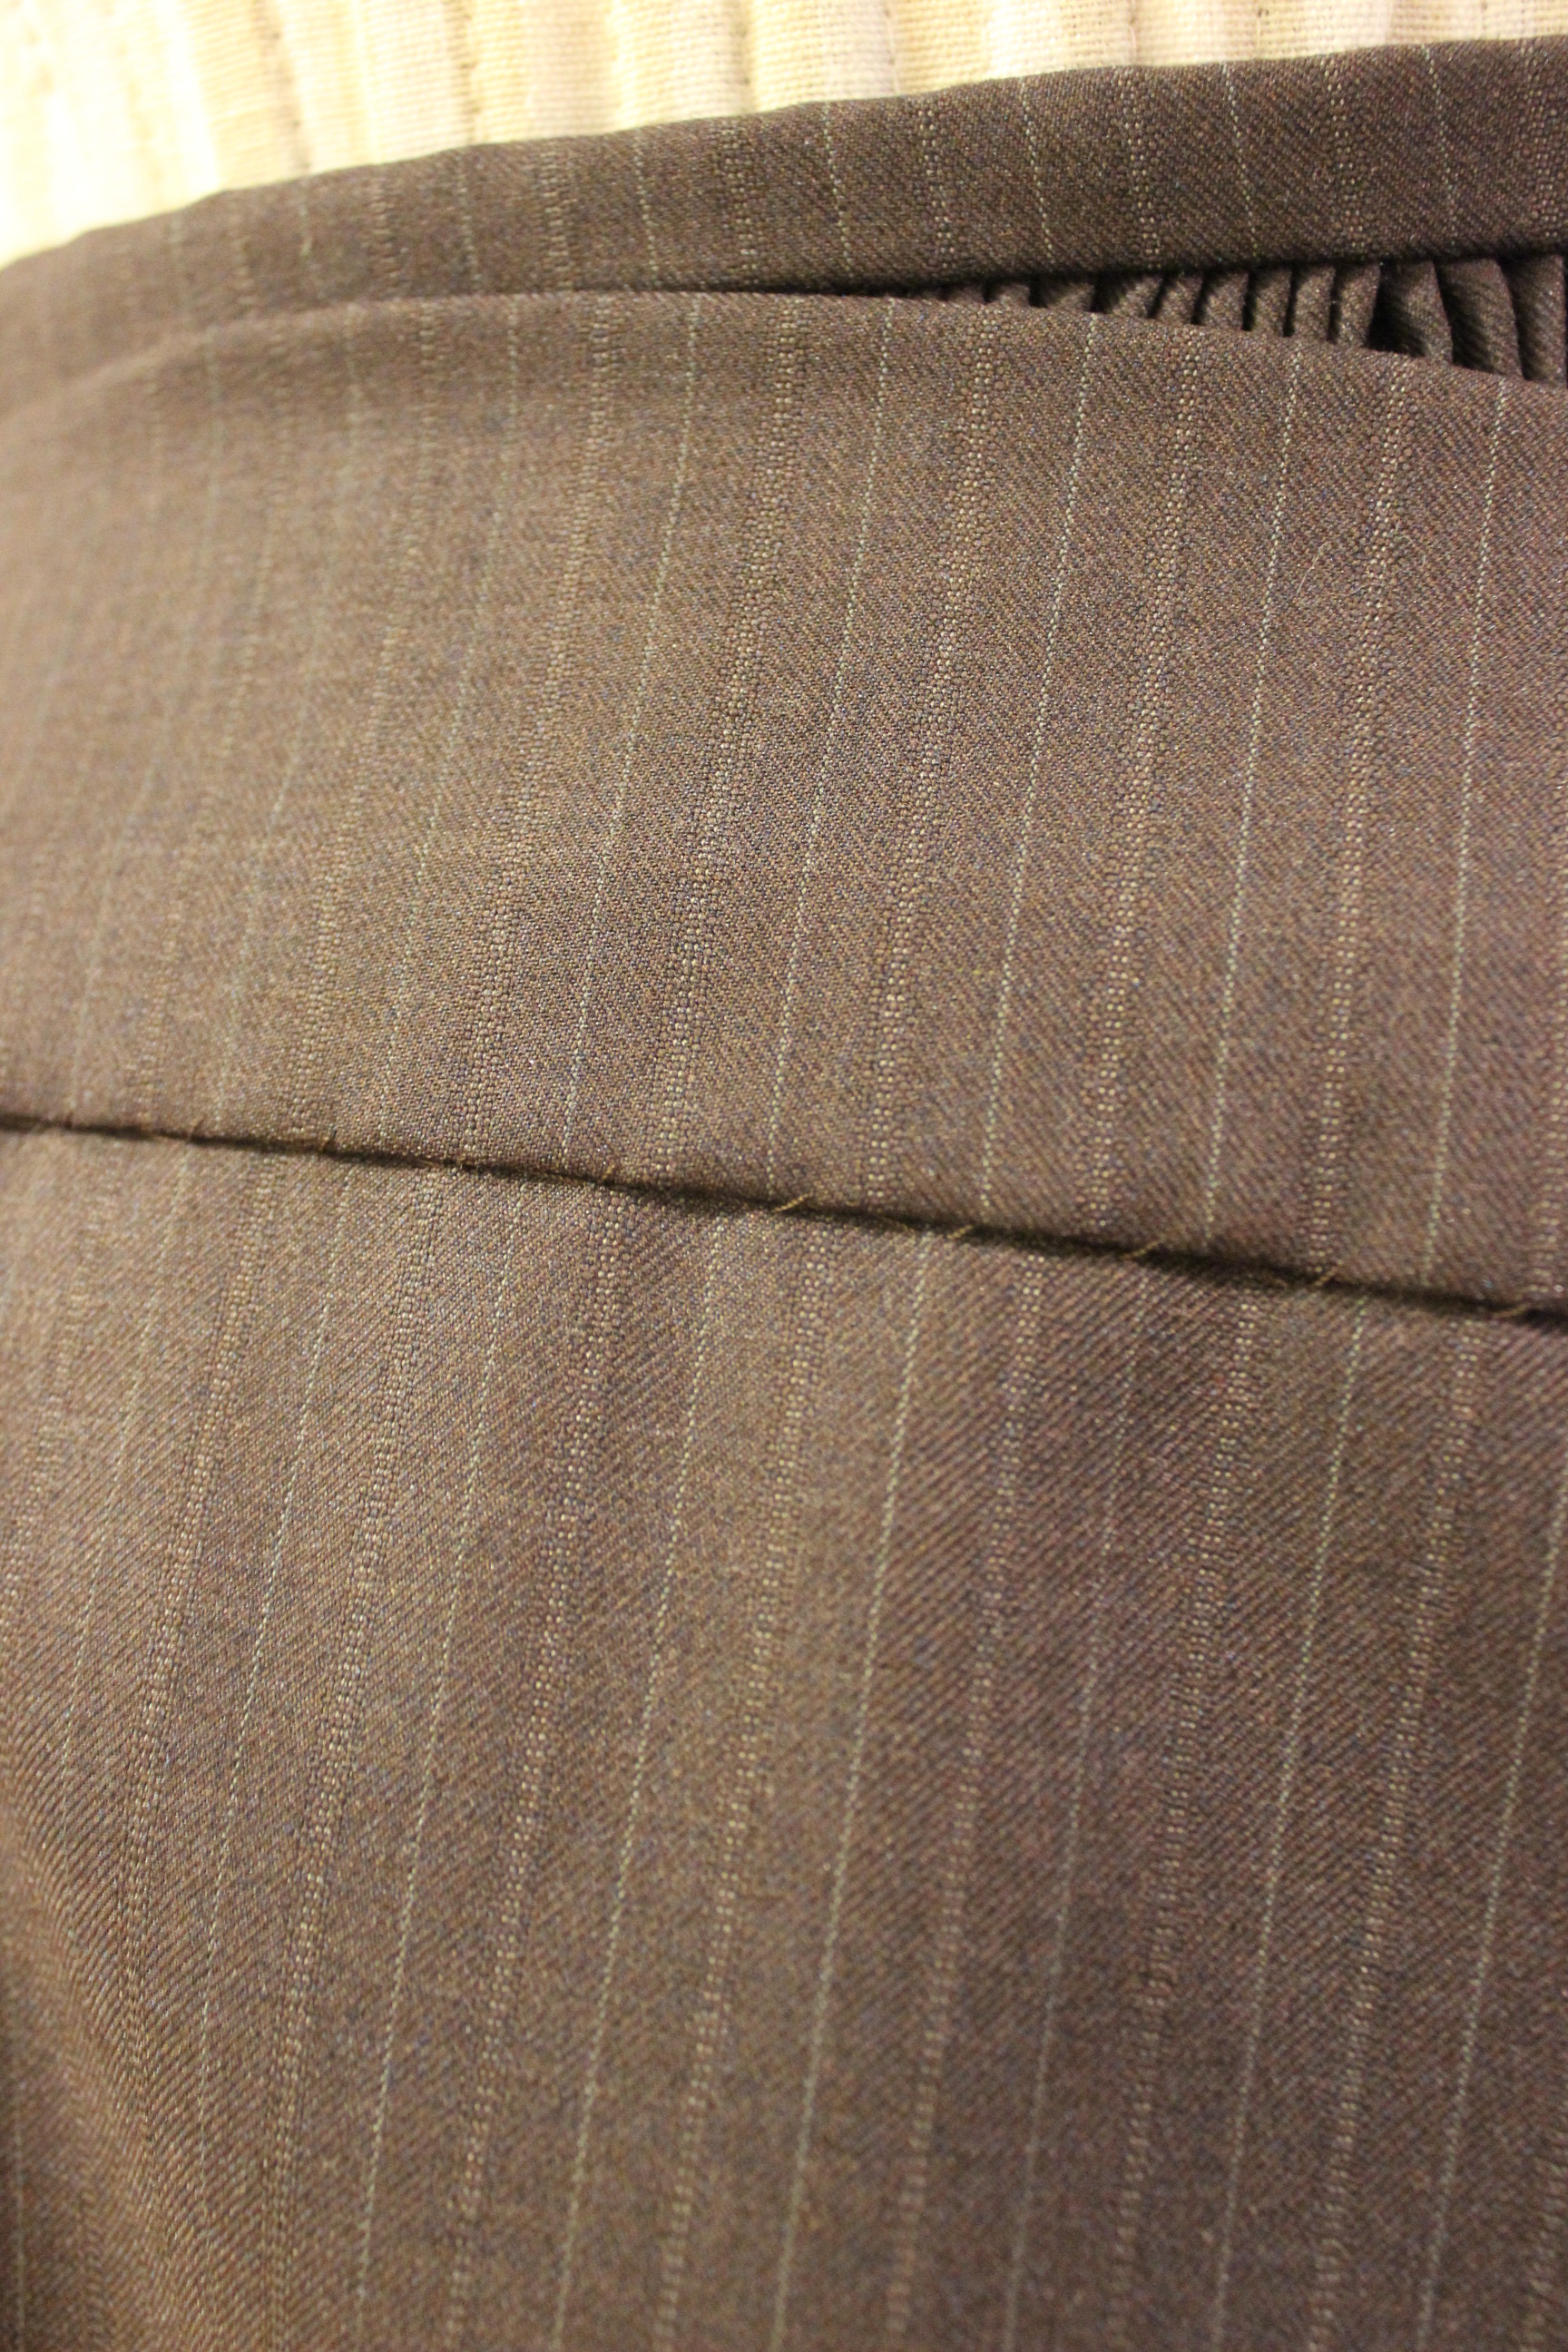
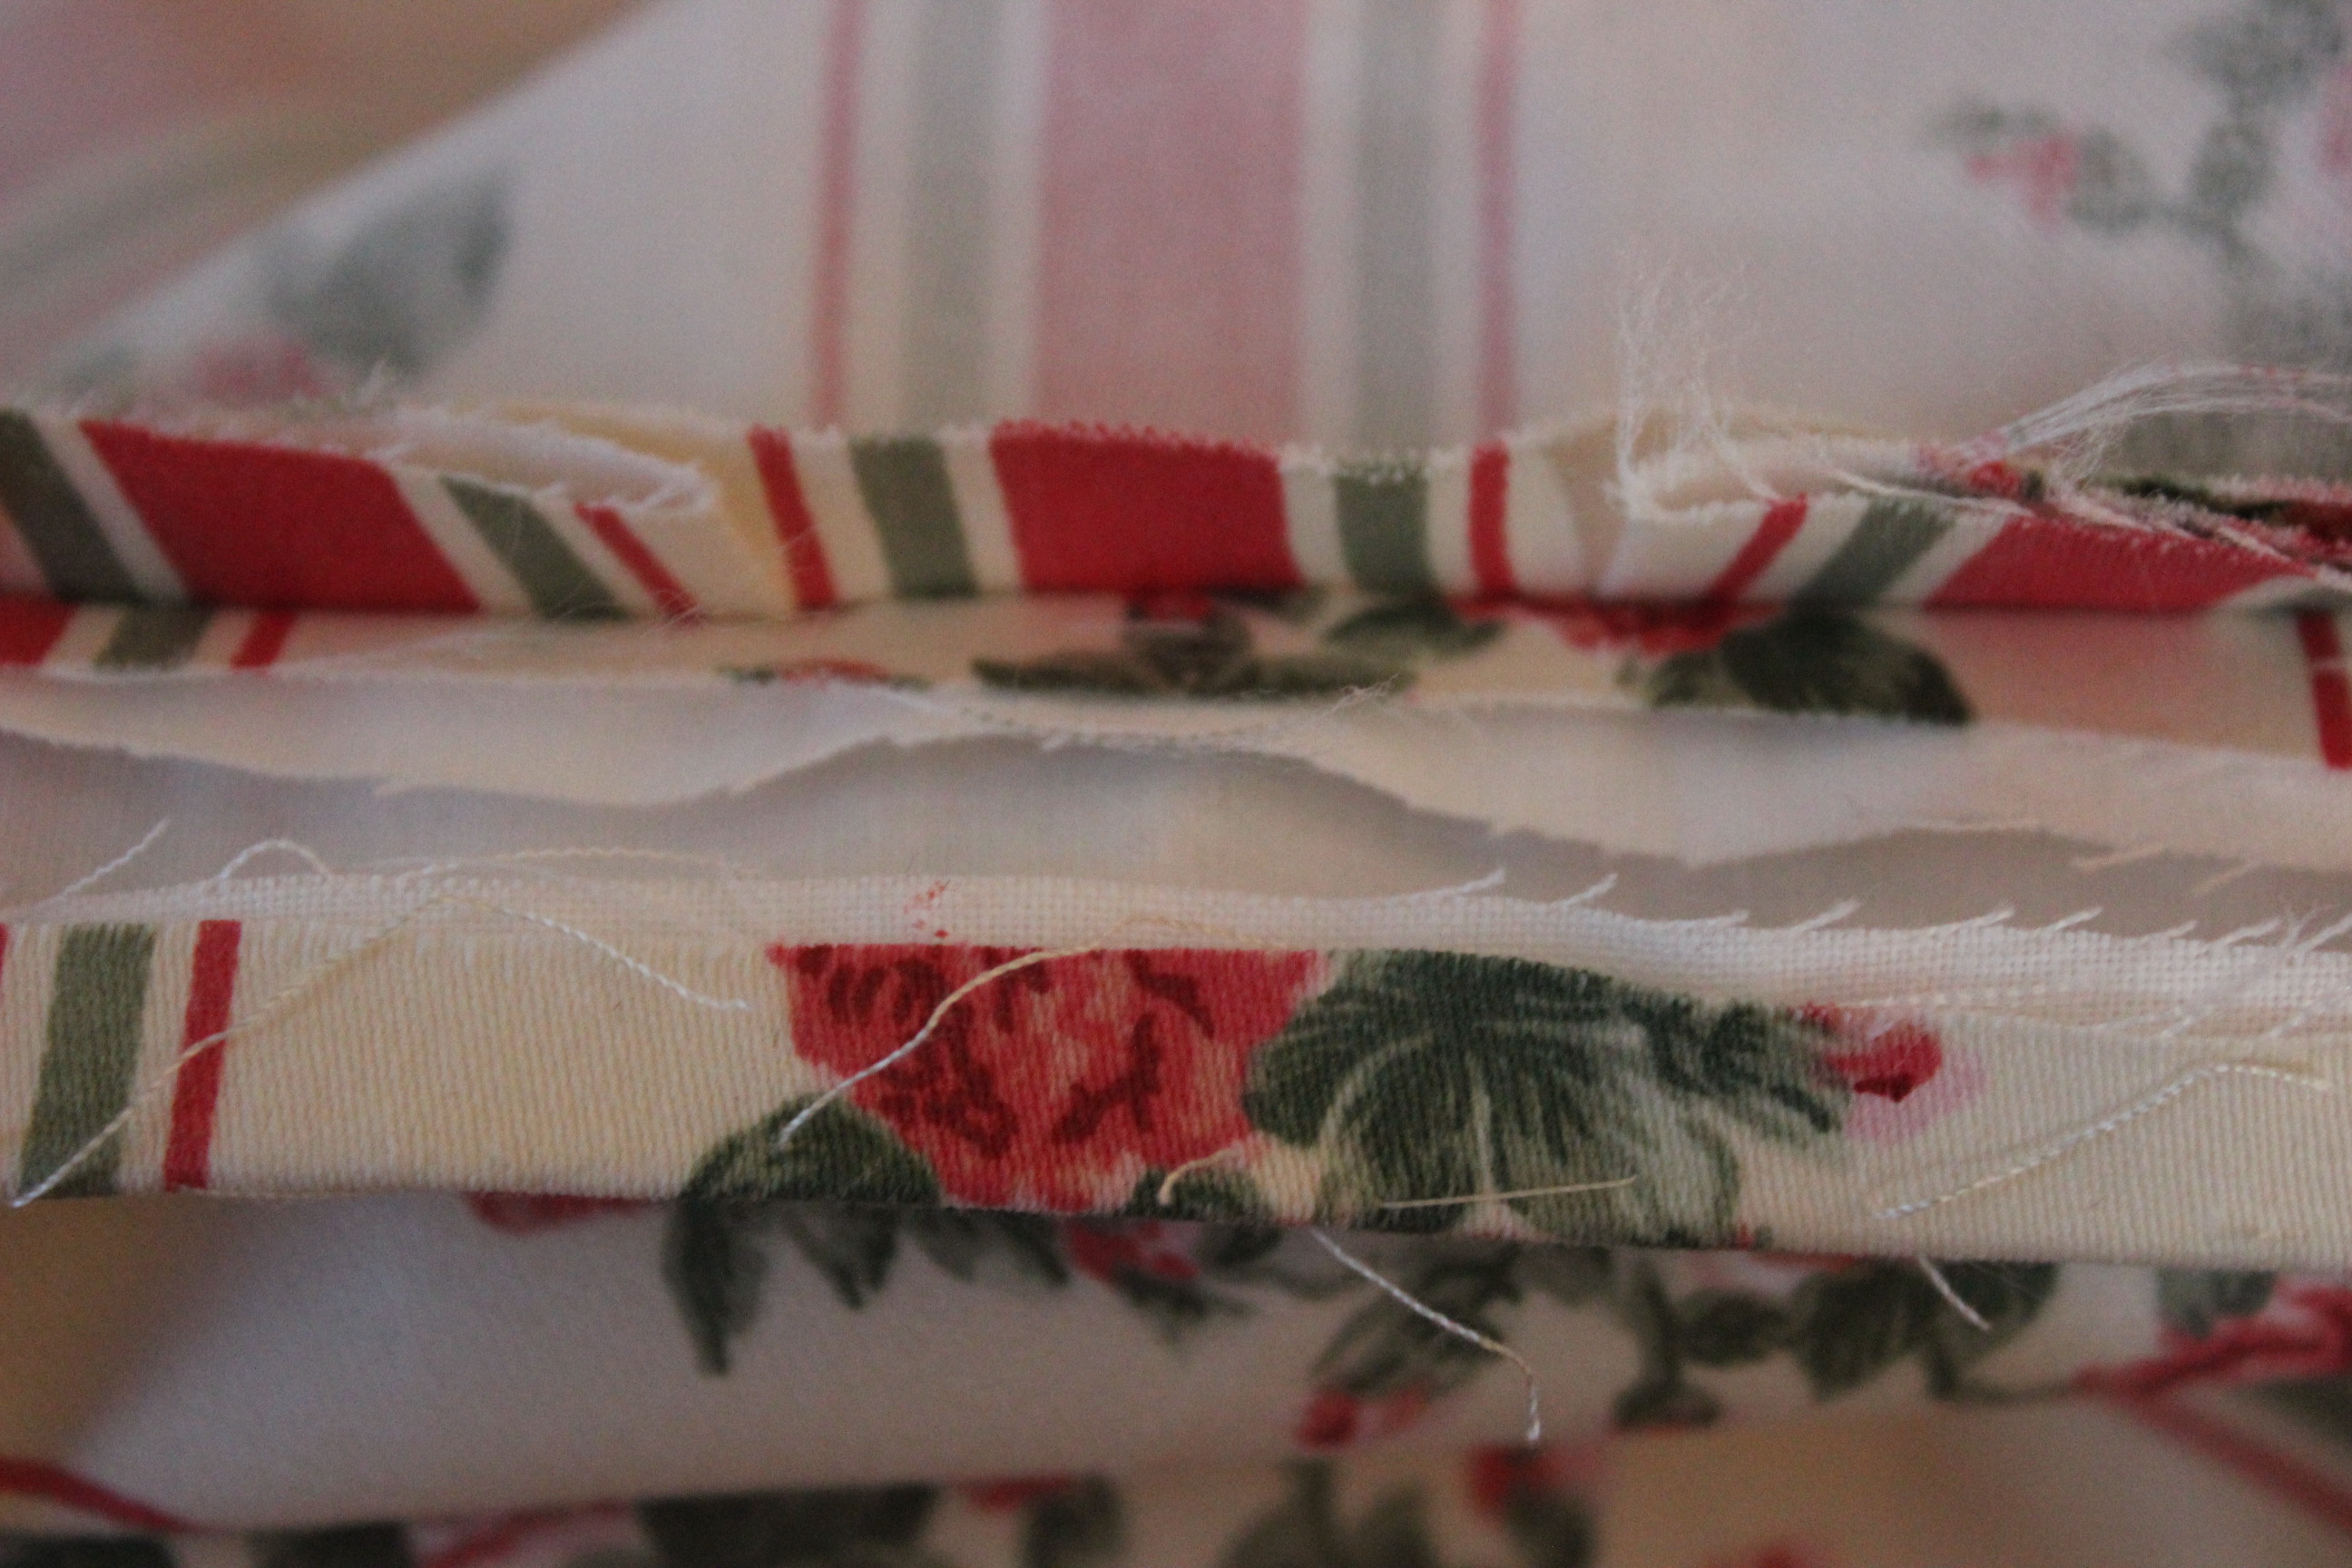
 Close up: French seam and hem.
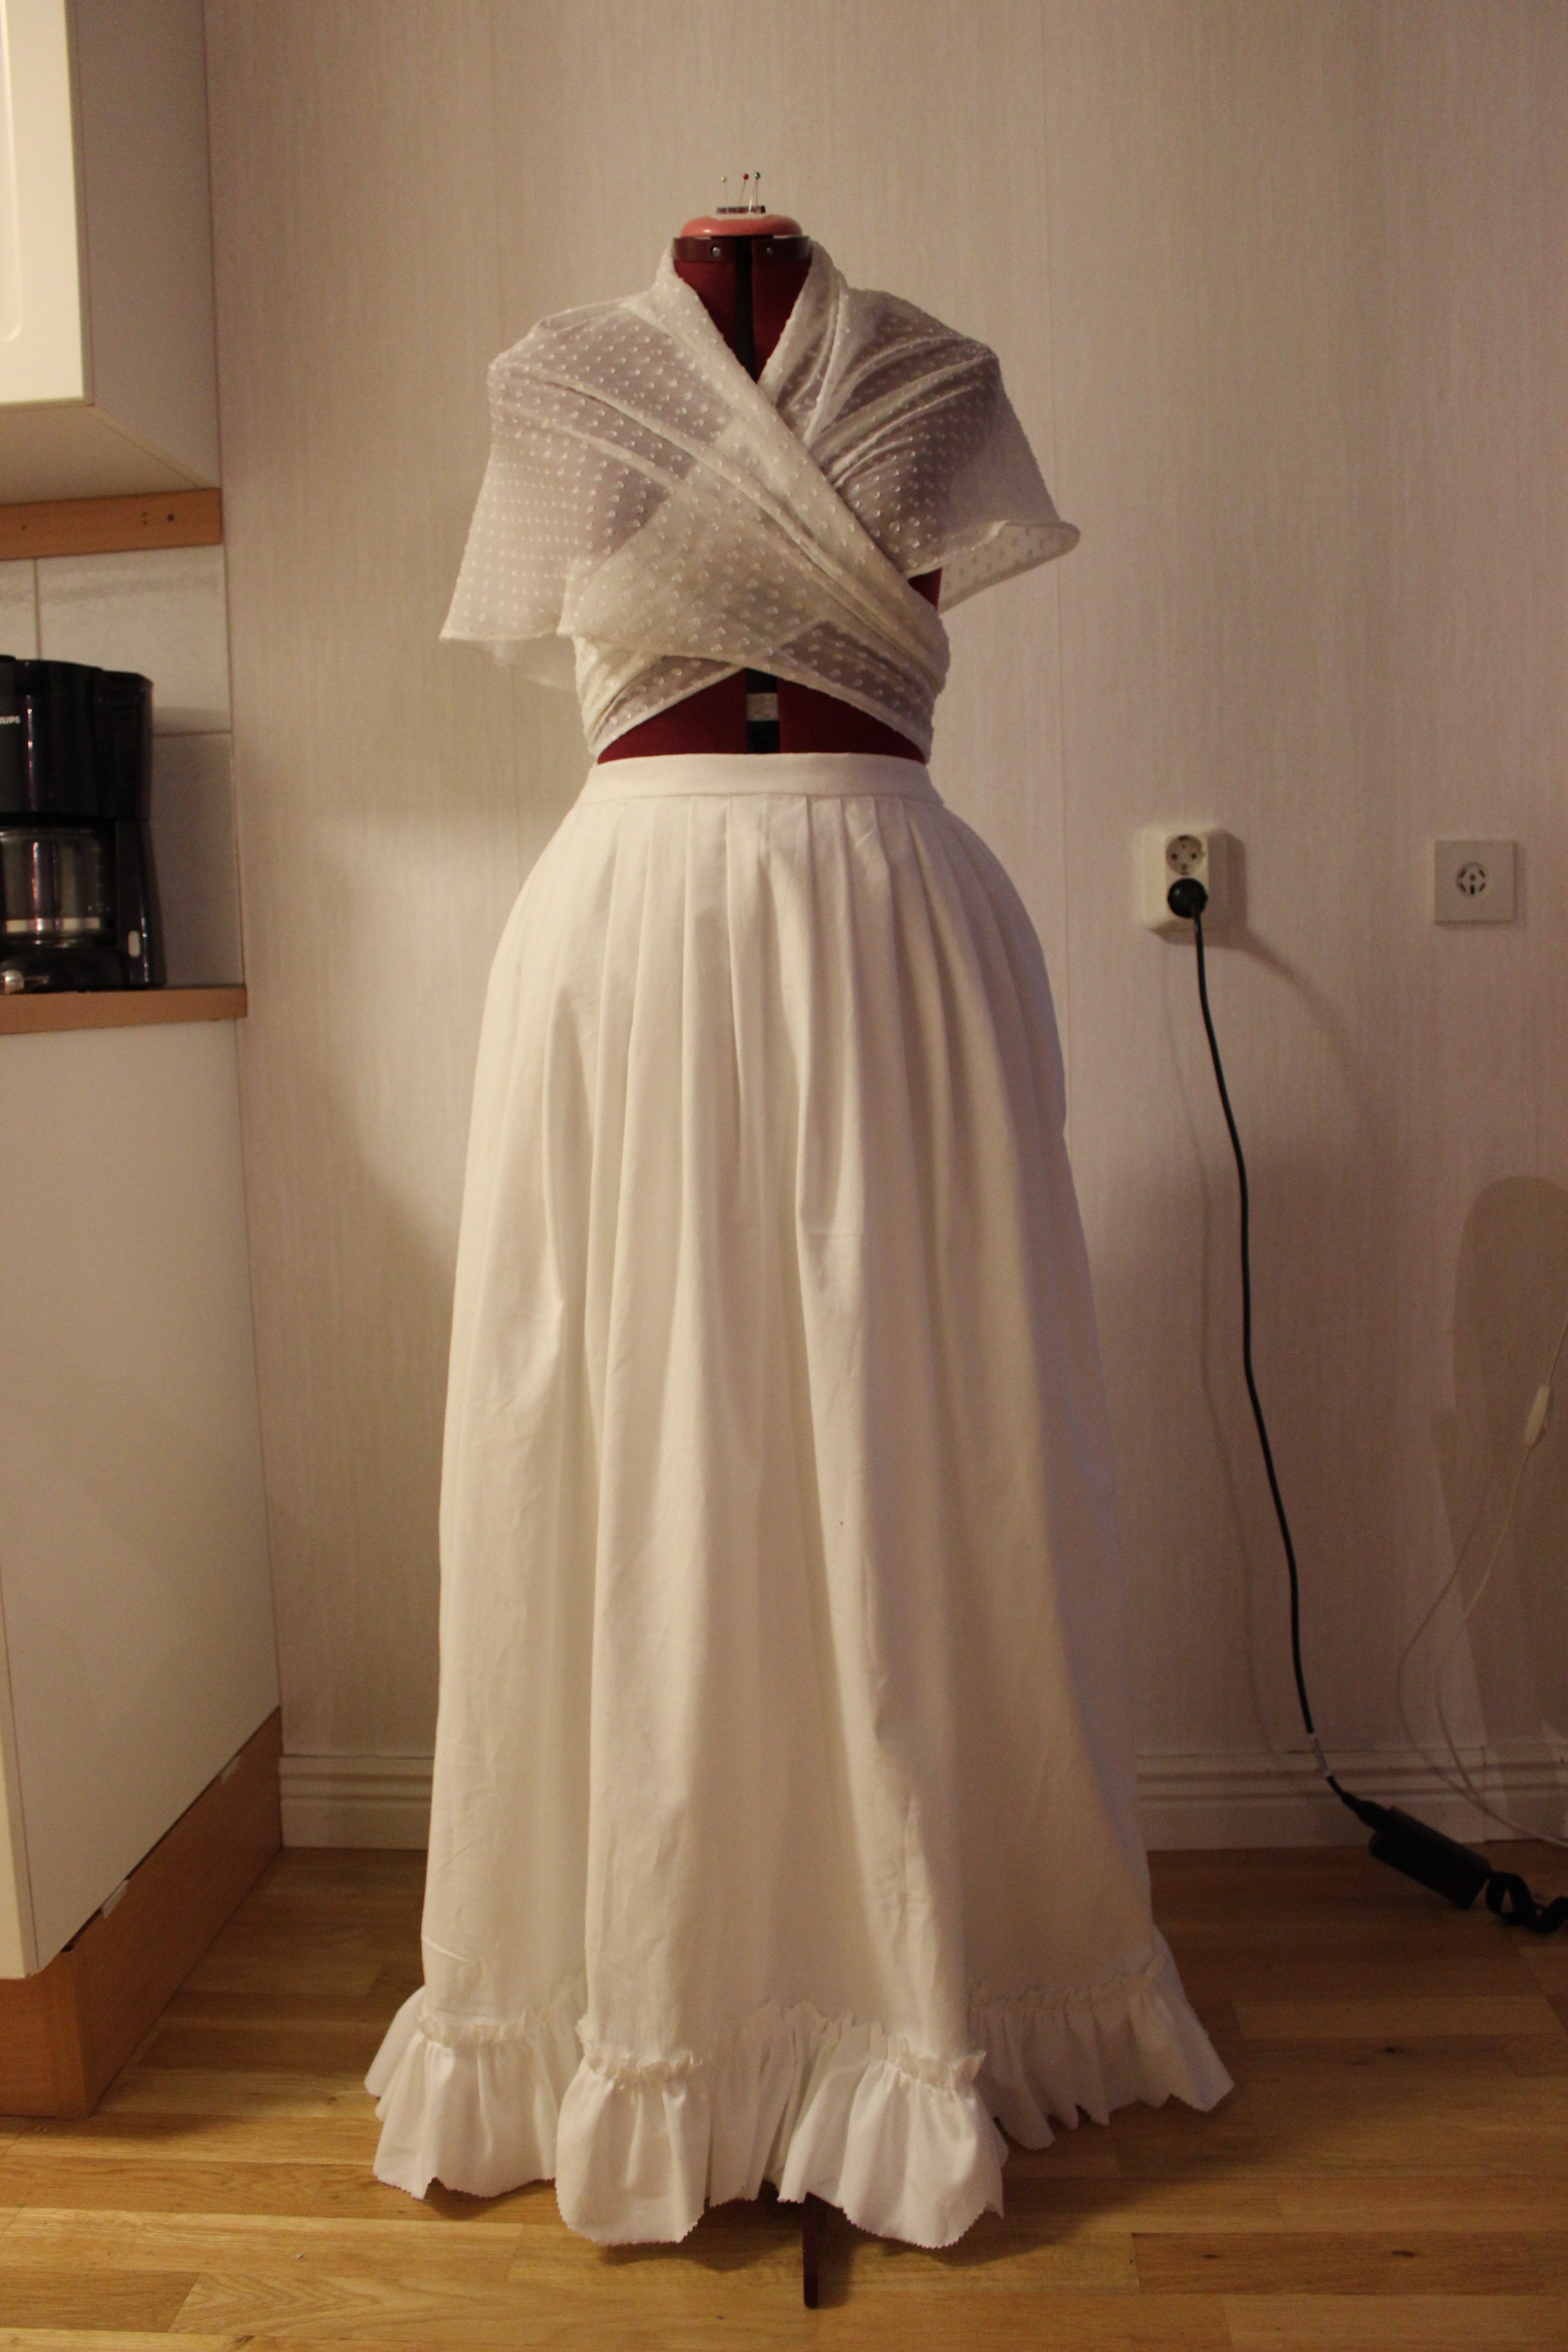
Finished:


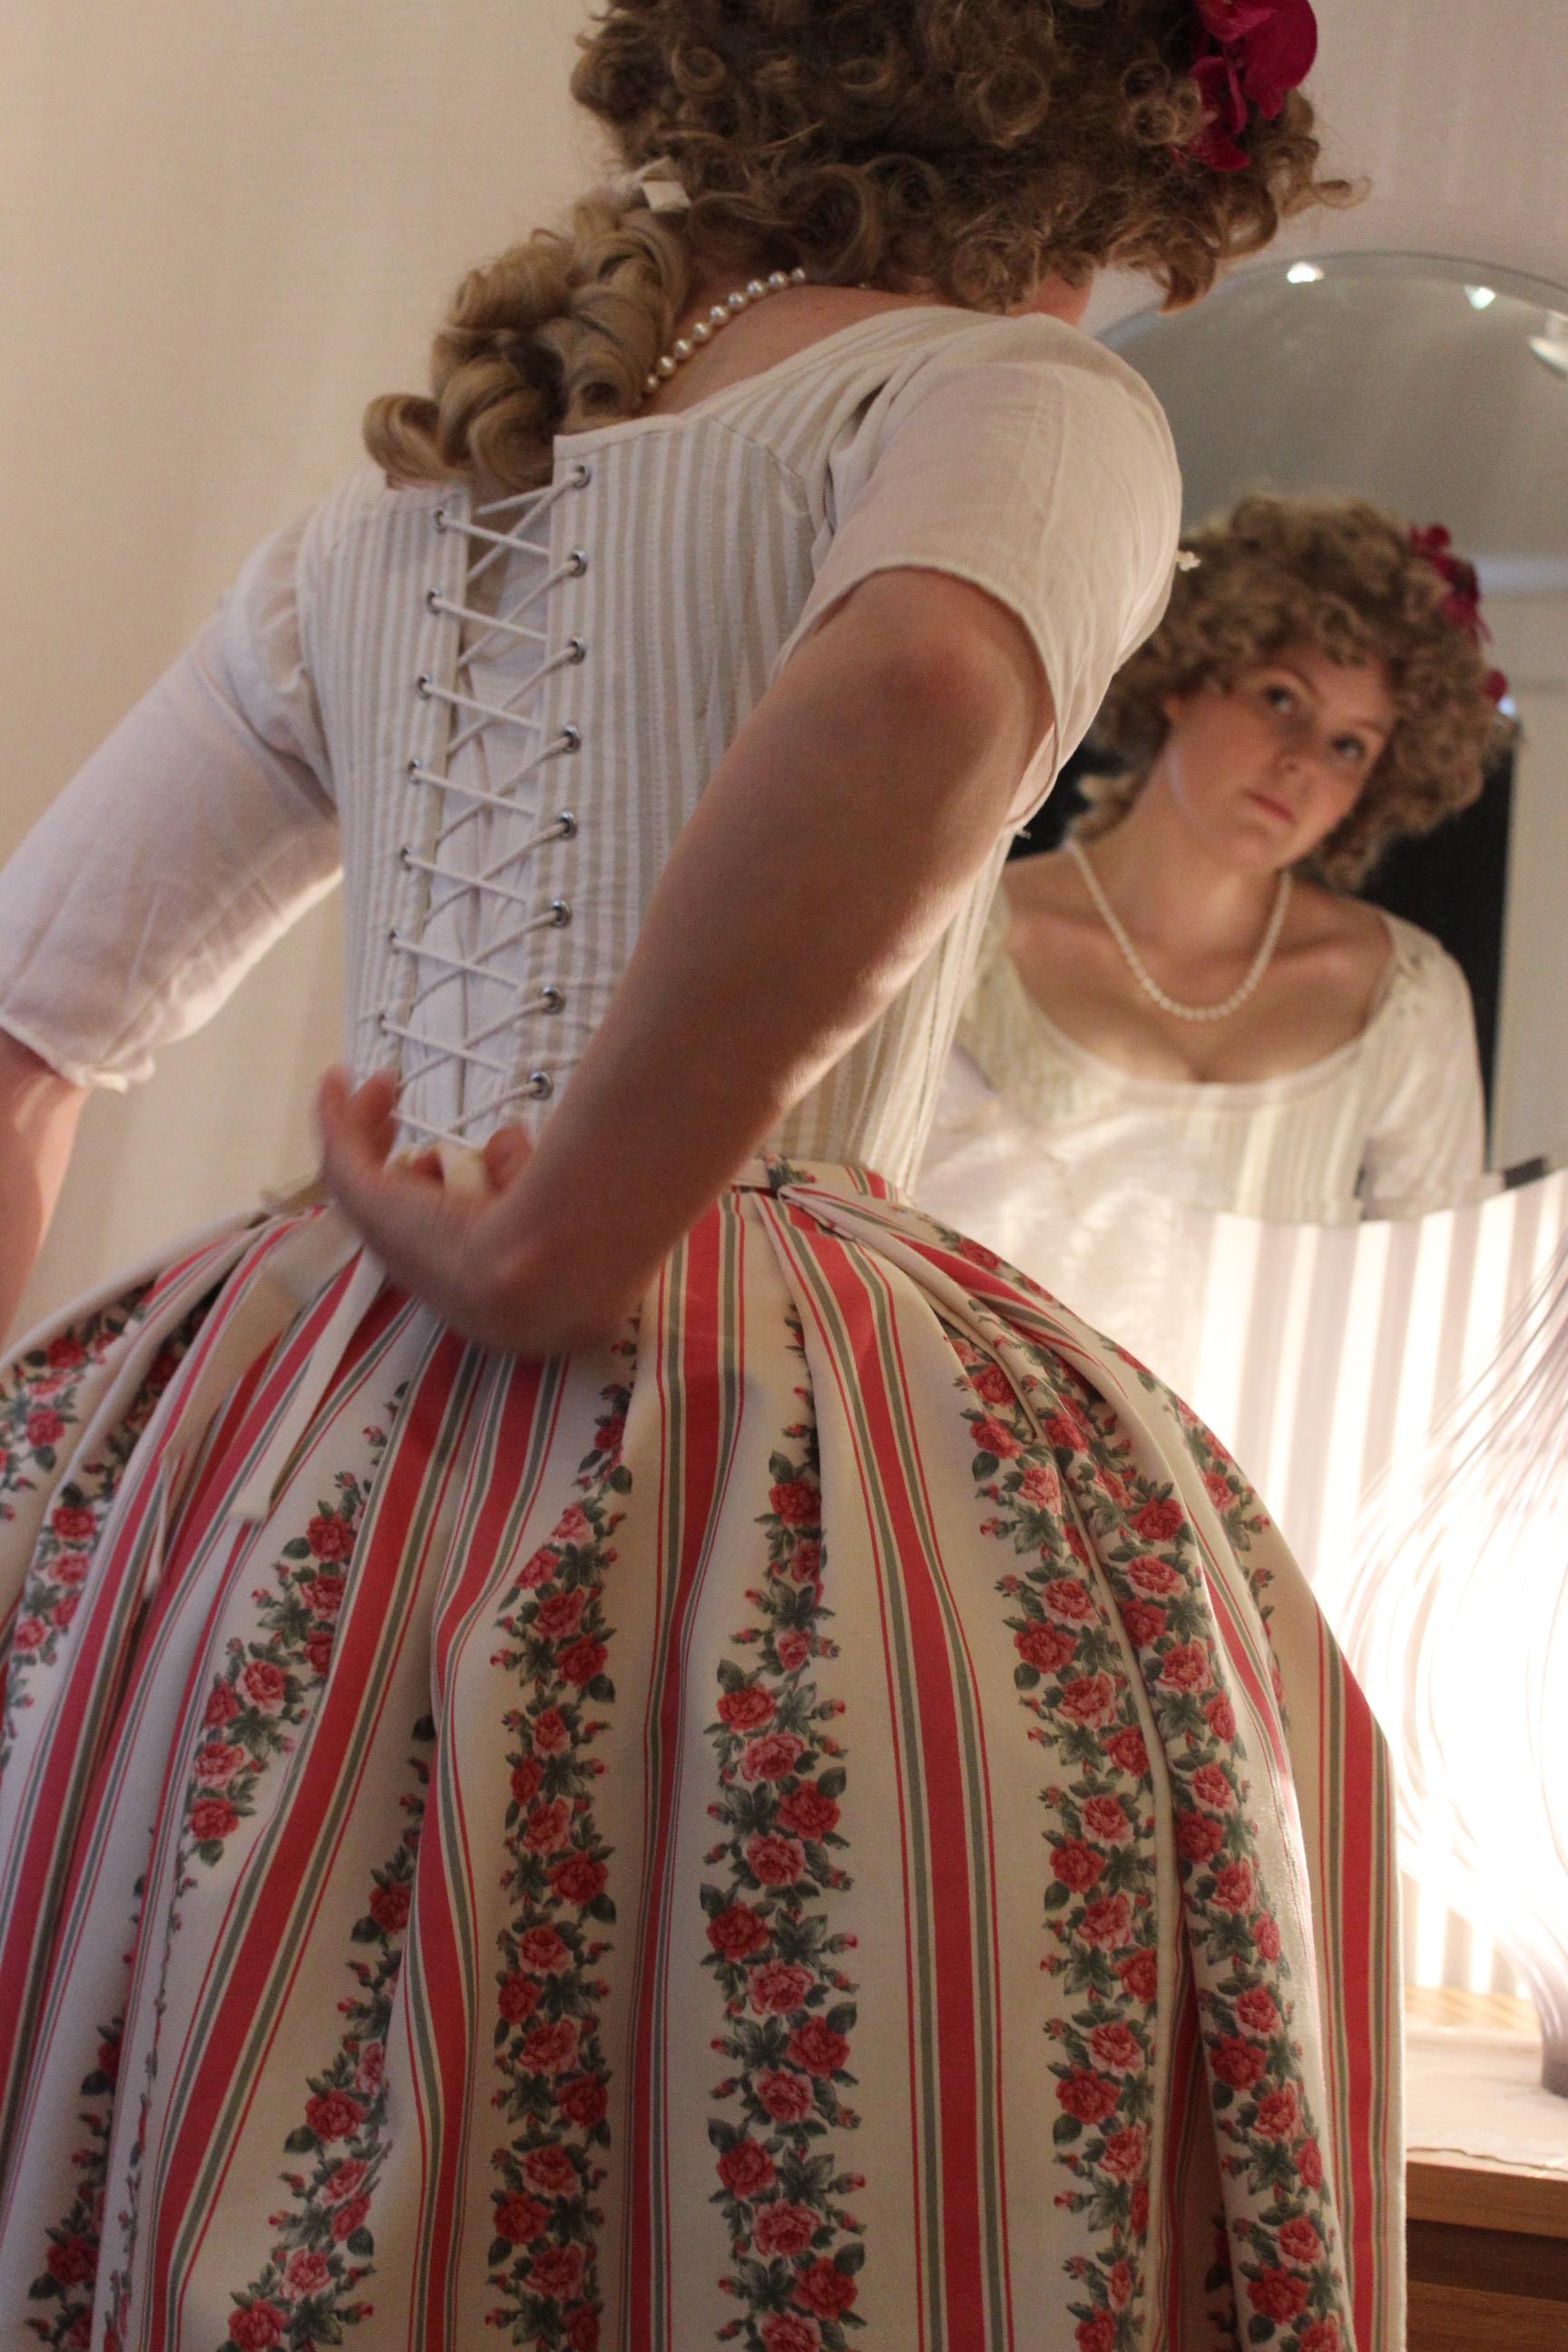
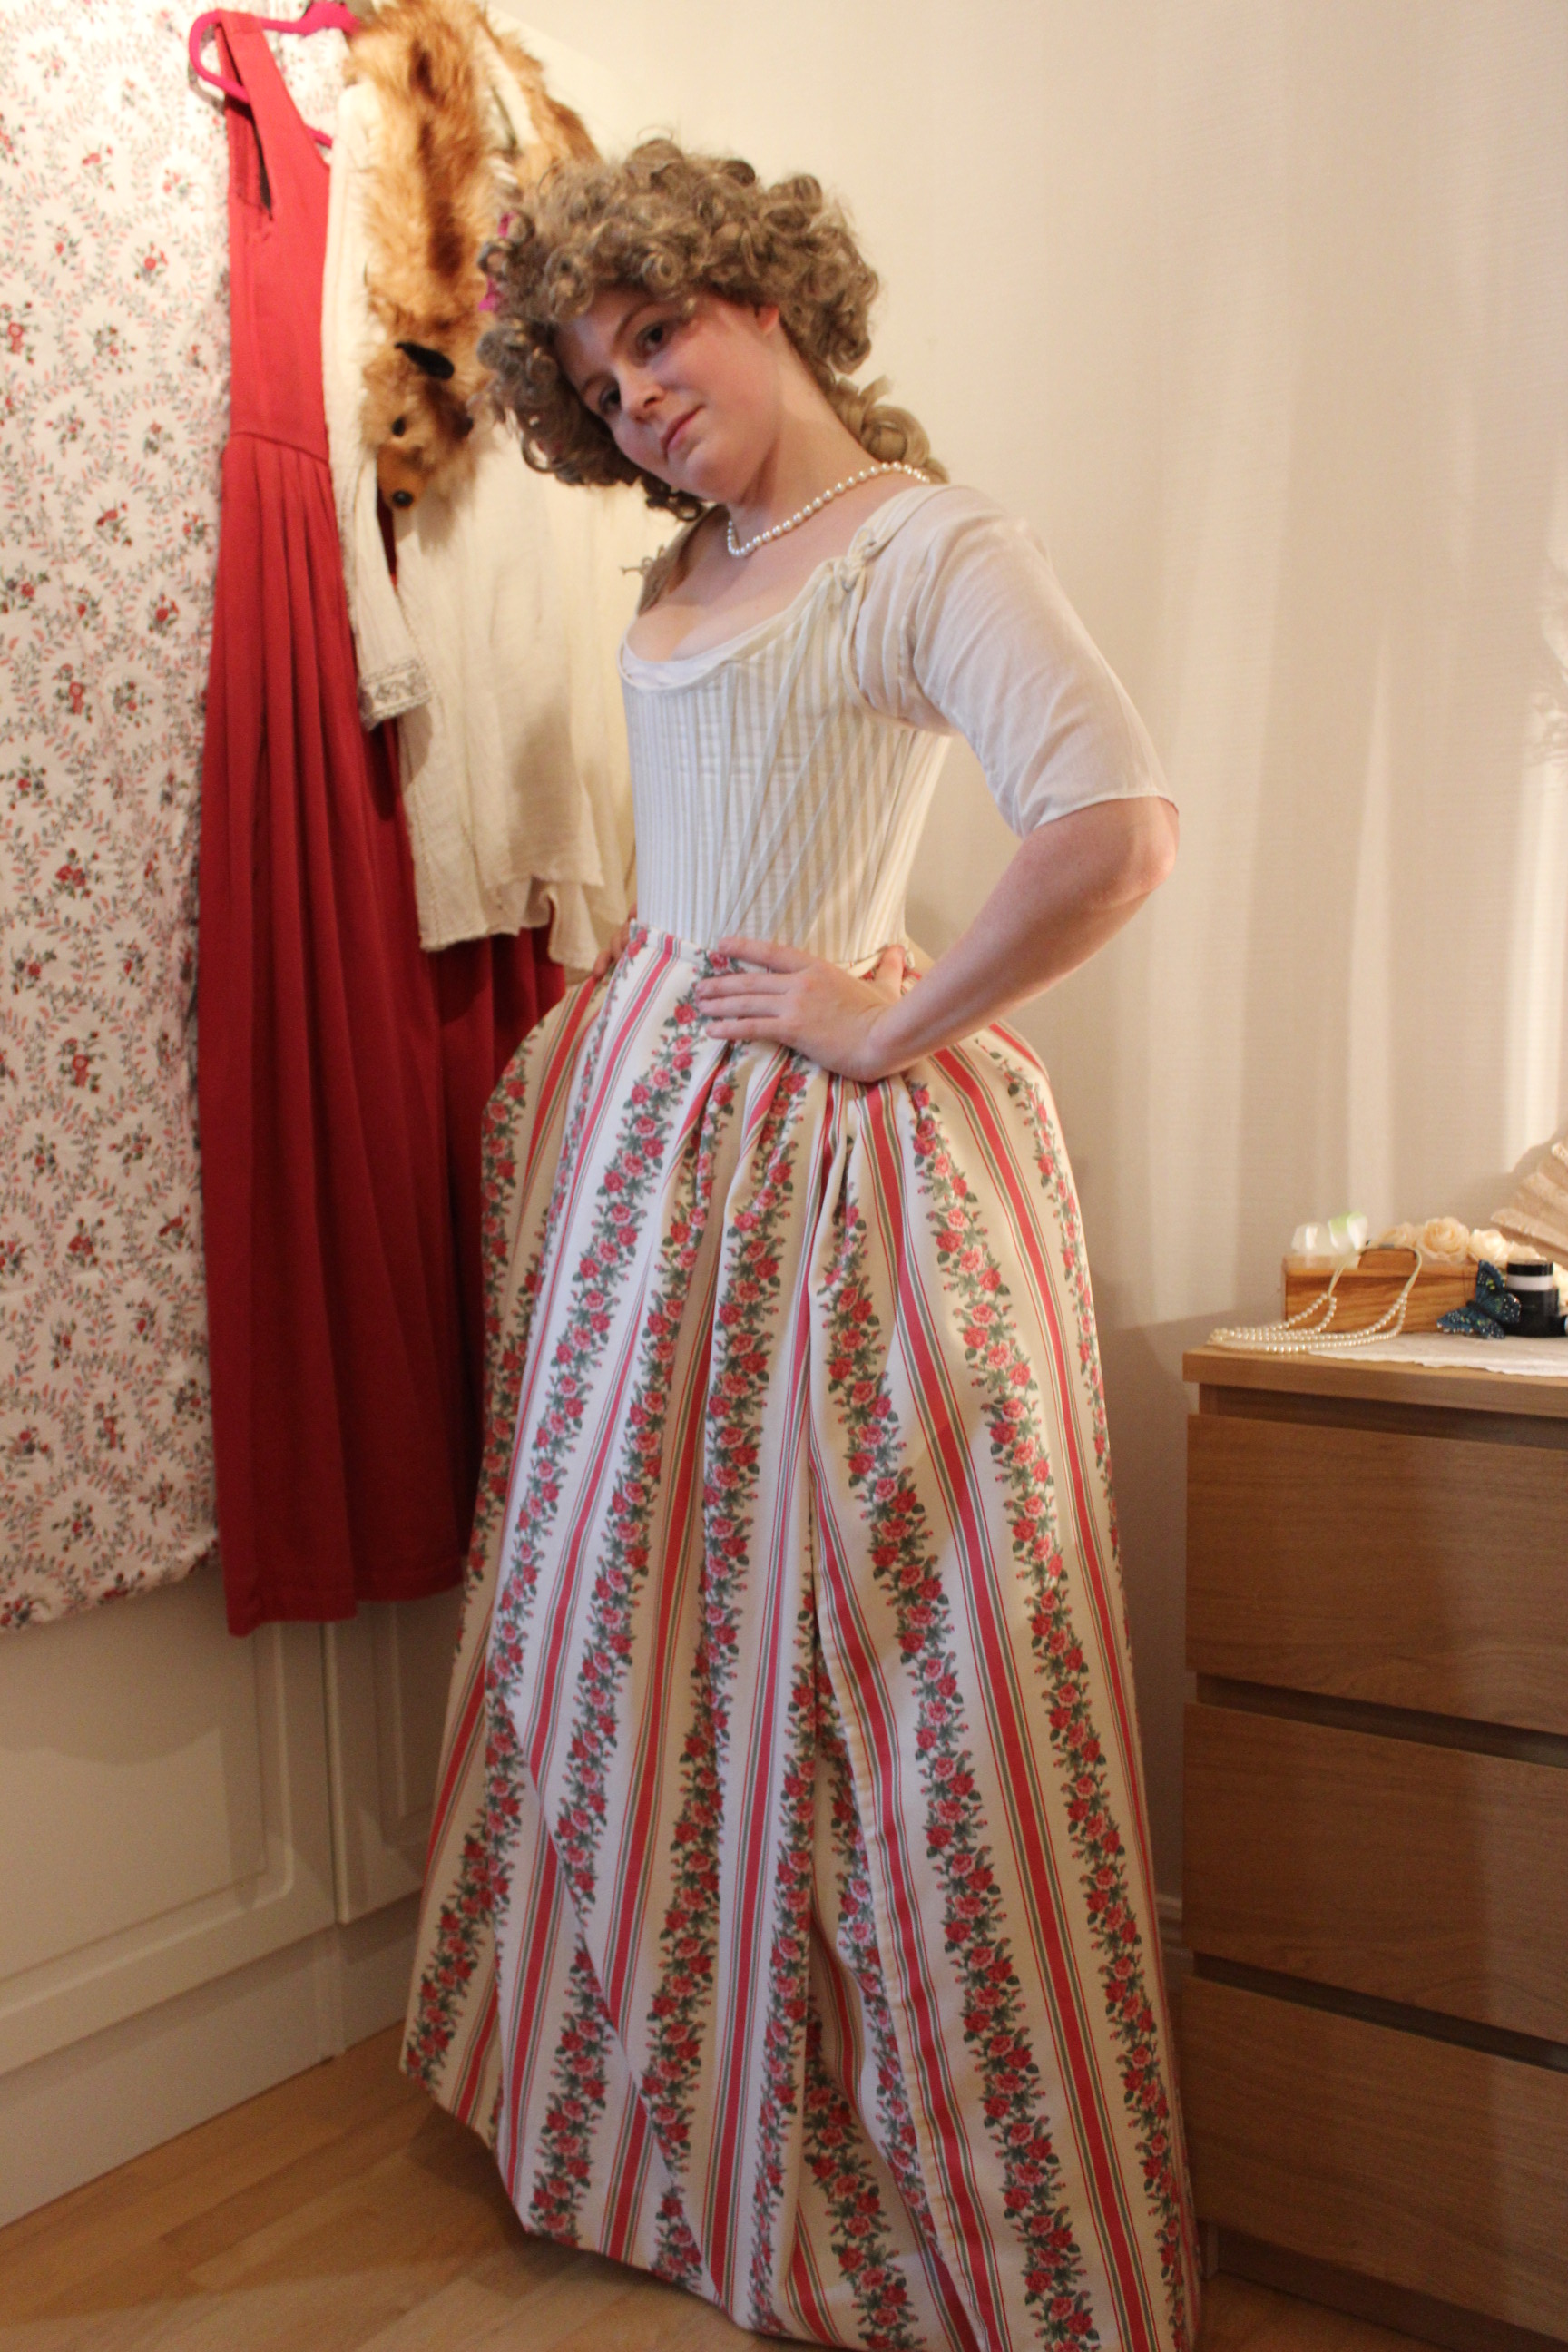
 All my “White” items at once.
Just the facts:
Challenge: Nr 9 – Black and white.
What: A big fichu ca 1780.
Pattern: none.
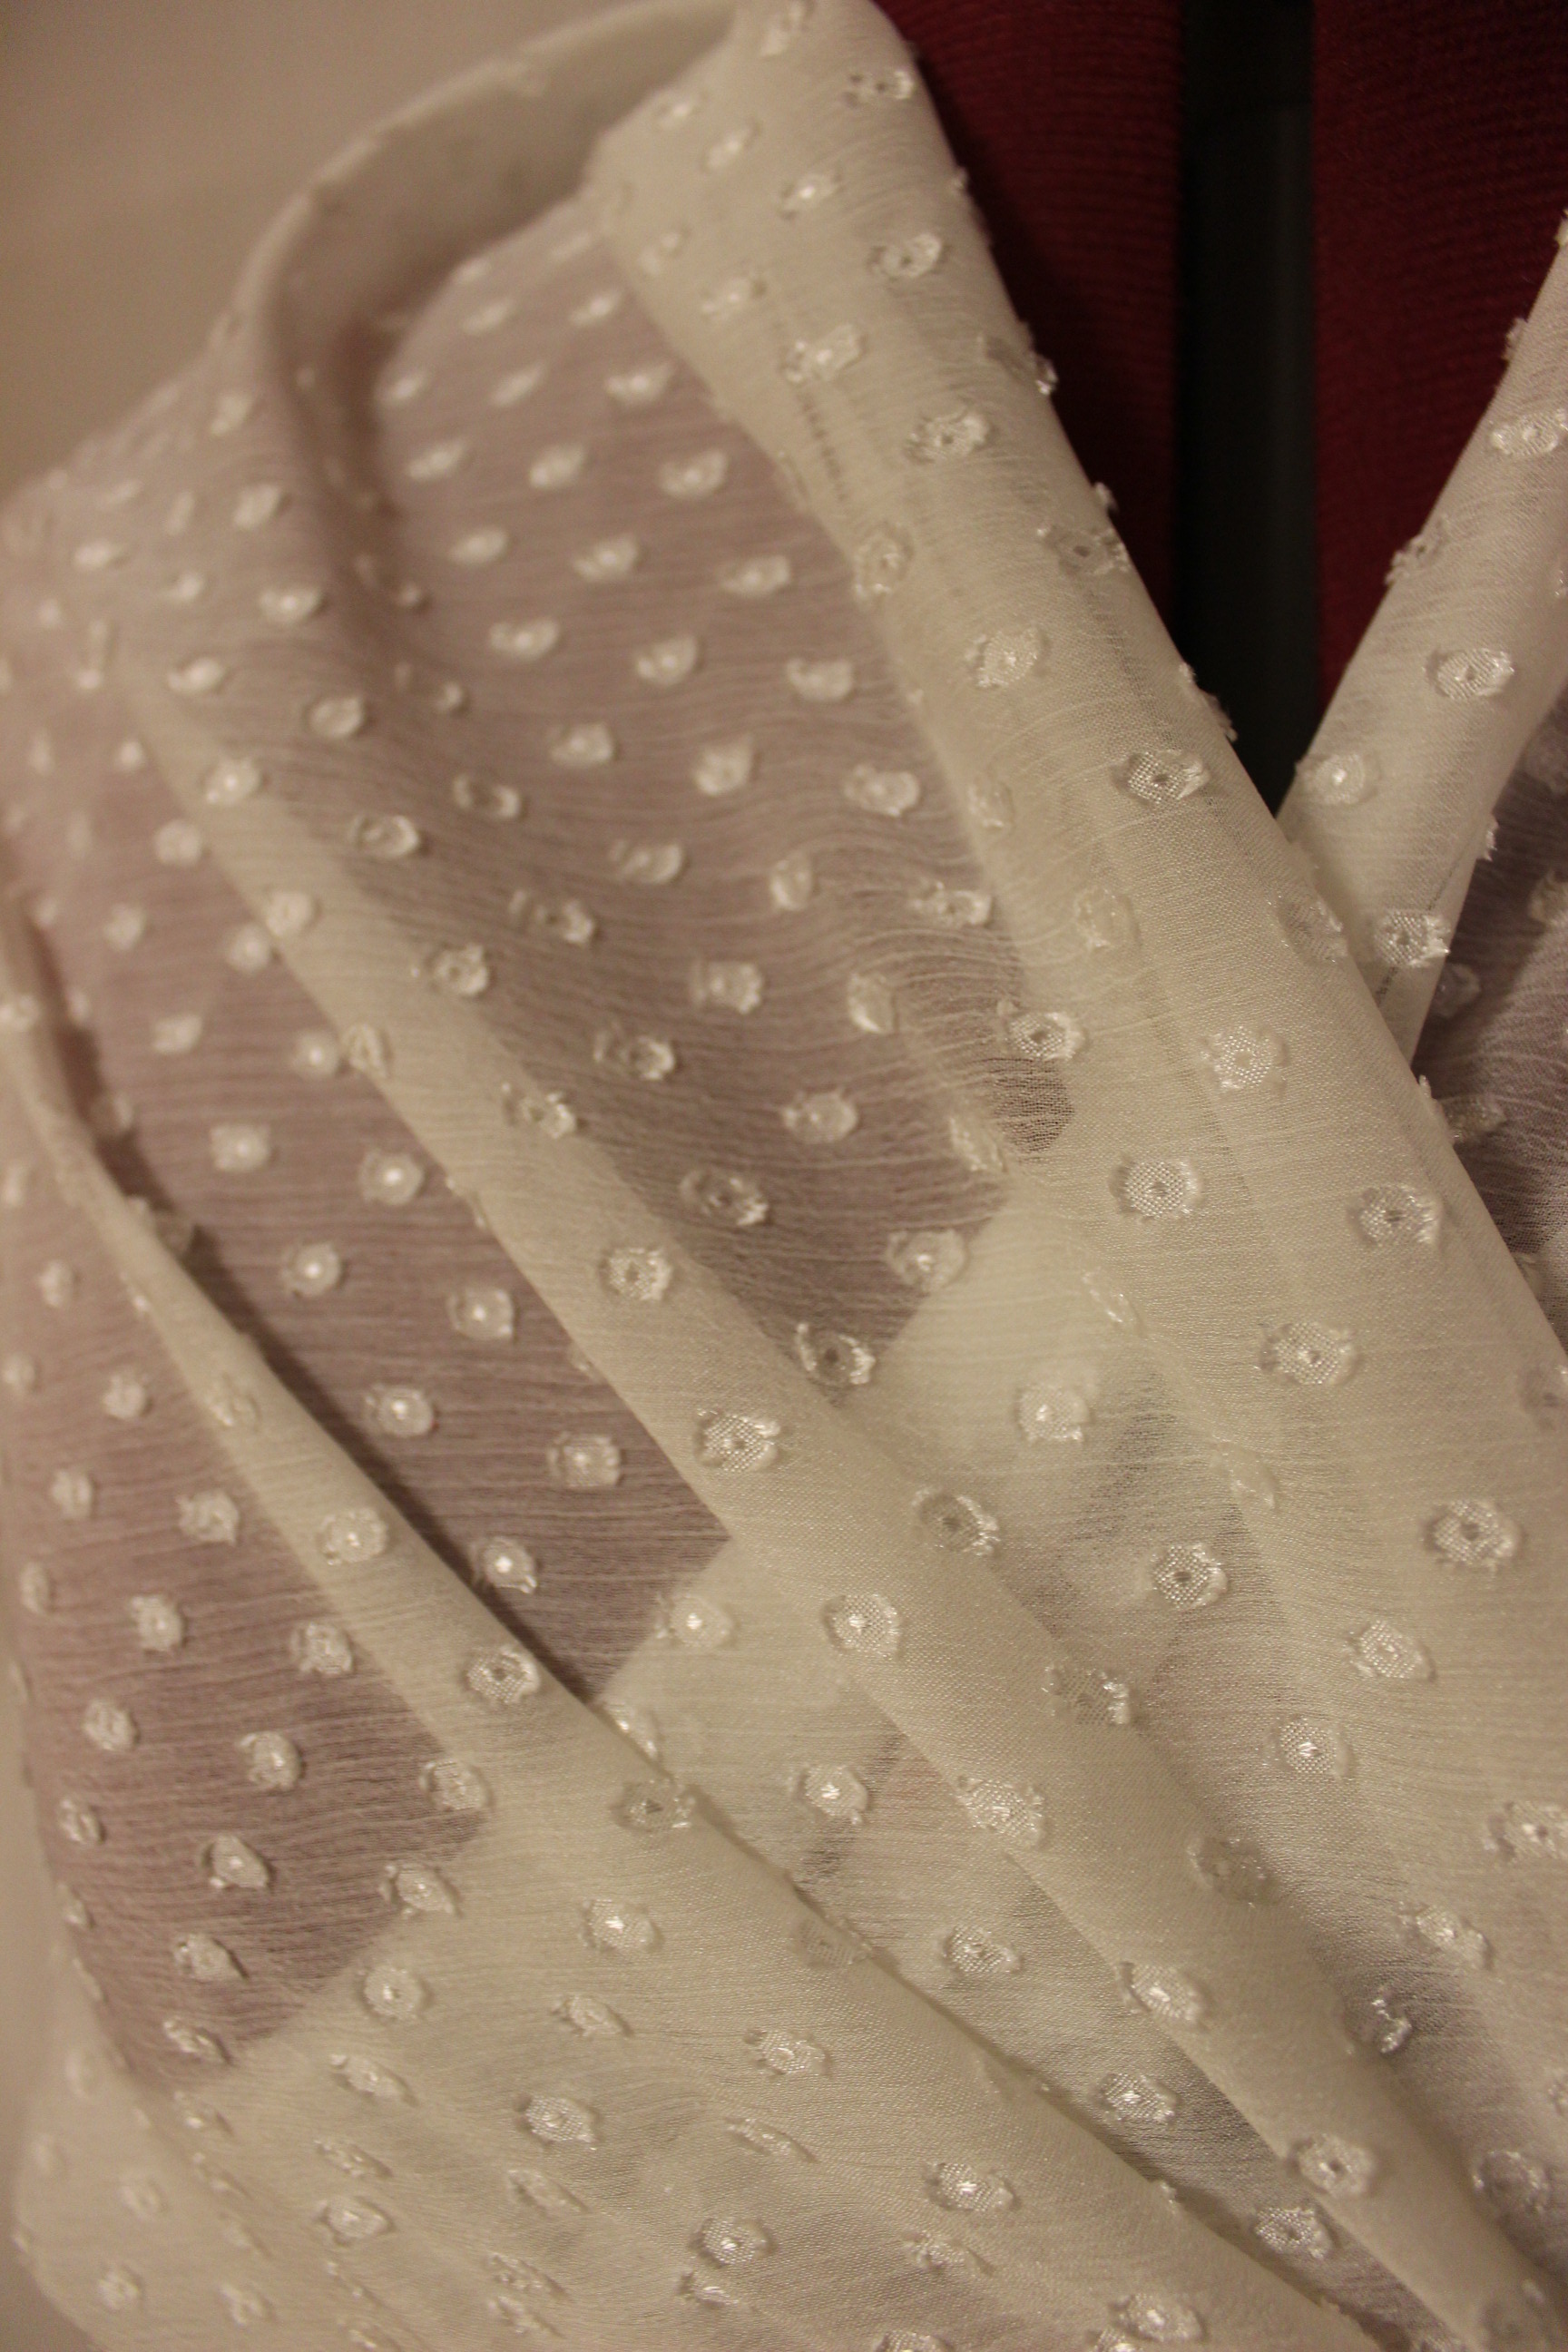
Fabric: 70 cm of dotted white polyester organza.
Notions: Thread
Historial accuracy: I think the pattern shape will suffice, but the material and use of sewing machine is all wrong.
Time: Half an hour.
Cost: Perhaps 20 Skr (1 USD)
First worn: Not yet, but hopefully at a big costuming picknic next month.
***
I had originaly planed to make all tese items compleatly by hand. But as usual life happens, and time is never enough for everything you want to do – so this time the hand sewing had to go.
But I don’t really mind. I kind of think it’s a waist of time to hand sew istorical items made from polyester fabric.
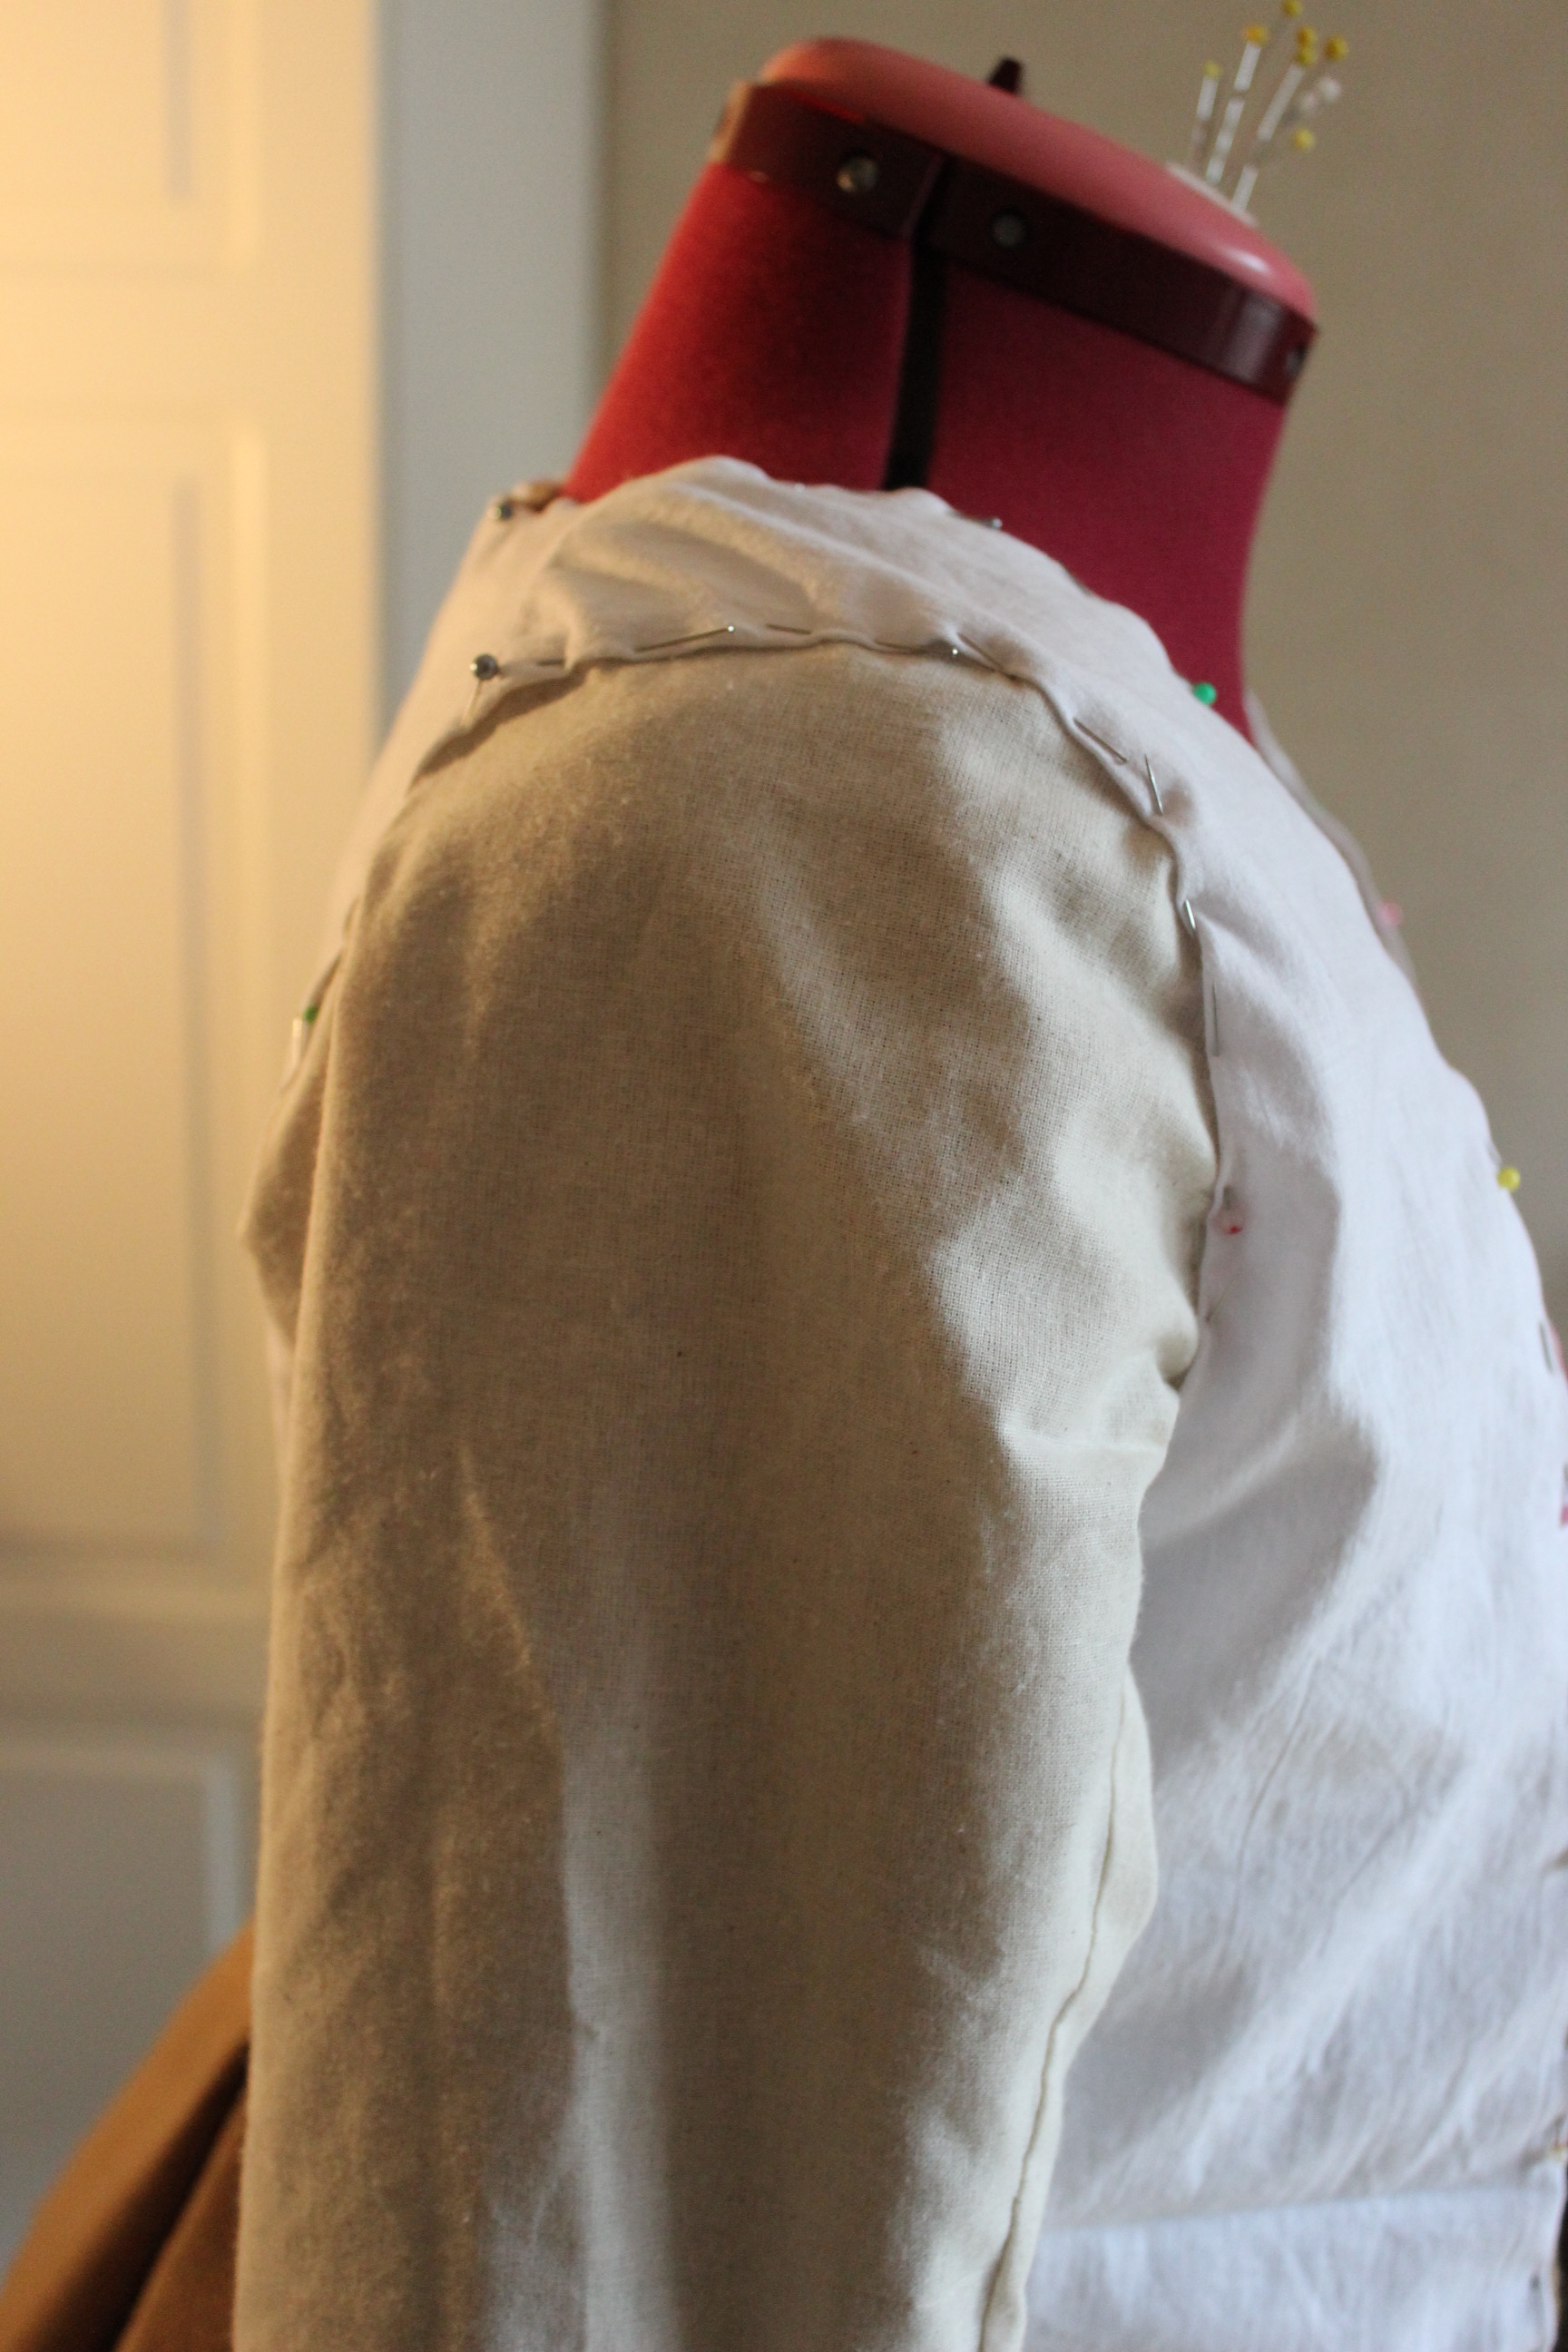
And as you probably can guess – I hadn’t even started the “Big Project” yet.


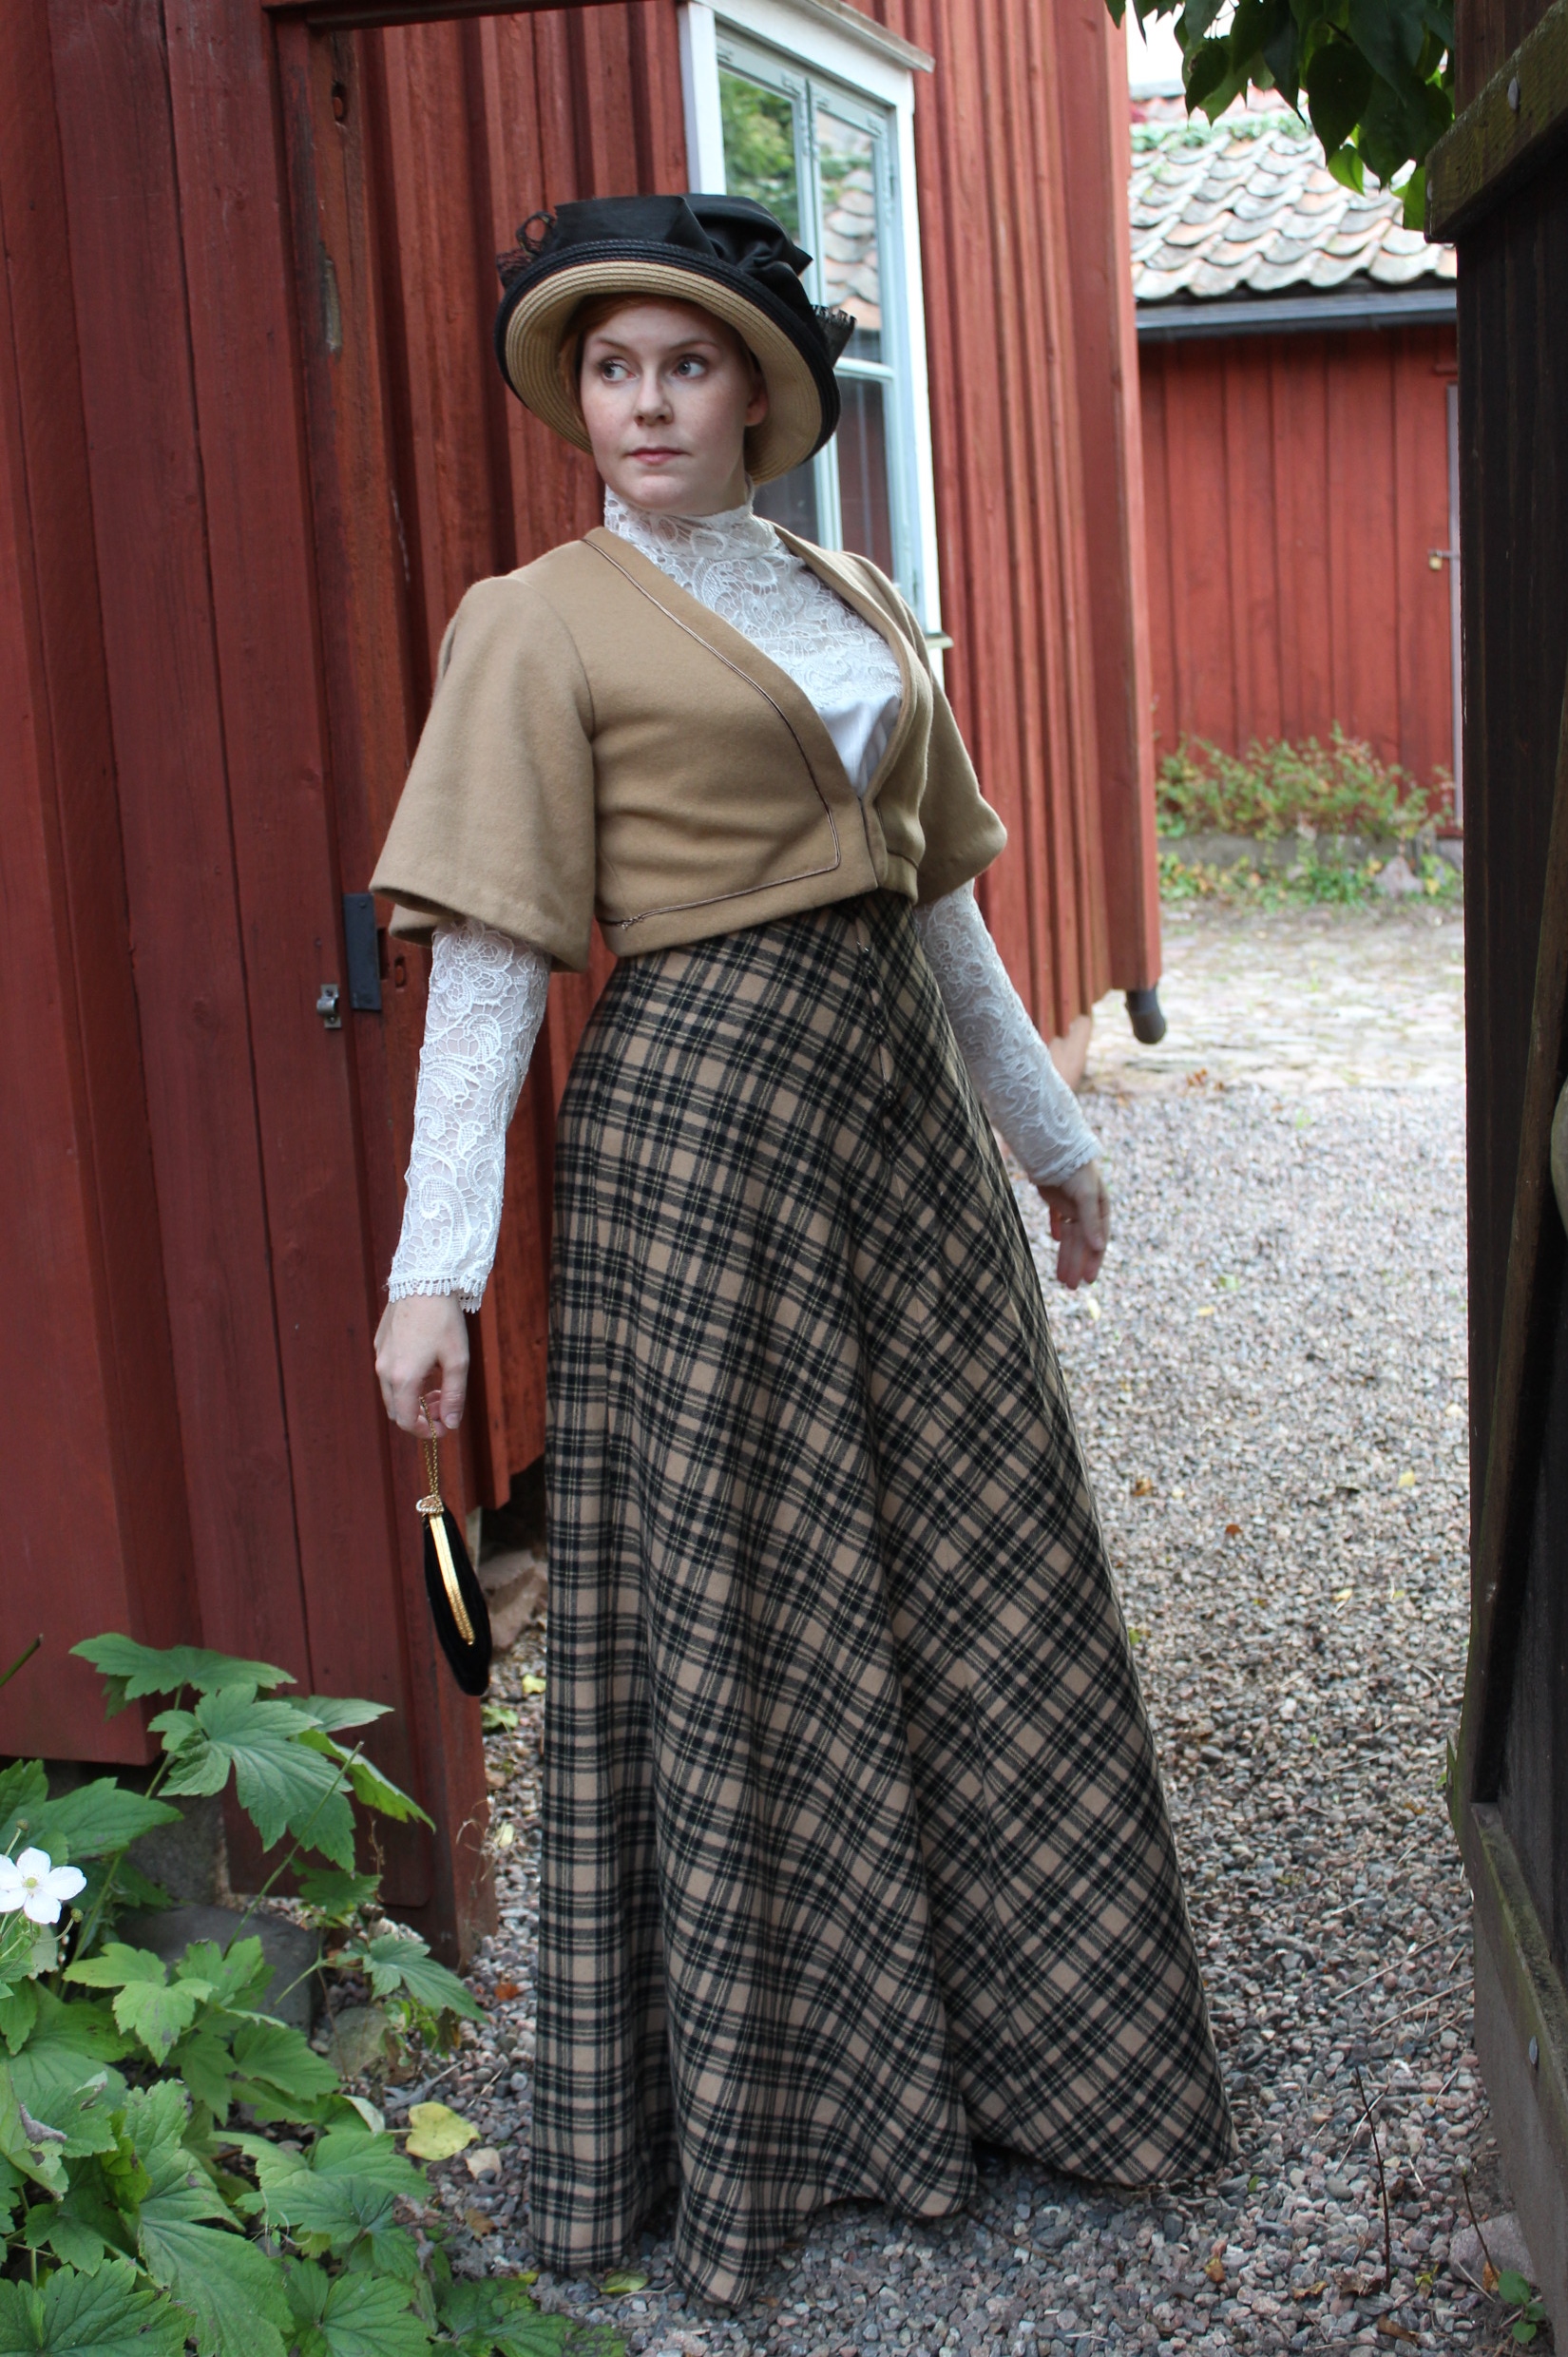

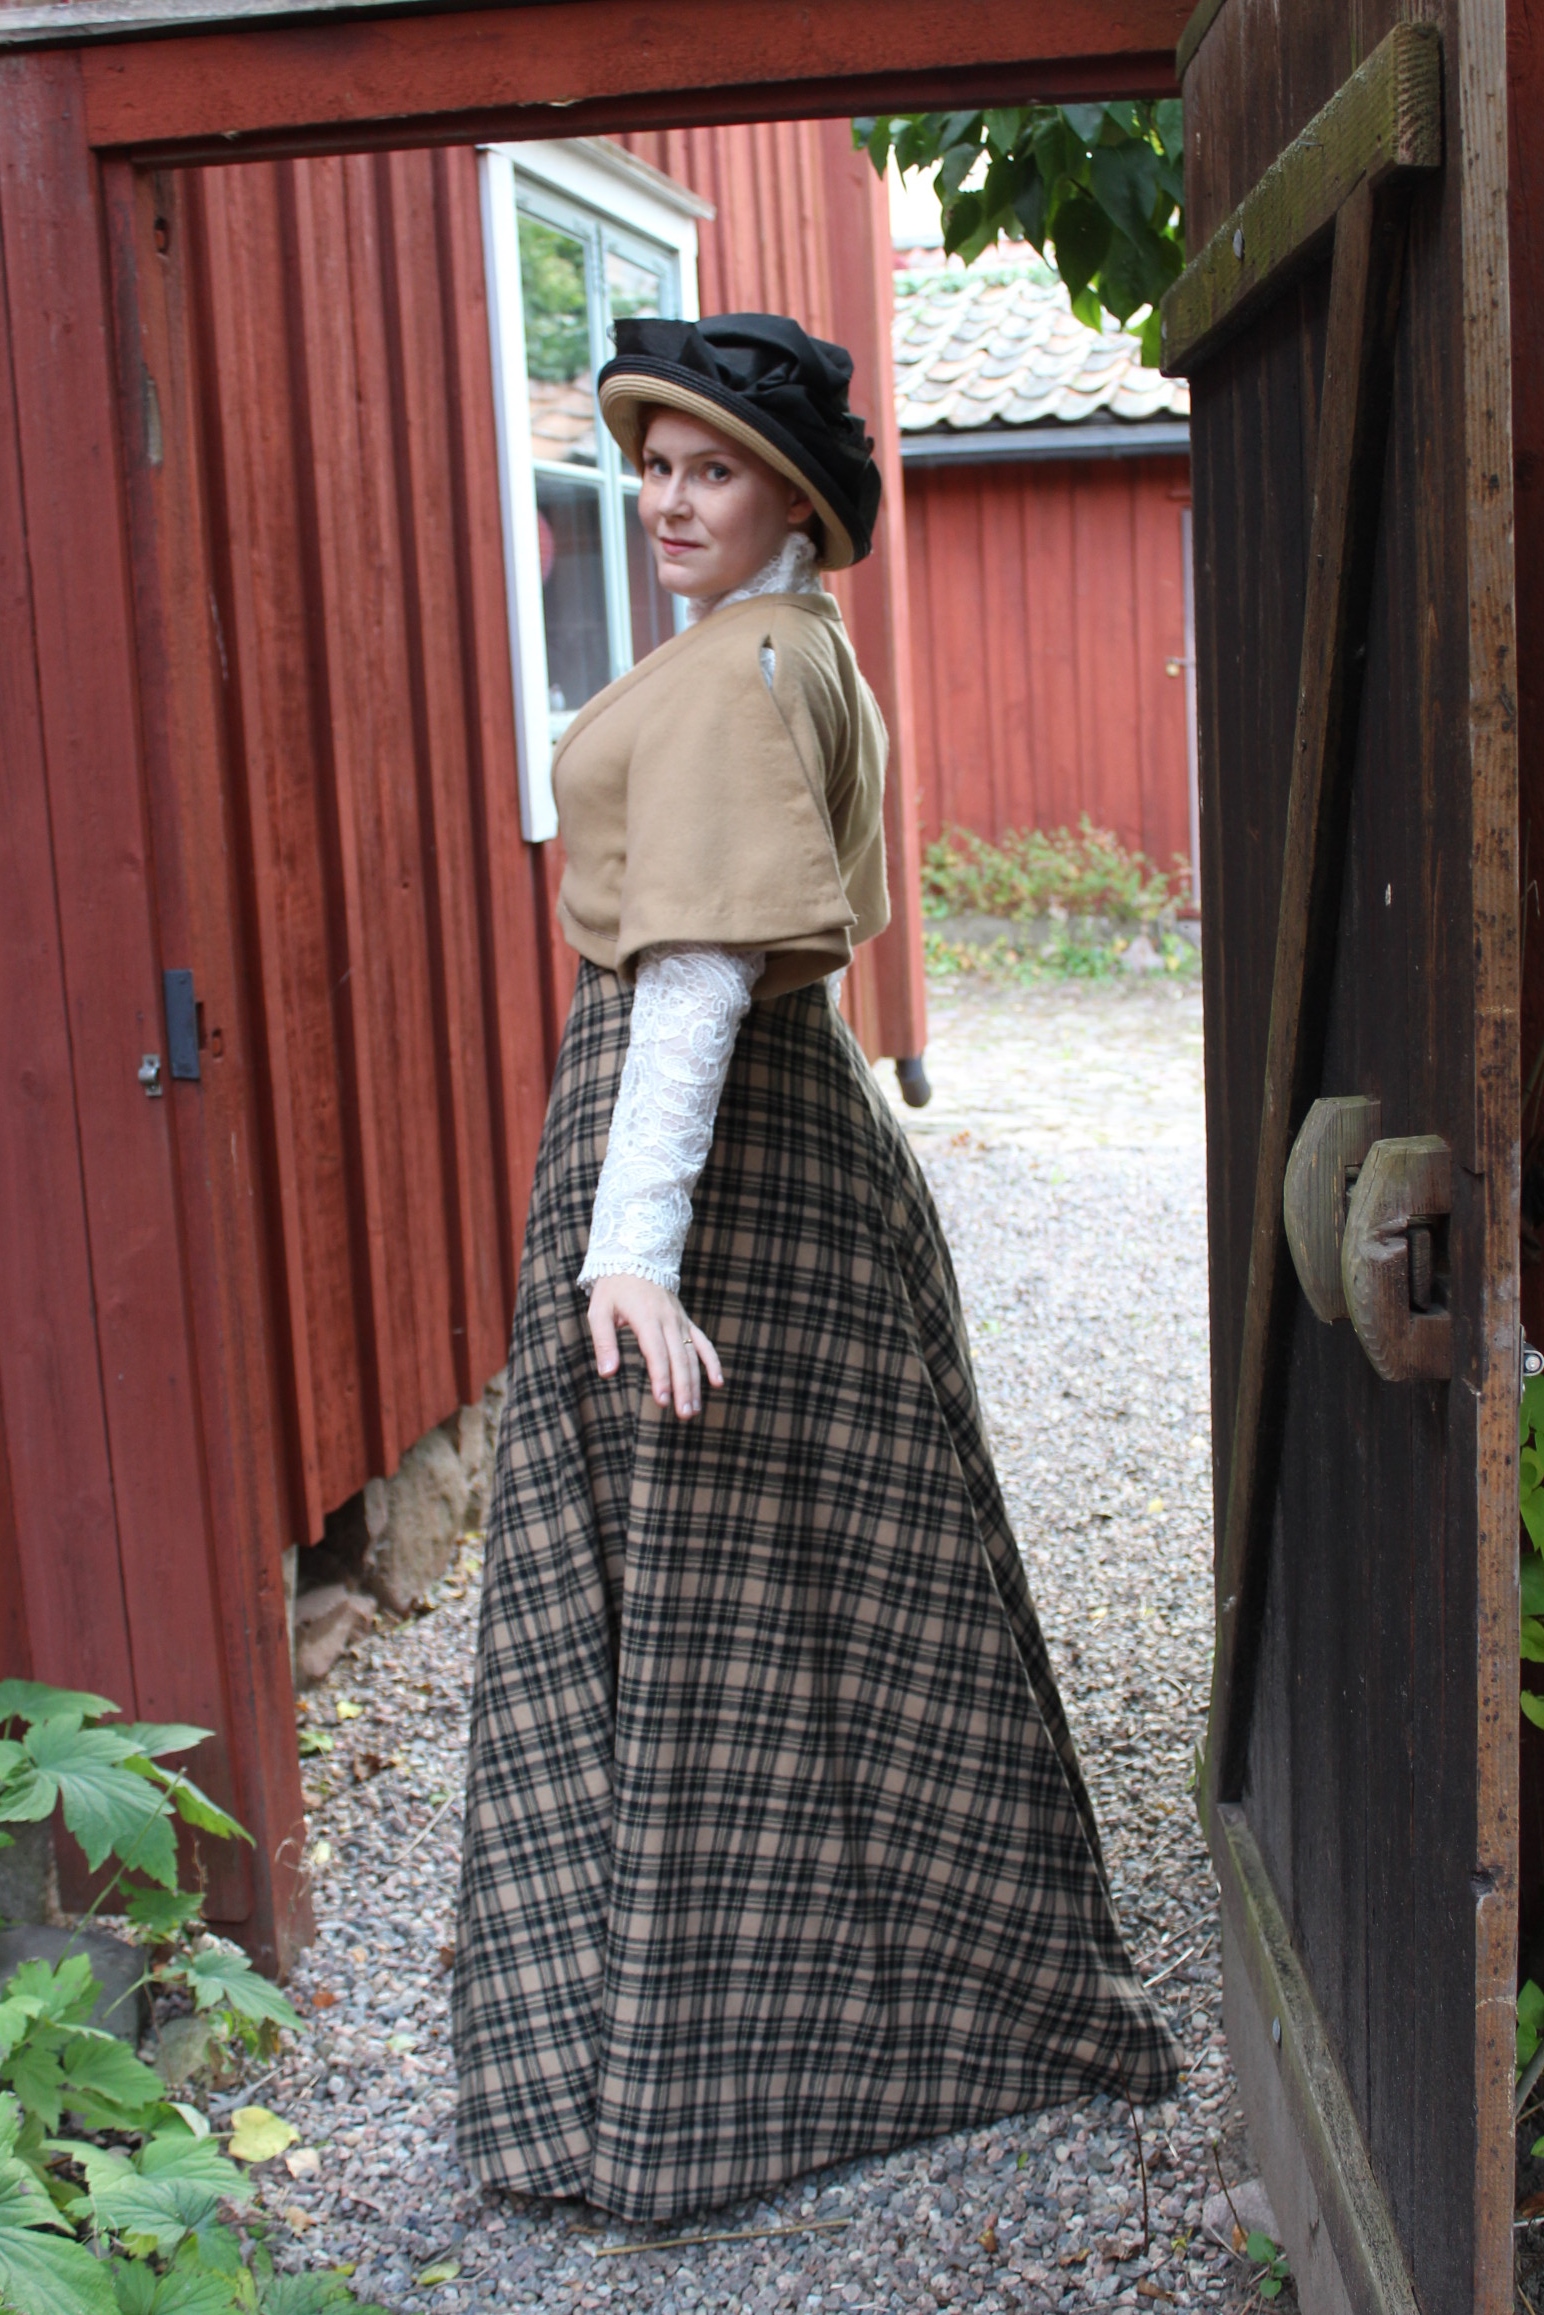
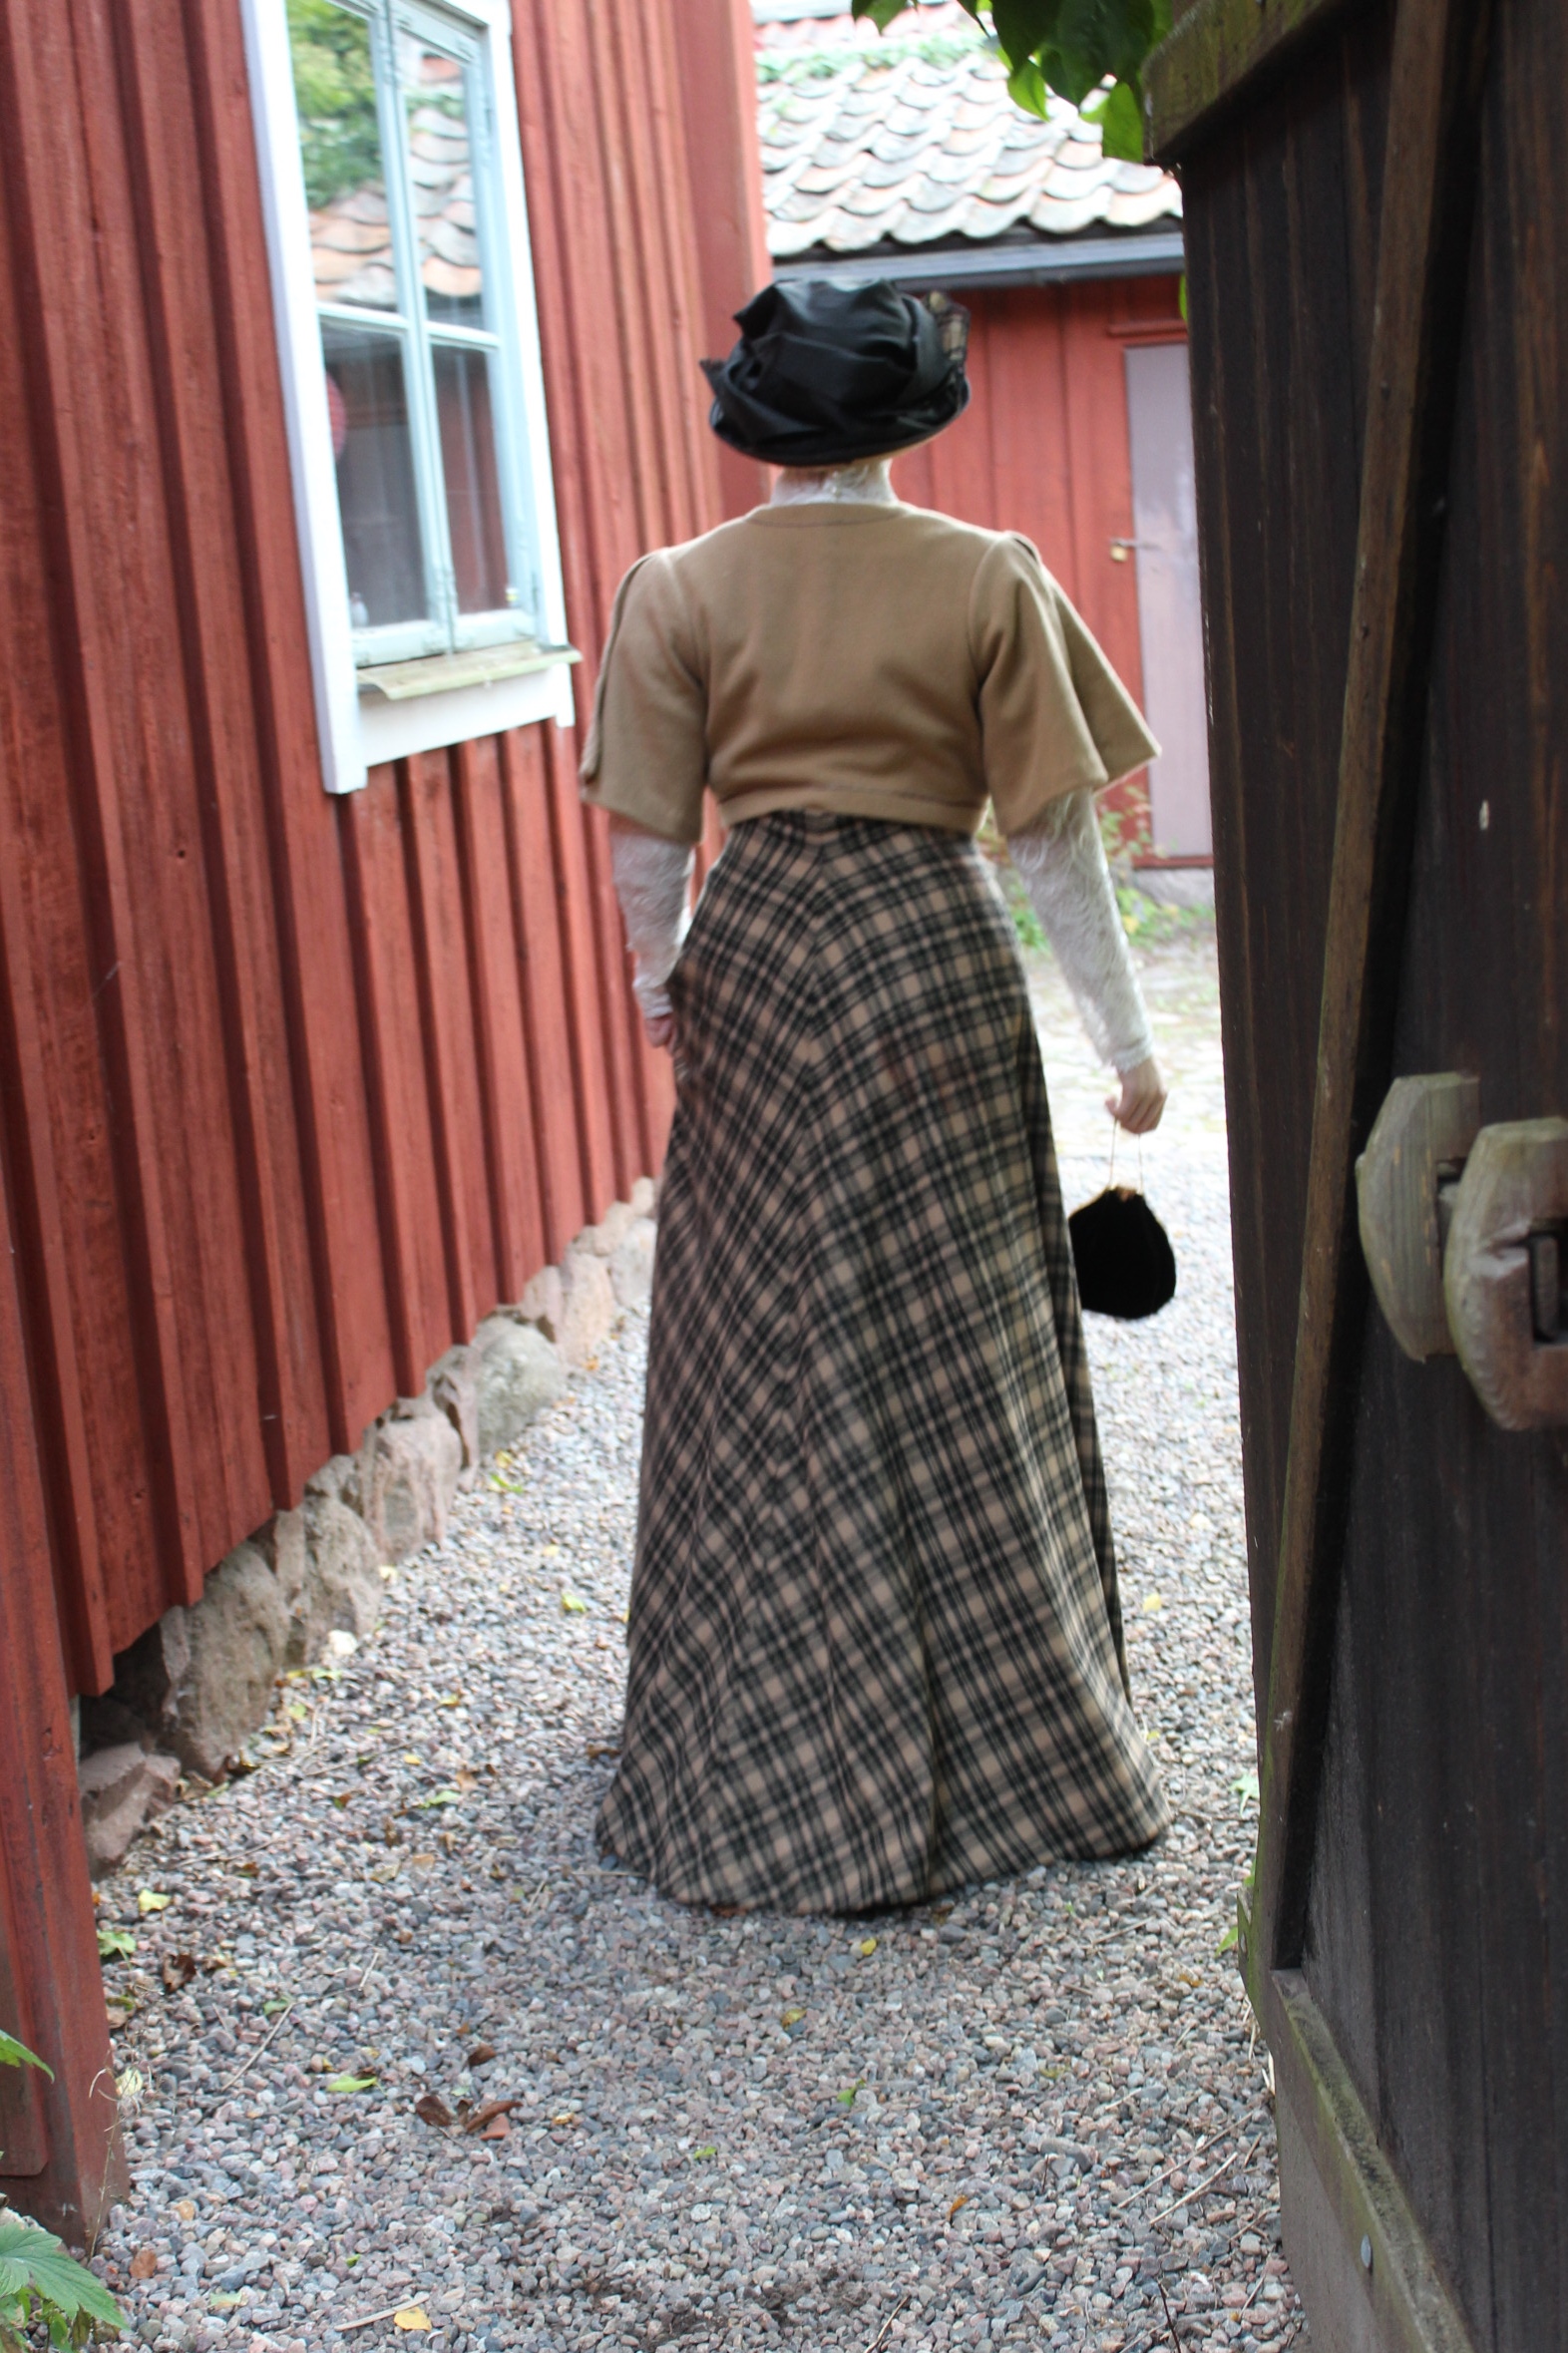
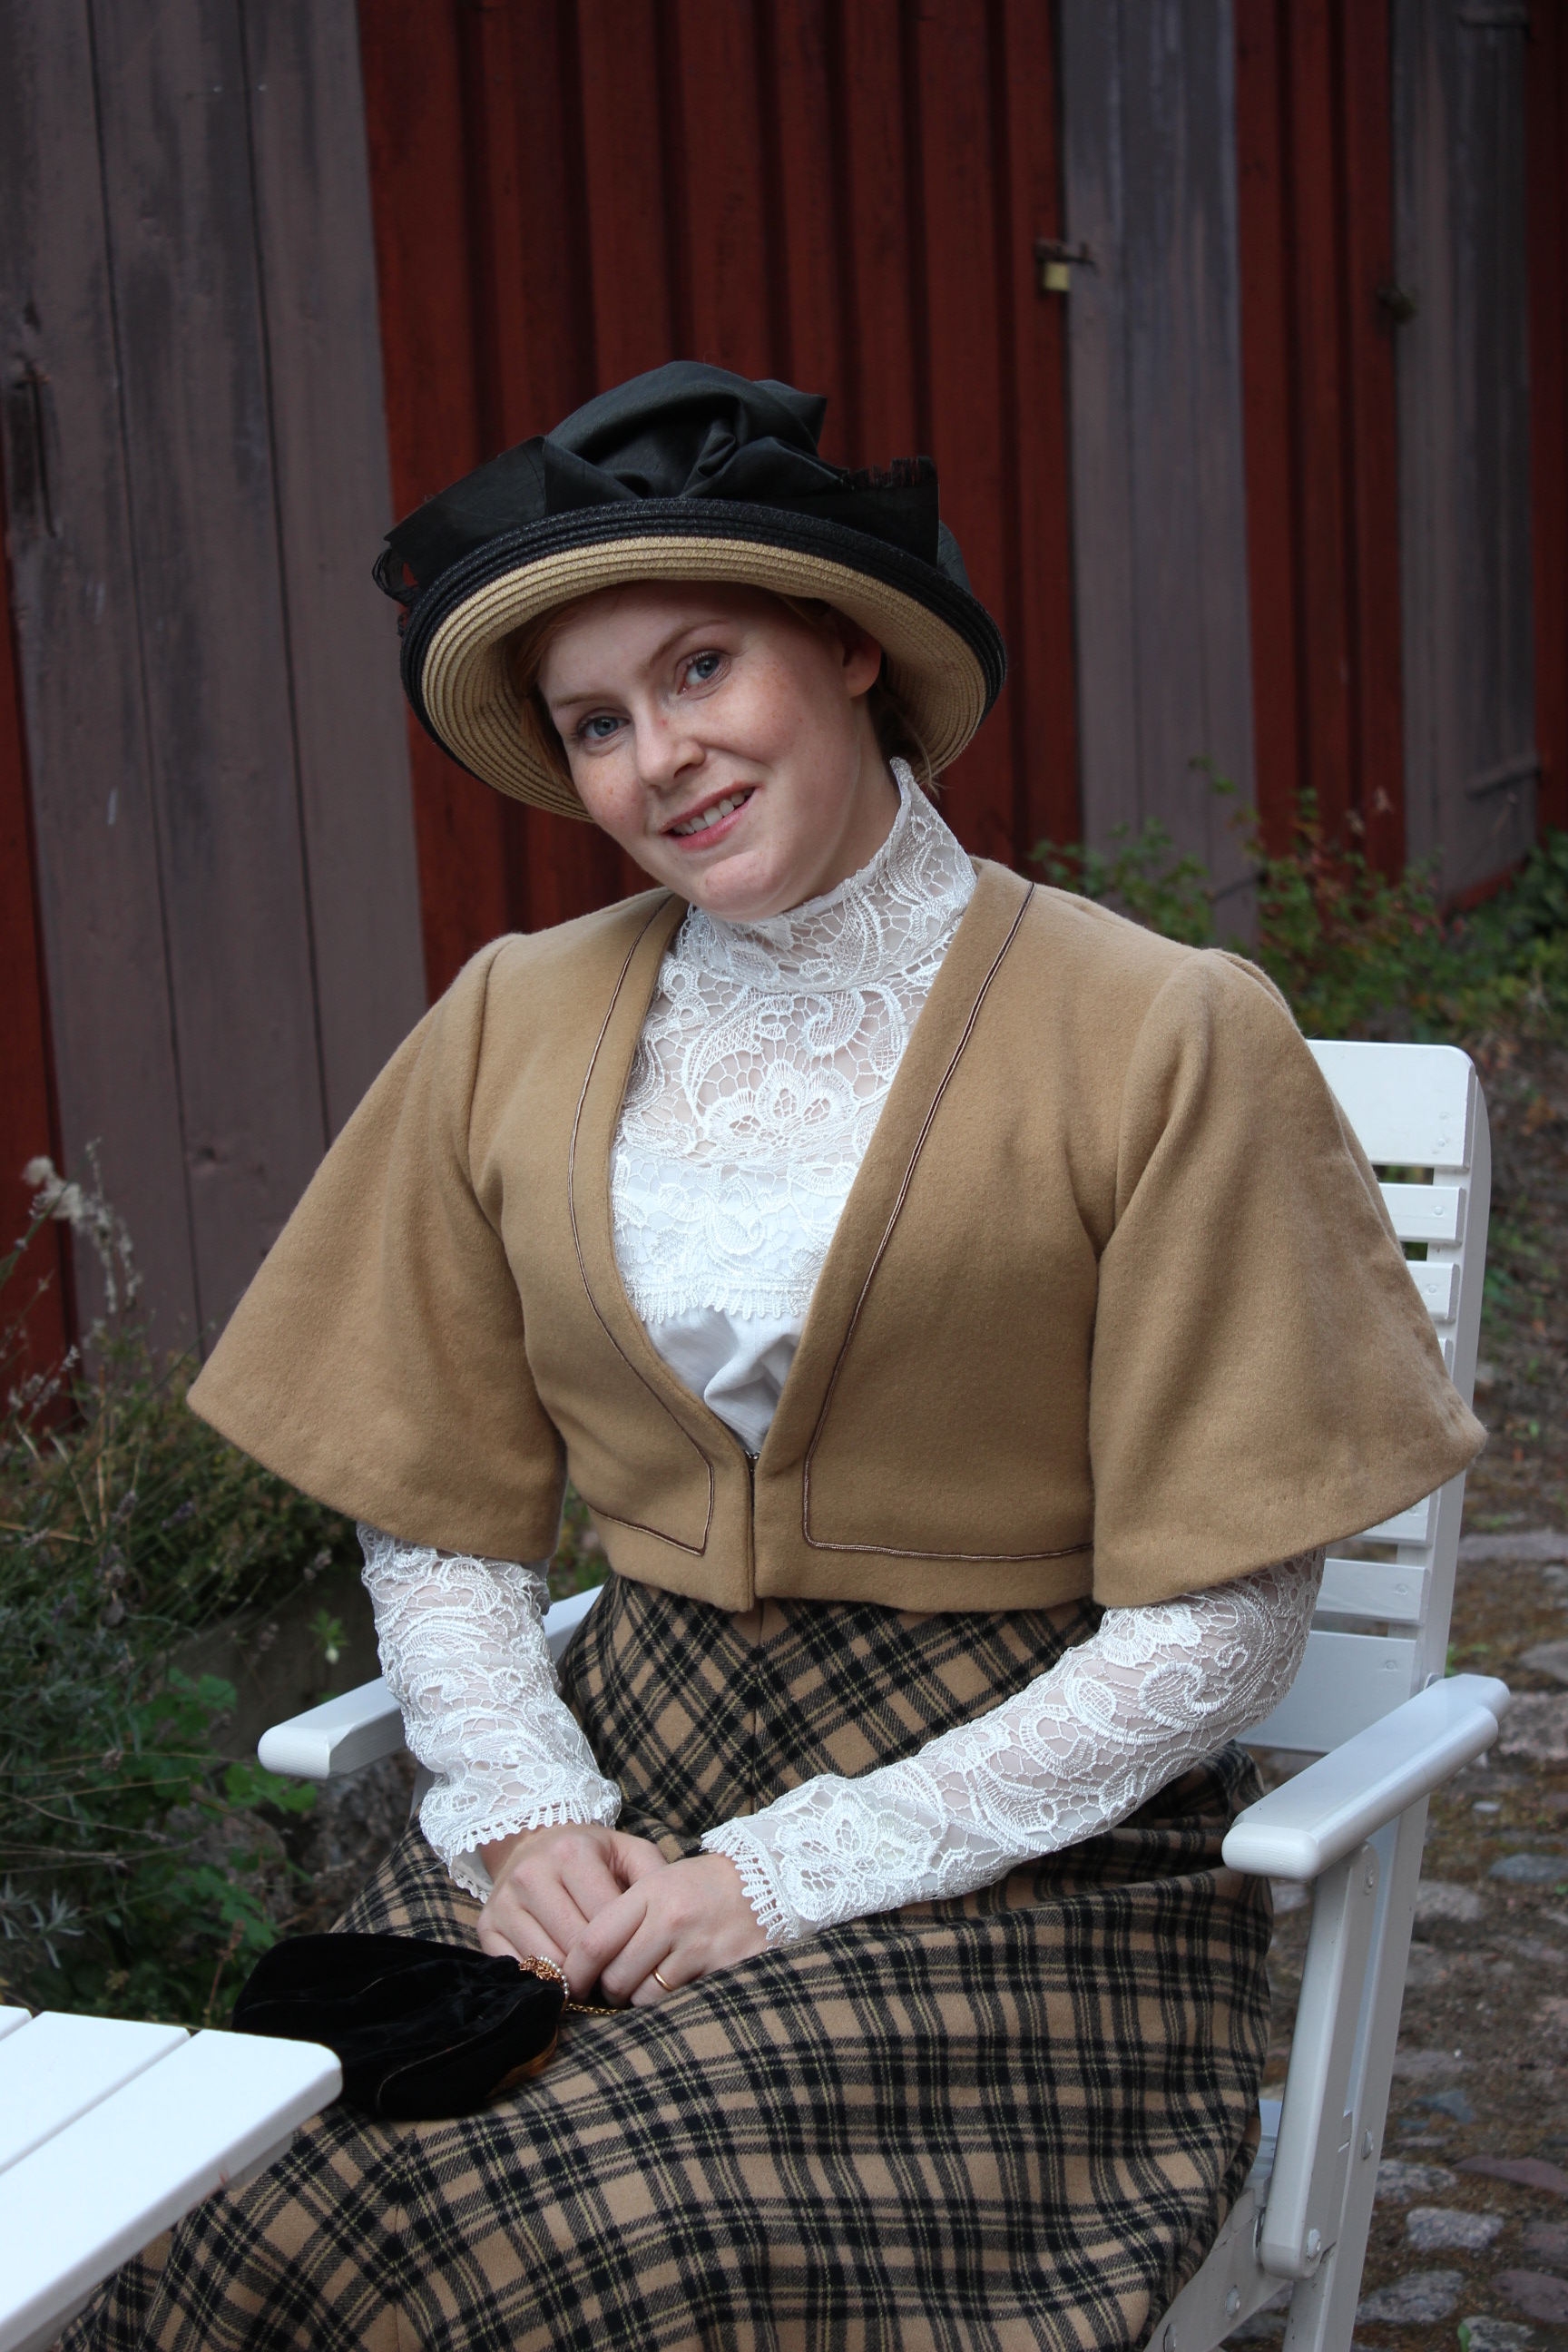
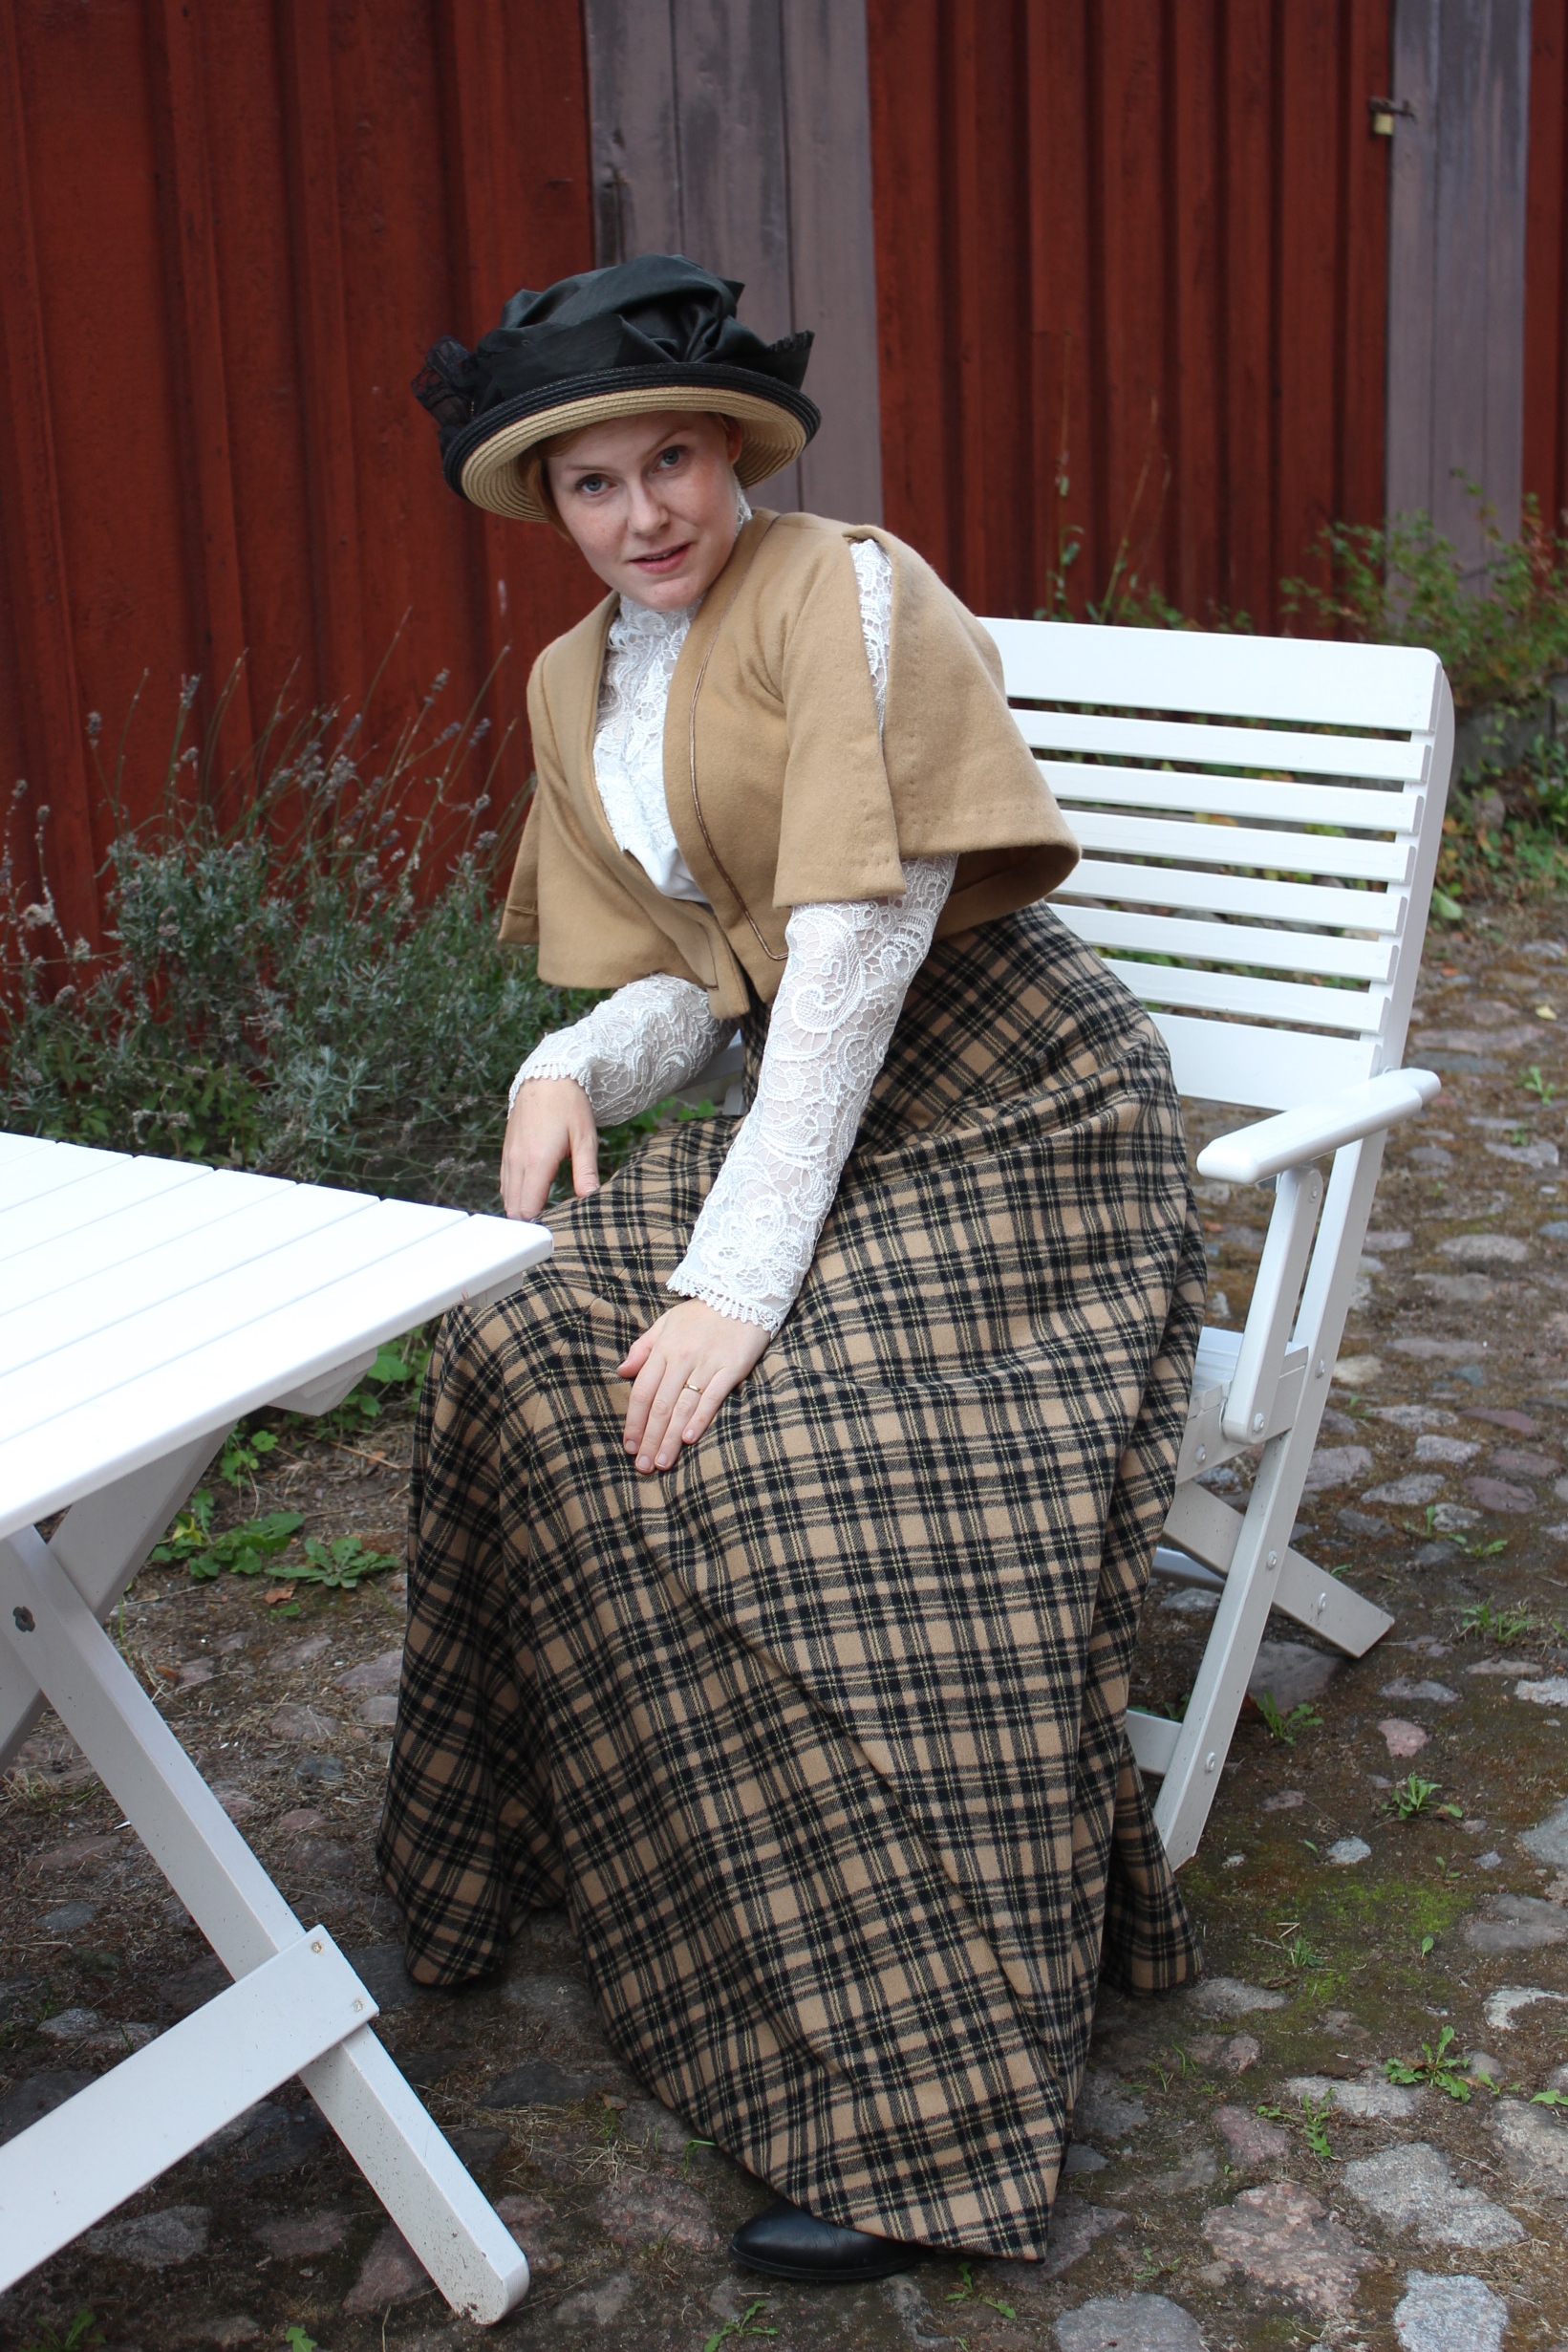

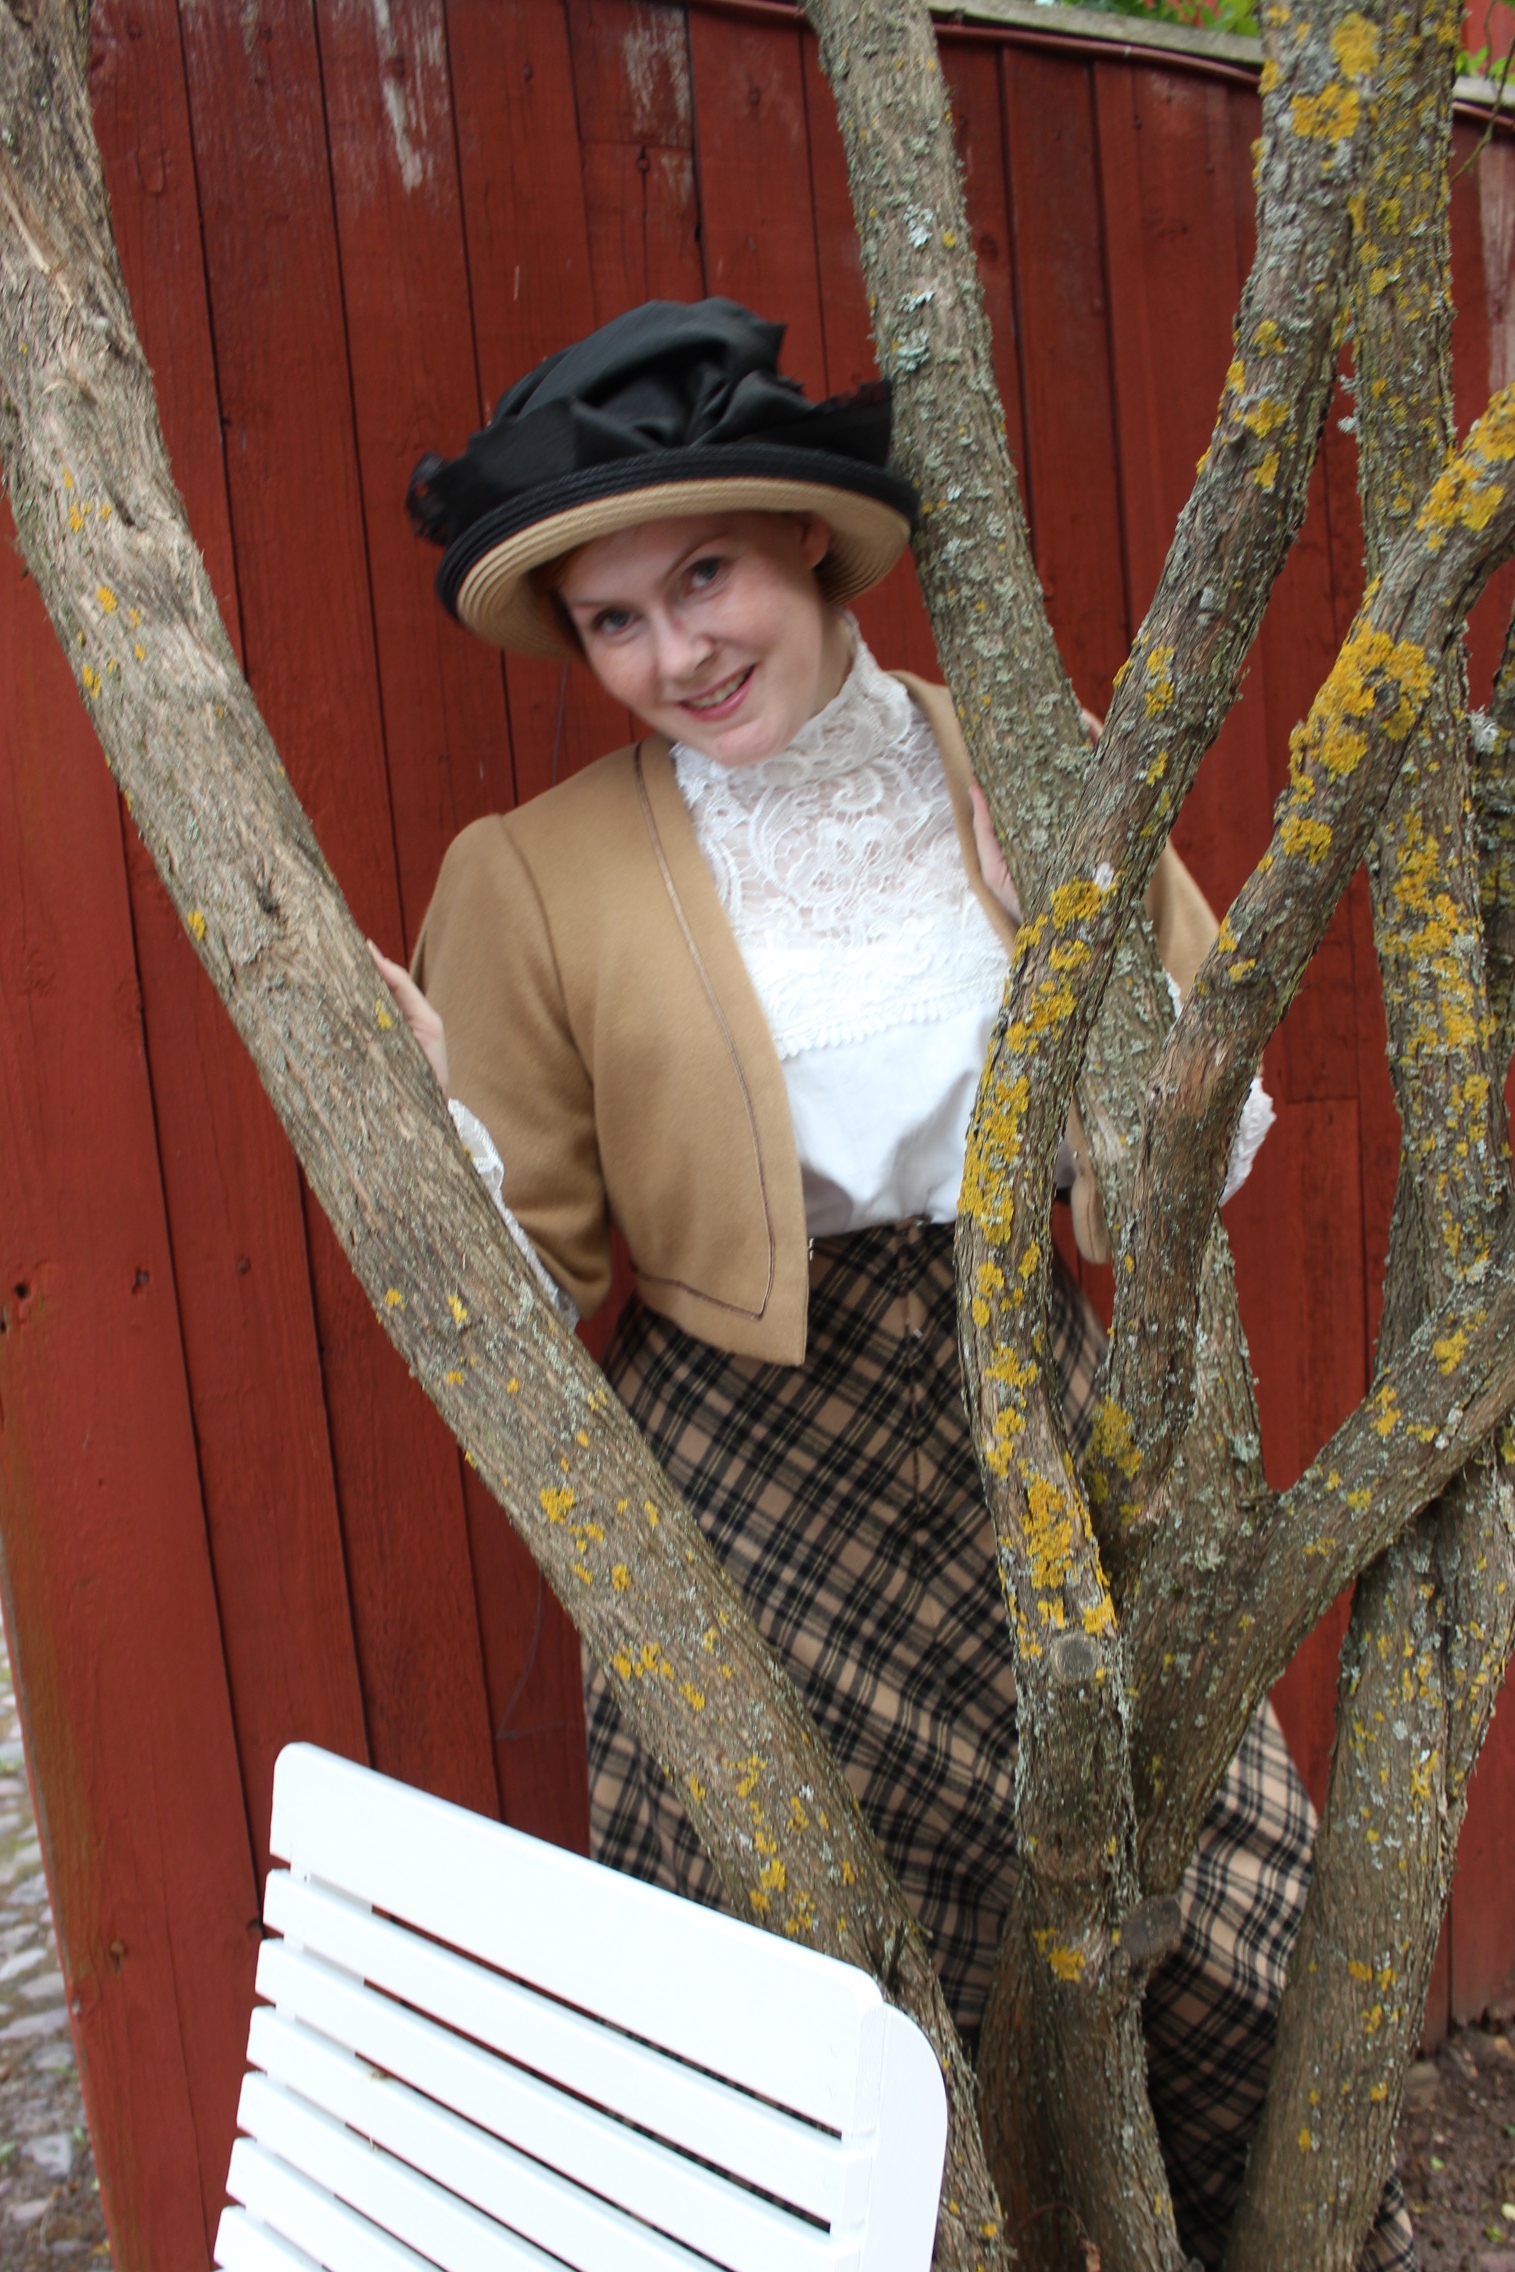
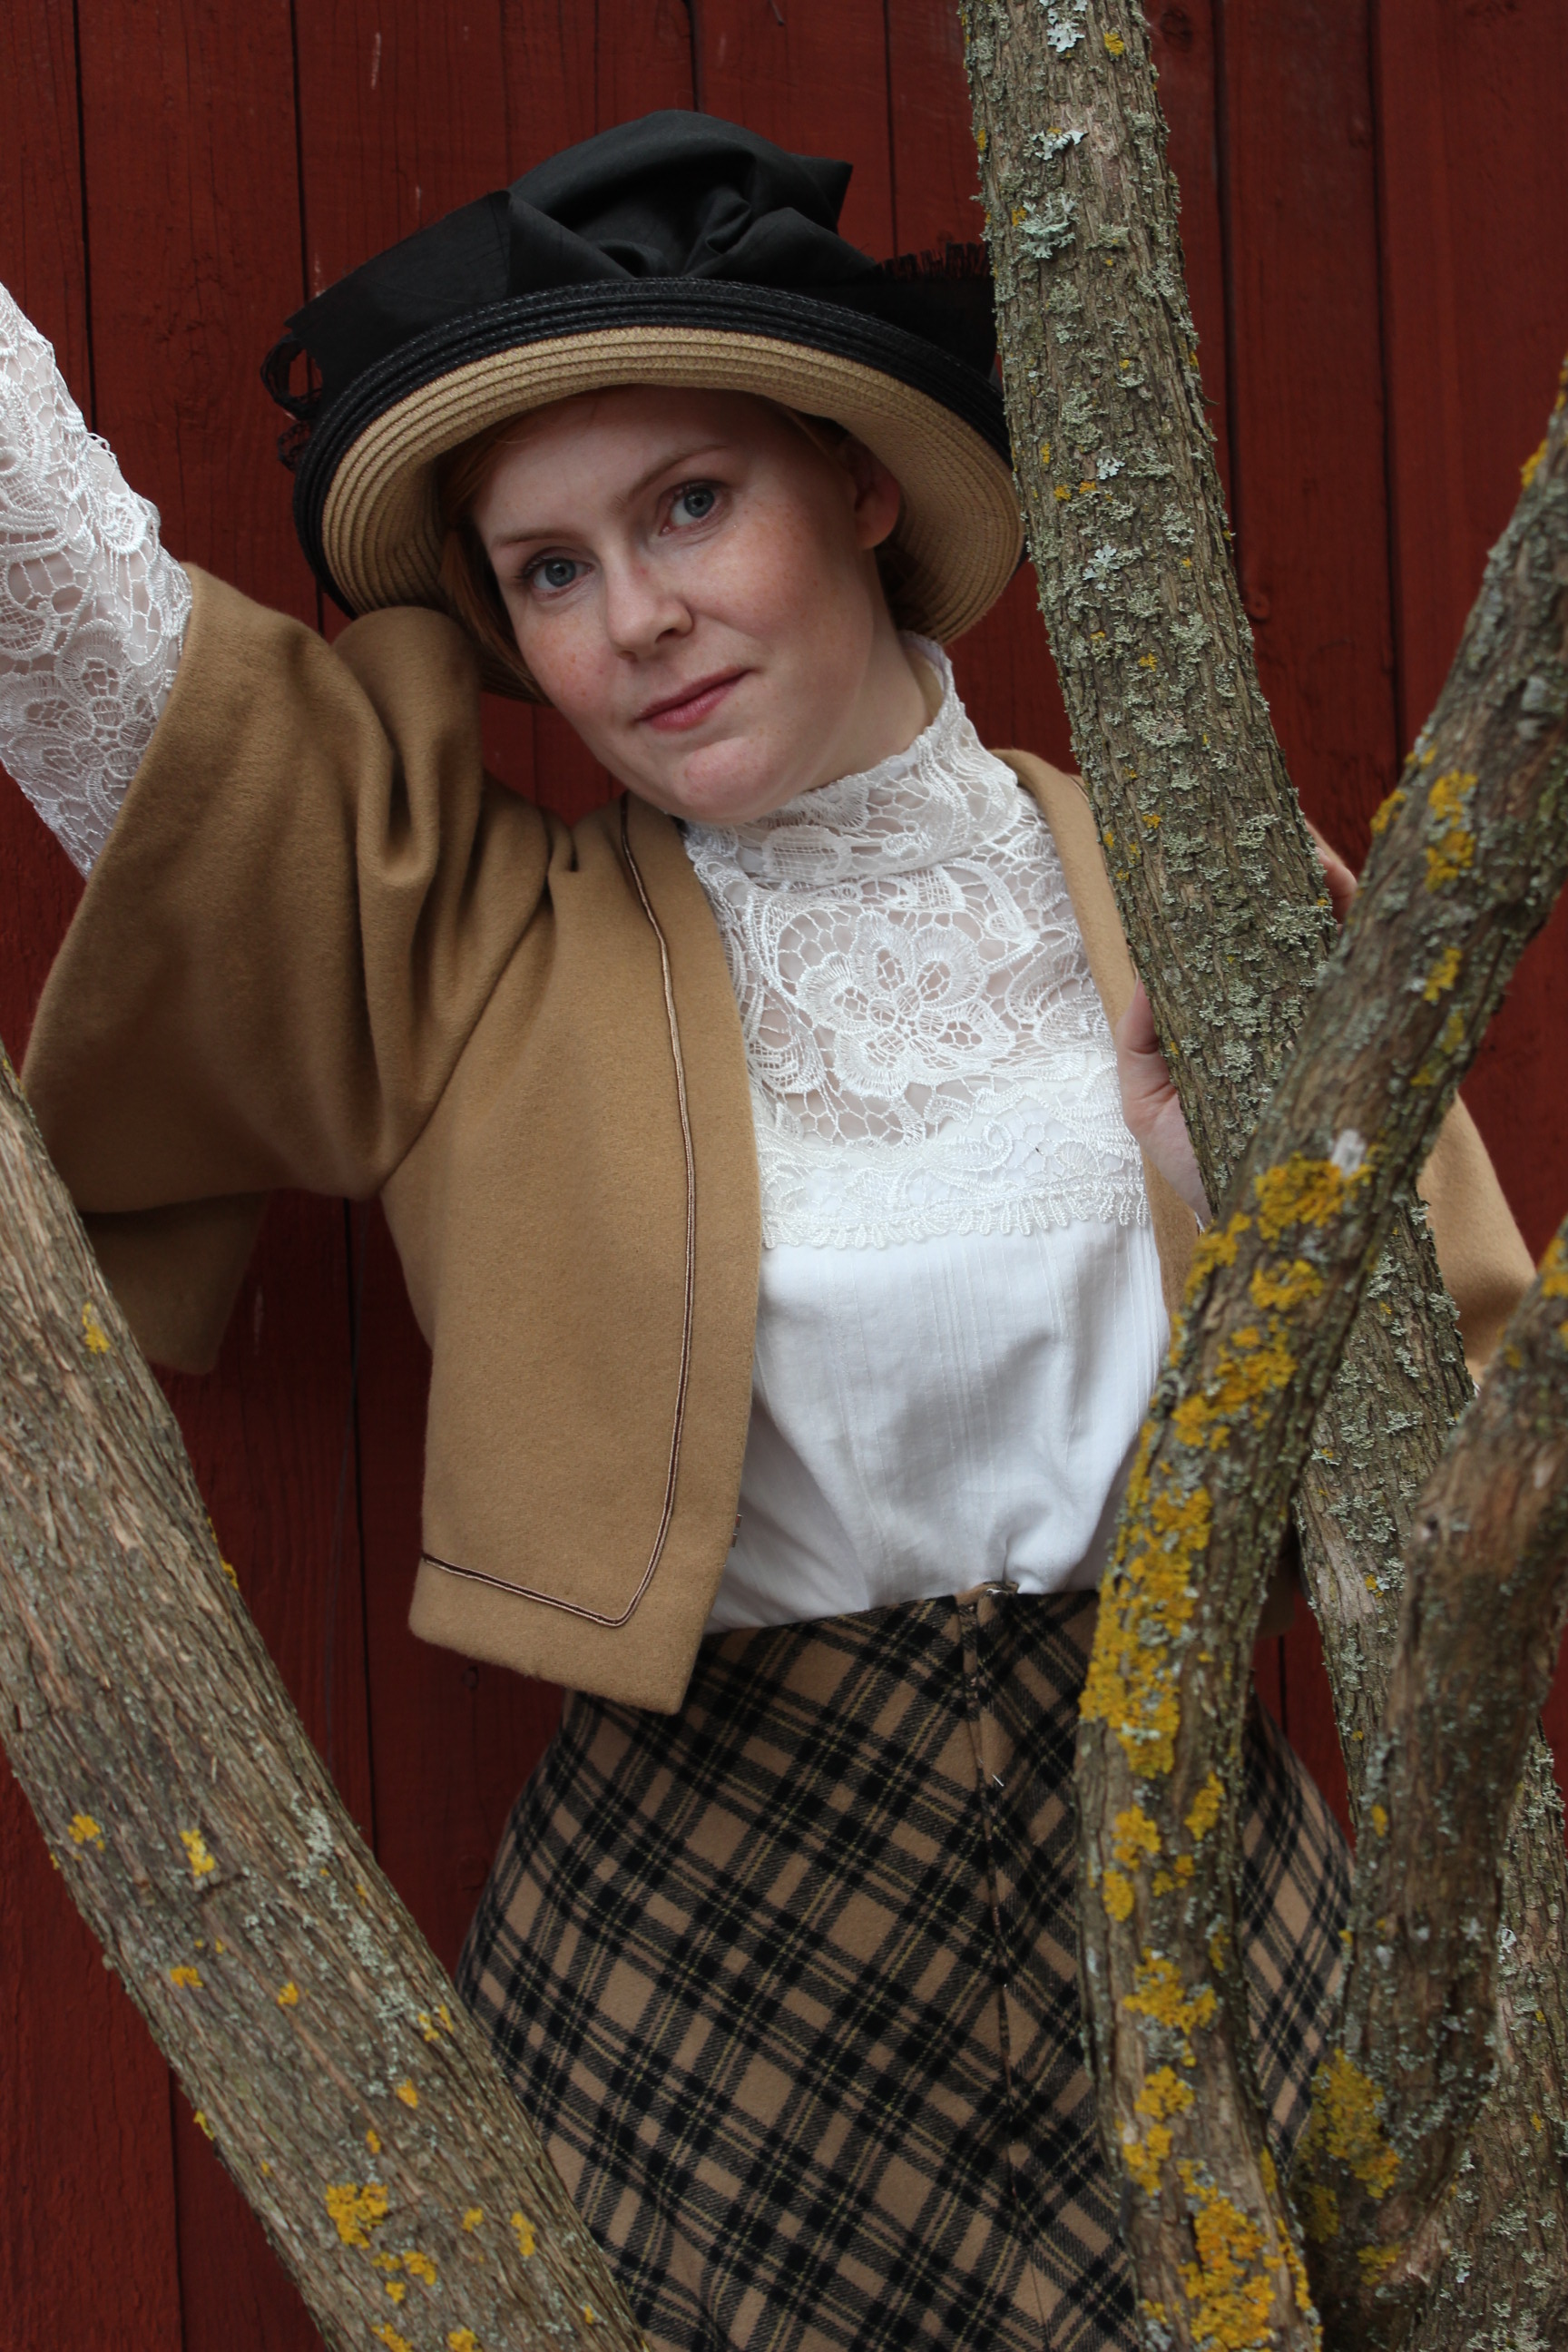


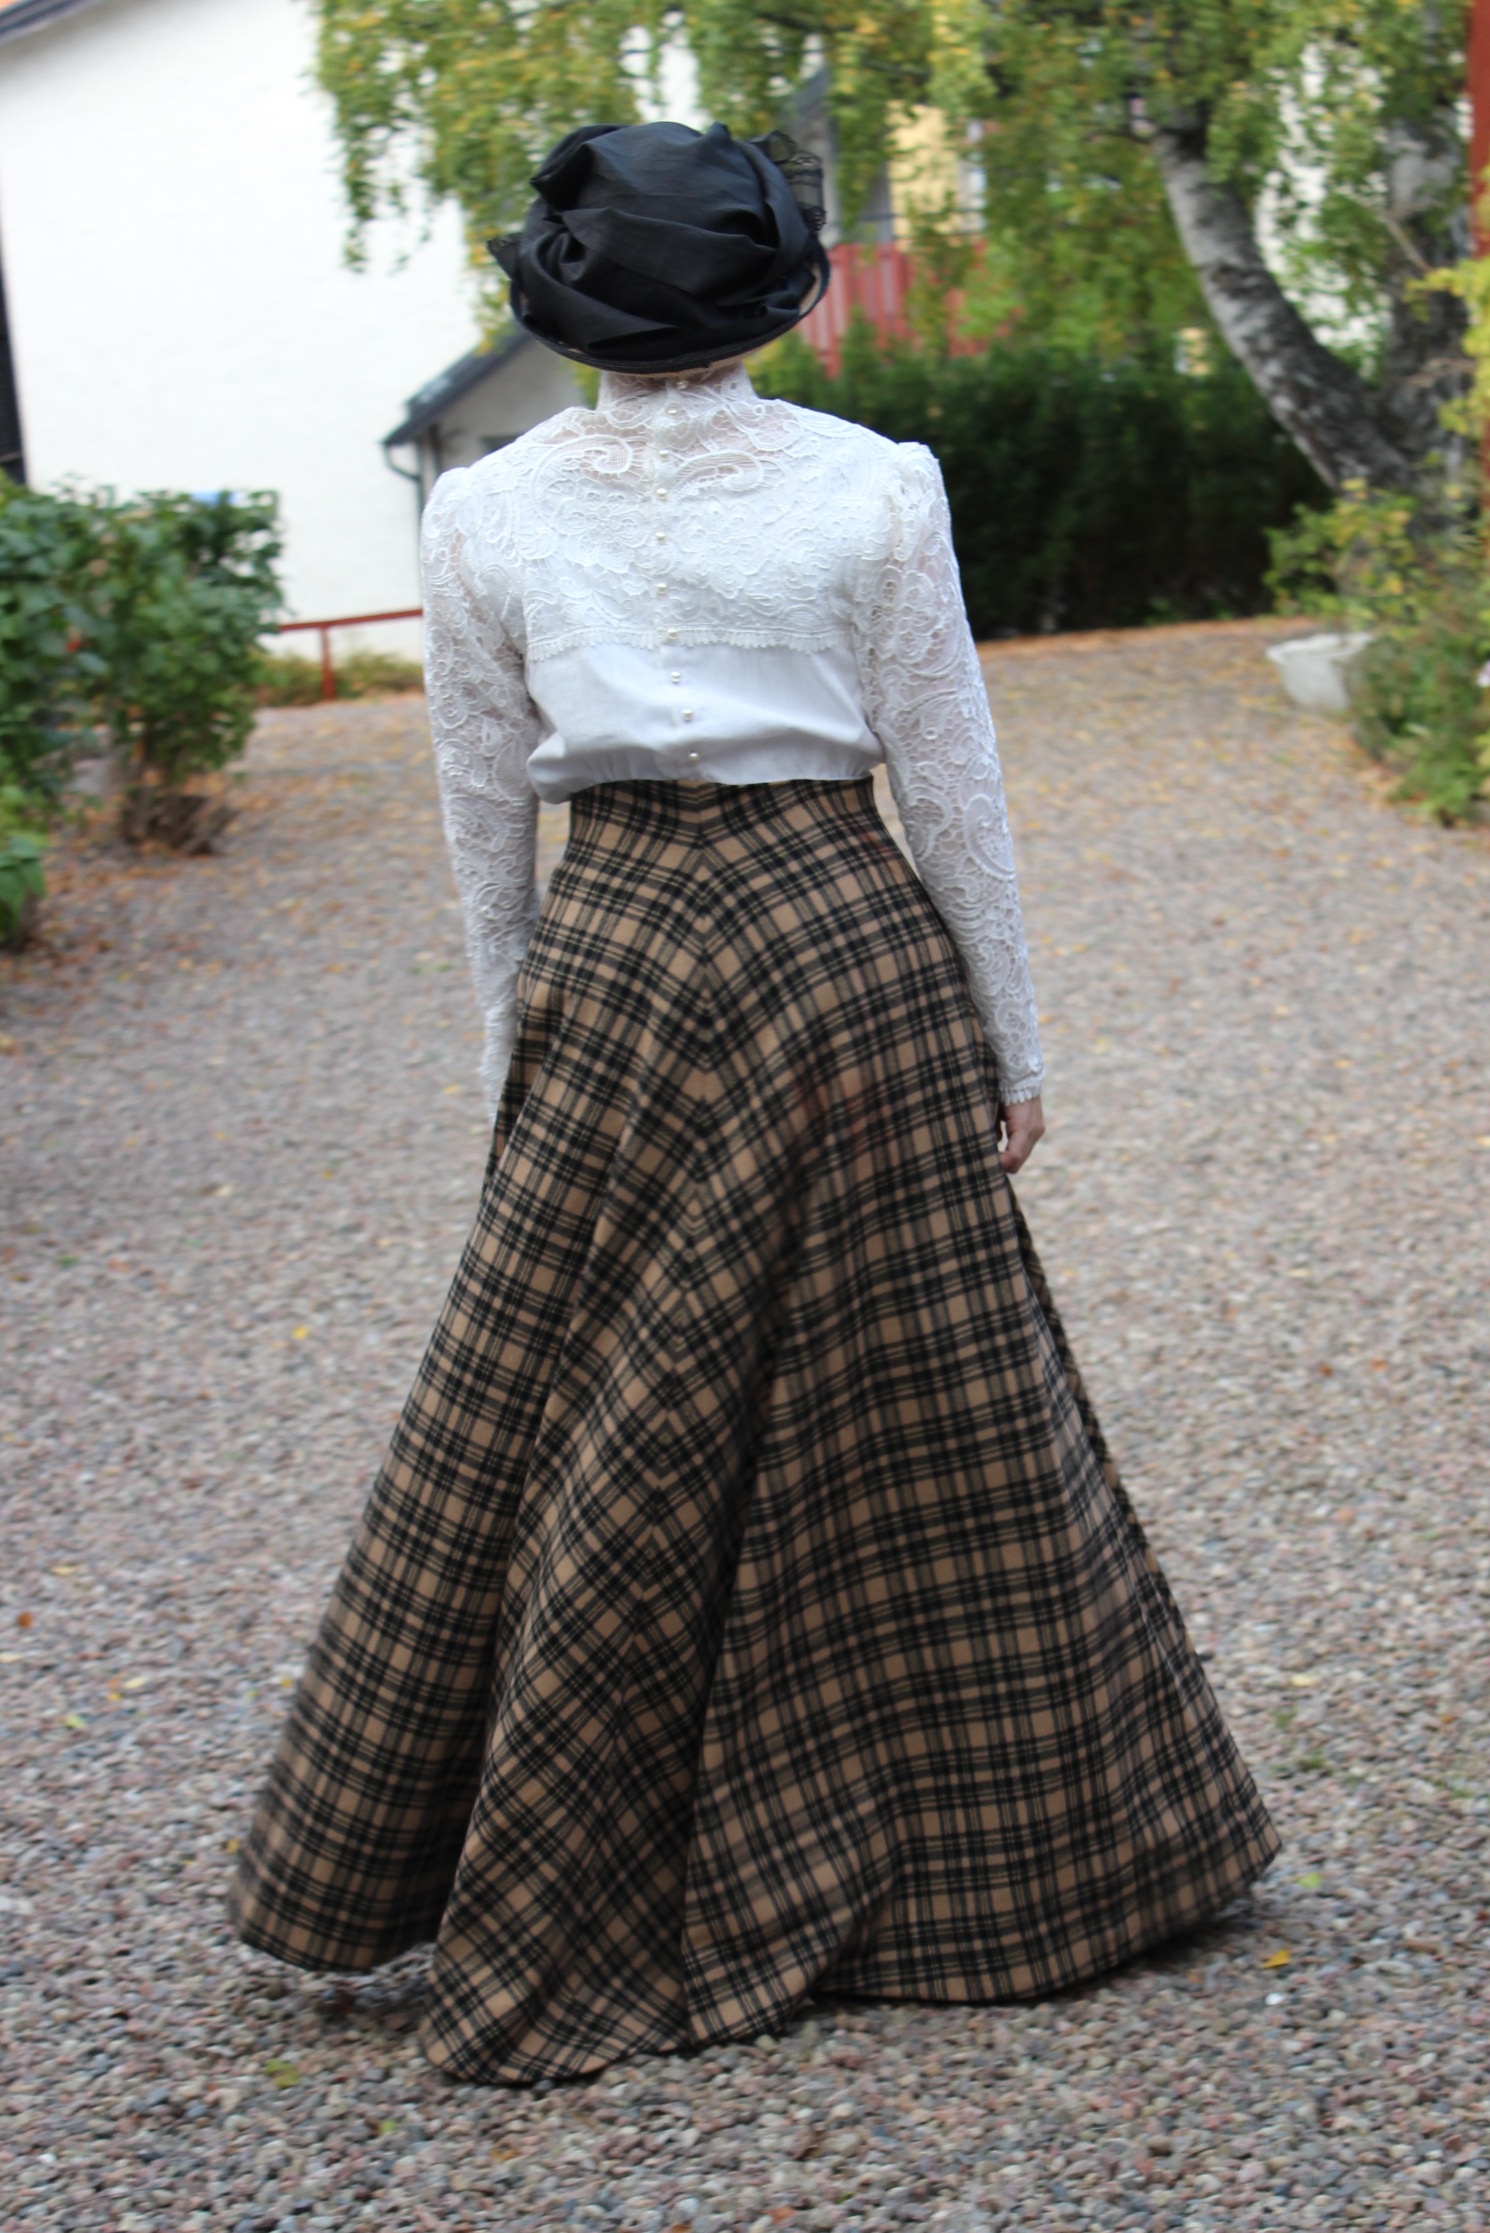

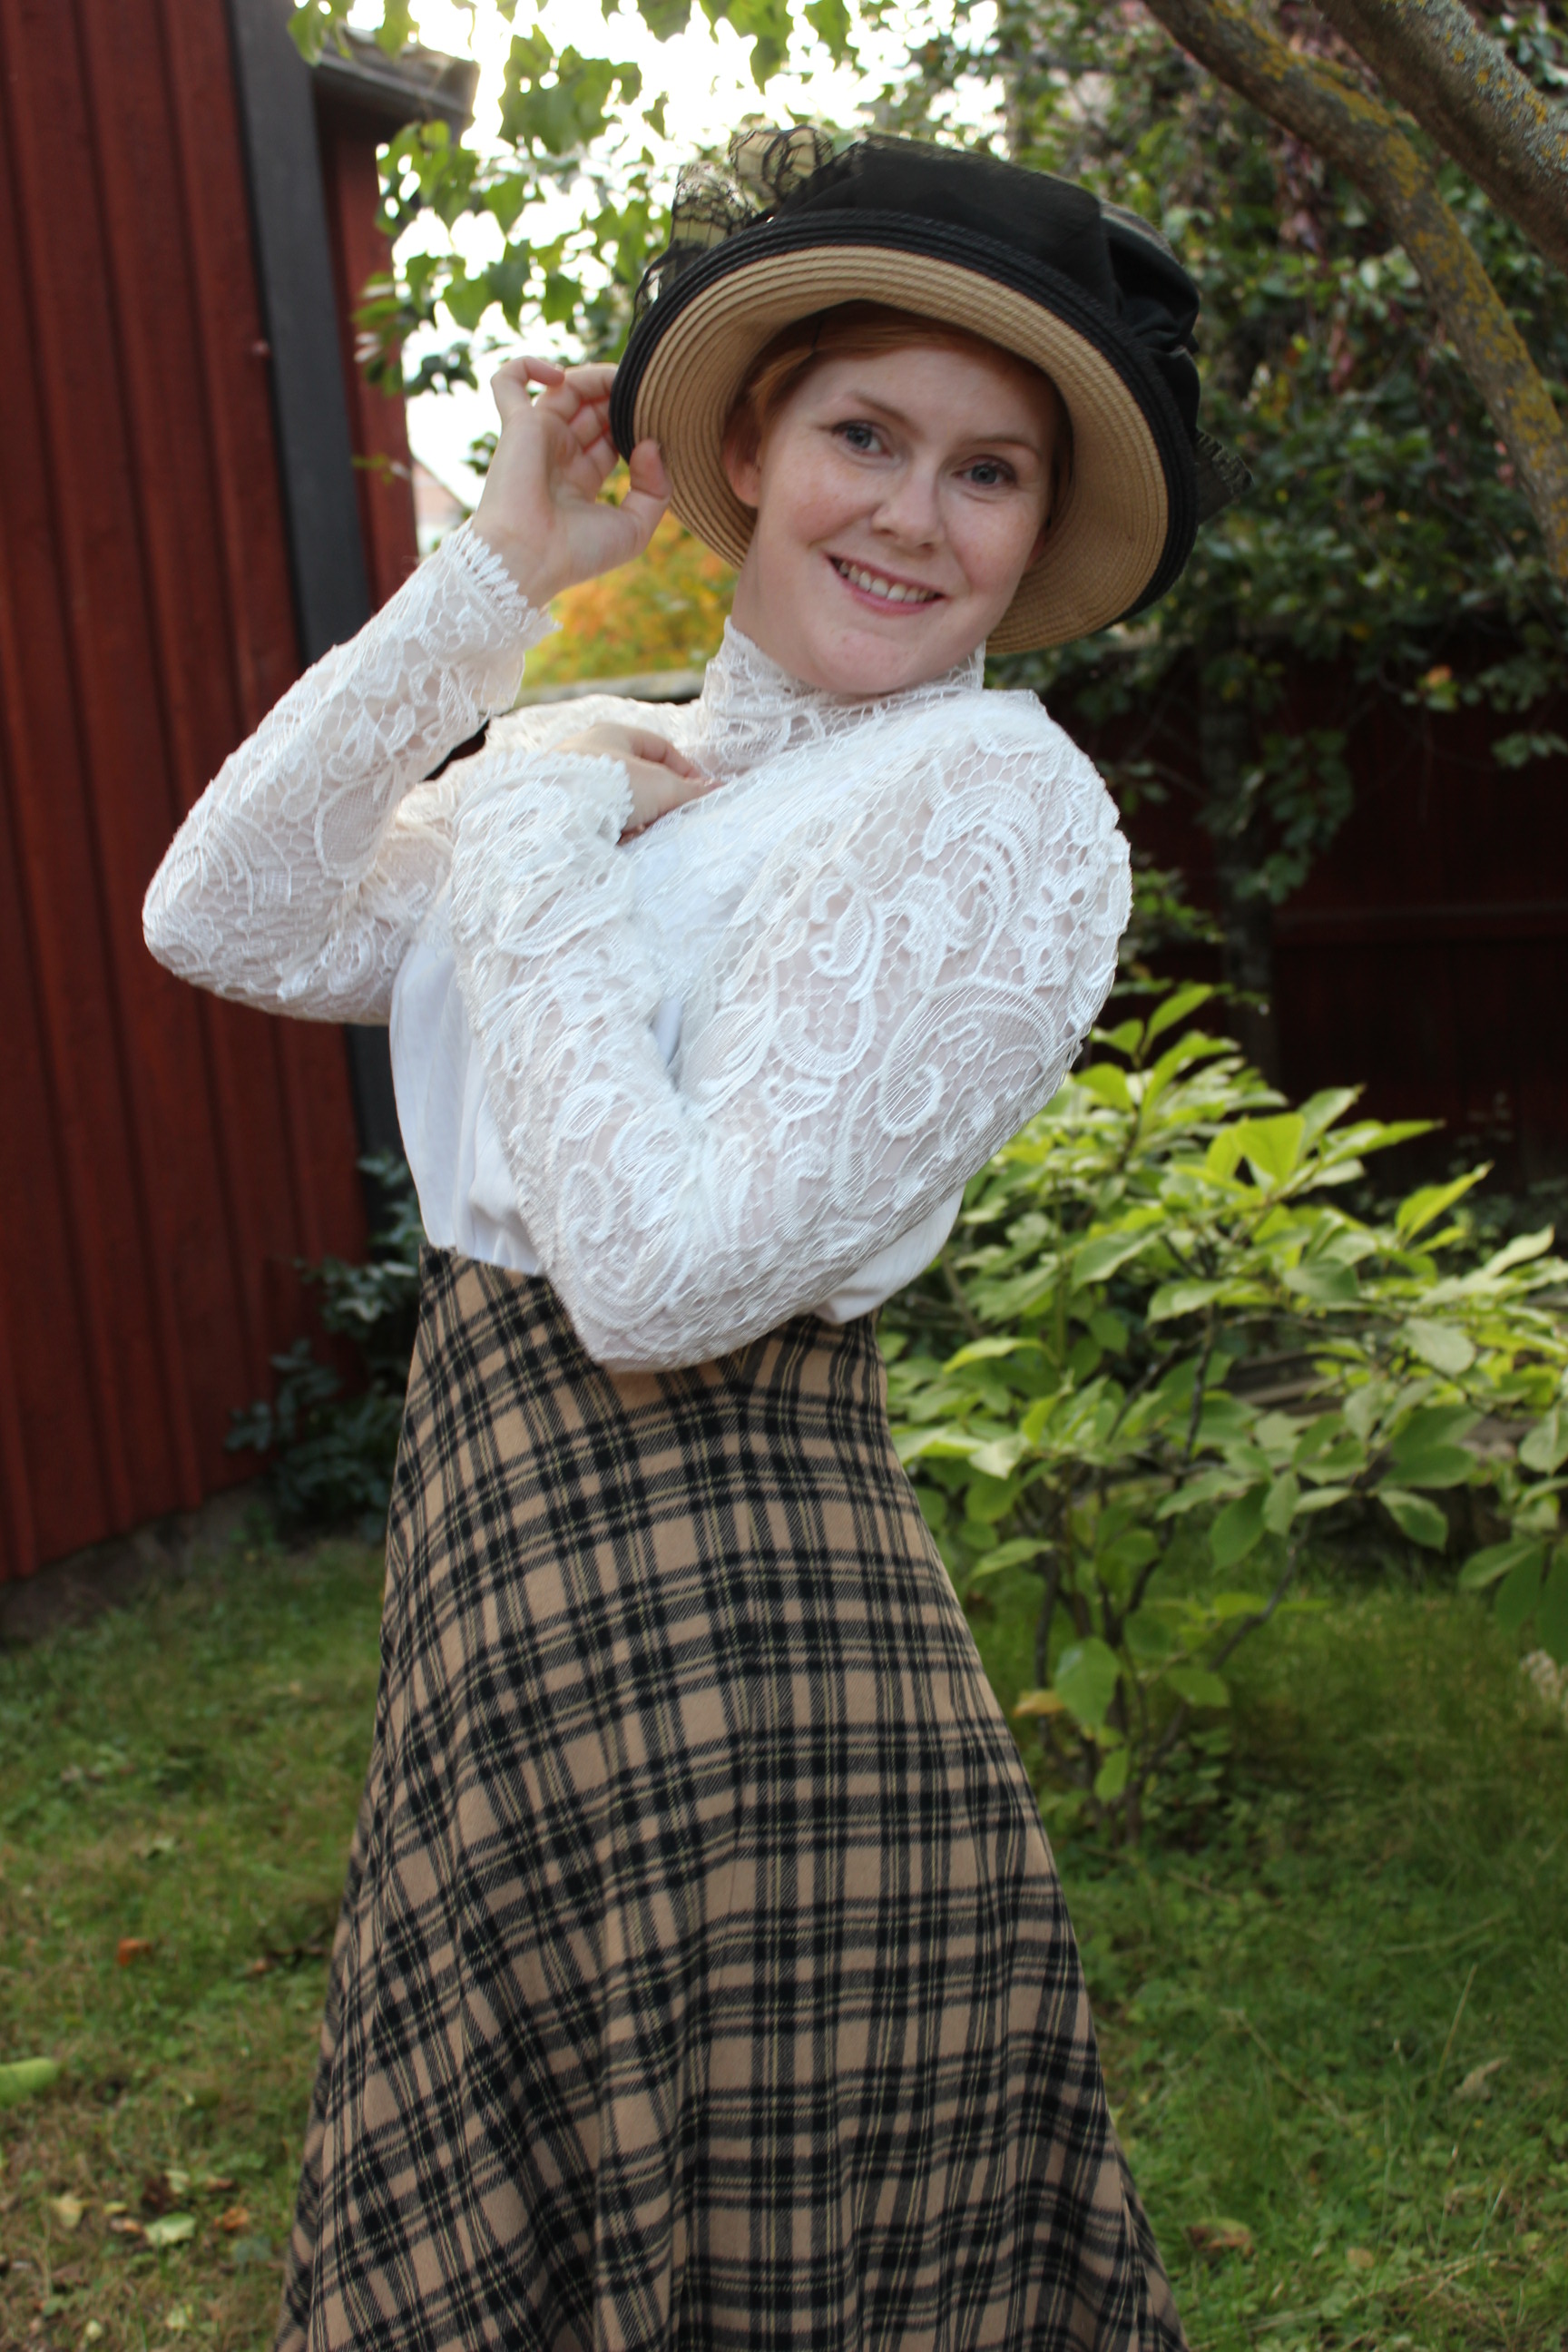
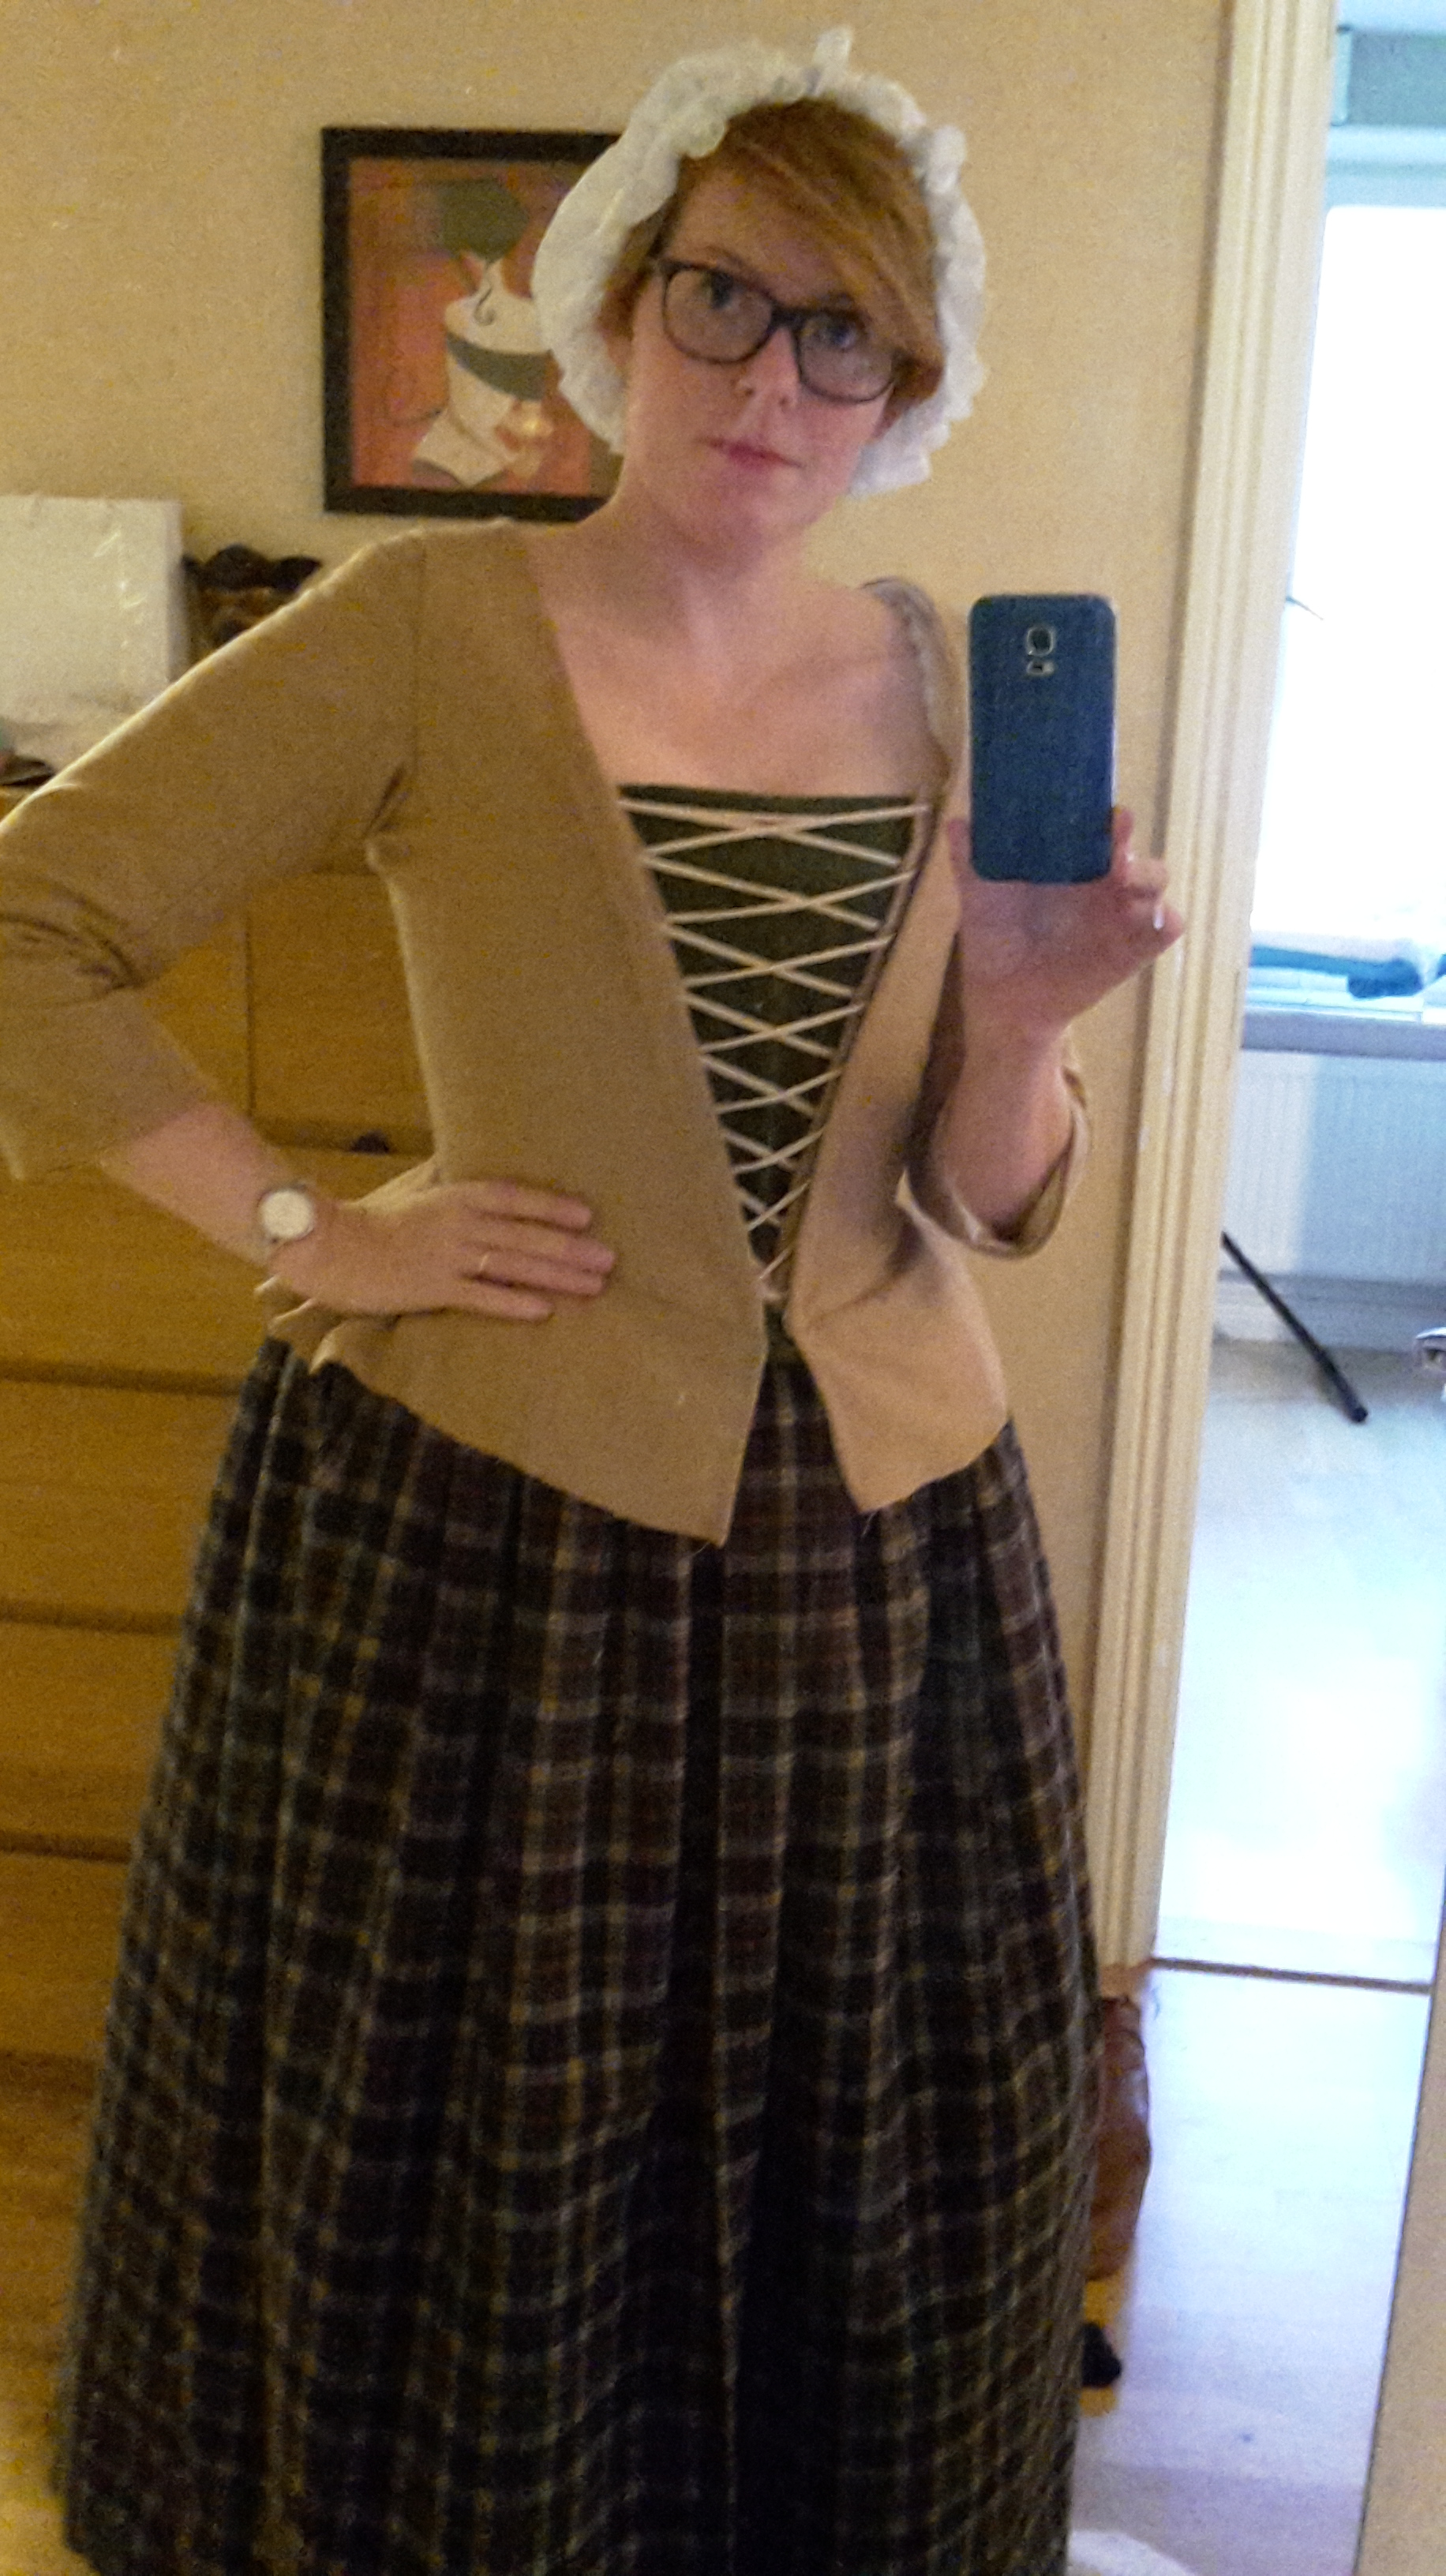
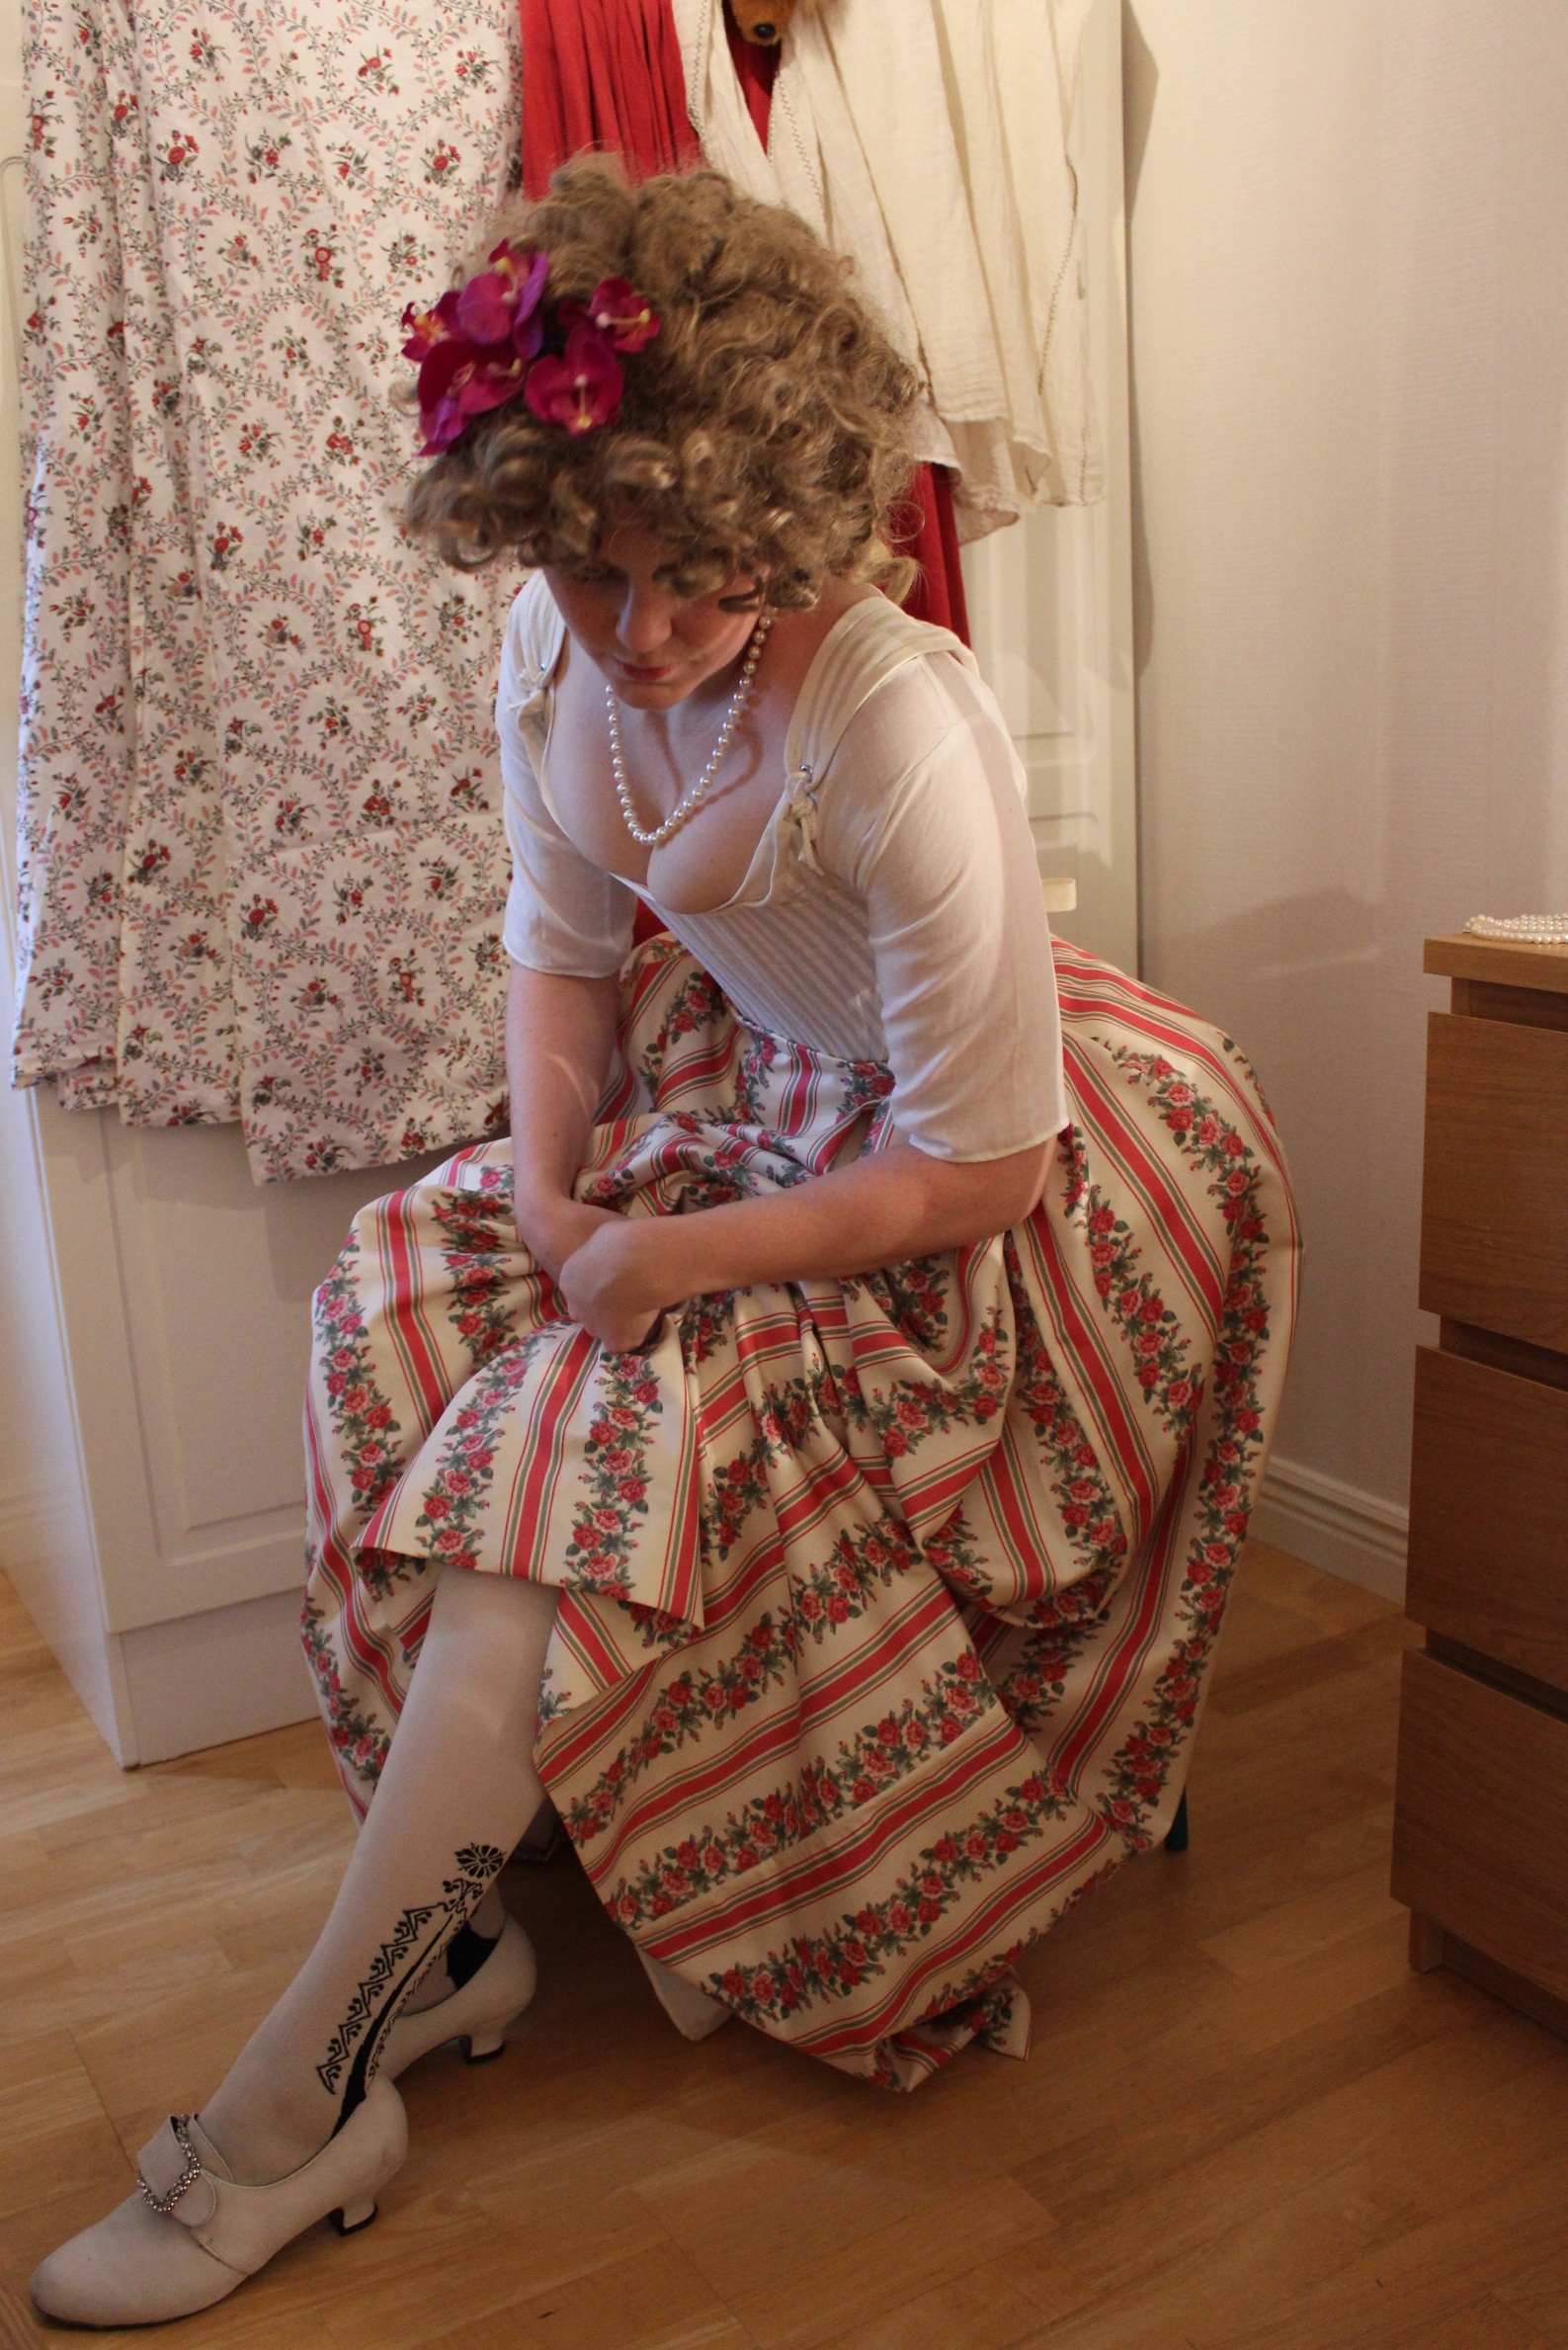
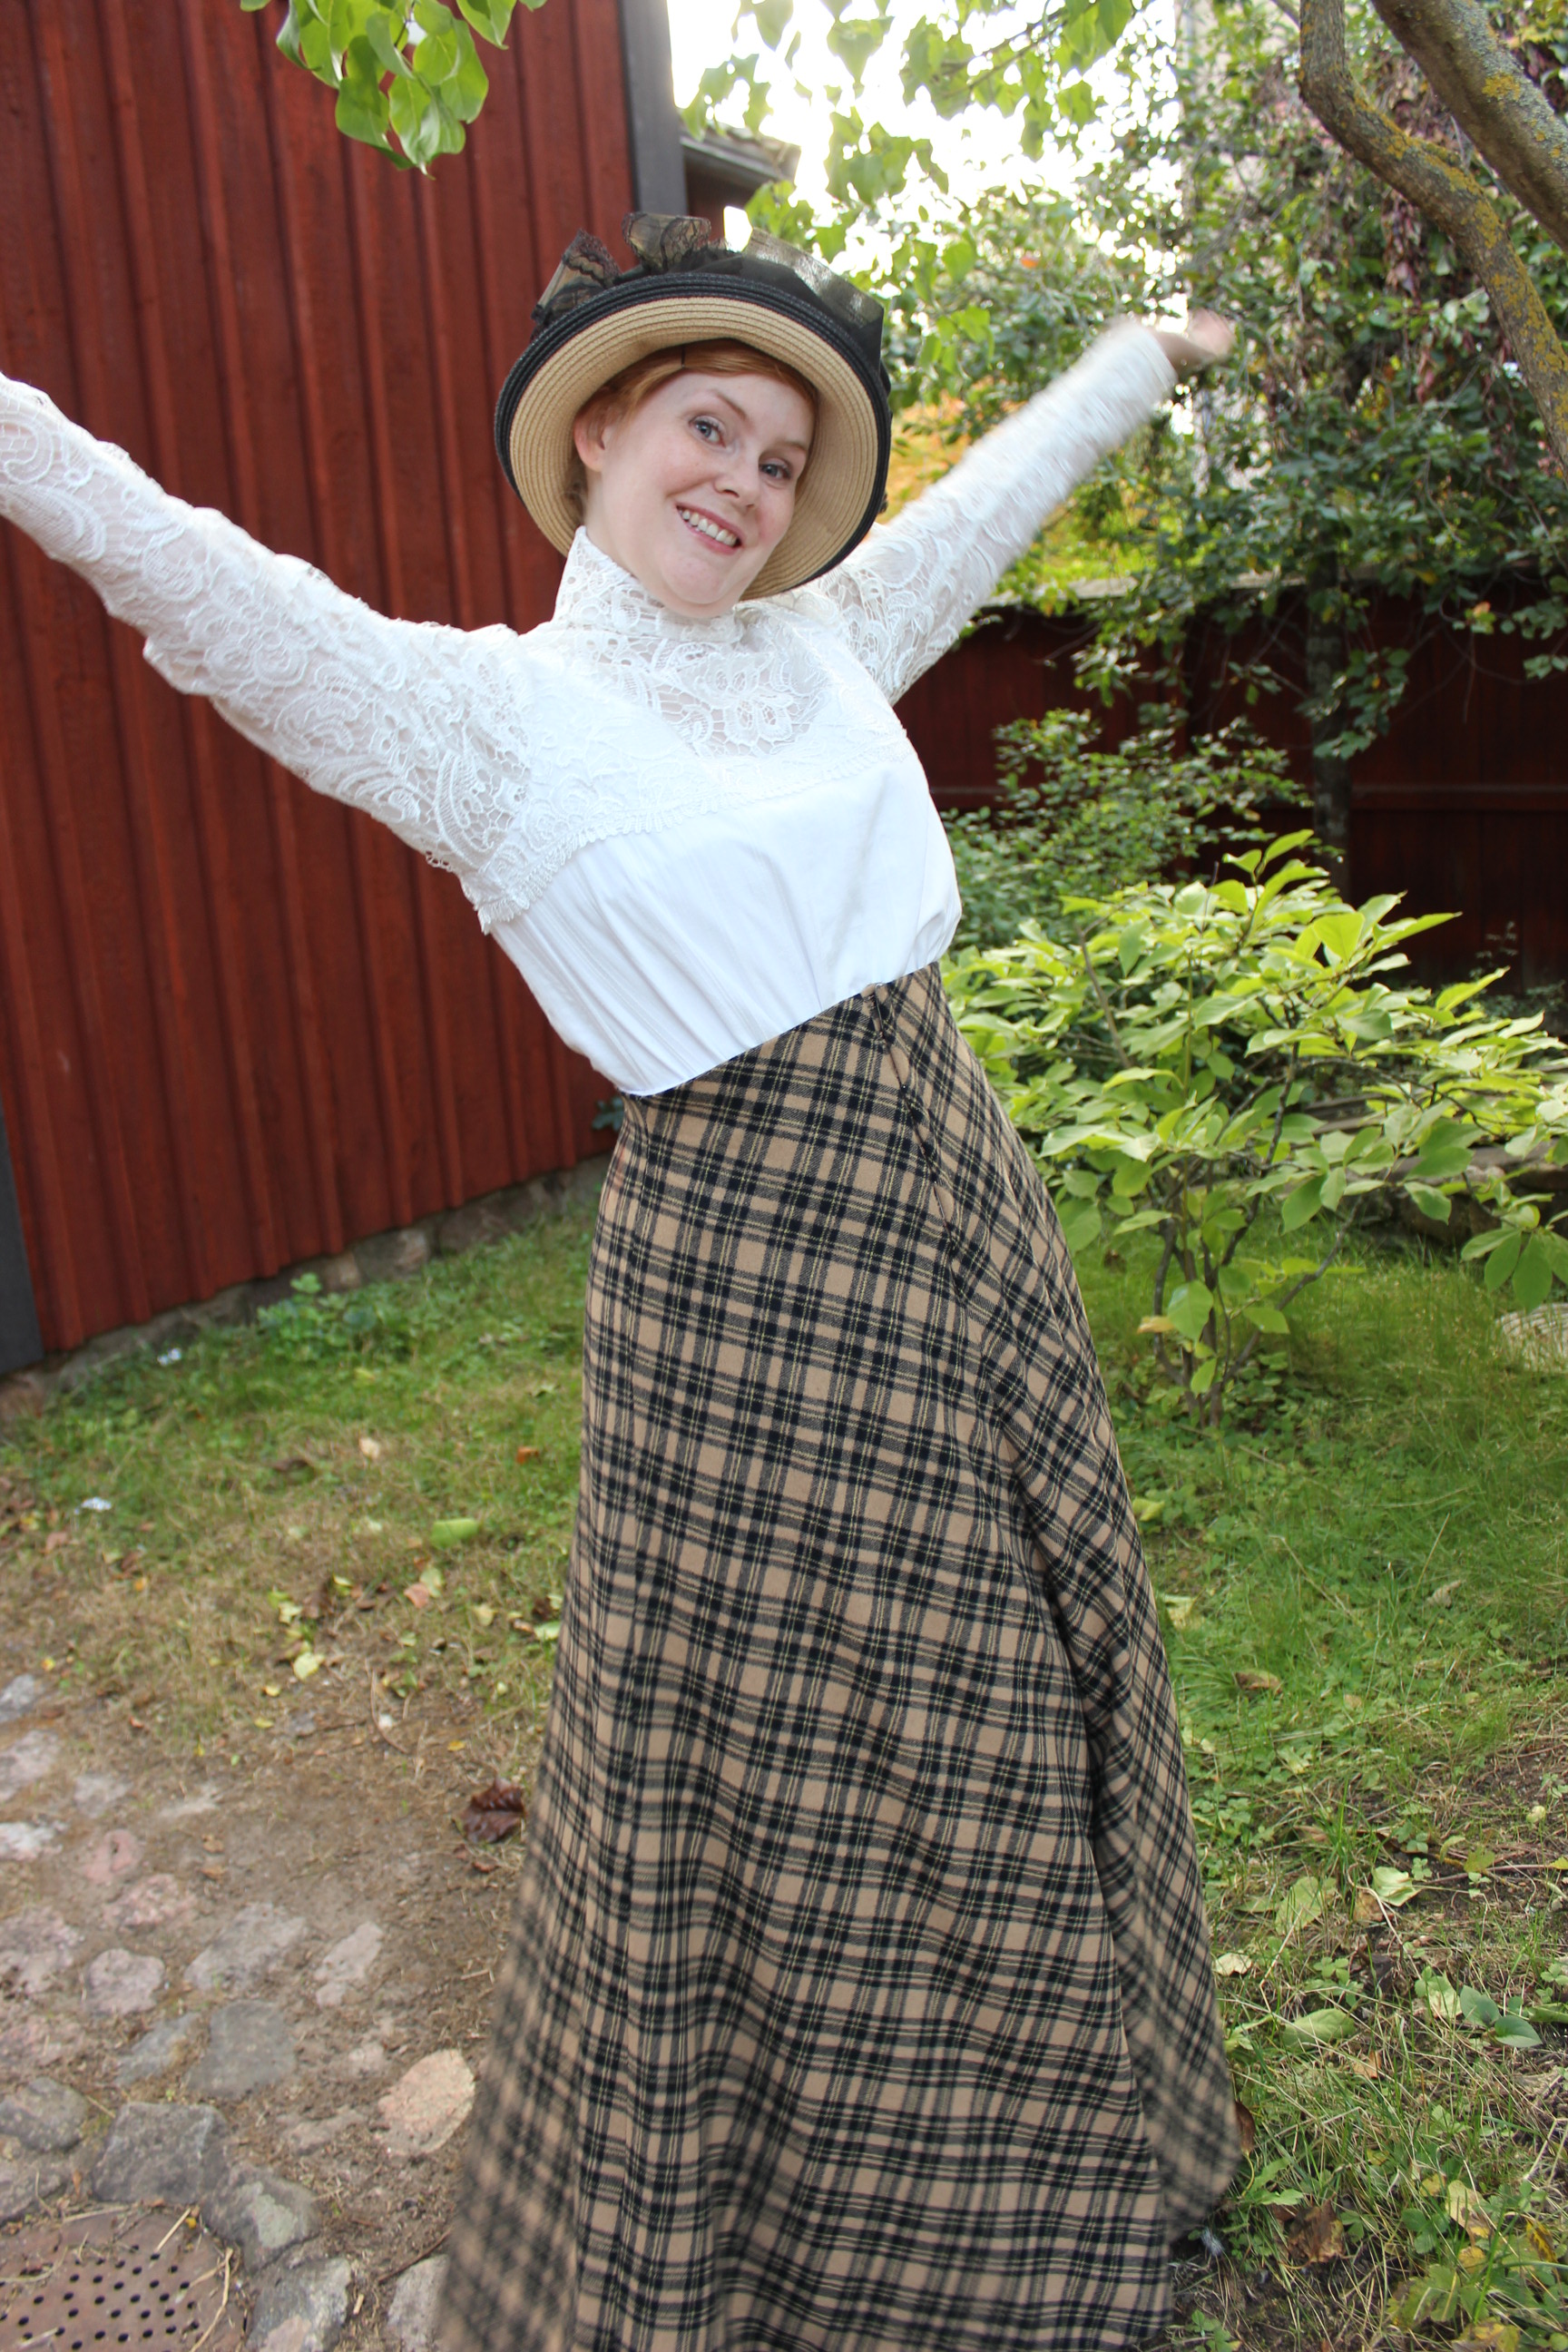 Photo: Maria Petersson
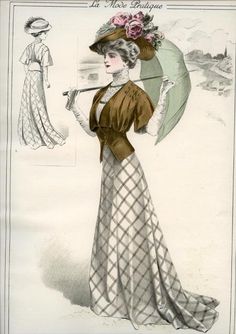


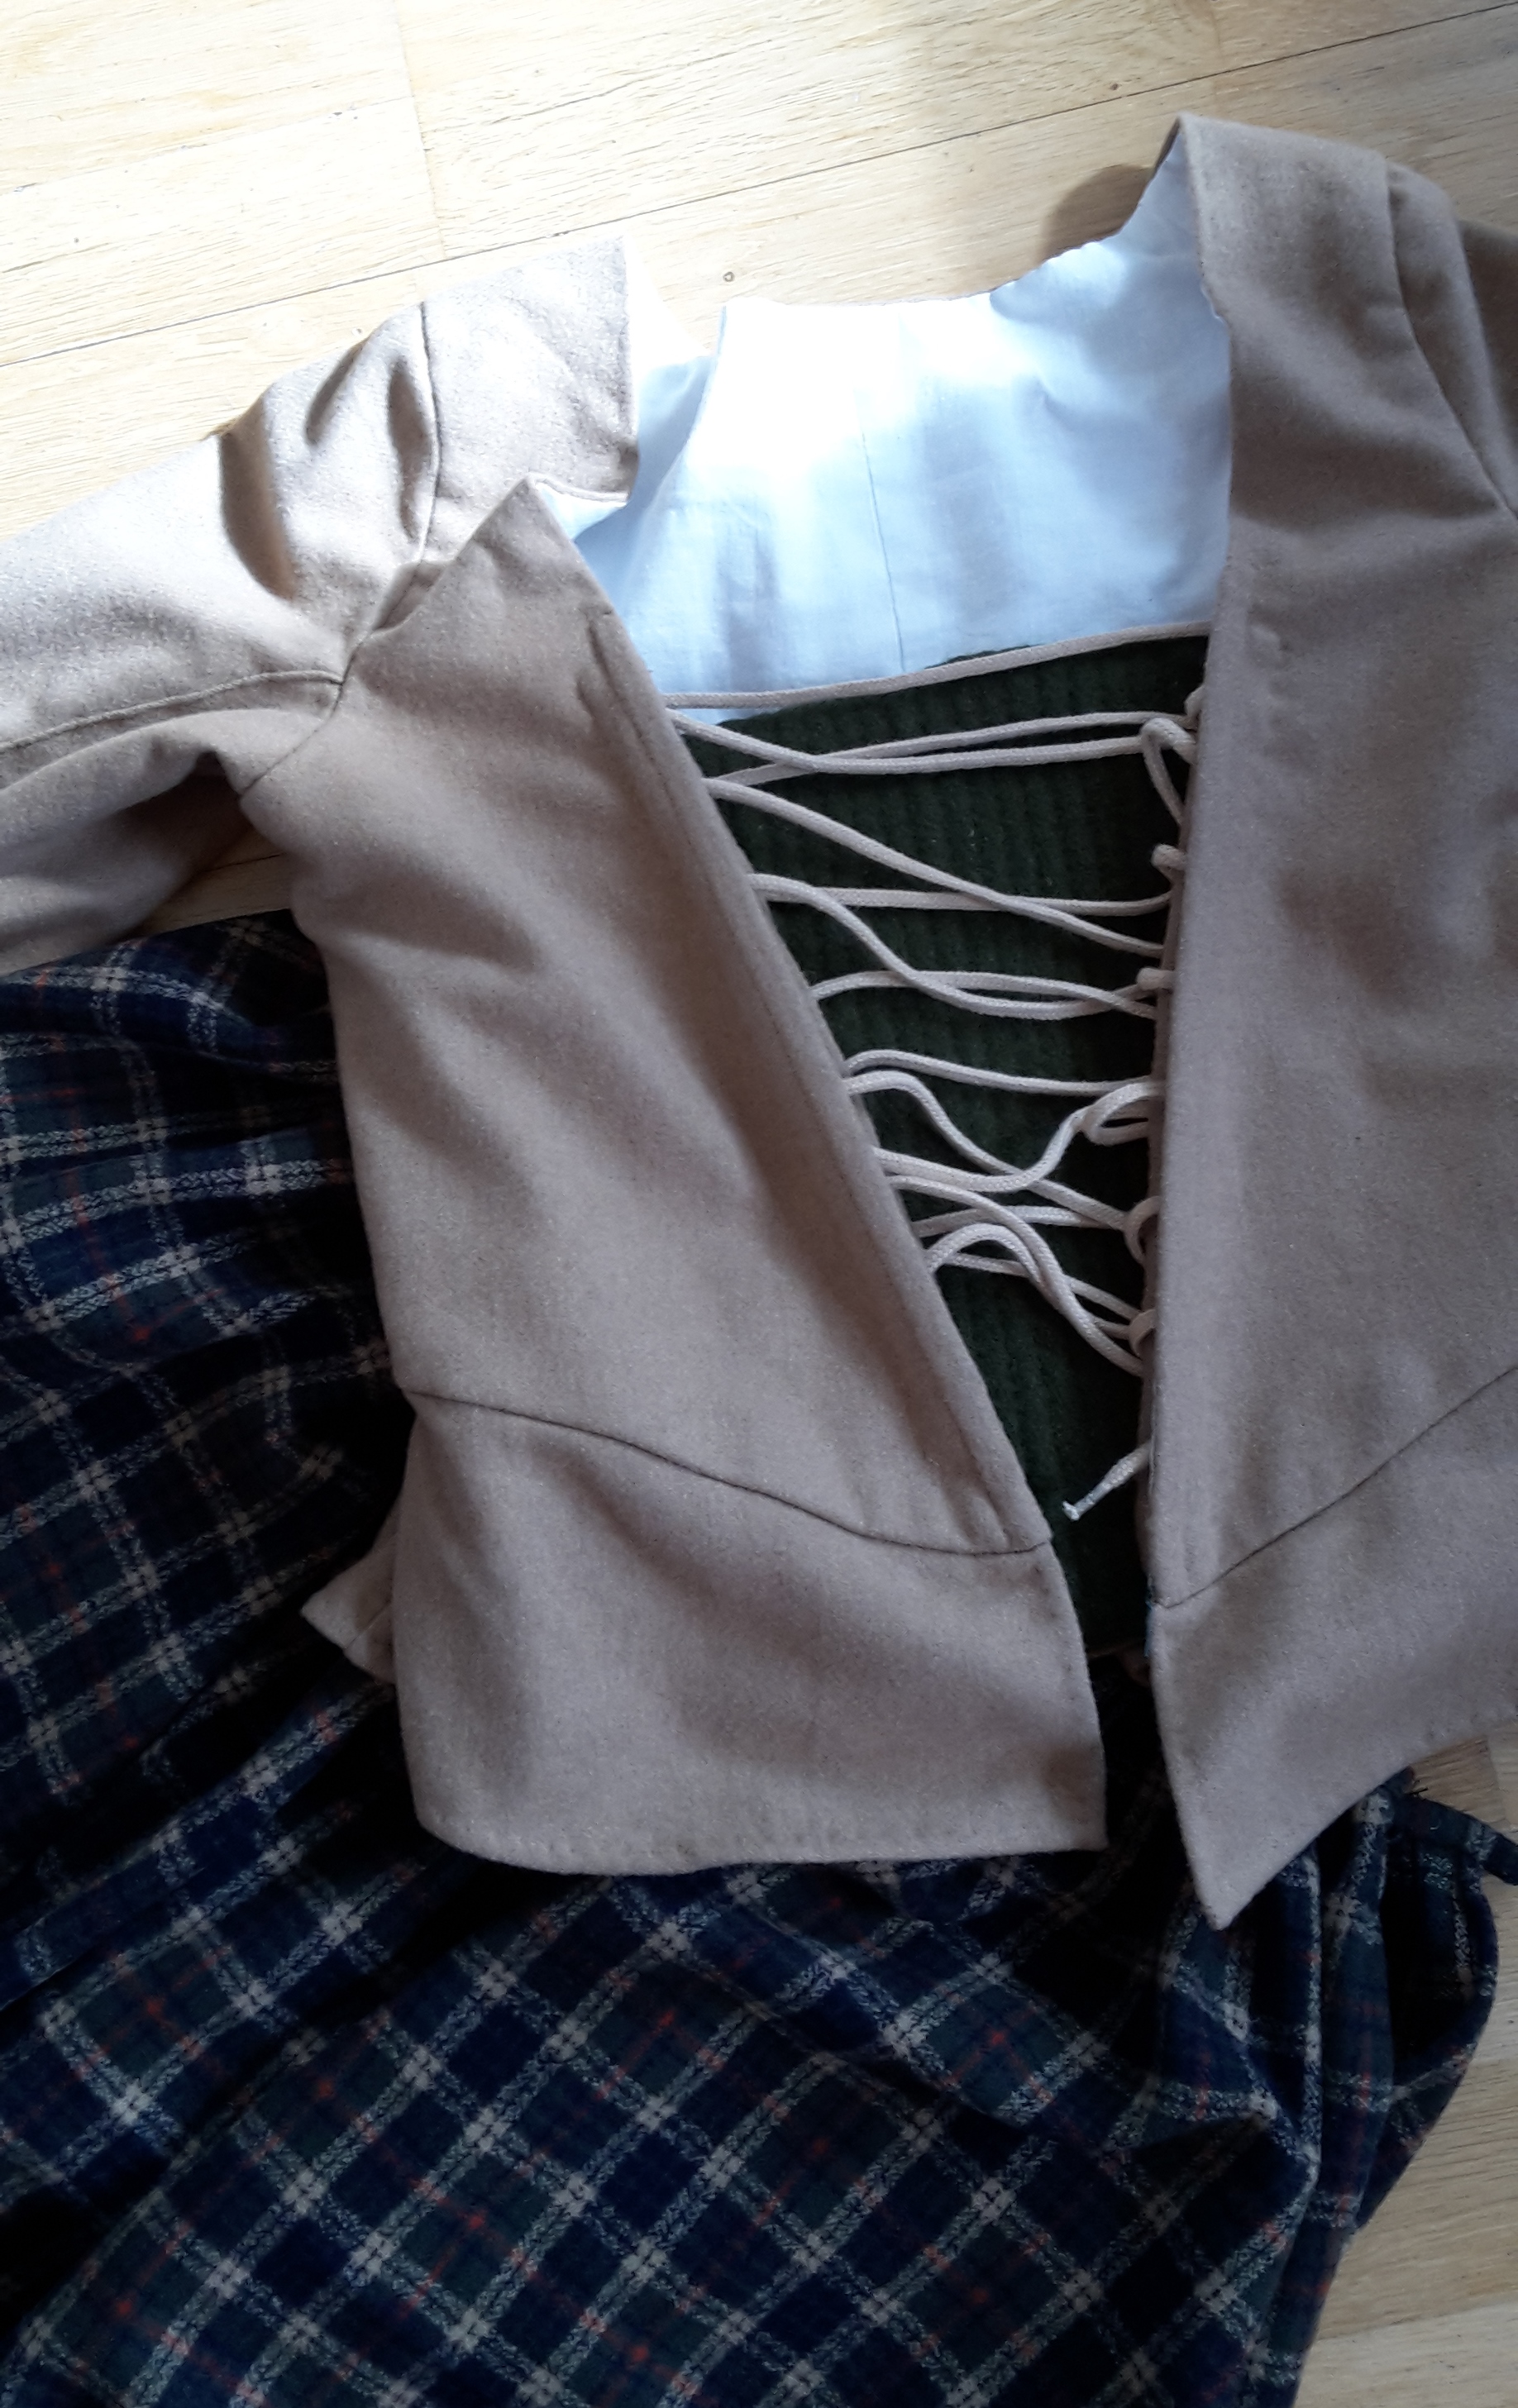


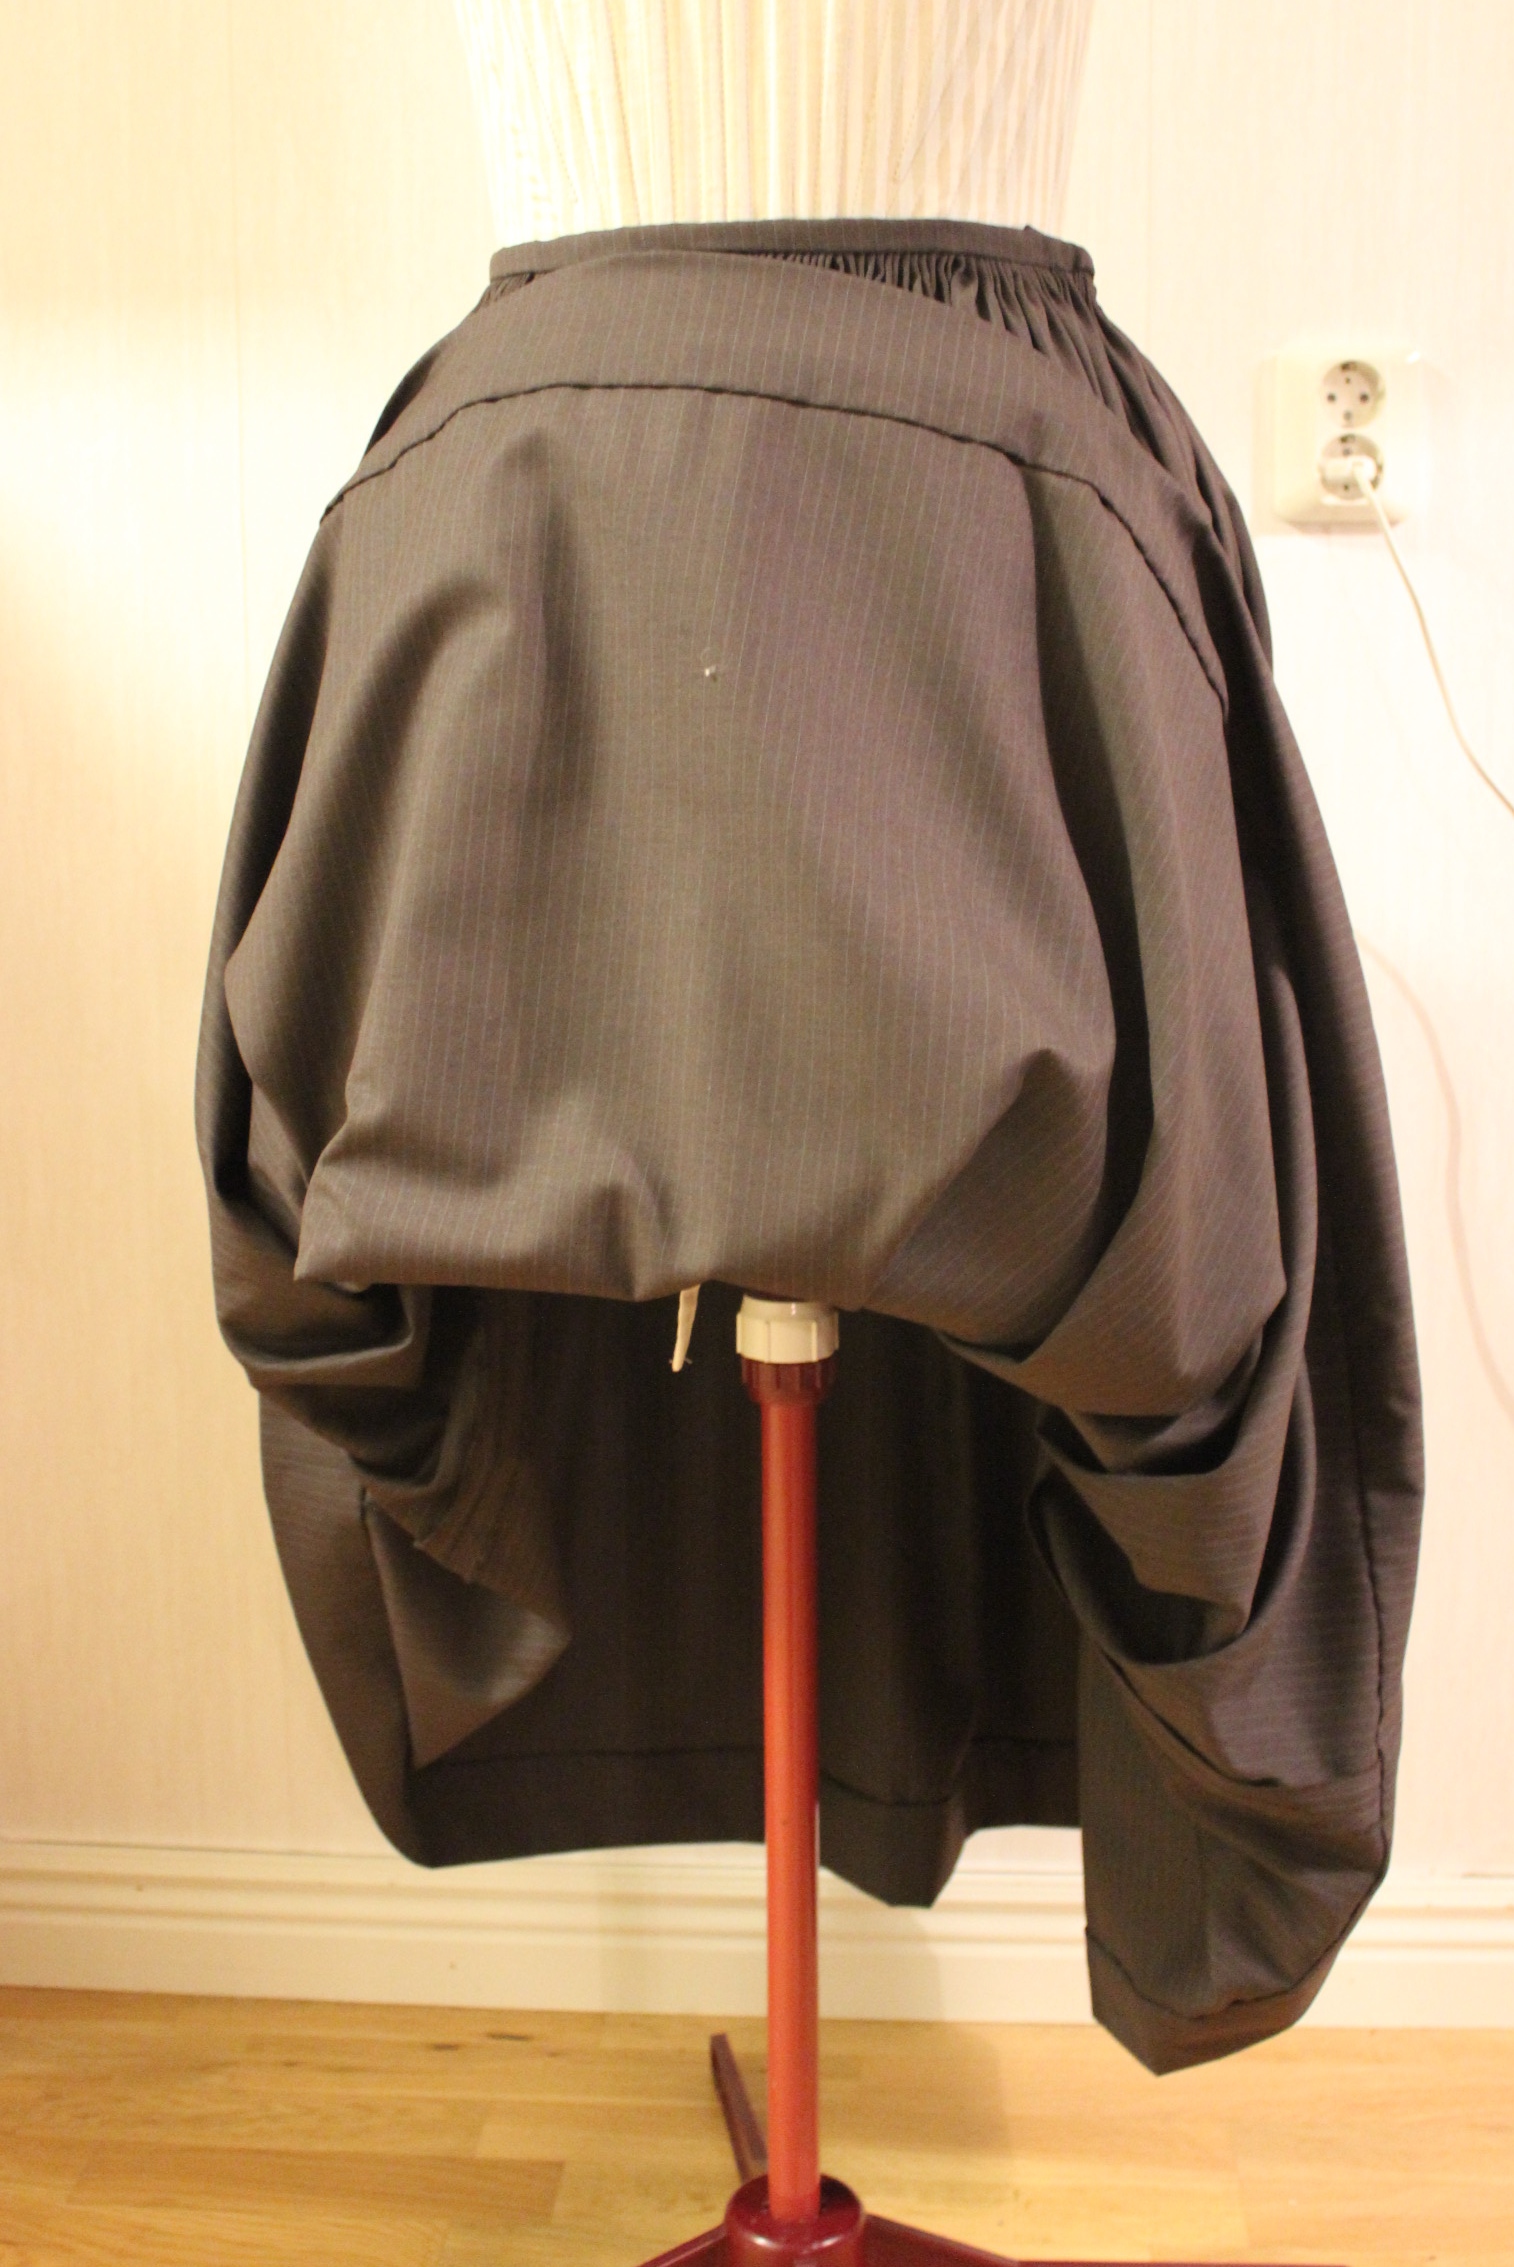
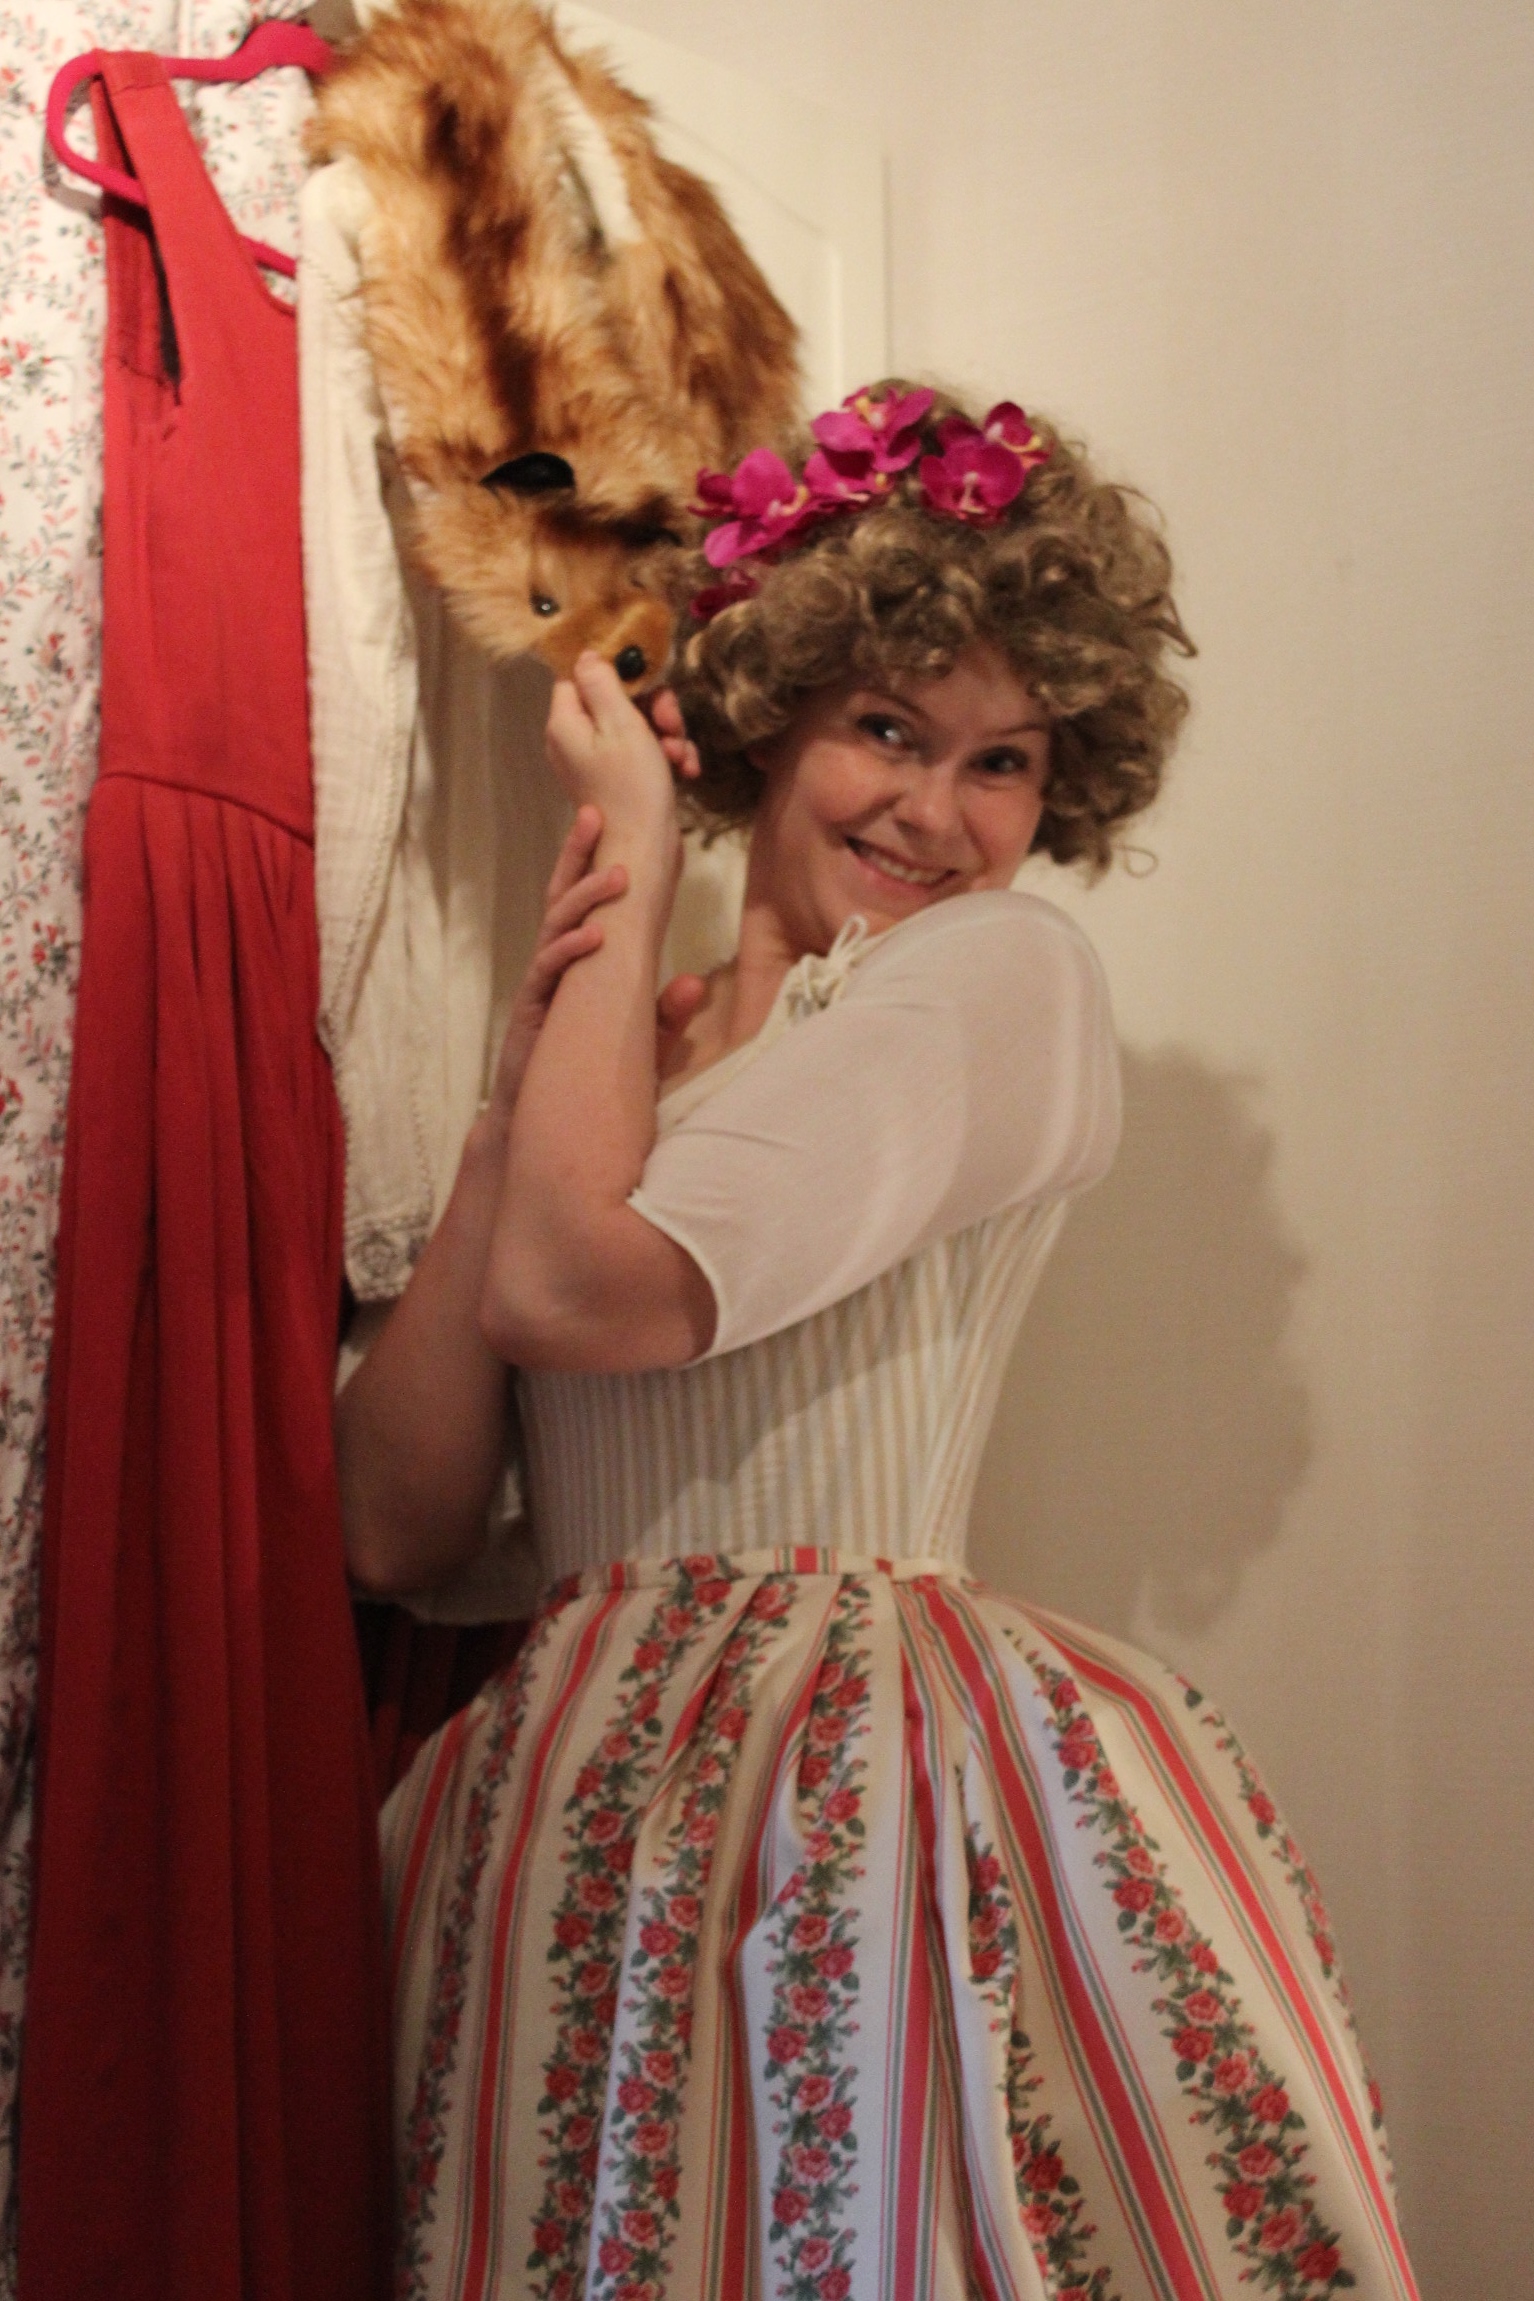
 Not so good.
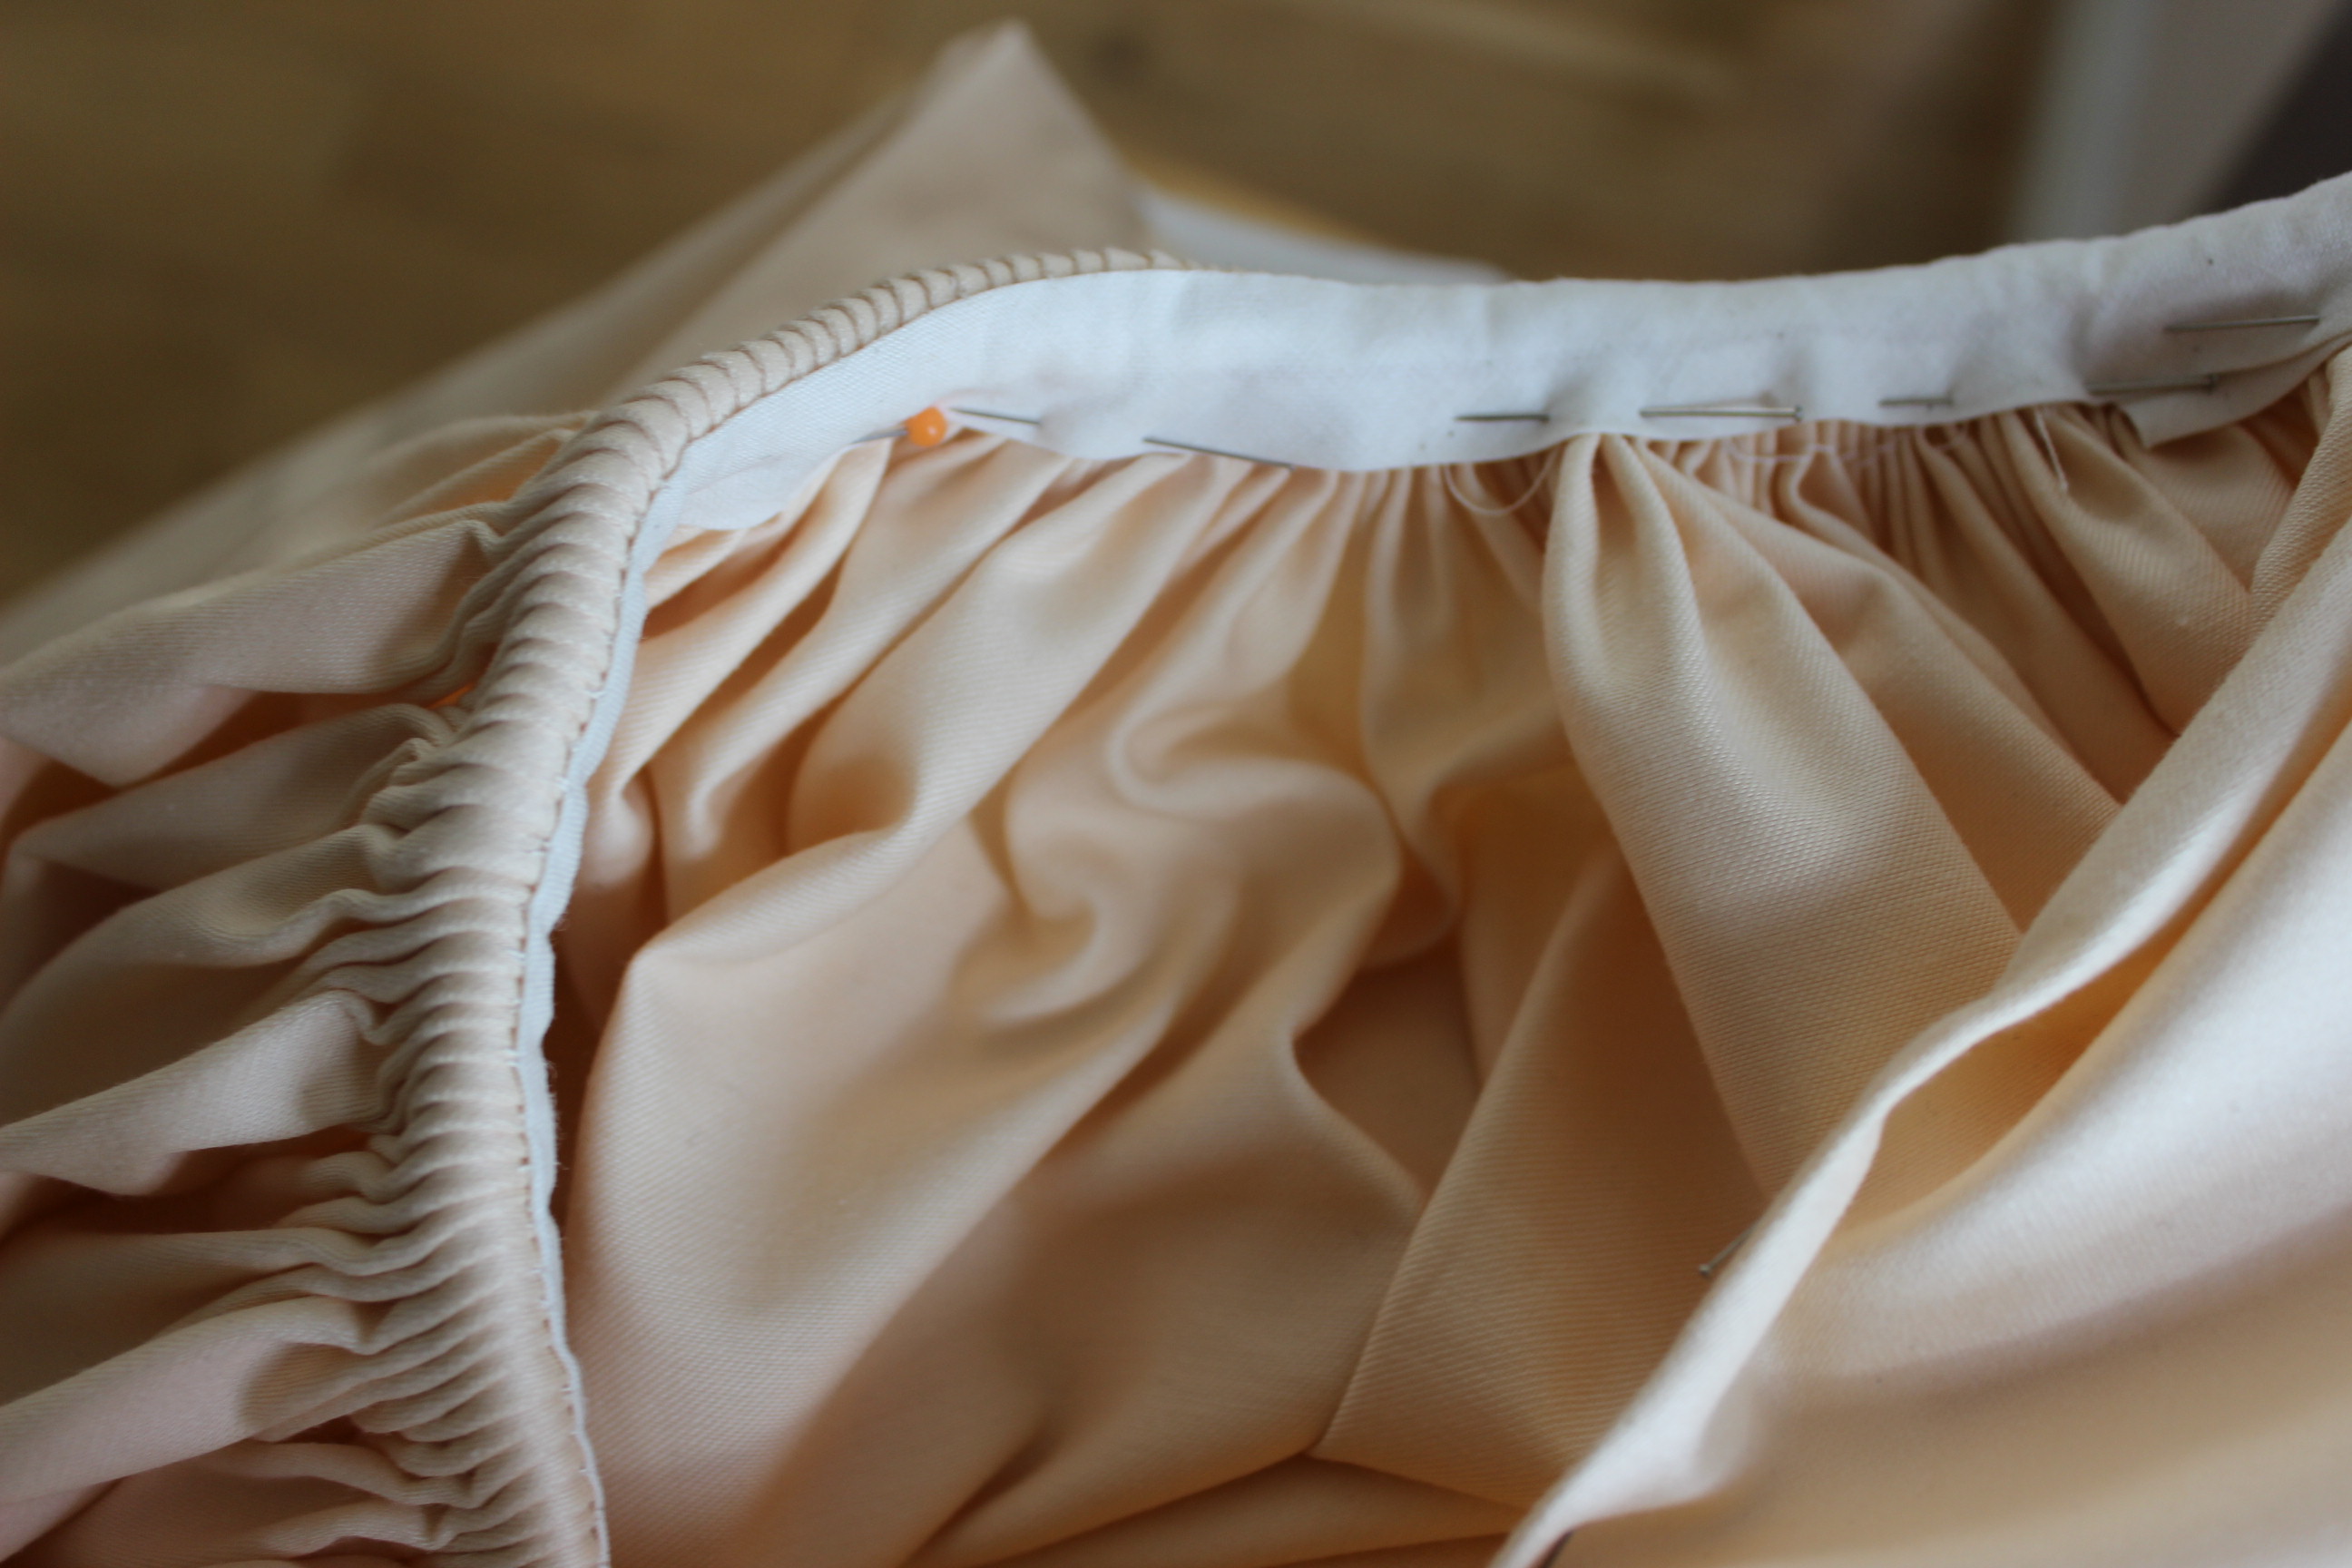
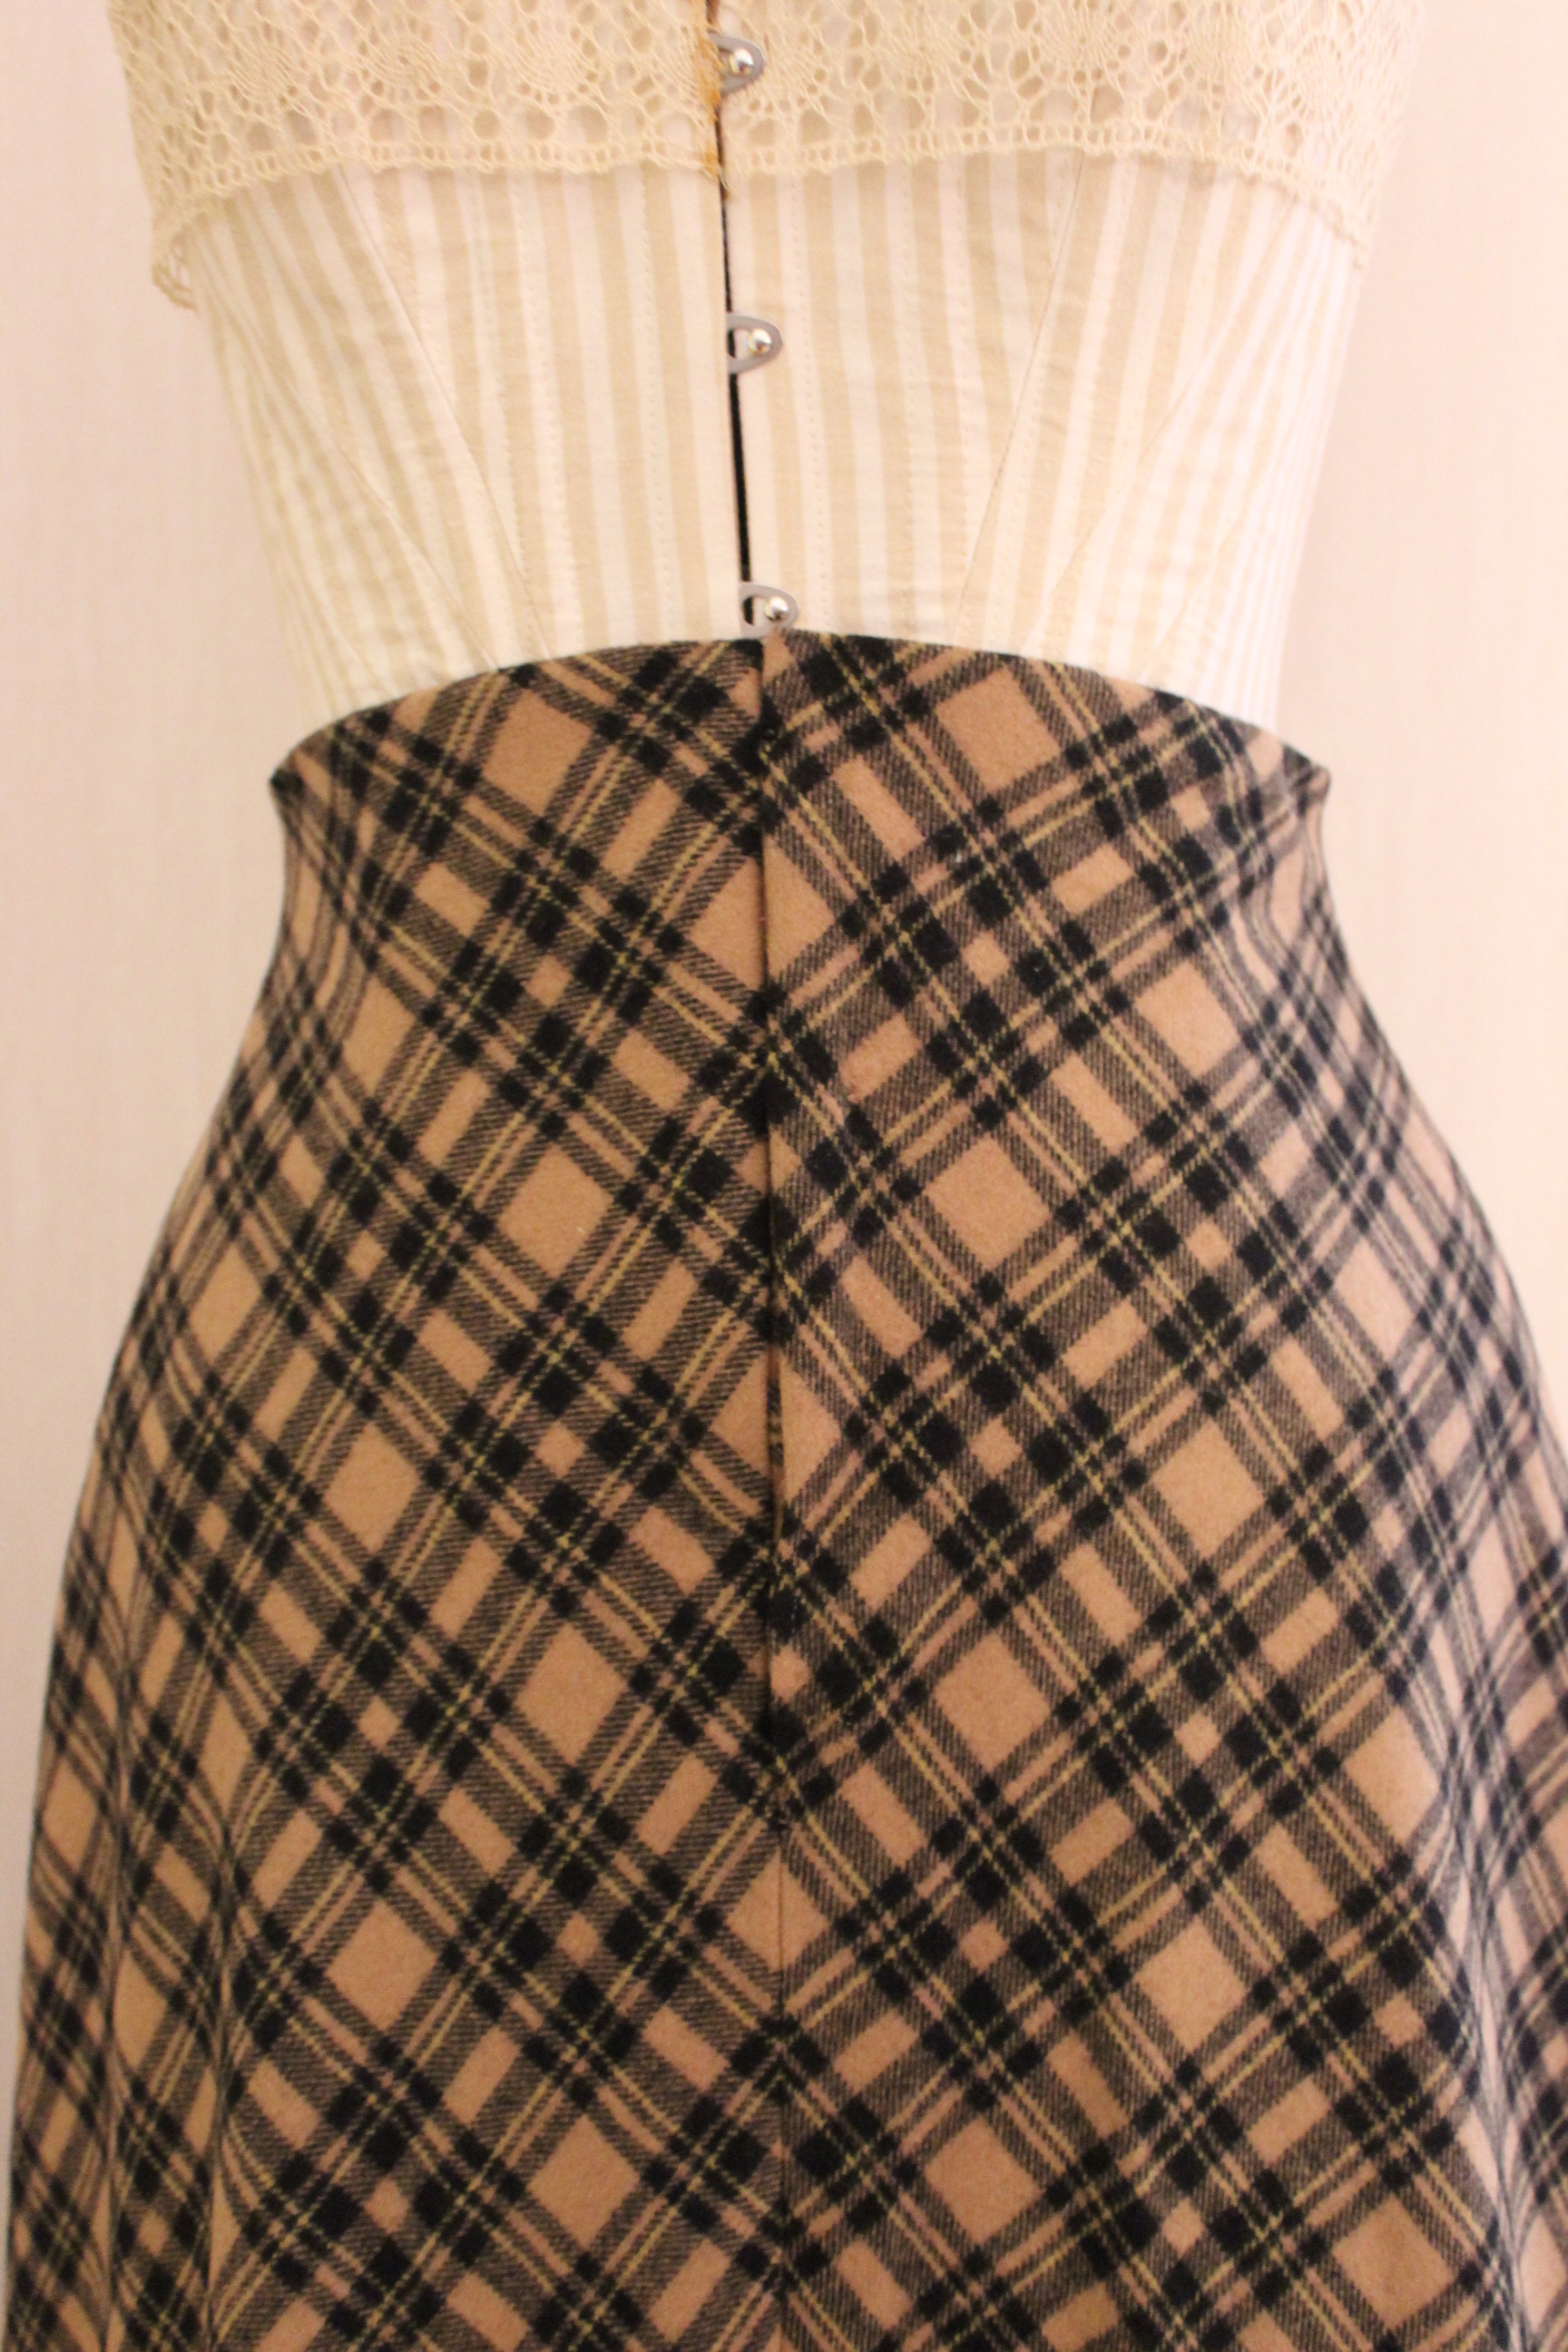
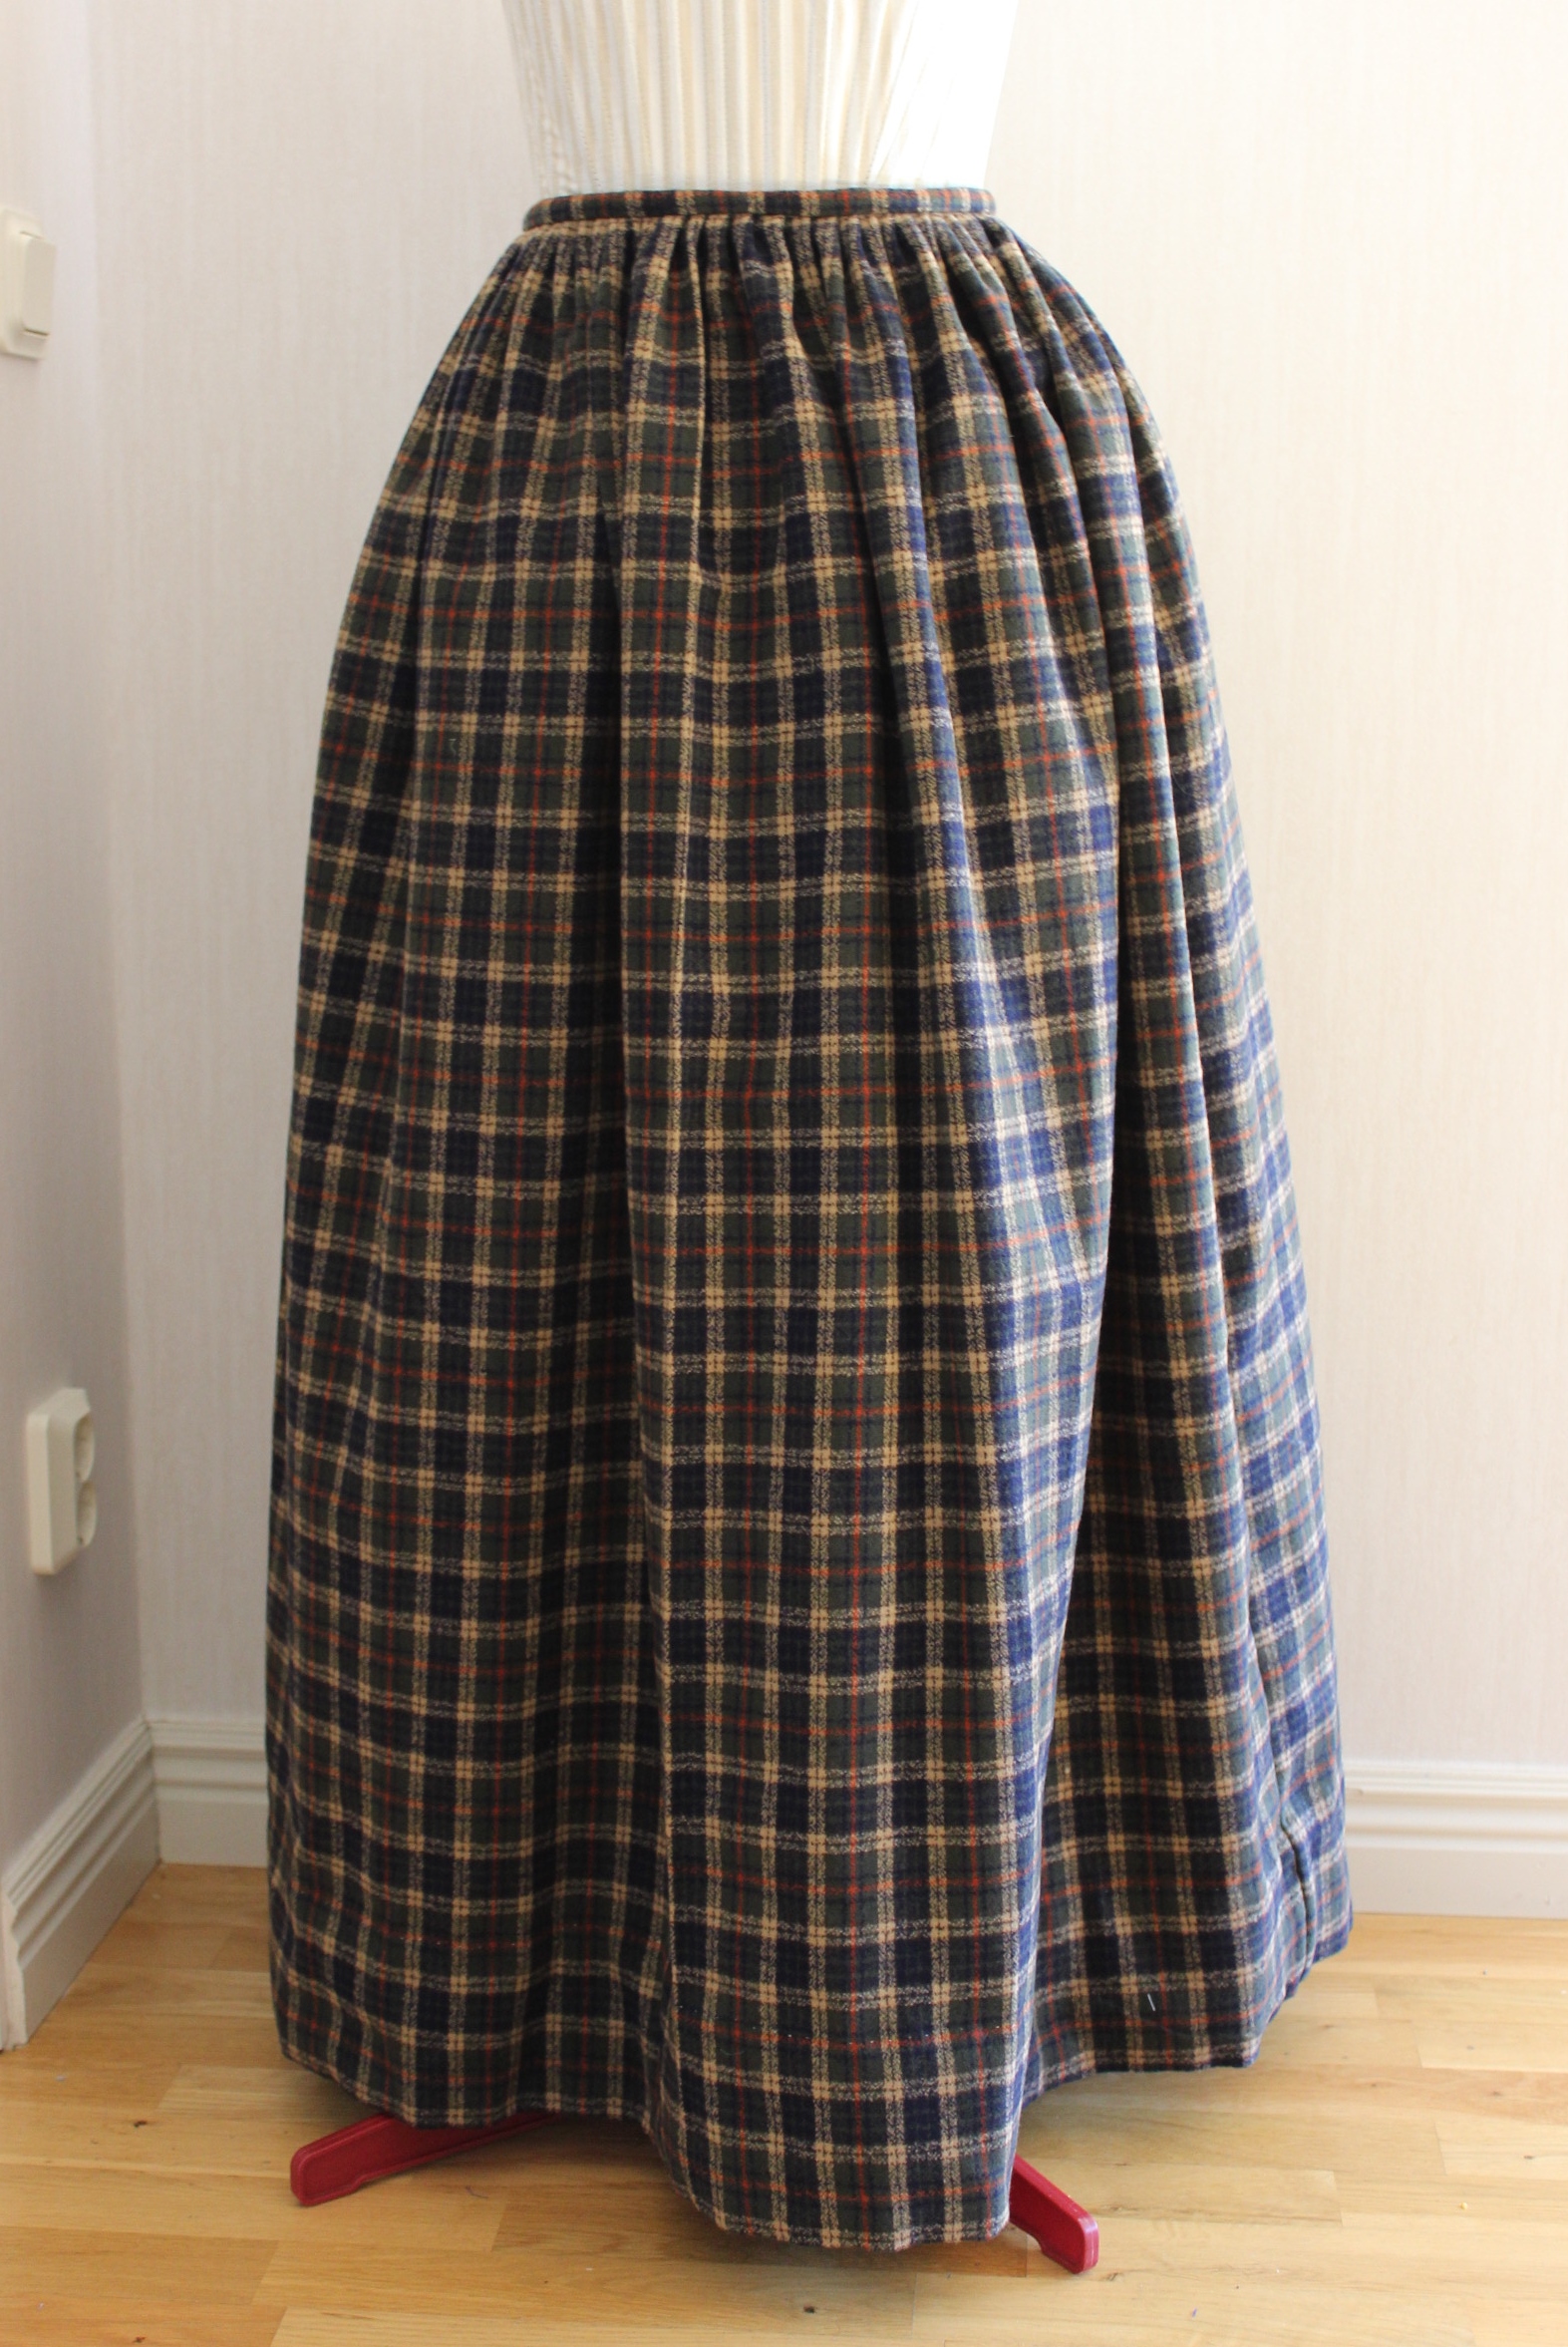
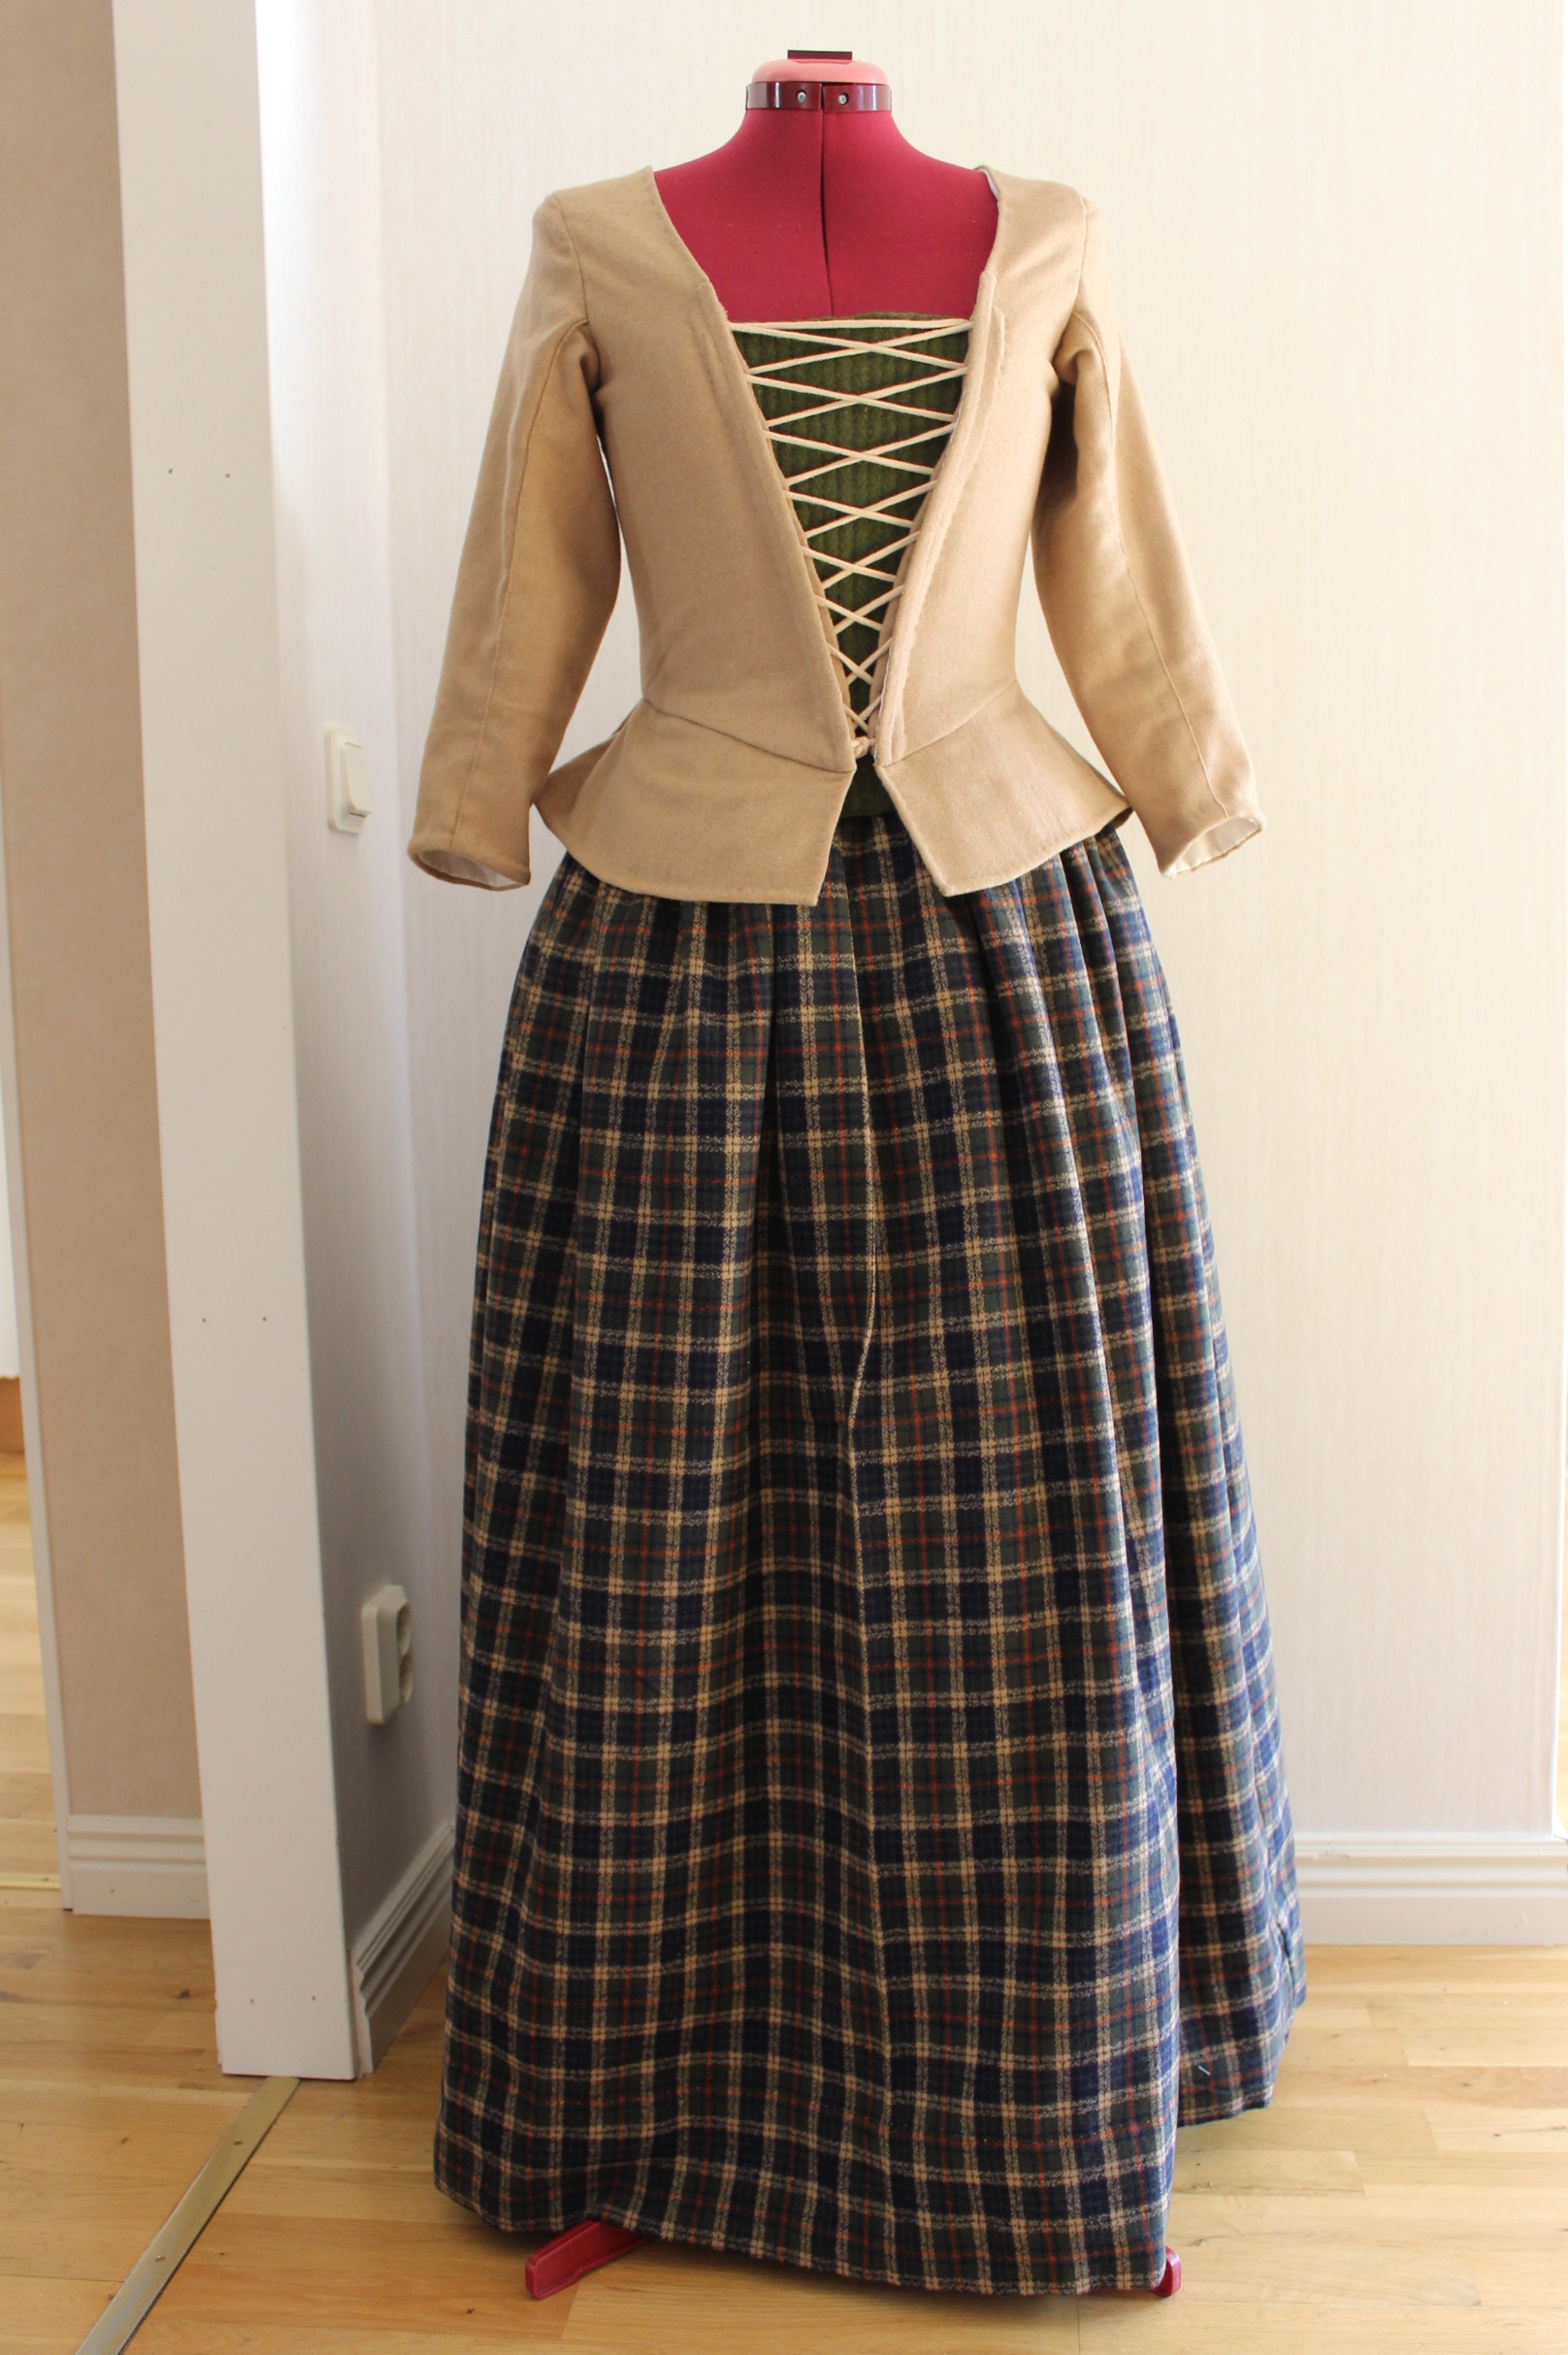
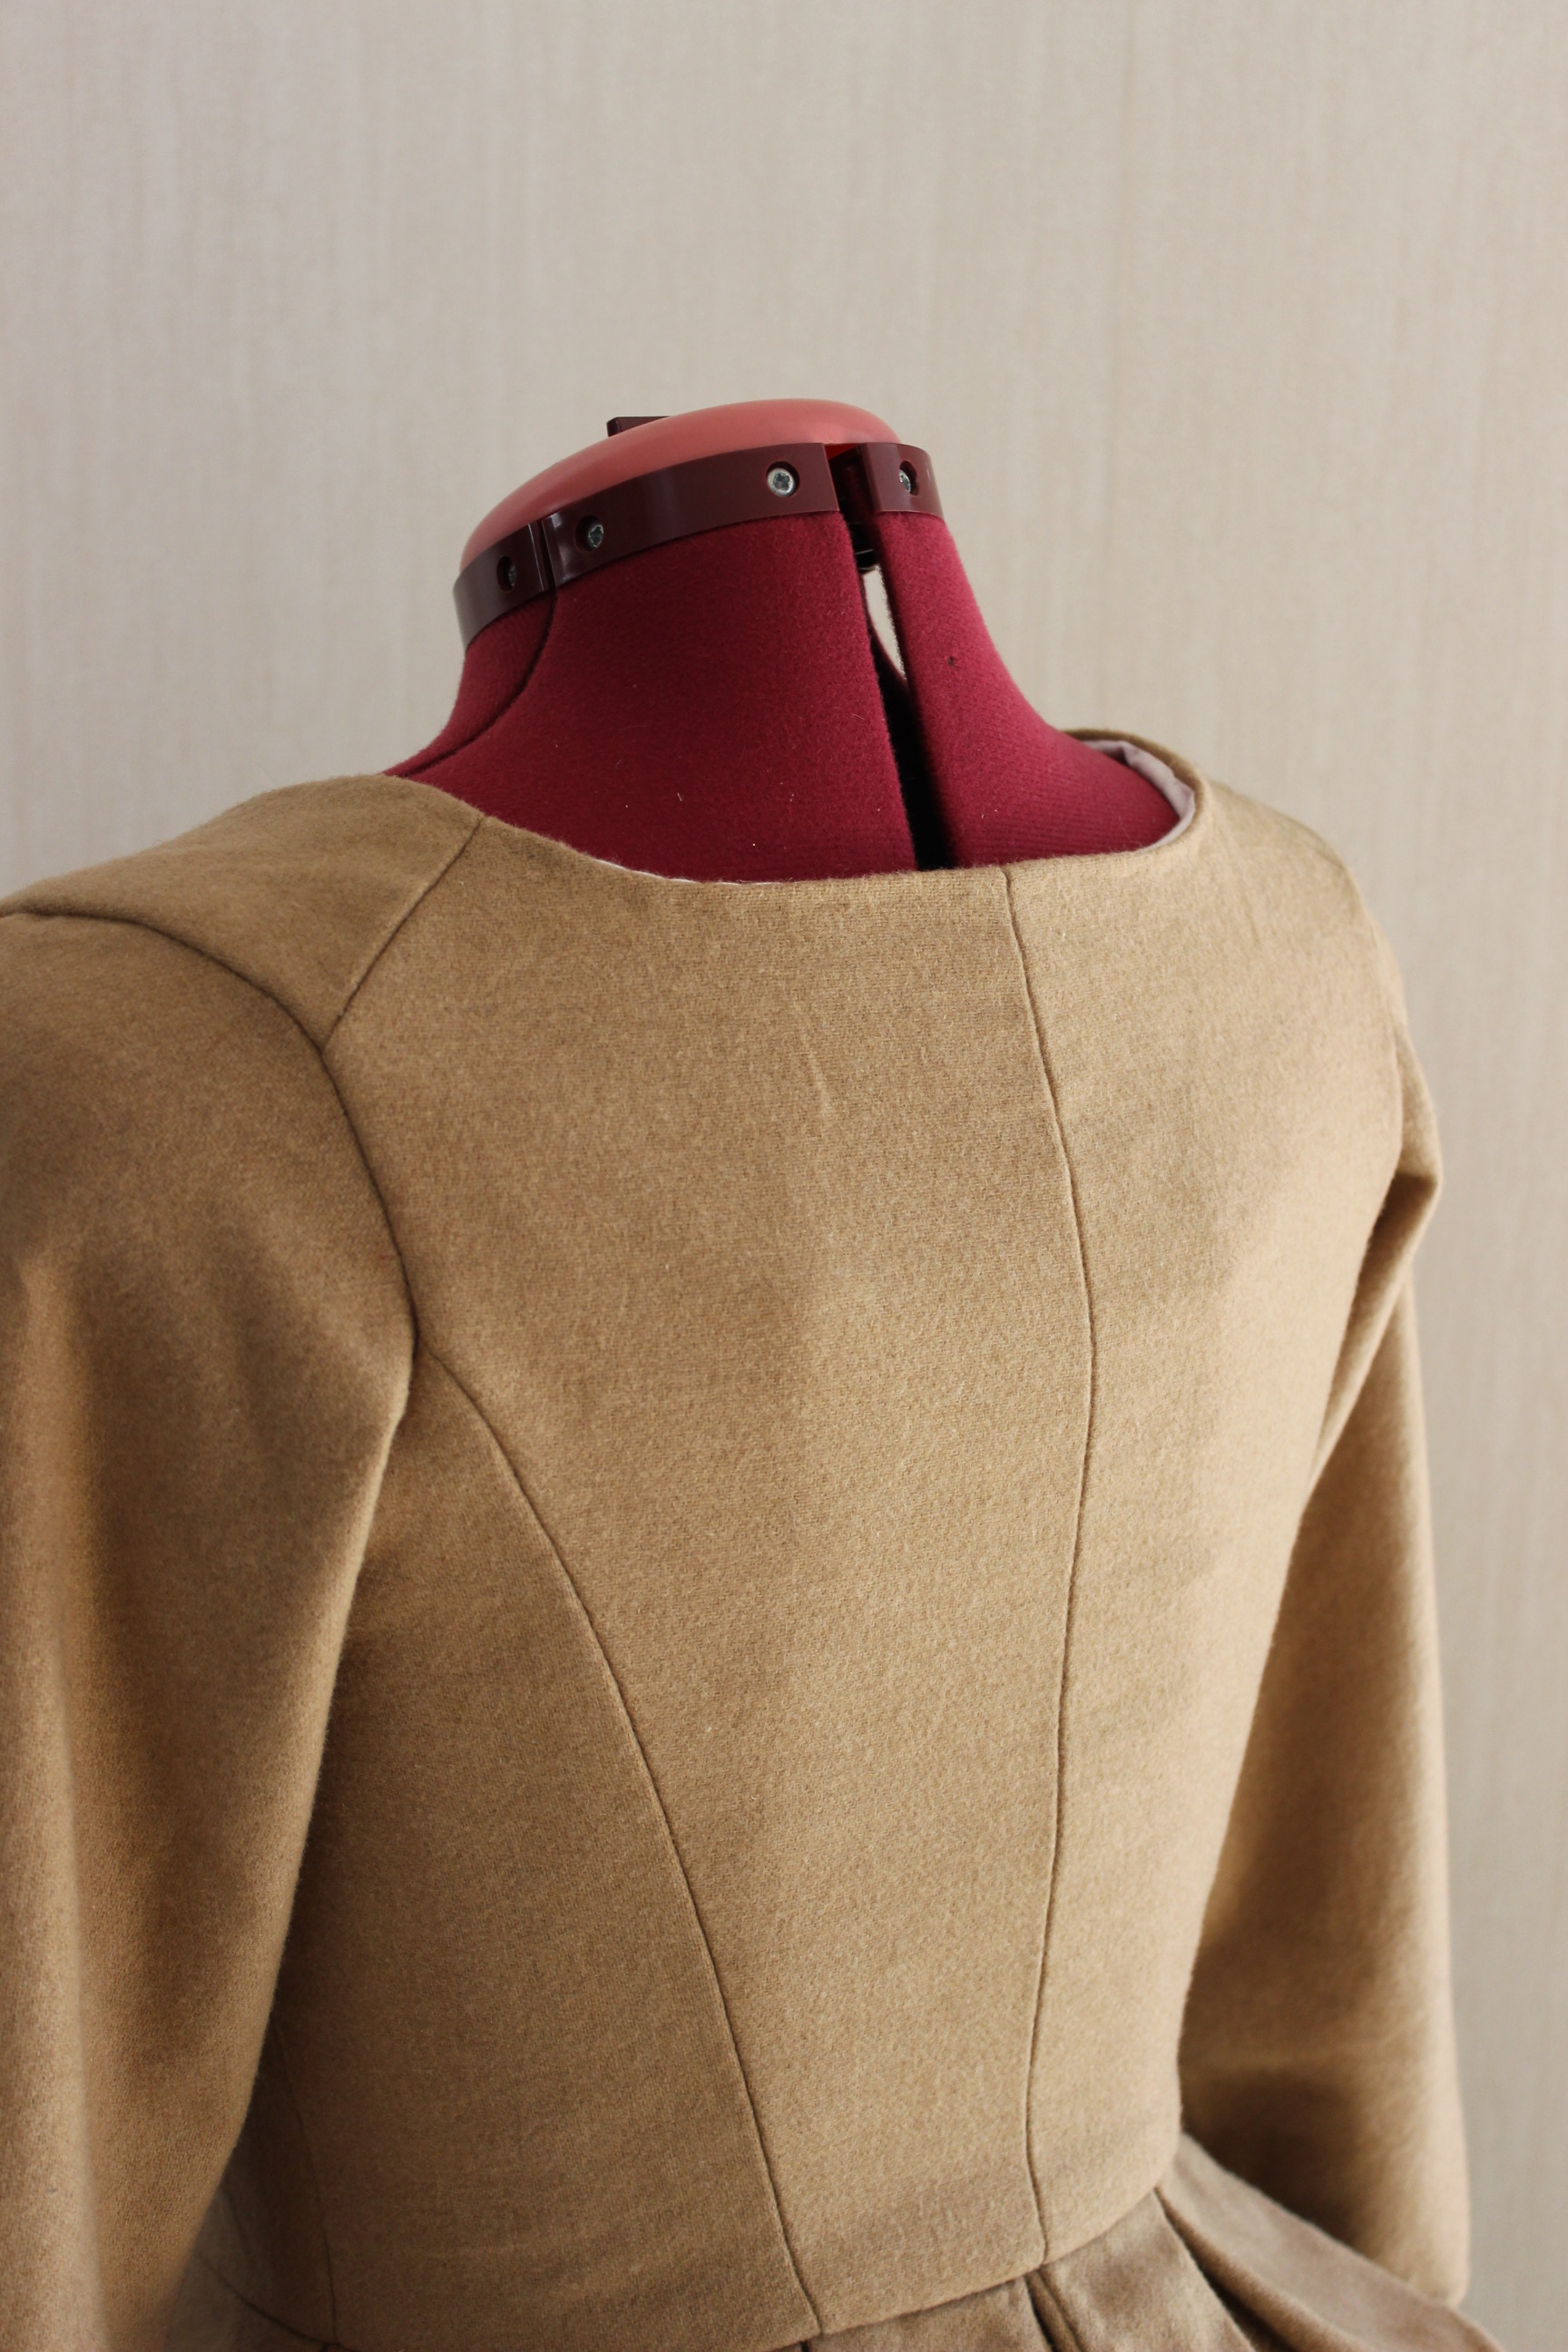
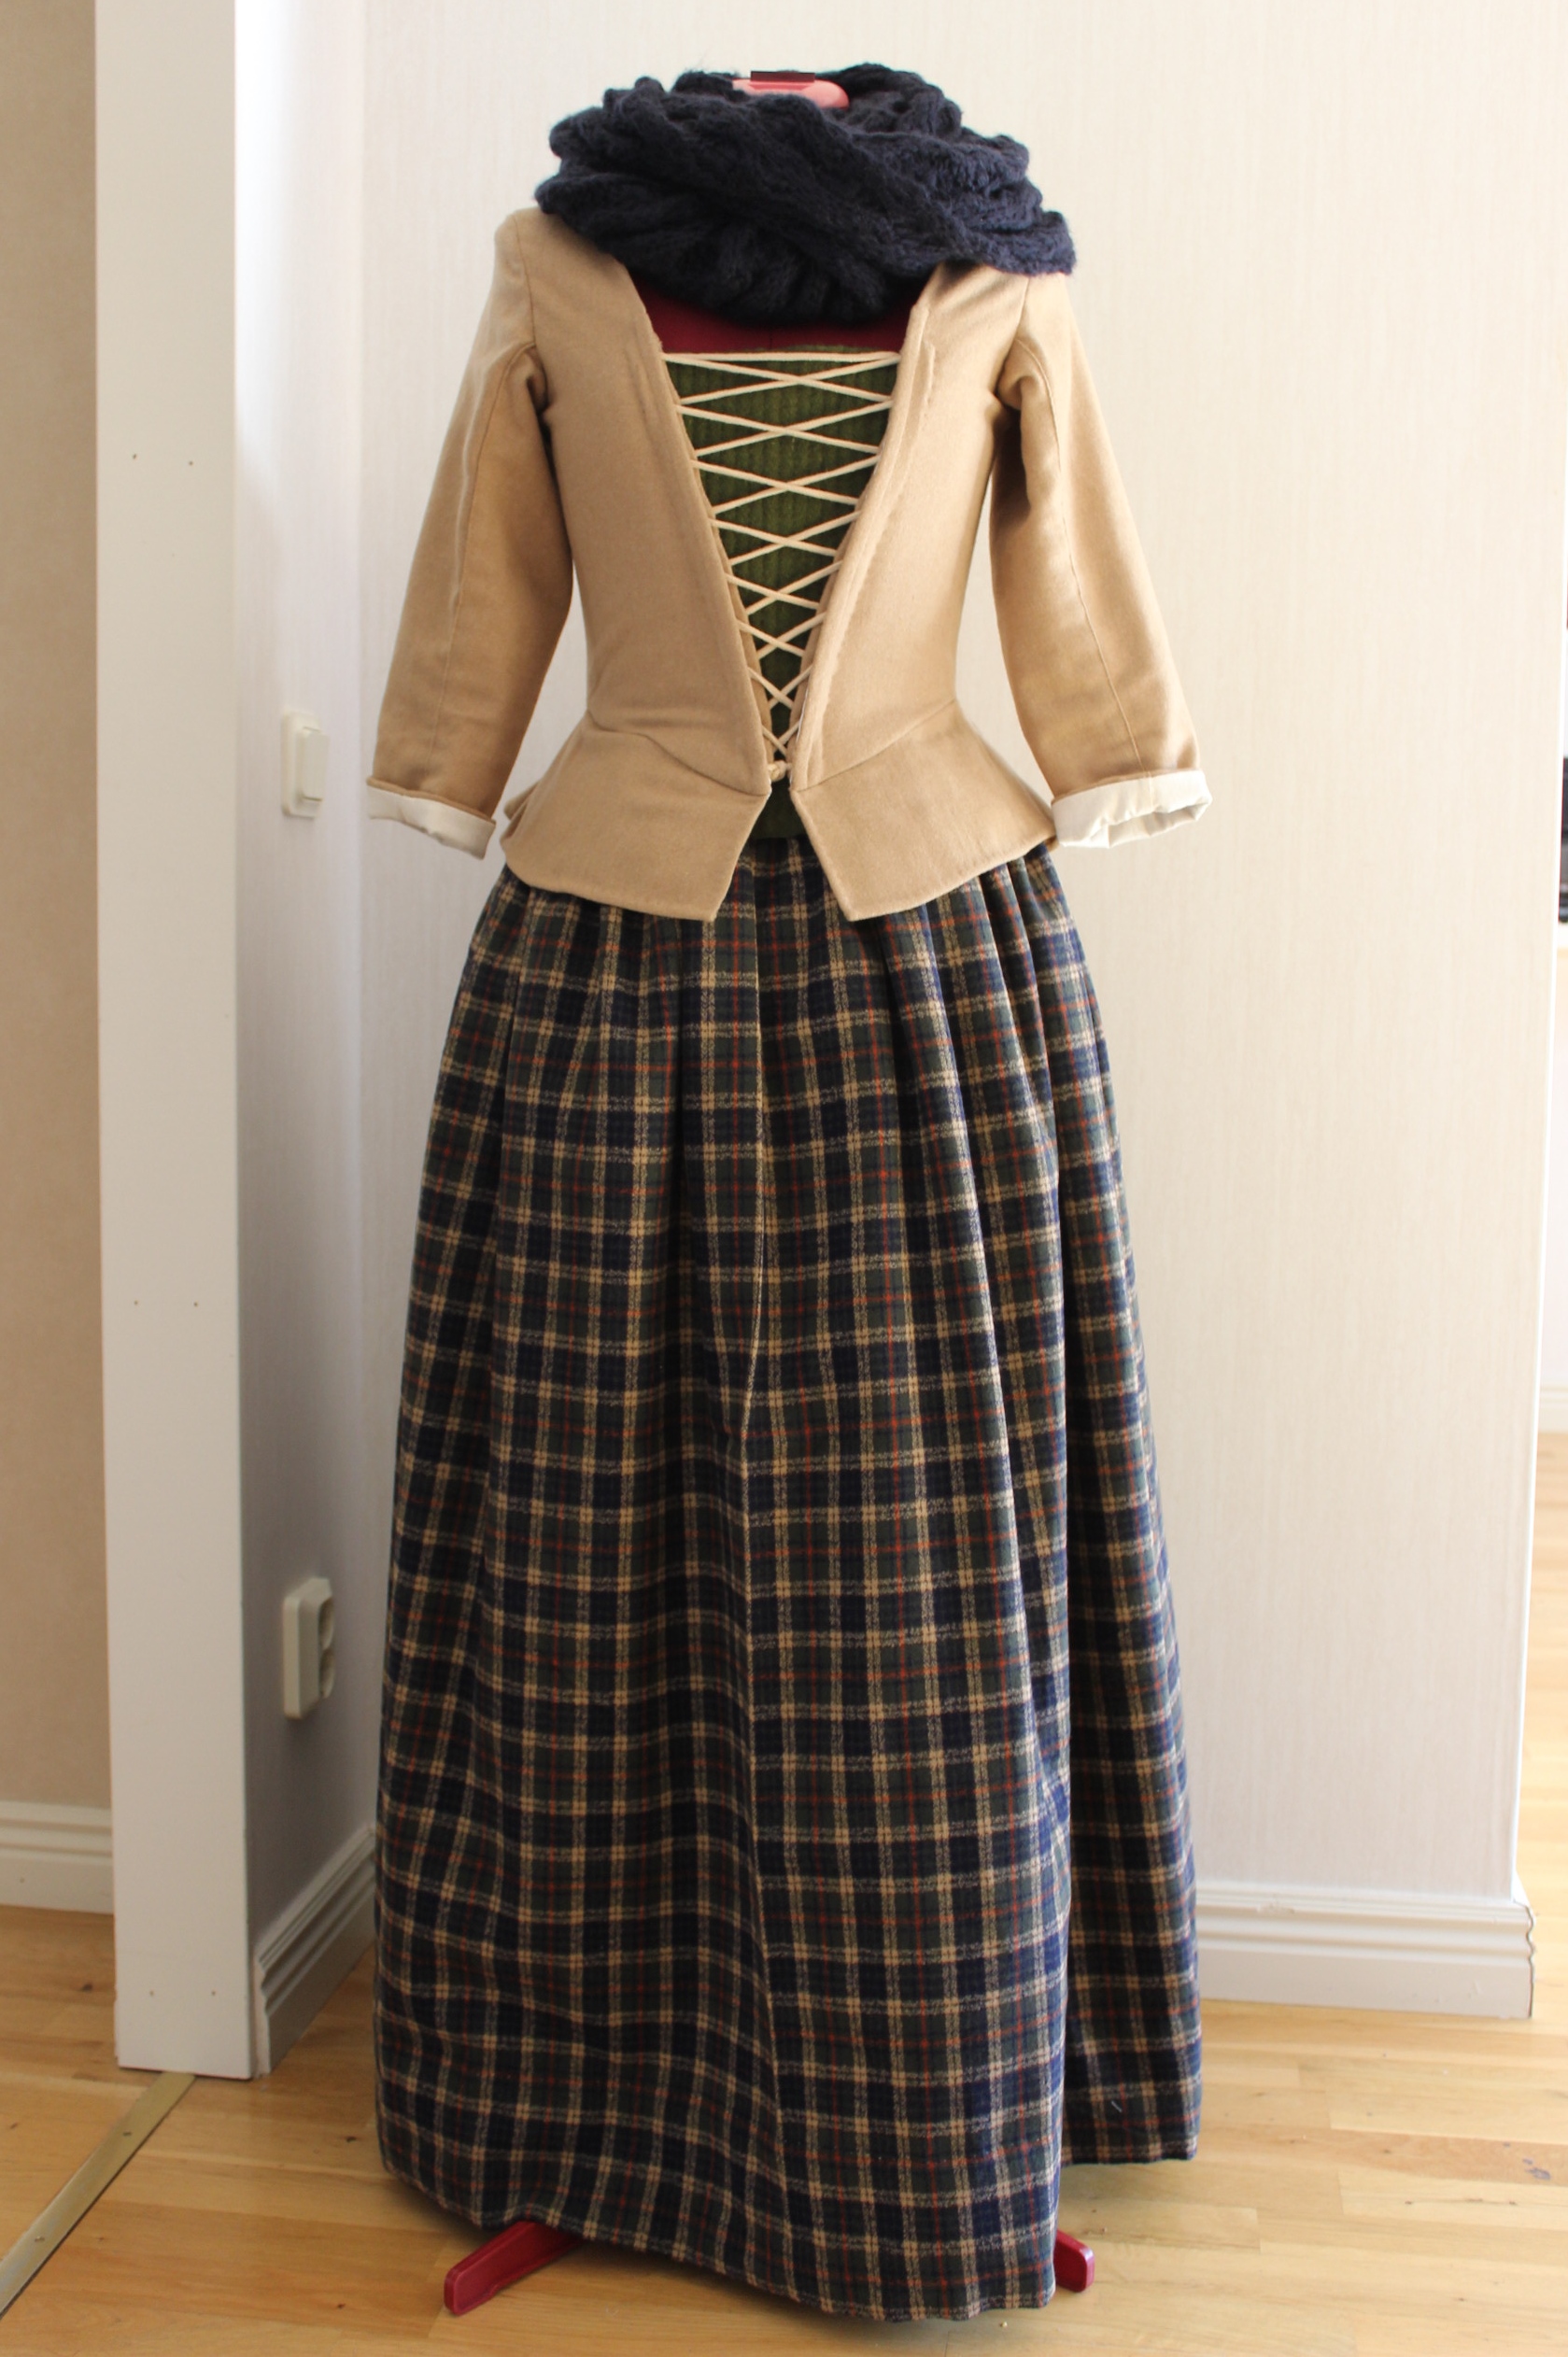
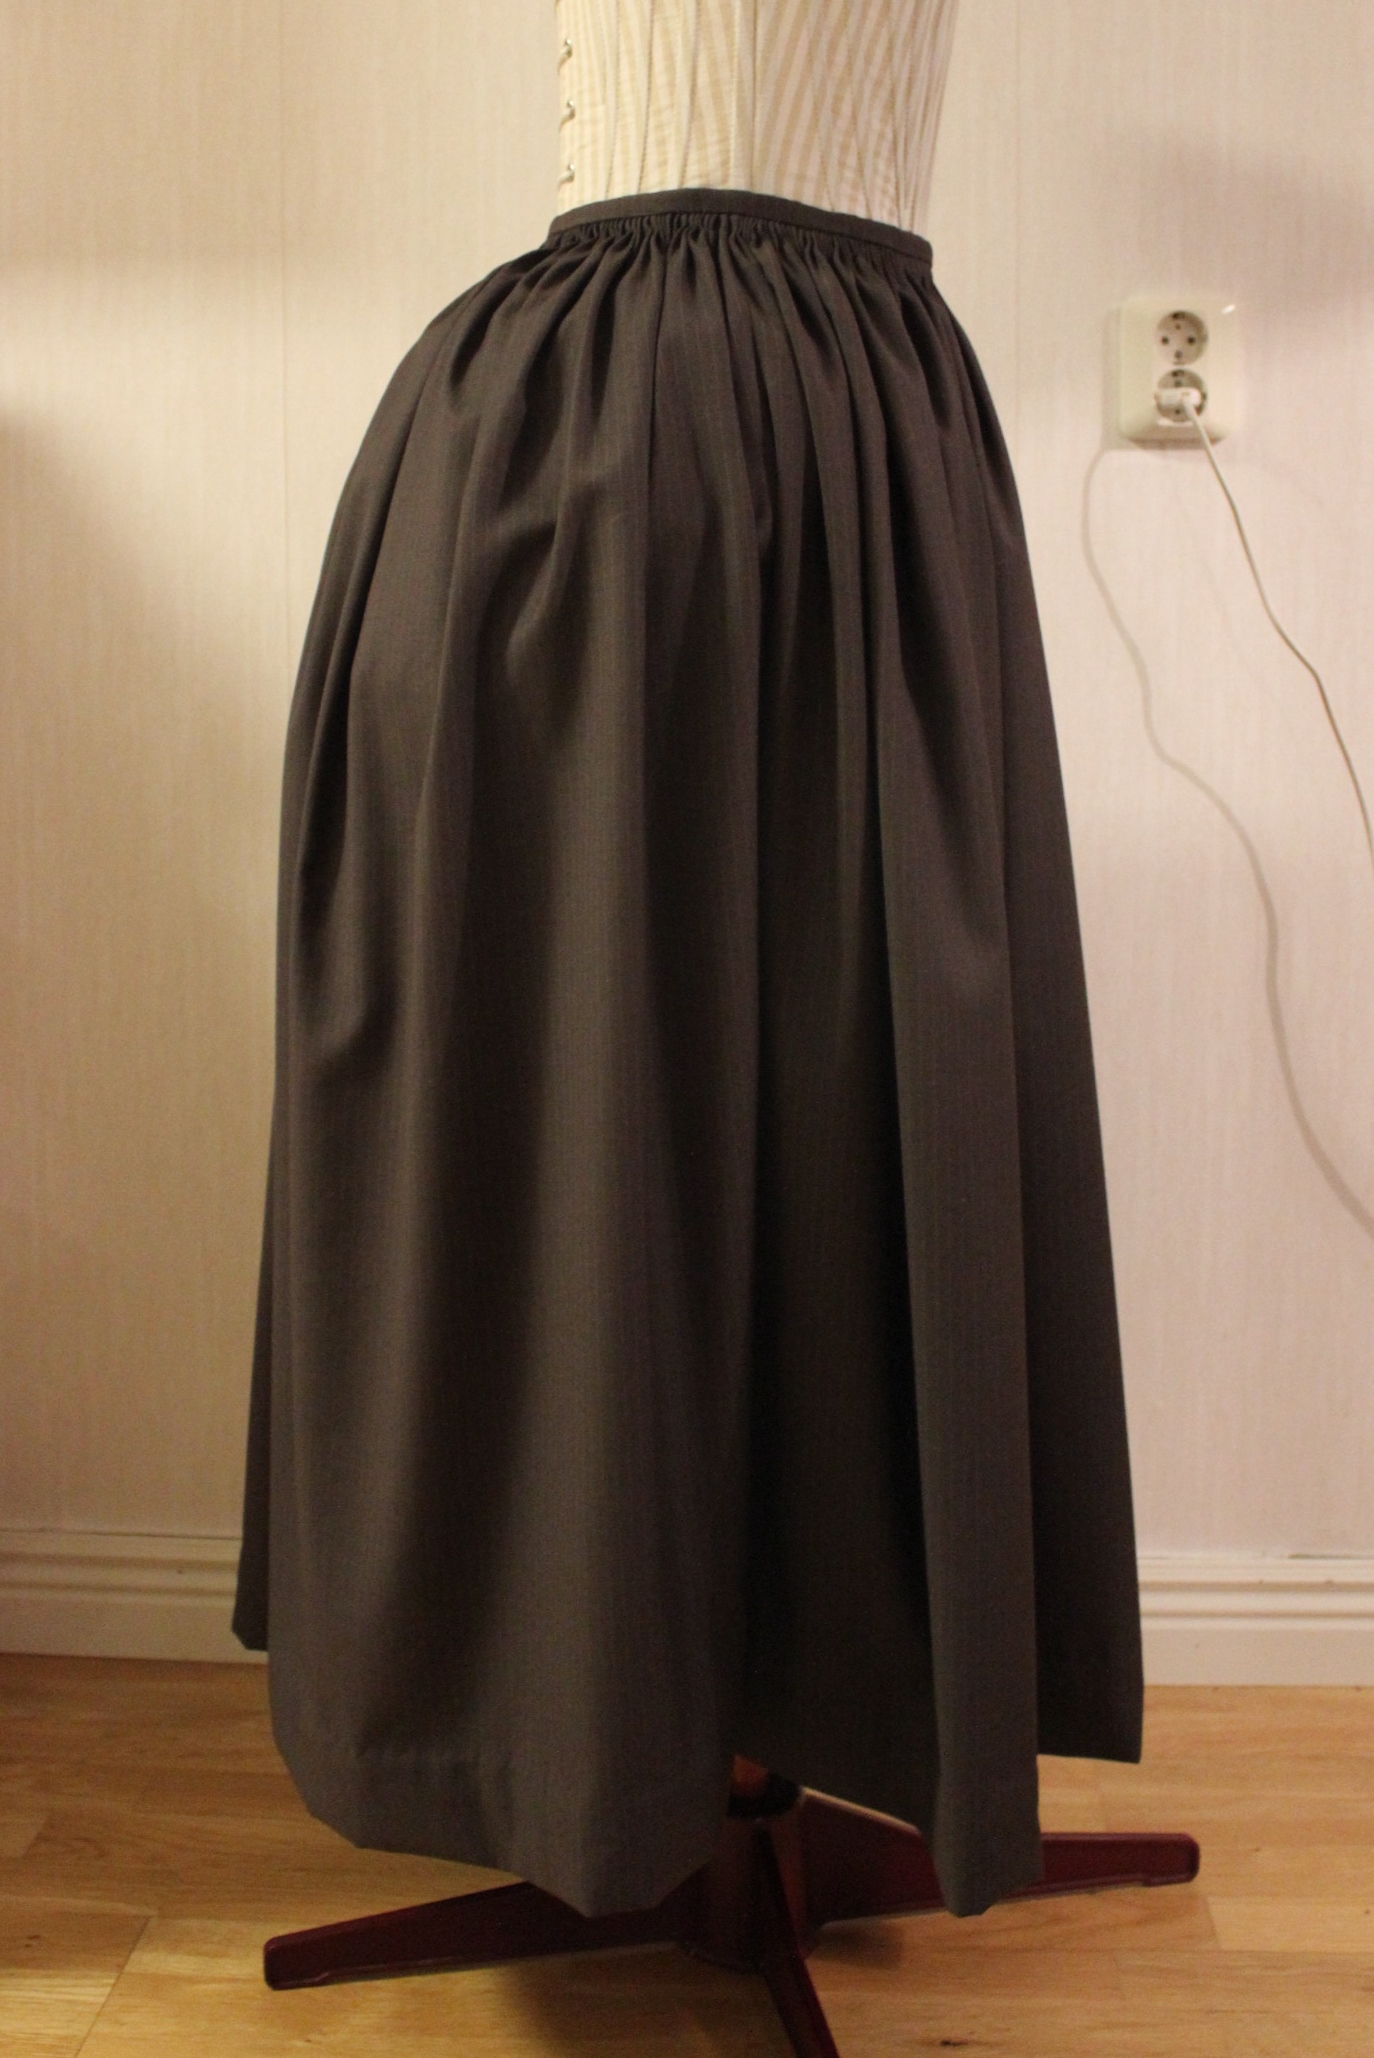
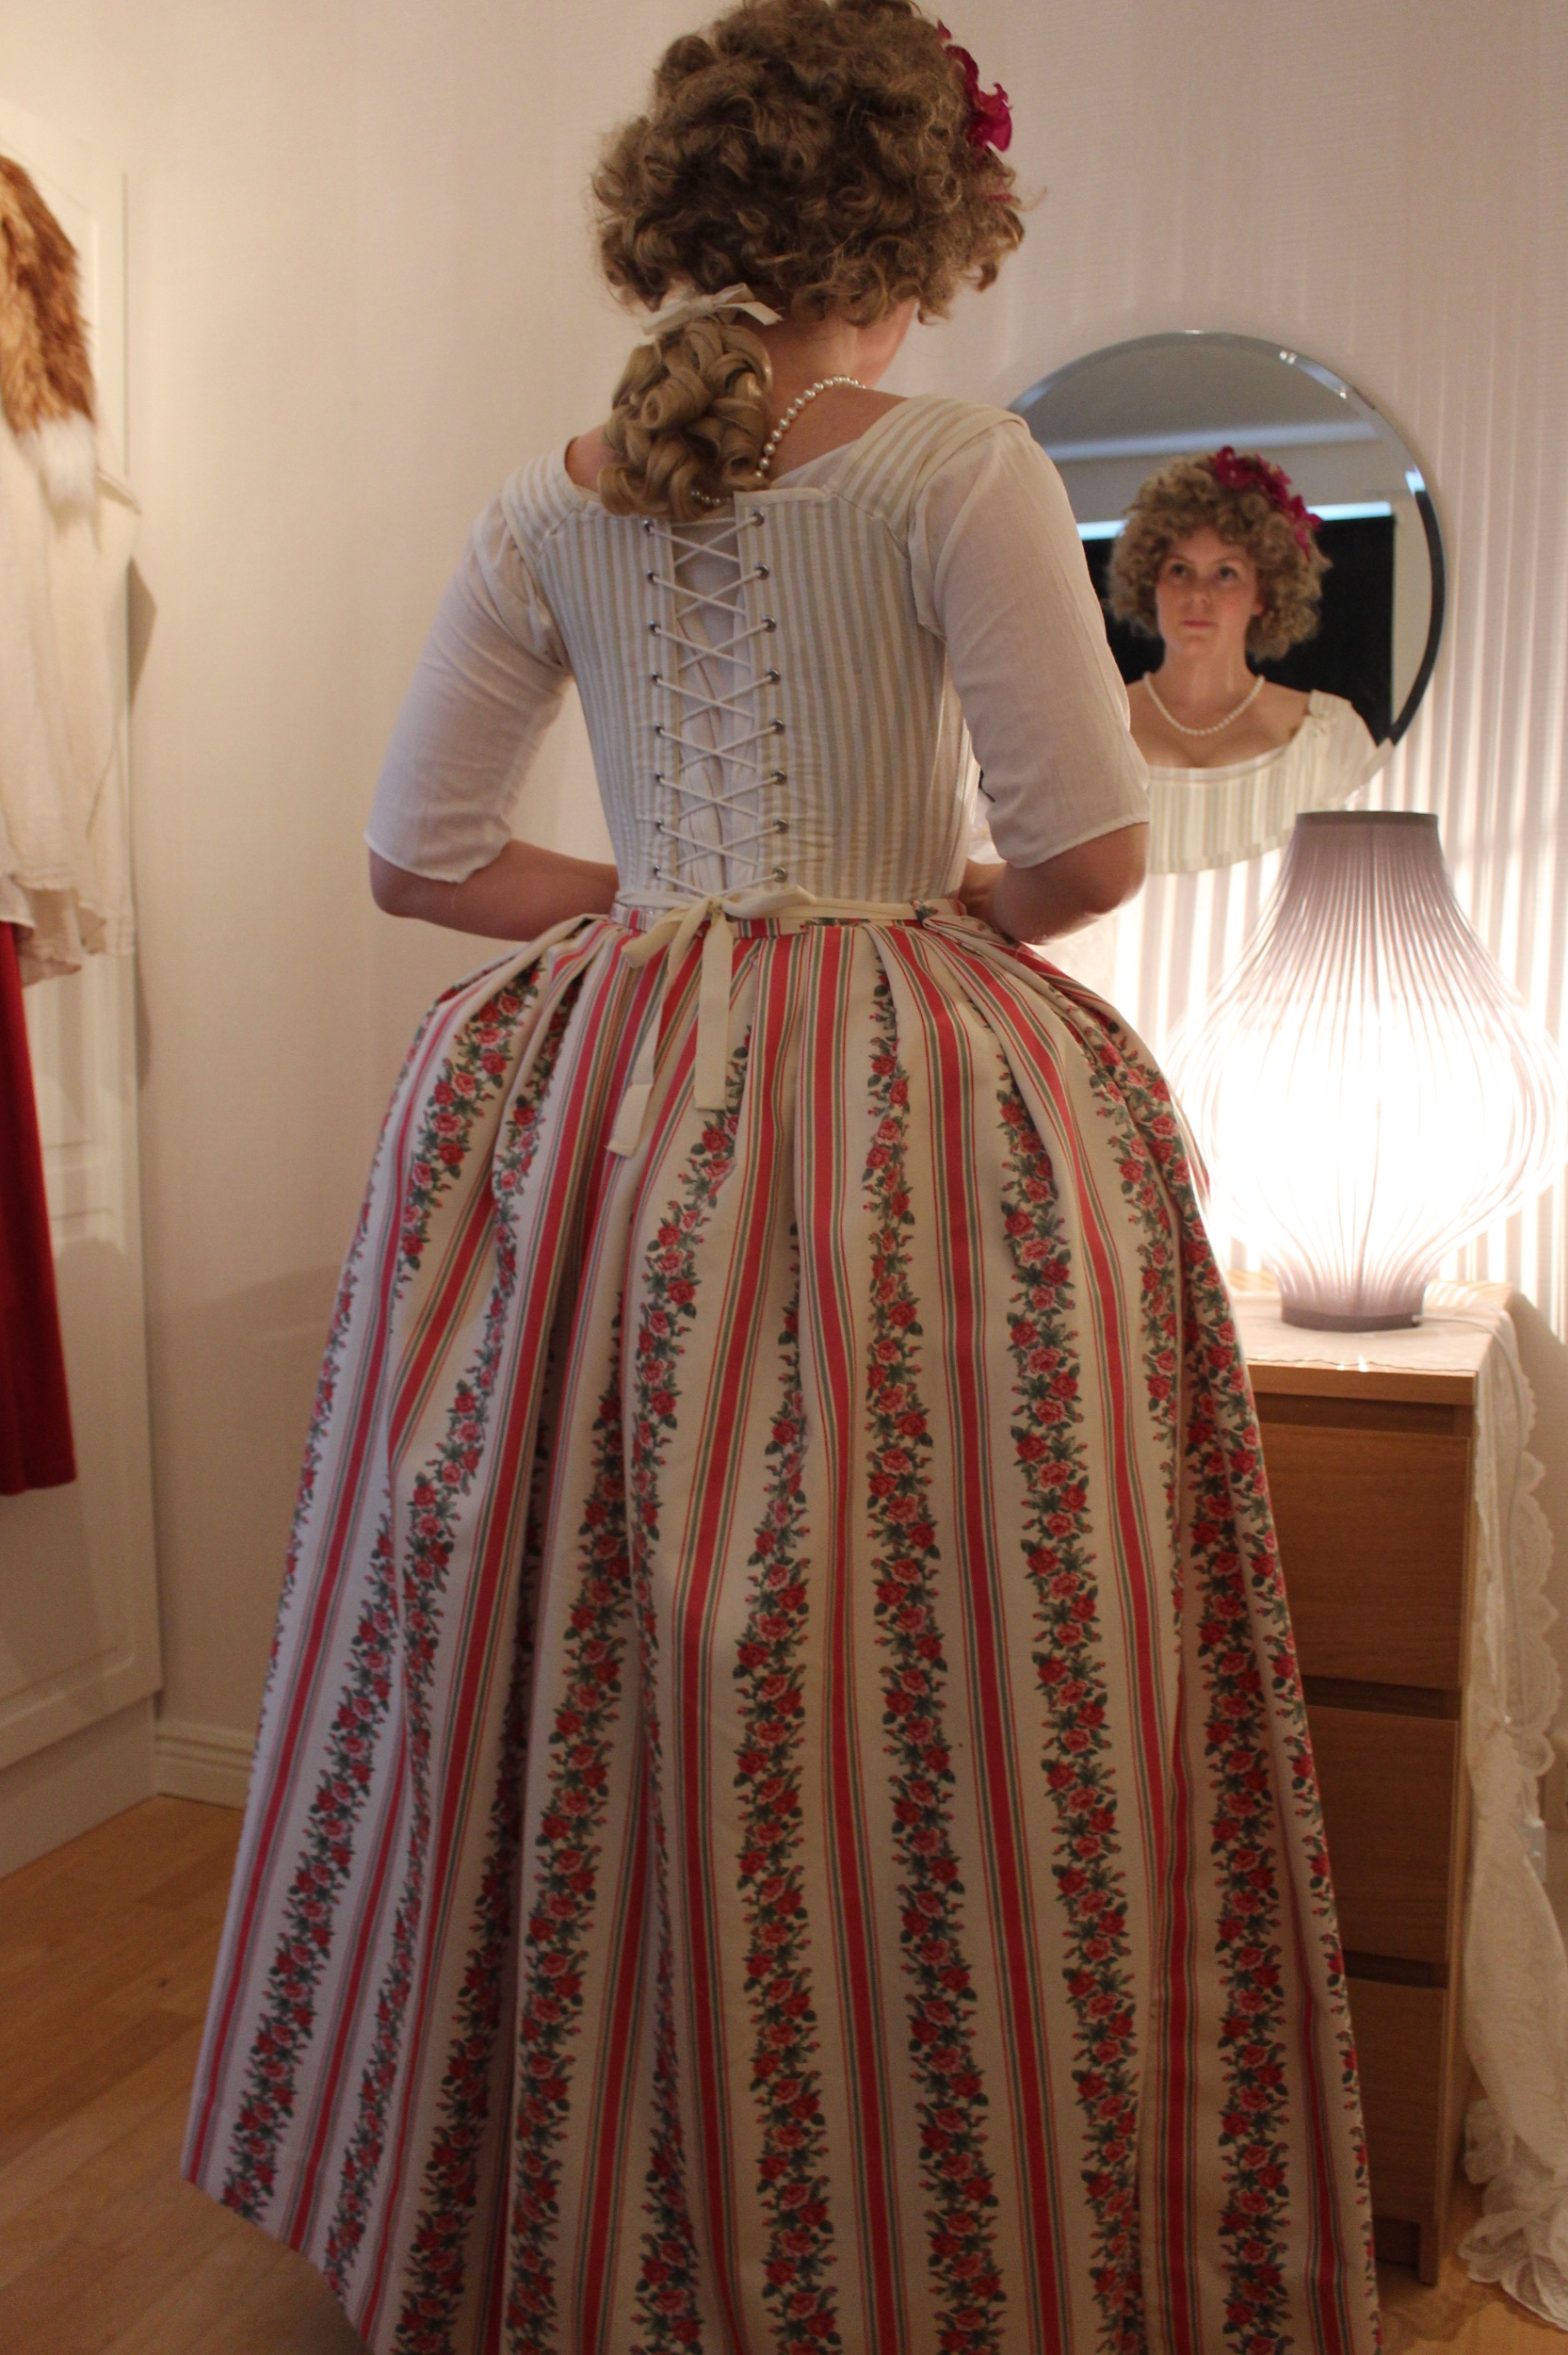
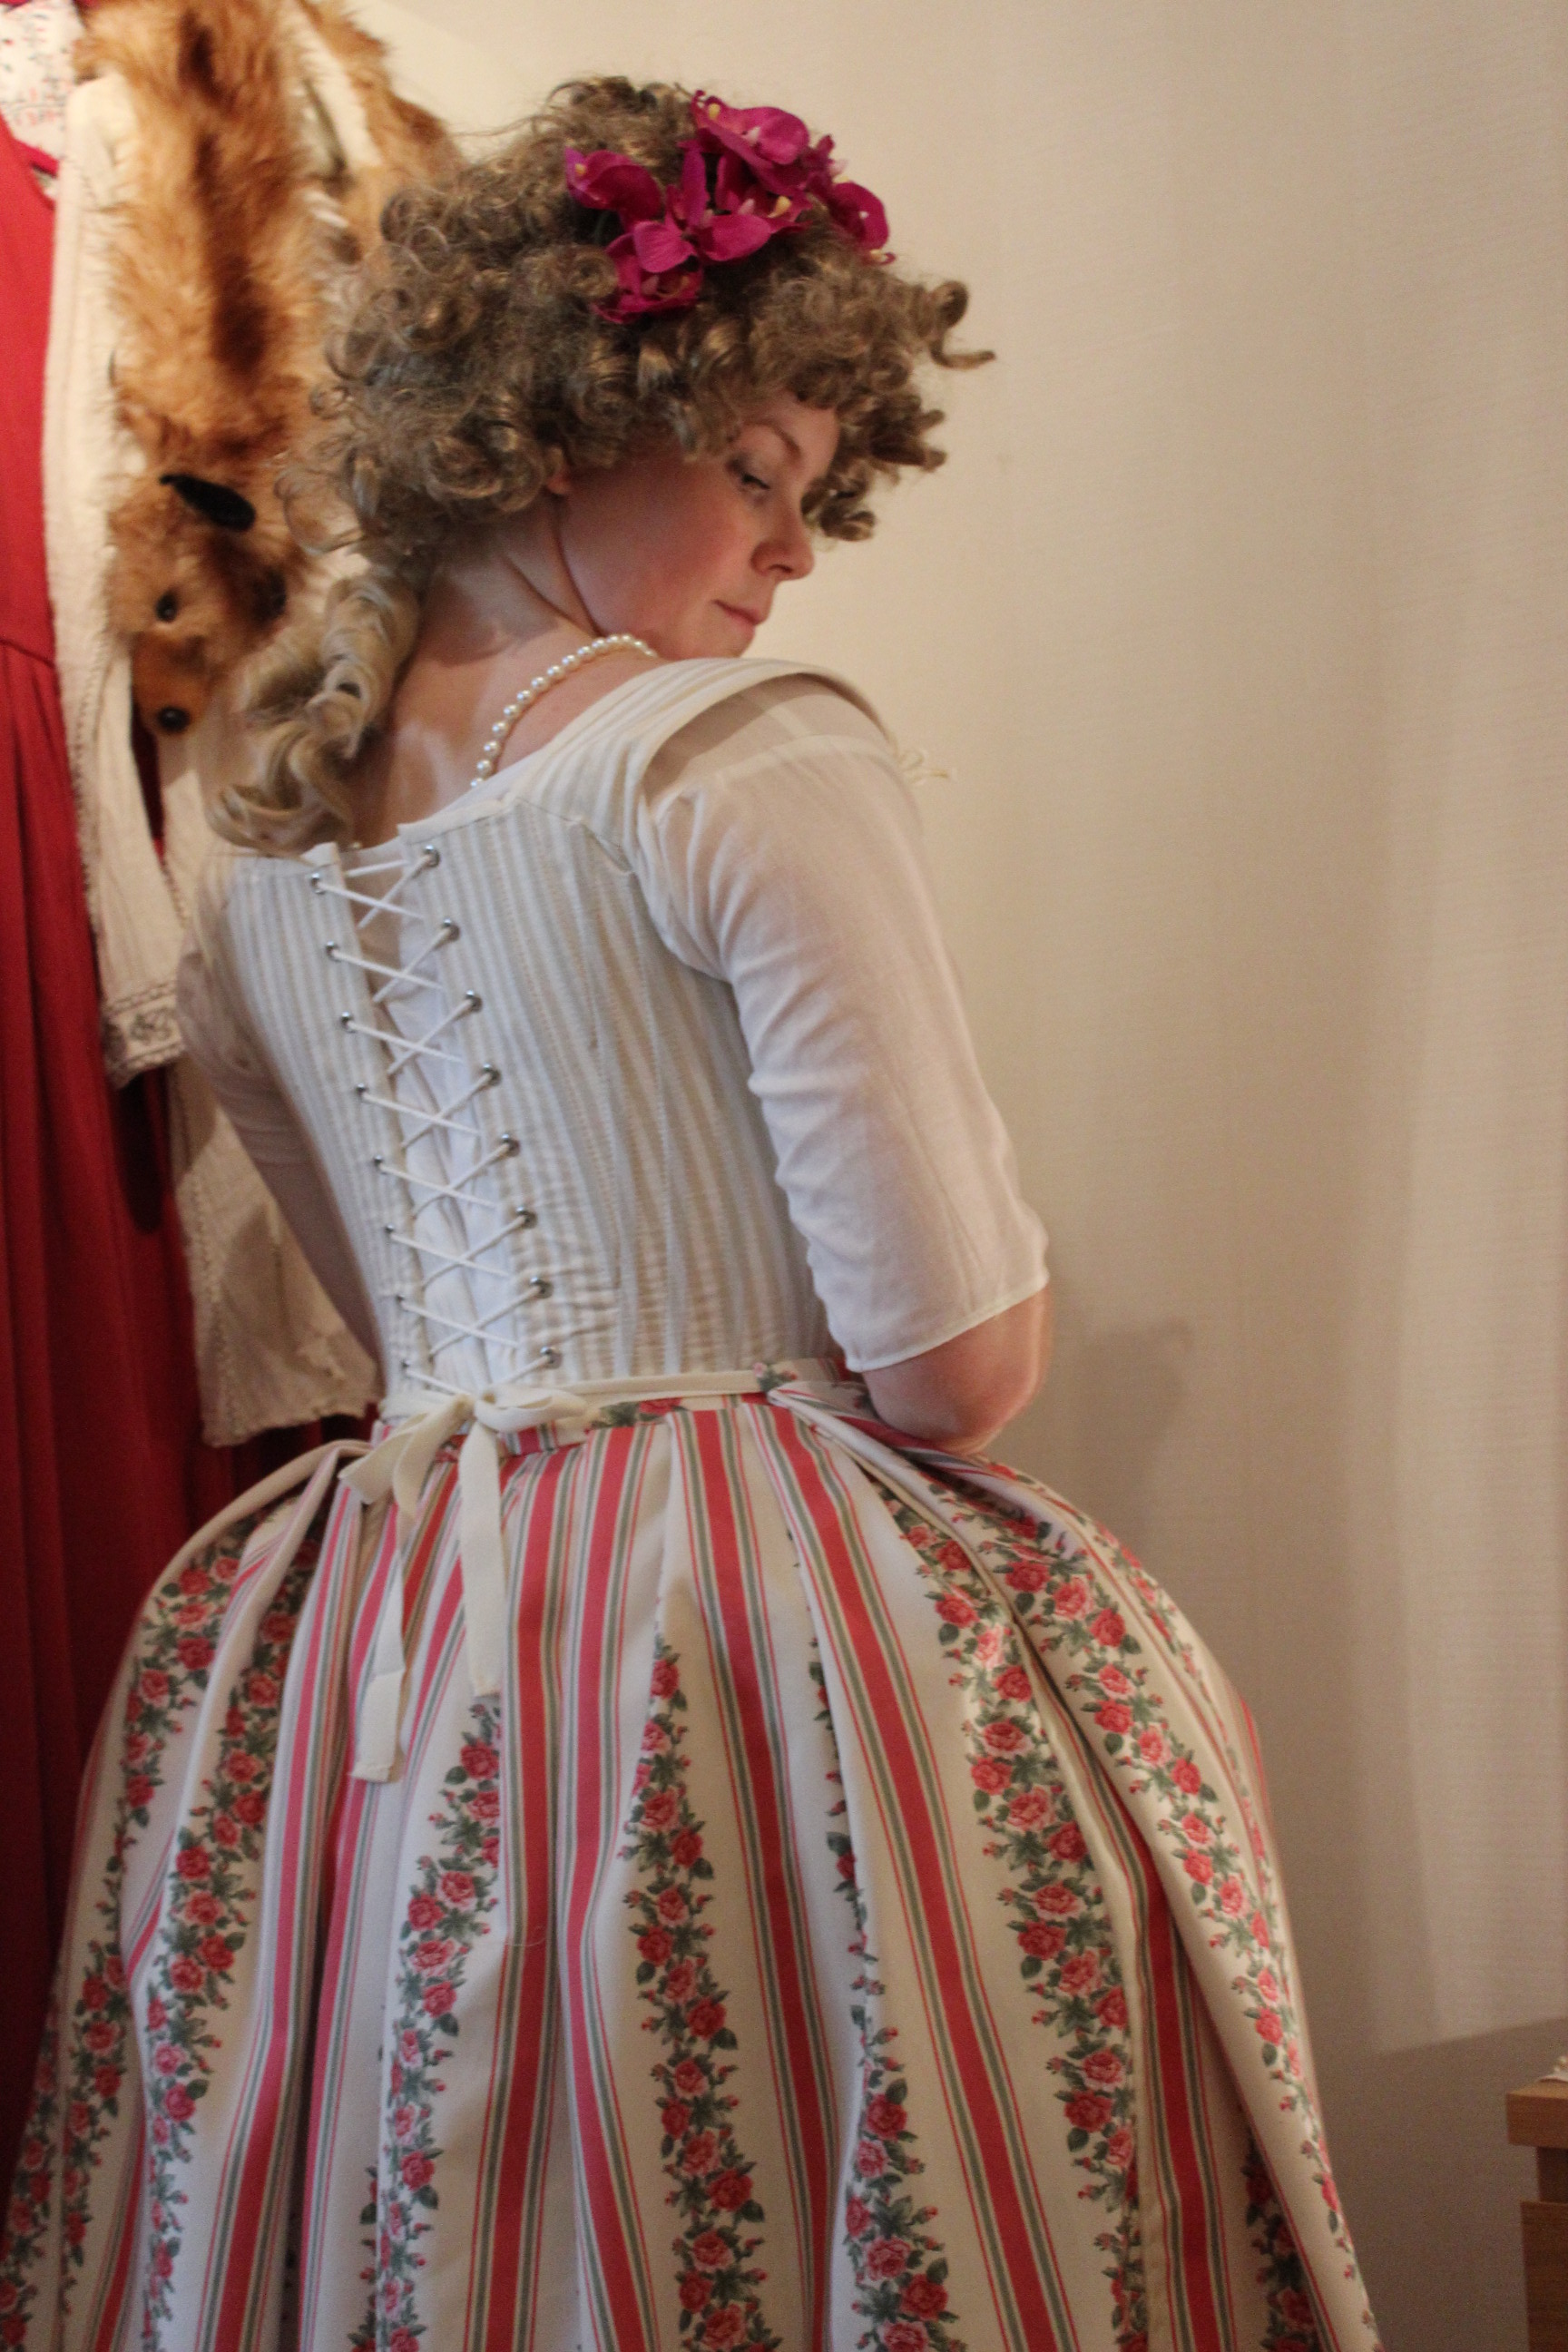
 Back view on hanger
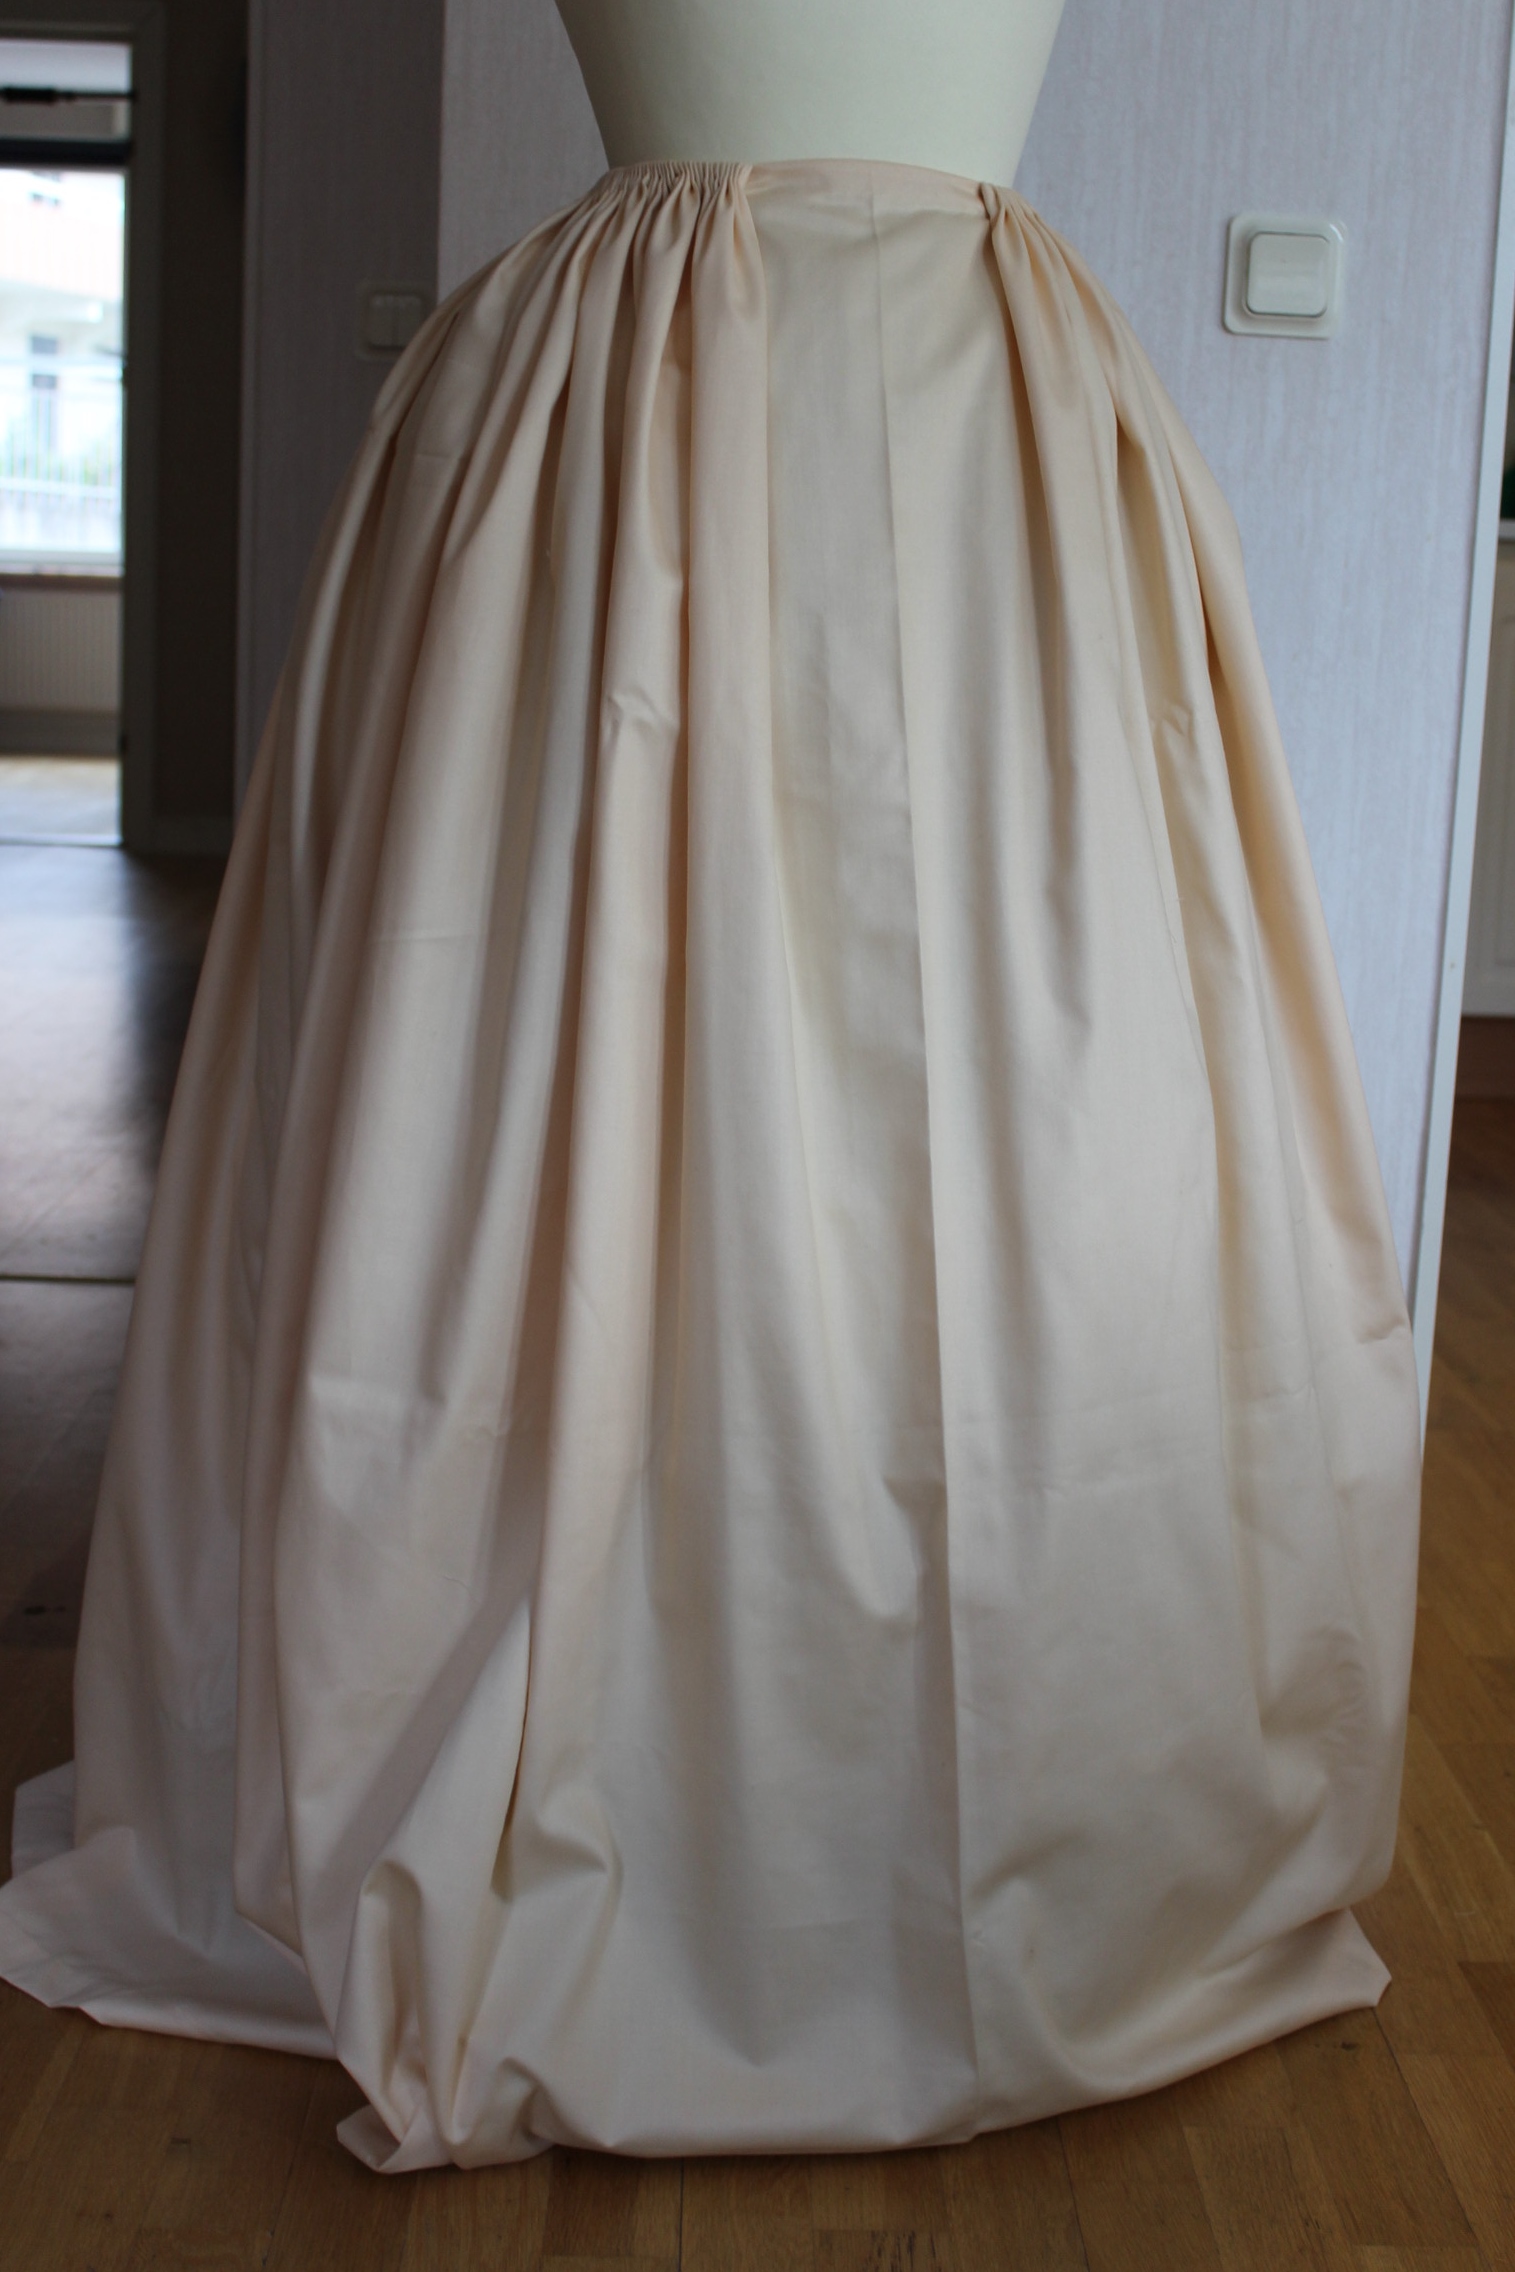


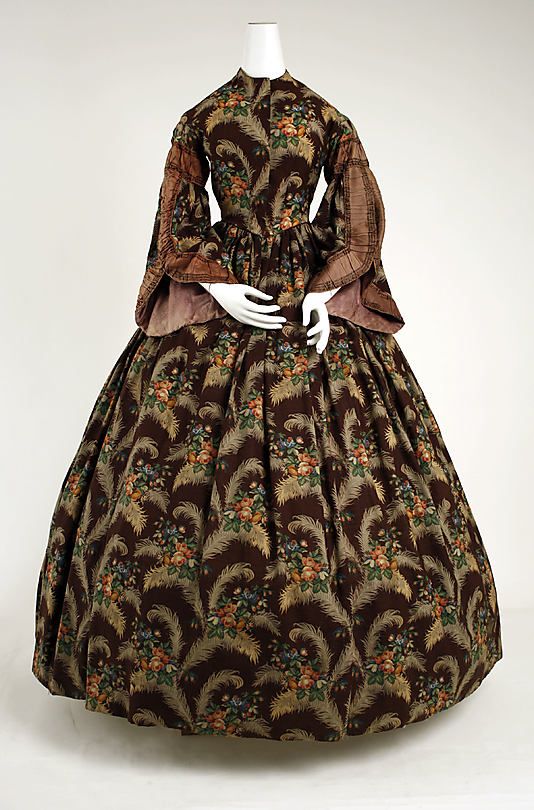
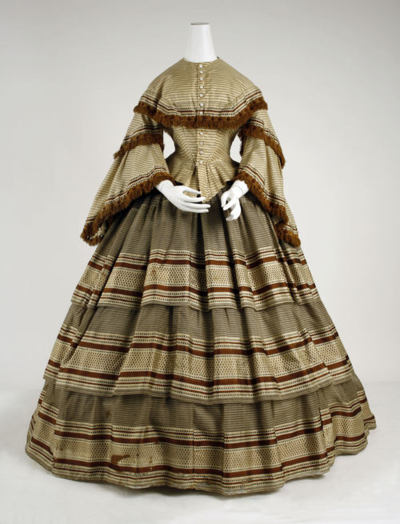
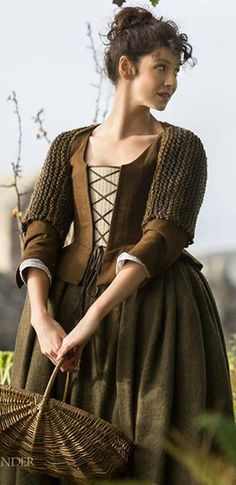
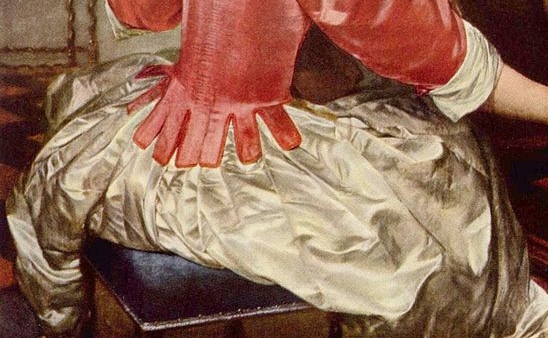
 My original inspiration.