Thinking about my costume for the up-coming 18th century event in late August, I know I needed to solve the problem with what to make of my hair/head.
As a (really) short haired modern person, I always struggle with my historic personas hair. usually I just put a cap/hat on it, but sometimes that is not an option (or at least a lesser option). (Here is how I solved it for the 1825s party this spring).
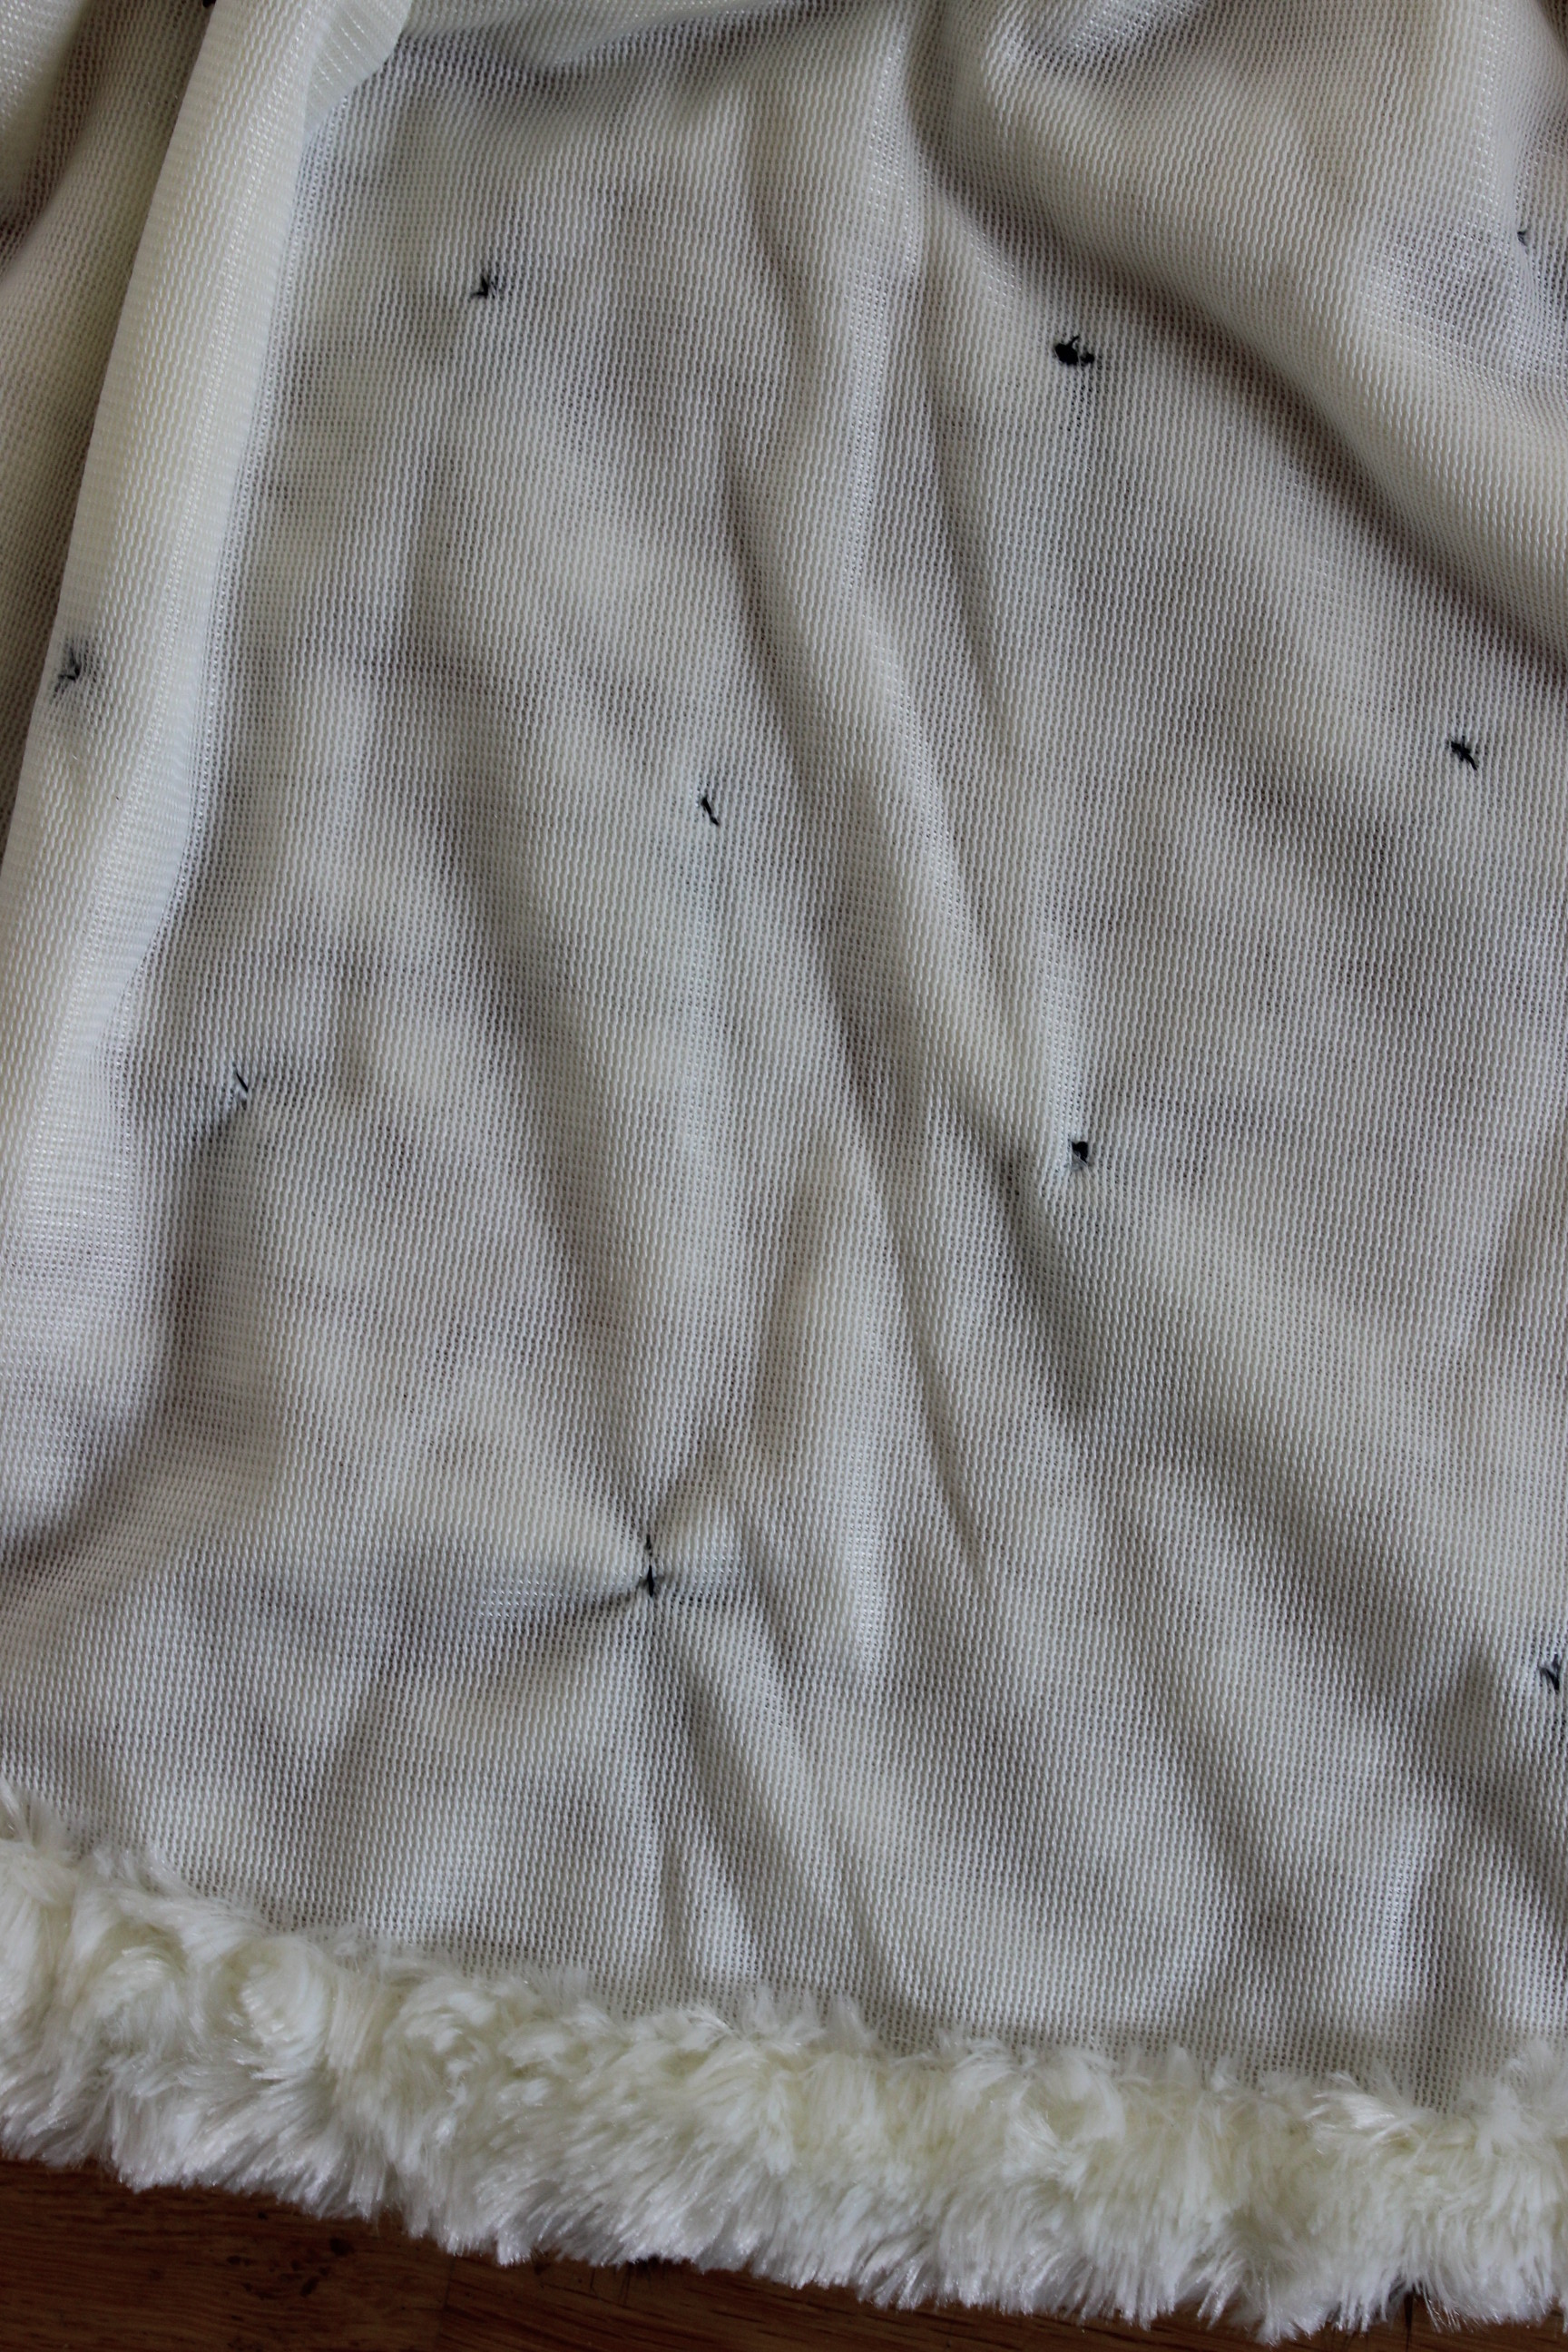
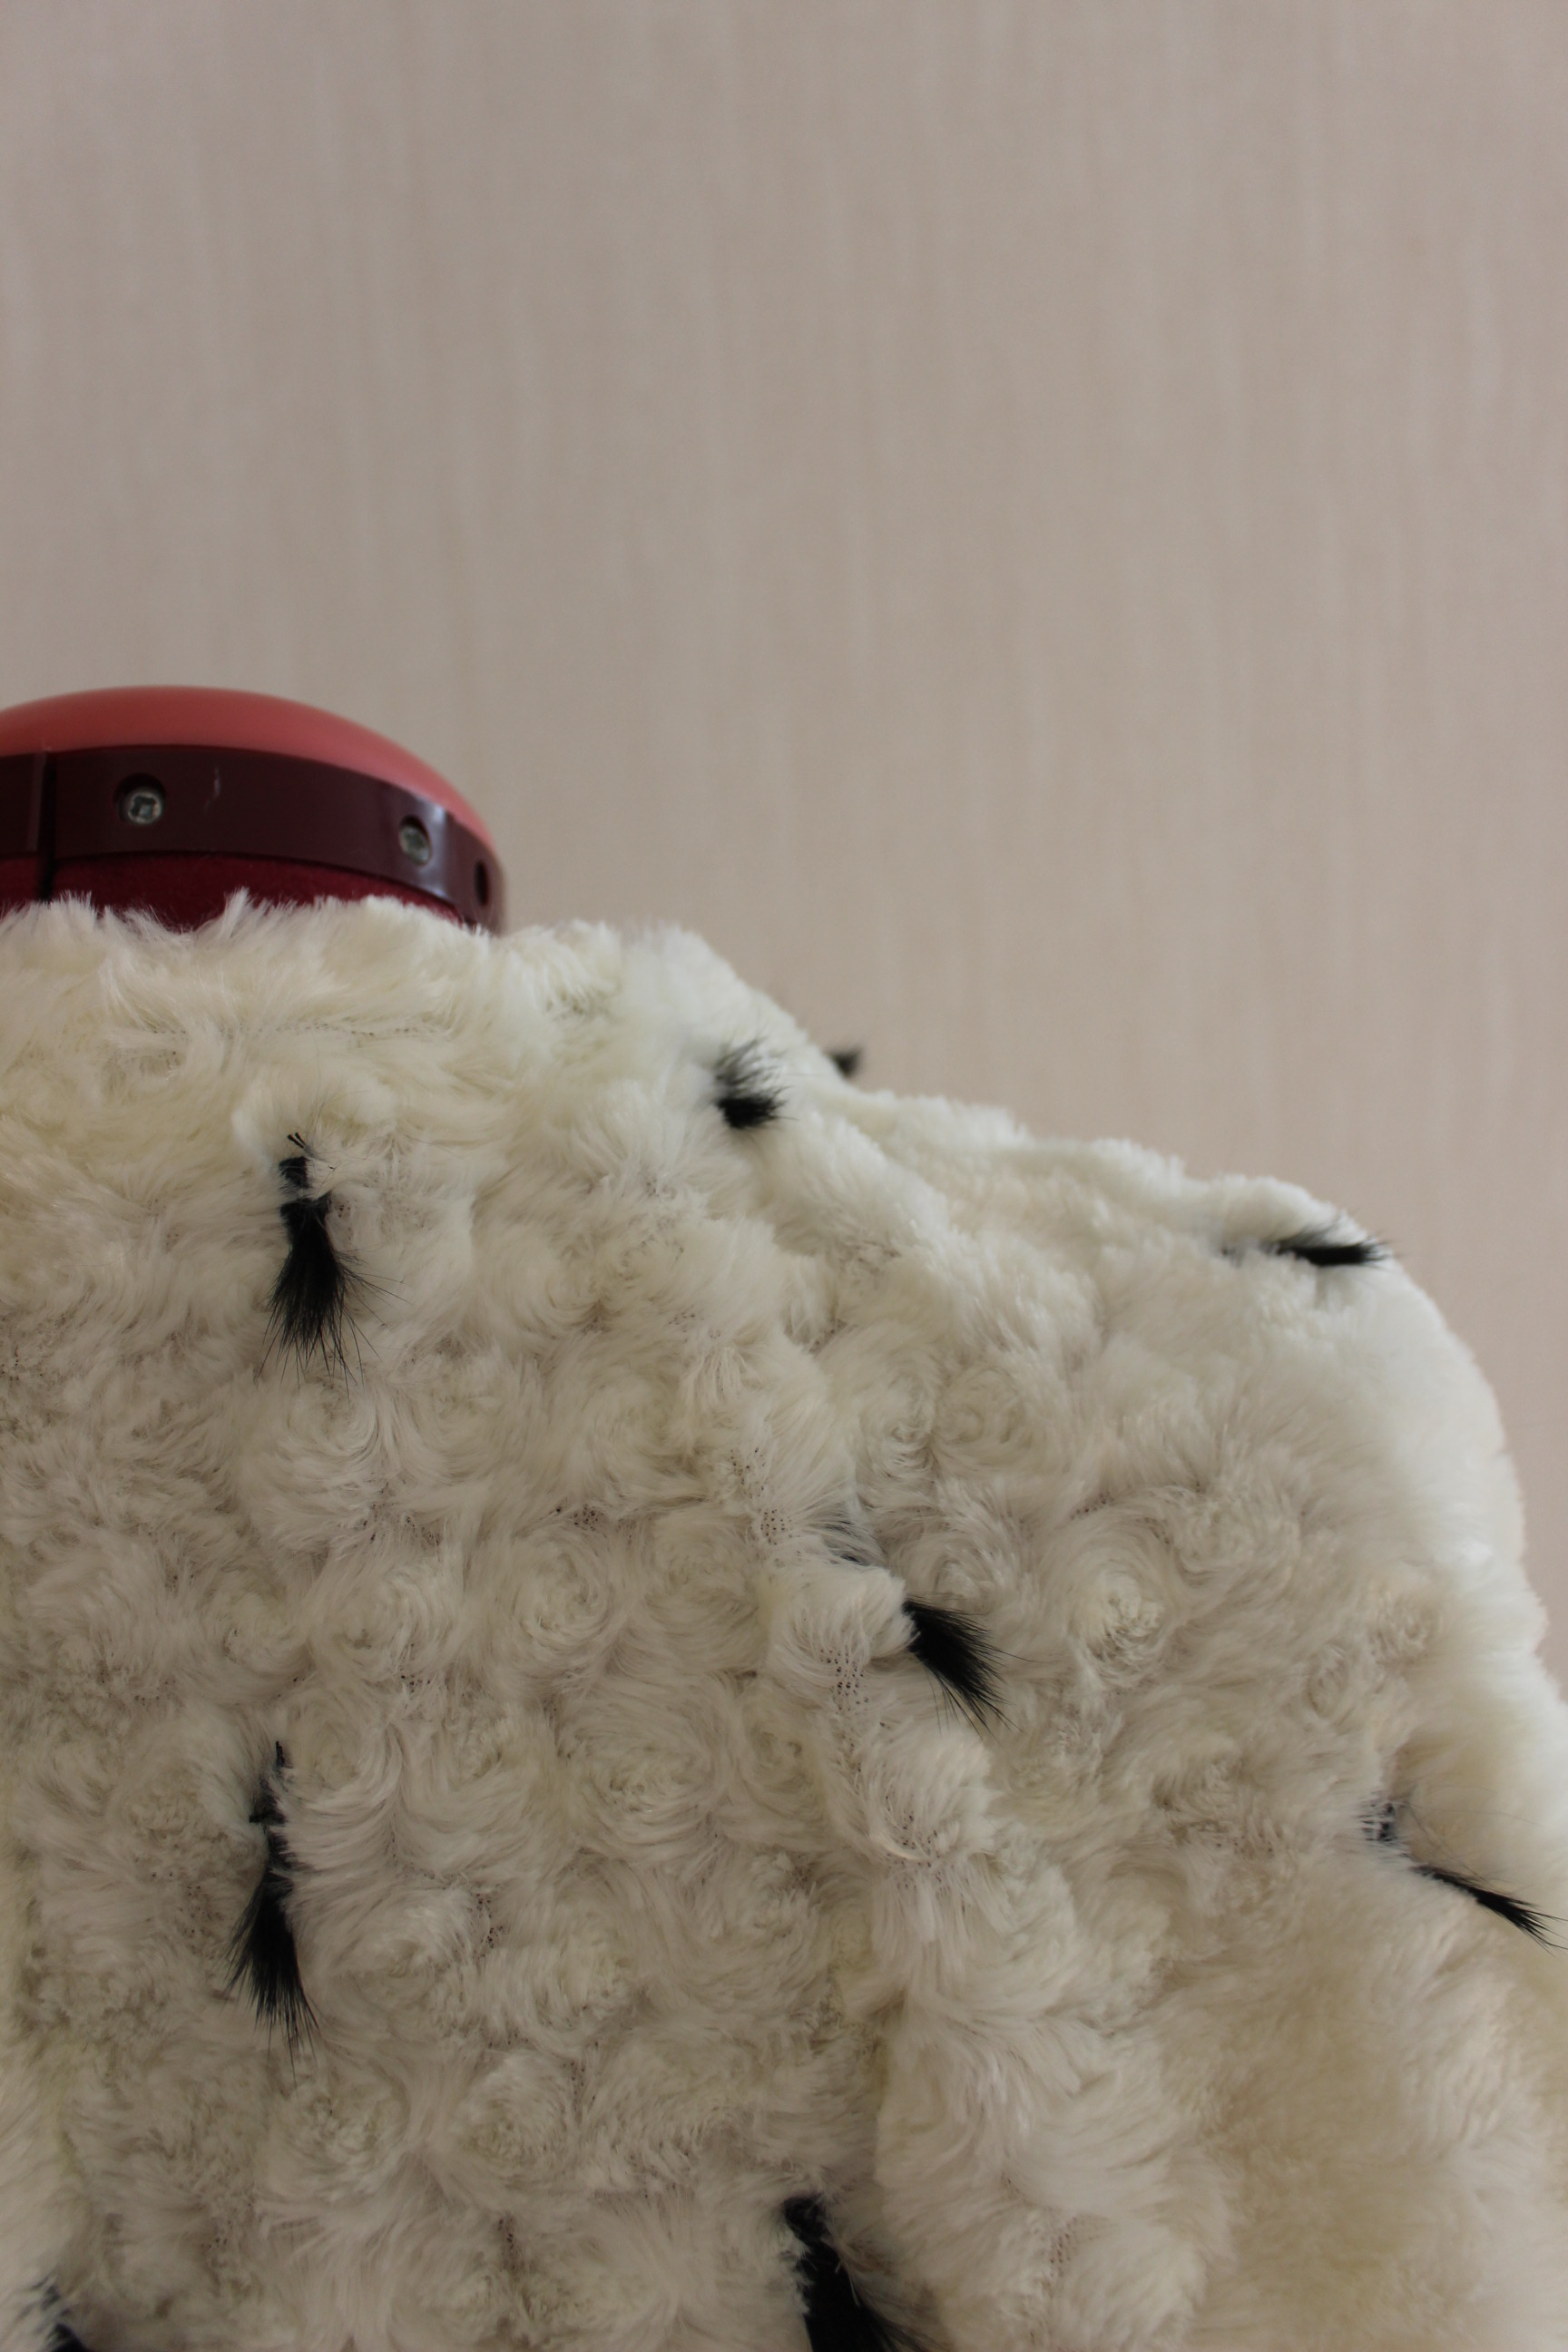
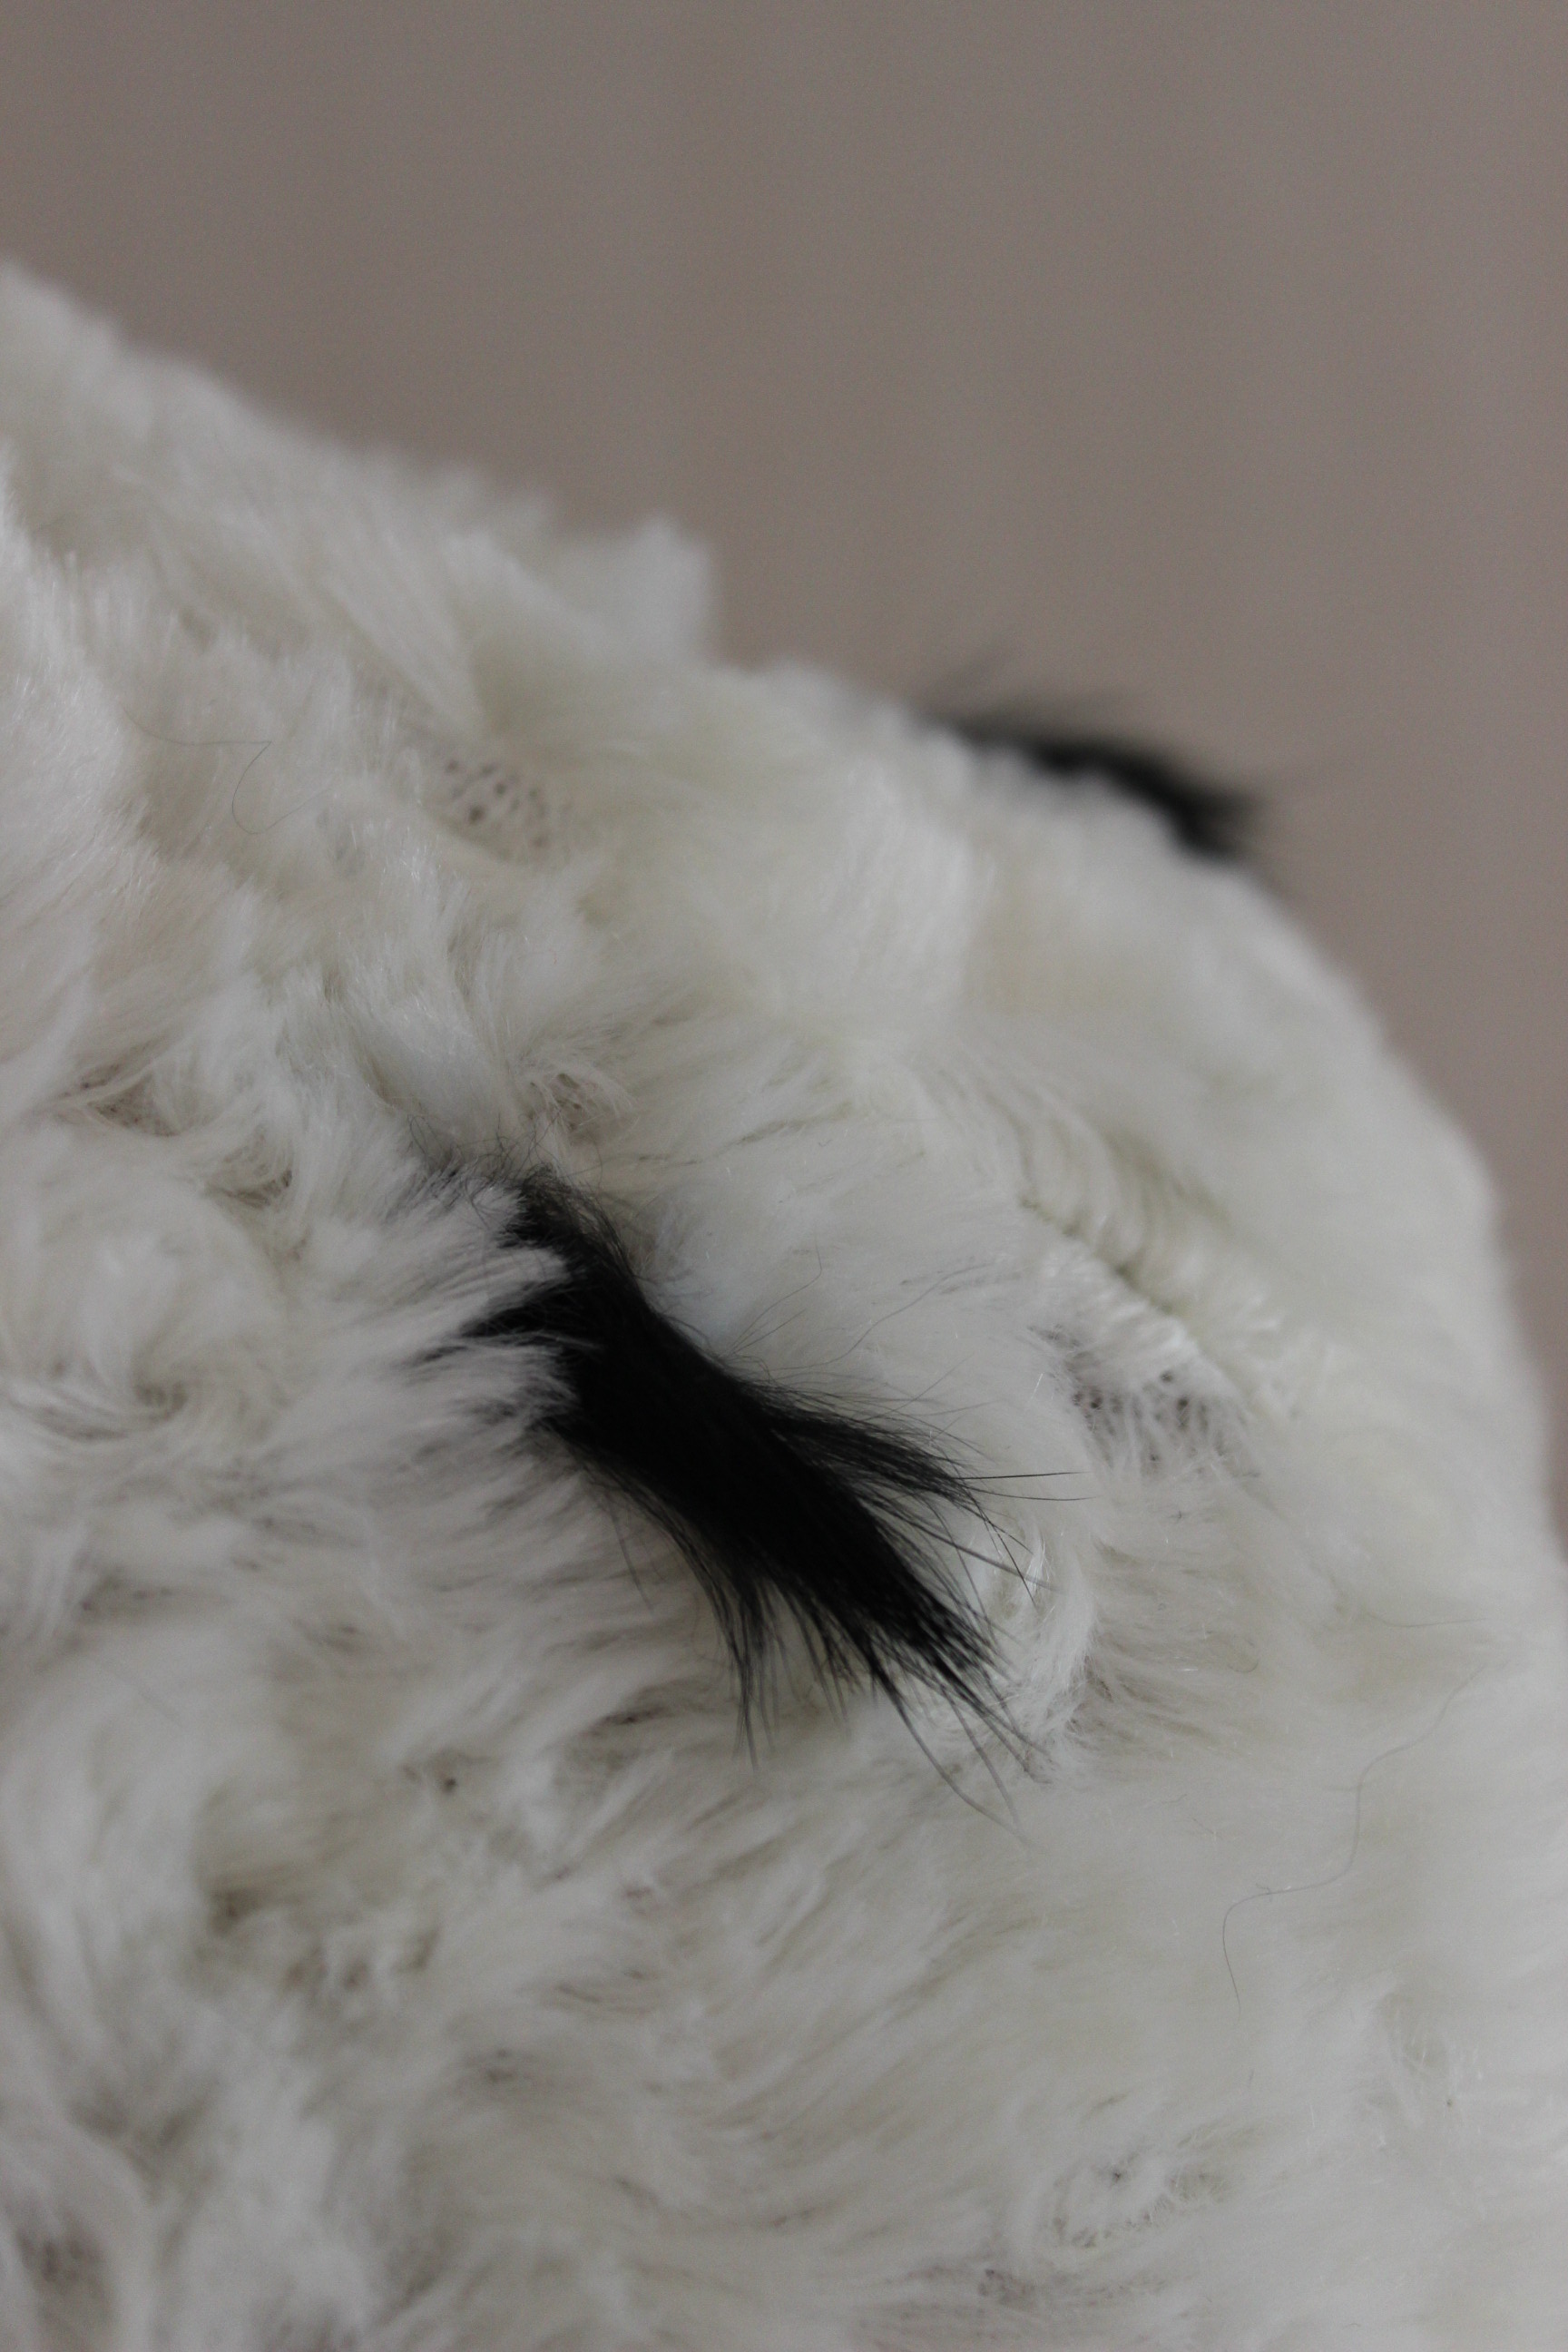
I have a 18th century “hedgehog”(ish) wig that I’ve tried to restyle before to better but not perfect result.  But to wear a synthetic wig, inside in the mids of summer was not something I looked forward to. And besides, I know there would be a really talented wig-maker at the party, and I had no desire to sow her my meager skills.
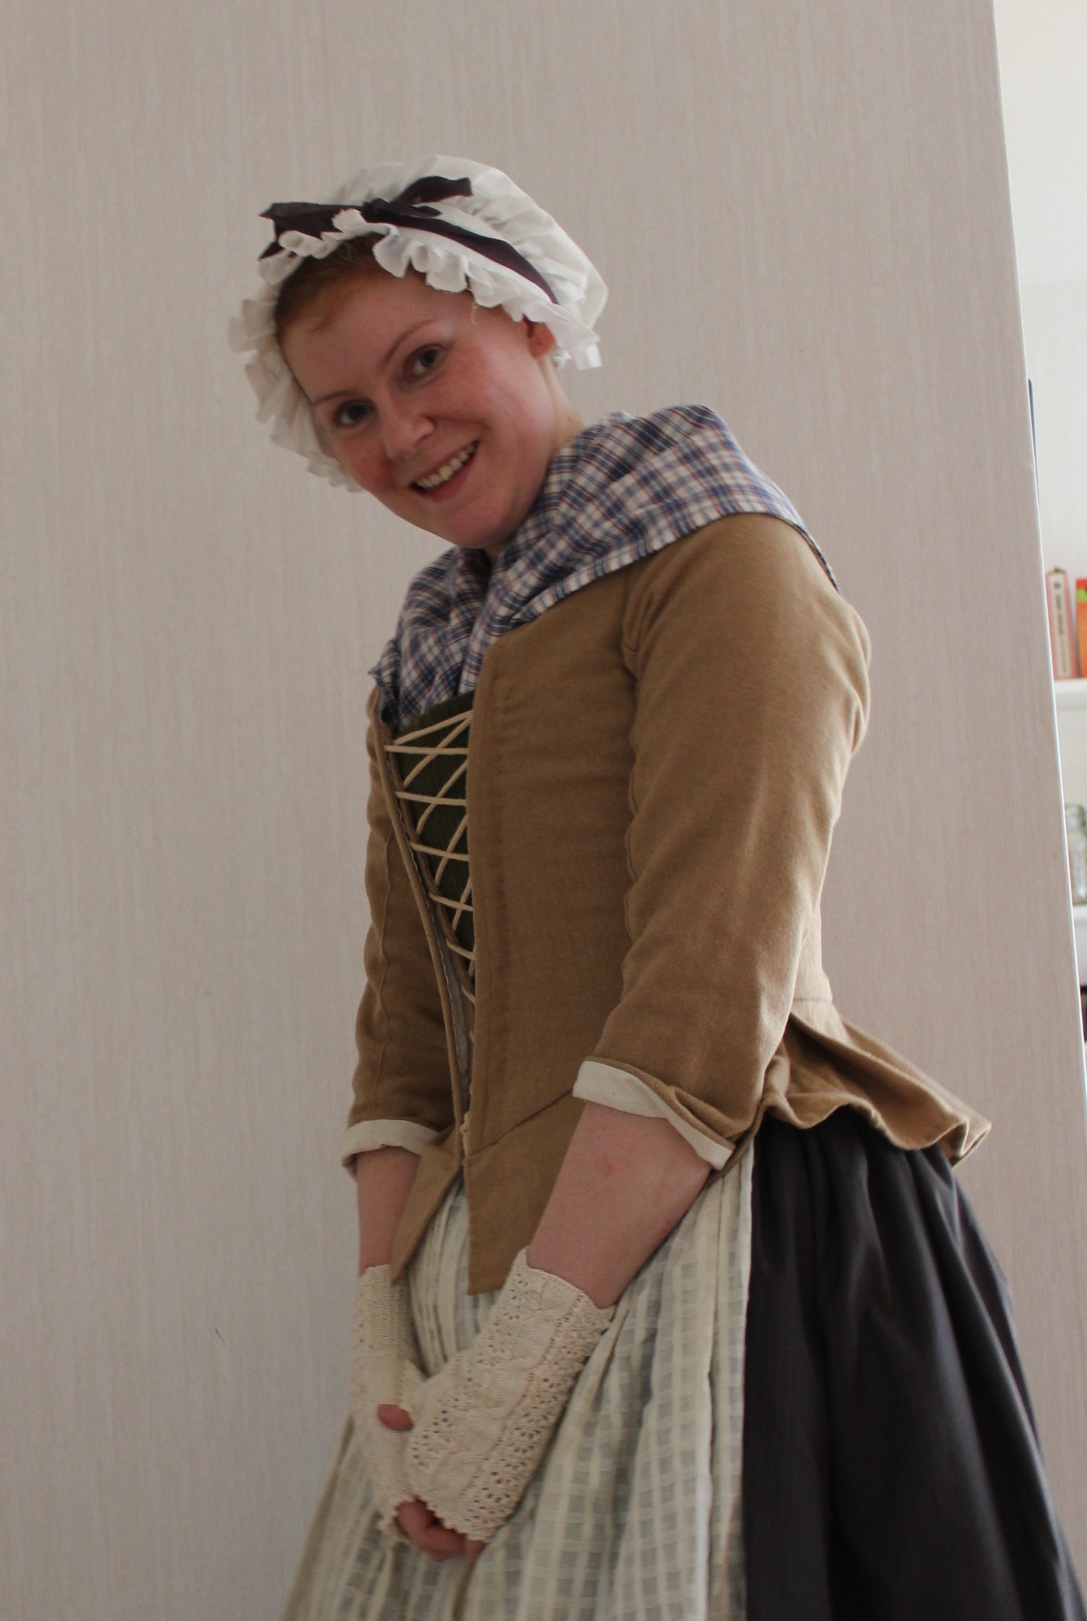
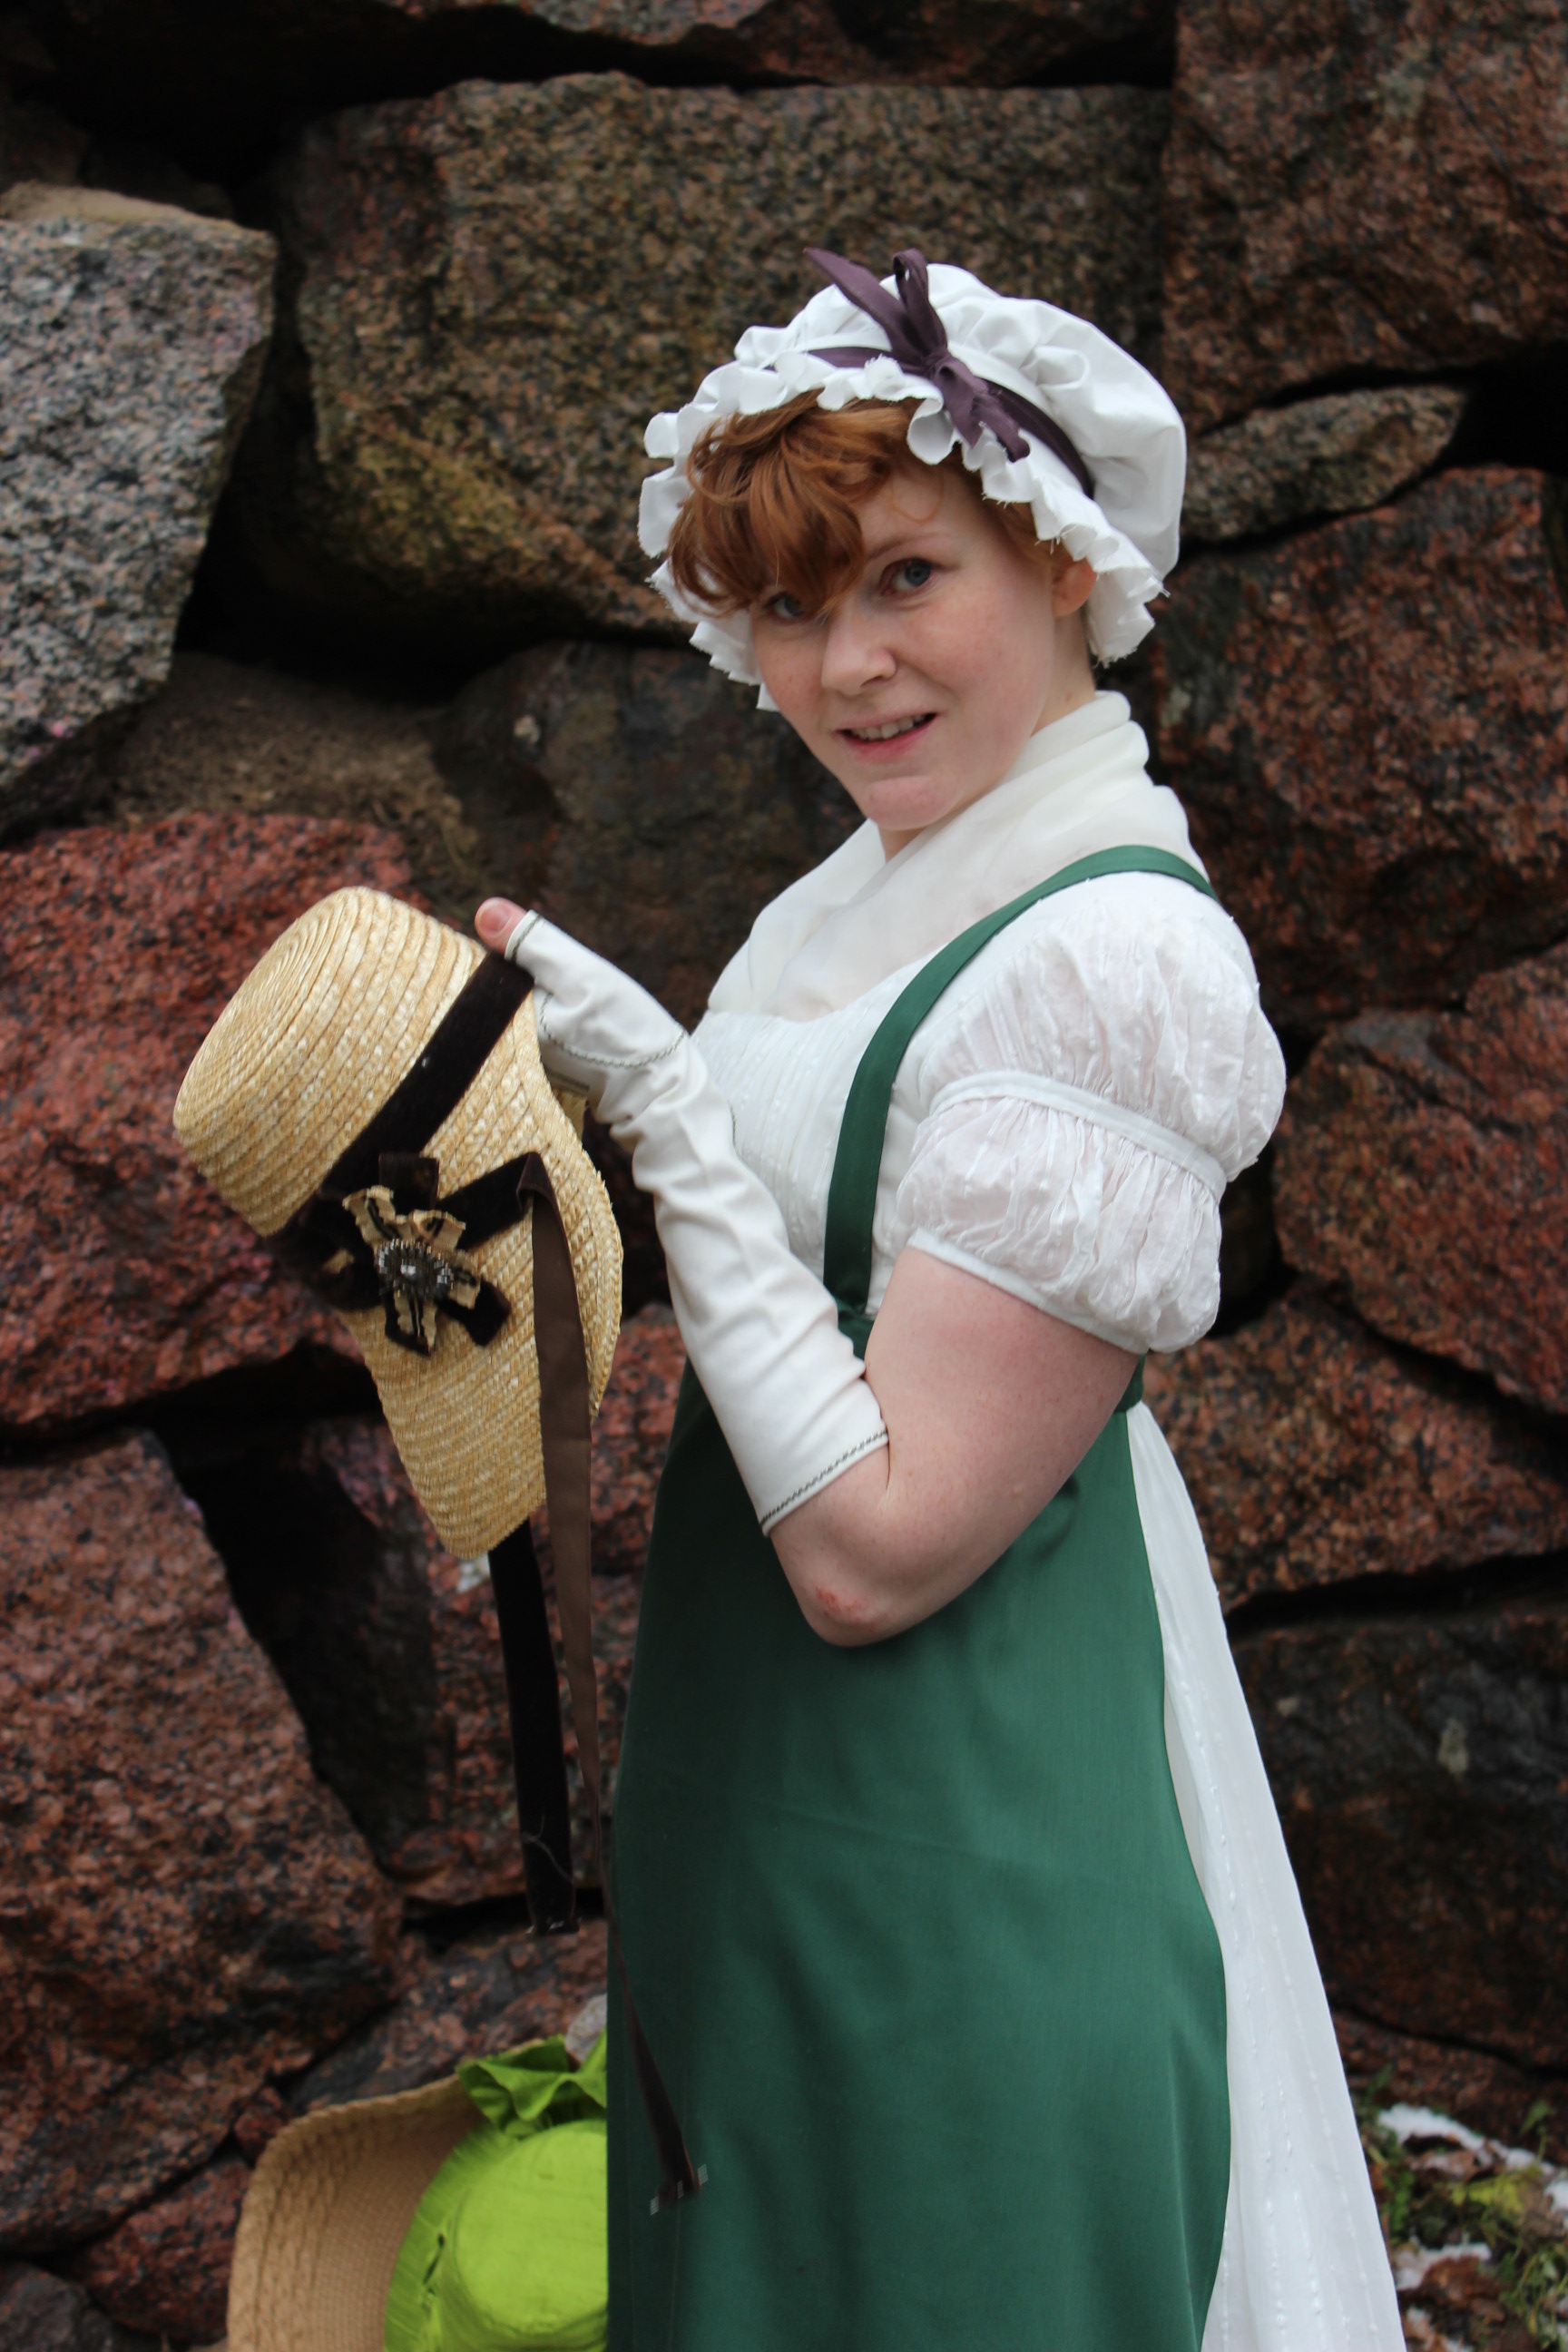
My other option was to wear a cap,  Which I think work just fine with les fancy stuff.
I did consider making a fancier frillier cap for the occasion but without the correct hairdo, a sheer organdy cap would look even worse then my old cotton one.
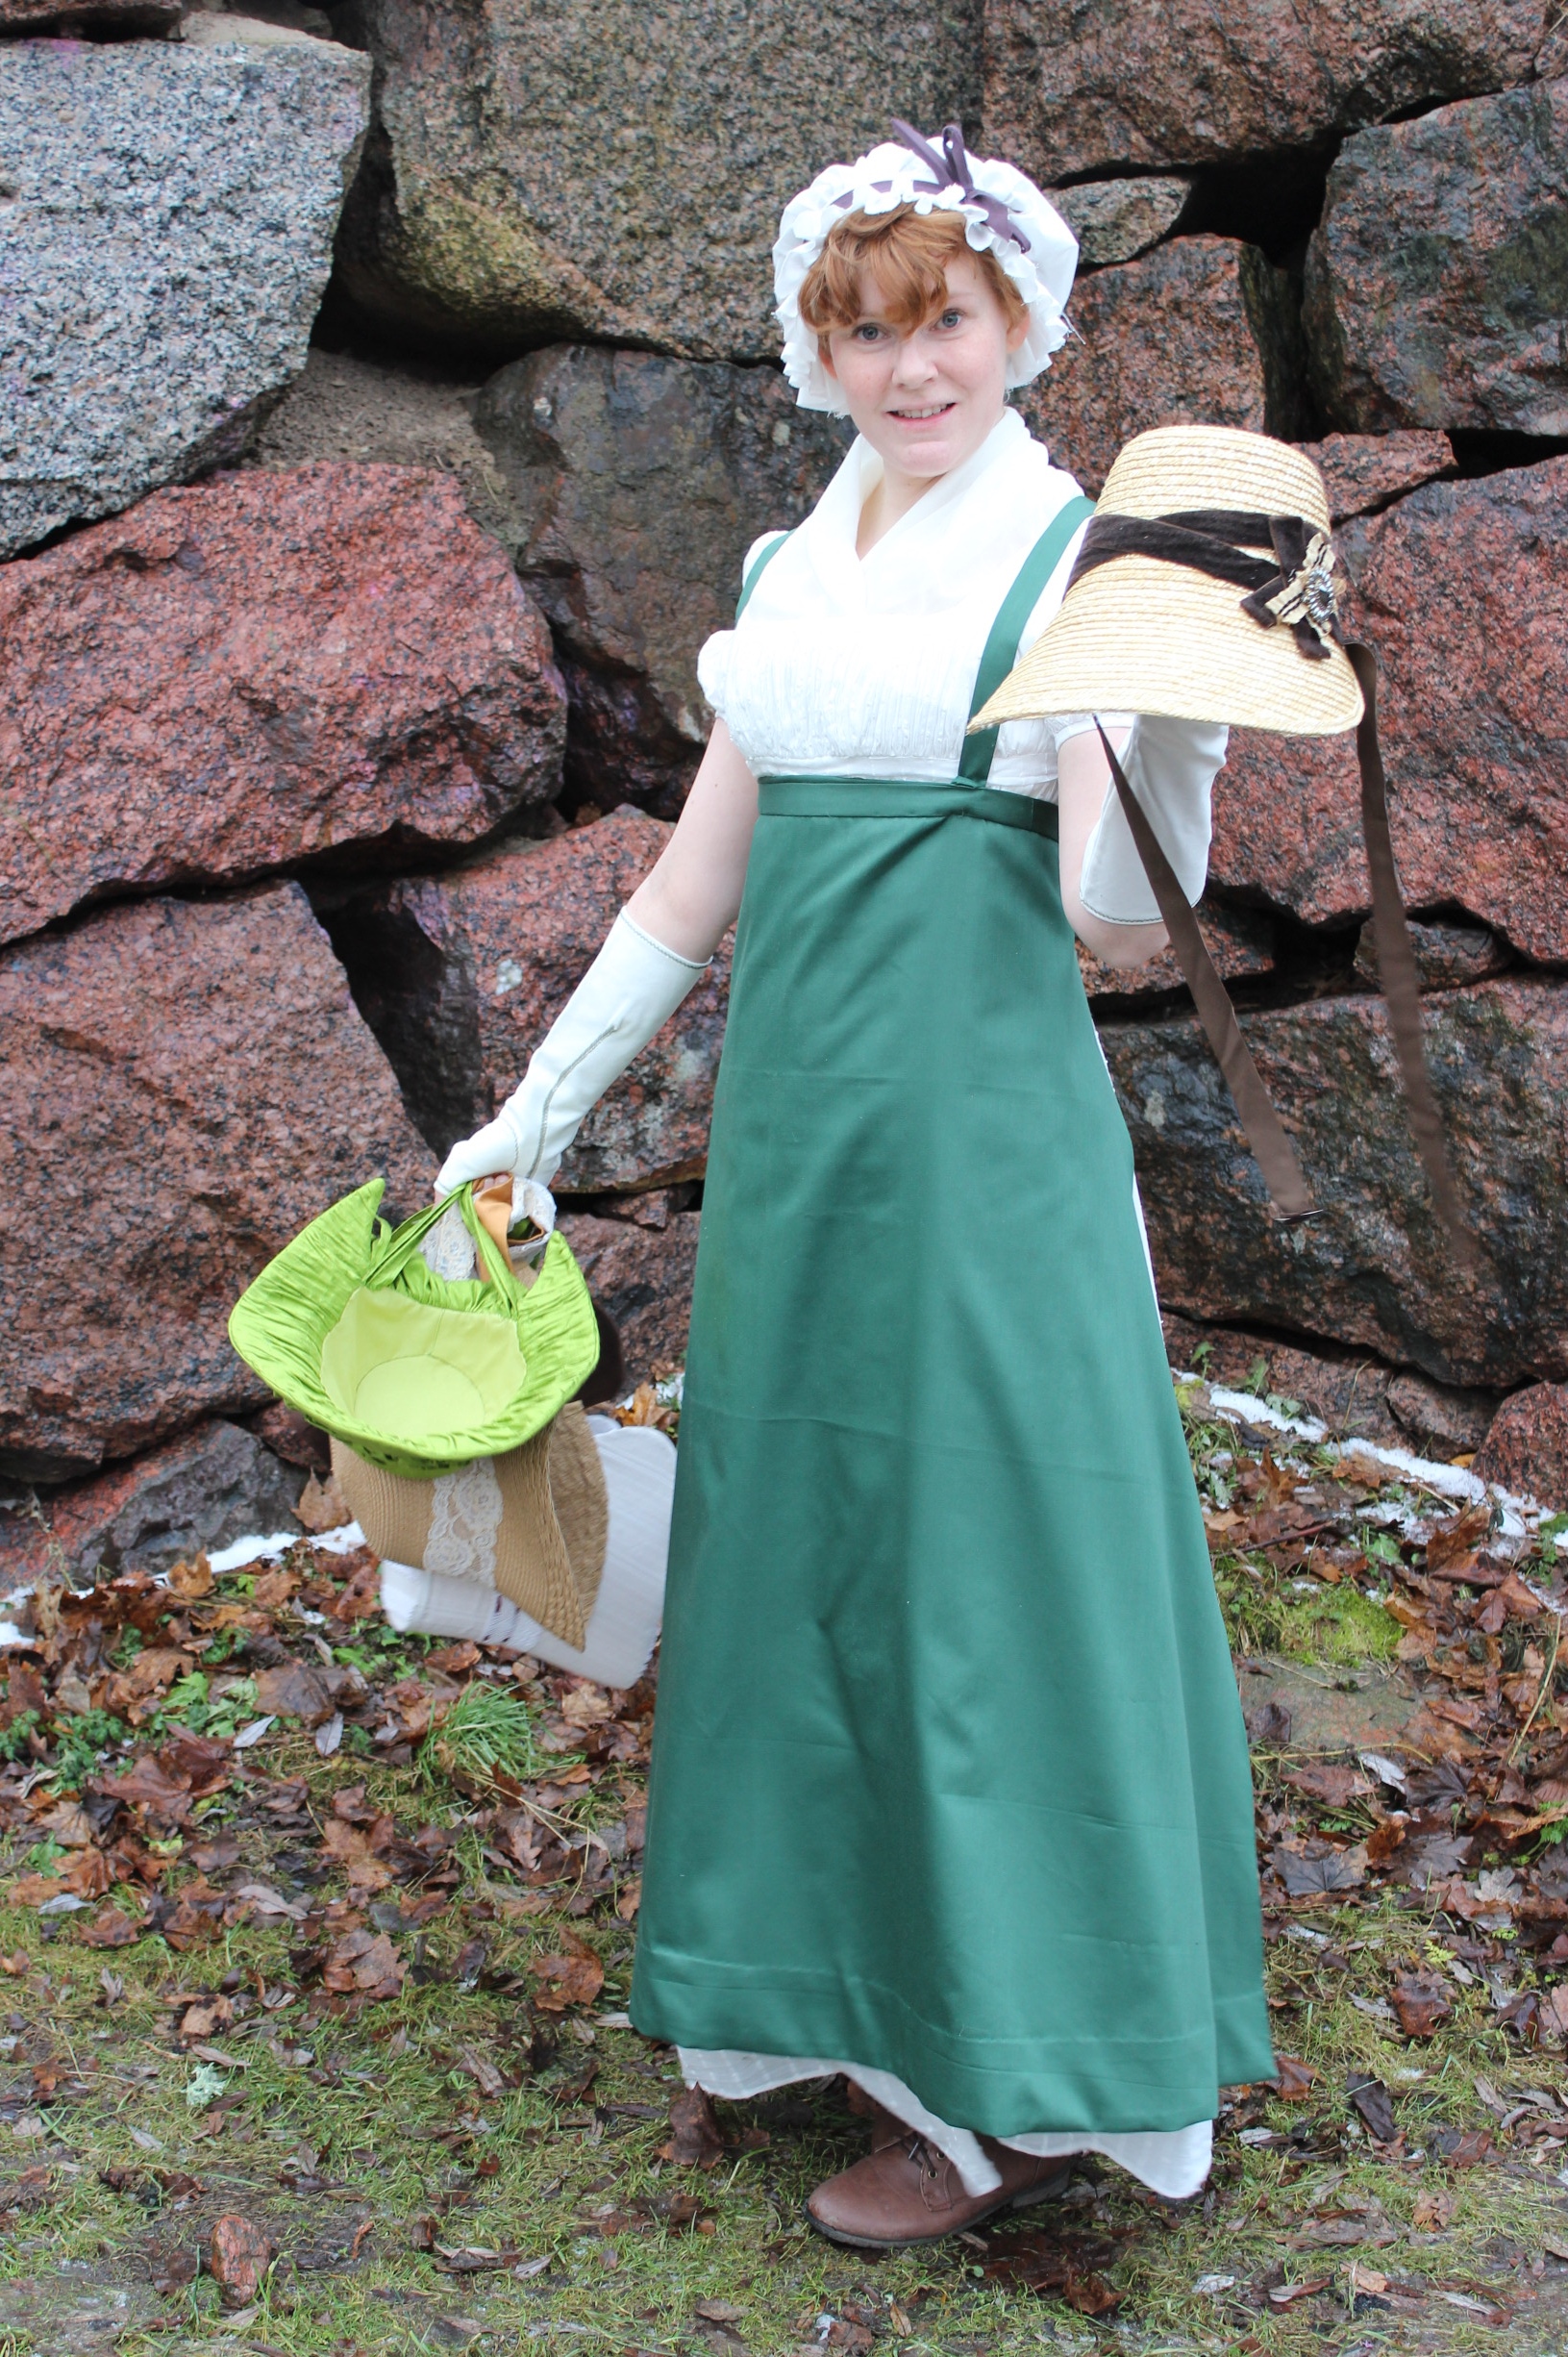
So, how would I complete this outfit in the best way?
A would wear a Bergere, of course!
But my old one is not really up to my standard any more Here you can see both the wig and the Bergere in is first adaption
So I decided to make myself another one.
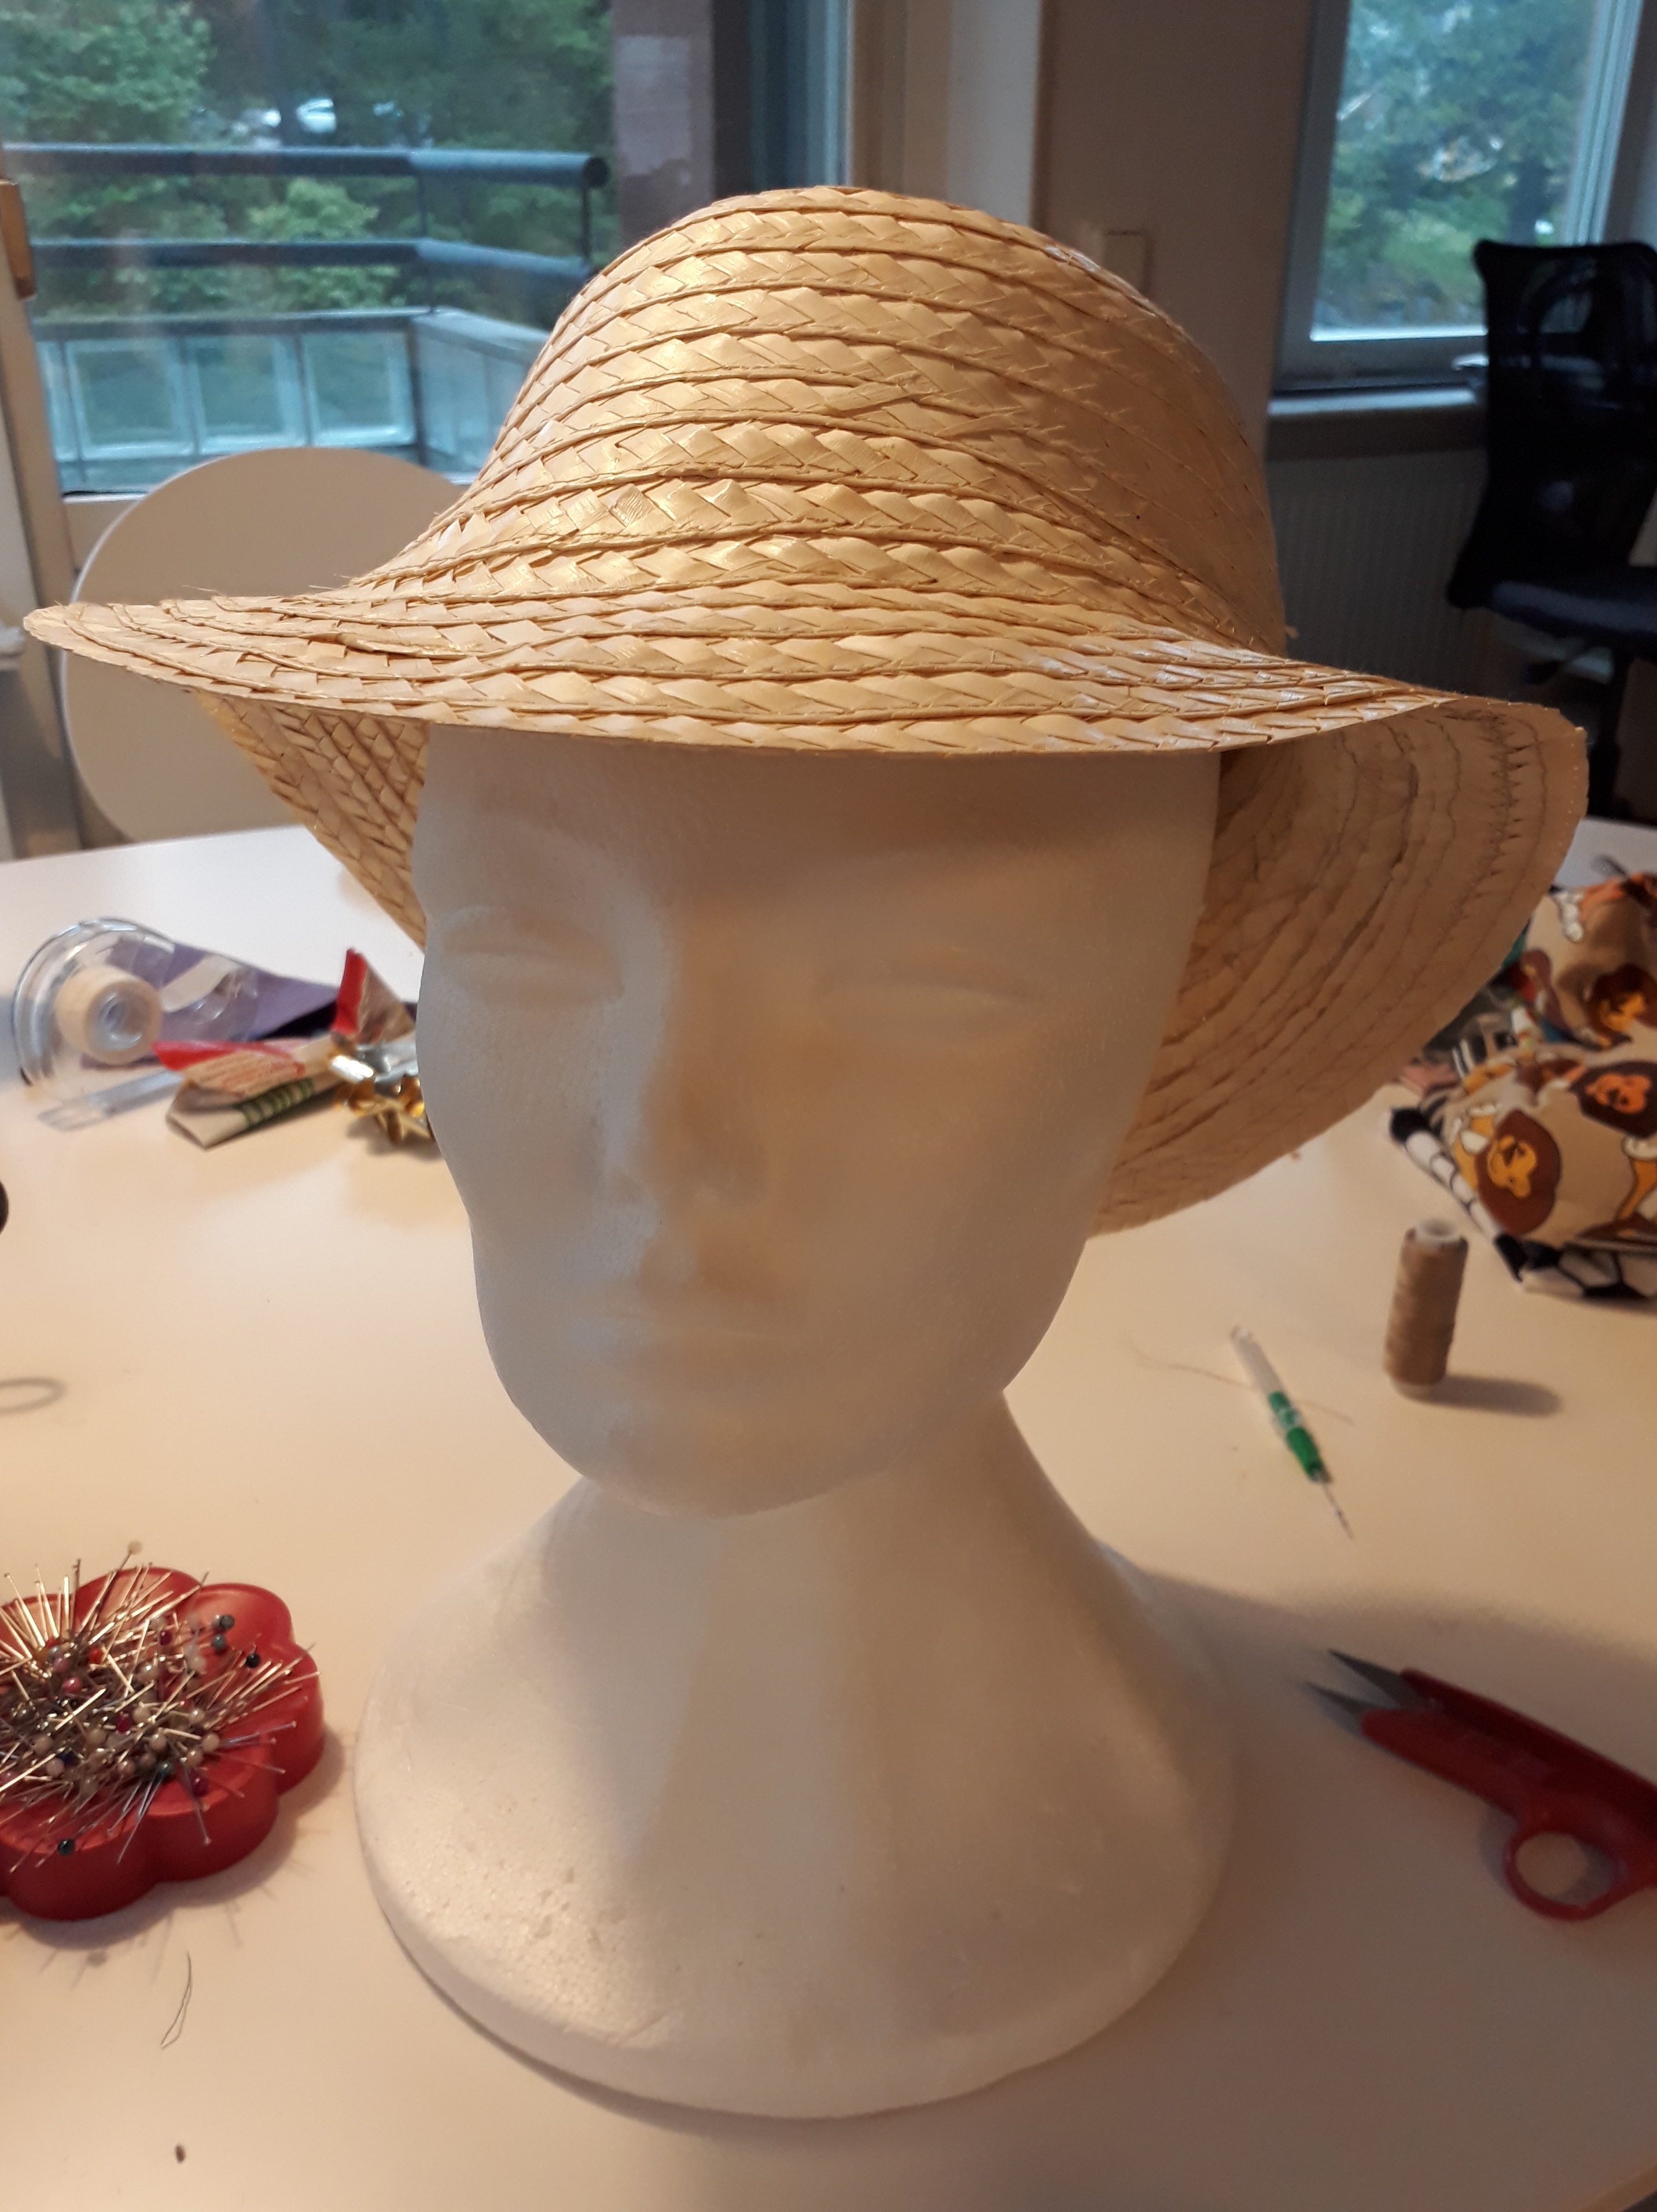
Starting the night before the event(s), I found a cheap (real)straw hat in my stash that I bought on sale from a big clothing store, a few months earlier for just such an occasion as this.
I started by removing the (glued on) black ribbon  And un-picked the stitching a few rows up on the crown so I could lift it of and snip the straw braid at good level.
 Then I continued to un-pick the stitches on the crown. This went really fast since it all was made with chain-stitches which (if you got hold of the right thread) you can just pull right out.
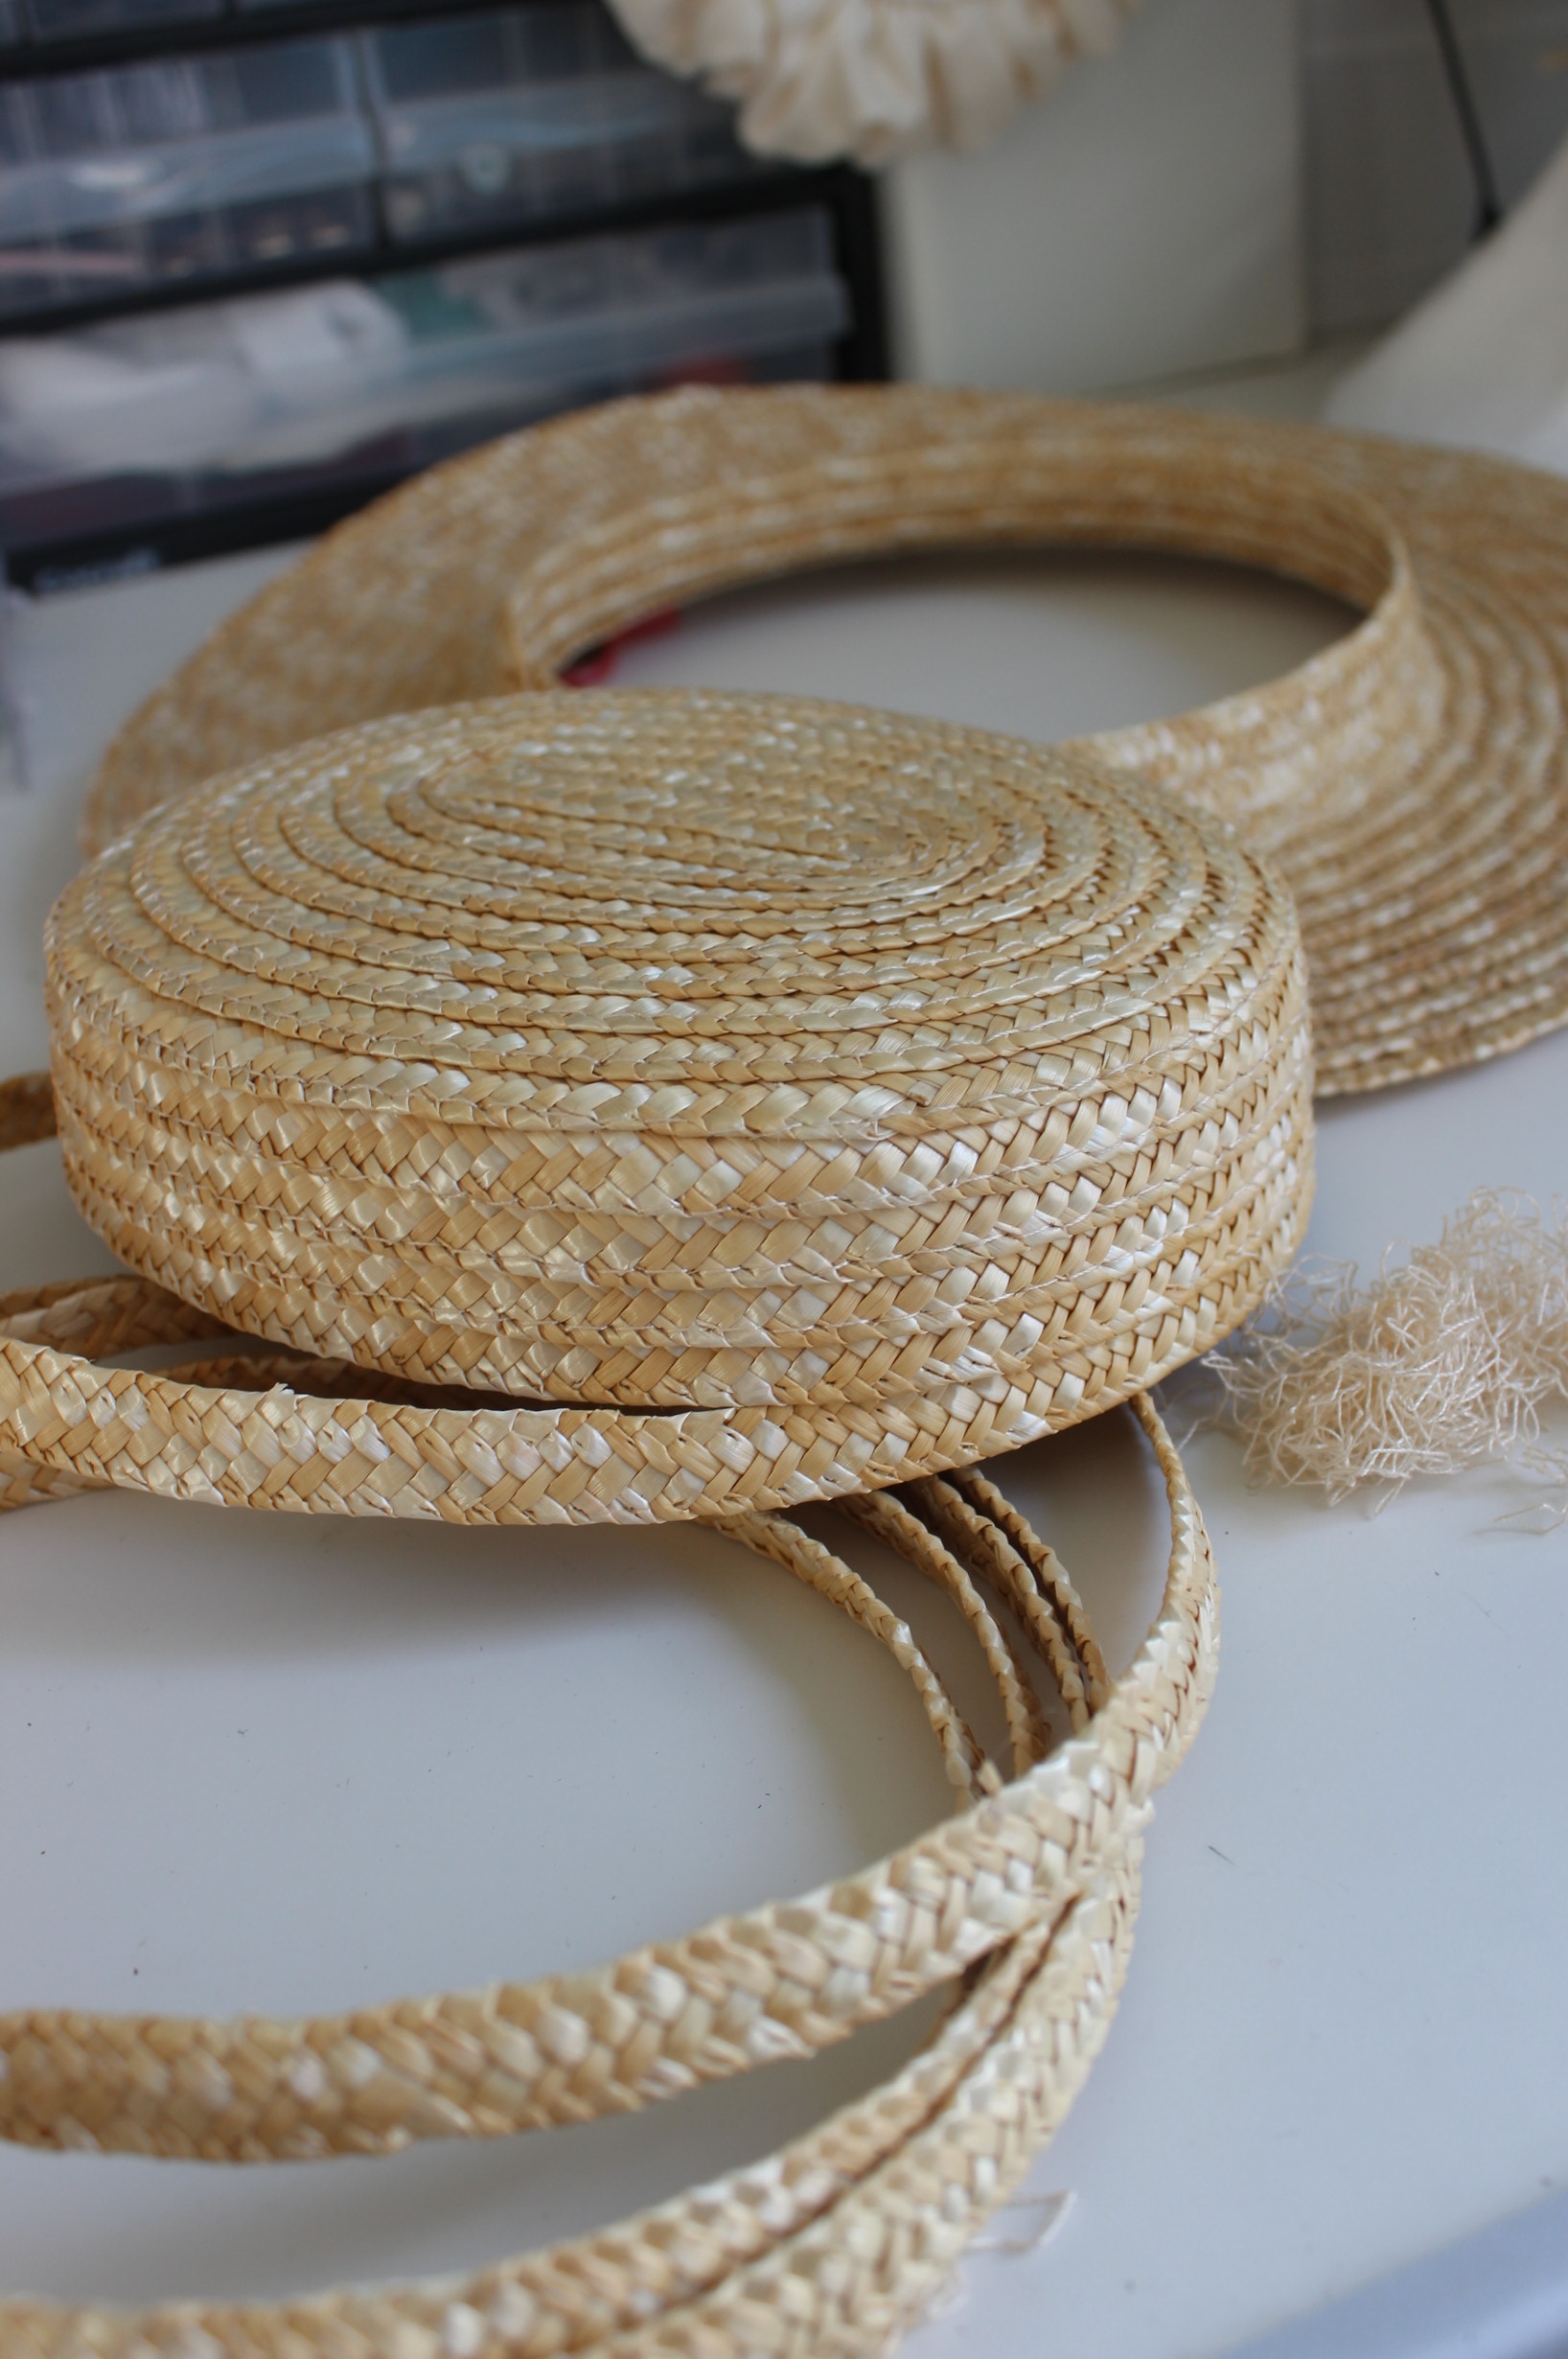
I removed almost all of the hight in the crown and then used some hot water to reshape the rest of the crown and brim to match eachother before stitching them together again. I stitched it on my sewing machine, just like I did on my sisters 1860s straw hat, and in a minute it was done.
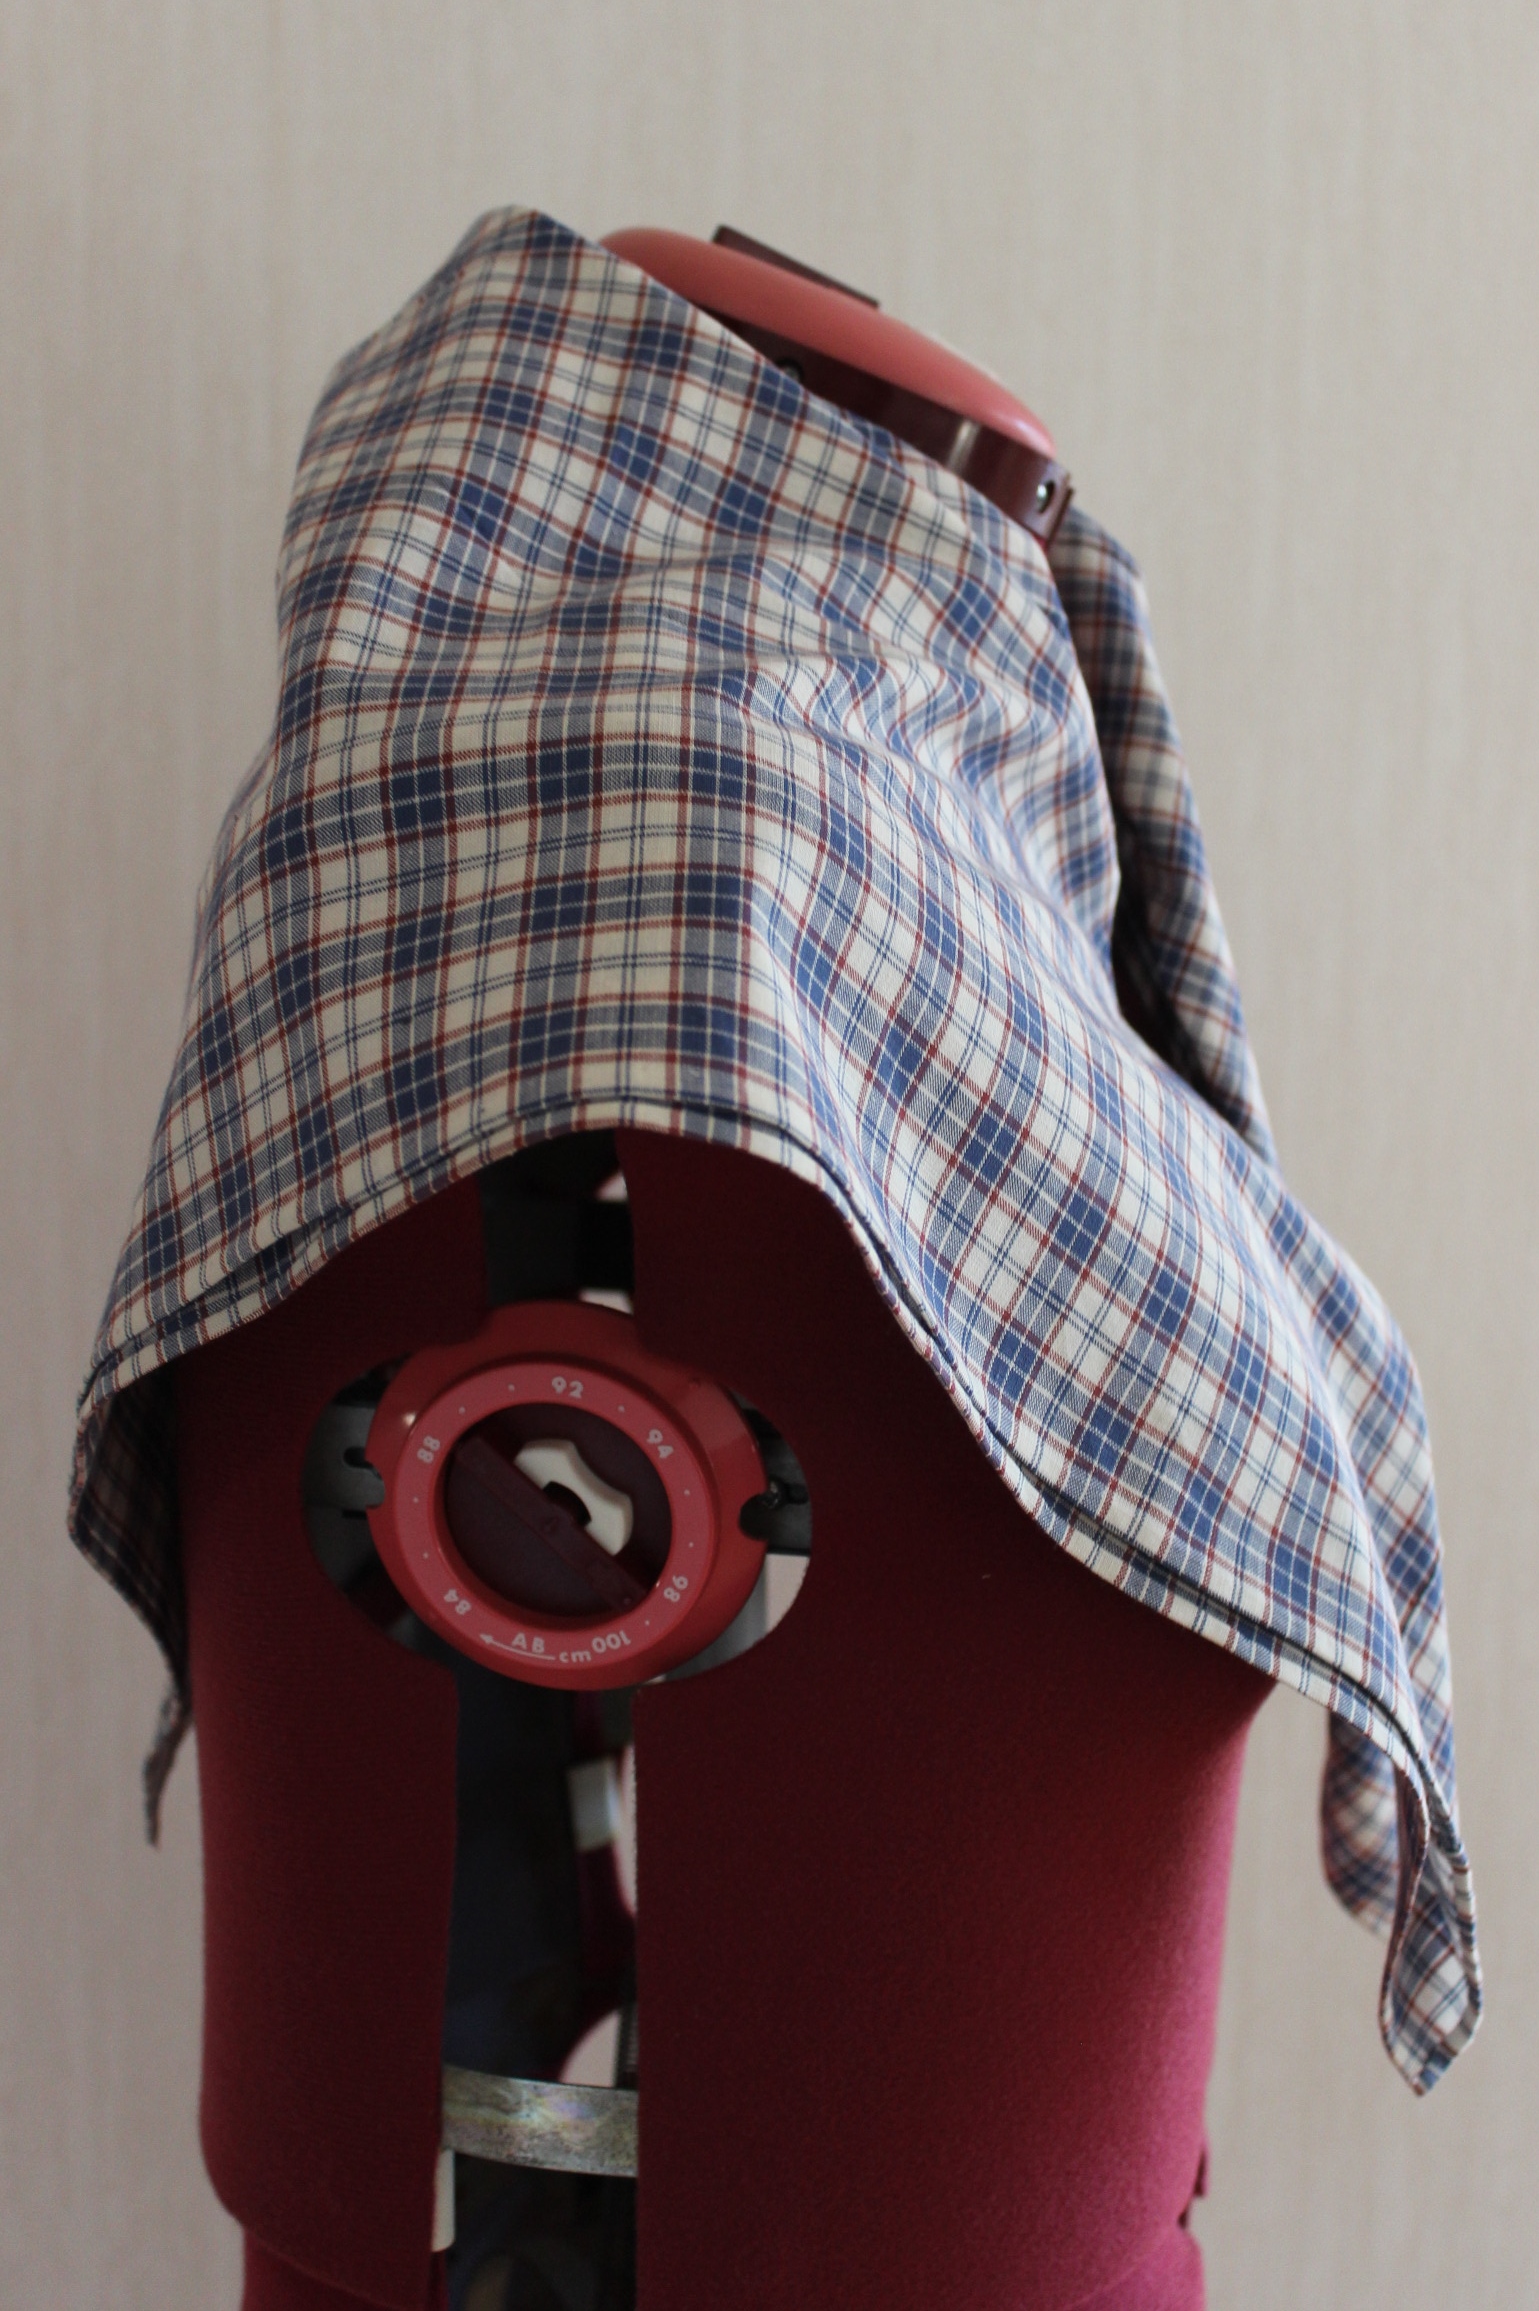
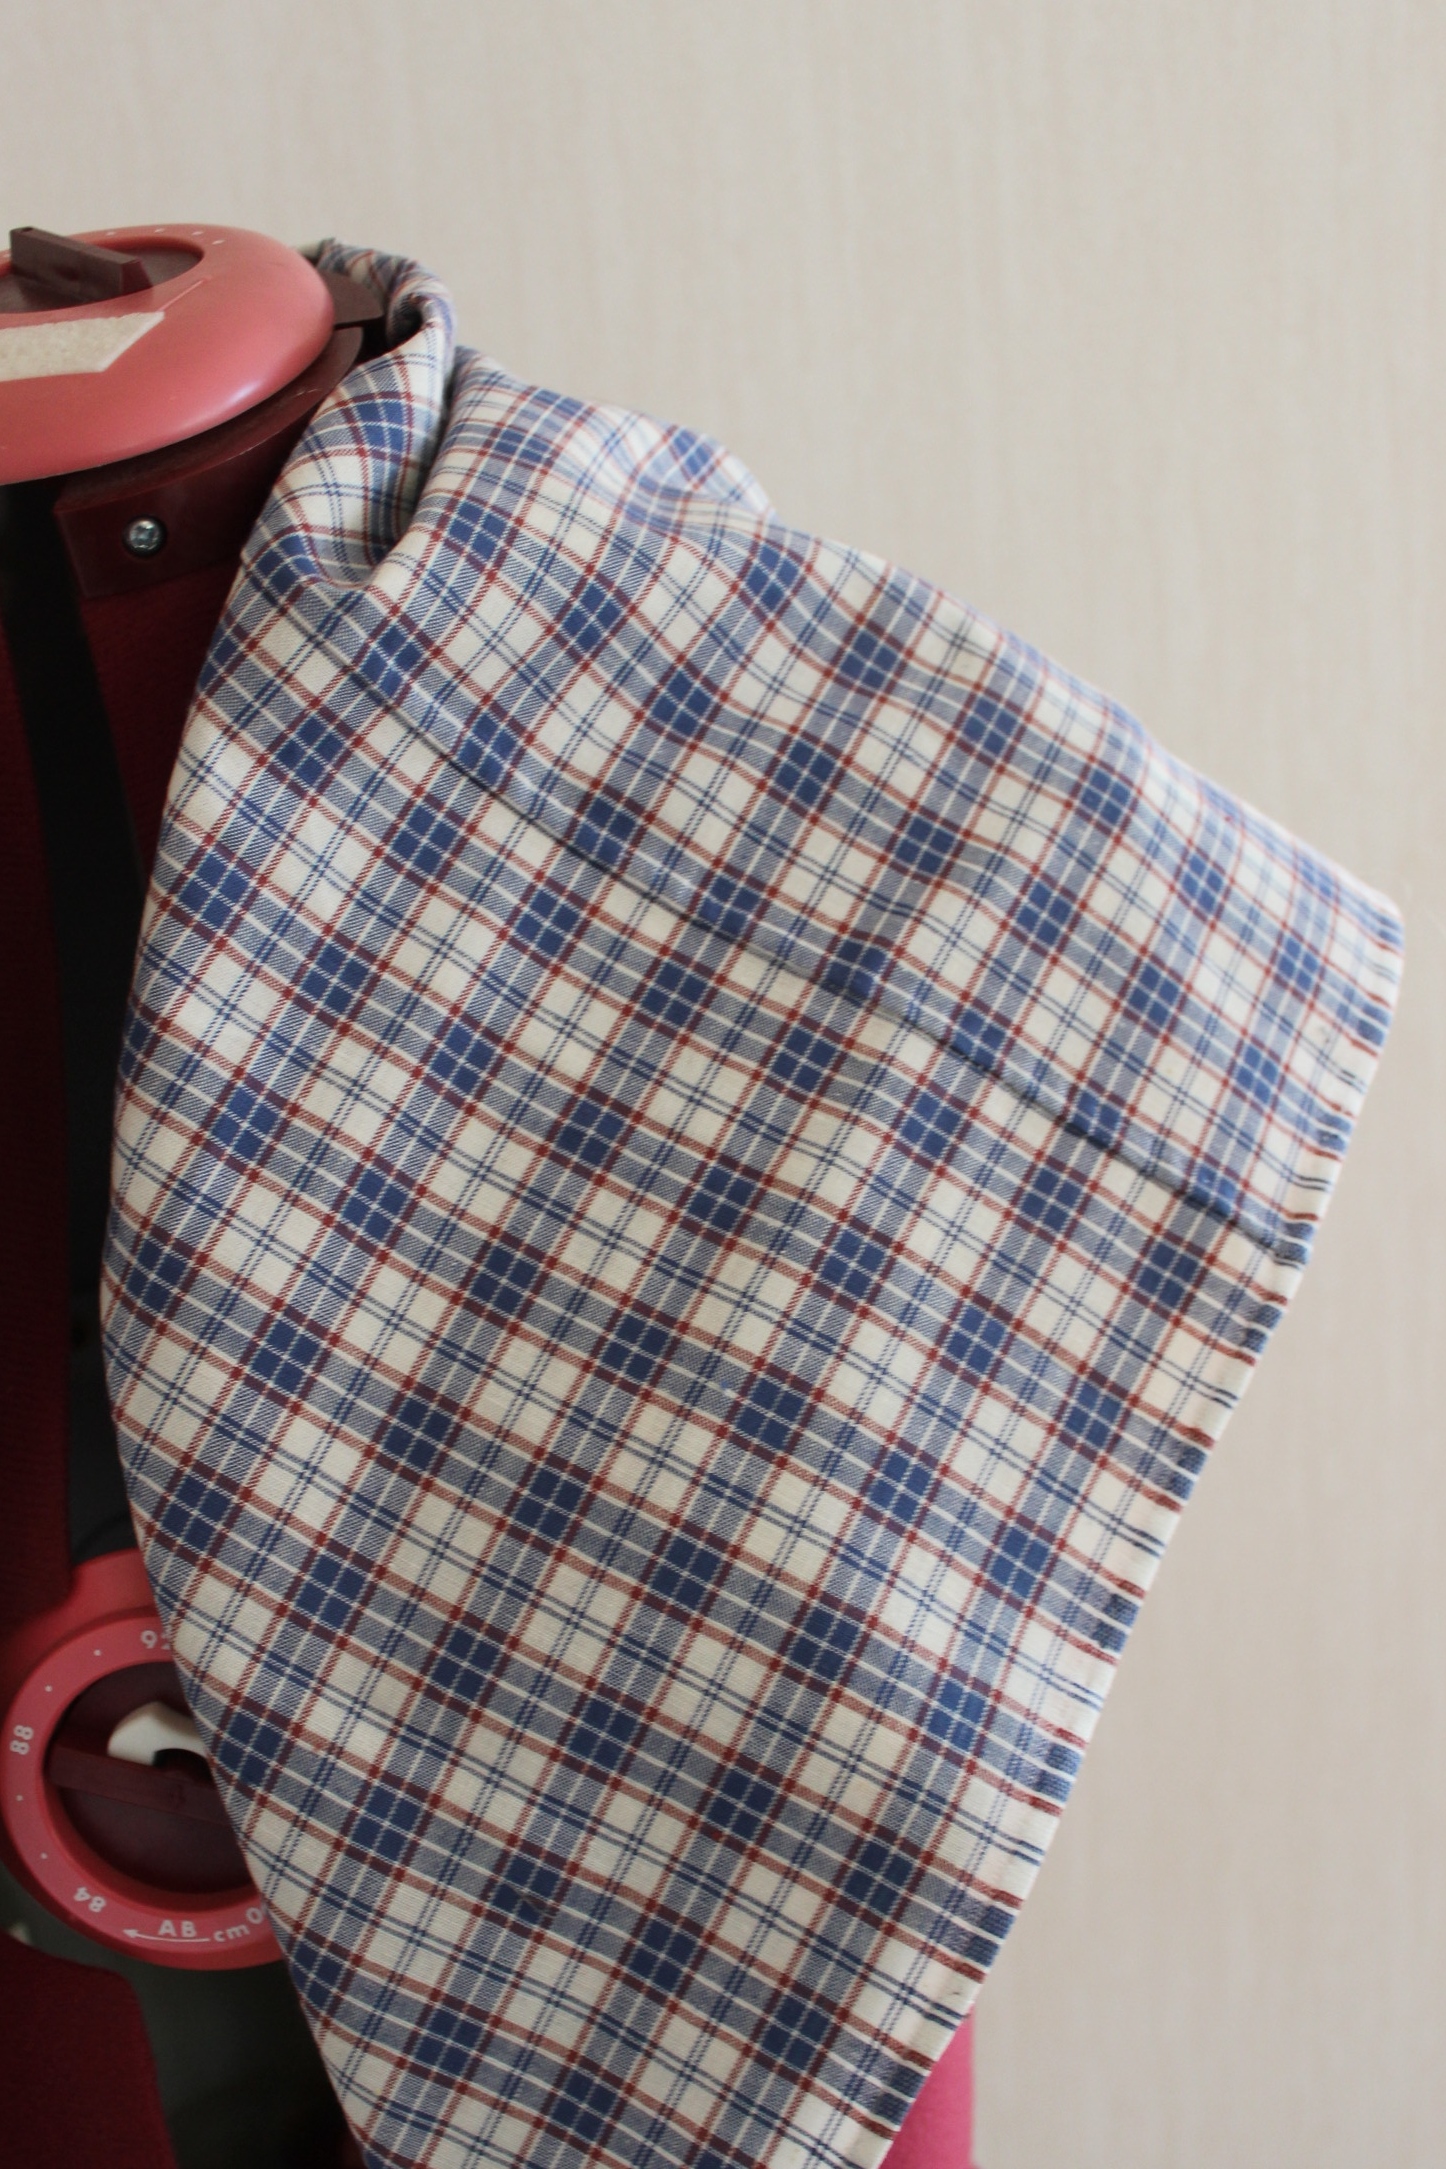
 sitting on my wig-stand to dry.
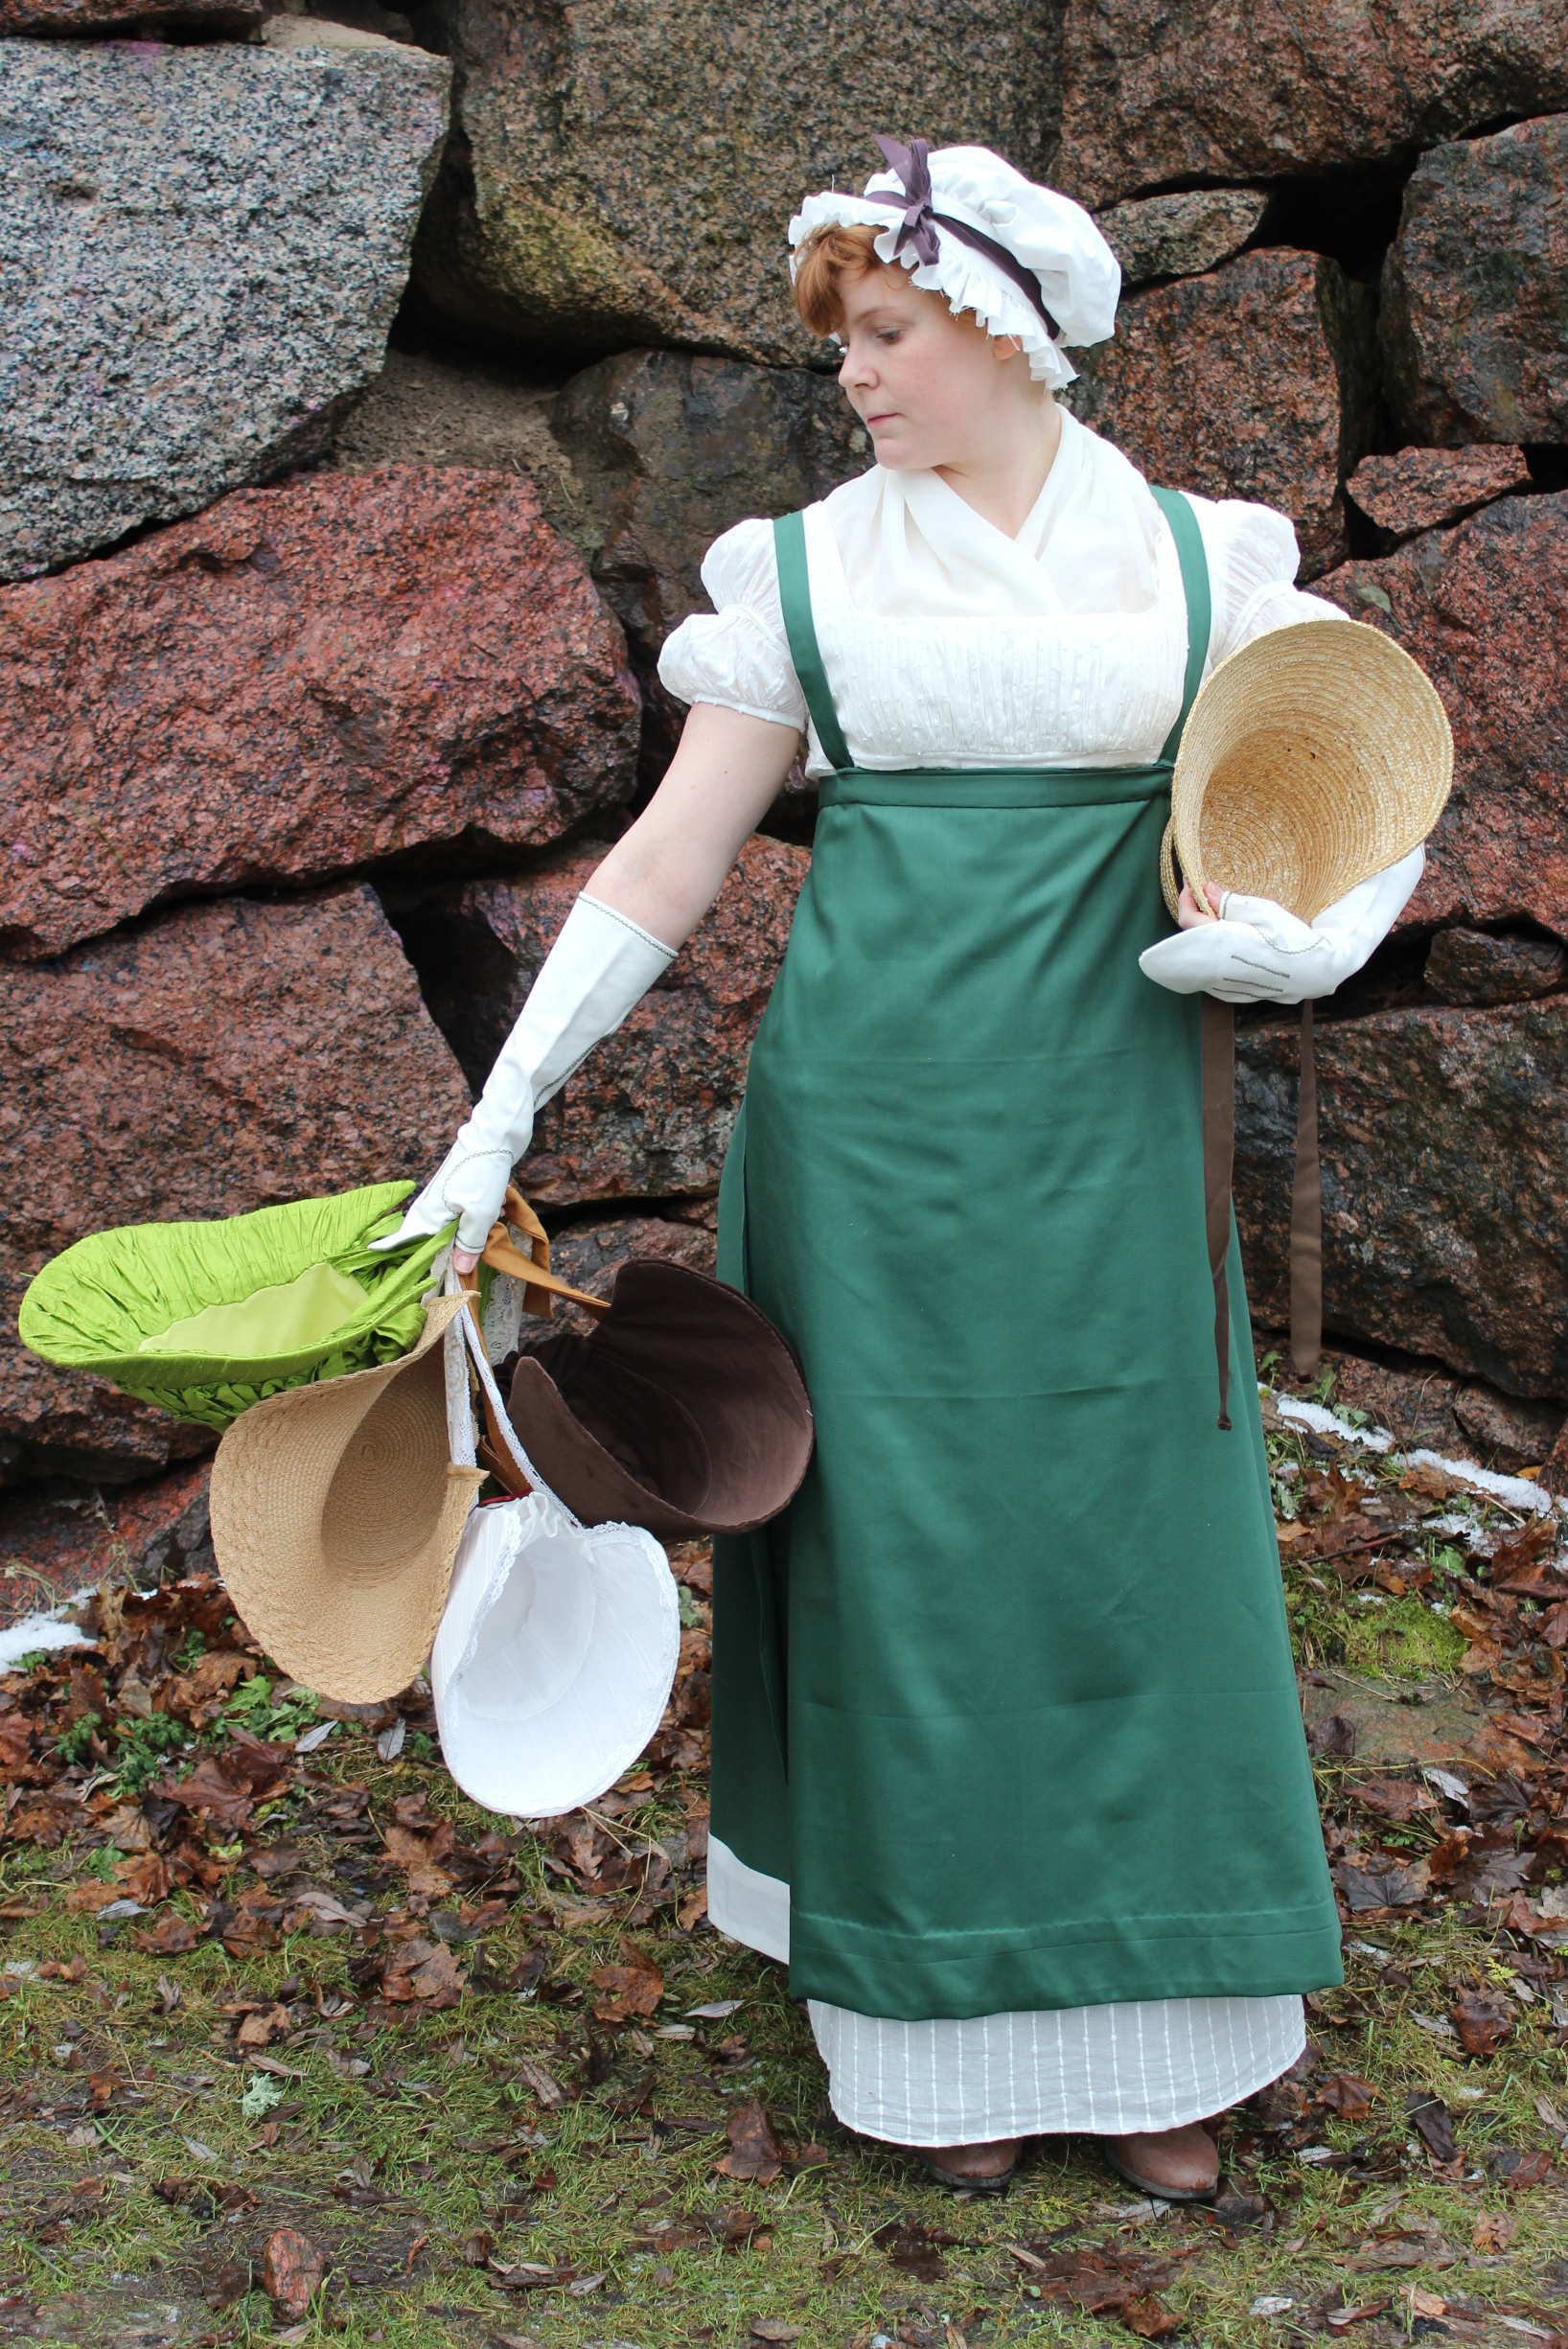
Once dry, I tried out some different ways to shape and wear it, using a piece of dotted chiffon to tie around the head.


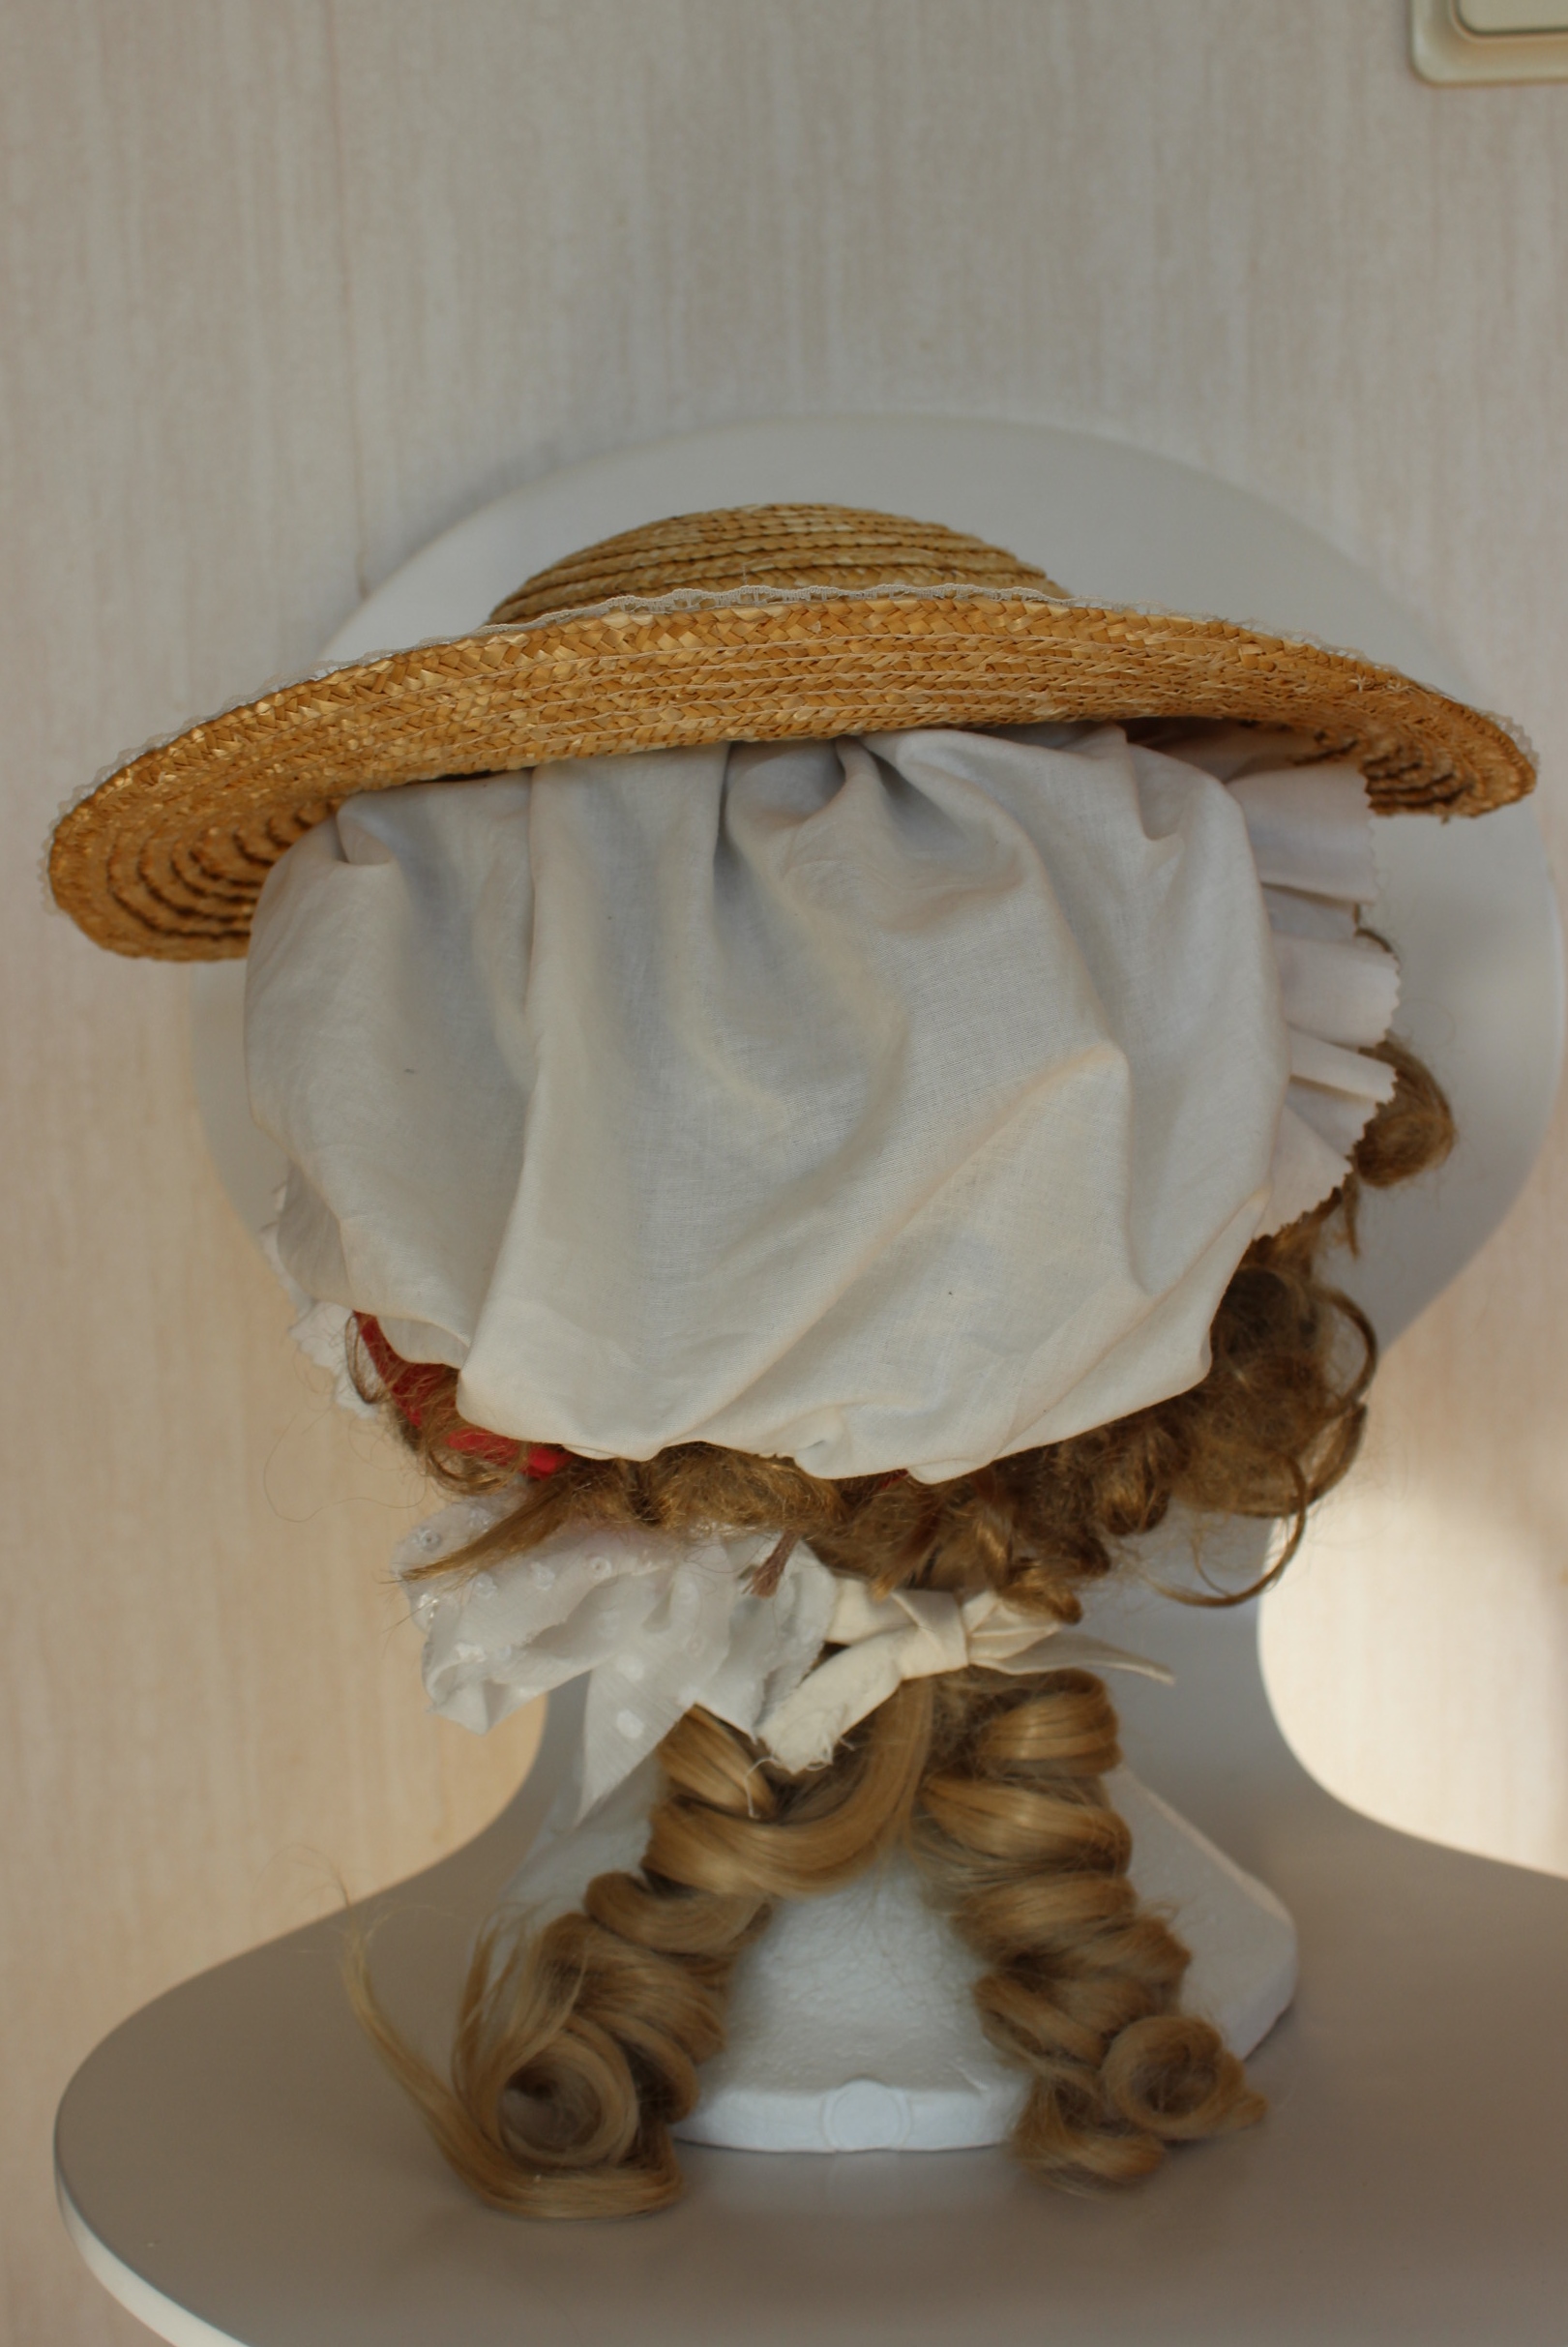
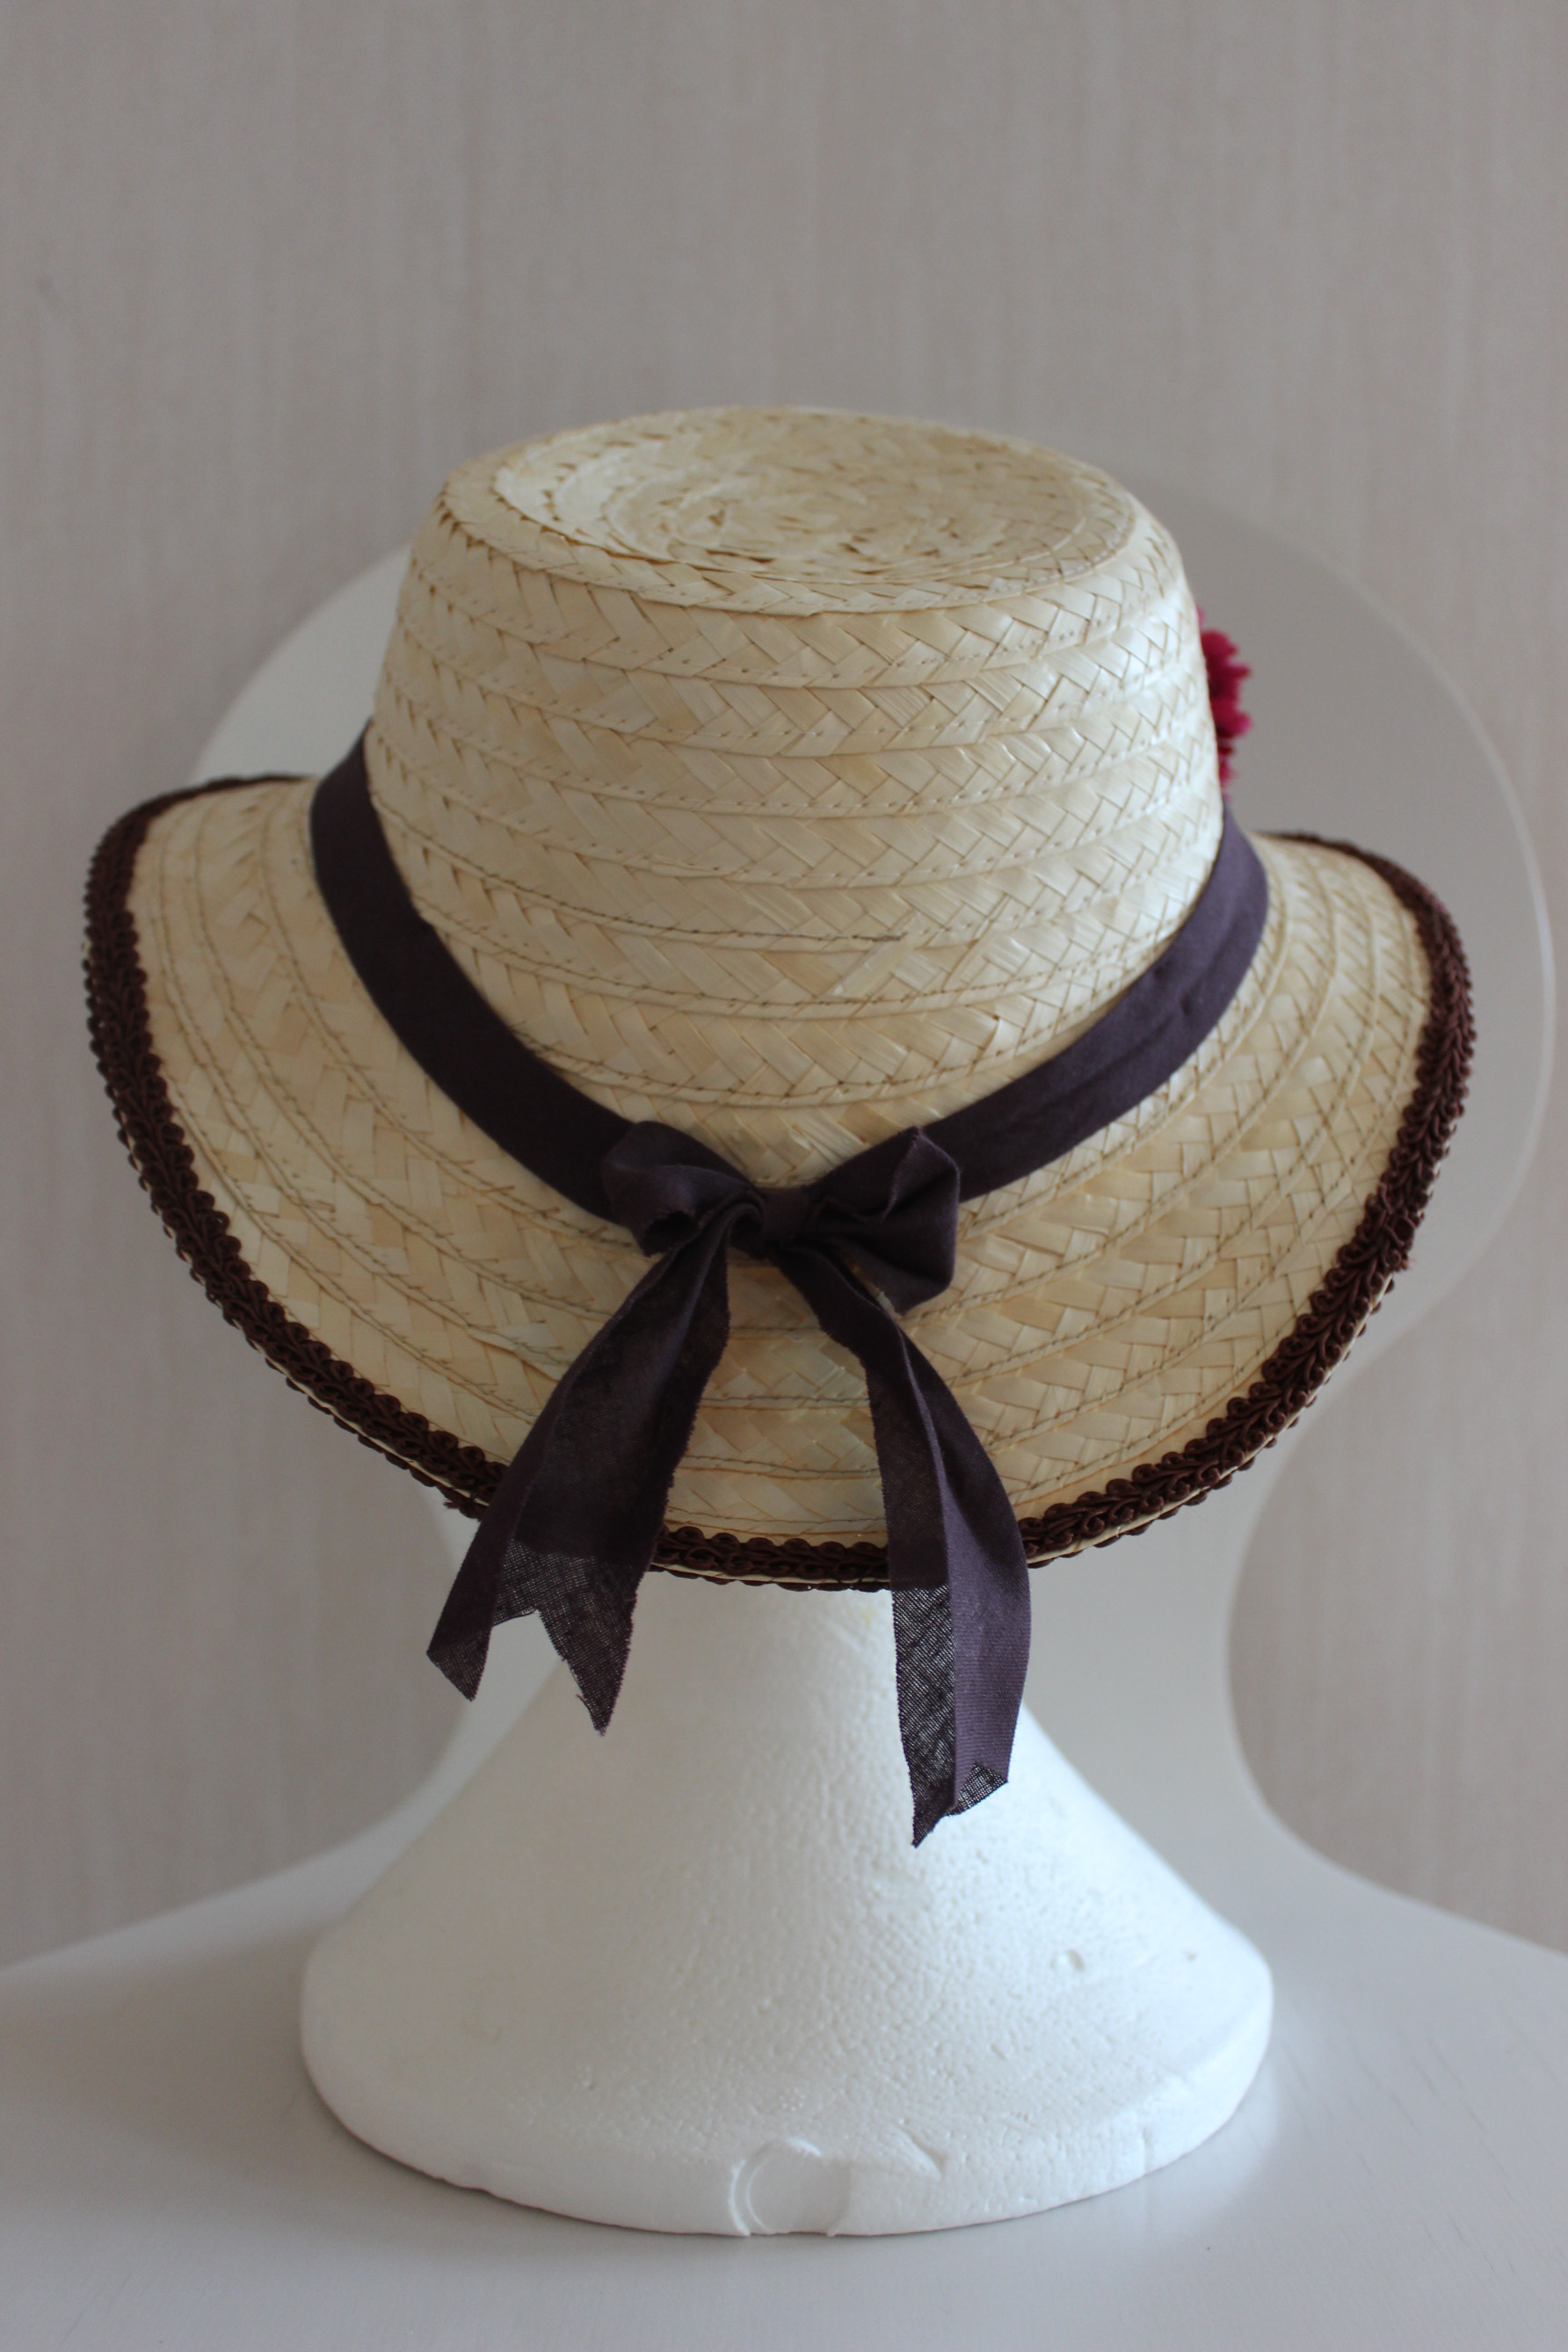
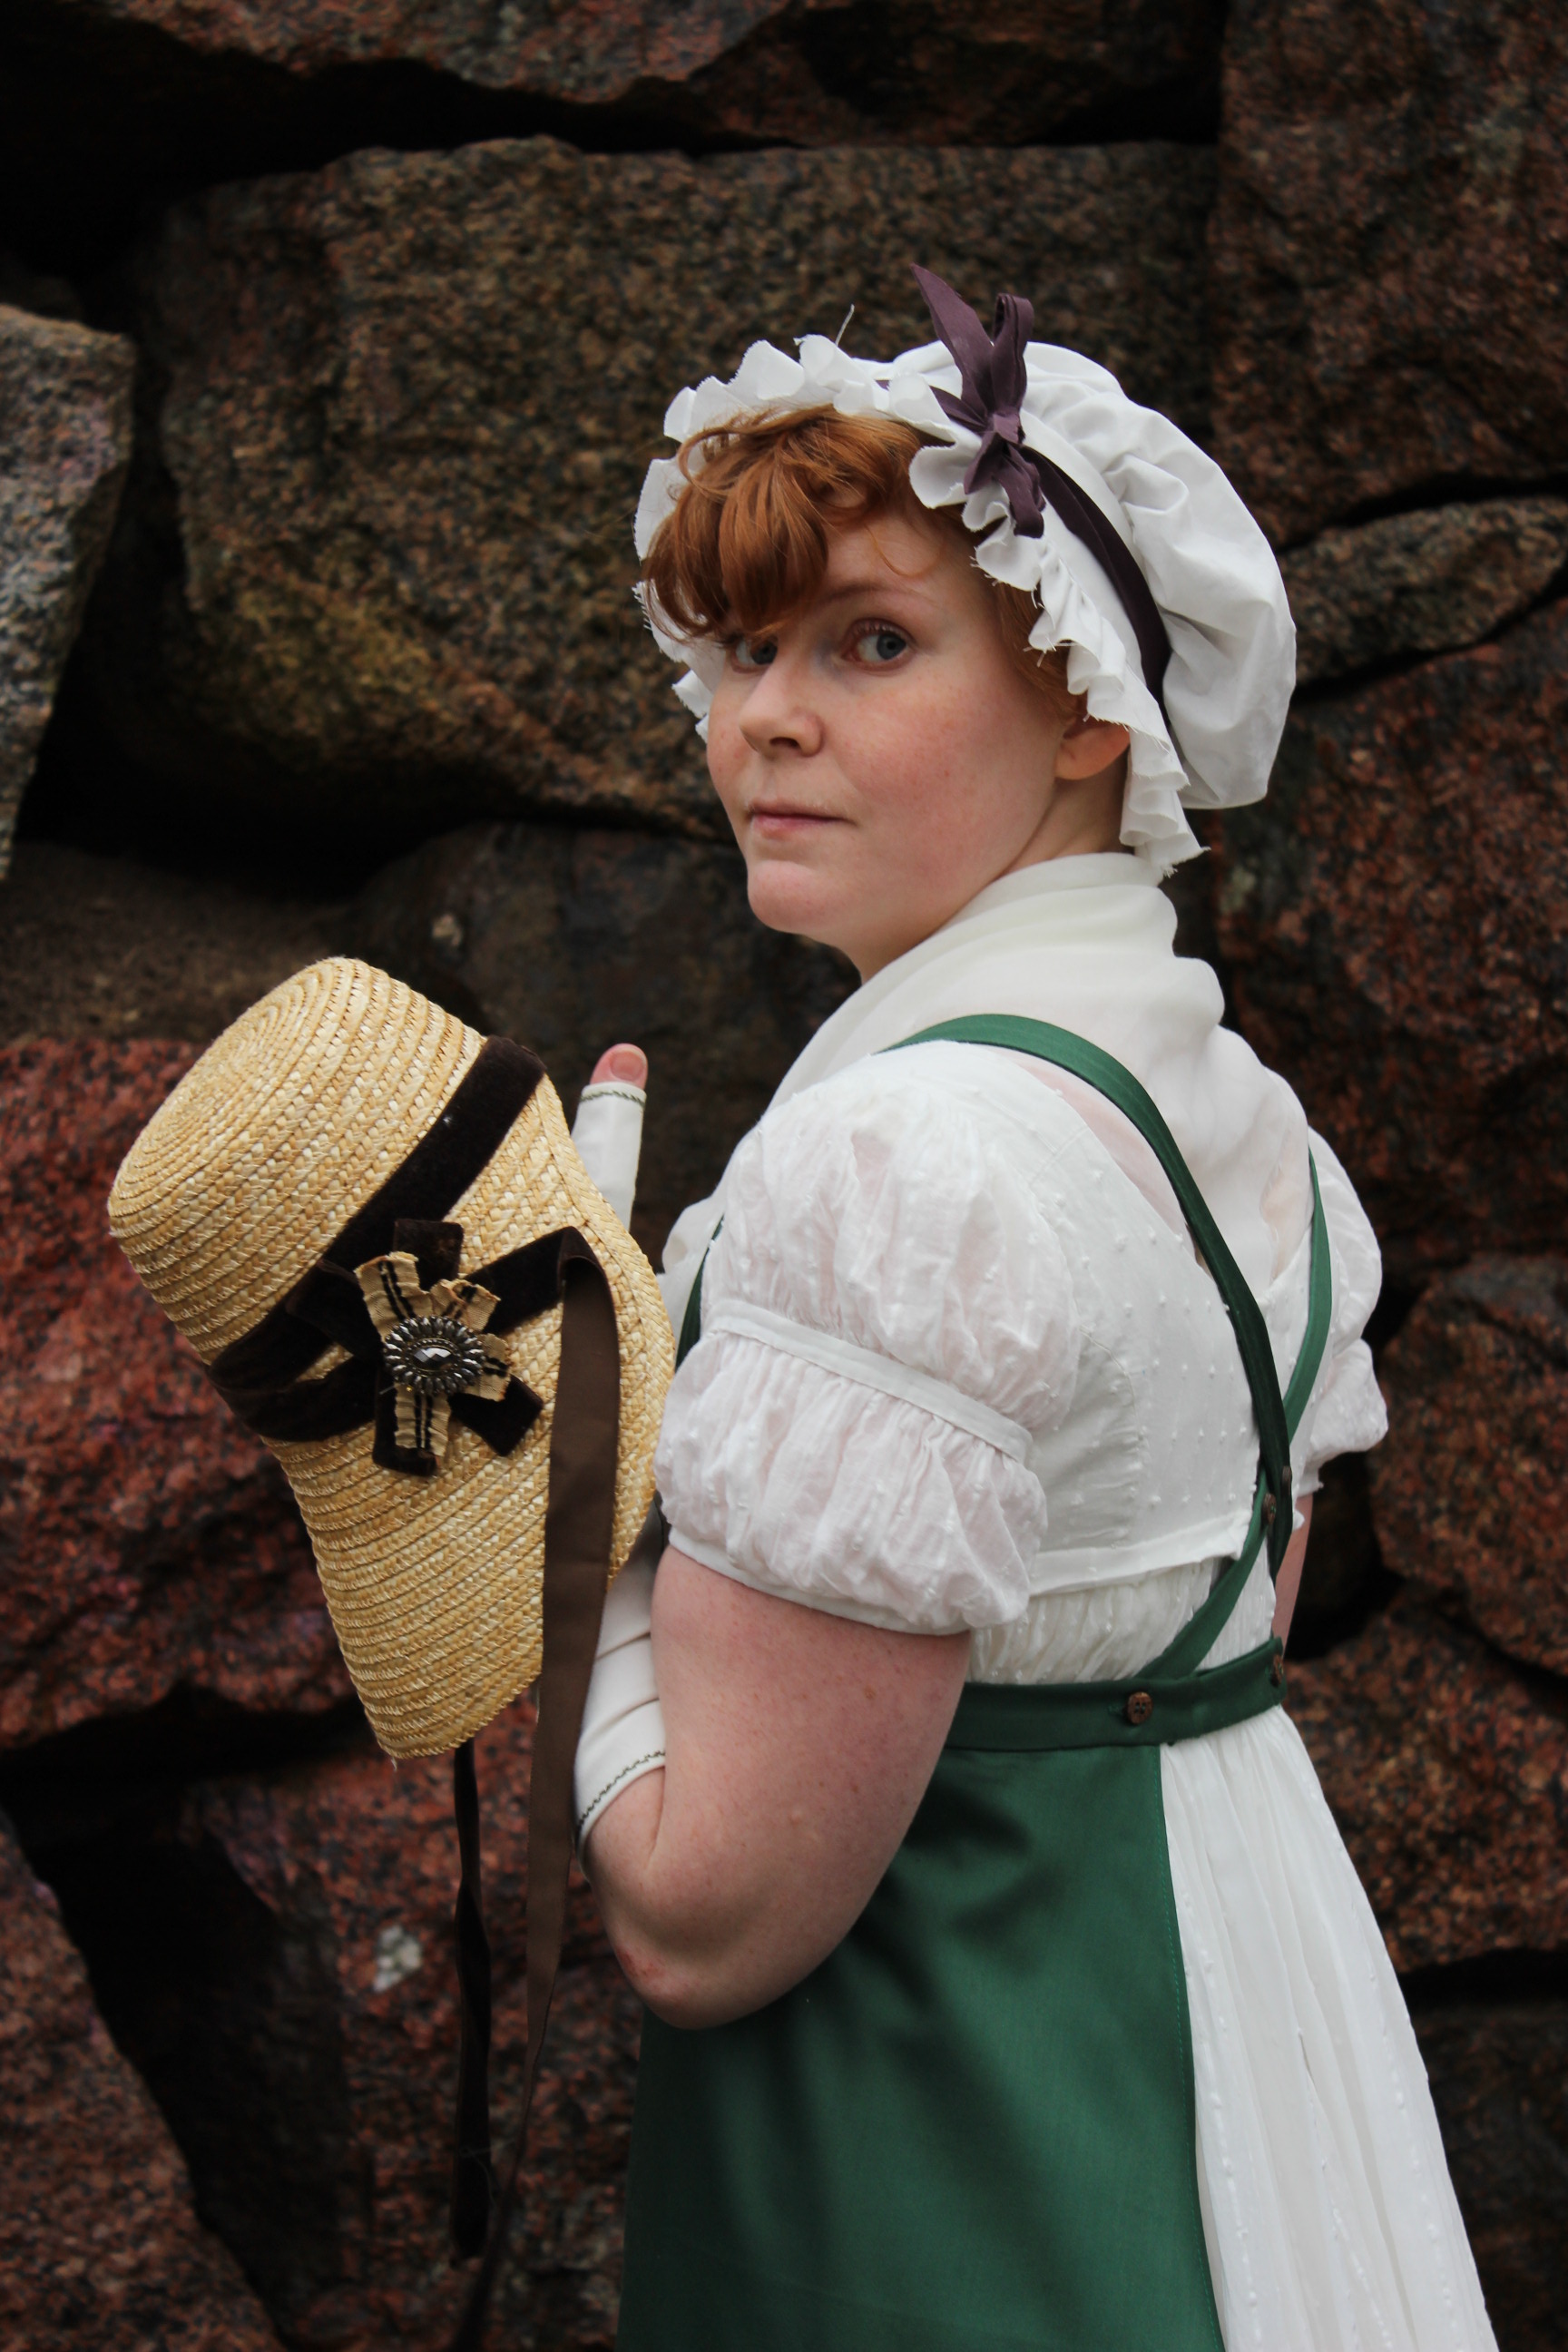
once I shaped the brim to my liking (a bit up at the back and down at the front), I attached the ribbons to the underside of the hat, as seen in paintings and extant pieces..
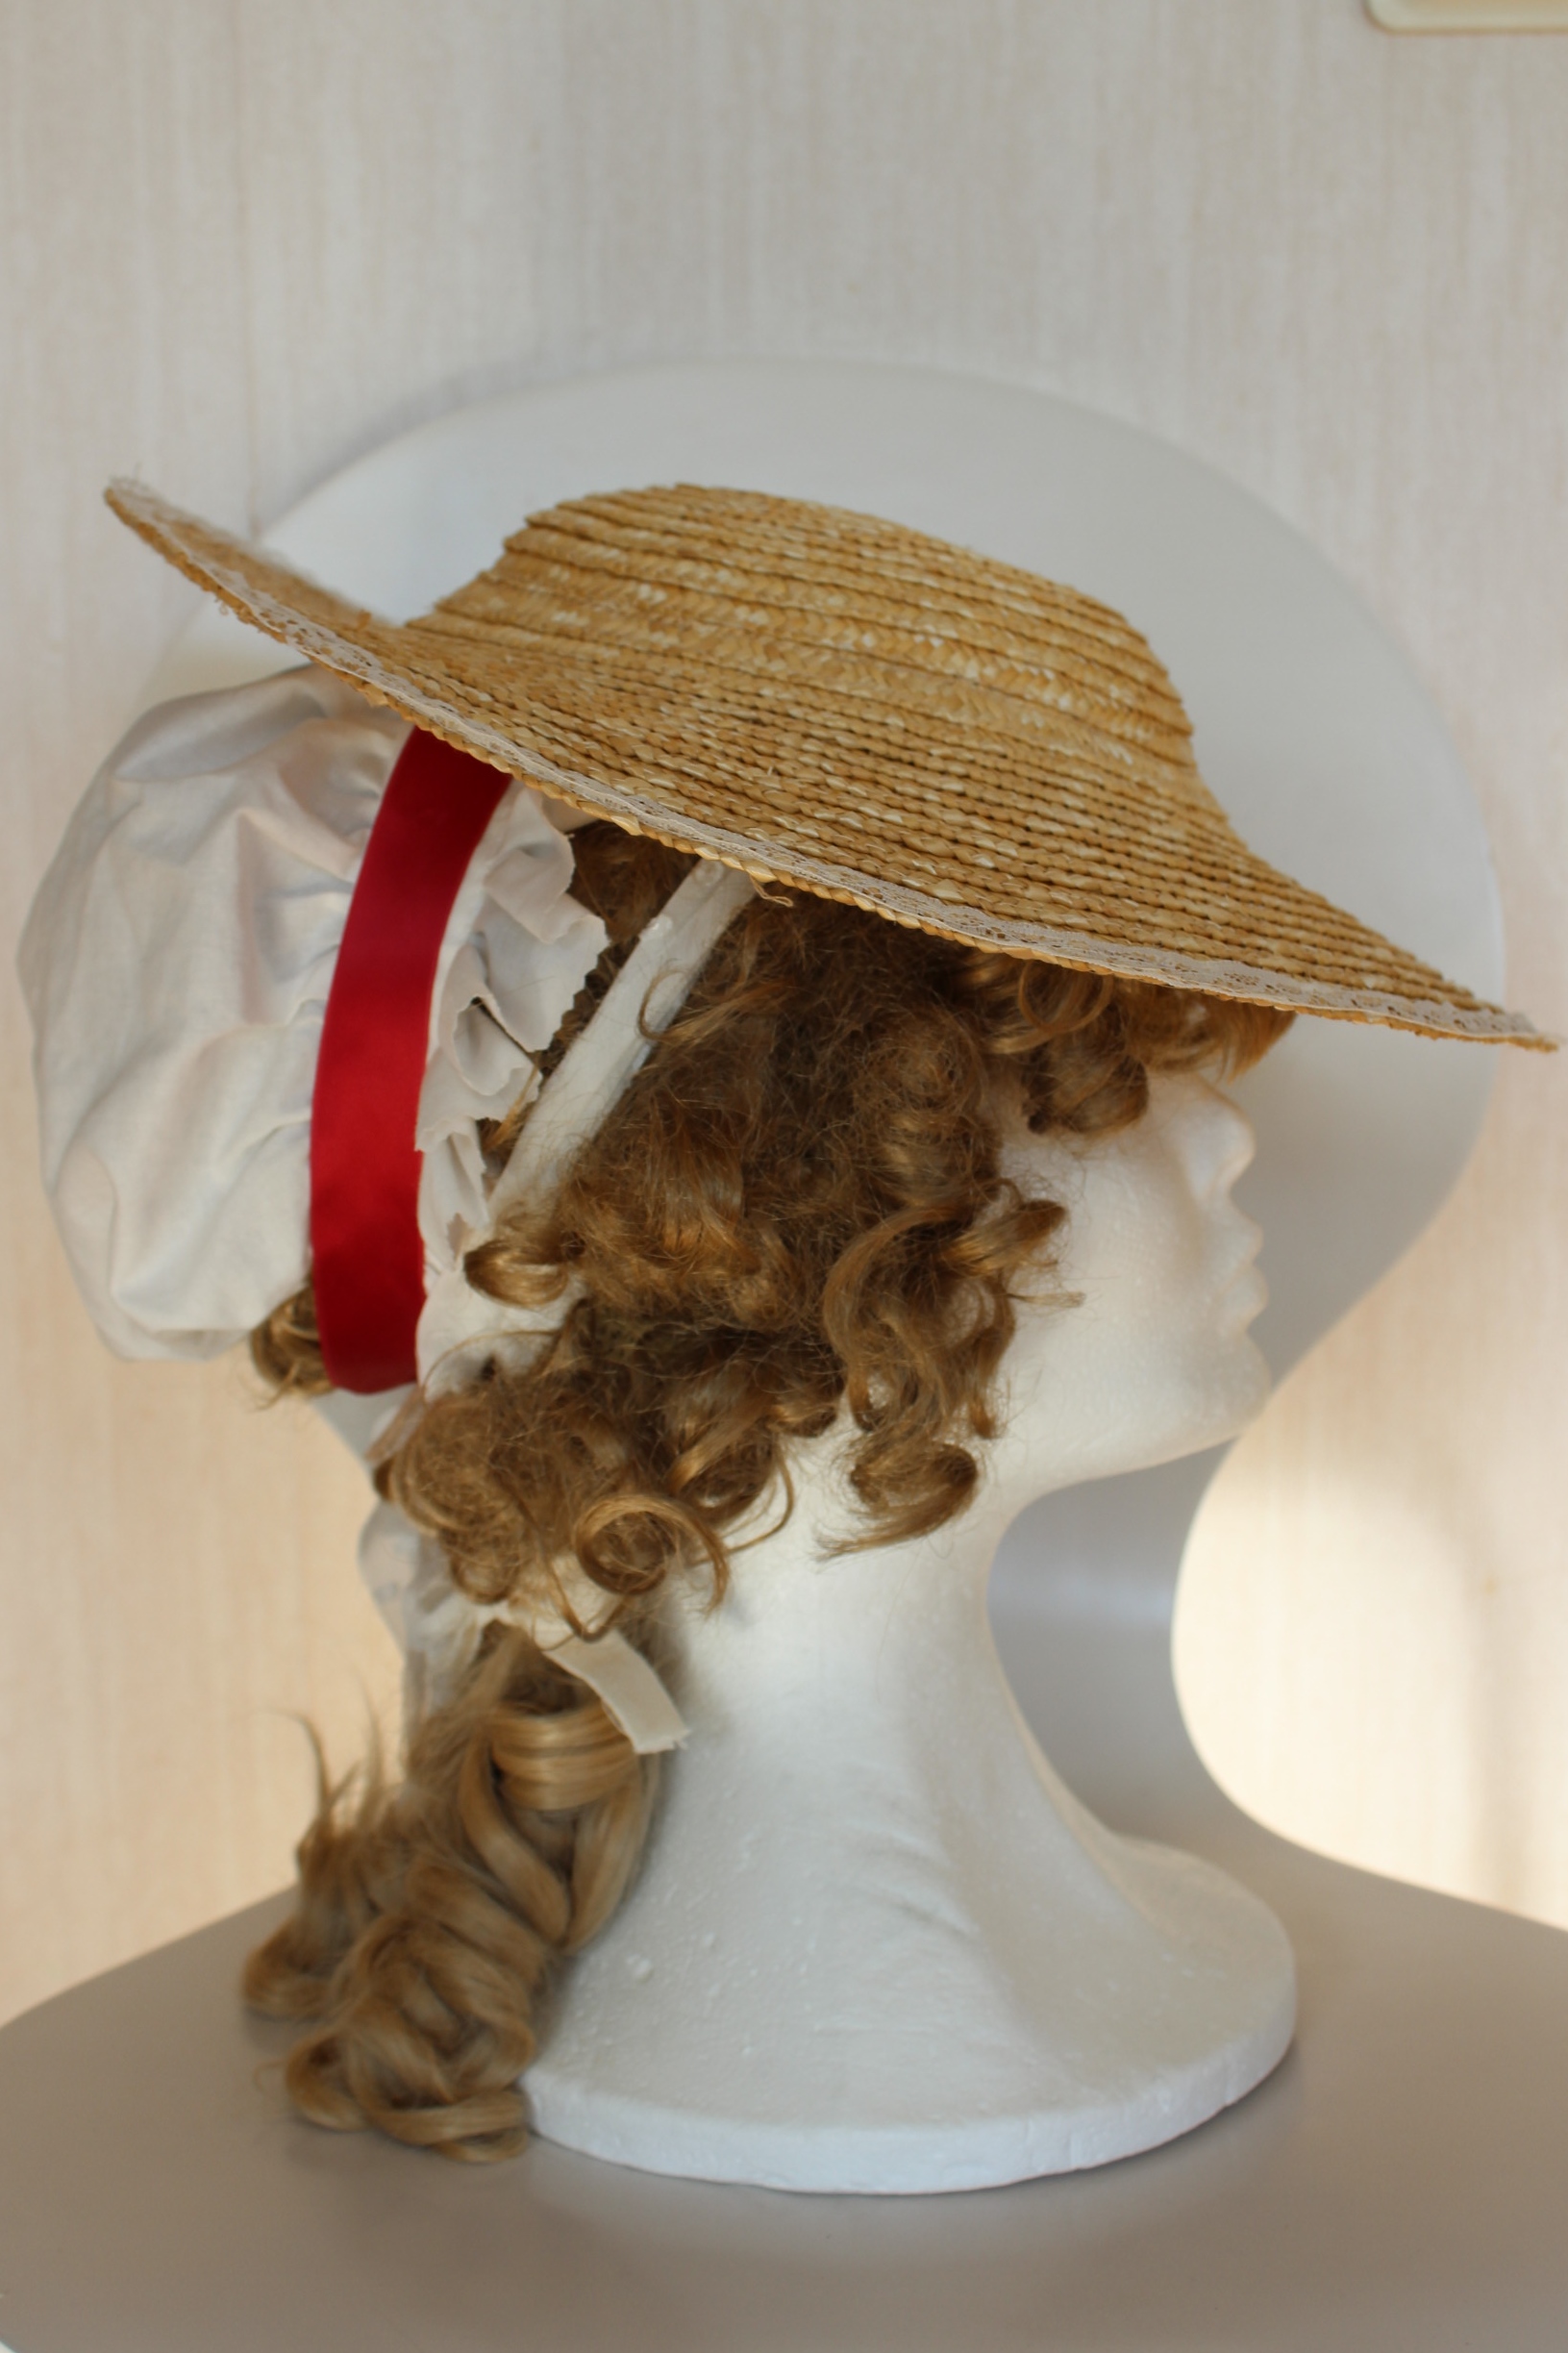
Once the basics was done, I tried the hat on to see how I would best wear it.


With my wig


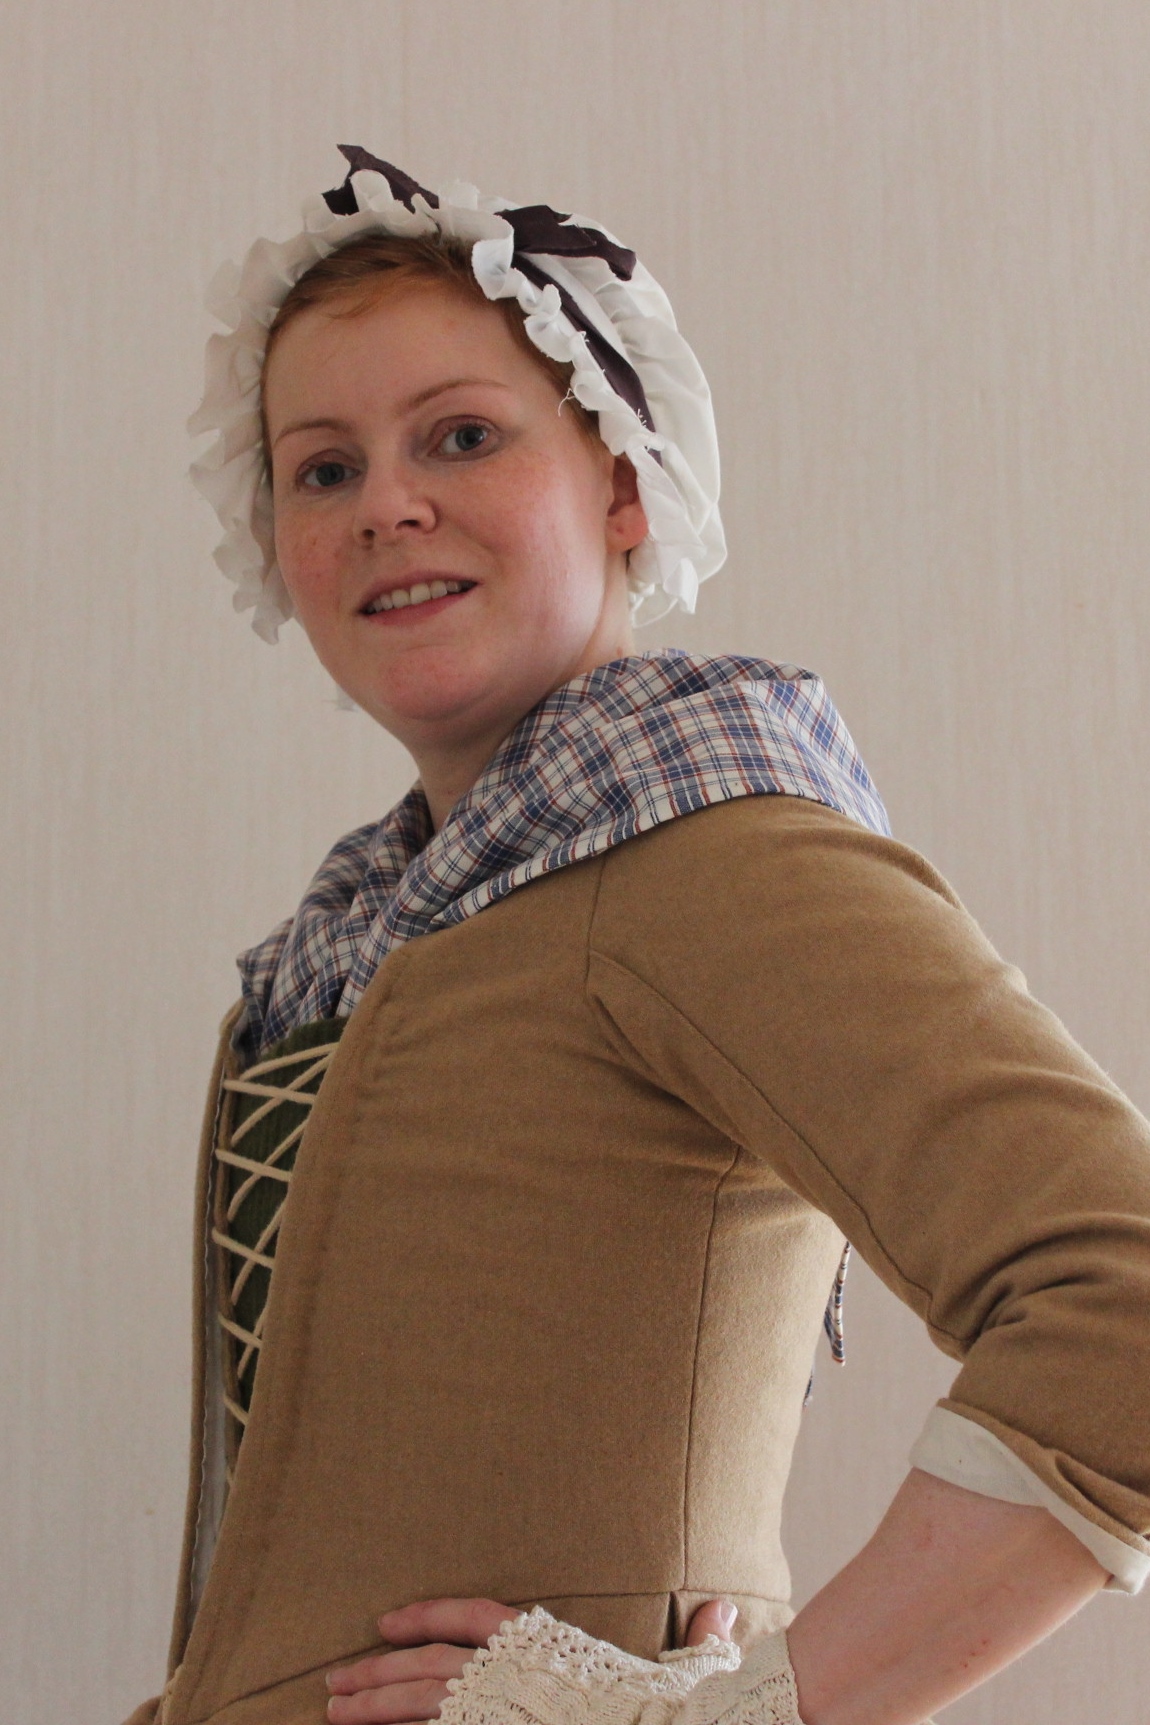
Or with my cap
Then, as a final detail I decided to and a narrow band of lace to the edge of the hat to make it softer and to look more finished. 
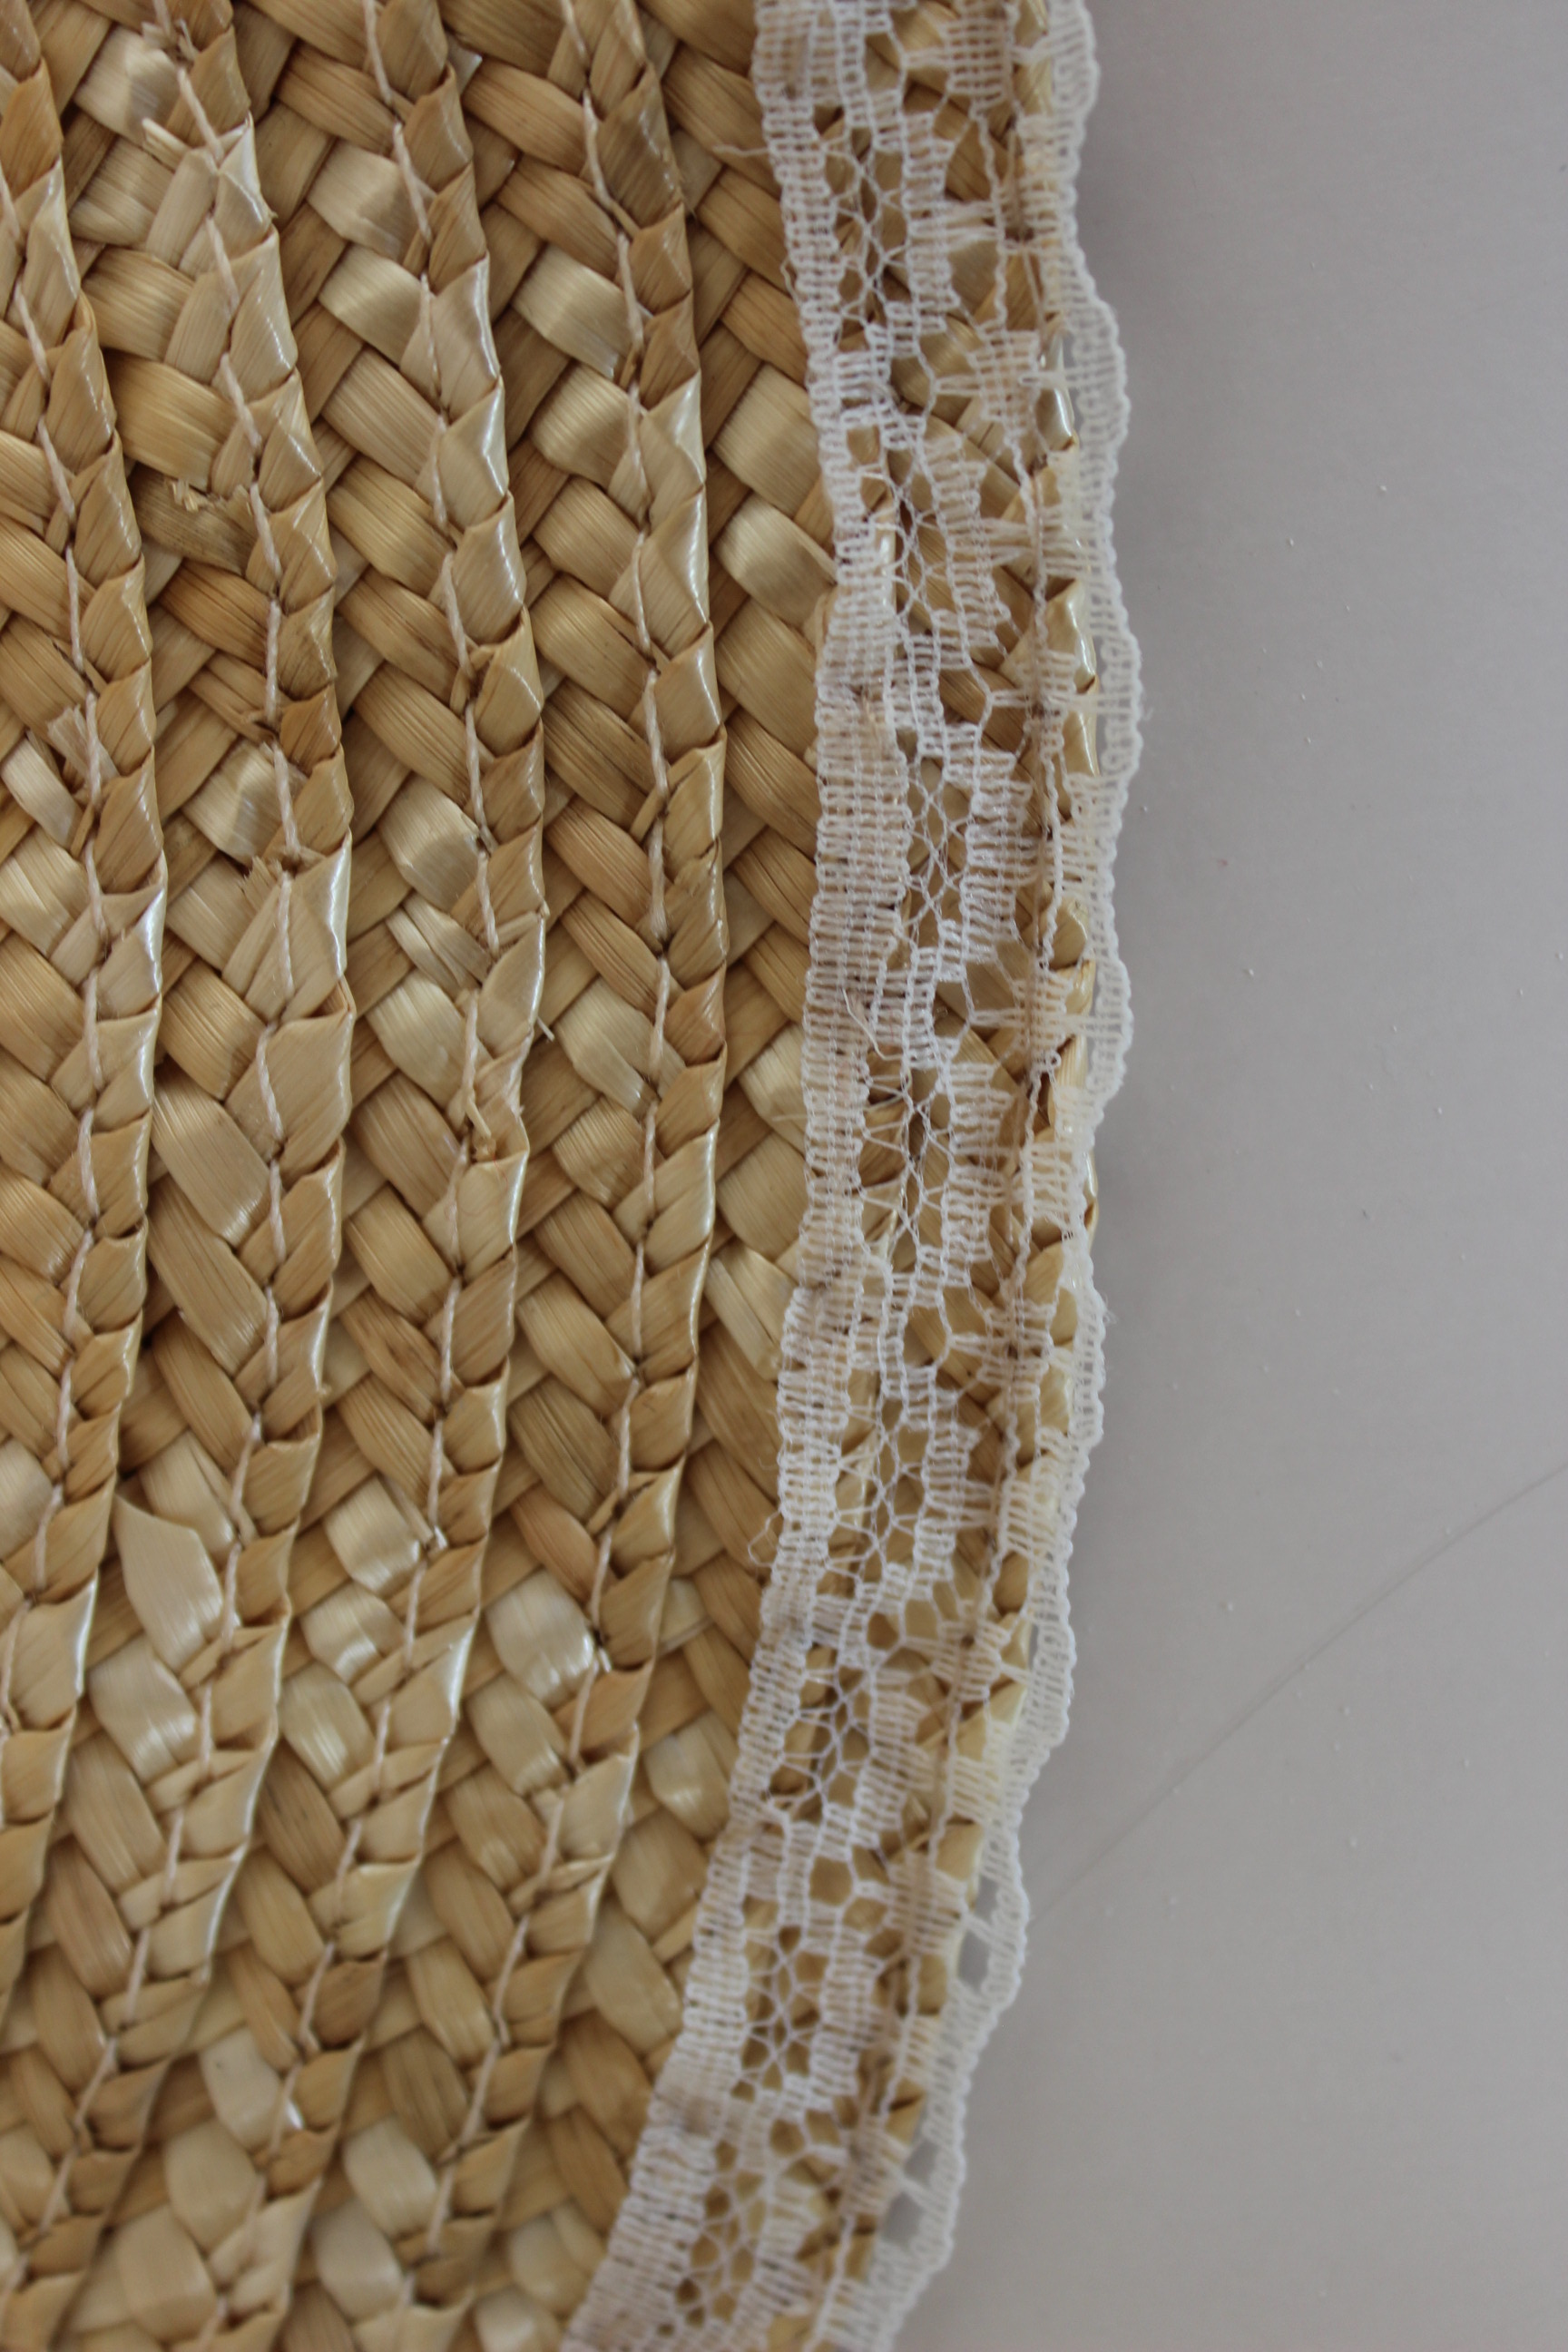
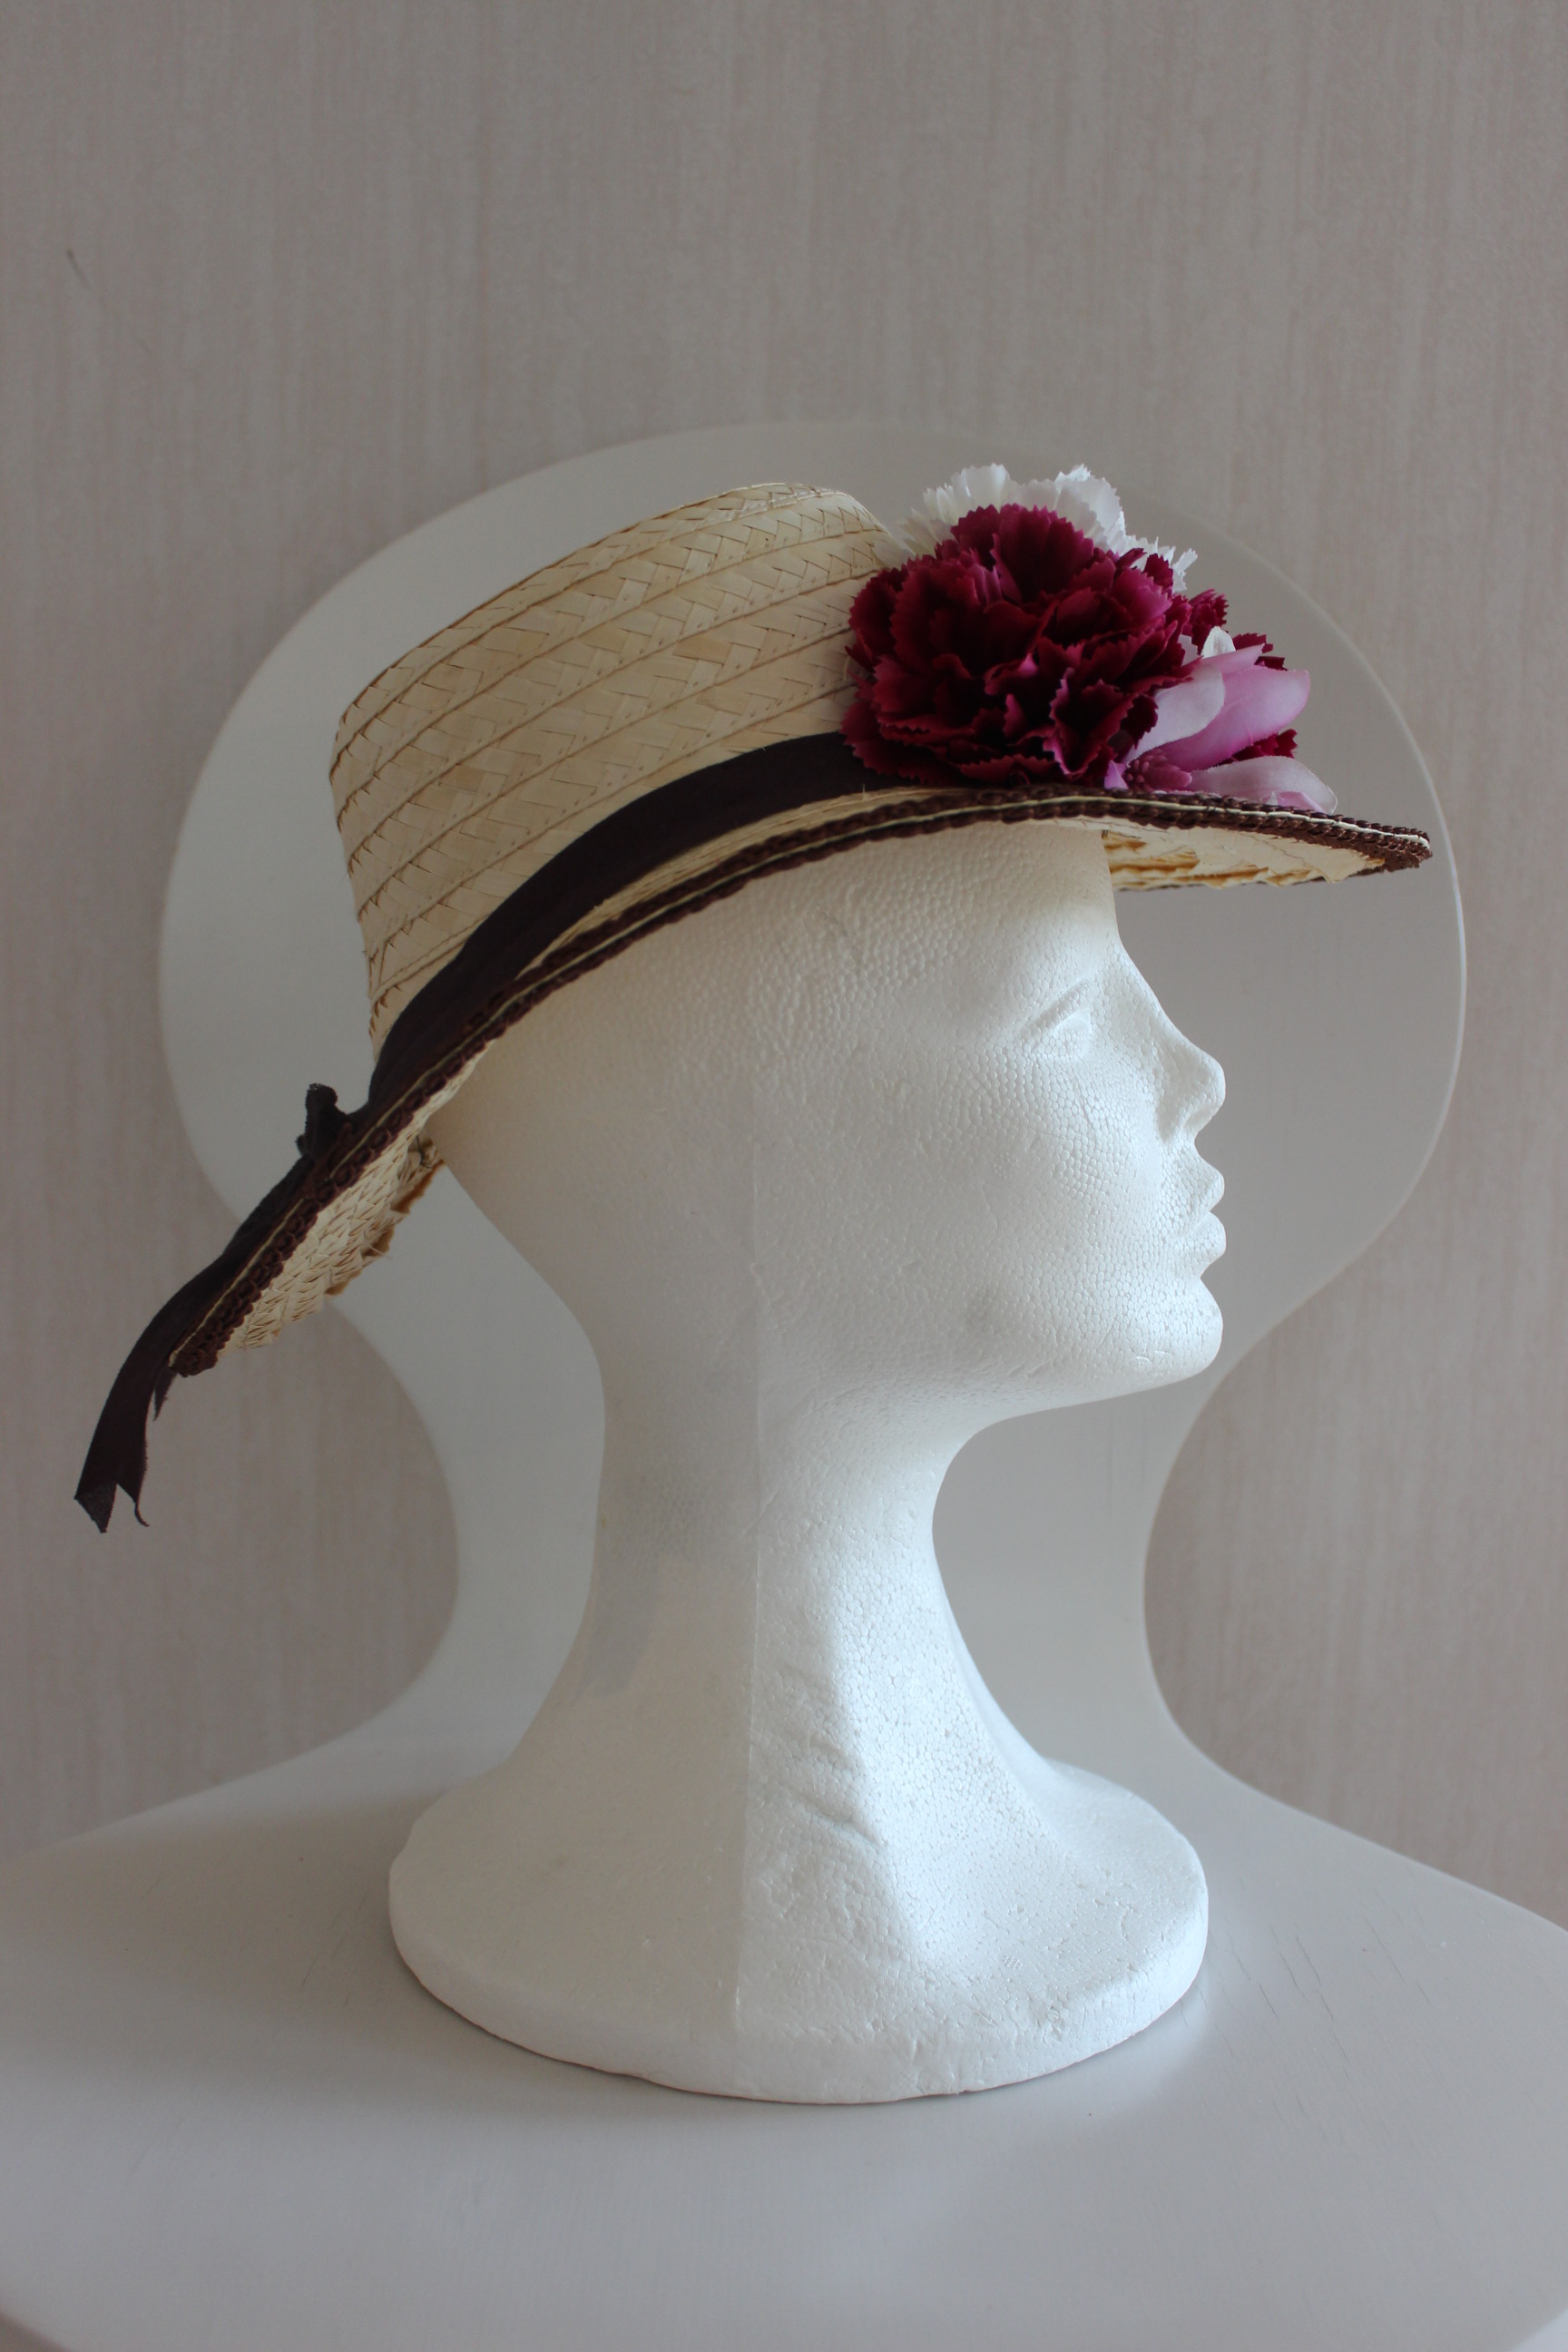
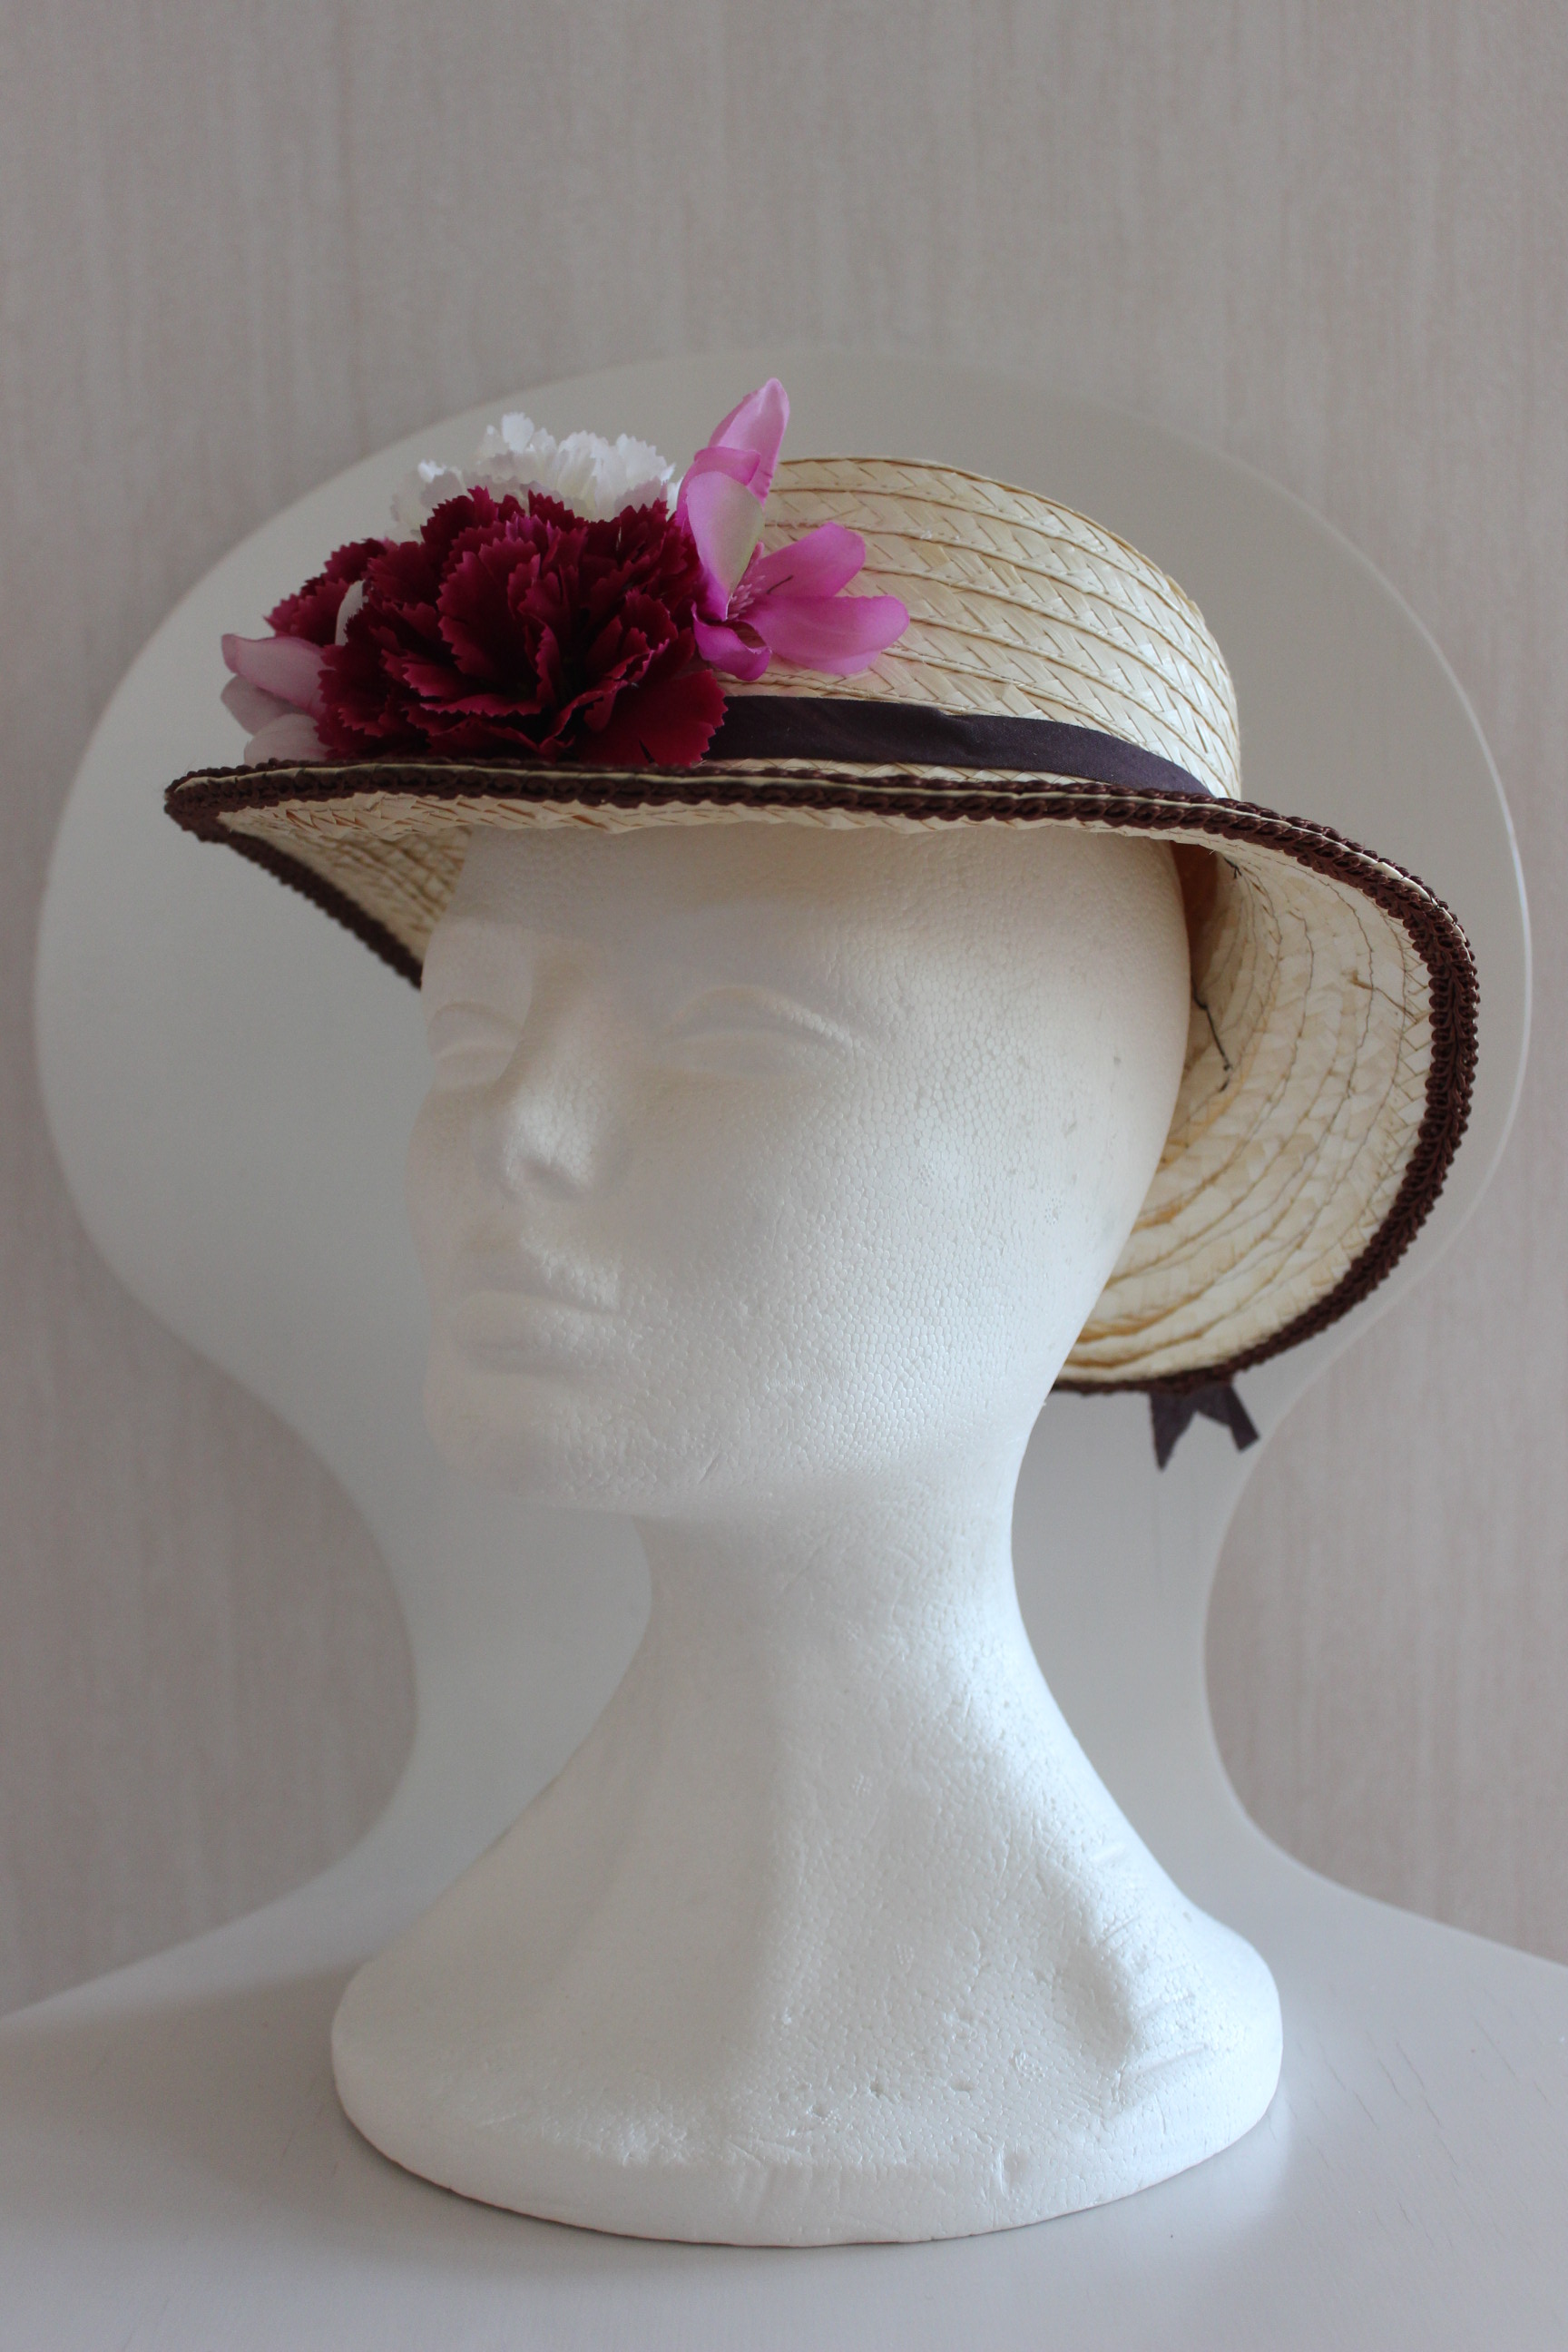
The finished hat:


Just the facts:
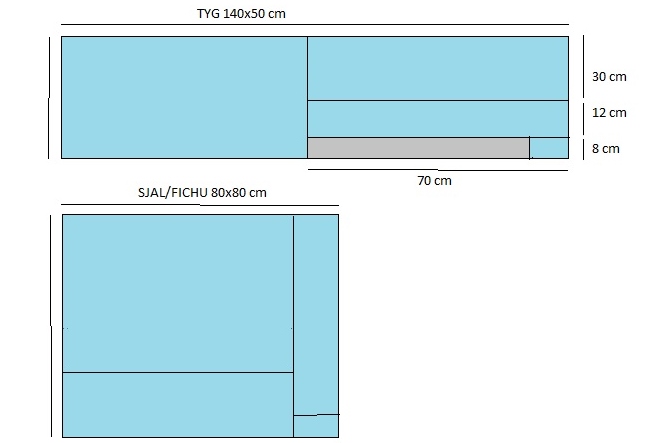
What: a modern straw hat reshaped into a 18th century Bergére
Material: 1 cheap straw hat, thread, 80 cm thin lace and
Time and cost: about 2-3 hours if you don’t include the time it took to dry. And the cost was less then 100 Sek (8 Usd).
Final thoughts: I really like it, but I´m not sure how to shape it to look its best. I wil defienetly be wearing it for more events in the future.
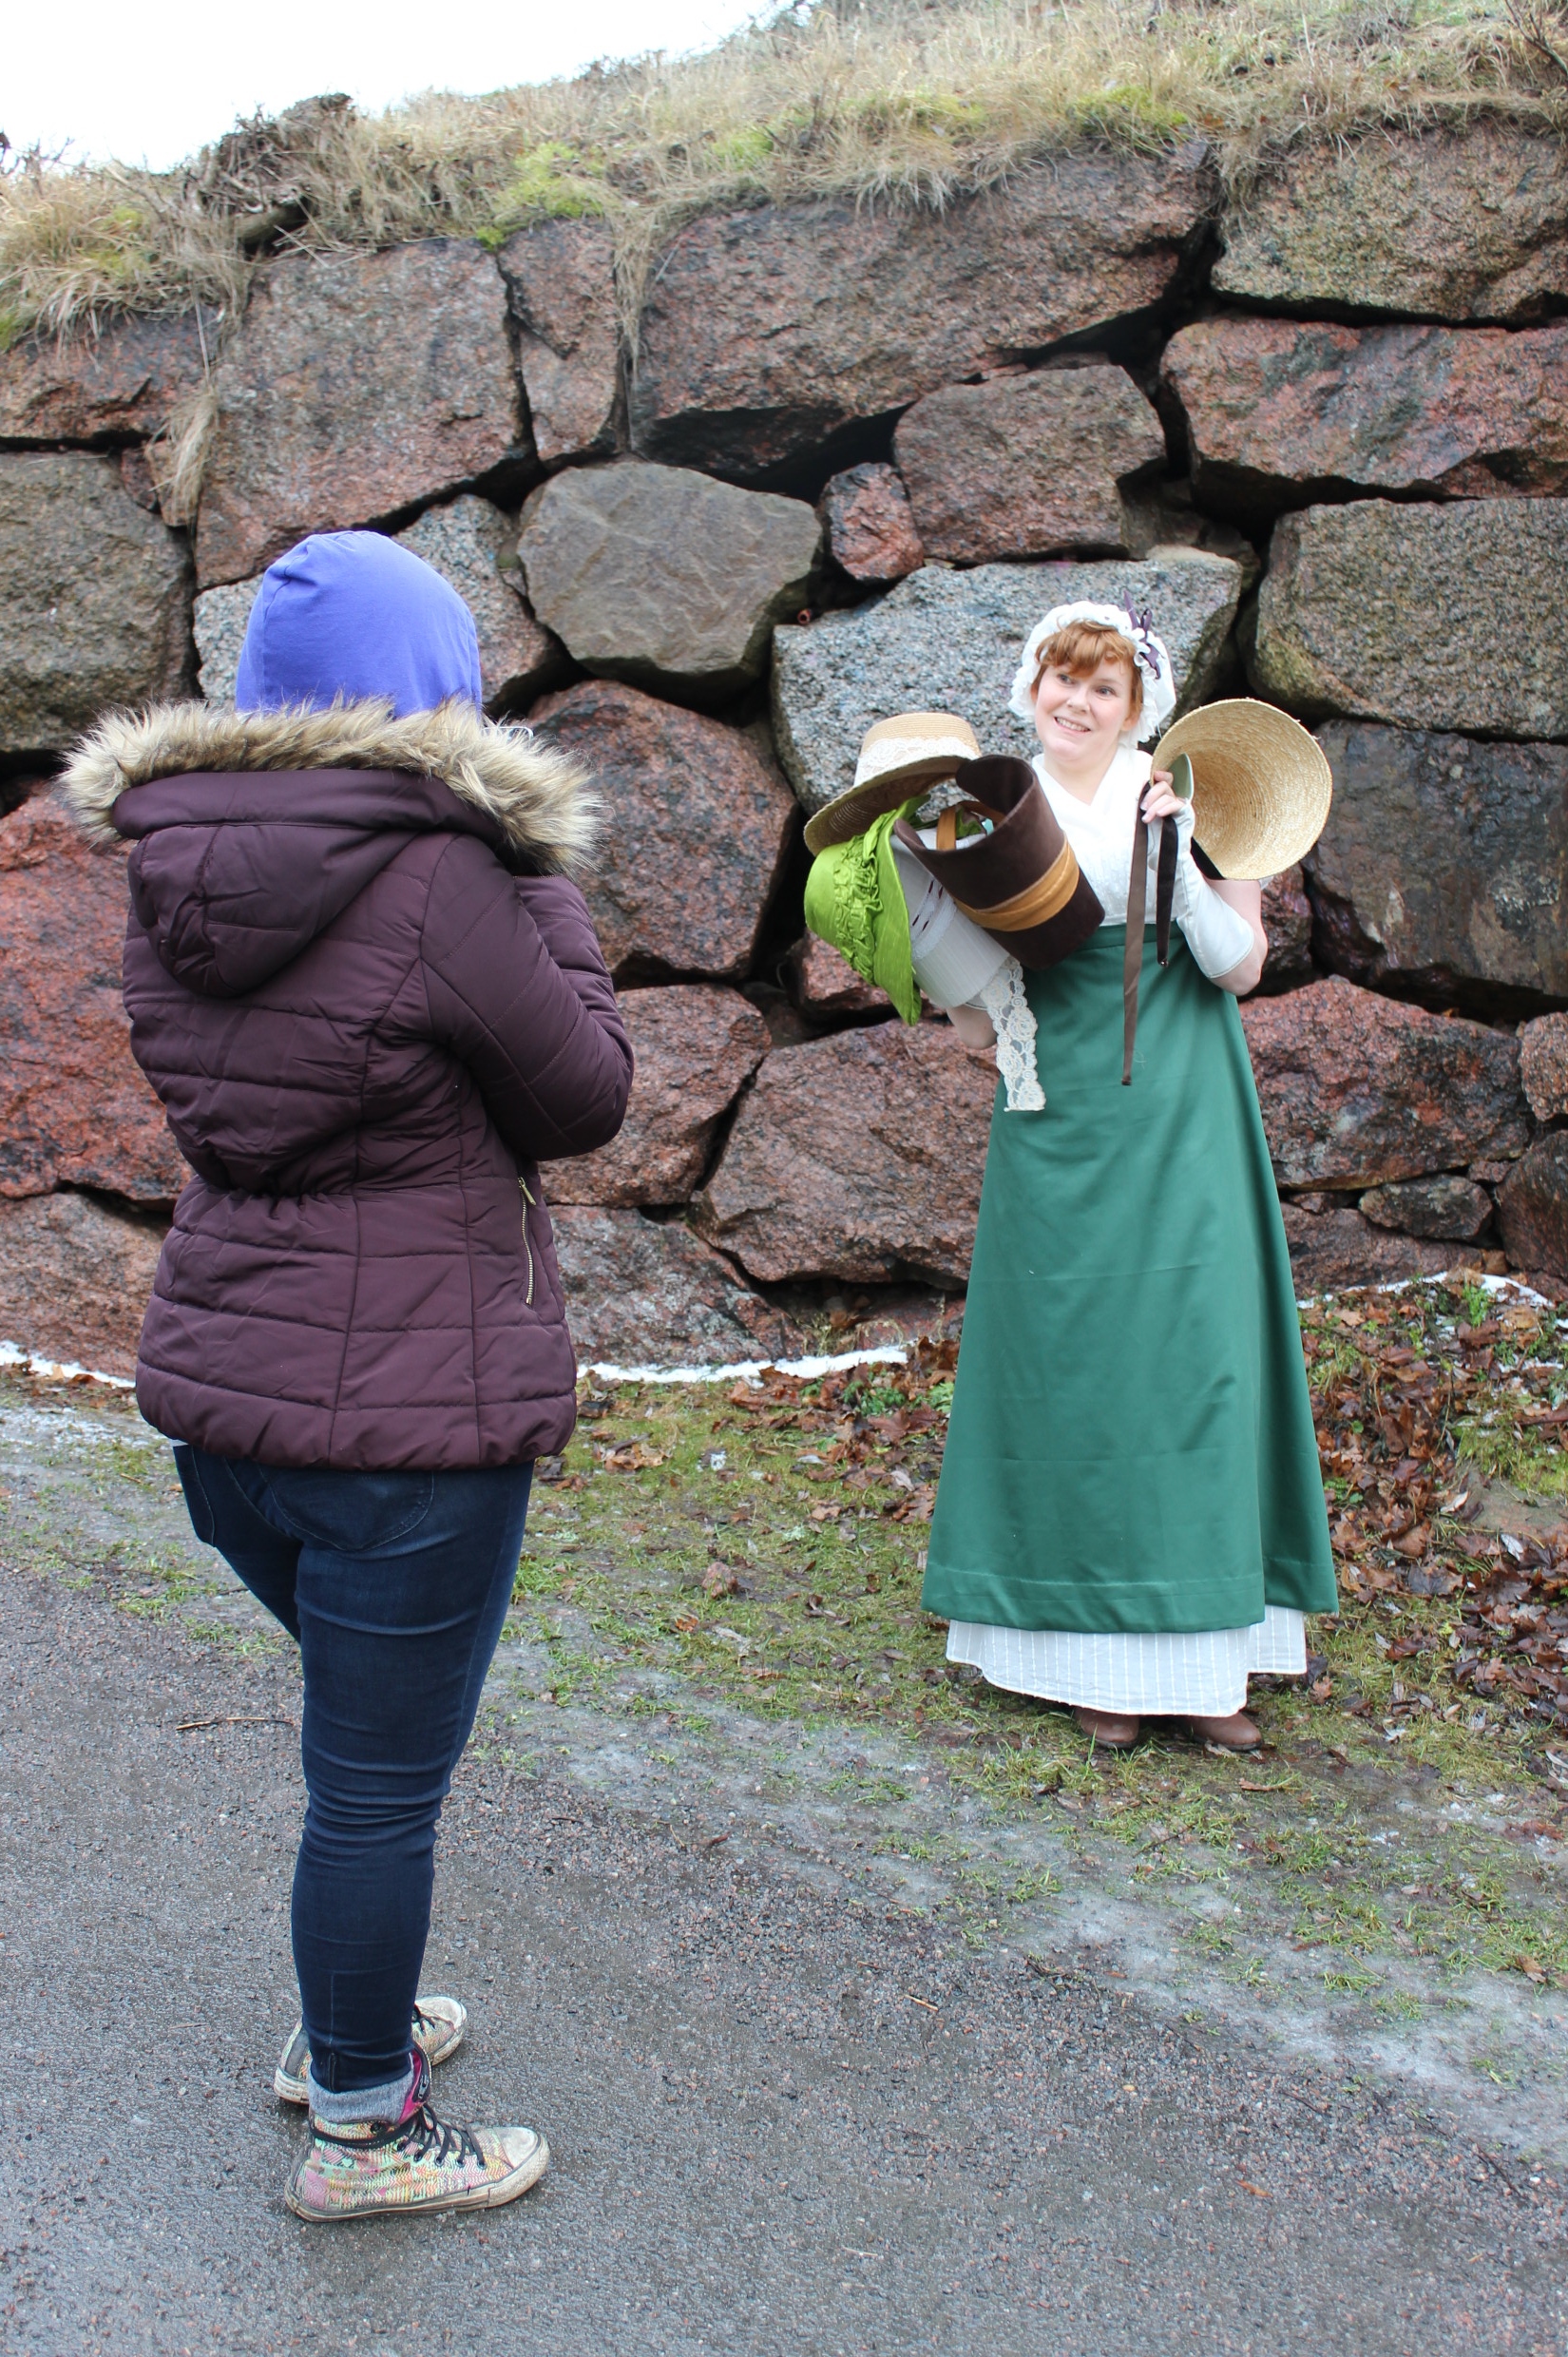
And a few behind the scenes shots: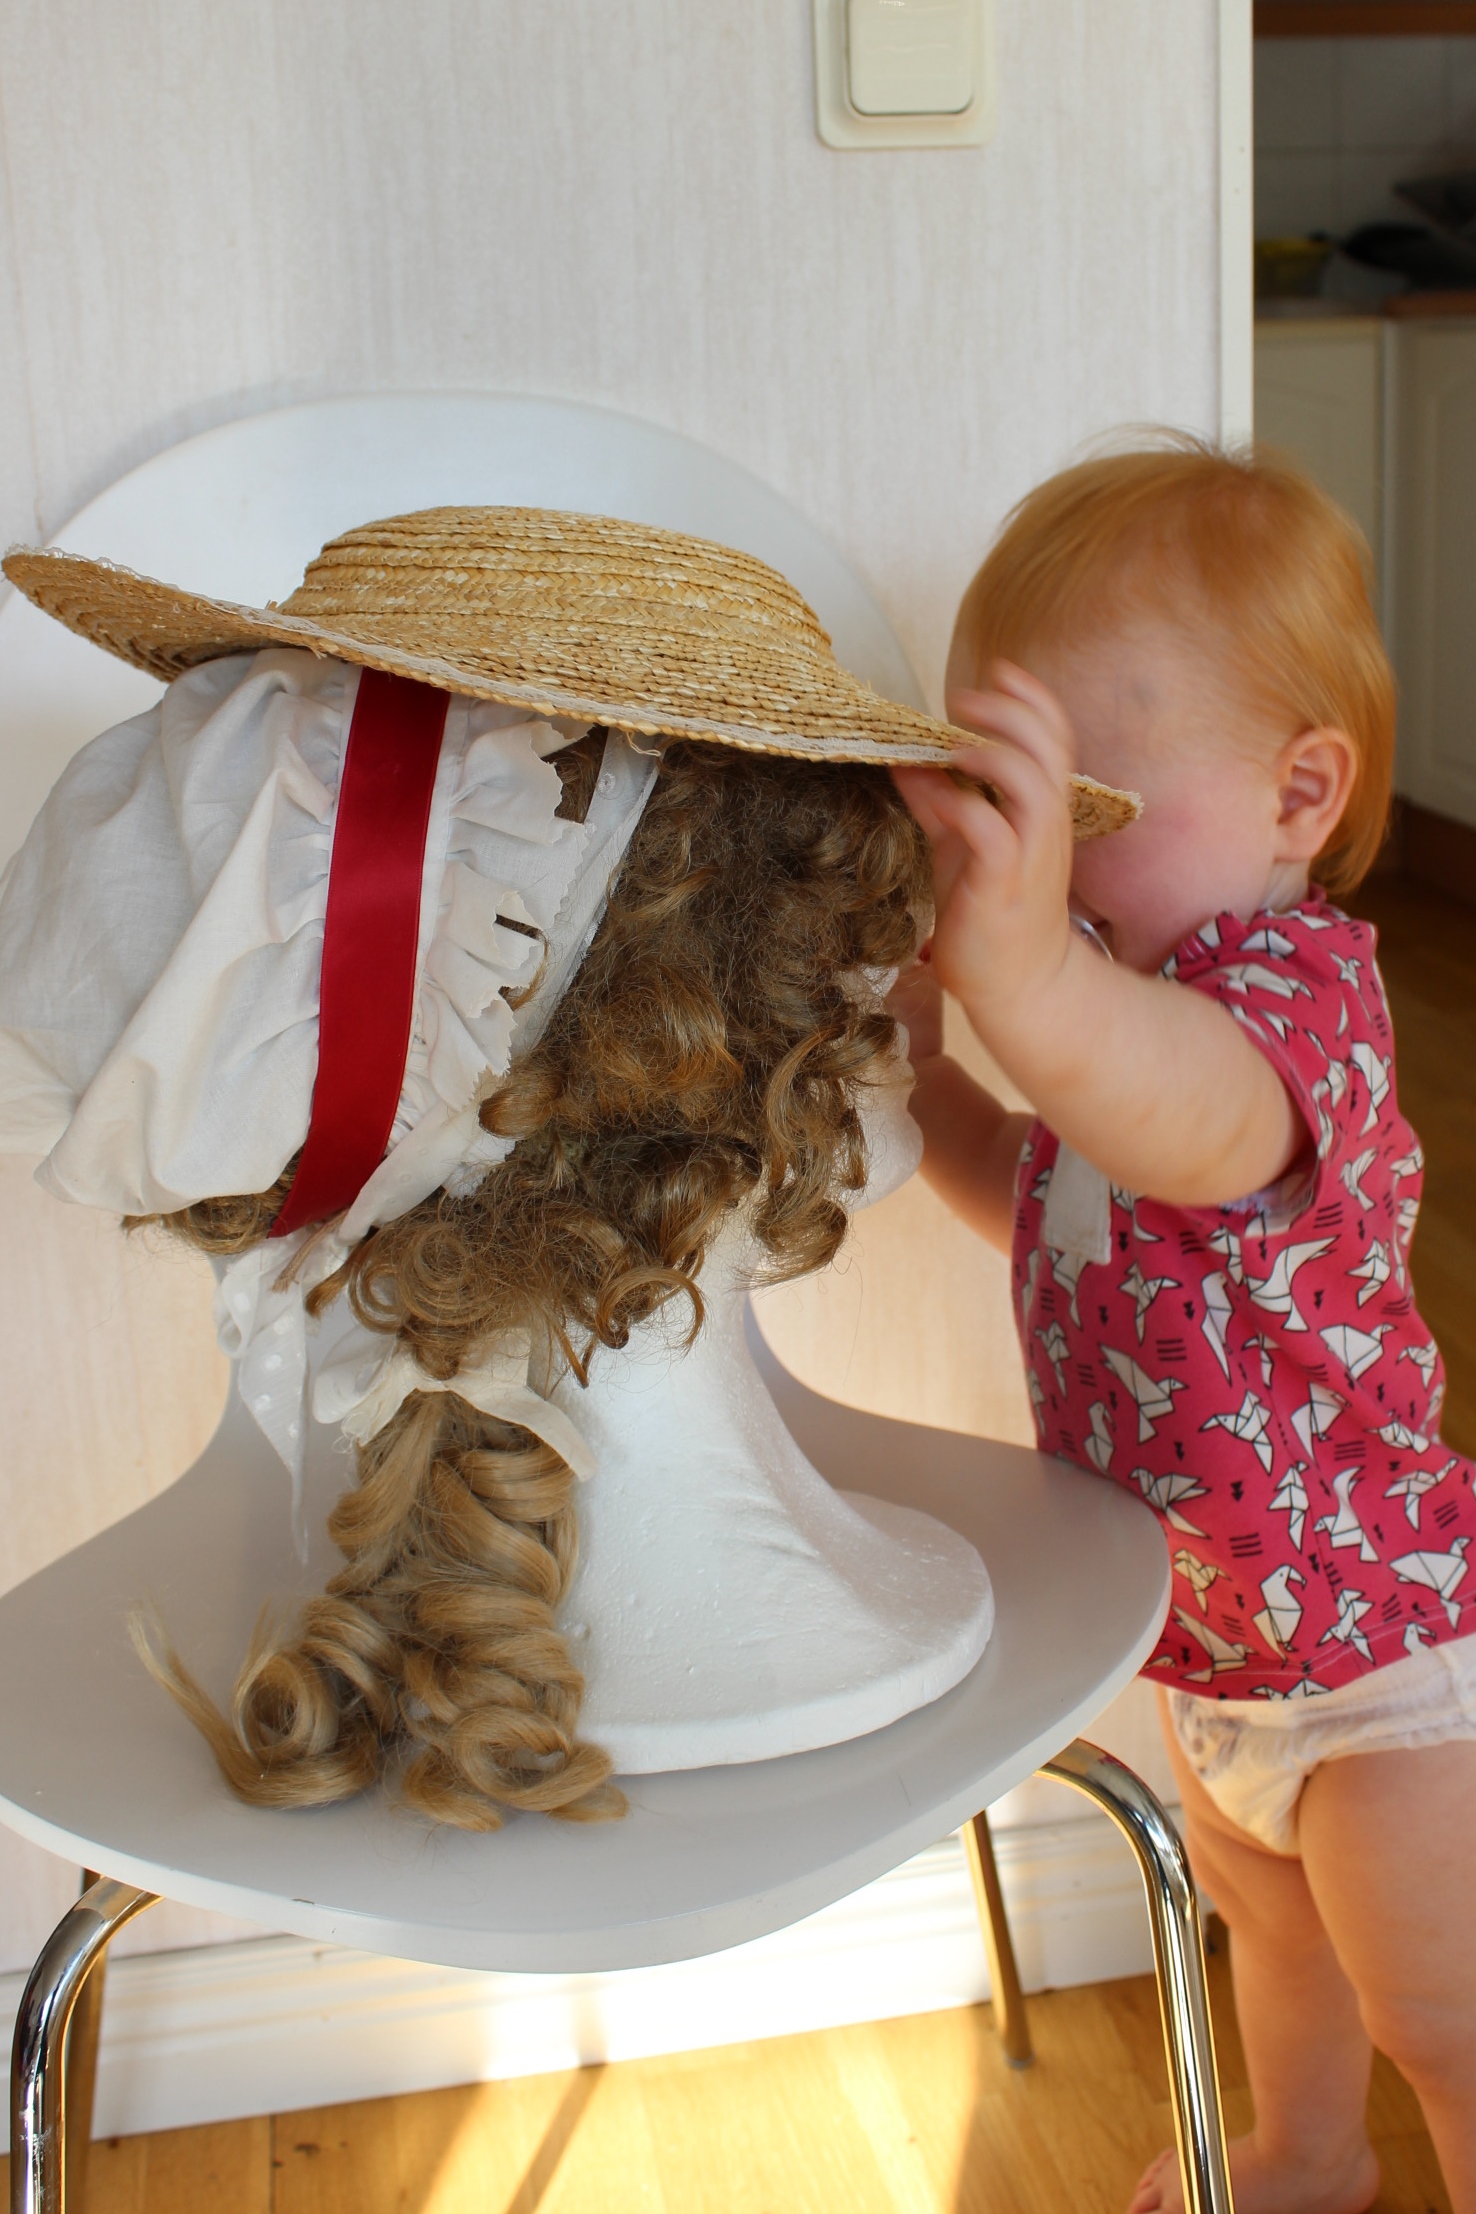

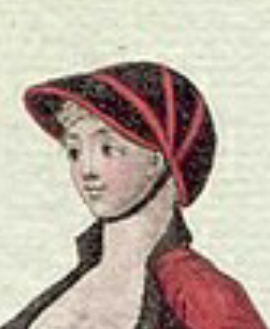
 My inspiration
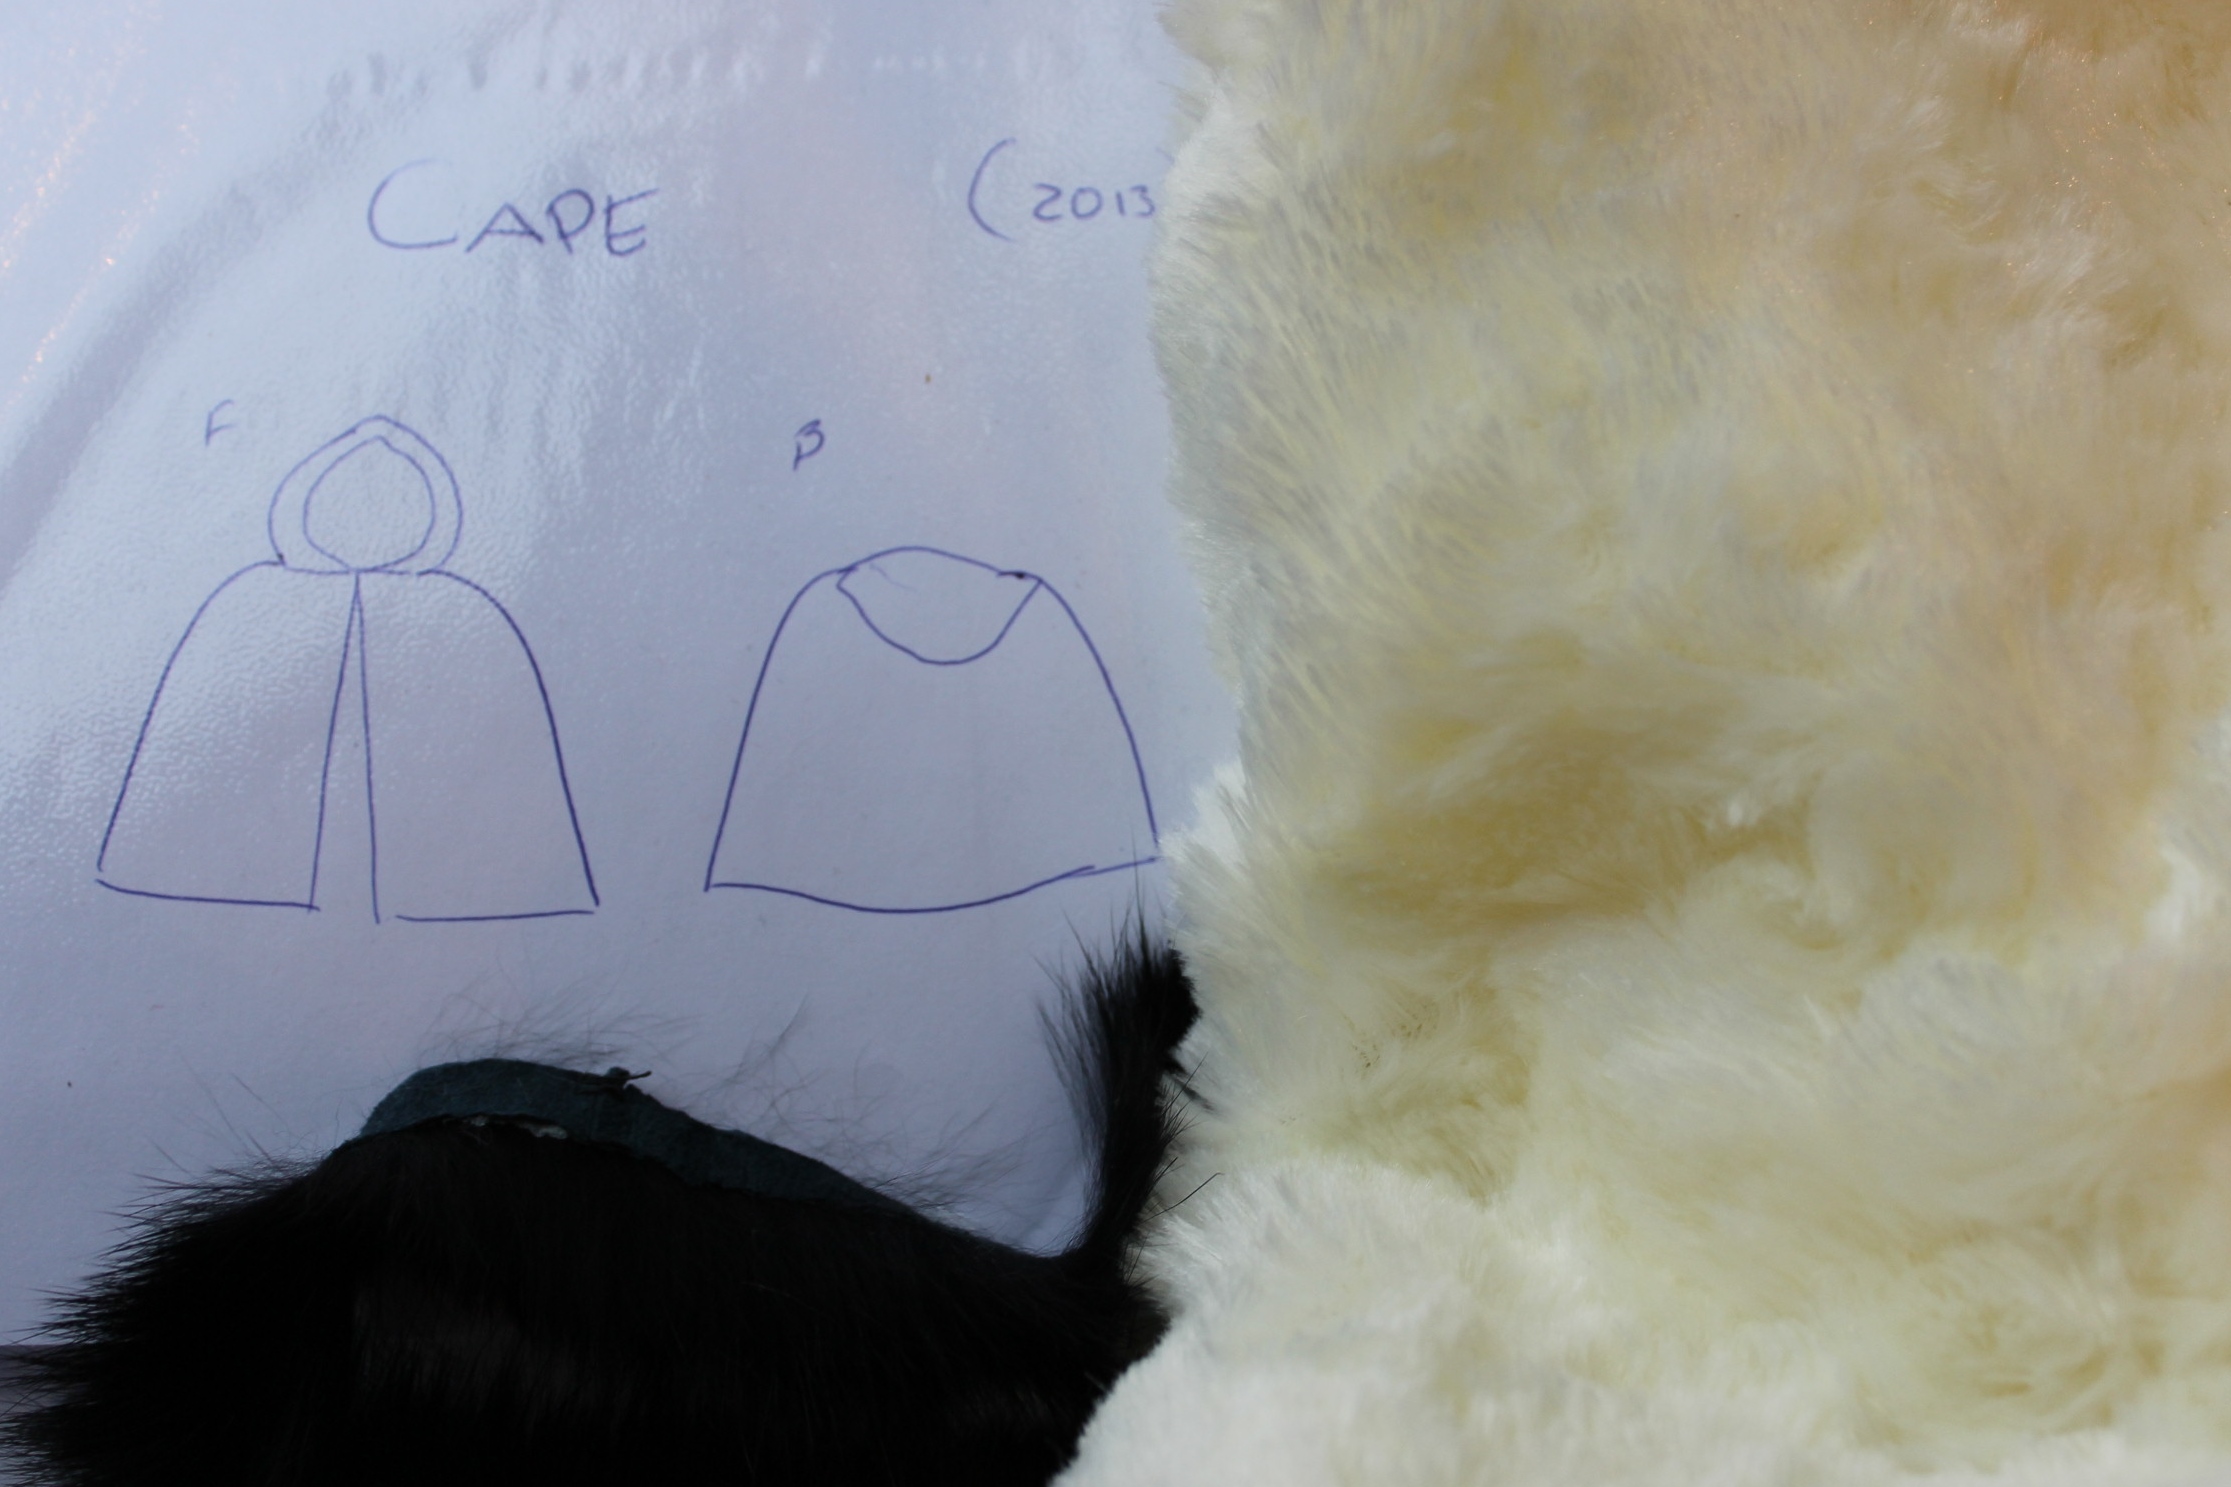
 My design sketch based on the drawing from the book.

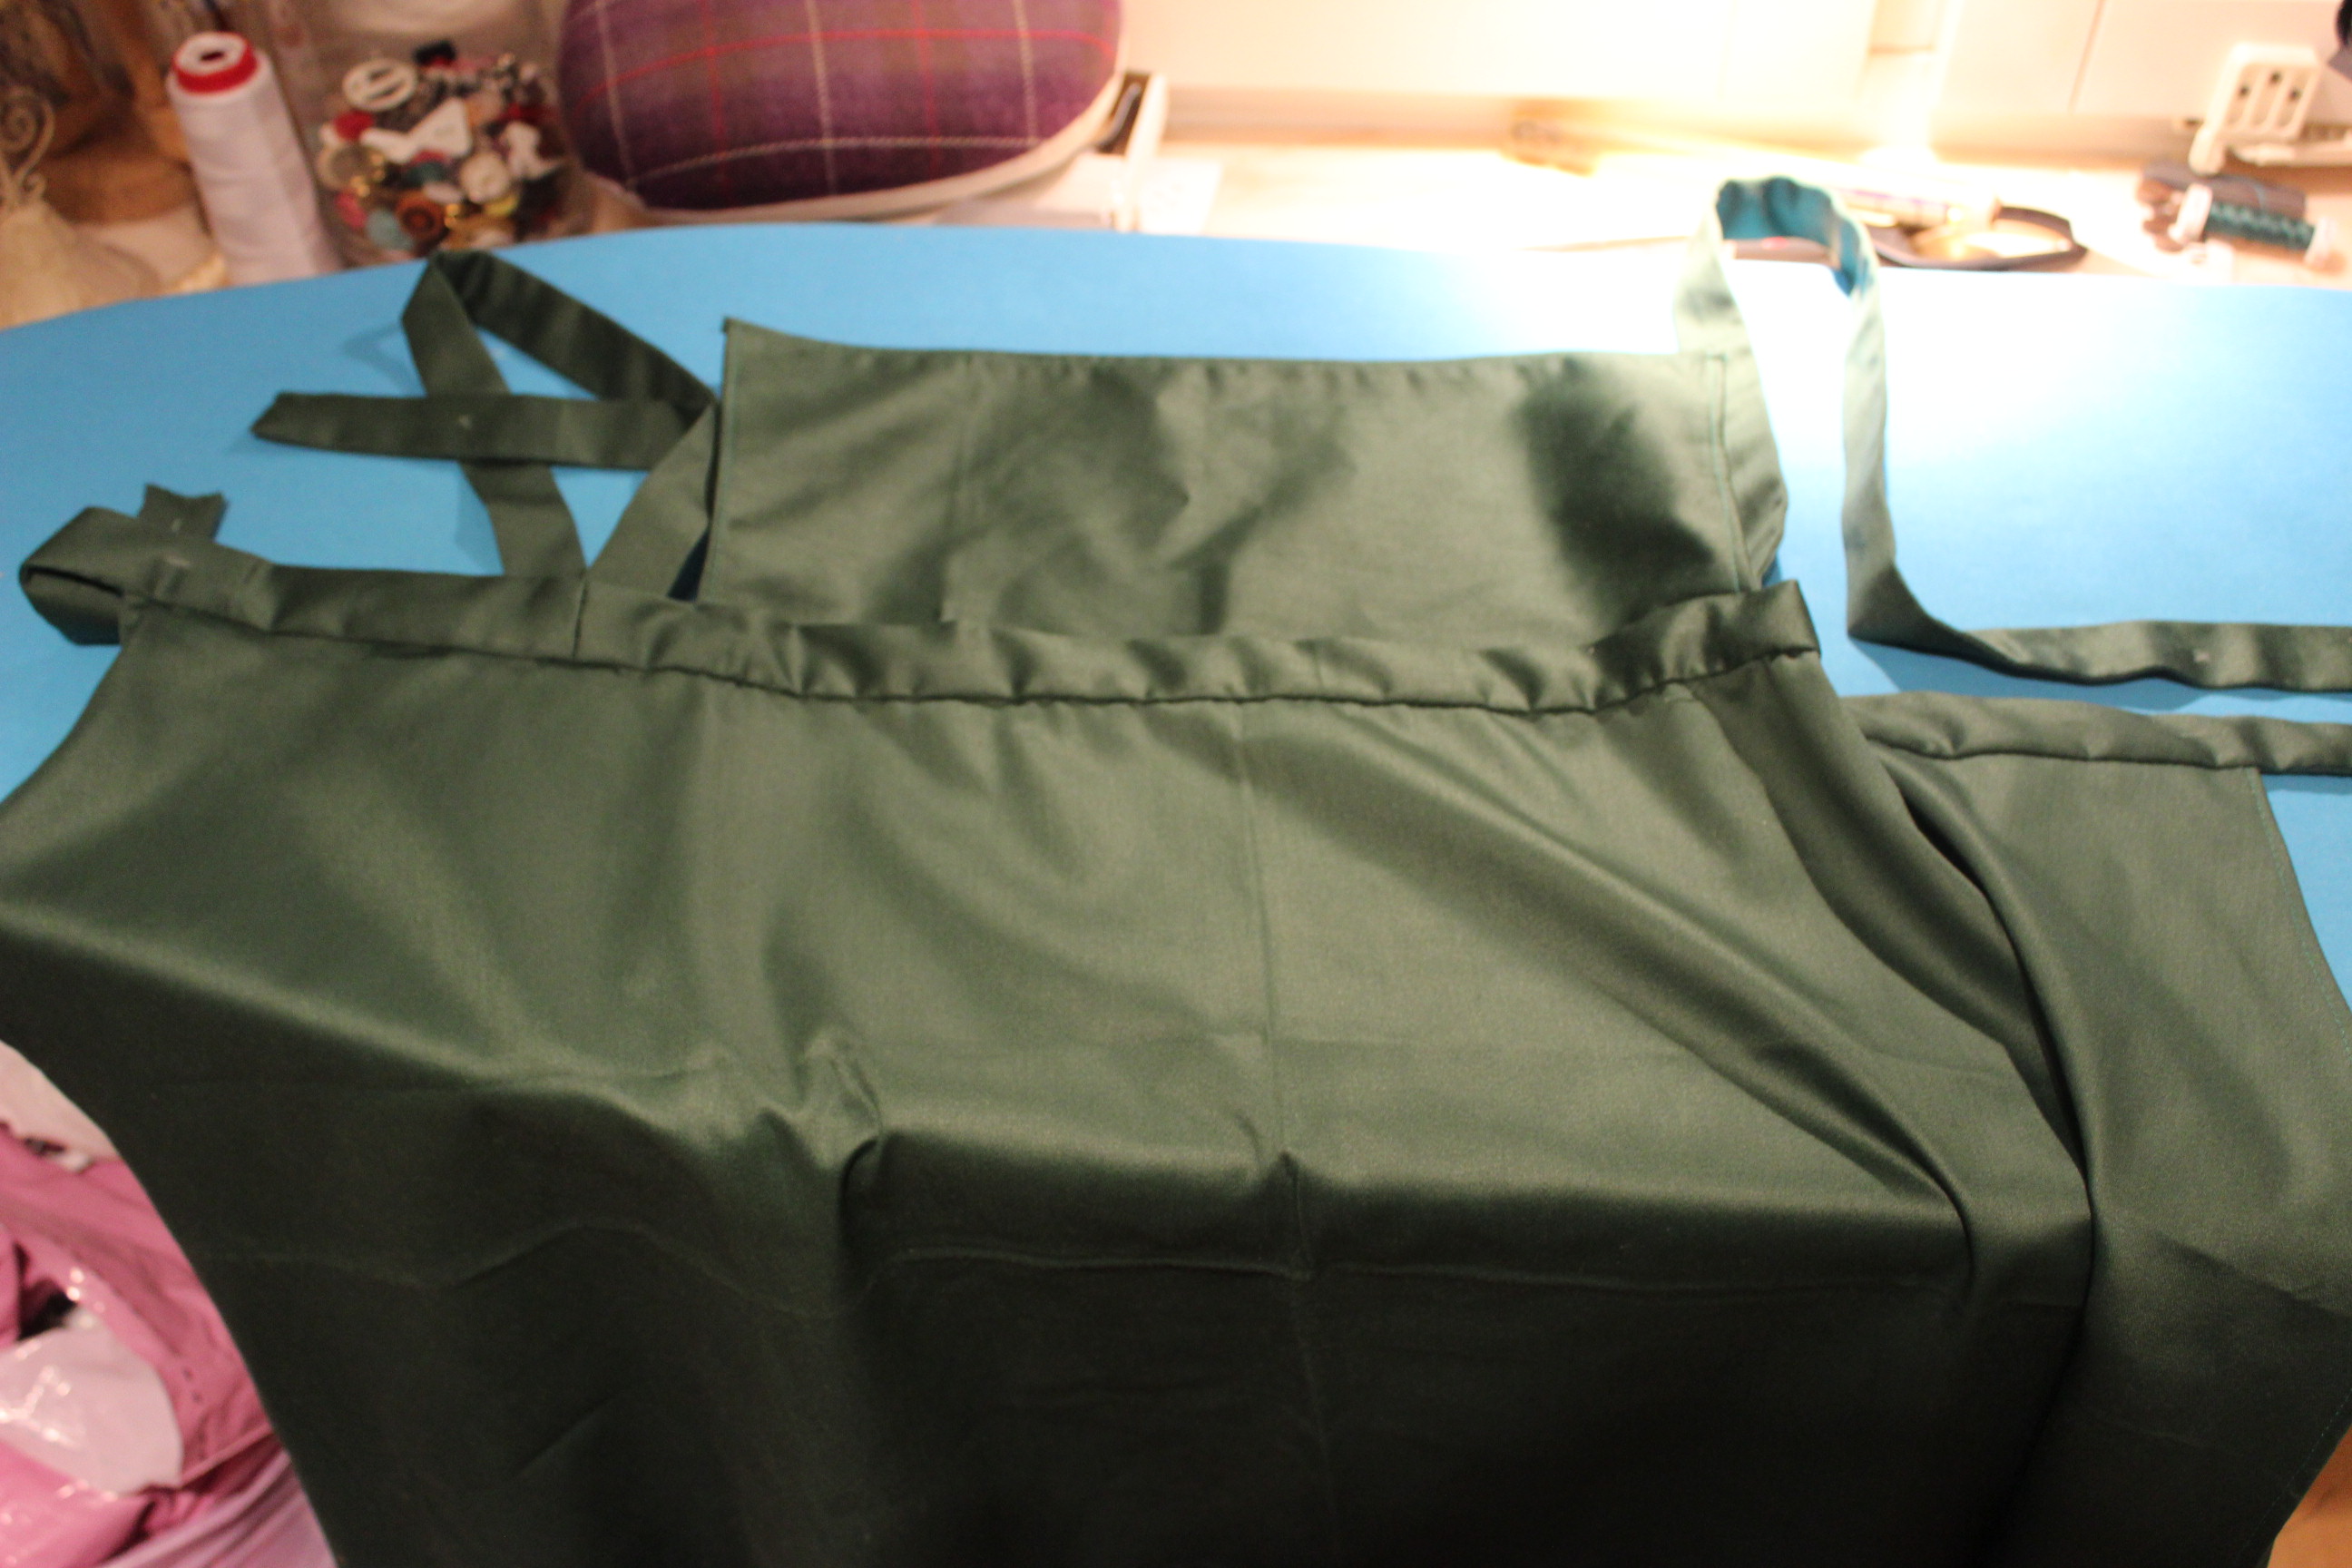
 Although the bag turned out nice, the proportions are all wrong, and it’s way to big. So after I took some pictures of it, I took it in quite a bit to make it better.
 This pic is from Bradfields “Costume close-up”

 inspiration


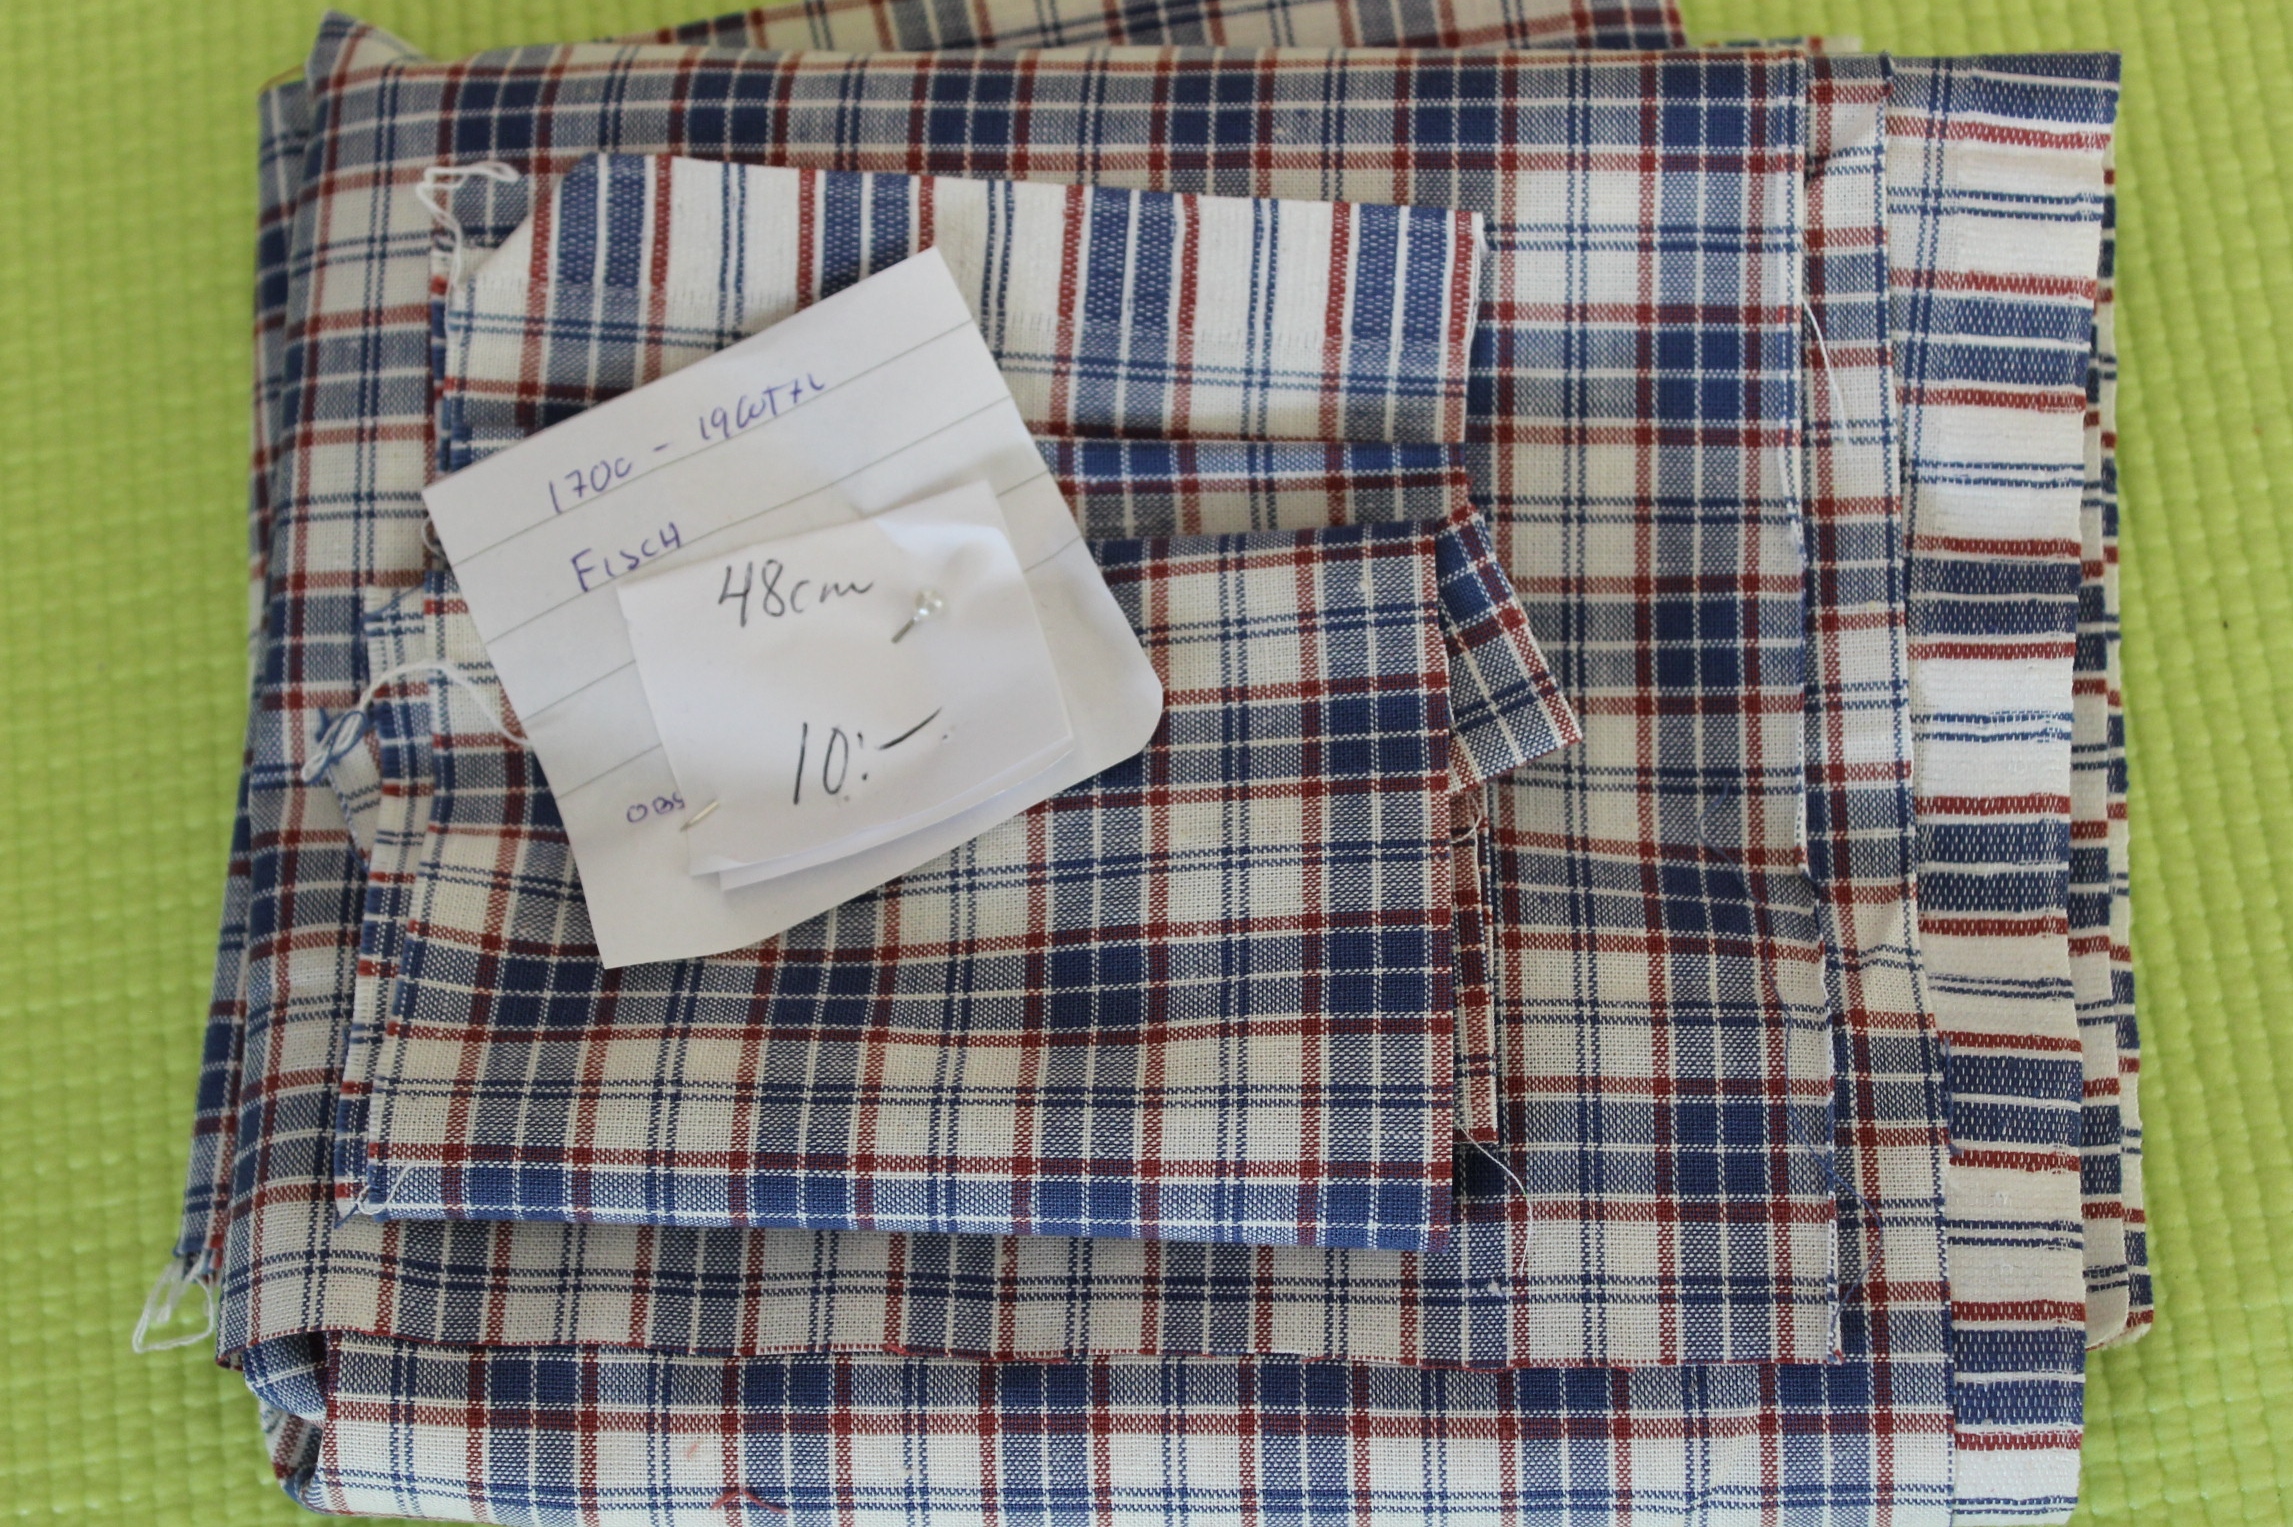
 We re-used


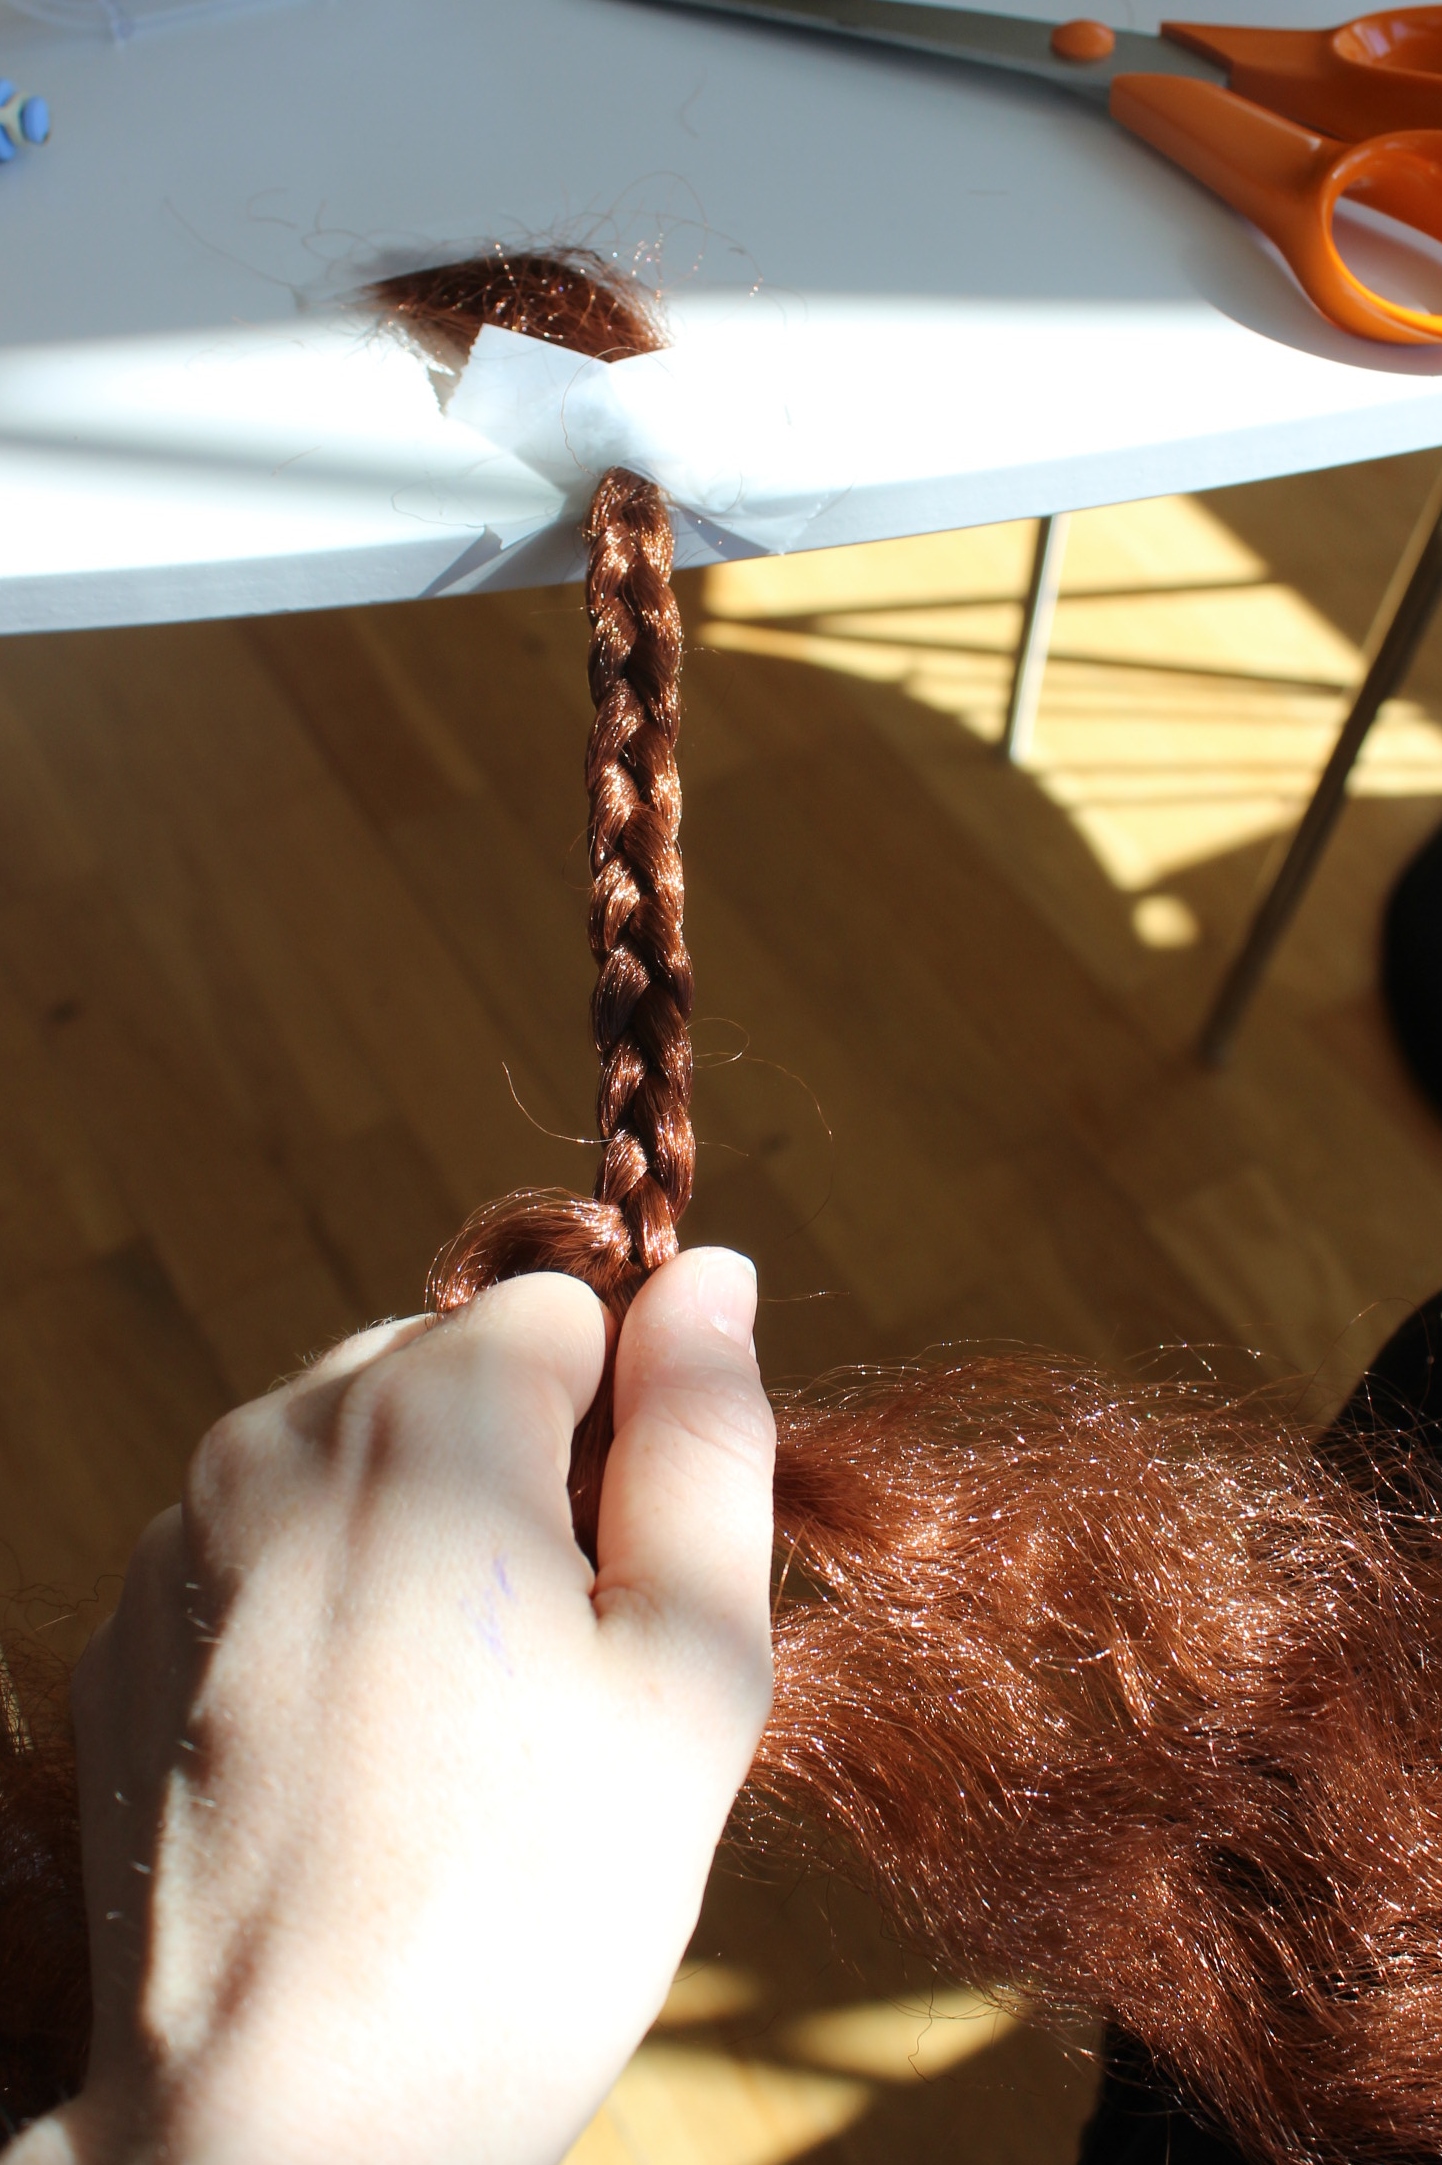
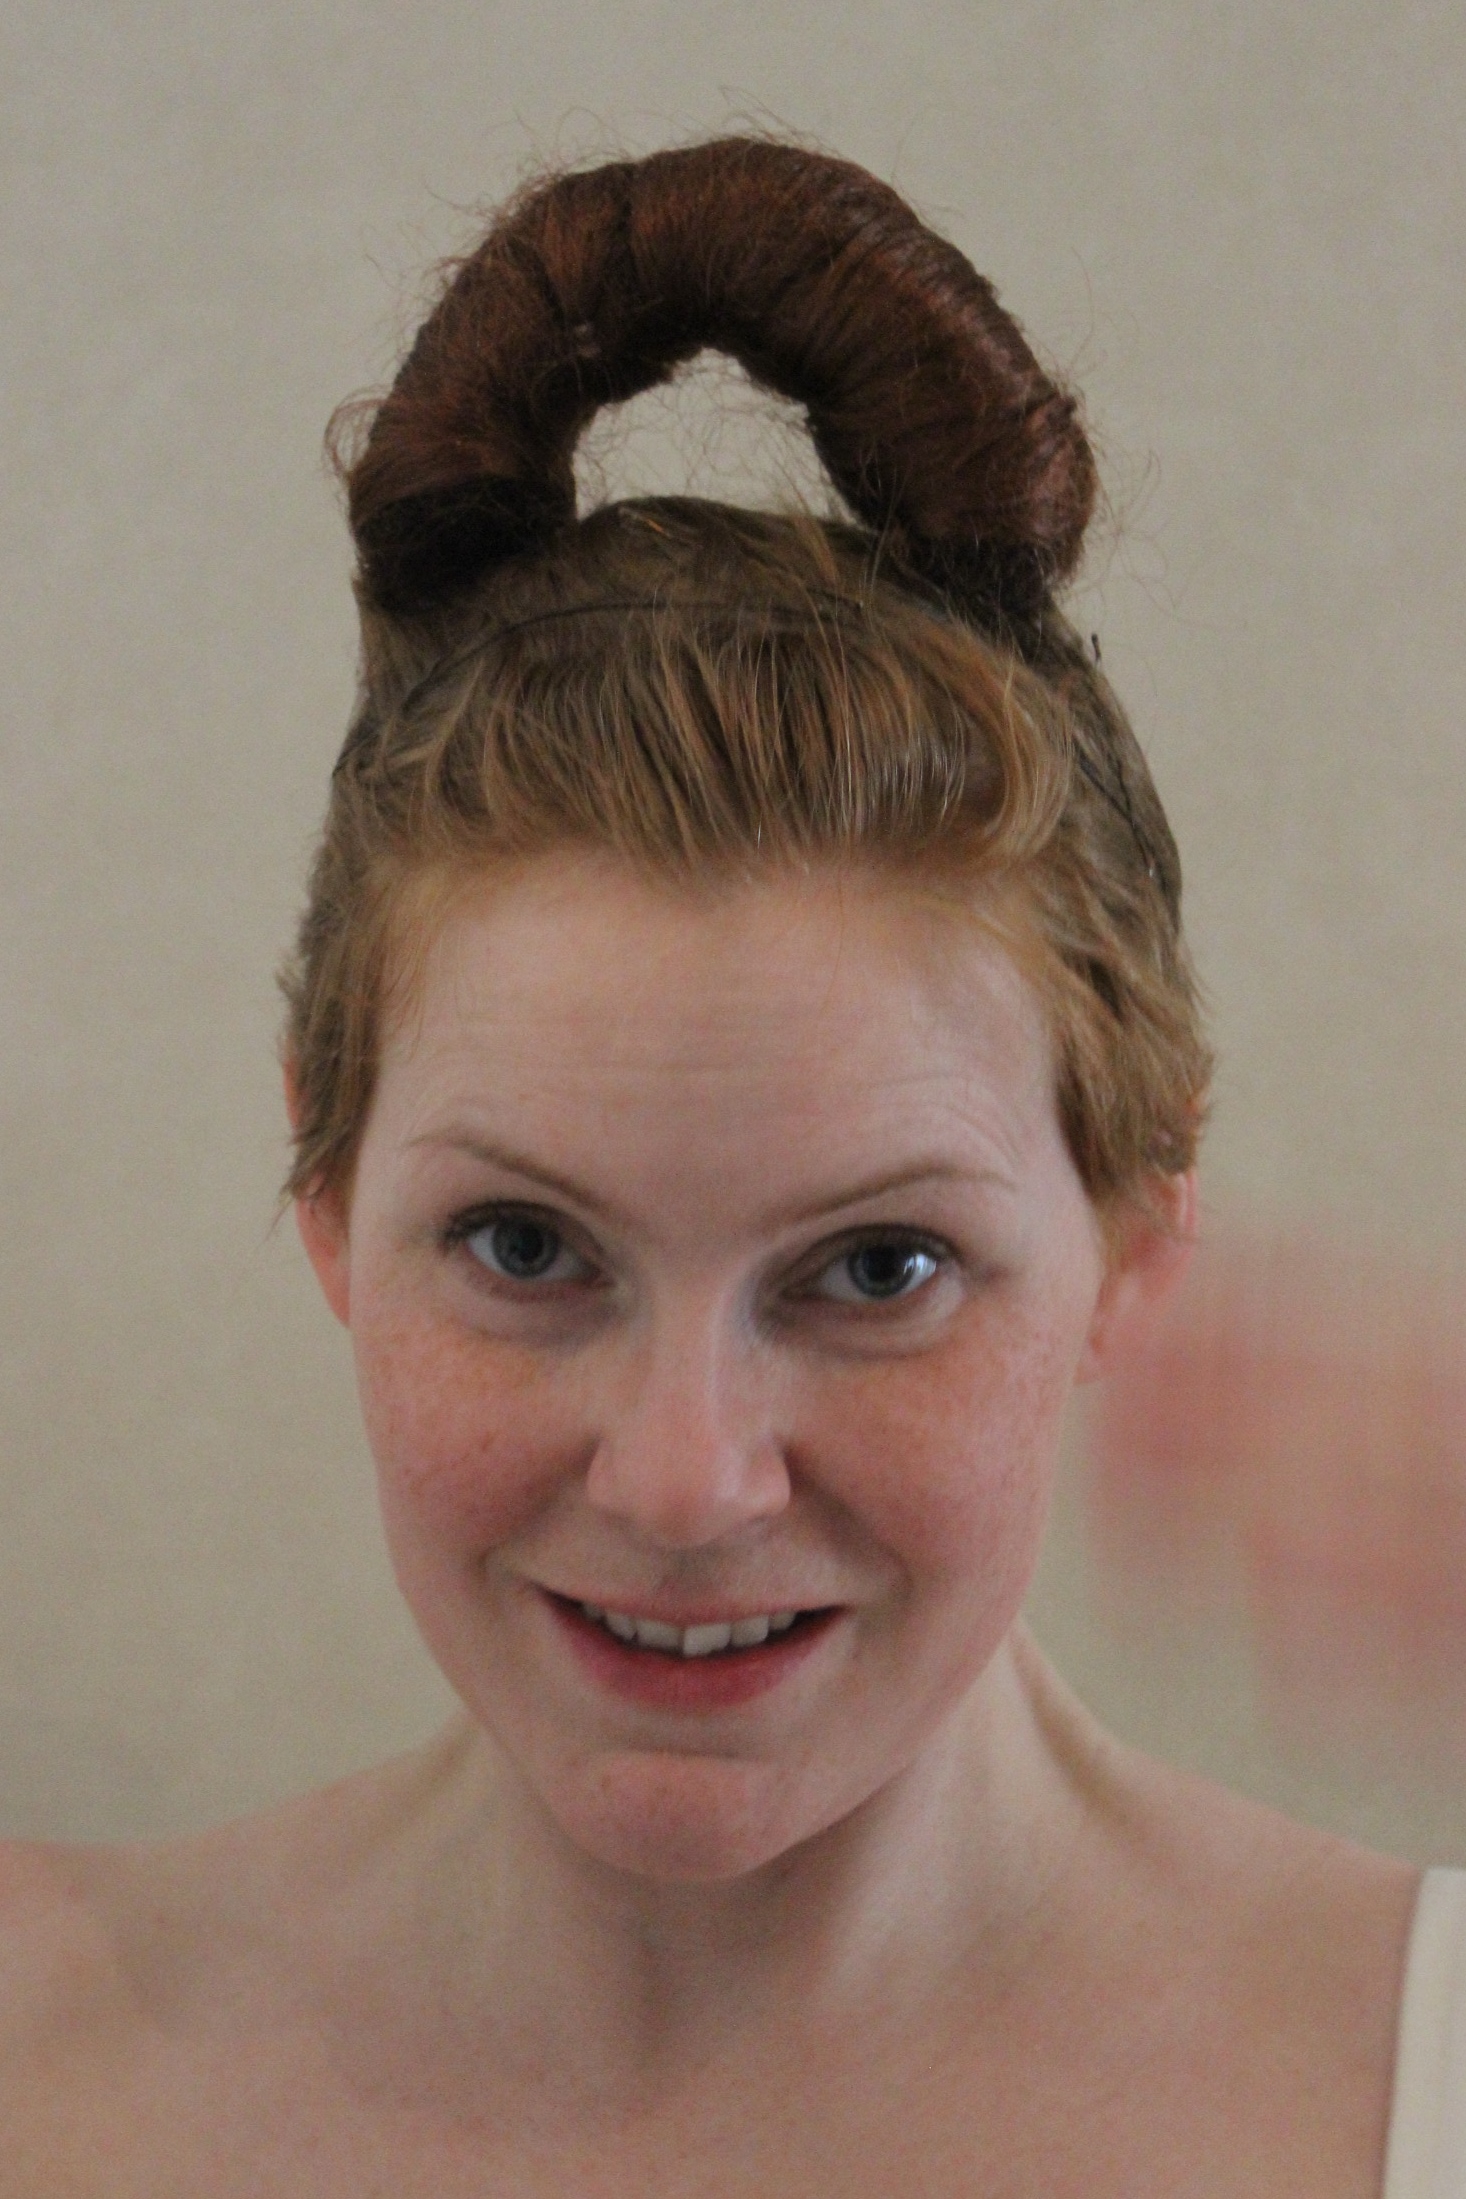
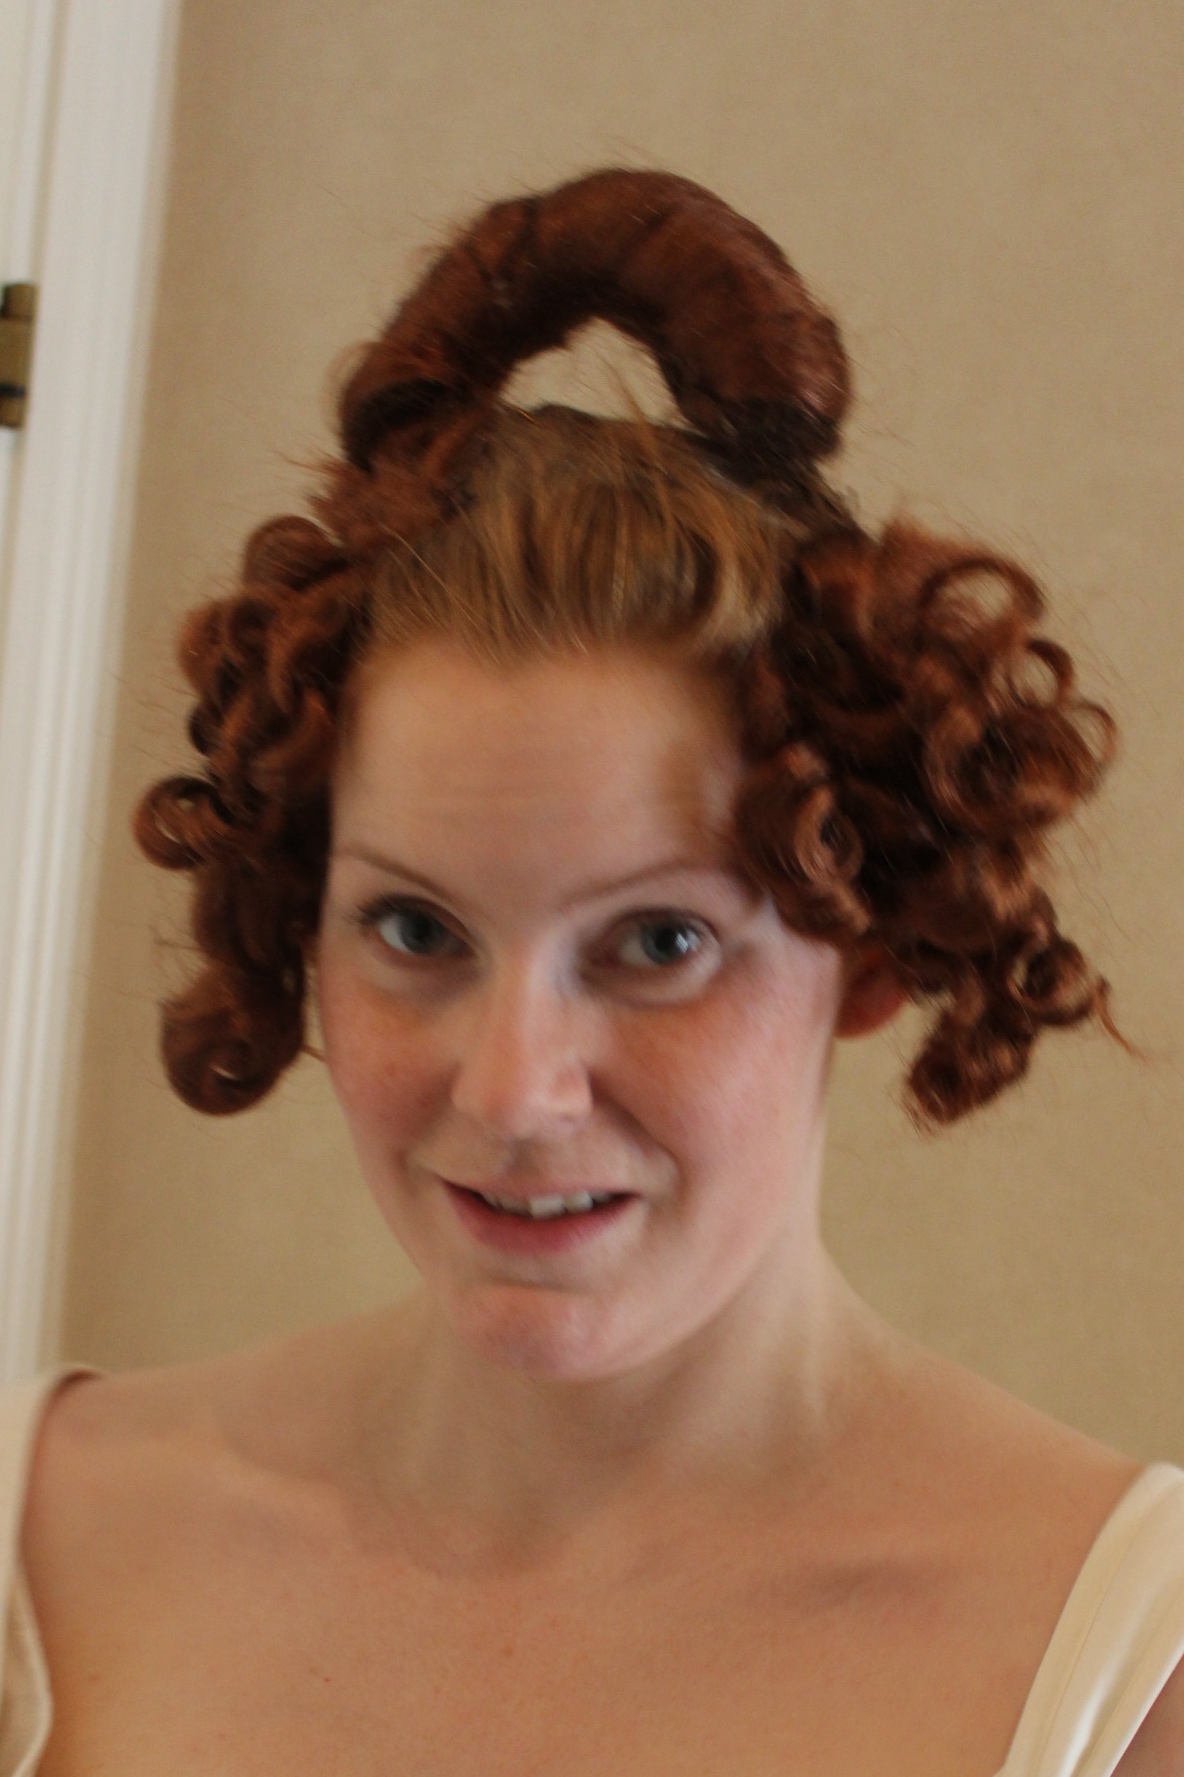
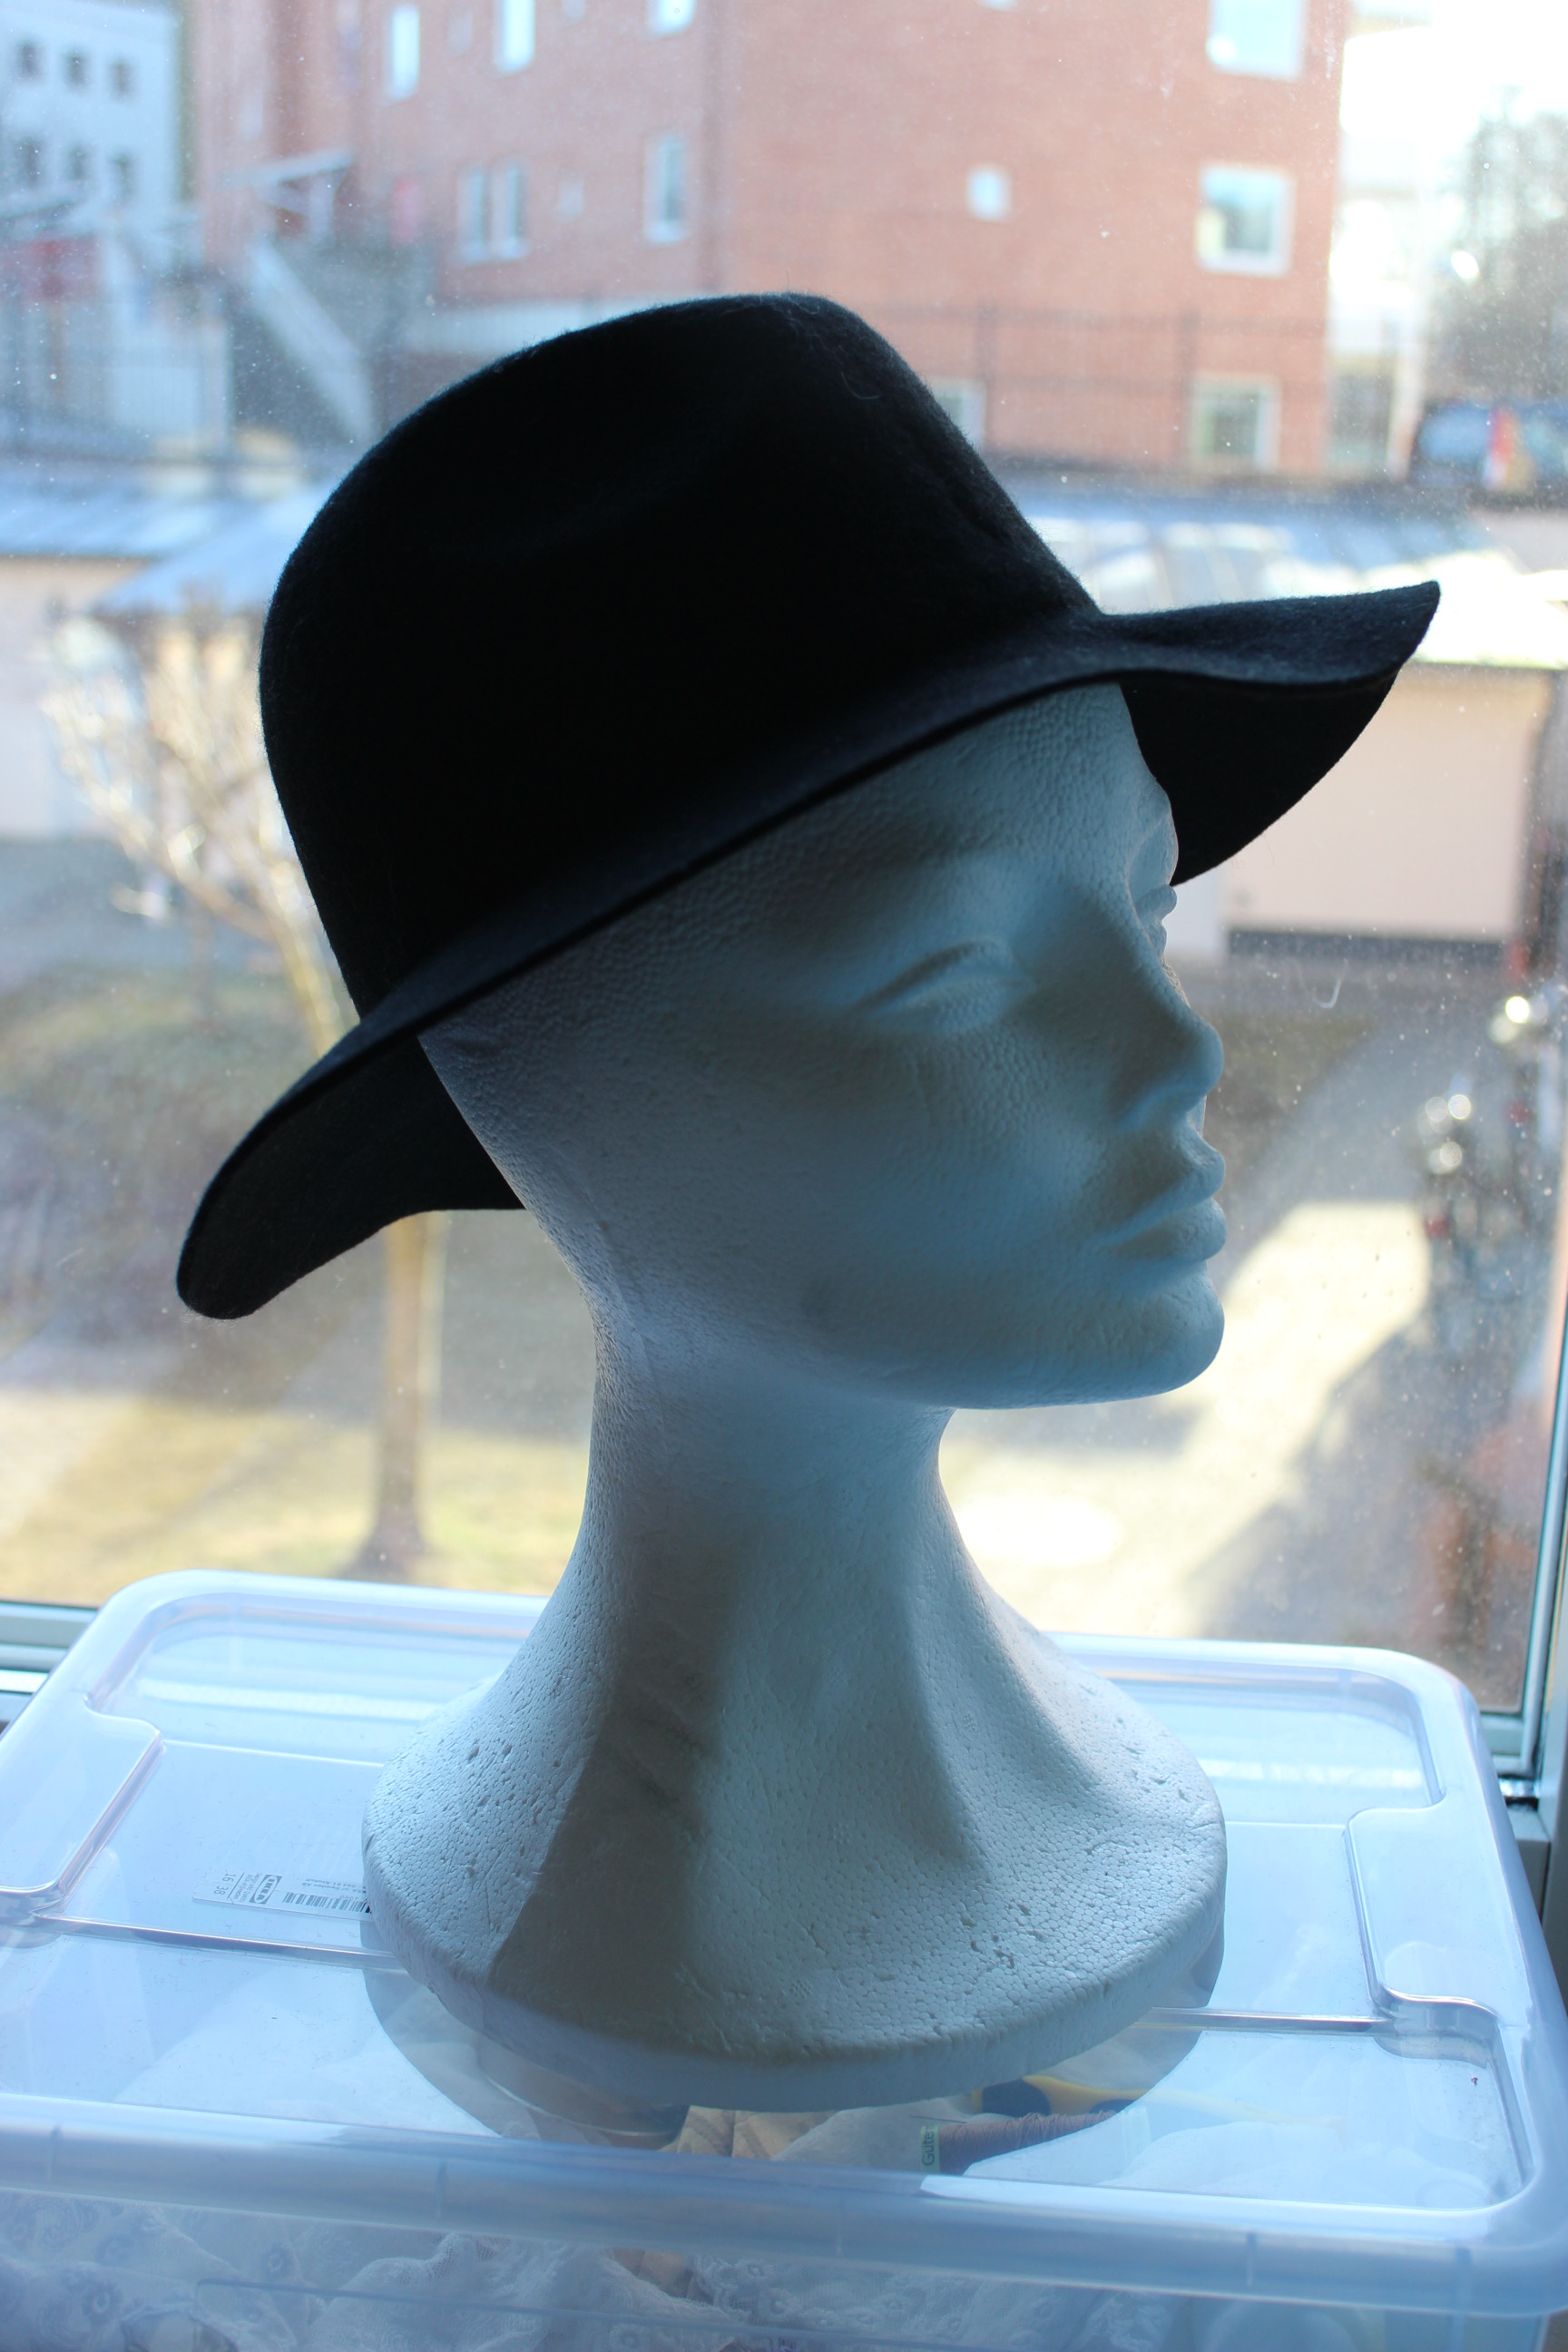
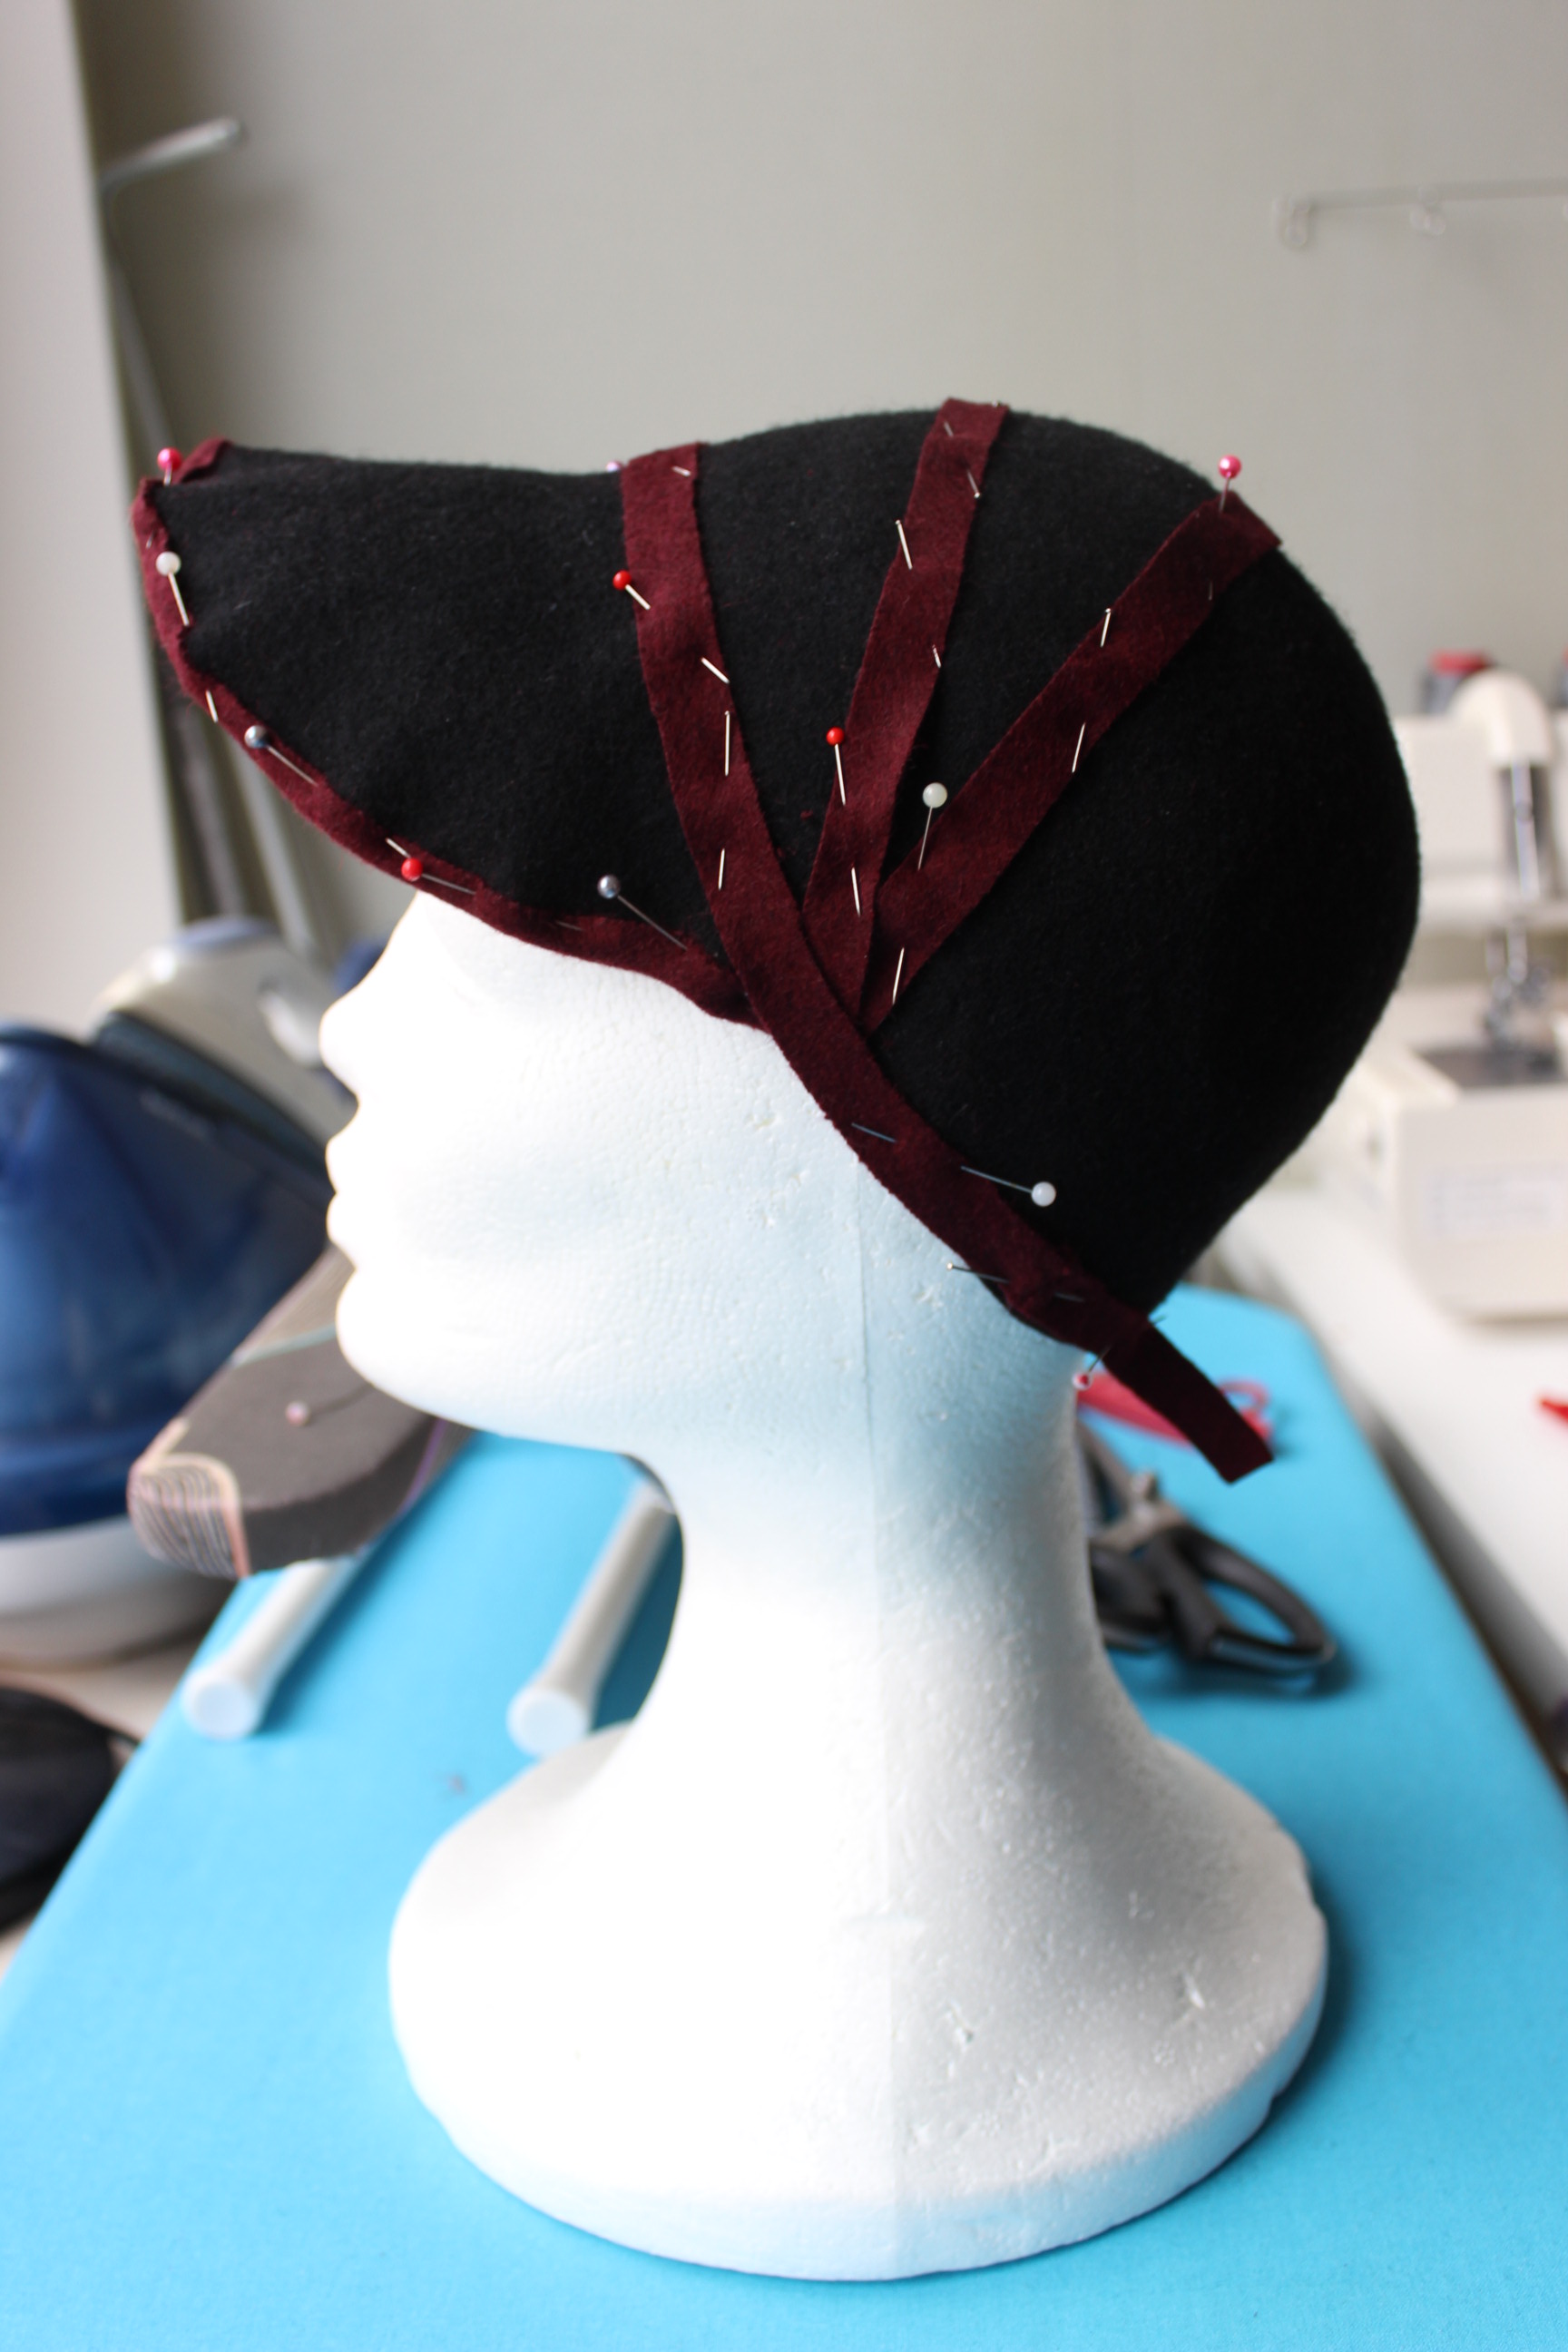
 It took me several hours and multitude of re-pinning and starting all over again before I finally had a shape that was good.
 It was a bit fiddly to turn the brim around inside my machine but with the right angle (and the use of free space ove r the table edge) the hat was stitched in no time.
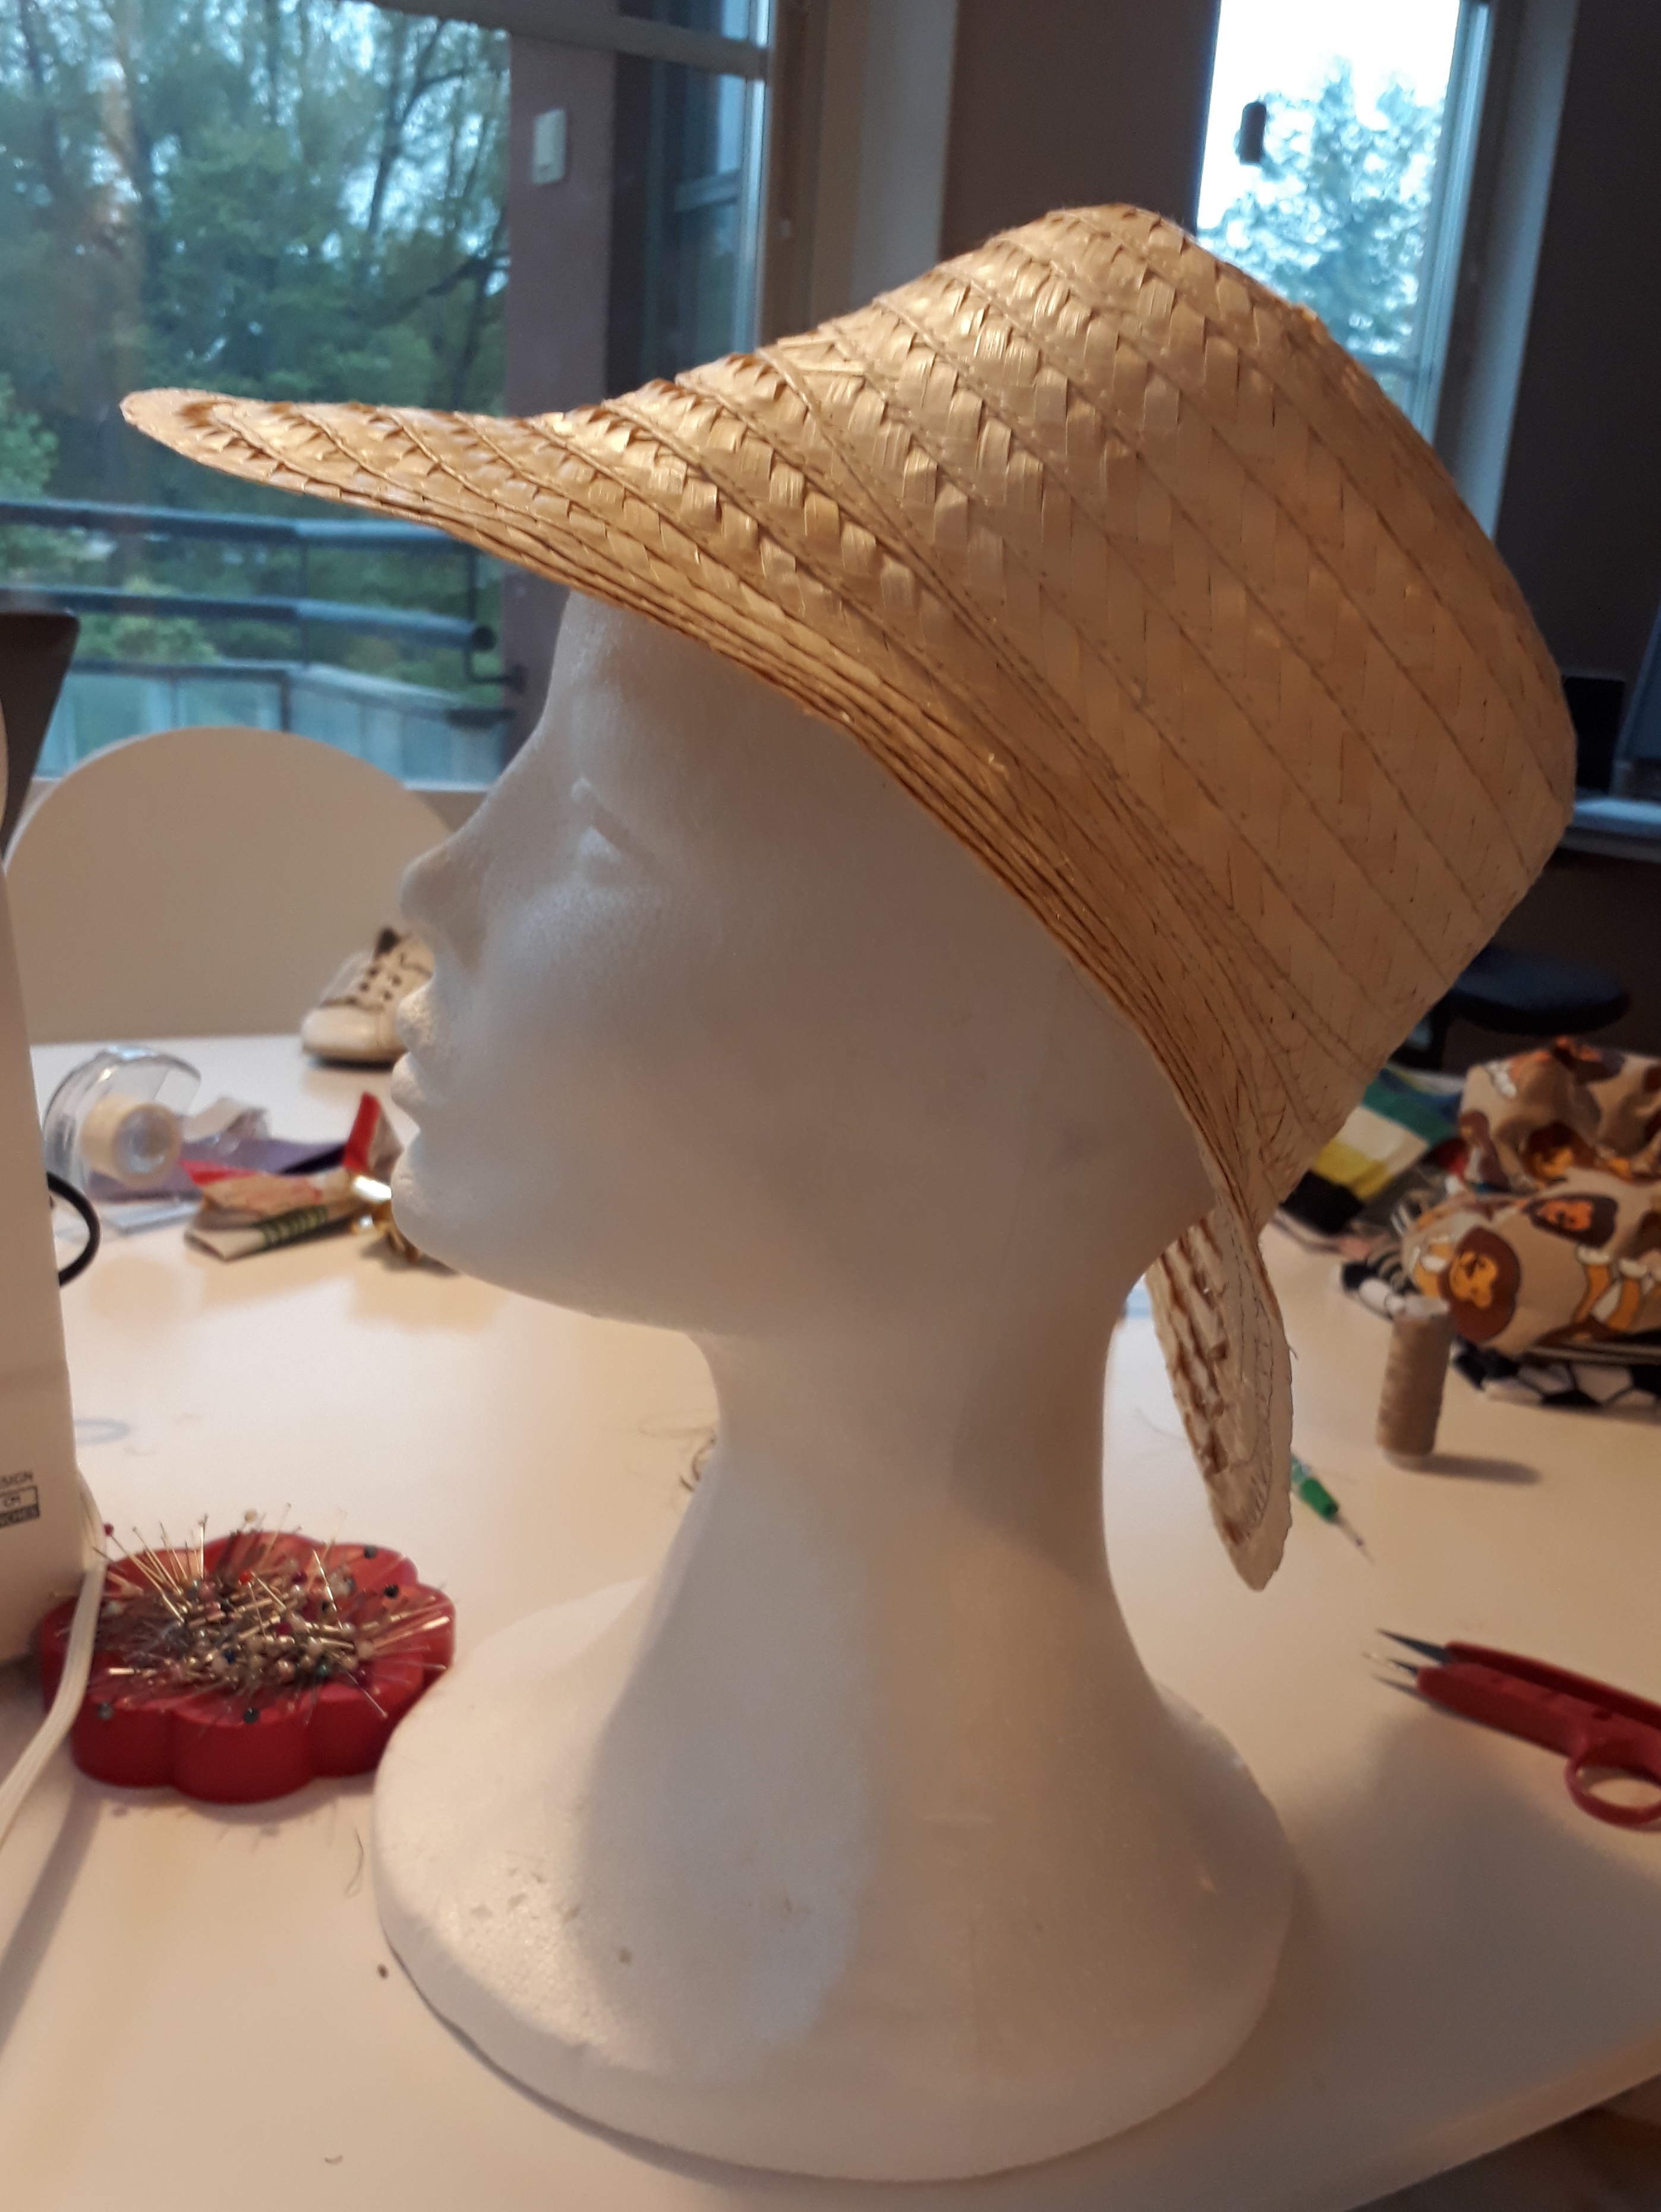
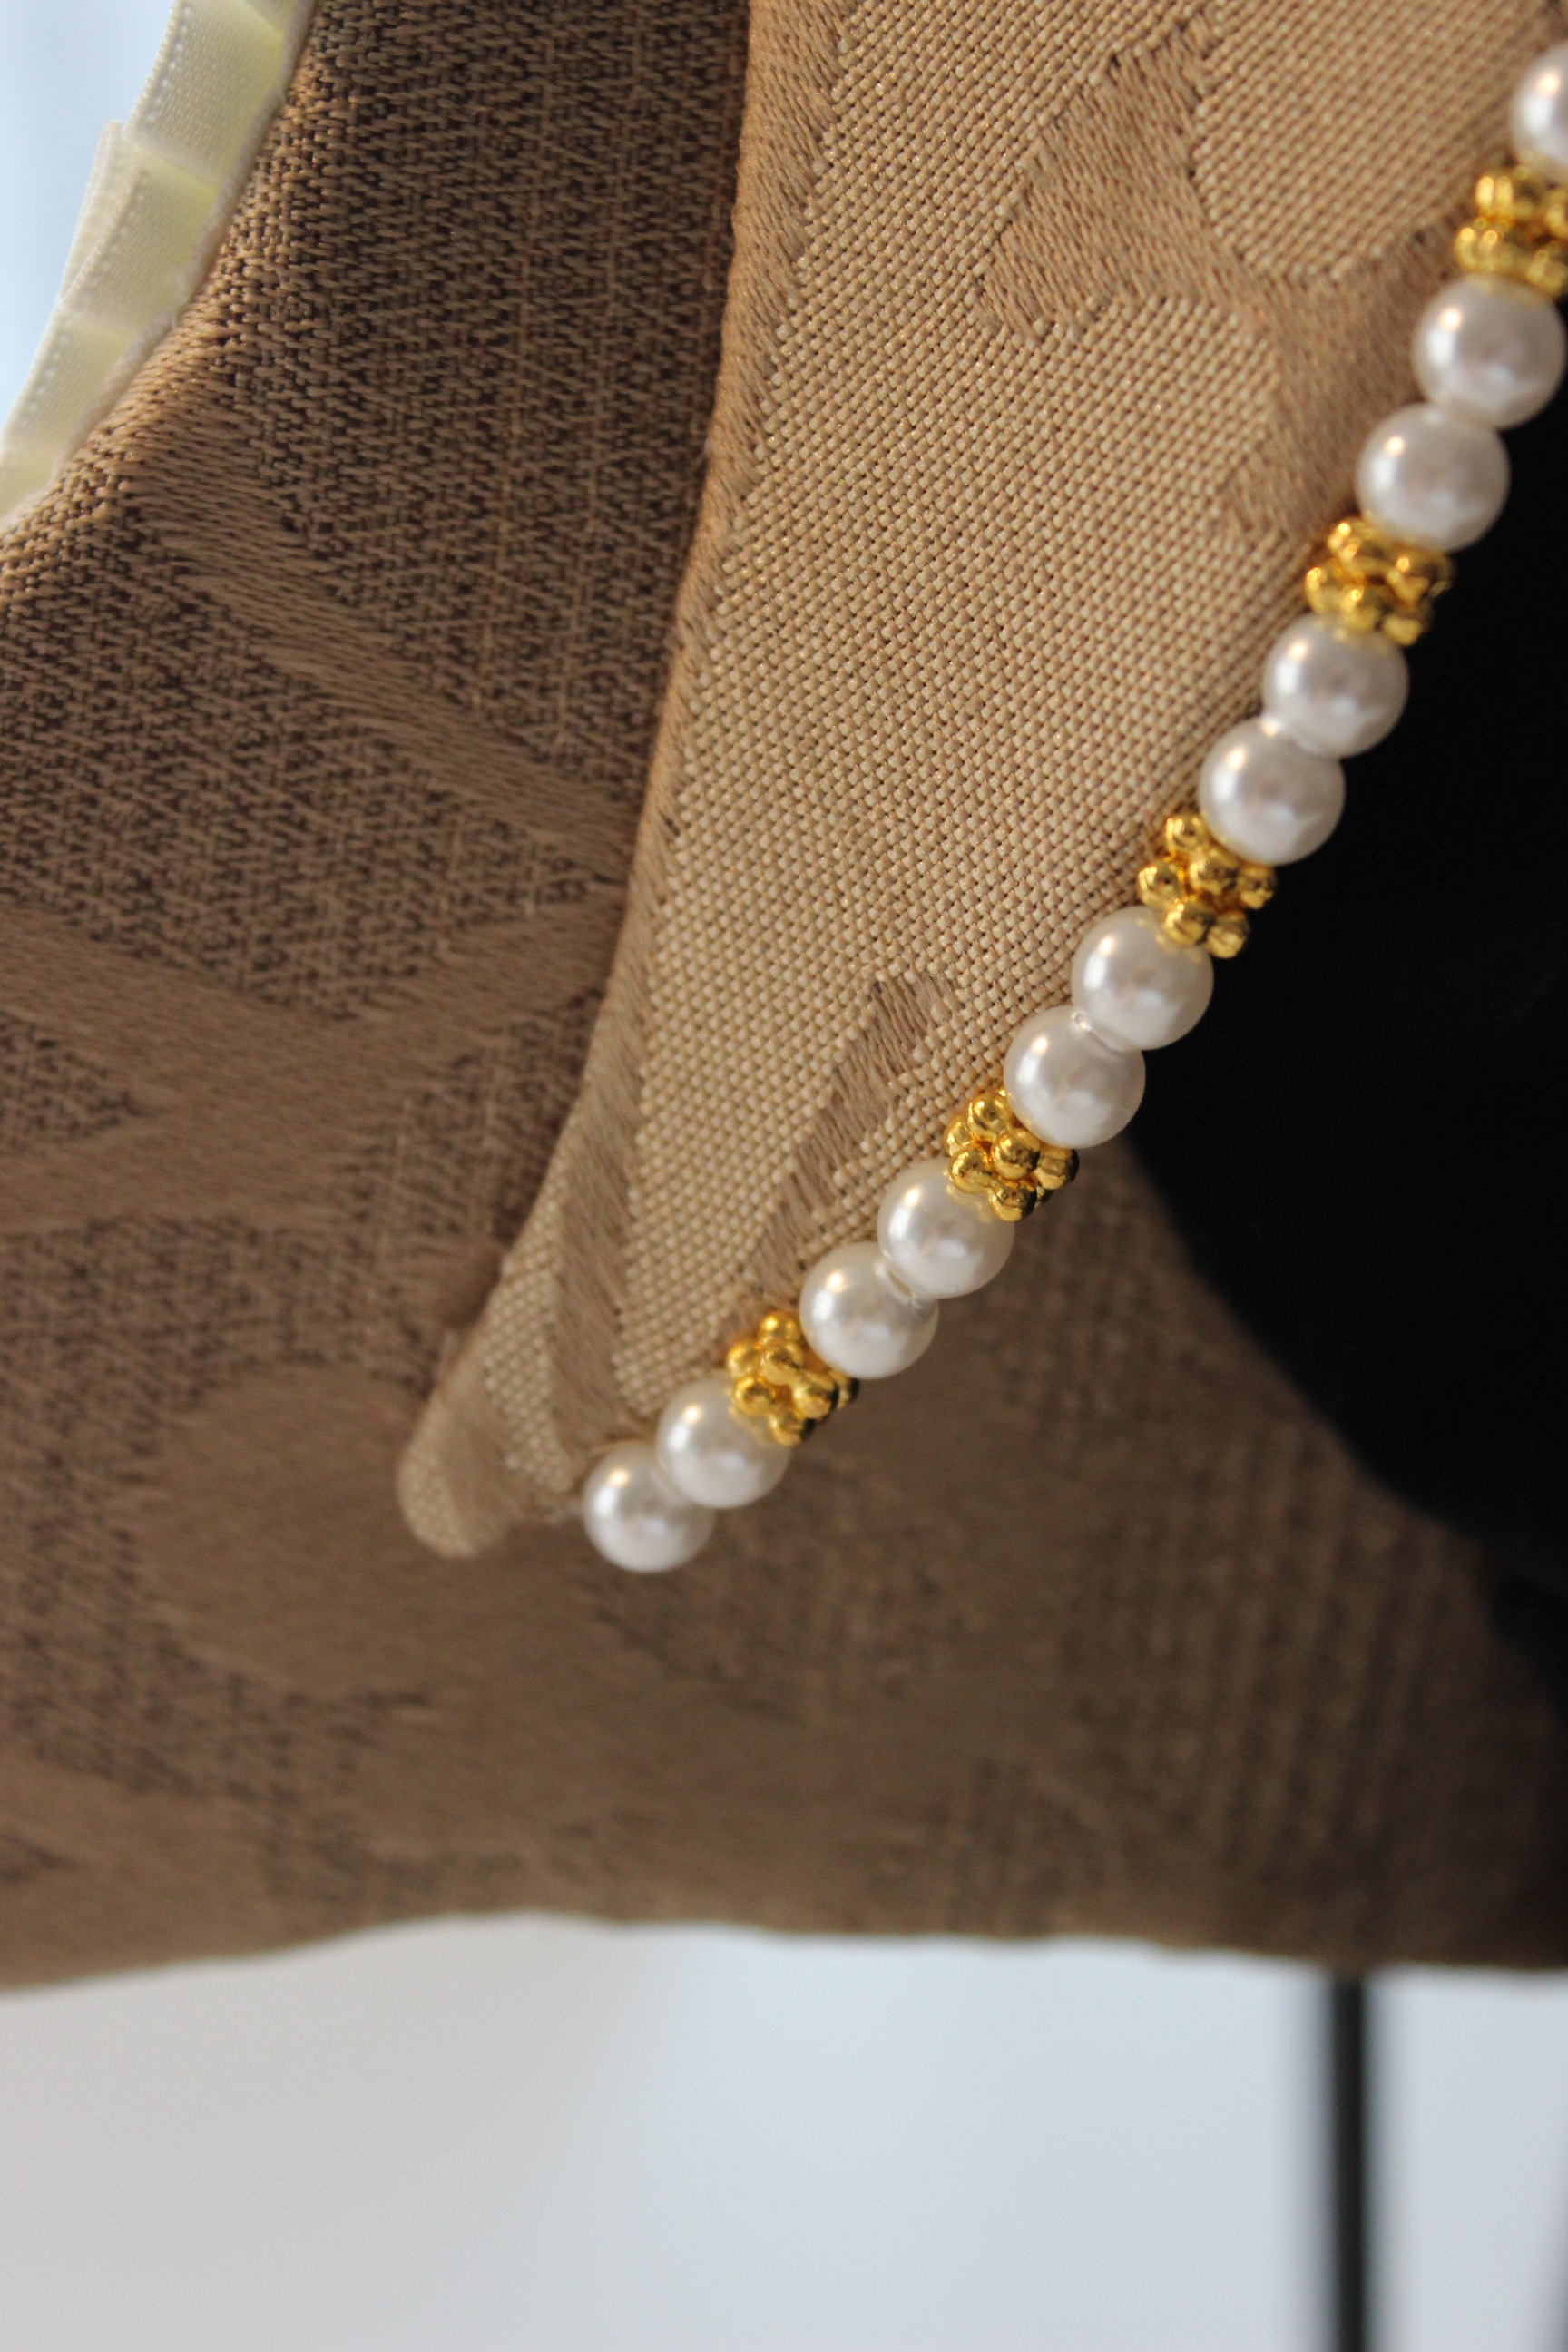
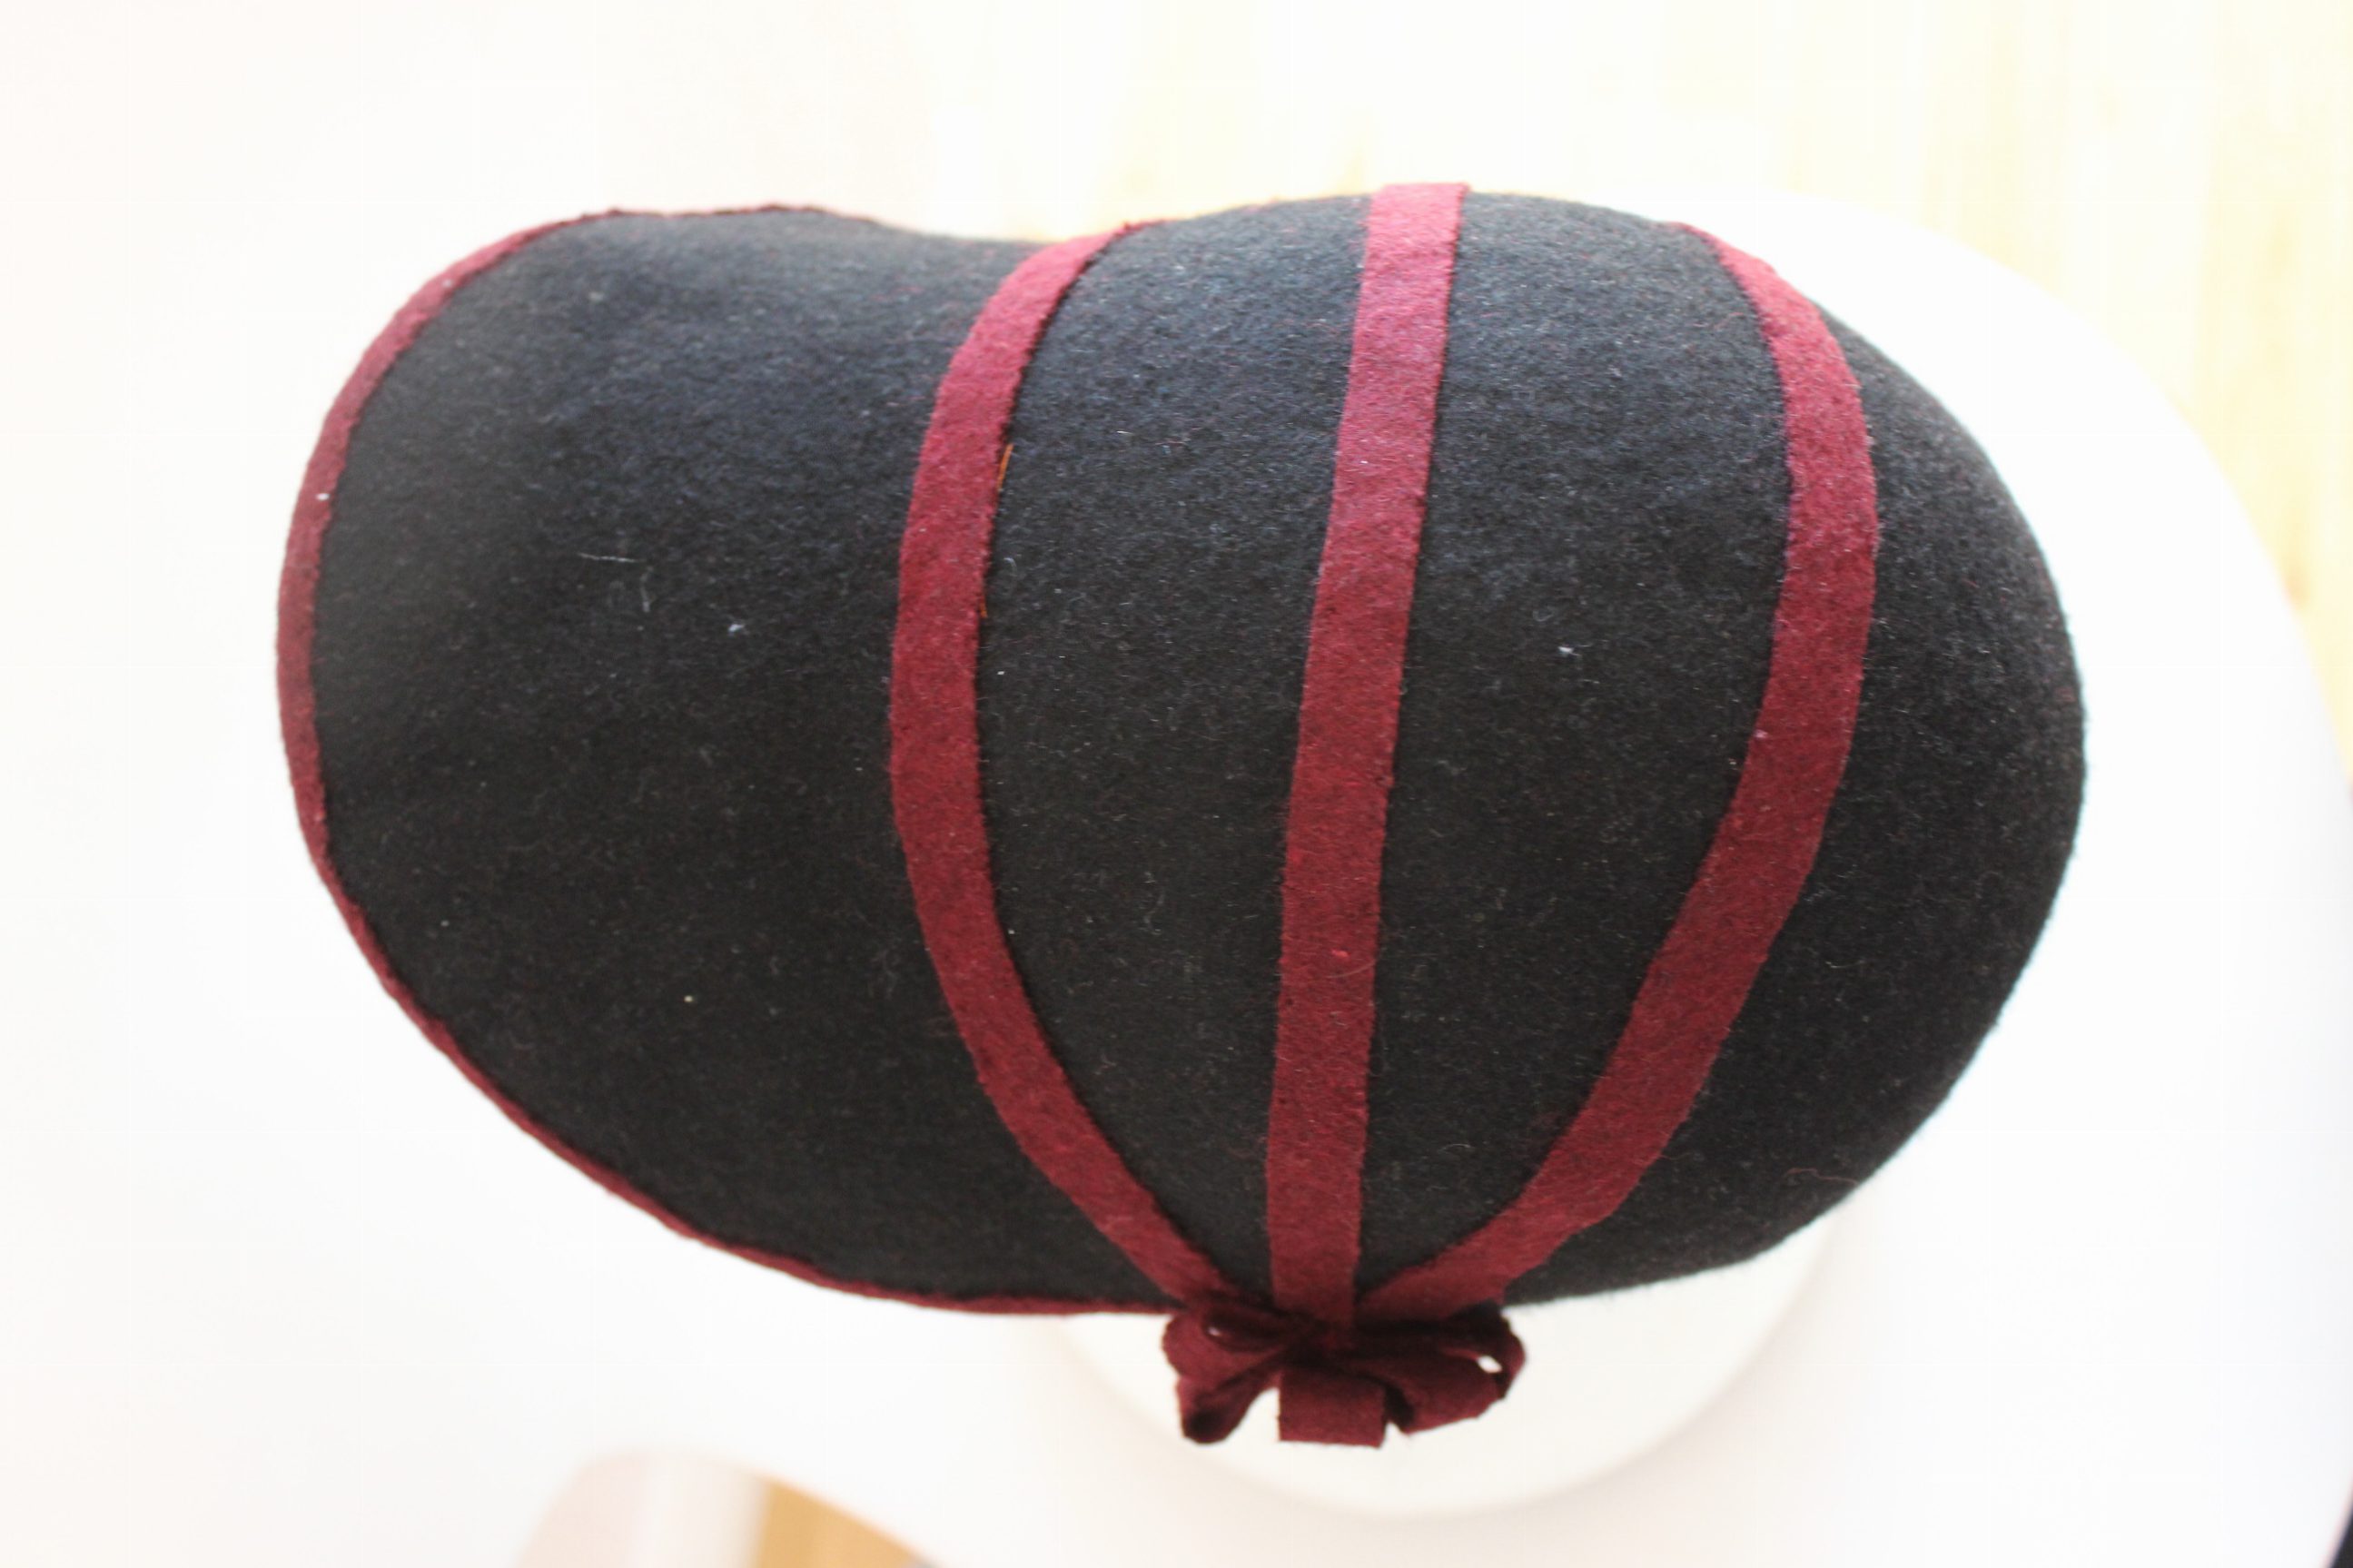
 Note the braid stitched both to the upper and under sides of the brim.

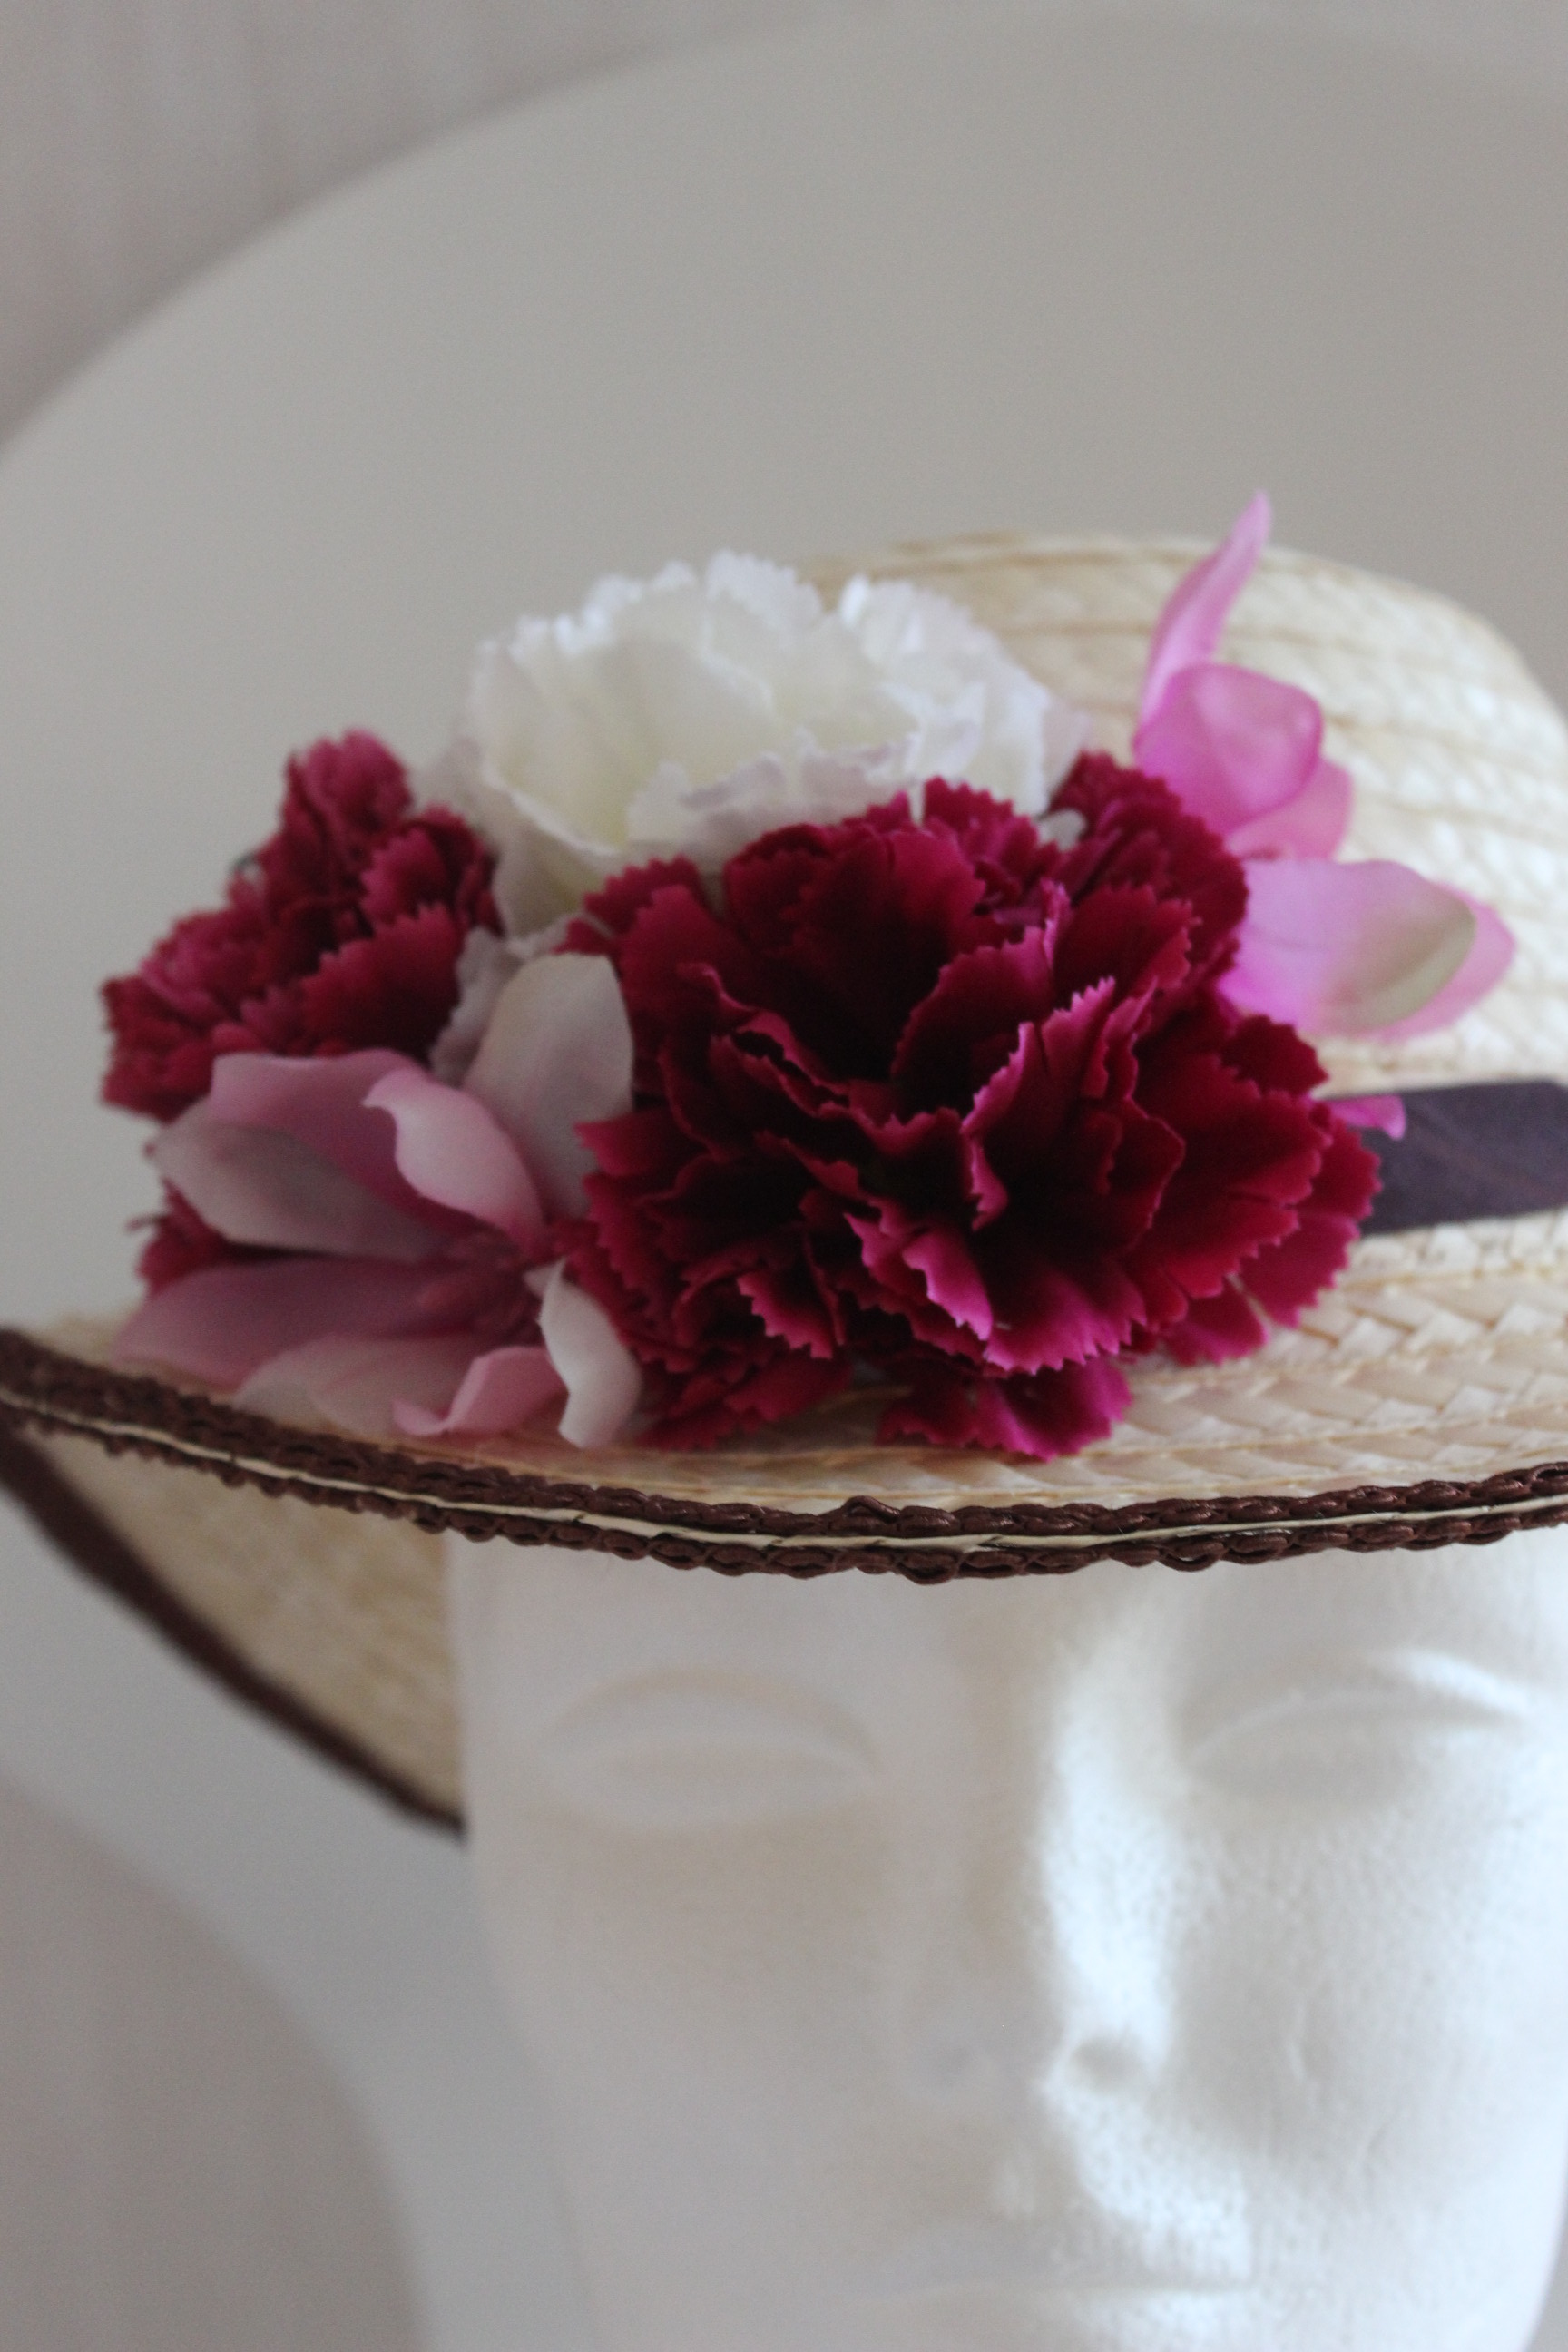


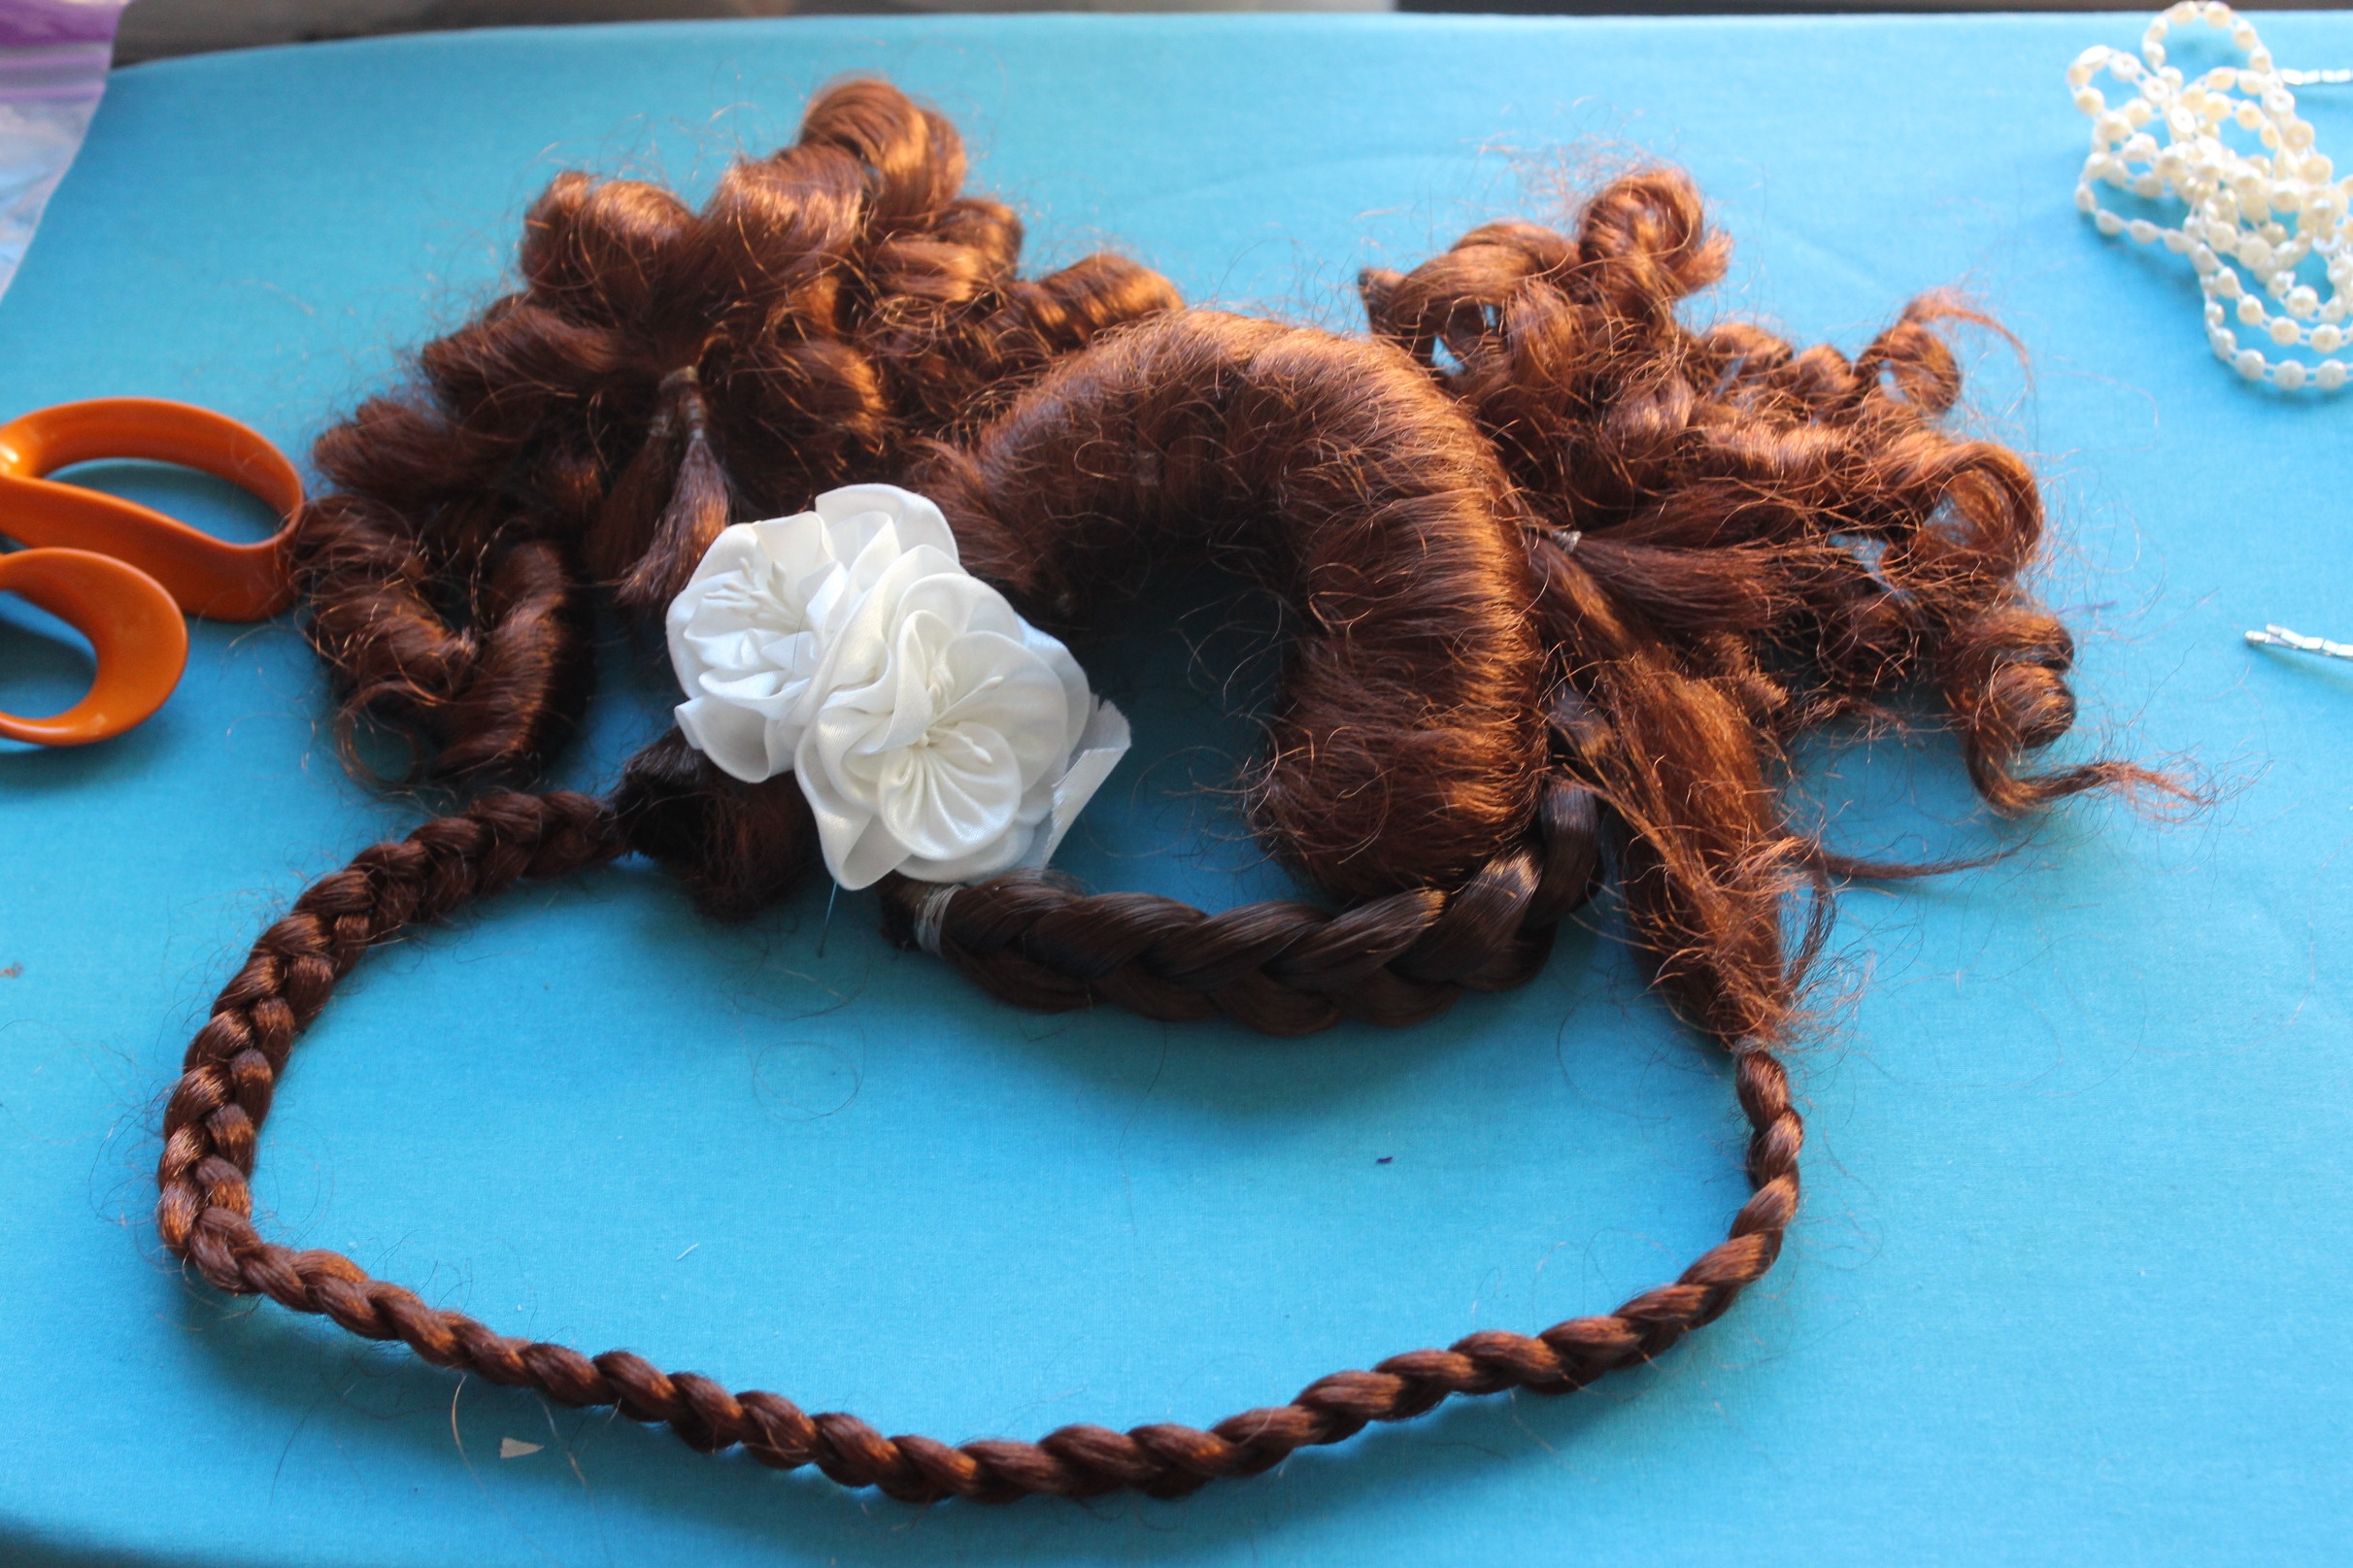

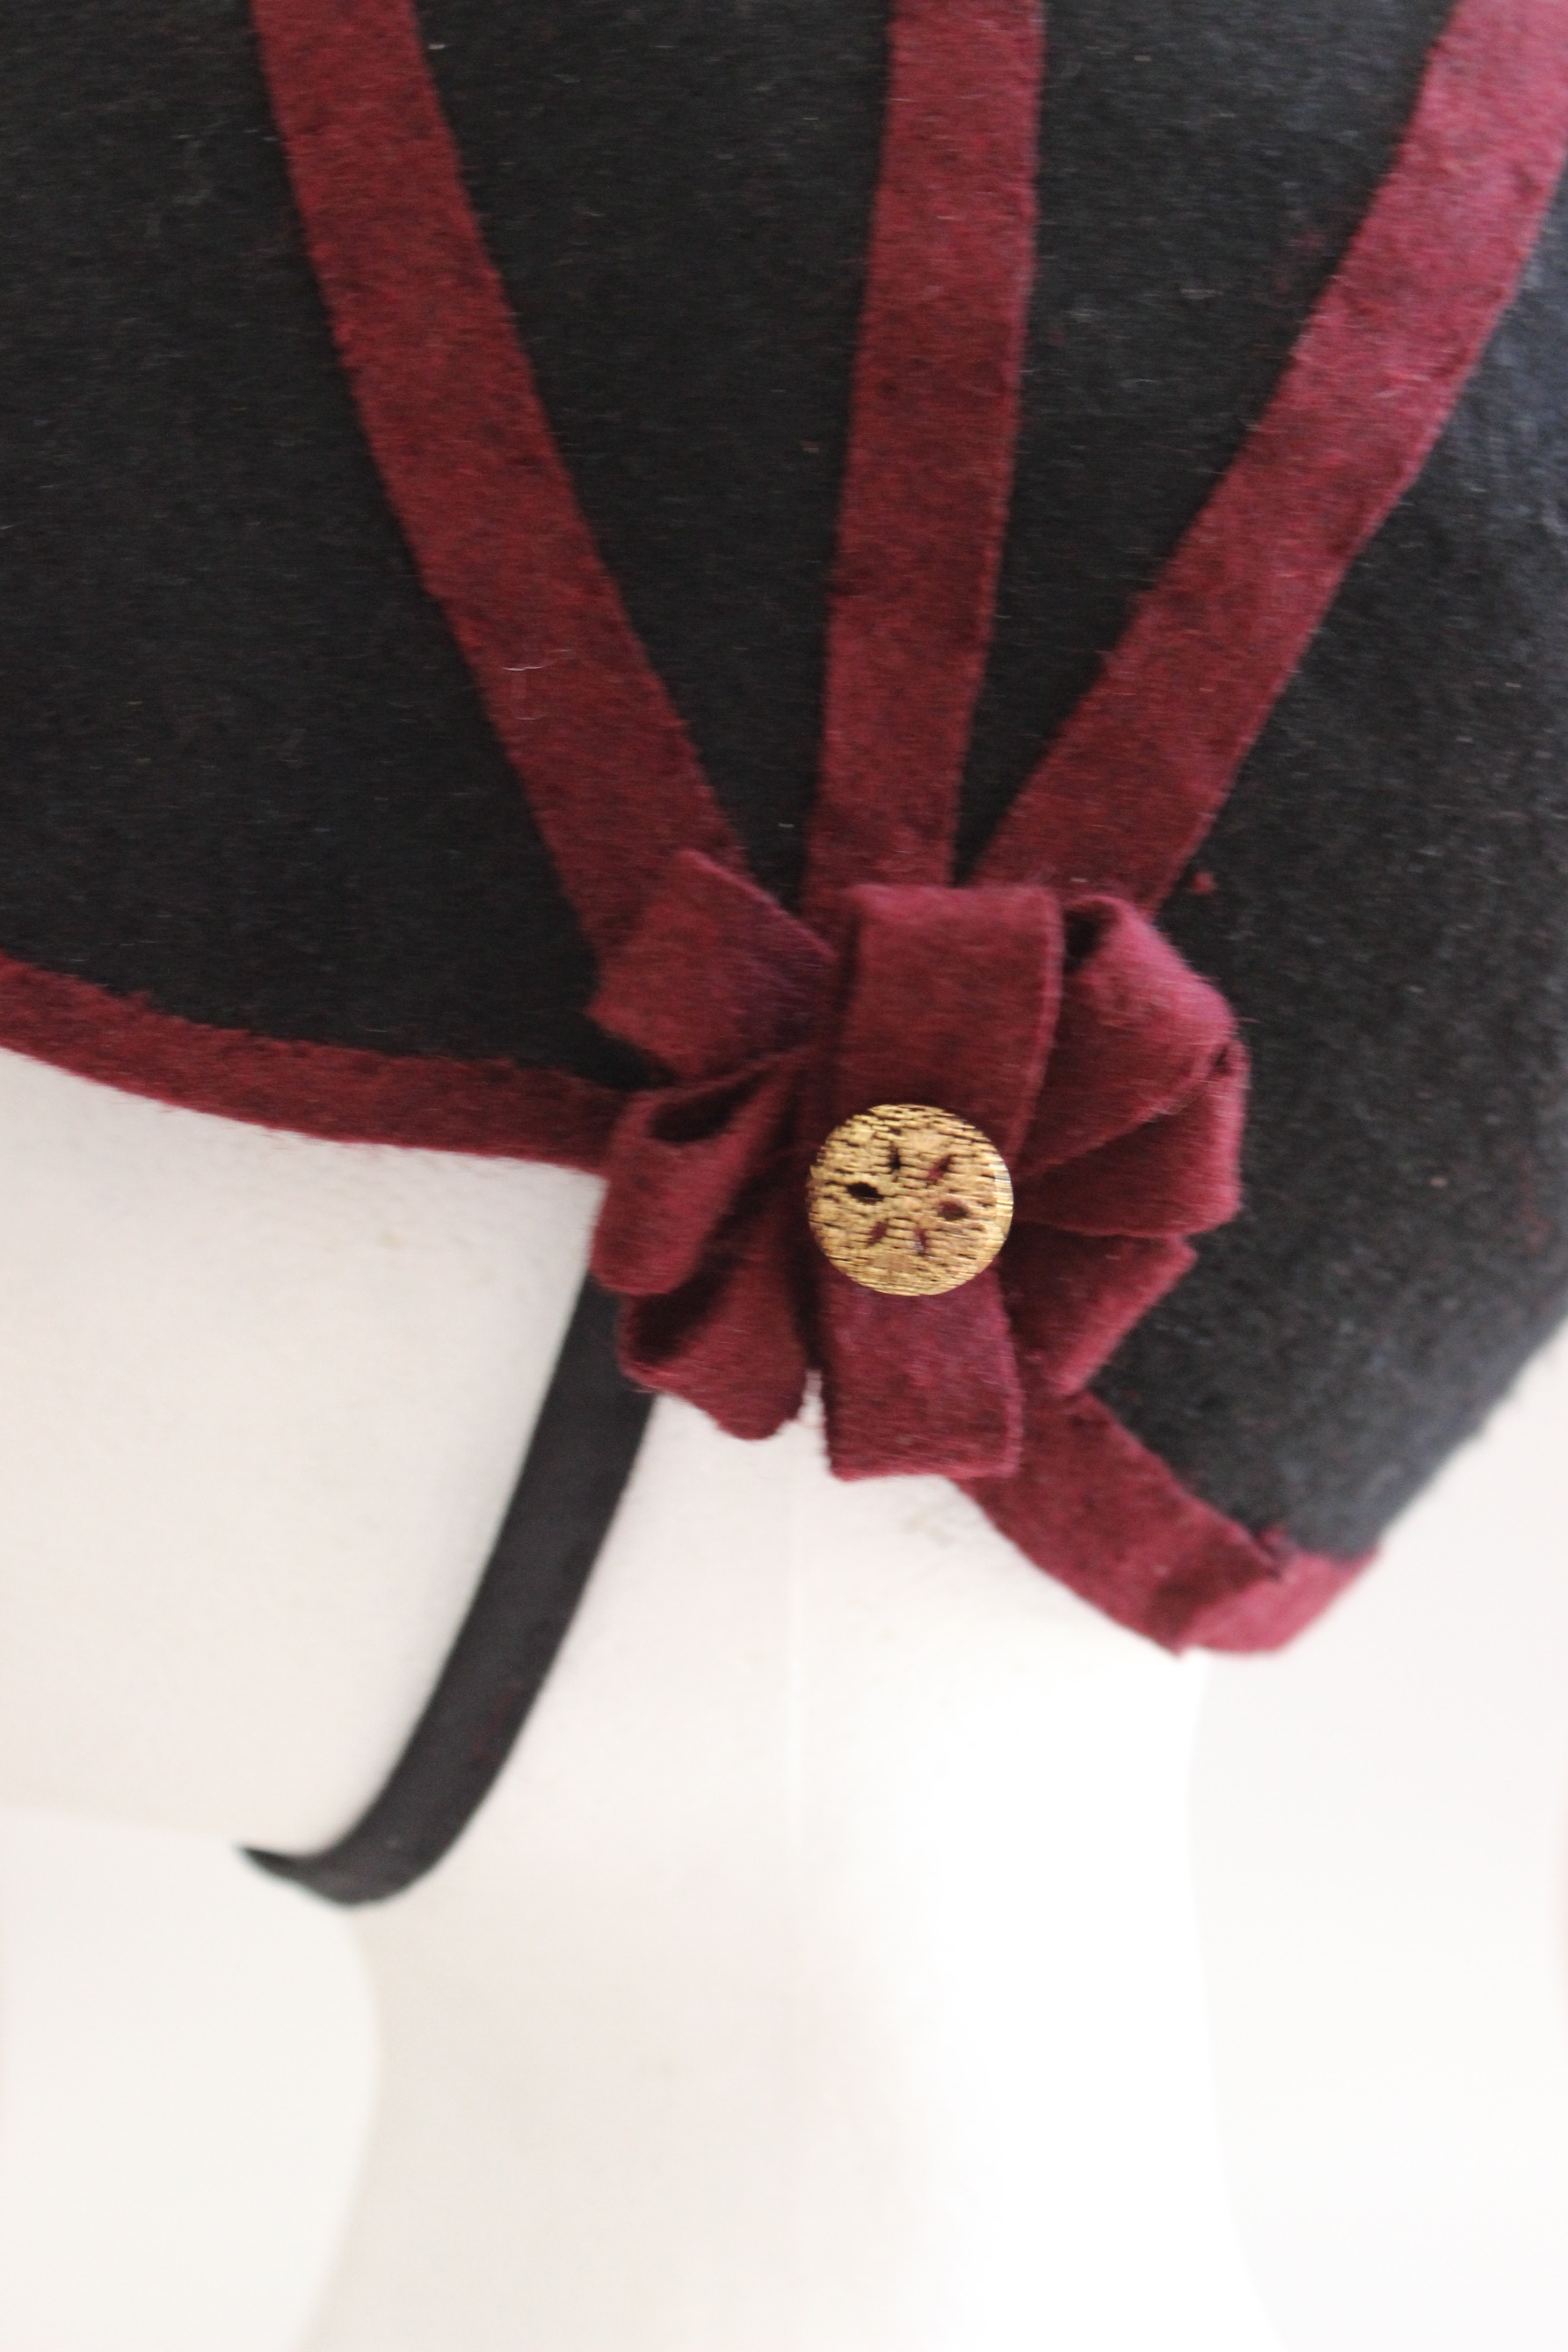
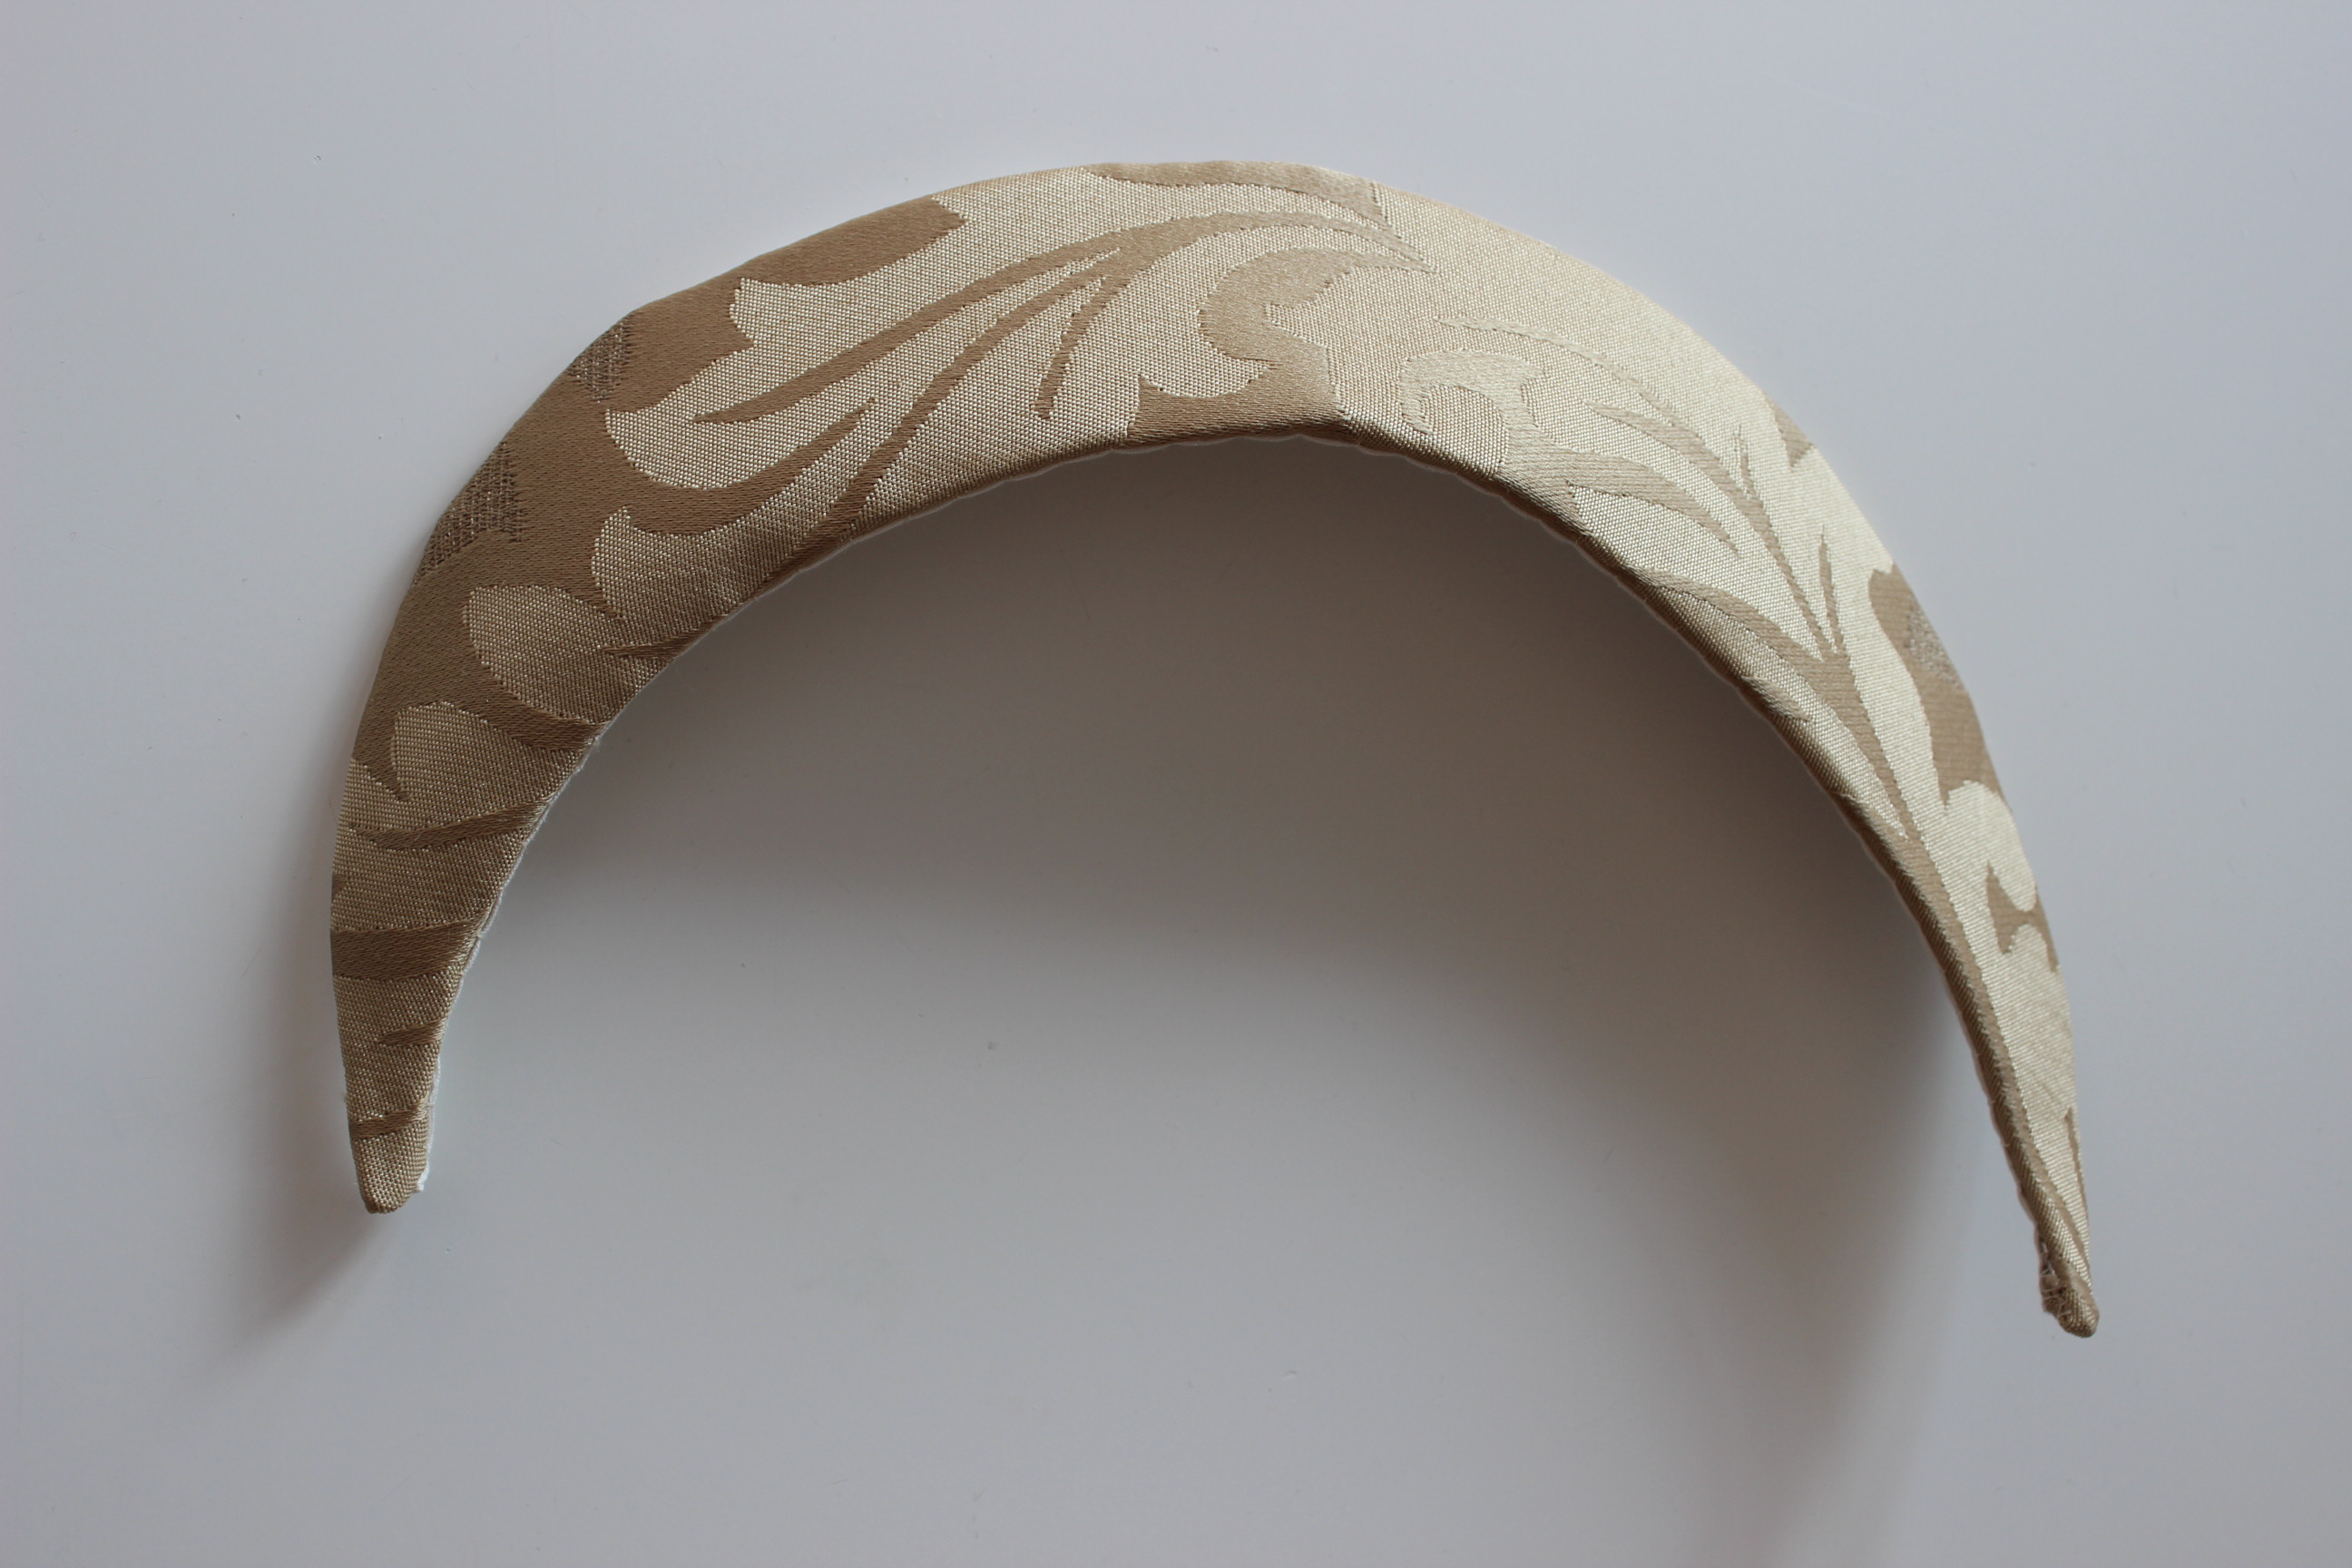
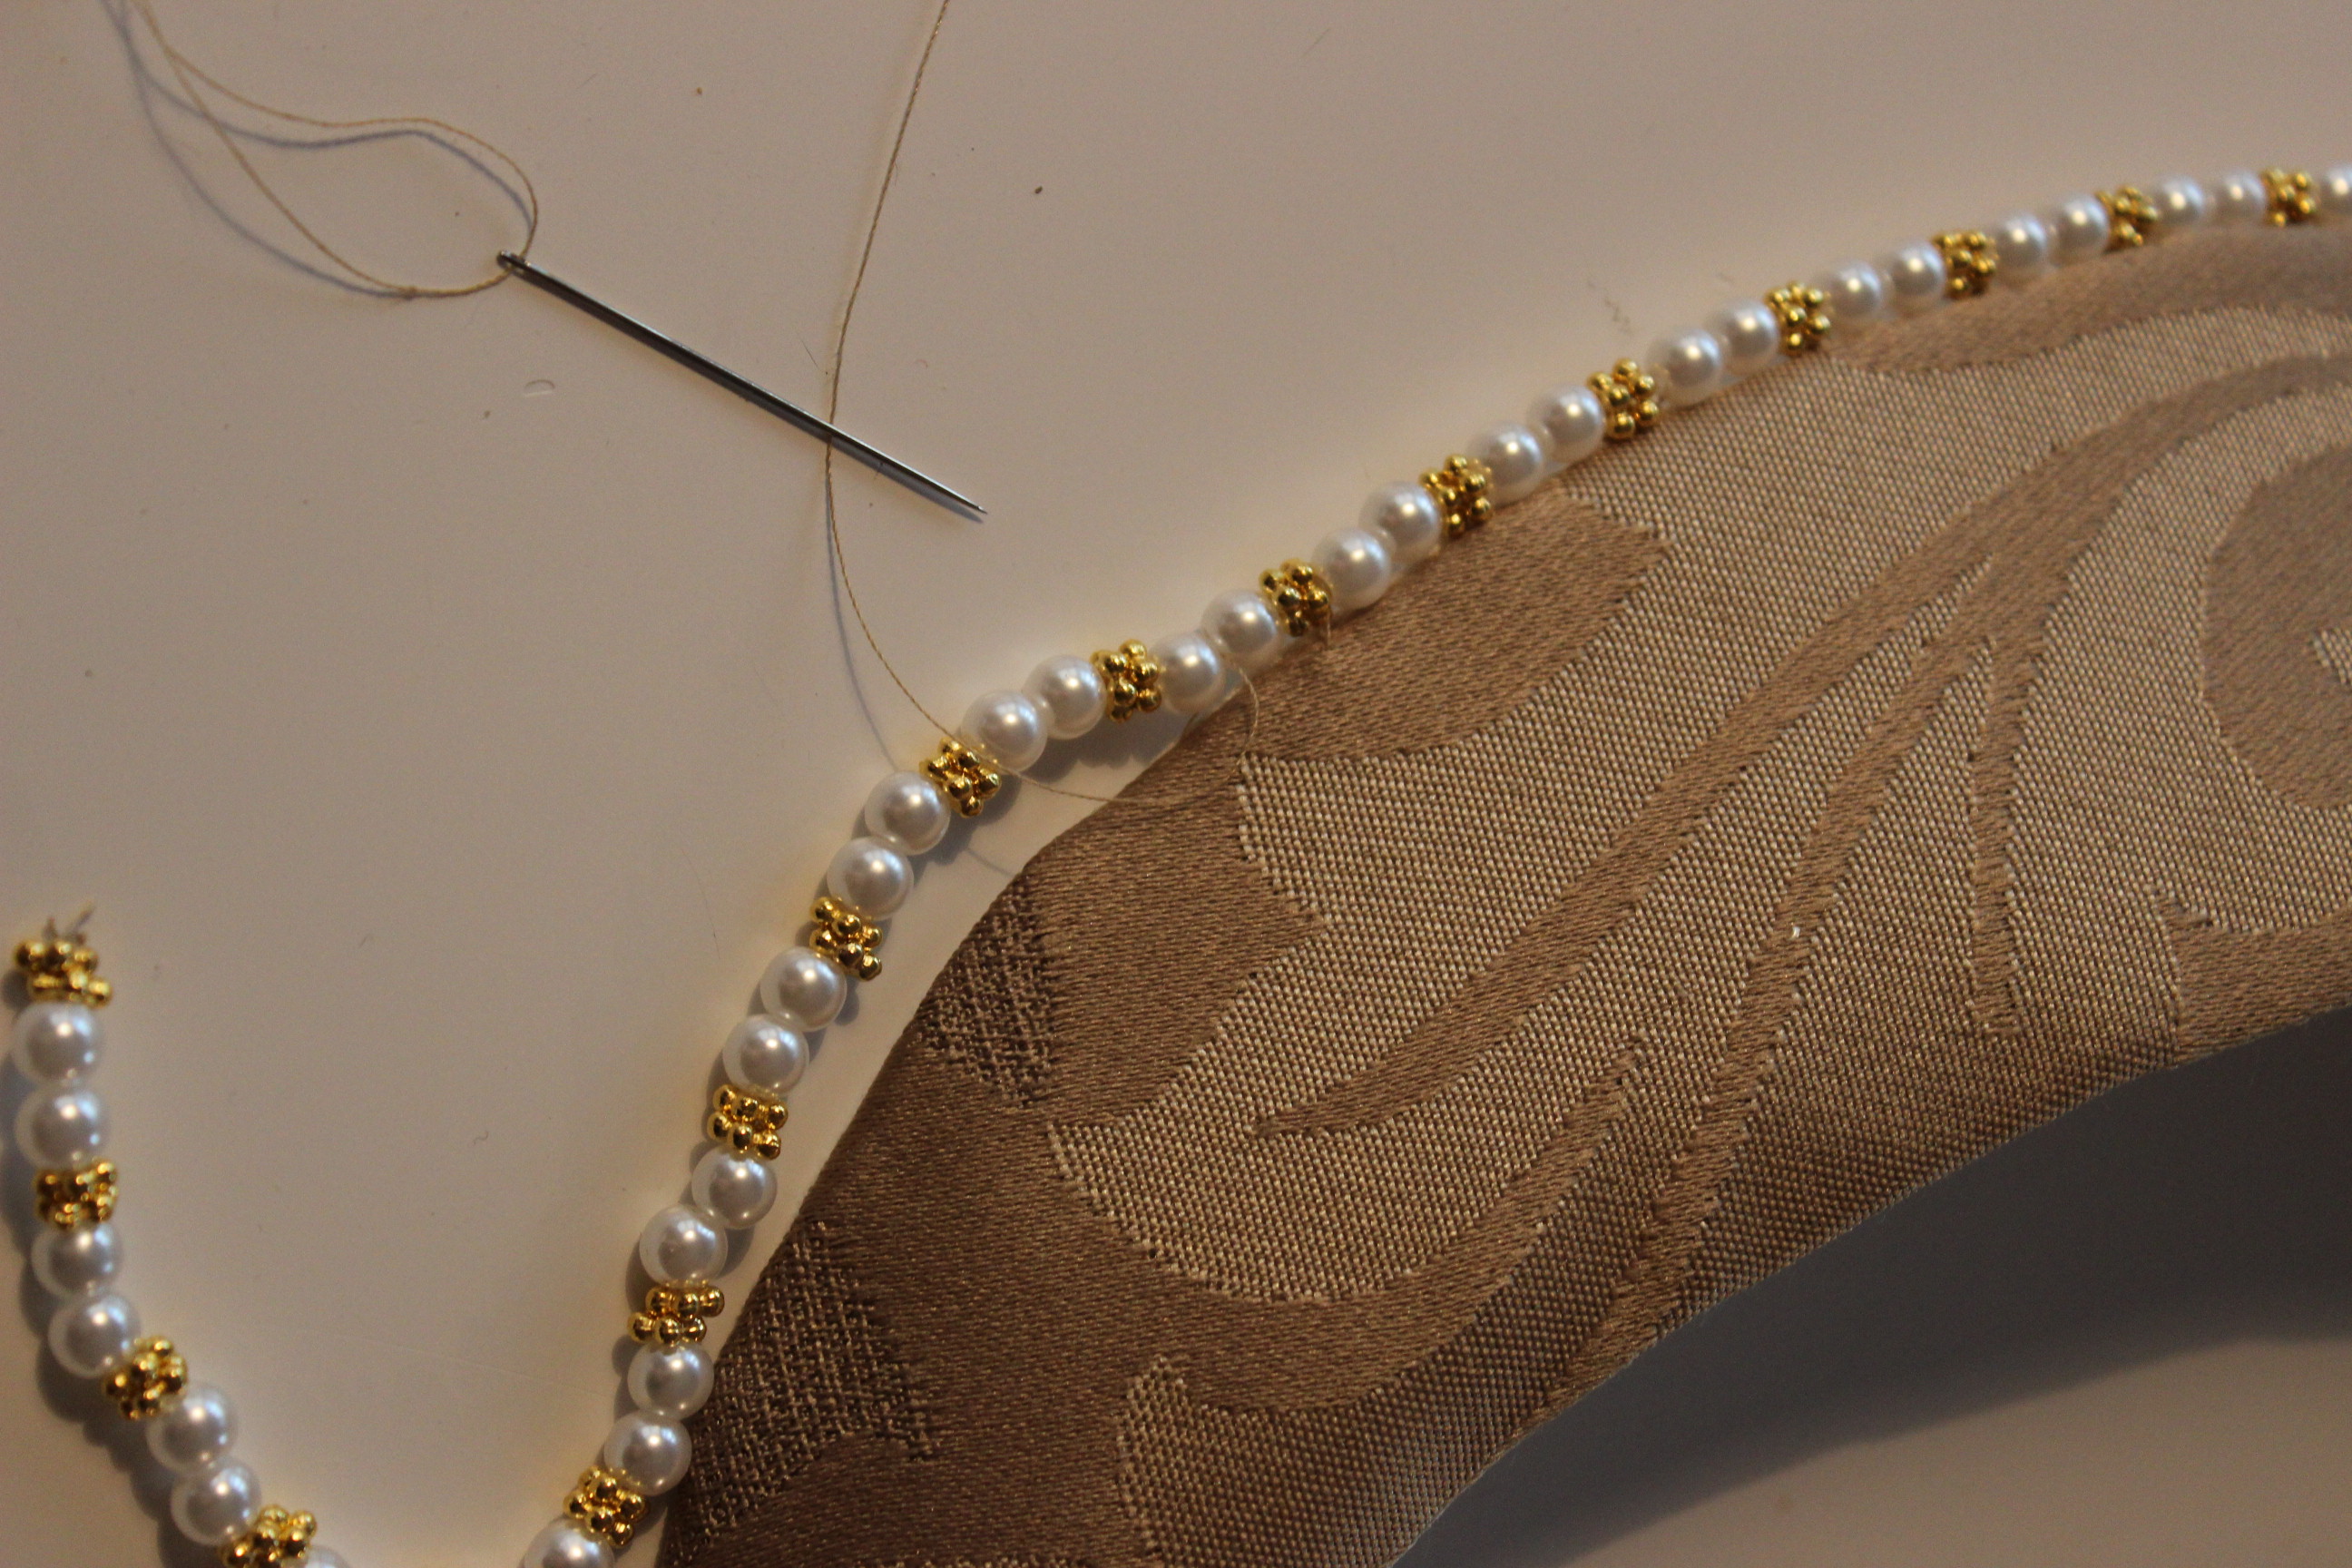
 and put the two braids on to cover the edge of the cresent.
 Finally I added a wreath of purple plastic flowers
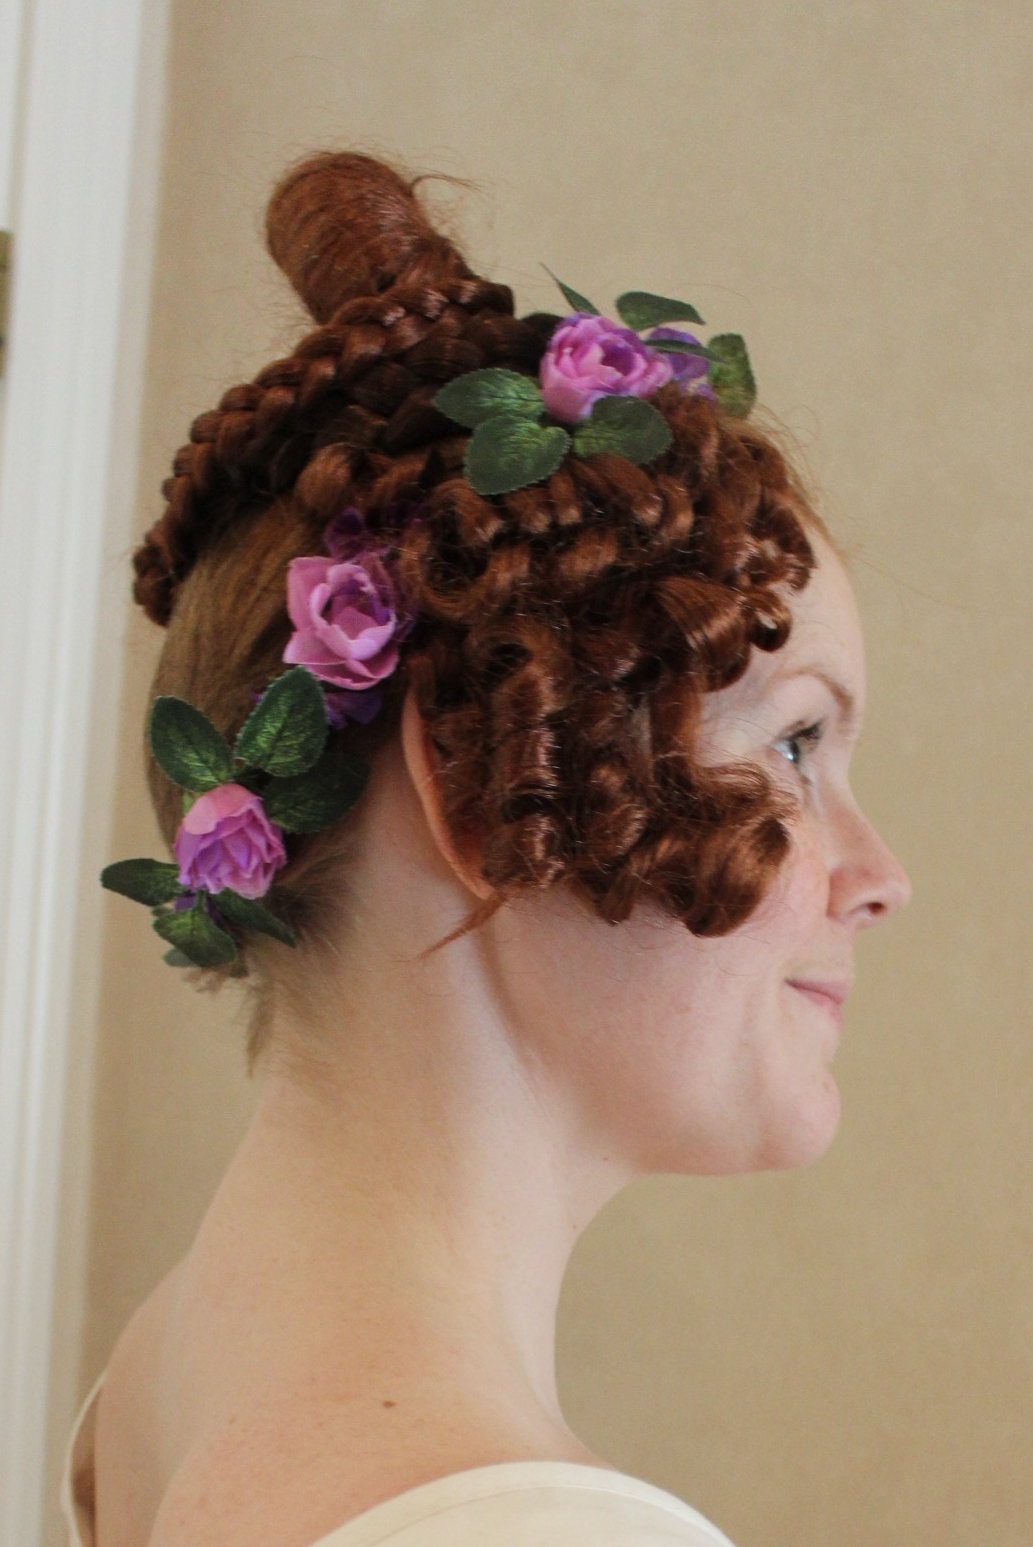


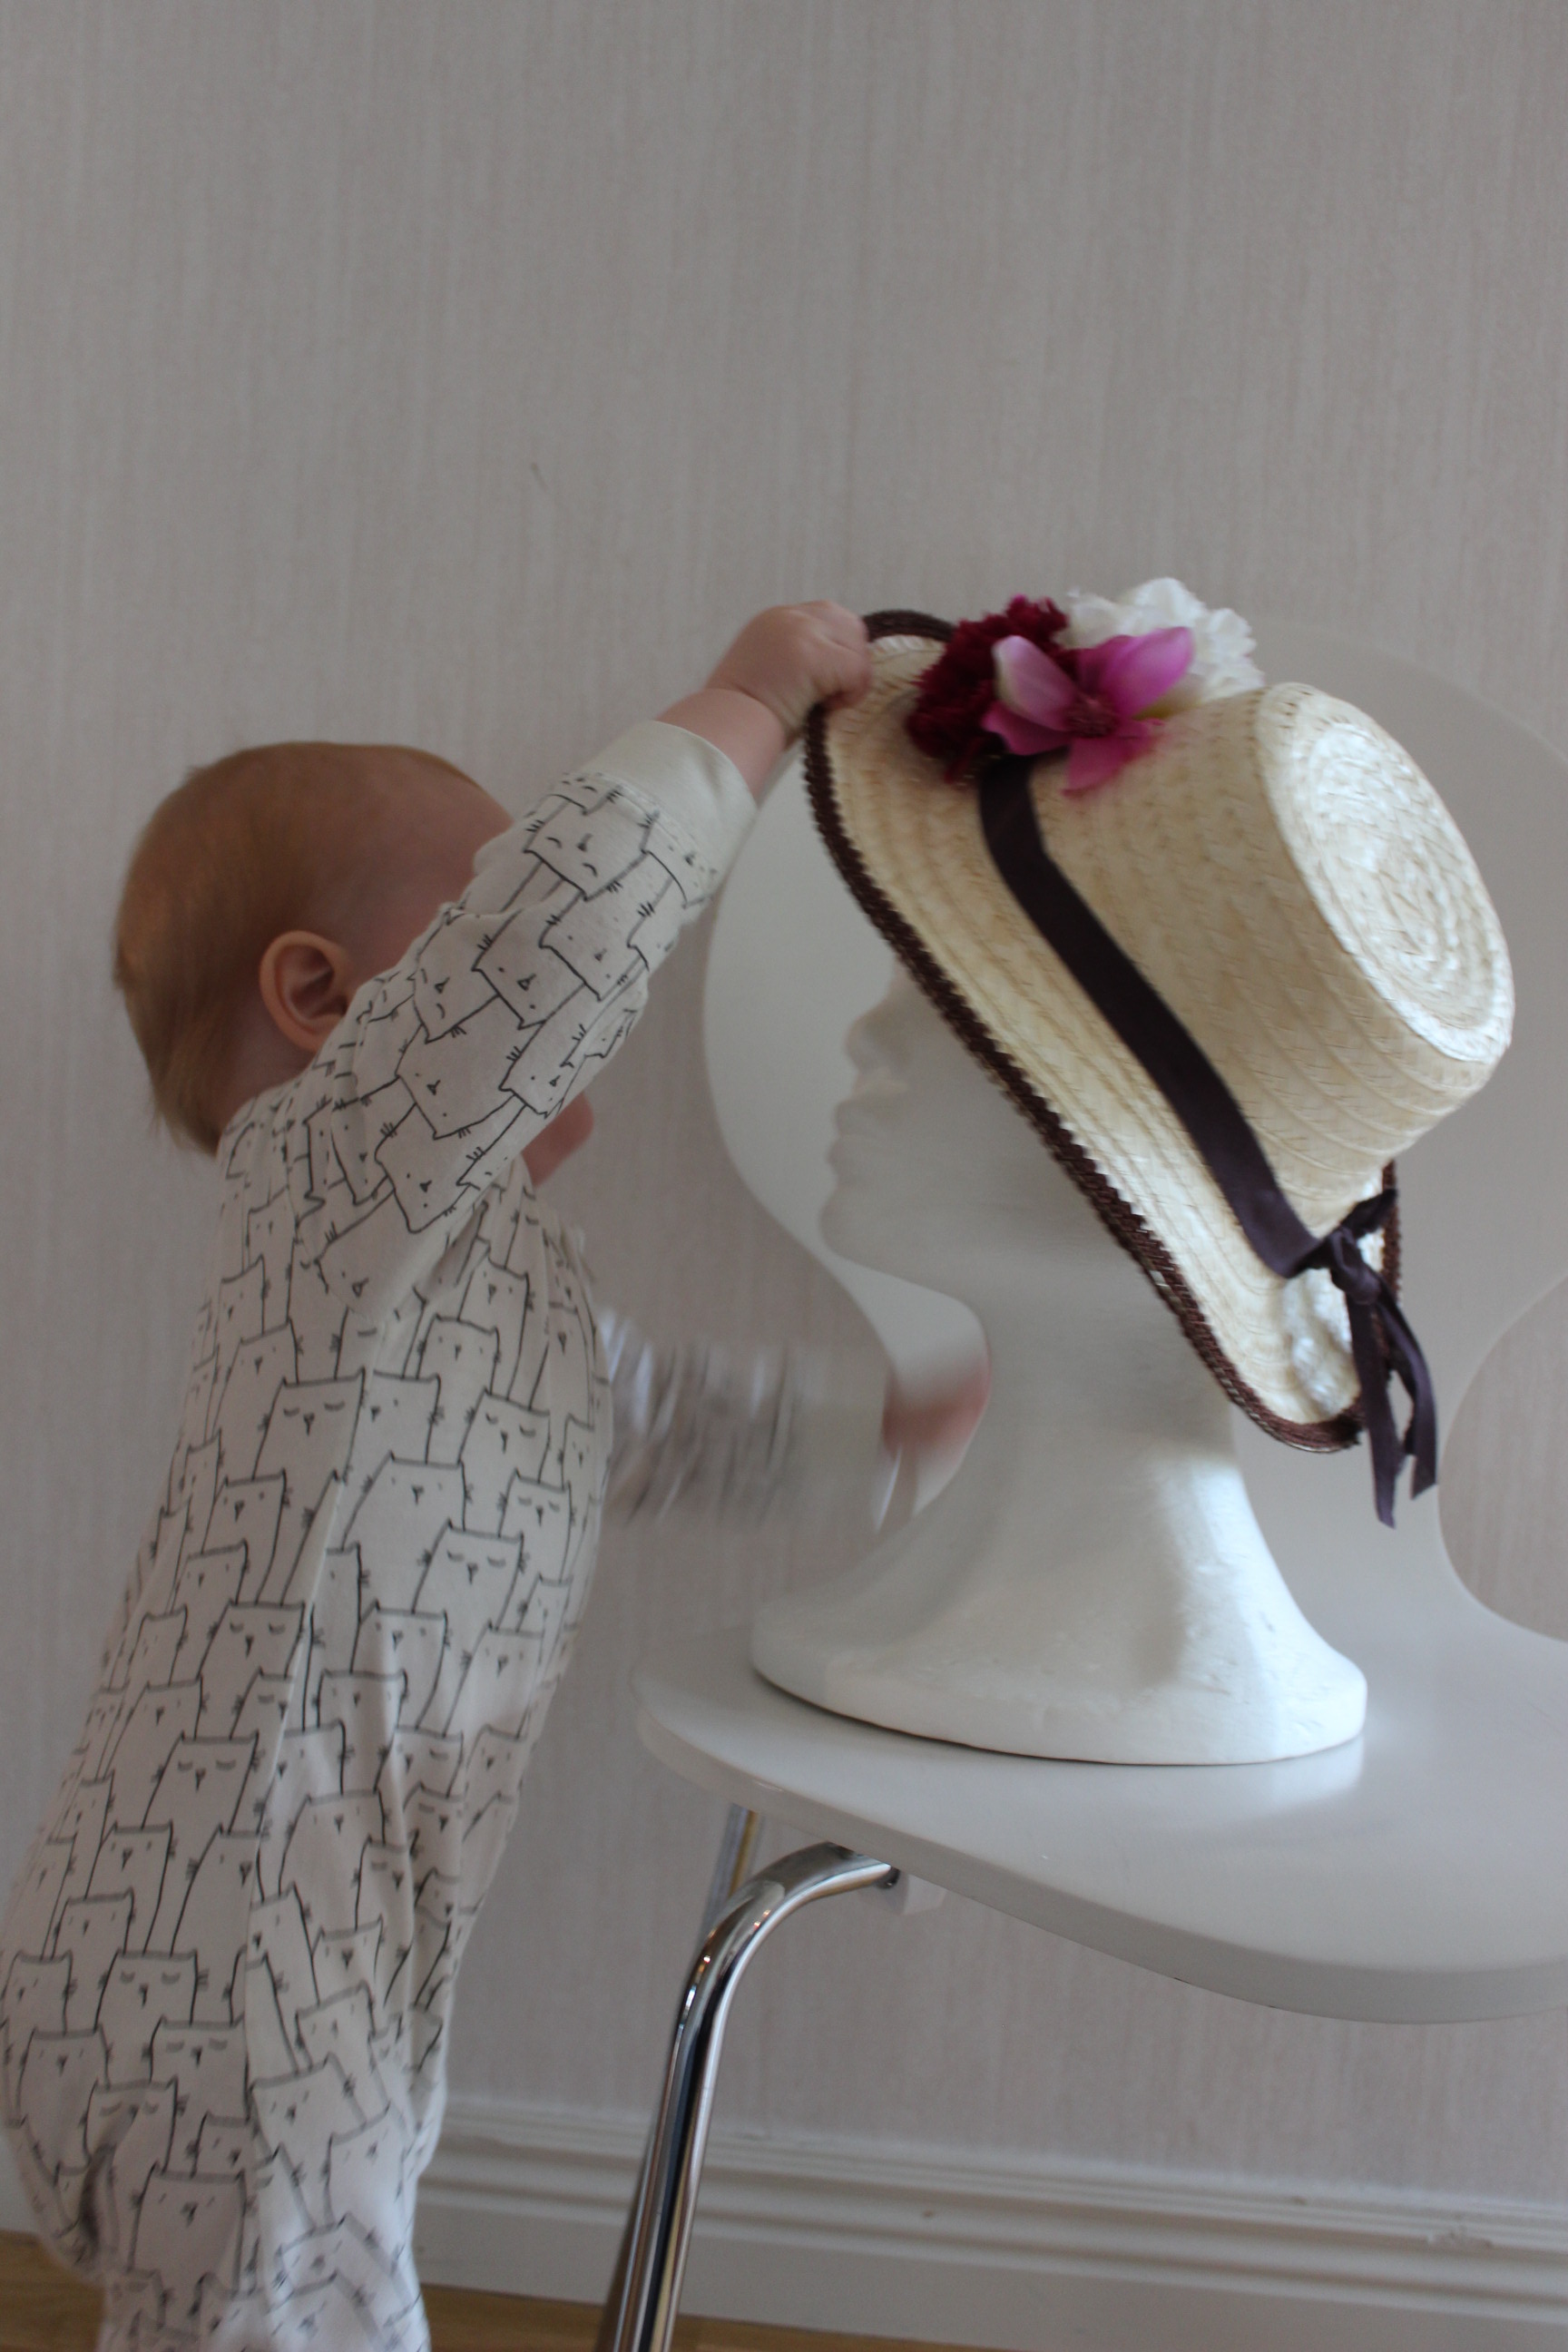
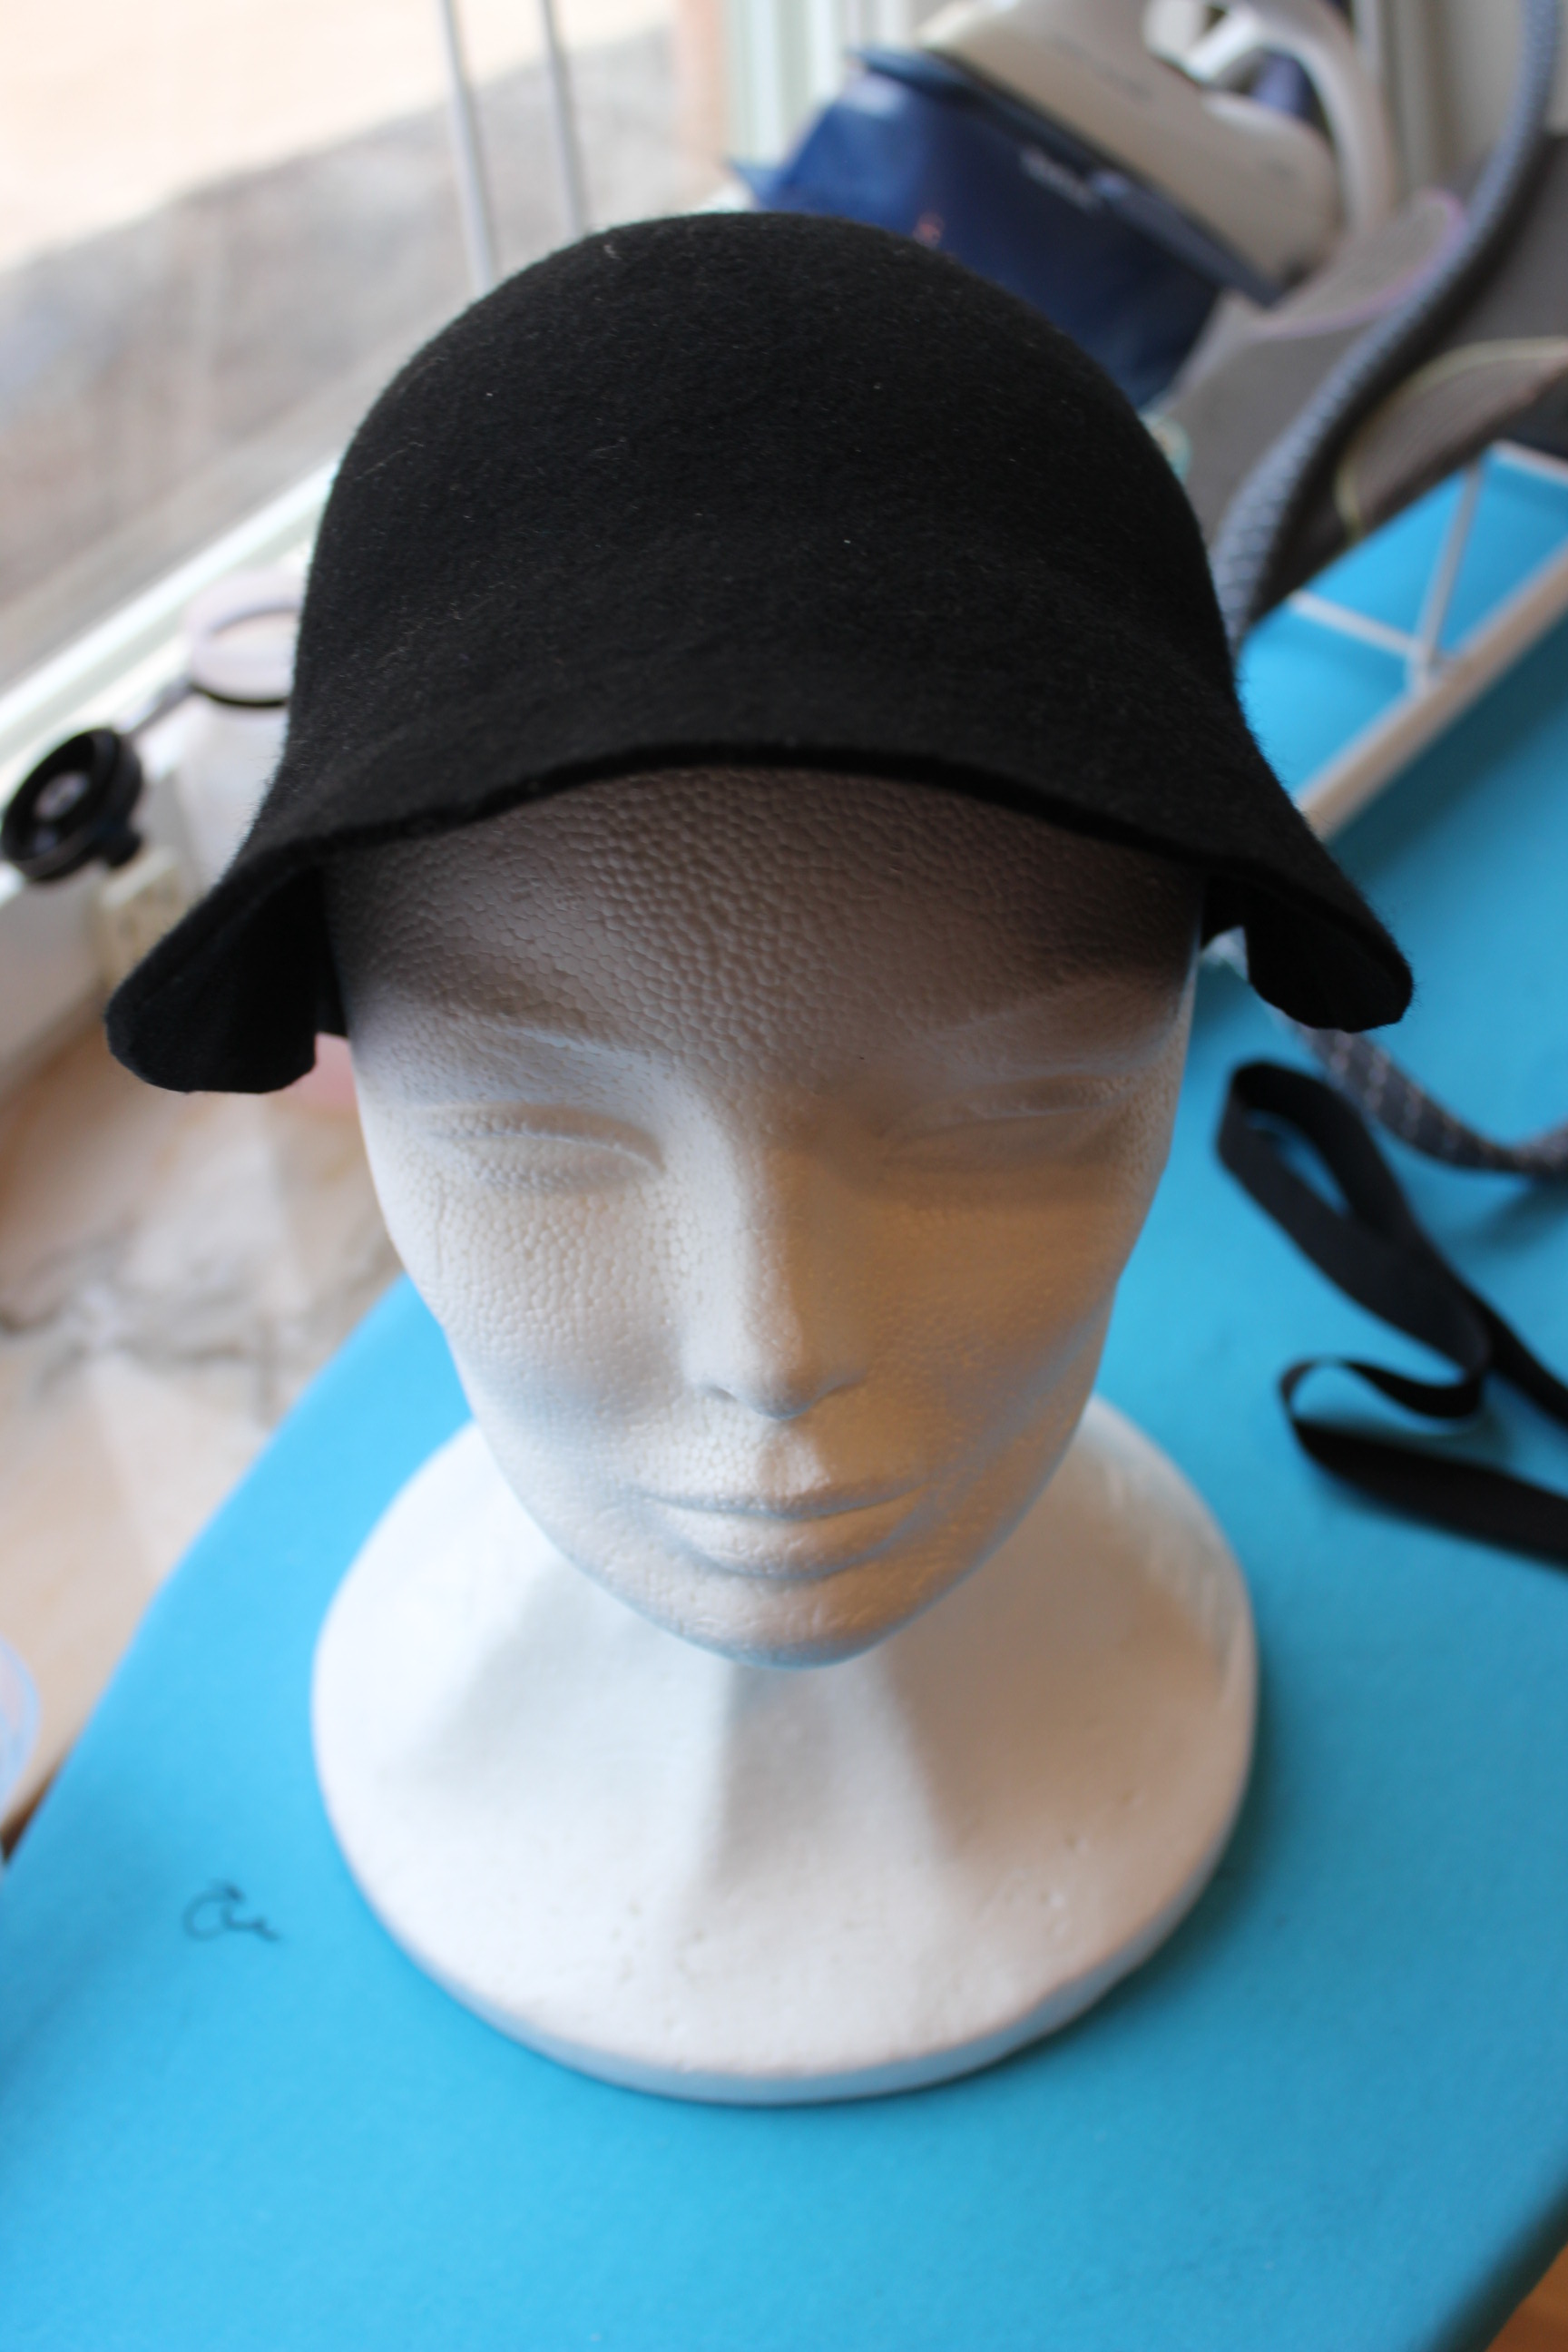
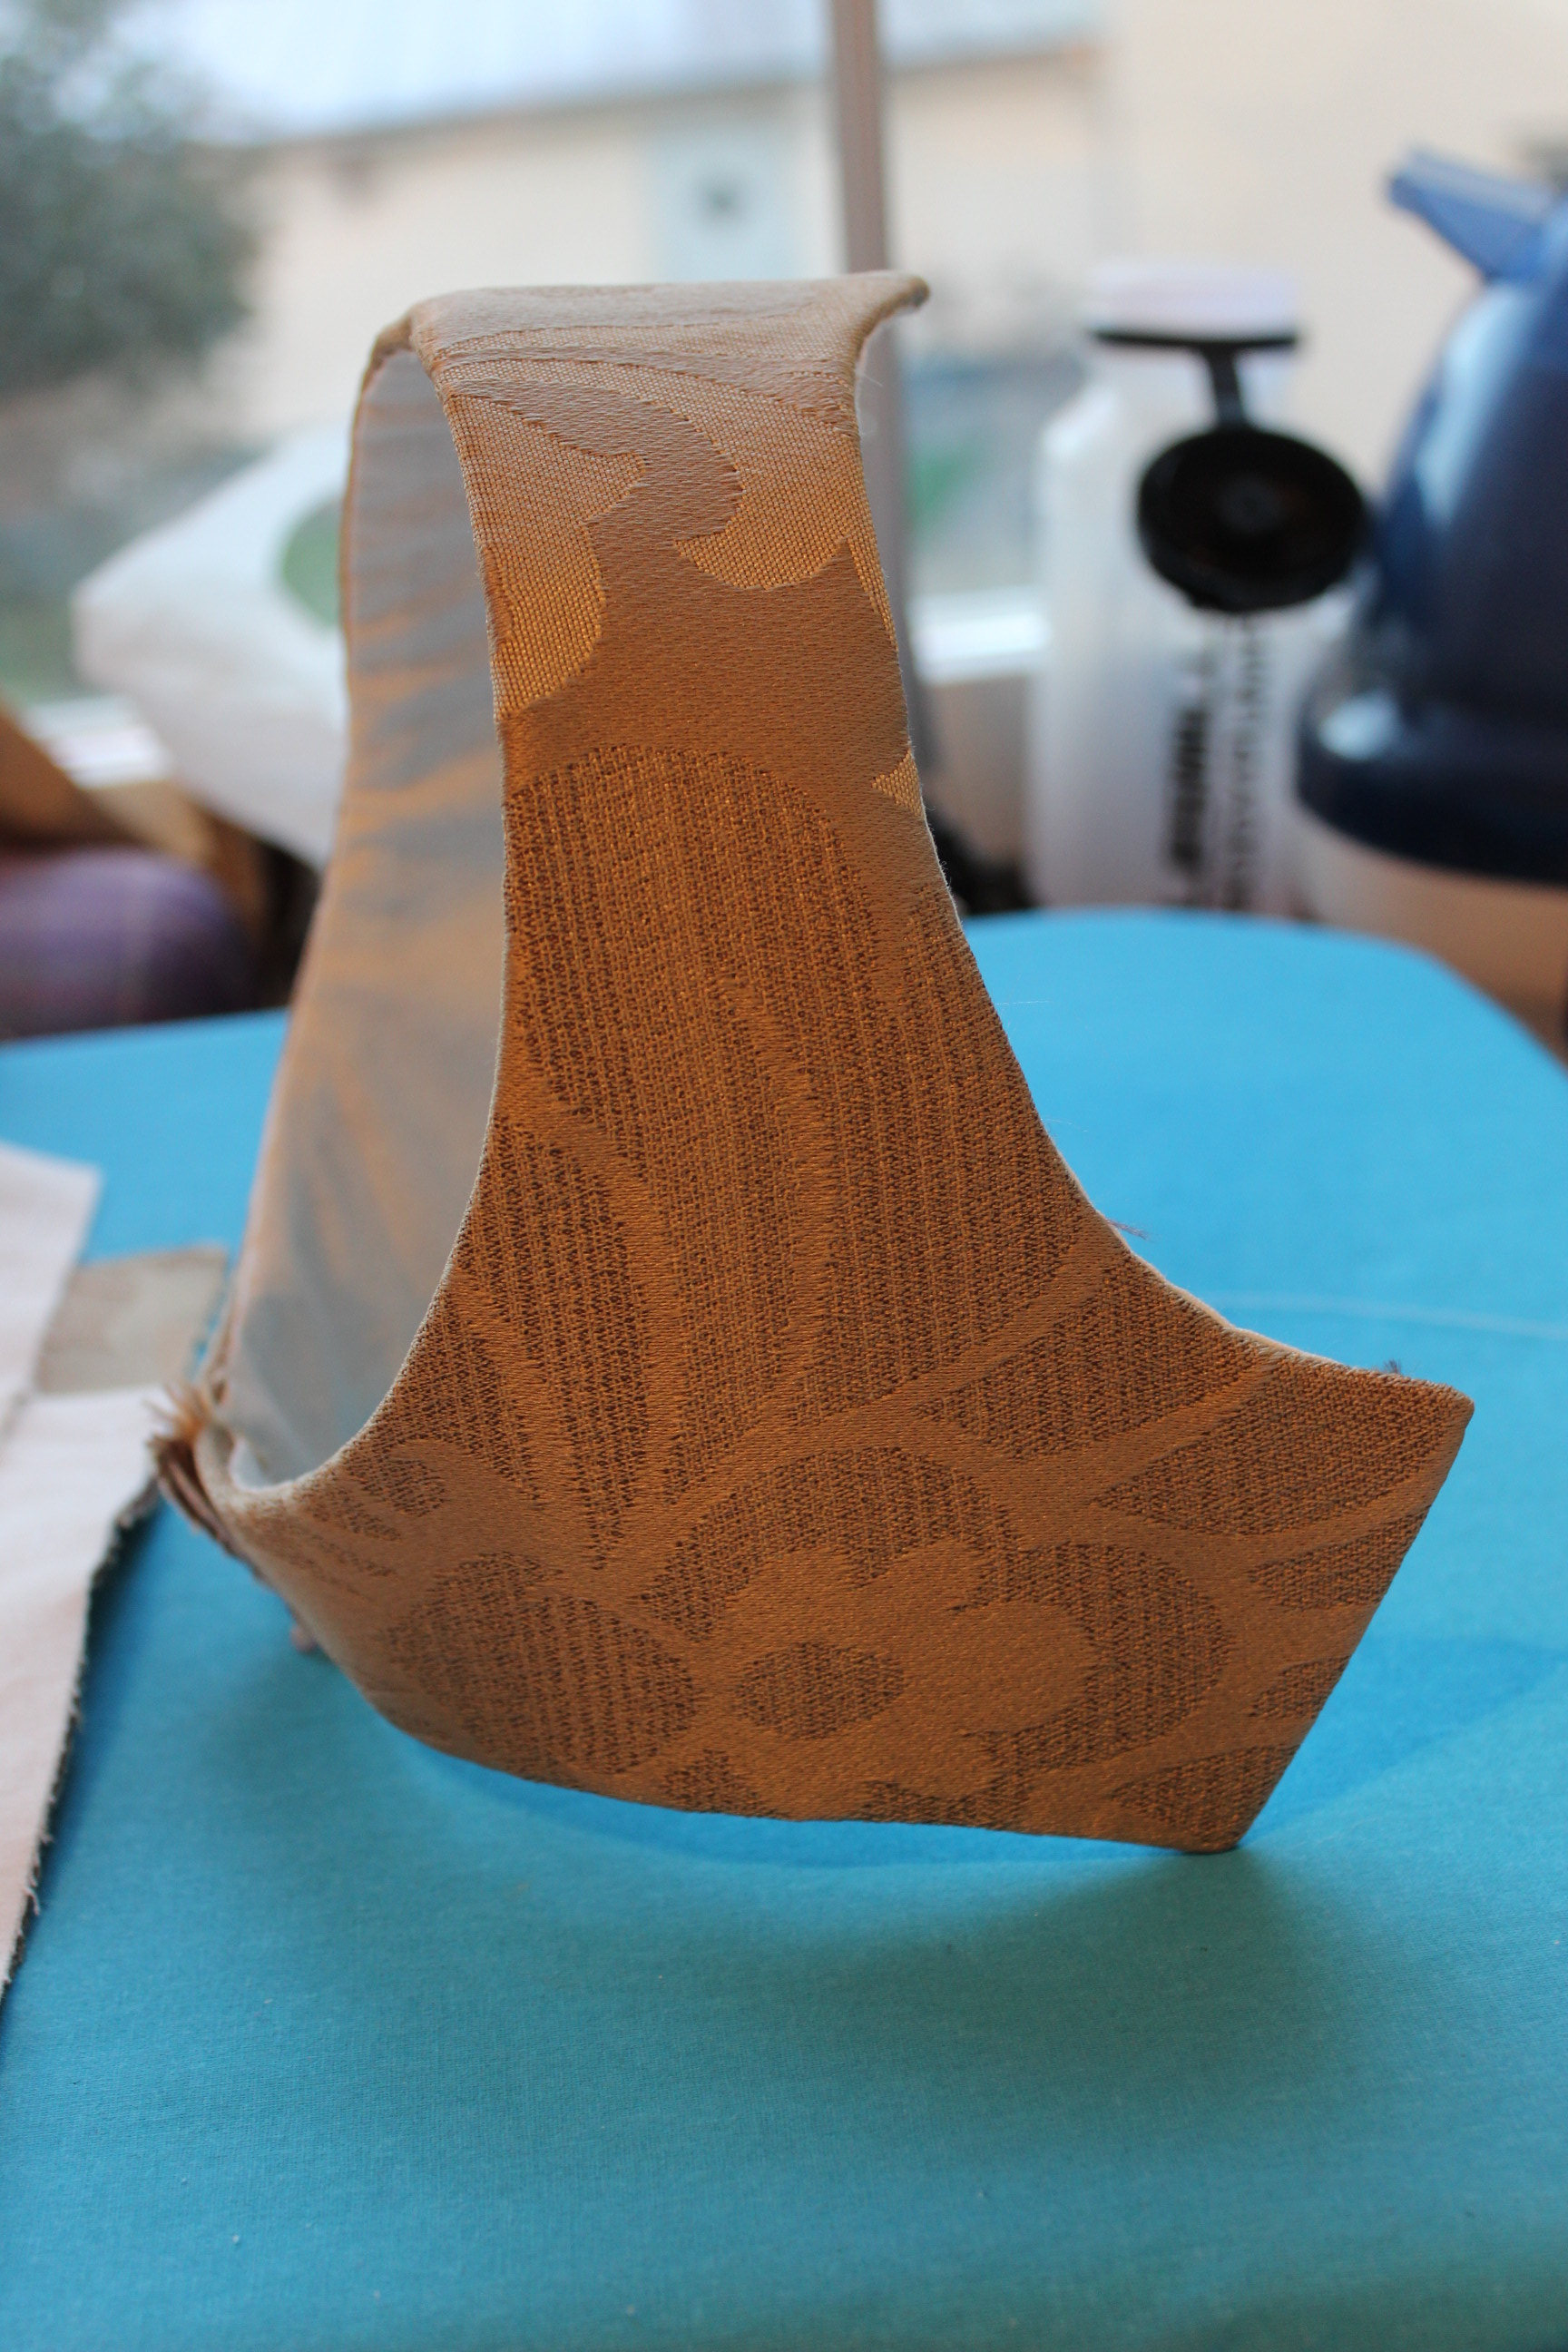
 In short supply of proper hat making equipment you got to use what you got…
 The brown ribbon is pinned on, to hold the brim in while the hat dried.


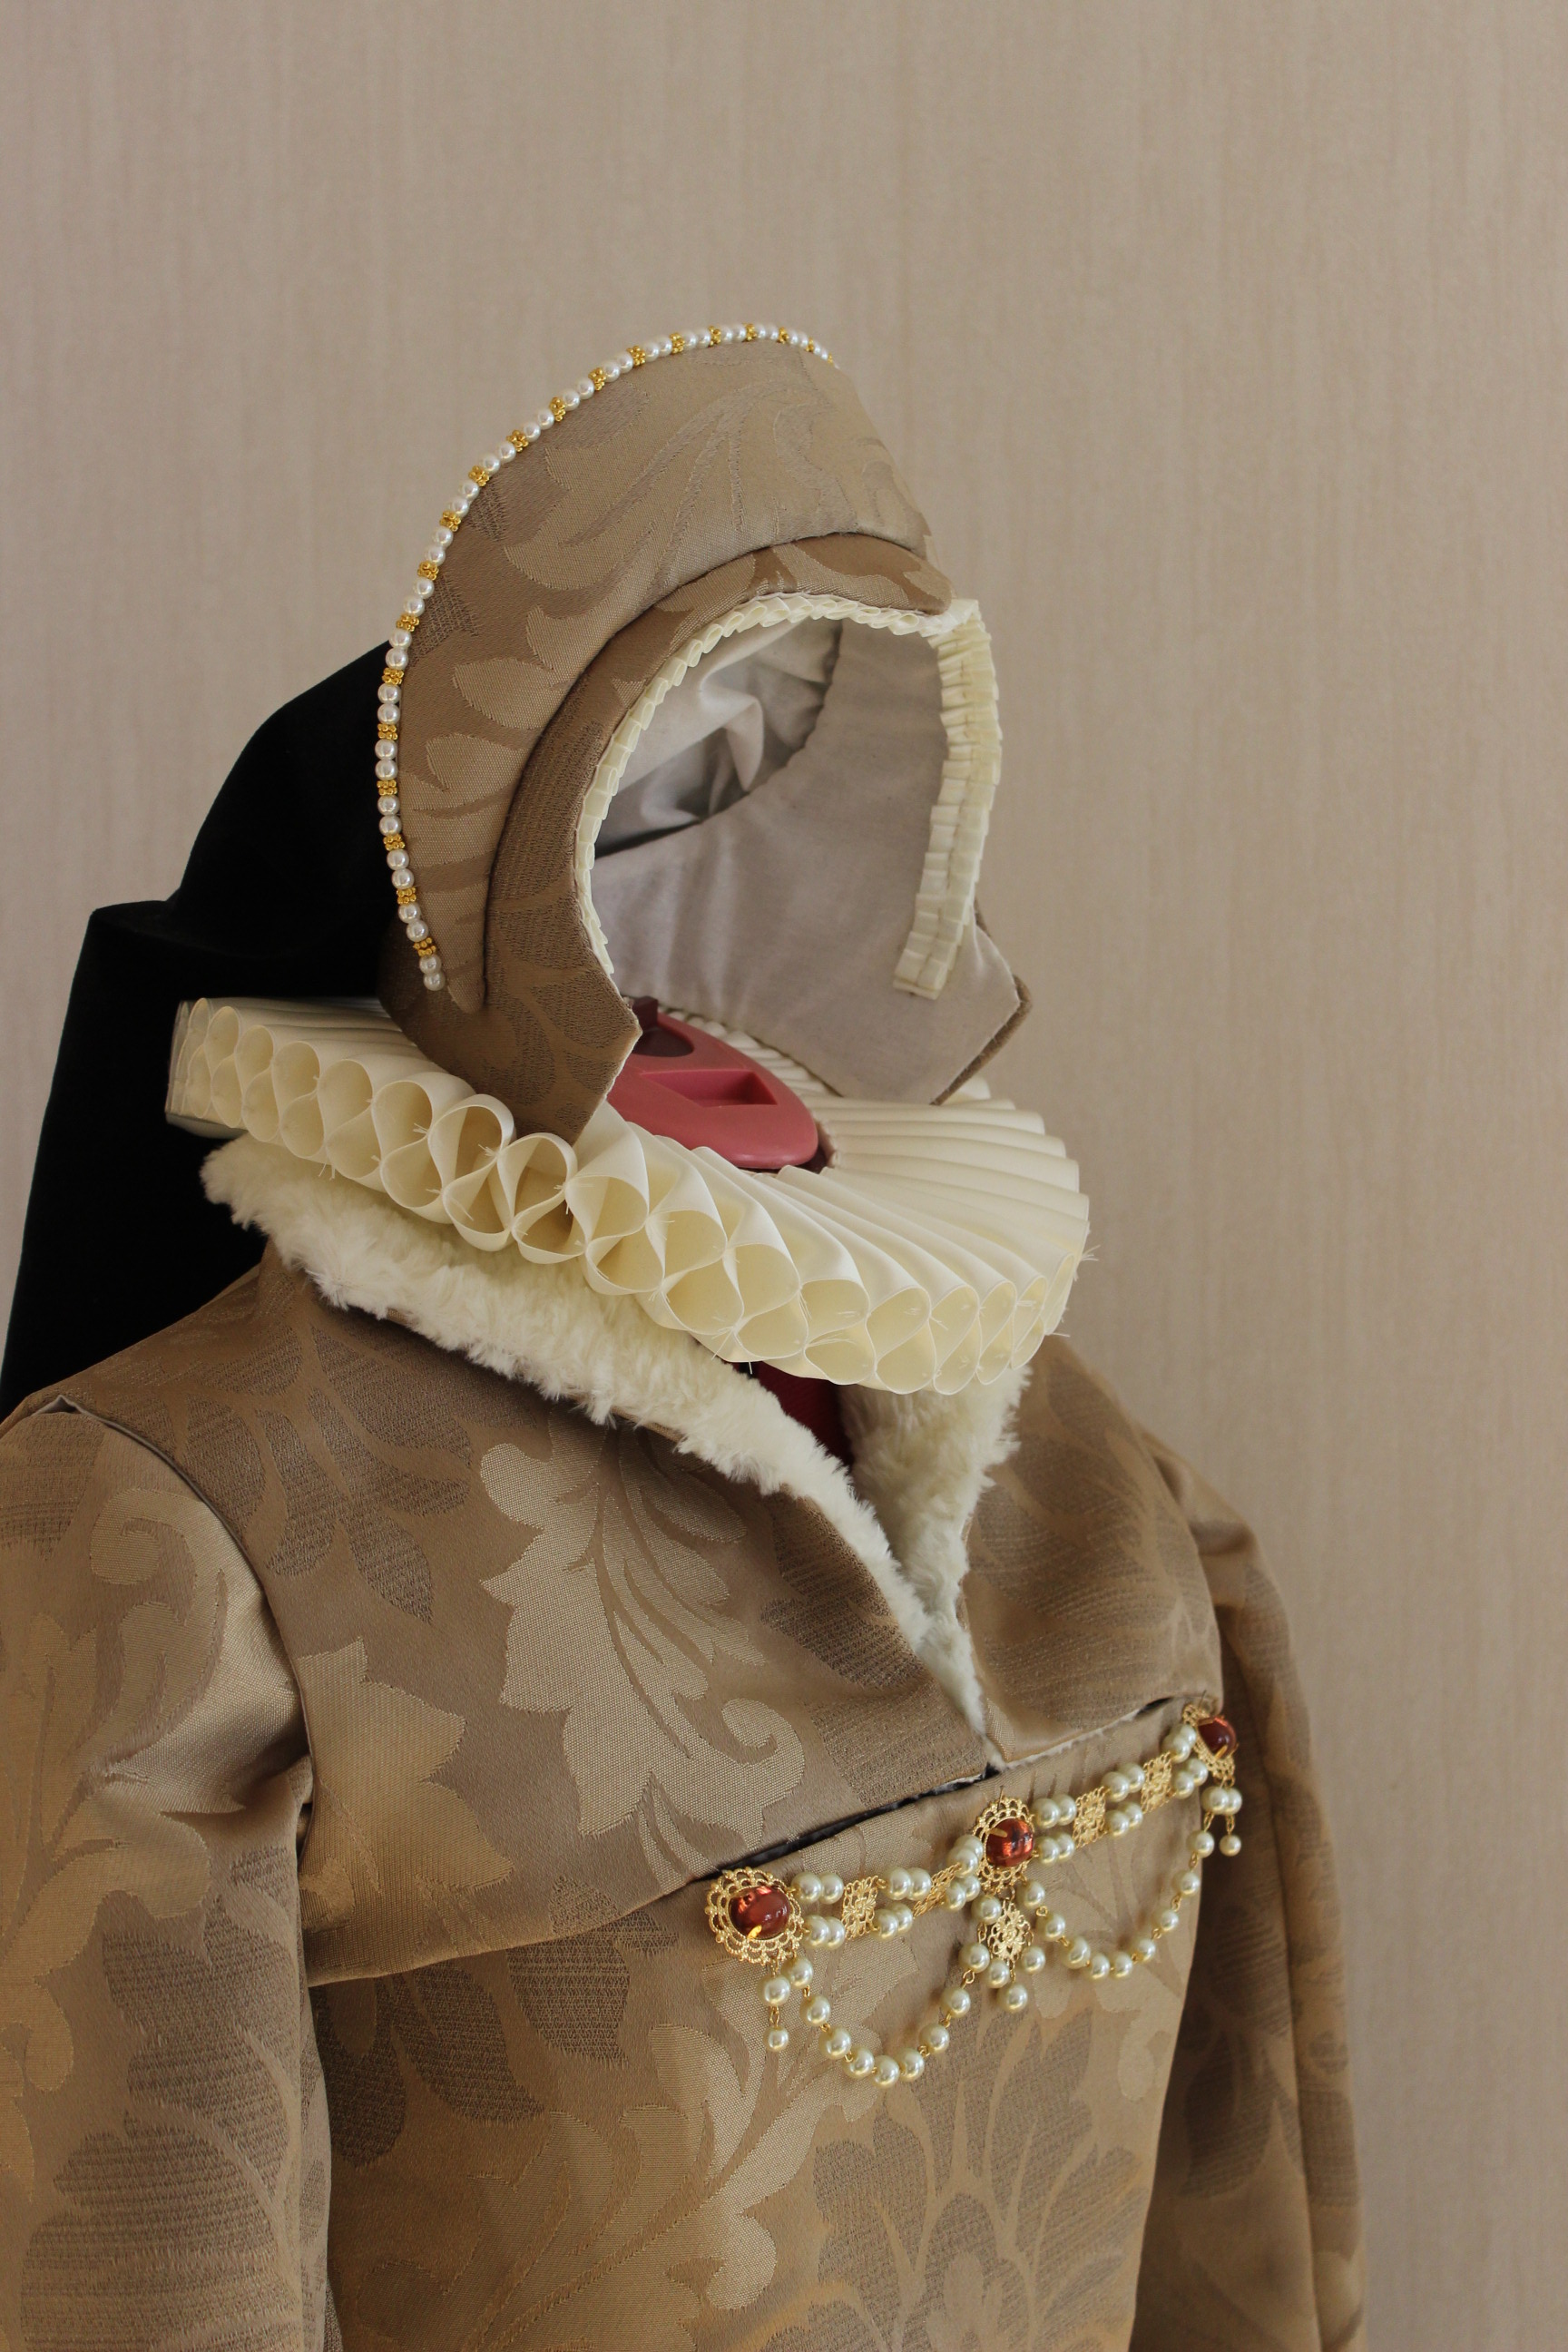
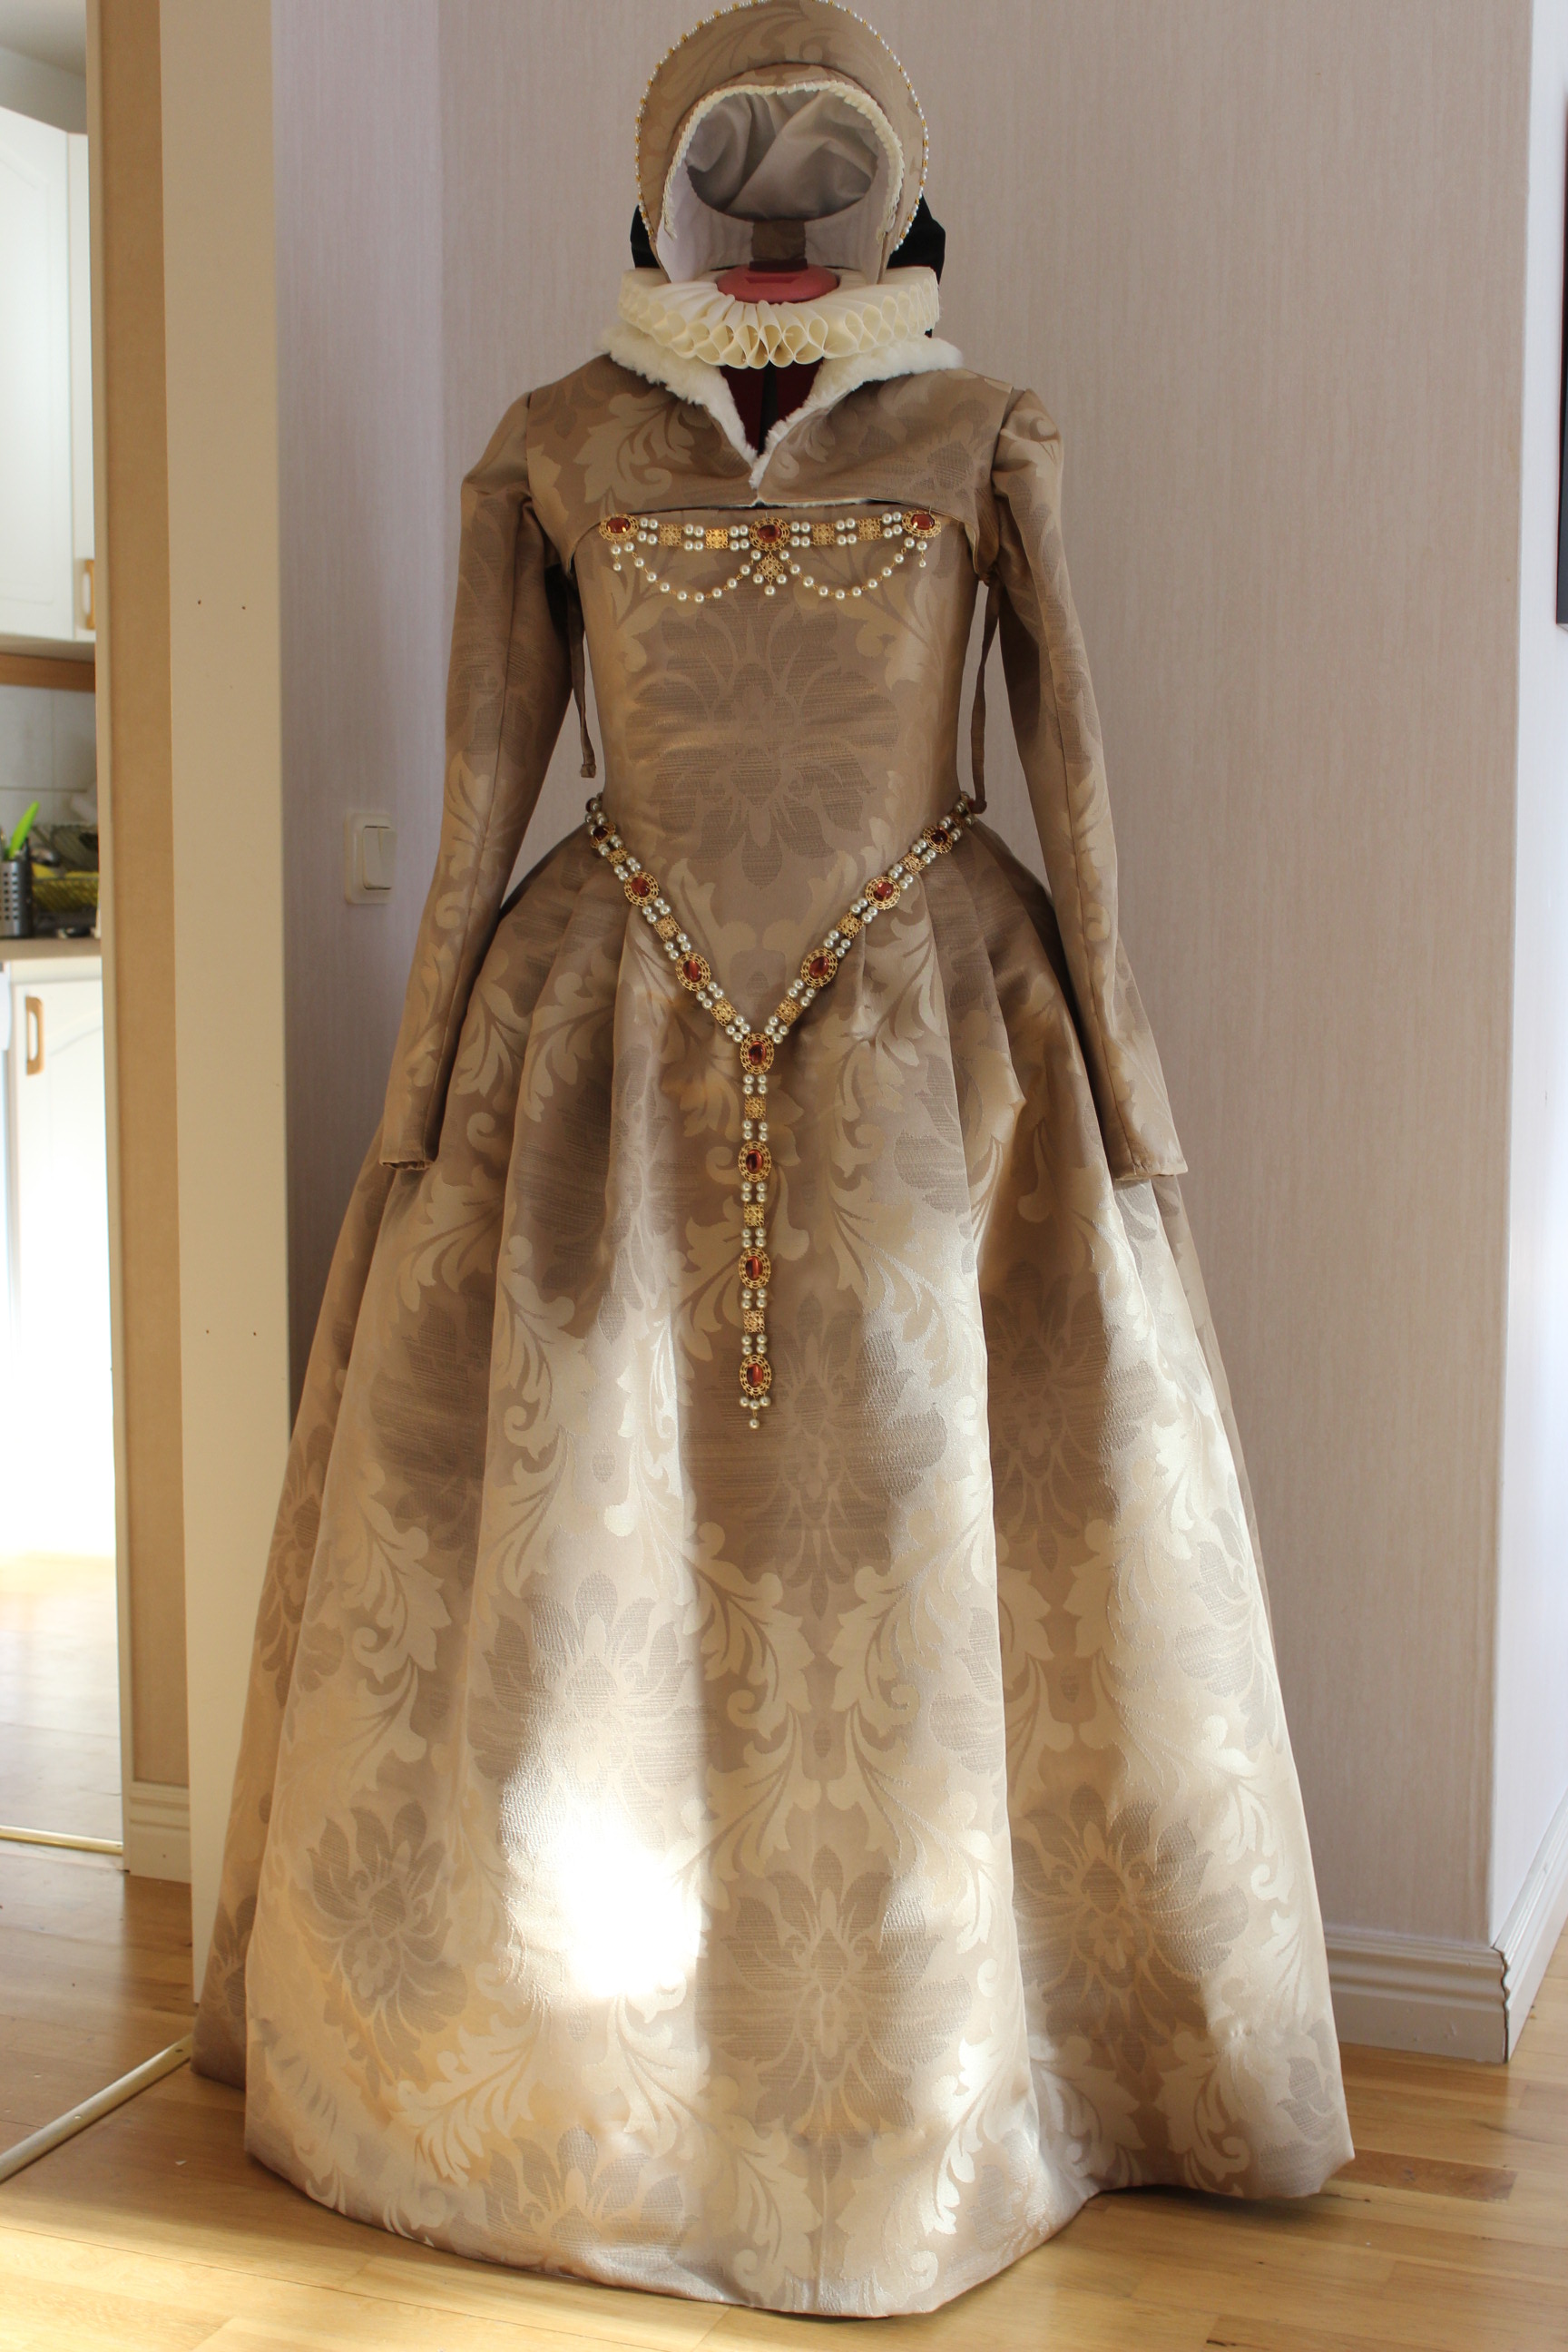
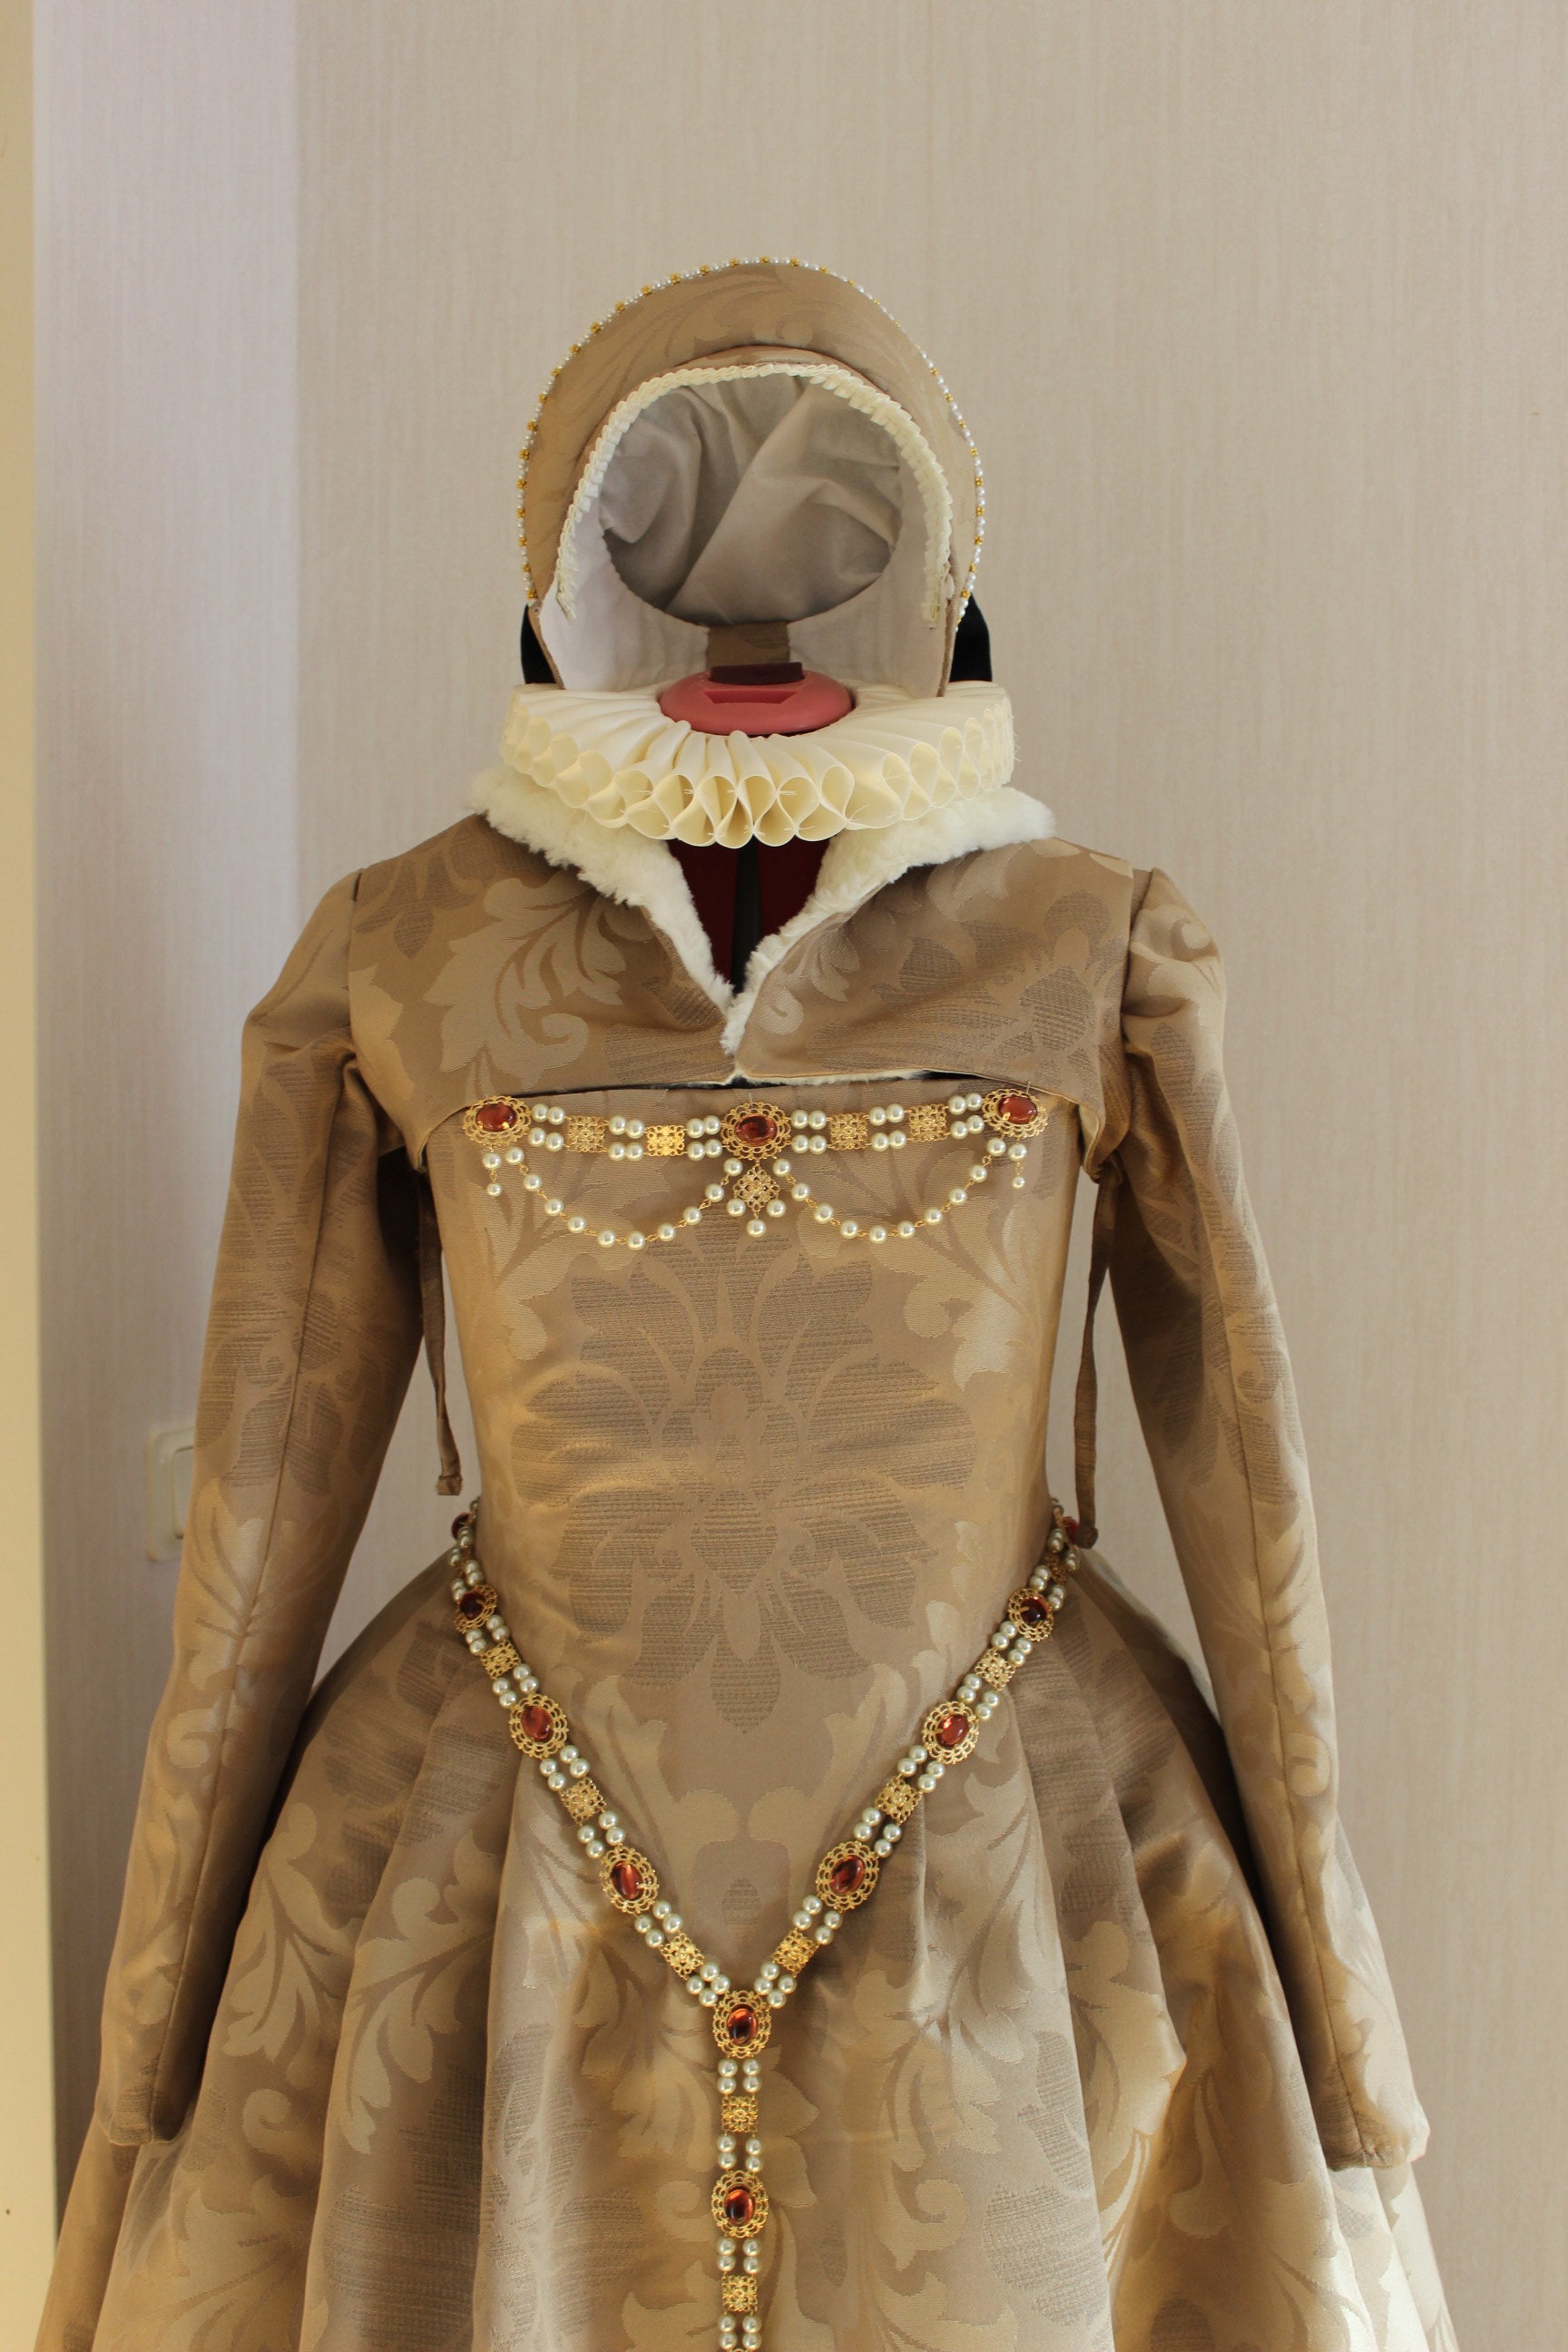
 Elizabeth I in “power suit” and crazy perm – and some kind of french(isch) hood.
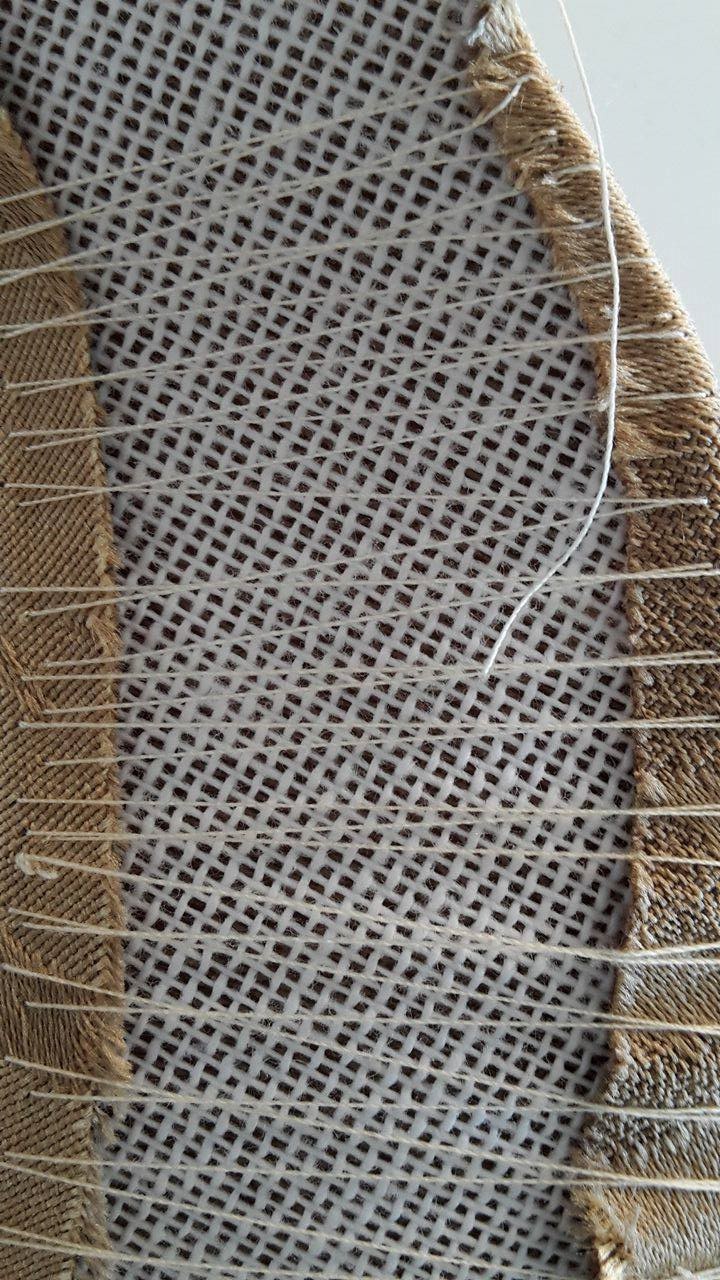


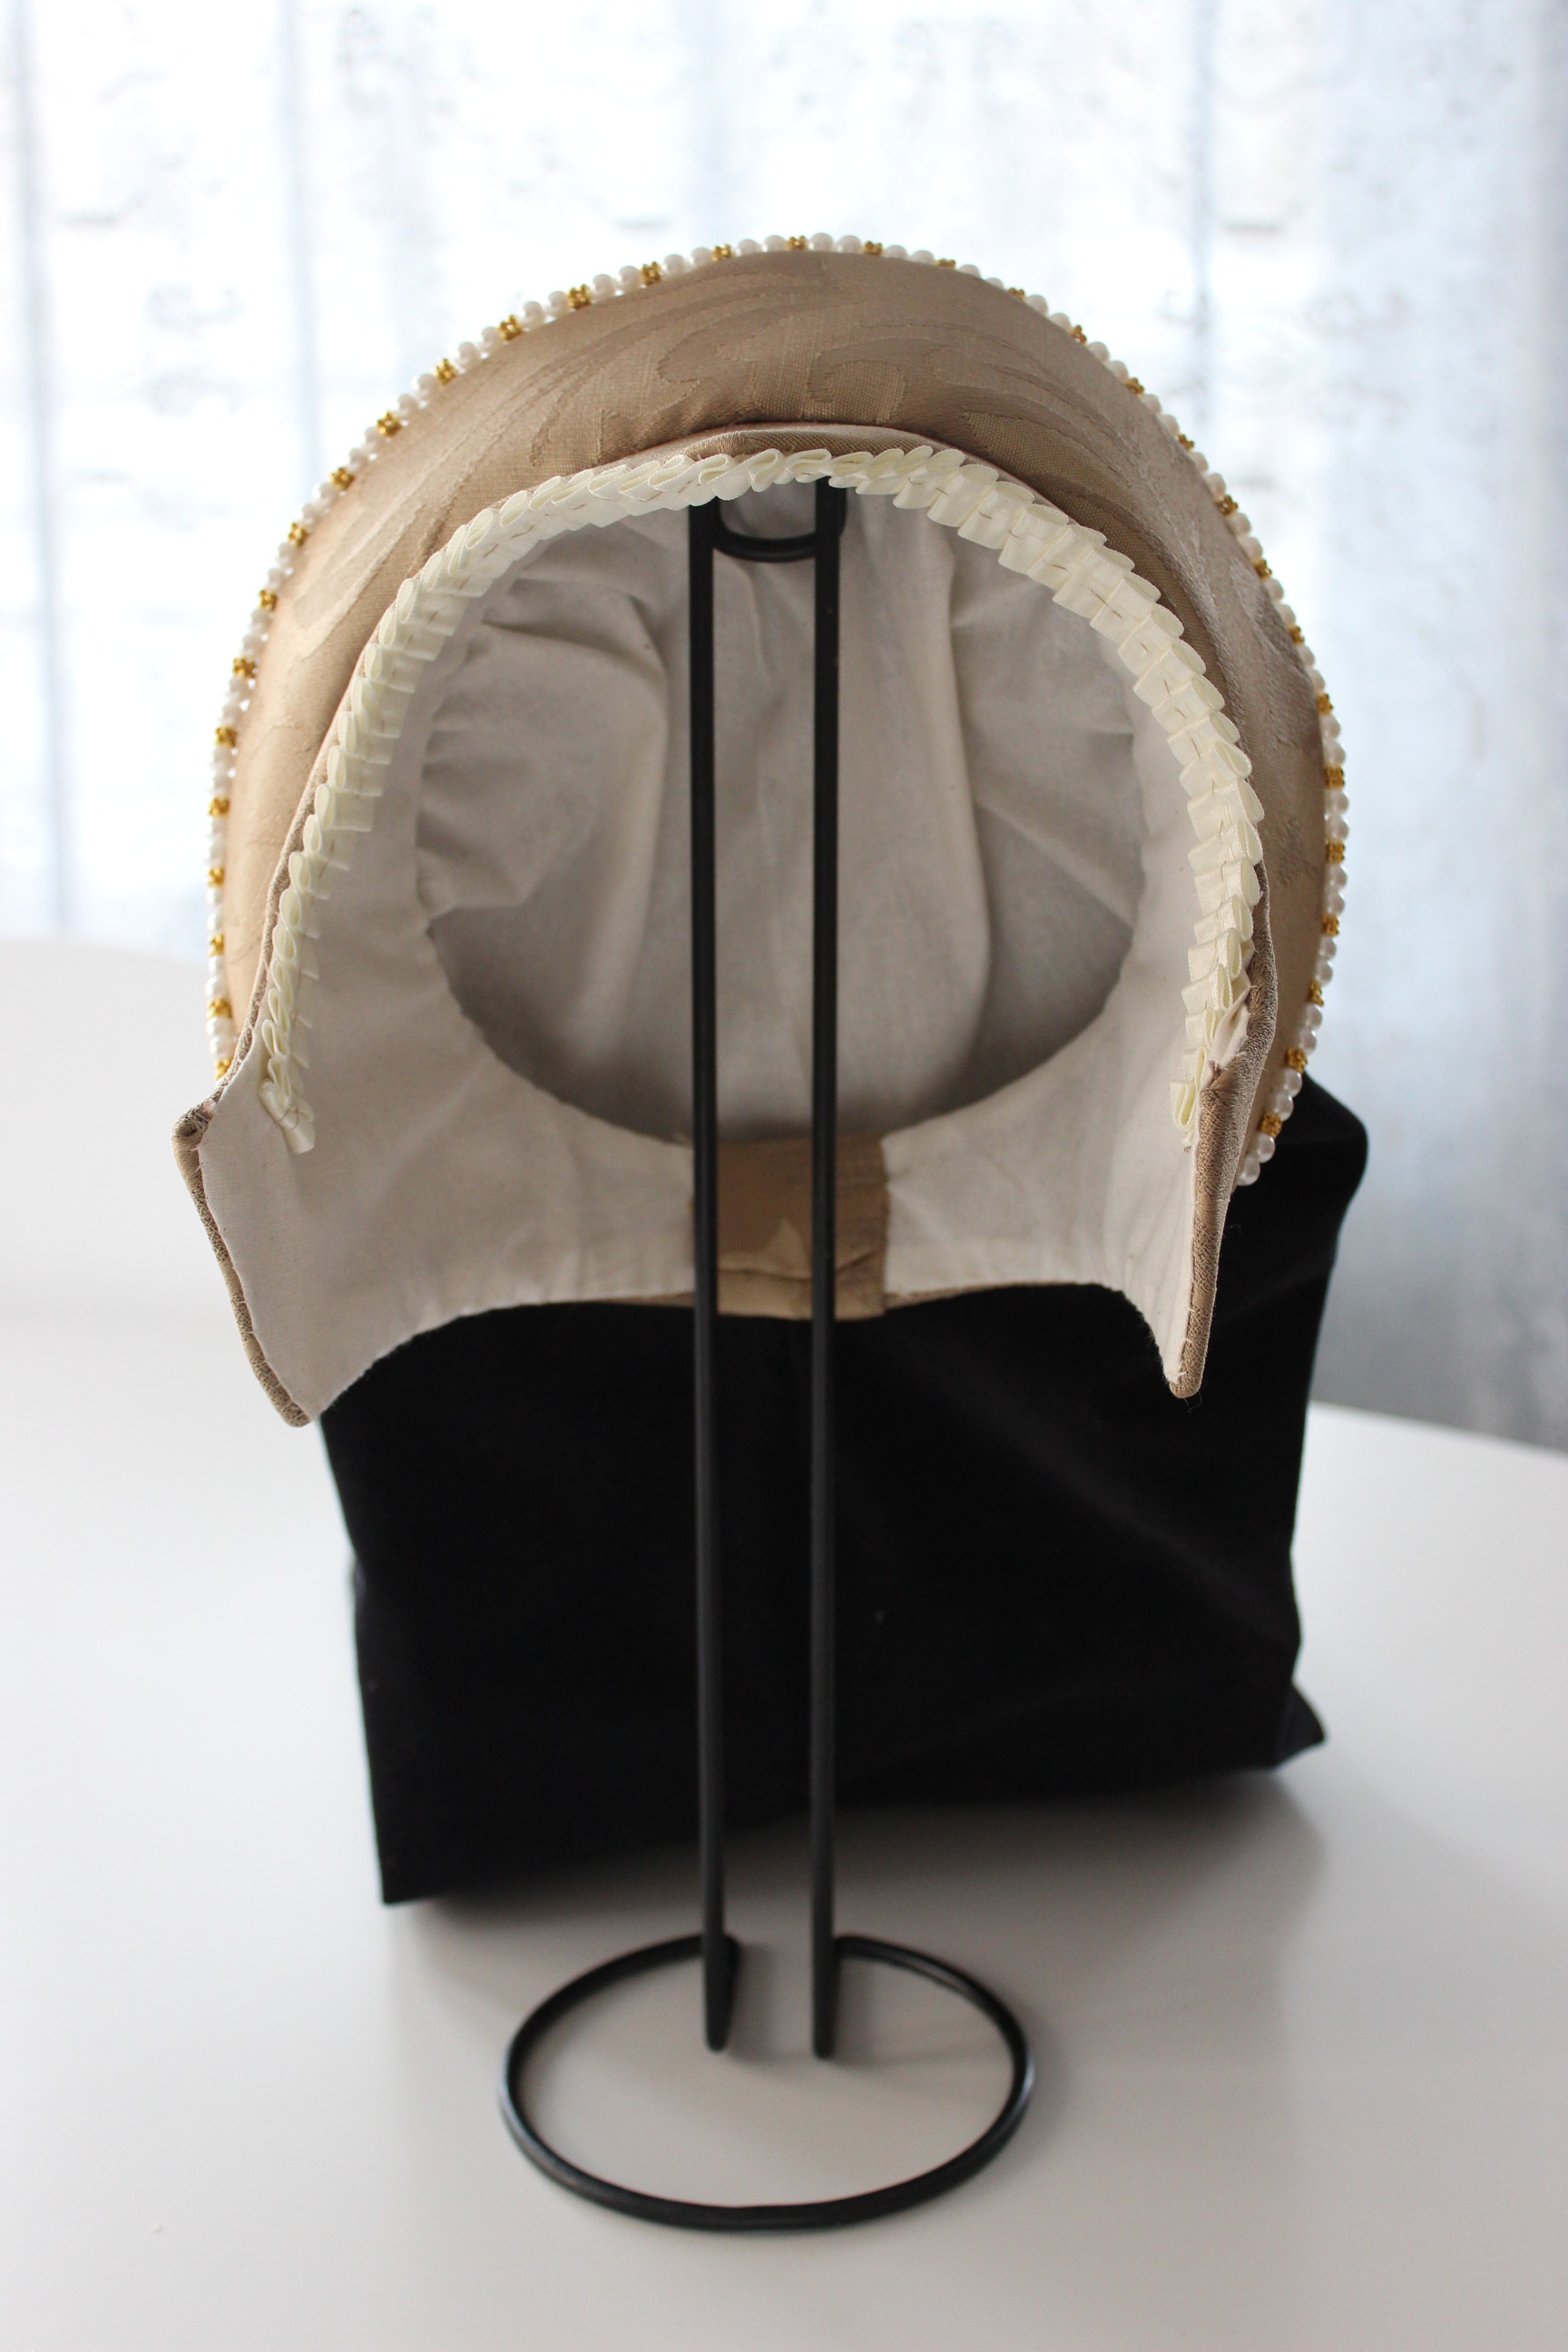
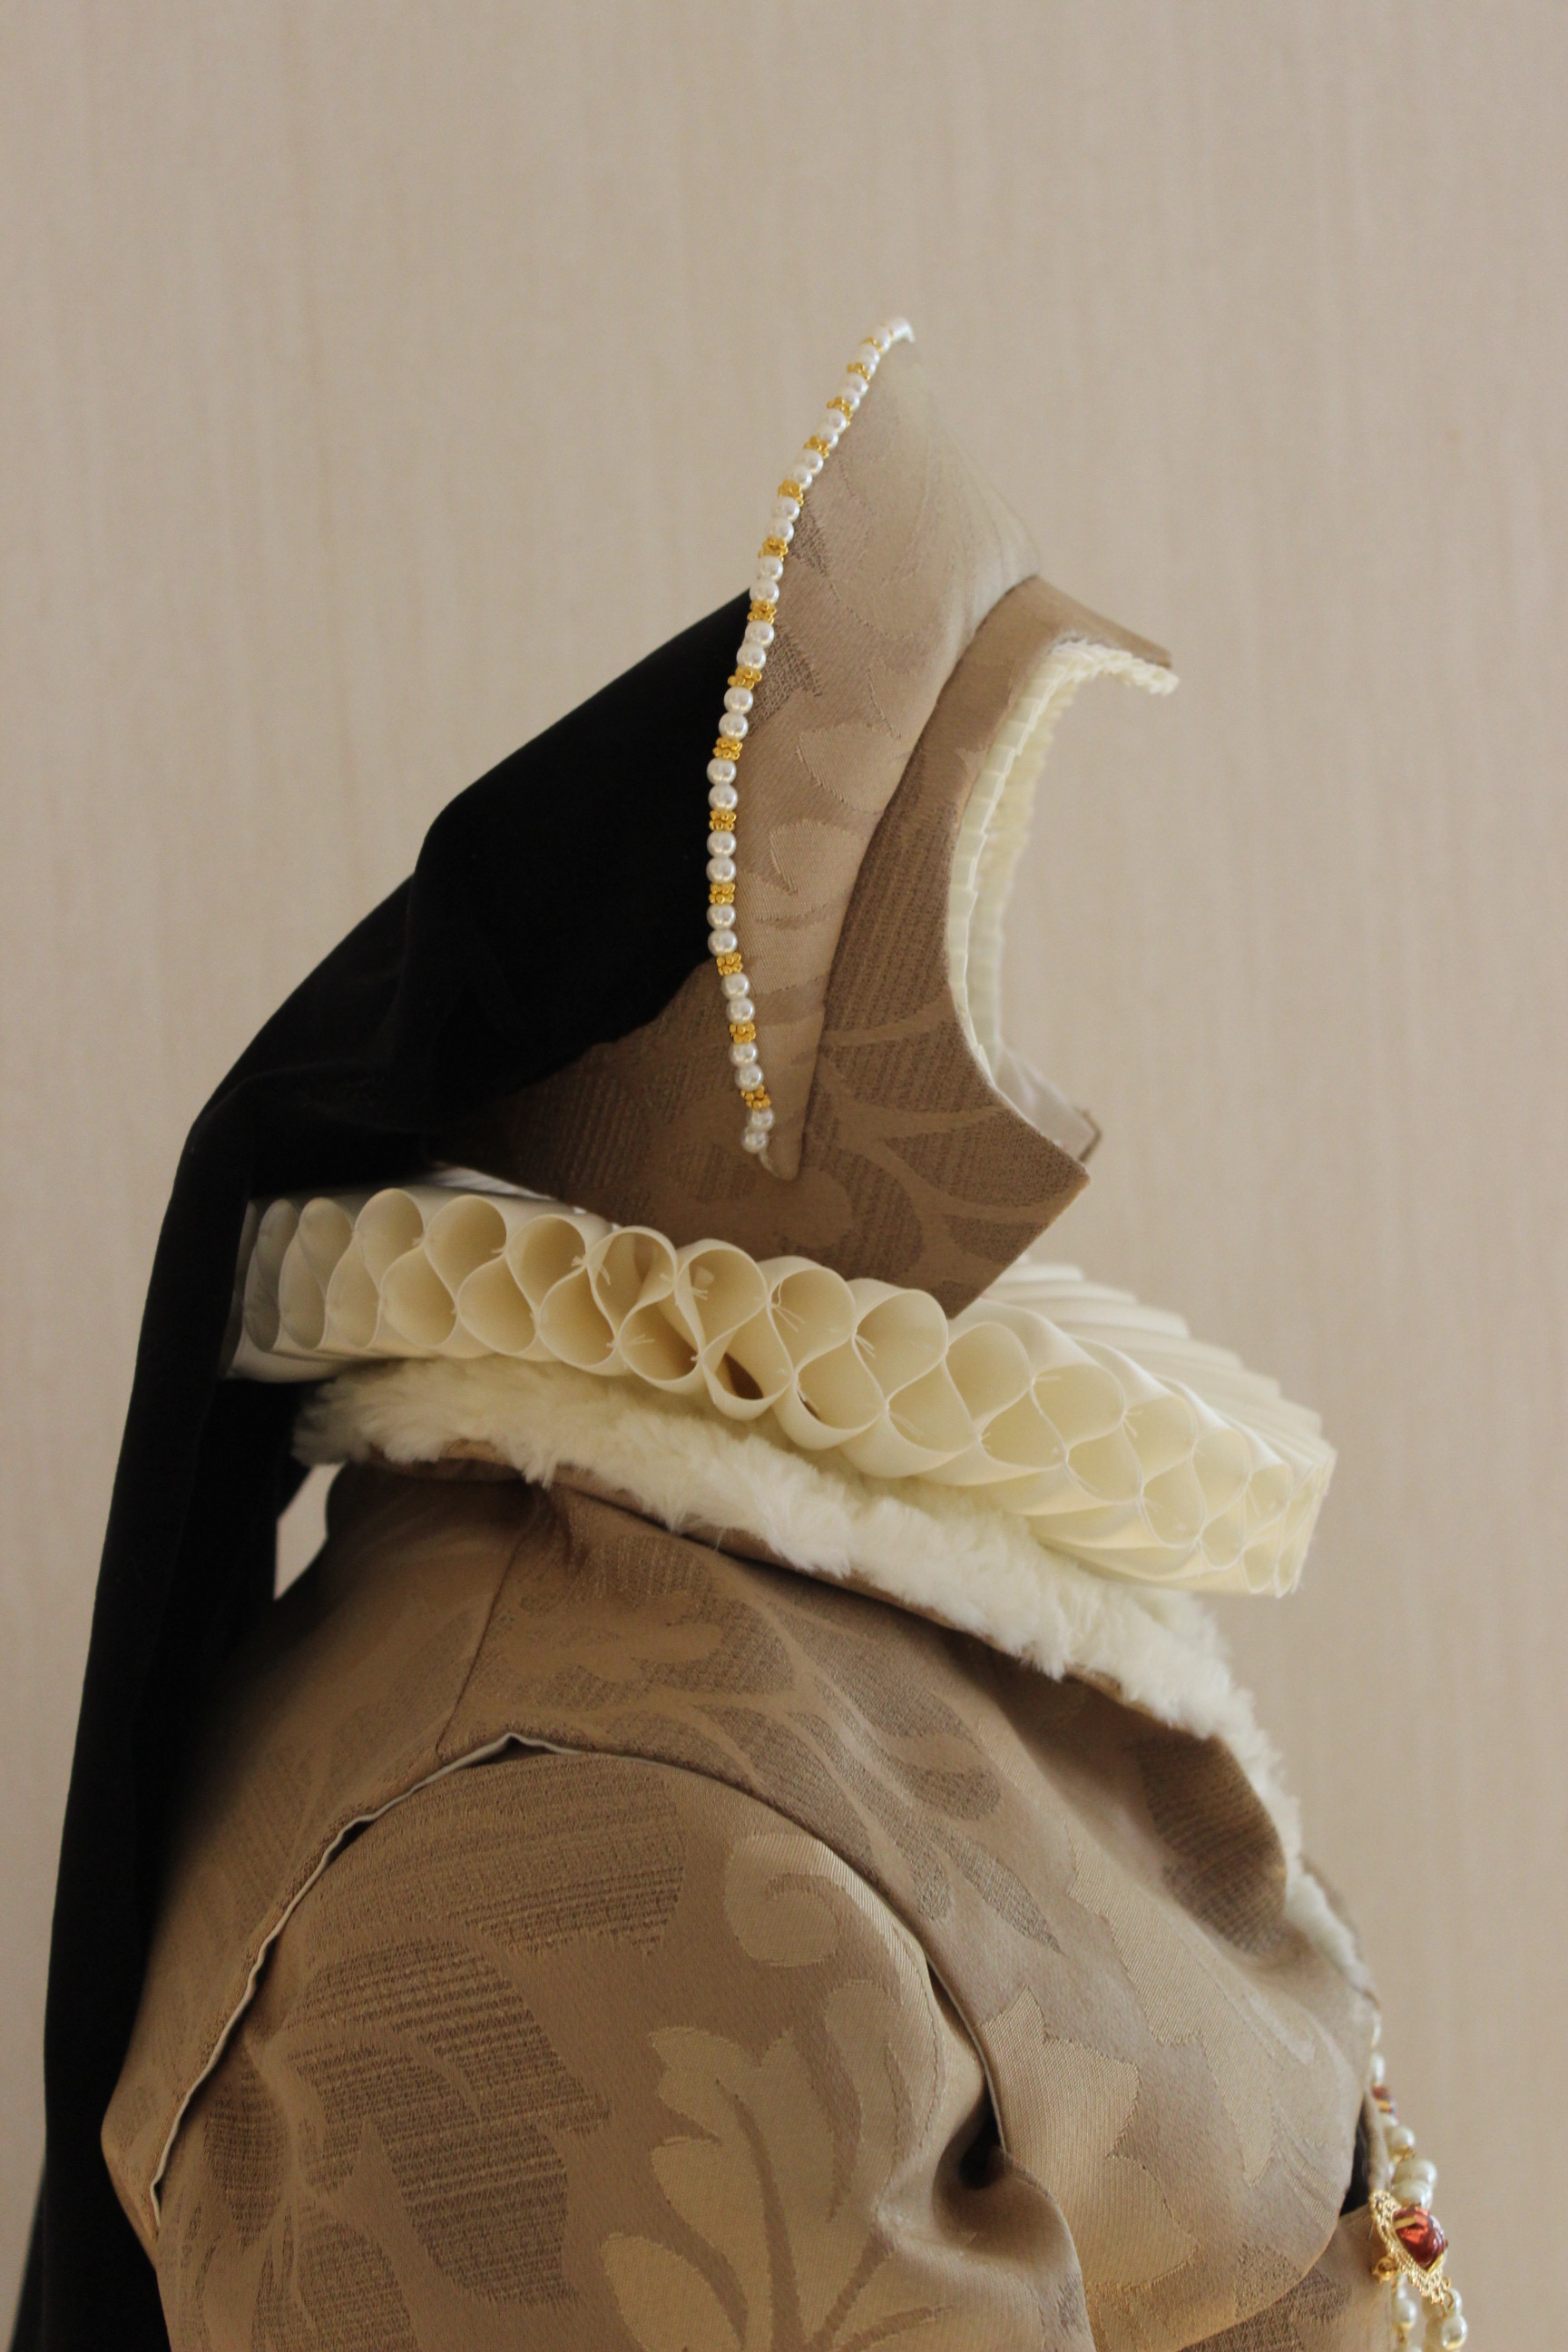
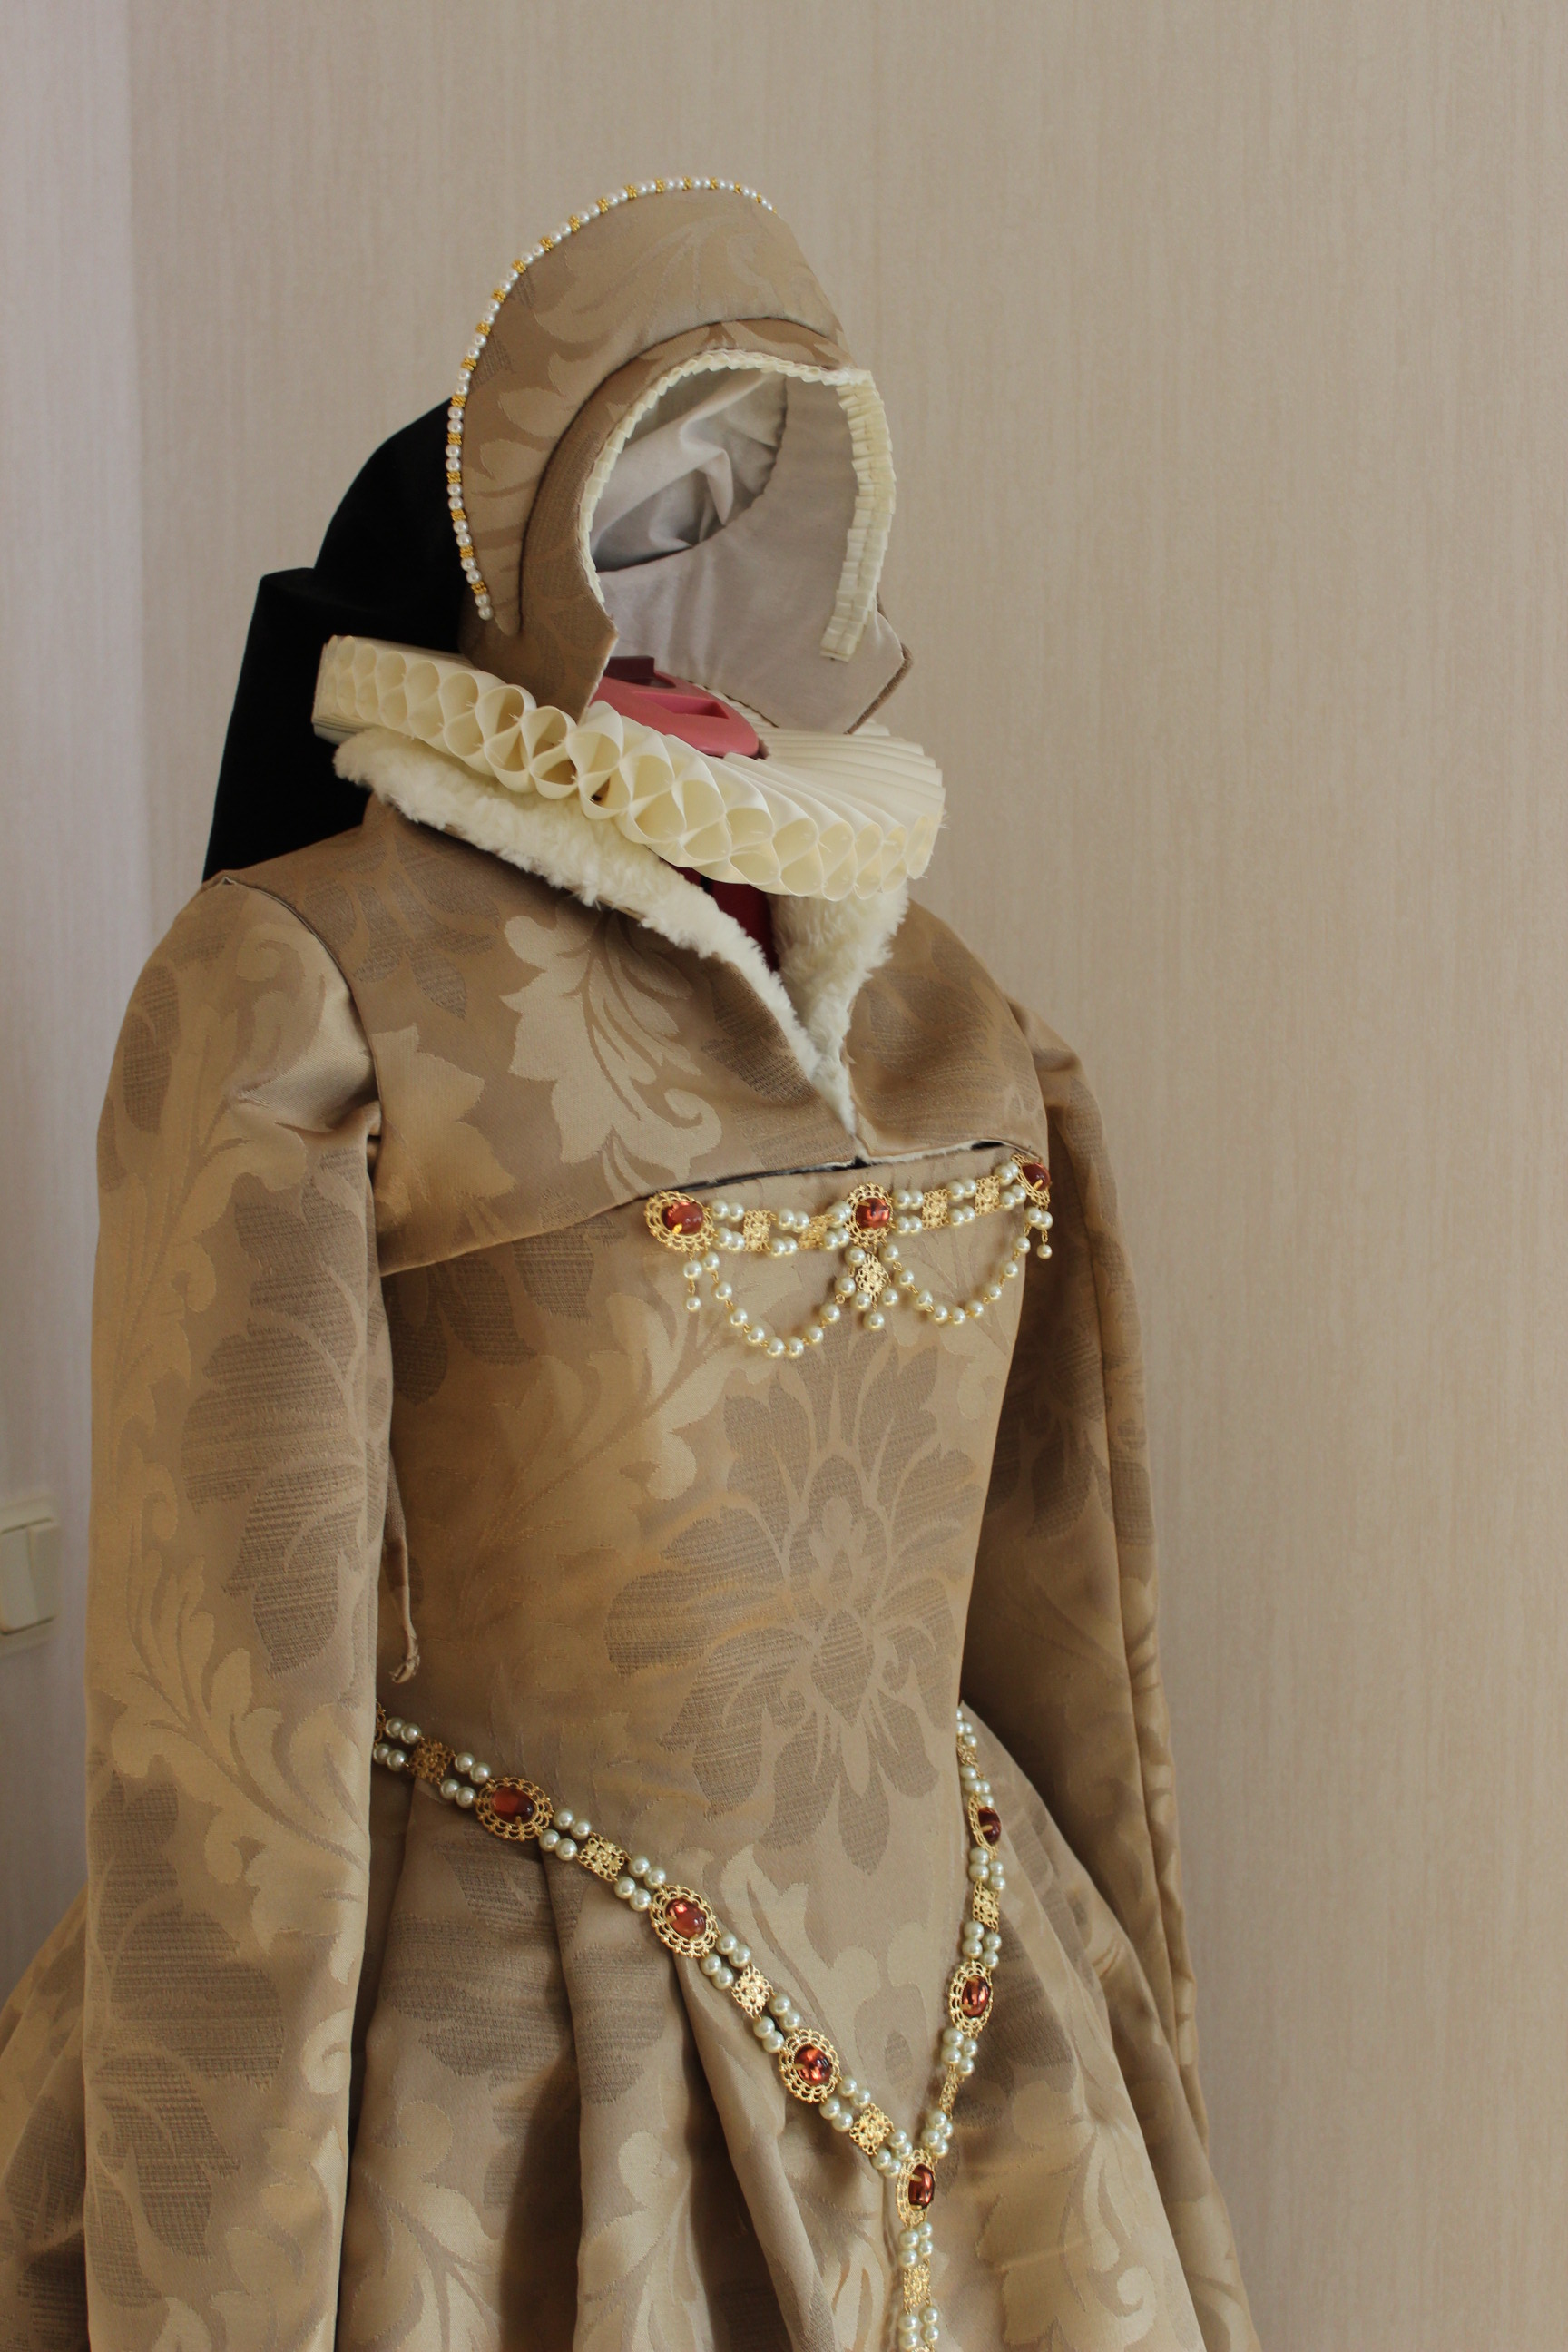
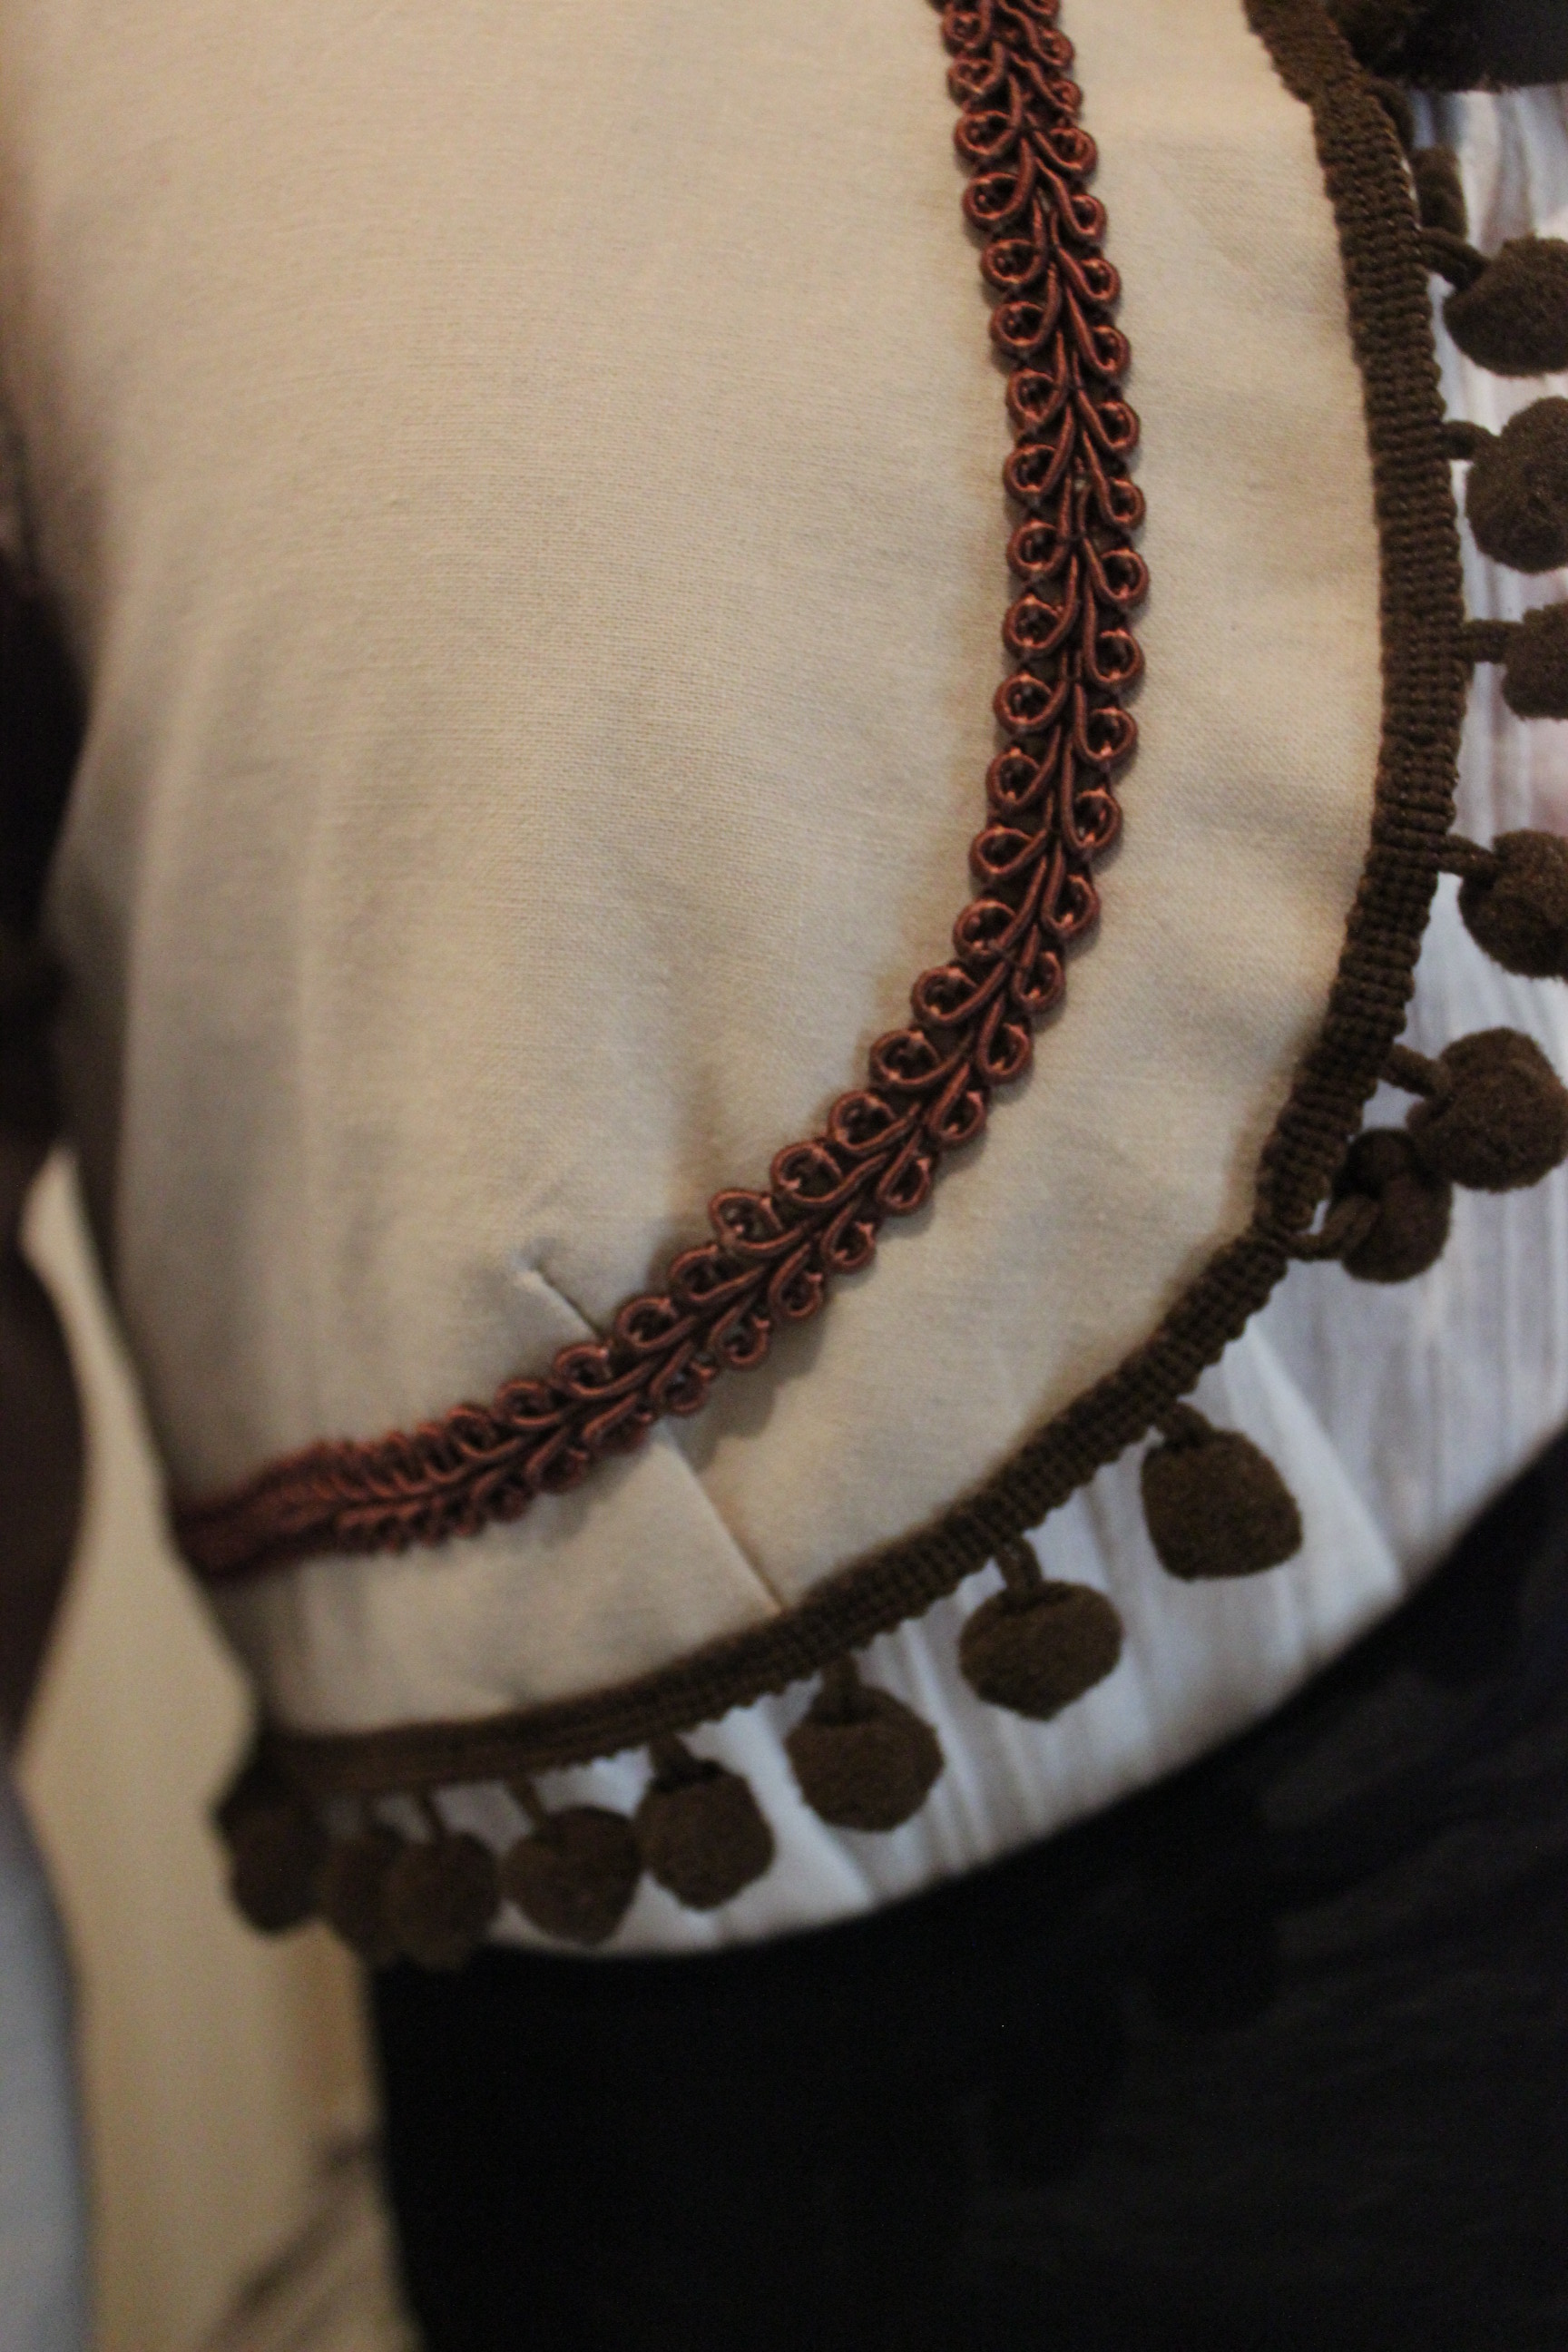
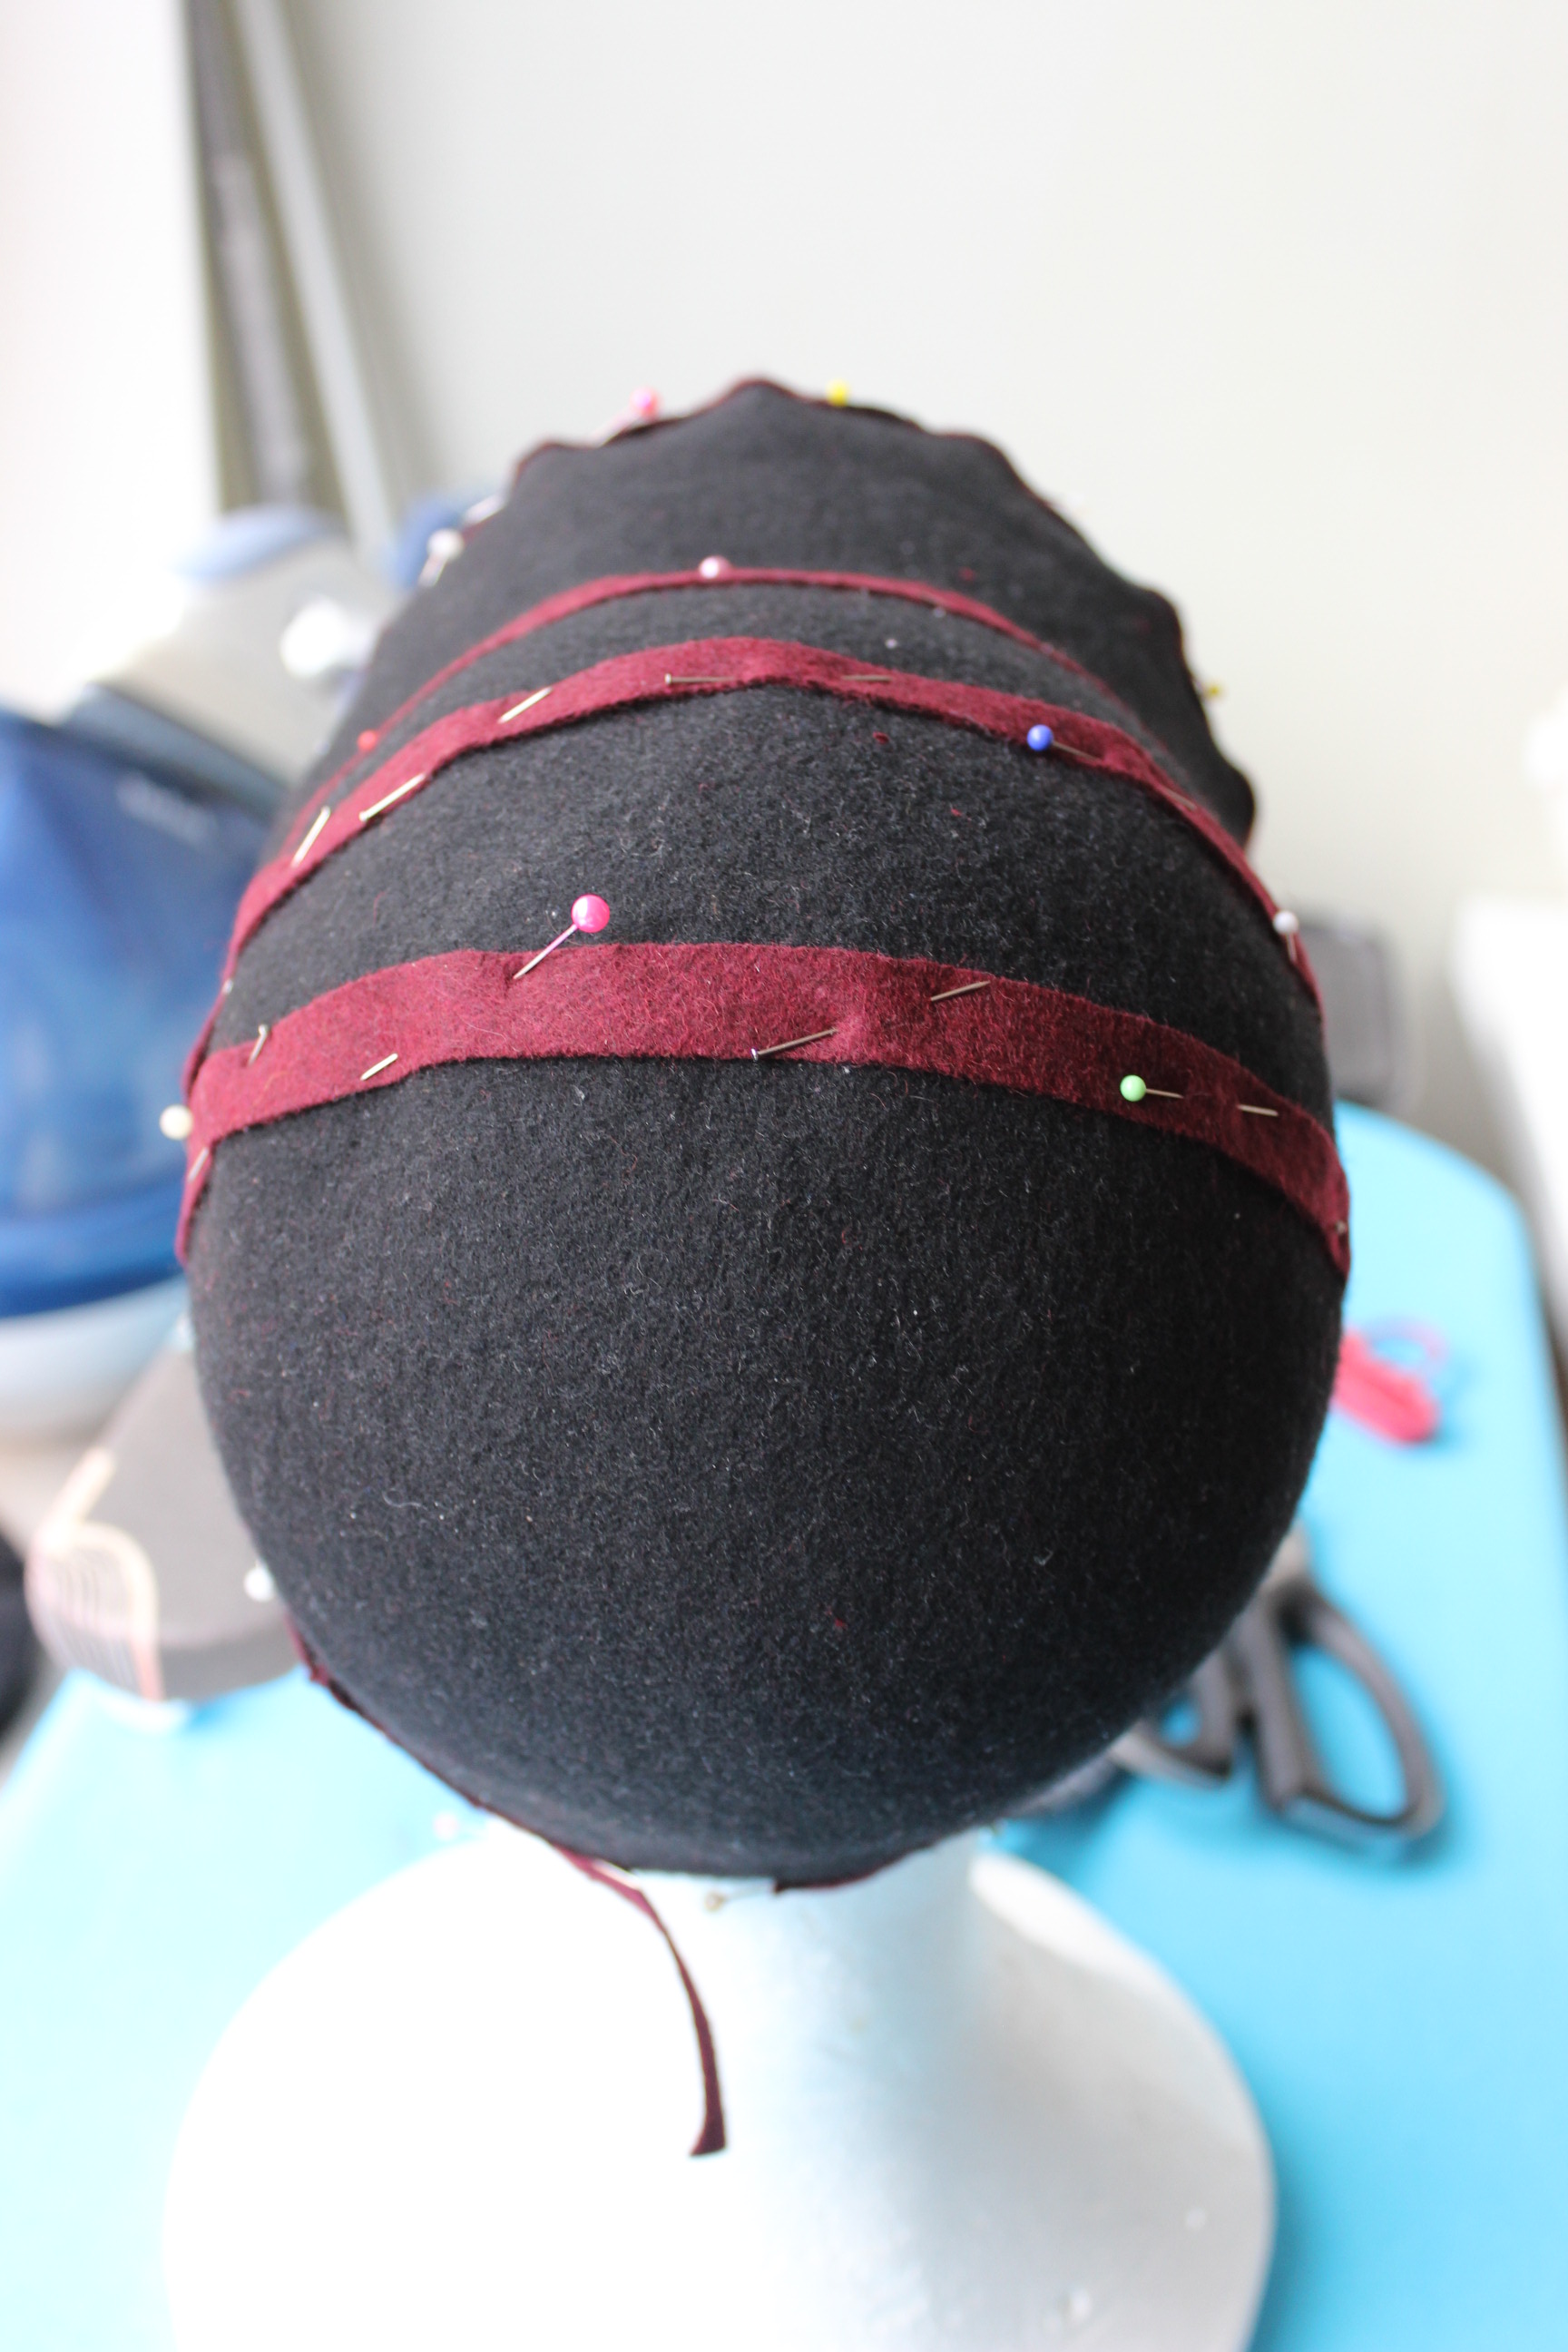
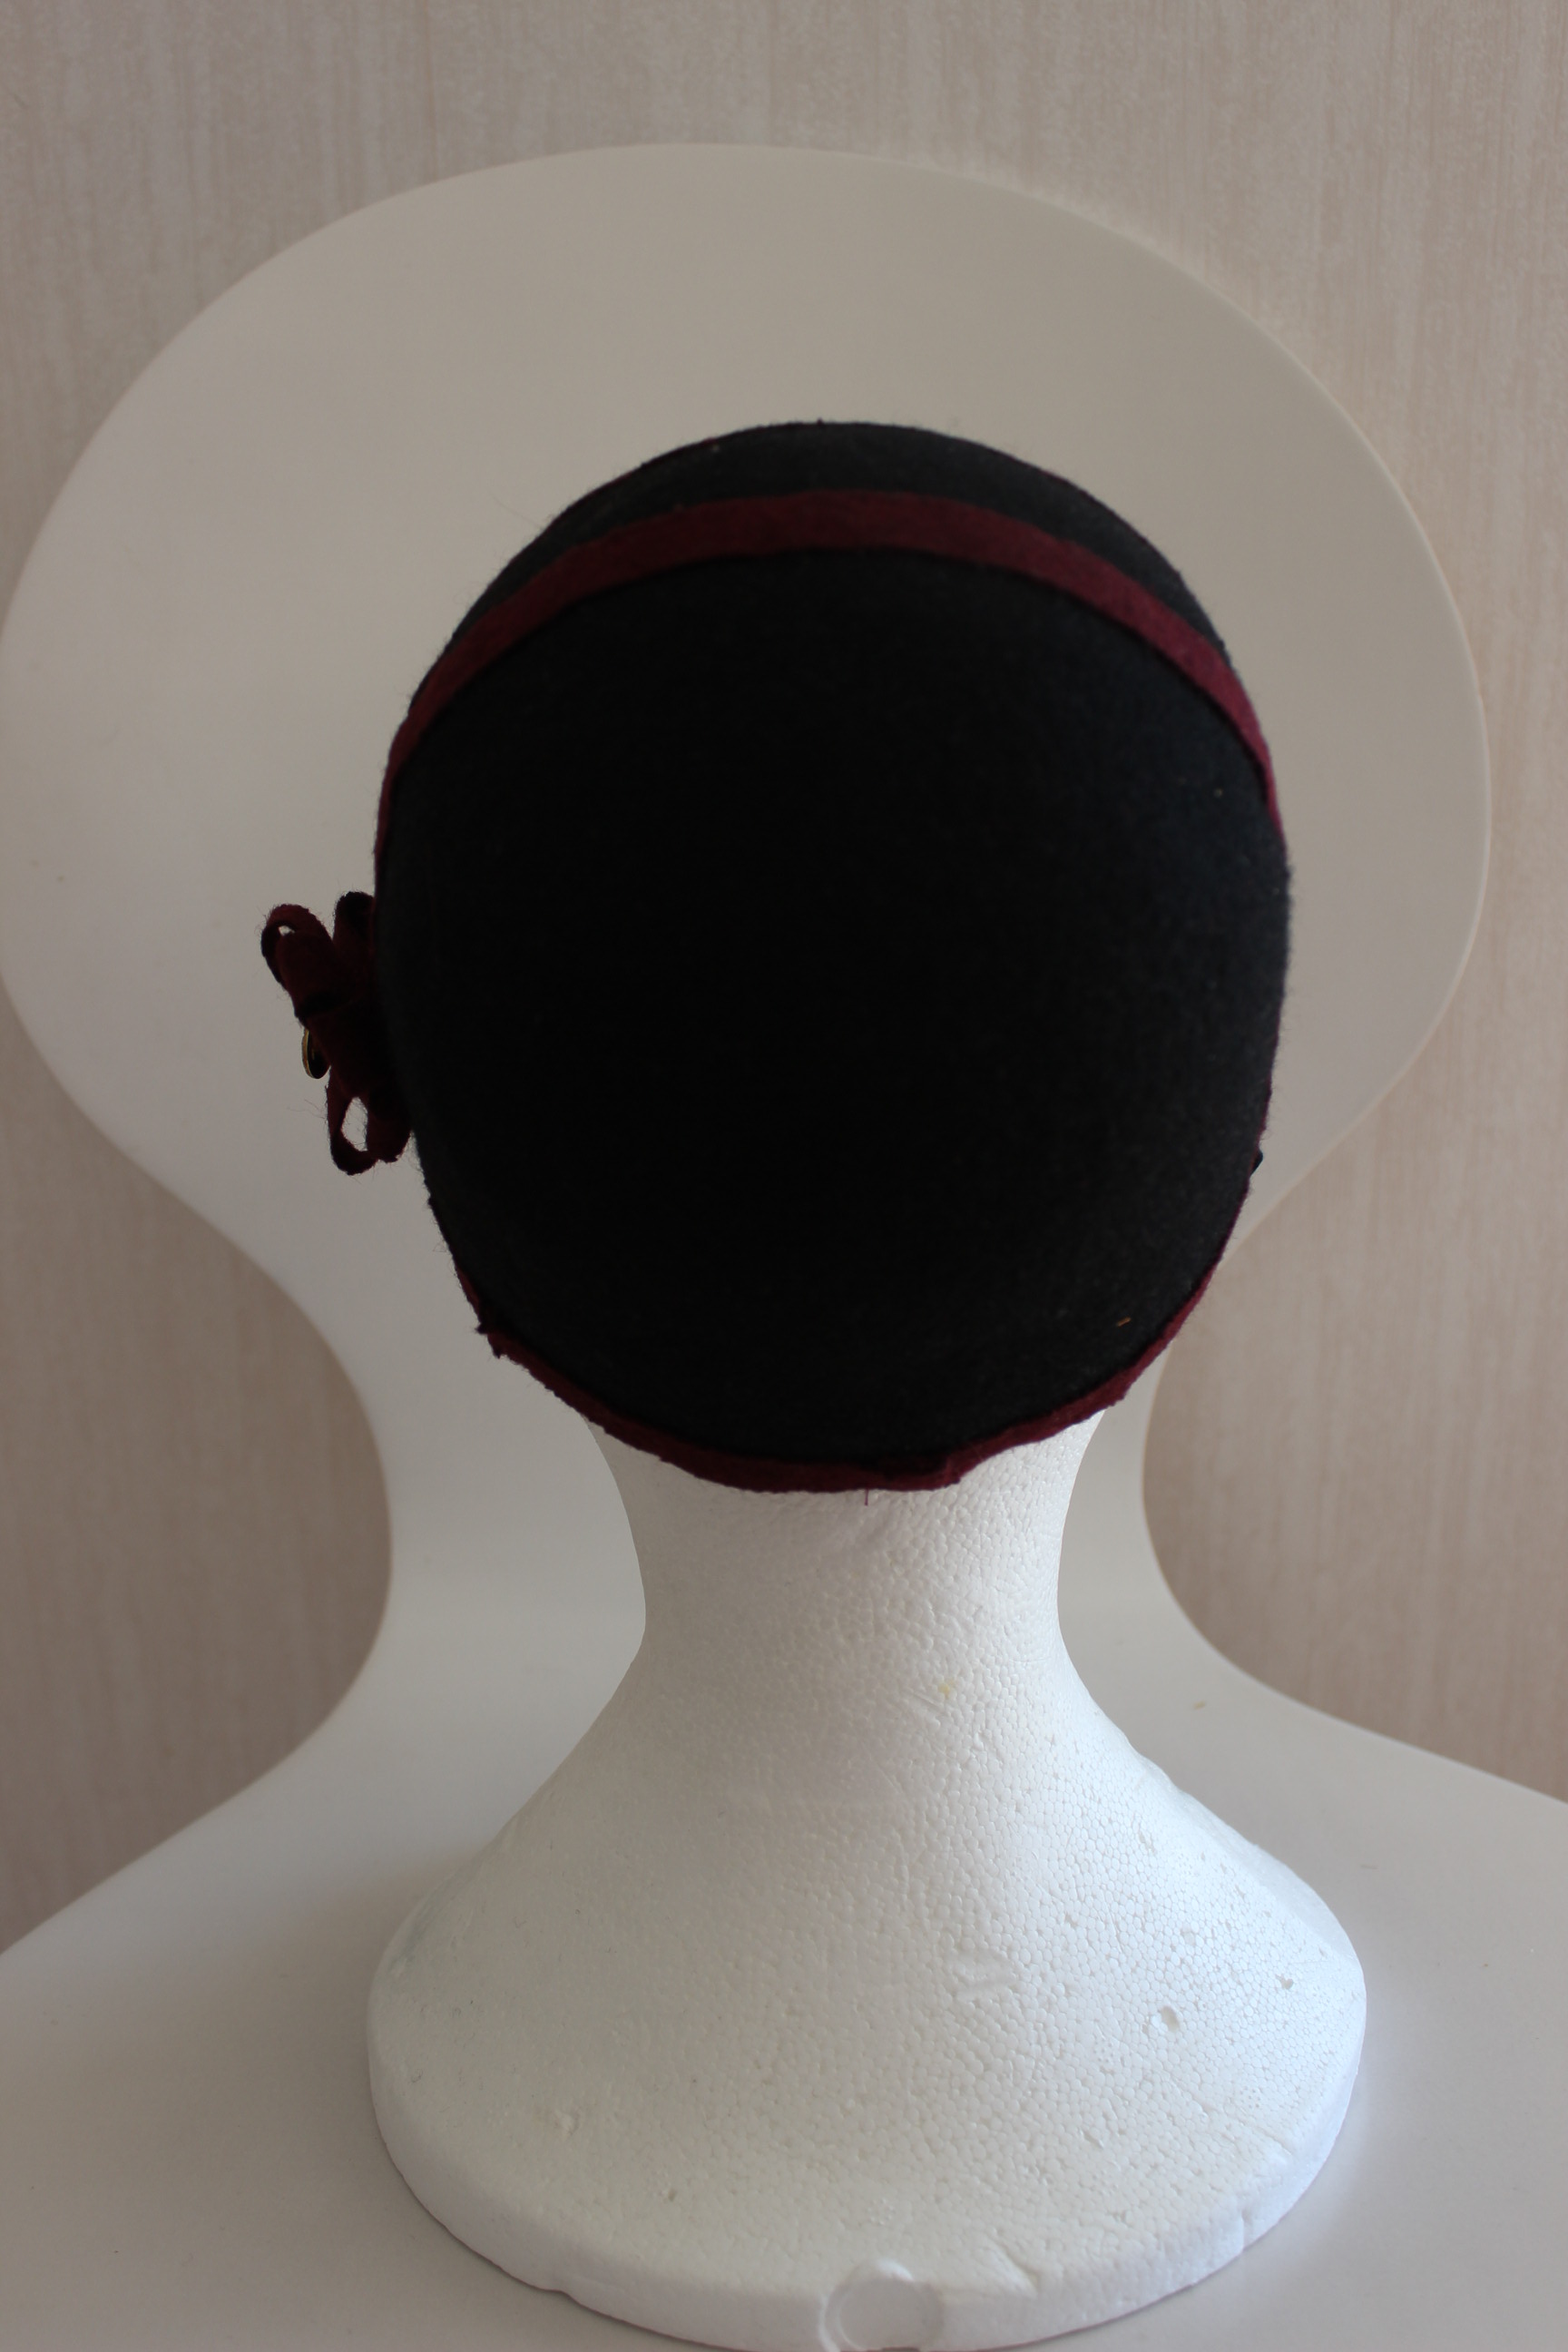
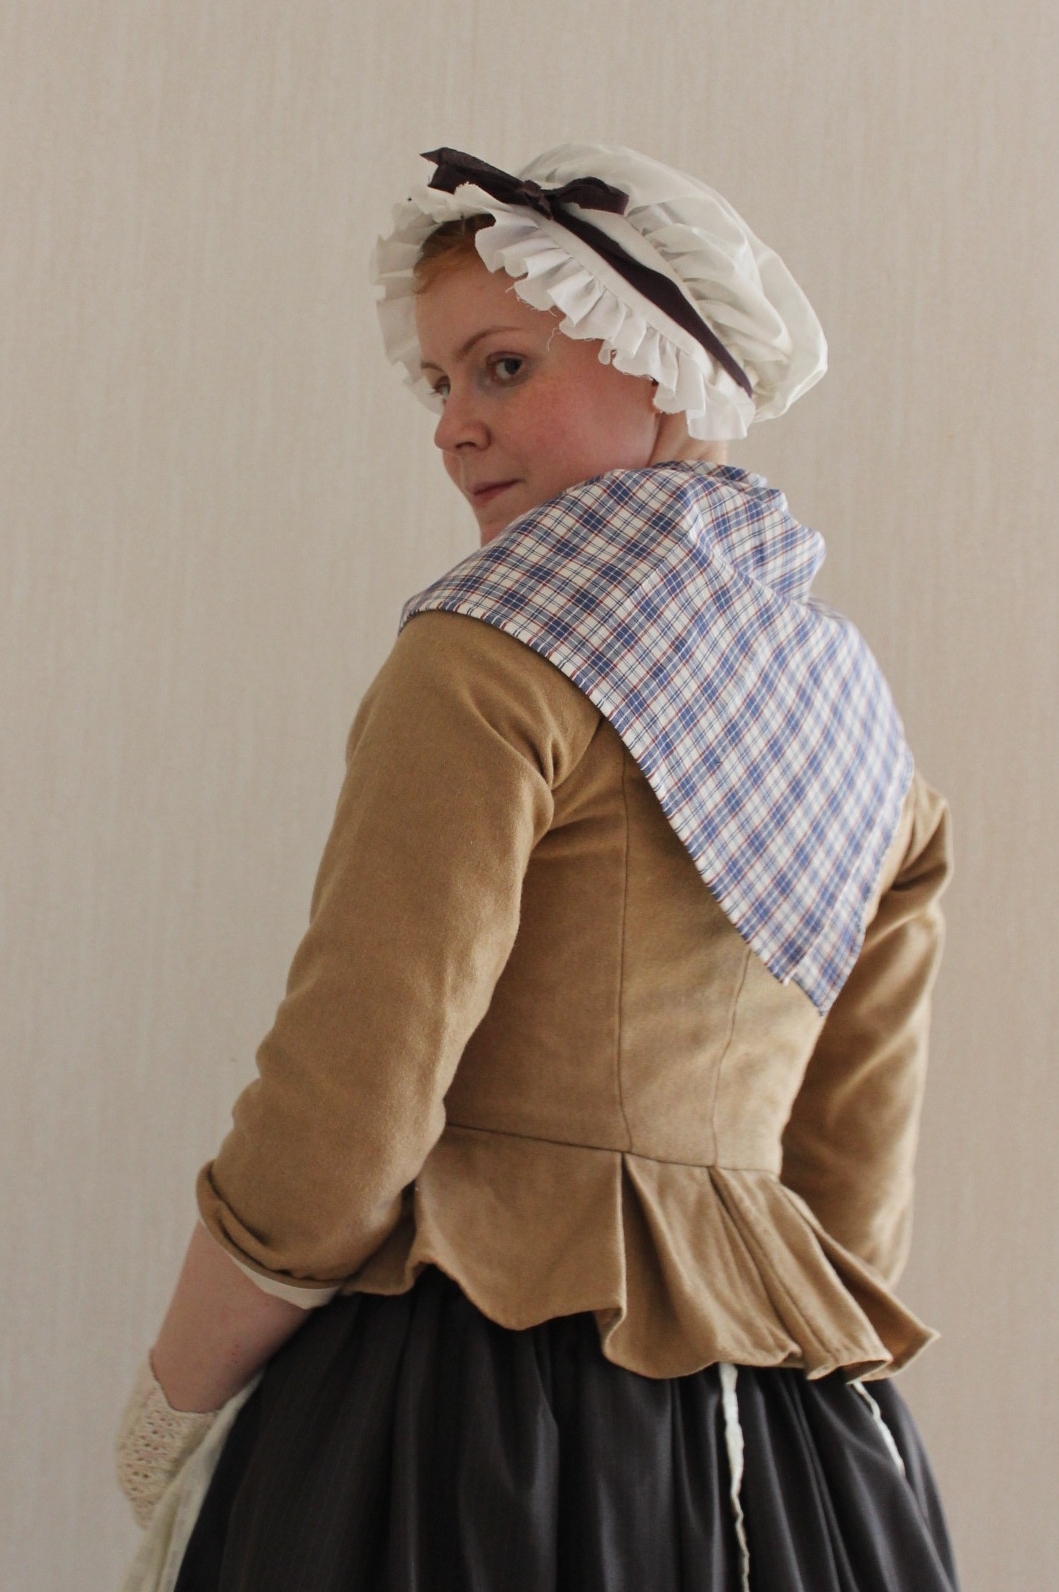
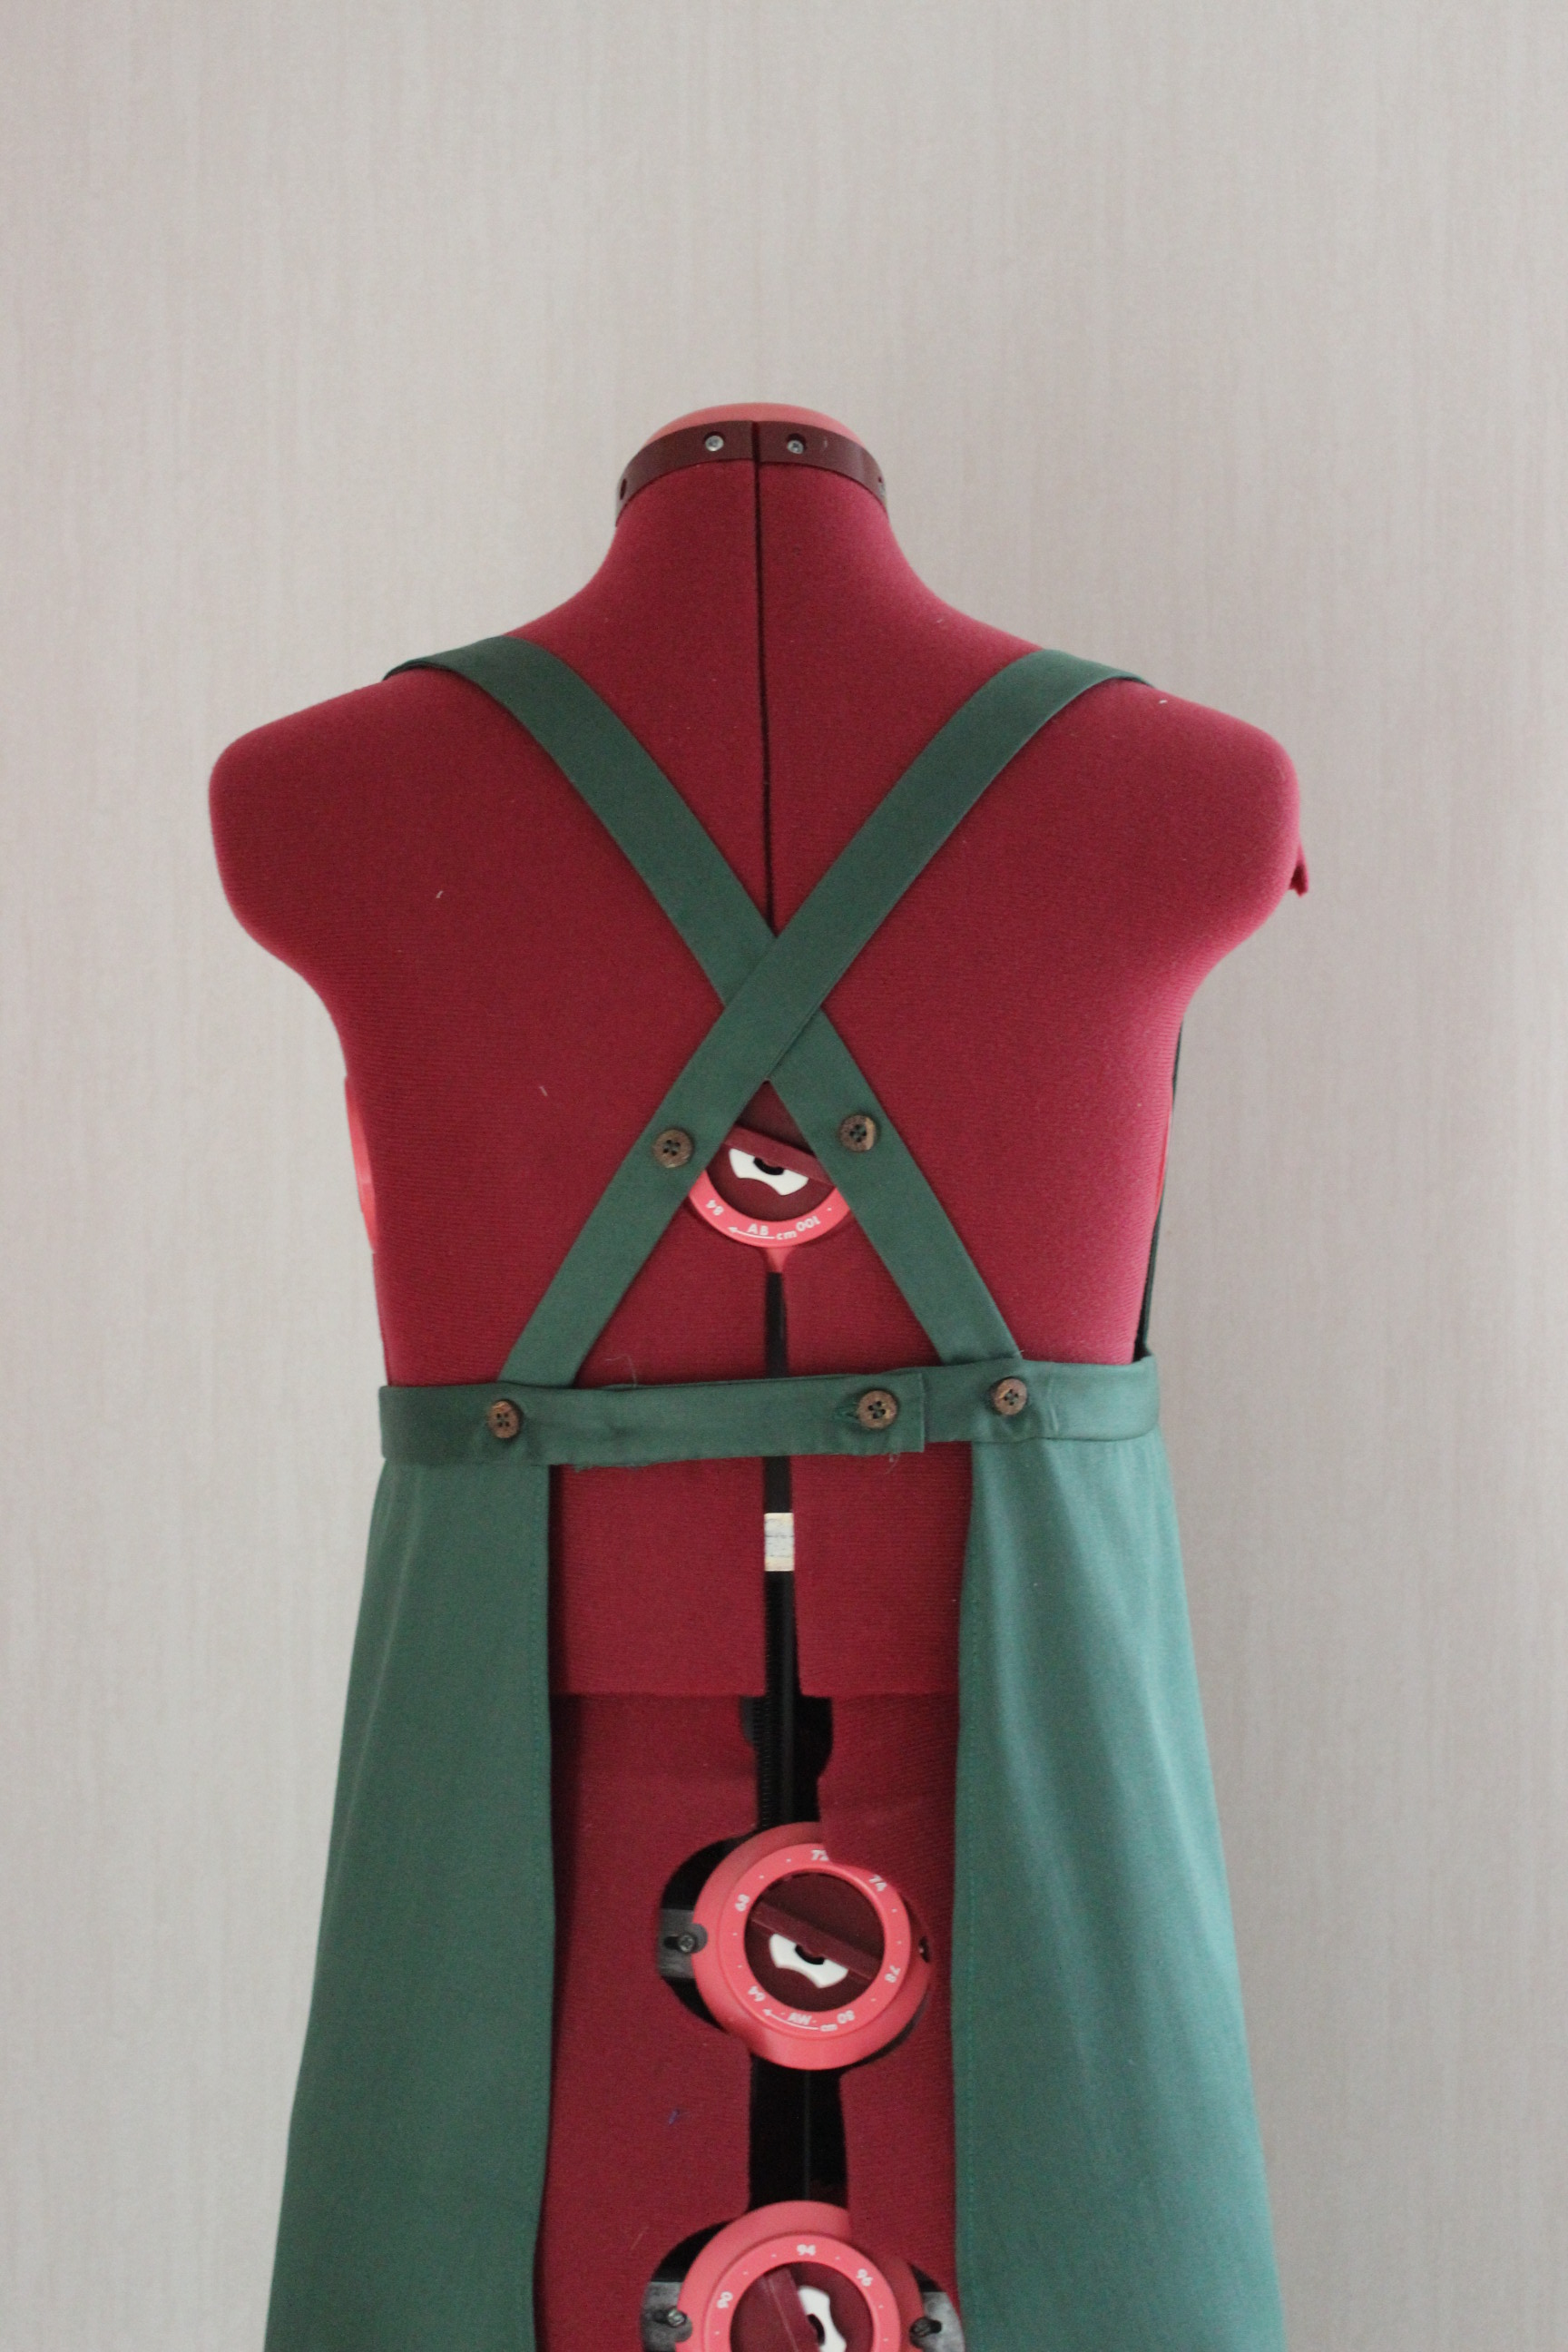
 Here you can also see covering of the piecing at the back.
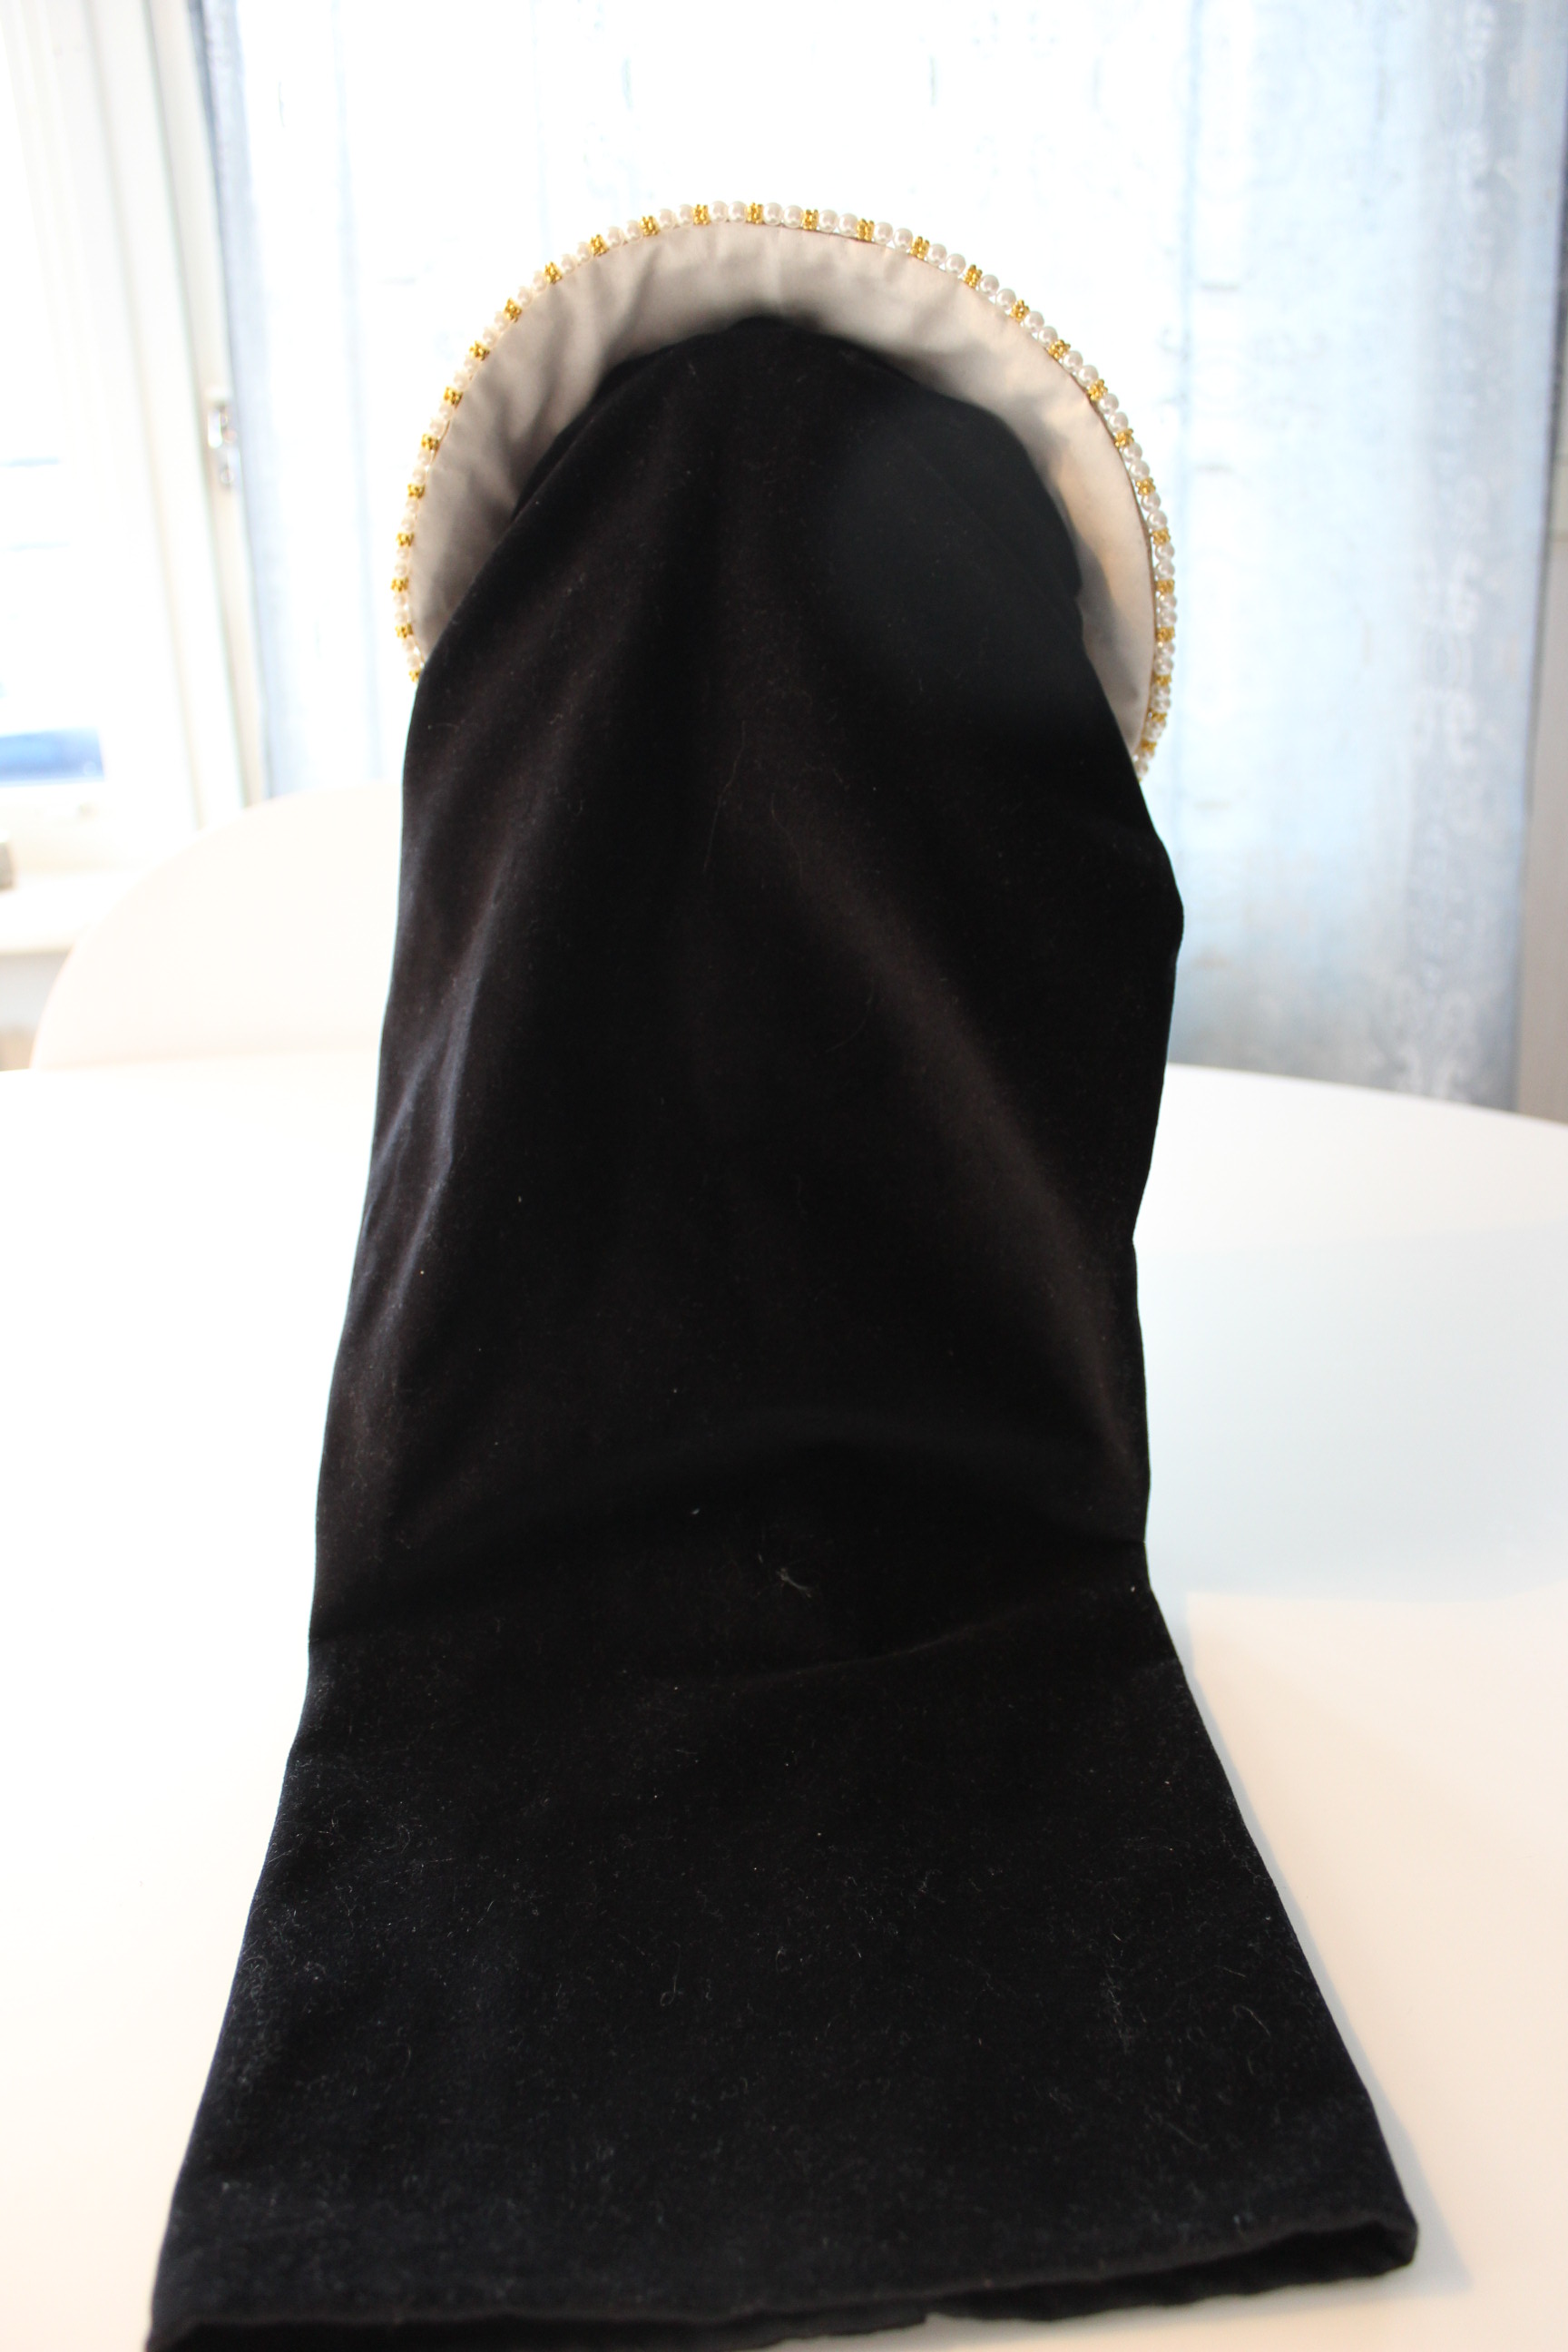
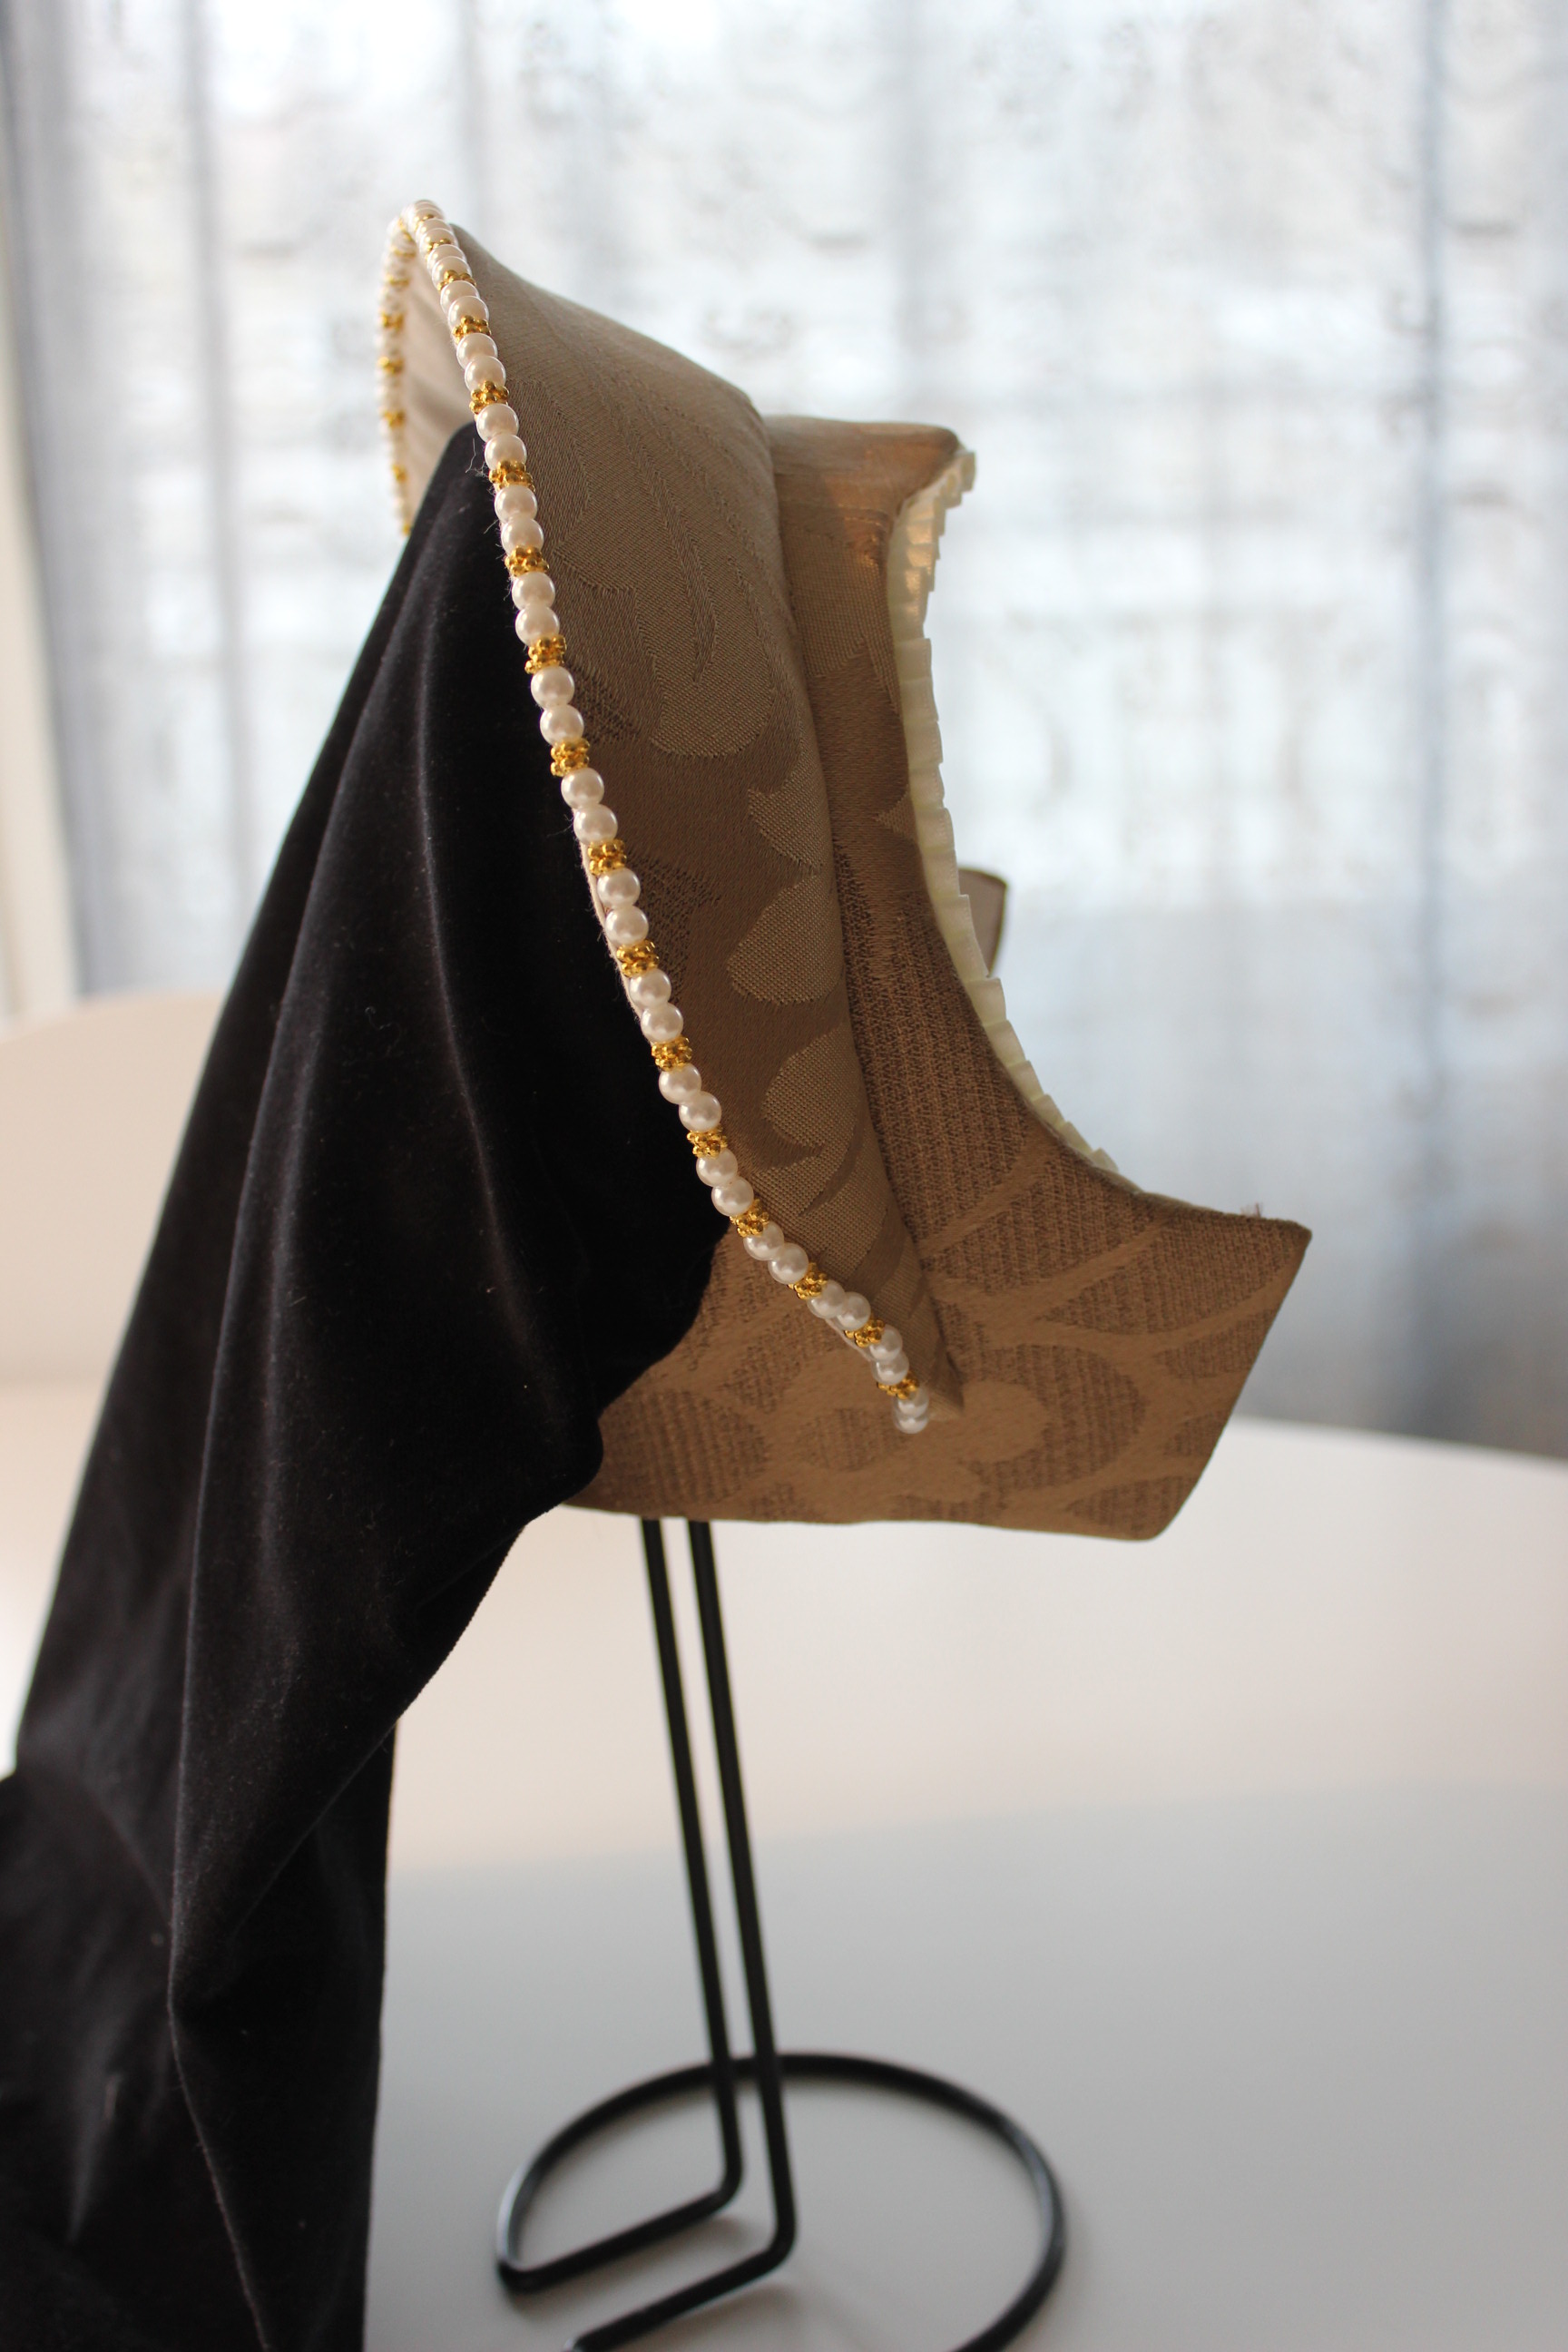
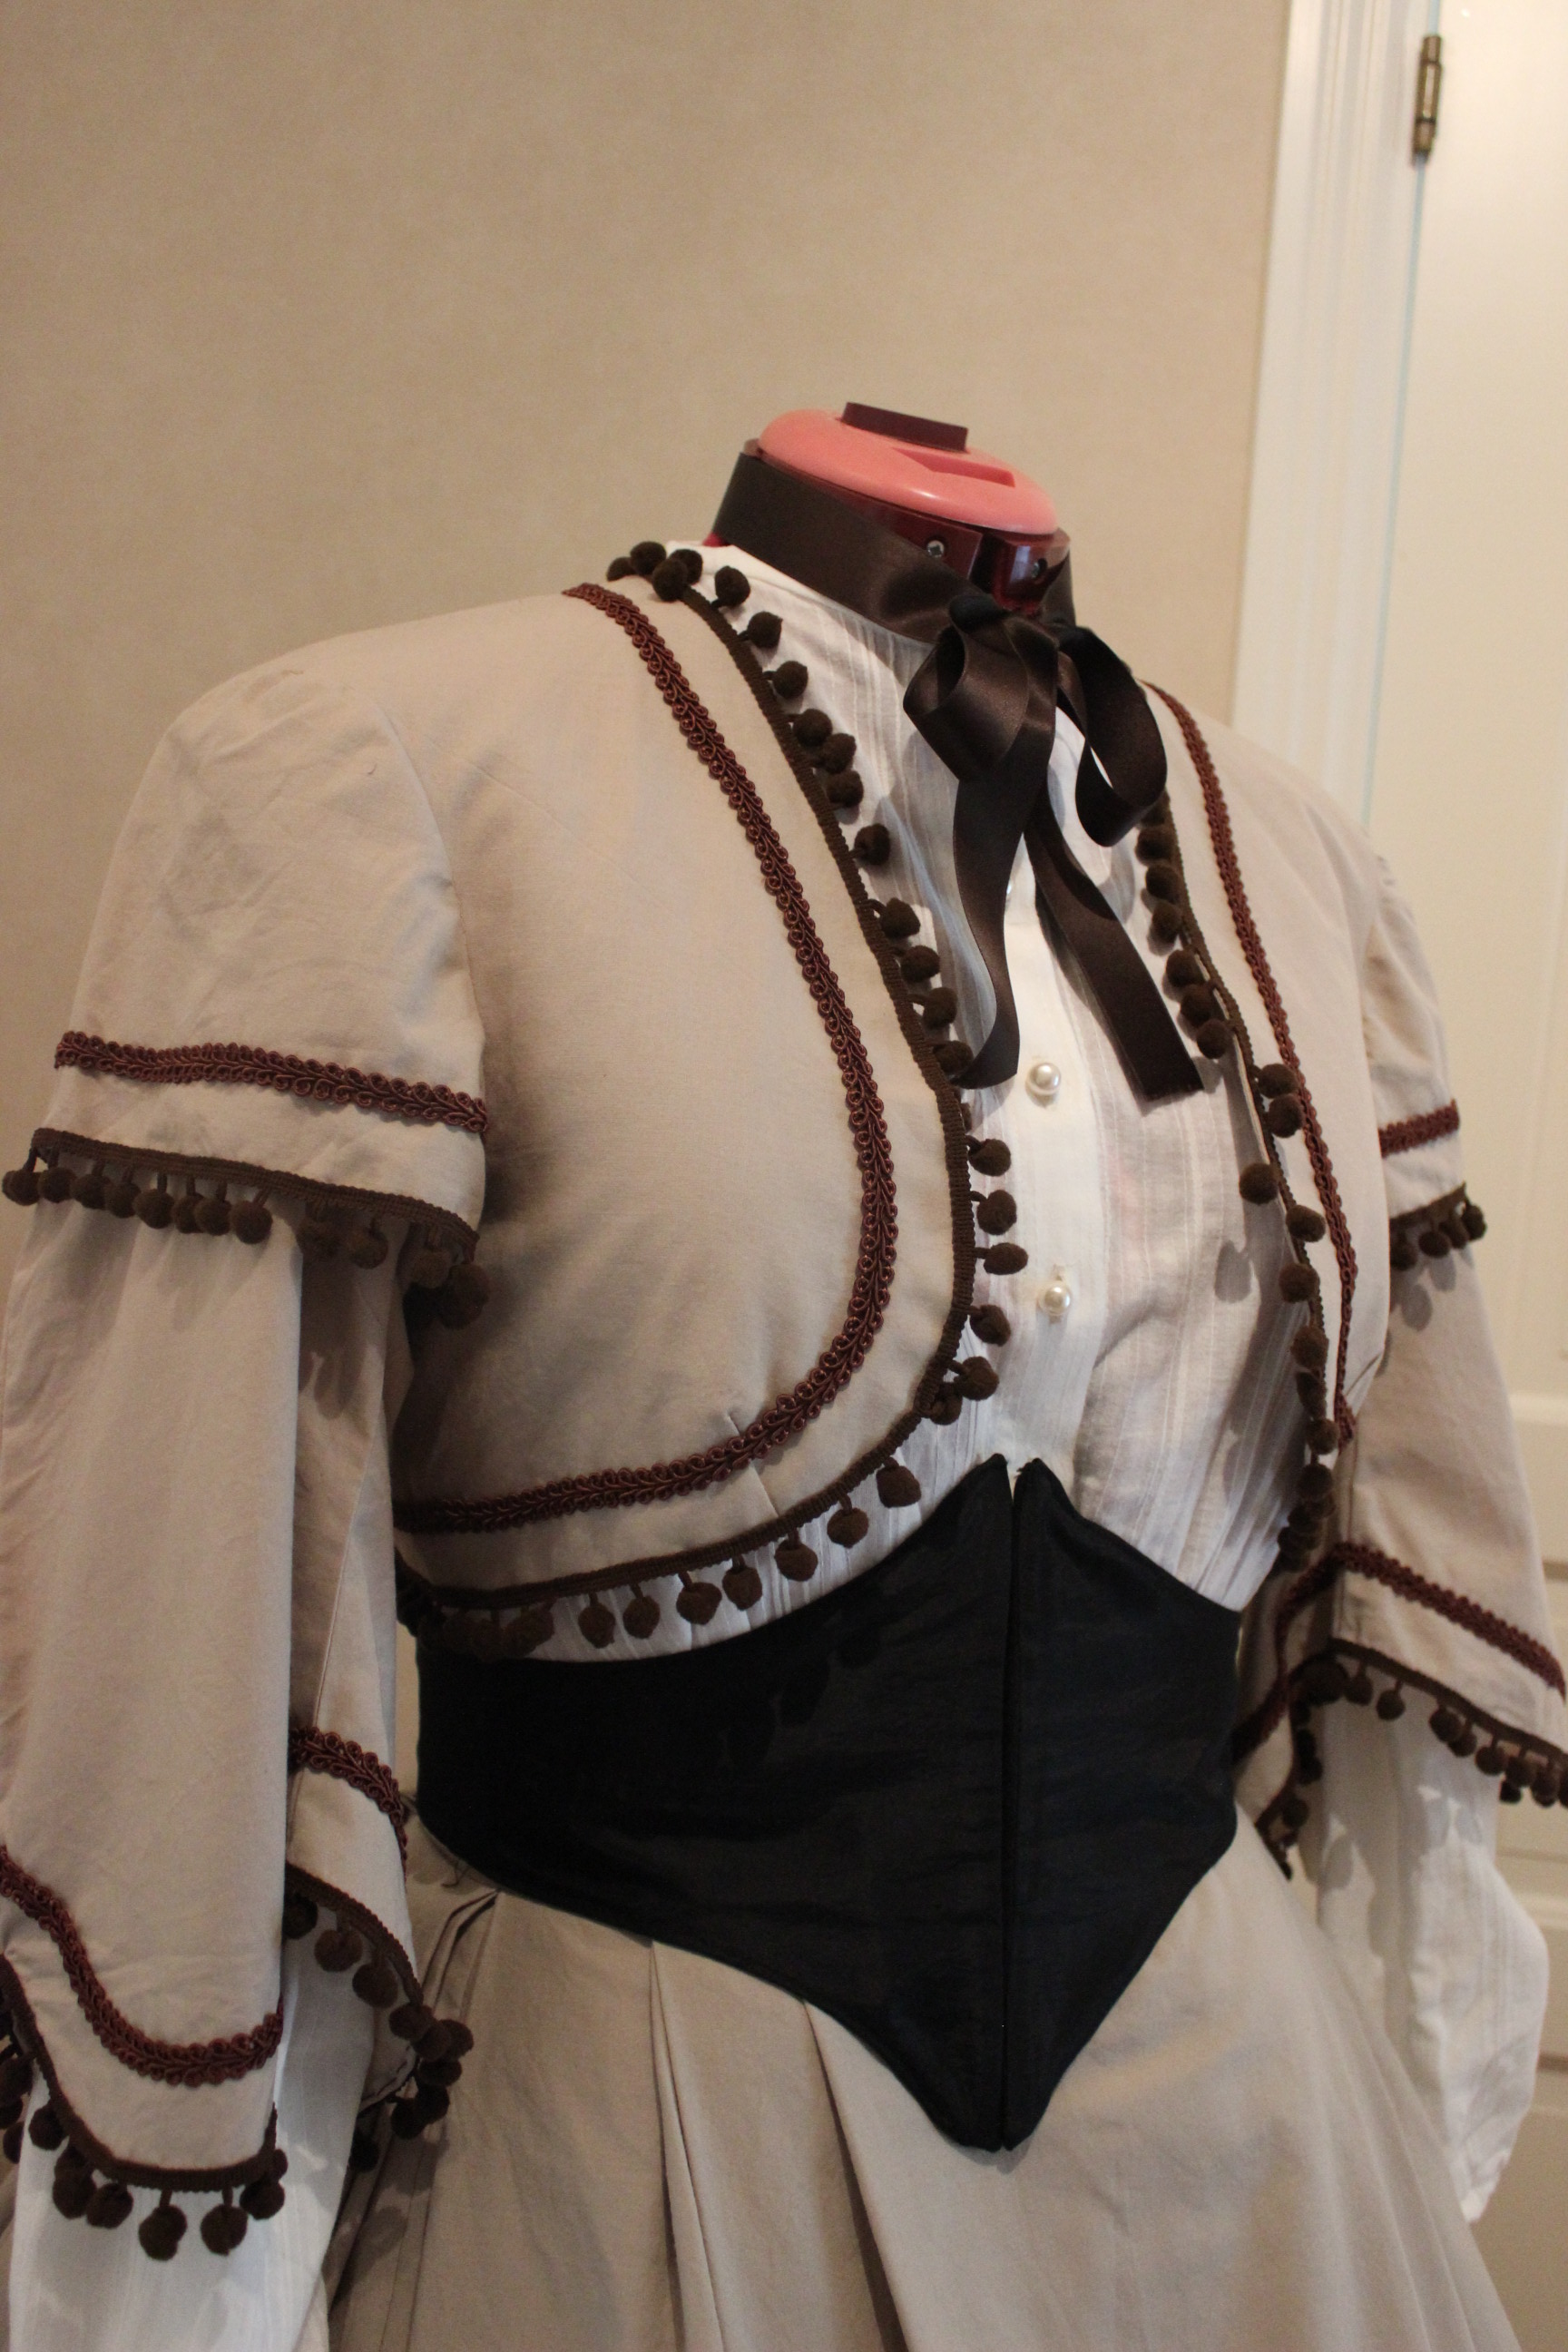
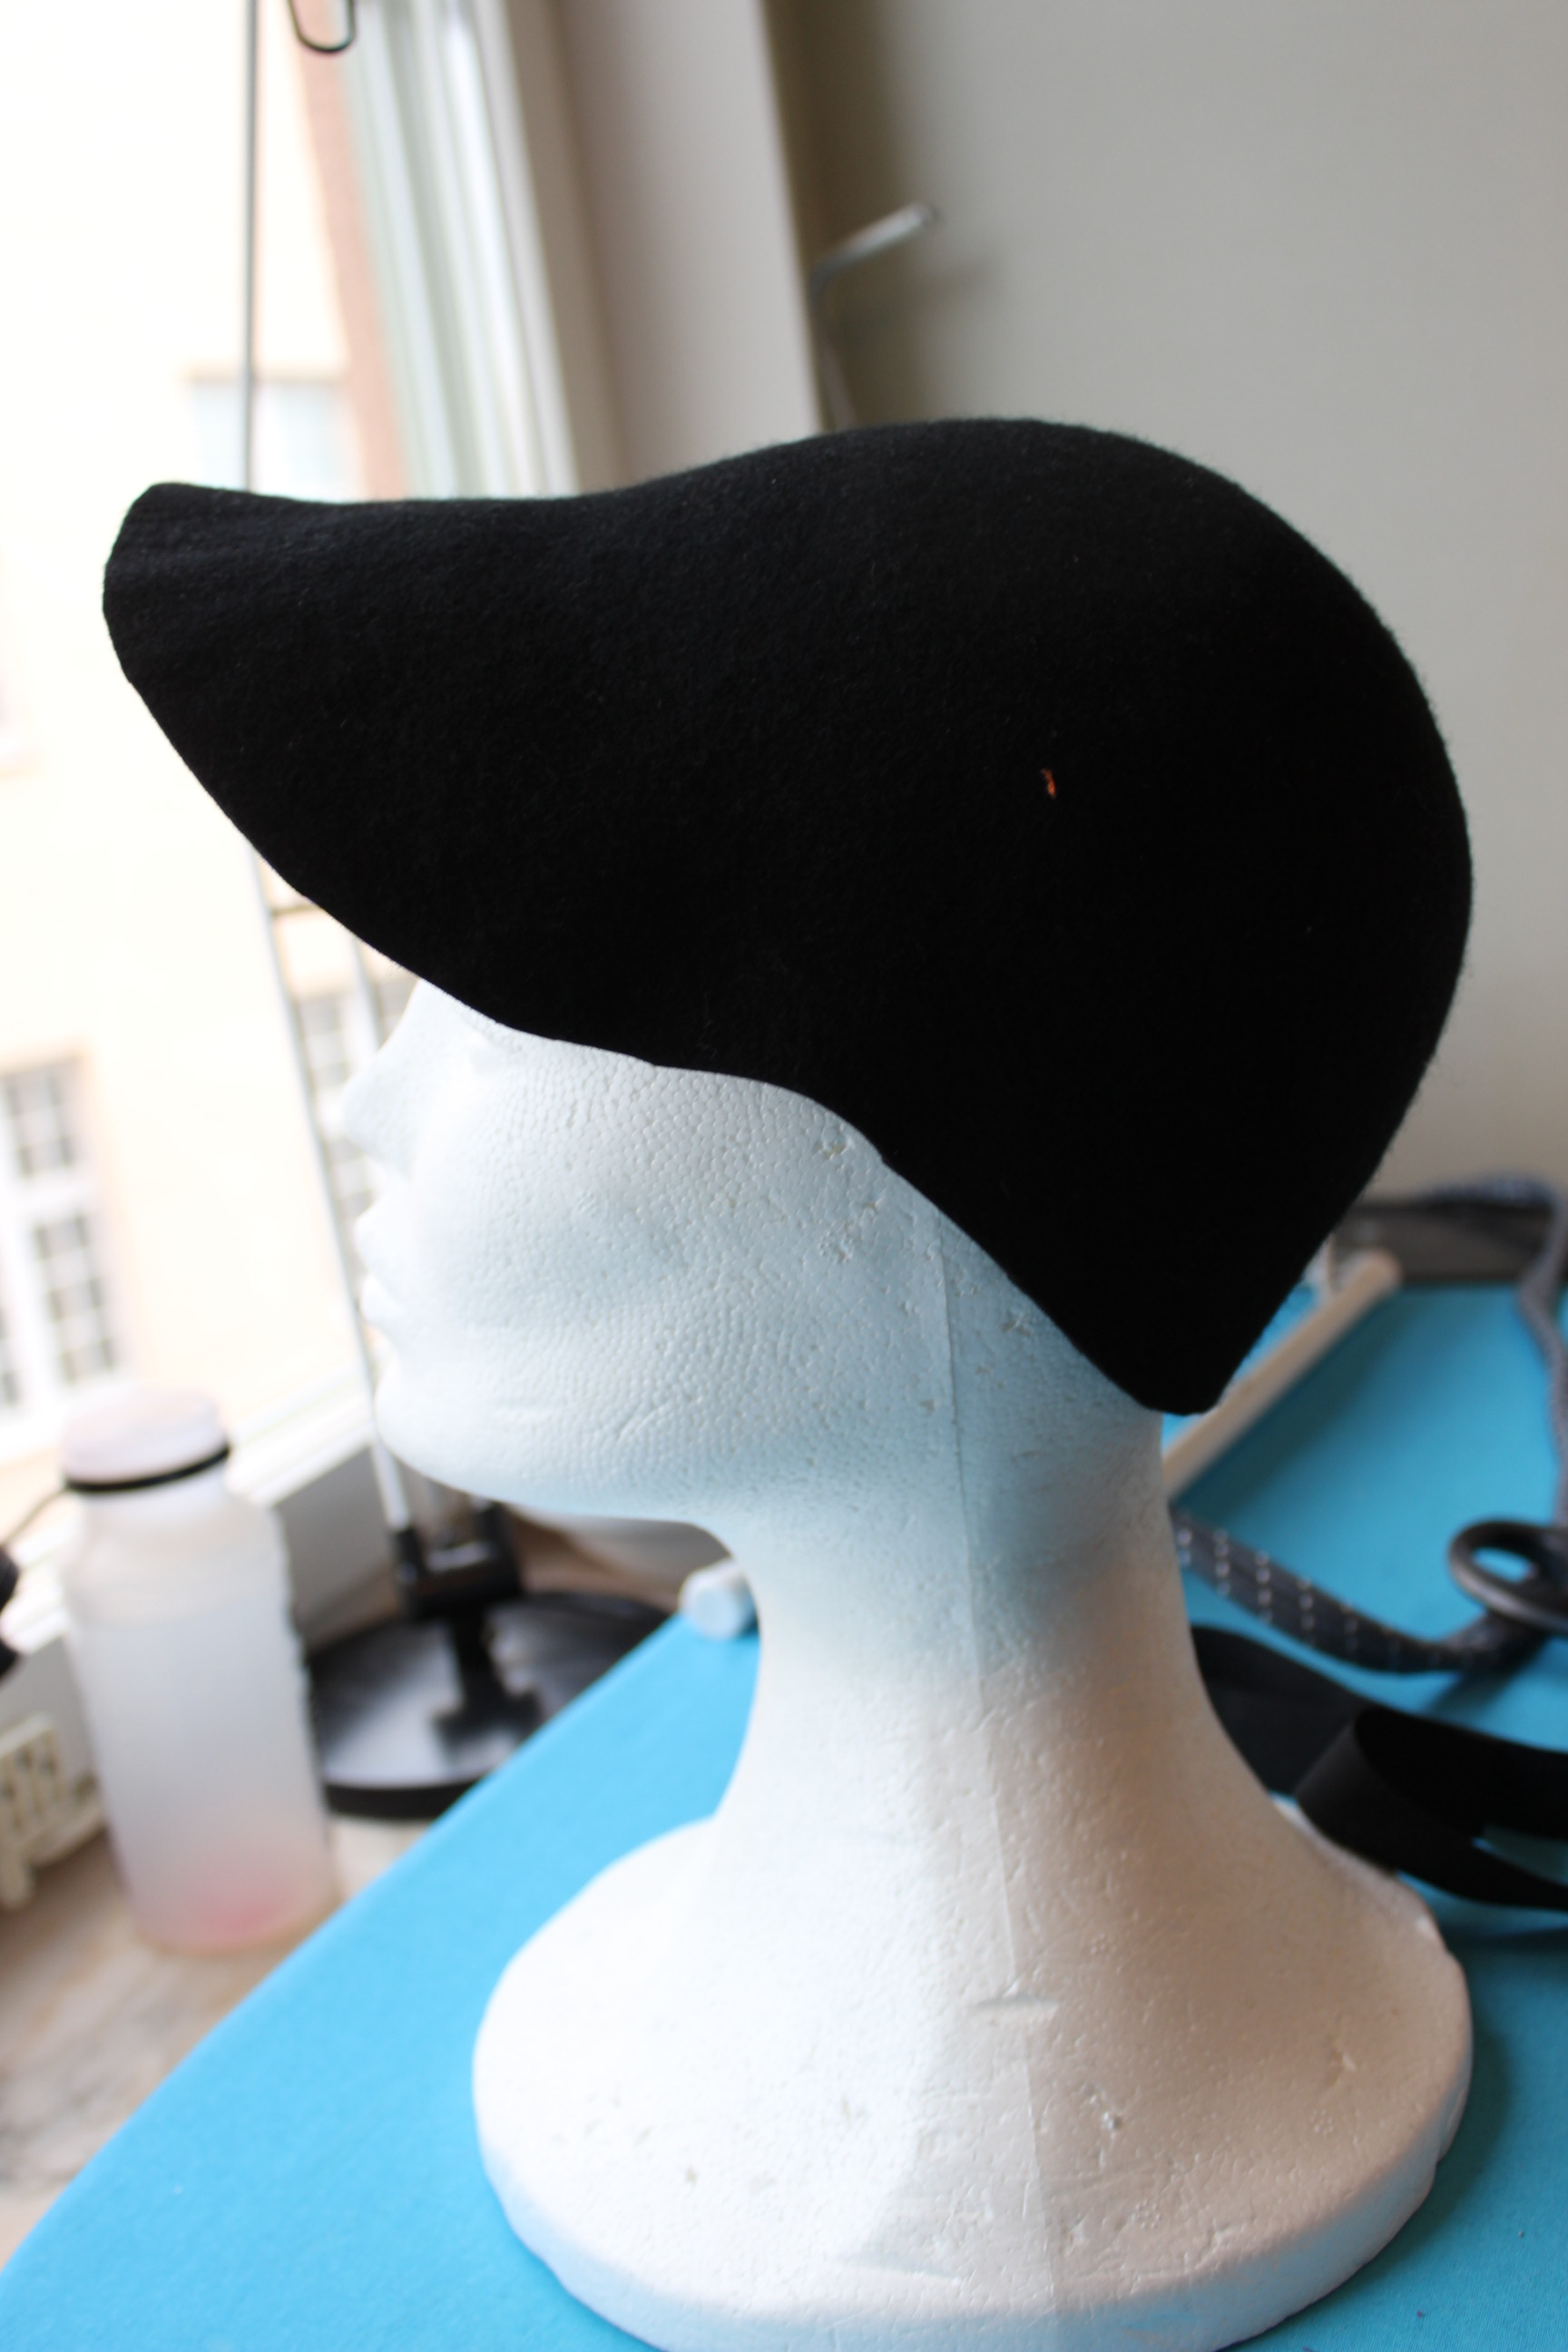
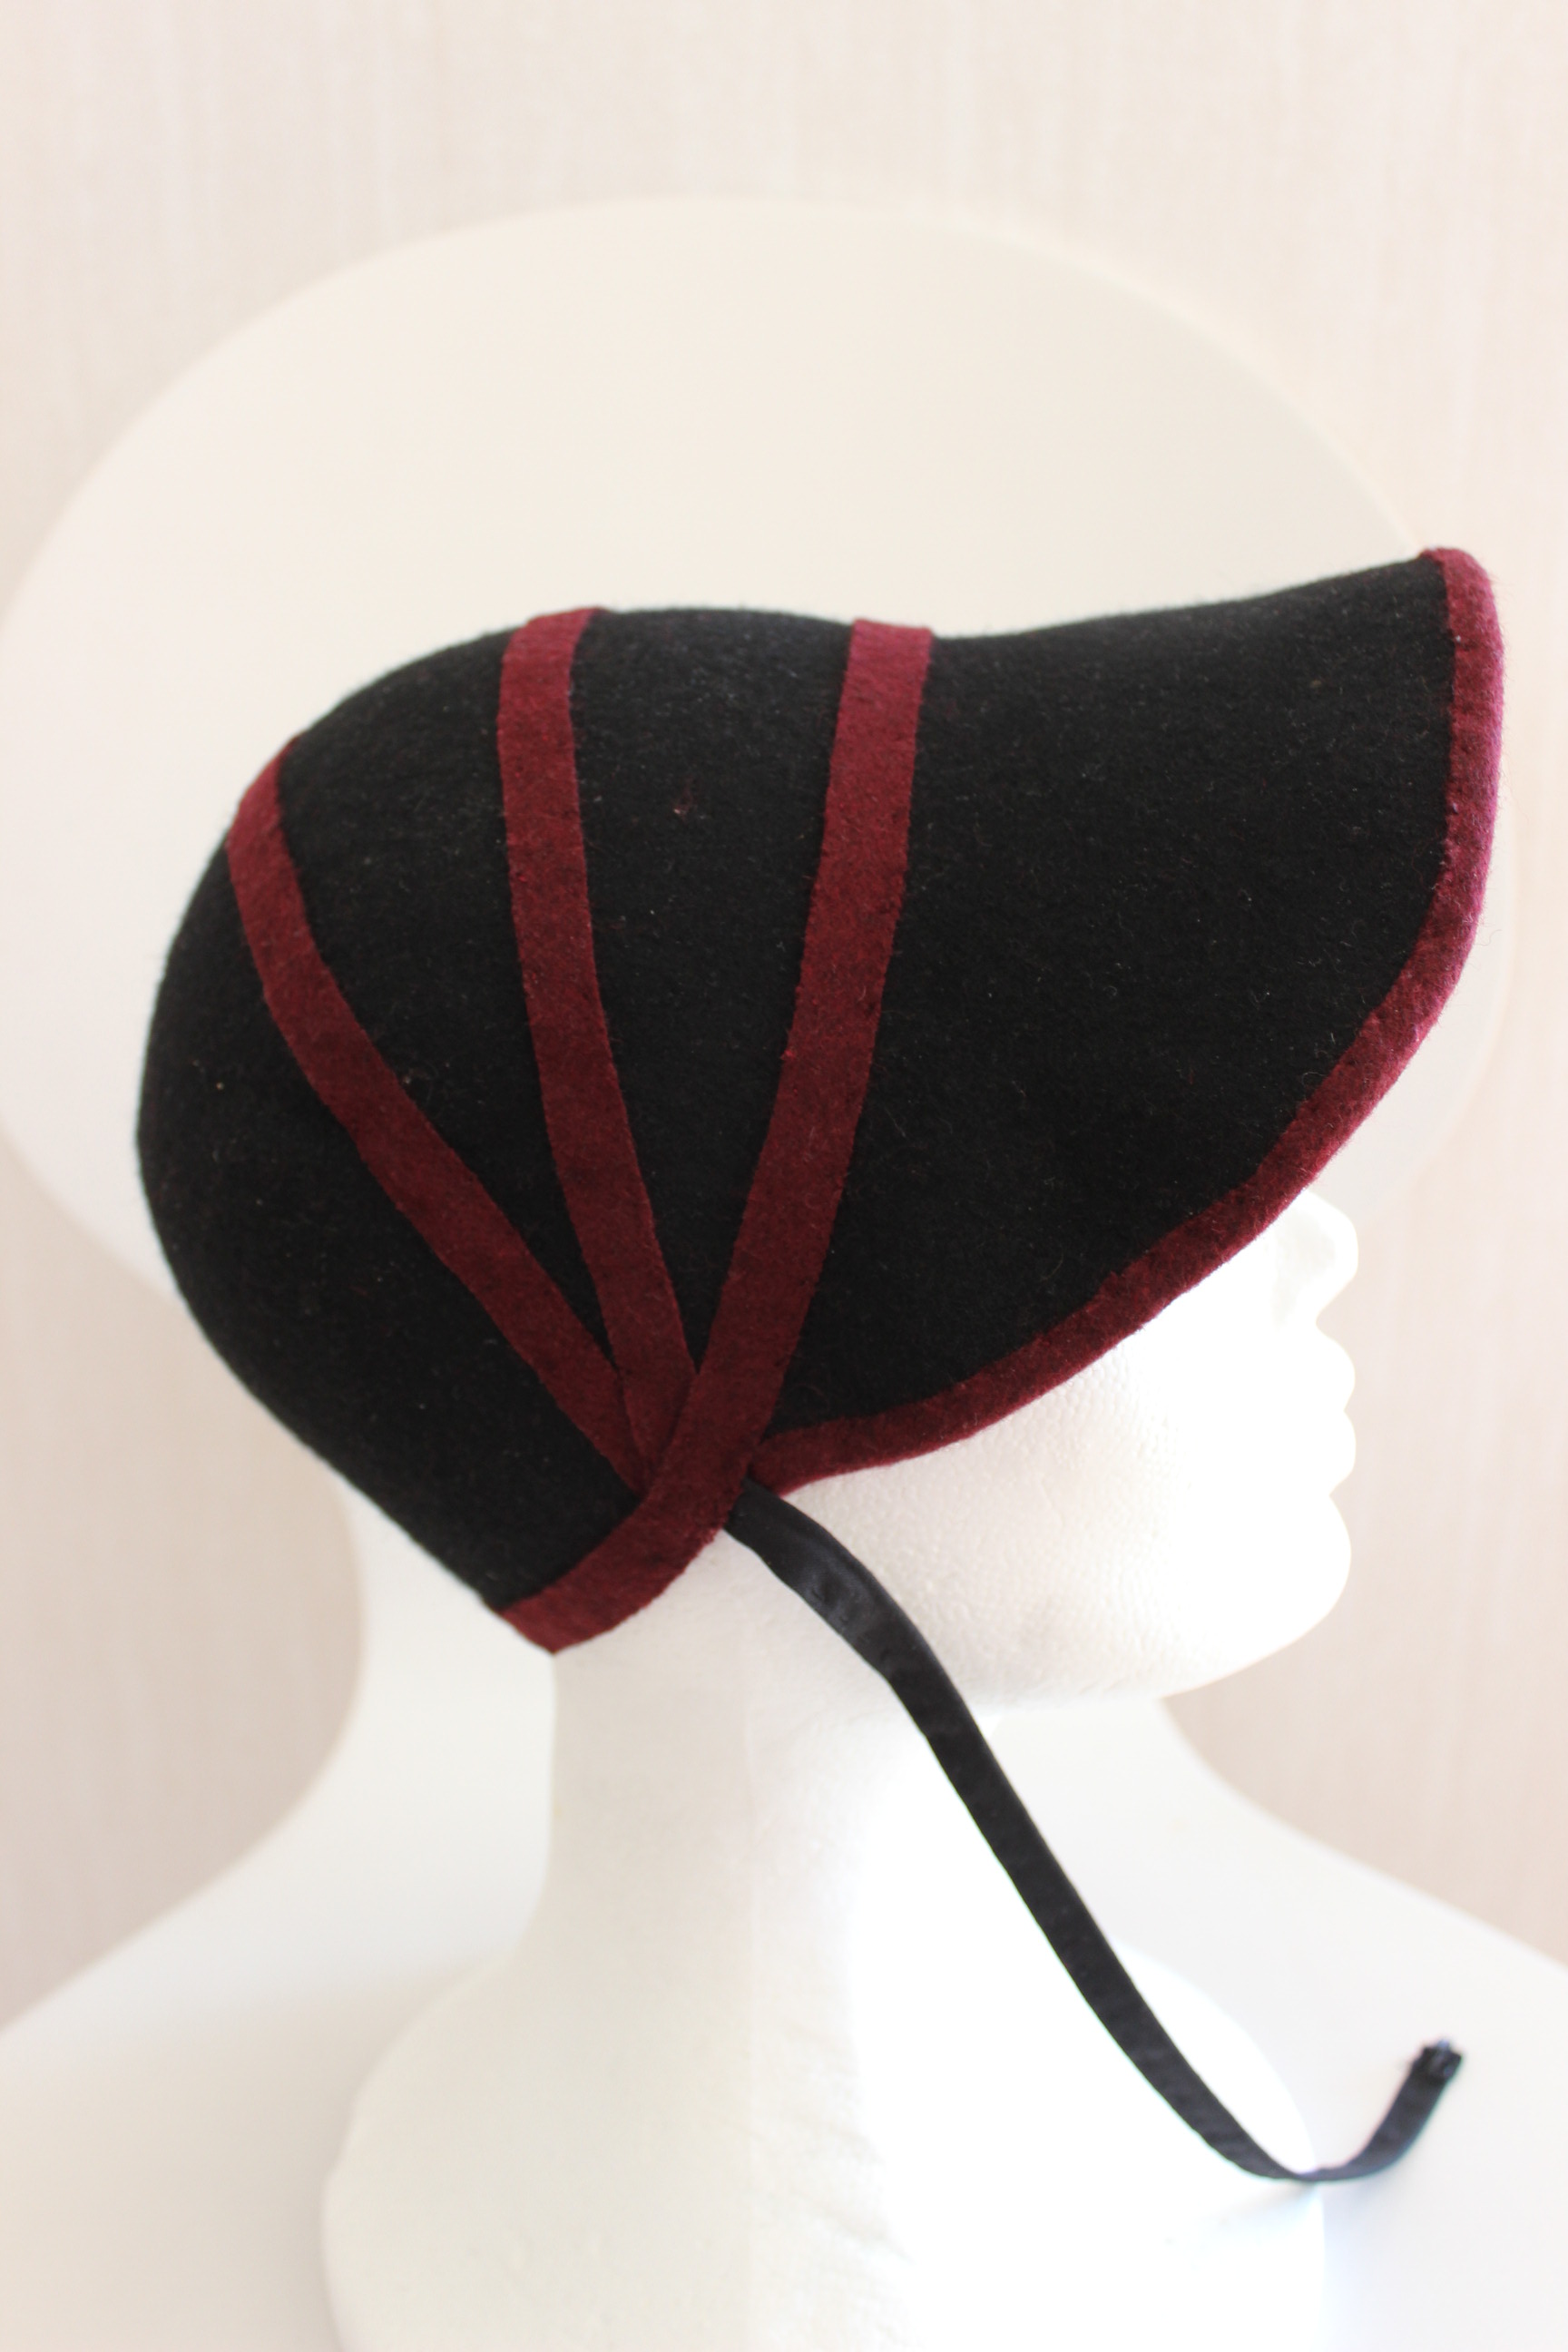
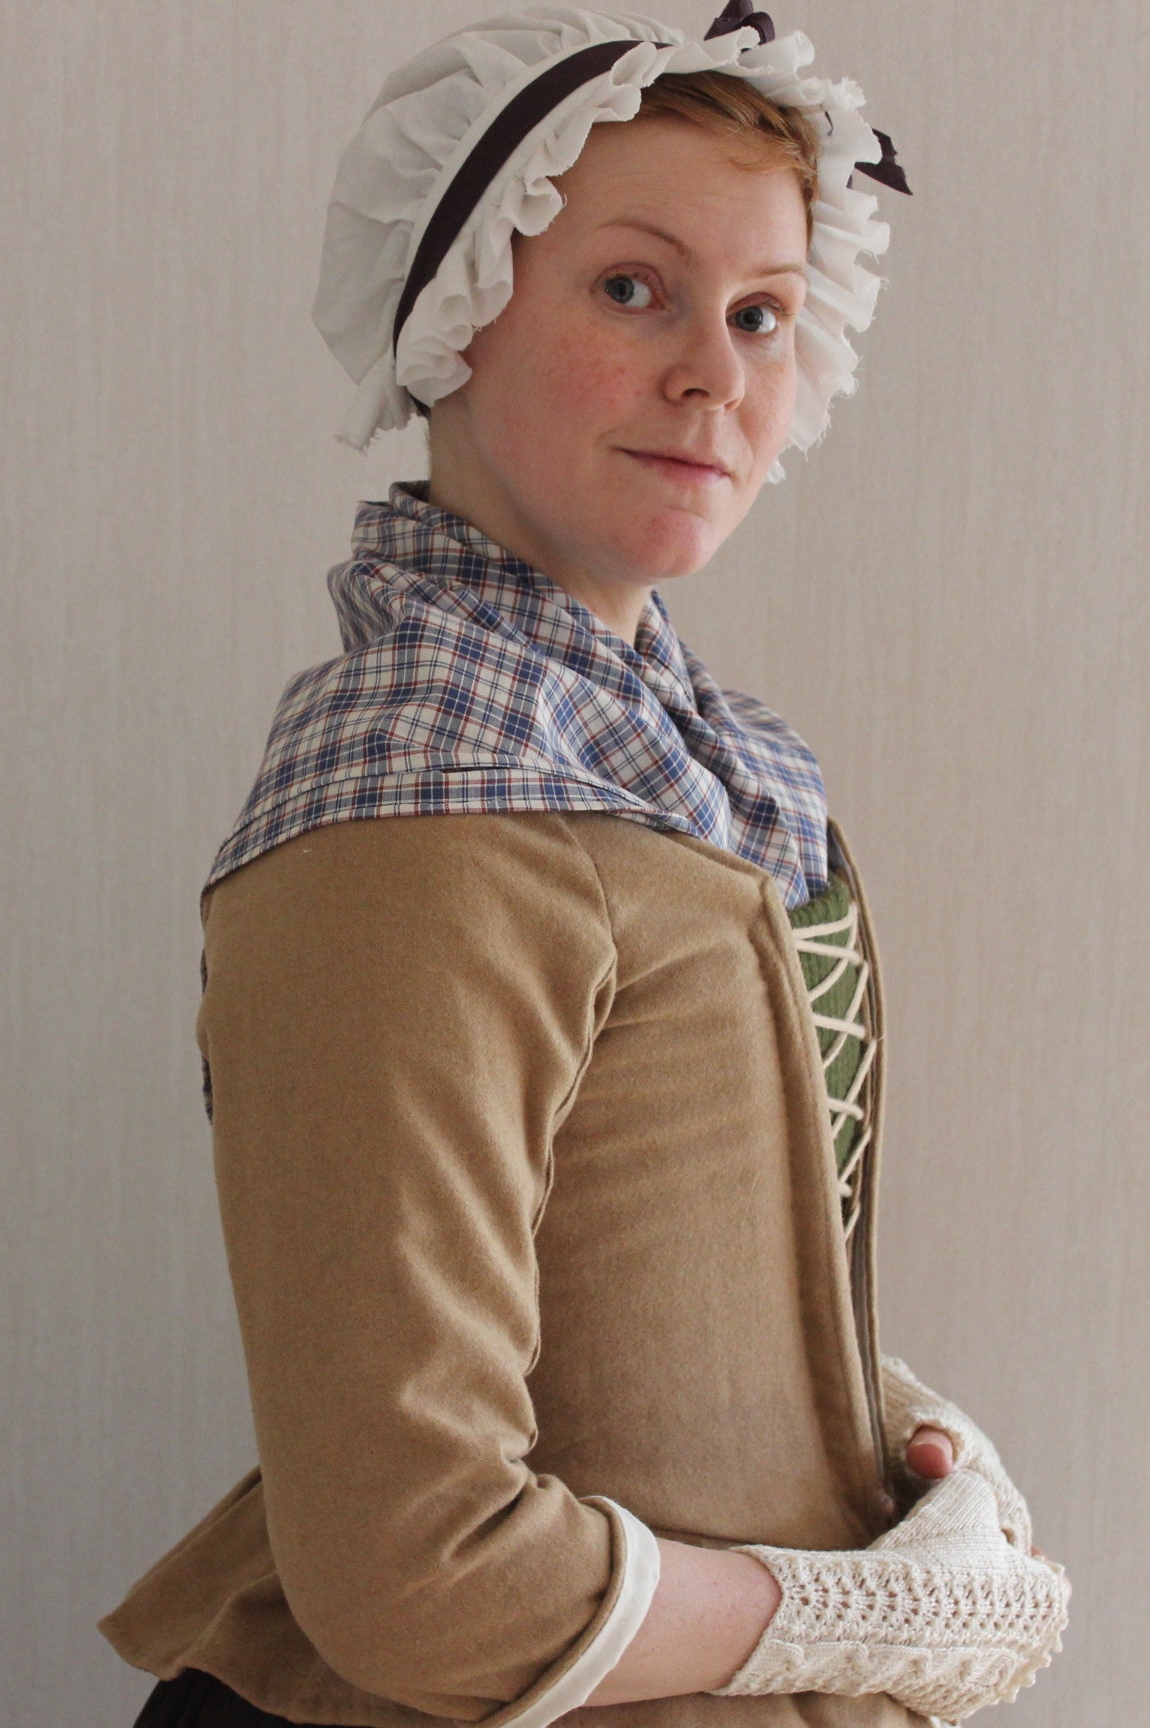
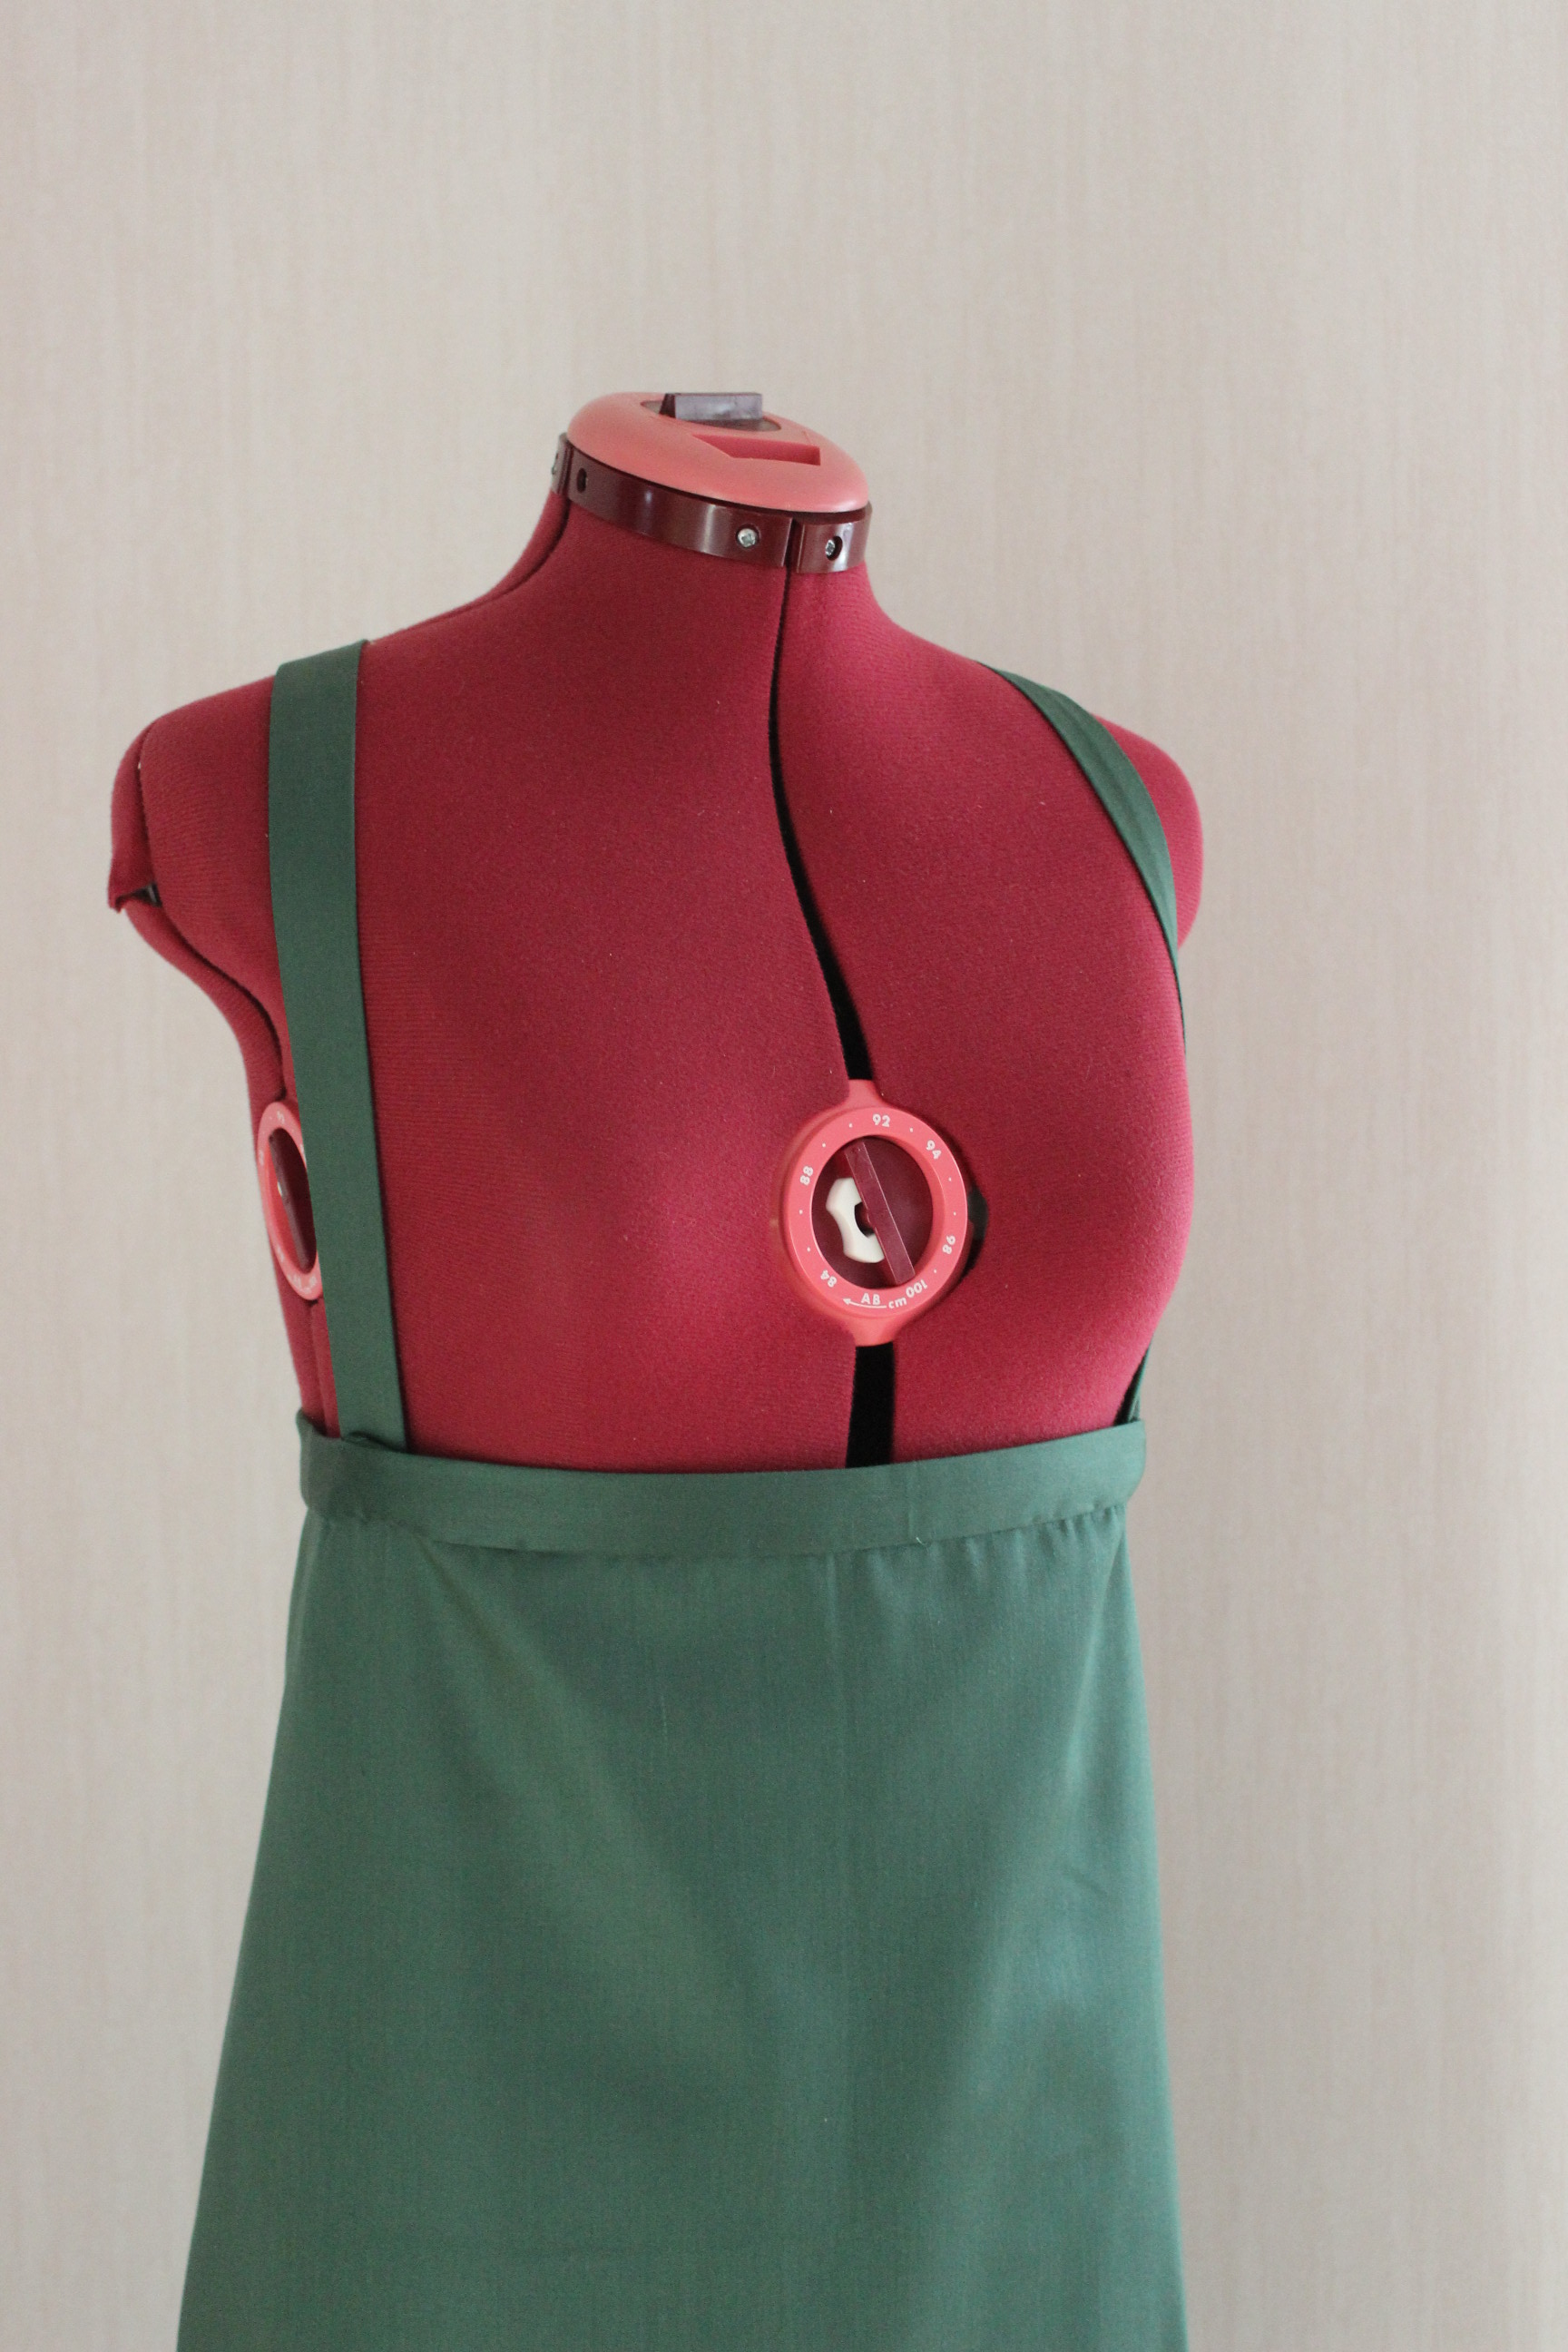
 From the side.