This gown been long over due (originally planed to enter it to the HSM 2017 nr 12), and since starting it (in early september 2017) I had some serious down time in energy and sewing time.
But this spring I decided I really wanted it finished and of the UFO-pile, so here it is.
Ever since I made my sister her Burgundian gown, I knew I wanted one of my own, so when the challenge “Animal” came my way through the “Historical sew Monthly 2017”, I immediately started plotting my gown.
I used a Burgundy (dark-red/brownish) colored cotton satin, that I got for a steal on a fabric sale about a year ago.
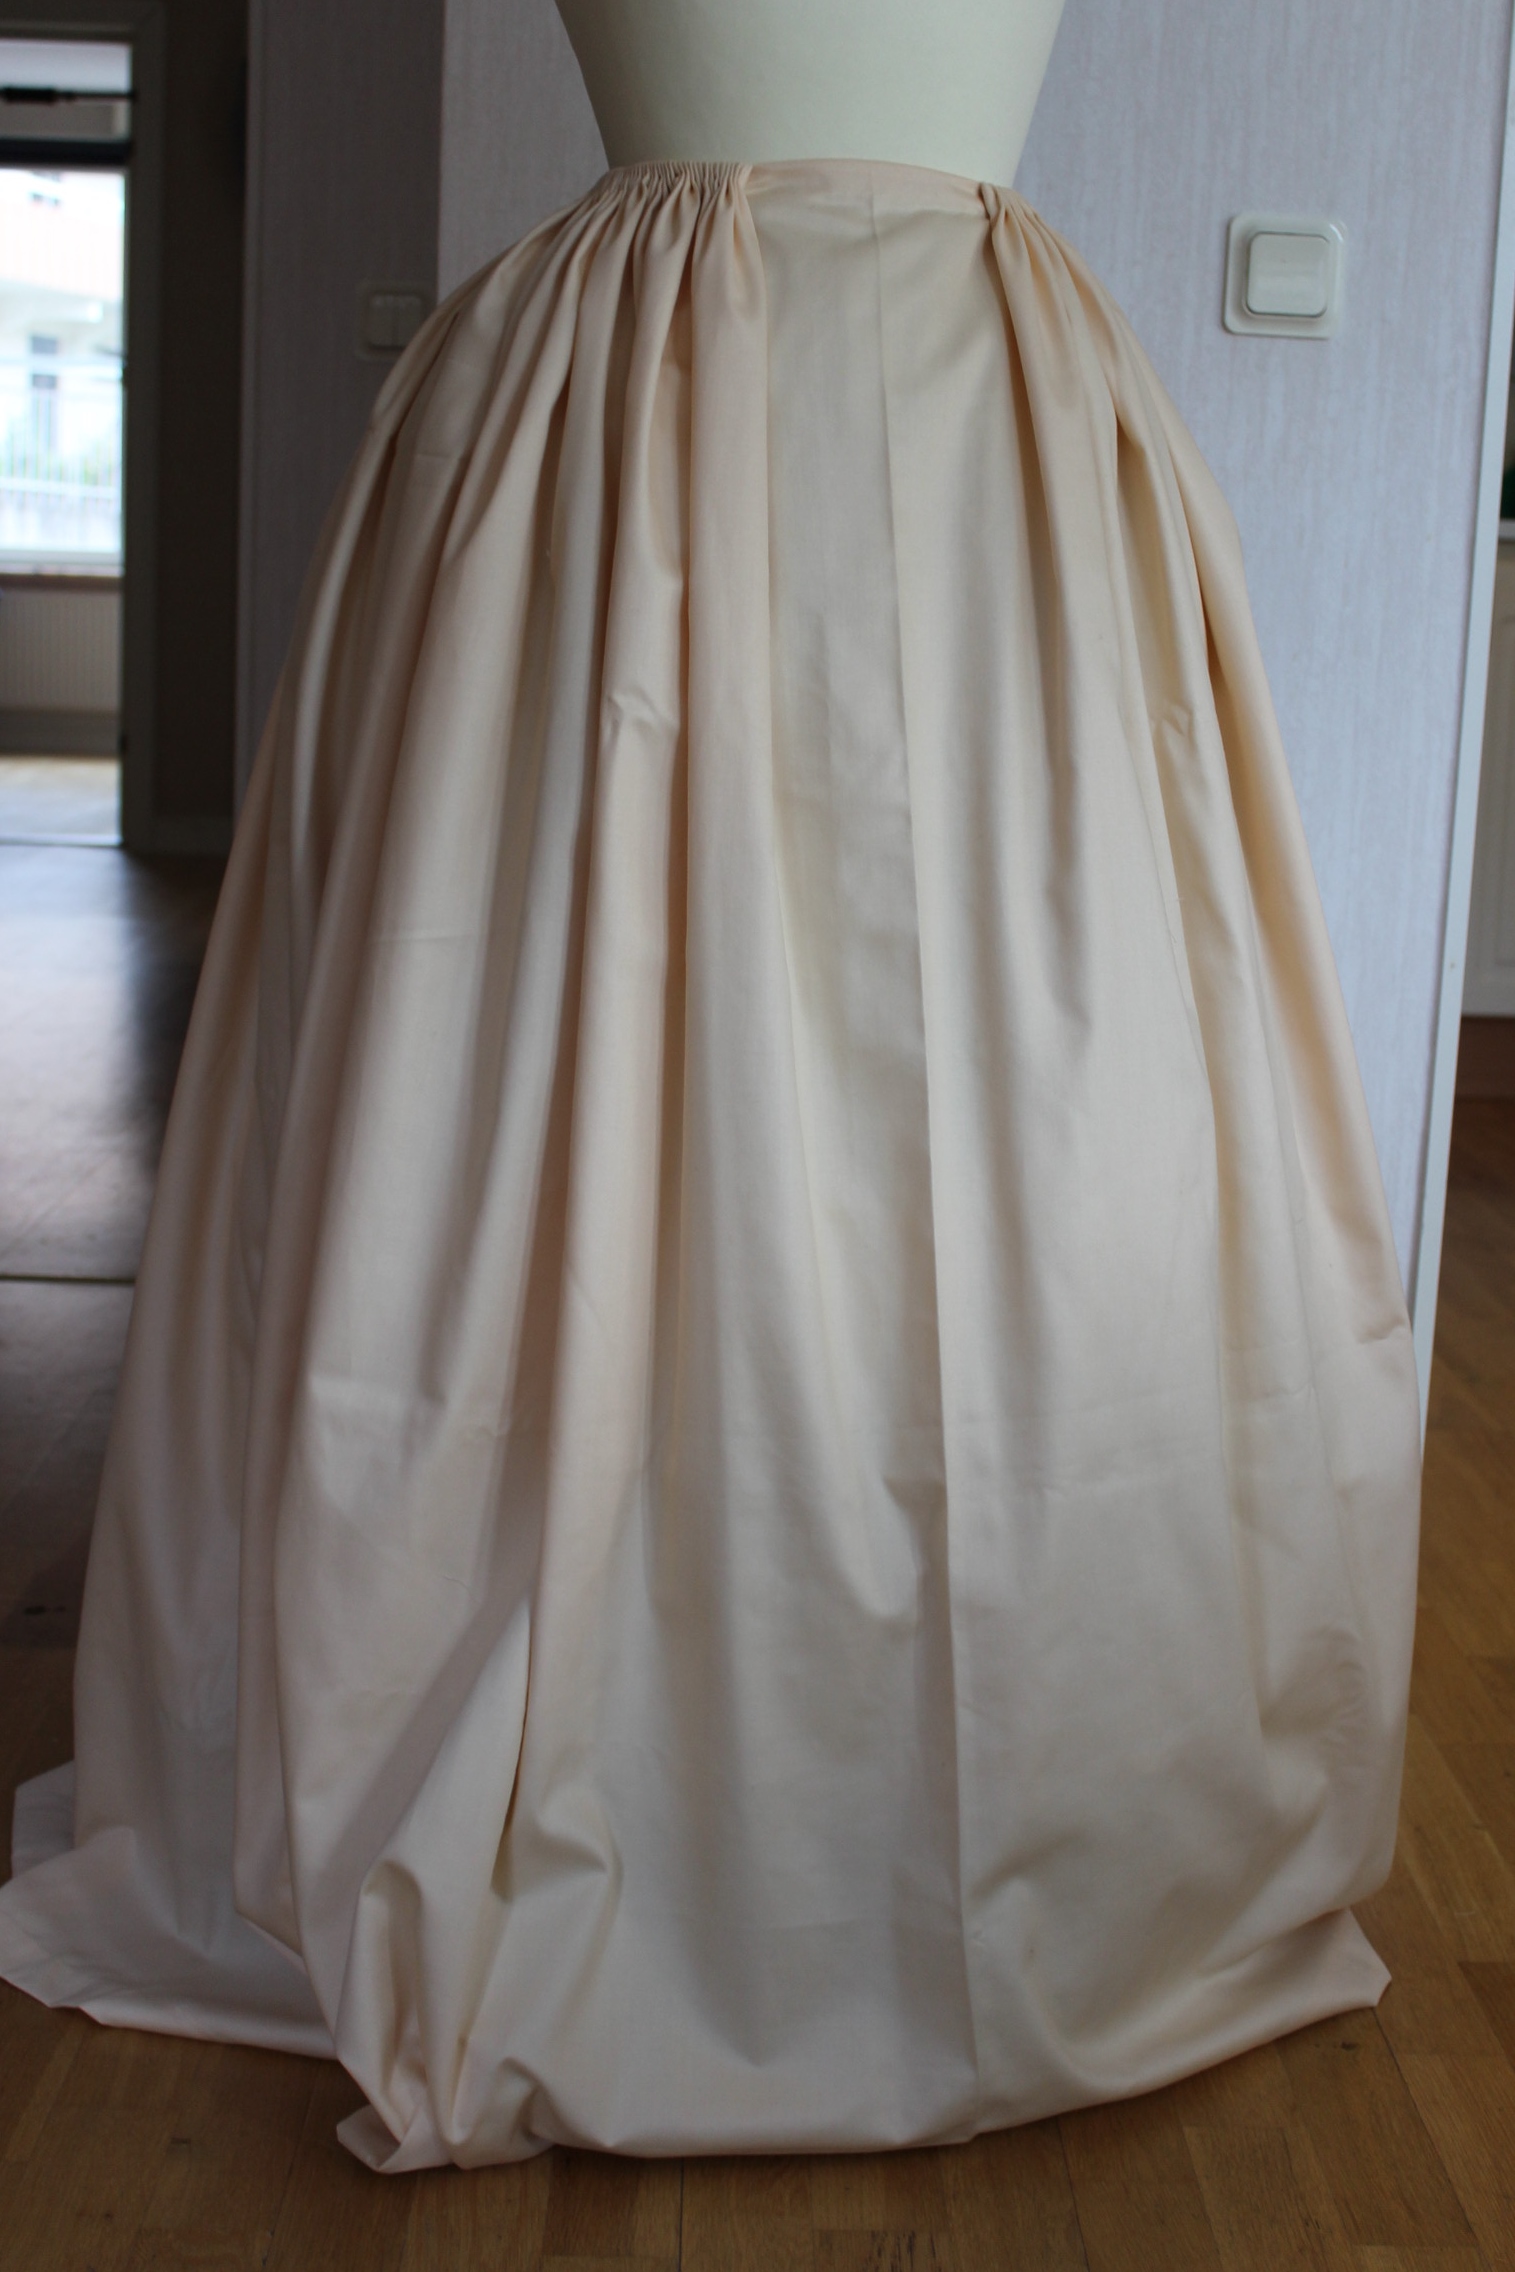
The 5 m I had, was just enough to piece out dress and additional skirt gores.
Since this was to be a quick and “un-necessary” project, made in a not historical accurate fabric I decided to stitch it all on my sewing-machine.
So that’s what I did, overlocking the edges and everything.
I think I spent the whole of 1 hour stitching it together, adding the sleeves and asking my boyfriend to mark the hem.
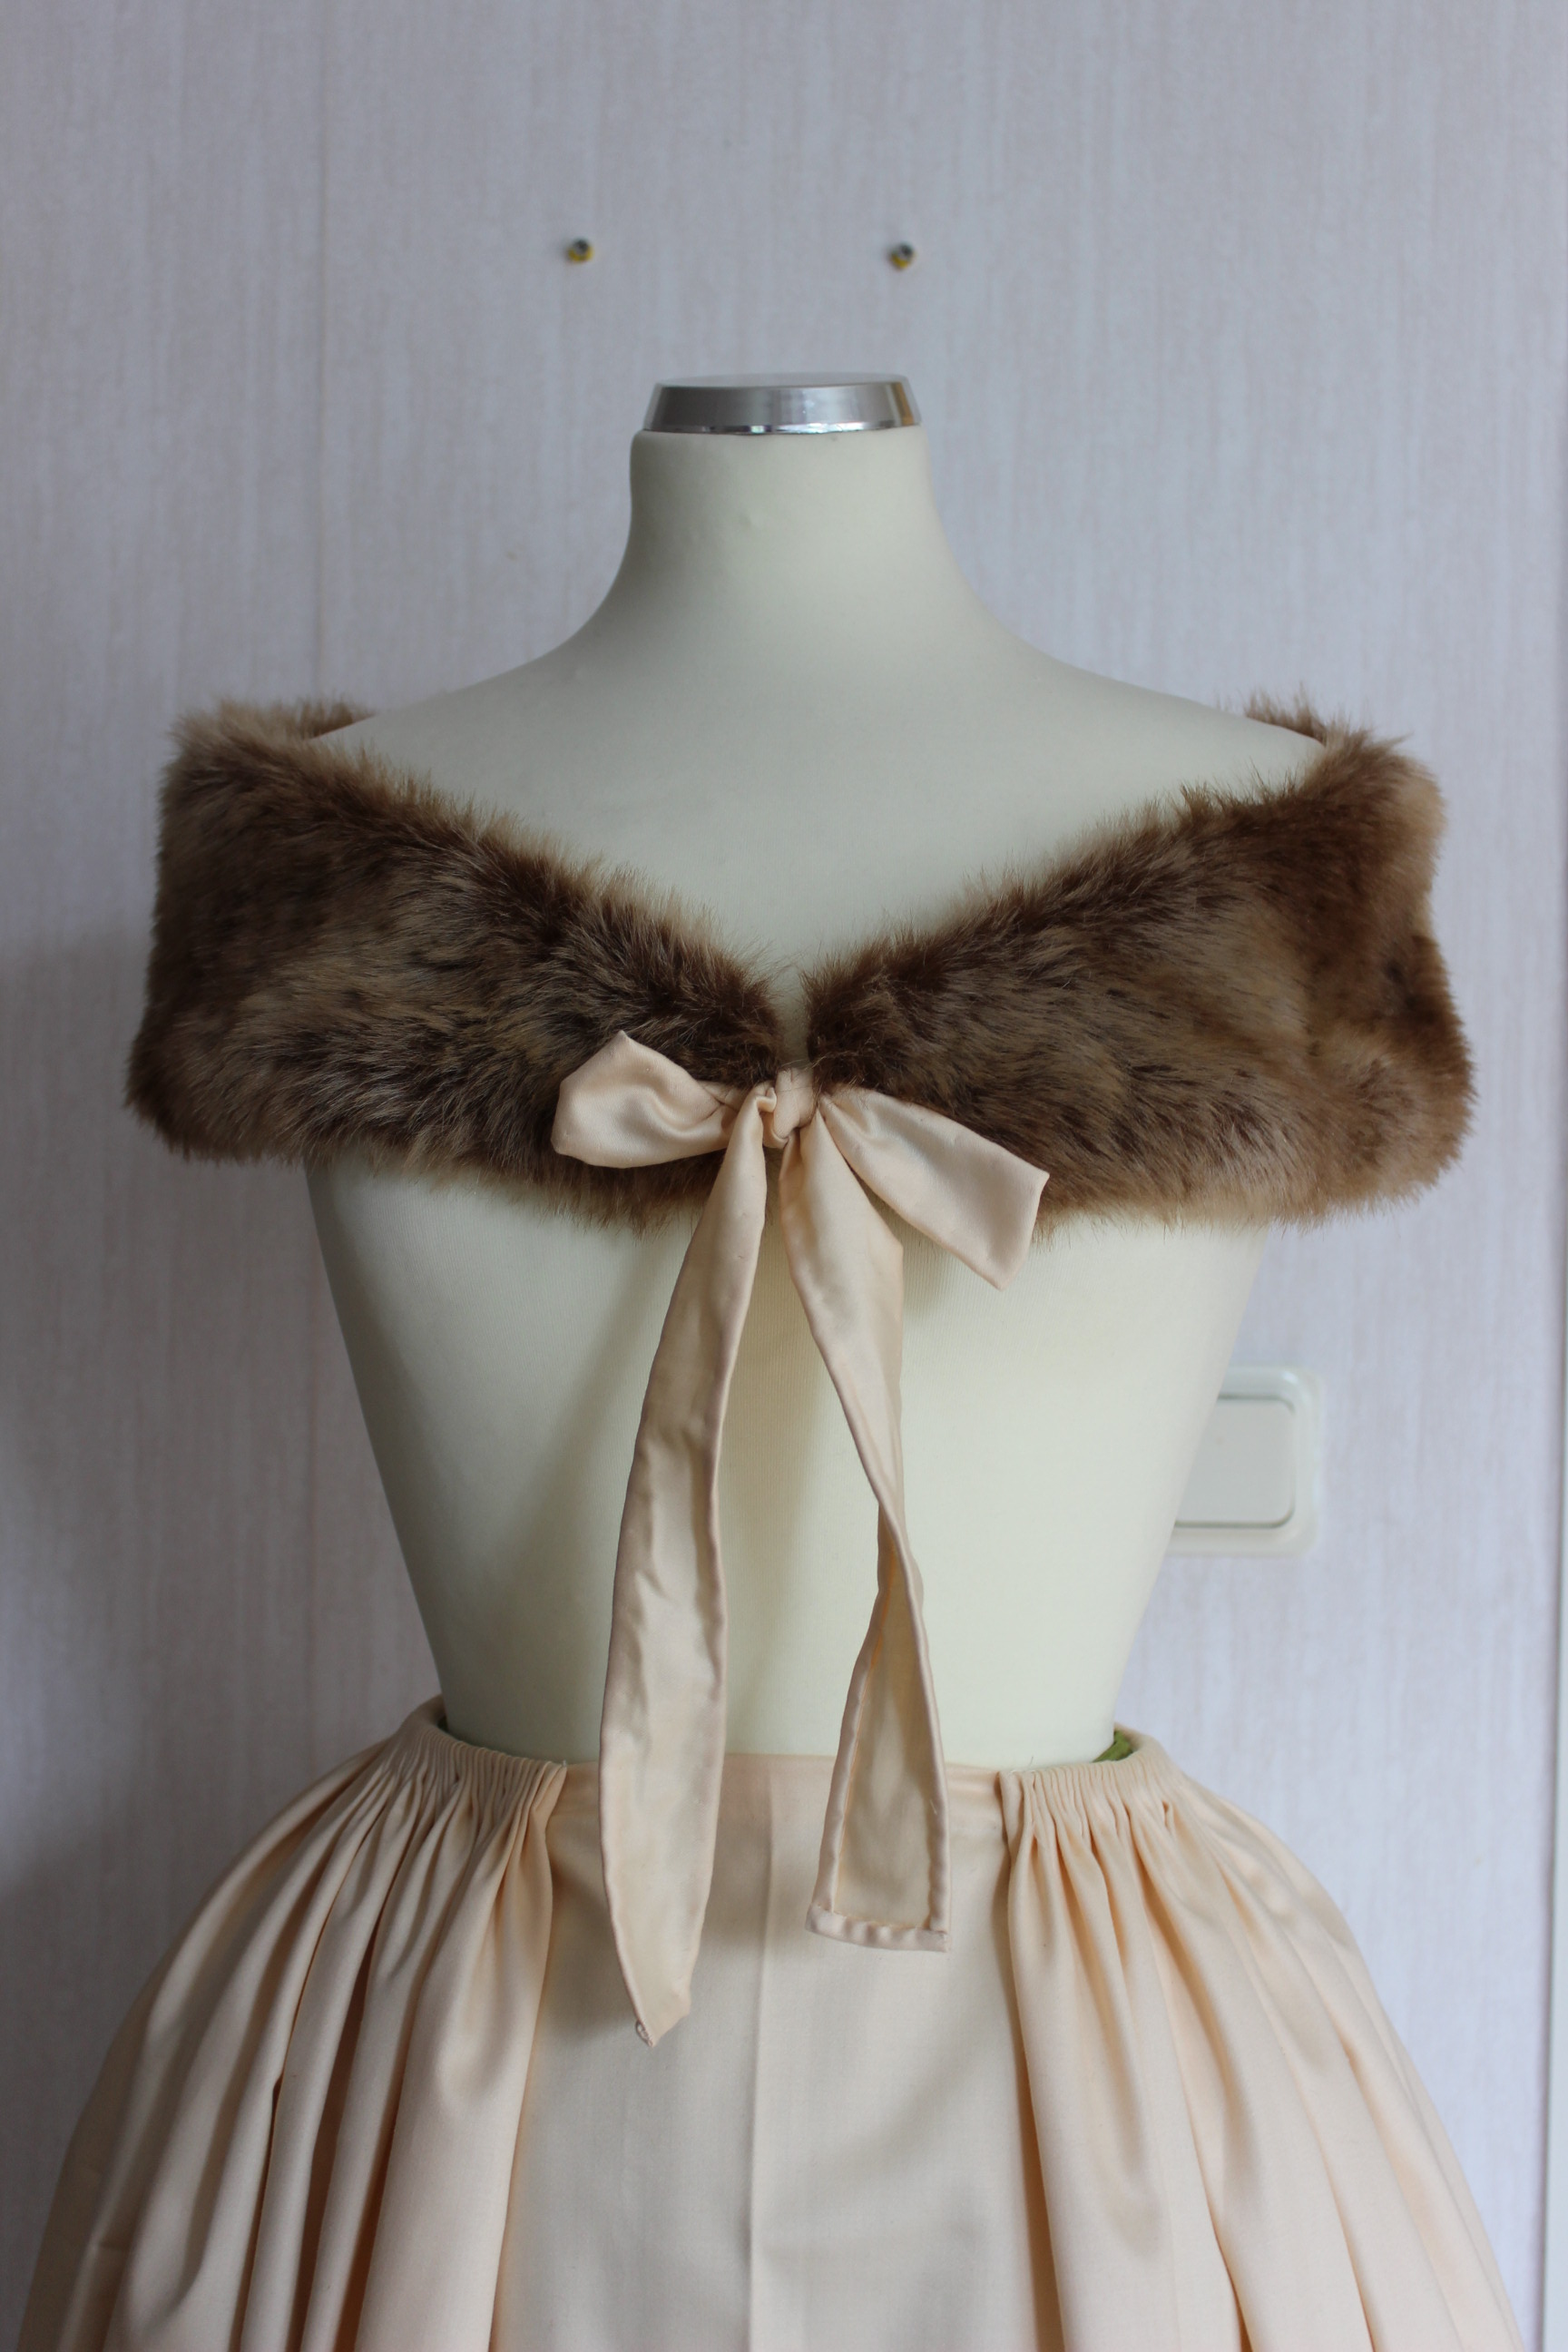
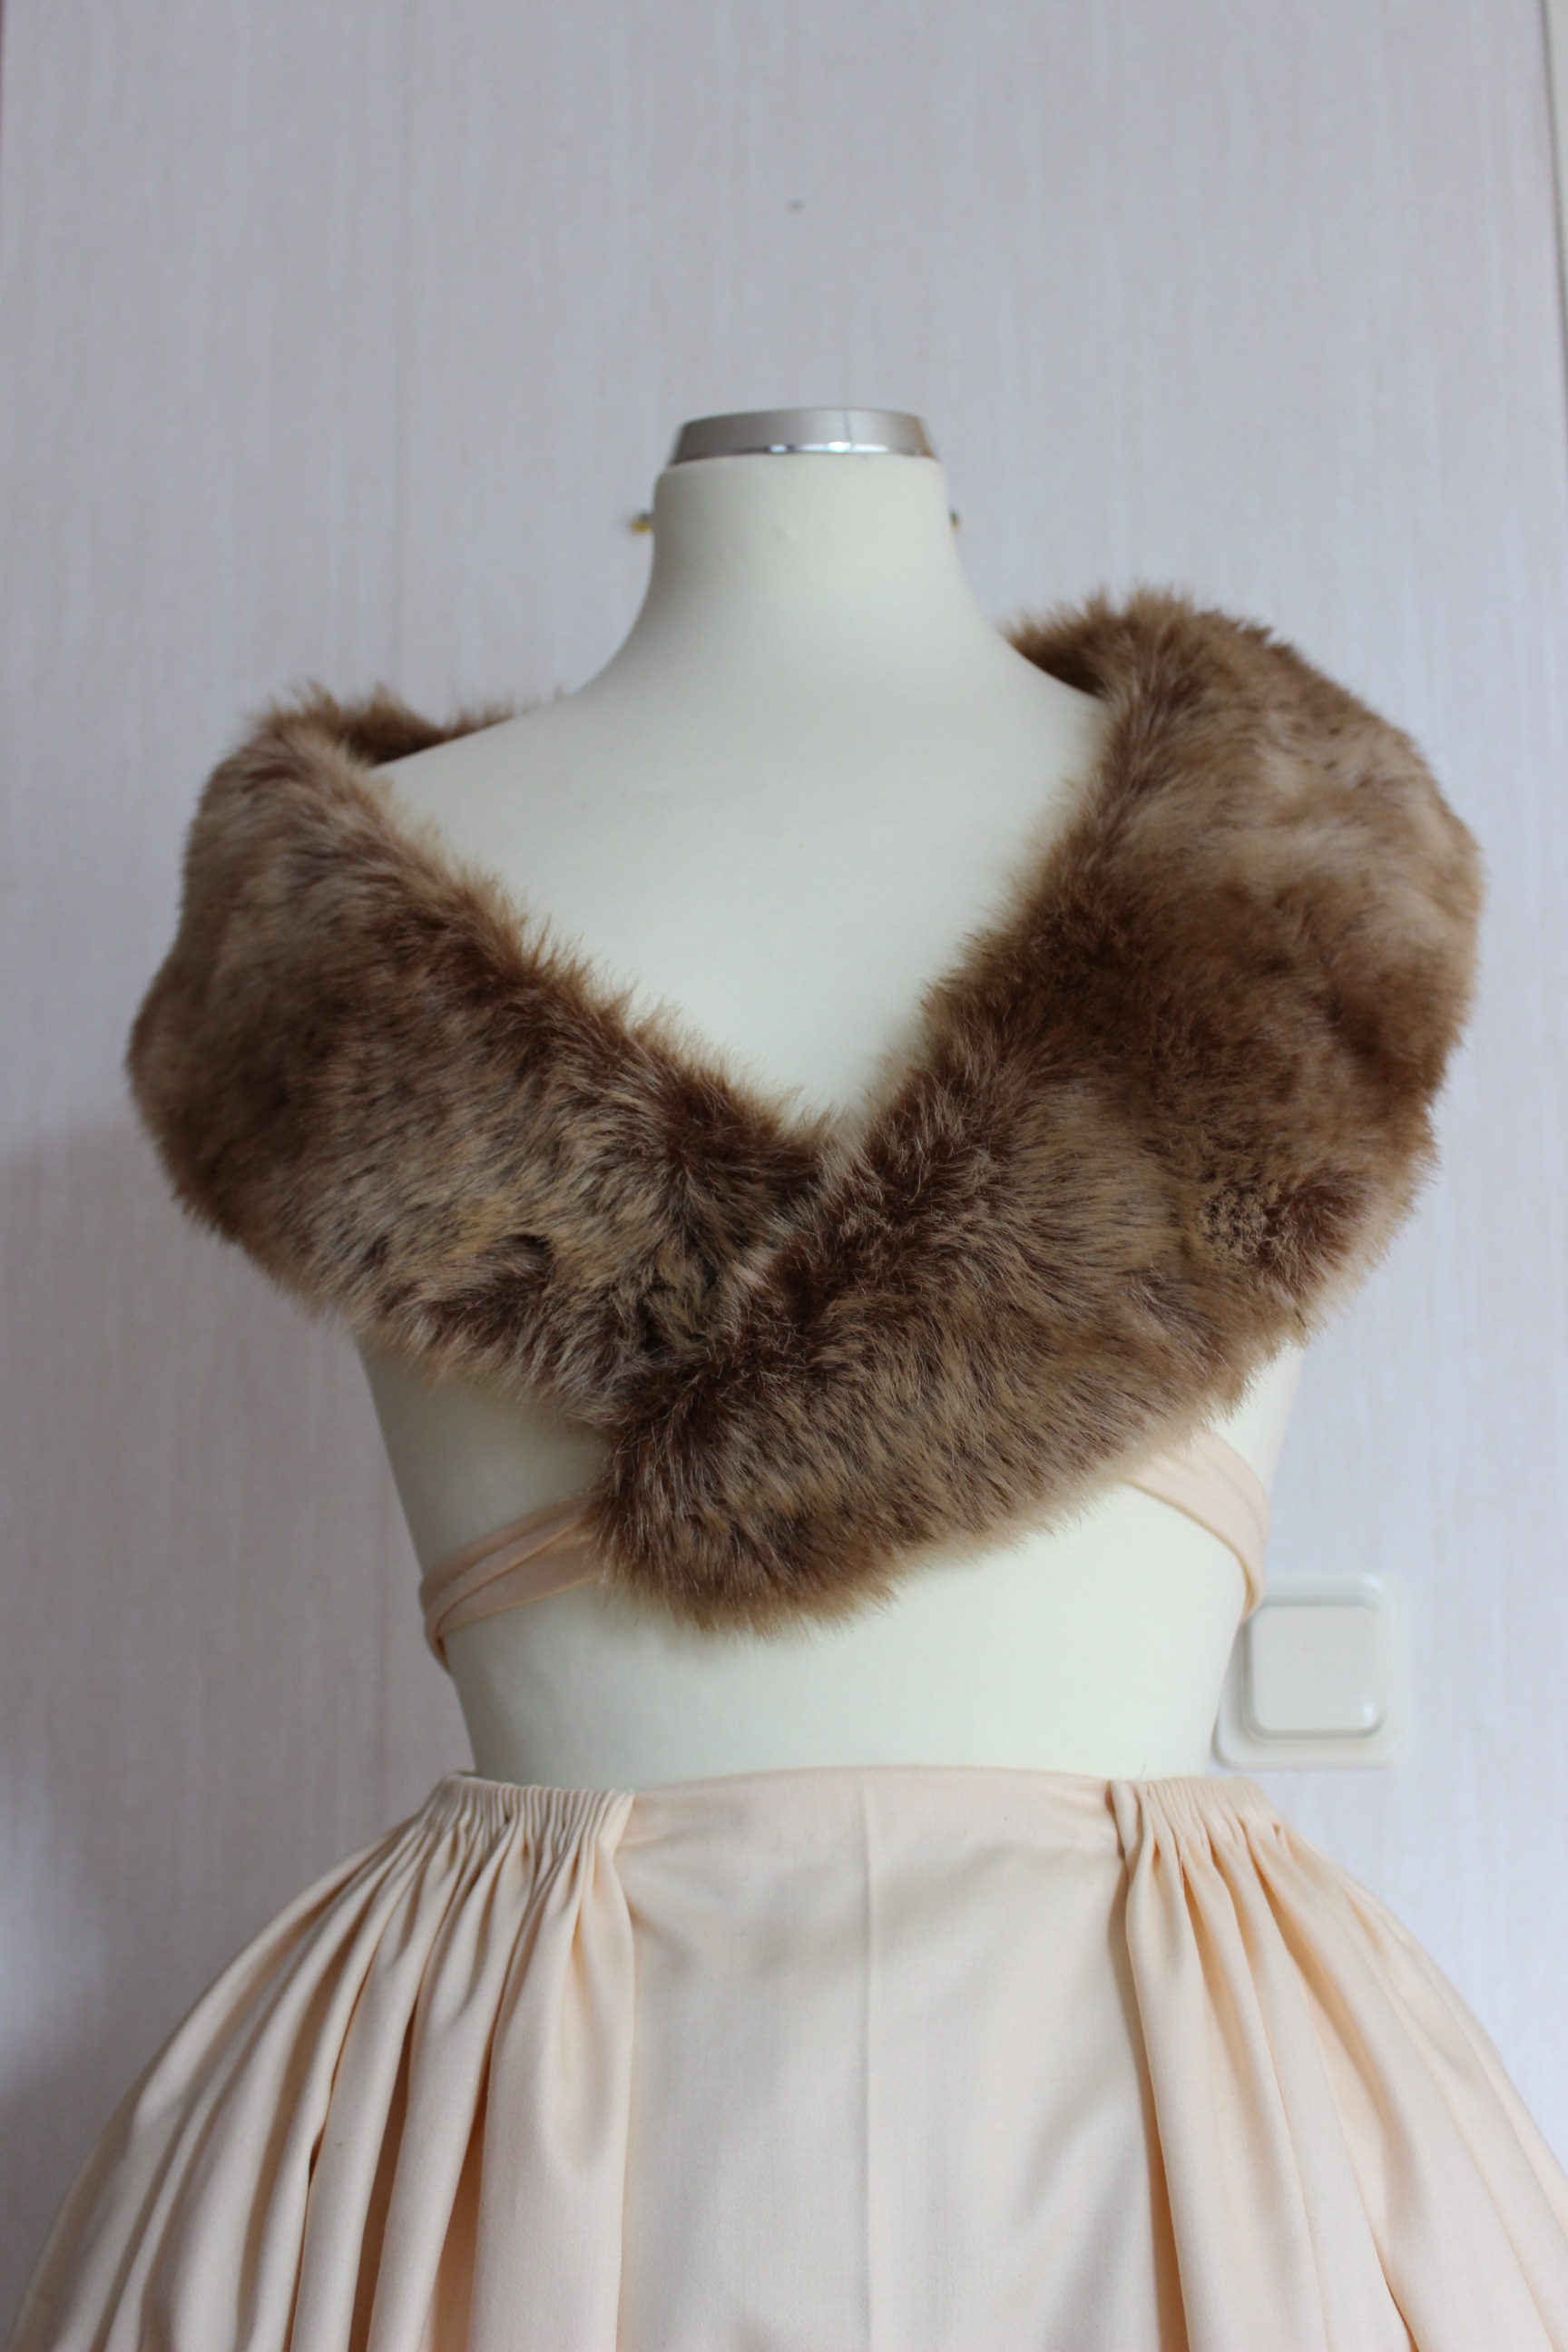
But then I got stuck – on the fur trimings.
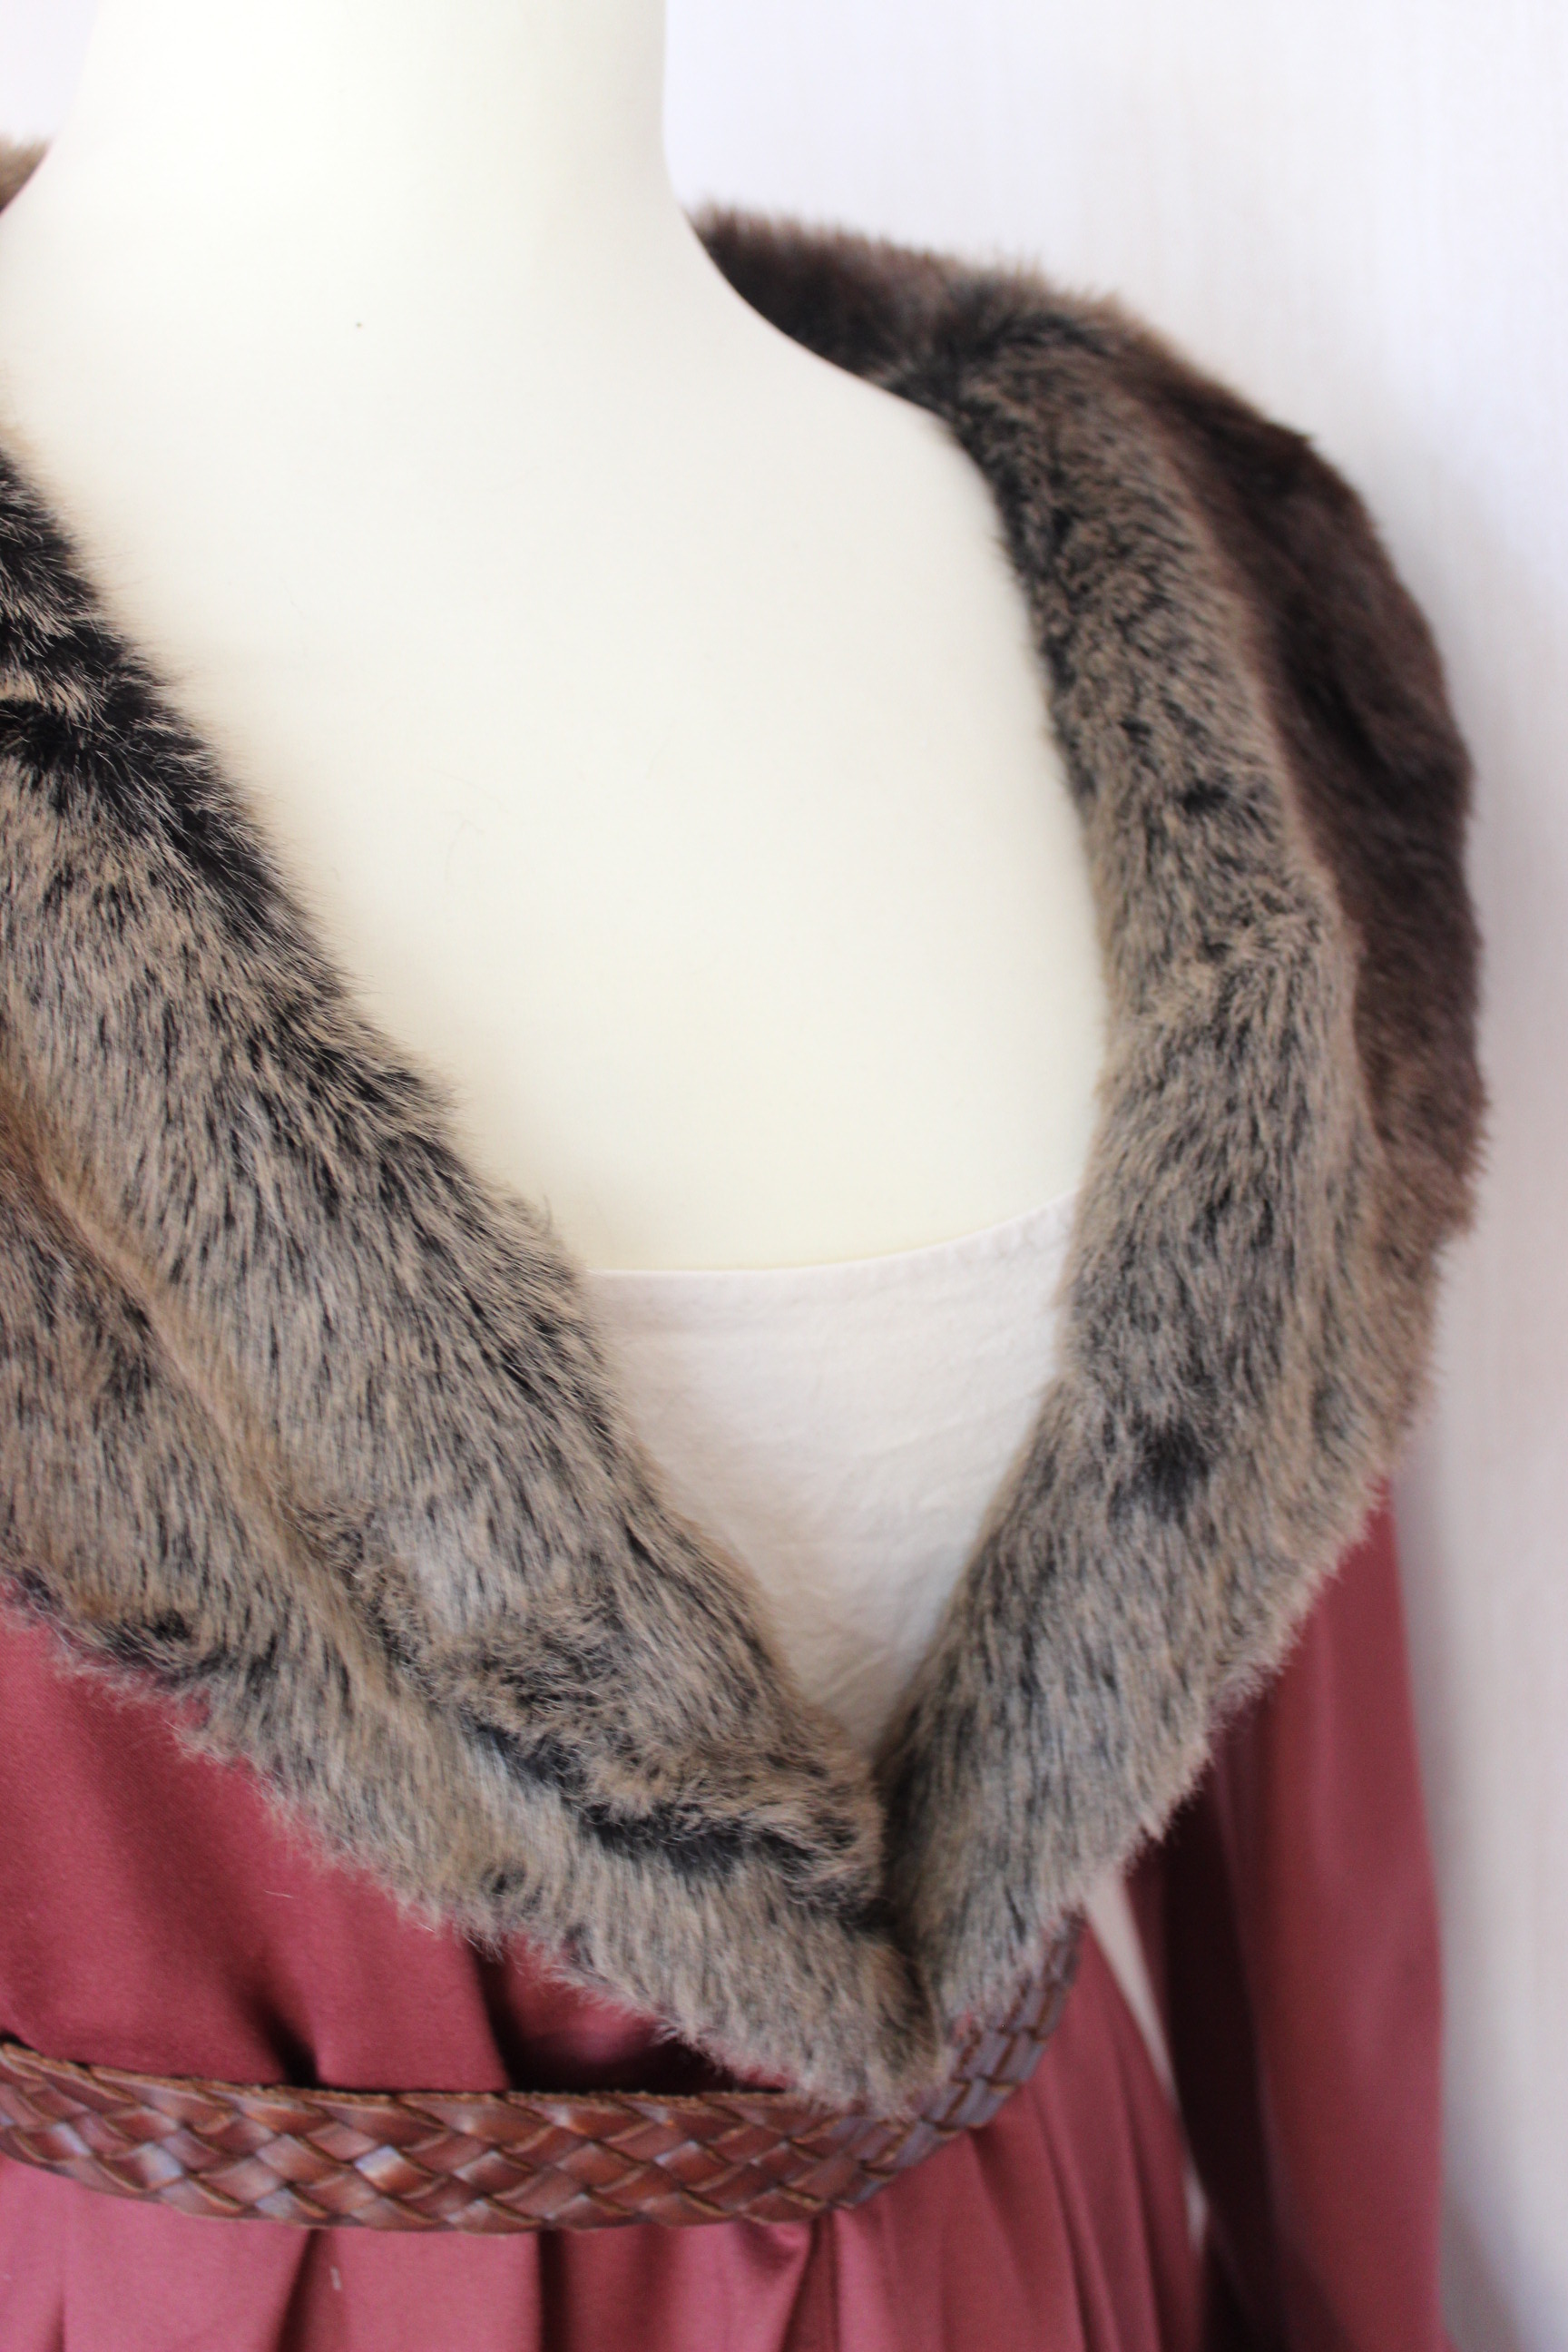
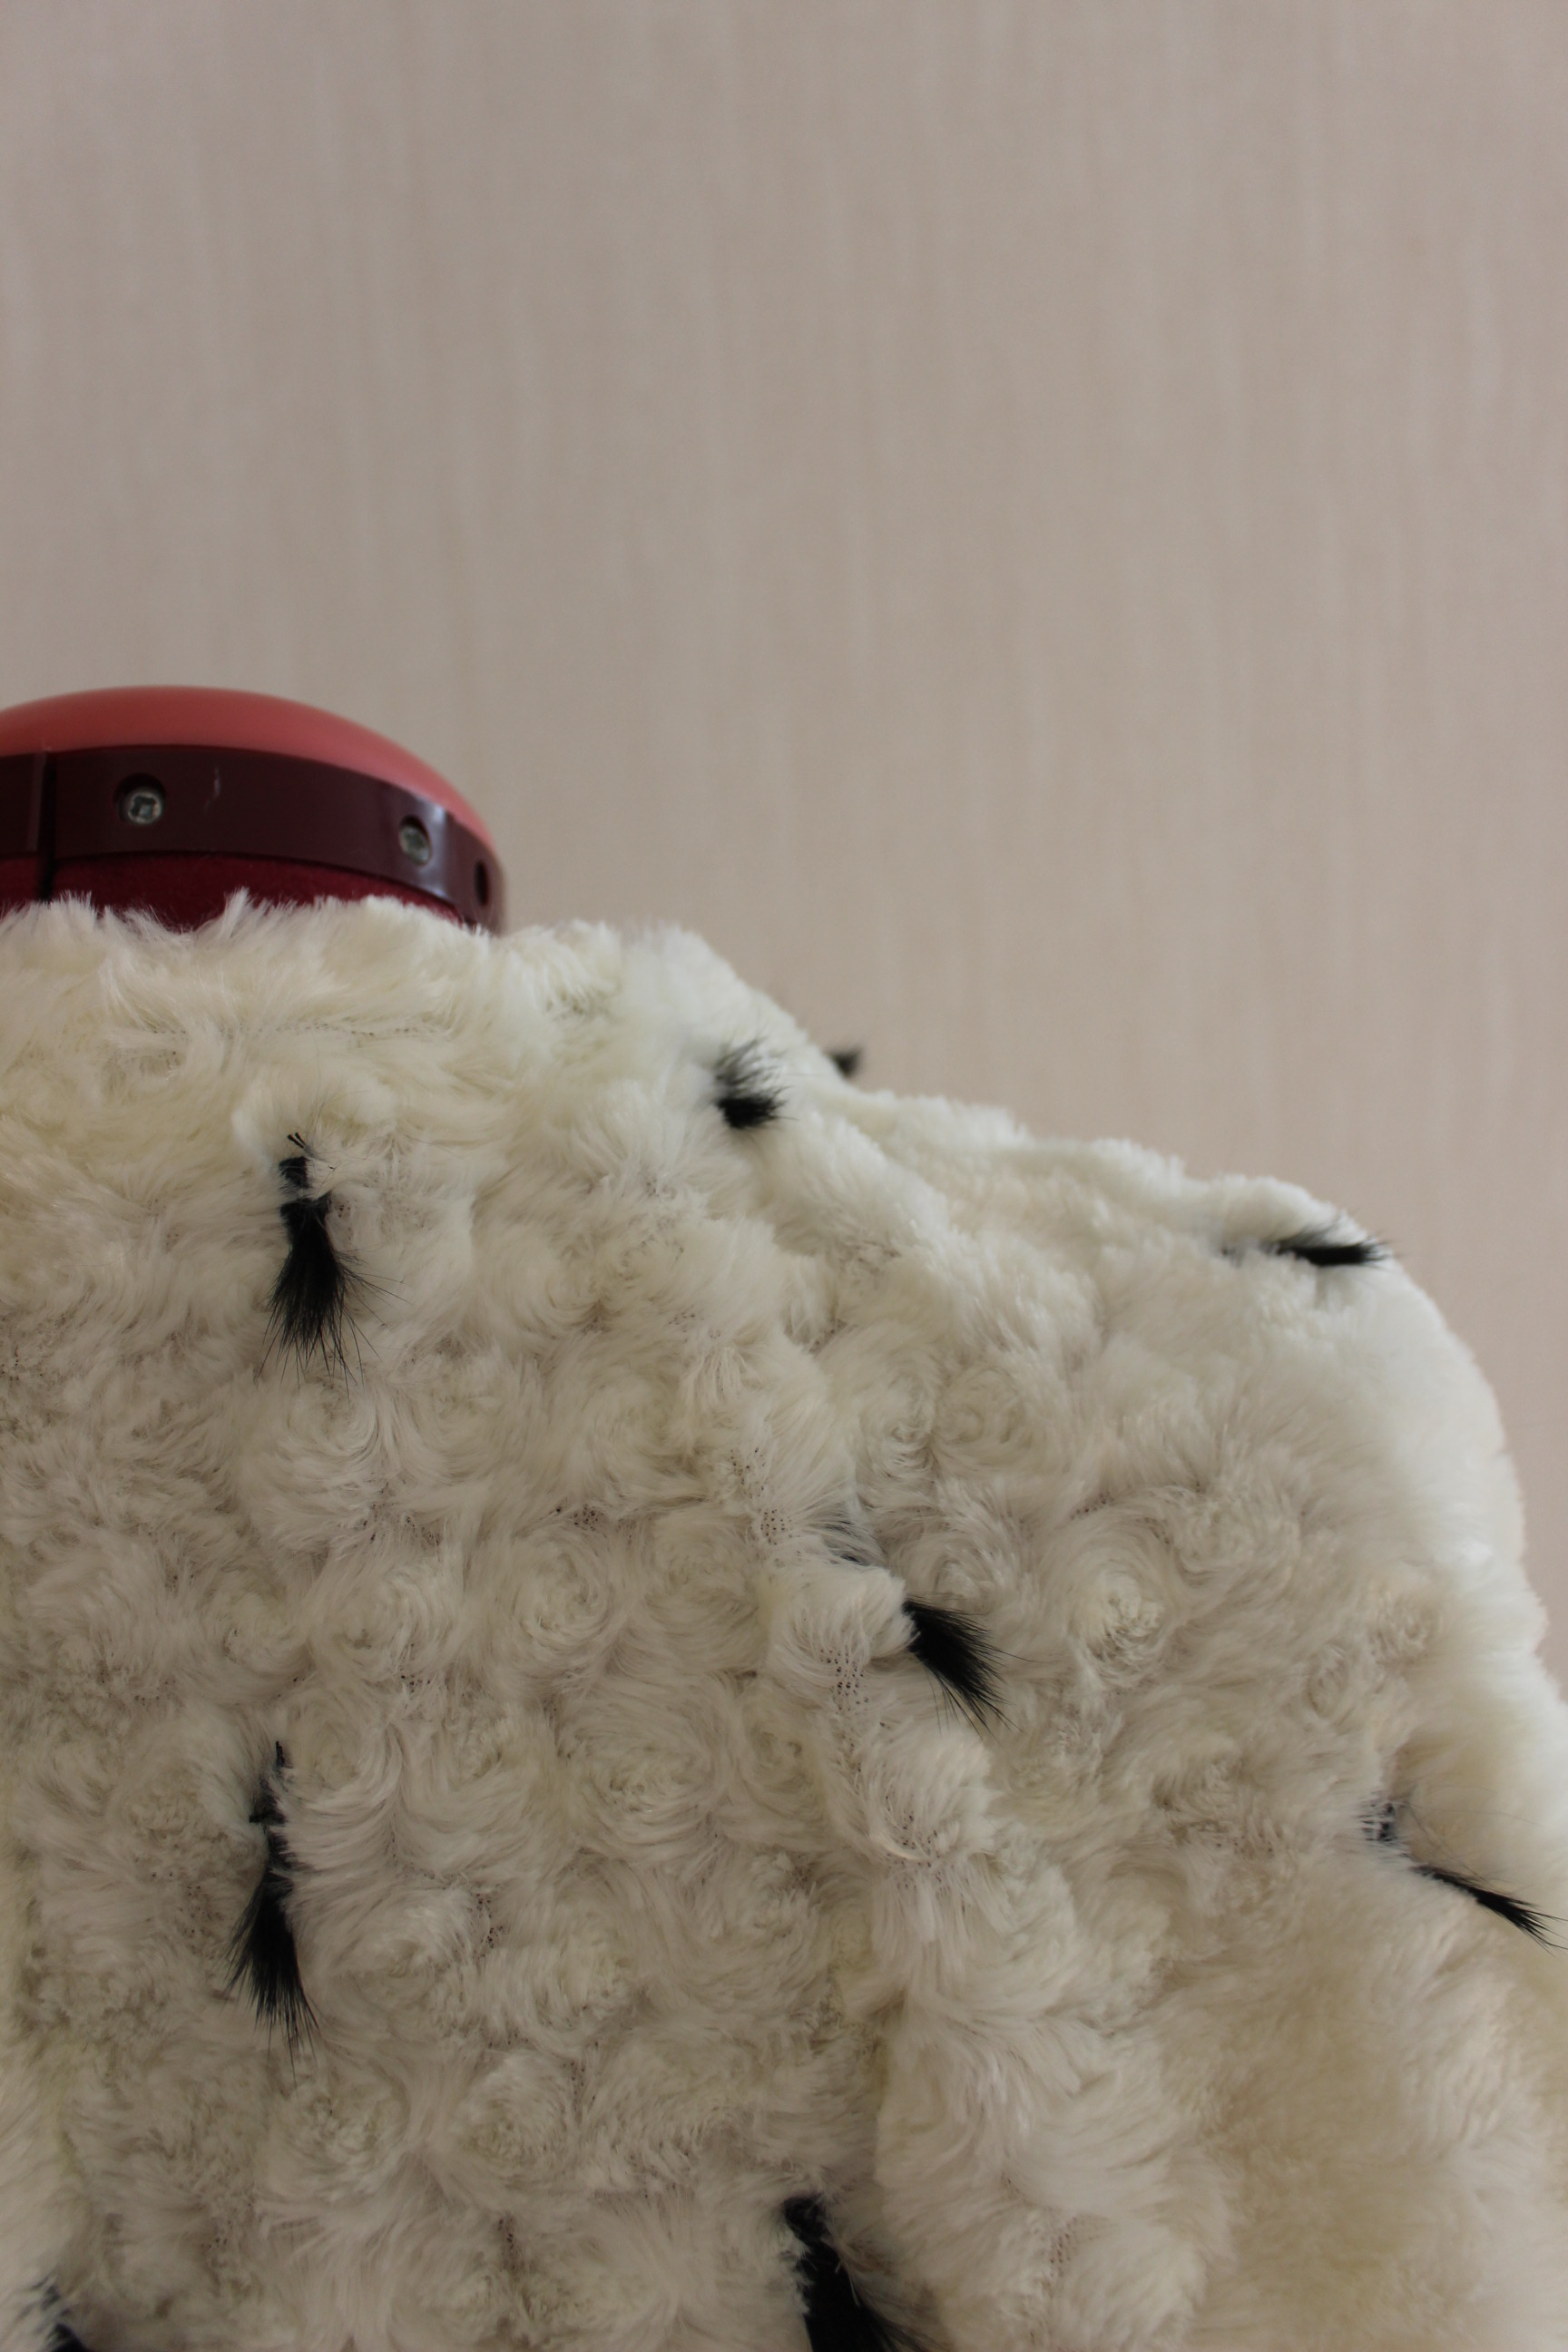
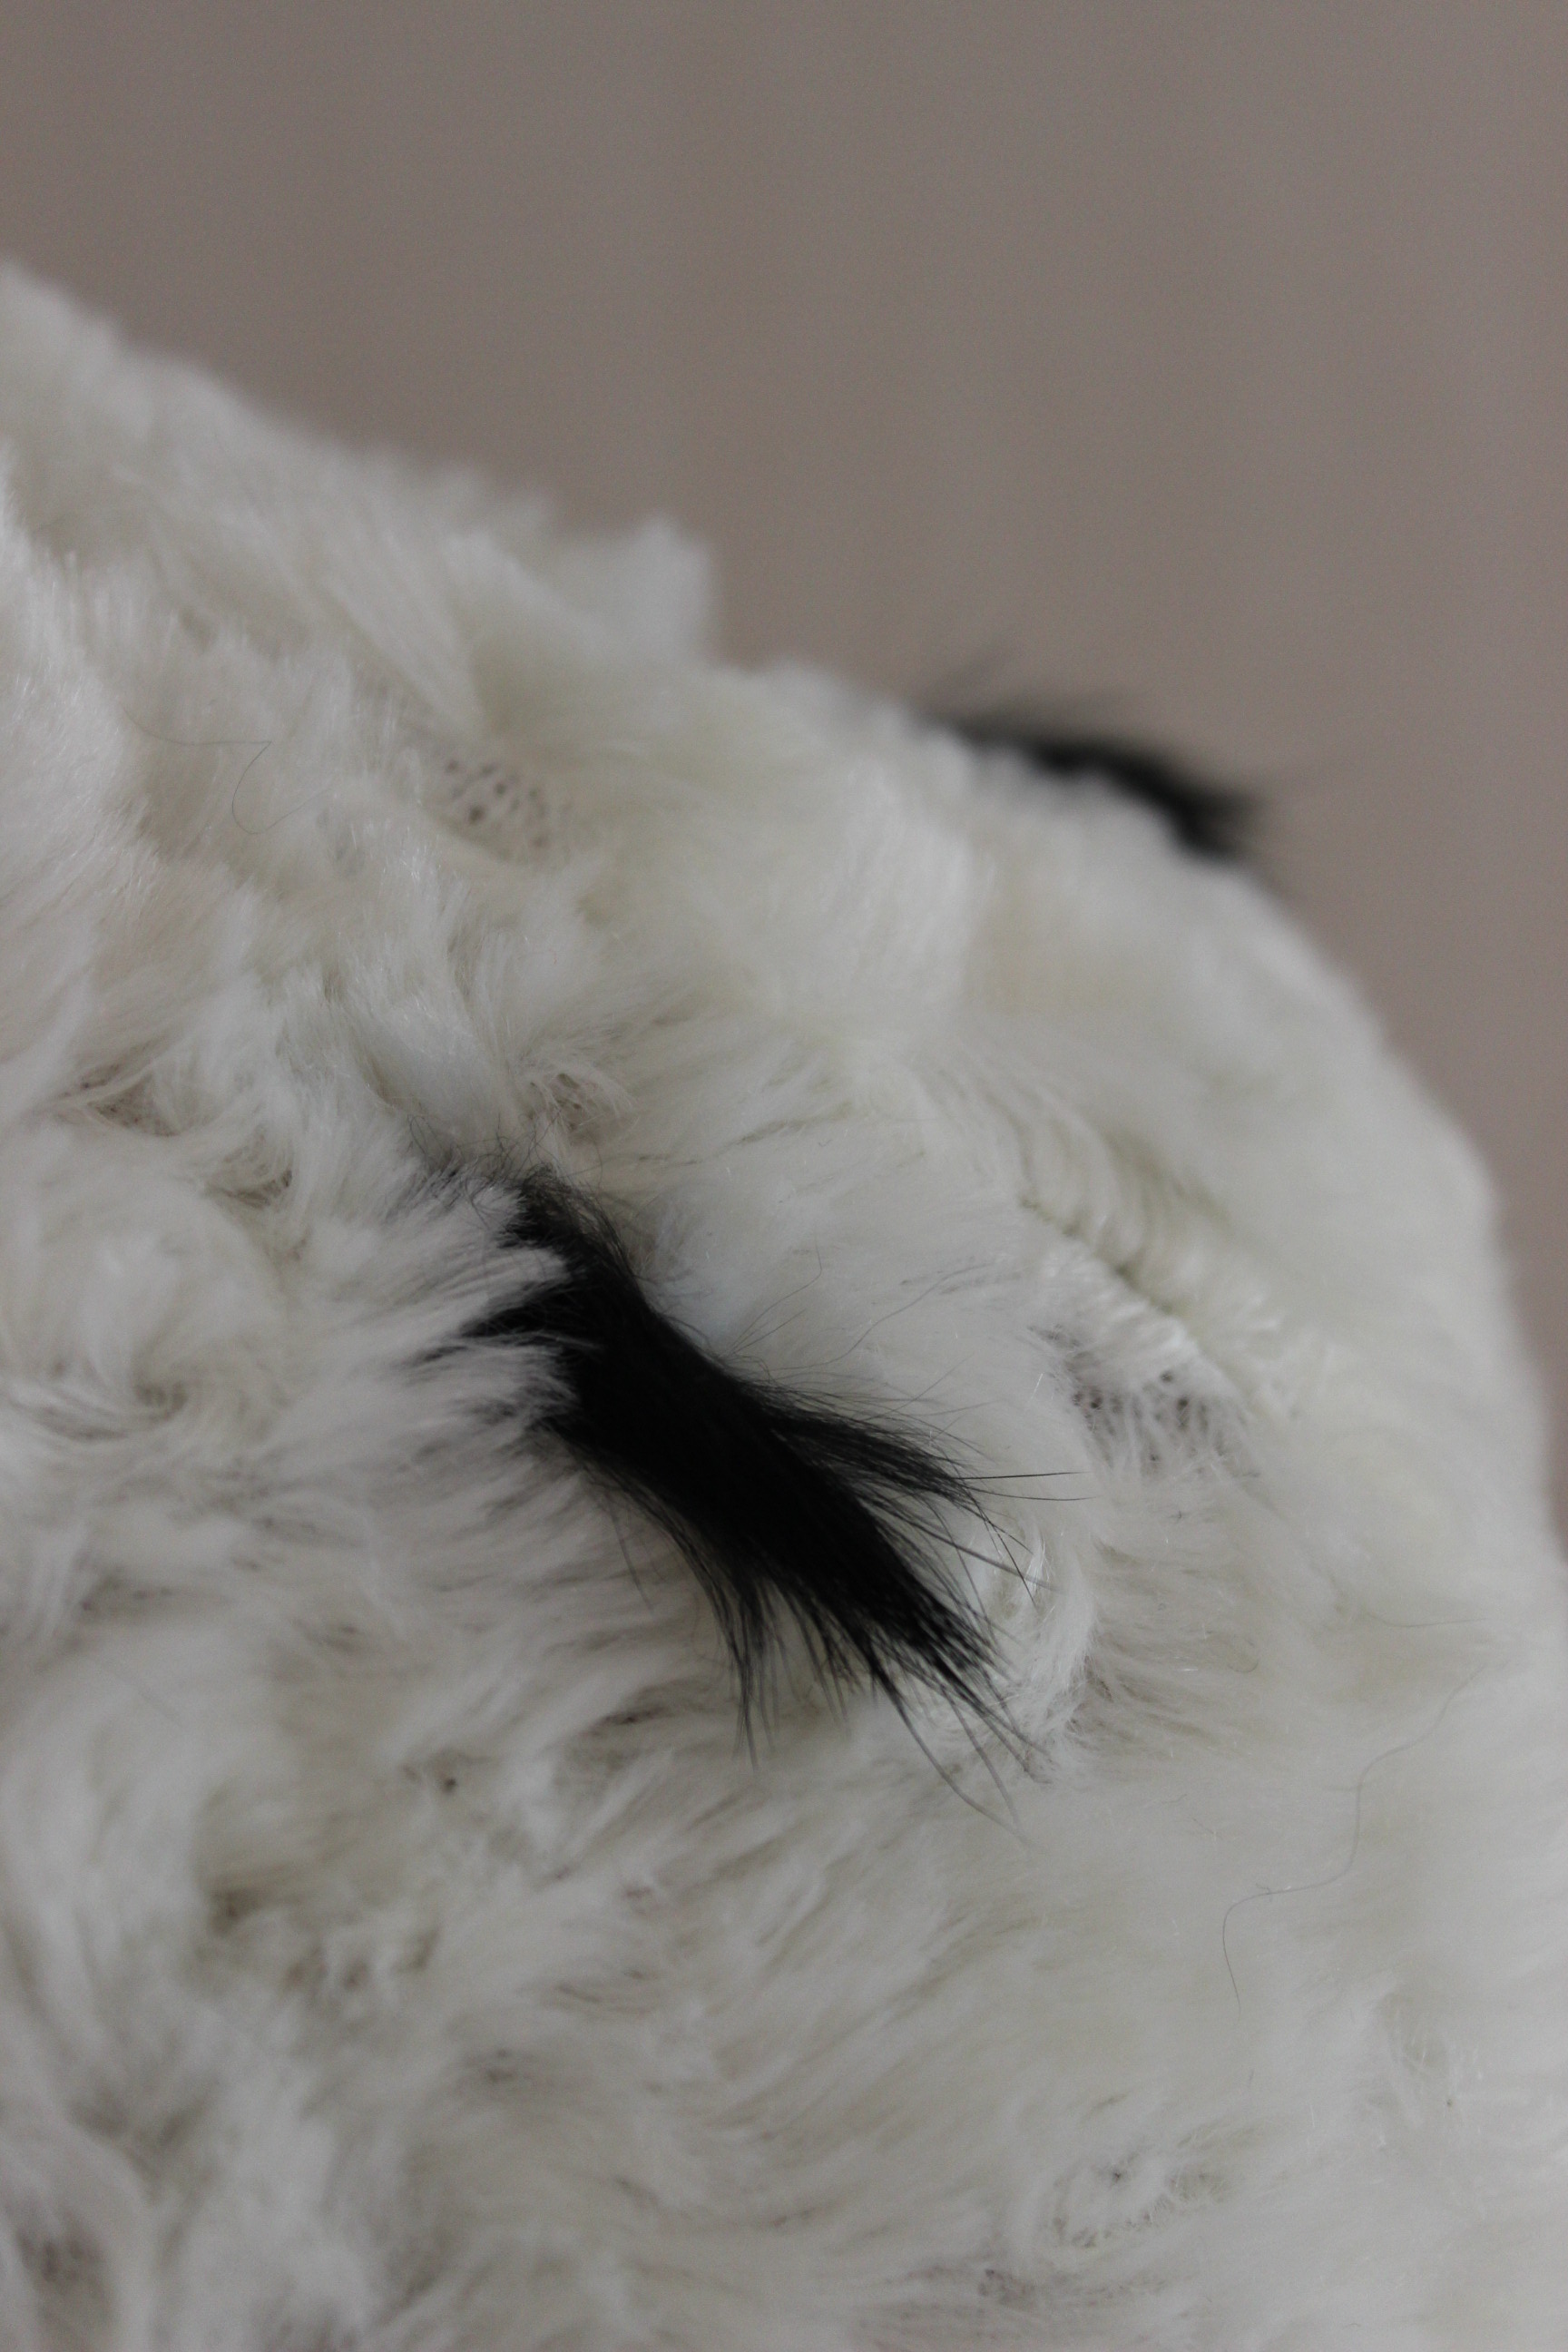
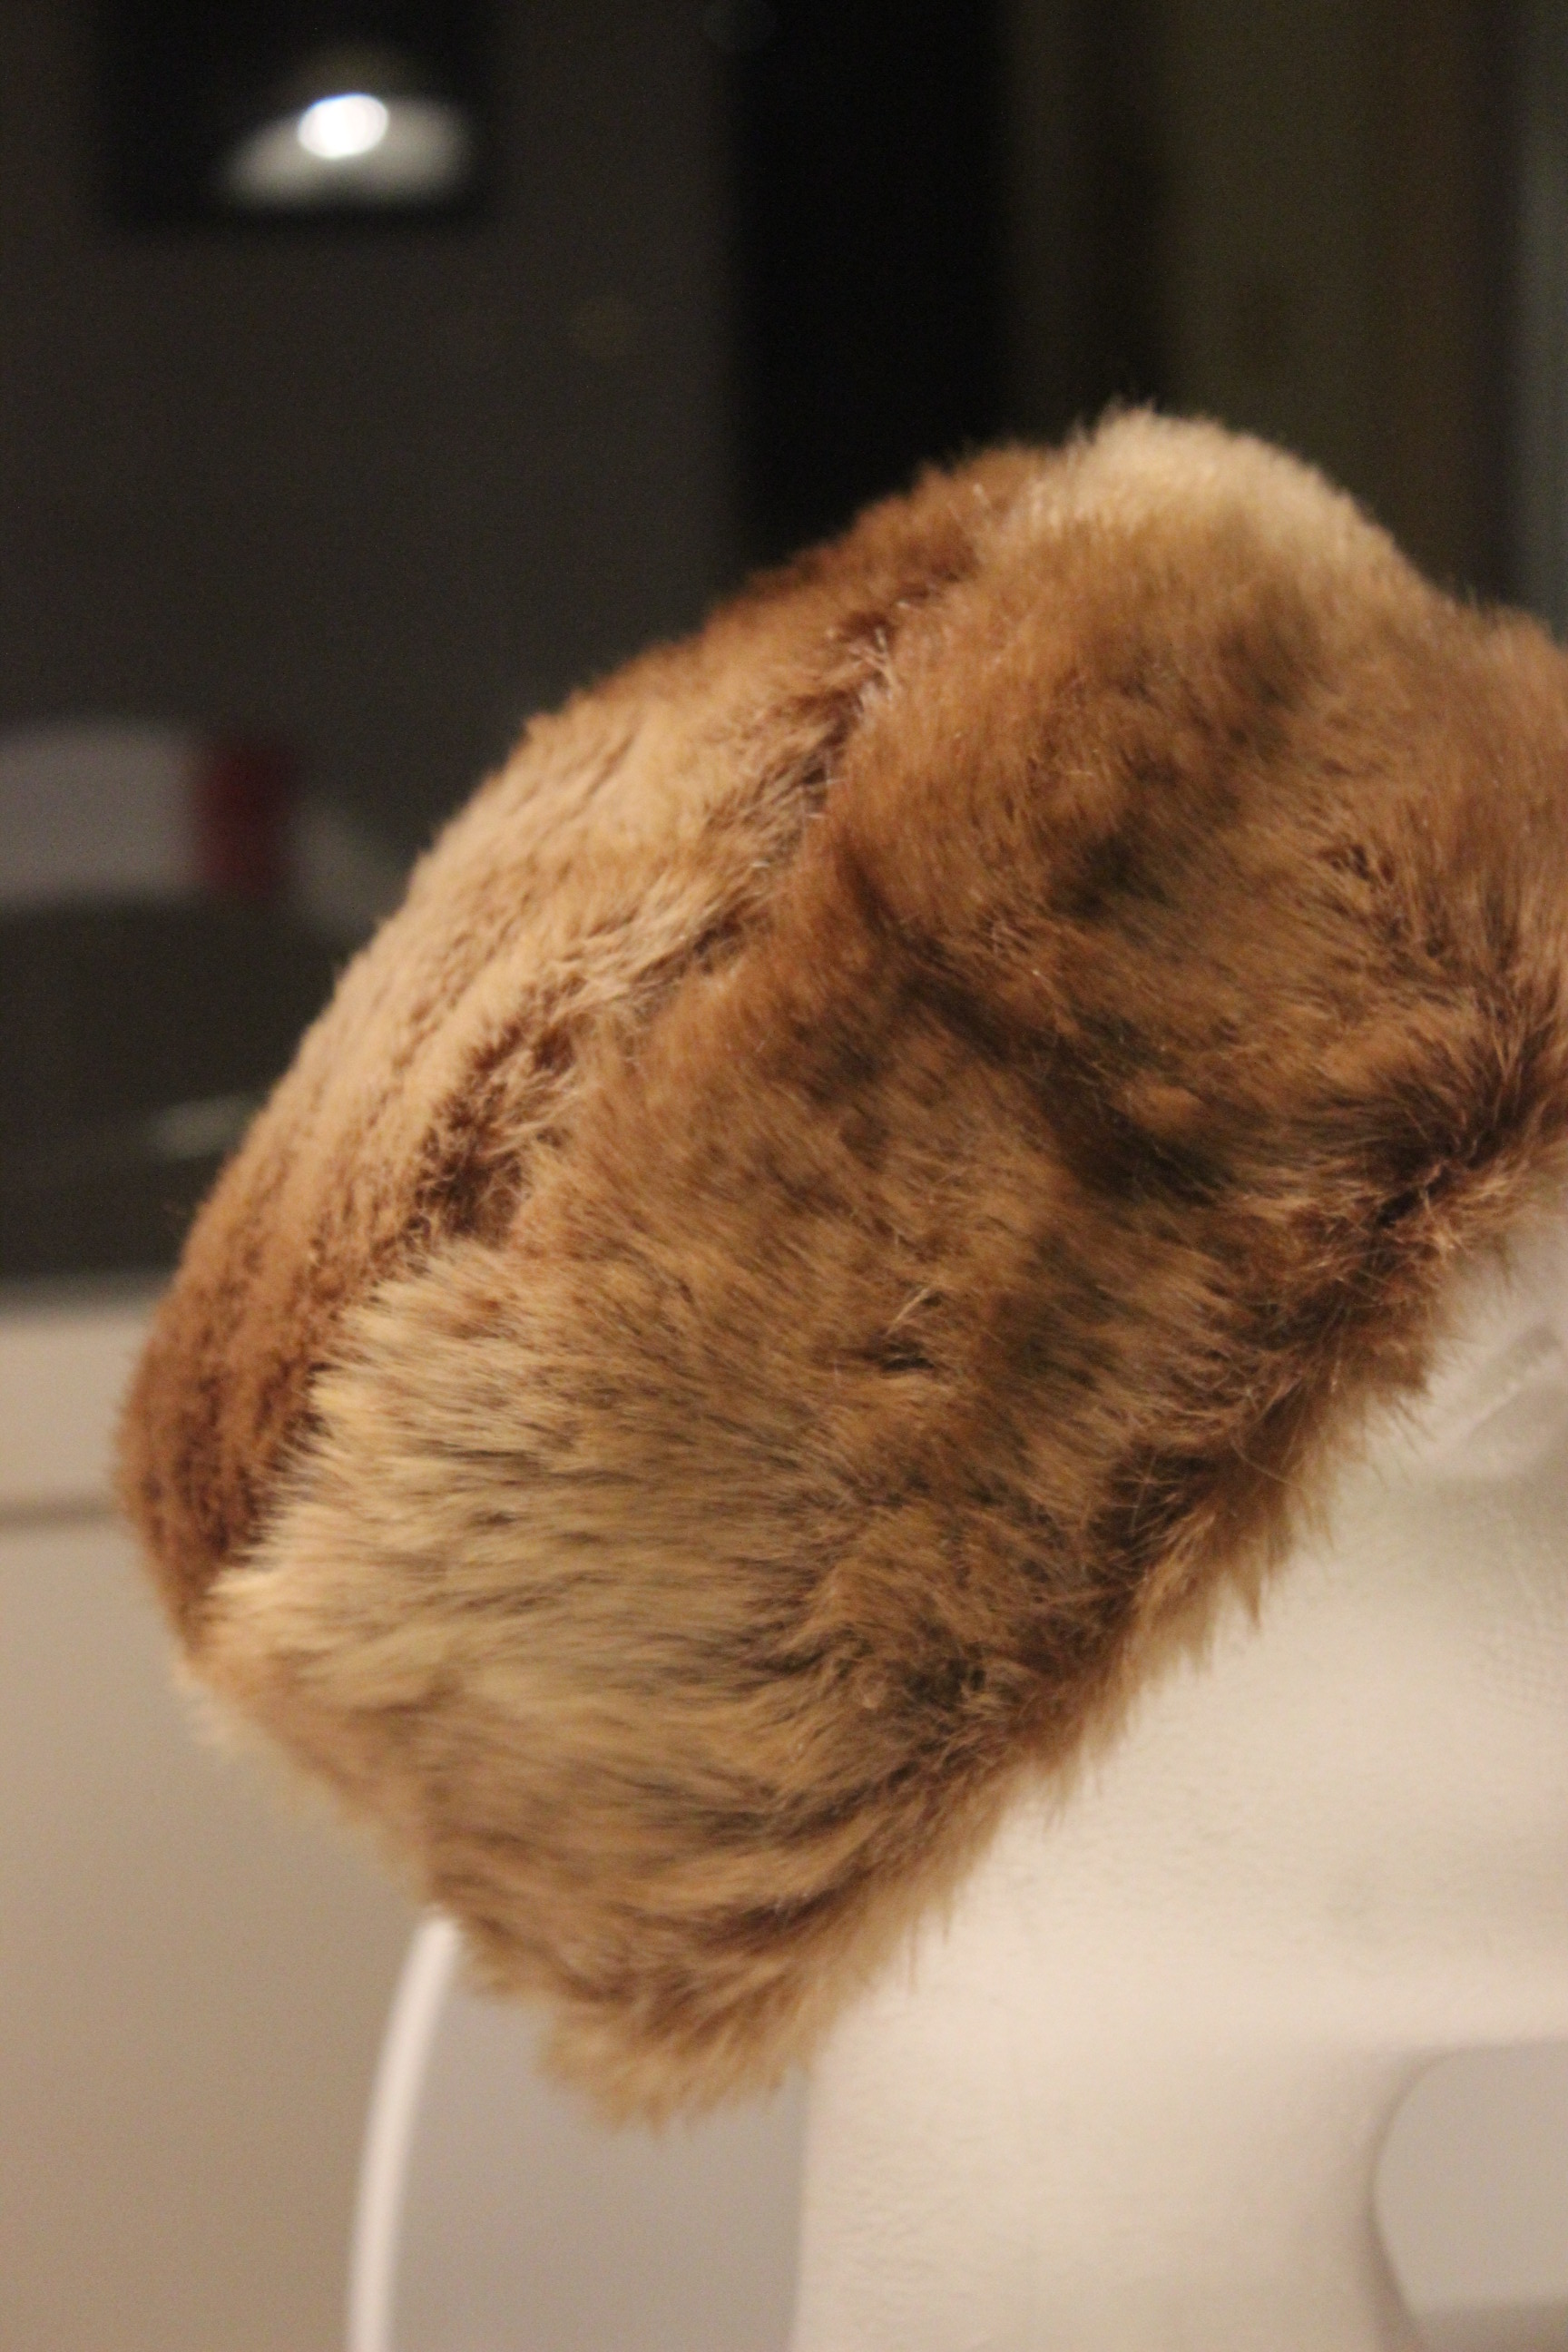
After some searching, both for inspirational pictures and in the fabric stores, I decided on a dark brown faux “wolf” fur, that would work nice with the red and browns in the gown.
But by the time I got the fur into my sewing-room, I realized it would take some serious planing to get it done.
Having a 1,5 year old kid around meant I needed to find at least a couple of hours of un-interrupted sewing/cutting time…
Yeah, good luck with that.
So there I was, trying to find both the energy, inspiration and time to finish the dress.
Neddles to say the gown went into my UFO pile for a few months.
I dug it out to finish only this past weeks, so that I could wear it on a dance recital late april.
The dance recital didn’t happened, but the dress got finished, so I count it a win anyway.
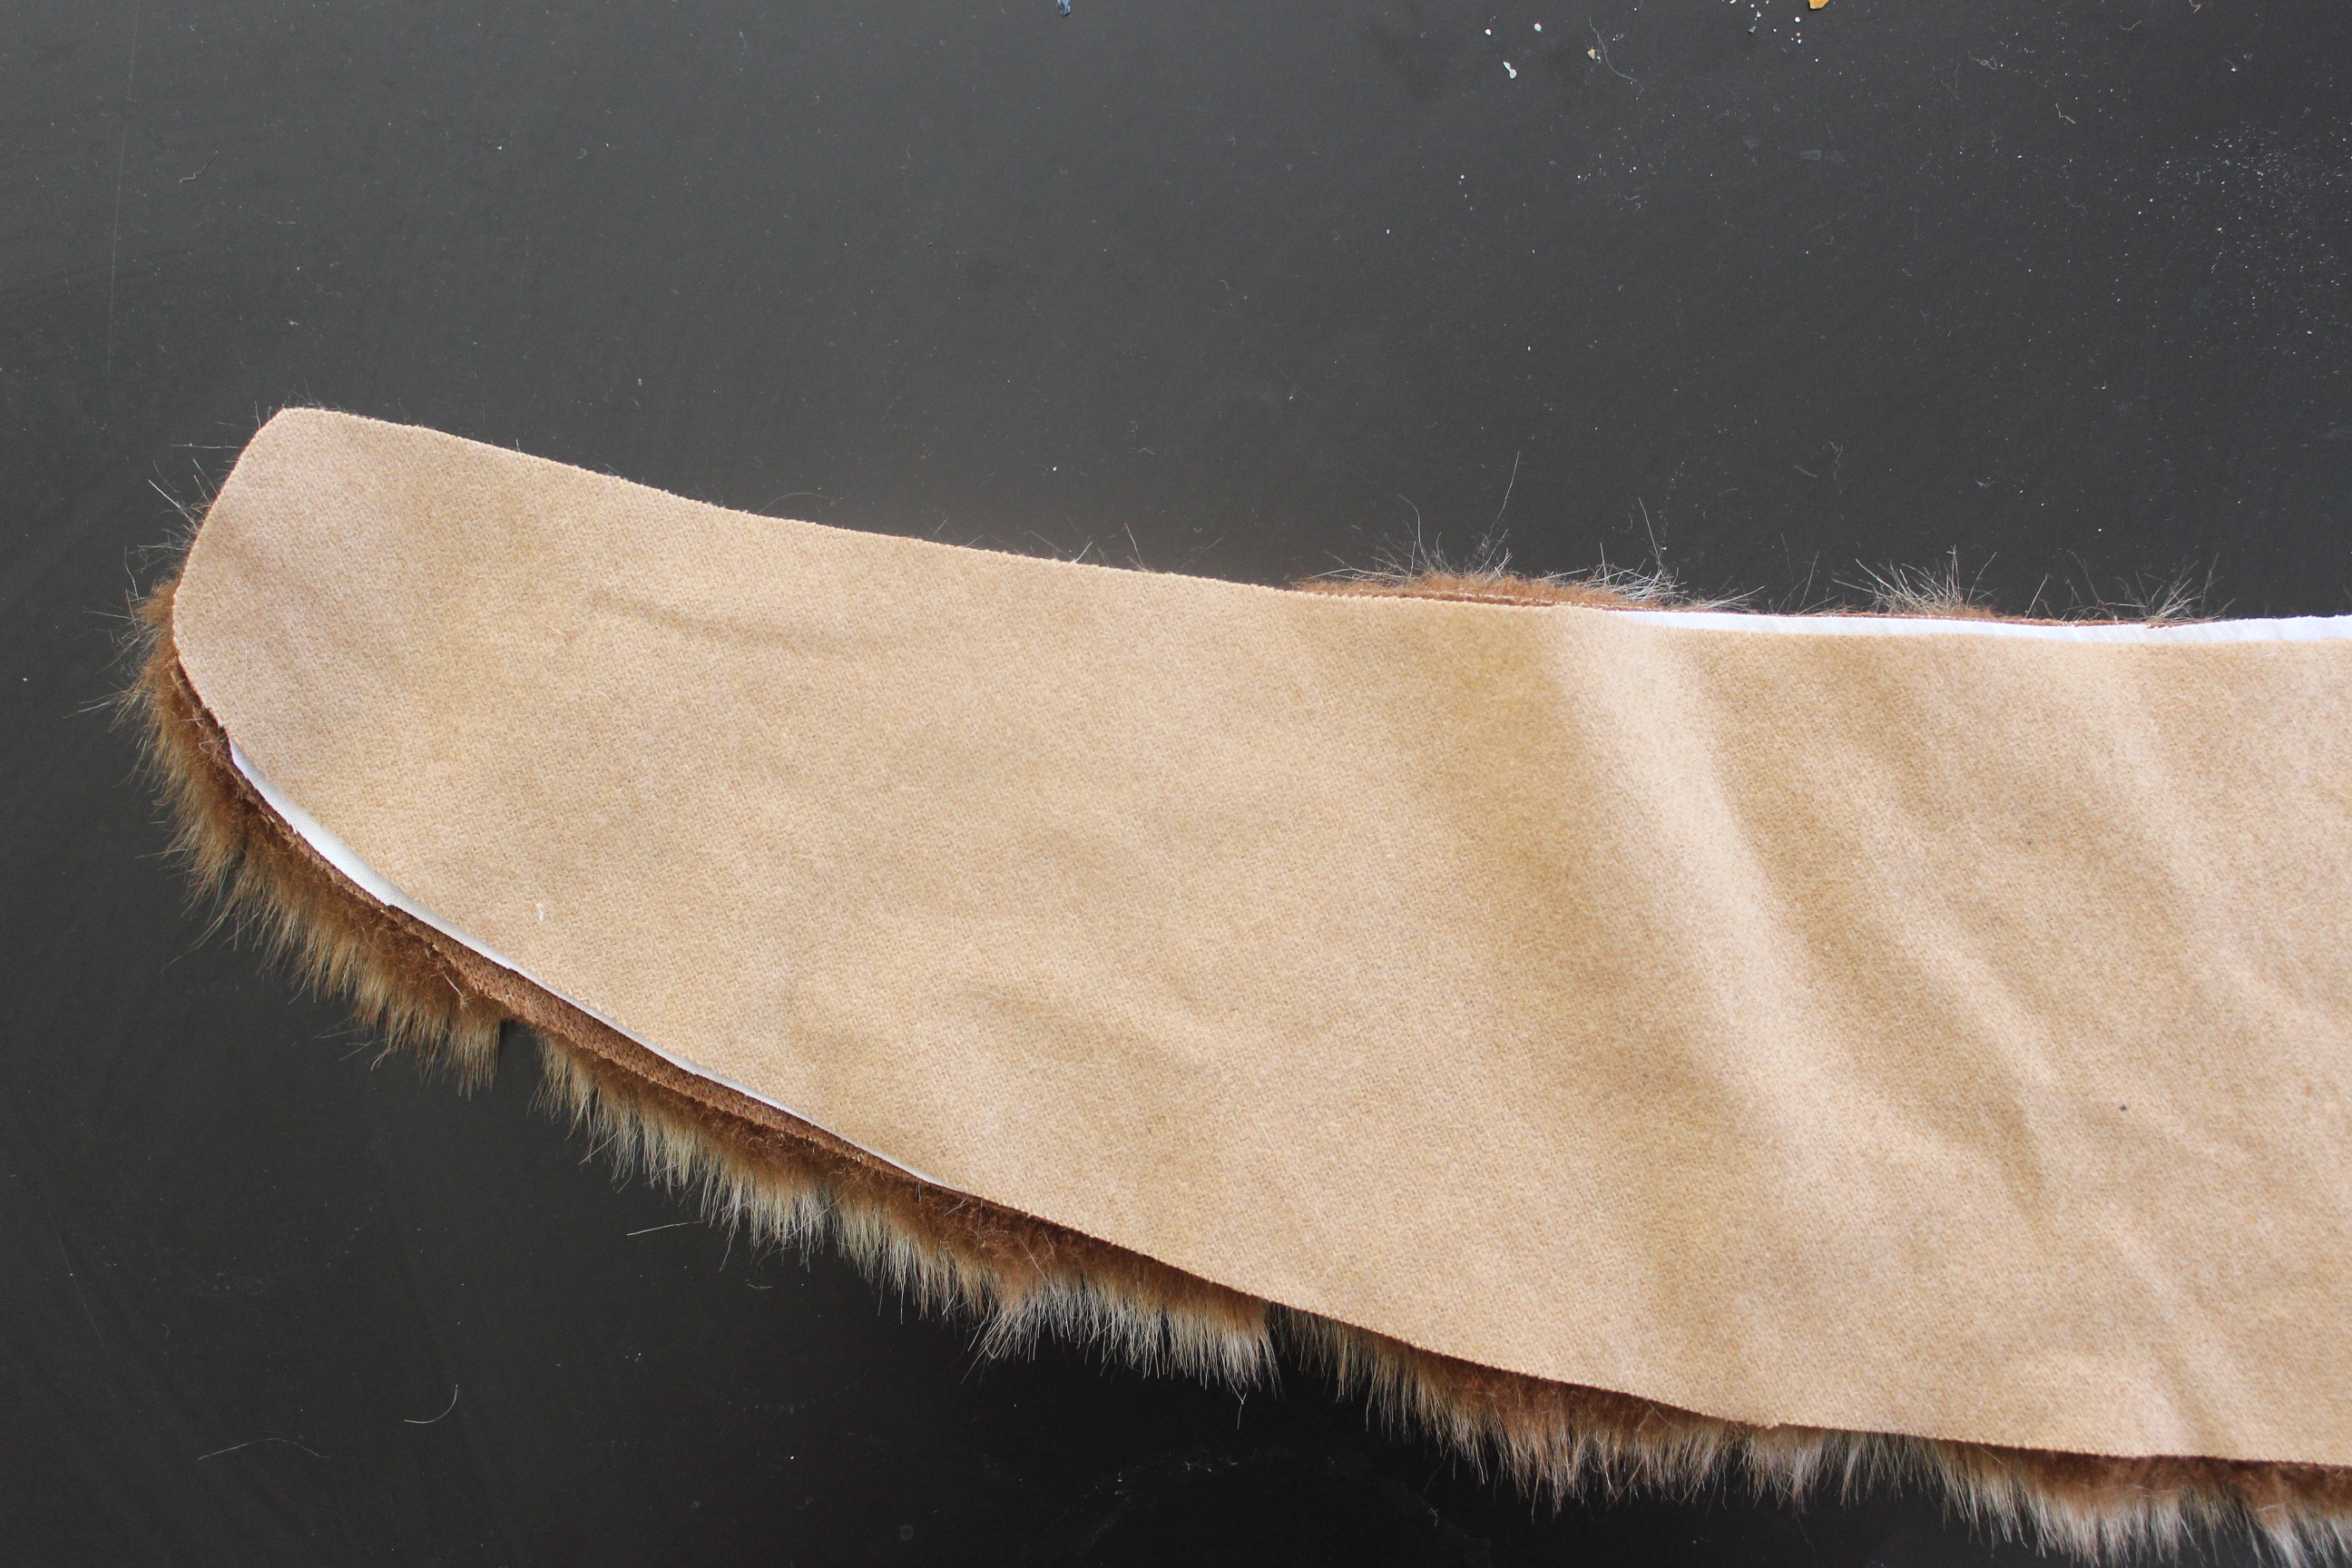
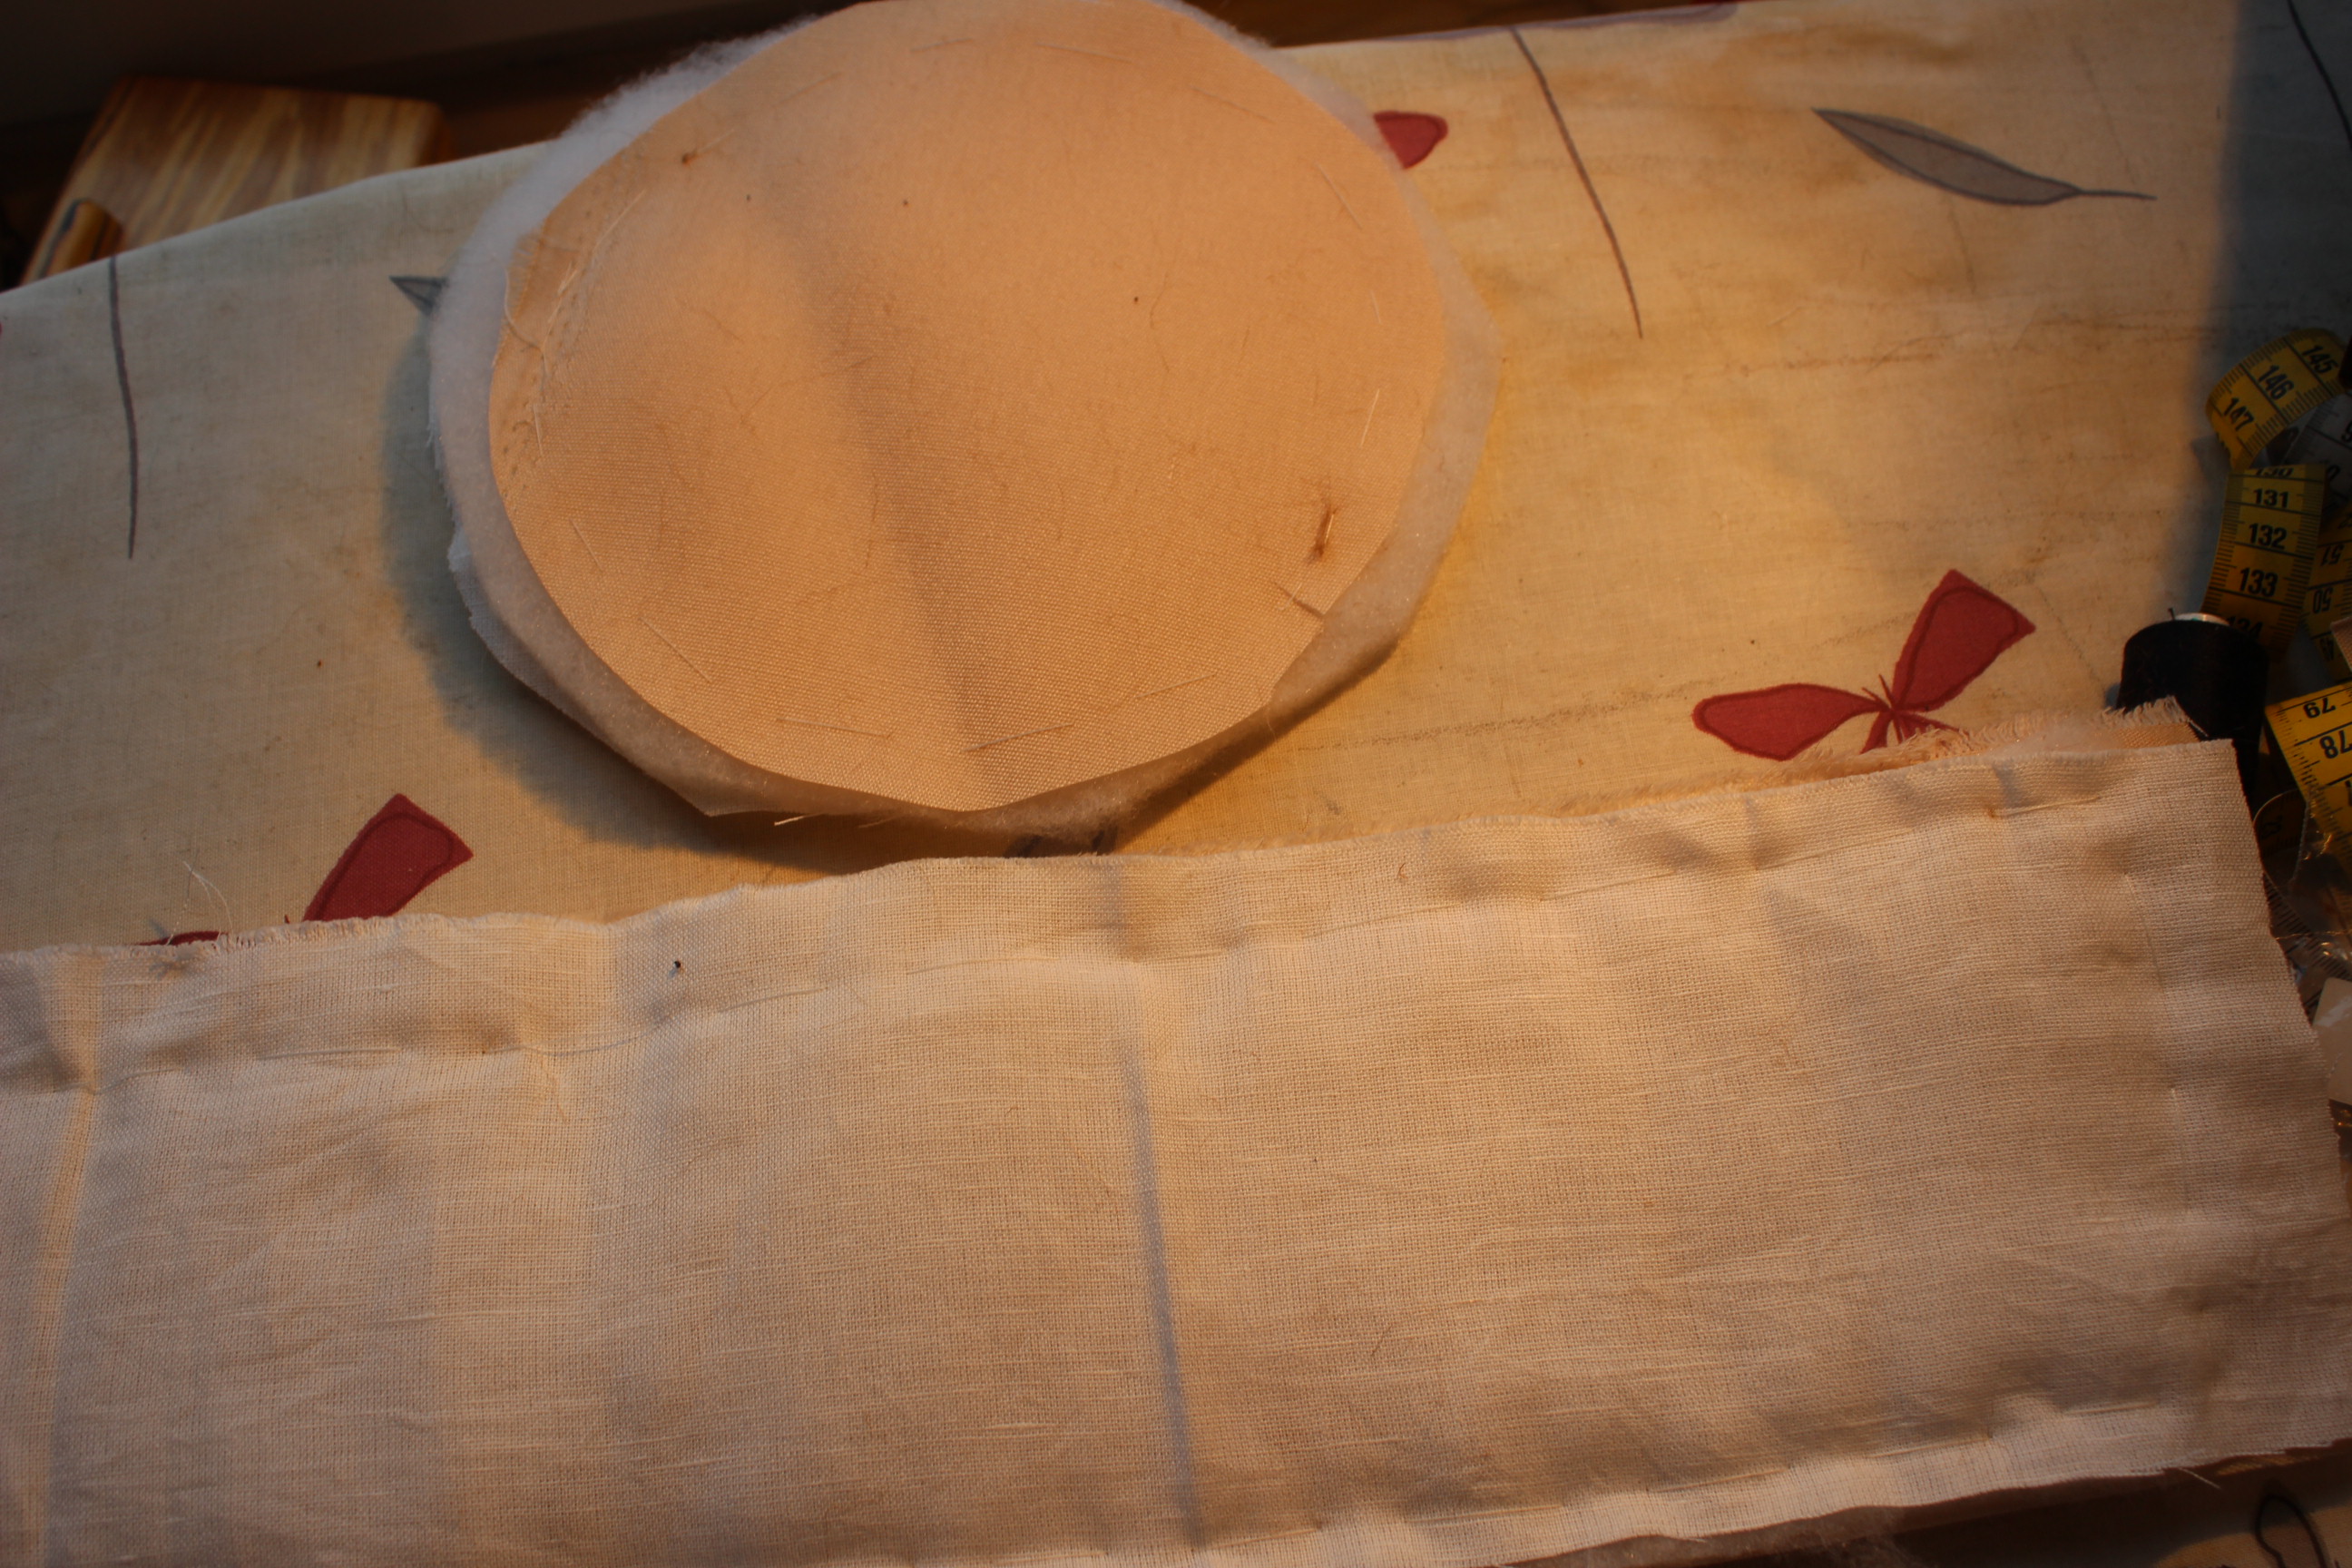
Against my better judgement I decided to cut the fur like it was a regular fabric – which it clearly is not!
I spent a few hours cursing my lazy as for not bothering to cut the pieces one by one from the backside of the fabric (like I should have), thous ending up with hairs and fur bits EVERYWHERE. Can you say – werewolf 😉
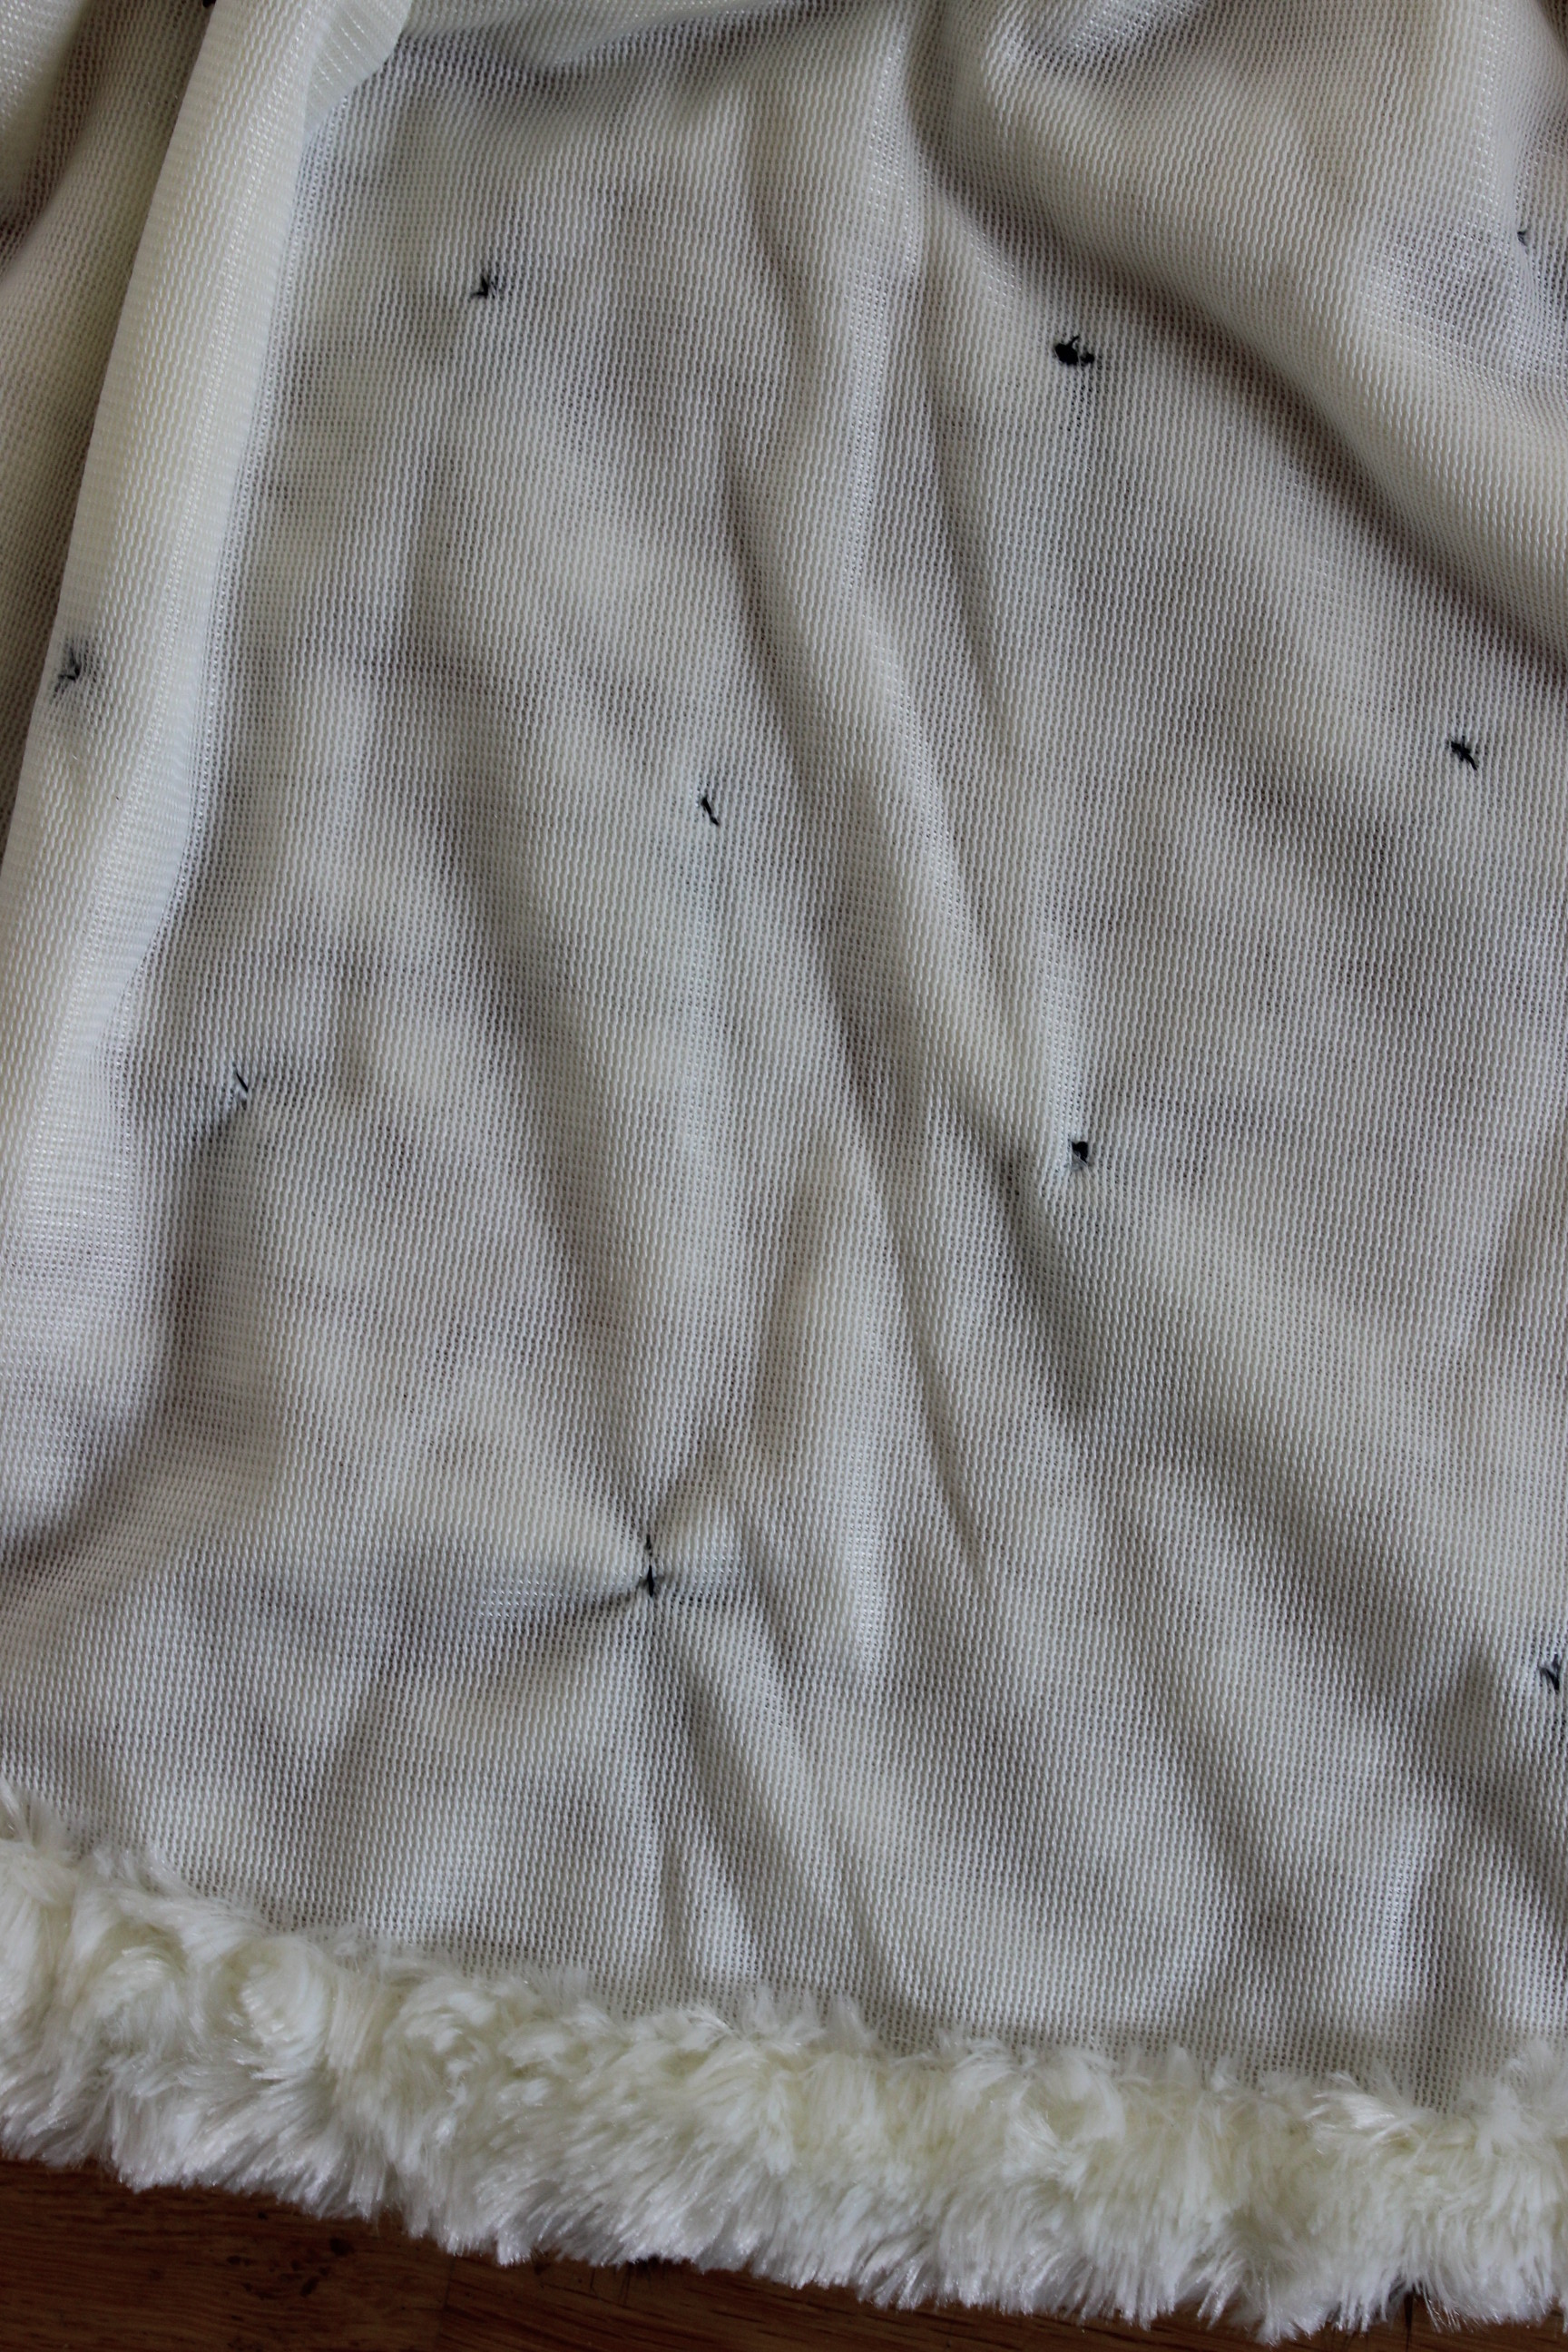
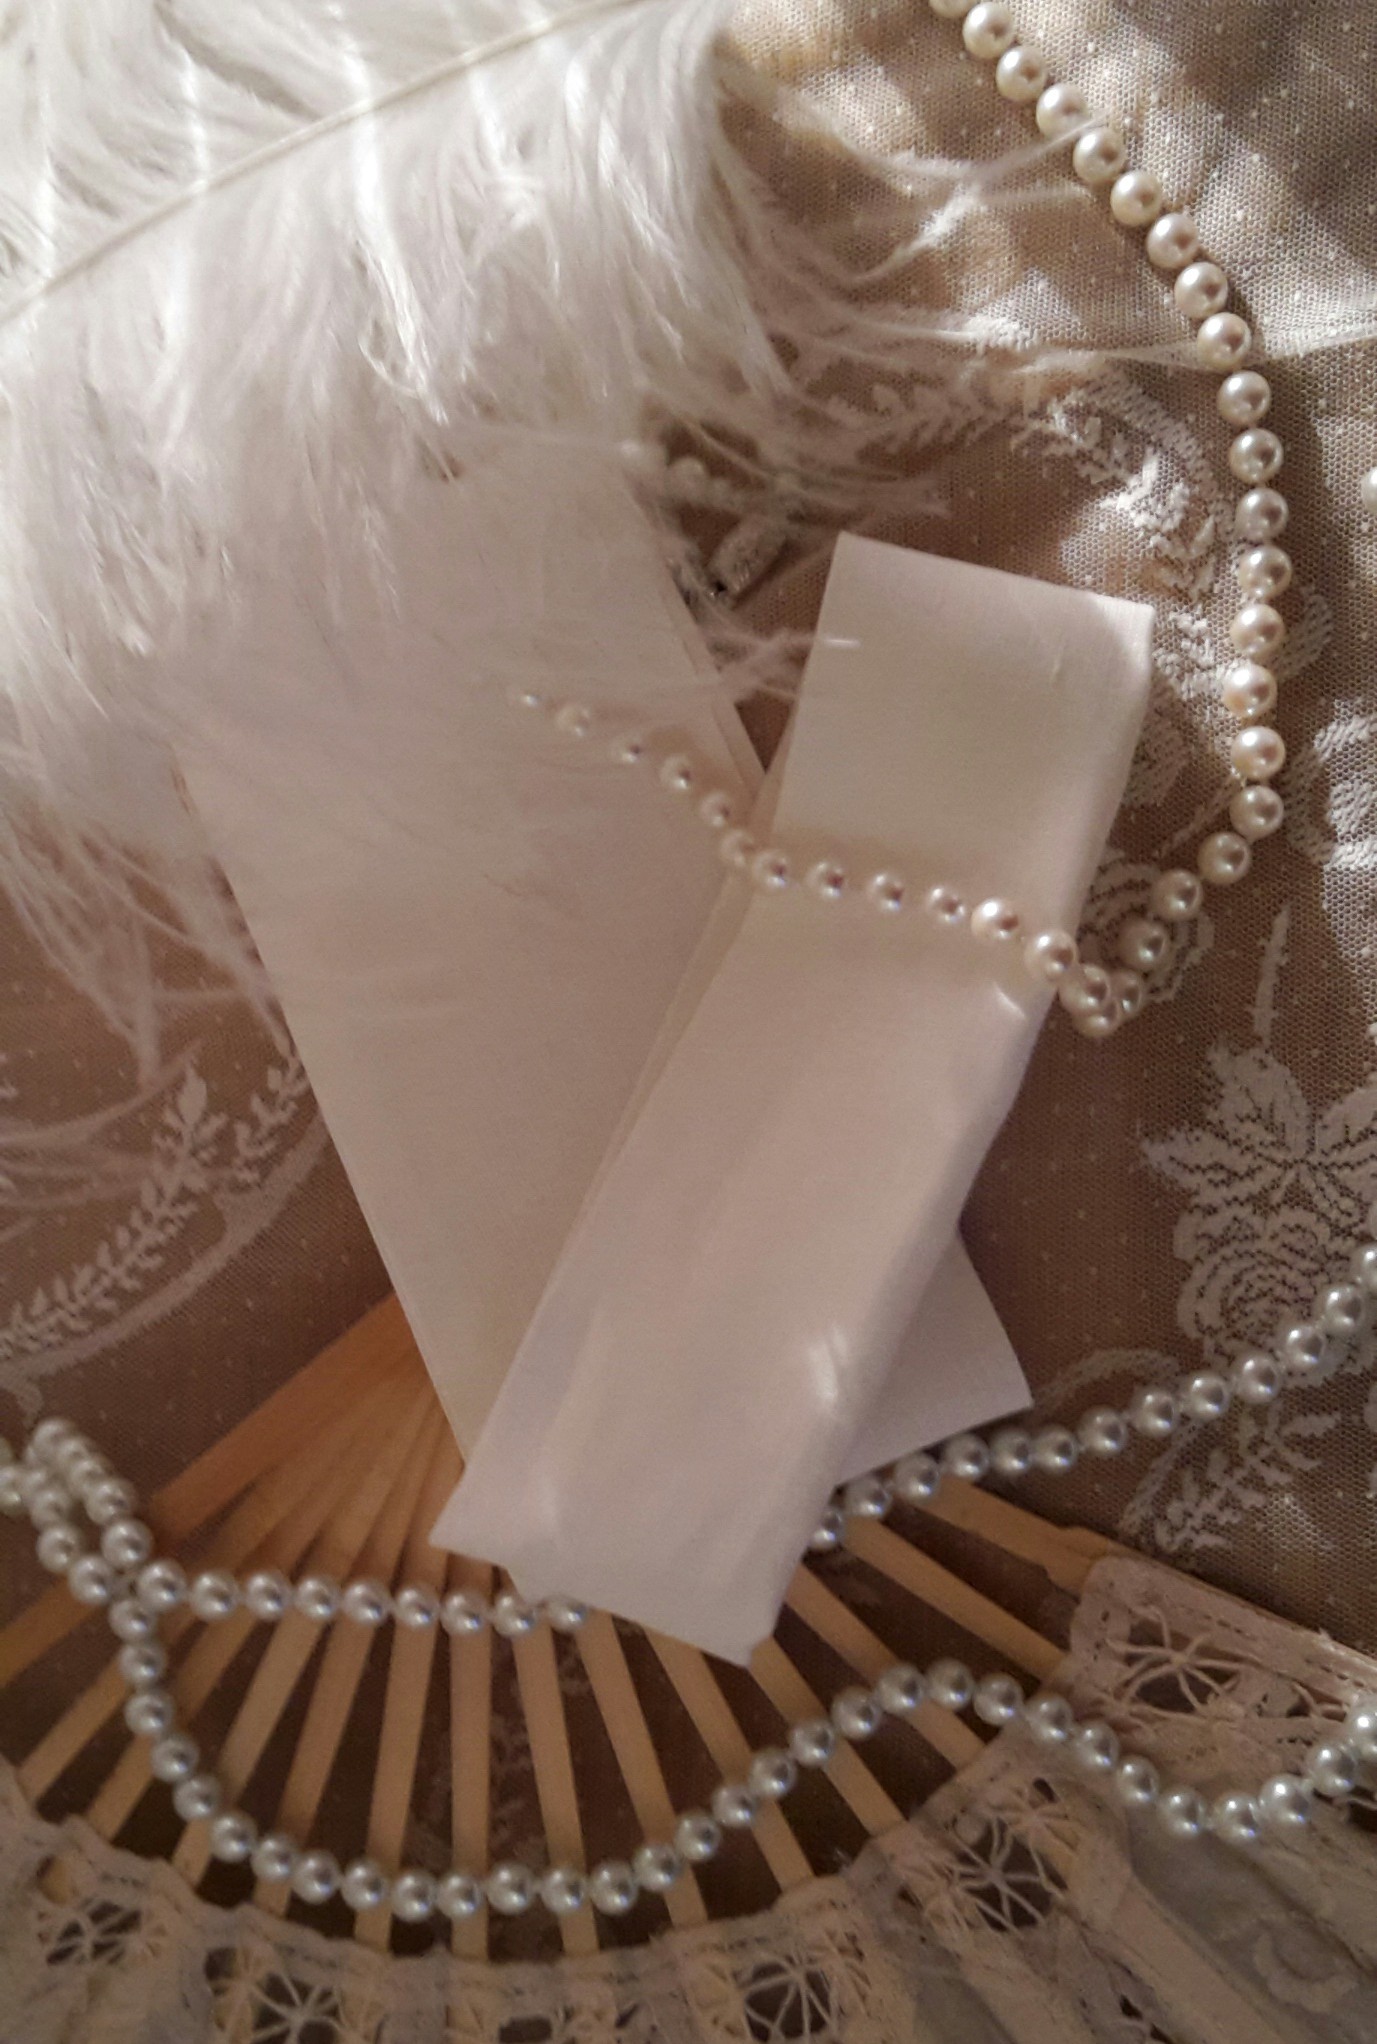
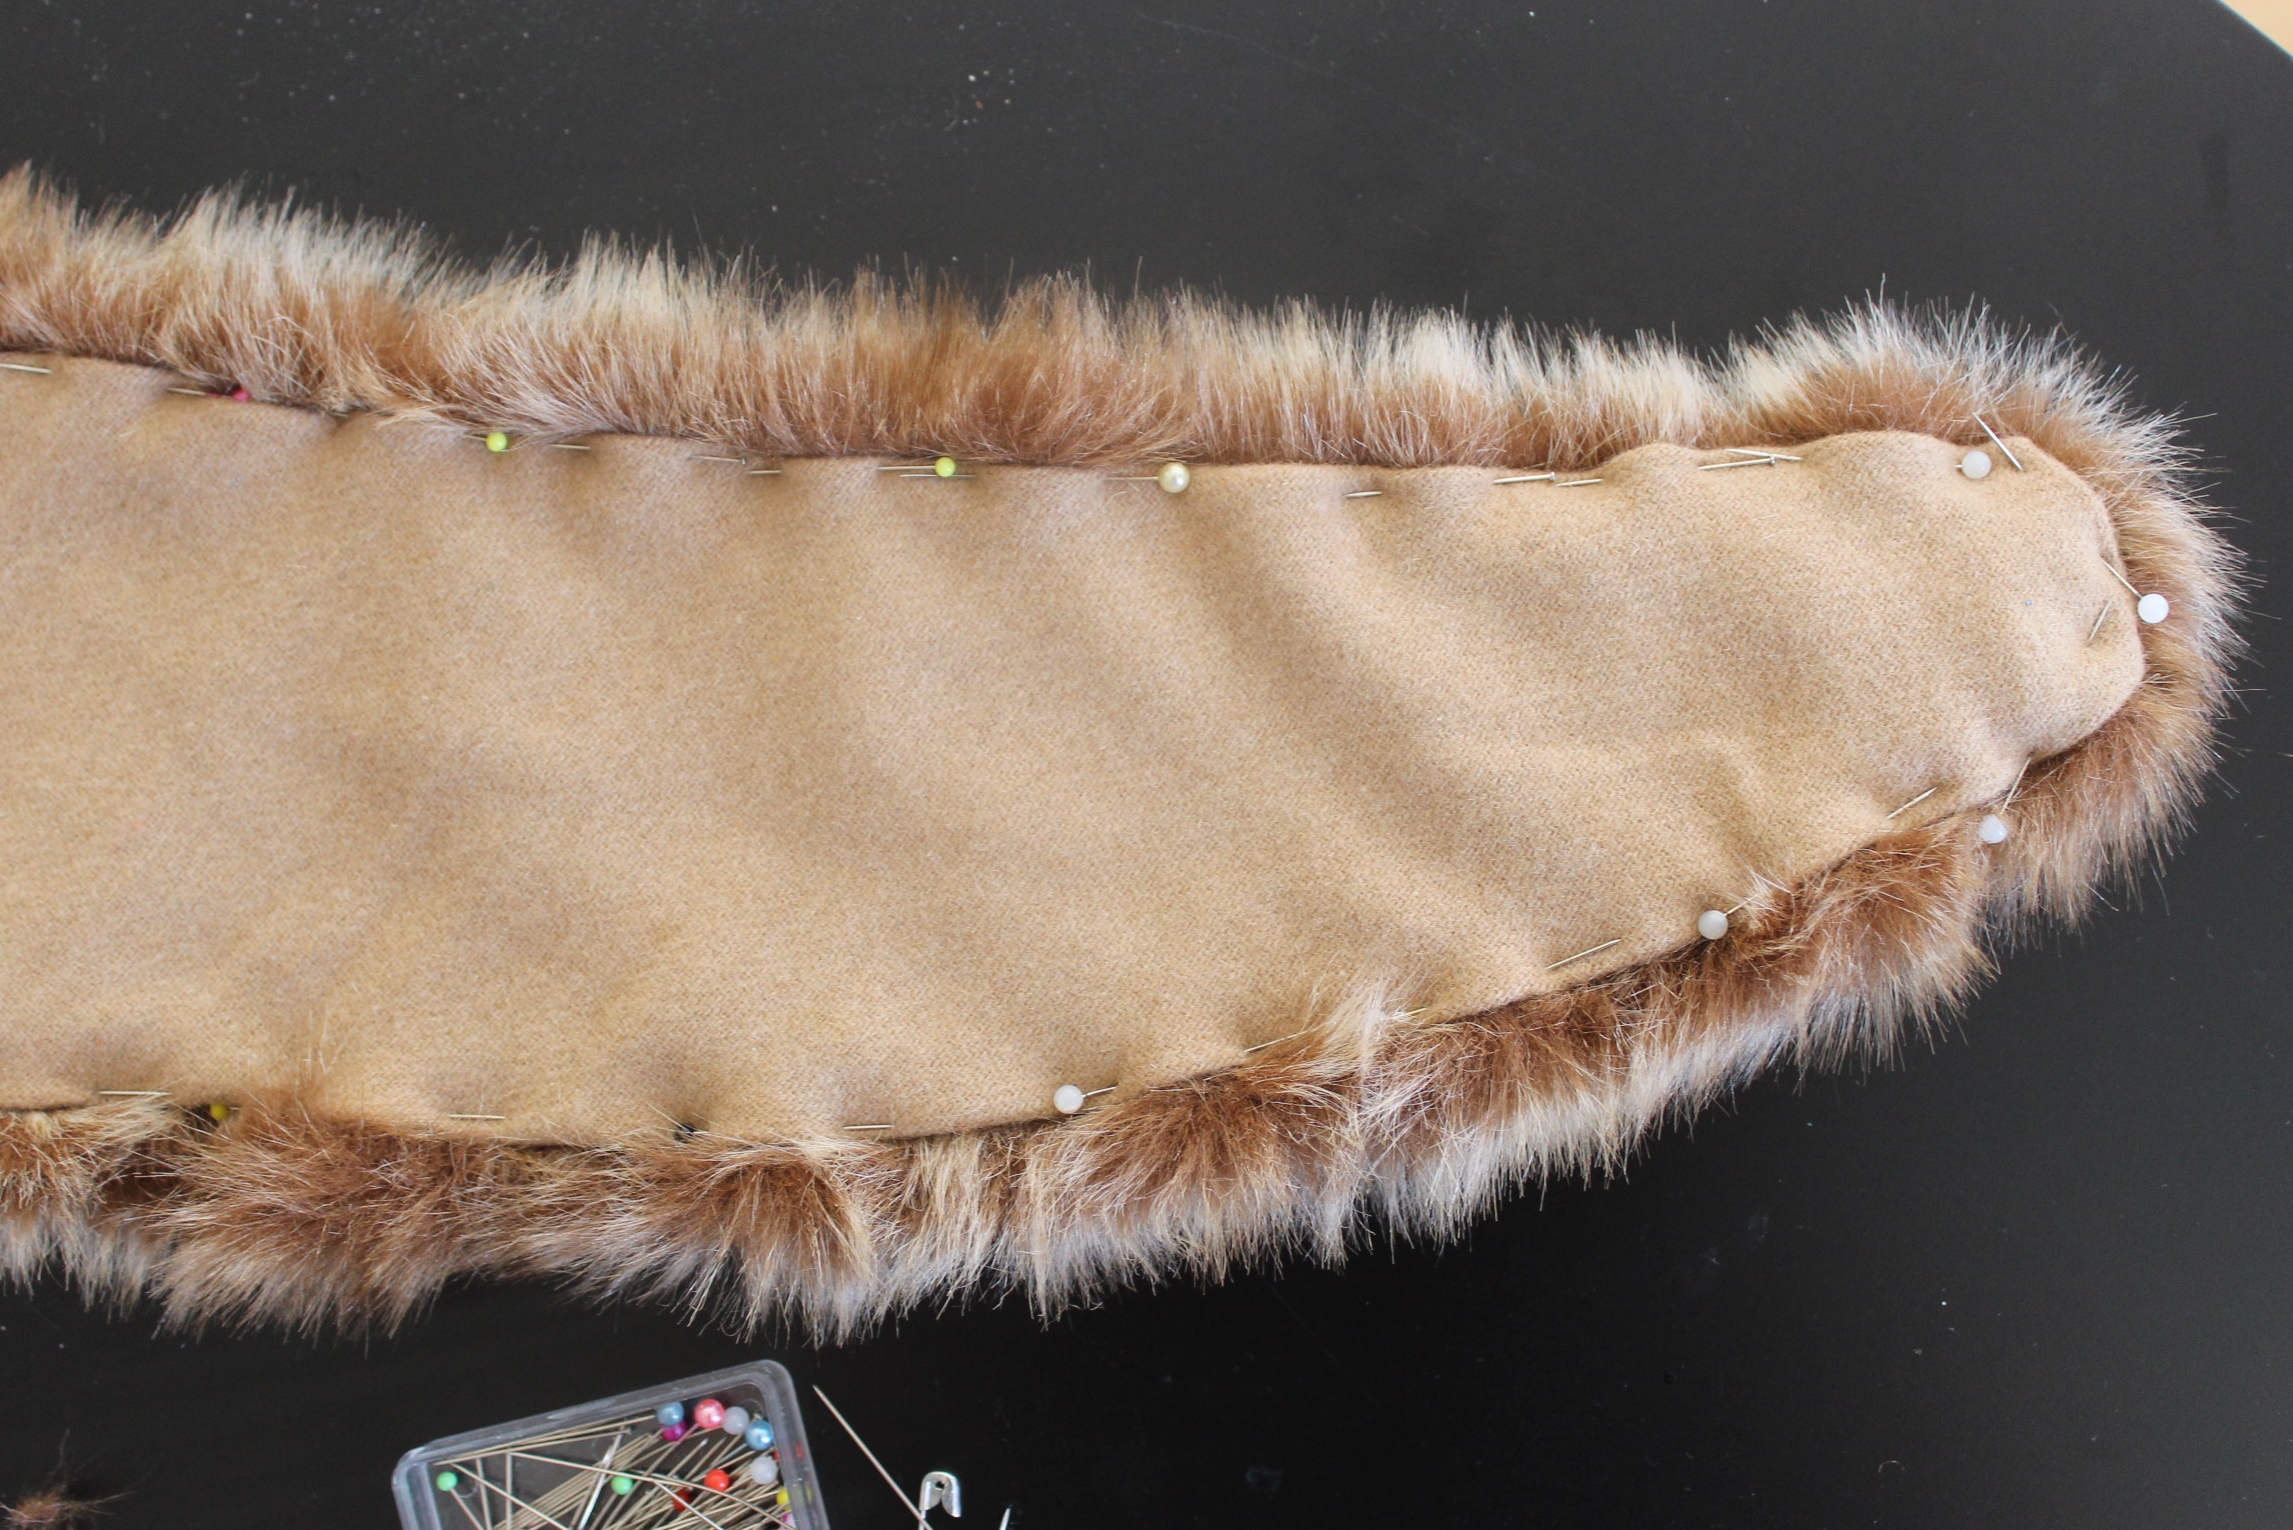
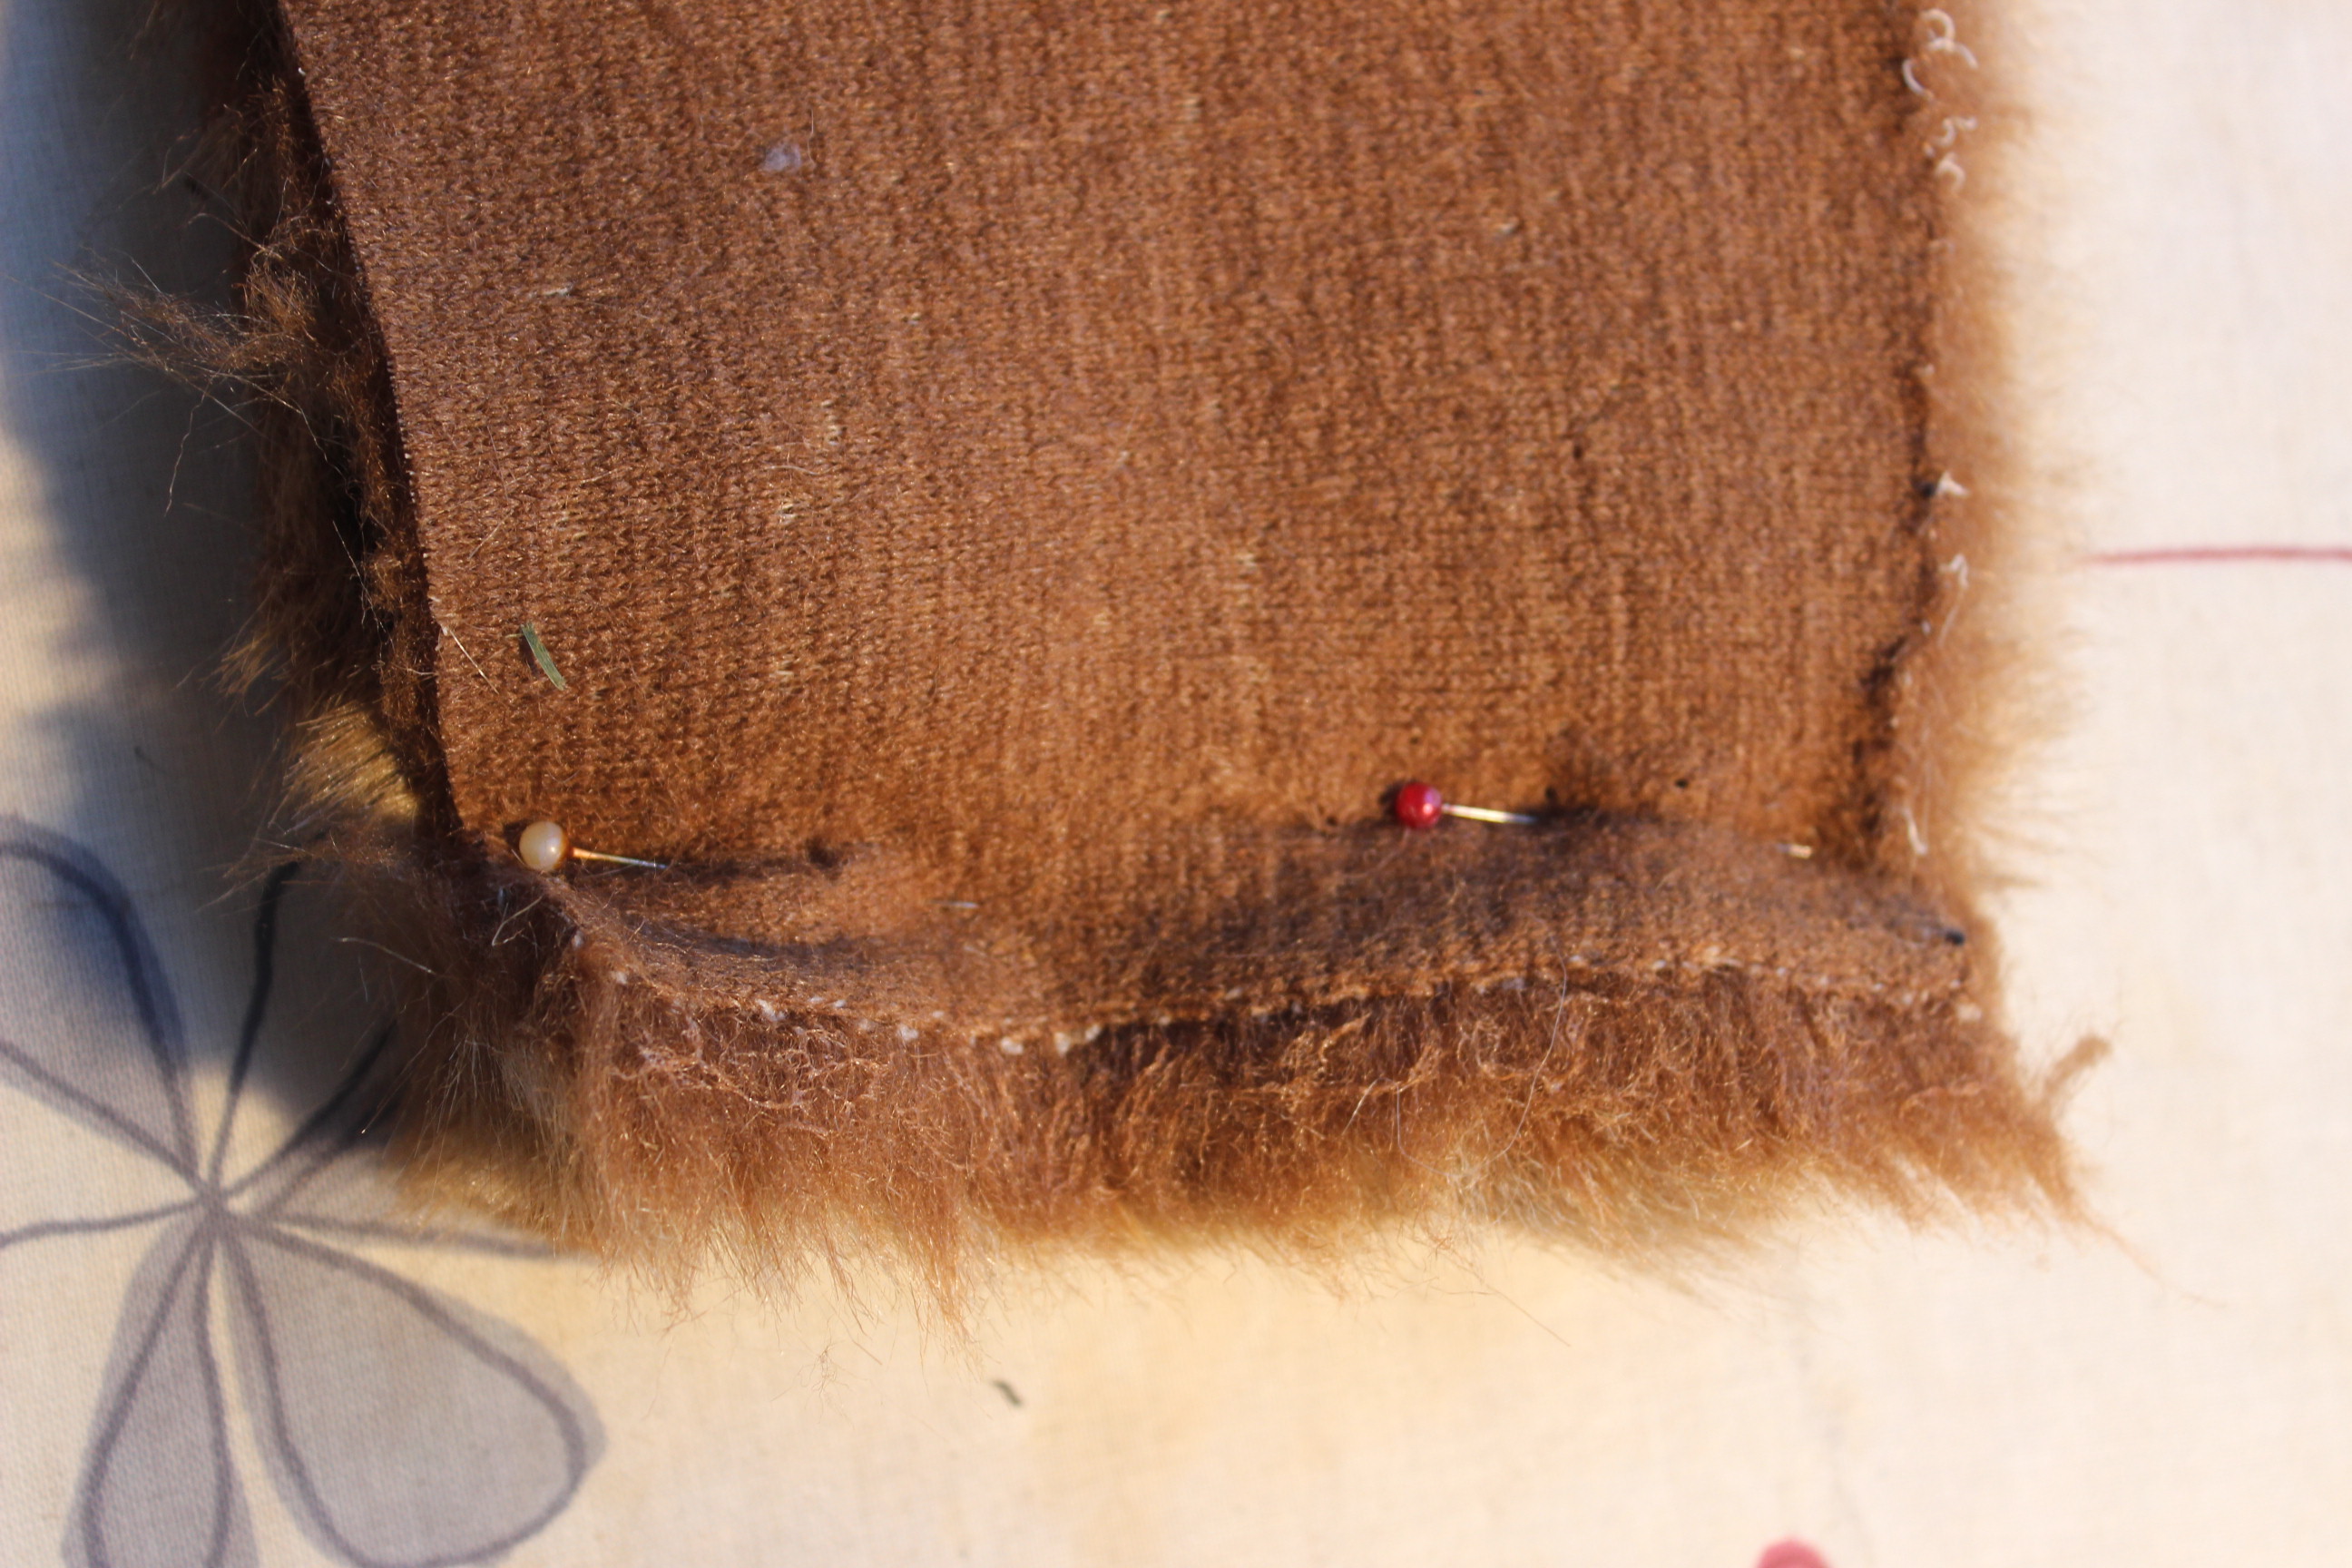
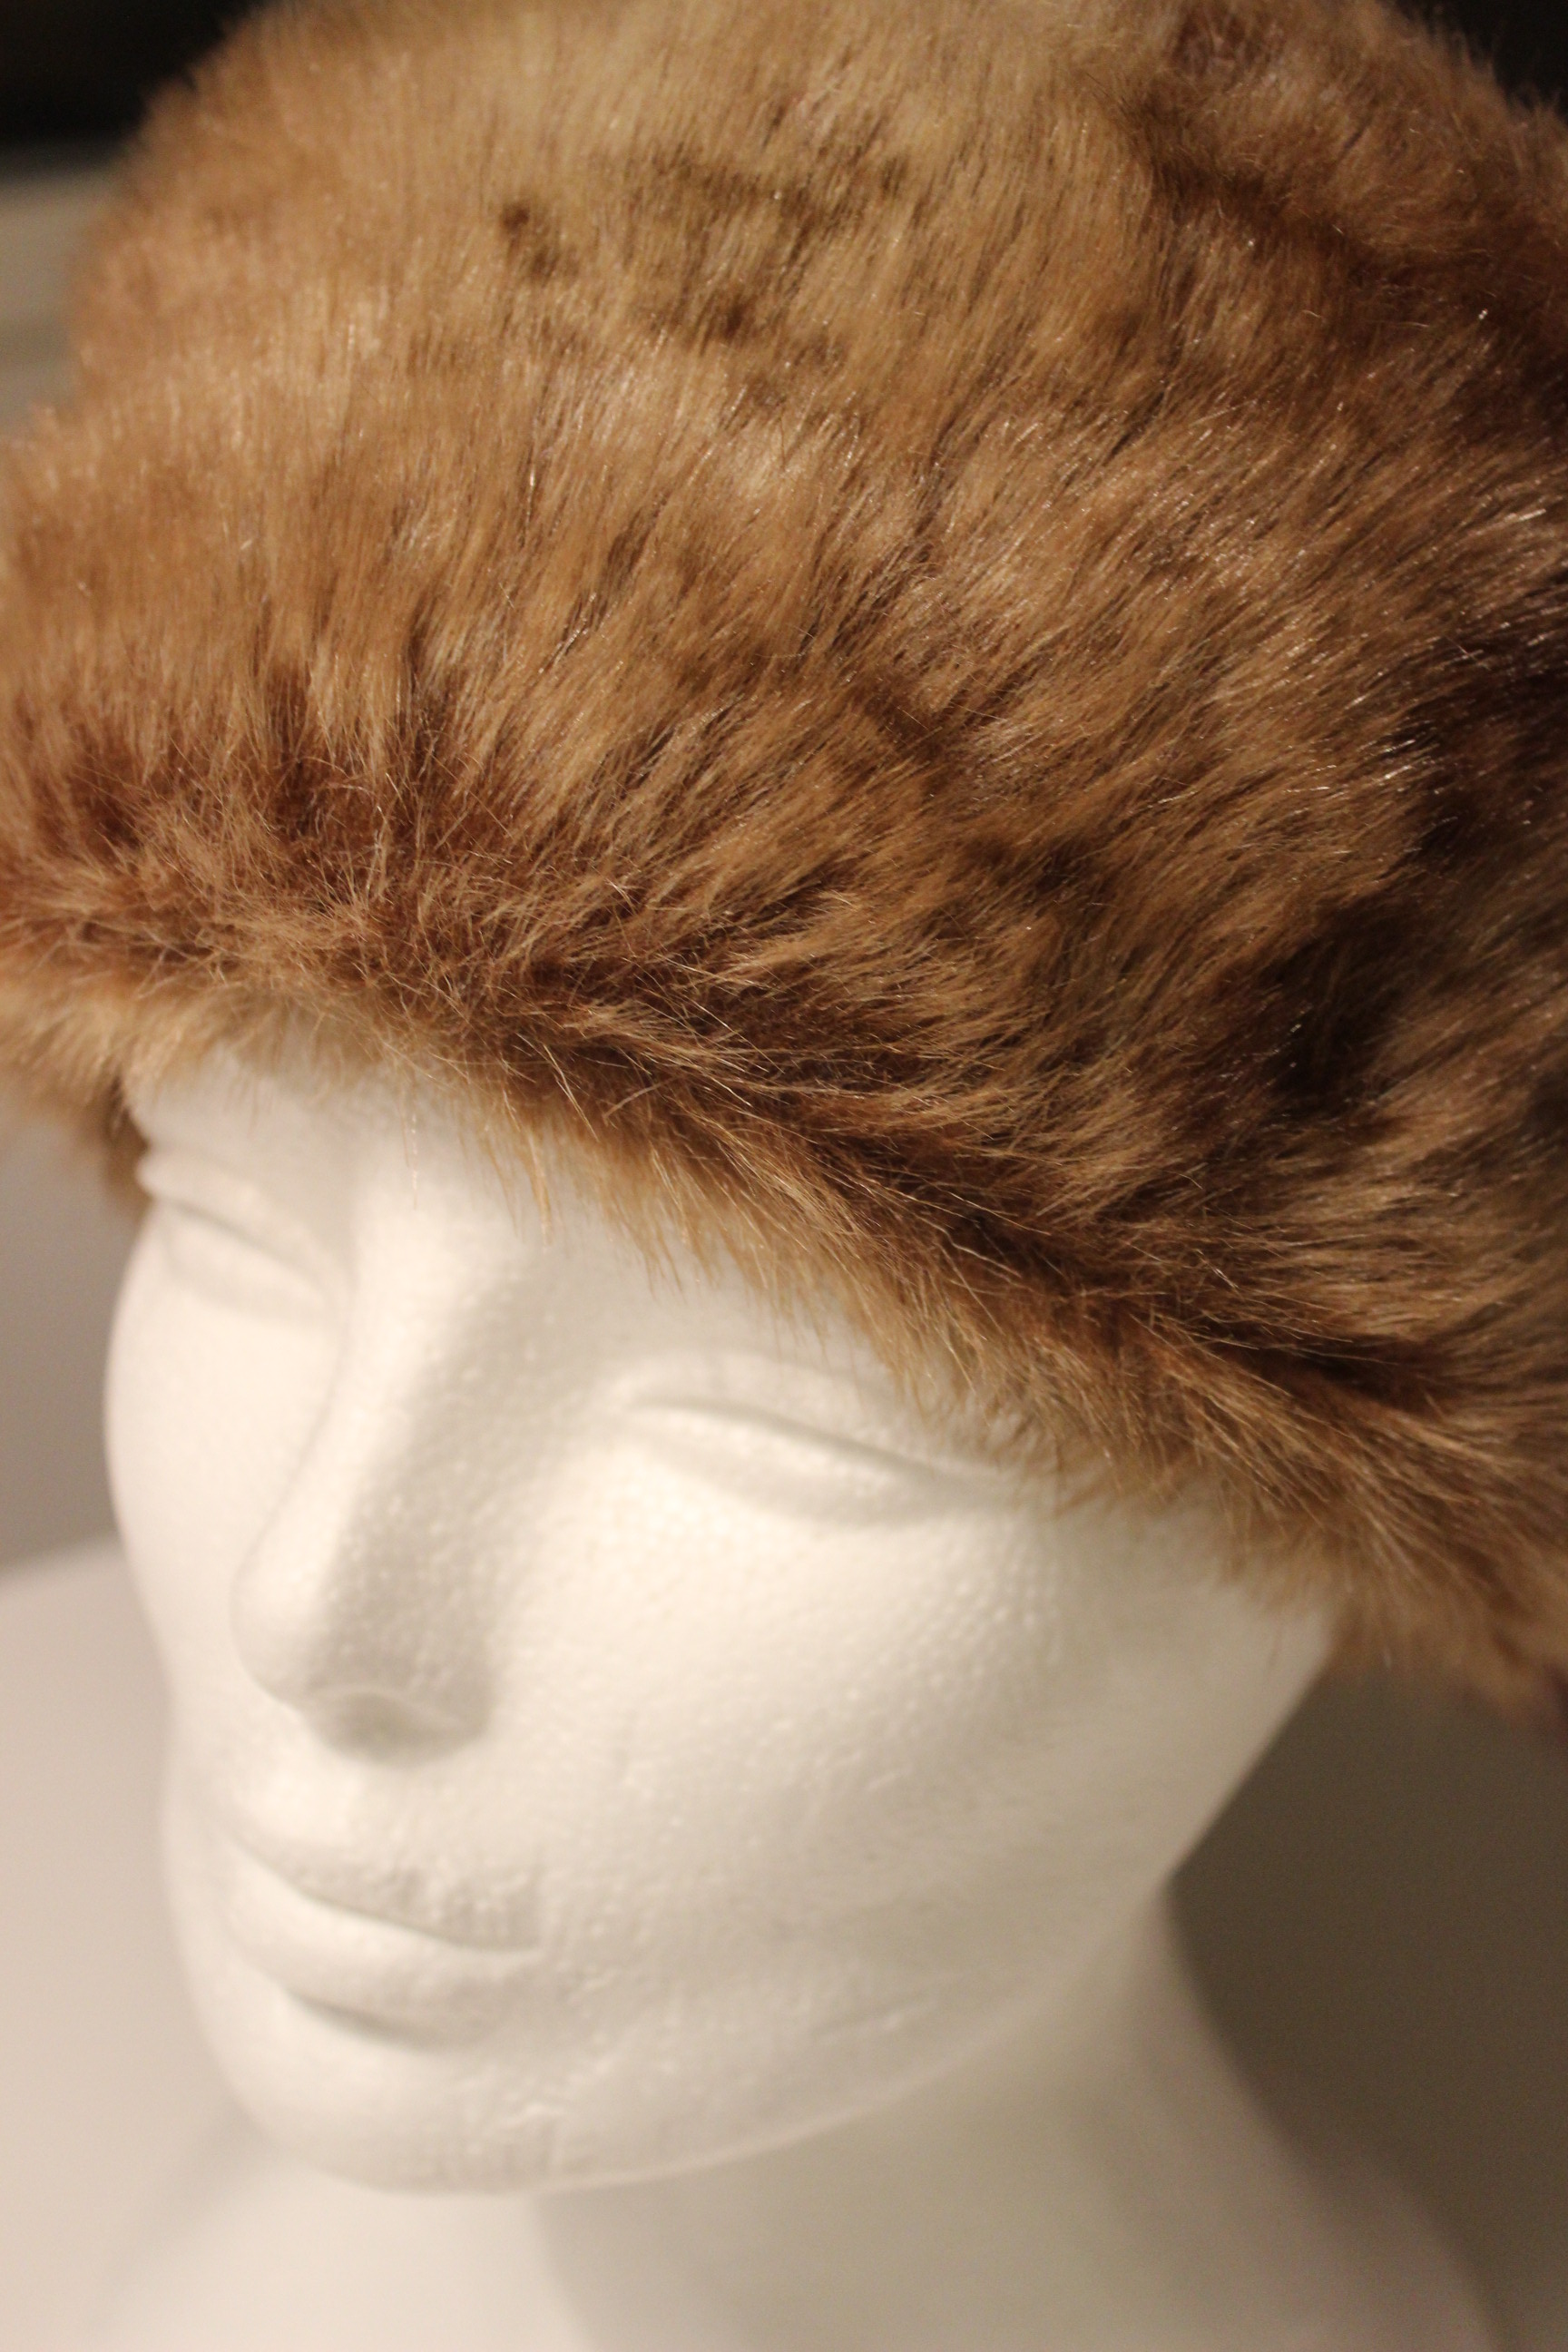
Attaching the fur went pretty easy, only the fur was so thick I had a bit trouble seeing my needle when I hand stitched it on. There is a needle attached to that tread, I promise…
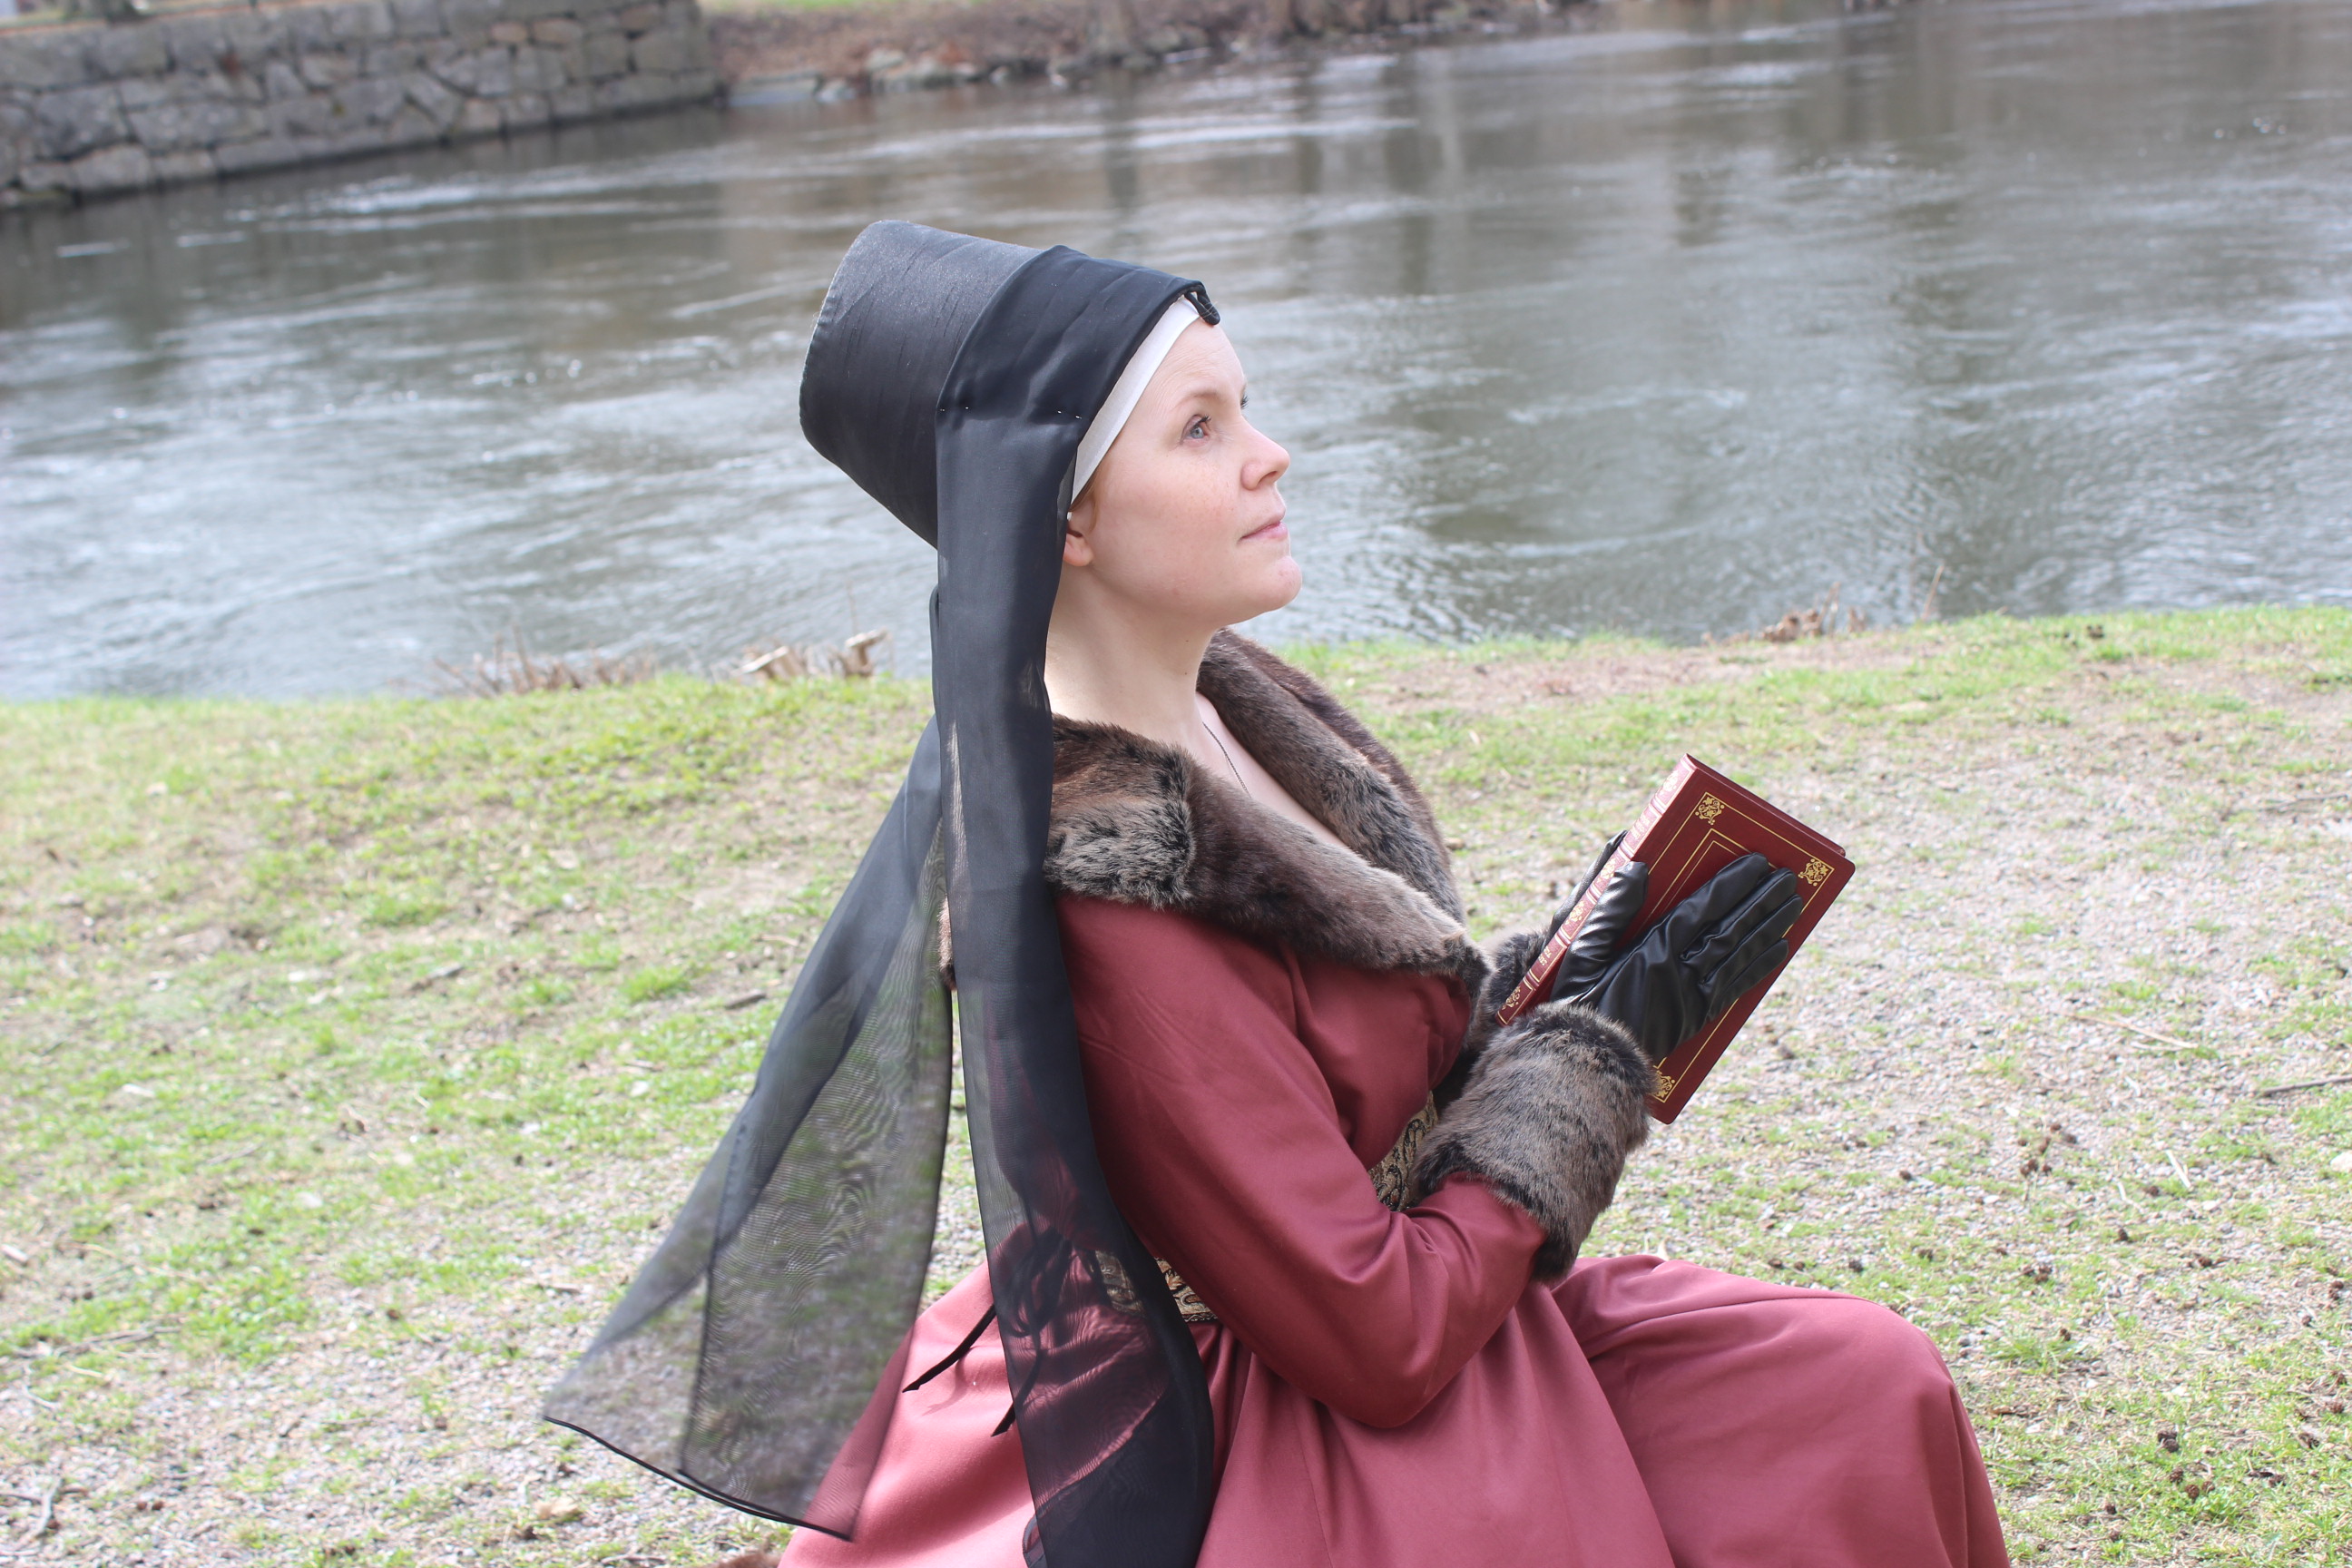
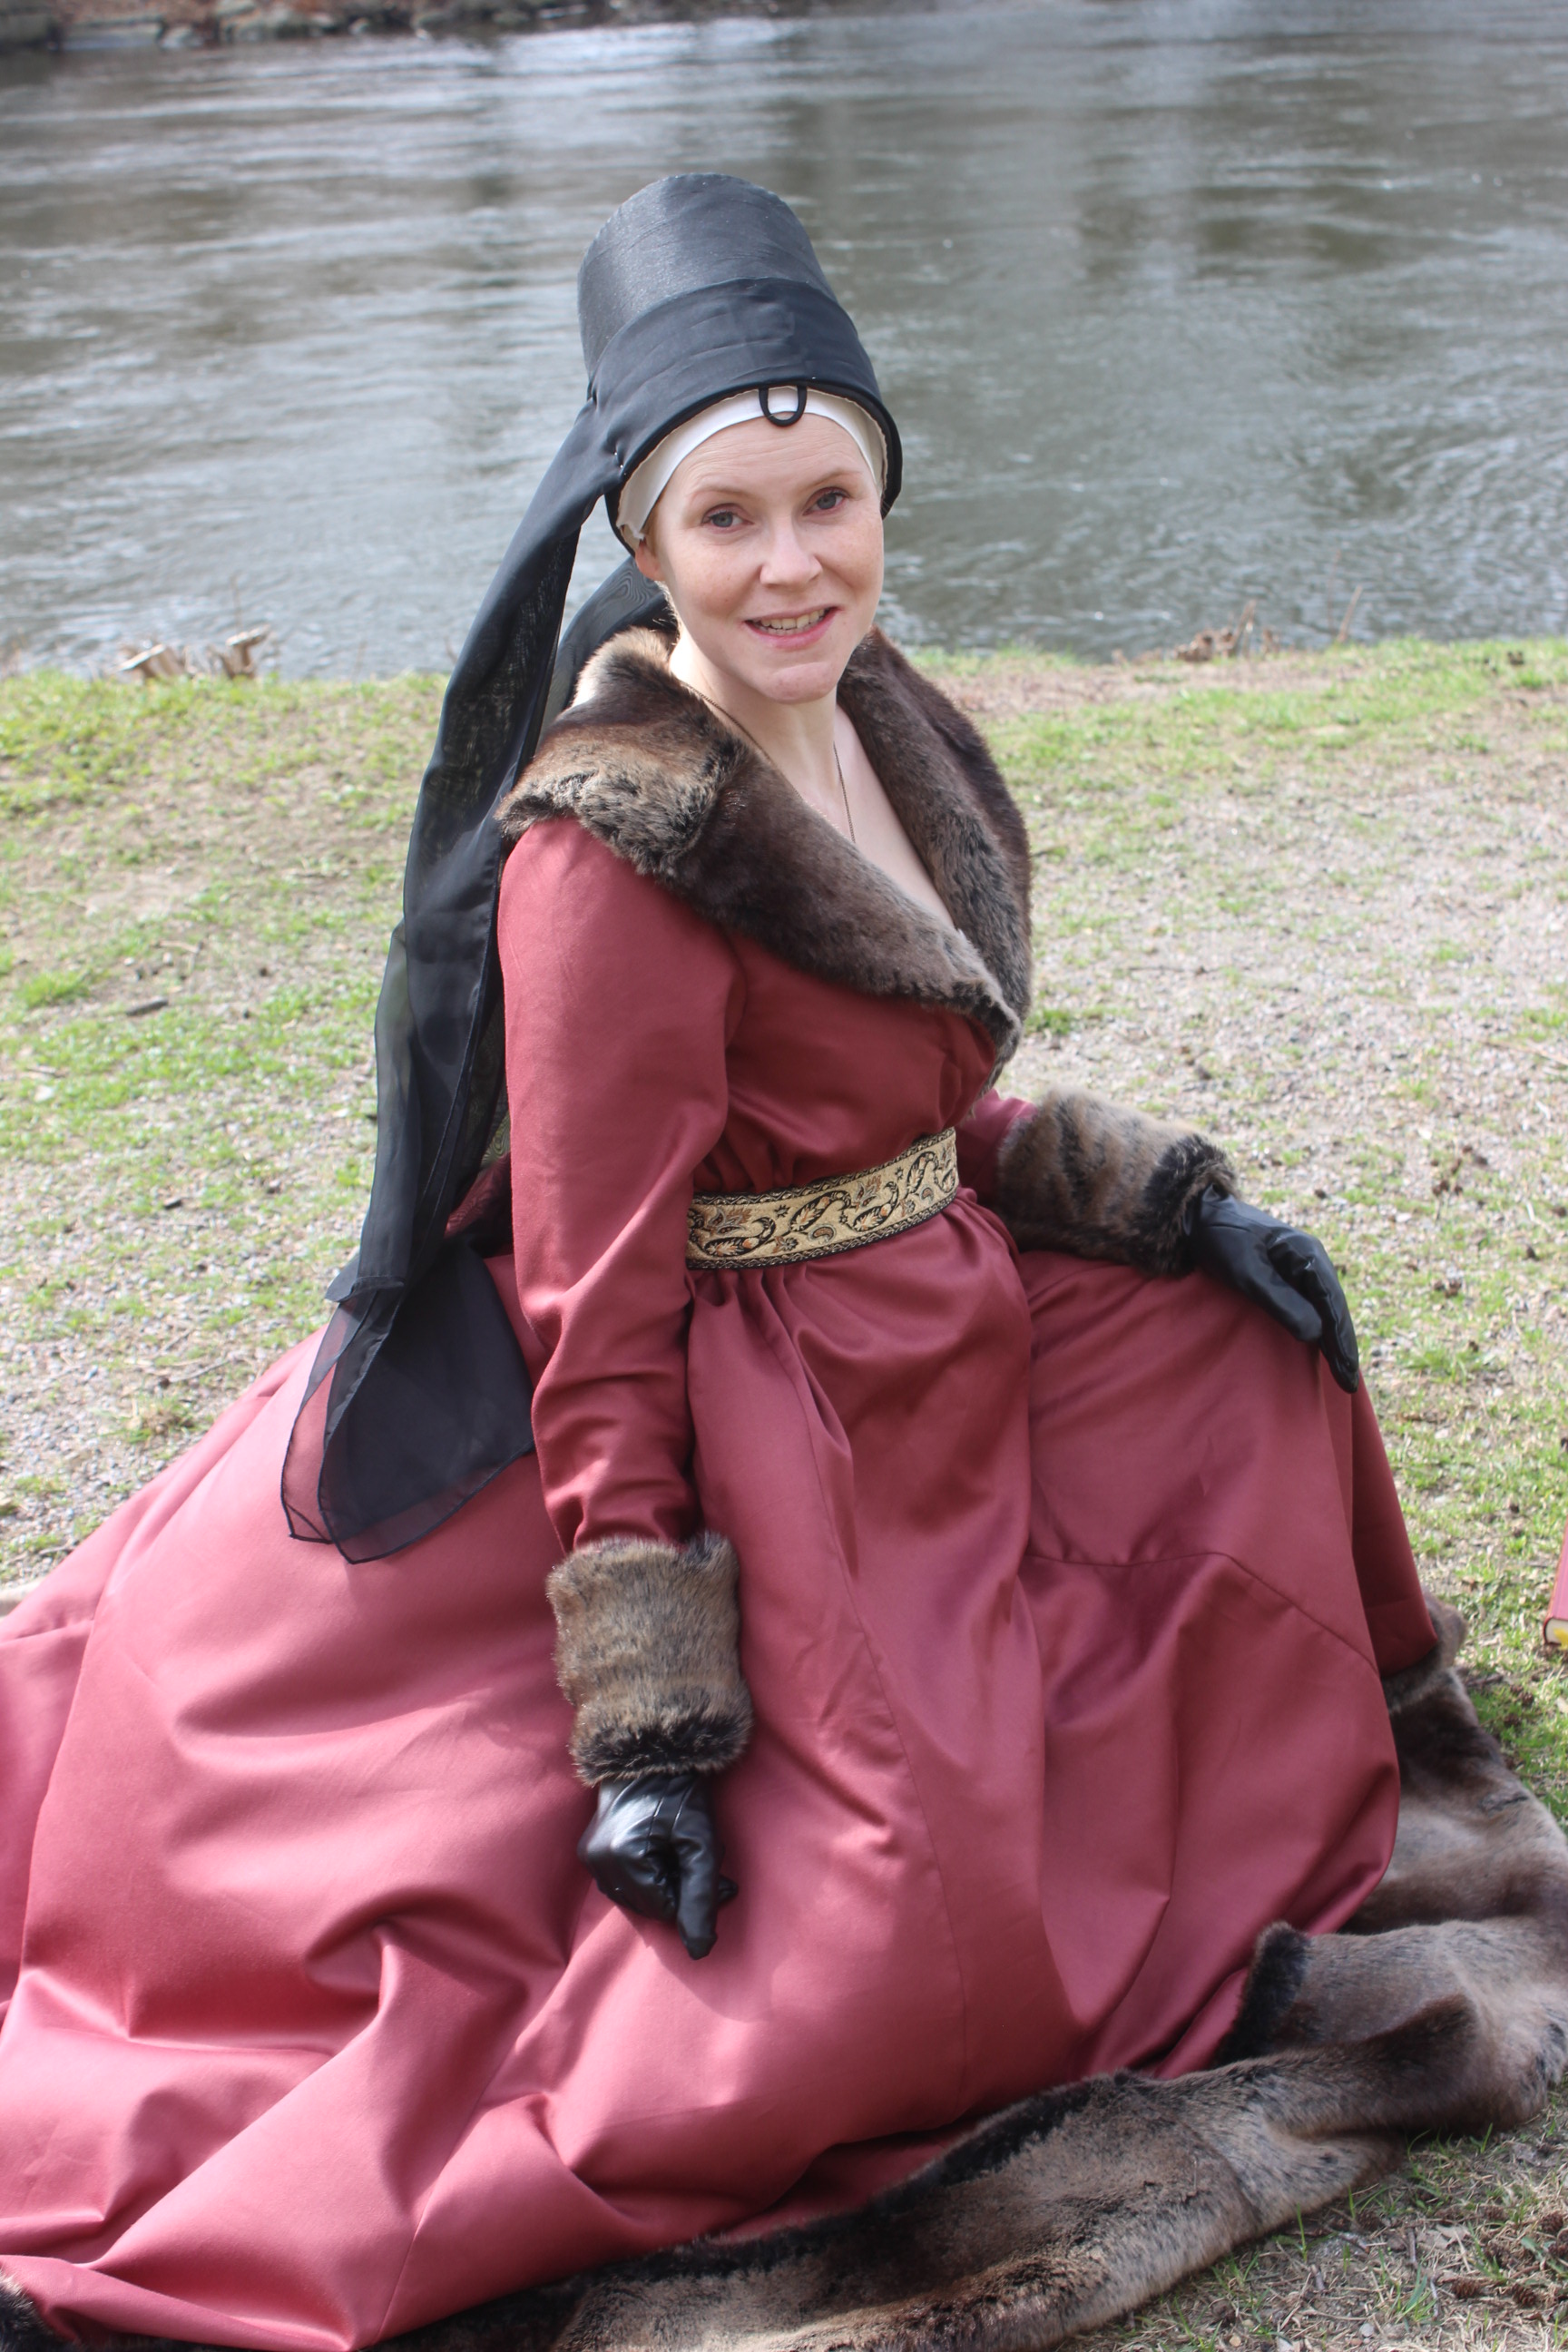
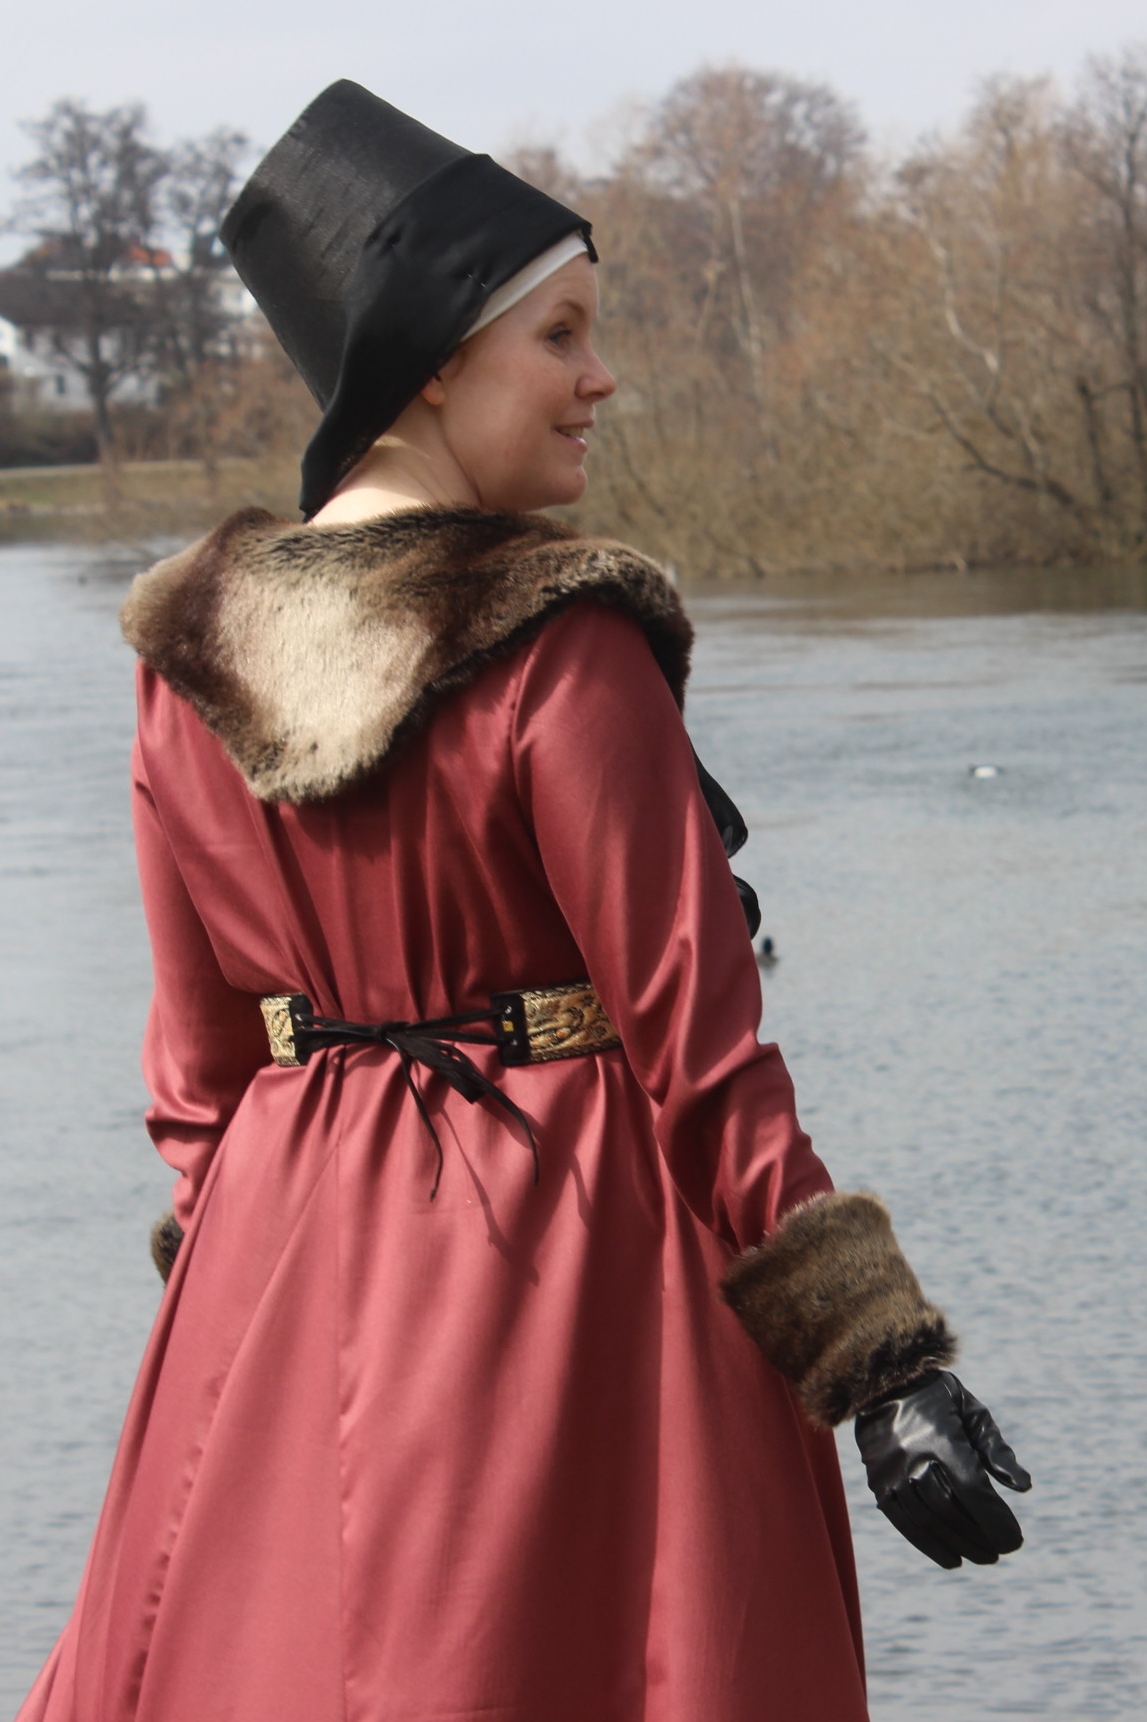
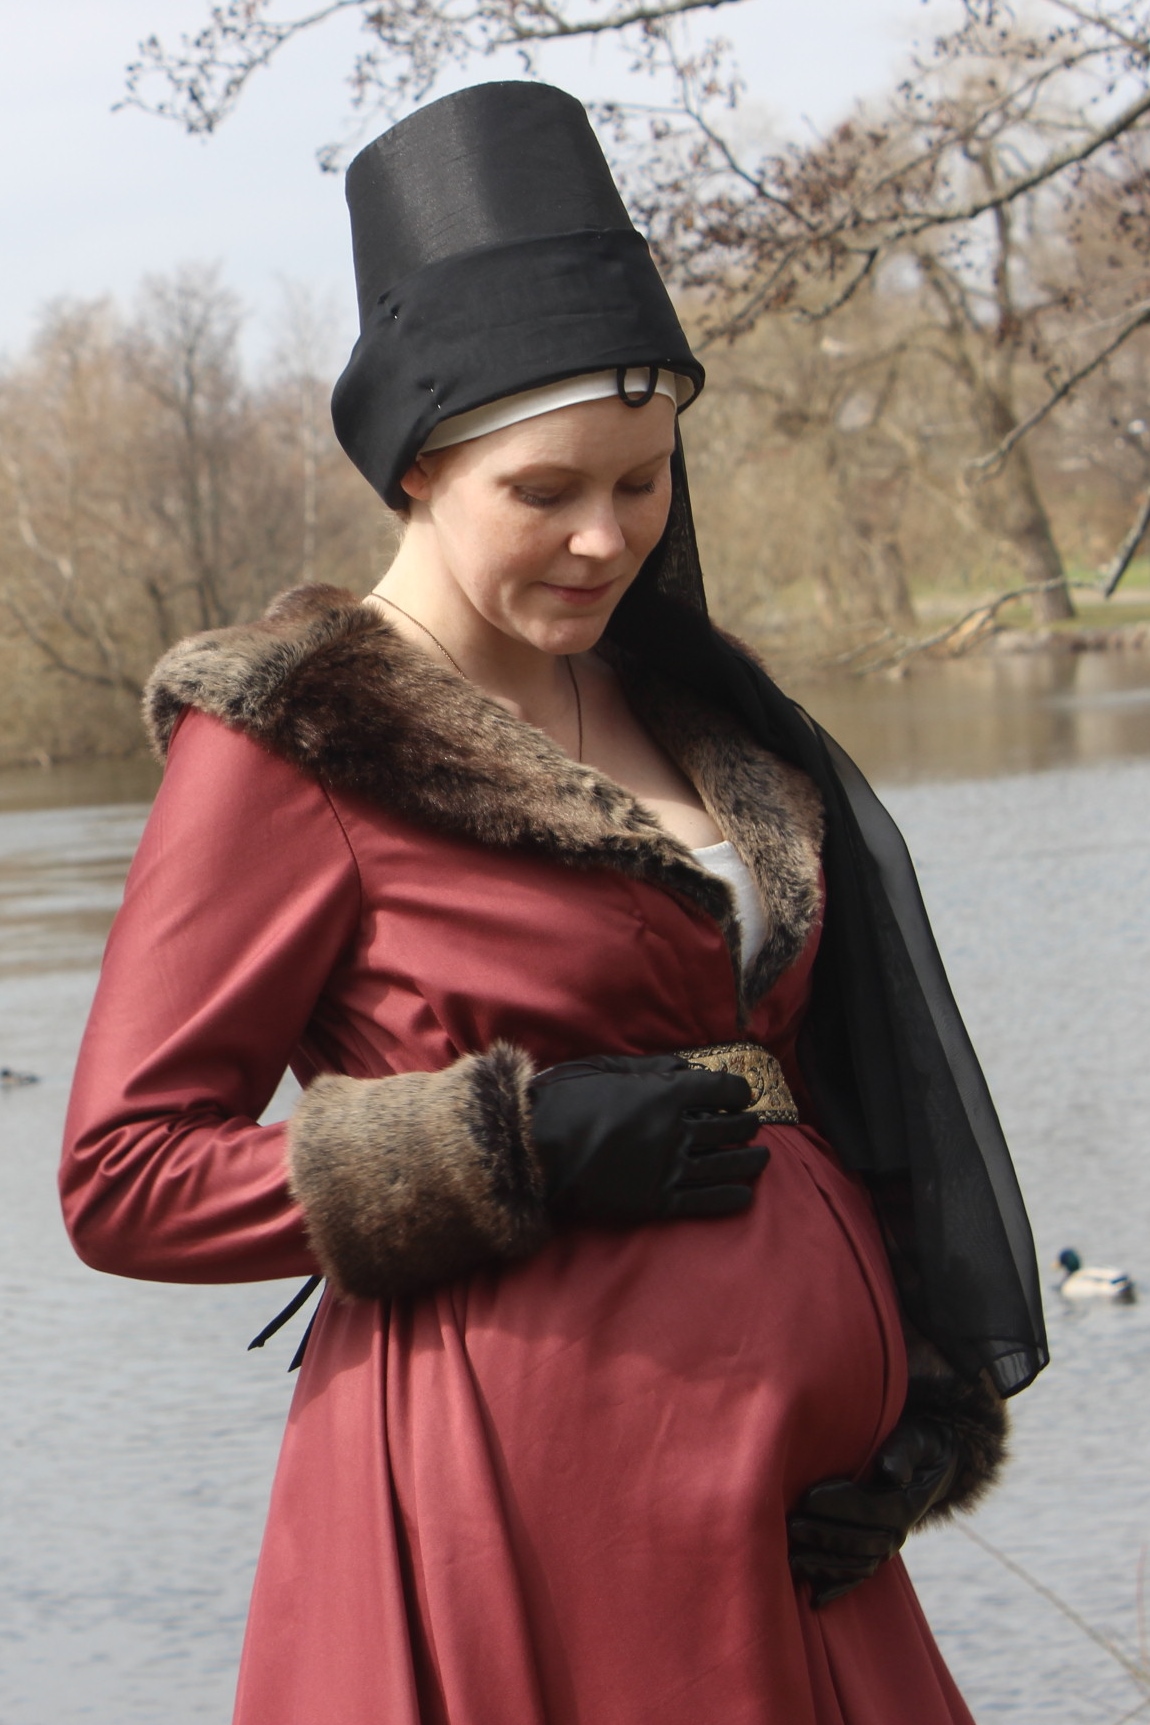
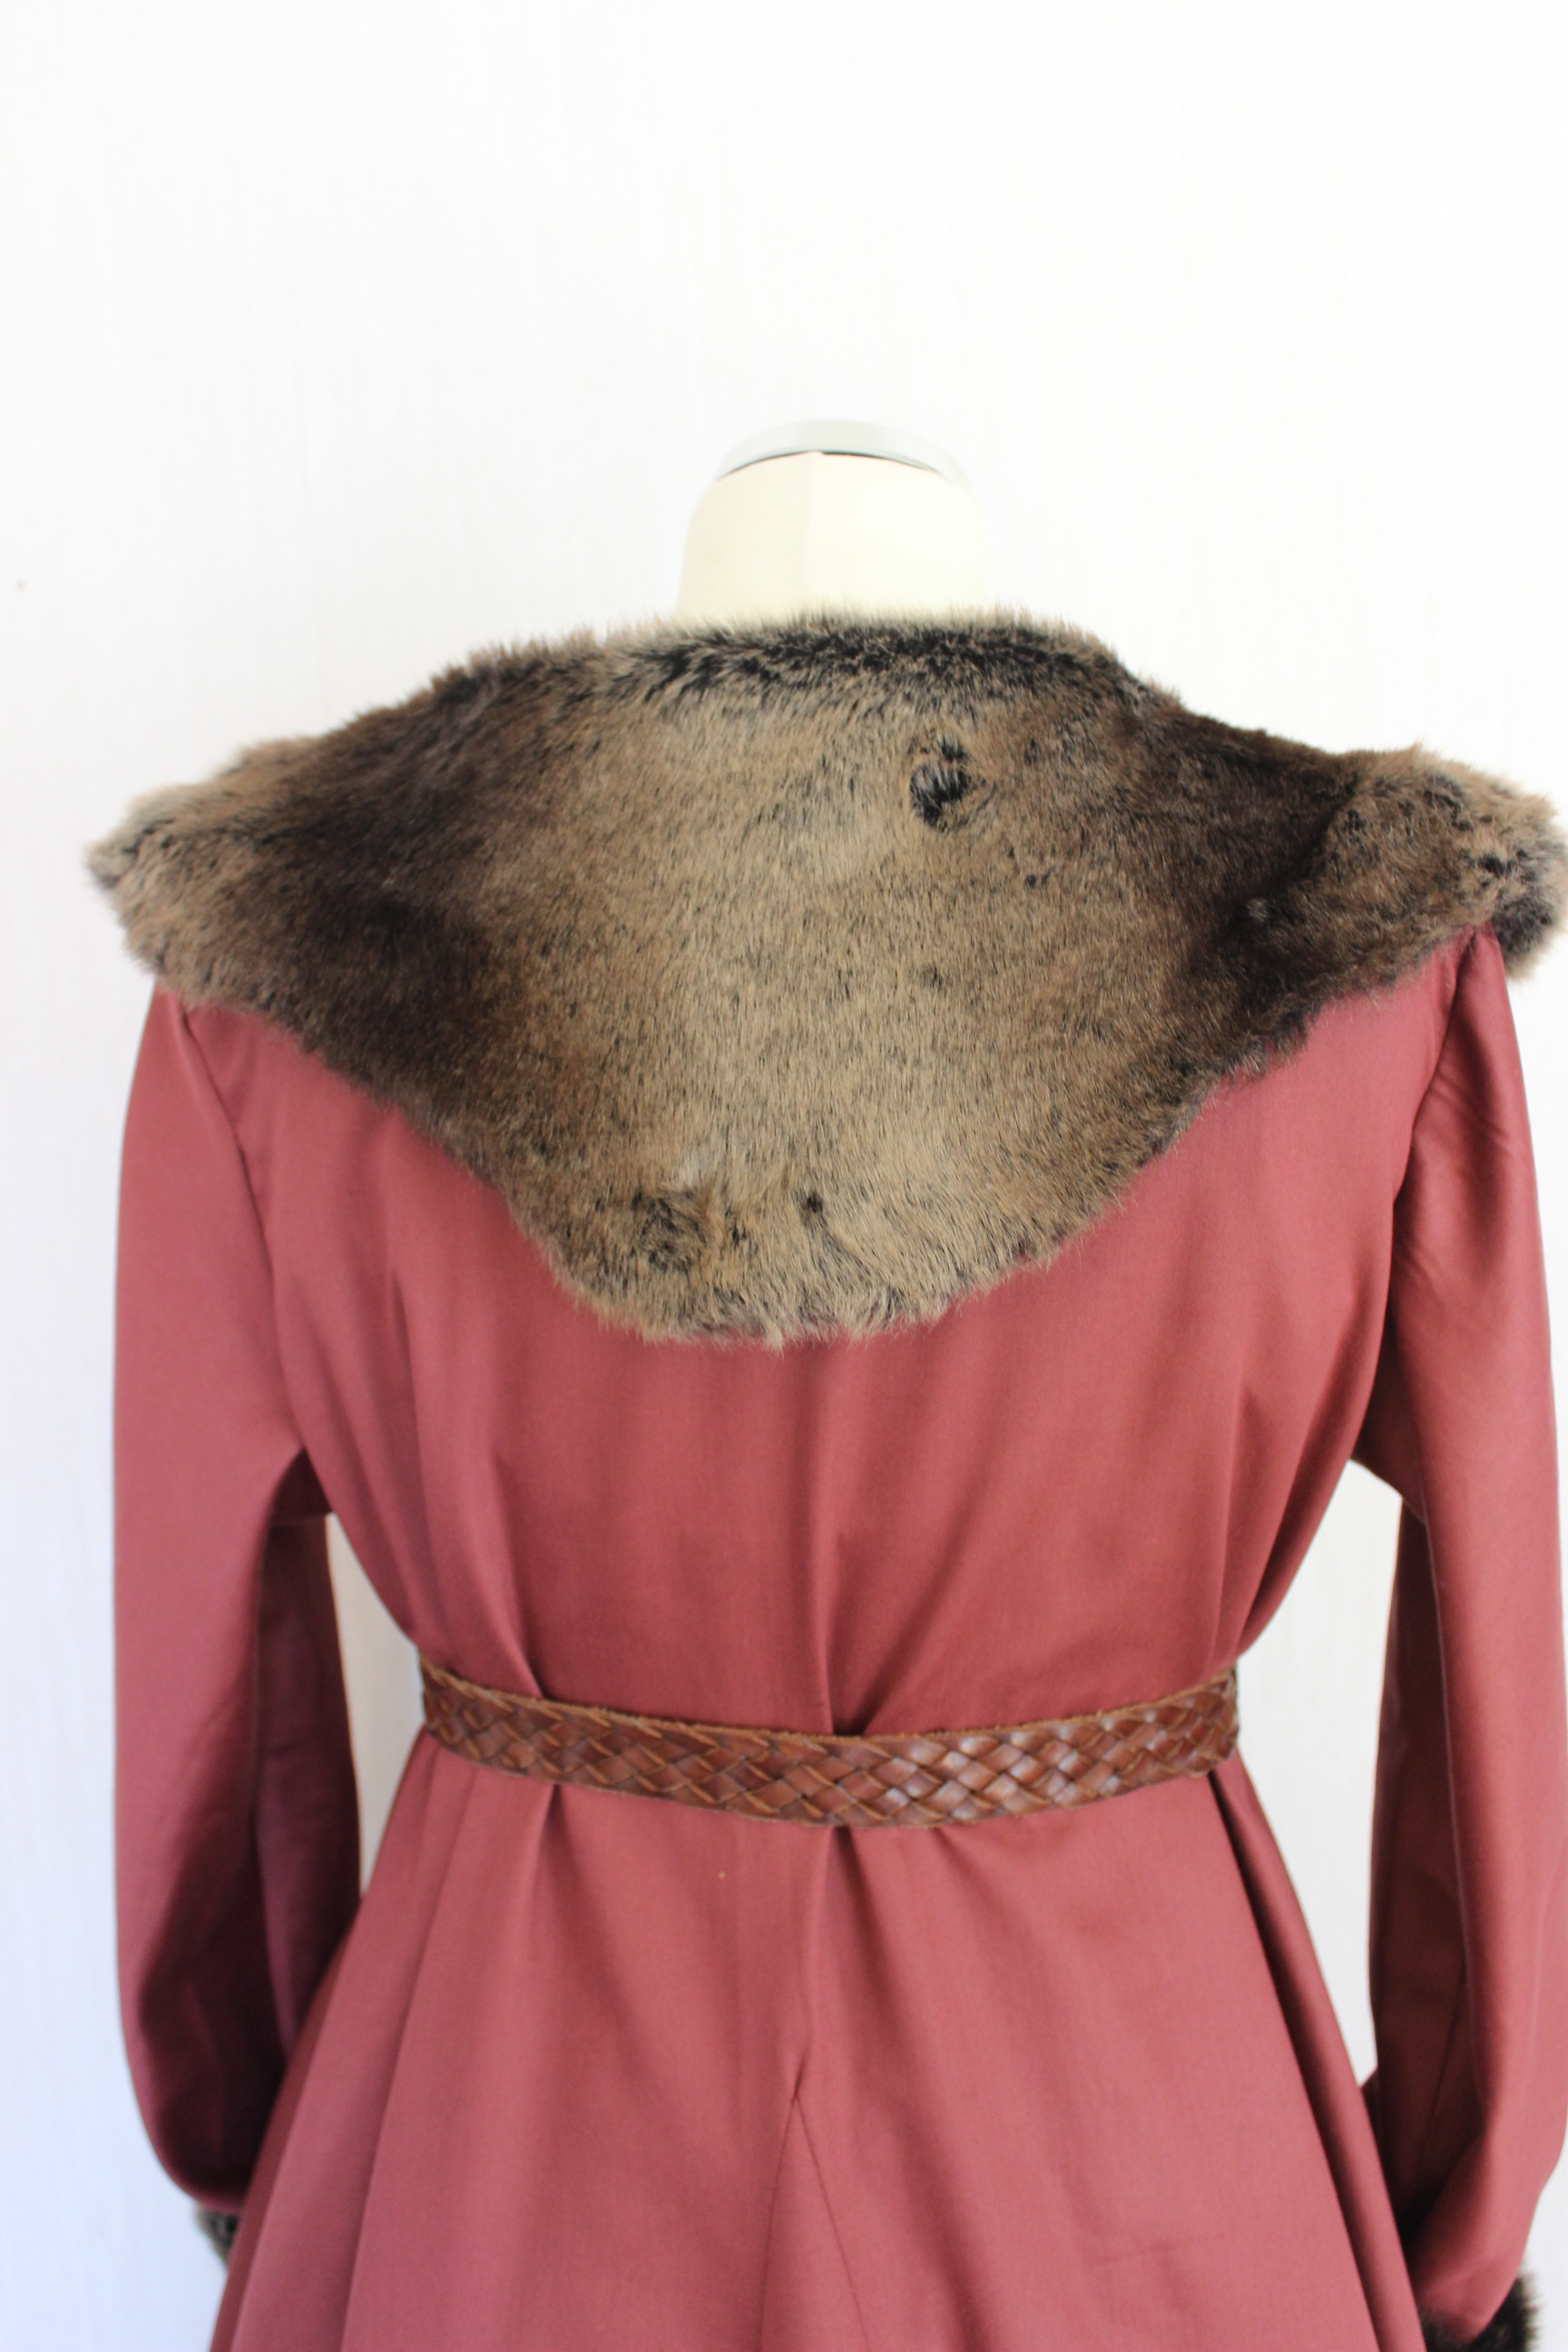
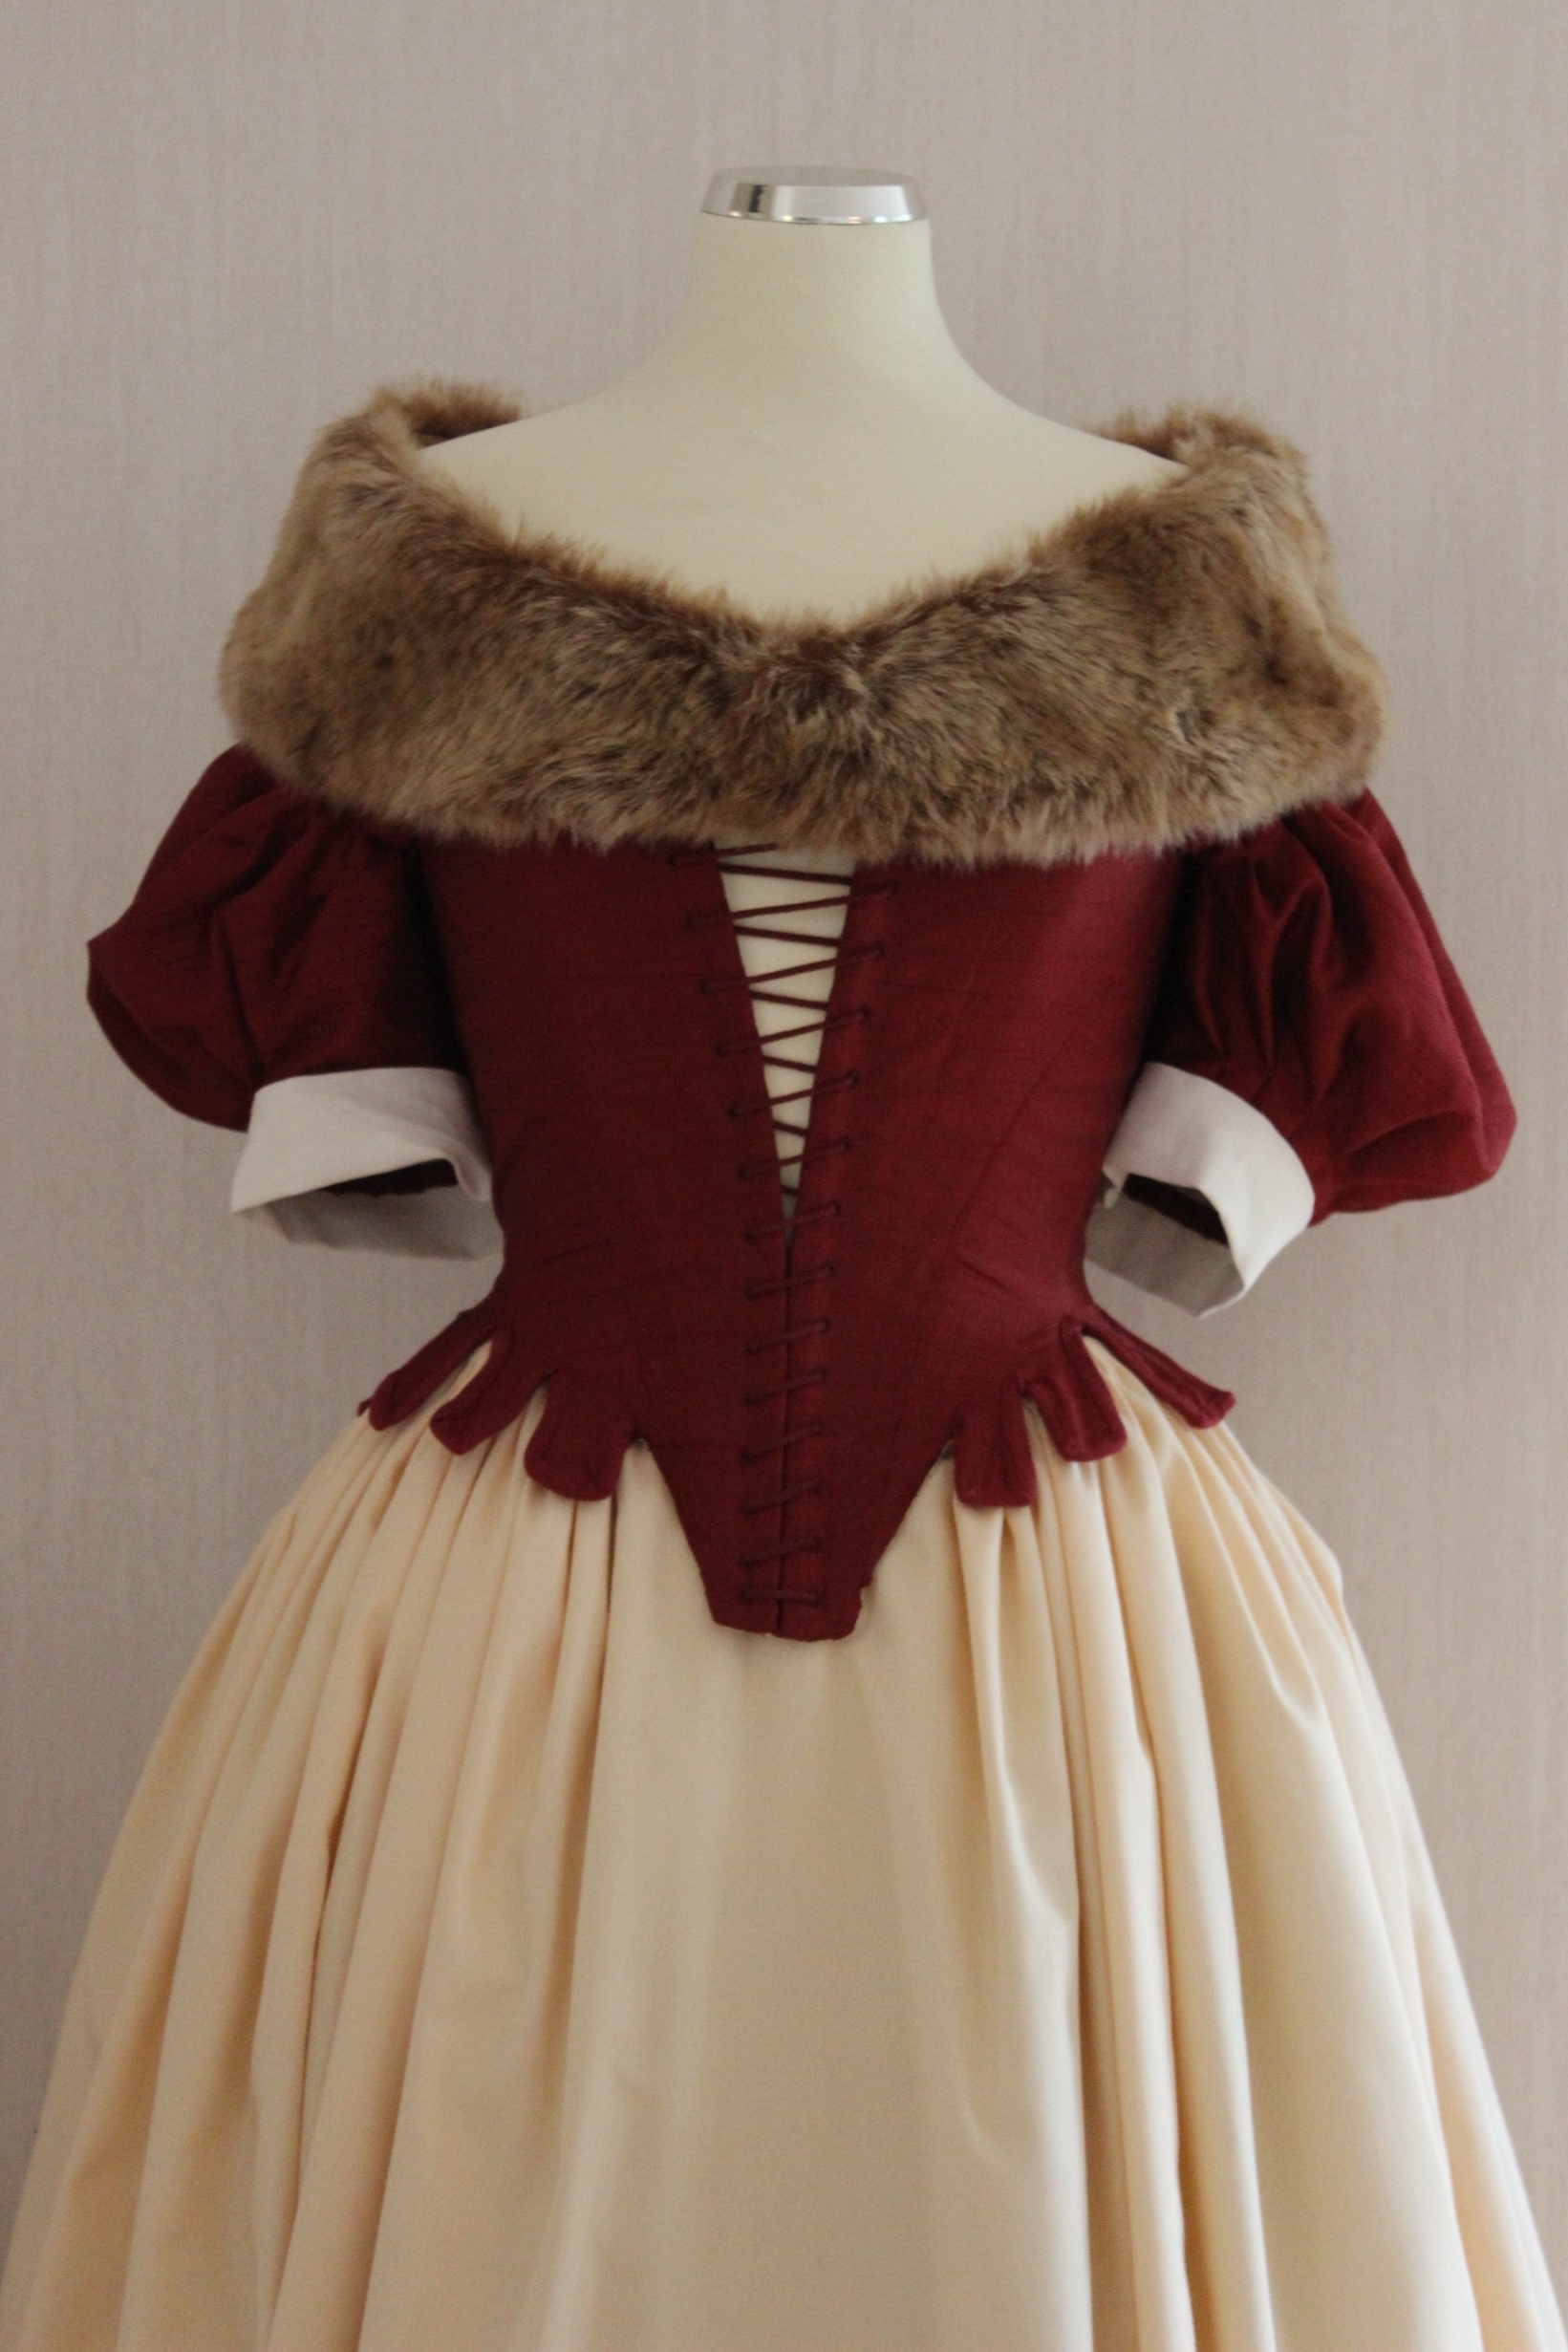
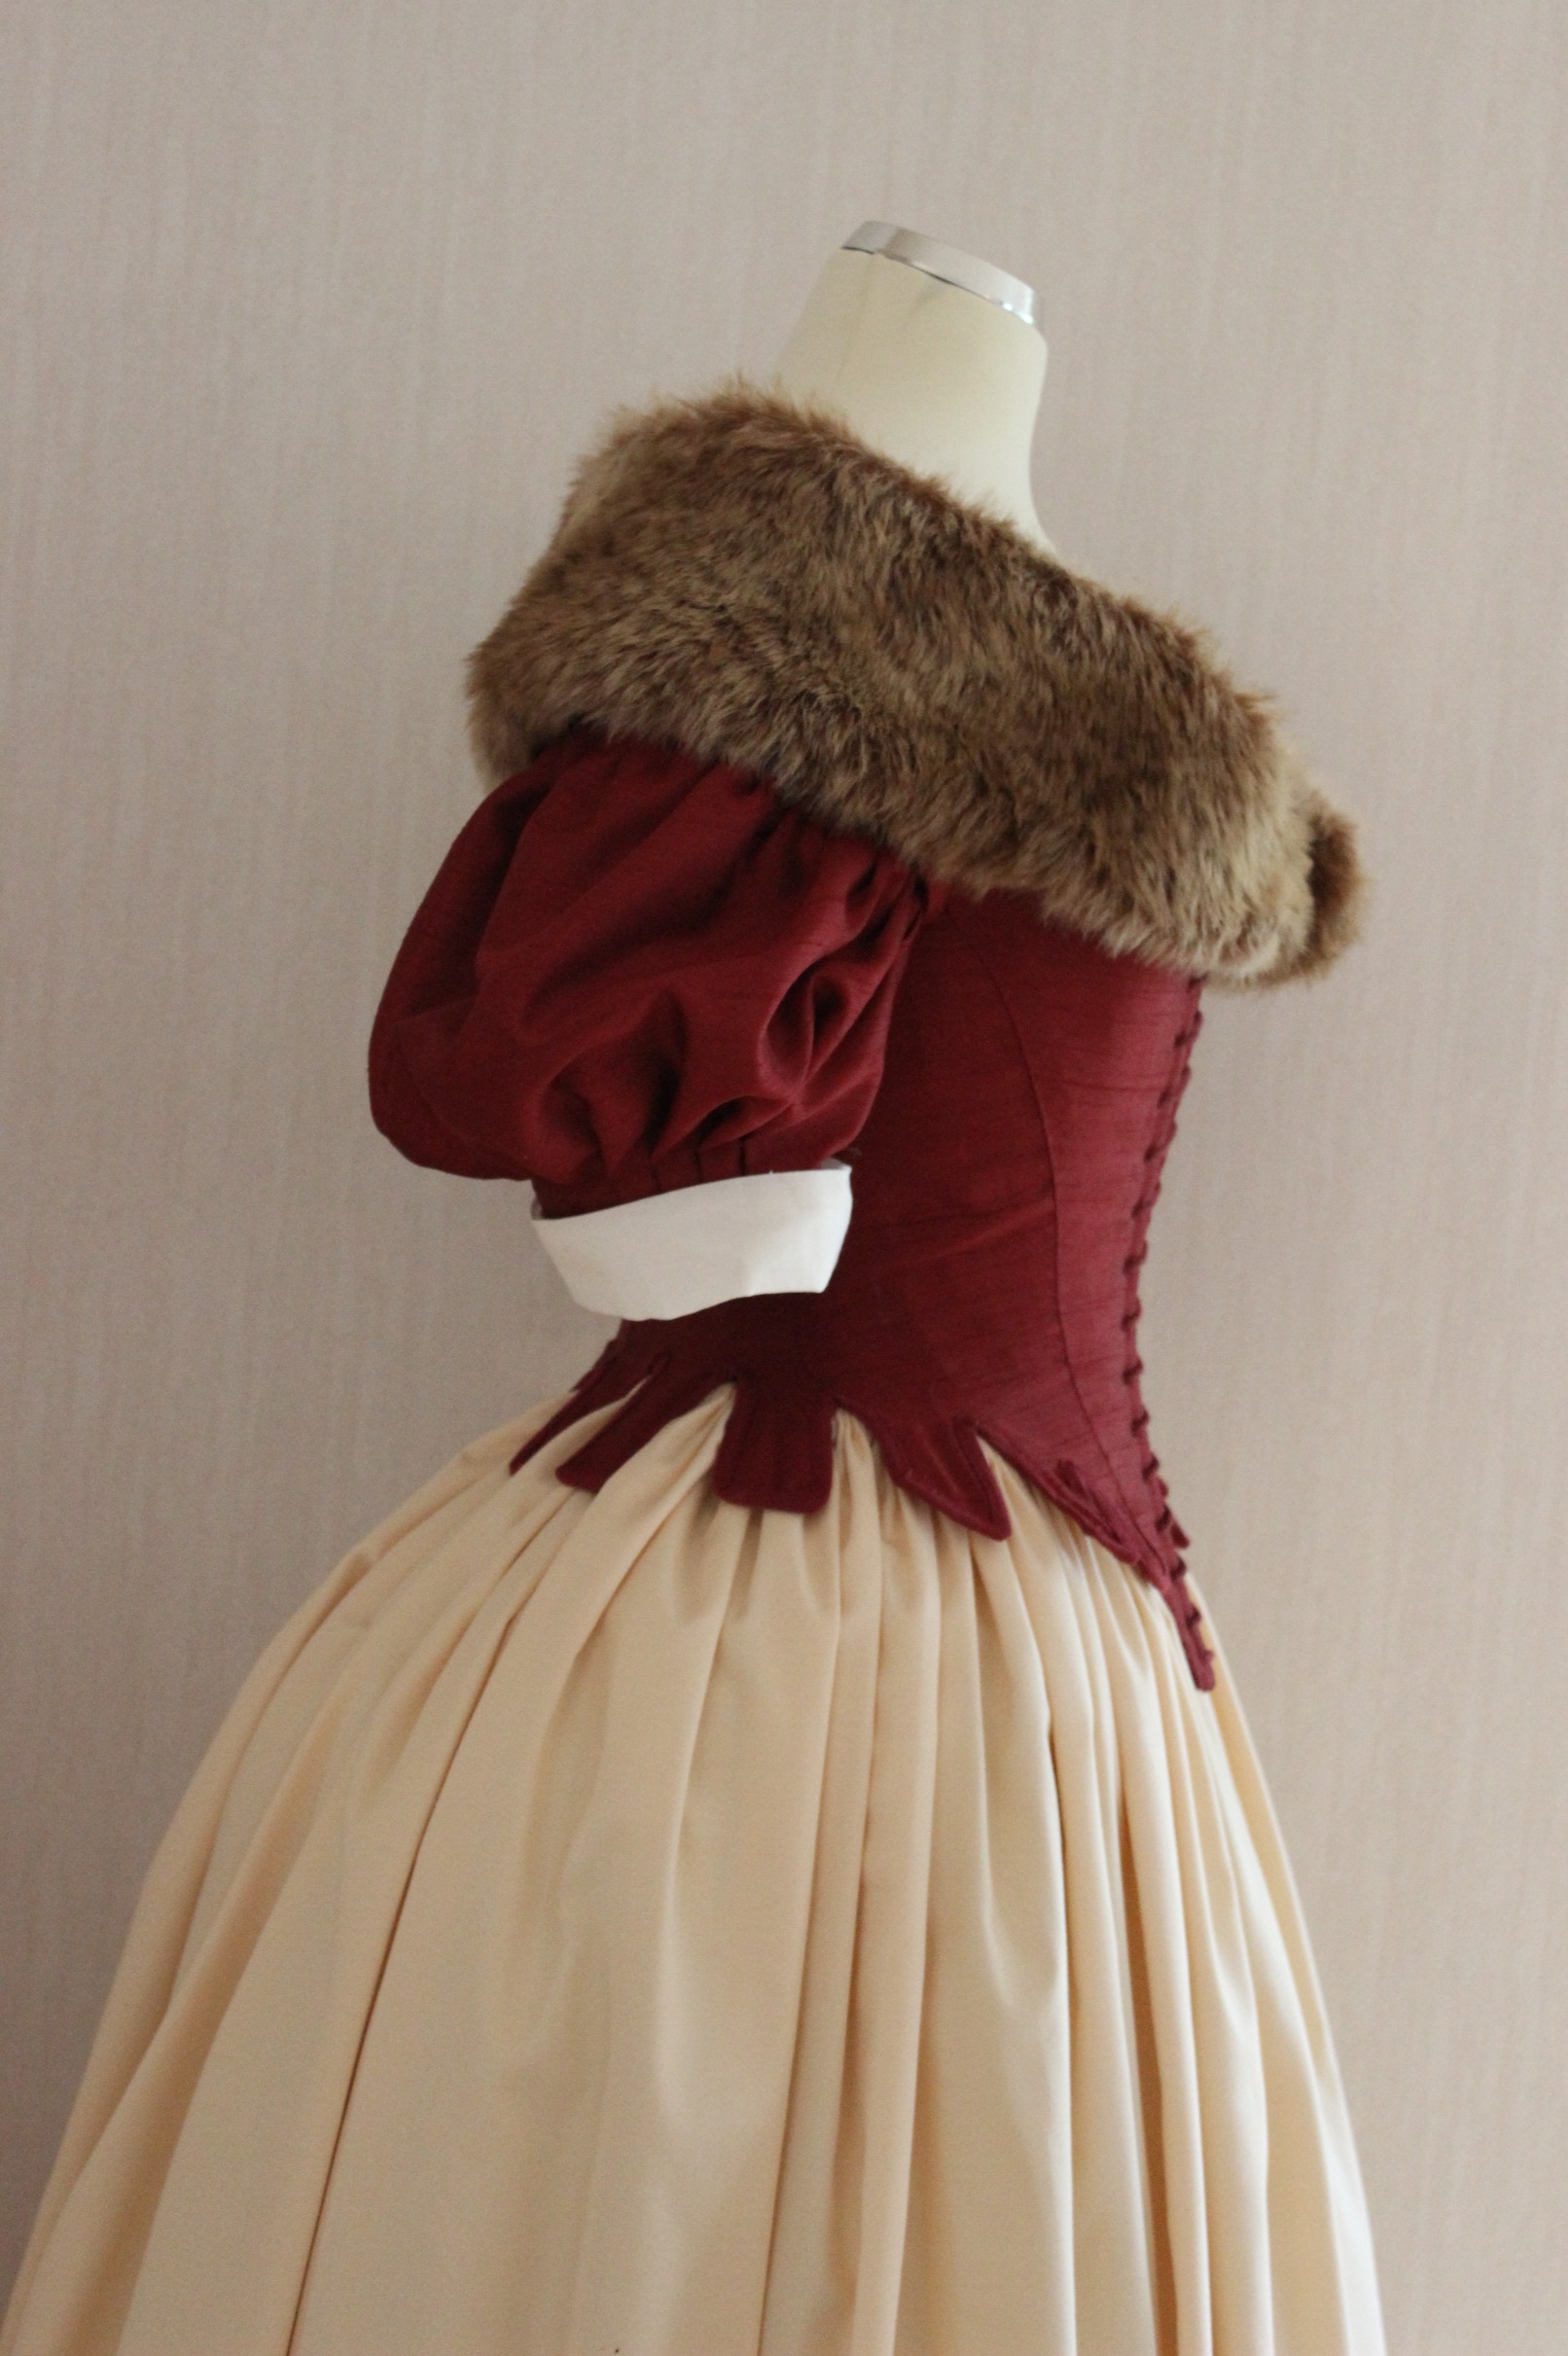
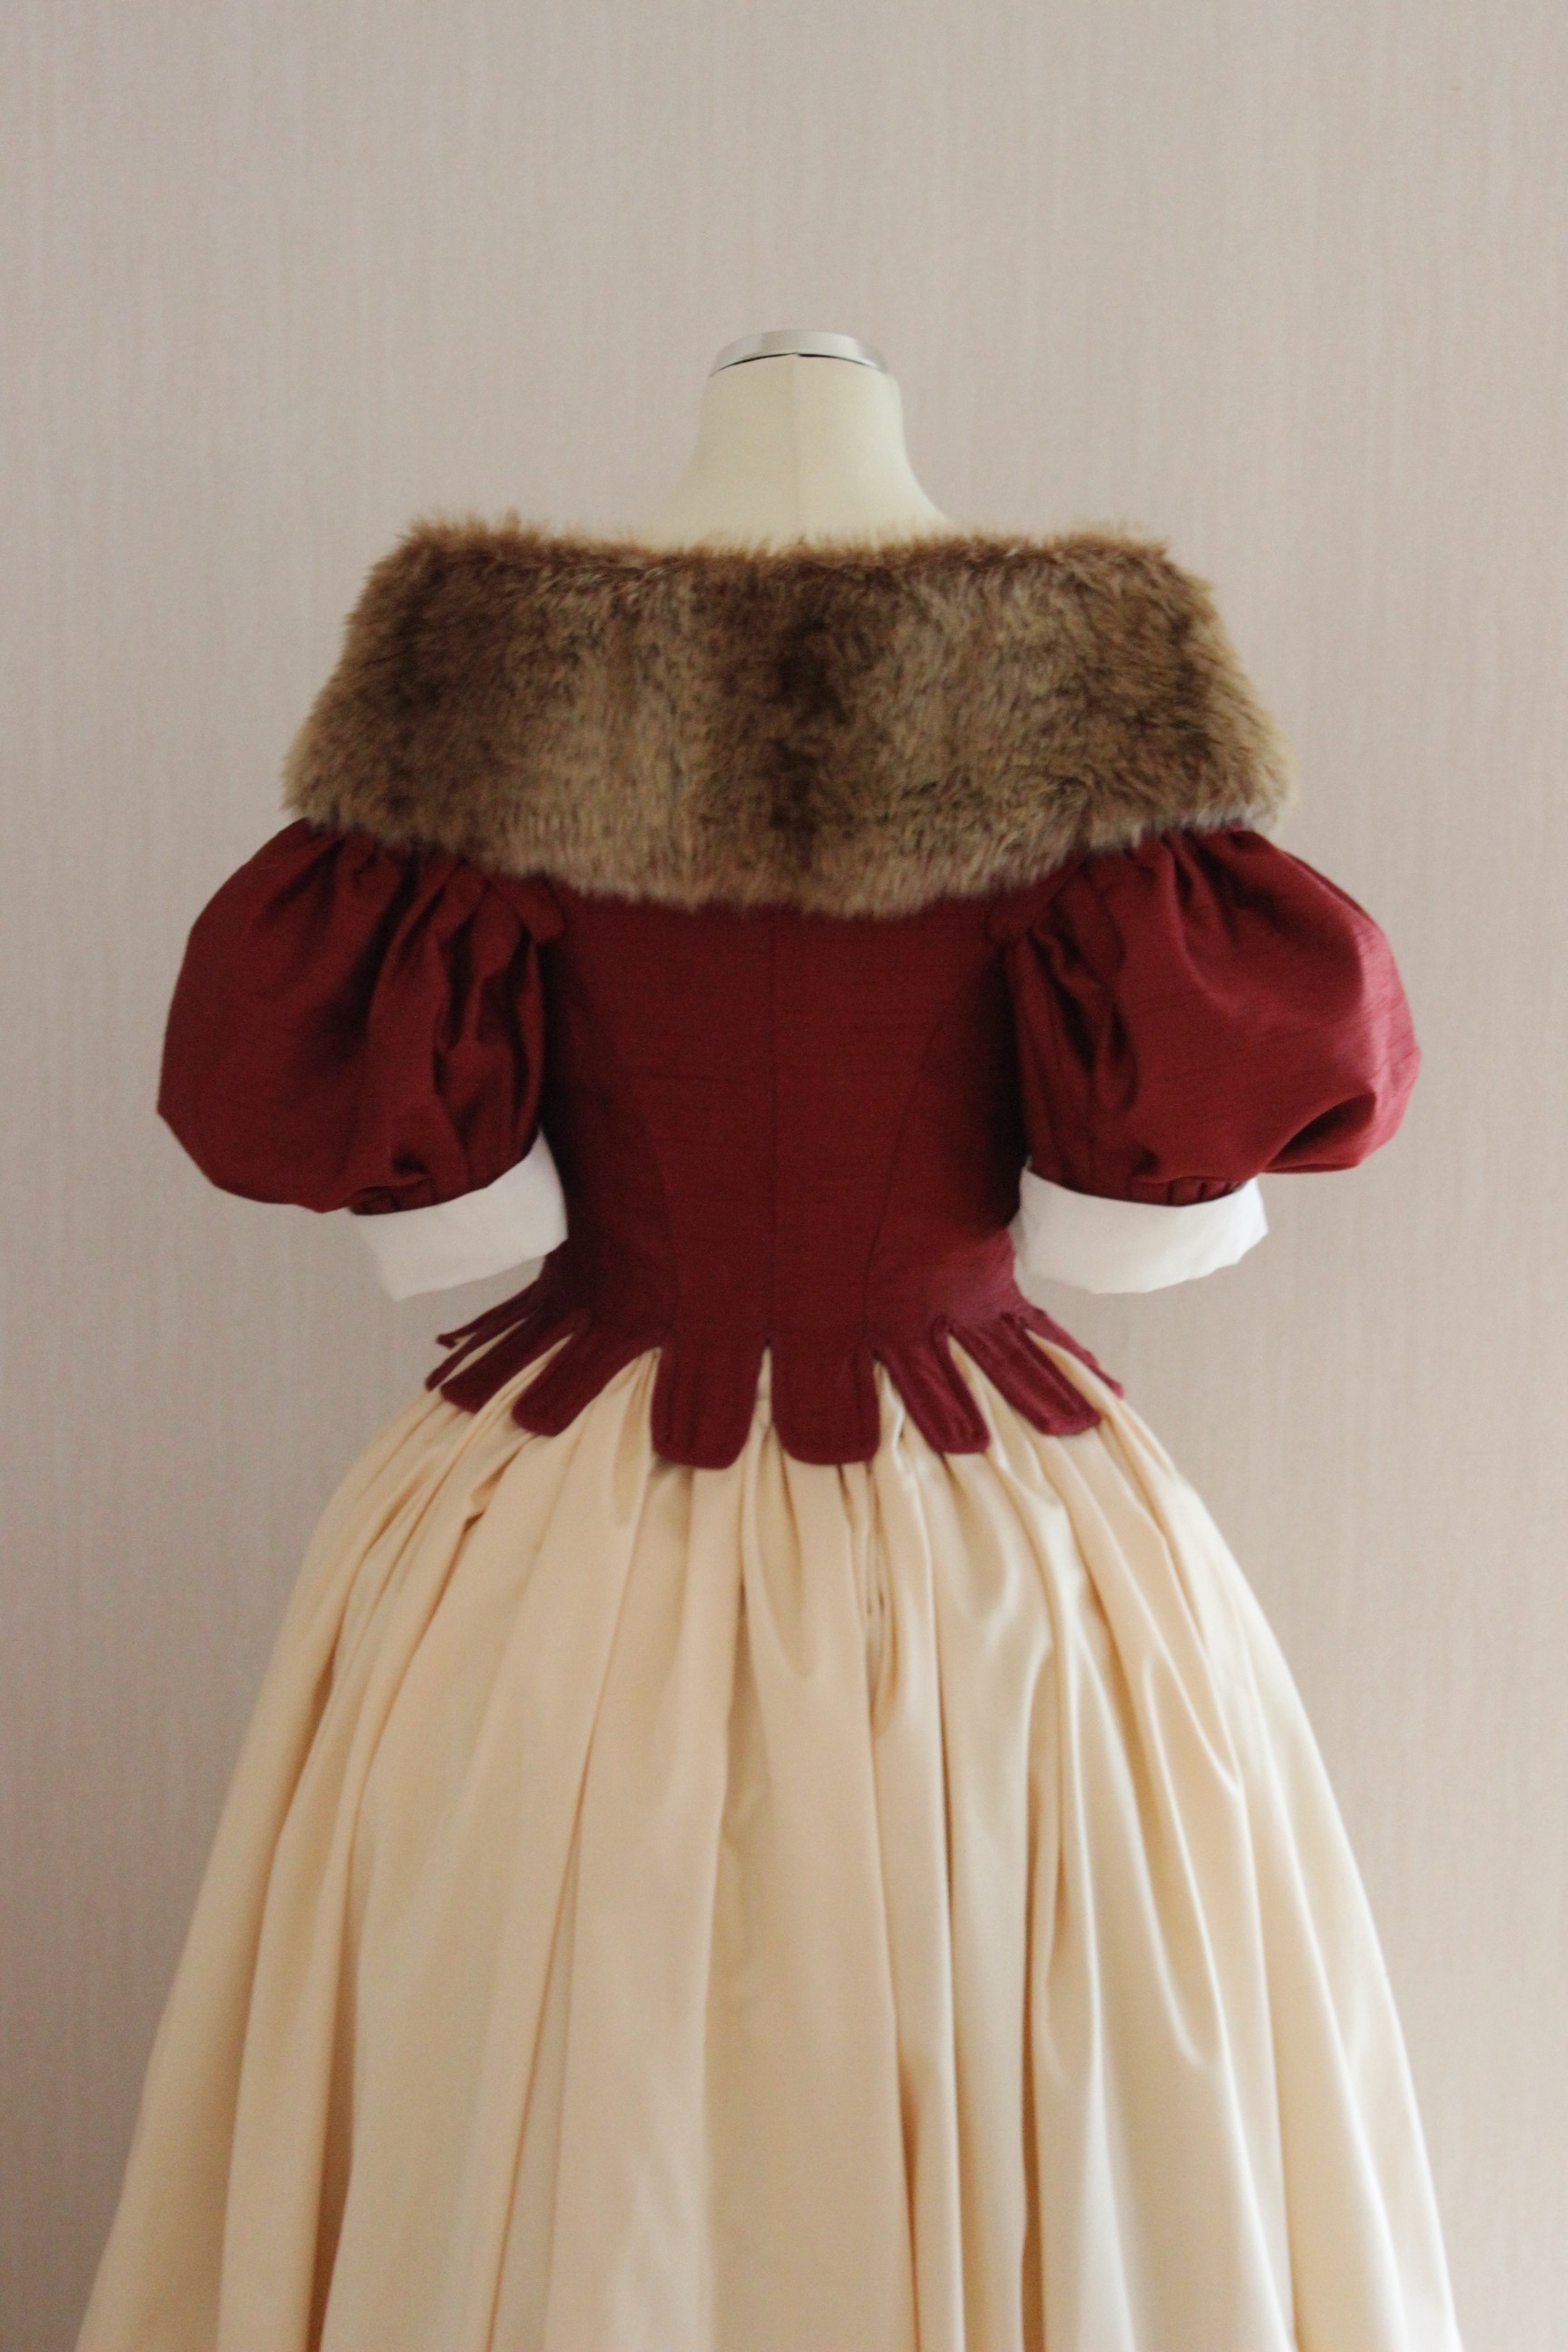
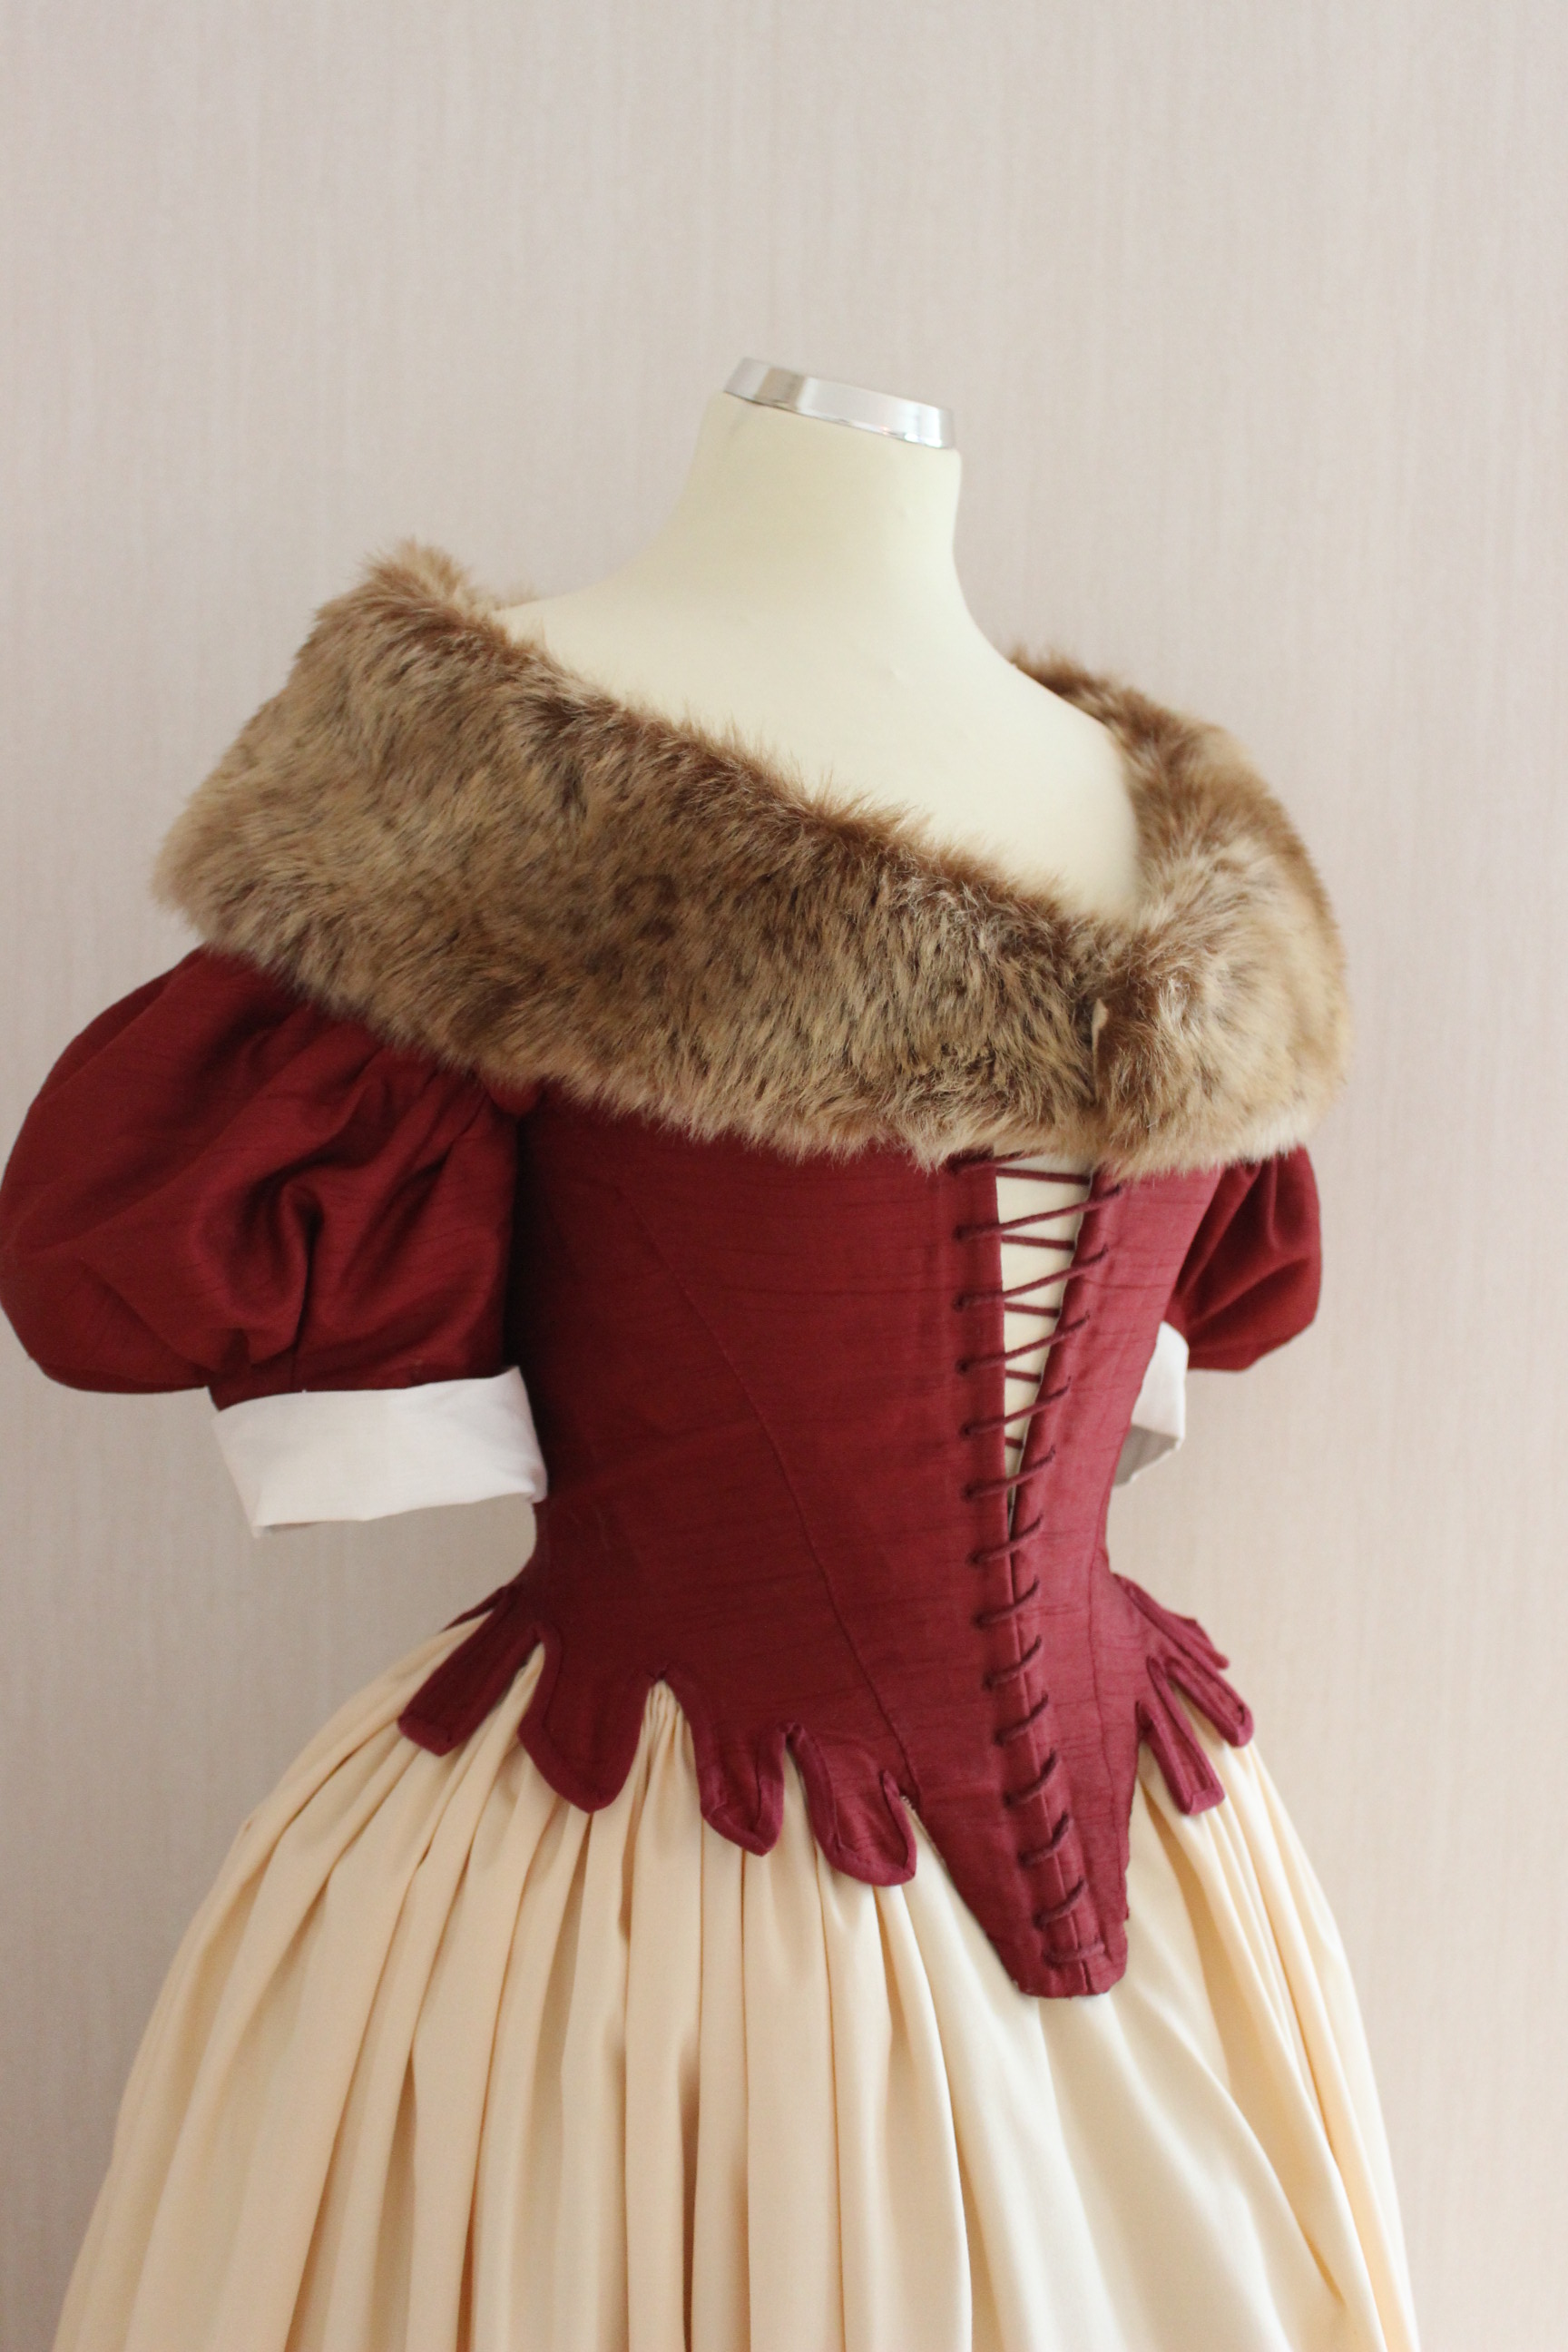
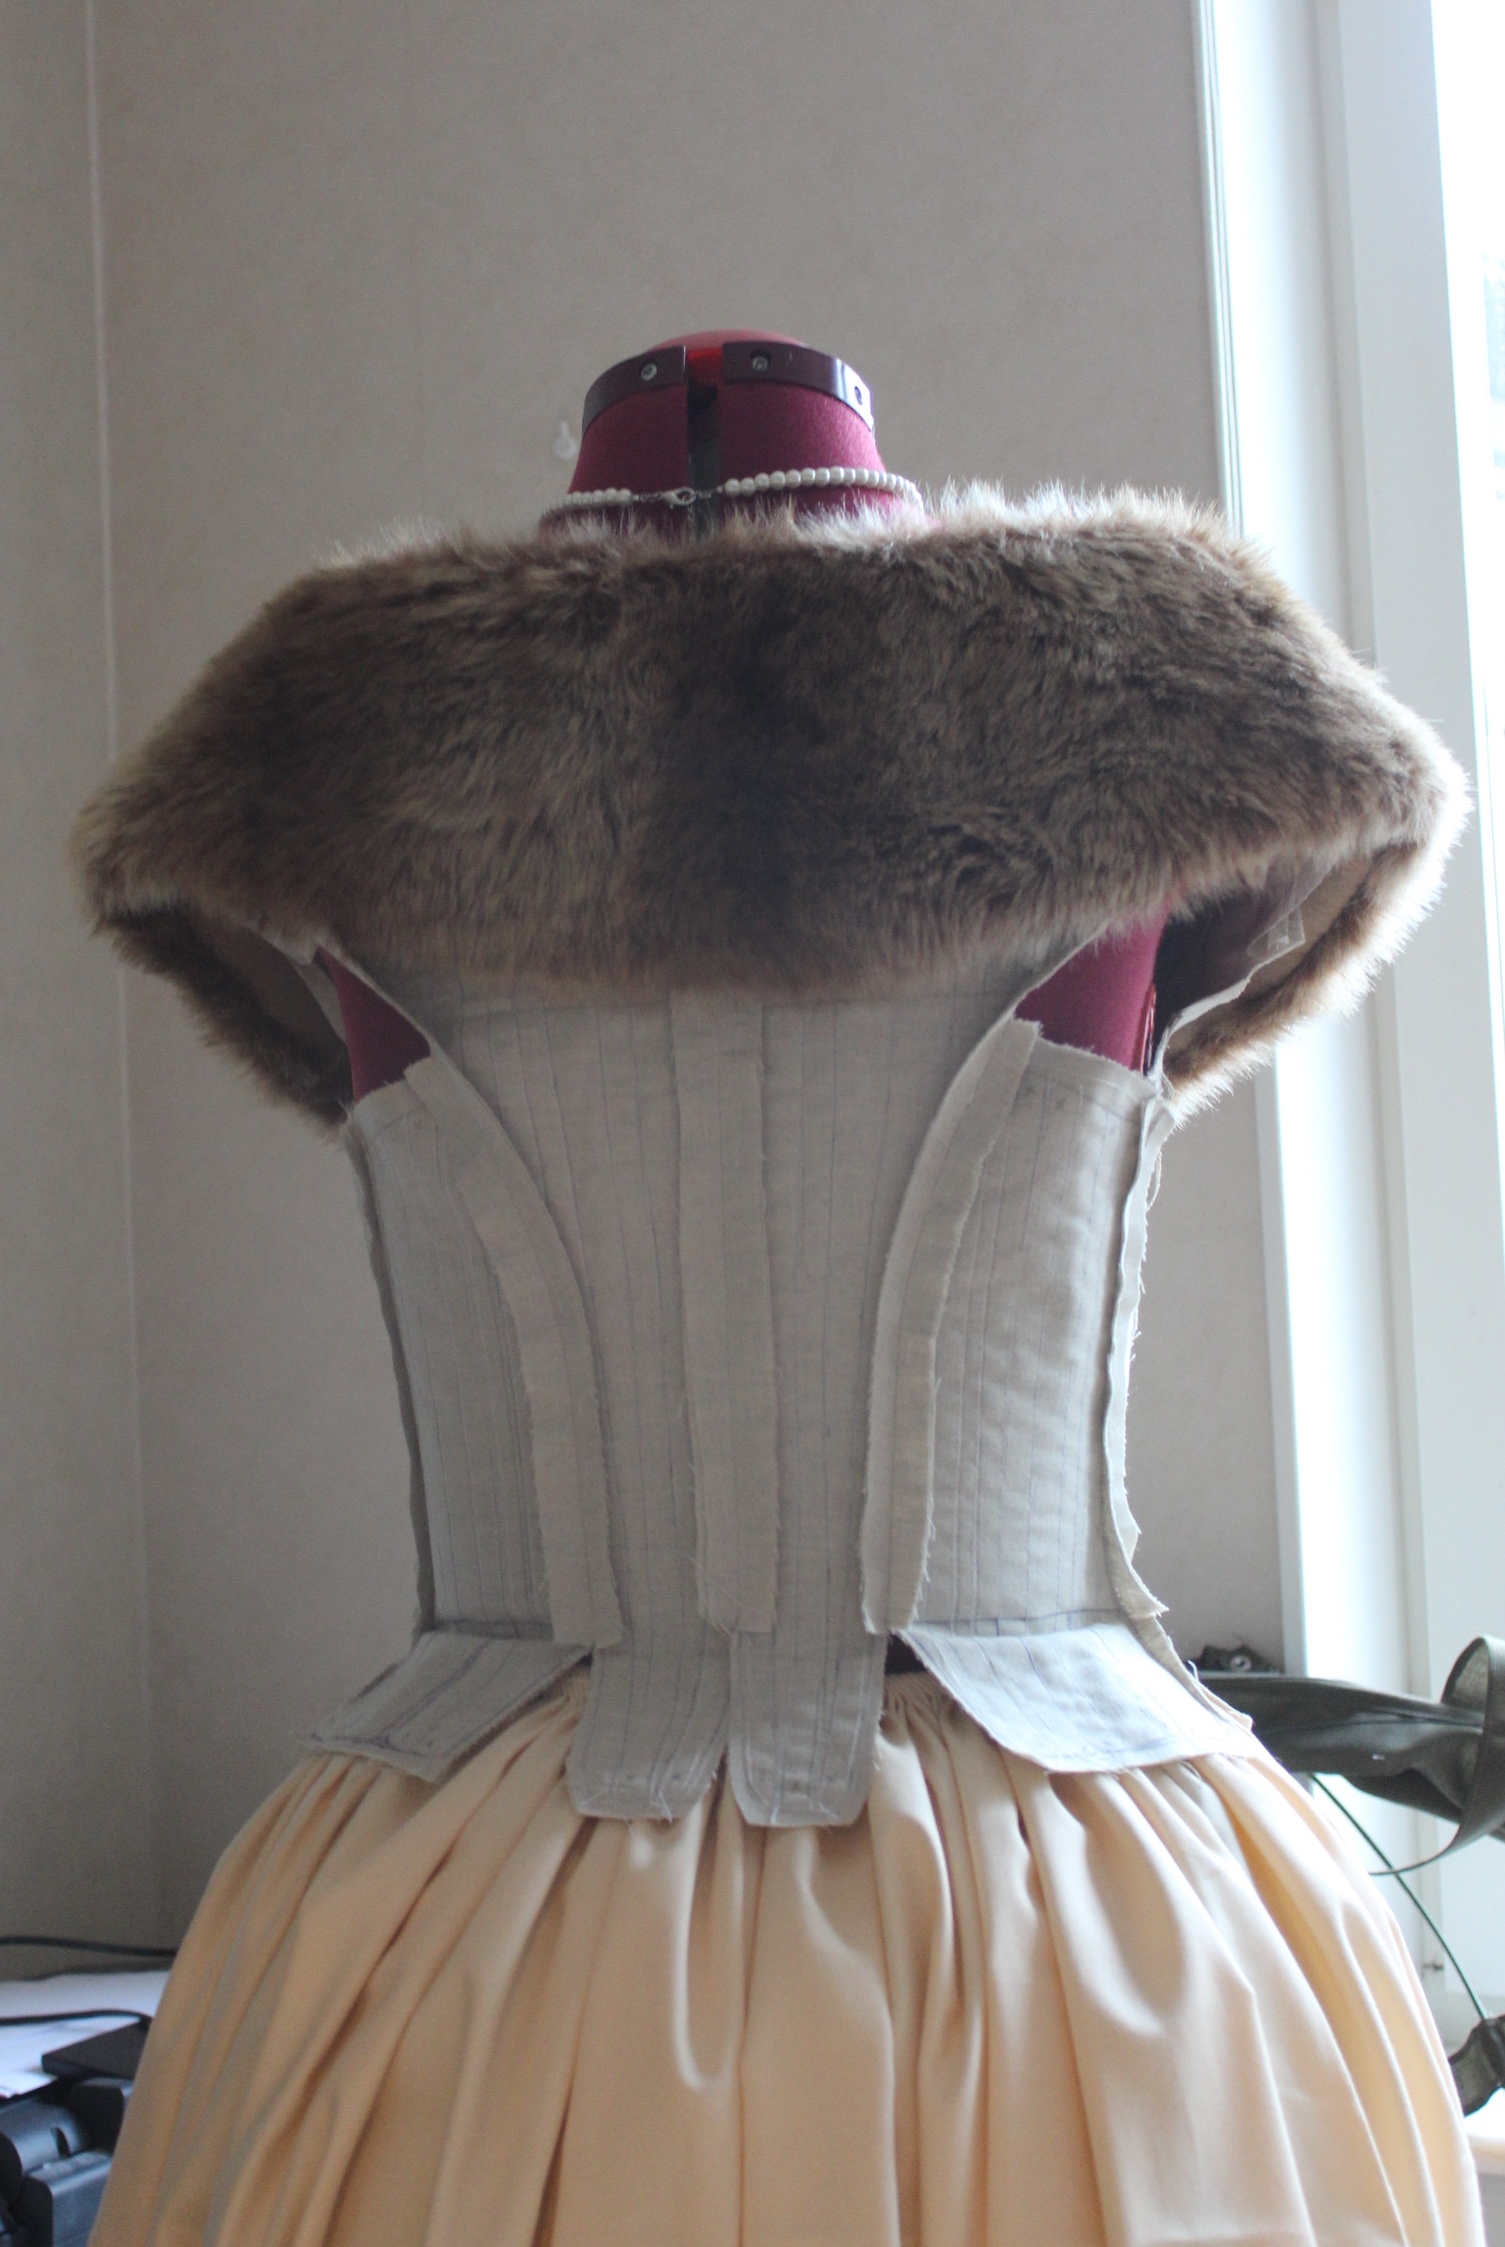
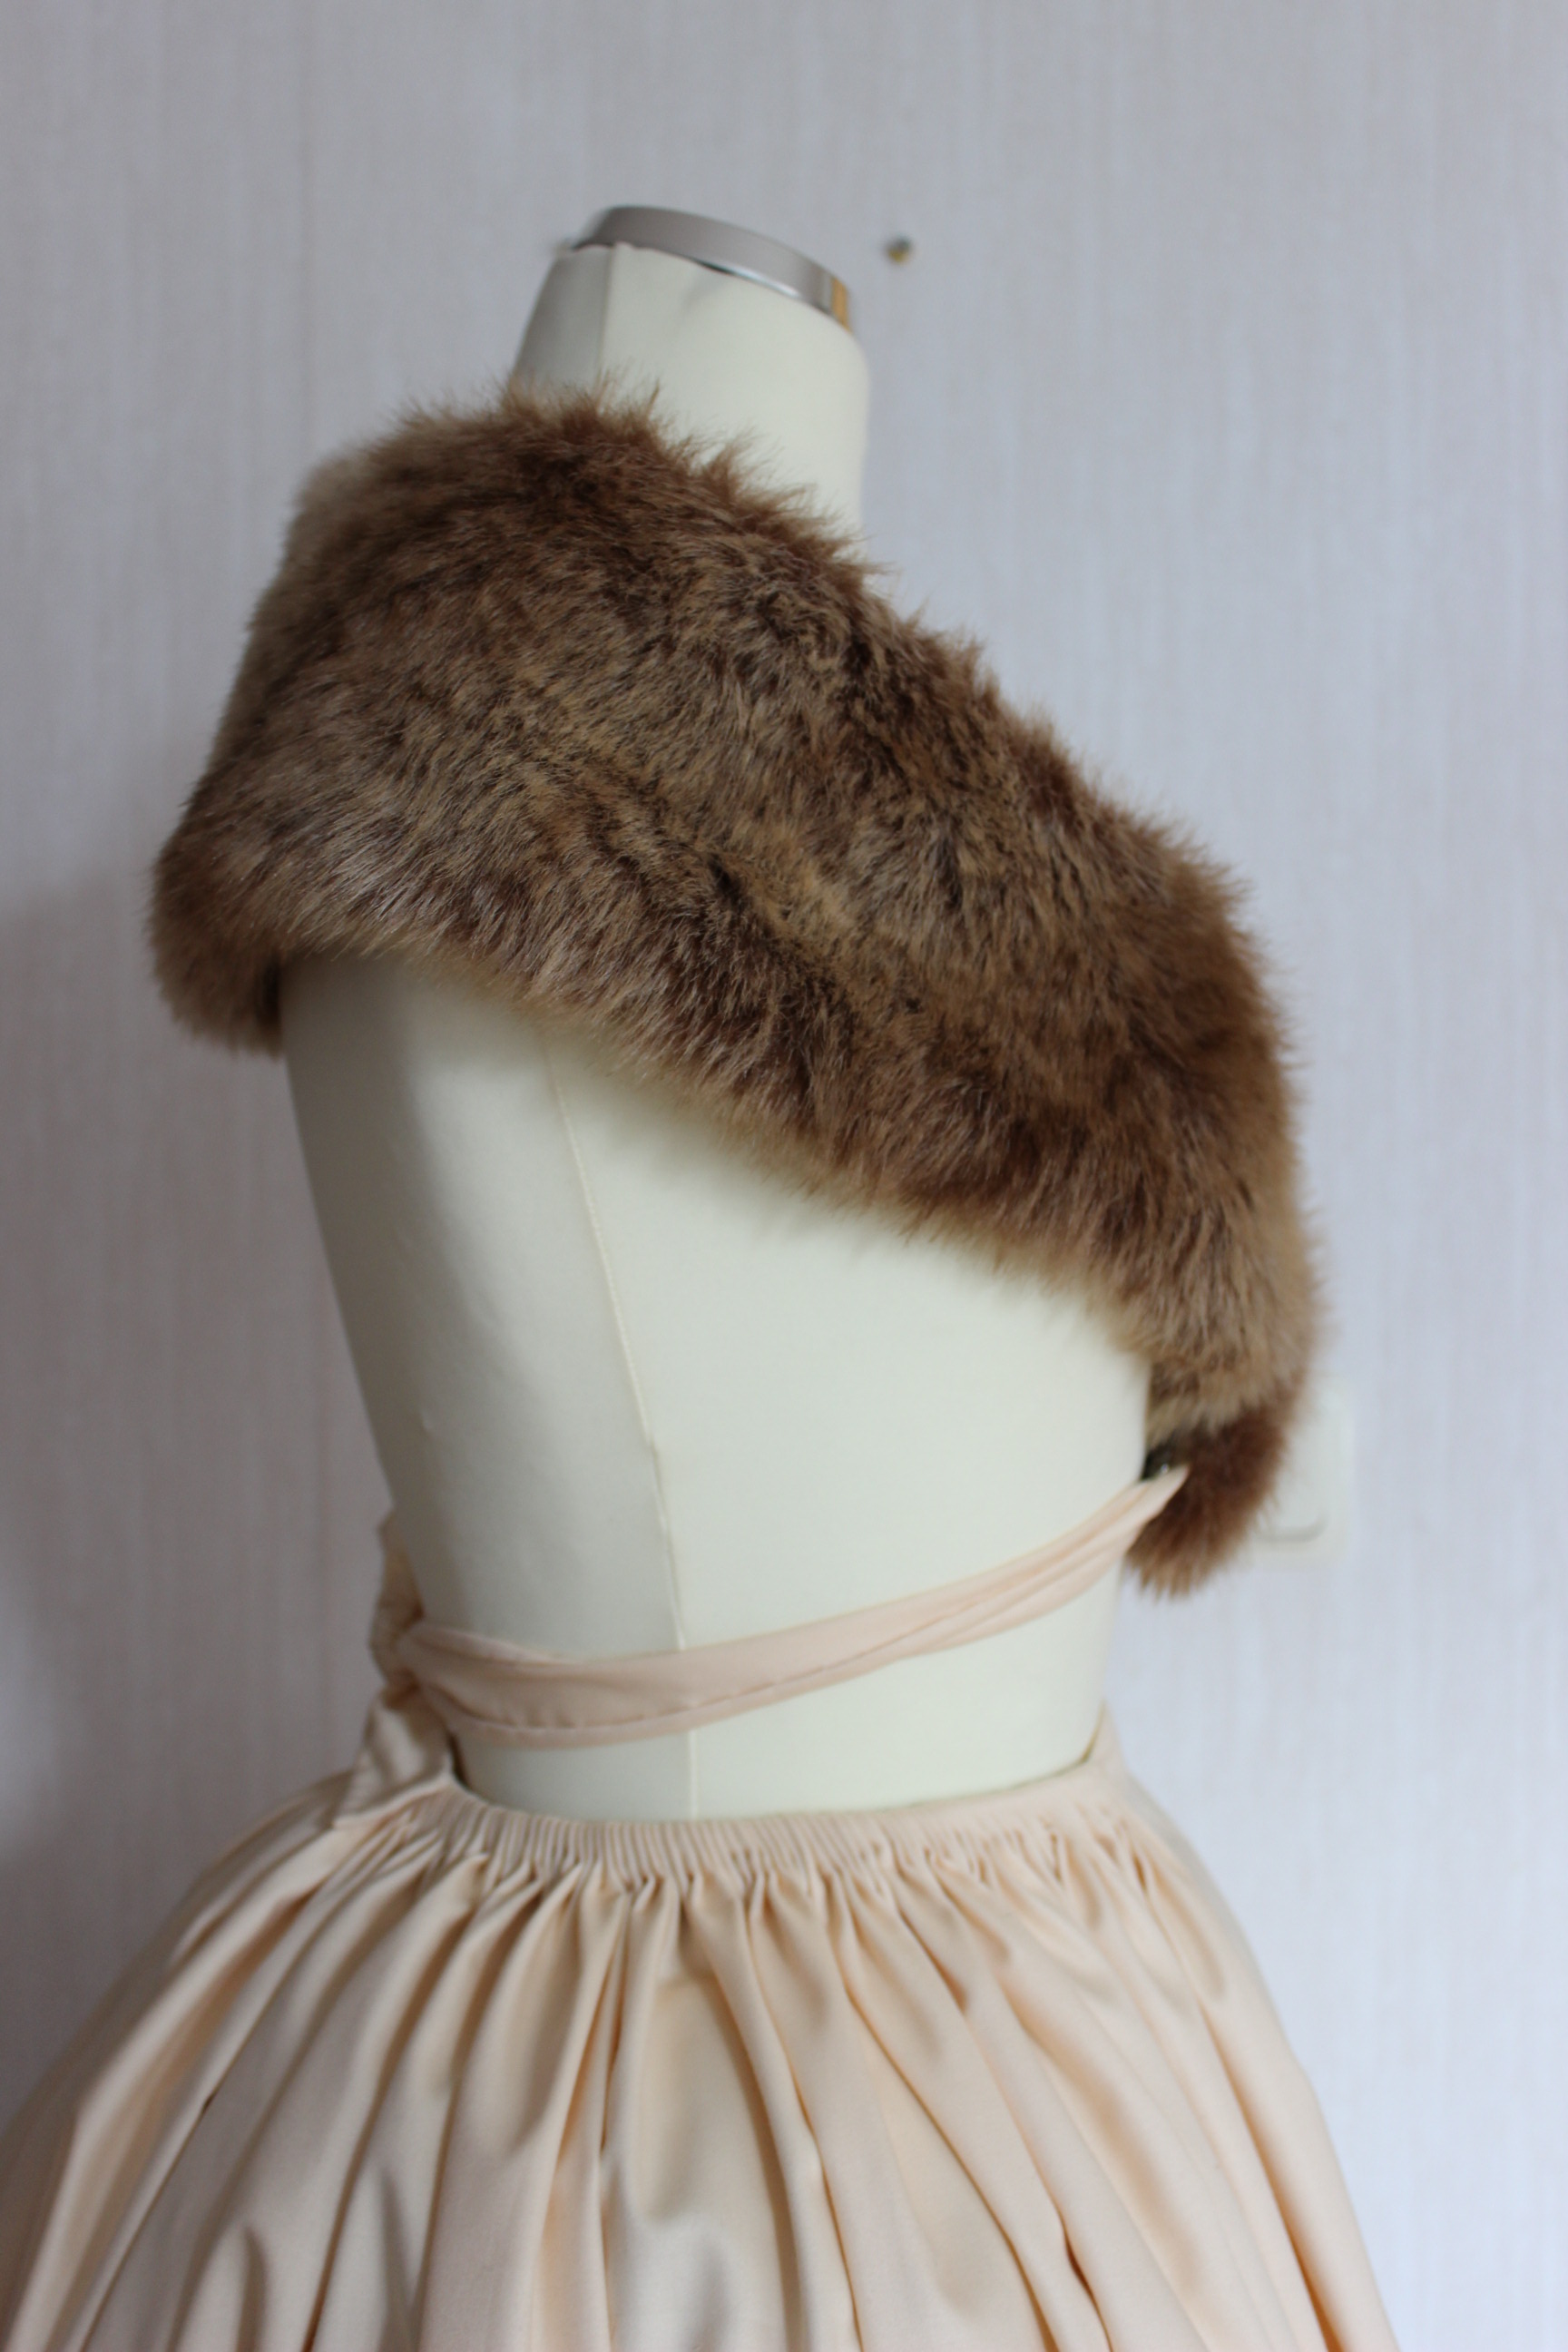
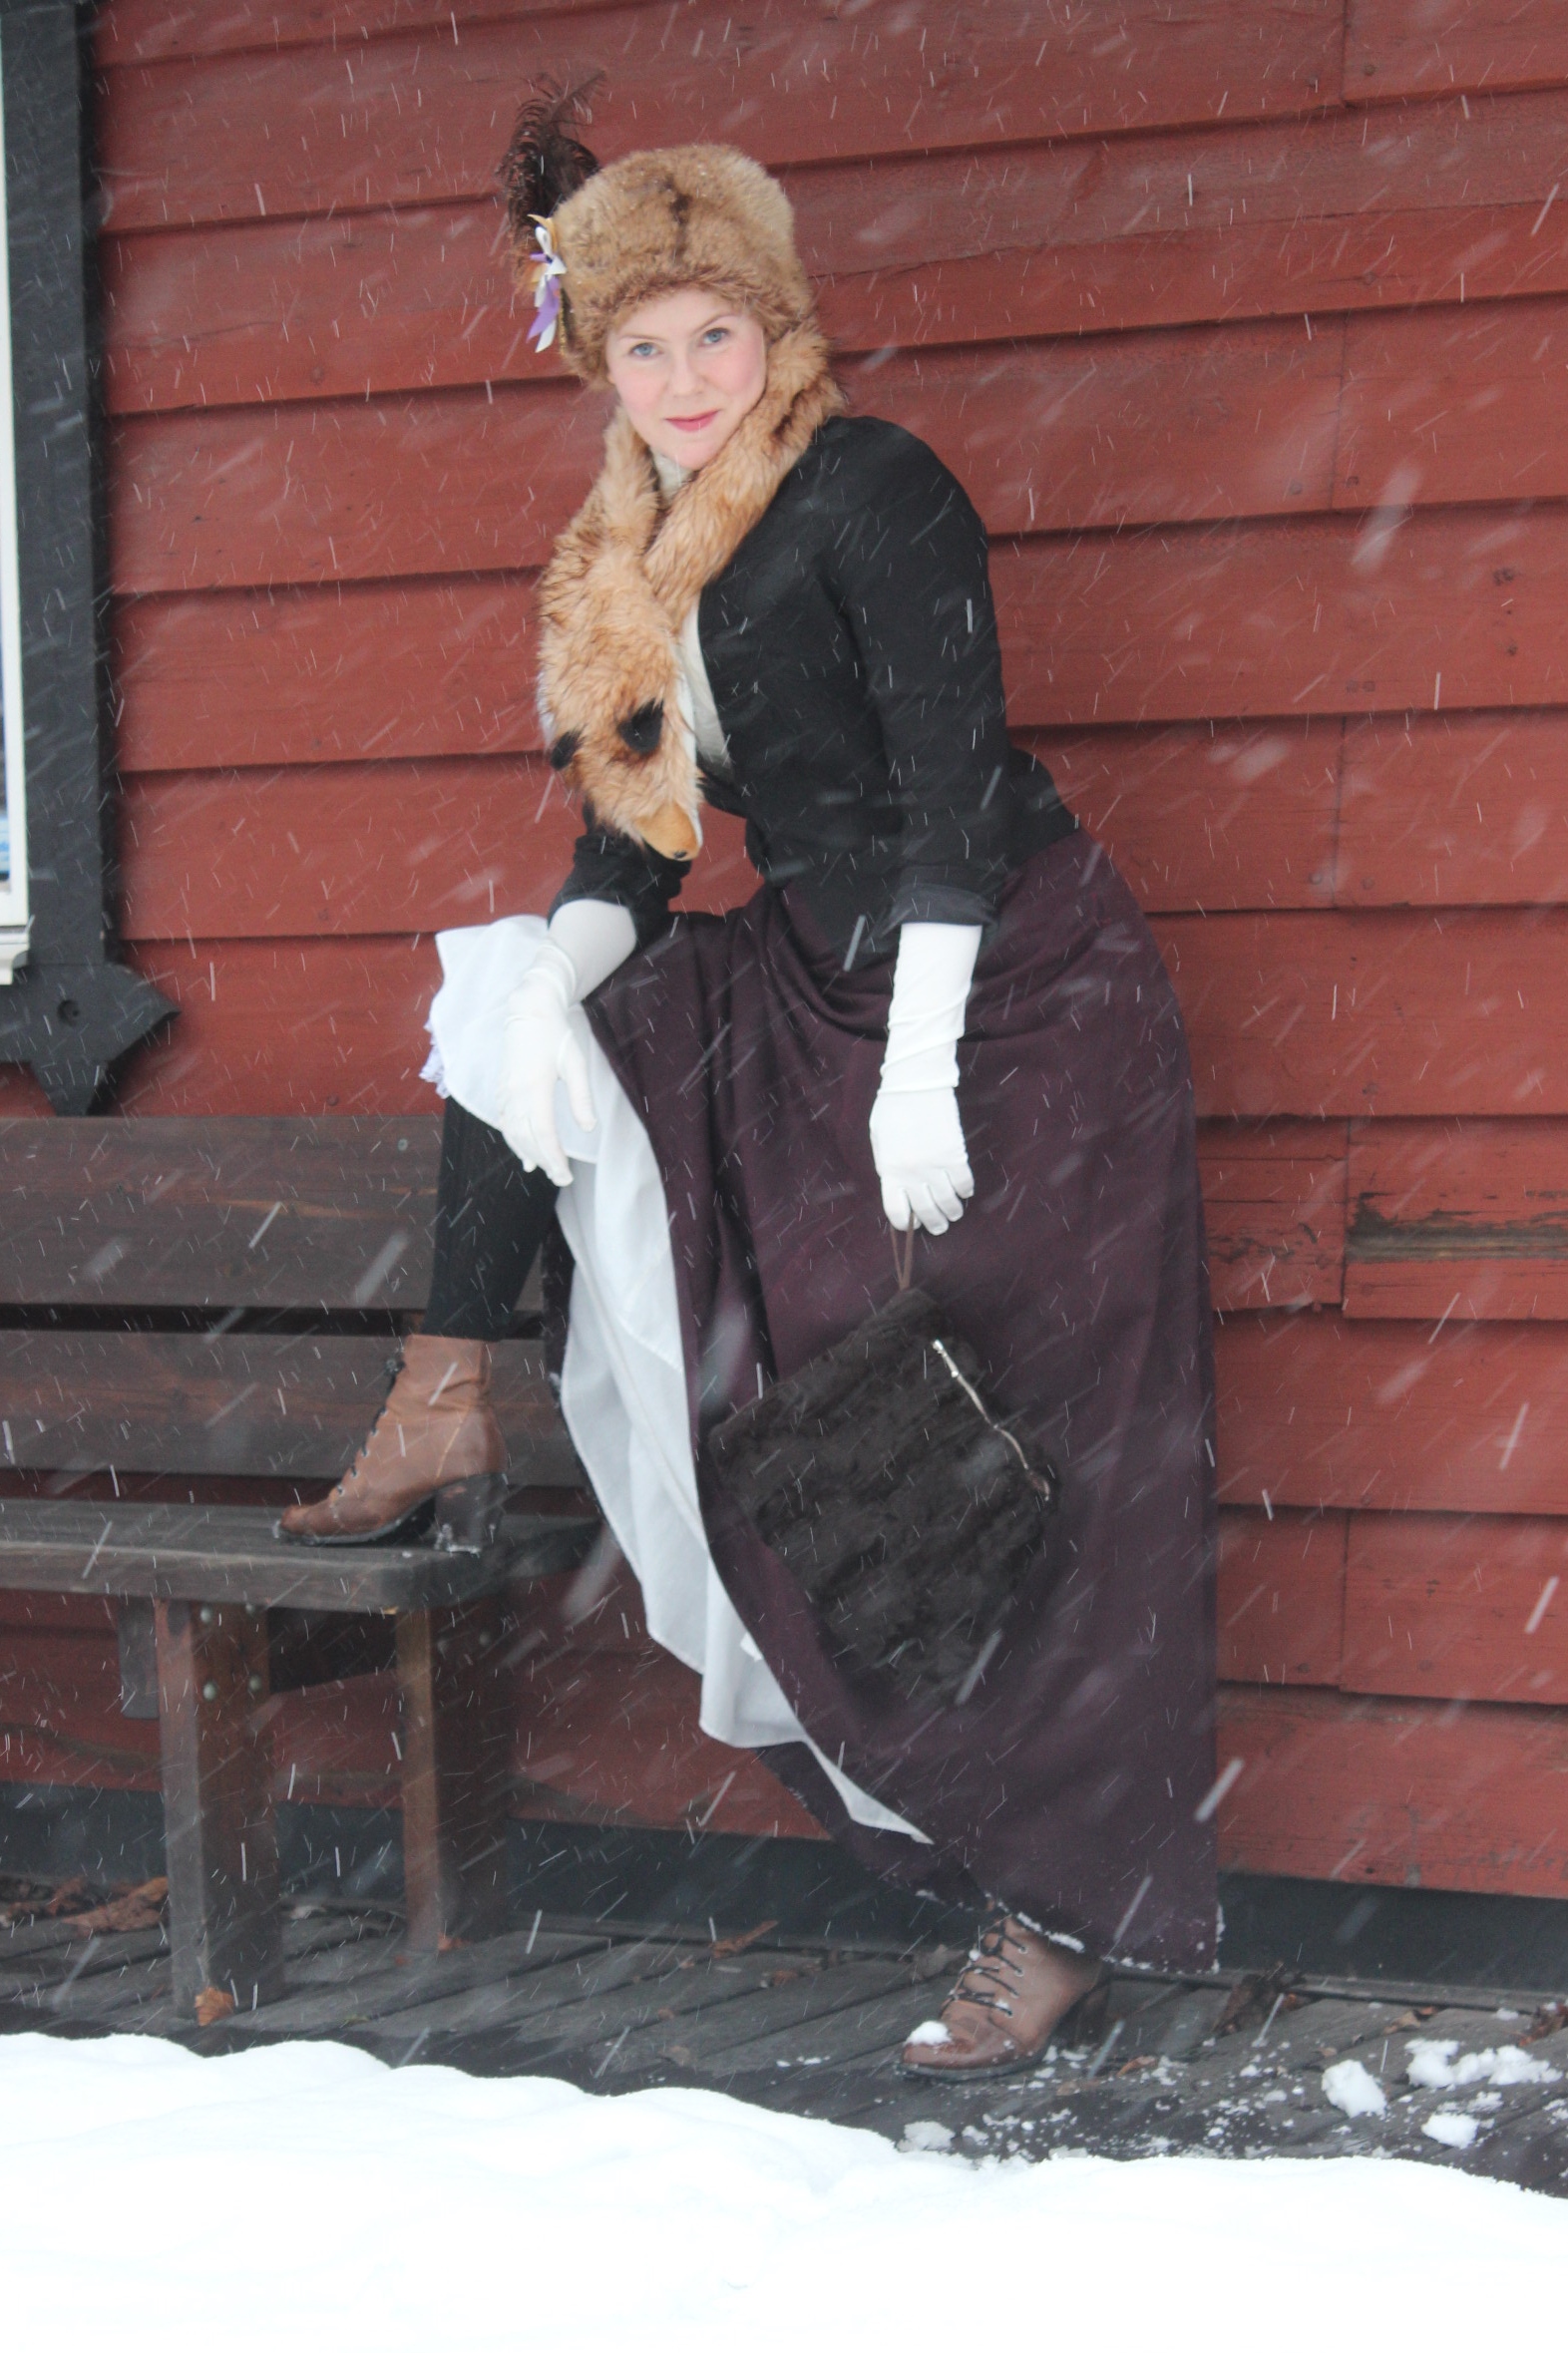
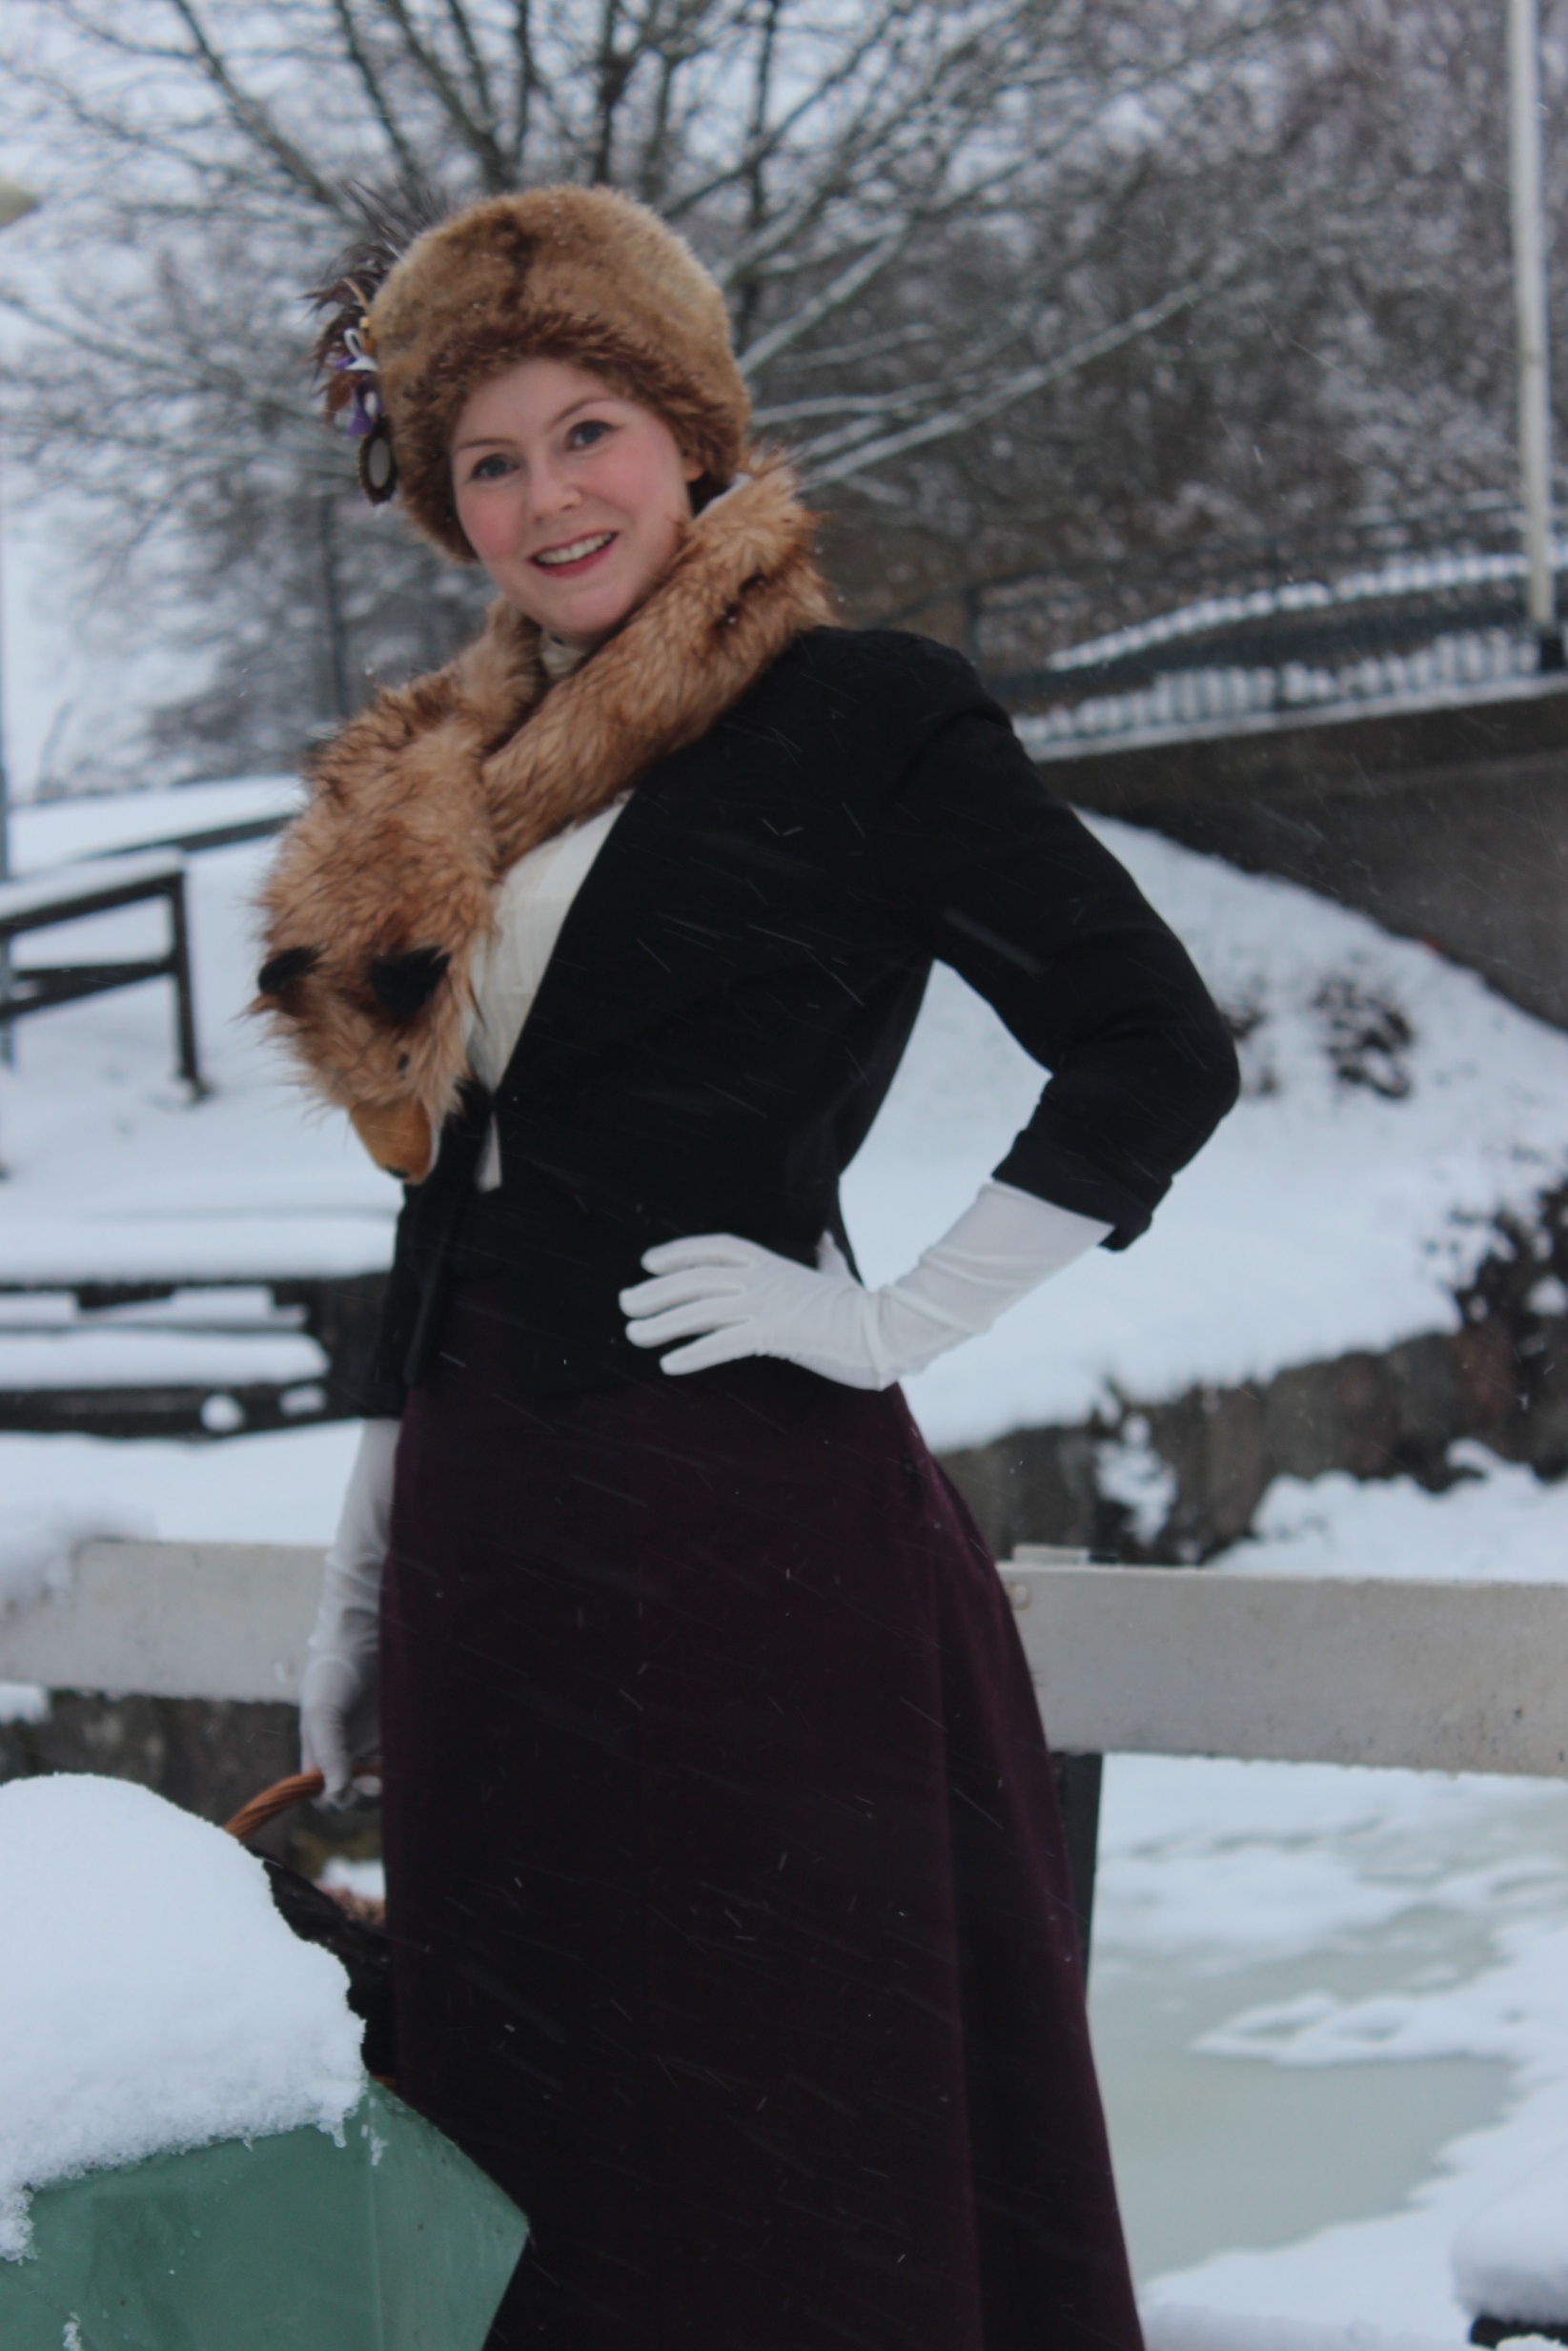
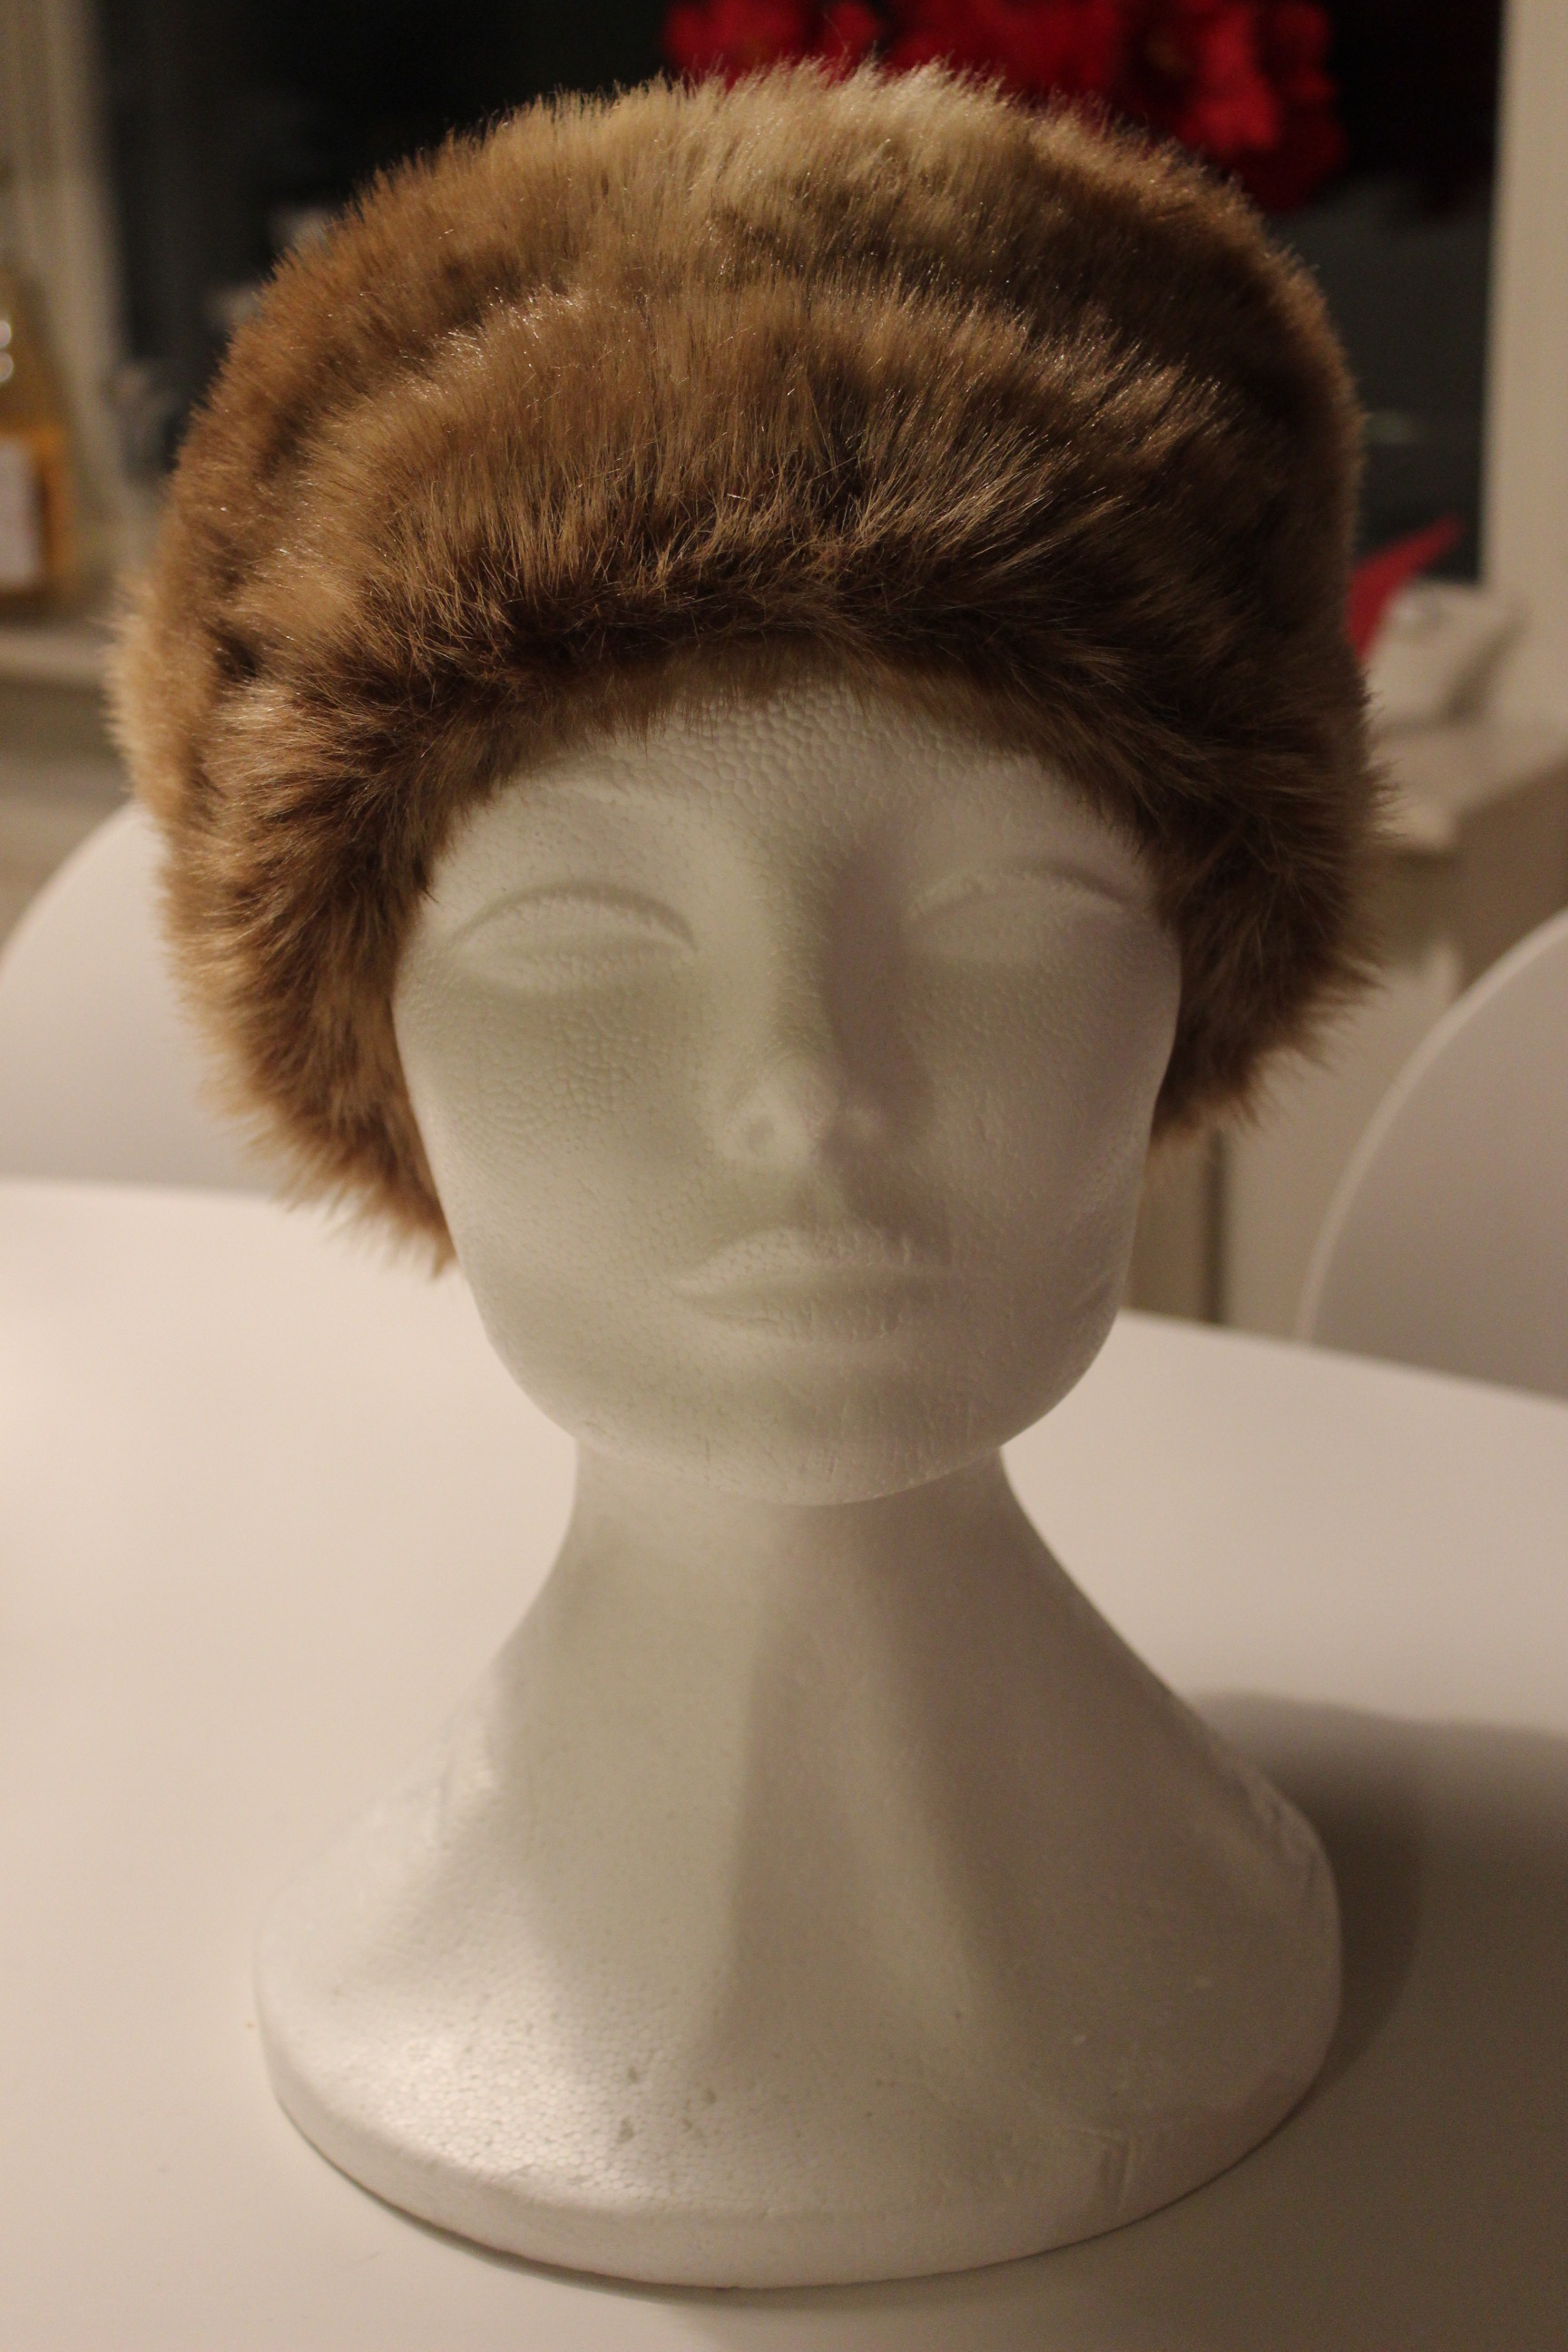
The work payed of, and the effect of the dark fur against the burgundy of the gown is striking.

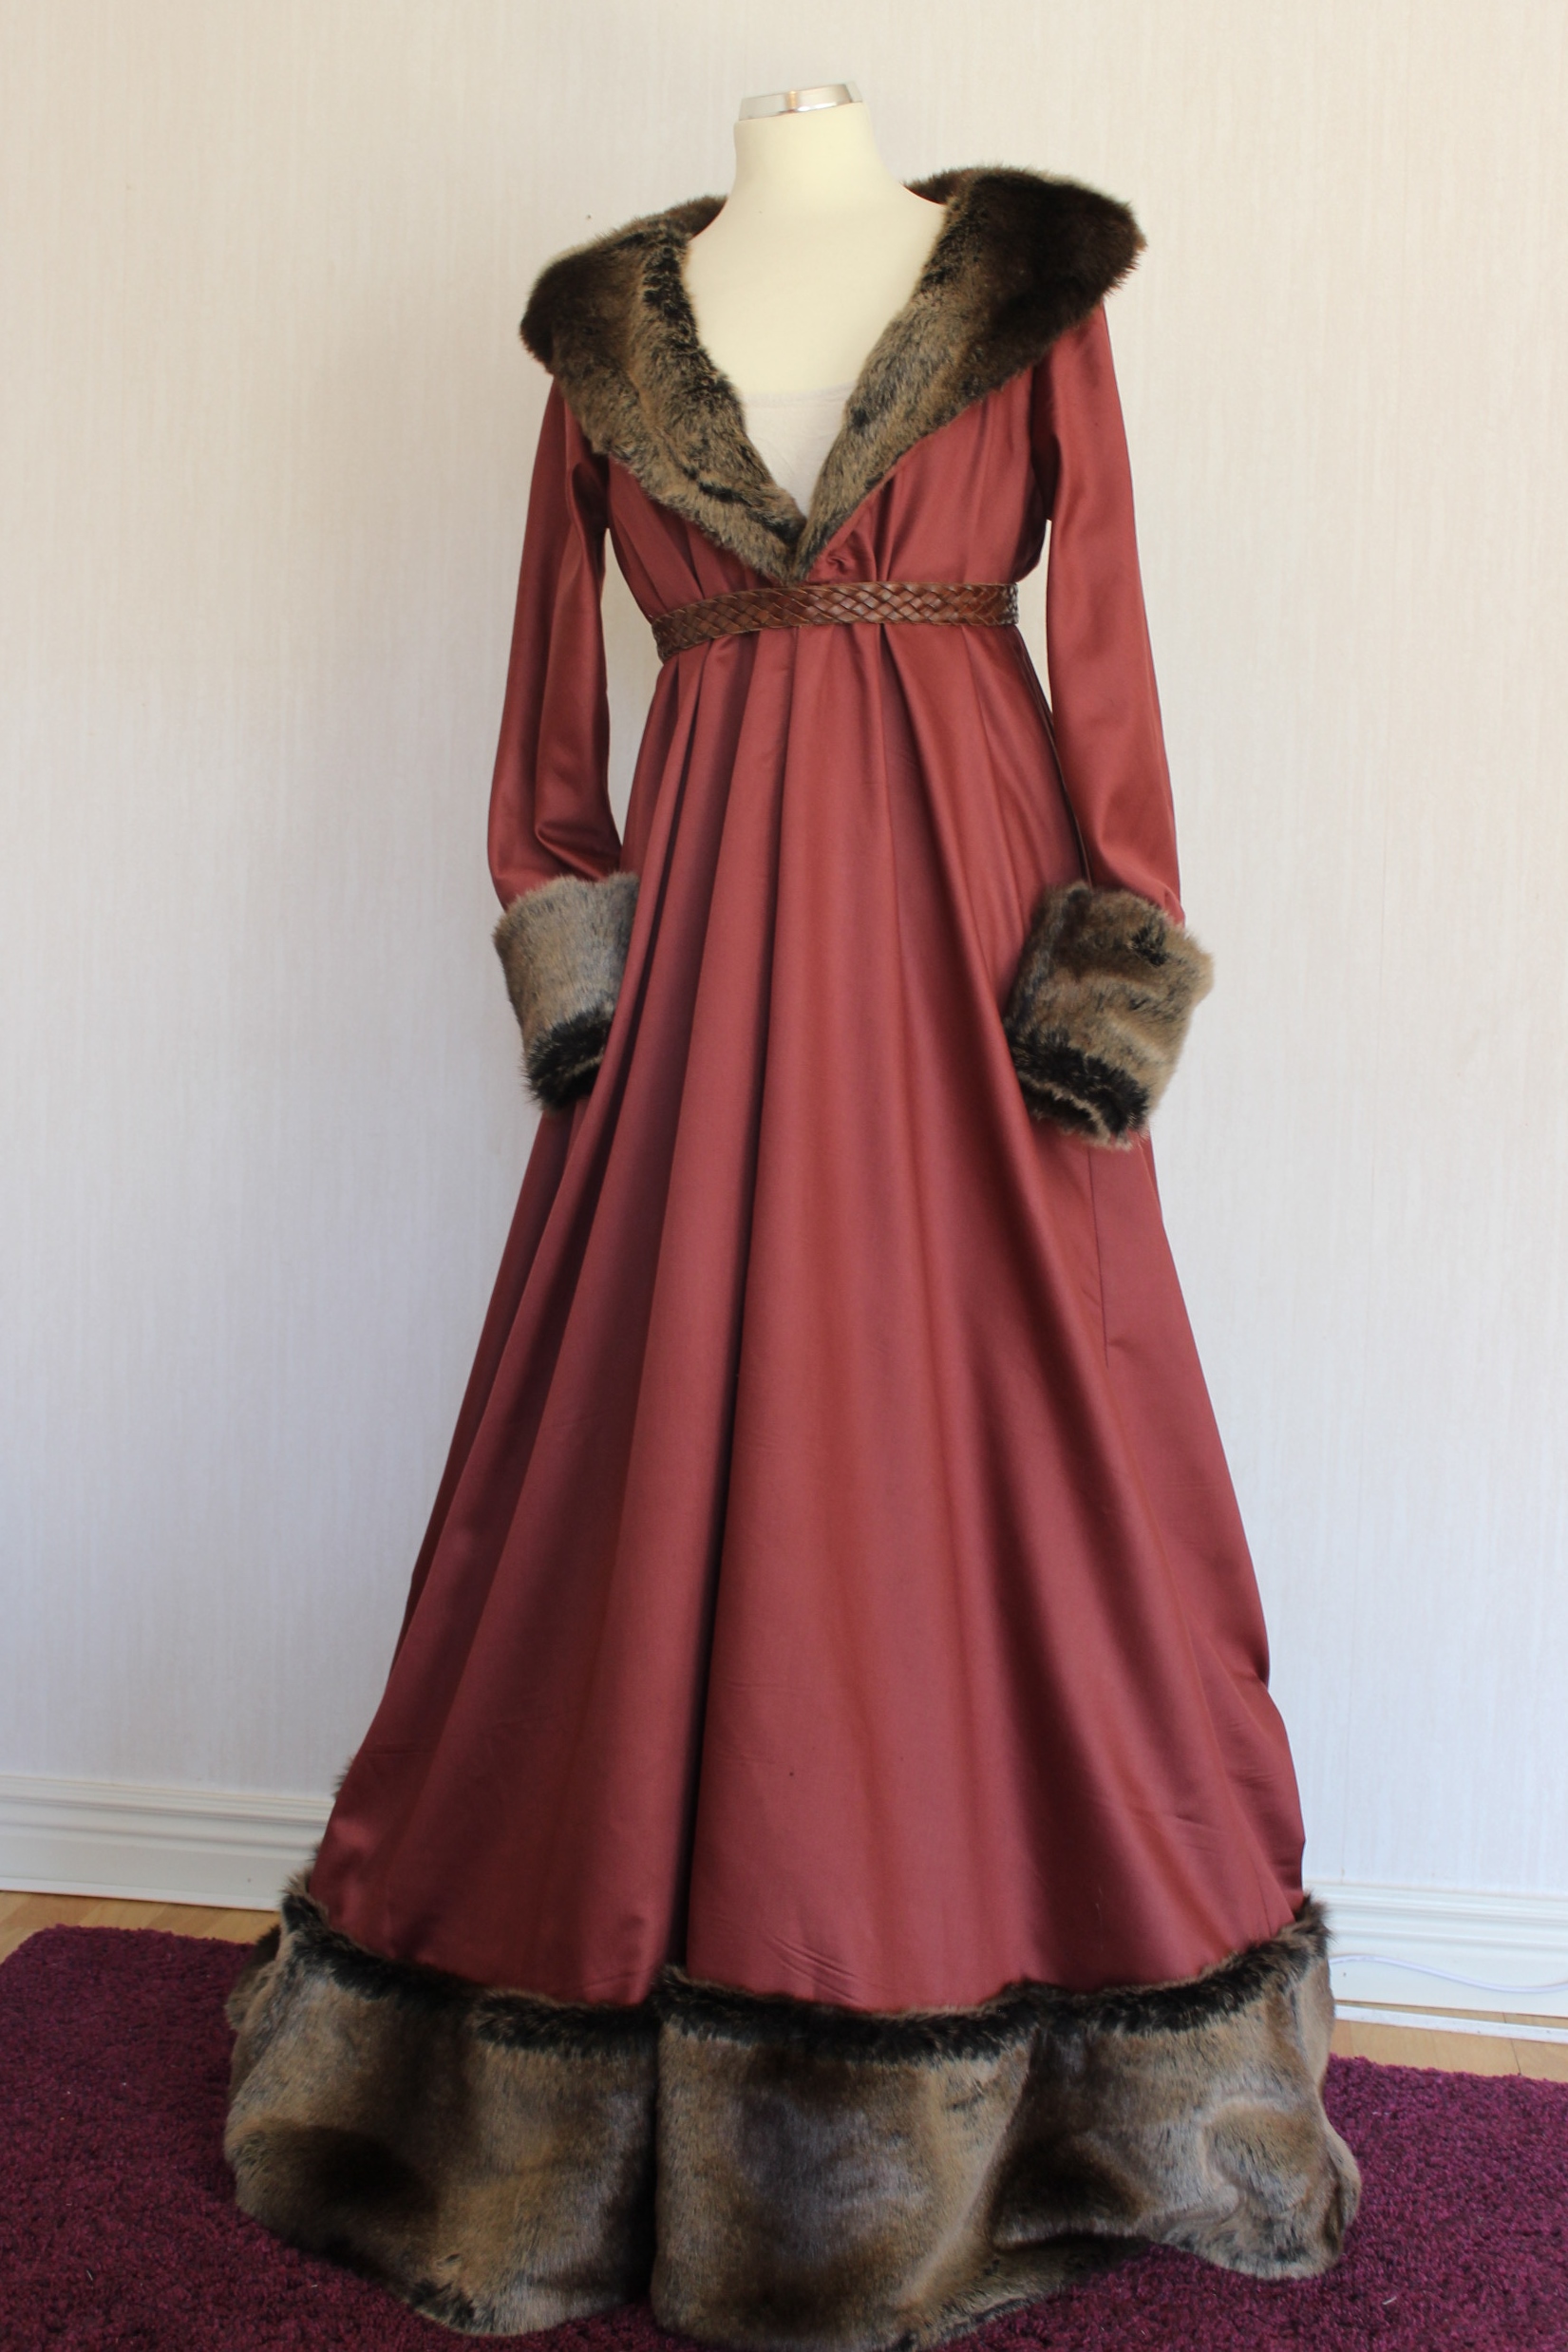
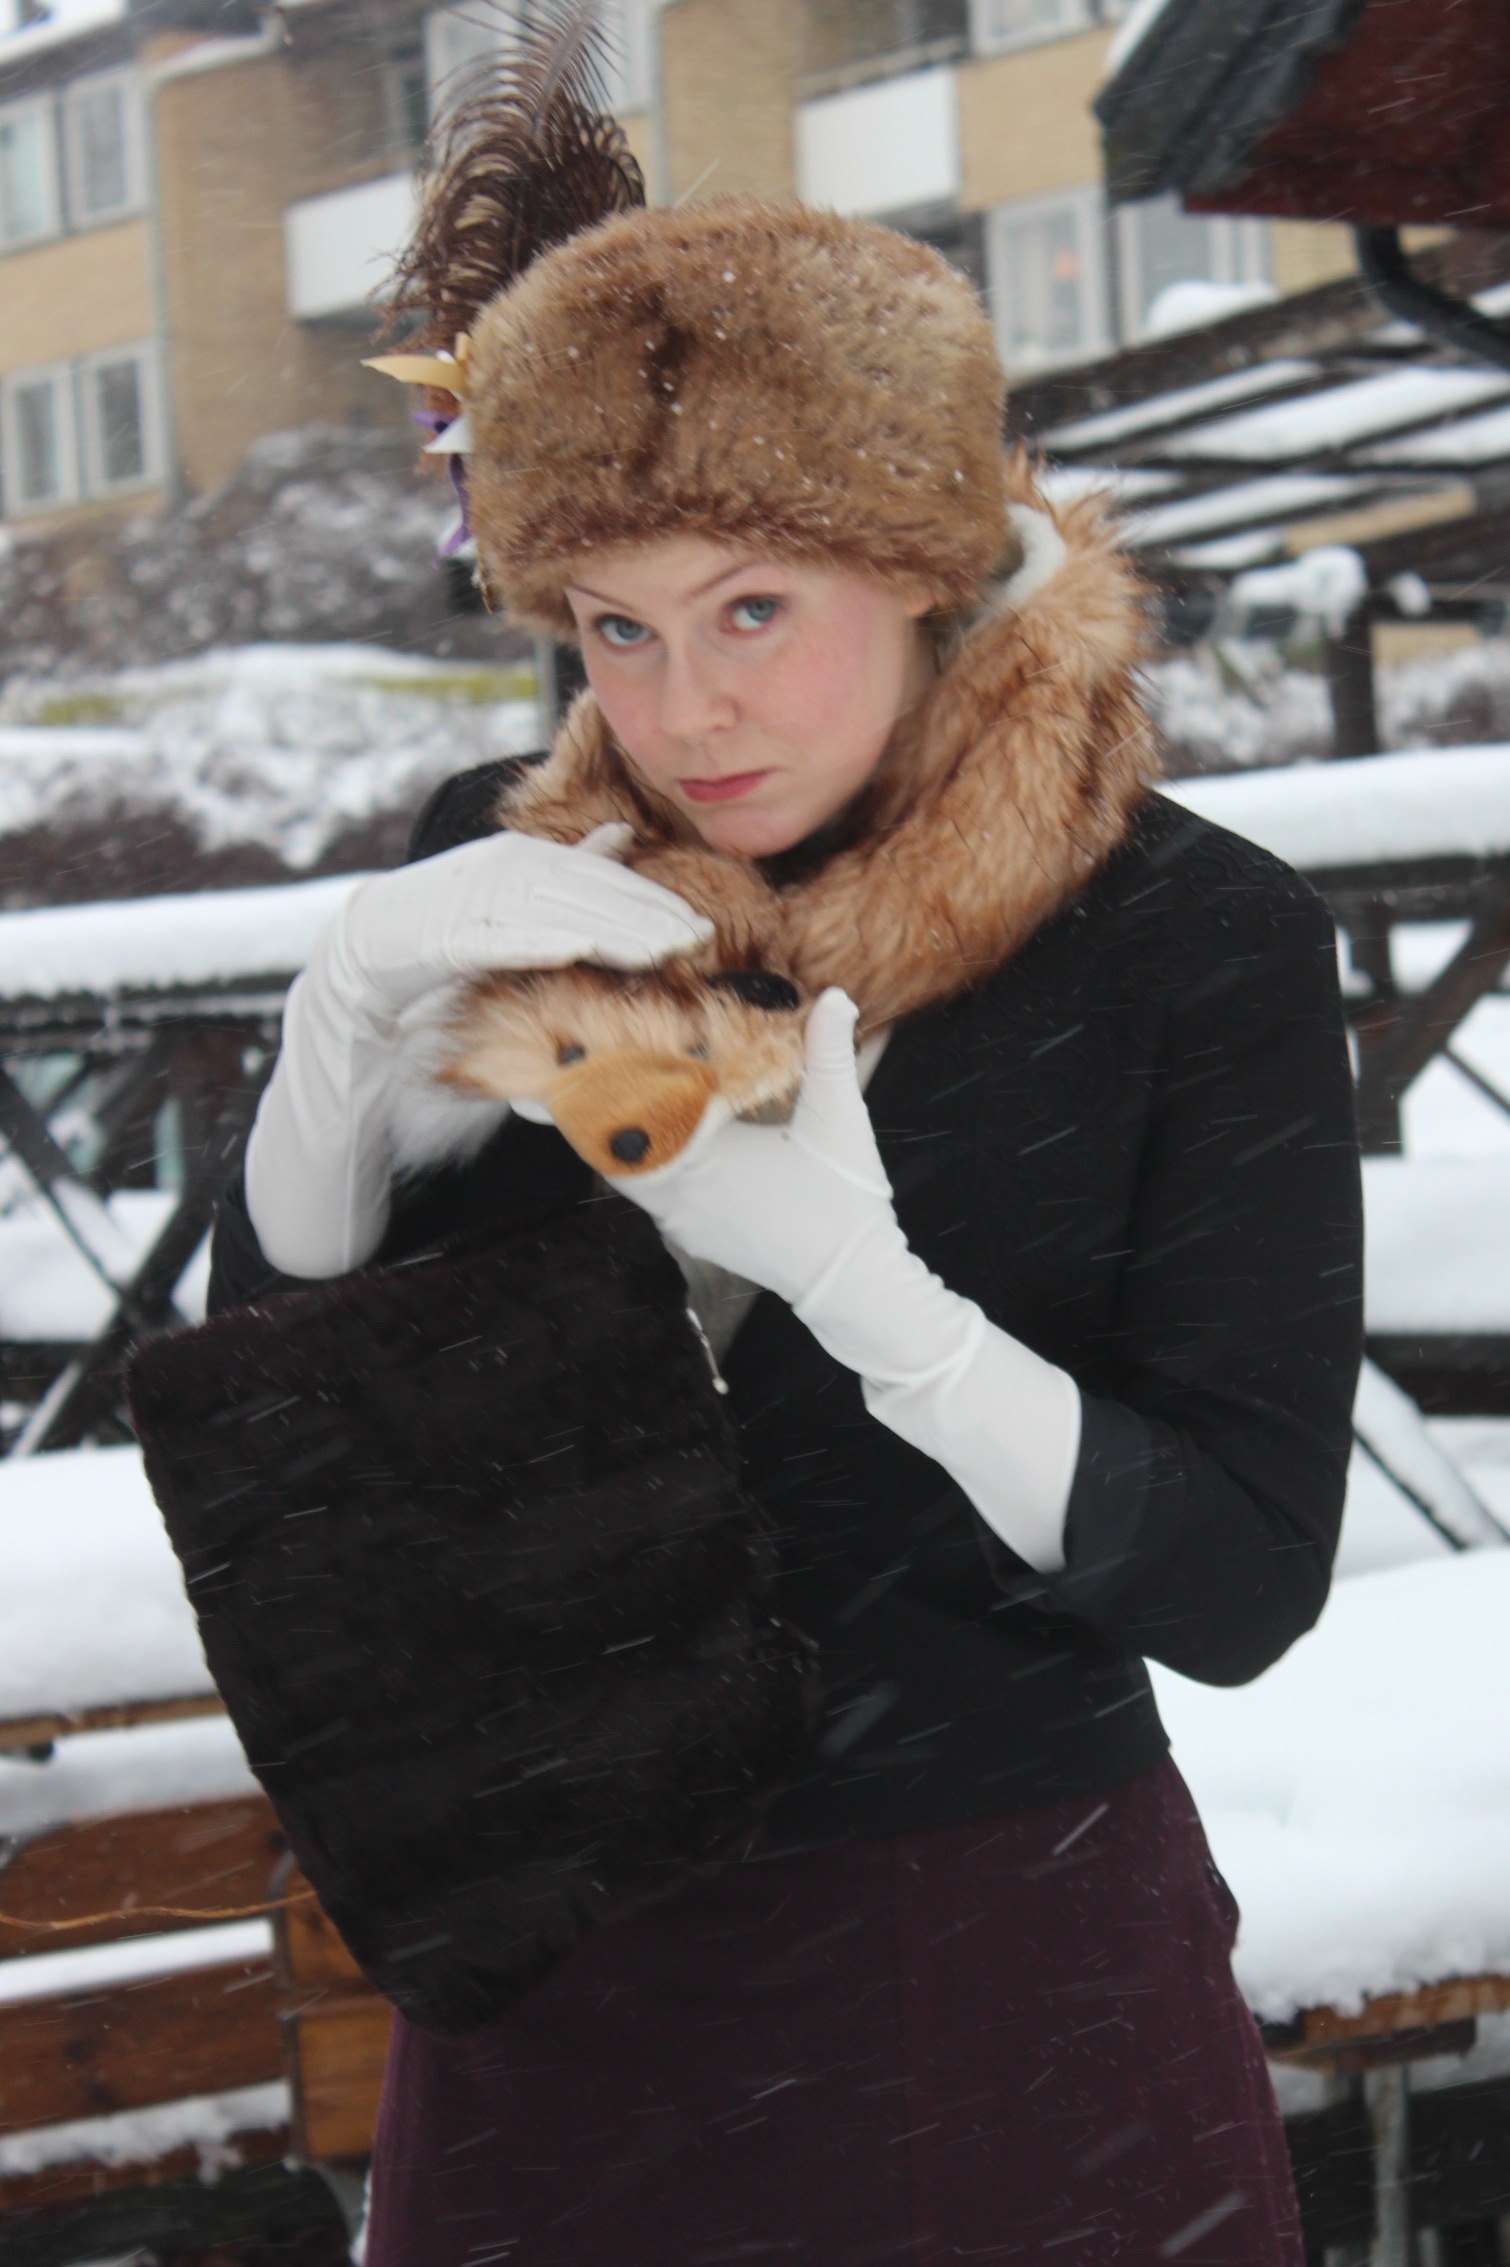
 Testing the almost finished gown to see how it looks.
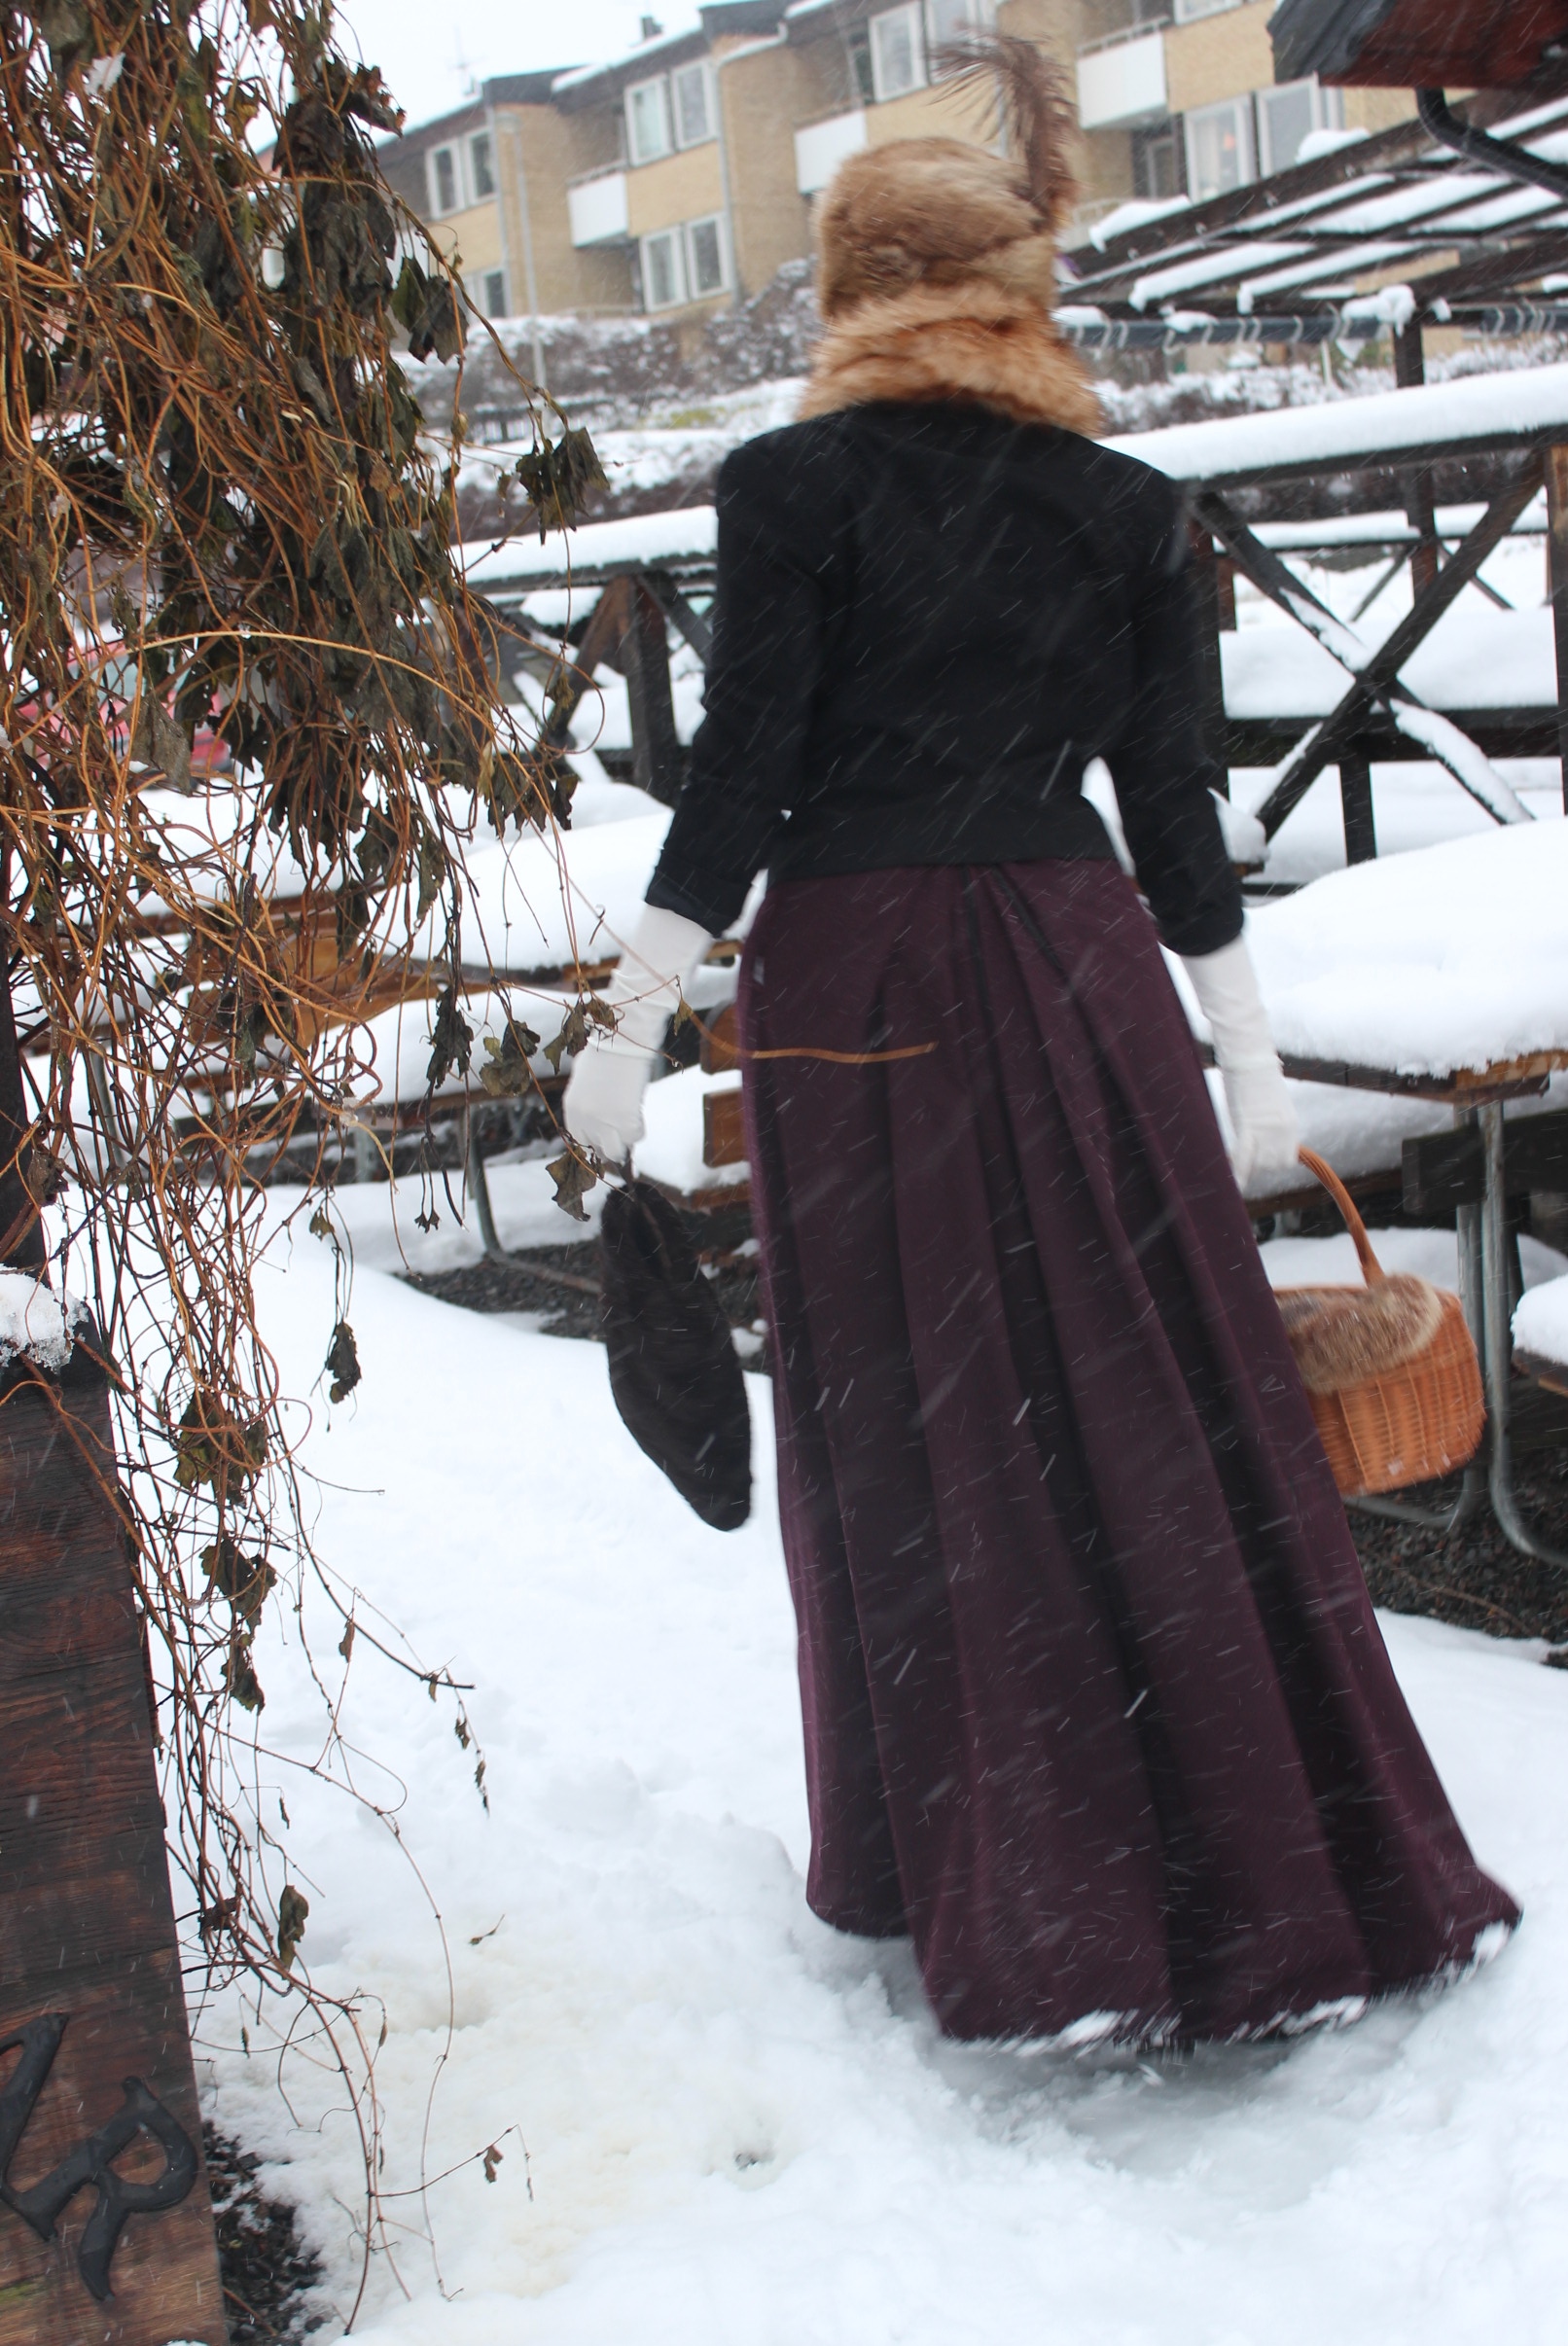
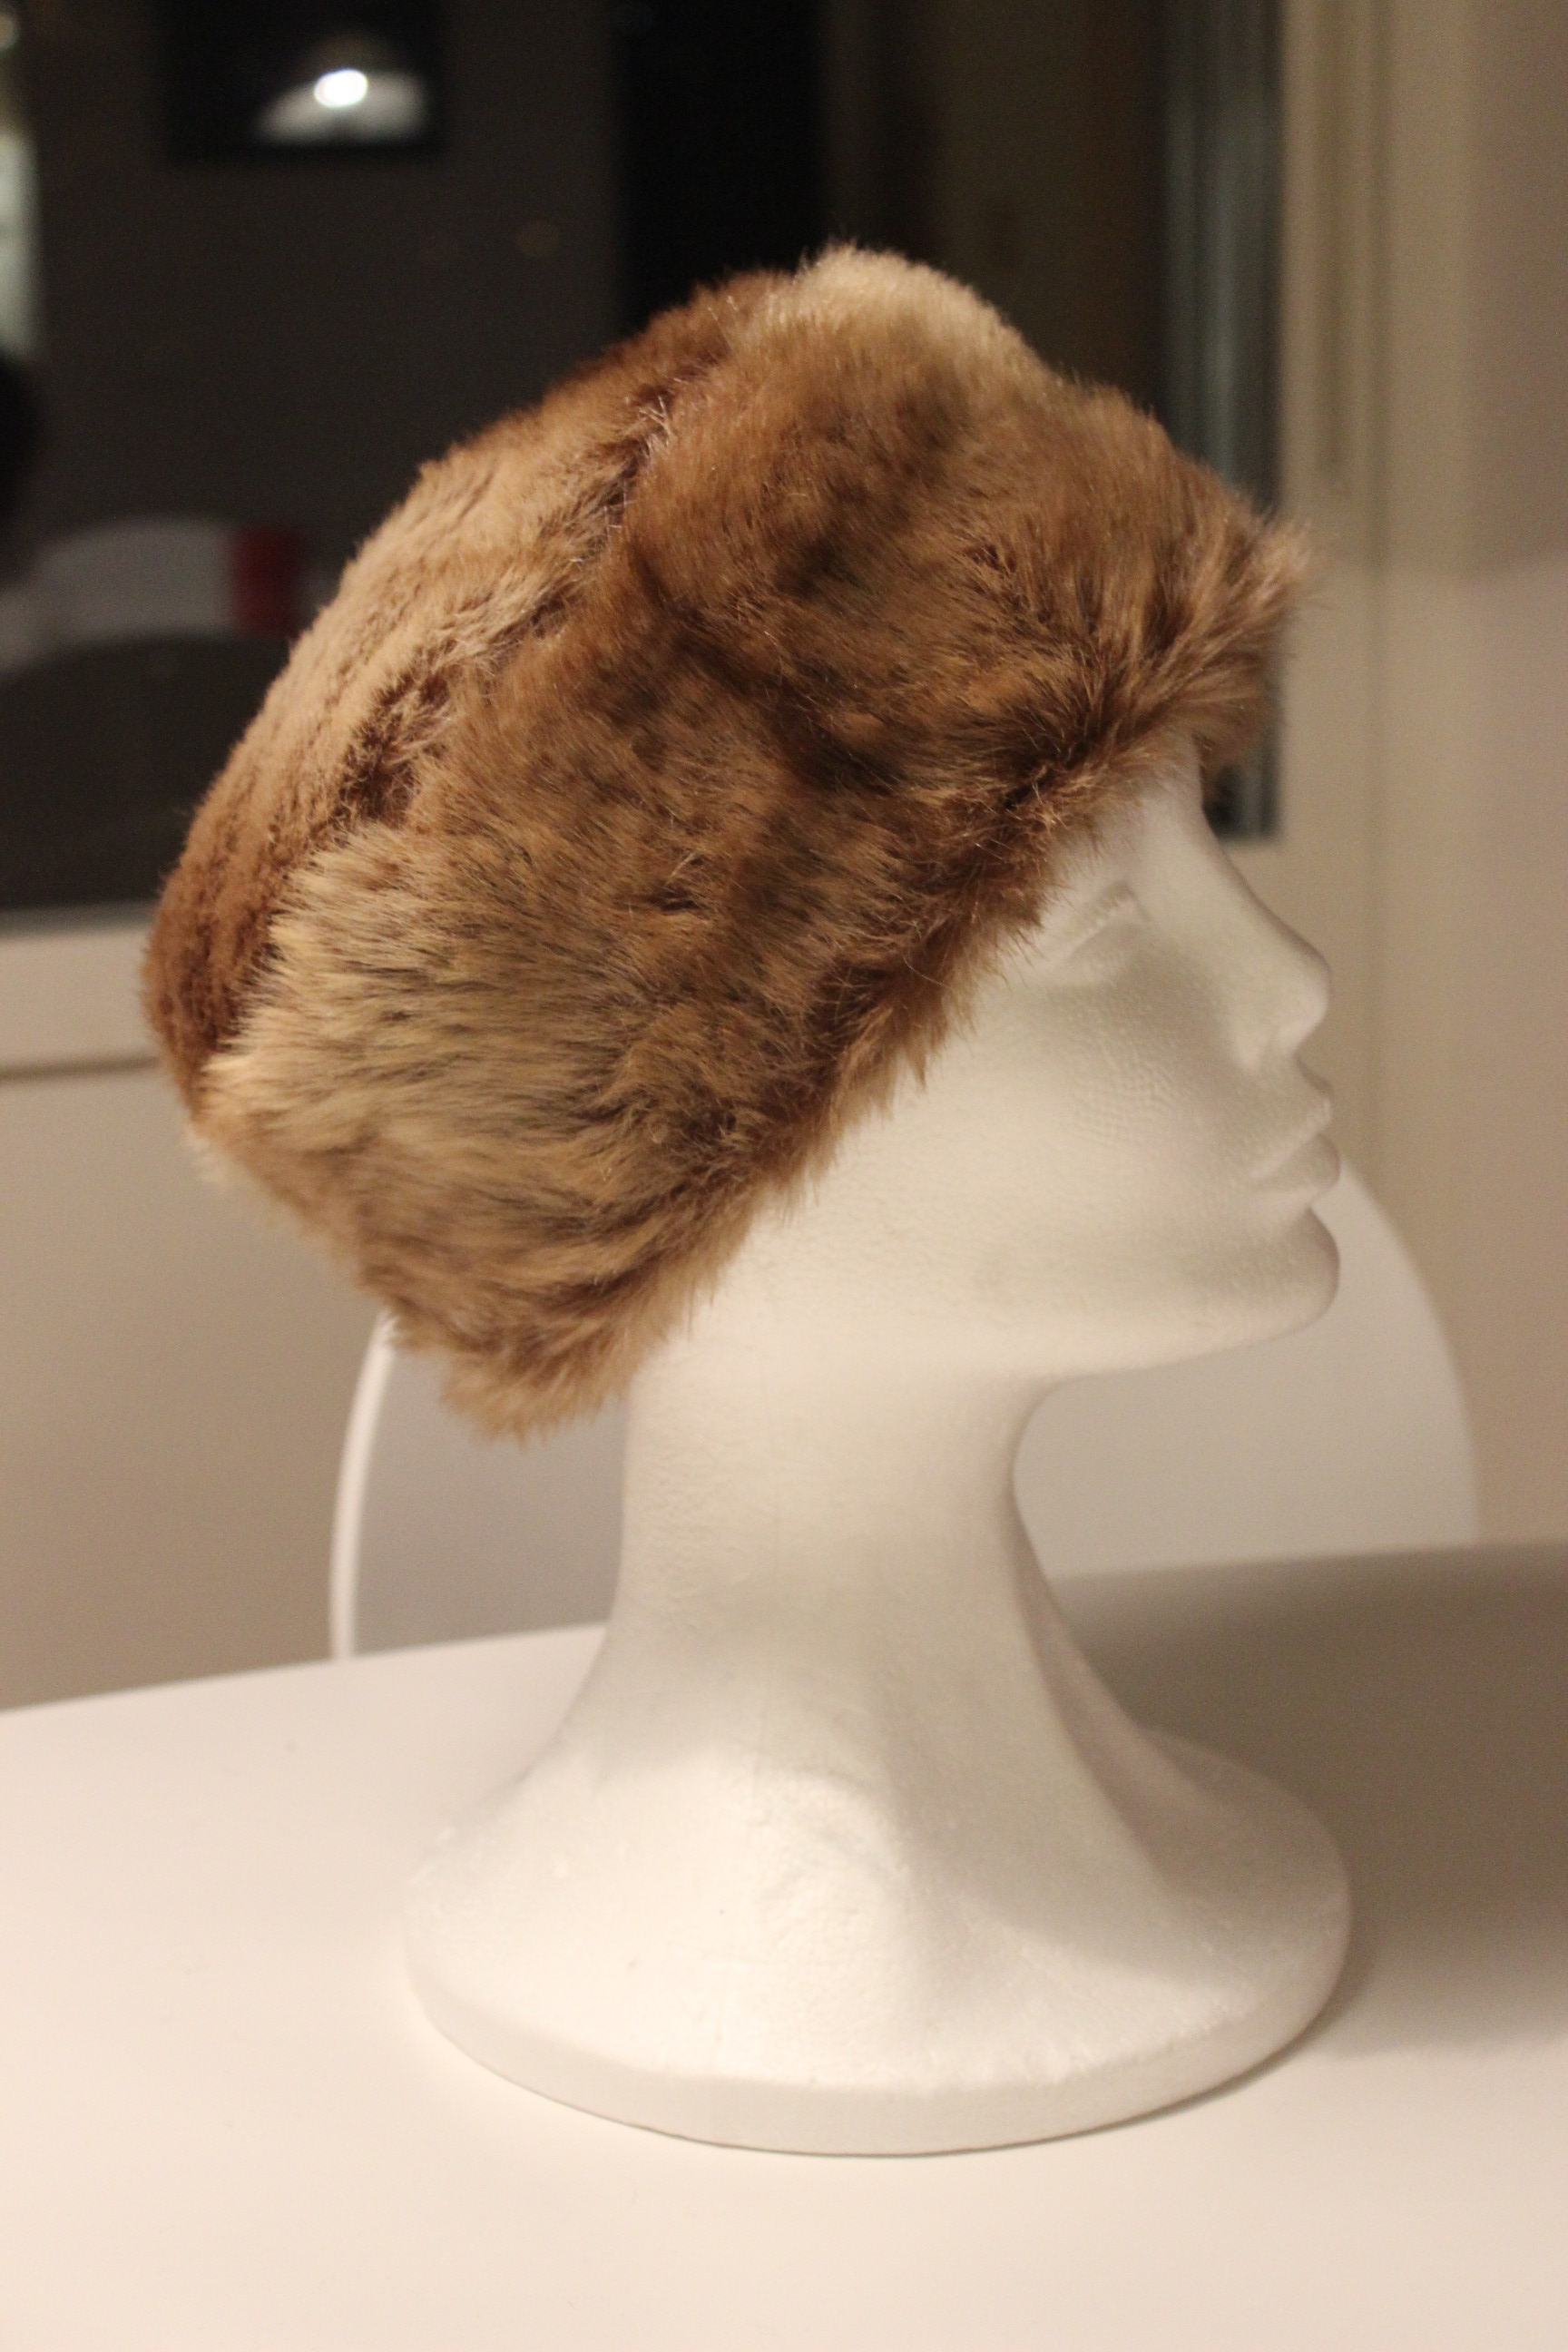
I’m so happy I stuck to it, and managed to finish it, even though I will probably find fury bits in my sewing-room (and the rest of our apartment) for a few years time… Finally finished
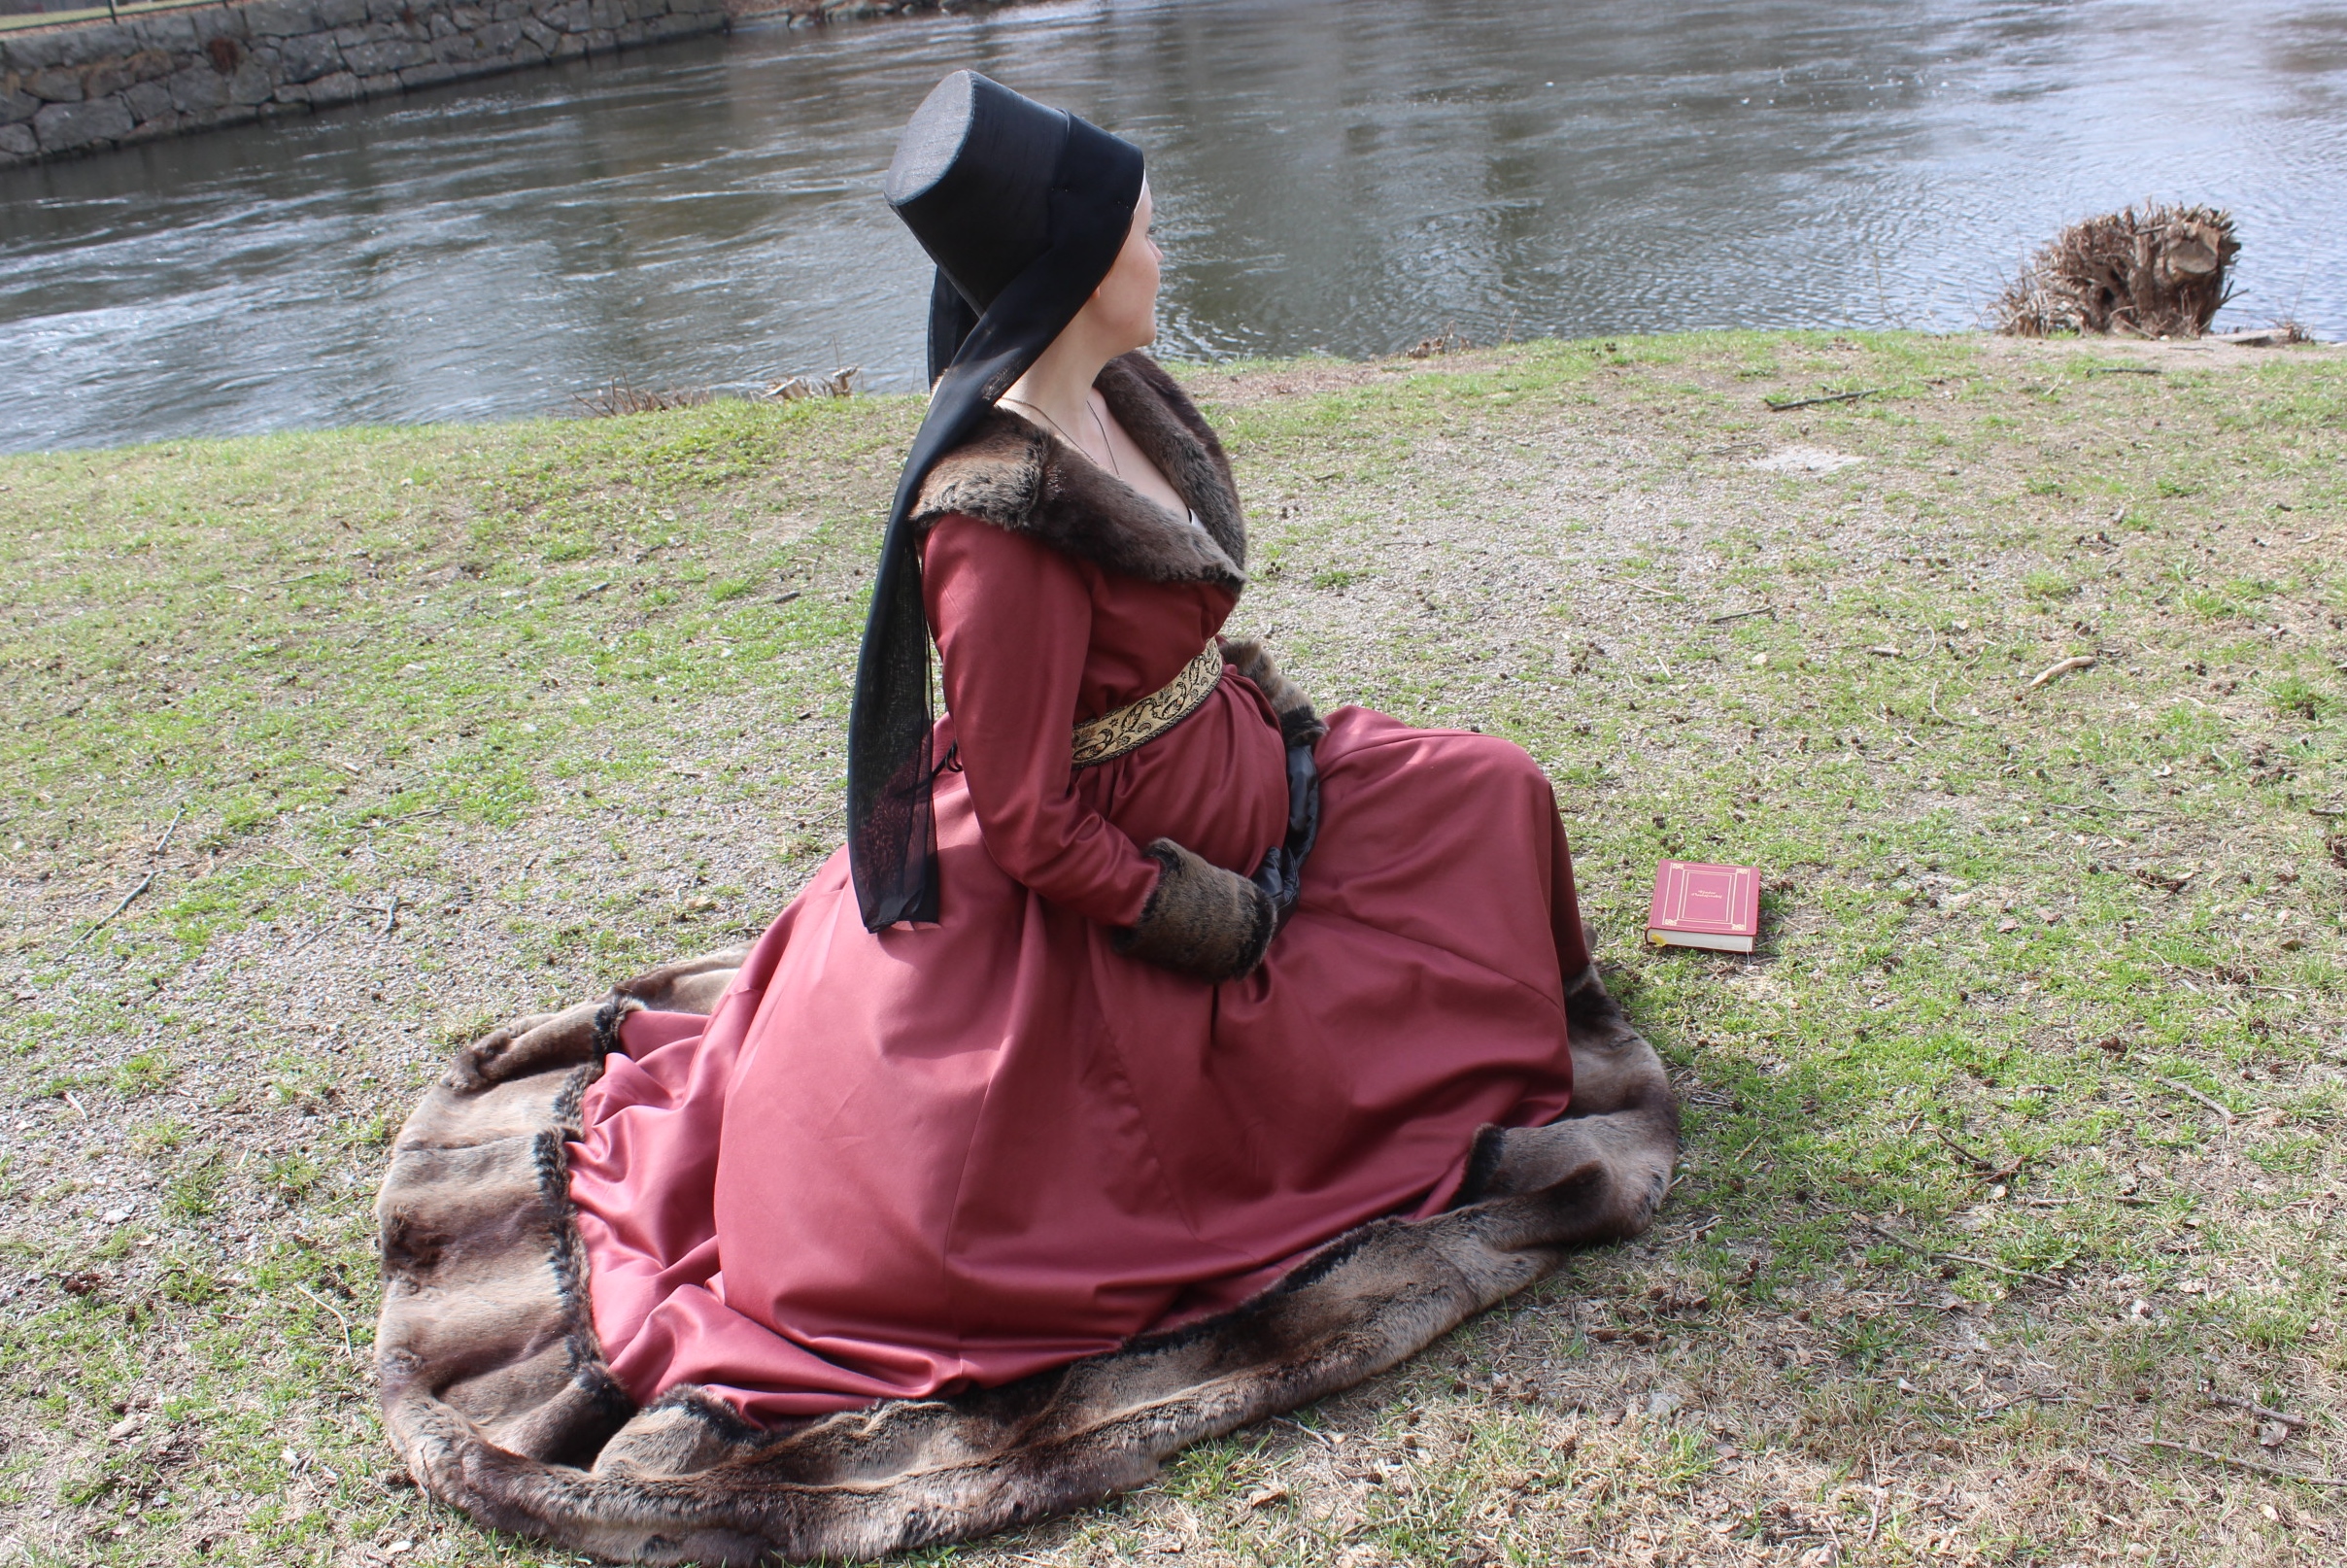
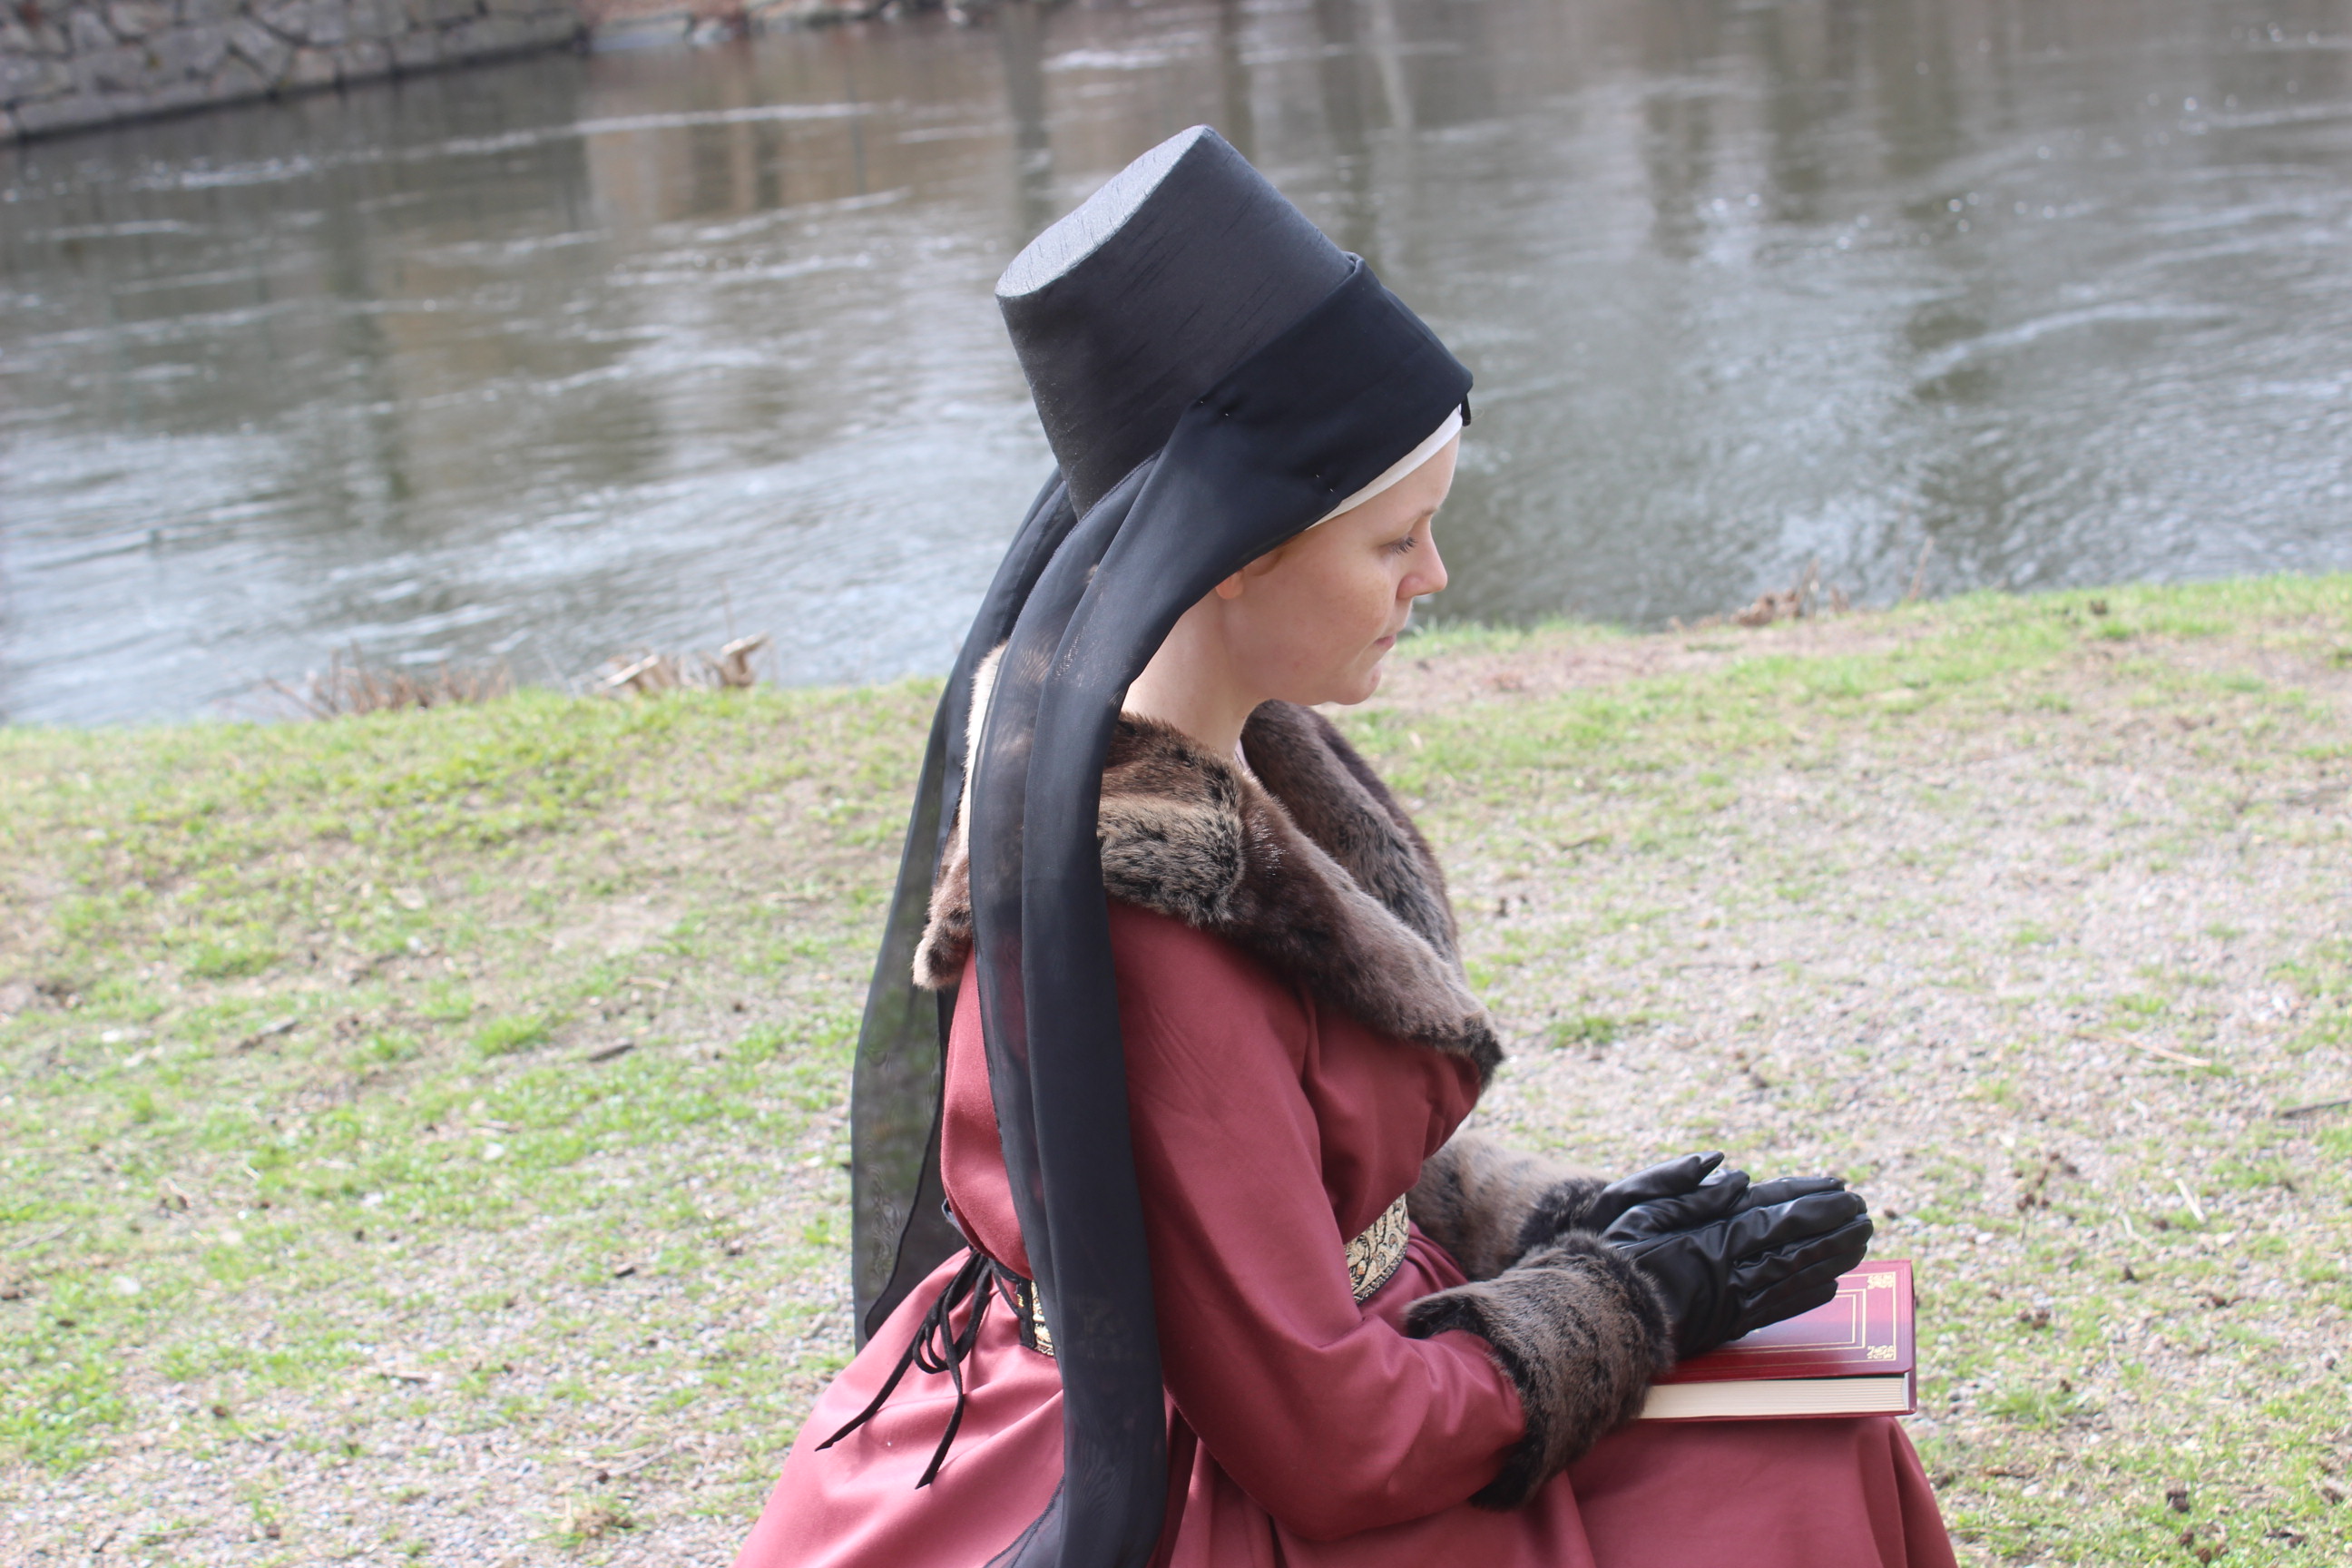
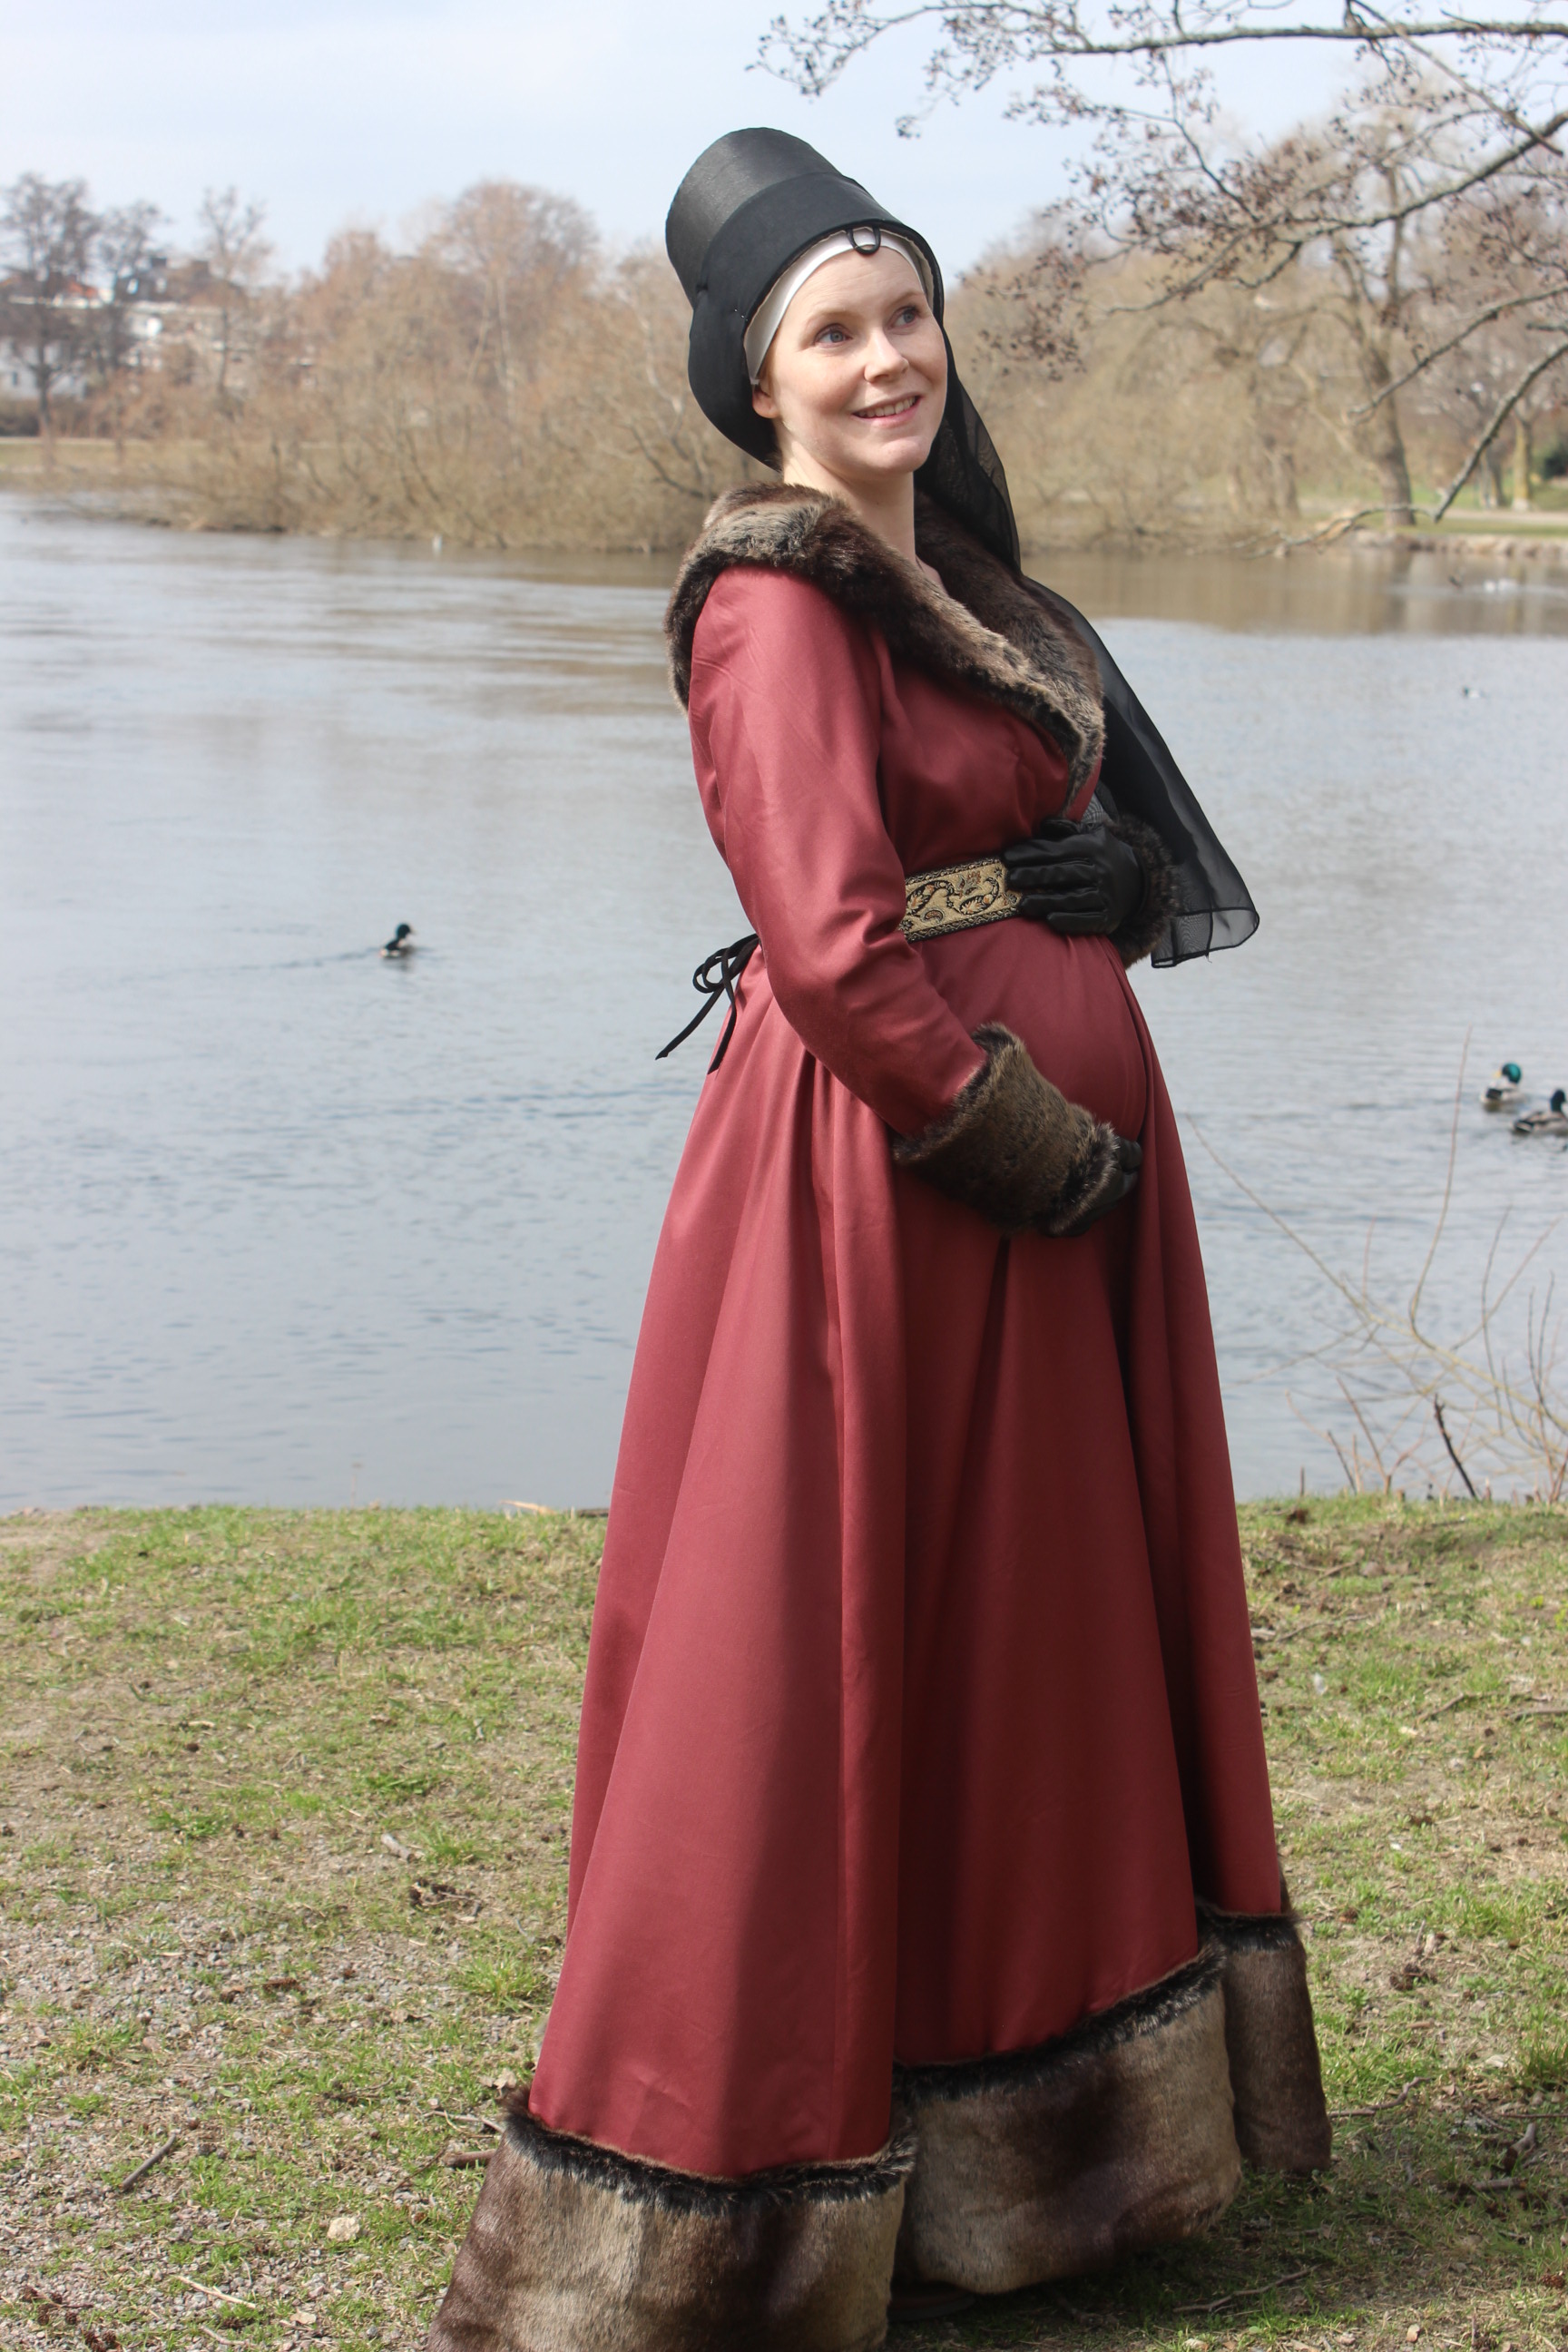
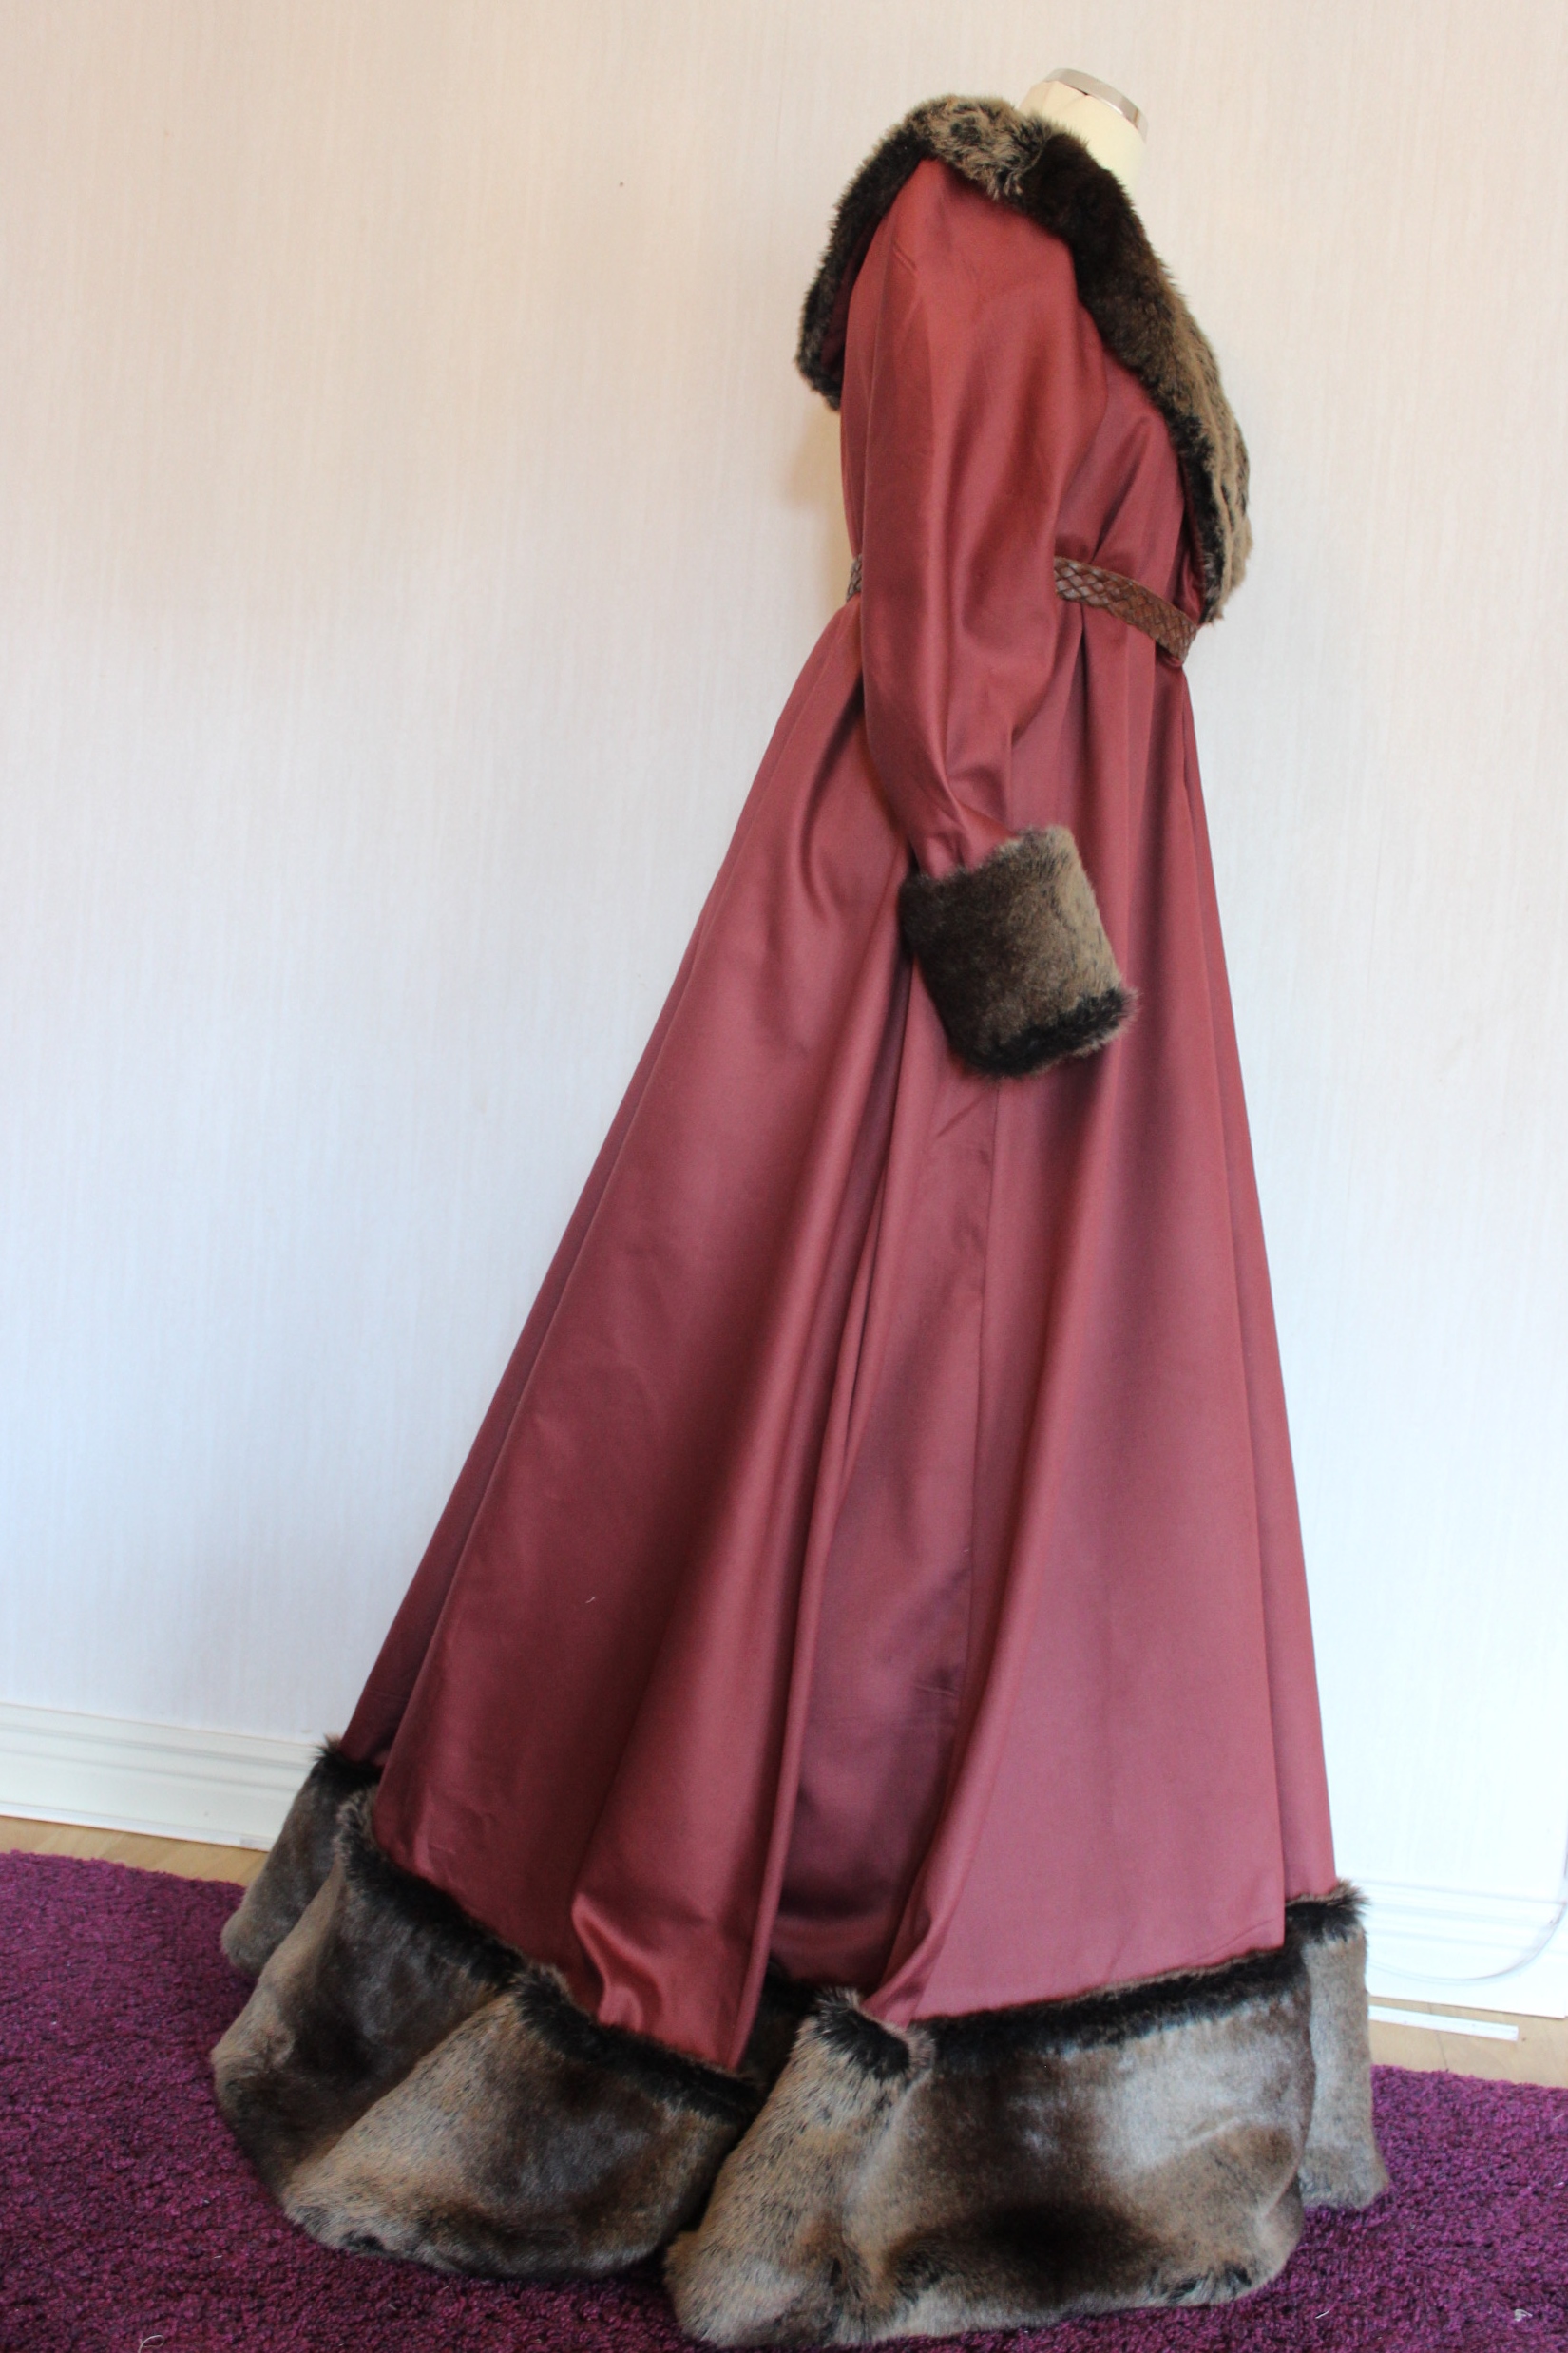
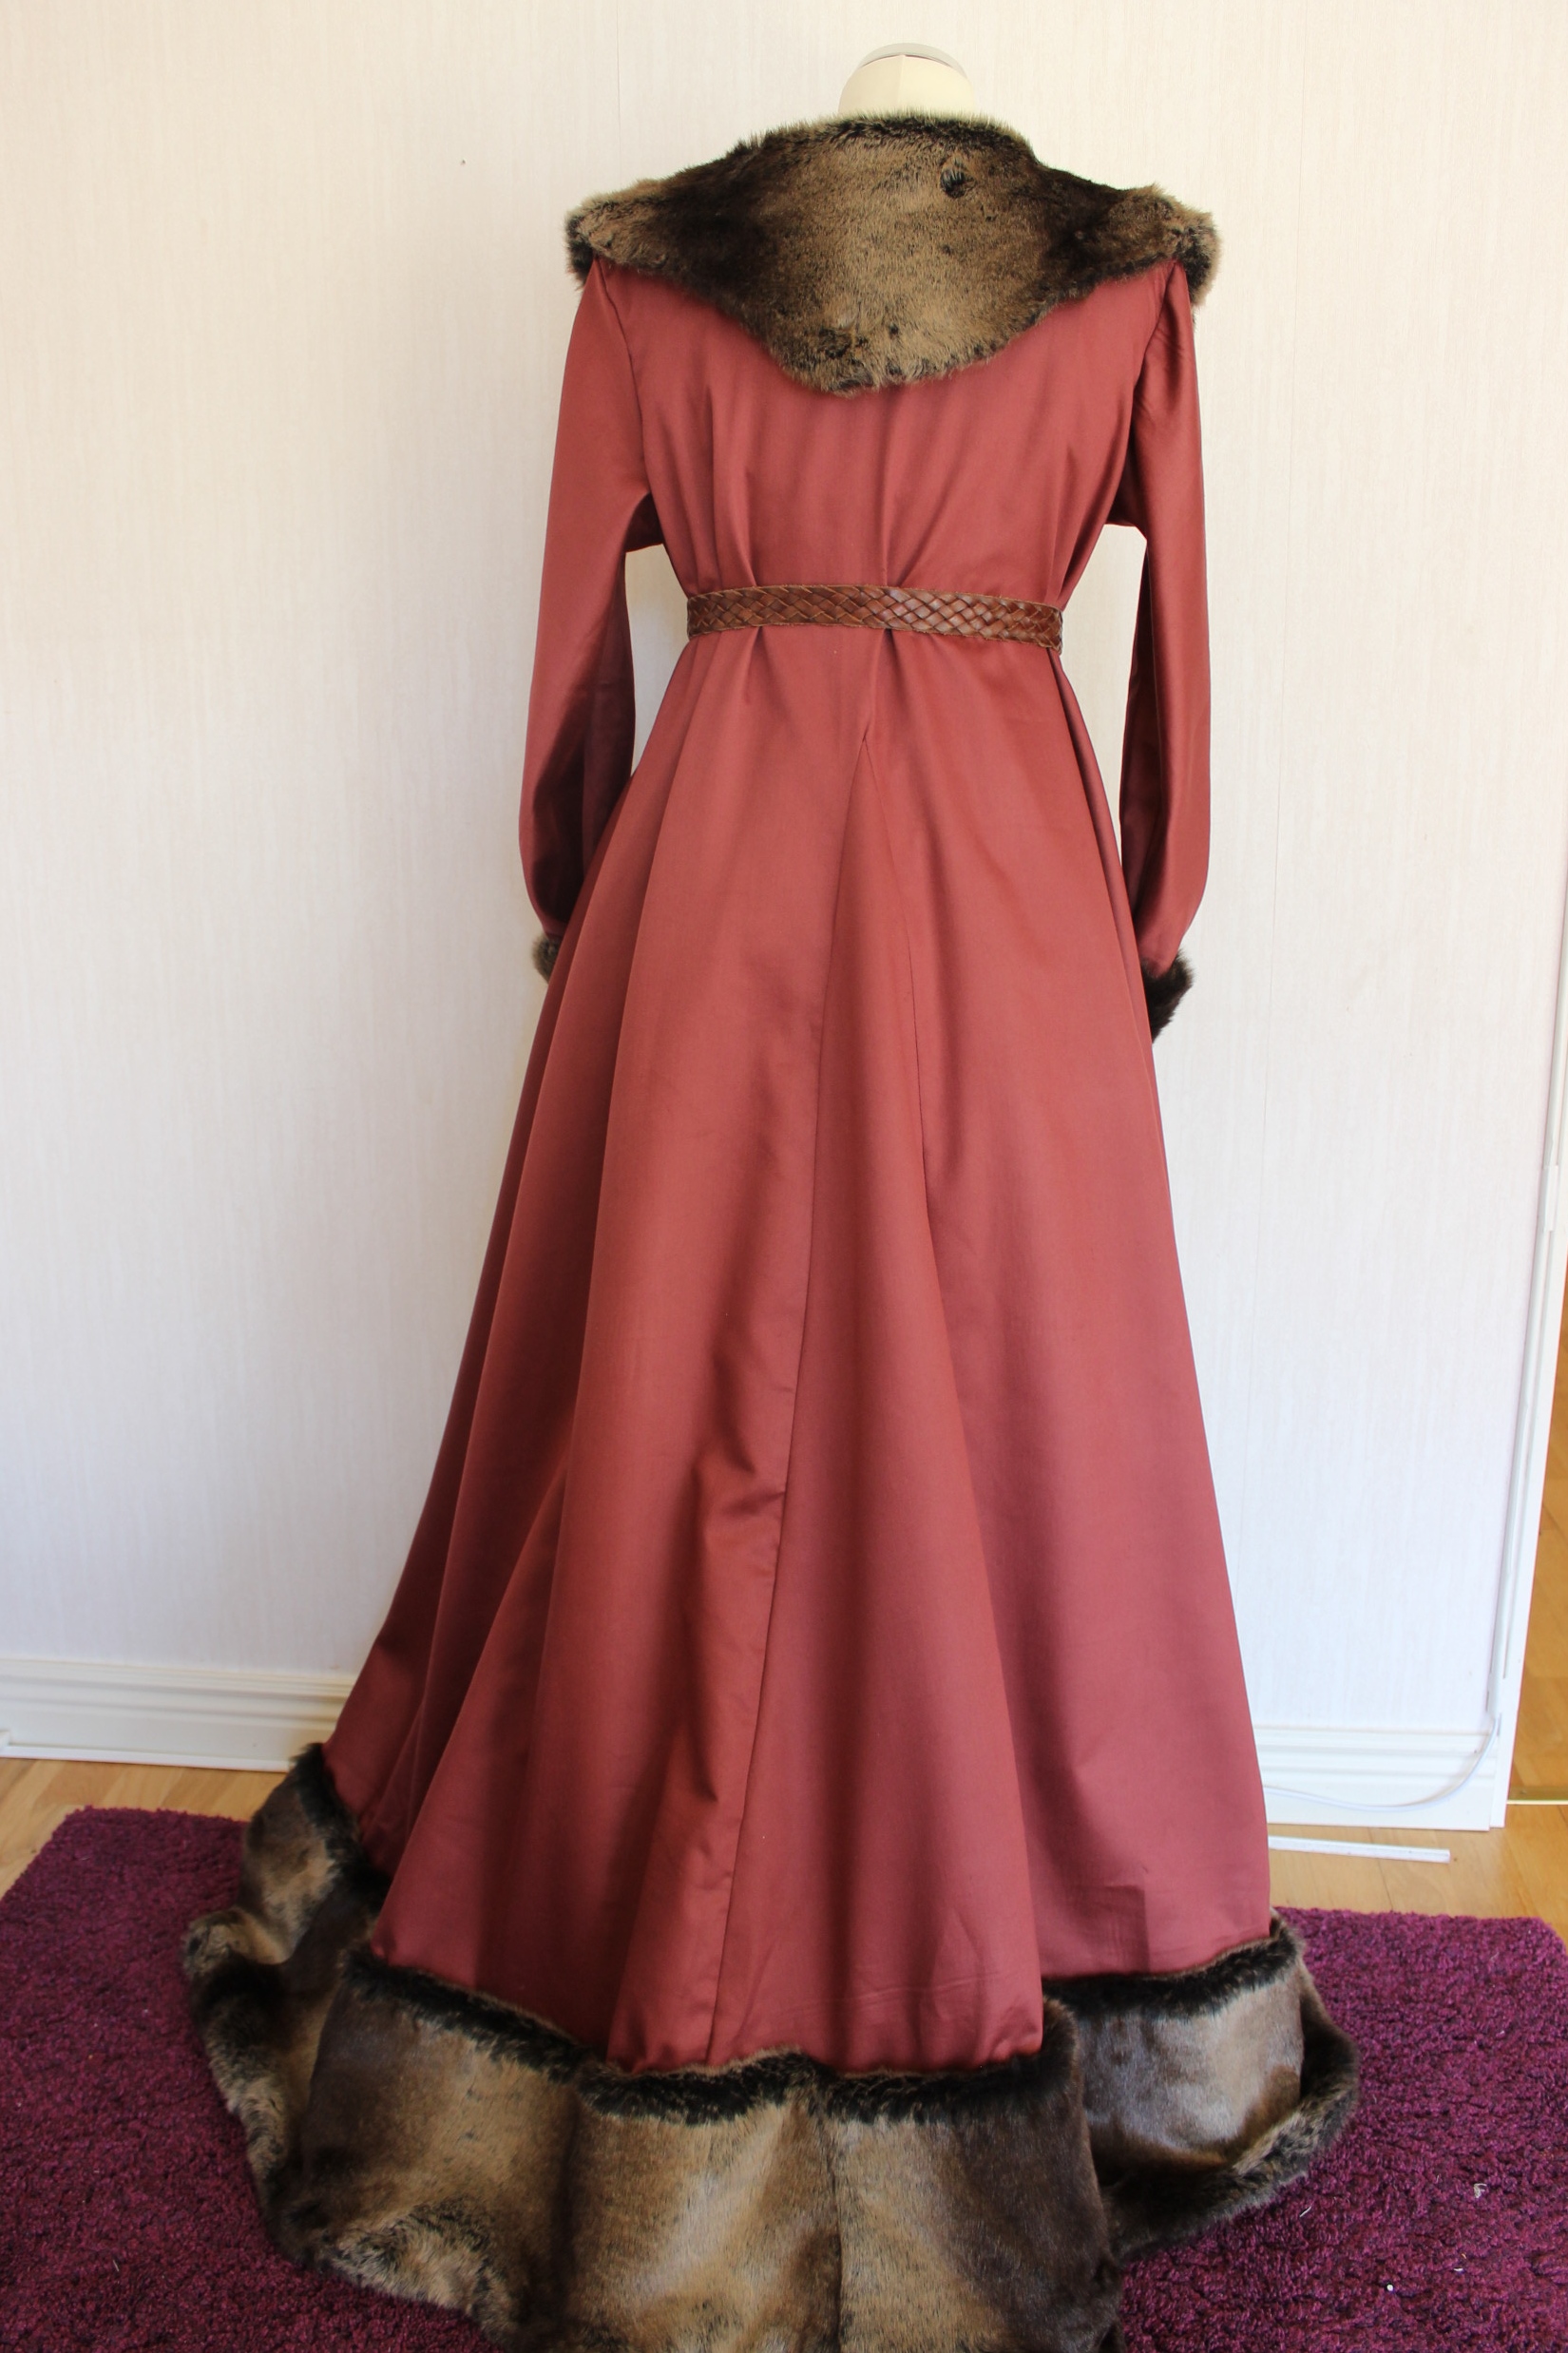
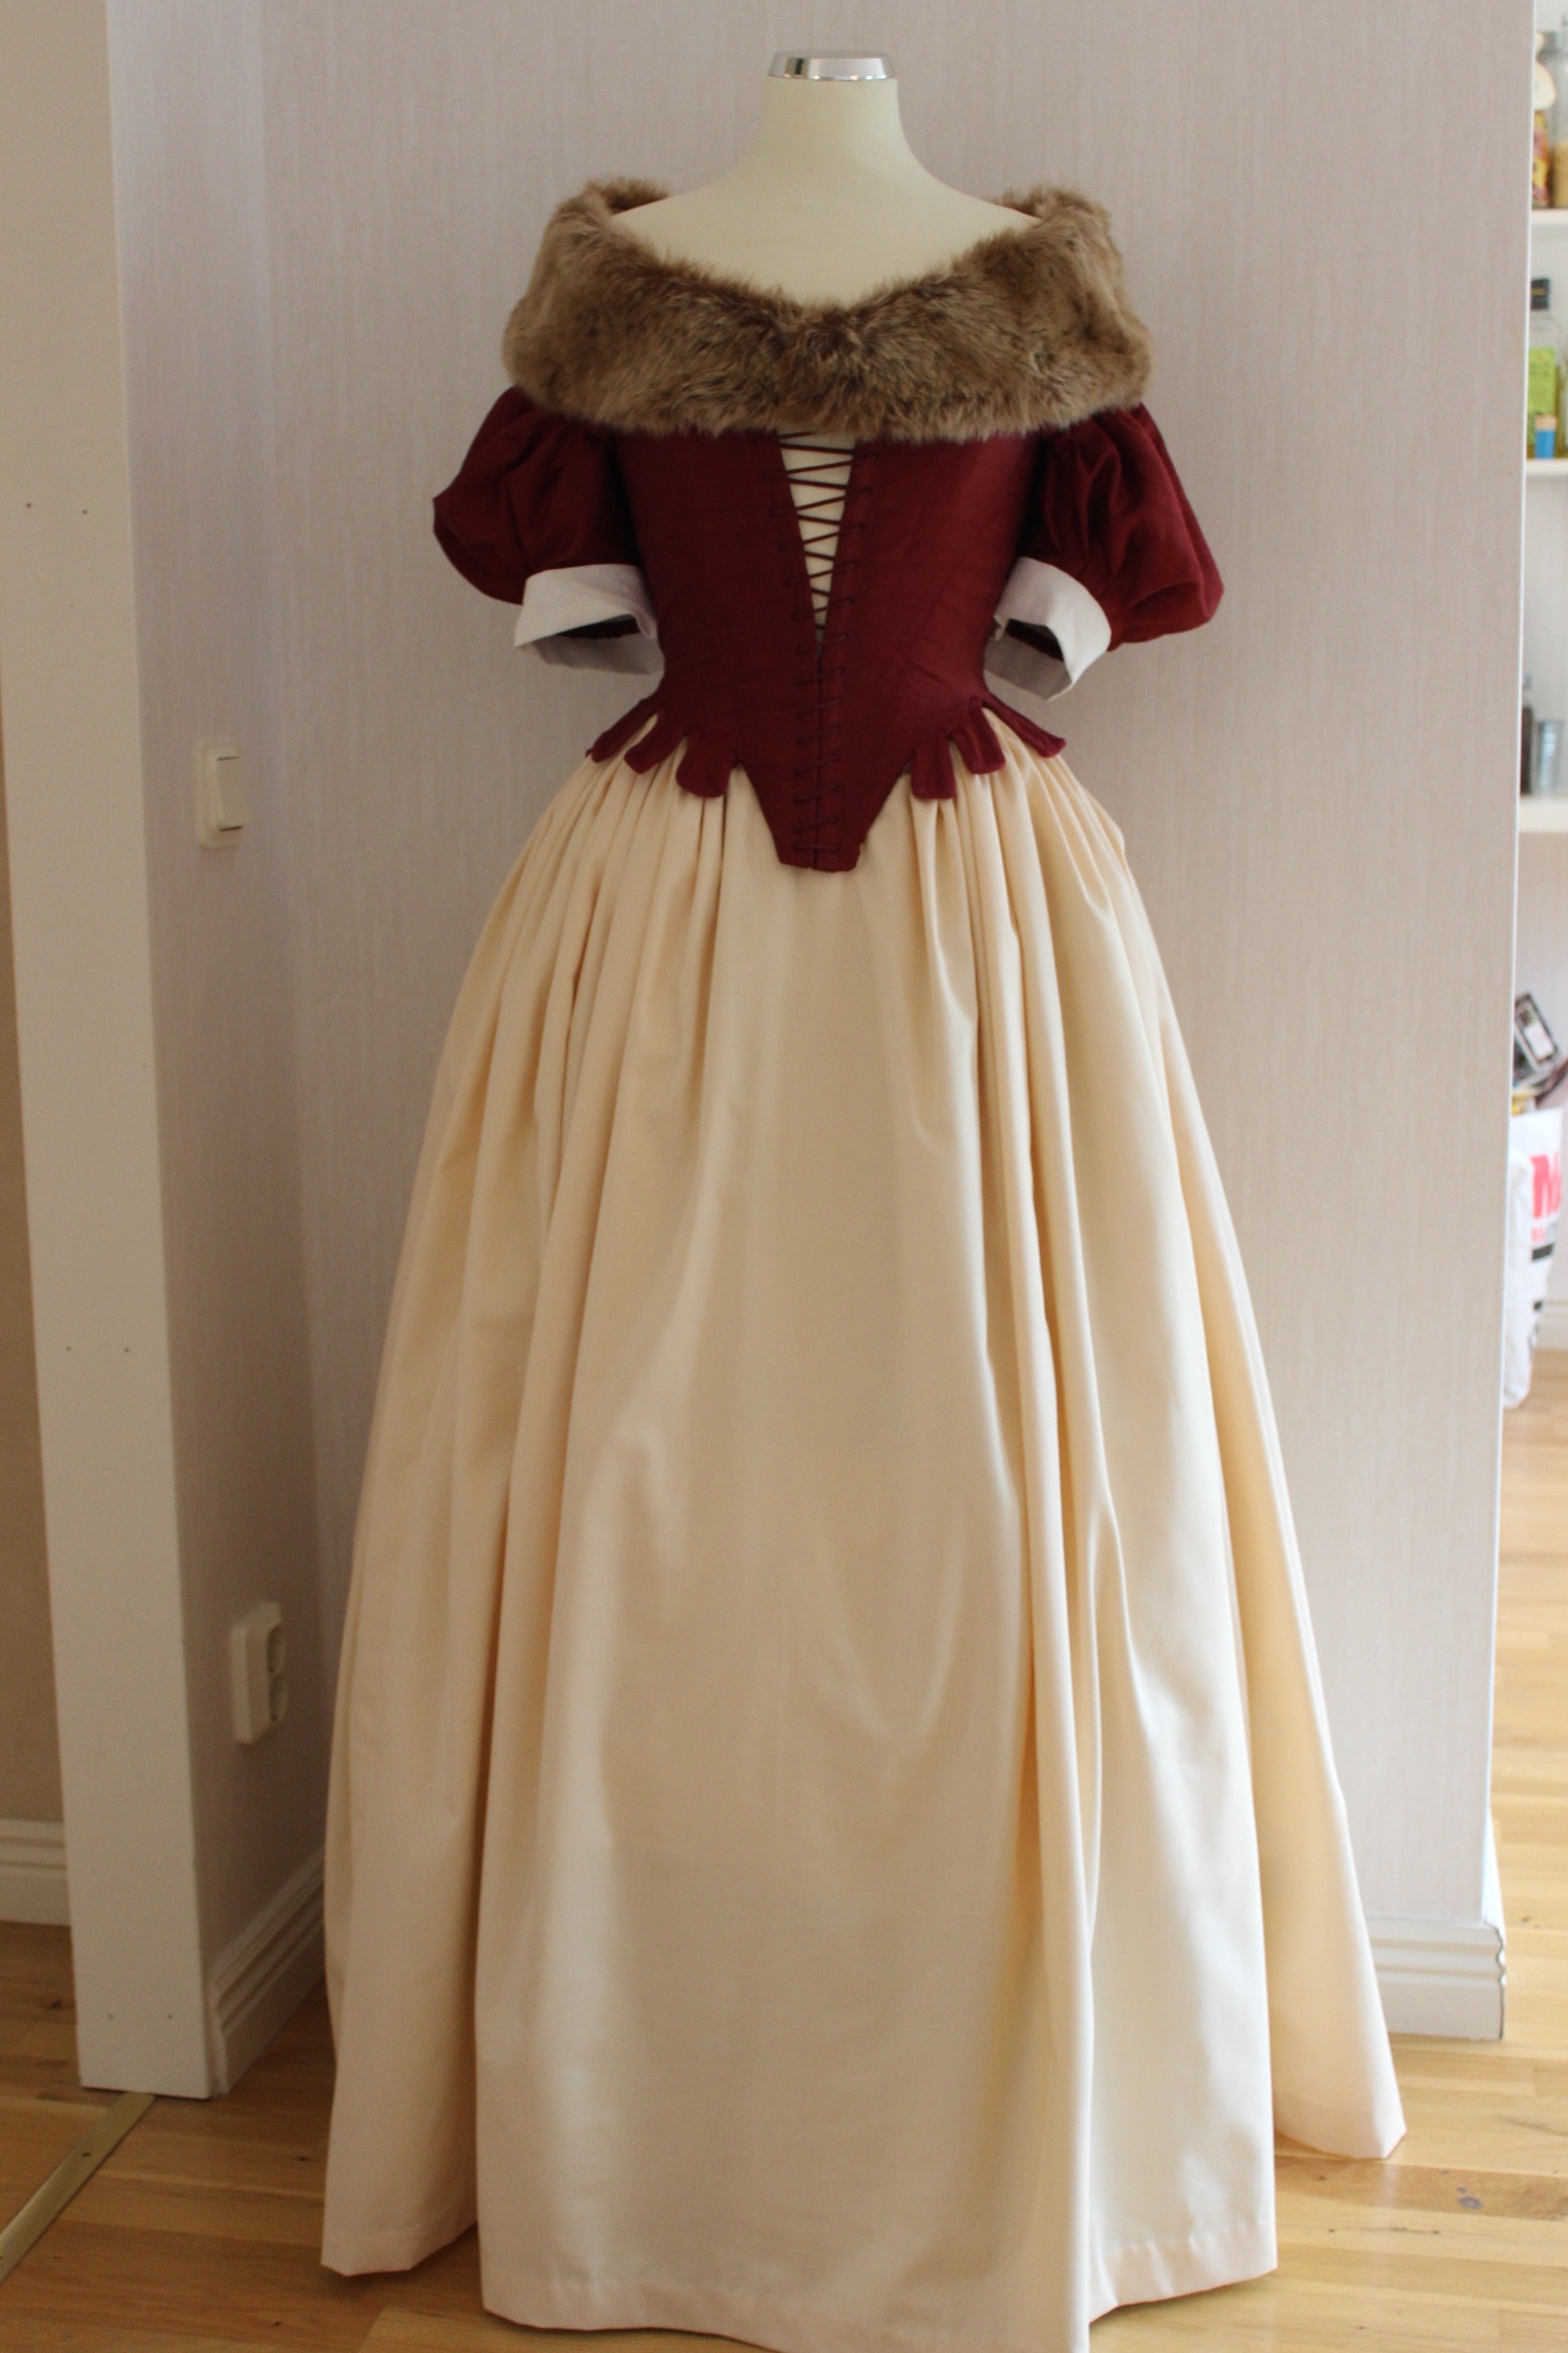
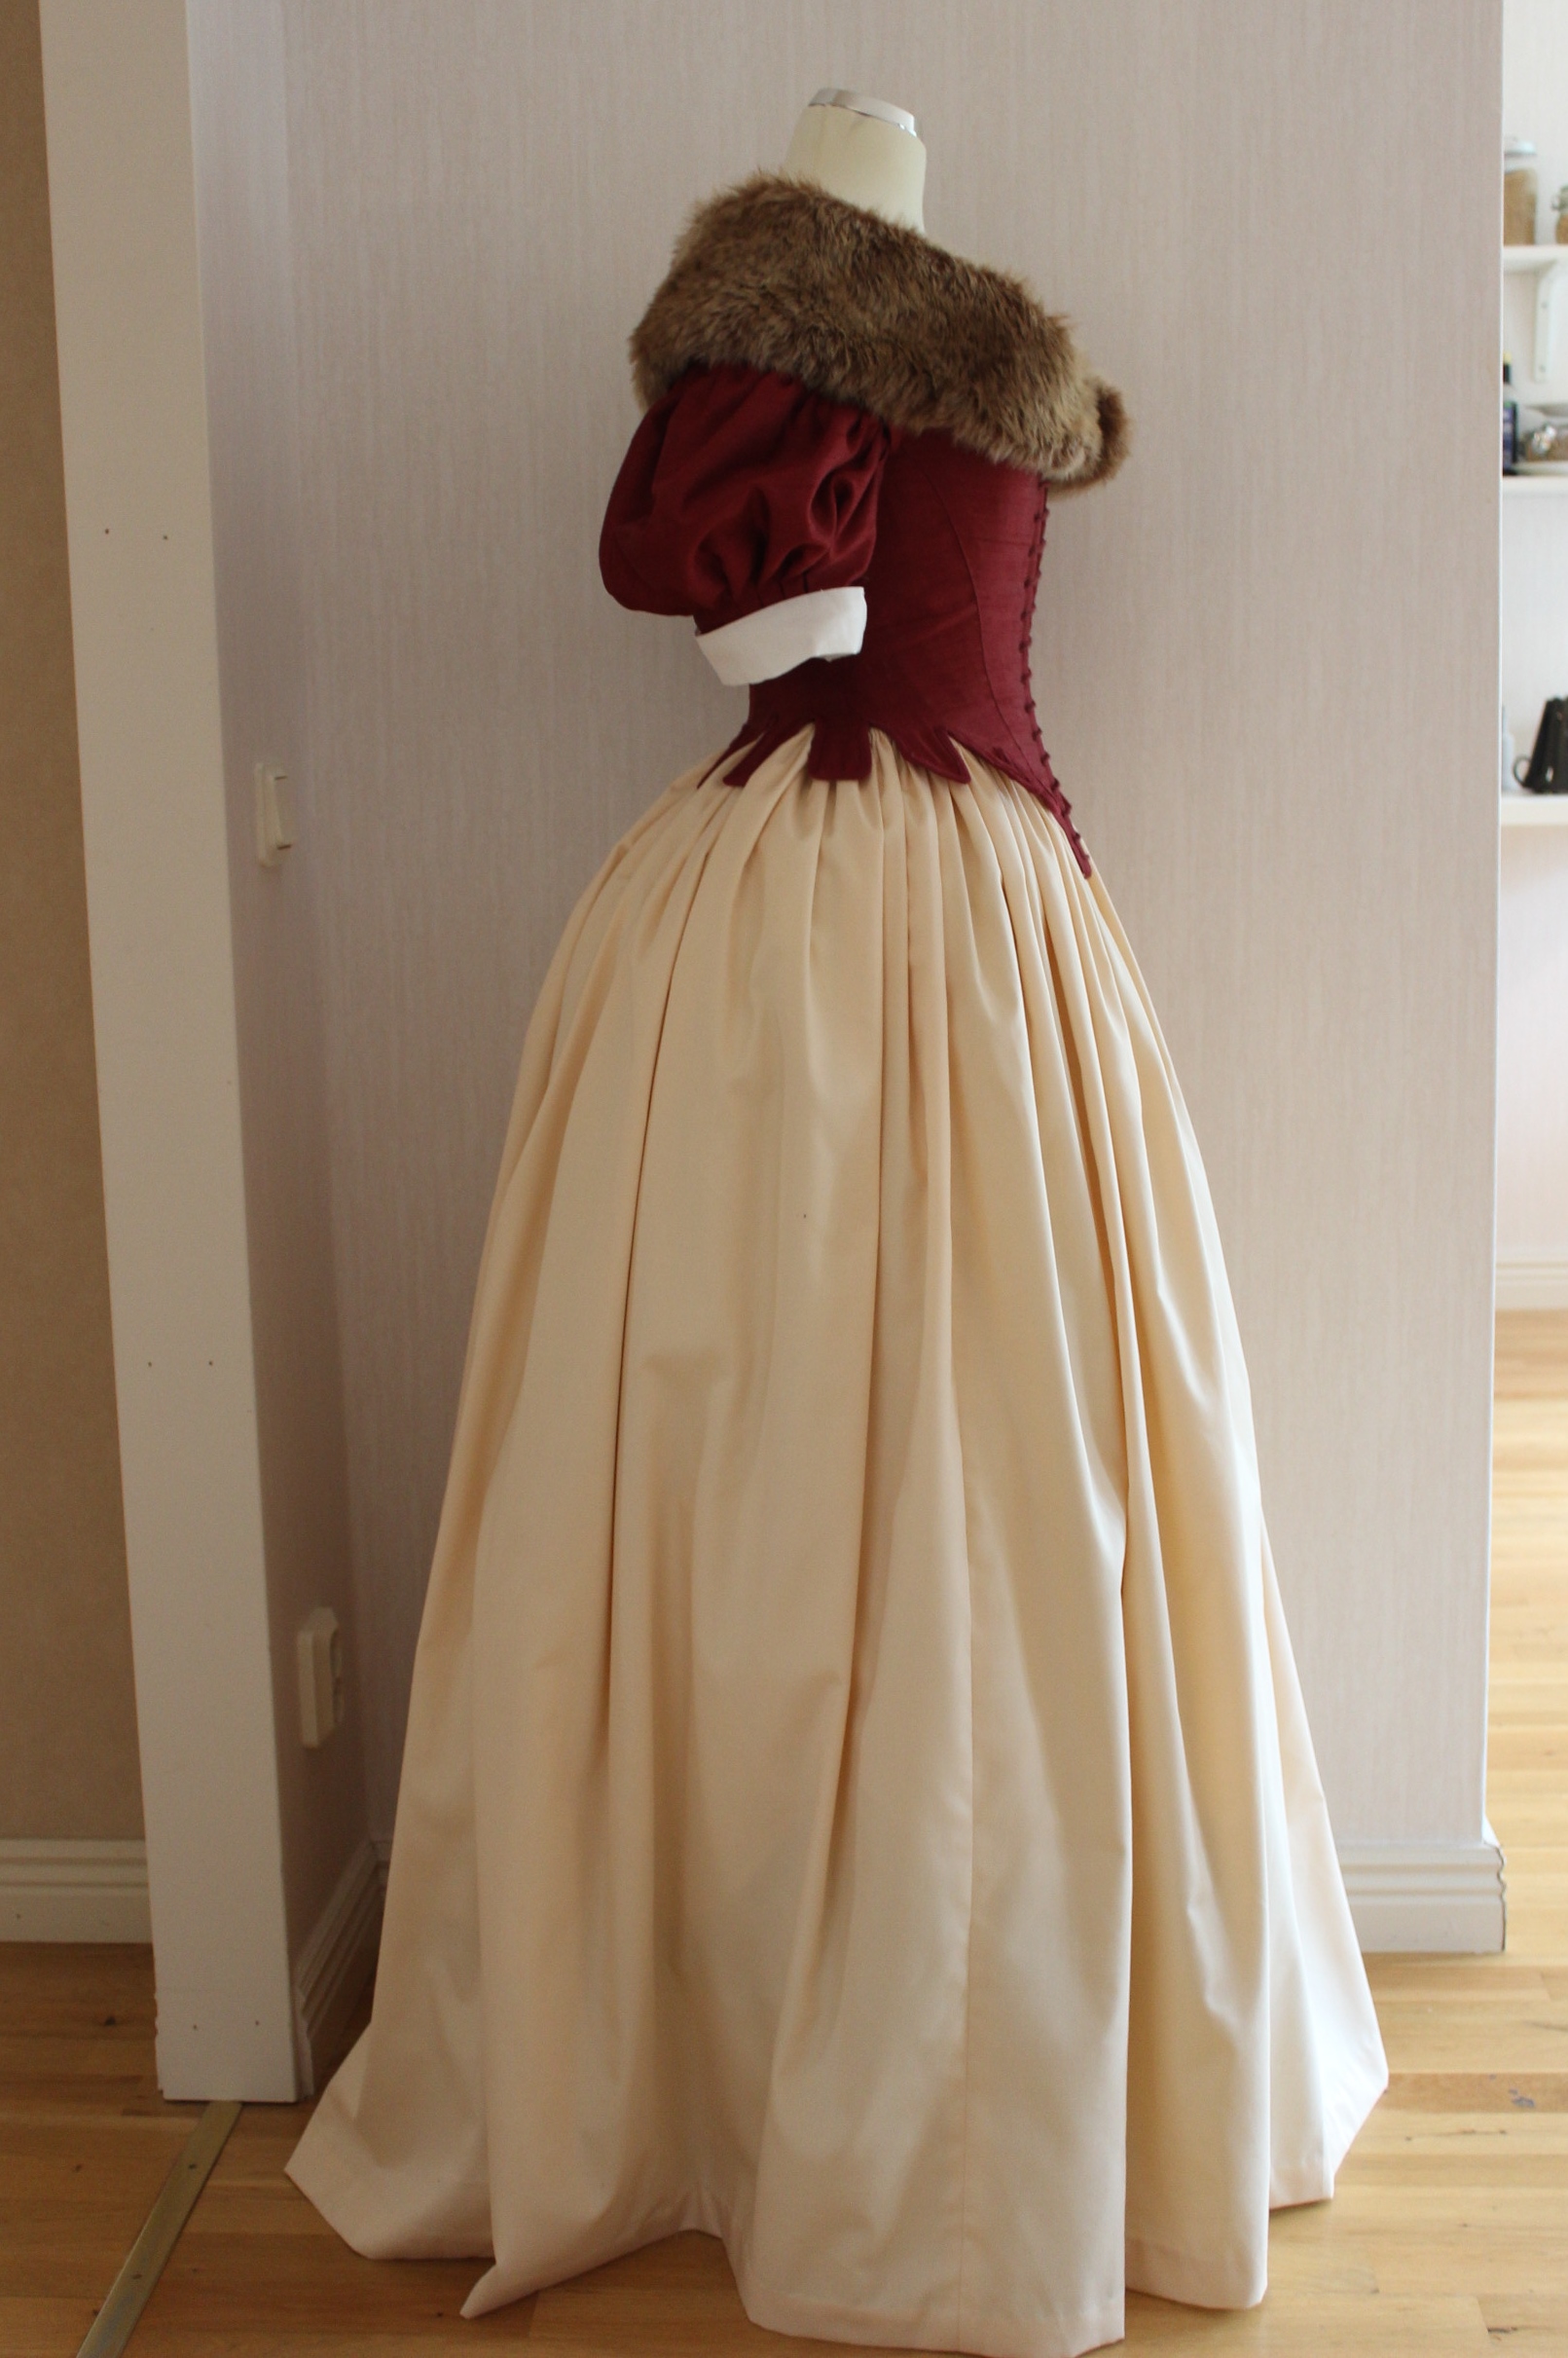
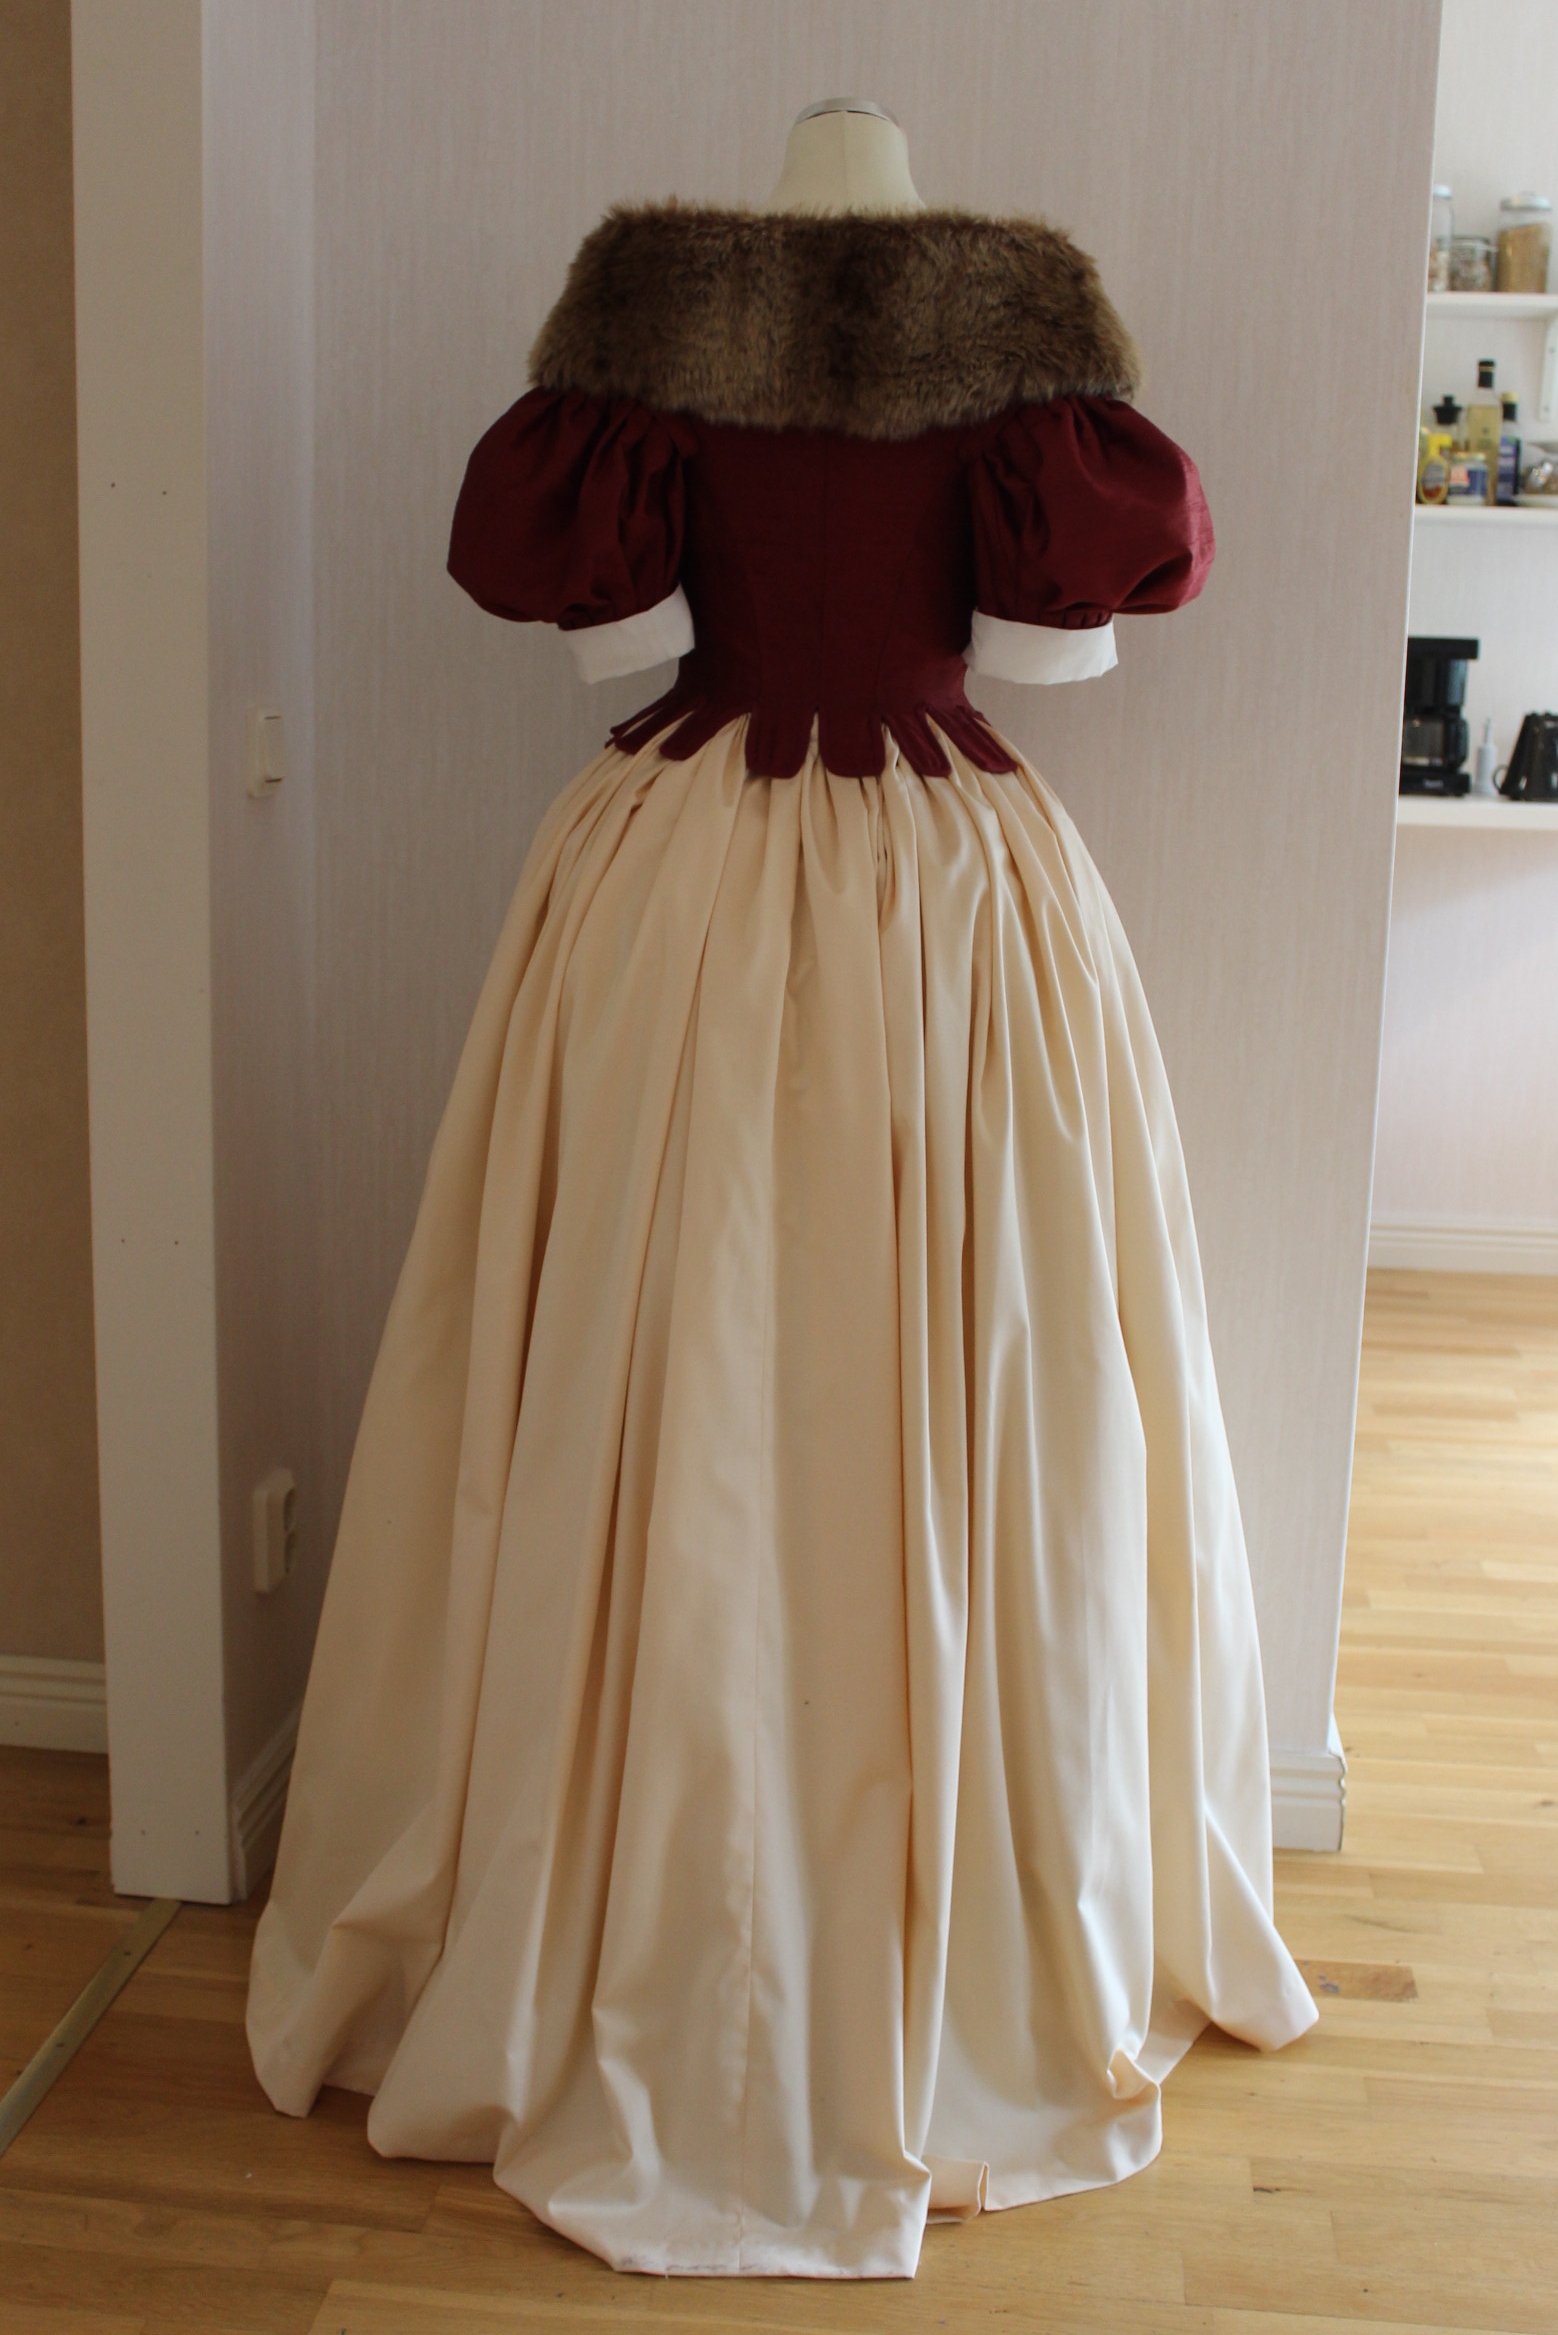
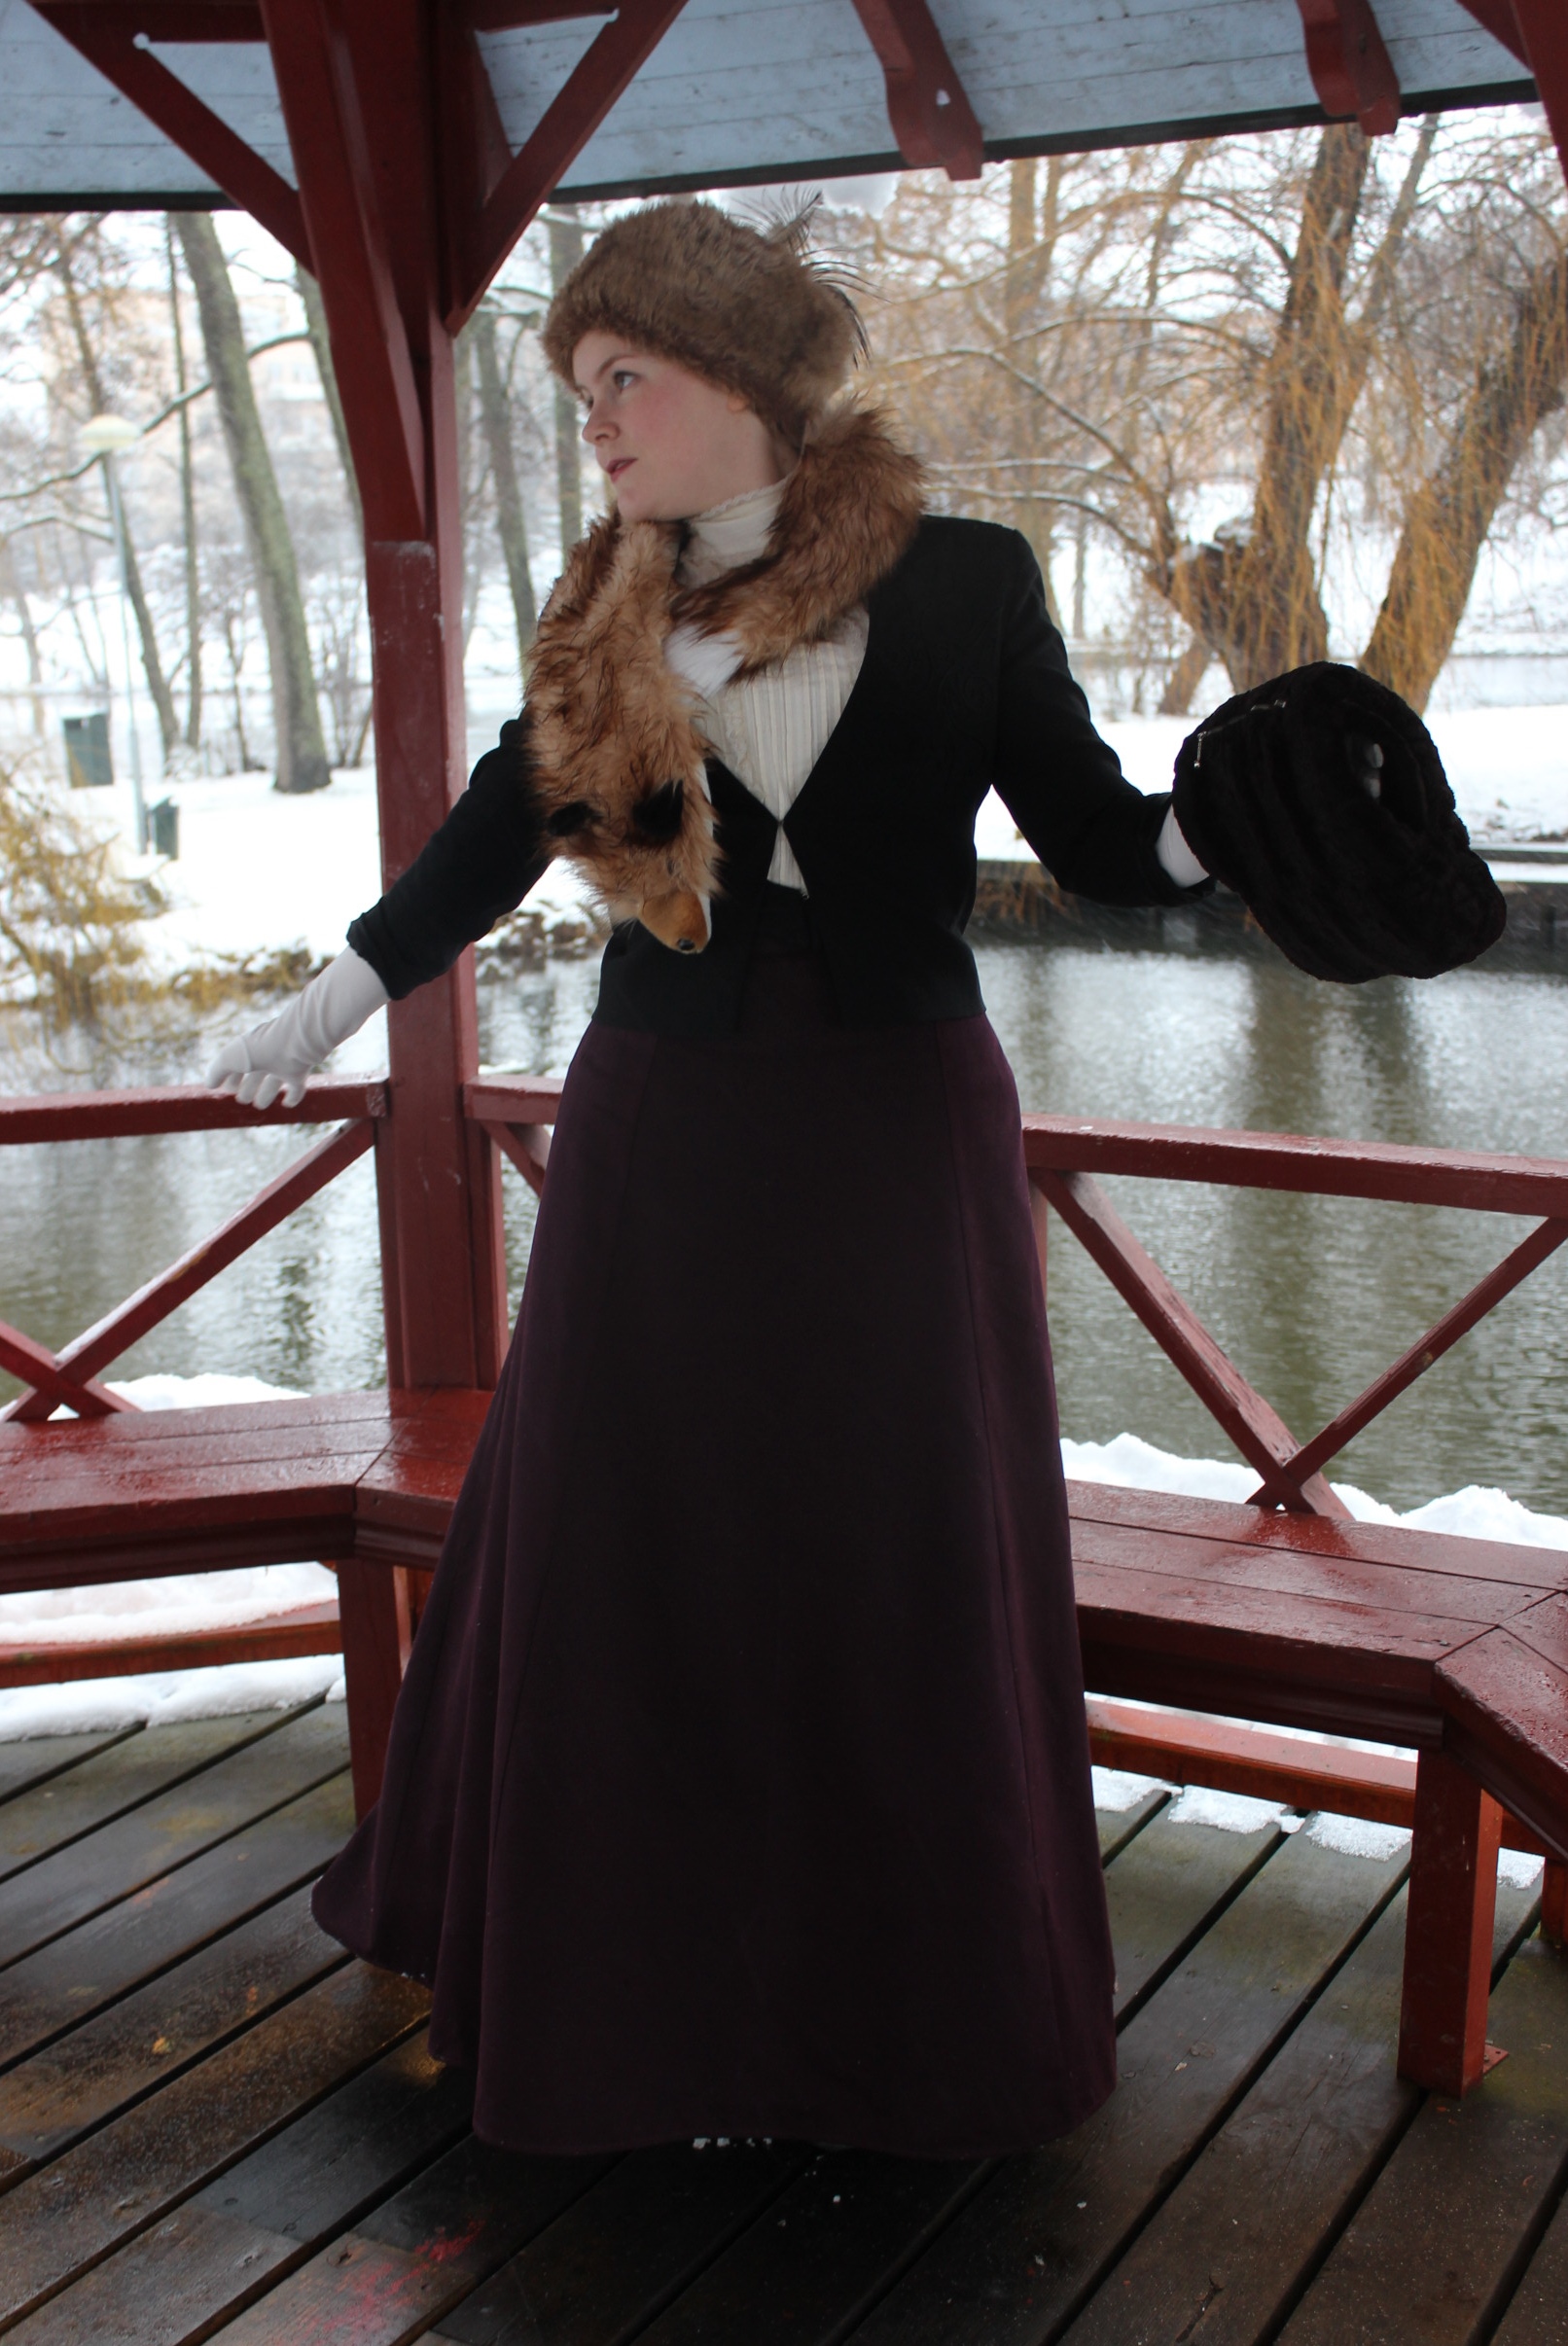
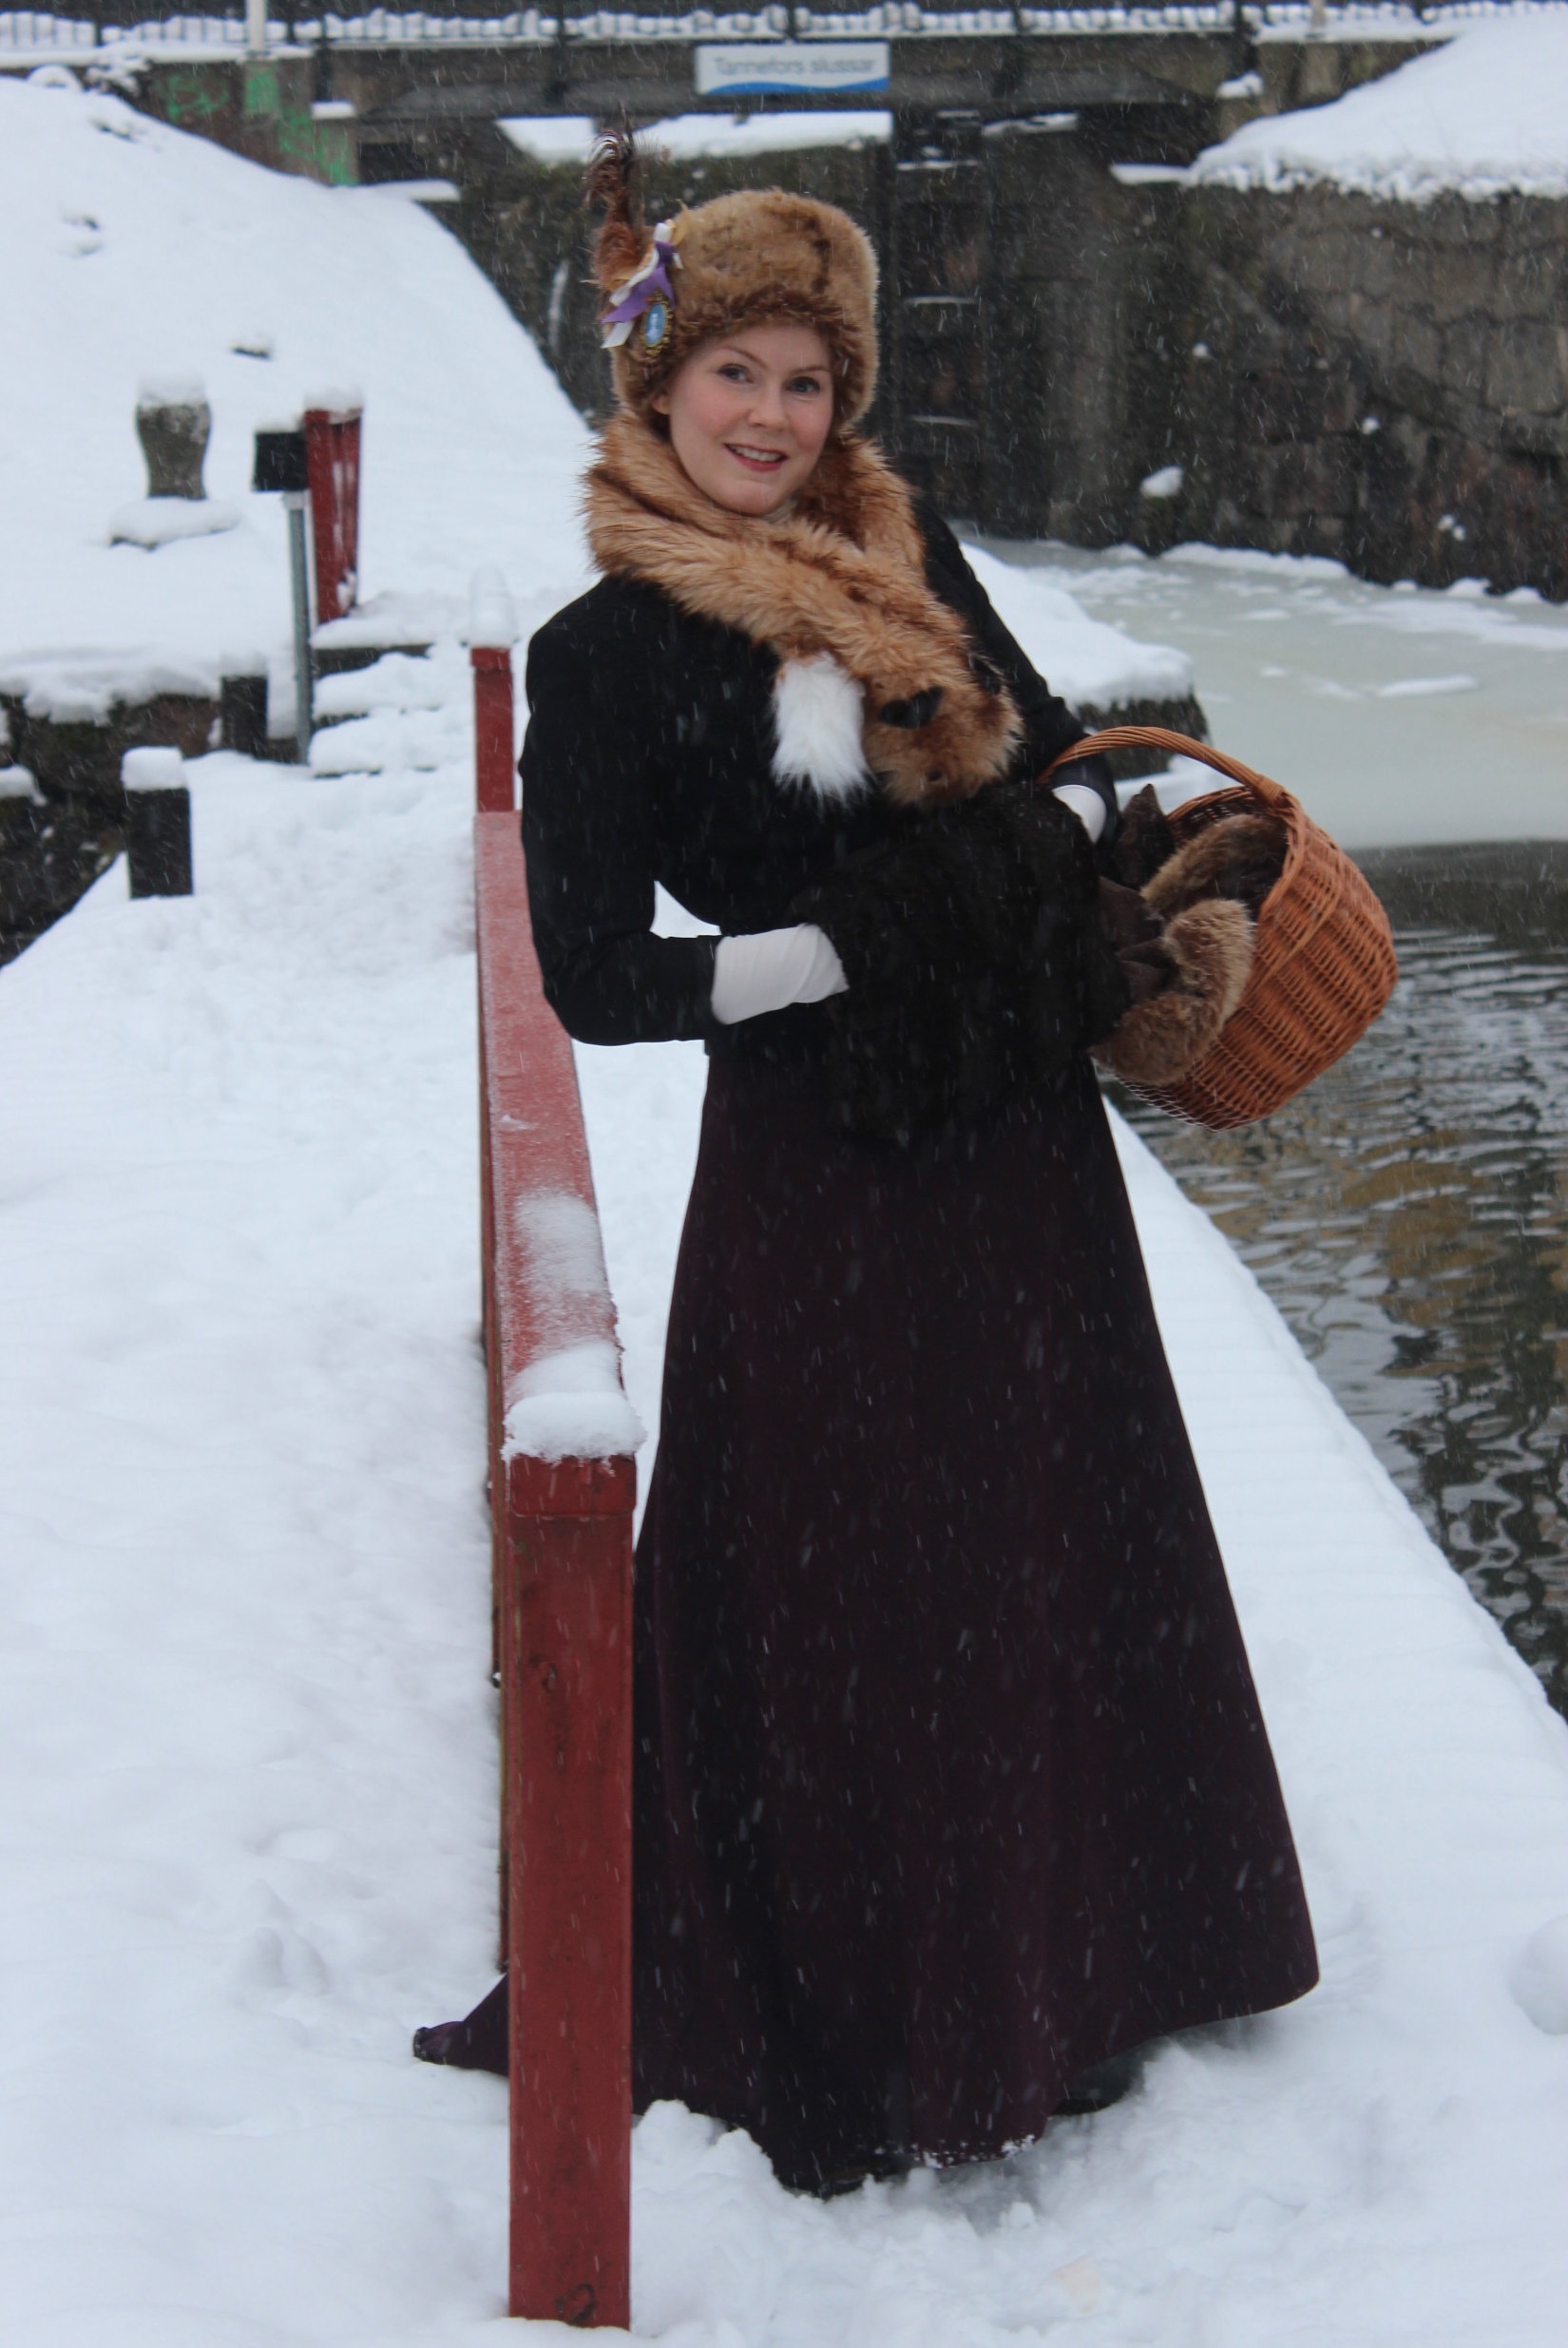
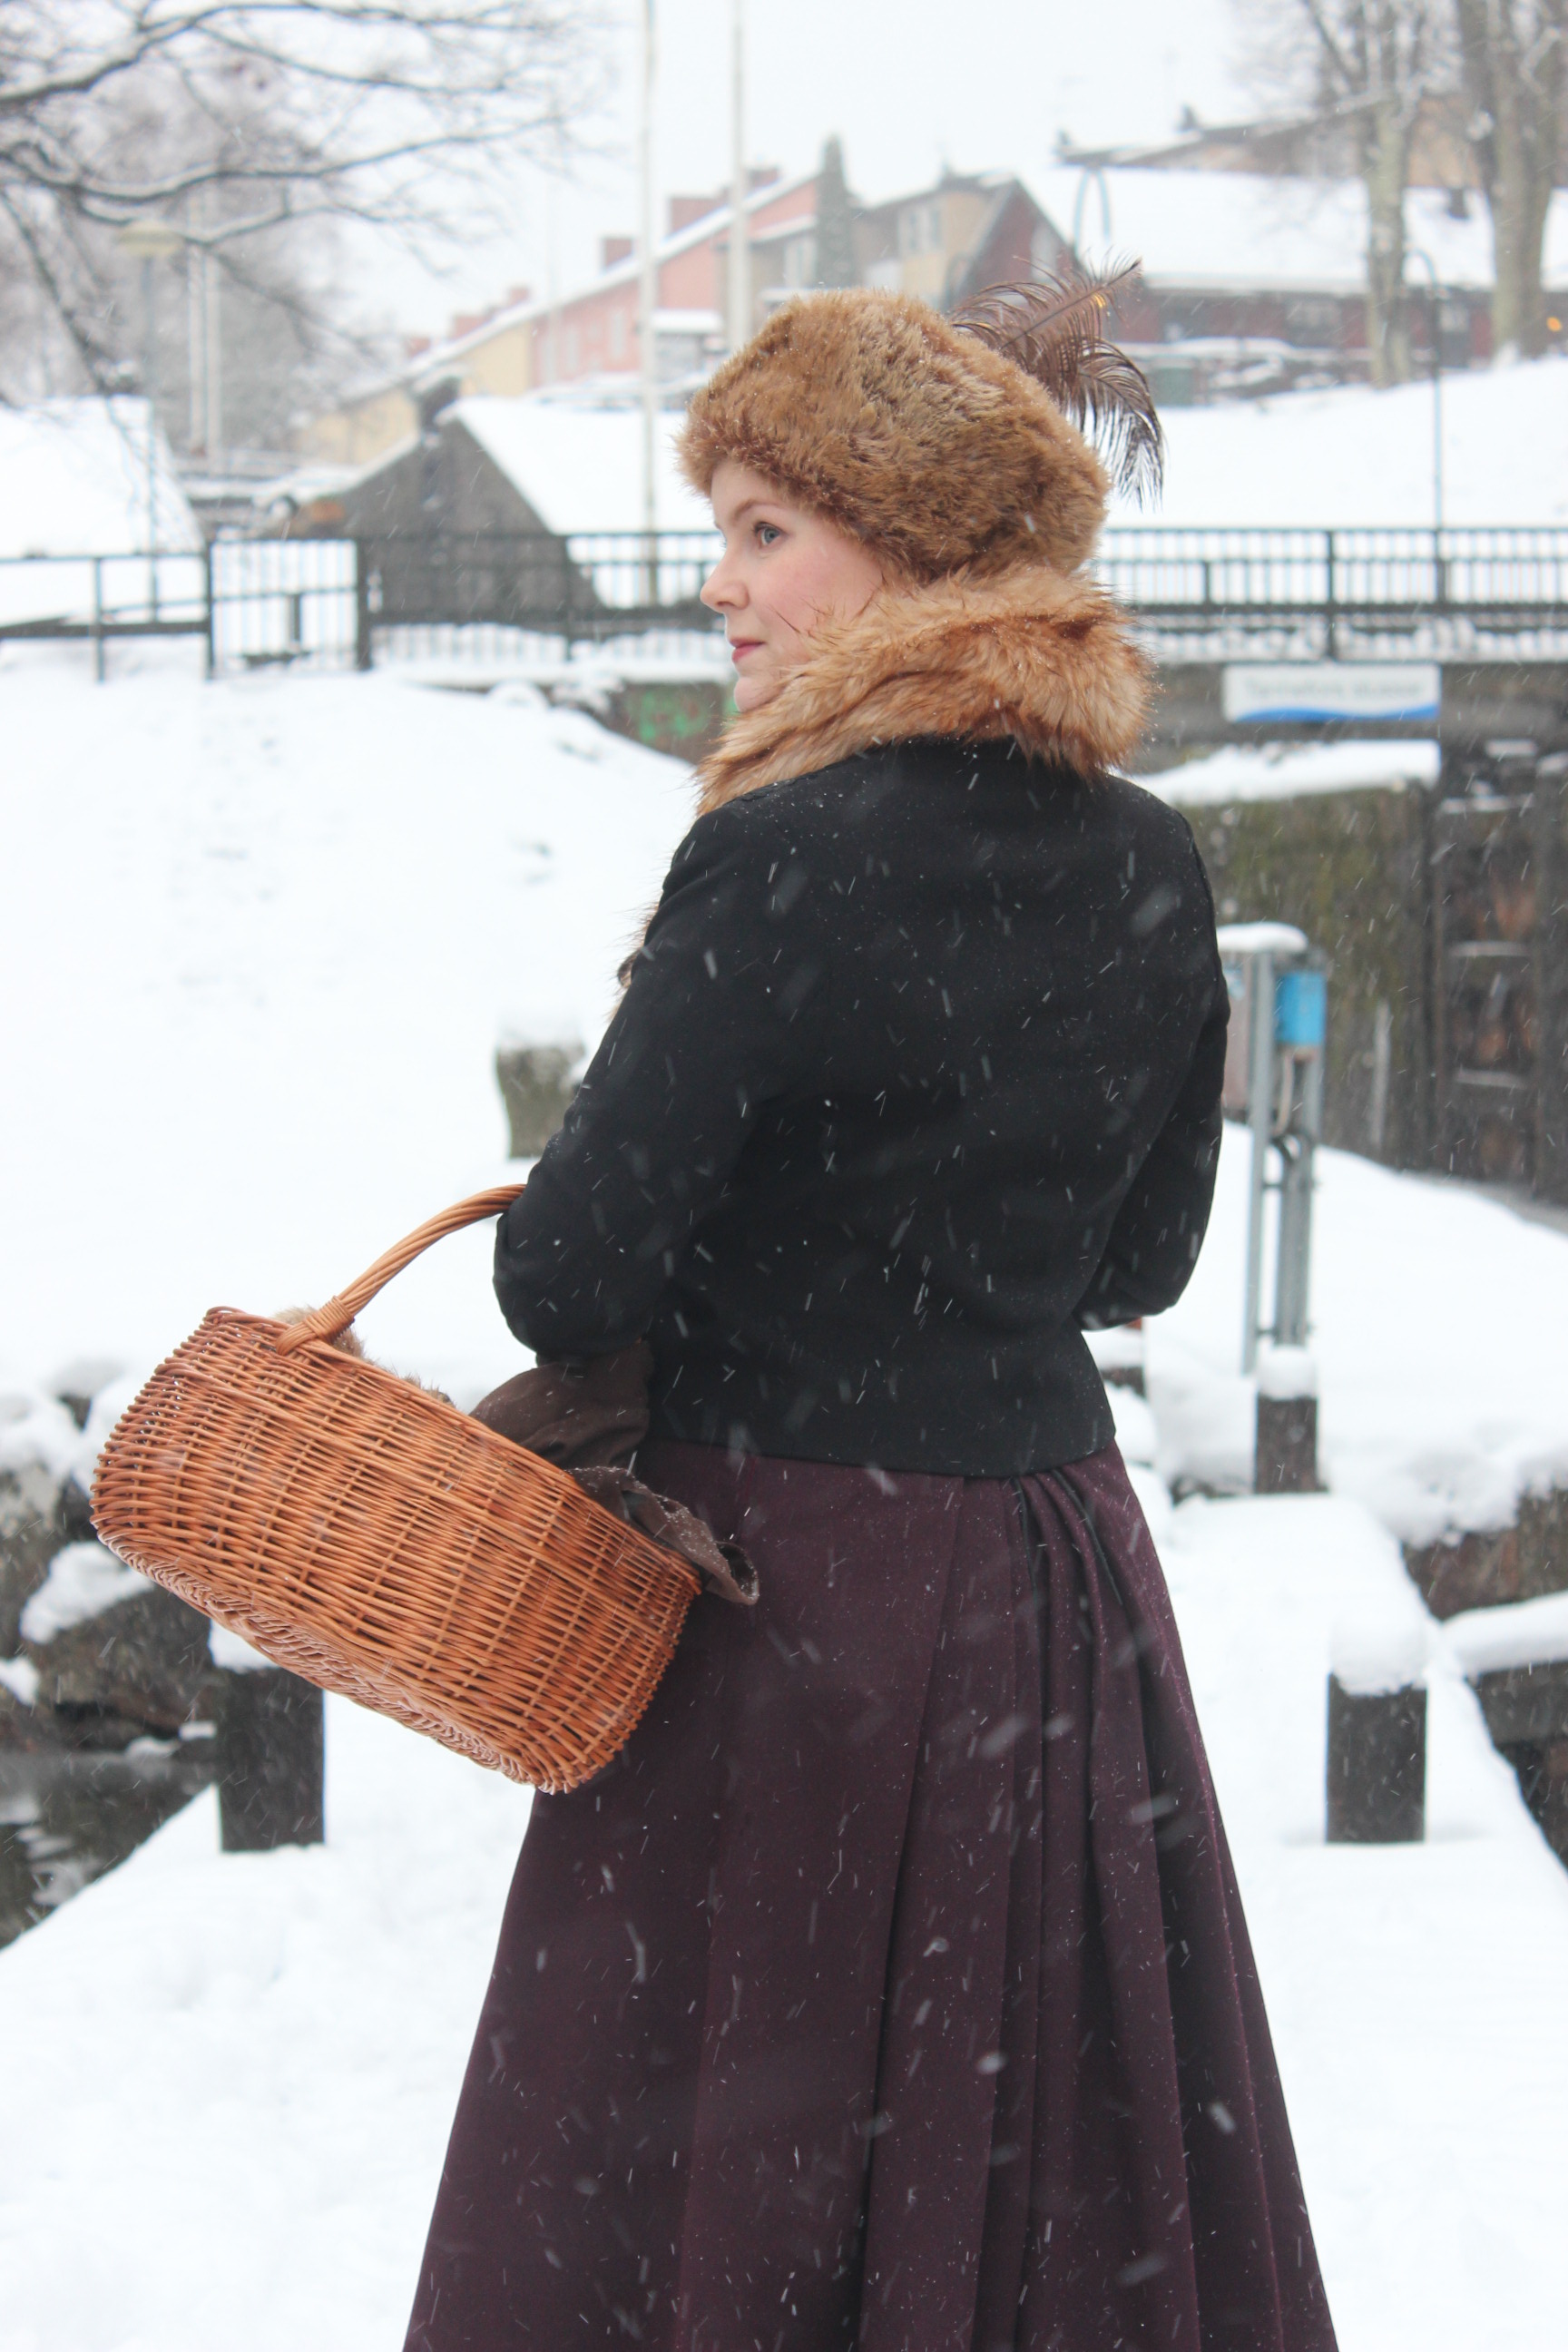
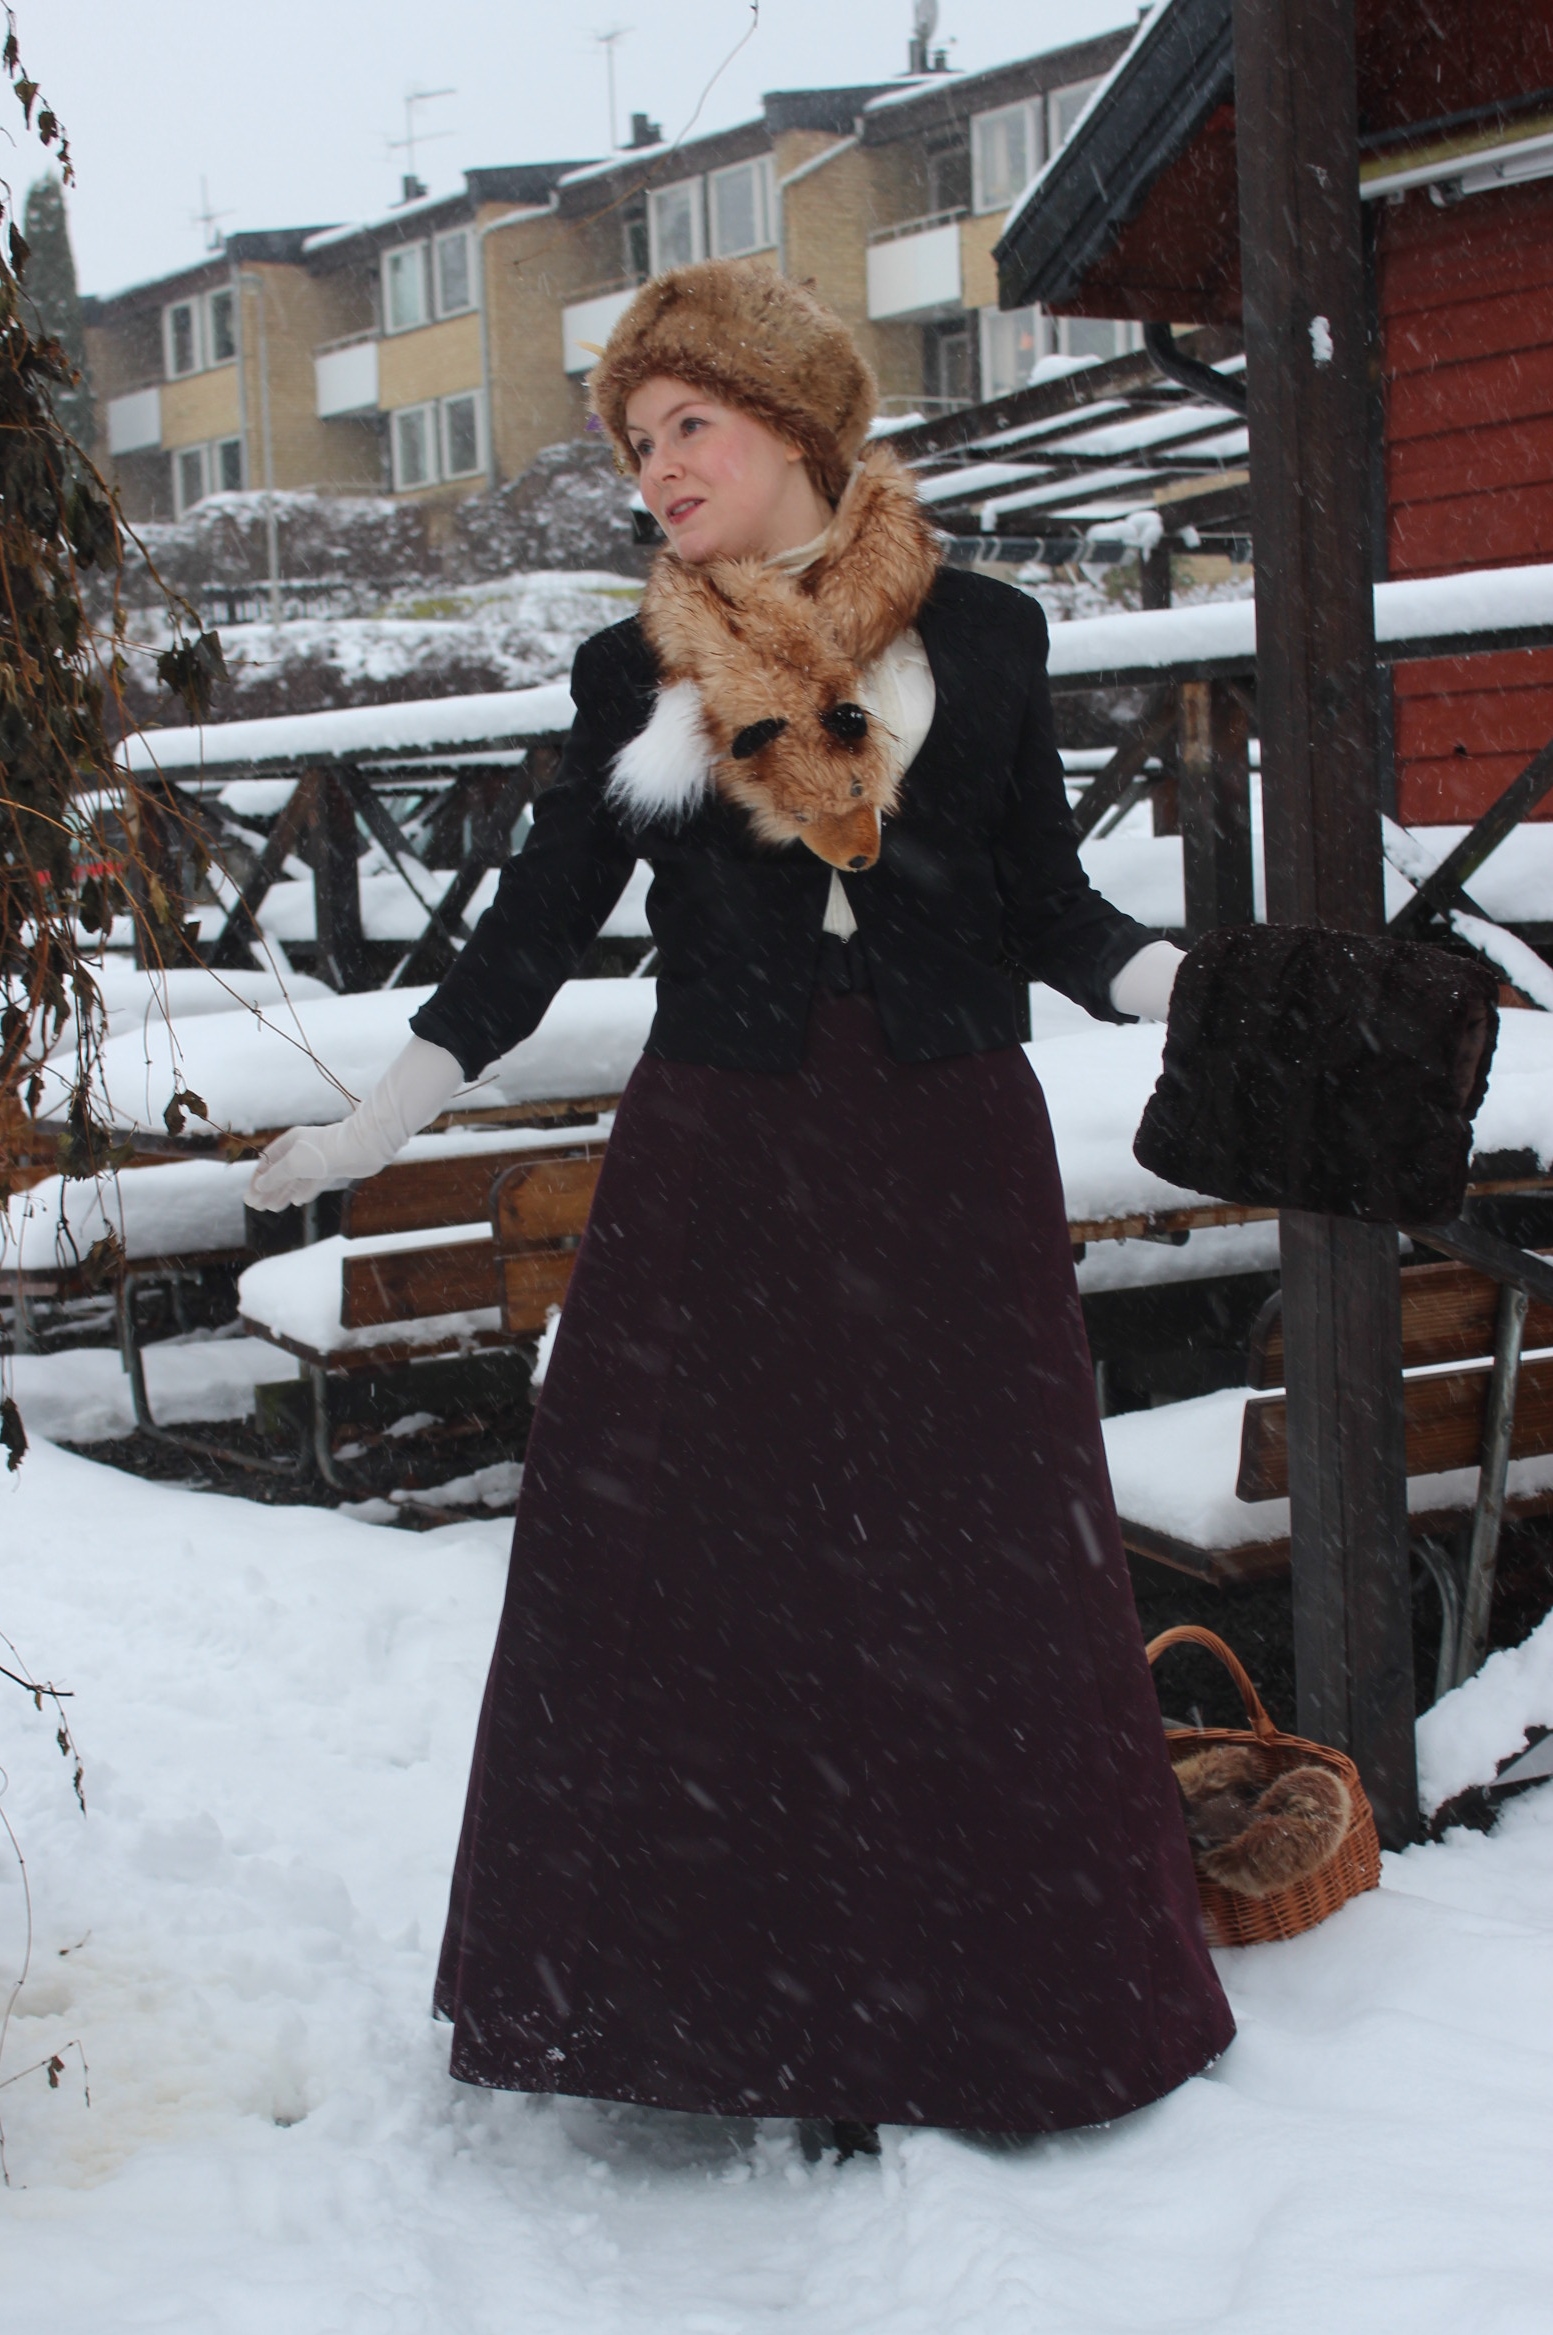
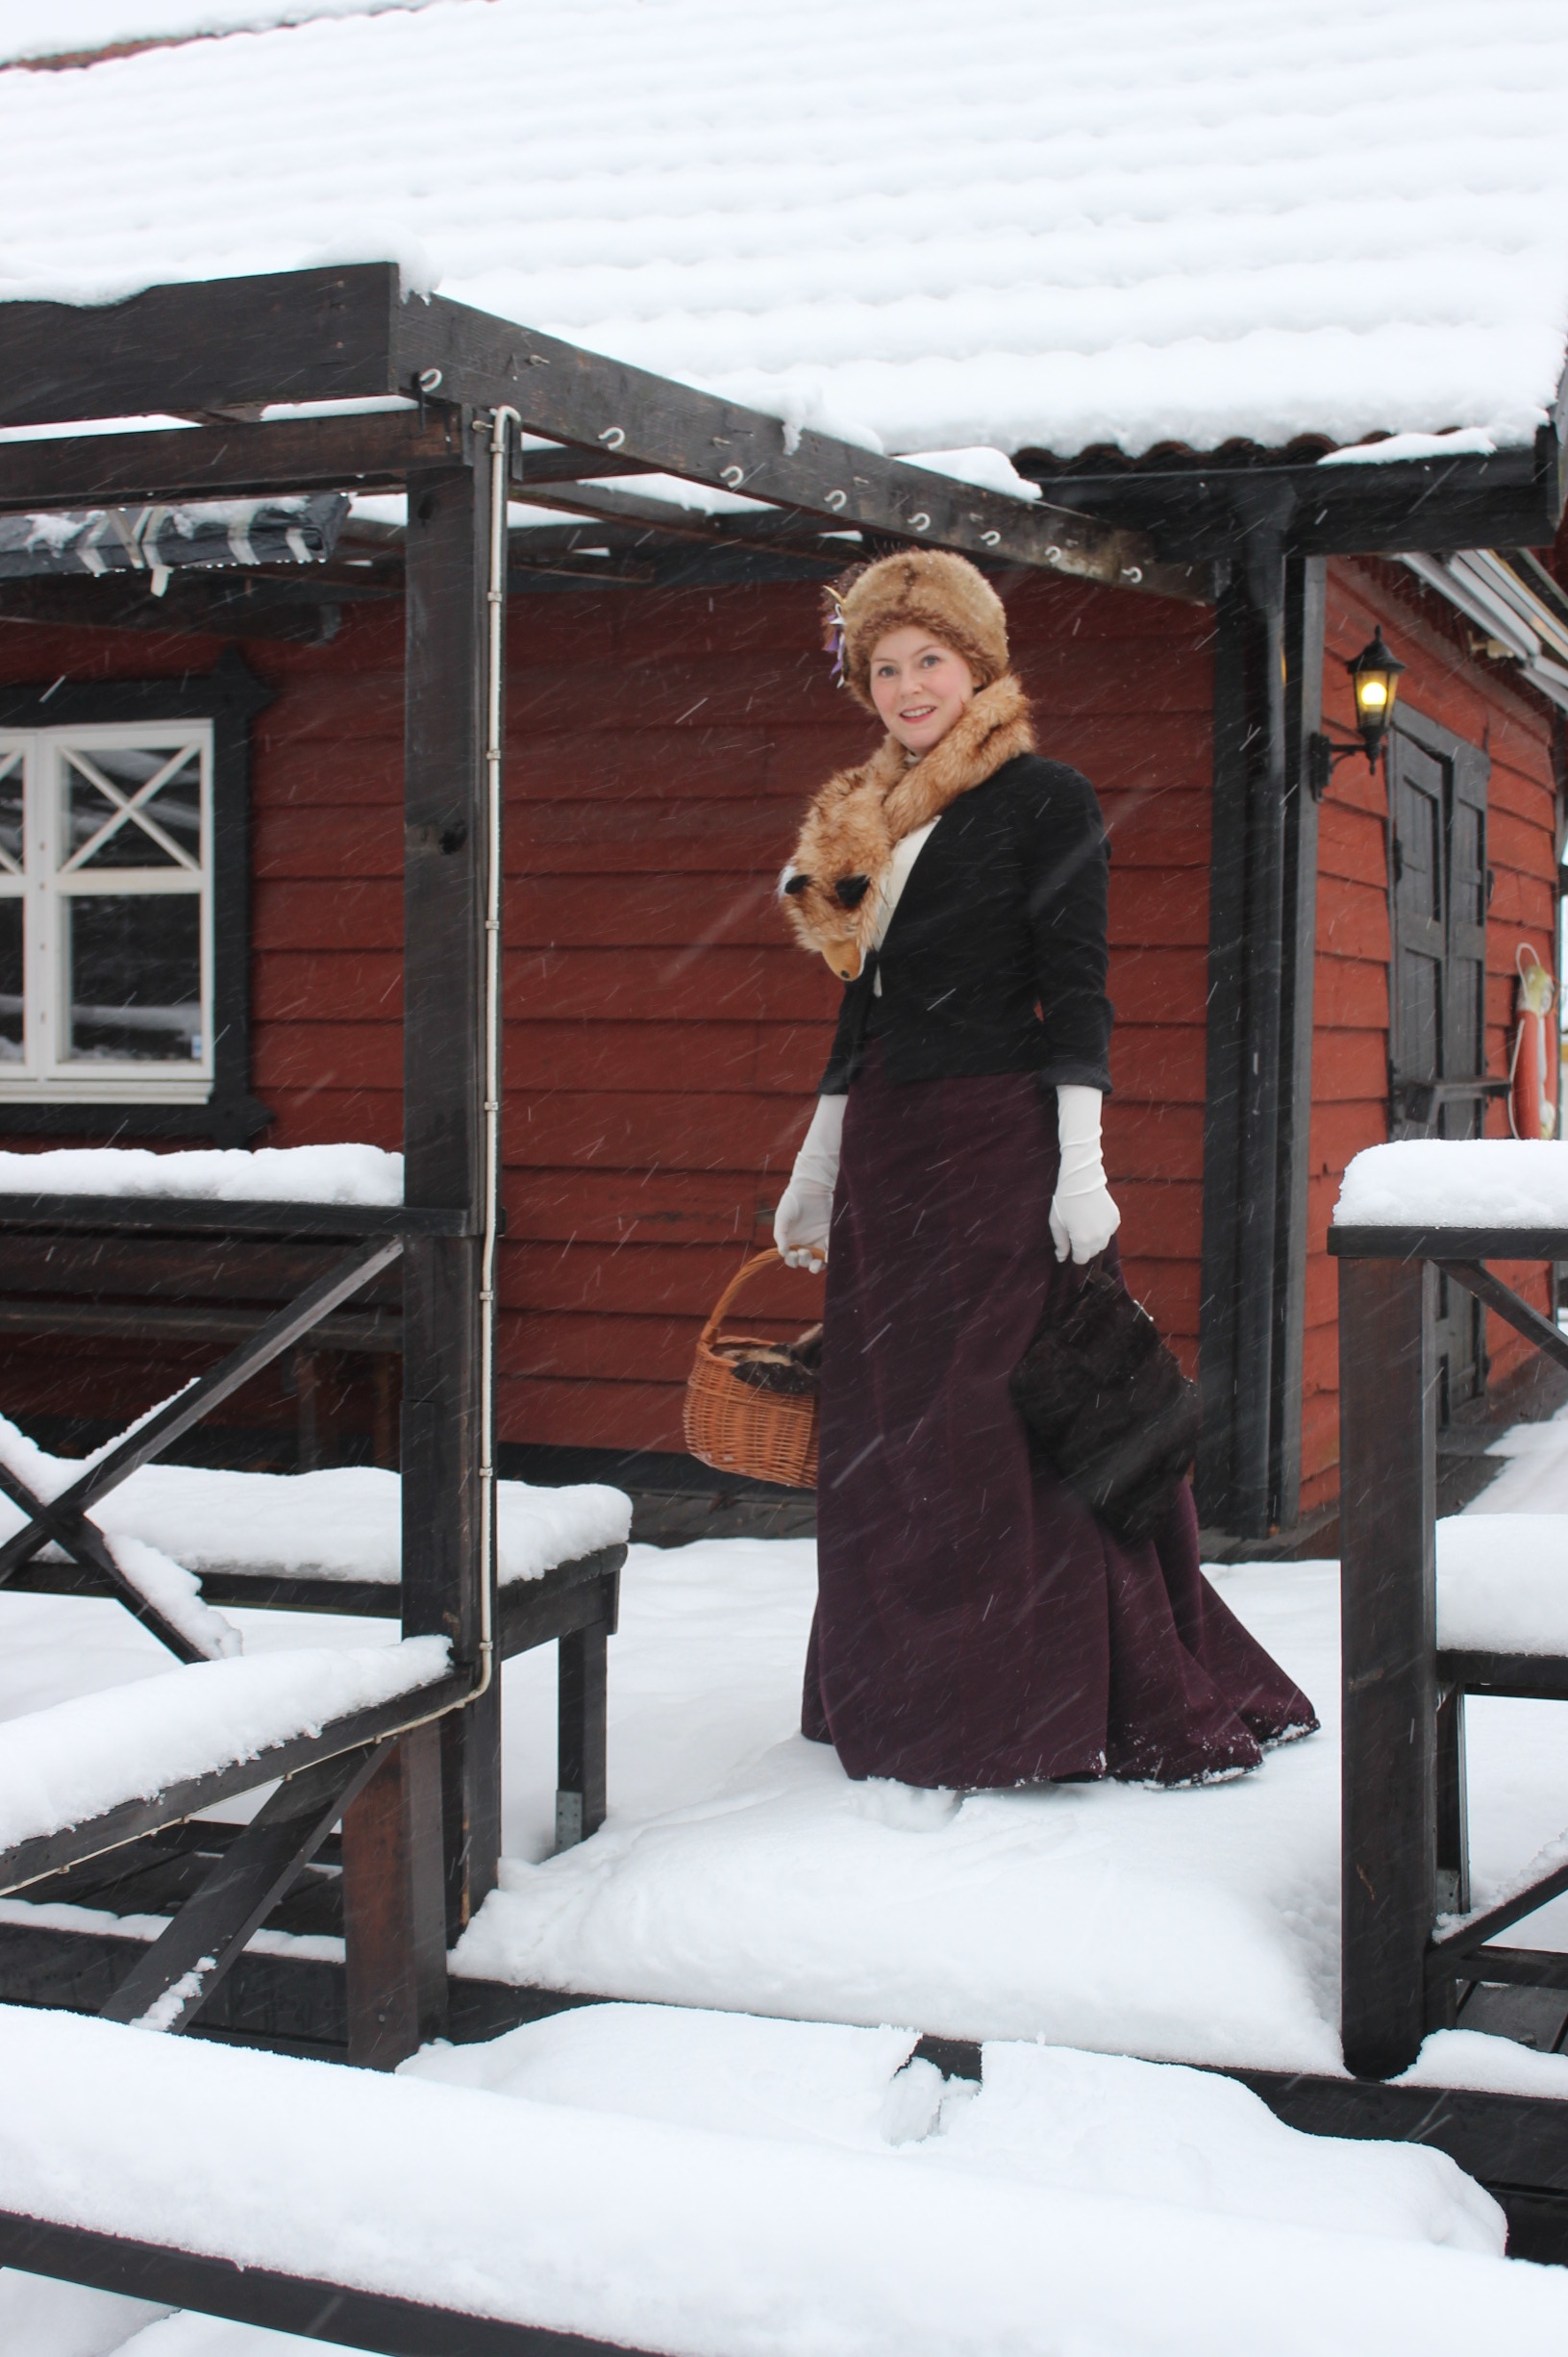
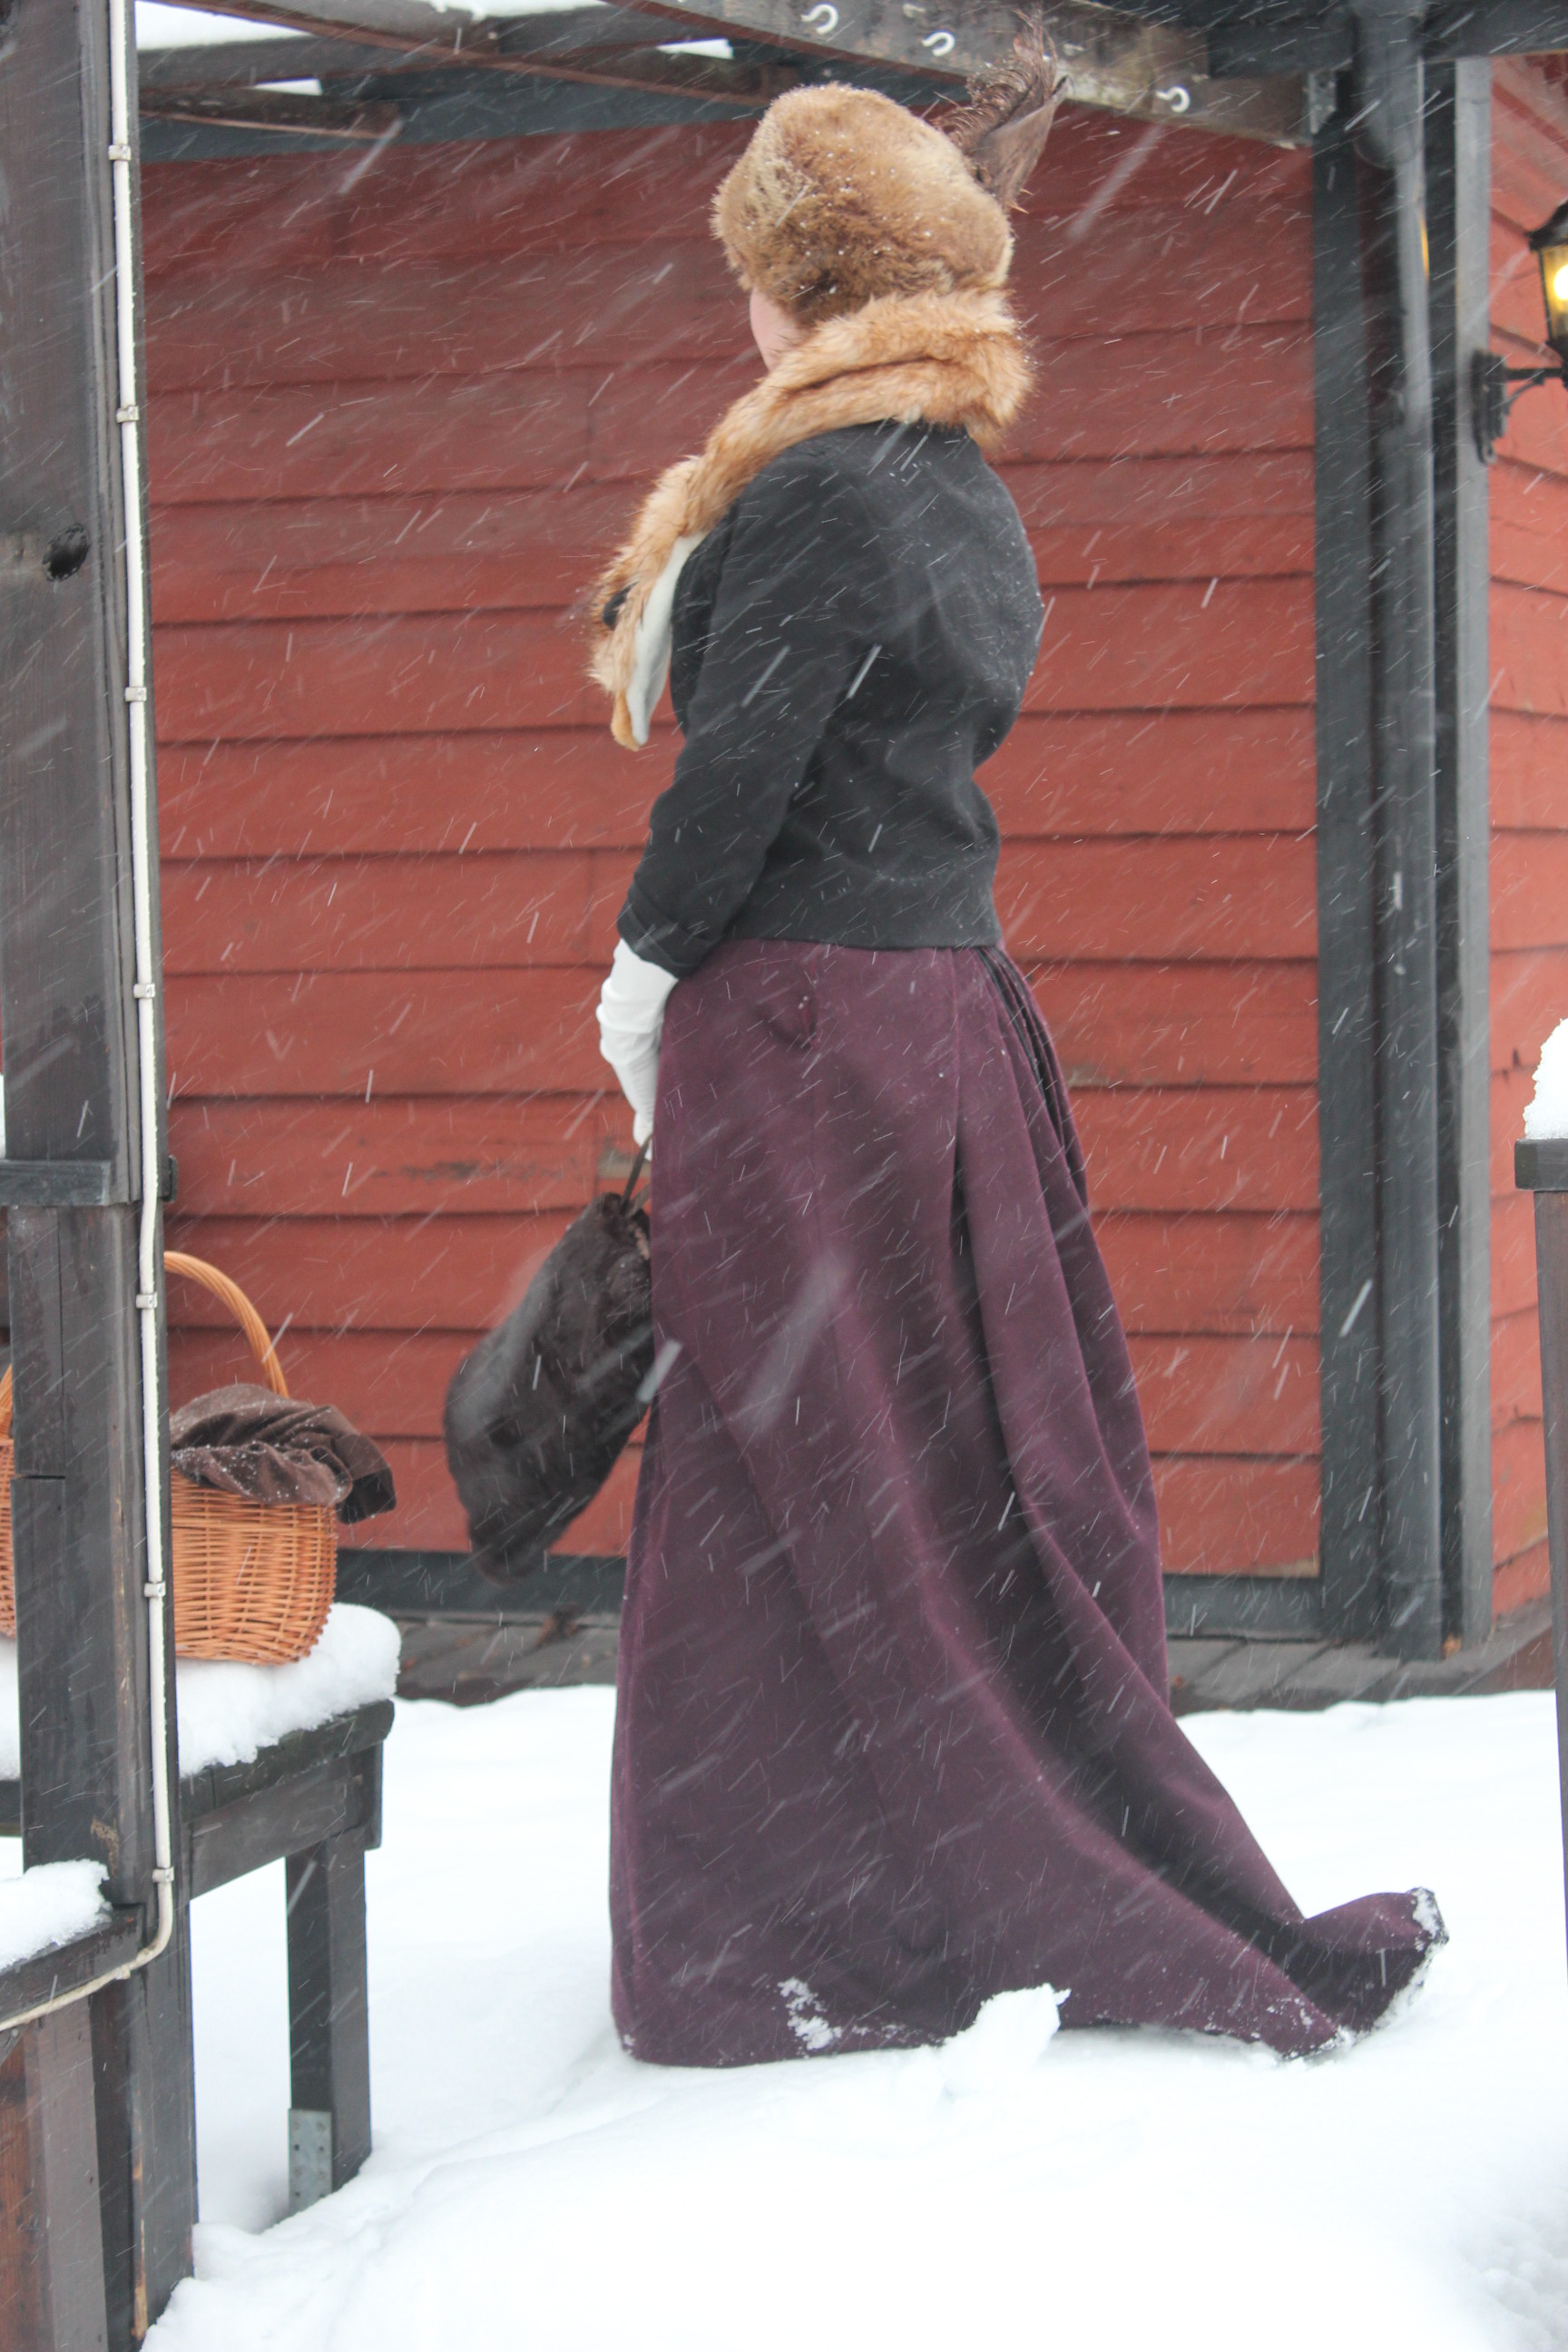
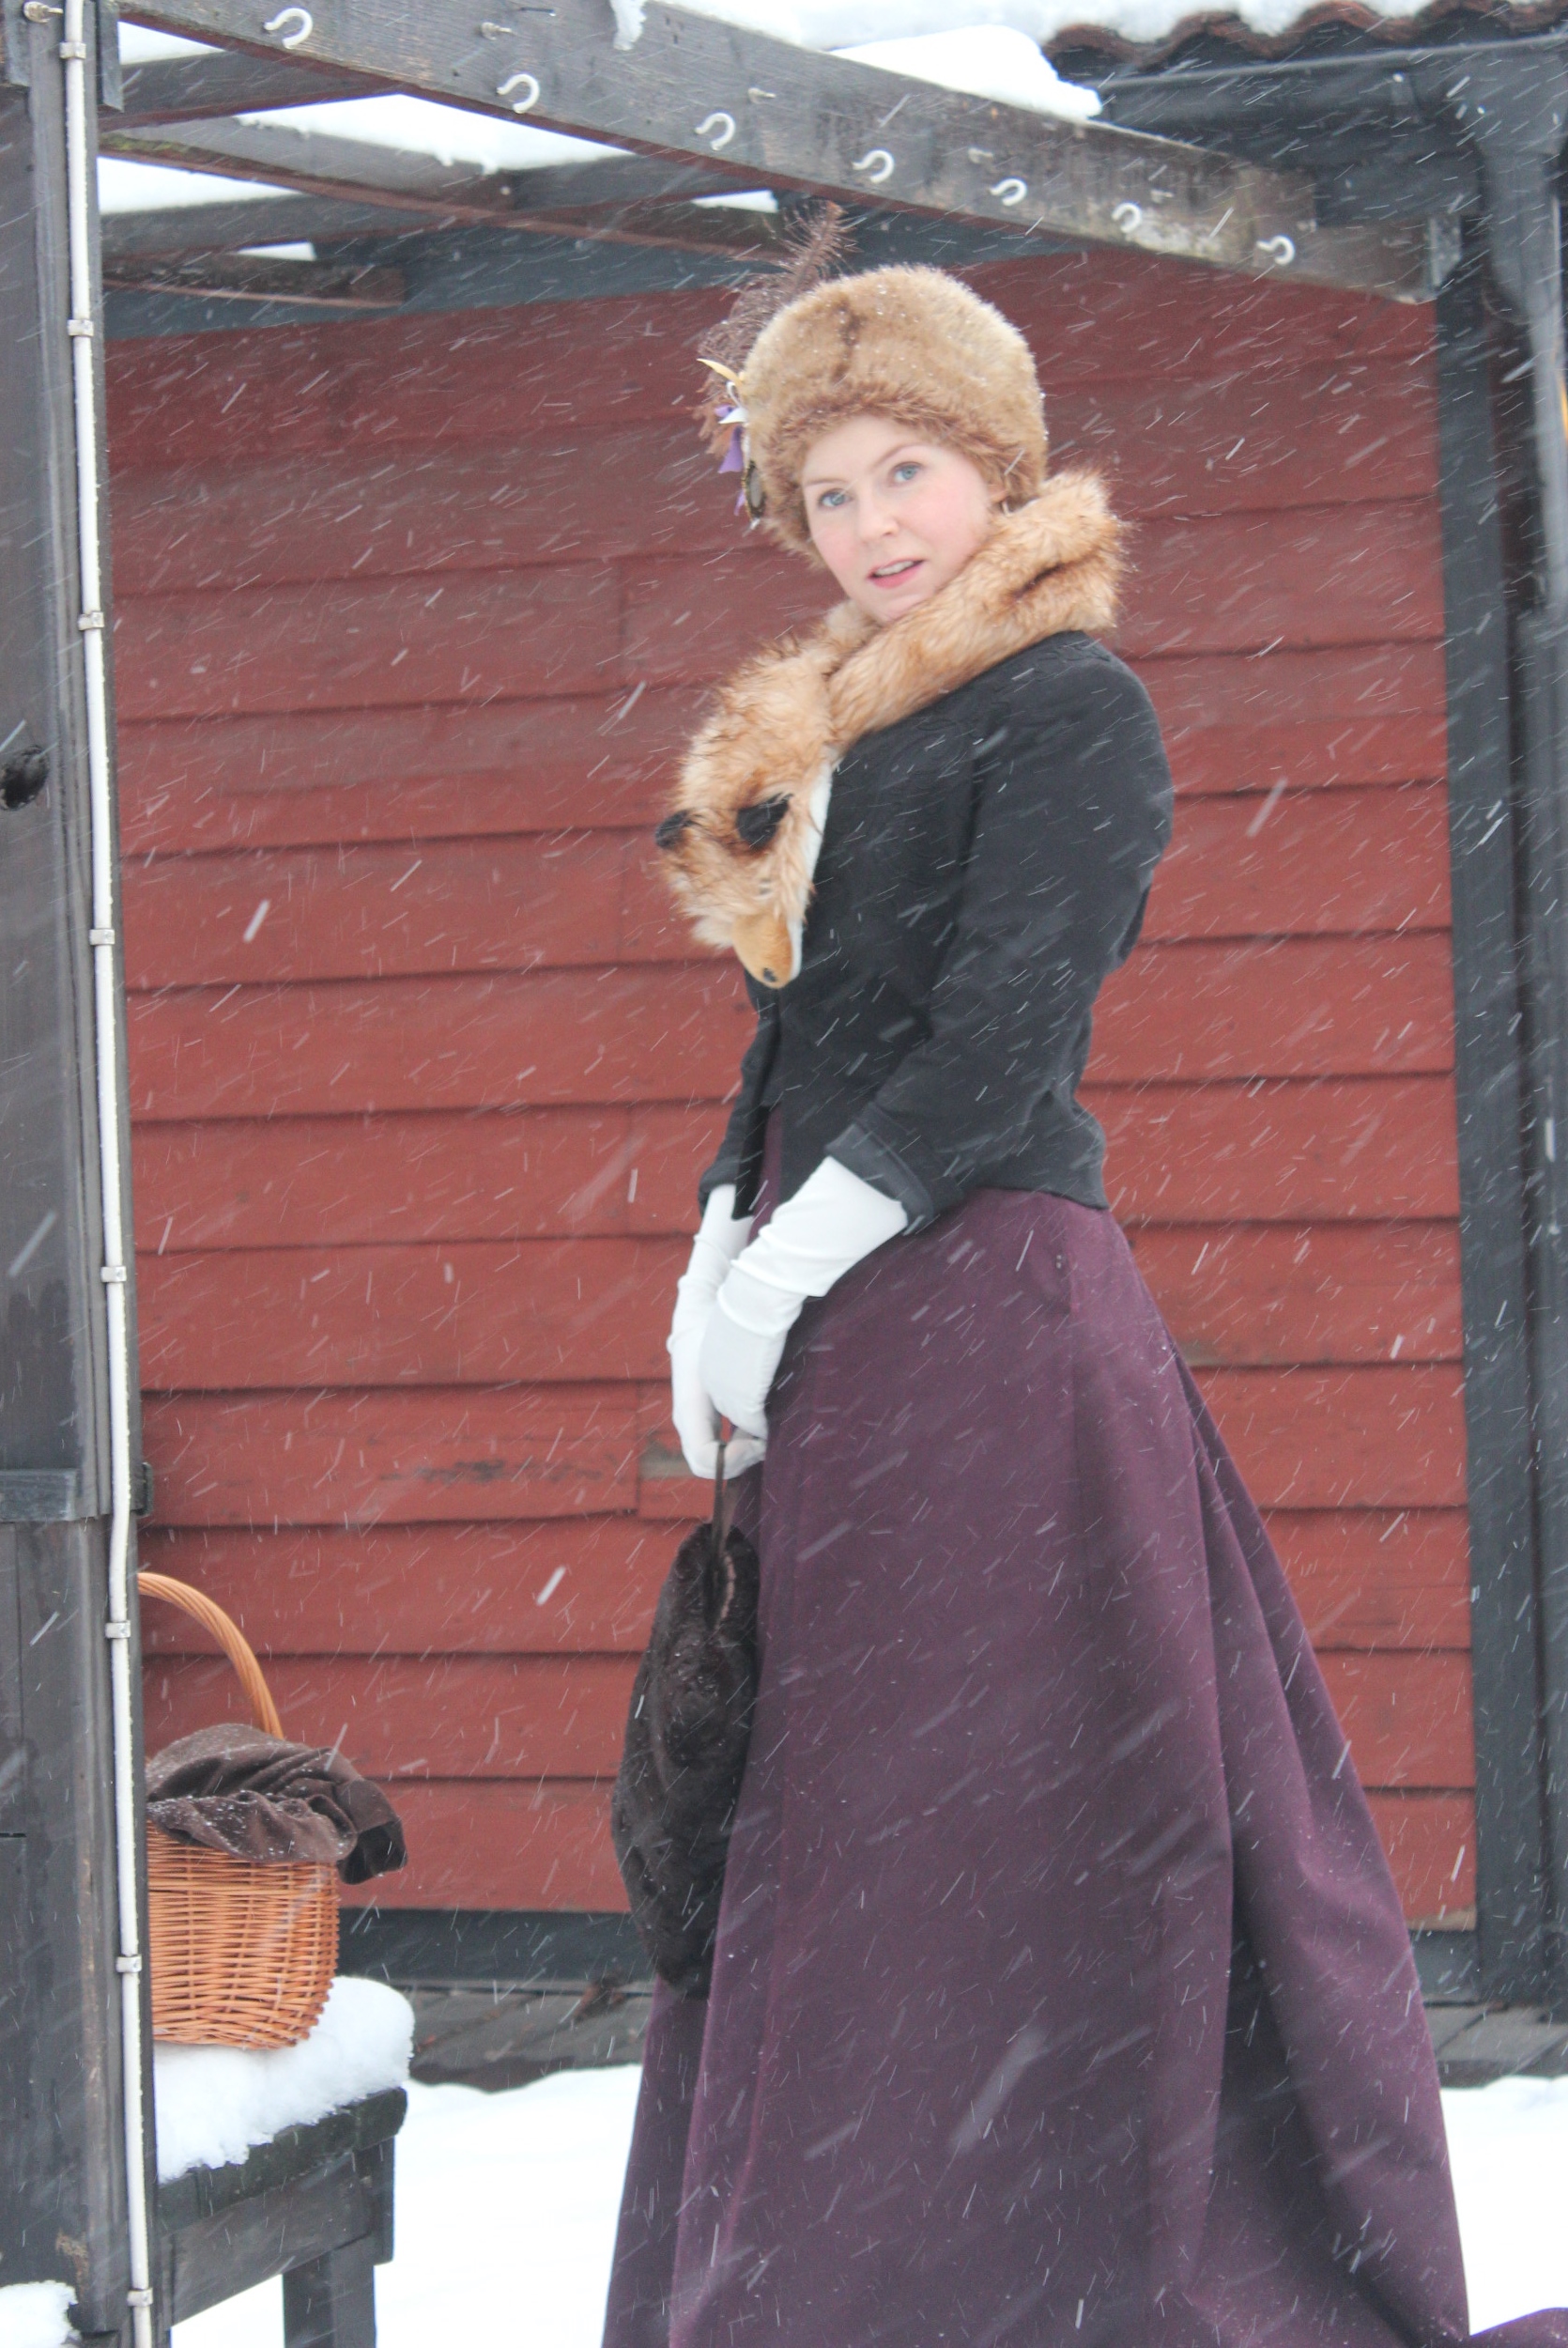
Finished Pictures:


The facts:
What: a 1450s Medieval “Burgundian” gown.
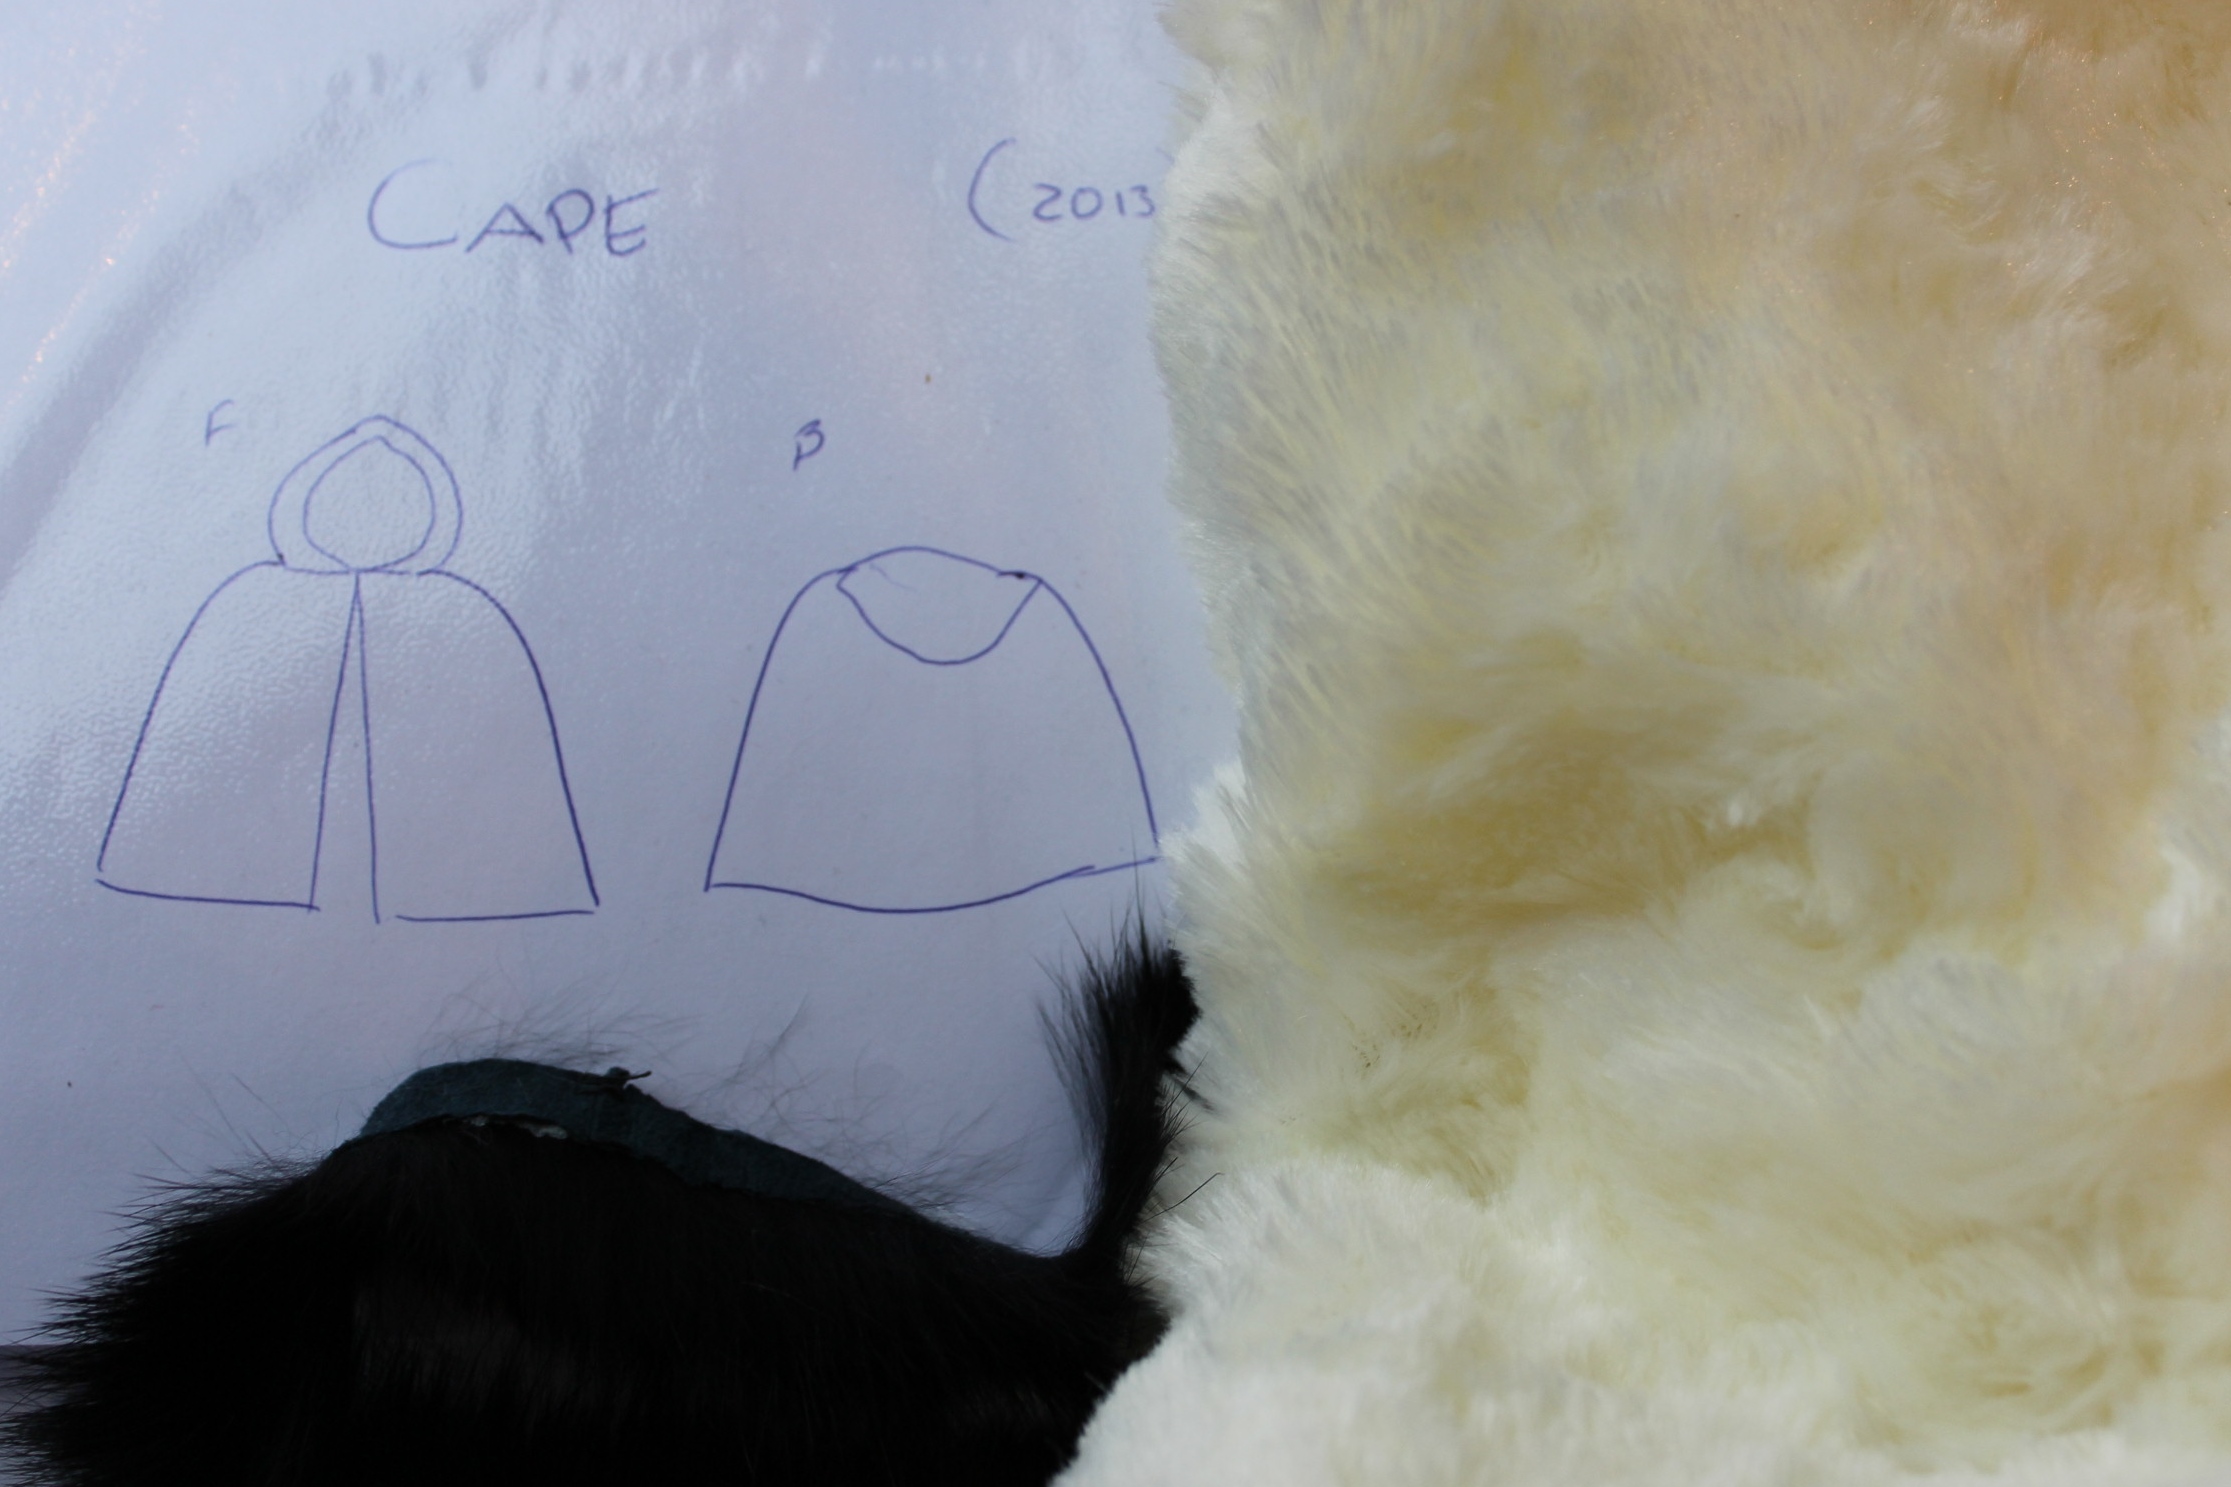
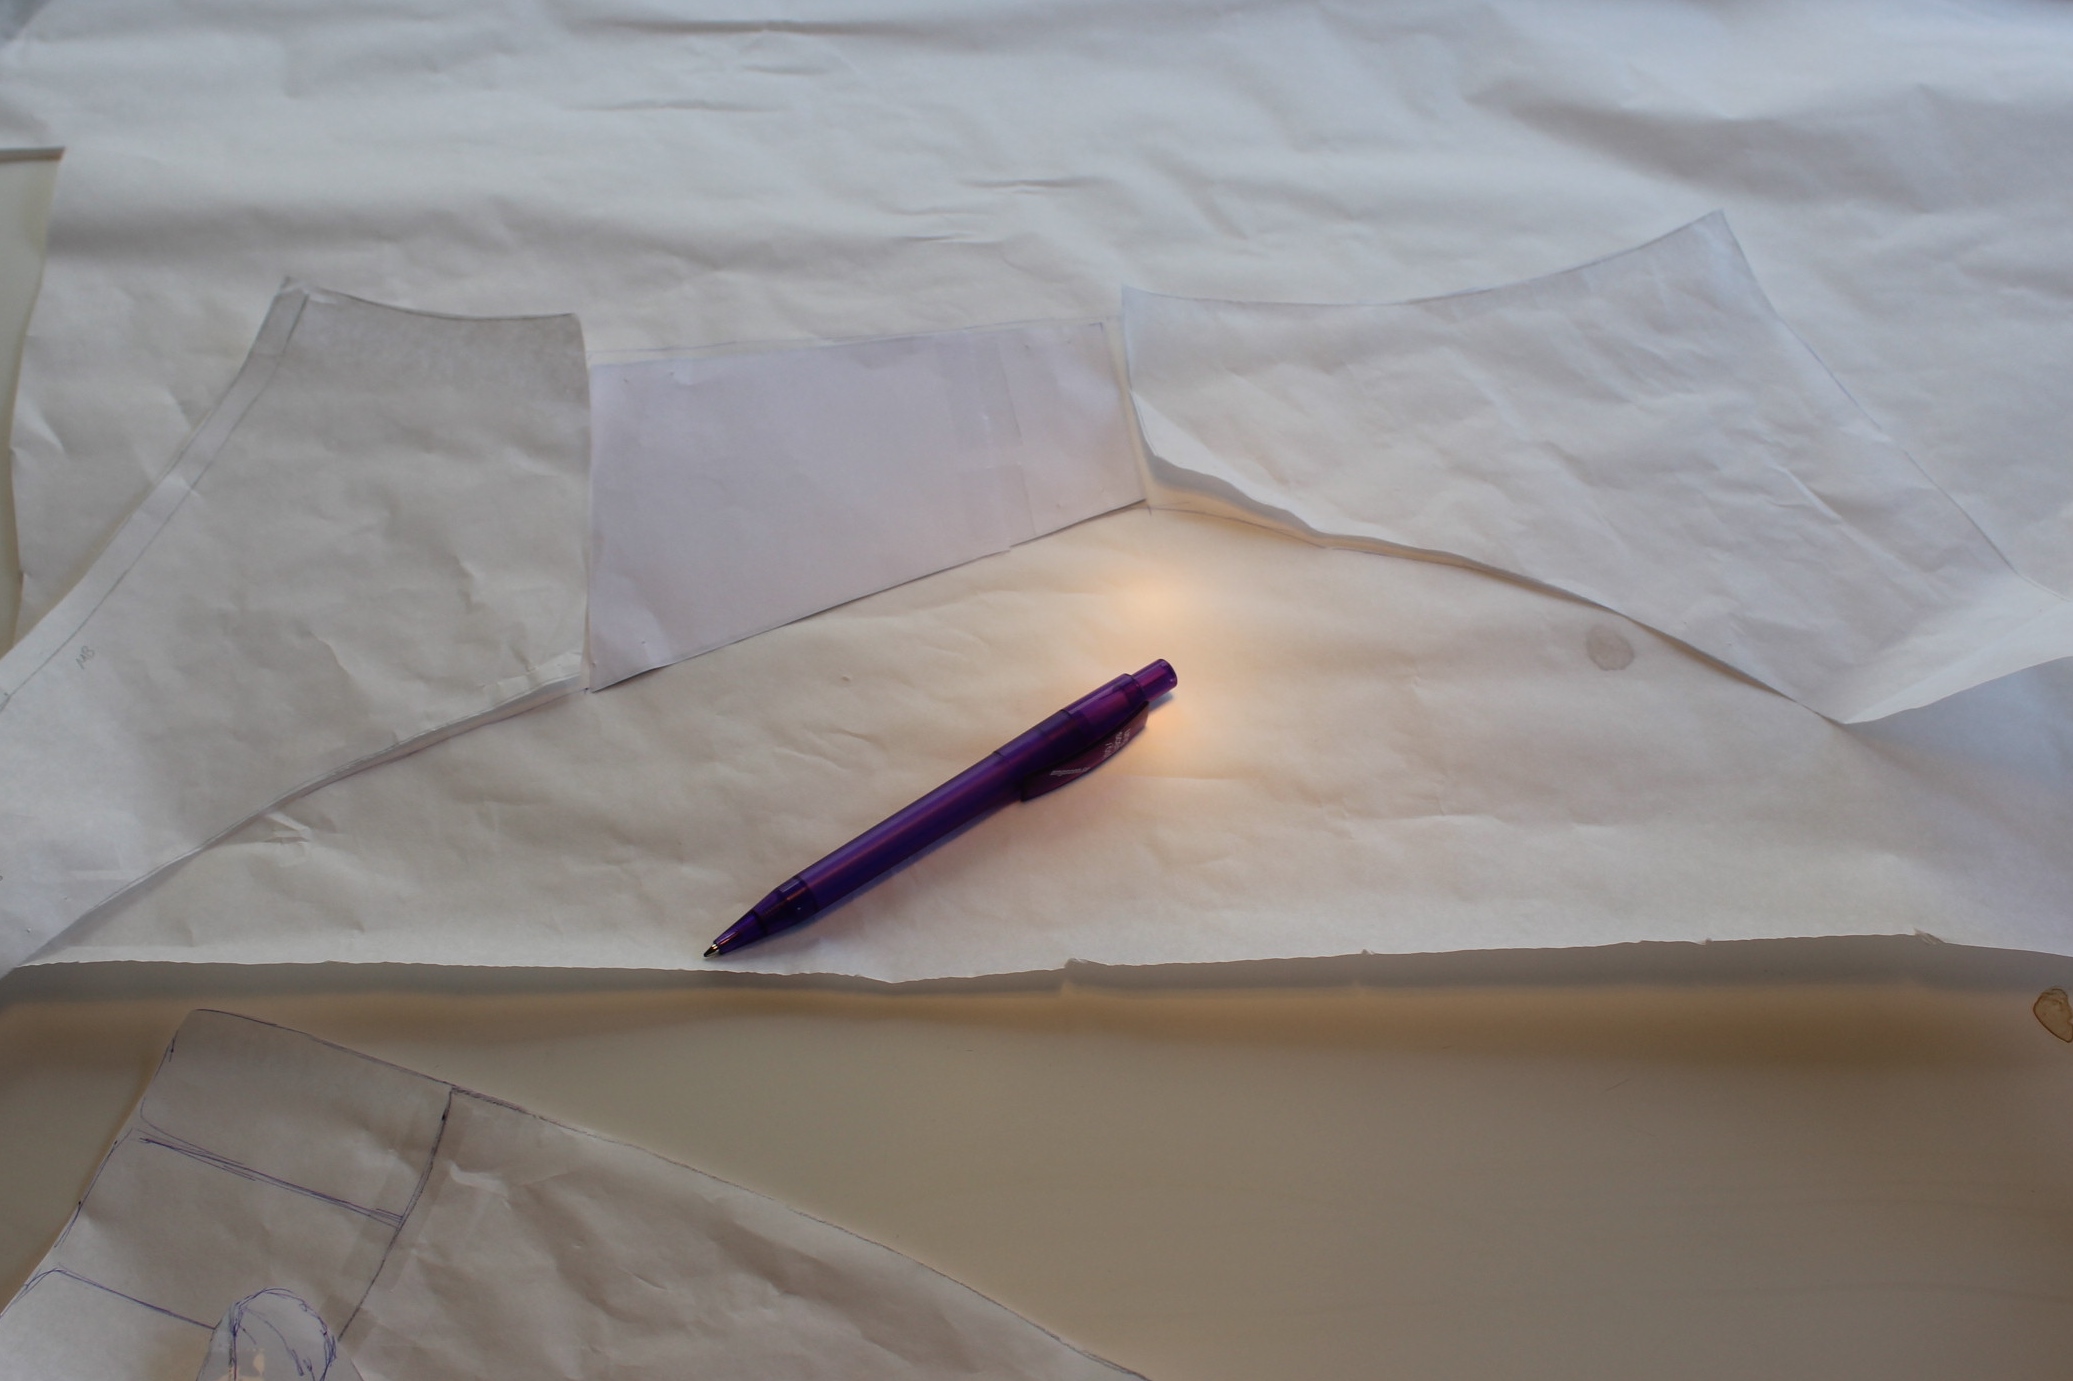
Pattern: Self drafted based on pattern from “The Medieval Tailor assistant”
Fabric: 5 m of cotton sateen and 2 m of faux fur
Notion: Thread
Time: 10 hours (of sewing time)
Cost: About 50 Sek for the fabric and 200 Sek for the fur so about 20Usd total.
Final thoughts: I really like this type of gown. It looks so elegant and beautiful, and since it doesn’t require any particular fitting I can wear it both with and without the baby bump.
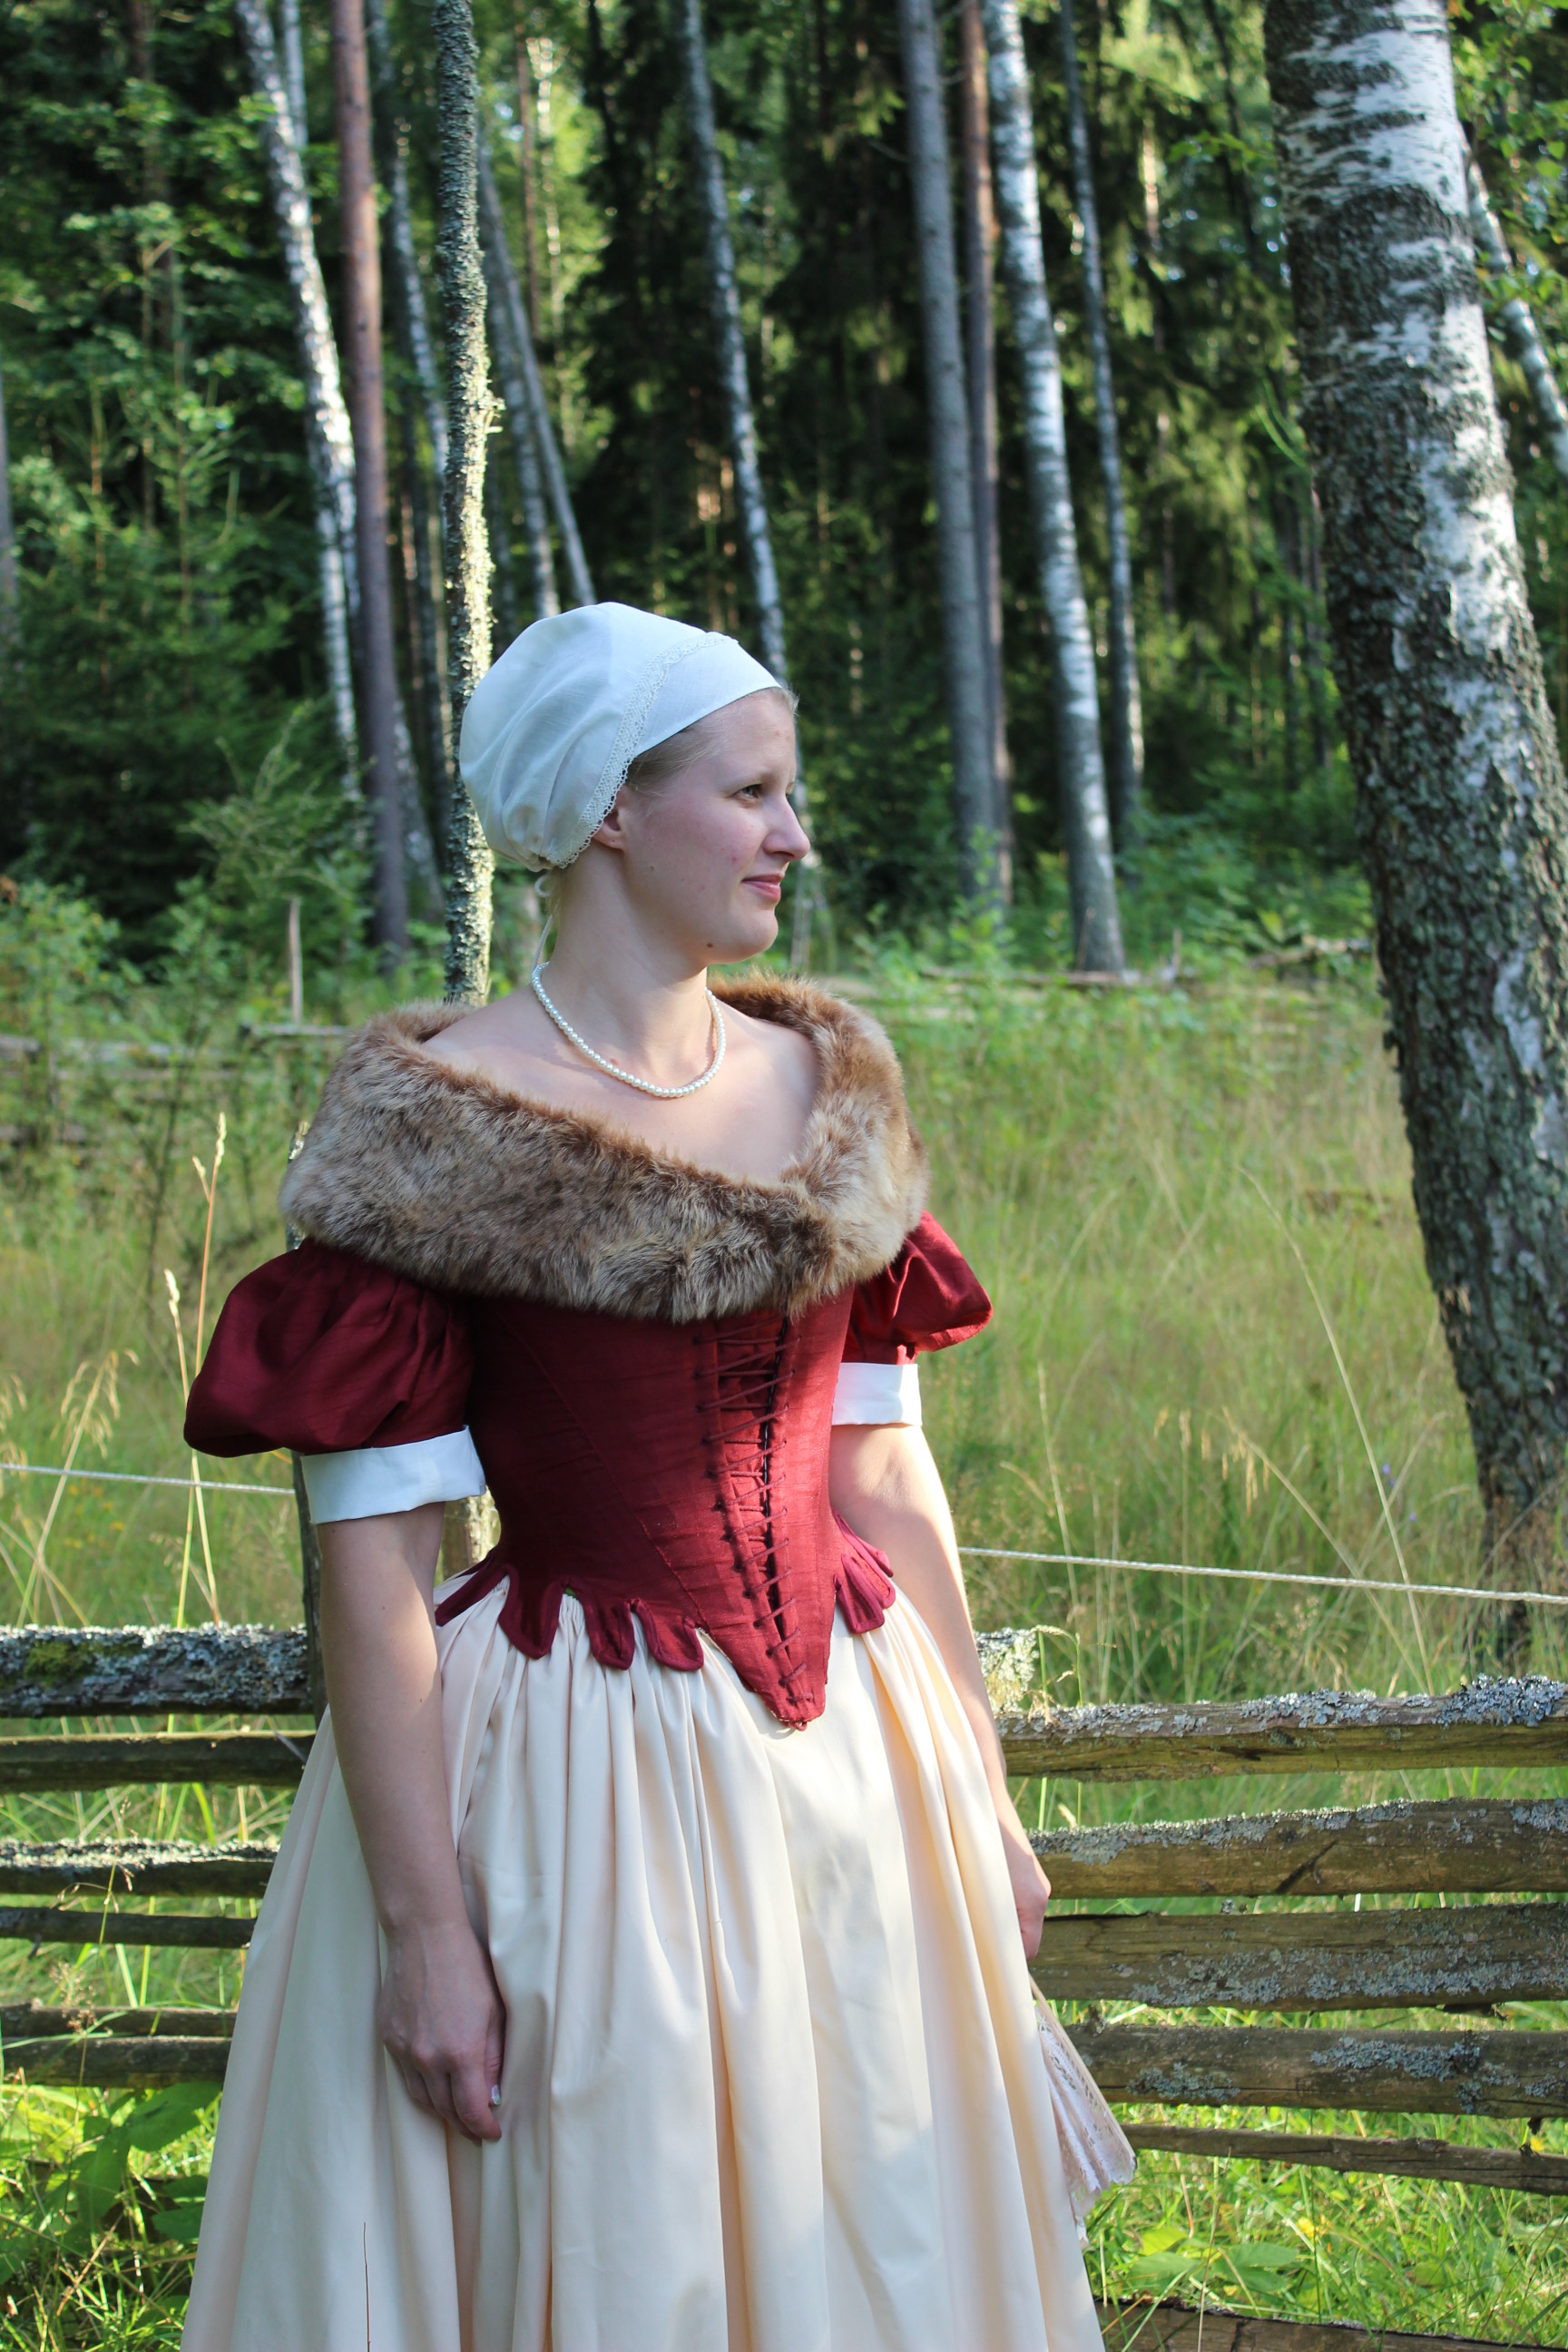
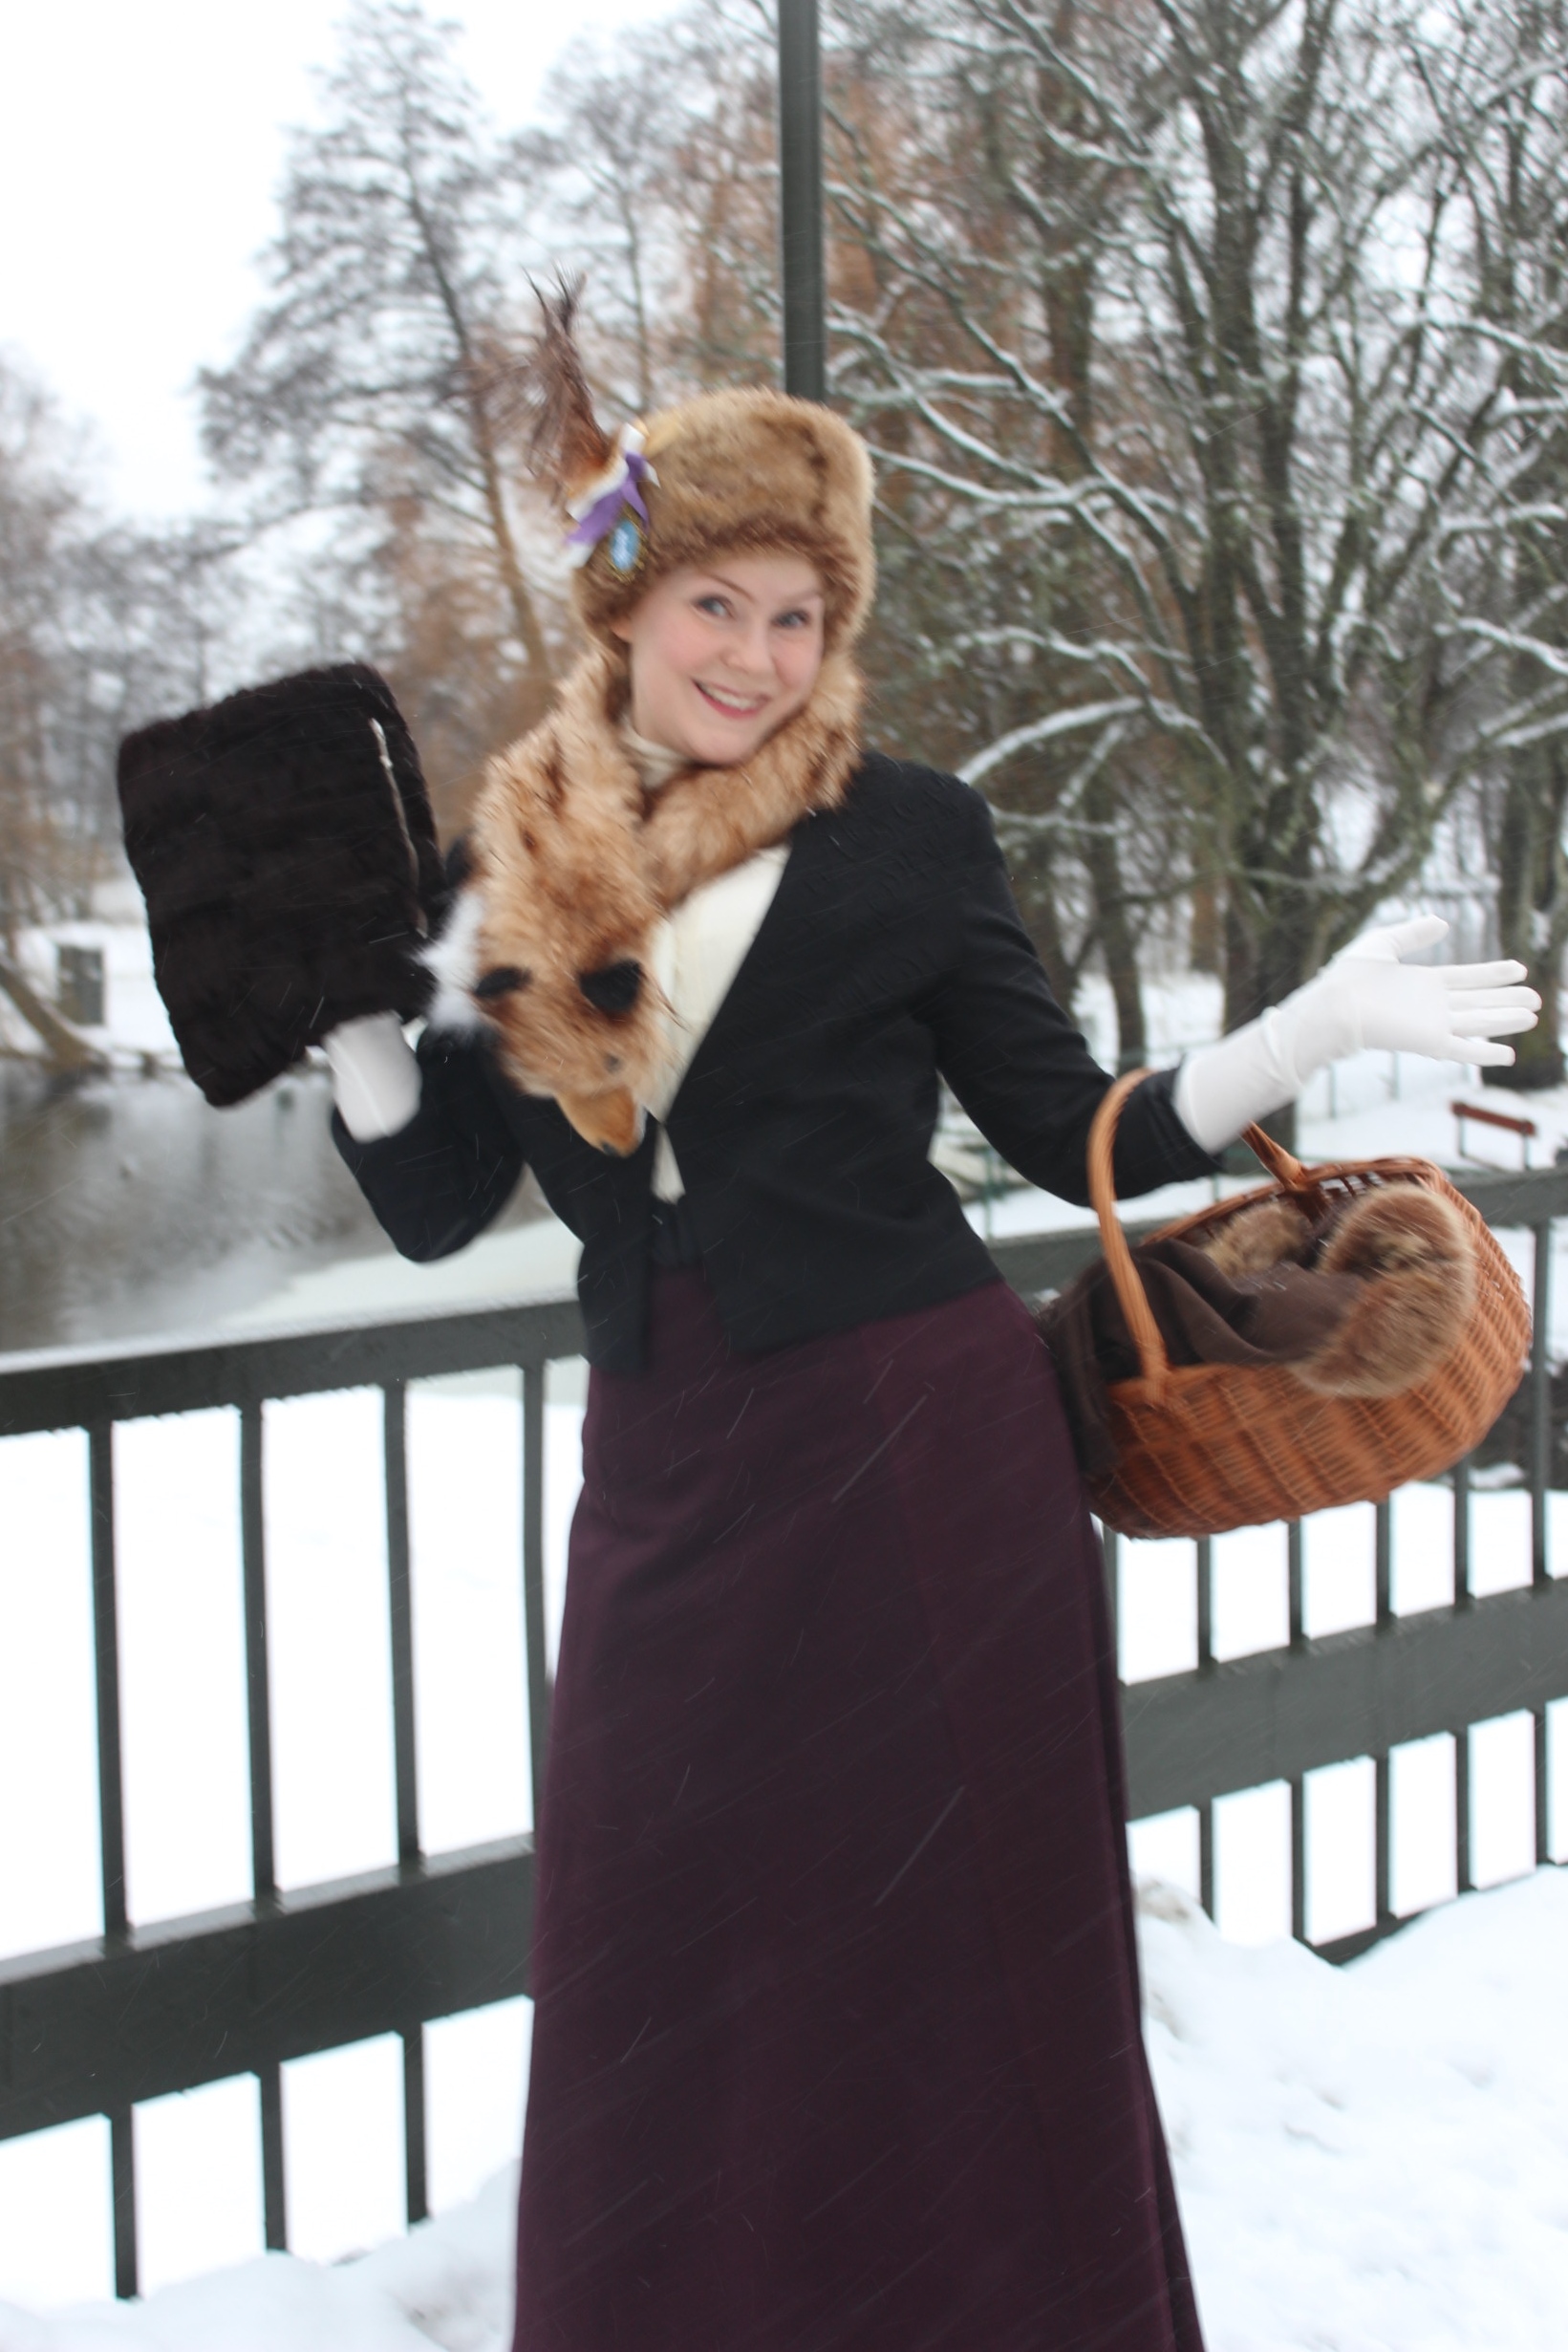
 Dressed and ready for some photos.