Make-do Pieced shawl (HSM 2/2017)

One other thing I made that would fit perfectly into the challenge of “Make-do and mend” for last months HSM, is this simple cotton shawl/neckerchief.

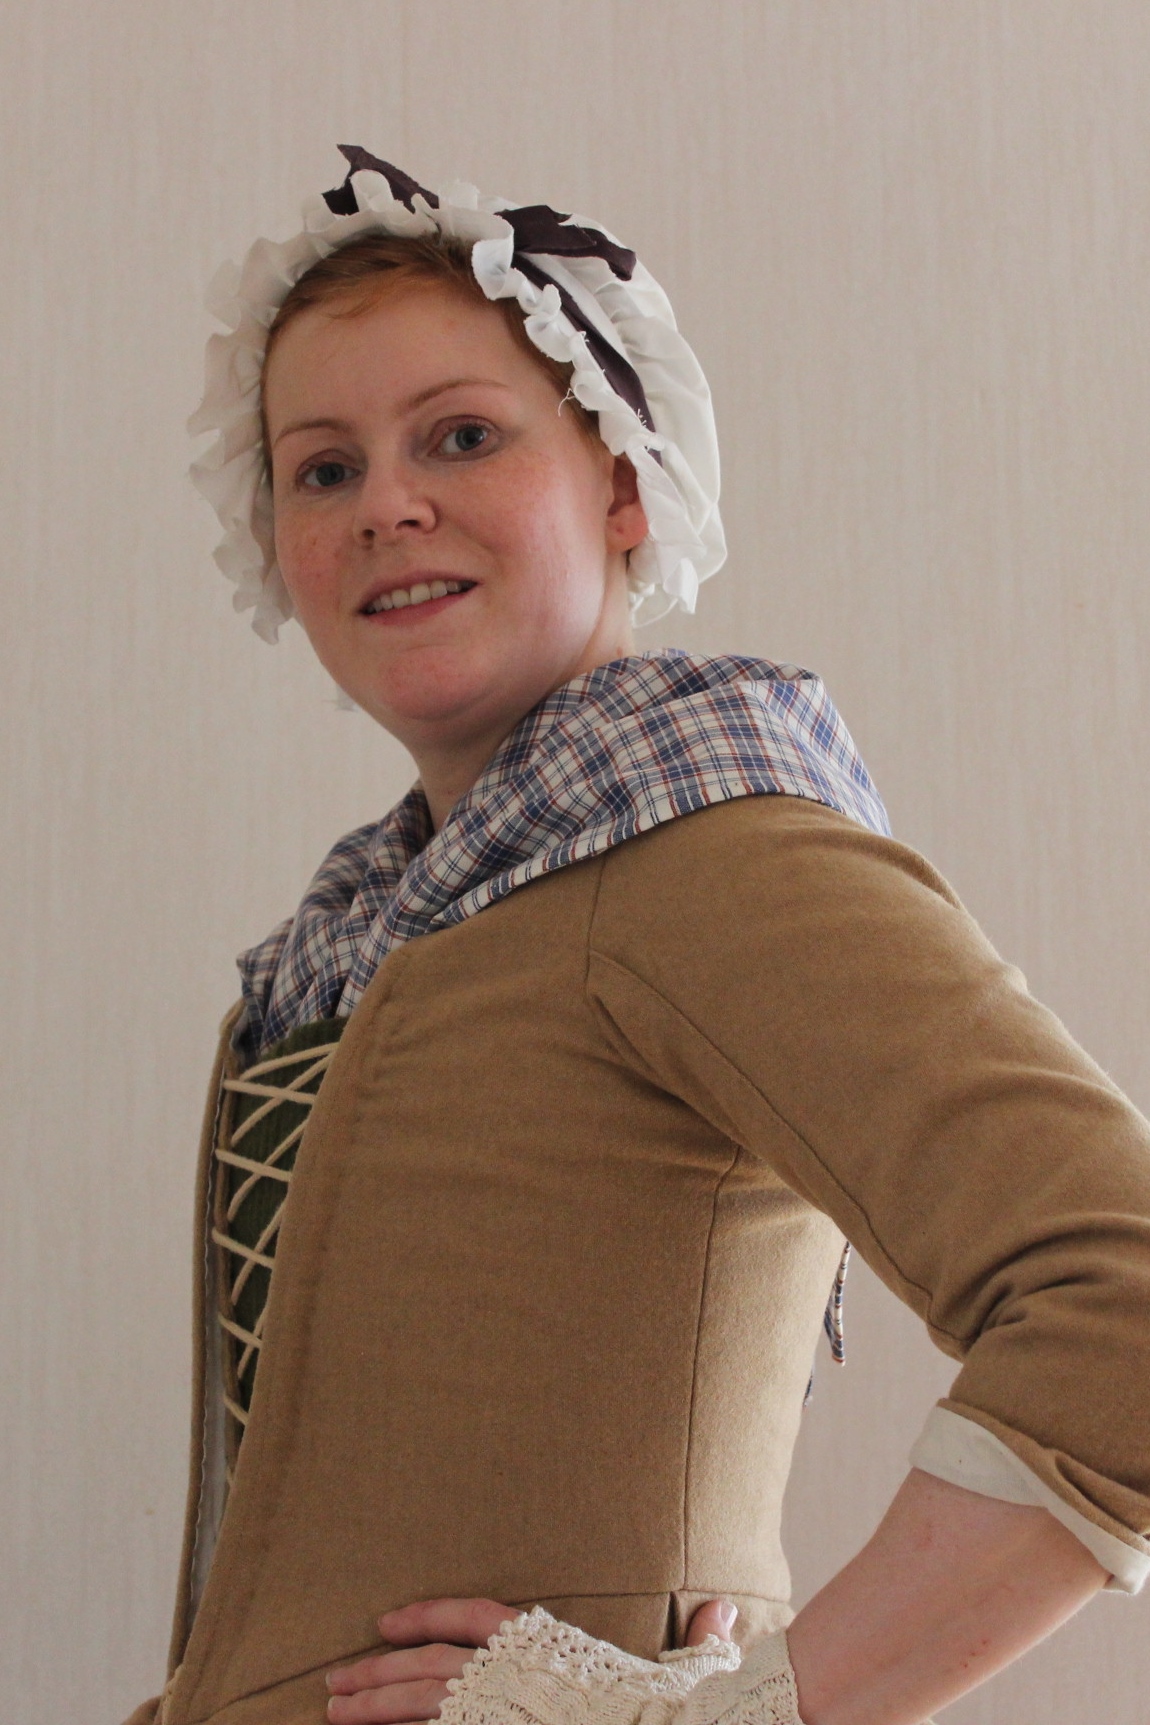
It started out as a small piece of rectangular fabric (50 x 140 cm) that I got for 10 sek (1 Usd) at a estate sale last summer.

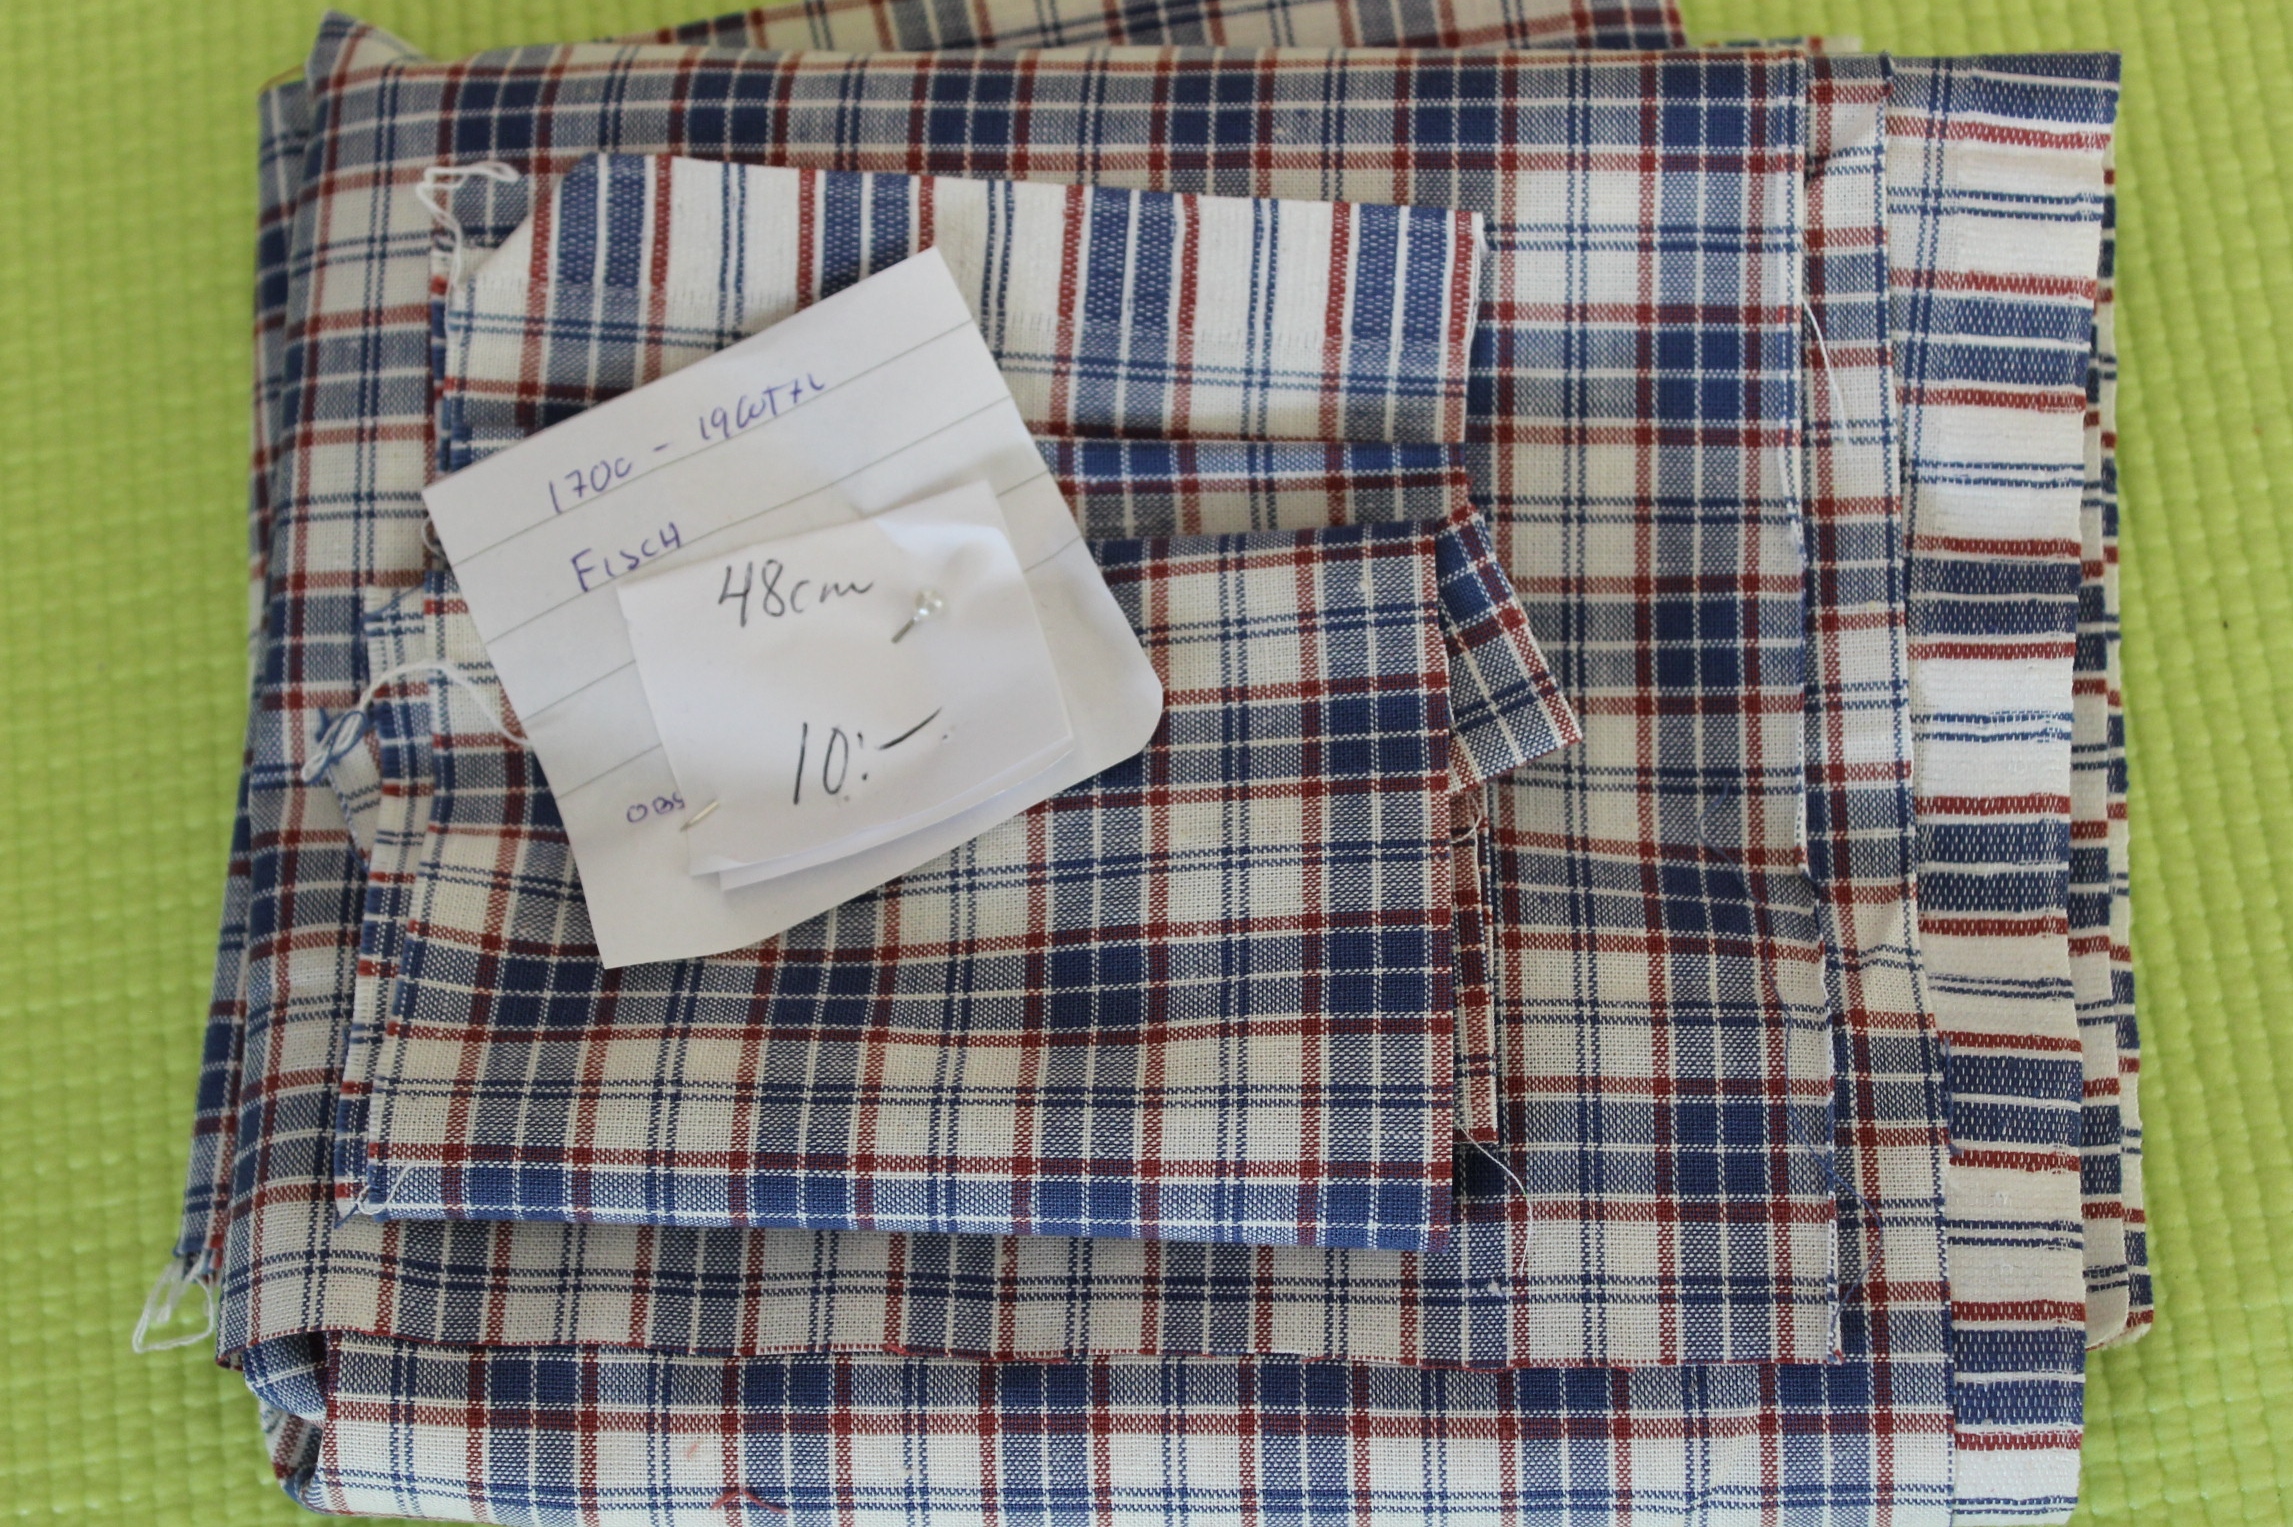
It reminded me of lots of Swedish folk costumes and fabrics worn by my peasant ancestors back in the day.

I knew I wanted to make something that could be paired with outfits from 18th century all the way through to the 1920s. But what?

It was the small amount of fabric (les then 50cm) that made the choice for me – a shawl/neckerchief/fichu, would be perfect.

The only problem was the piece was to short to make a proper shawl.
But as they say – “Piecing is period”…
Time for some mathematics.

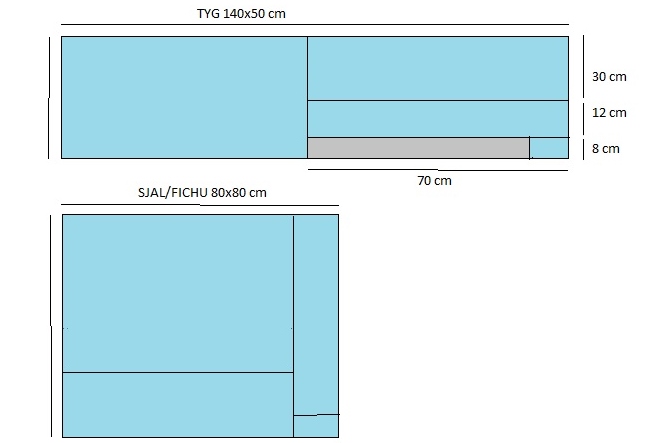
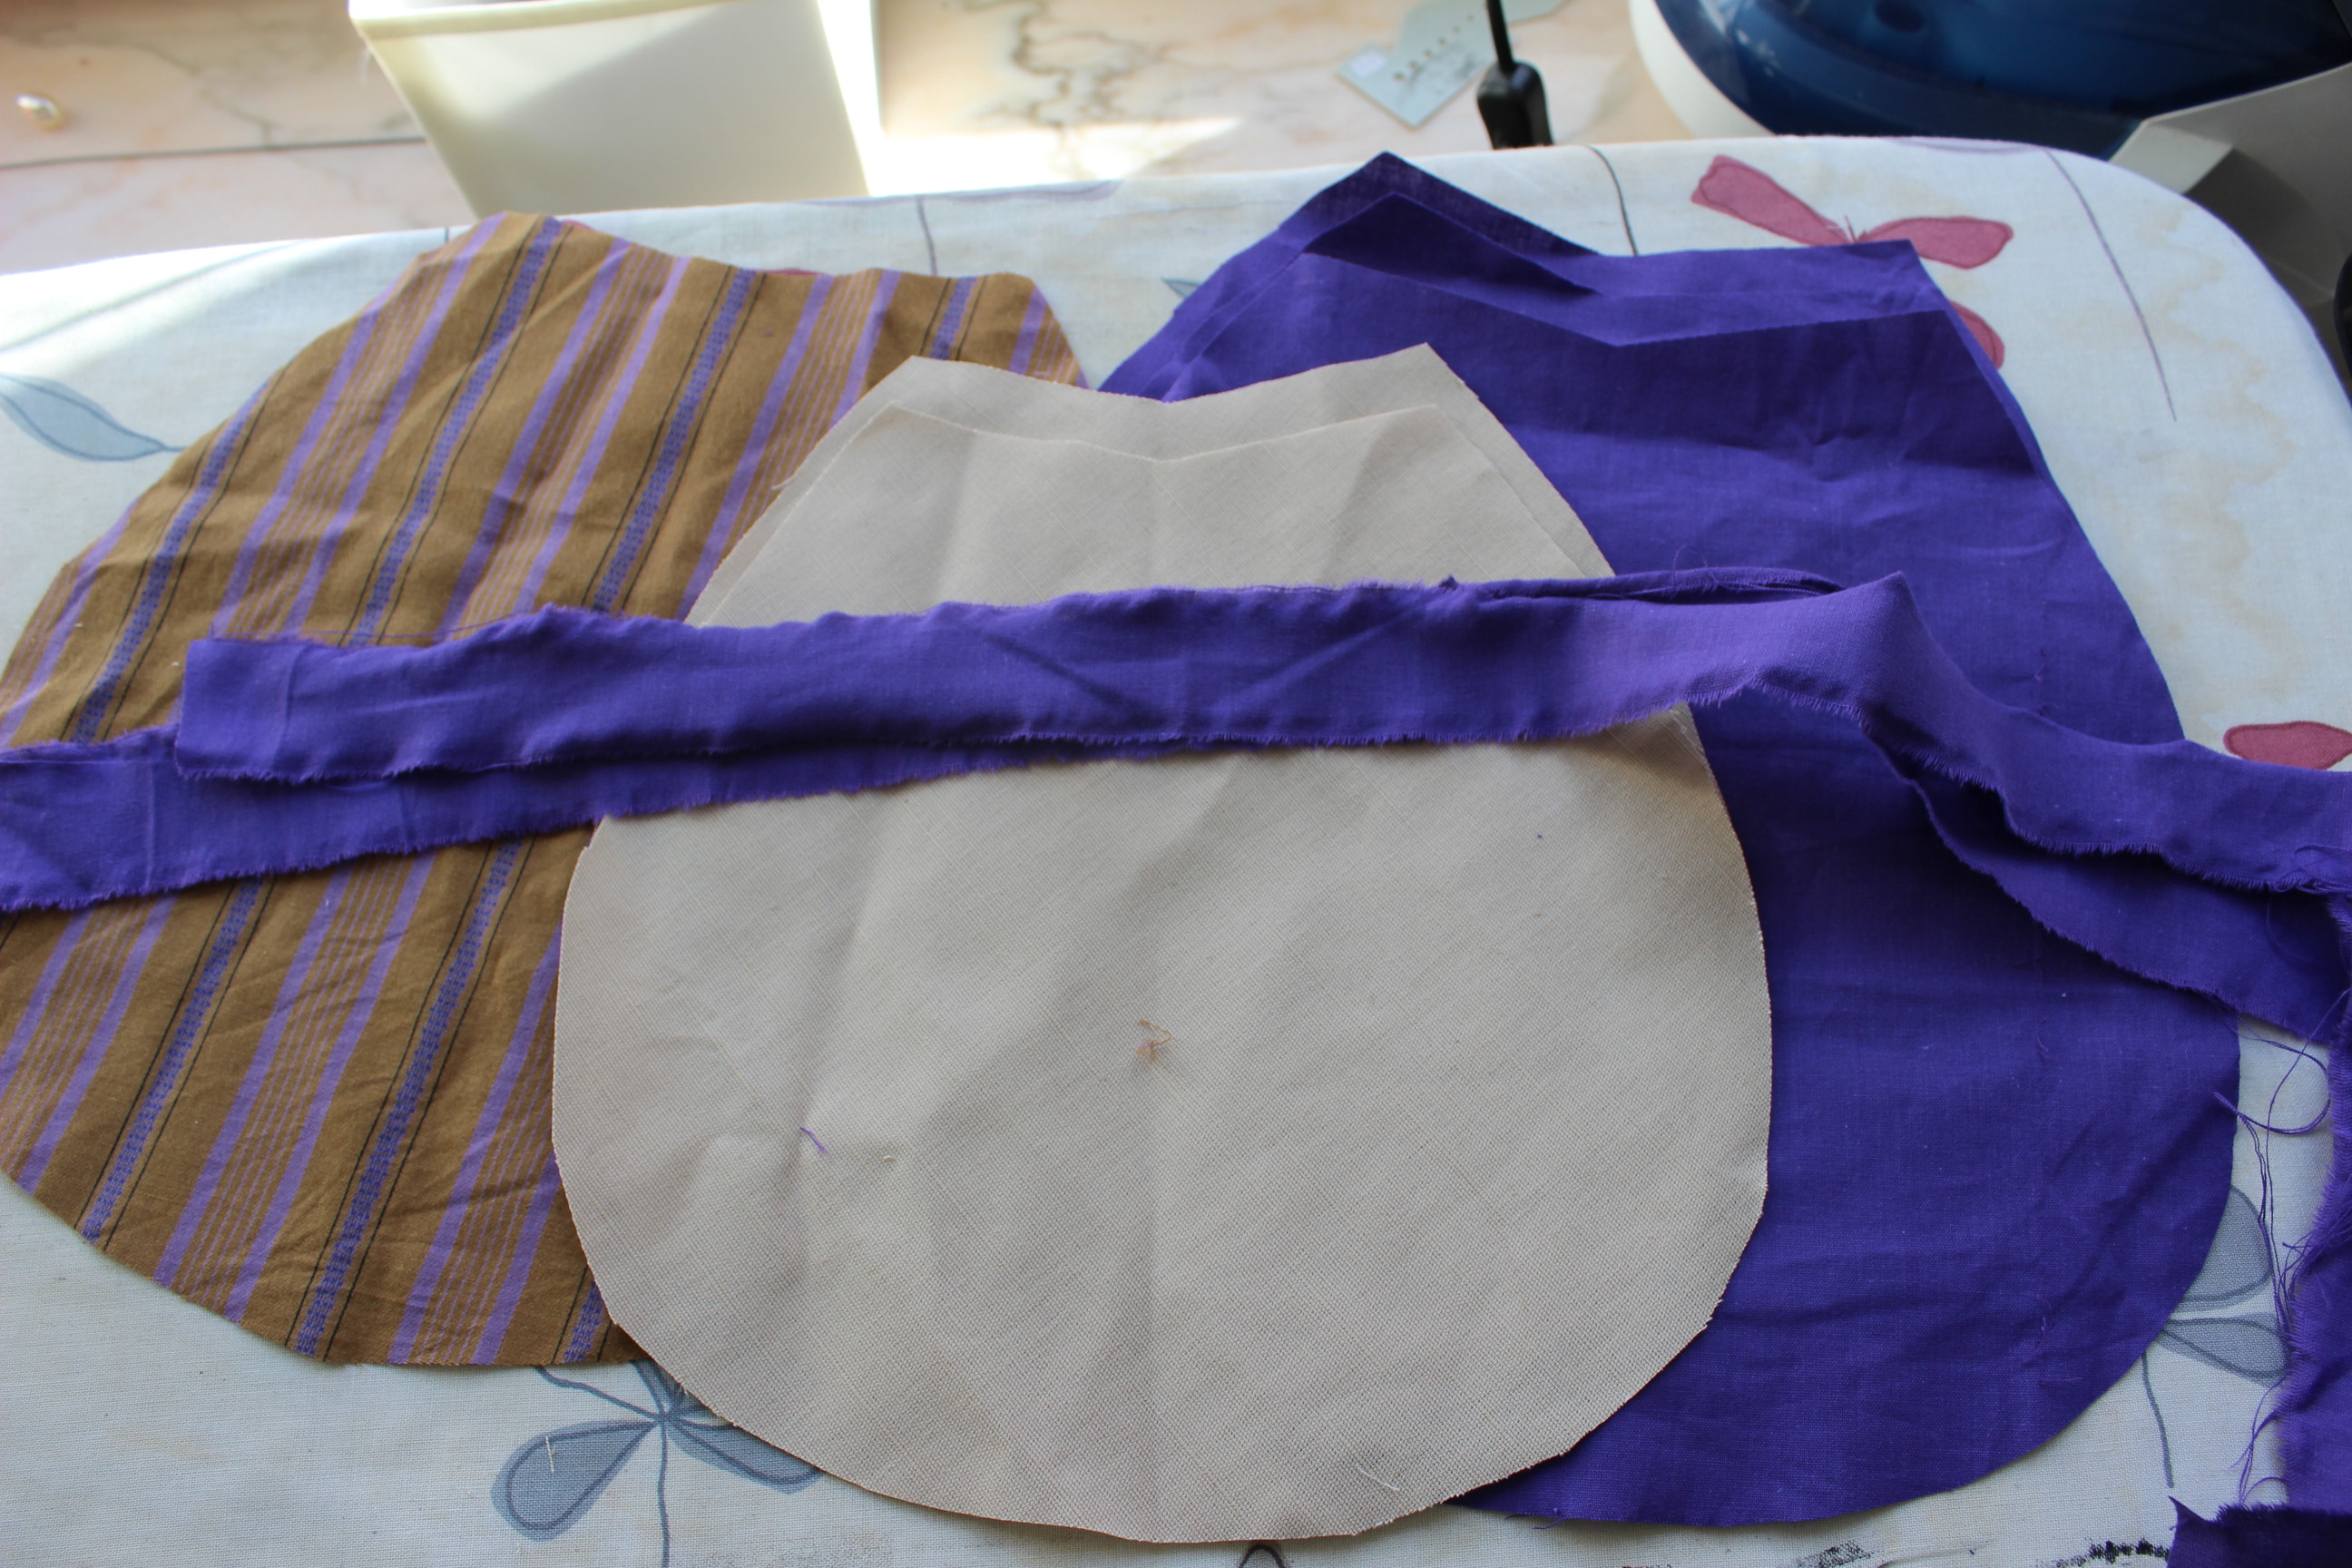
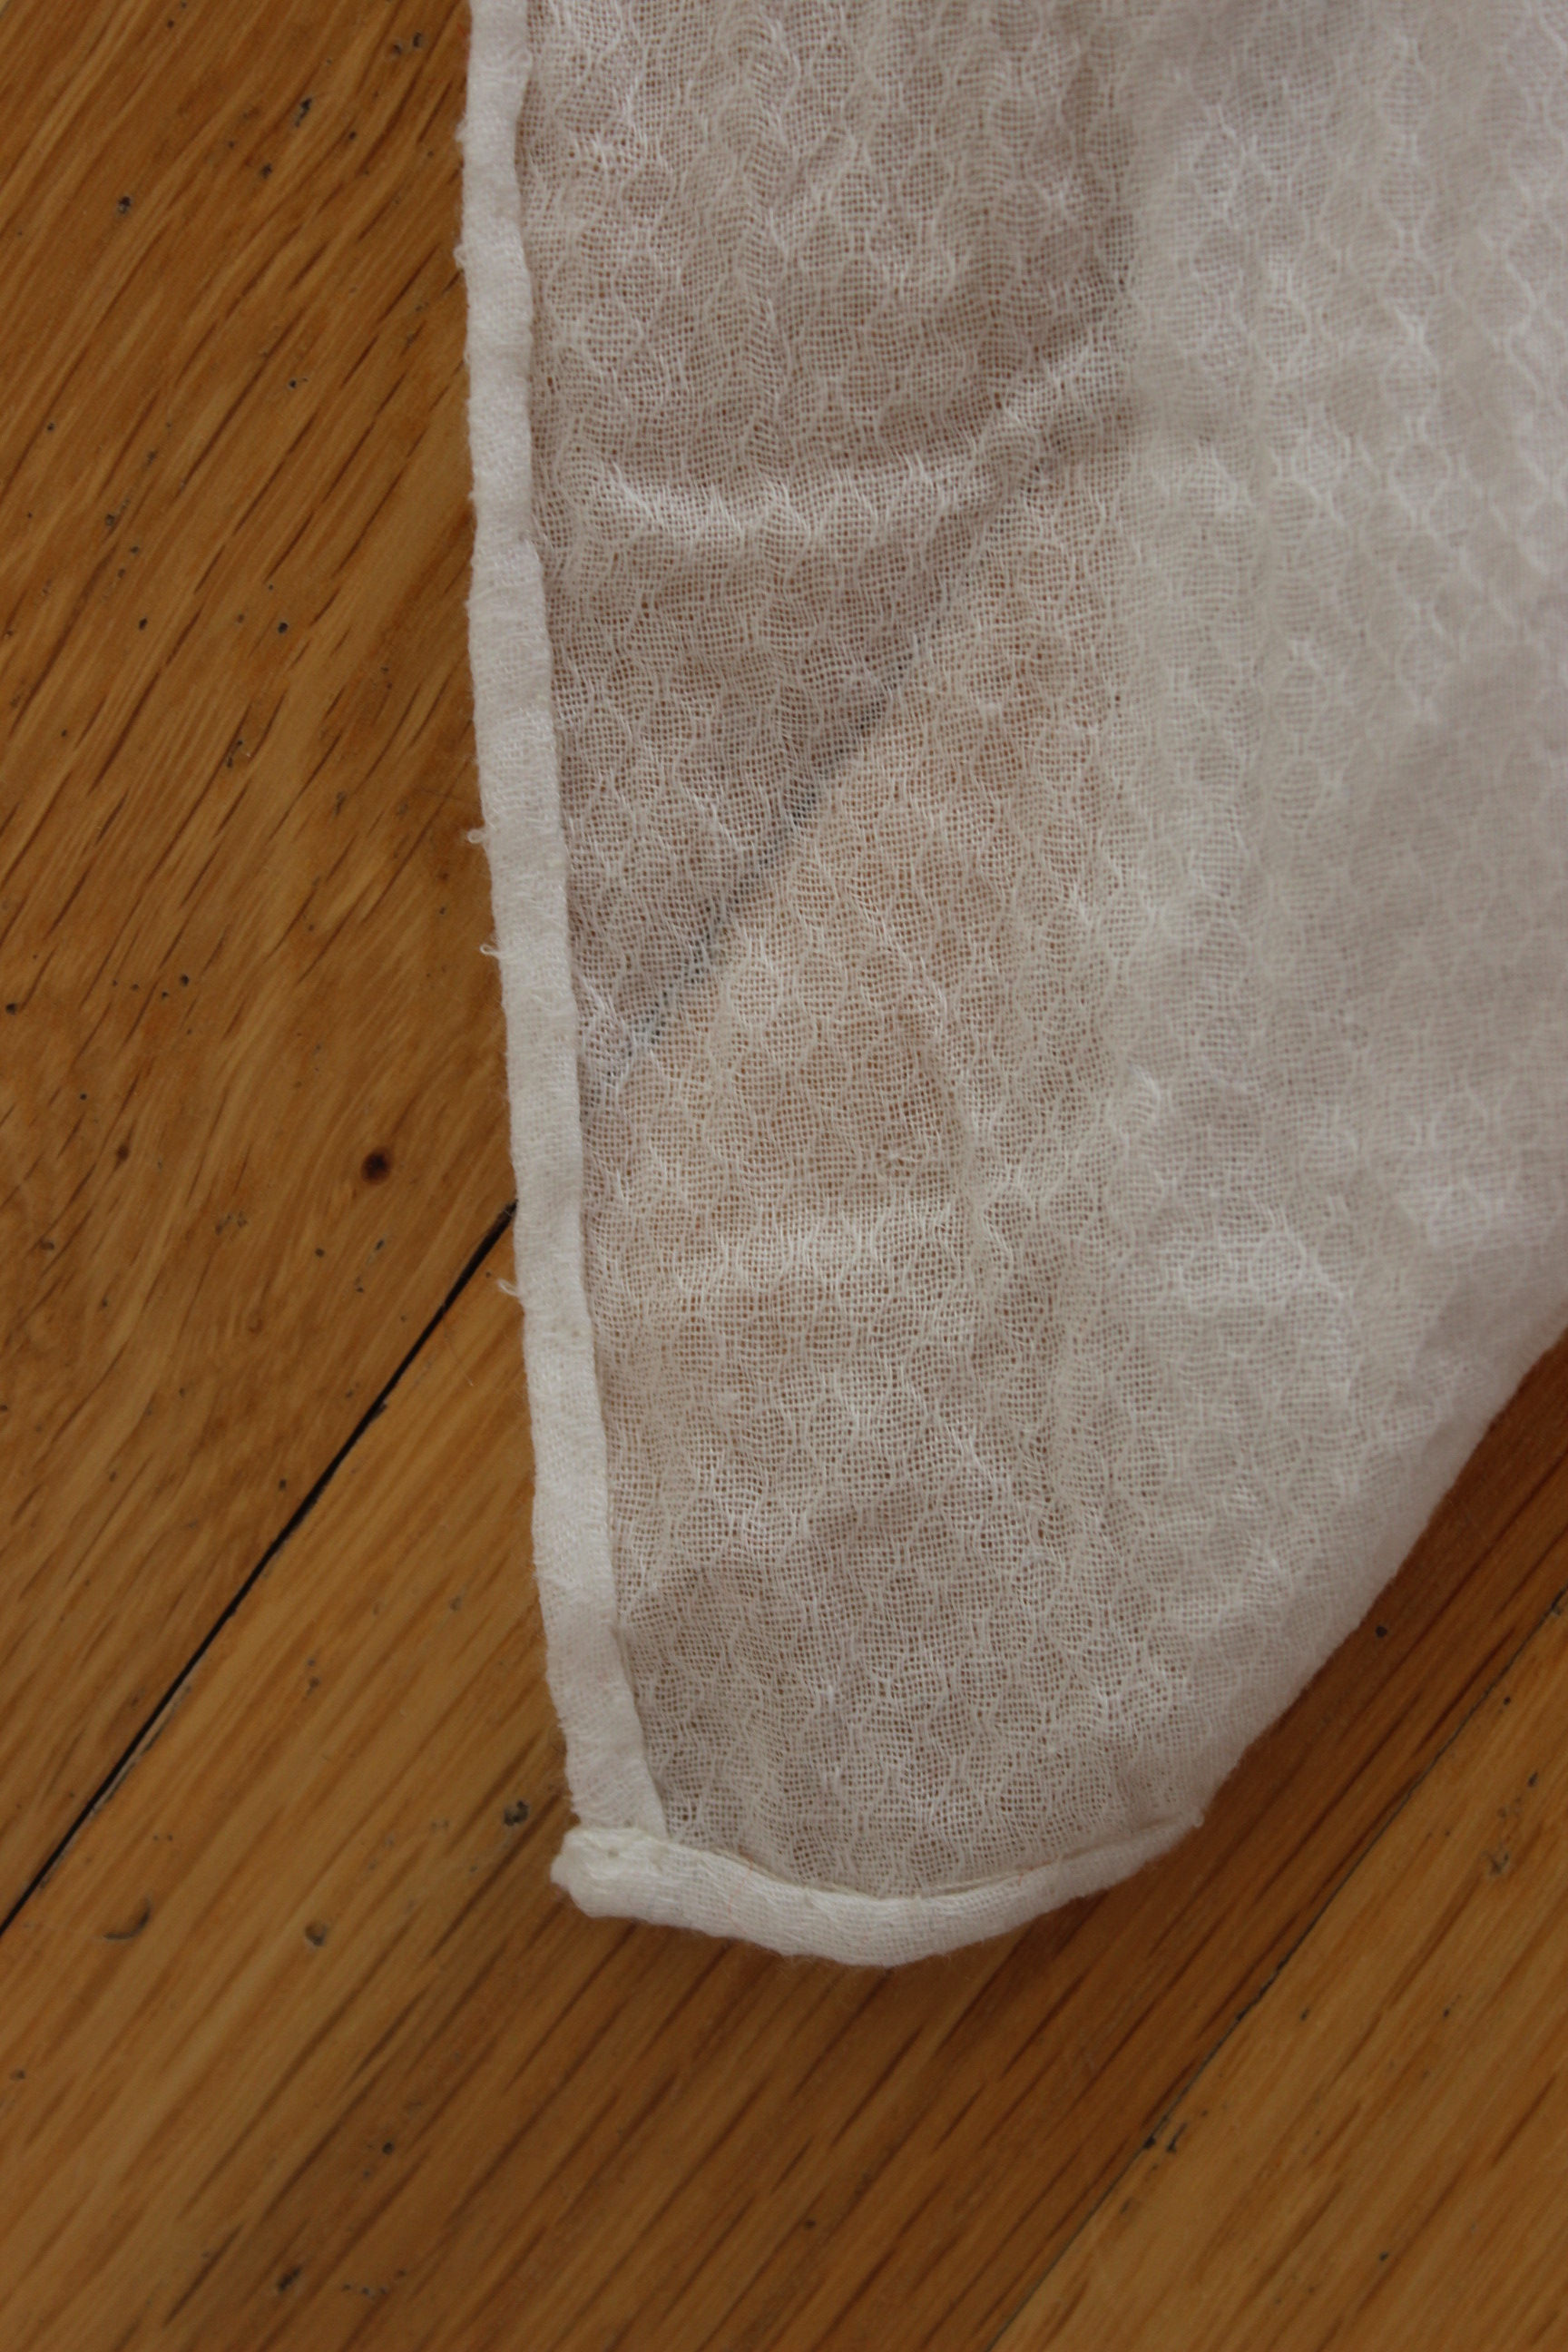
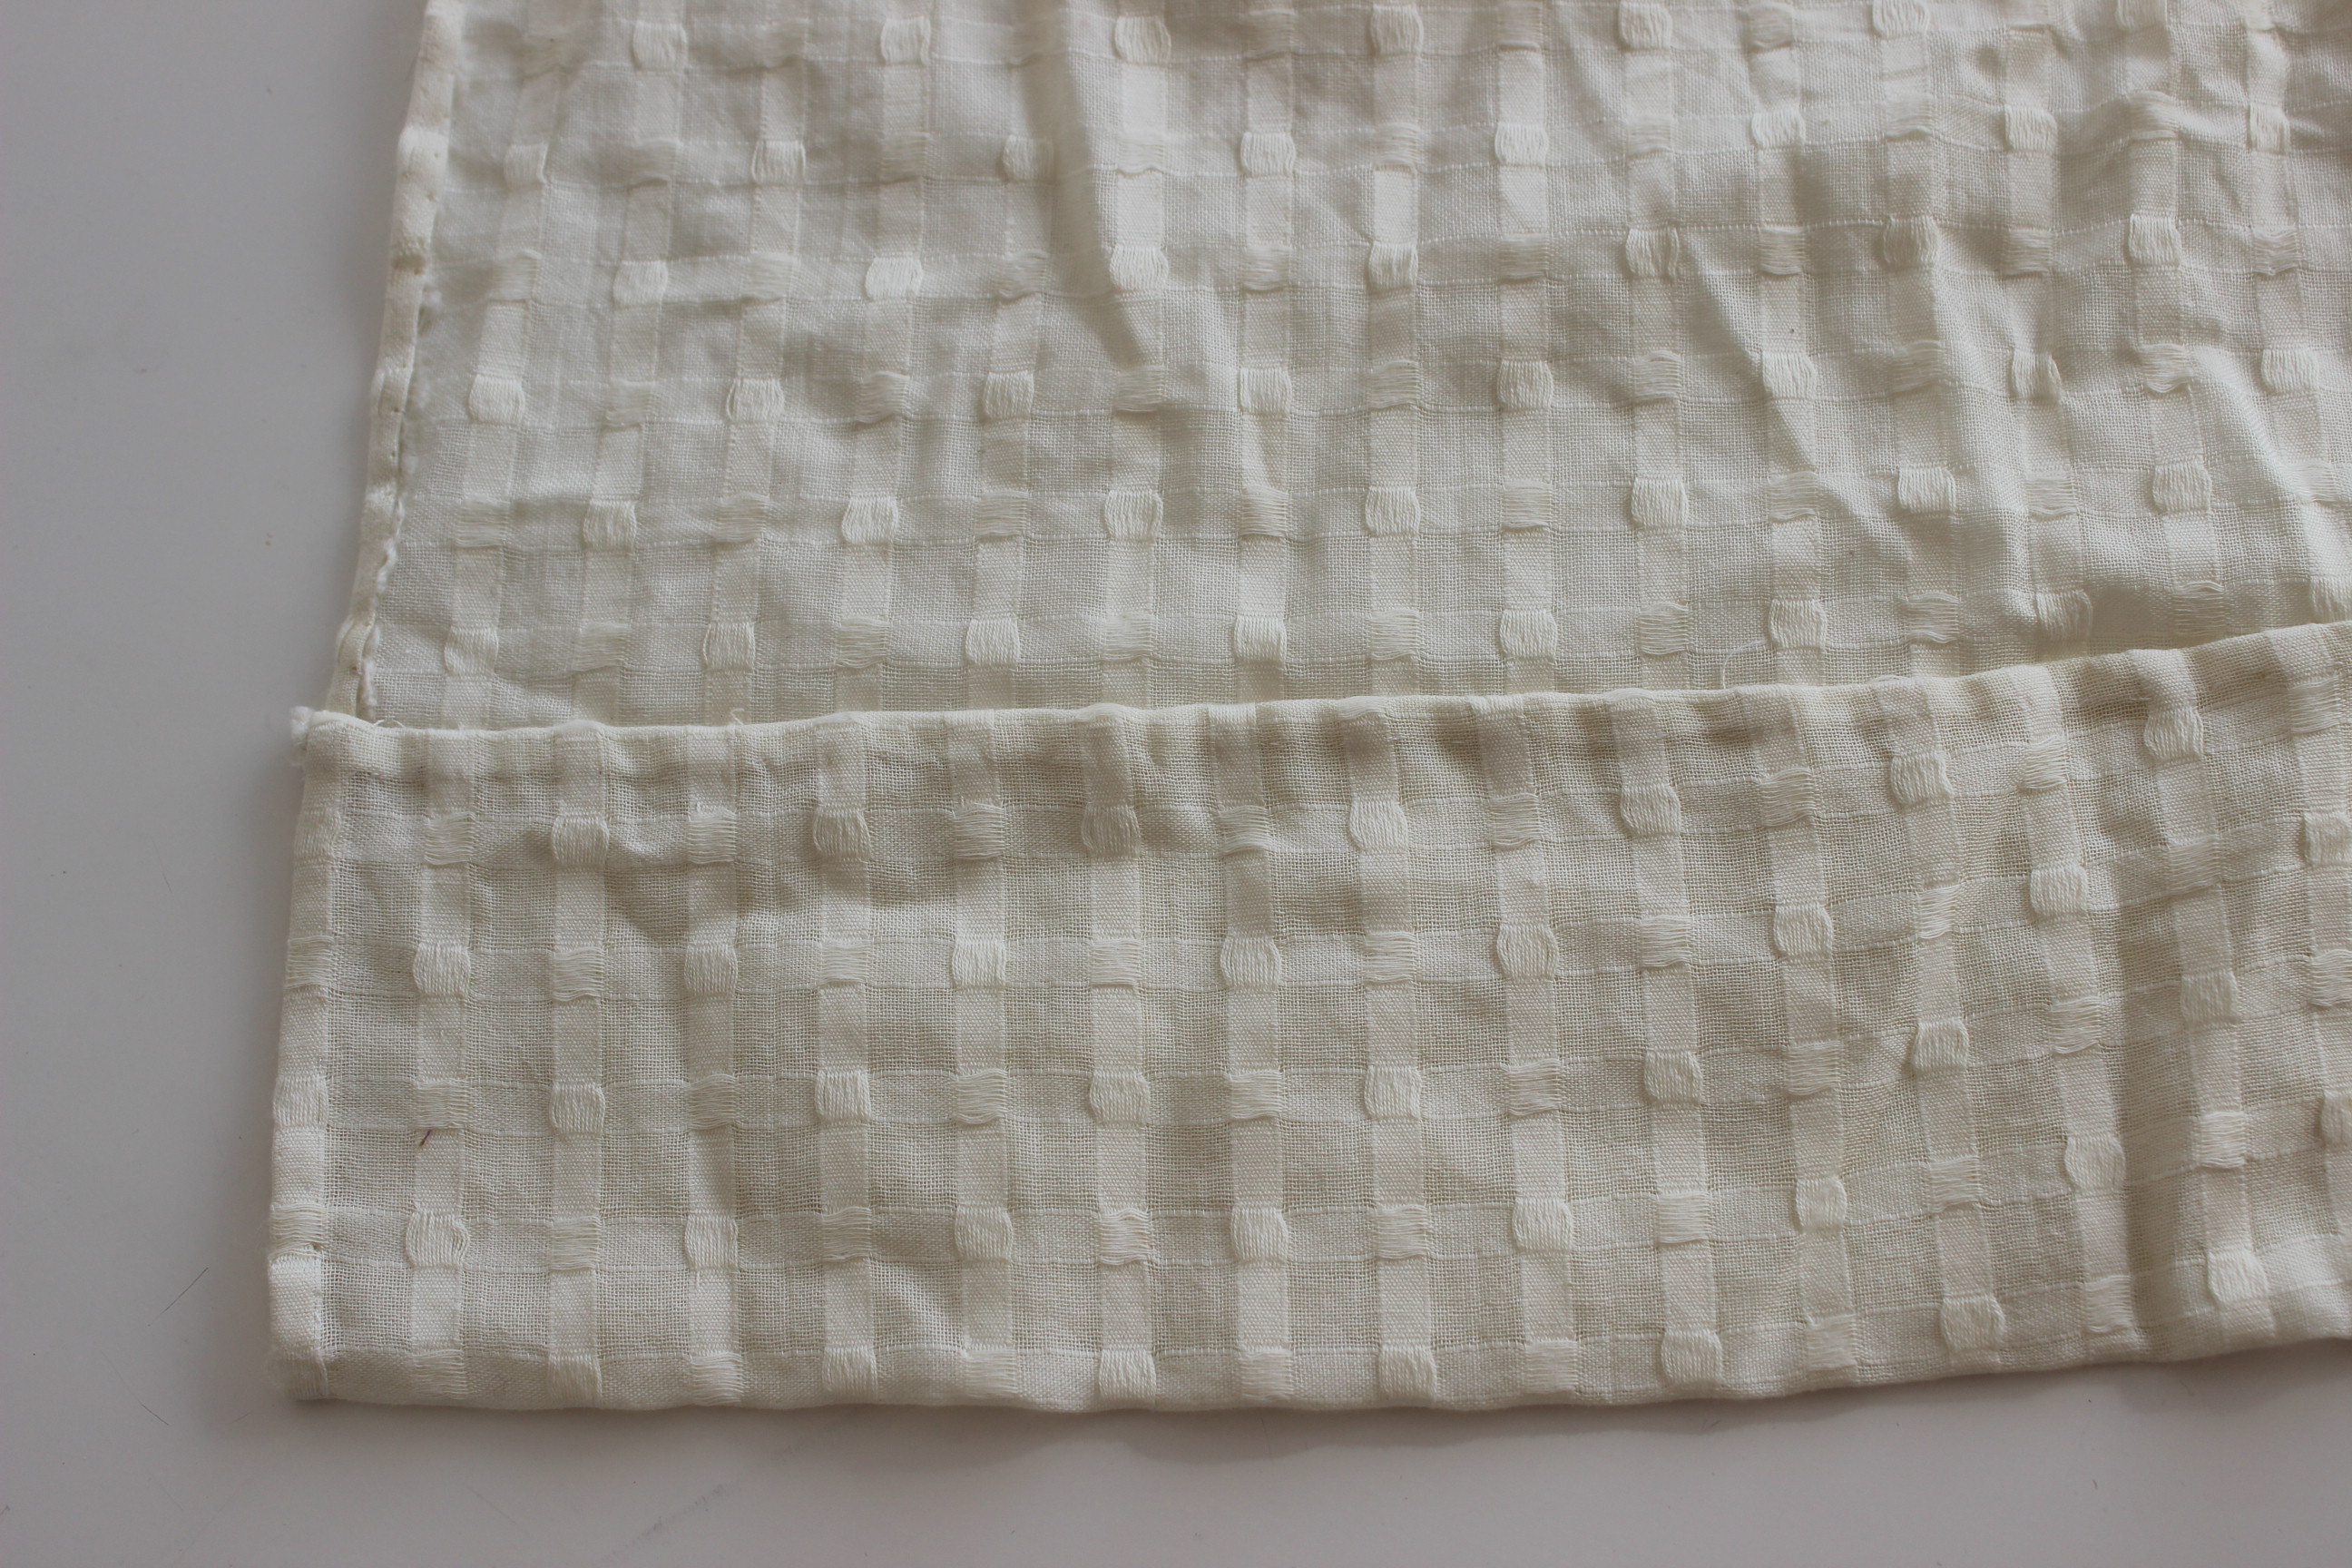
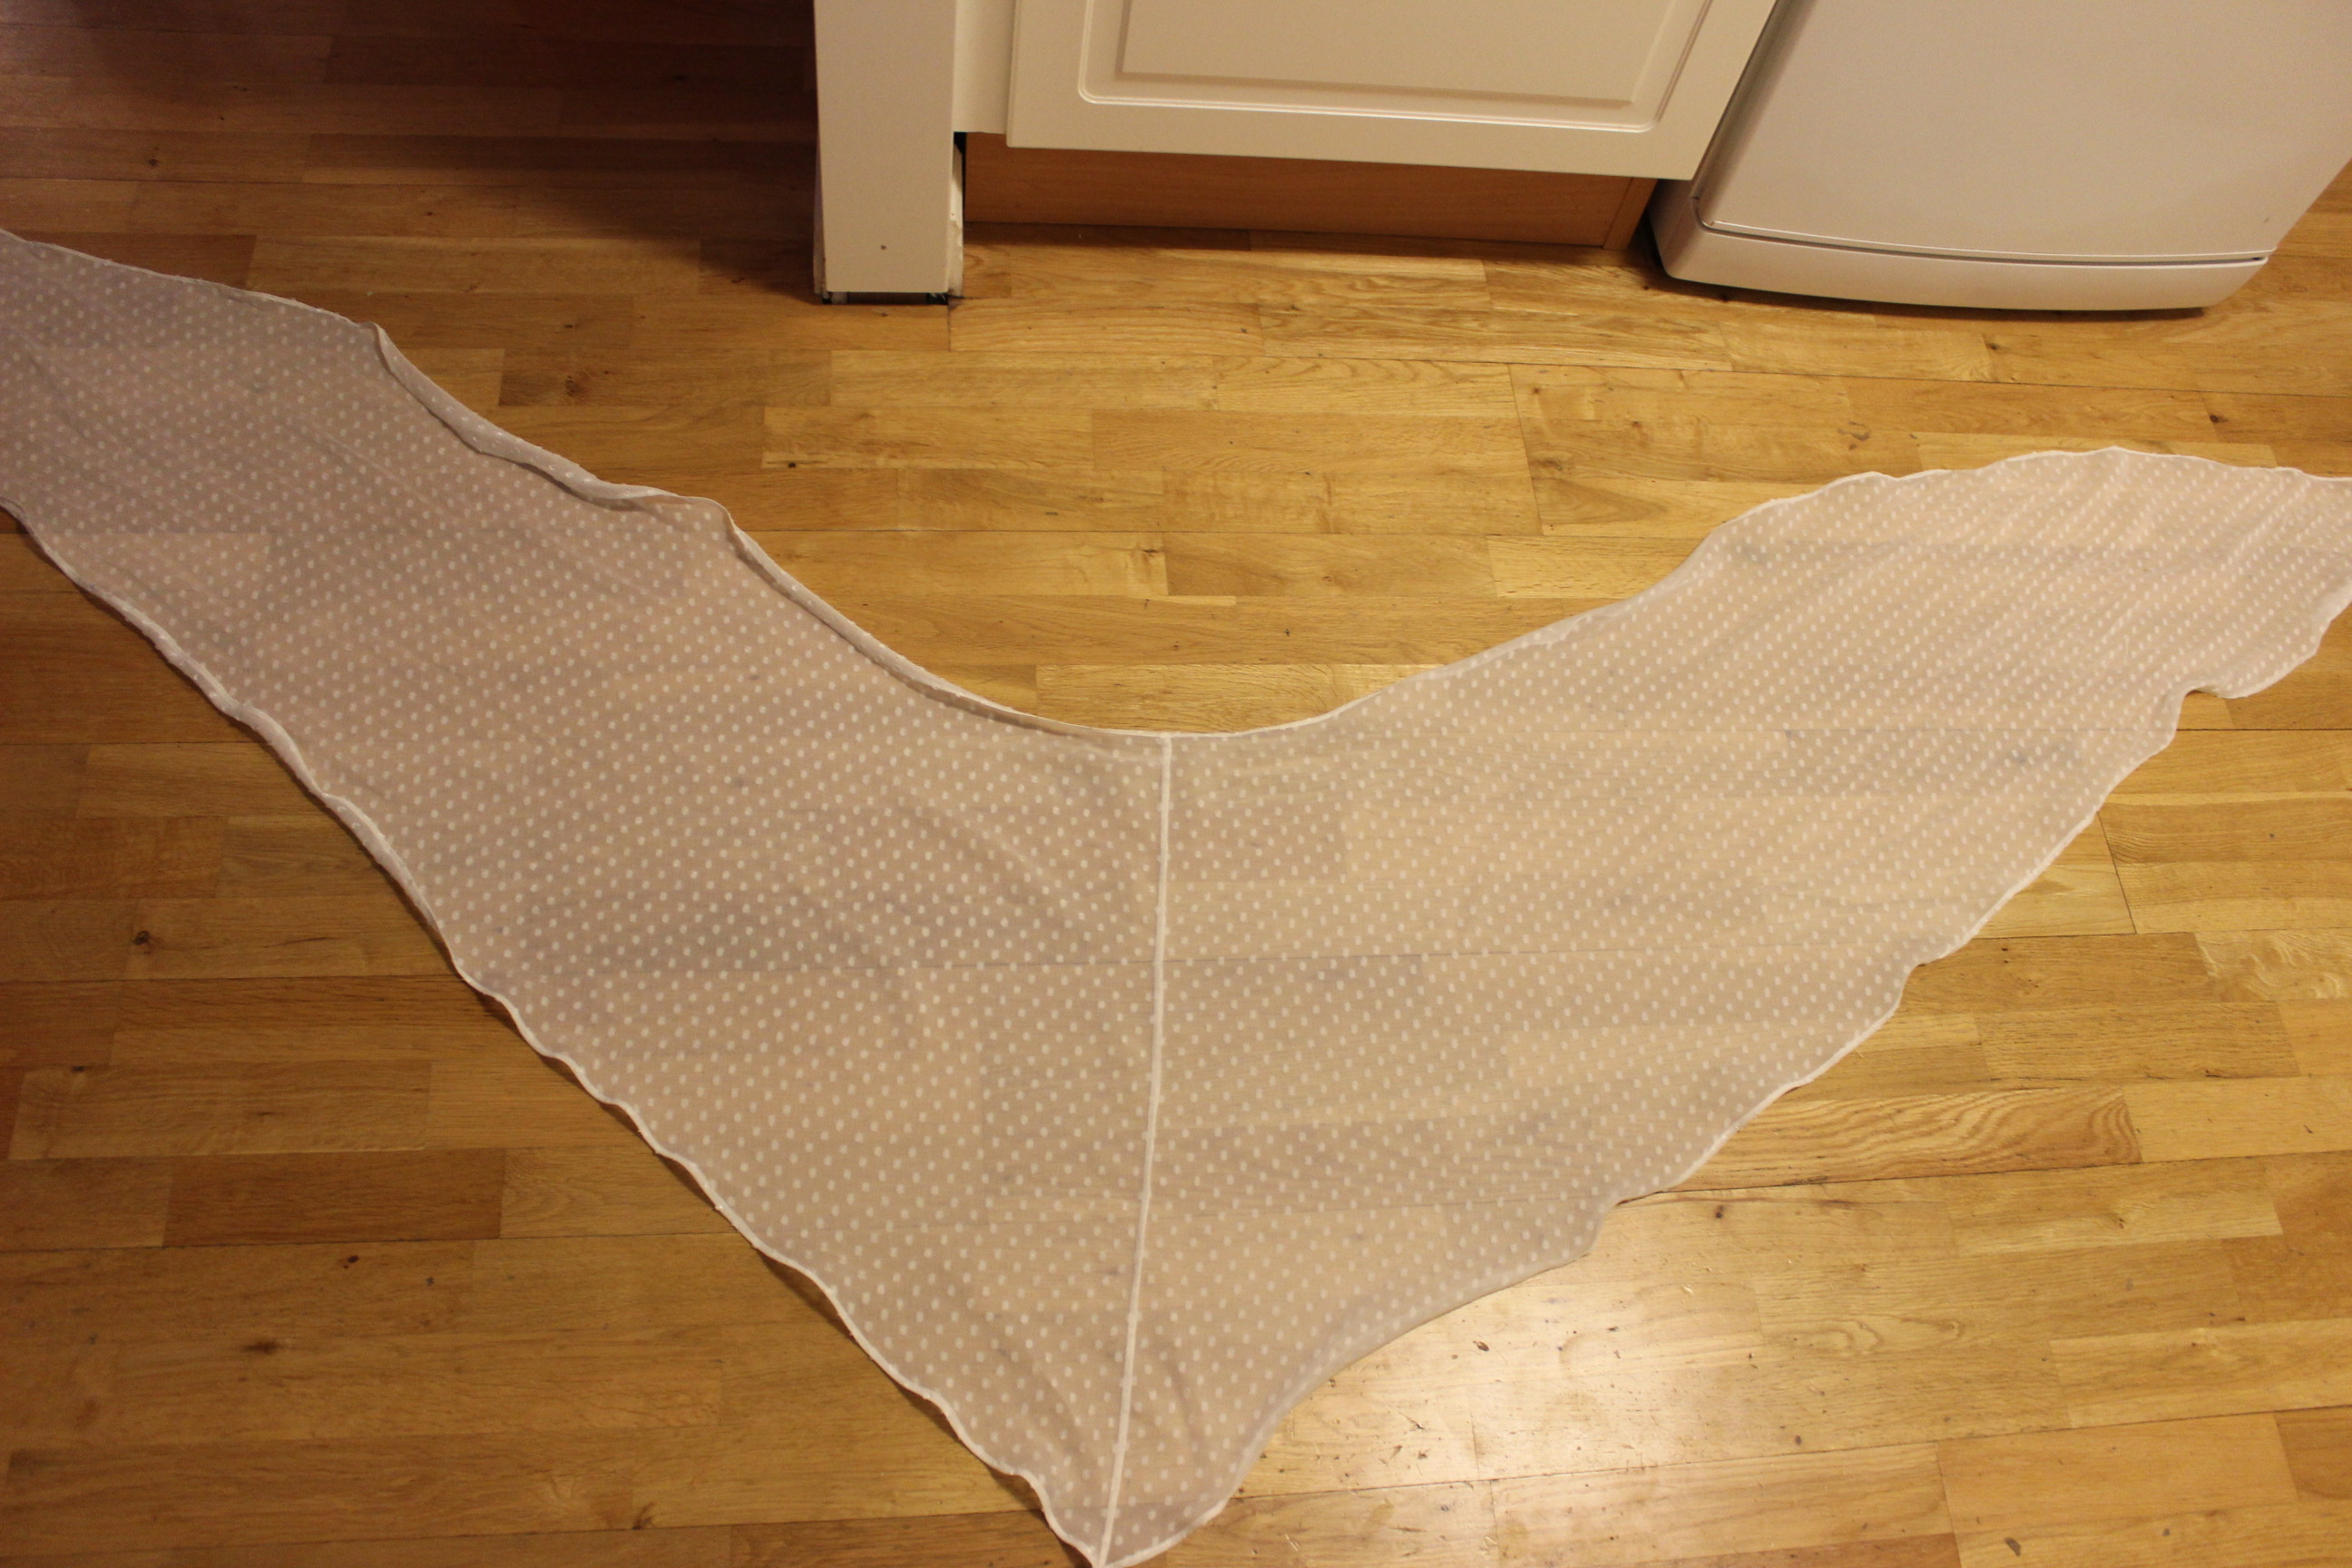
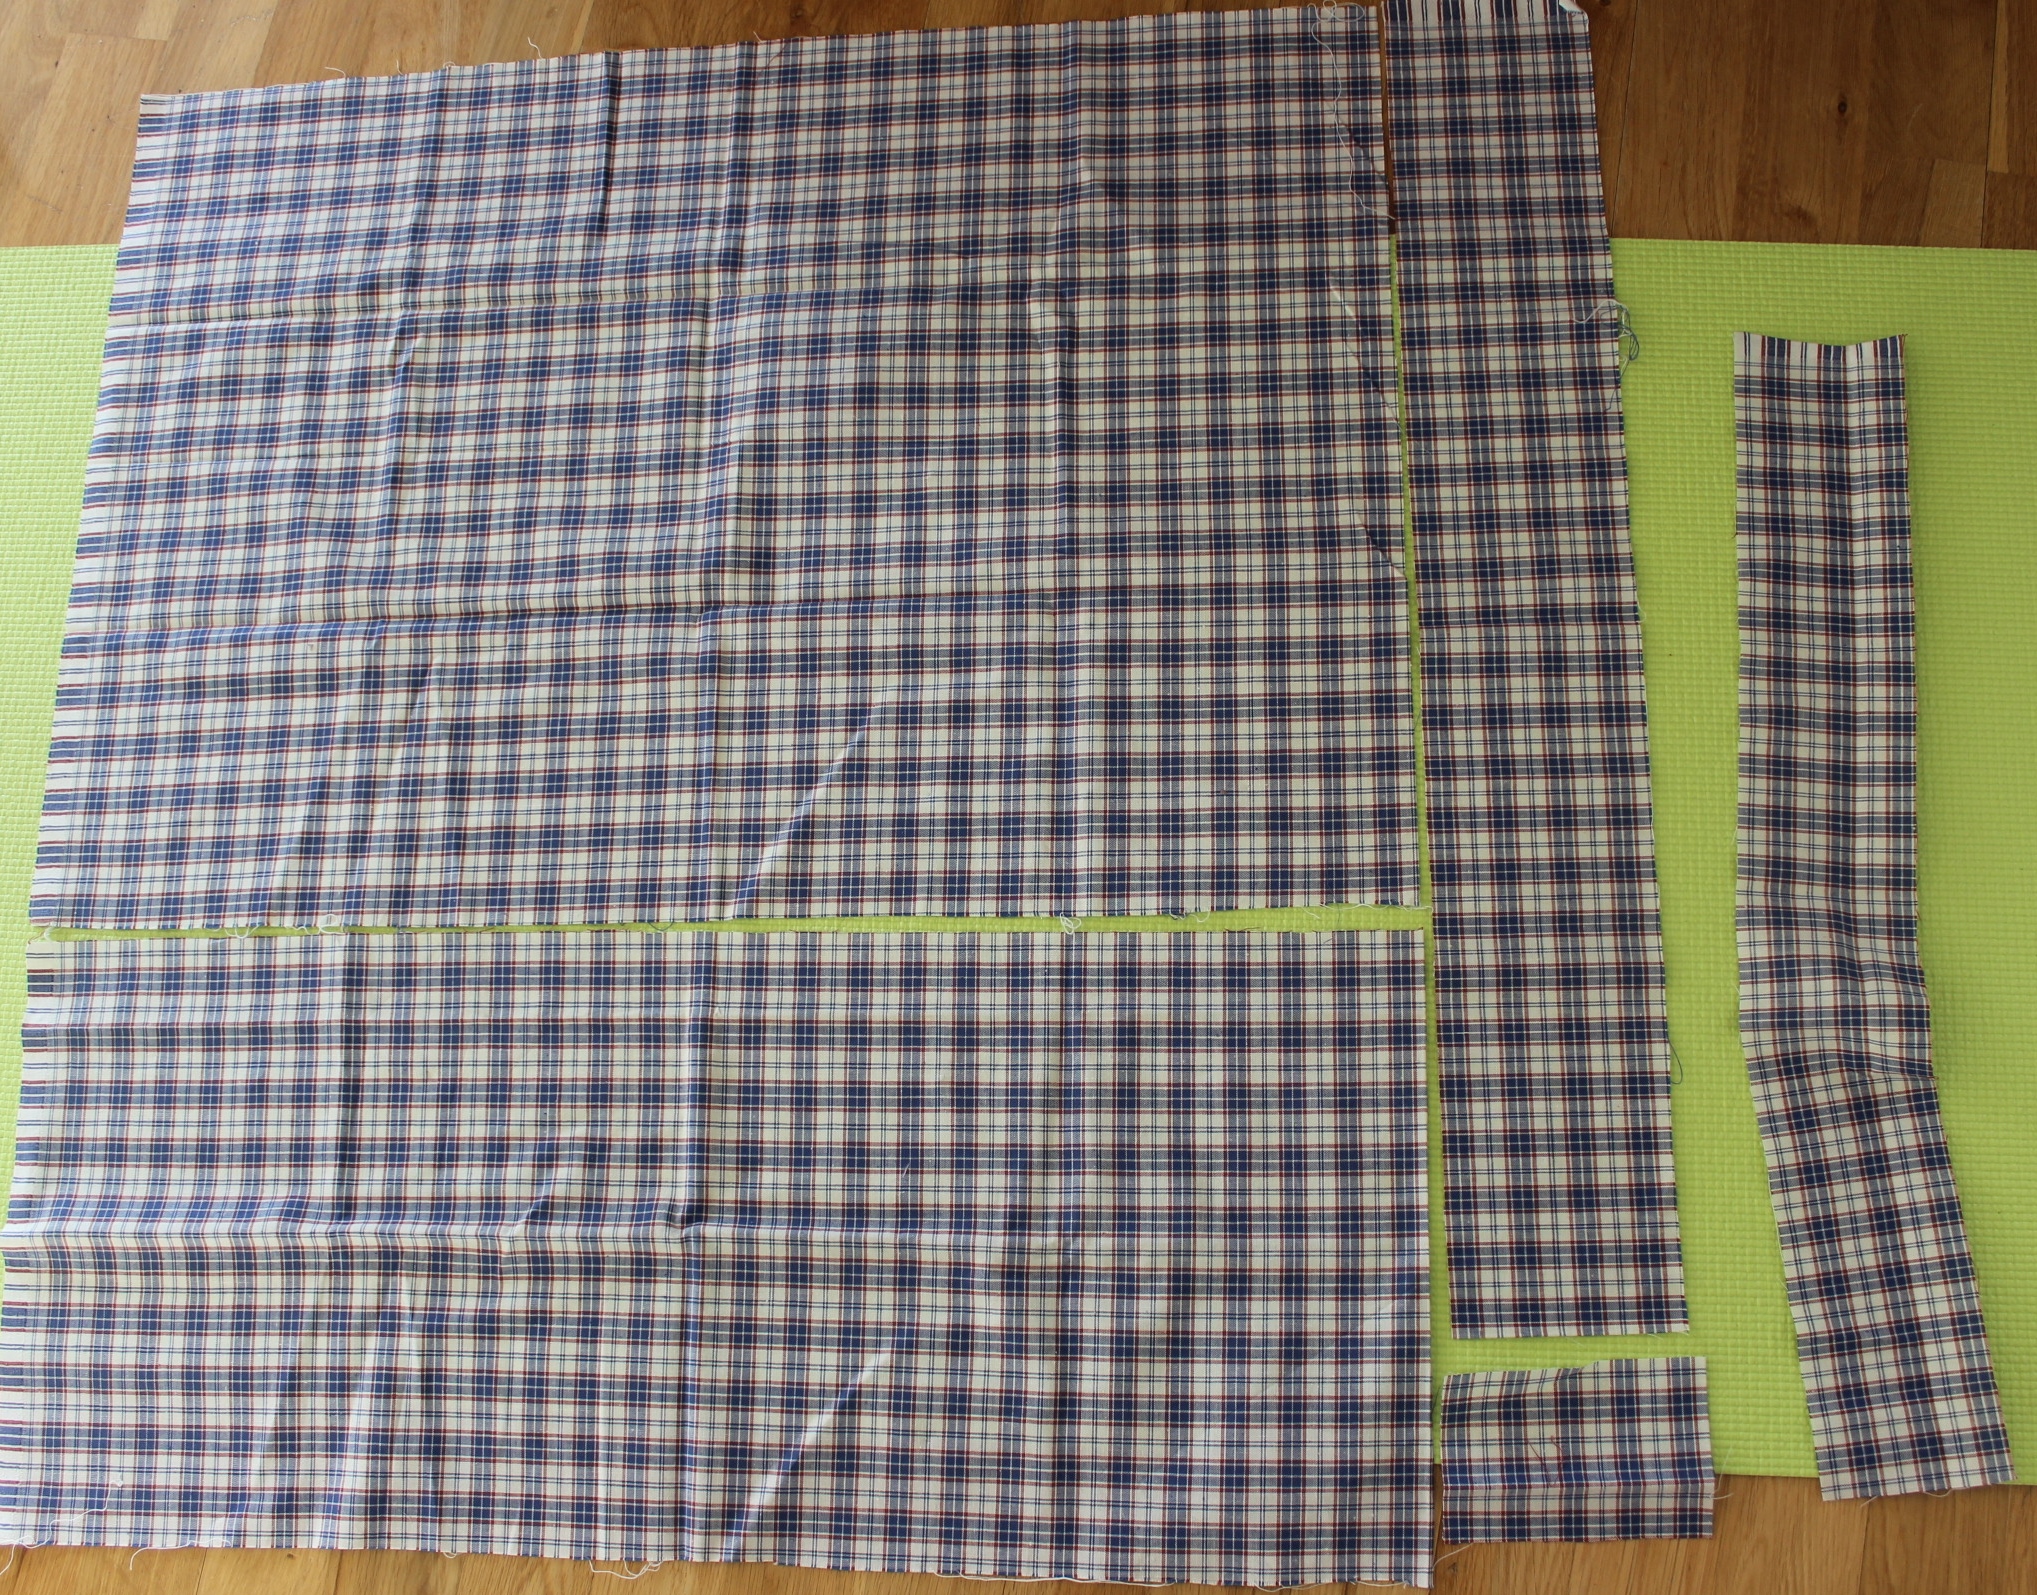
I cut the fabric in 4 different sized pieces and then attached them again to get that biggest size shawl with the least amount of seams possible.

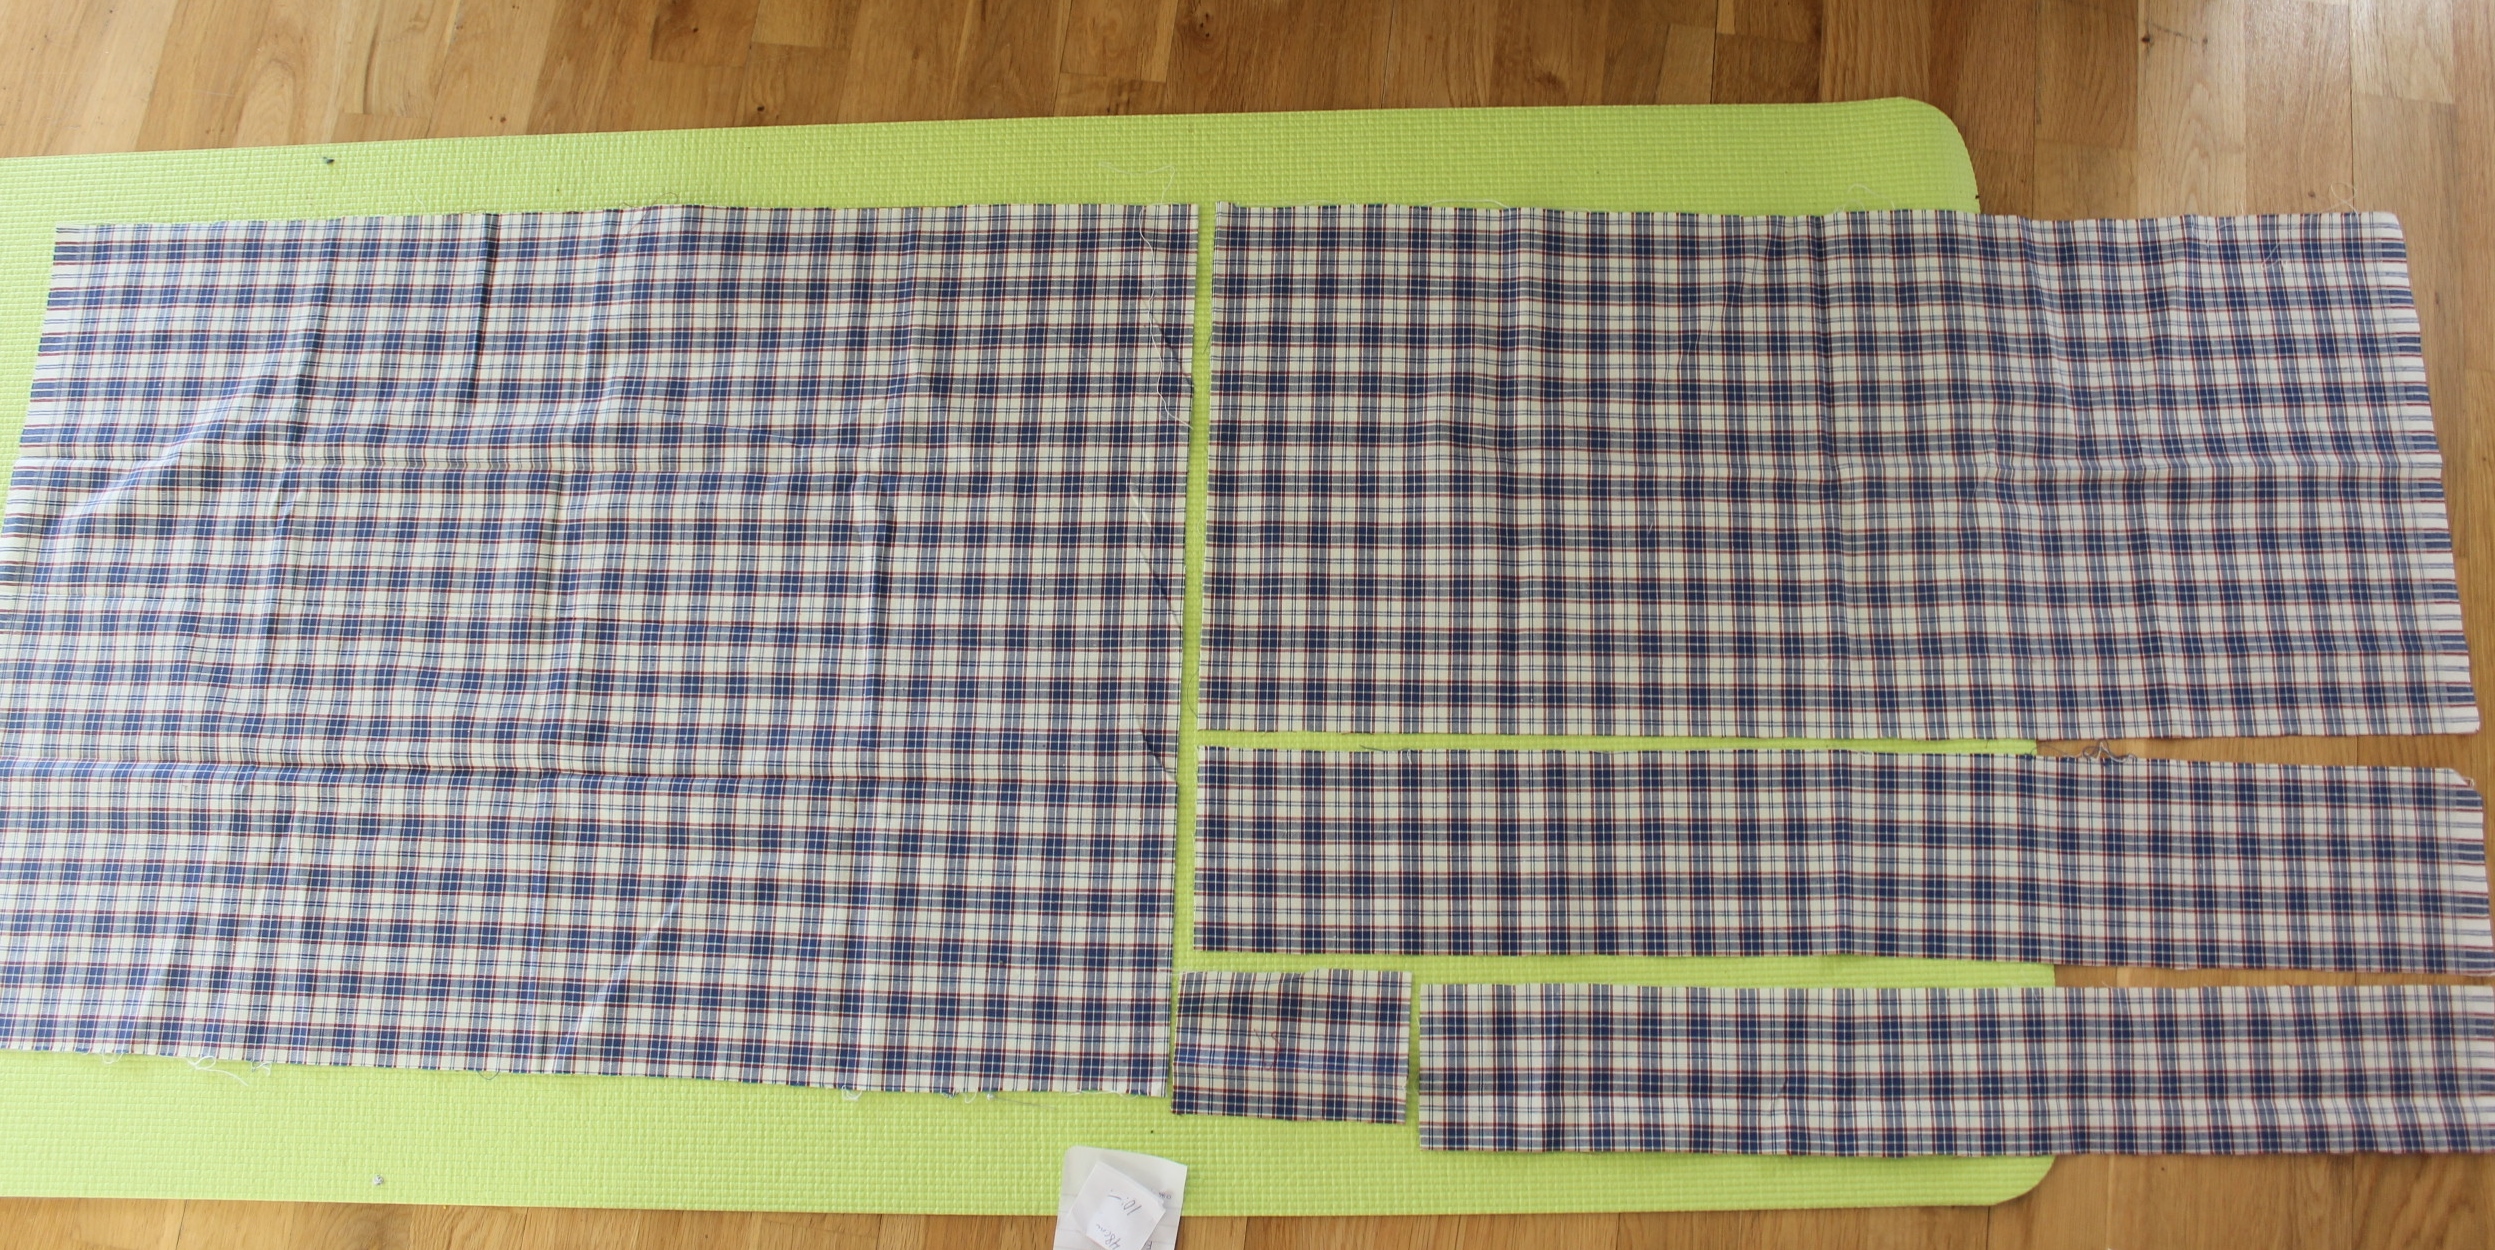
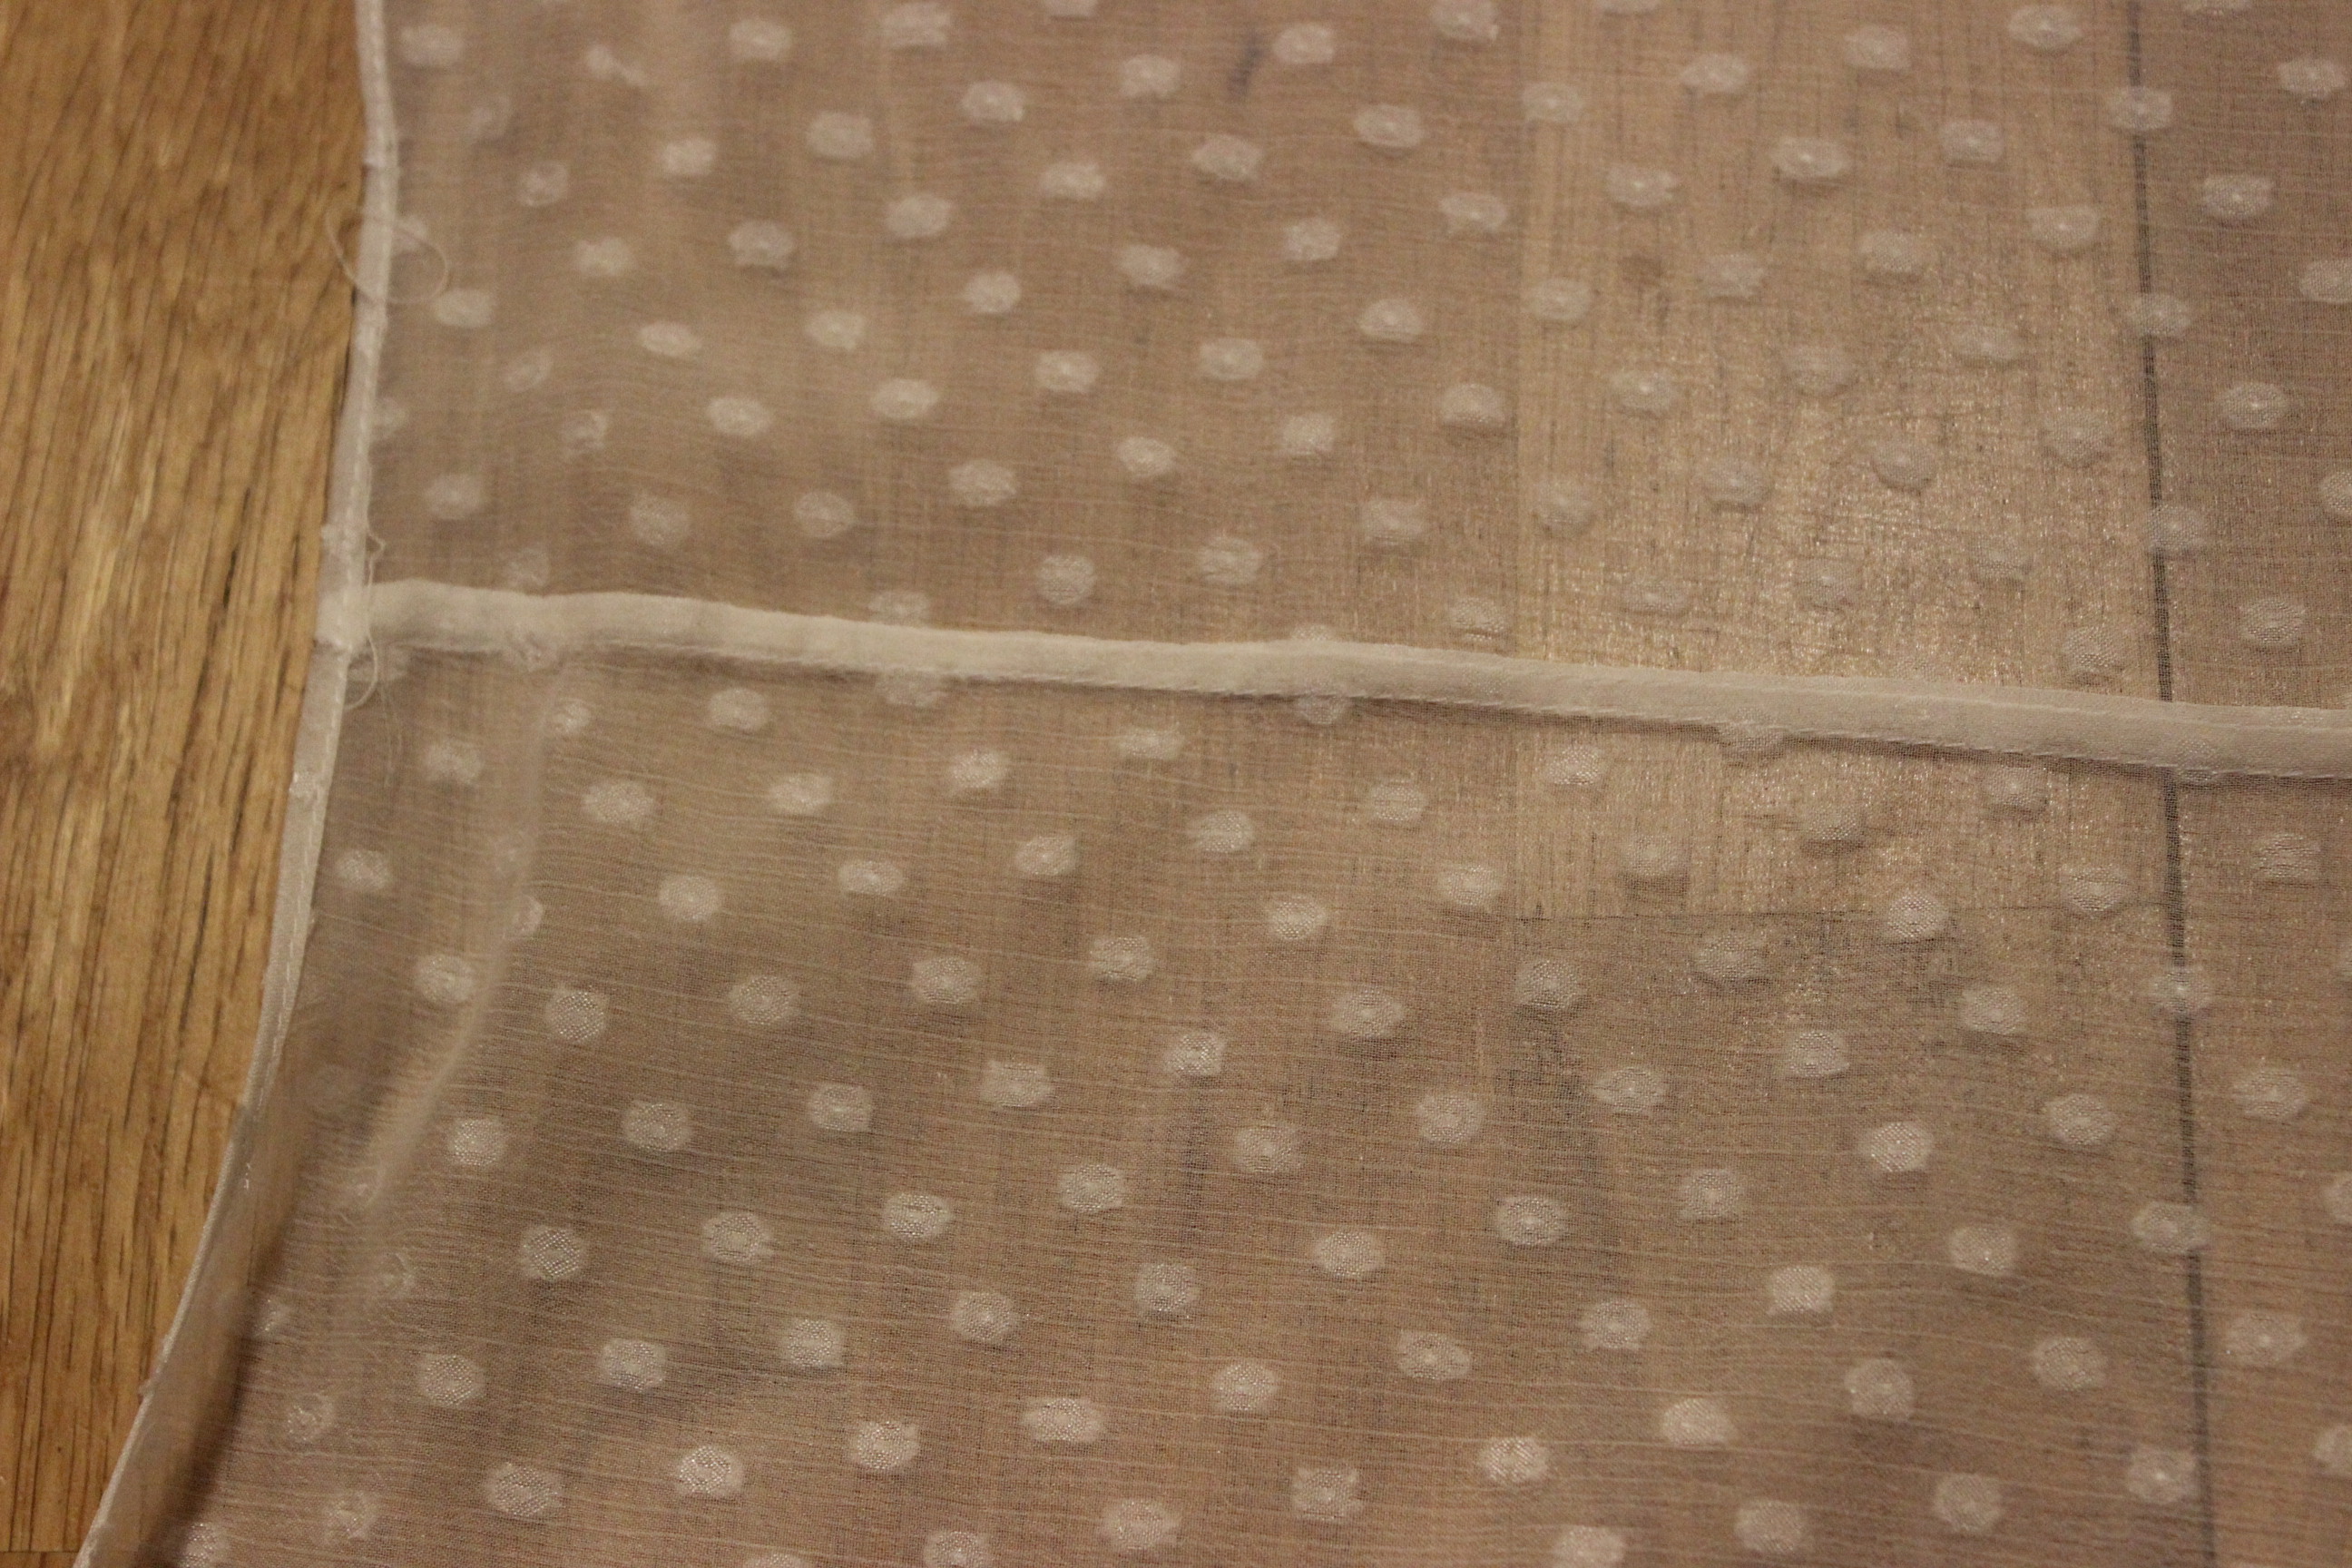
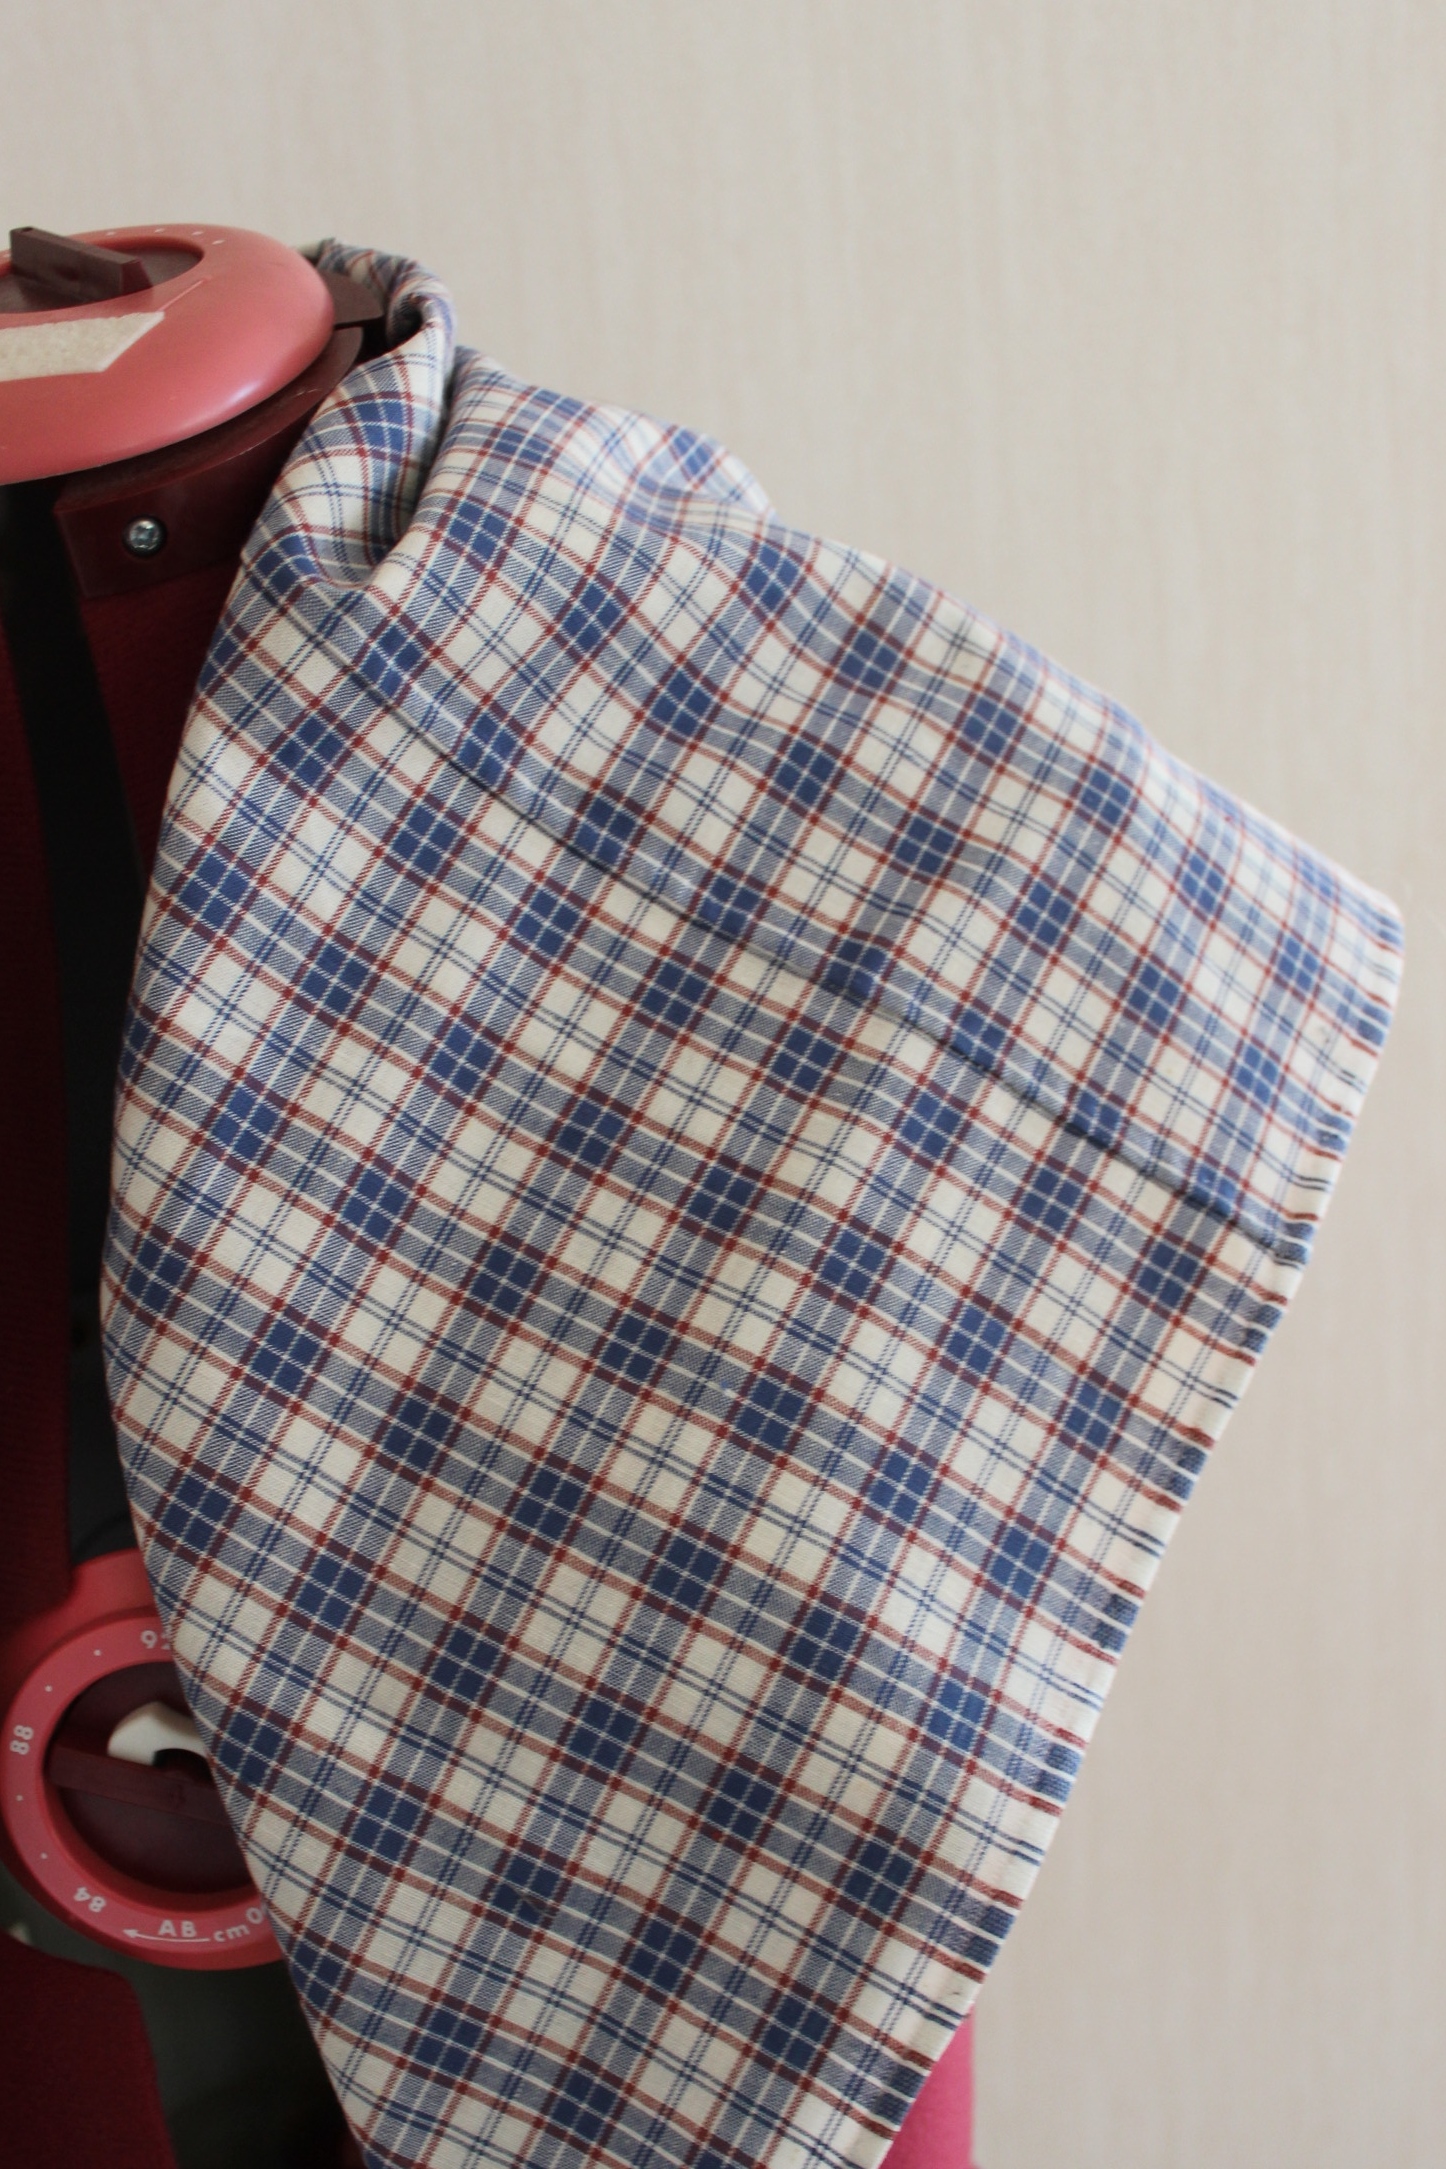
The sewing itself was noting special, just spaced backstitches and folded over edges and hems. detail of pieced corner

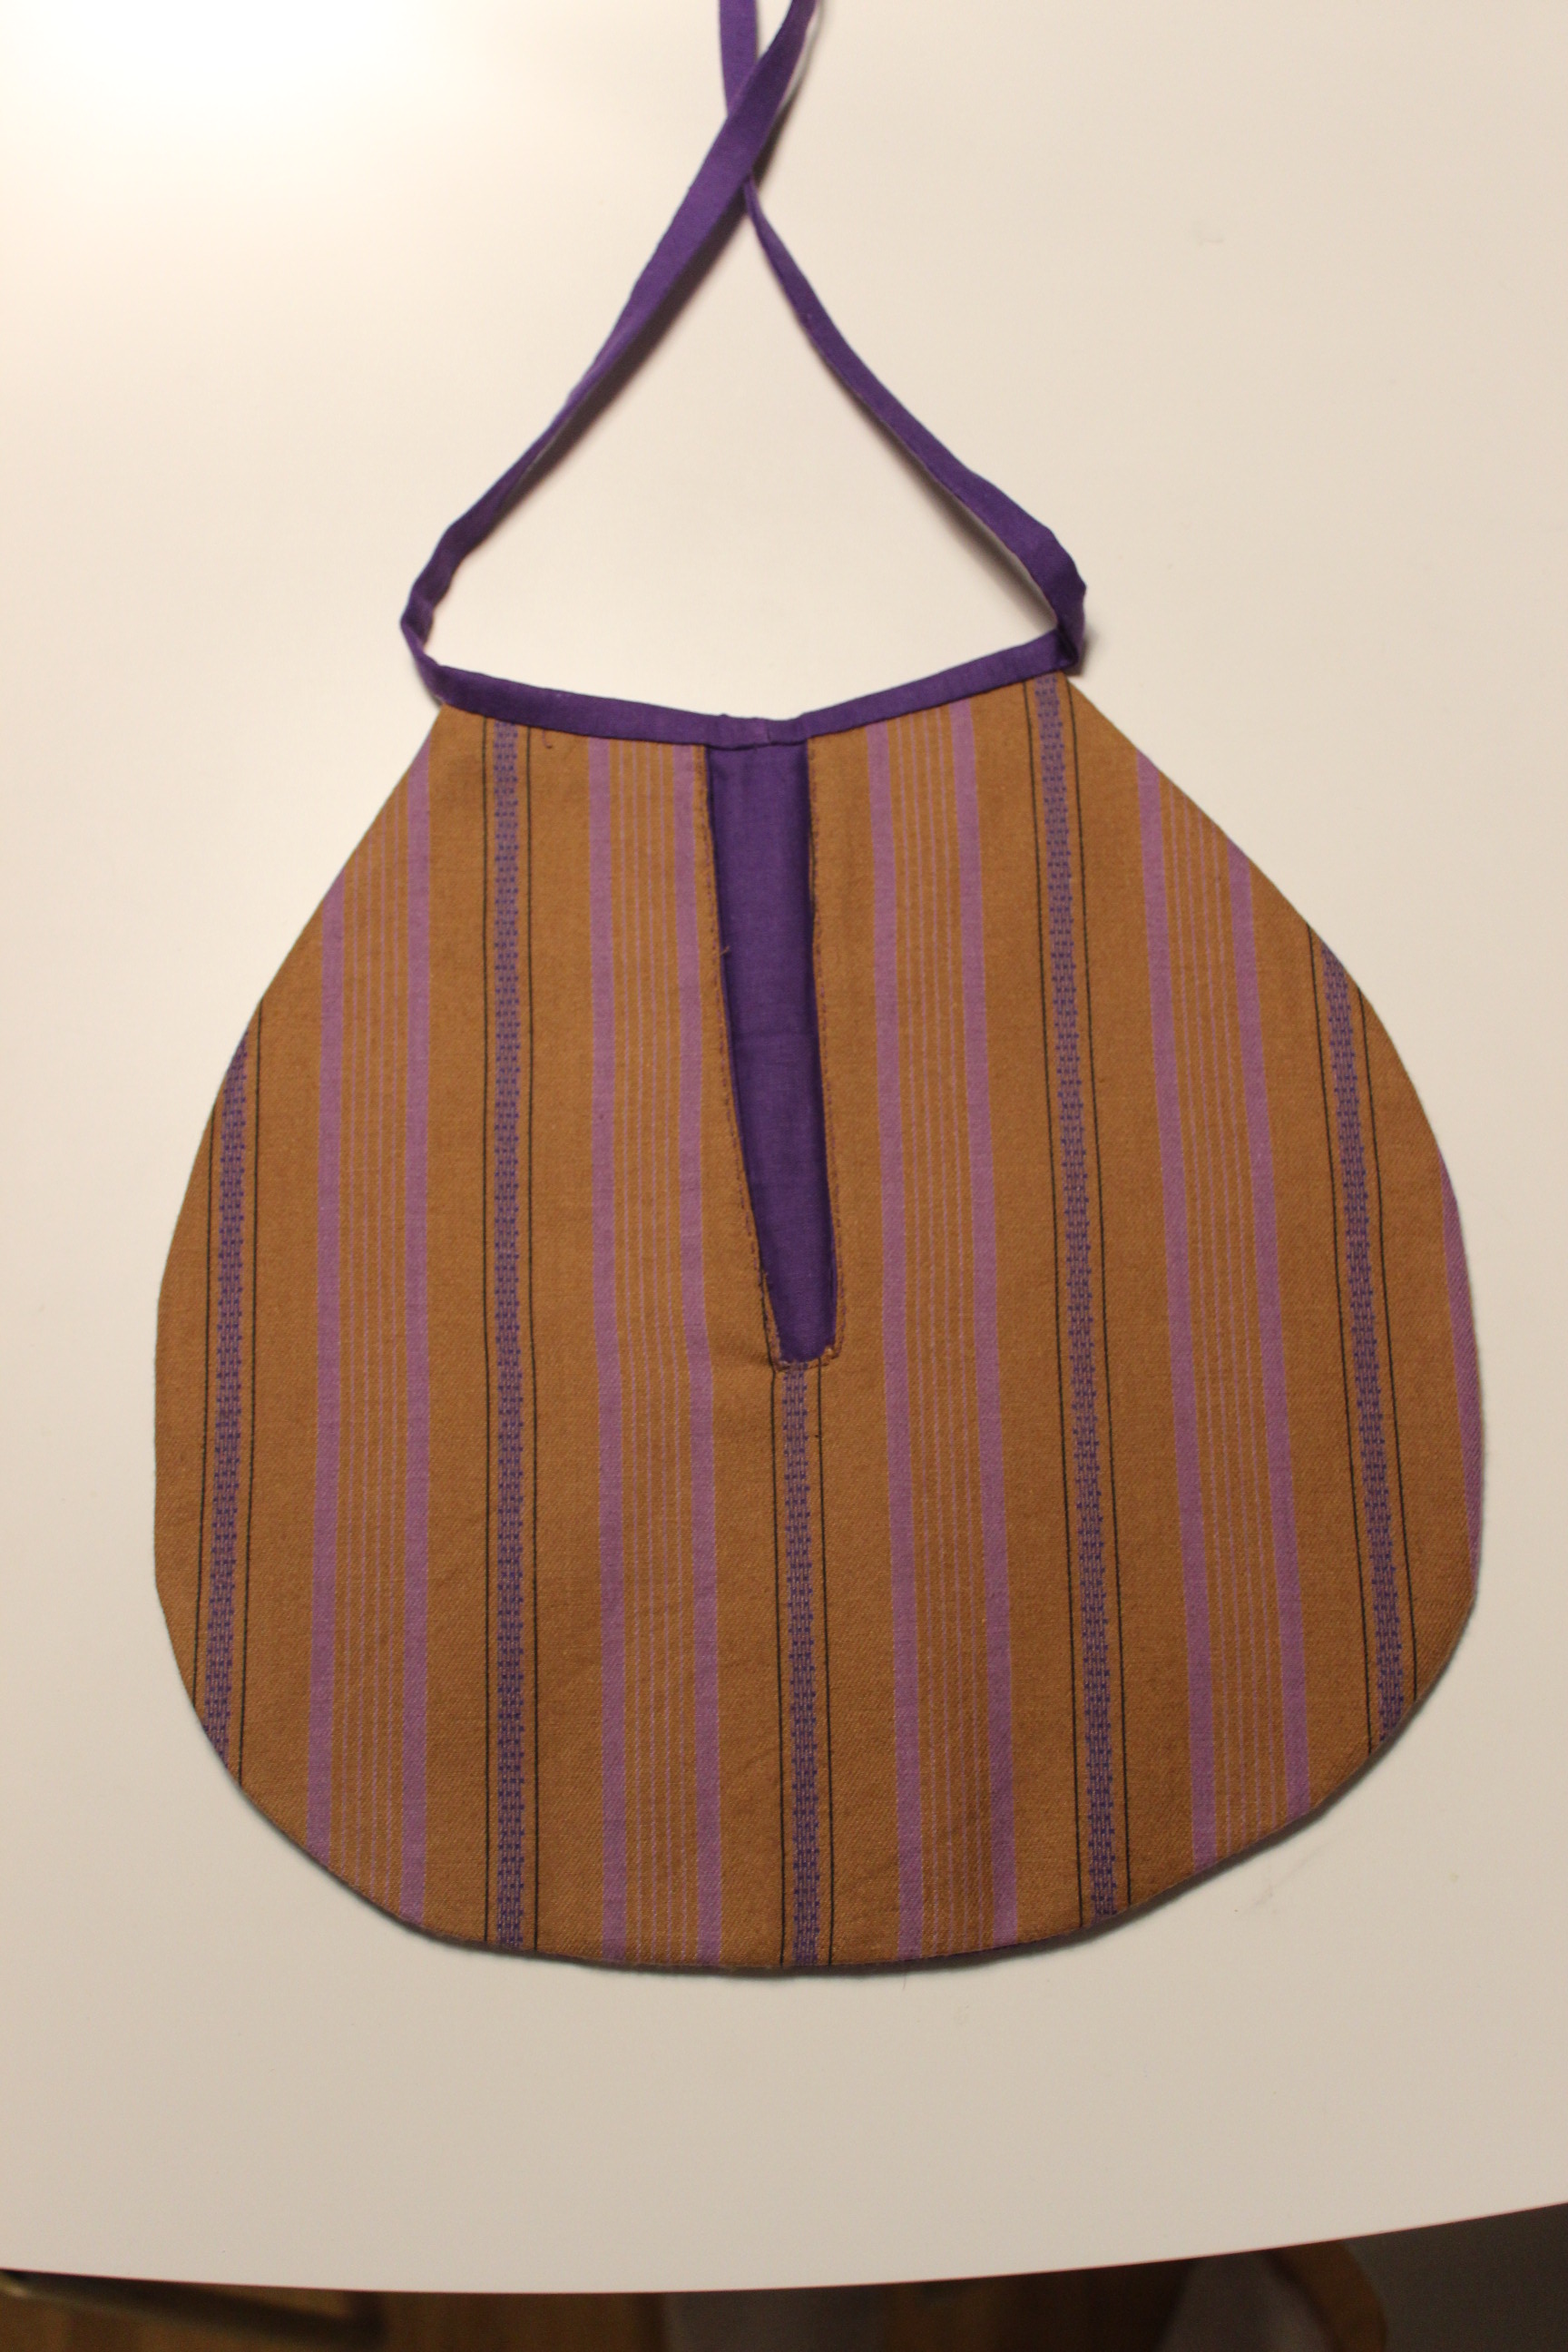
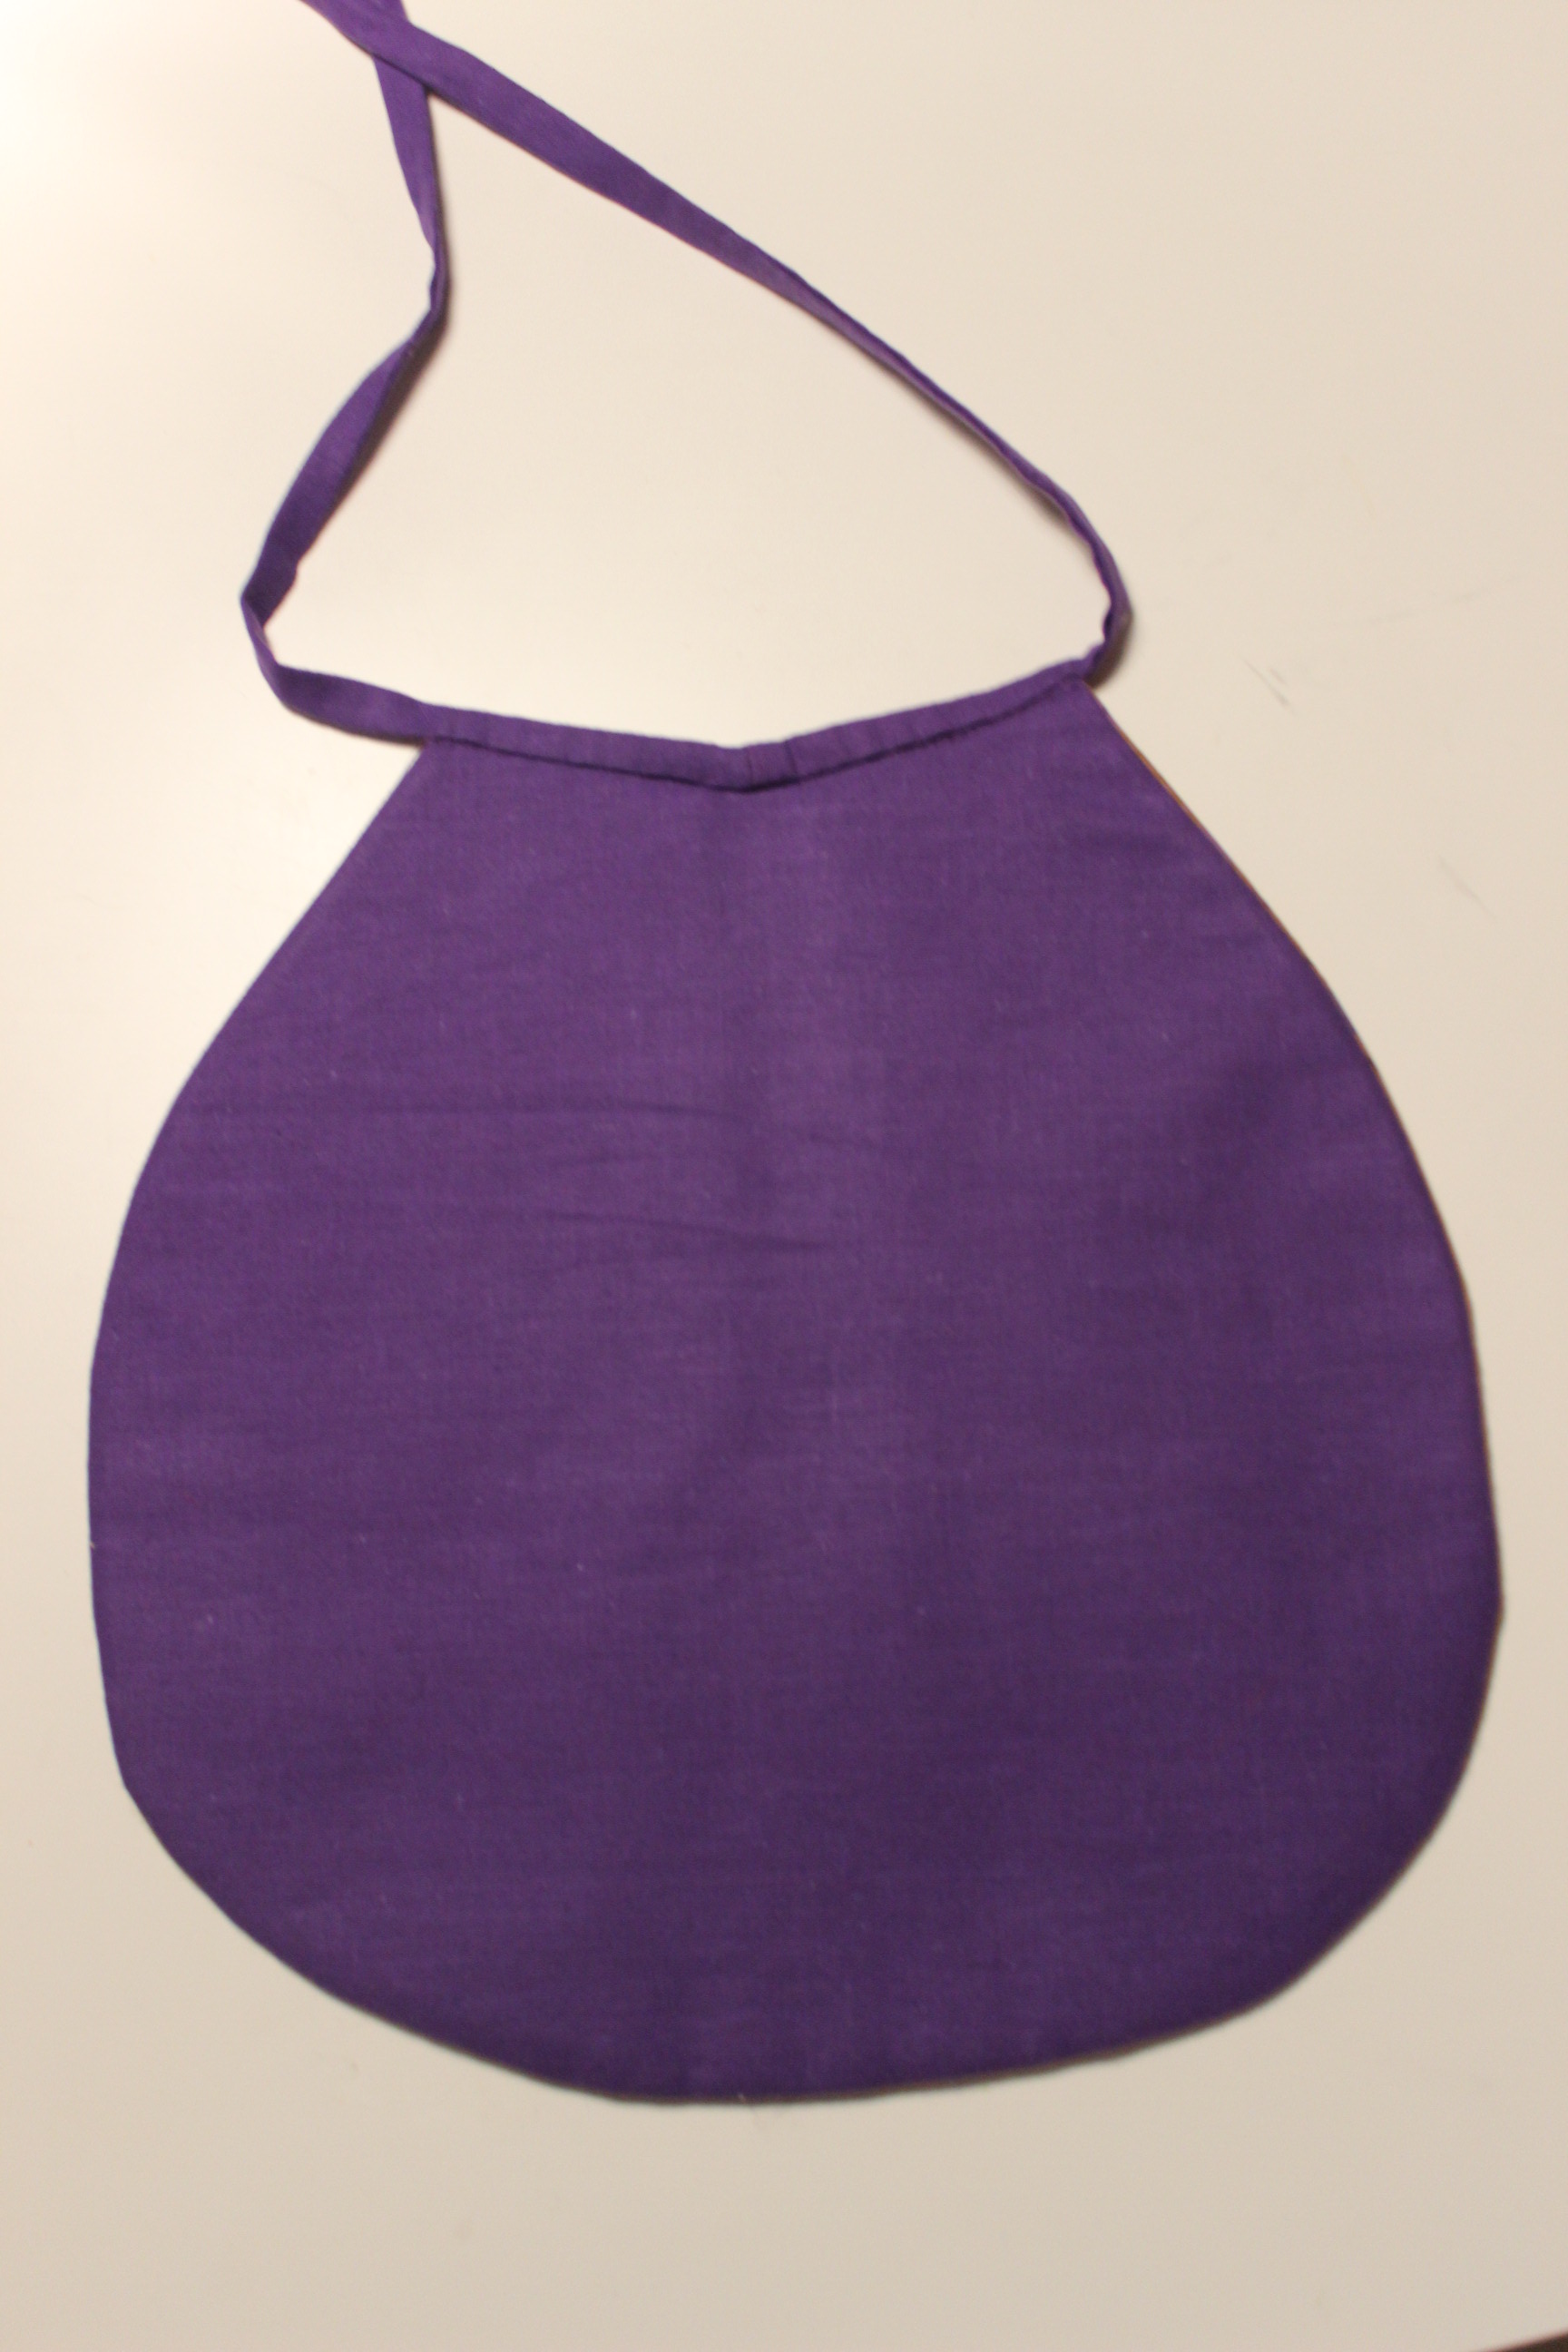
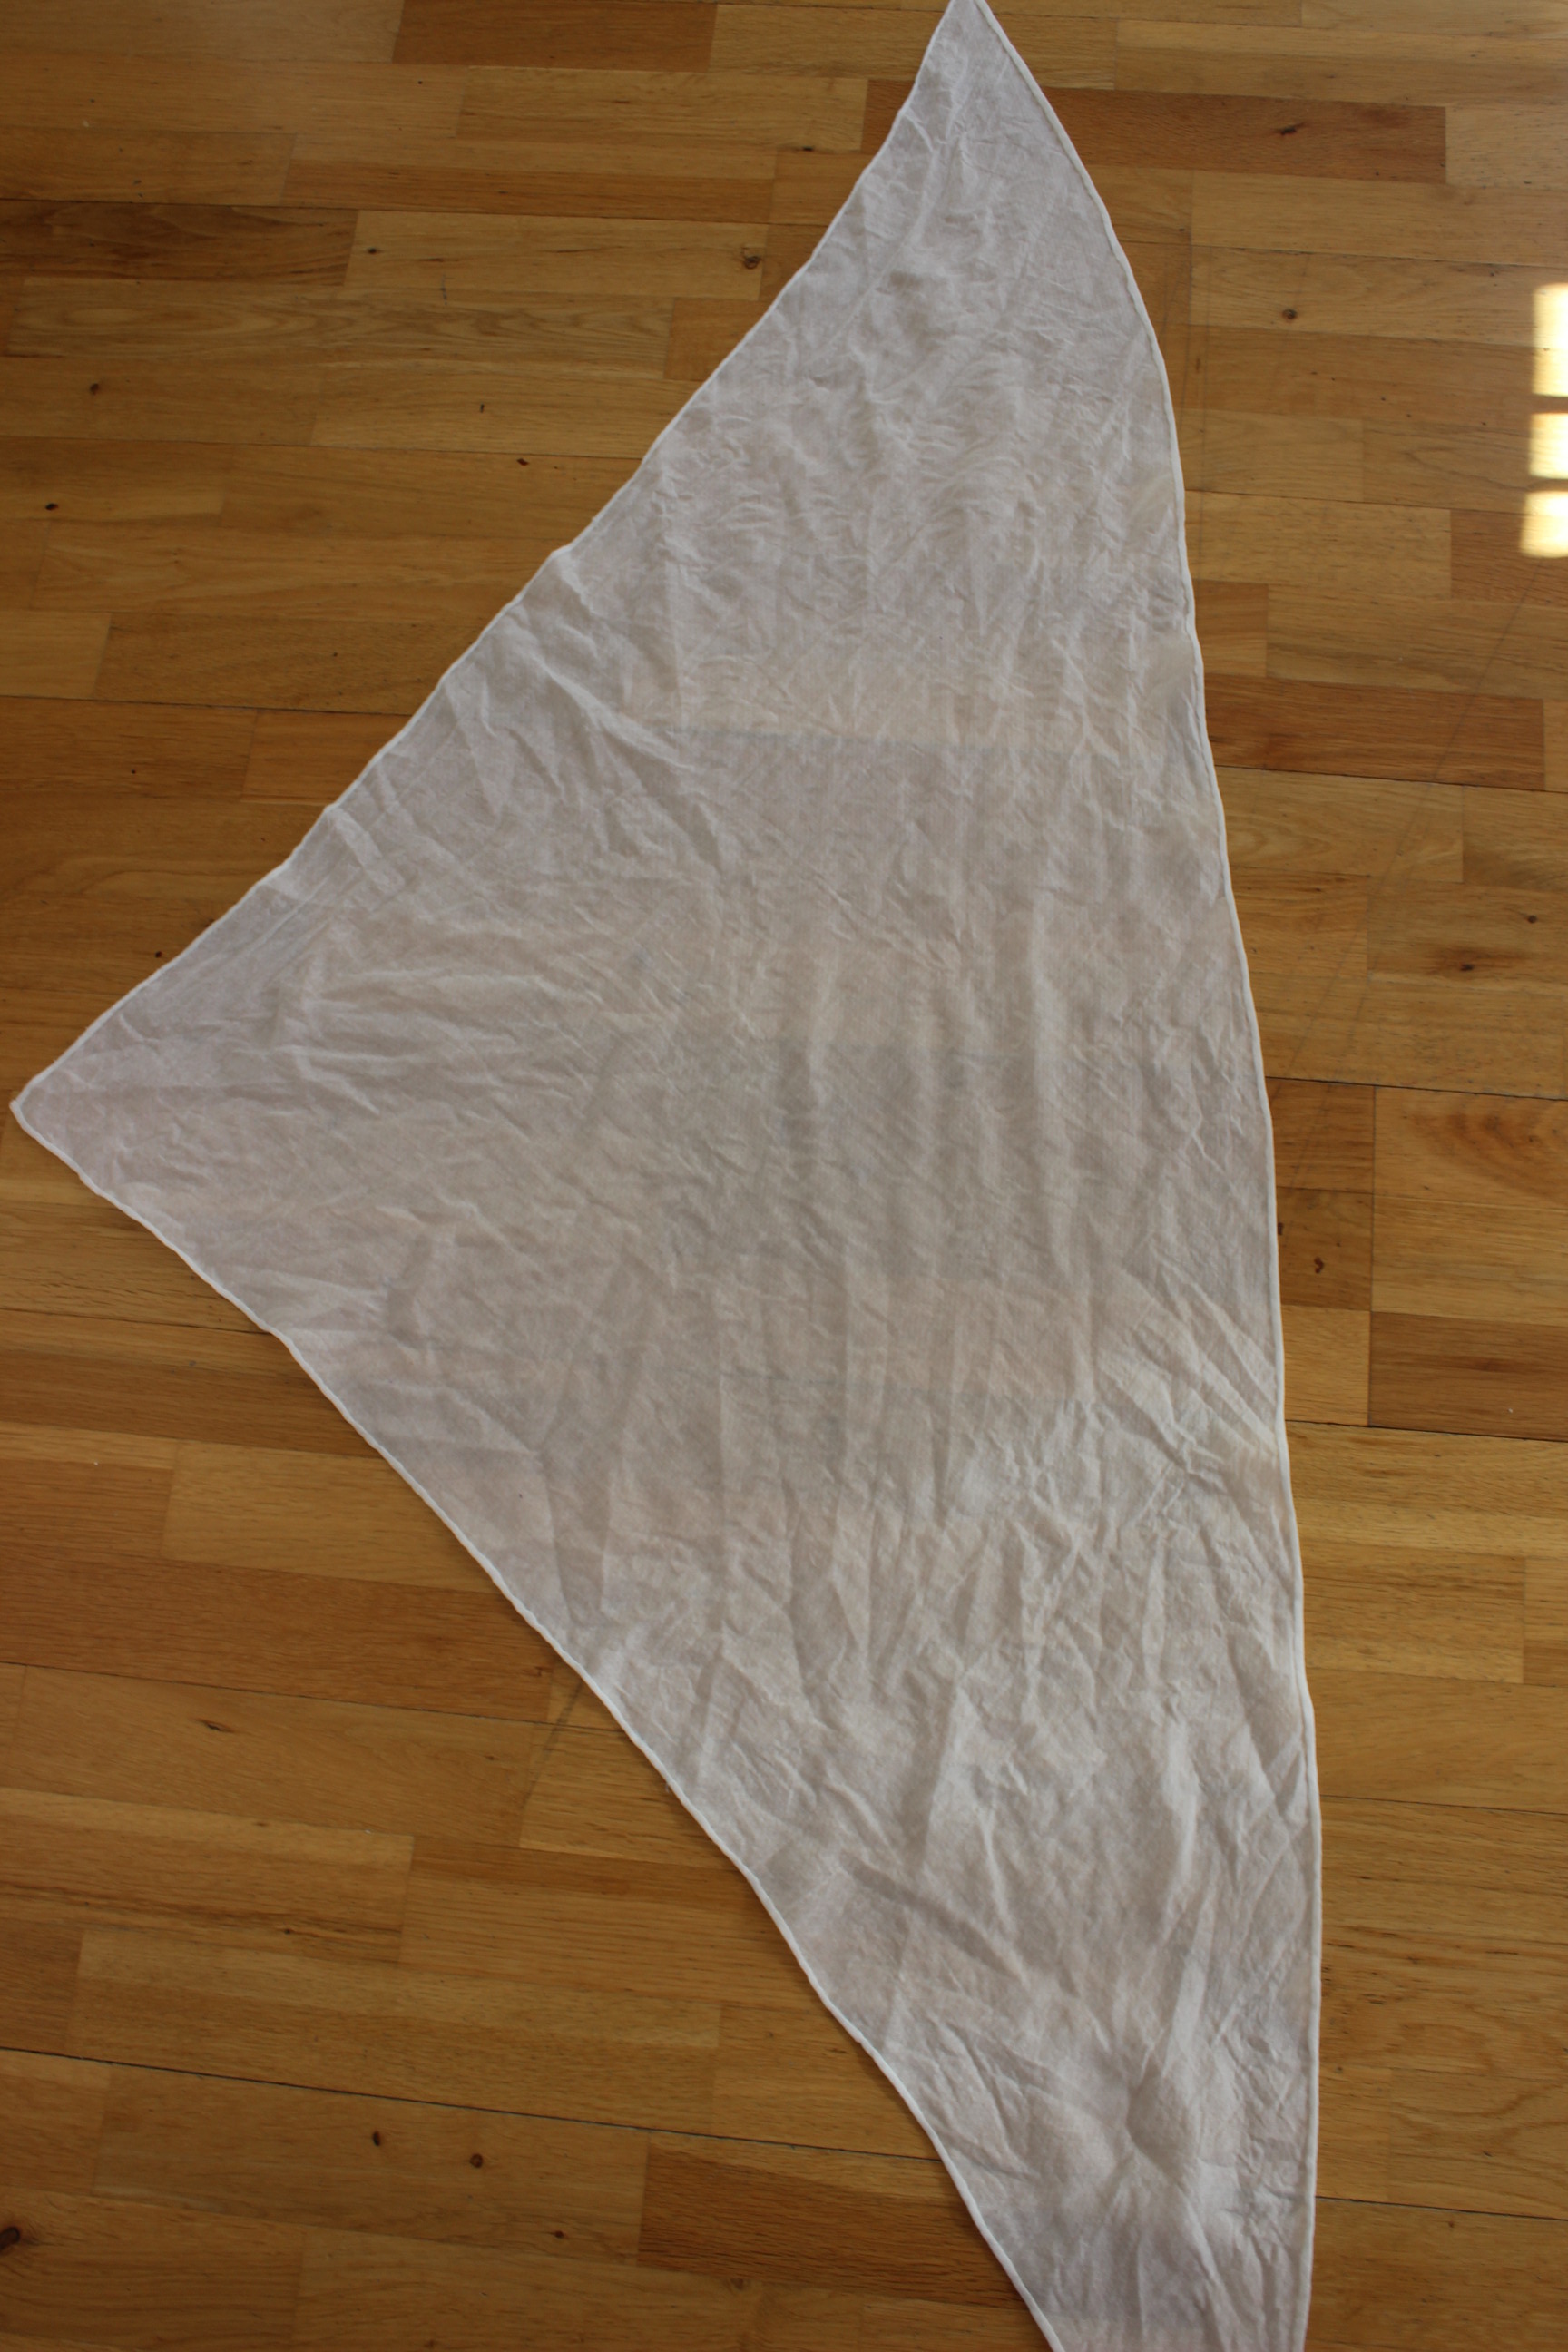
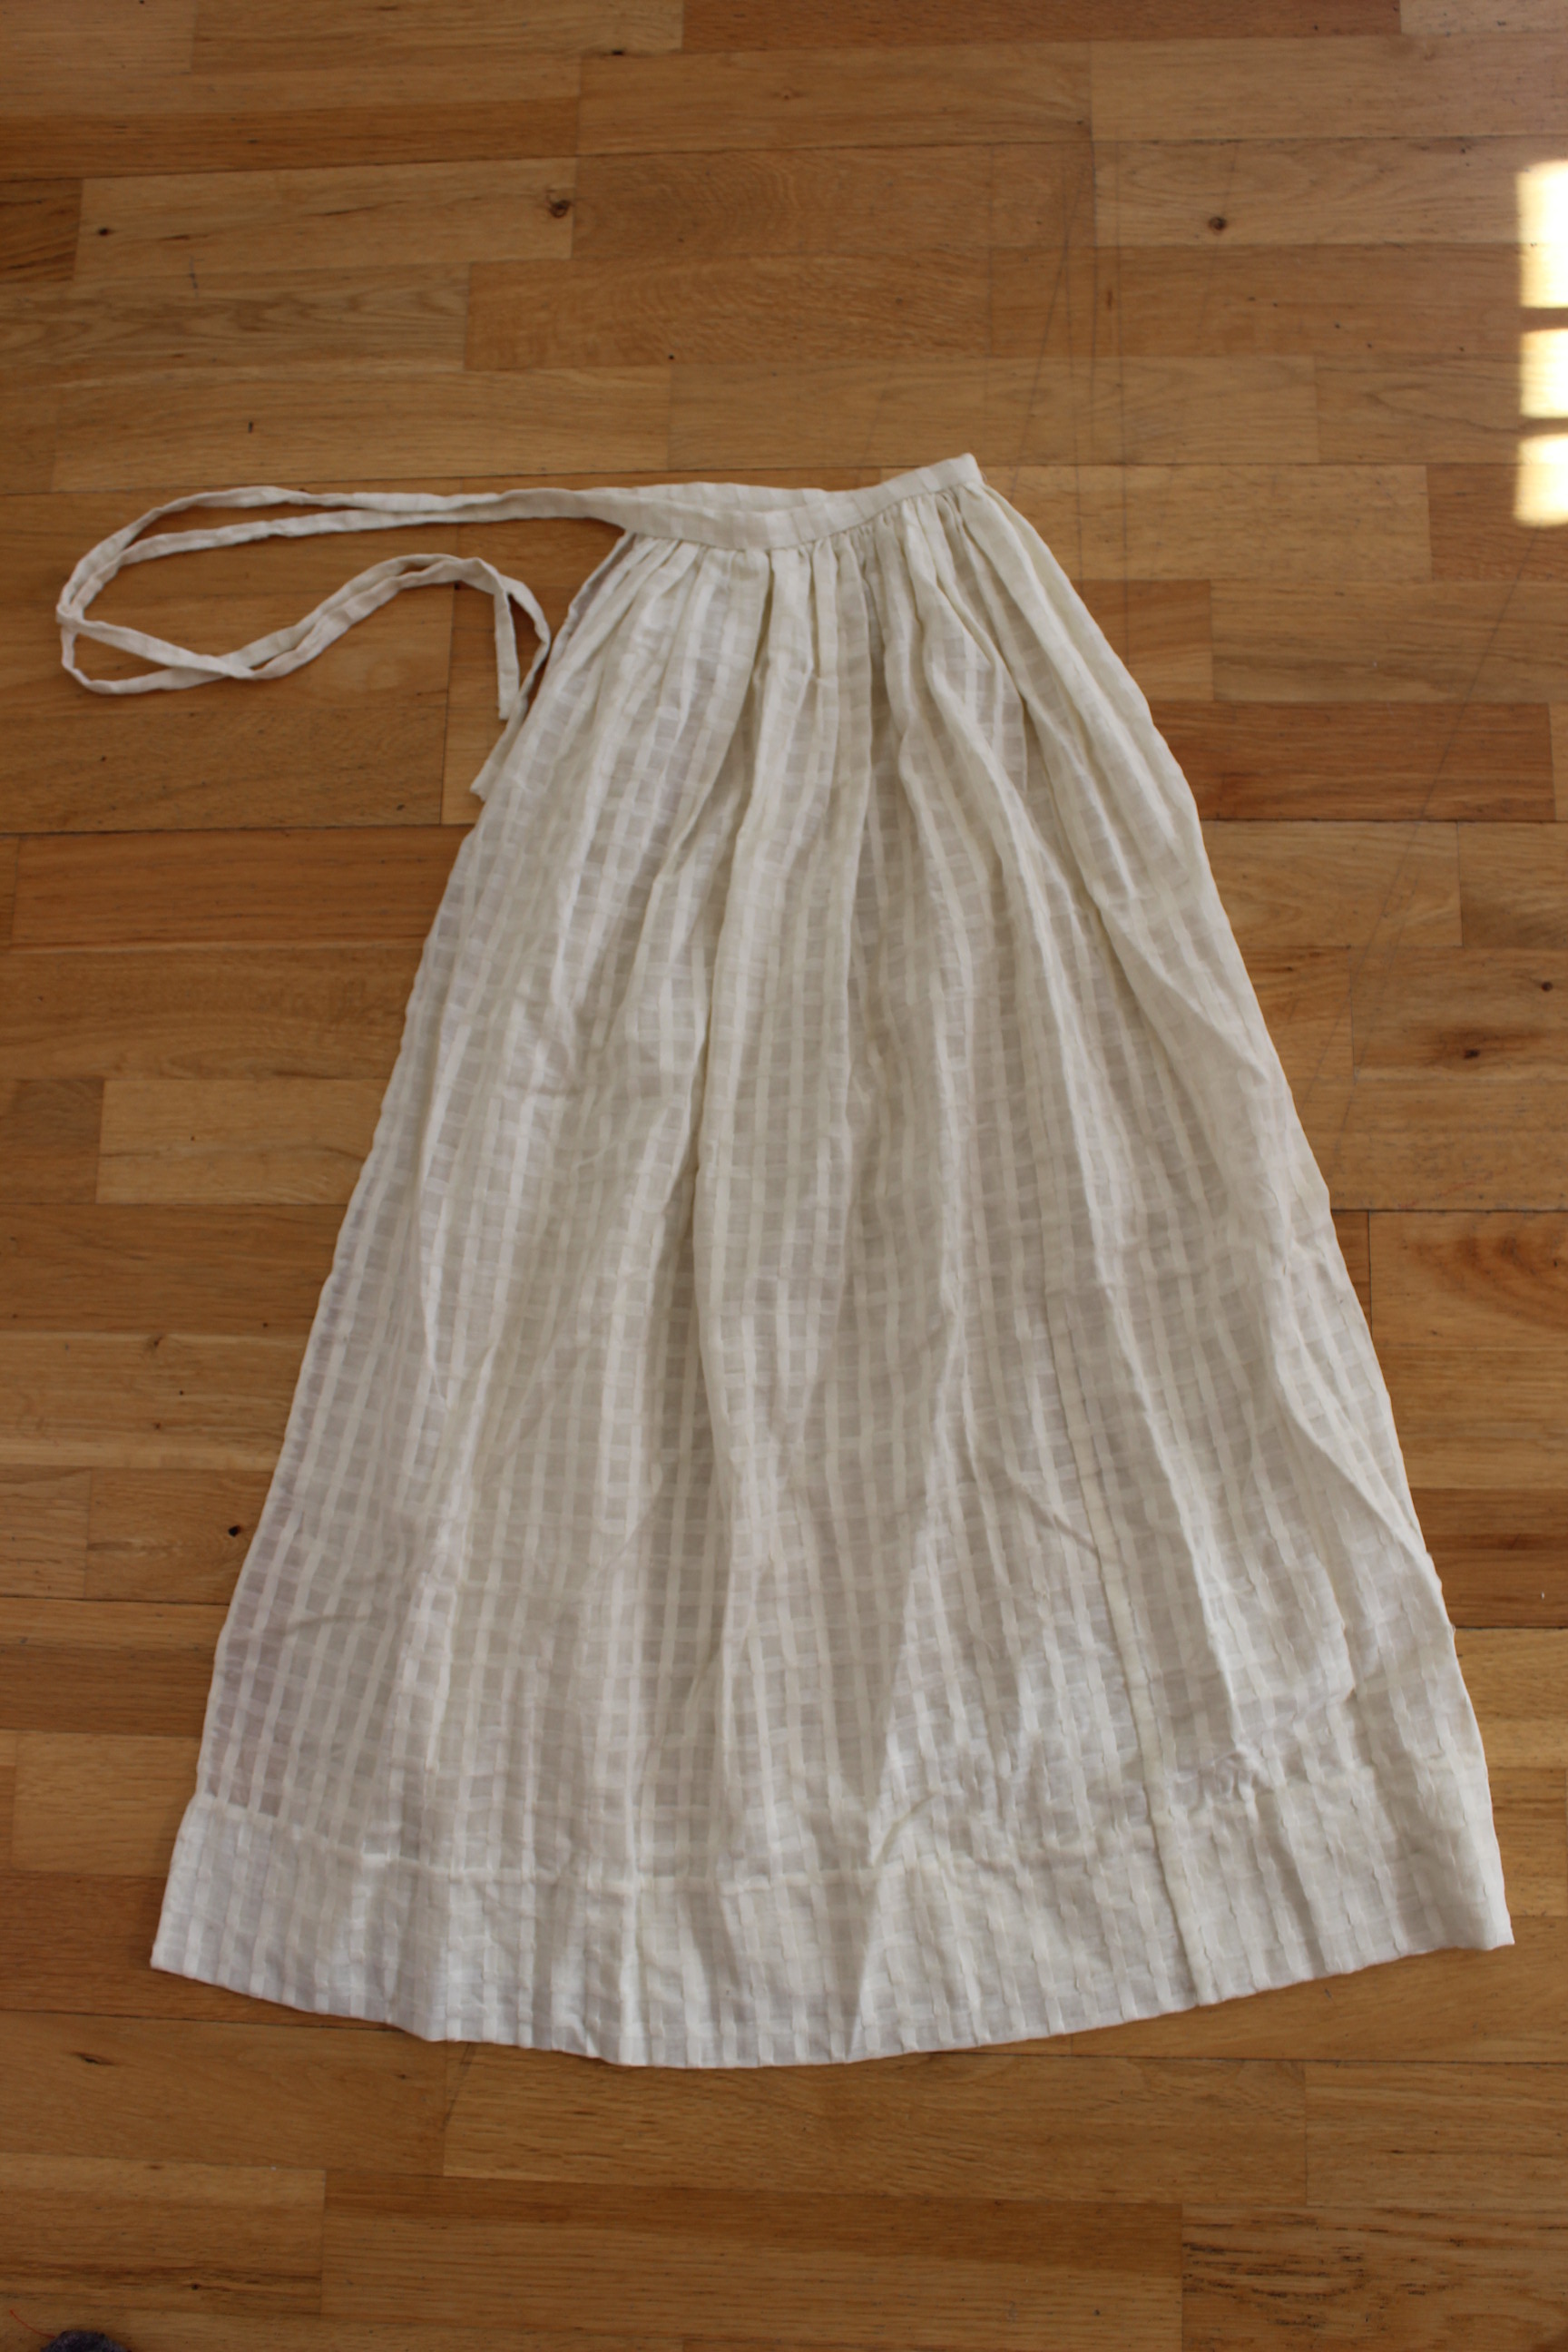
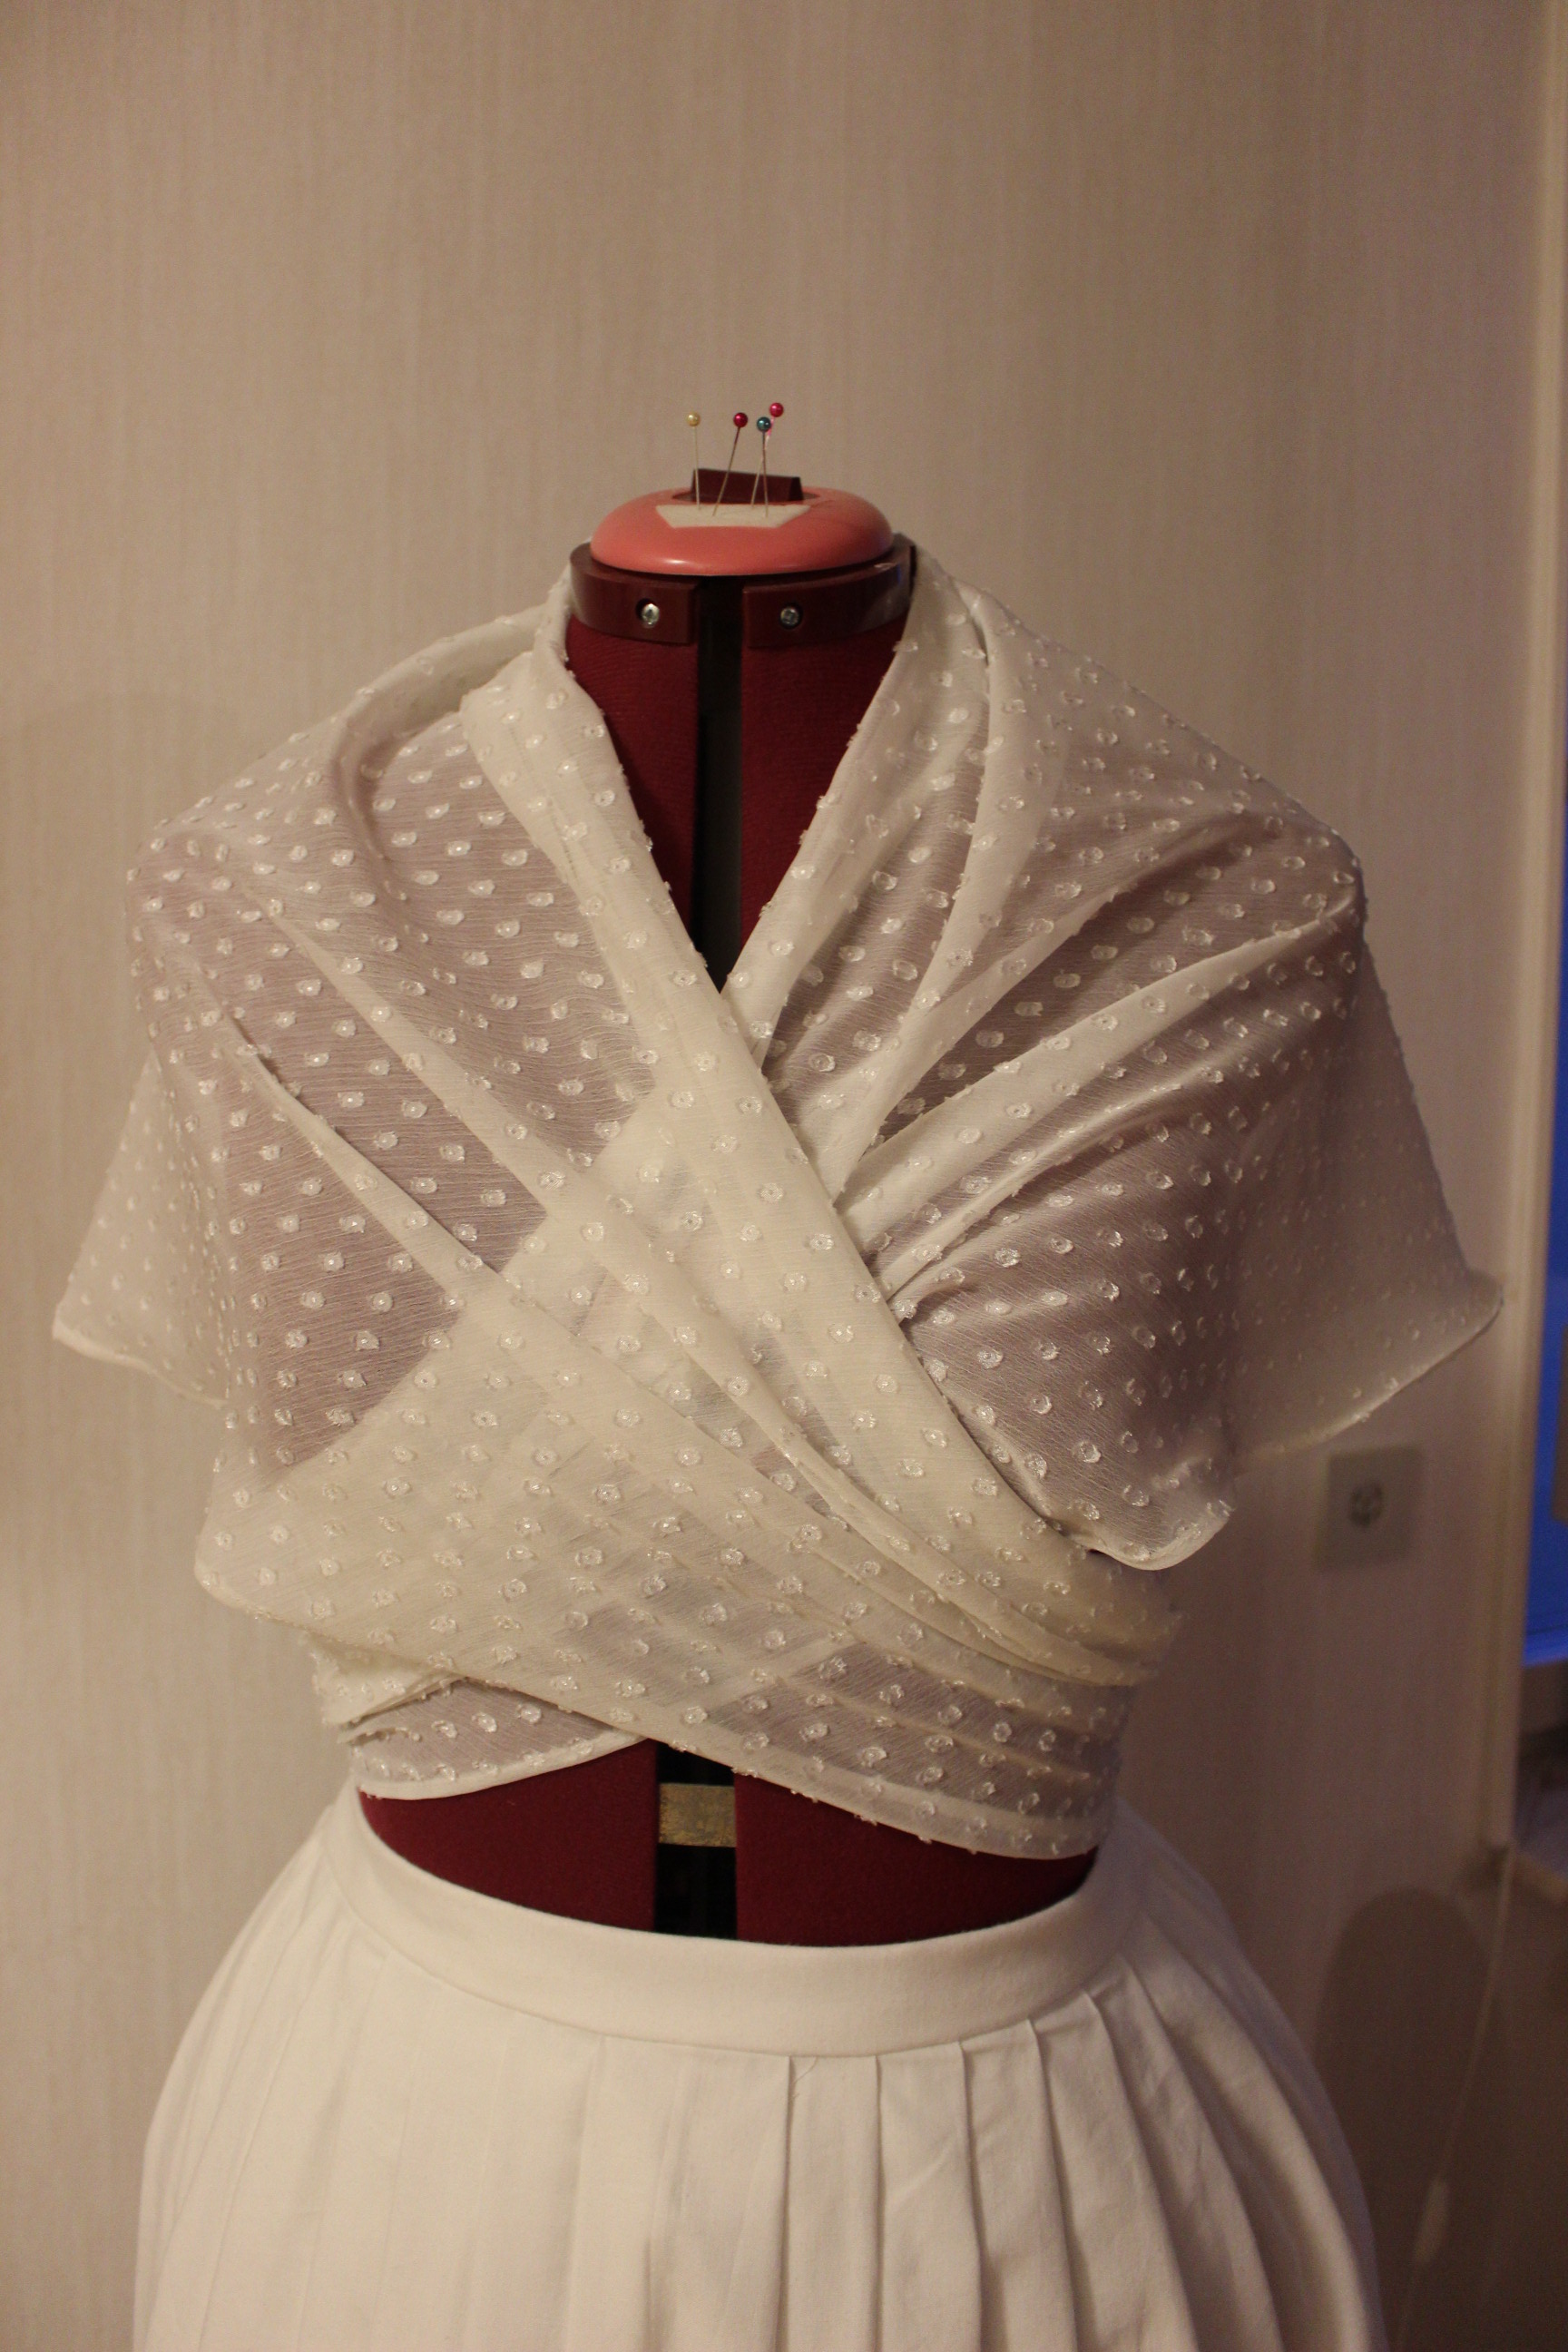
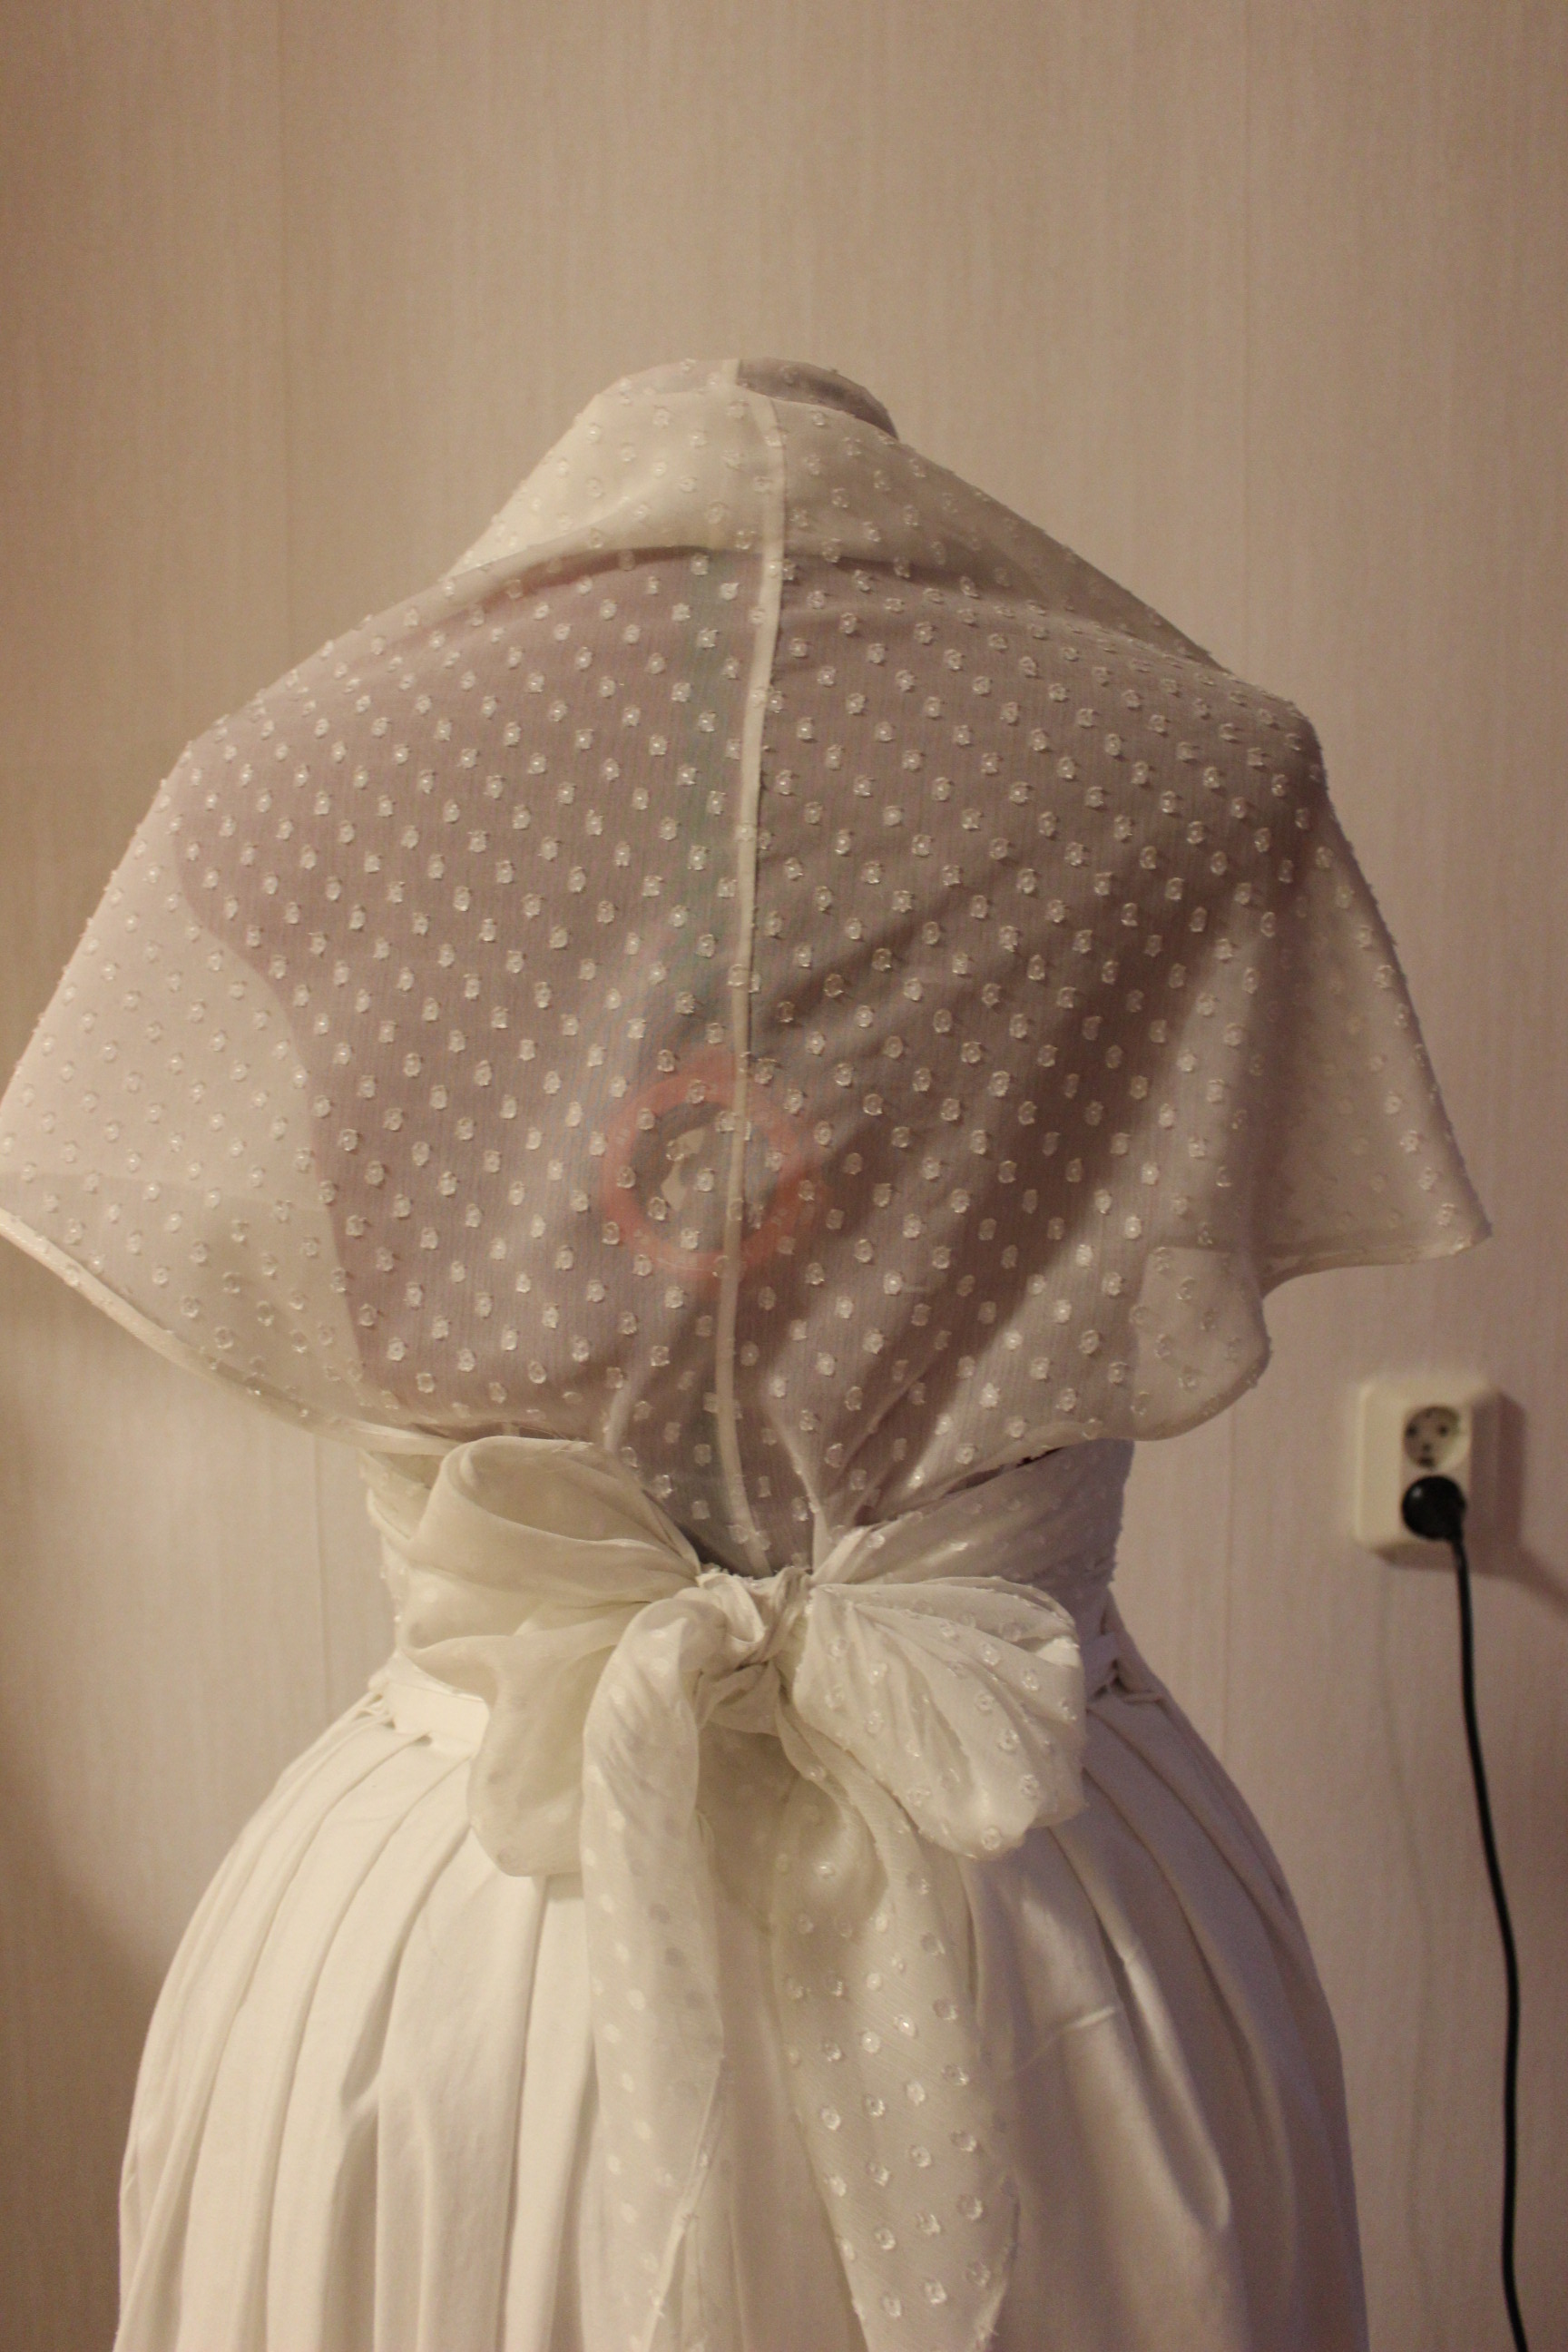
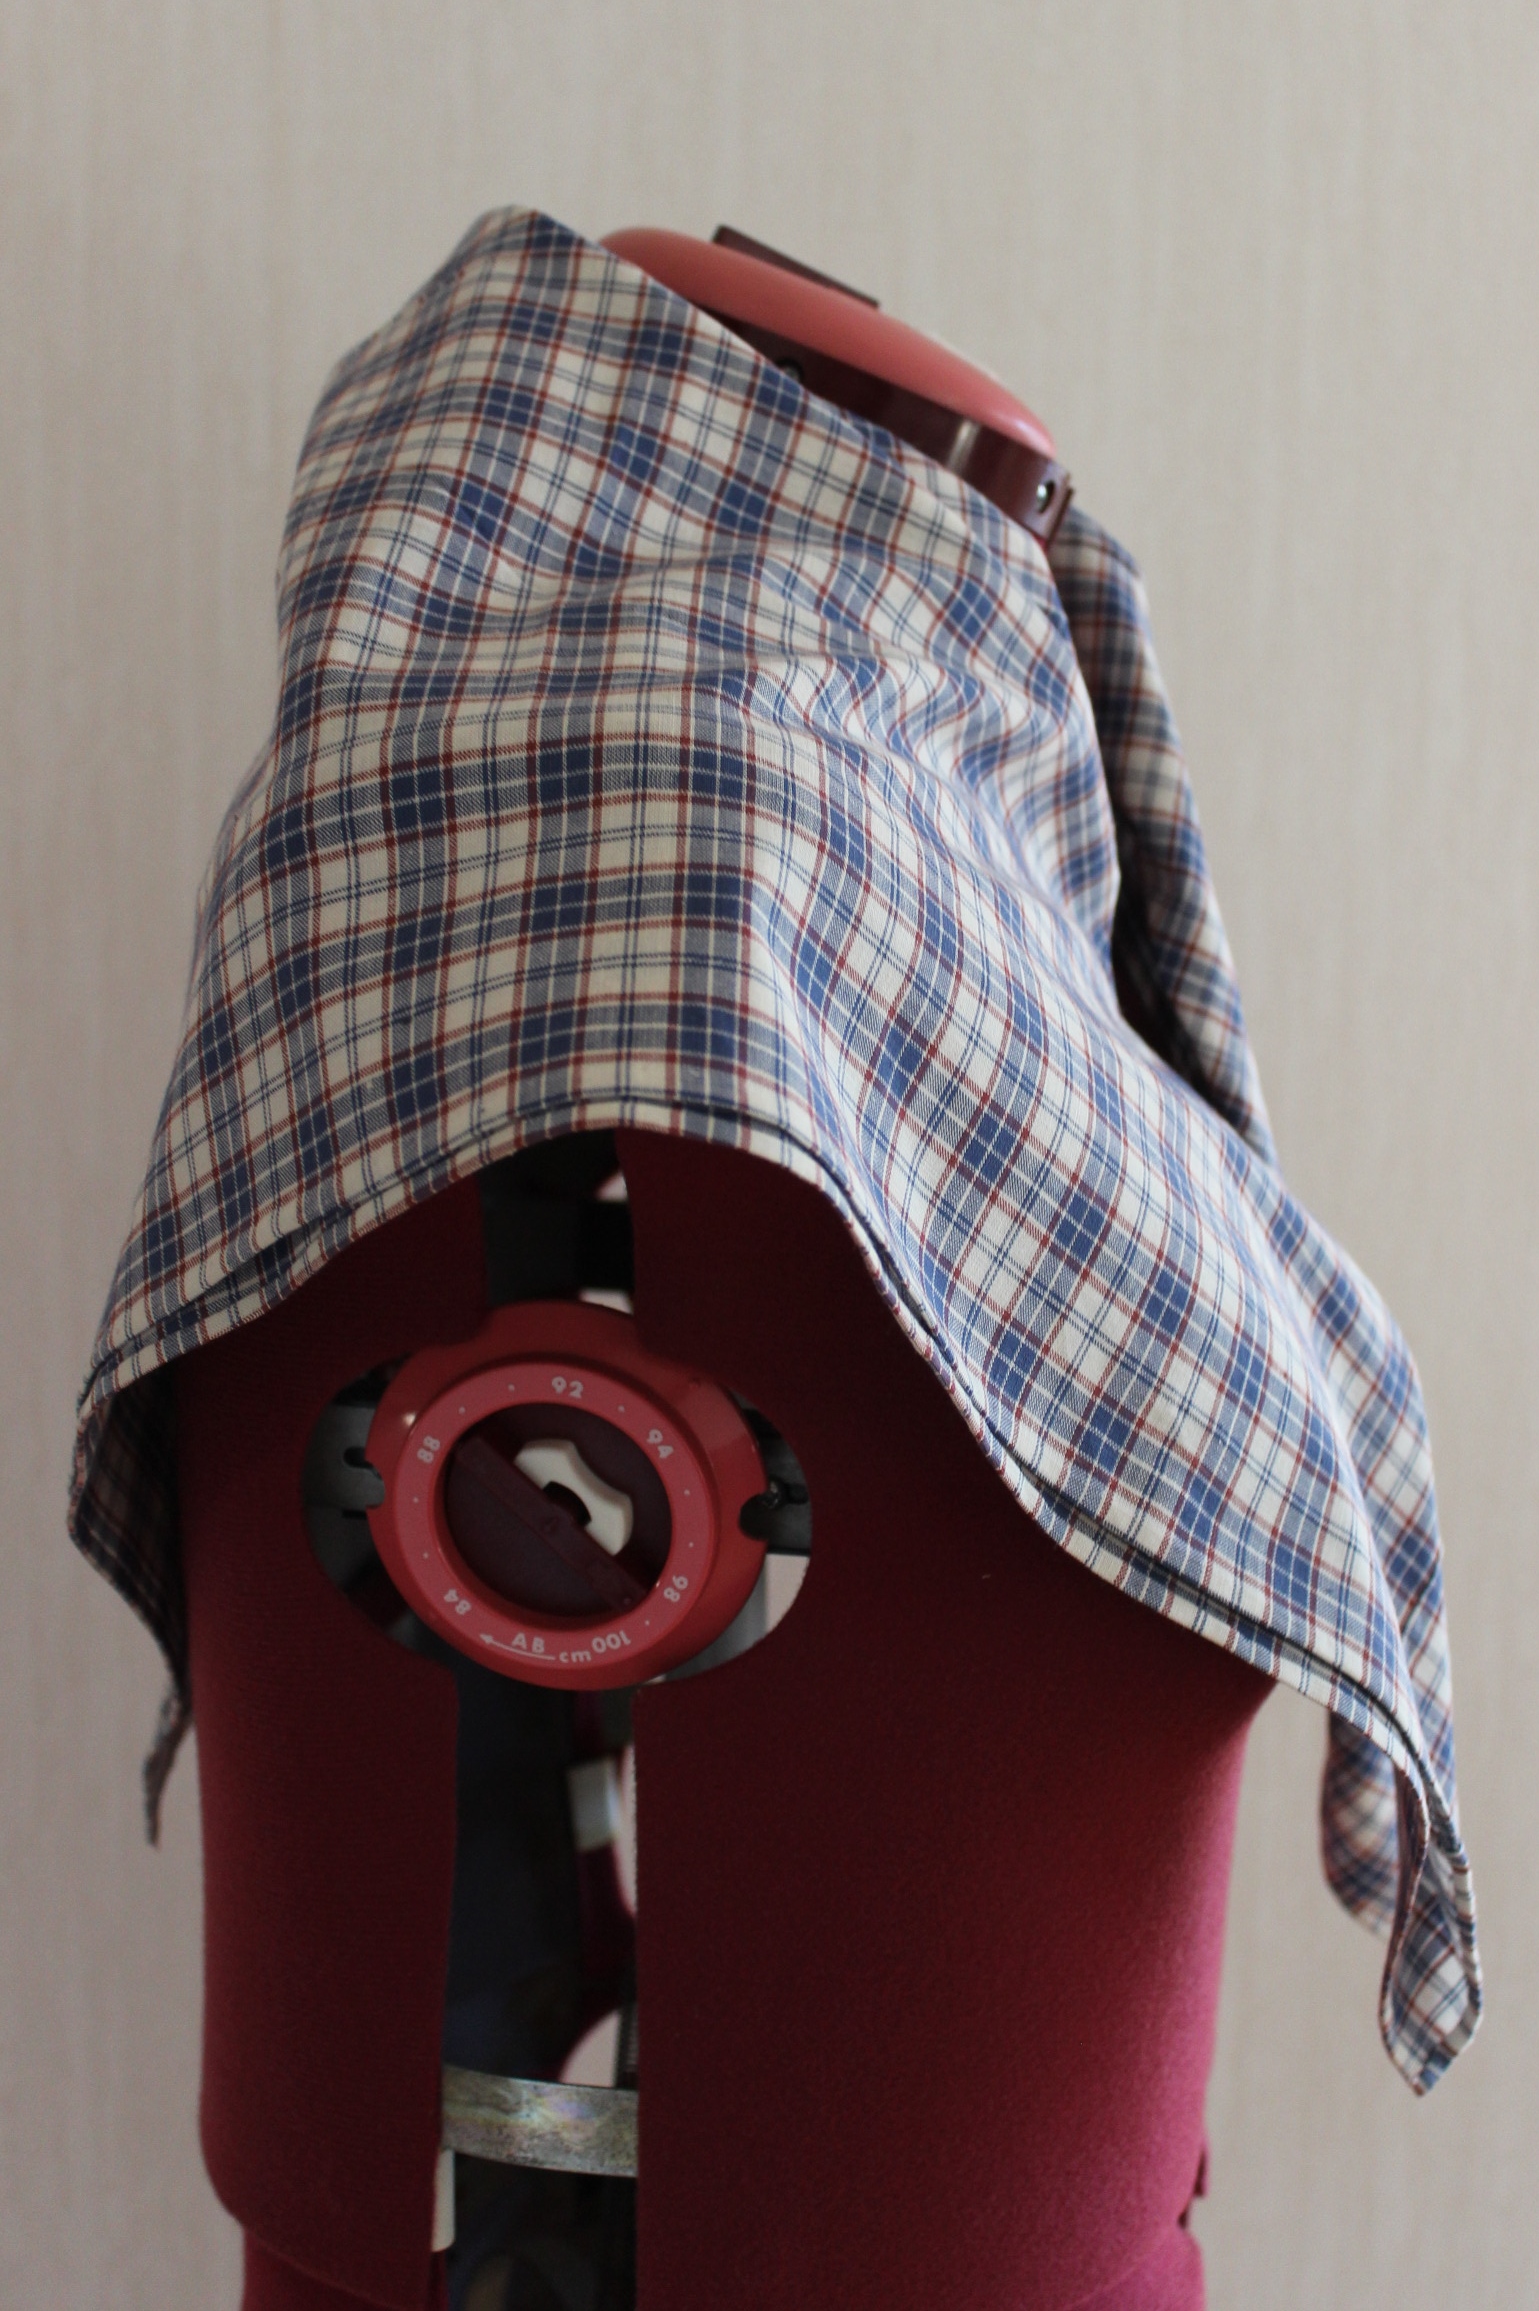
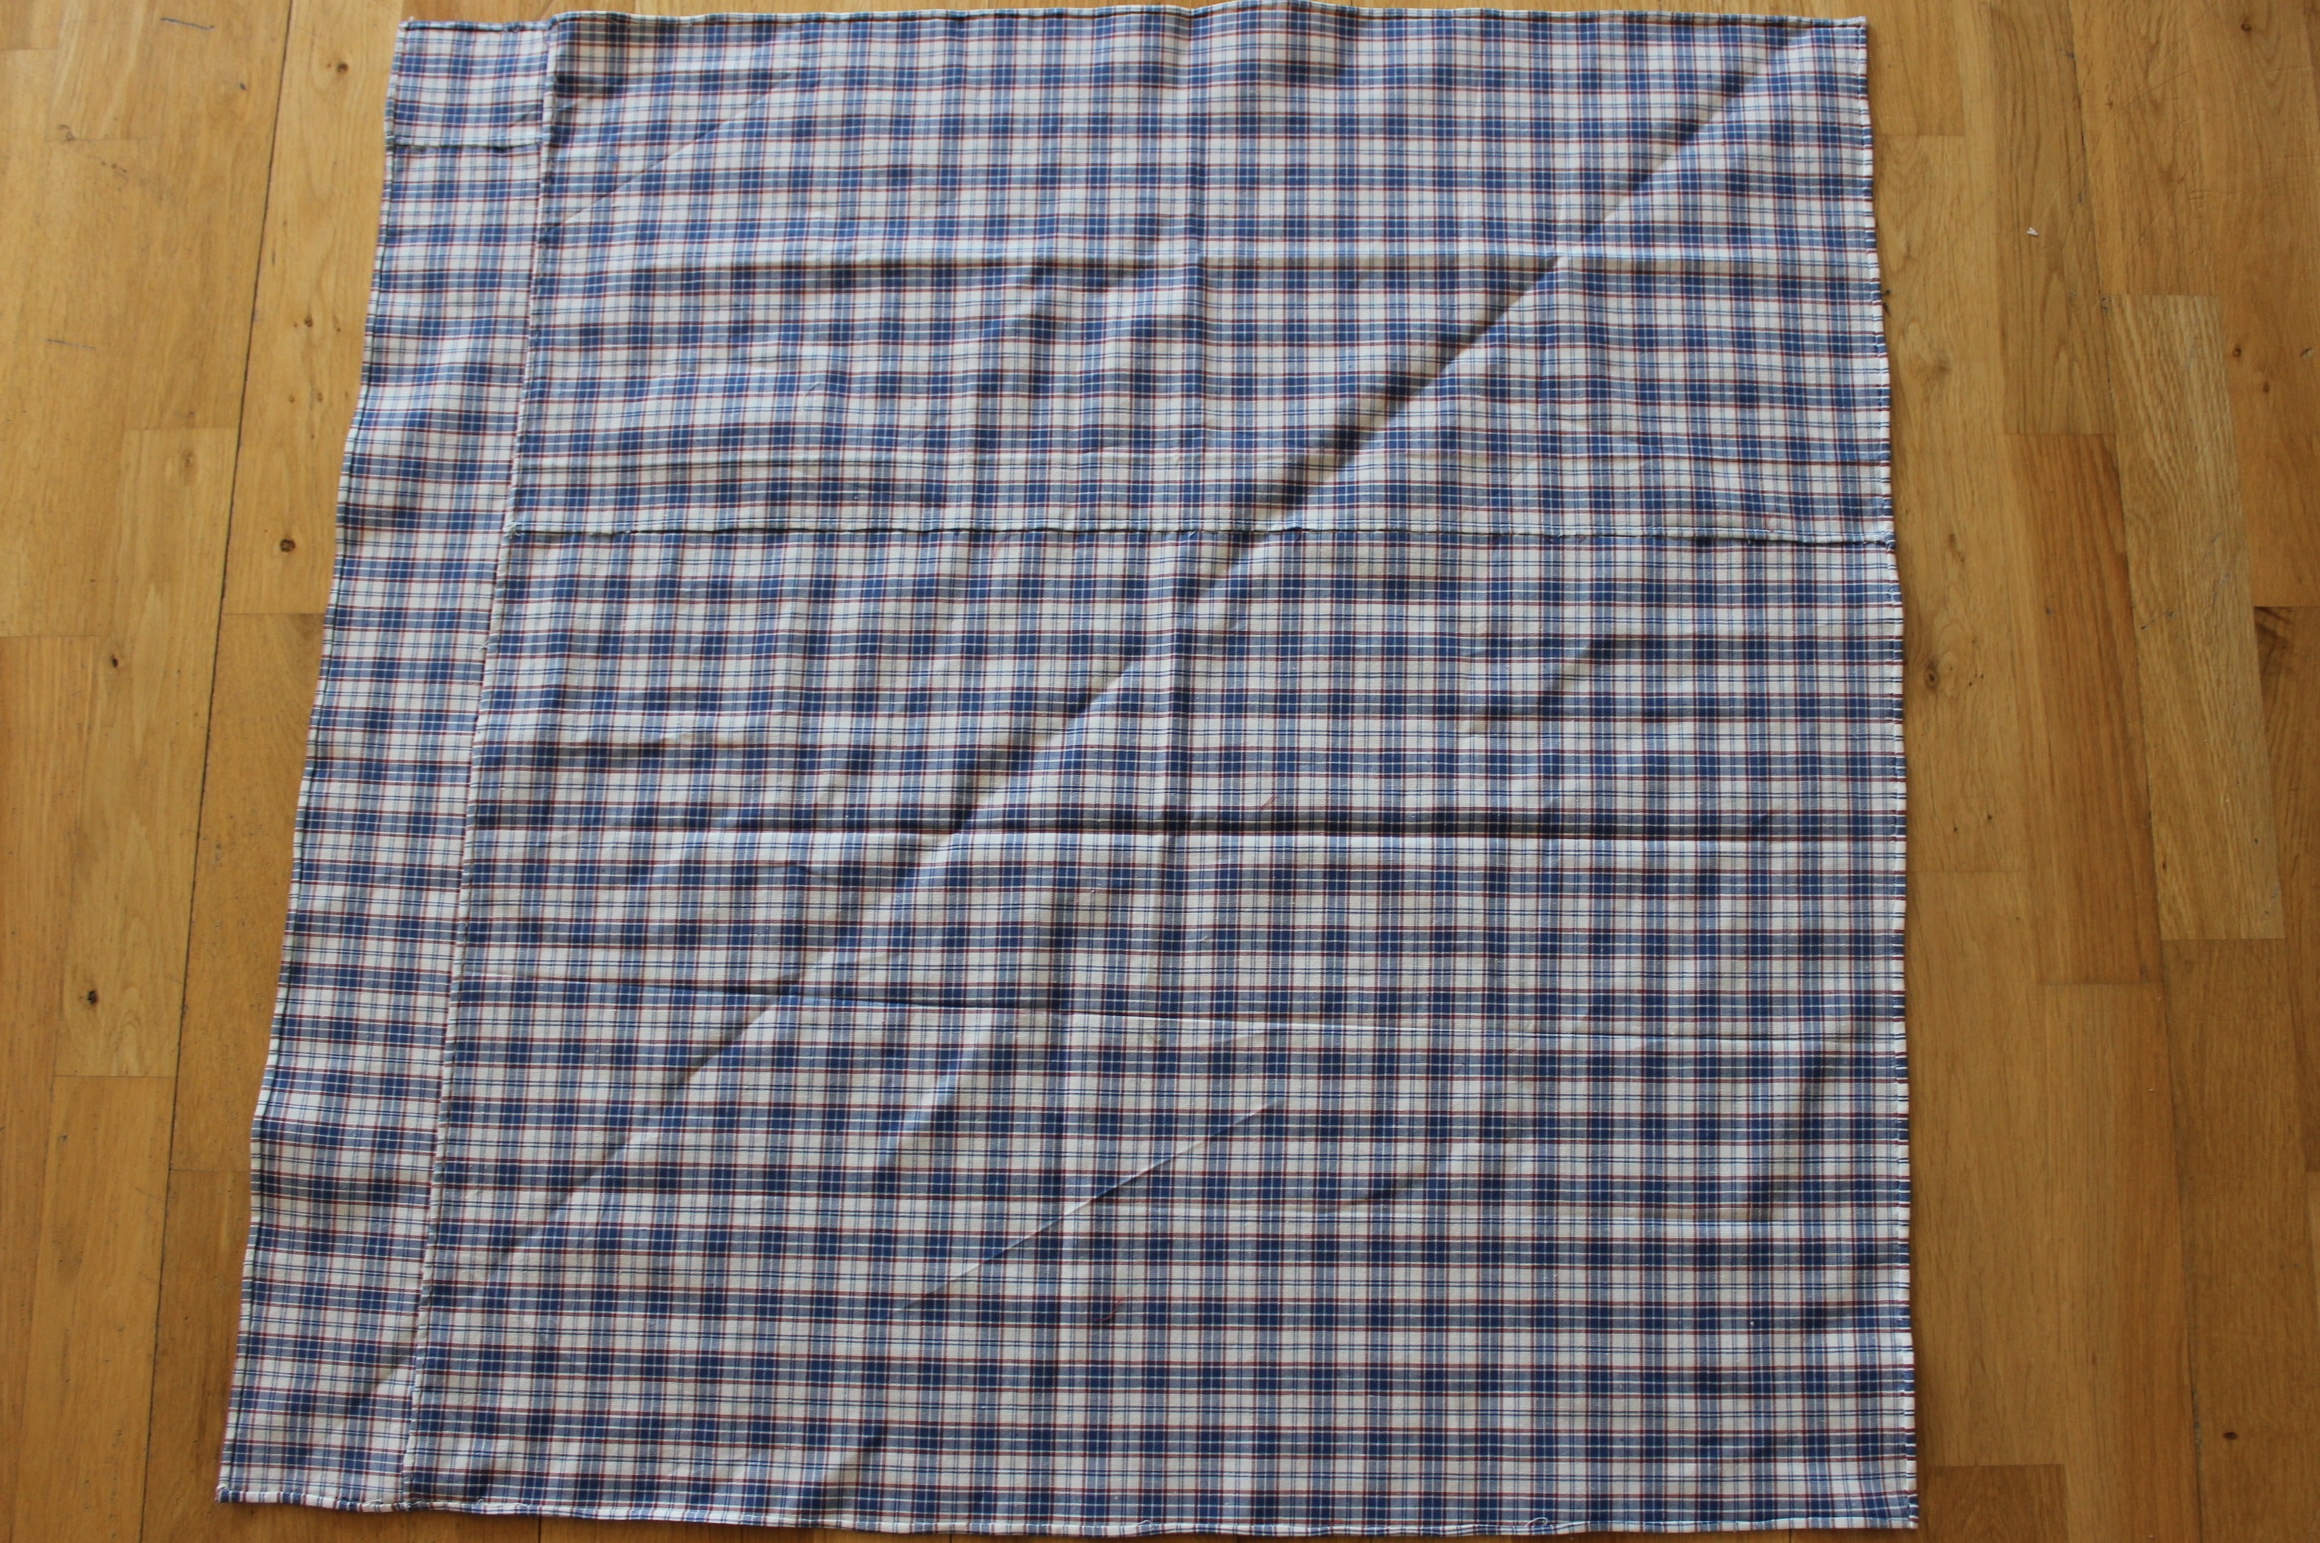
finished but not yet pressed.

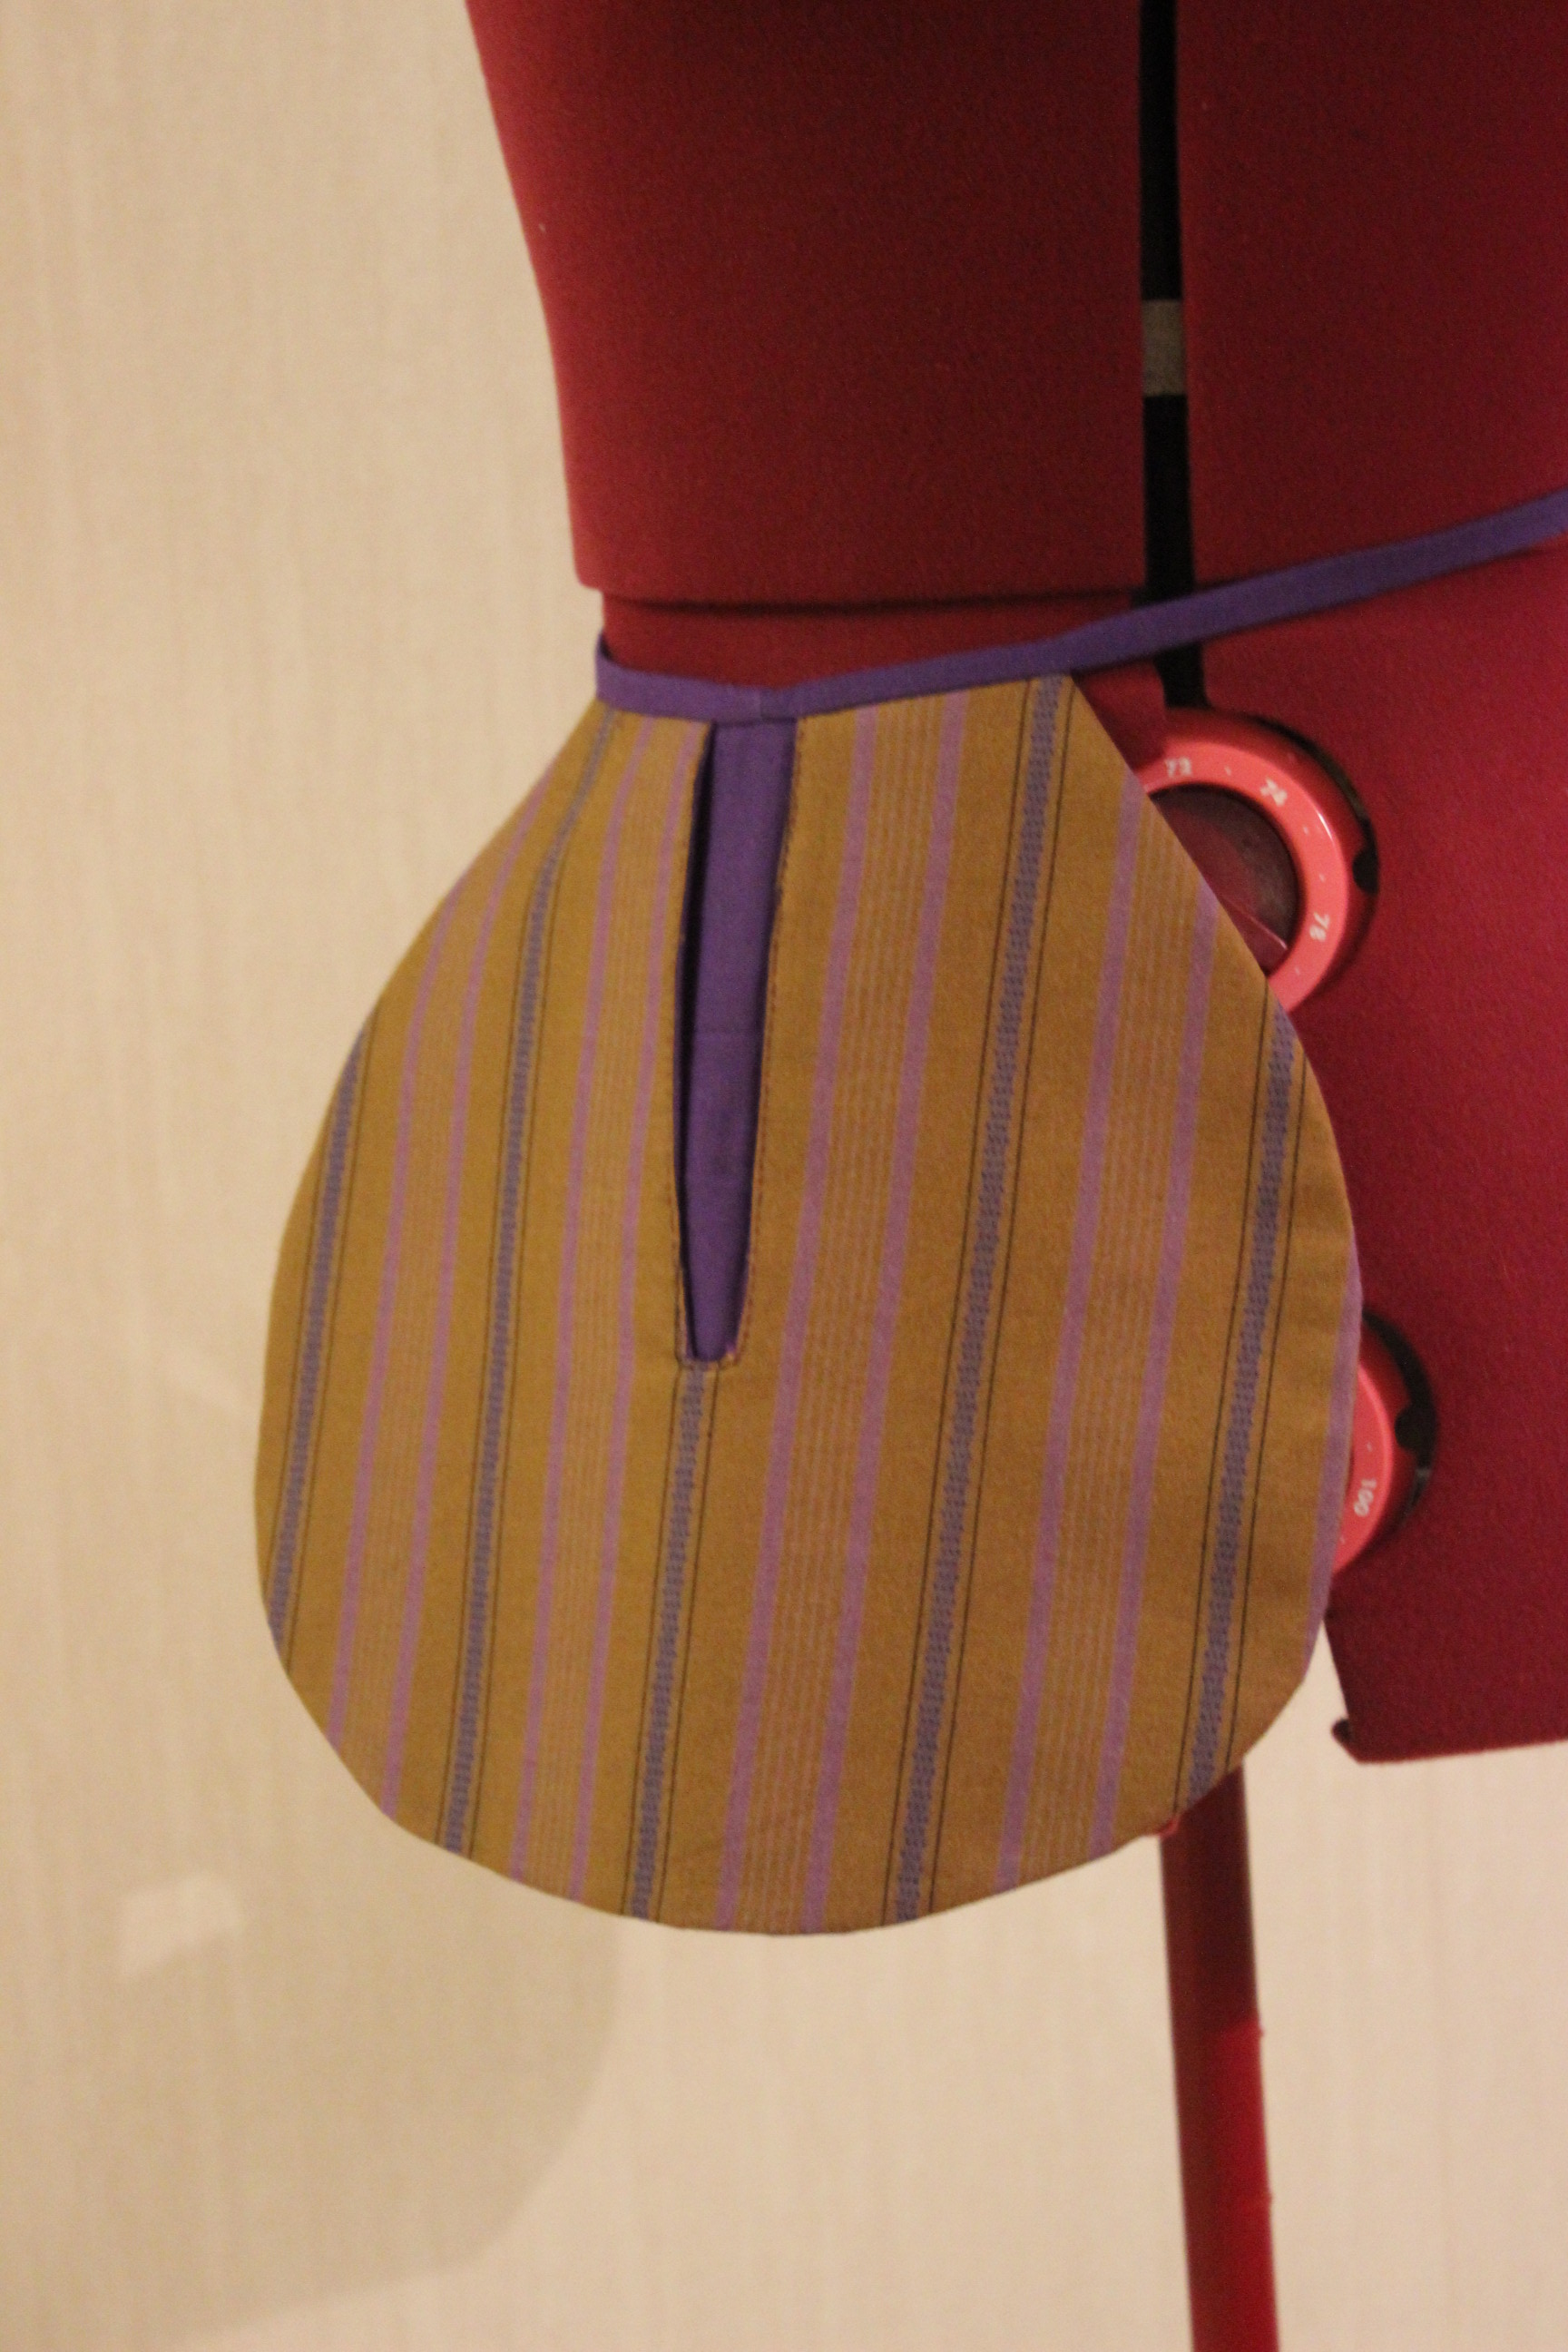
The only thing that I wasn’t completely happy with was the fact the plaid was a un-even, which caused the side-turned piece not possible to pattern match. But I don’t think that will be noticeable once worn.
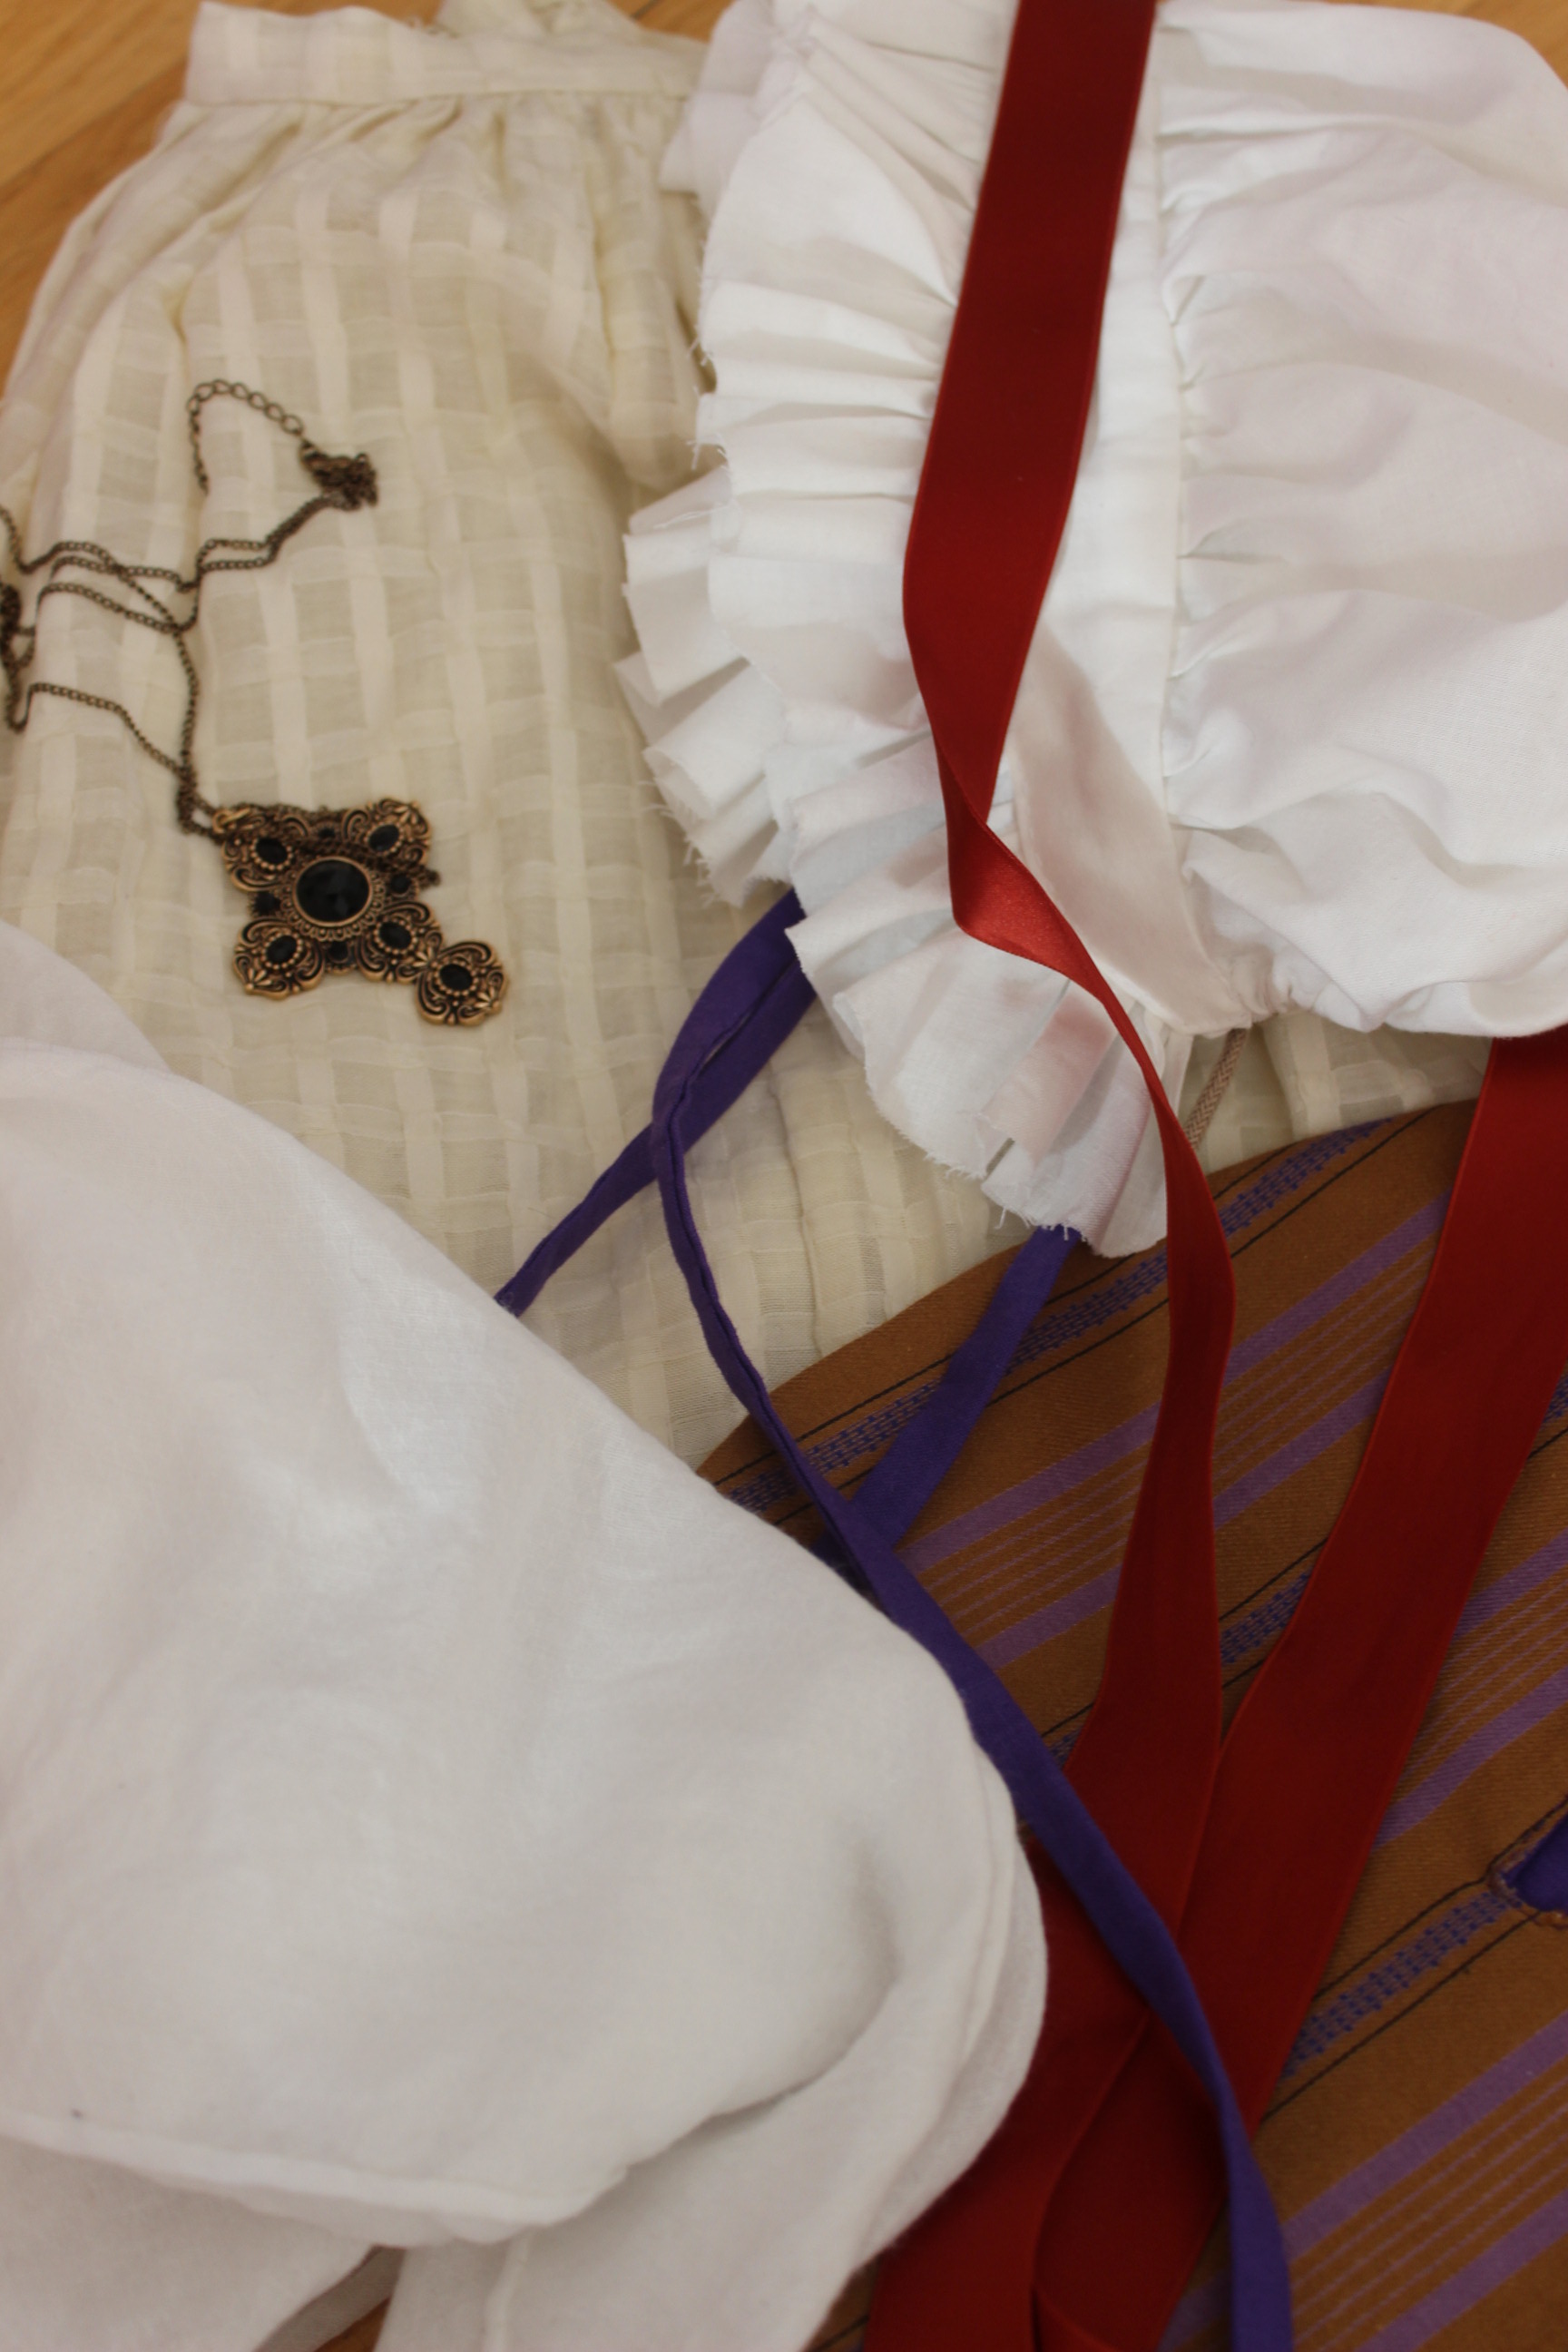
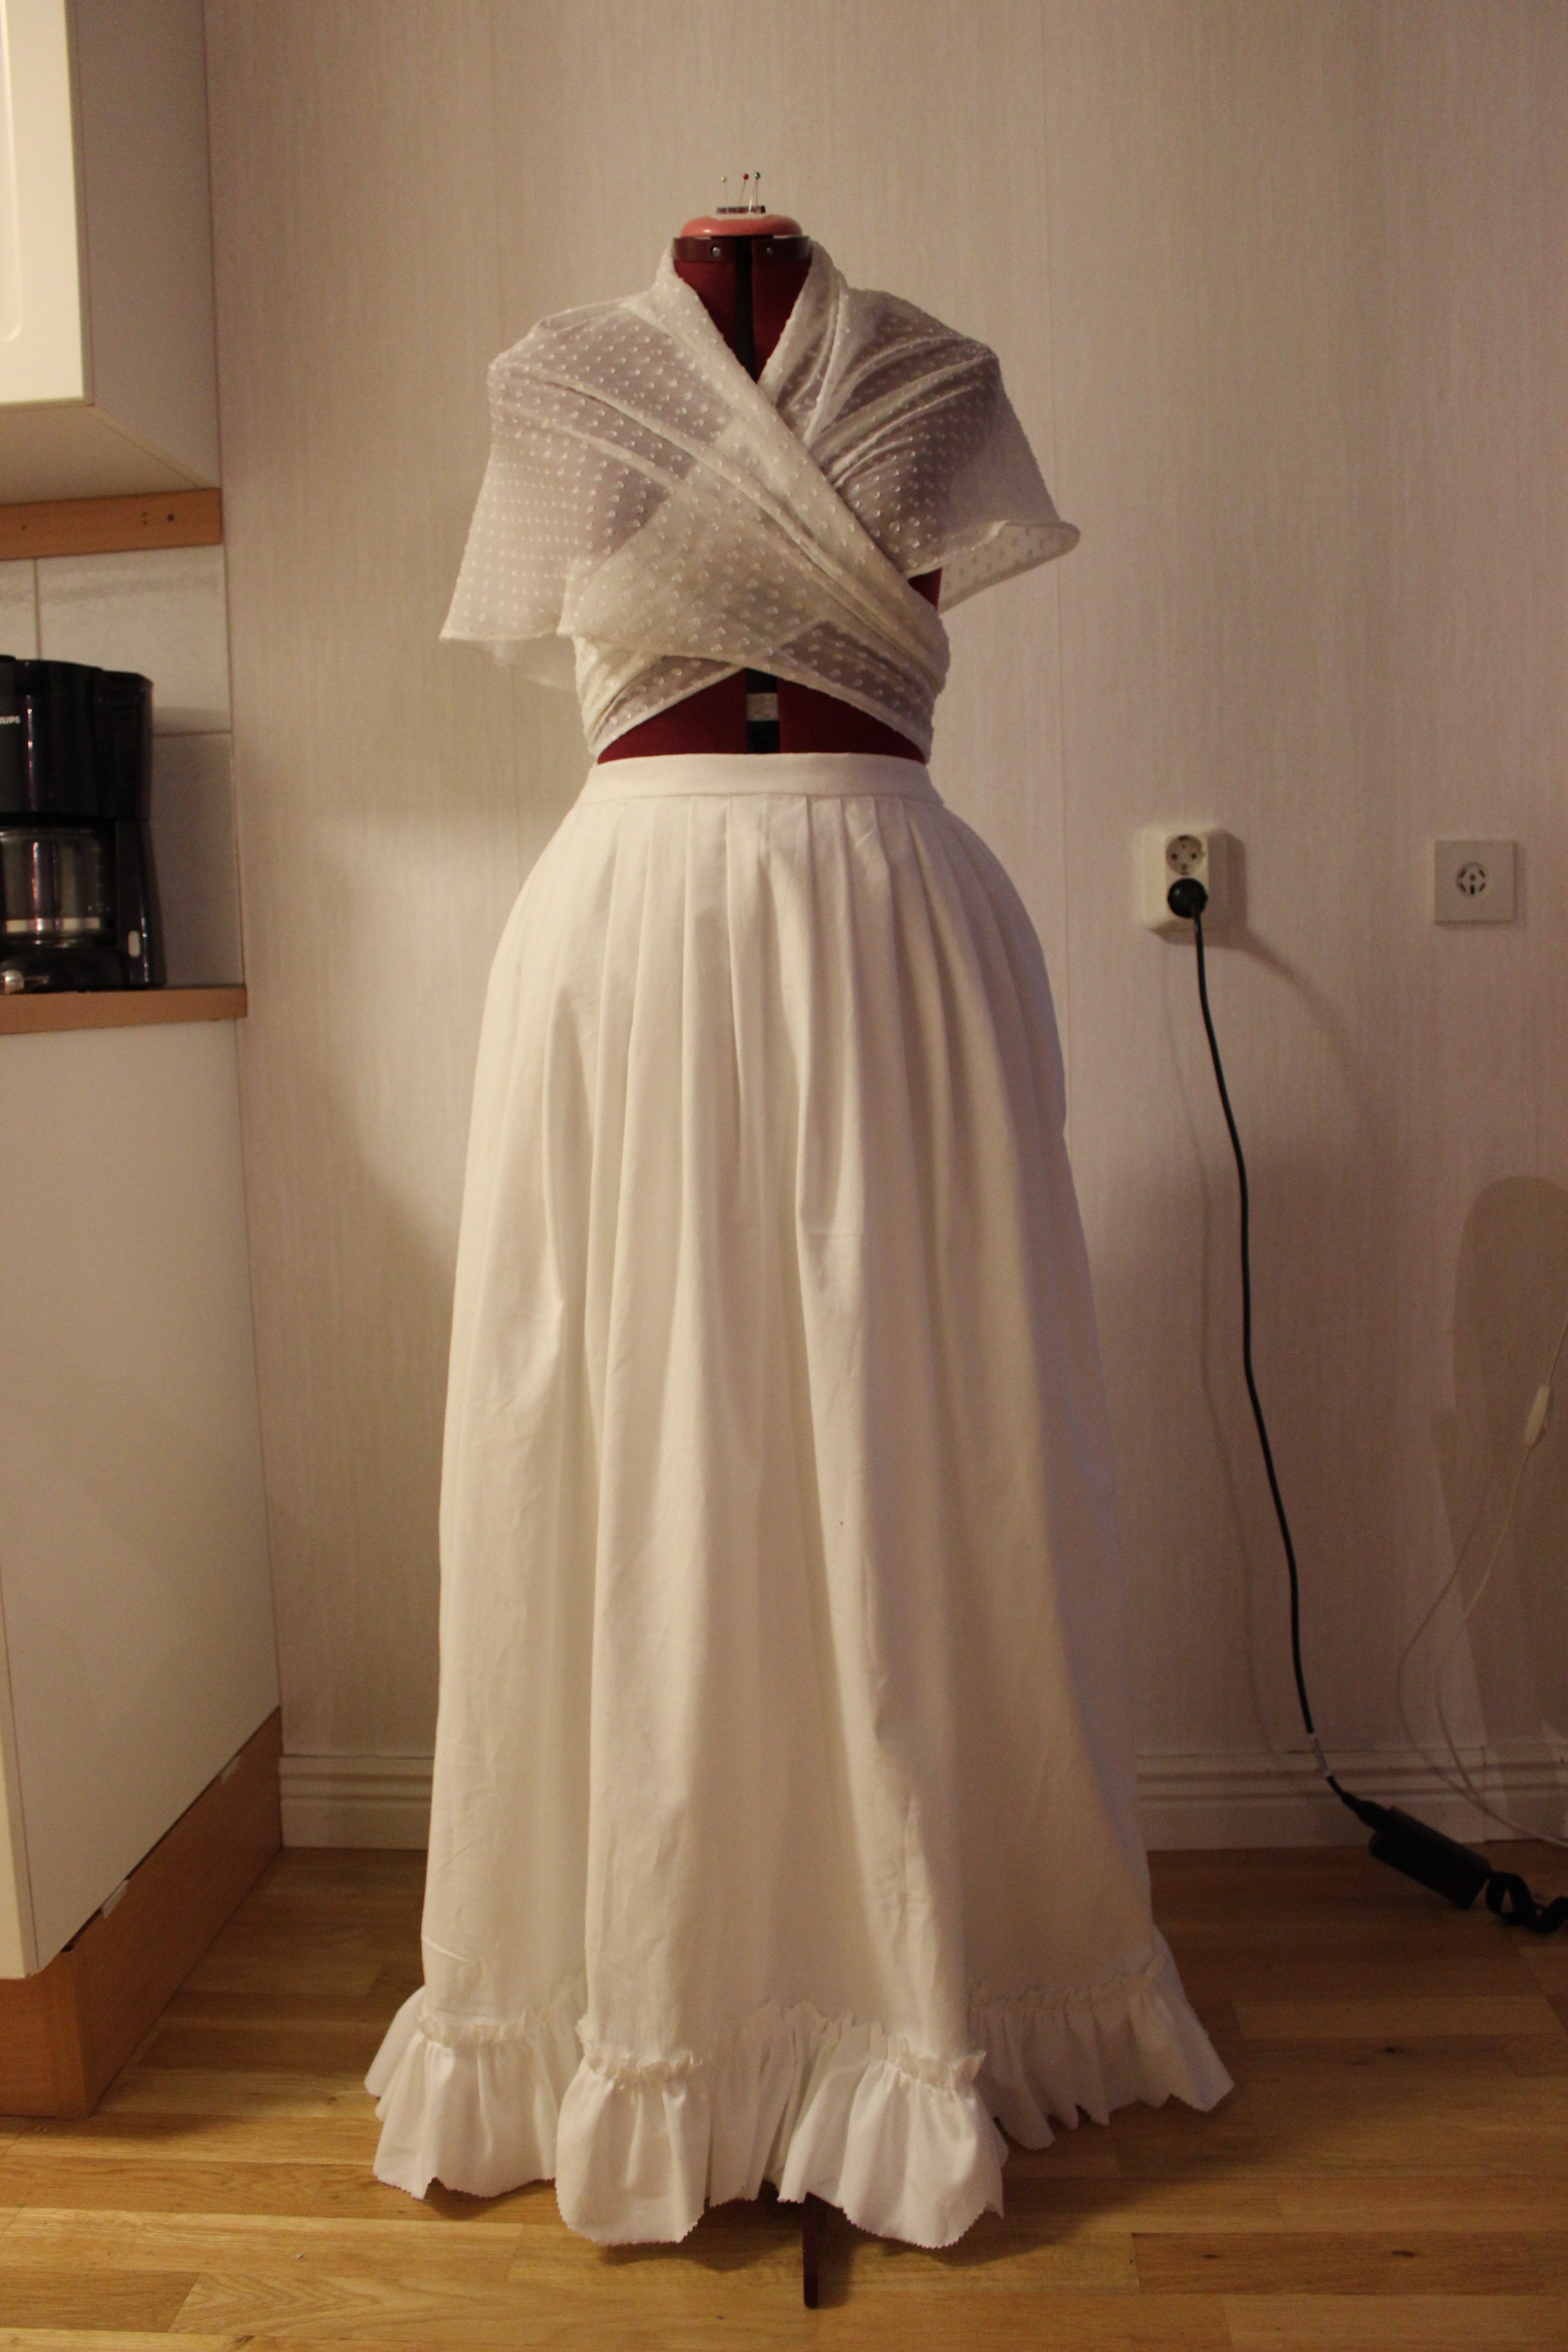
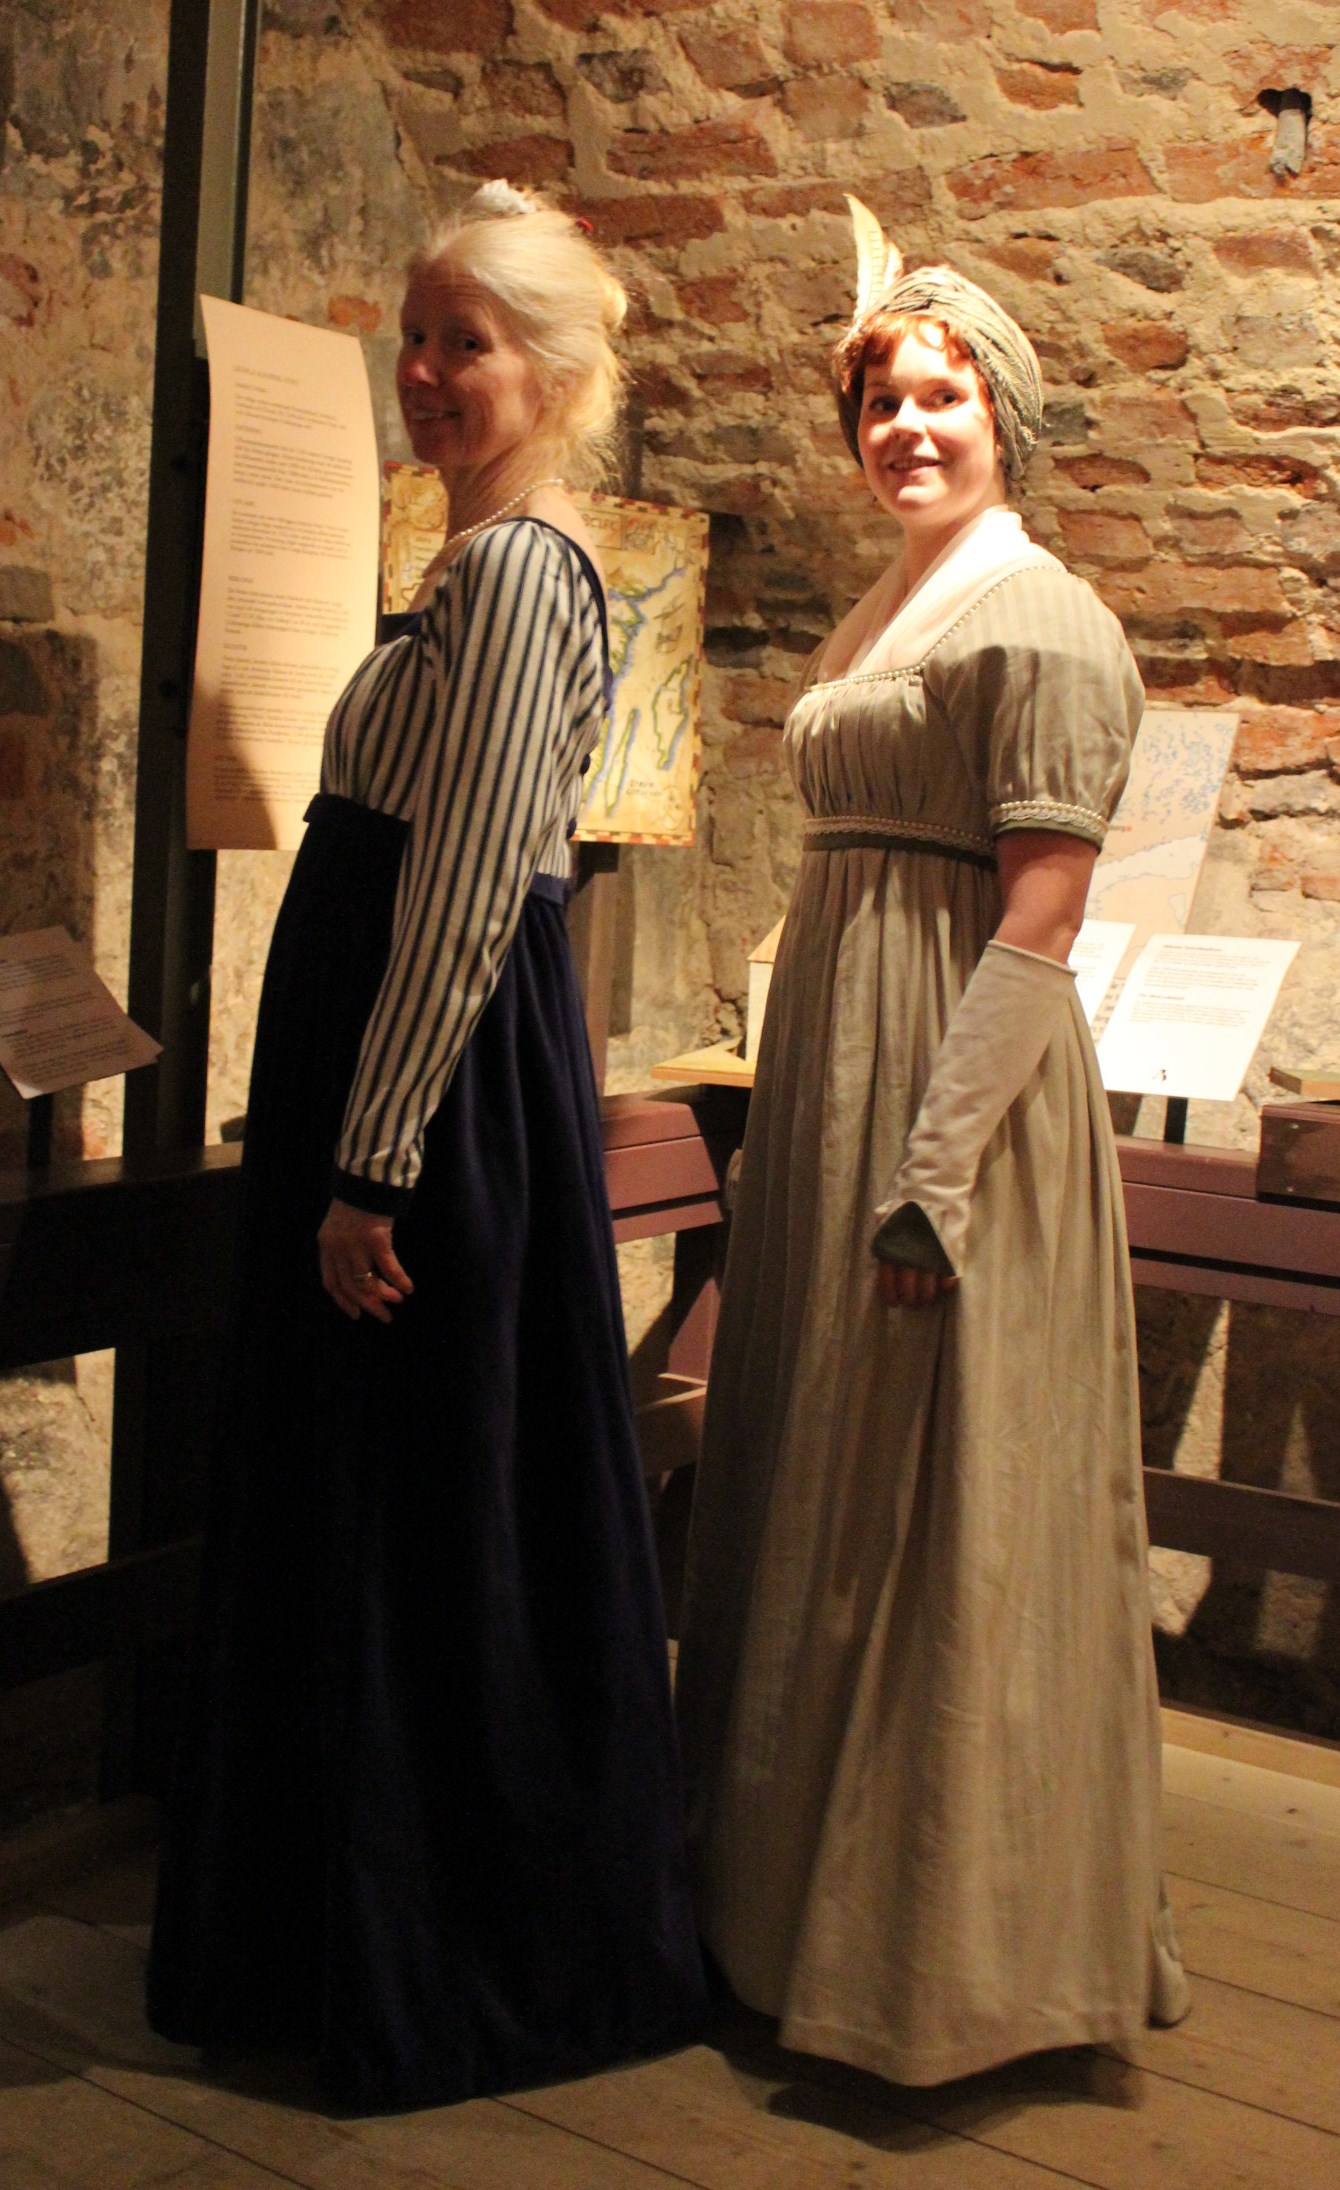
The finished shawl:

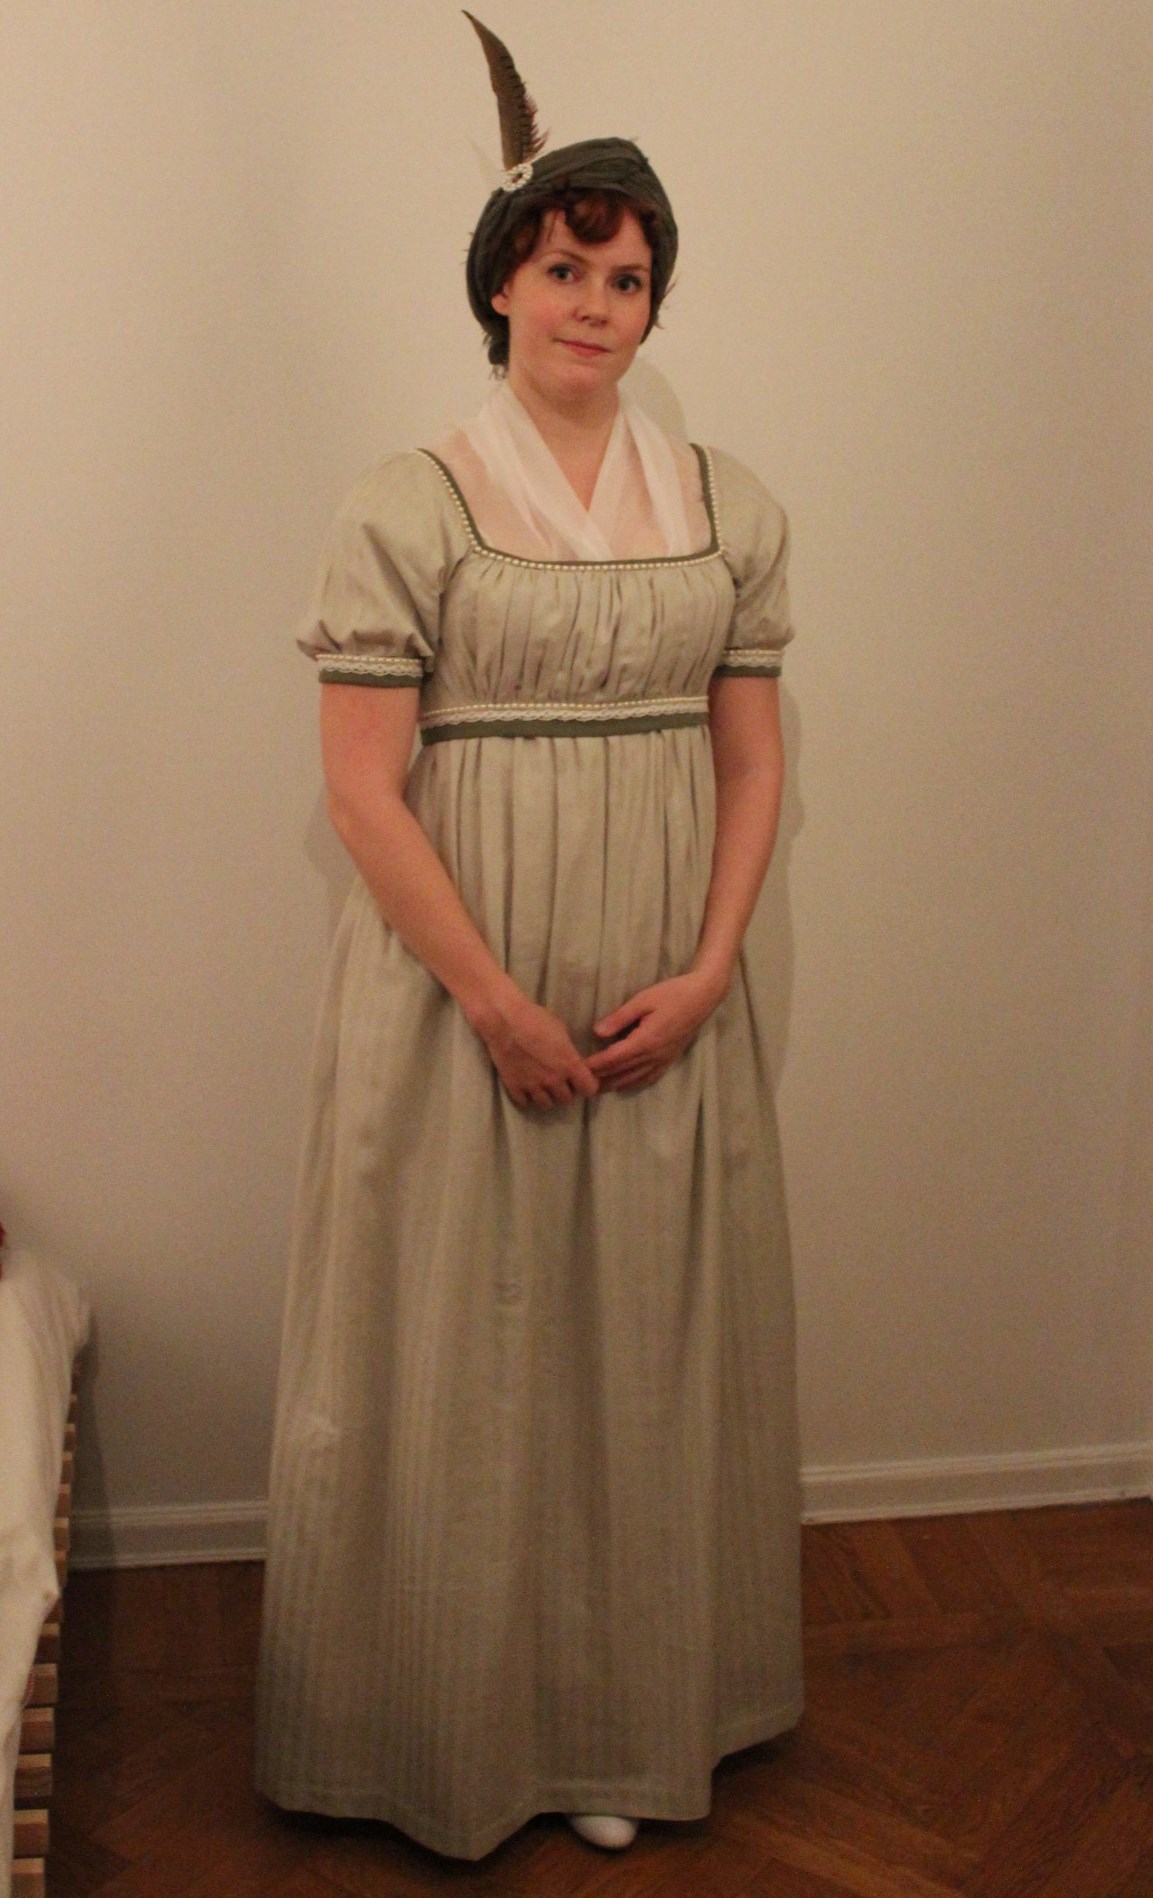
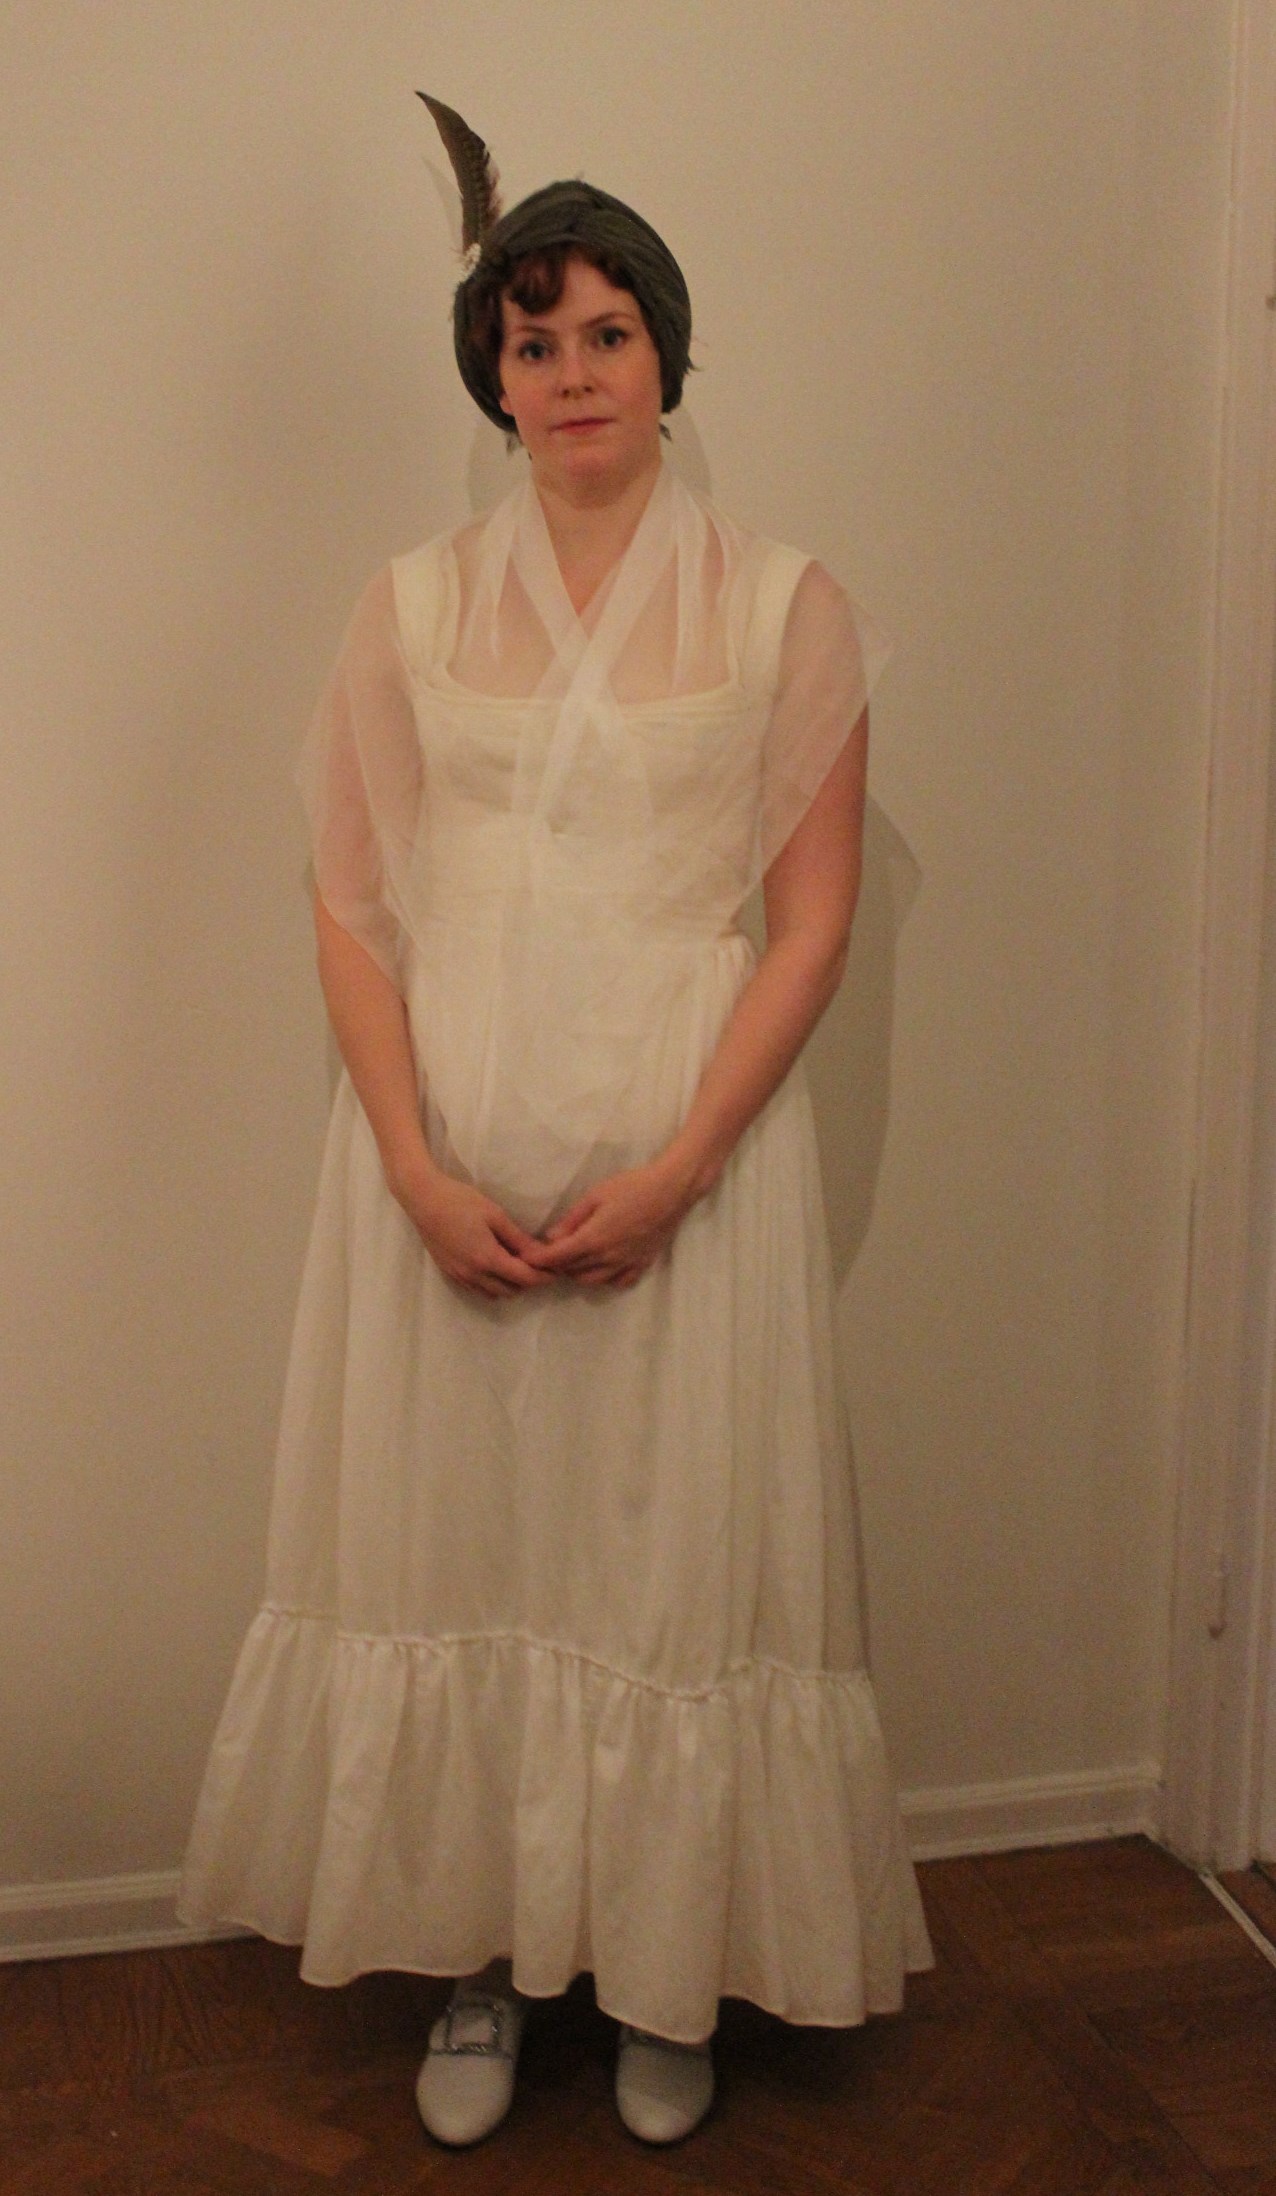
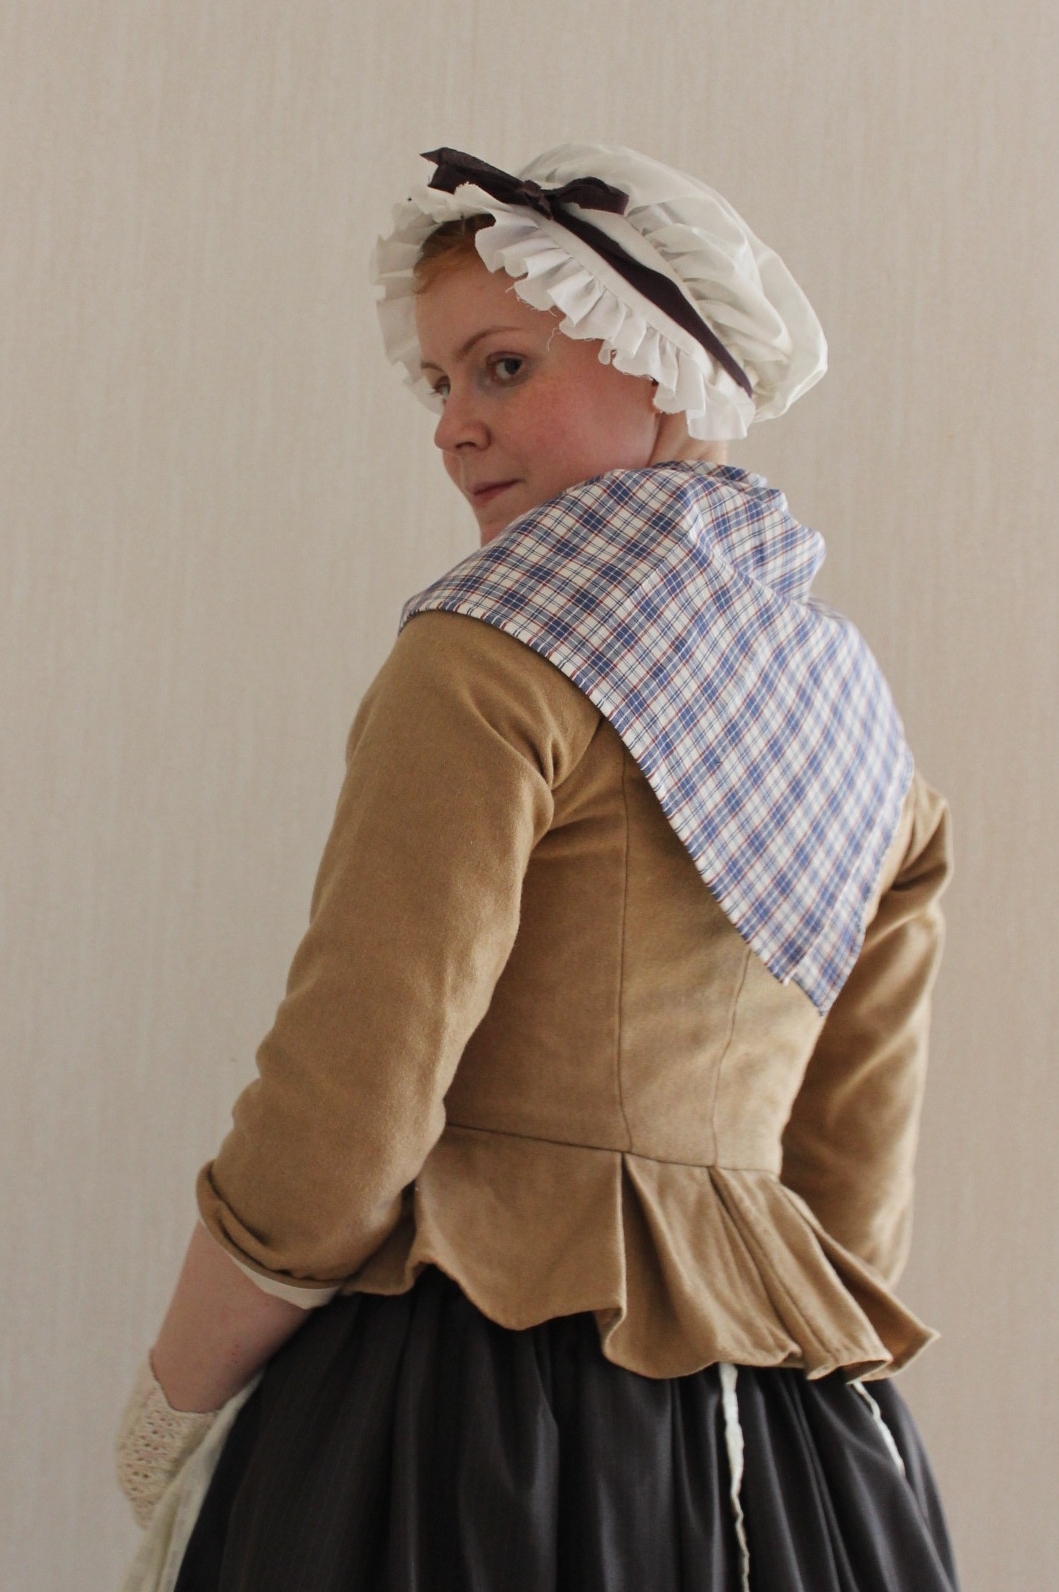
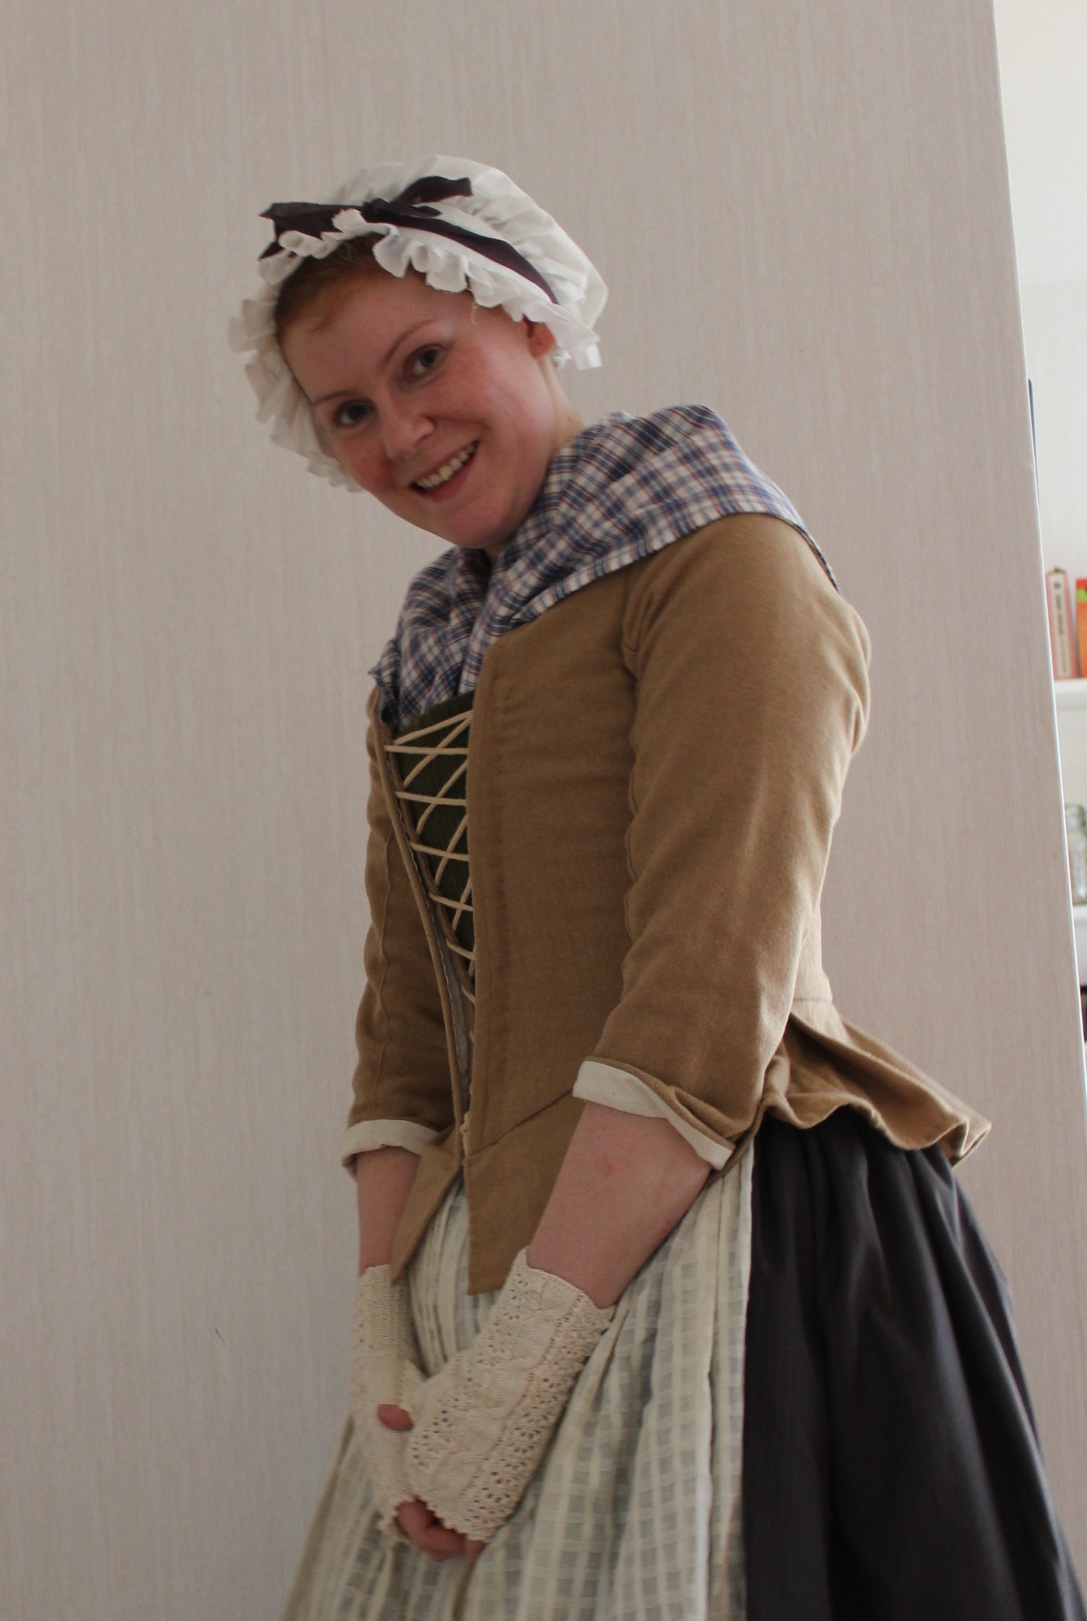
Paired with my 18th century “Outlander” jacket:
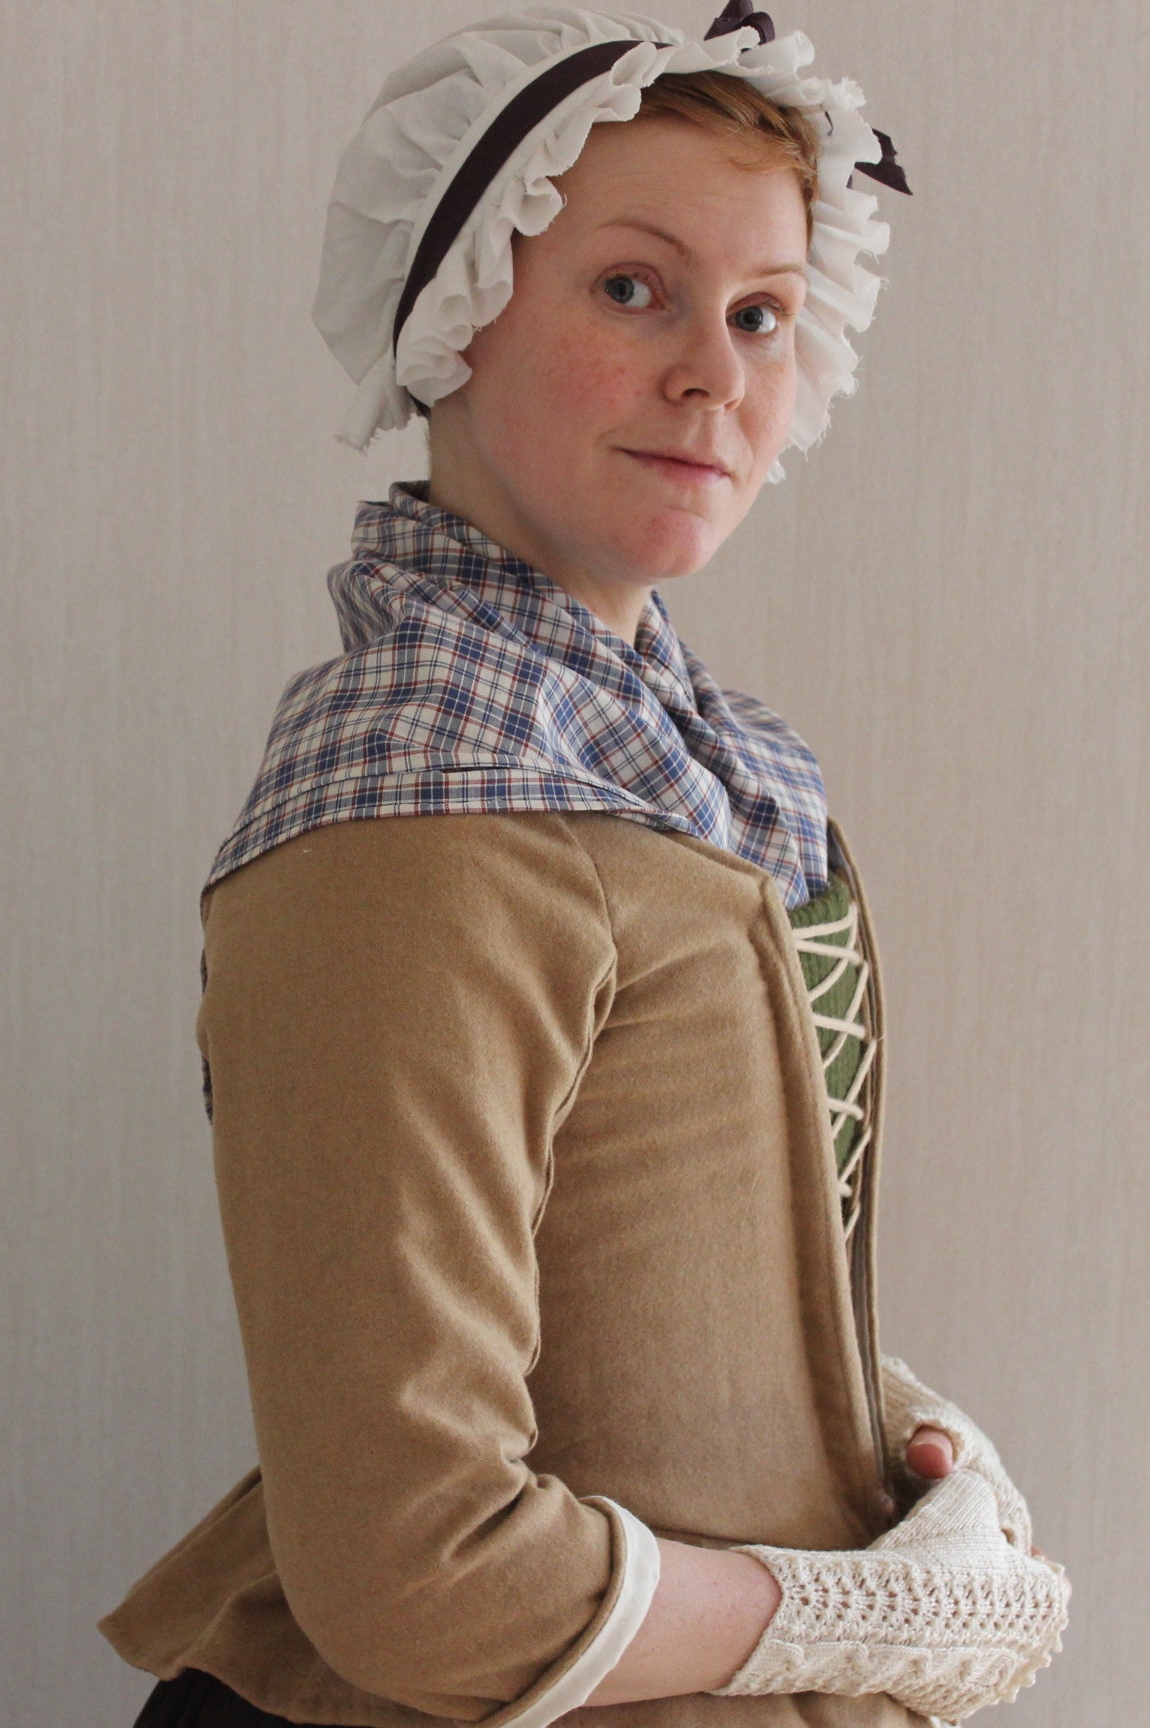

Just the facts:

Challenge: nr 2/2017 – Re-make,

What: a 18th-20th century neckerchief/shawl/fichu

How it fits the challenge: The fabric is second hand from a estate sale, and I pieced the fabric to make a bigger shawl then the original fabric.

Pattern: None – just made some quick calculations.

Fabric/Notions: 70 cm blue/white plaid cotton fabric and thread.

Time/Cost: About 15 Sek (1.5 Usd), and 3 hours.

How historical accurate: Spot on I think :-). The material and weaved in plaids are good, and so are the stitching with waxed linnen thread and the fact that I pieced together a bigger piece from a smaller one.

First worn: Beginning of Mars for photos

Final thoughts: I think it is good, and i will probably get some use out of it being so simple and non time specific.

18th century Tavern Maid – Accessoares

The days leading up to my planed “18th century Maid“photoshoot, I worked on getting all those small items and accessories in order.IMG_5489

Here are some of the things I made and used to get the look just right:

The leftovers from the jacket (part 1. & part 2.) I turned into a simplified version of a 18th century pocket. IMG_5867Cutting the pieces in front, back and strength fabric – all of which was almost unusable scraps to begin with.

It was such a quick project (took about 2 hours, once I figured out how I wanted it).
IMG_6093 IMG_6094

IMG_6087In hindsight I should have made bias tapes for the opening as well, but suppose I didn’t had enough fabric anyway.IMG_6090

I also made a new fichu, since I wanted something les fancy then my regular silk one.IMG_6105It’s basically a cut triangle, with hemmed edges.IMG_6106

I re-used my white apron, but shortened it about 12 cm to get it to fit lenght of the skirt. IMG_6103IMG_6102

I also used my “old” cap (made it a couple of months ago) paired with a orange/sierra ribbon.IMG_6097

The final touch was to ad a cross, which I bought on sale in January for about 10 Sek (1,6 Usd).IMG_6100

IMG_6107Everything a proper maid will ever need.

White additions

For the HSF nr 9: Black & white, I decided to make some pieces I’ve needed to make my next big costuming project work.

Since my plan is to make a compleatly hand made Robe Anglaise as the next challenge (due 1 june) I needed to give myself a head start. So by making a simple piece for this one, I could save some time and make it possible to start the Anglaise earlier.

The theme of this challenge fit perfectly for some of the pieces I needed for the “Art” gown to be finished.

First: The skirt.

A 18th century petticoat/skirt made from regular white cotton (I needed it to be both quick and cheap).

I used a regular white cotton fabric that I found in my stash.

Since I made almost the exact skirt for the previous challenge, I won’t bore you with construction detals, but instead go straight to the Finished photos. (If you’re still want to know how I made it, take a look at my Pastell UFO skirt.

IMG_8056

IMG_8057

IMG_8060

IMG_8061

IMG_8062

IMG_8063

IMG_8066Just The Facts:

Challenge: nr 9: Black & white.

What: A 18th century skirt/petticoat.

Pattern: None, just measured and cut.

Fabric: 2,5 m of white cotton sheets.

Notions: Thread and 2 m cotton ribbon for tying at the waist.

How Historical Accurate: So so. The time constraint caused me to sew it by machine (and Ialso do think it is stupid to handsew pieces which are clearly in the wrong material). But the shape and construction are plausable.

Time: 4 hours

Cost: 60 sek (9Usd)

First worn: Not yet. But hopefully at june 6 for a huge costuming event.

Final thoughts: I had some trouble deciding on the bottom flounce.The original calles for fringes, but there was no way I was going to get hold on some cheap and sutable ones in time. I did try to make my own, but they lacked the weight neccesary to hang nicely. In the end I opted for a narrow flounce, and I’m pretty happy with the result.

 ***

The second thing I needed was a bigger bumpad.

I’ve made a temporary one about a month ago, to wear with my Edwardian dress. However, I didn’t had the time to finish it, so last night I picked it up again.

IMG_8054Pink and purple cotton basted to several layers of quilt padding.

IMG_8055It was originaly ment to be a quilted petticoat, but as you can see, I didn’t get very far.

I covered the pad in white cotton, leftover from a previous project. Making self fabric bias-tape to trim the edges and make tying ribbons.

IMG_8079It was such a quick and easy project.

Finished:IMG_8071

IMG_8074

IMG_8075

IMG_8072

Just the facts:

Challenge: 9 – Black and white

What: A bumpad – 18th century to early 20th century.

Pattern: None

Fabric: 0,5 m of white cotton (originaly 0,5 m of quilting padding and some leftover fabric scraps).

Notions: Thread.

How historical accurate: Not at all. Maybe the shape will pass, but the construction, material and look is all wrong.

Time: 1 hour (perhaps 30 min more, if it hadn’t been half finished already).

Cost: Nothing since I only used leftover scraps.

First worn: Not yet. But hopefully at june 6 for a huge costuming event.

***

I had time to make one final item before the deadline – a fichu.

I wanted to make one large enough to wrap around the body and tie in the back, like you se in many paintings from the 1780s.

Using some adwise I got on the internet, I cut two large triangles and stiched them togeter to make one huge.IMG_8274

Then I shaped and rounded of the neck, to make it wrap better around the neck. I french seamed the center back, and hemmed the whole thing – everything by machine. IMG_8289

IMG_8291Close up: French seam and hem.

Finished:IMG_8284

IMG_8285

IMG_8280

IMG_8279

IMG_8287

IMG_8276All my “White” items at once.

Just the facts:

Challenge: Nr 9 – Black and white.

What: A big fichu ca 1780.

Pattern: none.

Fabric: 70 cm of dotted white polyester organza.

Notions: Thread

Historial accuracy: I think the pattern shape will suffice, but the material and use of sewing machine is all wrong.

Time: Half an hour.

Cost: Perhaps 20 Skr (1 USD)

First worn: Not yet, but hopefully at a big costuming picknic next month.

***

I had originaly planed to make all tese items compleatly by hand. But as usual life happens, and time is never enough for everything you want to do – so this time the hand sewing had to go.

But I don’t really mind. I kind of think it’s a waist of time to hand sew istorical items made from polyester fabric.

And as you probably can guess – I hadn’t even started the “Big Project” yet.


1810s Layering

Last weekend when dressing for the “Mikelsmäss” I spent 1 hour on my hair (curling, styling and tying the turban) and the remaining 10 minutes to get the rest of the costume on.

This was not a good way to do it, since I usally count at least 30 minutes for the dressing. So I ended up going “half dressed” to the event, and needed help with getting the fichu right and to close the dress when I arriwed.

The reason why it takes so long getting dressed, are of course the many different layers of clothing you need to get the right look of your costume. And tying a back laced corset on your own takes both skills and time.

So here is an other “un-dressing” post – Regency style.

IMG_2256Lets start fully dressed in: Gown and fichu, whit a headress (turban) and some accessoares like mittens and a shawl.

You could also wear a open robe or a spencer over the dress, and a few more accessoares like a riddicule (bag), muff, fan or a parasol.

IMG_2264Lets take away the accessories.

By now you could call yourself dressed and be on your way. But you would need some small items/accessoares to compleate the look of your costume.

IMG_2266Once we take the gown of, we reveal the complete fichu, the petticoat and the some of the corset.

The fichu is a pice of sheer fabric shaped as a rectangel or a tiangel. Ladies used it to cover the neck and bust, and pined it on before putting on the gown.

IMG_2273Removing the fichu we now view the top part of the corset and the petticoat.

The regency lady could also have worn an extra under-dress on top of the undergarmnents, to prevent see-througness in verry sheer gowns.

IMG_2278And then we are down to the underpinings with the corset, chemise, stockings and shoes.

The chemise are worn to keep the swett and dirt from the body away from the corset.

 The corset could also be in a short style (ending right below the bust), or in a wraping style.

It is important to remember to put the shoes on before the corset – since it is very difficult to lace or attach buckles while fully corsetted.

Mickelsmäss

A month ago I got asked to be part of the dancing entertainment on a event the local historic museum were arranging.

So this weekend (29 sep) I got my regency clothing together and hurried to get to the “on spot” rehersal.

I curled my hair and tied a shawl as a turban, then I attached a brosch and some feathers to get the right regency look.

IMG_2322

I hurried to lace my brand new corset, put on the petticoat, stockings and mylovely “Kensingtons” shoes from American Duchess.

IMG_2312IMG_2314

Unfortanley I didn’t have the time to find some ribbons to replace the shoe buckles with. Although 20 years wrong in the time period they do look beautiful.

The dress I wore was the HSF Striped regency gown, matched with mittens, fichu and an shawl.

The dinner went well, and the dancing even better, with lots of on-lookers and applaudes.

And now for some pictures:

IMG_2211Ladies inside warming themselfe before the dancing.

IMG_2210Our gentlemen

IMG_2218Outside, listening to speeches after the dancing. (sorry for the poor quality photos – It was quite dark by this time.)

IMG_2214

IMG_2227Talking after the dance.

IMG_2231Anna, looking lovely in the dress she made herself for a prevous event.

IMG_2240The whole group

IMG_2243Solveig, Anna and Sievert.

IMG_2244Me and Solveig. I made both our dresses this past year, from the same pattern (Reconstructing History nr 838).

IMG_2247

IMG_2249 I found it exiting to notice the differences between the dresses and the way they look being worn in two different ways.

Regency accessoars

To make a historical outfit all you need is the right undergarnments and a plausible fabric in a color or pattern used during the intended era. (Honestly, in most circles you can get away with lots of inaccuracies if you have the overall silhouette down)

But how to make your costume go from “nice” to “wonderful”?

It’s all in the accessories.

What would your Elizabethian dress be without the starched ruff, or your 18th century Anglaise without the headgehog-hair/wig.

So for the HSF challenge 7 “accessorize” I decided to style my new Regency gown (which I made in the 6th challenge) with some matching accessories.

But what would I make? There are so many things the proper Regency lady would need.

1817-walking-dress-la-belle-assemblee2Robes and ridicules …

imagesCAW6EP0V… turbans, open robe, spencer, fans and muffs …

regencyfashion… shawls, bonnets, gloves and parasols.

I decided to prioritate headwear – since my hair is cropped in a boyish style I would never be able to arrange it in the curly up-dos so popular at the time. So instead I need to cover it up.

I searched all the stores in town for a straw hat to make into a bonnet. But the sunbonnets was no where to be seen in the still cold and snowy march.

So I needed to re-think the bonnet and decided on the much simpler turban. I bouhgt a shawl in a similar green color as the trimmings on my dress, and practiced wraping and pinning the turban to my head. The American Duchess has a great tutorial which I used to get the shawl to co-operate.

But since the turban seemed a bit too easy I also decided to make some gloves – or mittens to be exact.

26_598a-b_CP4

mittens-18th-c-met-musThese were my main inspirations

Using the pattern from “Costume Close-up”, I drafted and cut the pieces in an ivory cotton blend.

img311

They are completely handsewn and decorated with green buttonhole thread and the same green linnen as for the gown trimmings.

I also bought an ivory lace fan, and cut a big triangle of ivory organdy to use as a fichu (neck coverage) for the photoshoot.

IMG_1556

mittens

IMG_1614

accessorisePhoto: Elin Petersson

Just the facts:

Challenge nr 7 – Accessorize

What: White and green Regency mittens. And my light entries – the green turban (a scarf) and white fichu (a hemed piece of organza).

Fabric: 0,5 m cream colored, thick cotton fabric with a small soft nape.

Pattern: “Costume Close-up” By Linda Baumgarter – Mittens.

Year: 1740-1840.

Notions: Pieces of contrasting green fabric, sewing thread and green buttonhole thread.

How accurate: Pretty good – completely hand stitched with historical patterns and sewing techniques. So about 90 %.

Hours: 6 hours – lots of decorative handstitching.

Cost: 8 USD.

First worn: On Gods friday when we had the photoshoot.

Final thoughts: I love my mittens and plan to make lots of them in different colors and fabrics.

I also noticed that the hostess of HSF The Dreamstess mentioned my mittens as one of her favourite accessories for this challenge.