Regency Headwear – Riding bonnet/helmet/?

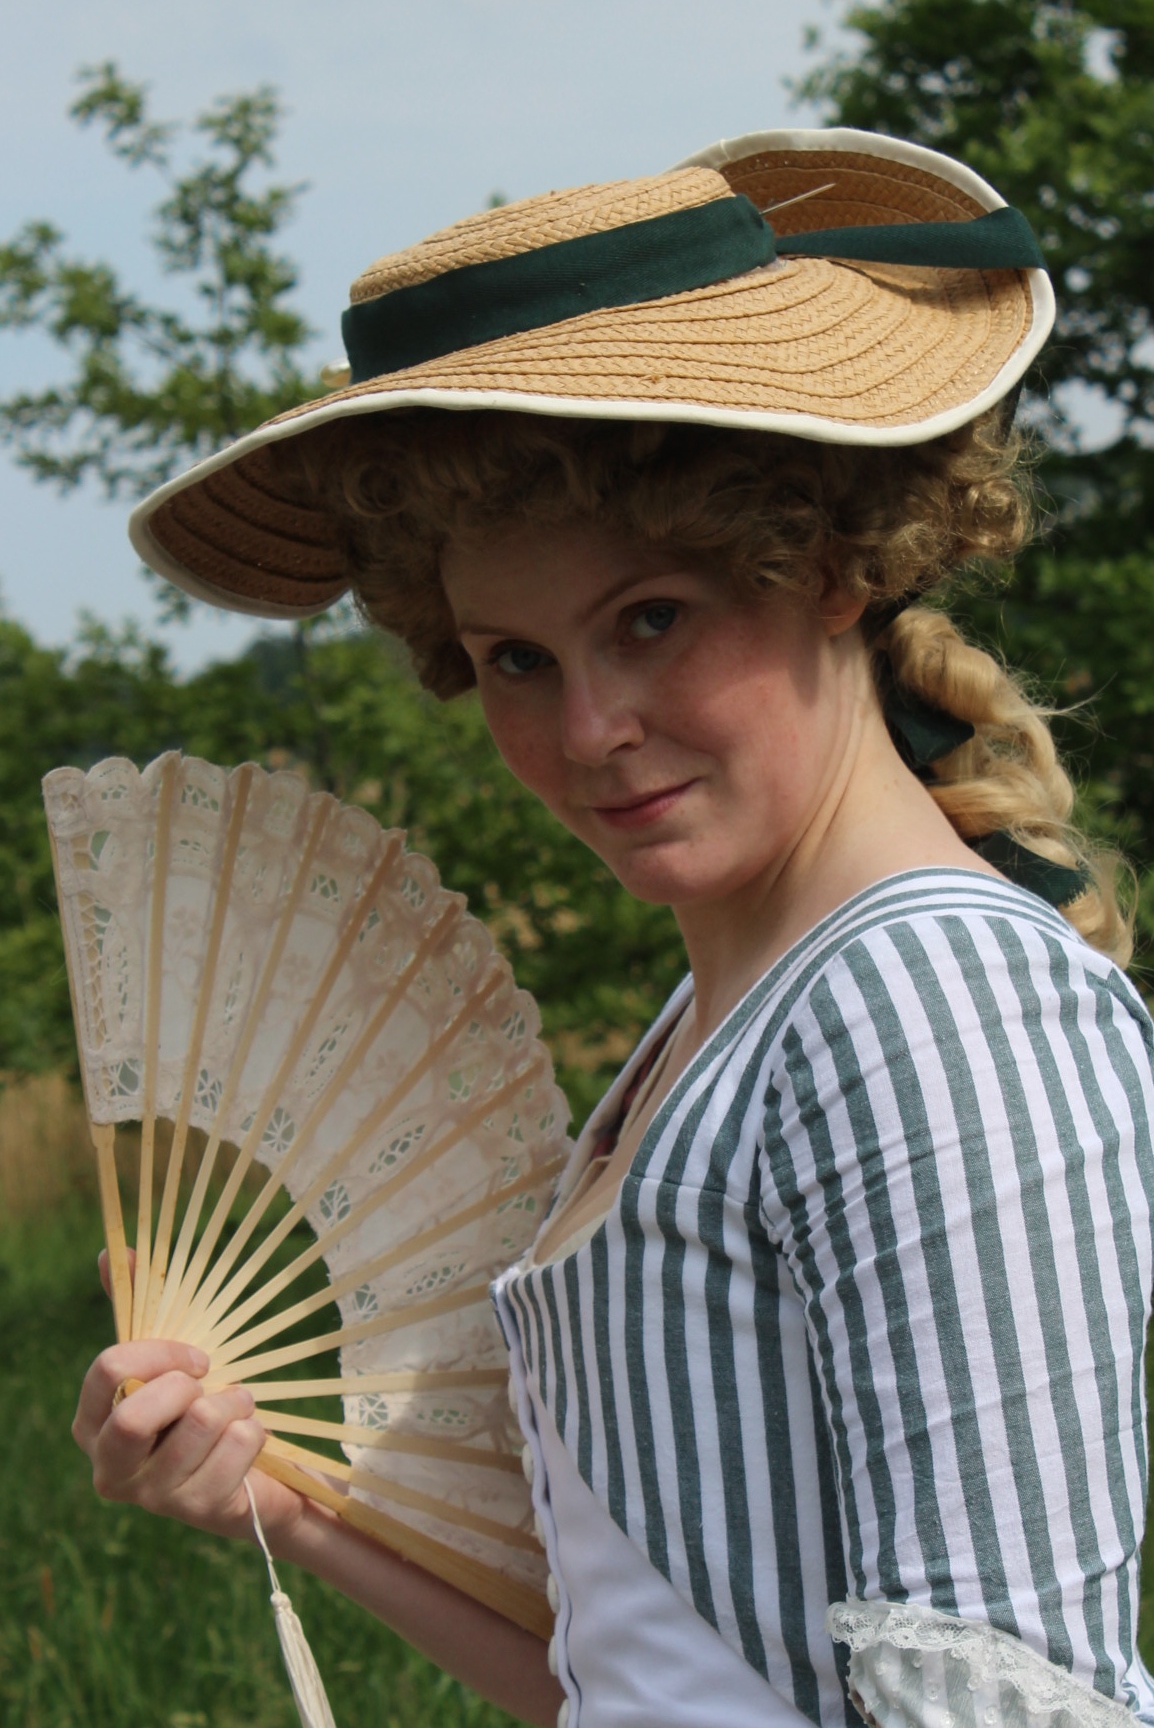
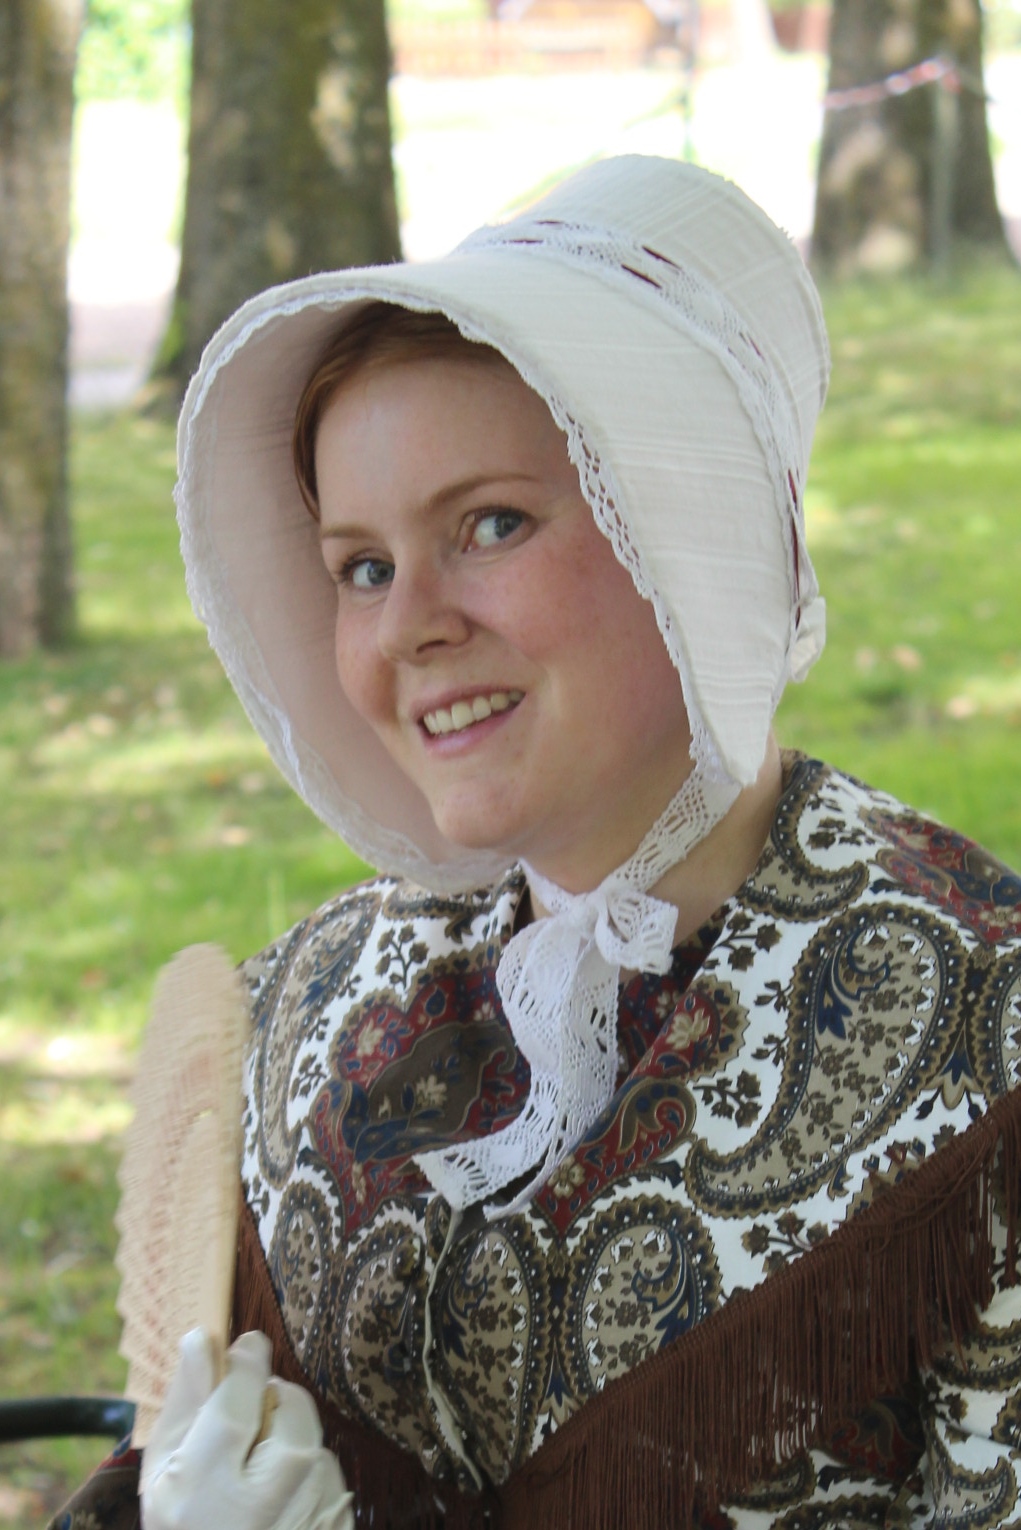
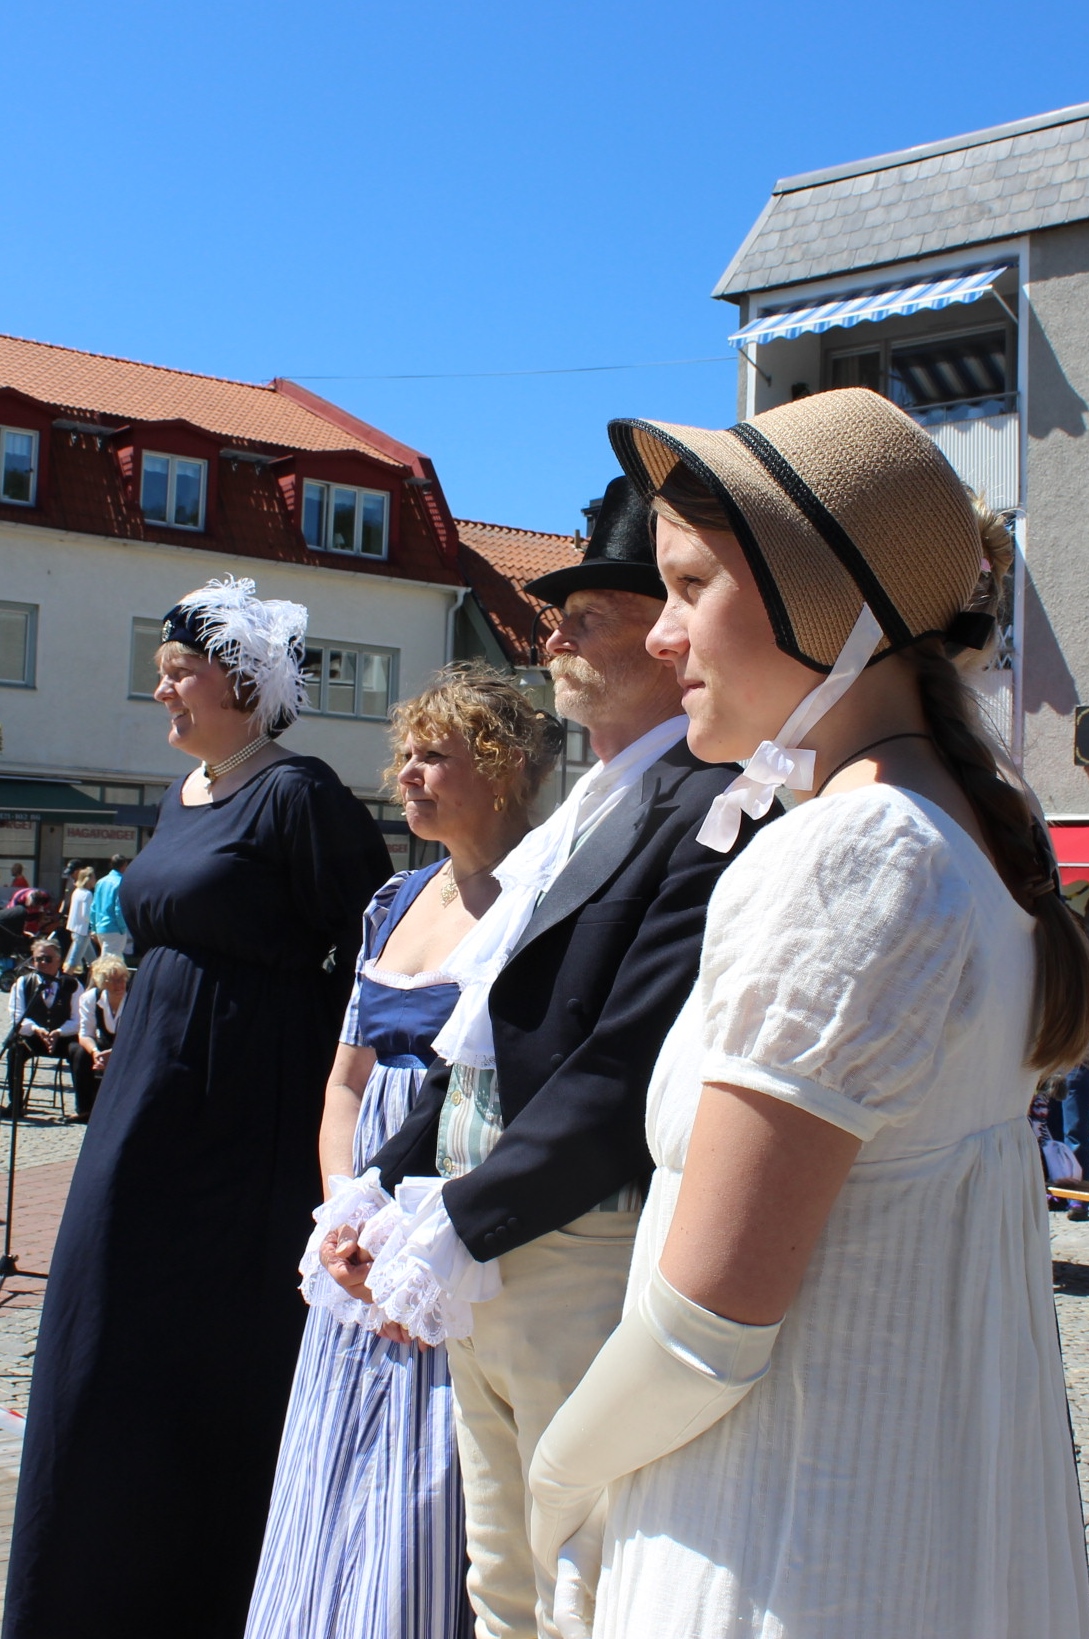
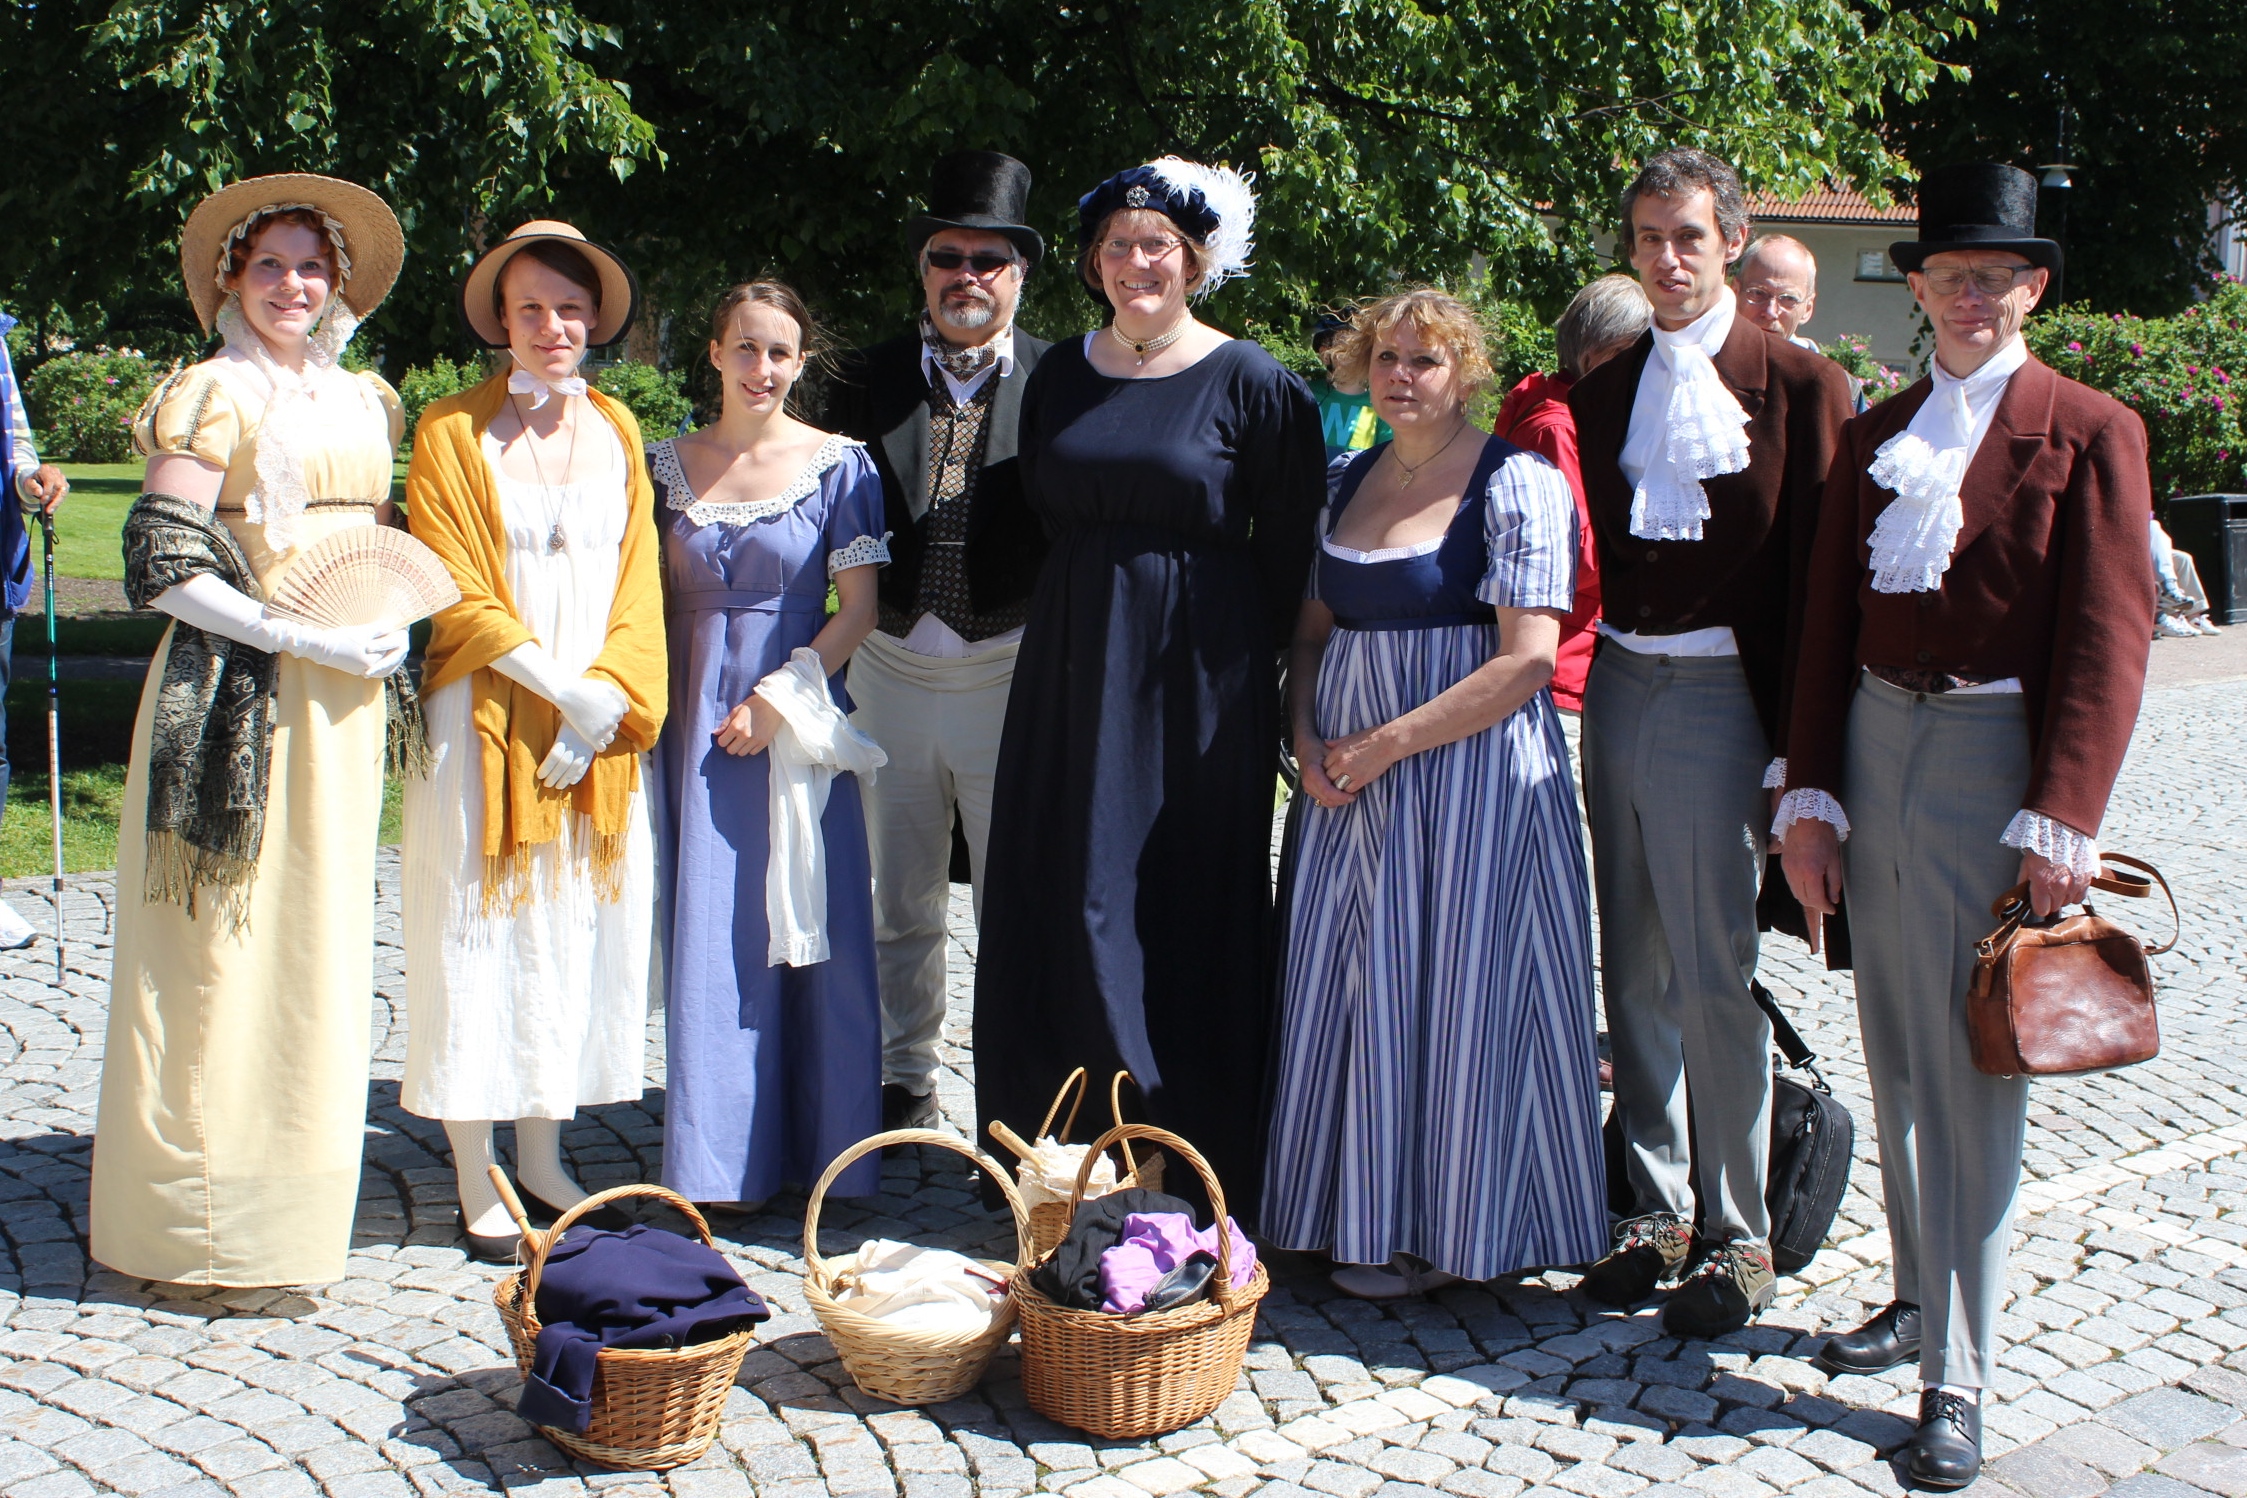
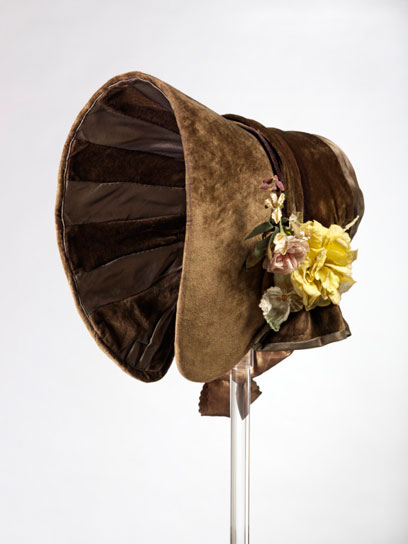
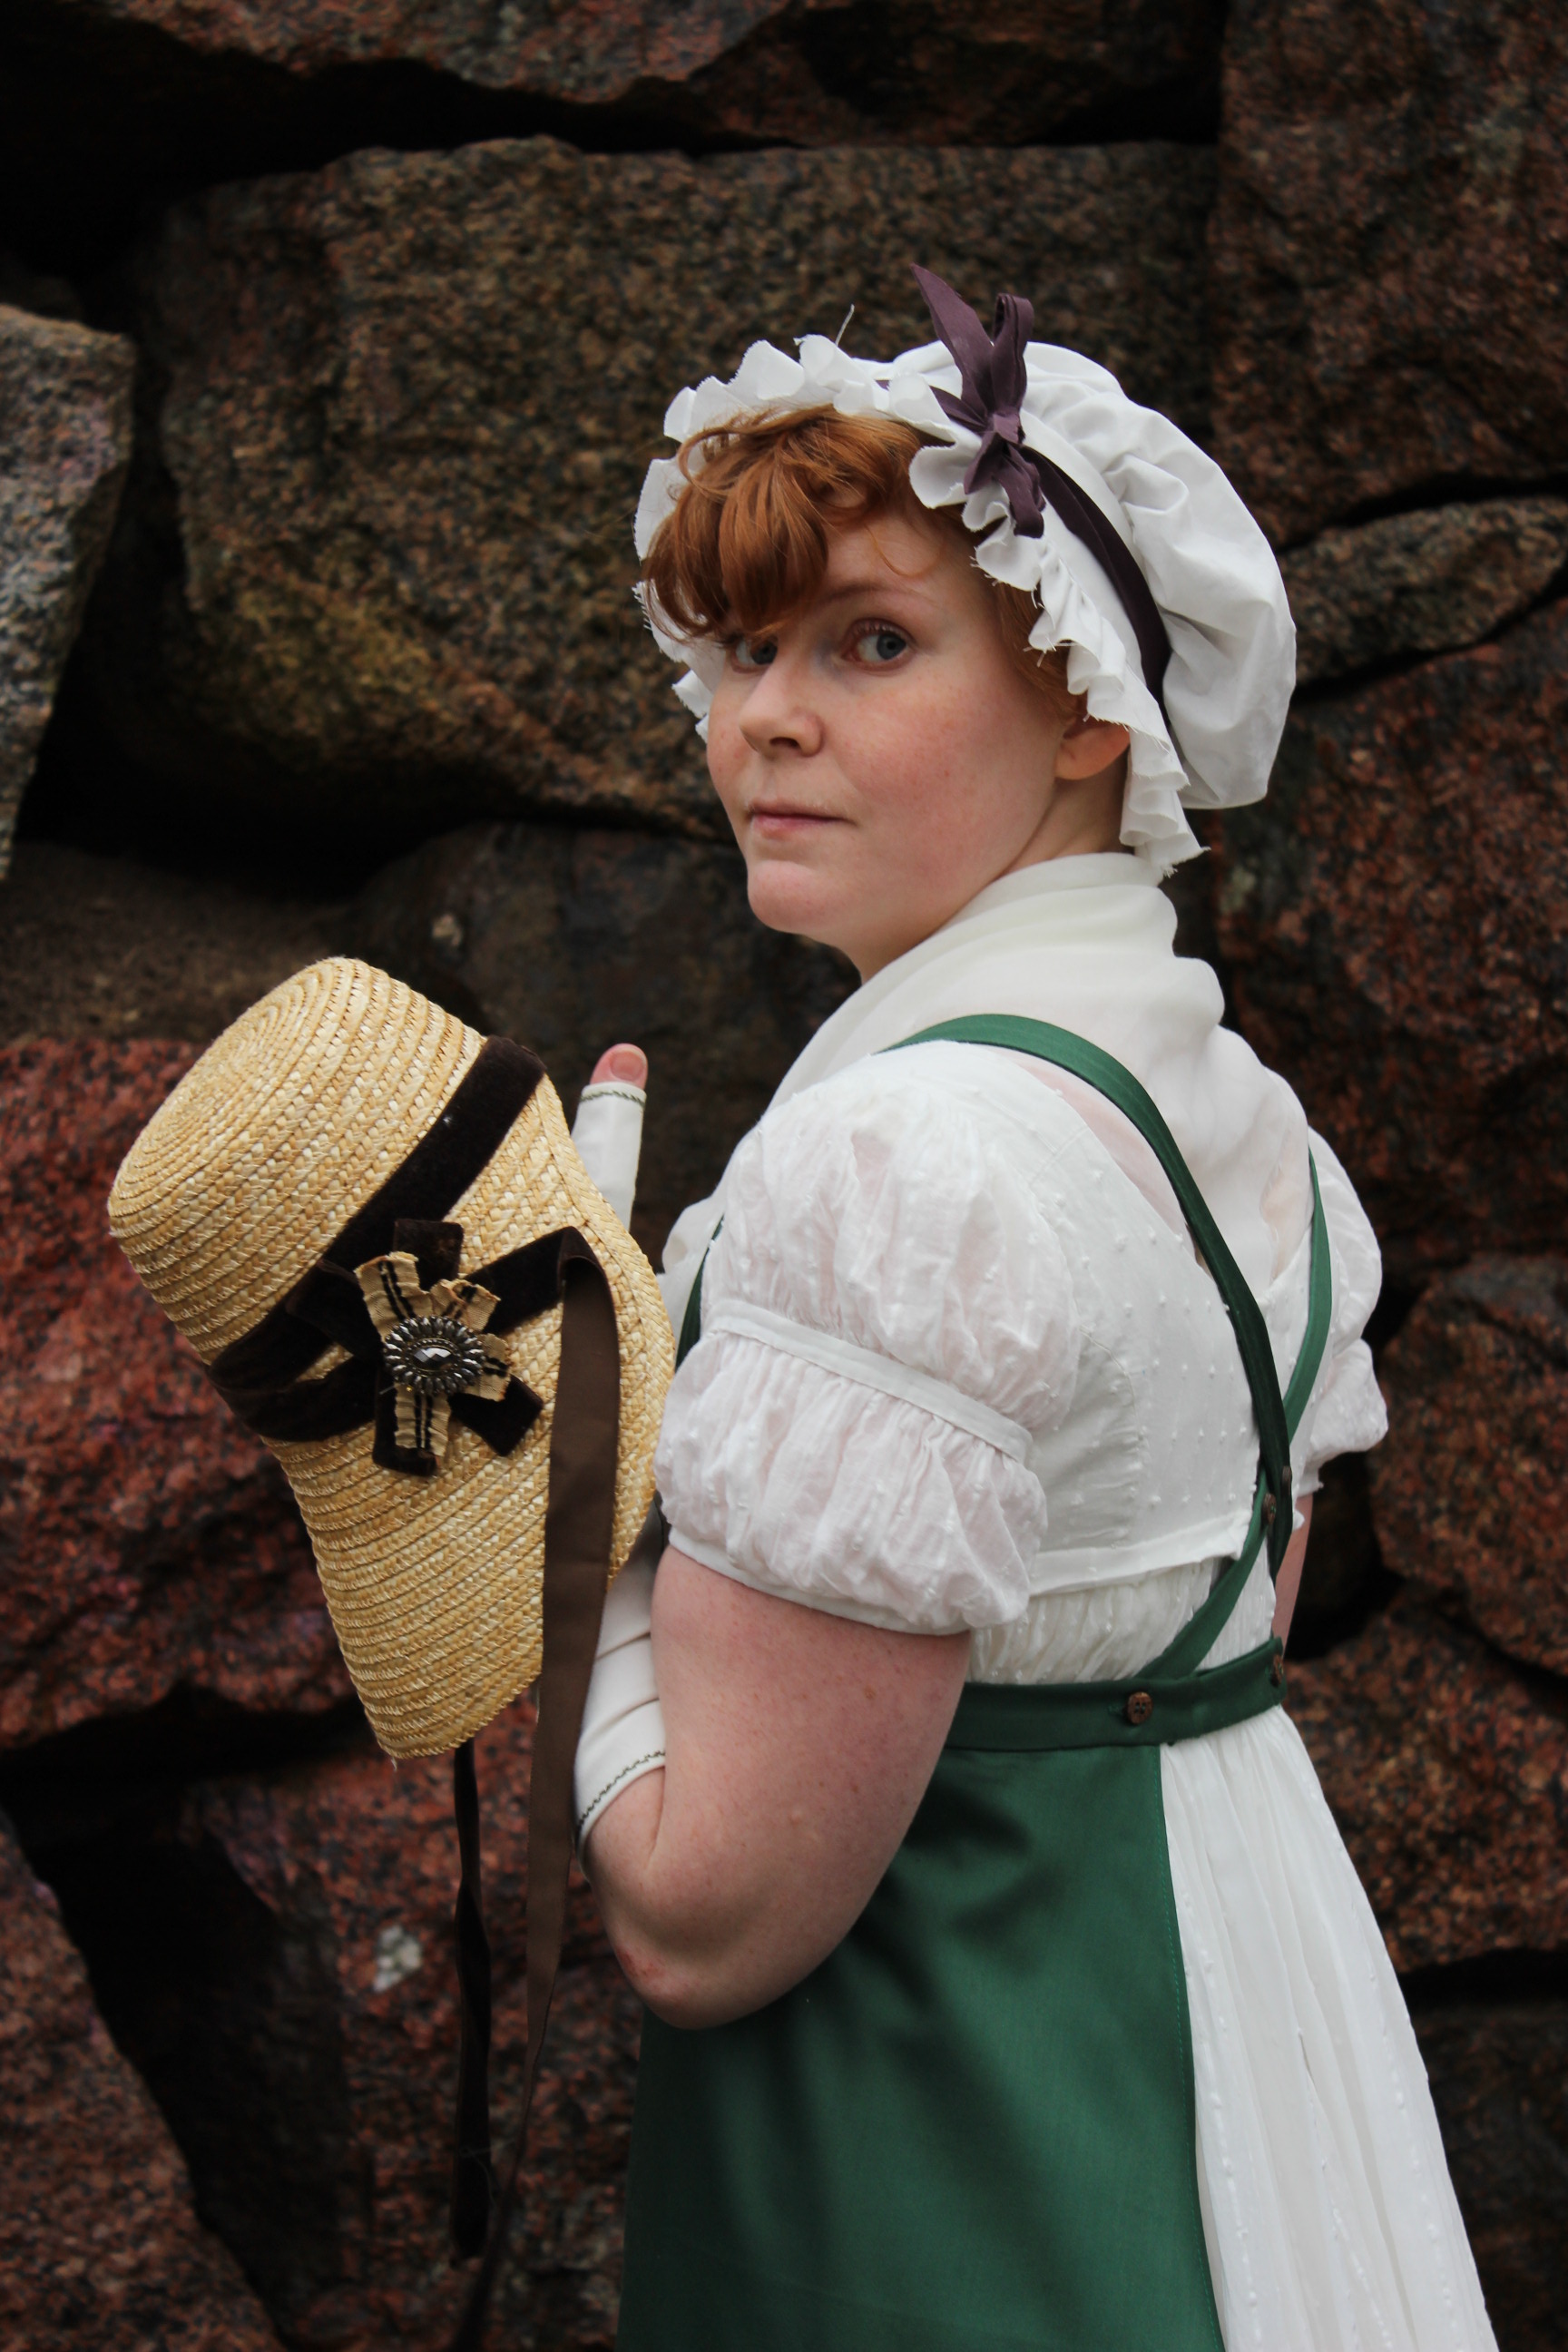
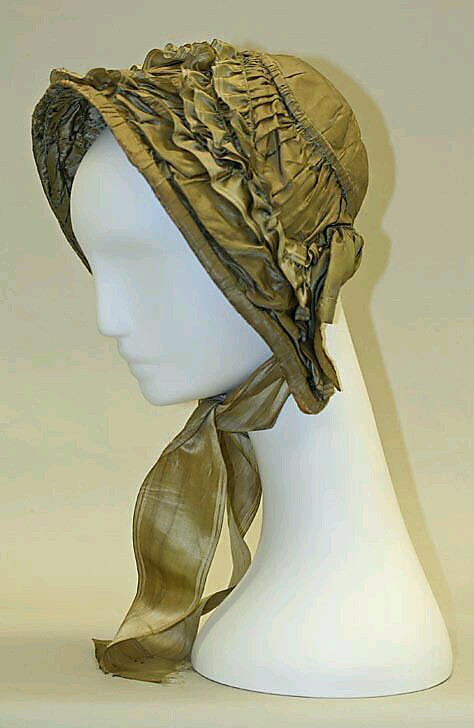
While working on my recently finished Regency spencer, I also decided I (of course) needed the headdress the lady in my inspirational picture is wearing.

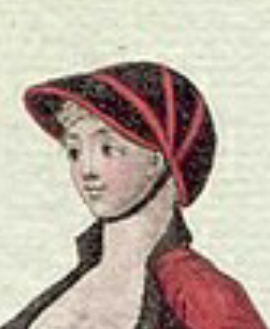
Looking pretty awesome, right?

Starting with a modern wool hat I got on sale from one of the leading fashion stores, I begun my hat making adventure.


Before

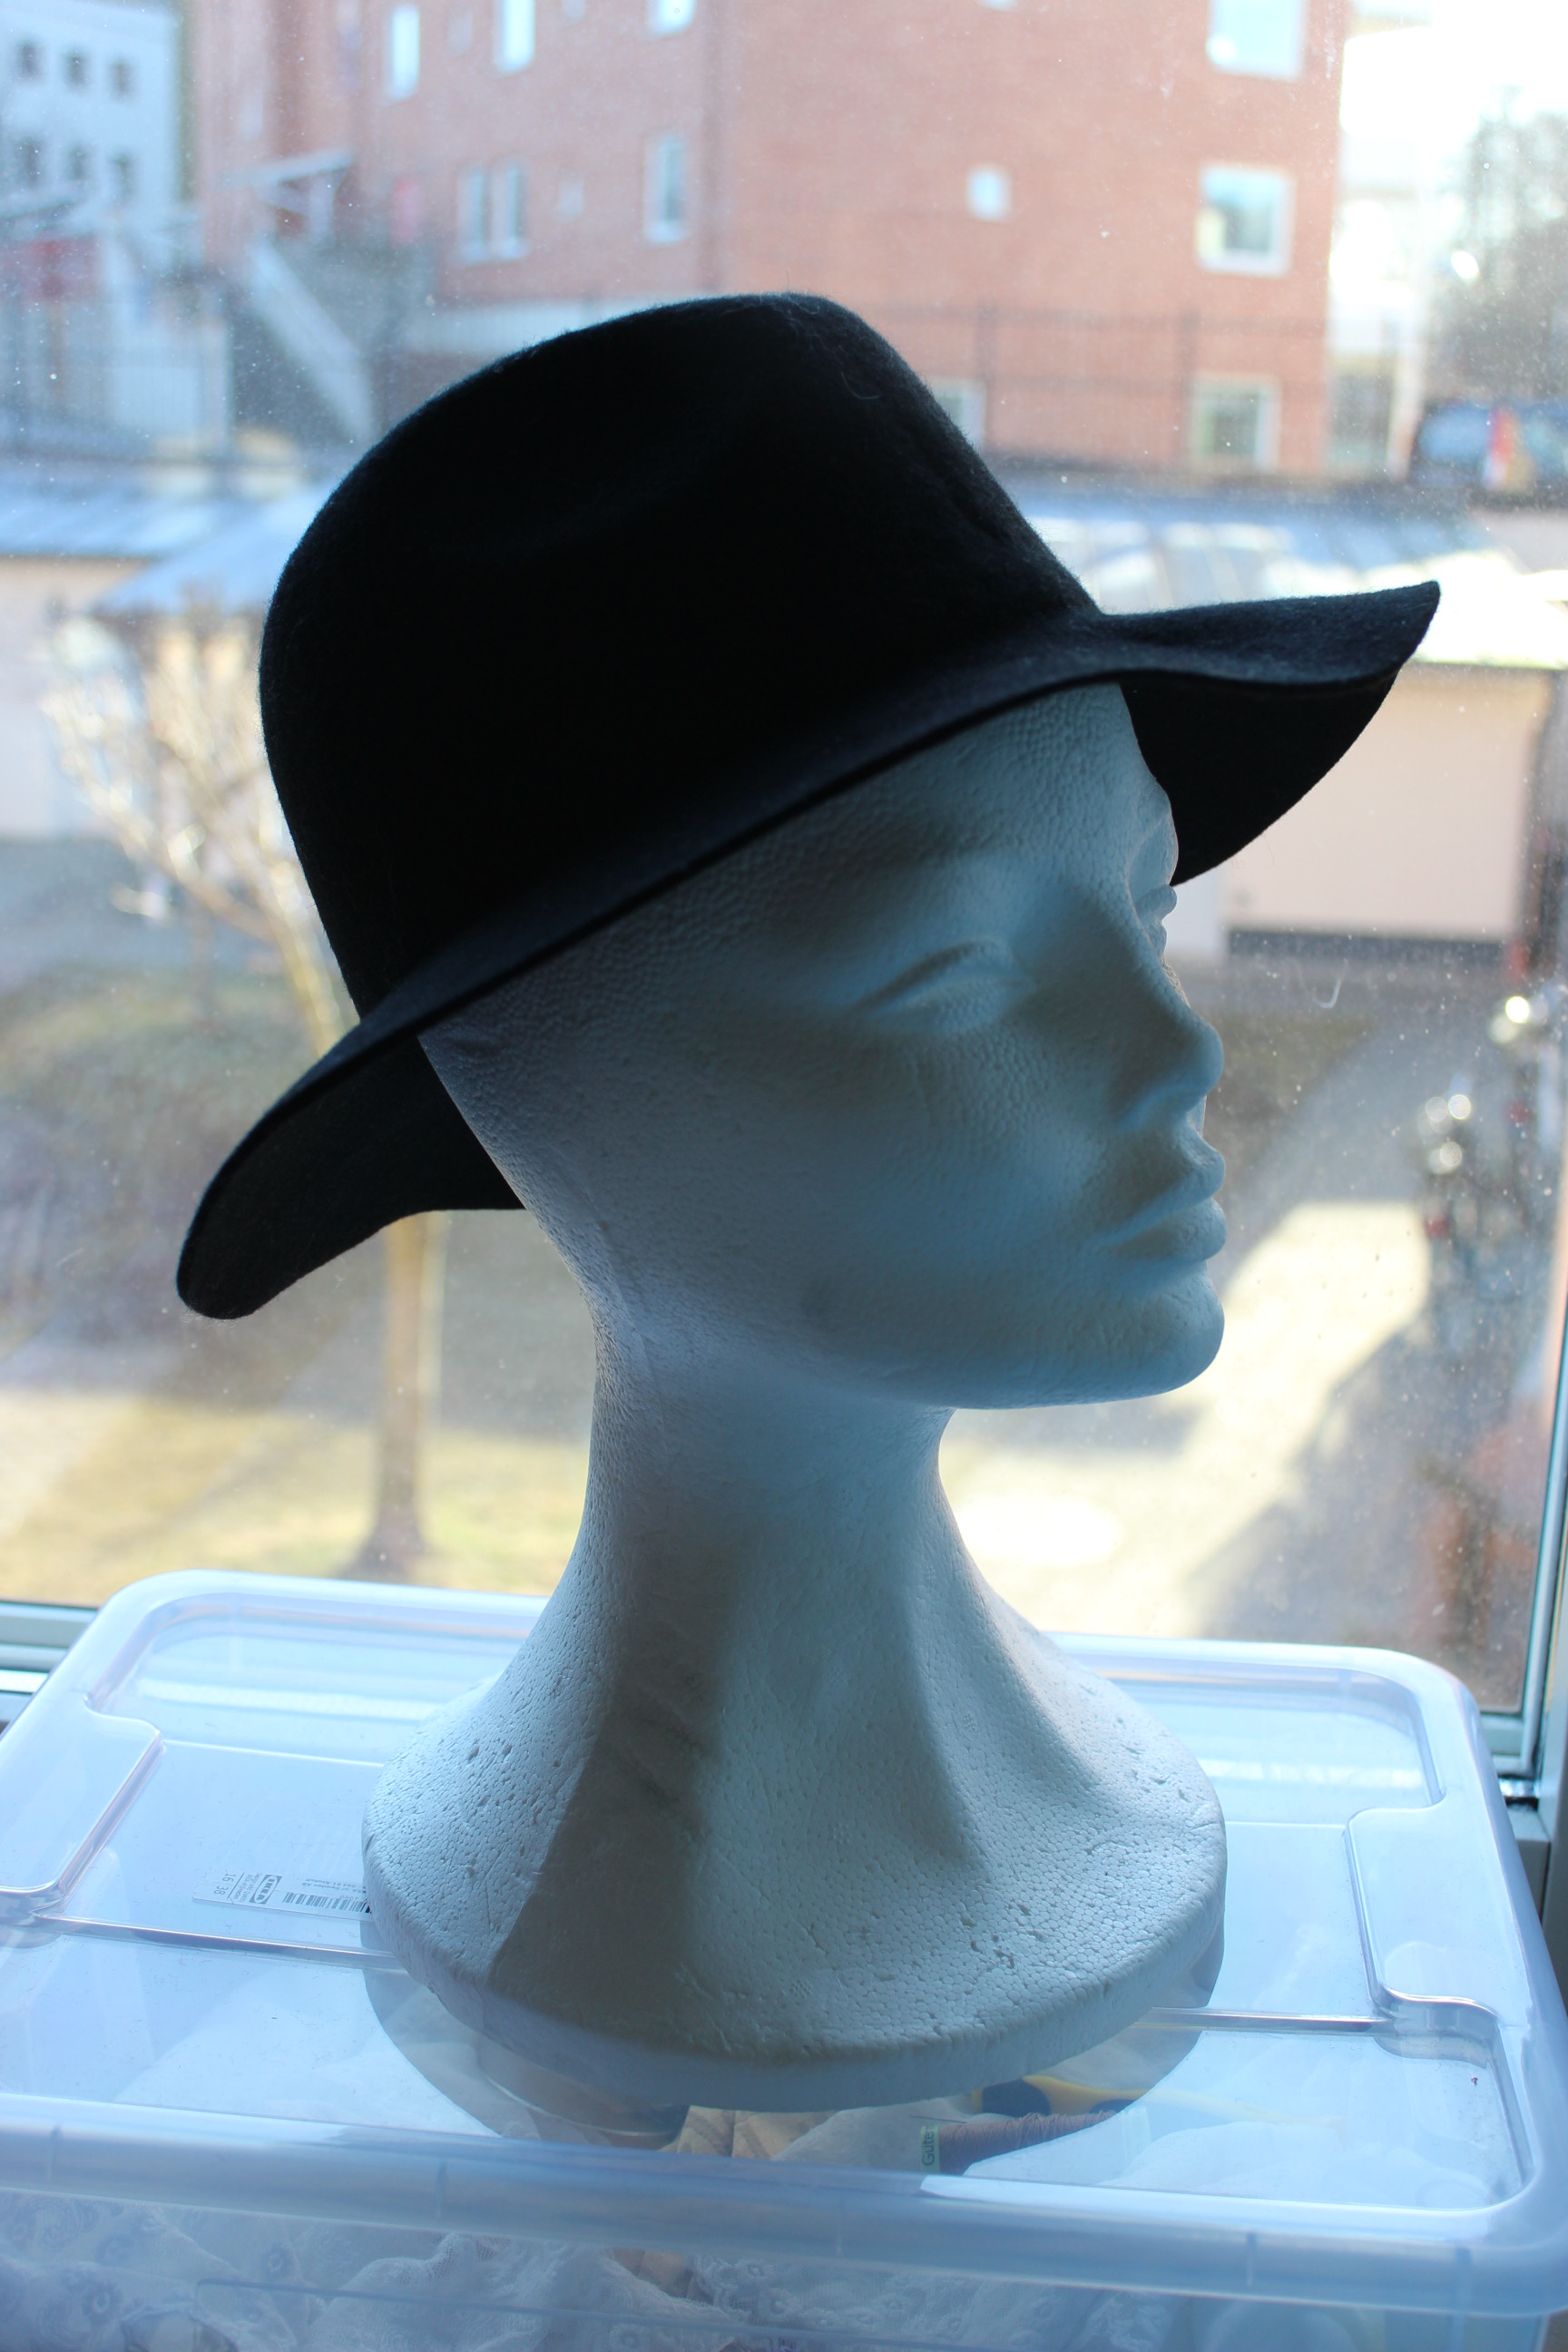
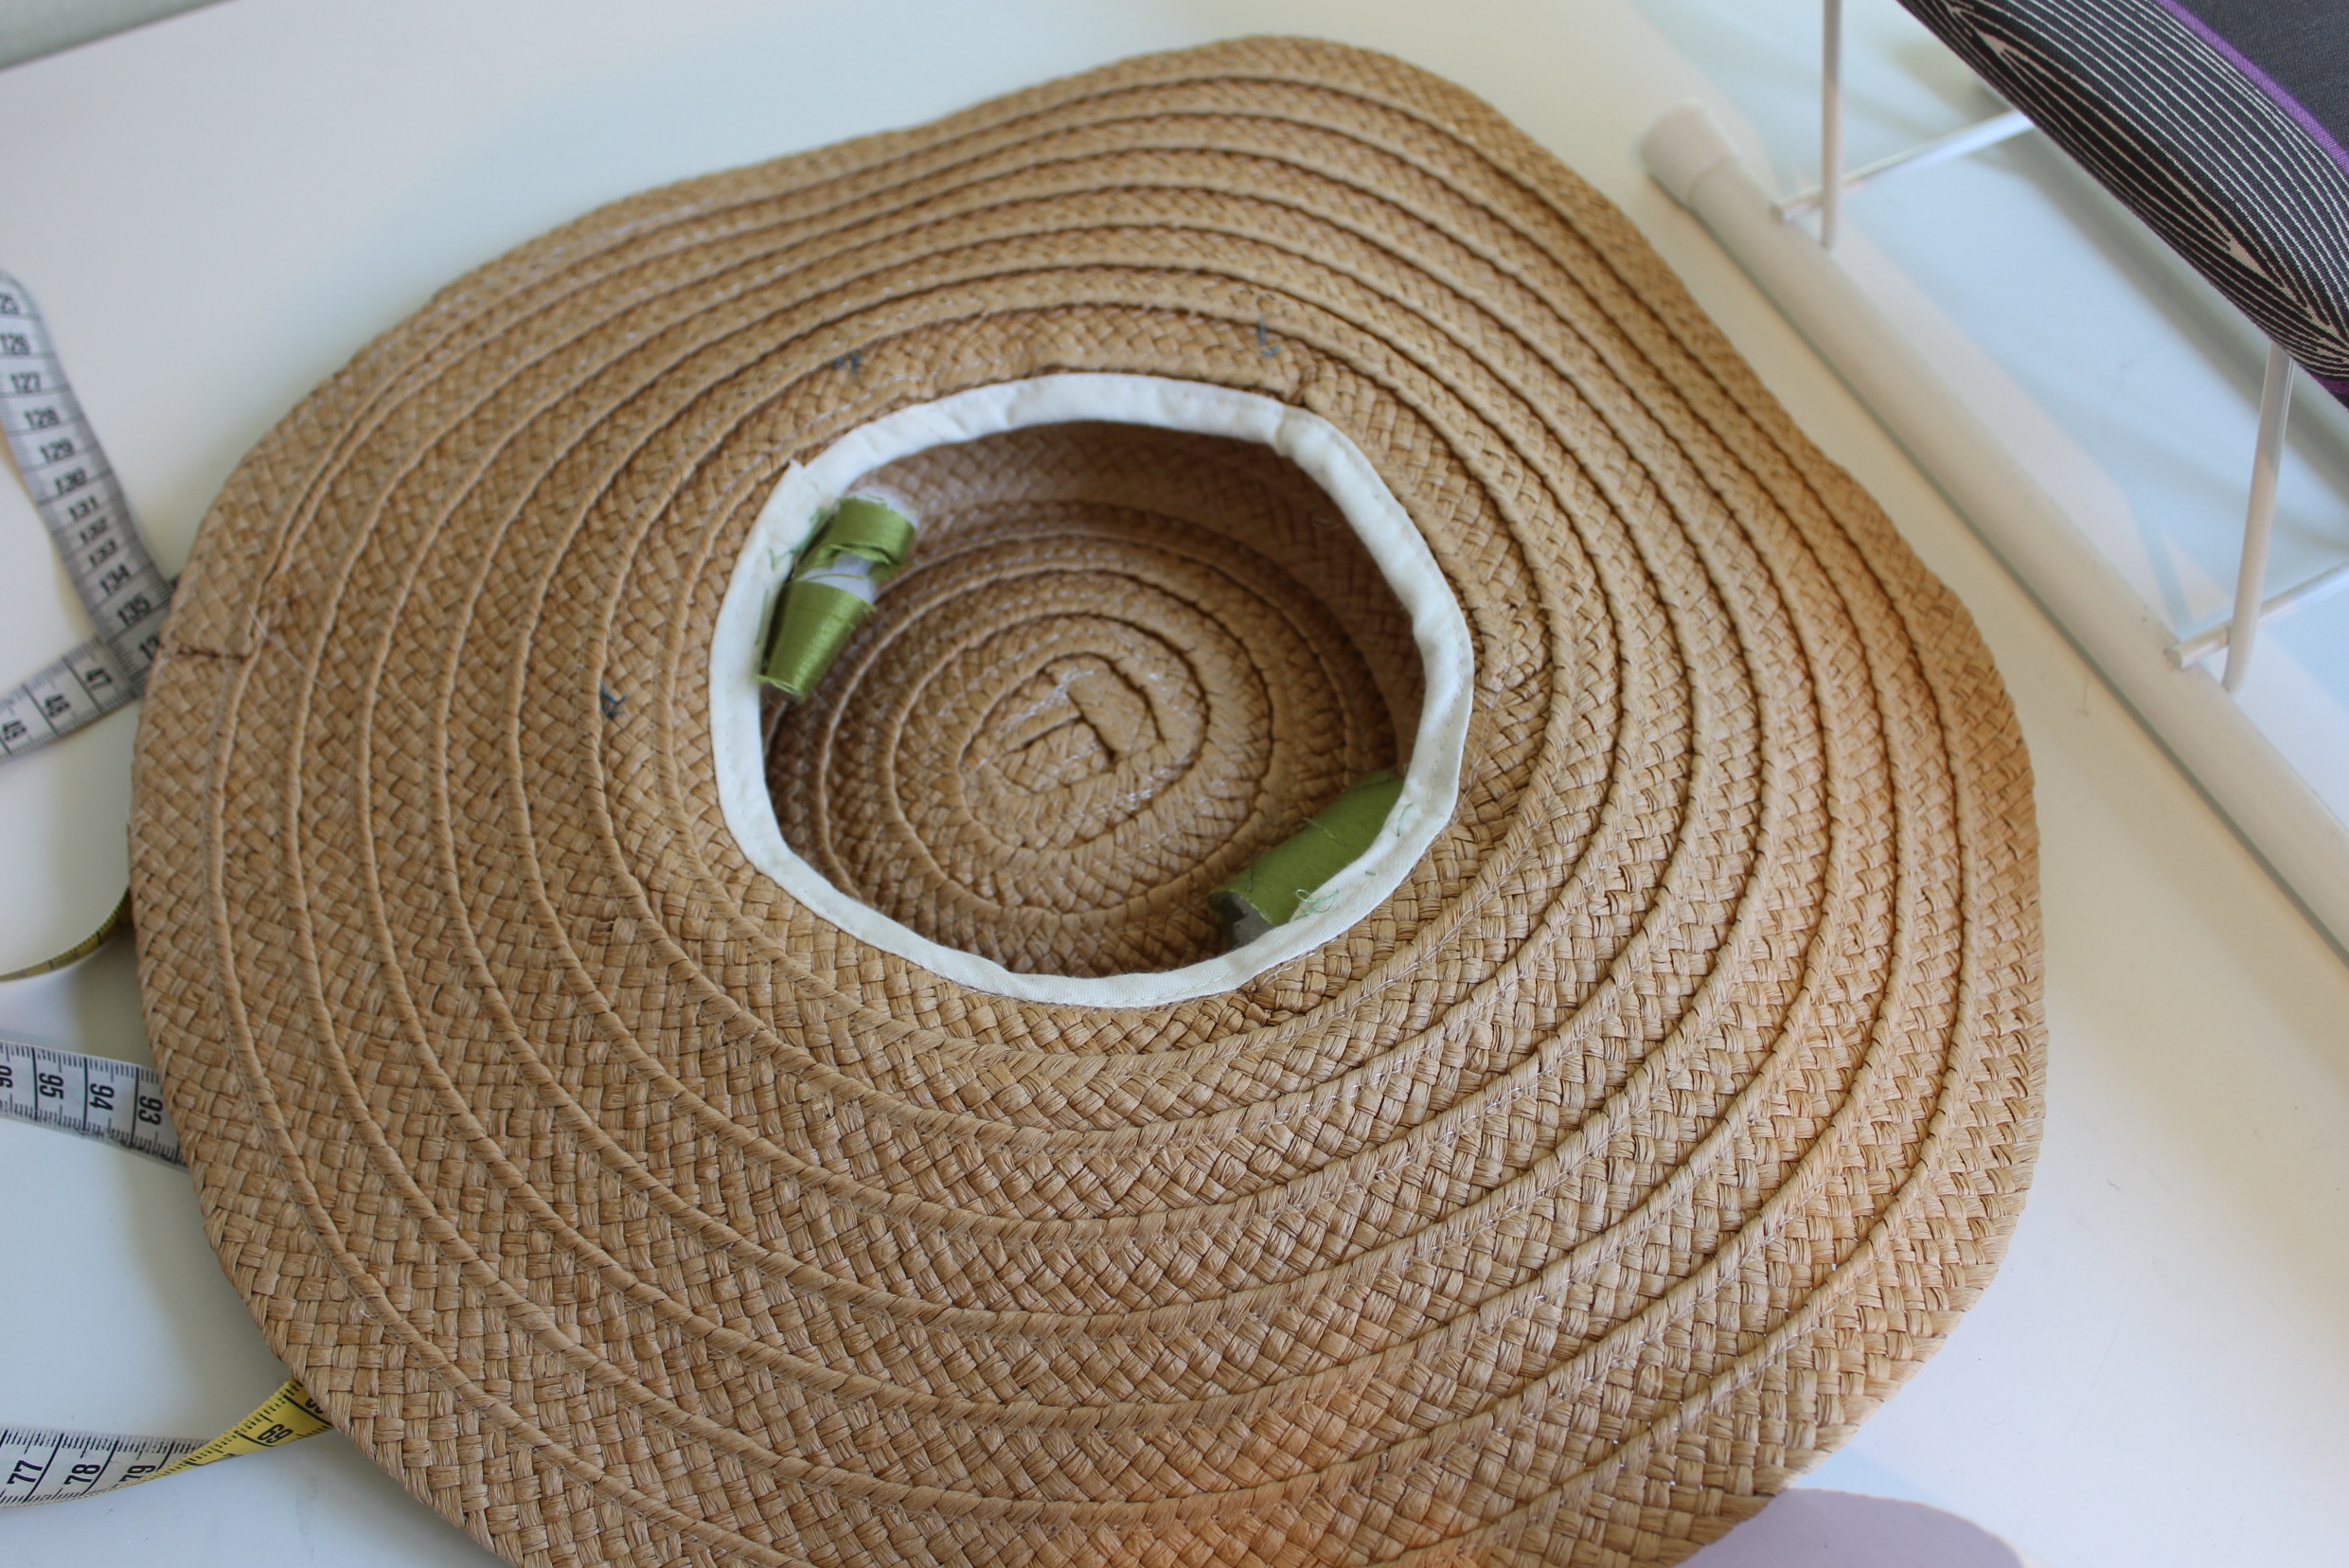
I stated by removing the inner stay band and completely soaking the hat in hot water.

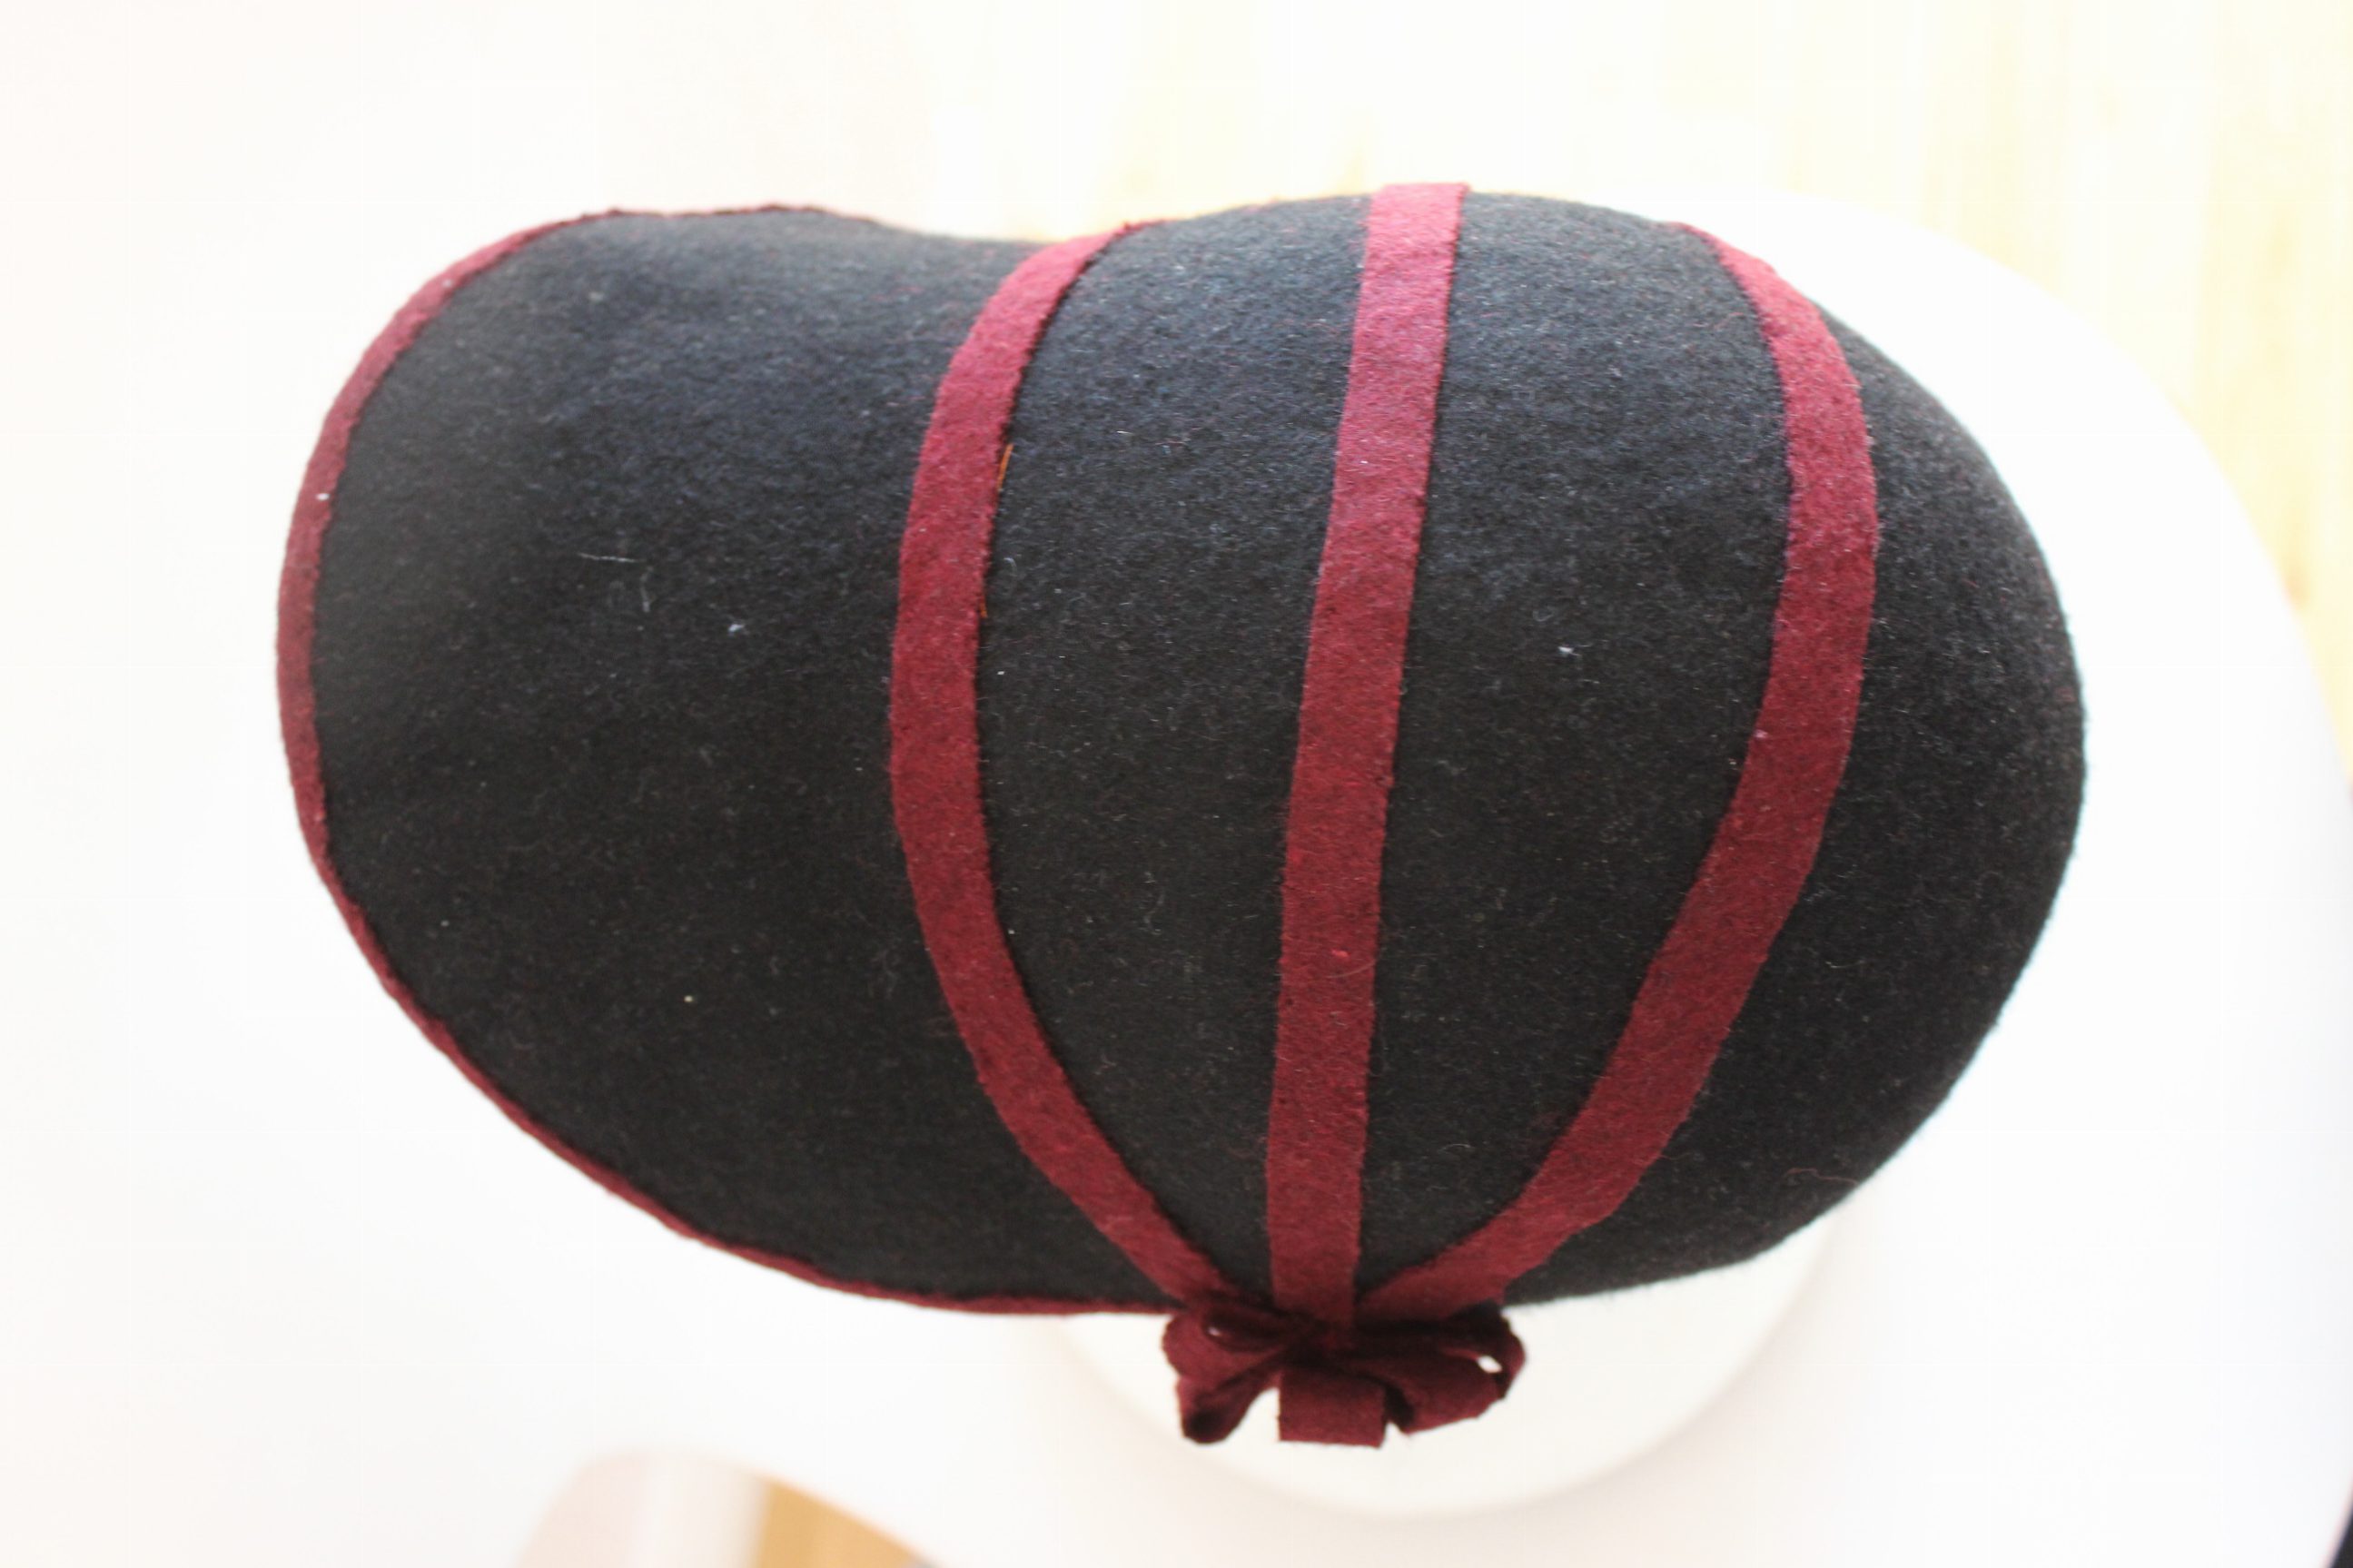
Then I used force and even more hot water to shape it in a somewhat oblong shape. In short supply of proper hat making equipment you got to use what you got…

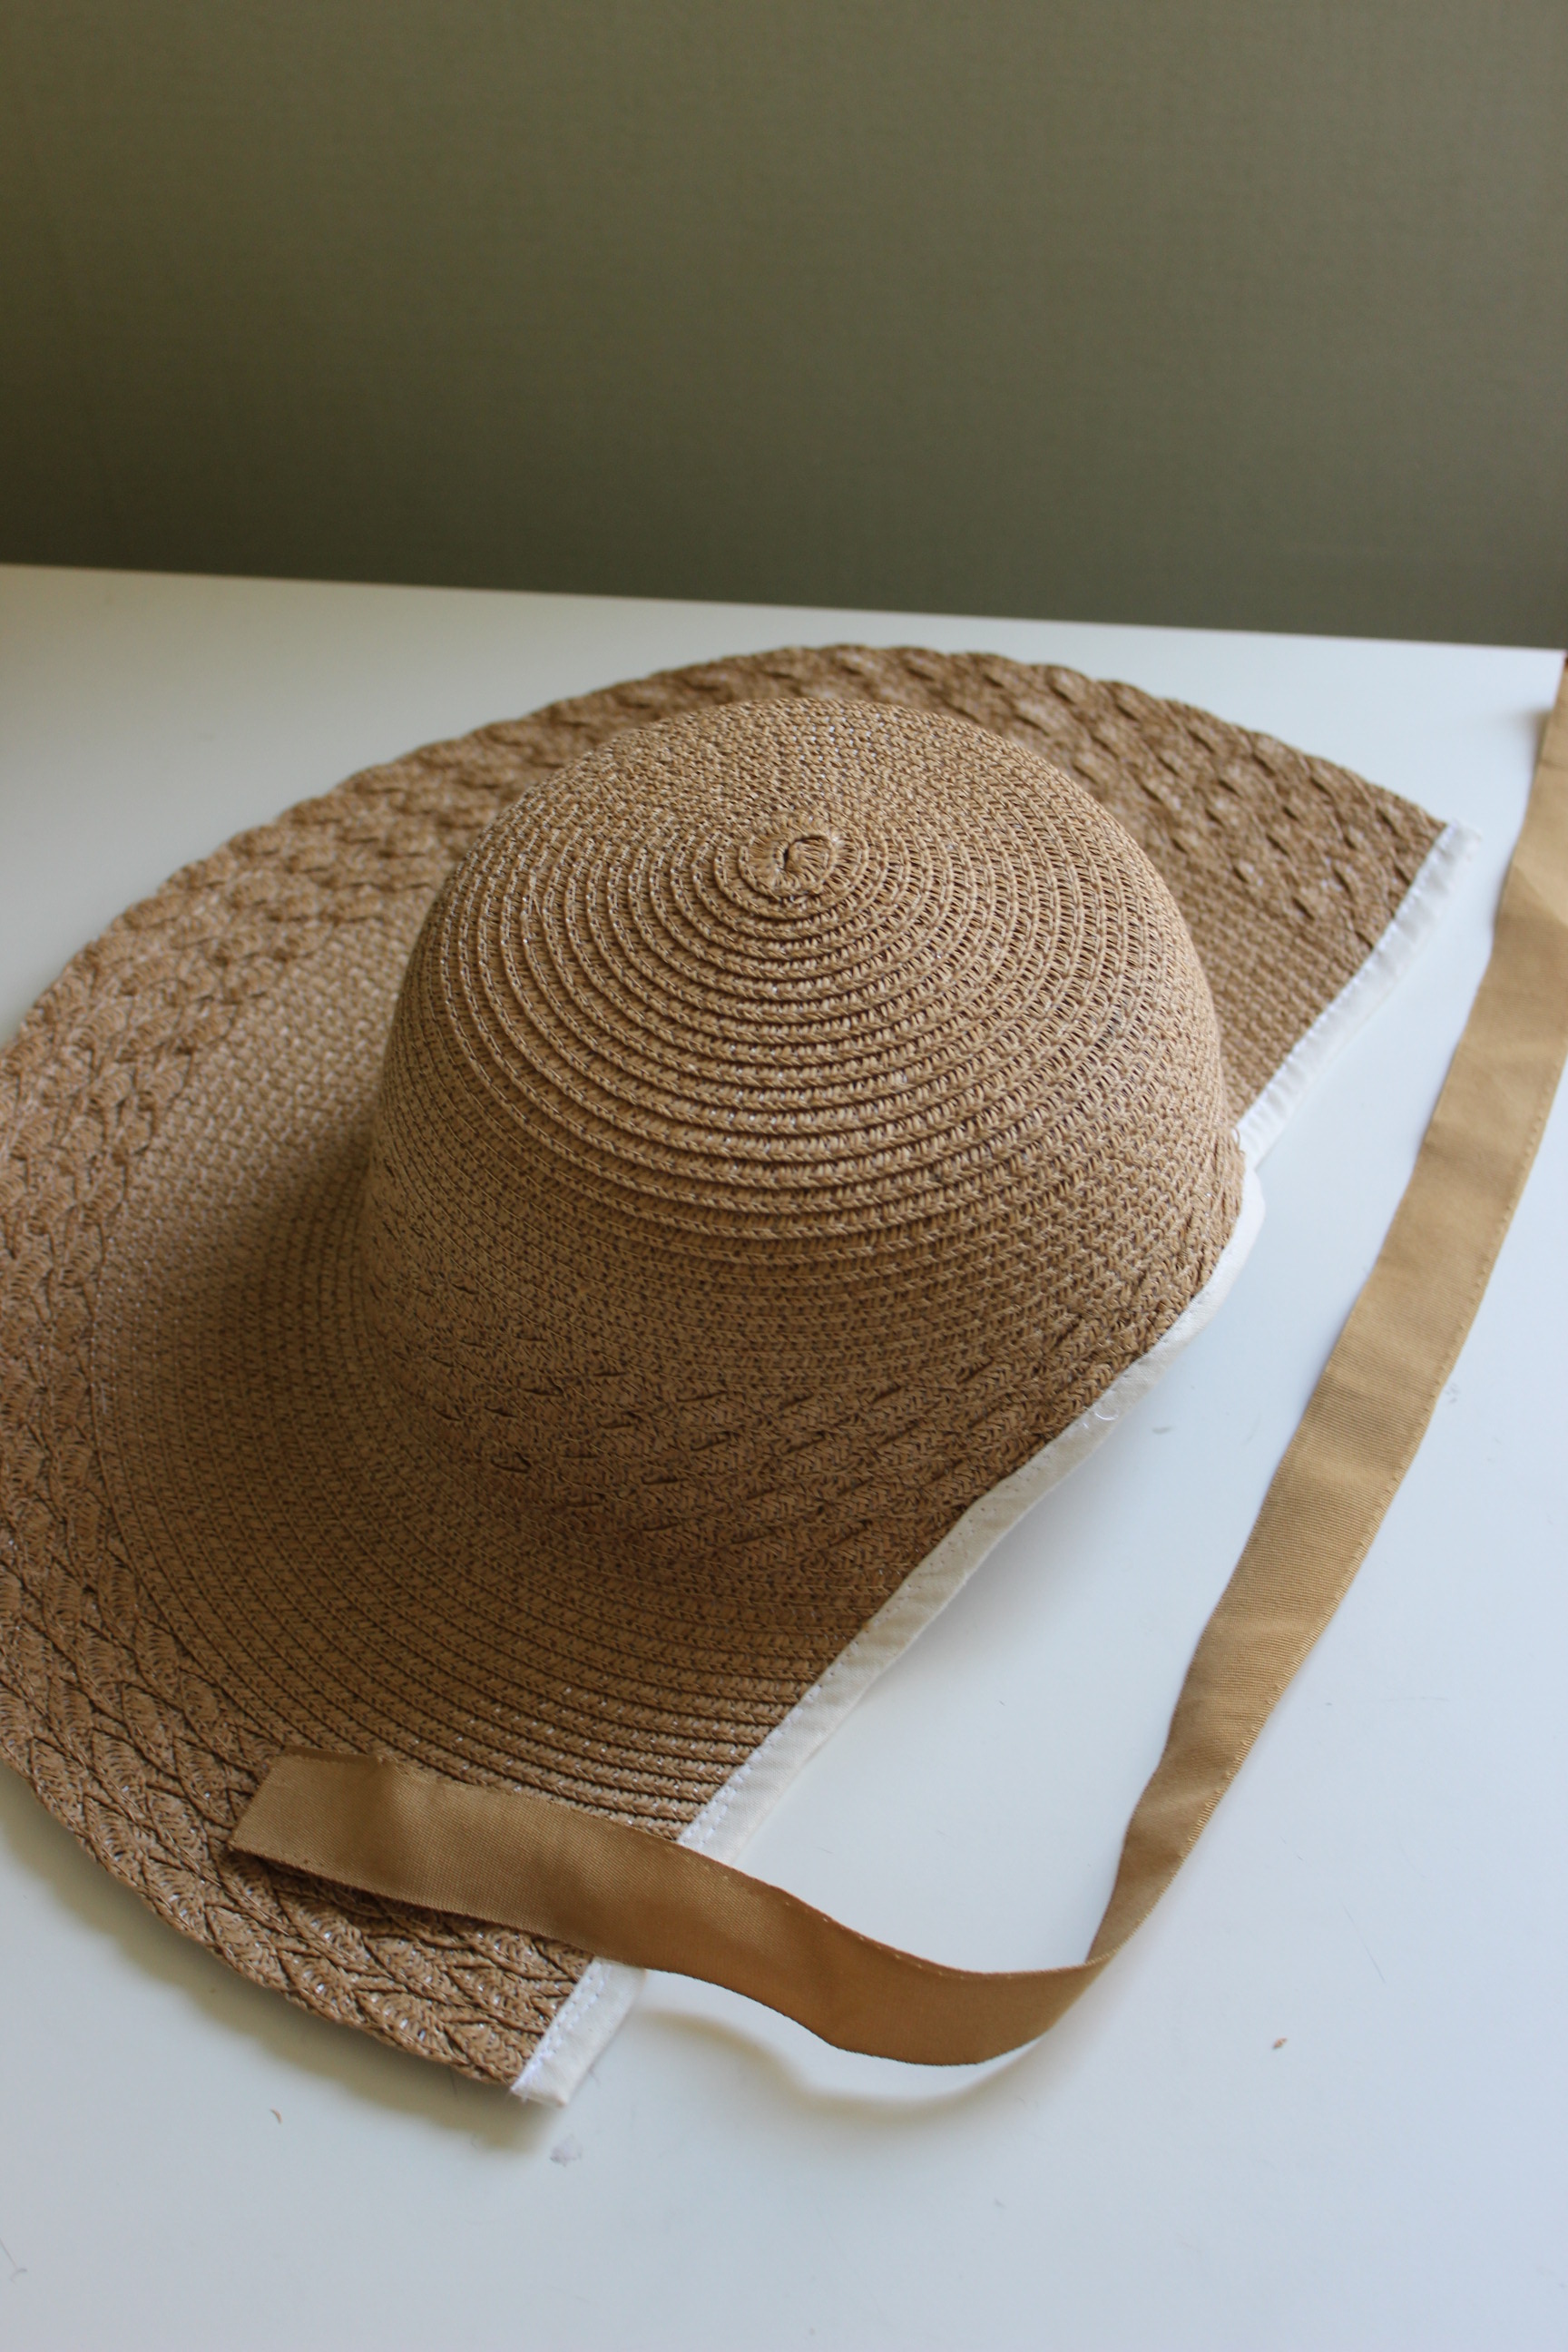
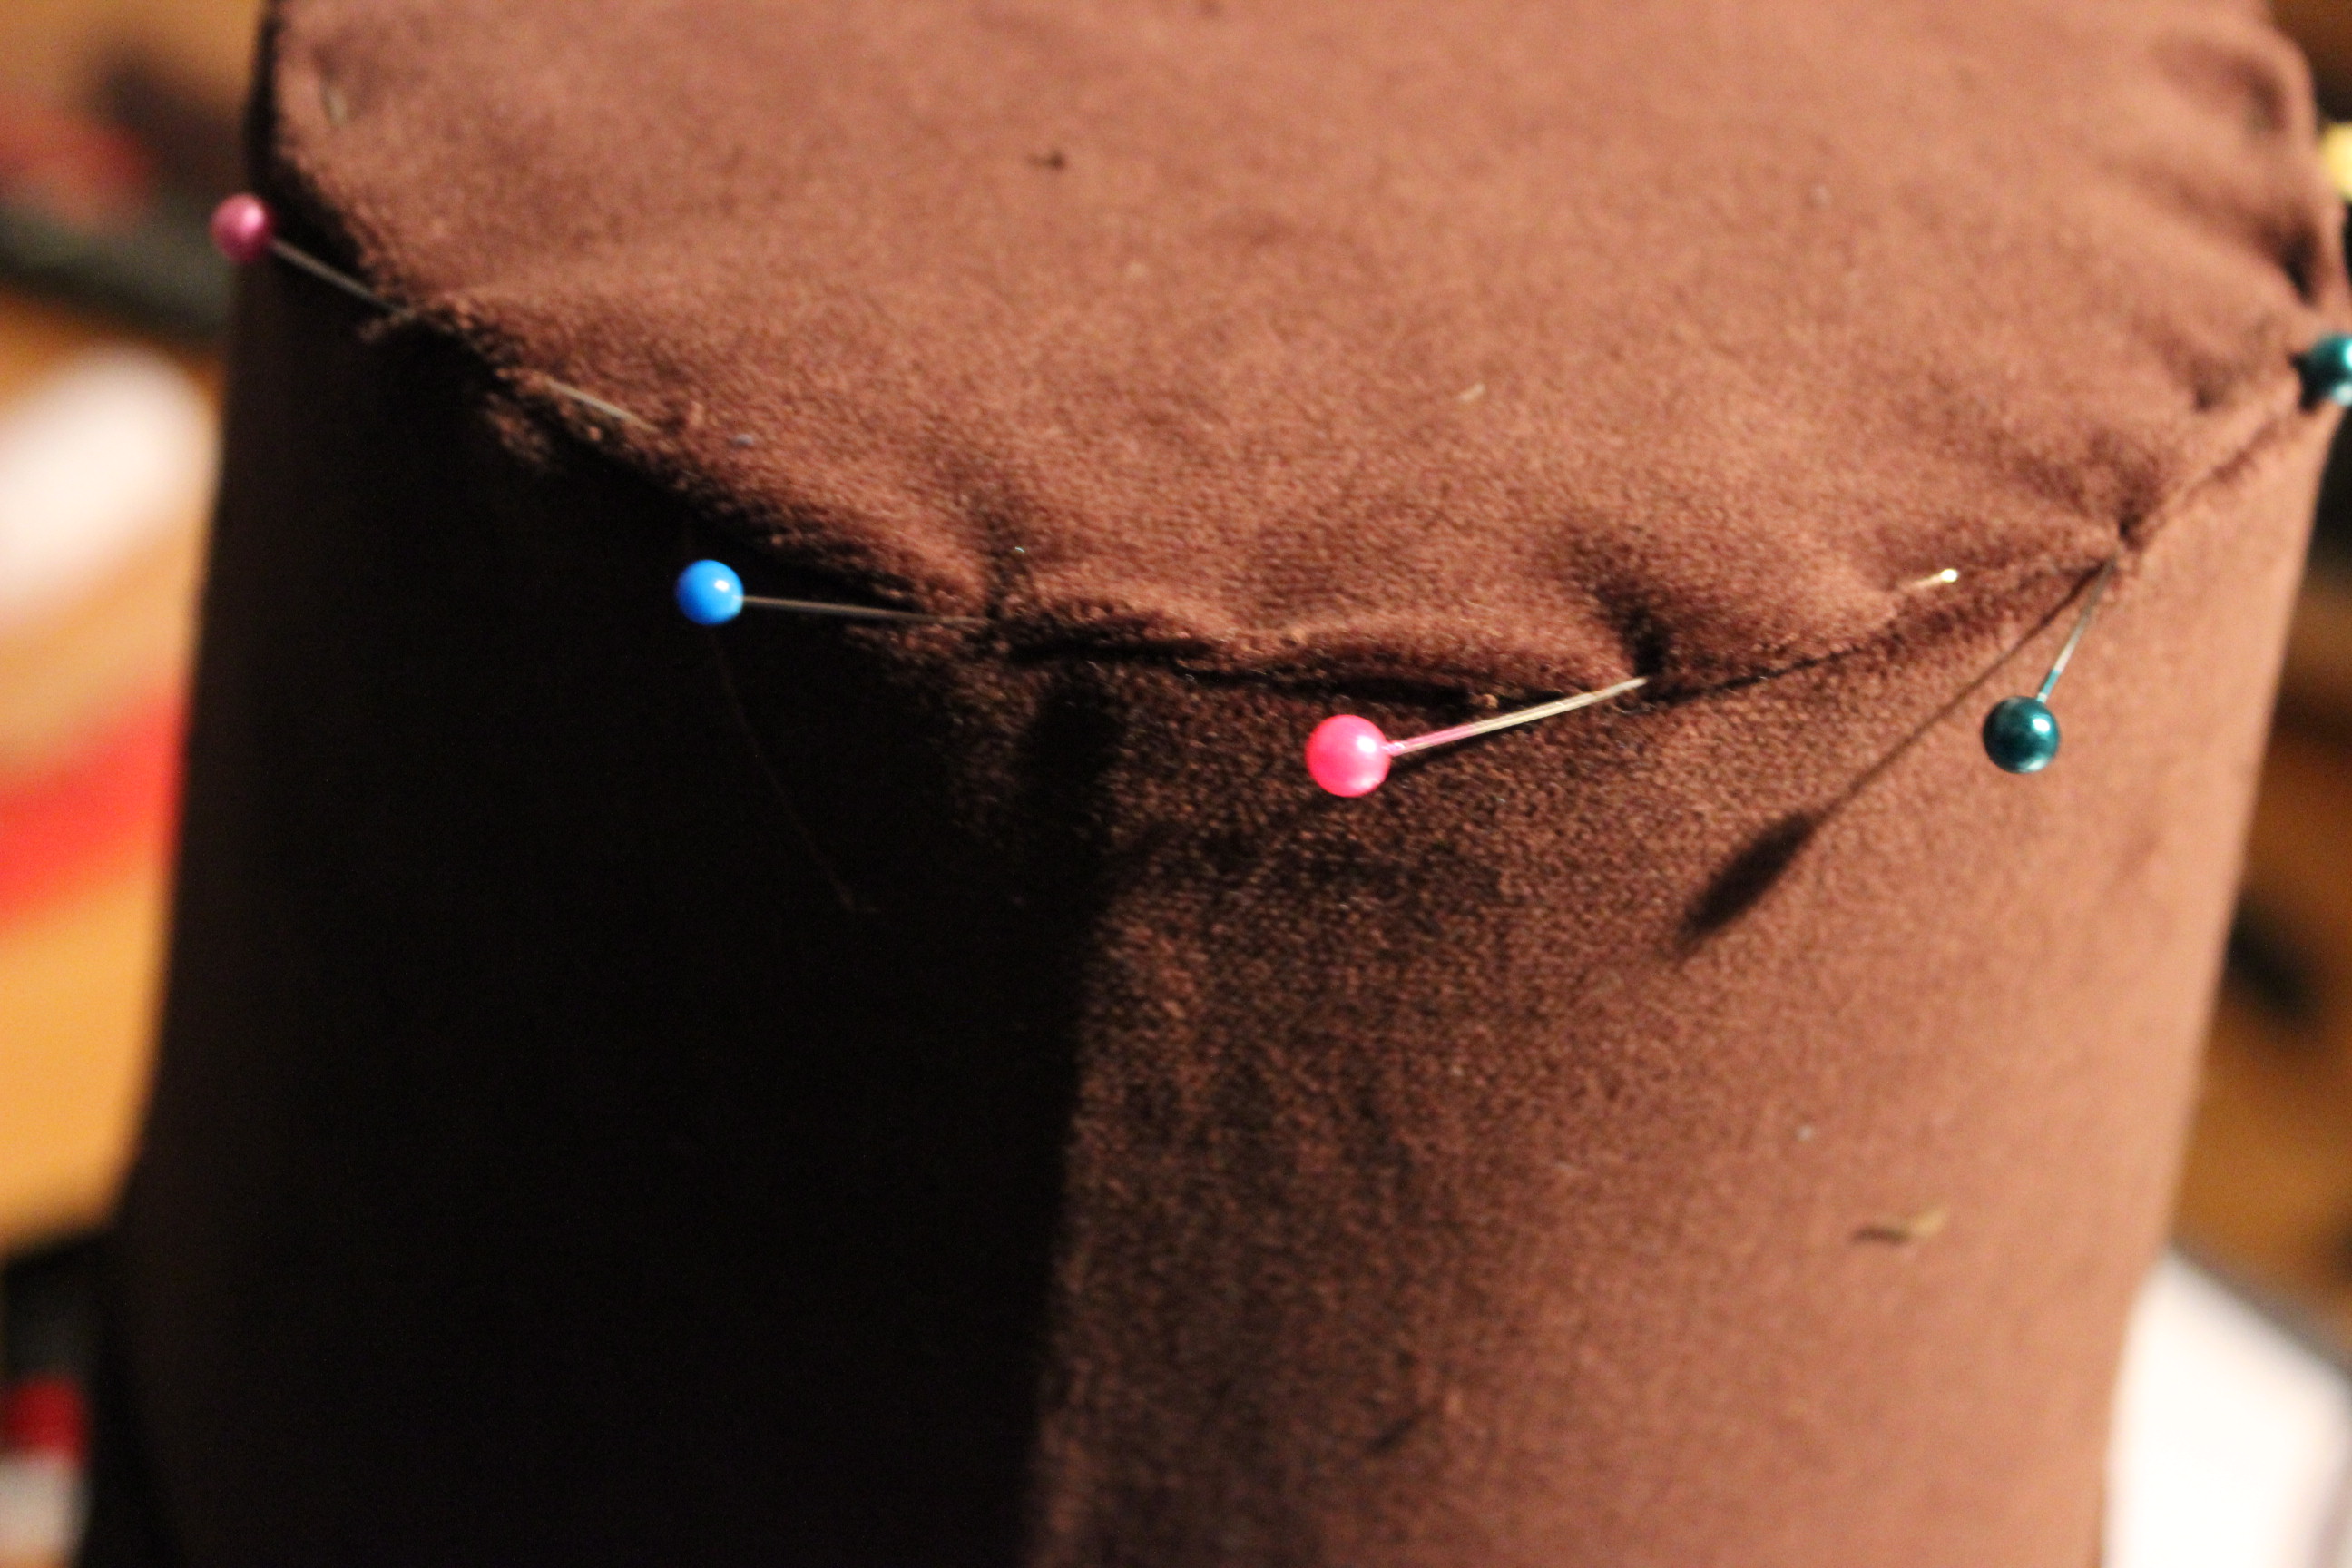
When dry the hat had a rough but much better shape then before. The brown ribbon is pinned on, to hold the brim in while the hat dried.

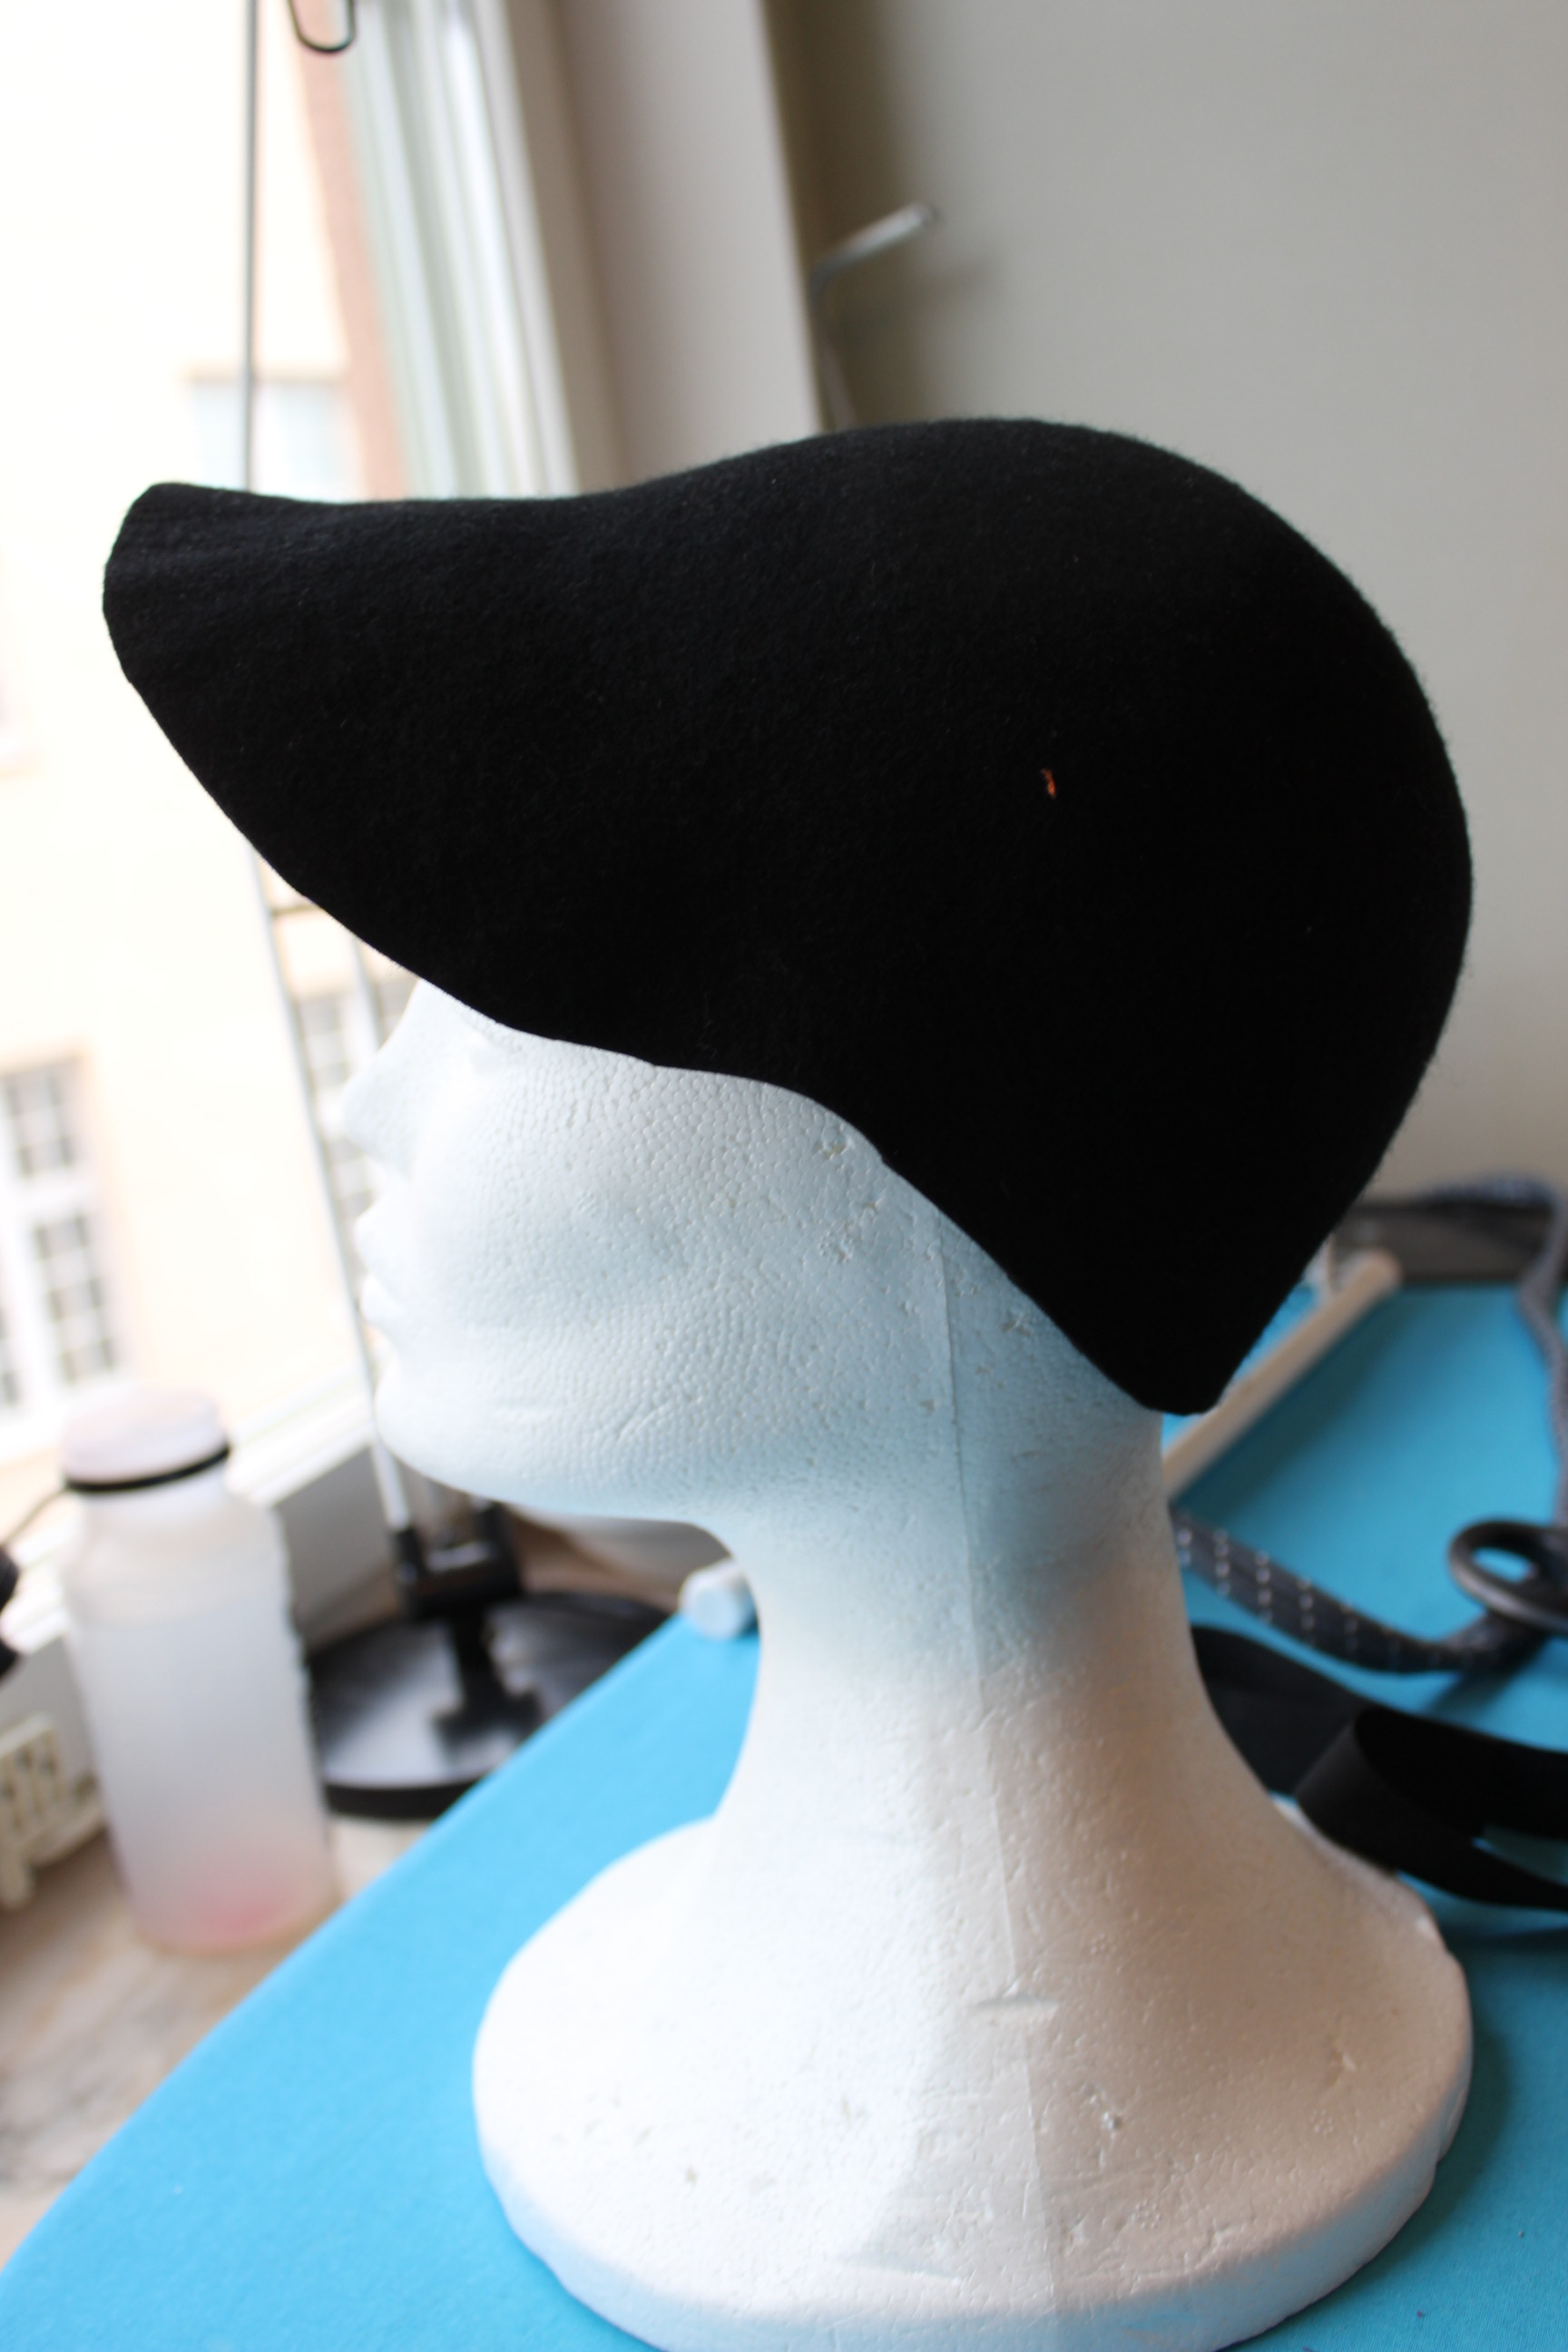
The shape after the first round.

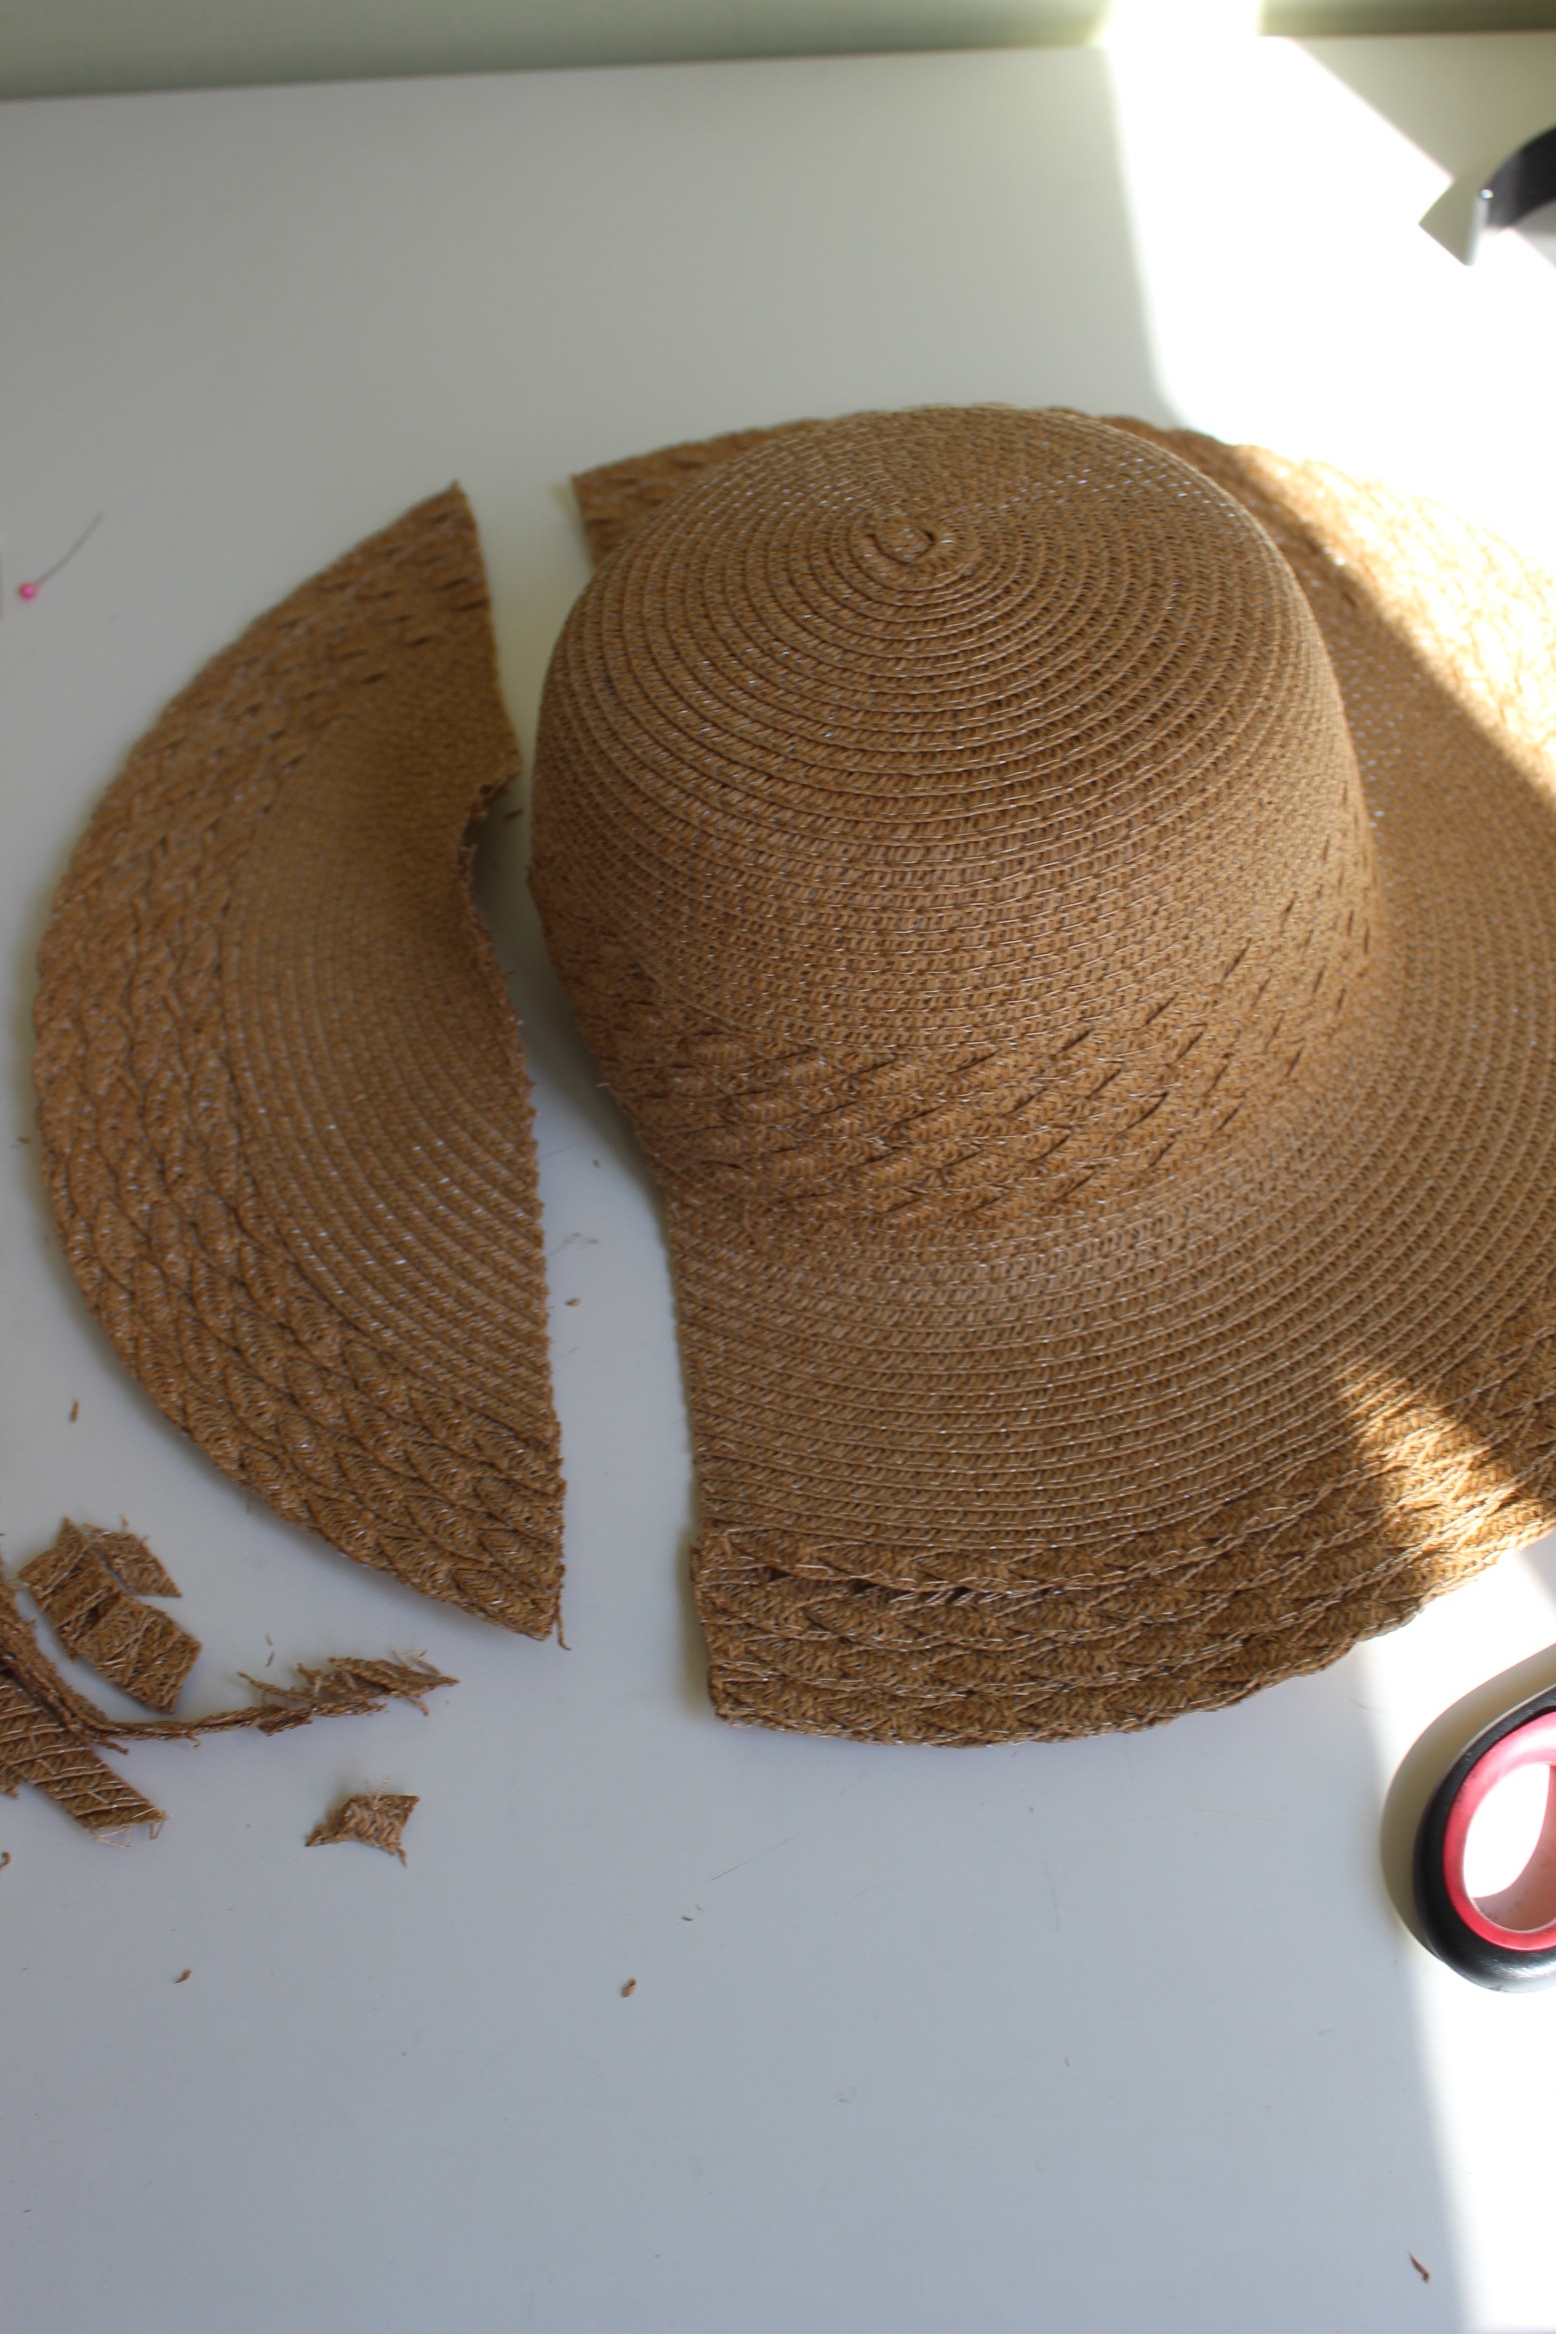
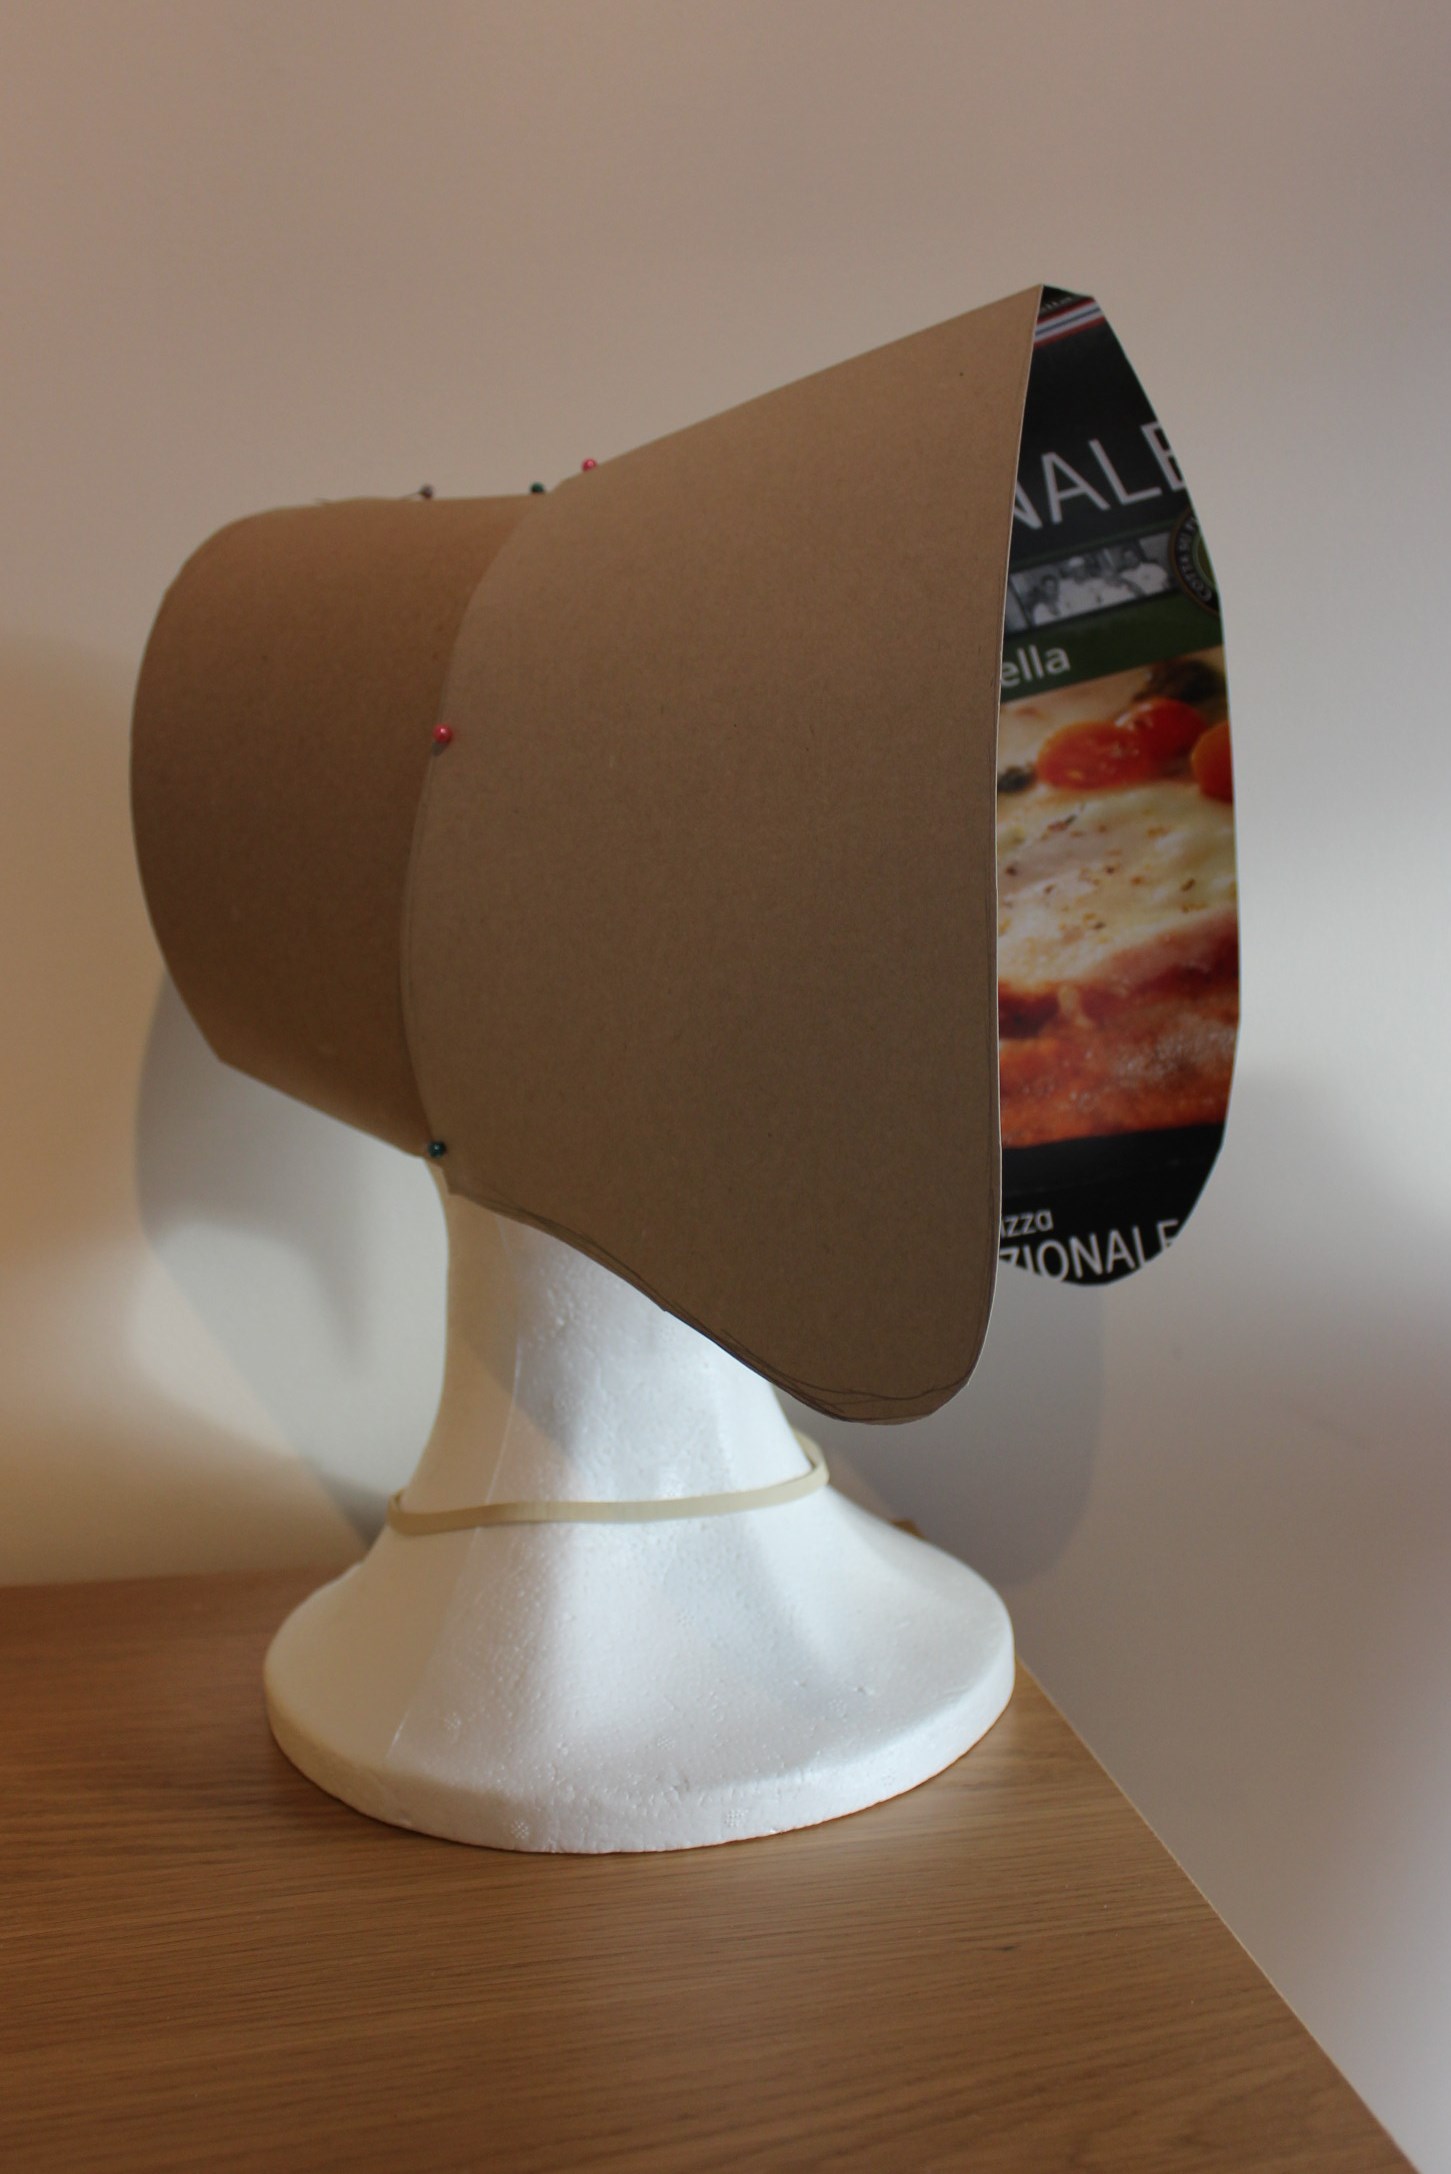
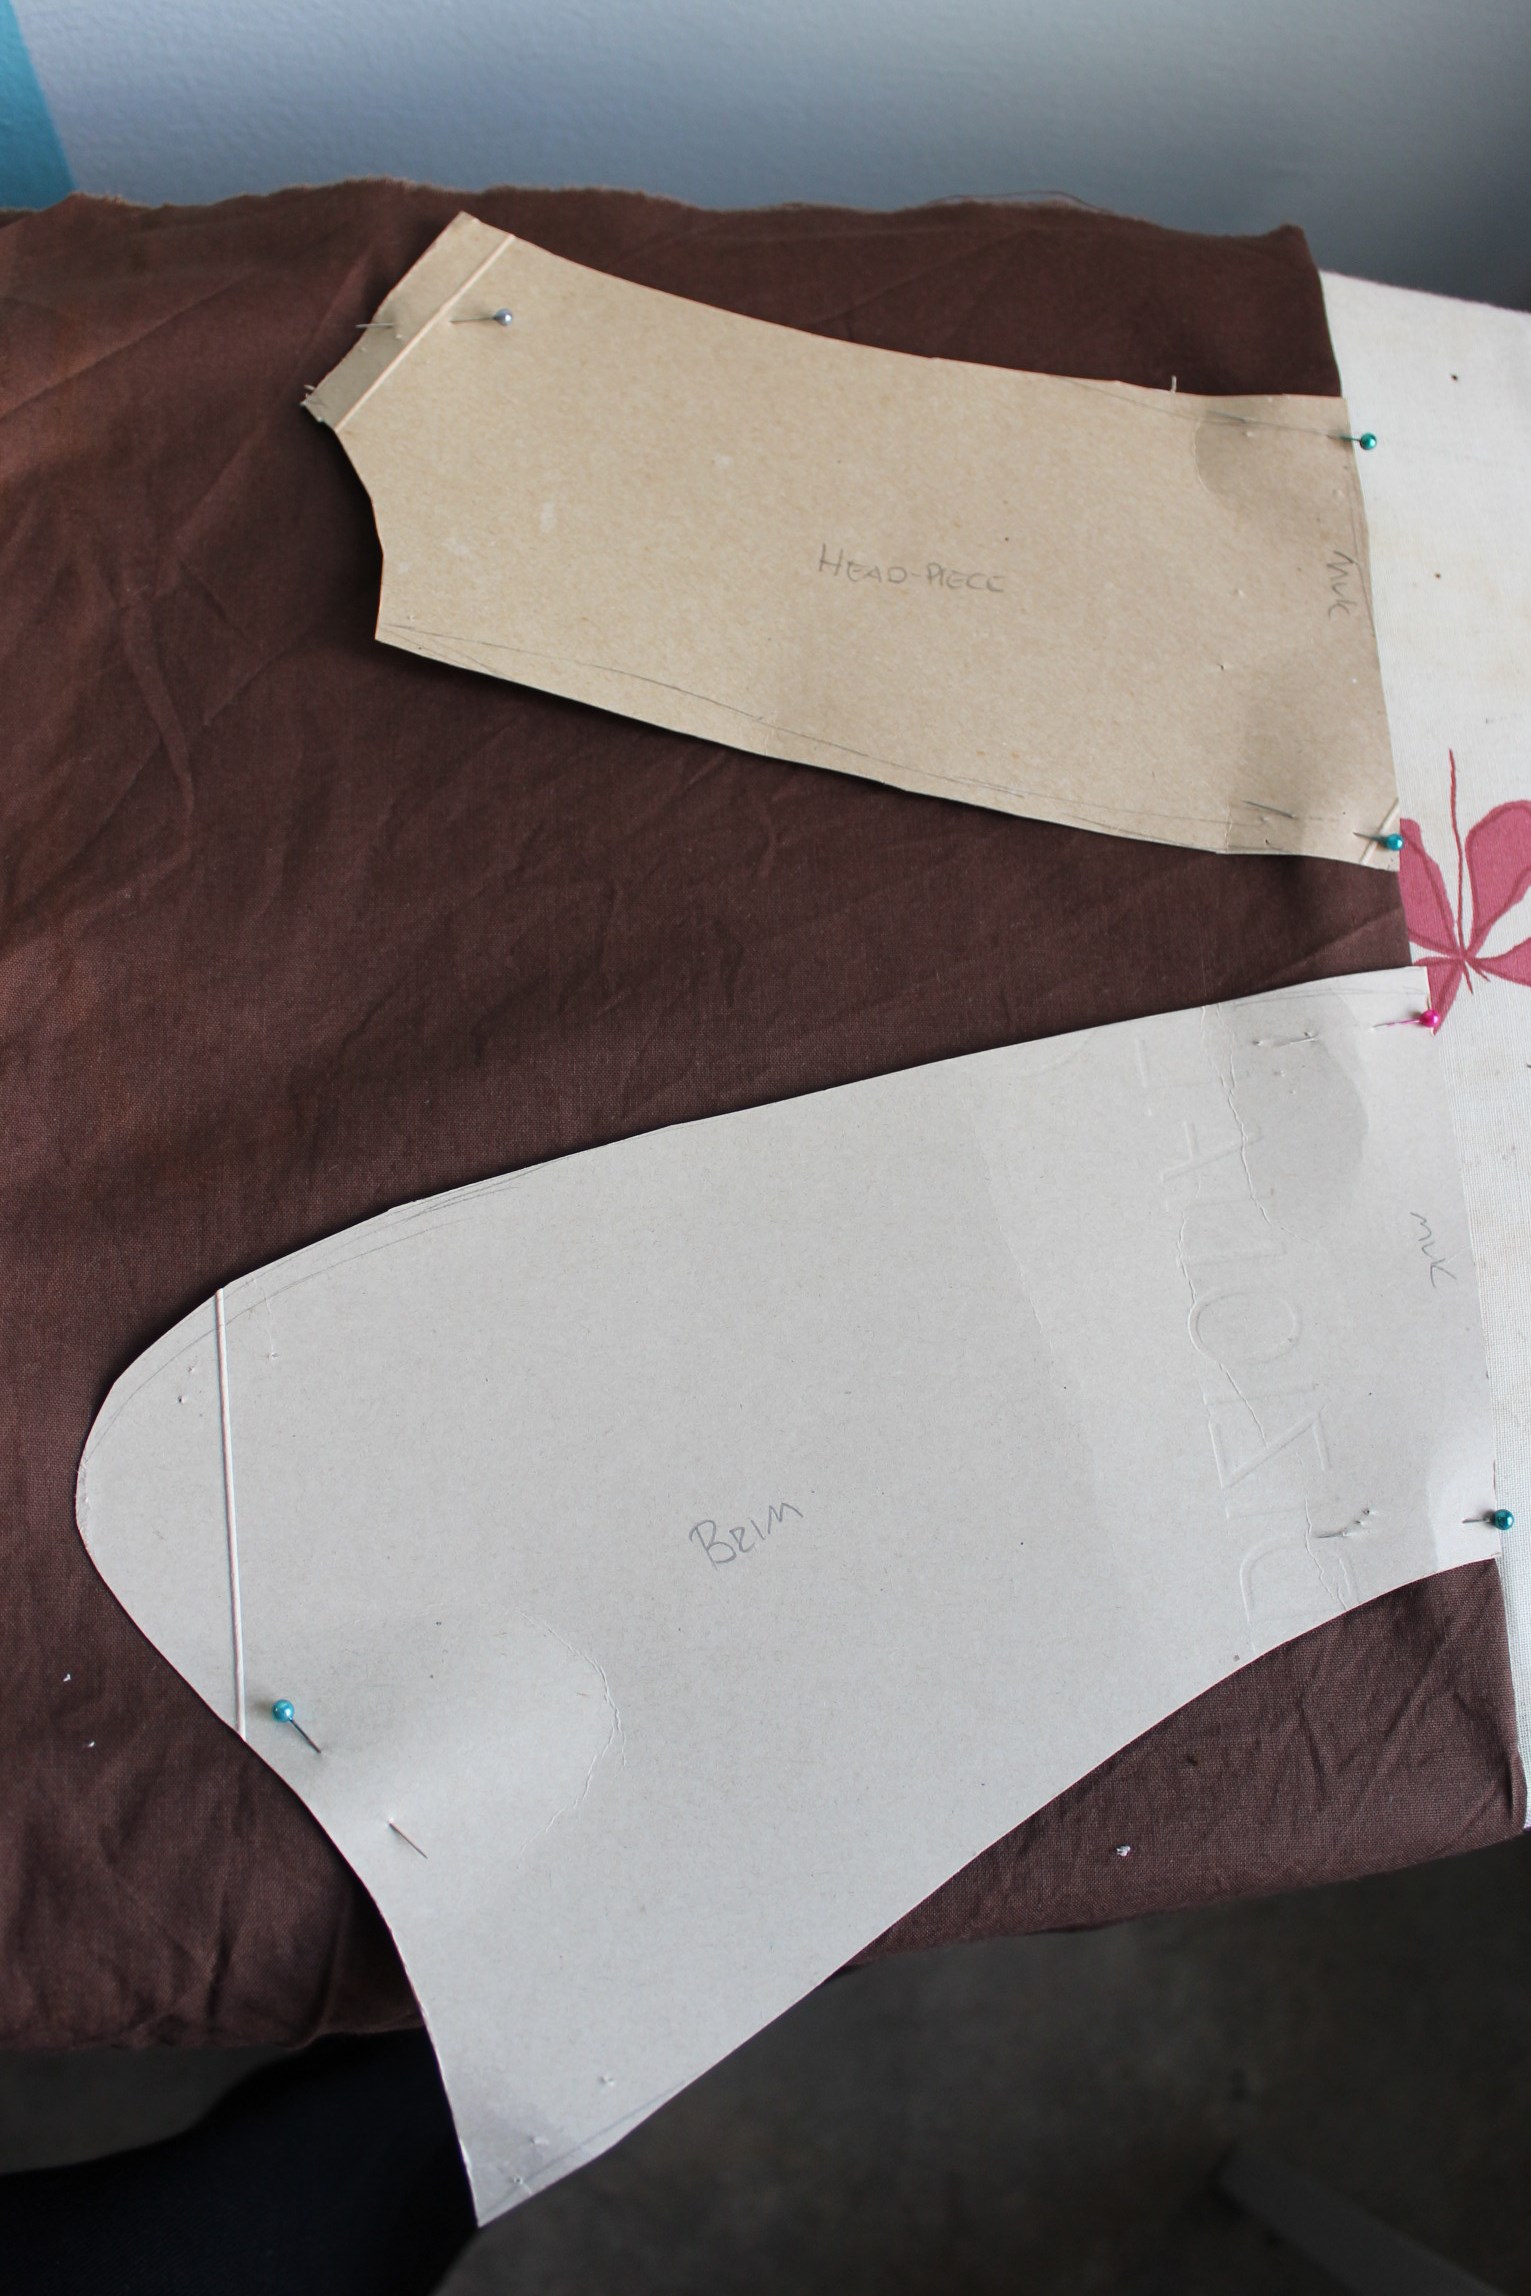
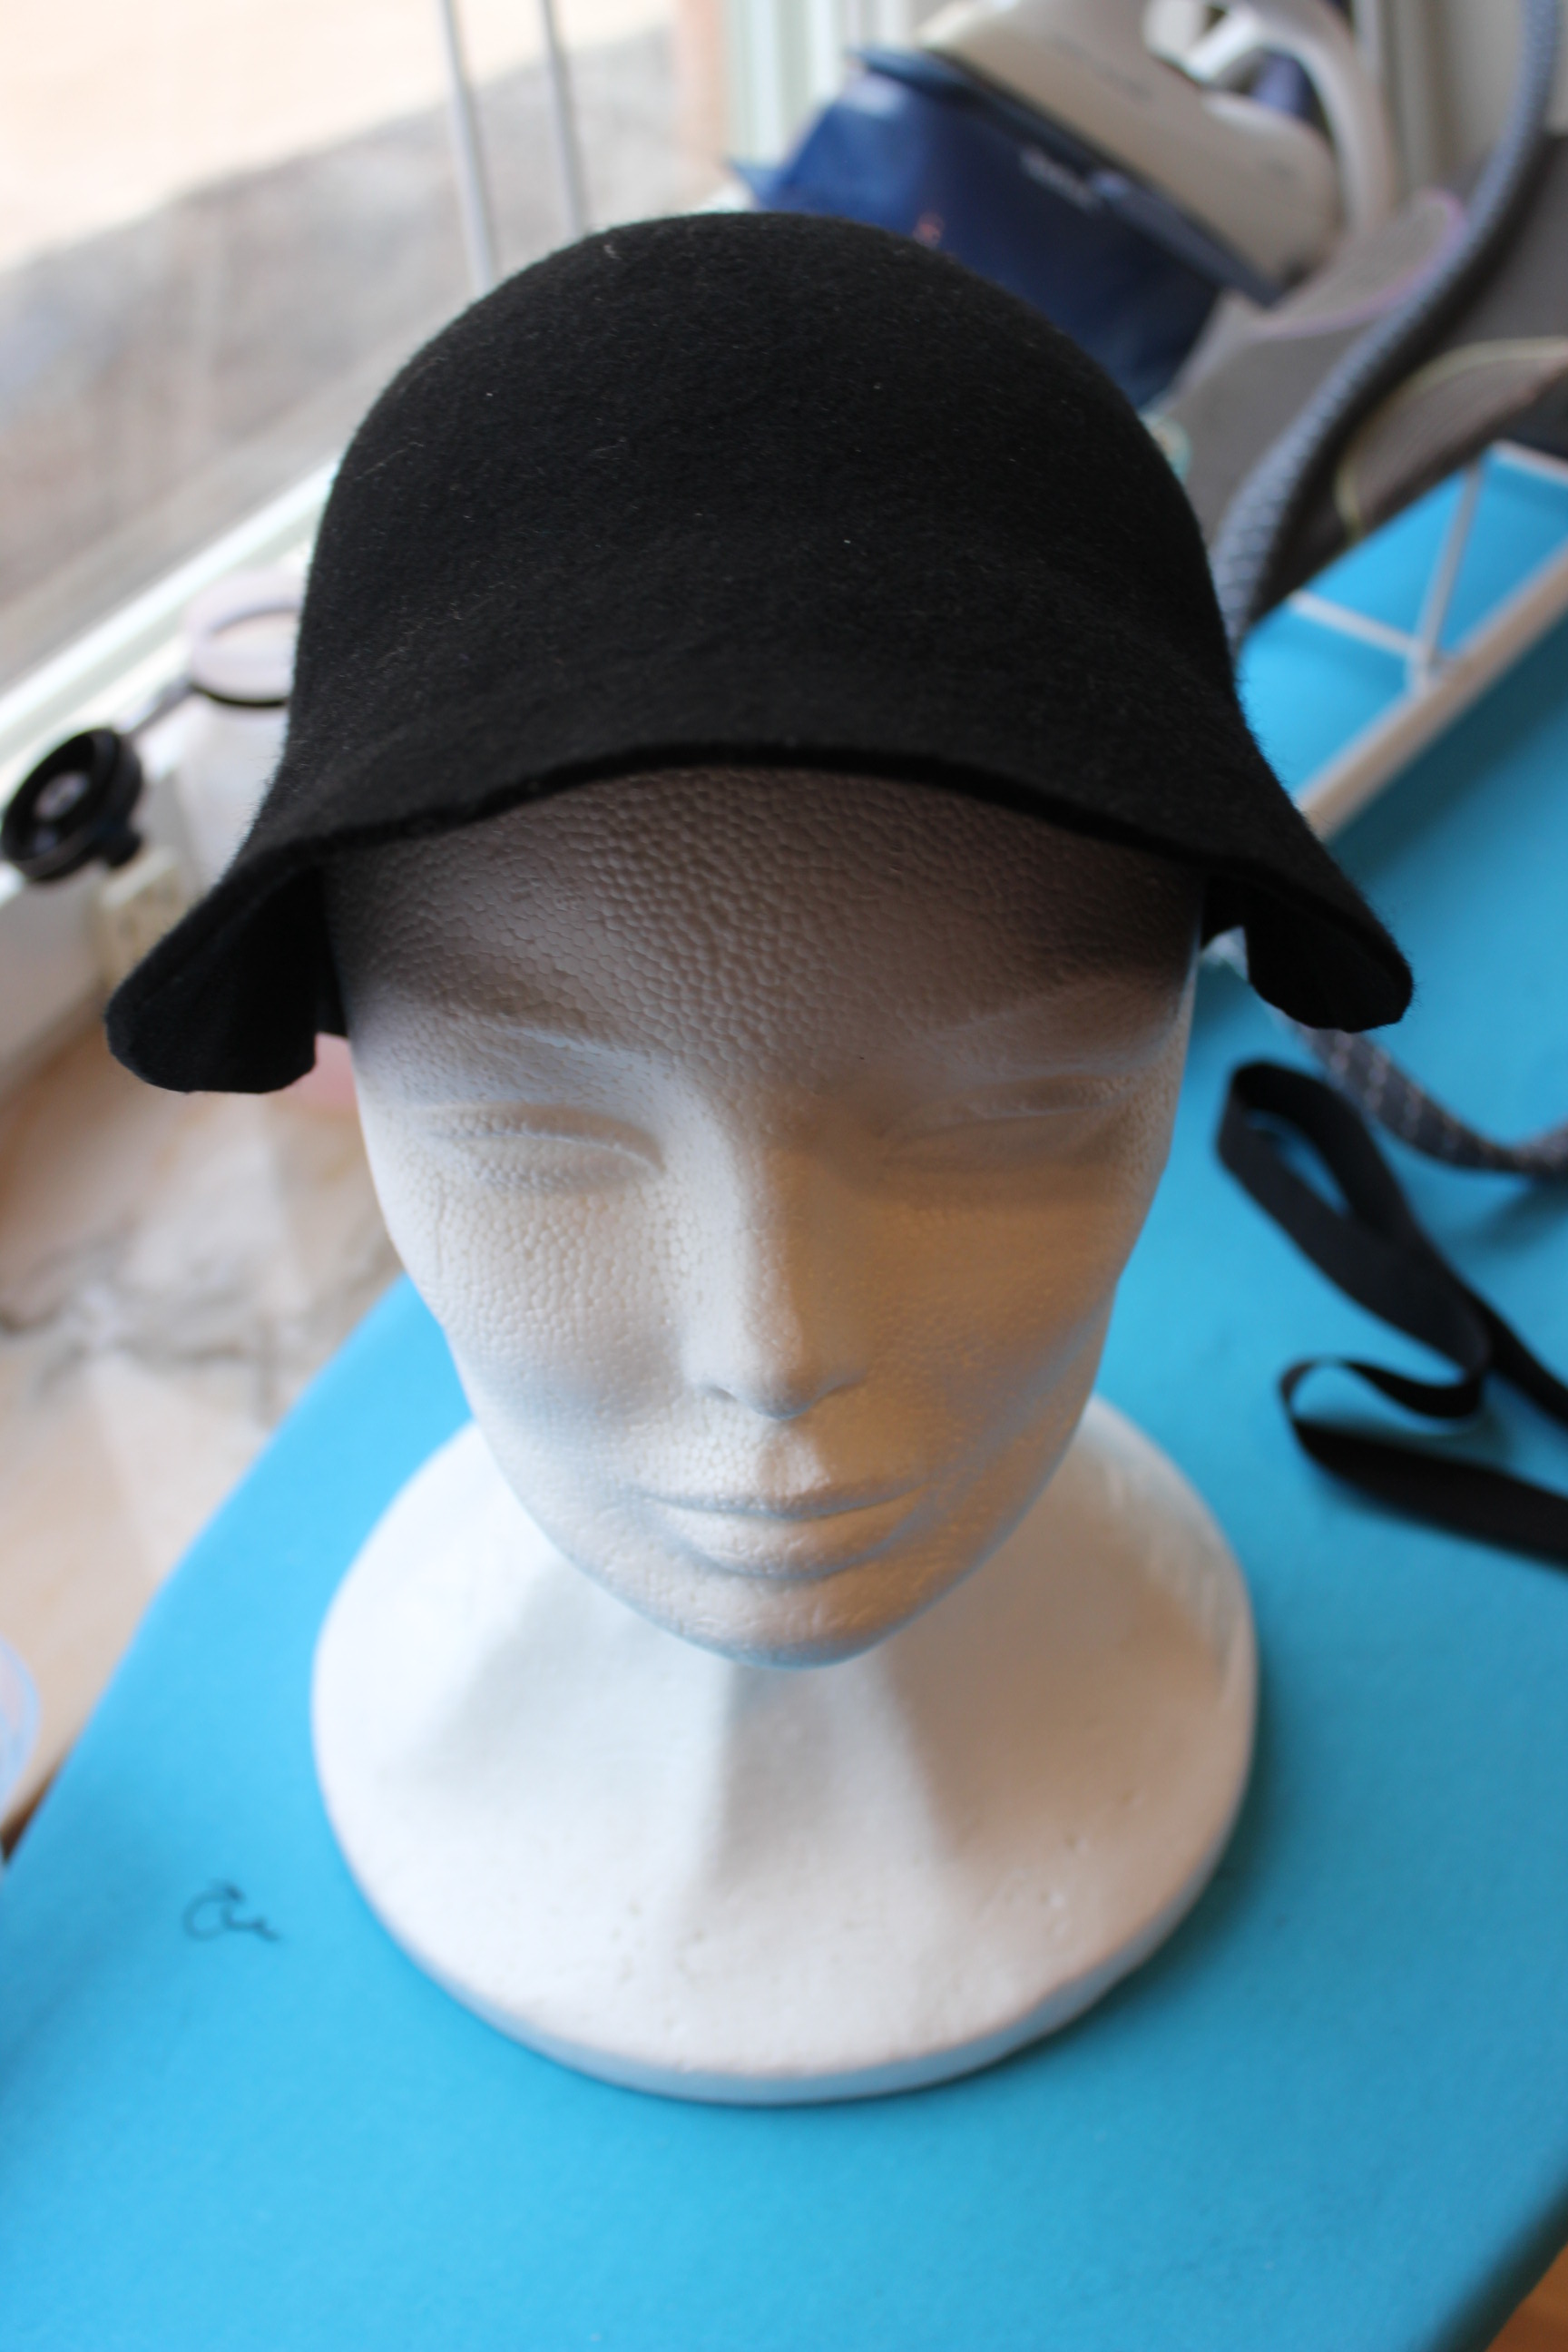
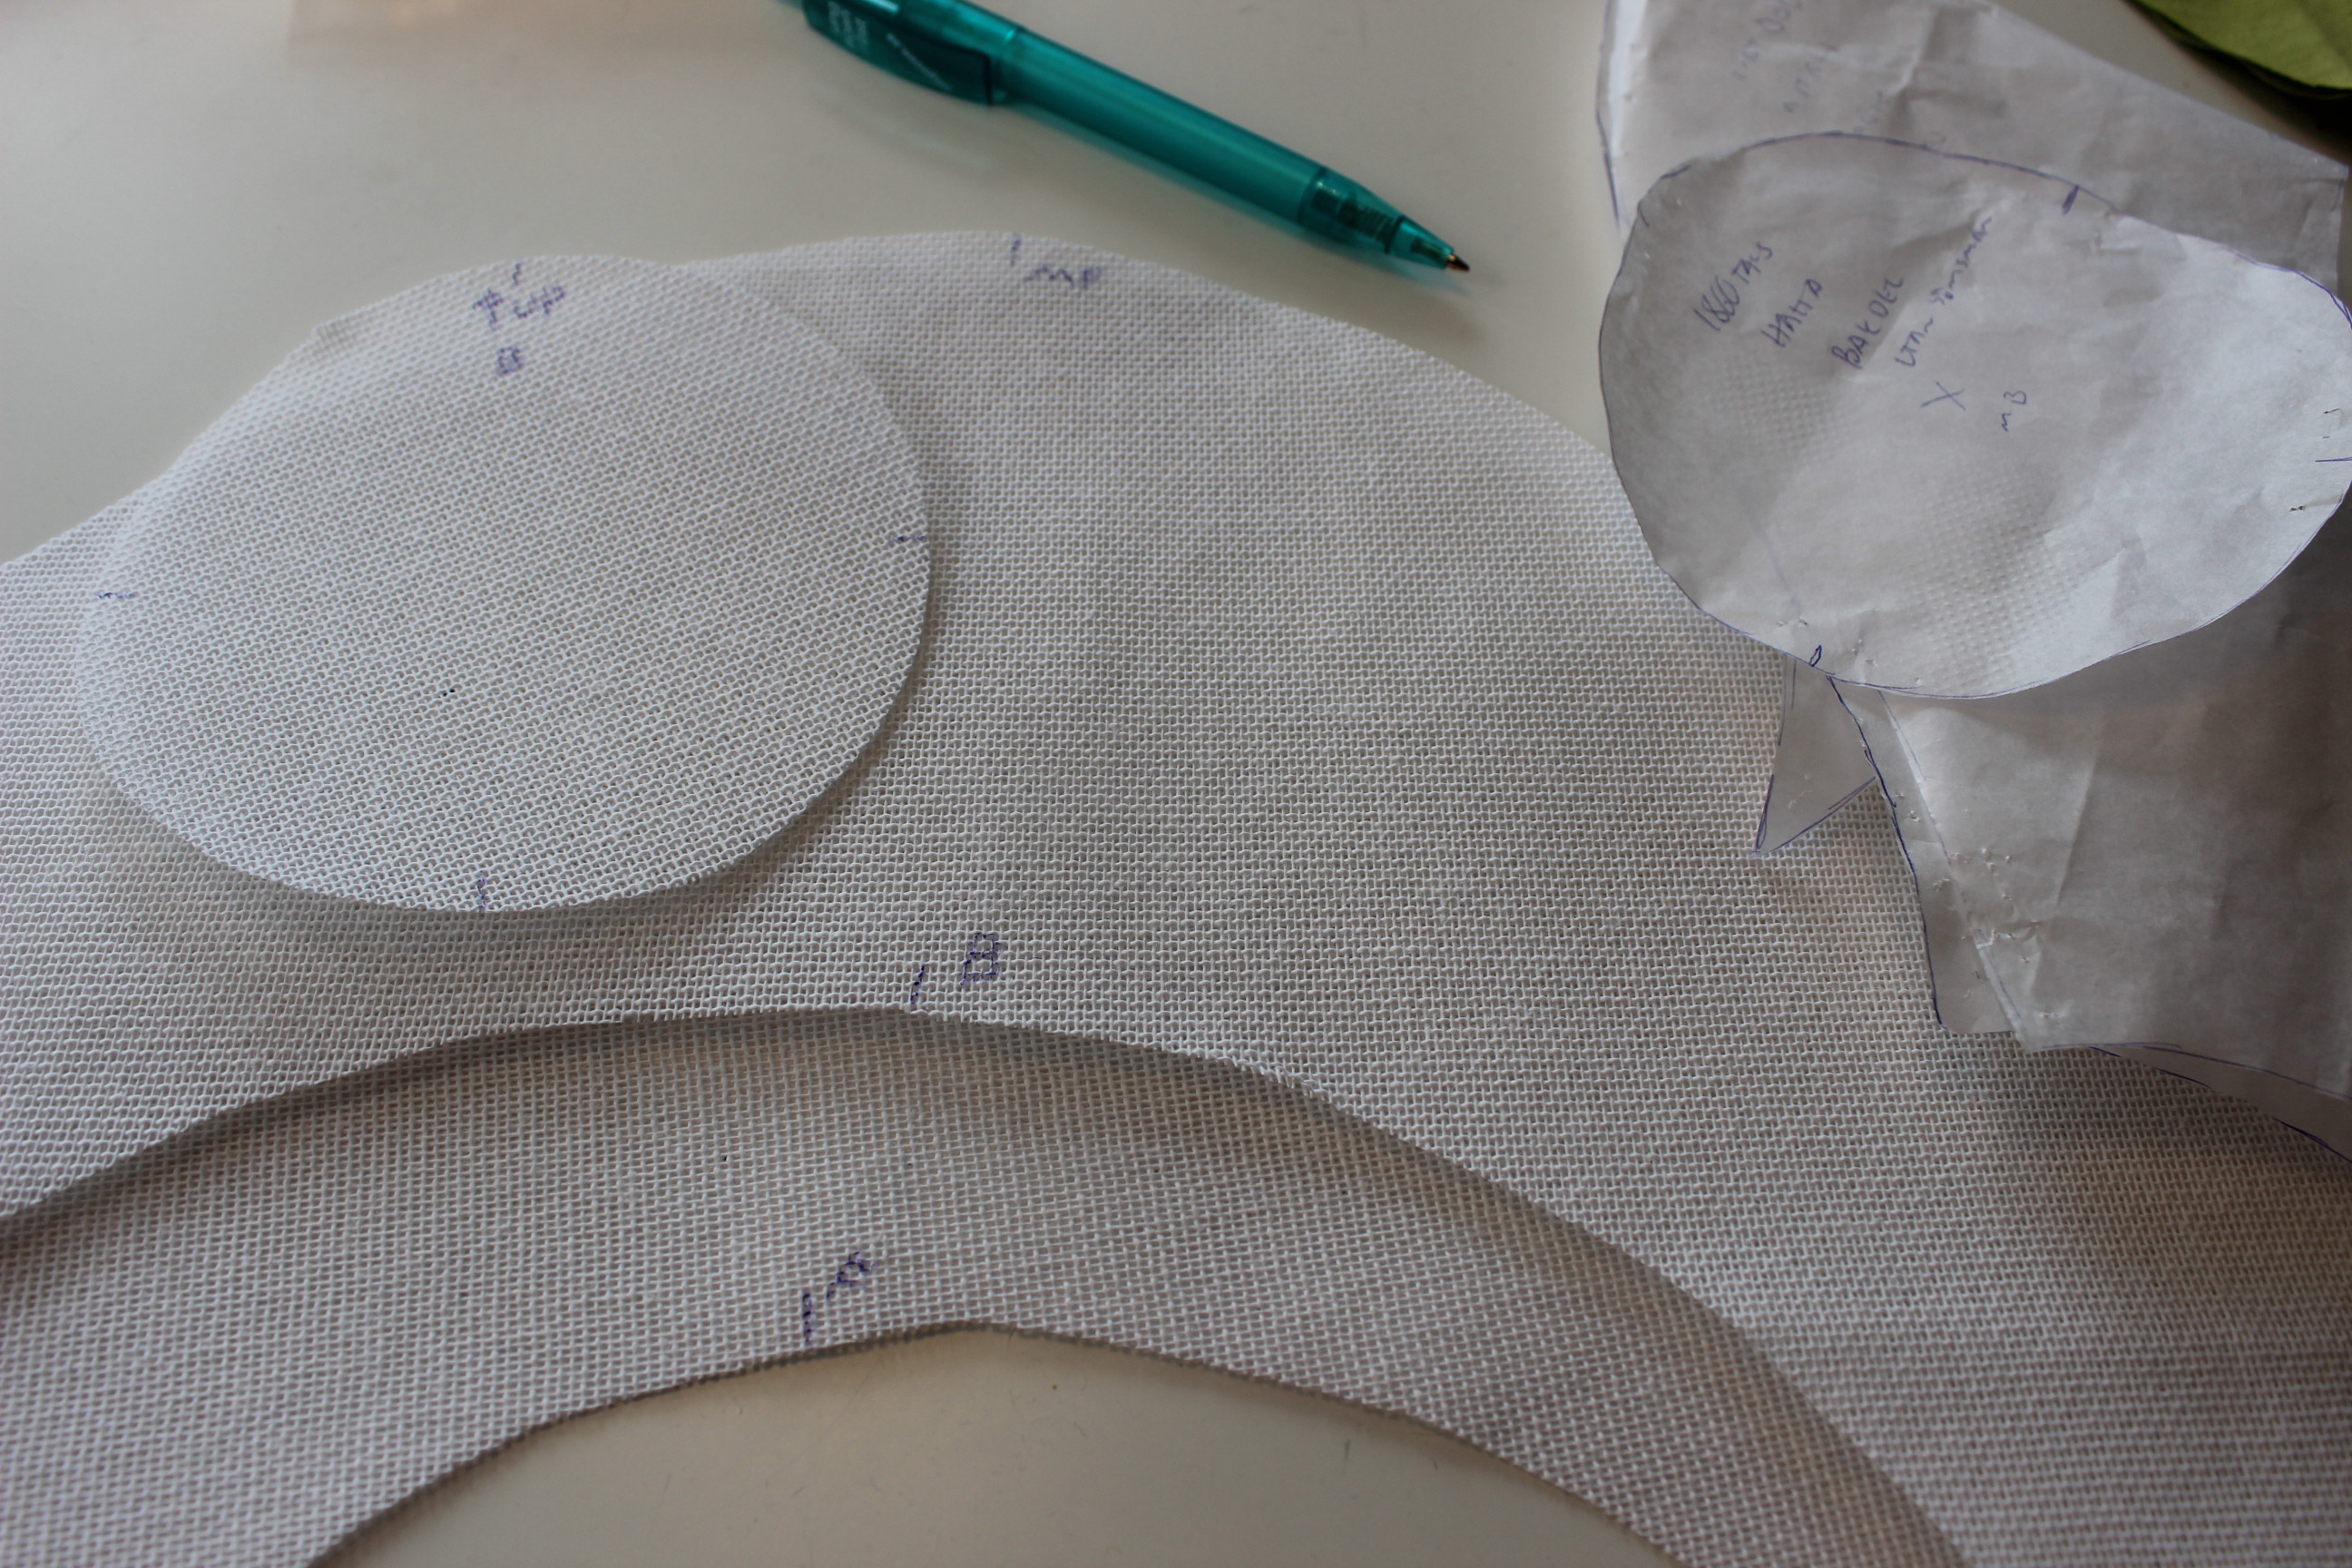
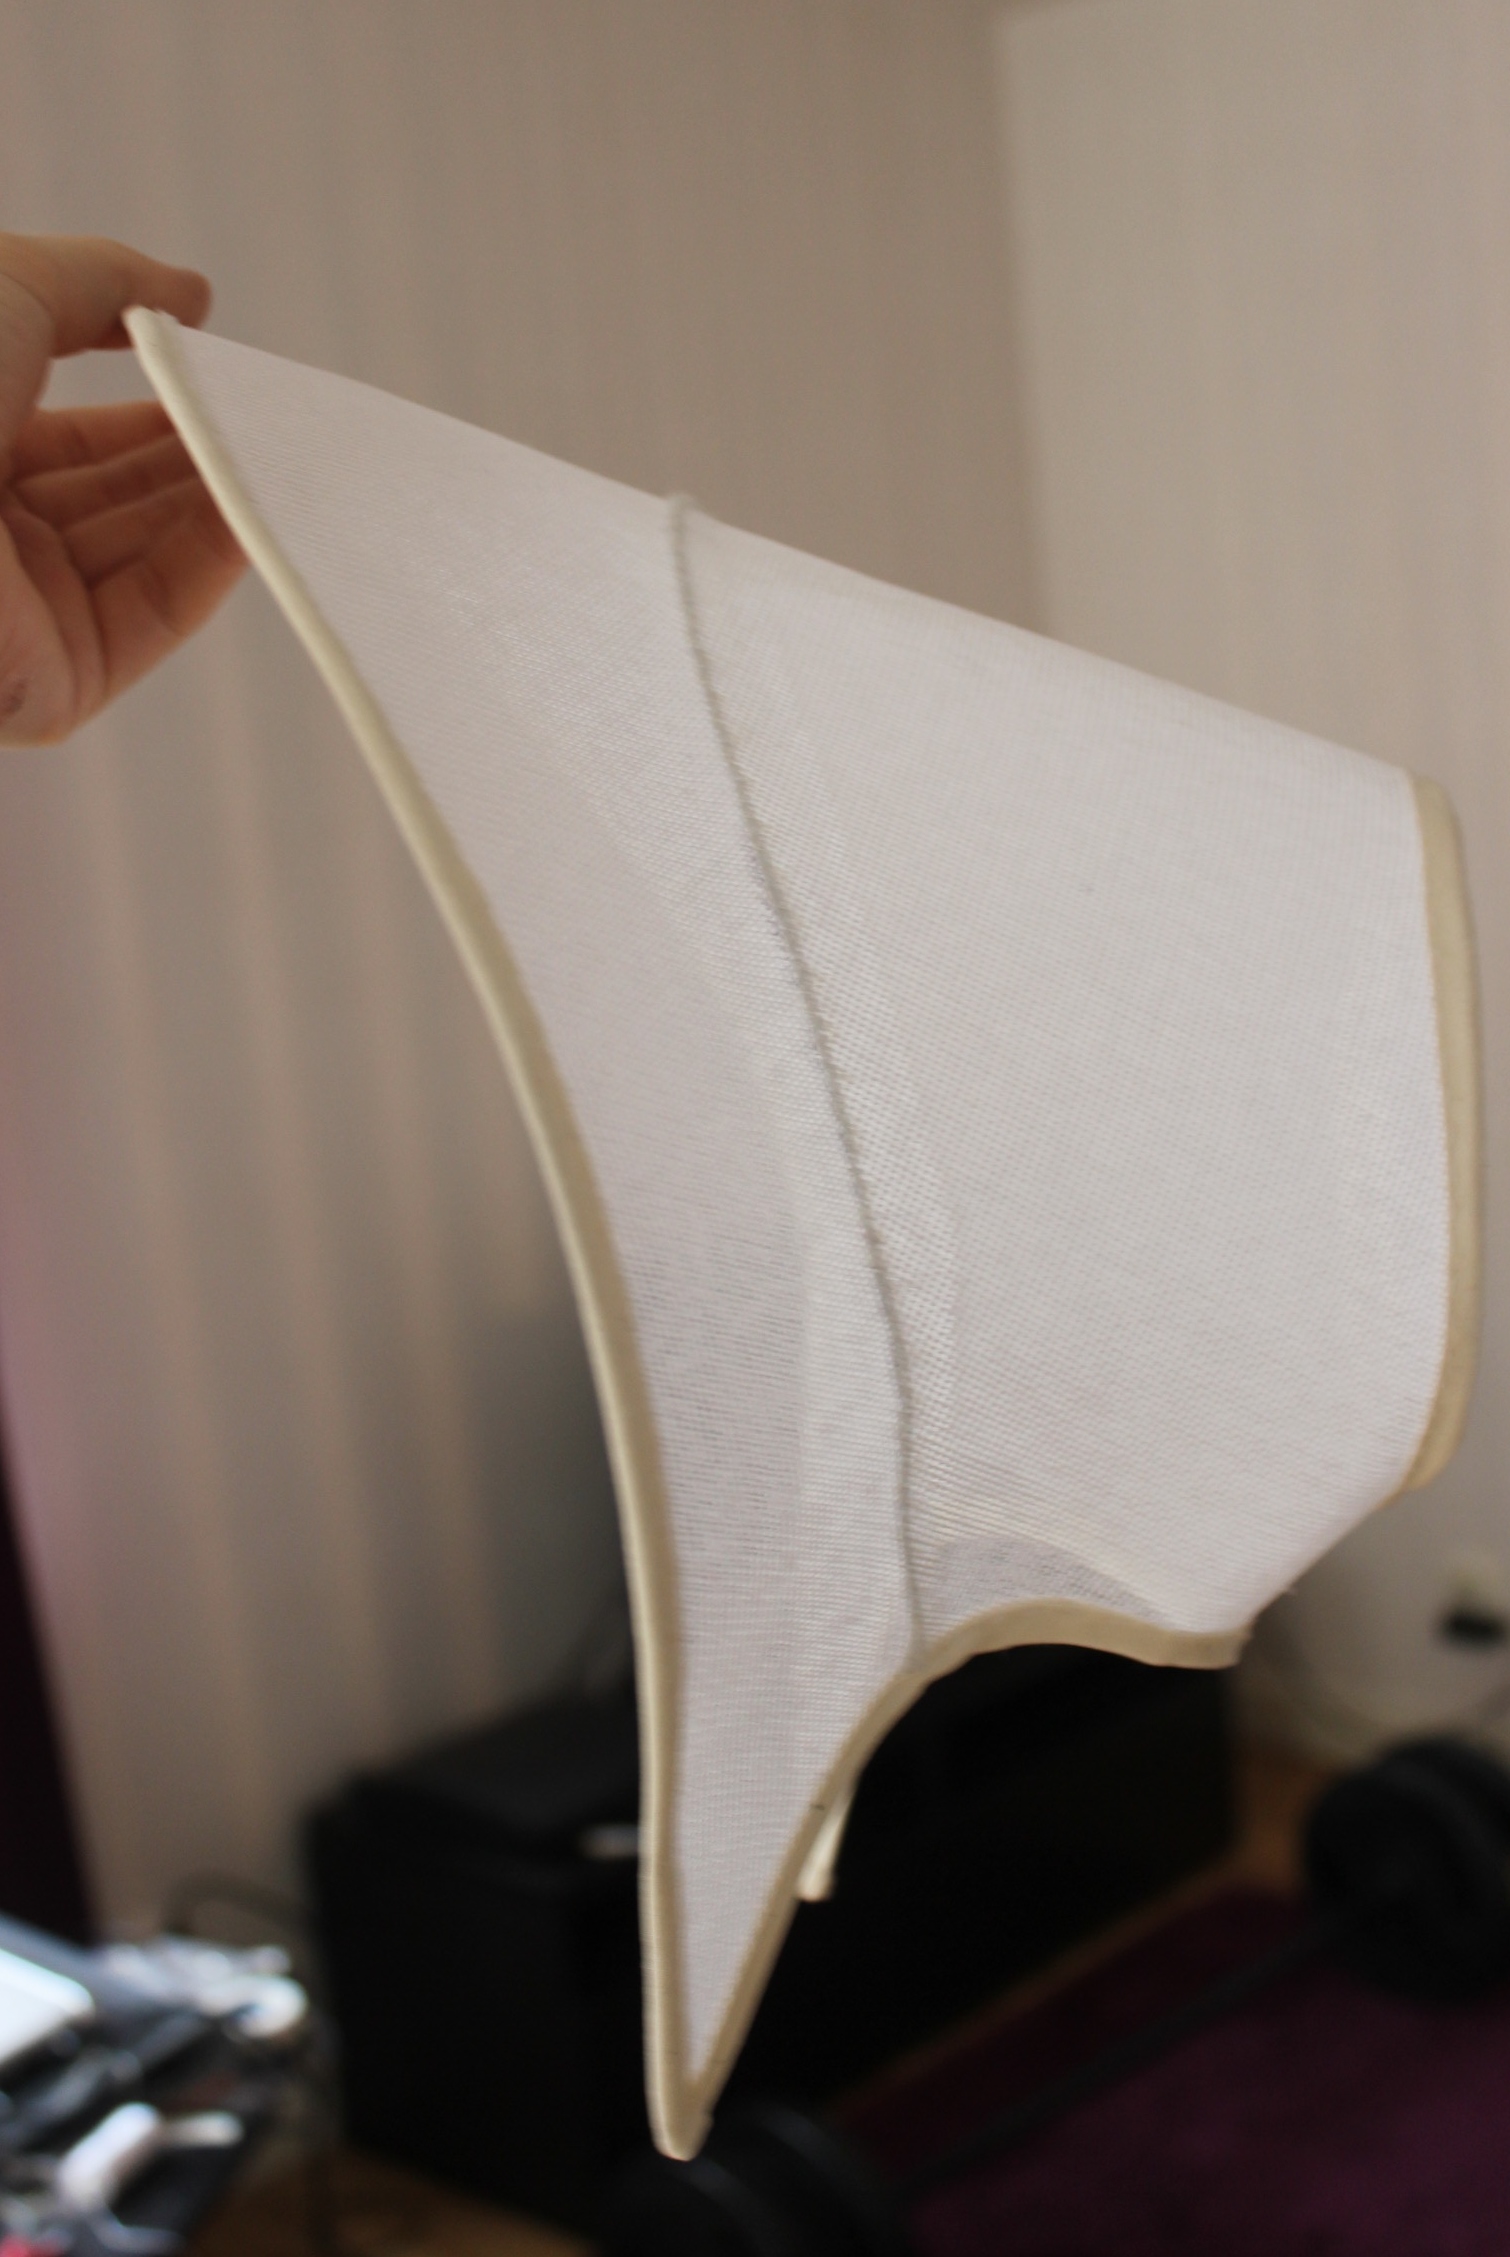
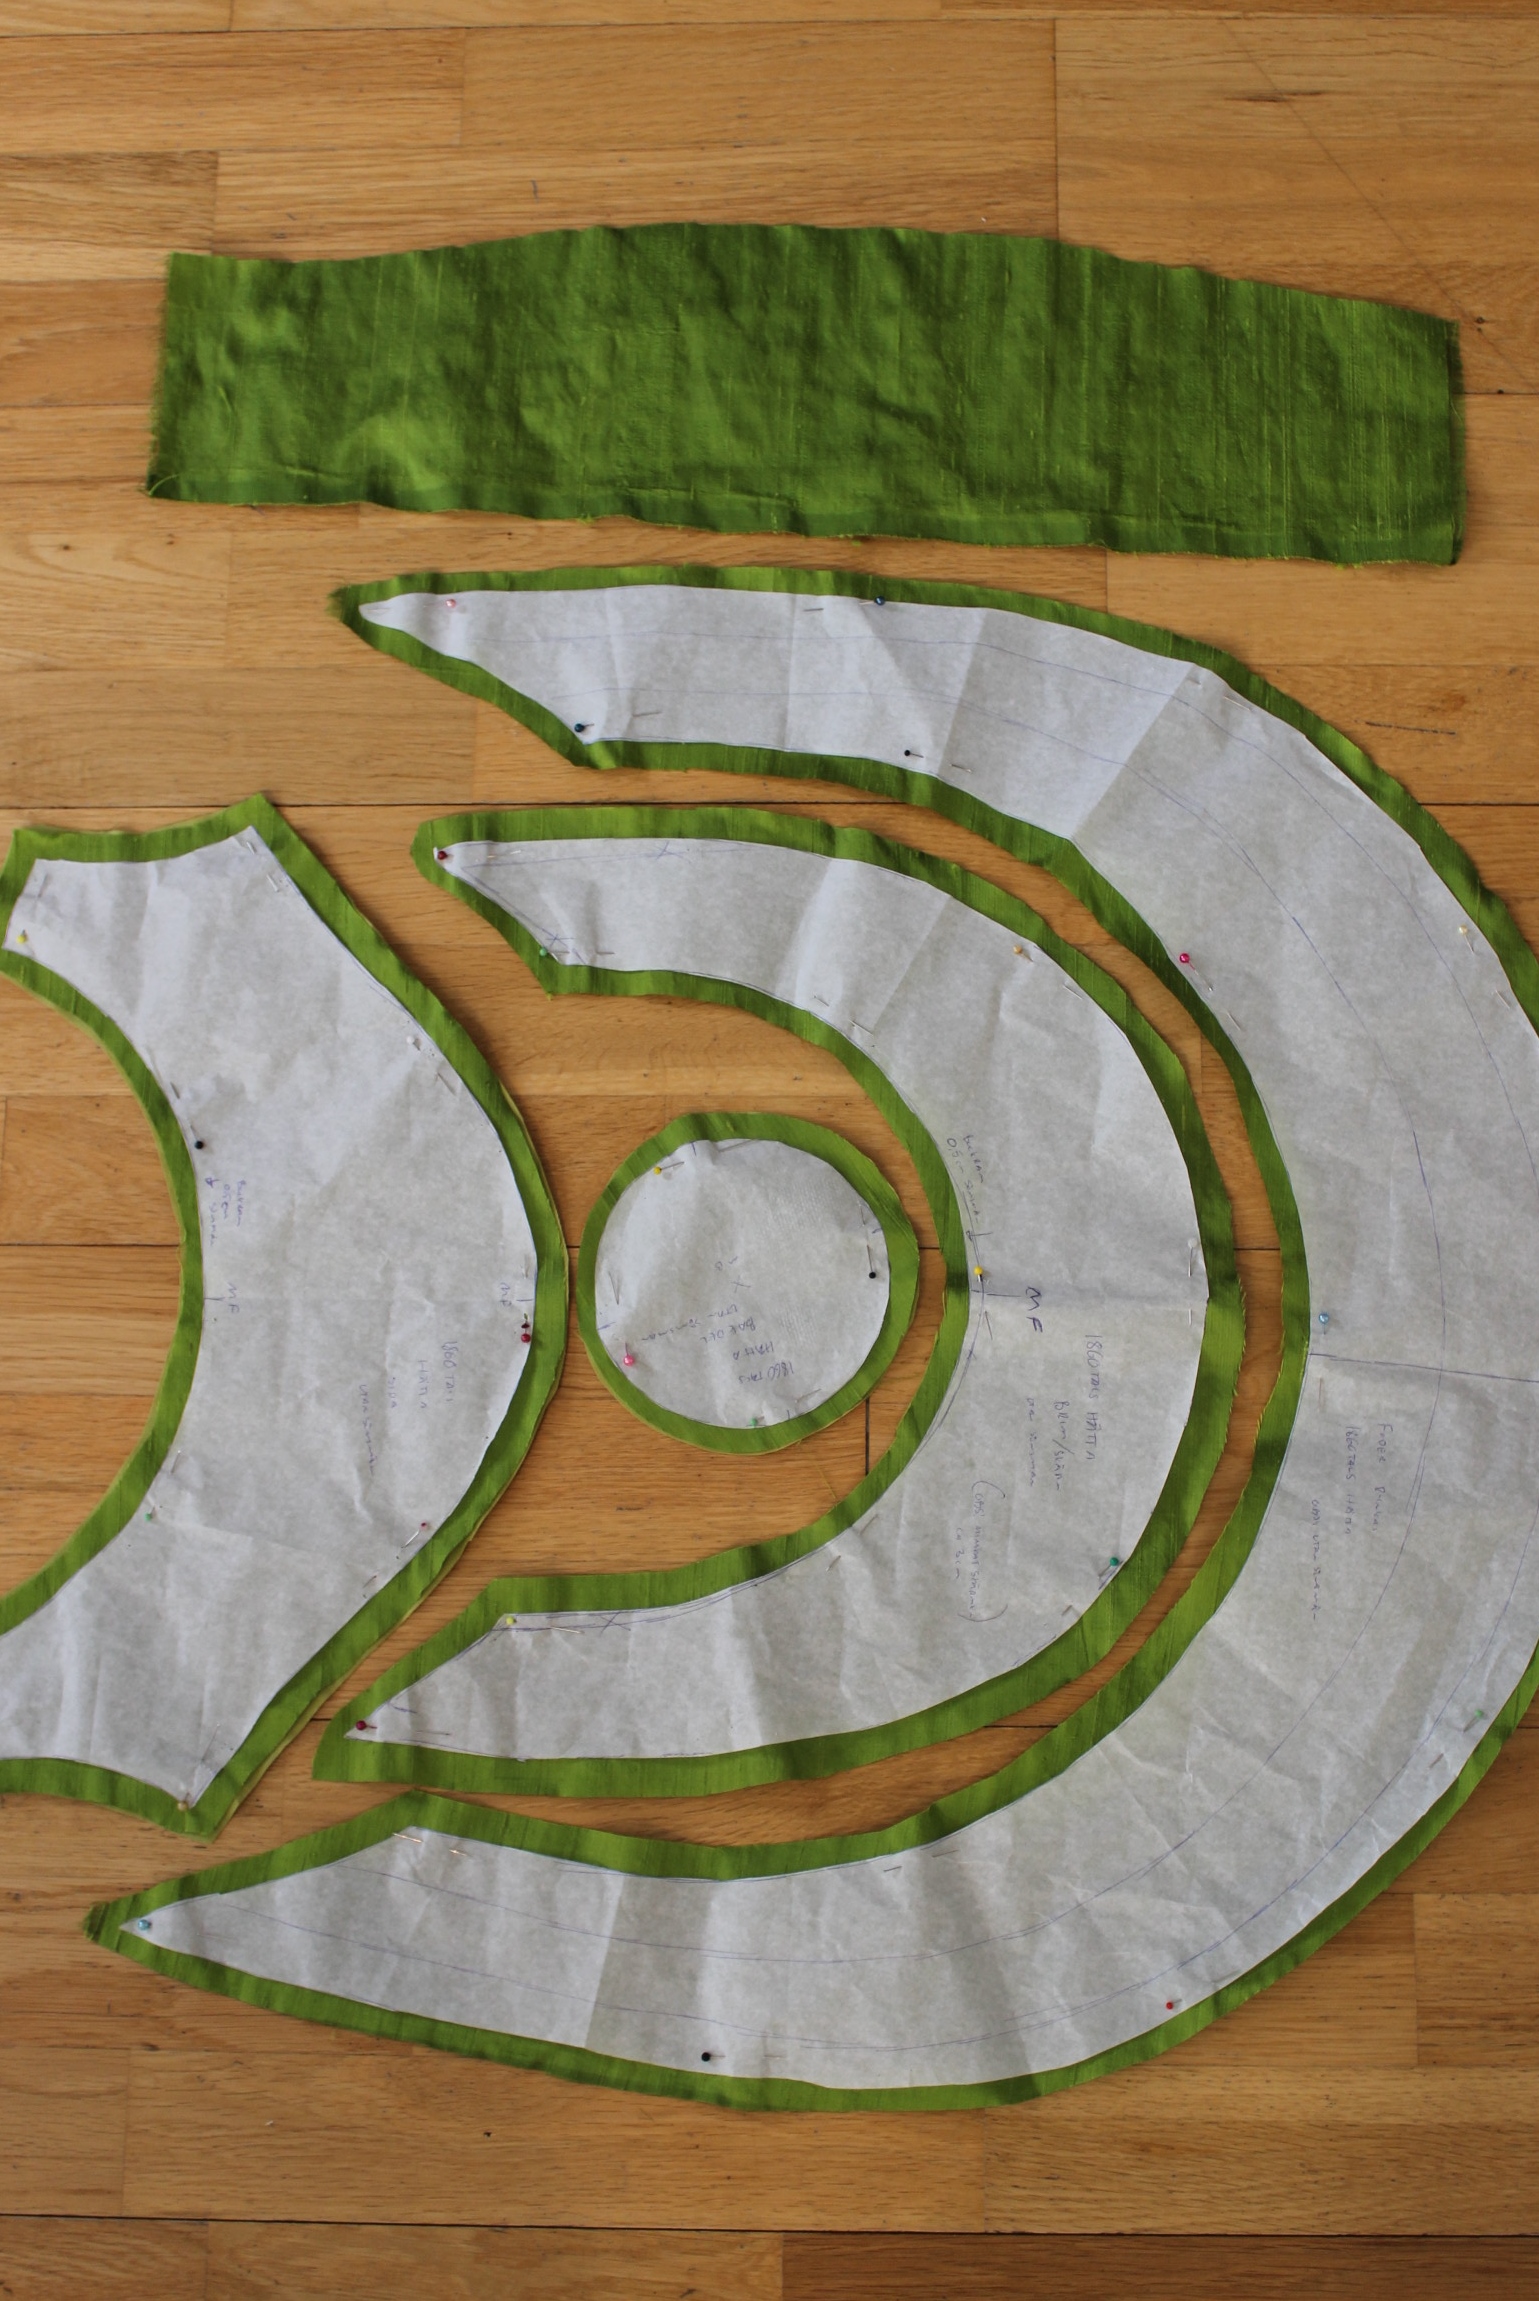
Once dry, it was time to cut the shape of the bonnet. Roughly drawn markings on where to cut the brim down.

Looks pretty decent, but the brim was still to wavy to work.

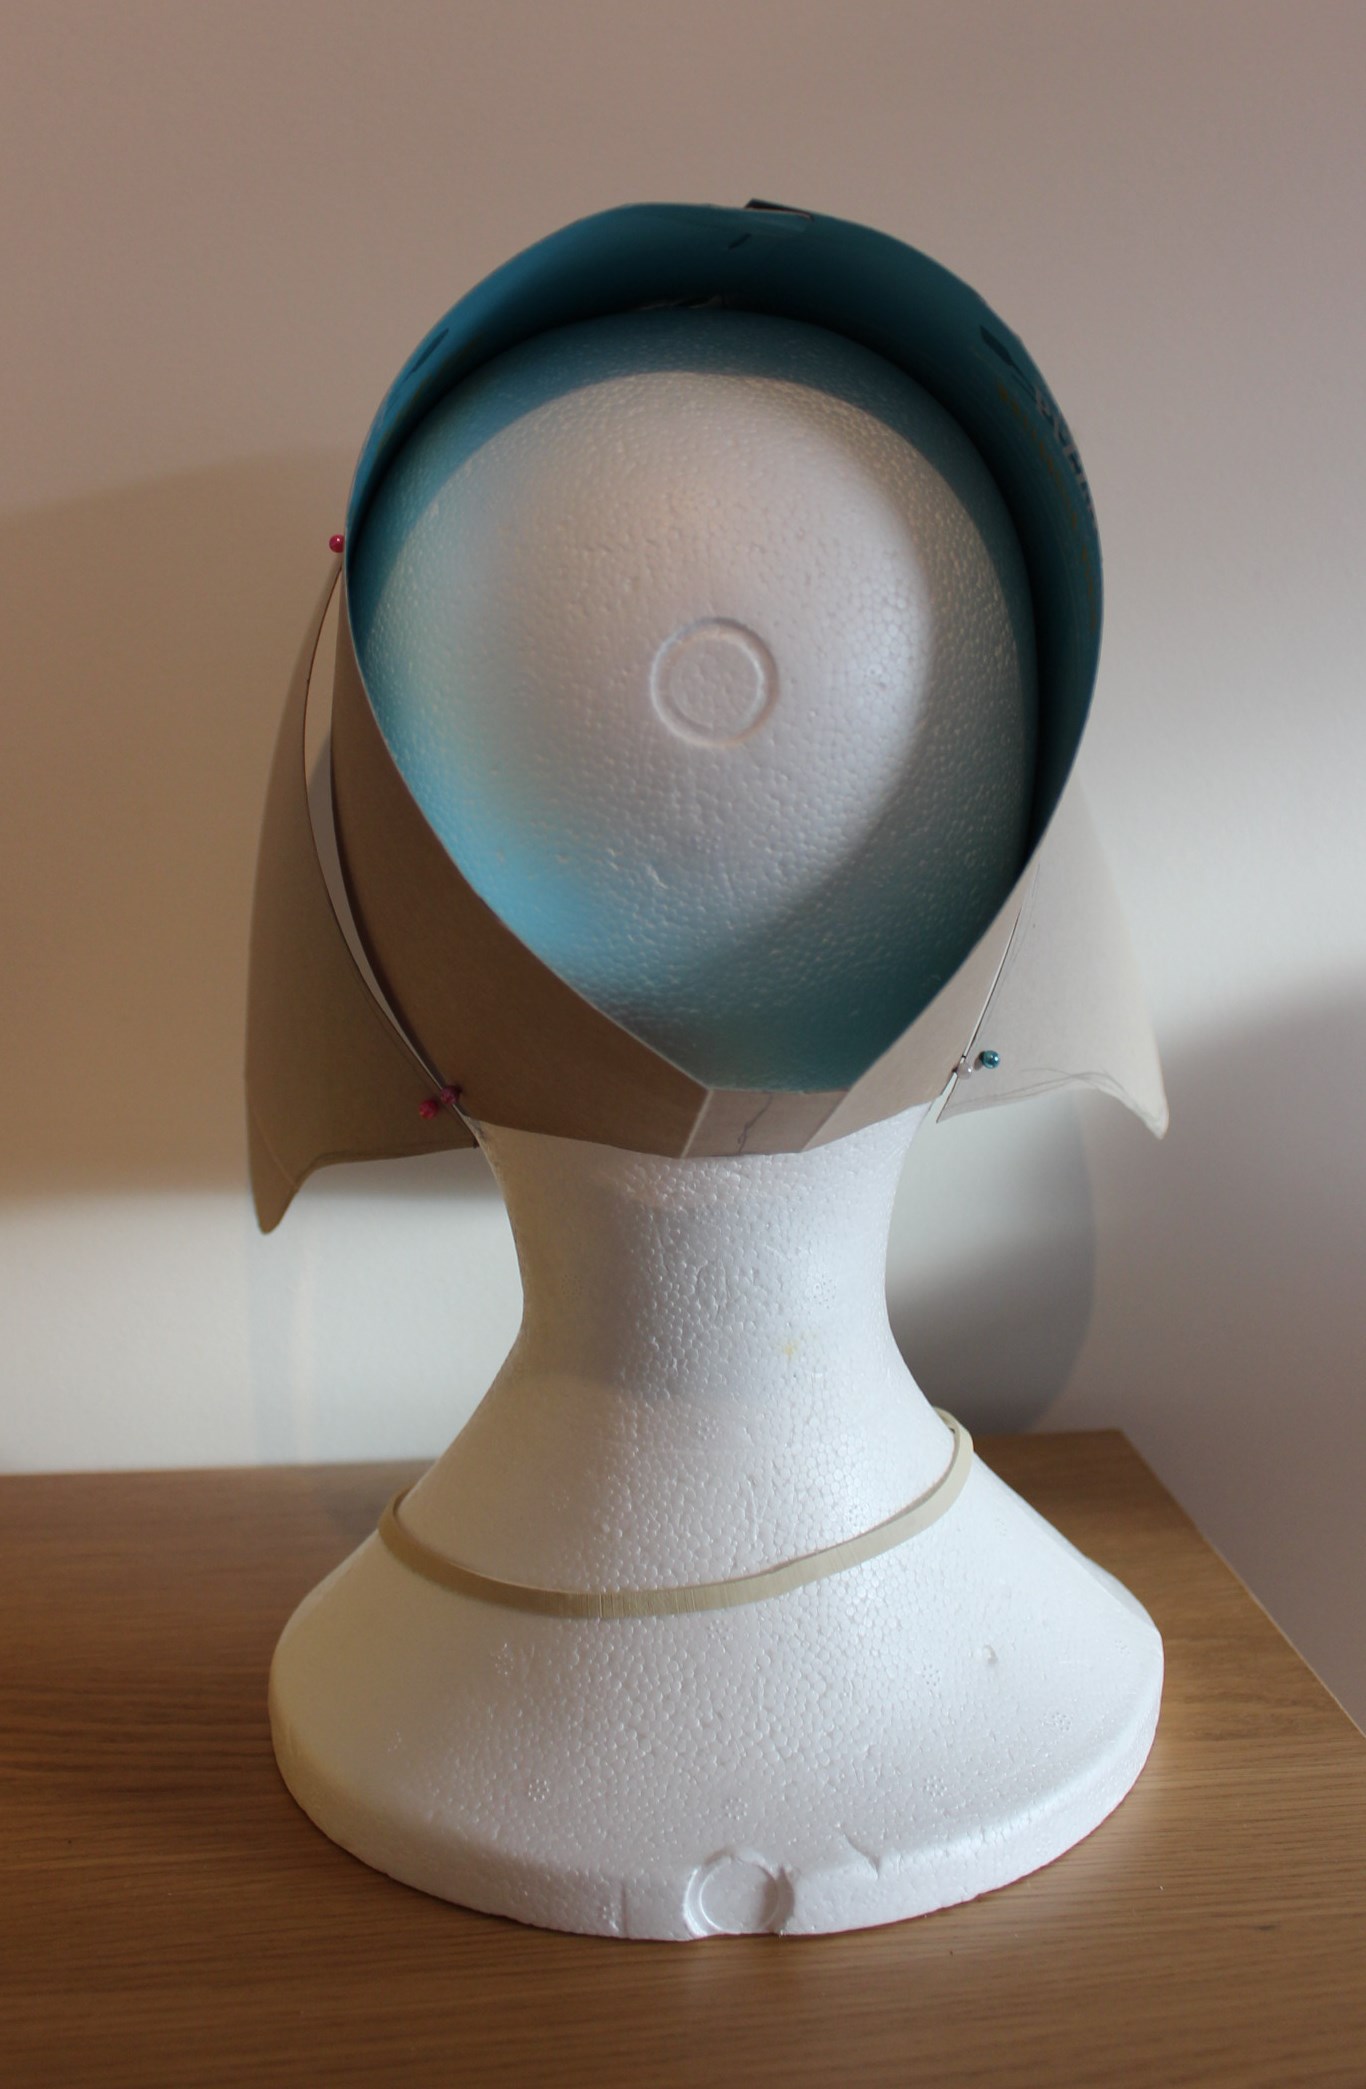
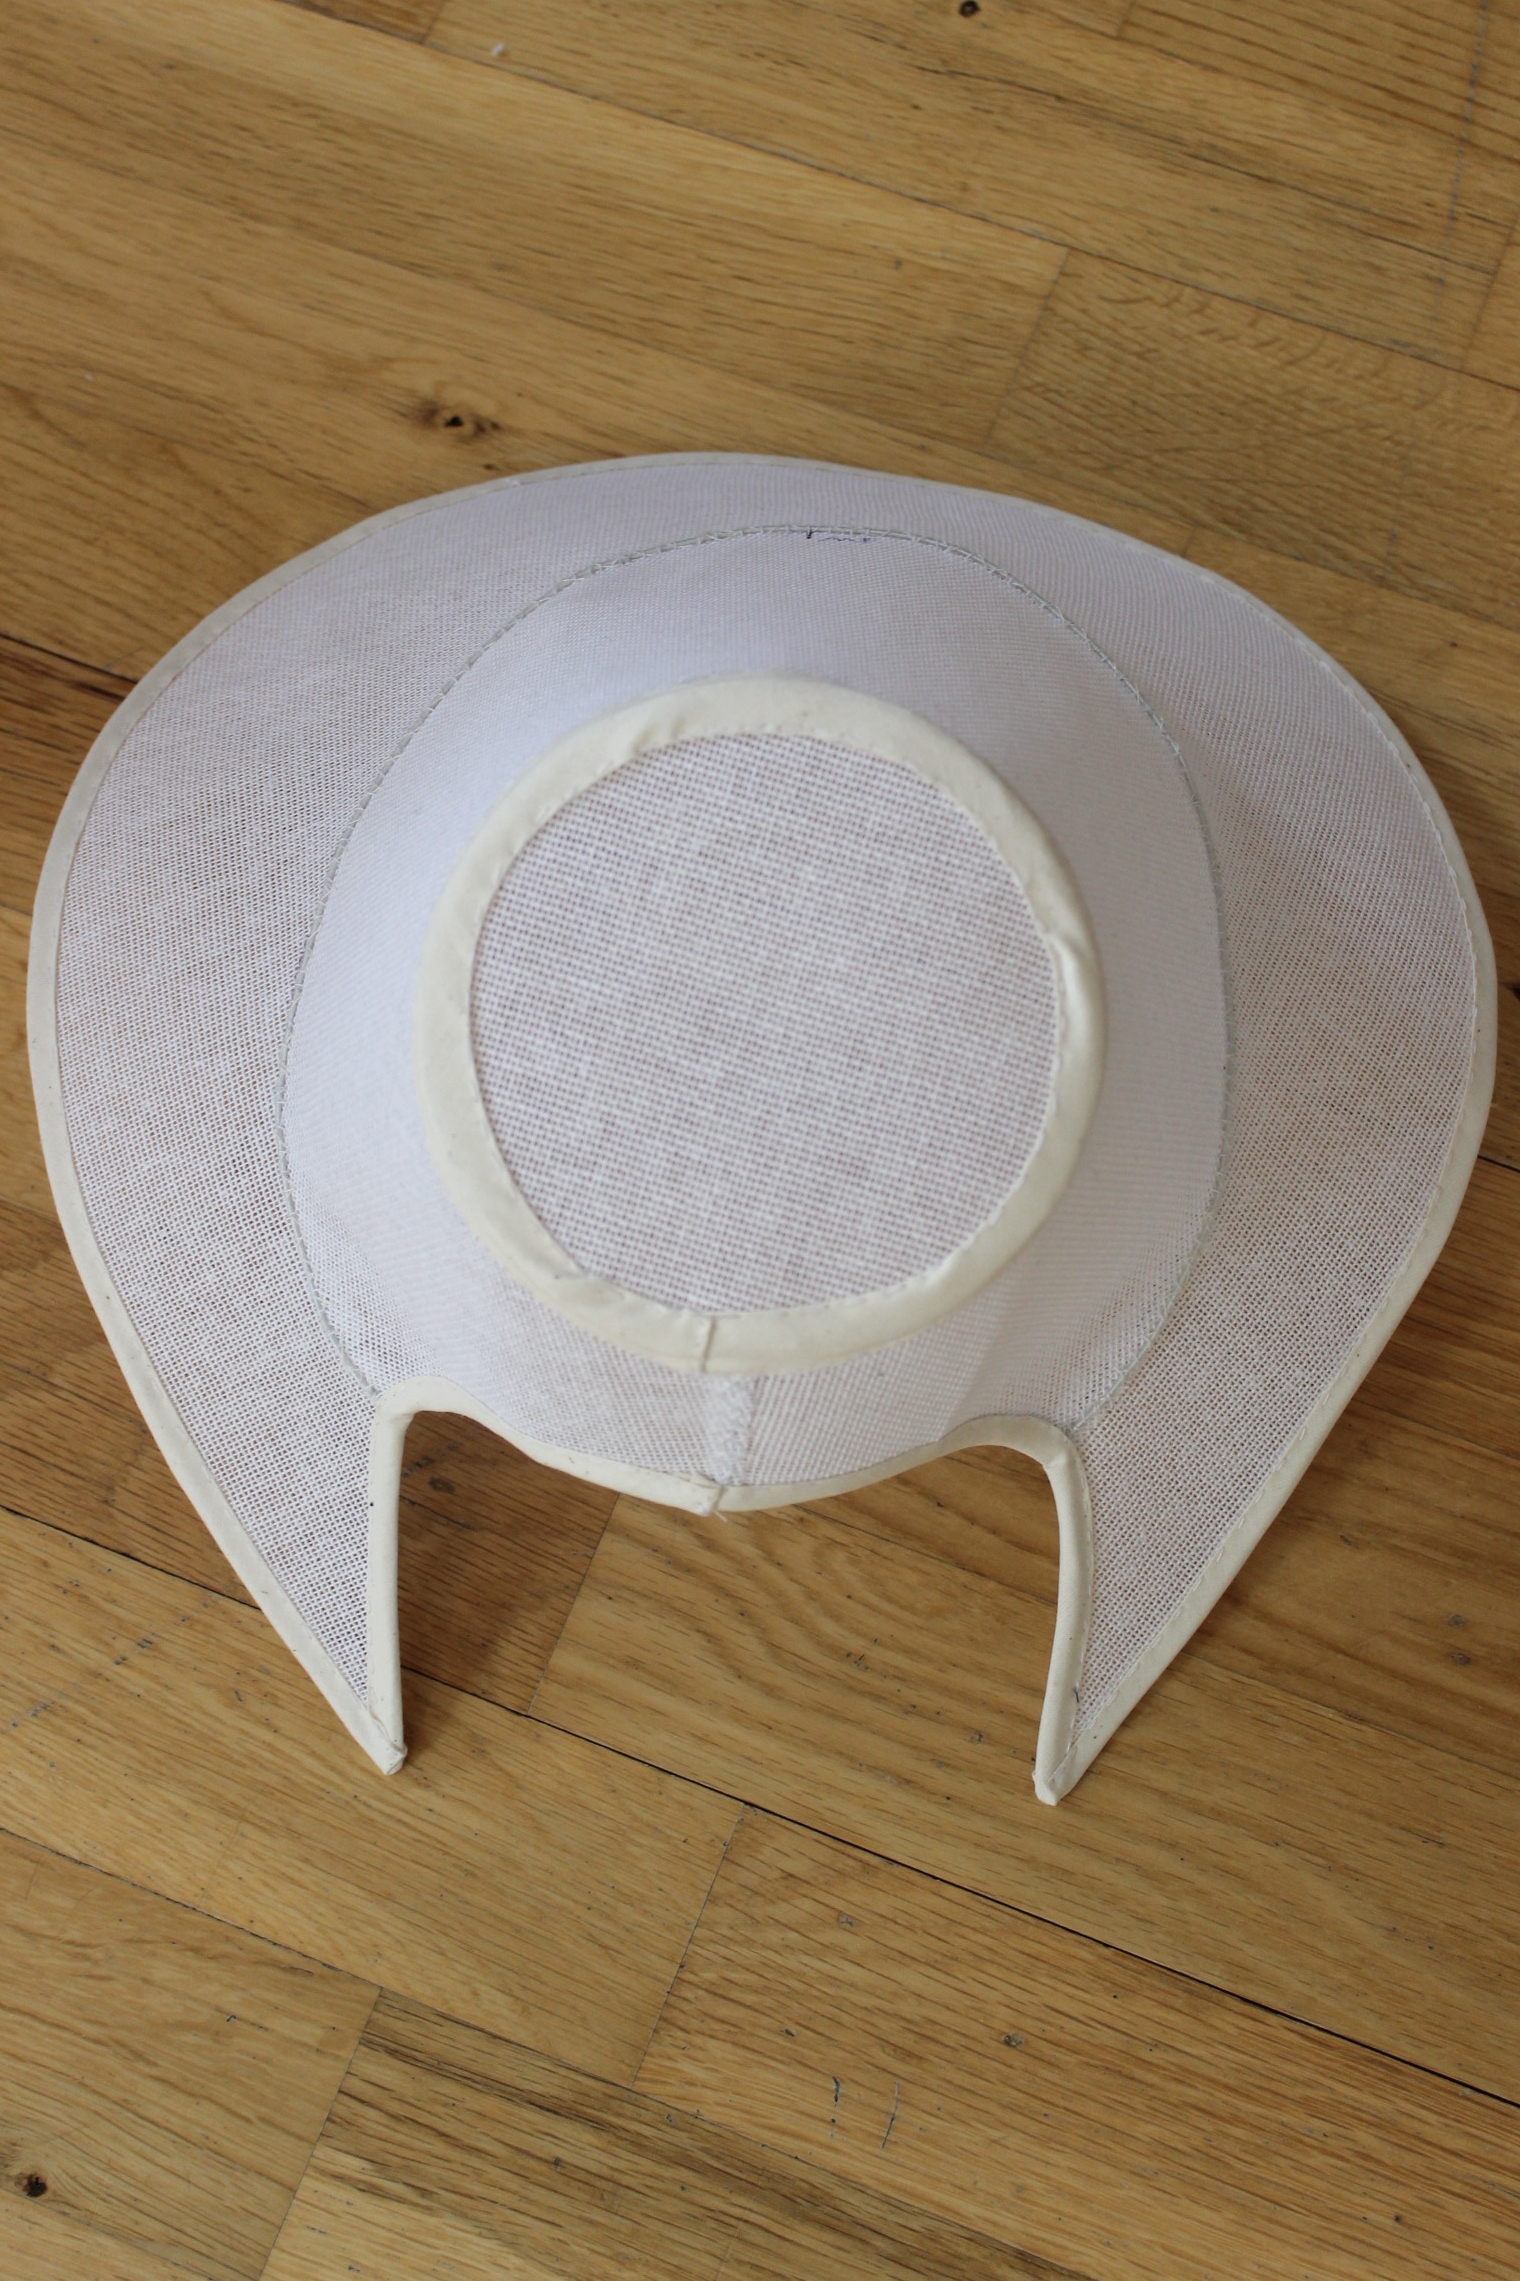
So I got to work steaming the brim and shaping it using my hands and a plastic bowl

Much better.

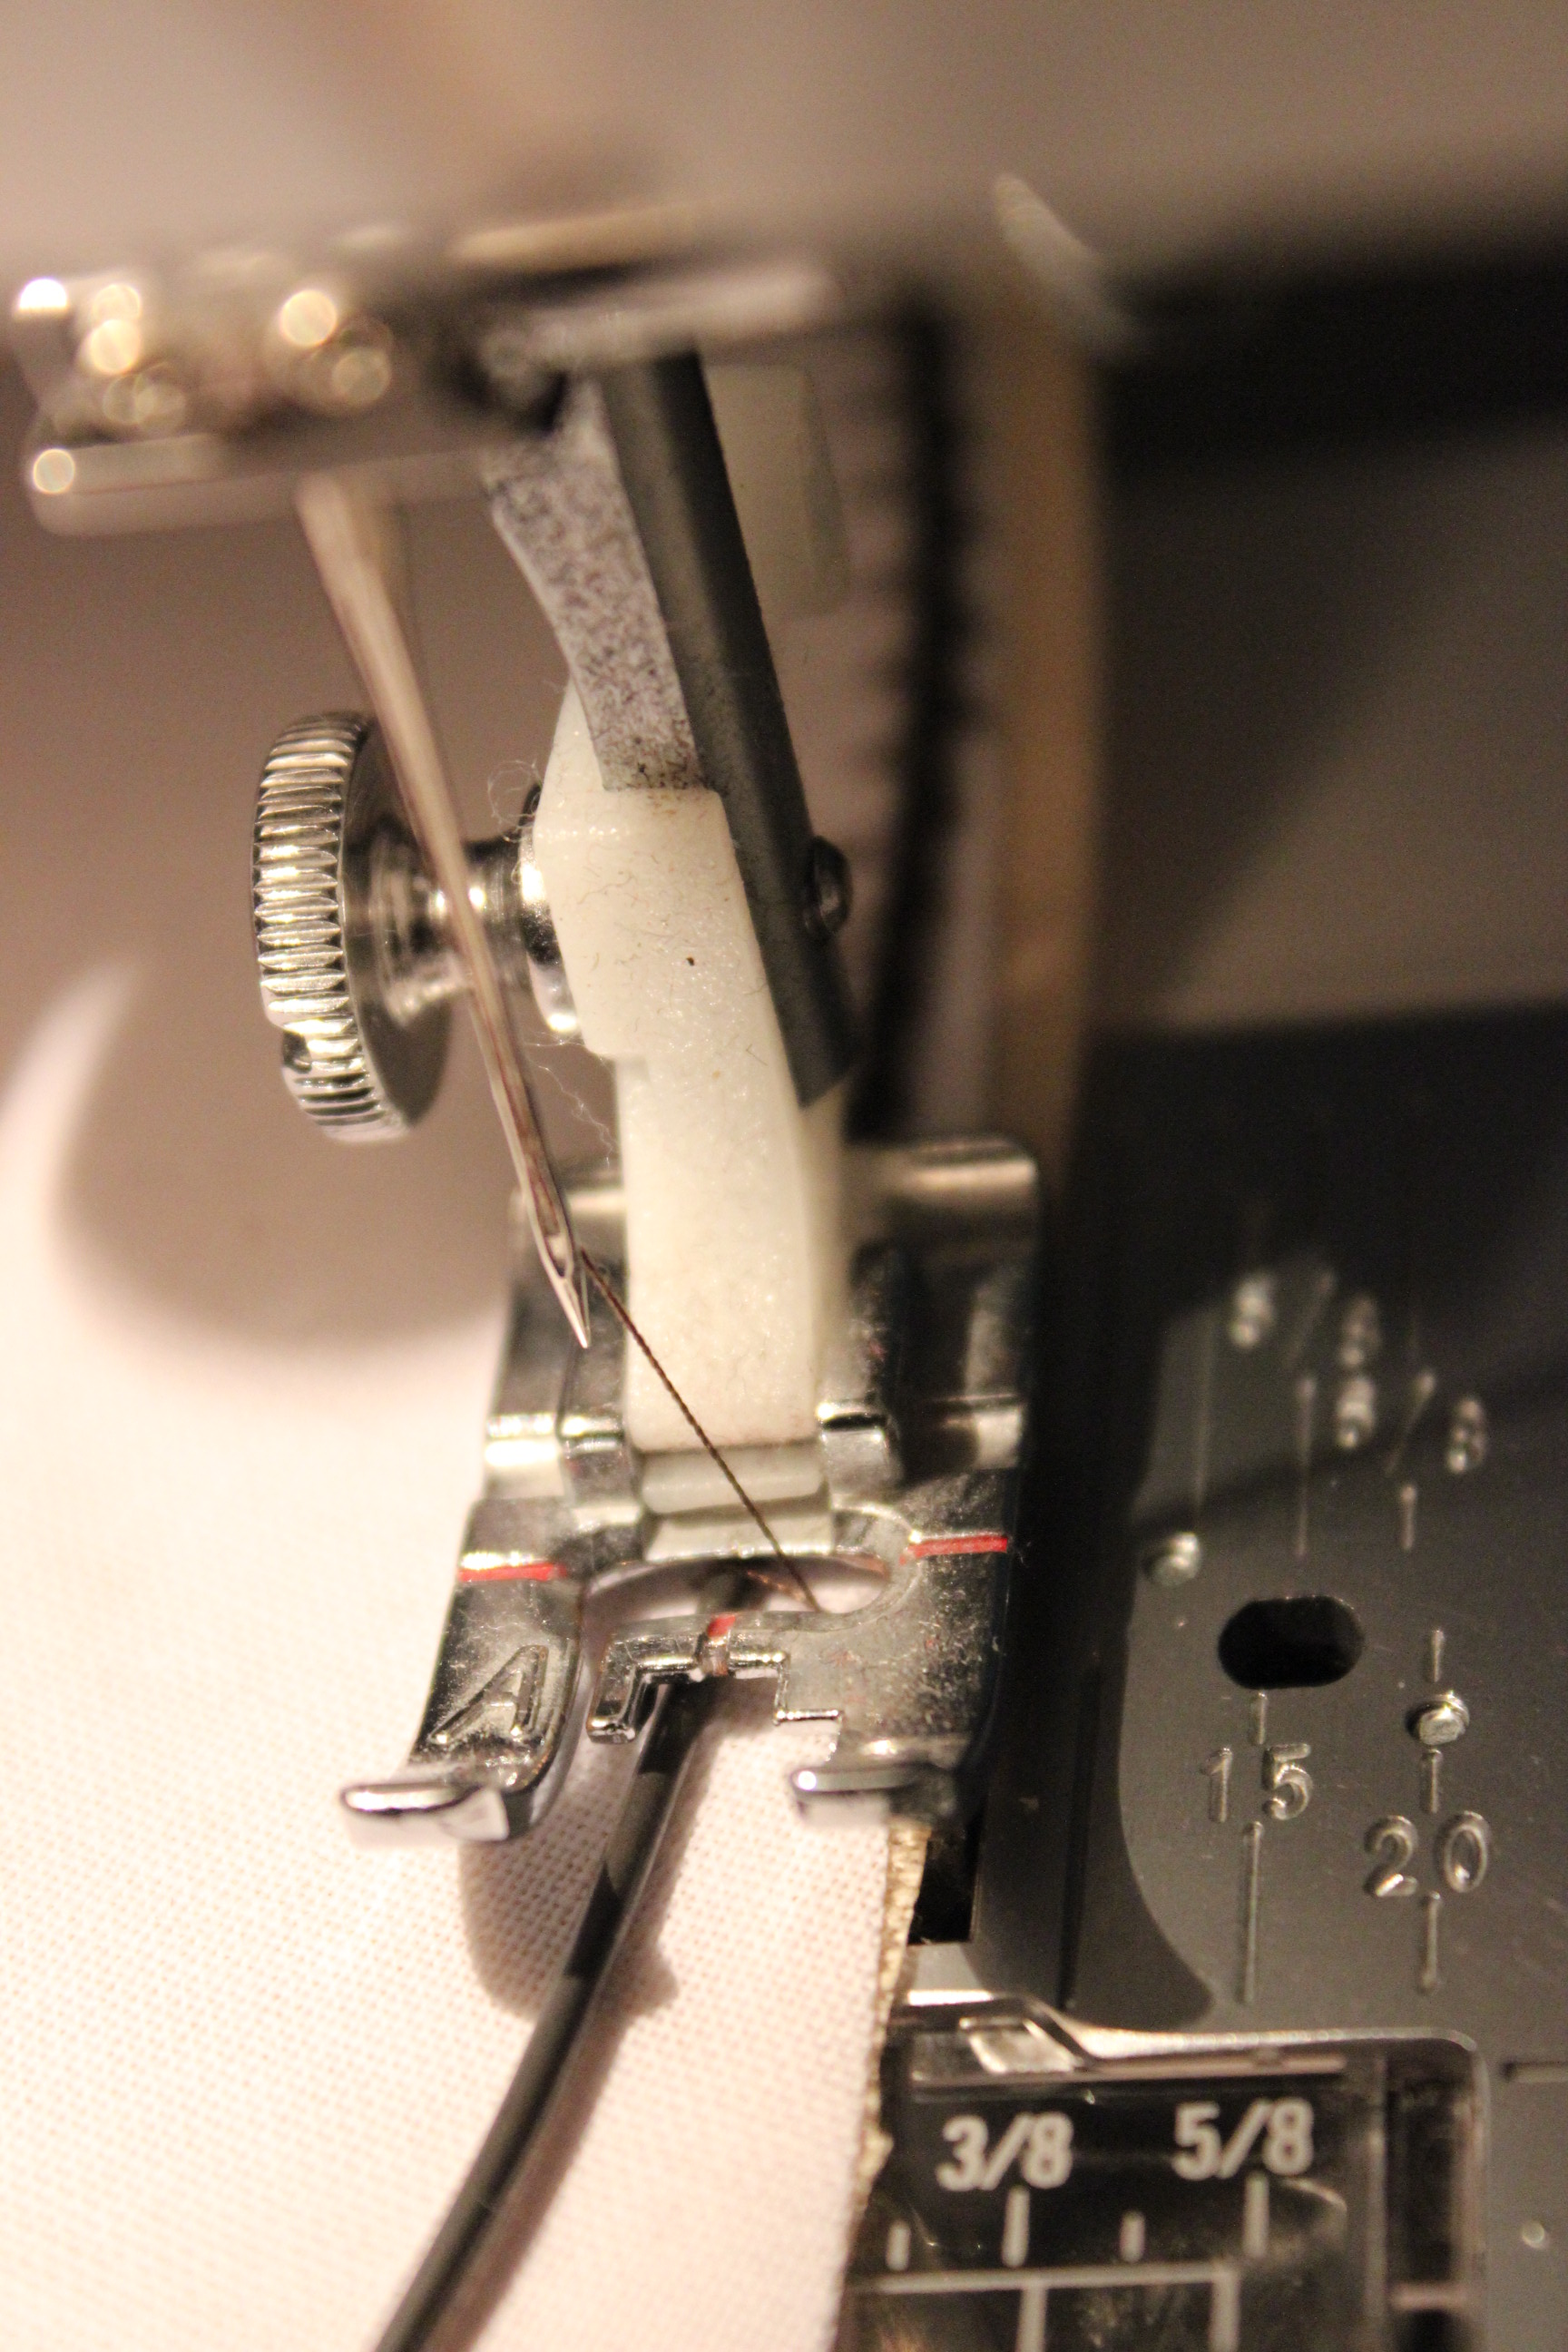
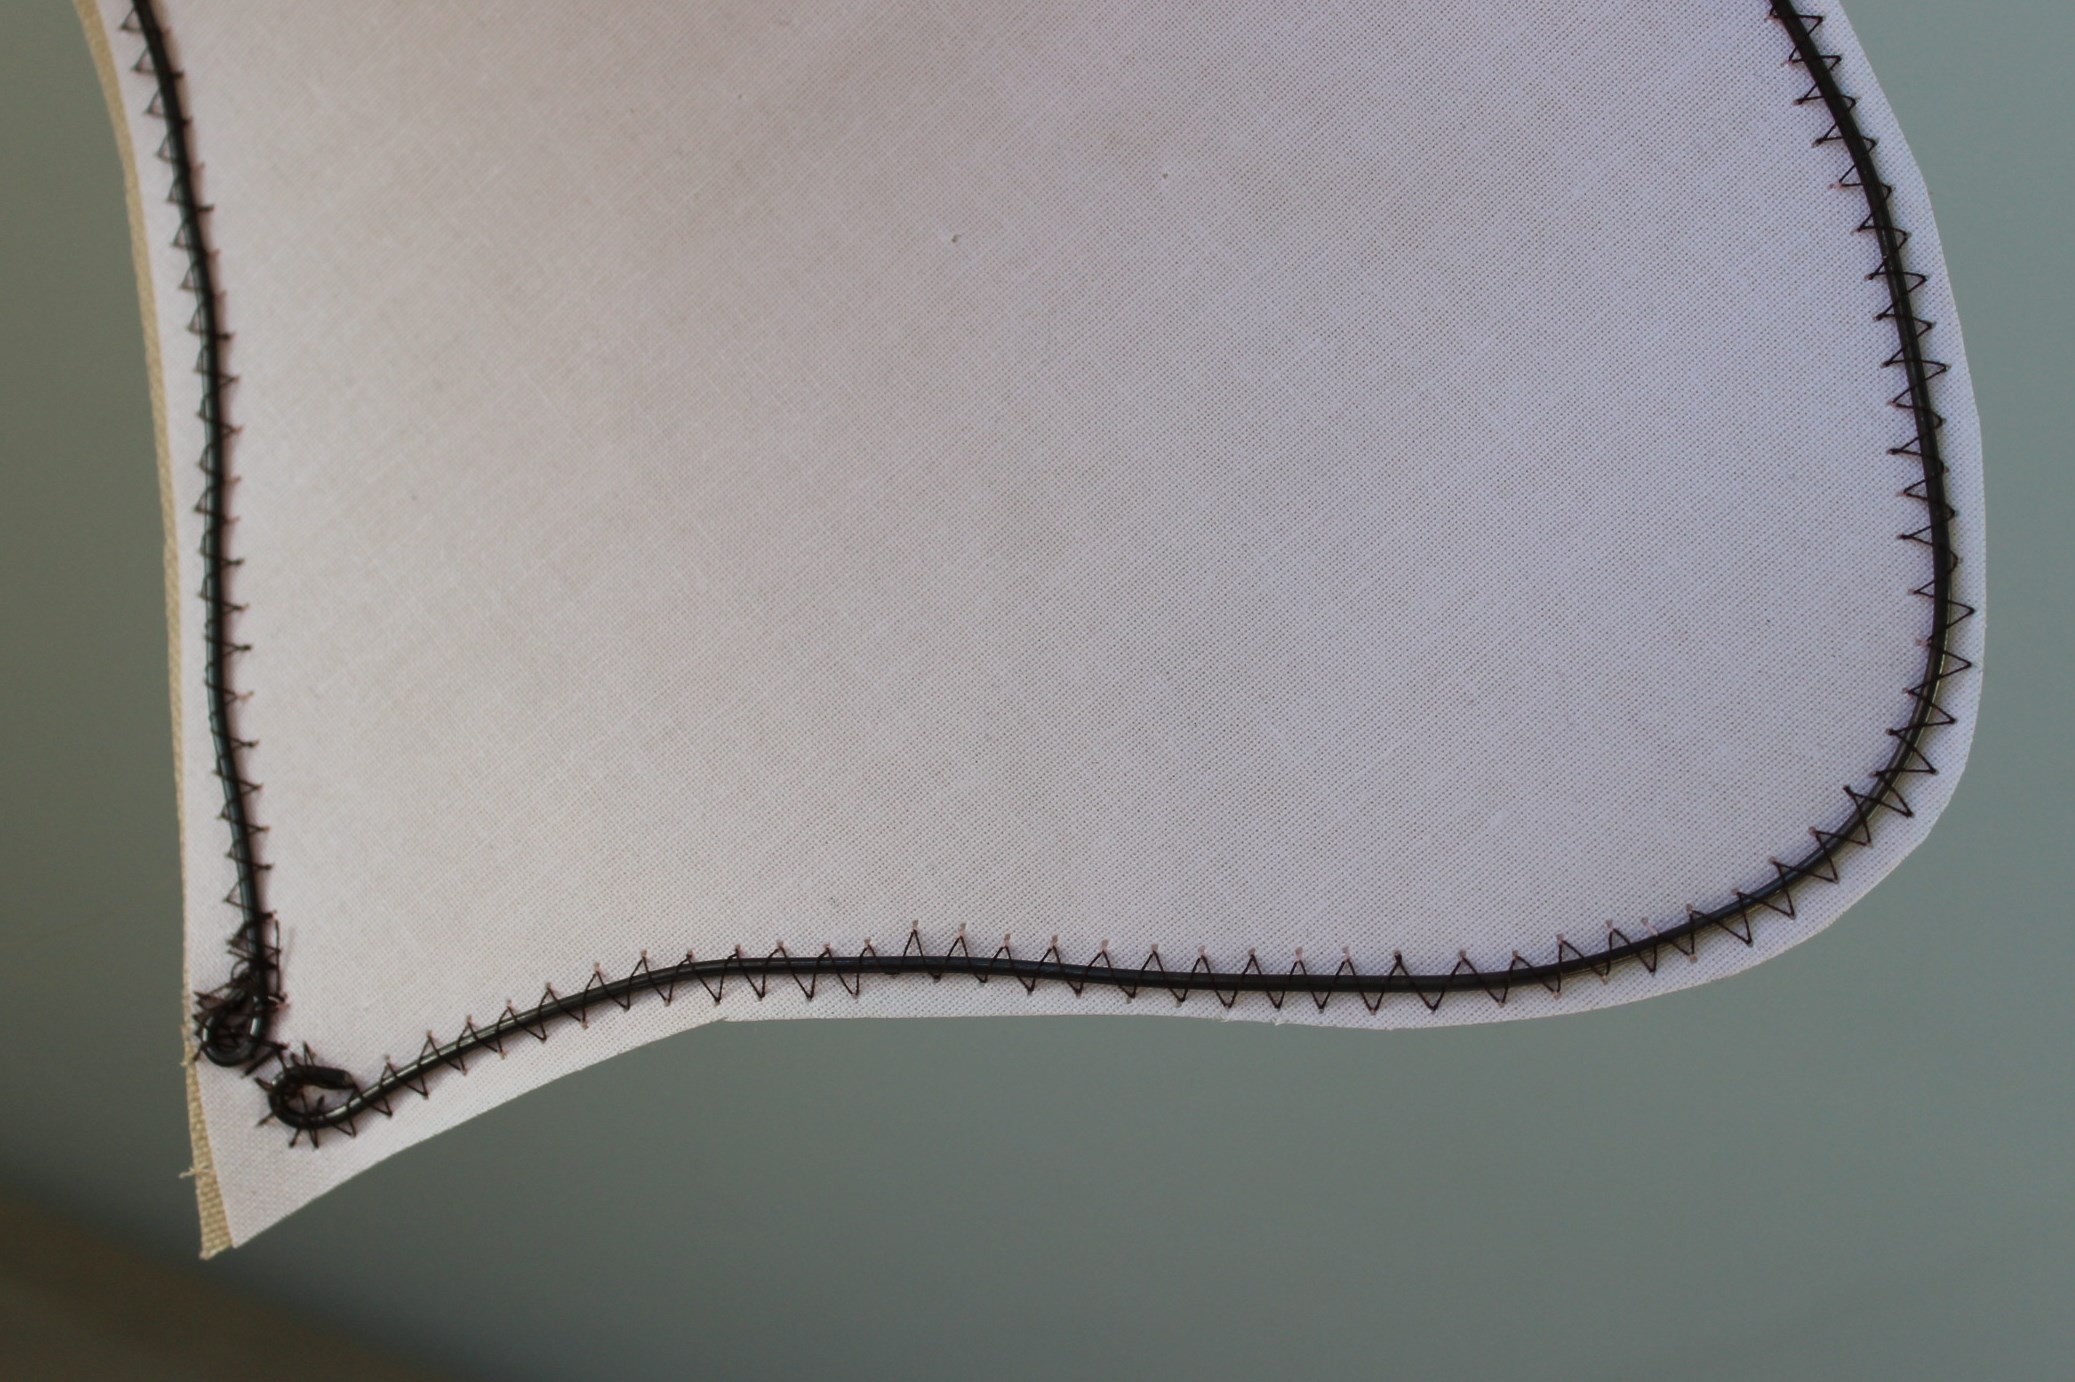
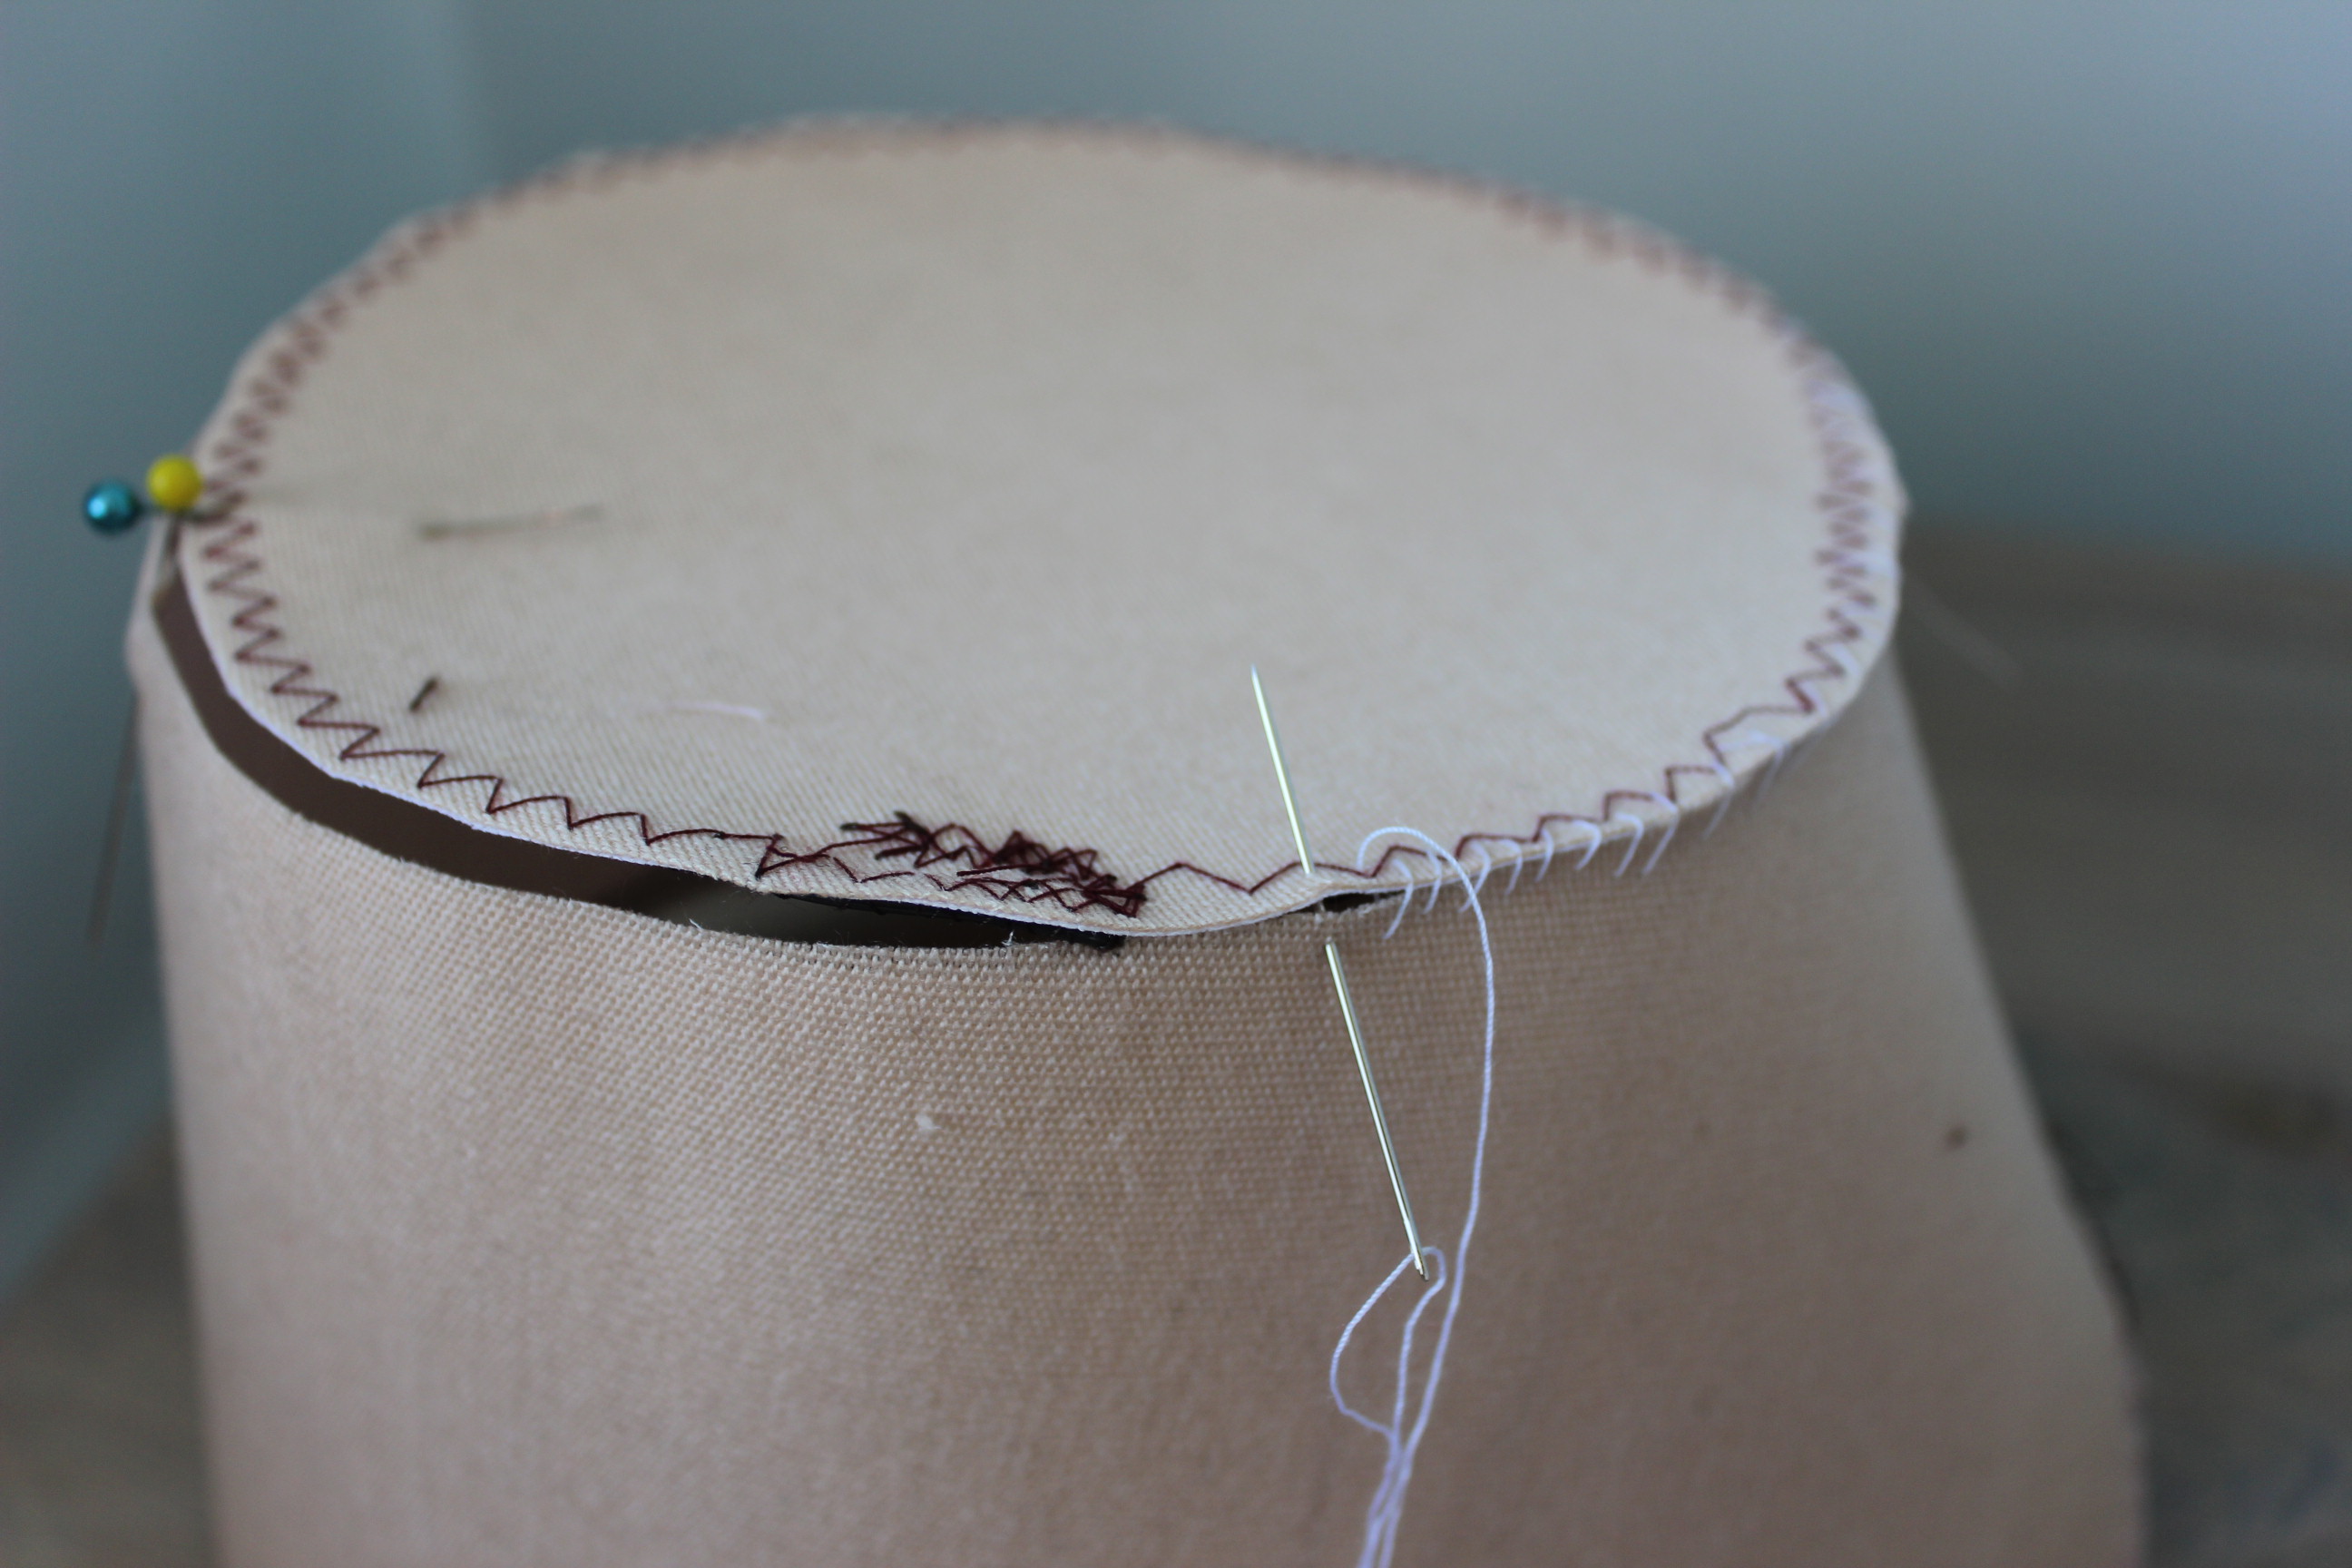
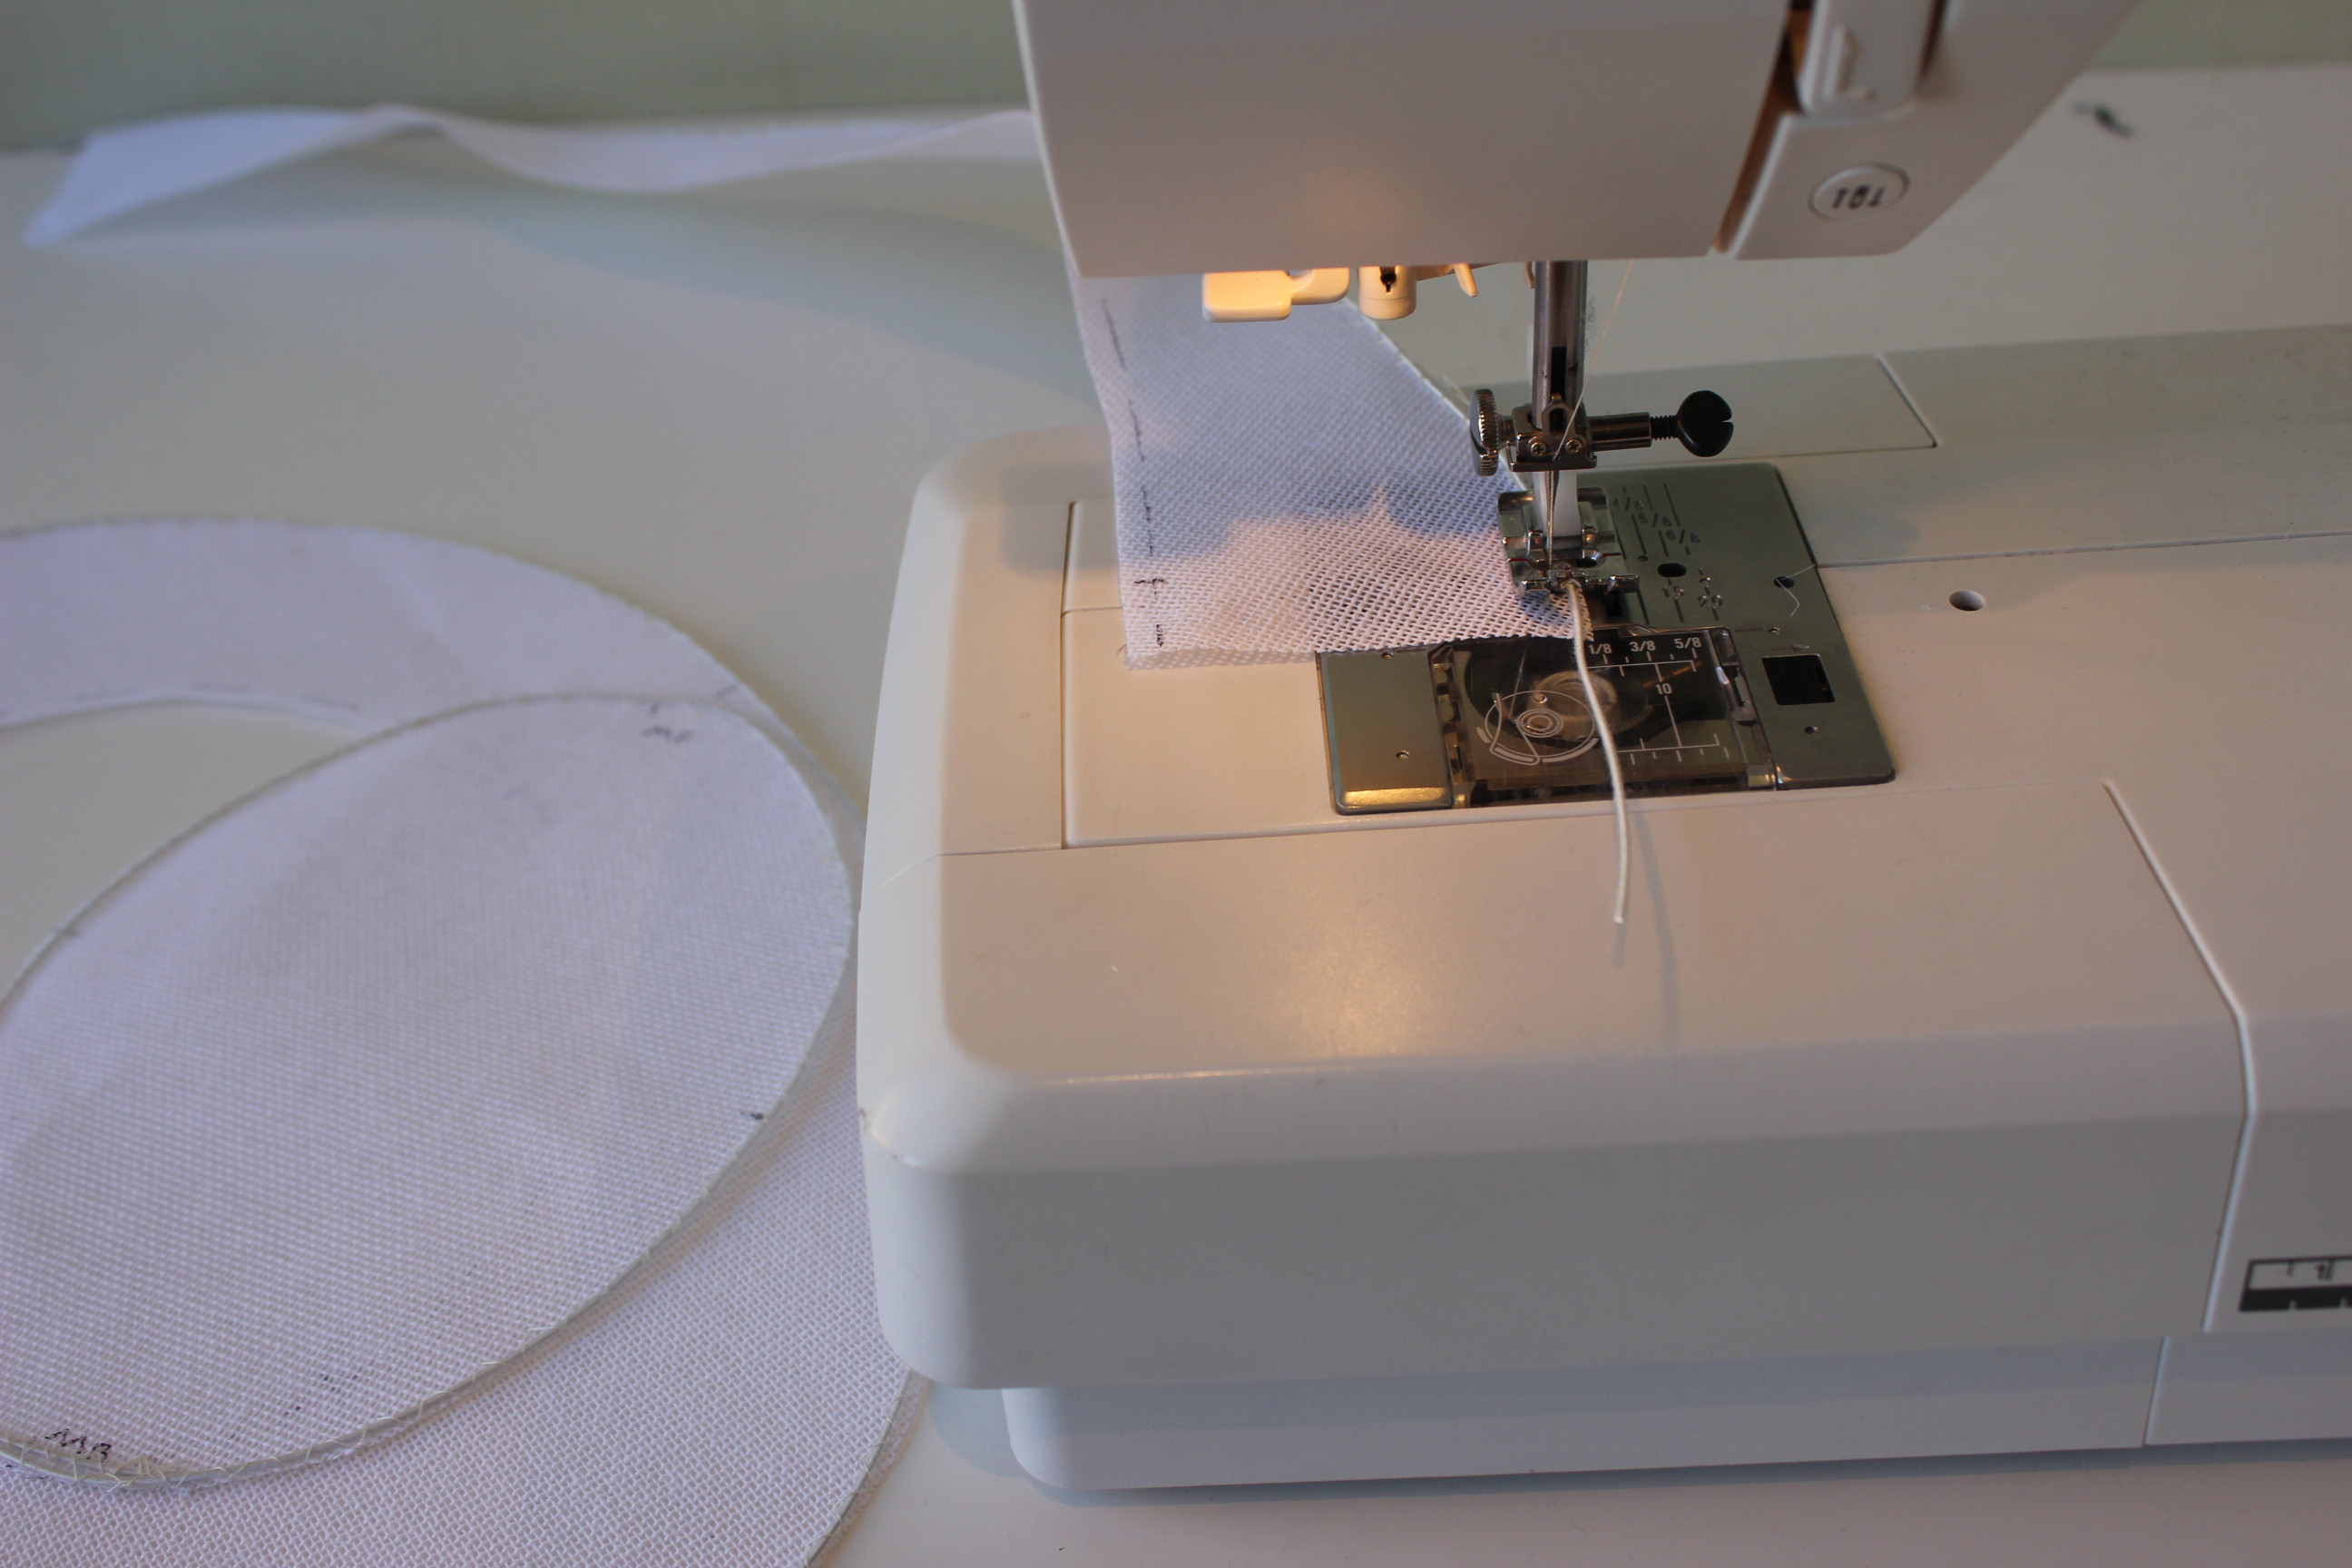
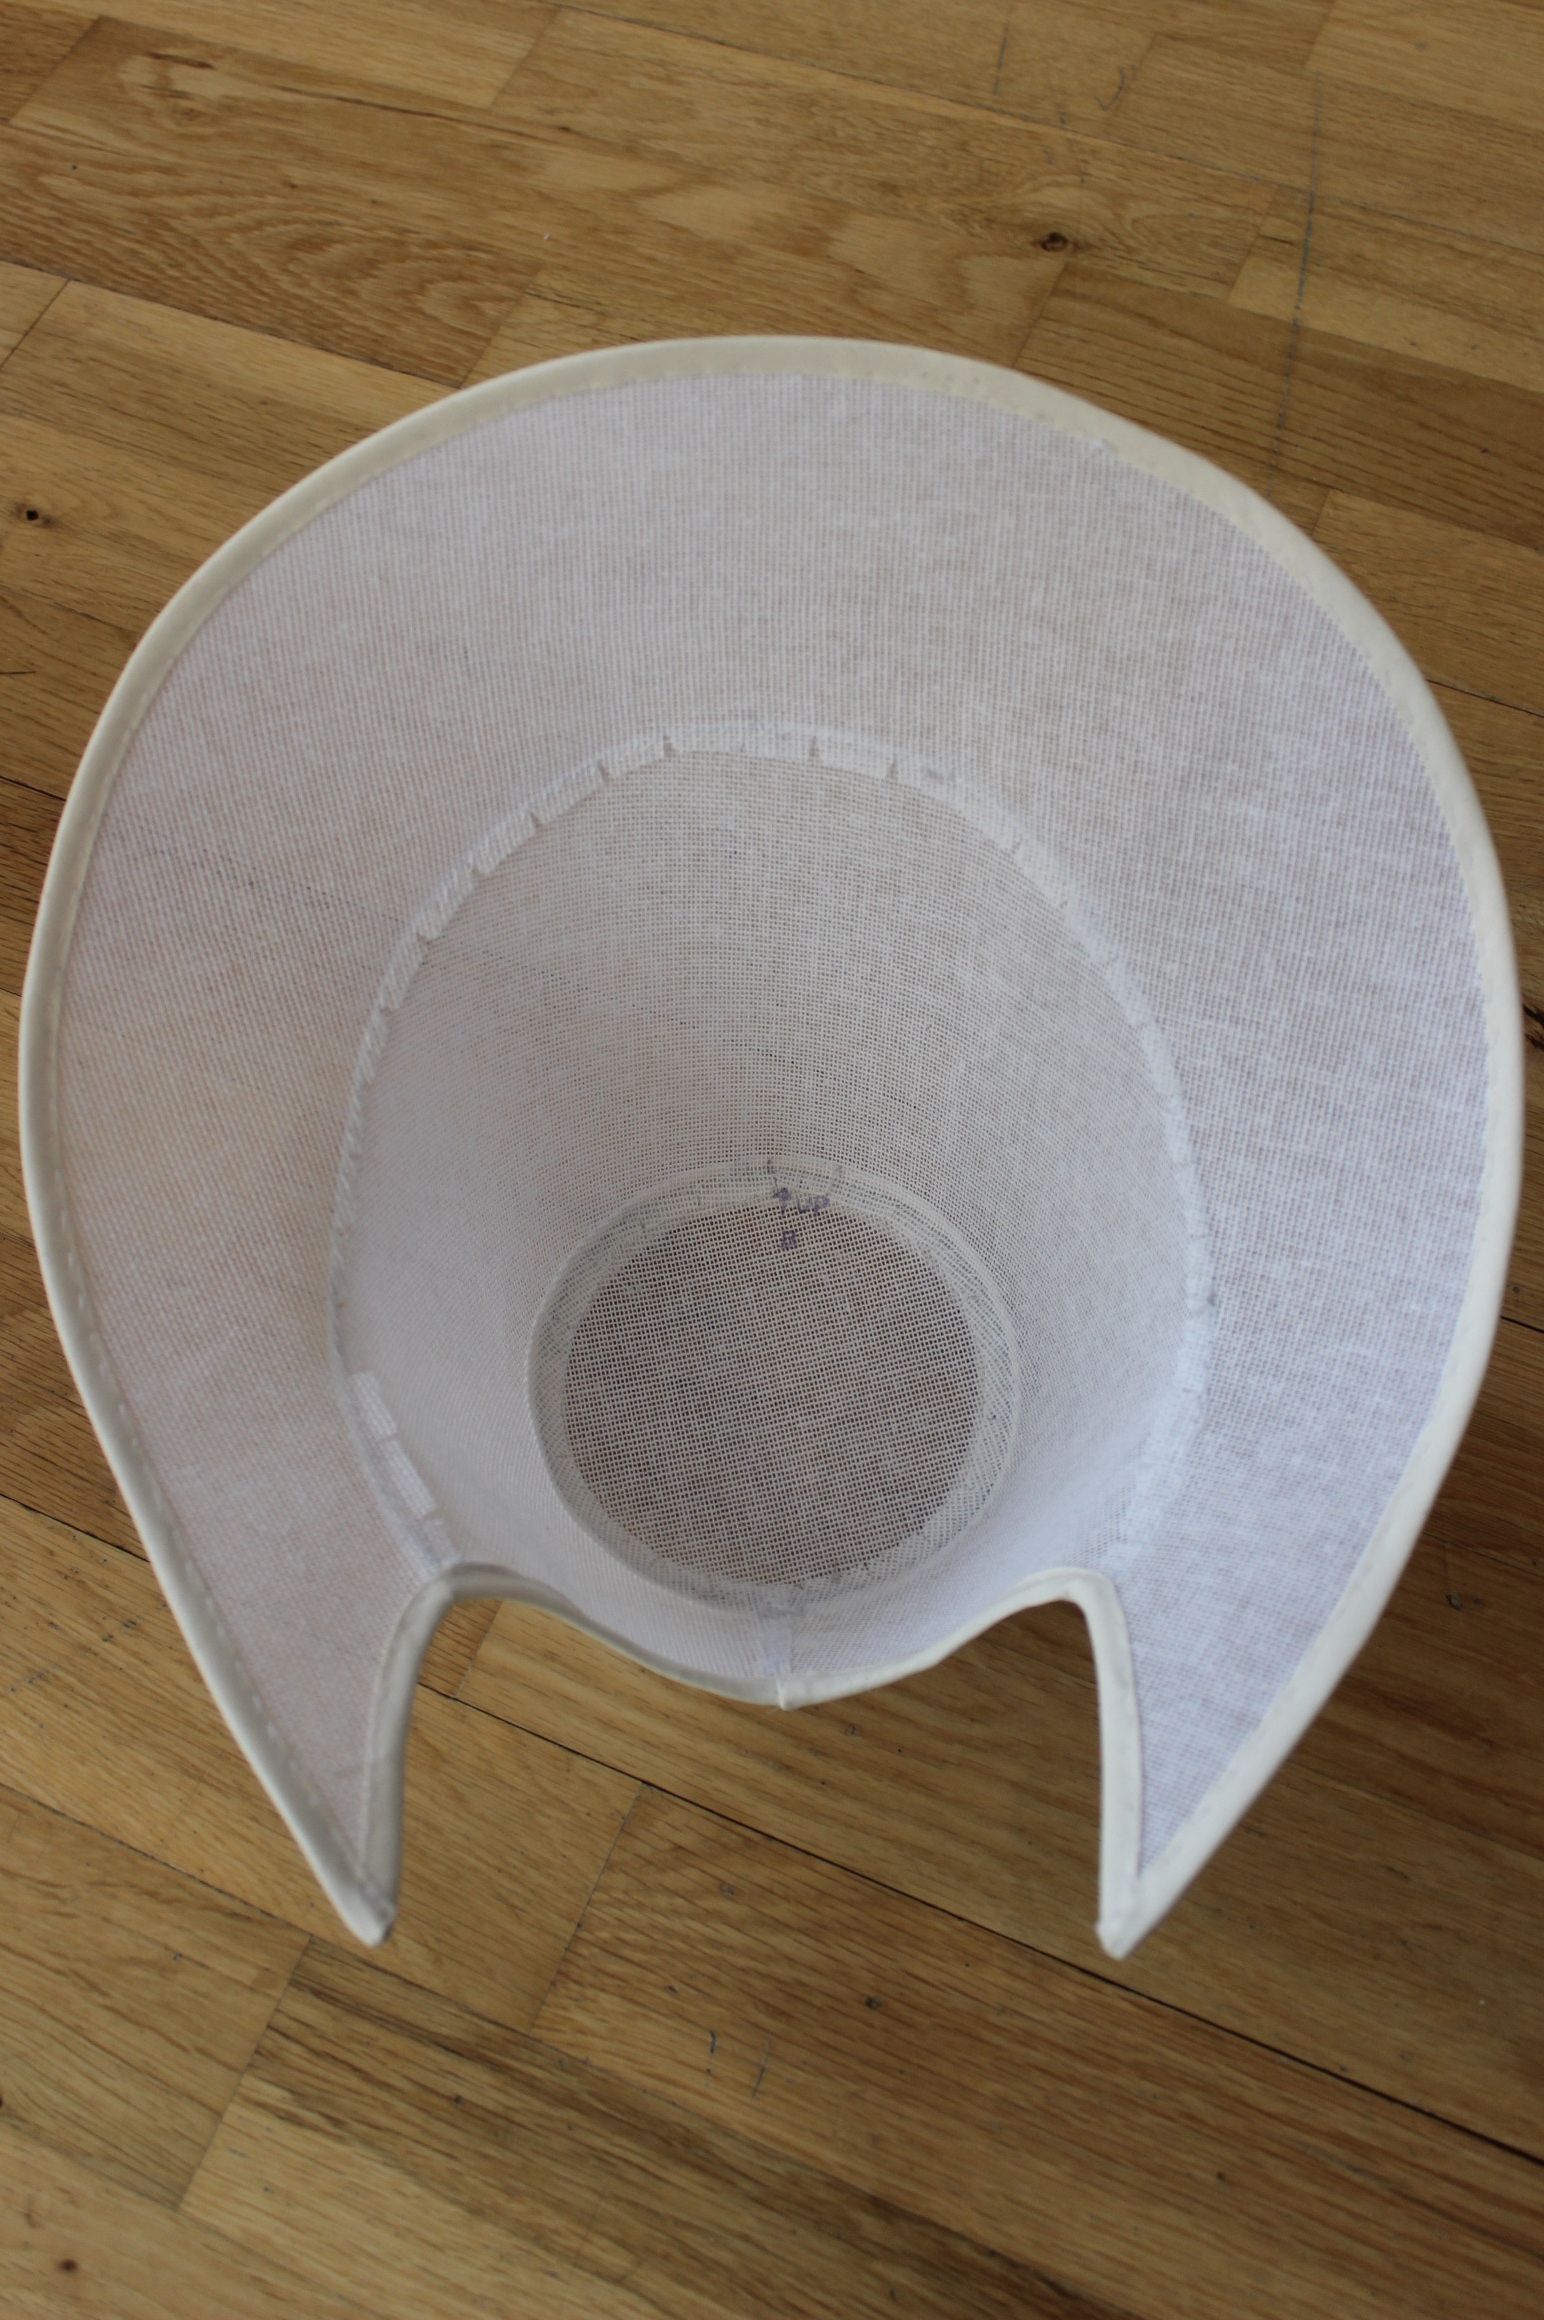
Then I re-stitched the inside stay-ribbon

using orange thread – ops…

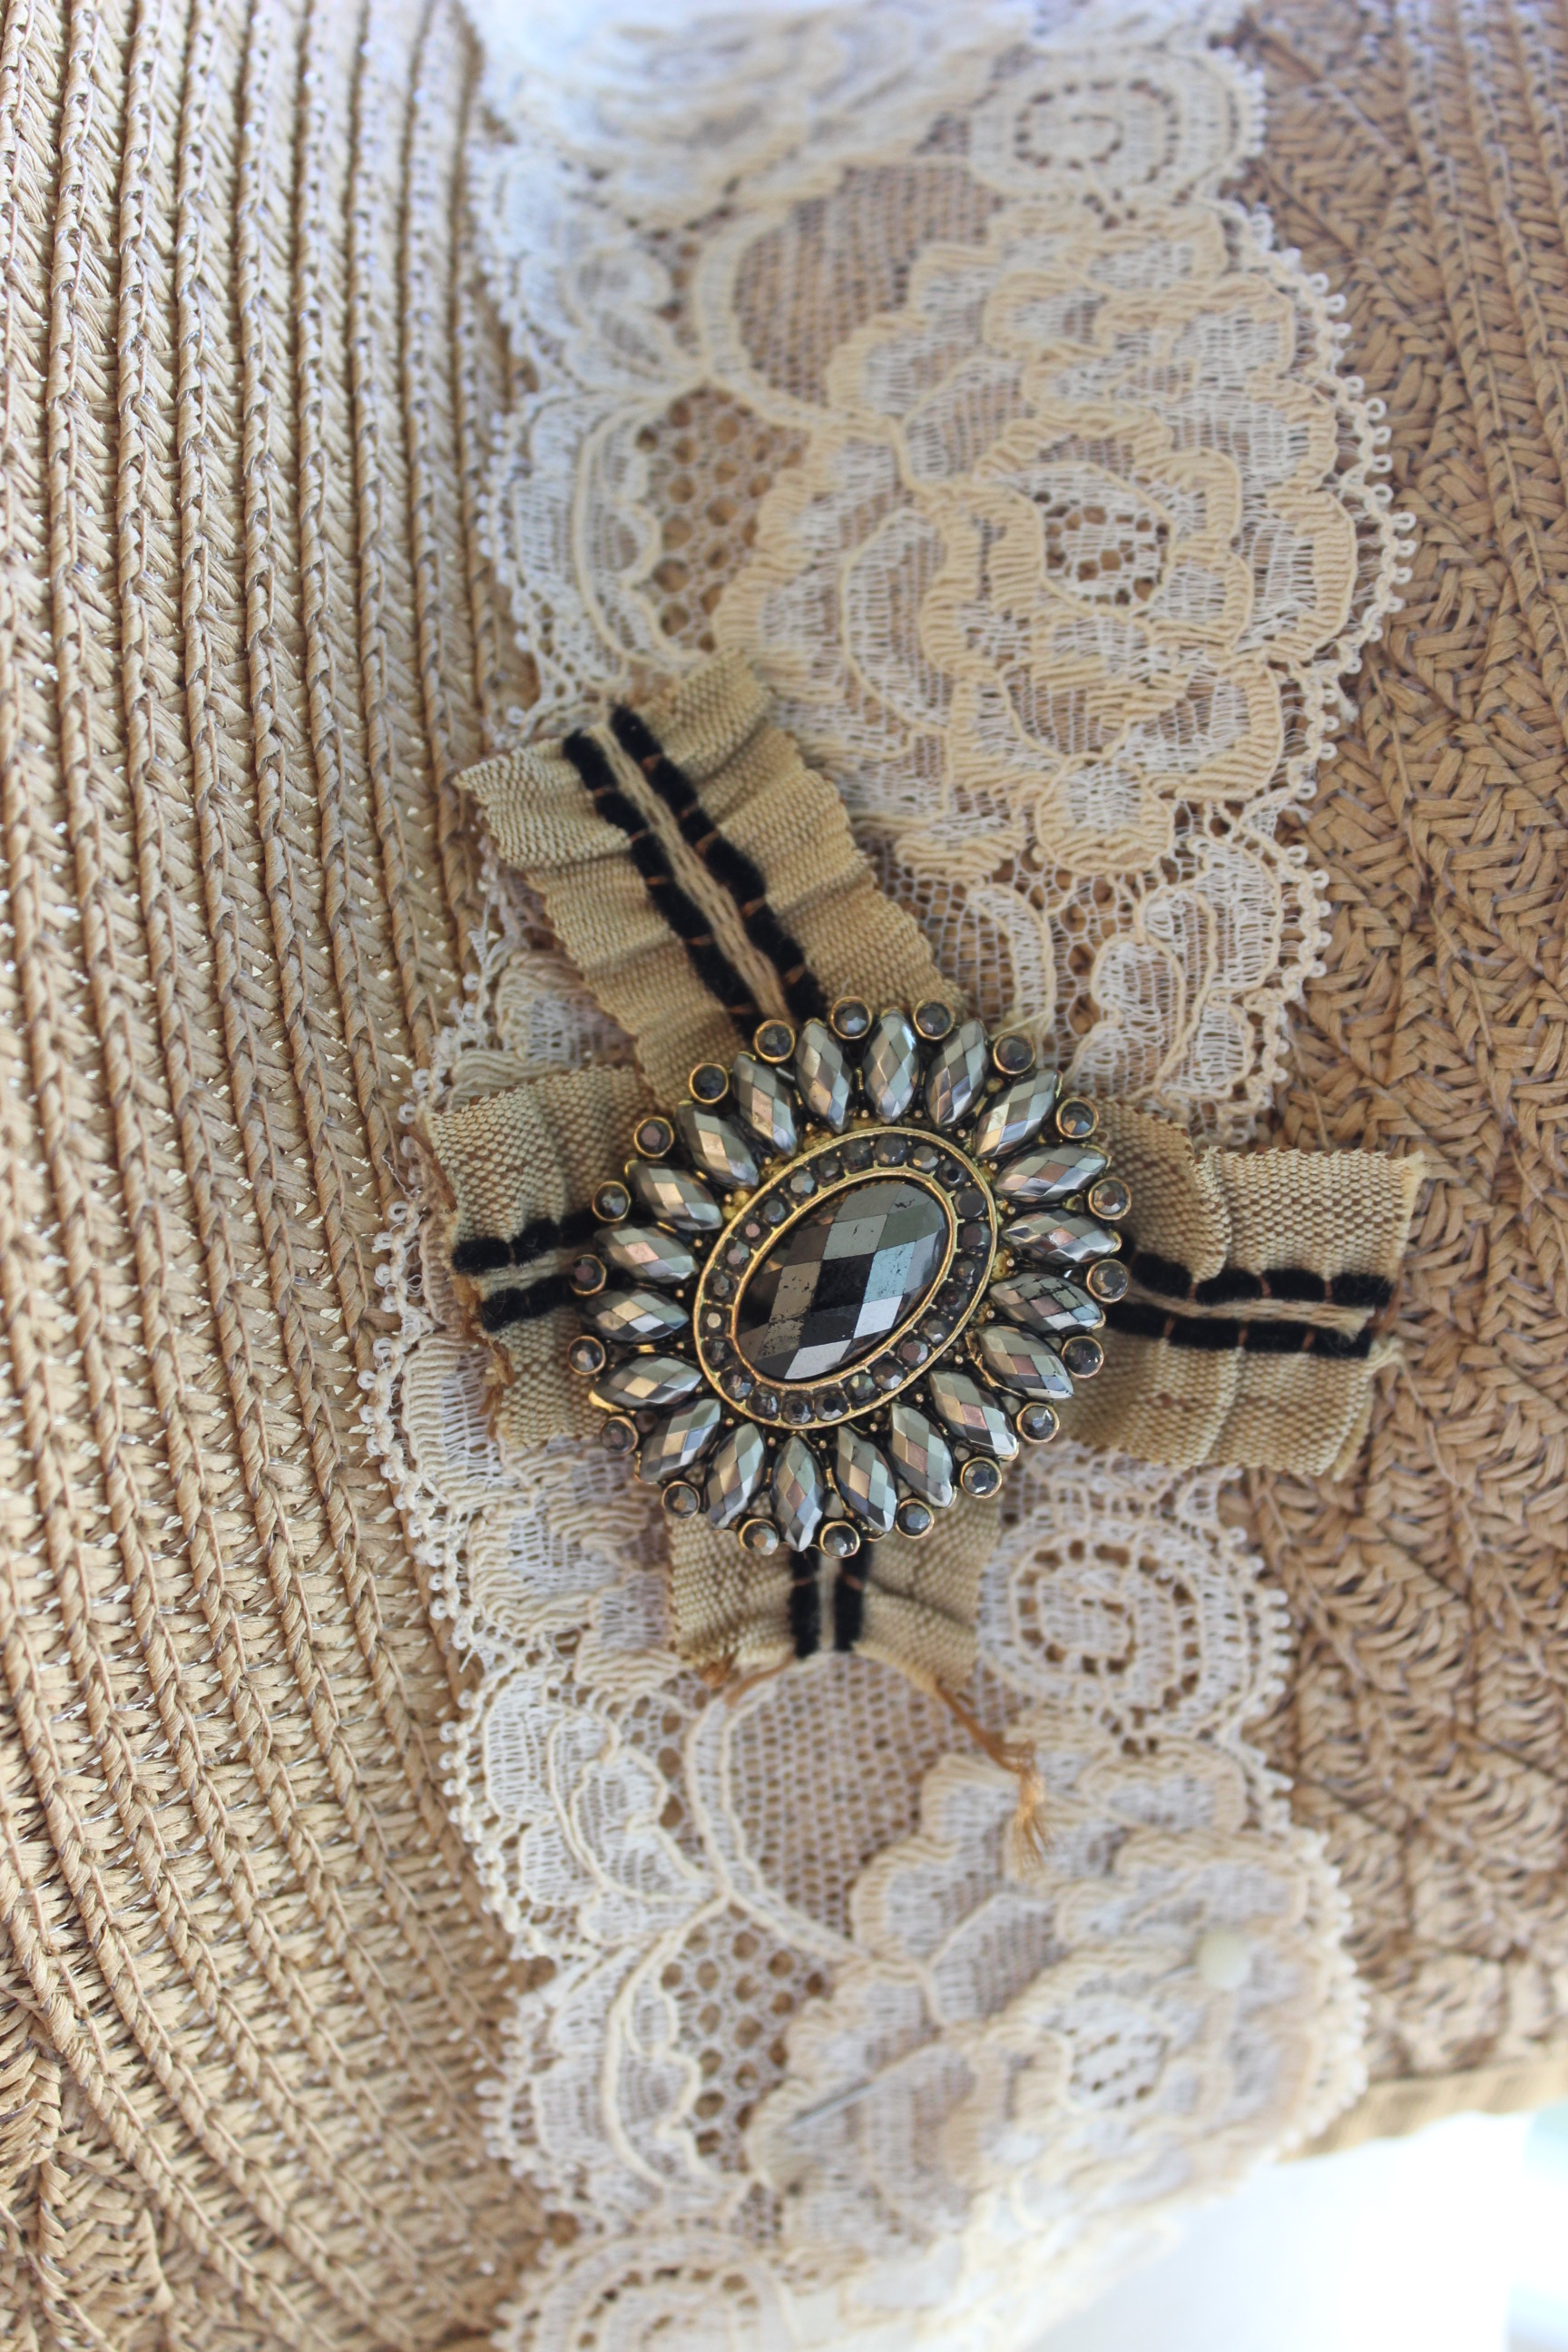
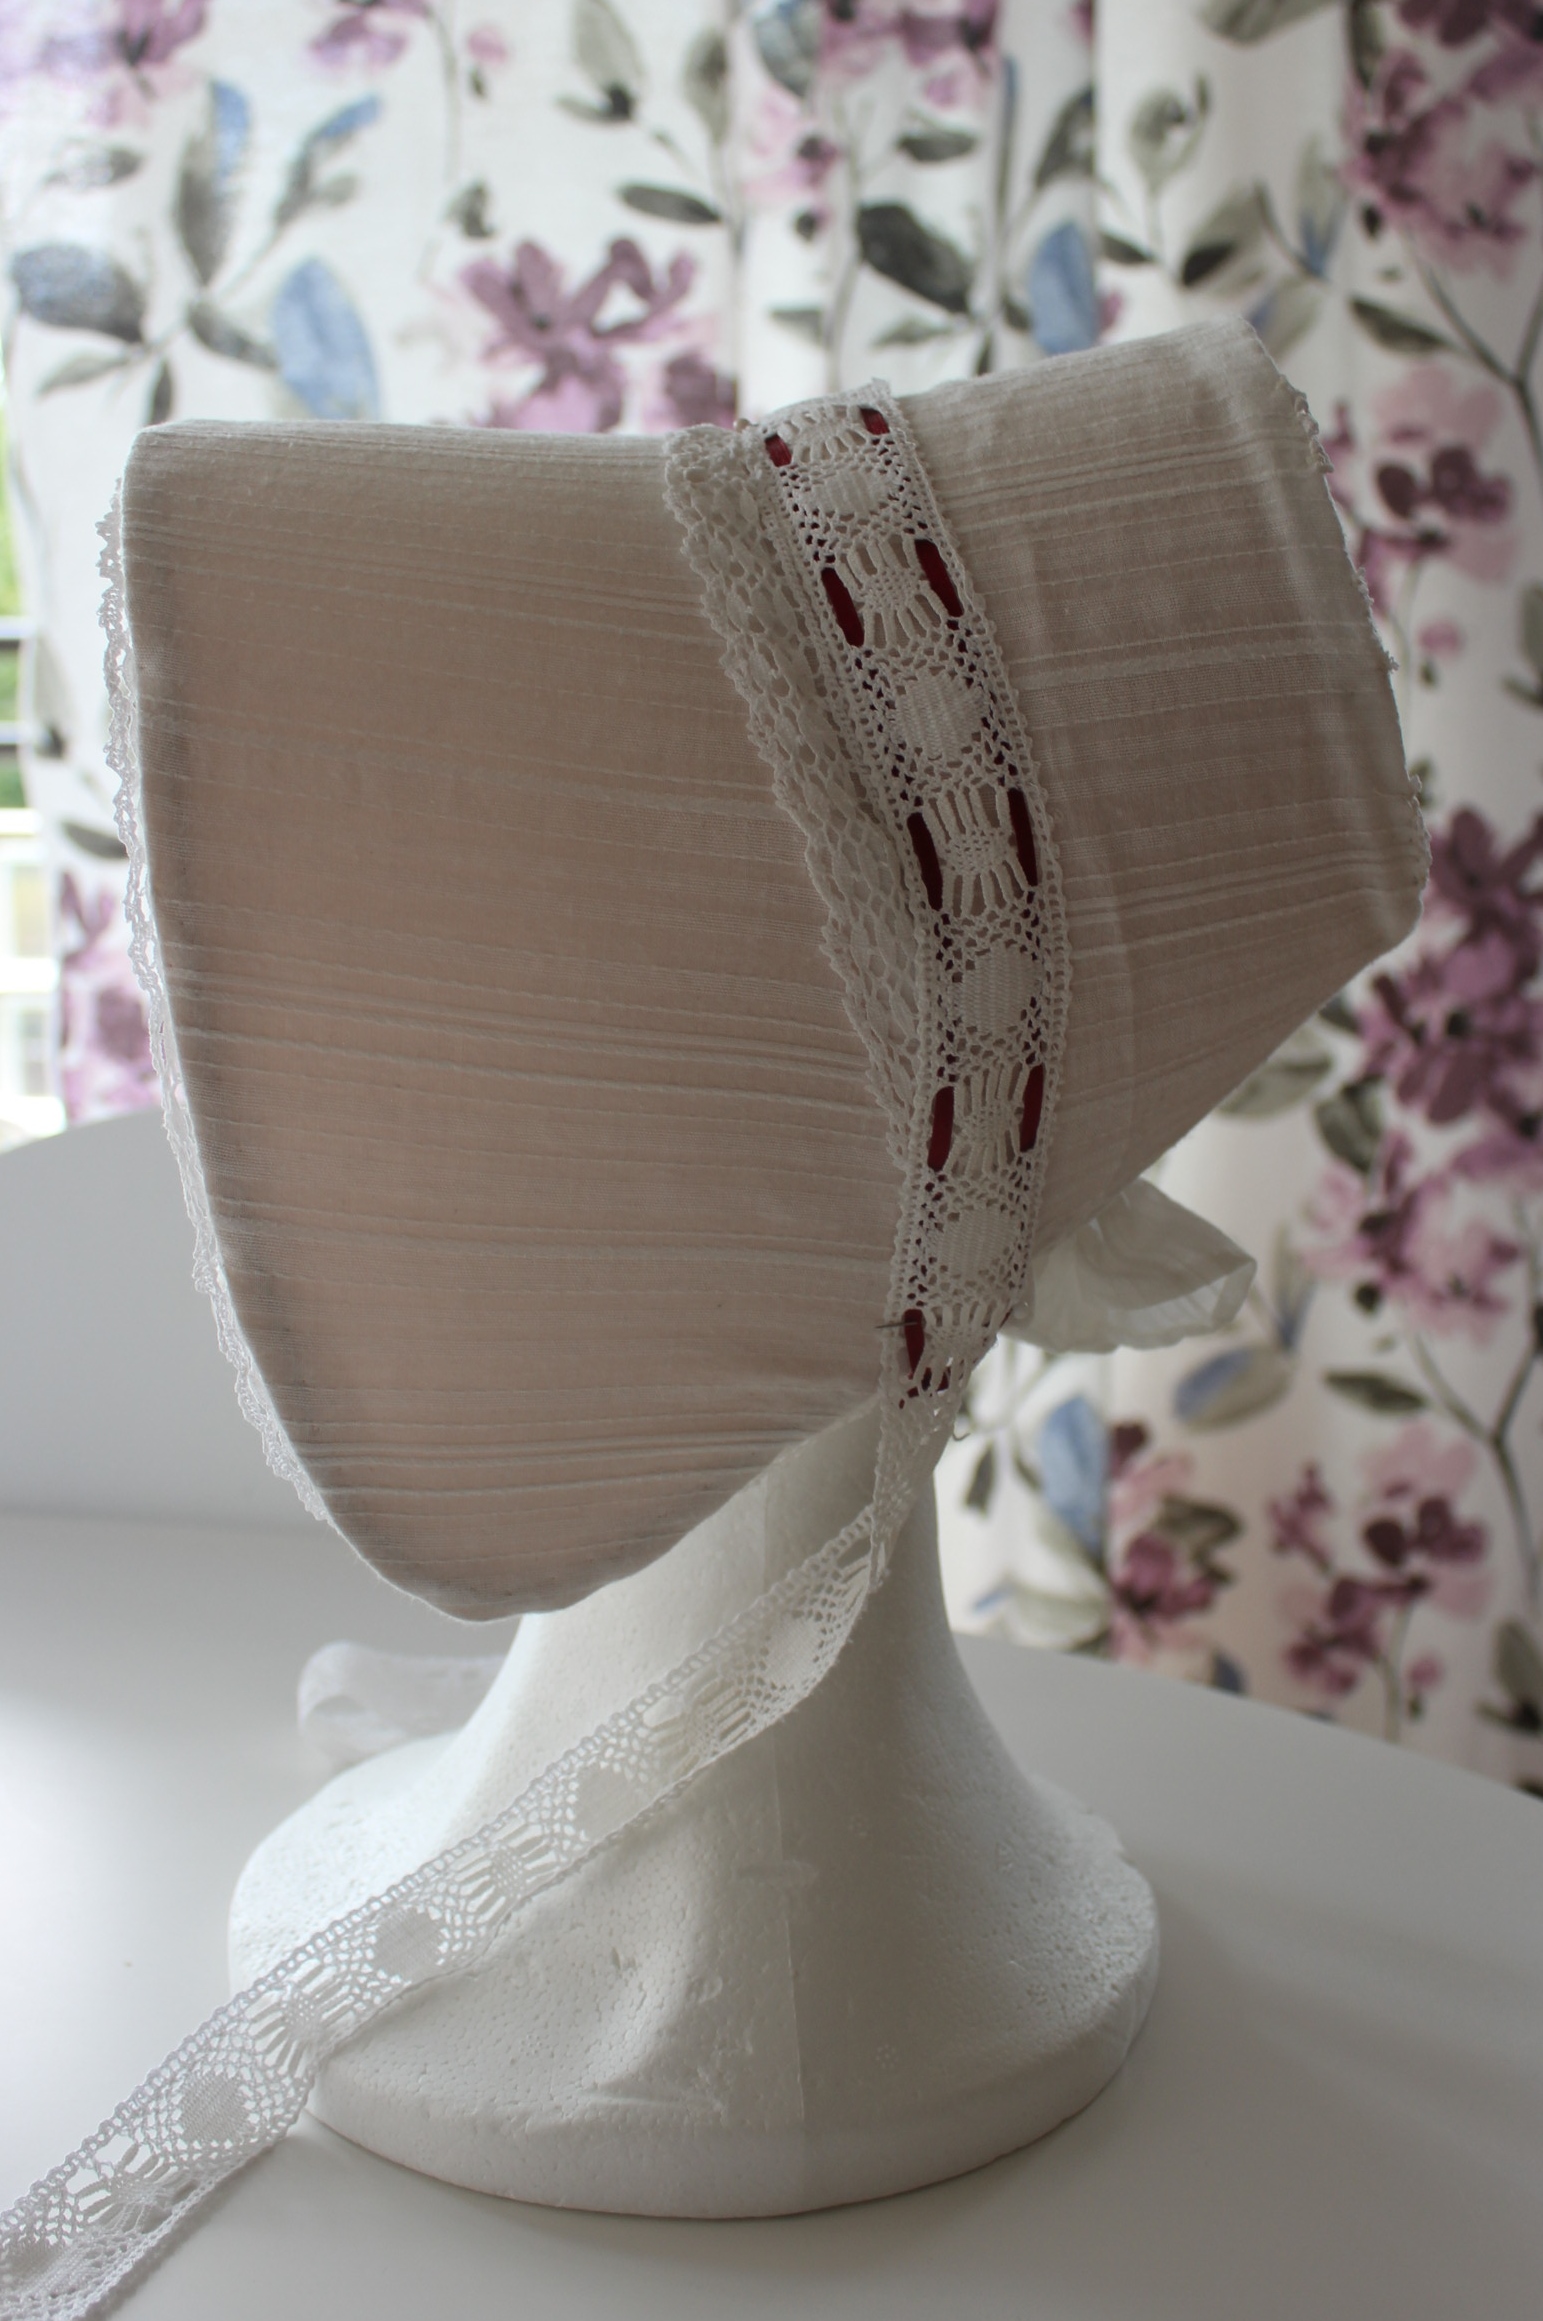
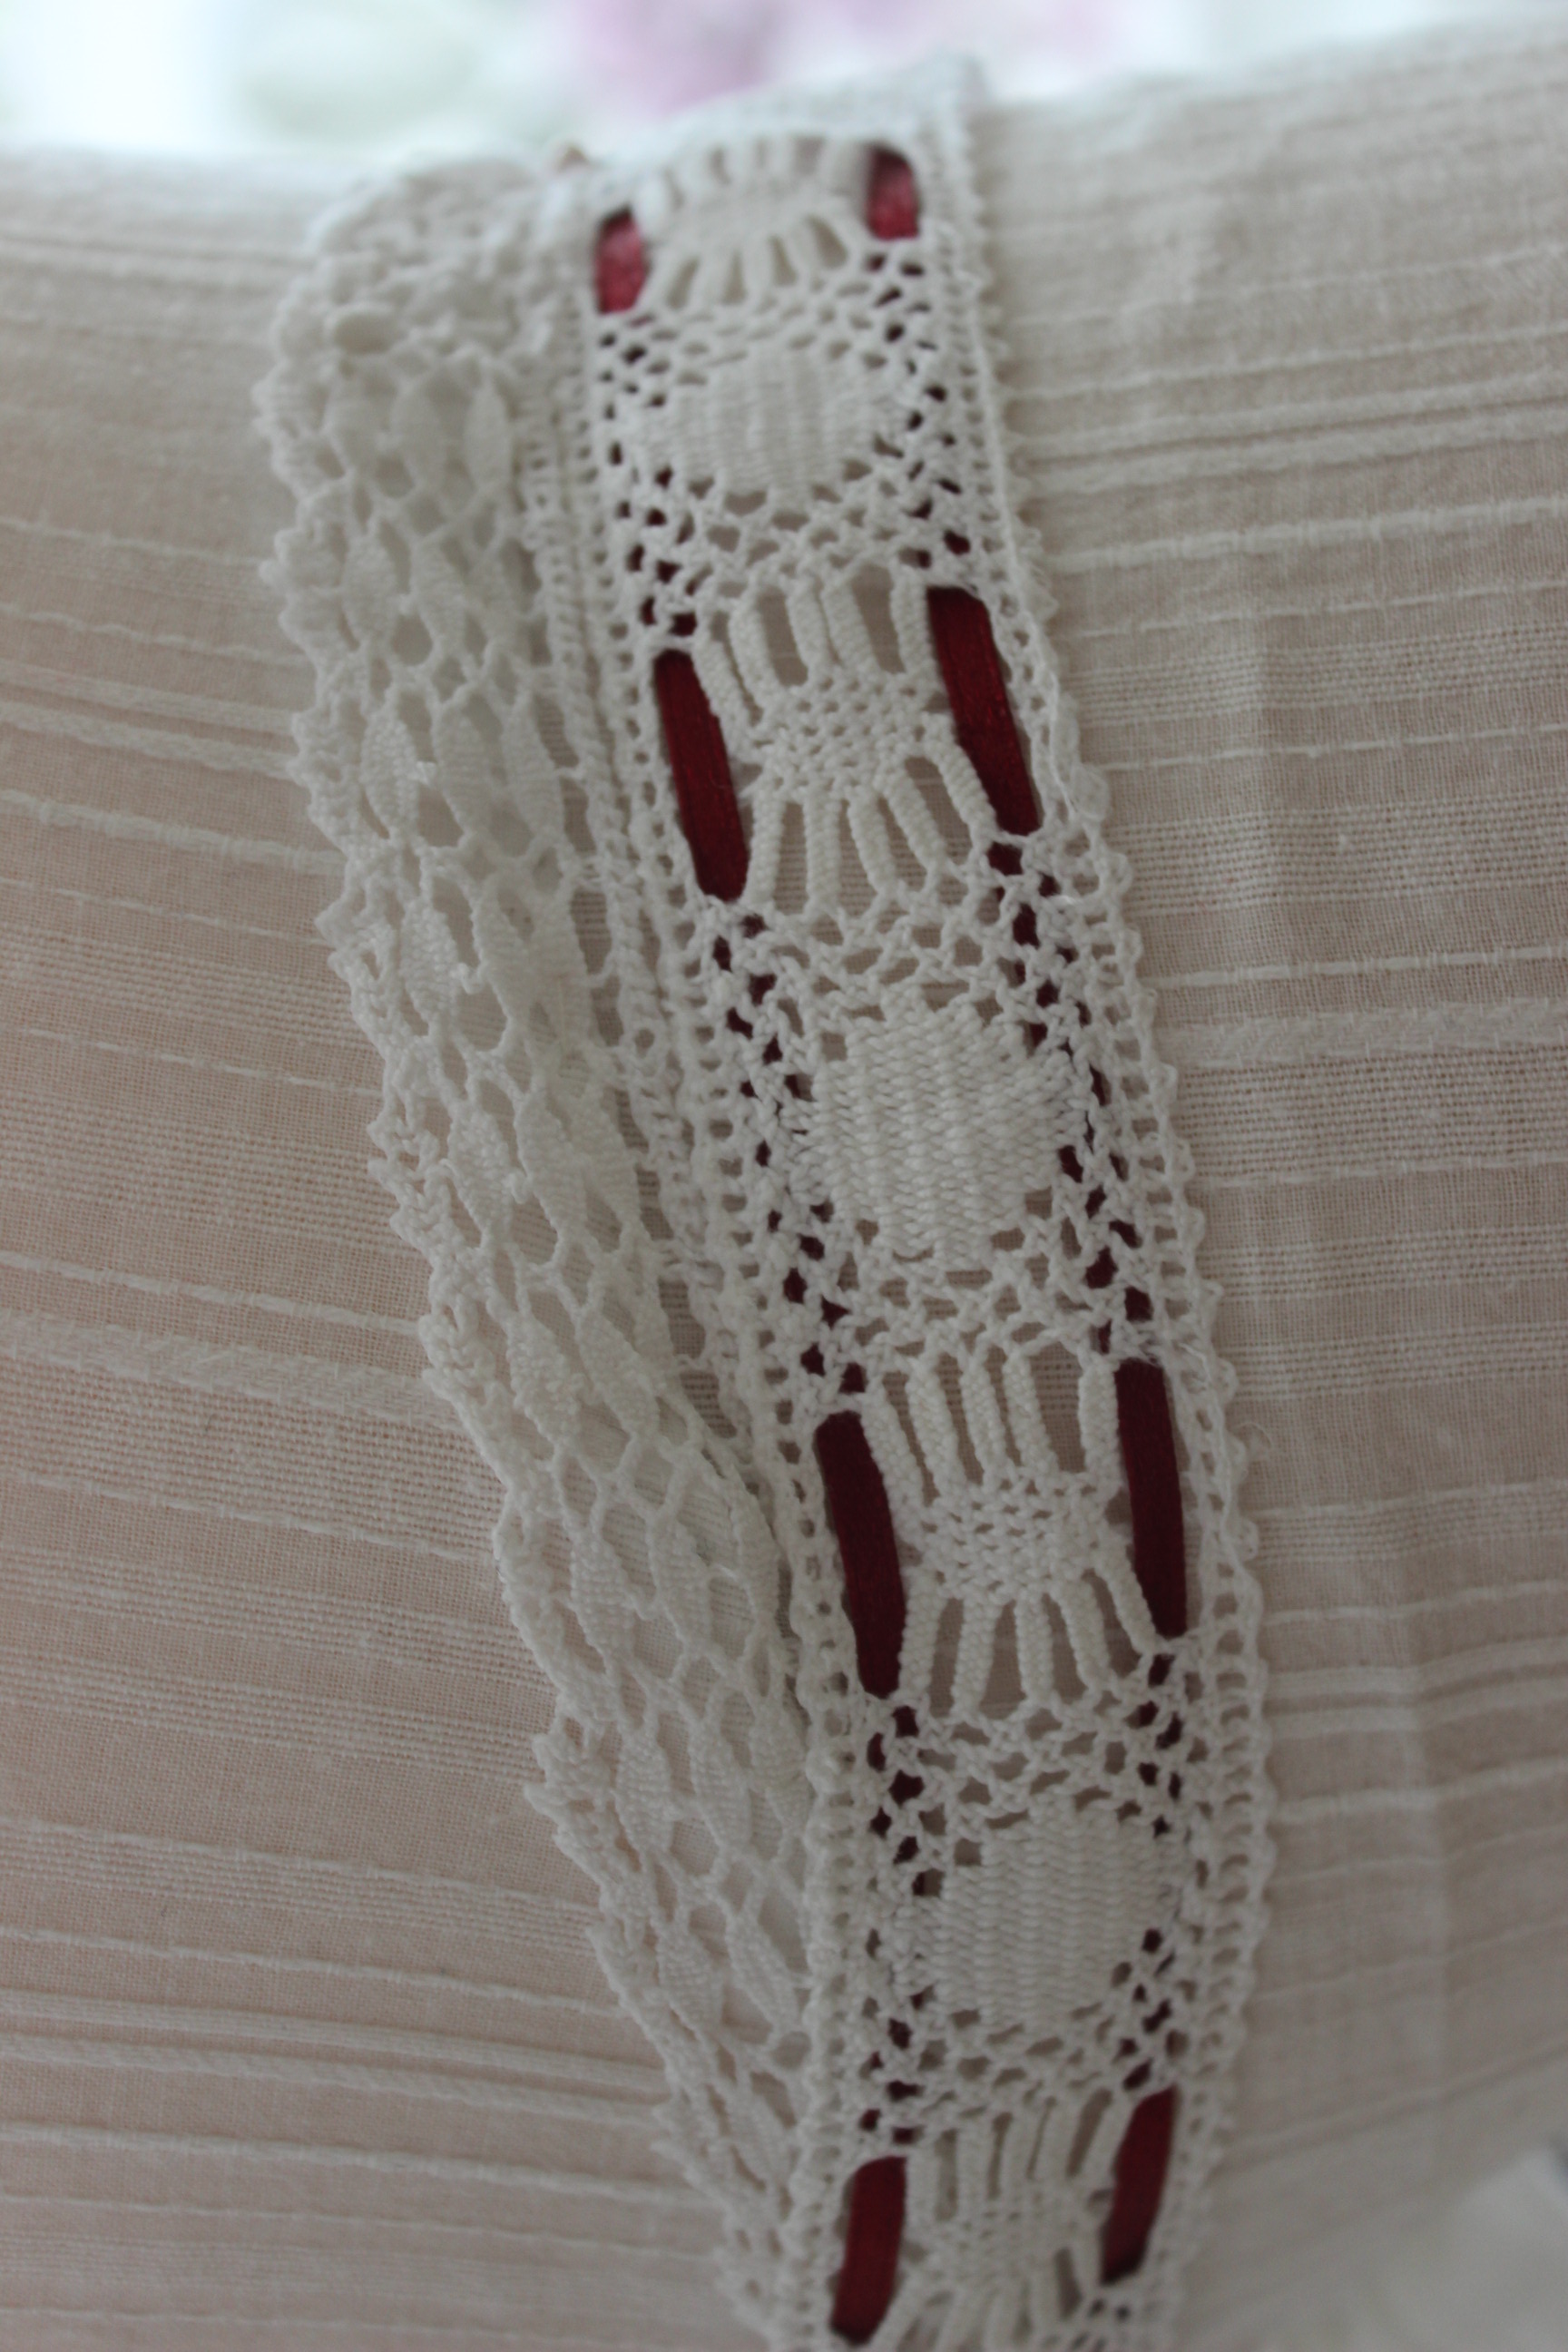
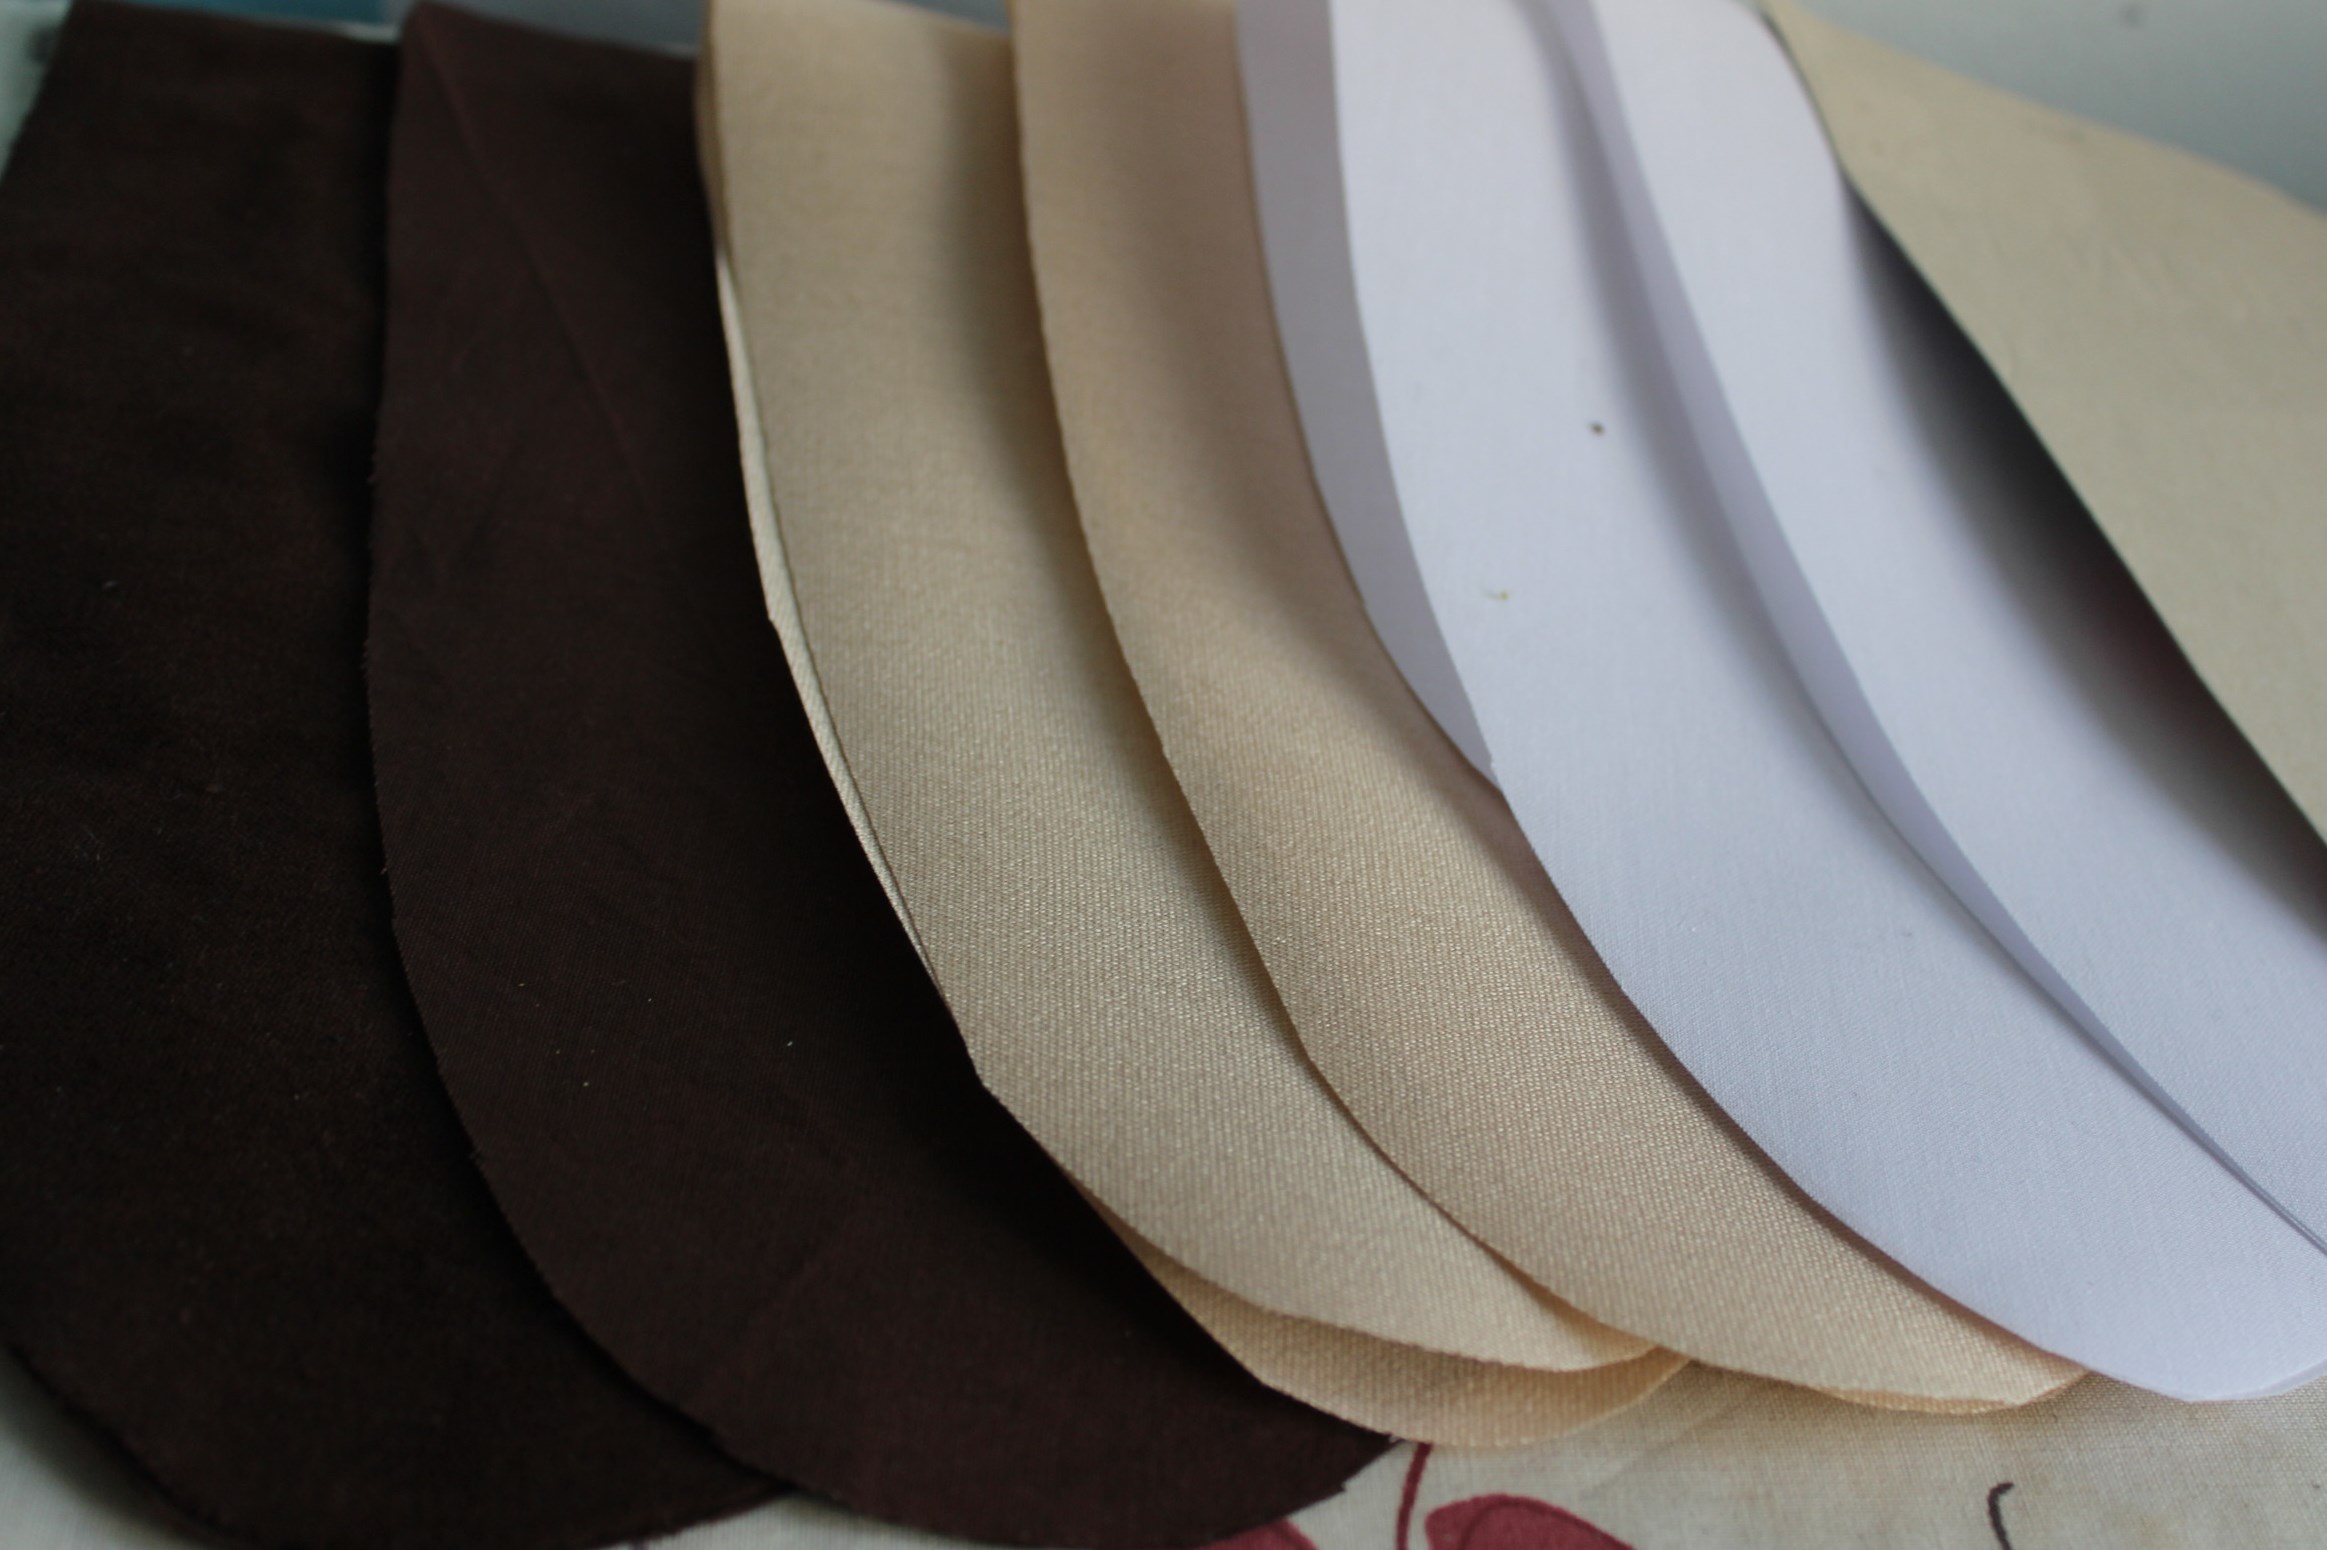
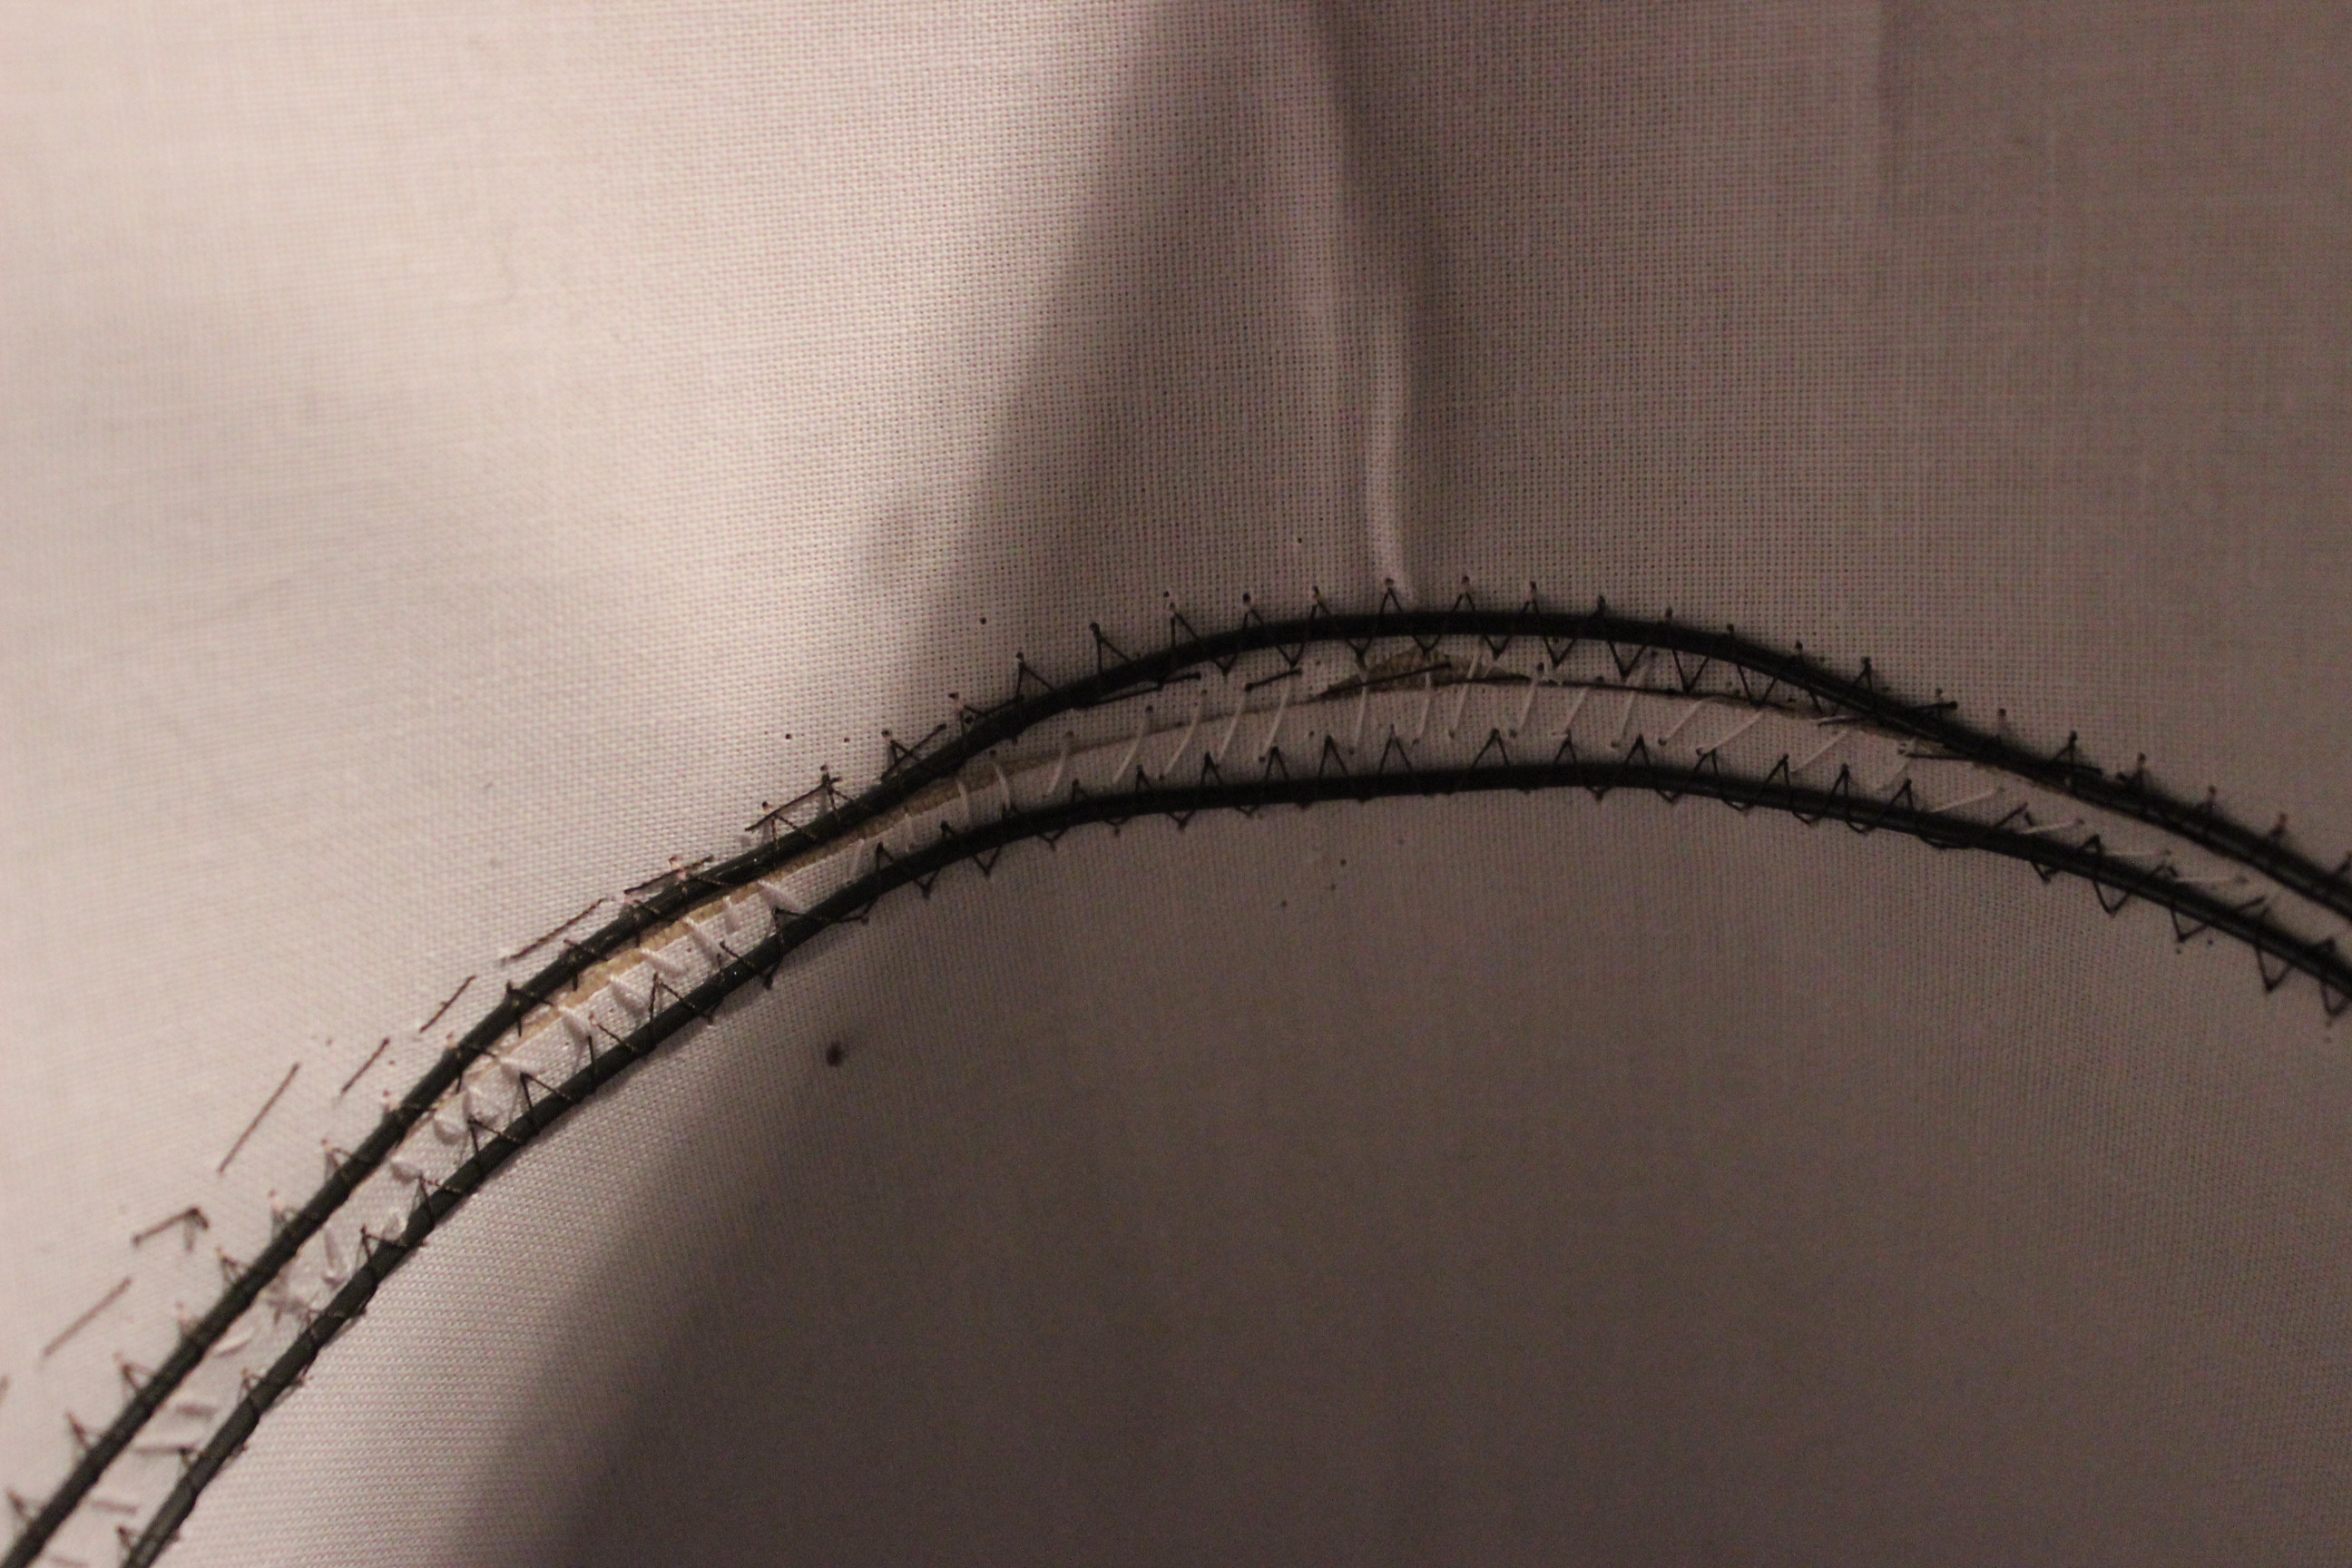
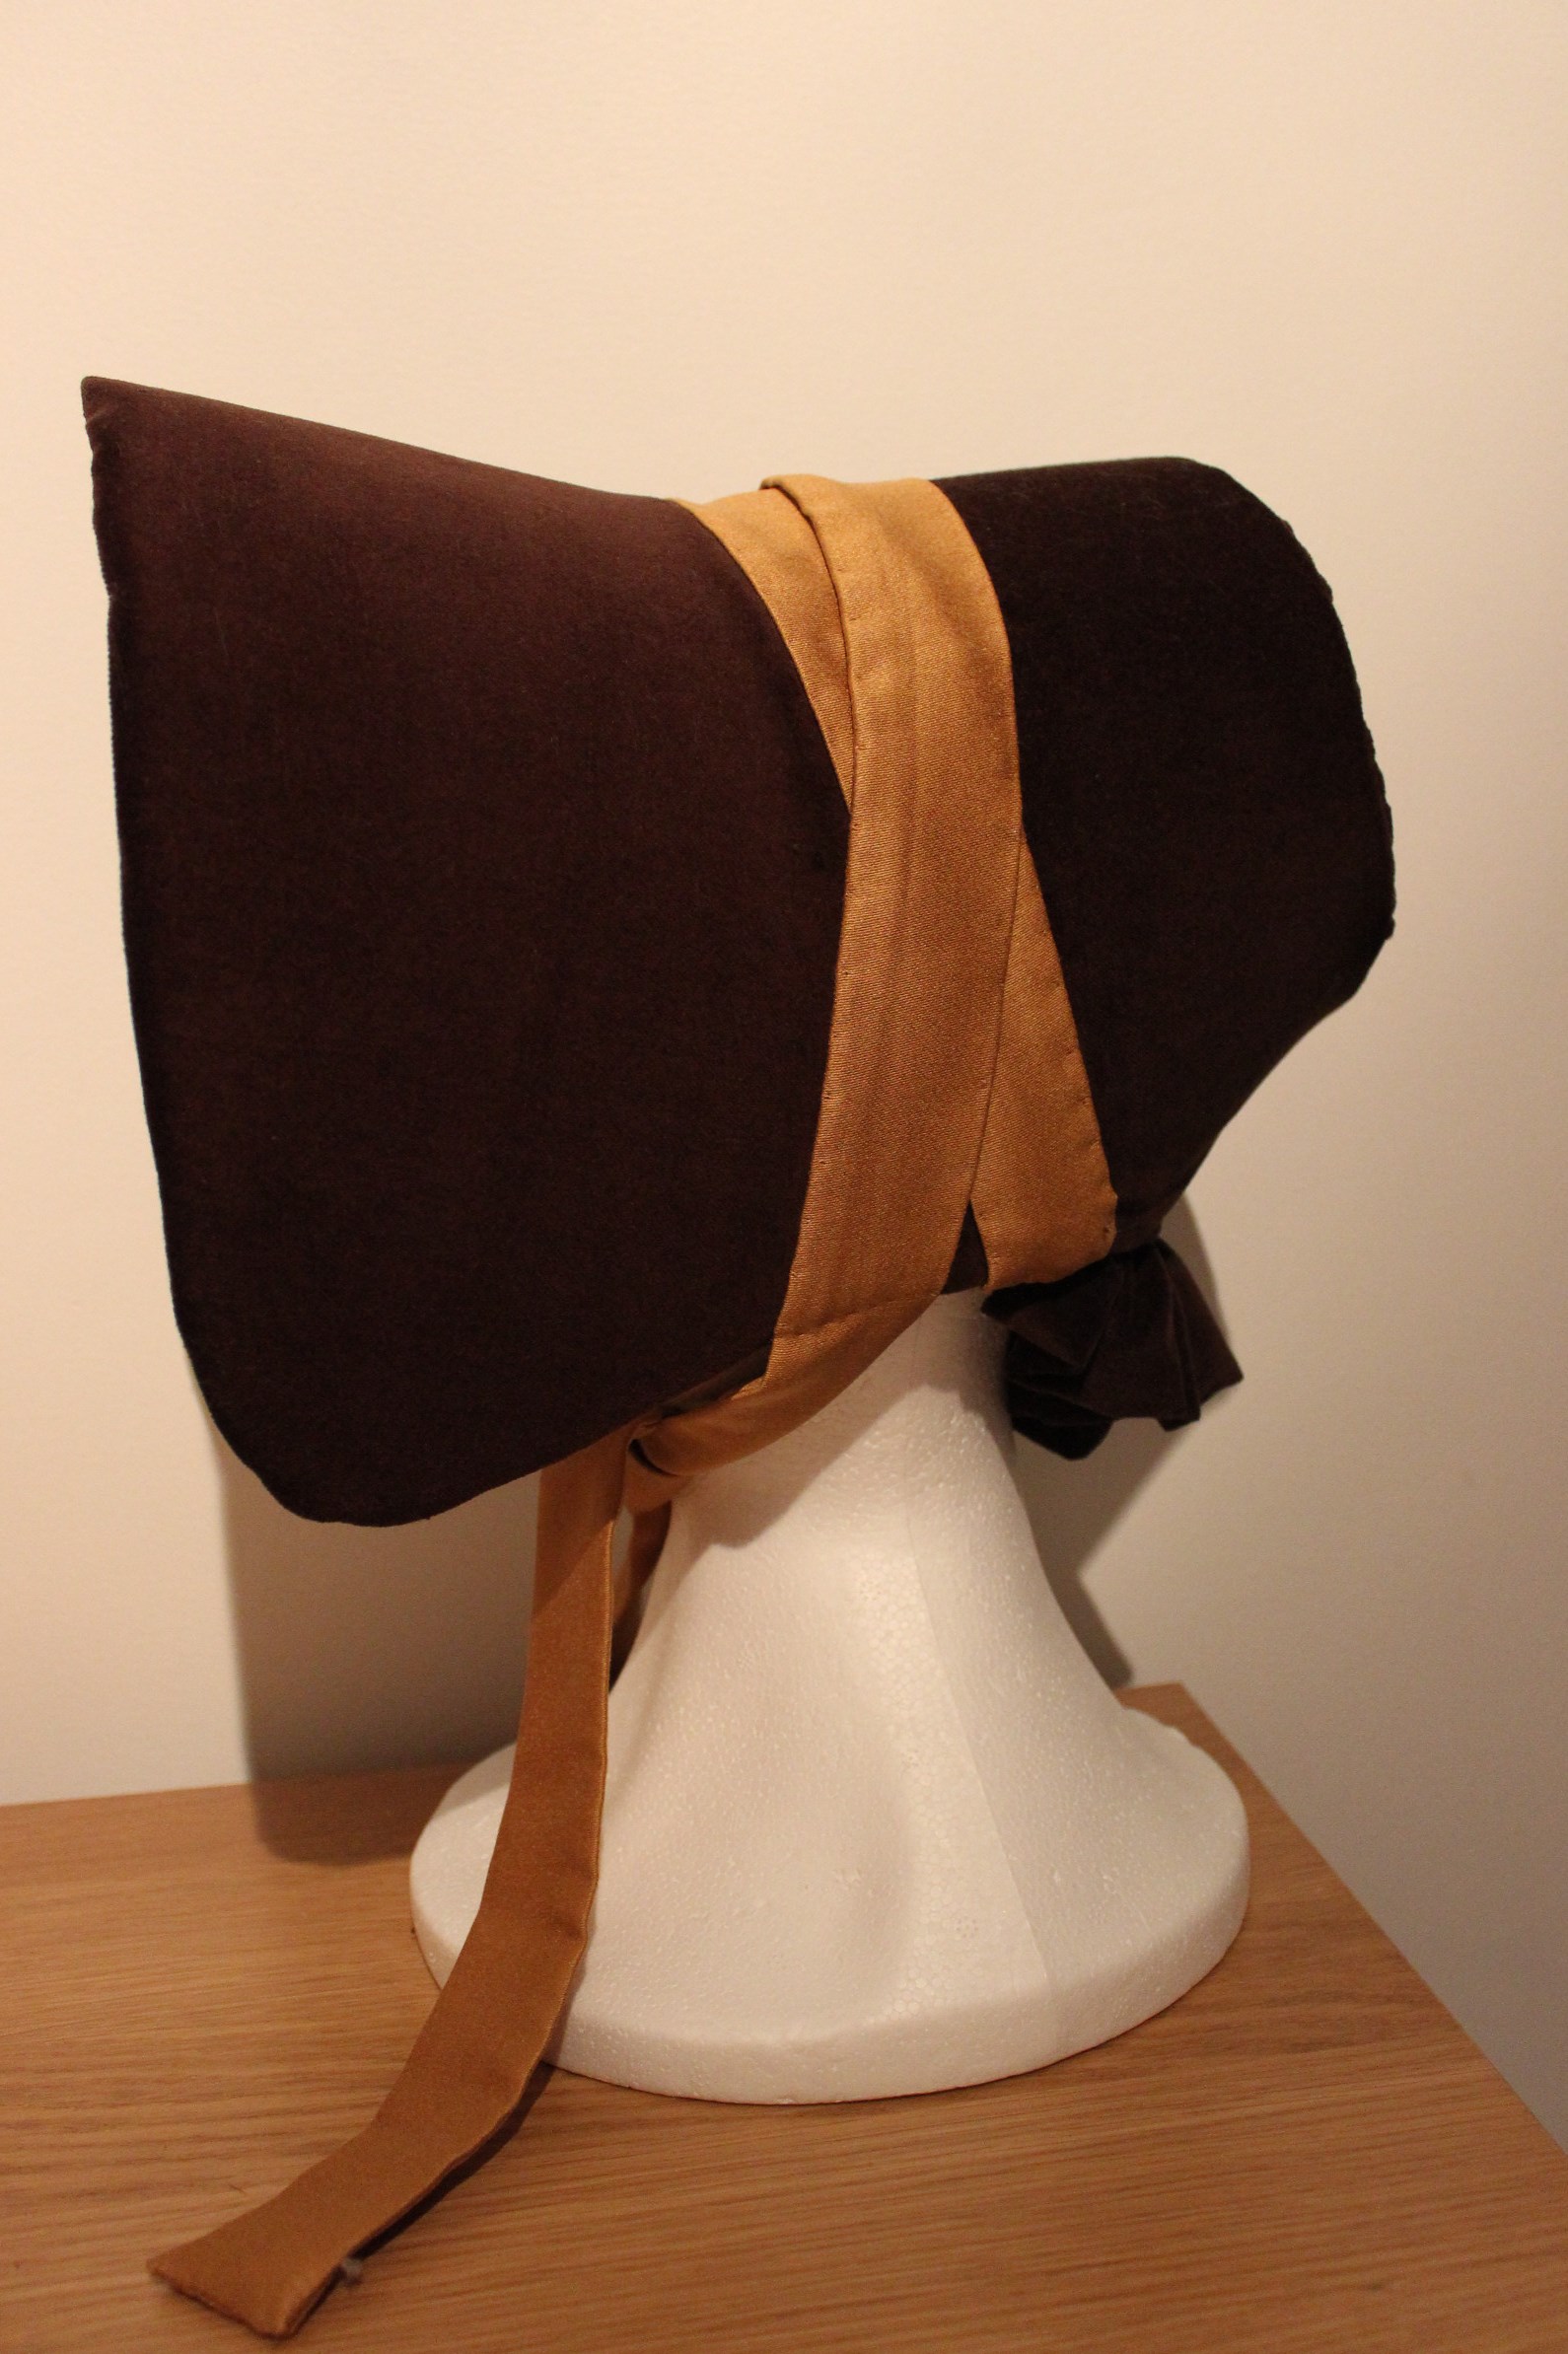
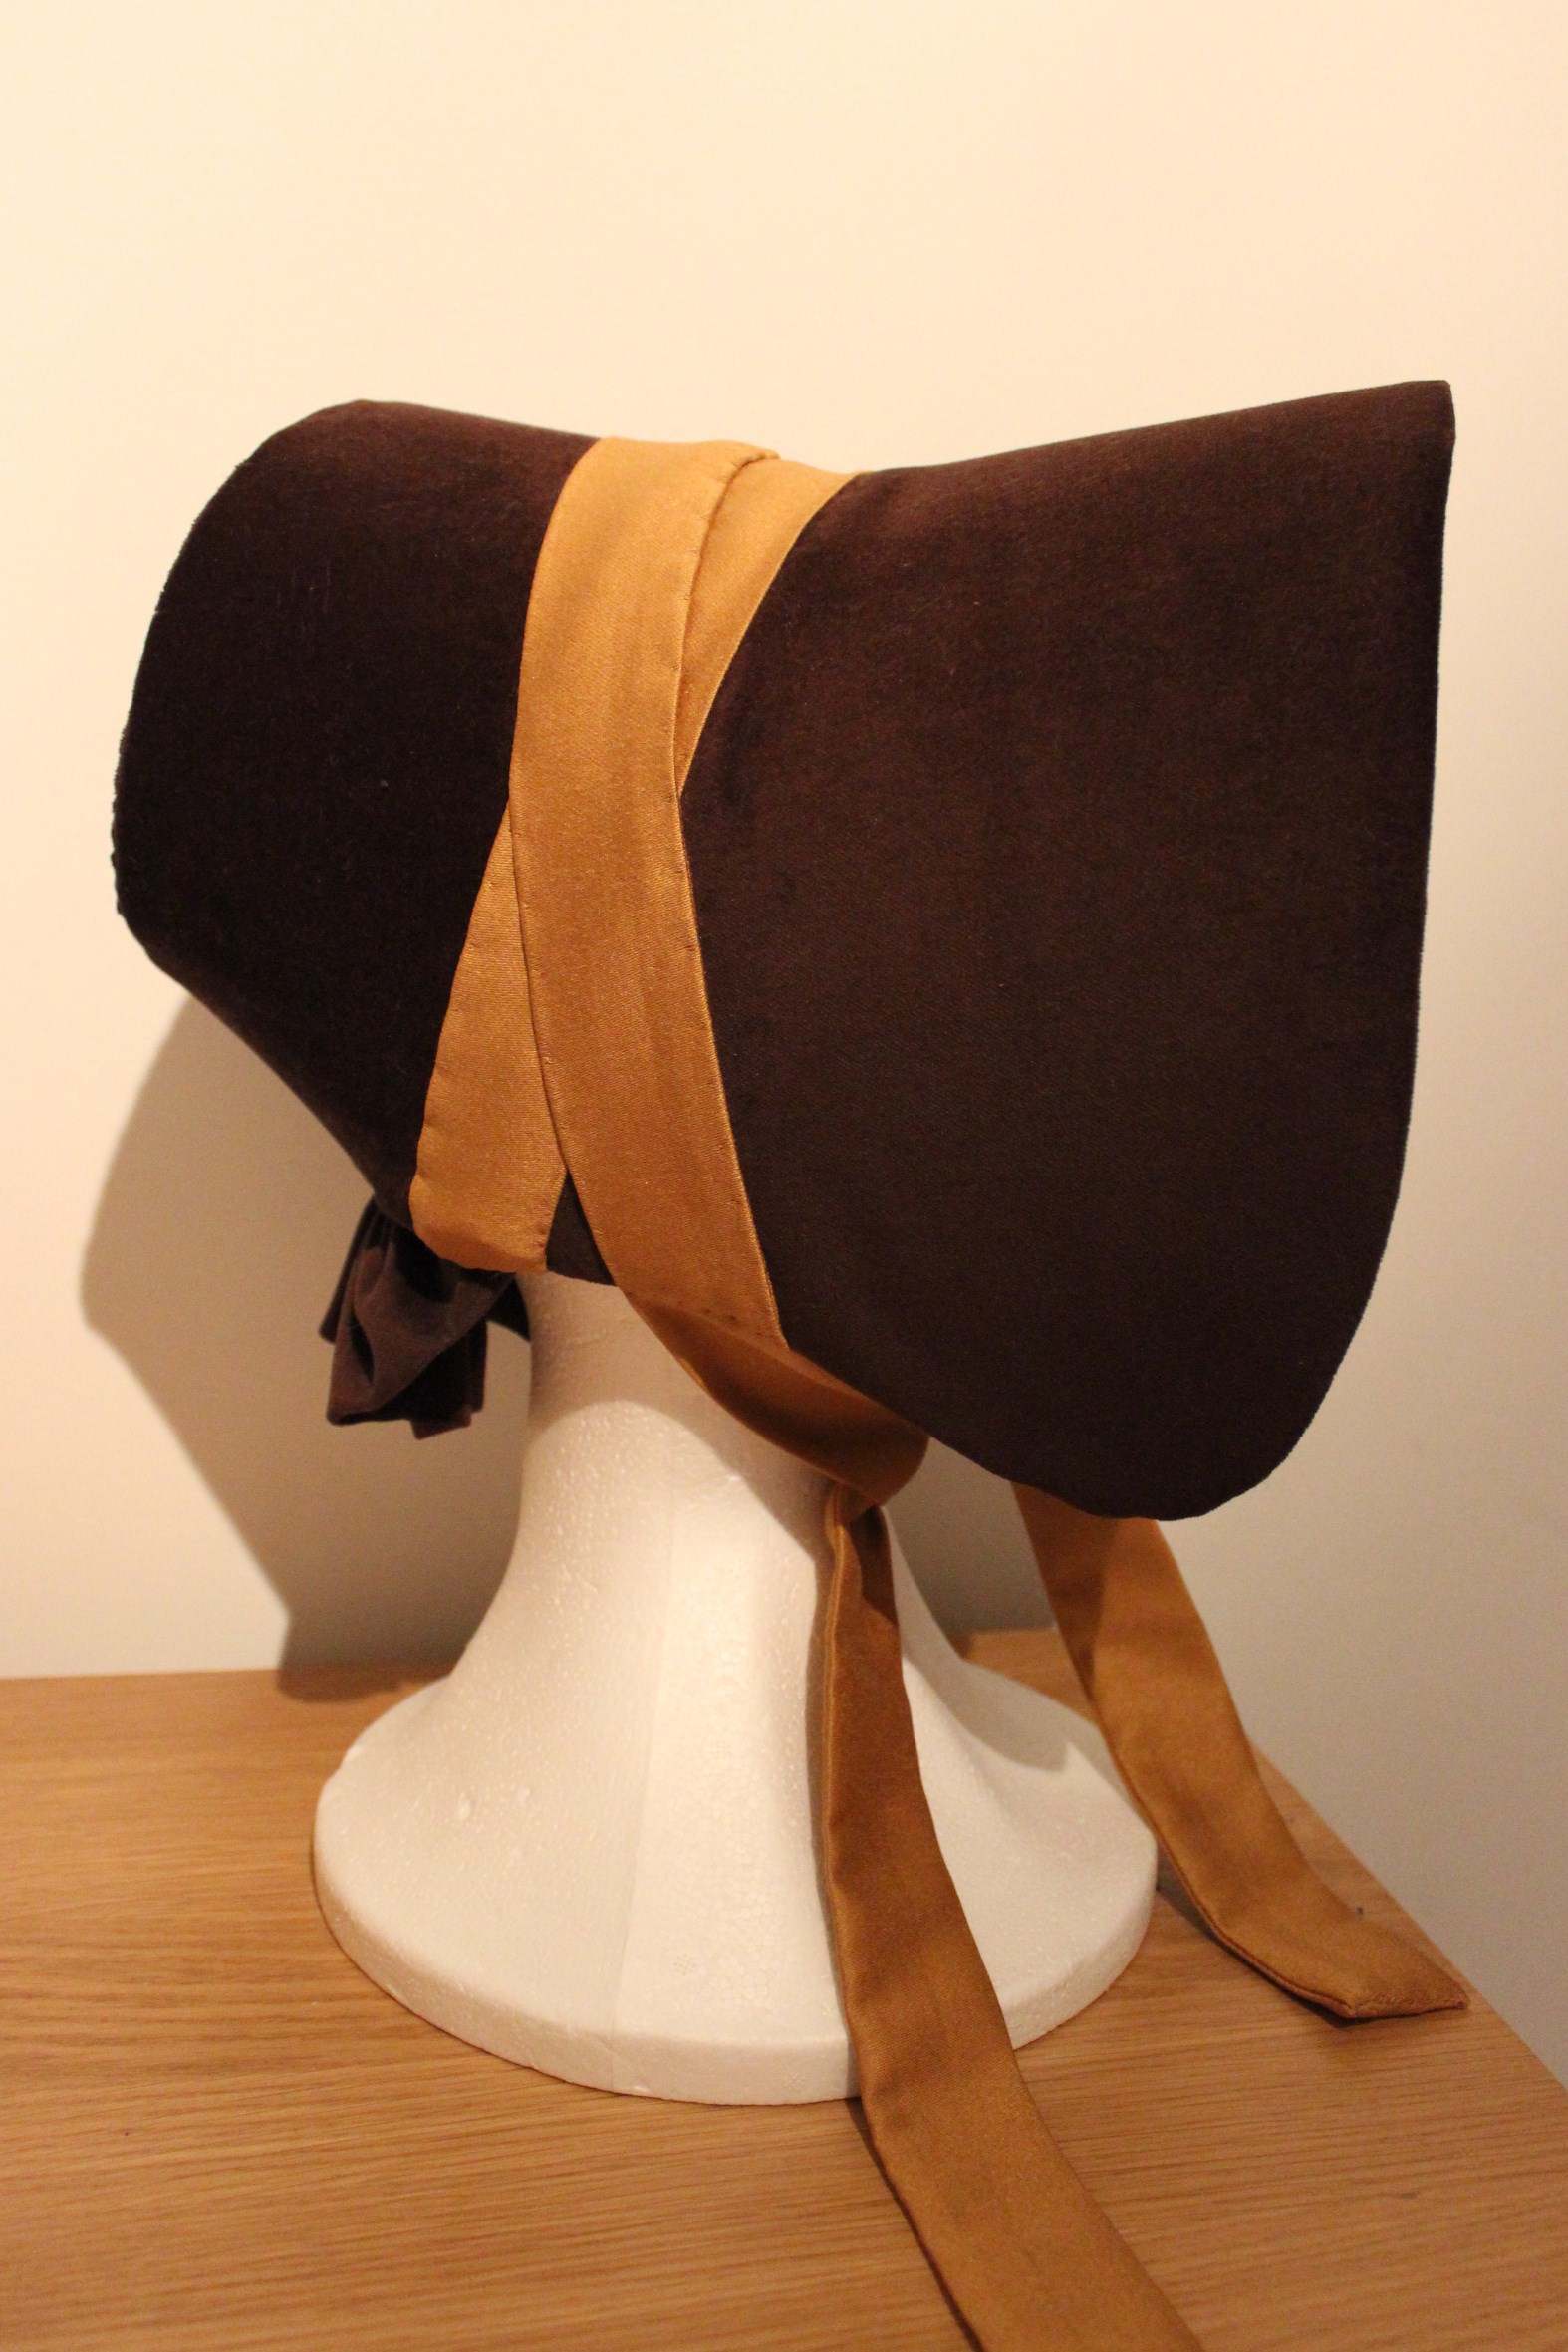
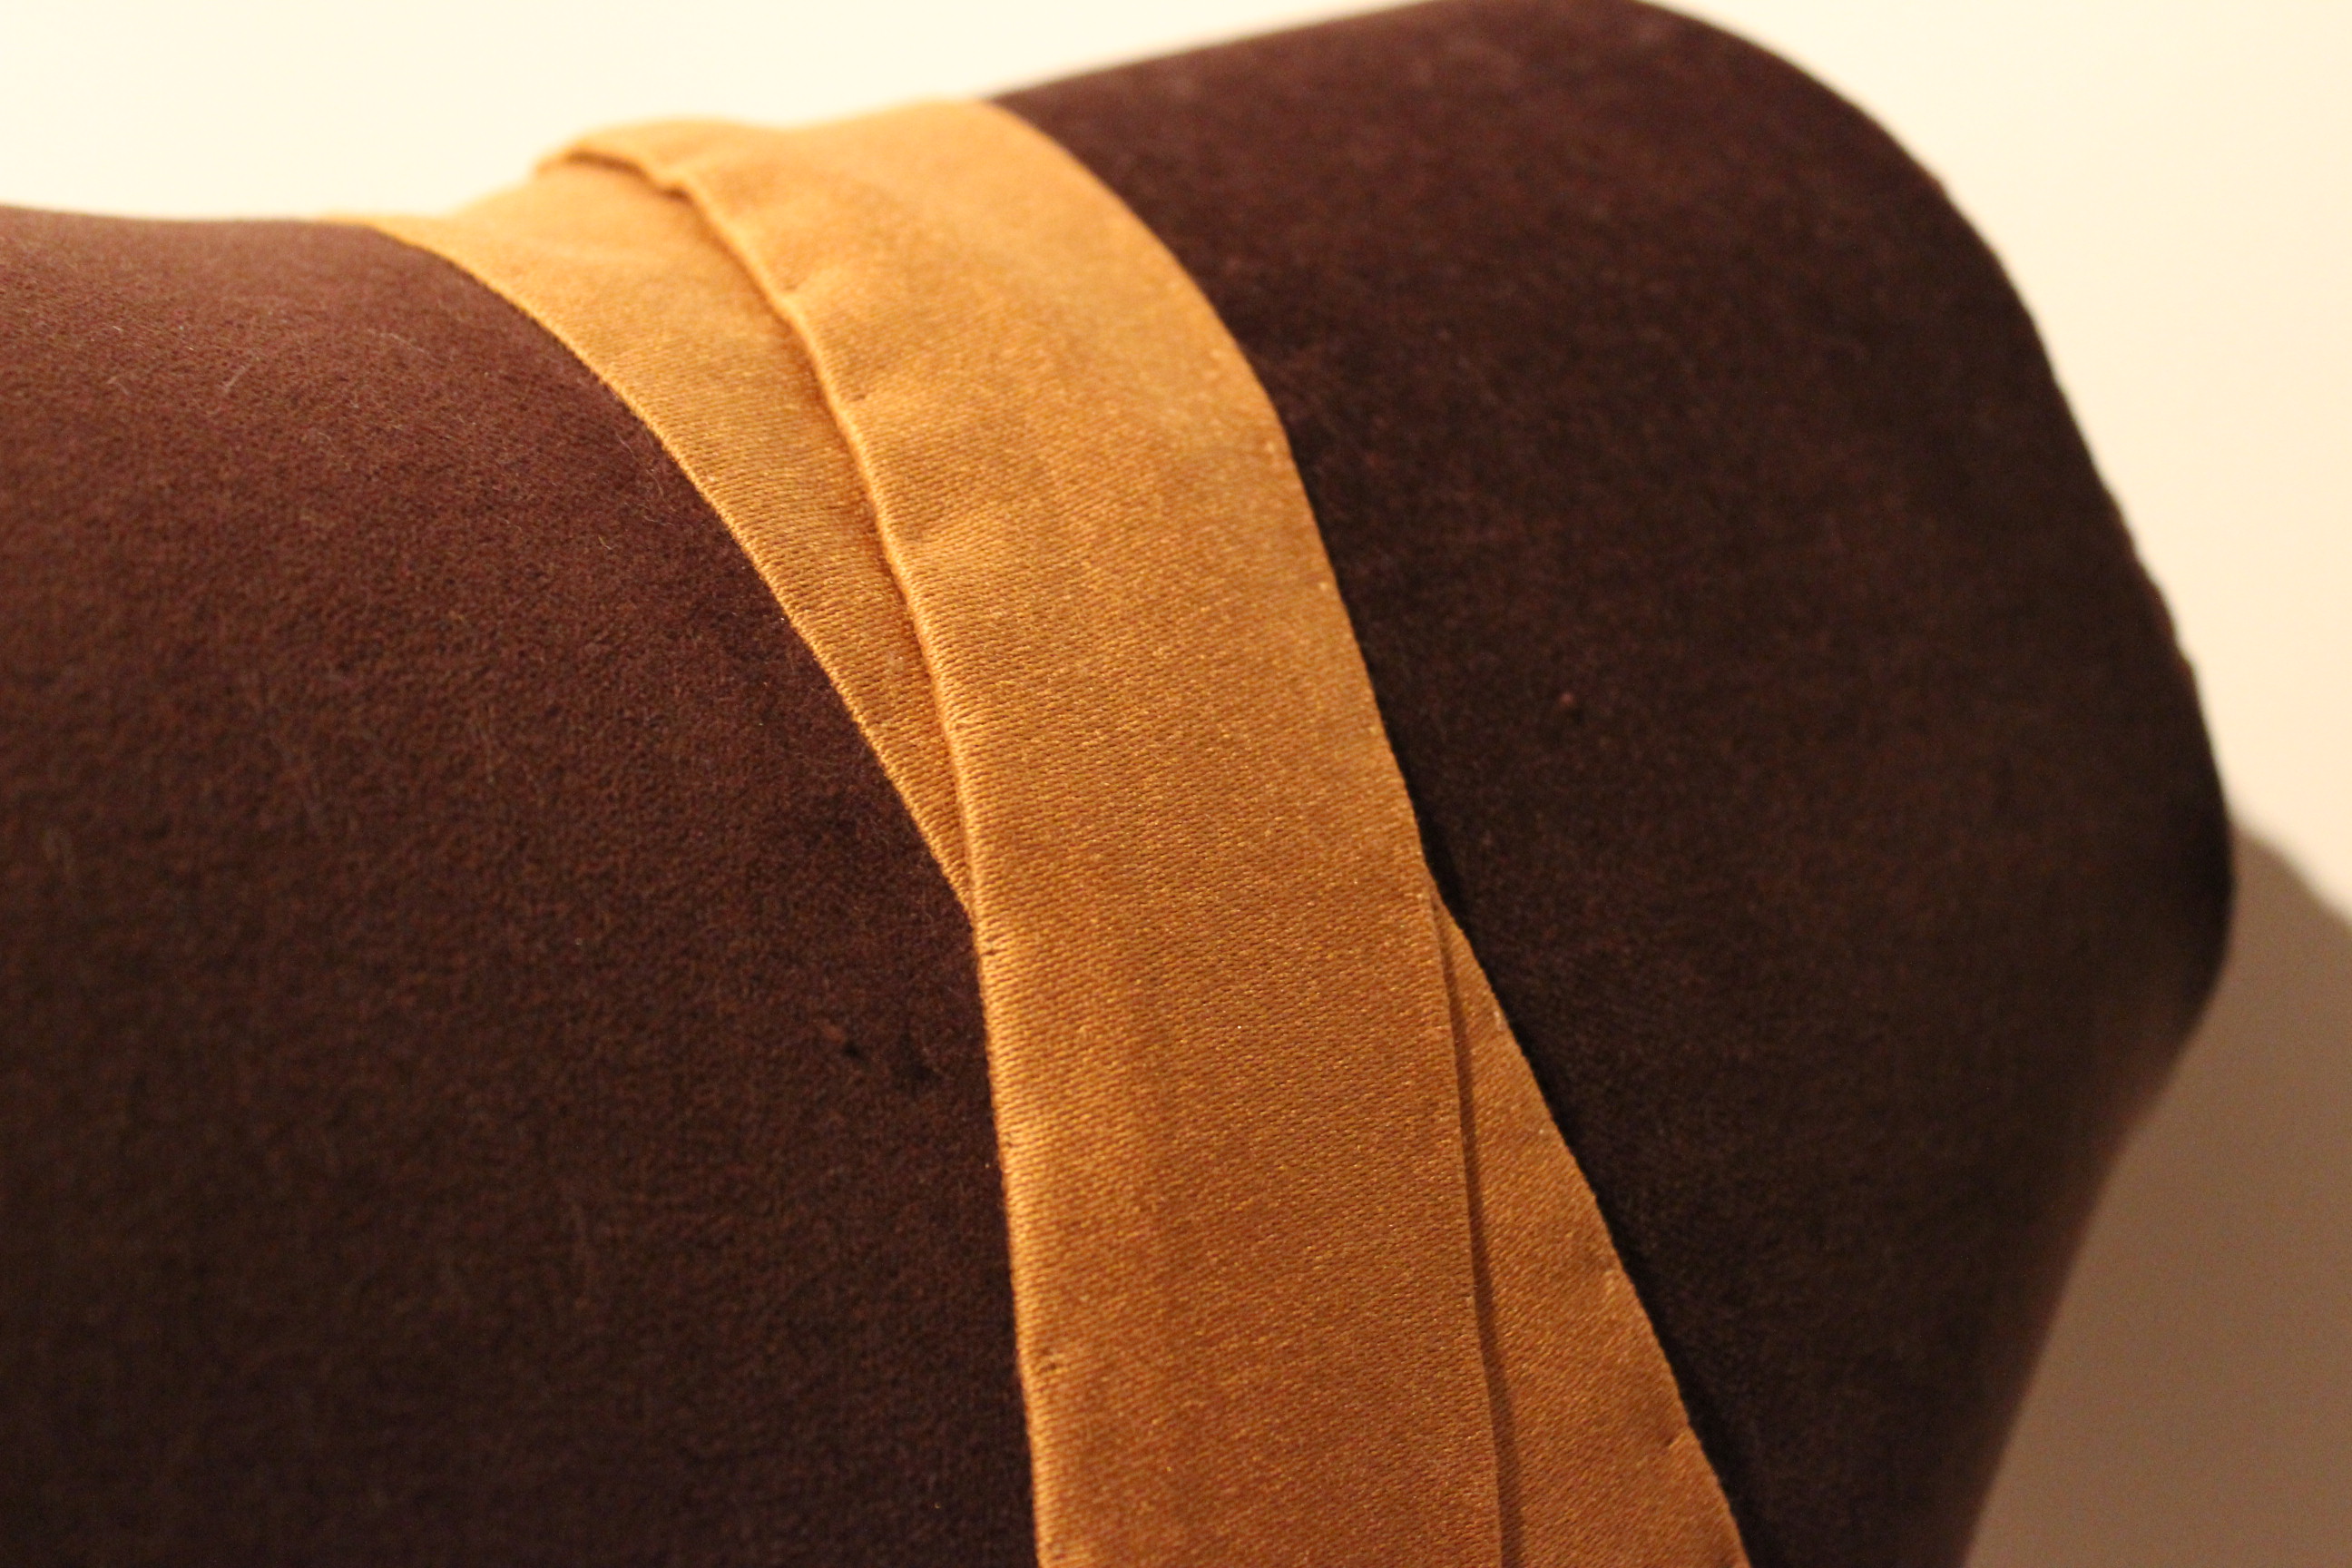
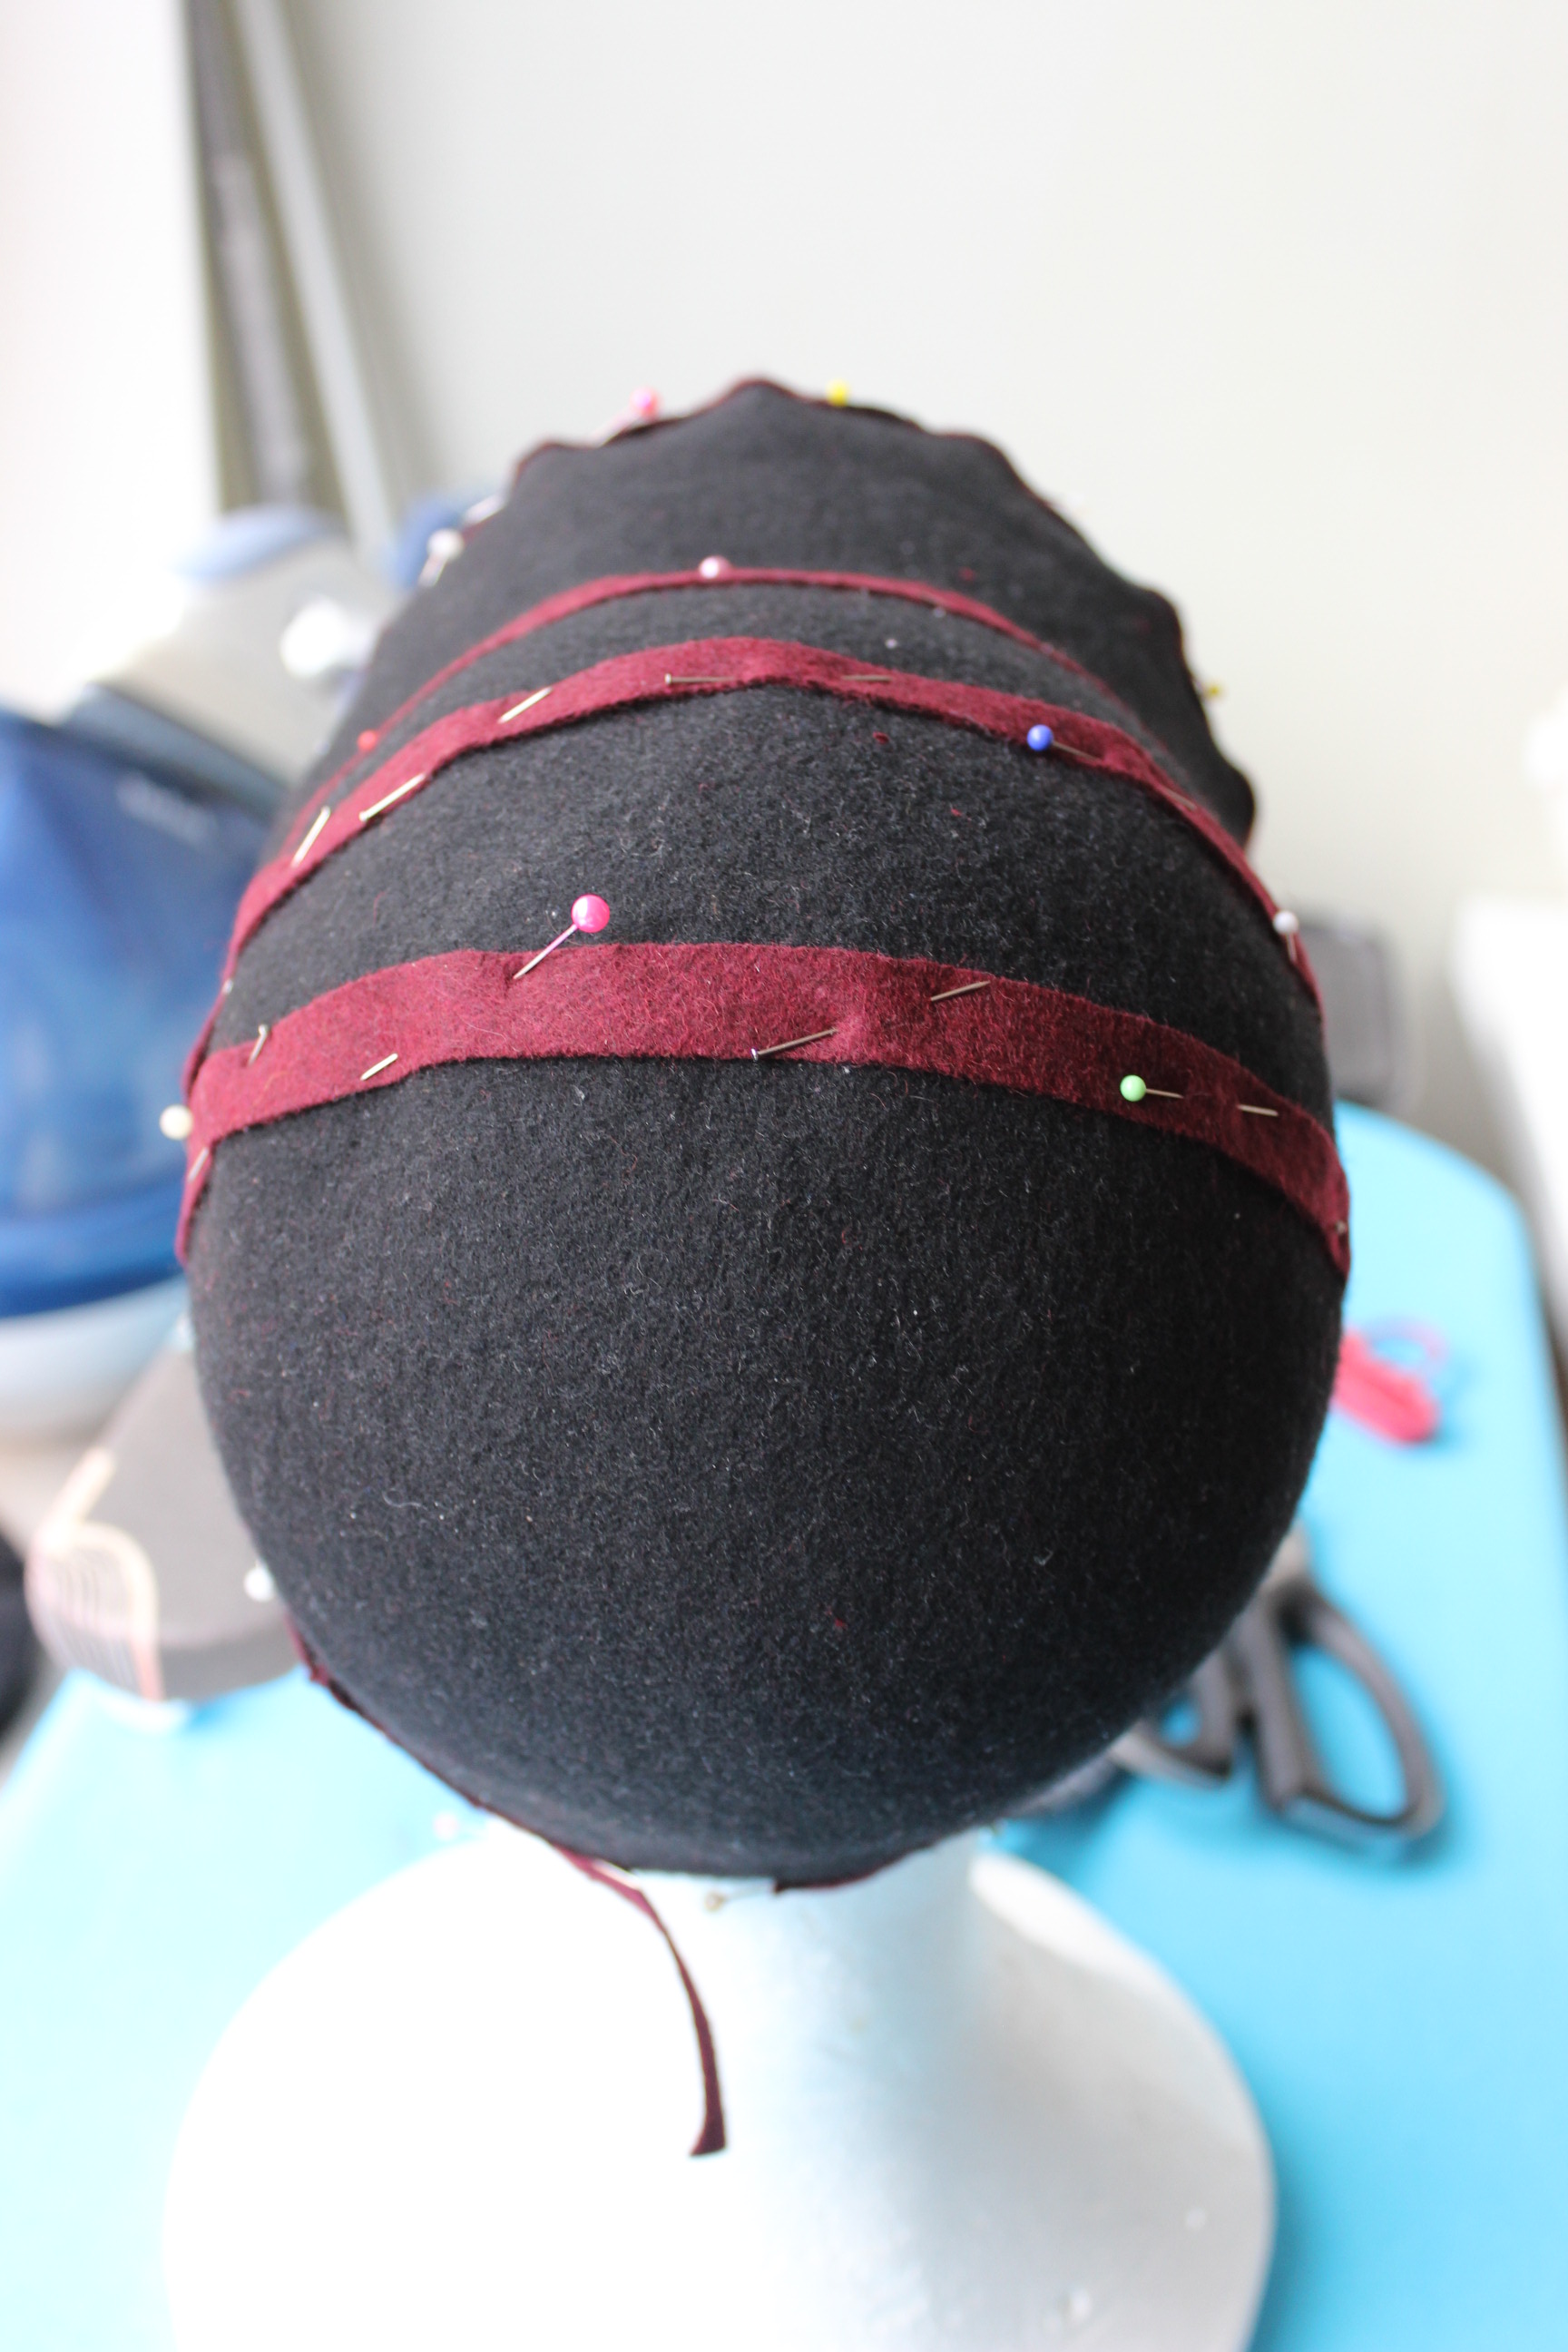
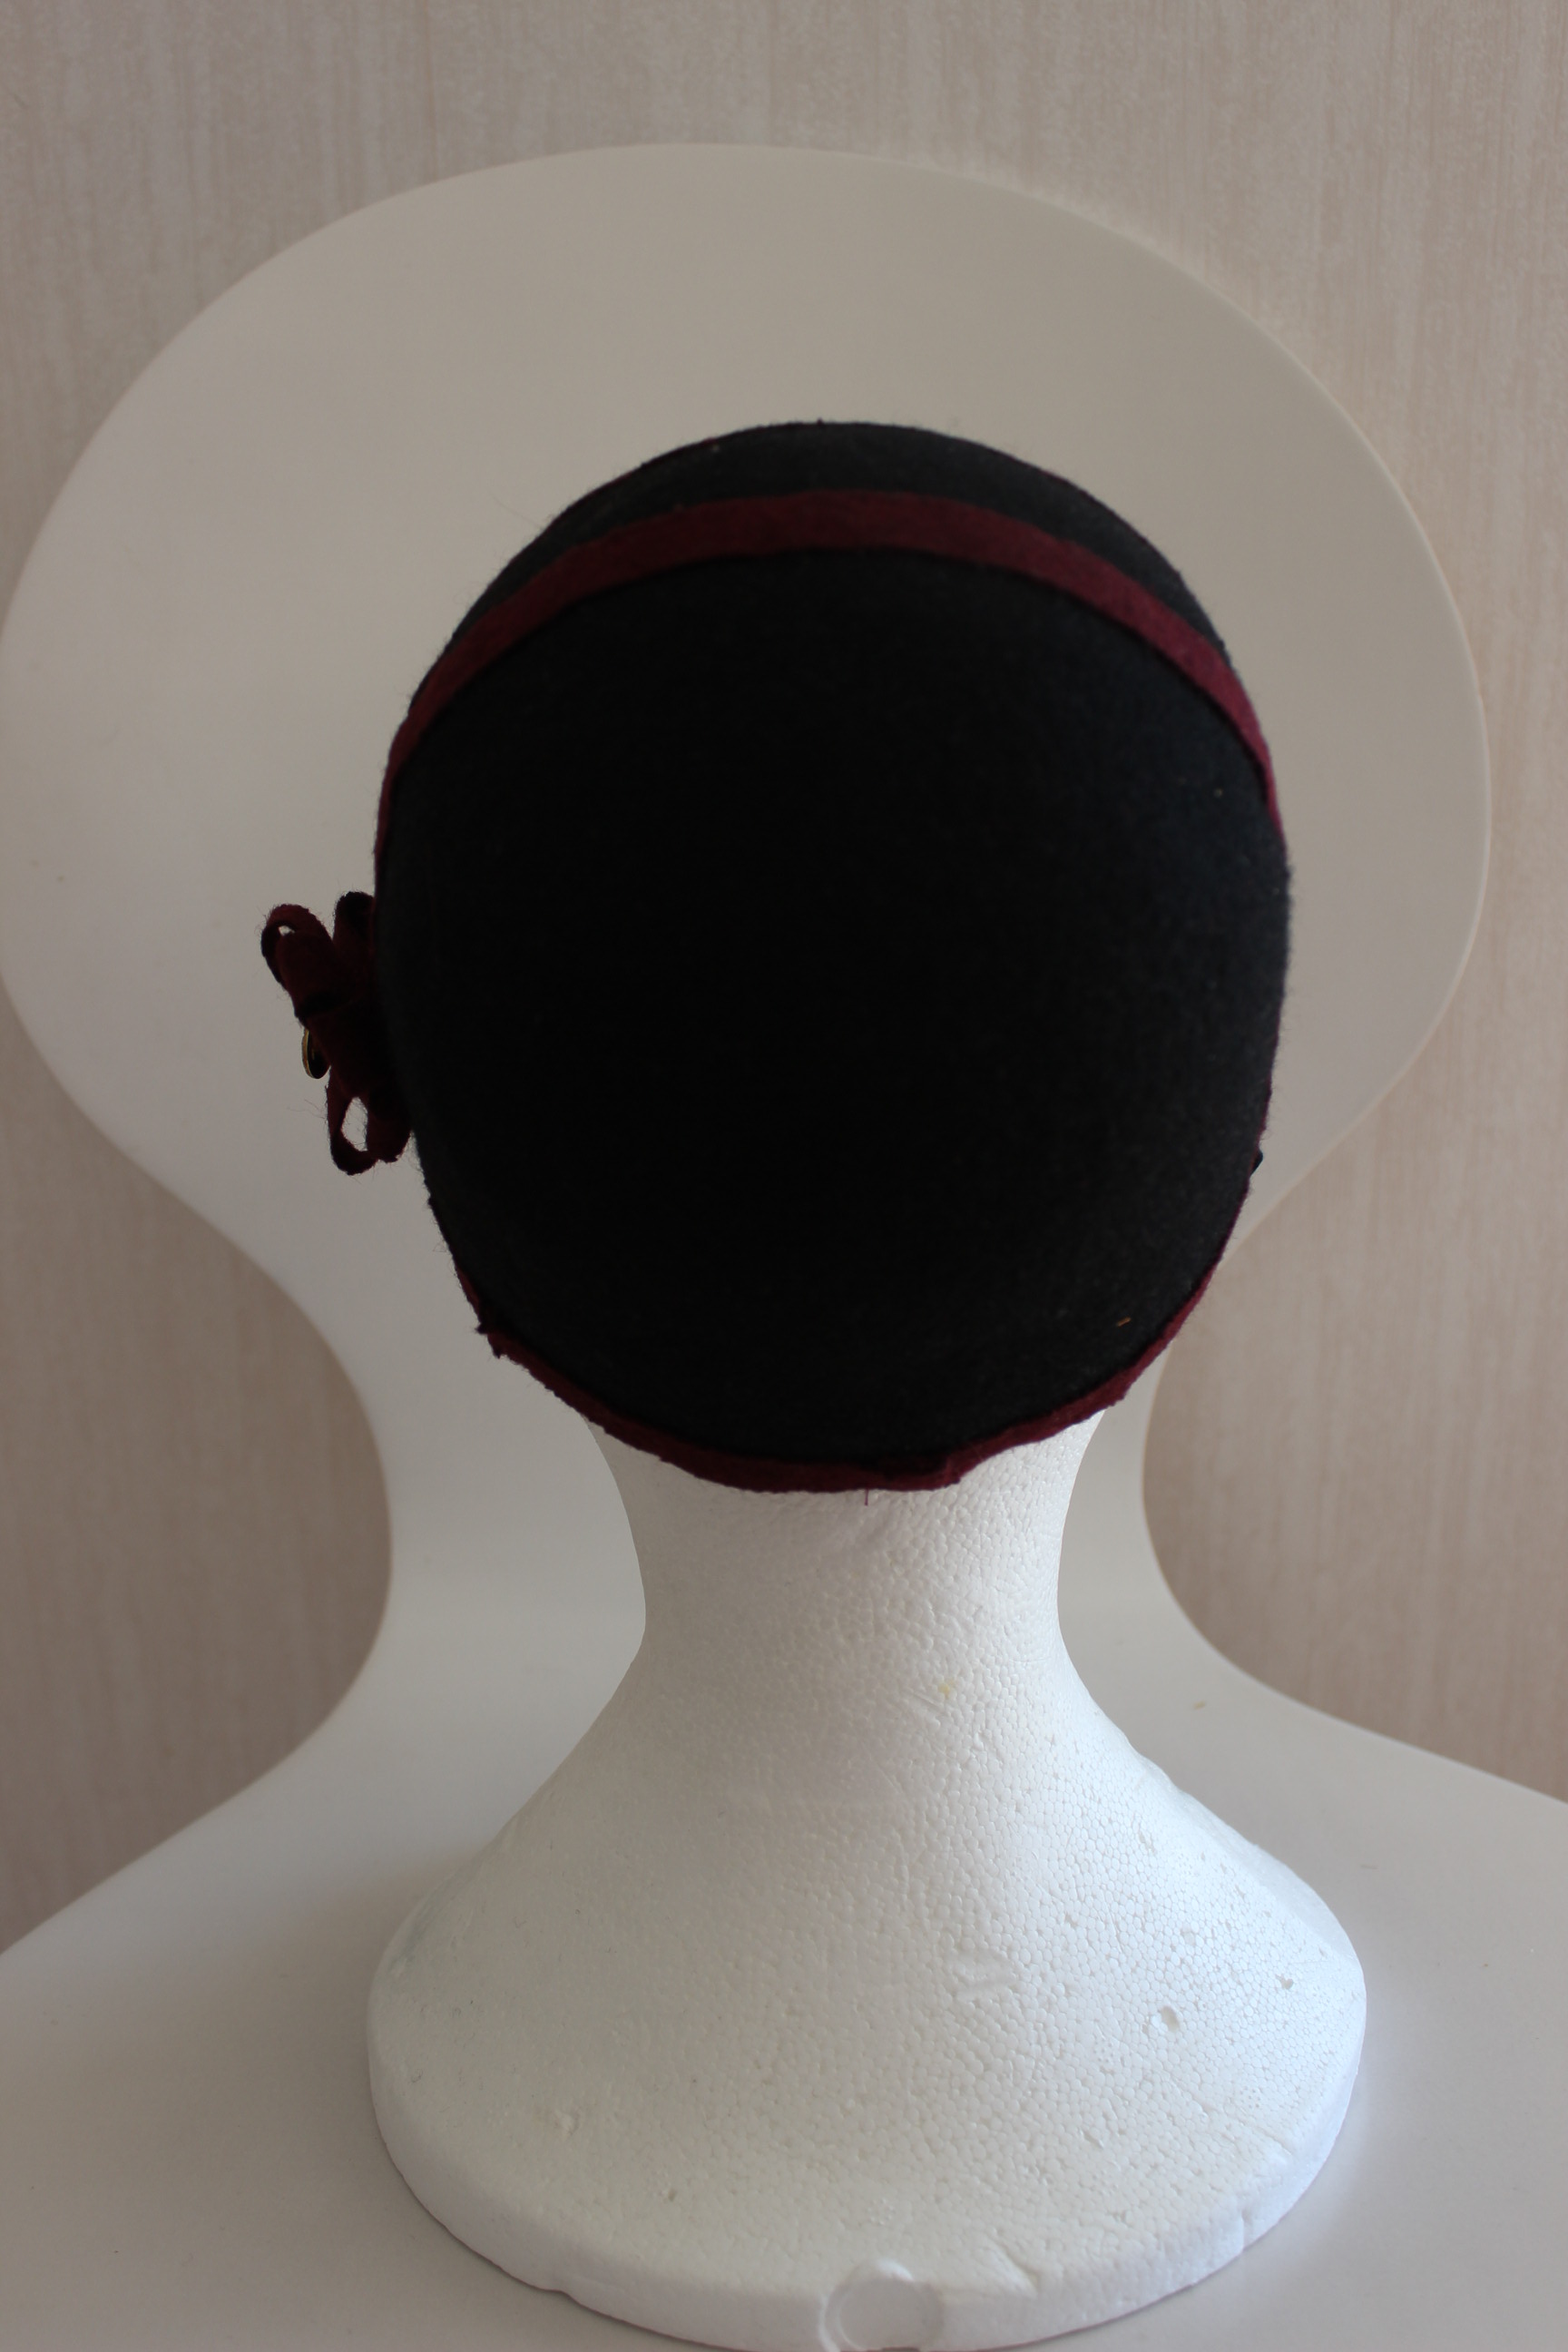
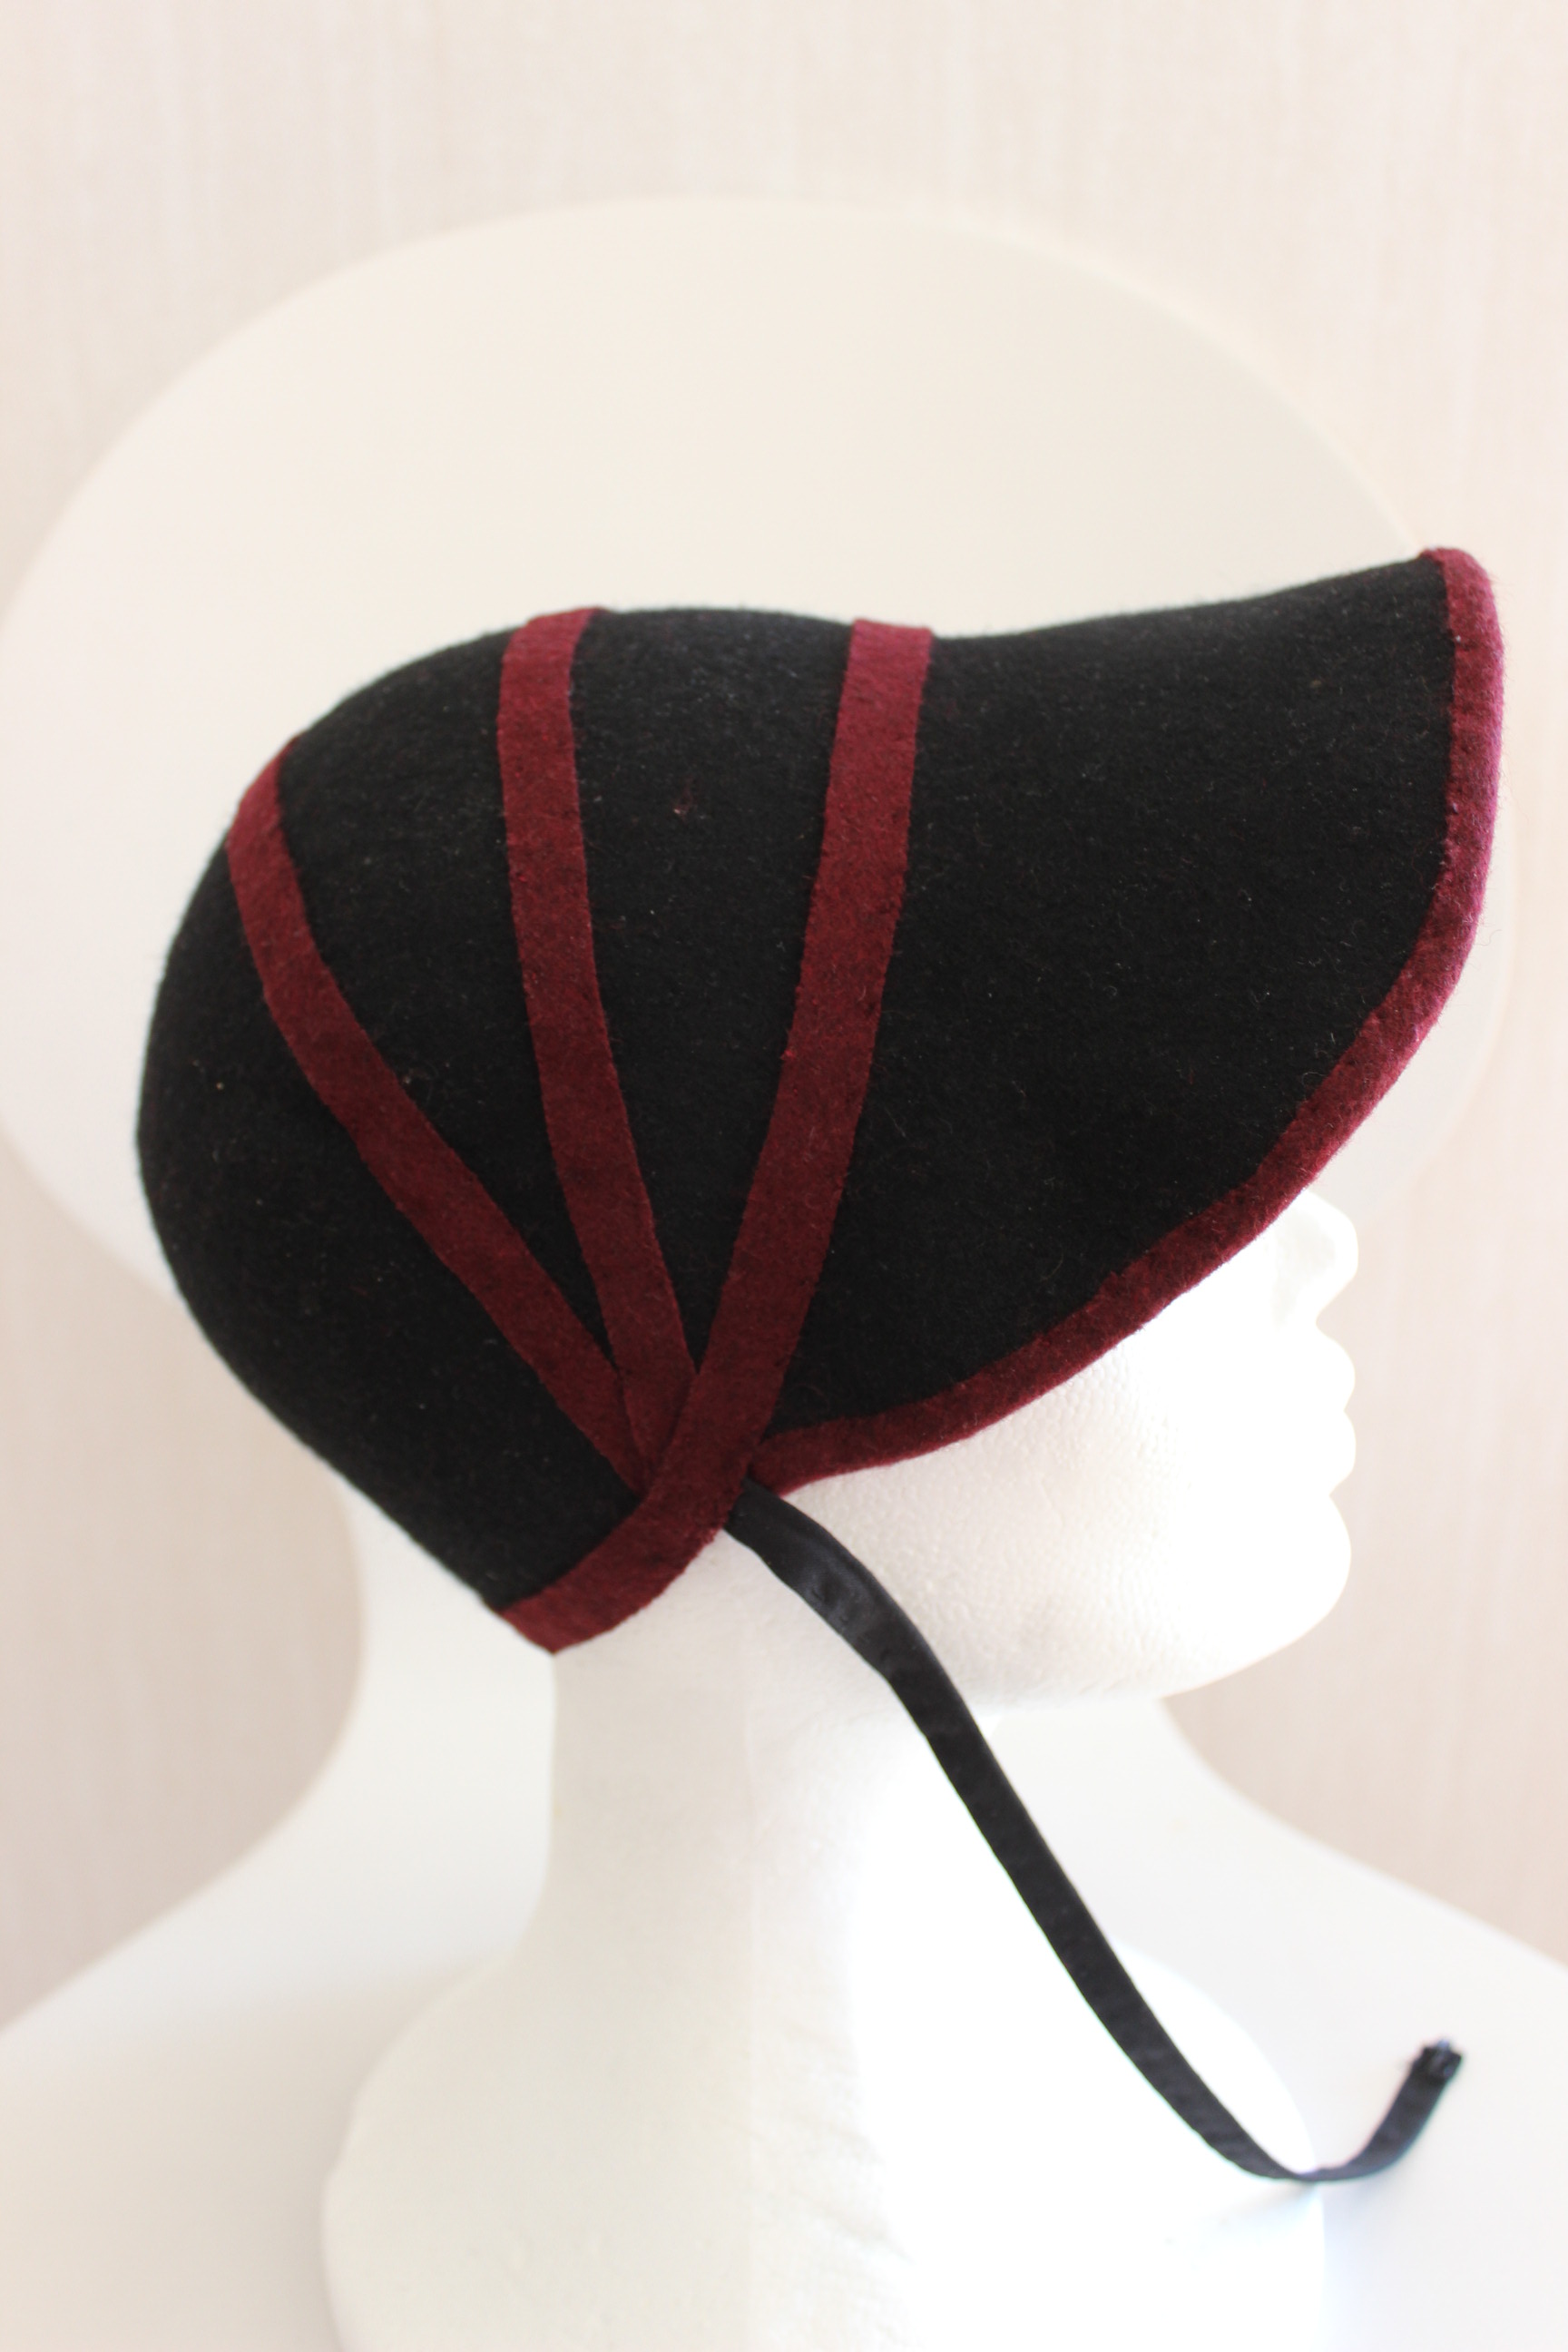
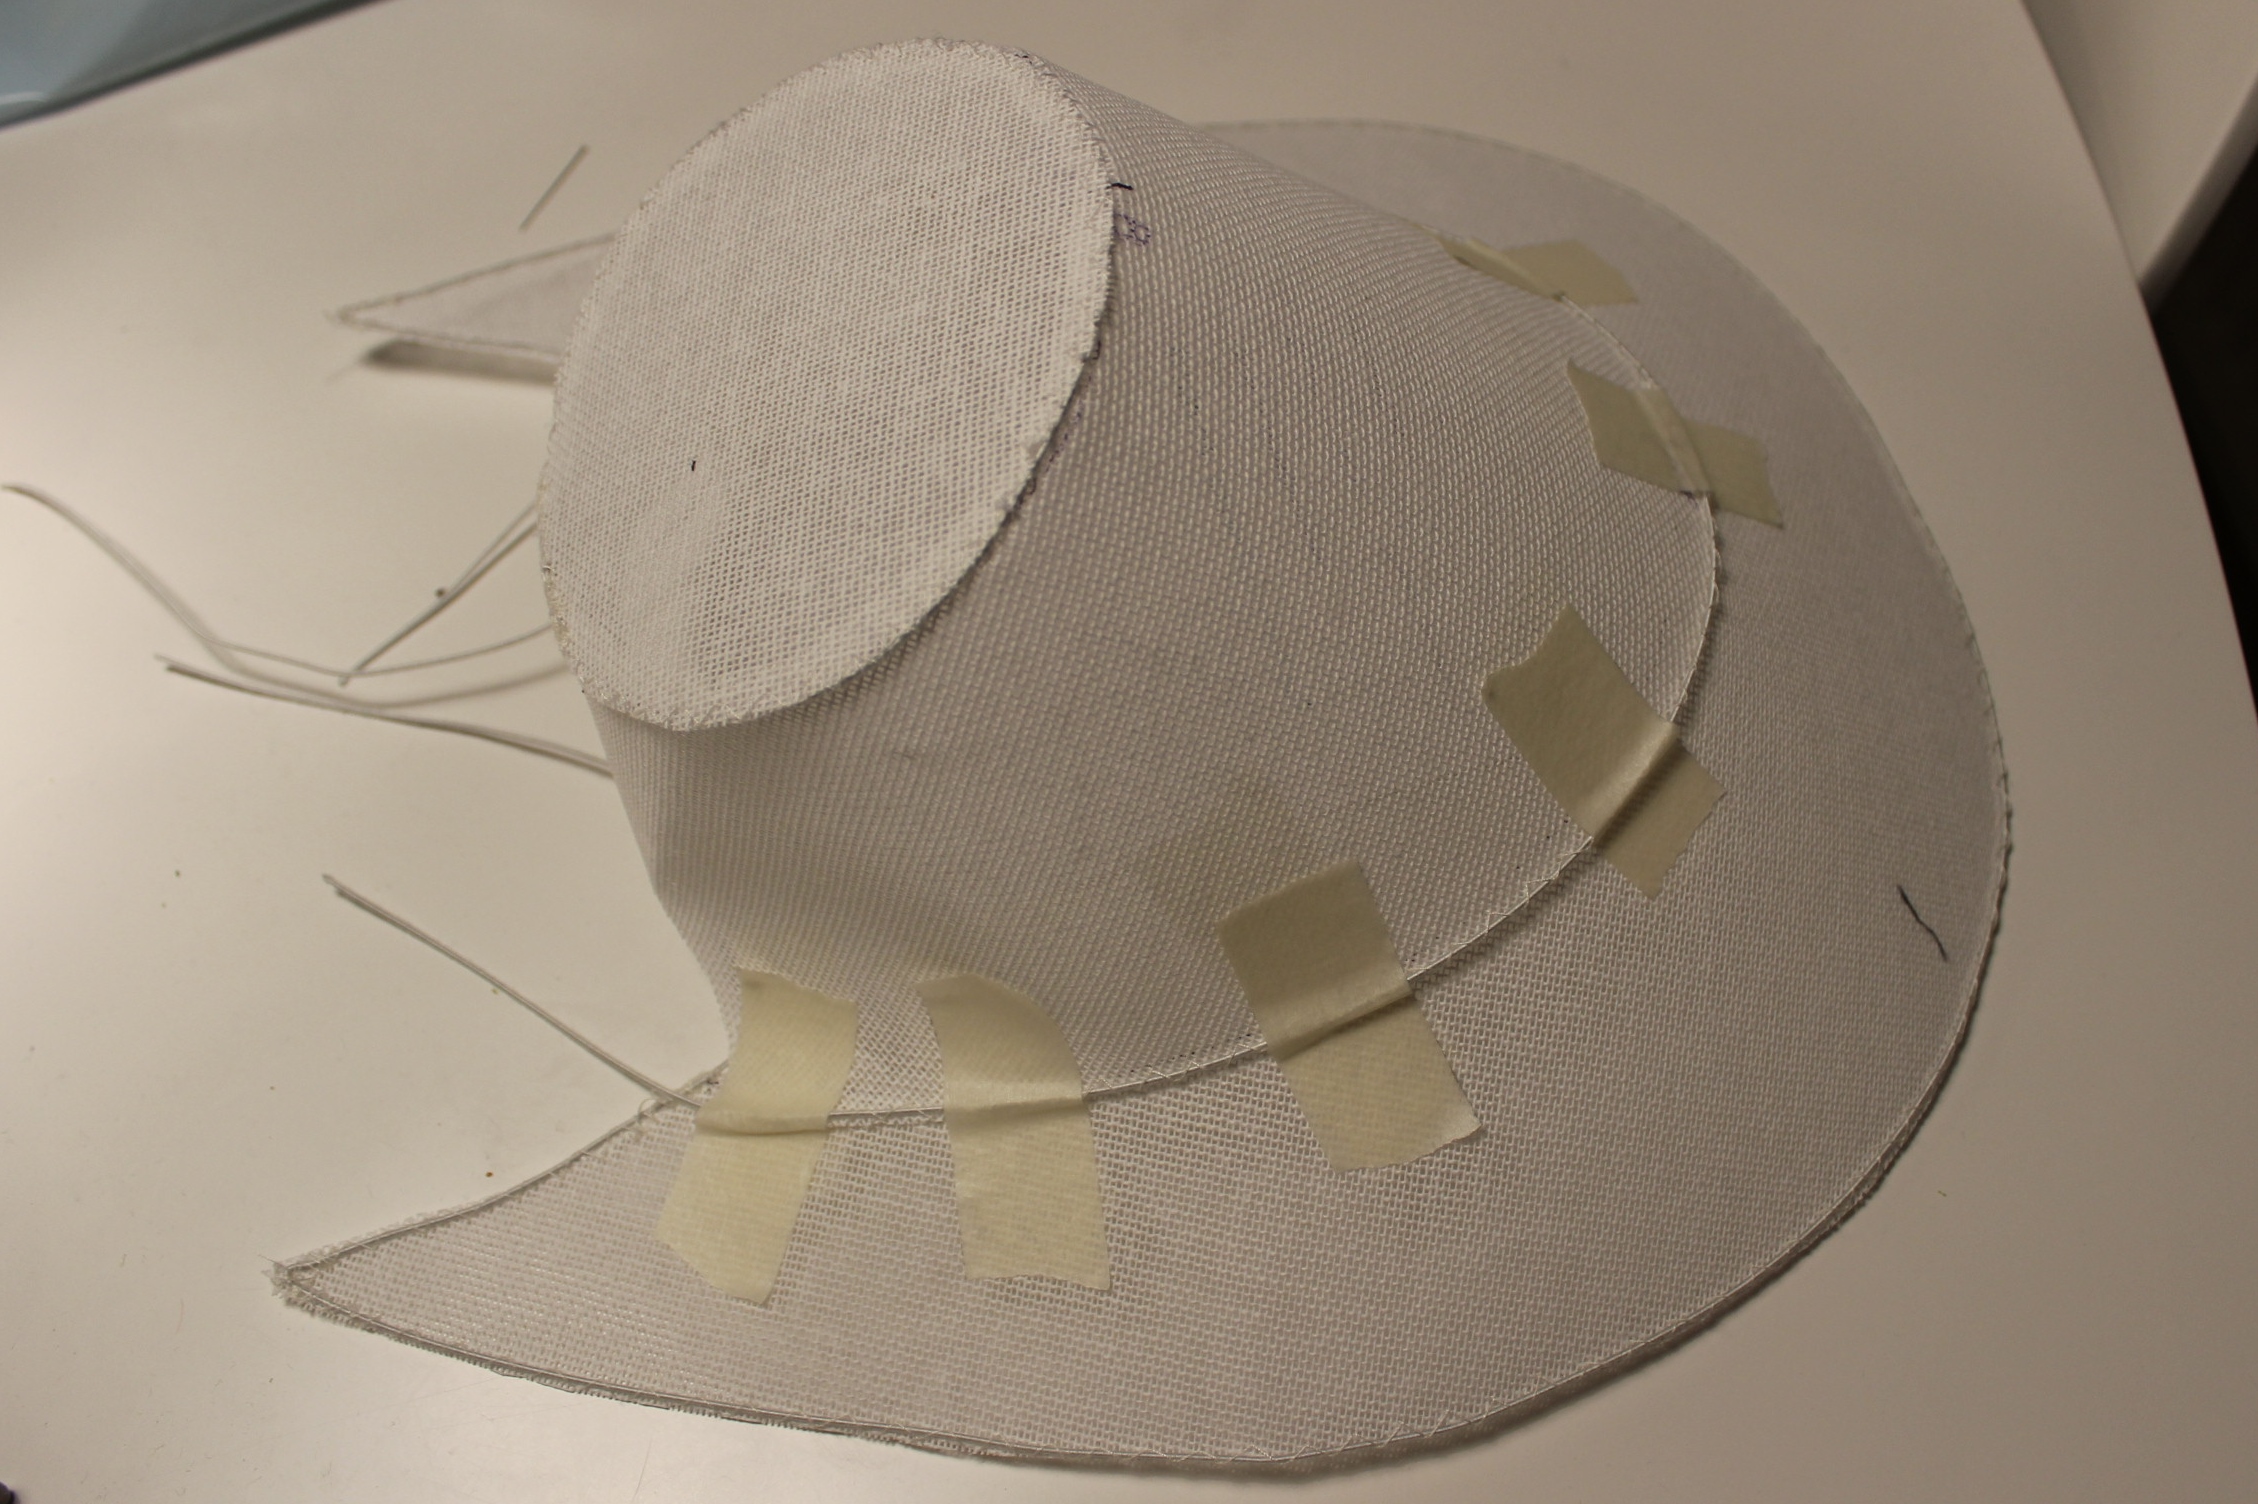
Lastly I added some bias cut scraps of the spencers red wool to make the bonnet look even more like the inspiration.

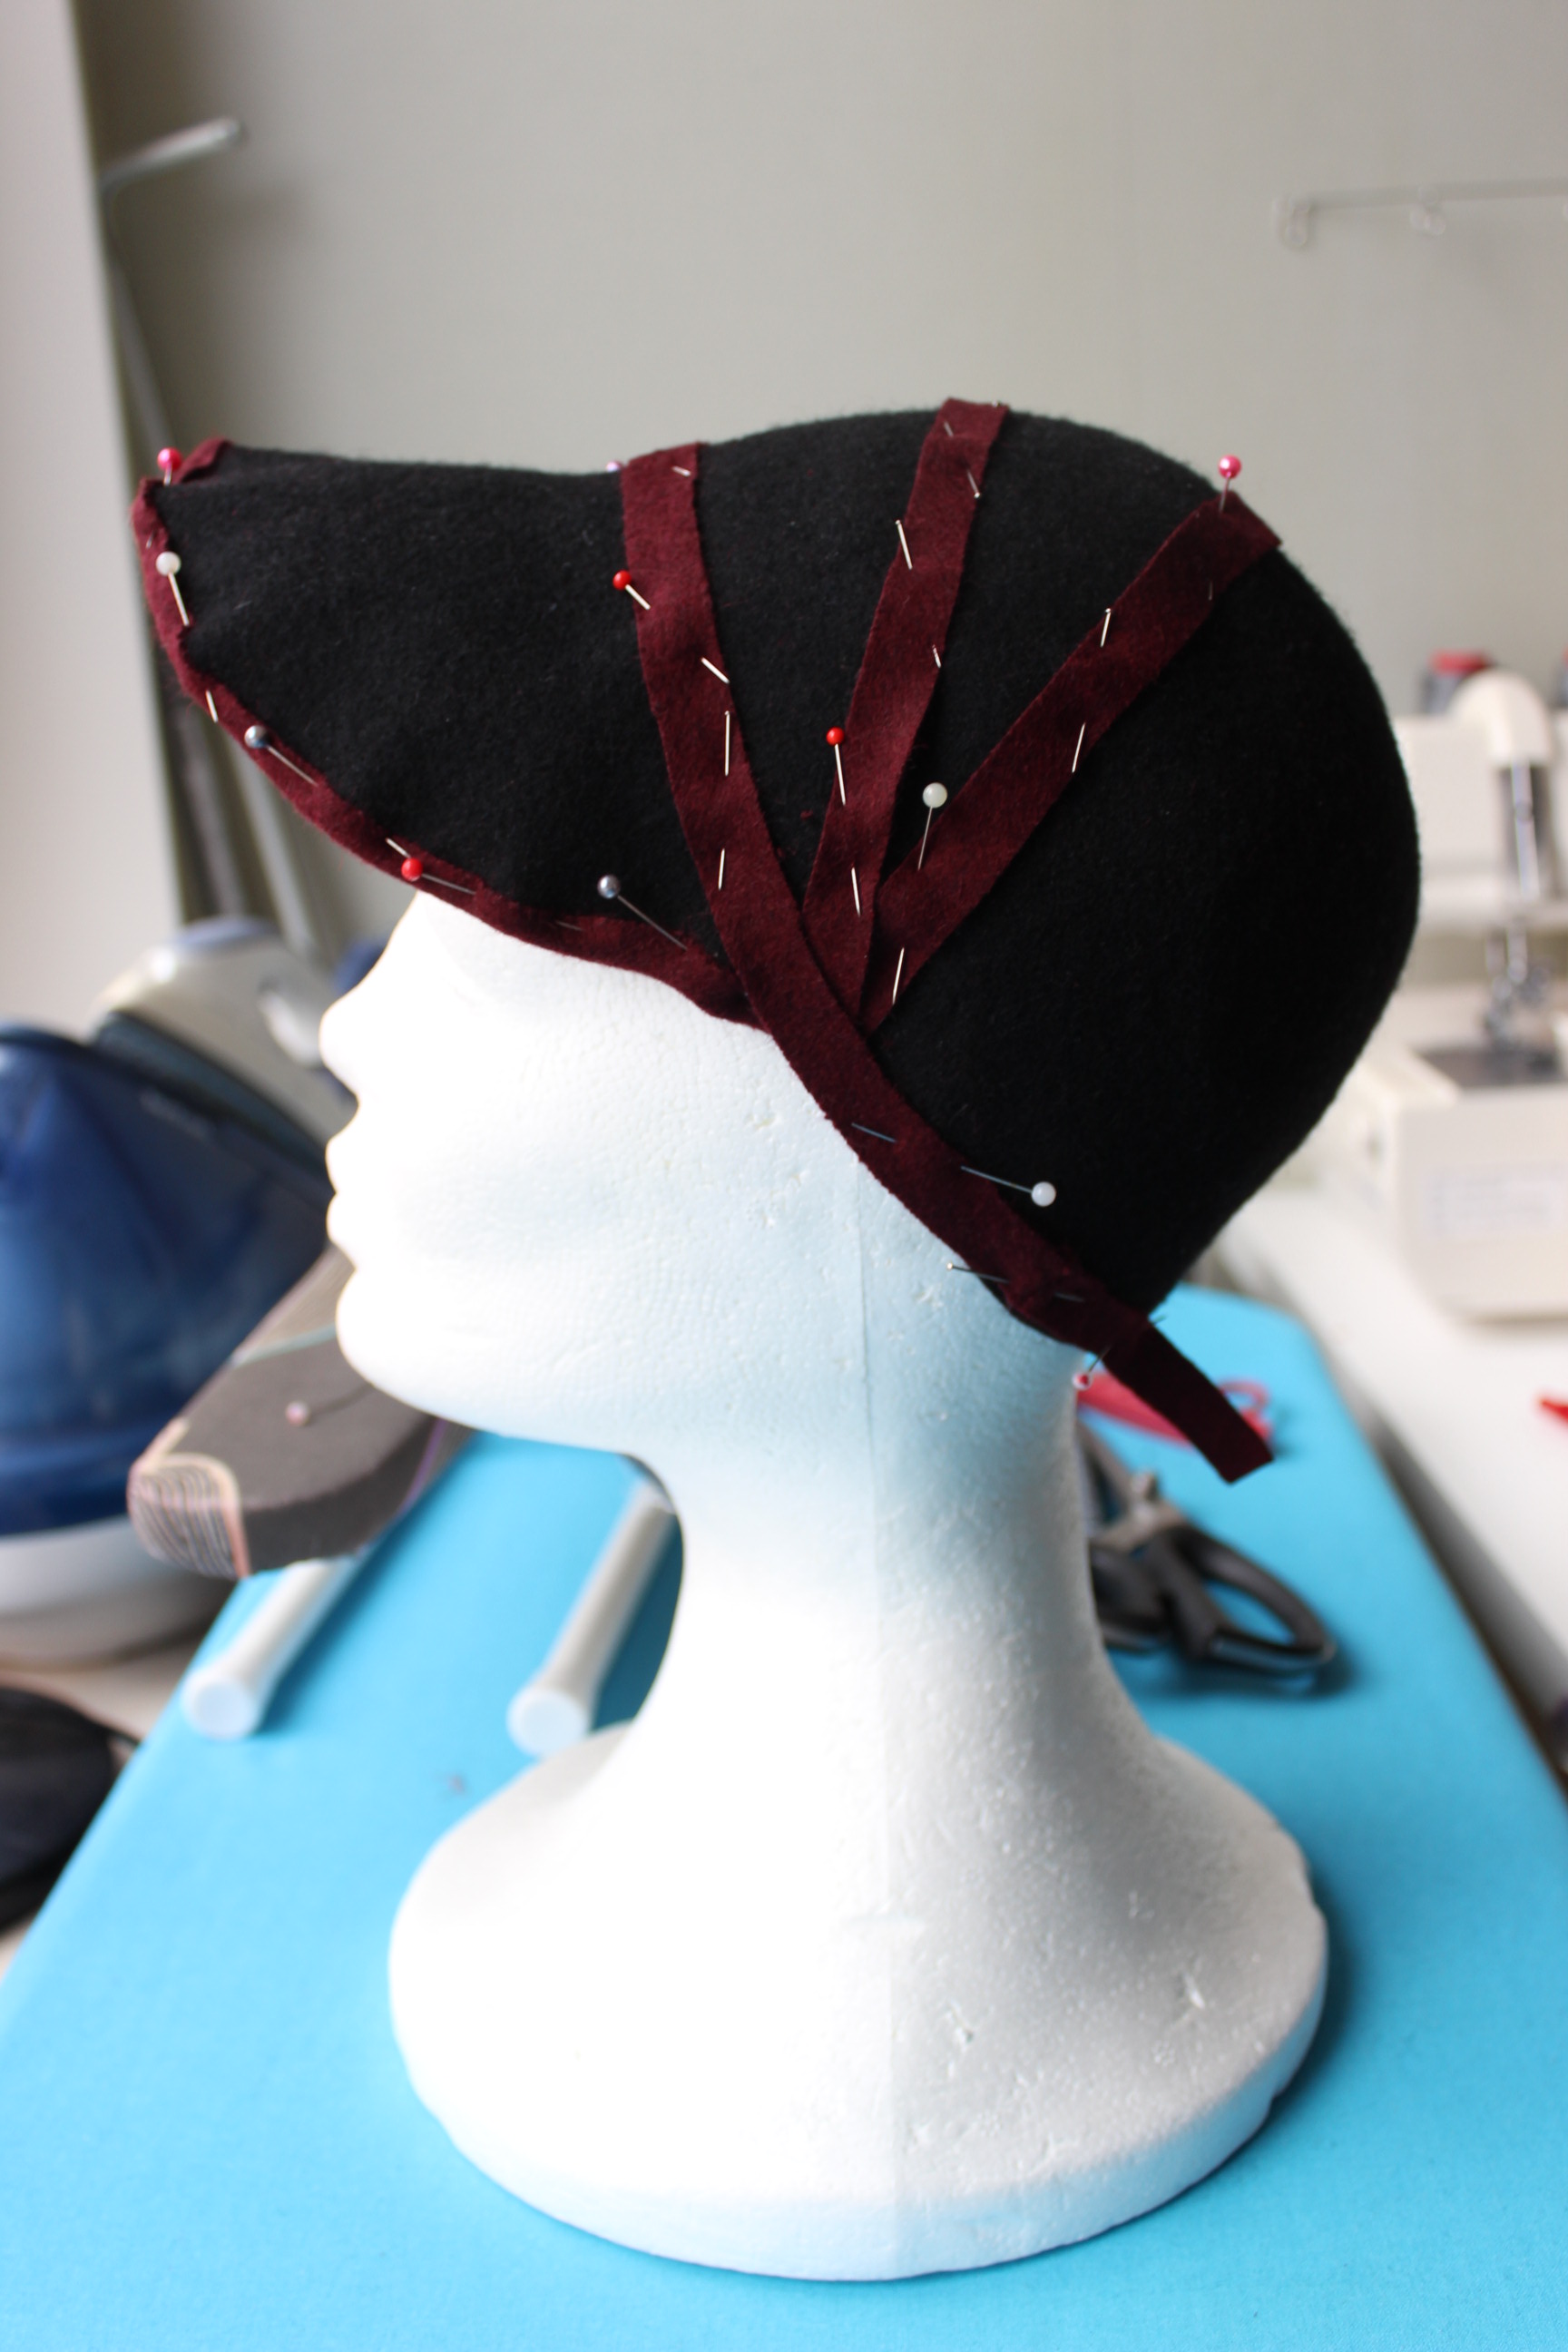
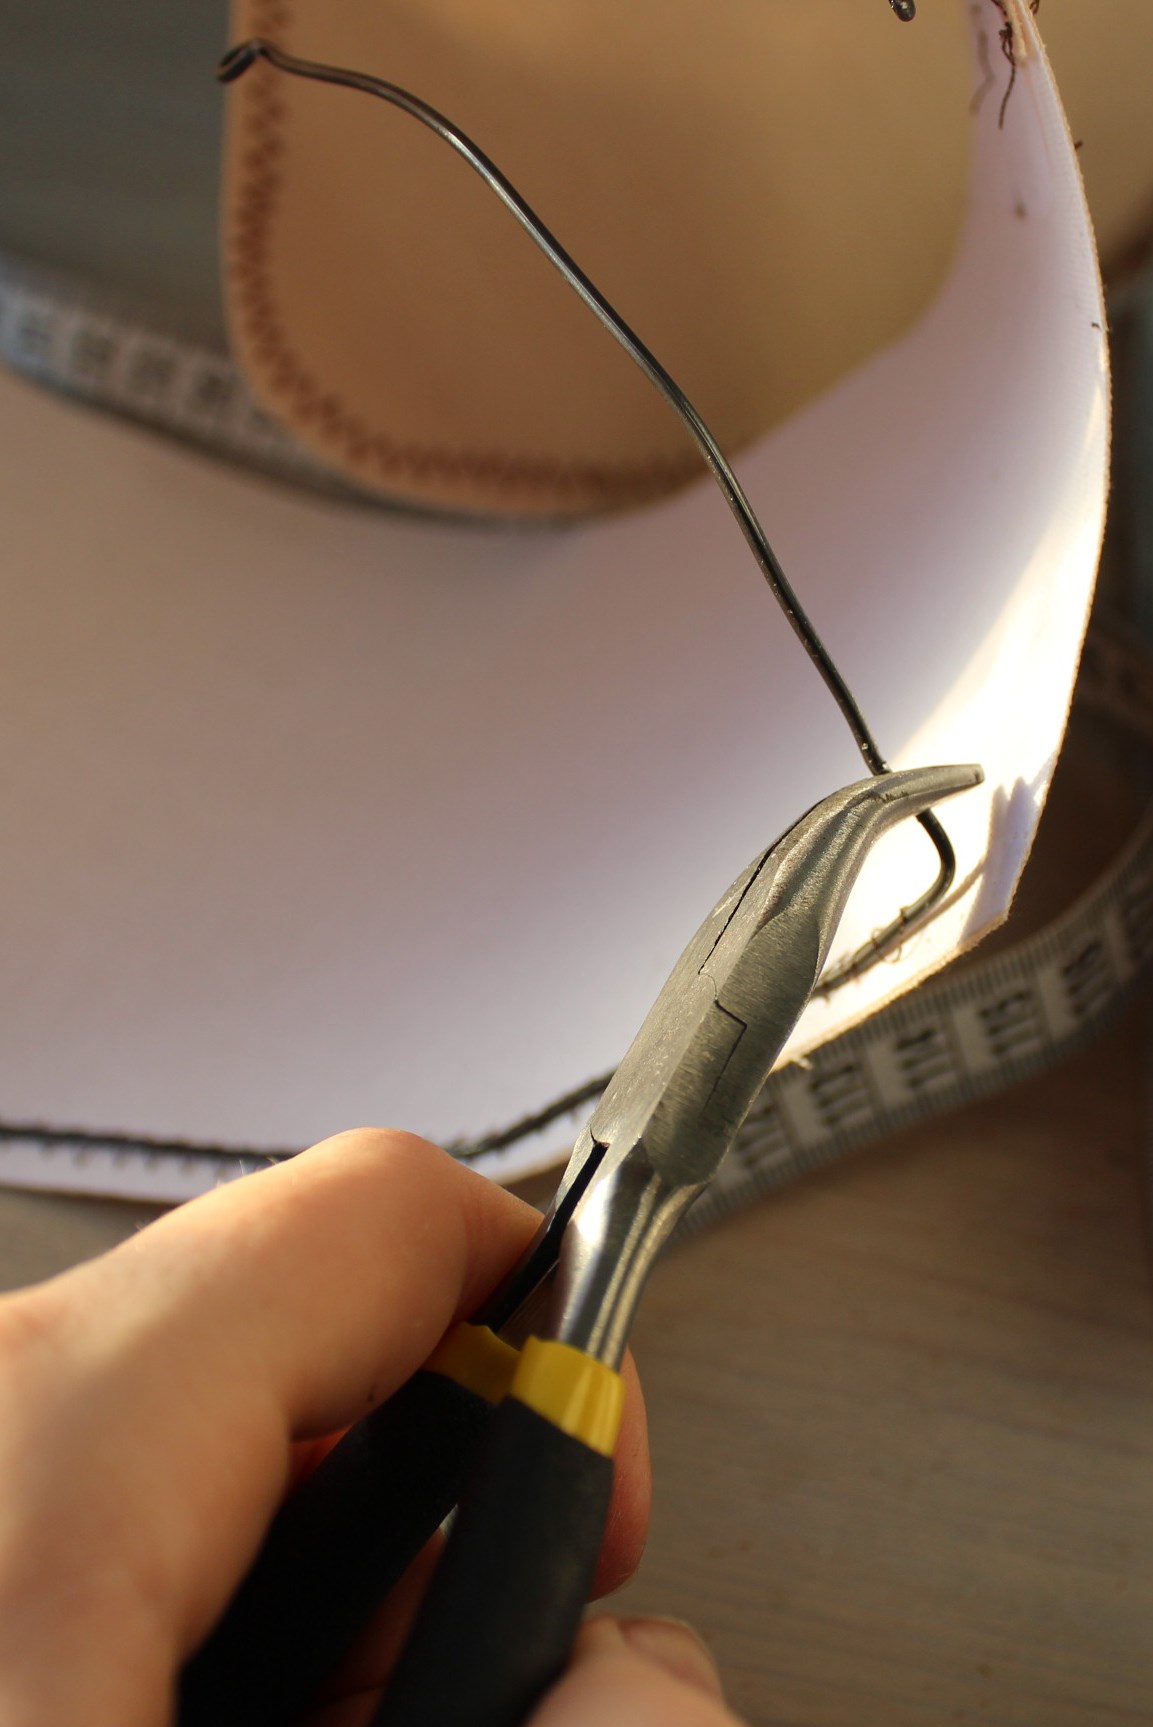
I also remembered (even though it really was in the nick of time) to add some millinery wire to the brim to help it keep its shape. I finished the hole thing of by adding a woolen chokade and a cotton neck tie.

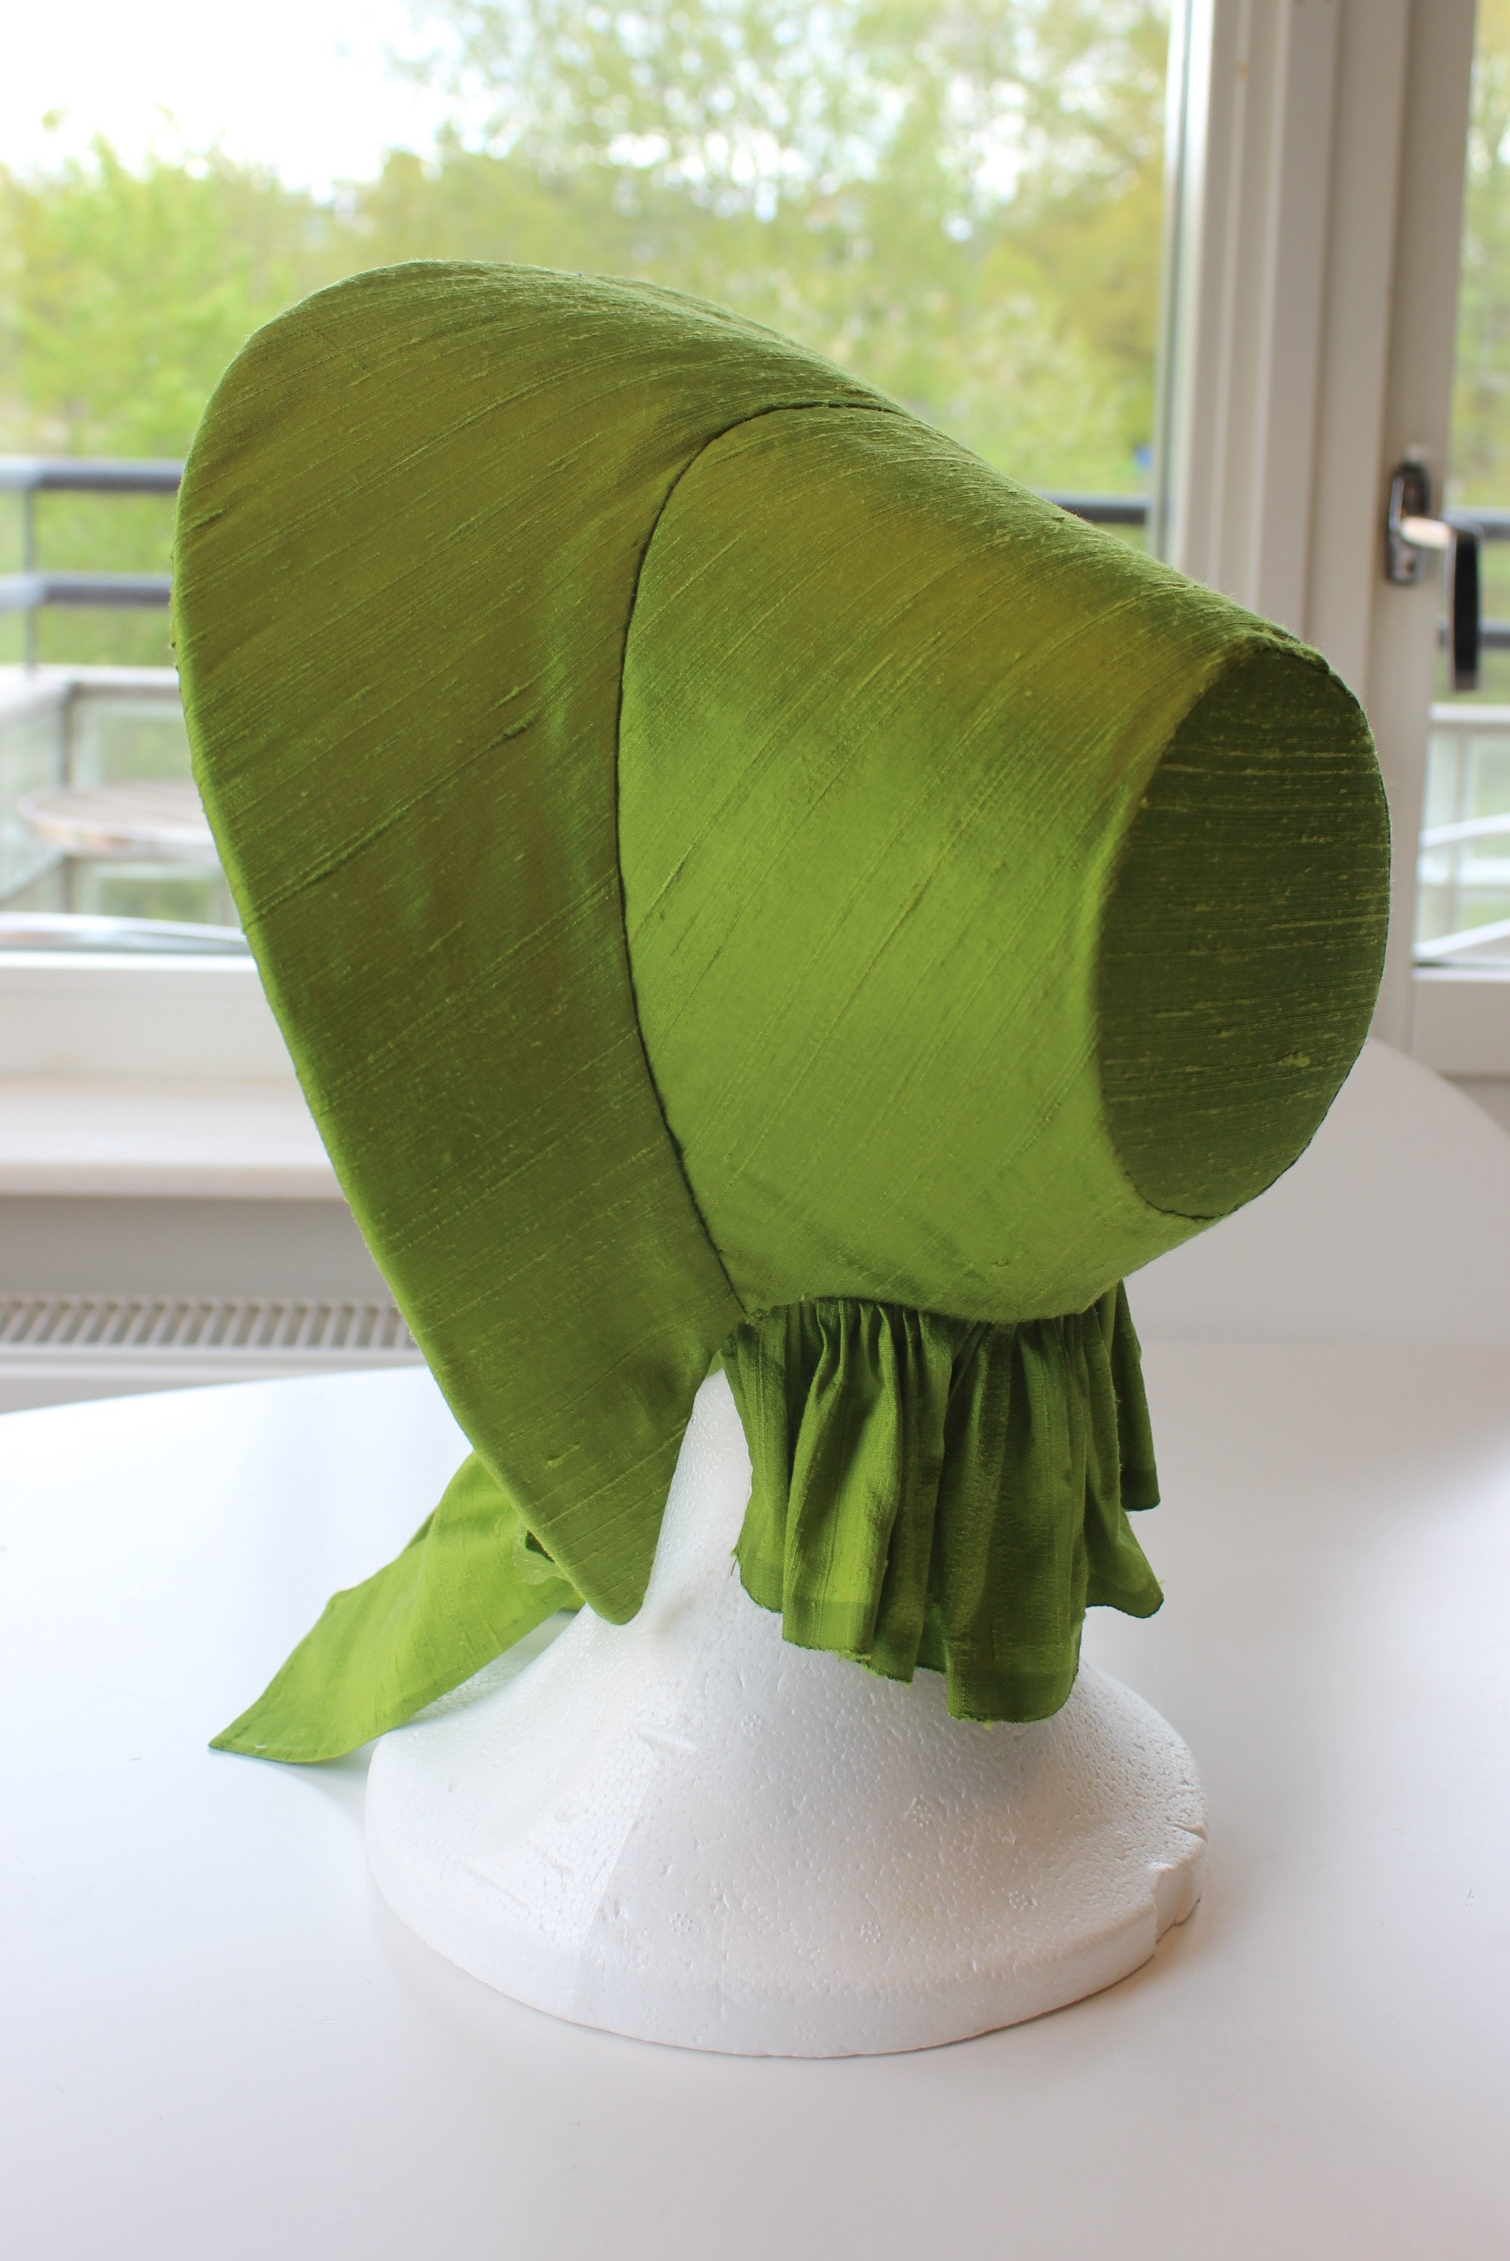
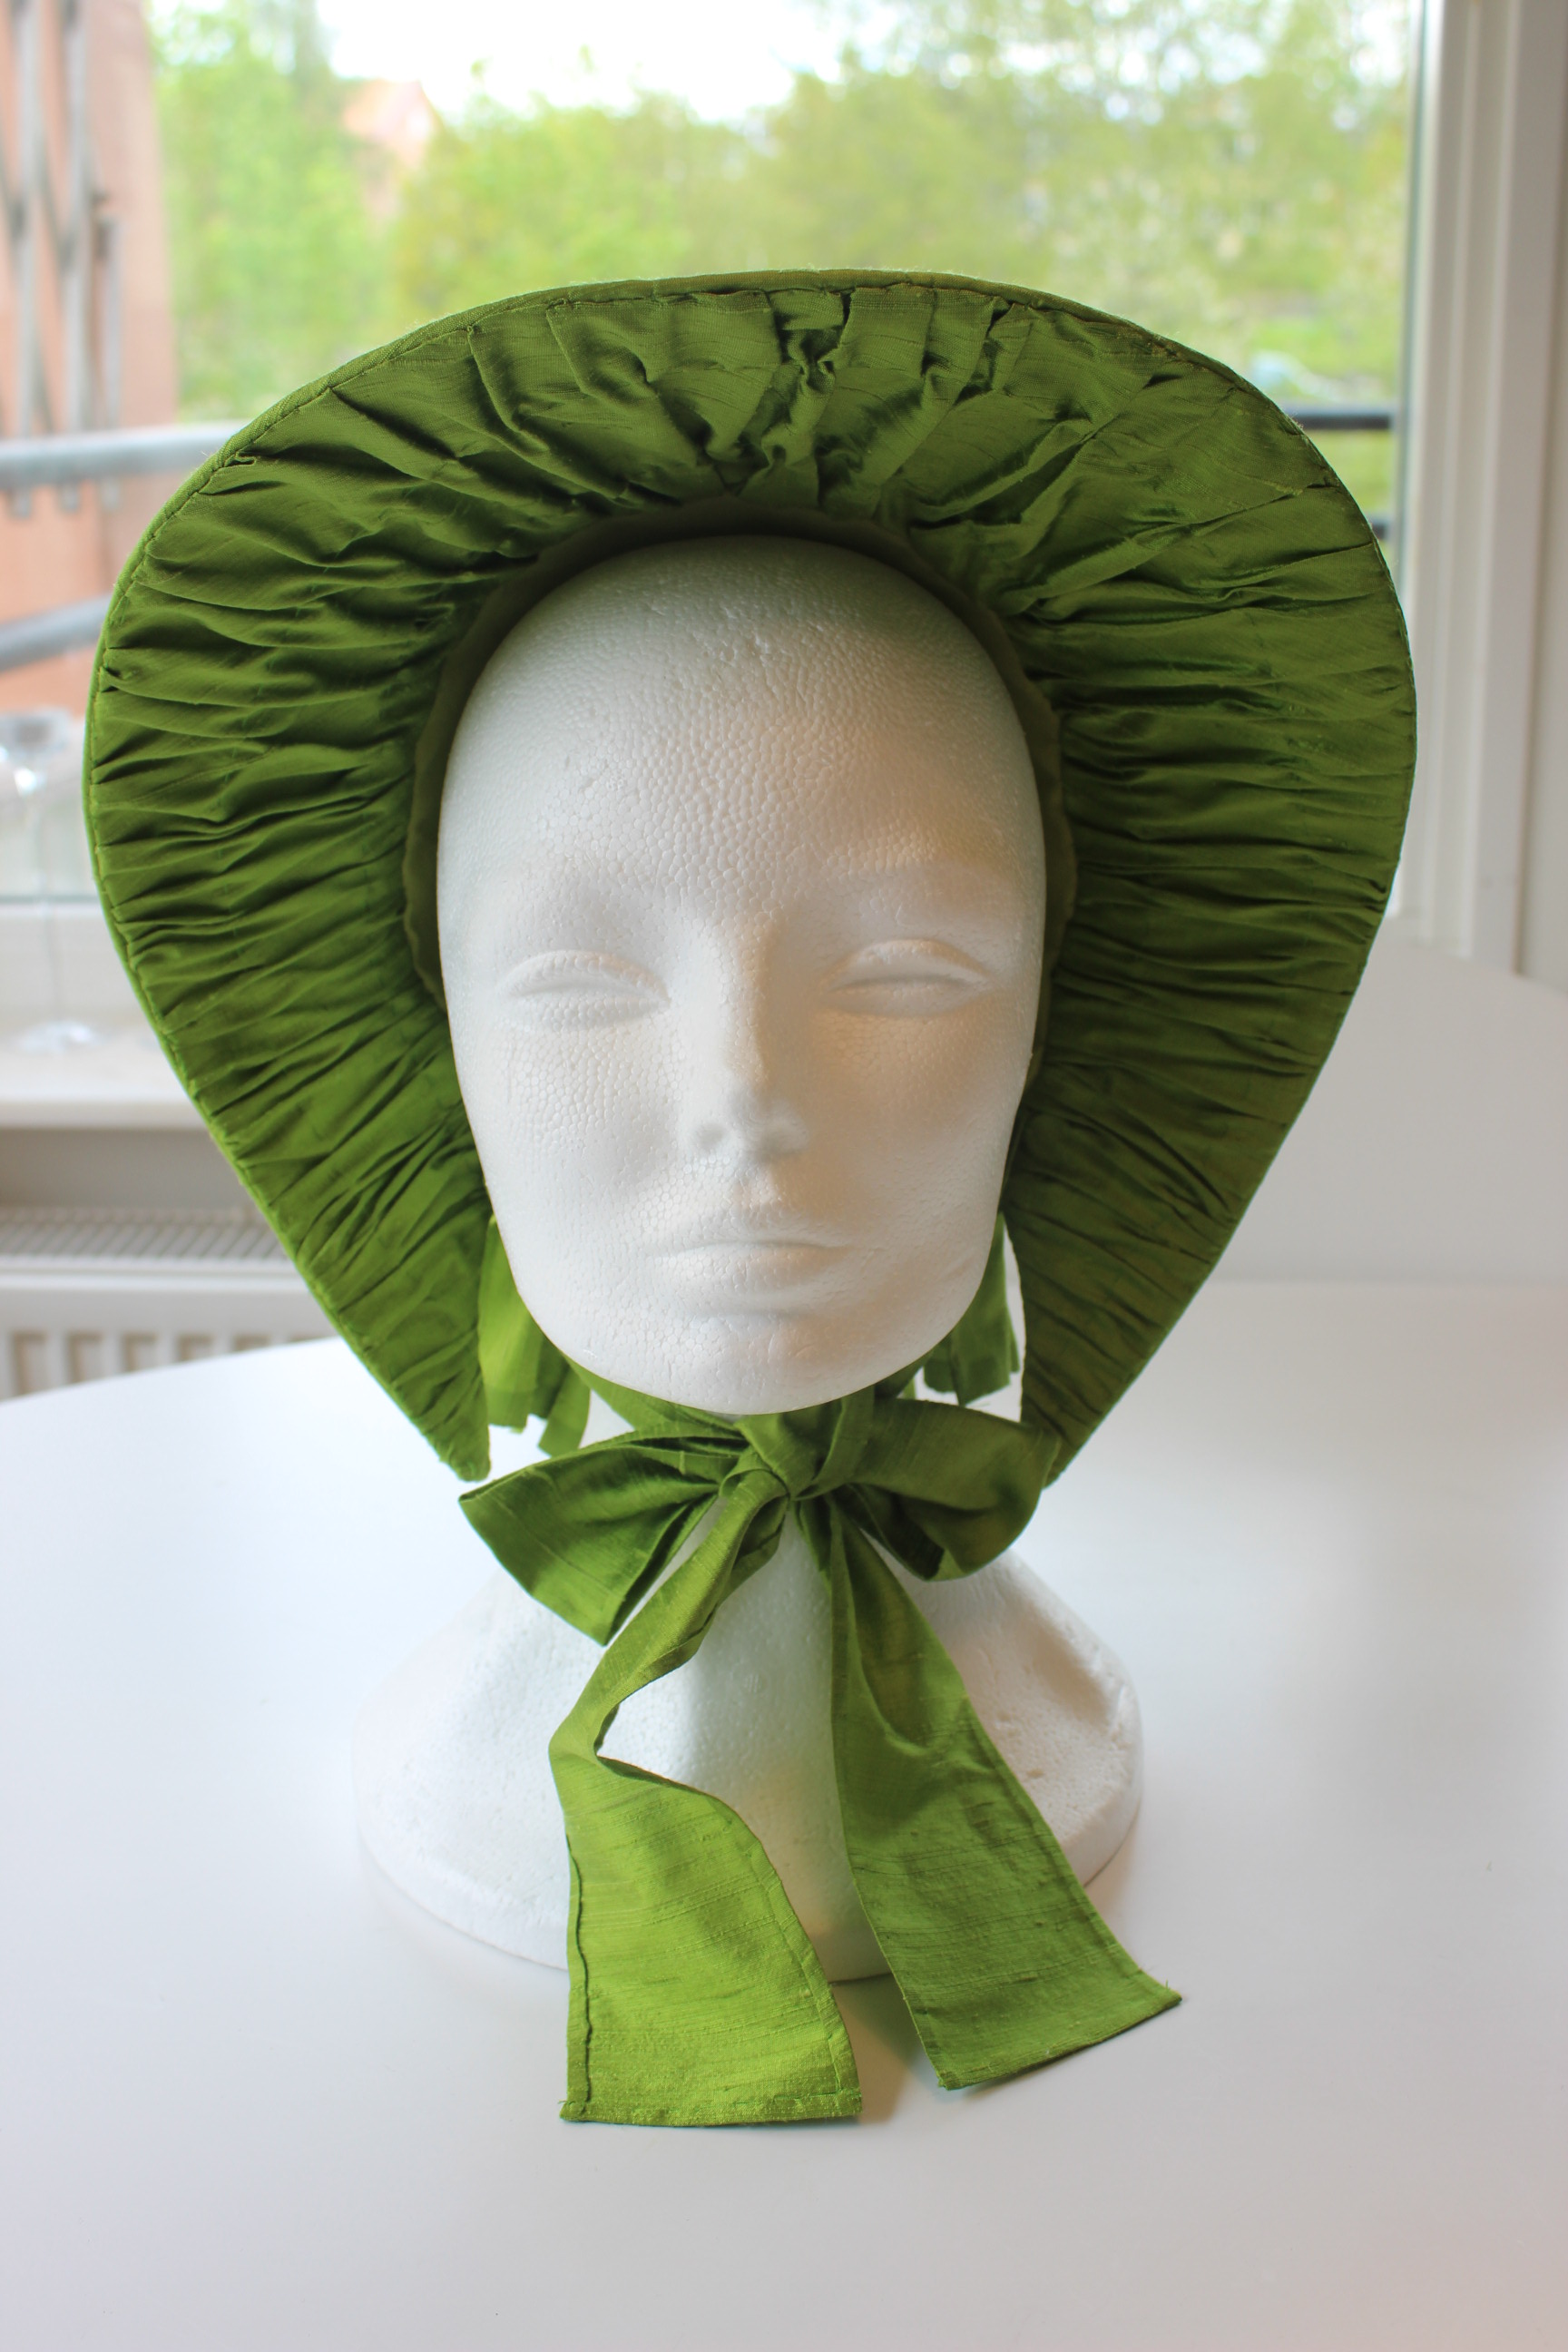
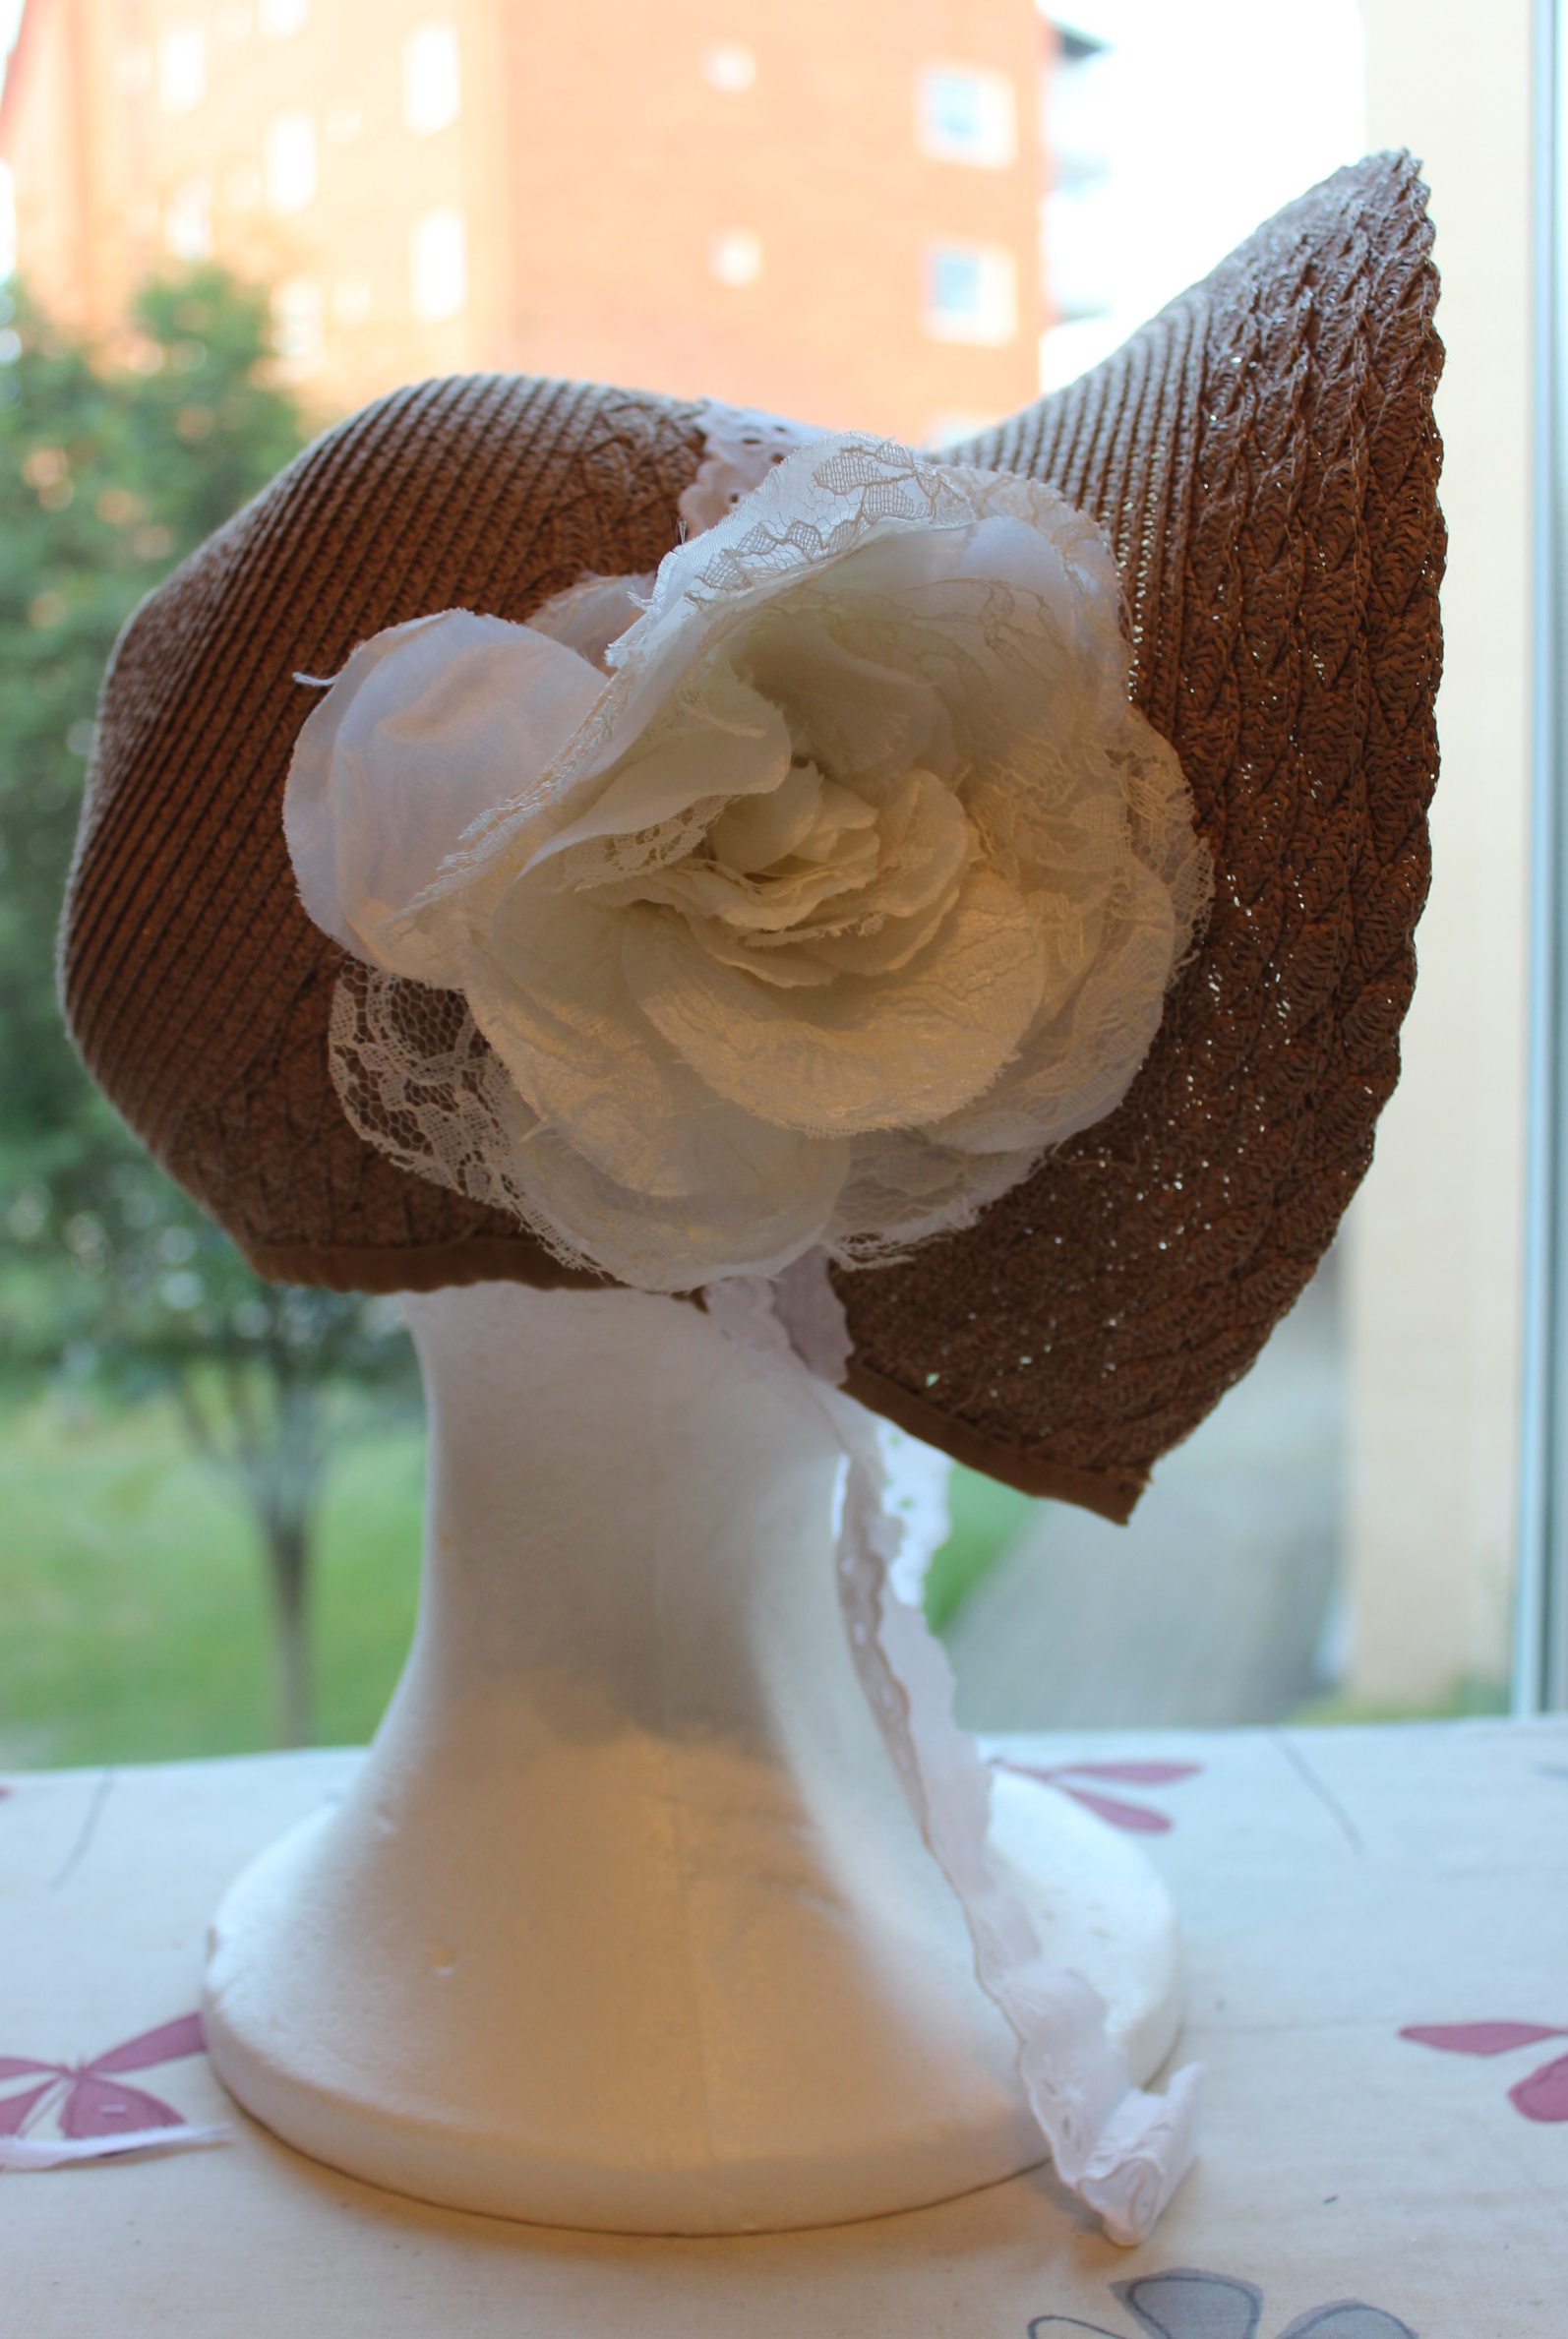
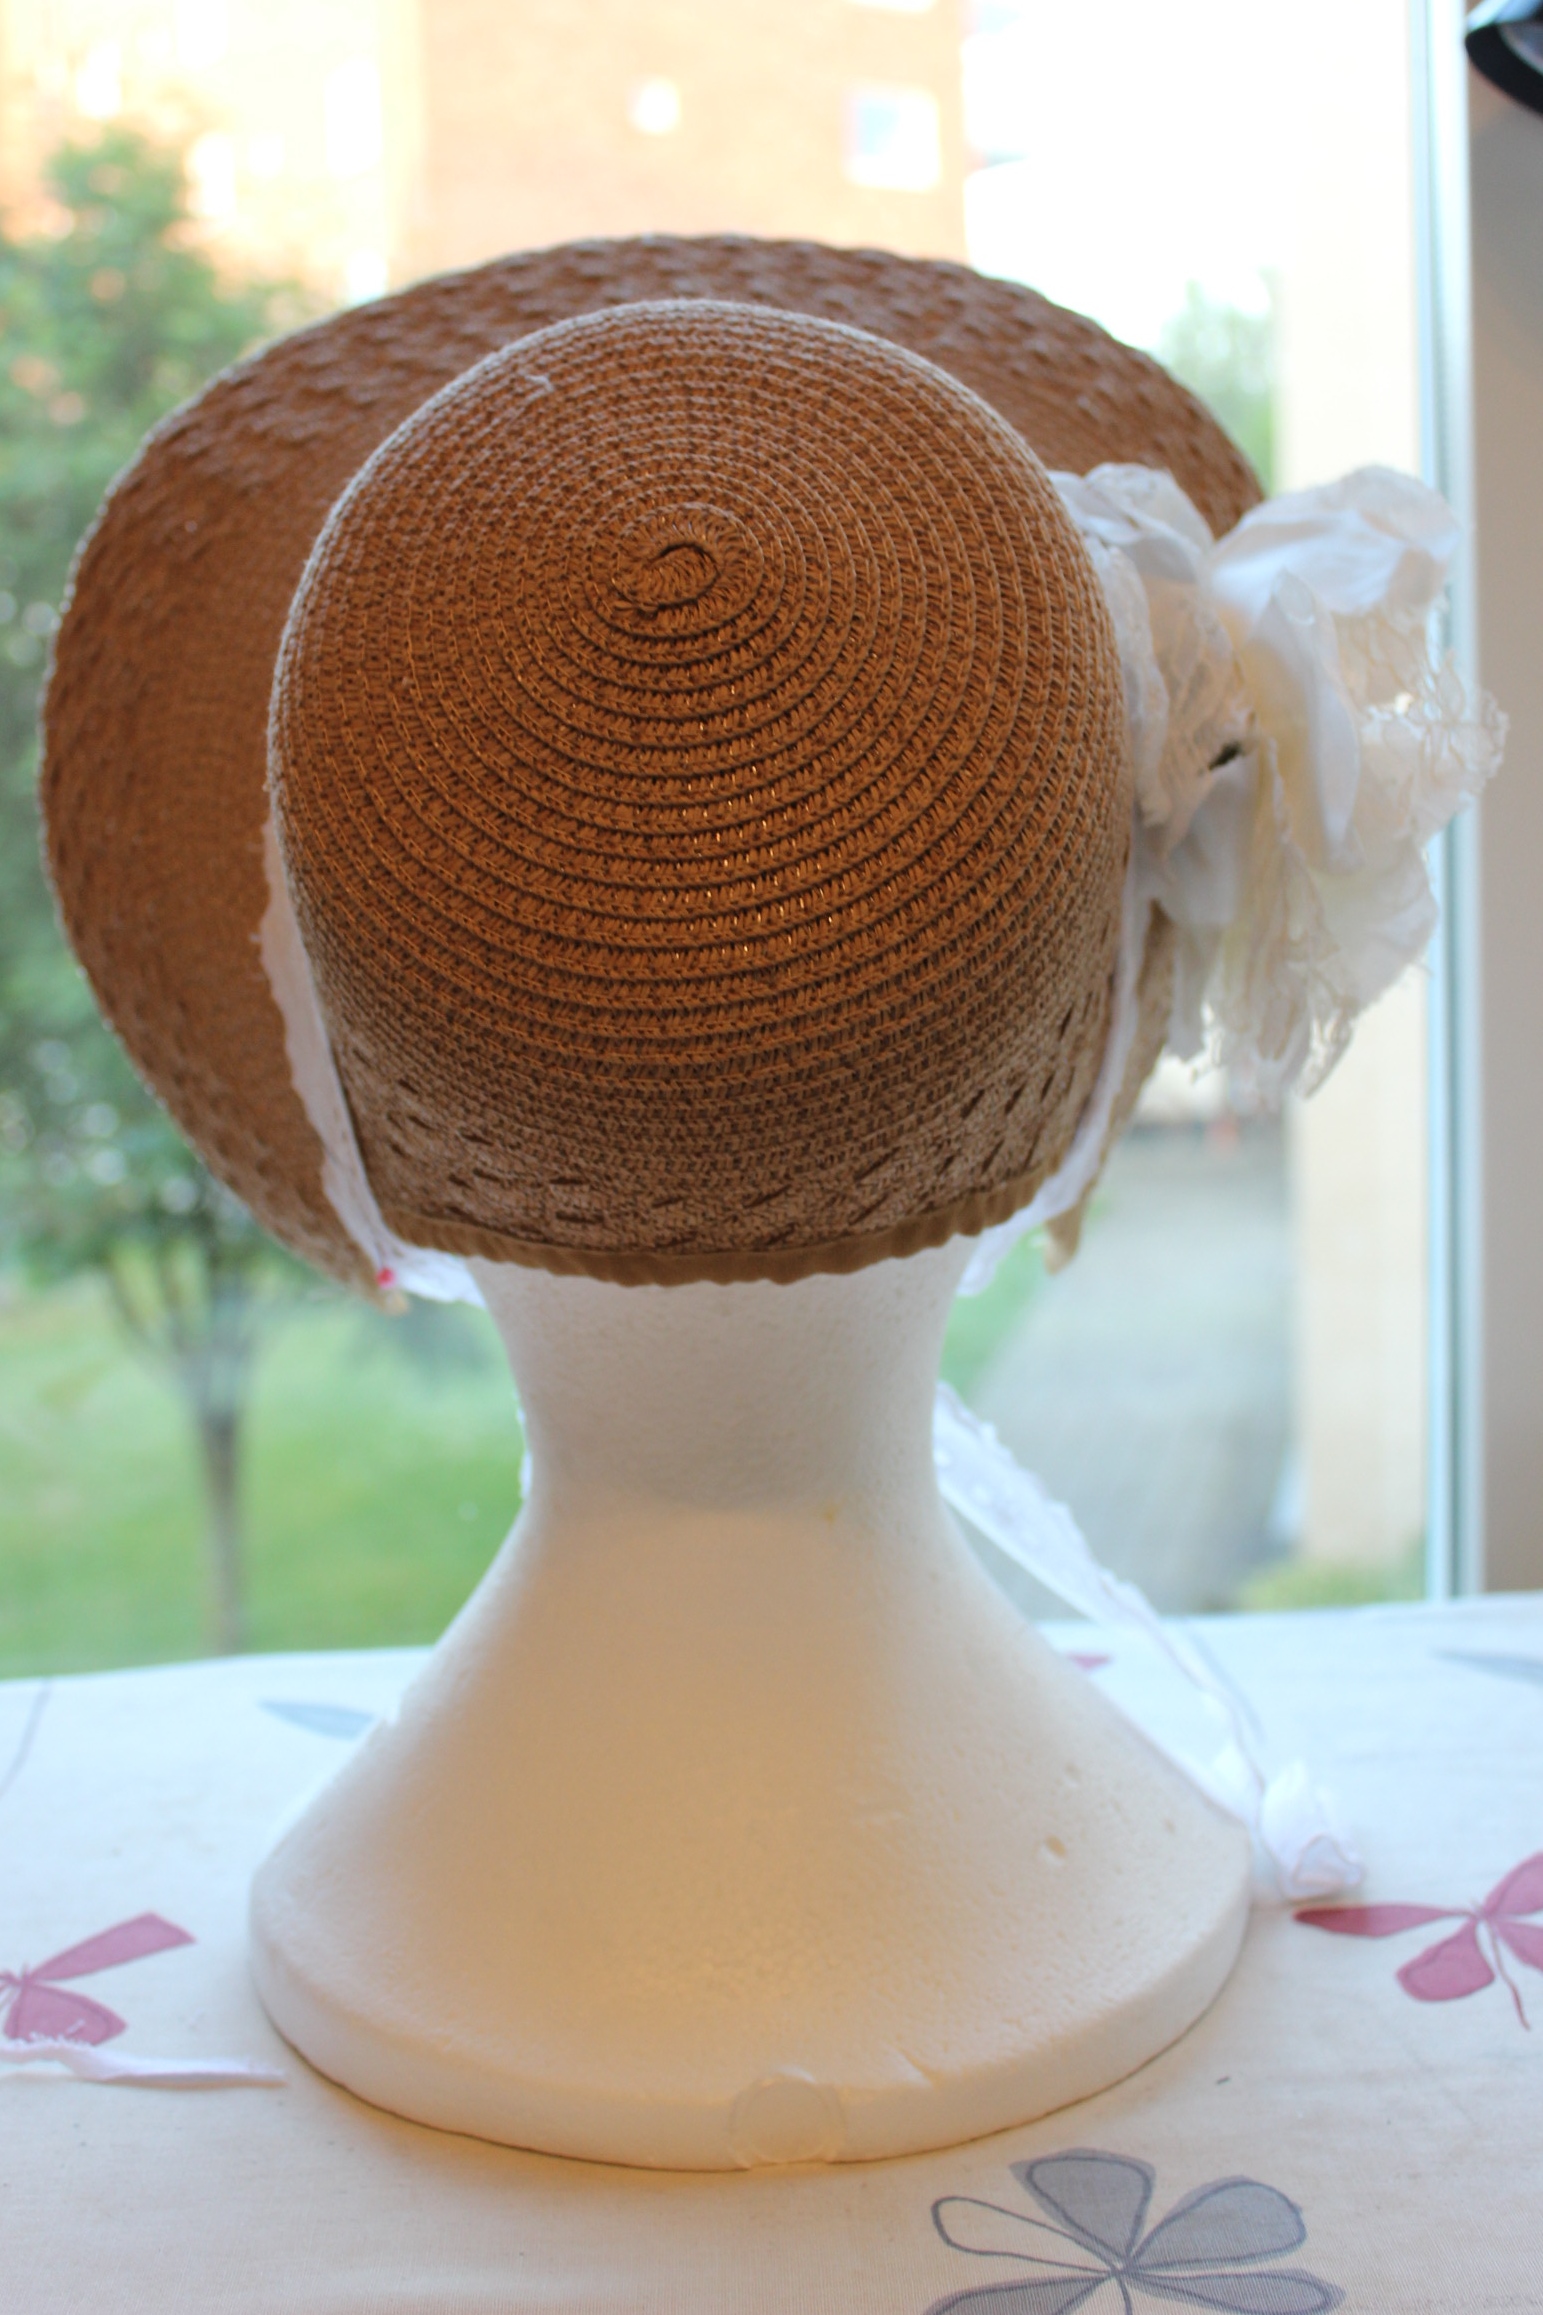
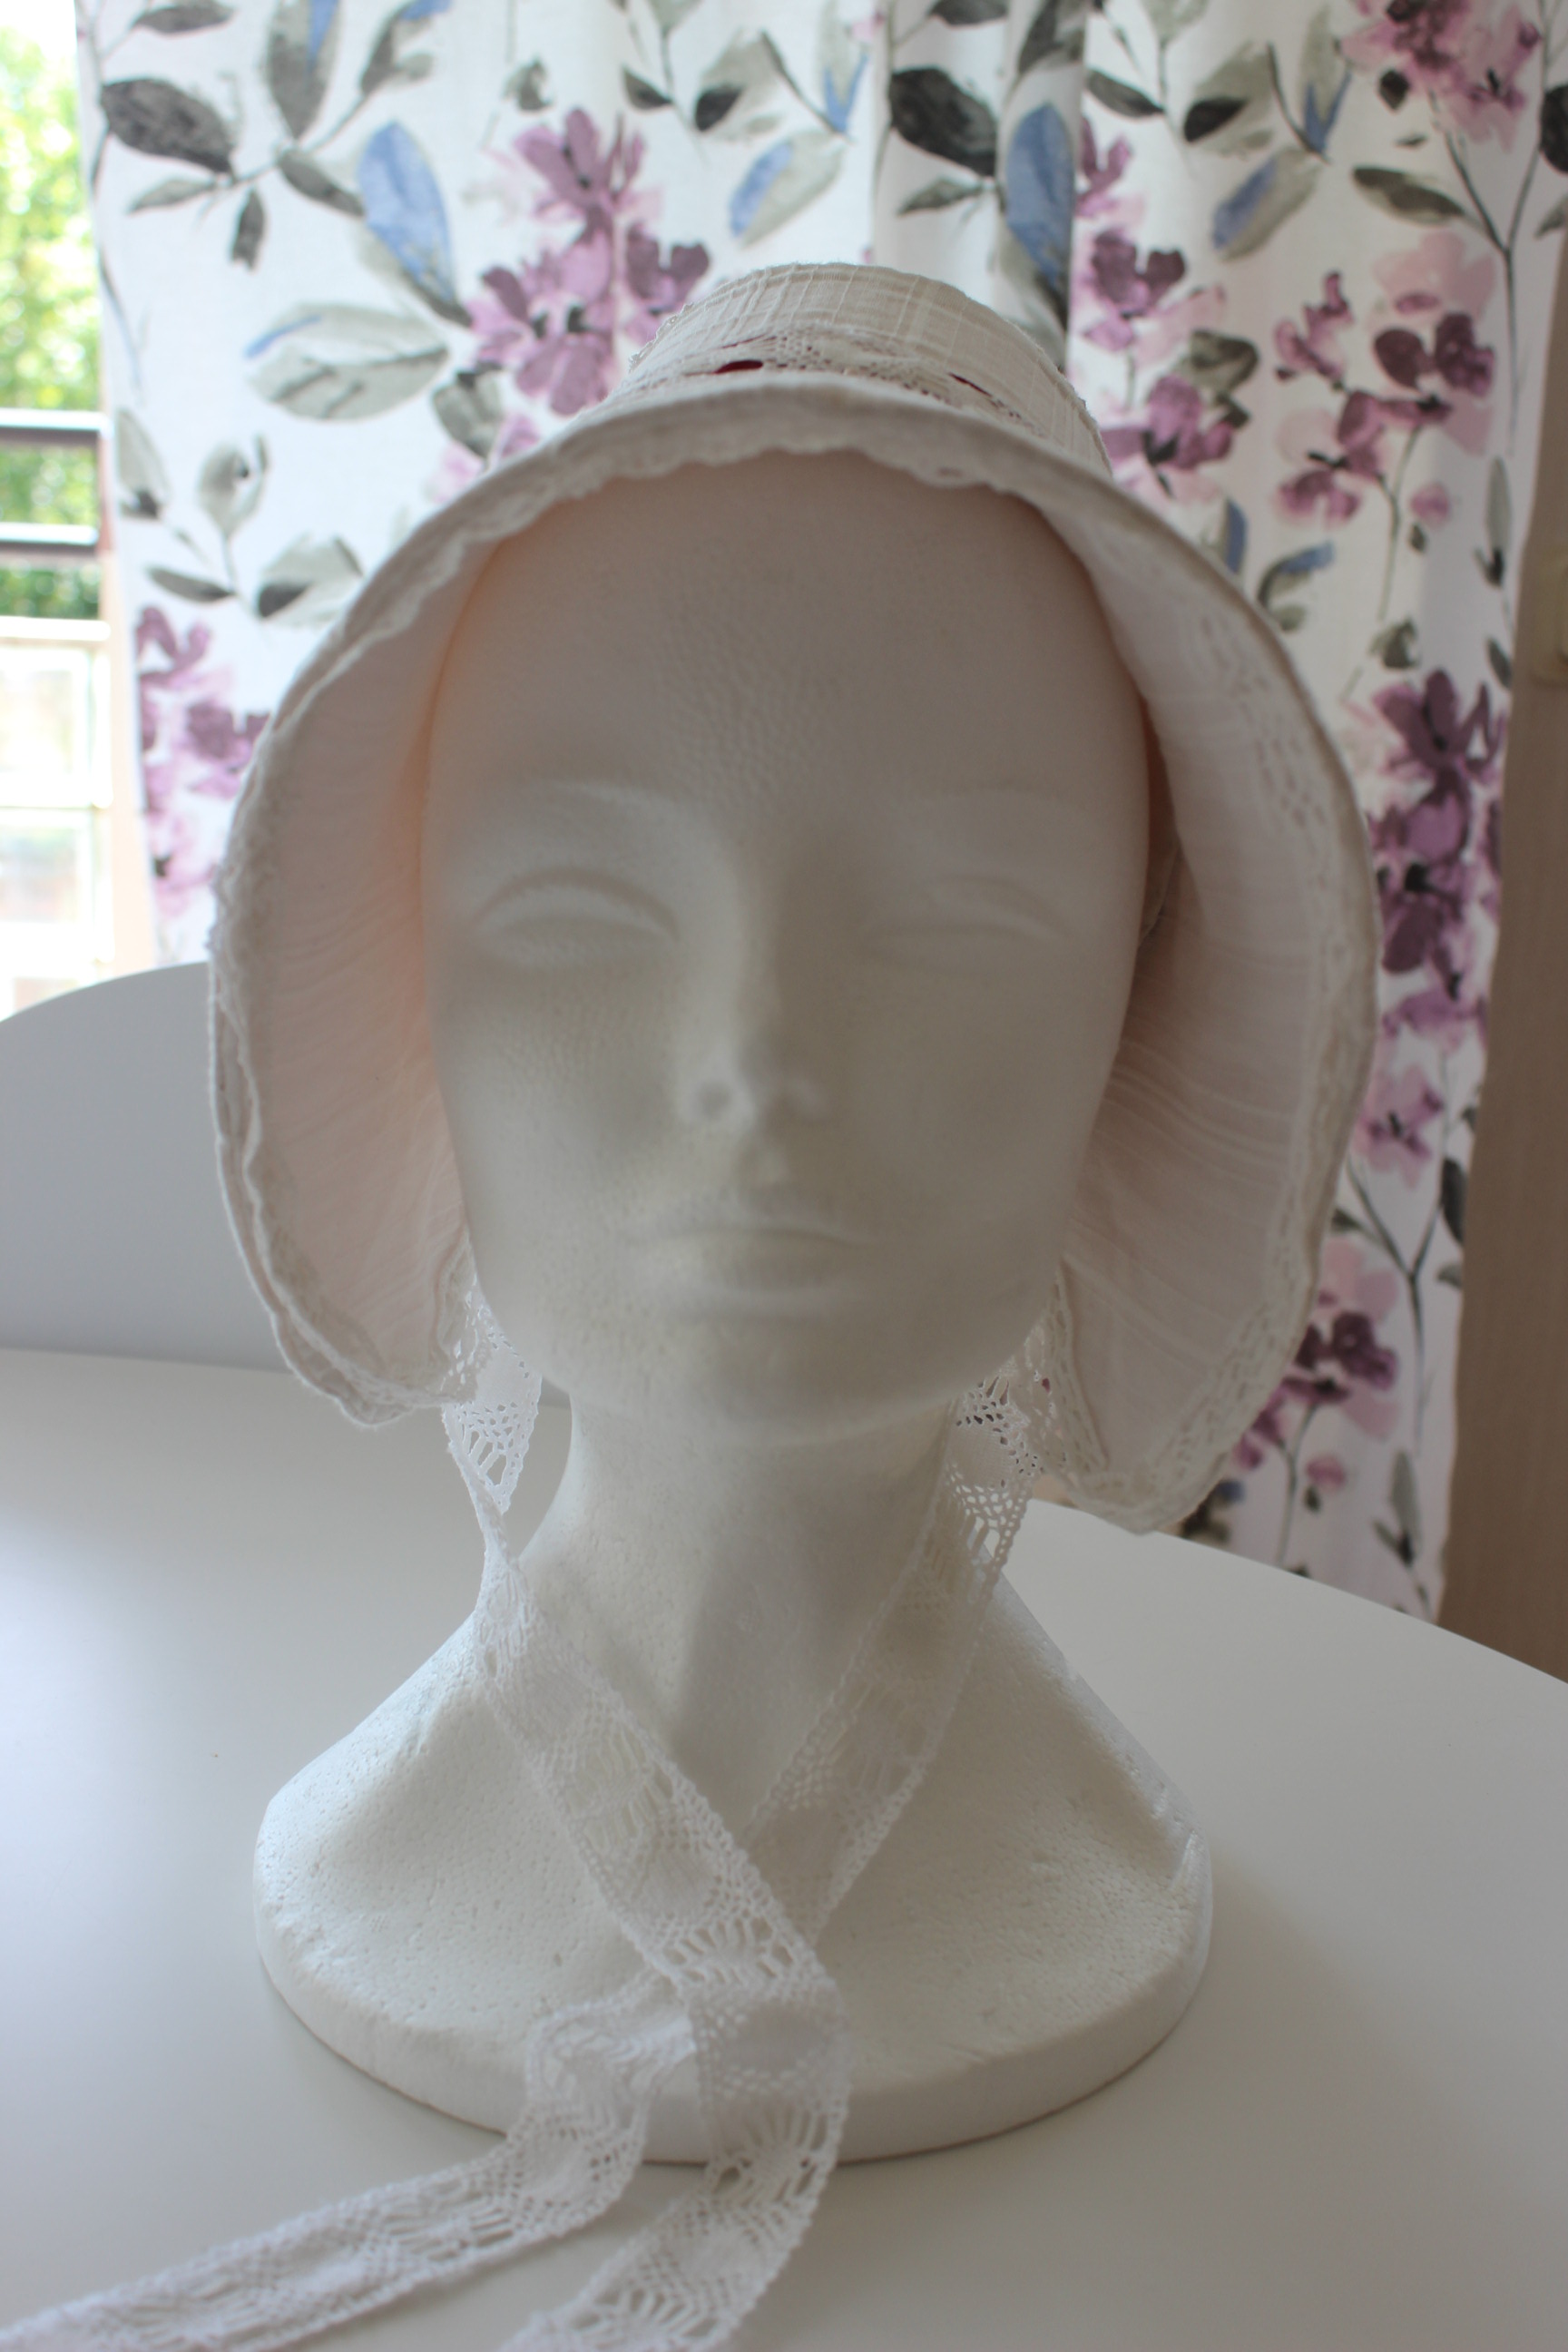
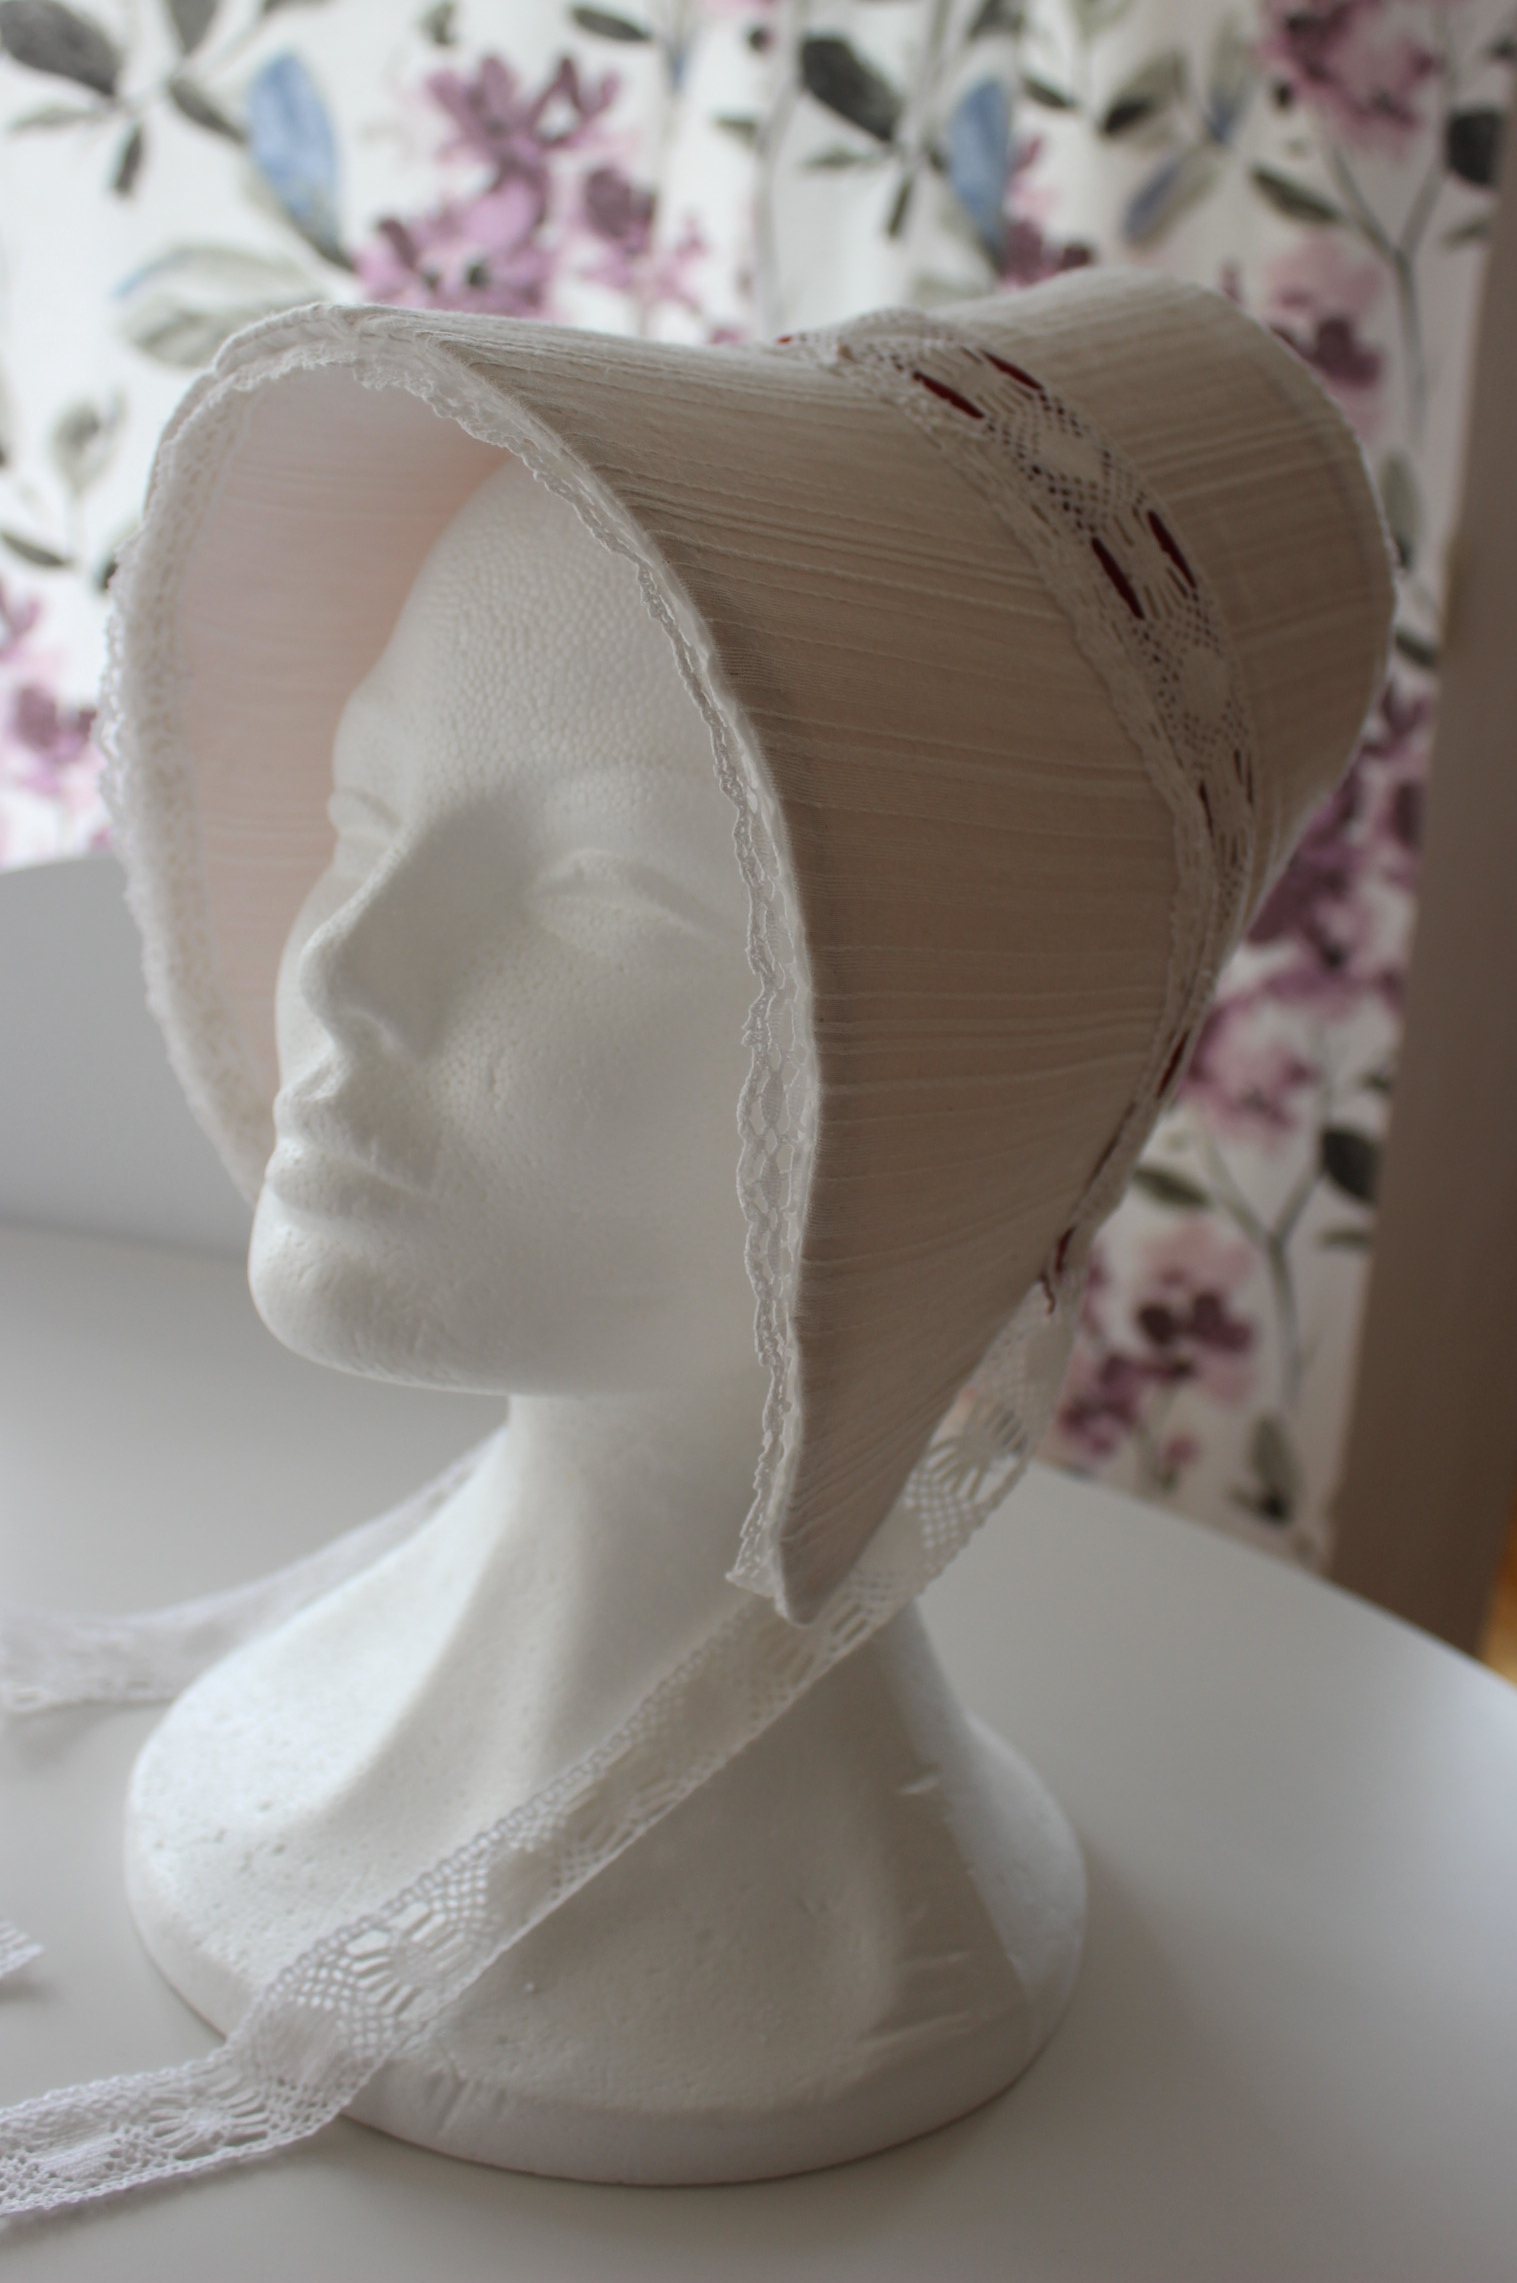
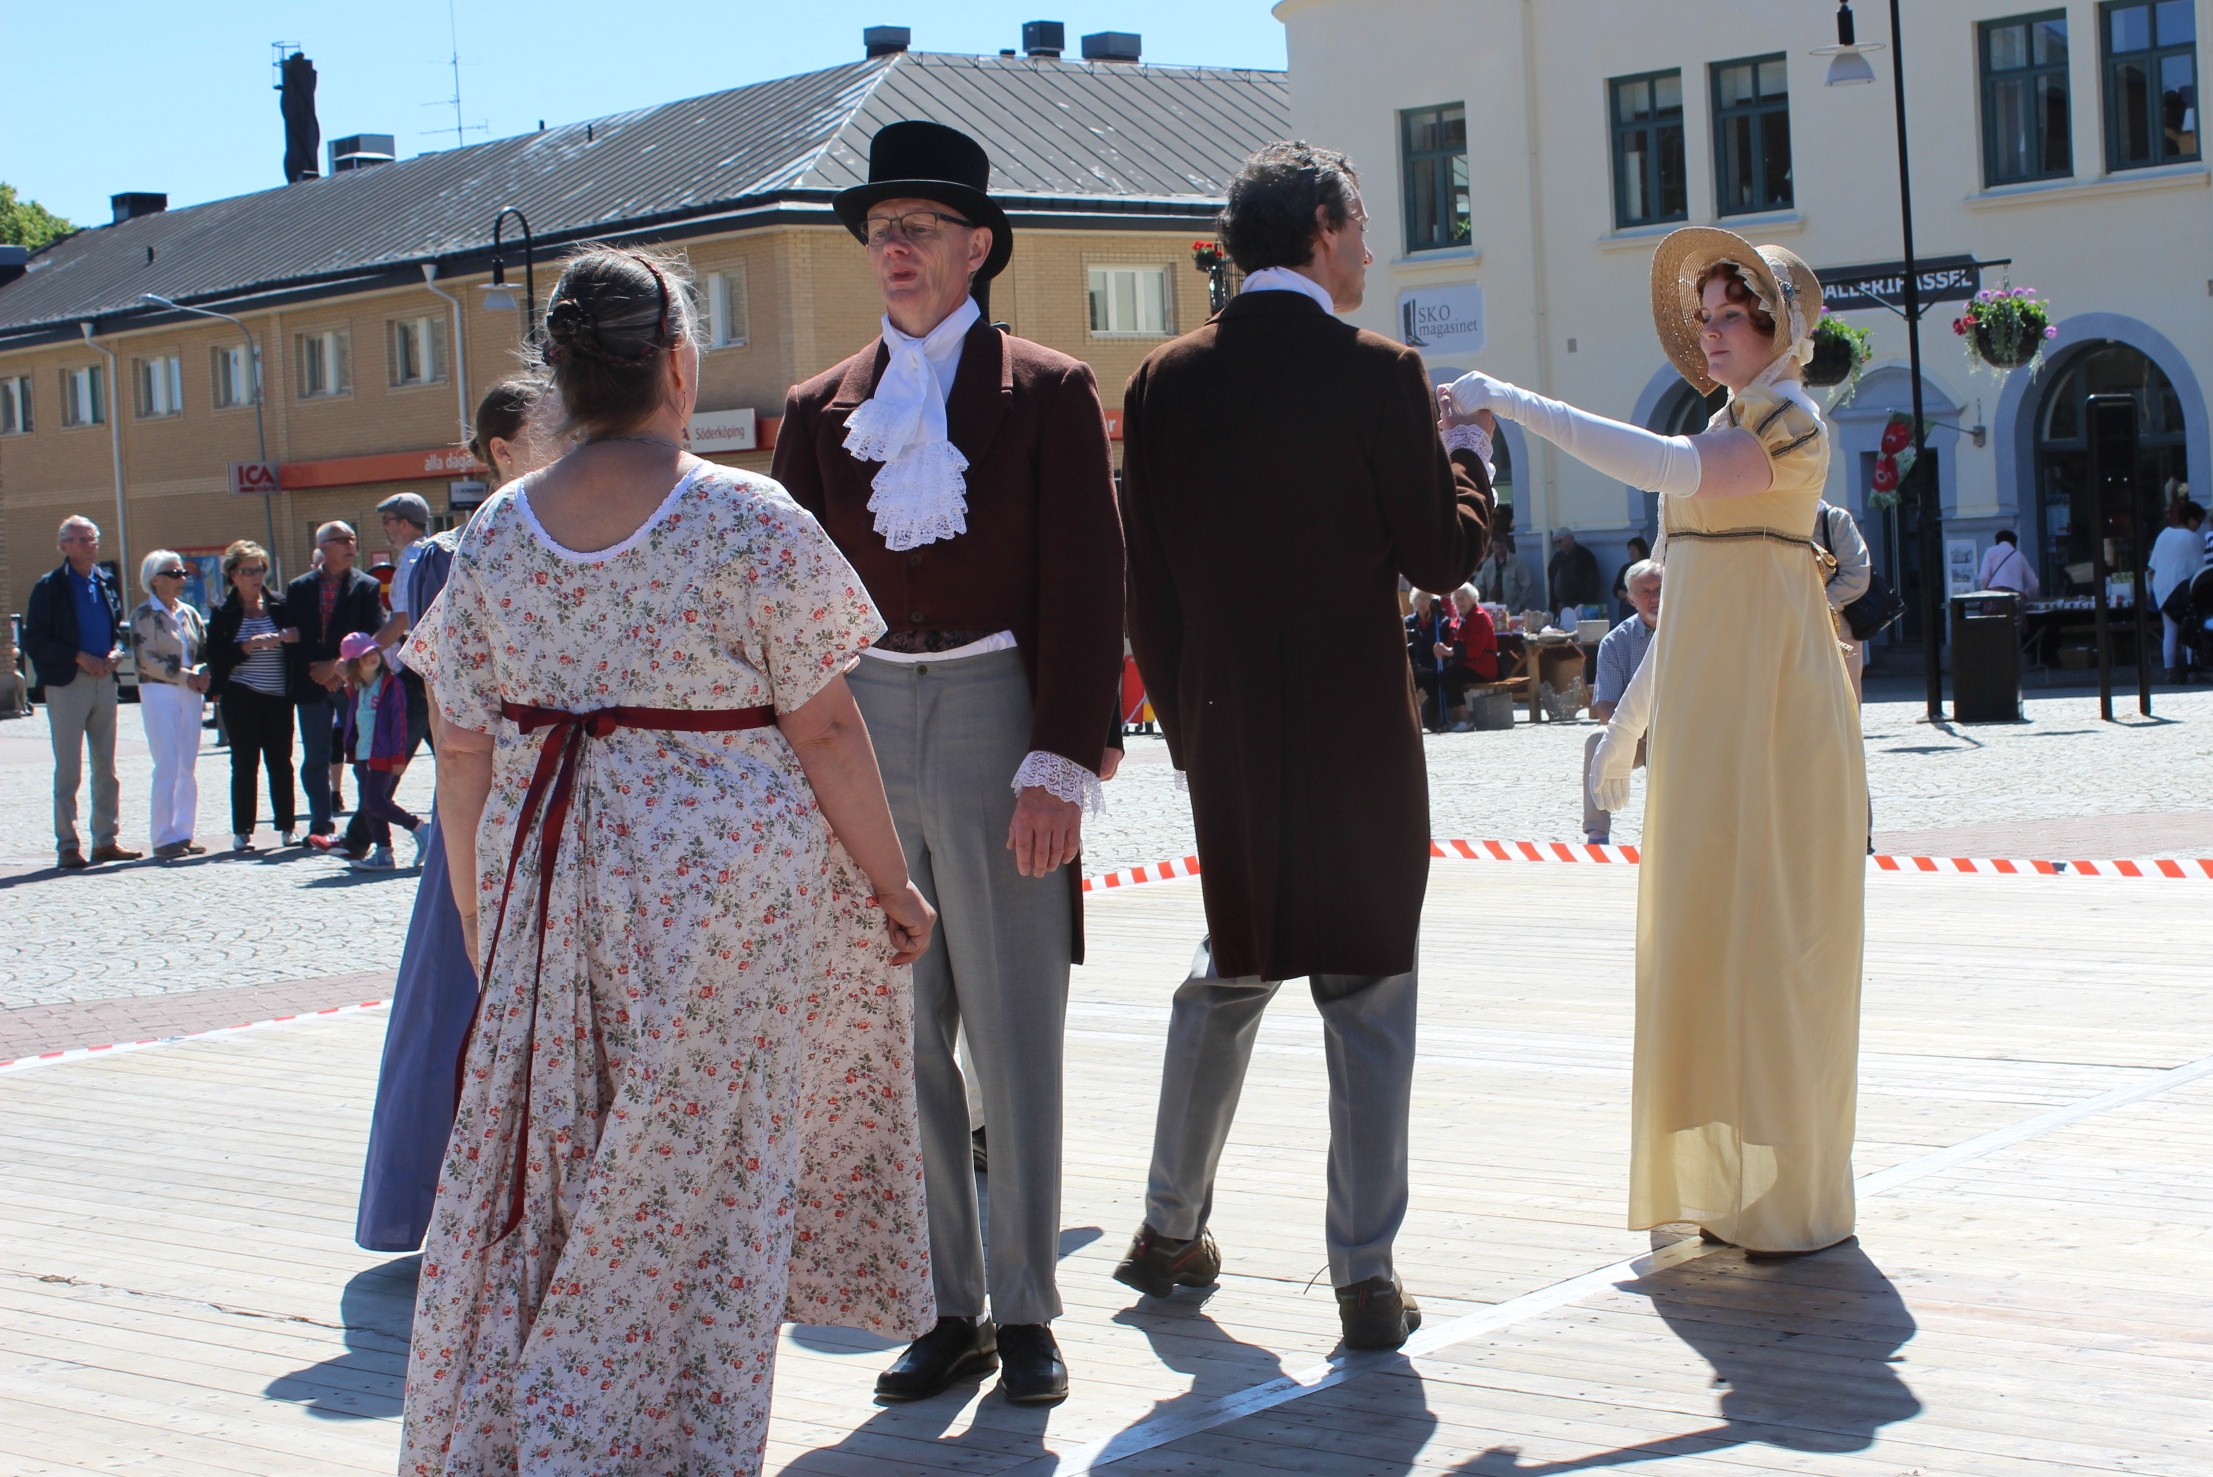
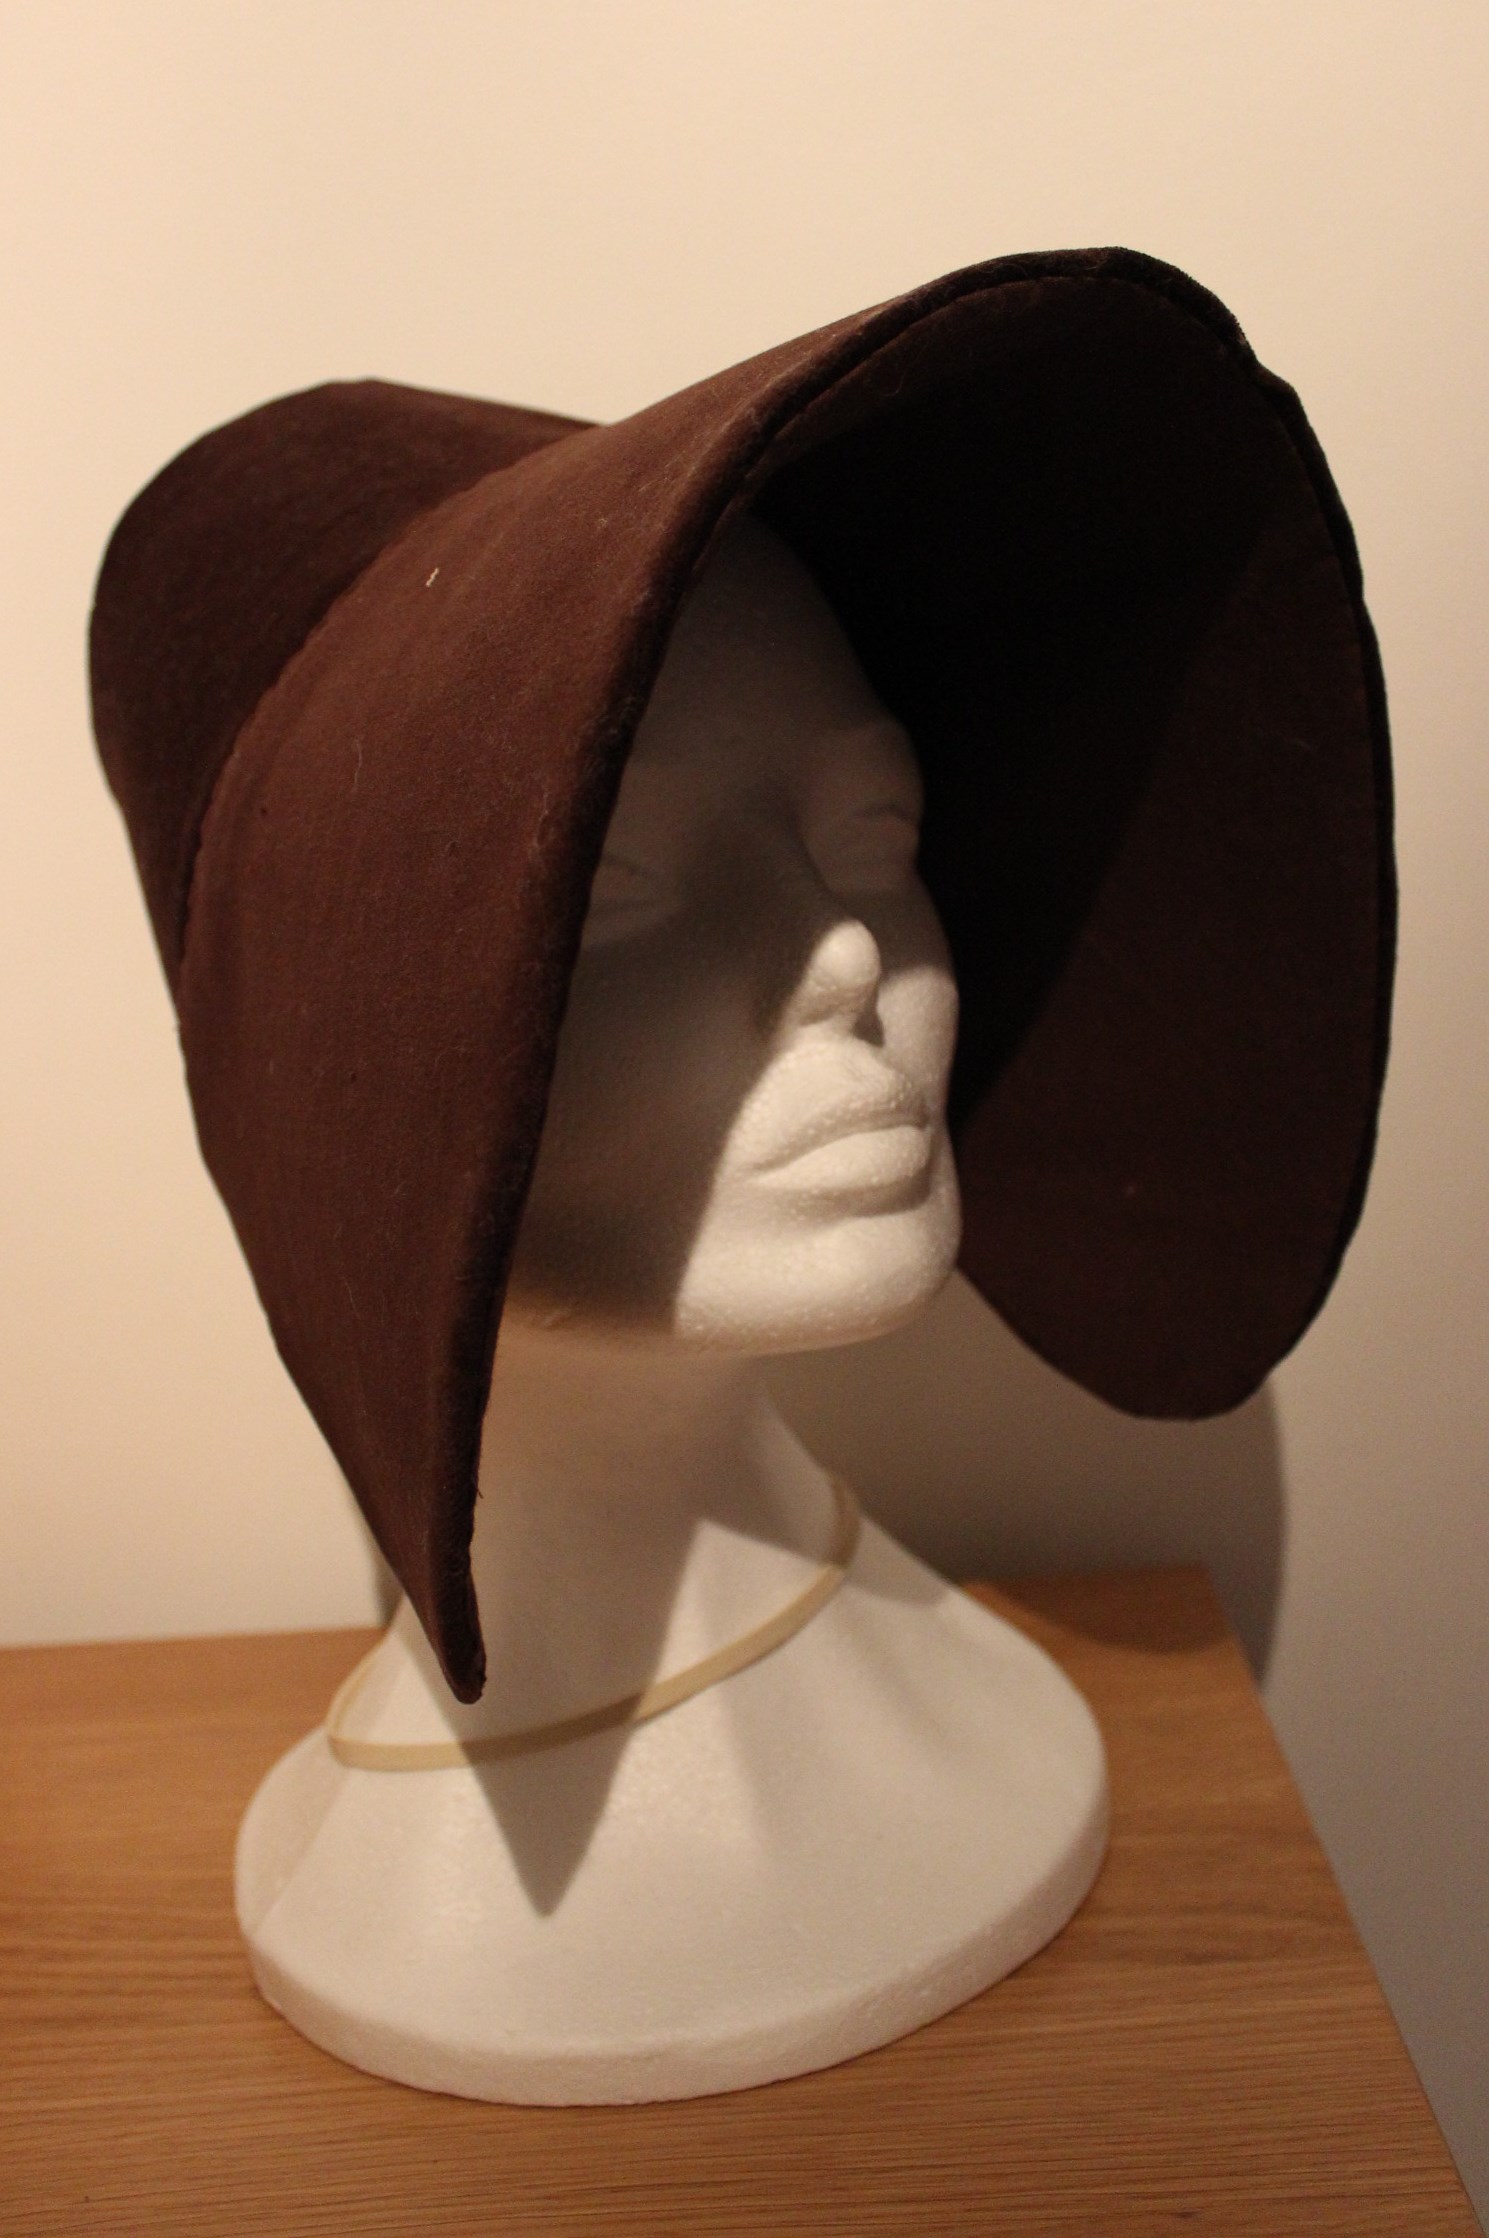
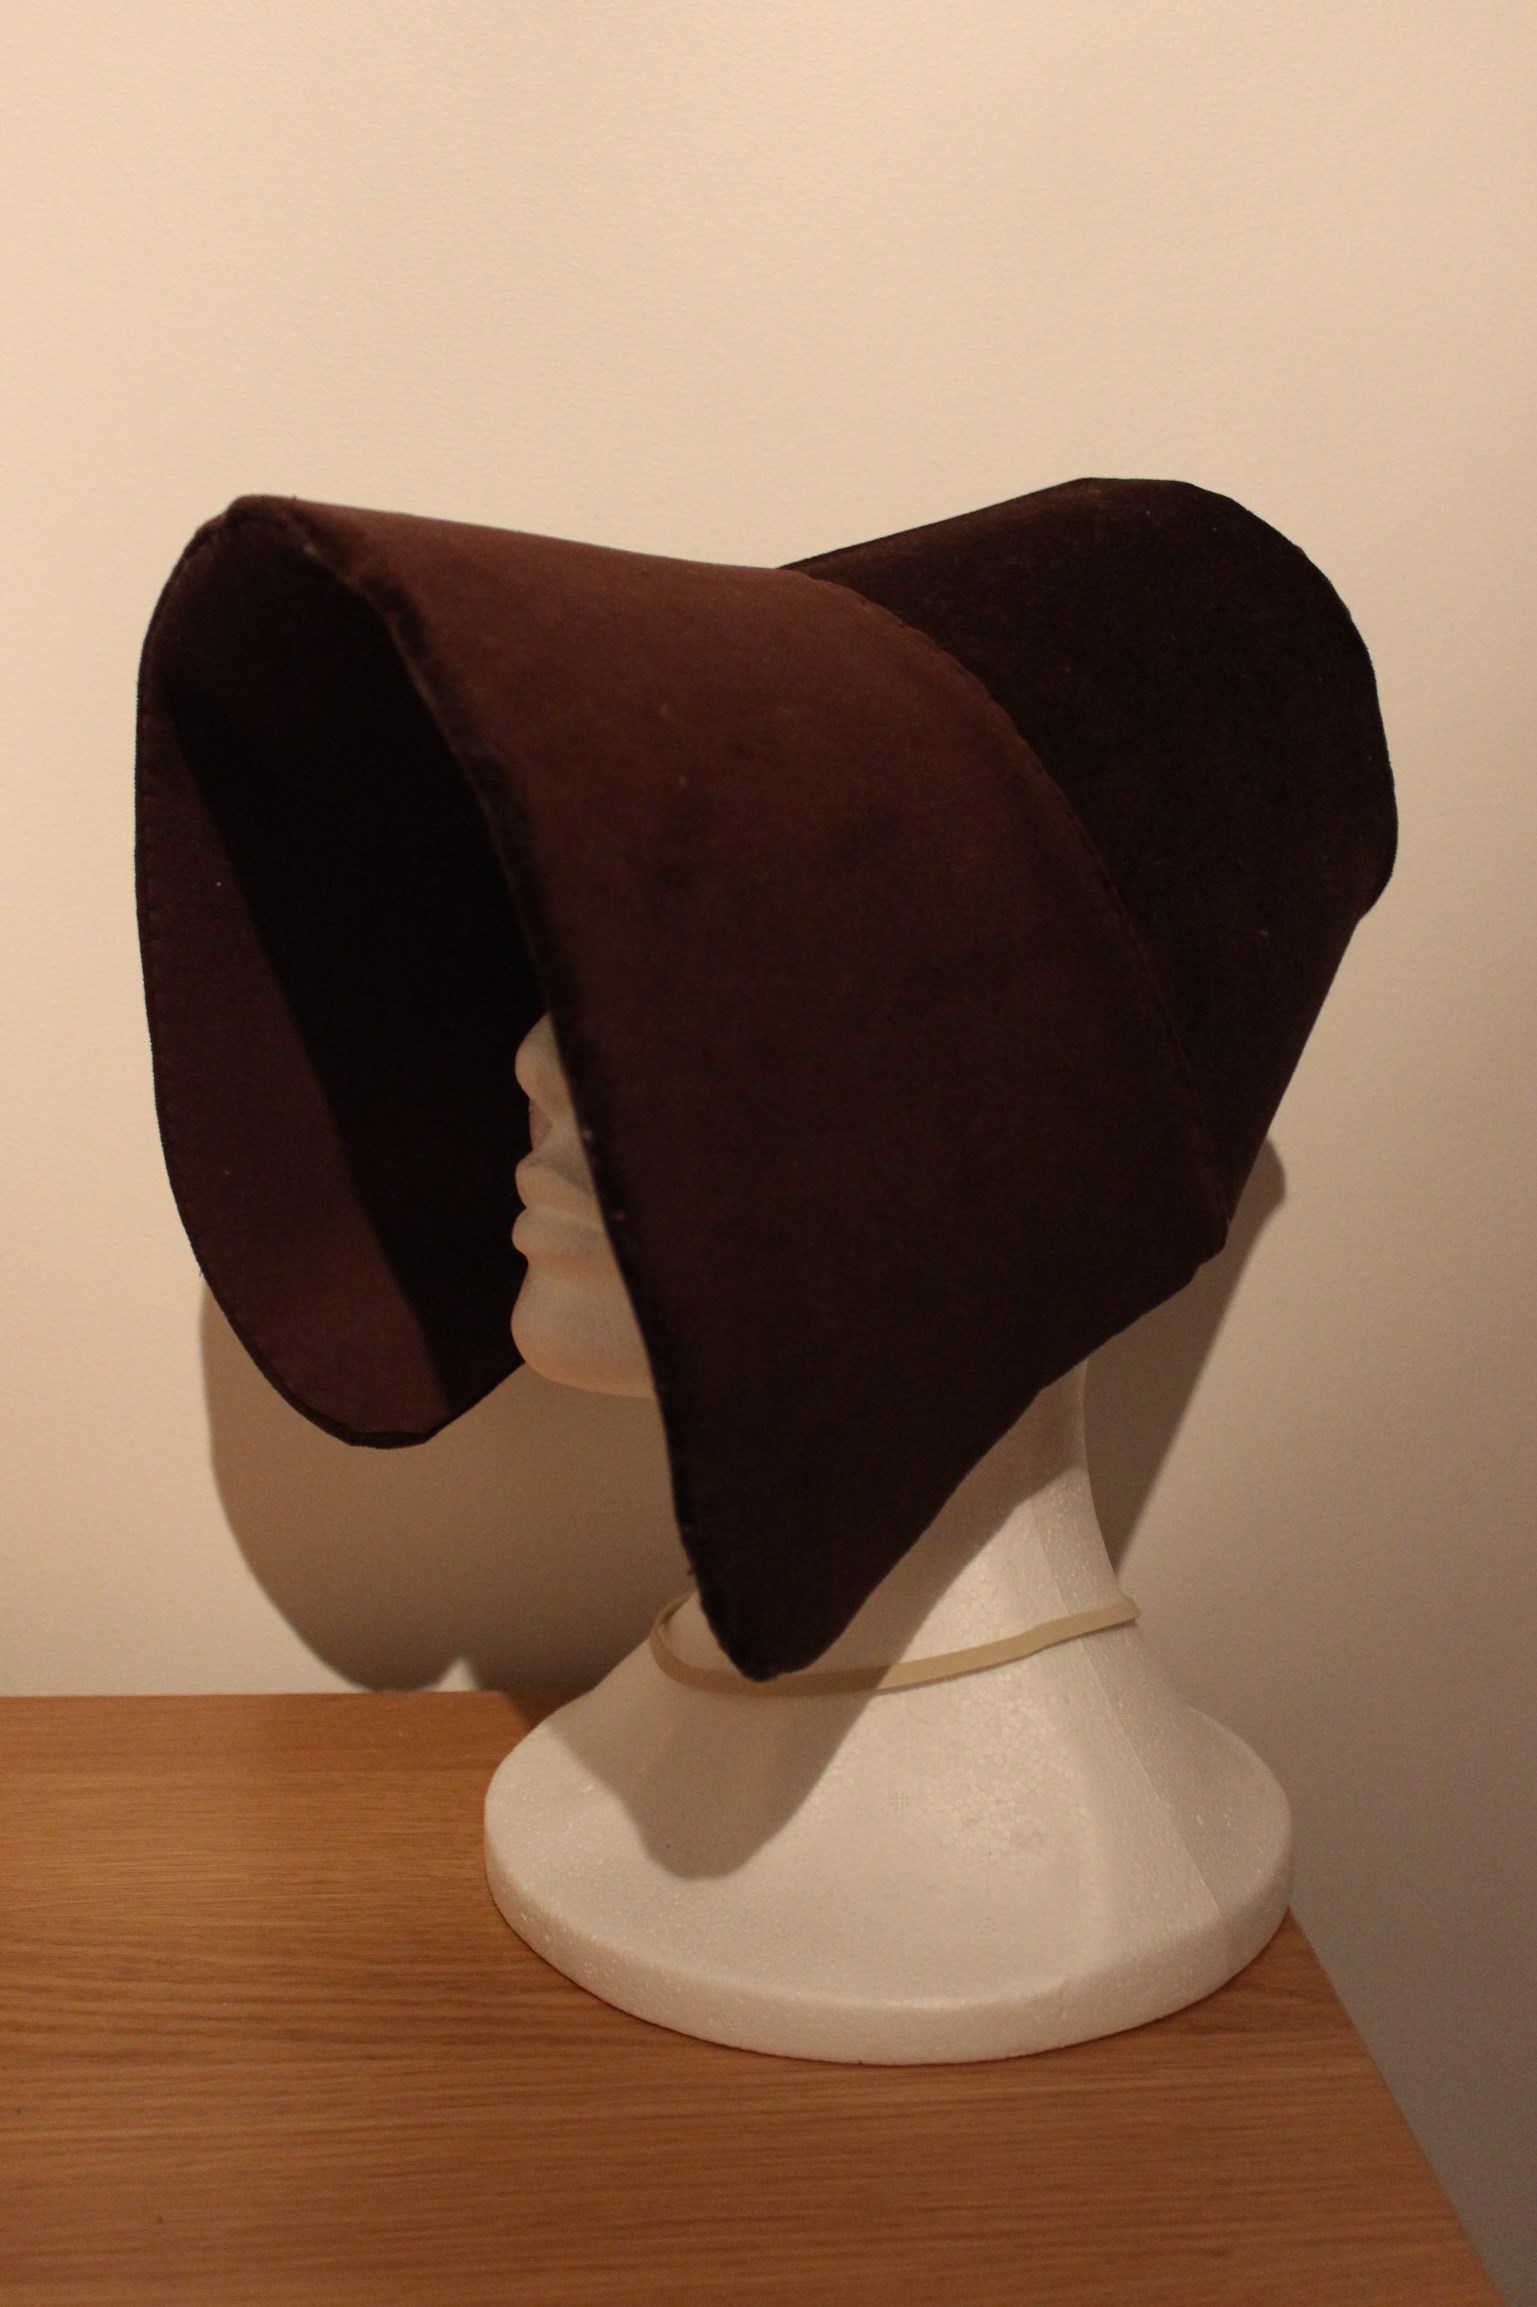
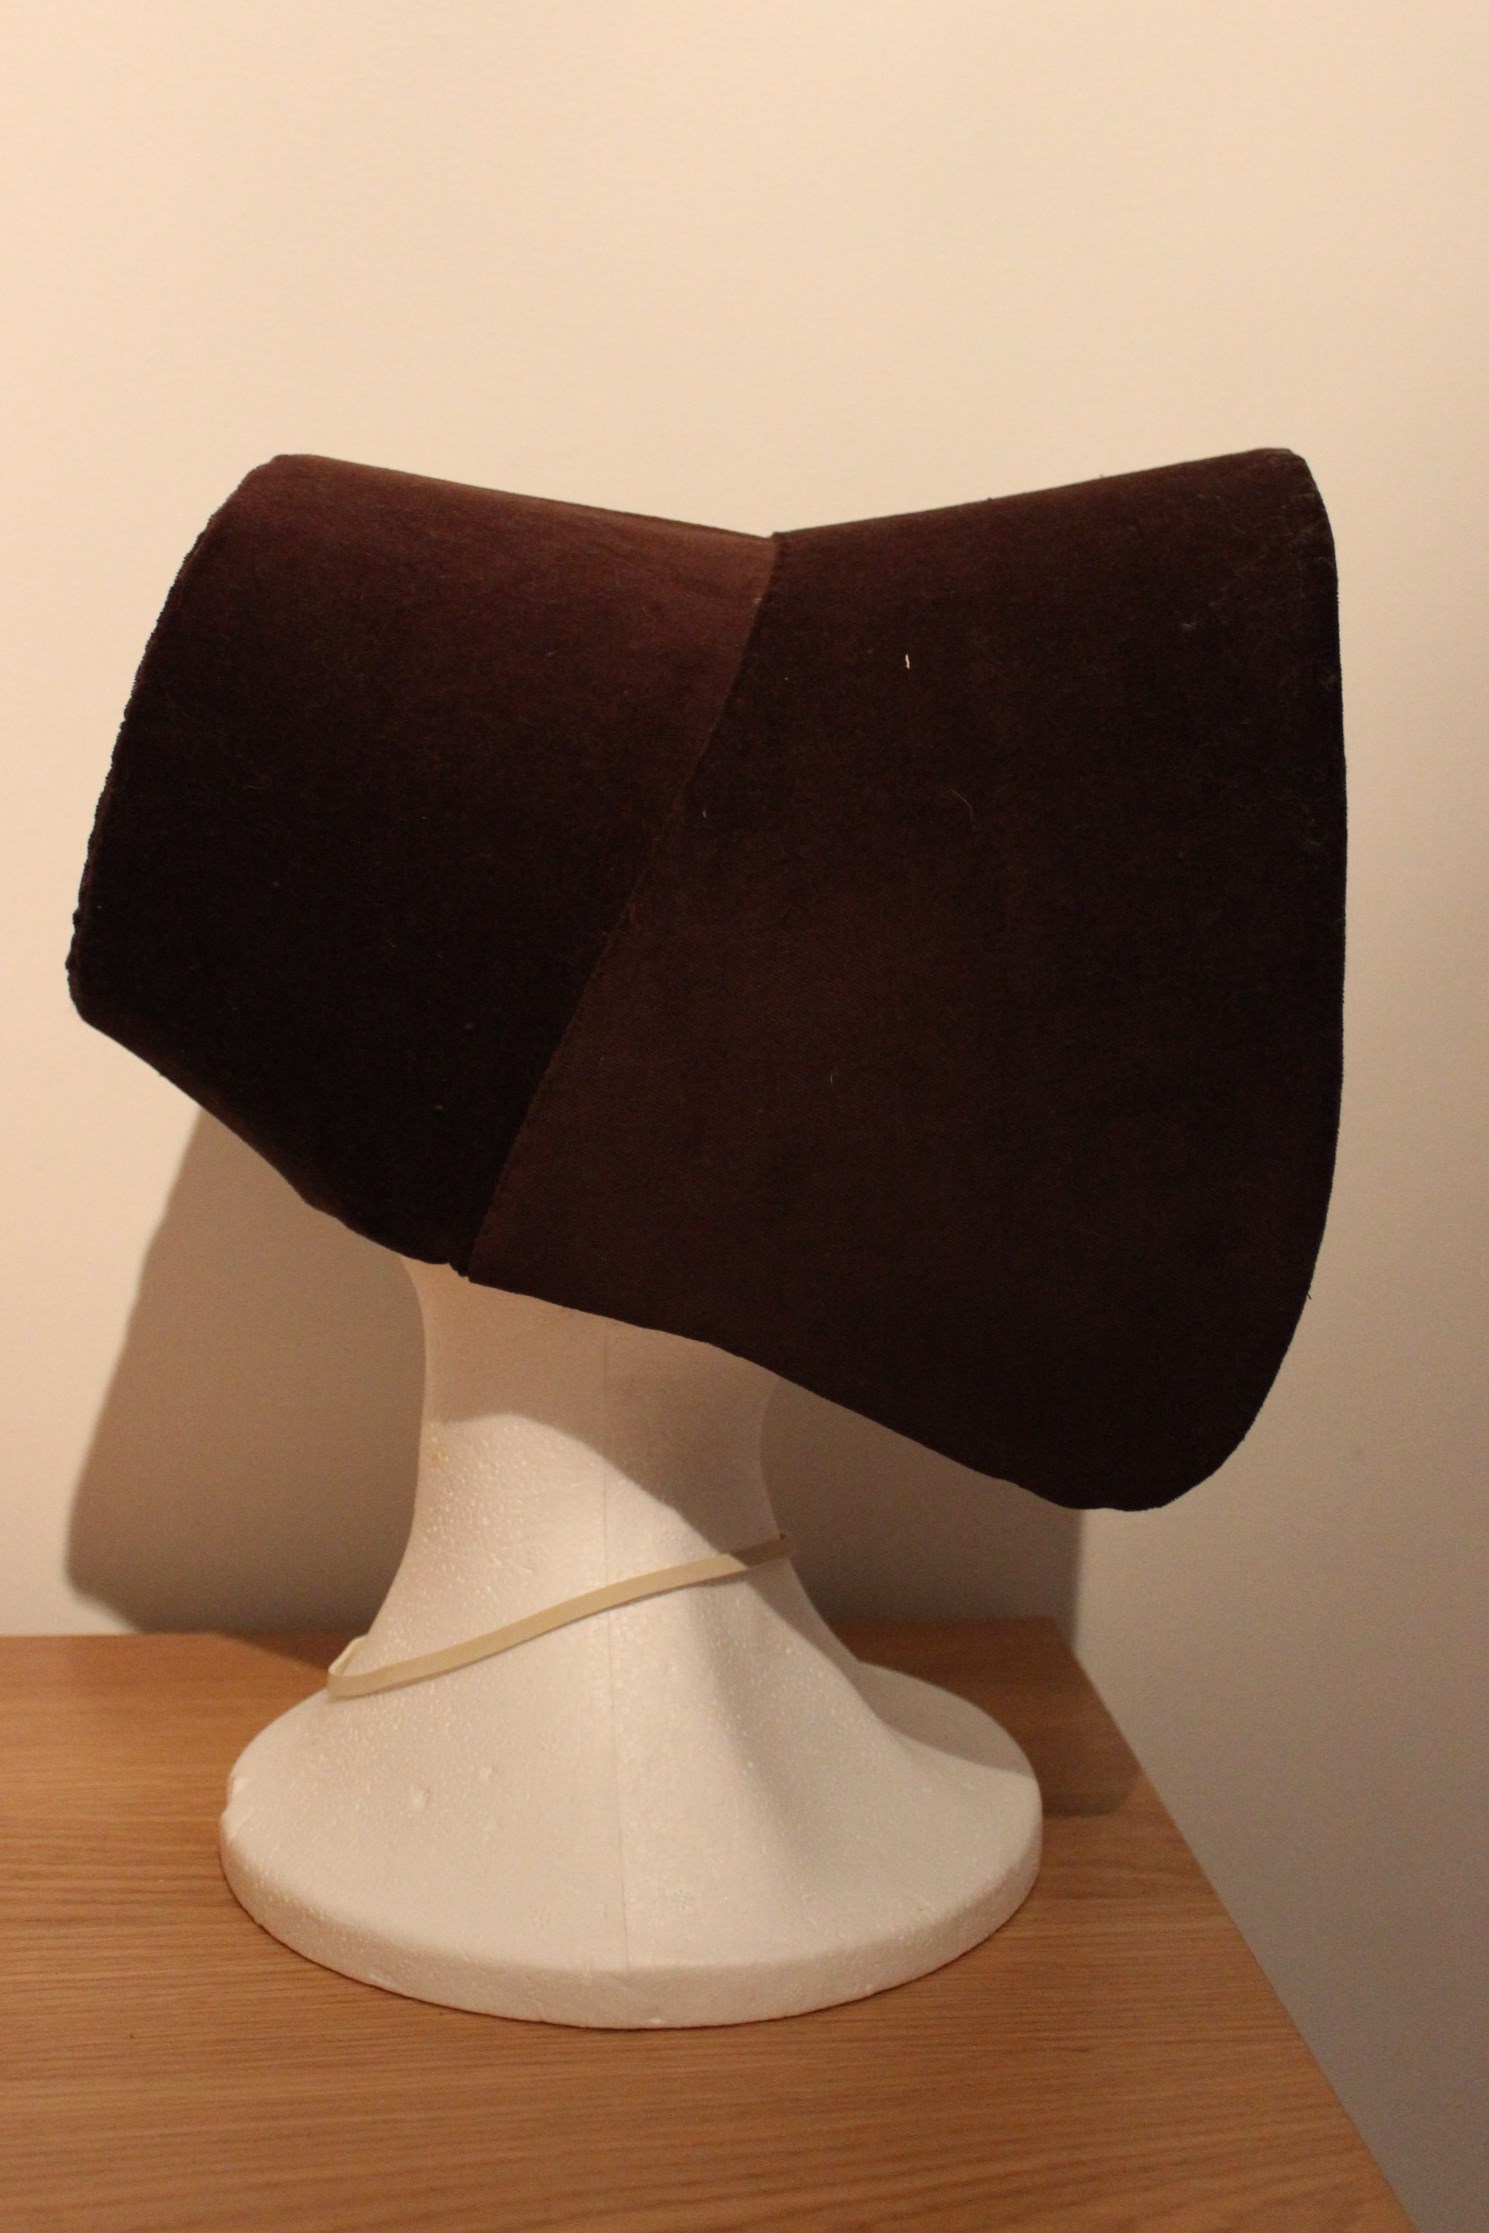
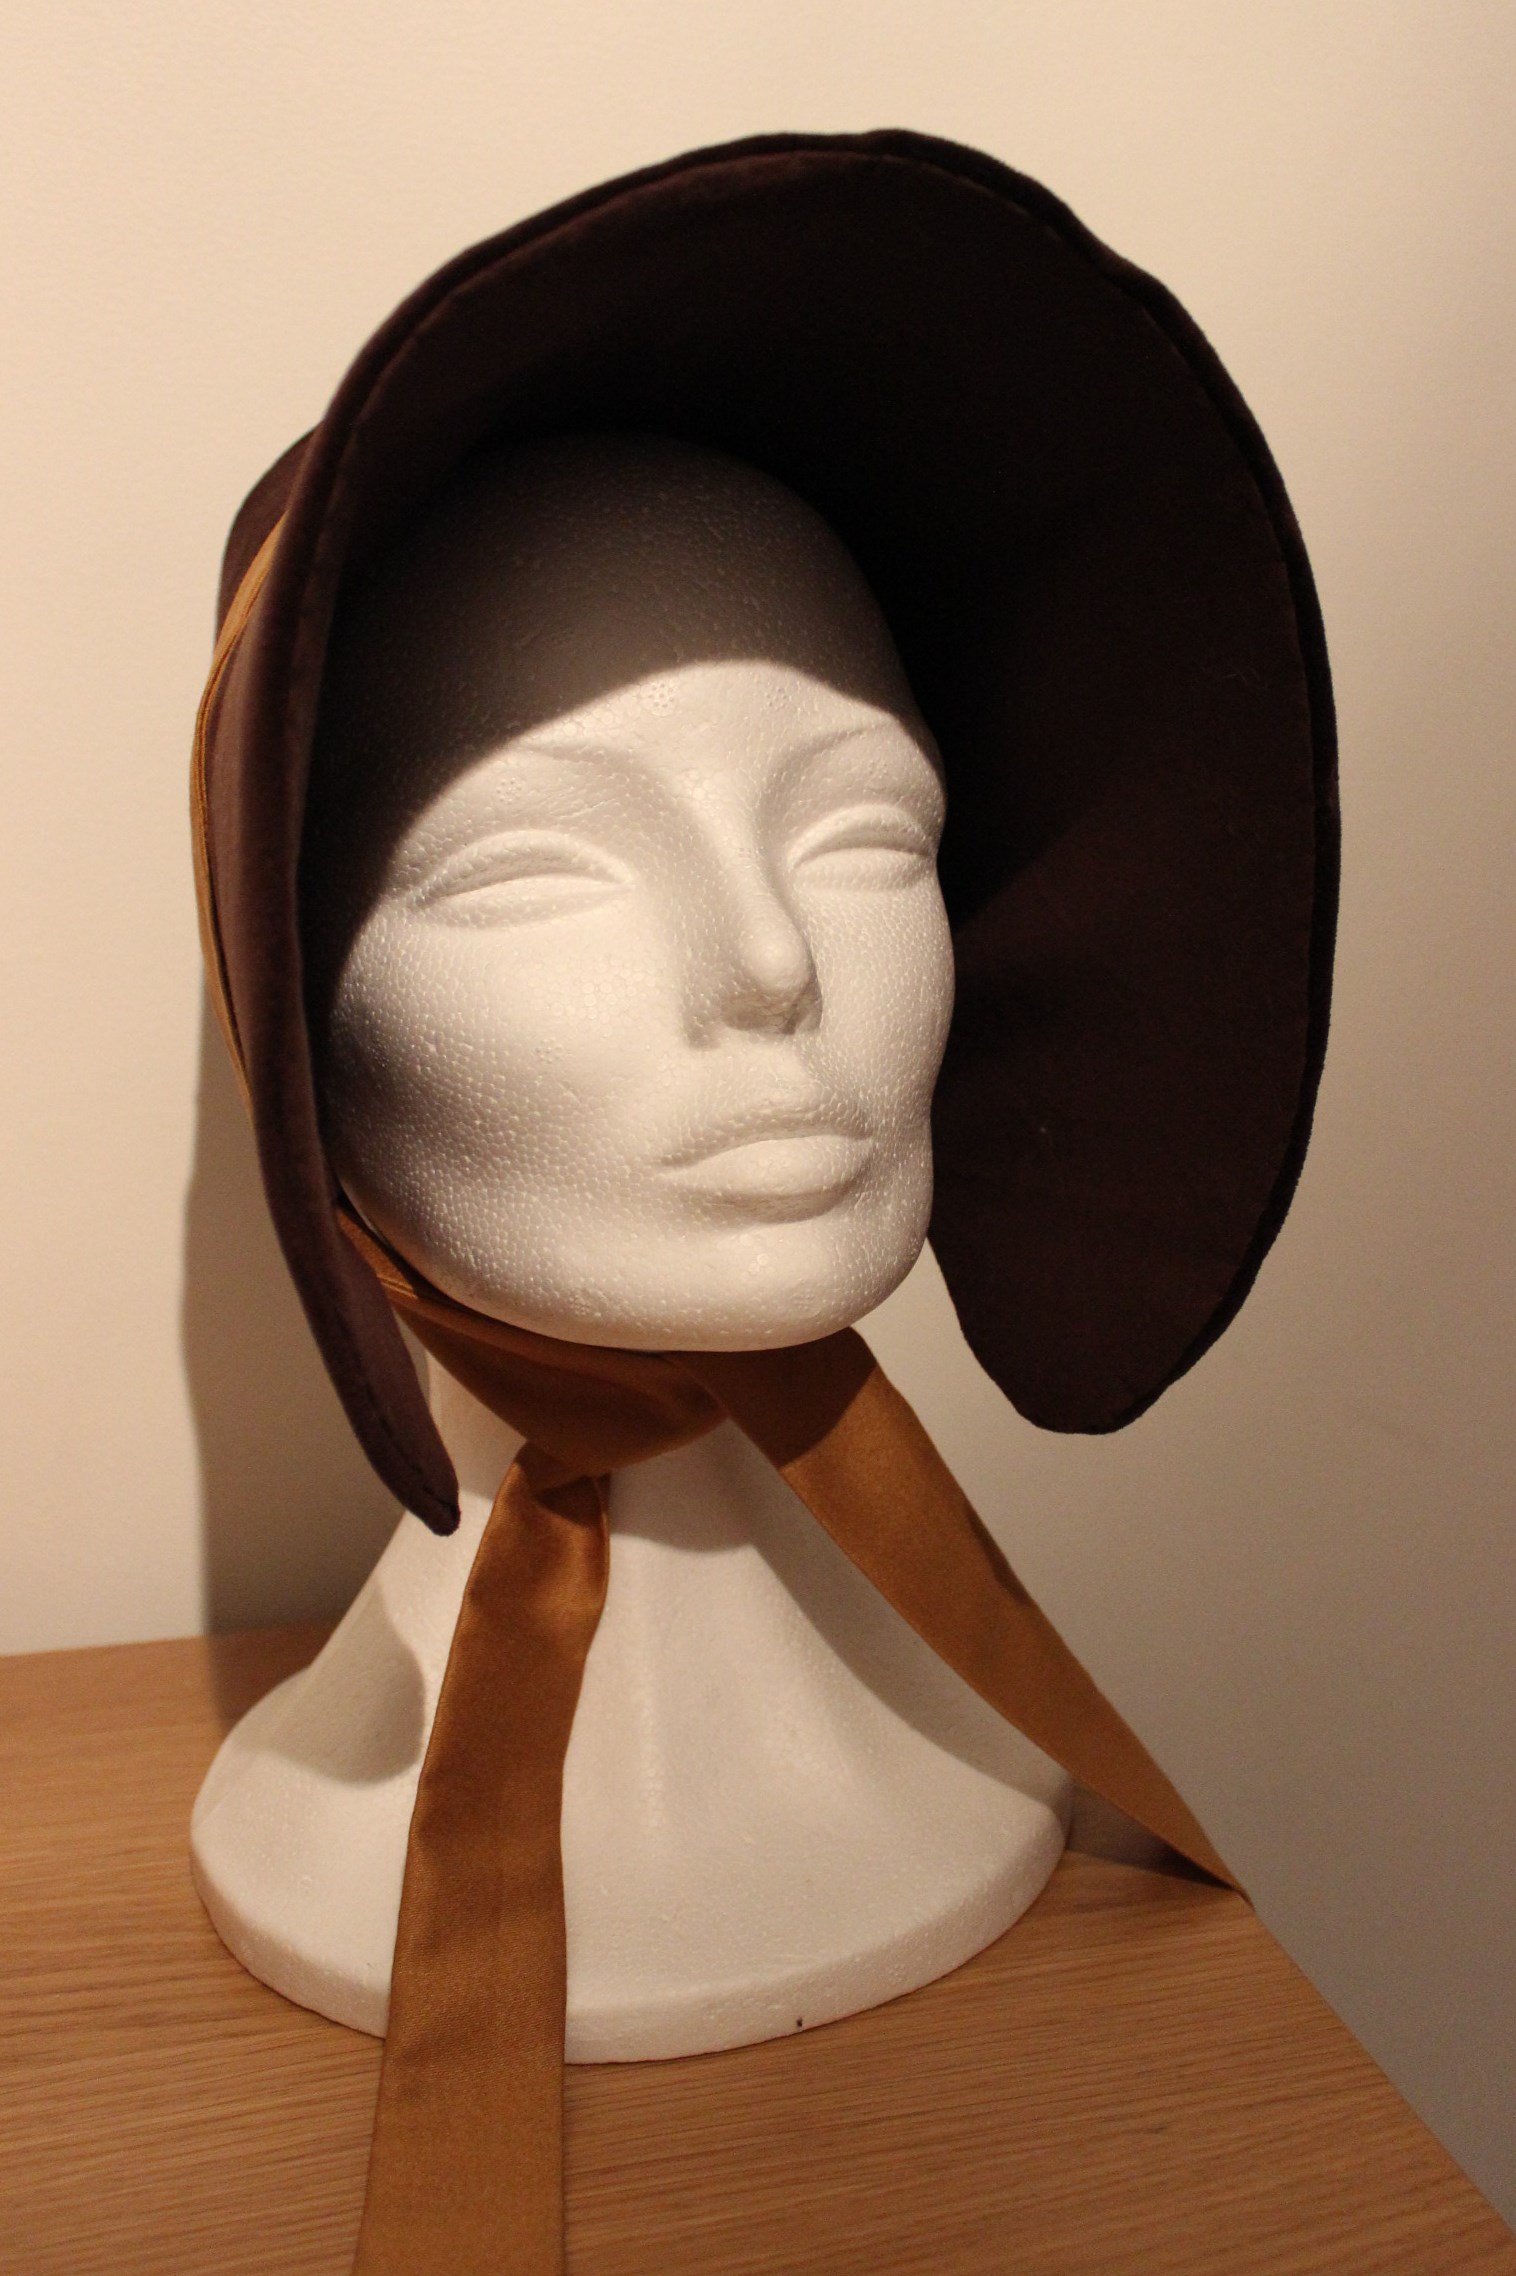
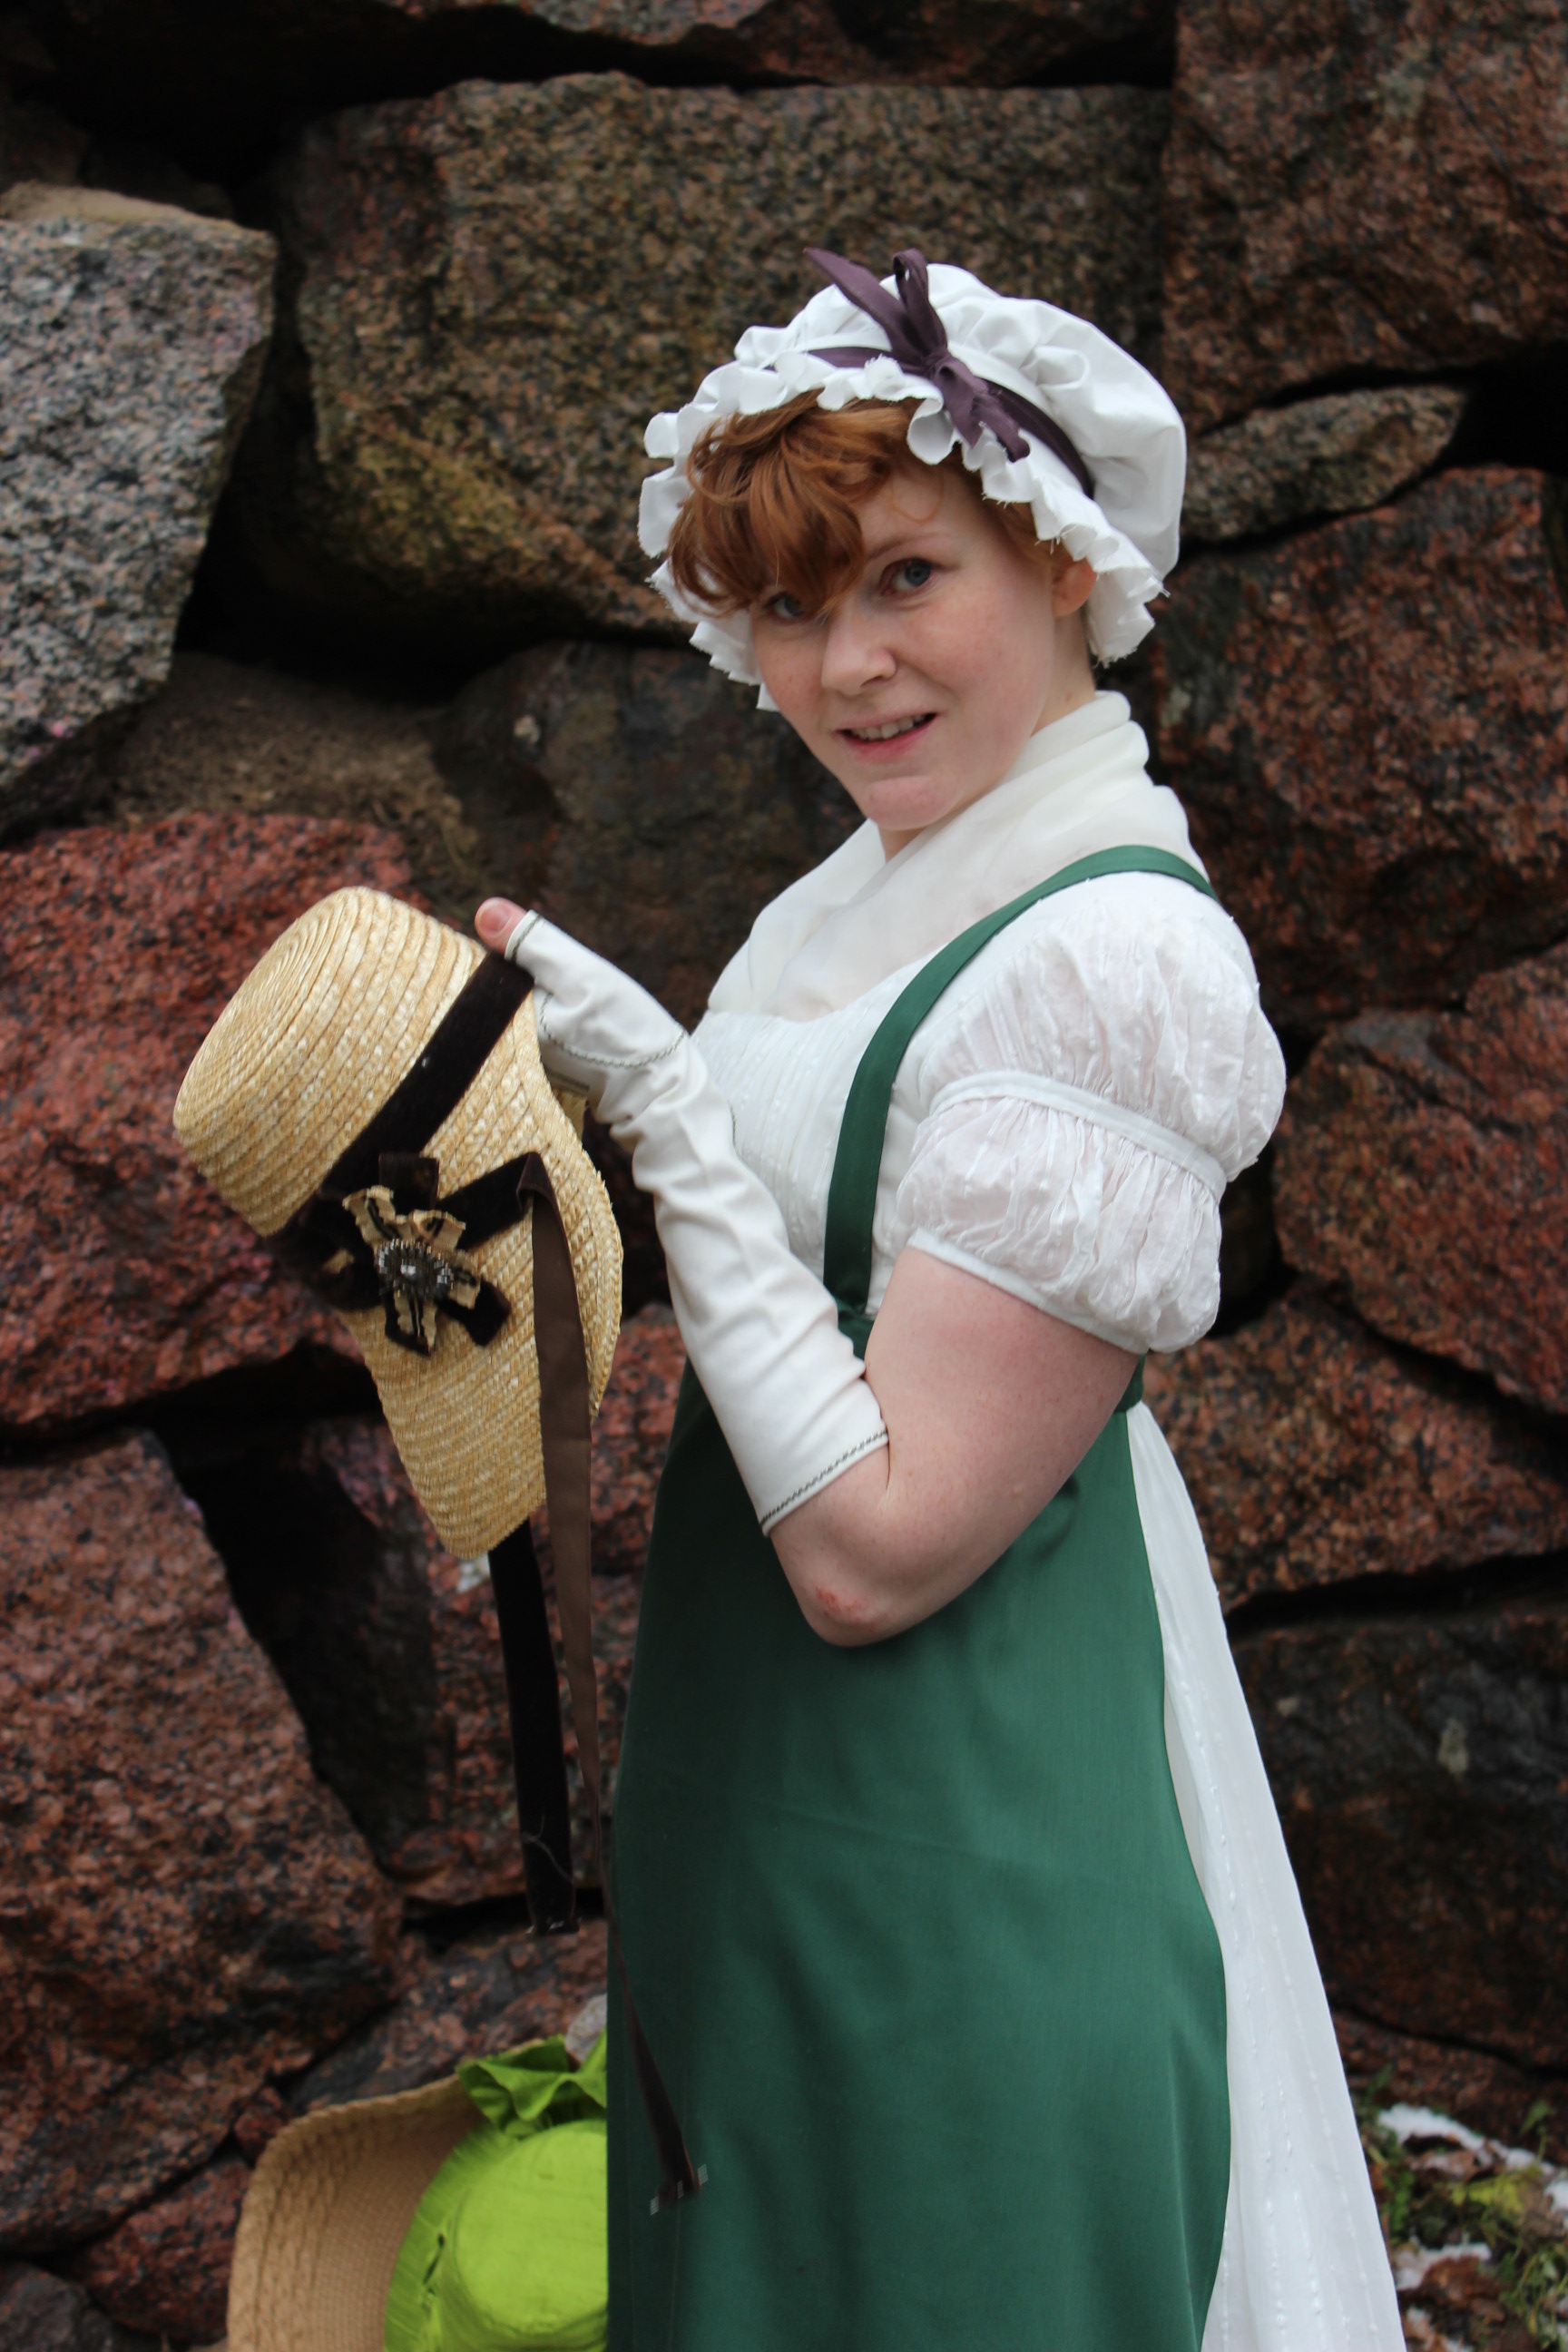
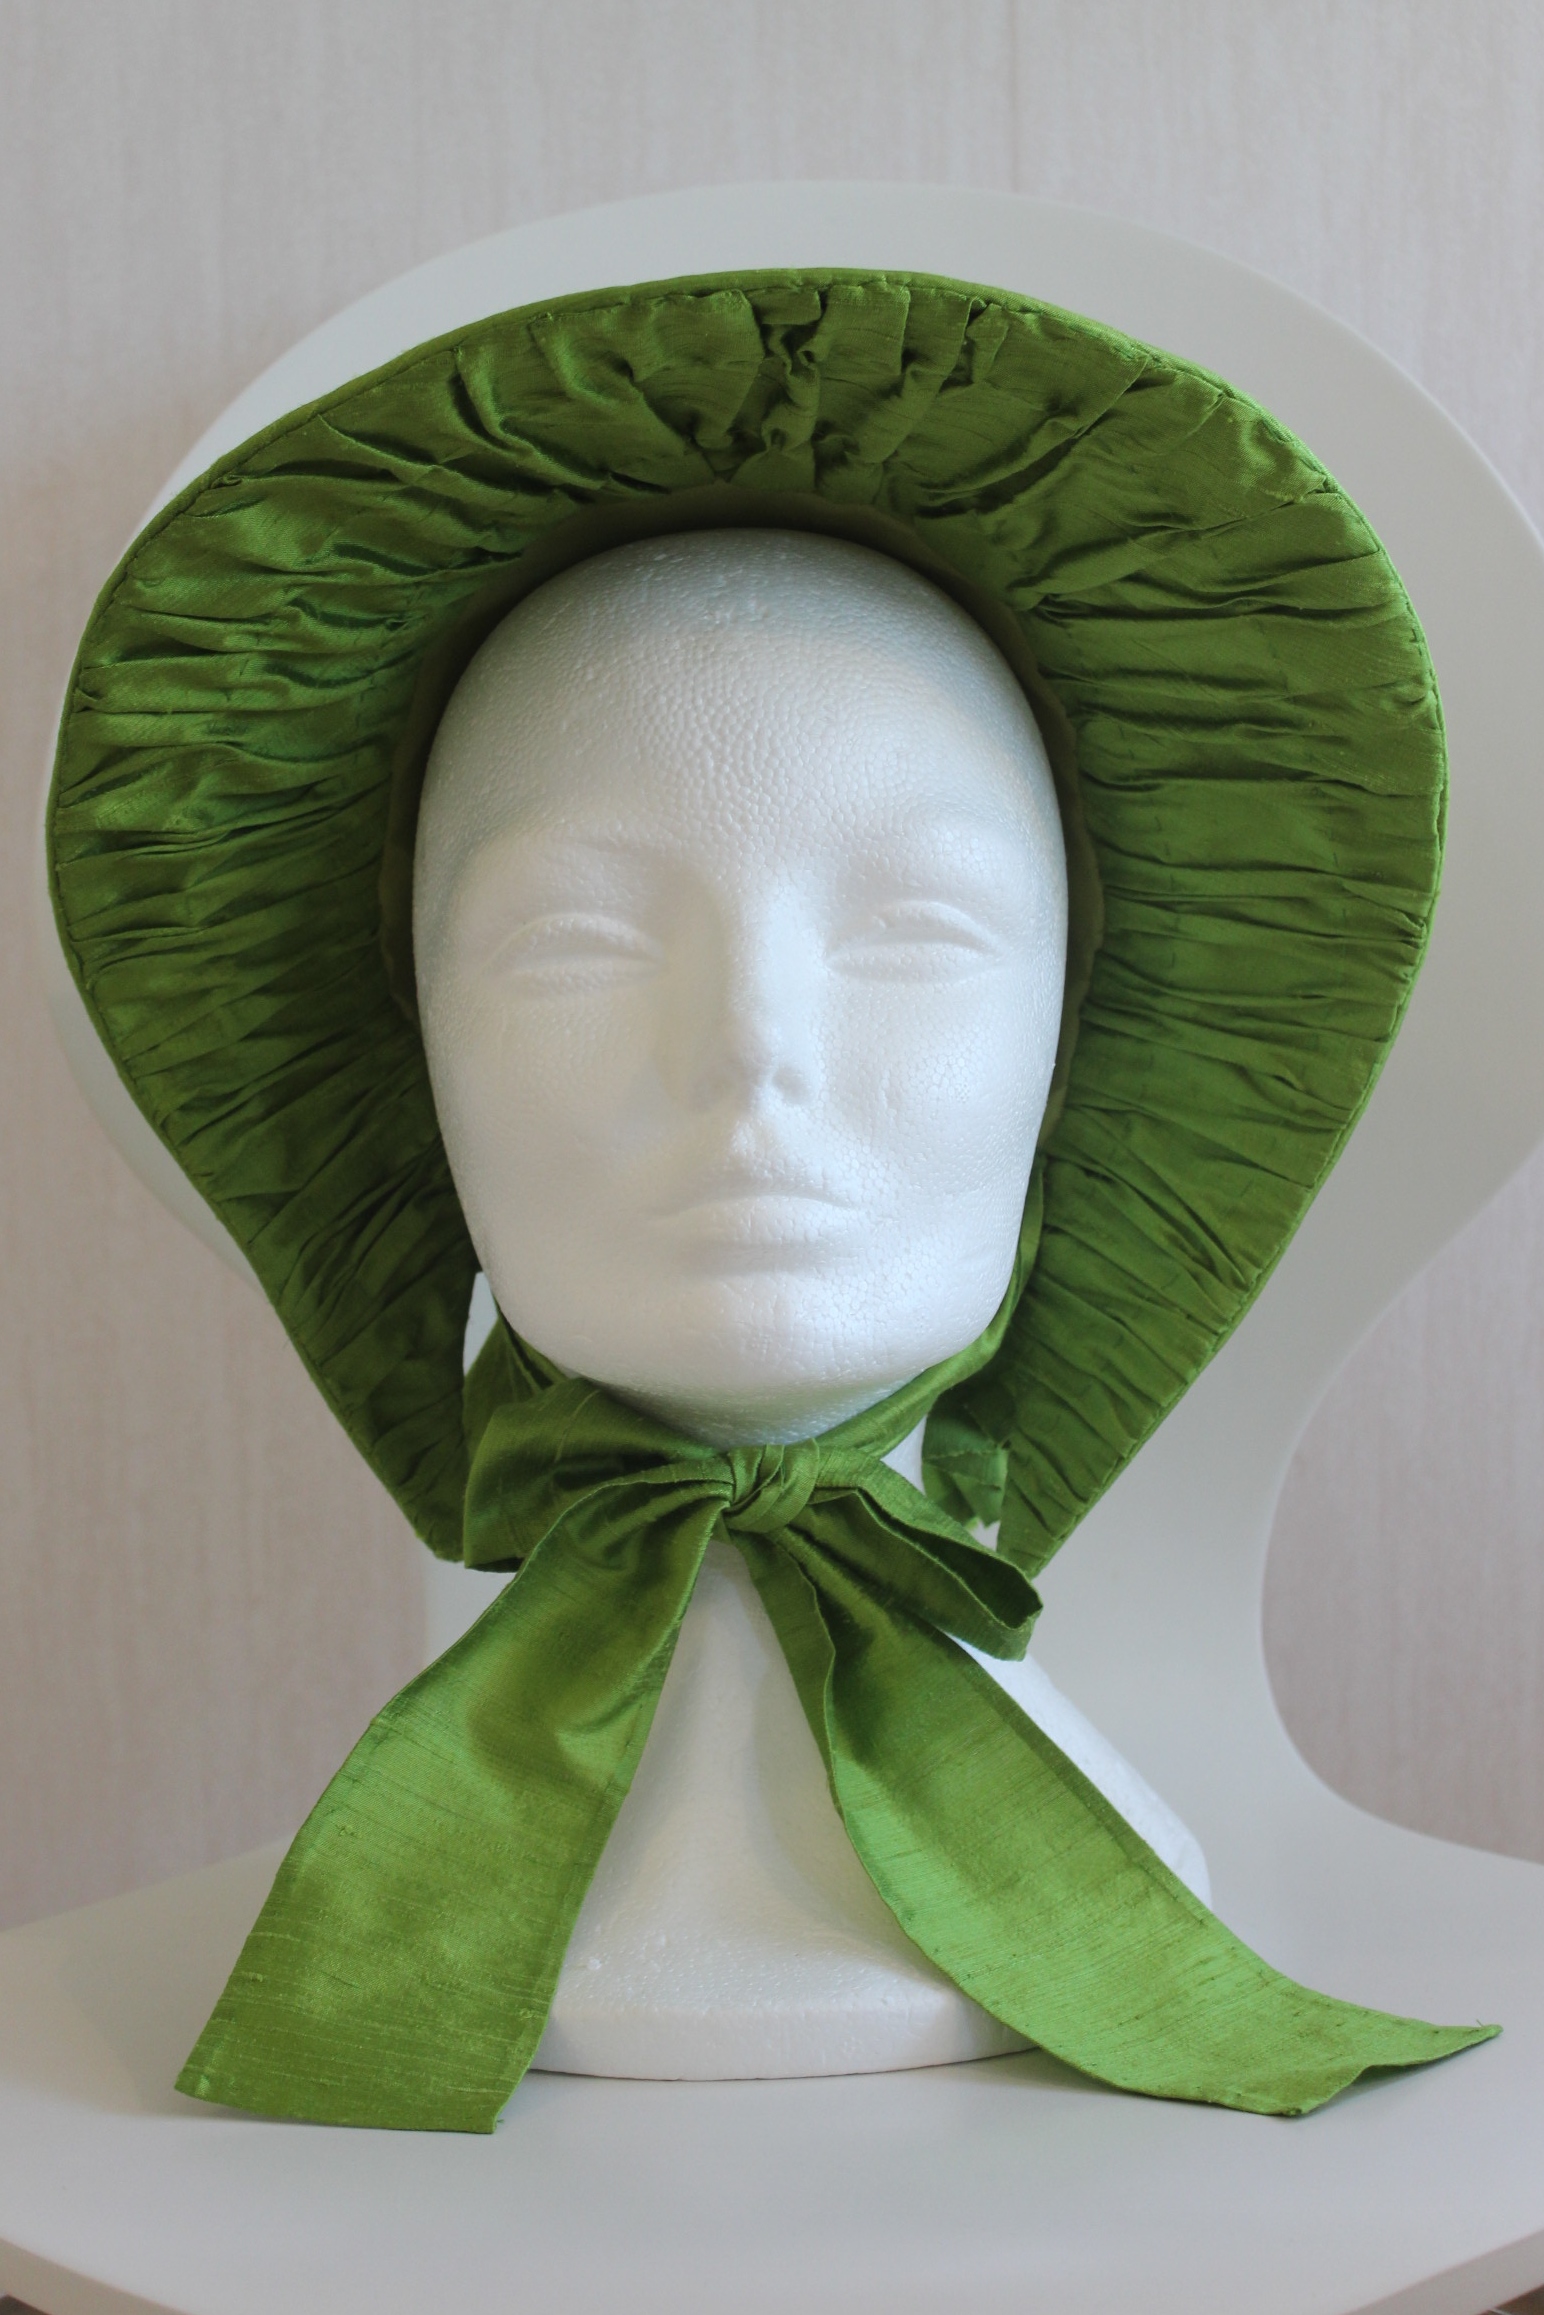
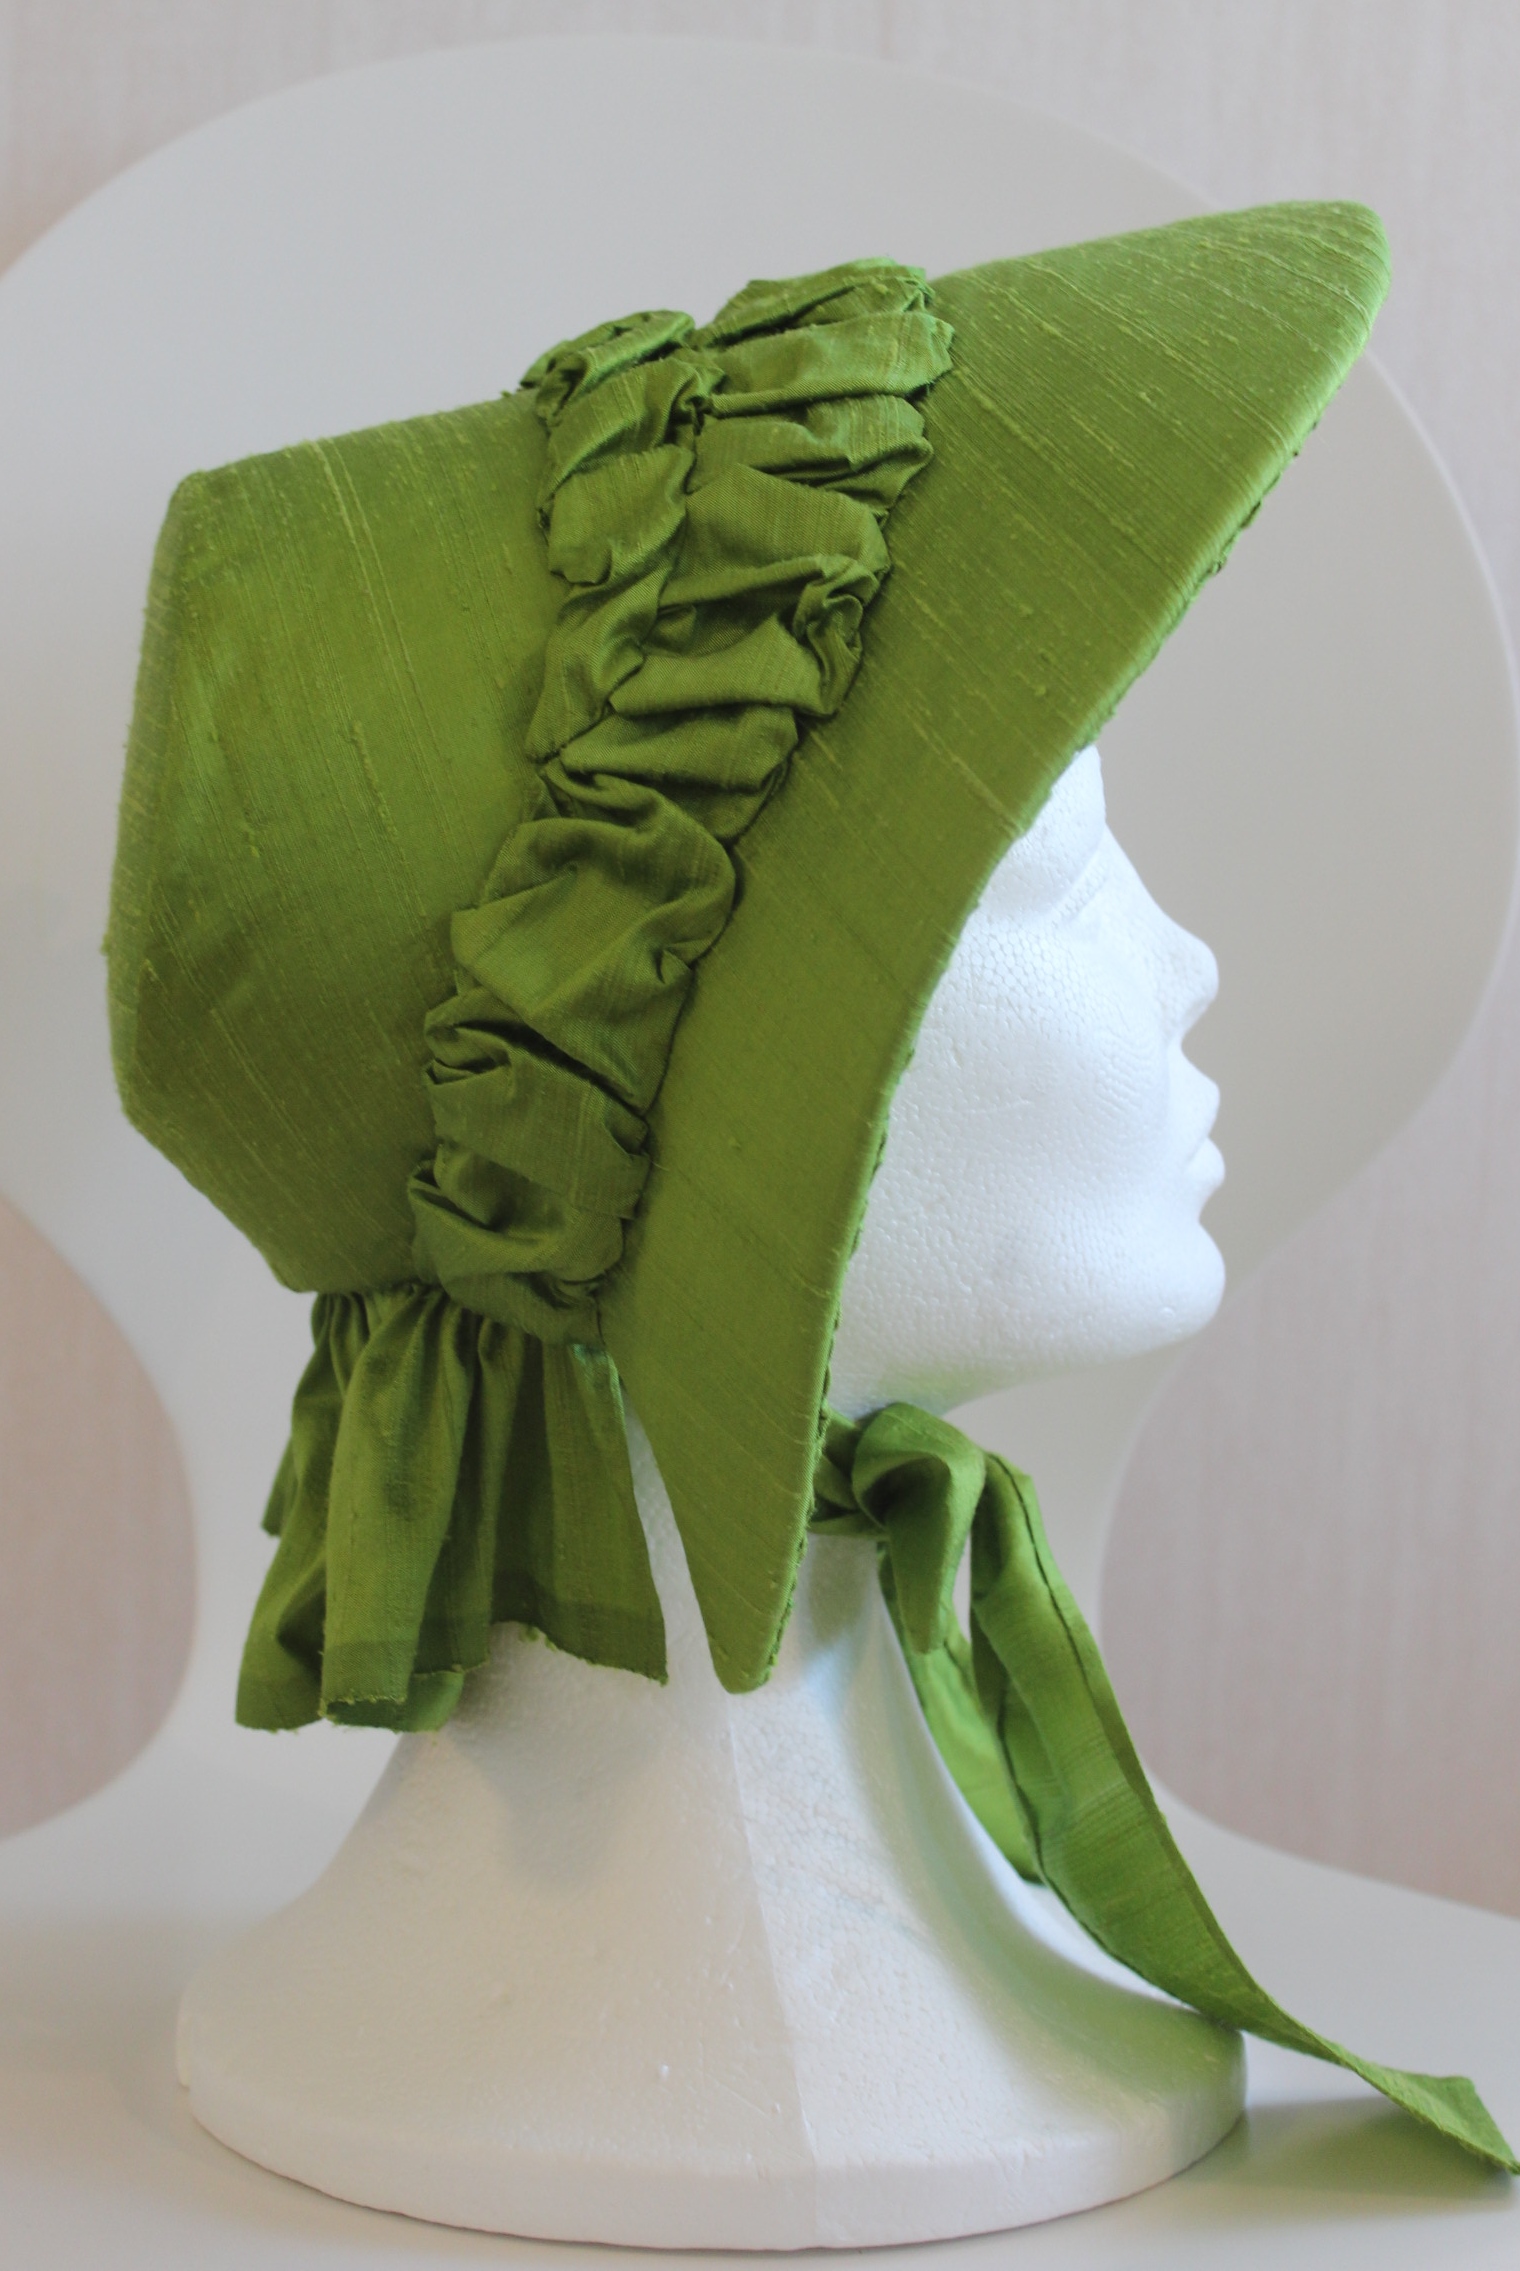
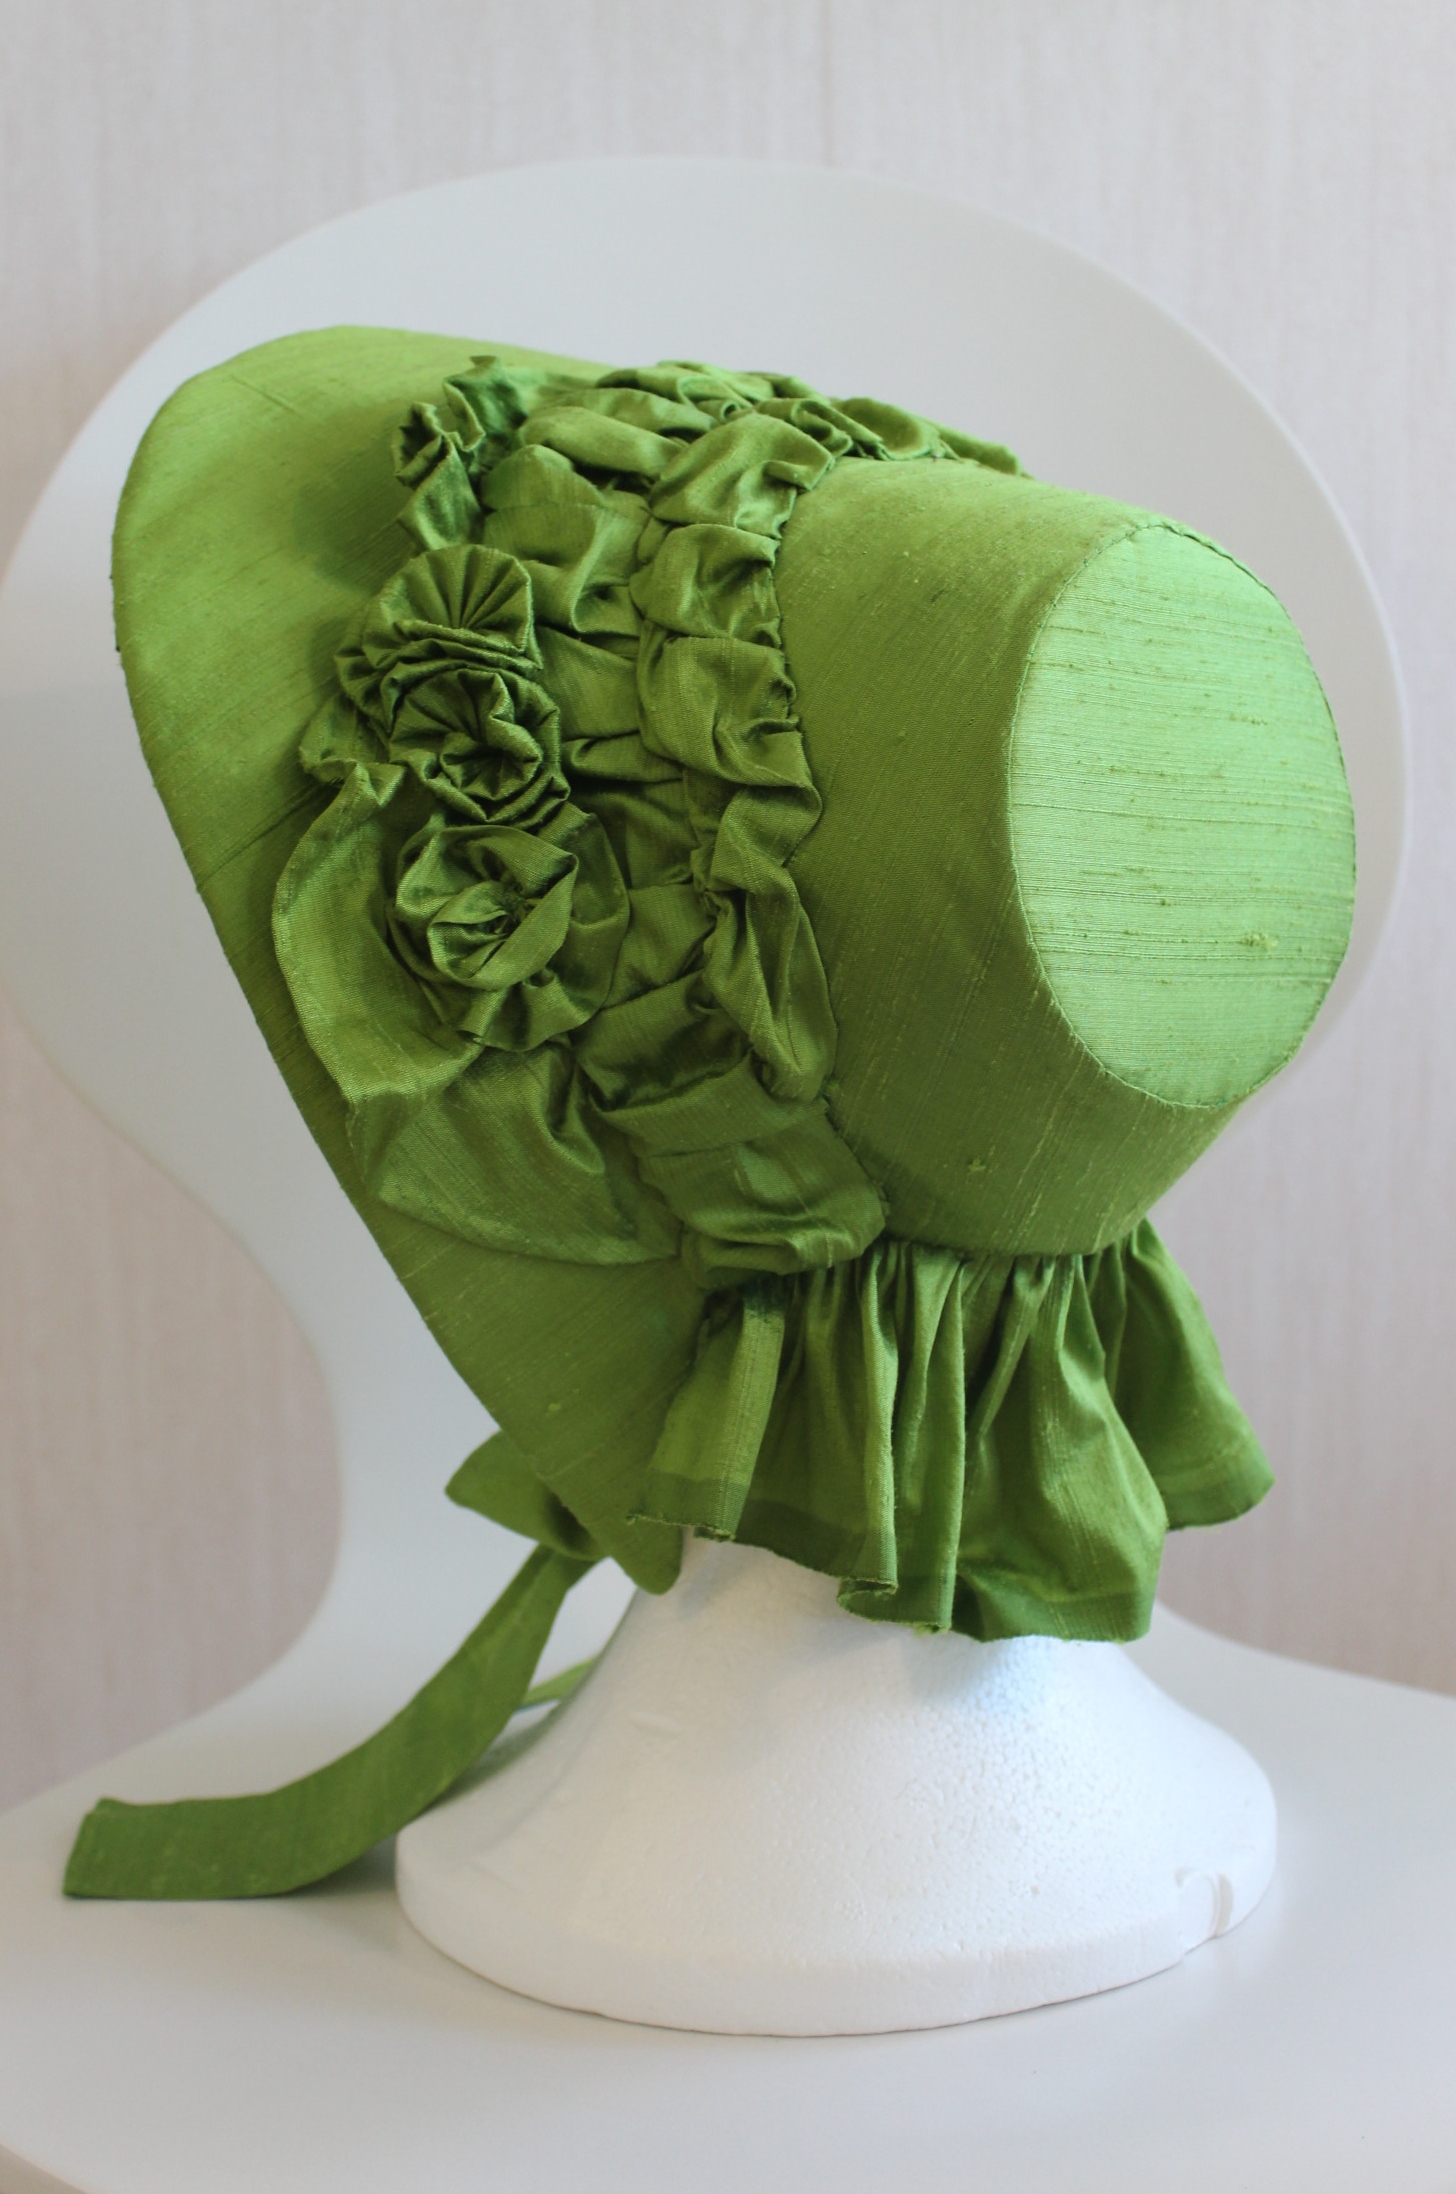
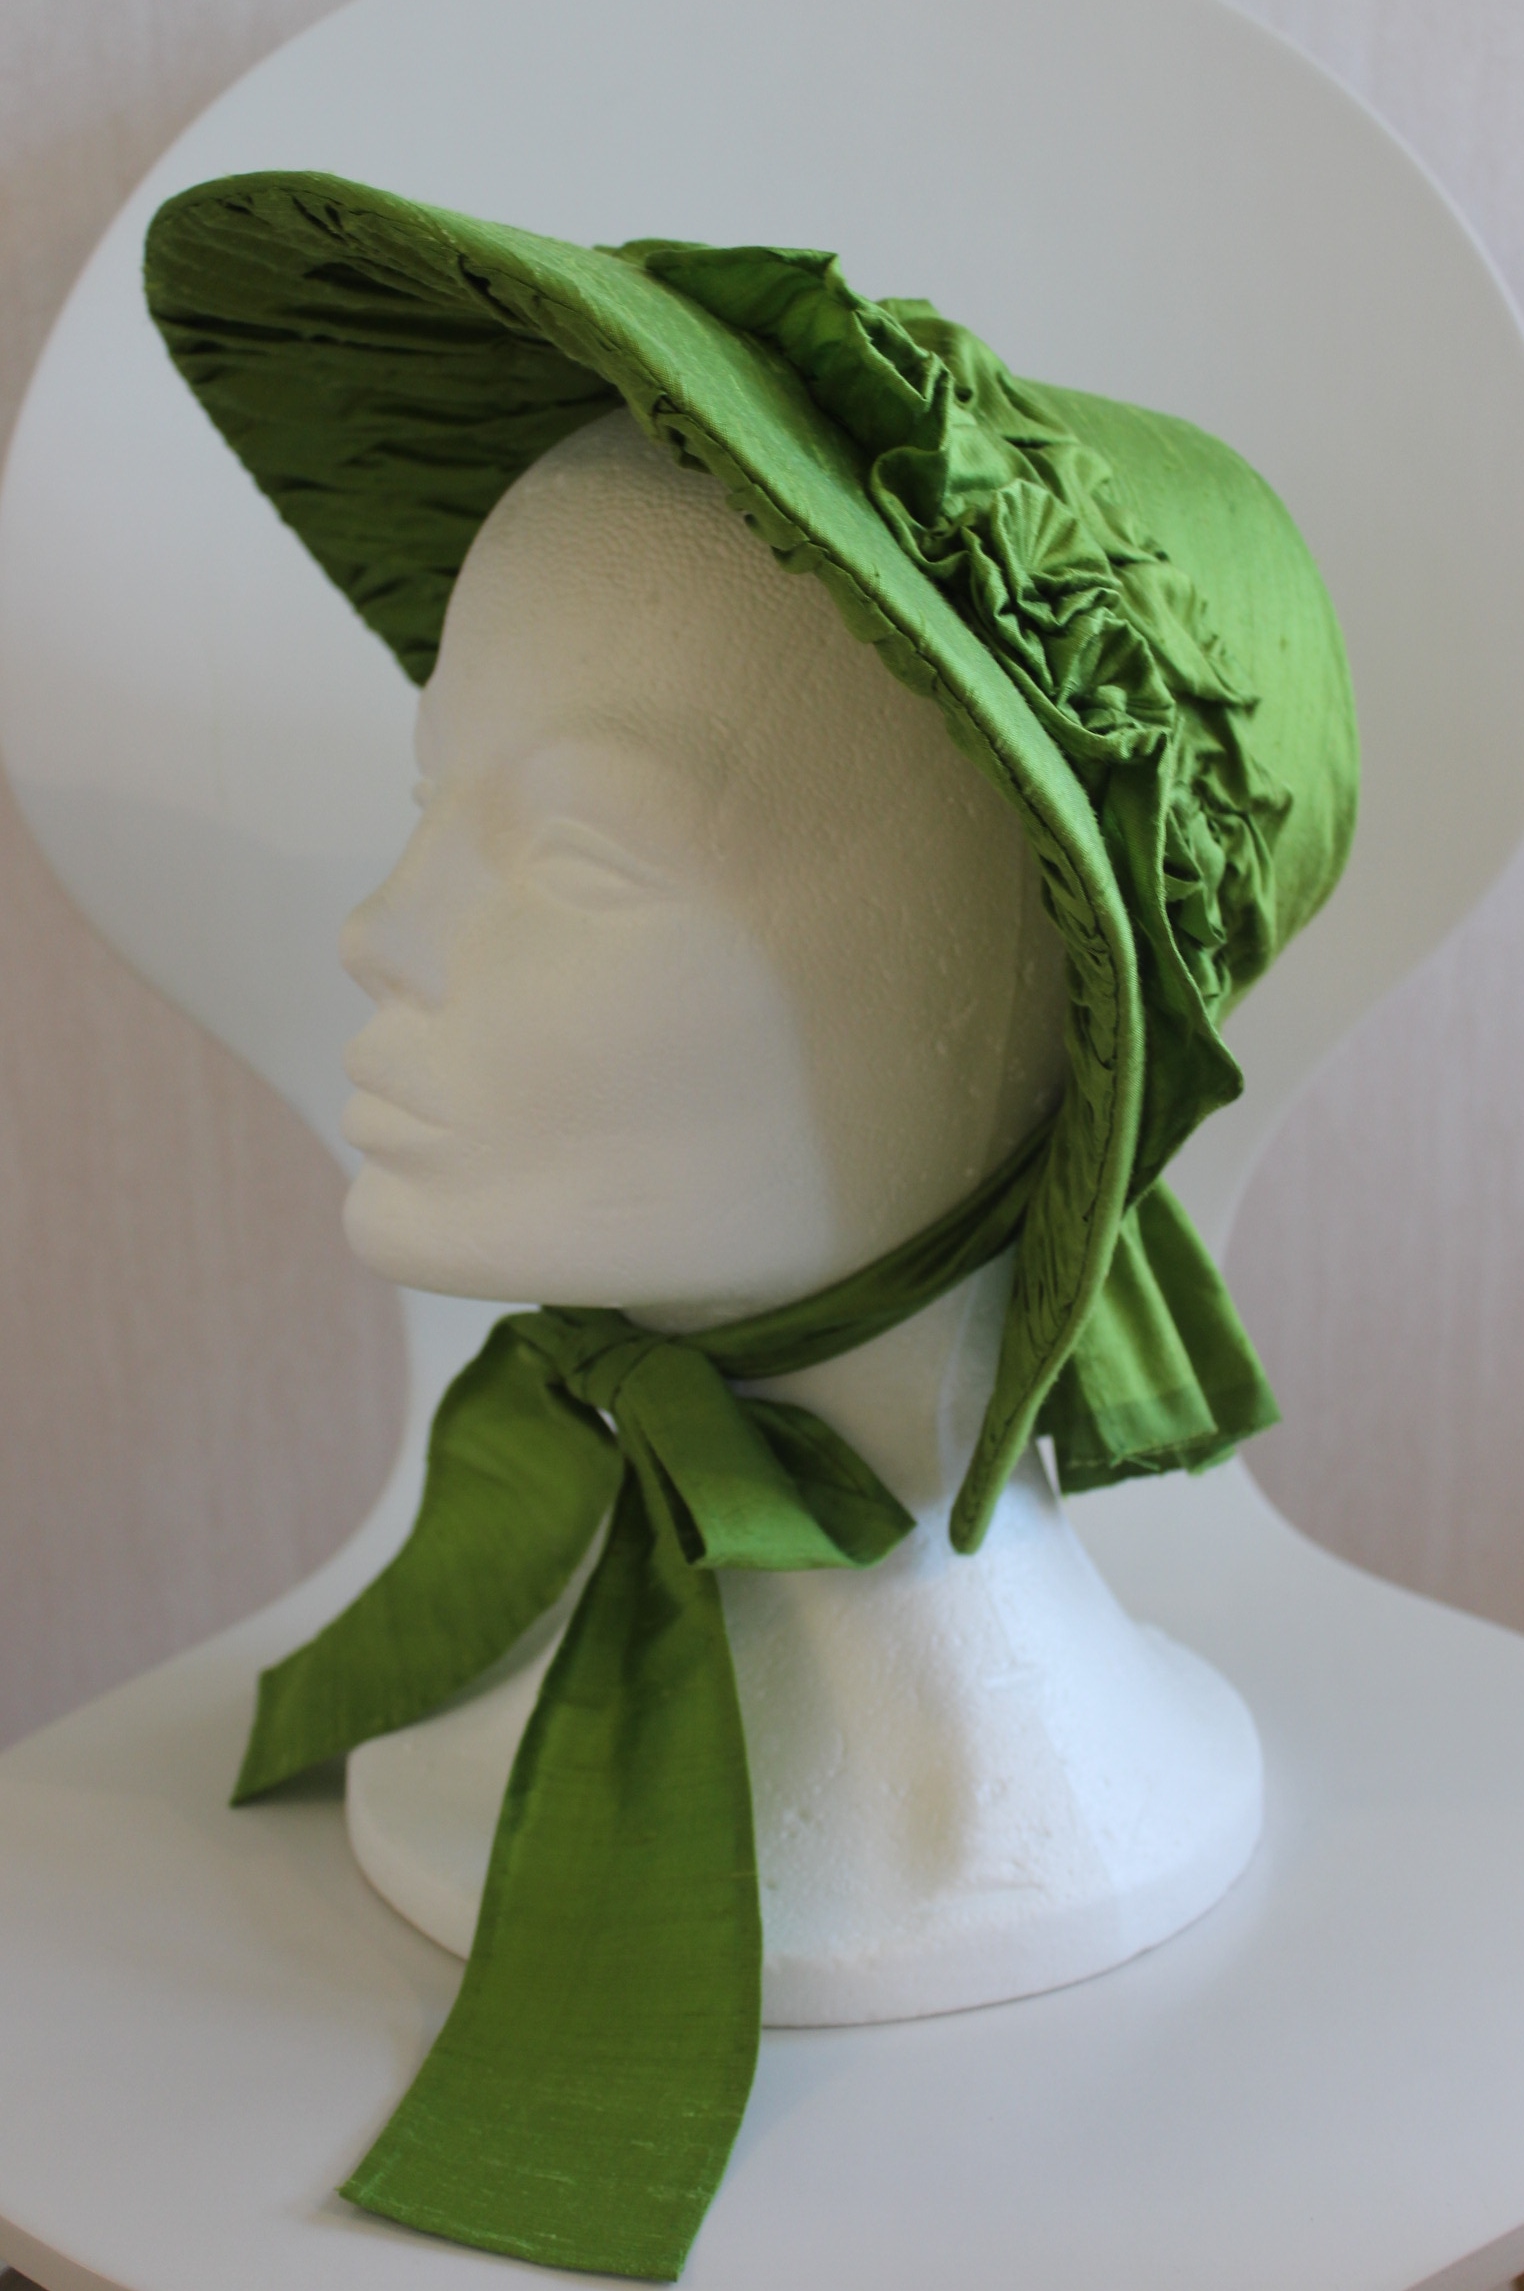
The finished bonnet:
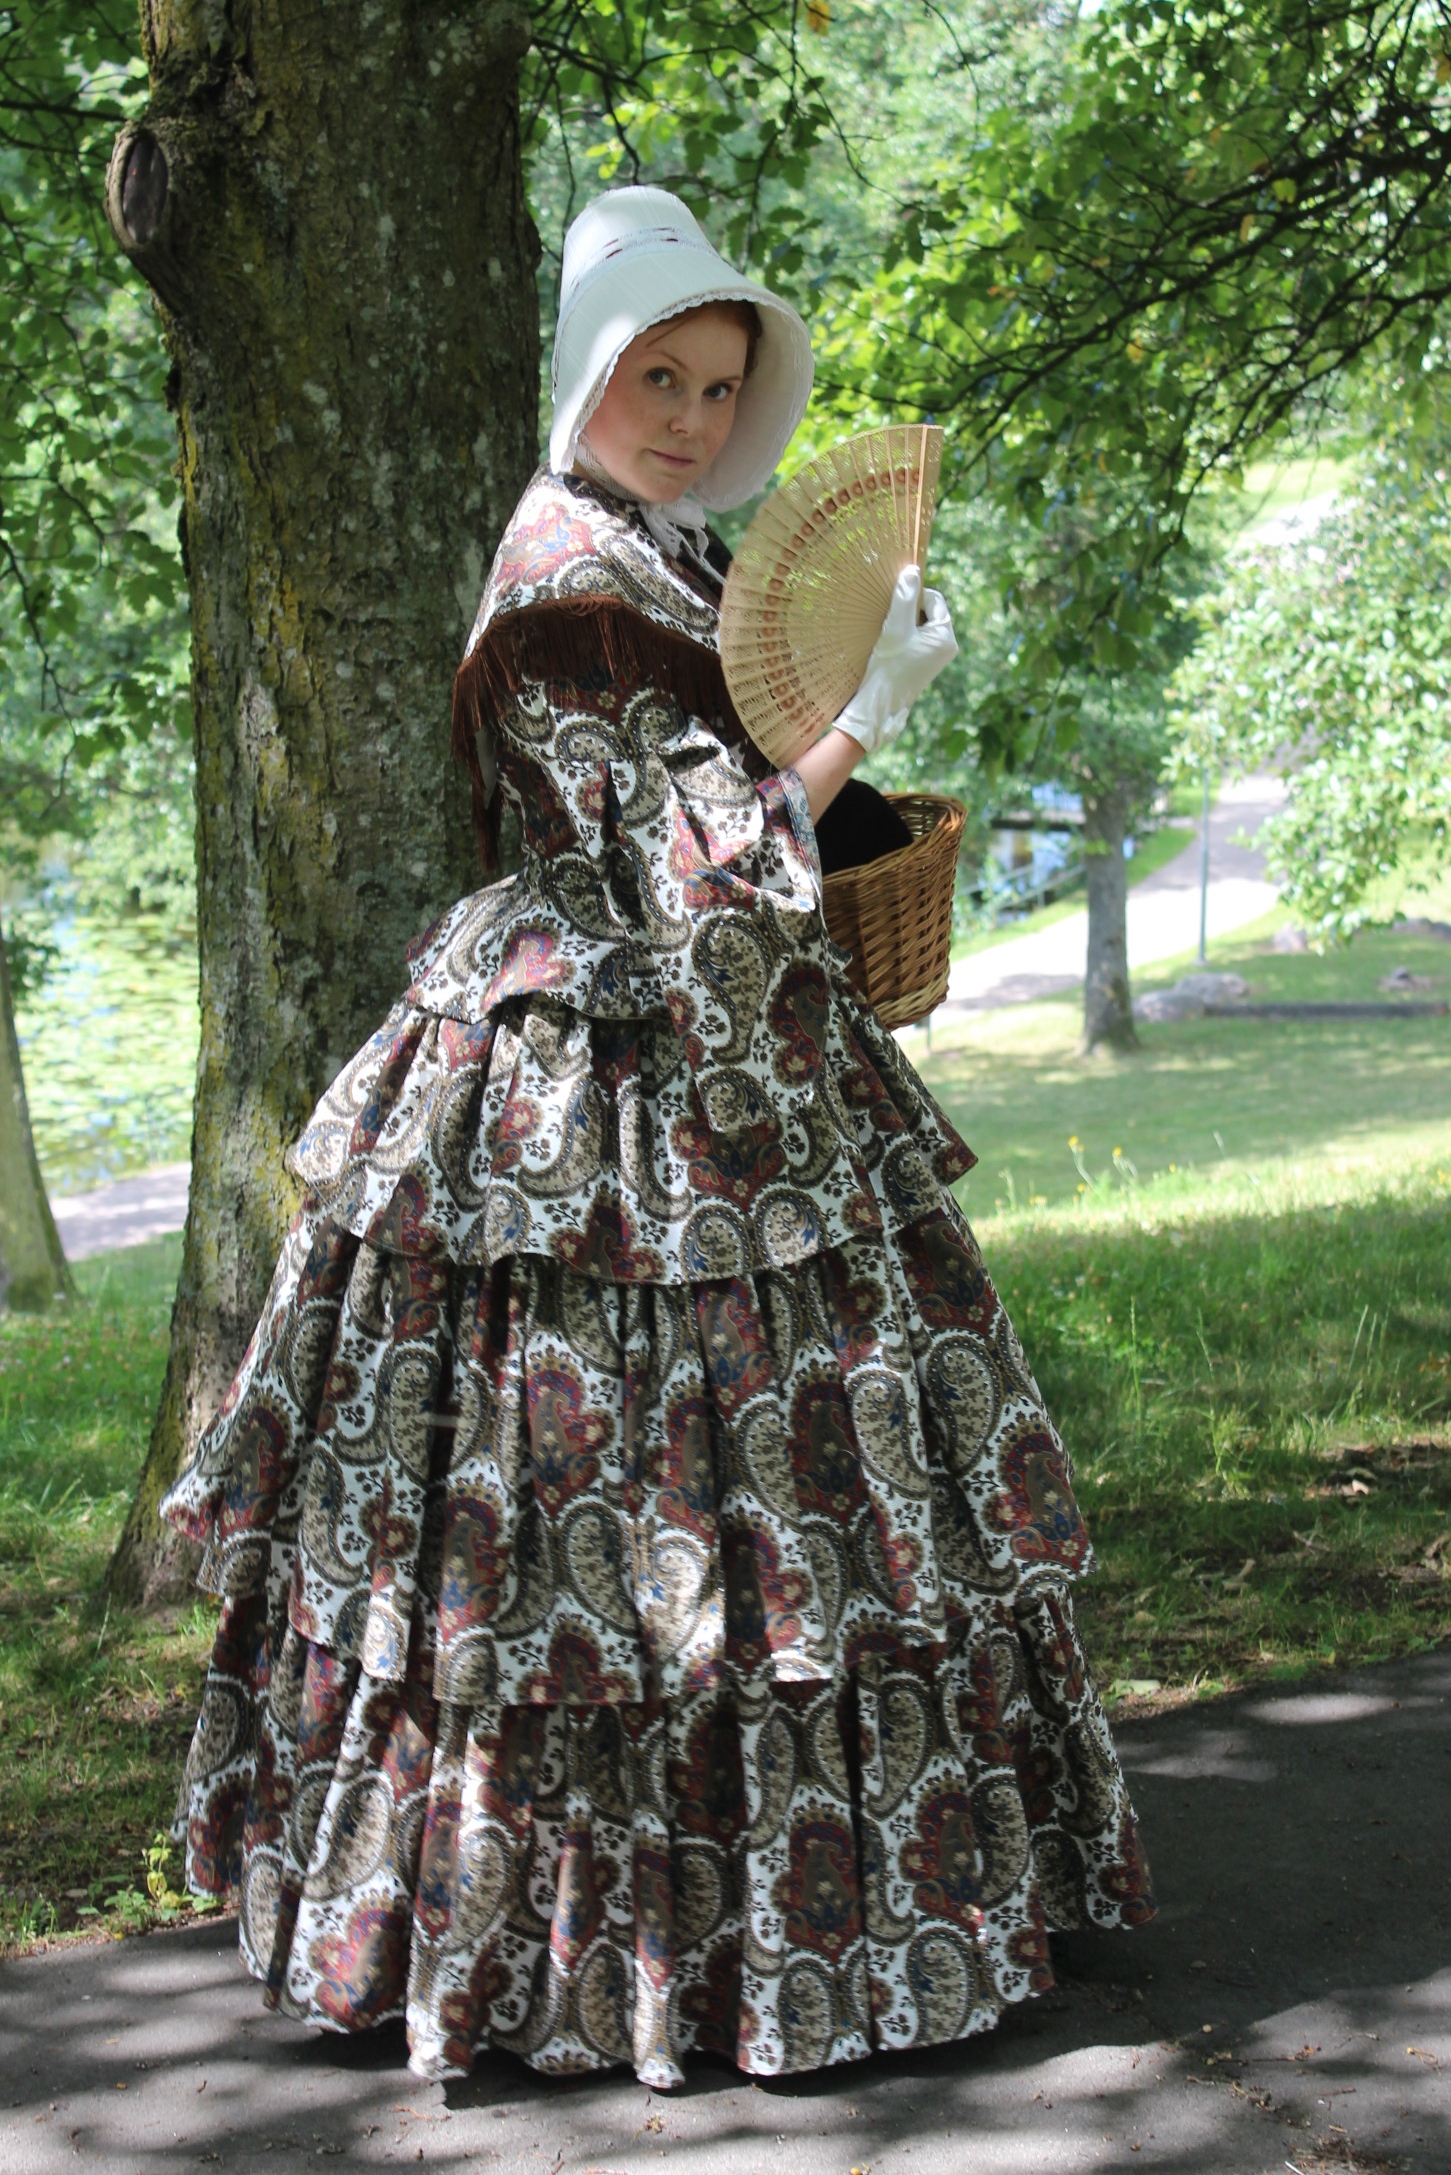
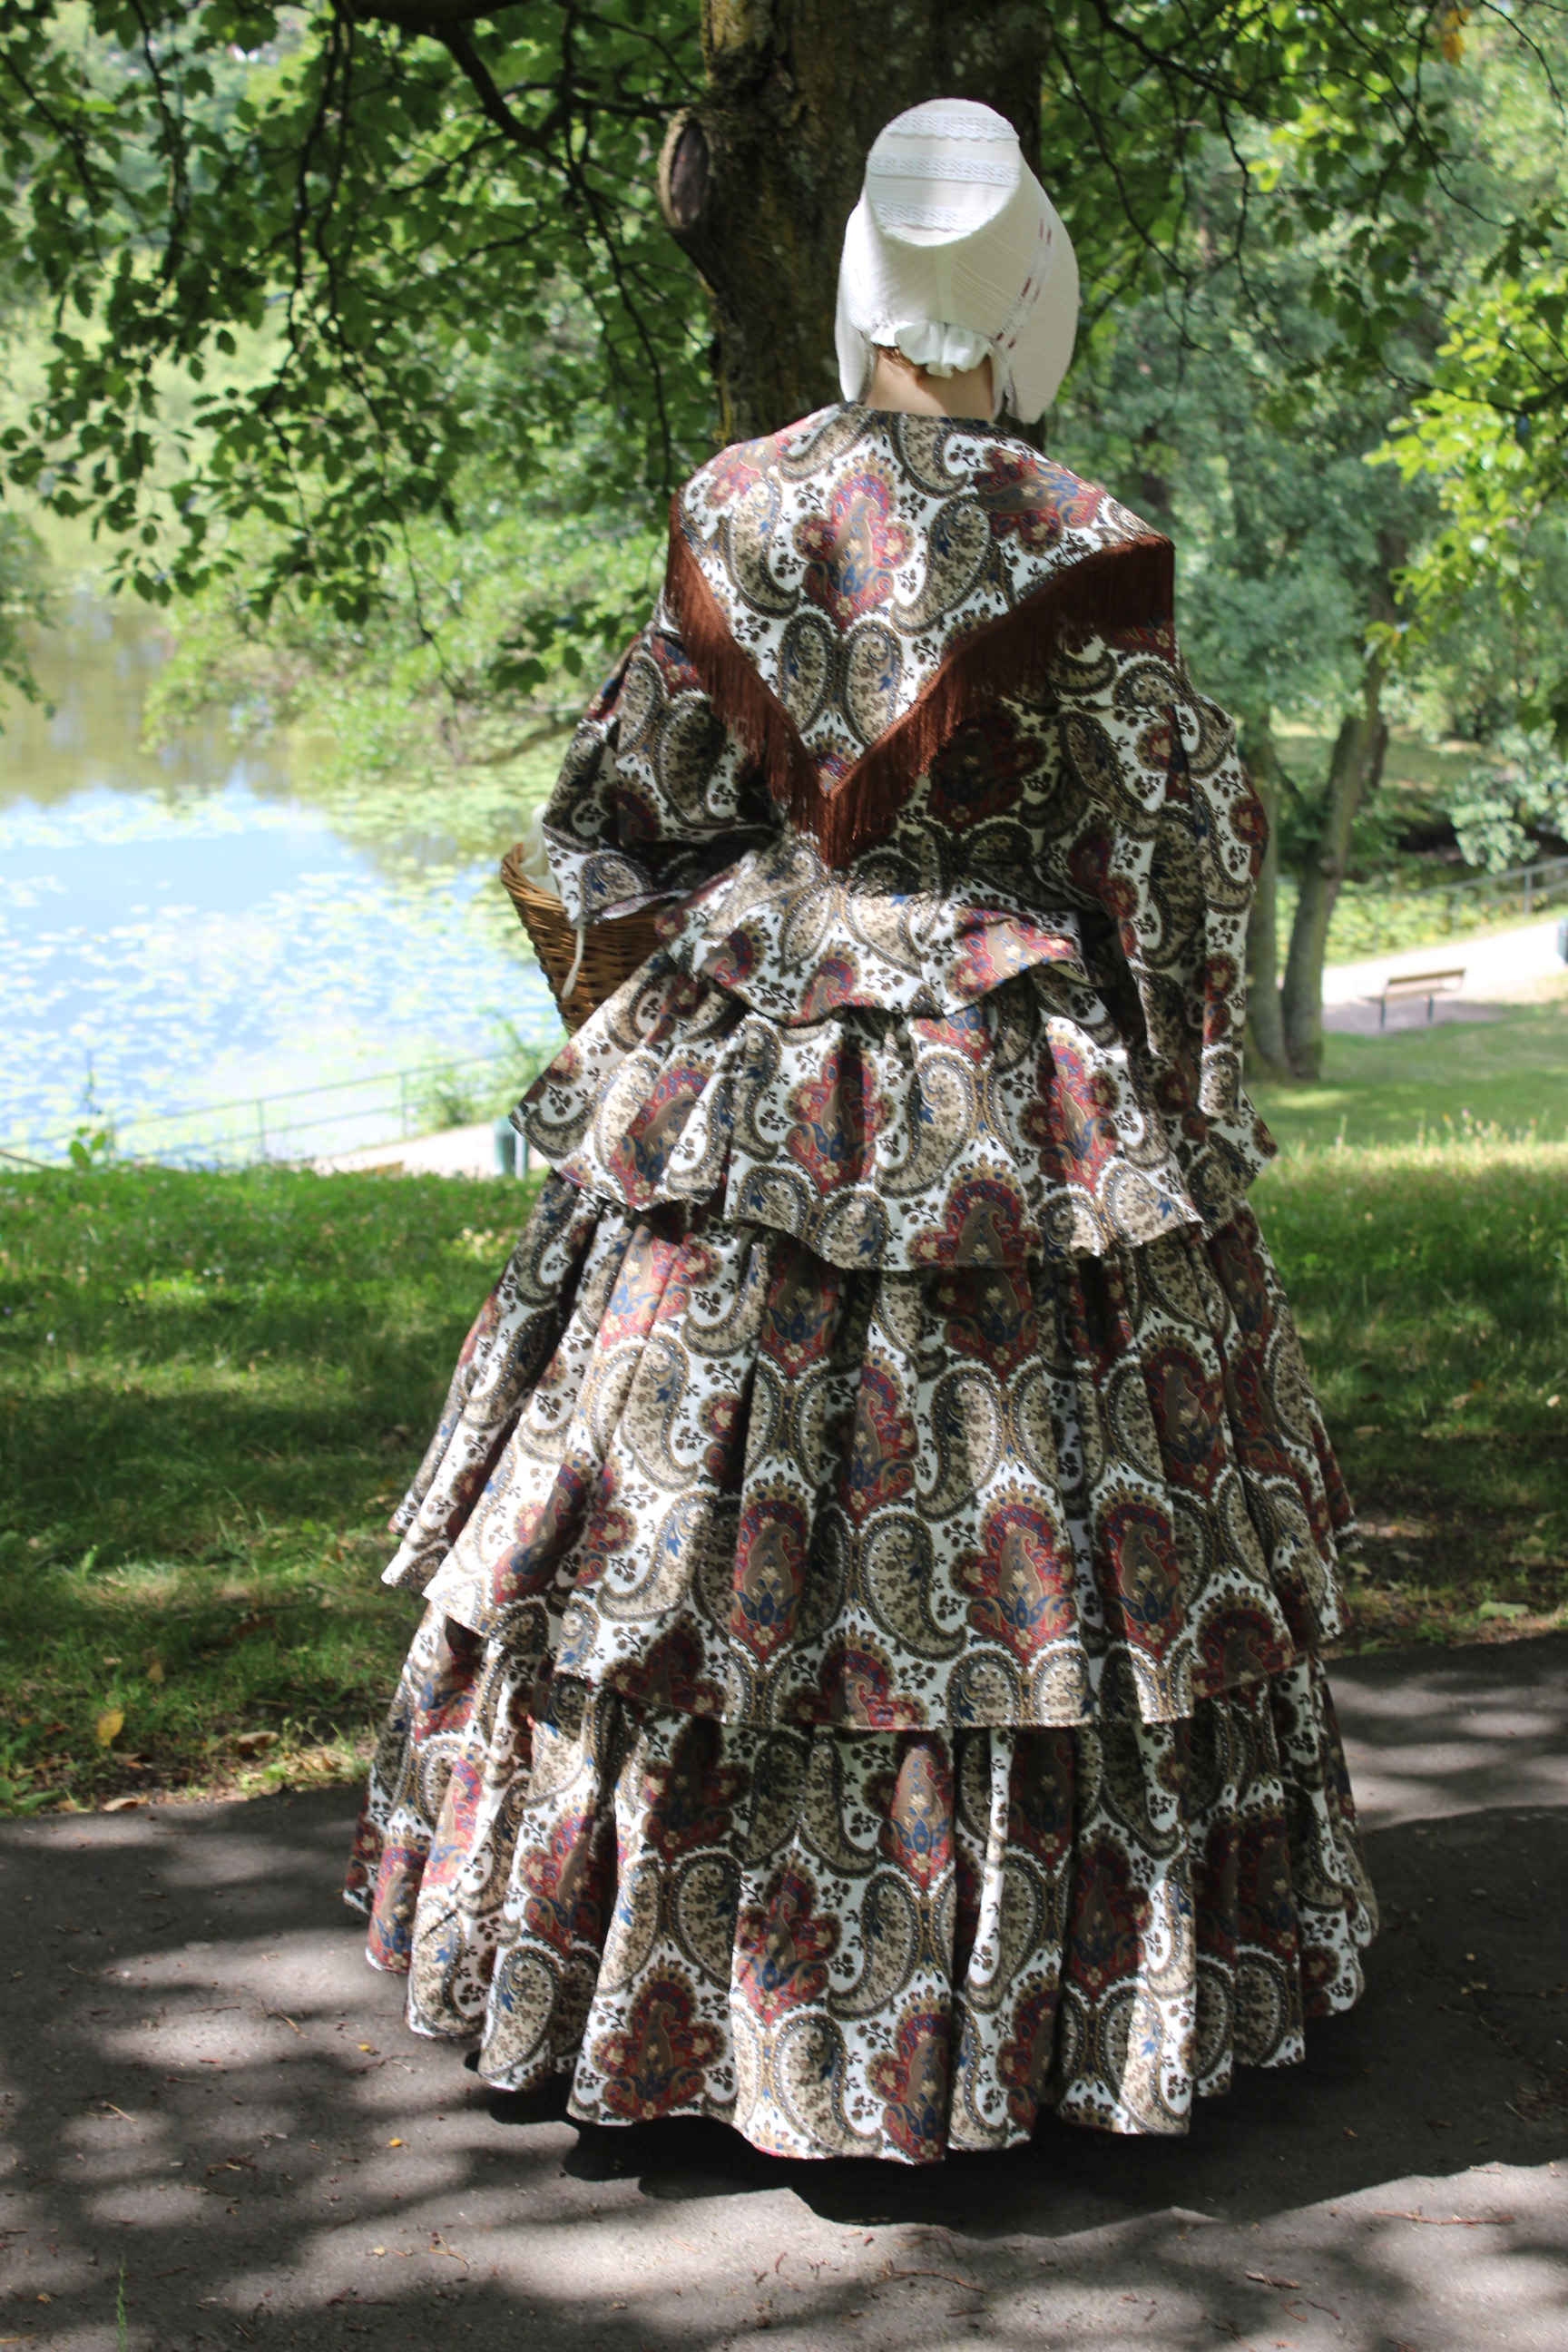
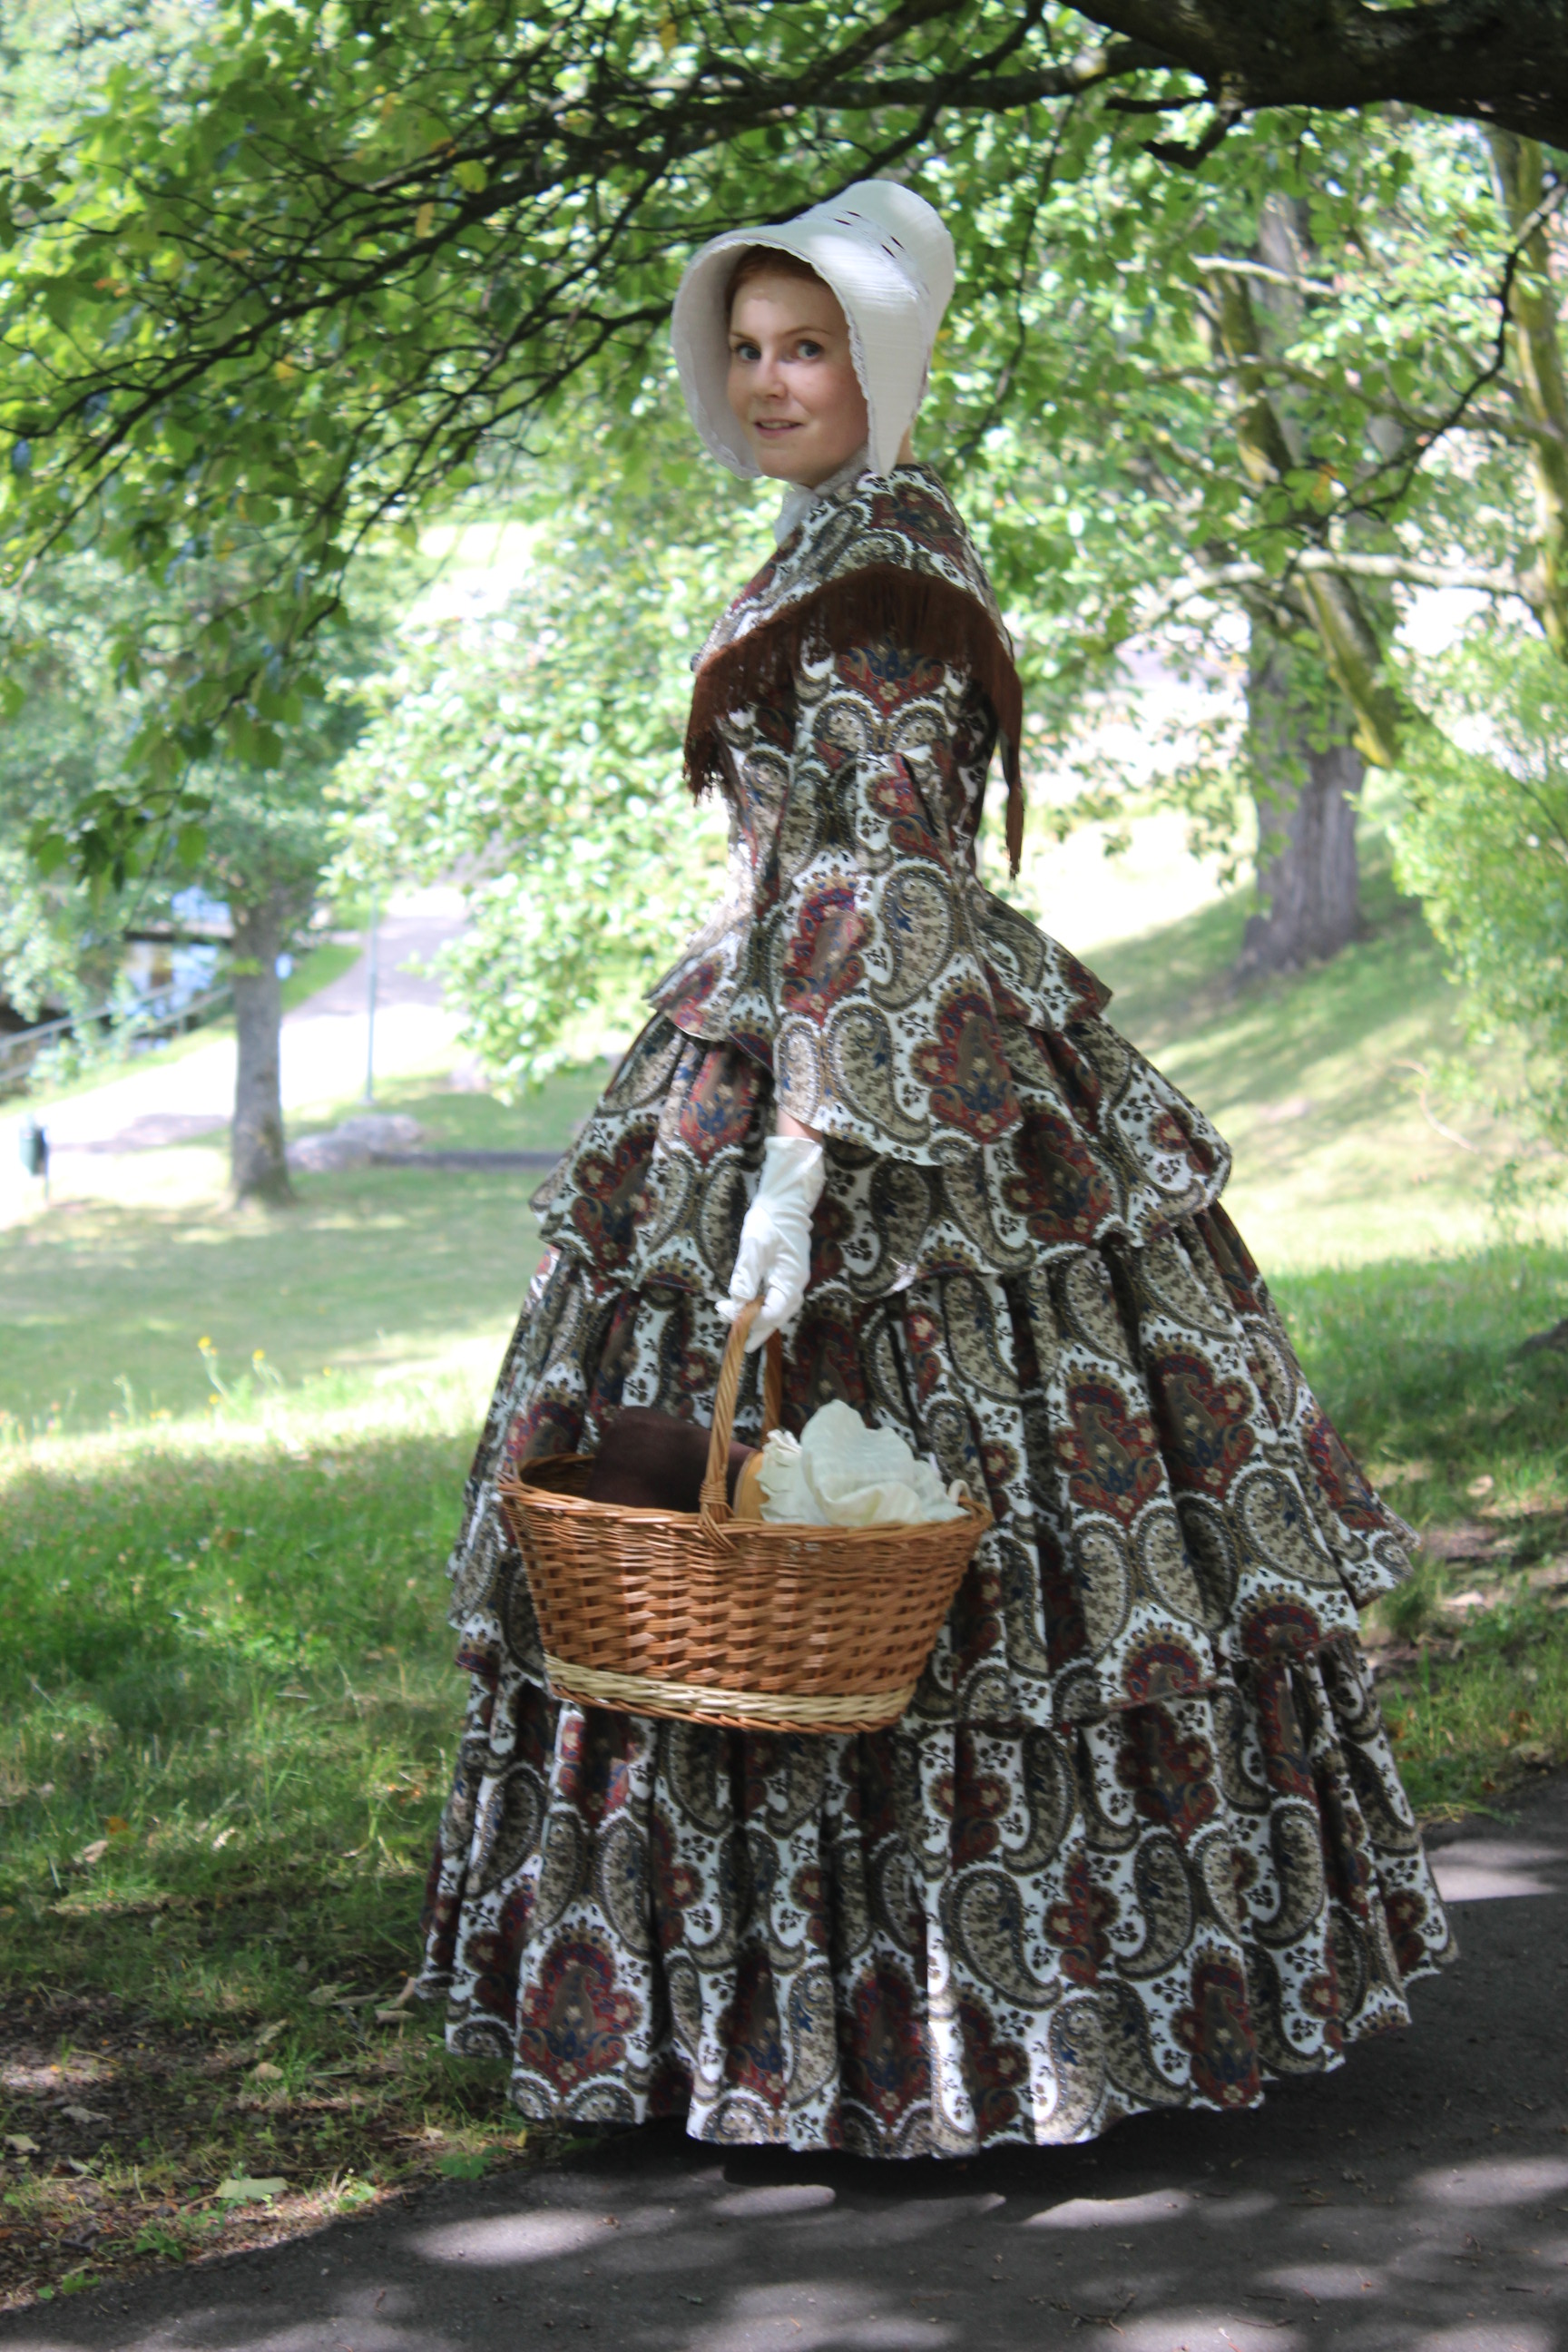
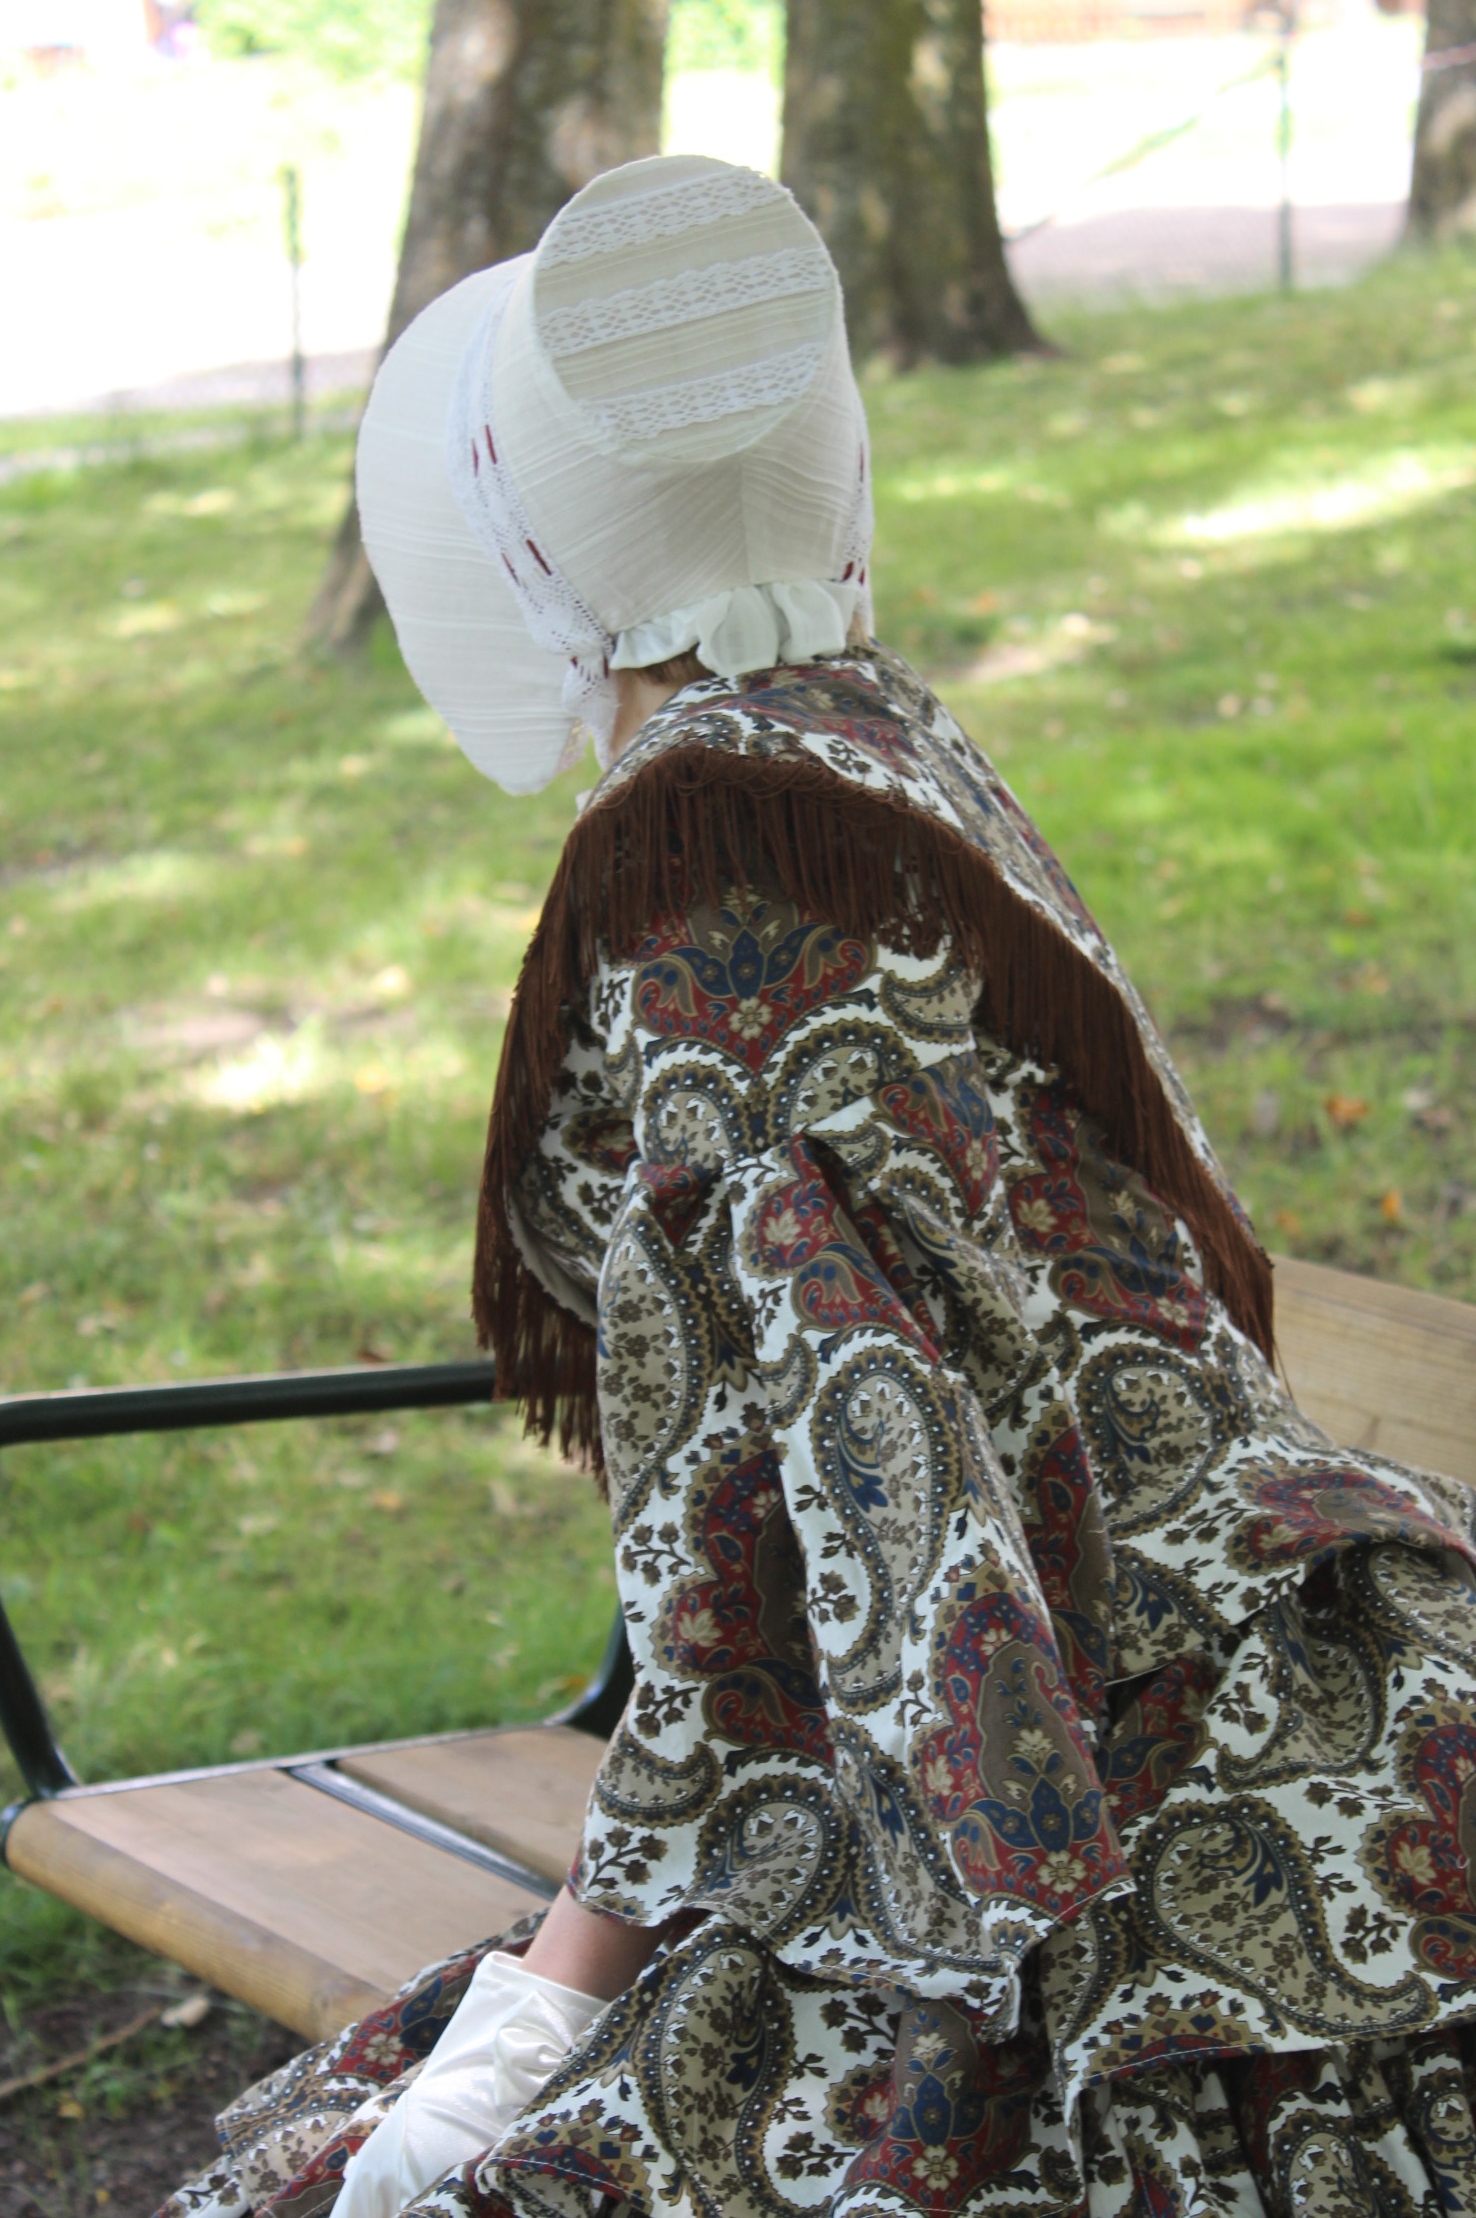
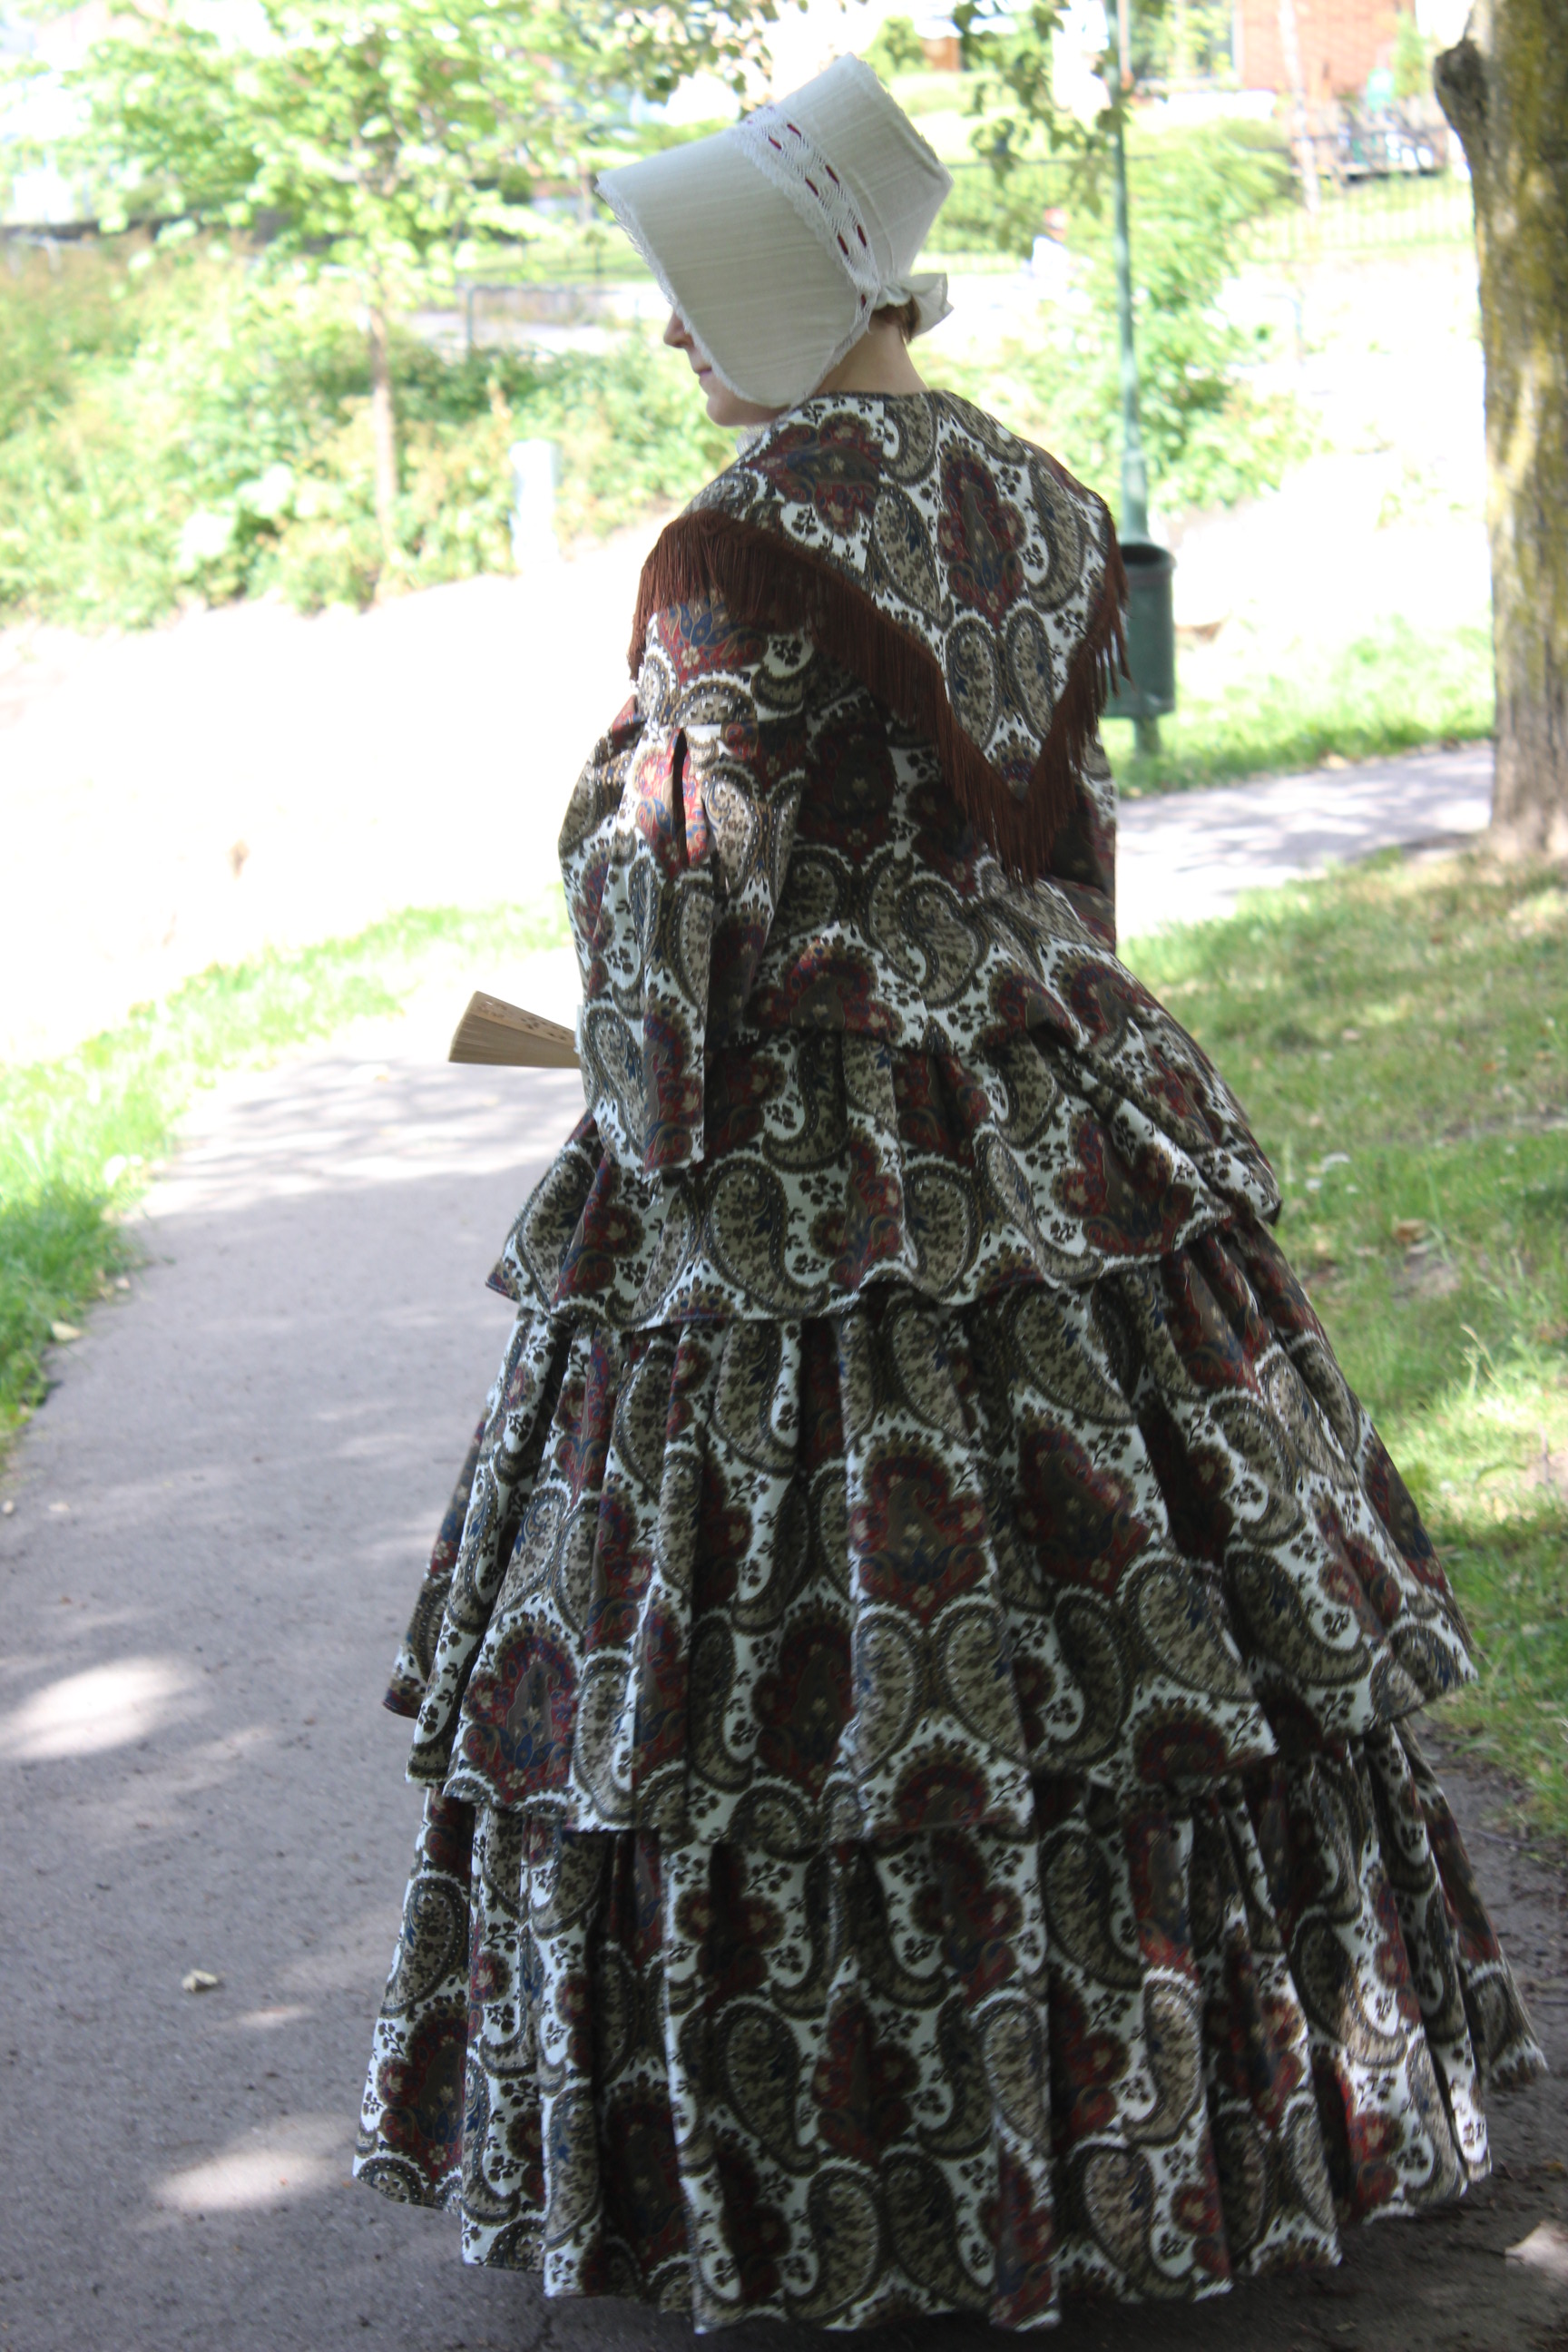
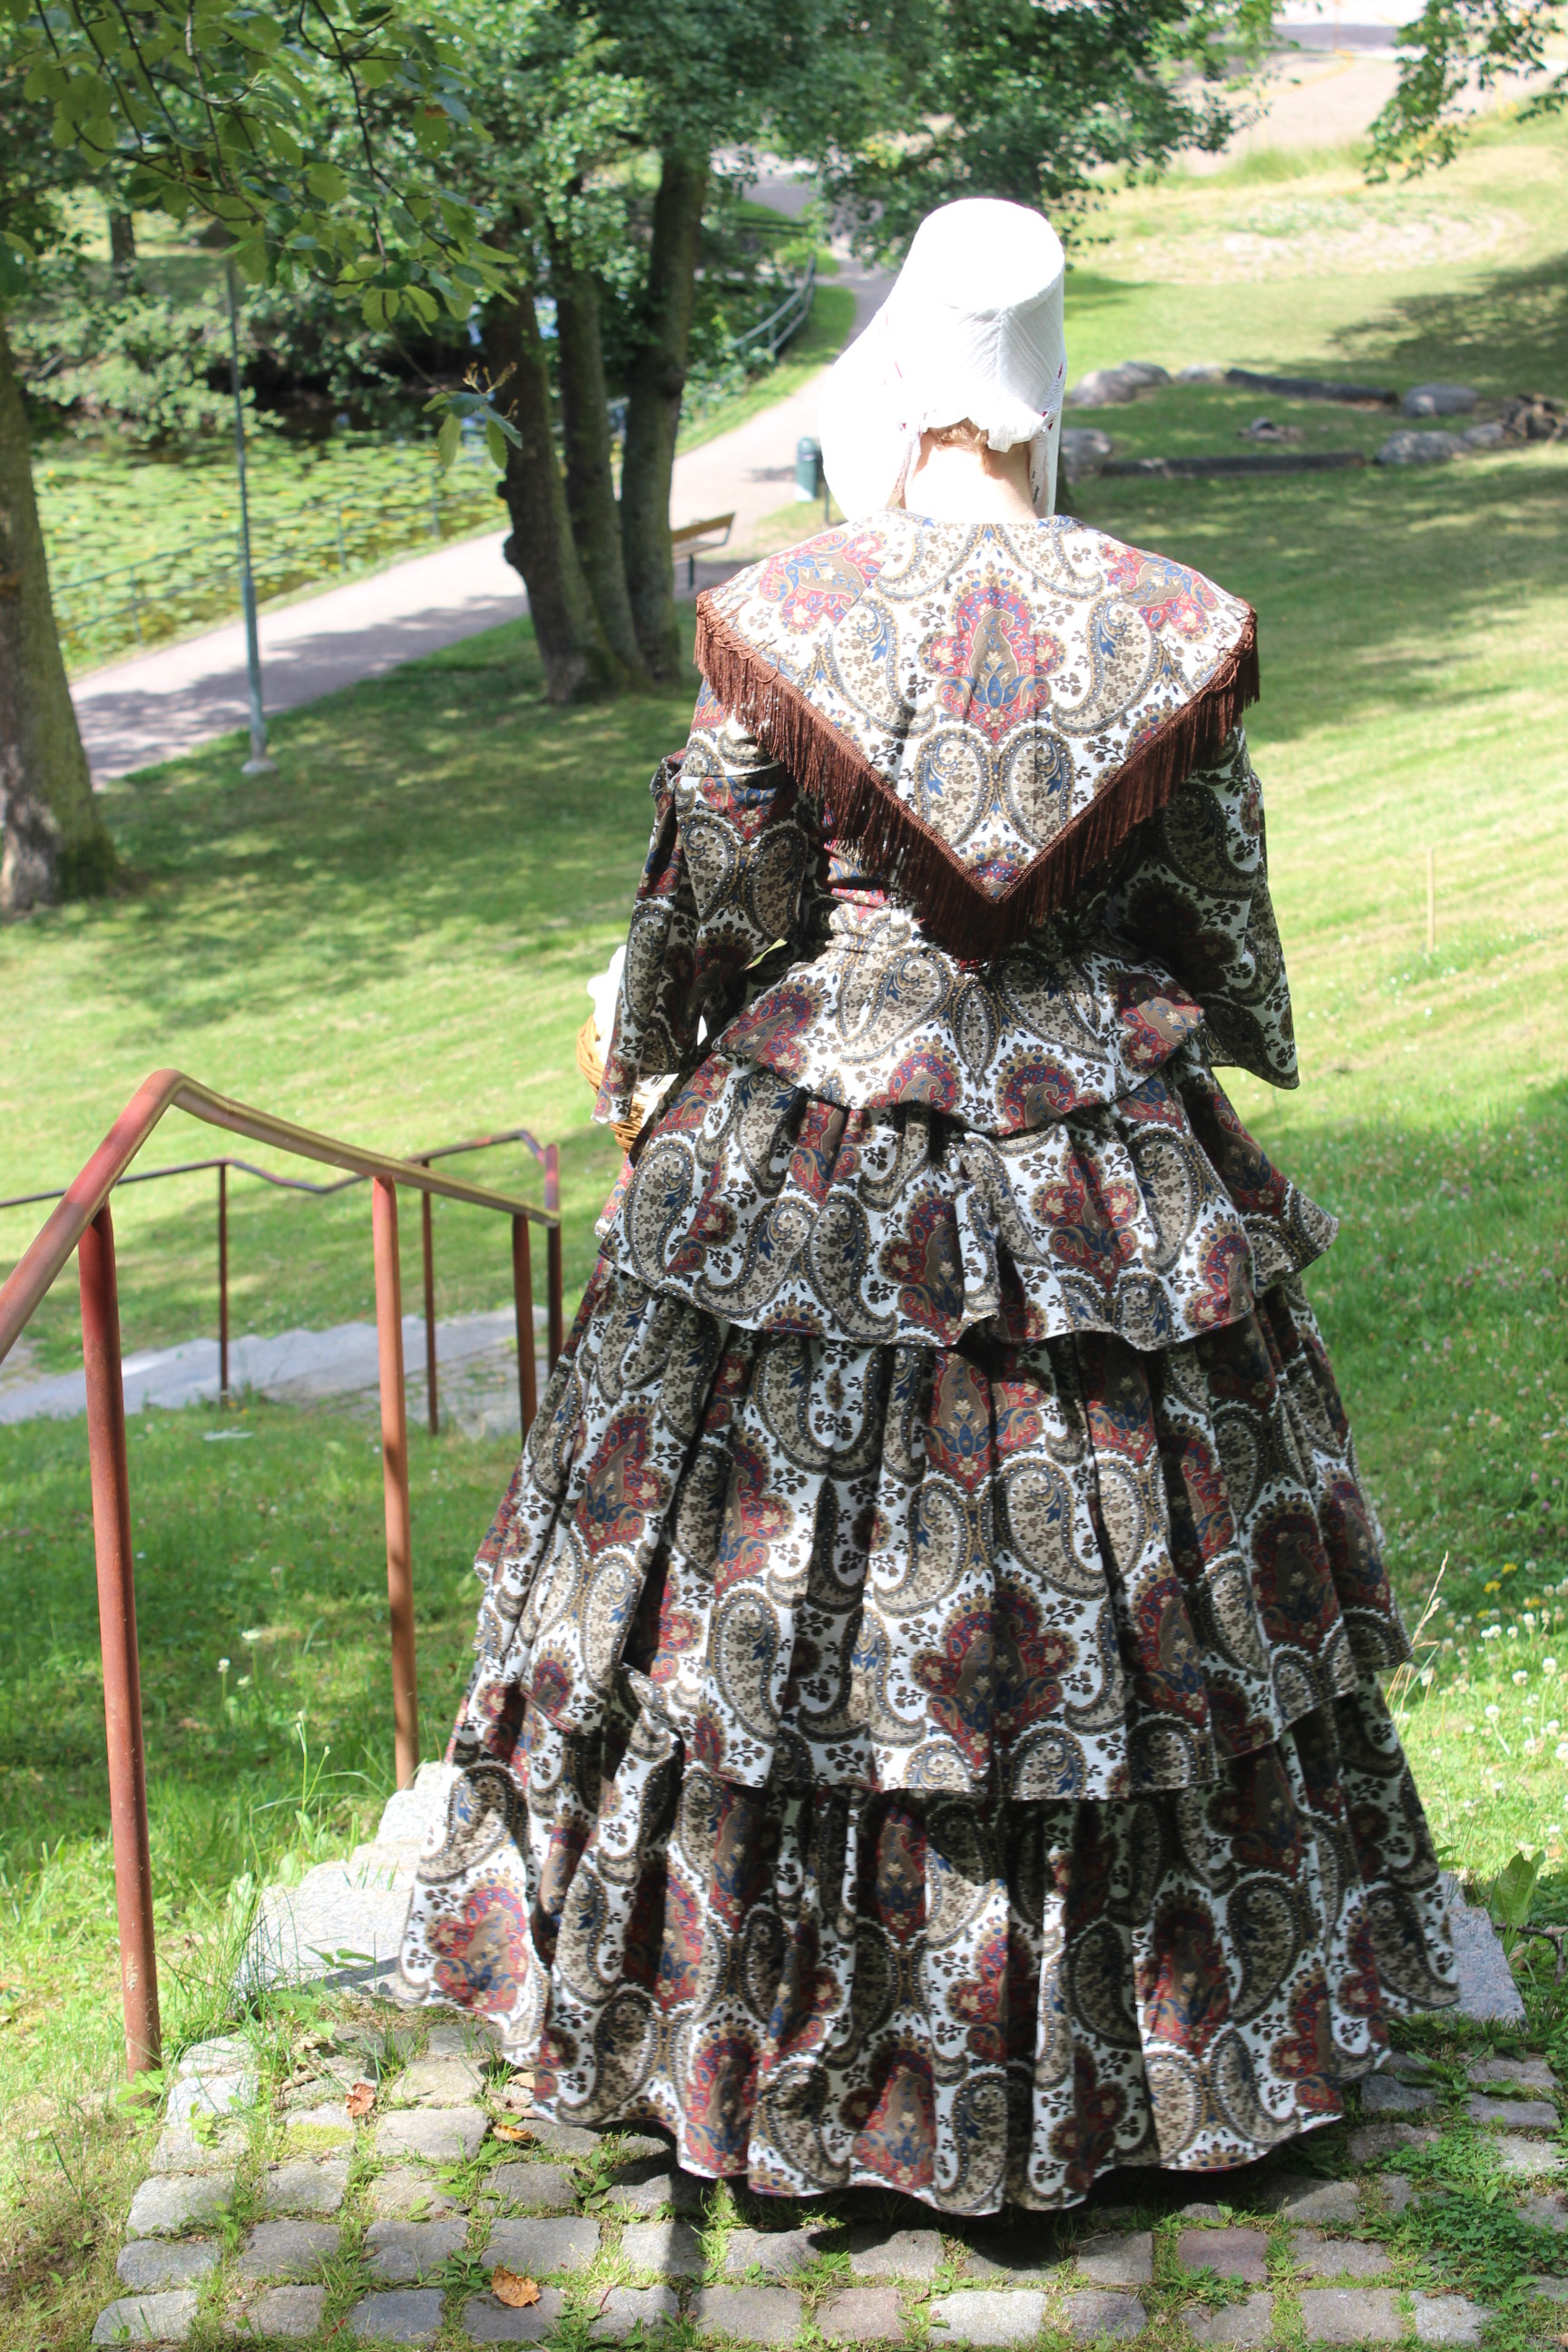
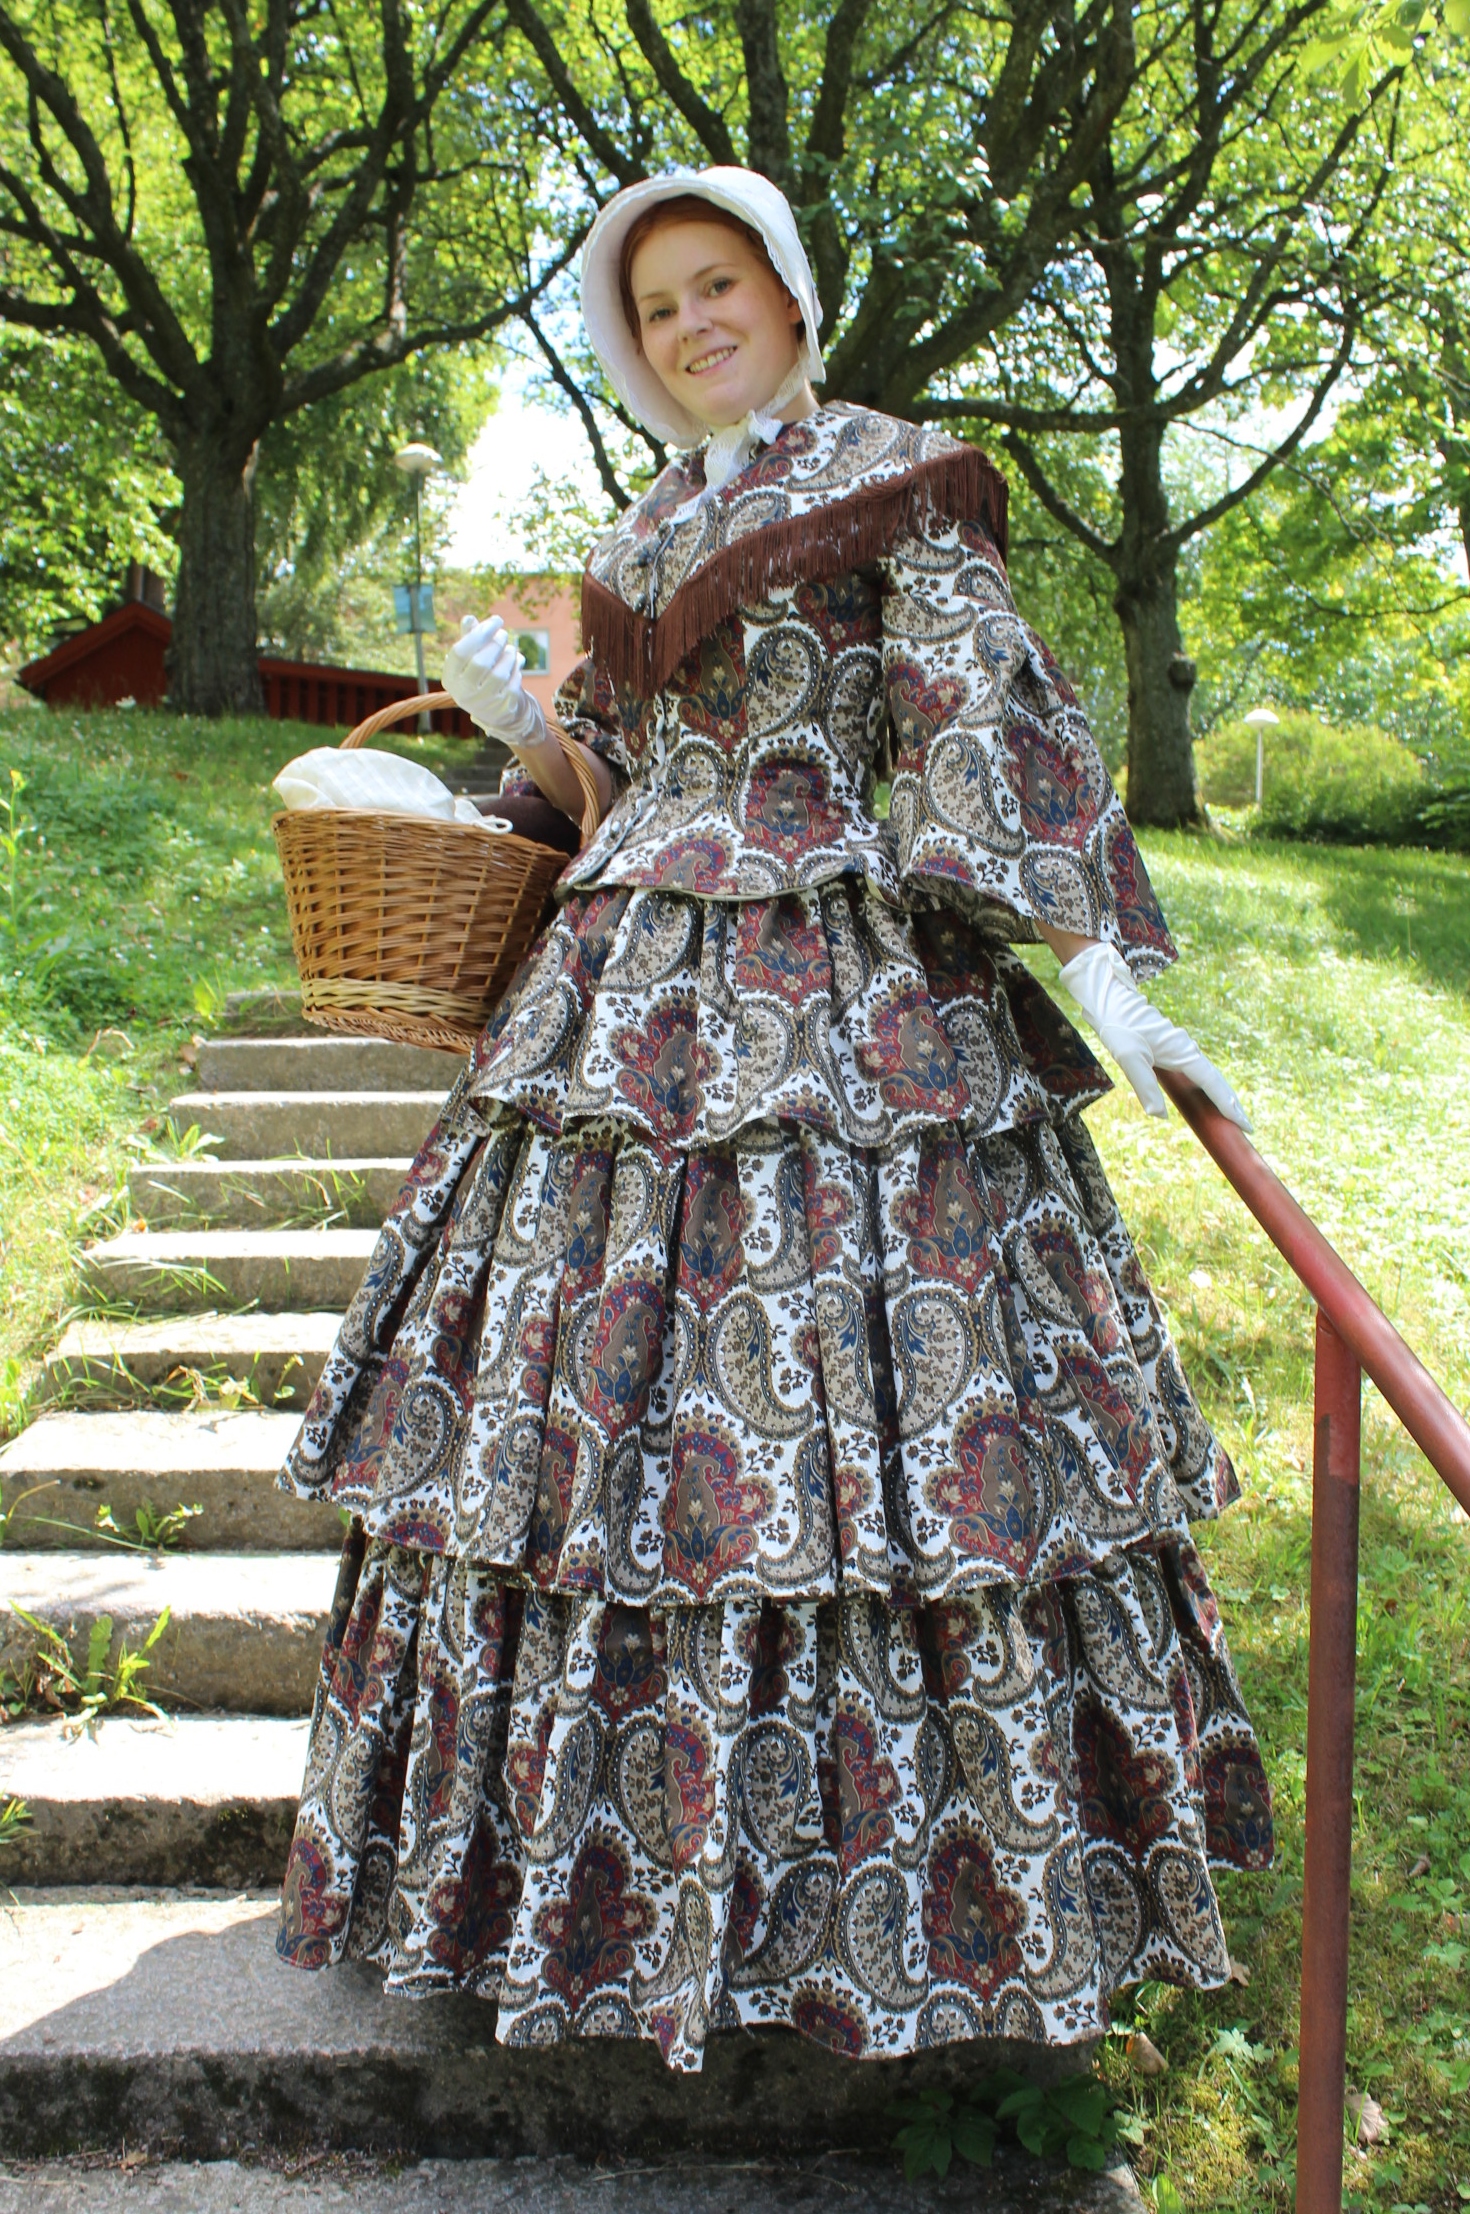
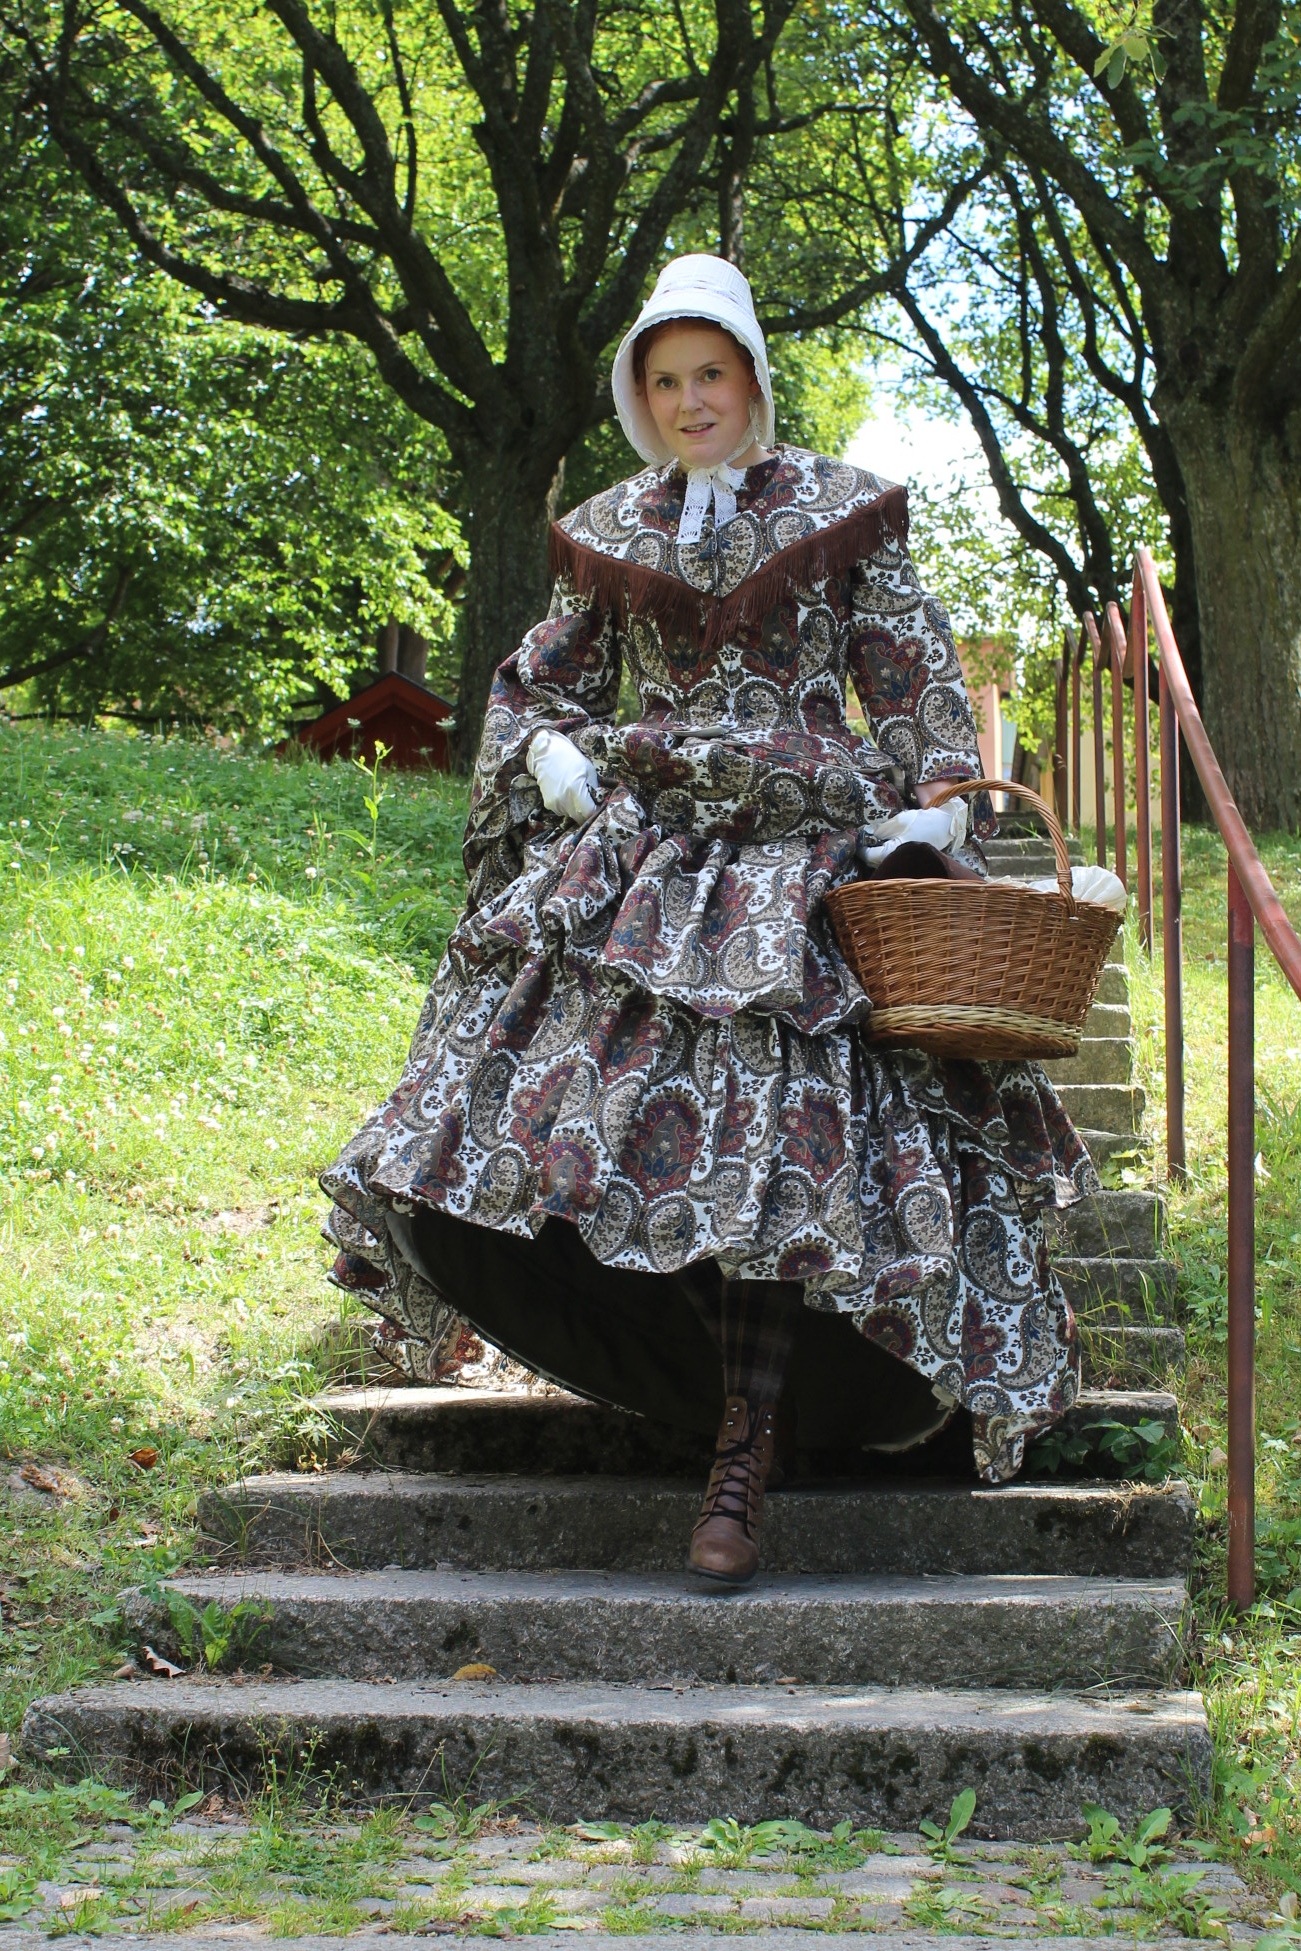
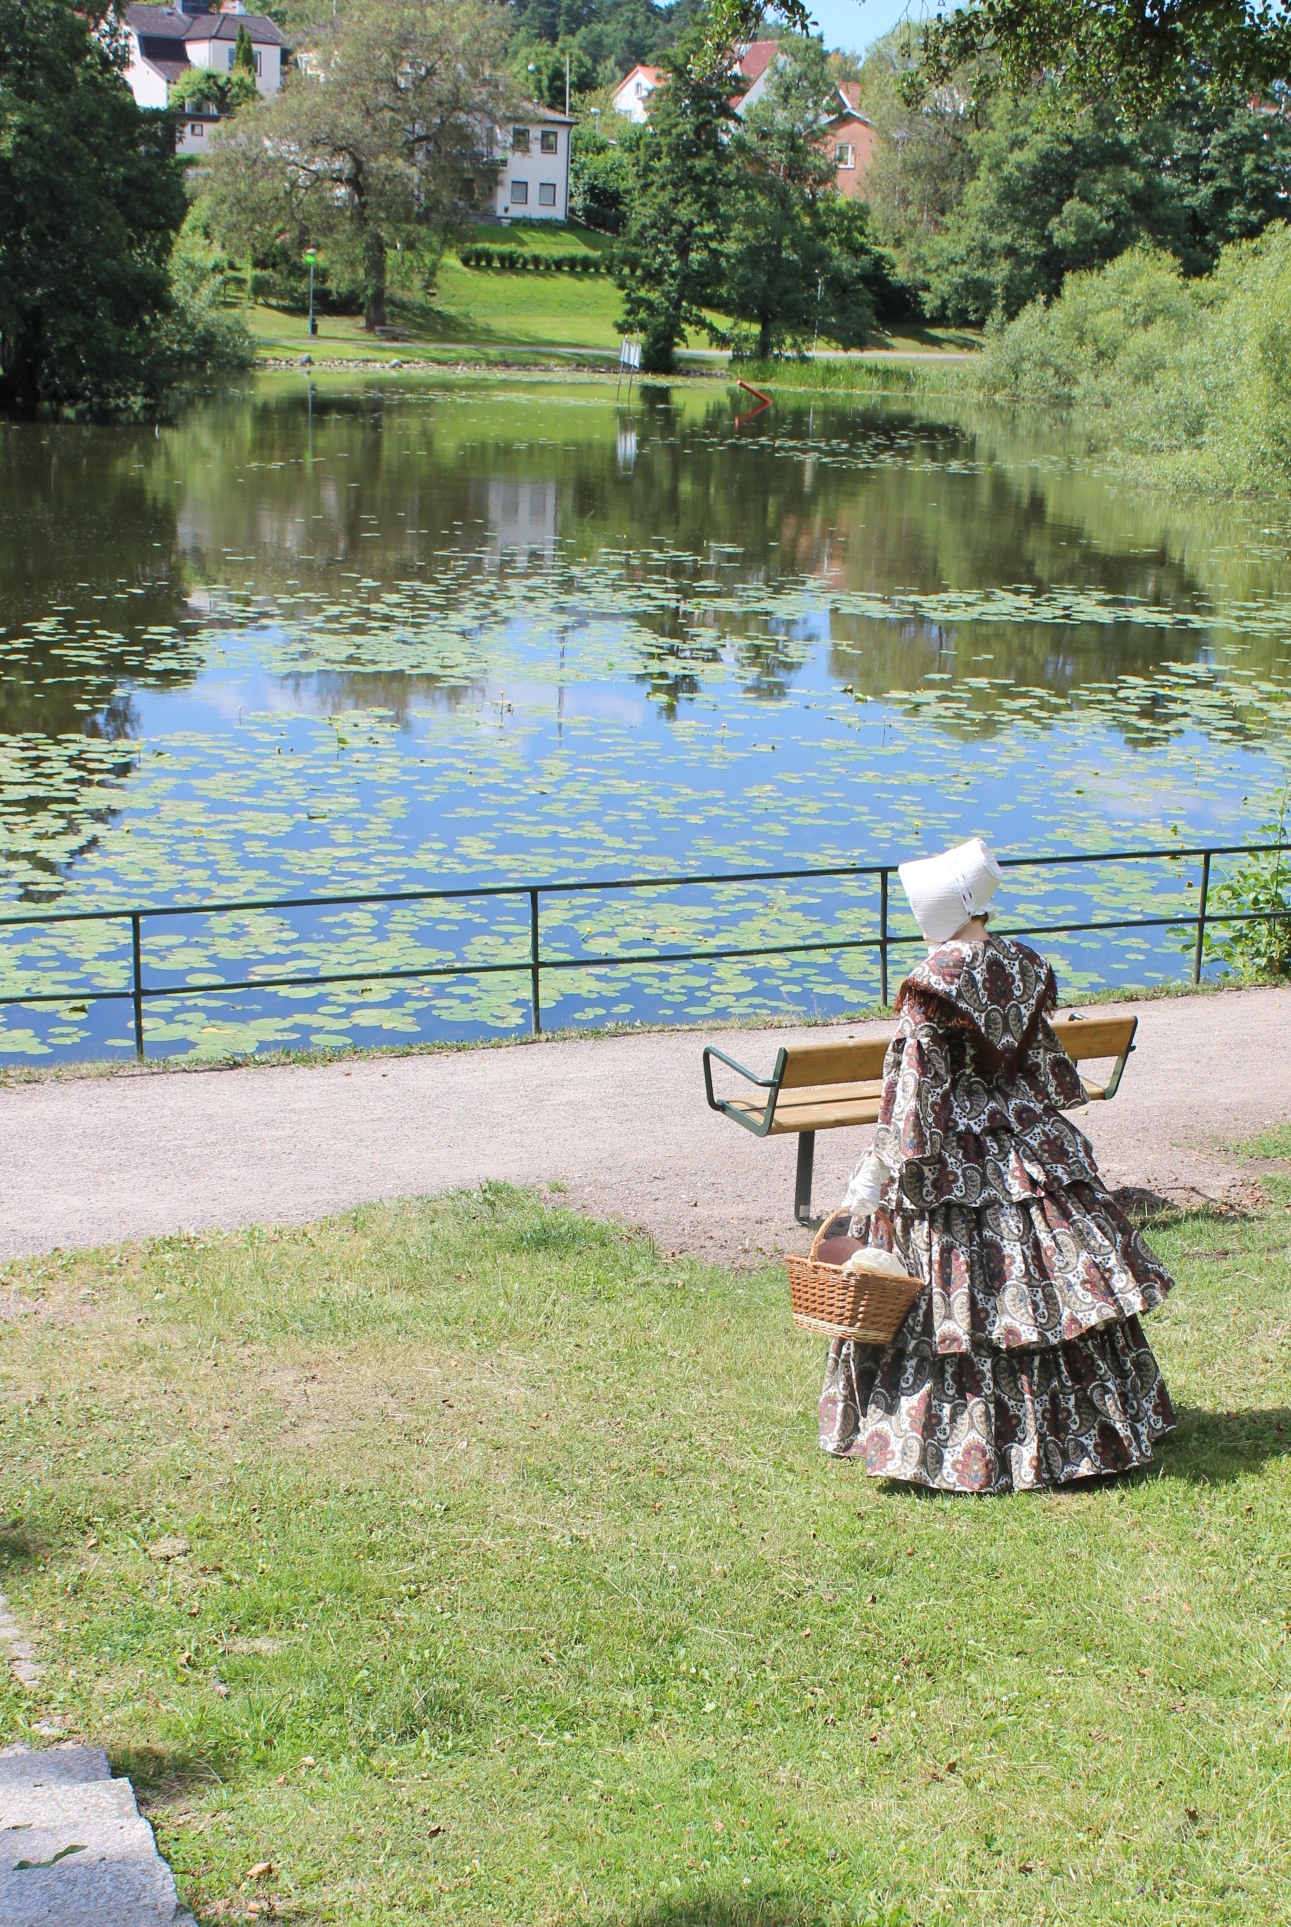
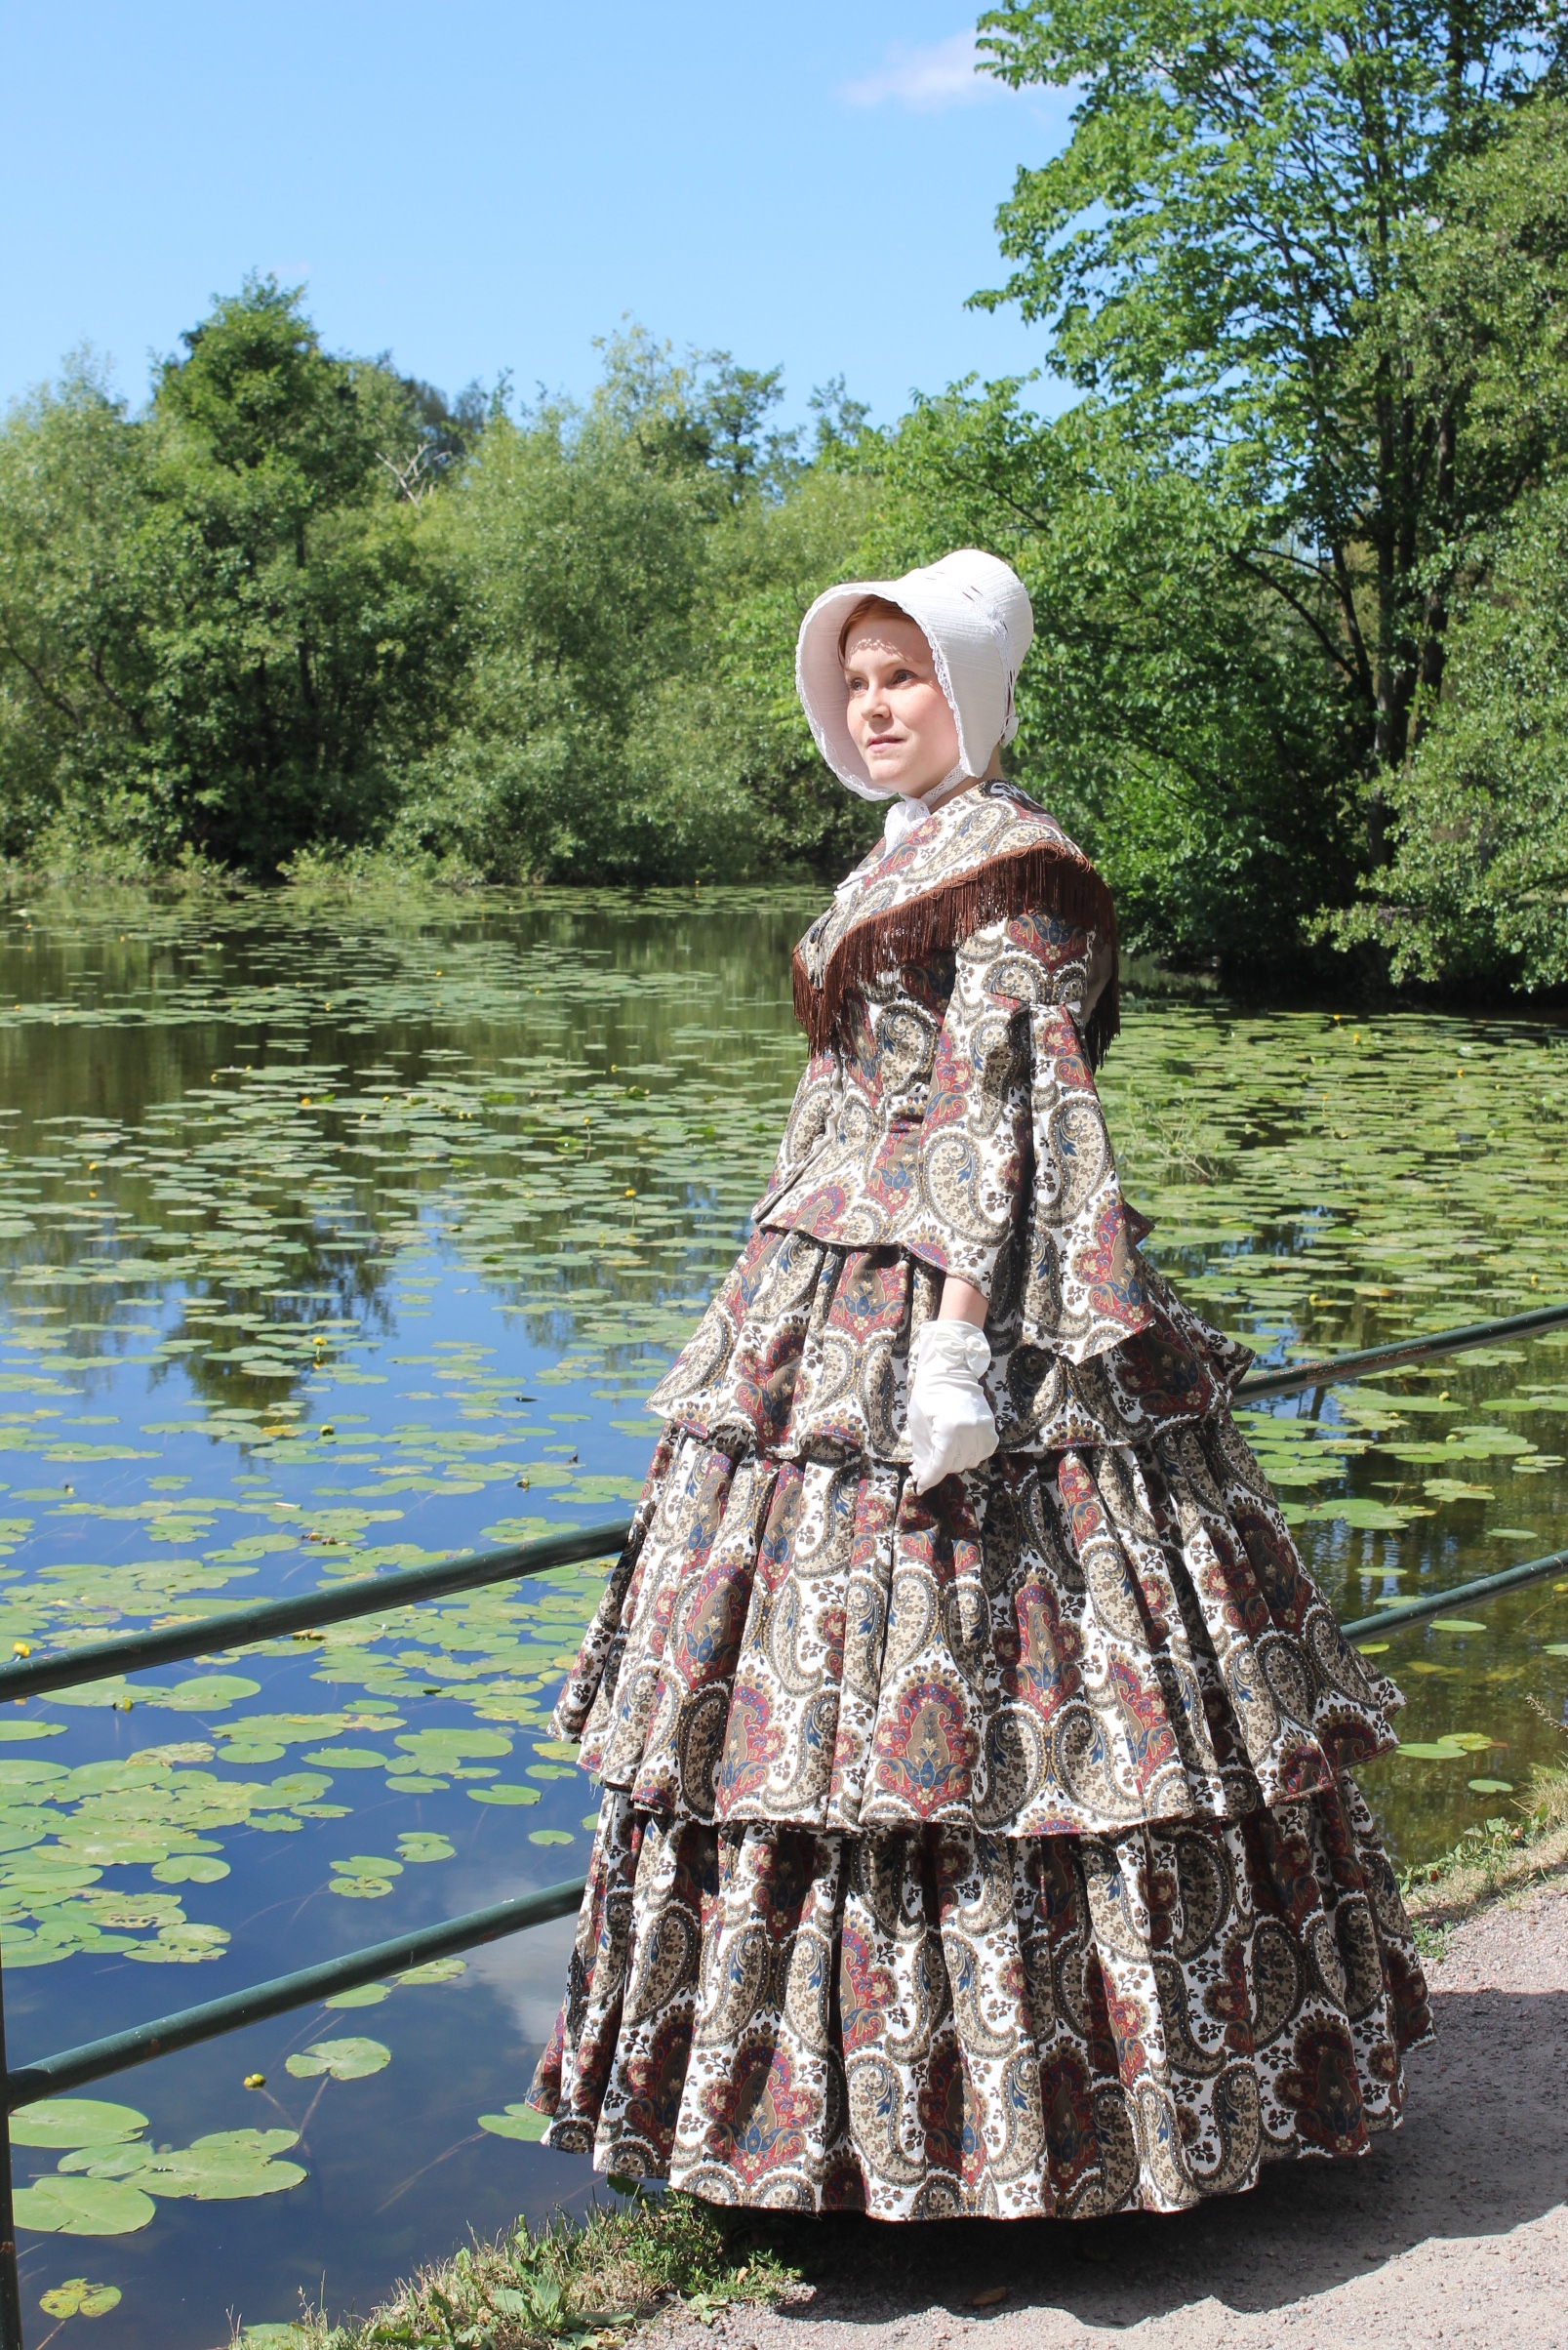
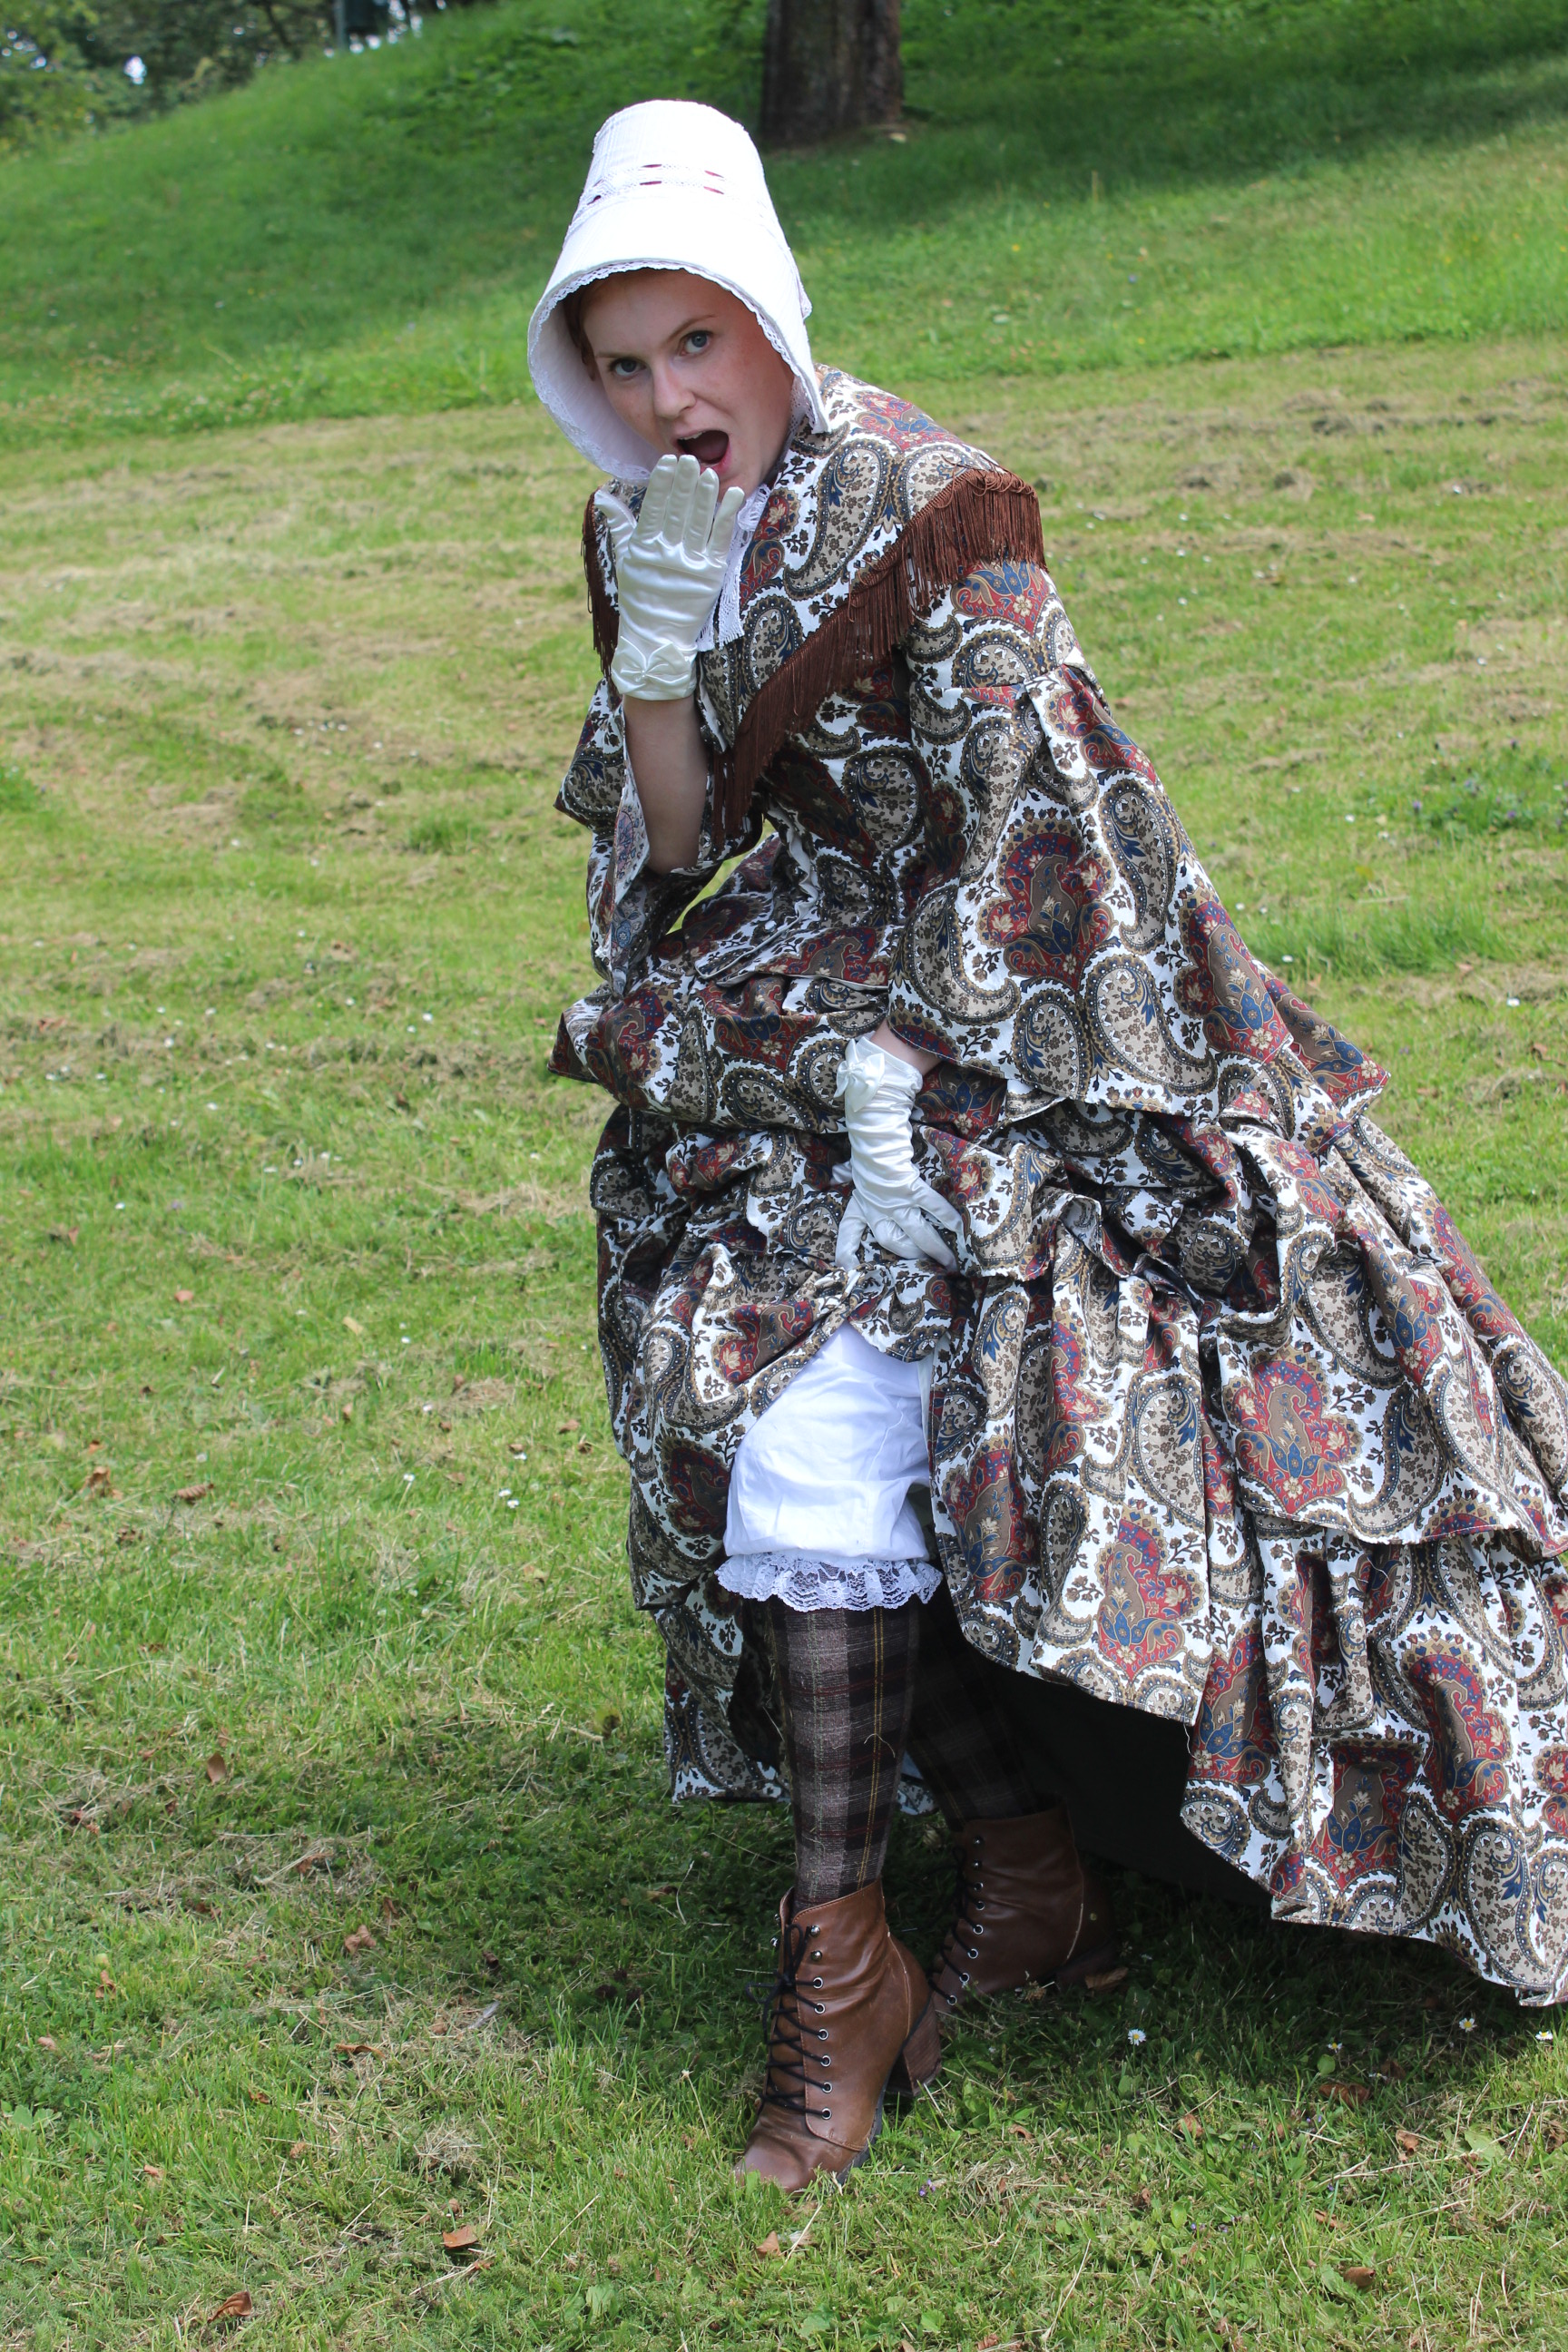
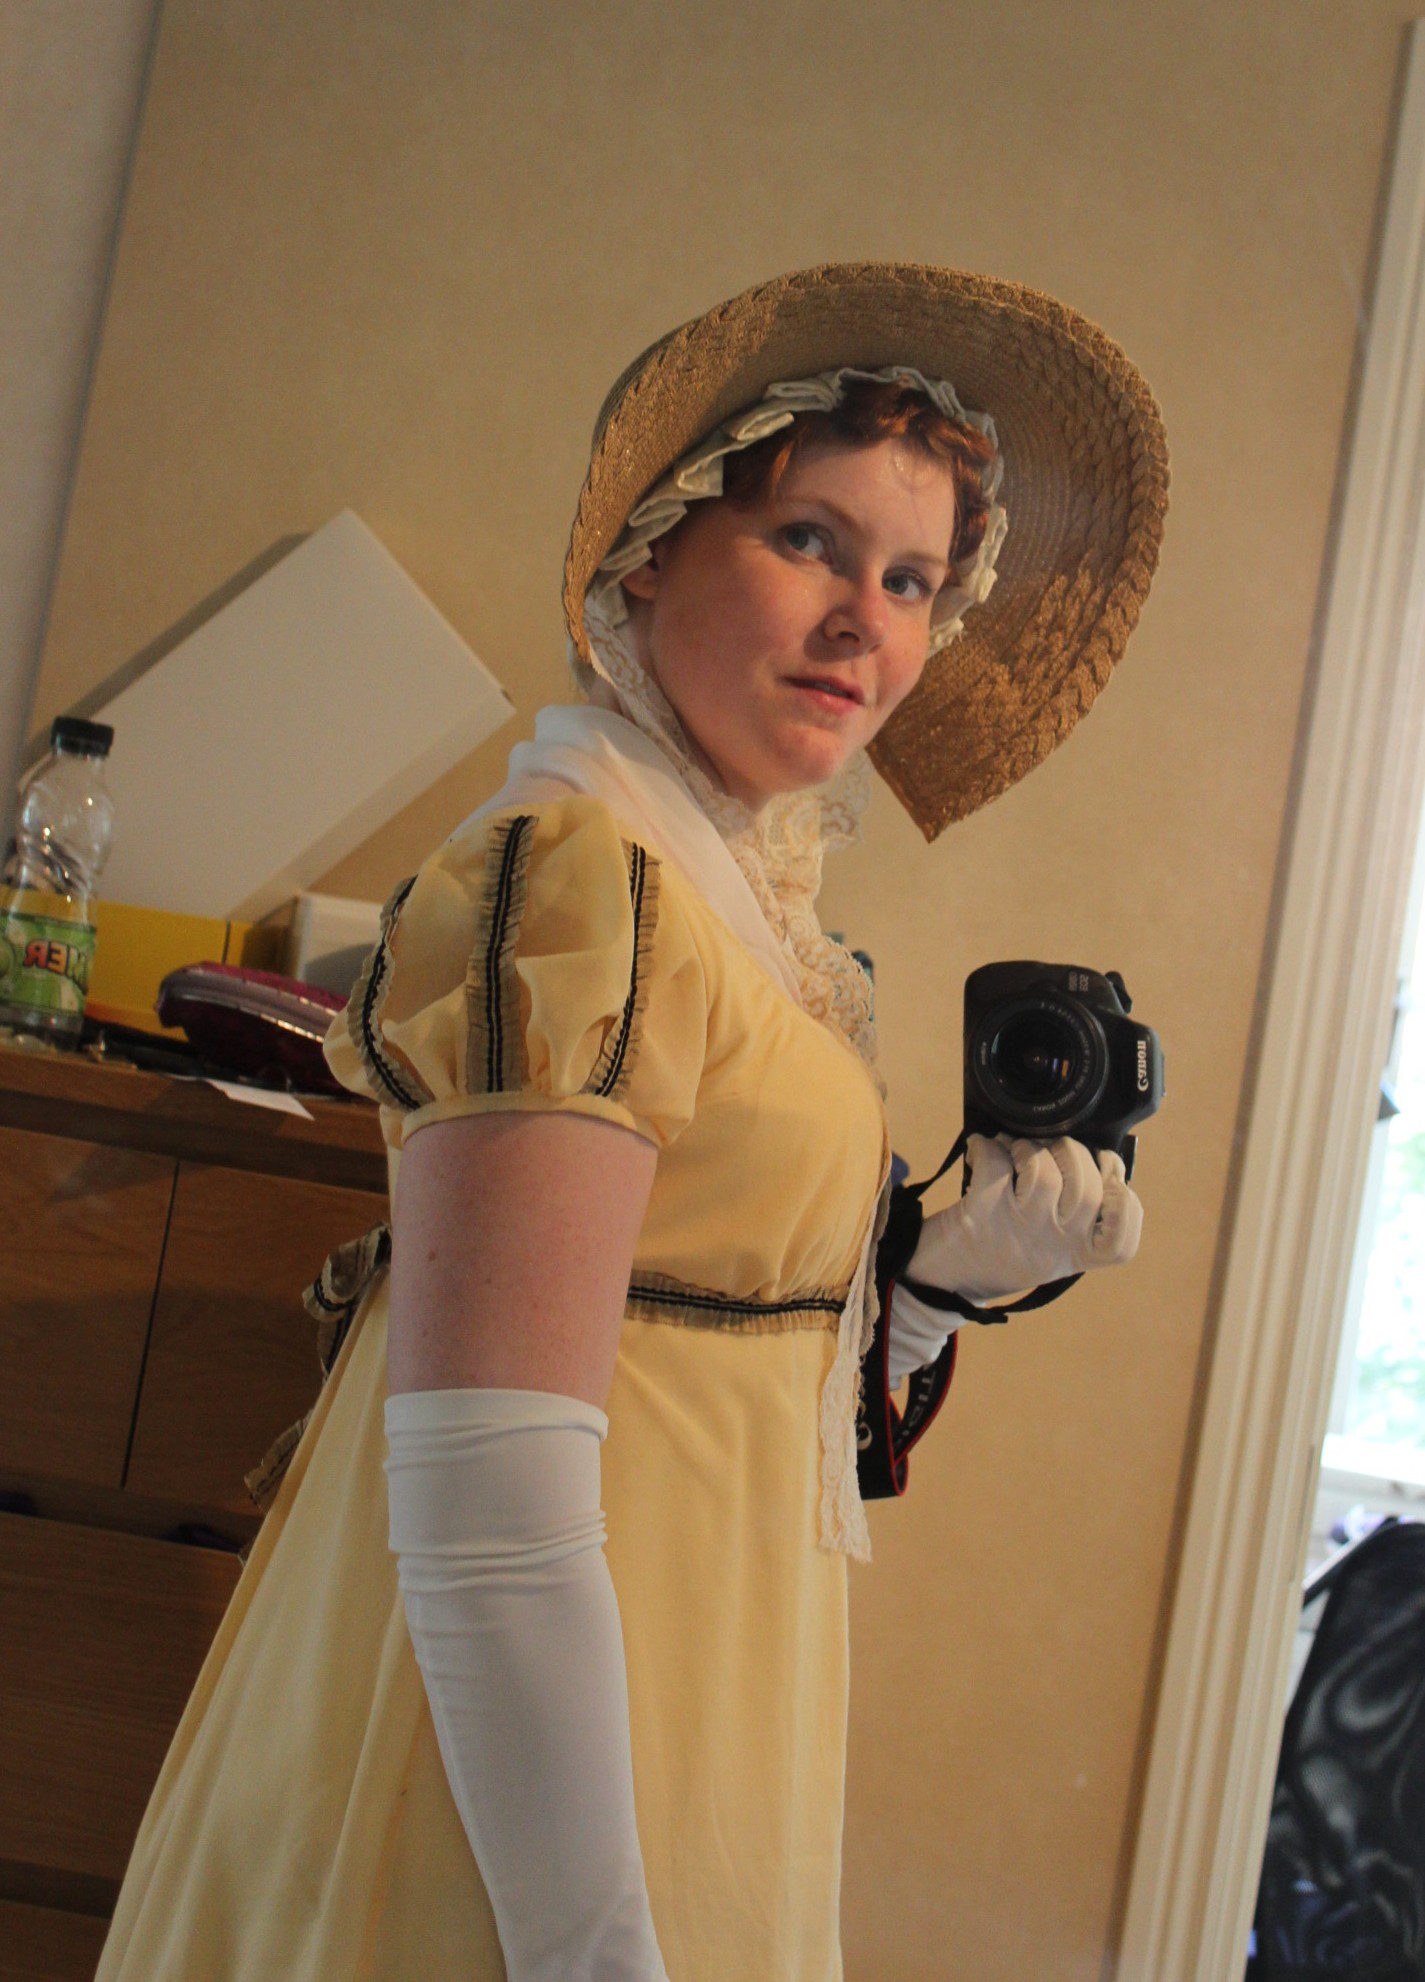
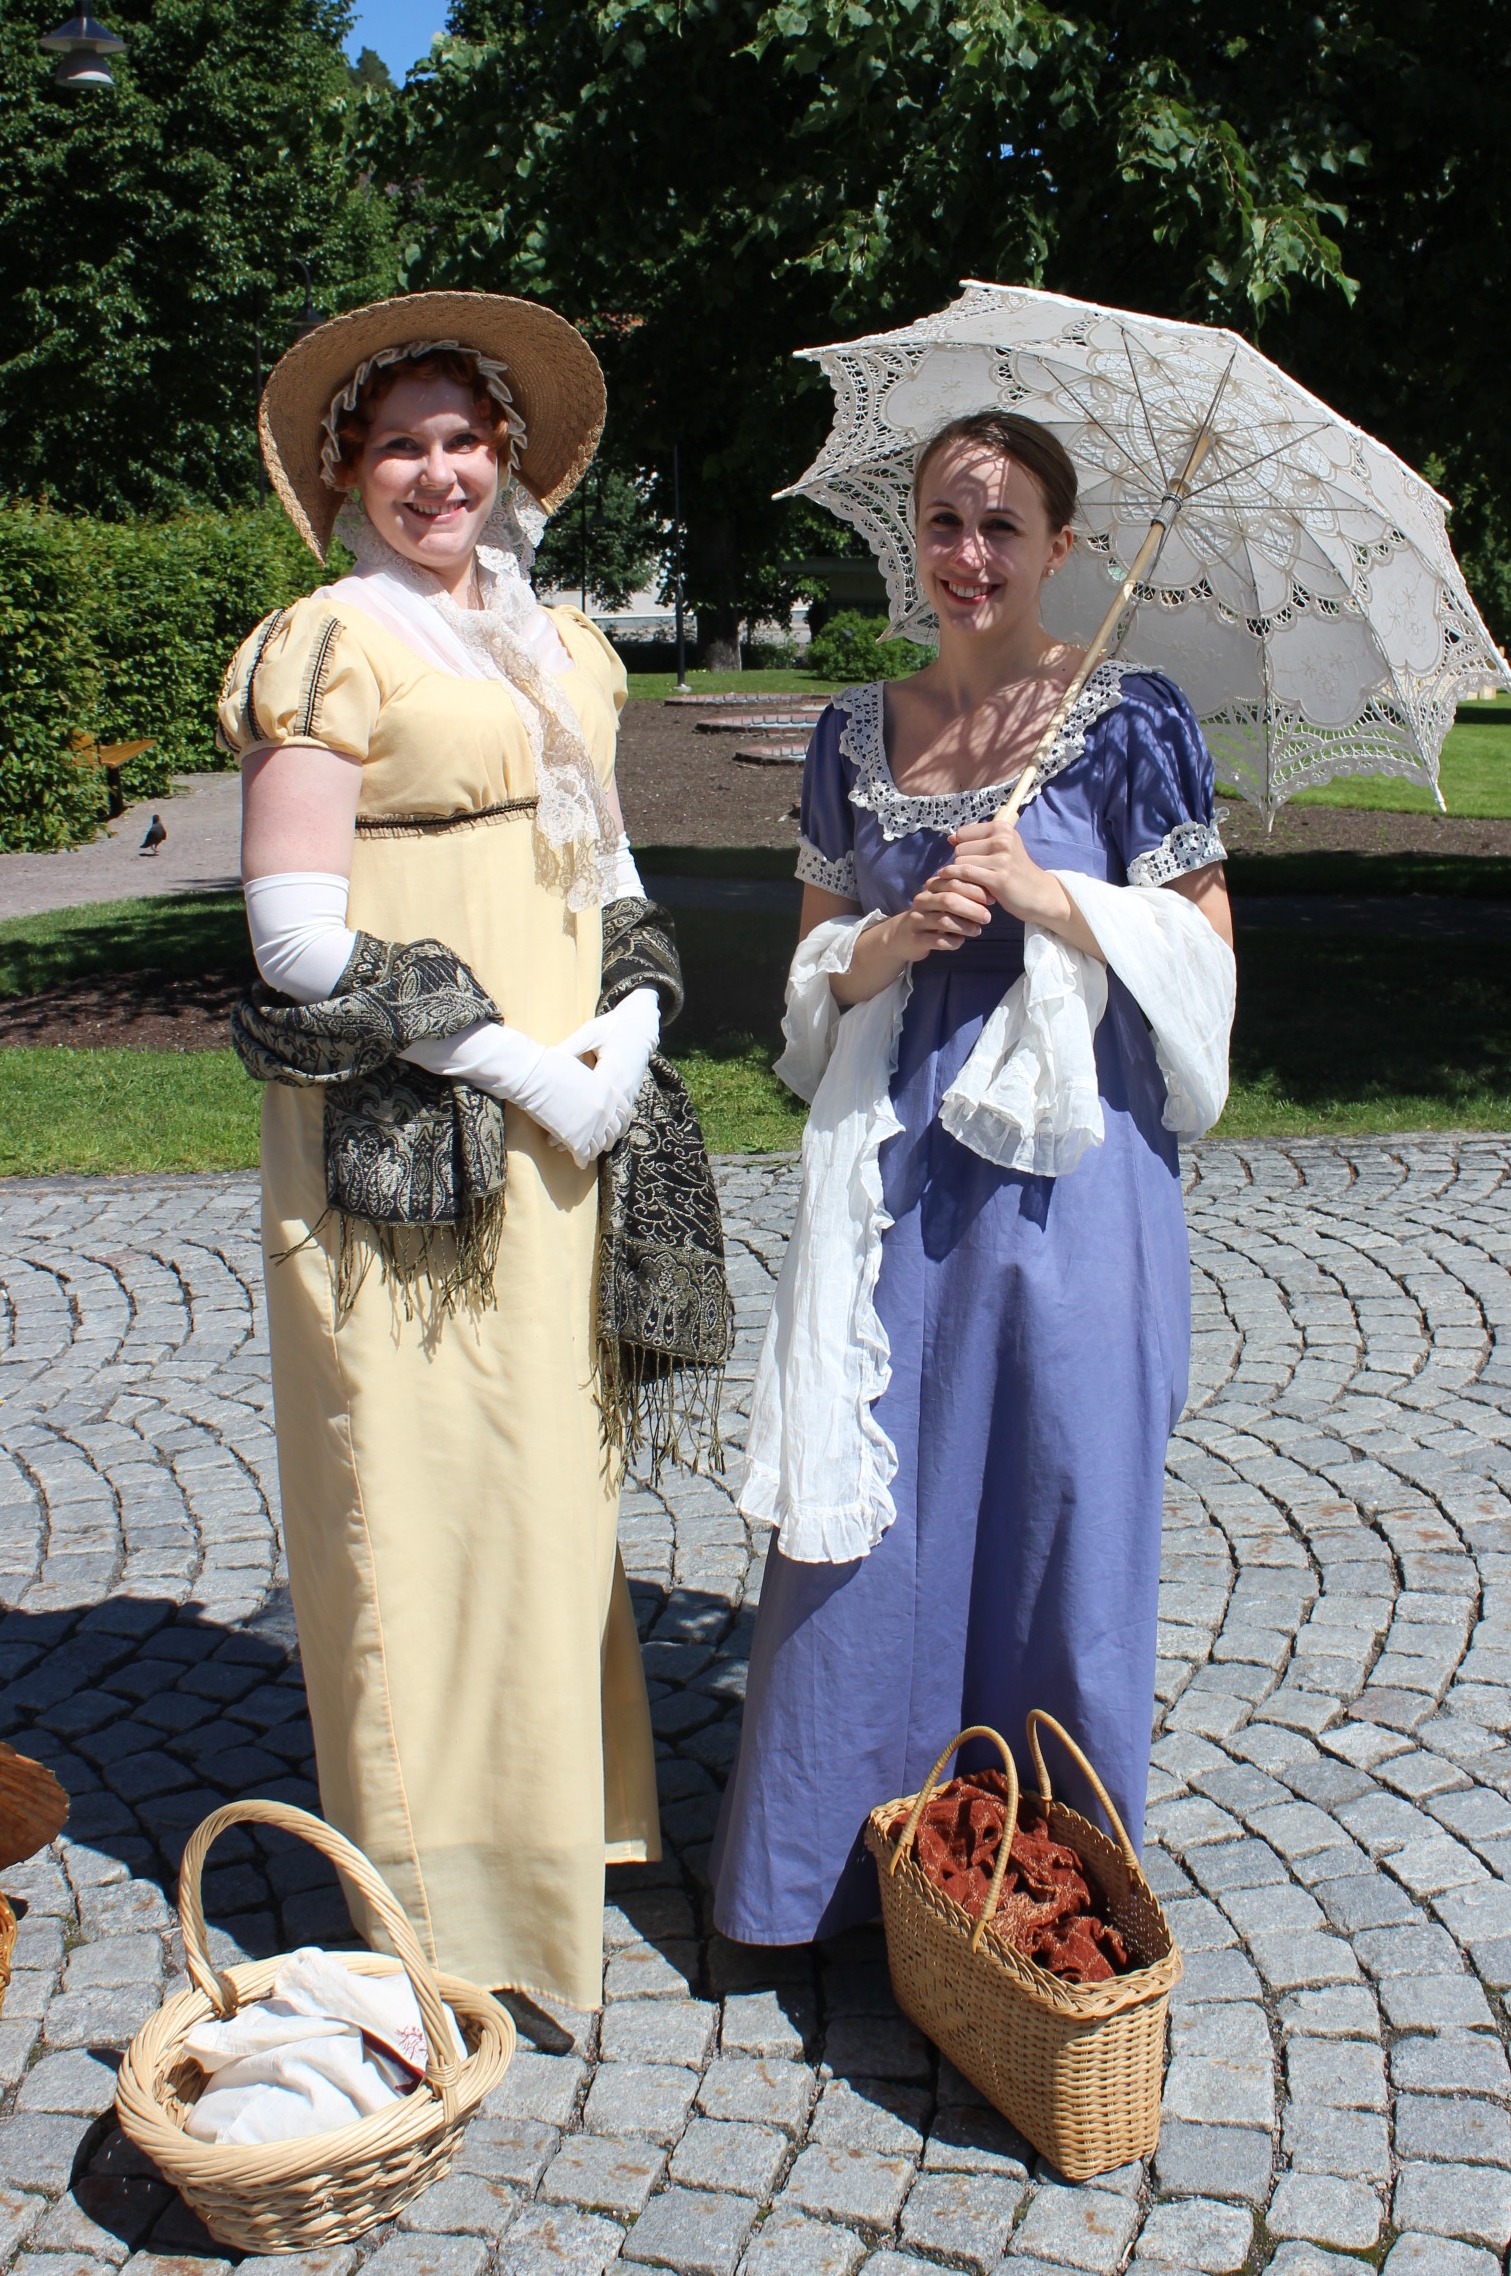
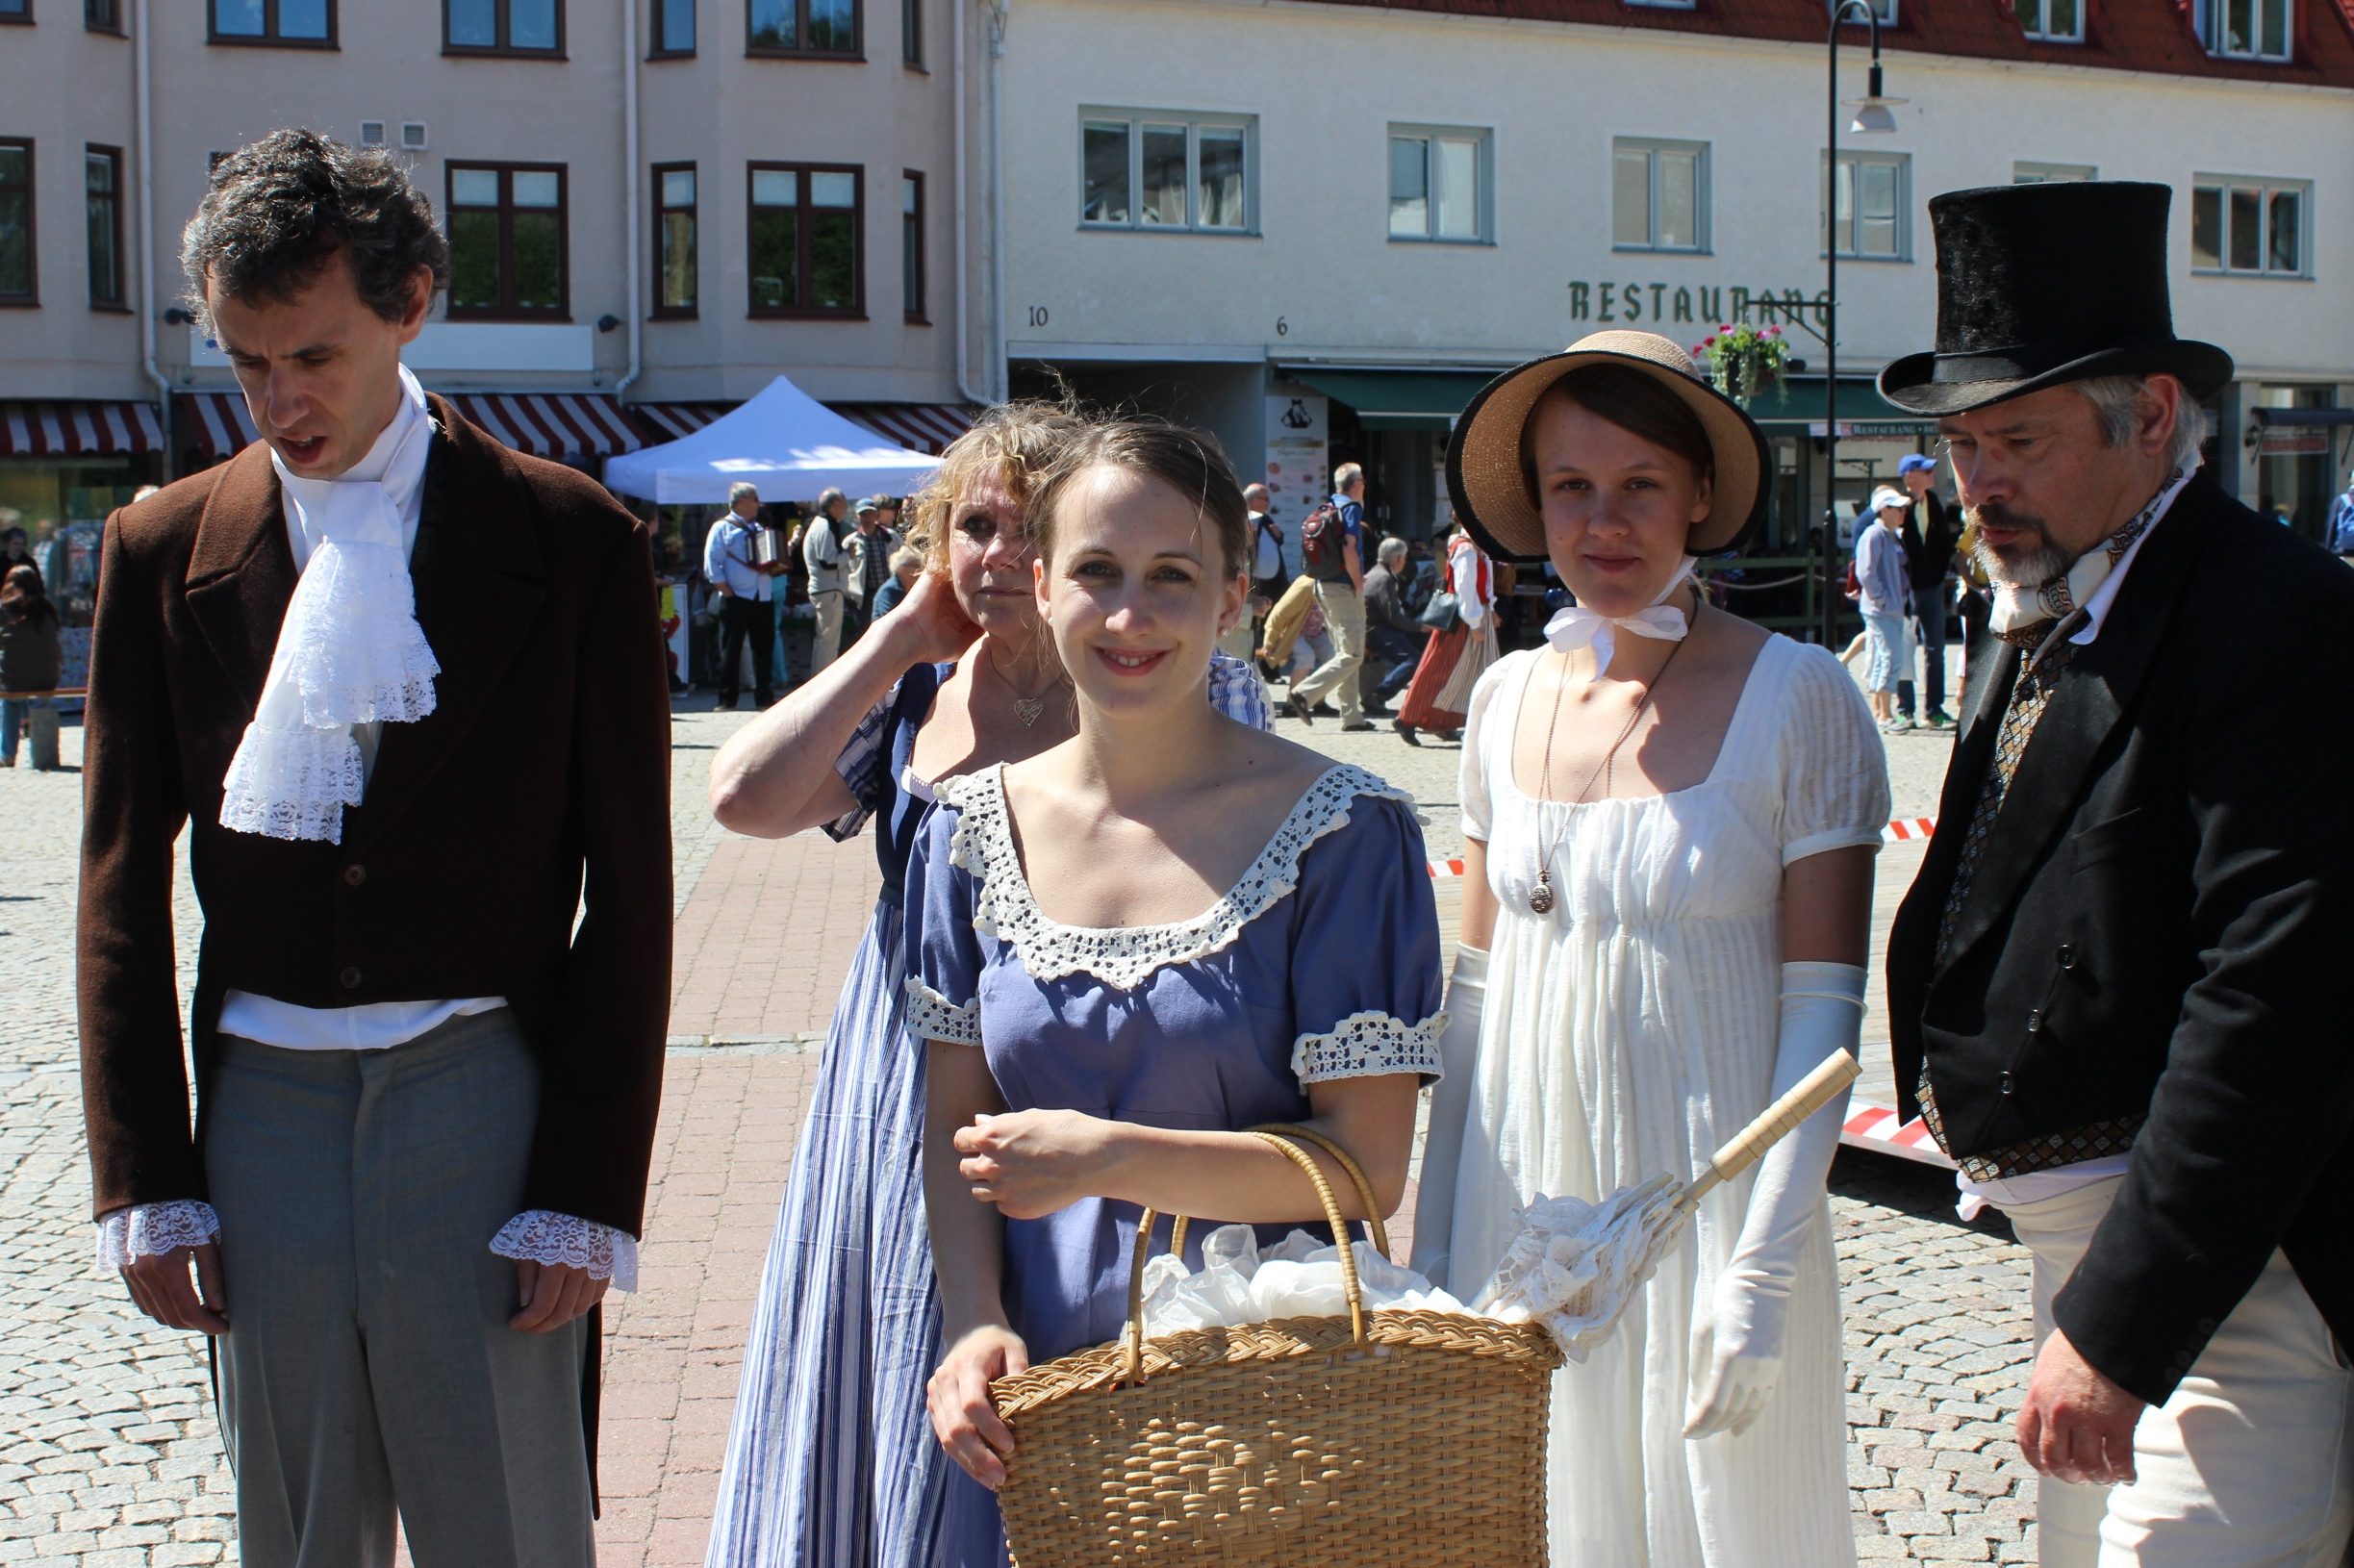
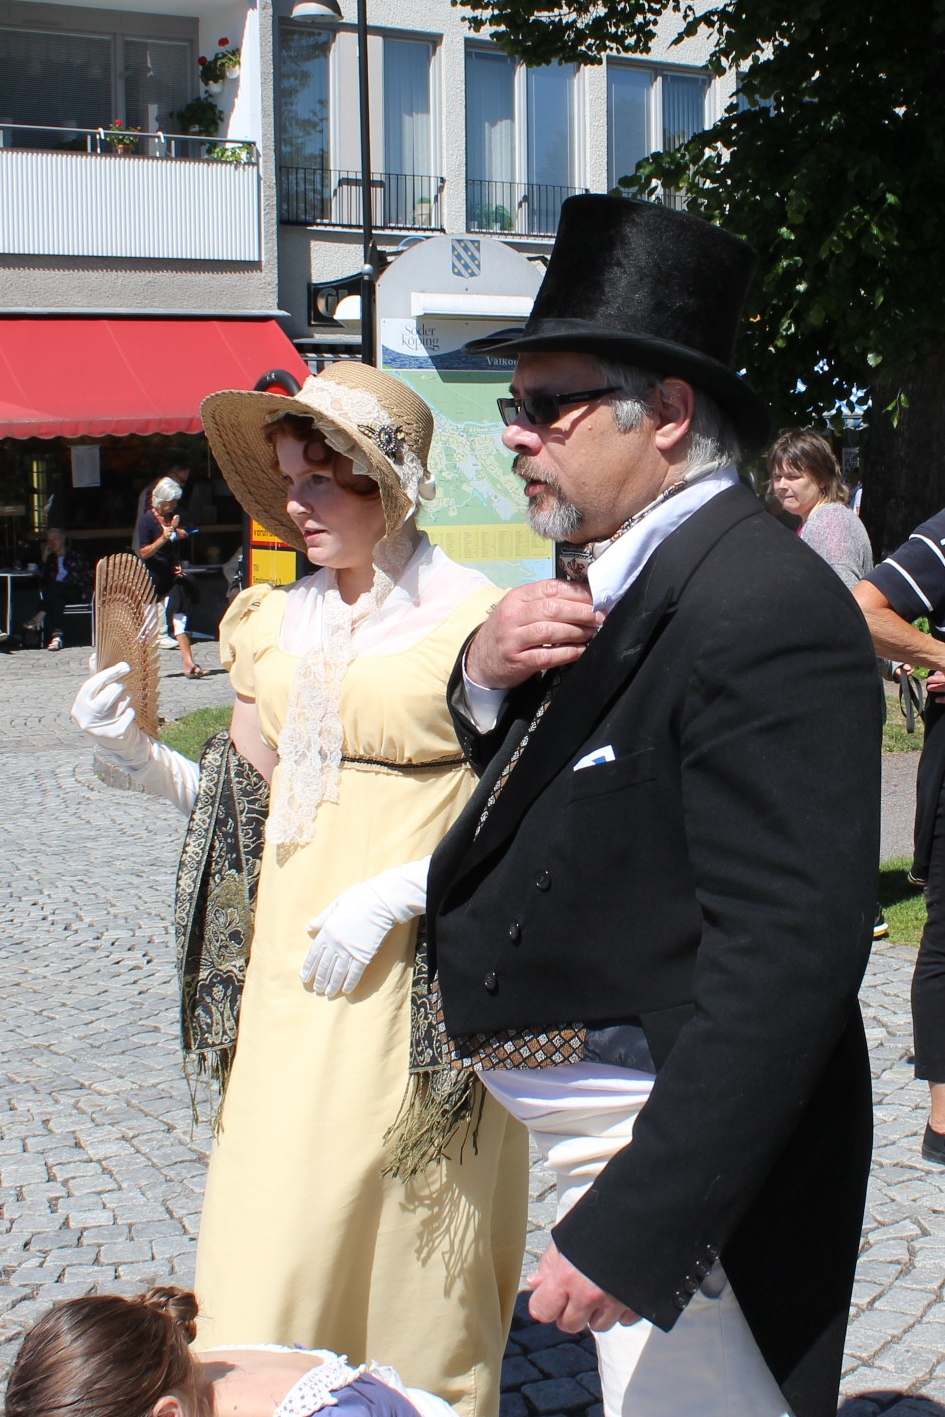
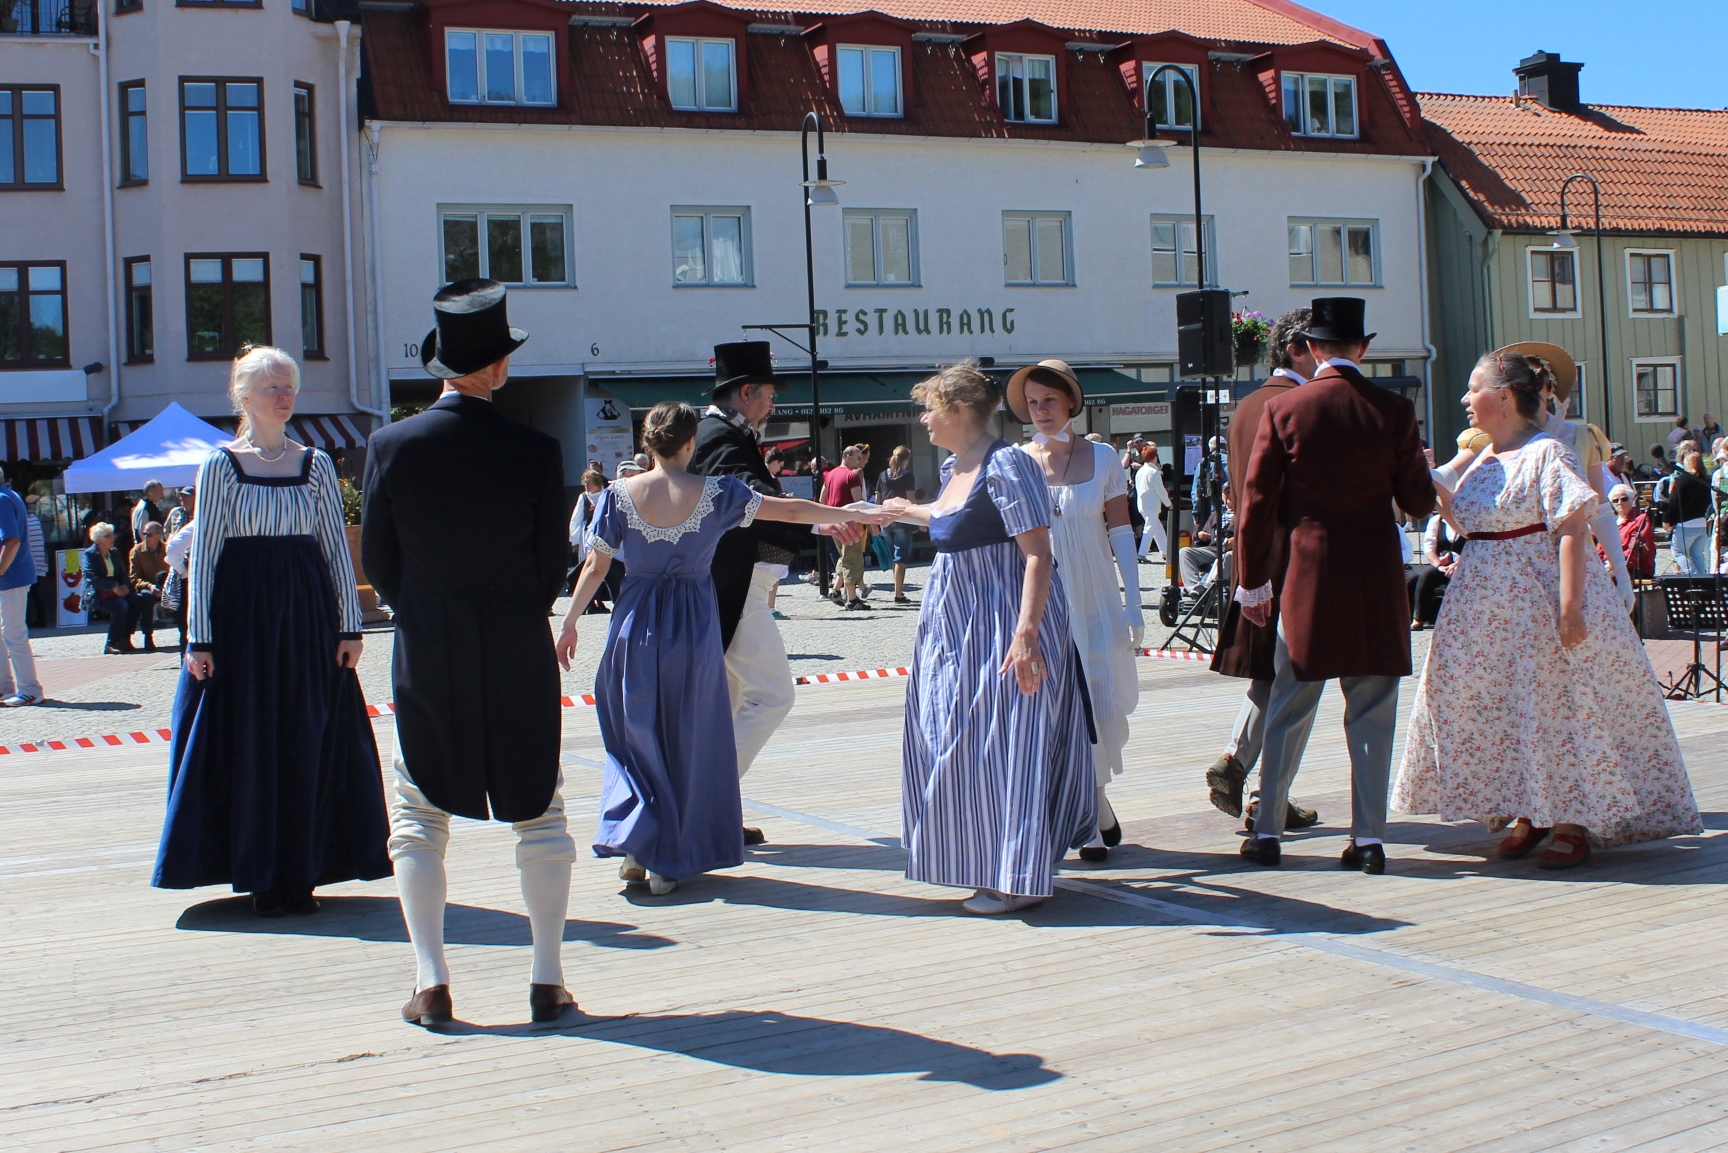
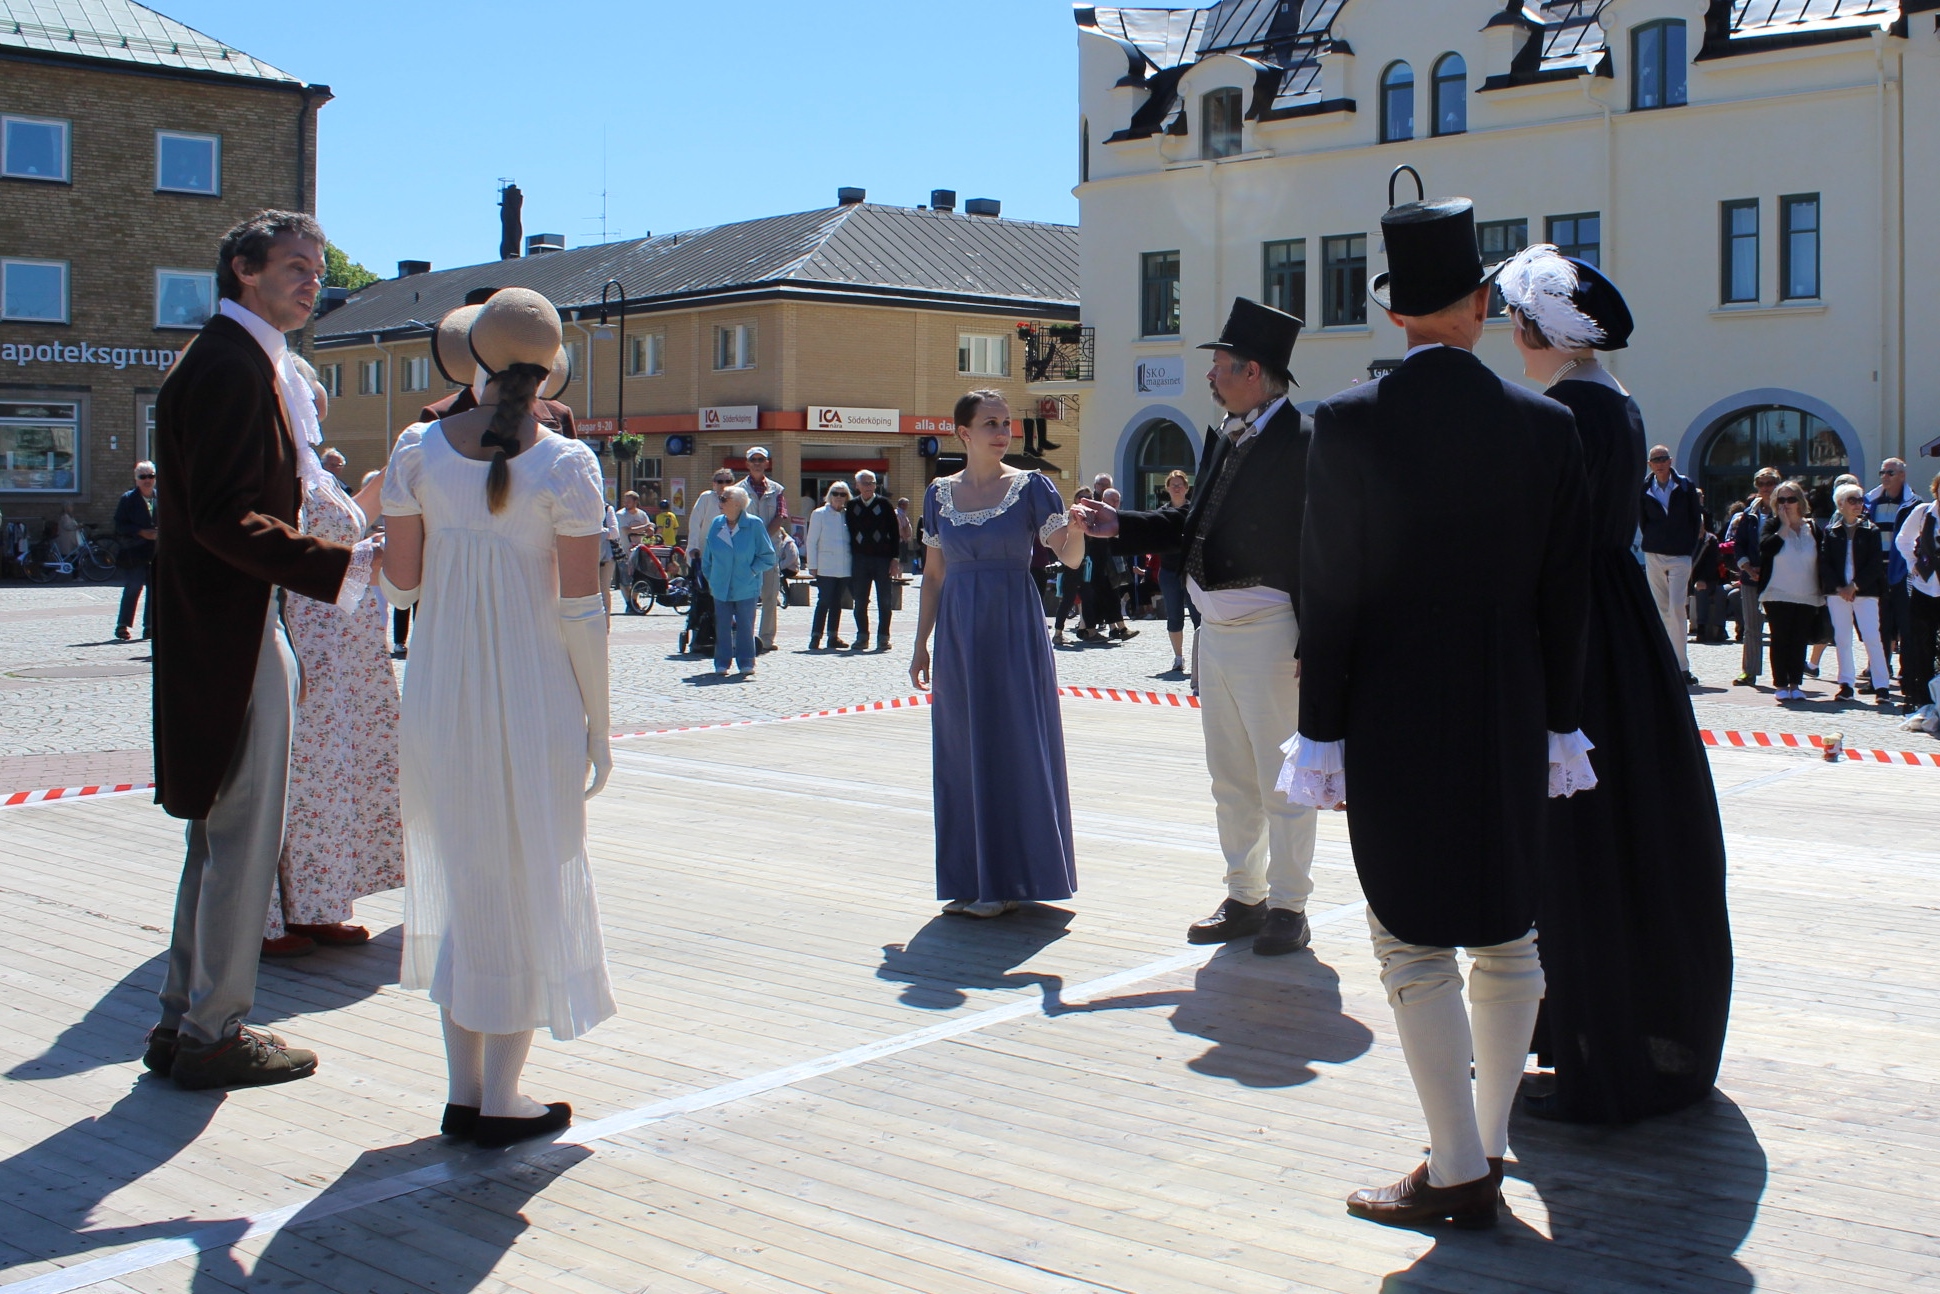
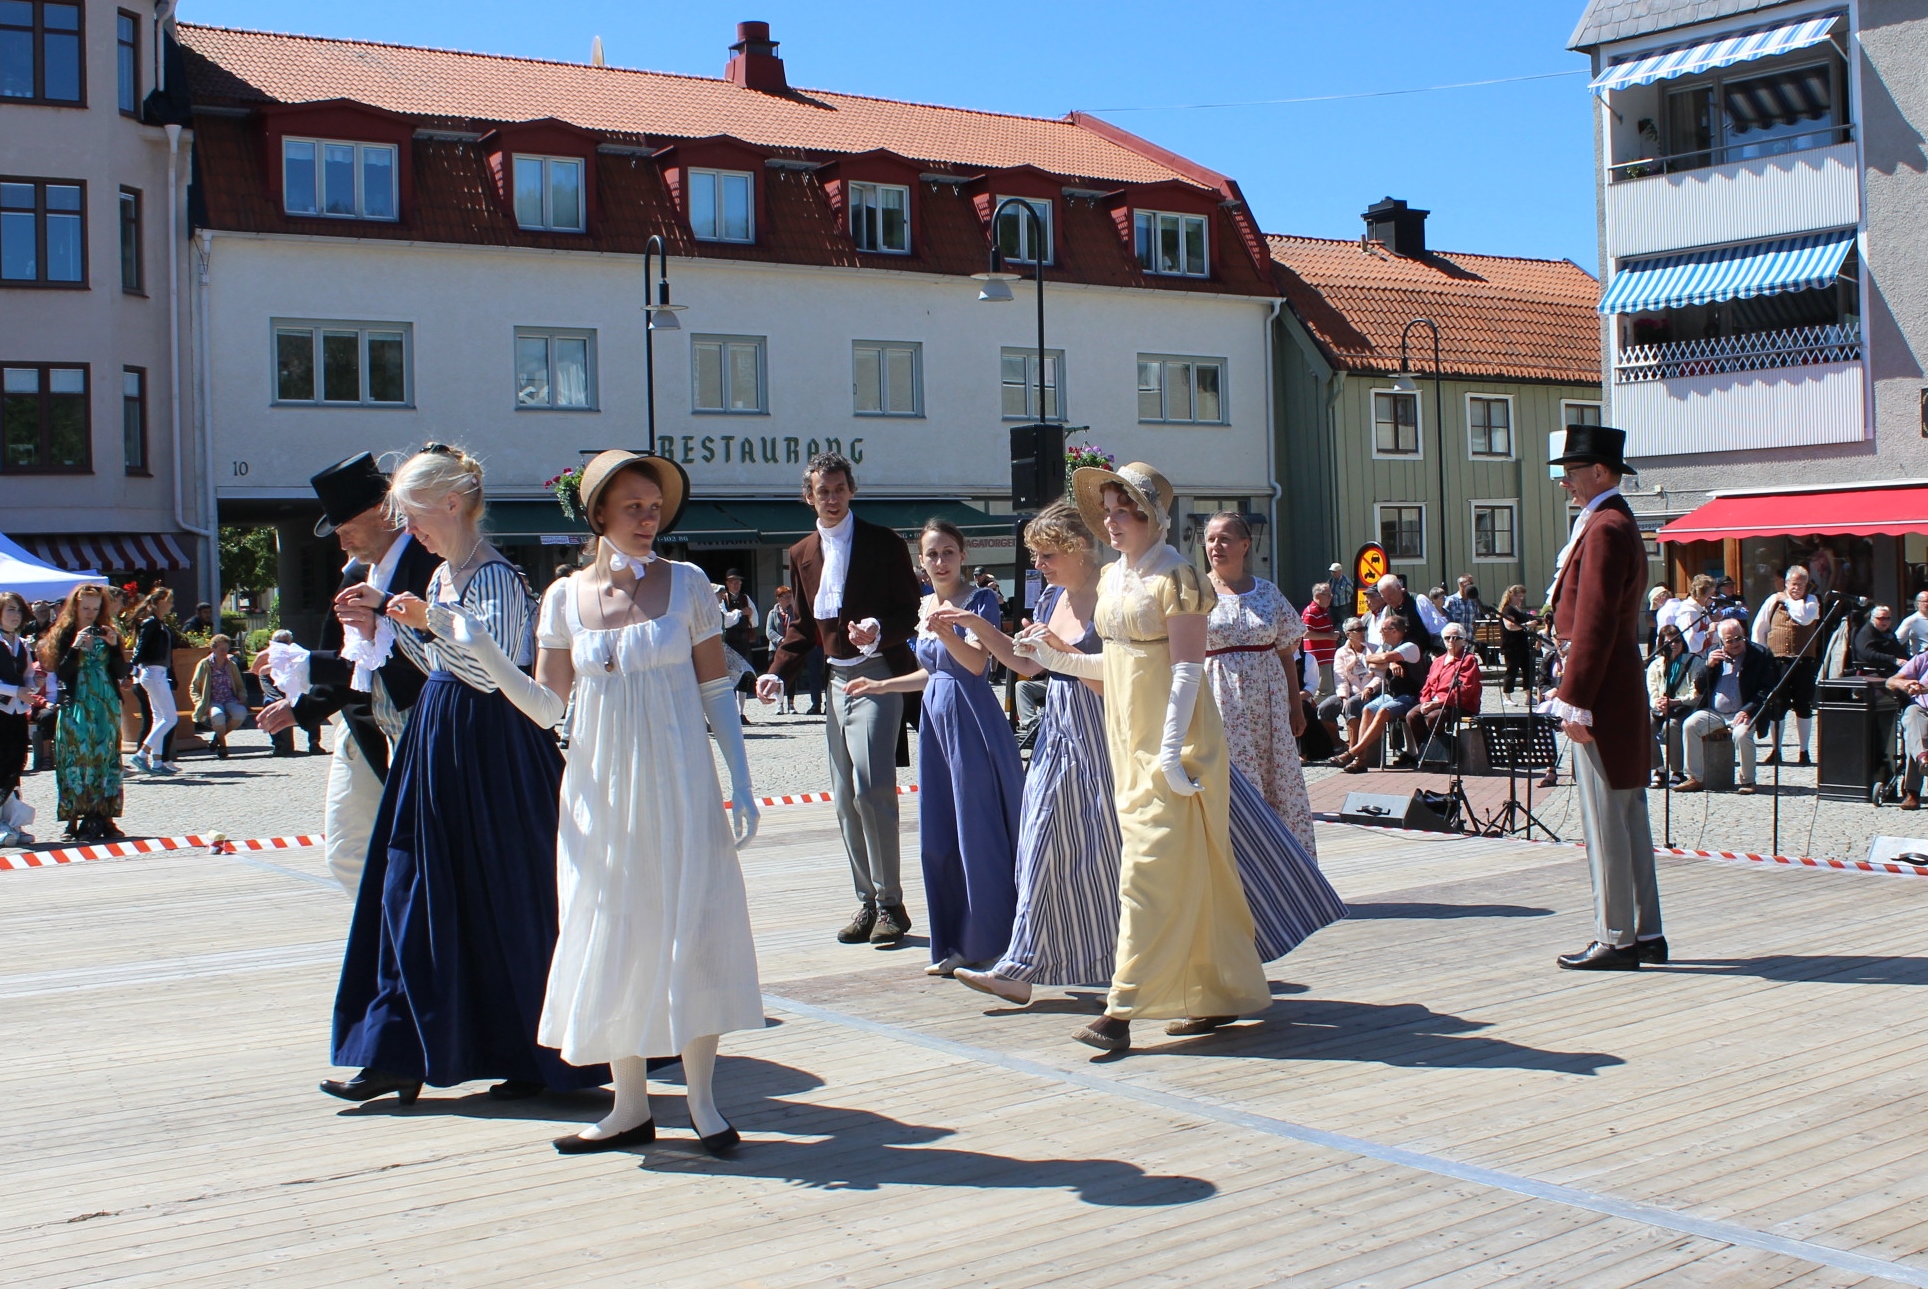
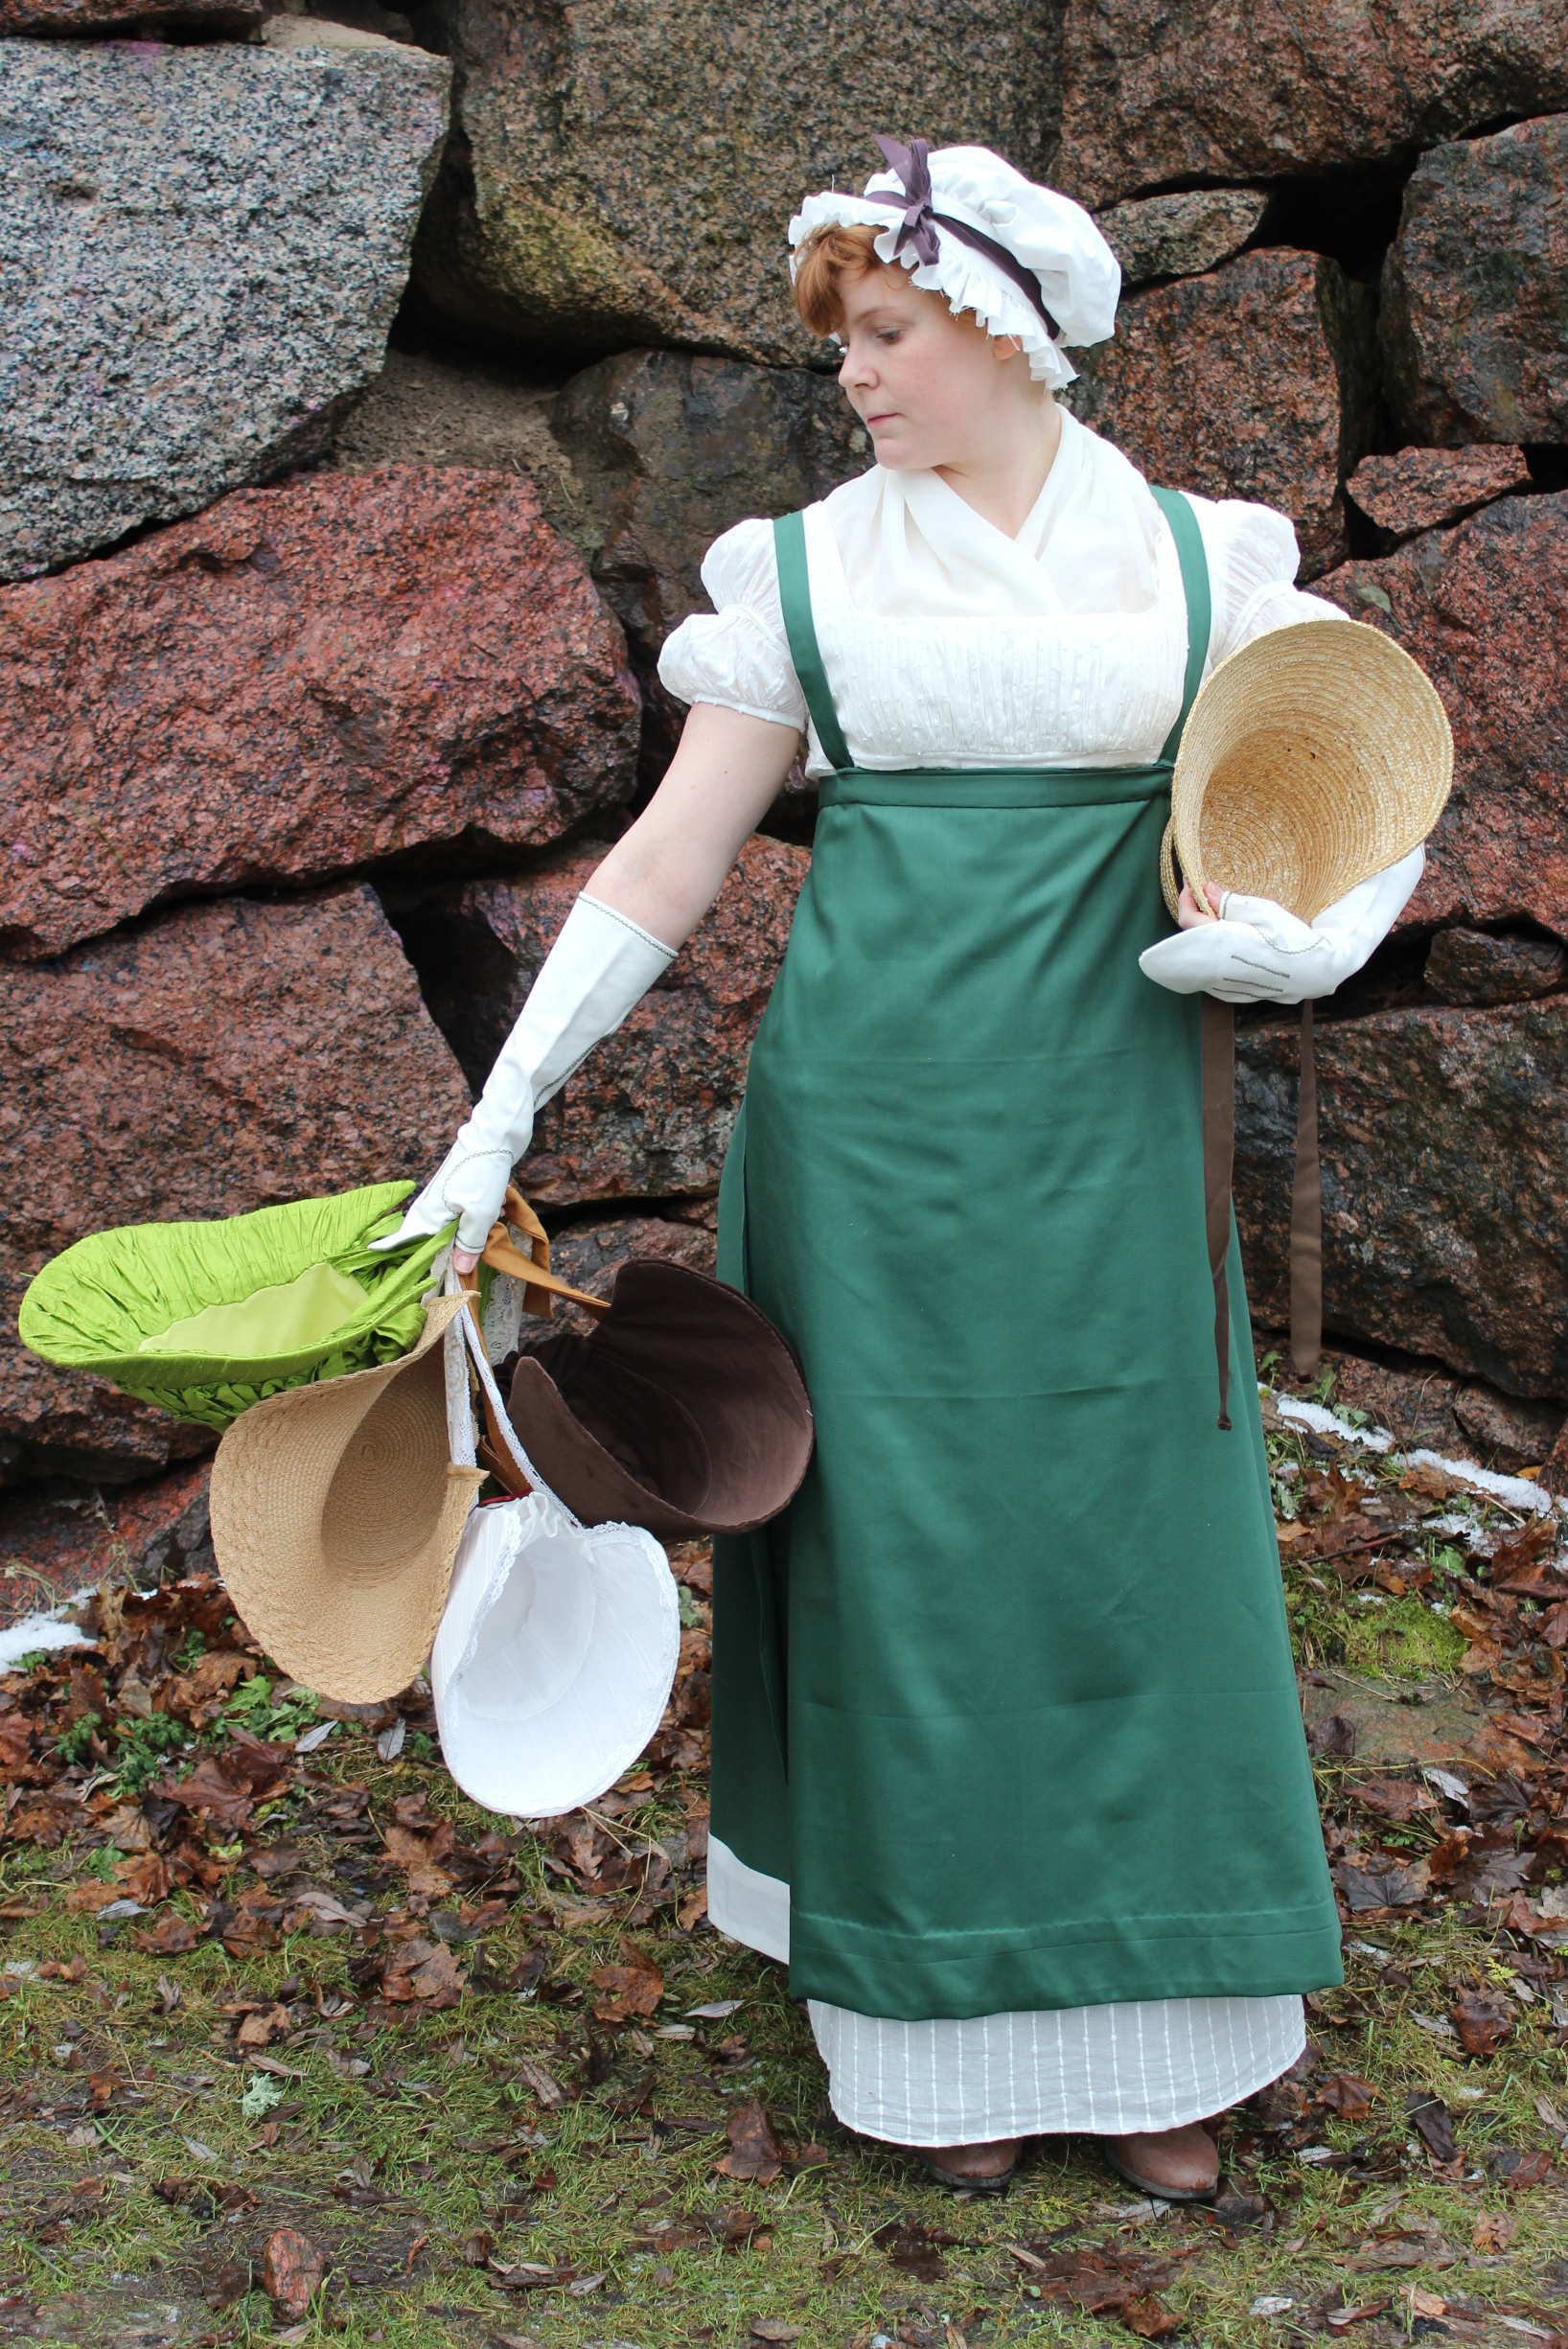
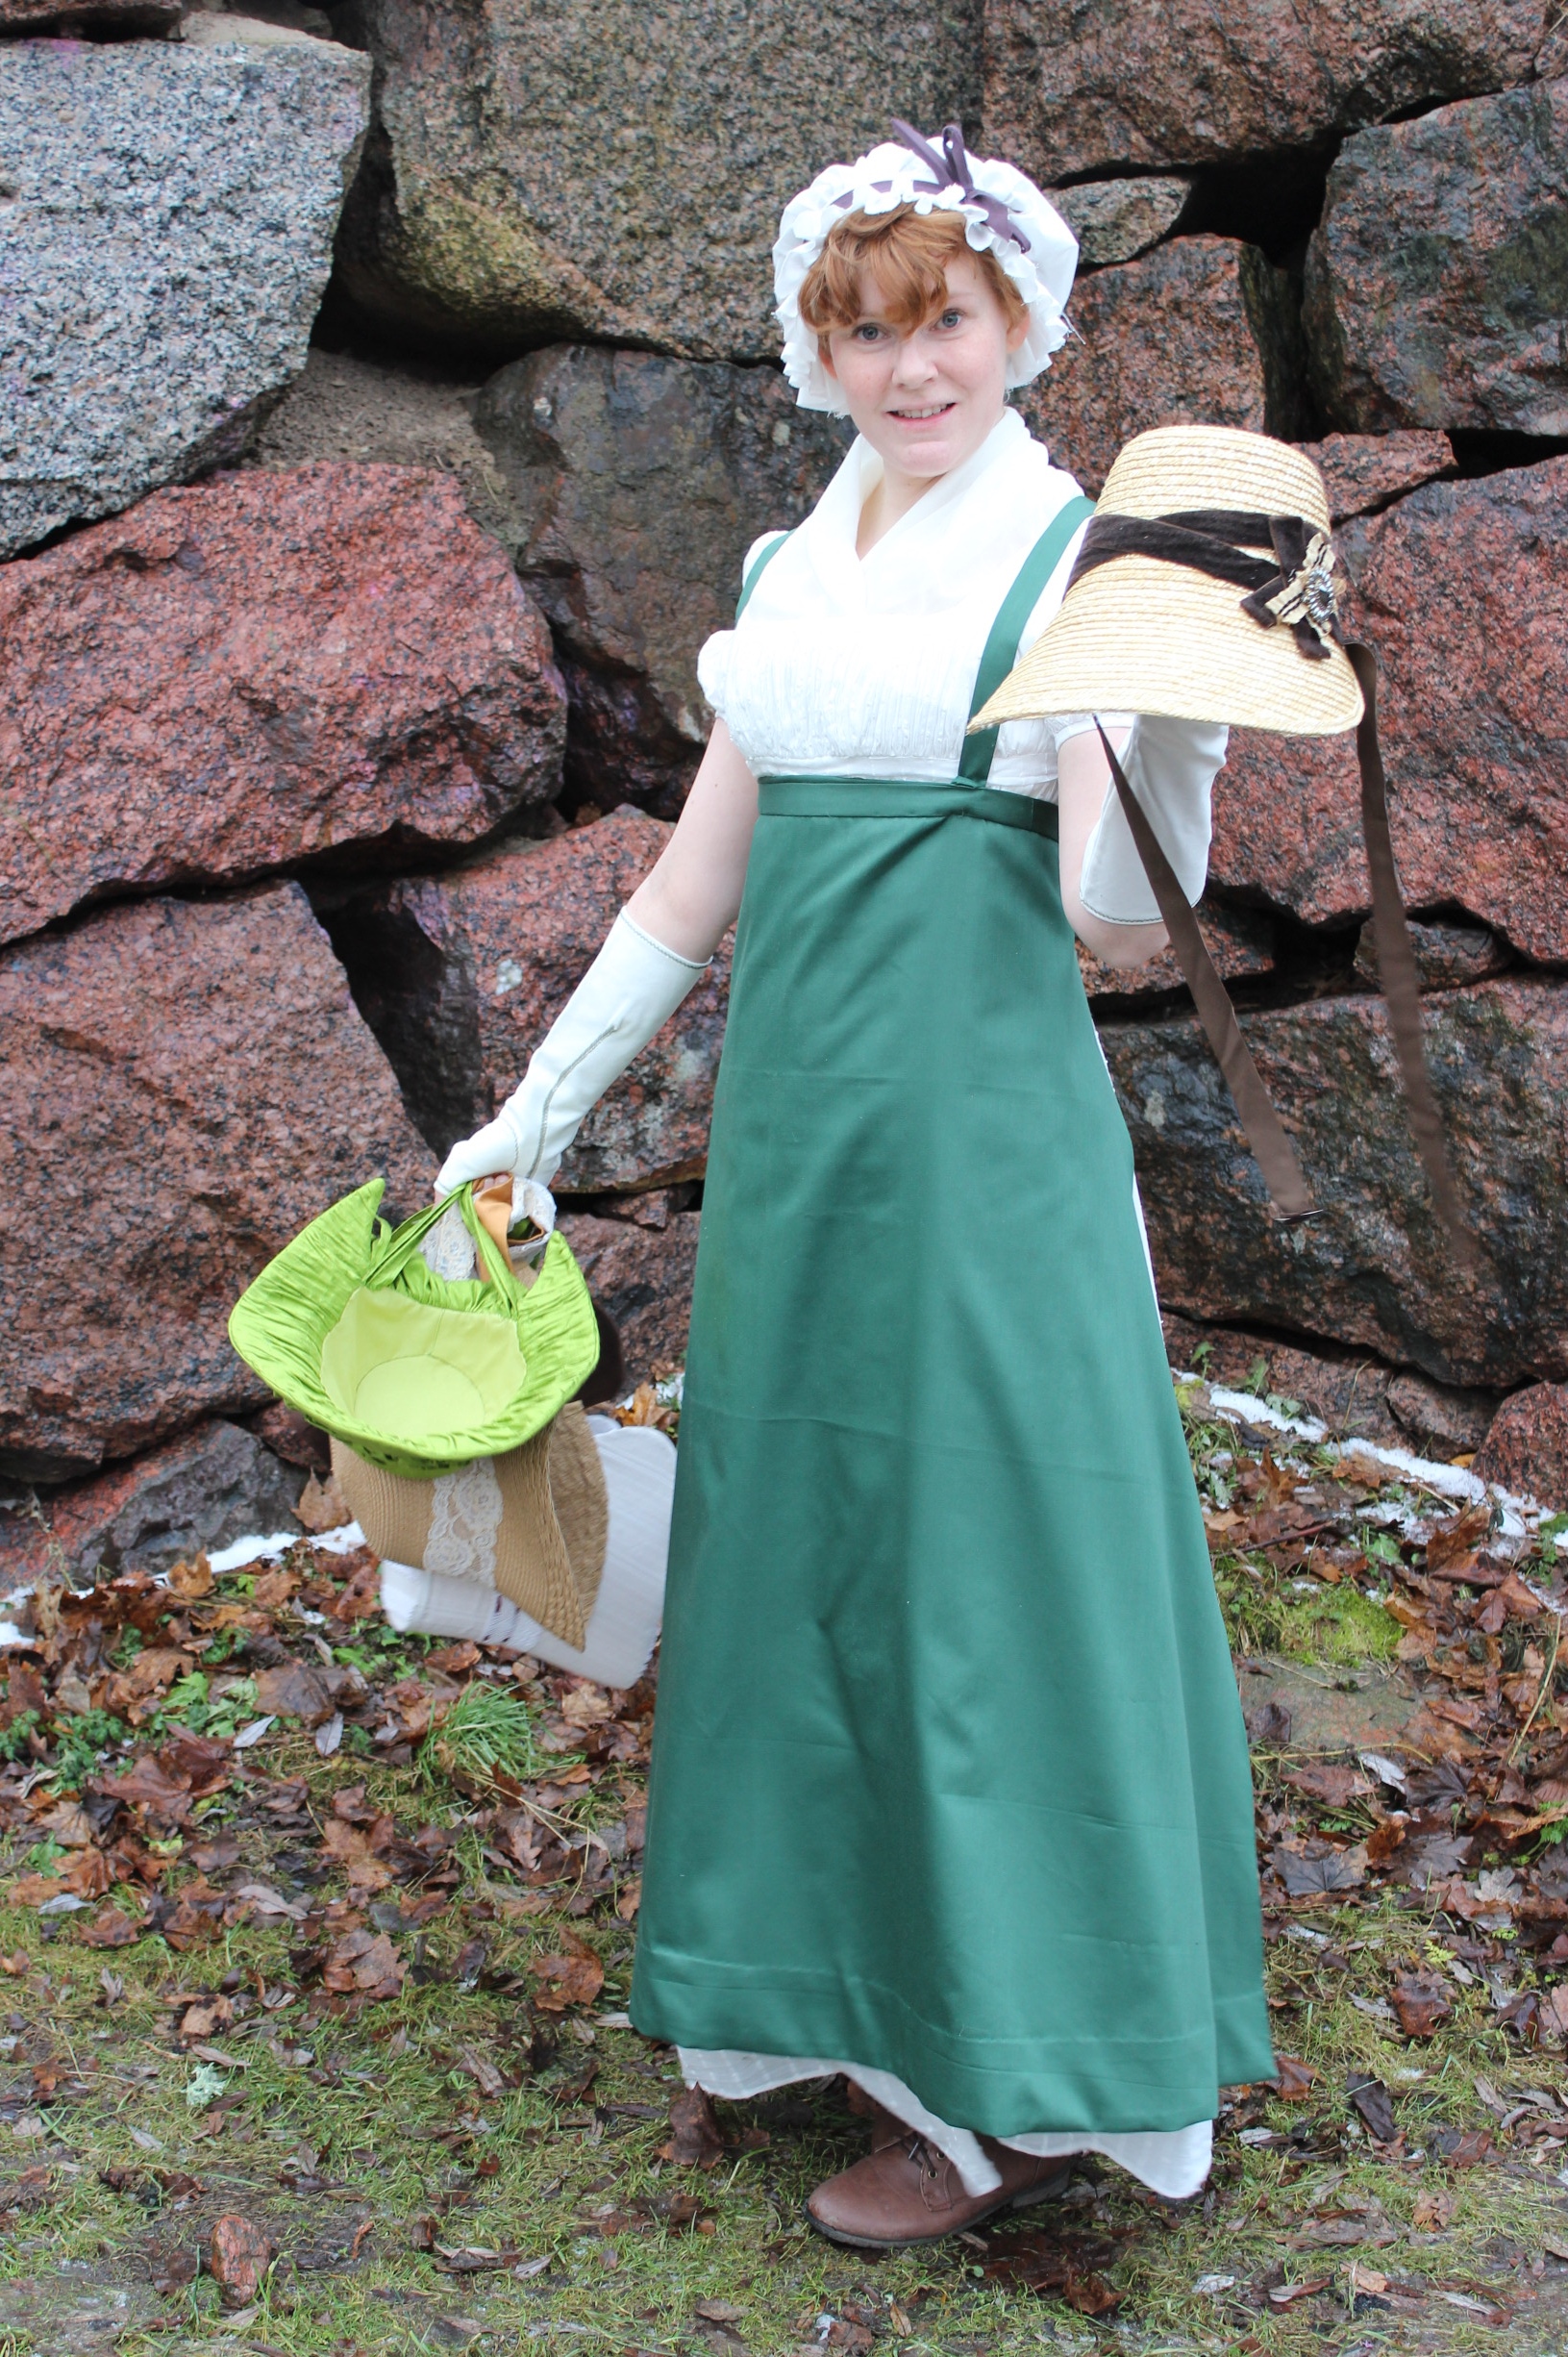
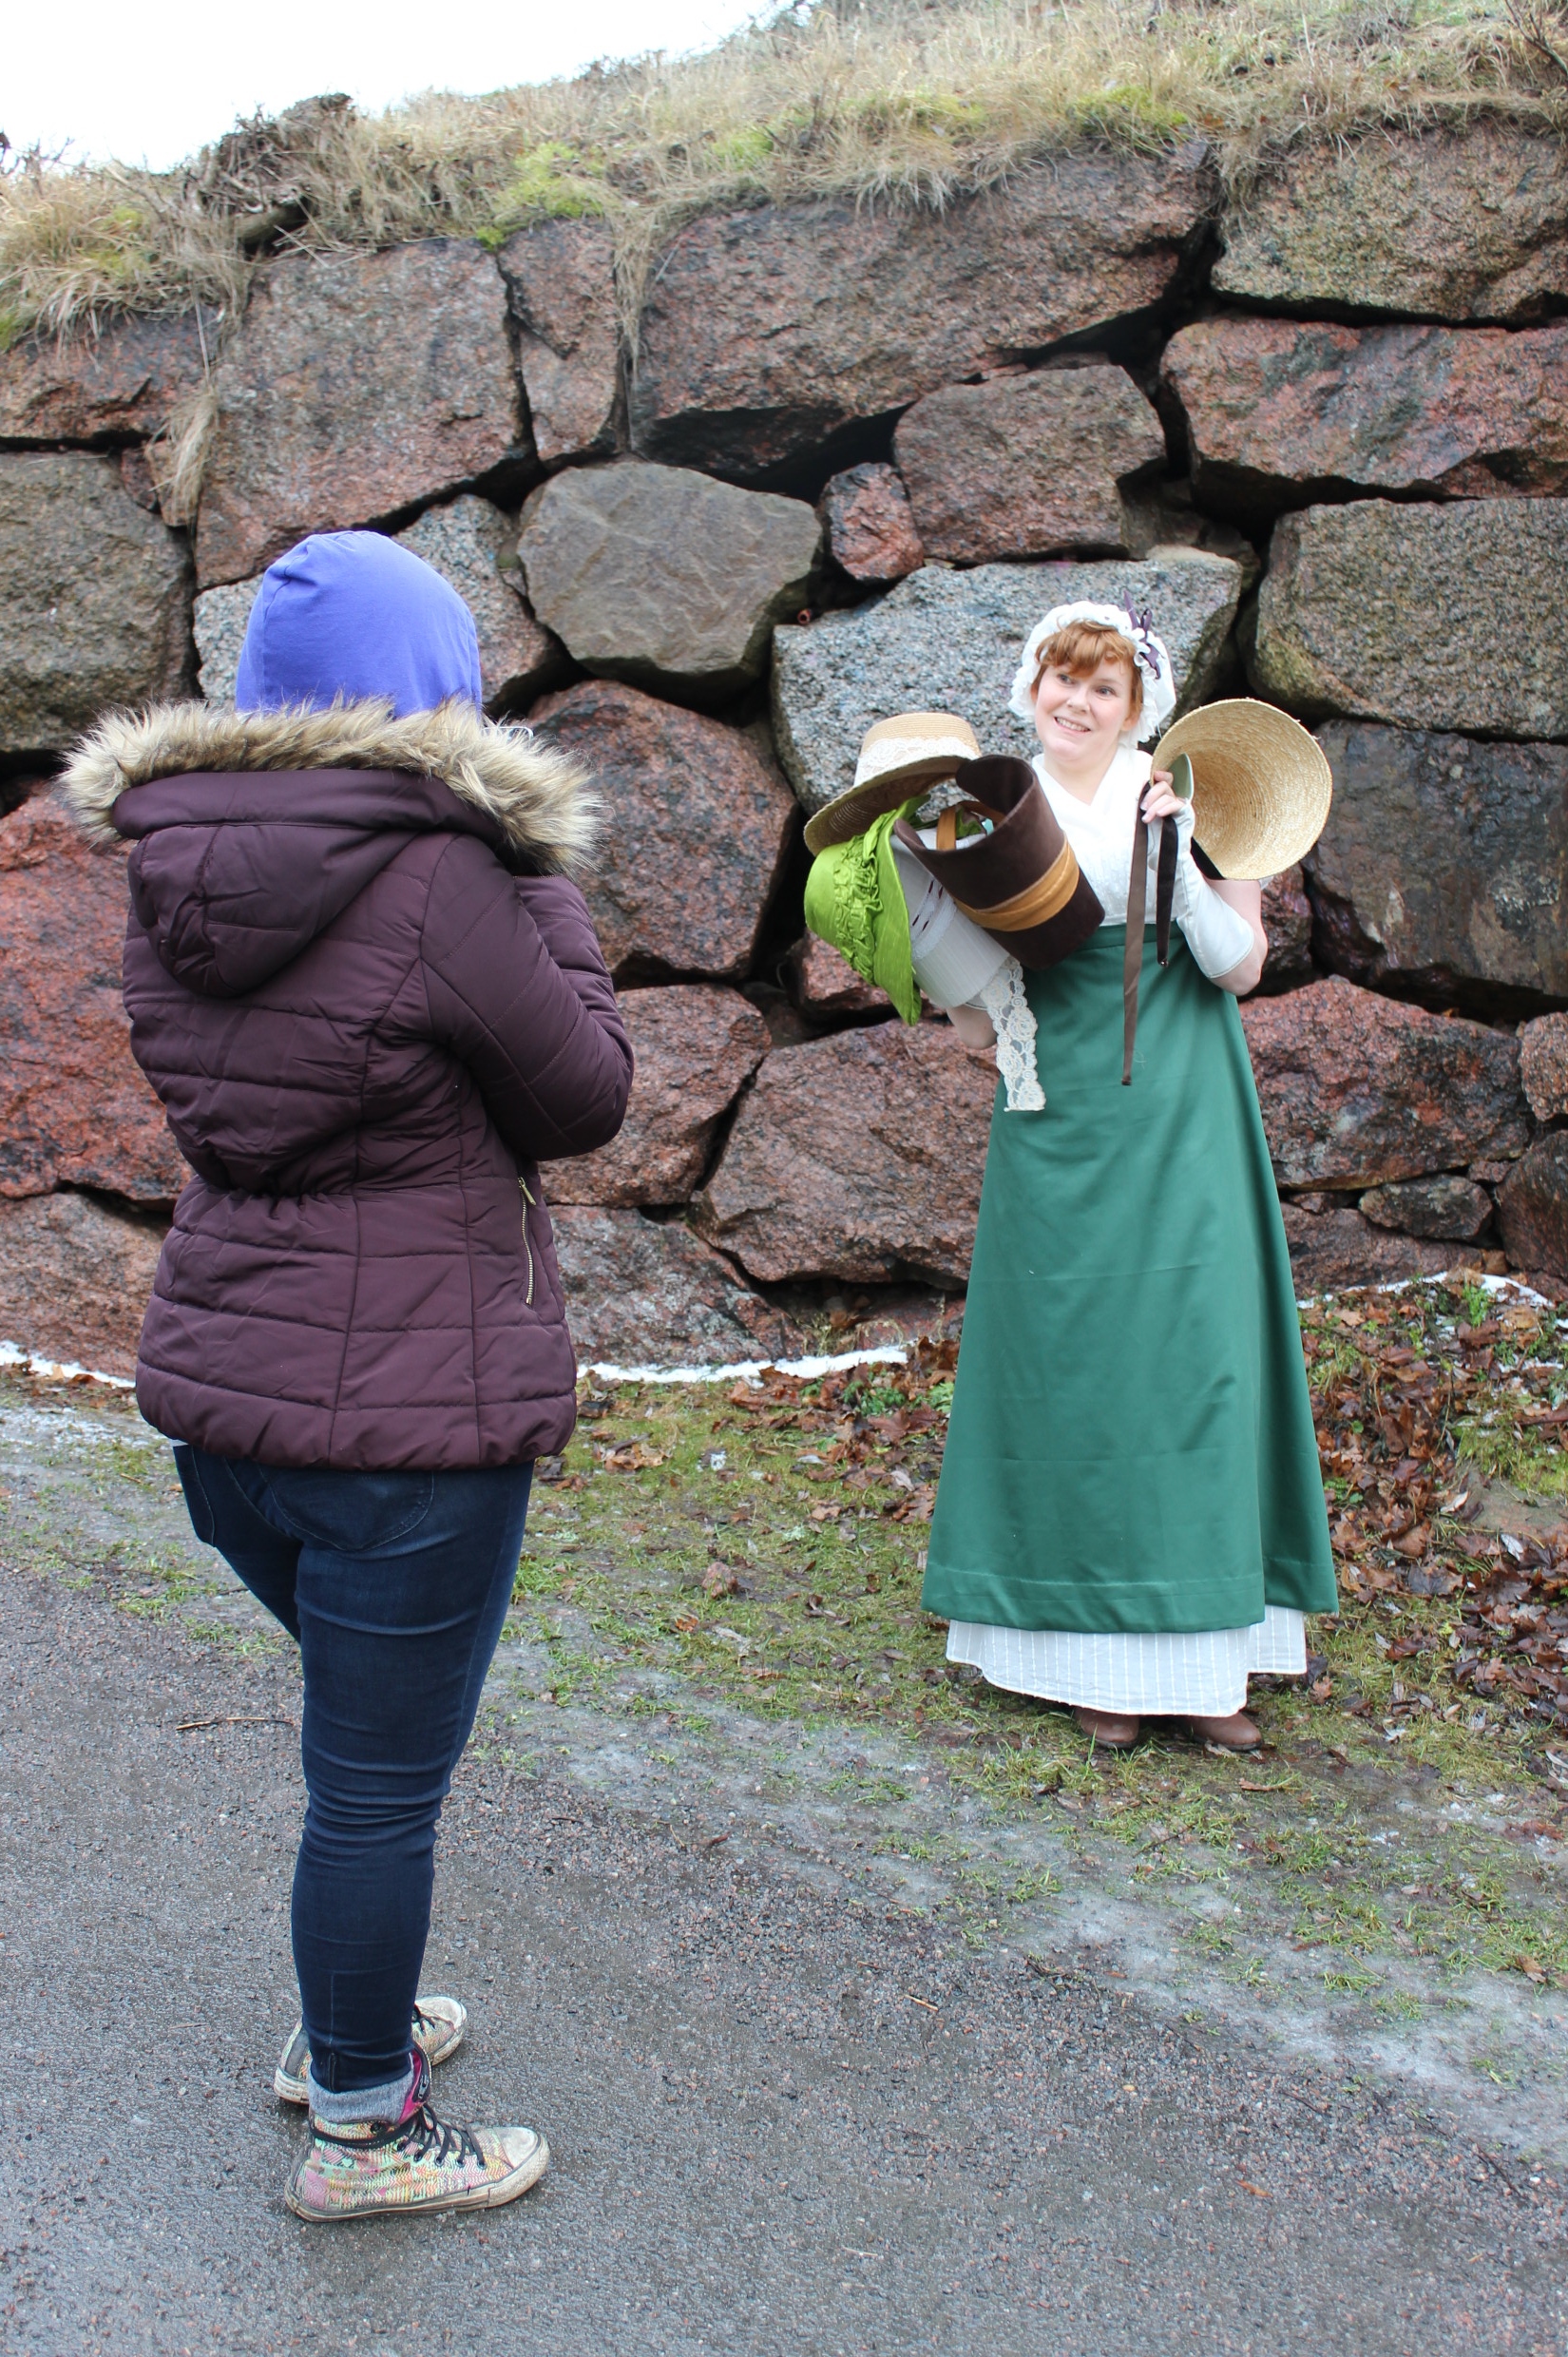
Complete outfit

The facts:

What: a 1805s riding bonnet

Pattern: None,just a re-shaped and cut hat.

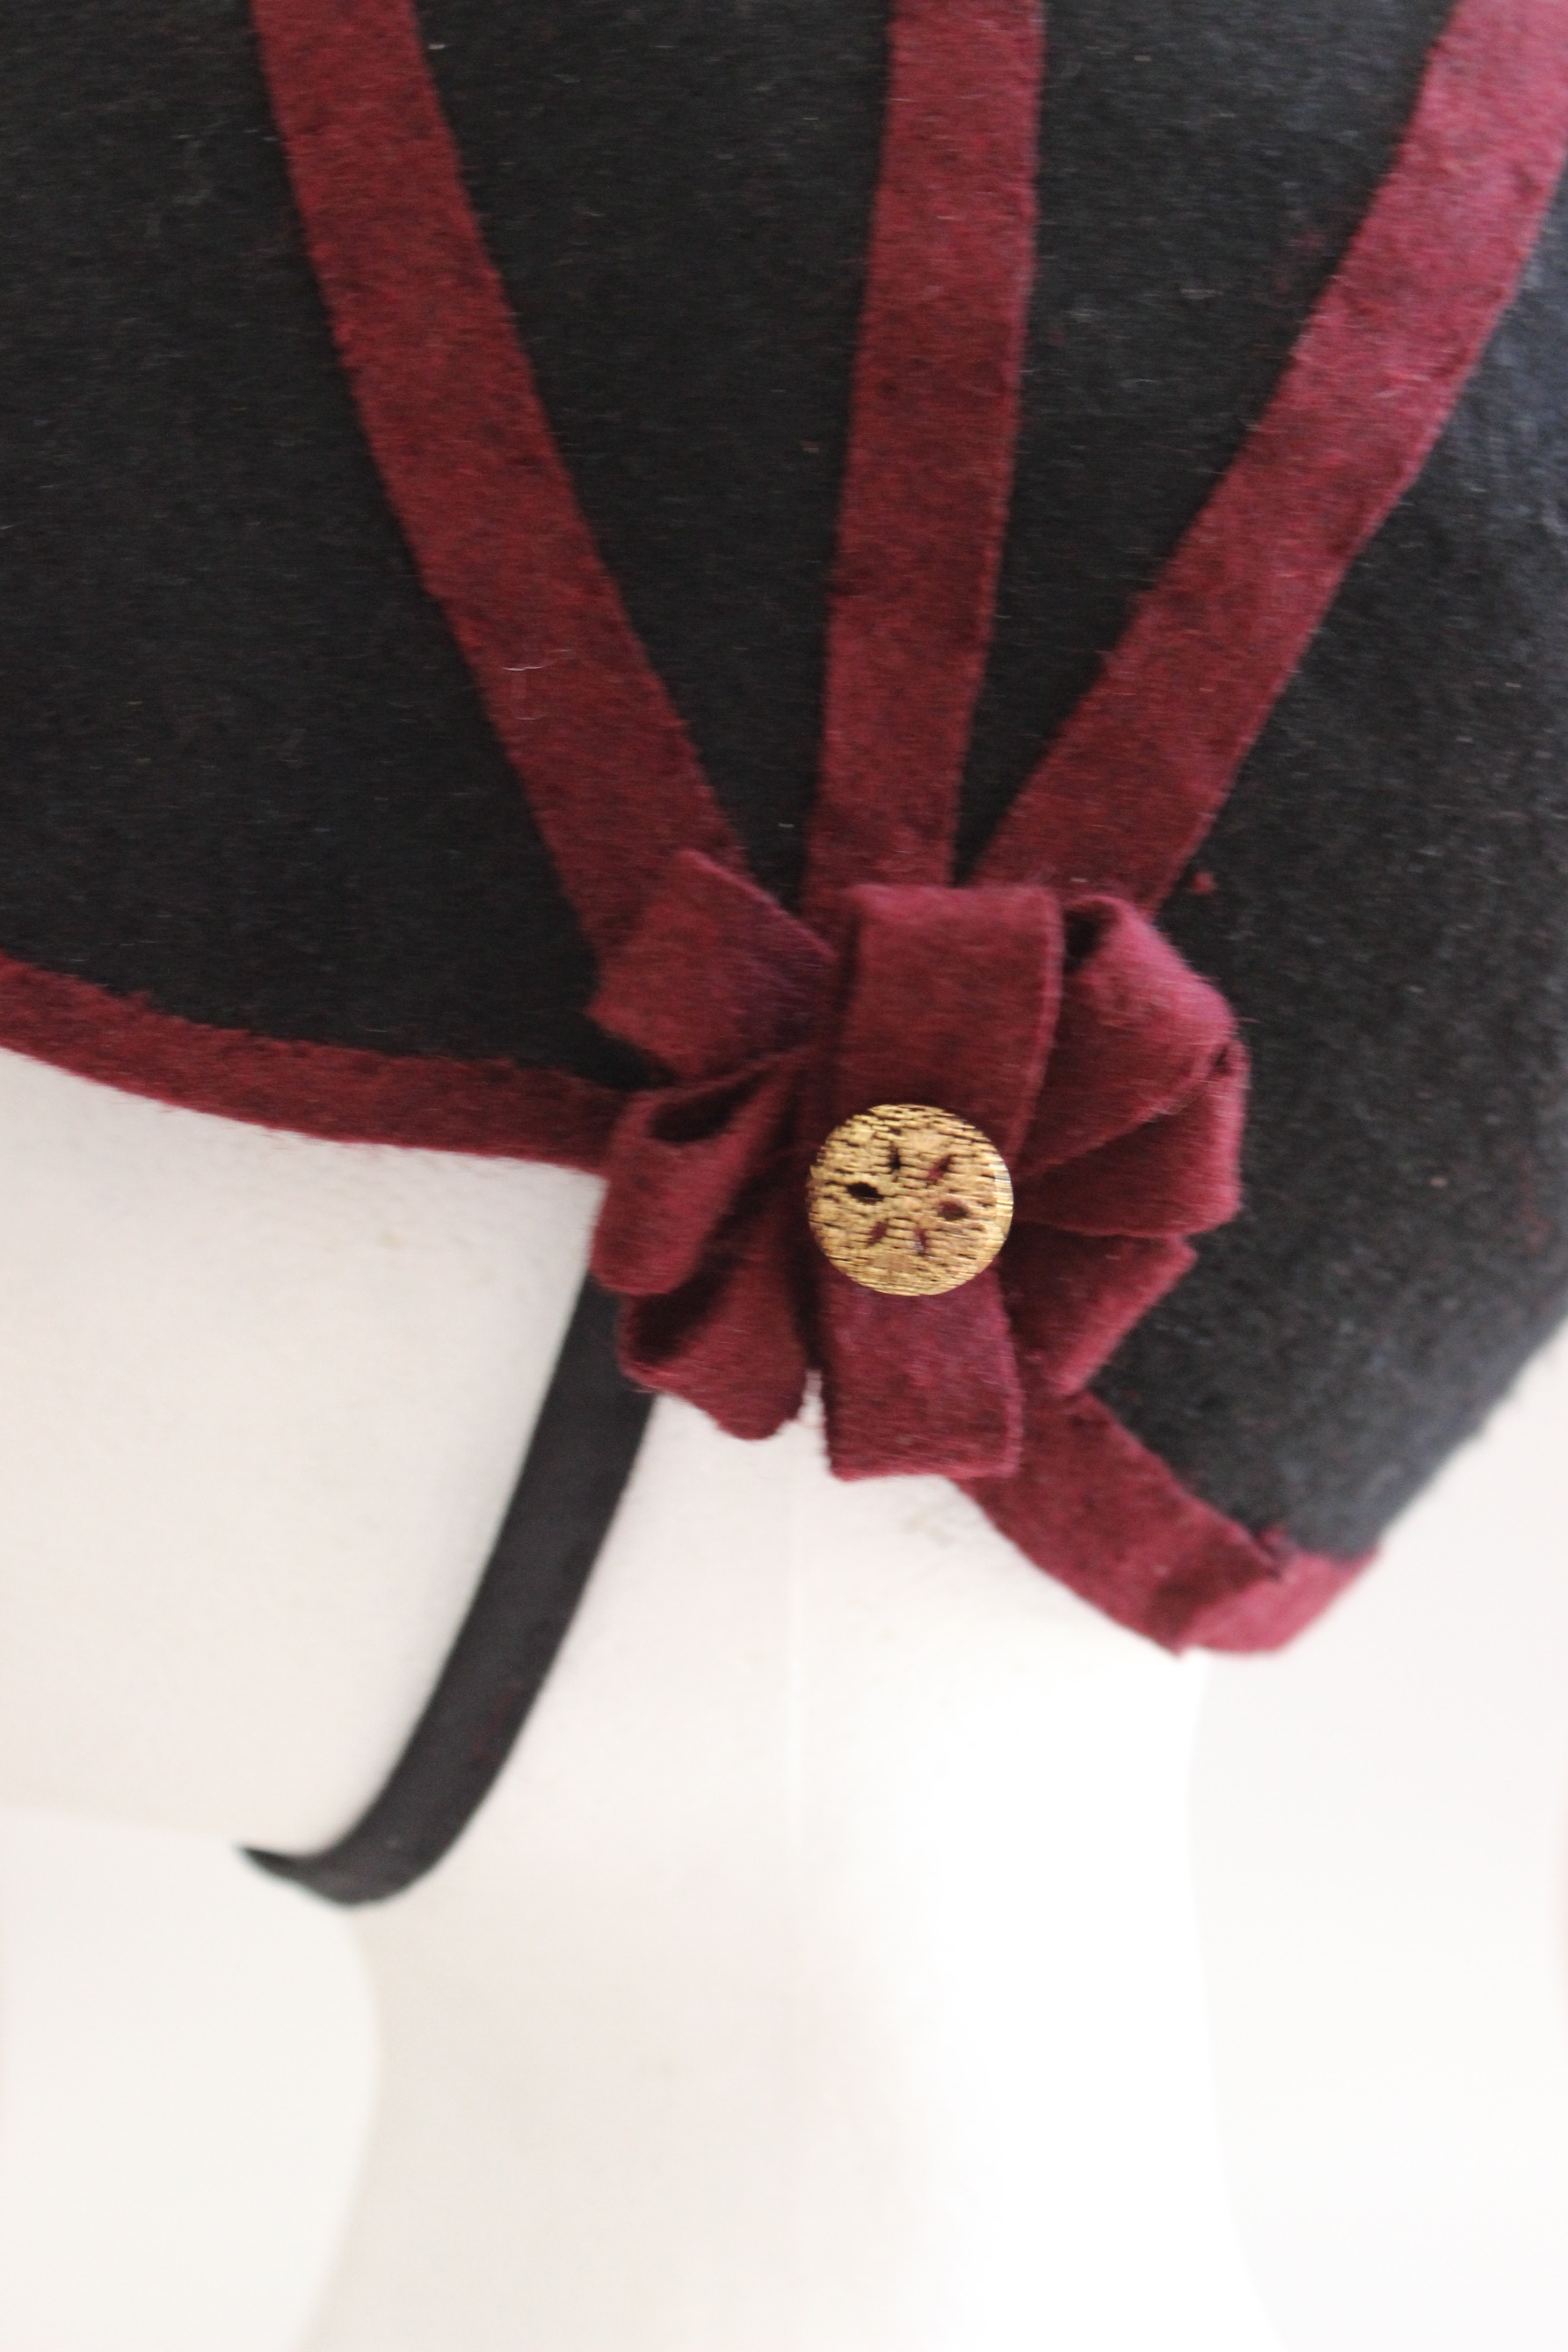
Fabric & notions: 1 black wool hat, thread, scraps of red wool and black cotton, 20 cm millinery wire, 1 hook & eye and one gold button.

Time & cost: Not including the time it took to dry, I’d say about 3-4 hours. The only thing I bought anew was ten hat and it cost 35 Sek (3 Usd), the rest is scraps.

Final thoughts: I’m really happy of how it came out, and I think I looks smashing. But I must admit it looks a bit like a combination of a riding helmet and a truckers hat 🙂

Regency Apron – Photoshoot

For the photos of my new apron I wanted to try to copy the inspiration print s much as possible, and since I haven’t made the rest of the outfit, I picked some pieces from my existing costume wardrobe that would some what give the right look.

I’m wearing my white regency evening gown, regency stays, cap, fichu, mittens and a few different hats and bonnets (like my green silk 1860s, brown velvet 1840s) for props.

img_2367

8b05963d5ee97df4f28e42f9f5f09e09

img_2401

img_2425

img_2393

img_2398

img_2407

img_2403

img_2387

img_2415

img_2416

img_2376

img_2428

Behind the scenesimg_2436

1860s silk bonnet (part 2) – decoration

Continuing on the 1860s green silk bonnet:

To get my bonnet to look like my inspiration it needed a bit more work (part 1 – making the bonnet)

IMG_66117a42b6b21b6ade8740f6dc978540db72
To make it go from this to this

For the trimmings I cut stripes of “whatever left of the silk” and gathered them by hand to get a nice and “poufy” trim. IMG_6617

I also made a few flowers using scraps of the fabric. IMG_6710
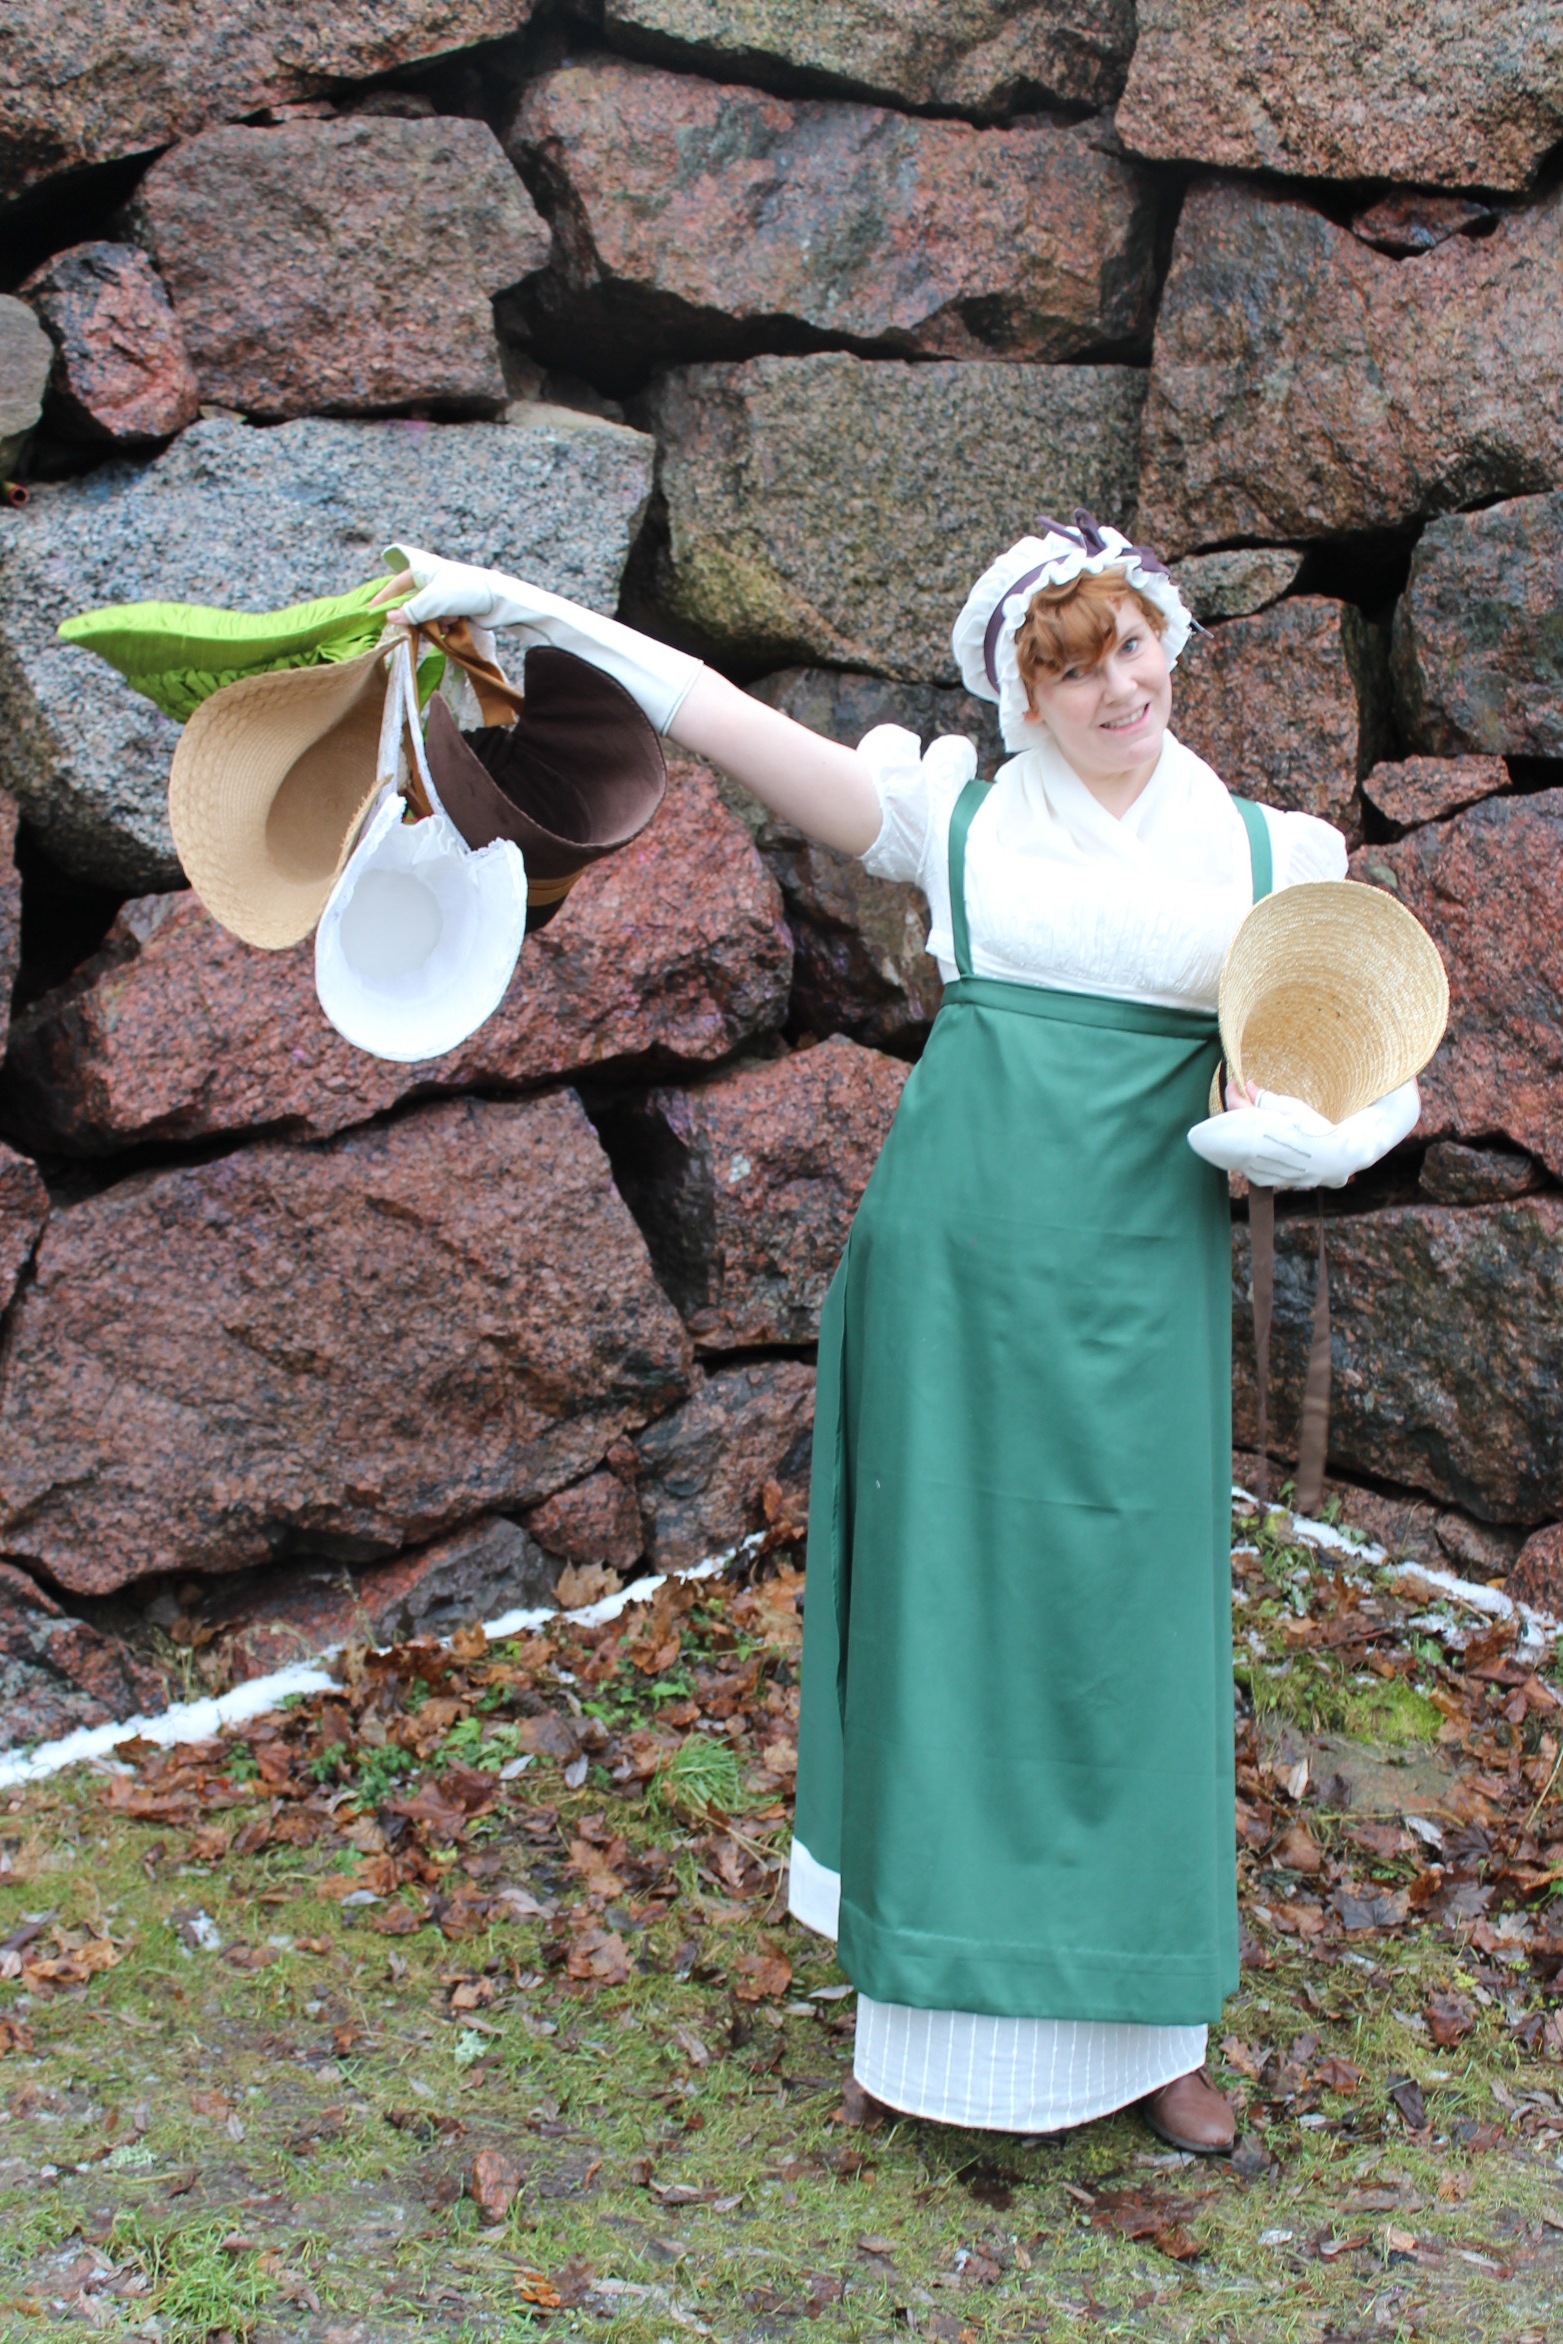
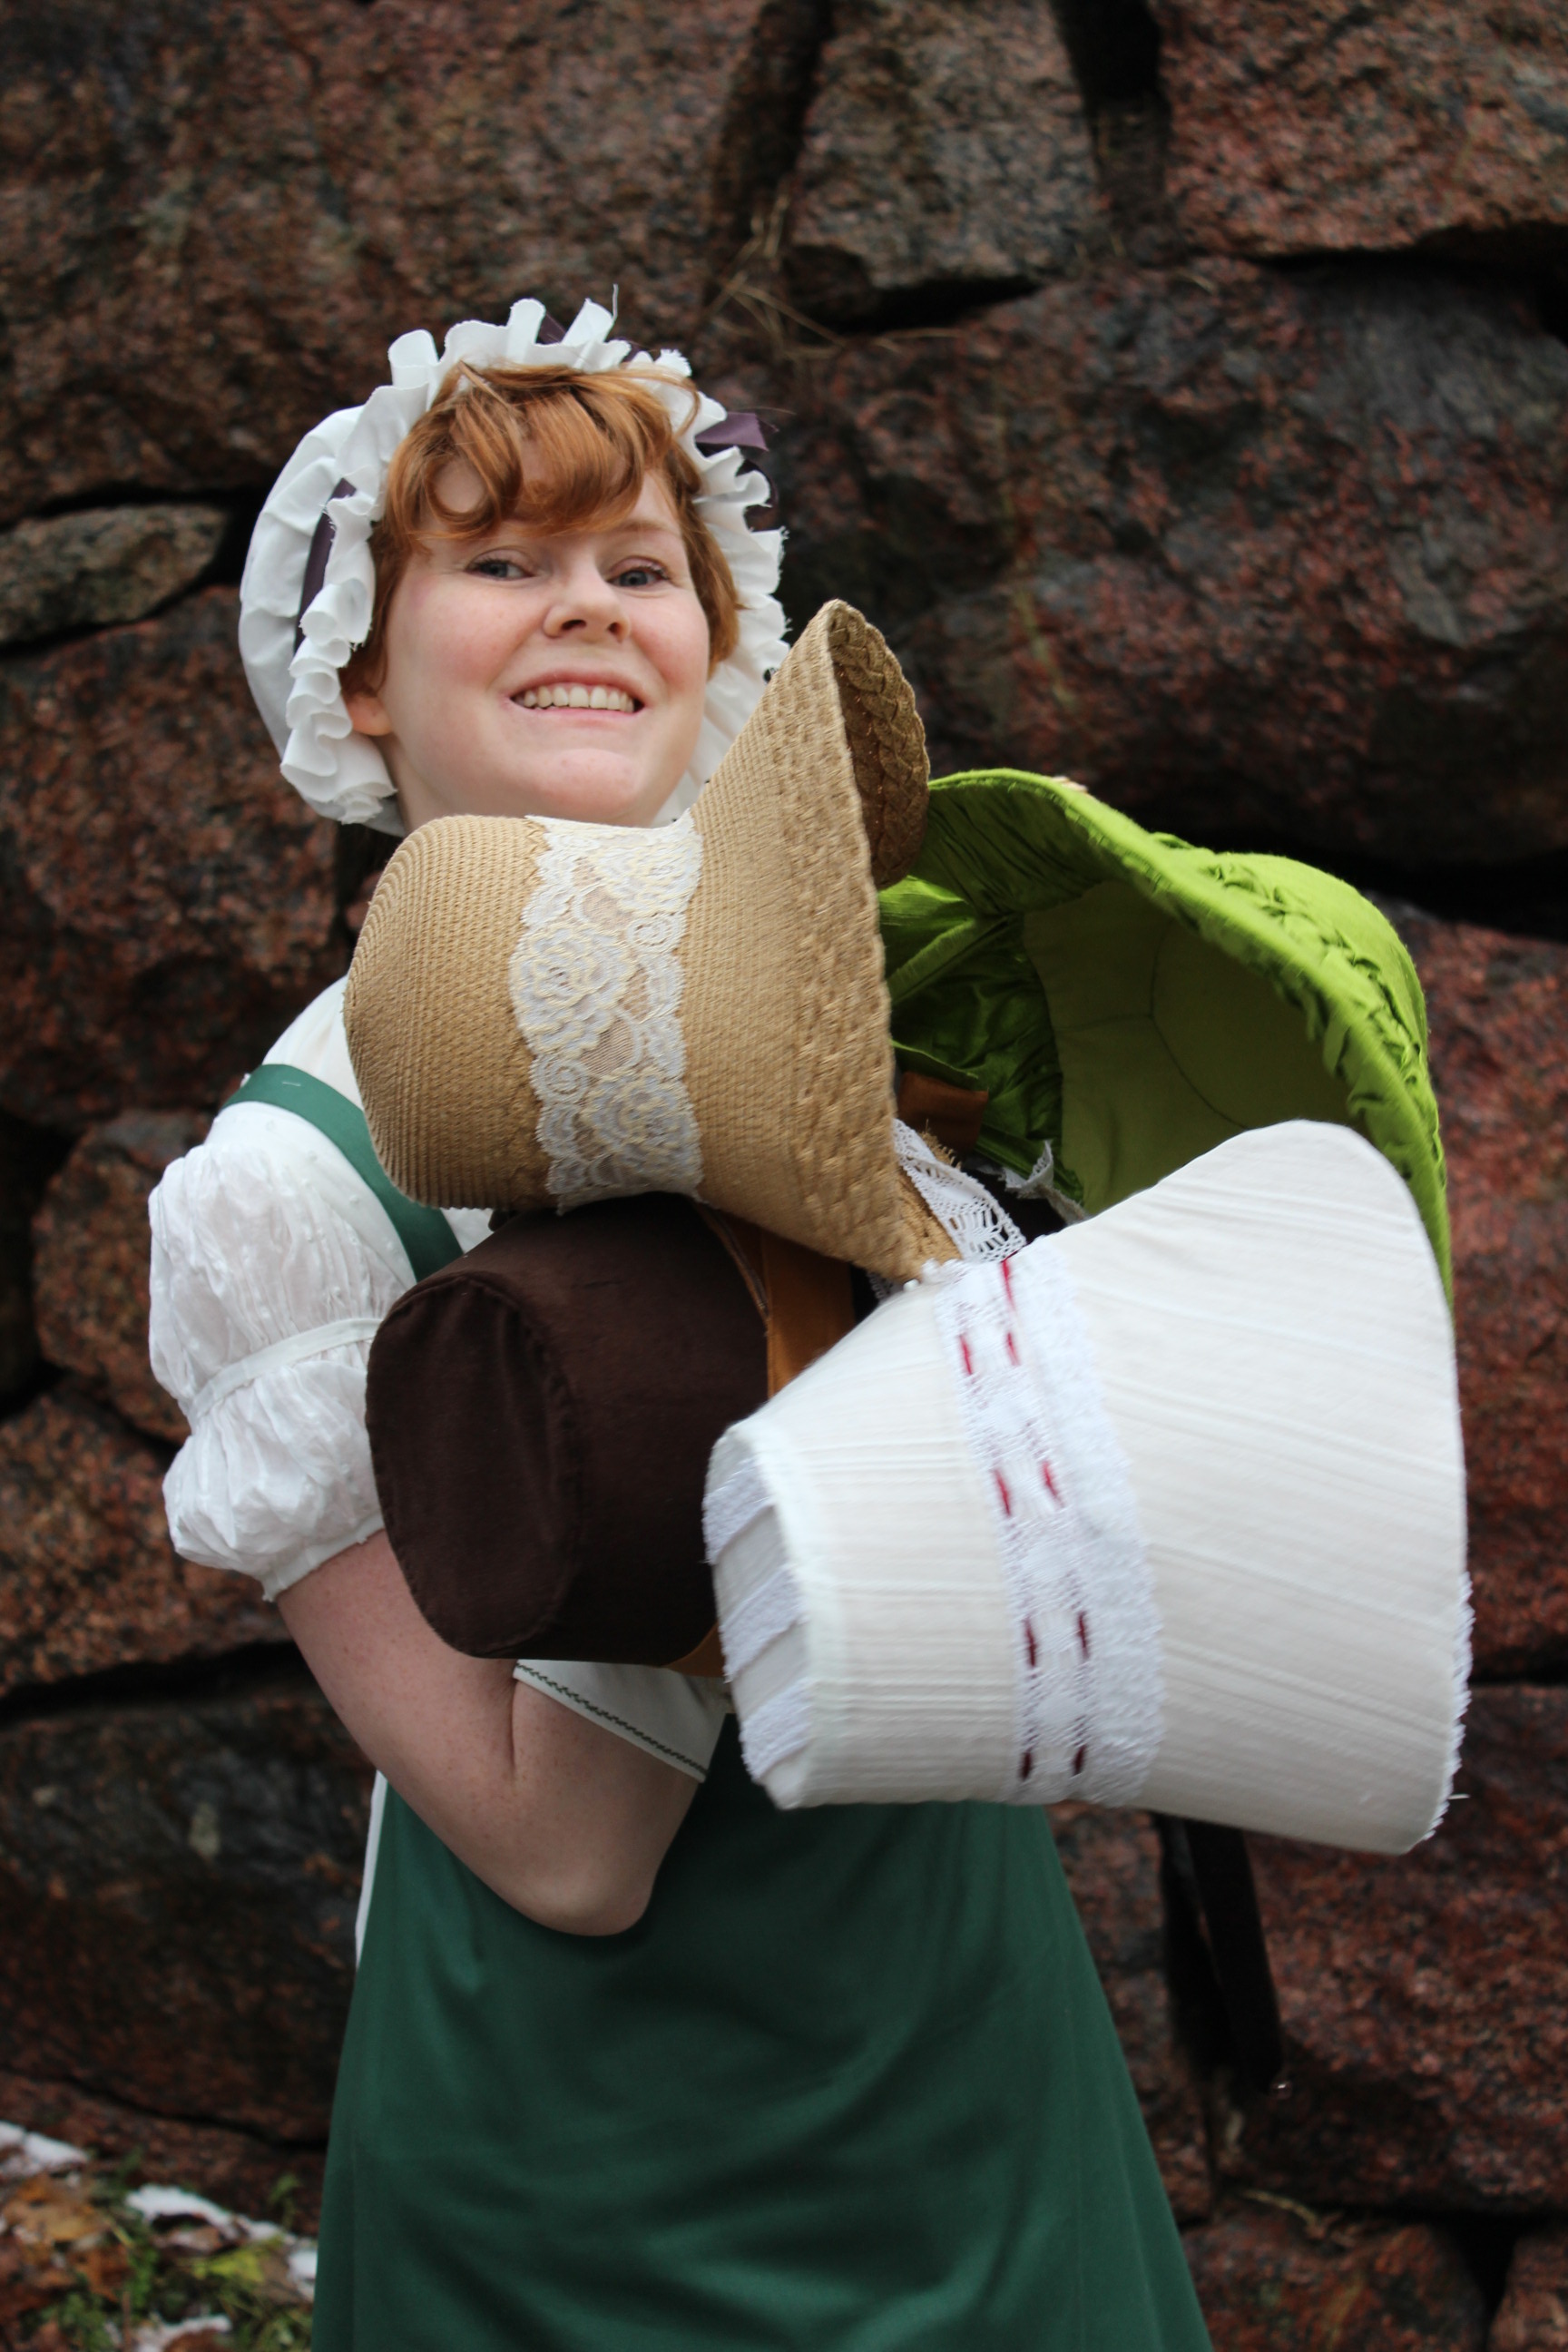
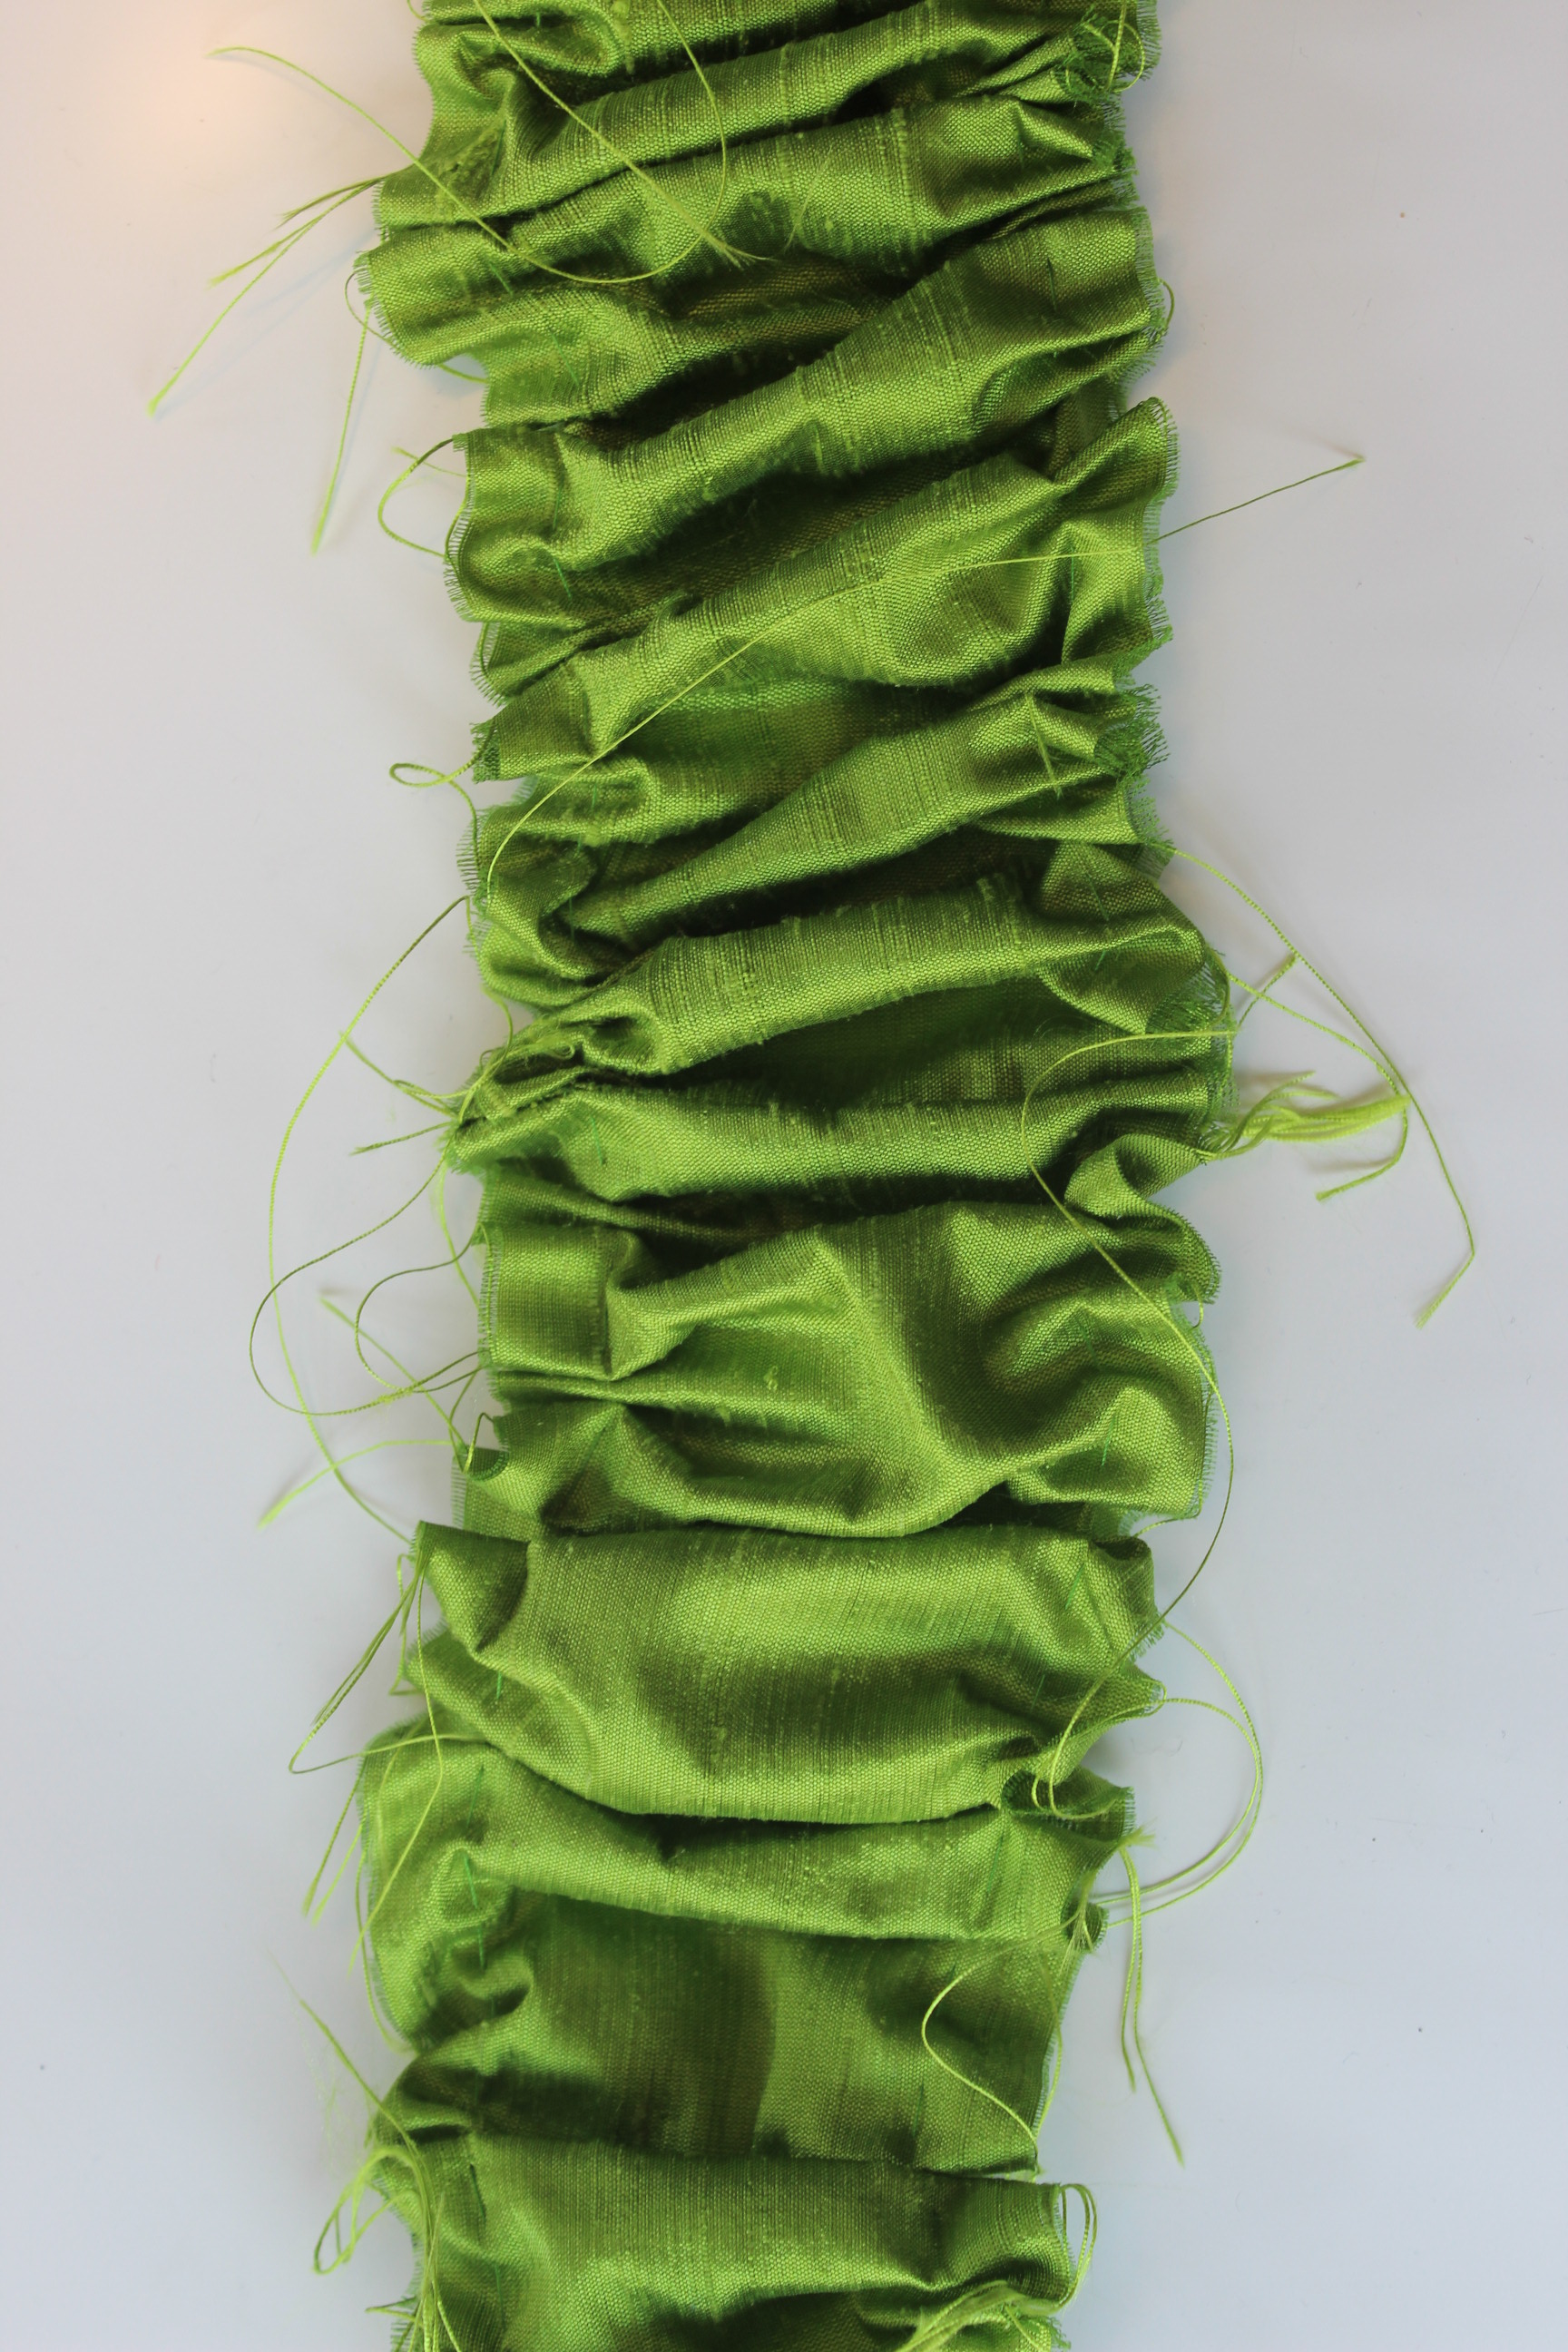
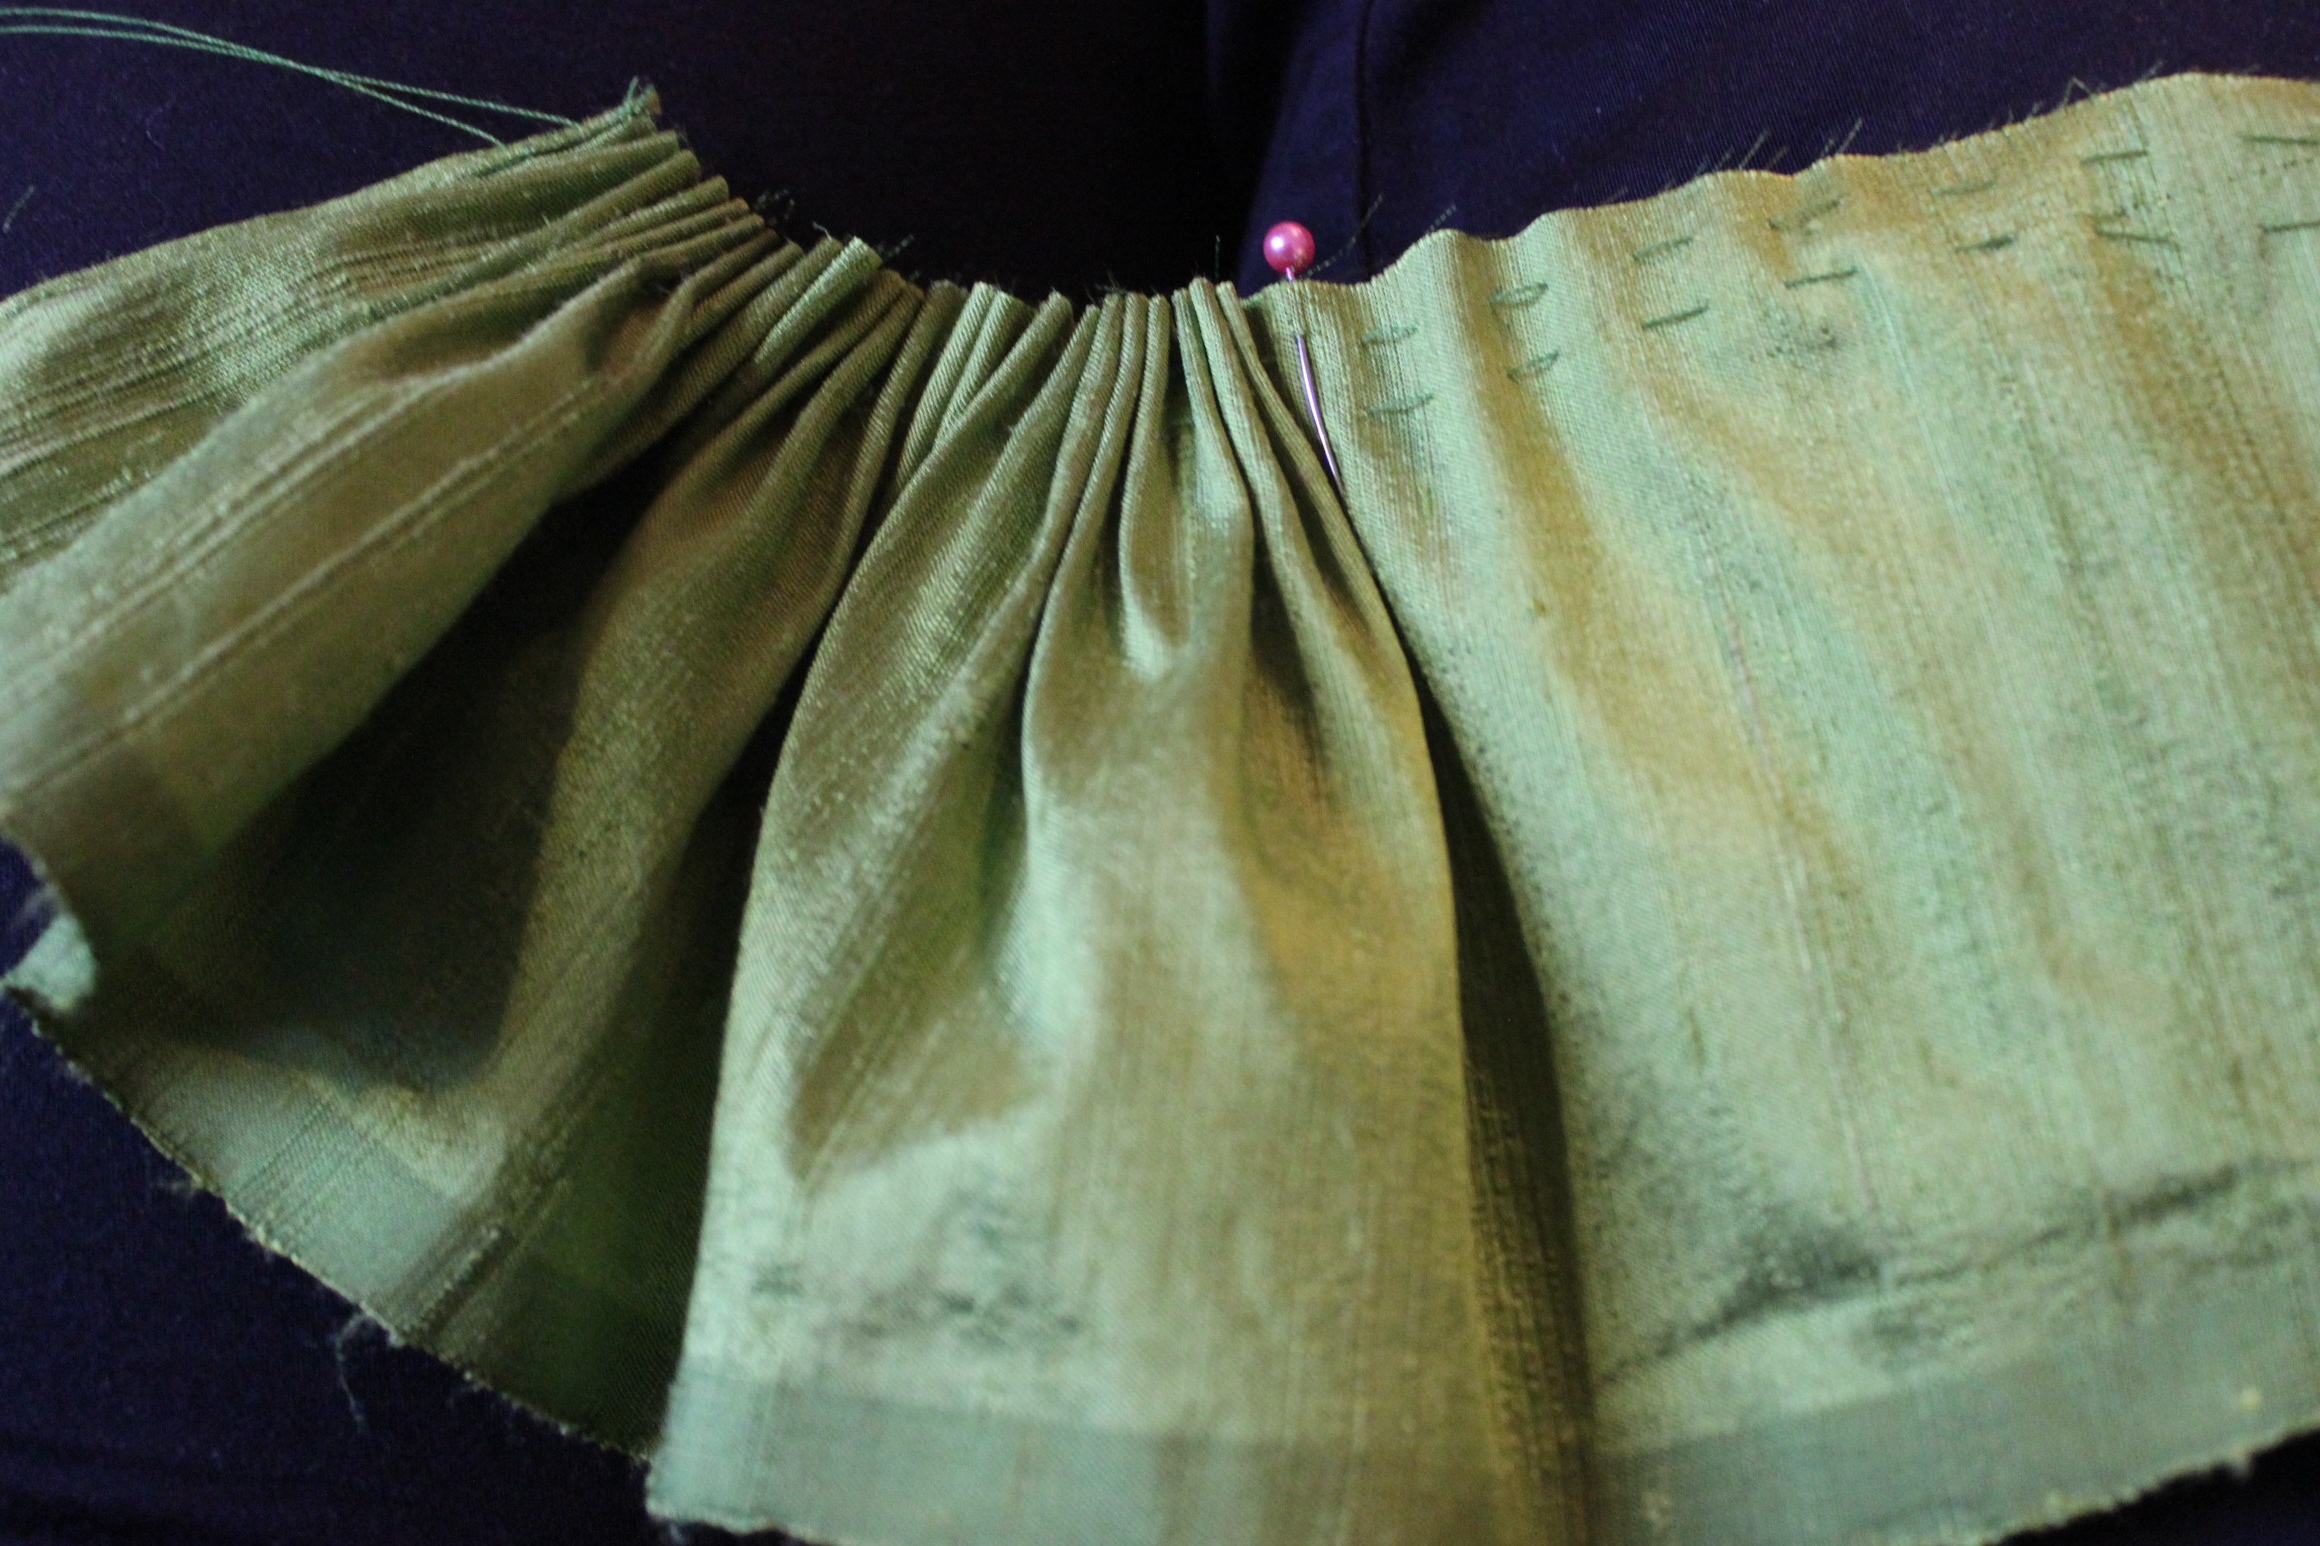
These are so easy to make and takes really no time at all.
I only wish I had more fabric to make more.

I then pinned the trimmings to the bonnet and stitched them on by hand, one by one until I was satisfied
(or ratter until I run out of scraps to turn into trim…).IMG_6619The first trims pinned on.

IMG_6734IMG_6735

The Finished Bonnet: IMG_6712

IMG_6615

IMG_6715

IMG_6718

IMG_6731

IMG_6720

IMG_6723

IMG_6724

IMG_6725

IMG_6726

IMG_6727

IMG_6729

IMG_6733

The Facts:

What: A 1860s bonnet

Pattern: Lynn McMasters “1860s civil war bonnet”

Fabric: 60 cm of green silk taffeta, 30 cm of green cotton for lining.

Cost: 350 Sek

Time: A lot – about 30 hours.

Final Thoughts: I think it came out really pretty, with enough decoration to look right for the period yet being pleasing in my modern styizied eyes.
I can’t wait o wear it.

1860s – silk bonnet (part 1) – making the bonnet

After the mandatory inspiration searching, were I decided on a style of bonnet to make, I got to work,

7a42b6b21b6ade8740f6dc978540db72Inspiration

I decided to drape my own pattern using thin cardboard, pictures and millinery books.IMG_6244

After some fiddling and pinning I got a pattern for a bonnet…IMG_6233Which looked like a total disaster…

No, this would not do, time for plan B.

I ordered Lynn McMasters “1860s bonnet pattern” and started all over again.IMG_6342

After copying the pattern I cut it out in buckram.     IMG_6339

To get a better view of how the bonnets shape, I pinned the pieces together for a better look.IMG_6346

After trying it on, I decided to cut a few cm of of the brim.IMG_6349

IMG_6370Marking the pieces

IMG_6373Sewing the millinery wire to the buckram pieces.

Then the pieces was ready to be stitched together.

To get them to line up perfectly I taped the together before I sewed.IMG_6429

IMG_6433Back piece stitched to side piece.

IMG_6468A pretty nice buckram frame

Then I stitched bias-tape round every edge to keep the corners smooth underneath the fabric.IMG_6472

Finished frames:
IMG_6469 IMG_6470

Then It was time to buy some fabric – deciding on green since that was one of the few colors in the store that would work with my dress (plaid white/blue) without being to obviously matching. IMG_6364

IMG_6366The cut pattern pieces.

As directed in the pattern I also cut cotton bating and some scraps of light green cotton for lining. IMG_6358

Before the fabric was to go on I needed to glue/stitch the batting on te frame to get an even smoother under layer for the silk.

Sadly I forgot to take pictures of this step, but basically I just glued around the edges of the frame pieces and carefully attached the batting to it.

Then it was time for the outer fabric.

(bad at photographing here too – I was working late at night, and didn’t had the camera on hand)

But I started with the crown, working downwards, basting all the edges and the carefully stitching the fabric pieces together.IMG_6580

IMG_6577 IMG_6585

IMG_6574
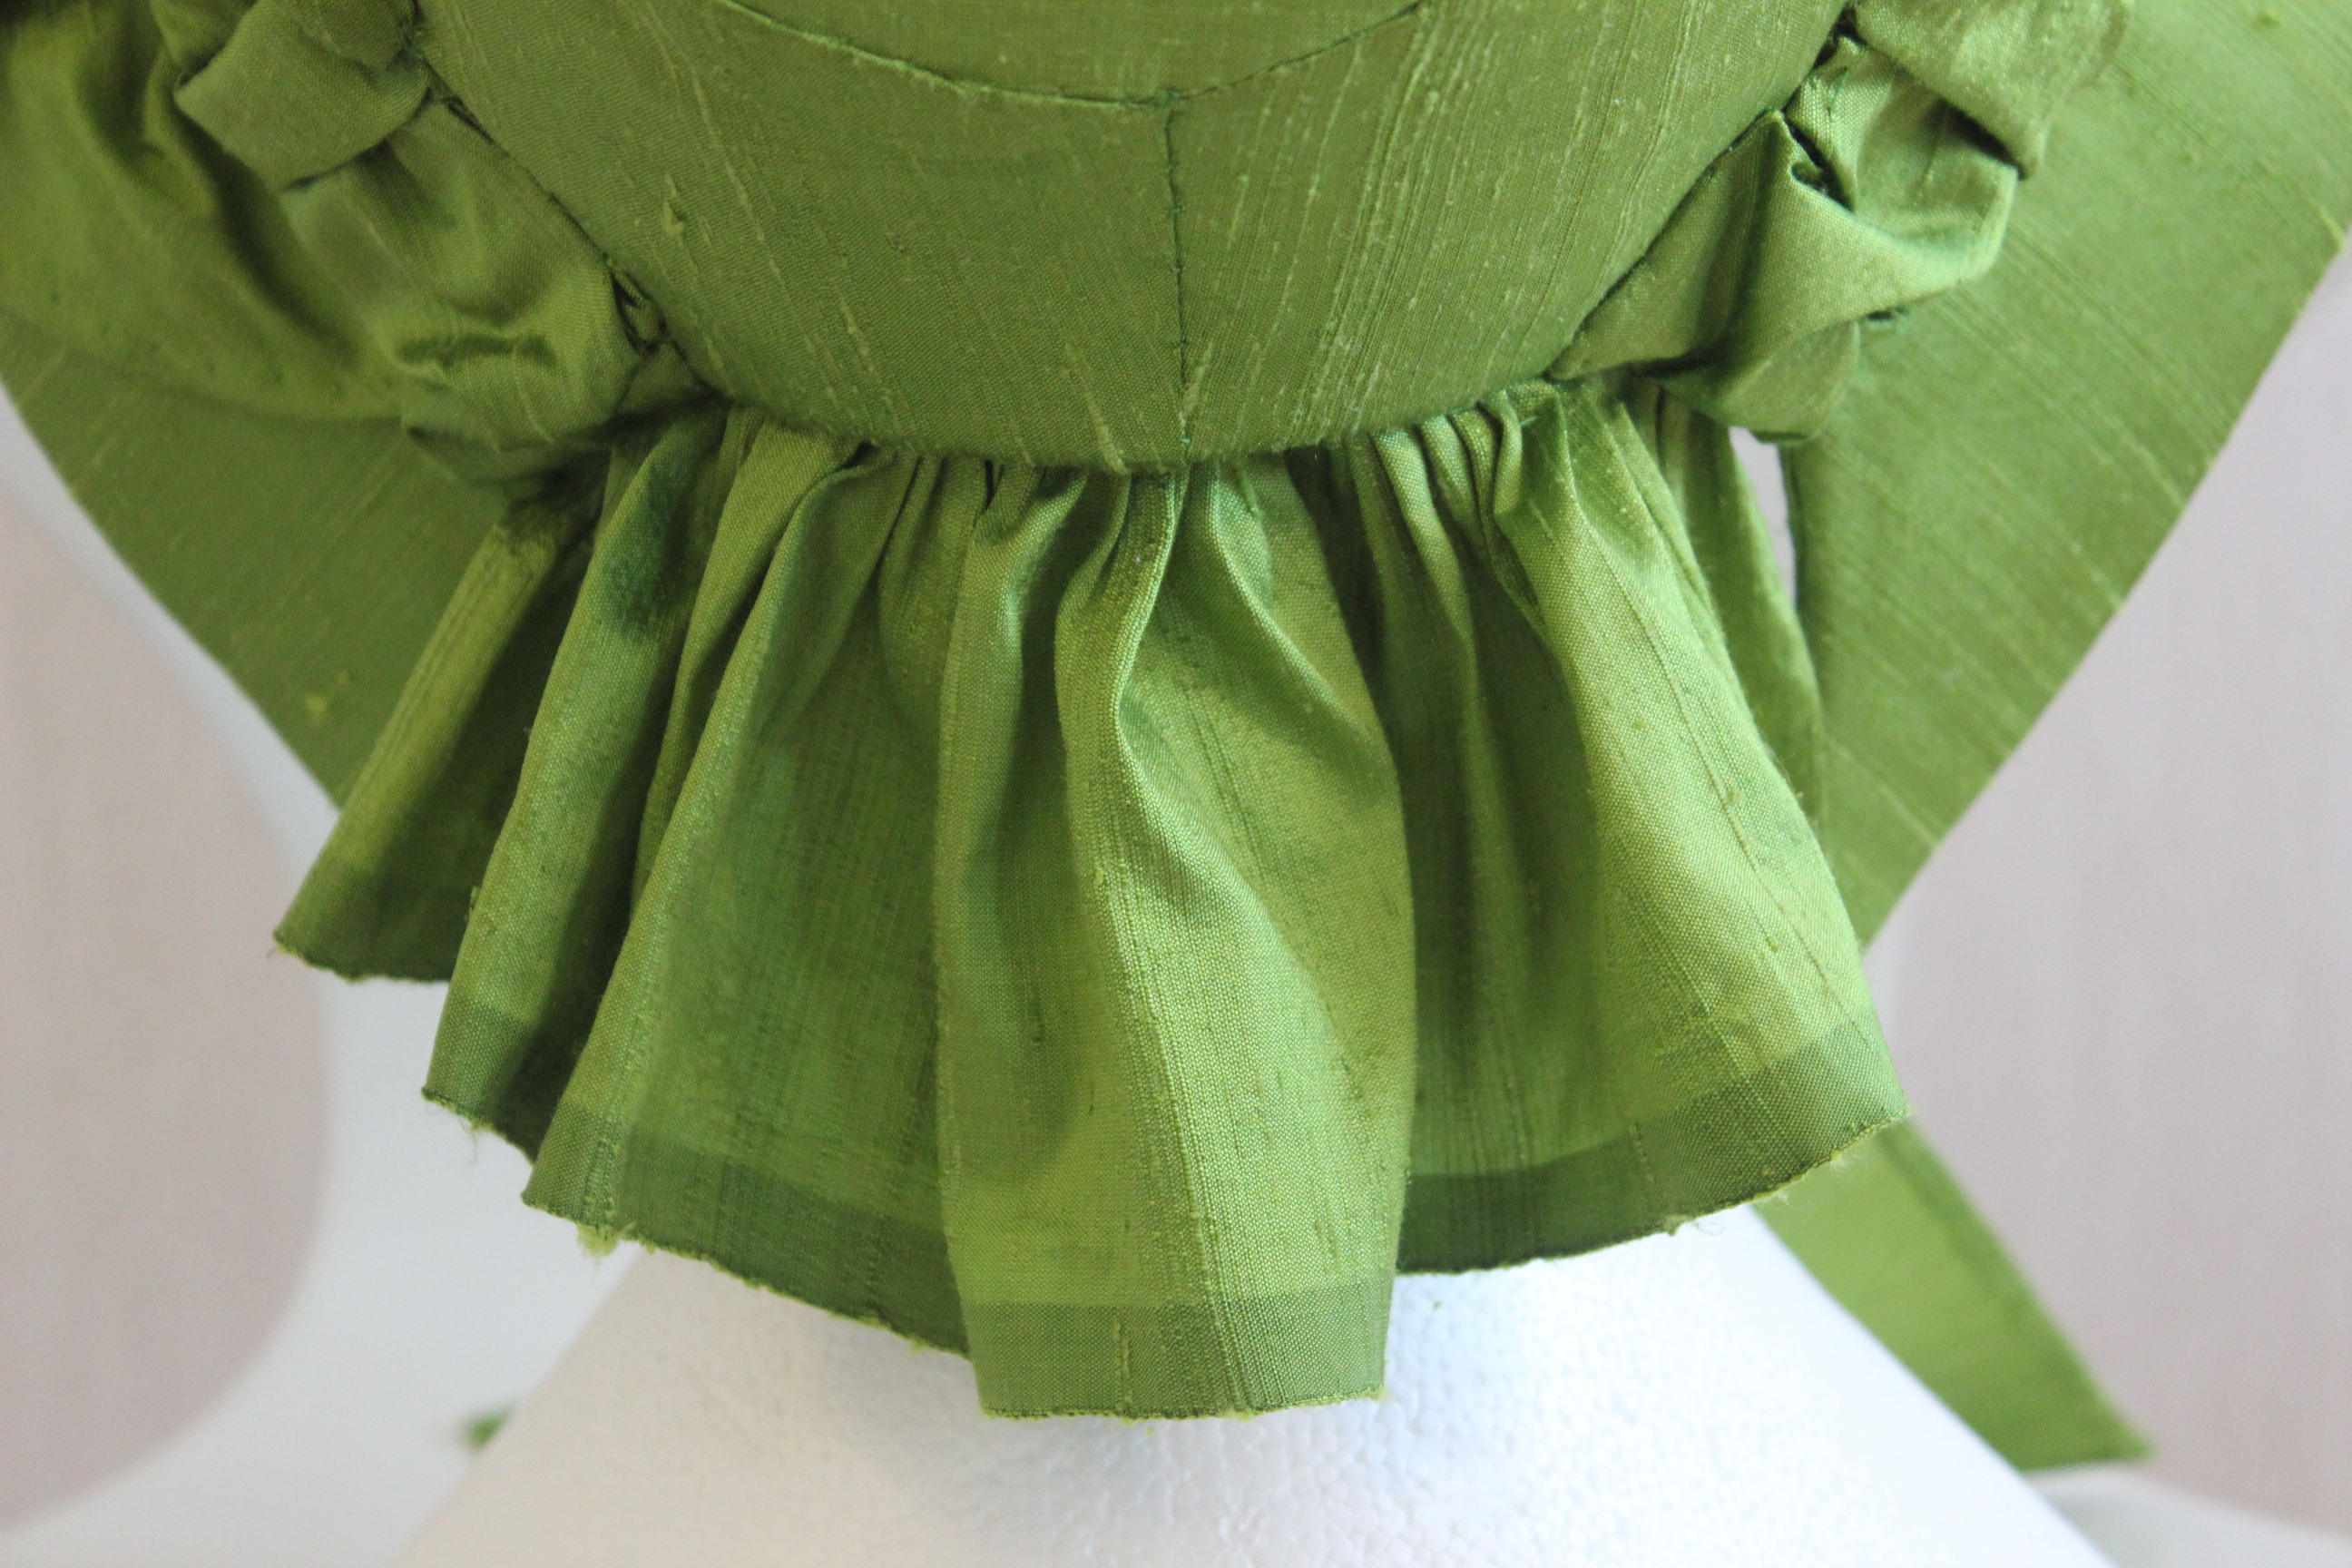
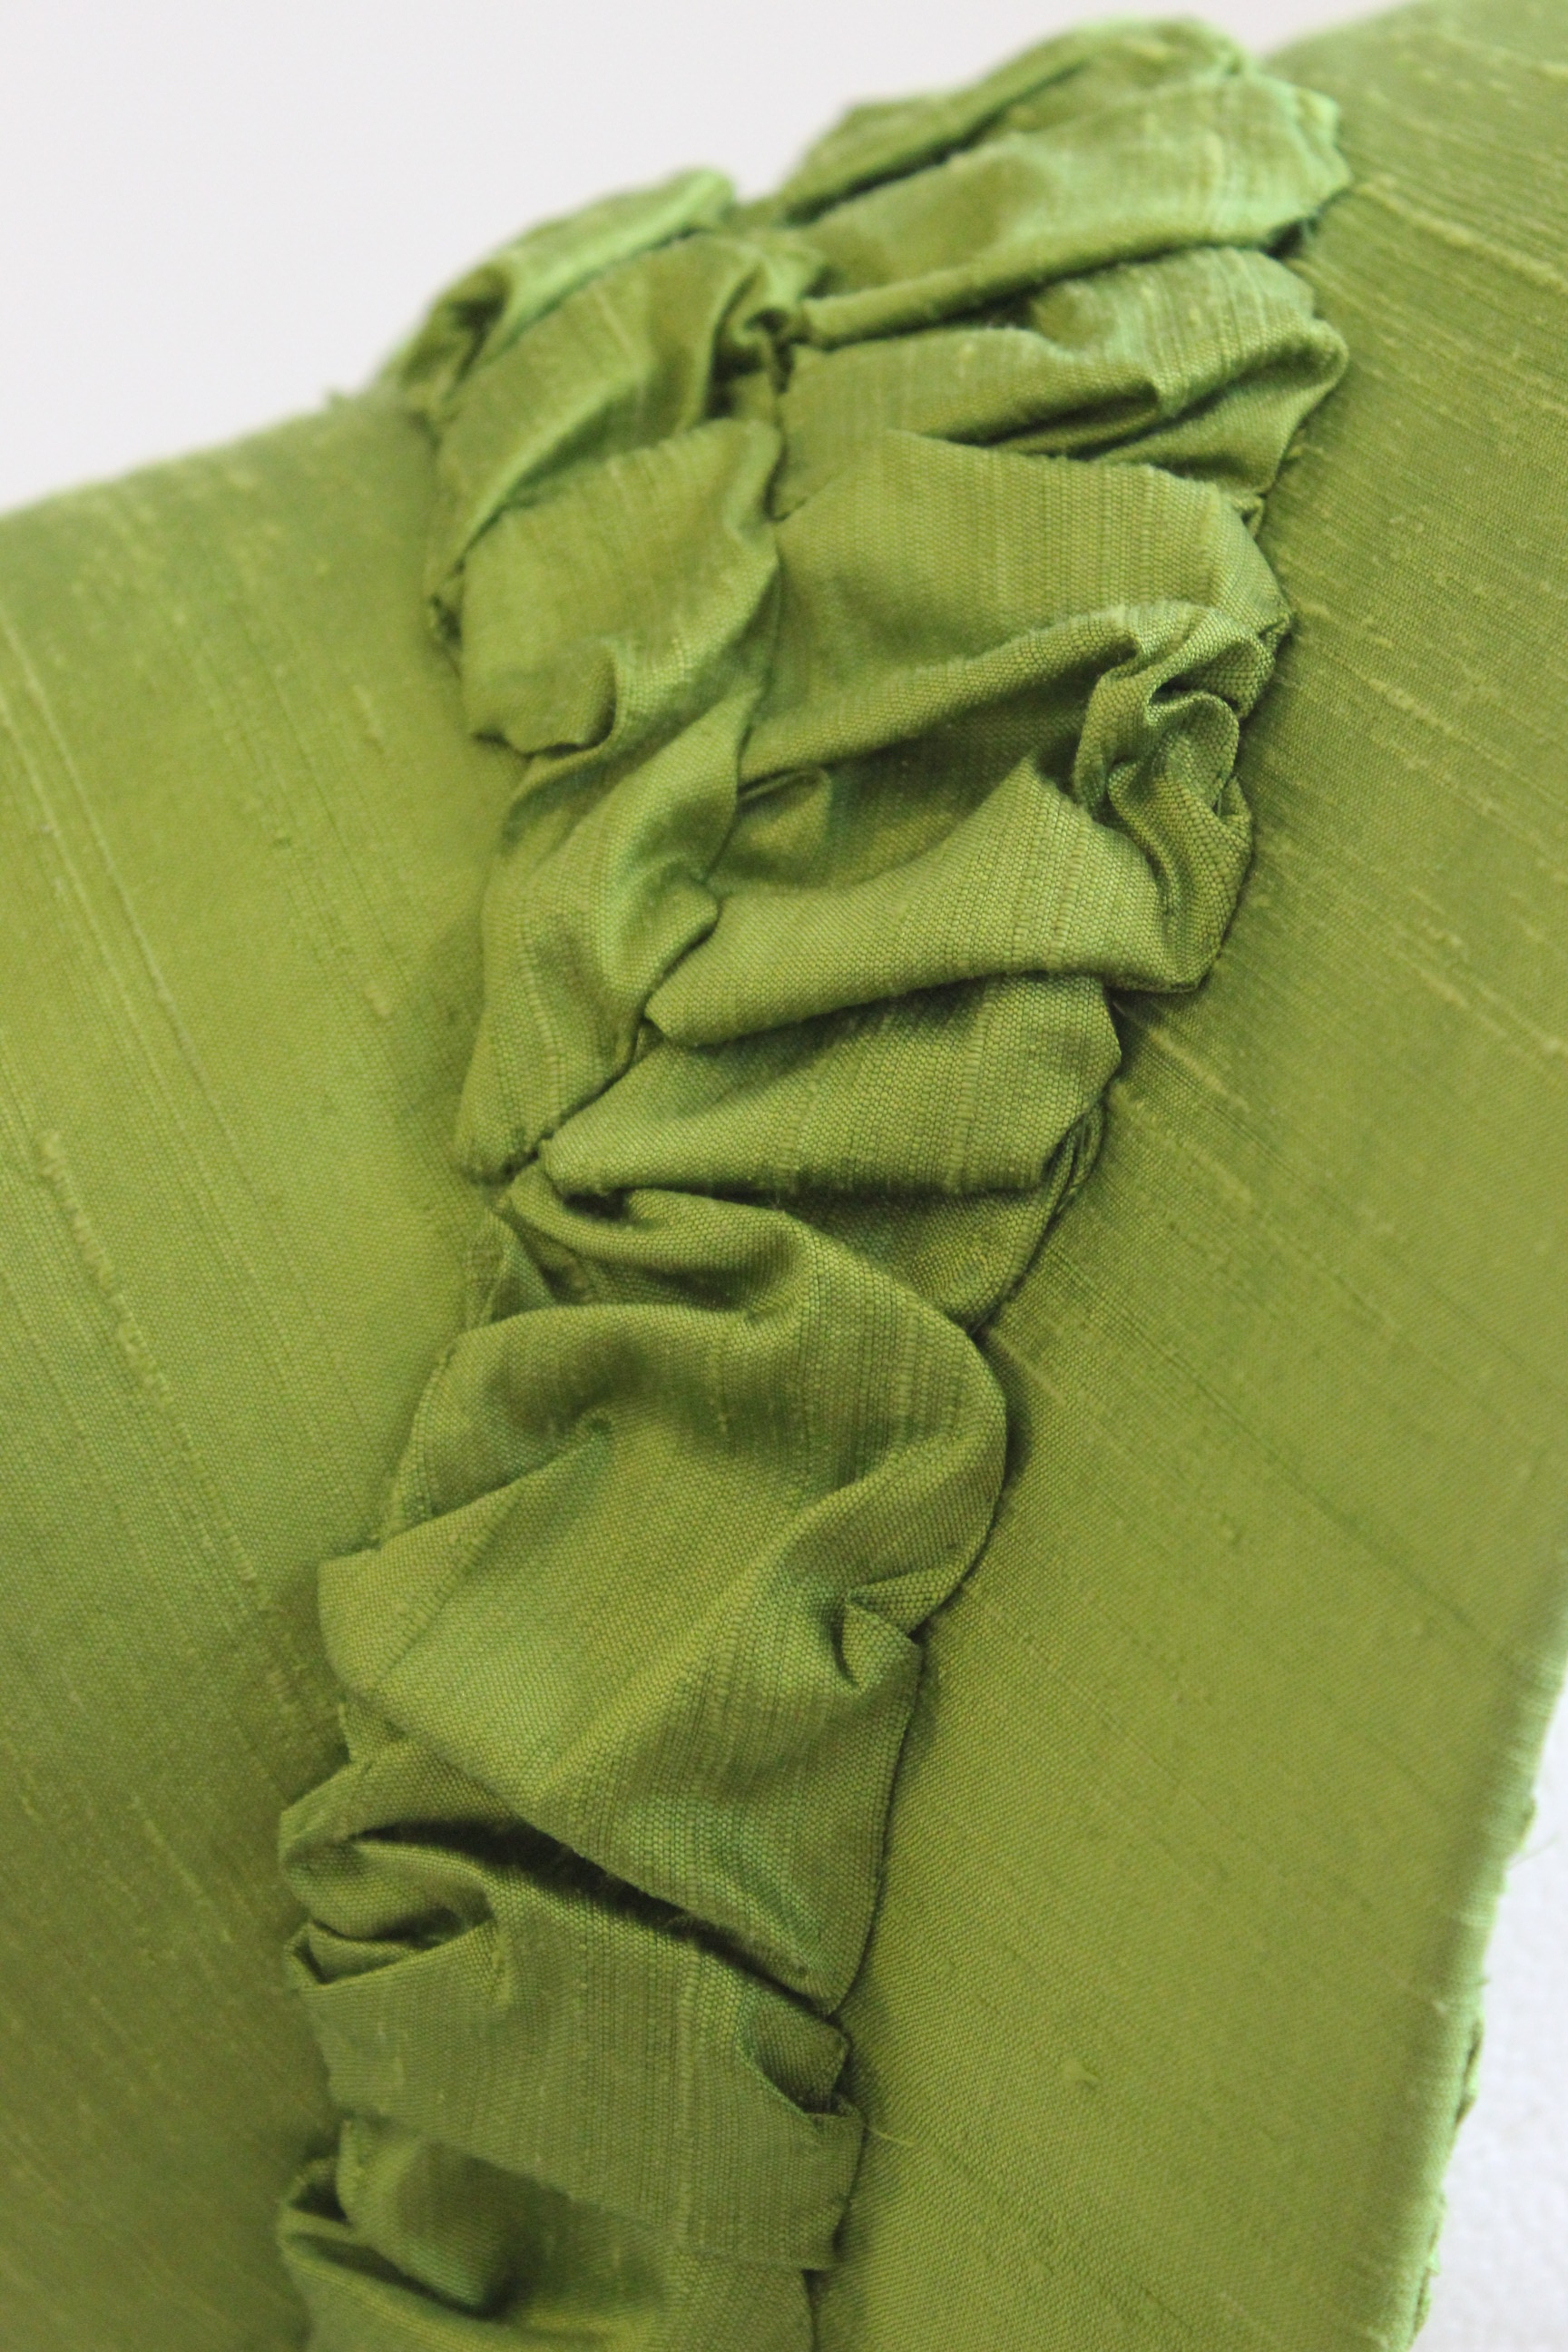
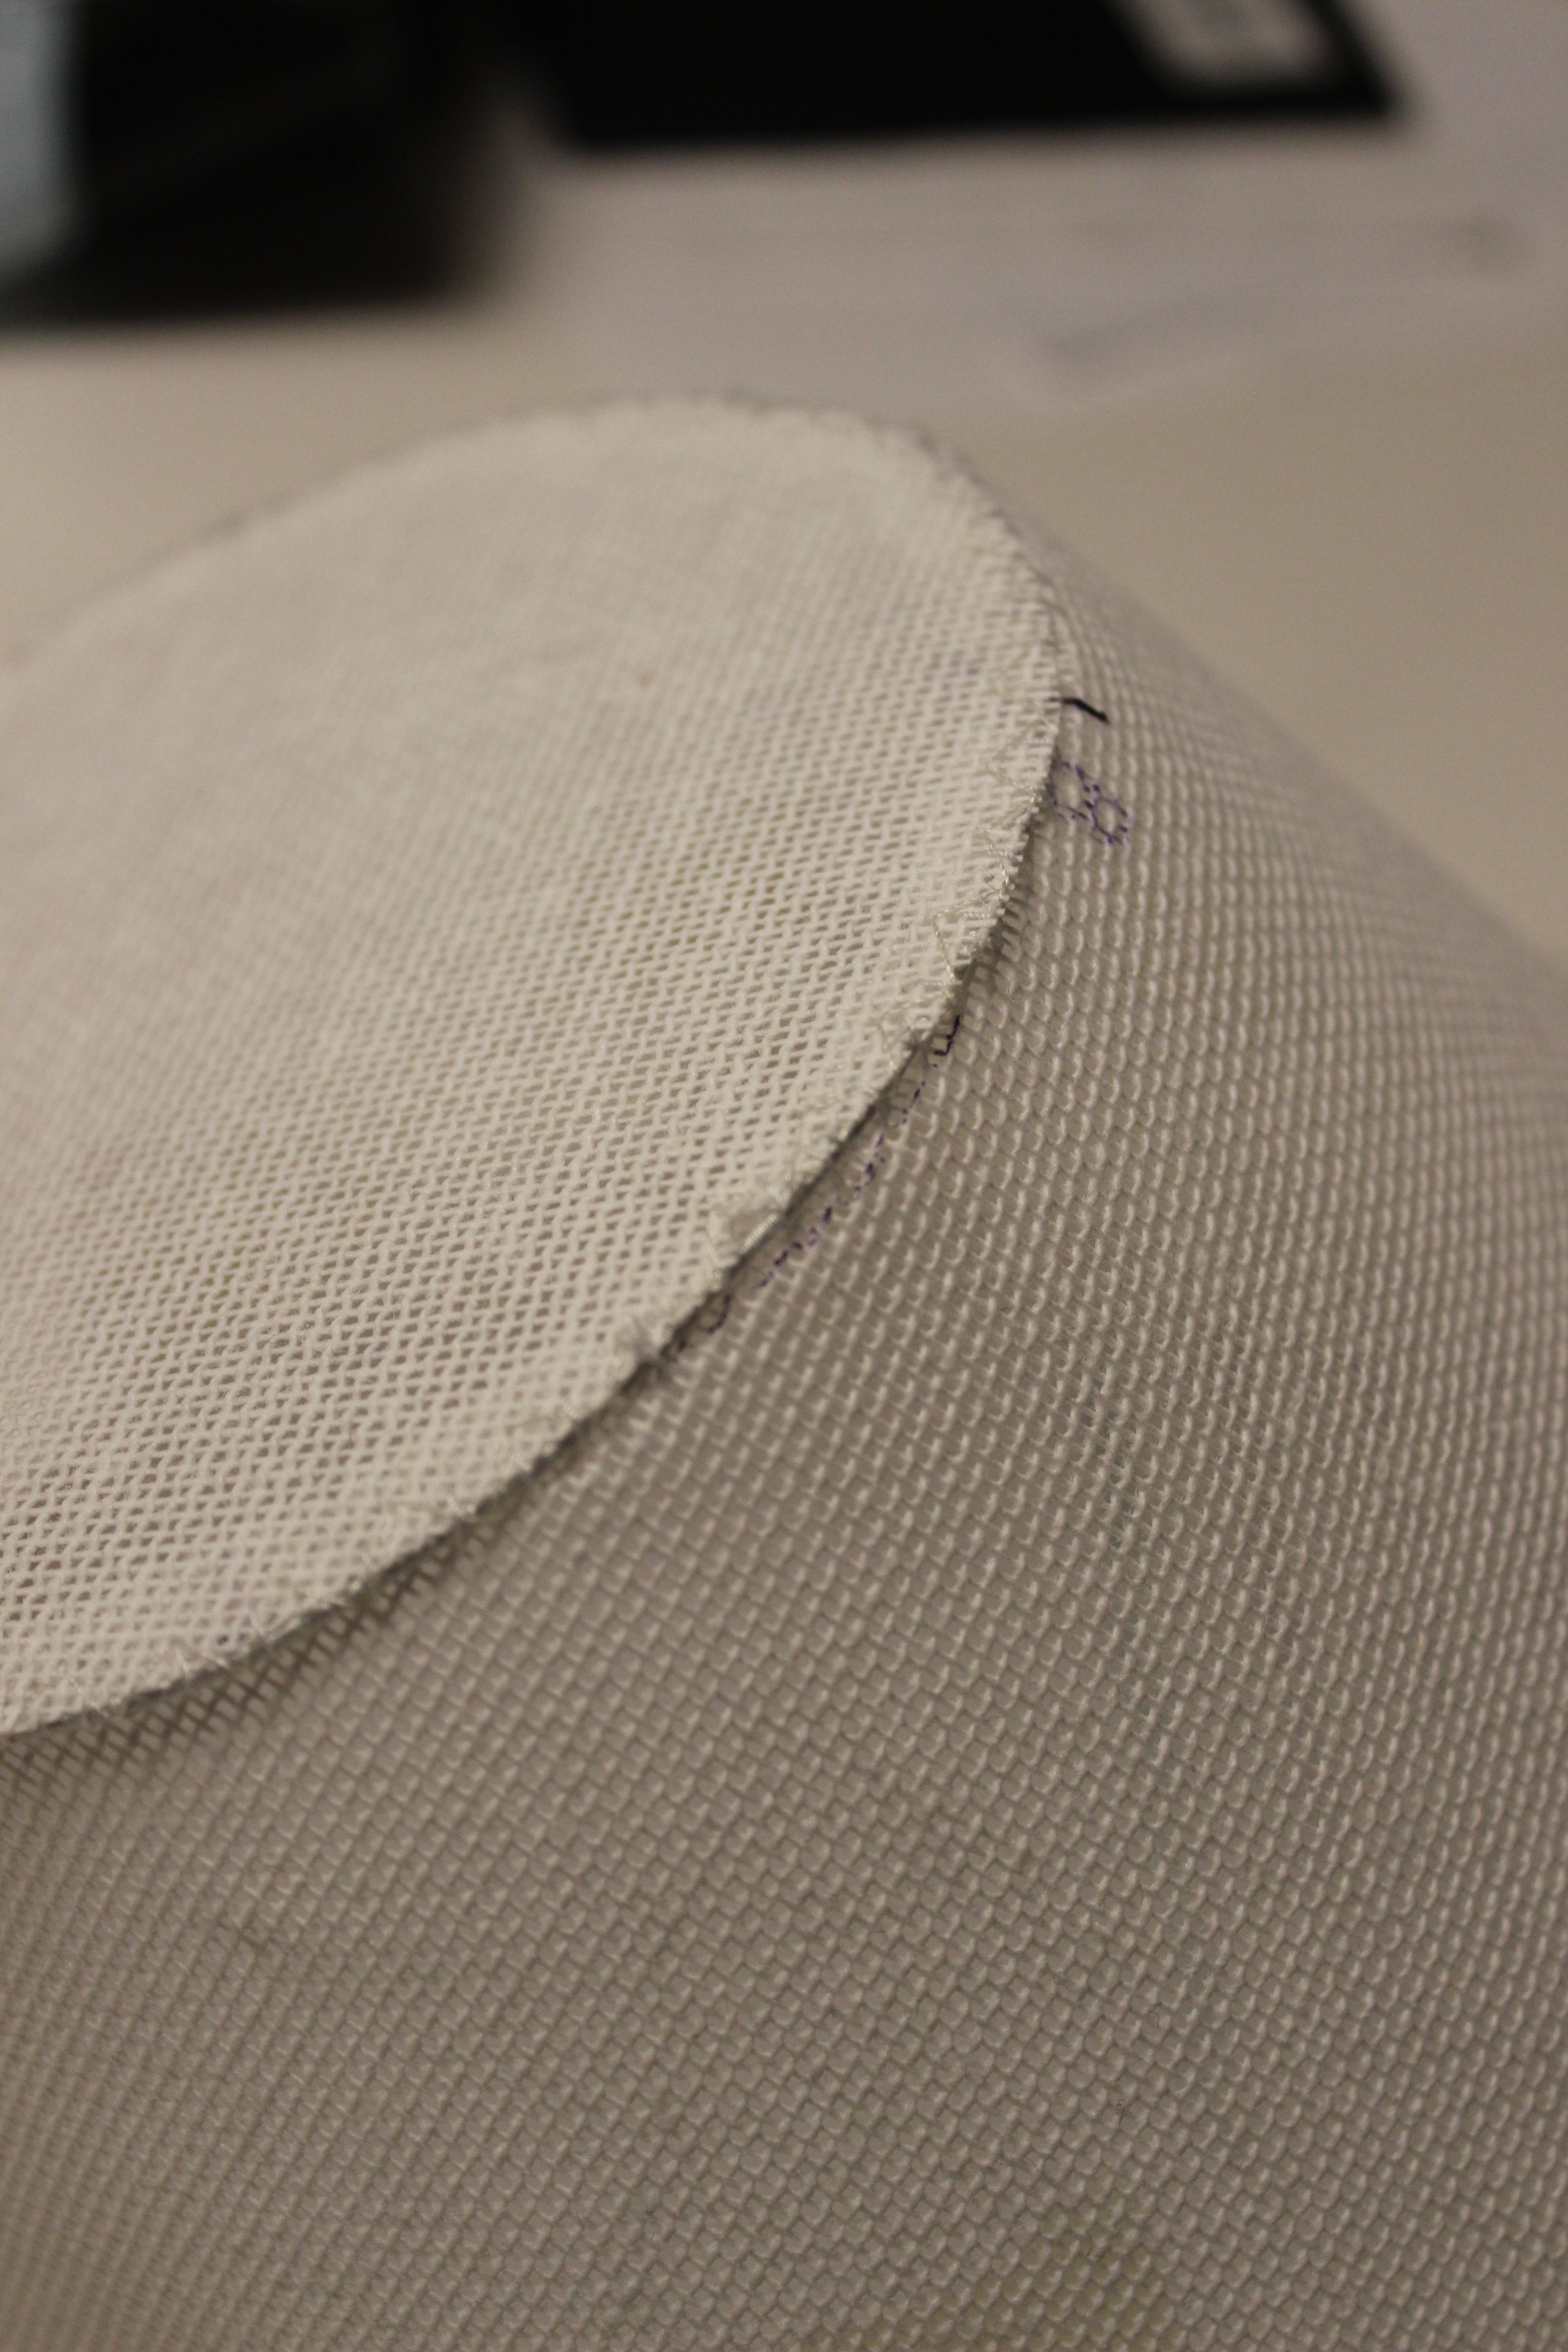
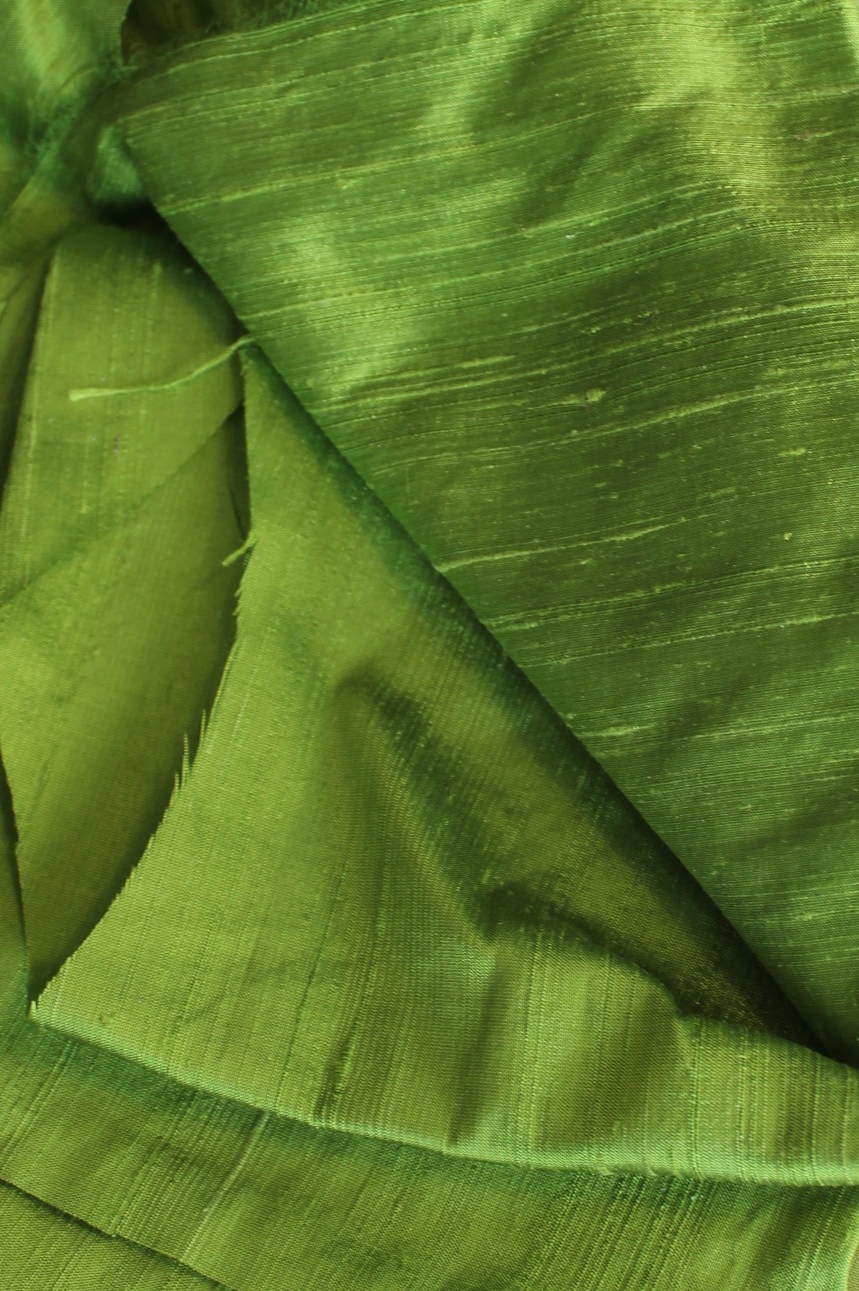
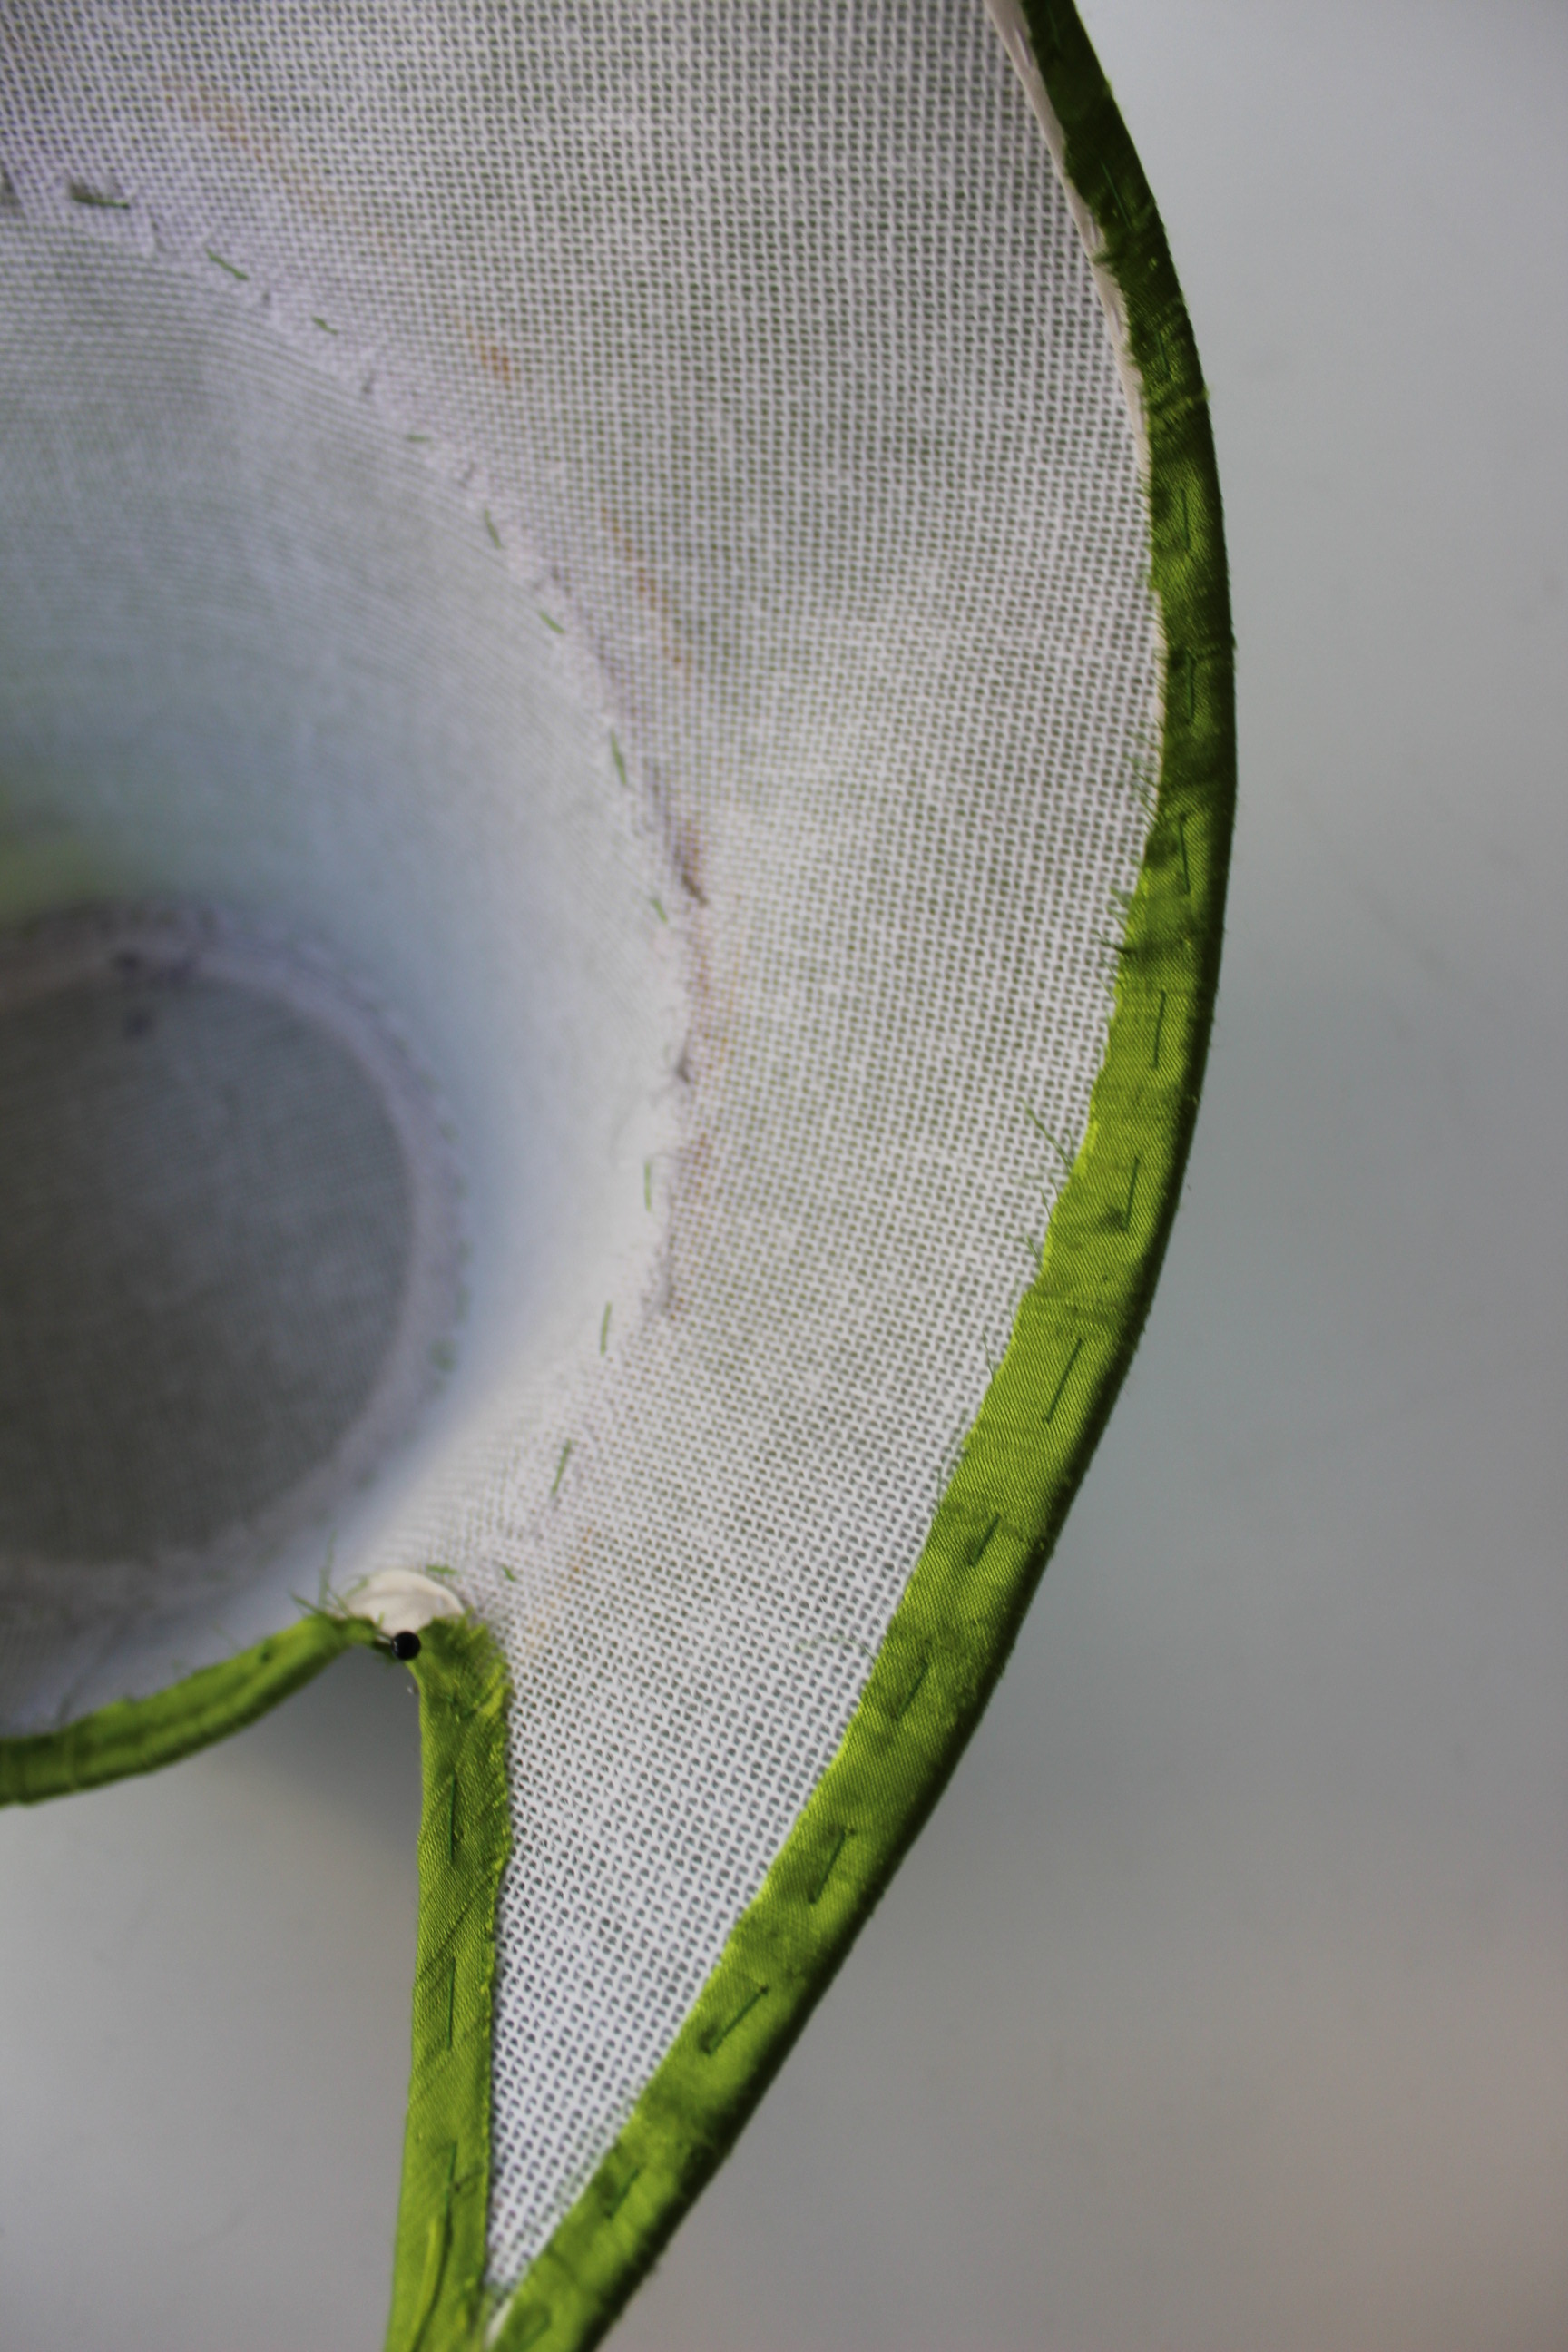
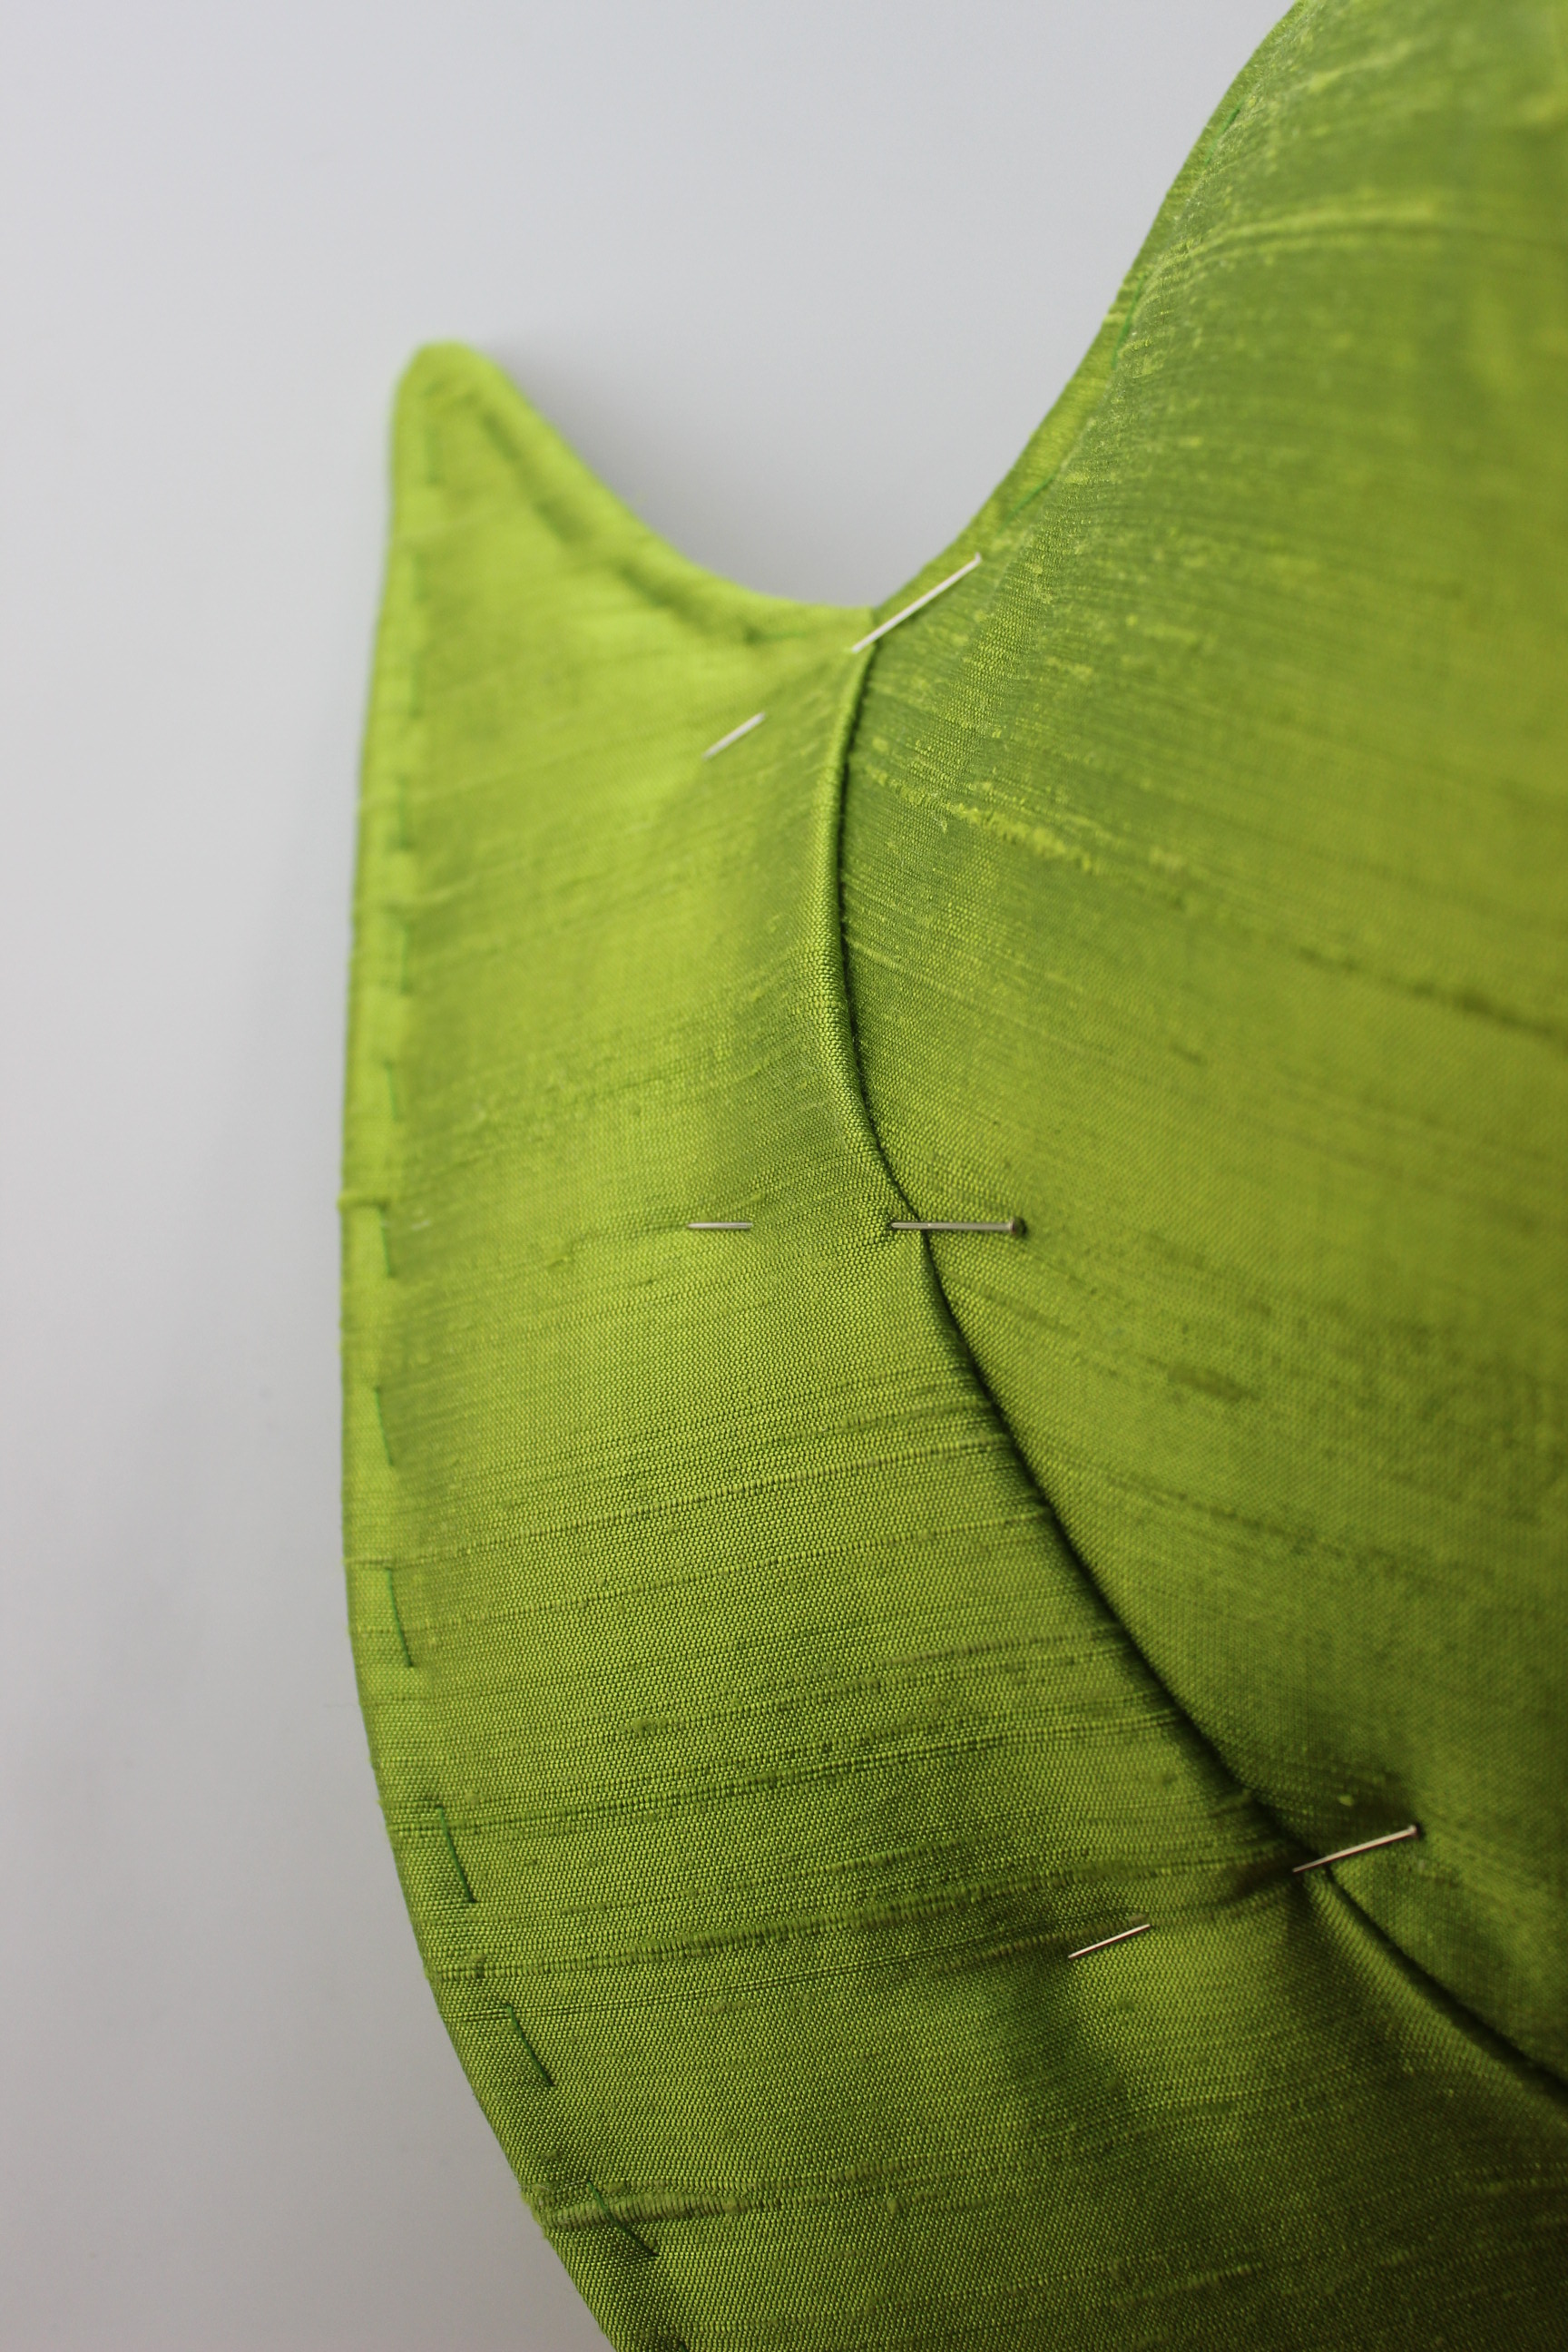
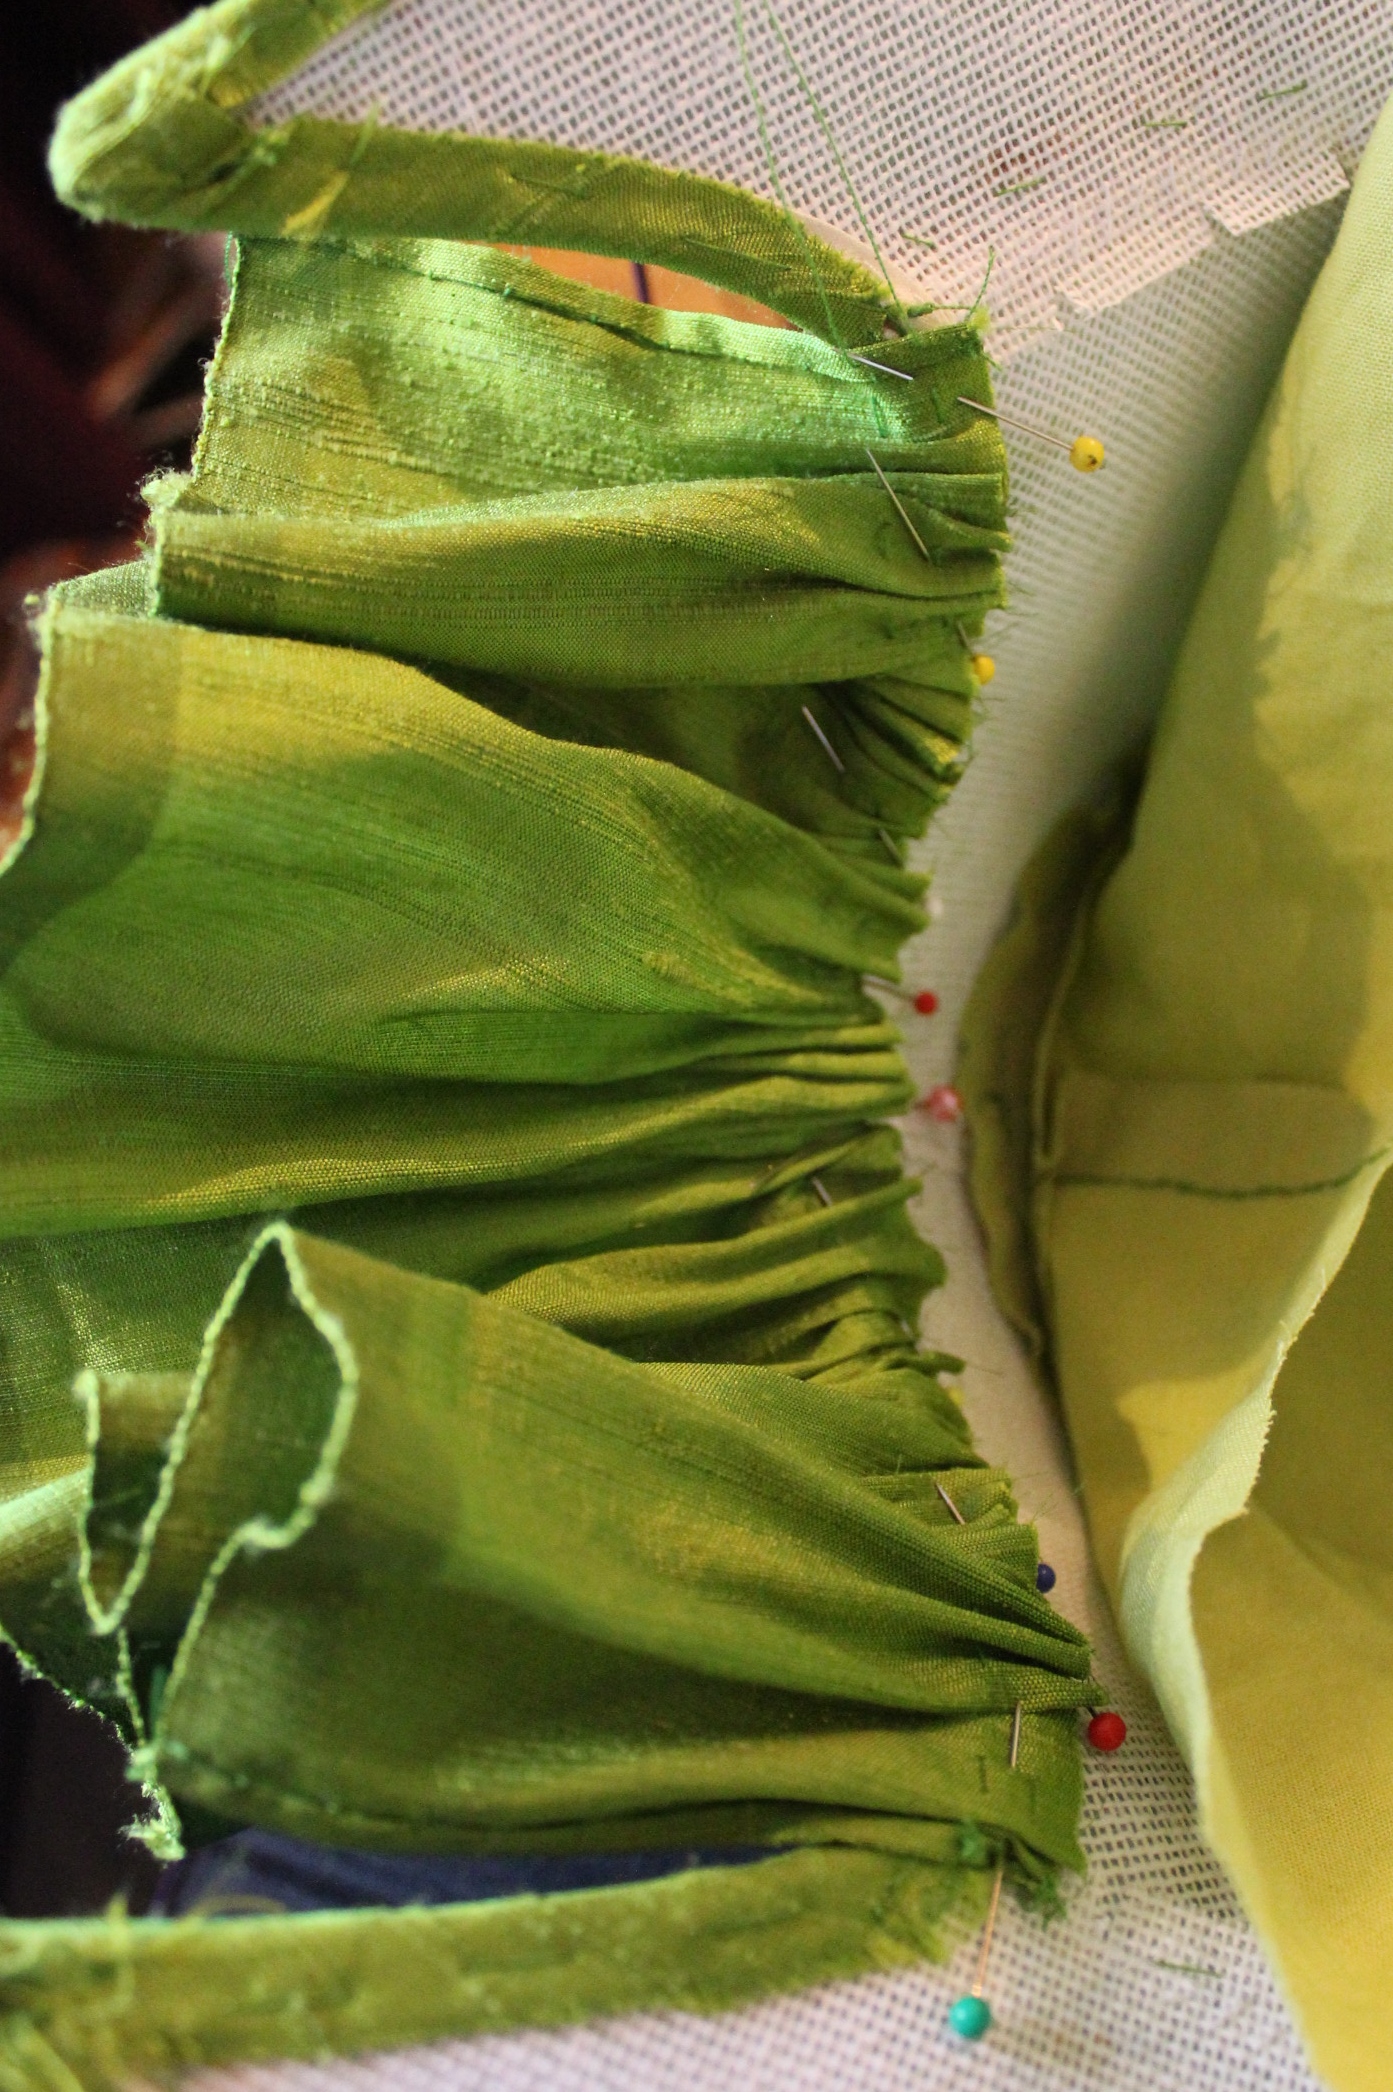
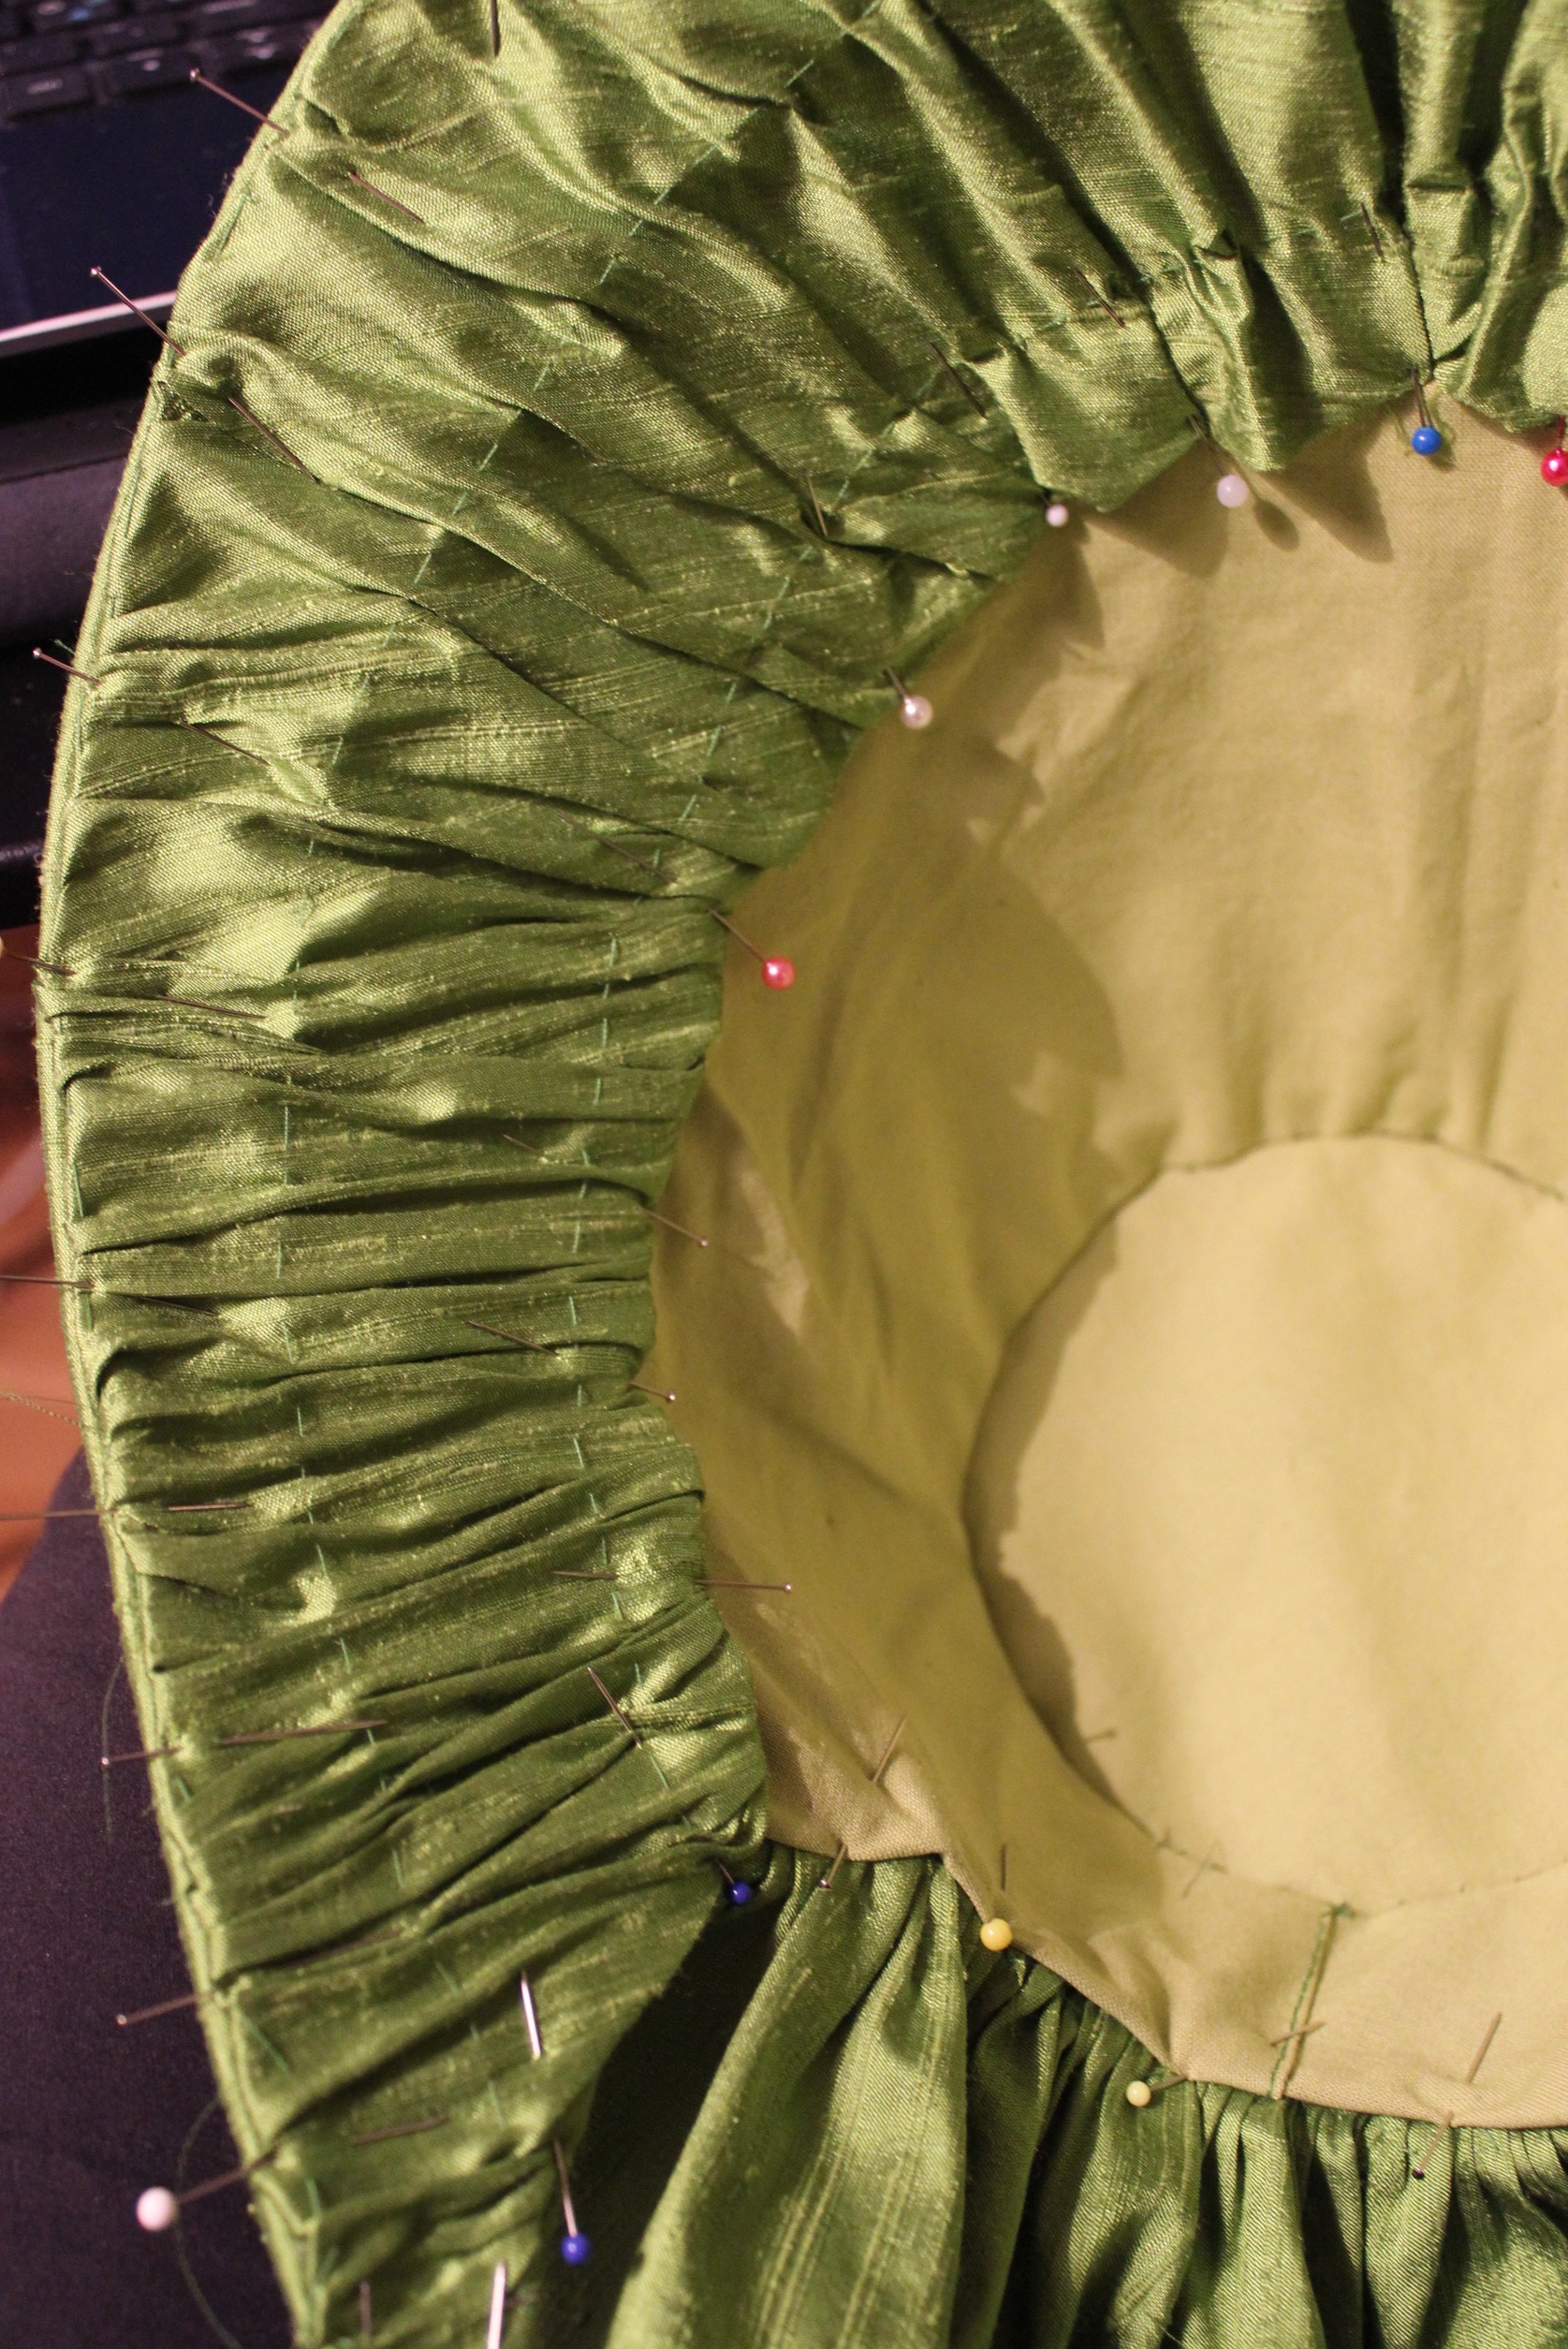
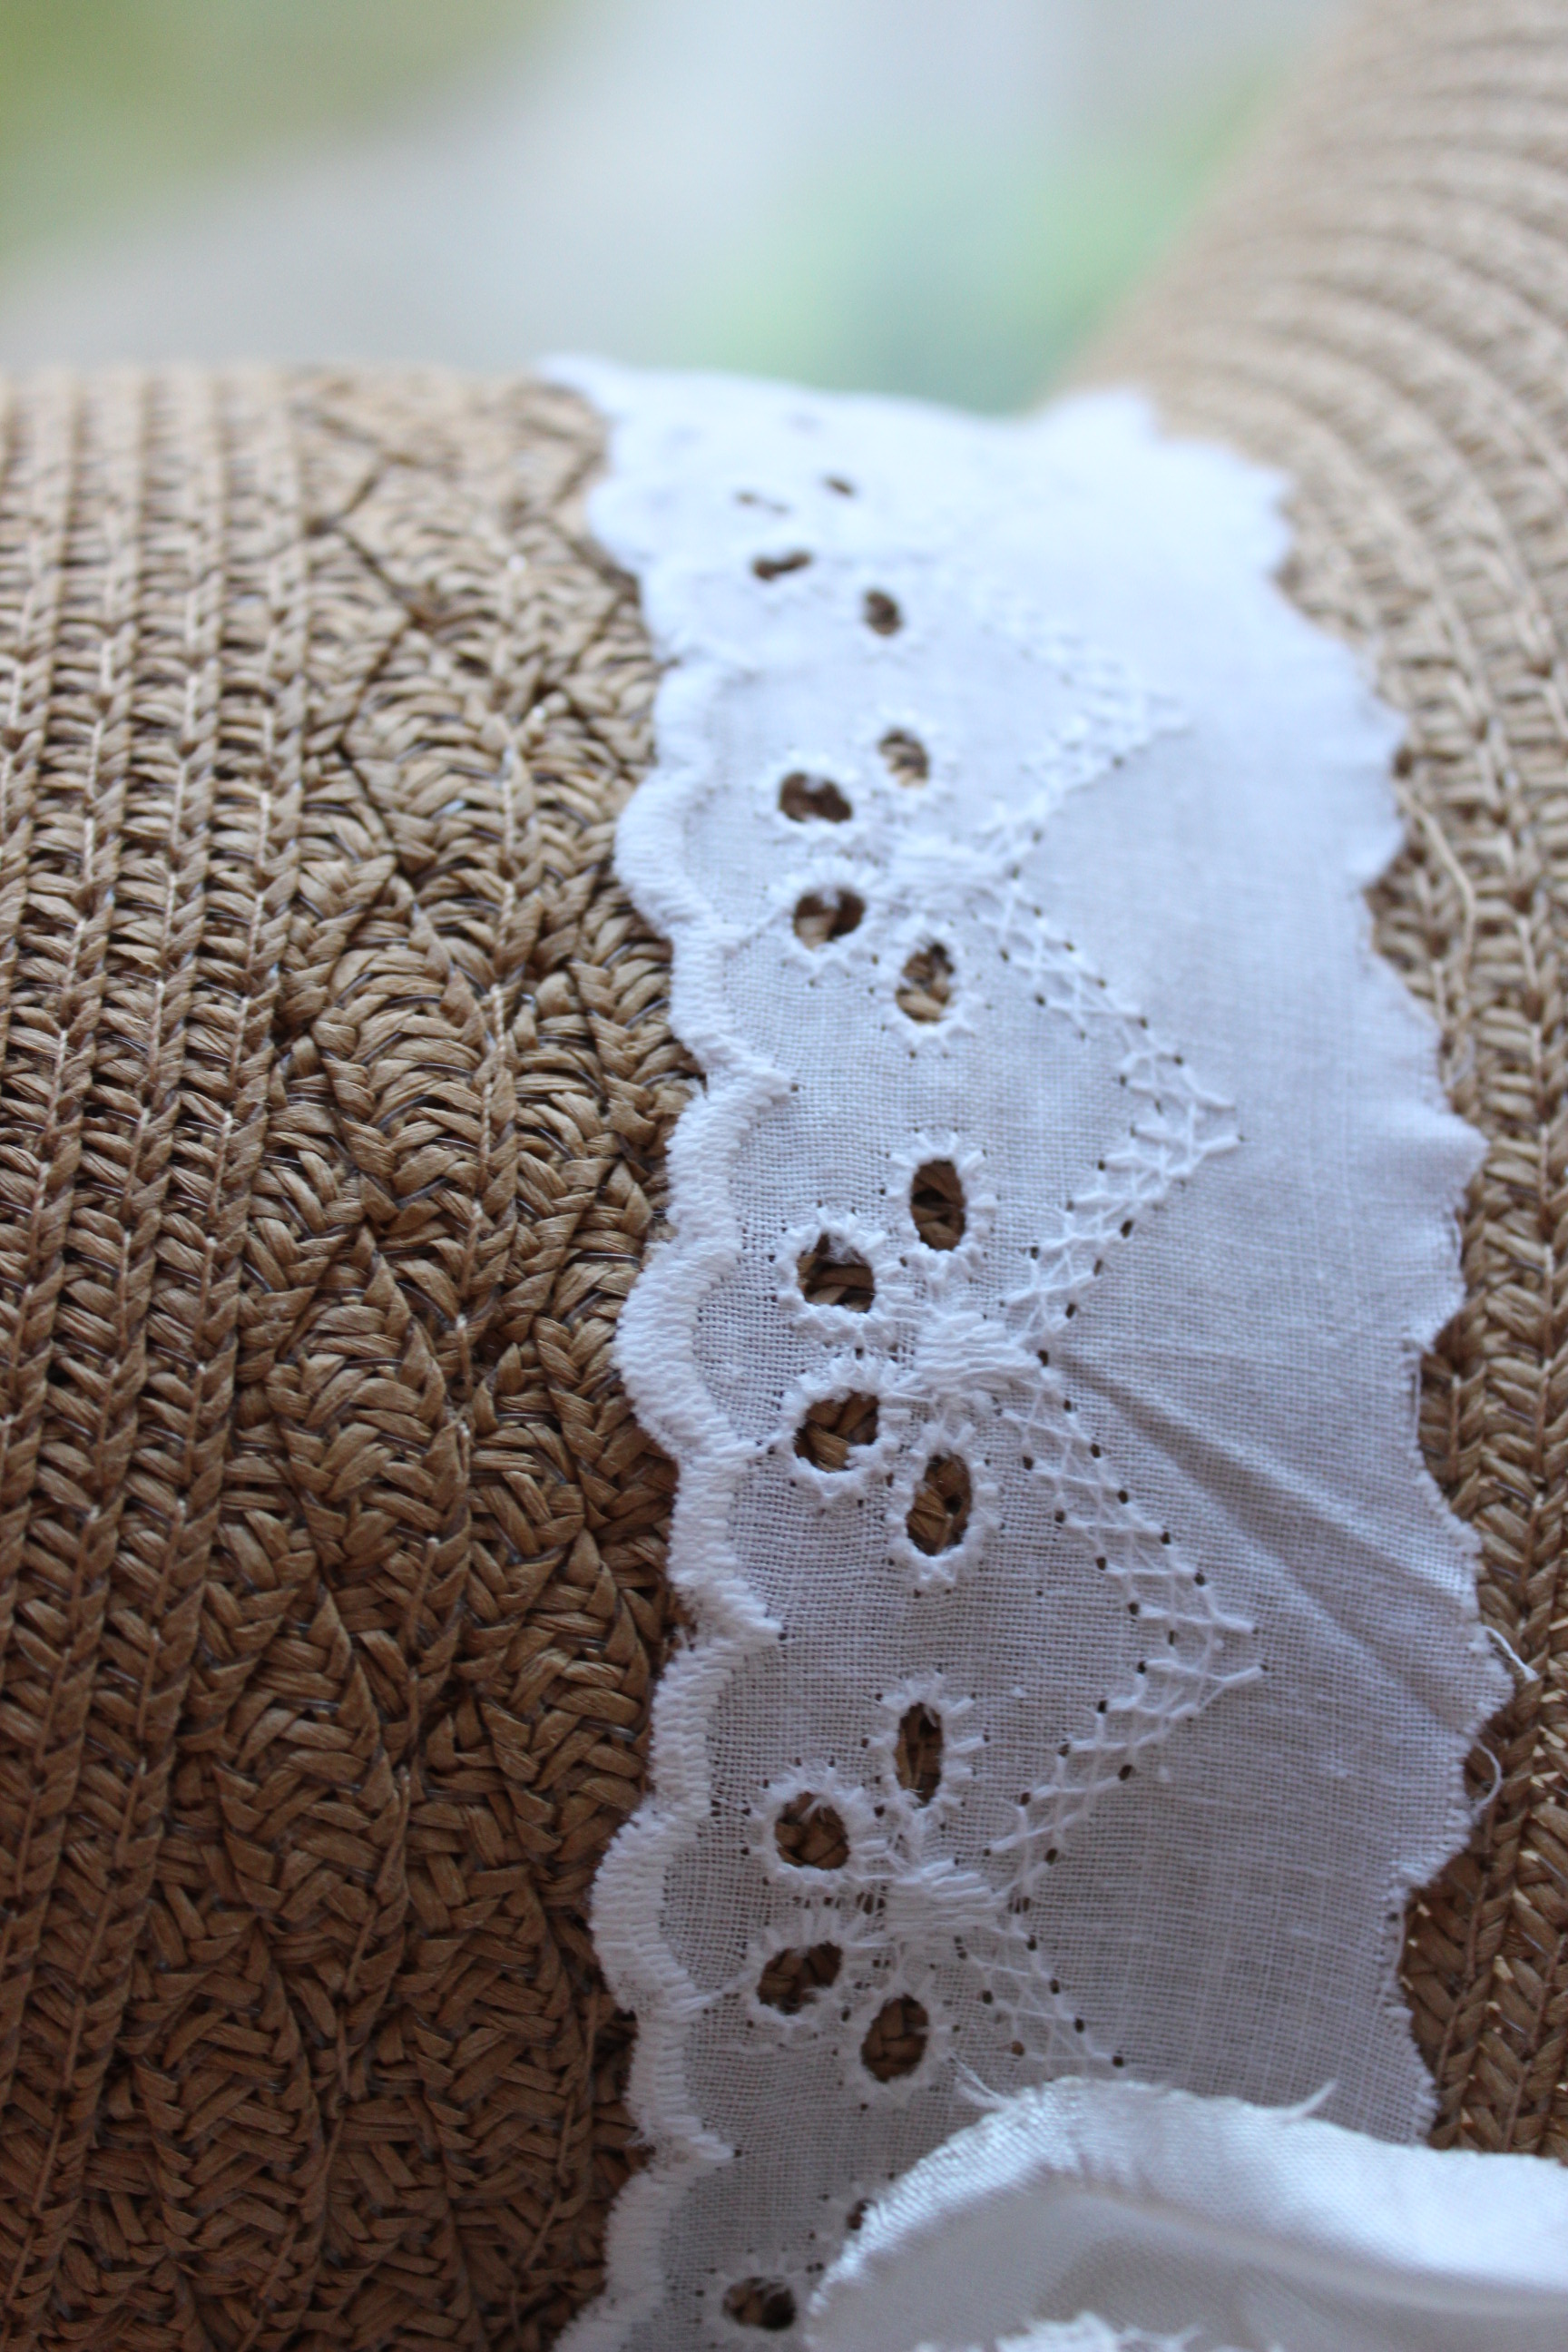
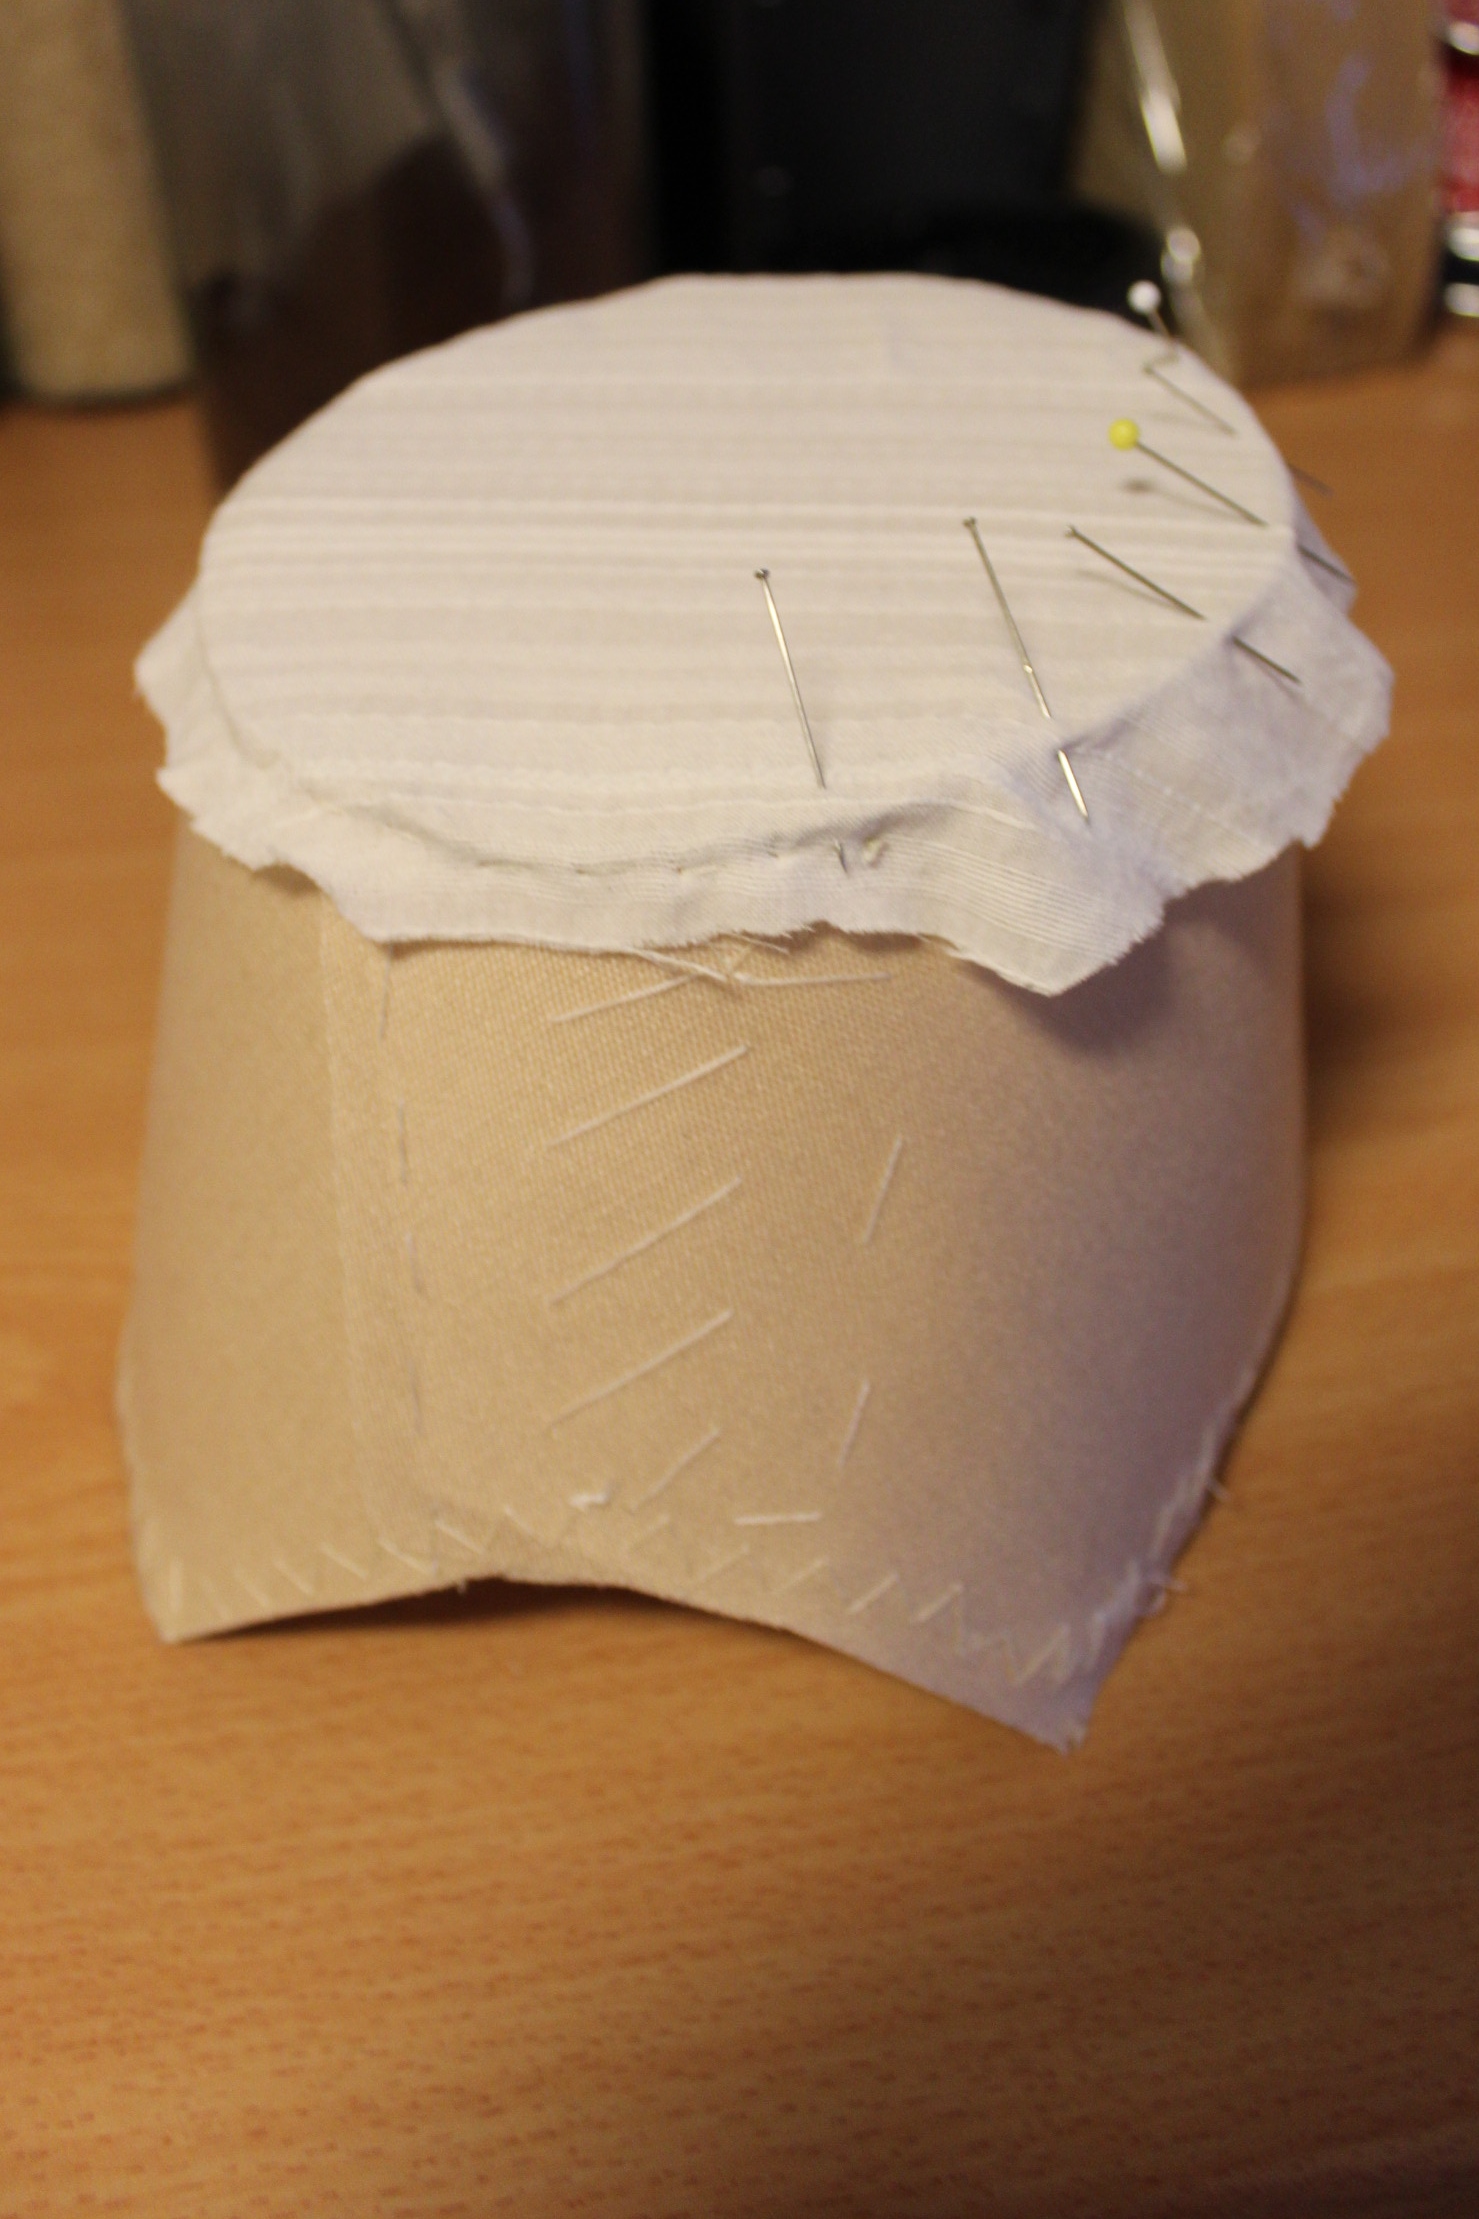
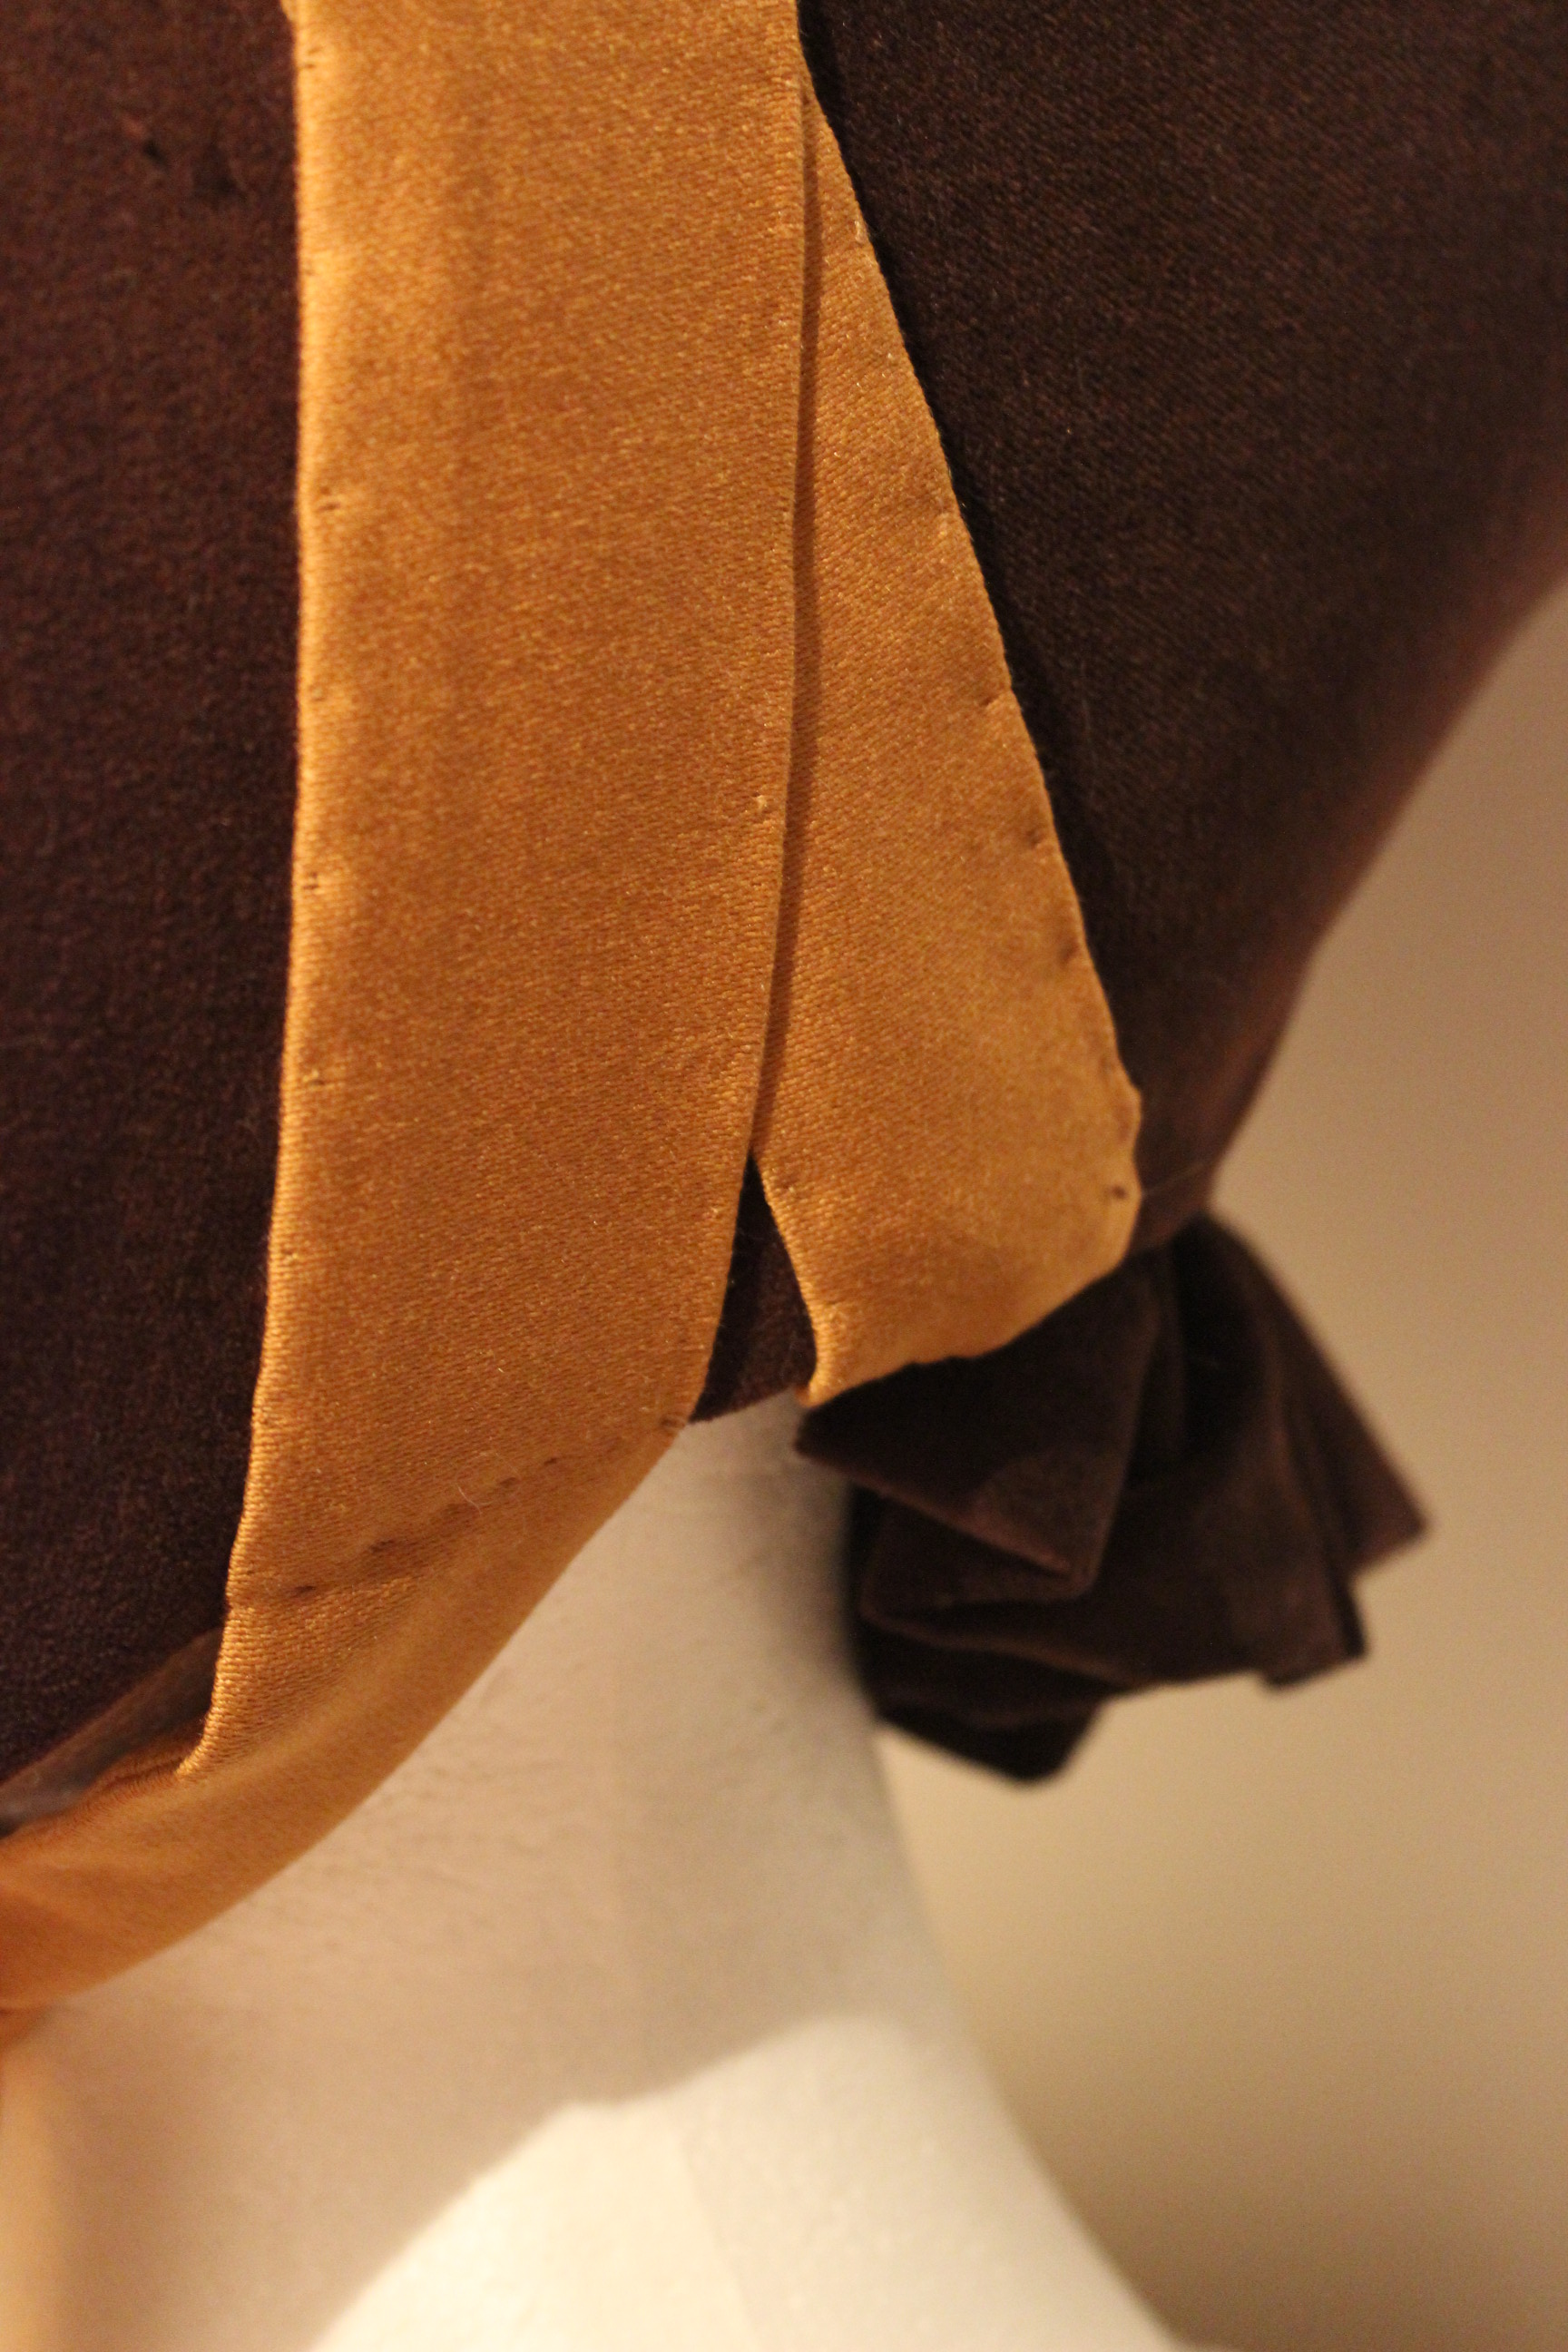
Silk all stitched on.

Then it was time for the lining.IMG_6589Using a curved needle to baste the crown to the inner corners.

Stitching the fabrics together using small invisible stitches.IMG_6591

Before finishing the last piece (the gathered front) of the lining, It was time for the “curtain”/neckpiece.IMG_6593I basically just gathered a straight piece of silk and pinned it to the curved neck of the bonnet.IMG_6596Then I stitched it on.

Then I gathered, pinned and stitched the last piece of lining to the inner brim of the bonnet, and added some silk ties.IMG_6598

The base for the bonnet was now finished, and all that’s needed was the decoration.
IMG_6609 IMG_6611

IMG_6613I think it looks stunning and was a bit hesitant of even adding trimmings and decorations.

To be continued…

Bonnets and a Bergeré

This spring/summer have been quite intense regarding sewing for me. And as every costume requires it’s own special headwear I haven’t just been making clothes this spring – there have been quite a lot millenery going on as well.

And since The Huge Picture Hatt alredy got its own post, I thought it was time to show a bit more about some of the other pieces of headwear I’ve been doing/re-doing this summer.

Lets start with the 18th century Bergere.

You might remember it from last year (when I made it from an regular sunhat).IMG_2593

This is how it looked when I found it in my big hat box, and decided to make some changes to it.
IMG_7859IMG_7858

So I un-picked those green pieces of fabric inside the hat (I put them in last year to get something to attach the hair pins in, but it does work better to just push them through the hat).

Then I stitched on some metalic wire at the edge of the brim, and covered it with white bias-tape.
IMG_7891
IMG_7892Then I re-trimmed it with a plain green twill-tape.

And this is how it looked when I wore it with the brim tured up, at the big historic picknic.IMG_8785

***

Next up is a  regular straw hat that I’ve turned into a regency bonnet.IMG_7073

I folded the hat in two, made a mark where to cut, IMG_7879

and grabbed the scissors. Make sure to stich the rows down before you cut, so the hat dont un-ravel.IMG_7880

Then I stiched on metal wire along the cut line, and covered it with bias tape.IMG_7889I used white bias tape at first , but decided to change it to a  nude tone twill tape instead, to make it more inviseble.

IMG_8656Close up of brown/nude twilltape.

The un-trimmed hat.
IMG_7895 IMG_7894
Then I pinned on some white lace and a big flower brosh I had in my stash.

IMG_8654

IMG_8653

IMG_8655

IMG_8657Altough it does look pretty, it looks a bit too costumey for my taste.

So I re-trimmed it using another piece of lace and some leftover ribbon from my yellow regency gown paired with a black brosch. Much better.IMG_9198

IMG_9195

IMG_9197

And here is how it looked worn togeter with my yellow regency dress.IMG_9132

 ***

And finaly a 1840s bonnet made from skratch.

I used the same pattern (and tecniques) as my brown velvet bonnet, only cut it a bit smaler to get a slimer model for this bonnet.

I used thick canvas and super stiff  interfacing as the inner layers. And a white striped cotton voile for fashion fabric.IMG_7870

Before sewing anything togeter I stiched wire to all the pieces.IMG_7875

It was a bit tricky to sew inside the hat piece.IMG_7882

At least I only broke one needle…IMG_7887

Then it was time to start the hand sewing.  IMG_7890I attached the “lid” and covered it with fashion fabric.IMG_7900Then I stiched on the brim and more fashion fabric (no pictures sorry). And finaly I attached the lining on the inside.

At this stage I was ready to throw it out, it looked so terrible. The fabric was puckering and nothing I did would make it lay flat. I did a final try and decided to trim it to see if that would make it look any better.

It is fantastic what some pieces of lace can do to a domed project. It does actually look presentable.IMG_0454

IMG_0452

IMG_0457

IMG_0449

IMG_0451

IMG_0453

An this is how it looked this weekend when I wore it for a photoshoot.IMG_0207(You even get a sneak a peak of my next HSF project)

Regency dancing recidal

This past weekend, I joined up with the local historic dance group for a regency dance recidal. The city celebrated “The day of Dance” and we were invited to perform some of our dances.

I wore my new yellow regency gown – which I just finished the same morning.And combined it with a new straw bonnet, fishu and white evening glowes.

The weater was sunny and everybody had dressed to the teeth in their finery.IMG_9083I love Annas parasol – one day I will own my own.

IMG_9081Clara and Anna posing prettily with shawls and staw baskets.

We spent some time walking around the city, awaiting our turn to enter the stage.IMG_9111

IMG_9109Jan and Soleveig.

IMG_9090Me and Calle awaitning our turn in the heat. I was glad I didn’t needed to wear one of those thick wollen frockoats.

Then it was our turn to enter the stage.IMG_9094And since I’m pretty new to regency dancing I can’t tell you the name of the dances (and seartanly not tell them apart in photos), so we will just have to pretend to know whats going on.

IMG_9093Gentlemen in the middle.

IMG_9104Premiere doing a center cross.

IMG_9107

IMG_9100

“Sellingers round”IMG_9101

IMG_9097

Since we were uneven, at least one lady had to rest, and sometimes more depending on the dance.IMG_9098

IMG_9103

IMG_9096

“Jenny pluck pears”IMG_9099love the elegance in my pose in this picture…

When the dancing was over we meet up for a quick summer goodbye, before we hurried of in different directions.

IMG_9087Some of the dancers from our group posing for the turists (and my camera).

My dress hold up suprisingly well, and I feelt rater good in it. I think it will have more outings in the future.

It was such a lovely event and perfect day, I didnt even thought about the sun baking my nose and upper arms all day – well, I did descovered it later that night though…
(I will never attend a costuming event without proper sunscreen again).


1840s bonnet (Gratetude)

As my entry for the HSF Challenge 23 Gratetude, I decided to make a 1840s bonnet.

This desicion was made based on multiple things: I wanted to make something I never done before in a tecnique I never tried, and keeping myself outside the comfort zone.

And I think the early Victorian headwear are both pretty, interesting and would provide a suitable challenge because of the millenery parts.

I also really need to make myself some 1840-1850s headwear to wear to an upcoming event.

This is what I whant to accomplish.

56809-large

I found this great and informative blogpost on how to make a bonnet by Susan Biscoe. This post gave me the curage to give it a try.

So I started by draping a pattern.

IMG_3825IMG_3822

I used the left-over velvet fabric of the Masquerade cape, and started to cut the multiple layers.

IMG_3831

All the pieces cut out. From left to right: Velvet, cotton lining, interlining, intefacing and the pattern piece. (I later decided to only use one layers each of the interlining and interfacing).IMG_3836

Using a sick-sack stich to attach the wire to the pattern pieces.IMG_3842

I used a plier to bend the wire into shape.IMG_3846

All wired brim piece.IMG_3851

The crown being attached.IMG_3855And the inside.IMG_3864

Sewing the velvet to the crown.

IMG_3867IMG_3881IMG_3877

IMG_3869

And finished with the trimings attached.

IMG_3895IMG_3885

IMG_3891

IMG_3892

IMG_3883

Just the facts:

Challenge: 23 – Gratetude

What: A 1840s bonnet

Pattern: I draped and drafted my own.

Fabric: 0,4 m of: brown cotton velvet, brown cotton lawn, heavy upholstery fabric and 0,2 m of golden satin.

Notions: Thread, heavy interfacing and steel wire.

How Historical Accurat: The shape is pretty good but the construction and sewing are modern, even though it is mostly hand sewn.

Time: 10 hours.

Cost: About 100 Sek (11 Usd)

First worn: Not yet, but will be on dec 16th for a 19th century Christmas party.

Thanks to: First of all I whant to thank the whole costuming comunity, and all the help and support you can find there. You are all great!

A special thanks goes to Leomoni of “the Dreamstress” who got me interested in historic costuming, and through the HSF made me inspired to continue to make historic clothes this past year.

Then I whant to thank Susan Briscoe for the great blogpost who made it look so simple (to make a bonnet) and thous gave me the currage to give it a try.

Last thoughts: I really loved making this bonnet and are already thinking about making an other one. Mabye I should venture deeper in to millenery…