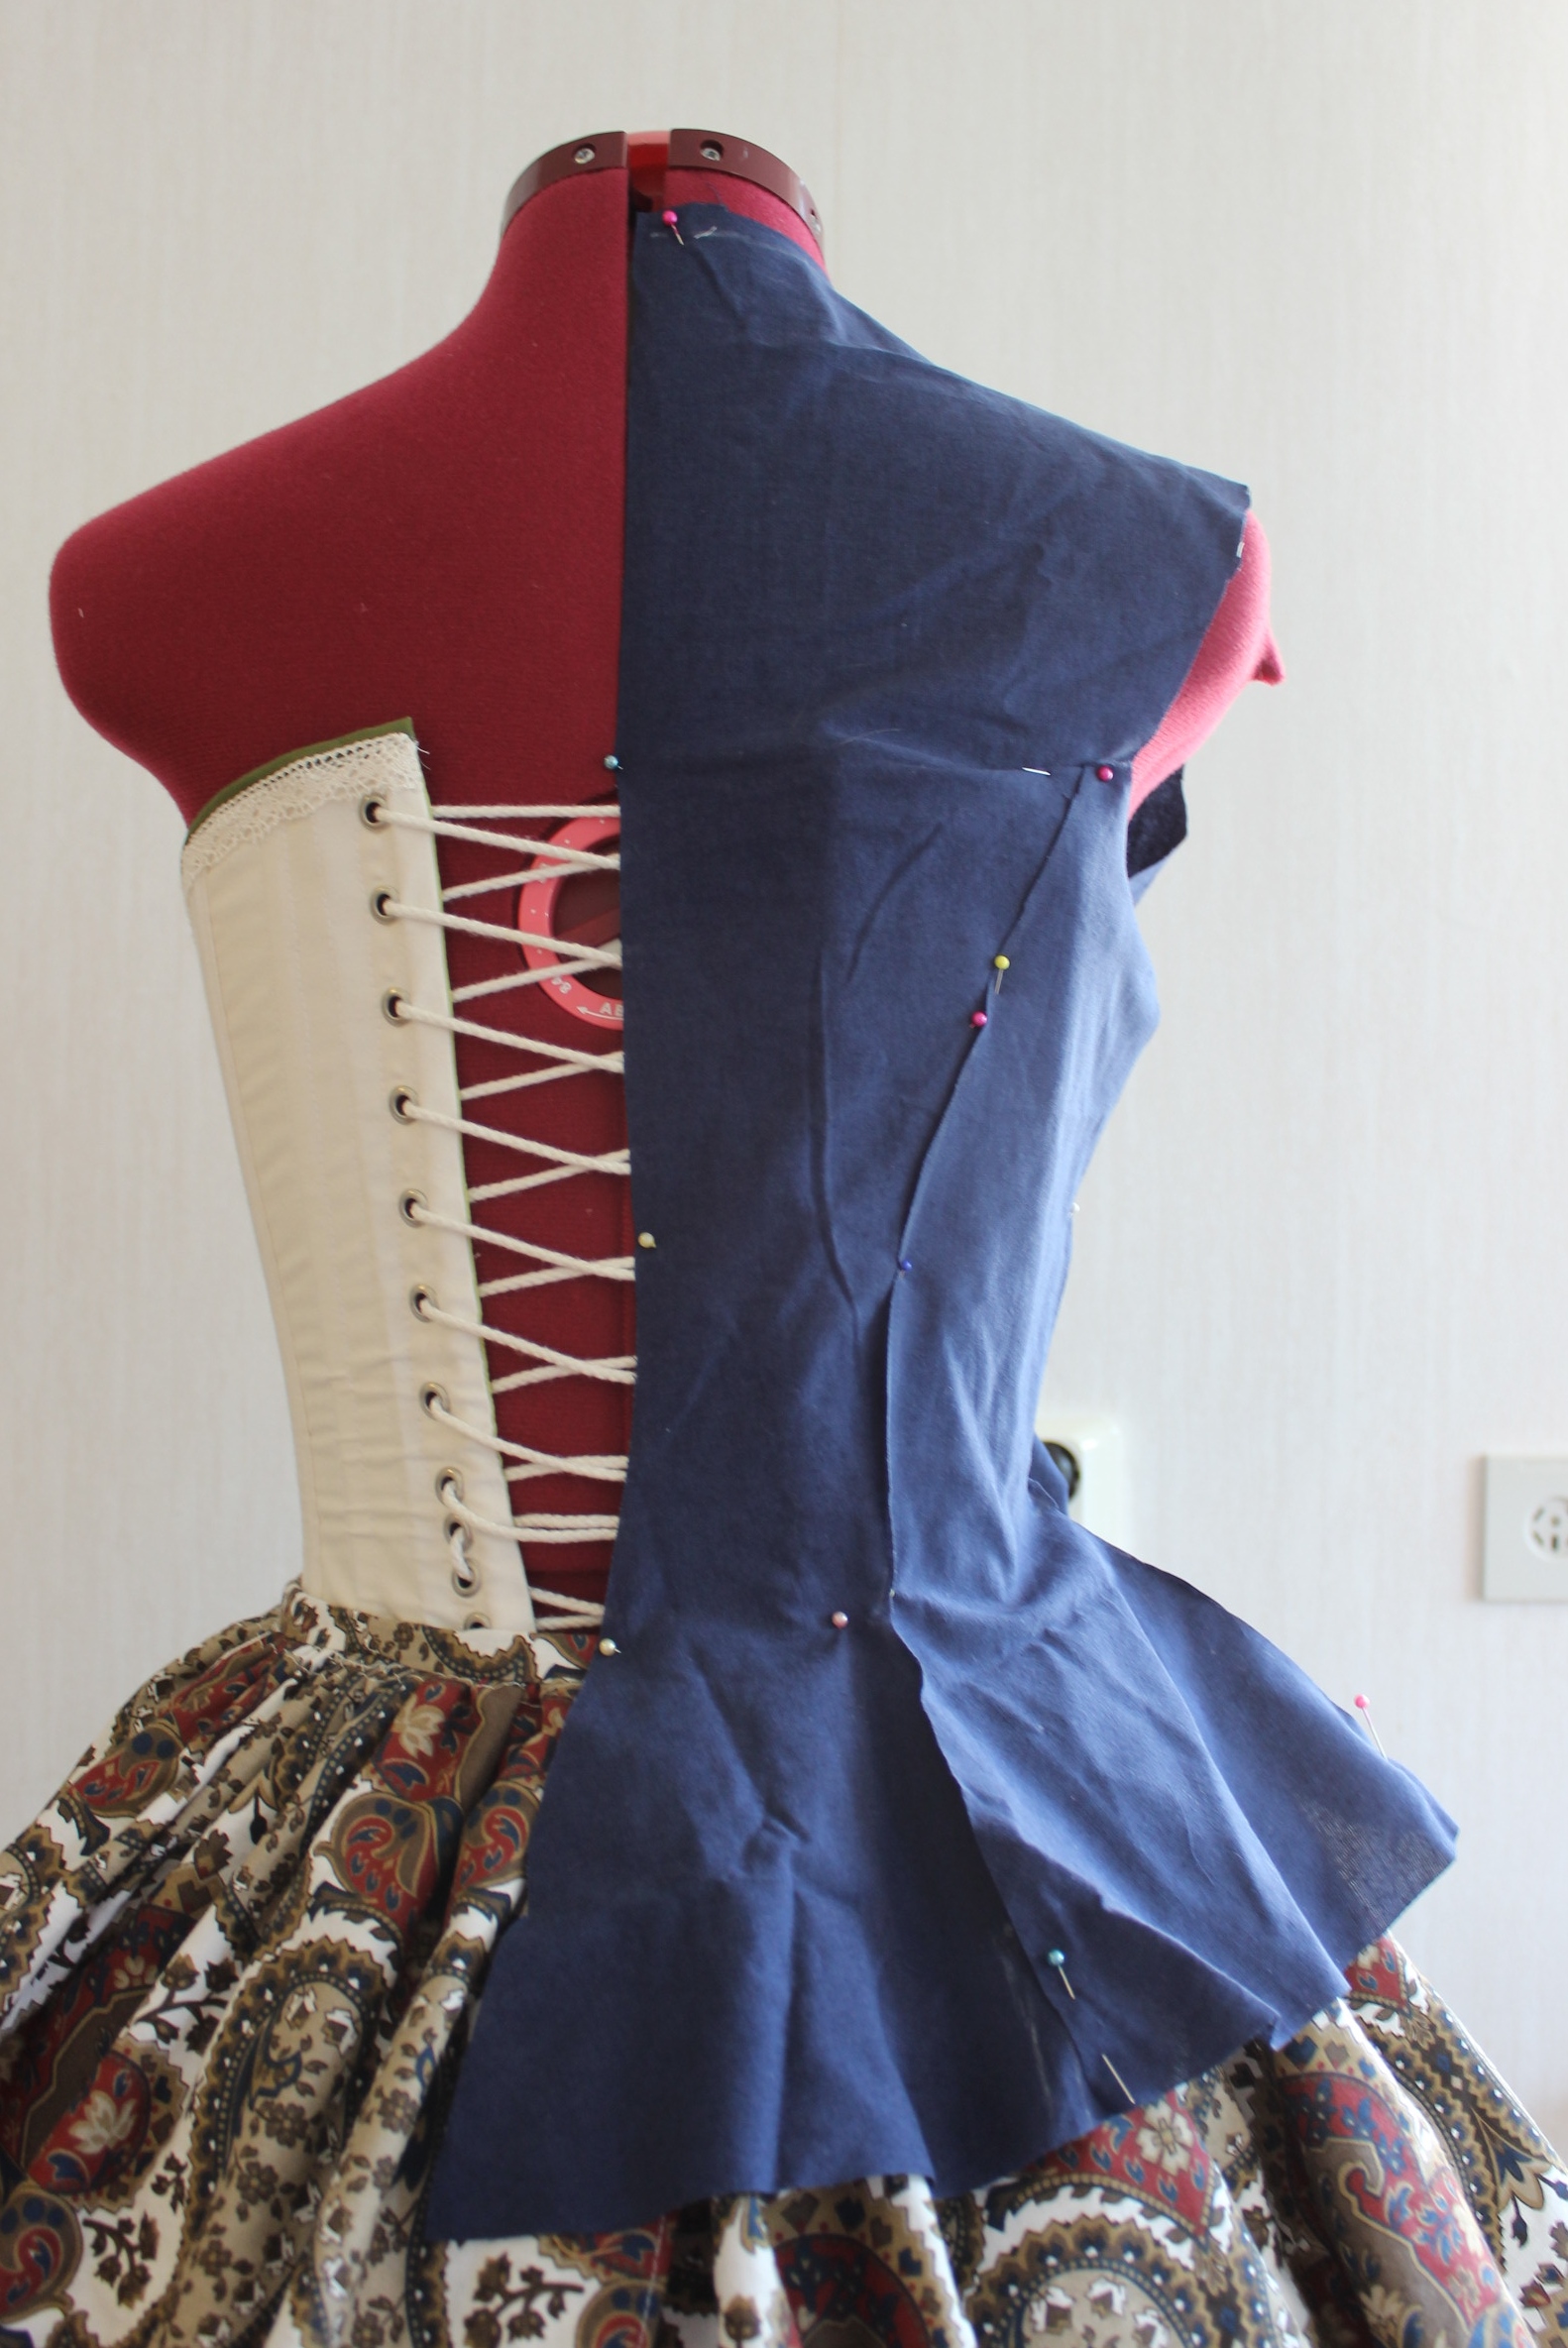
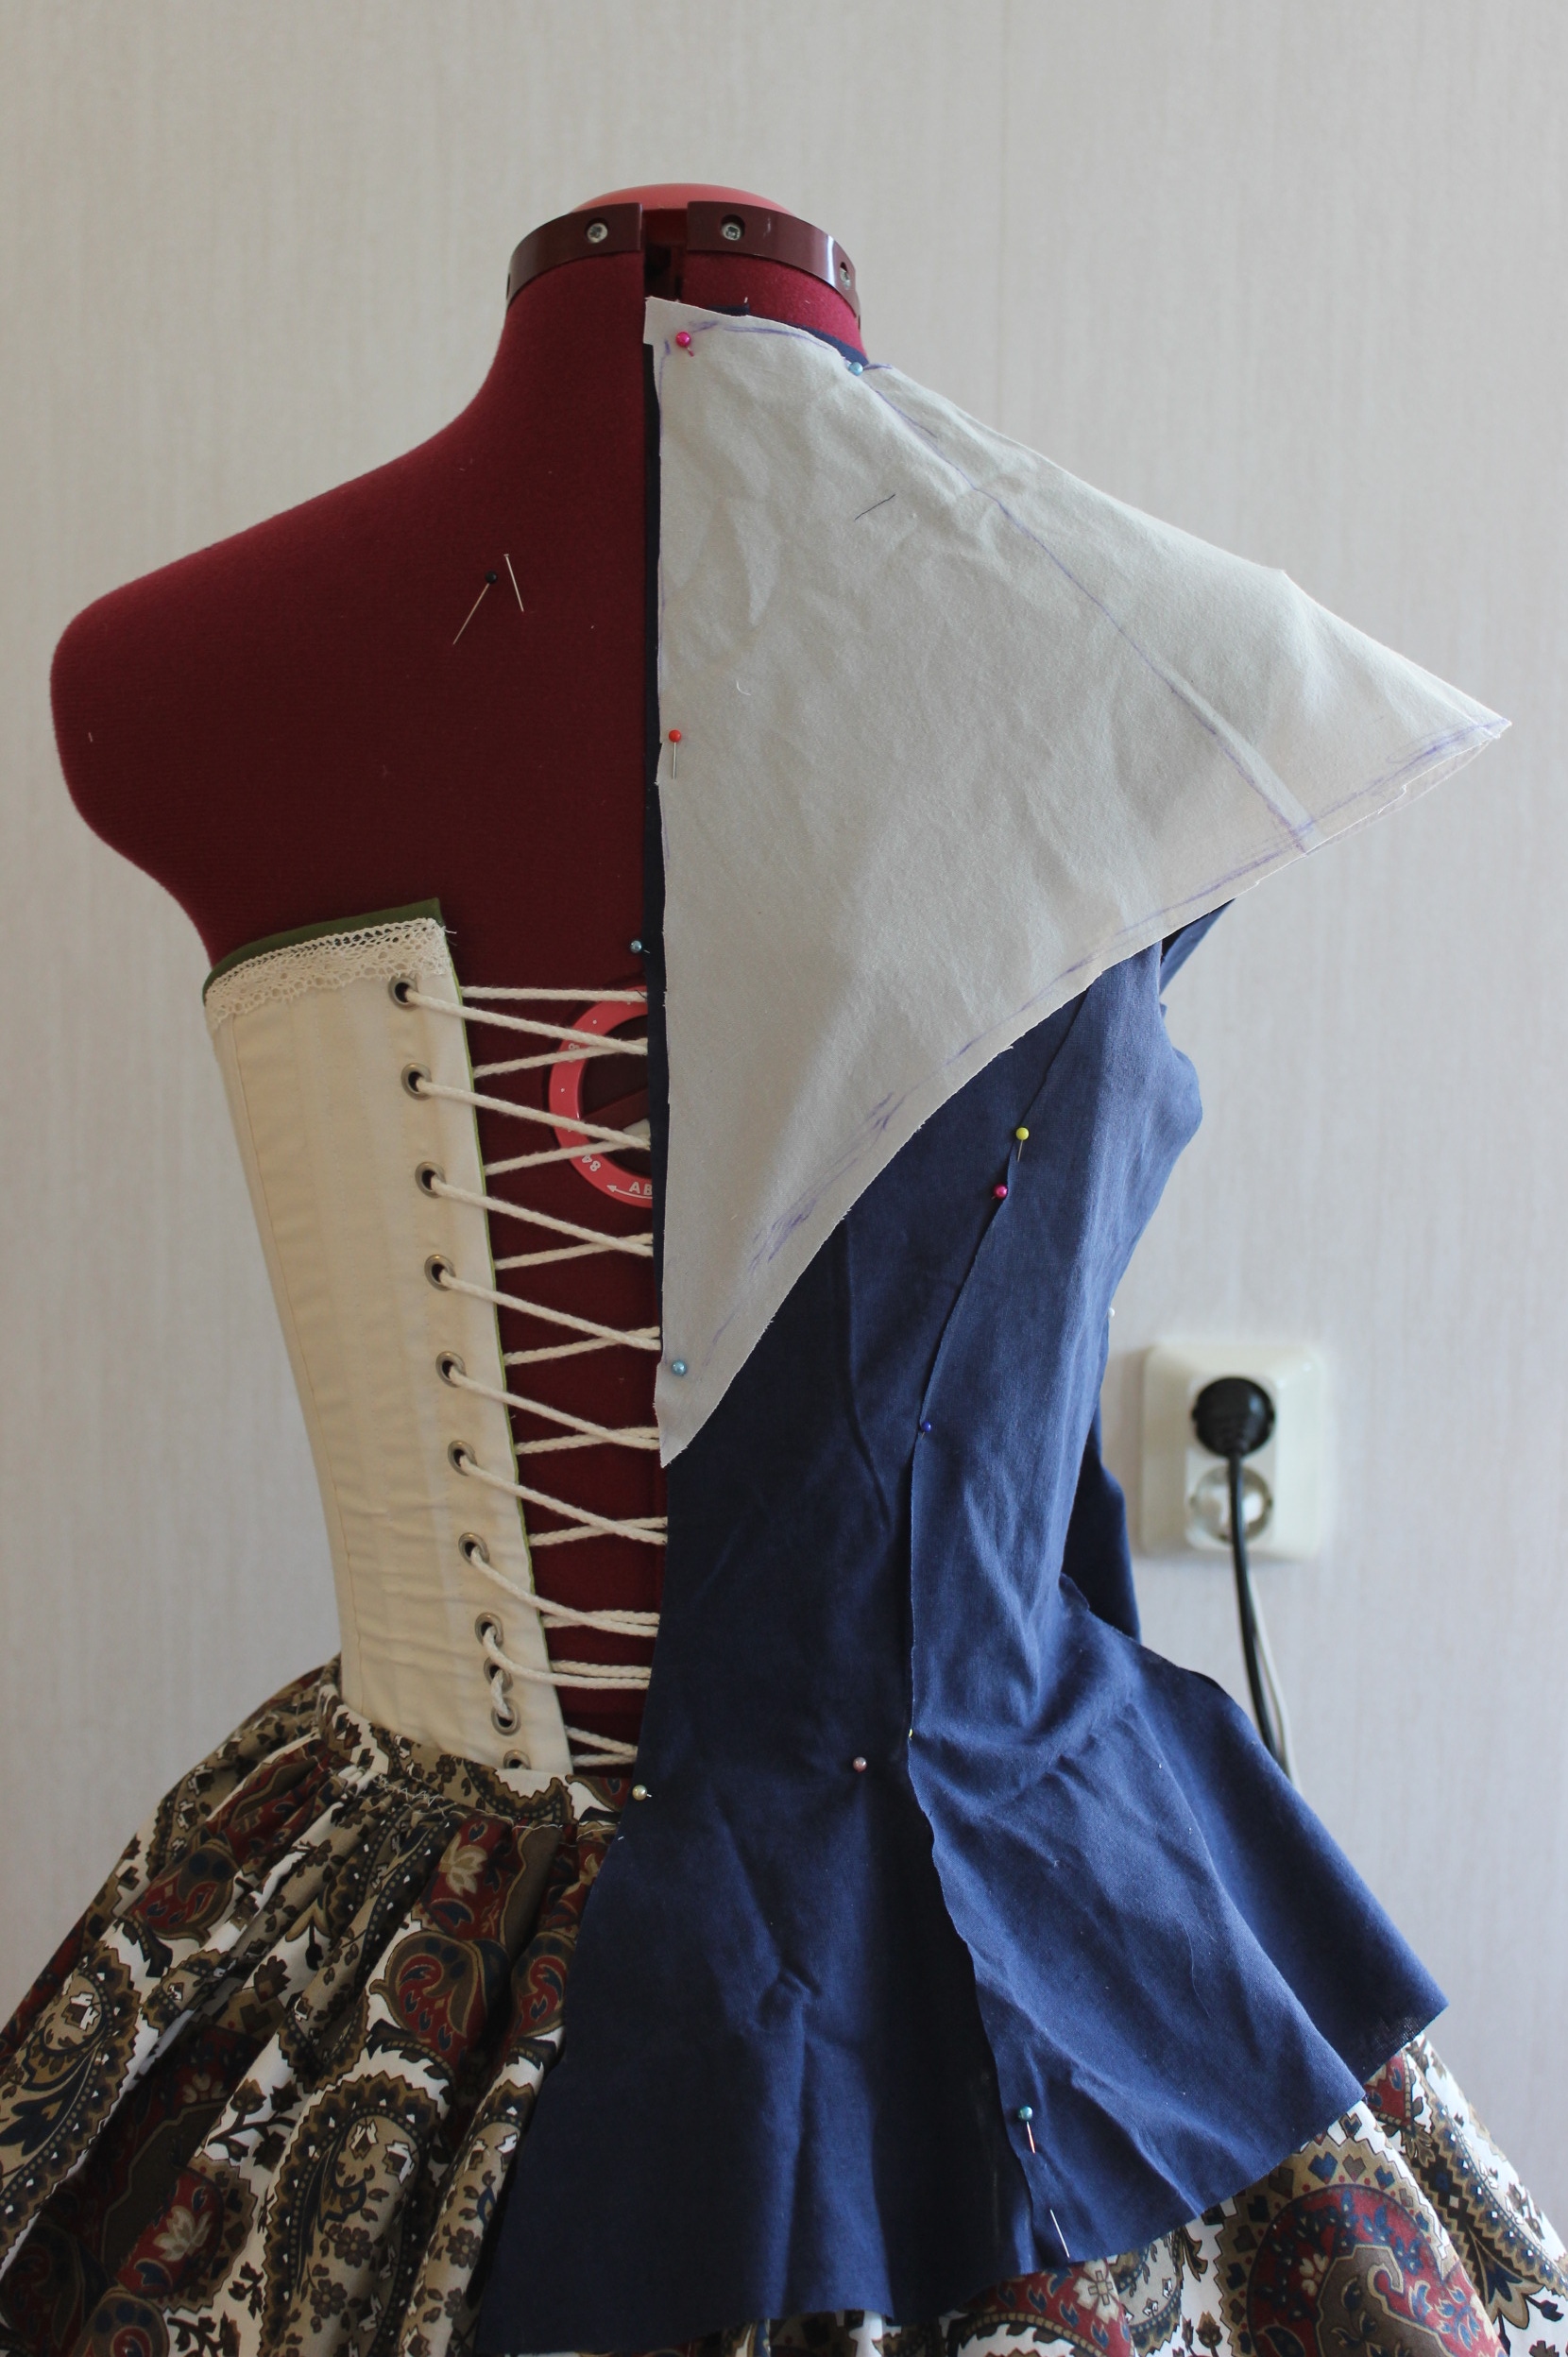
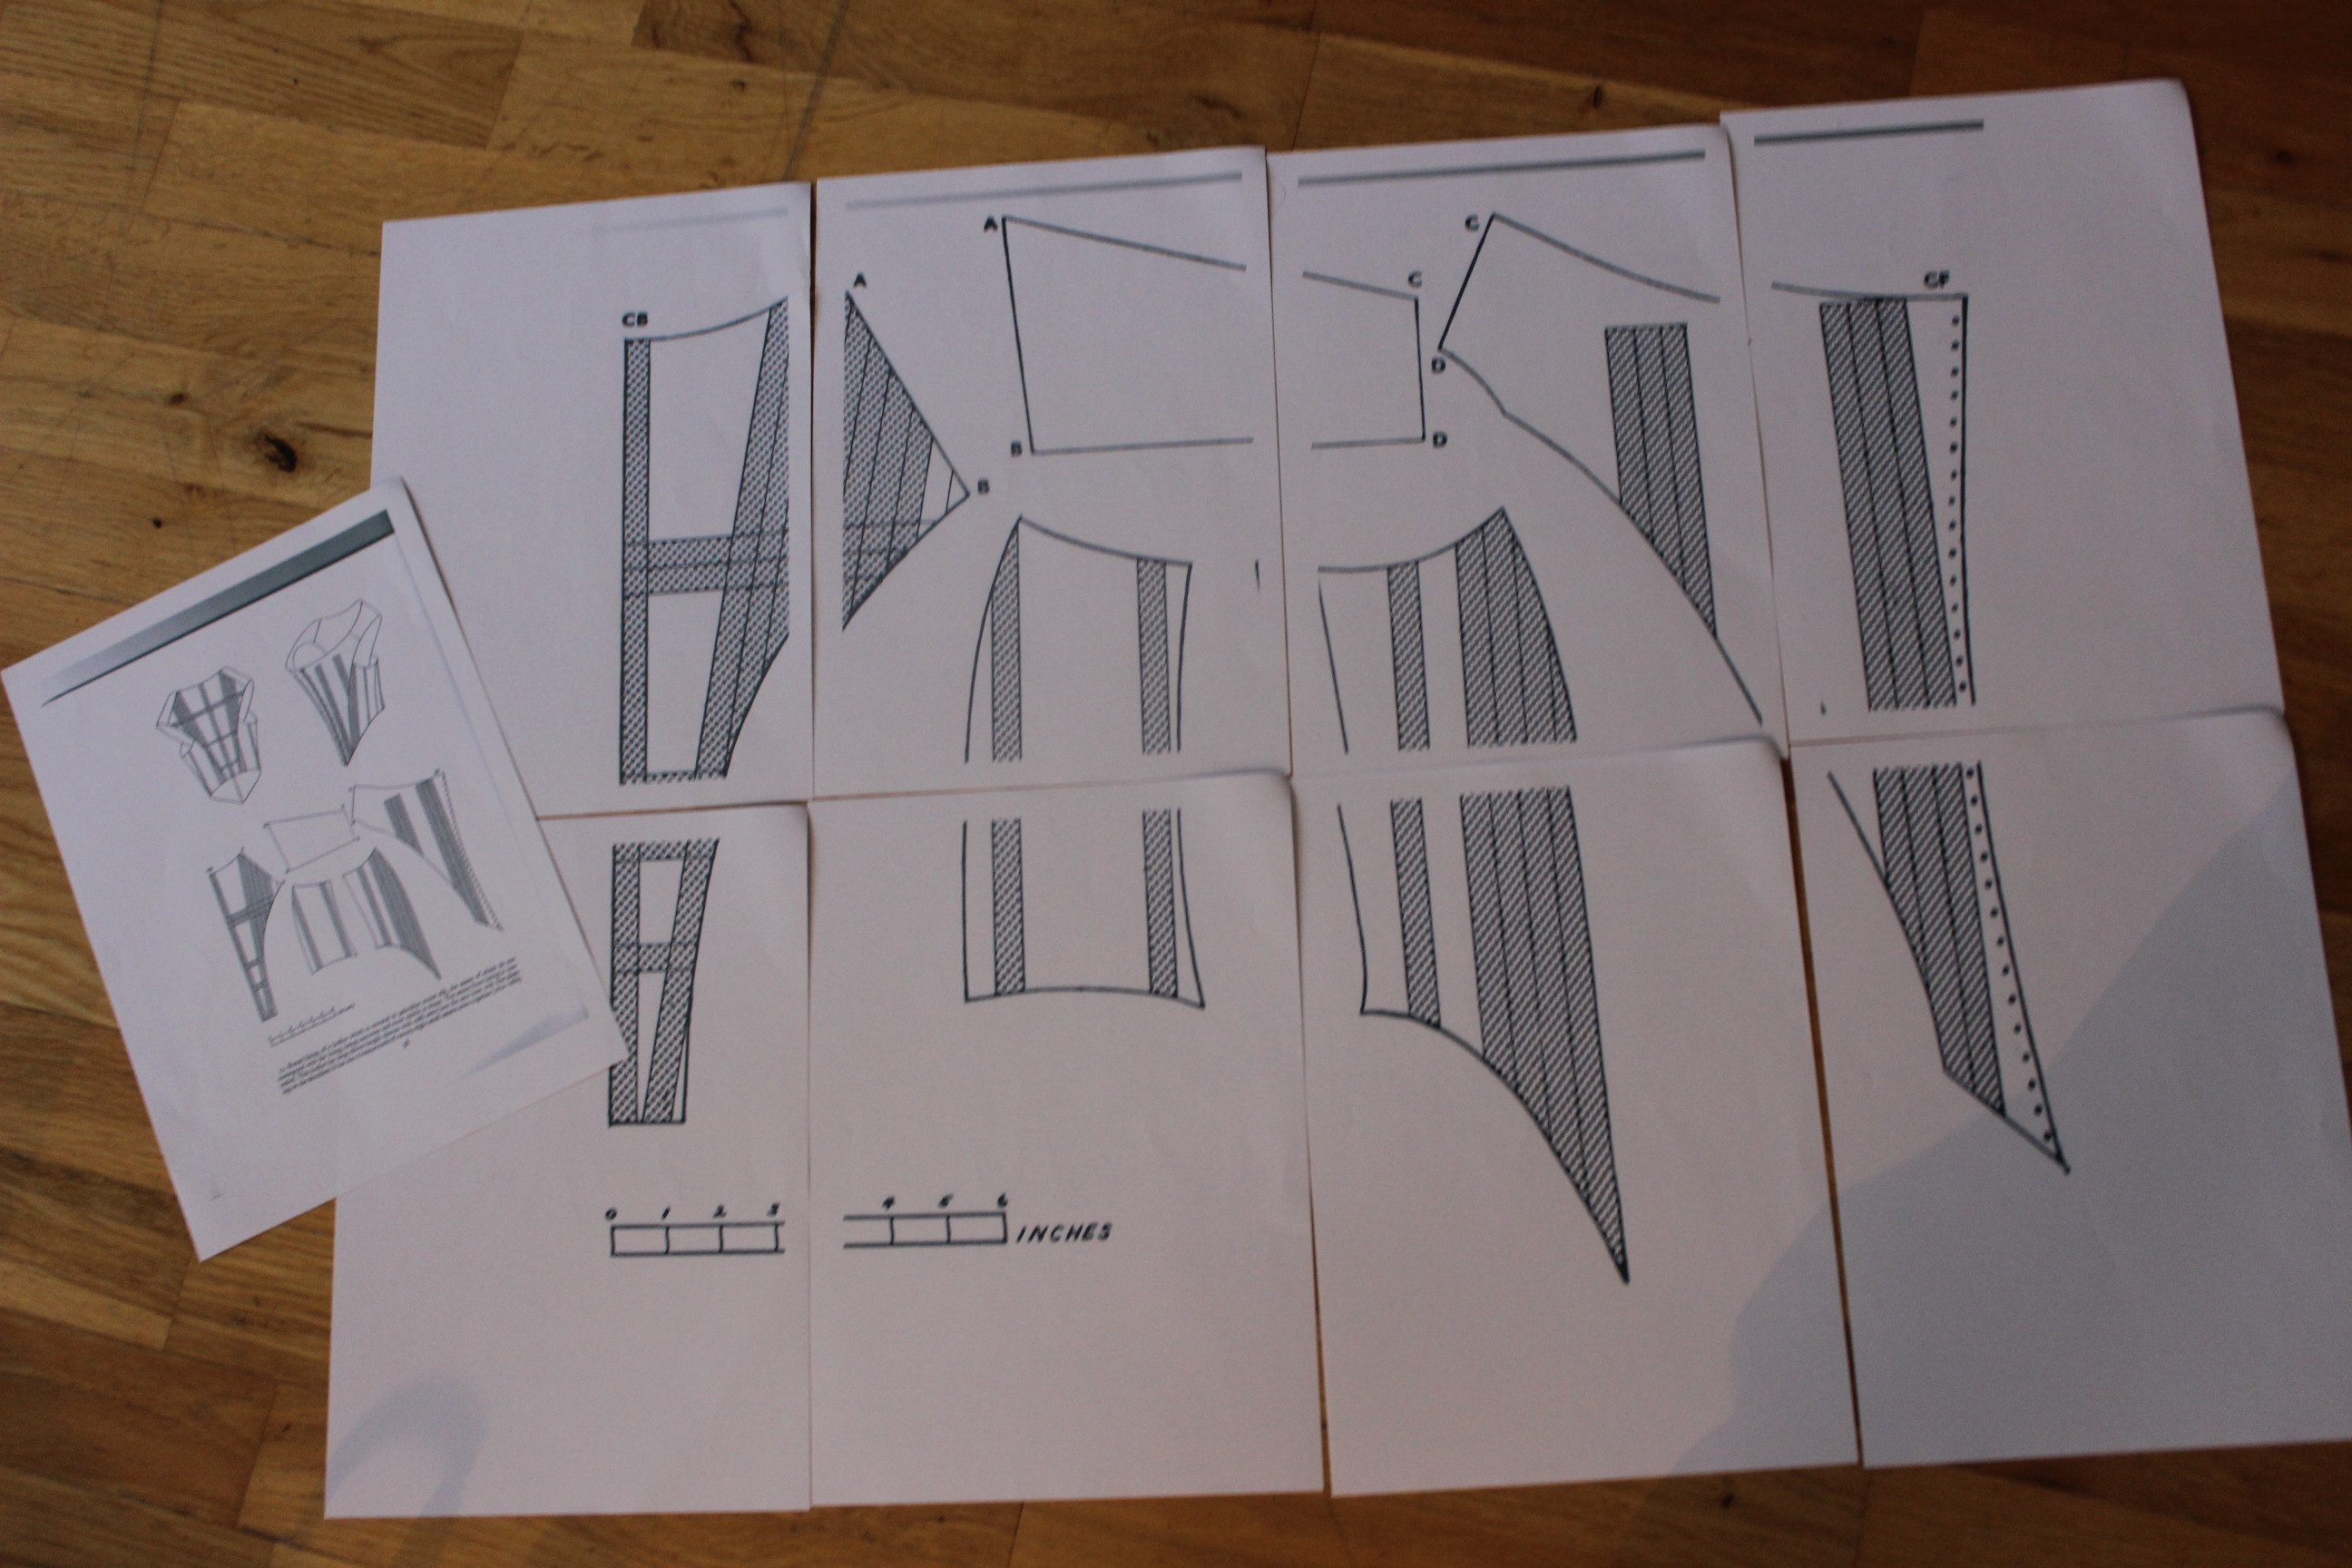
In my last post I told you about my trouble with the pattern for my opera gown. Now I will tell you about the sewing and construction of it, and also show you the finished gown (bodice and train only).
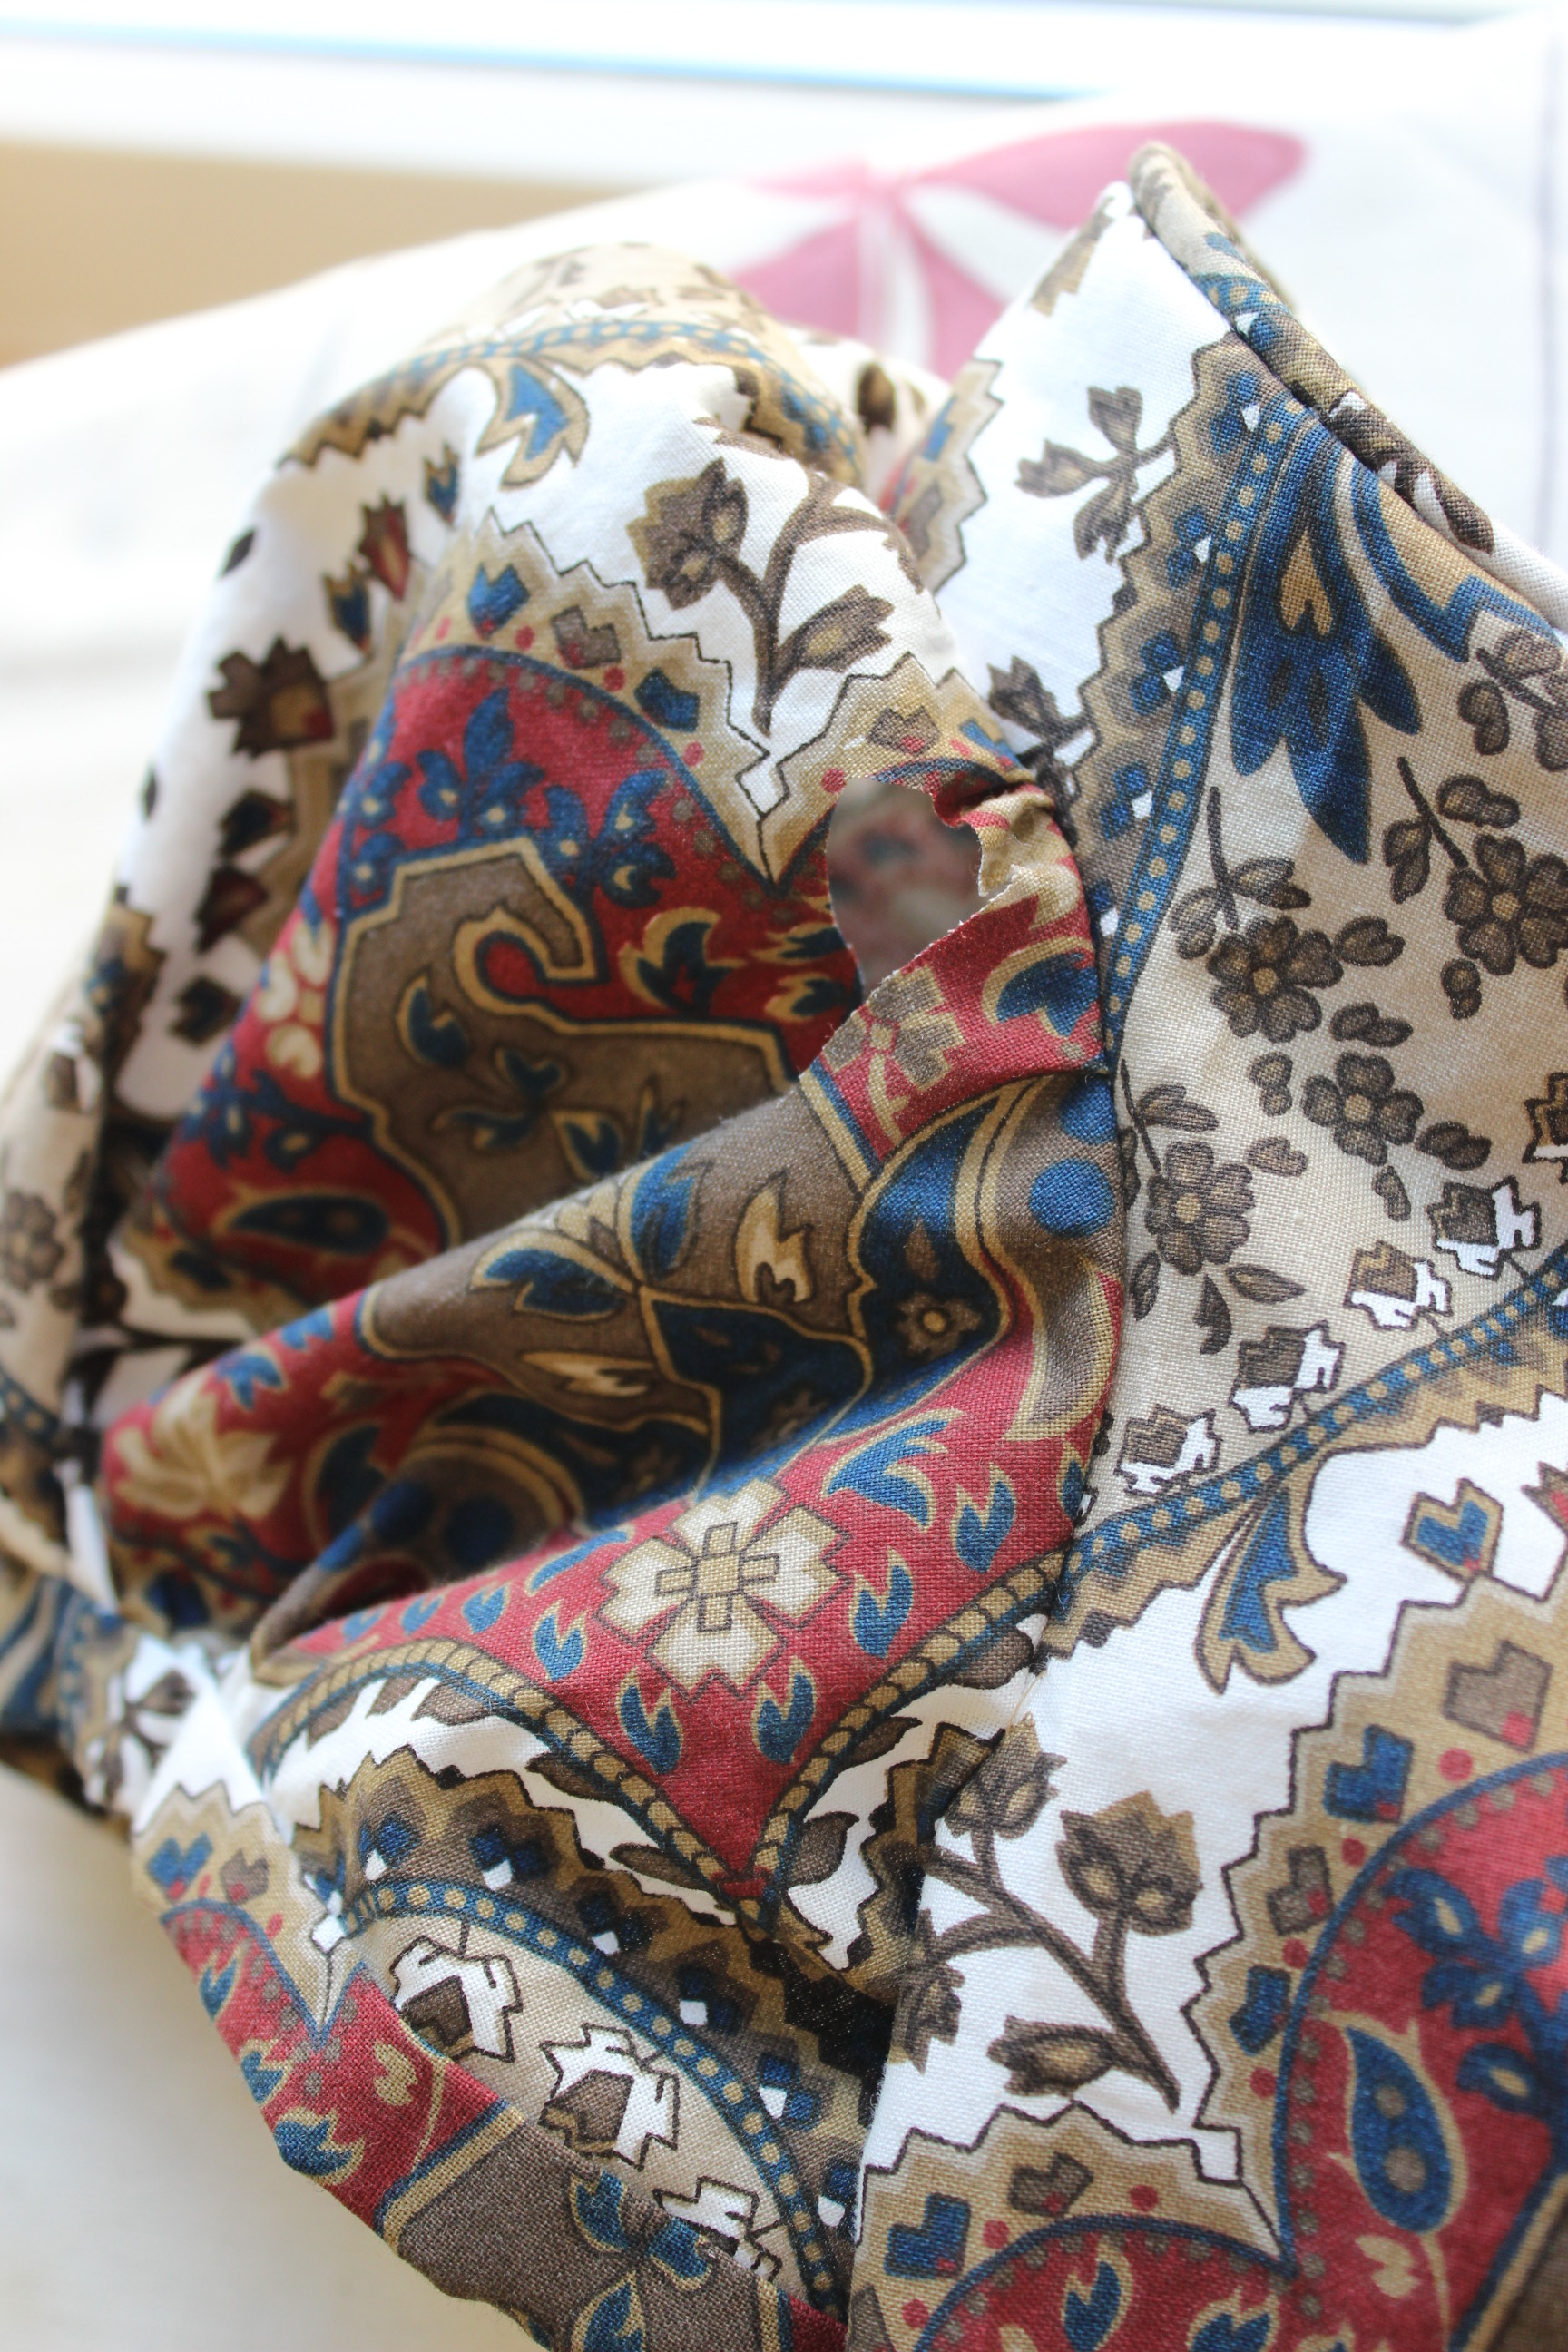
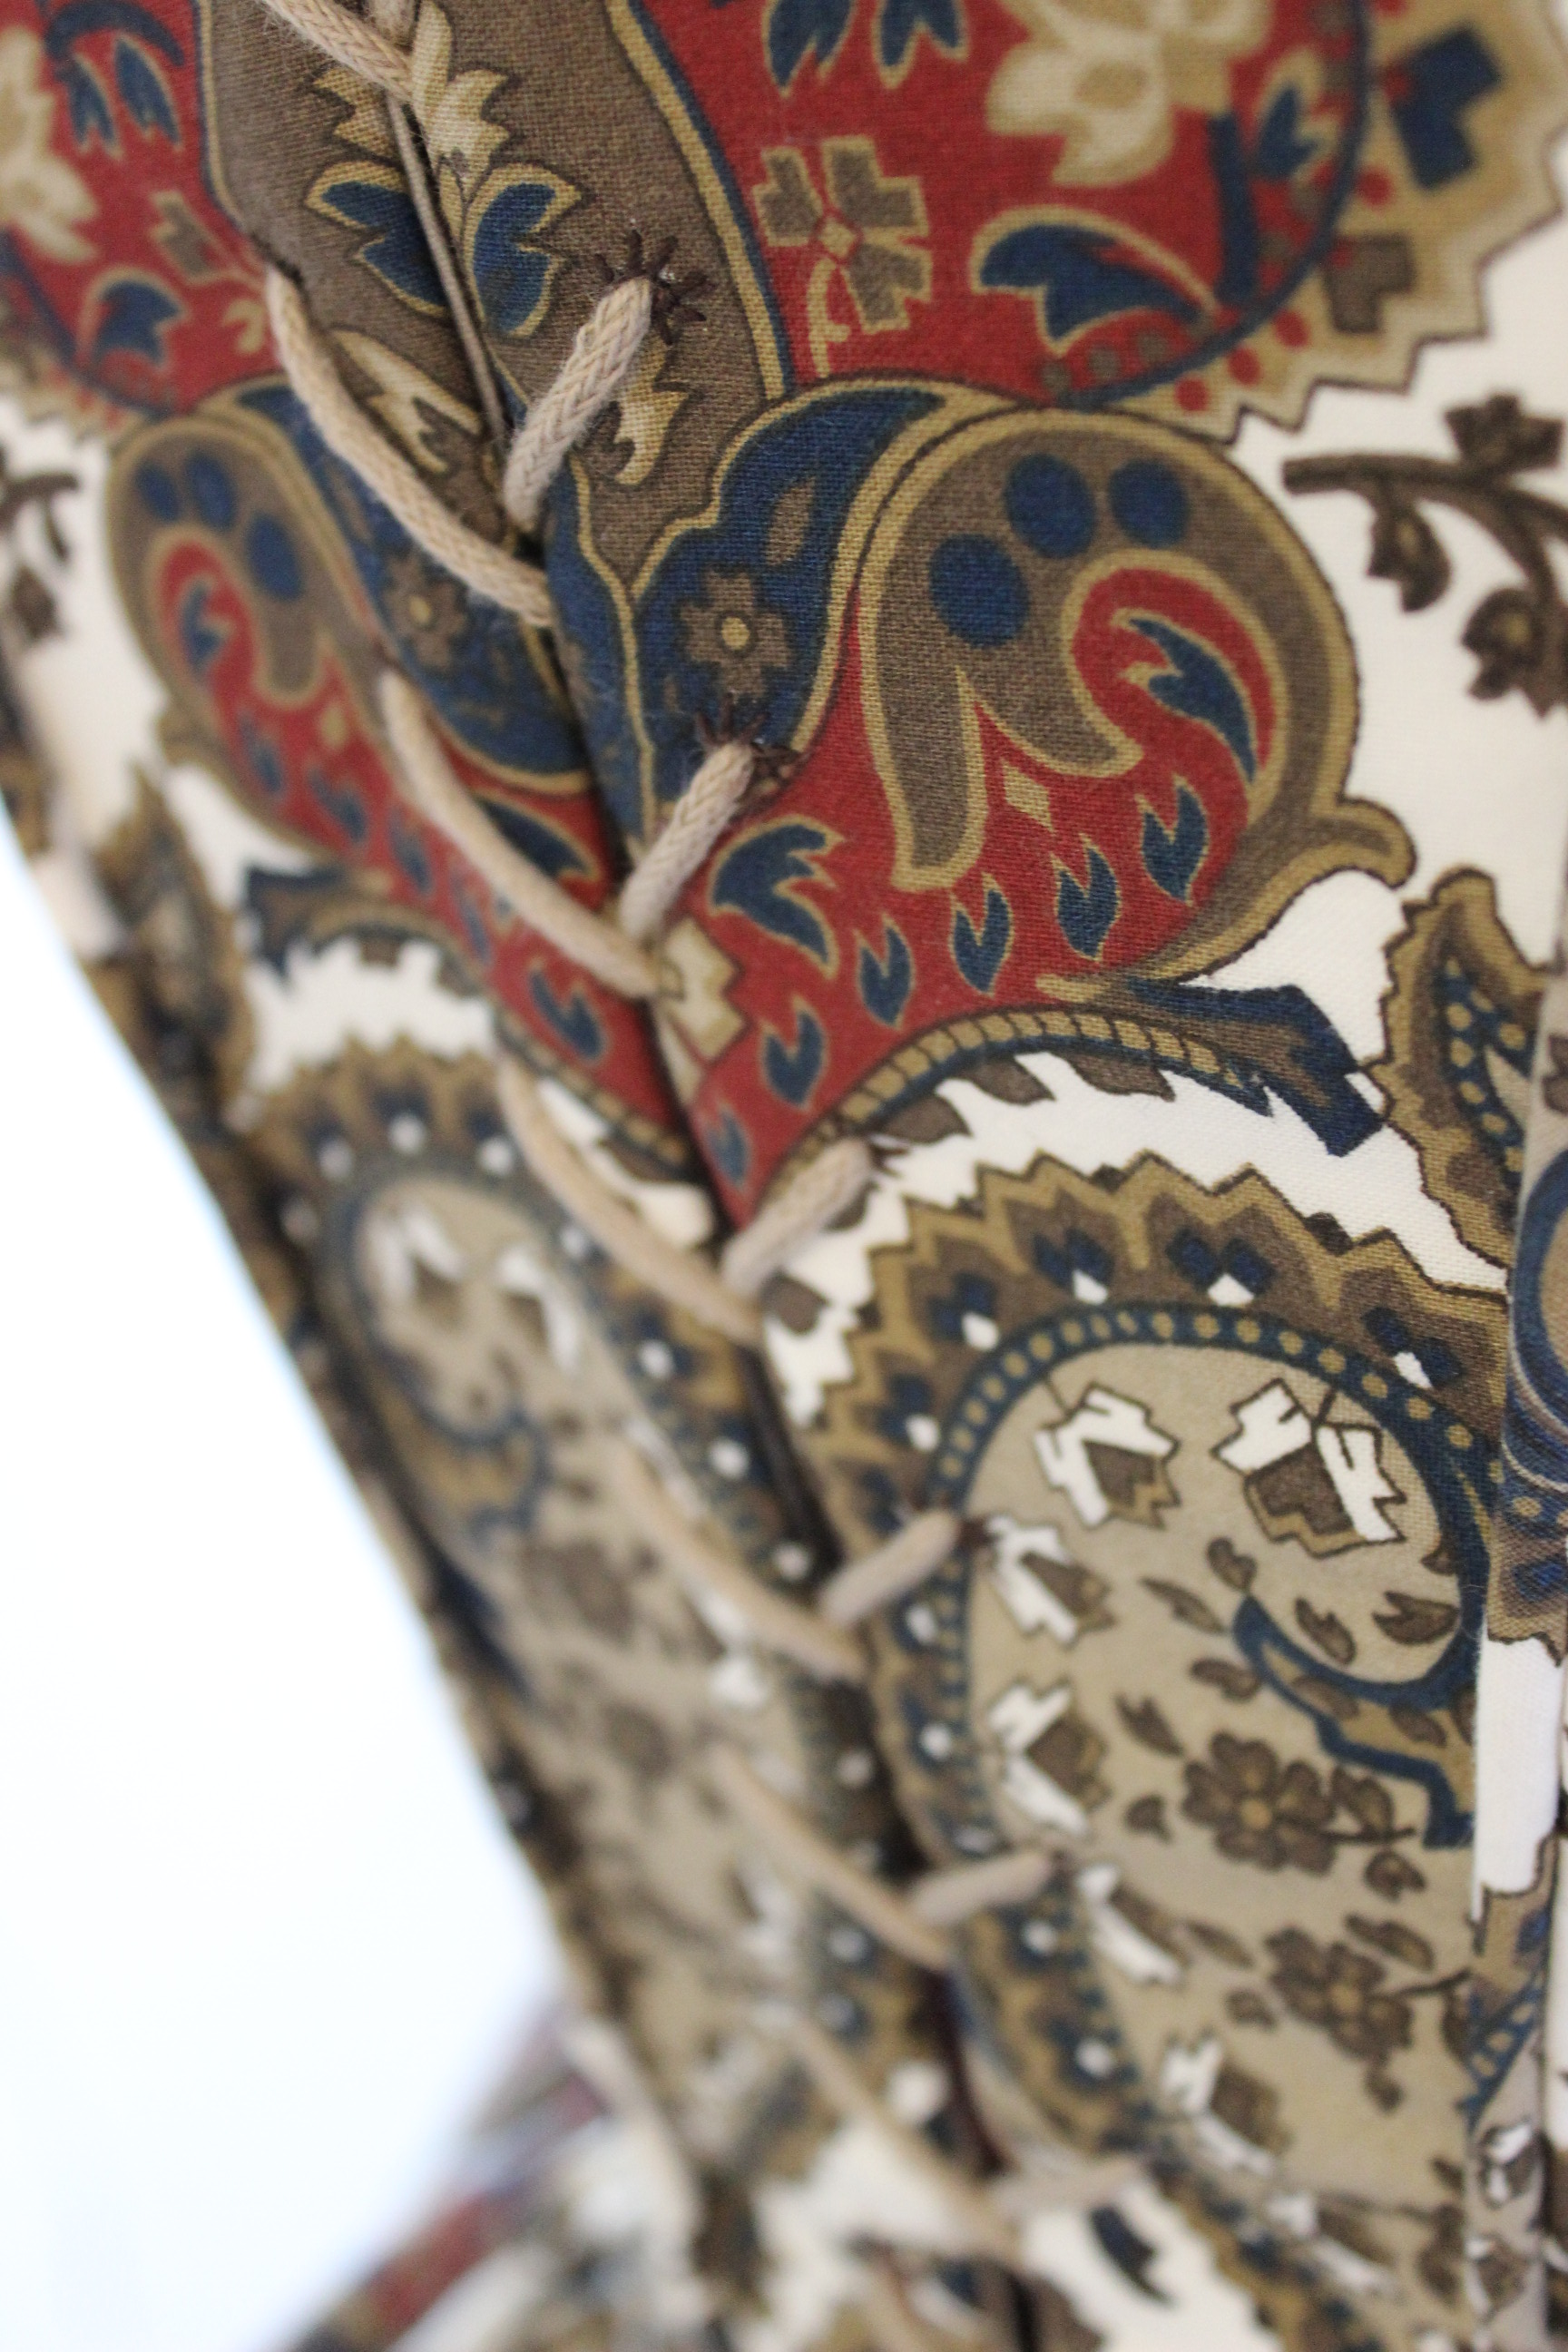
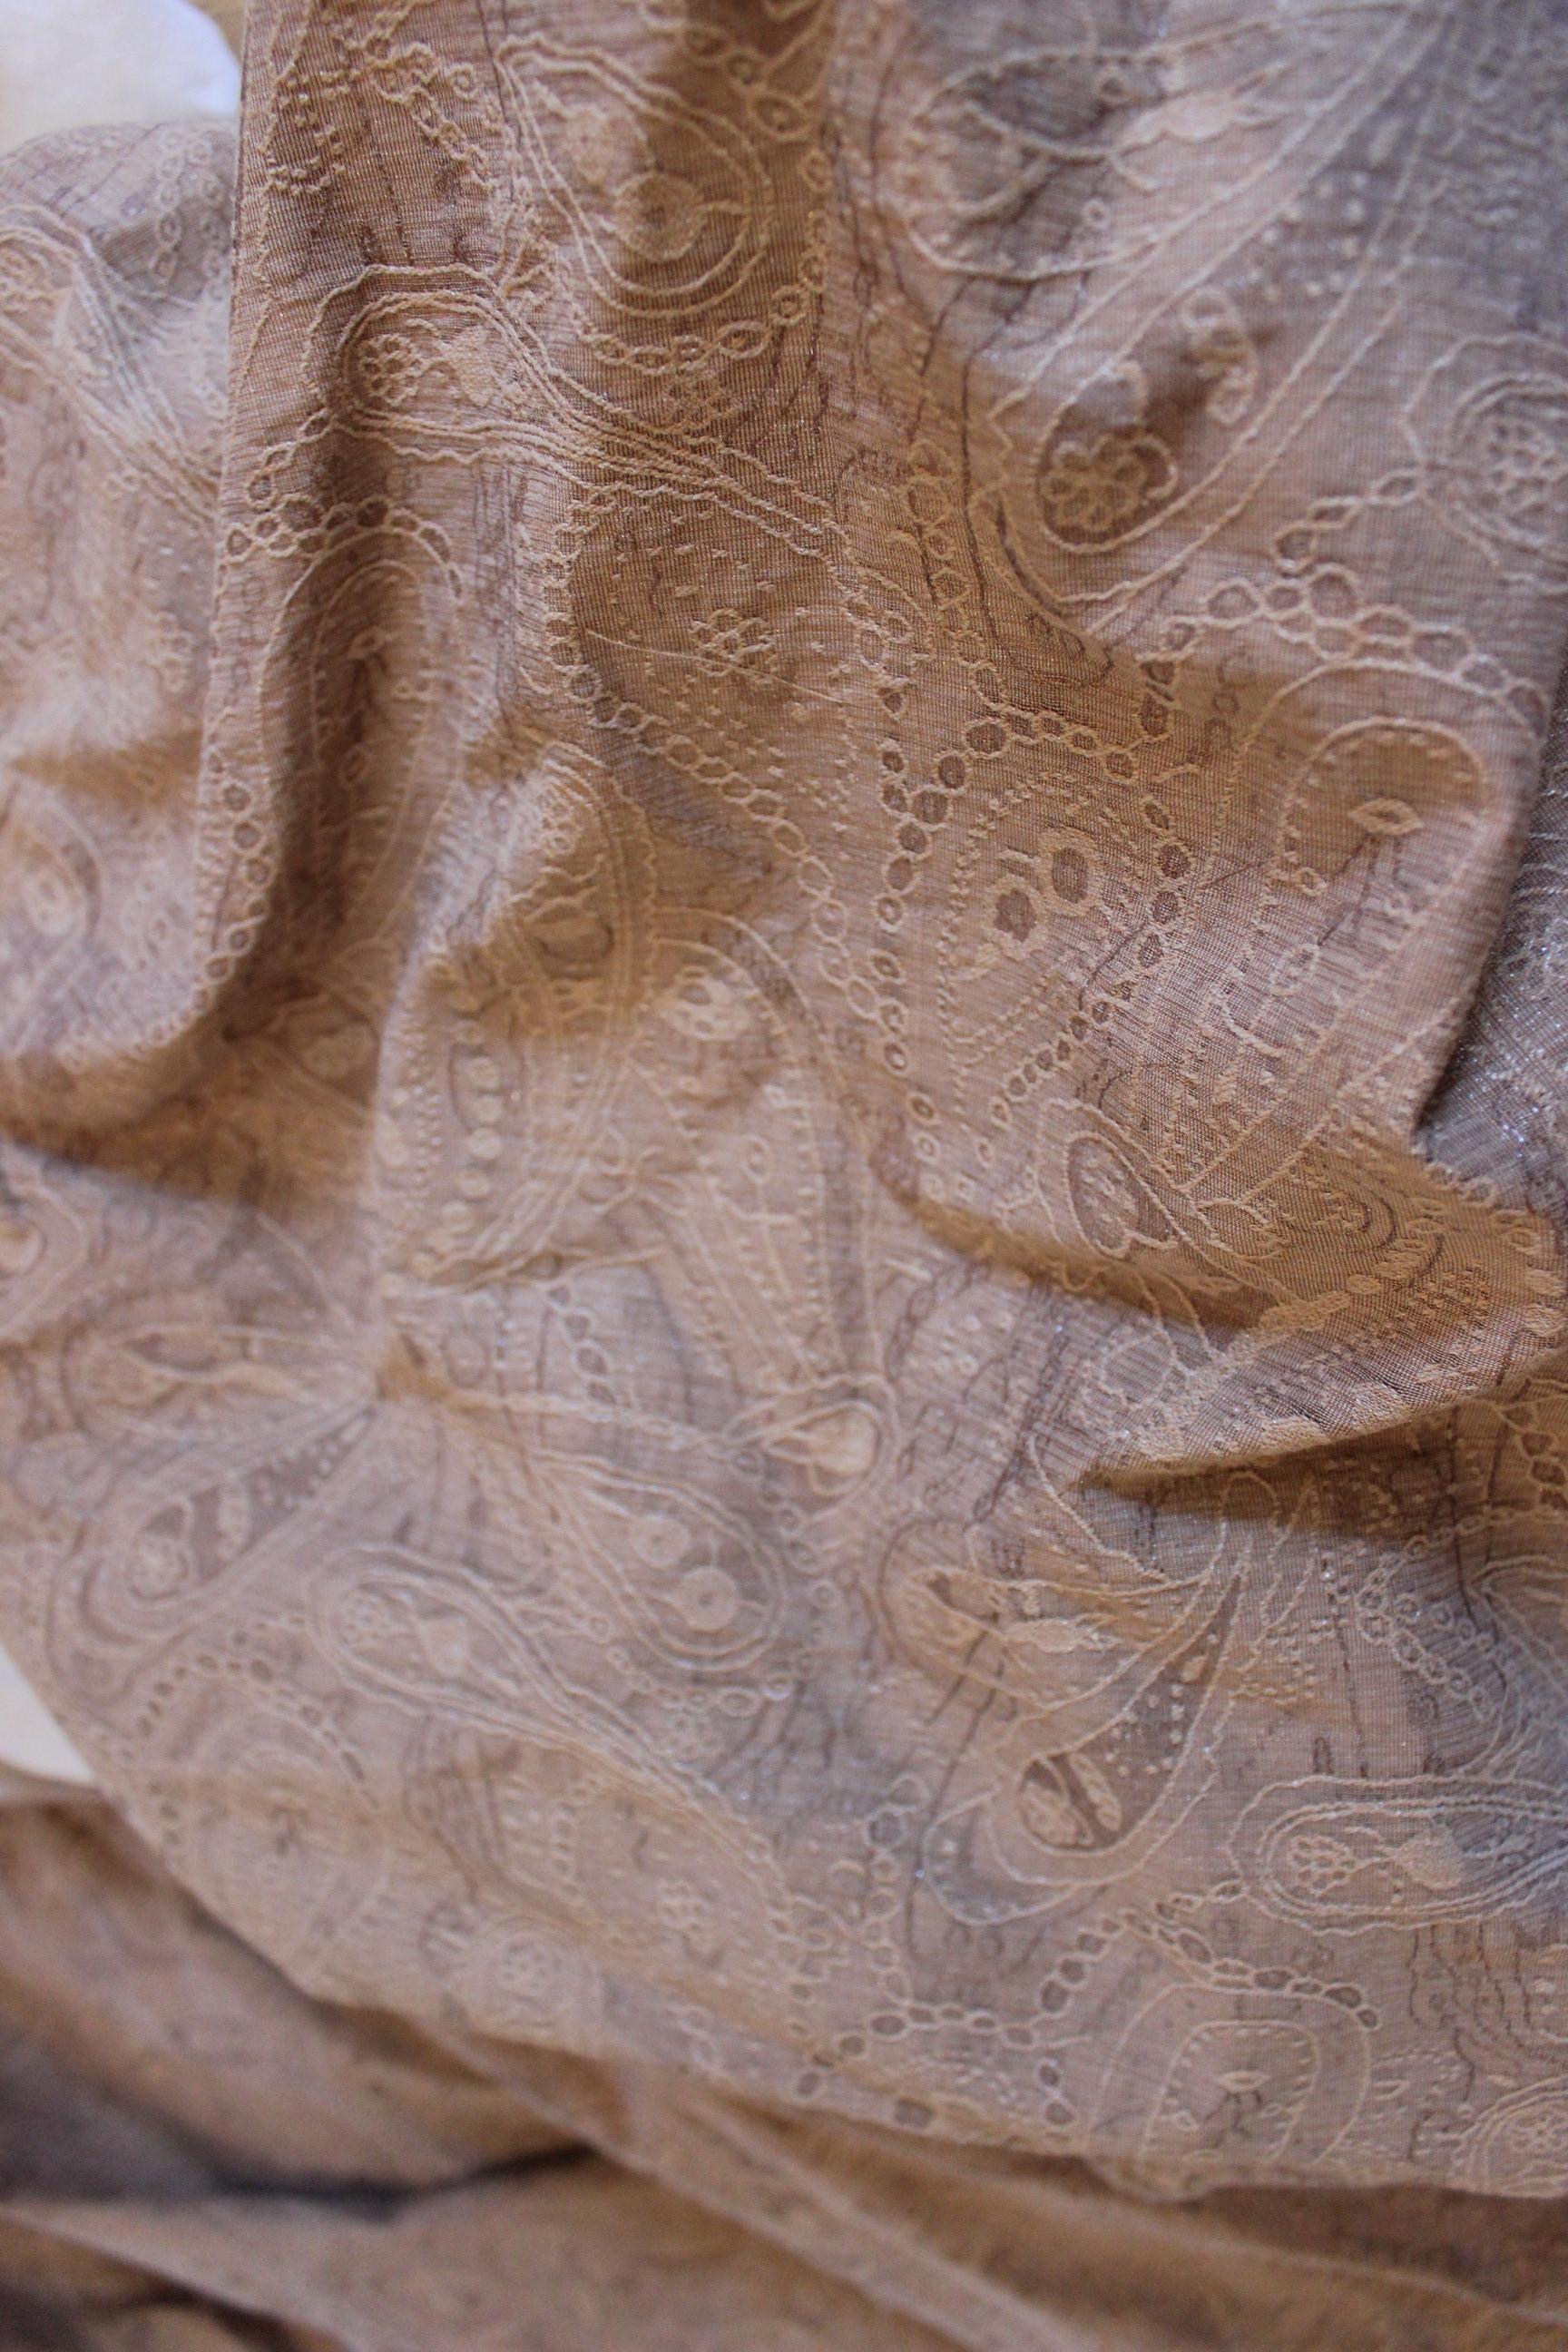
So after I got the mock-up to fit properly I brought out my fashion fabric. The dress is made in a polyester golden brocade, which both feels and behaves a lot like silk. 
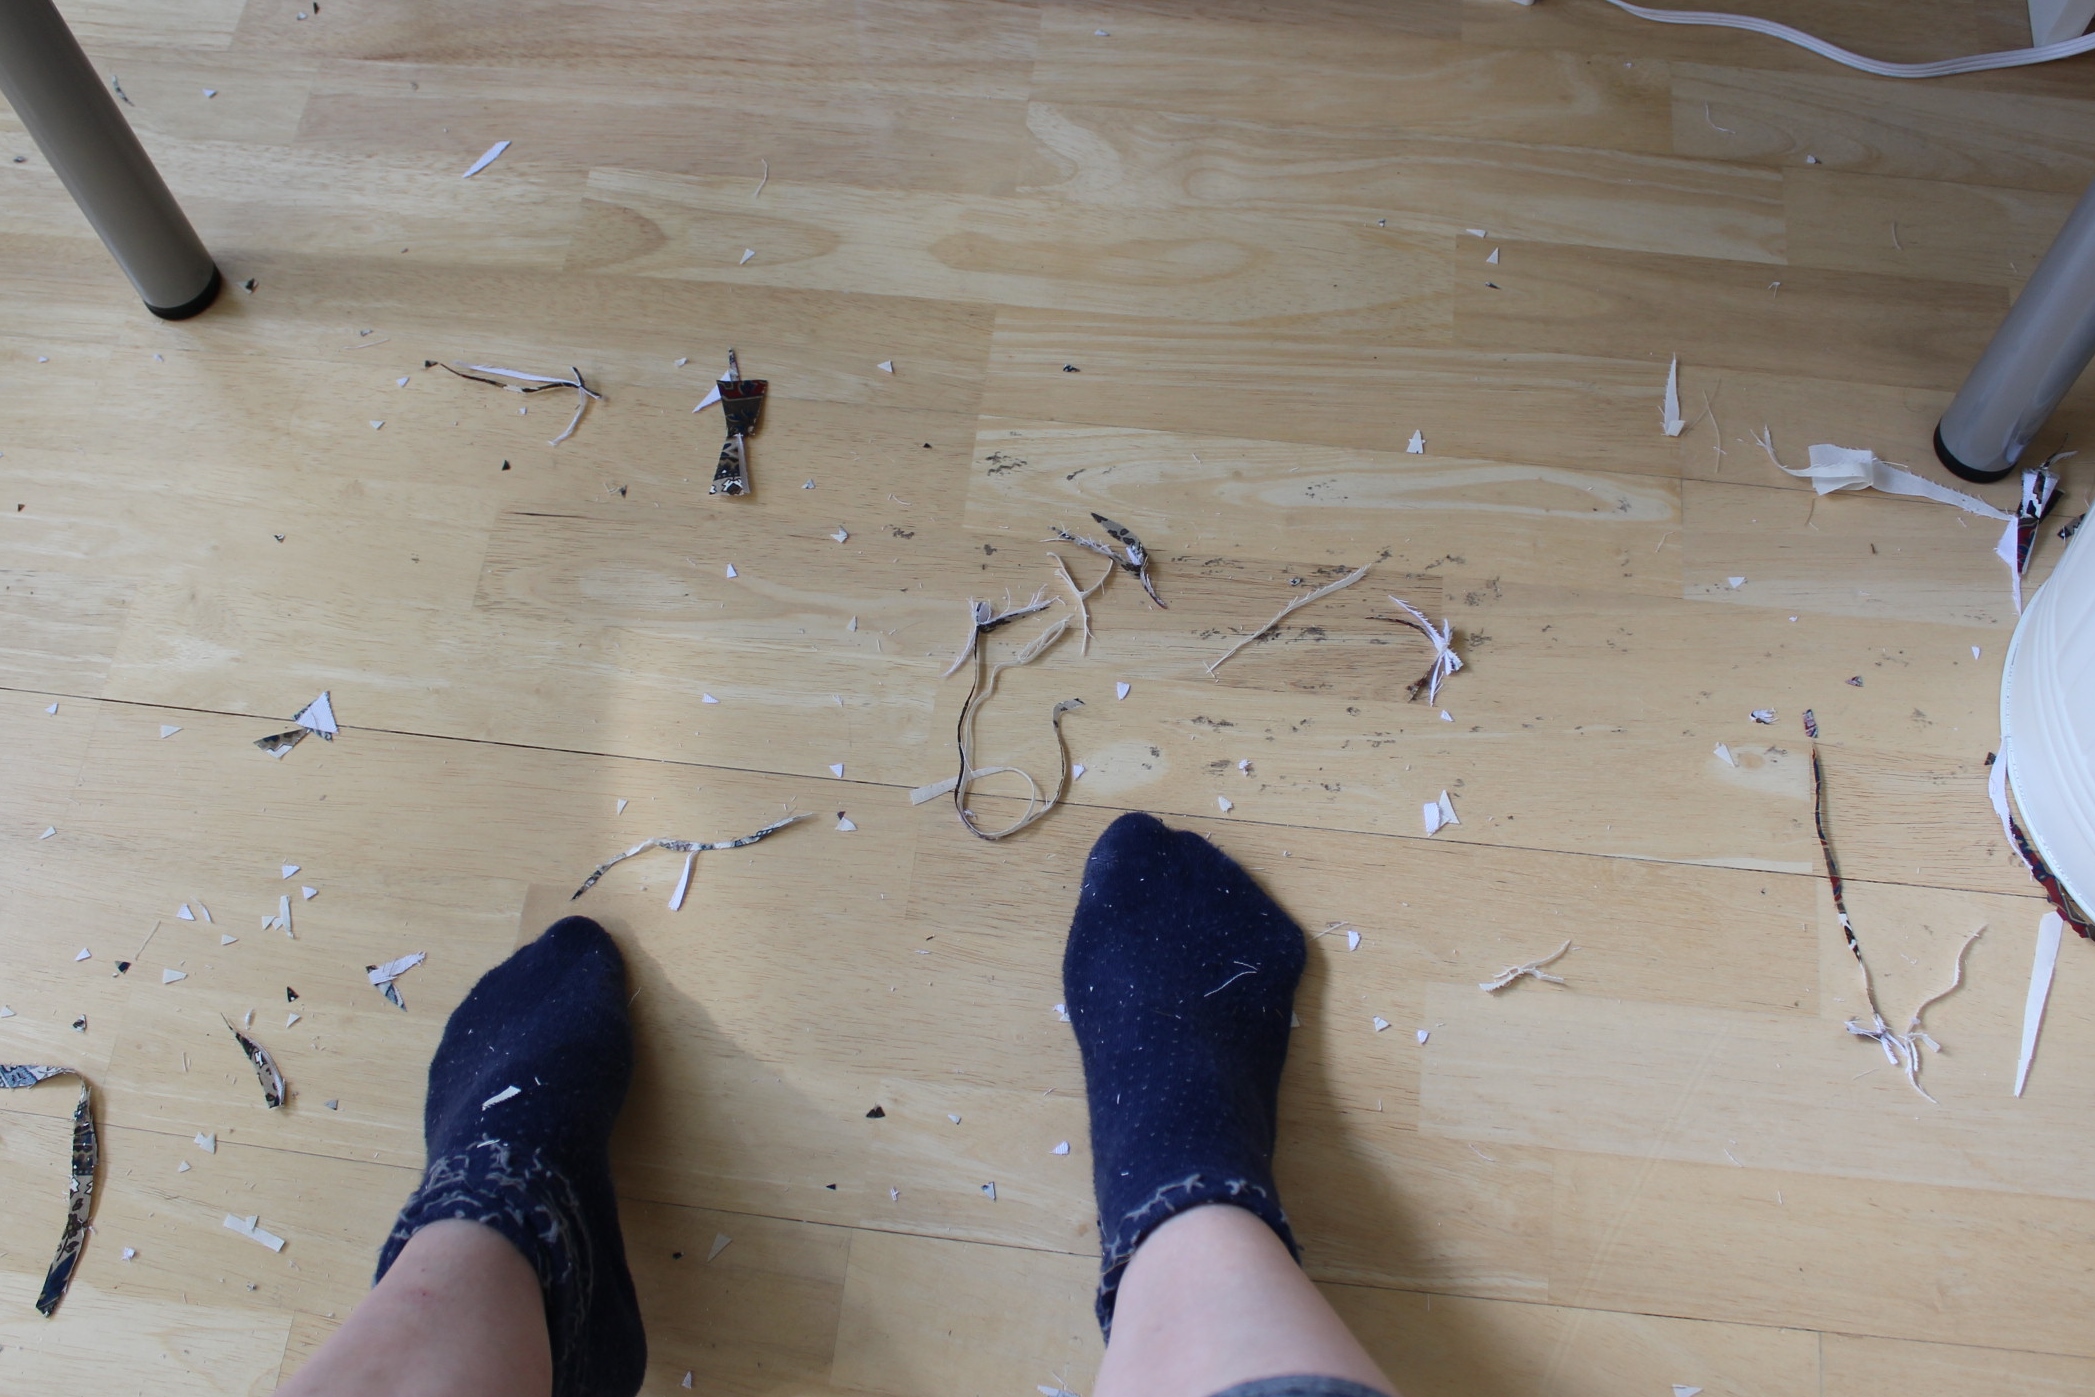
I bought 6 m of it on sale before christmas, and now it was time to lay it out on the floor. 
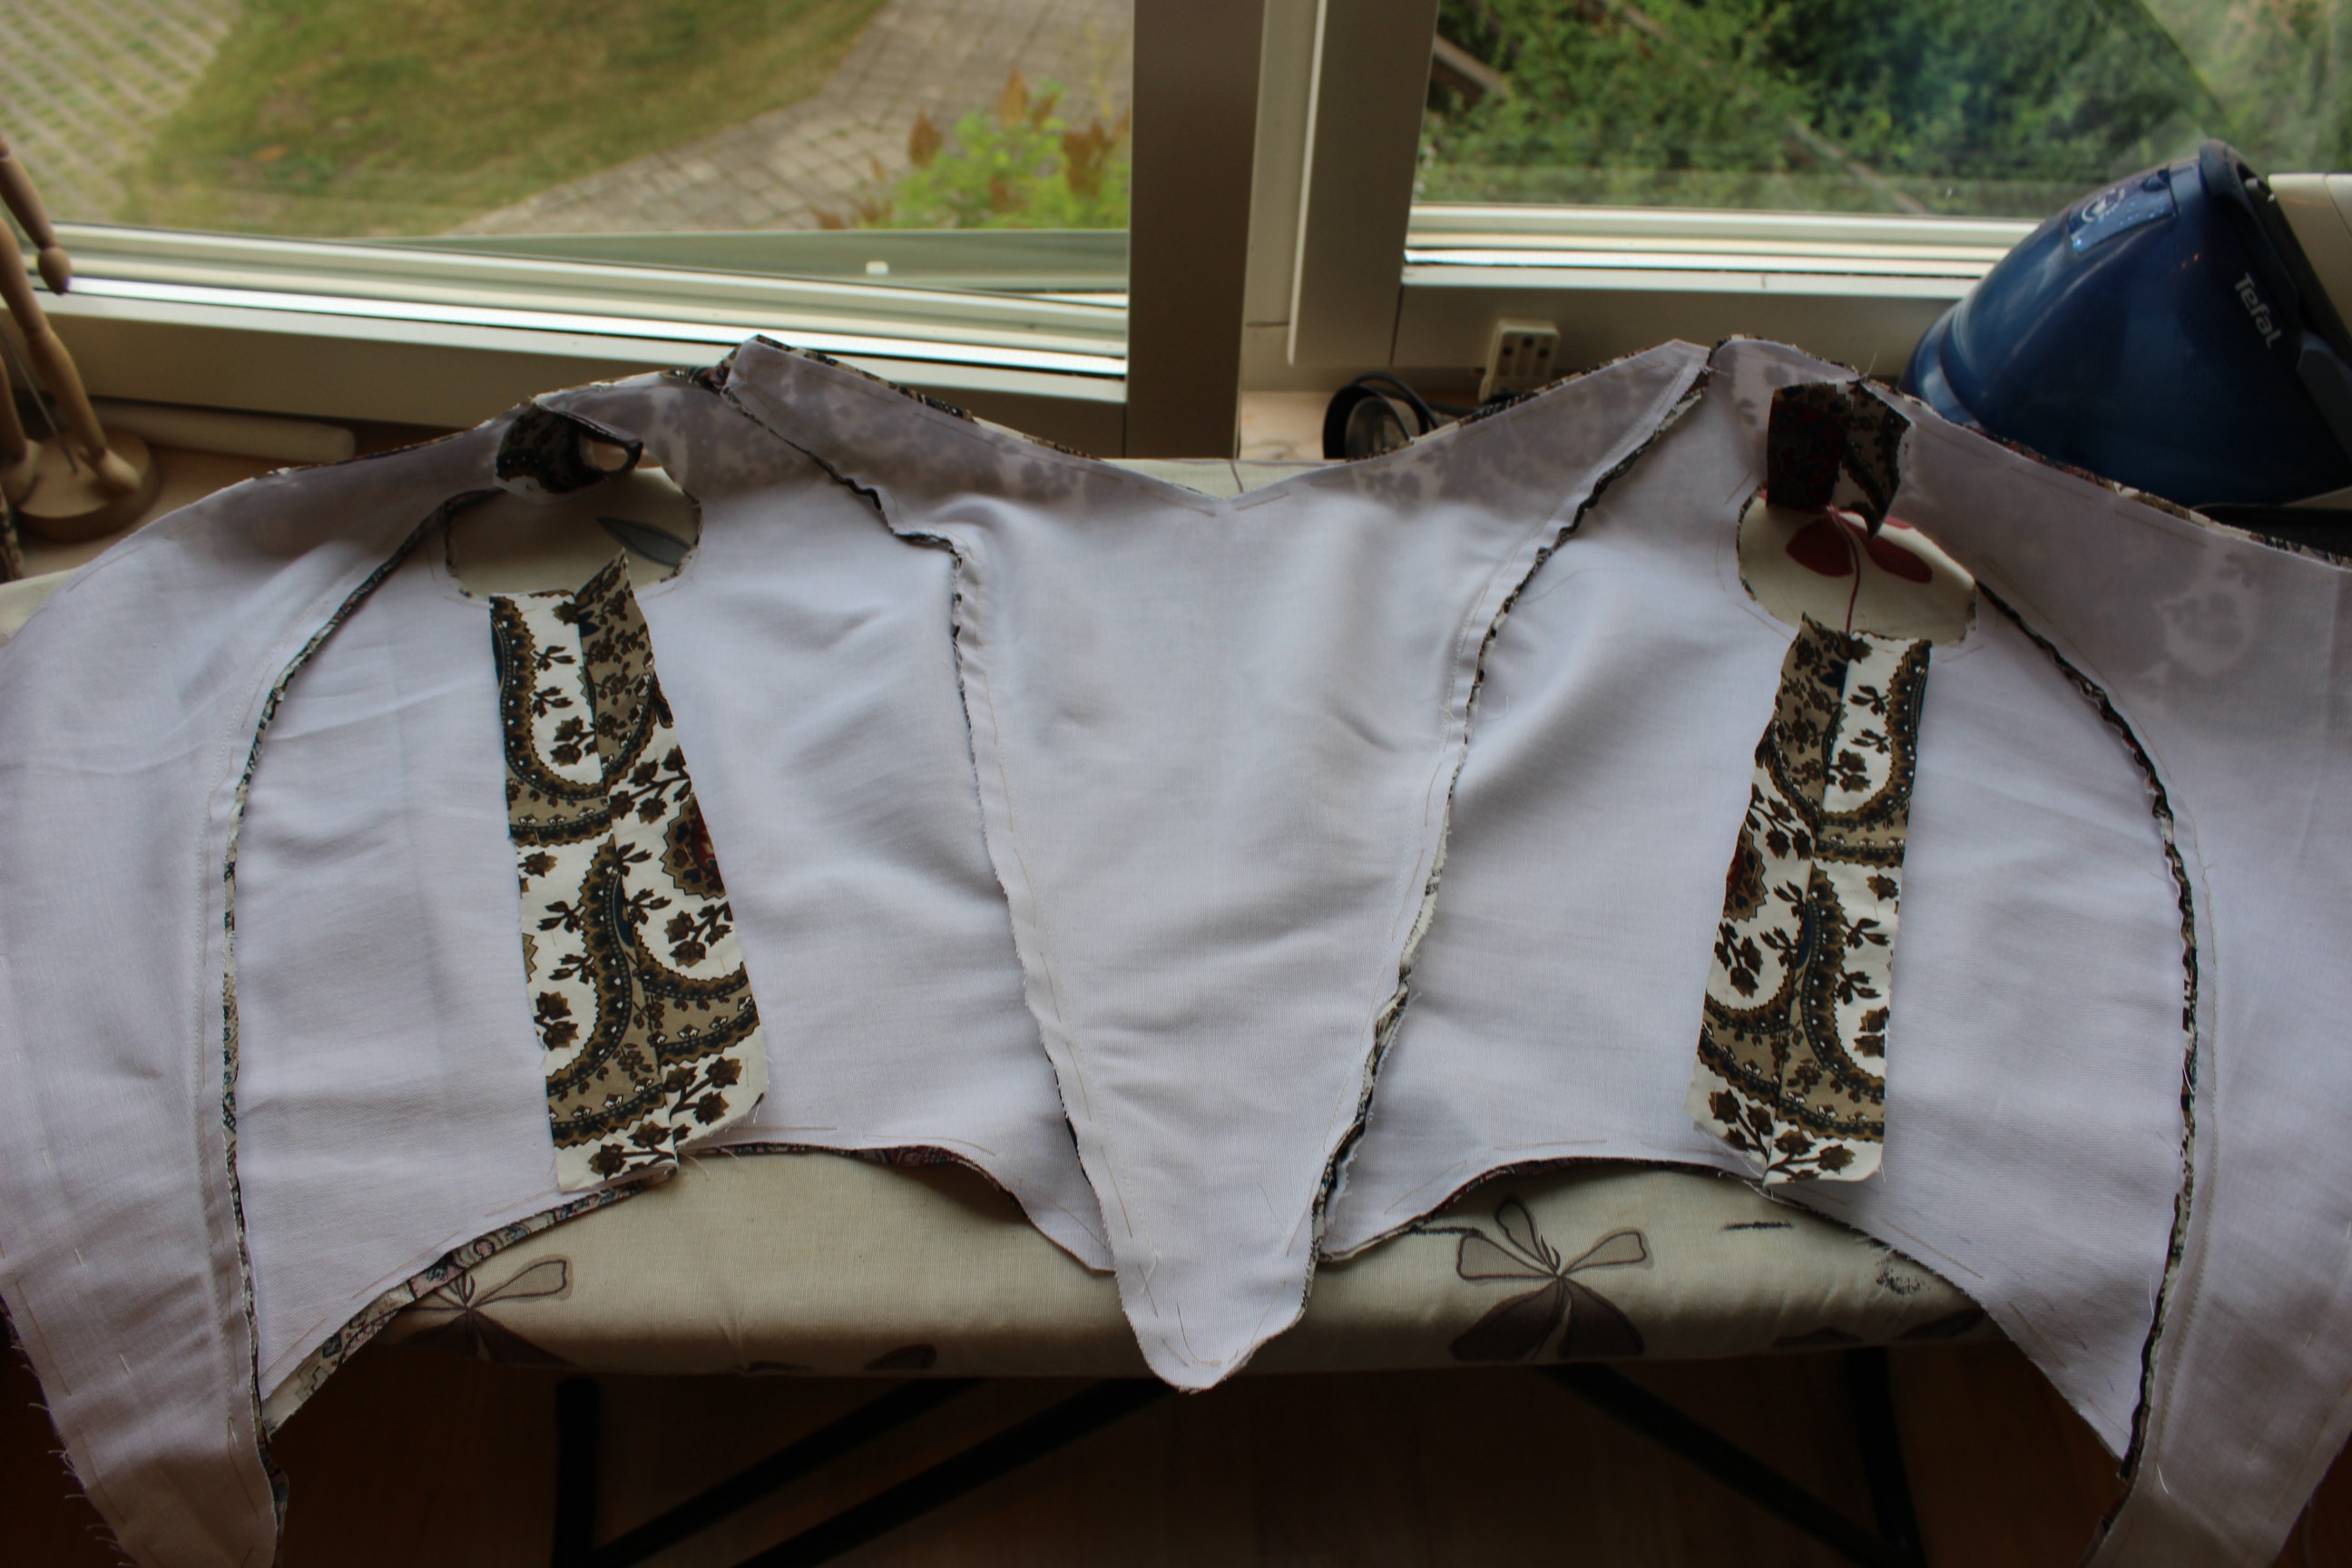
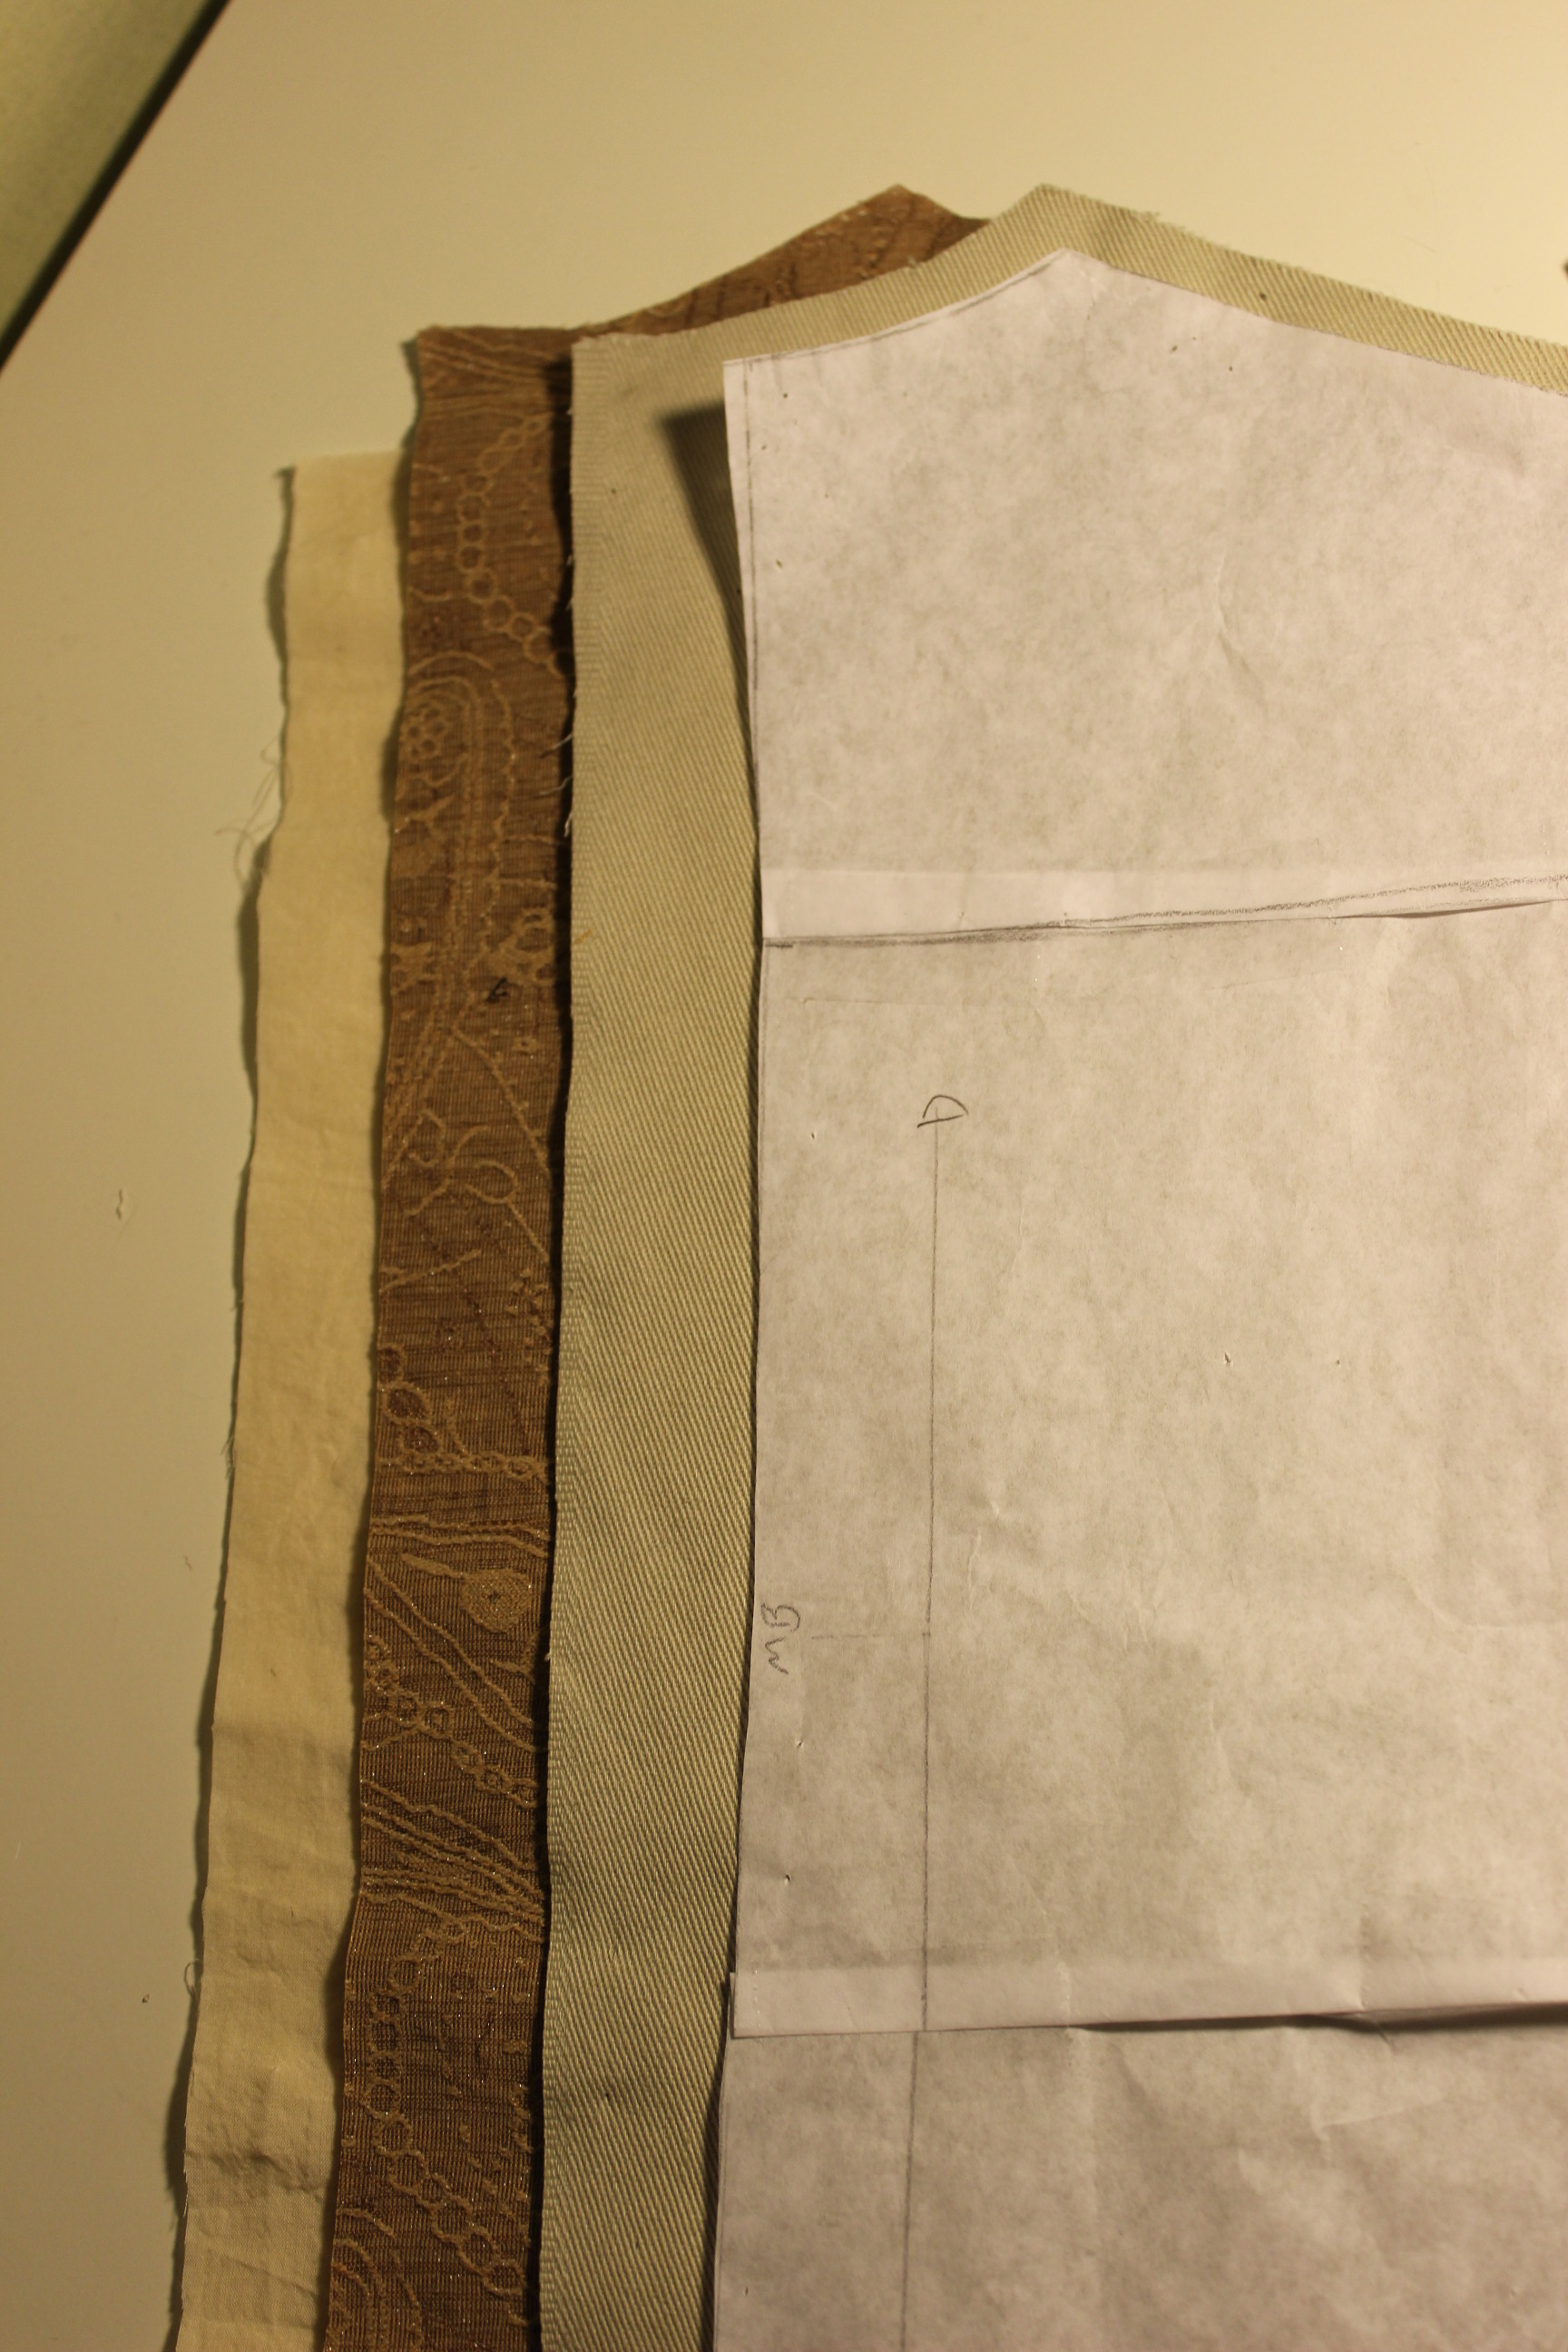
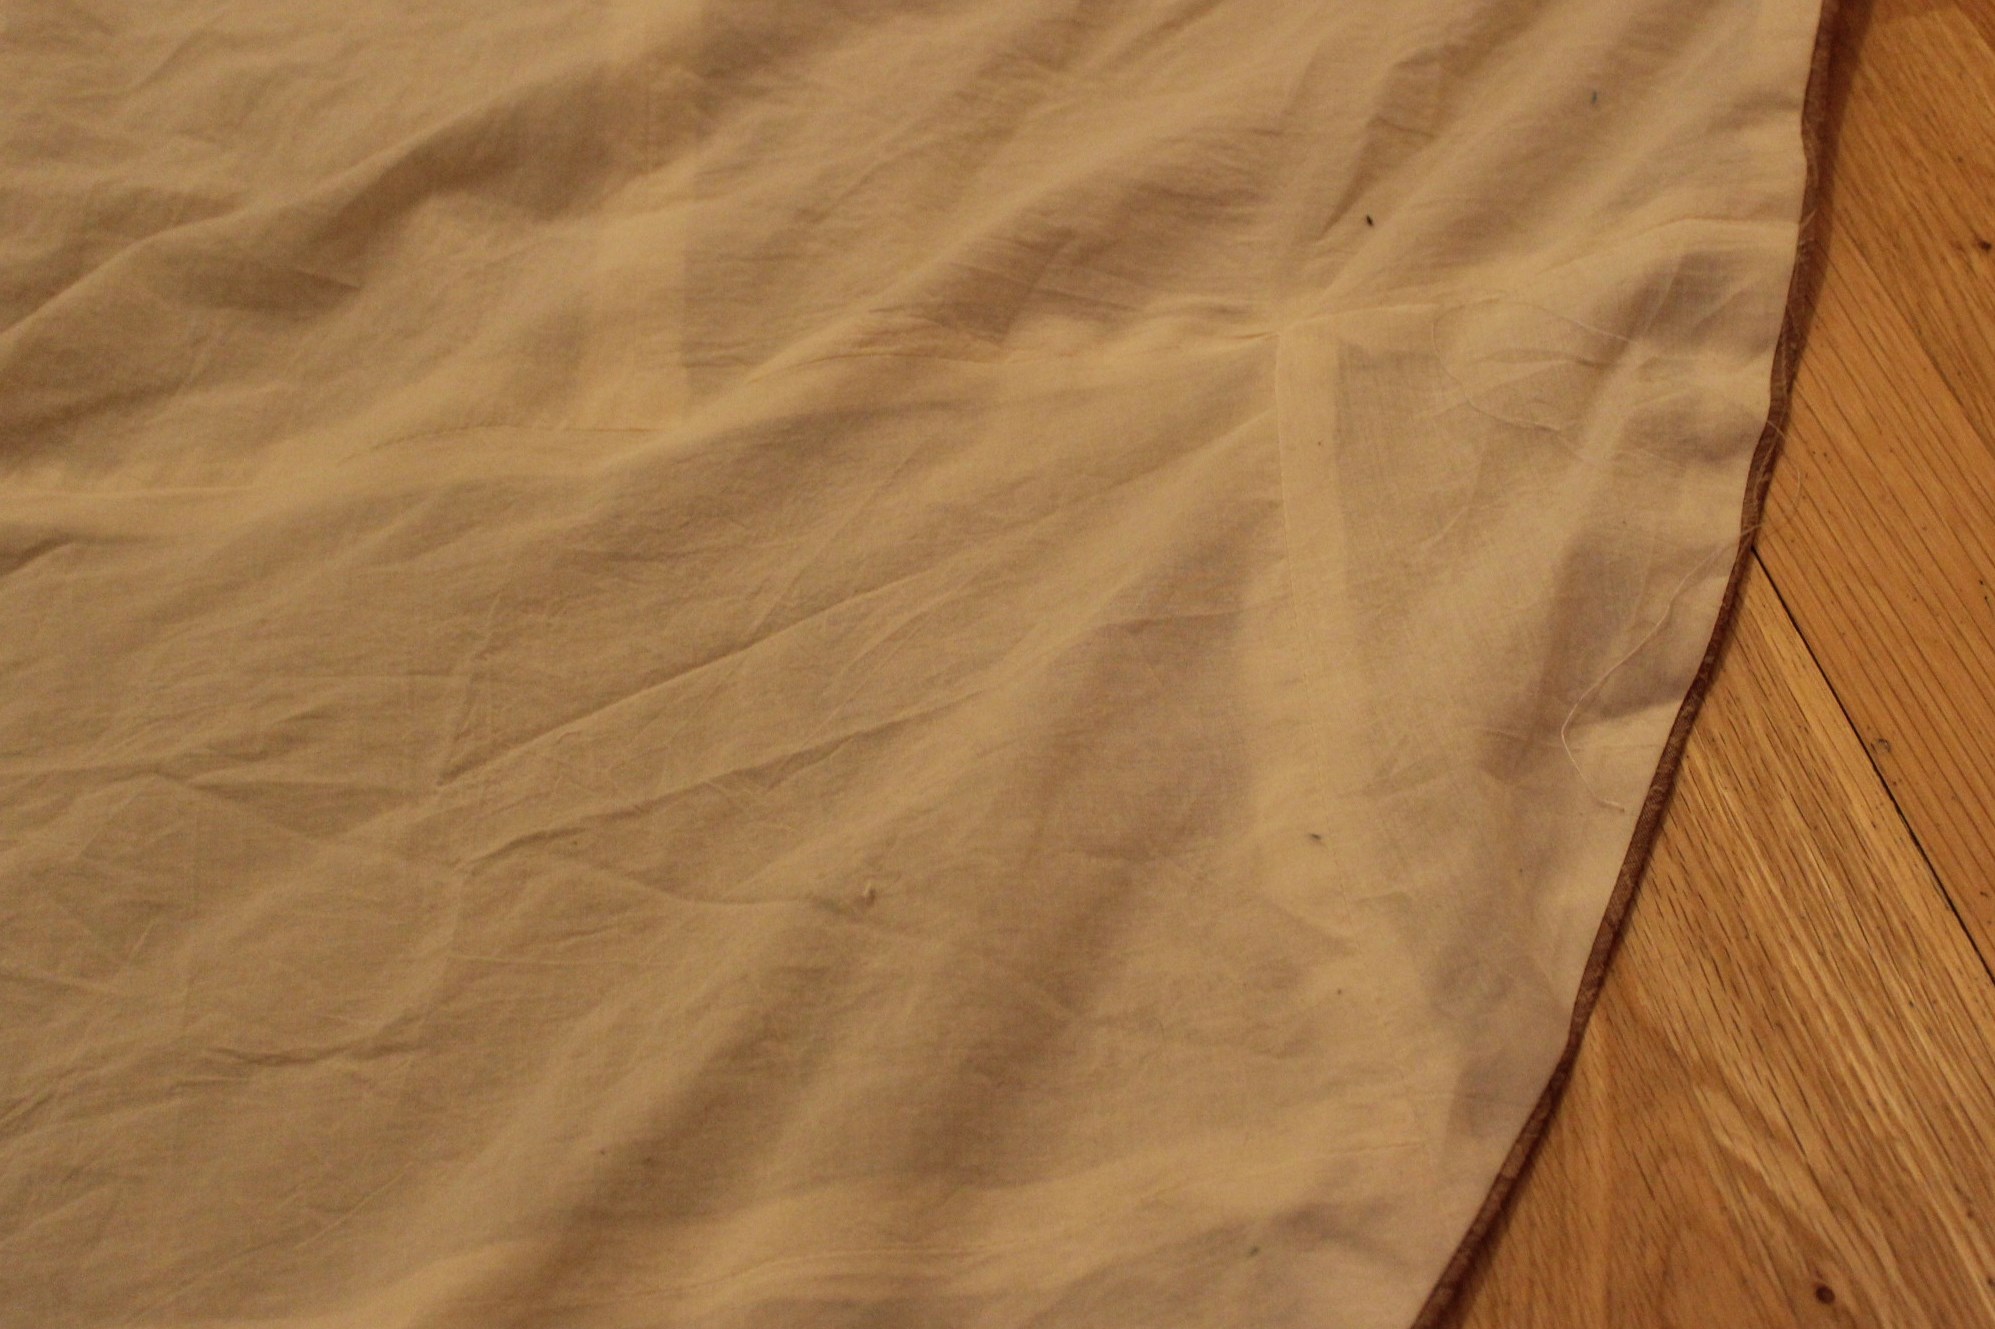
I also cut the lining, adjusting the lenght of the train to the 4 m long ivory cotton. 
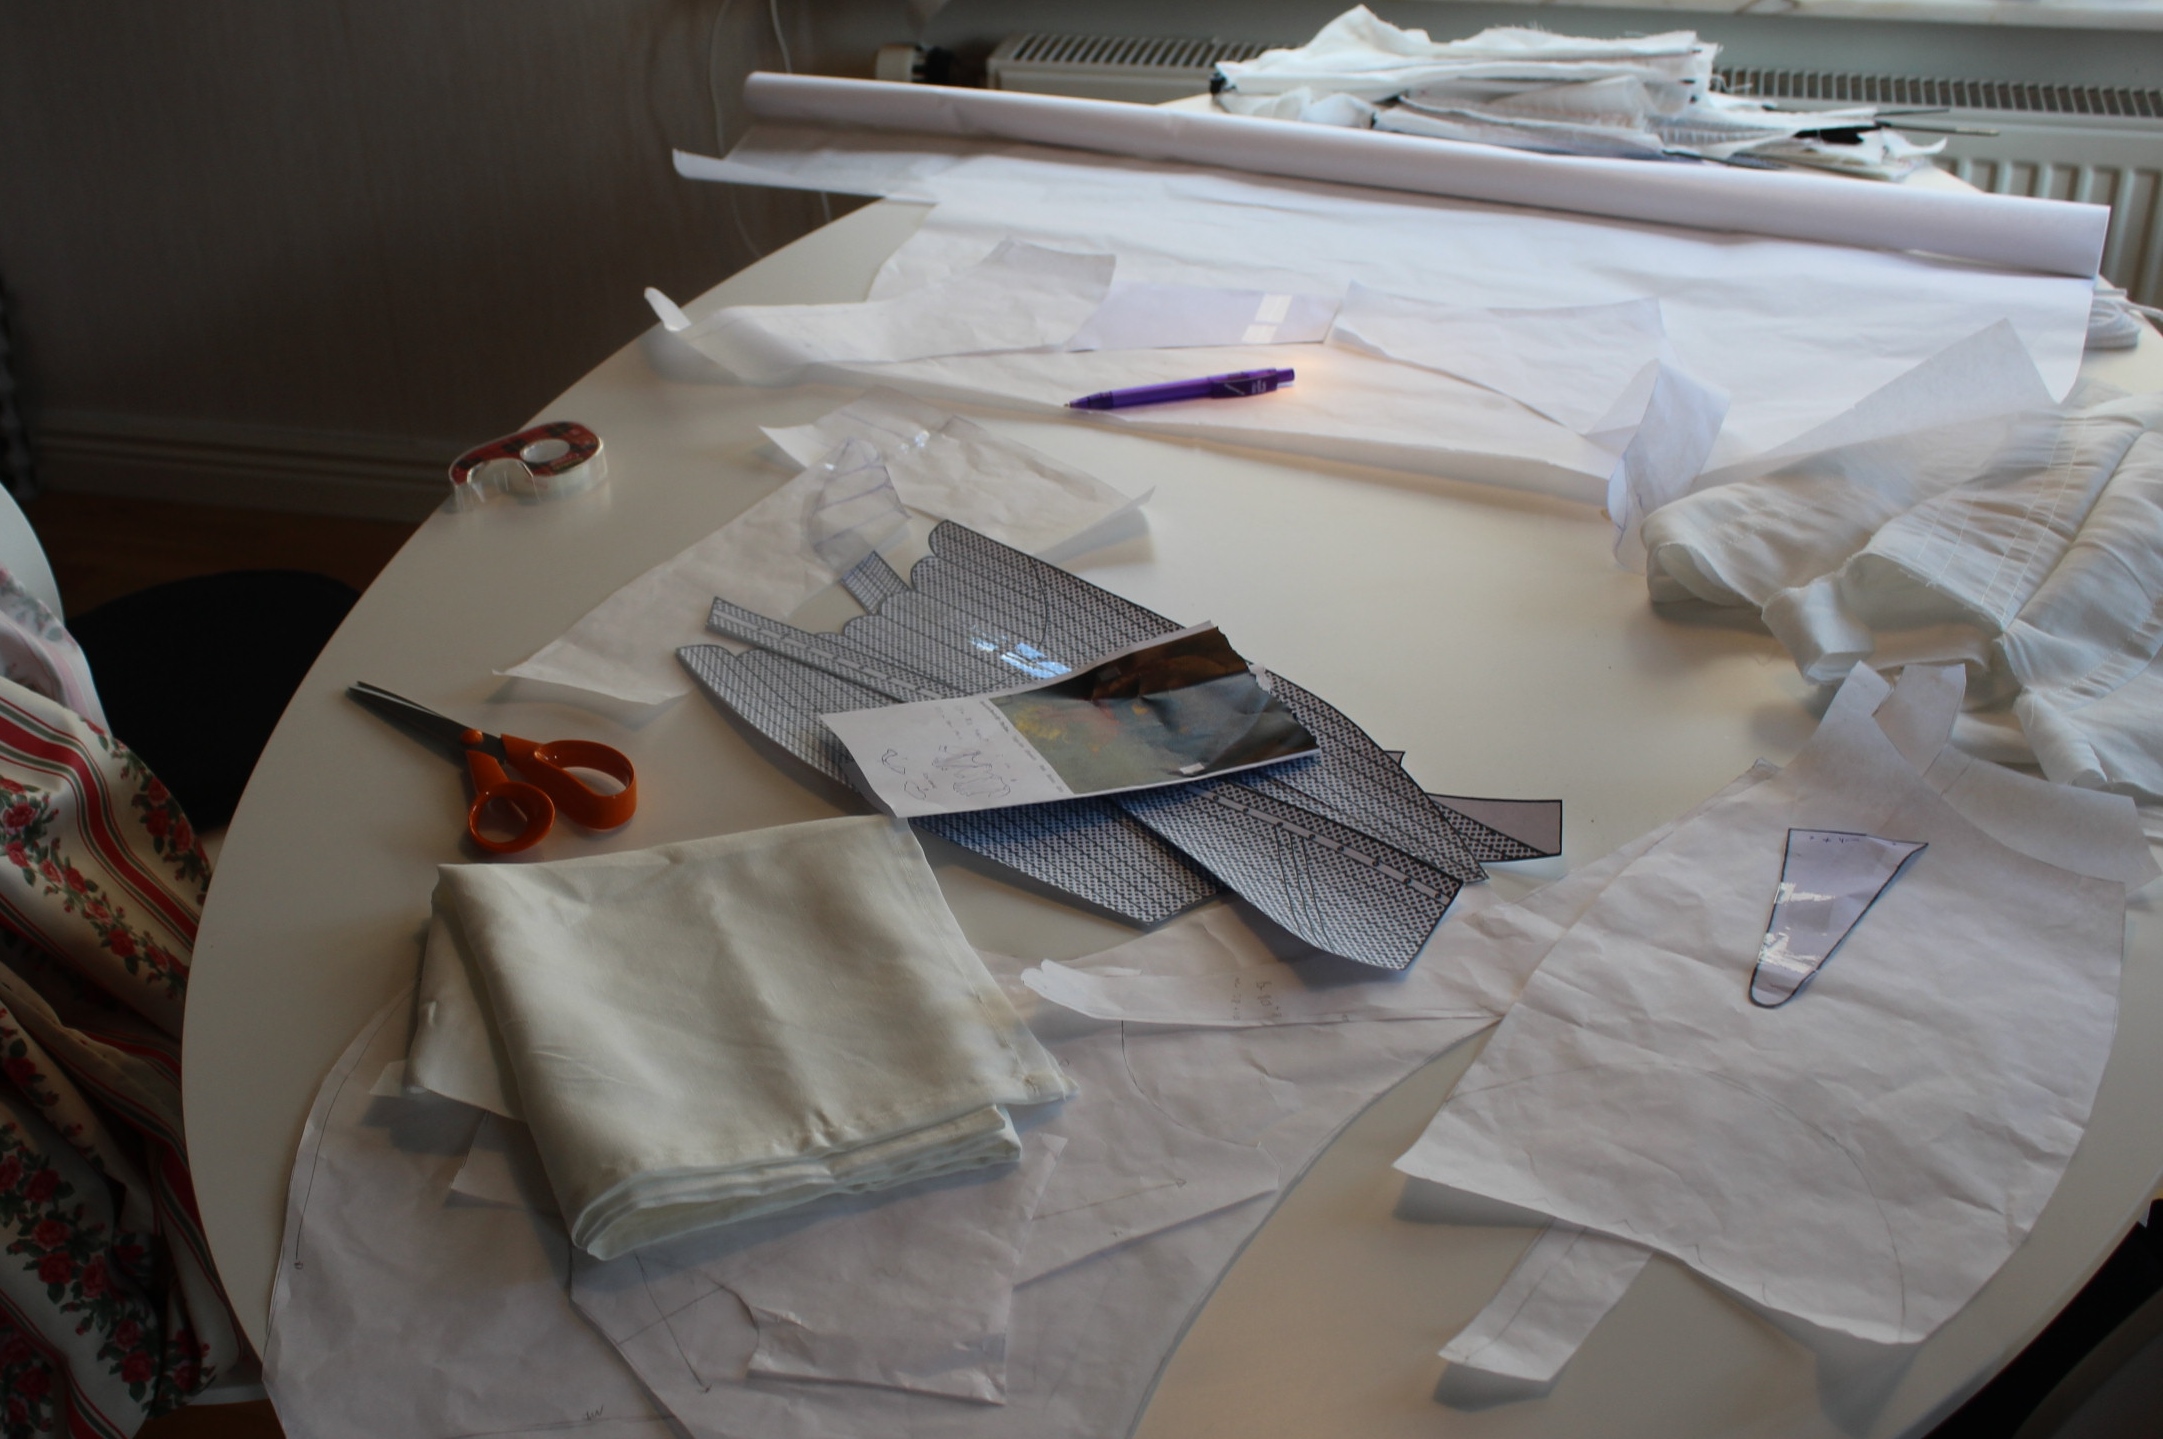
The different layers (lining, fashion fabric, interlining (cotton twill) and paper pattern piece).
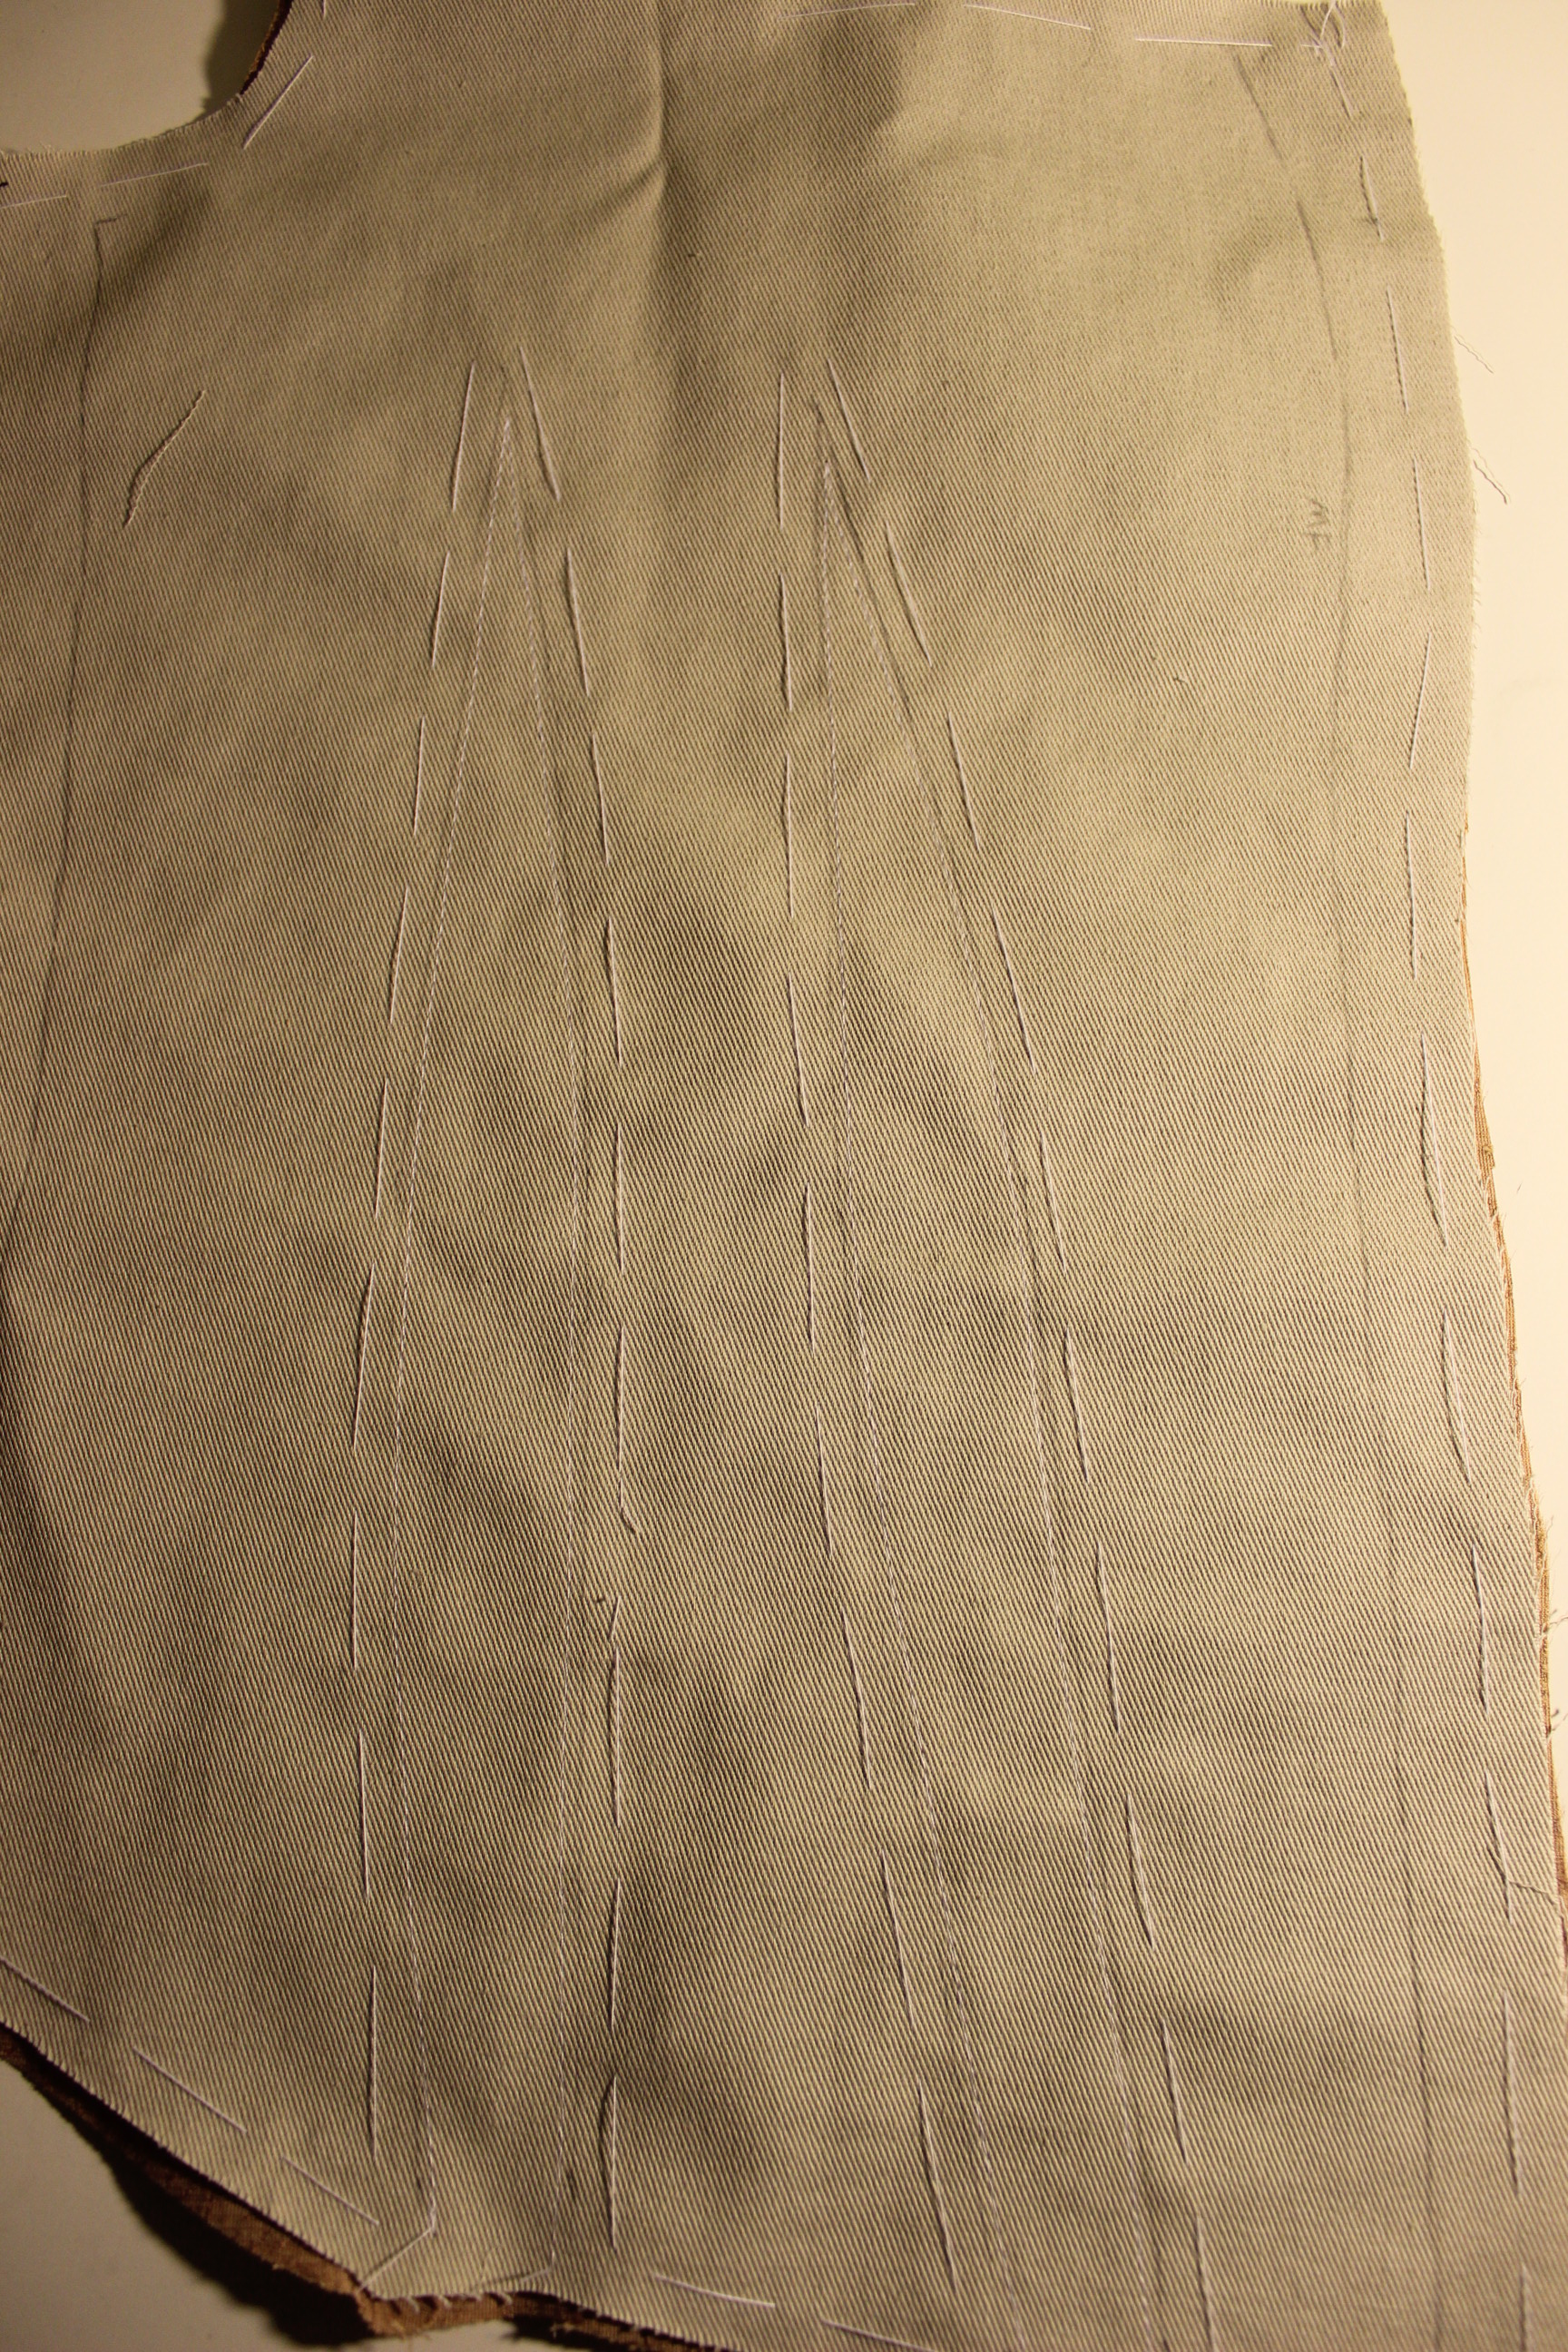
Then I marked all the darts (as usual being very bad at marking the notches), and basted al the layers together. 
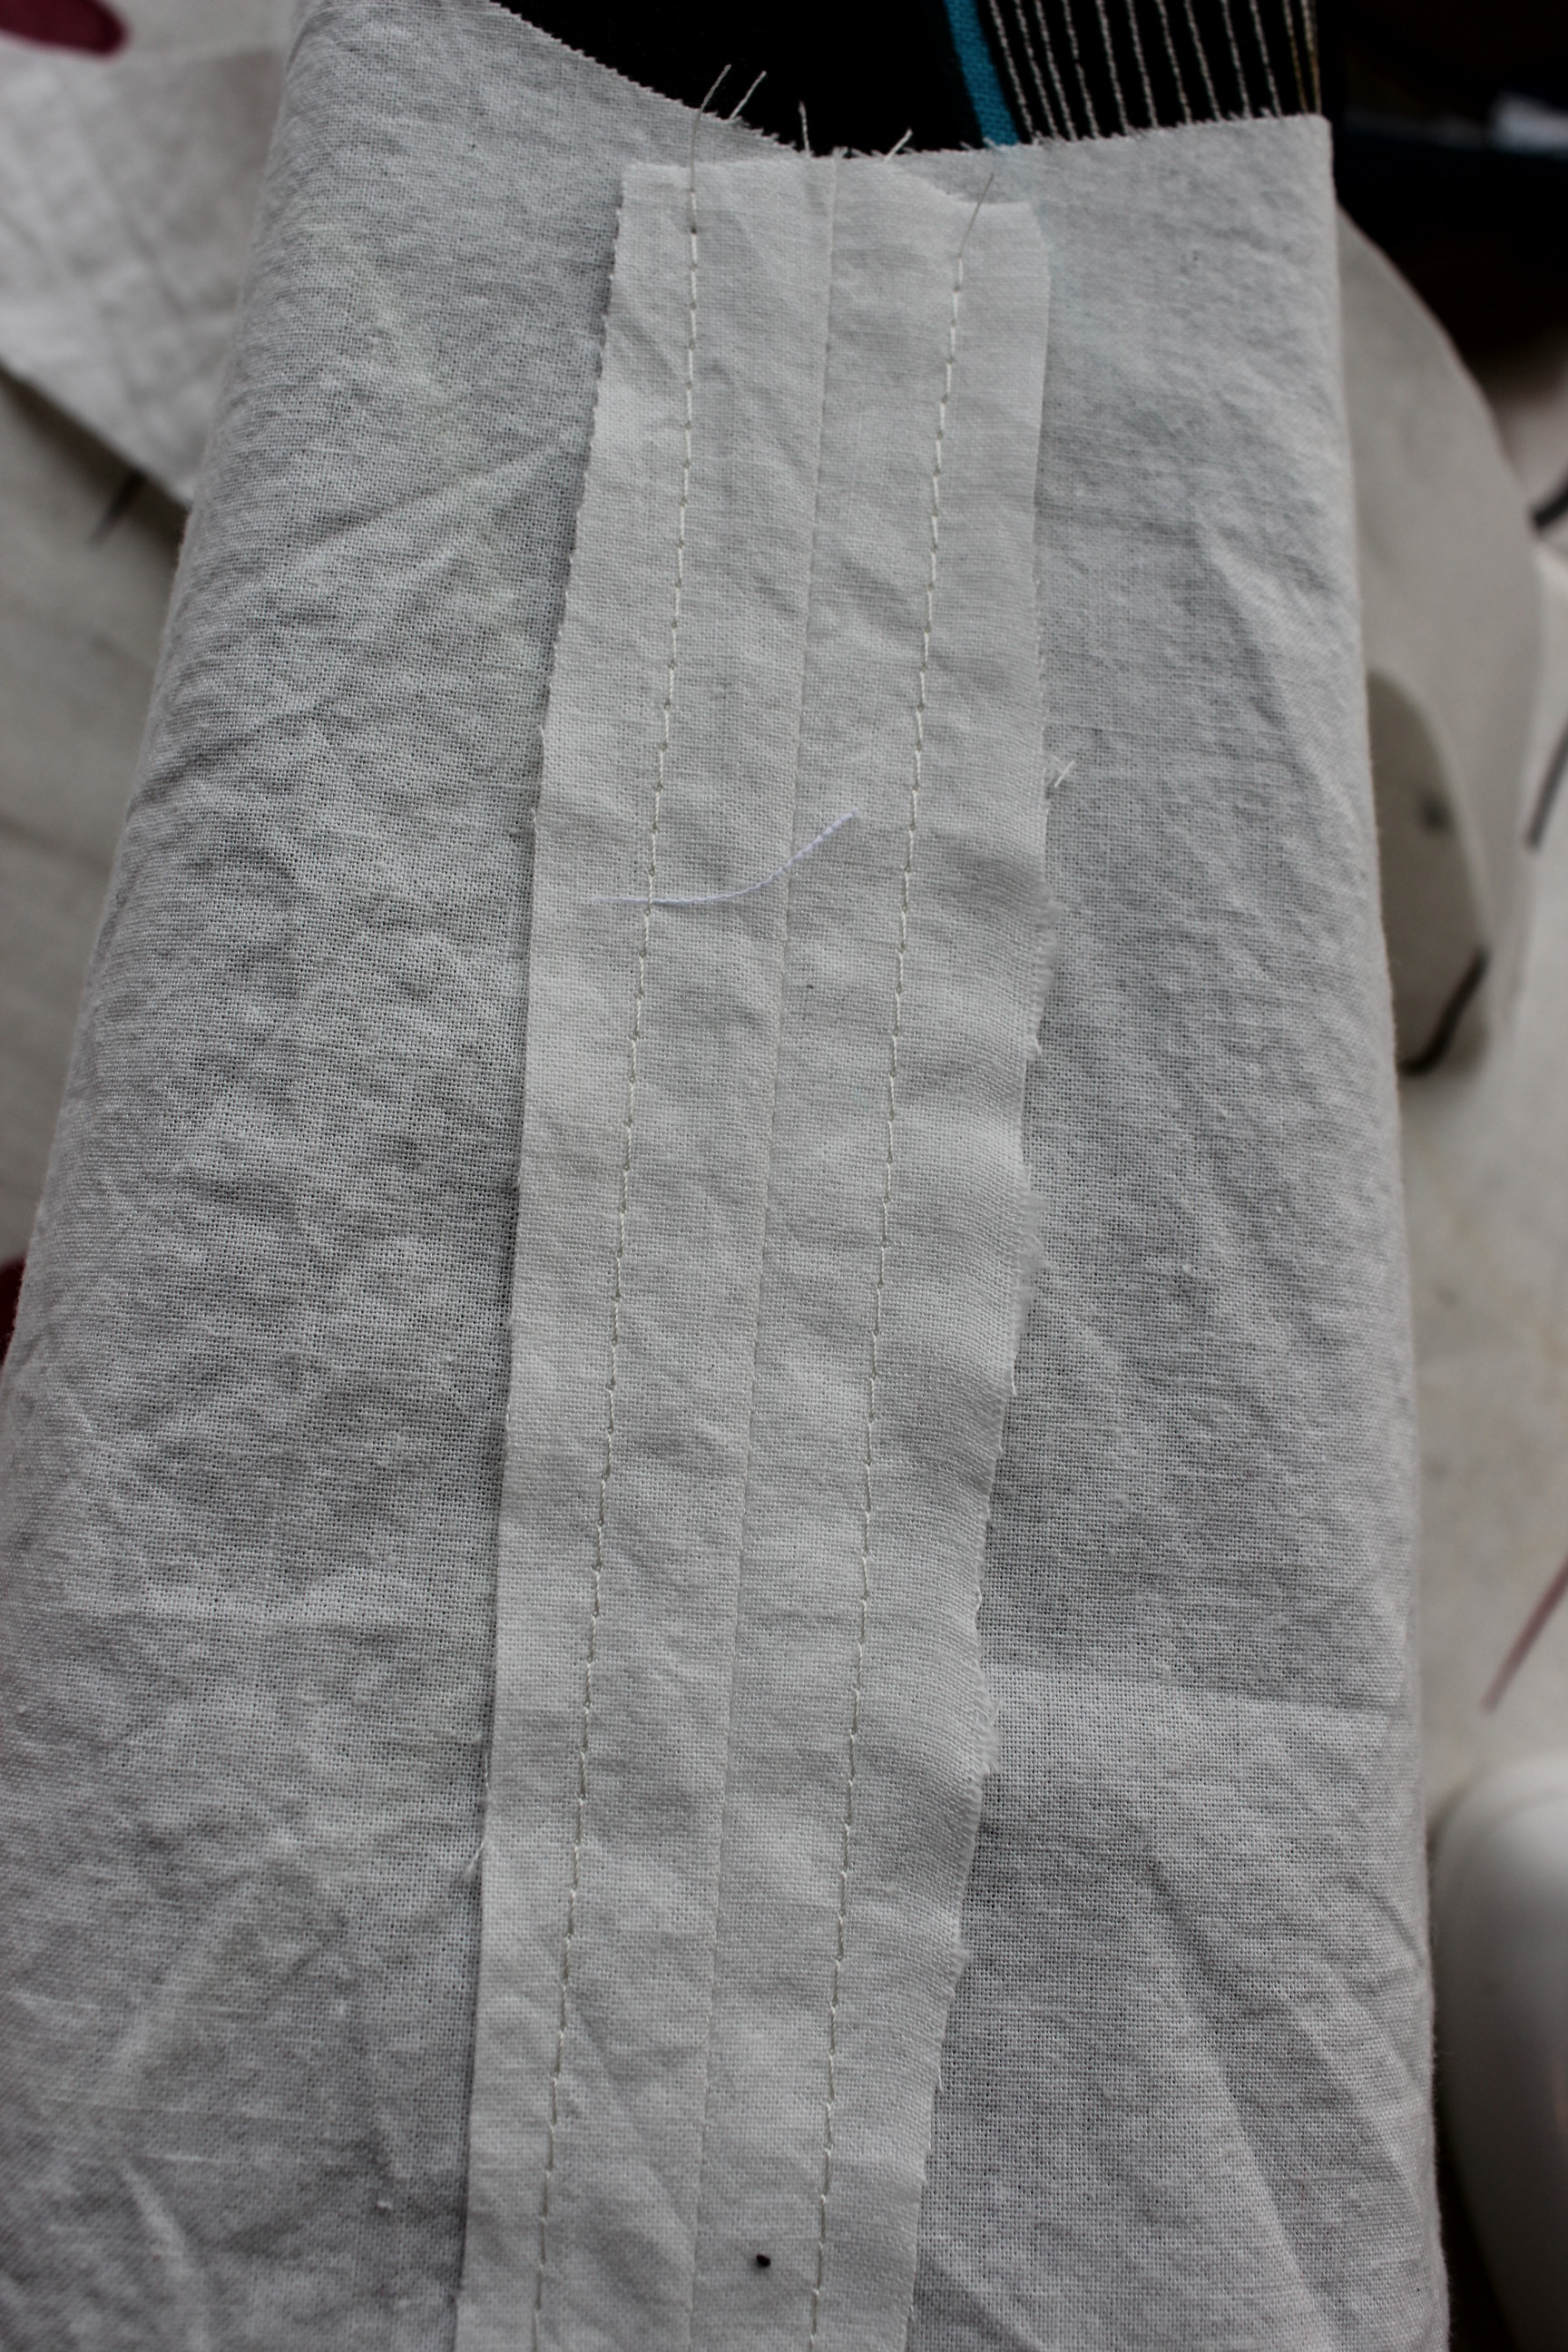
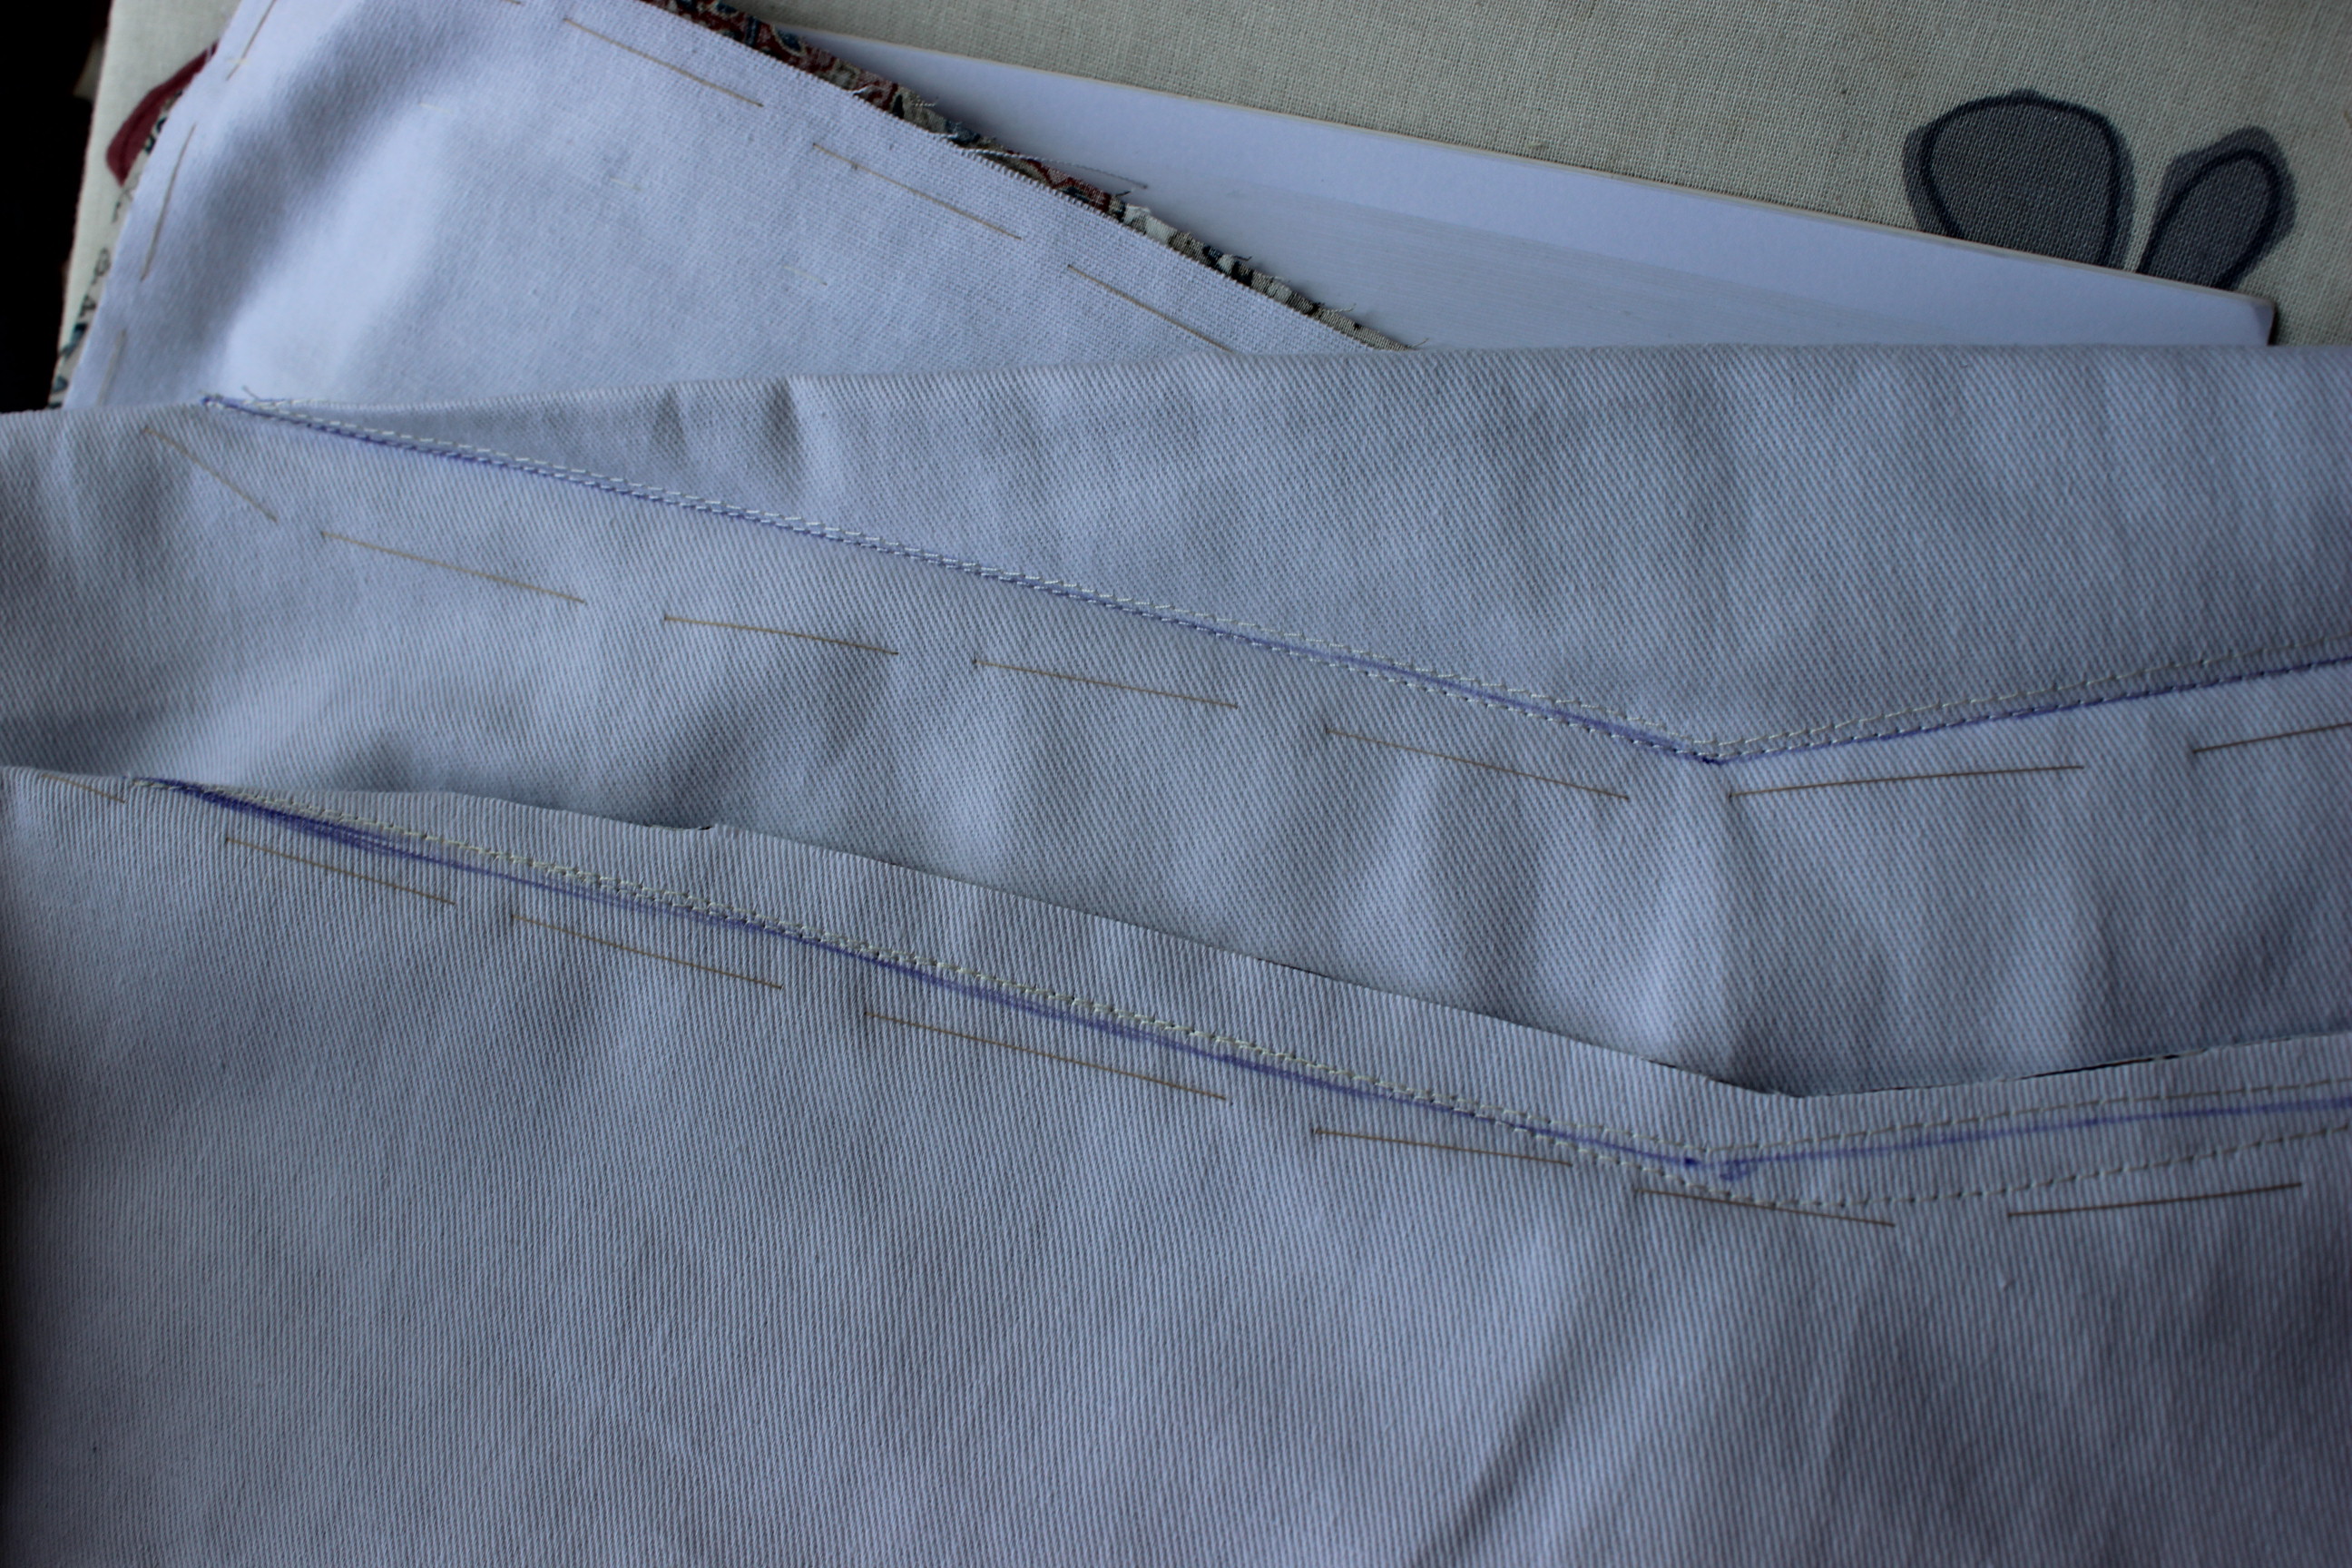
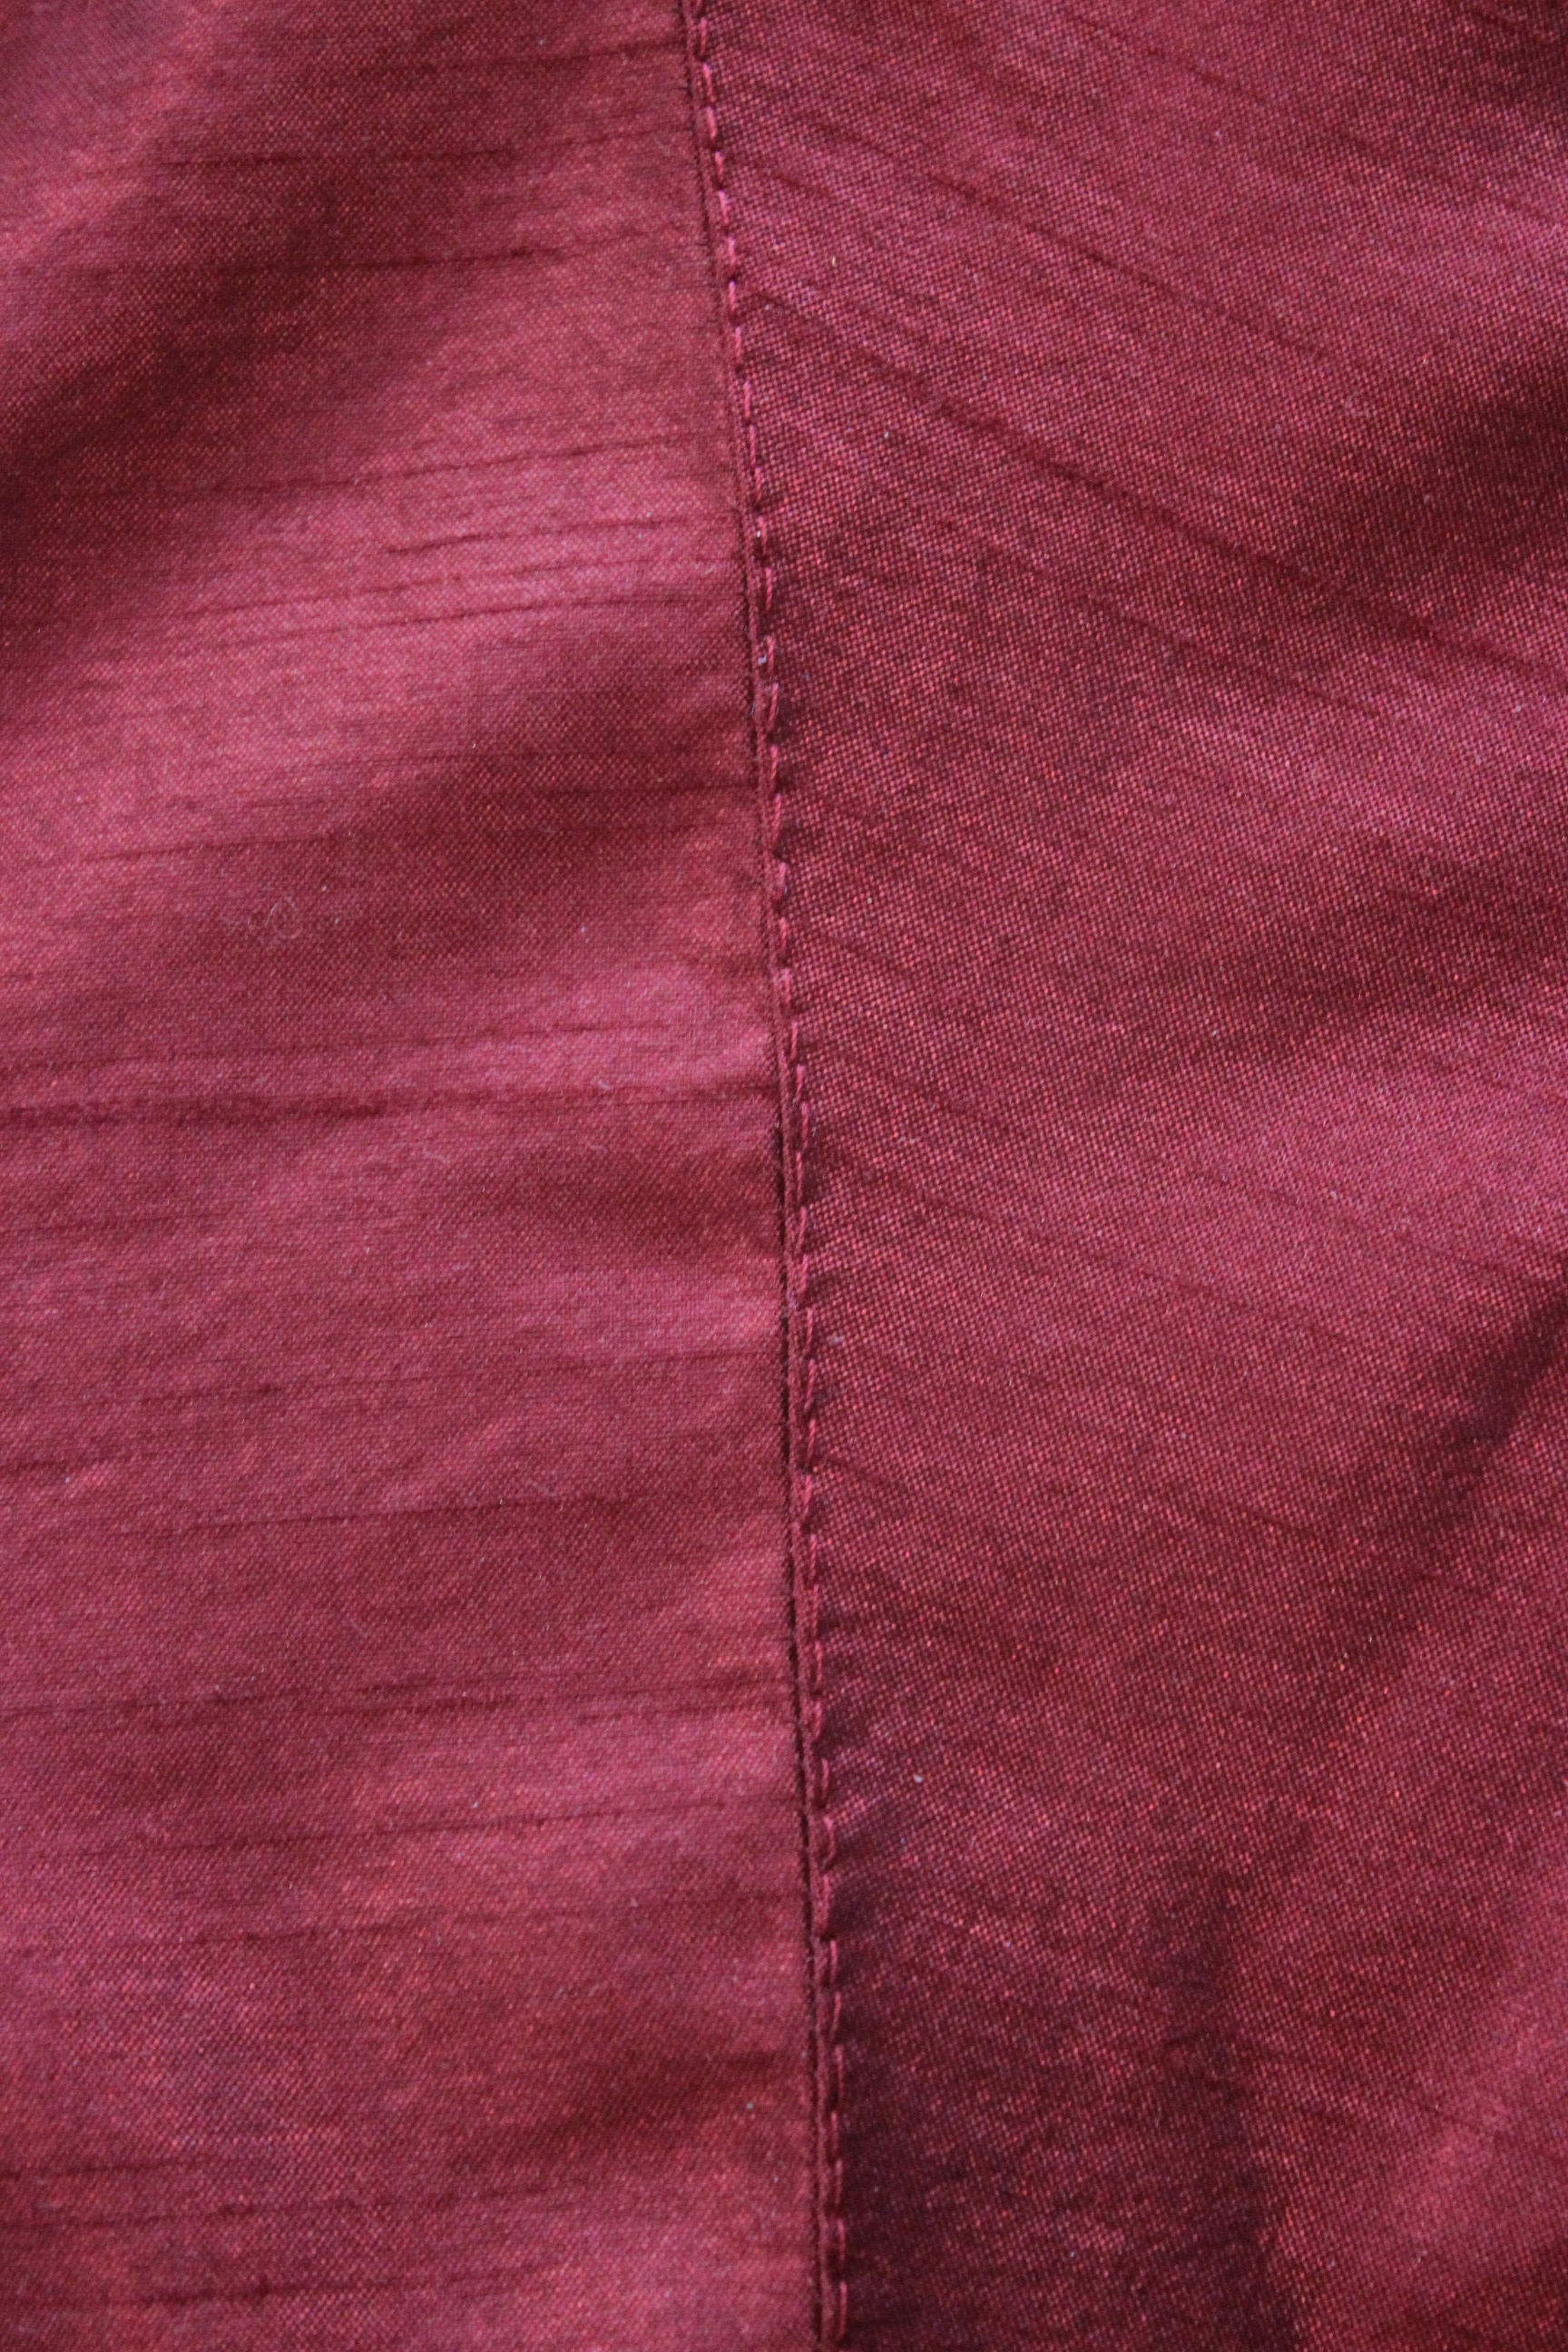
I recently learnt a new trick, on how to sew darts on fabric and interlinning which I wanted to try. You simply baste the layers close to the darts, then sew inside the dart, very close to the original sewing-line.


This way you can easy get a nice looking dart without any bulk, and the stiching won’t show once the dart is sewn.
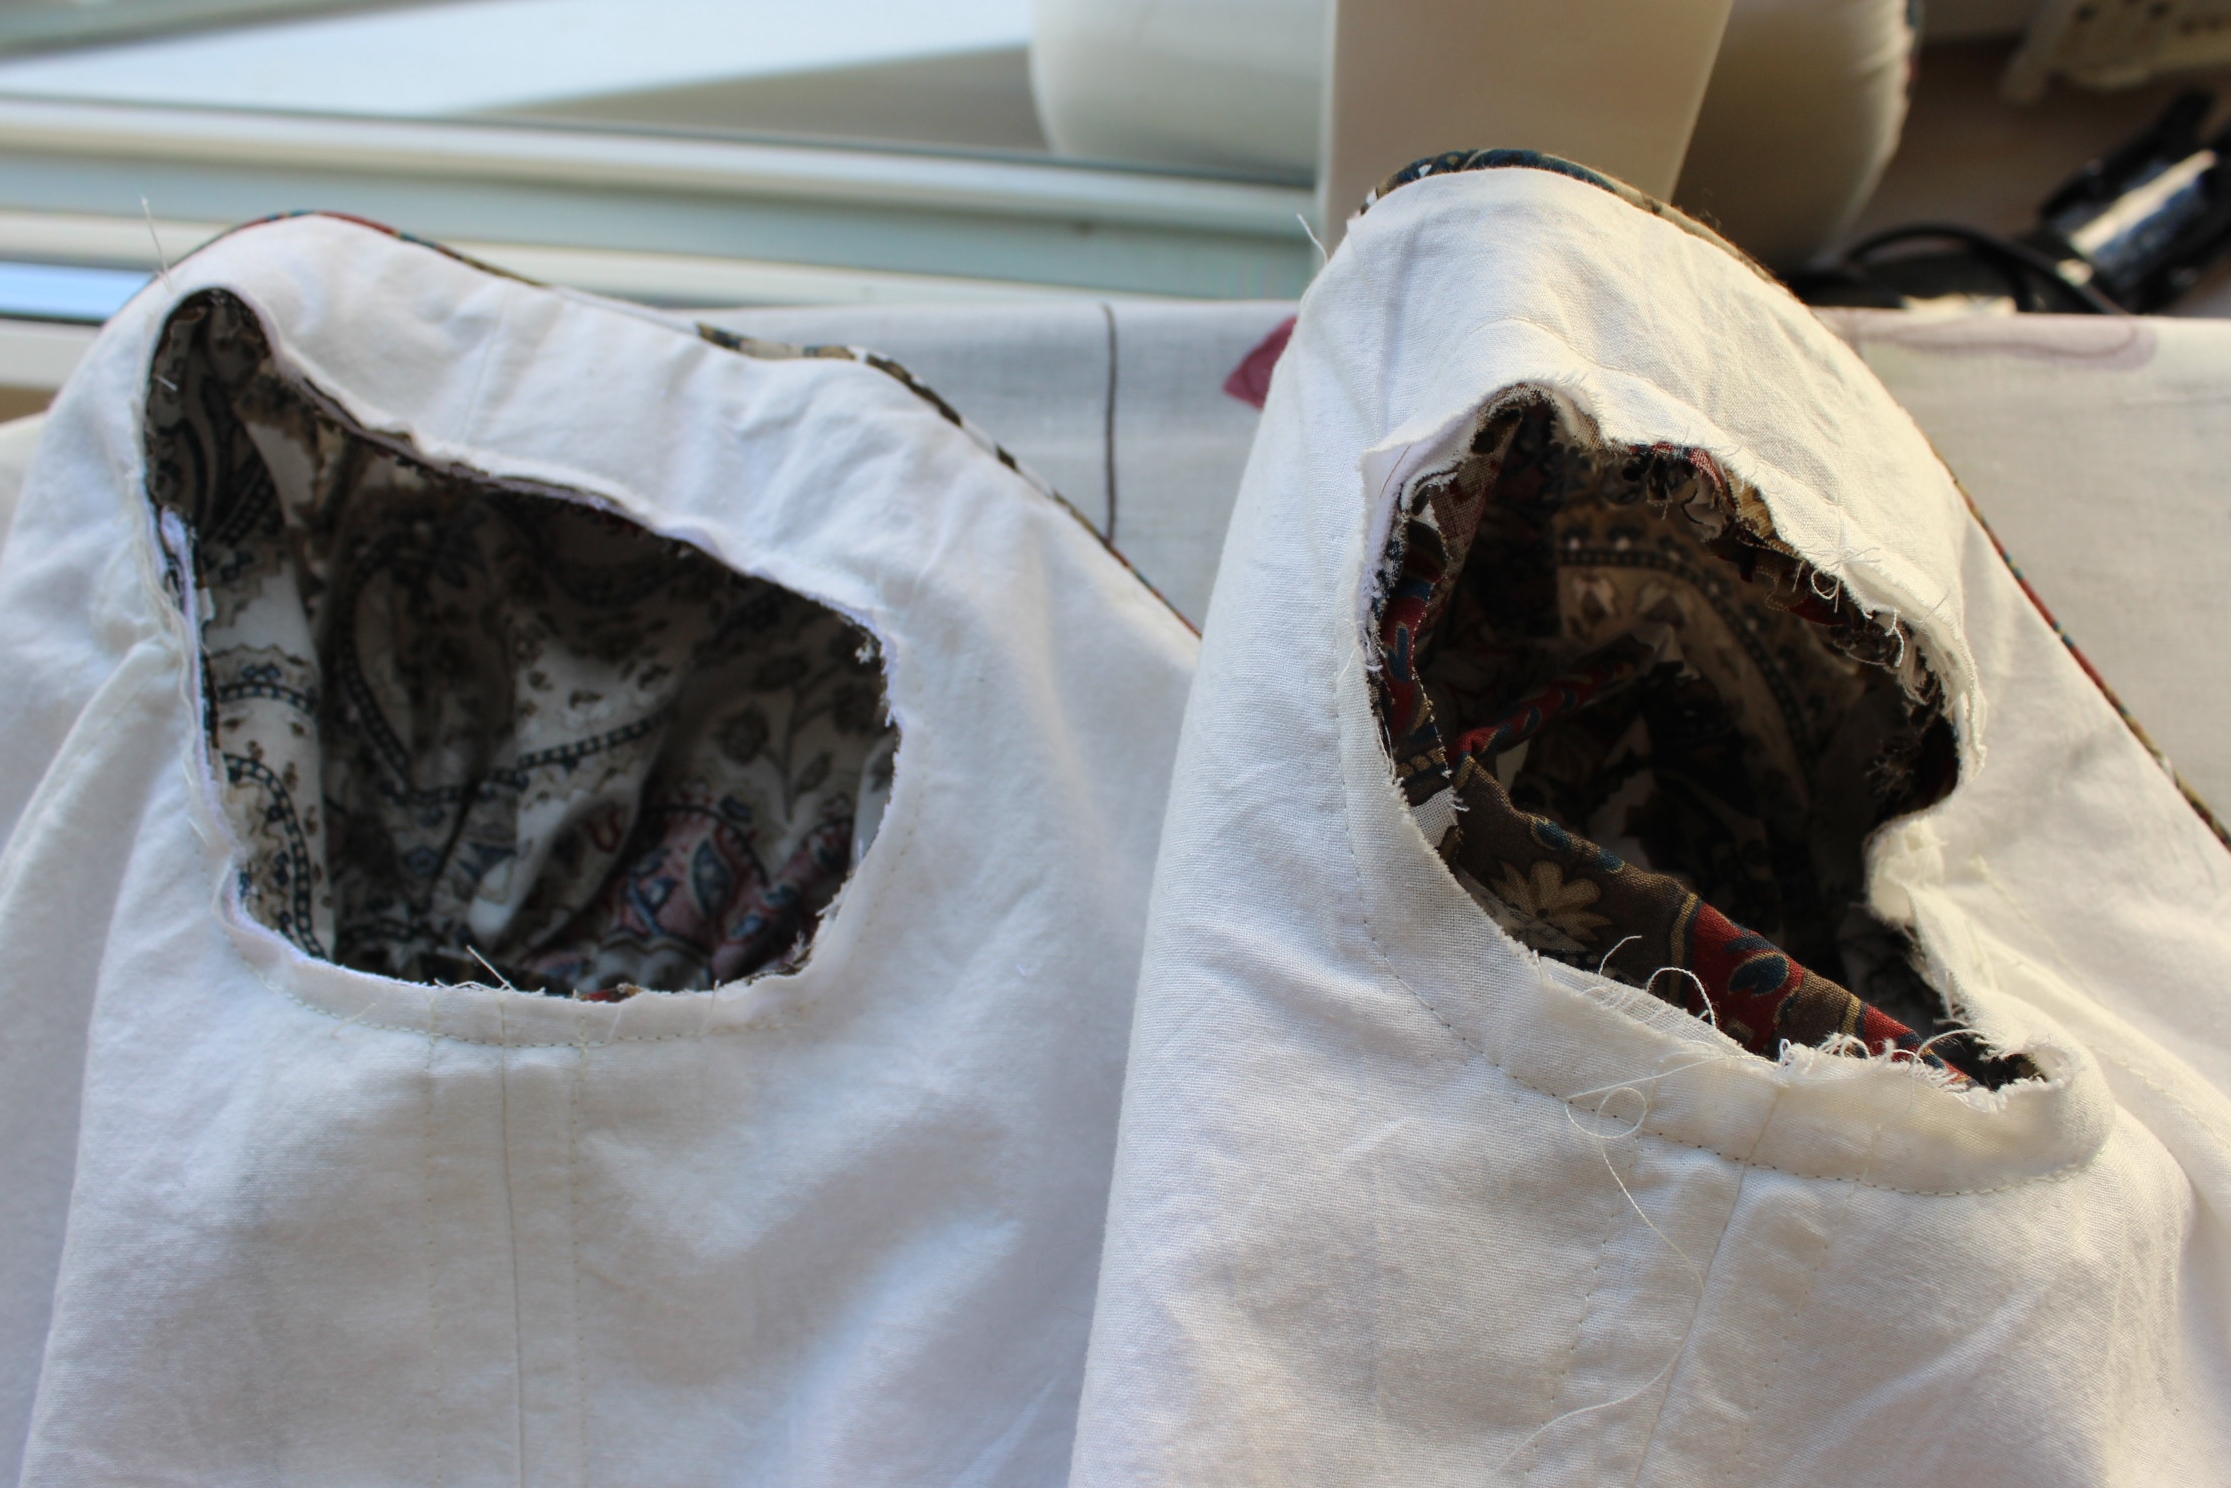
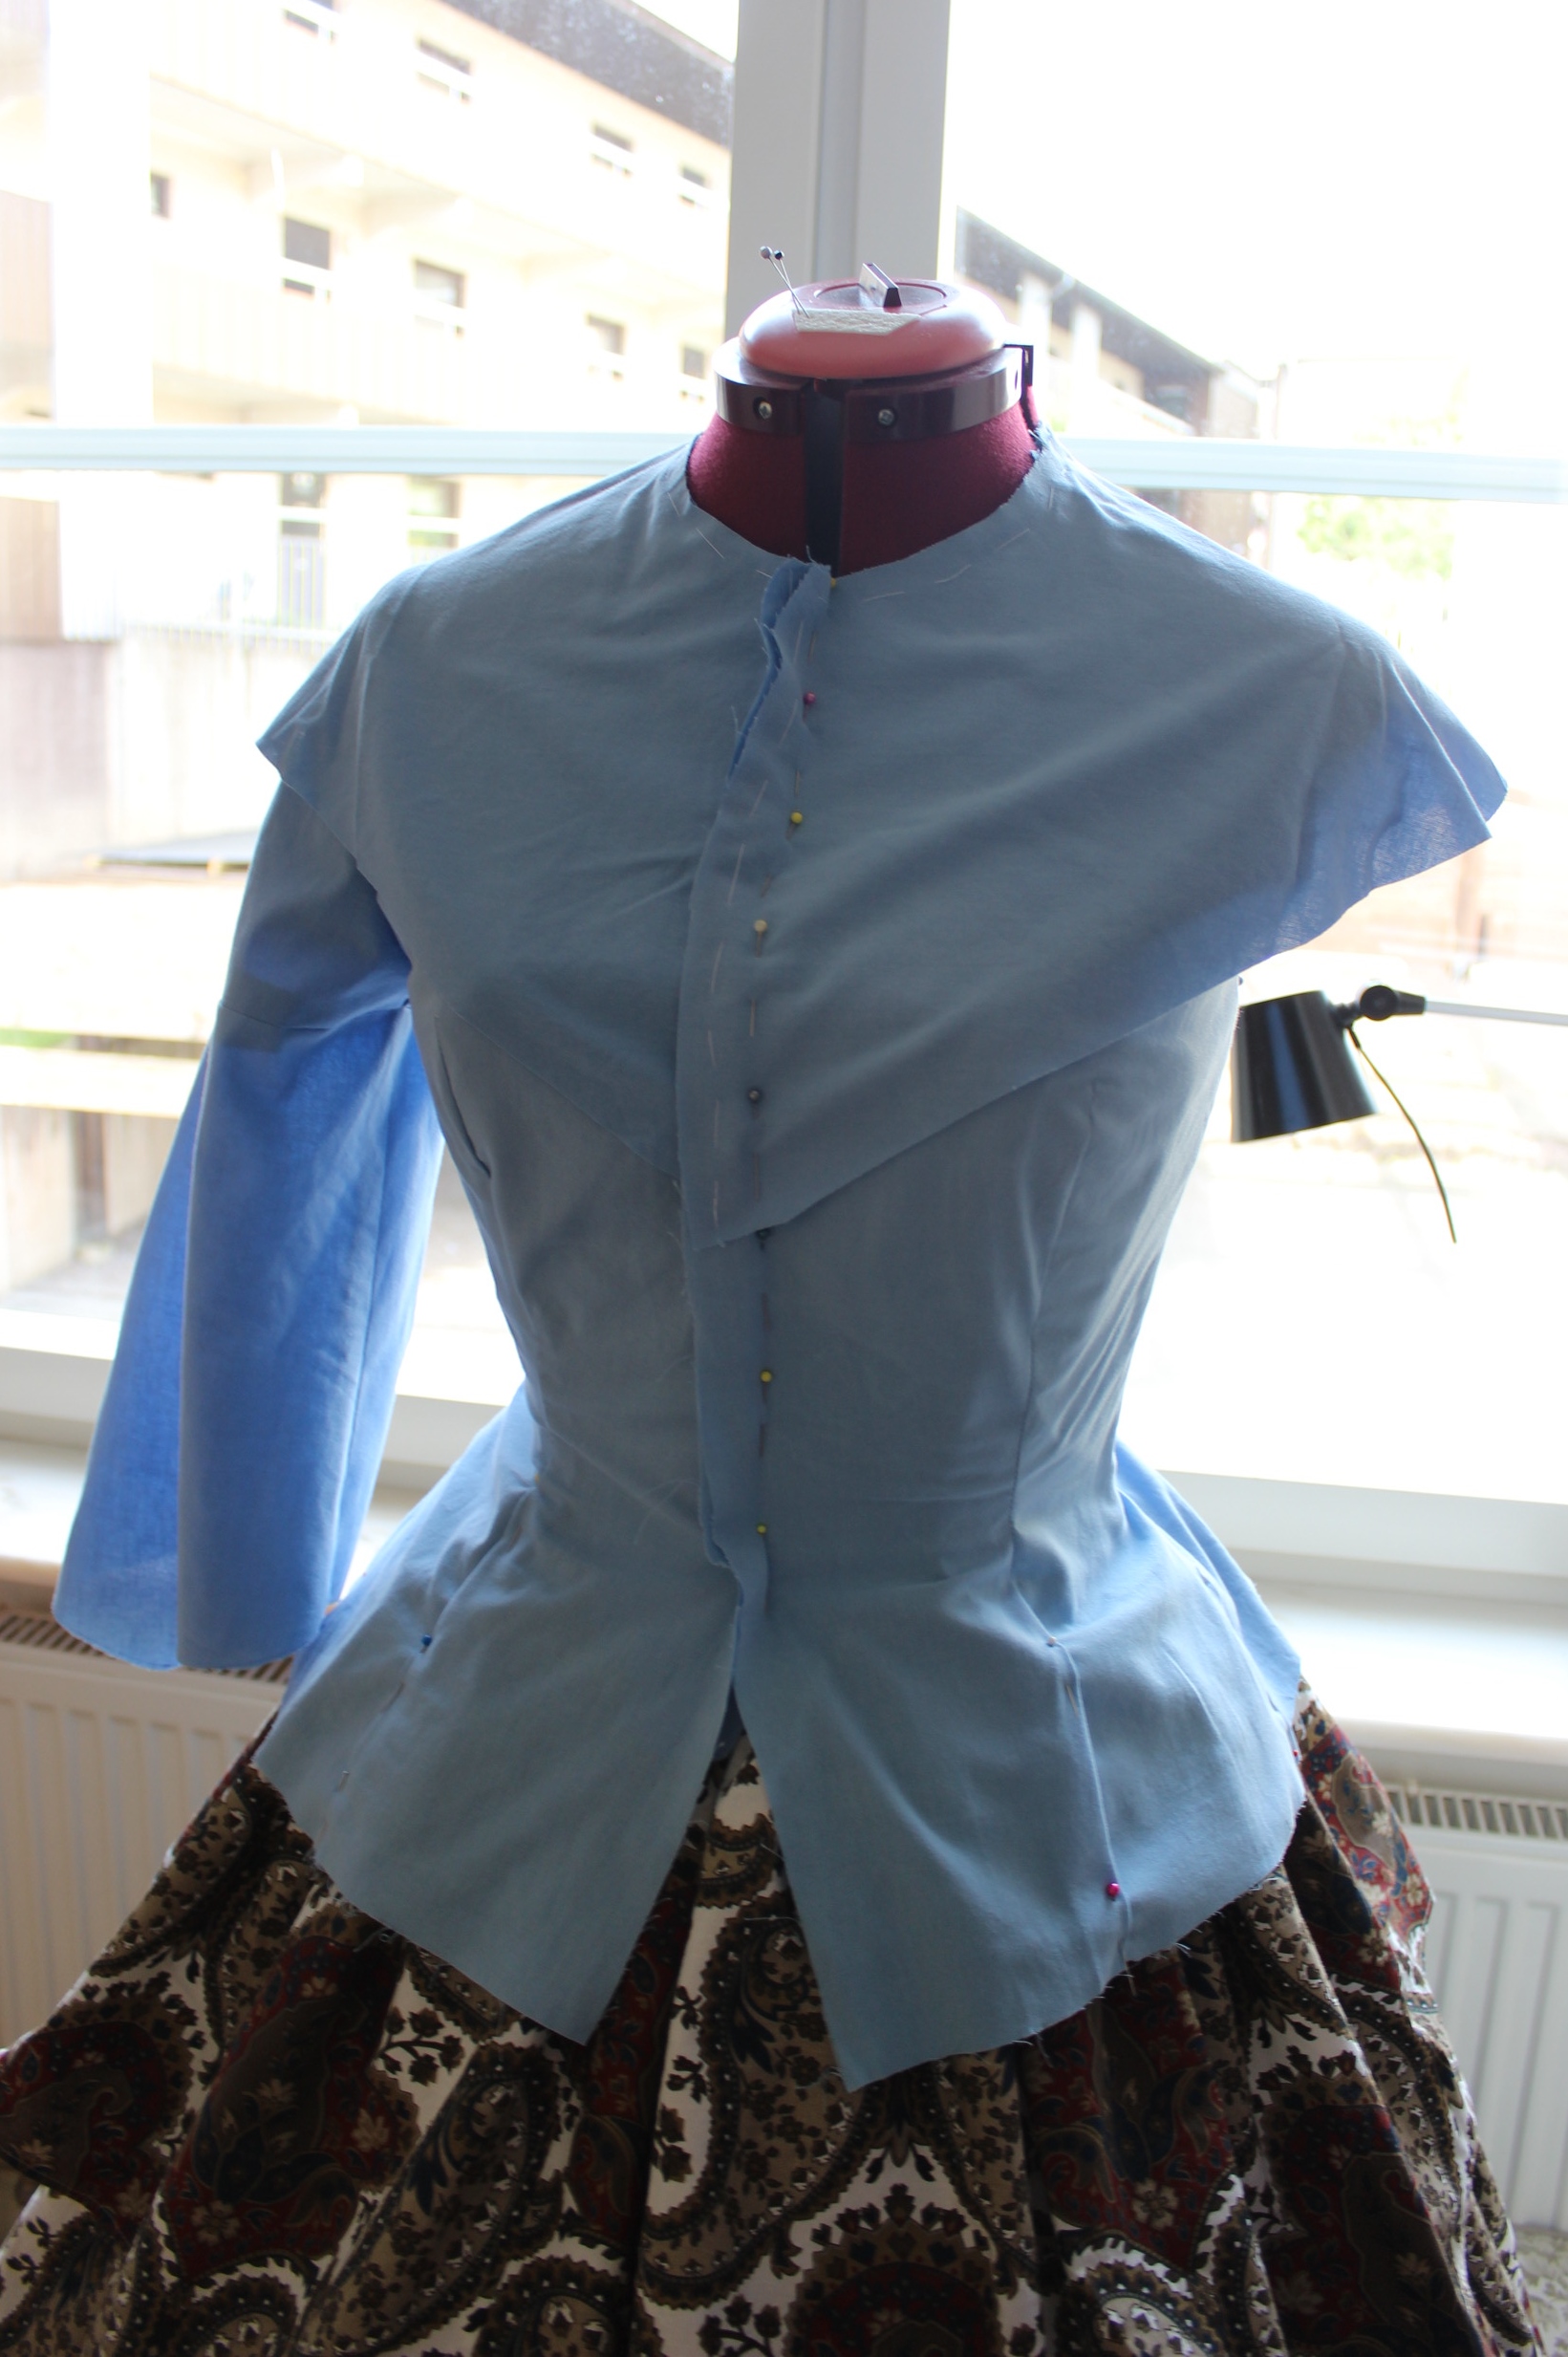
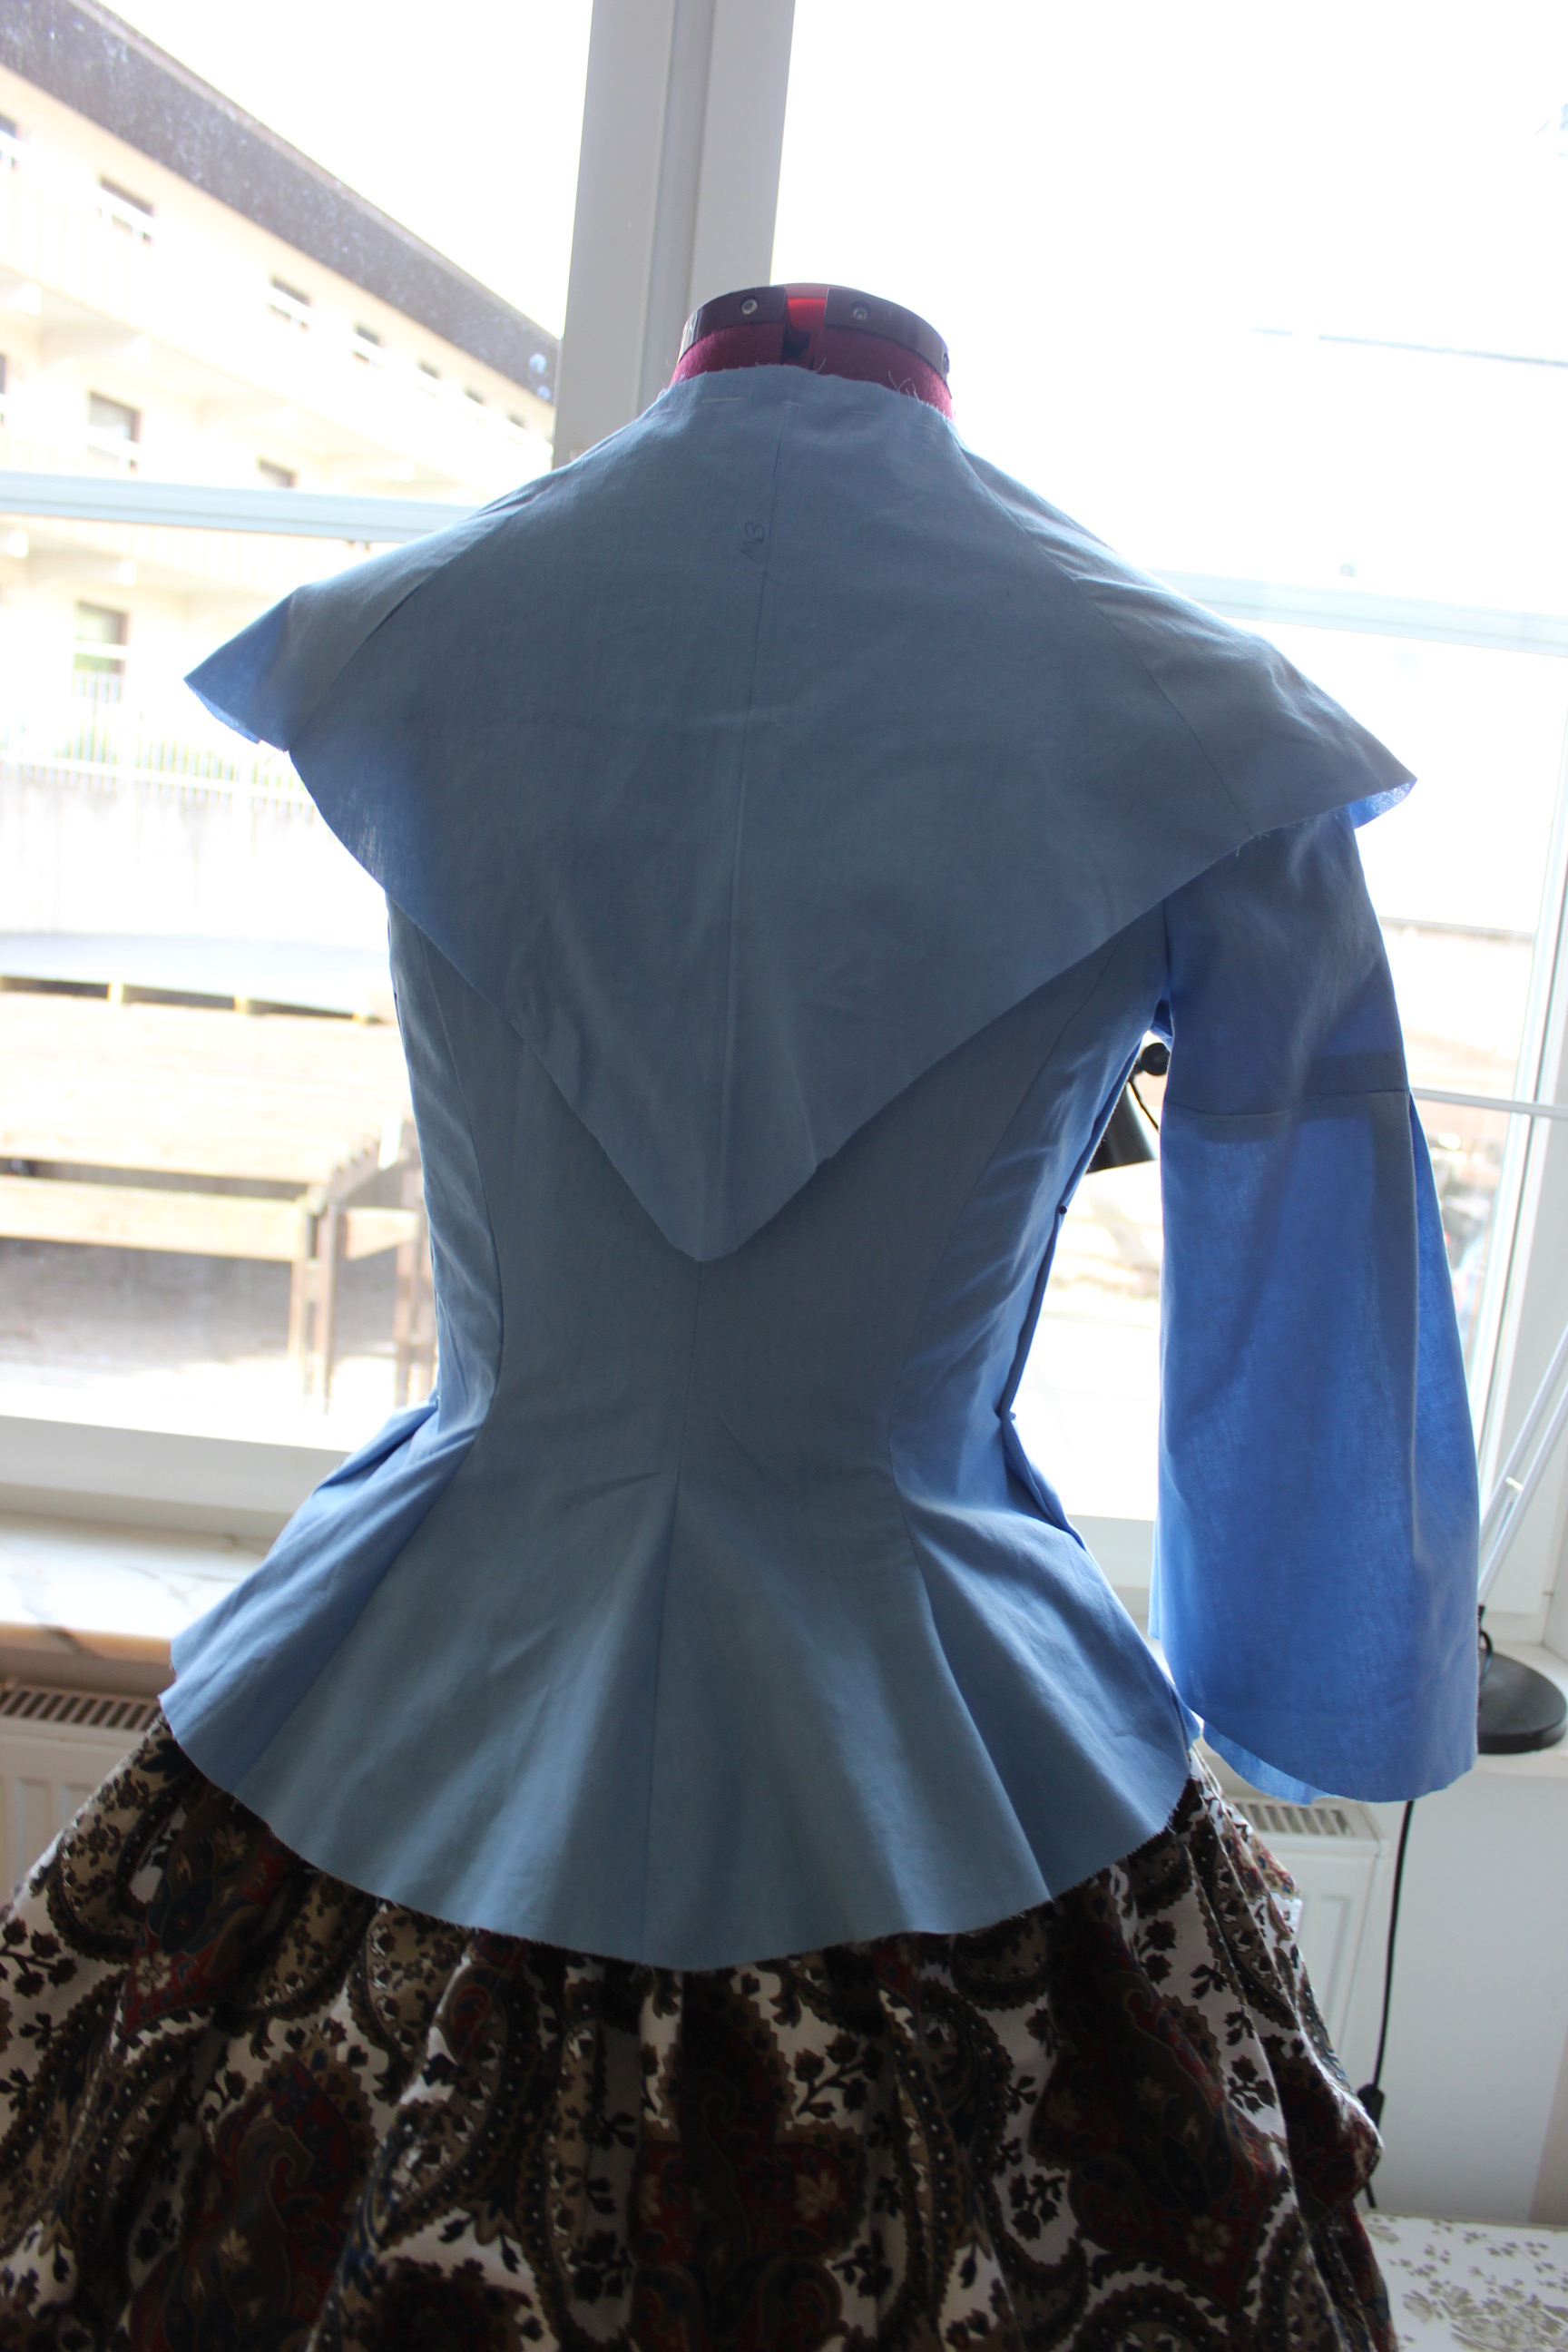
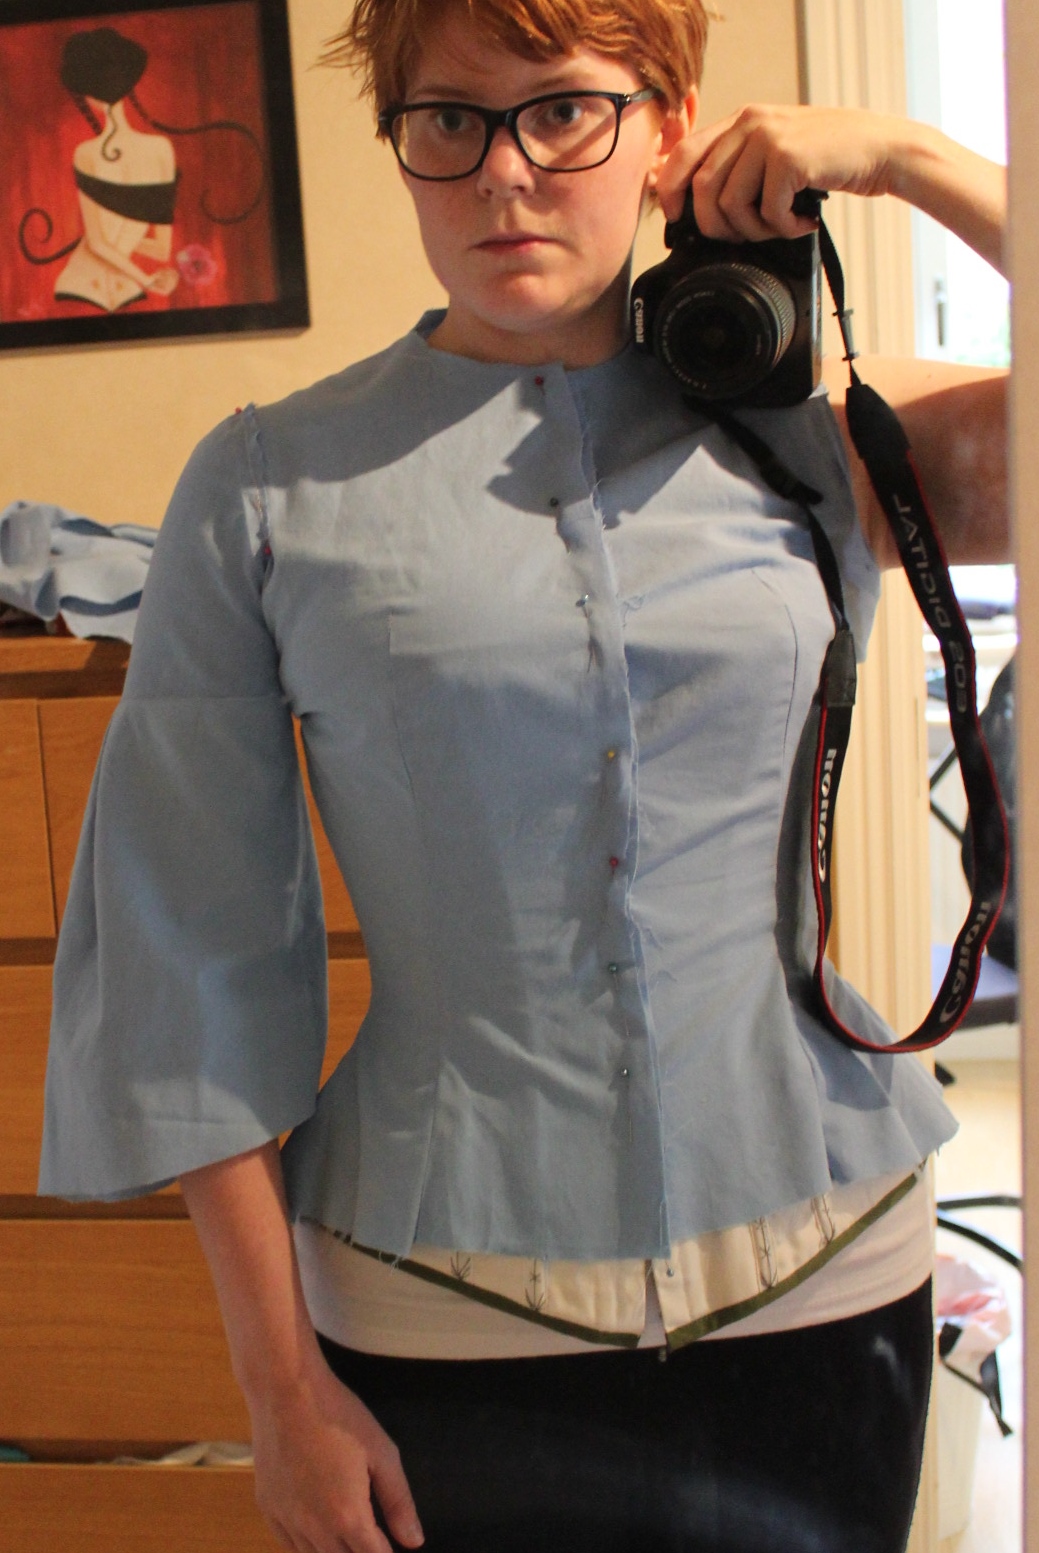
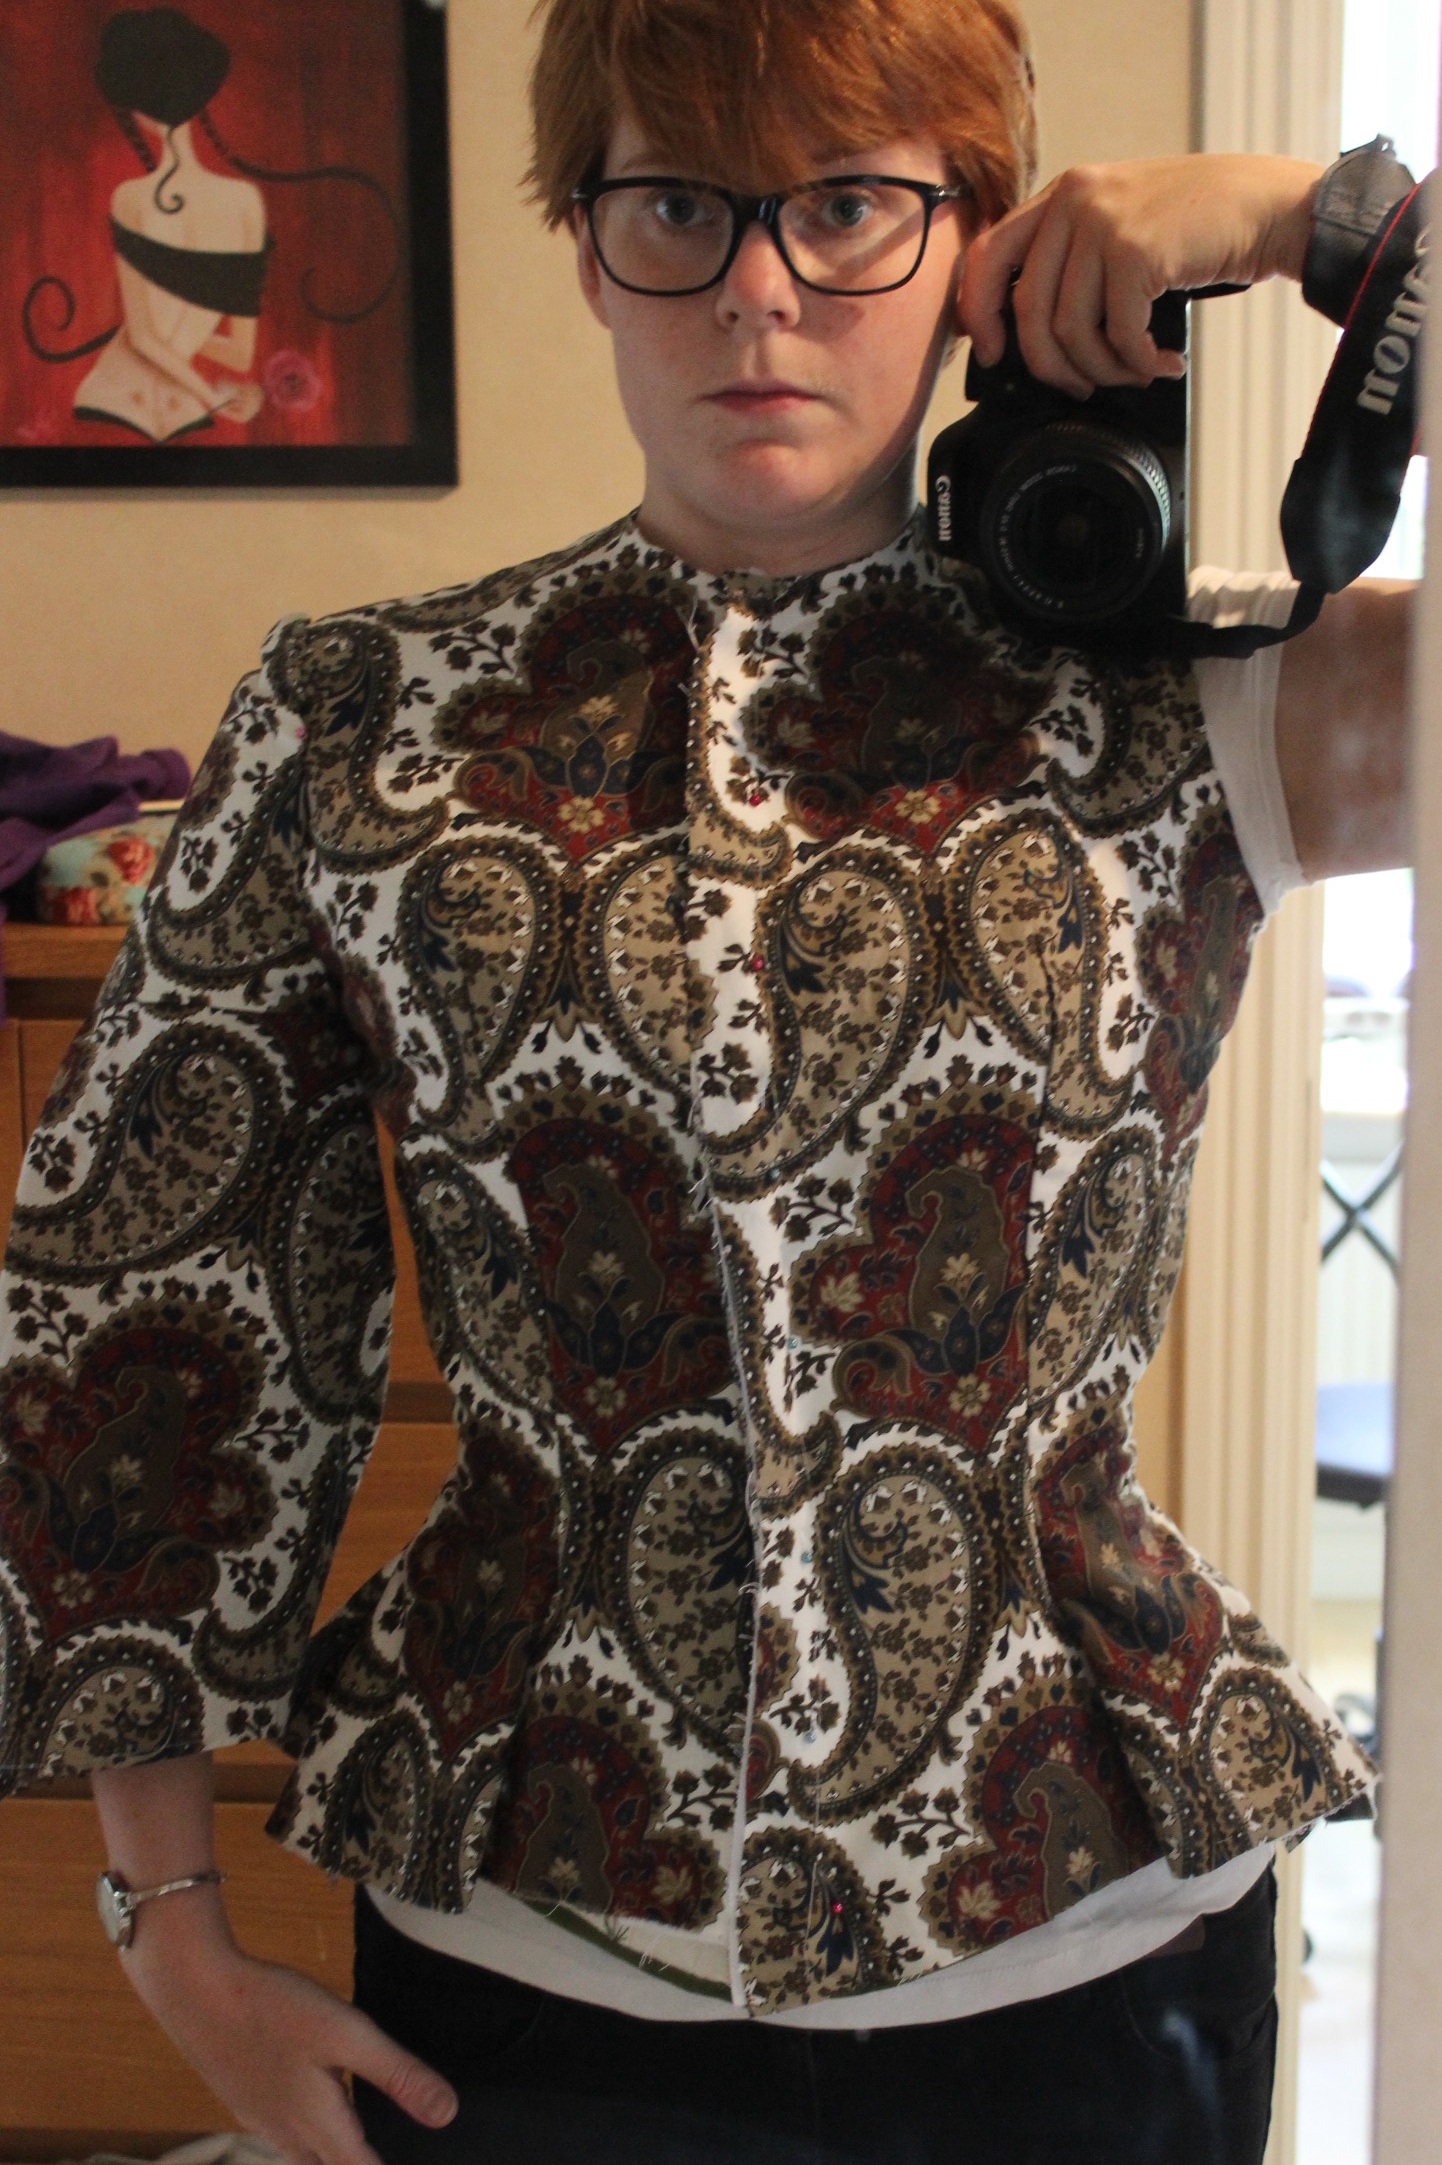
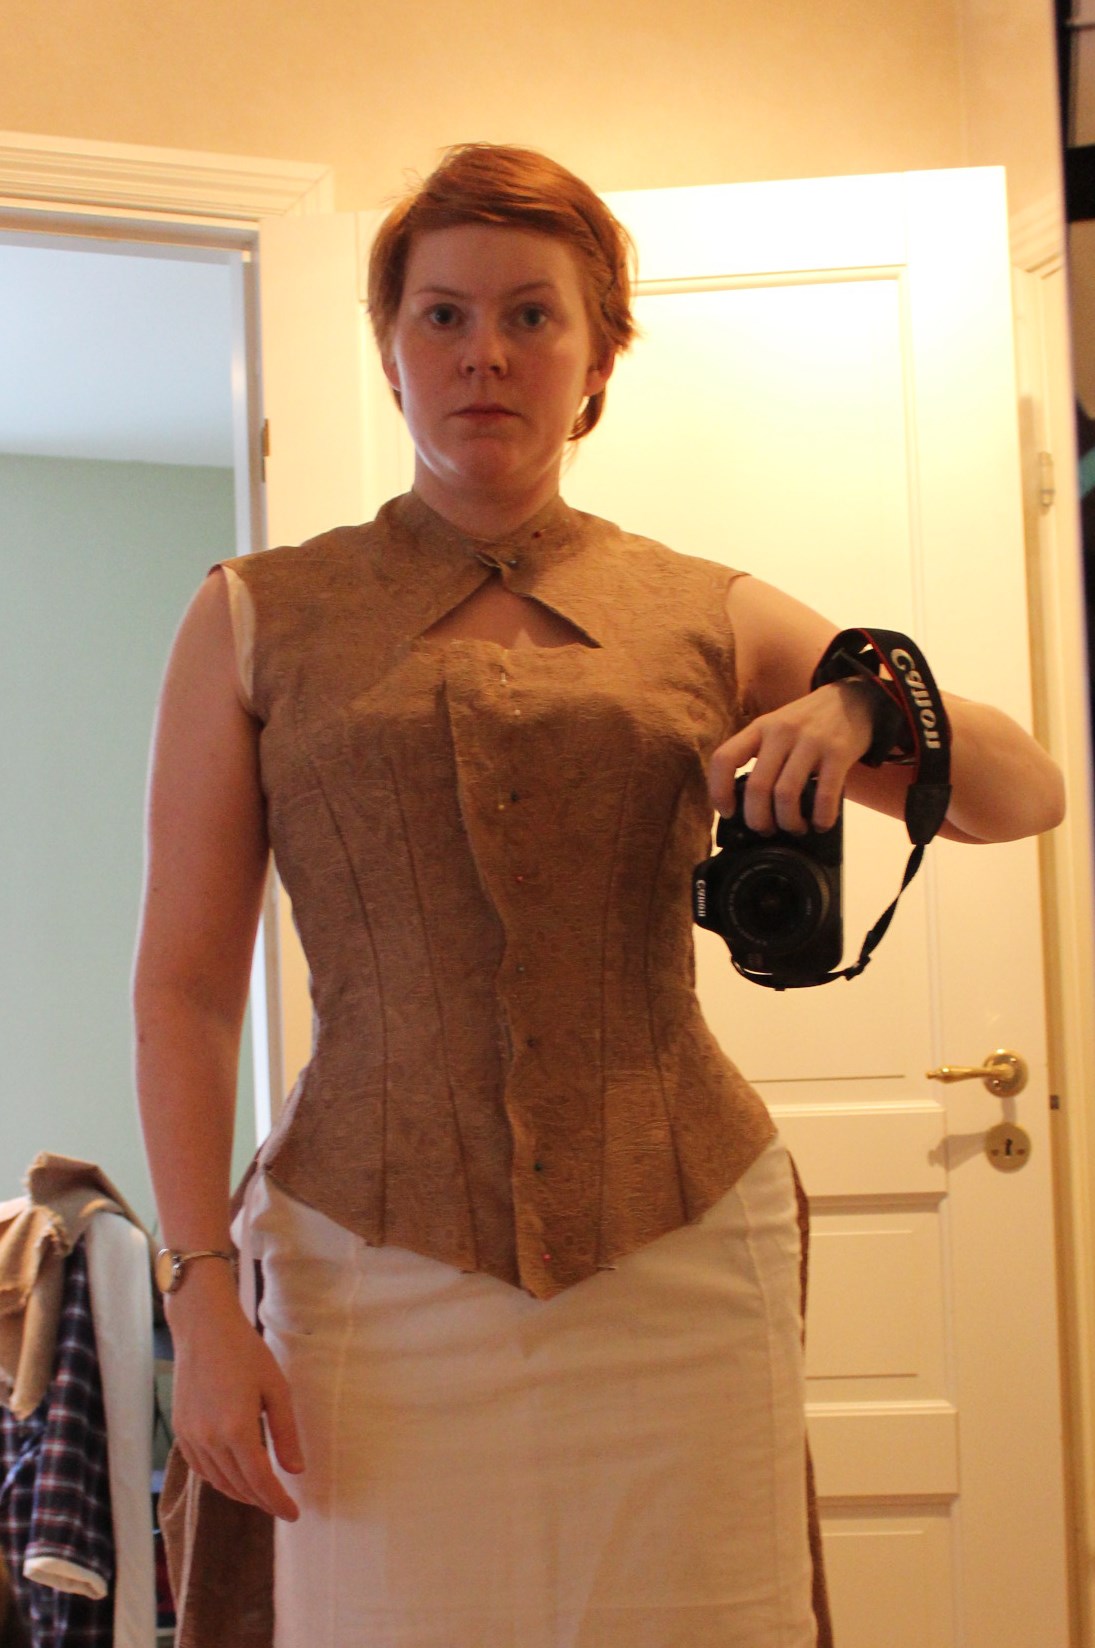
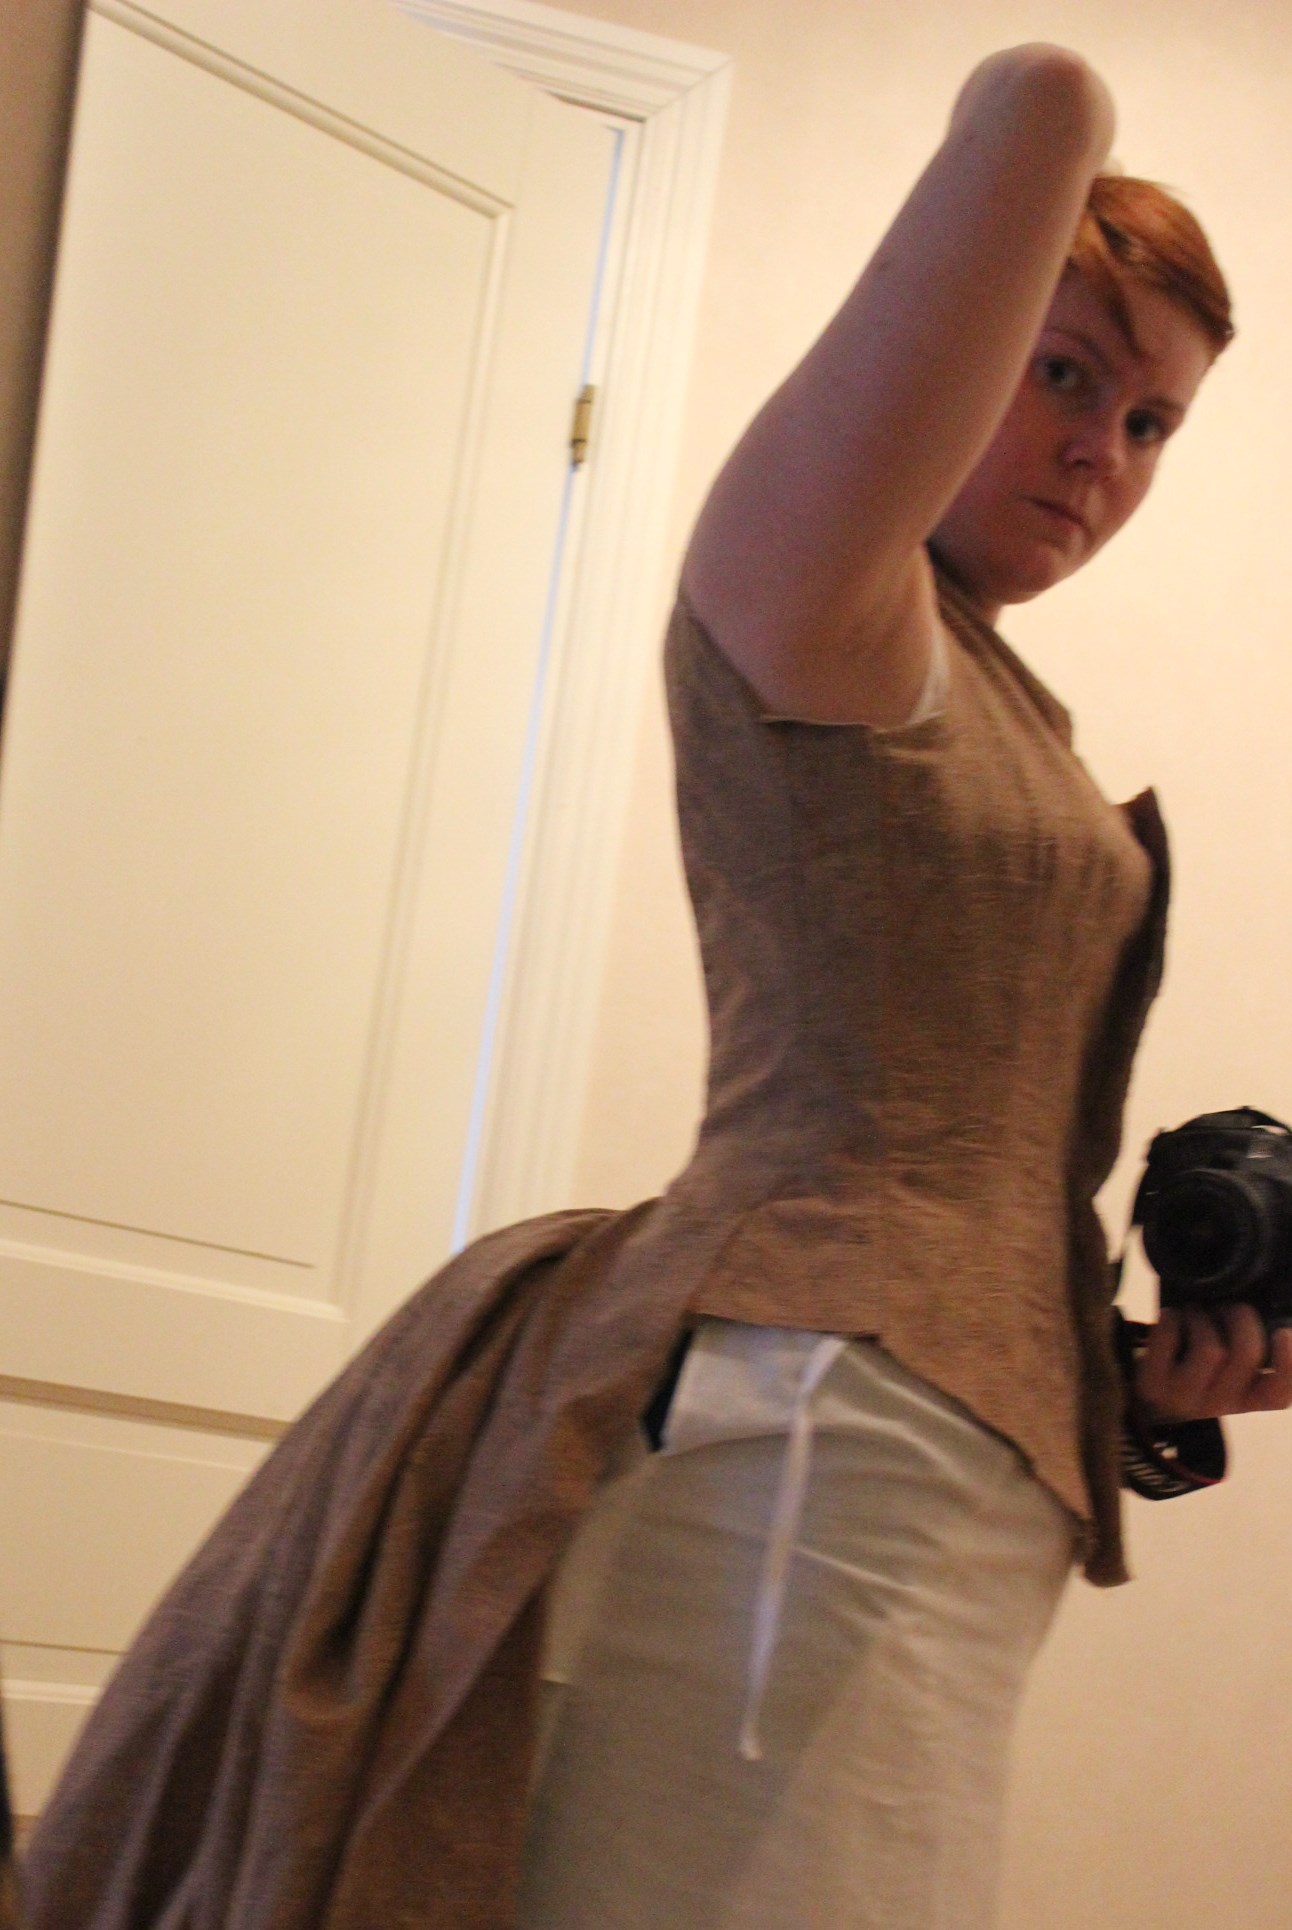
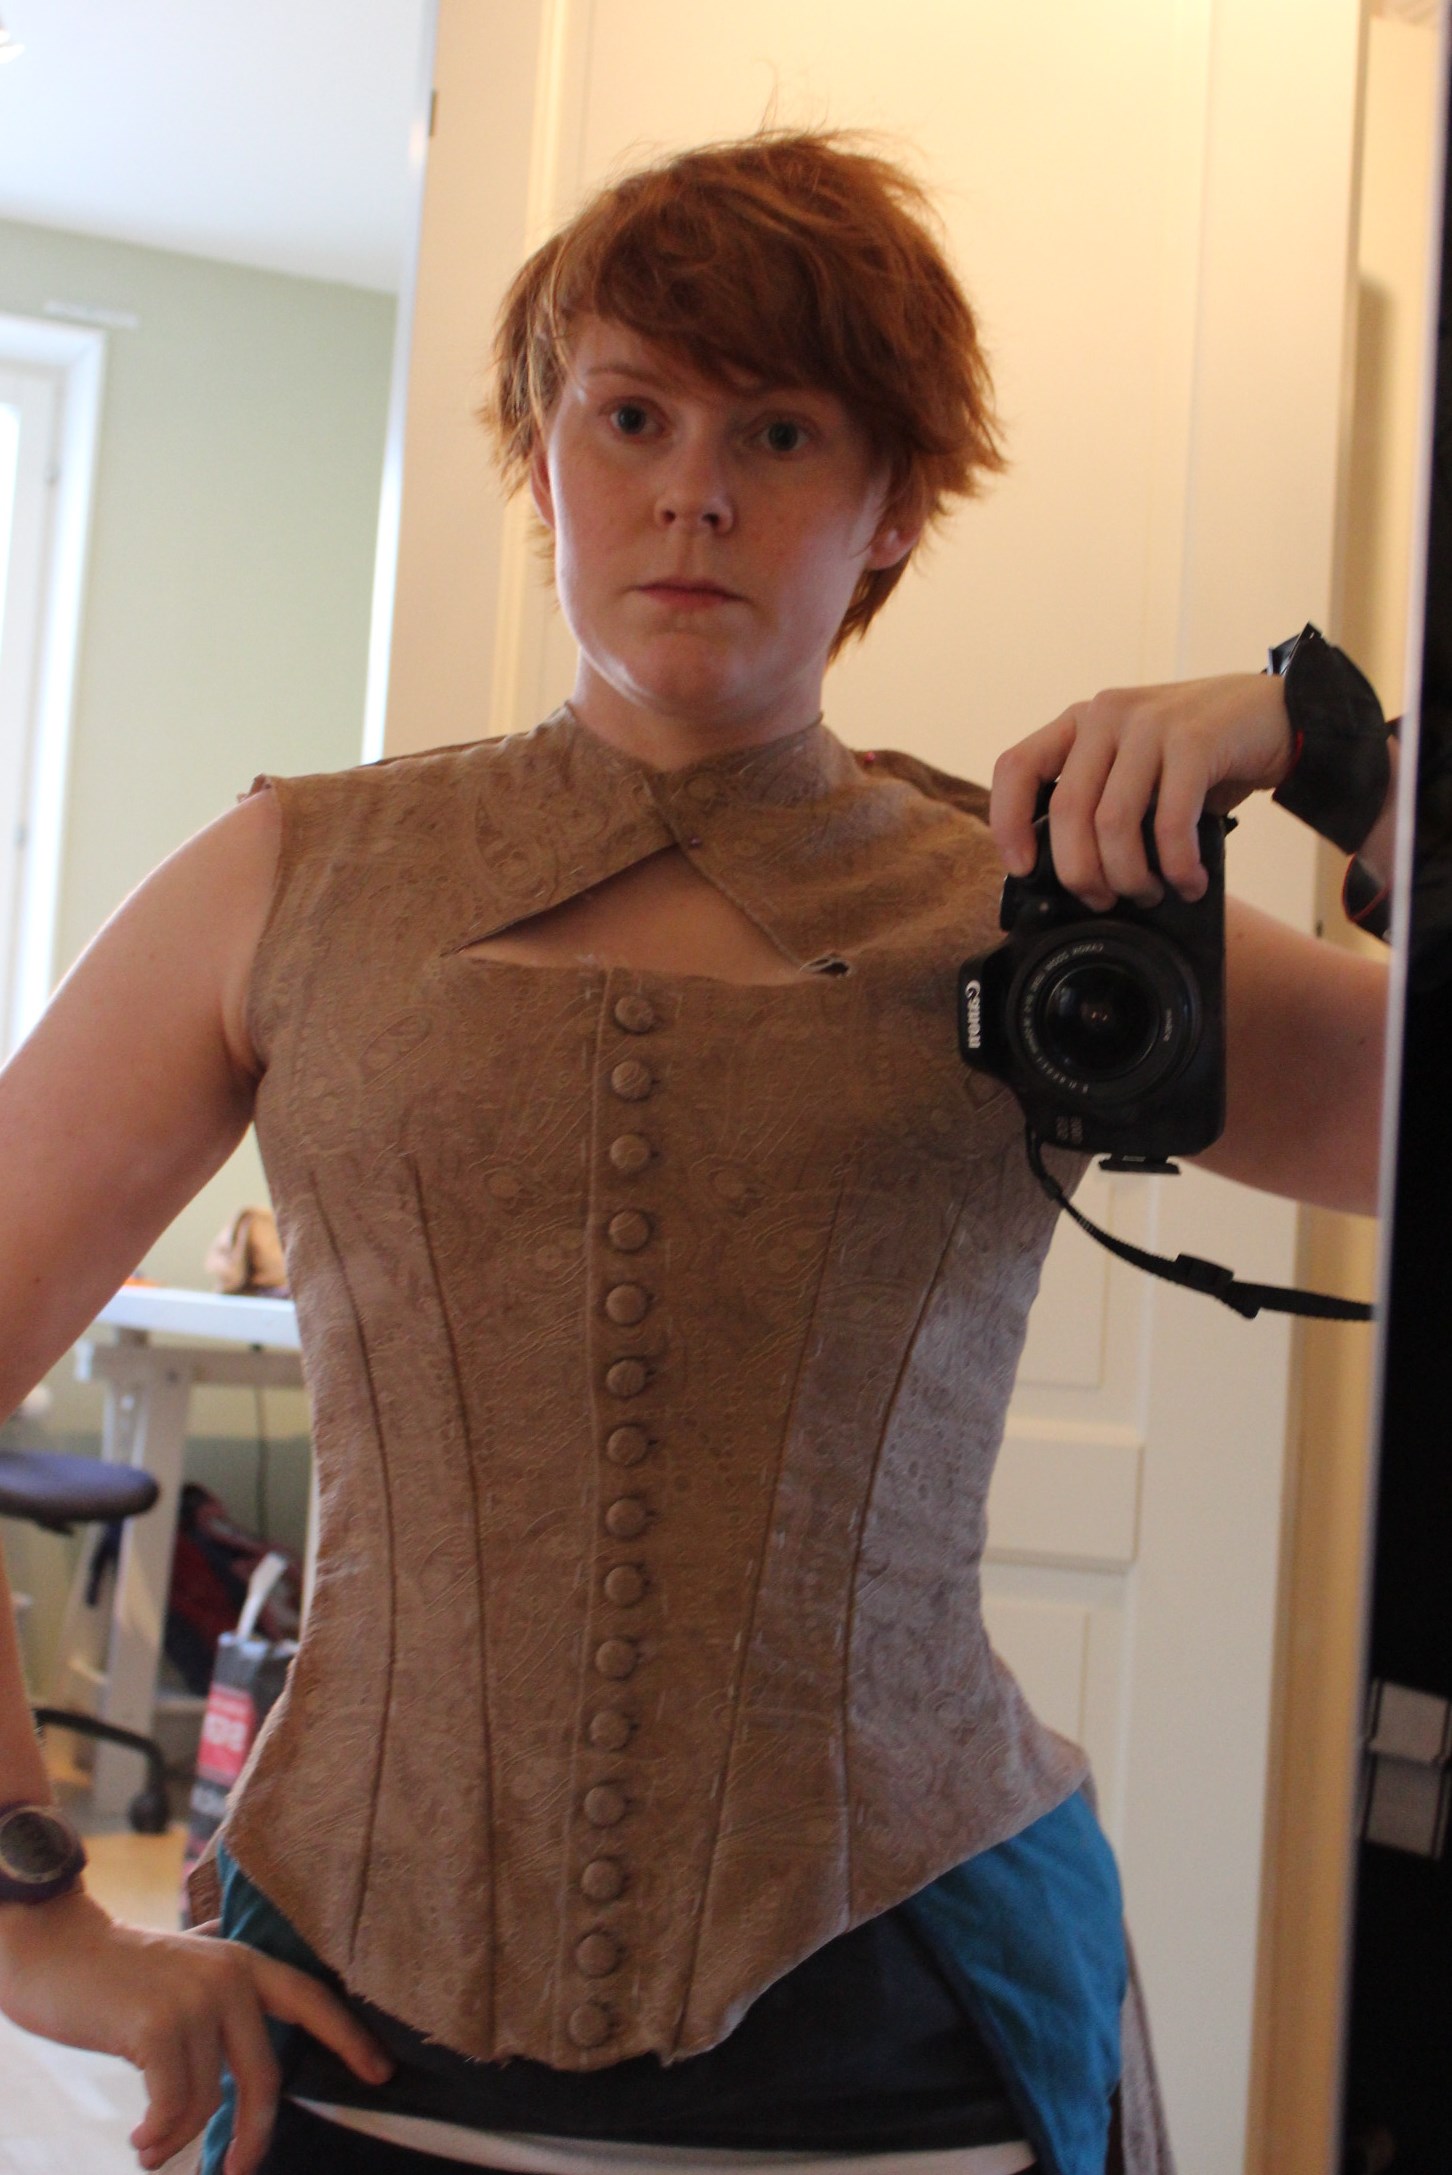
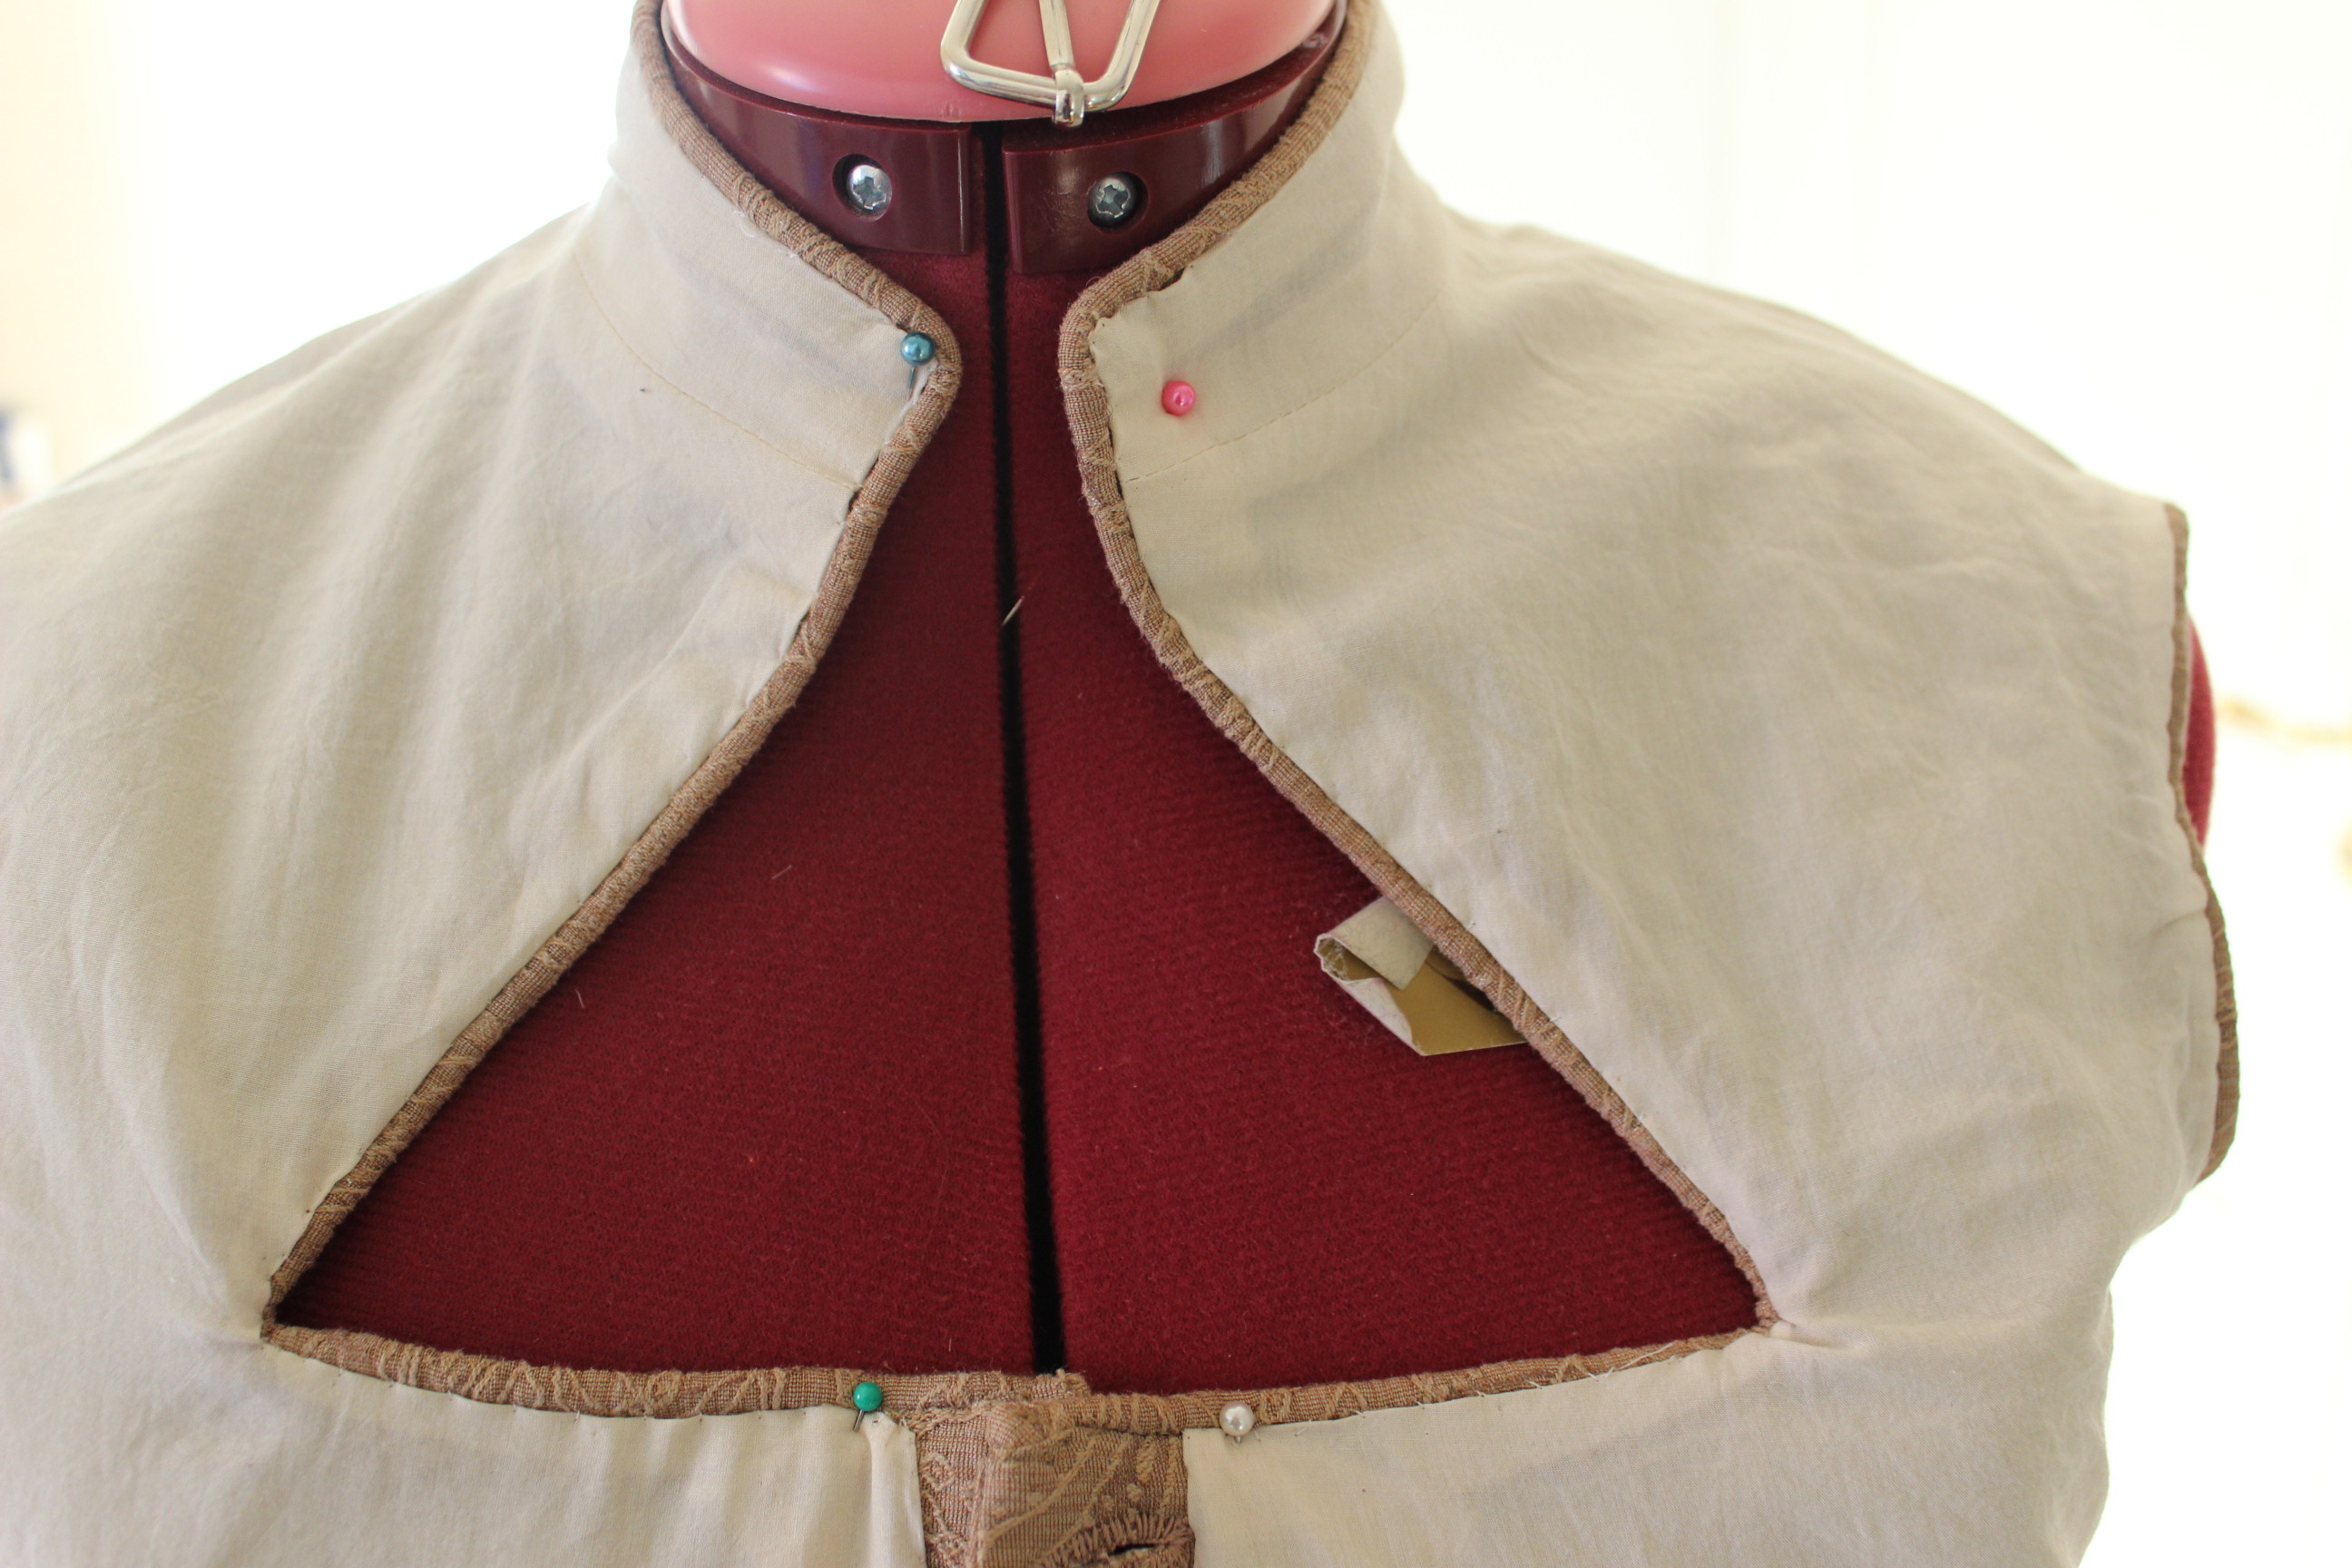
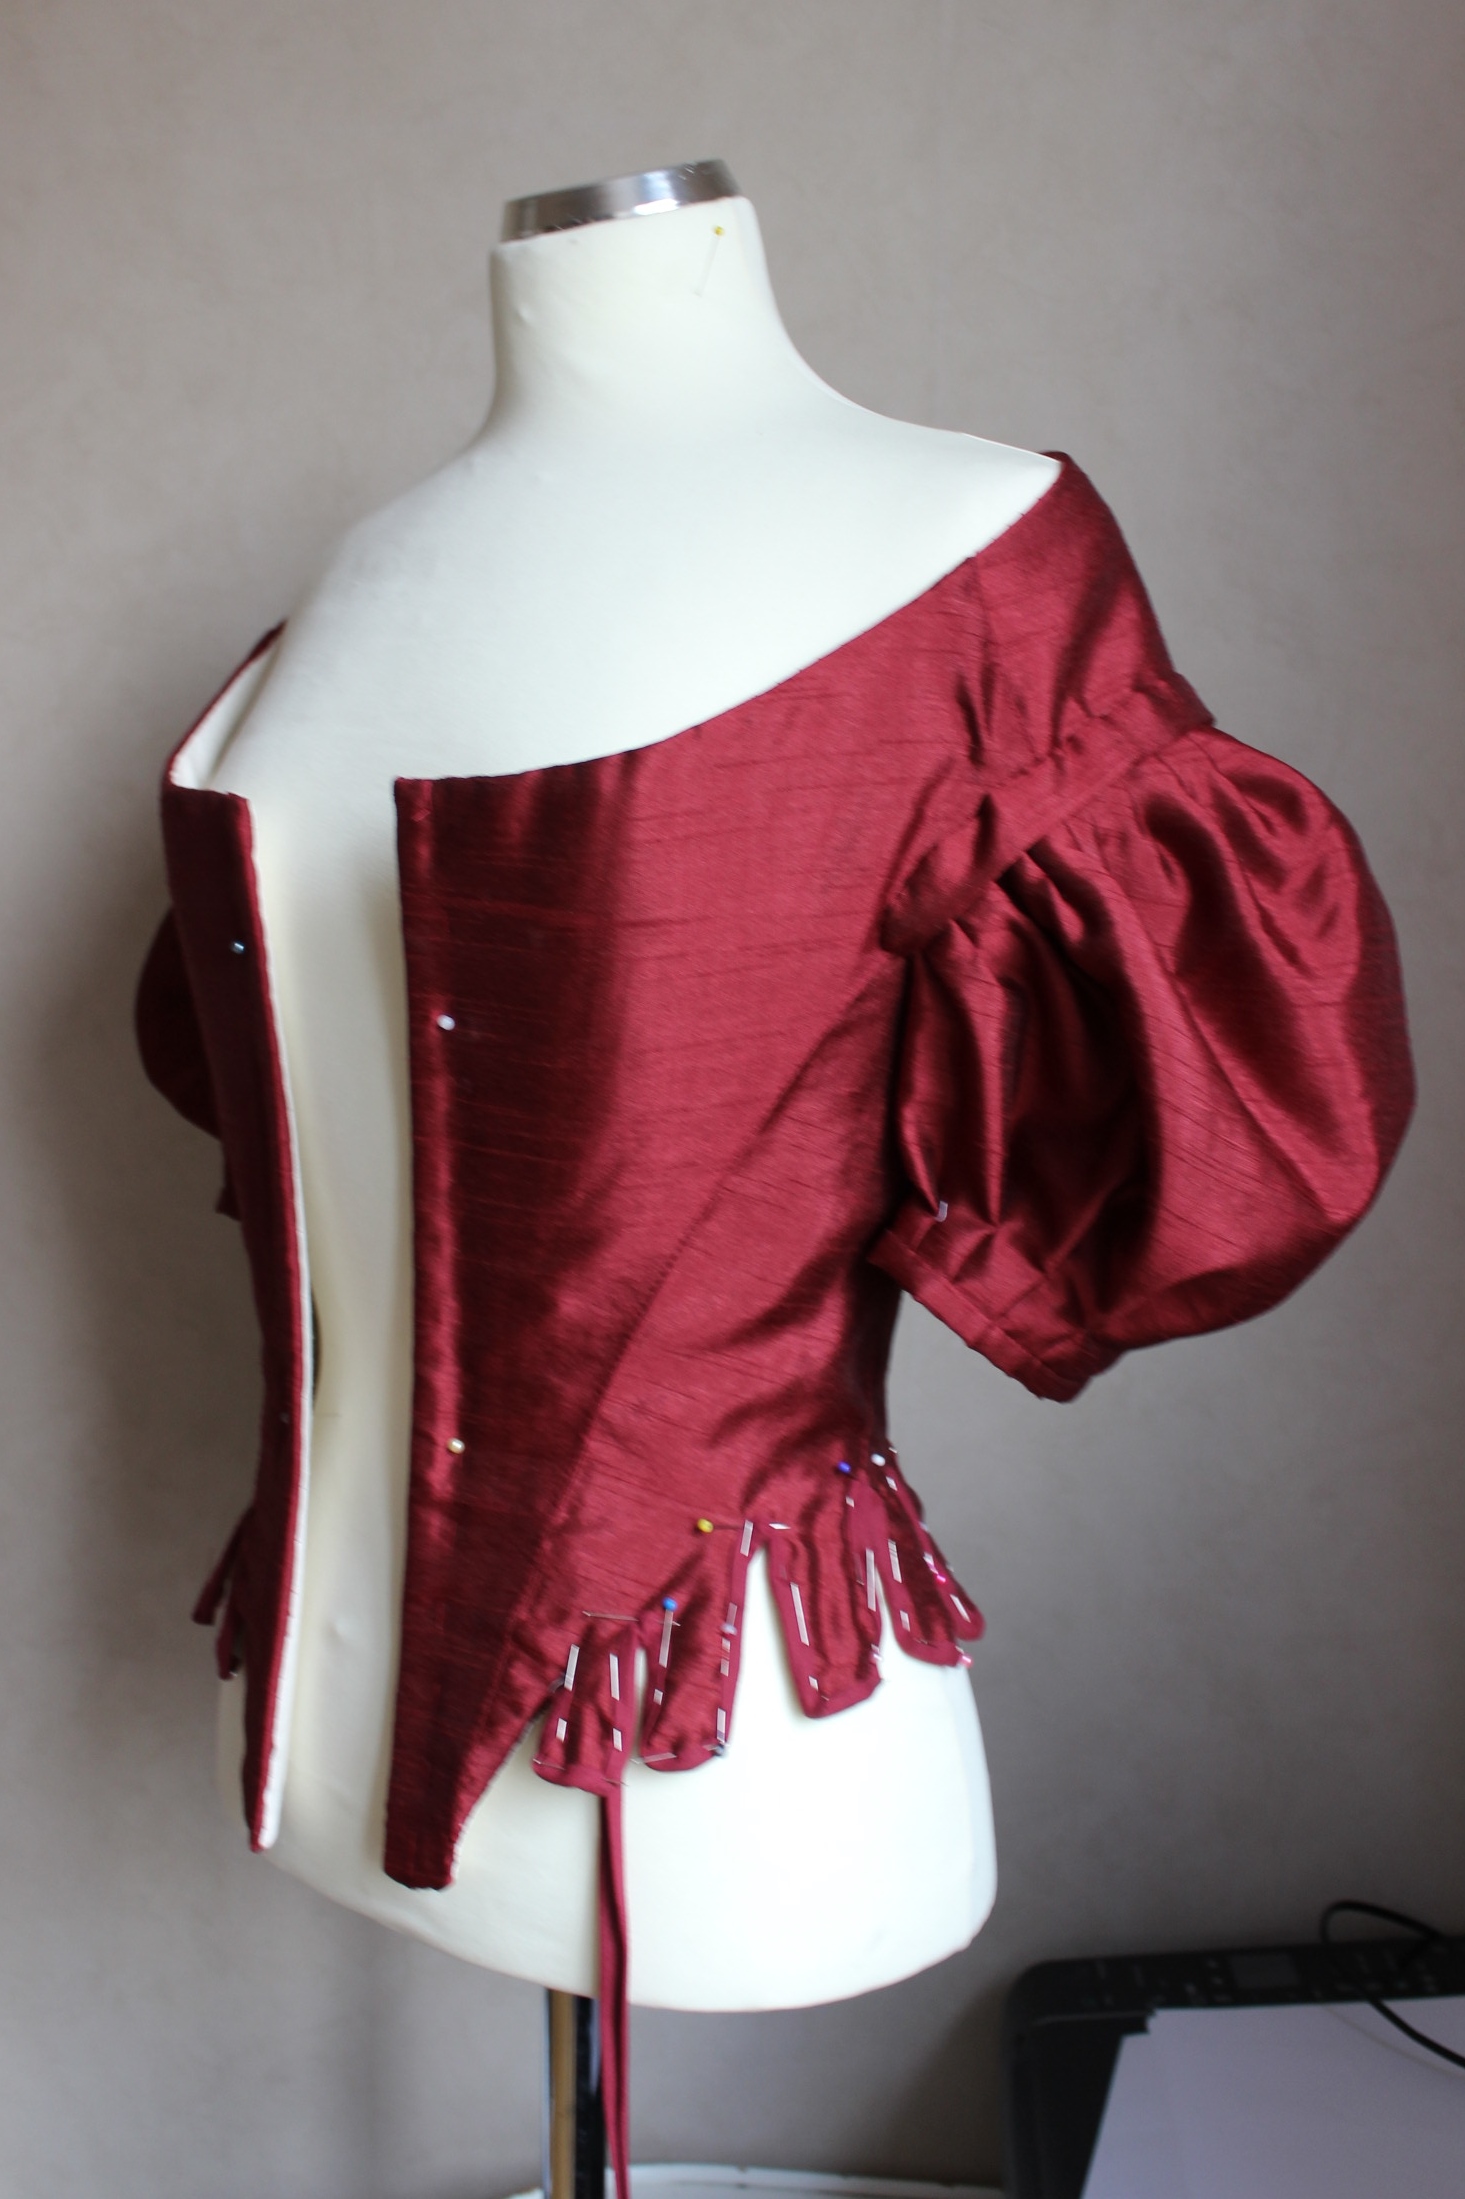
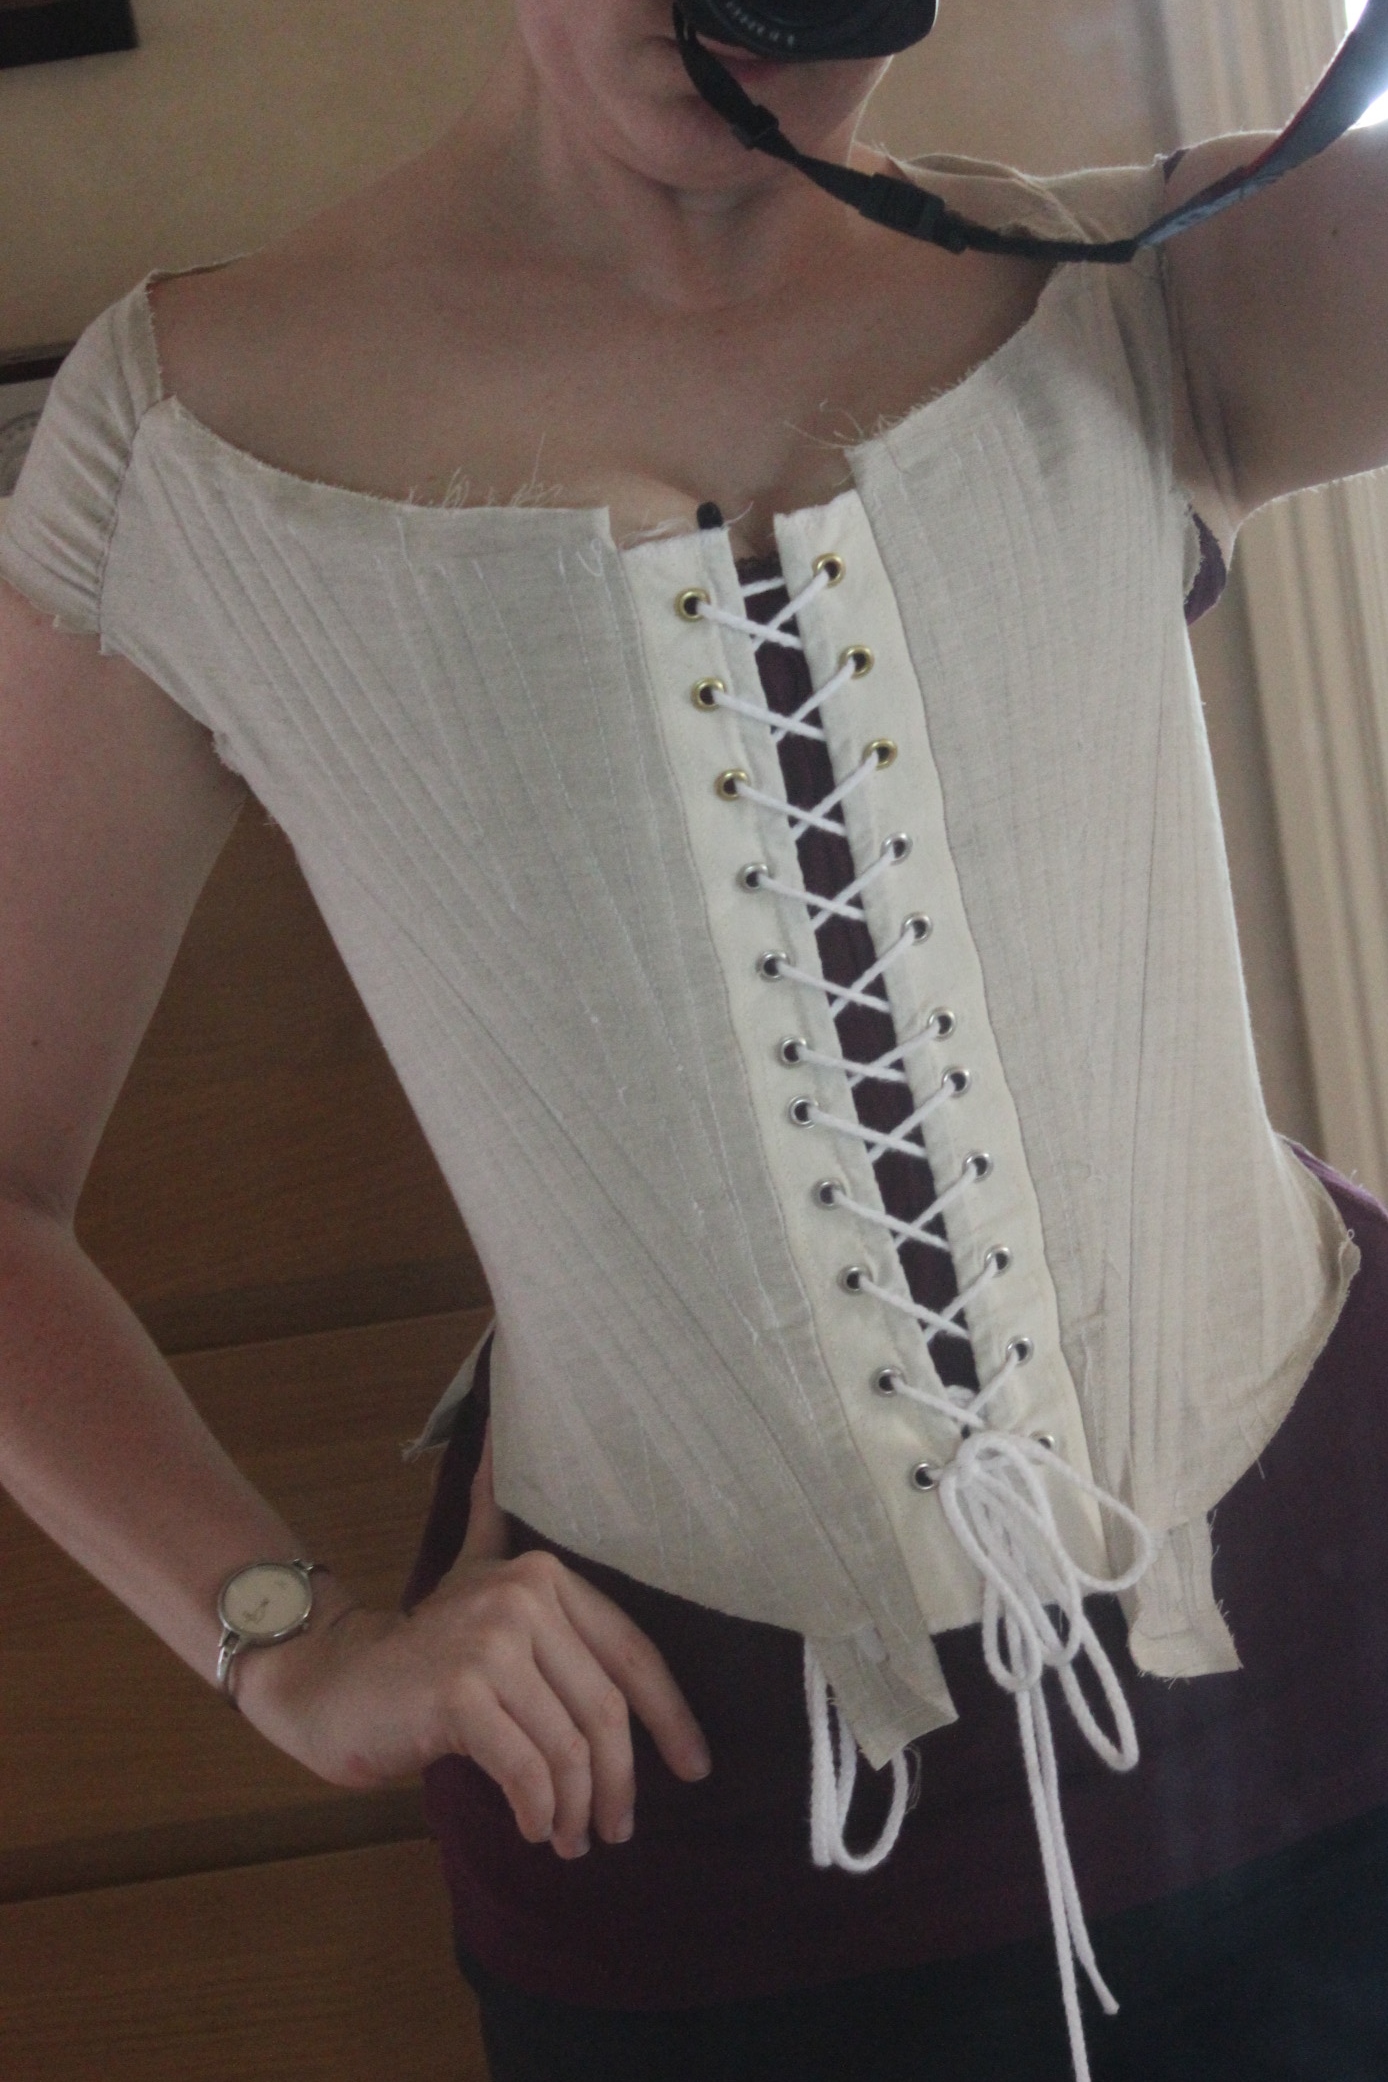
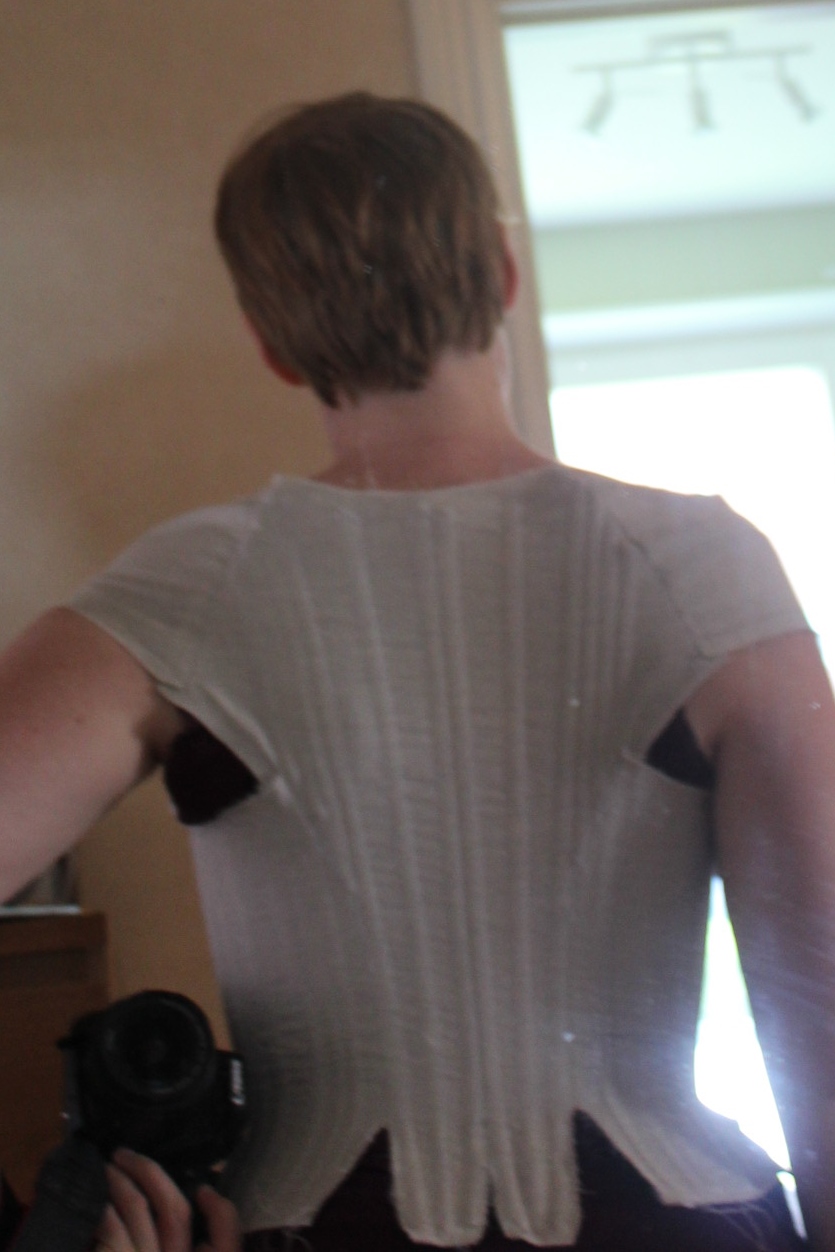
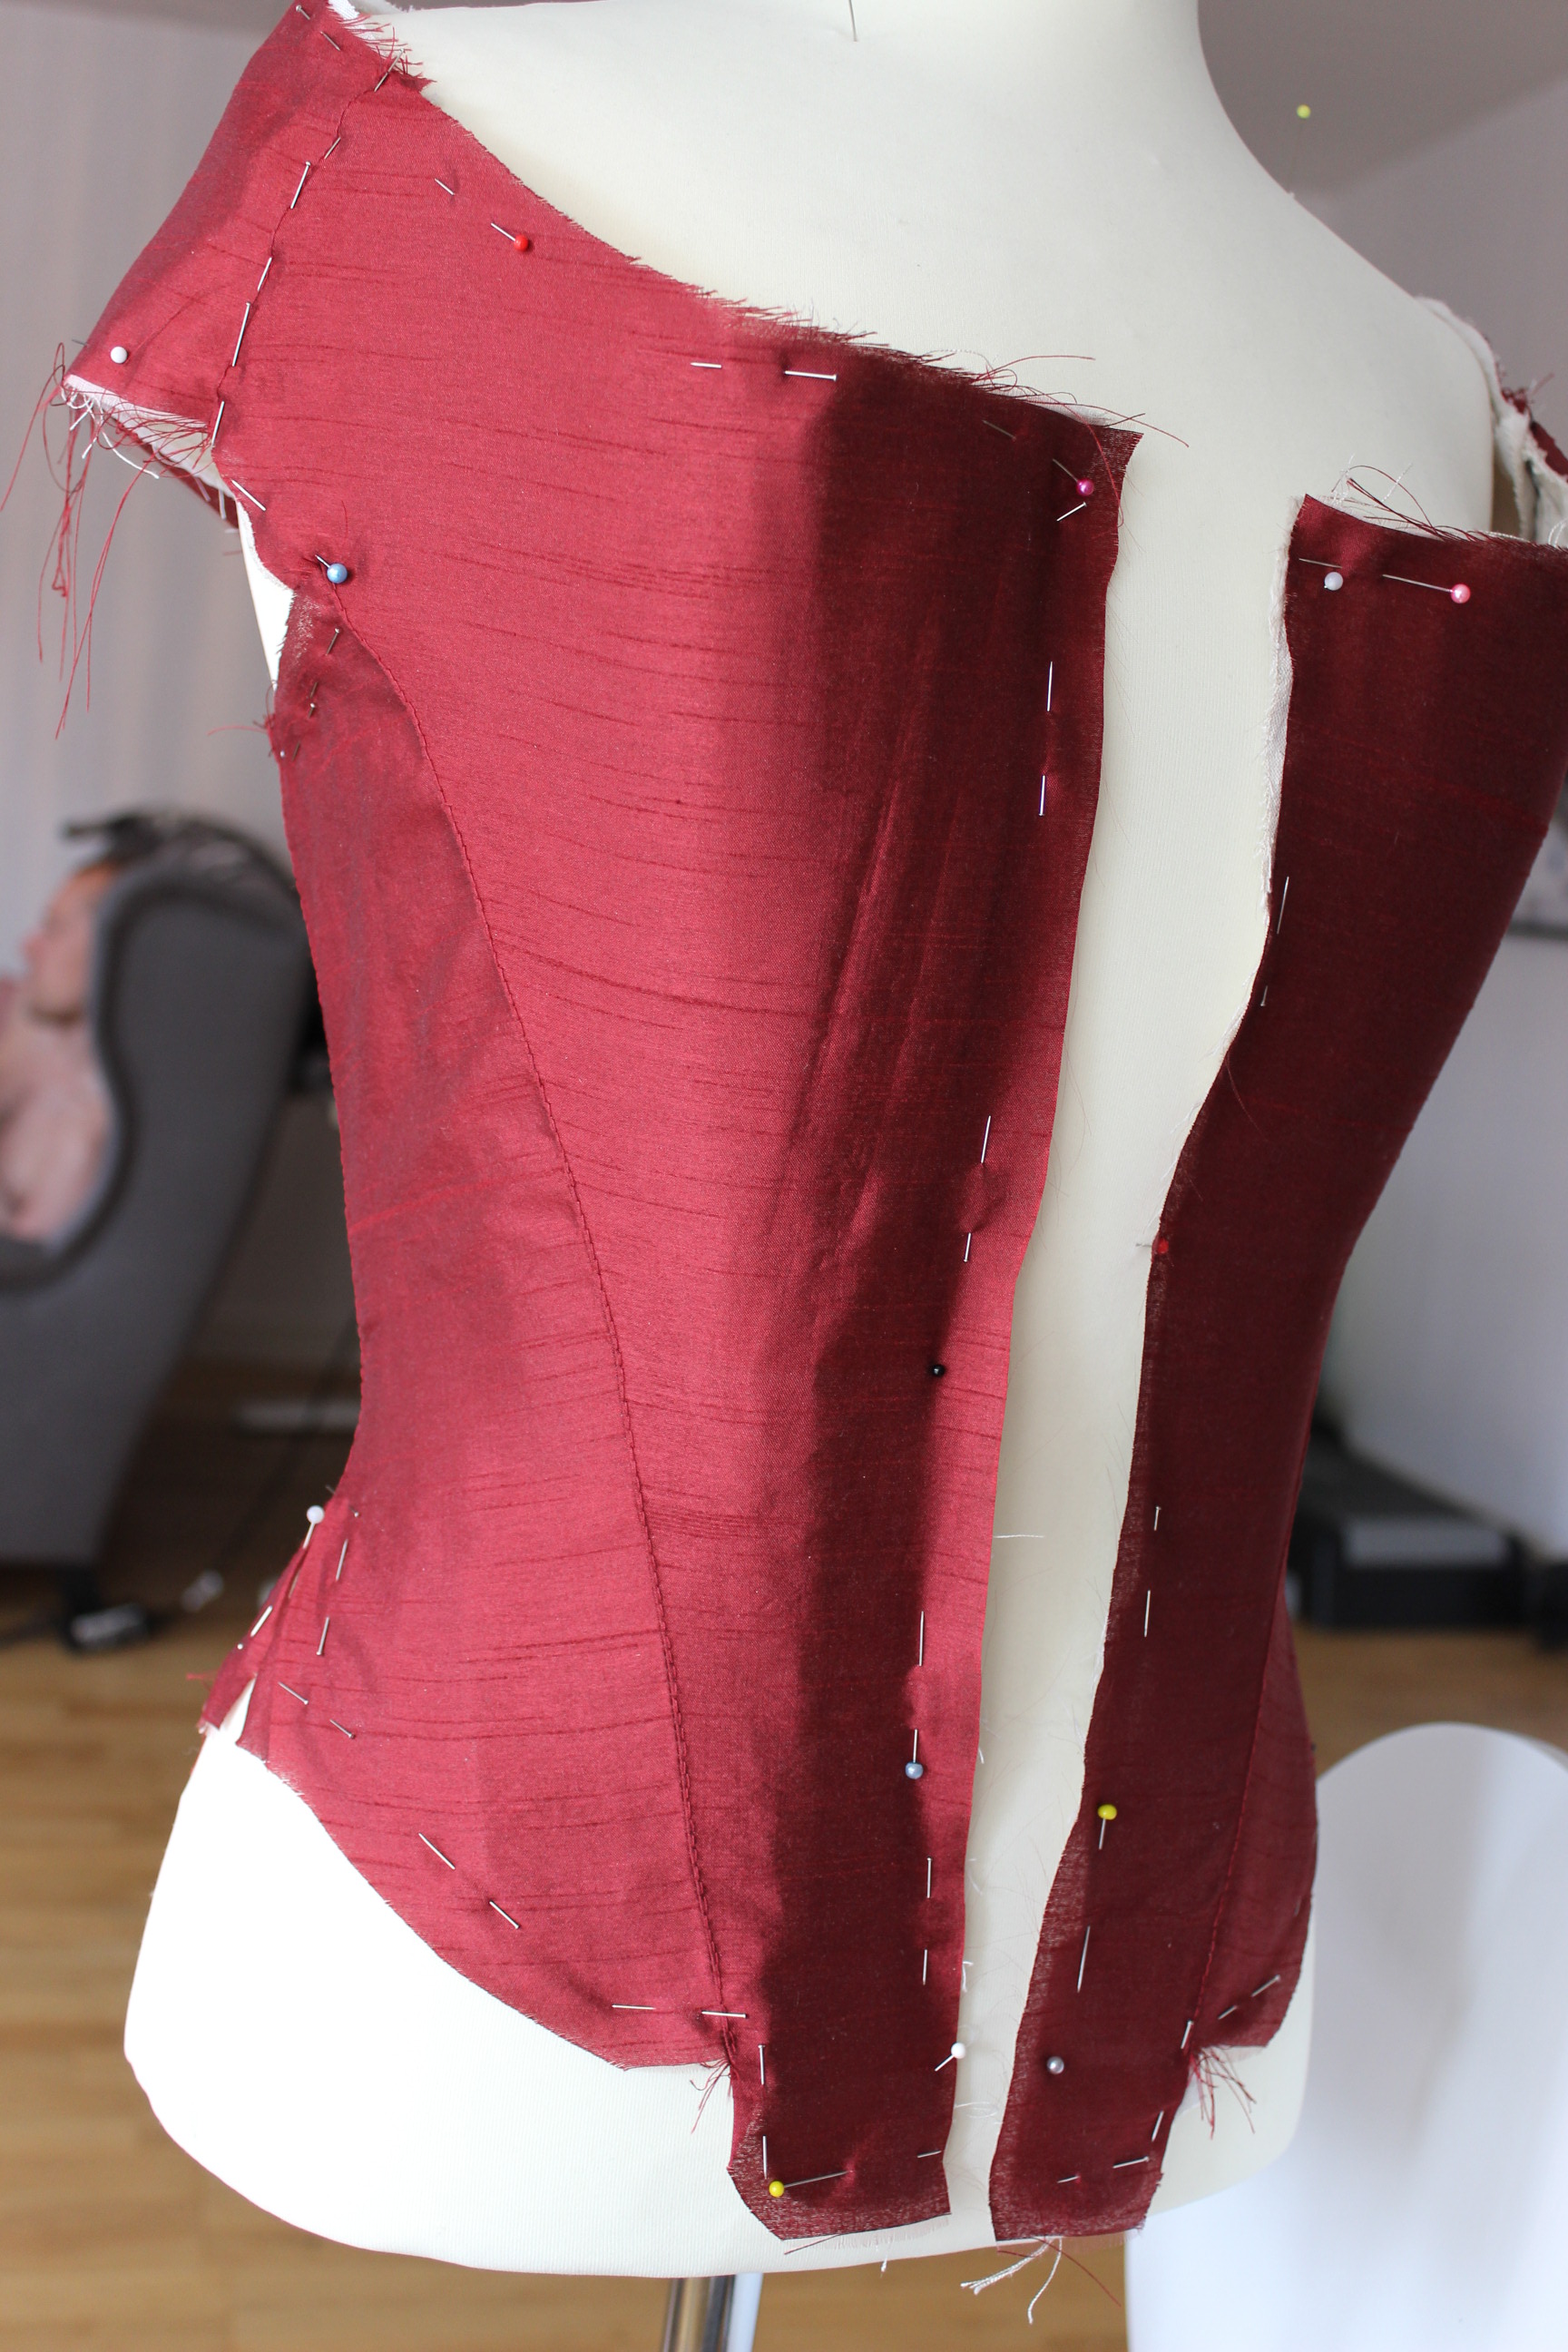
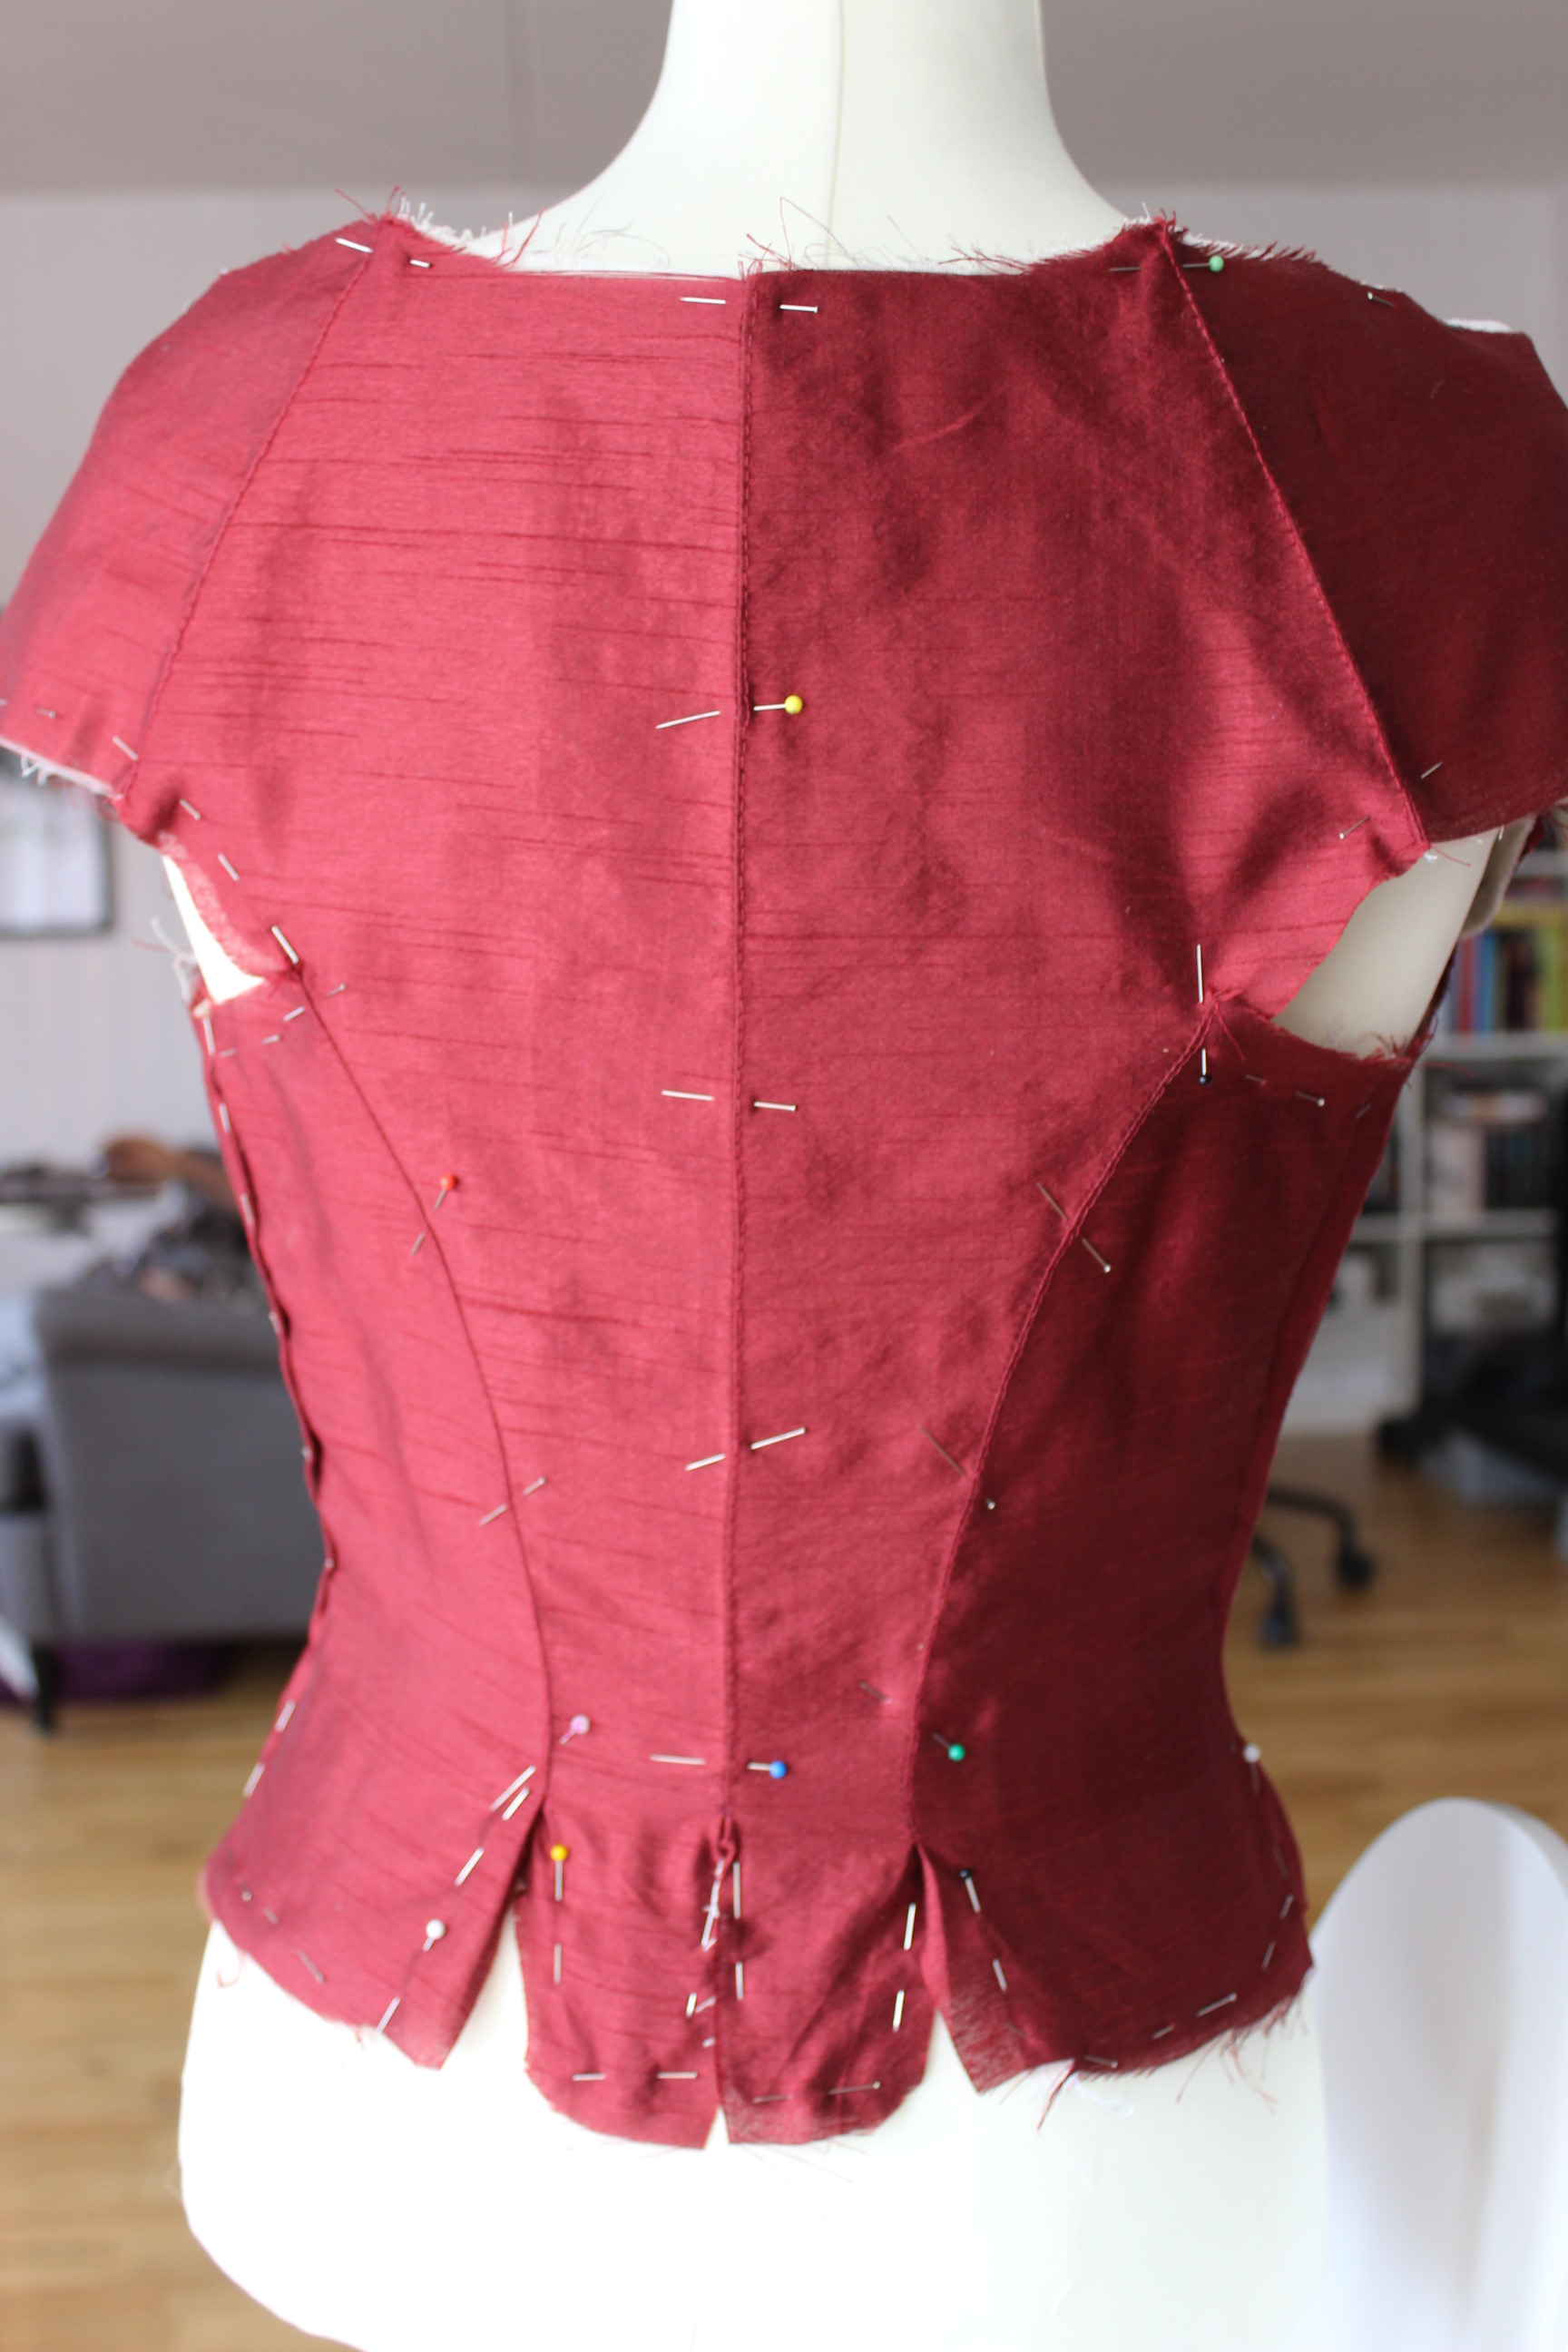
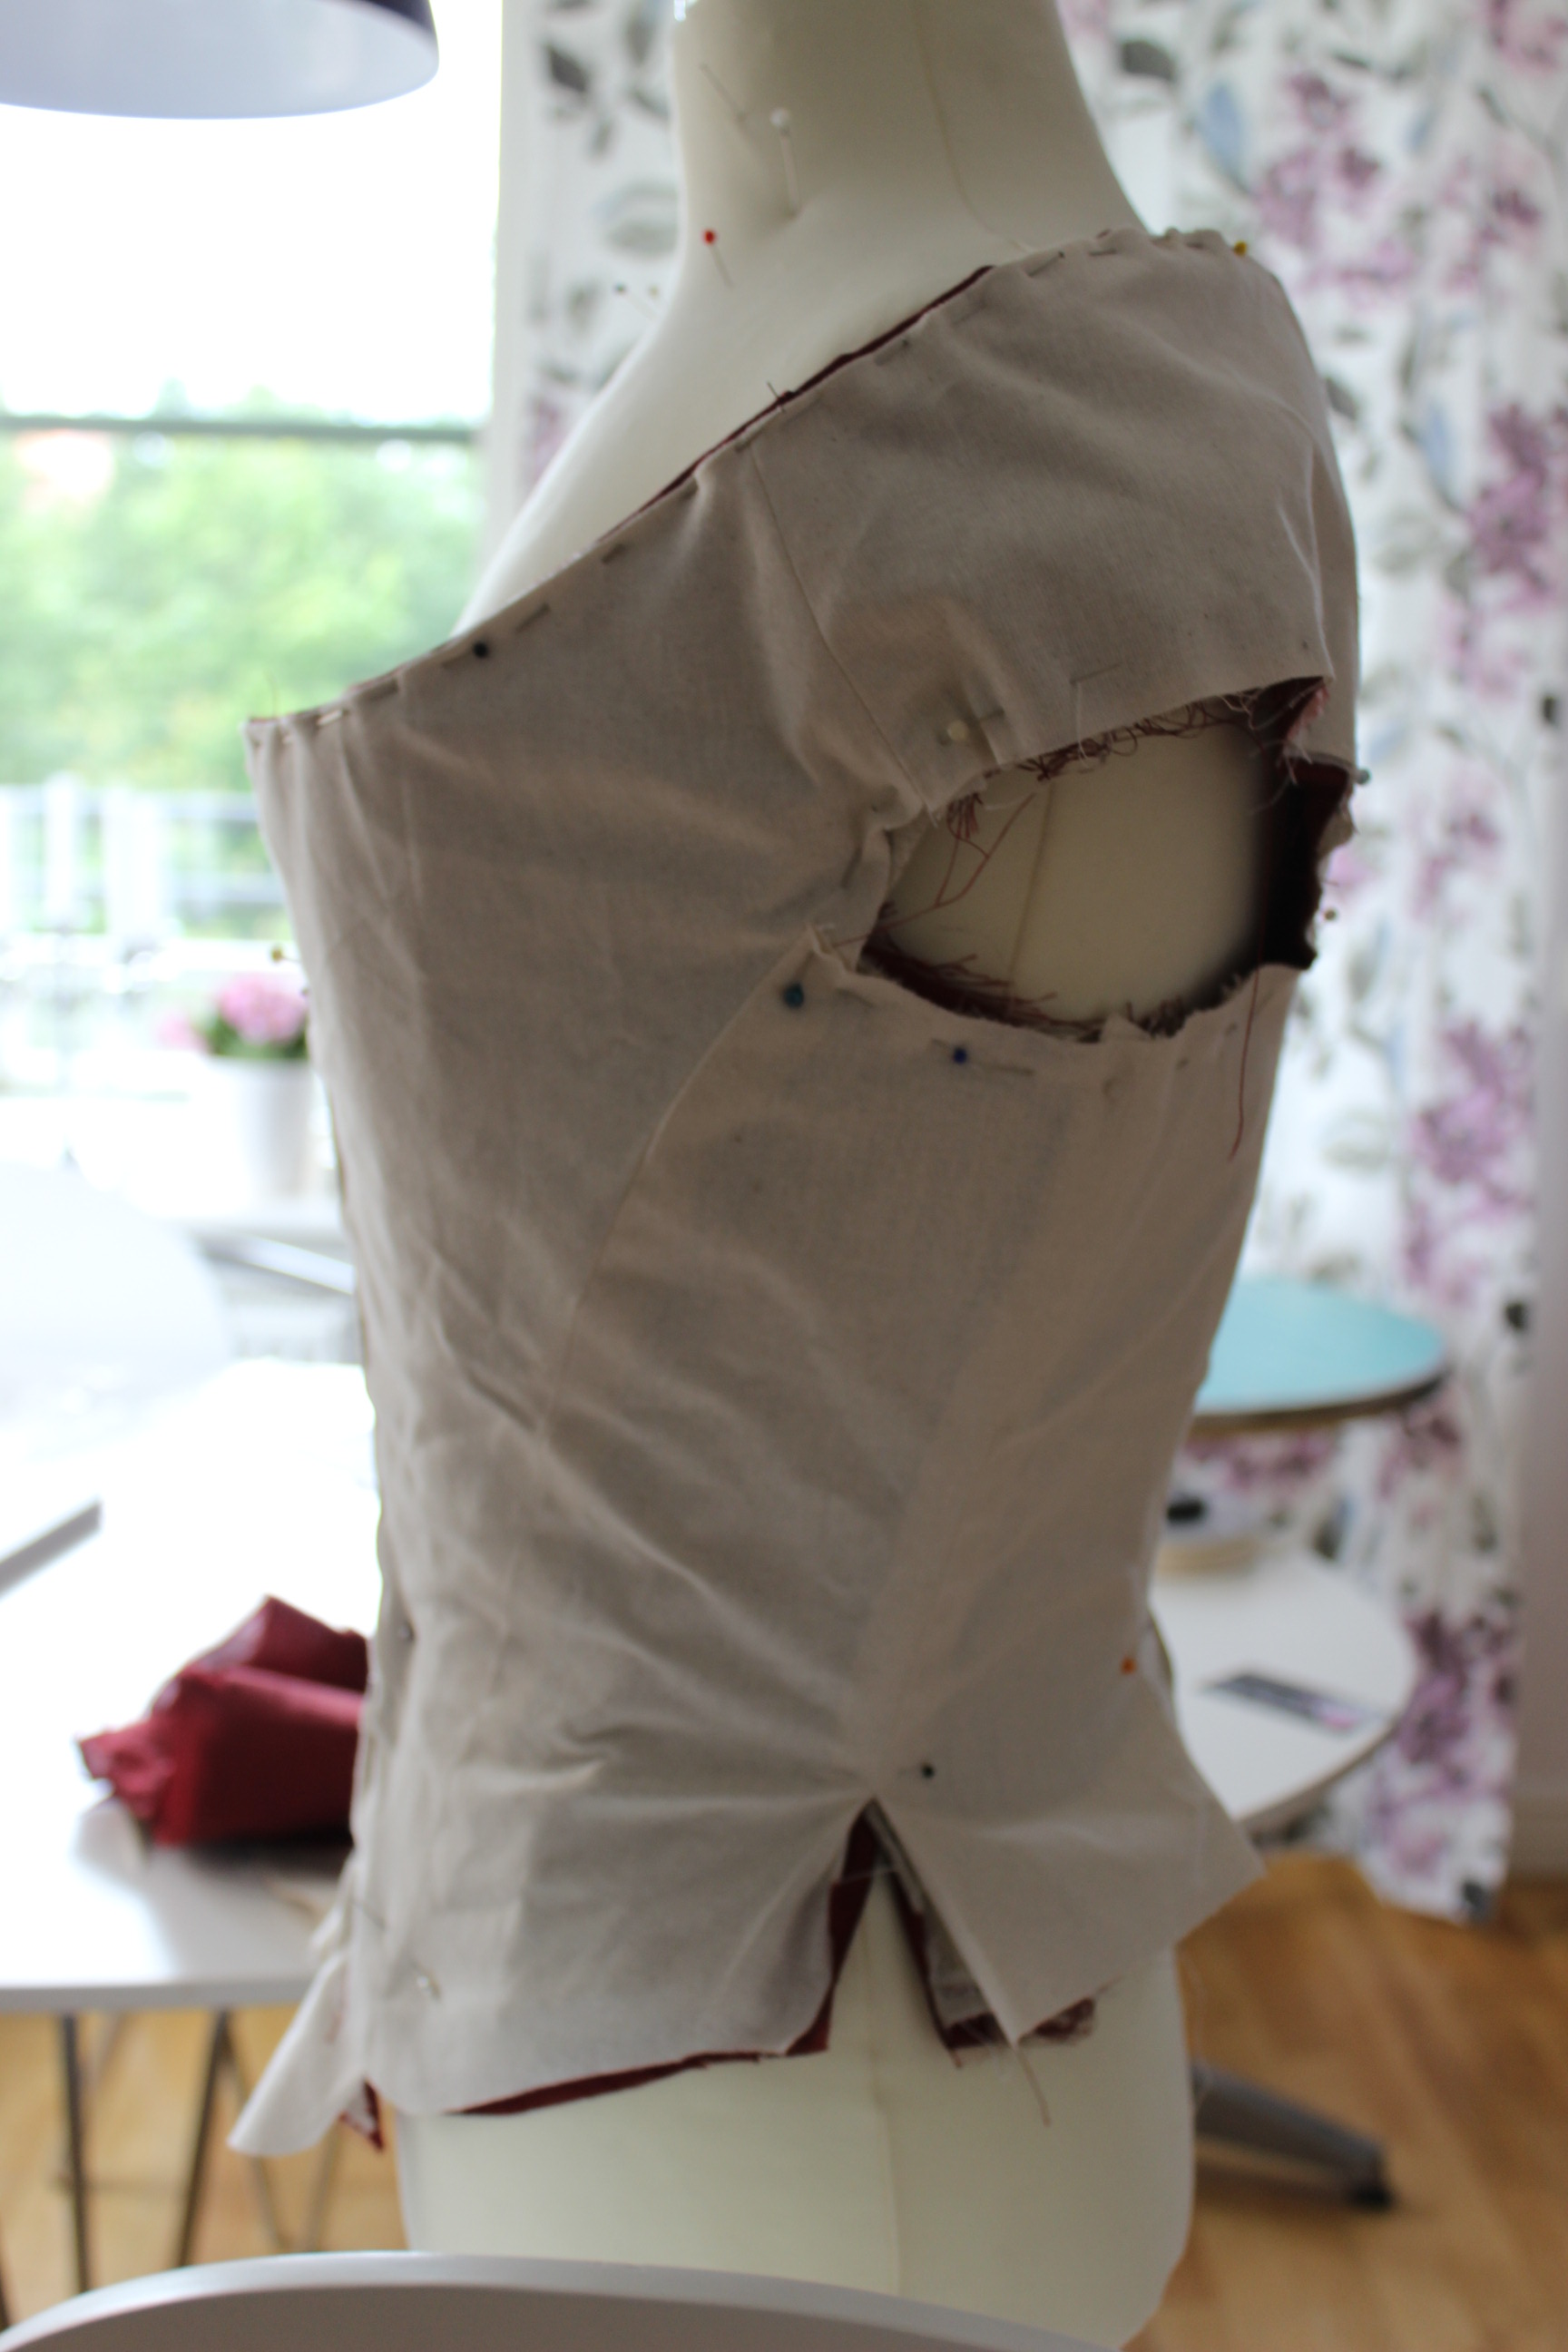
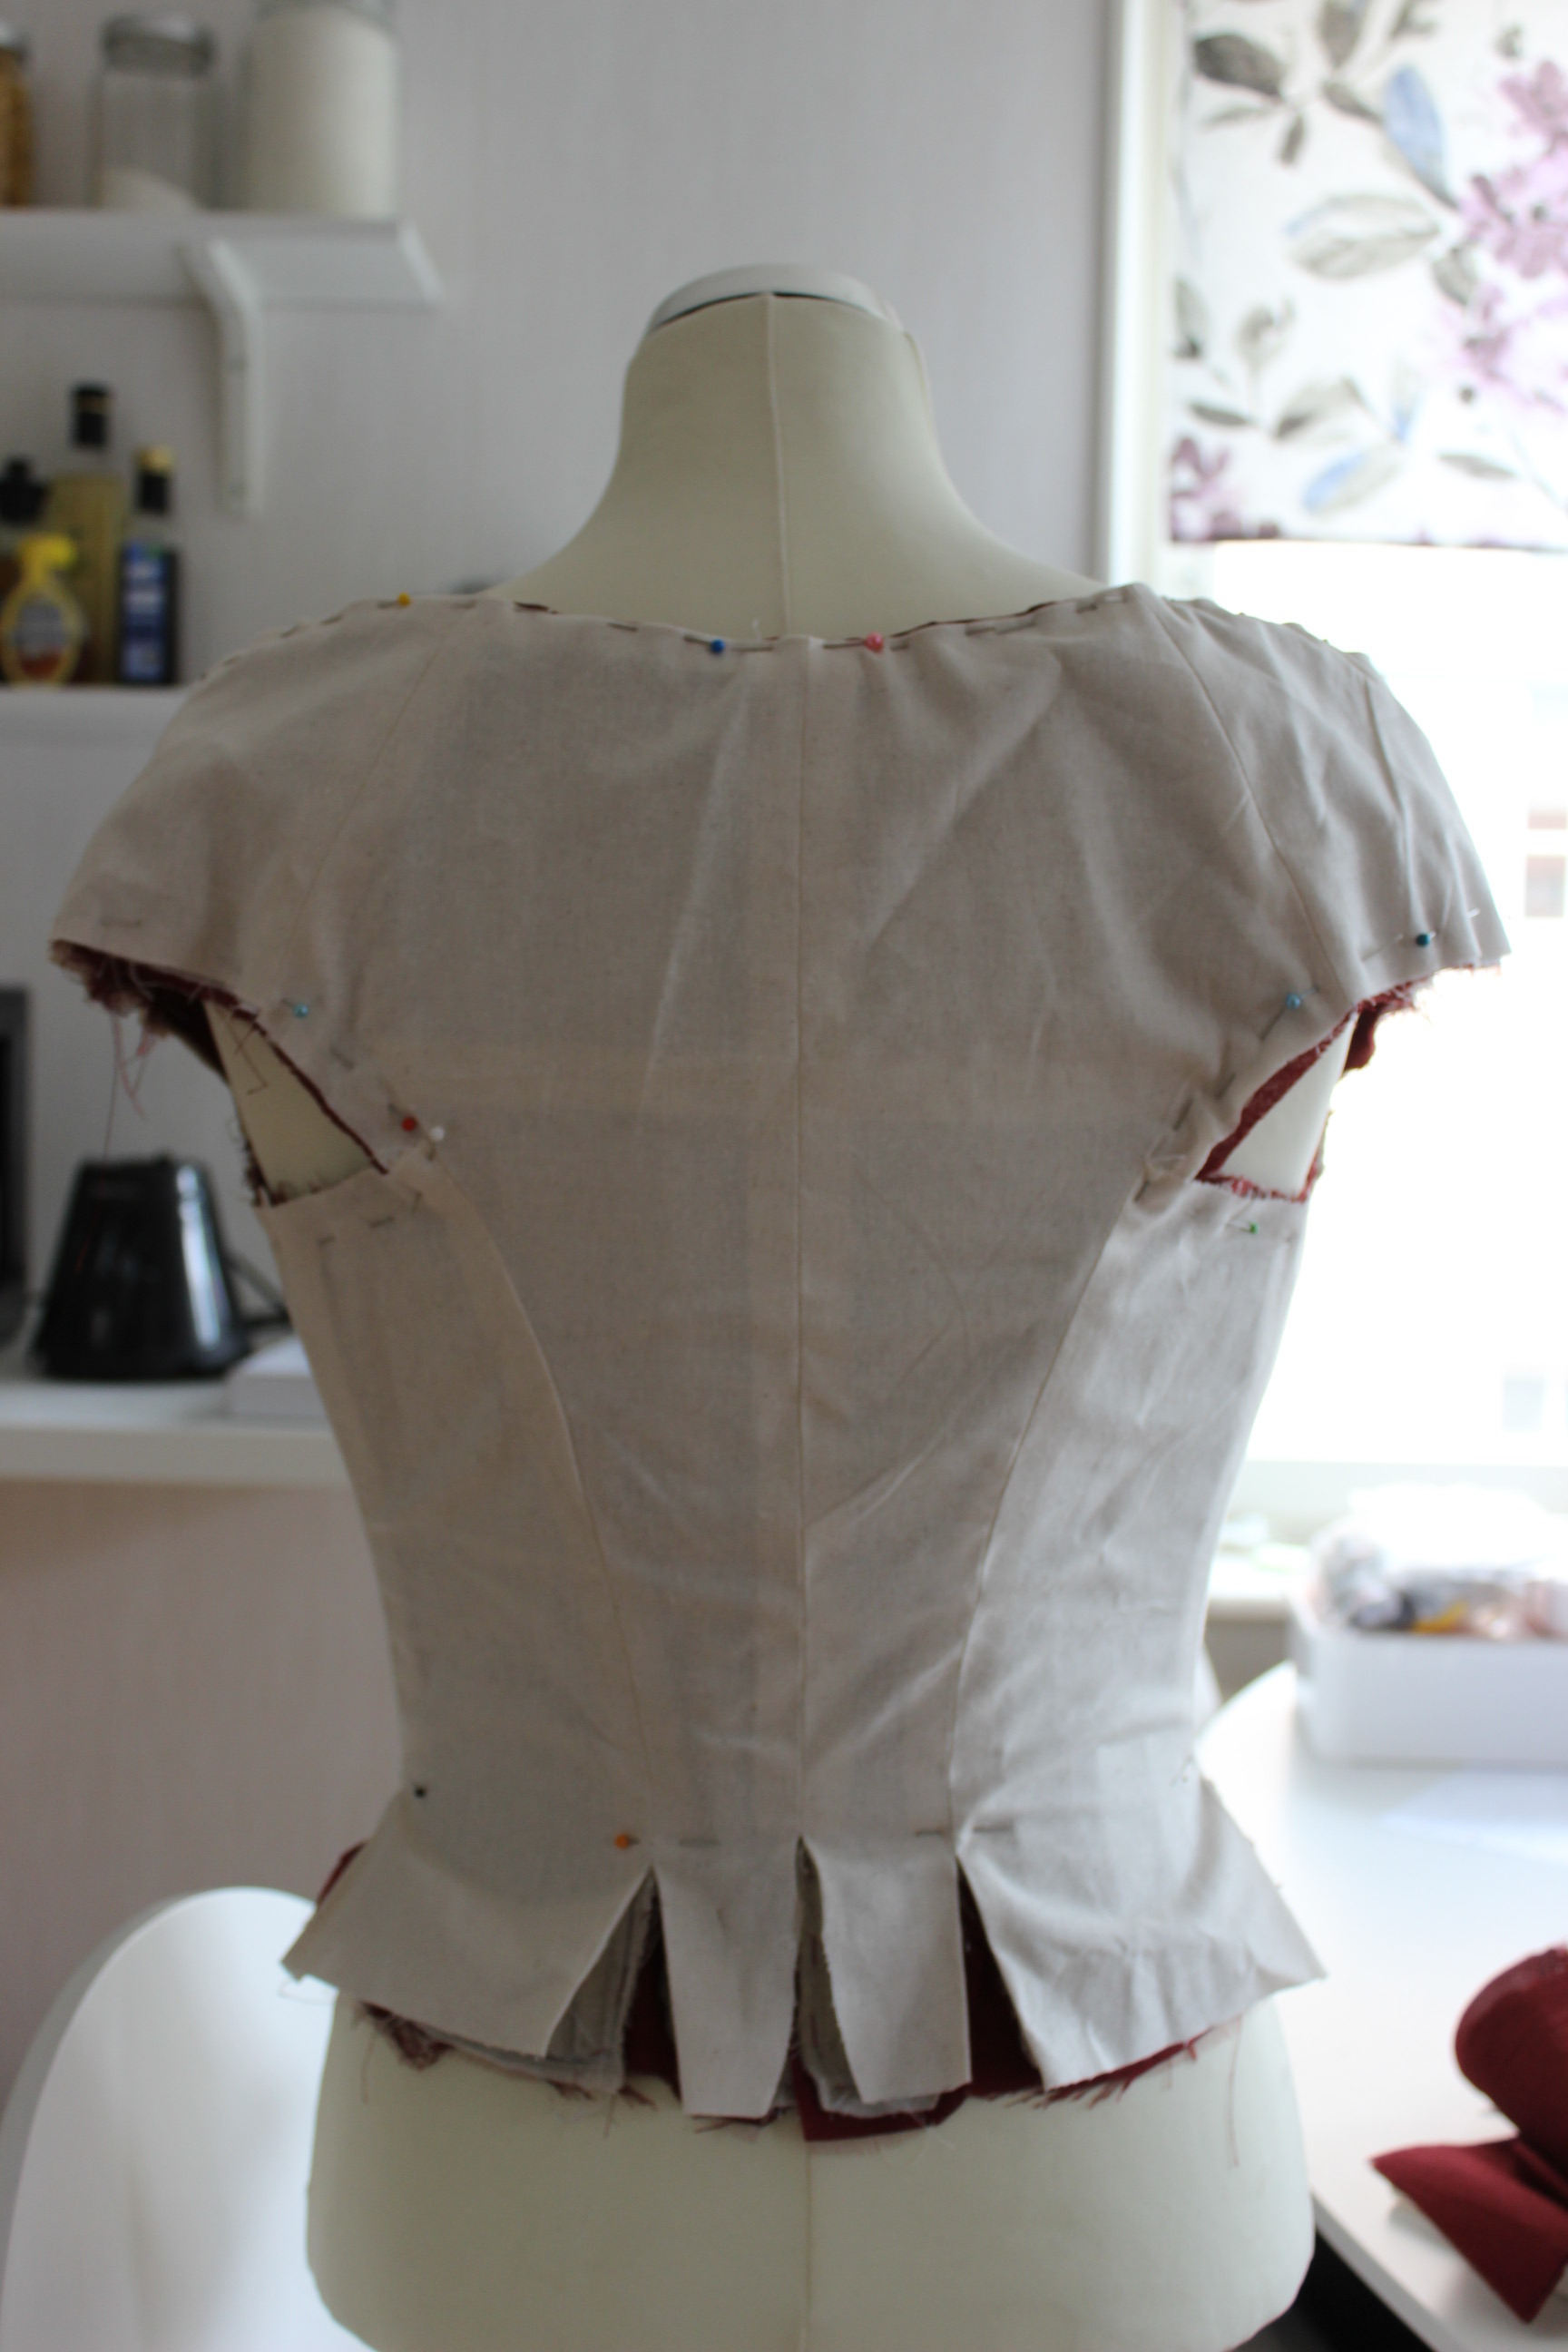
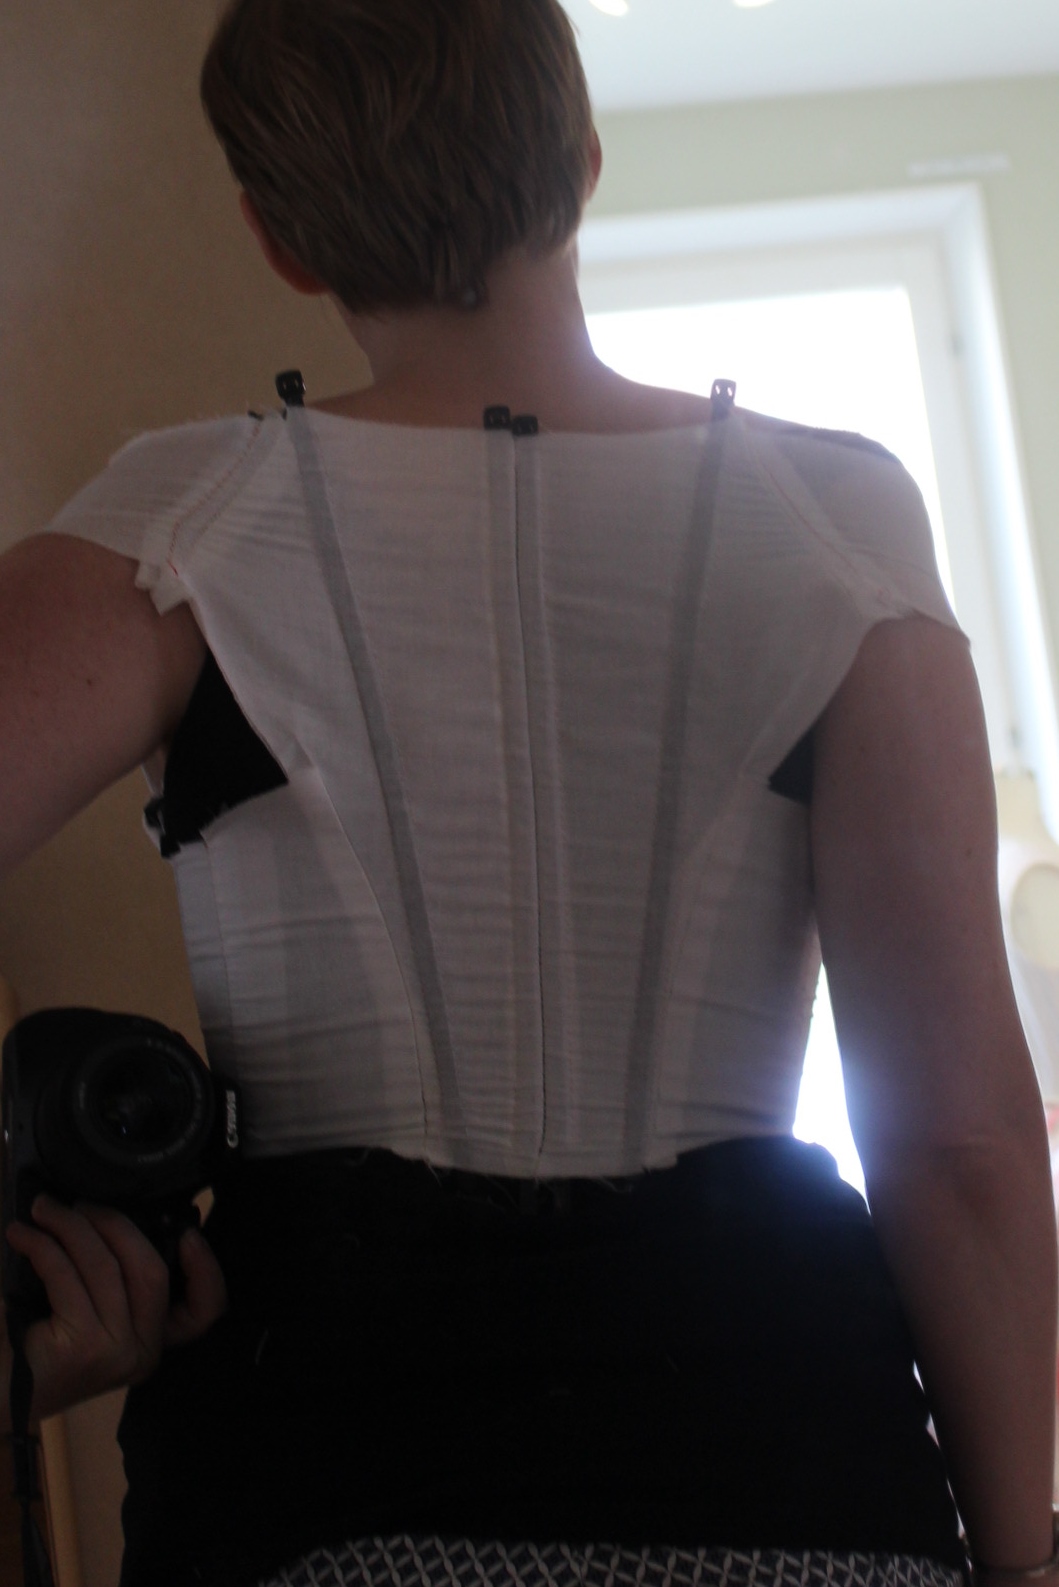
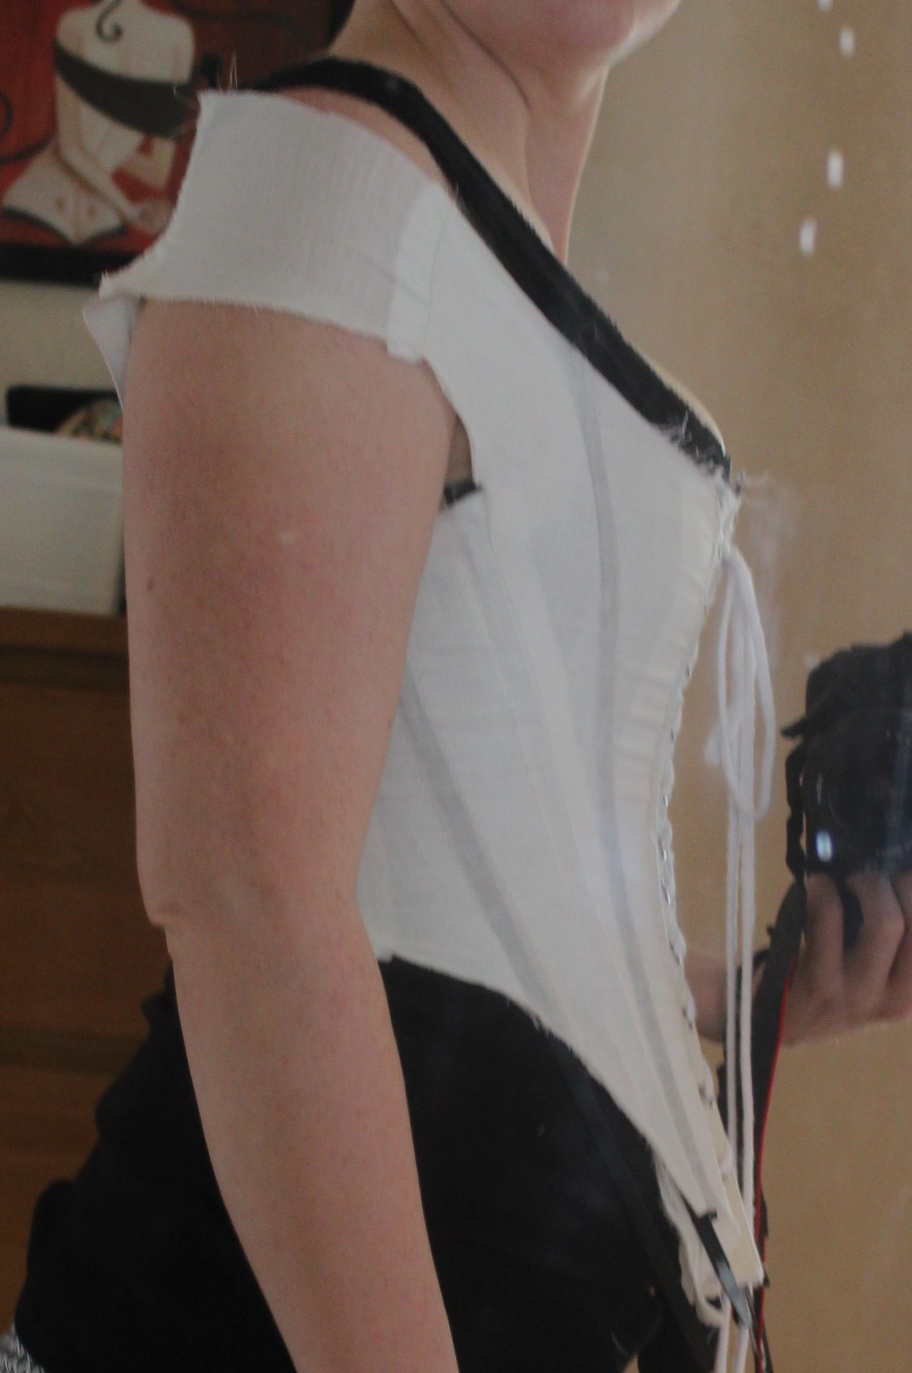
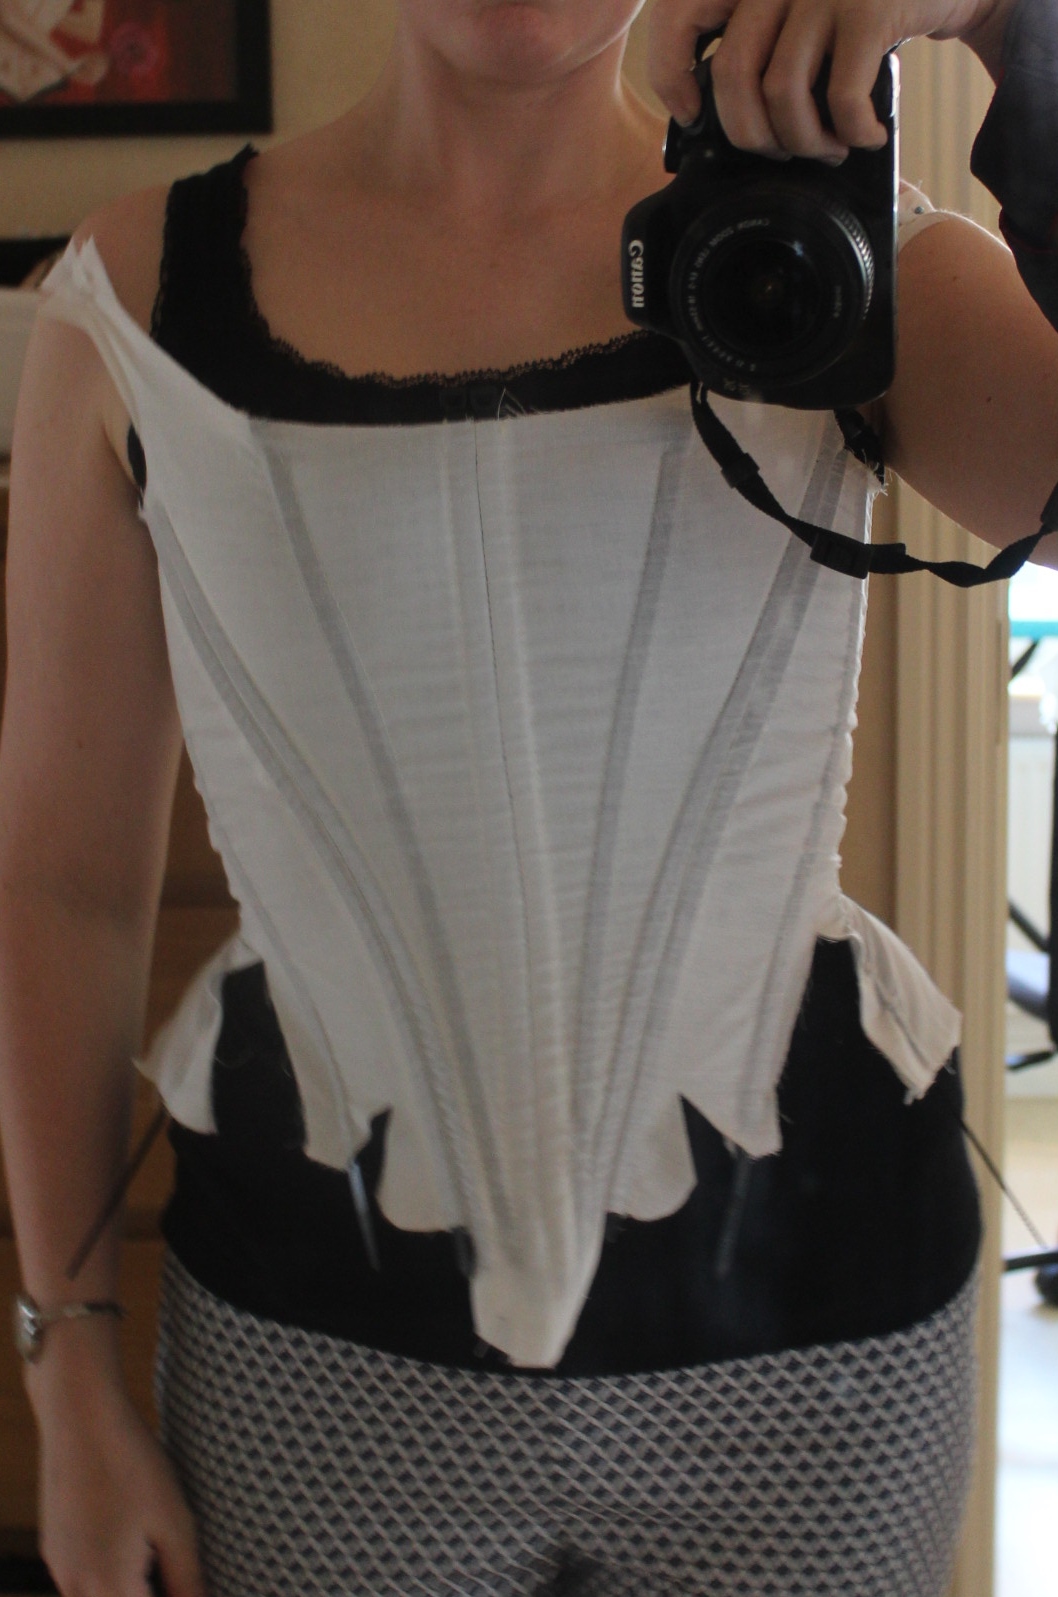
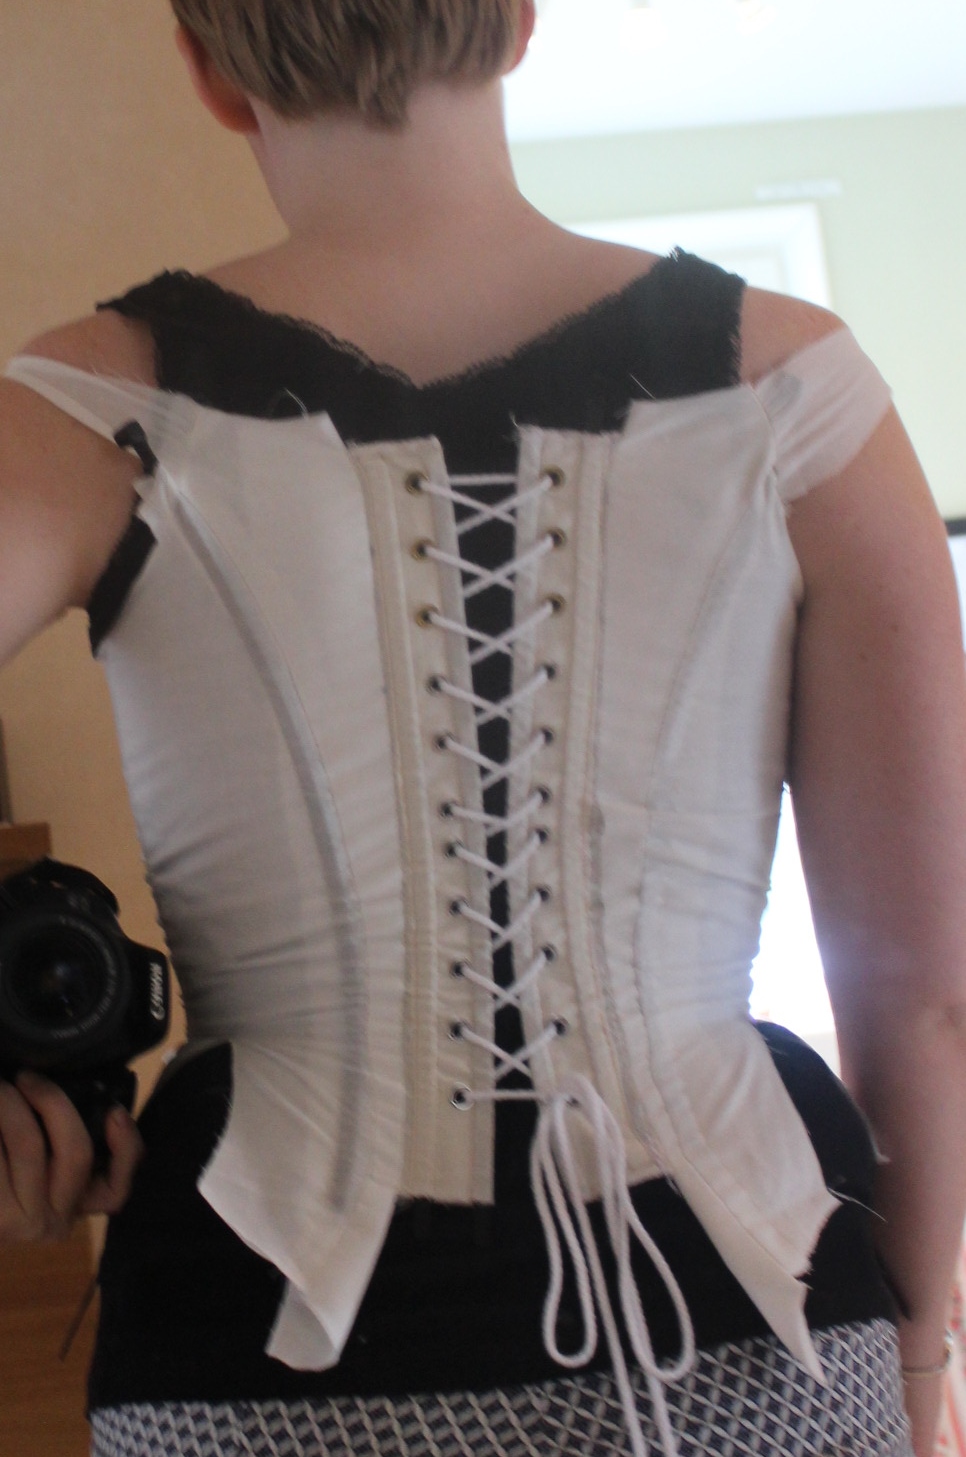
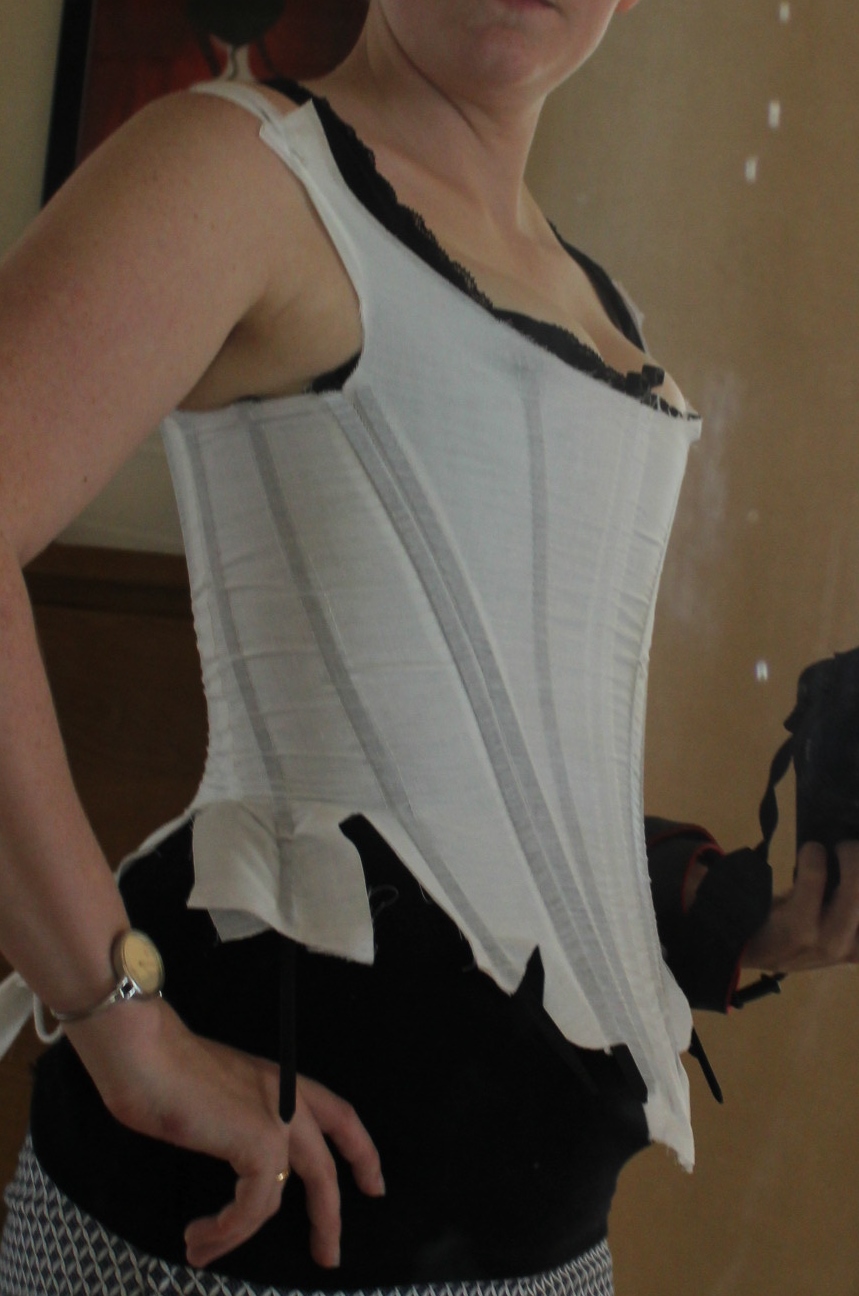
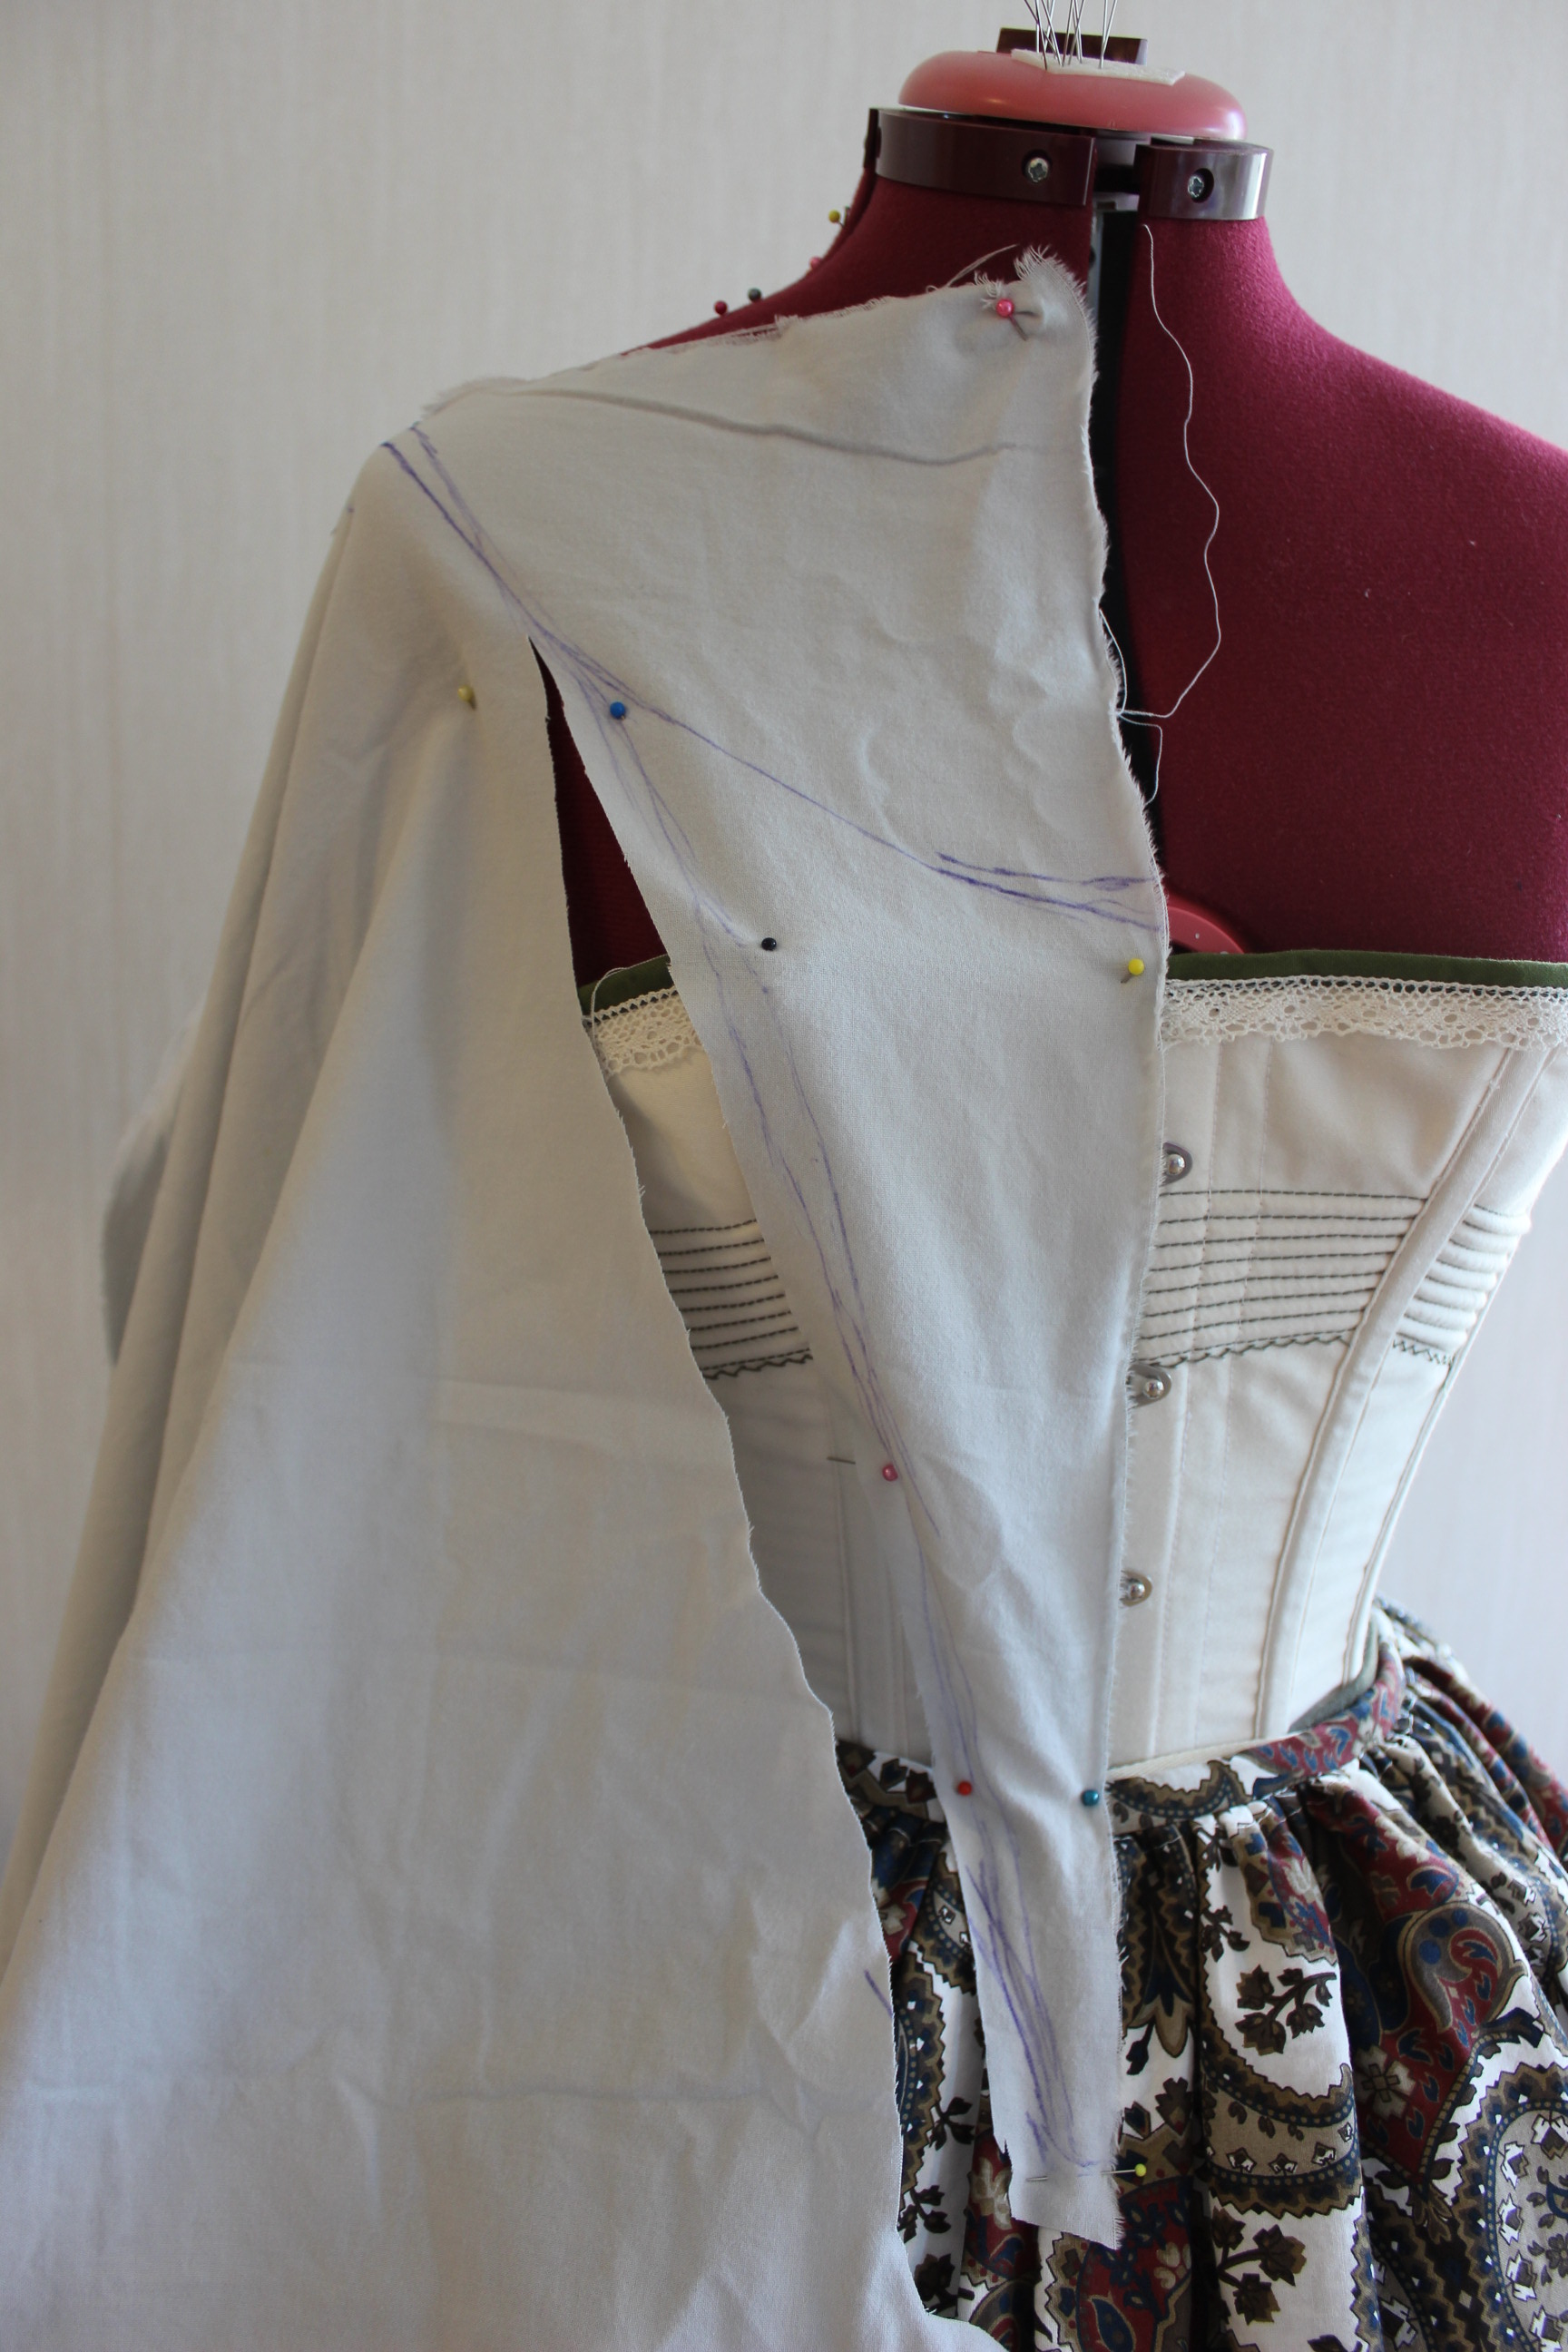
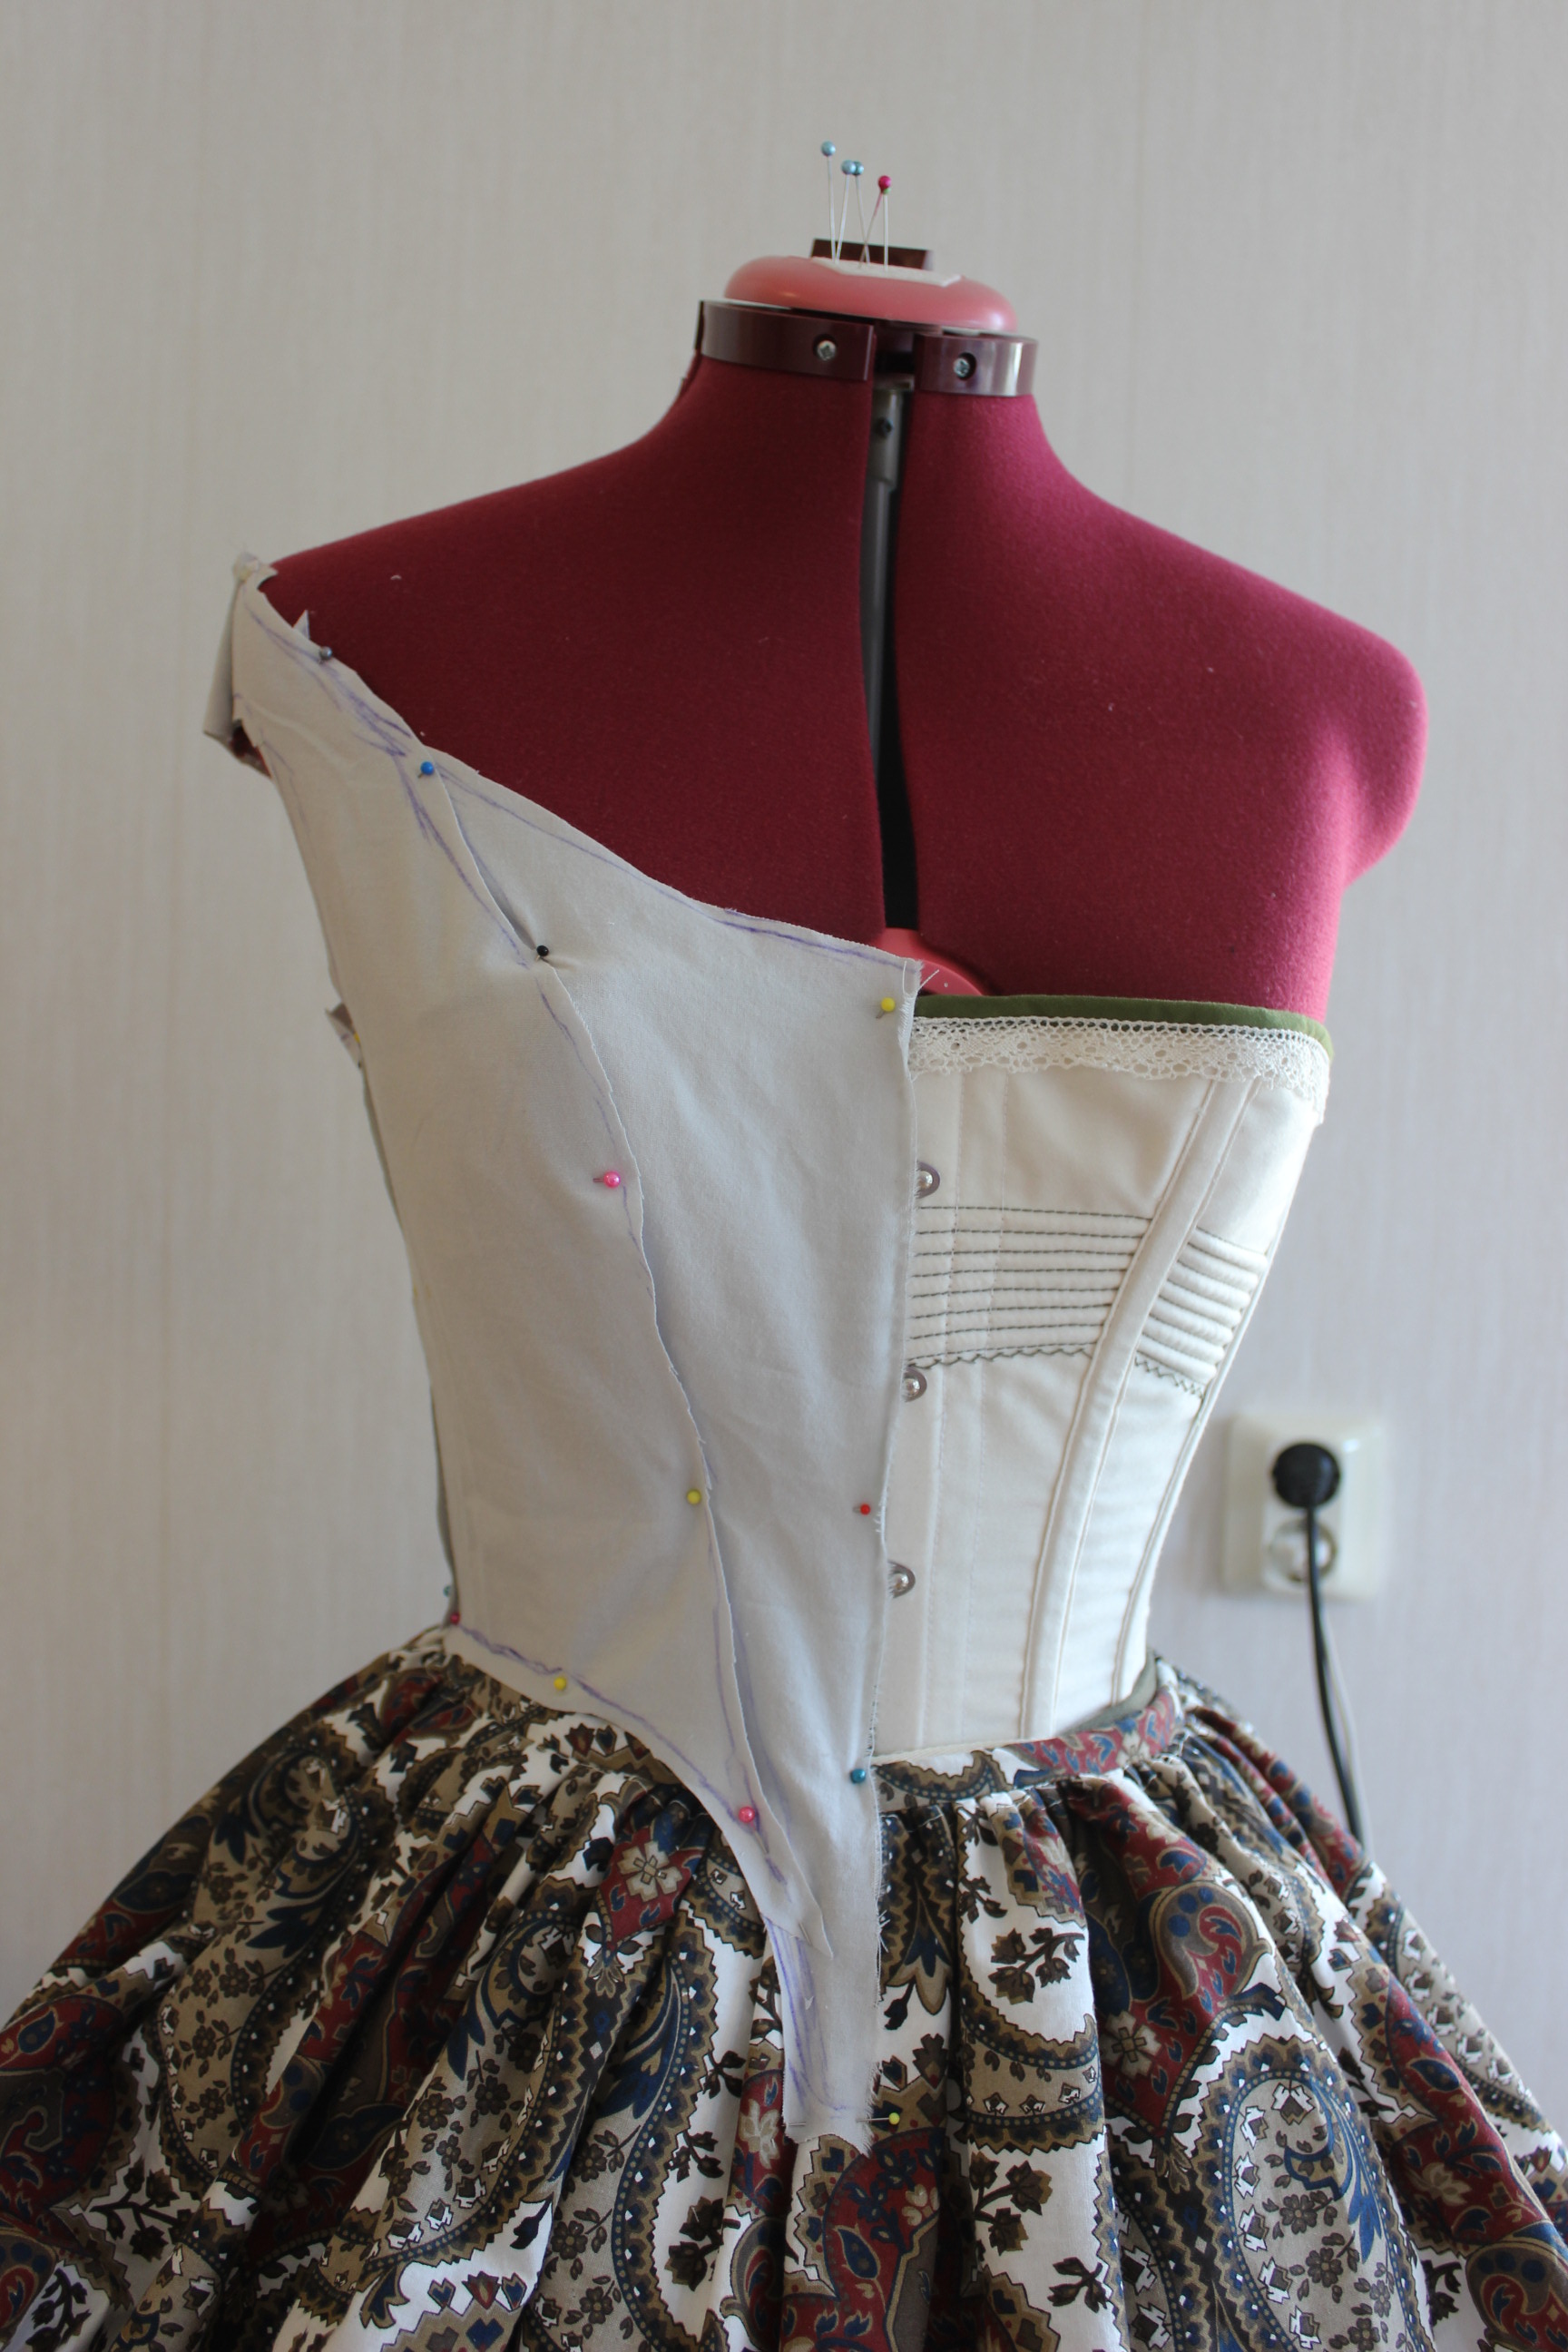
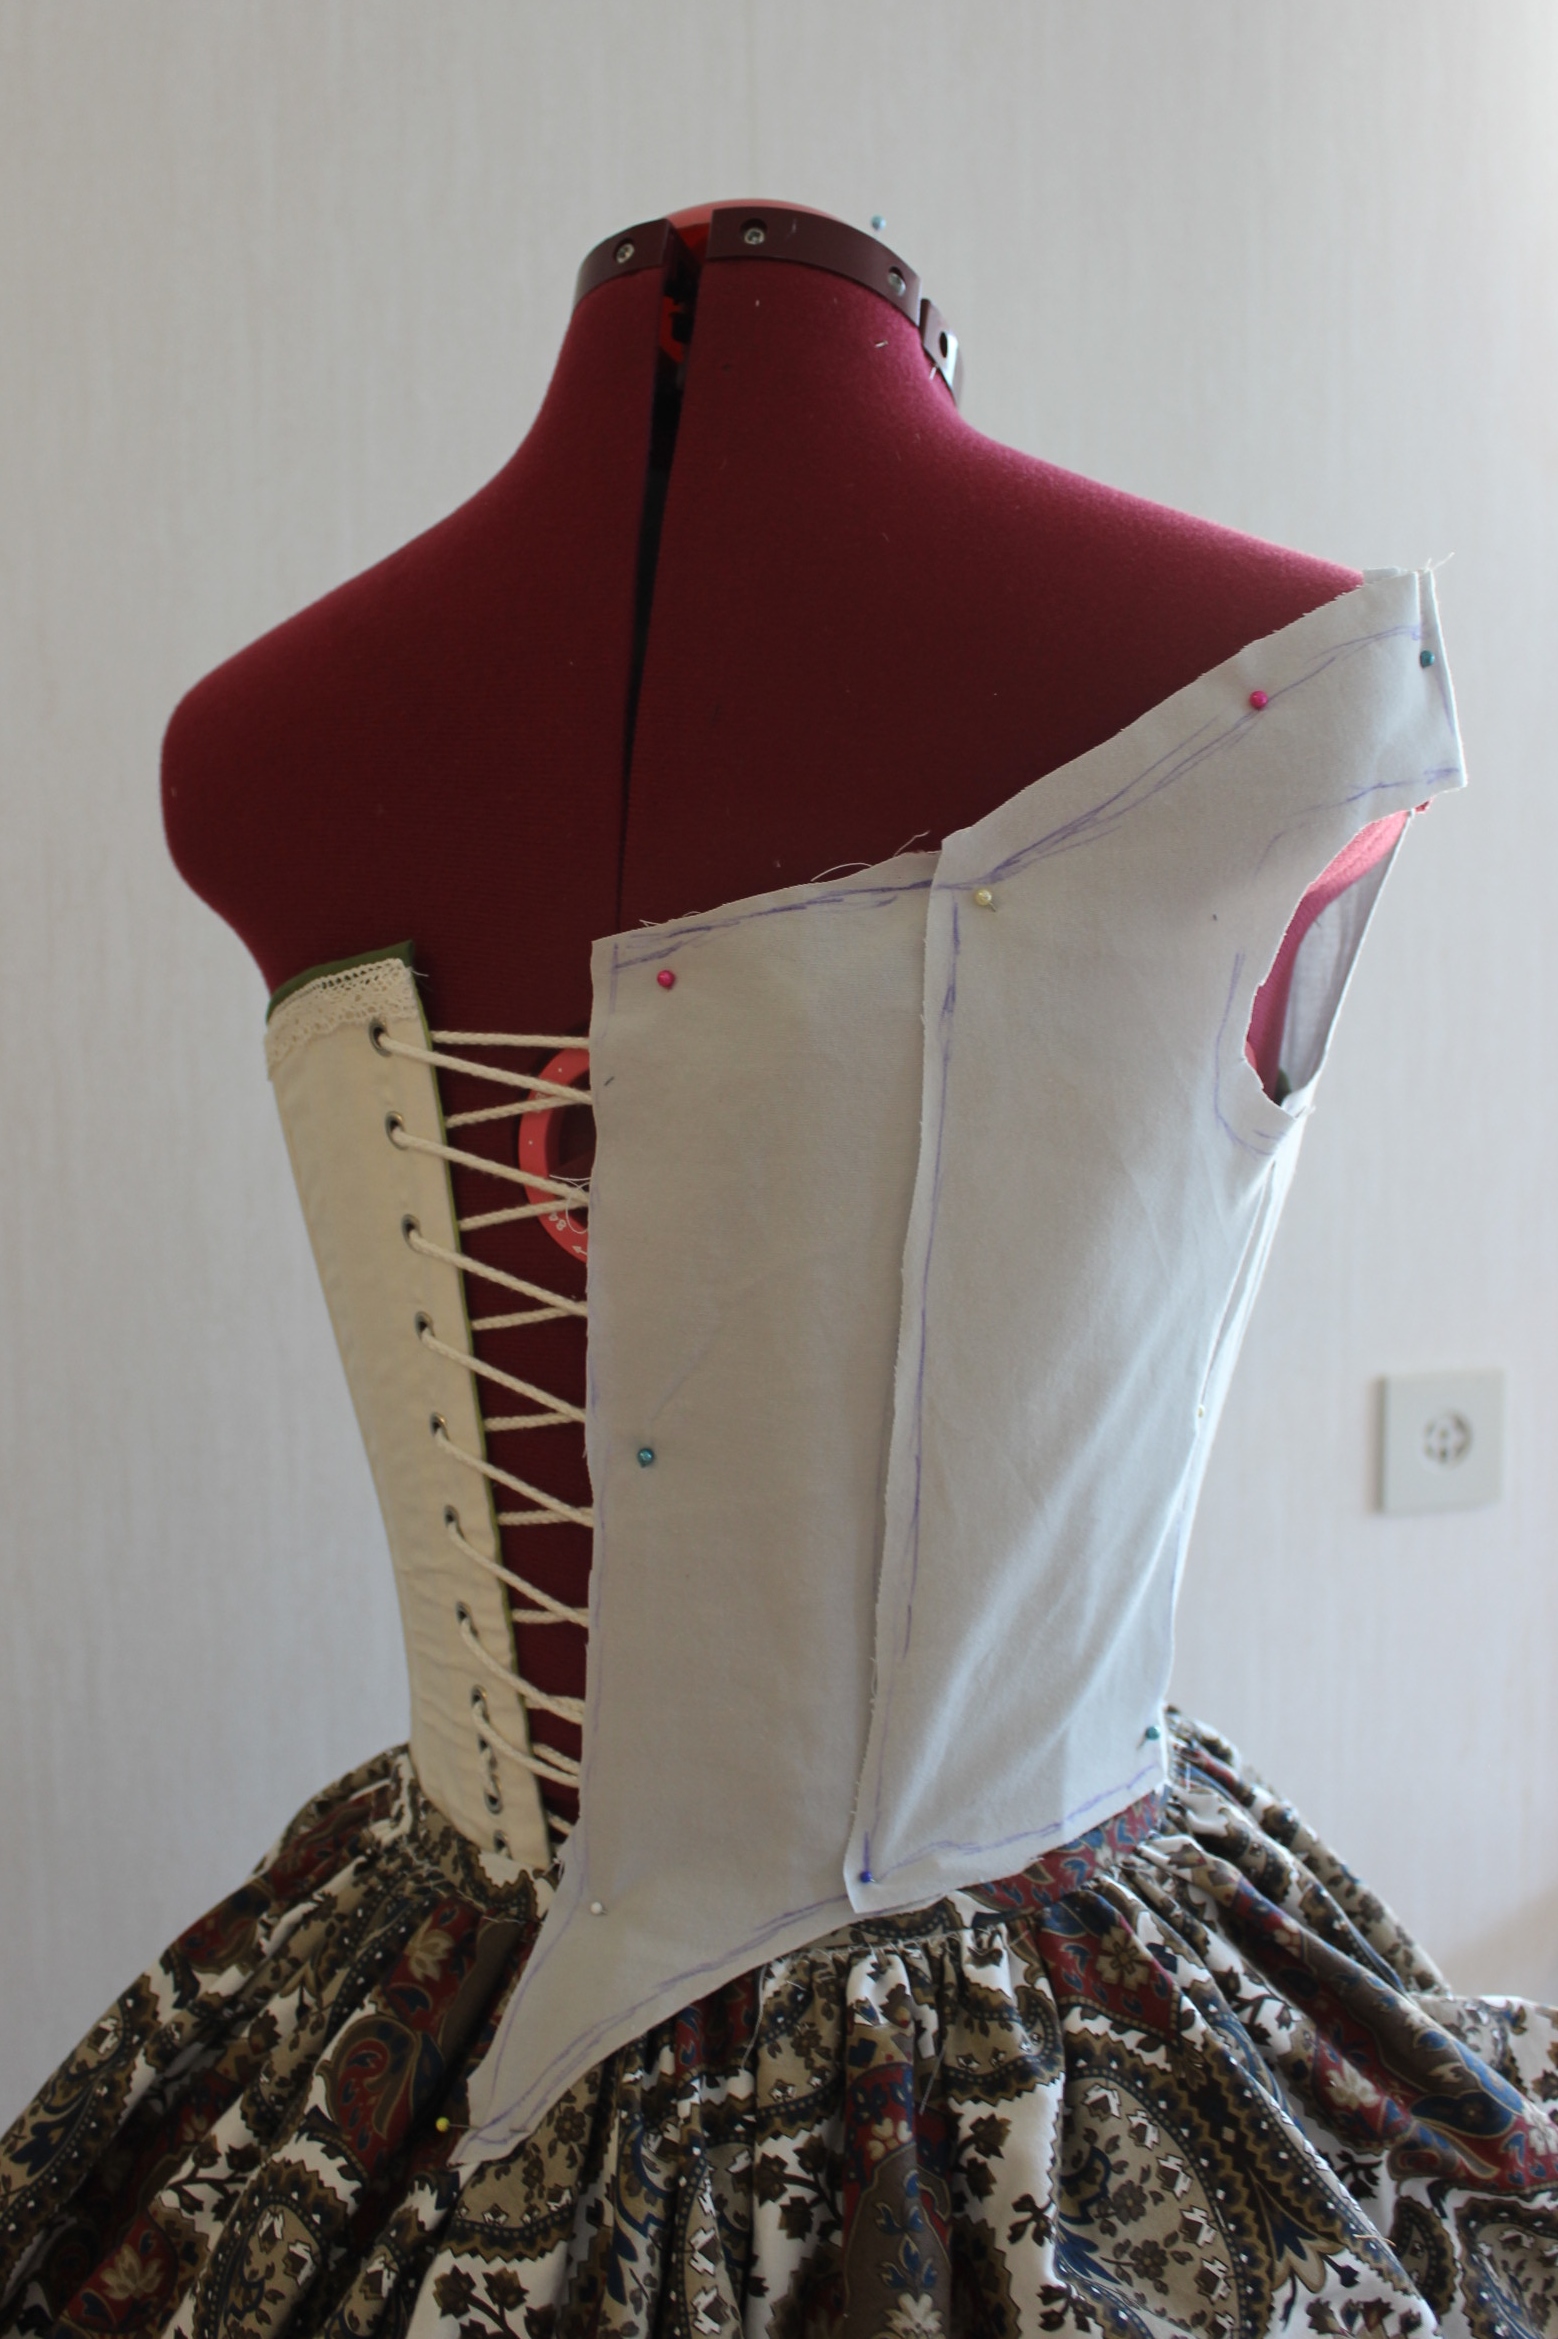
I then sewed the whole bodice together, and dressed in corset and bustle for a try on. 


Hm, not great. Some changes are needed. Like taking the armhole and shoulder seams in a bit. I also need to re-shape the front a bit, and make the neck opening a bit lower and bigger.
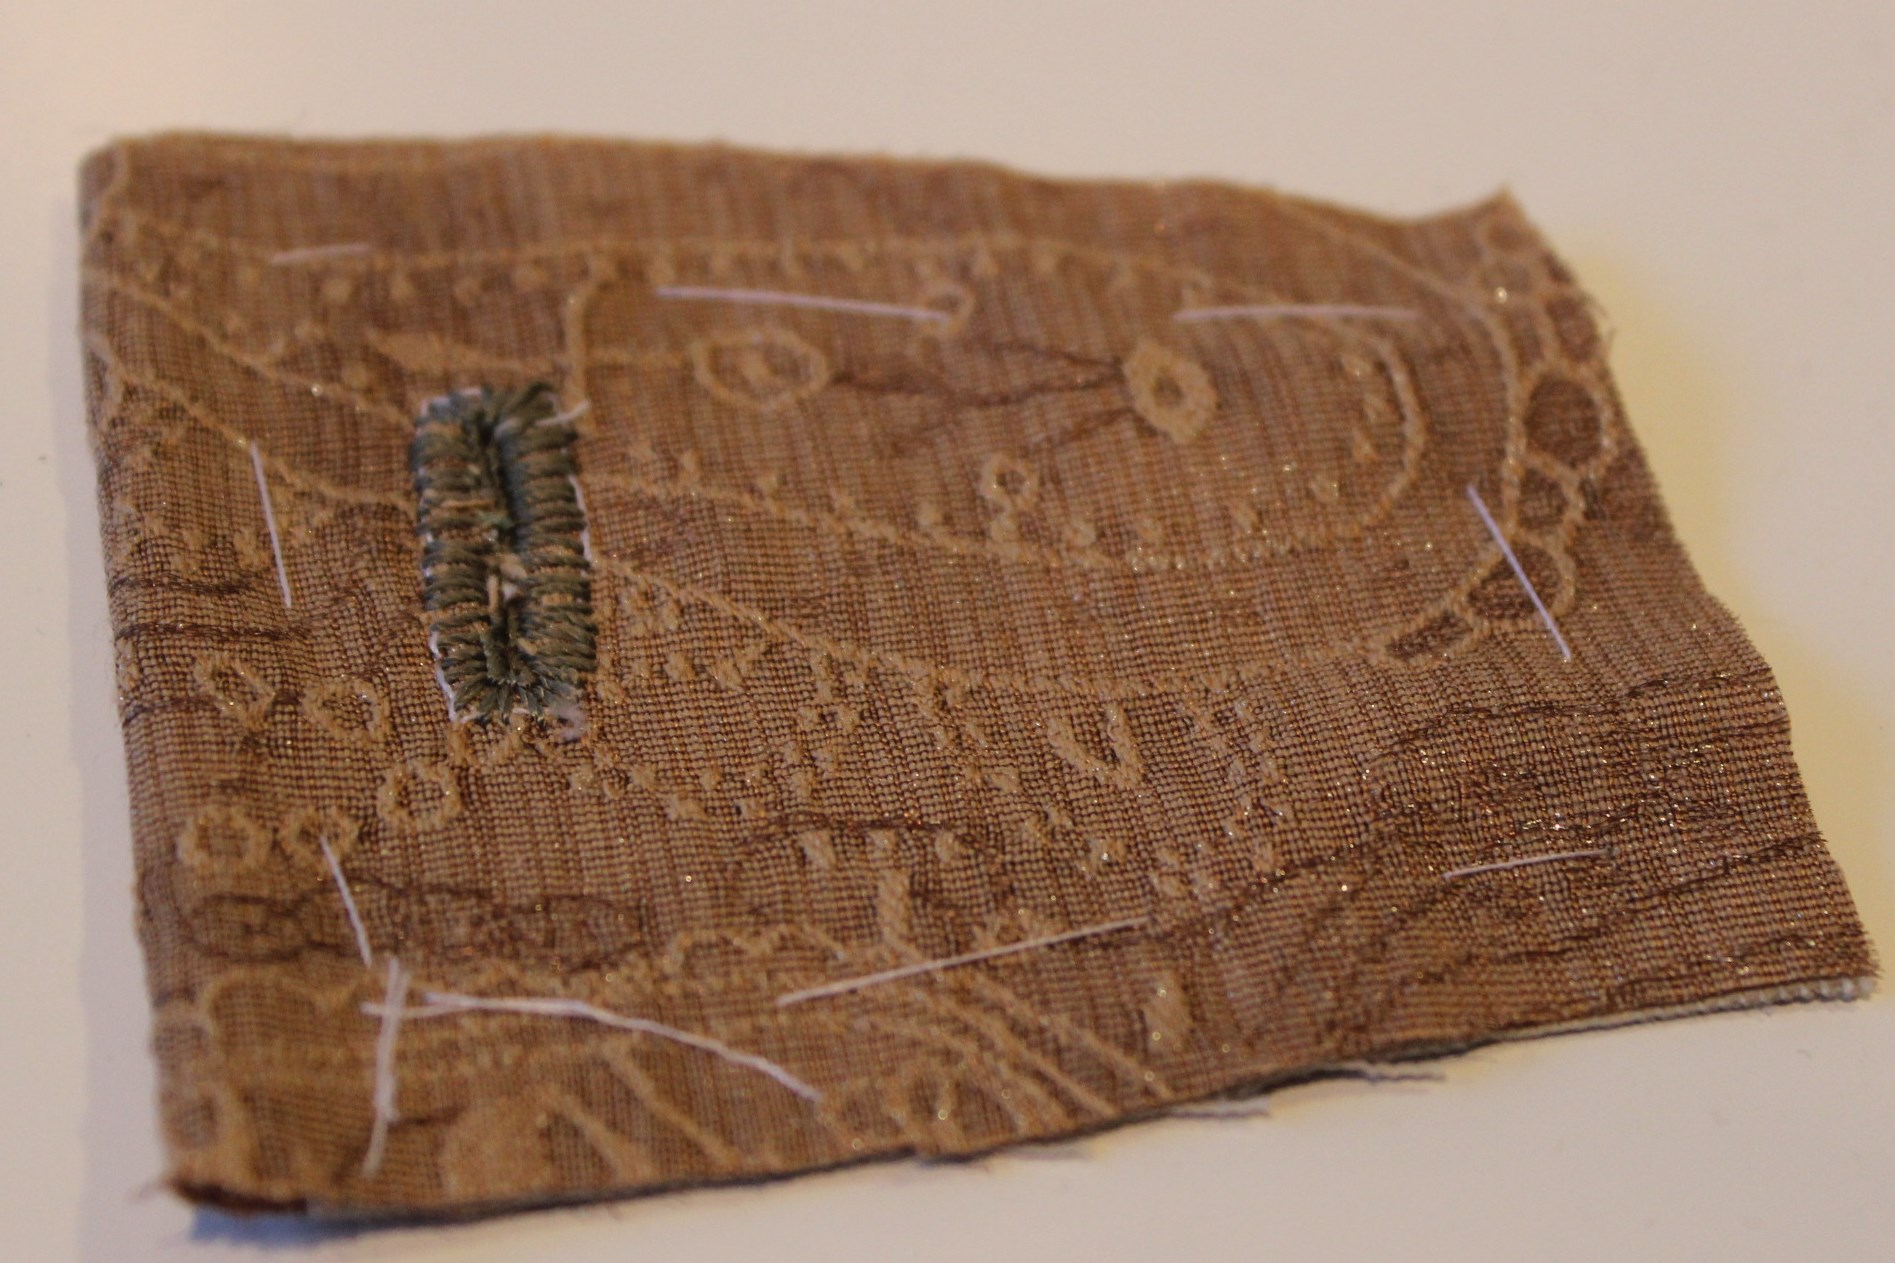
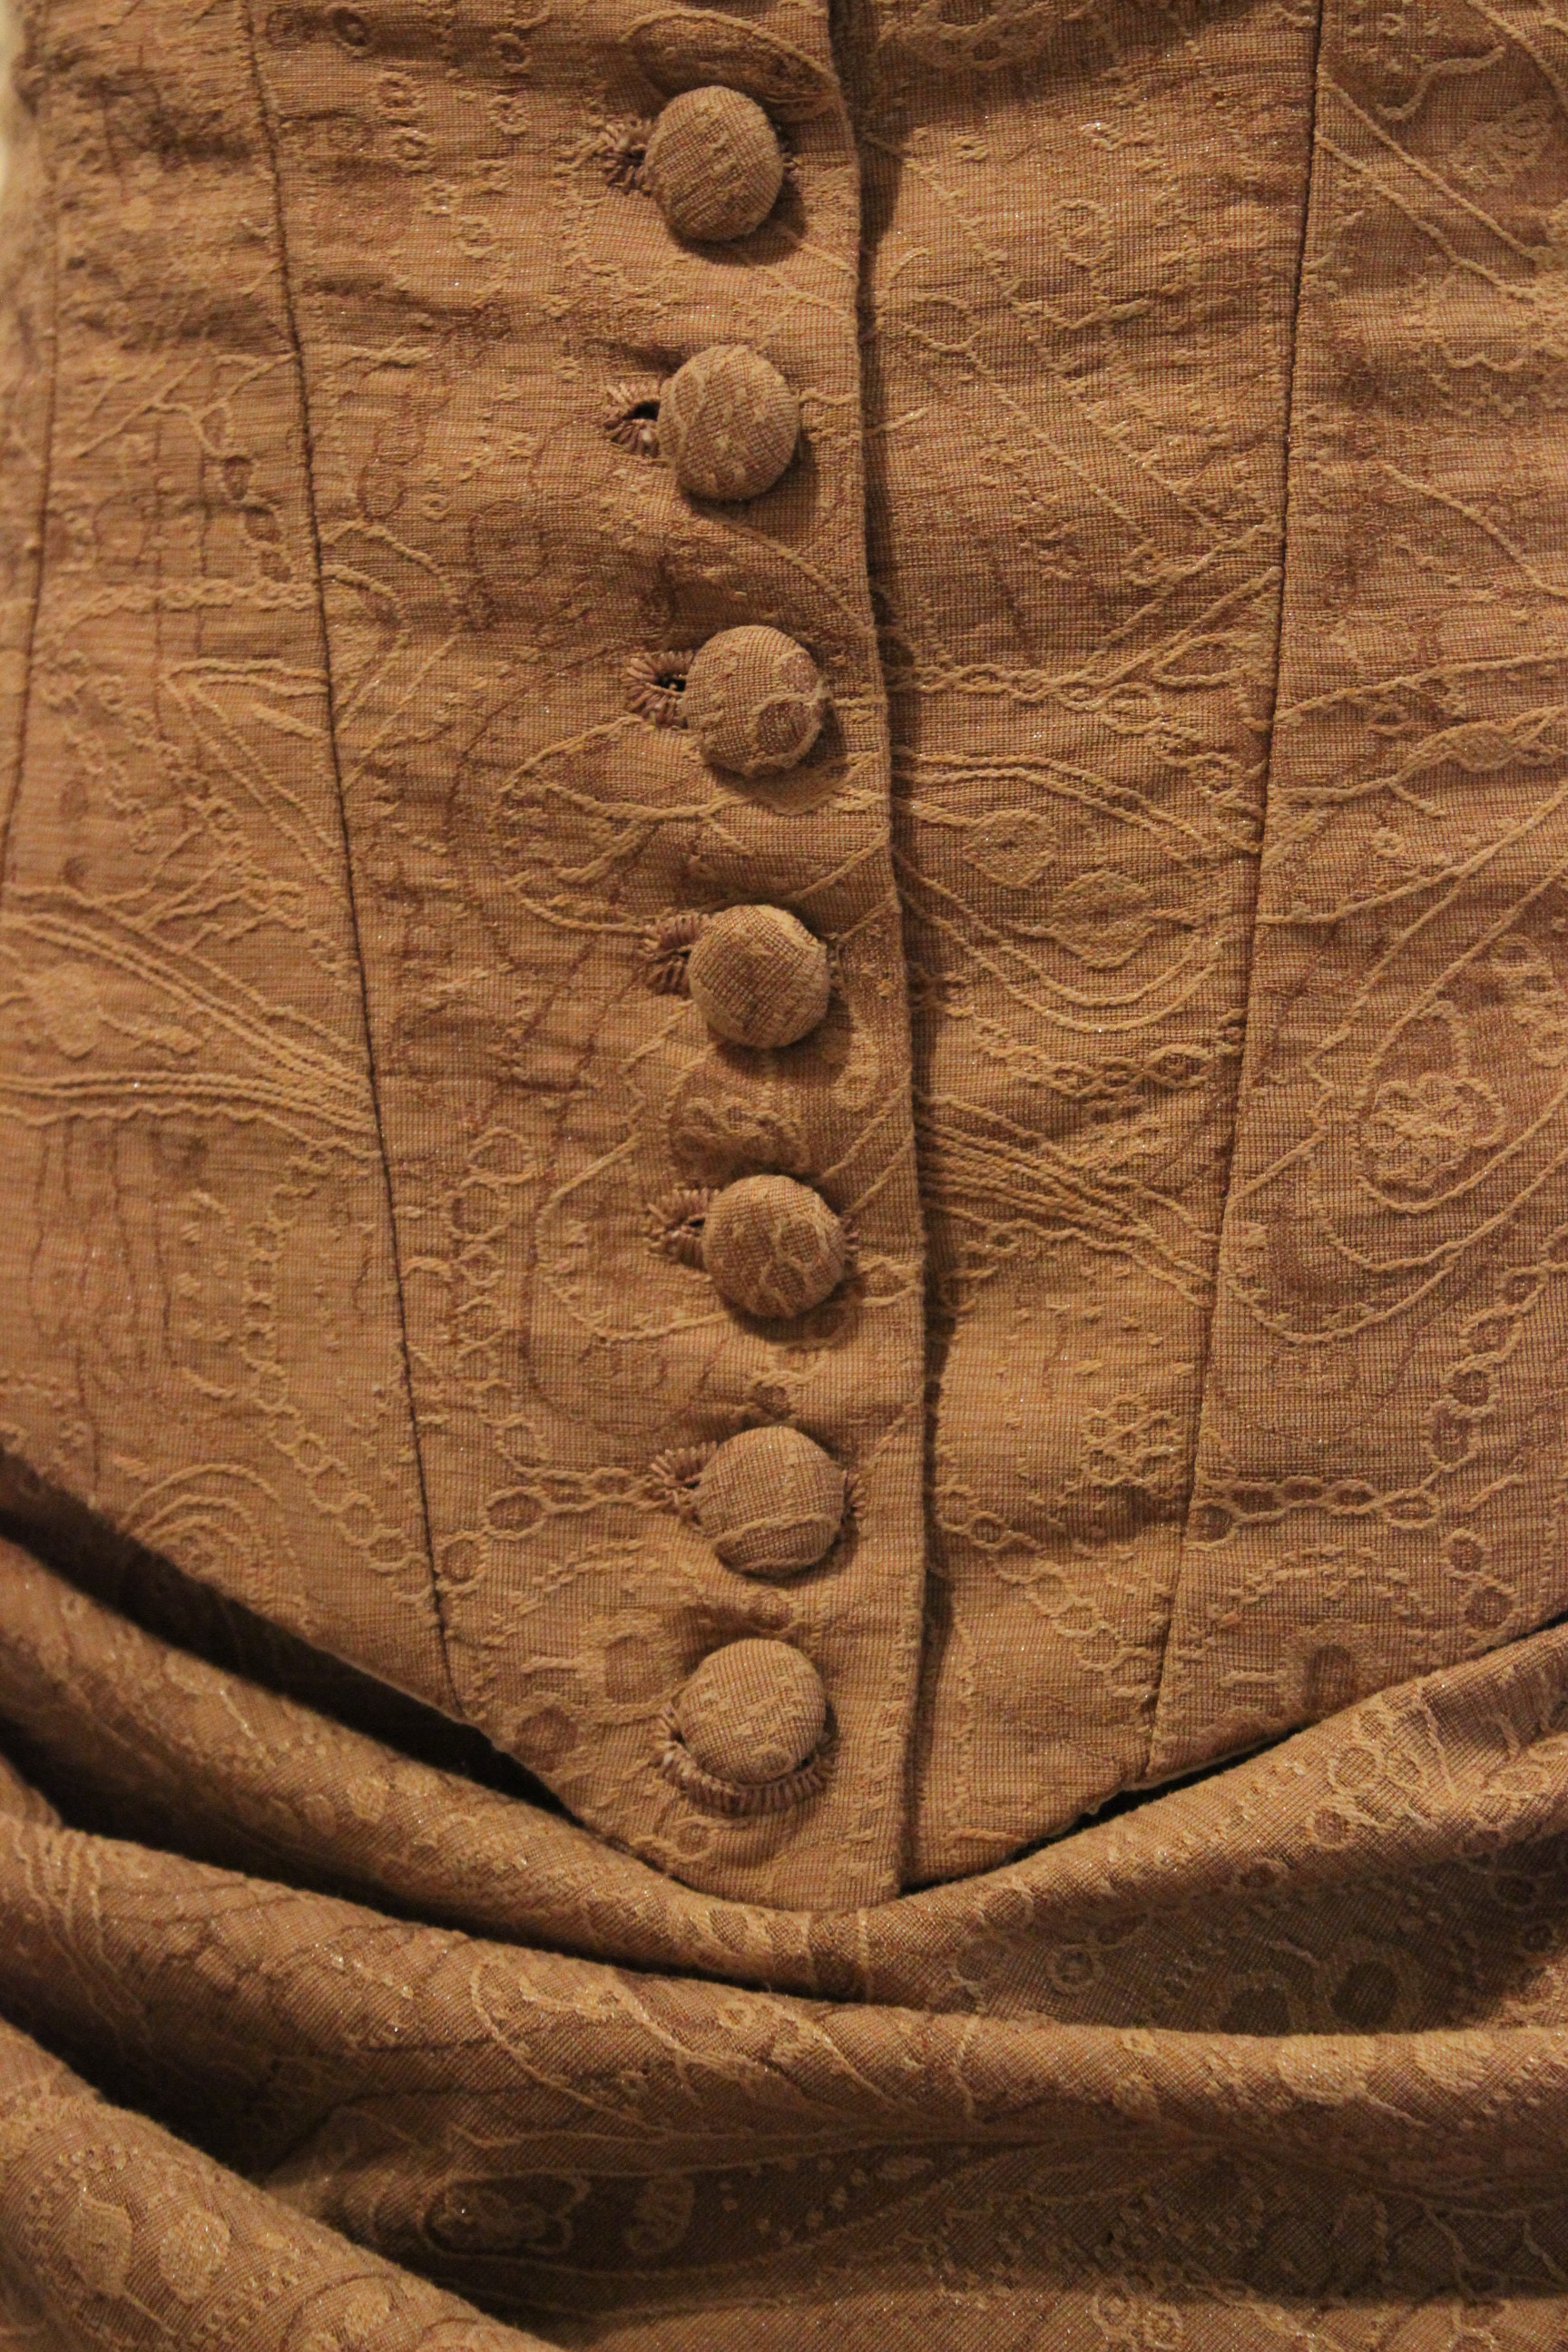
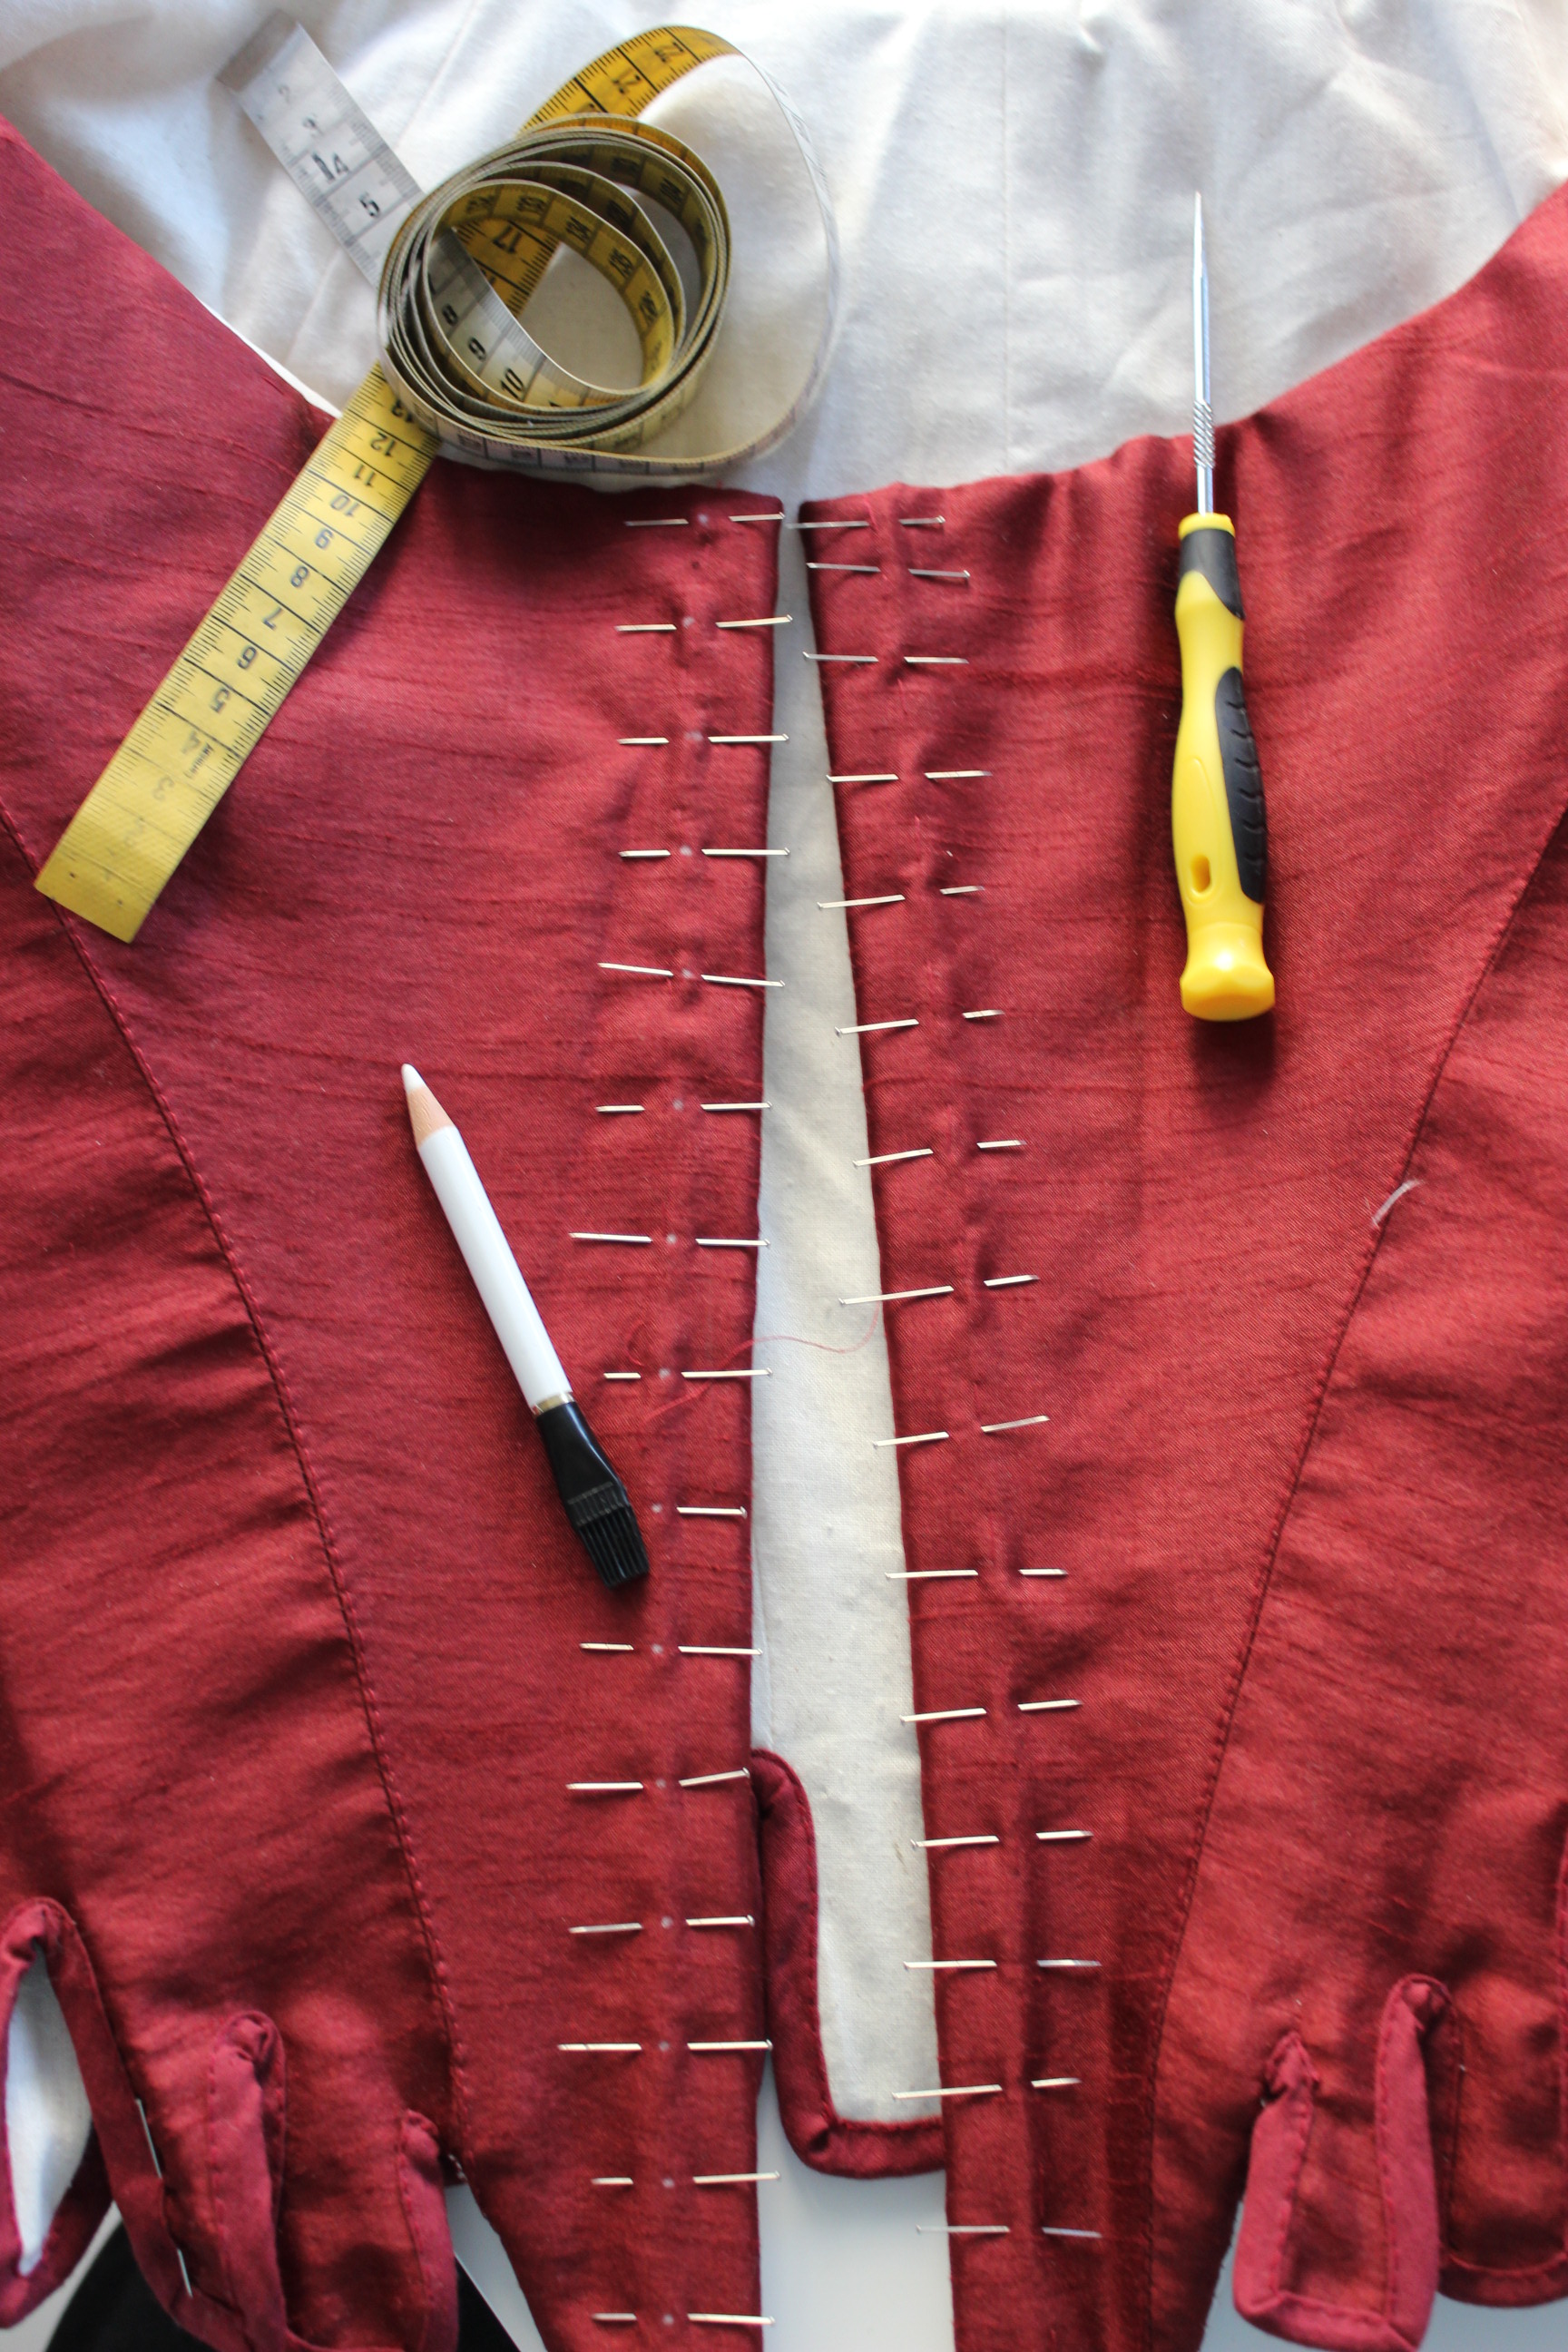
Once all the changes was made, it was time for the buttonholes. I started by practice on a piece of scrap fabric, and it looks pretty decent (if you ignore the green thread).
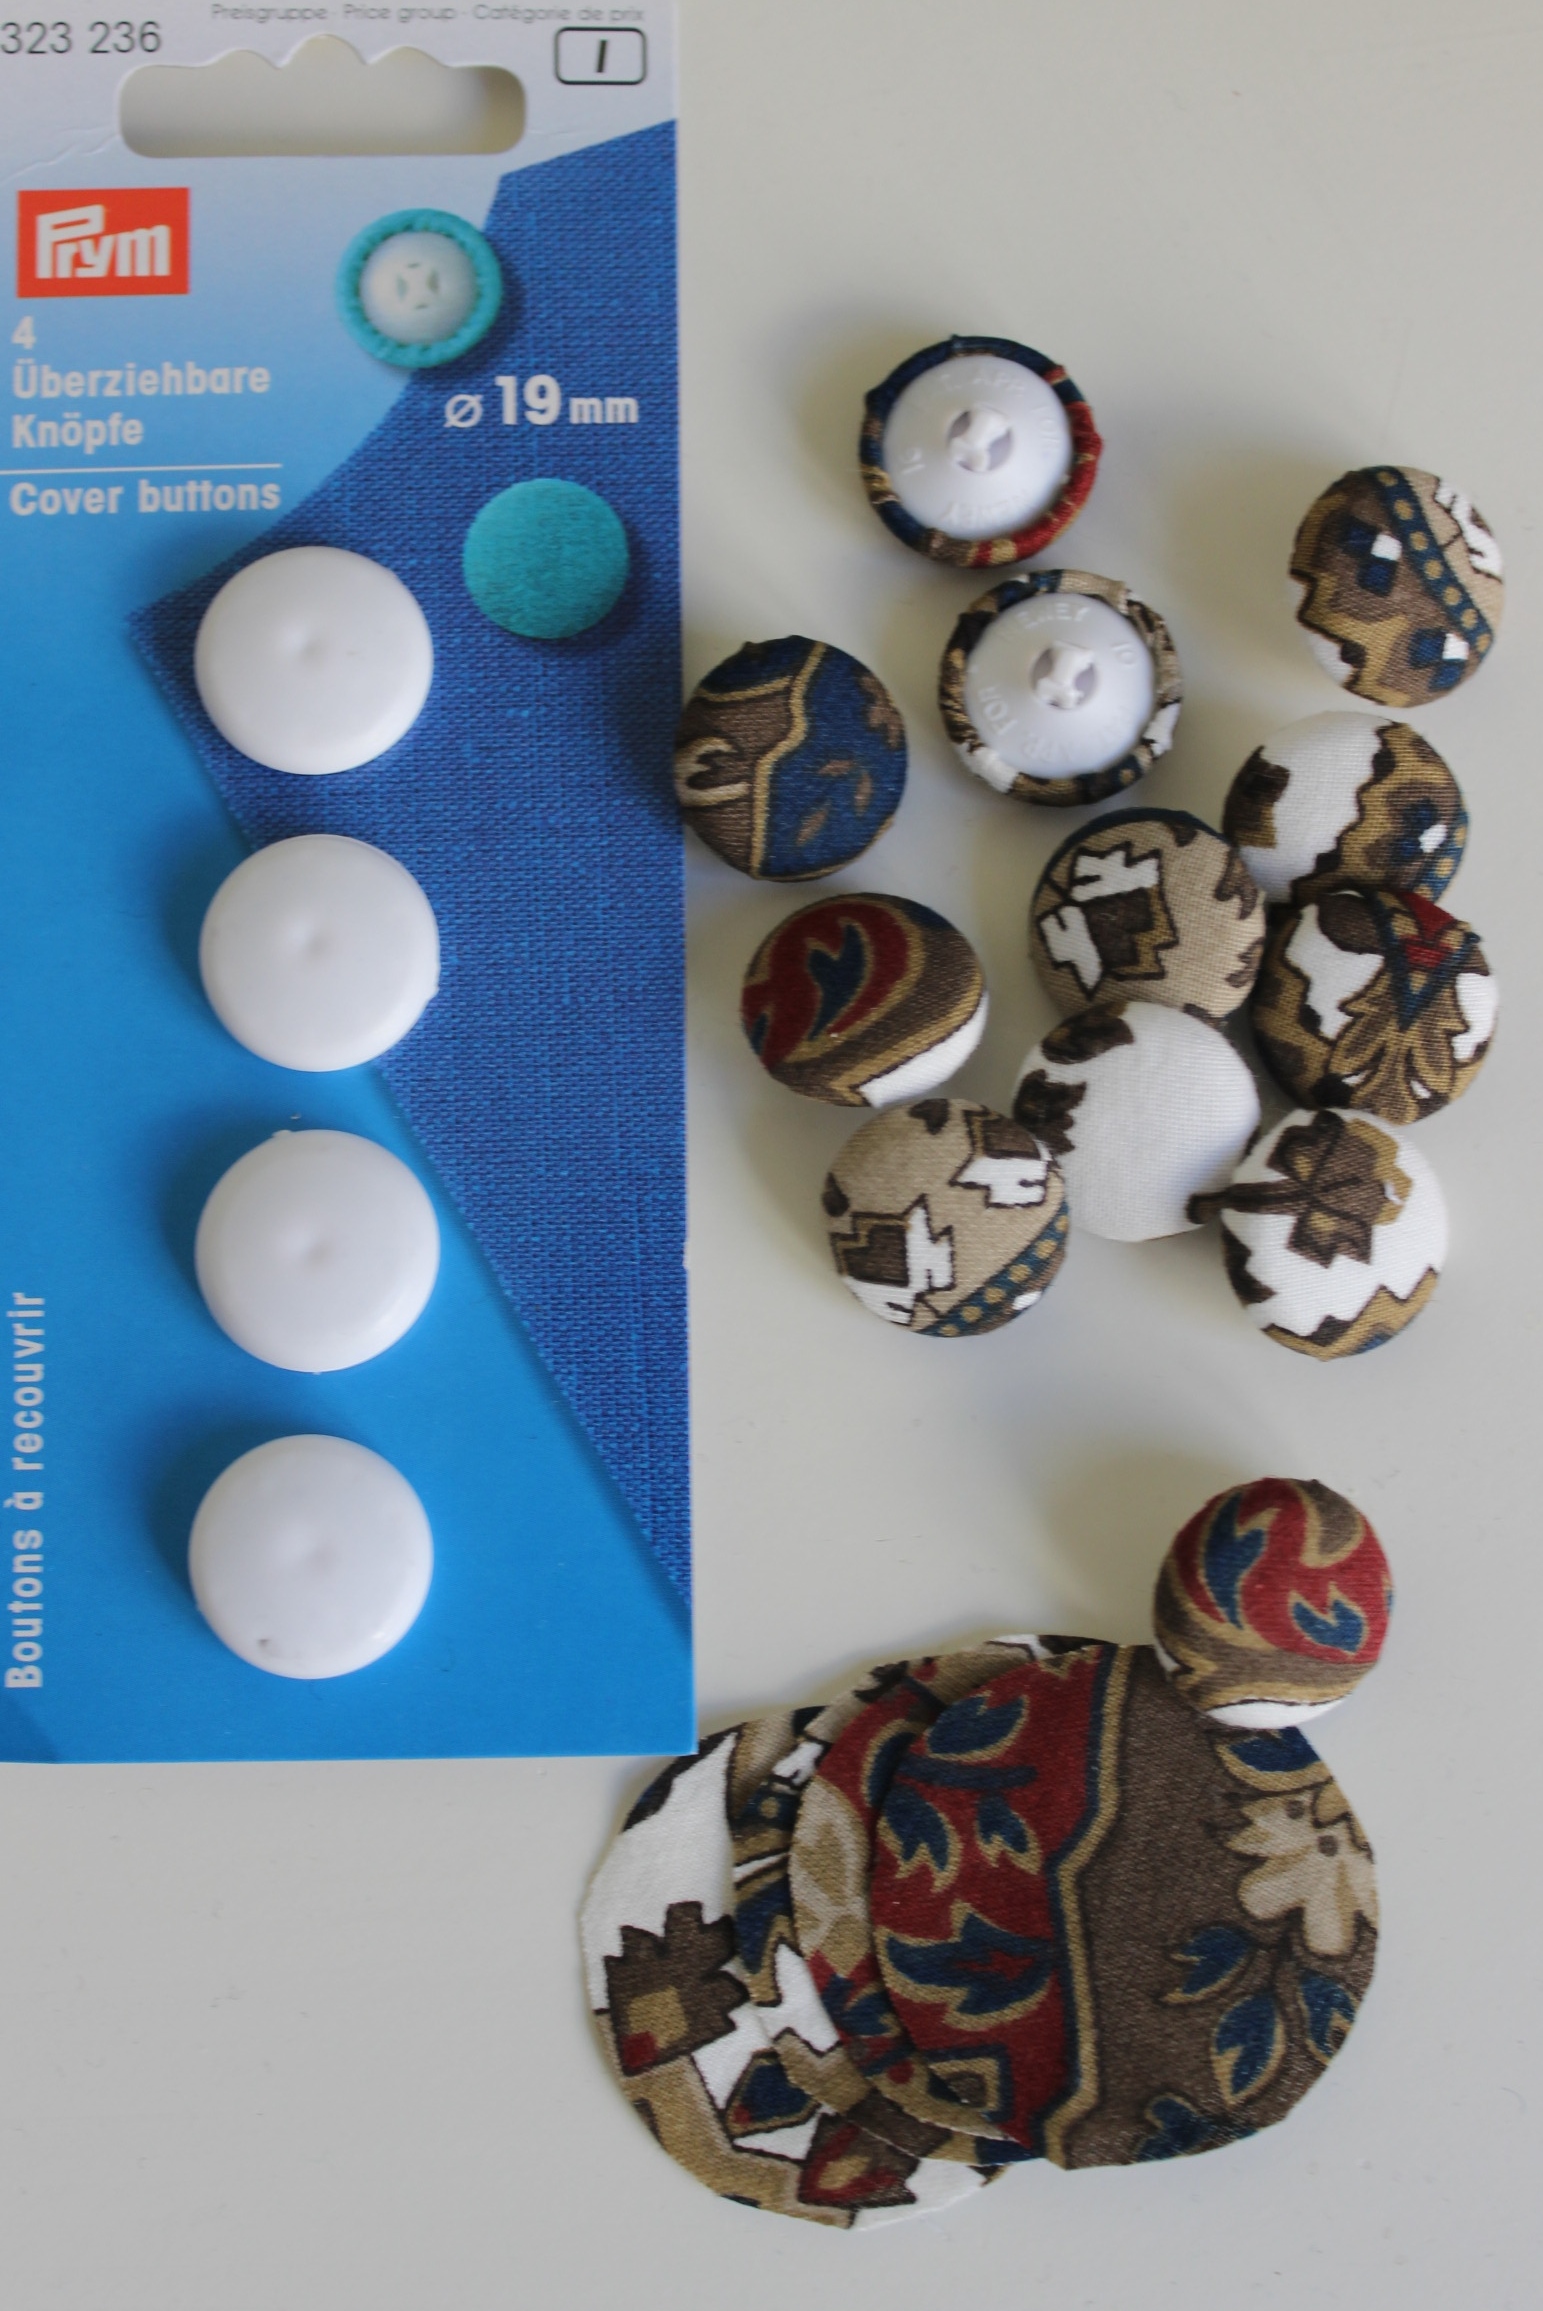
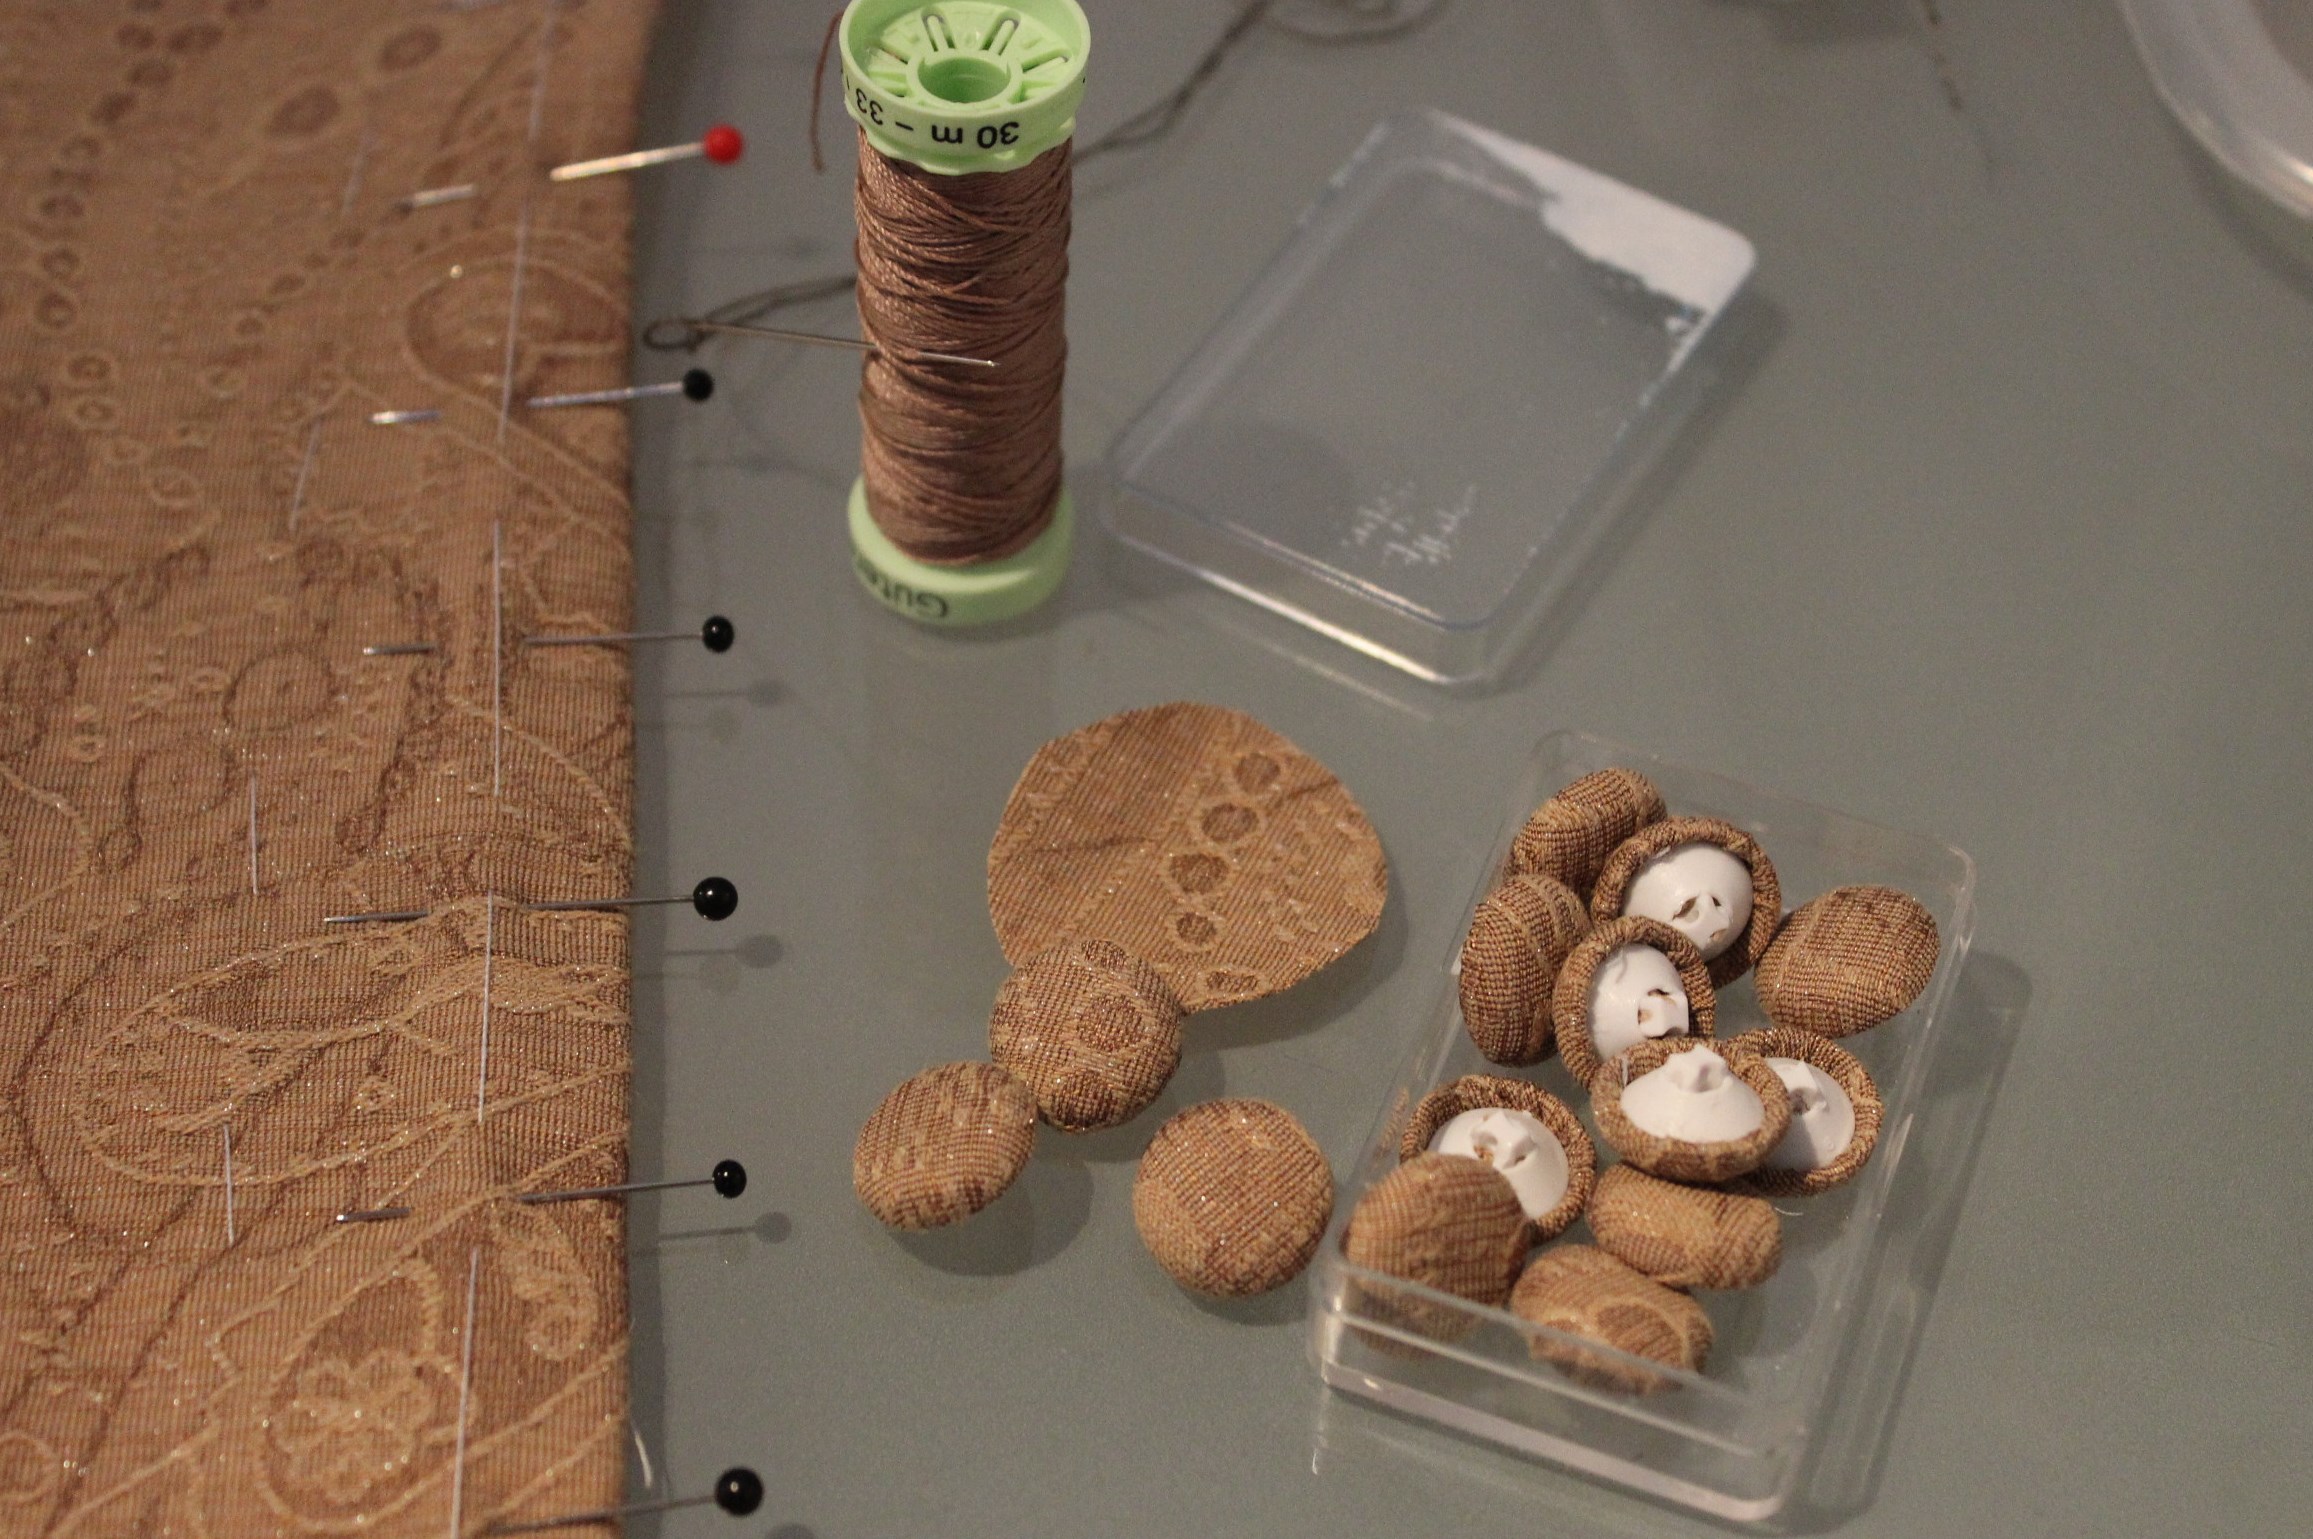
So, on to the real deal. Marking the spaces and finish covering the buttons.
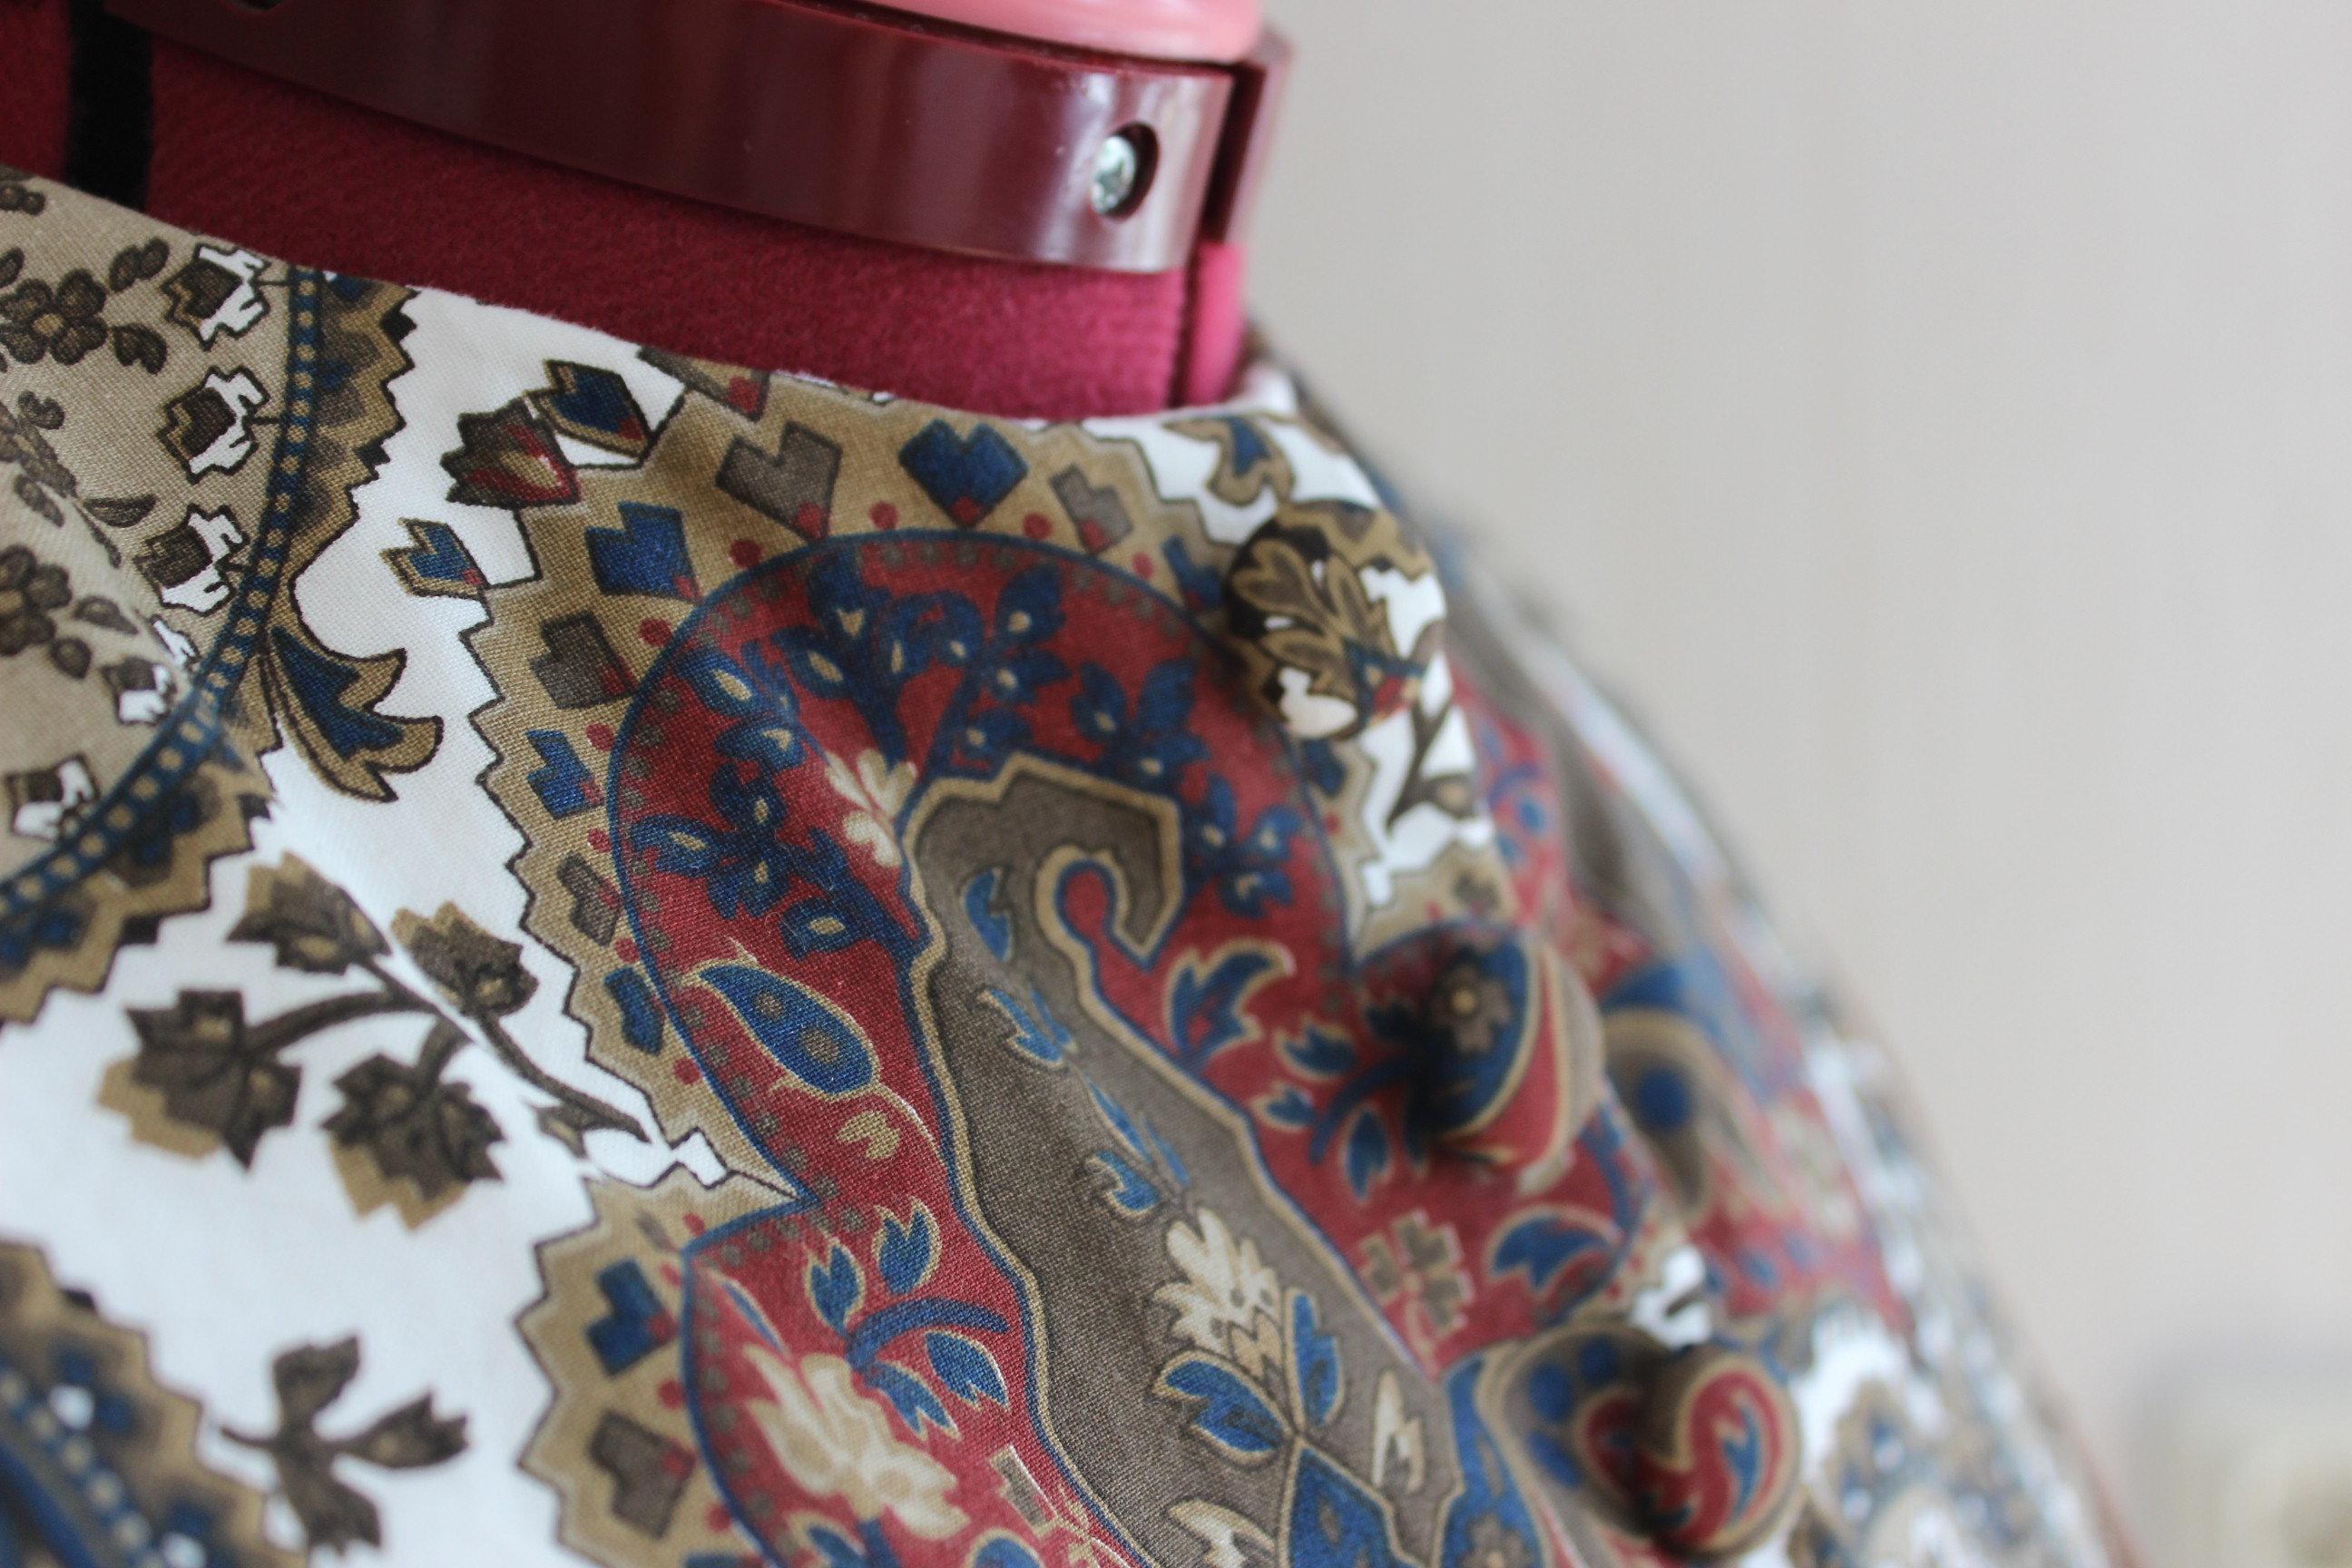
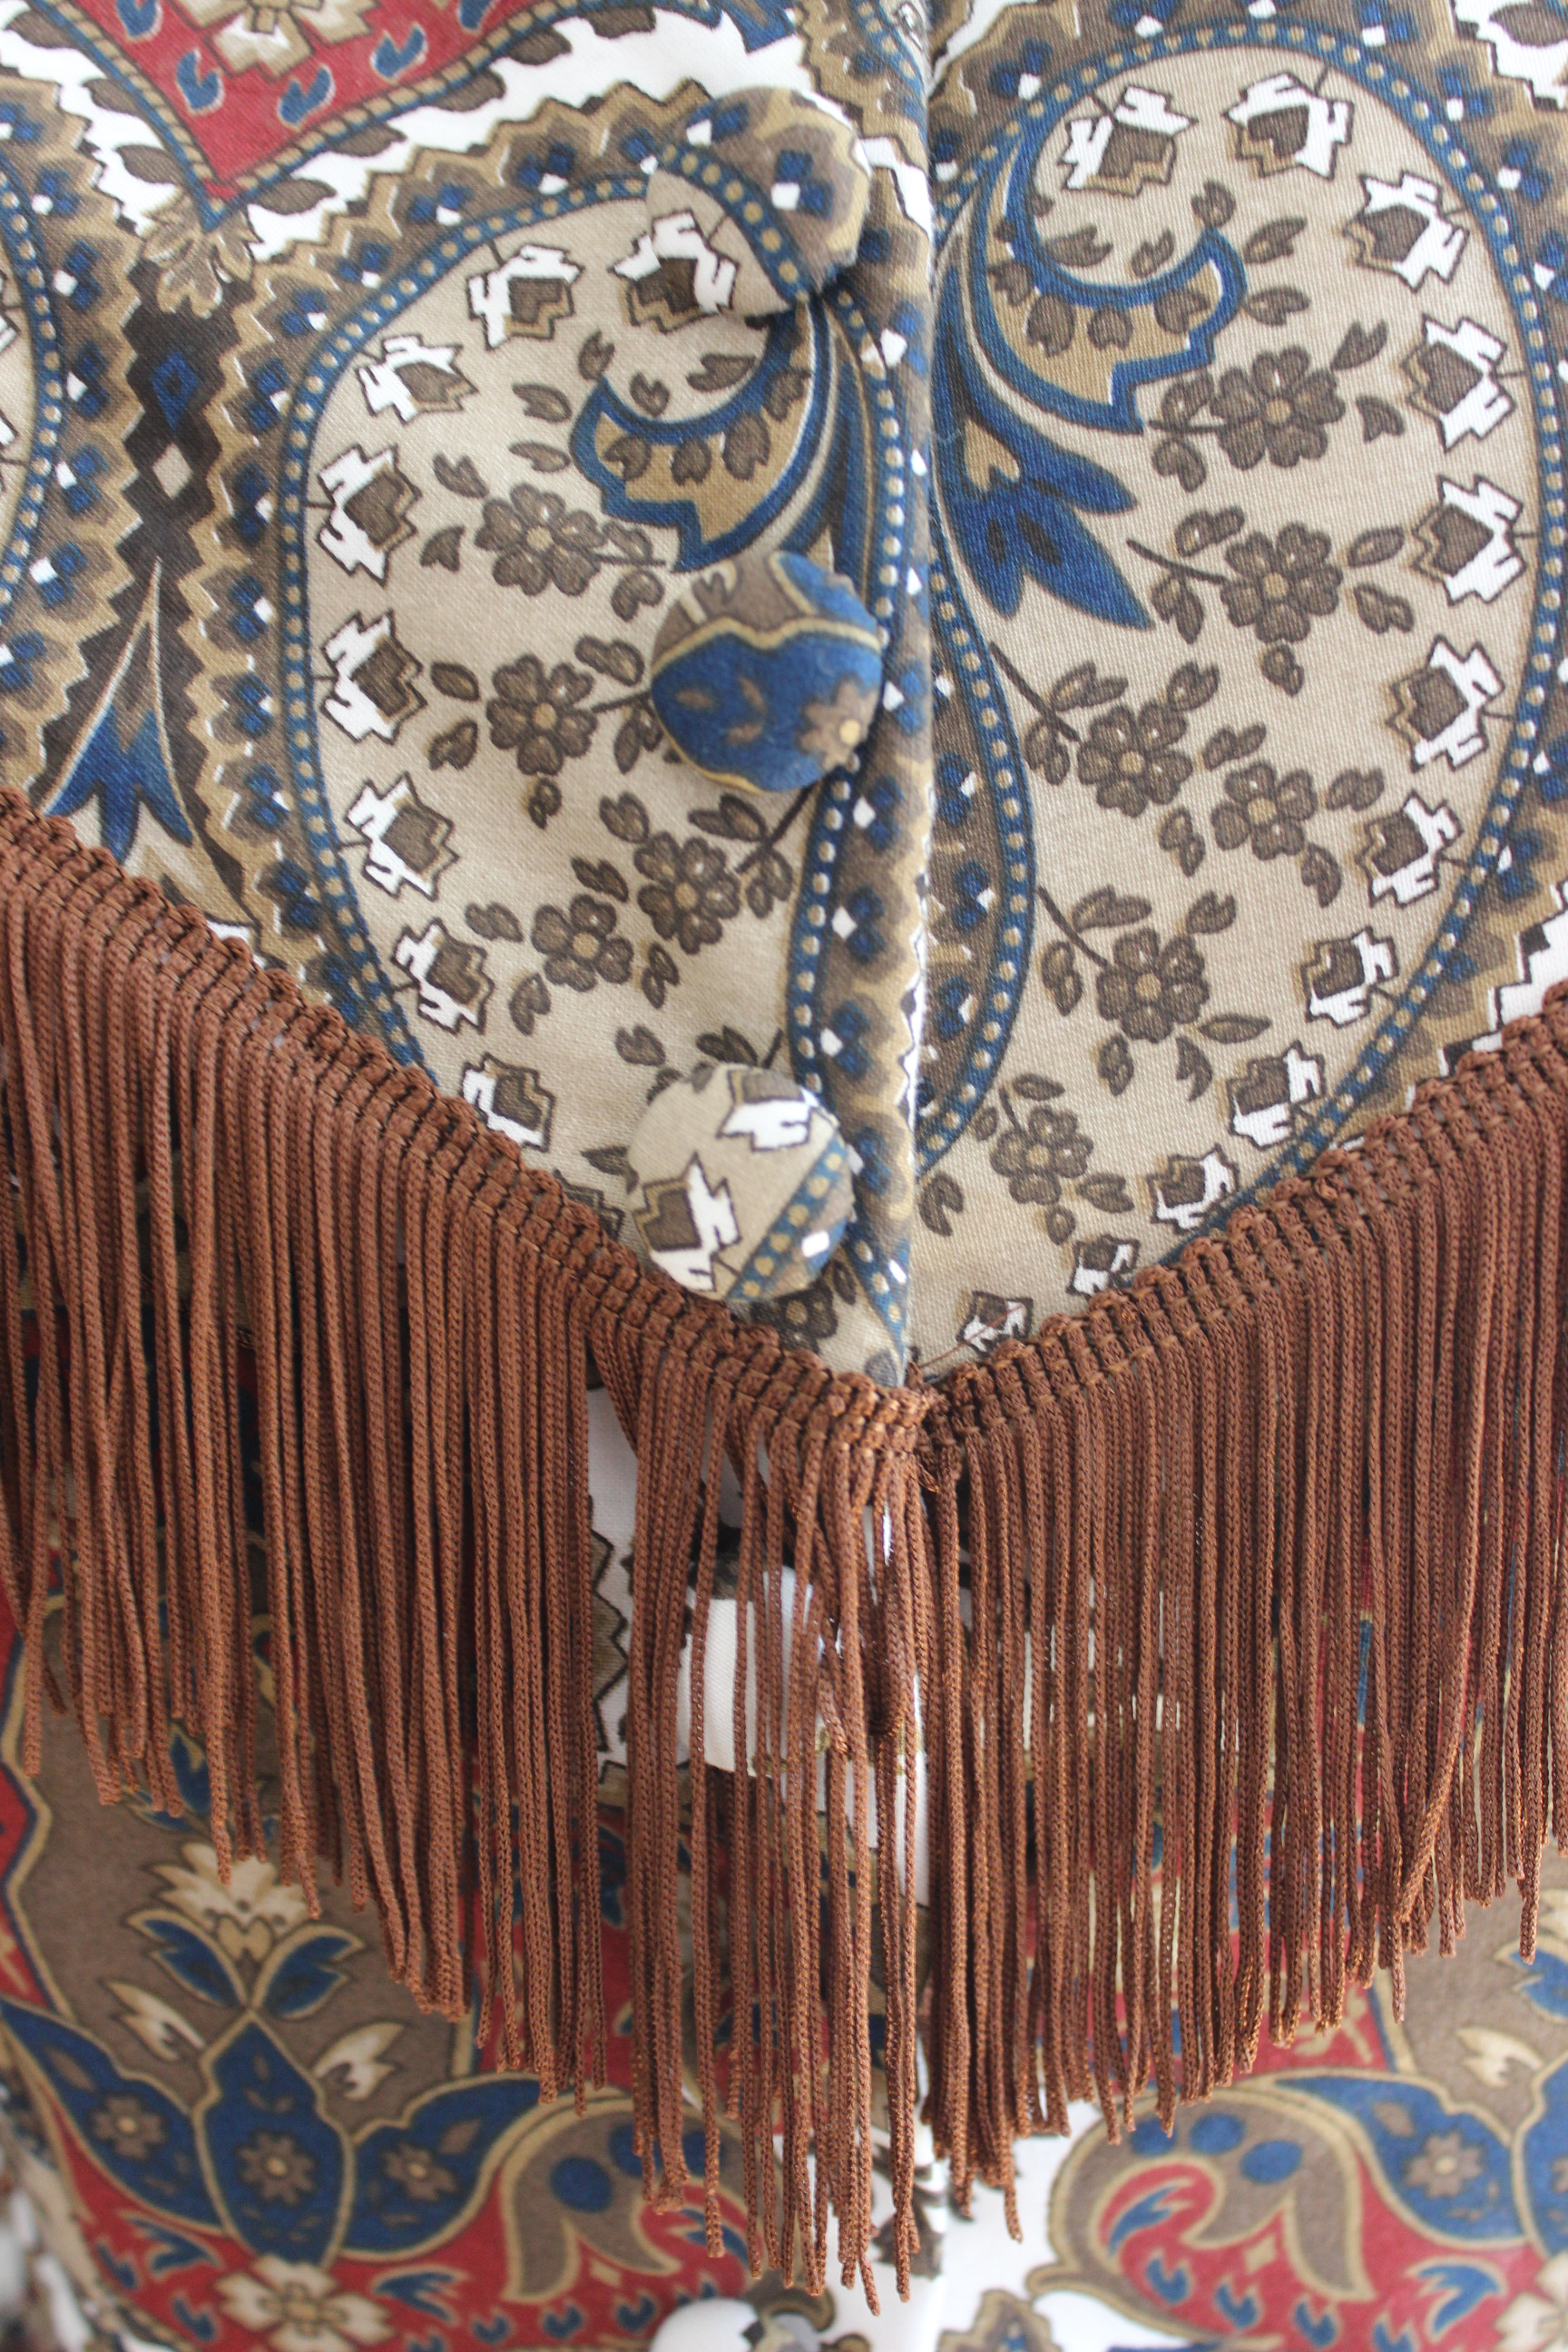
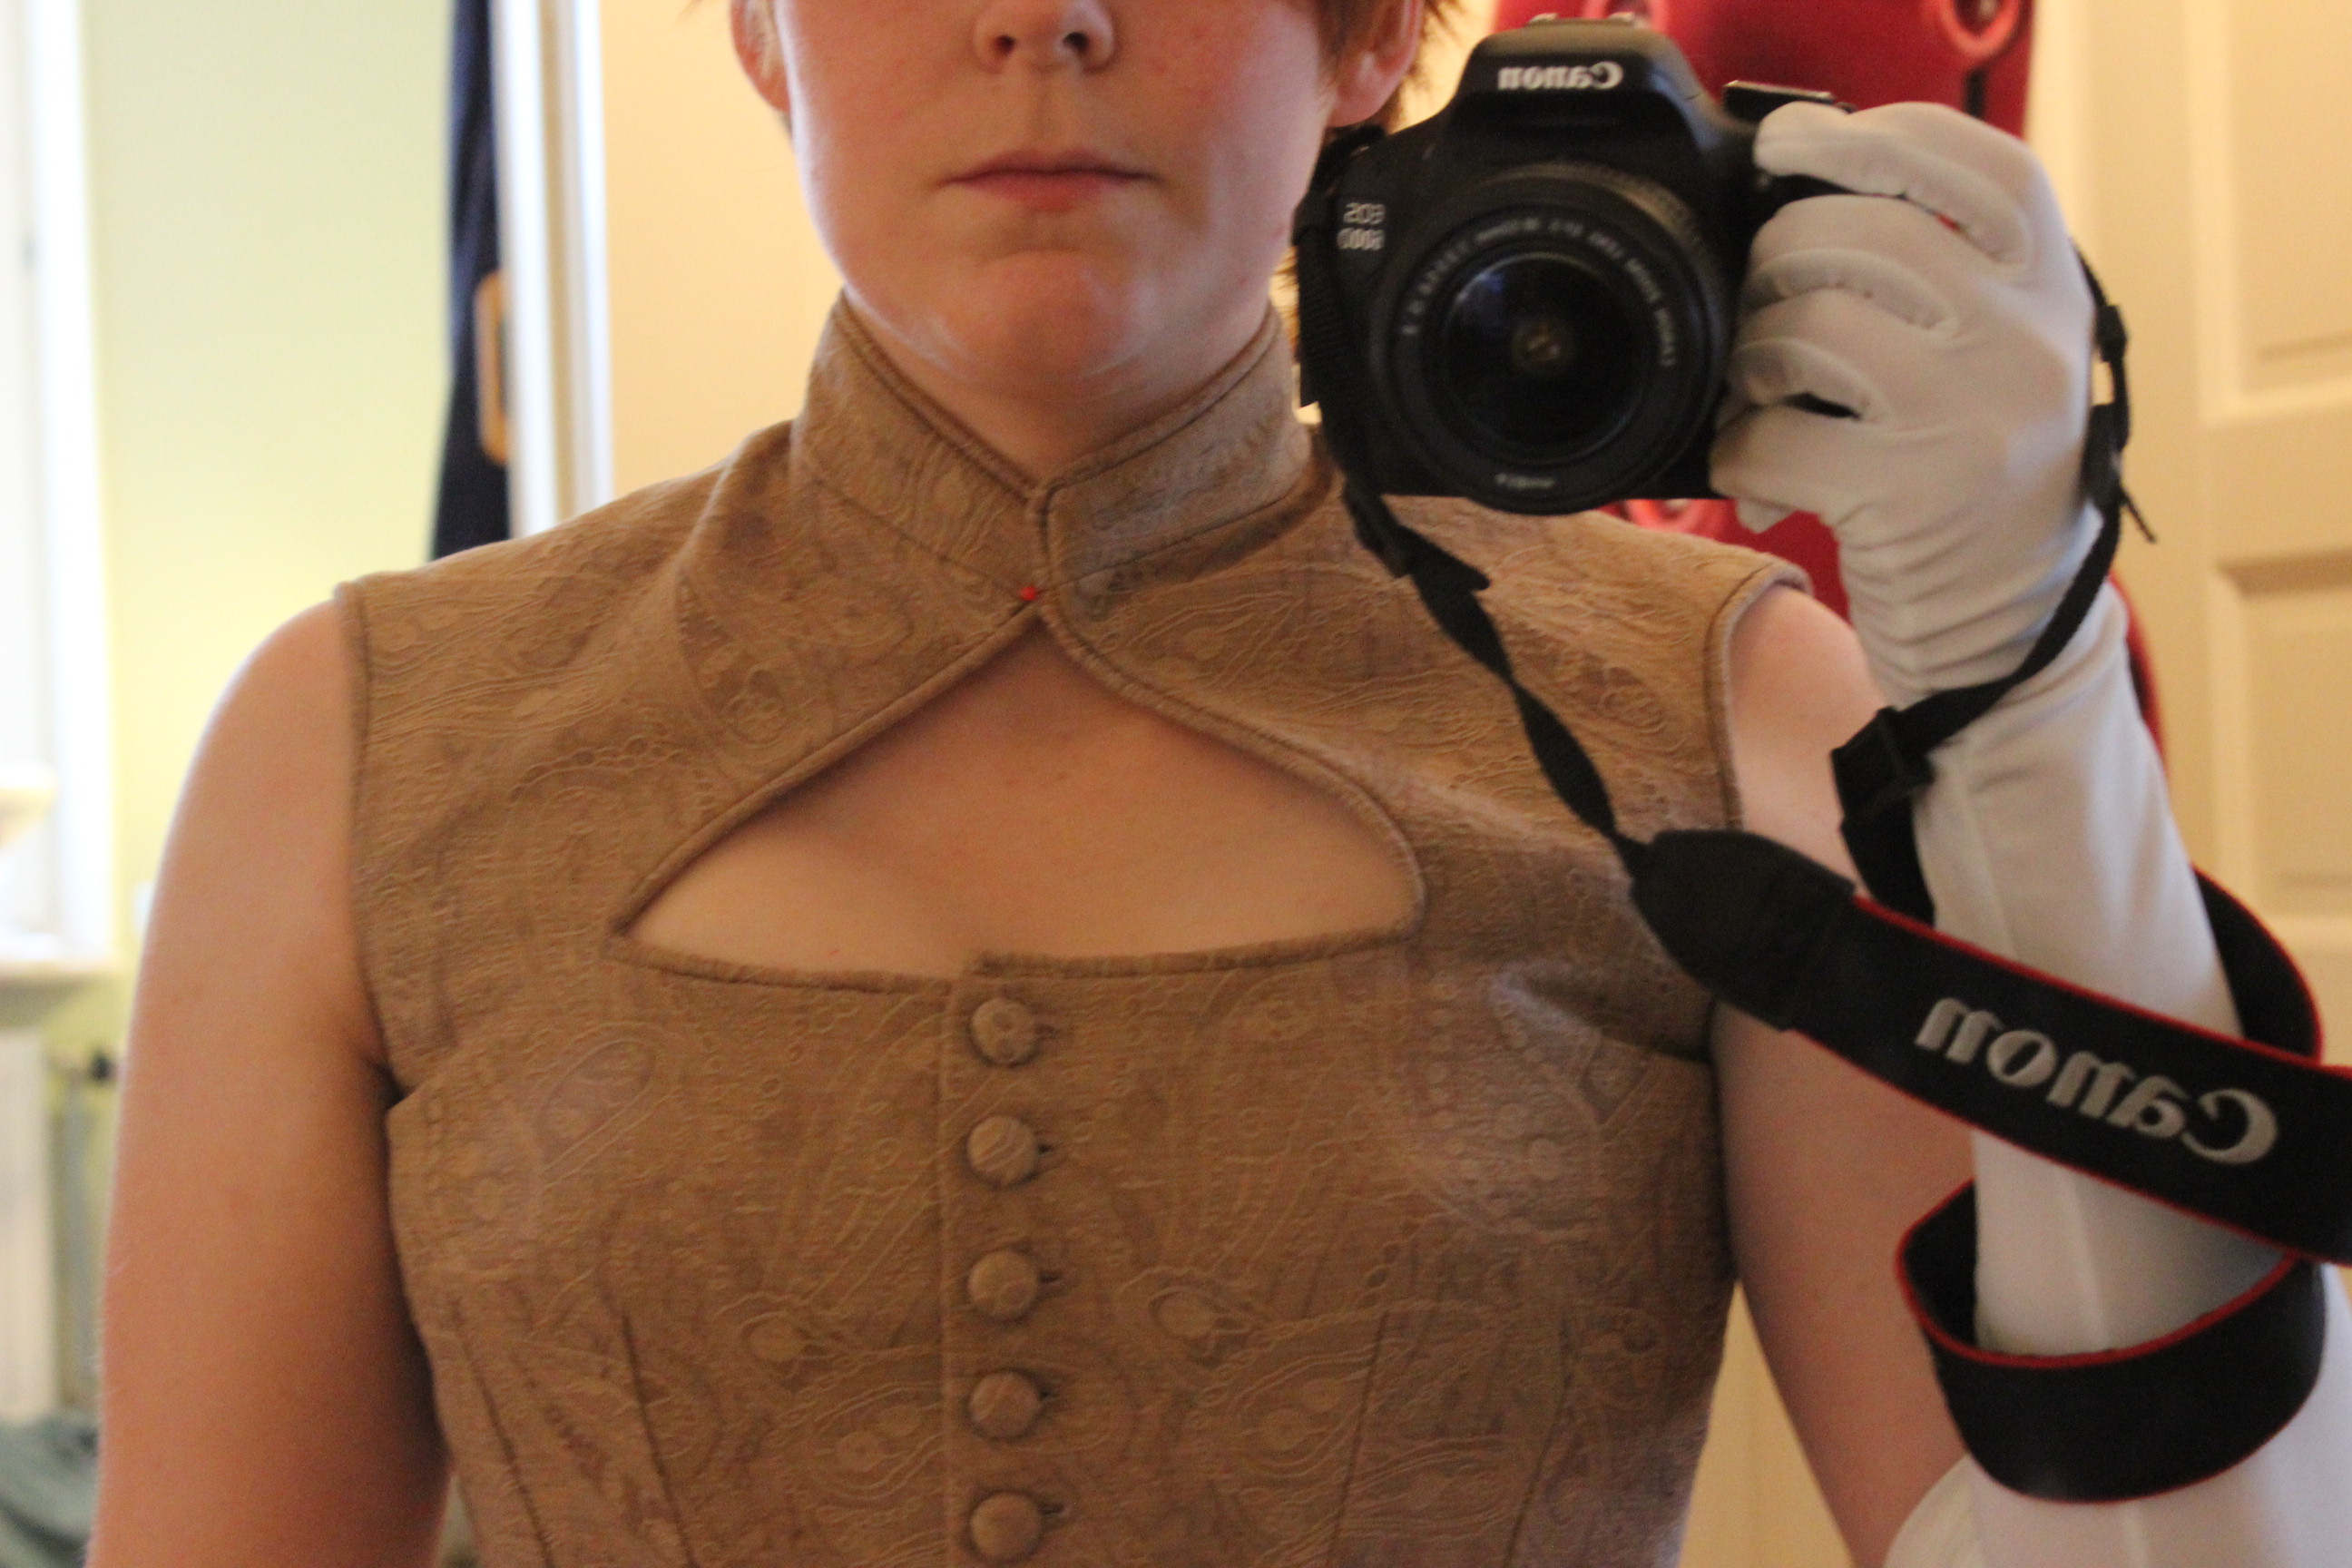
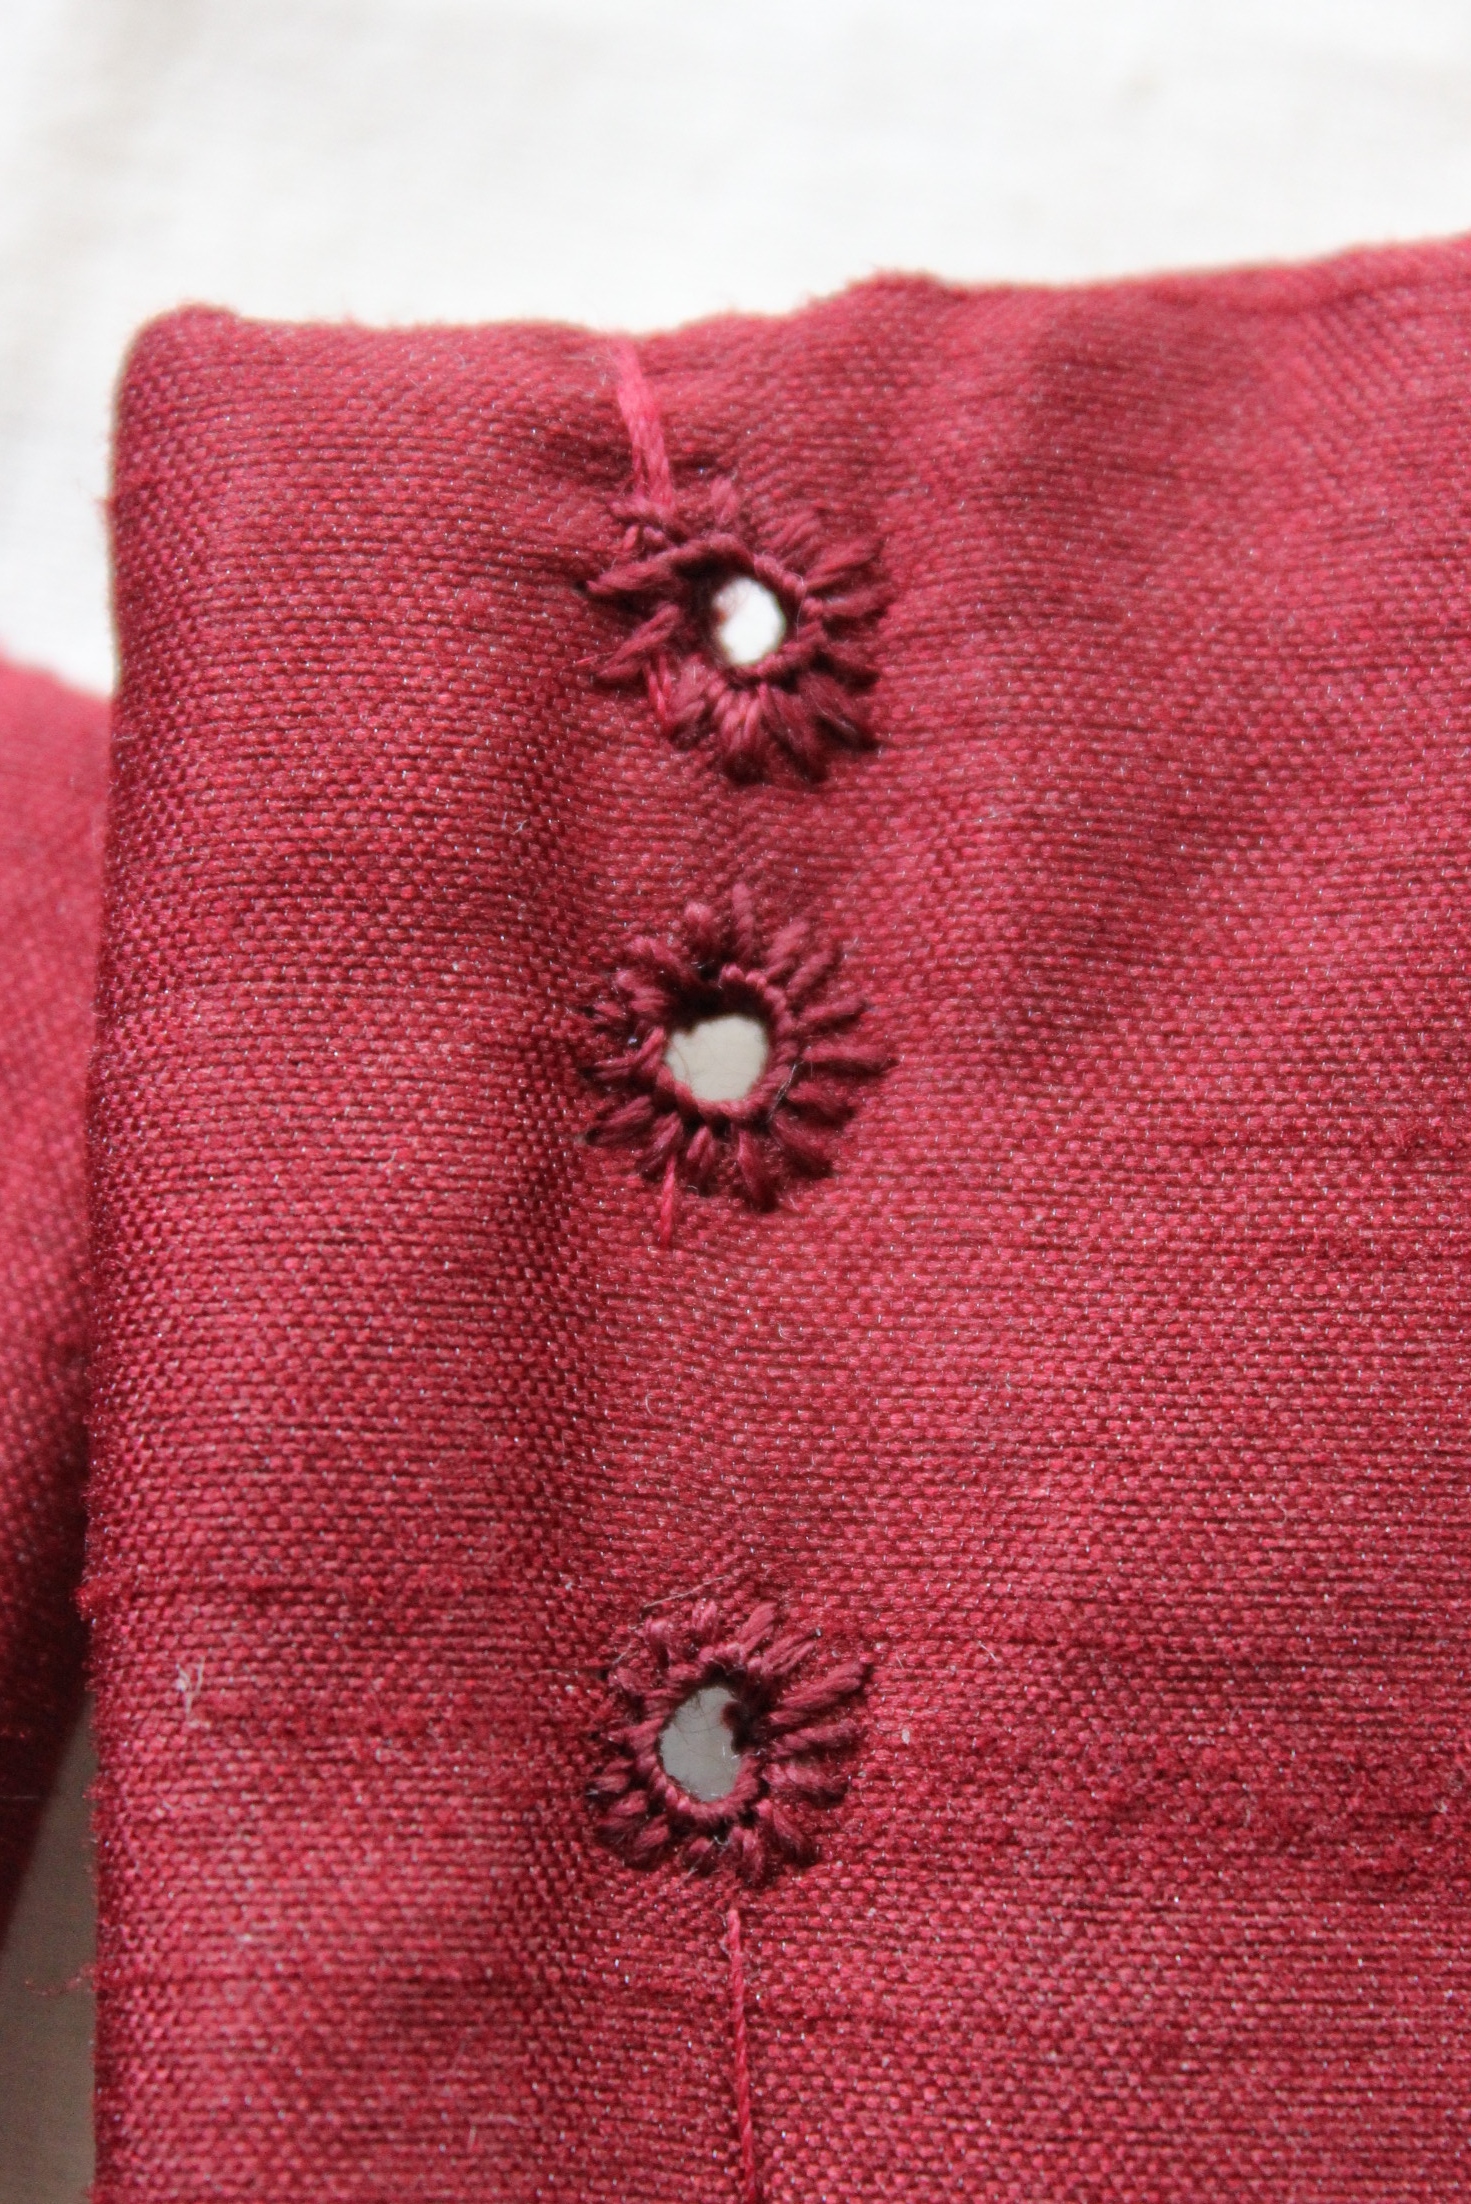
The buttonholes took about 3 hours (guess I’ve becoming faster), and when finished I sewed on the buttons. I’m really pleased with the way the front bodice looks, and are happy I took the time and money to buy 5 extra buttons. 
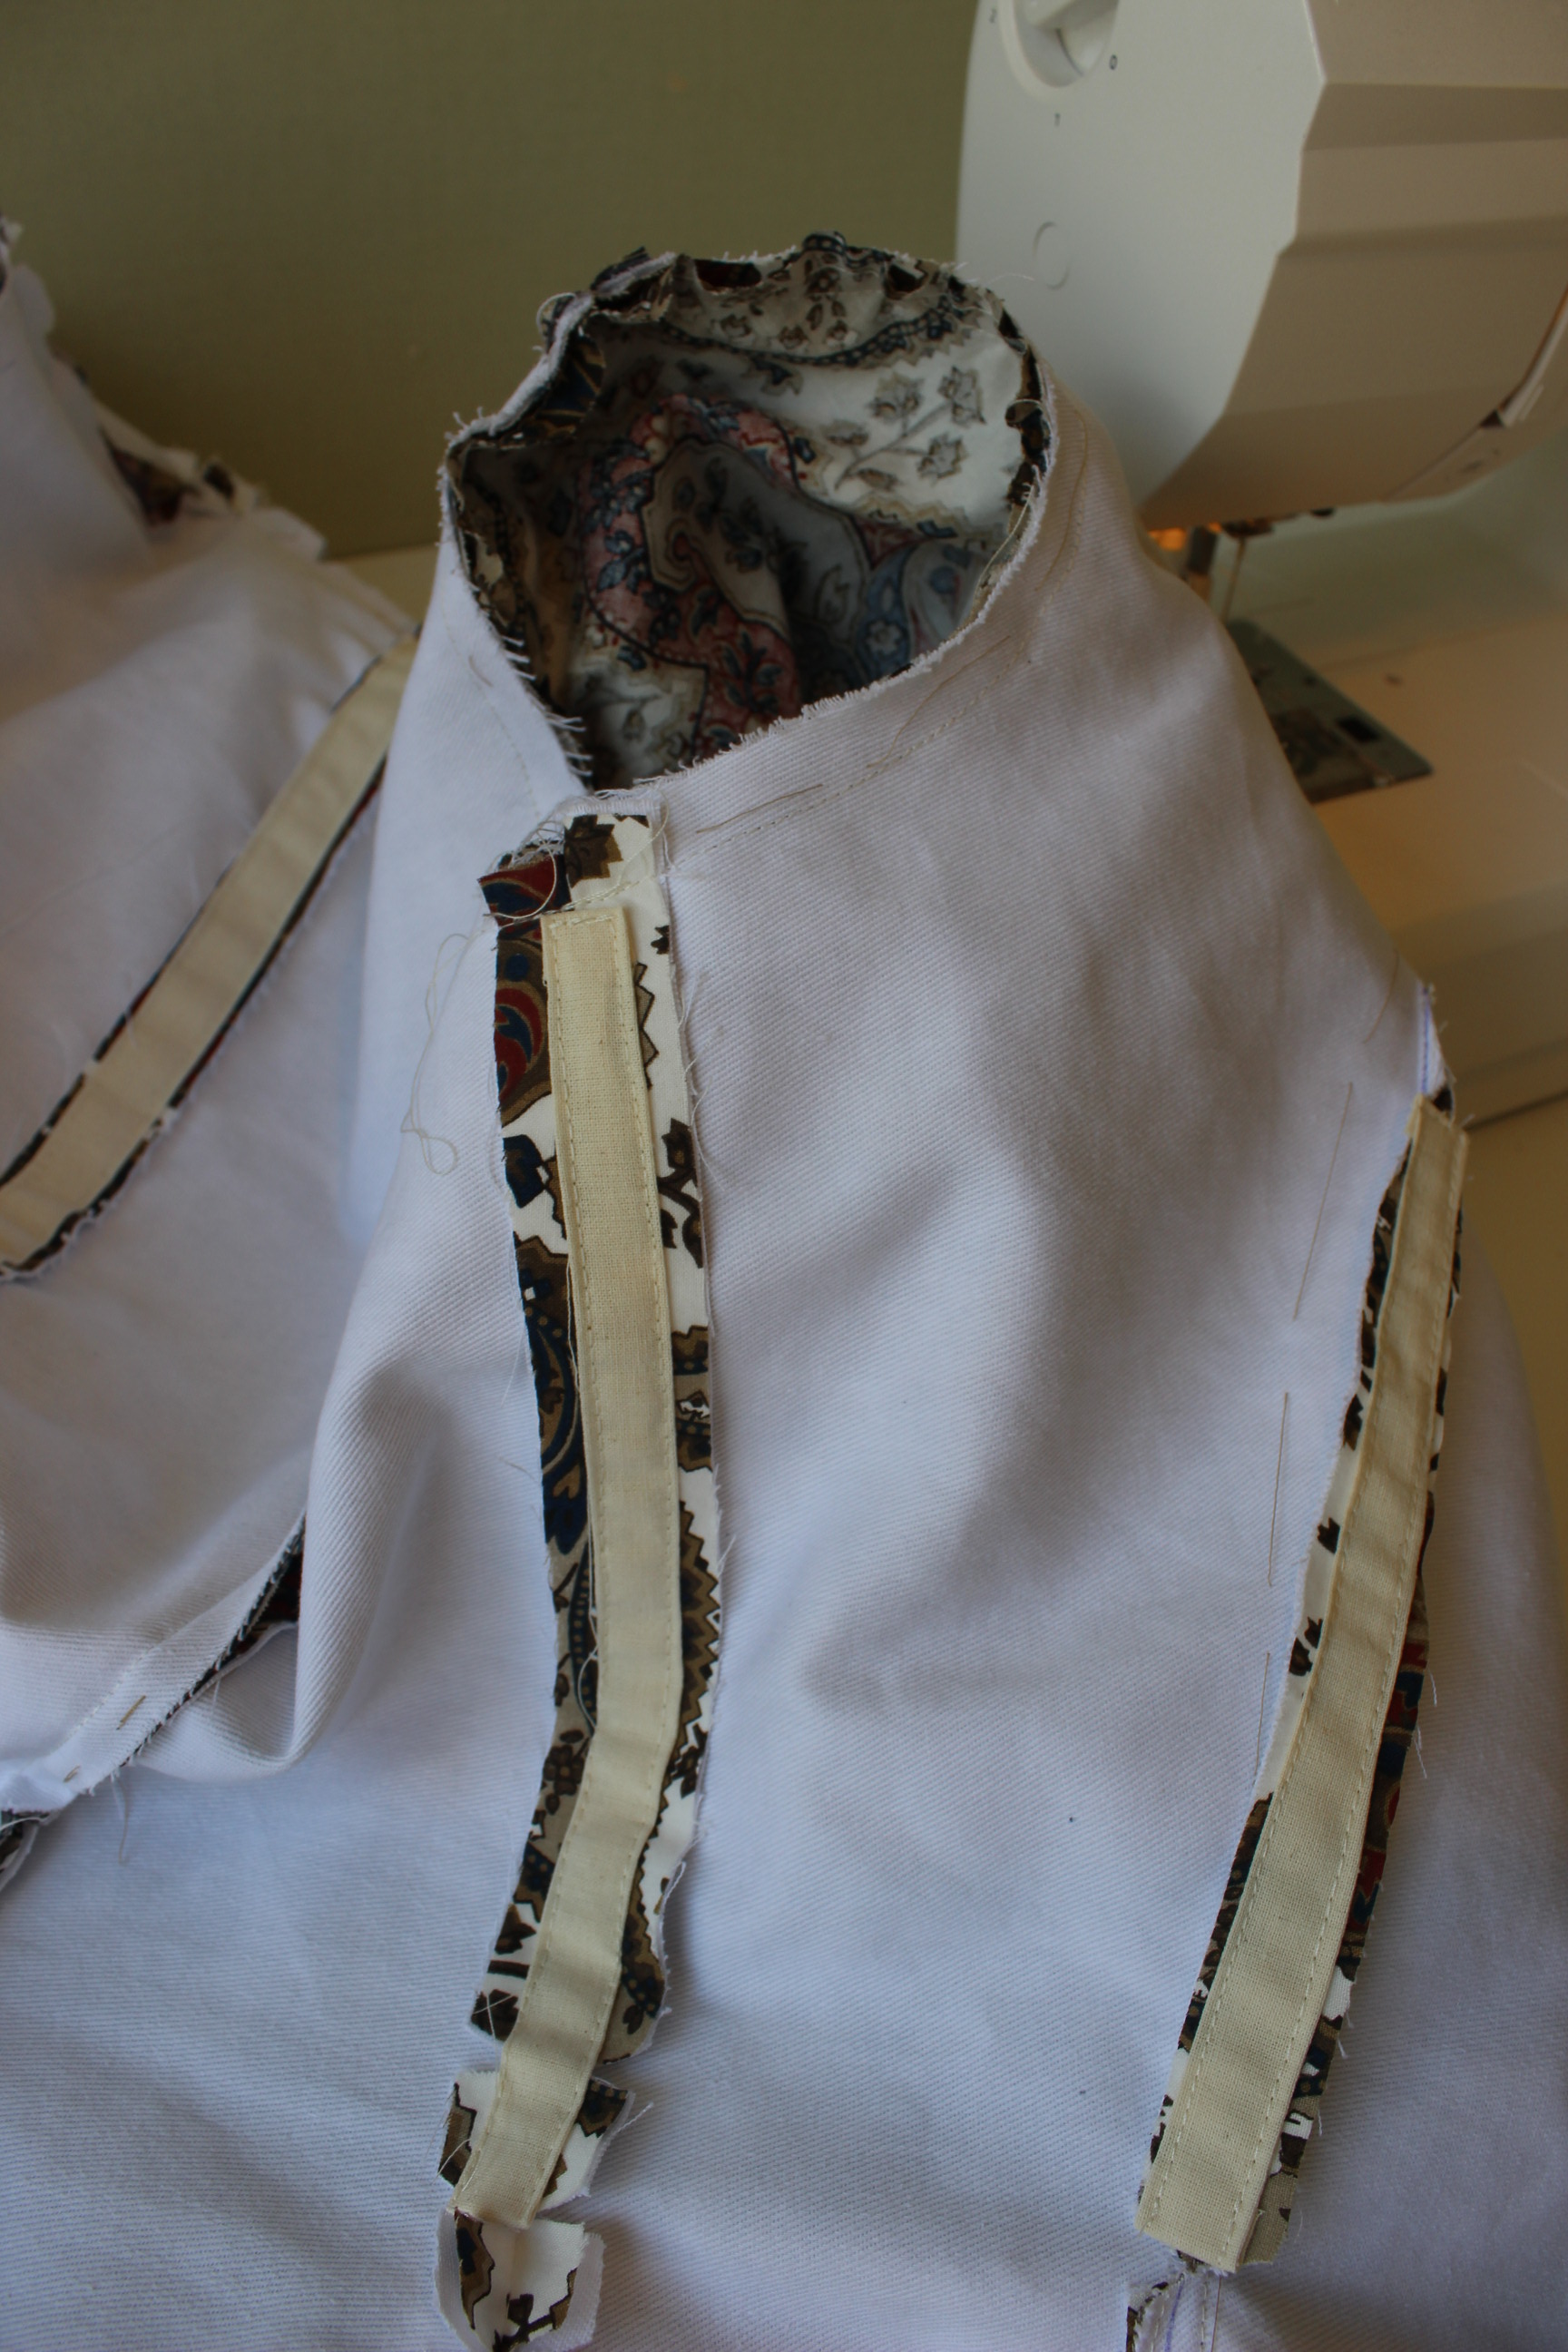
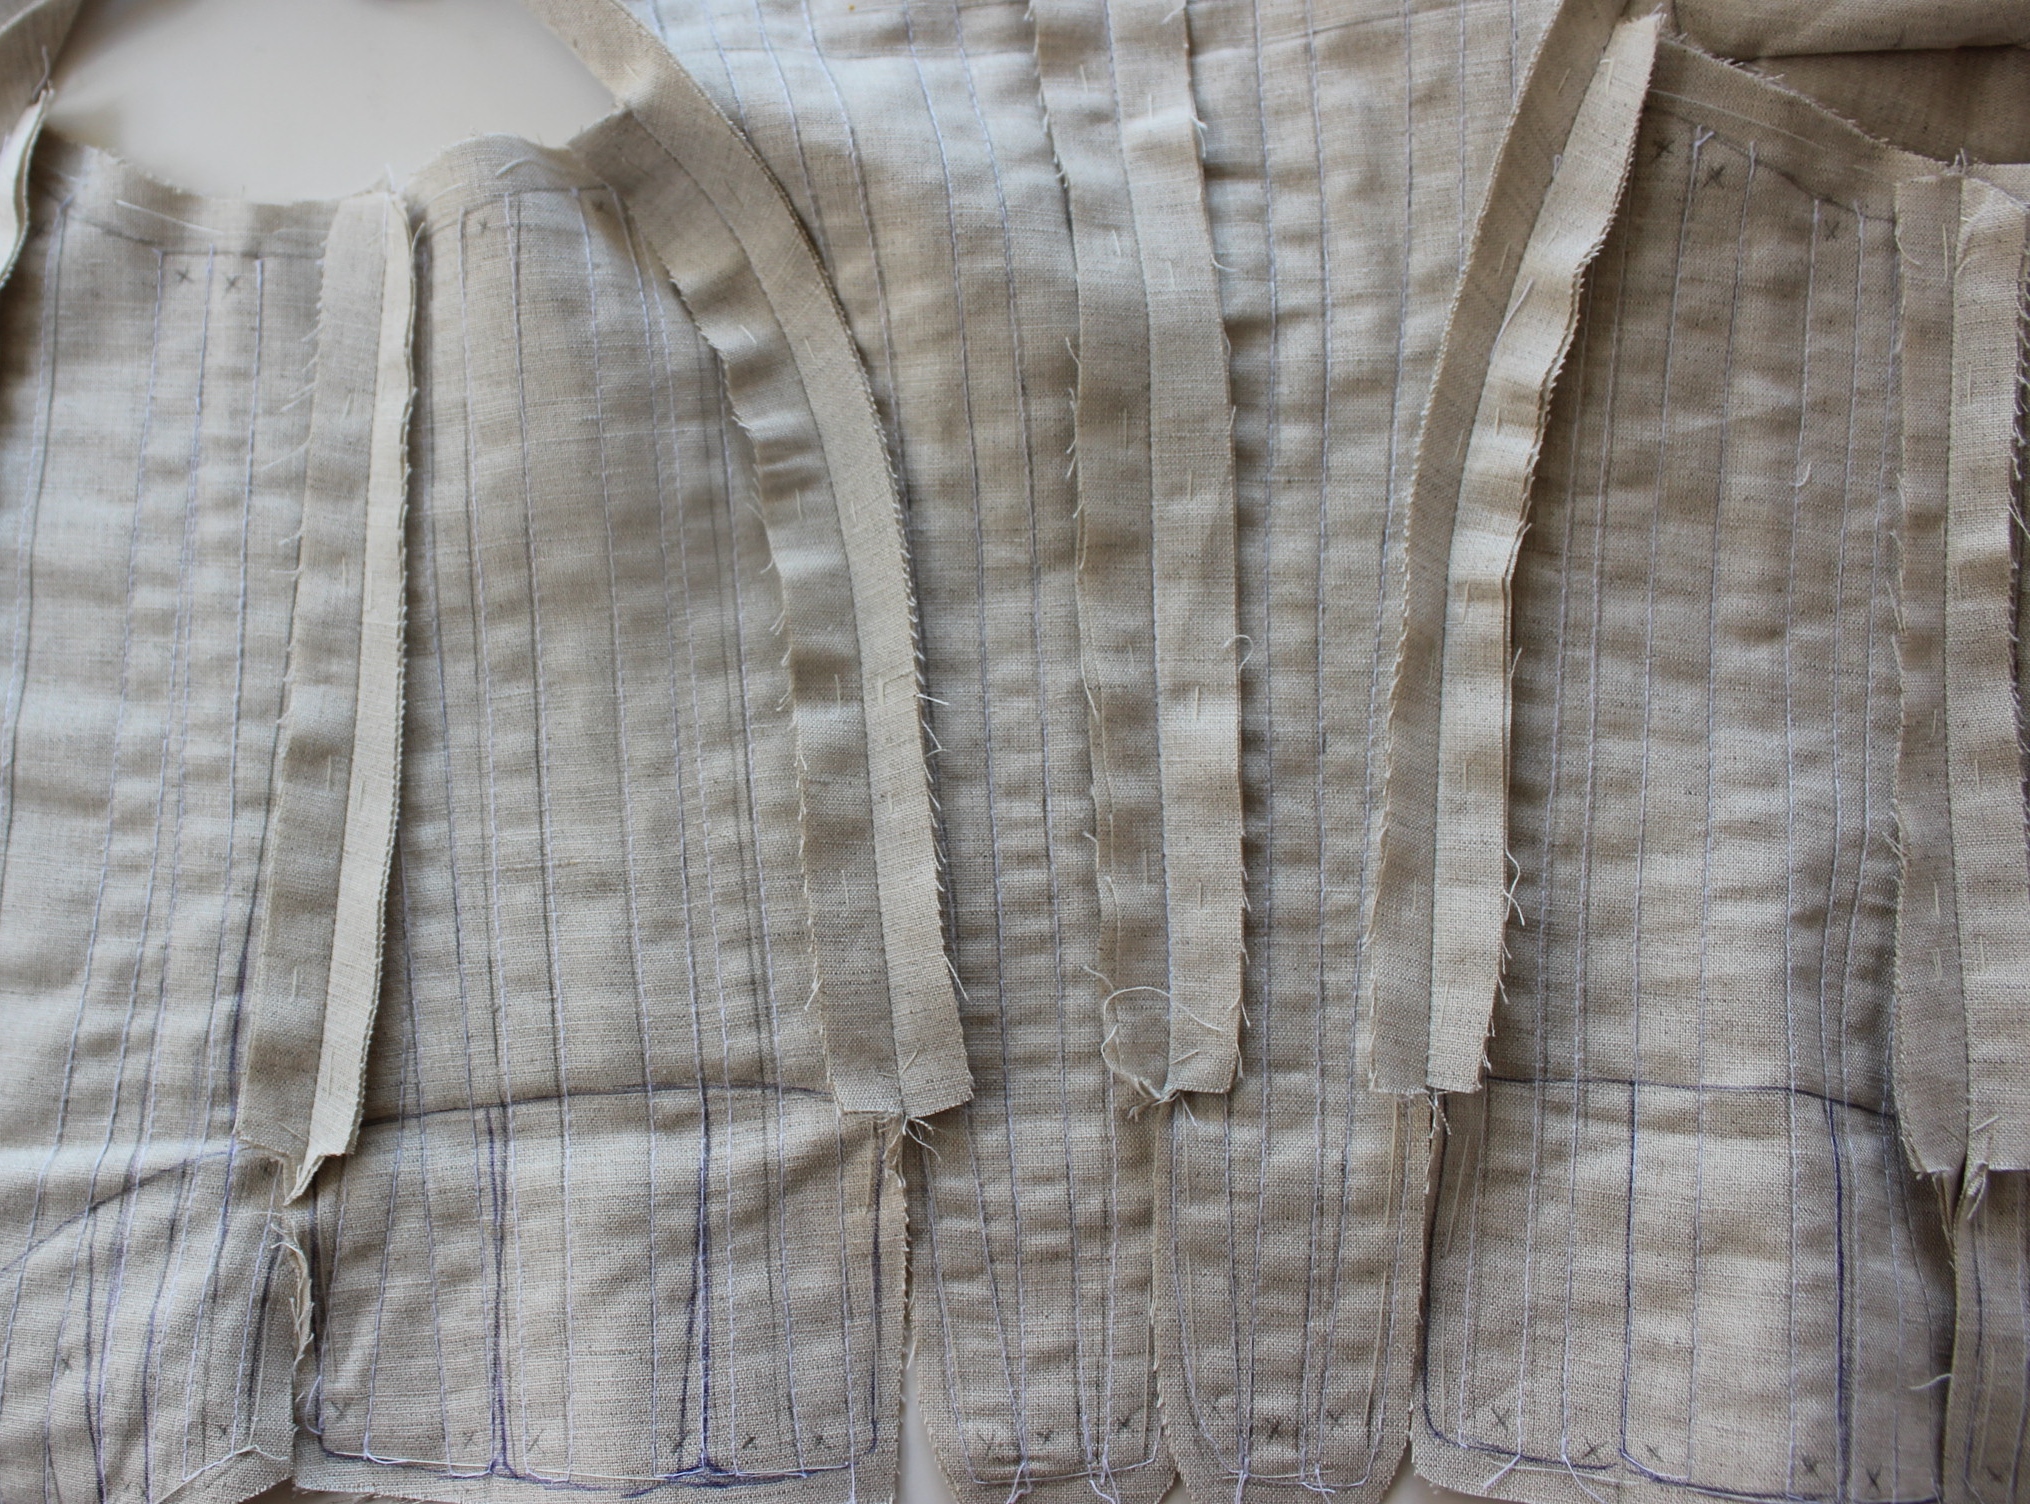
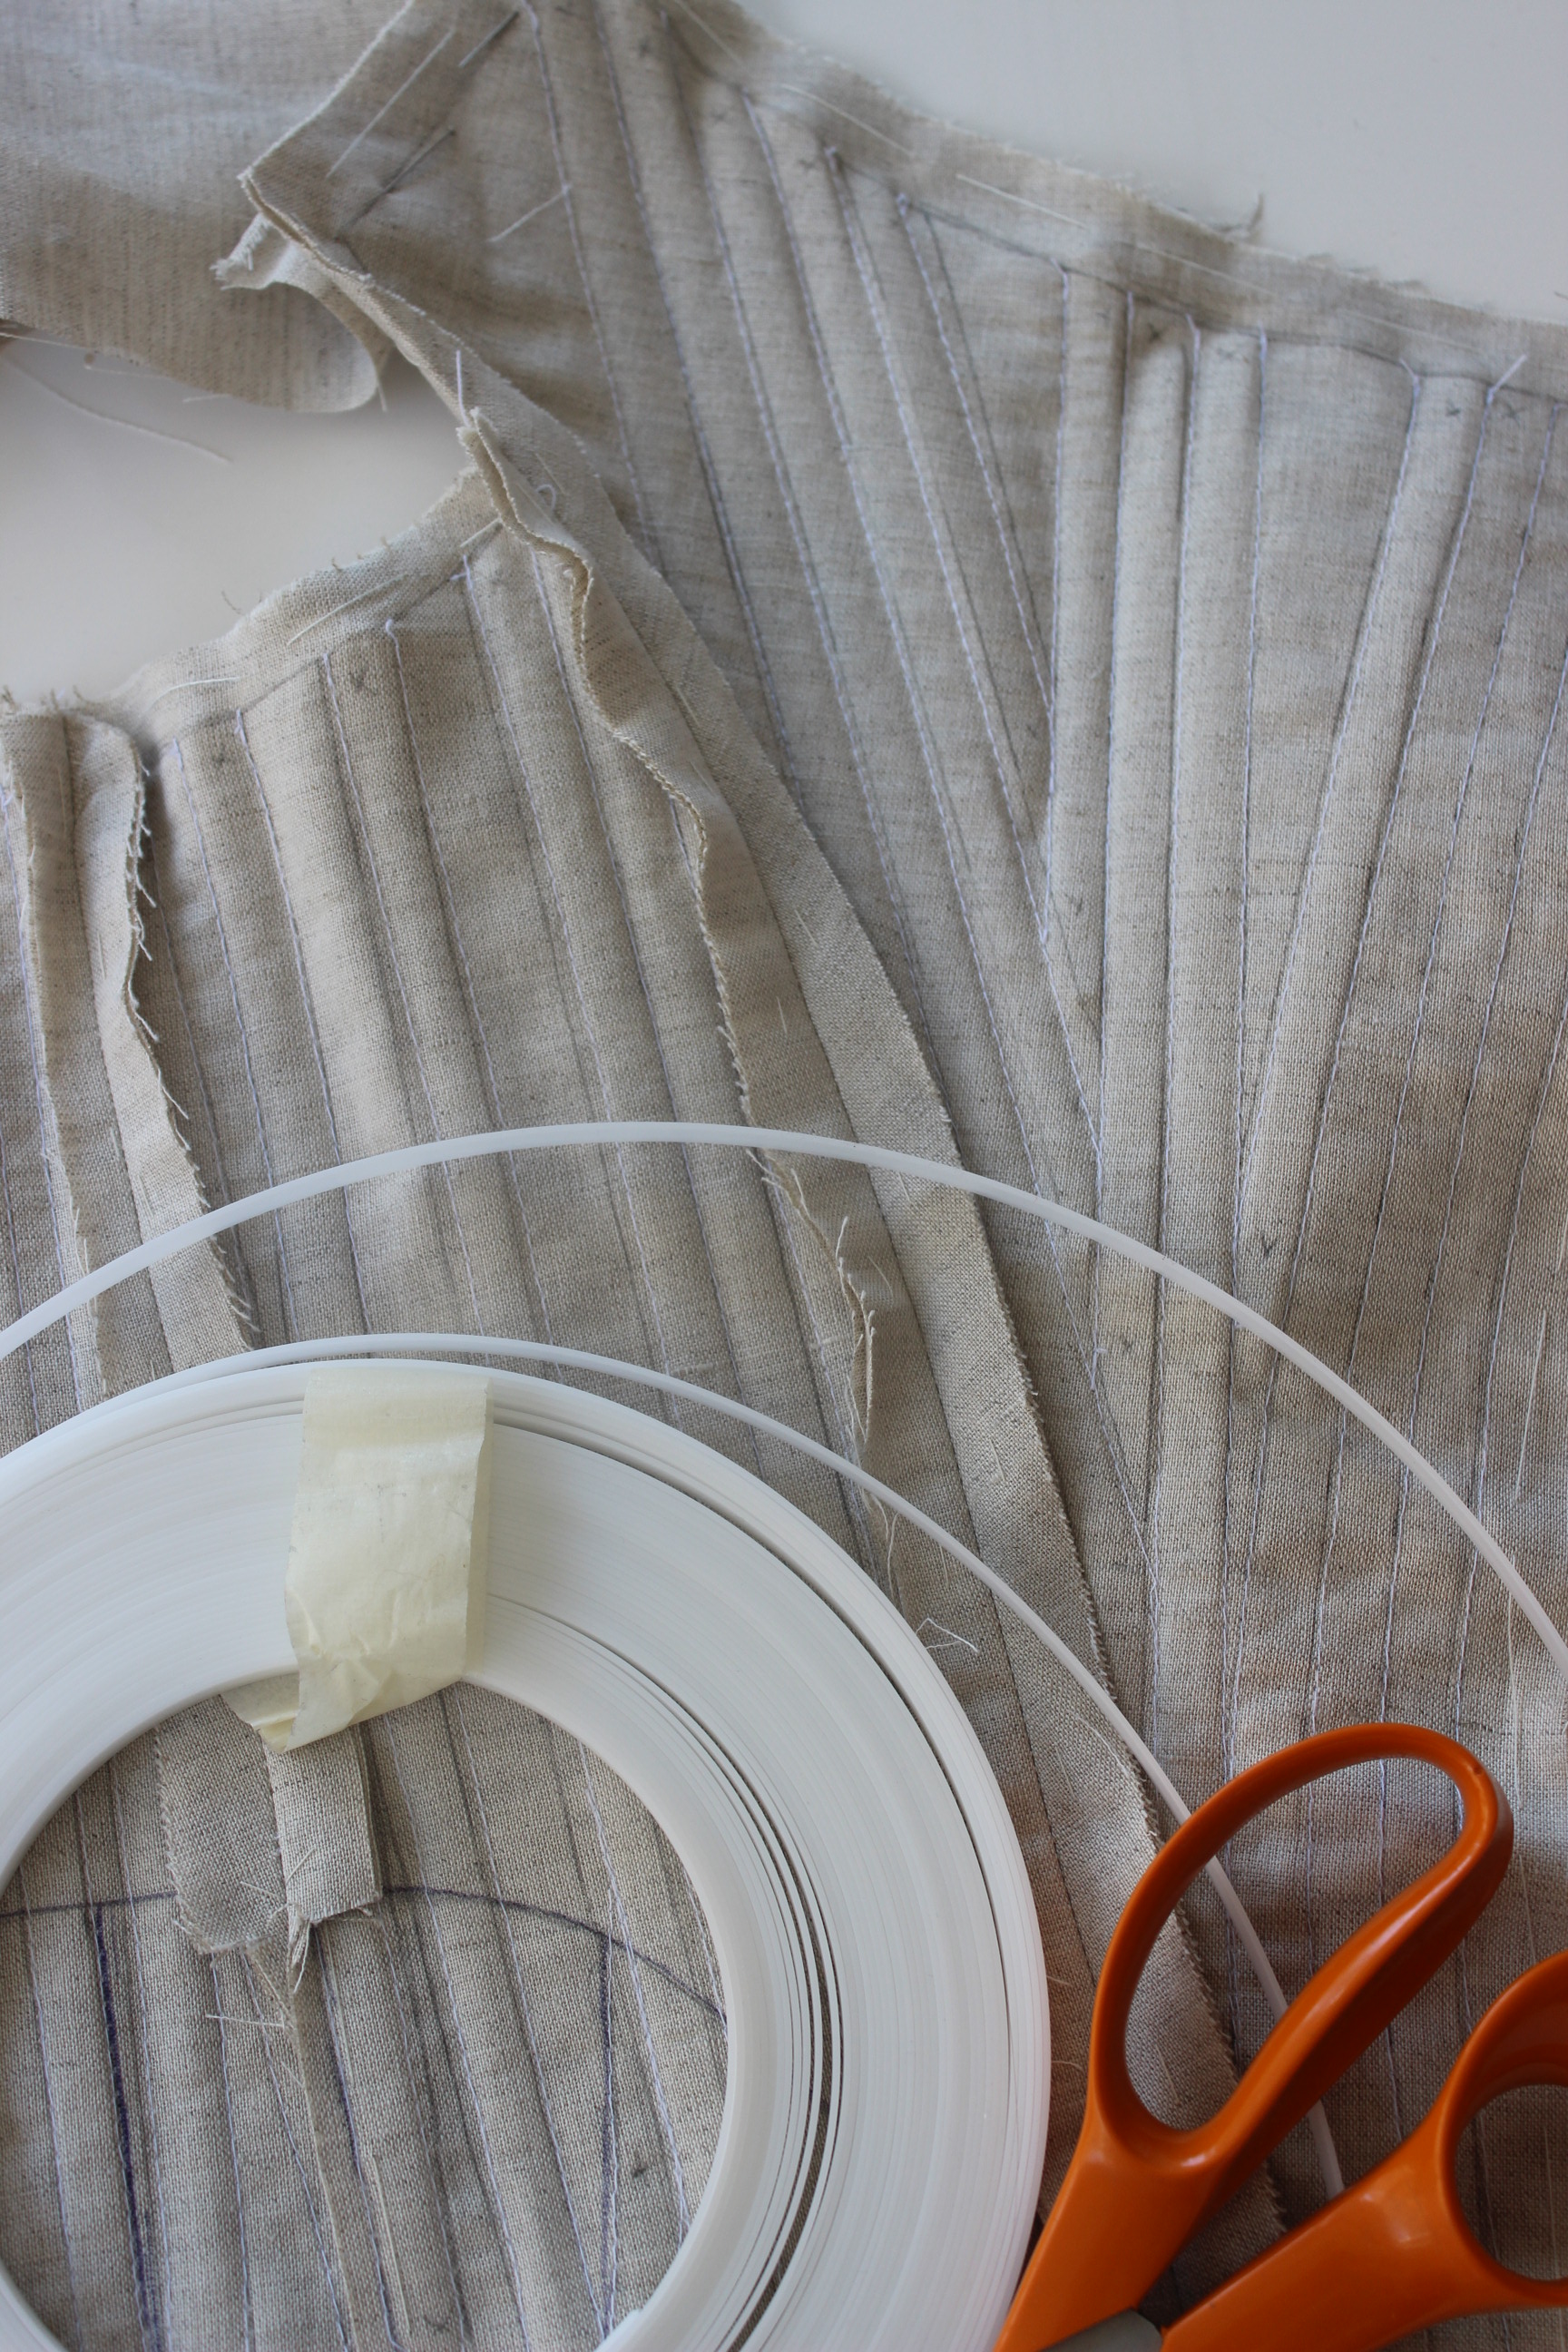
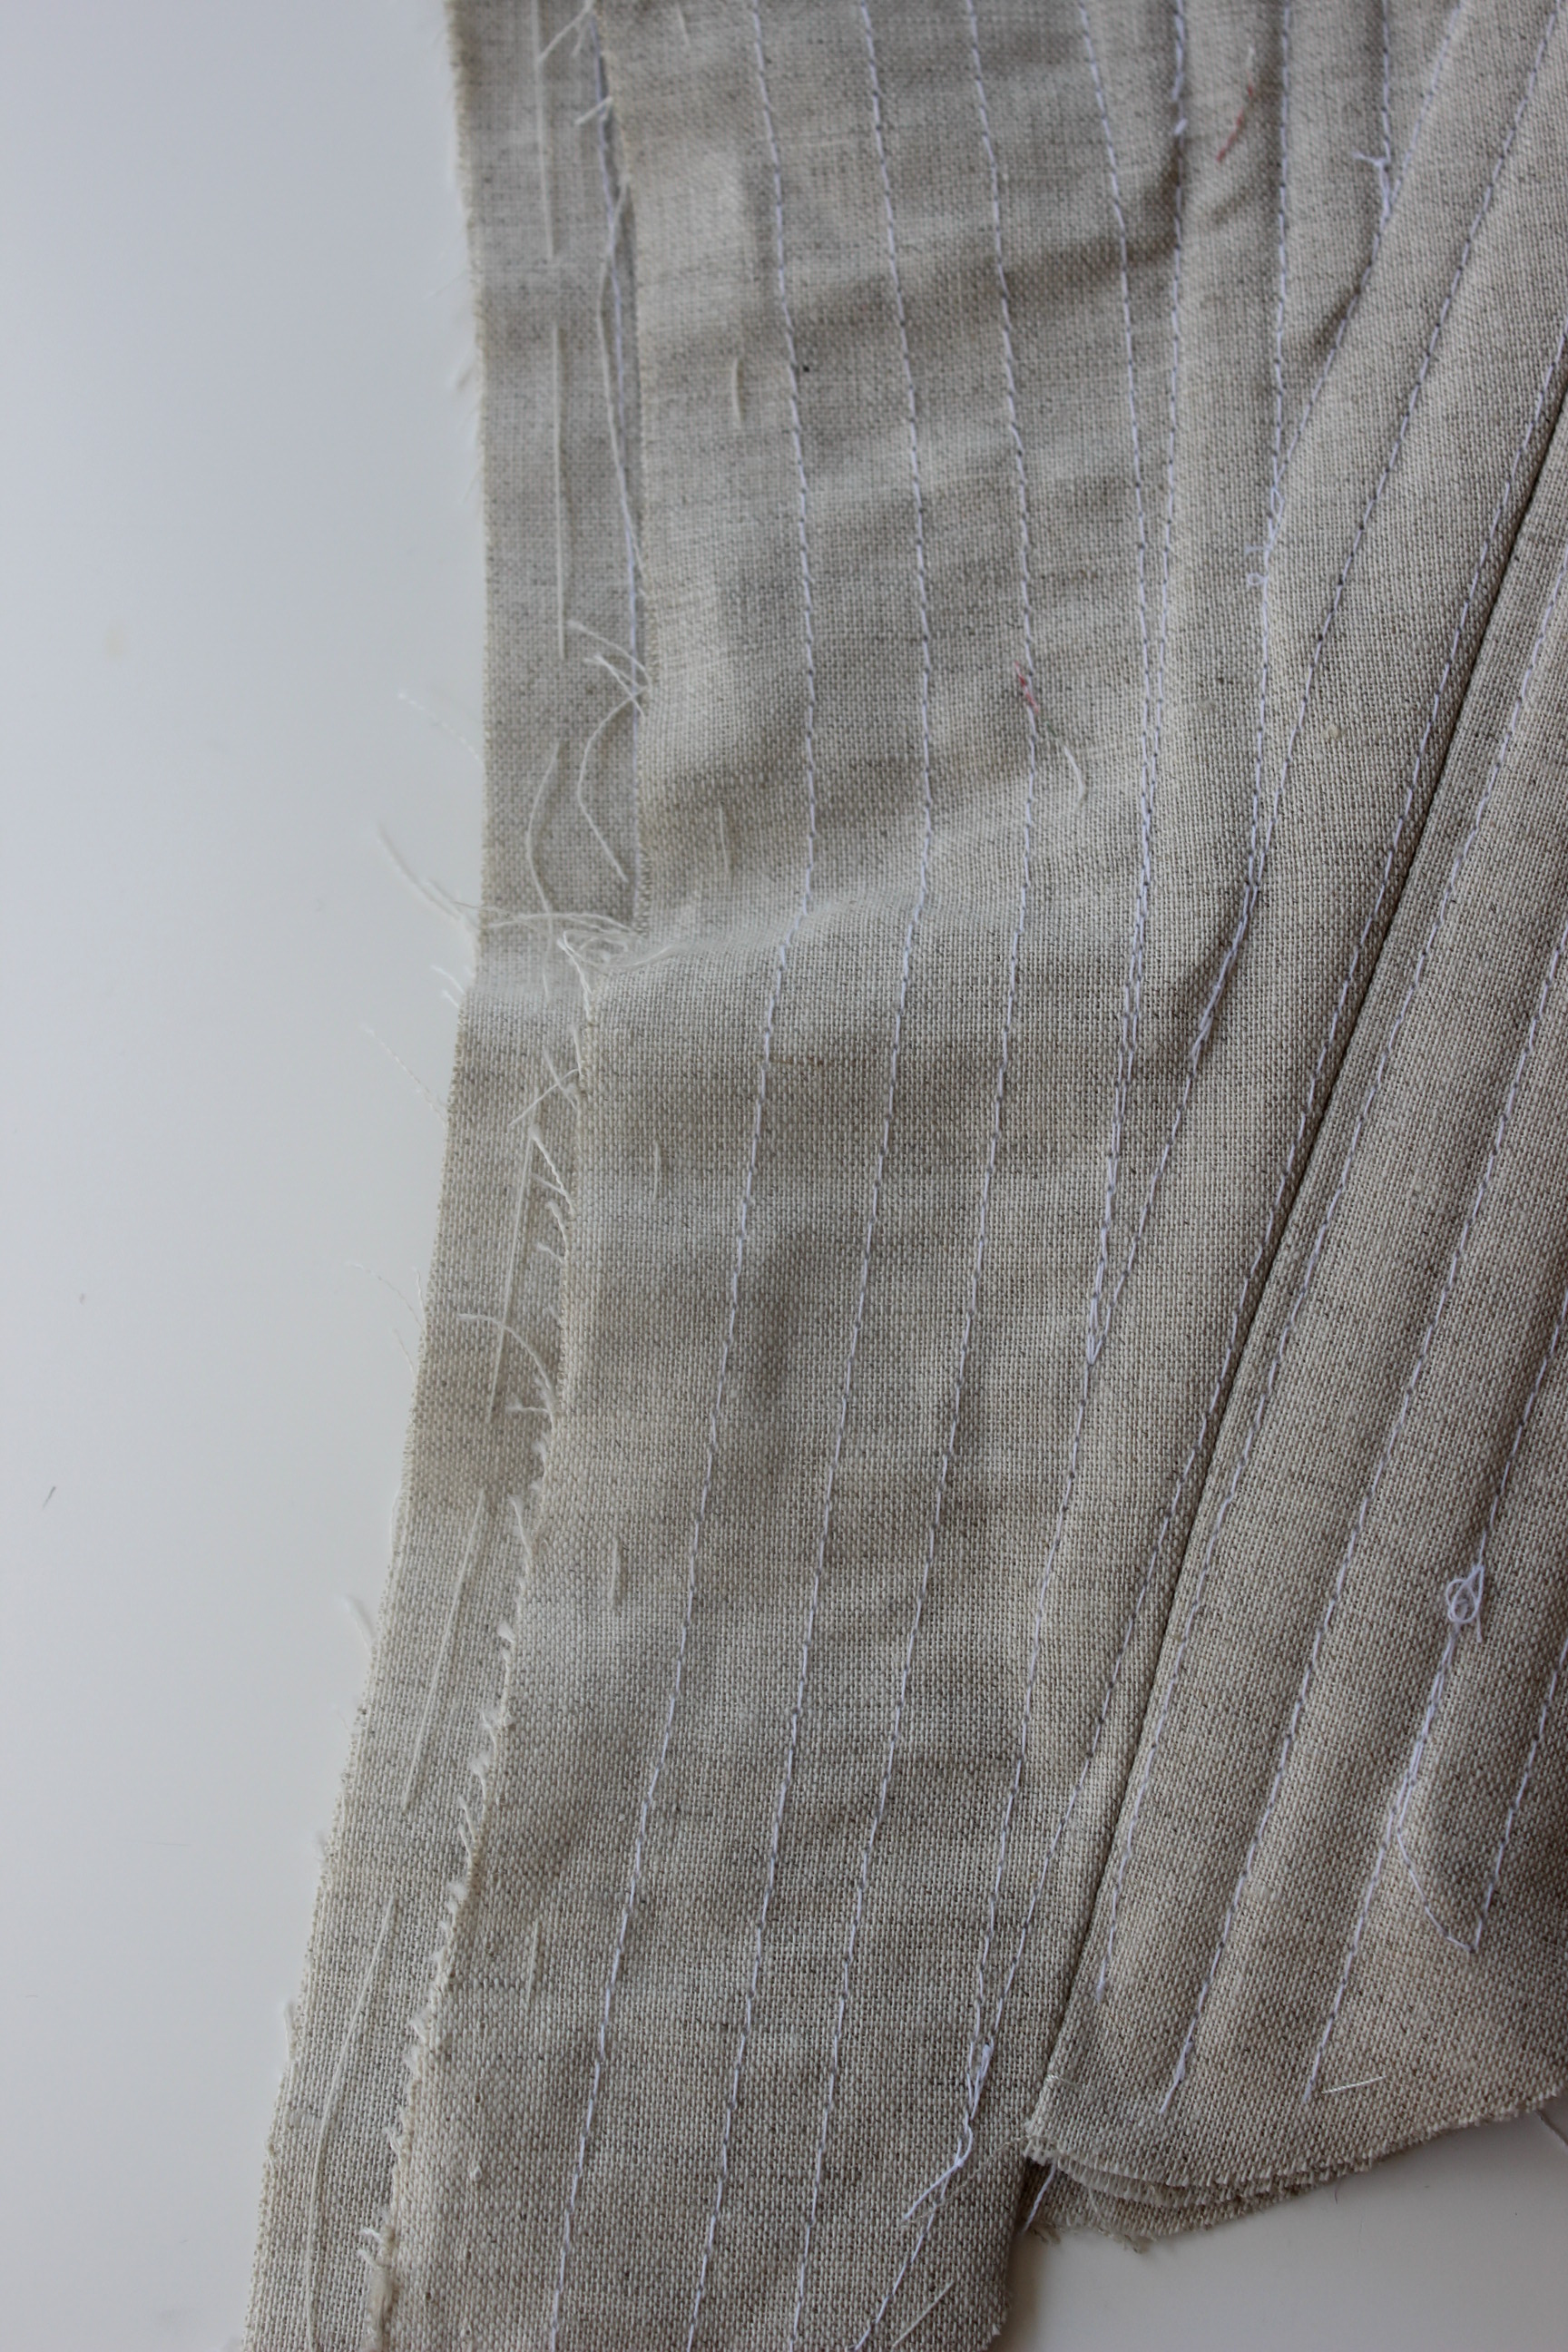
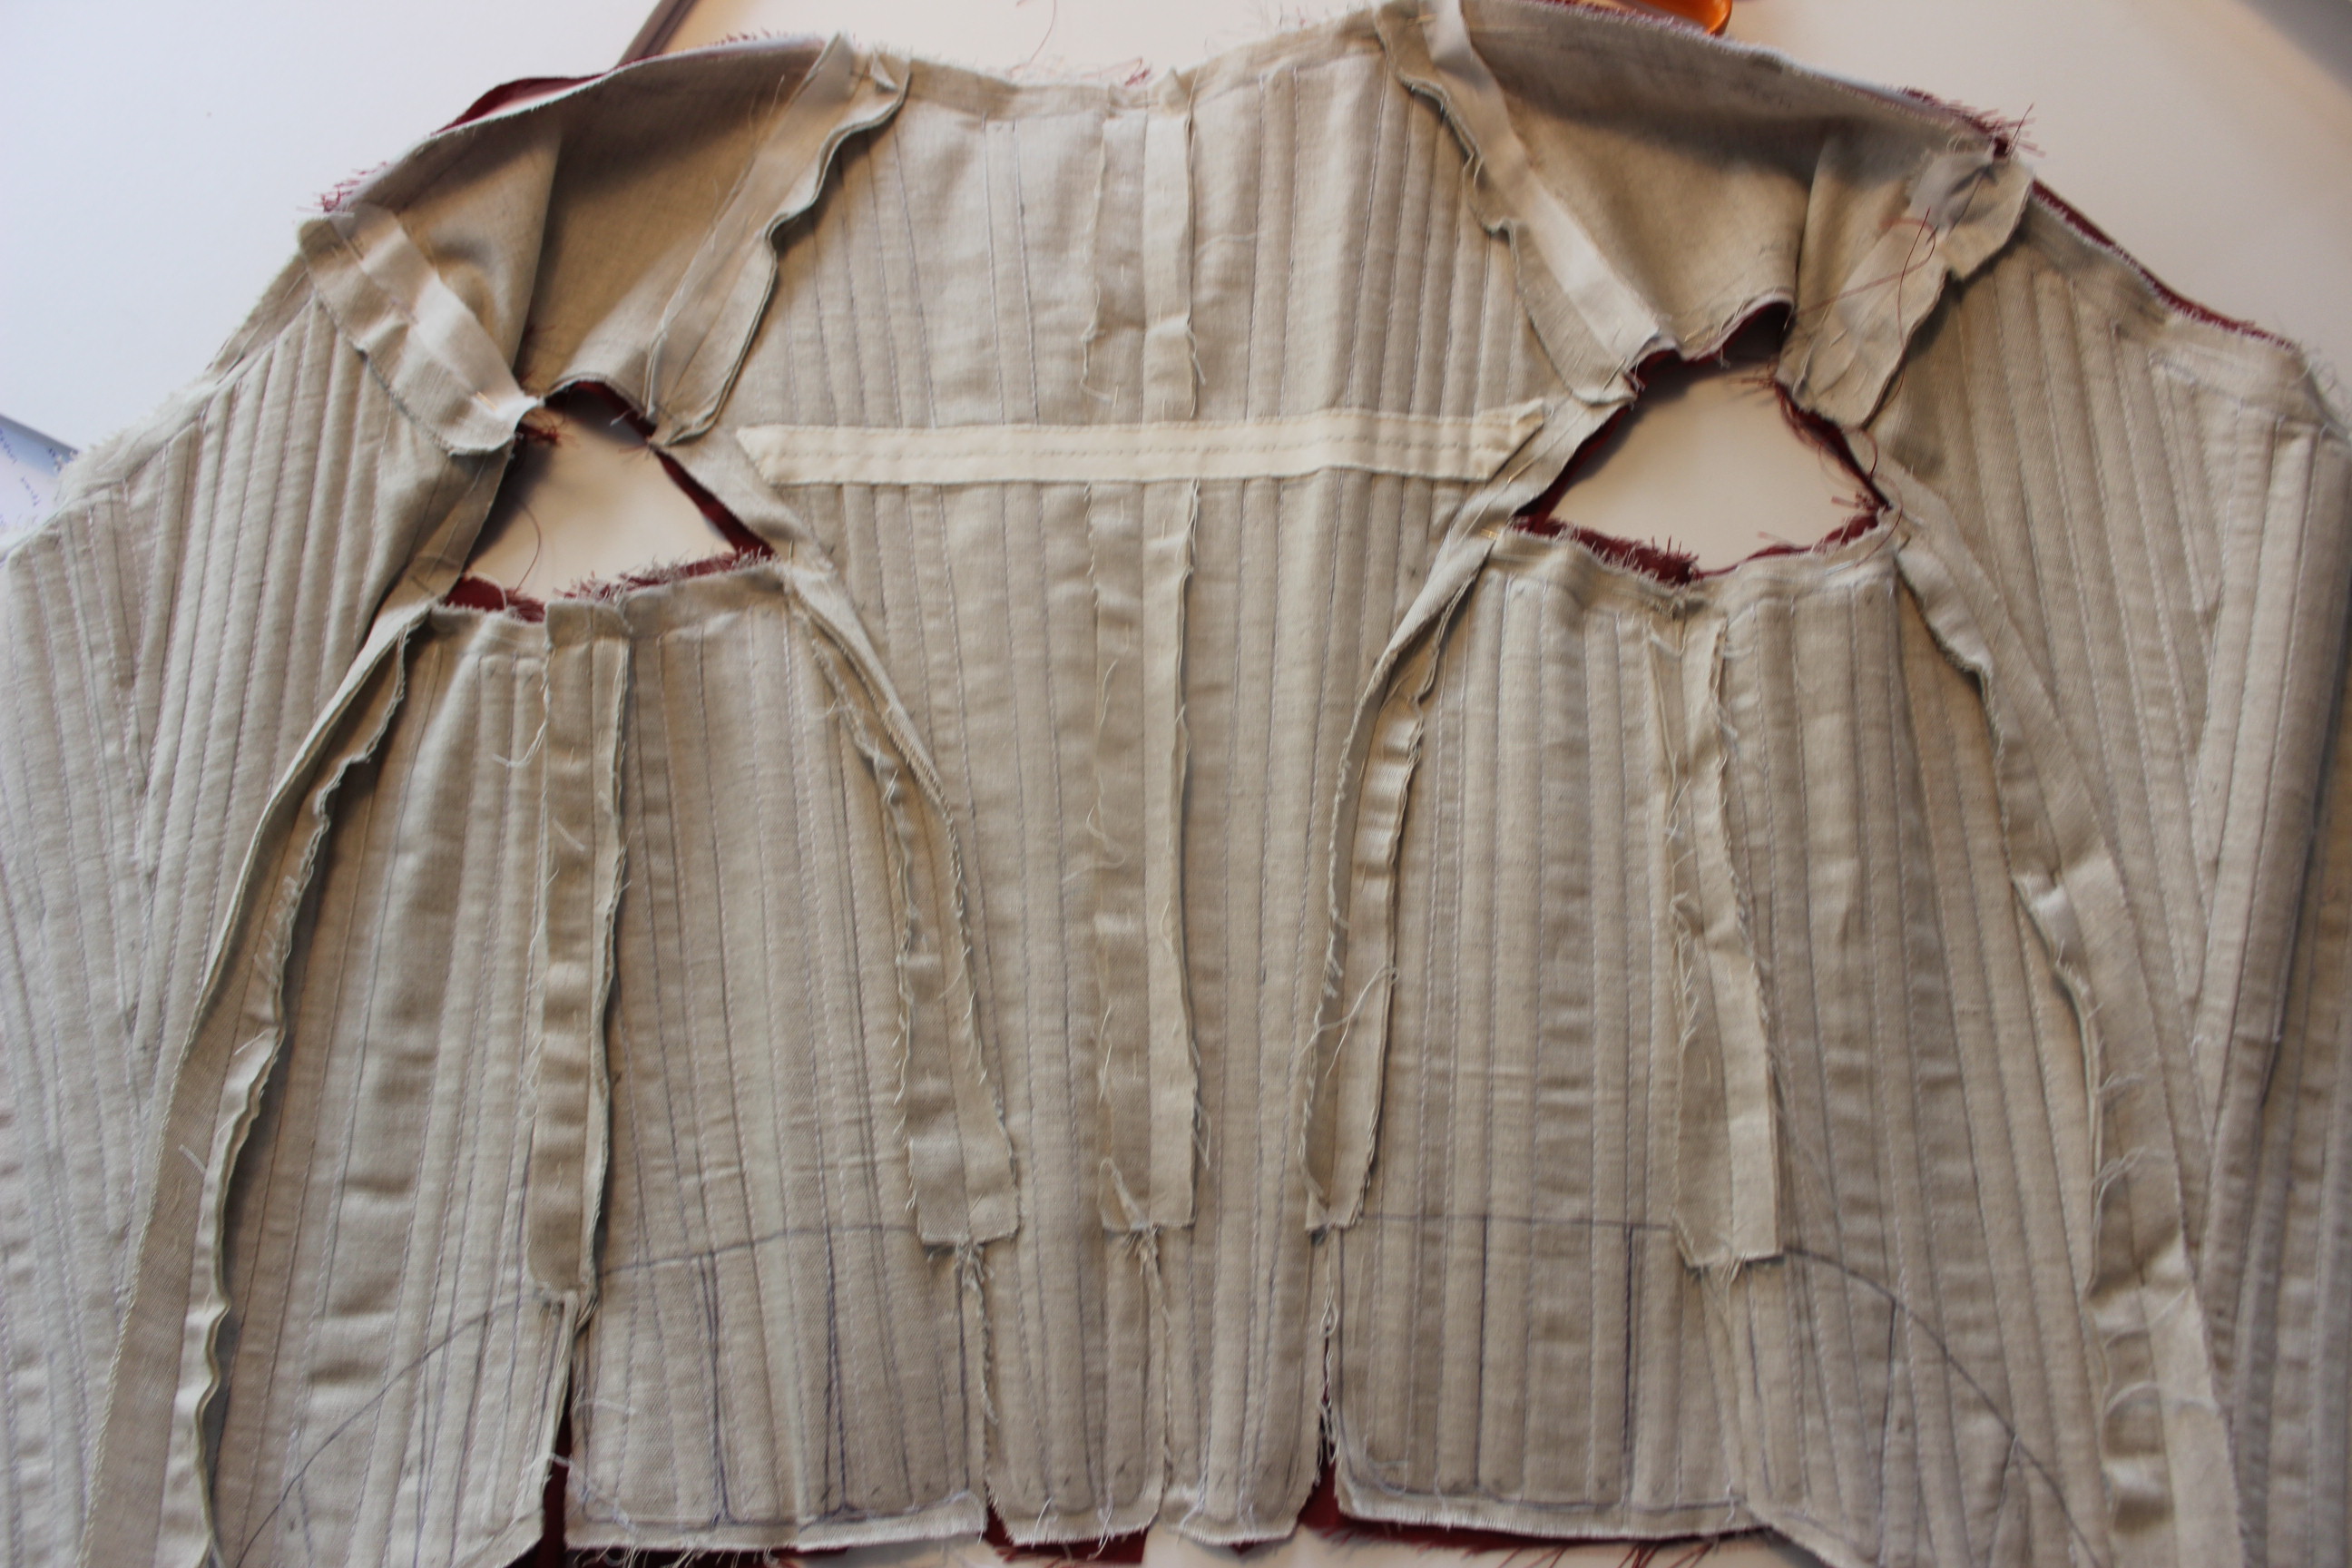
Then I pinned and sewed on some boning chanels (made from leftover cotton stripes) and put the cable ties in.
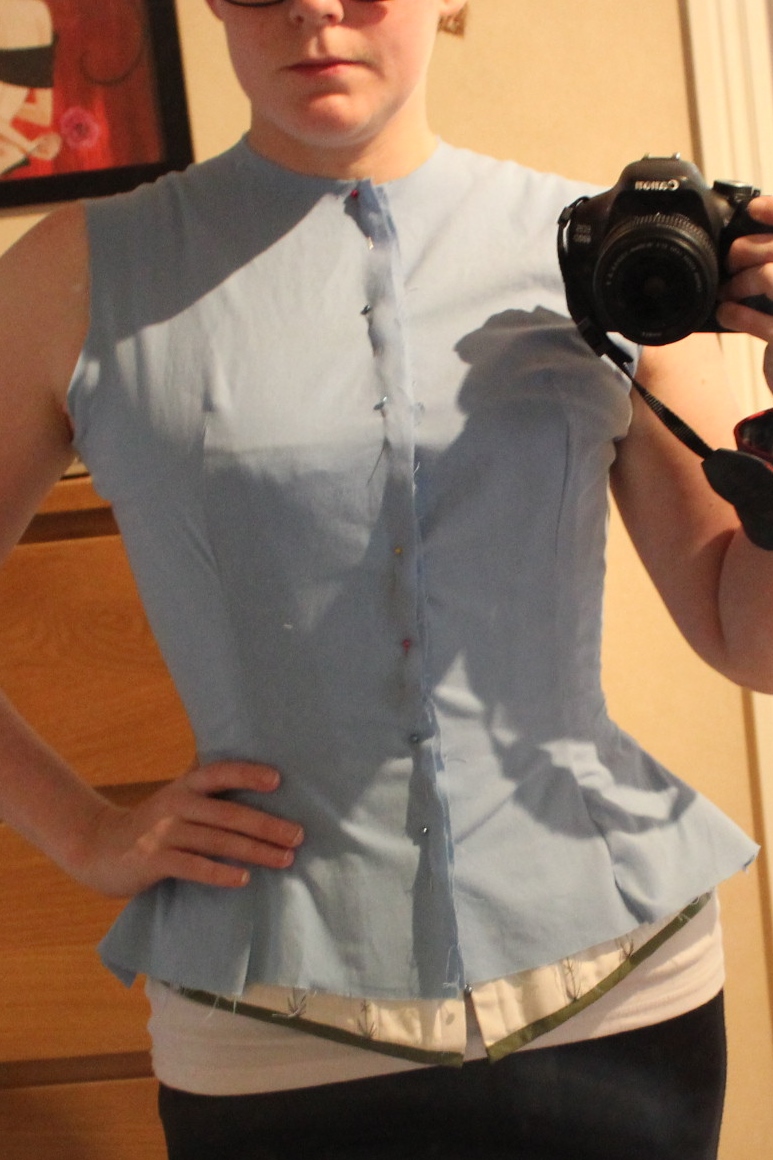
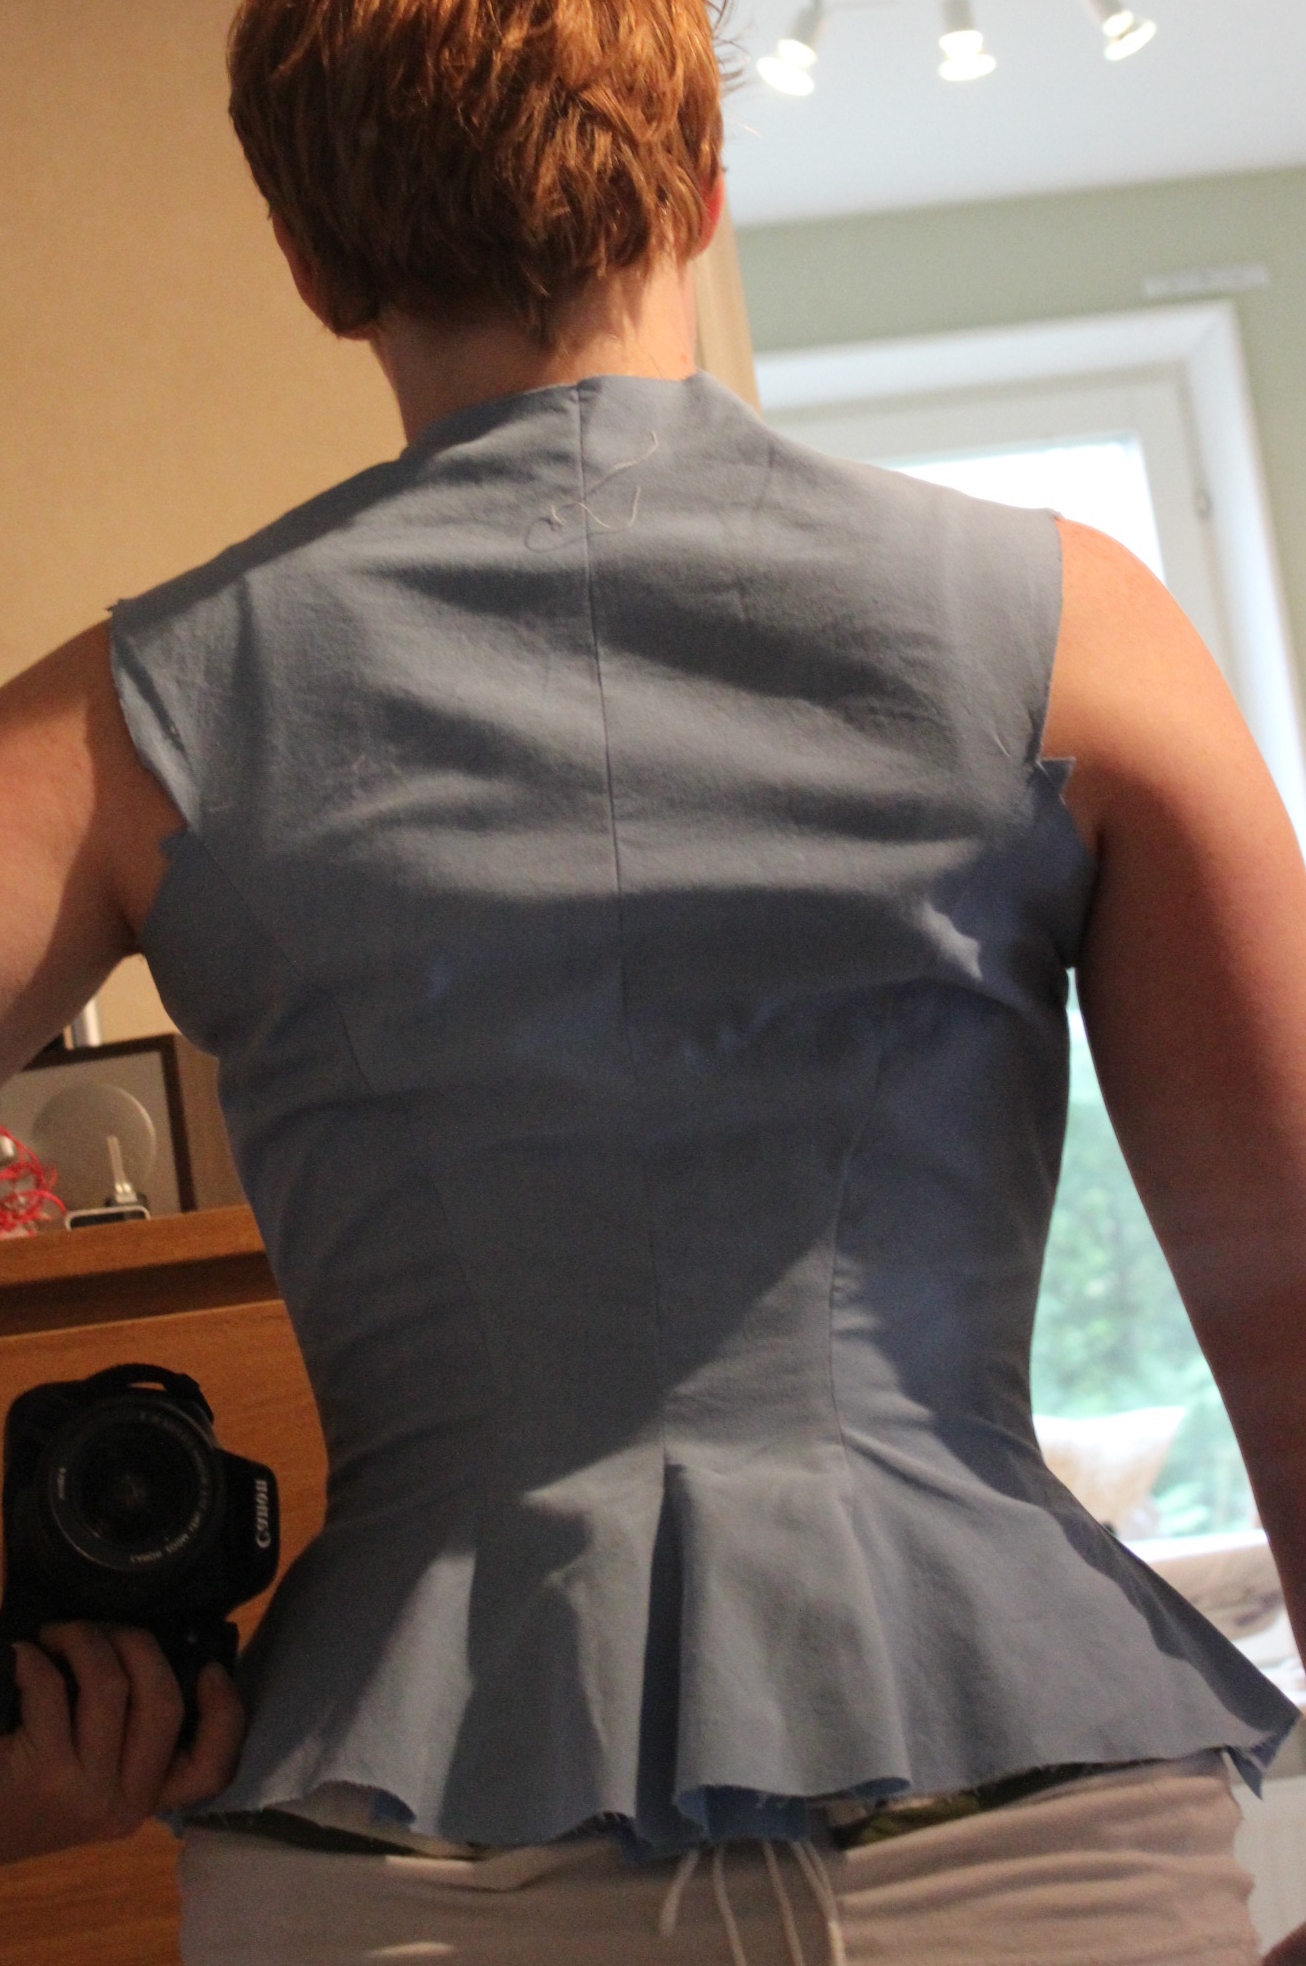
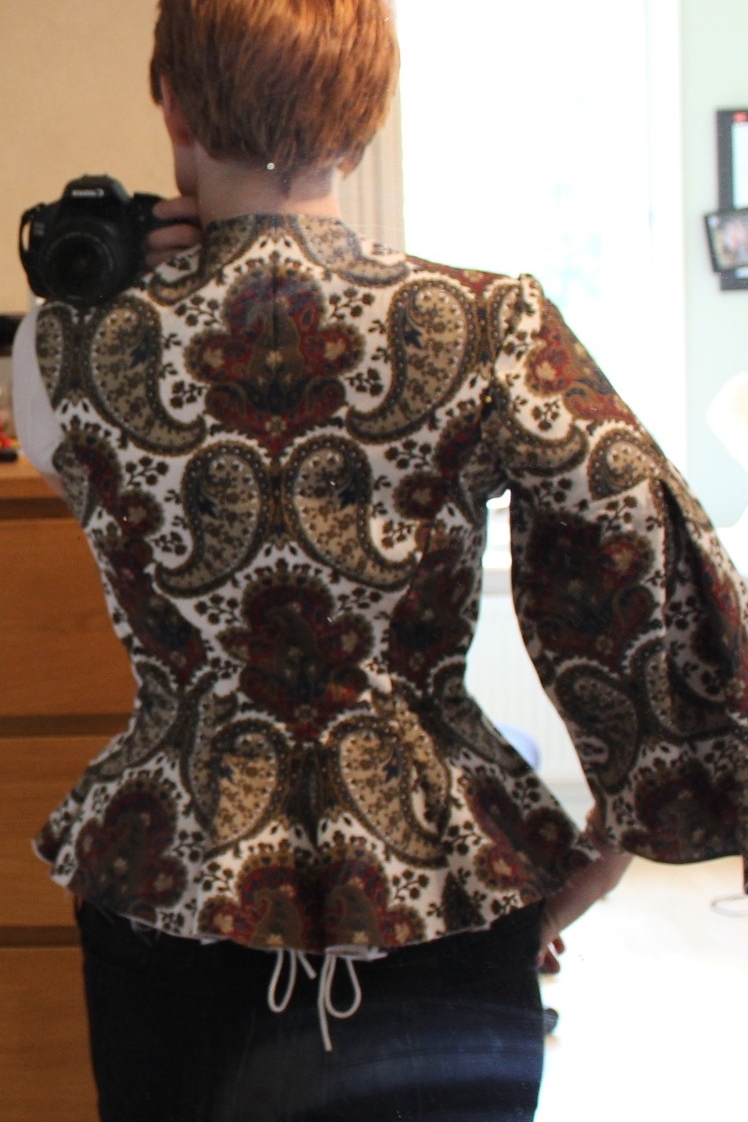
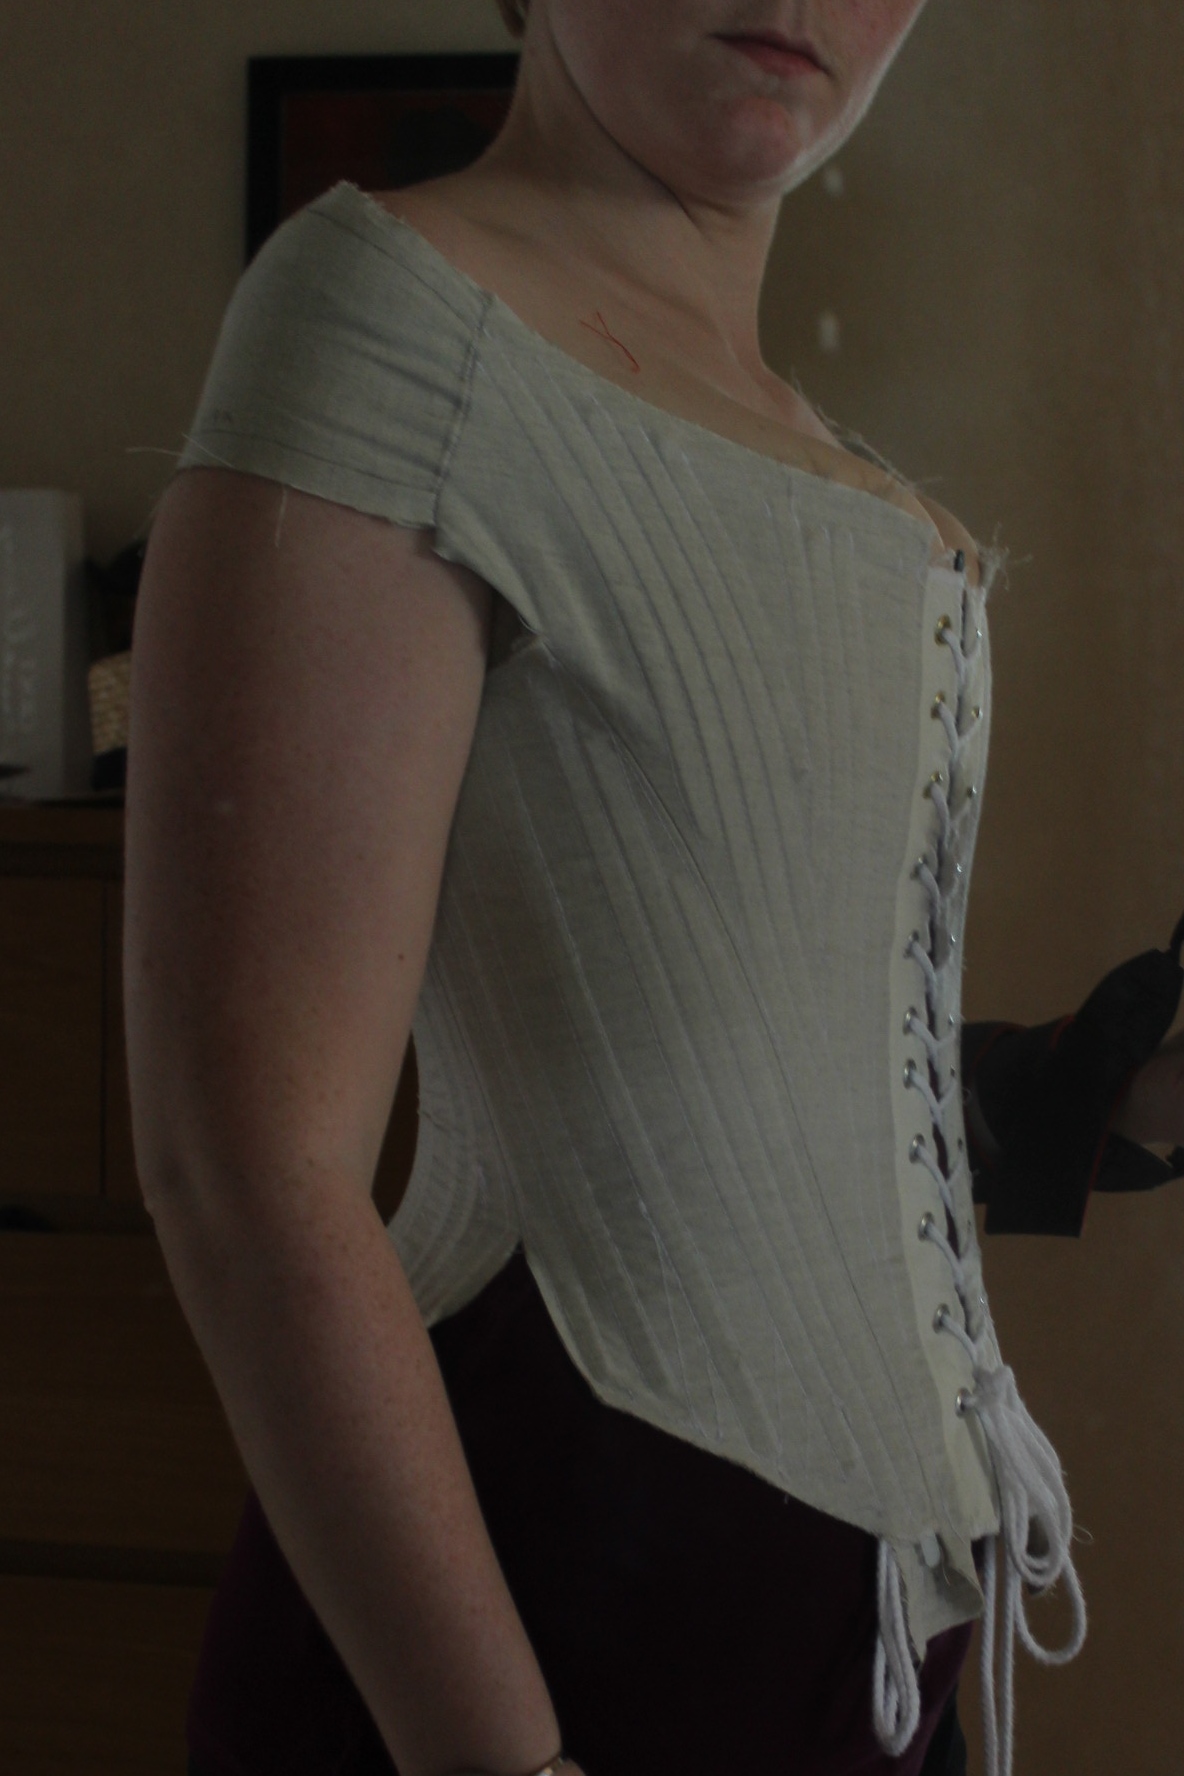
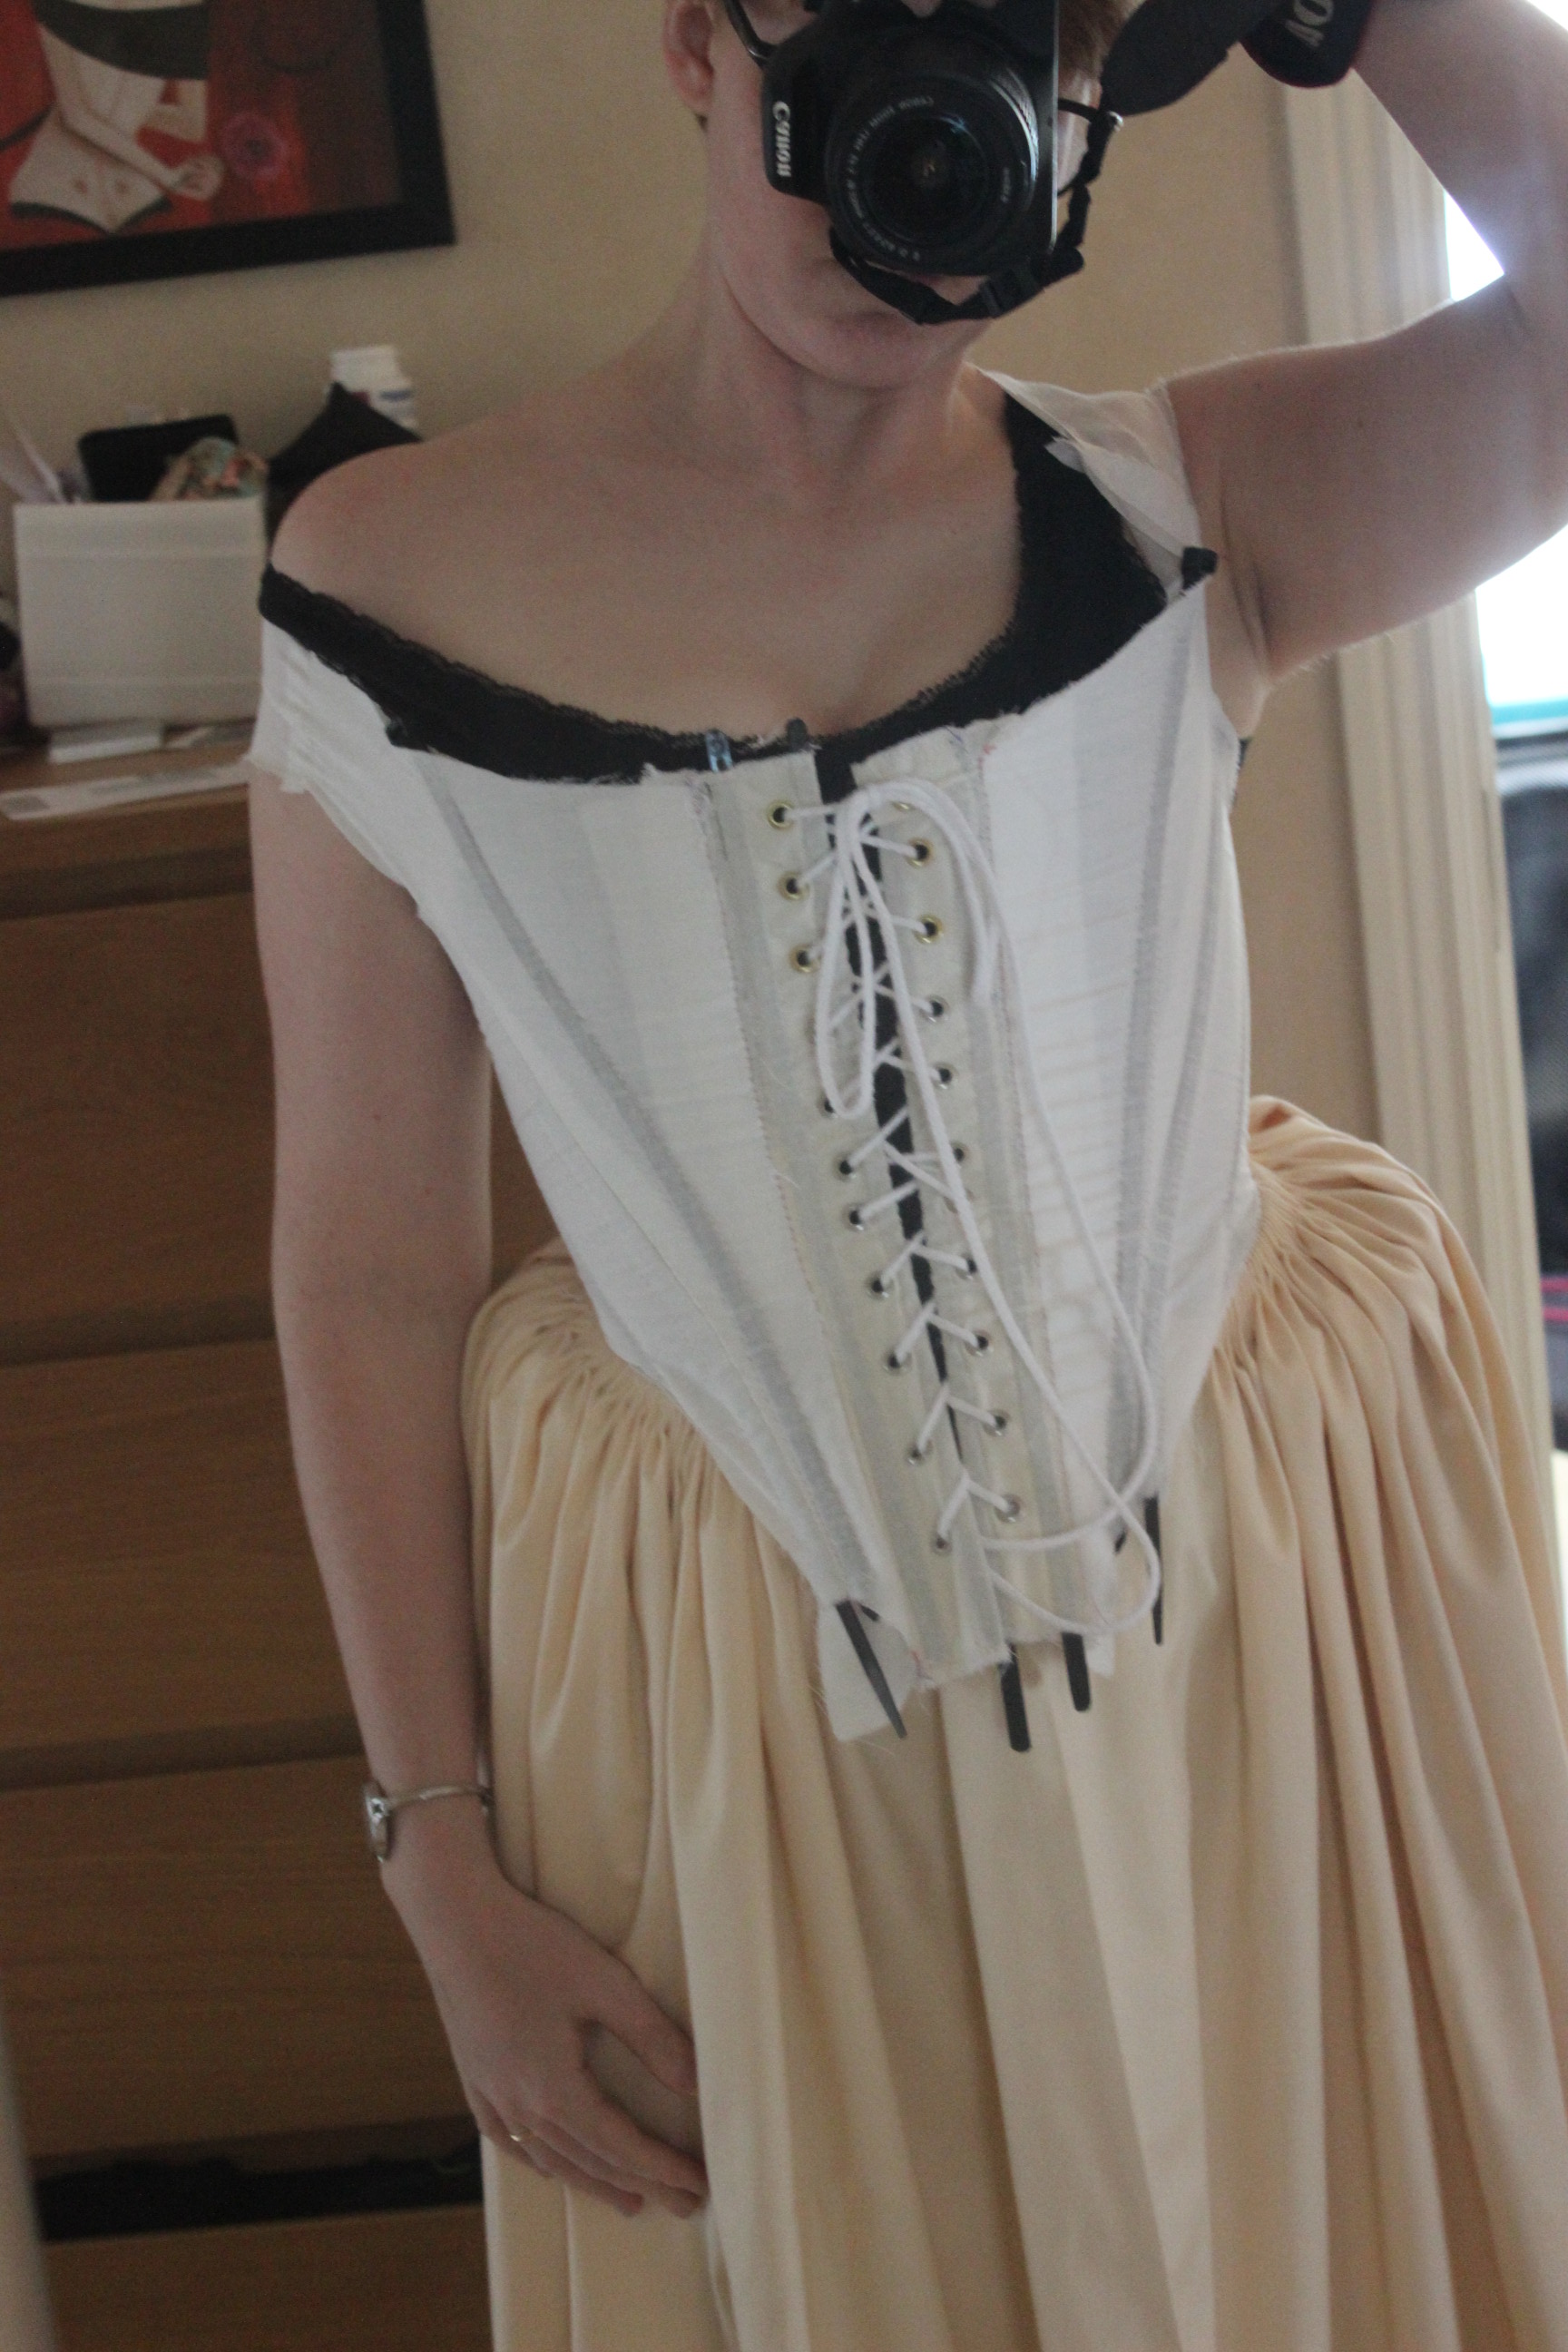
Then I once again got dressed to try it on.


And even though it fit much better now, it still needed to be reduced a bit at the shoulders.
But the waist and the front clouser looked fantastic (if I may say so myself).
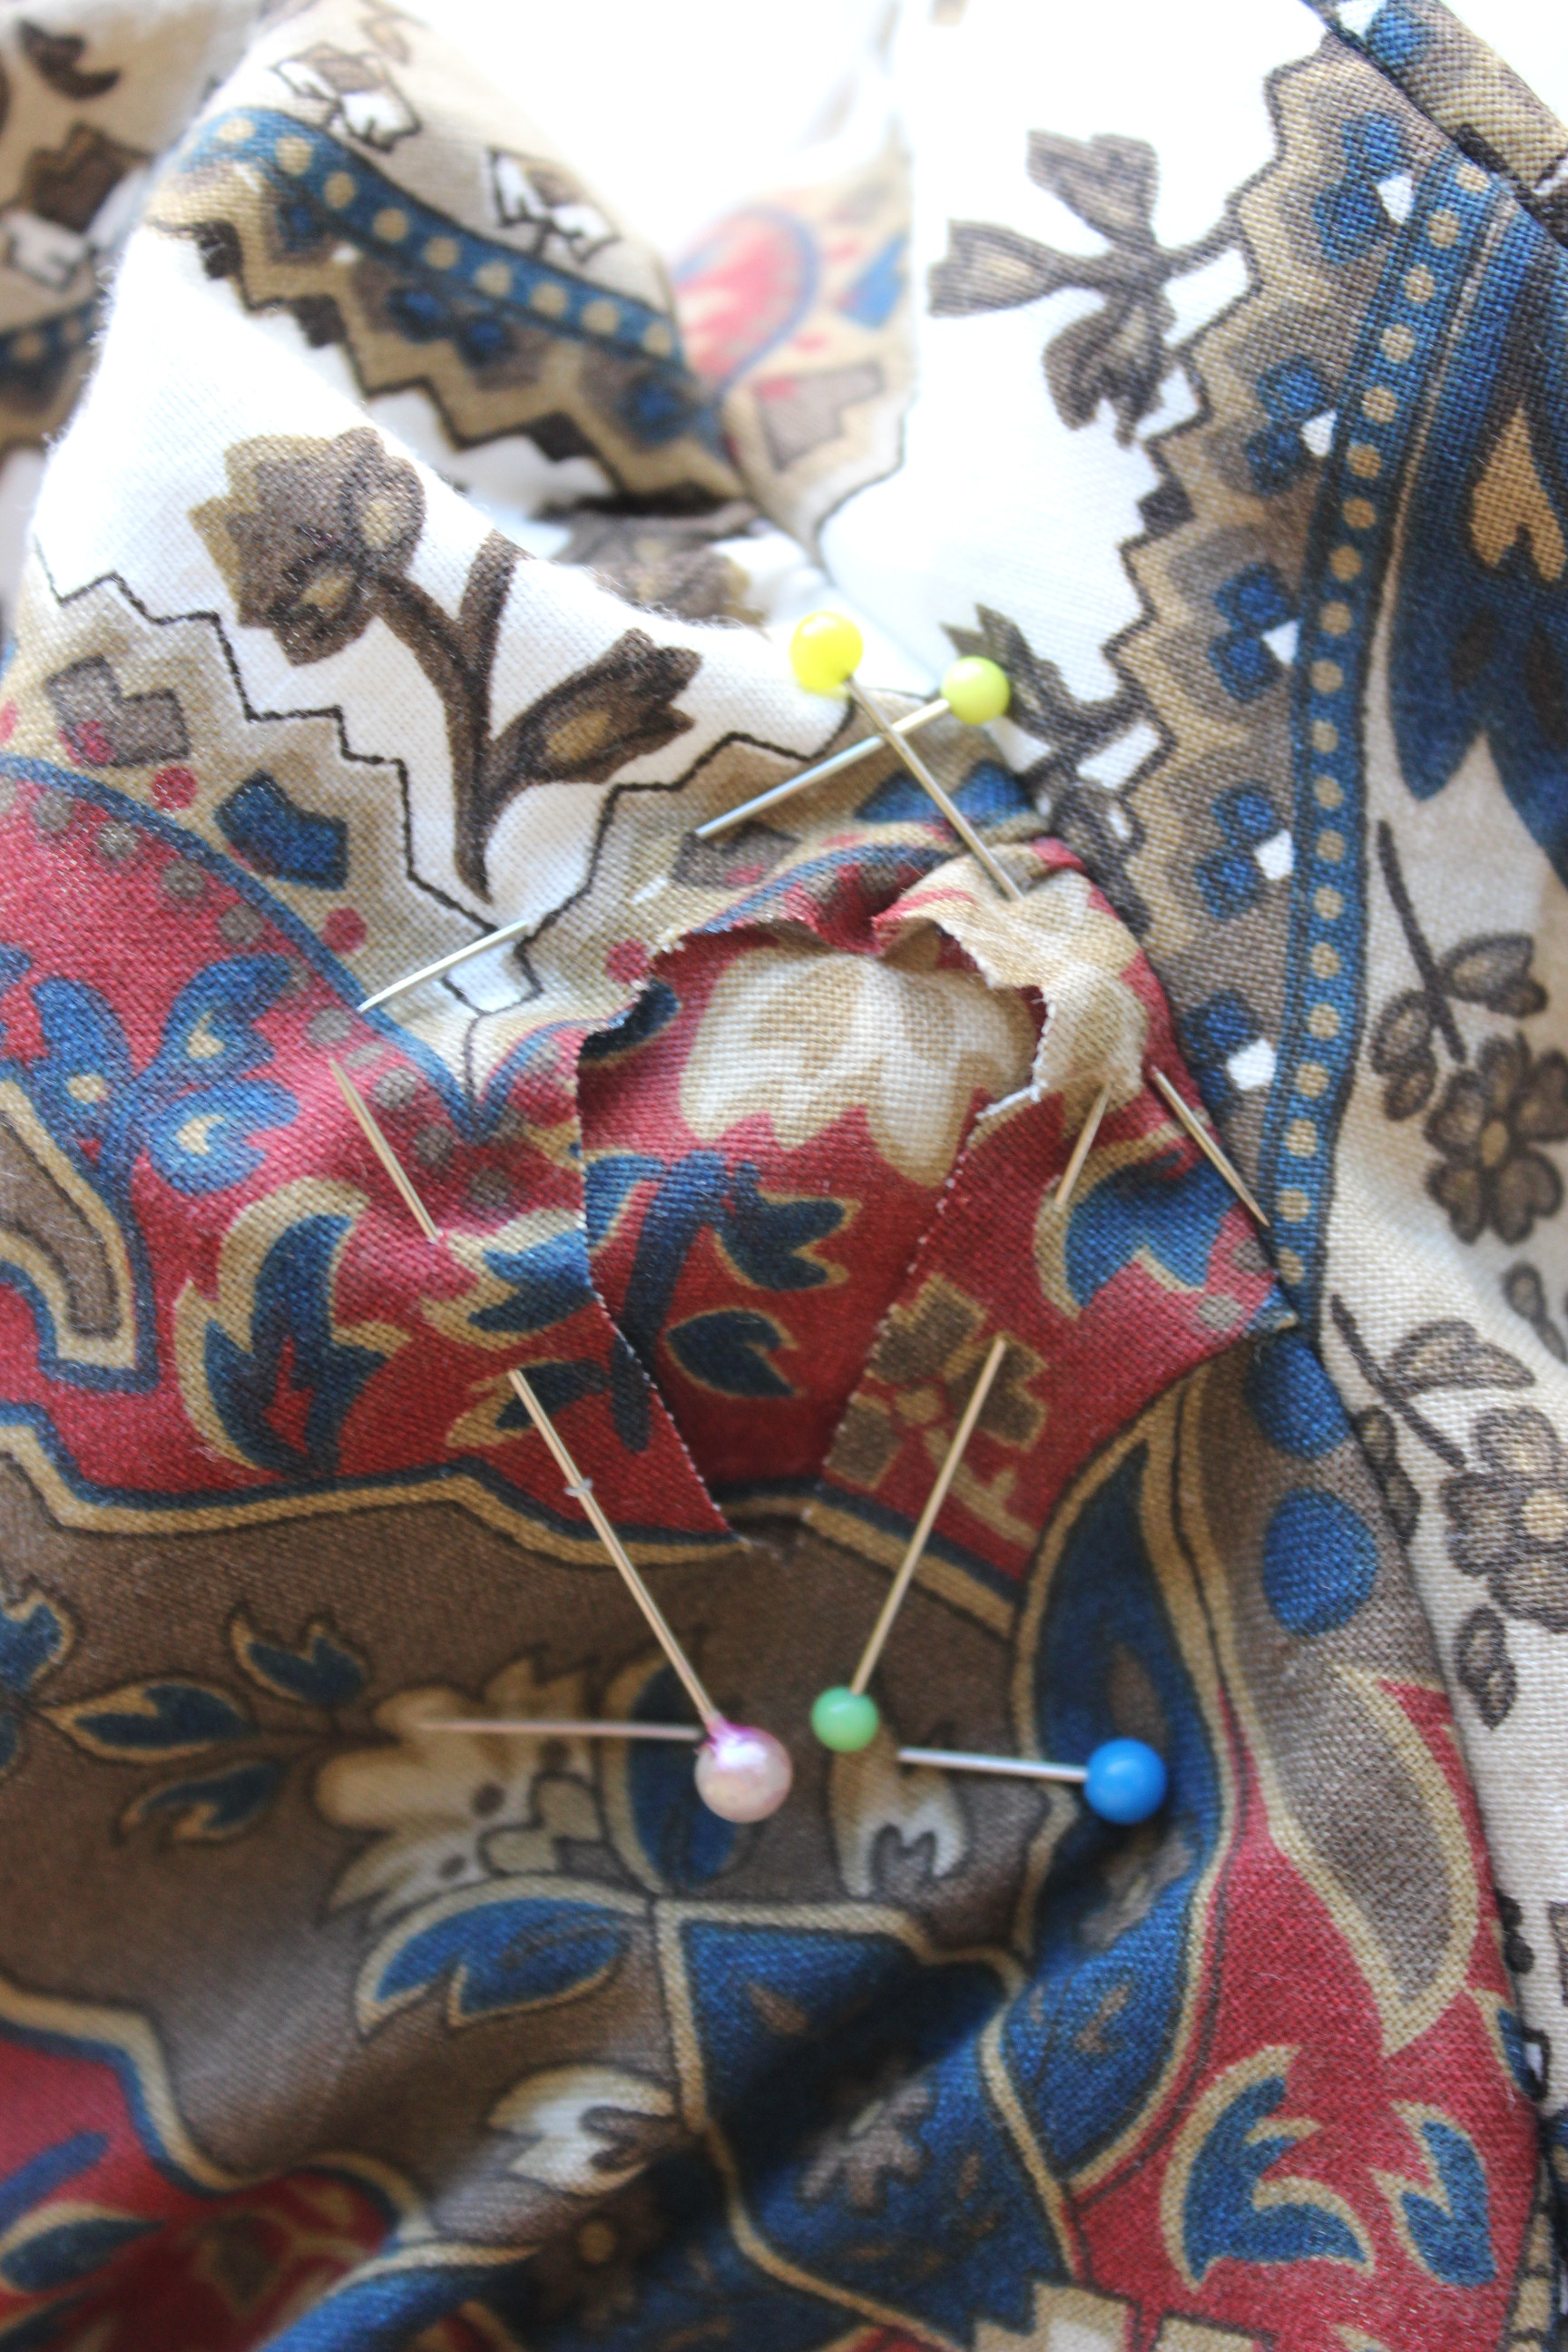
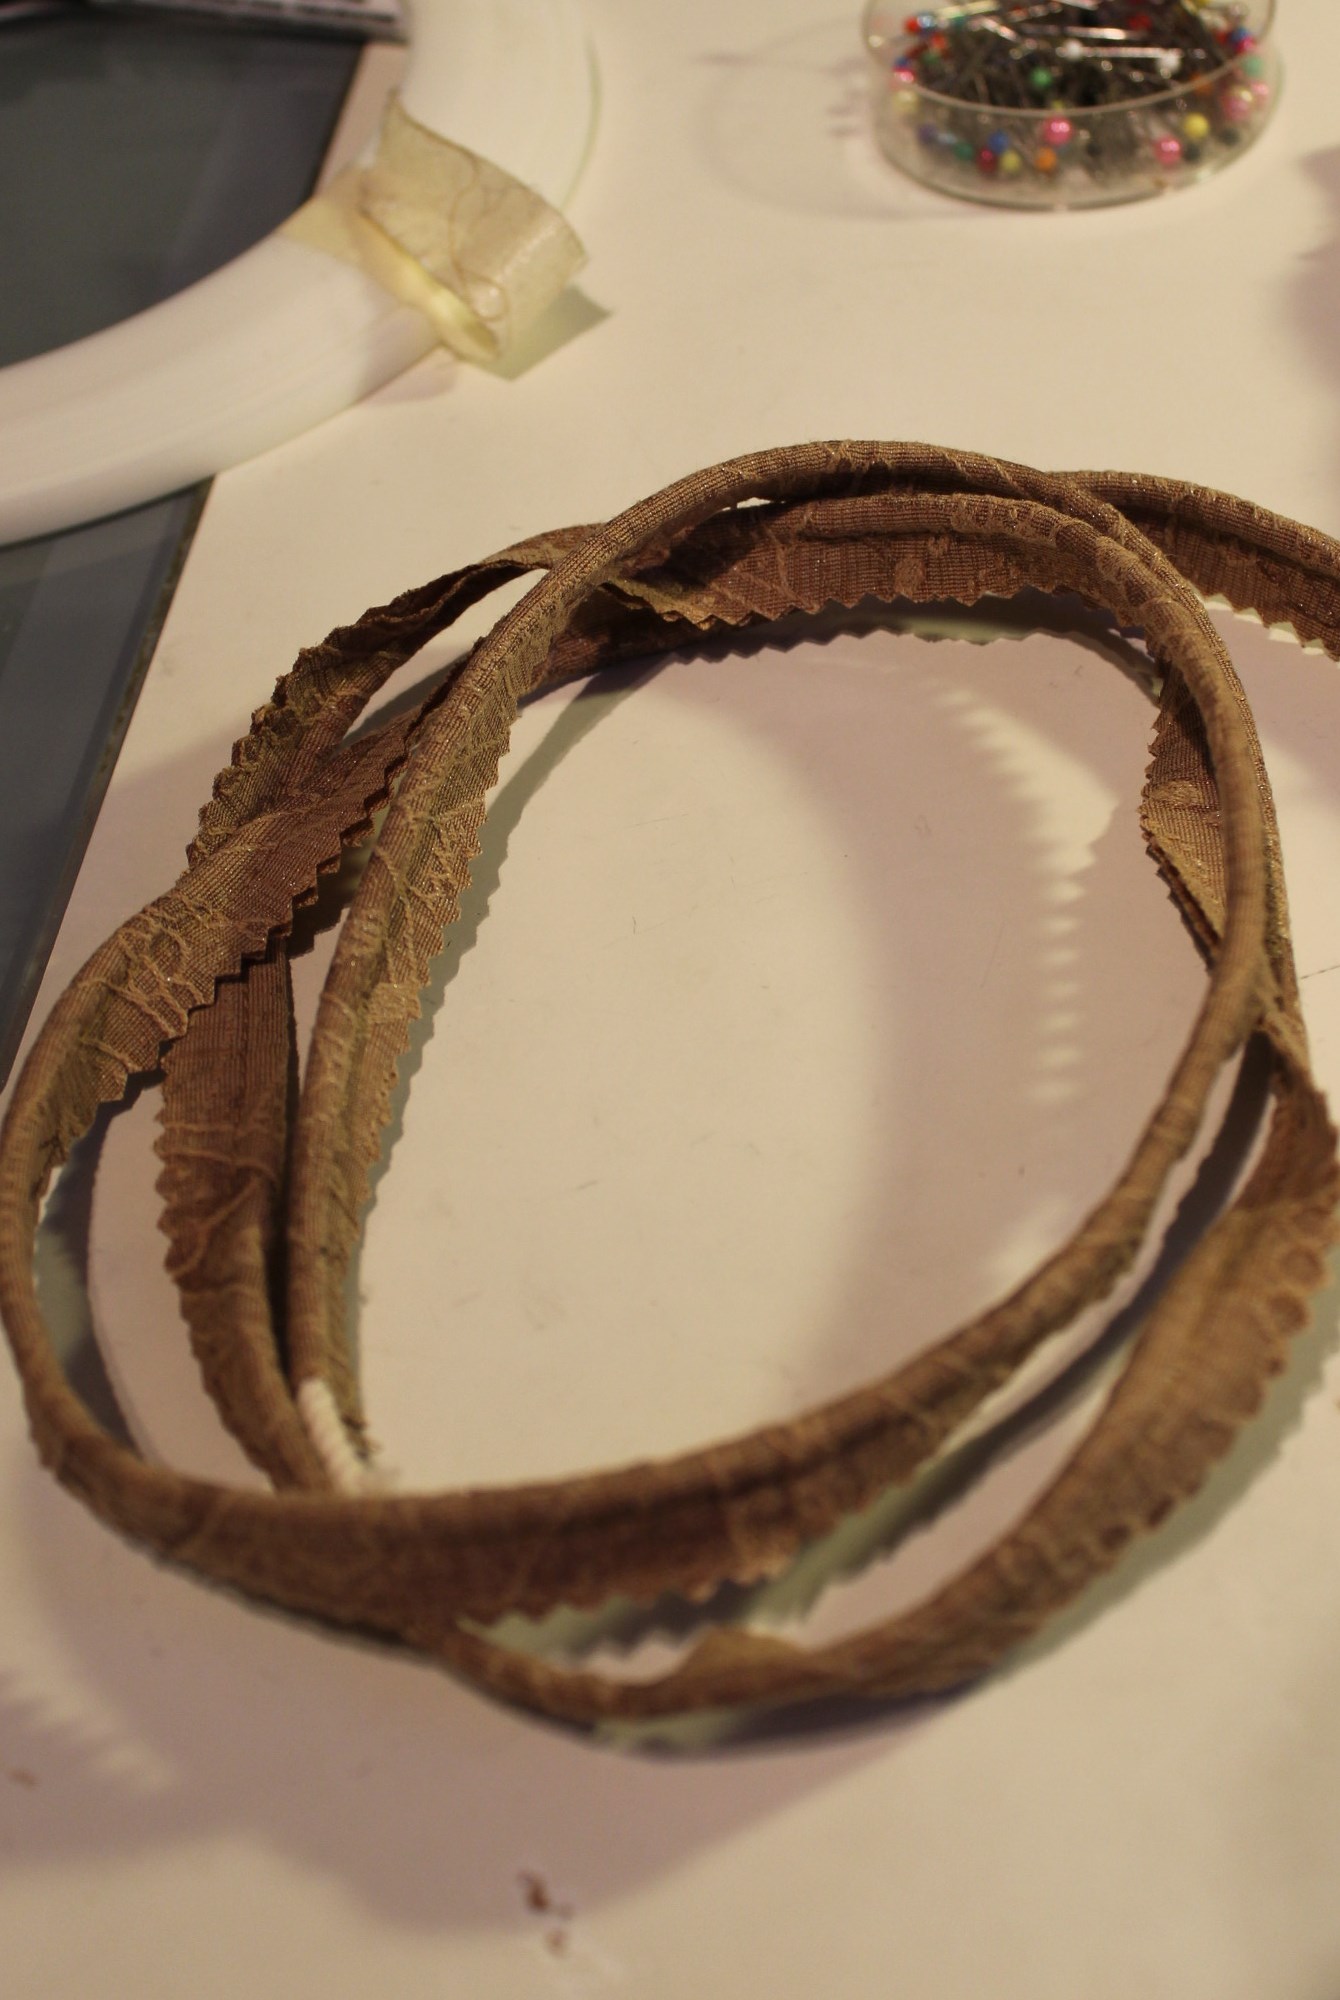
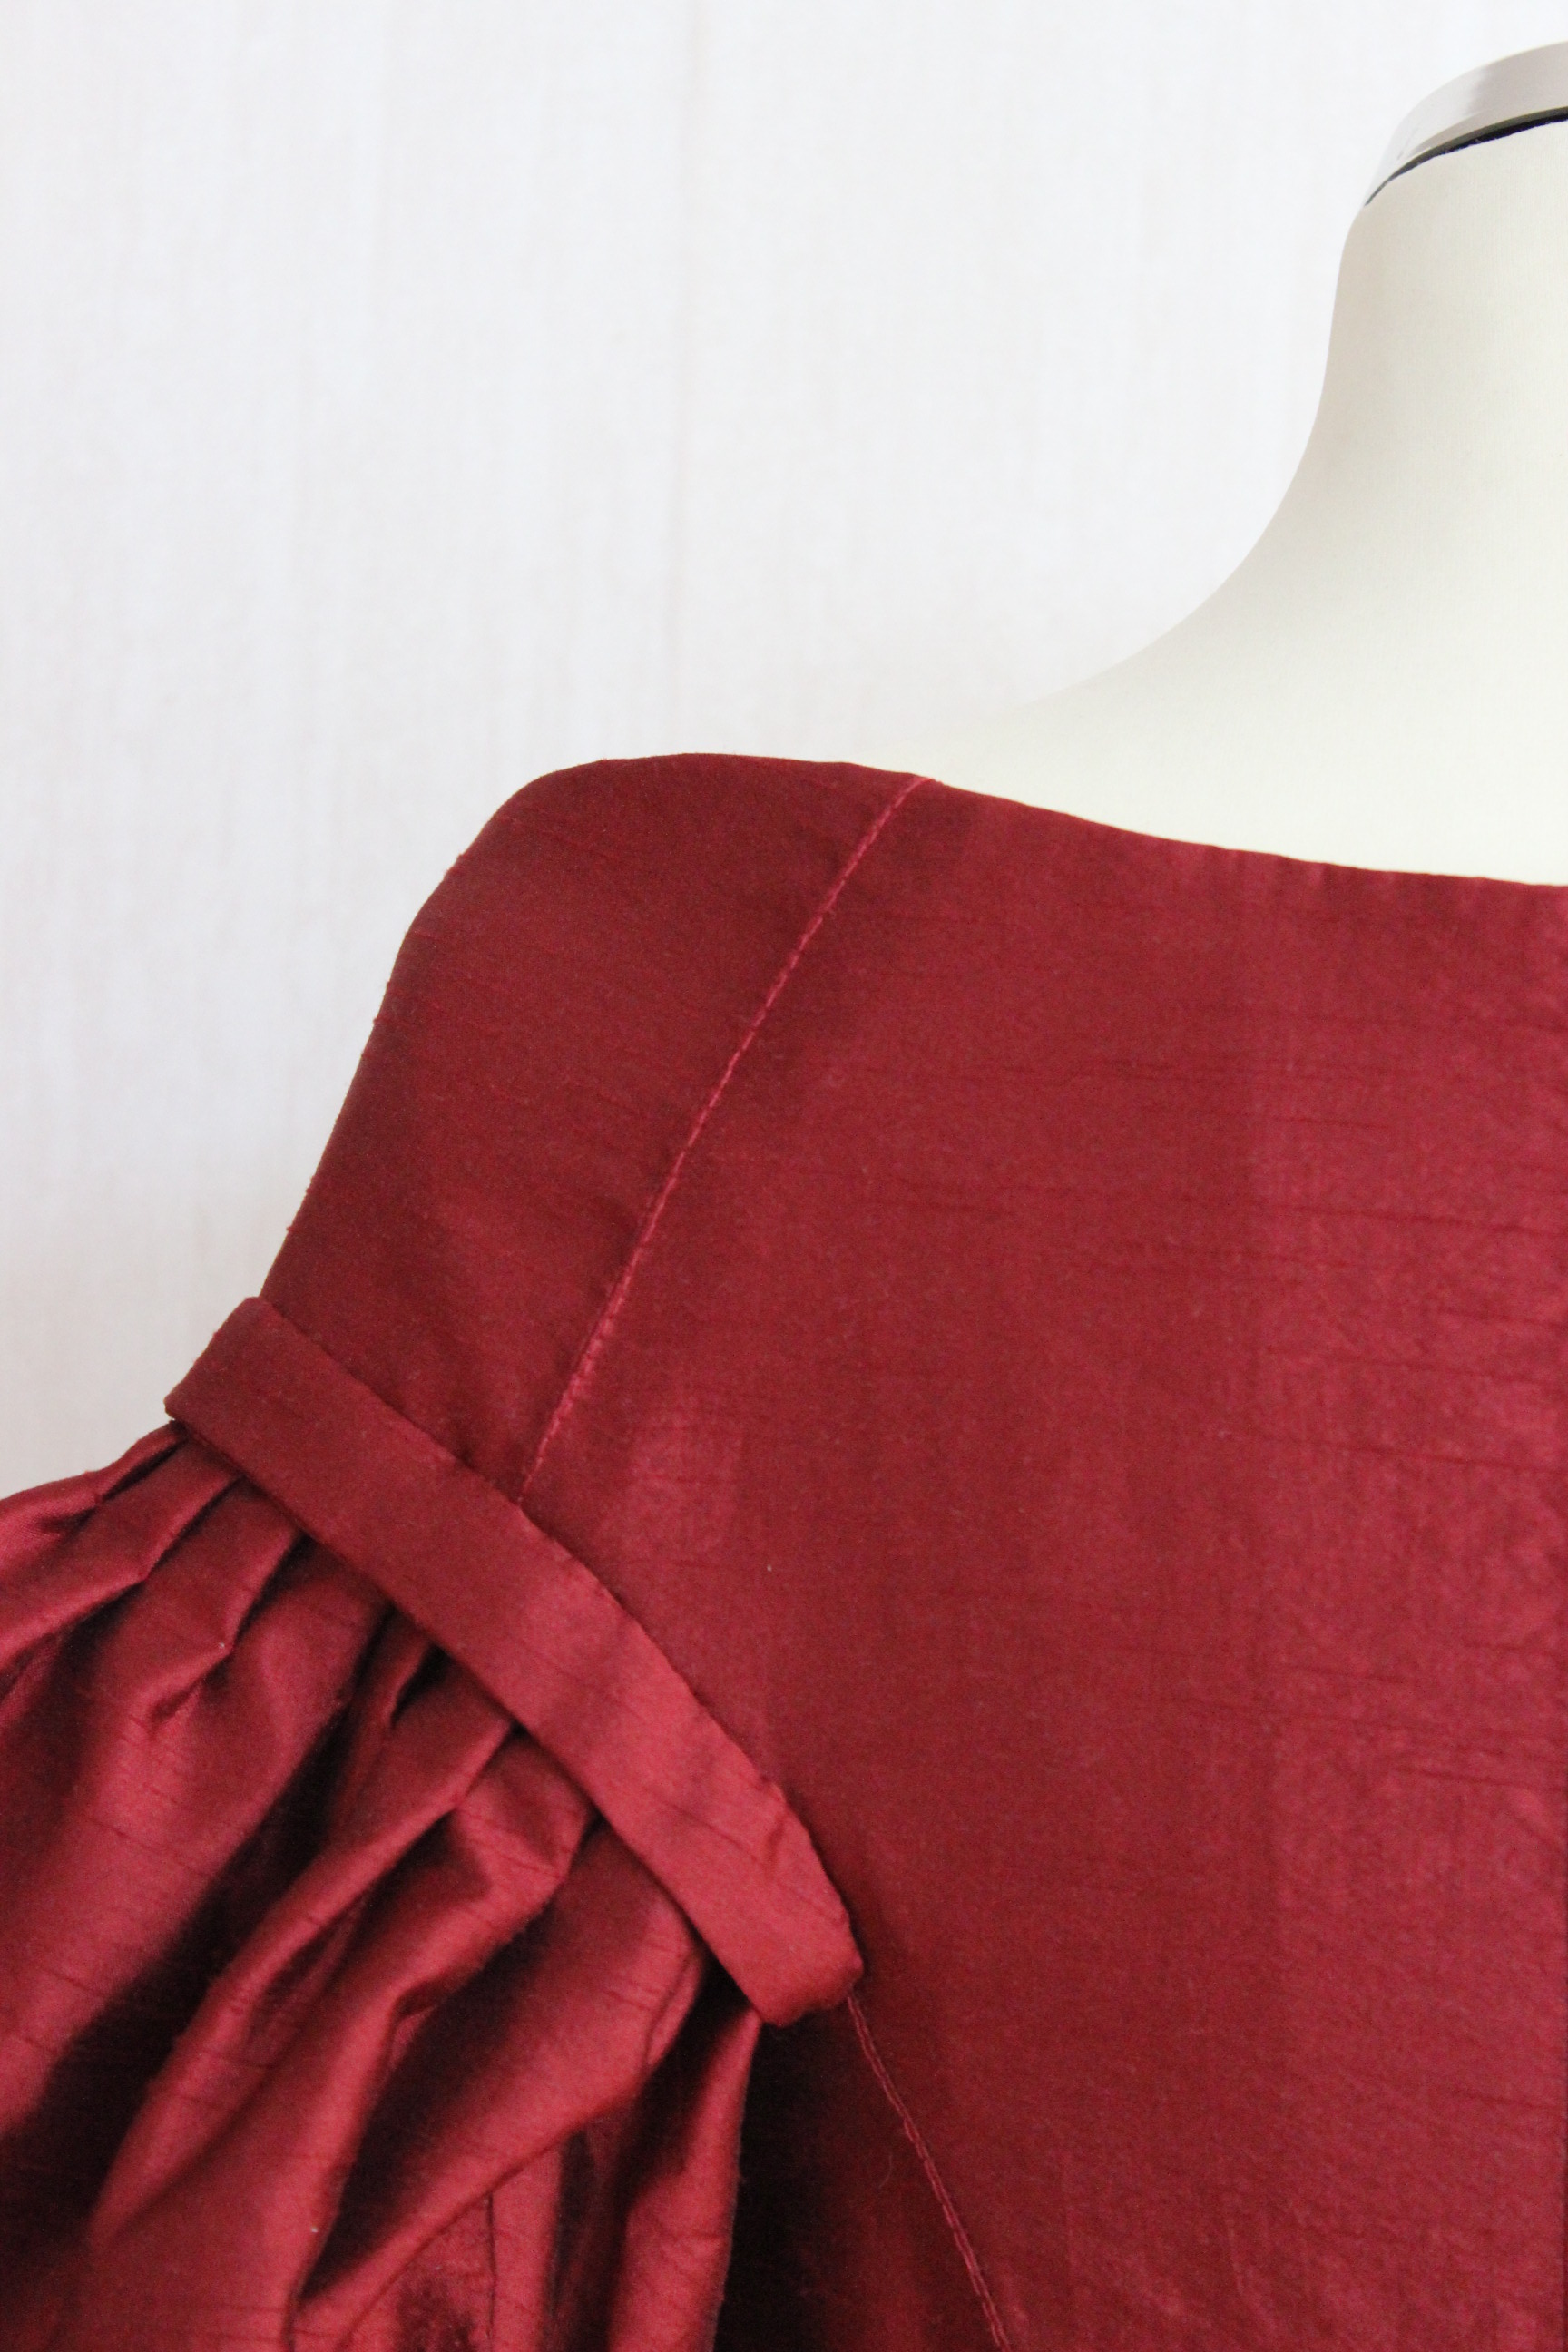
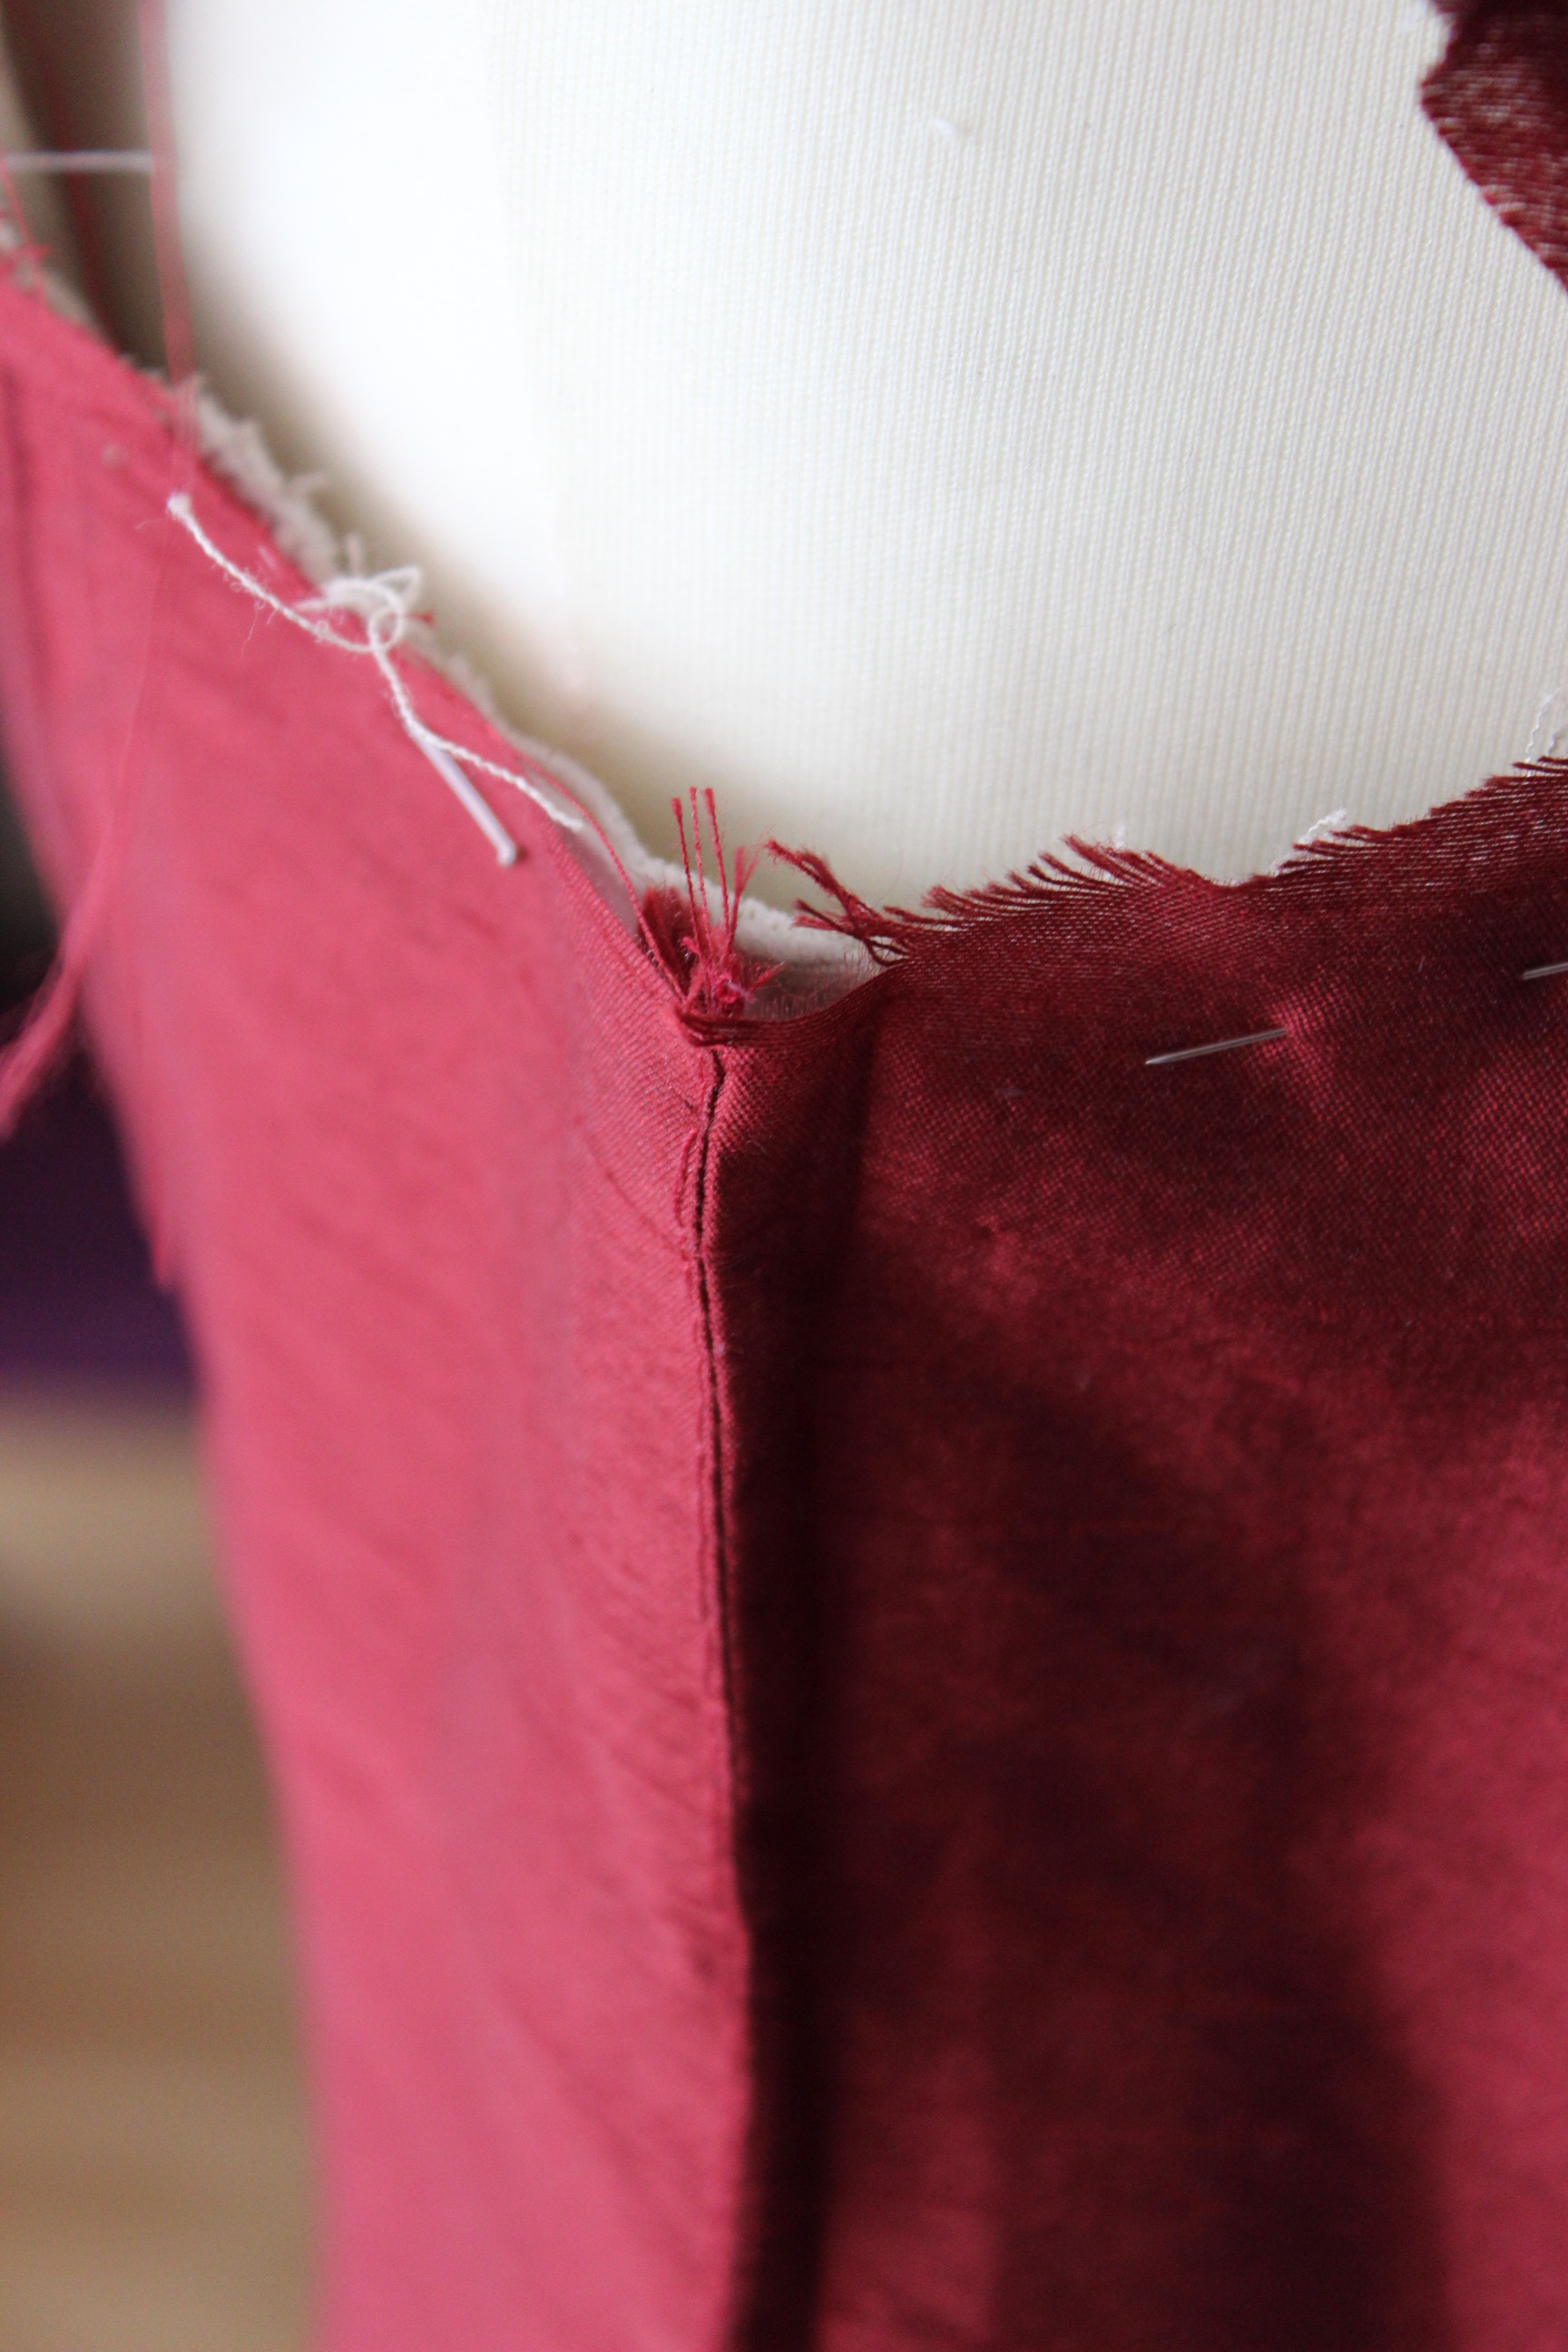
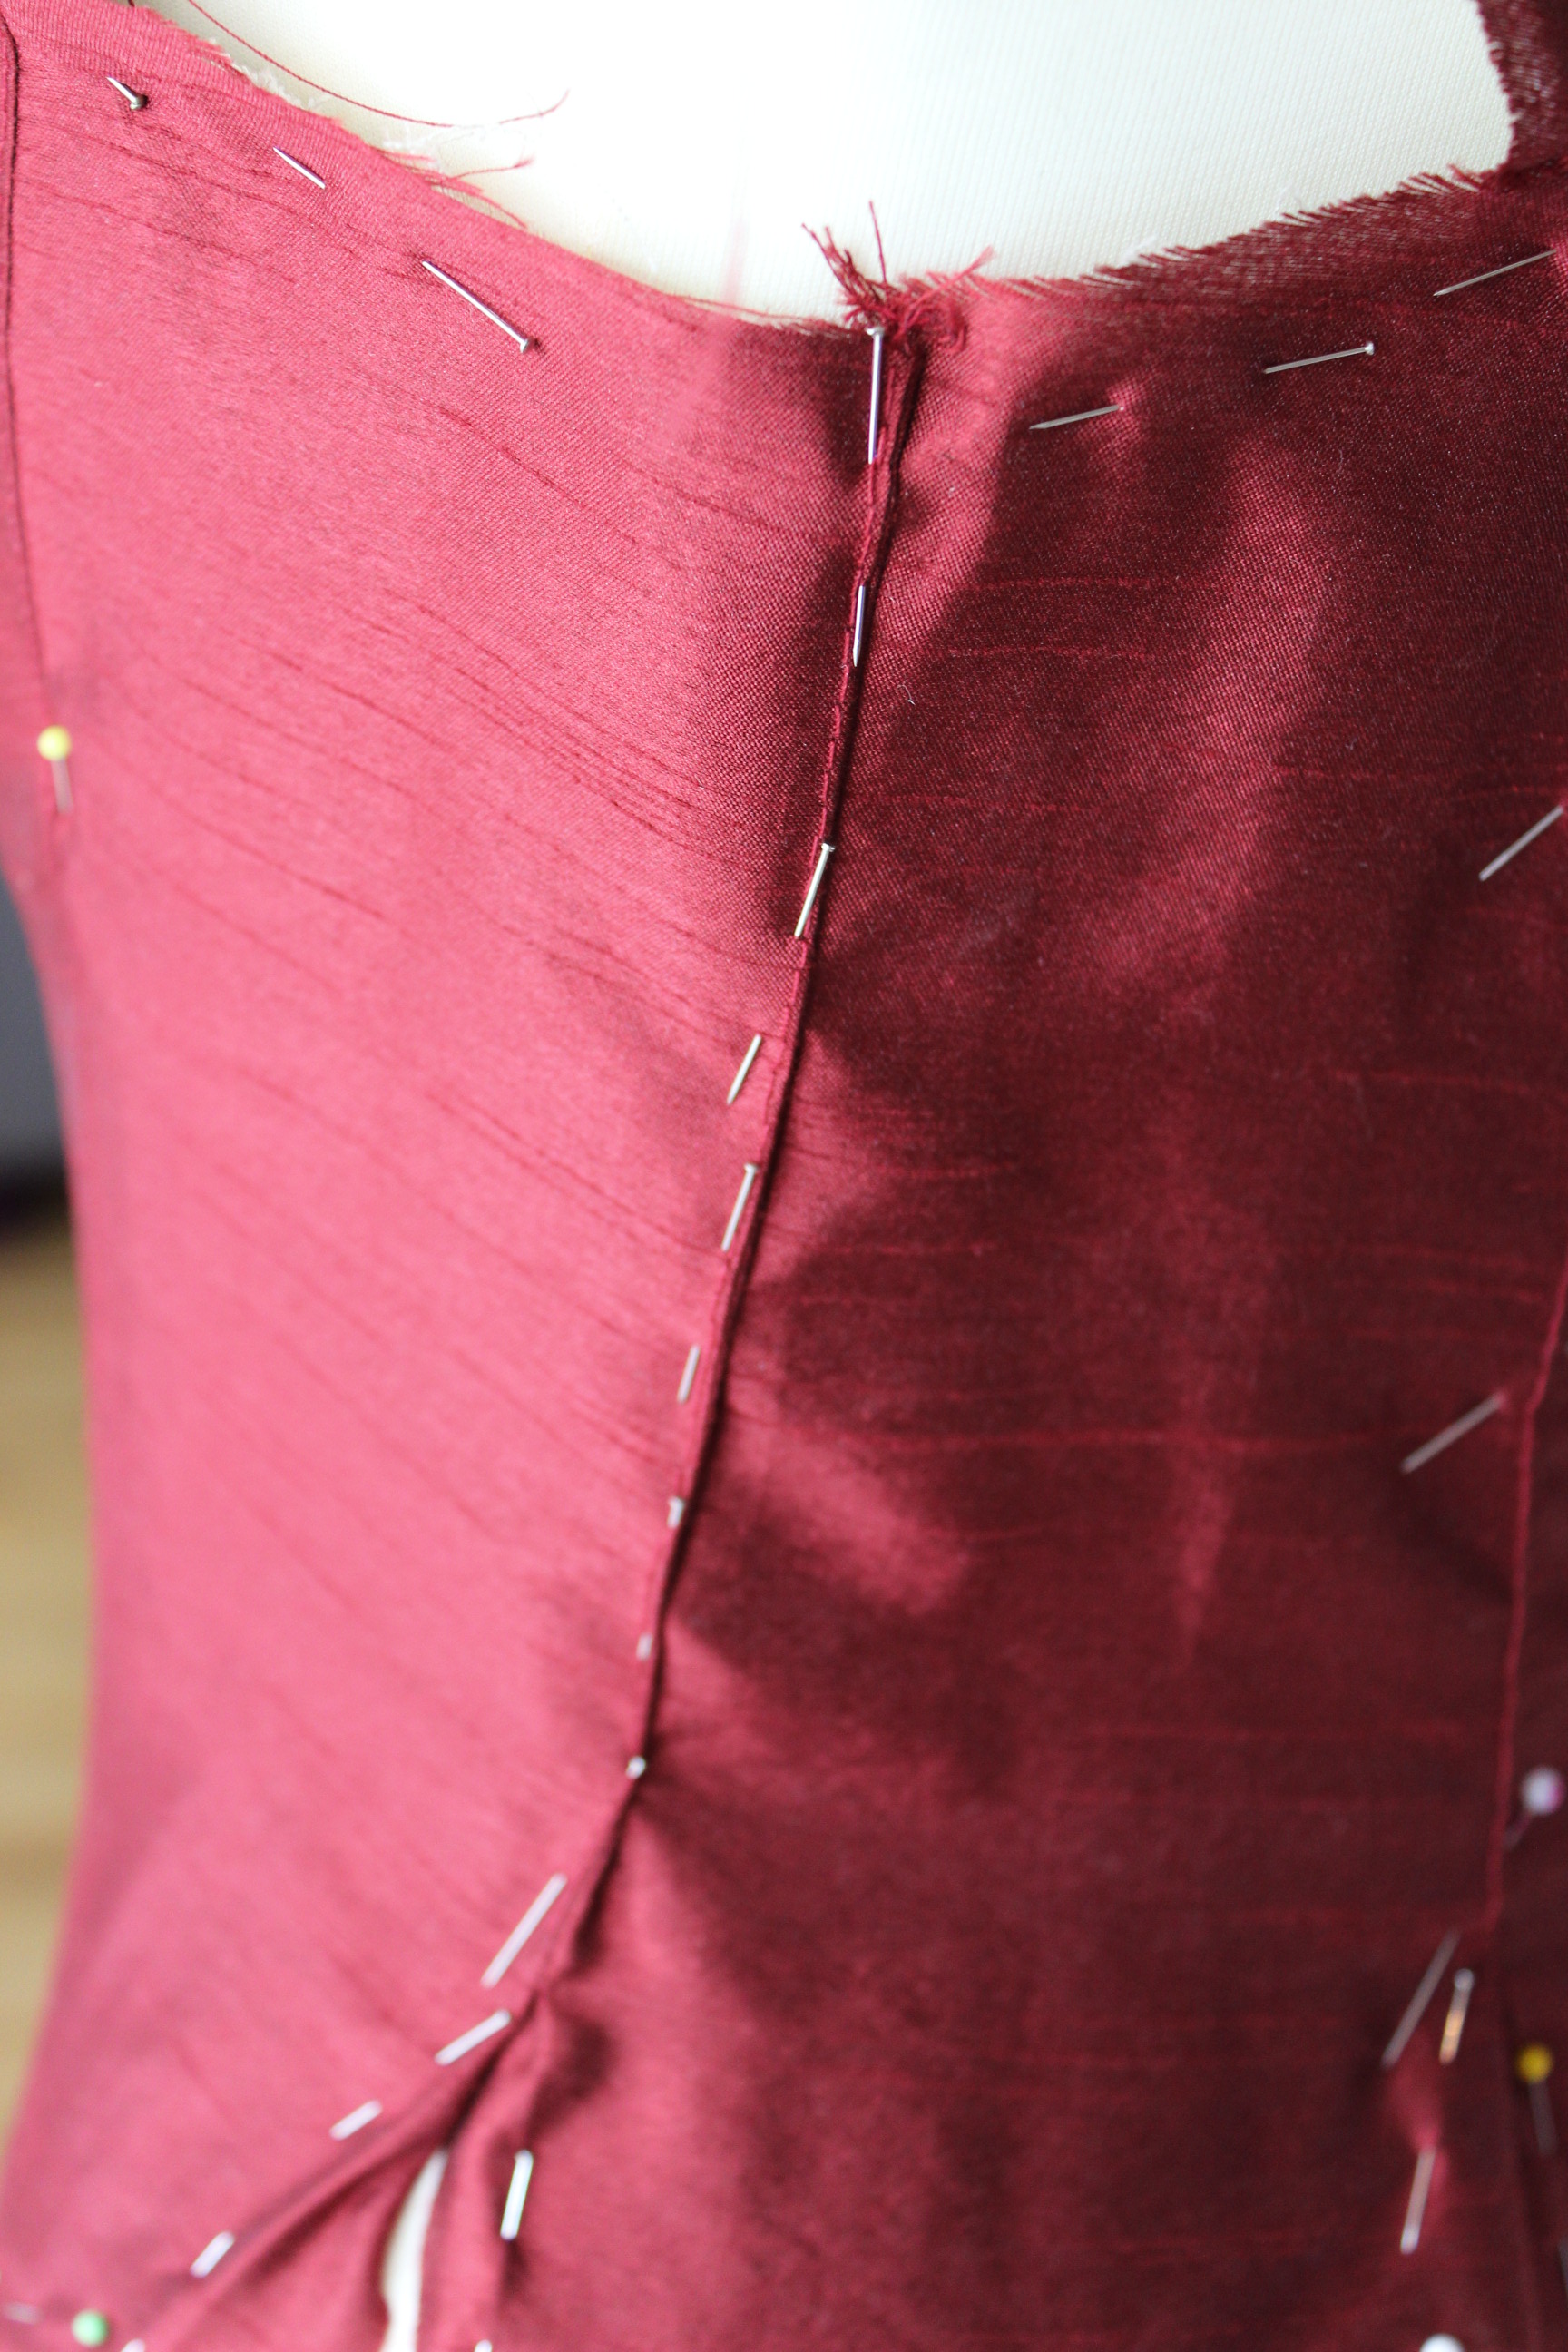
Now it was time to make the piping for the neckline. I used a cotton cord and some leftover fashion fabric (cut on the straight grain).
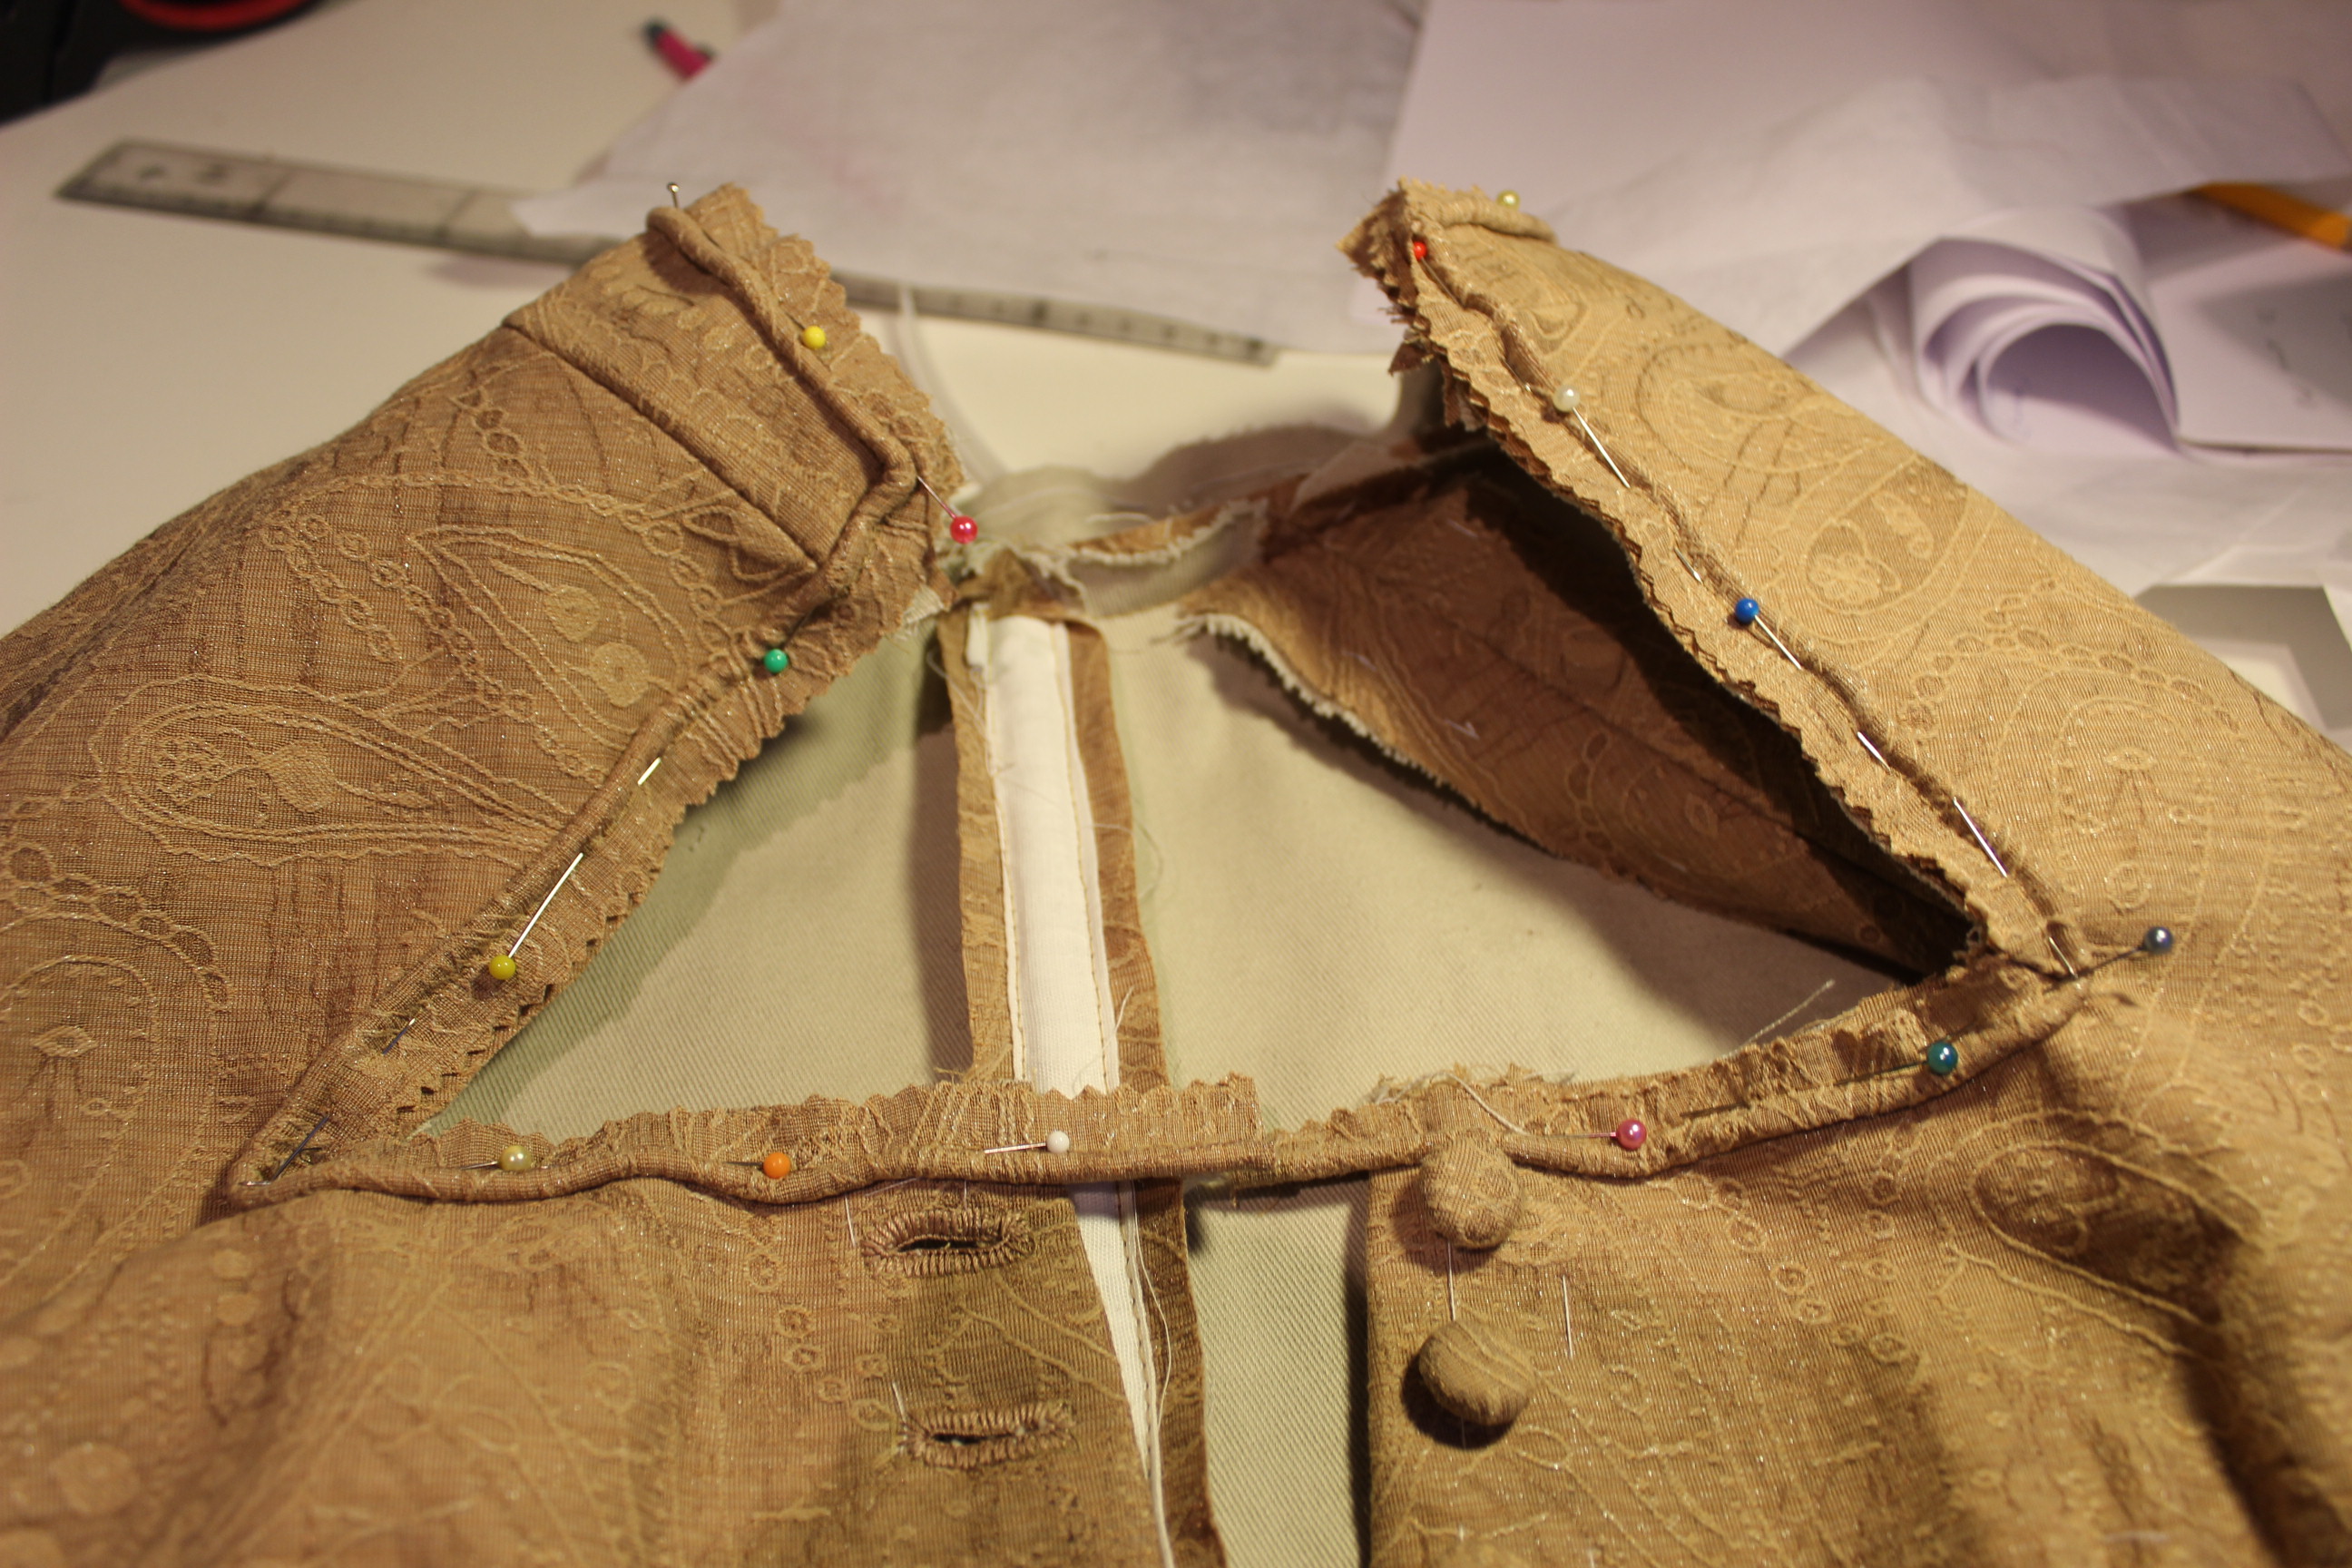
Pinning those pesky corners, making sure they look neat, and cuting the seam allowence to get the piping laying smoothly.
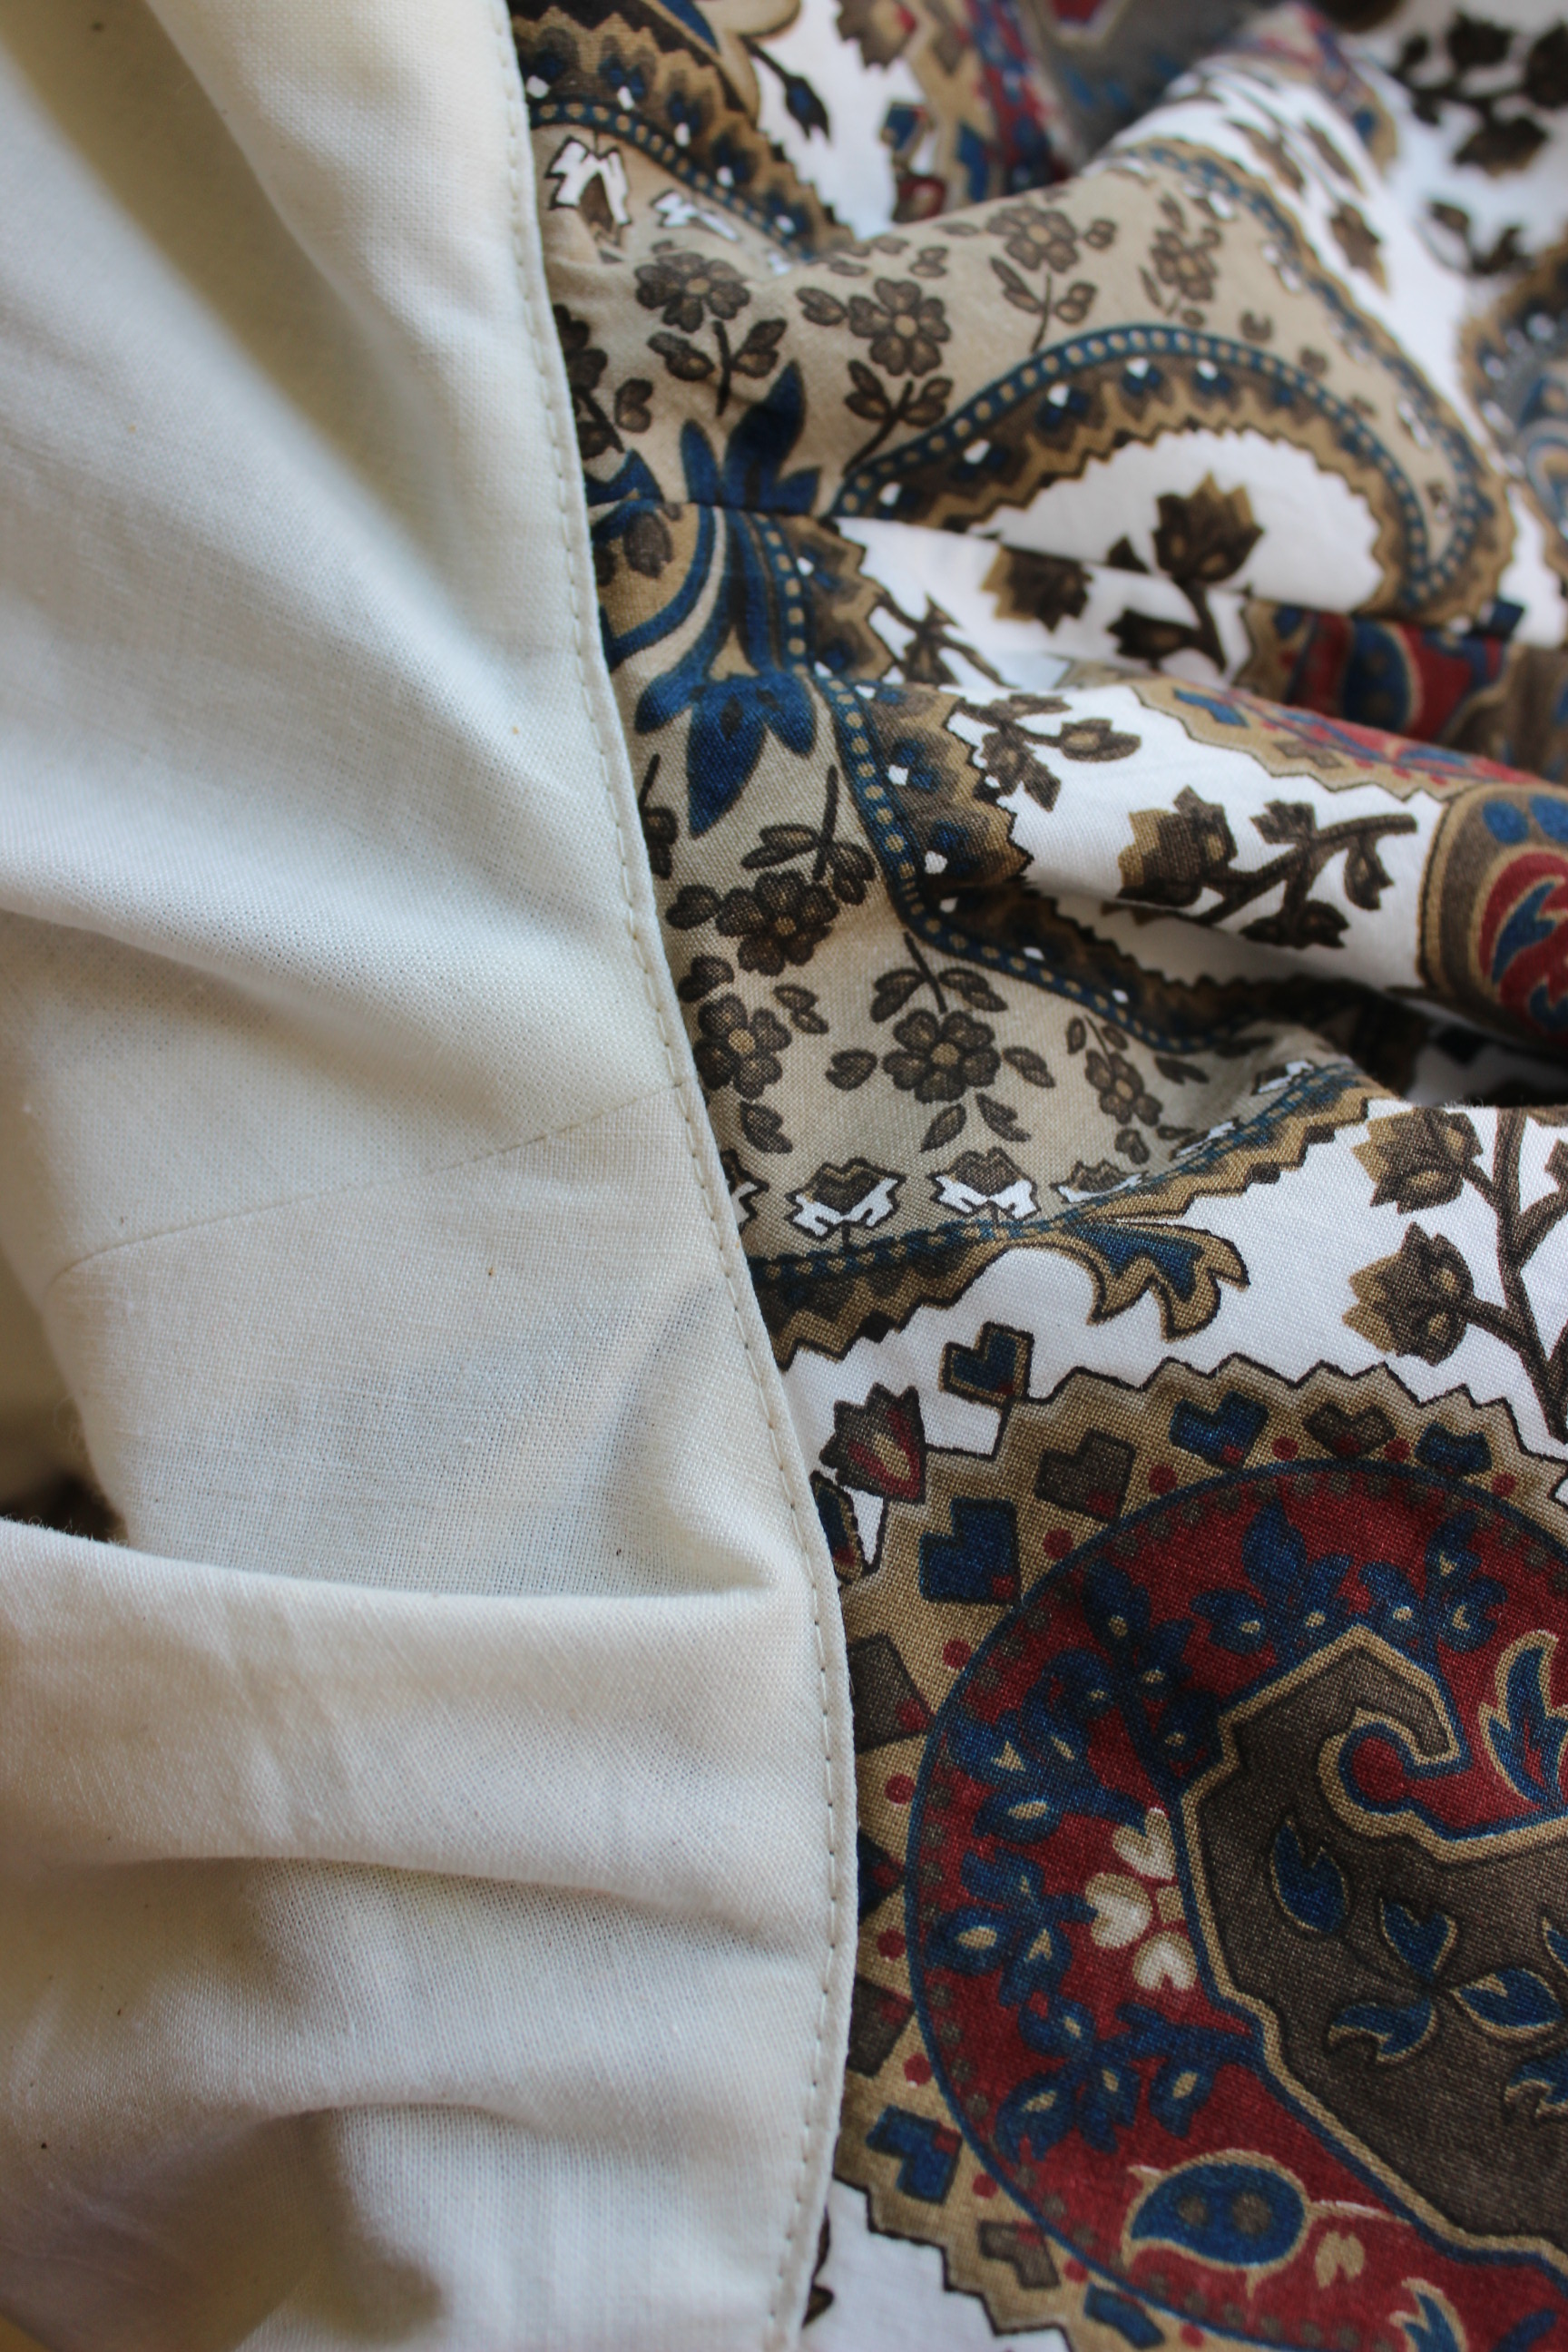
Then I sewed on the lining. I folded the allowence and sewed it on by hand at the neckline/collar and buttonhole stand.
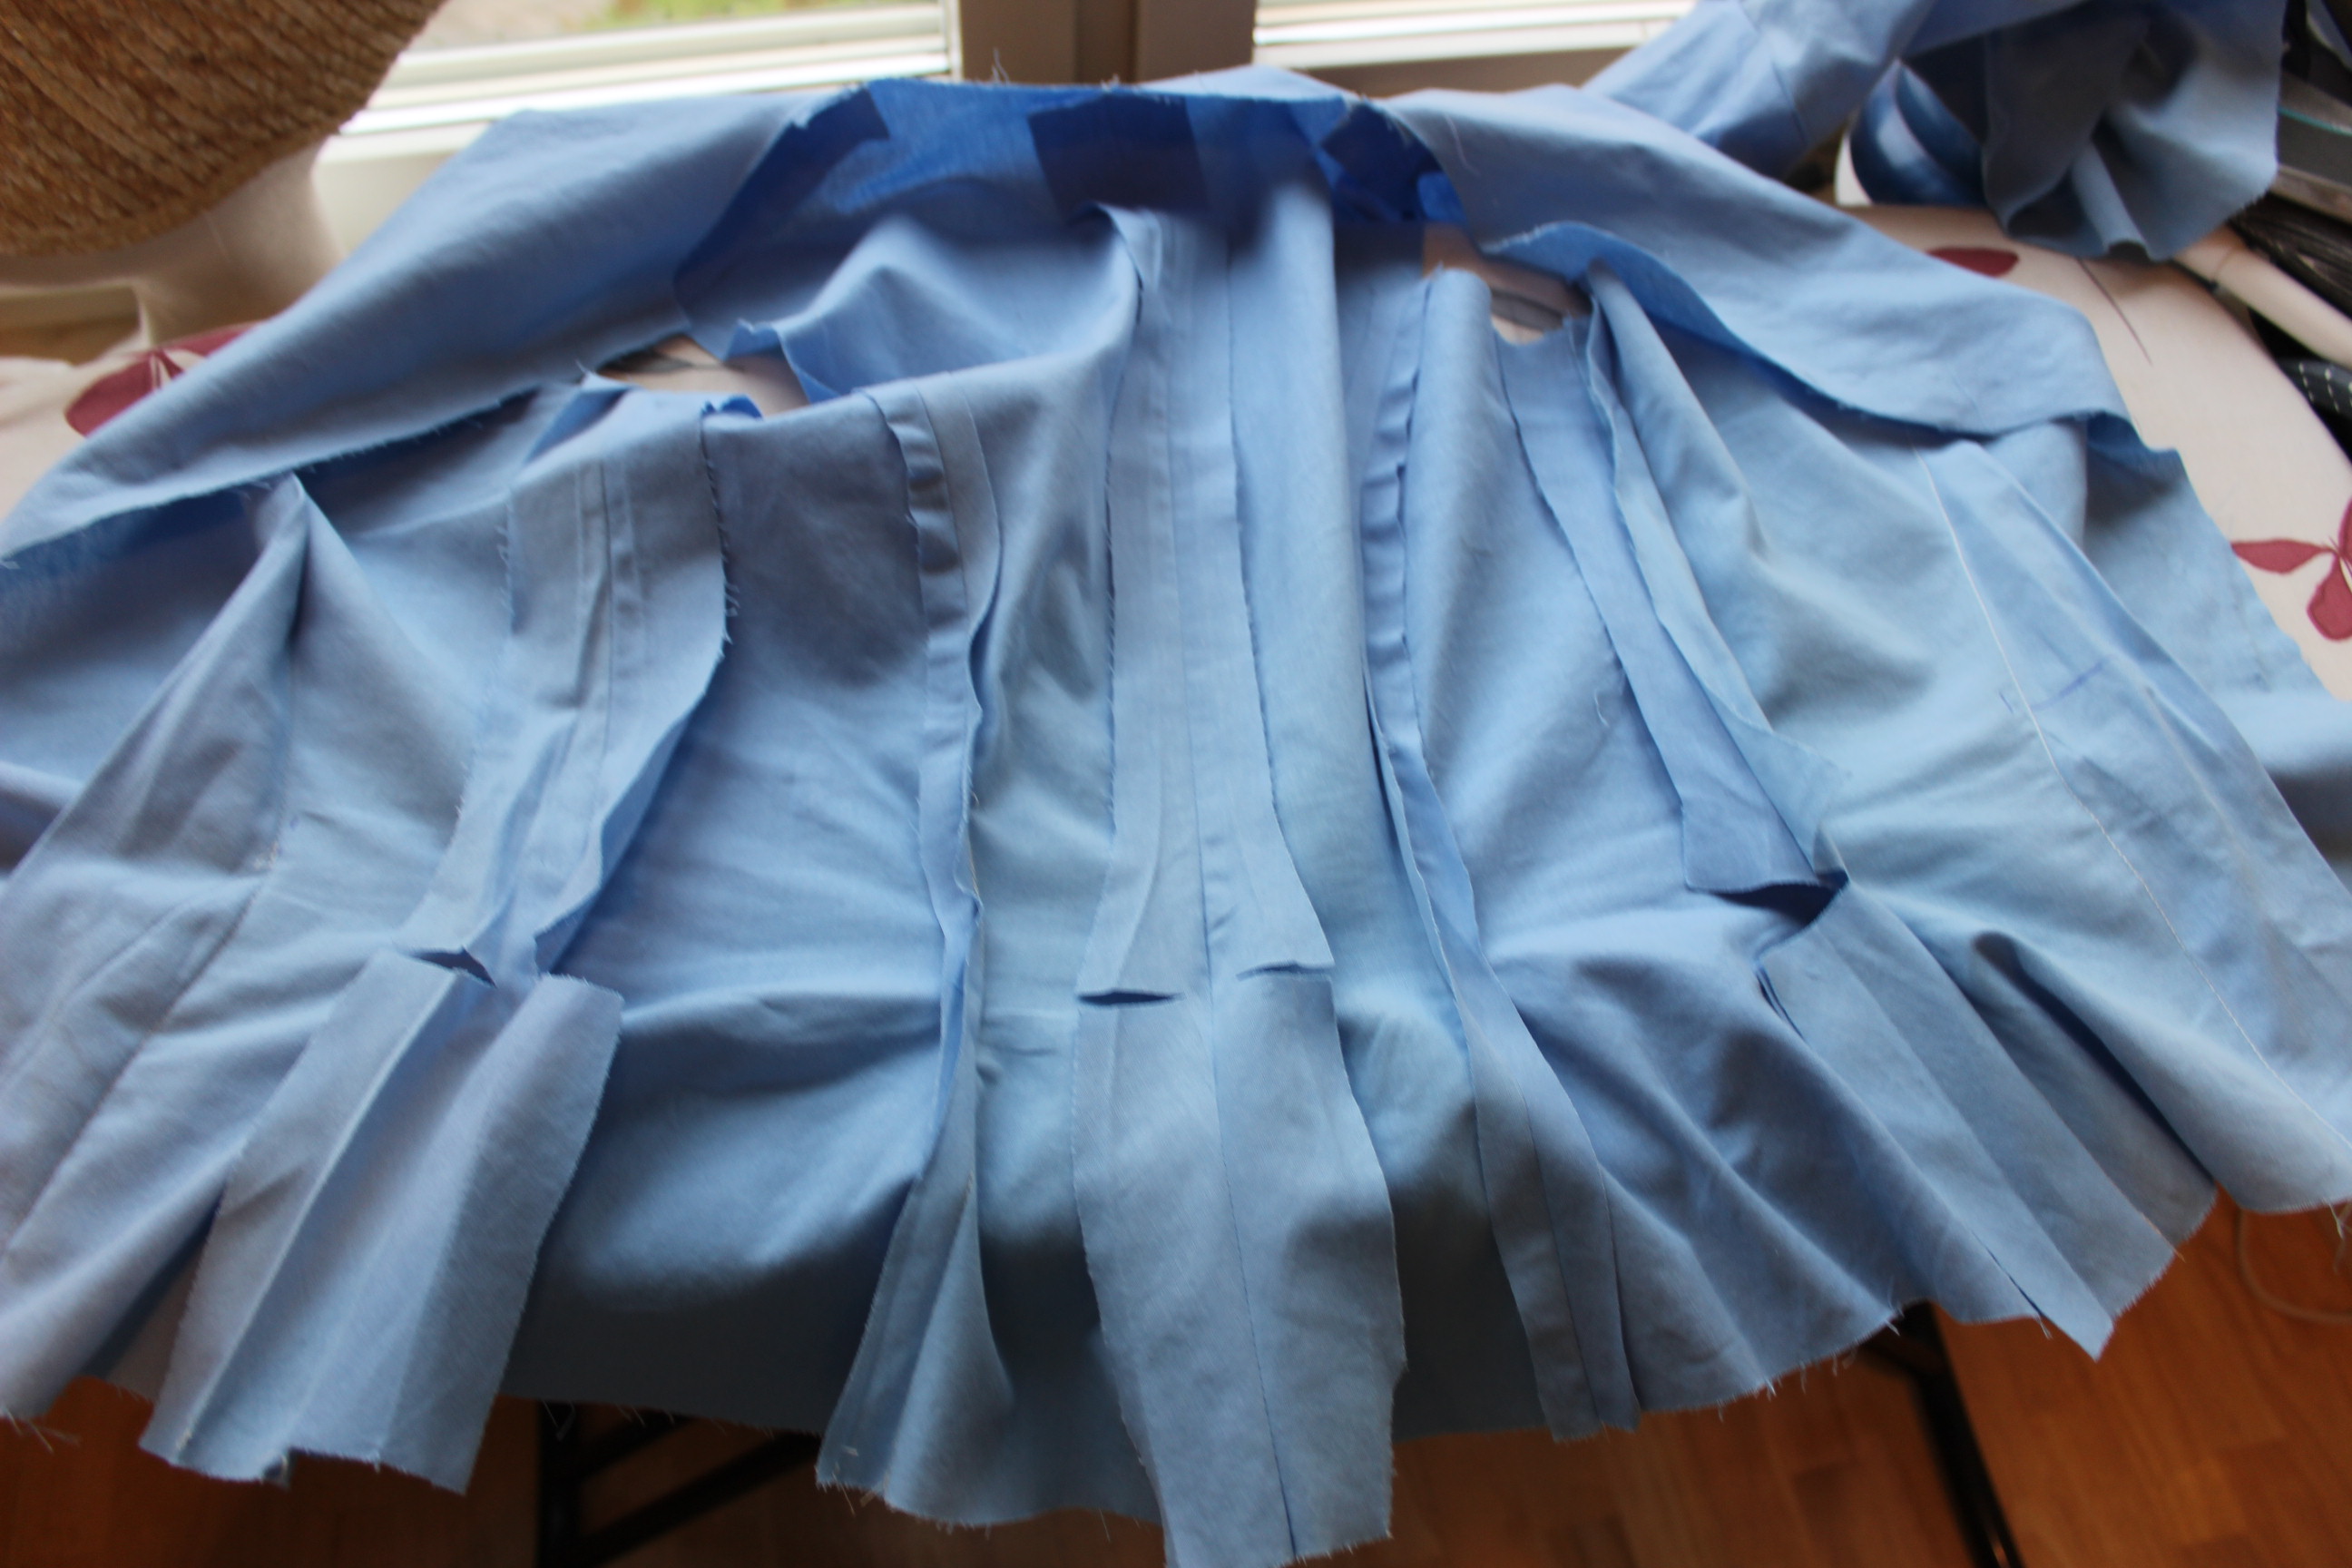
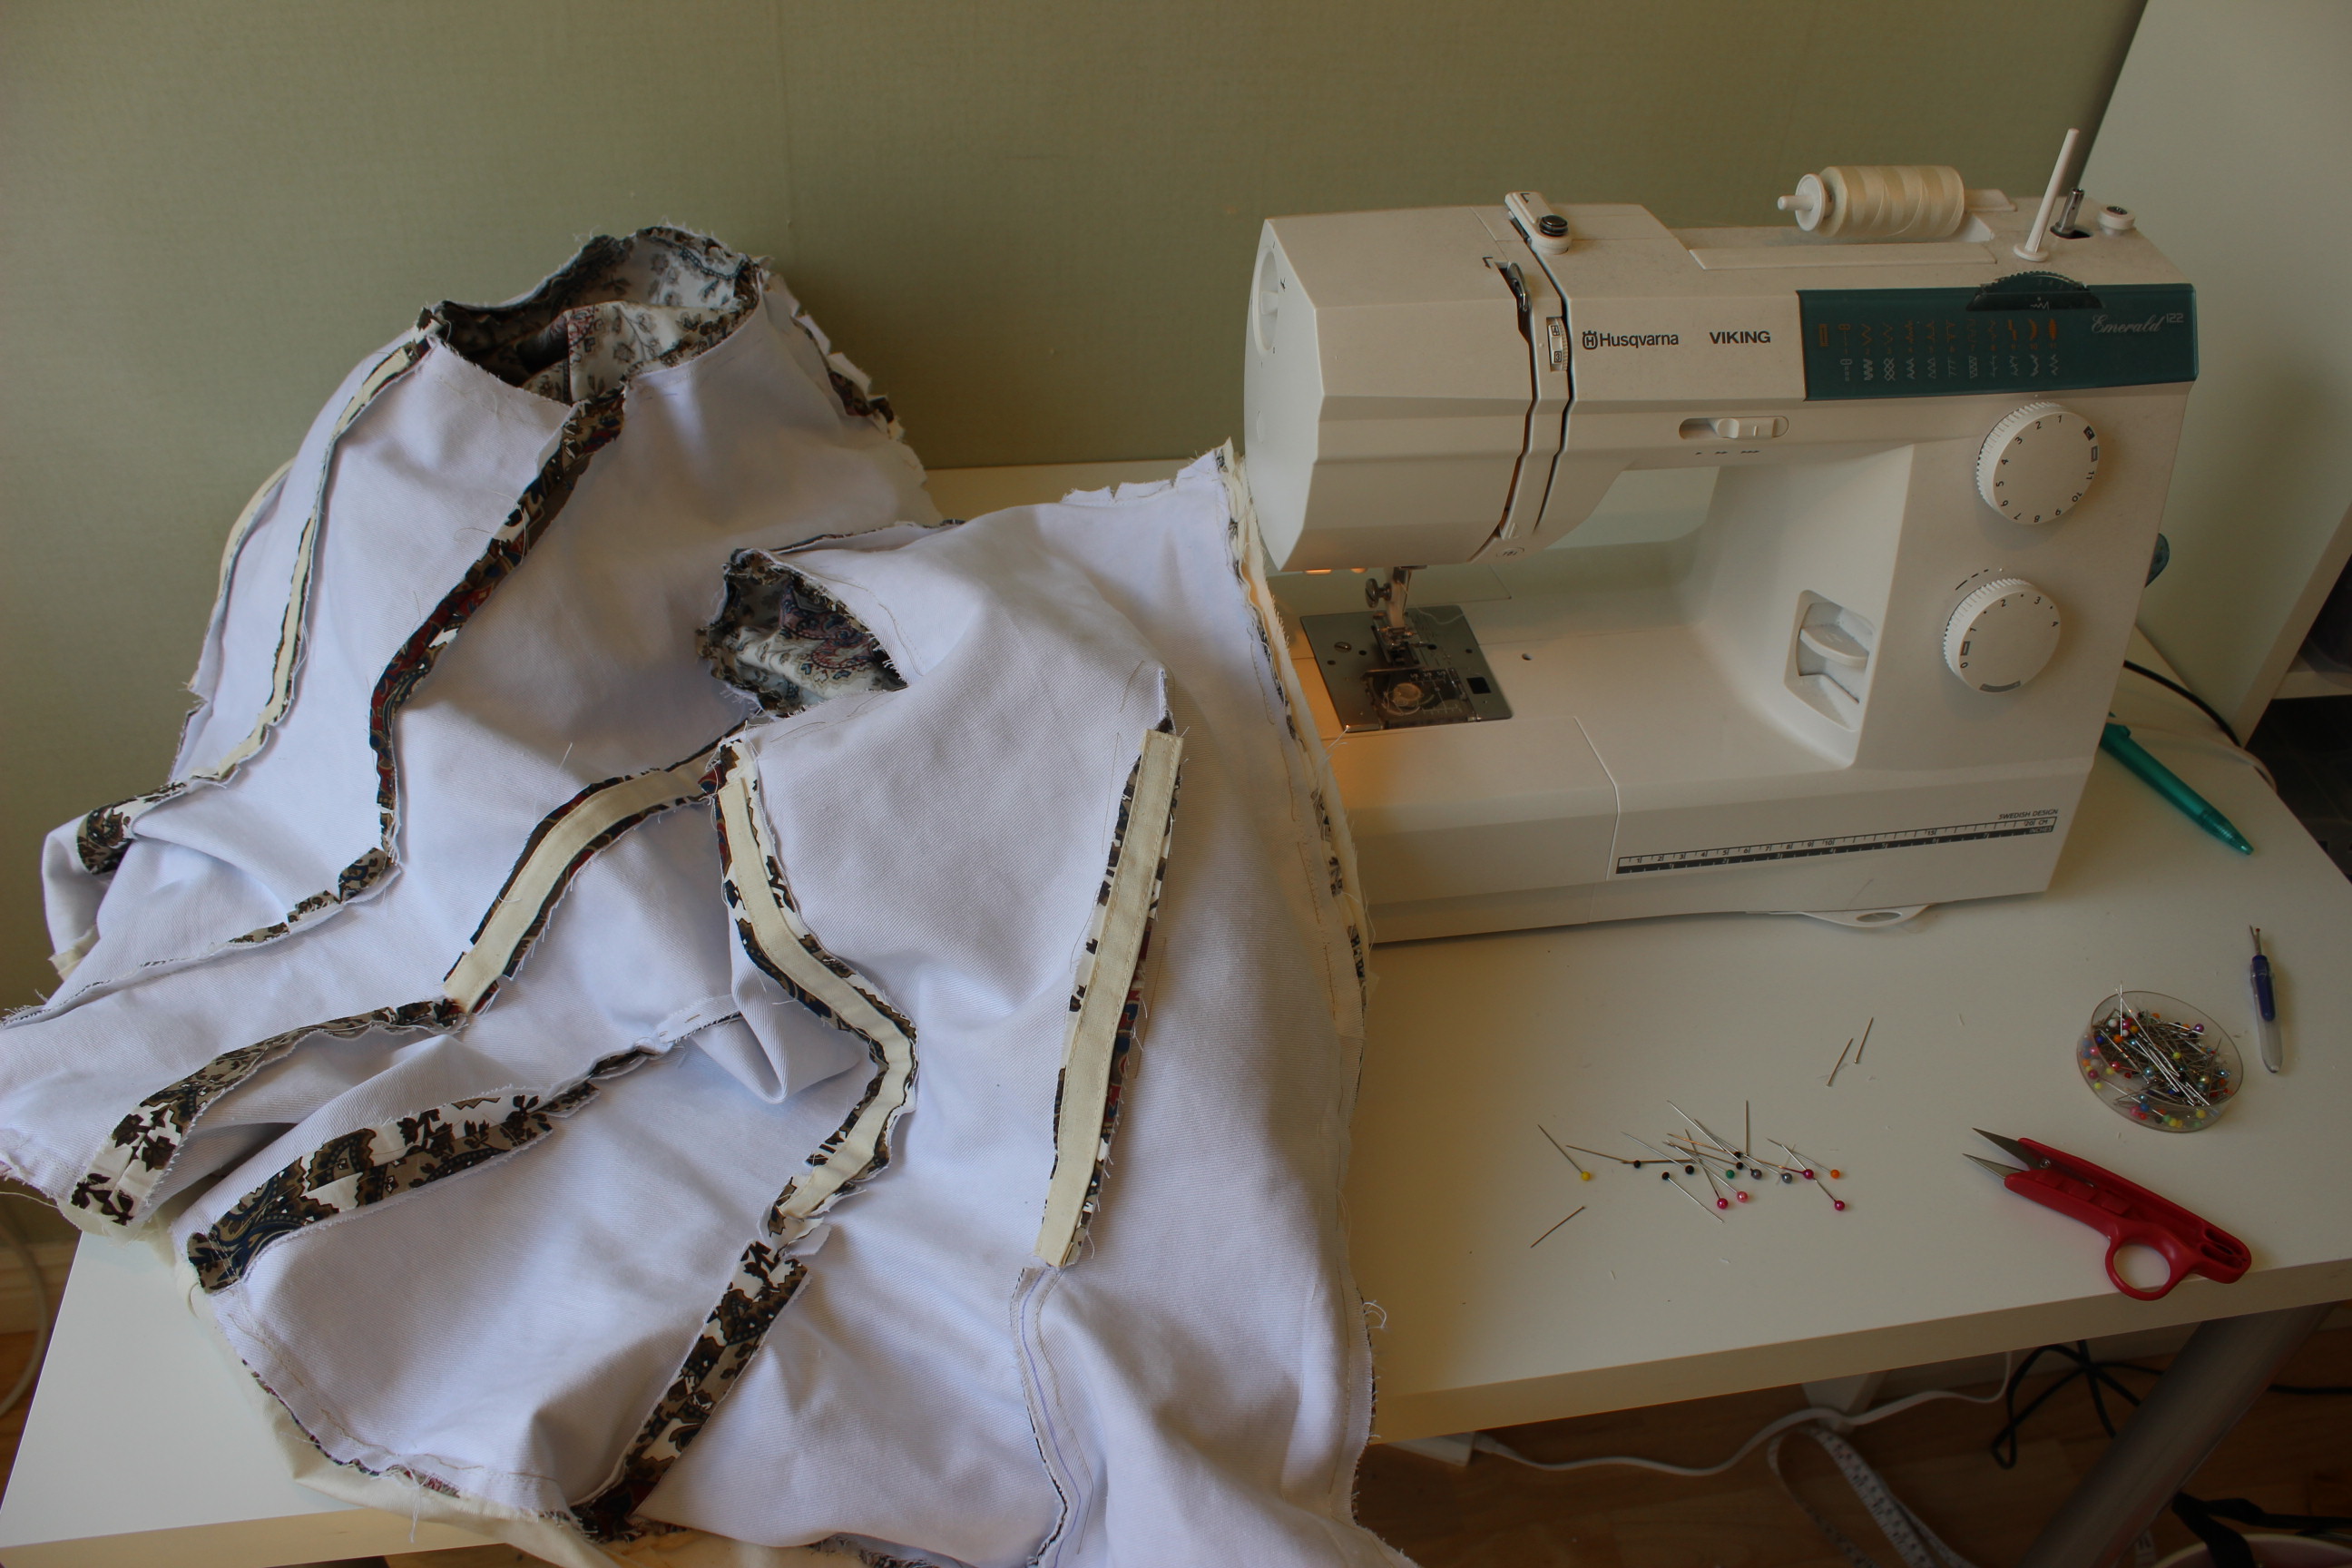
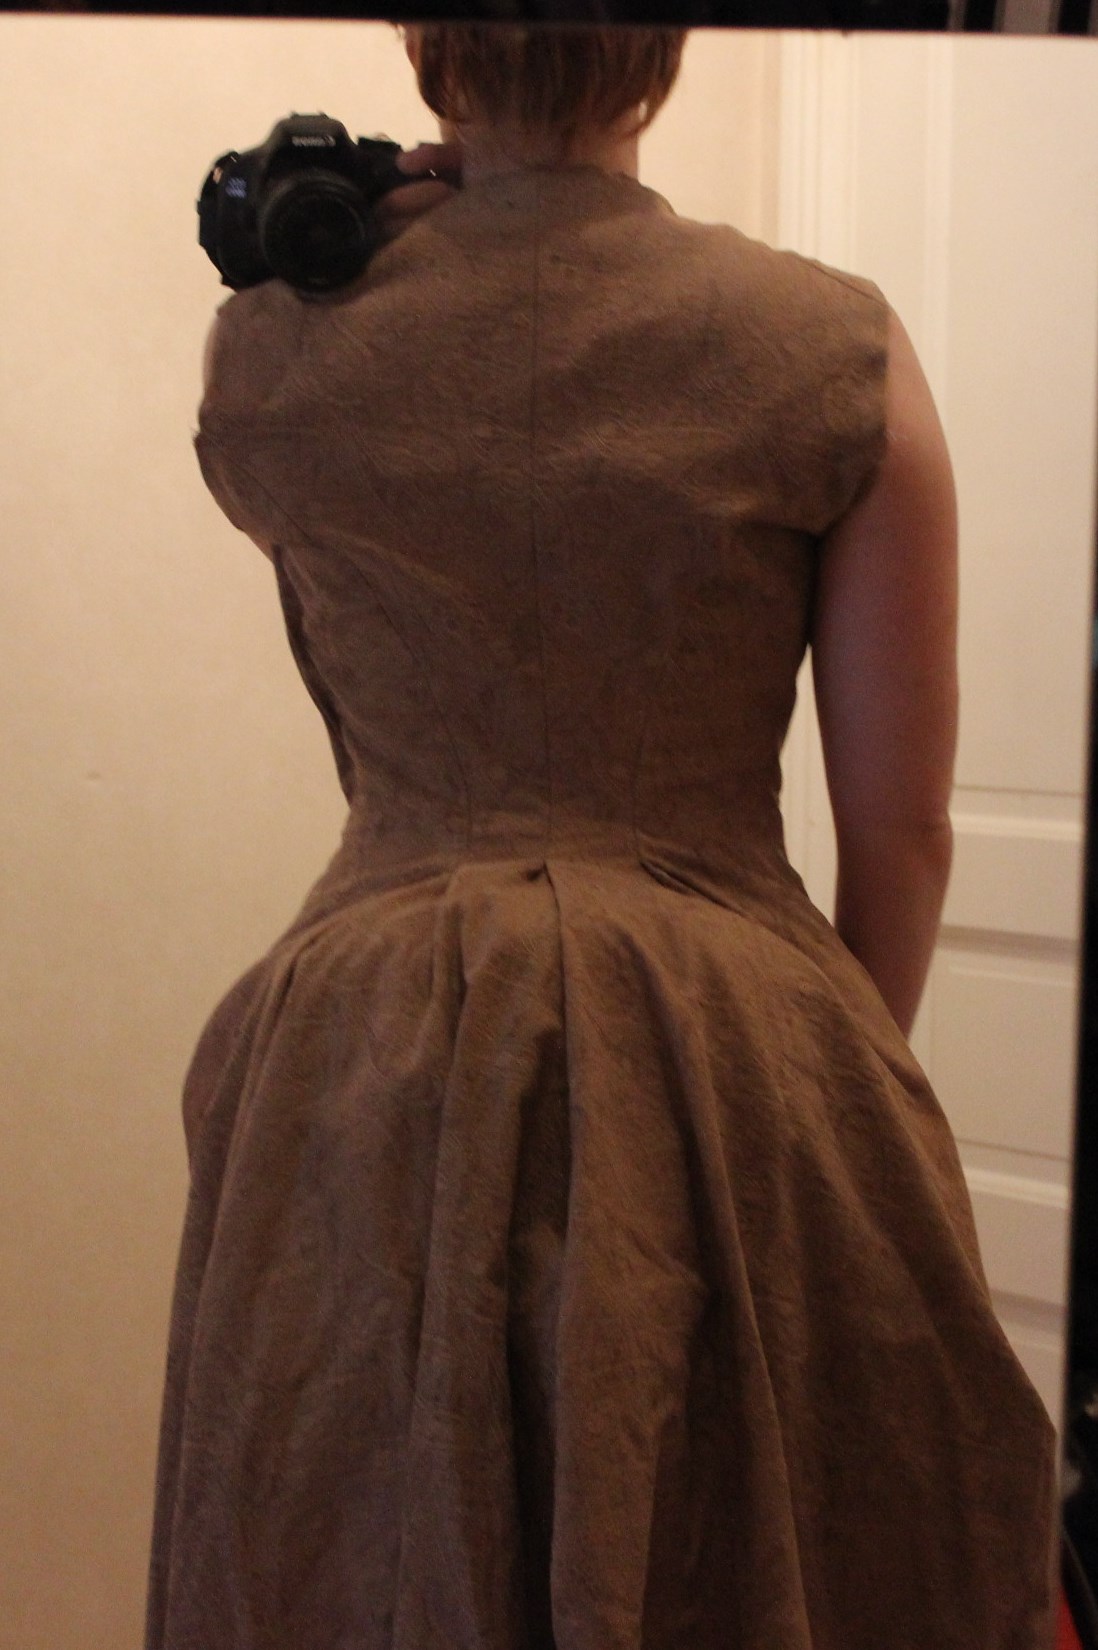
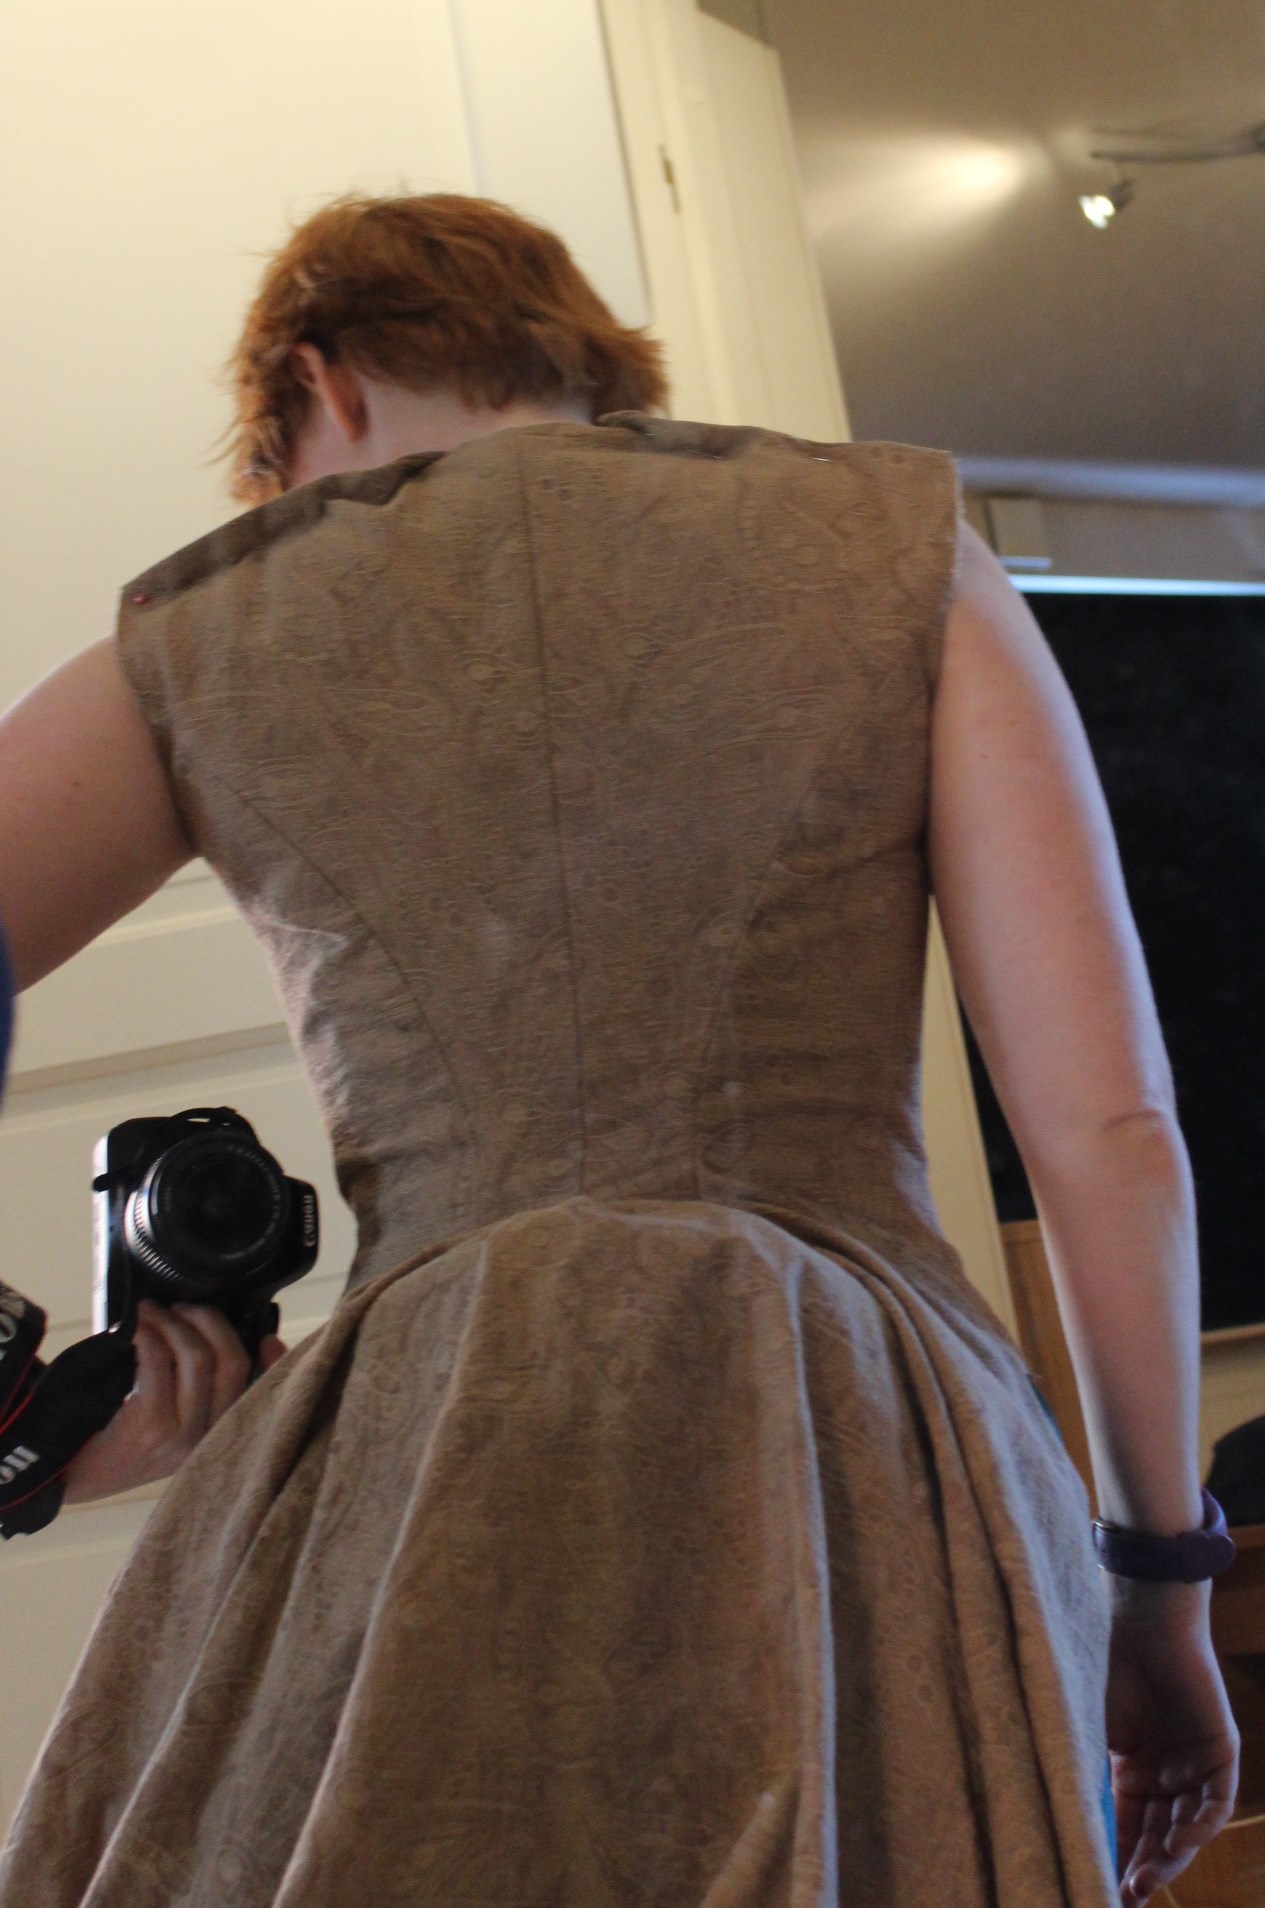
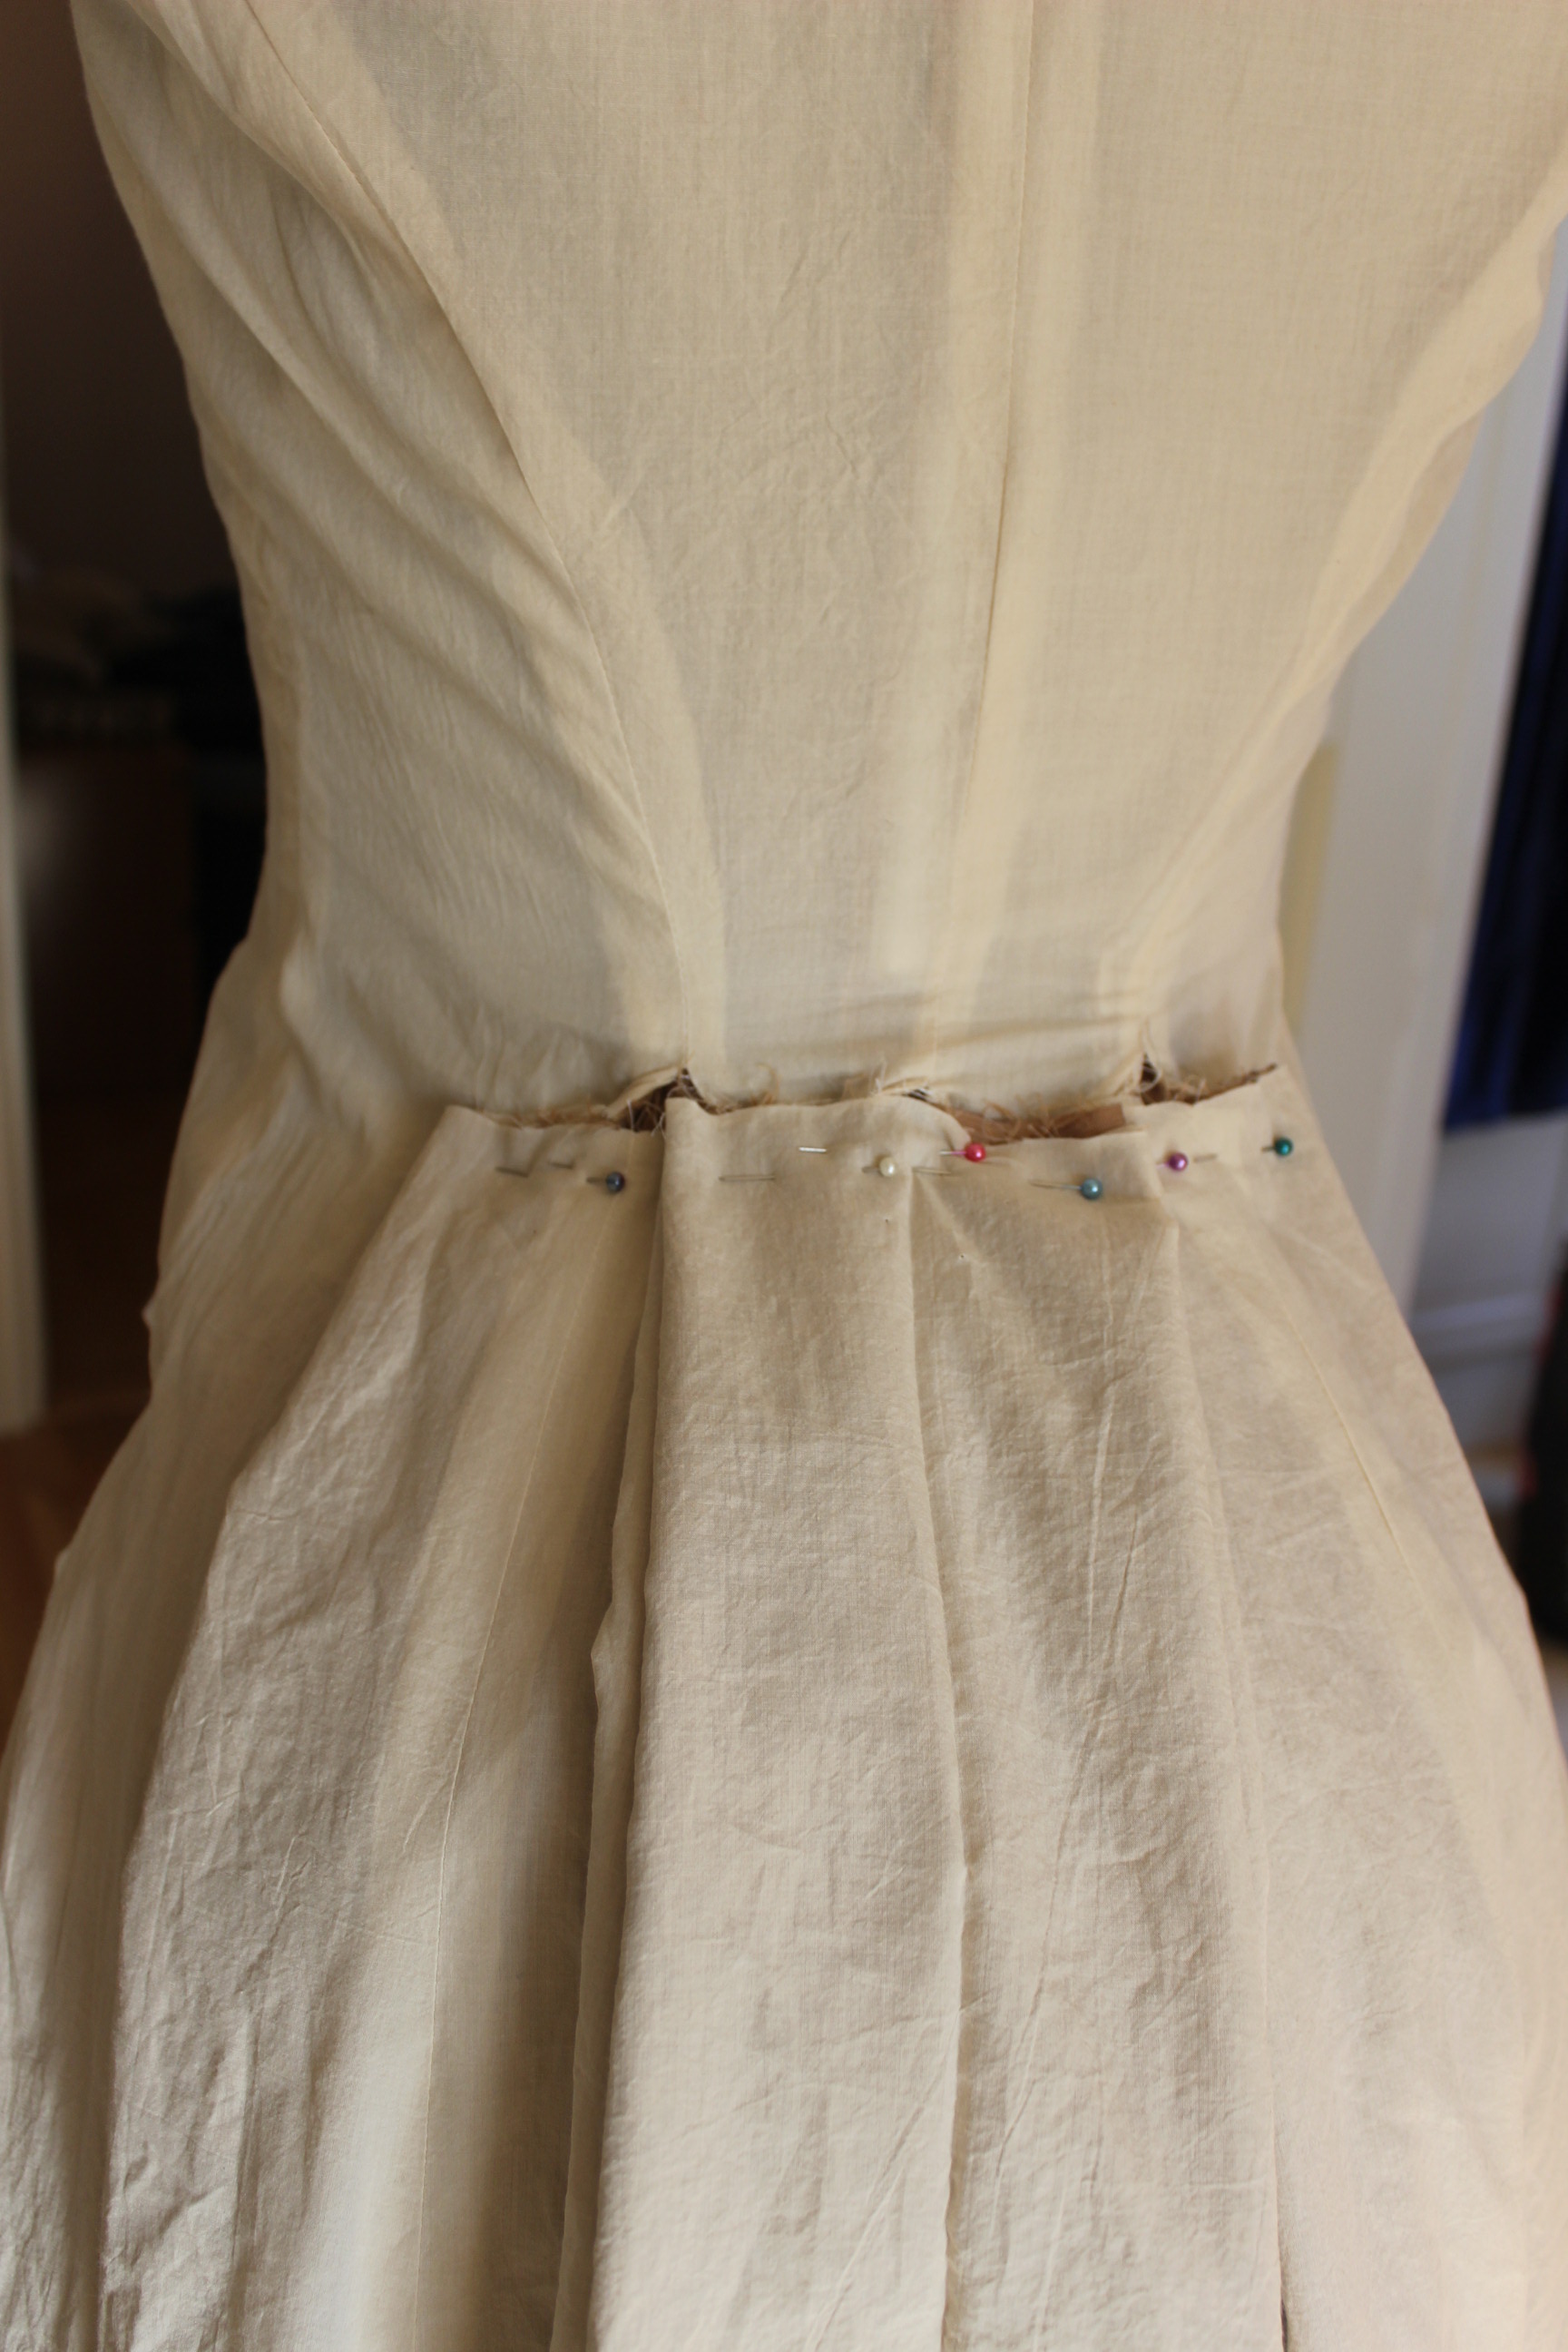
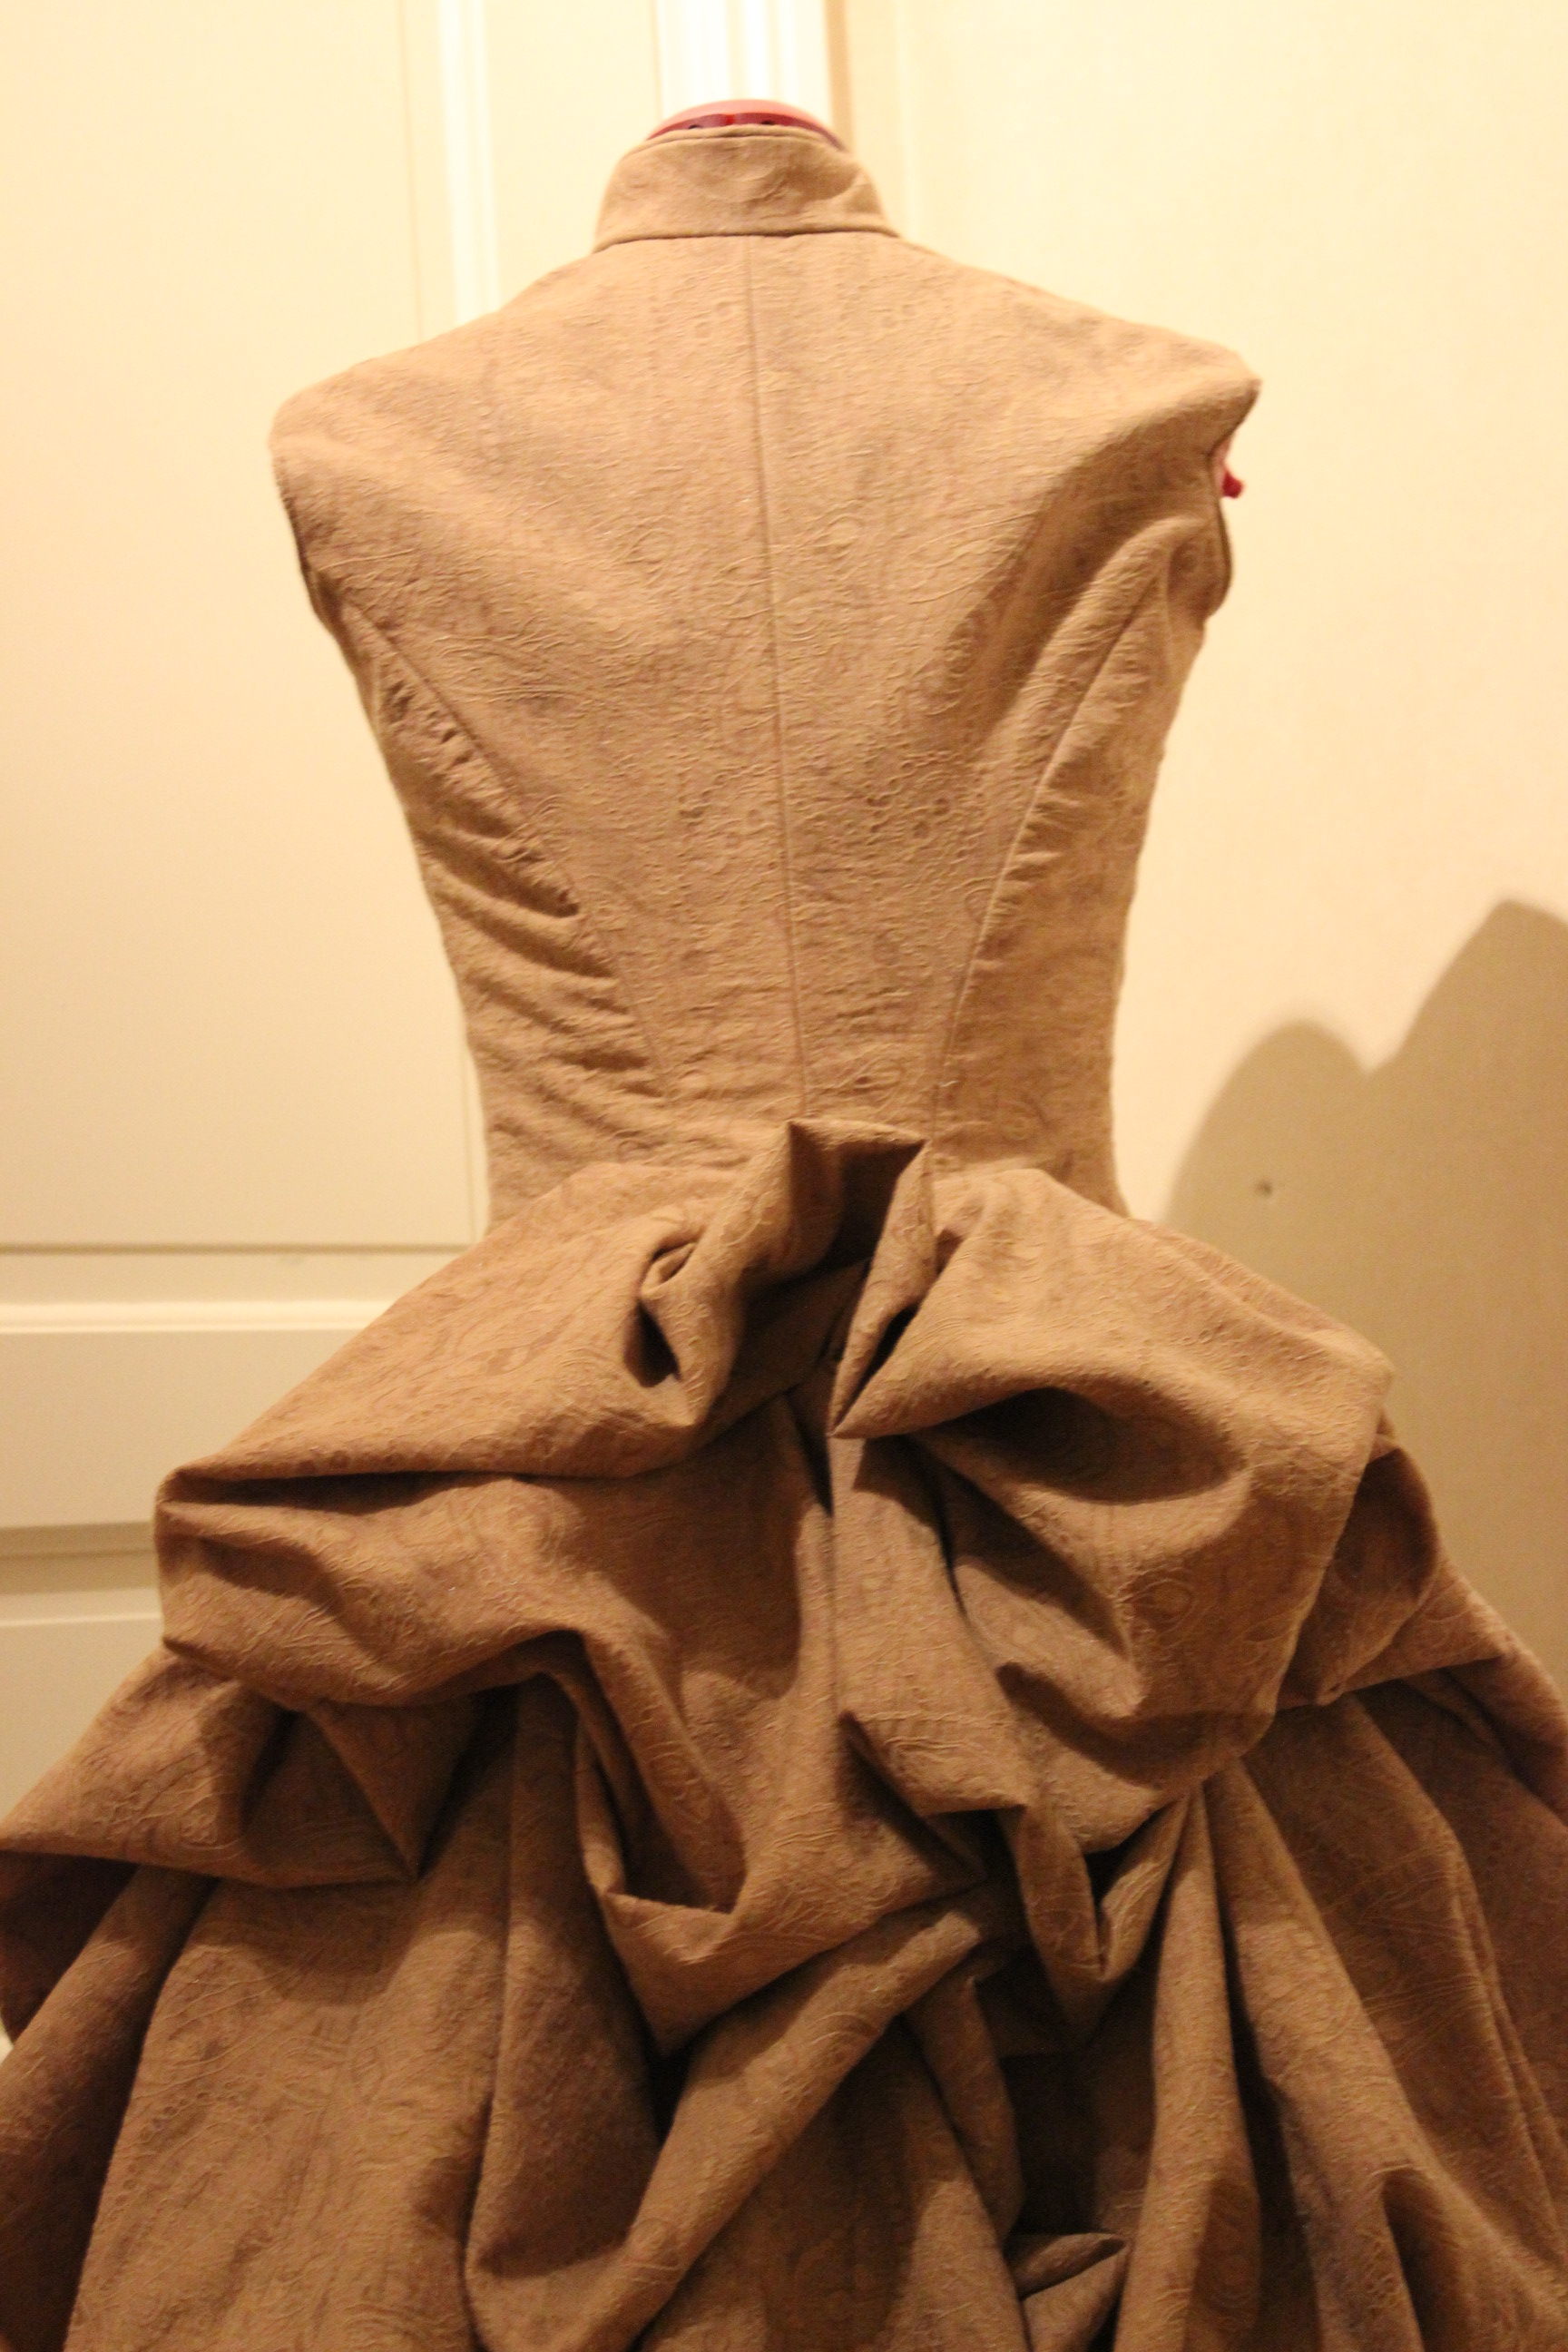
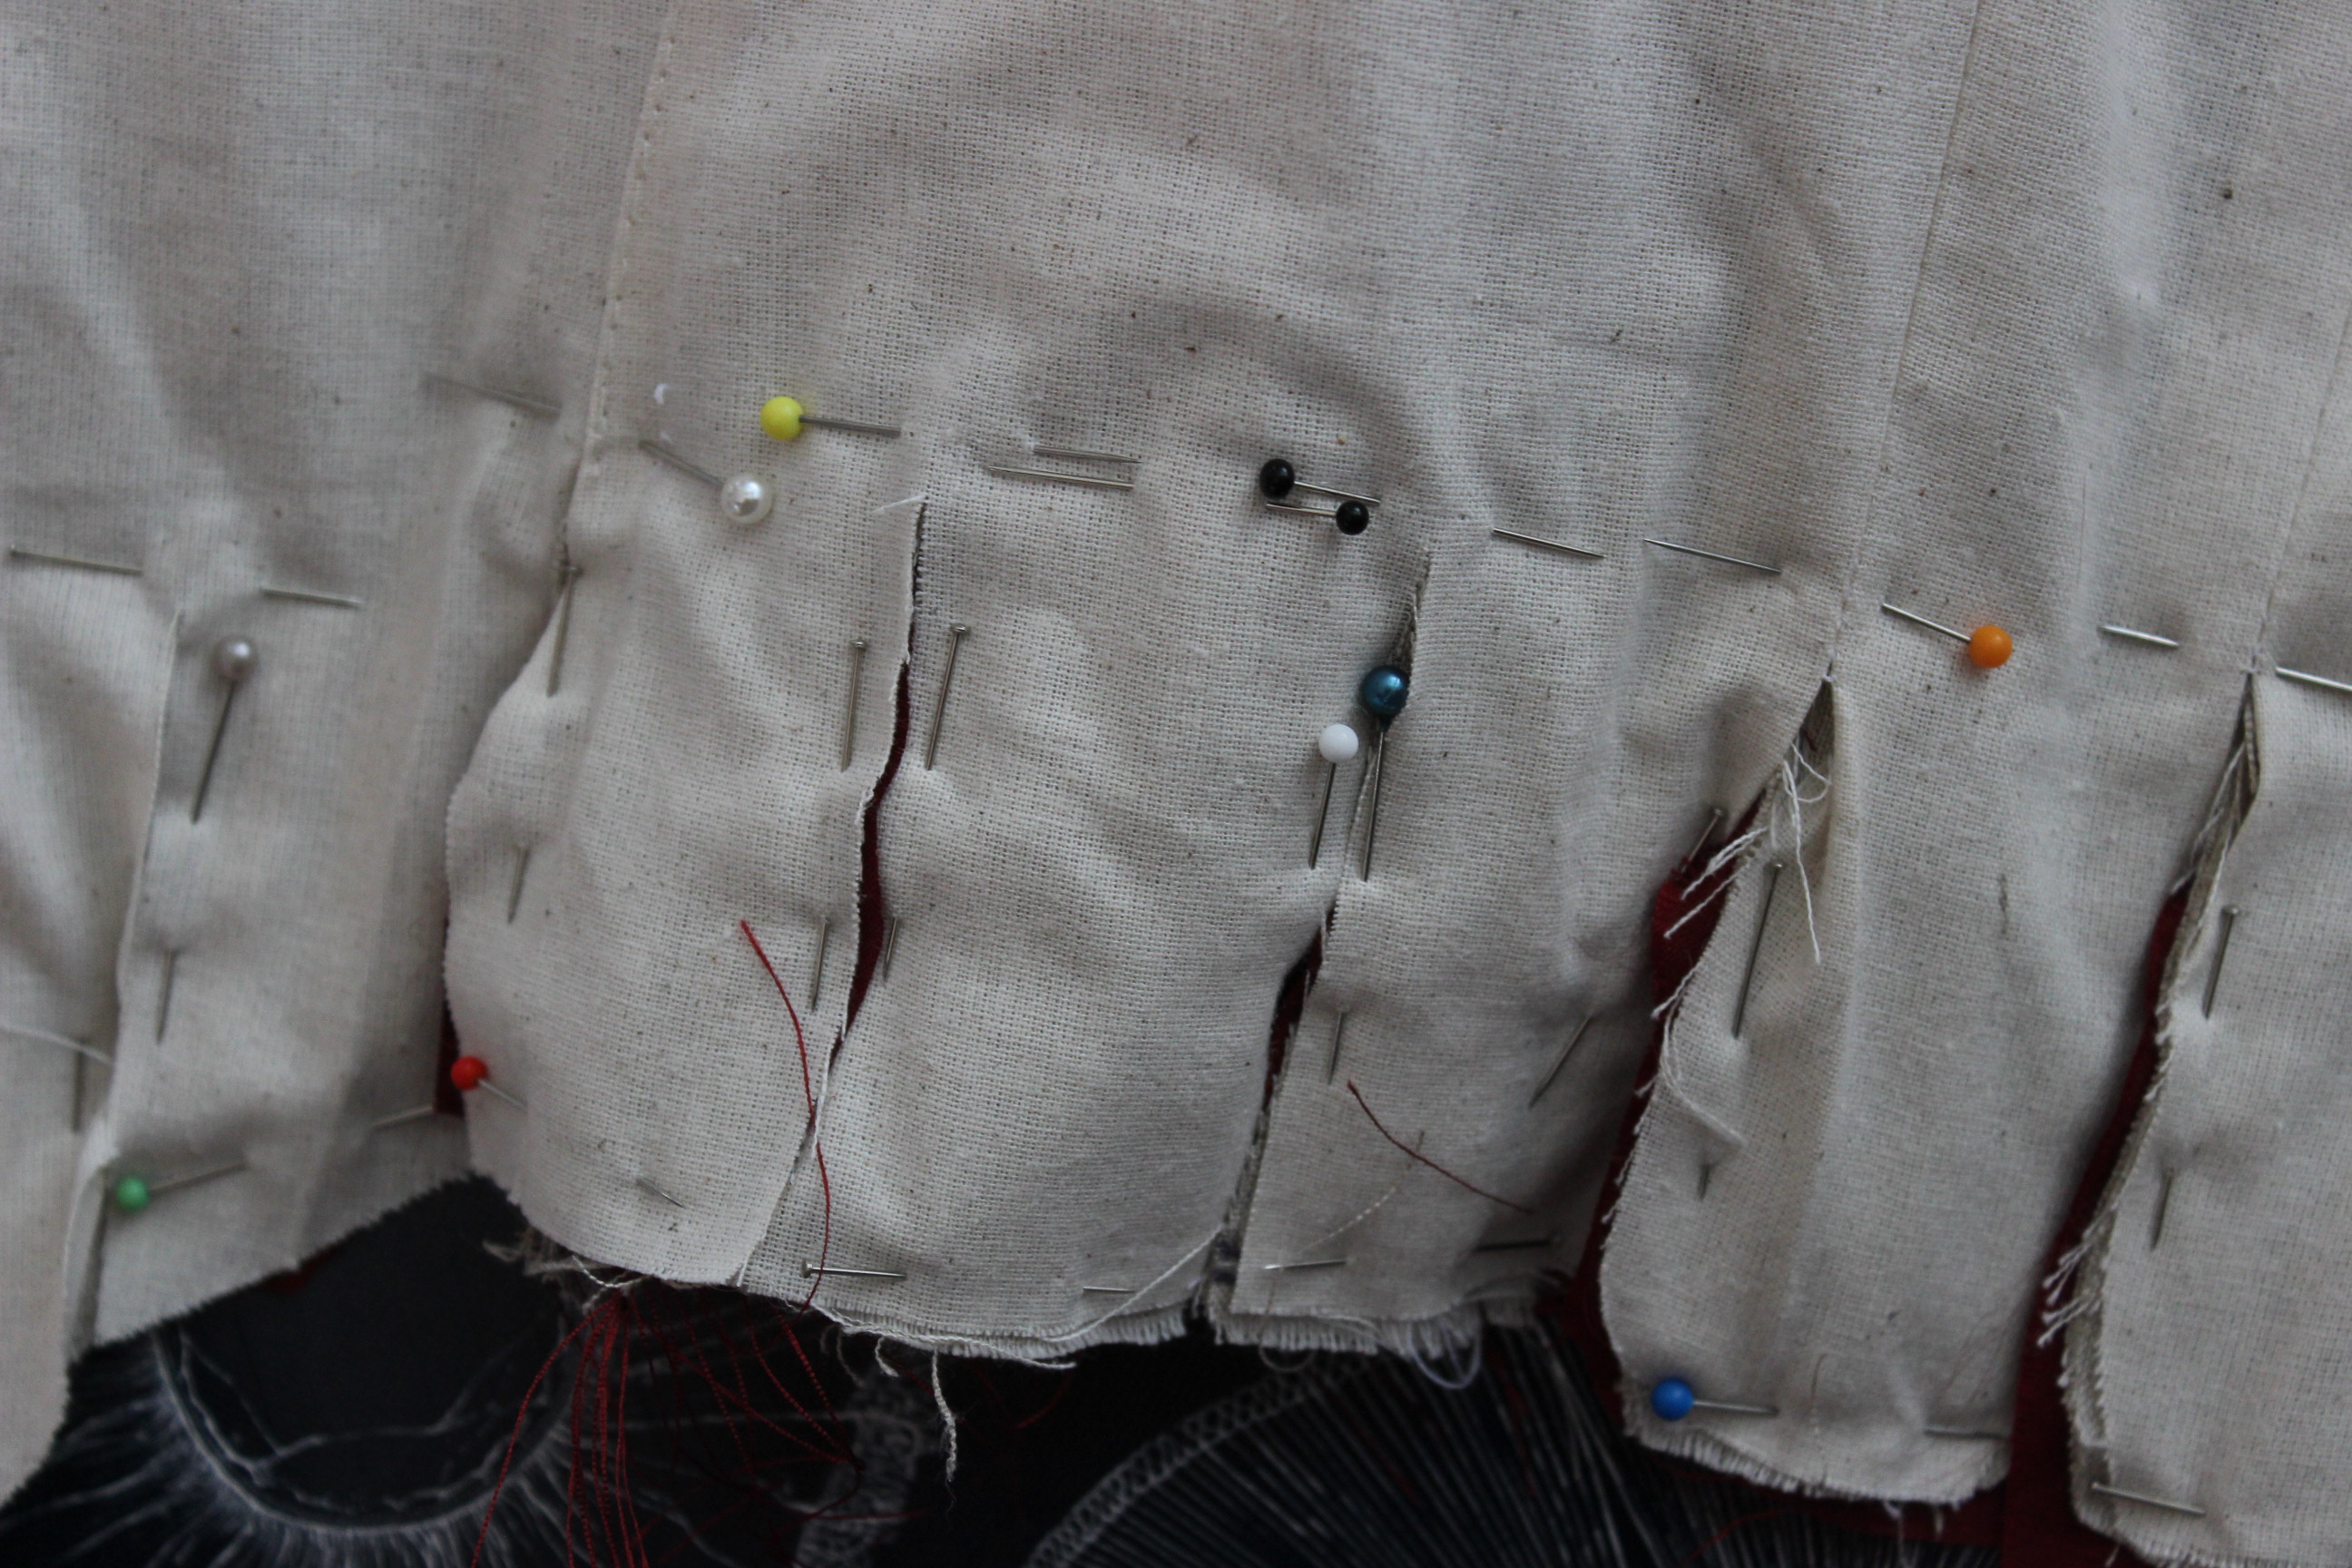
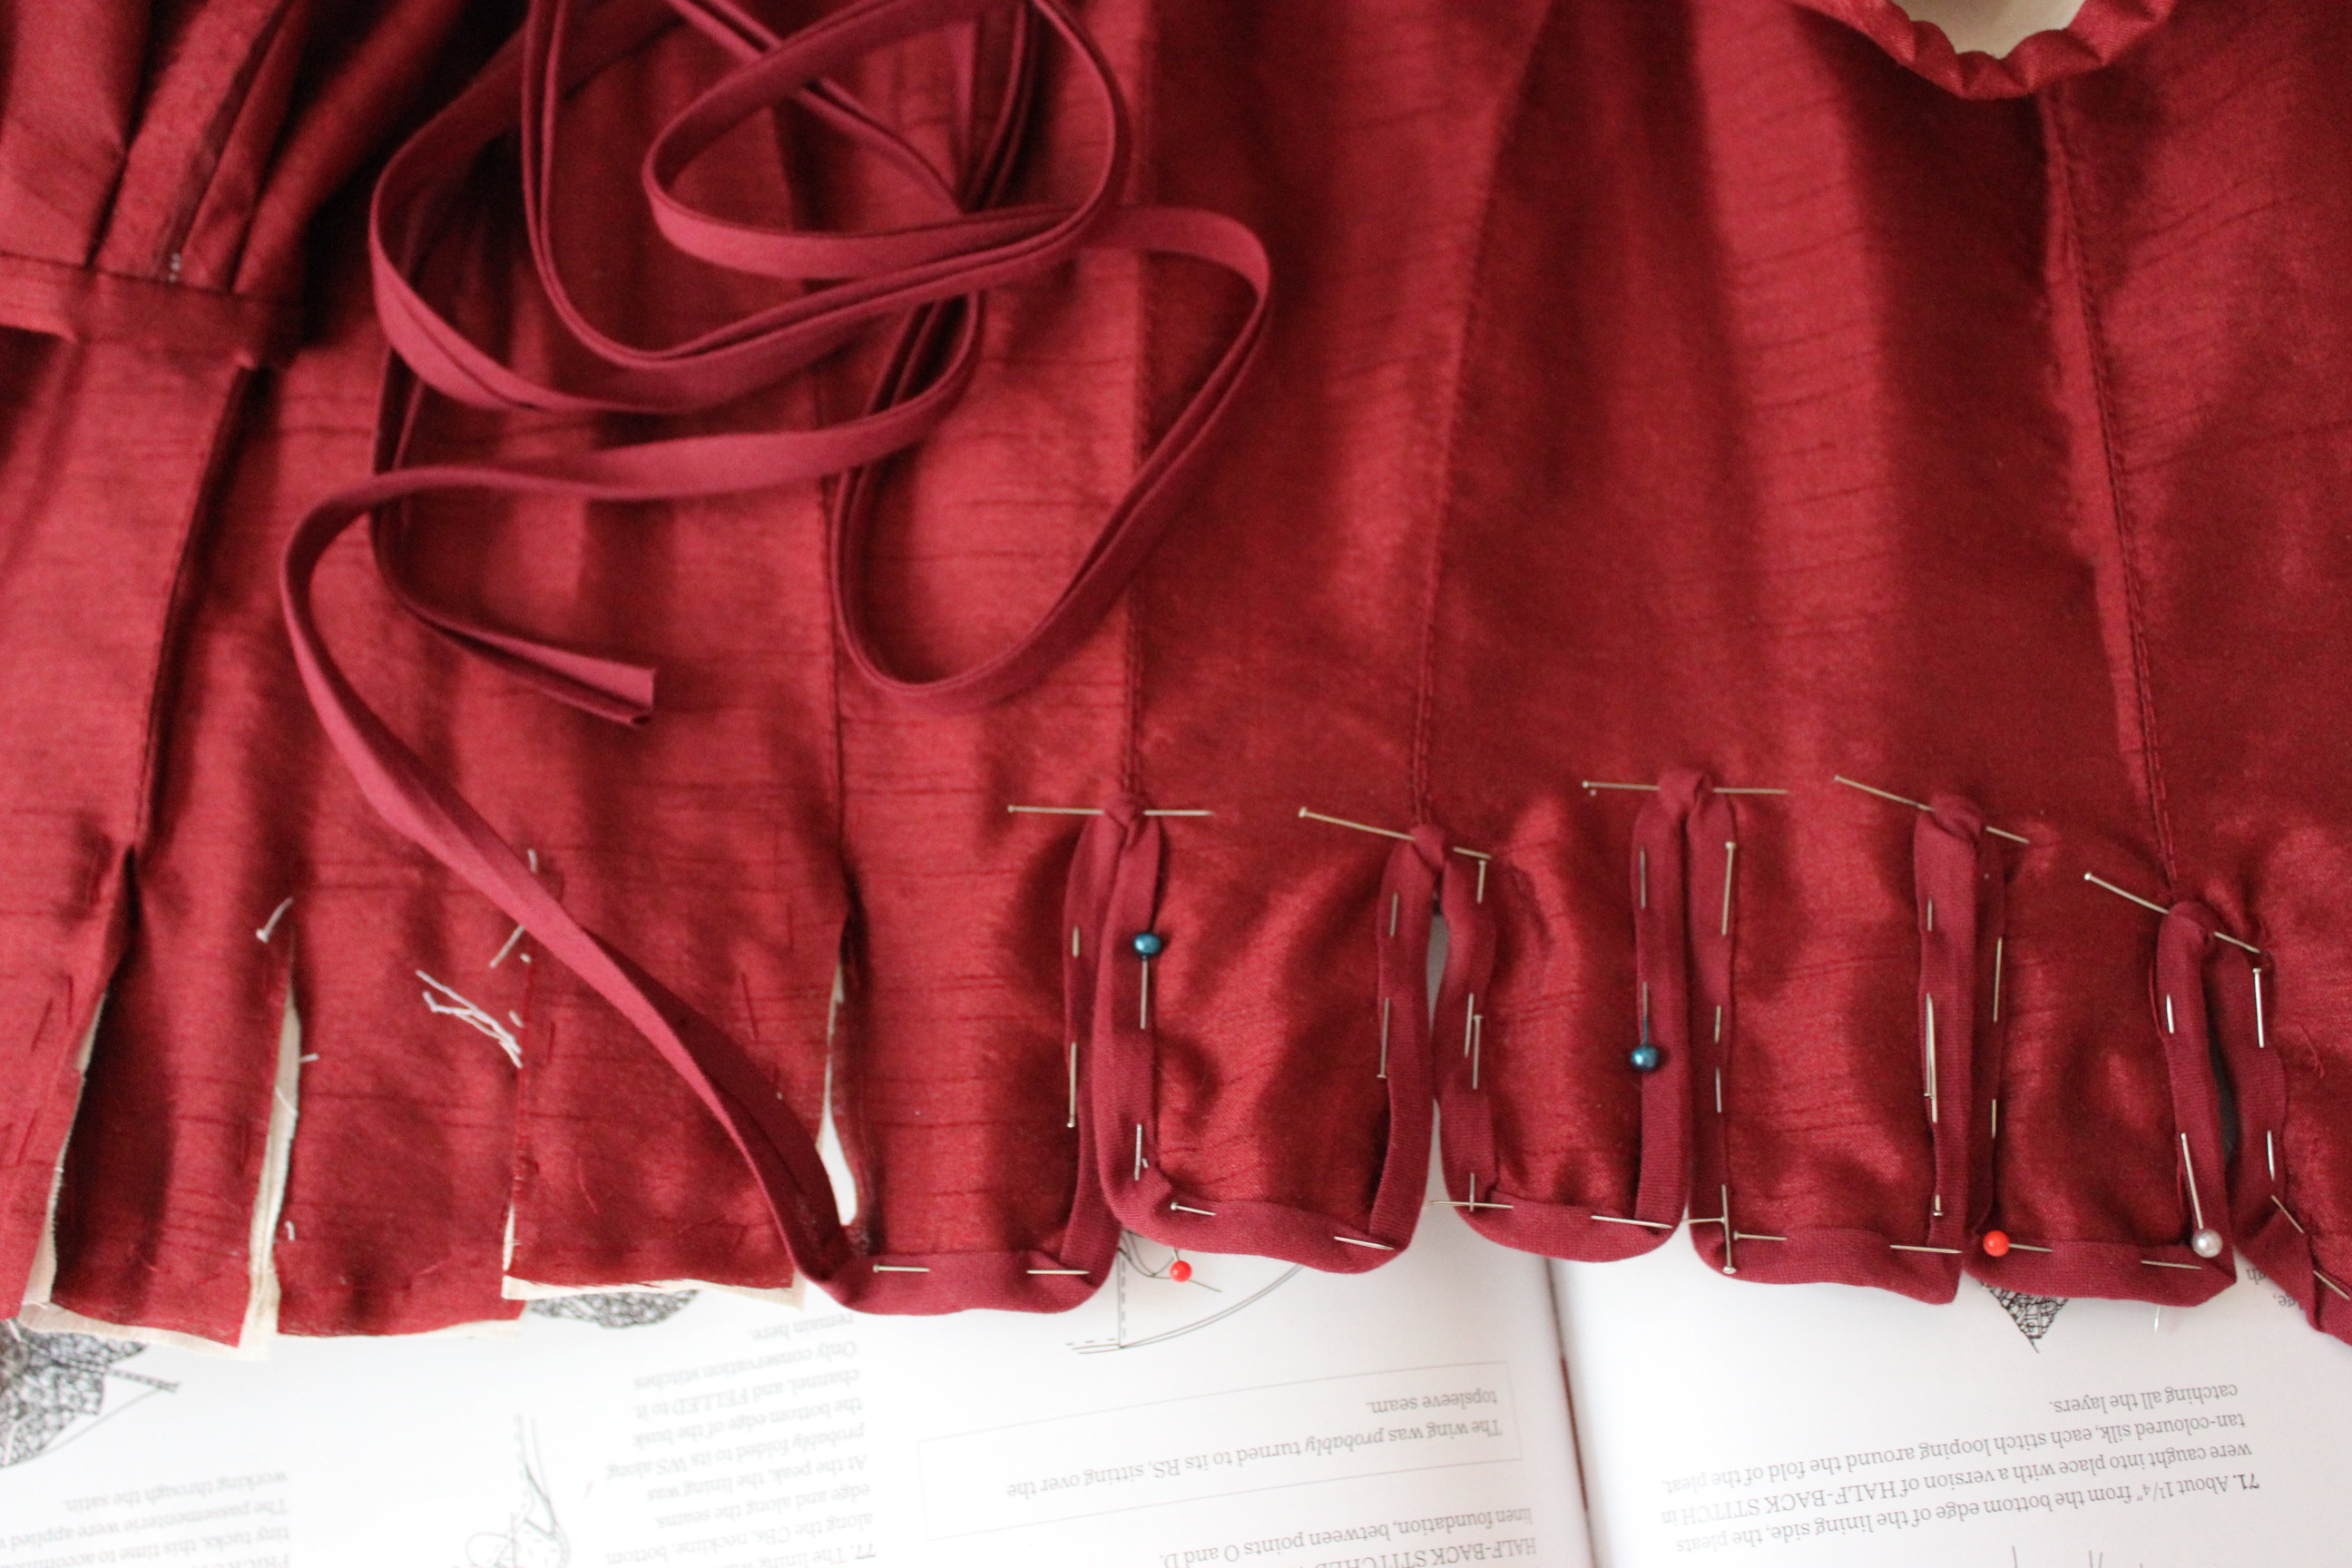
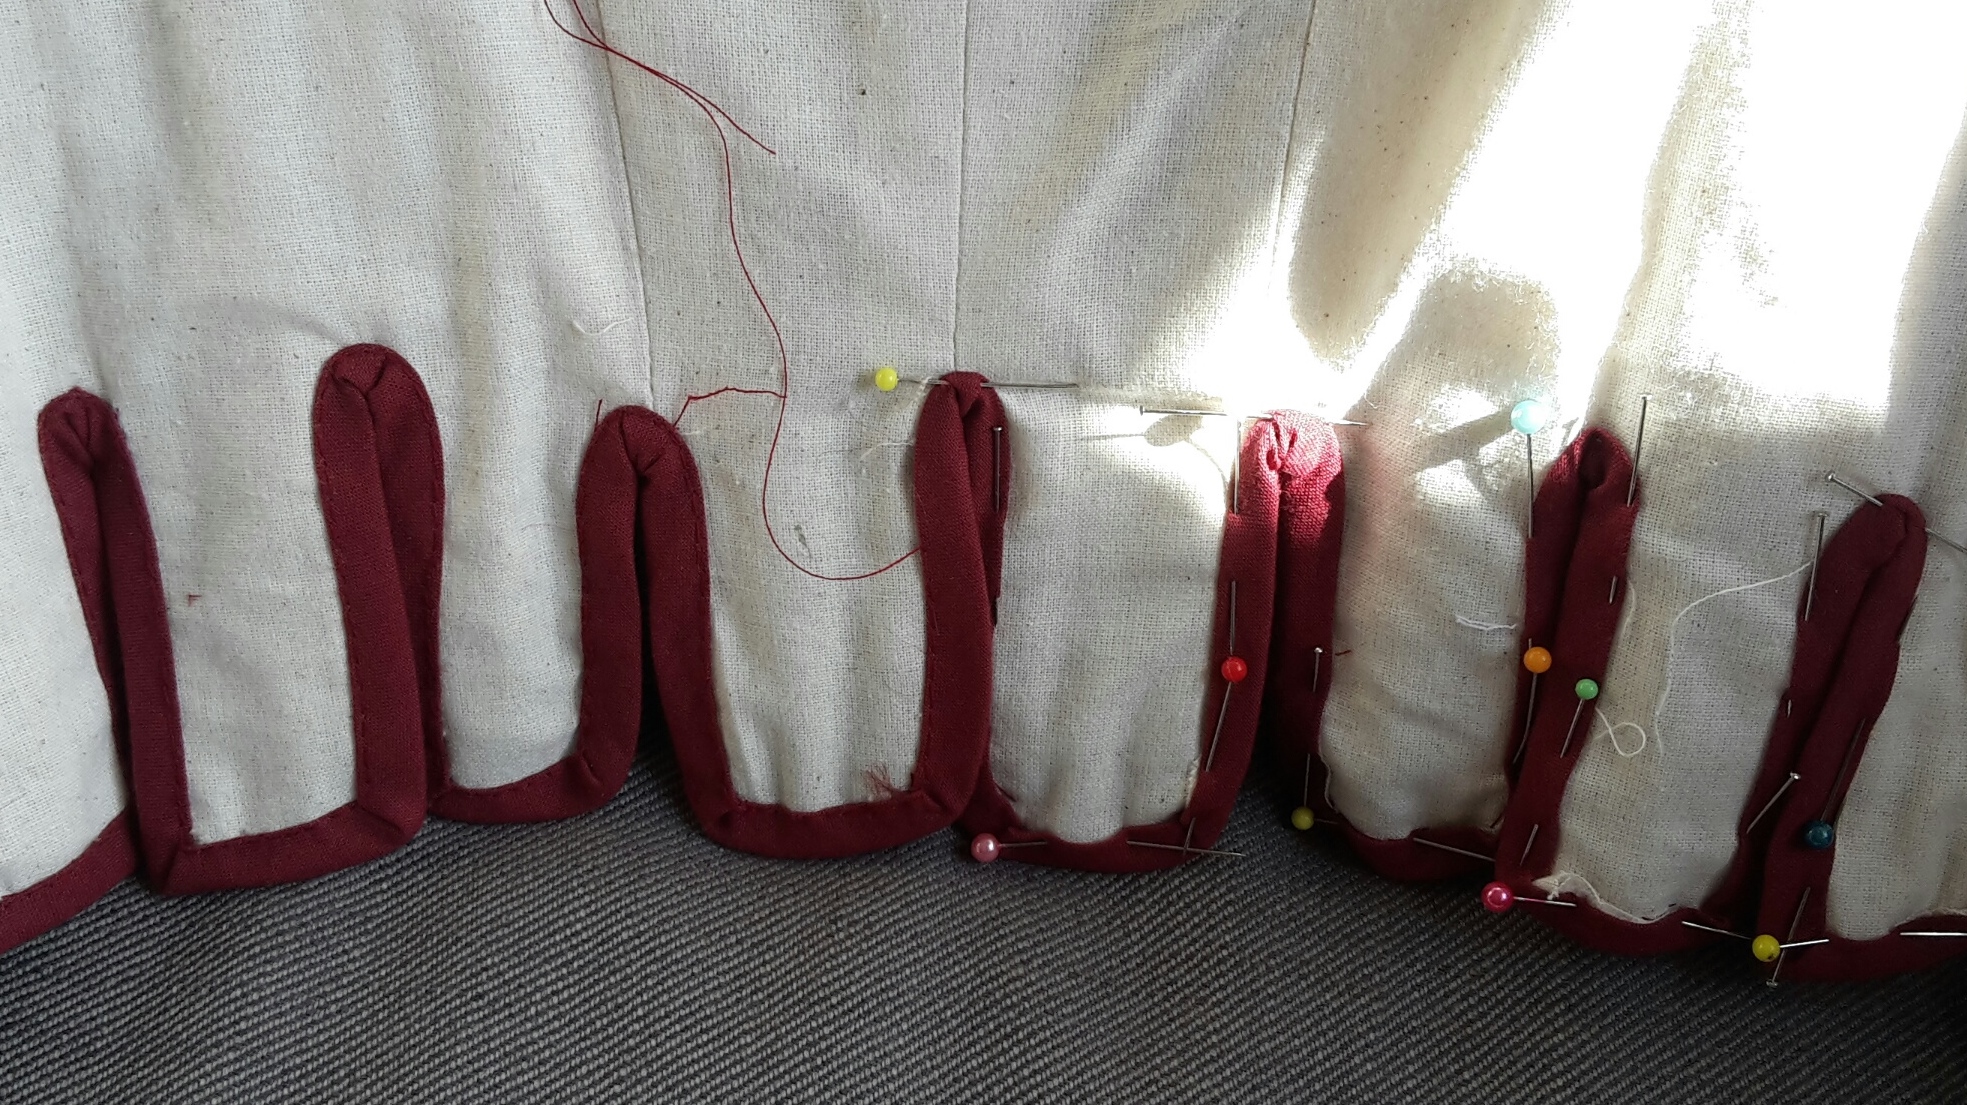
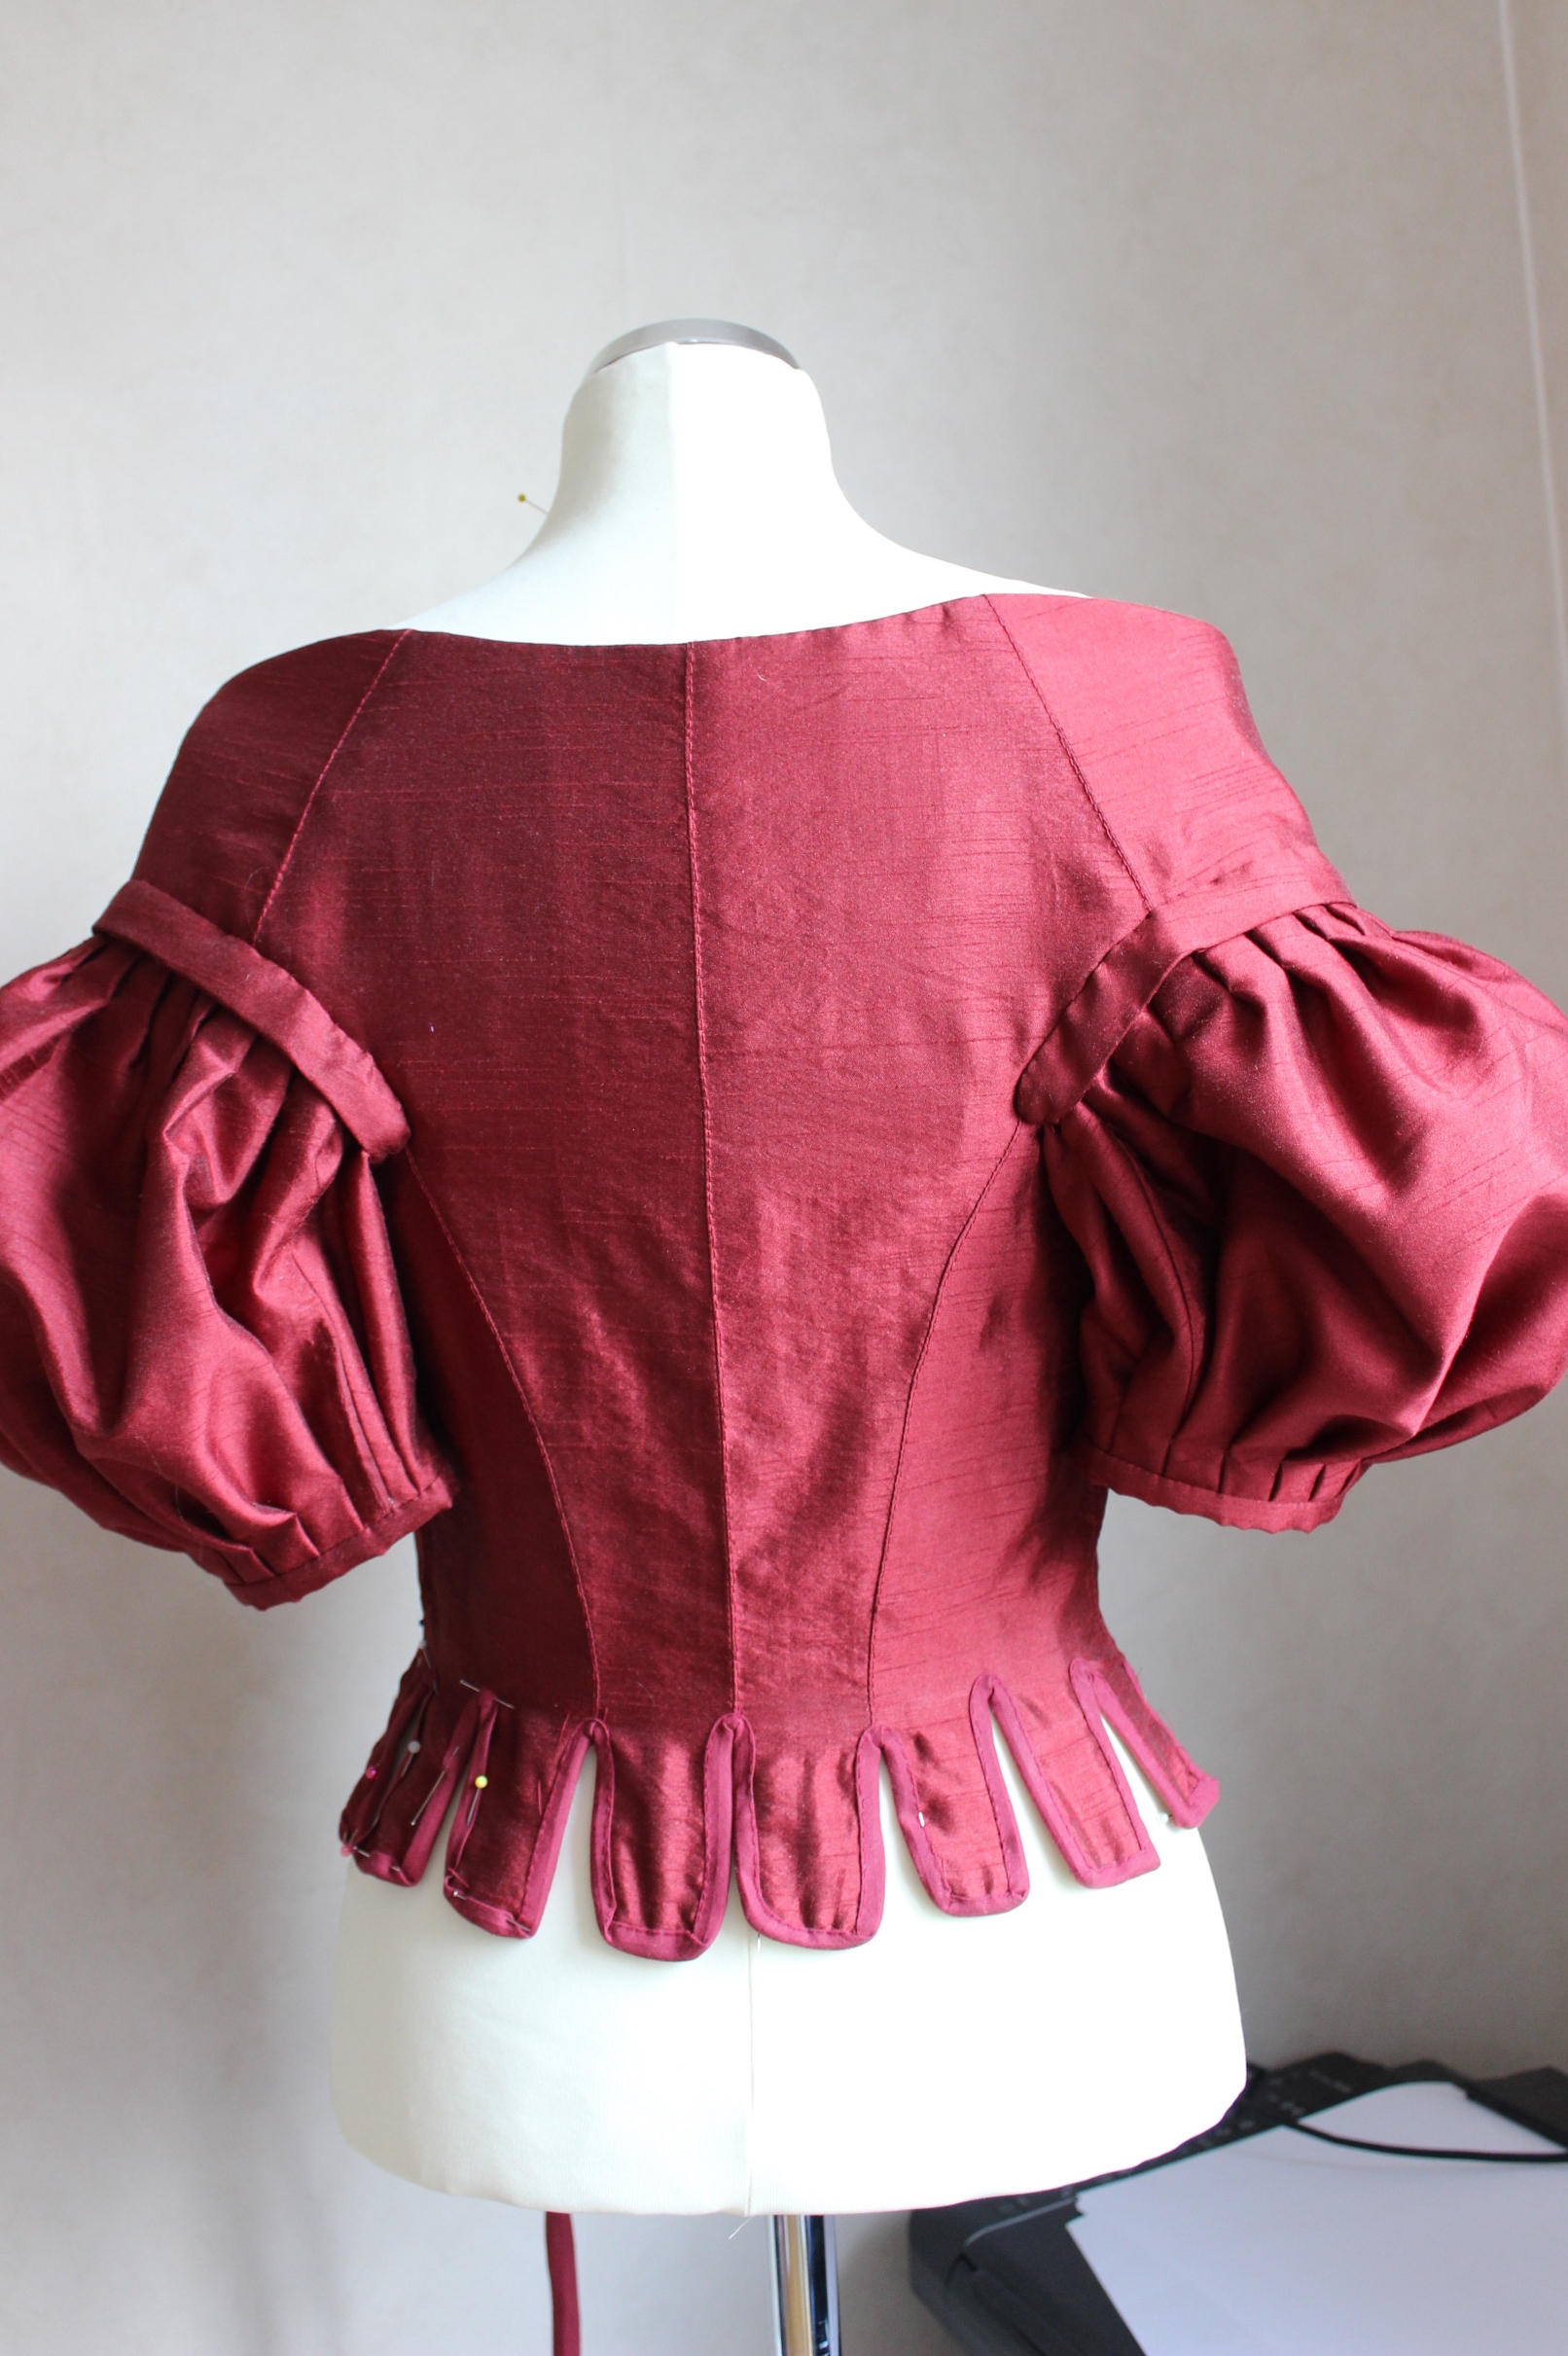
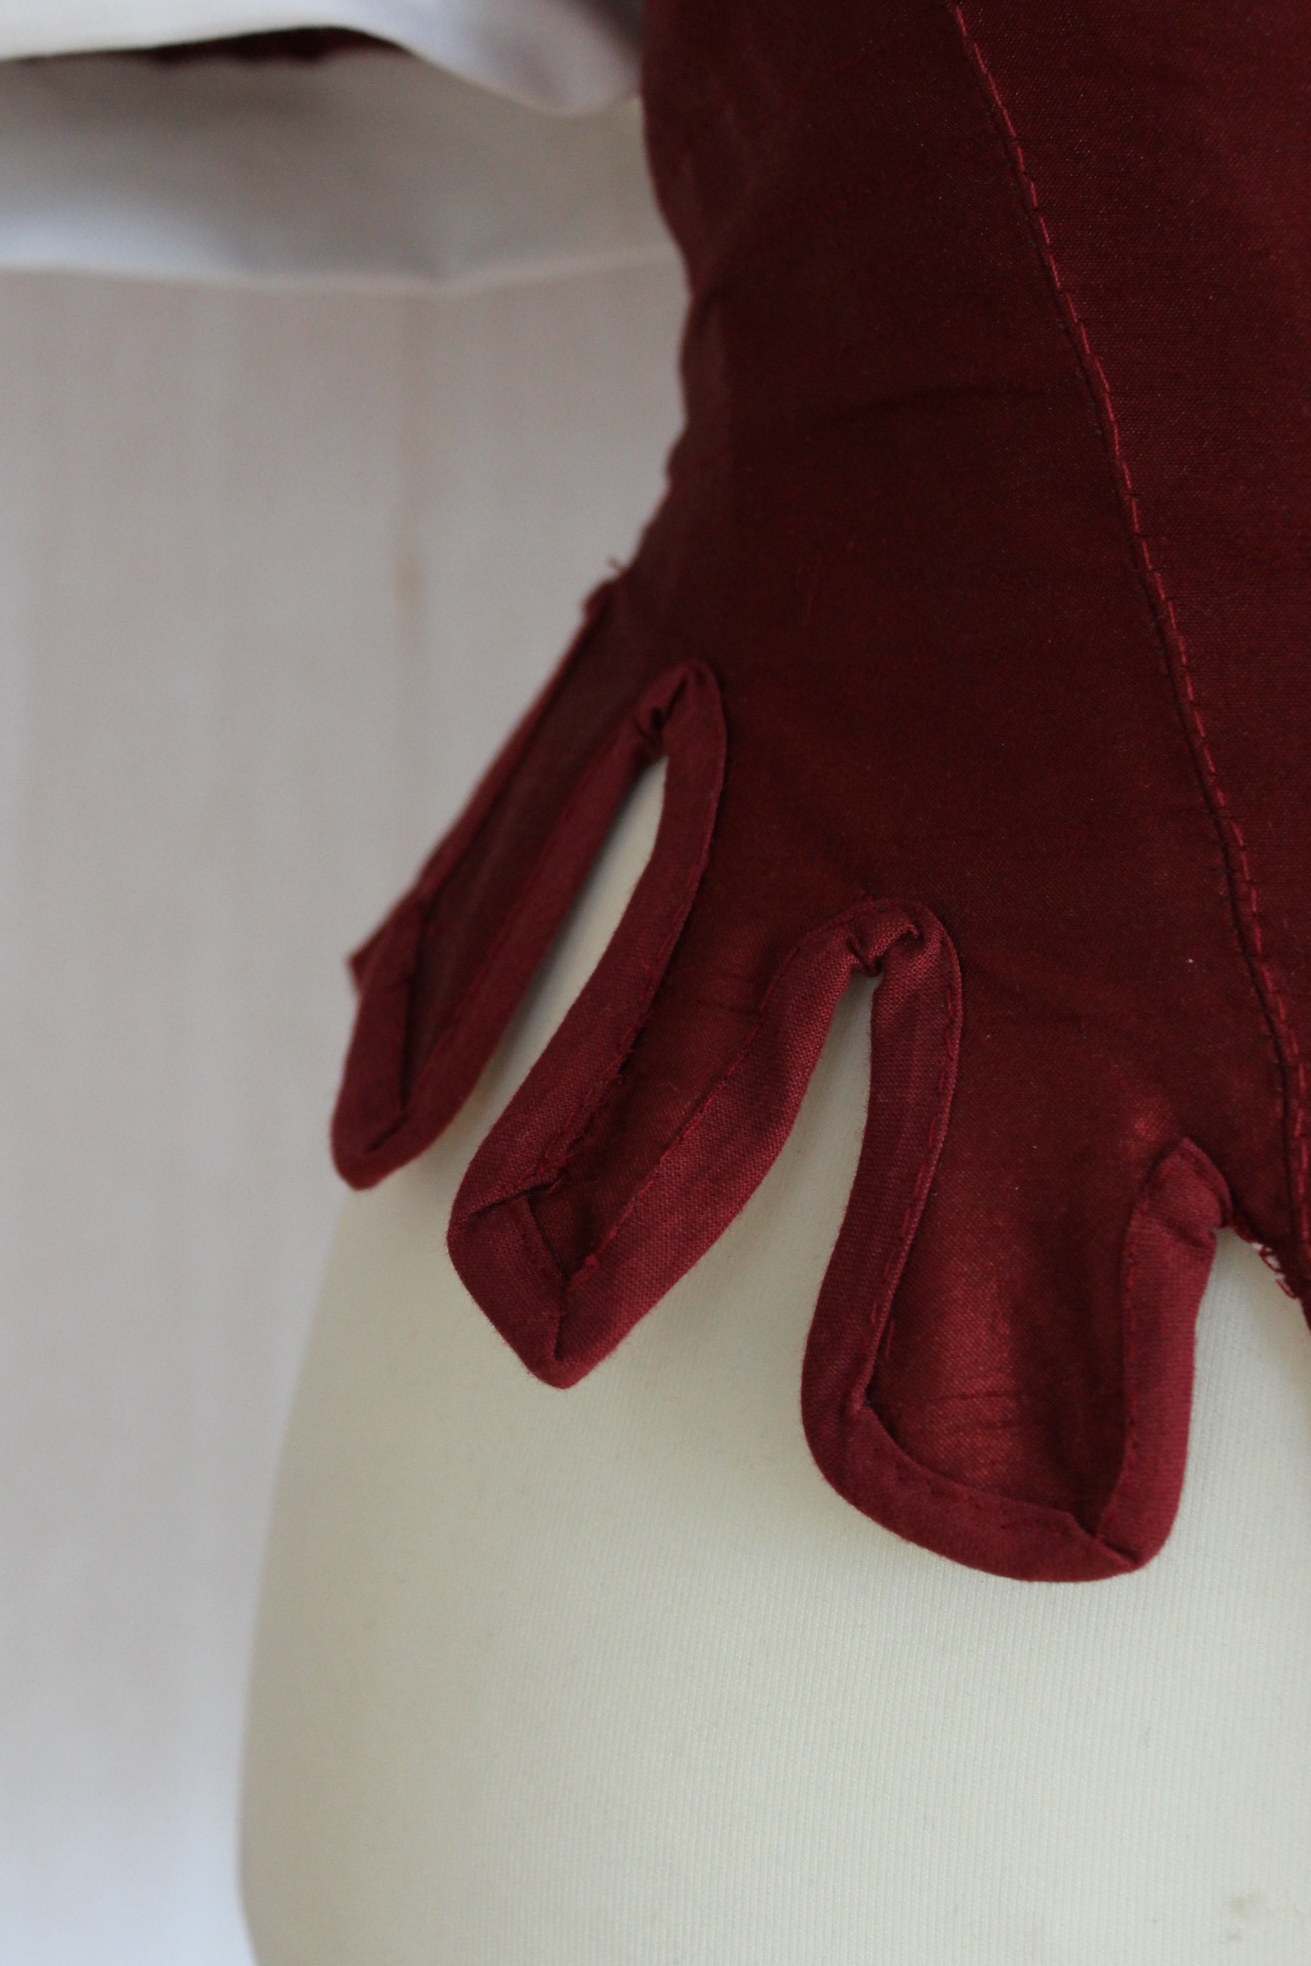
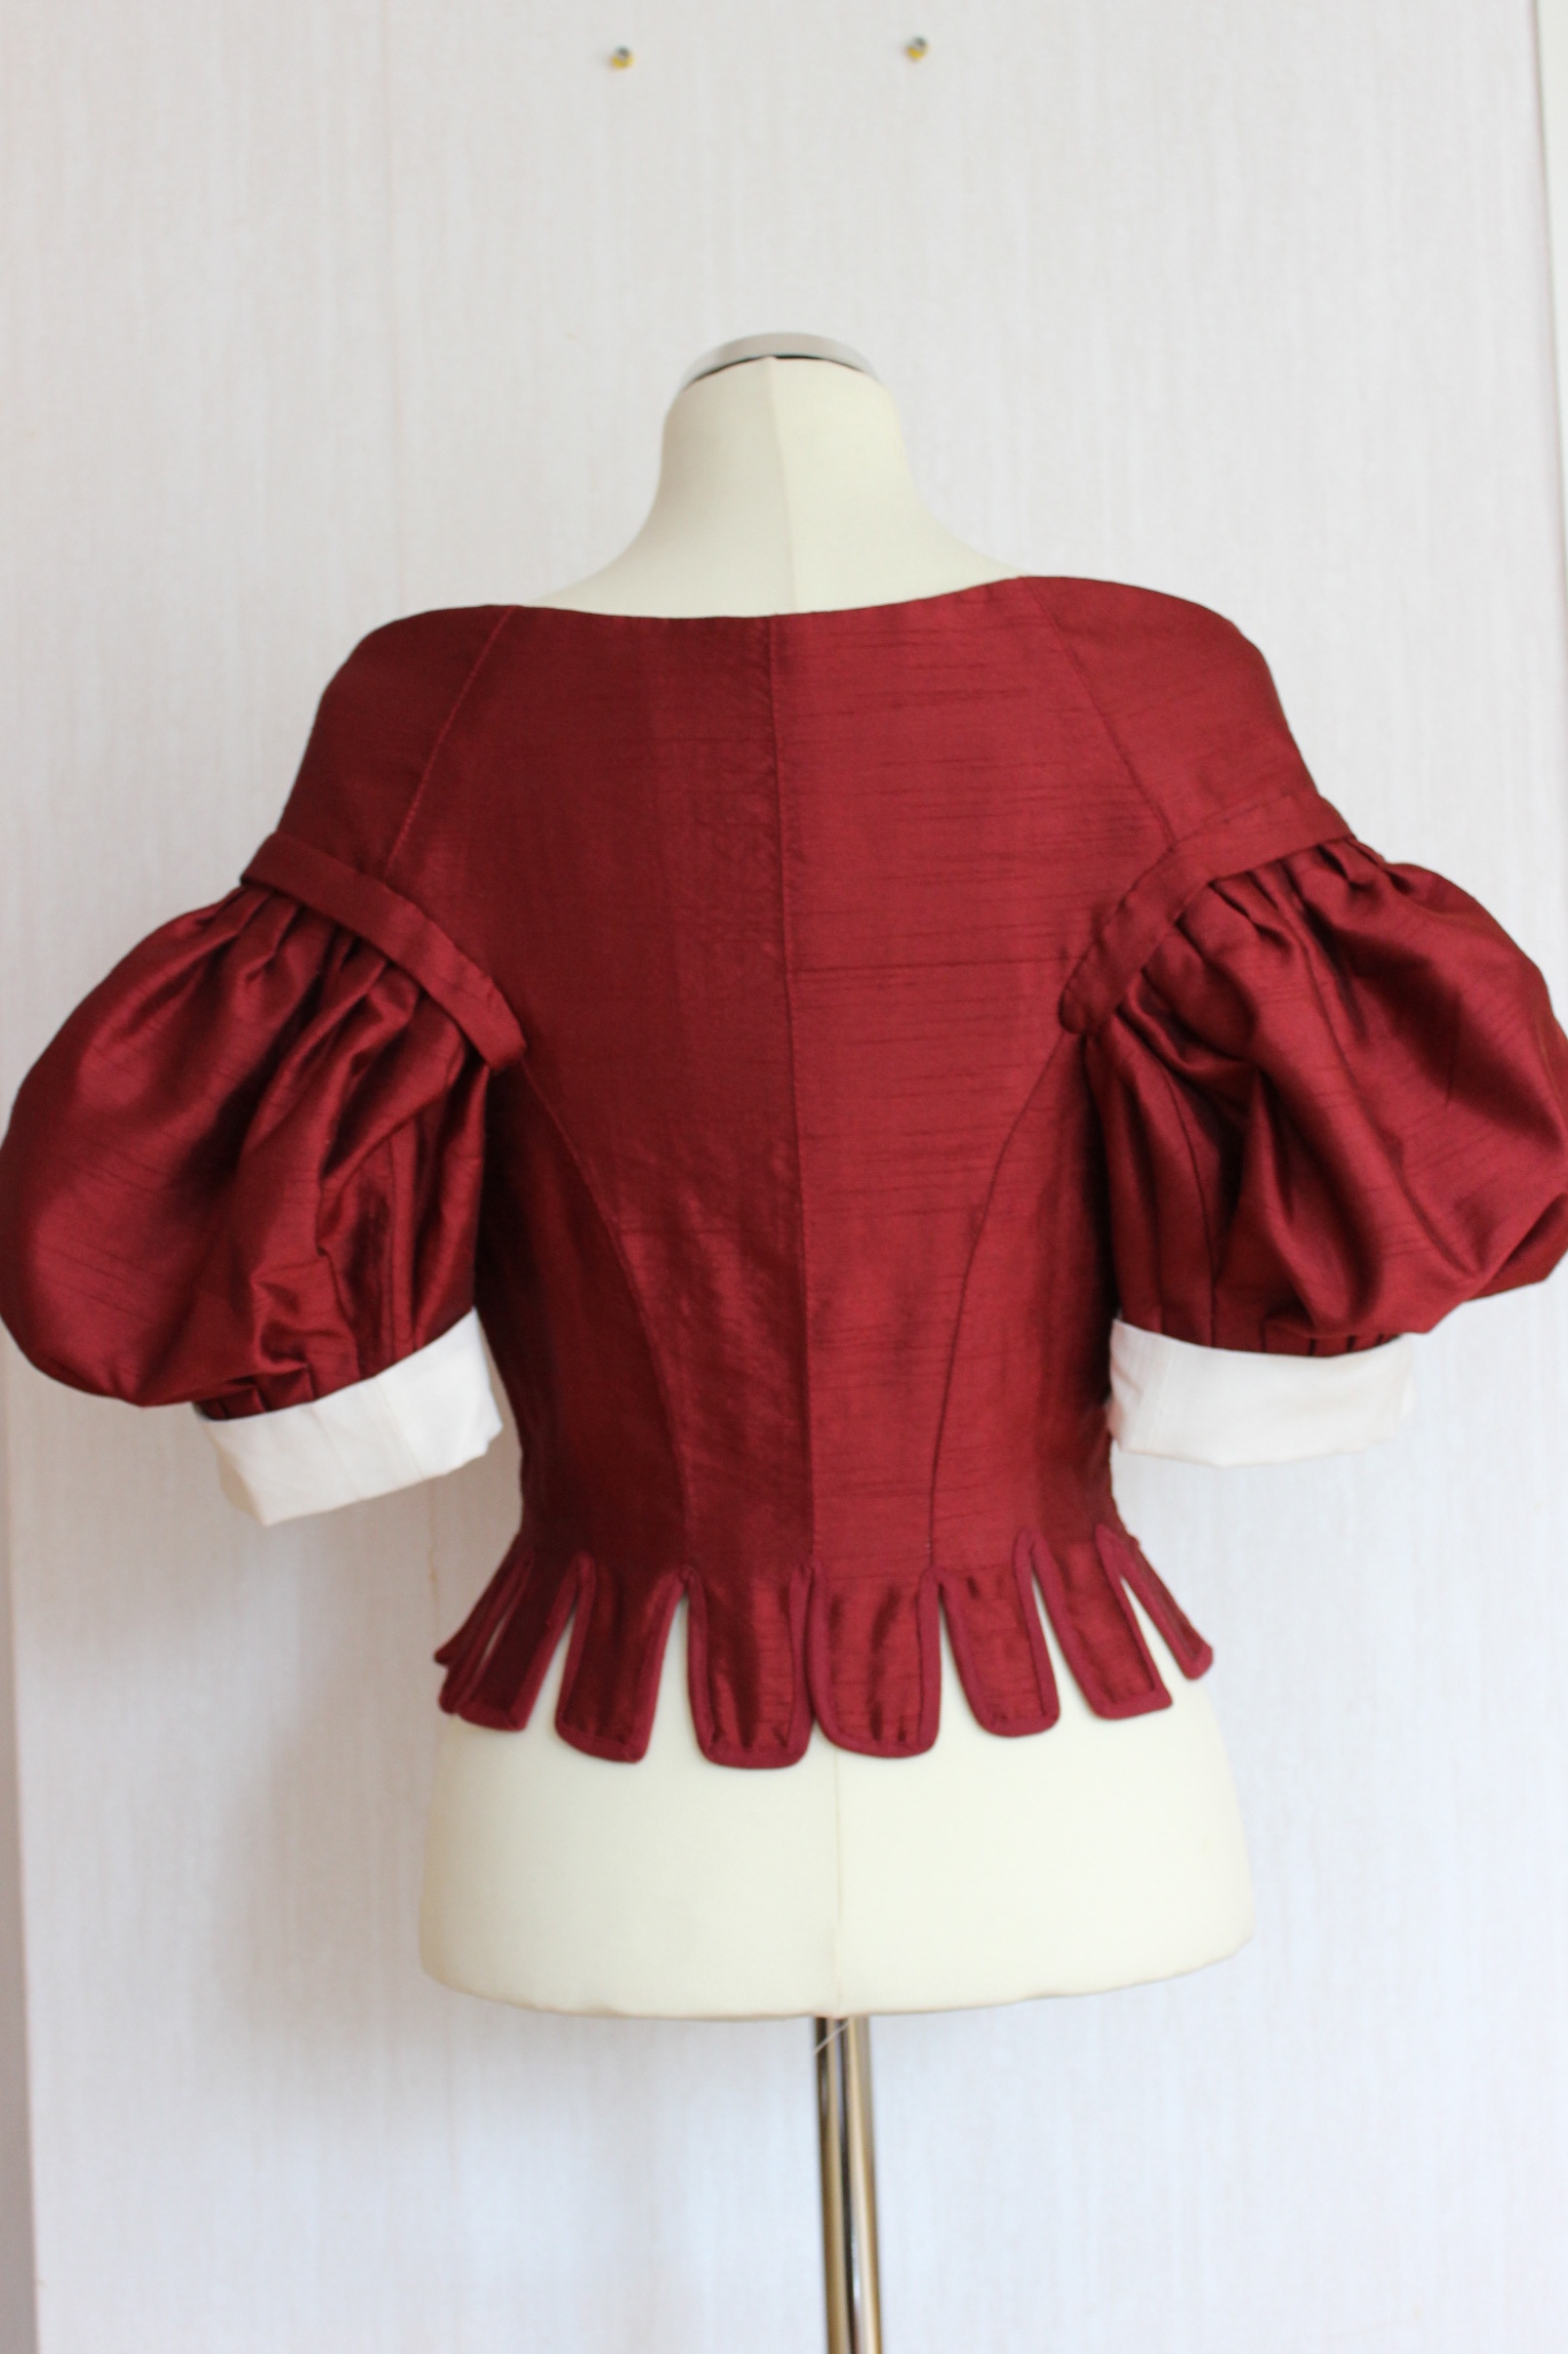
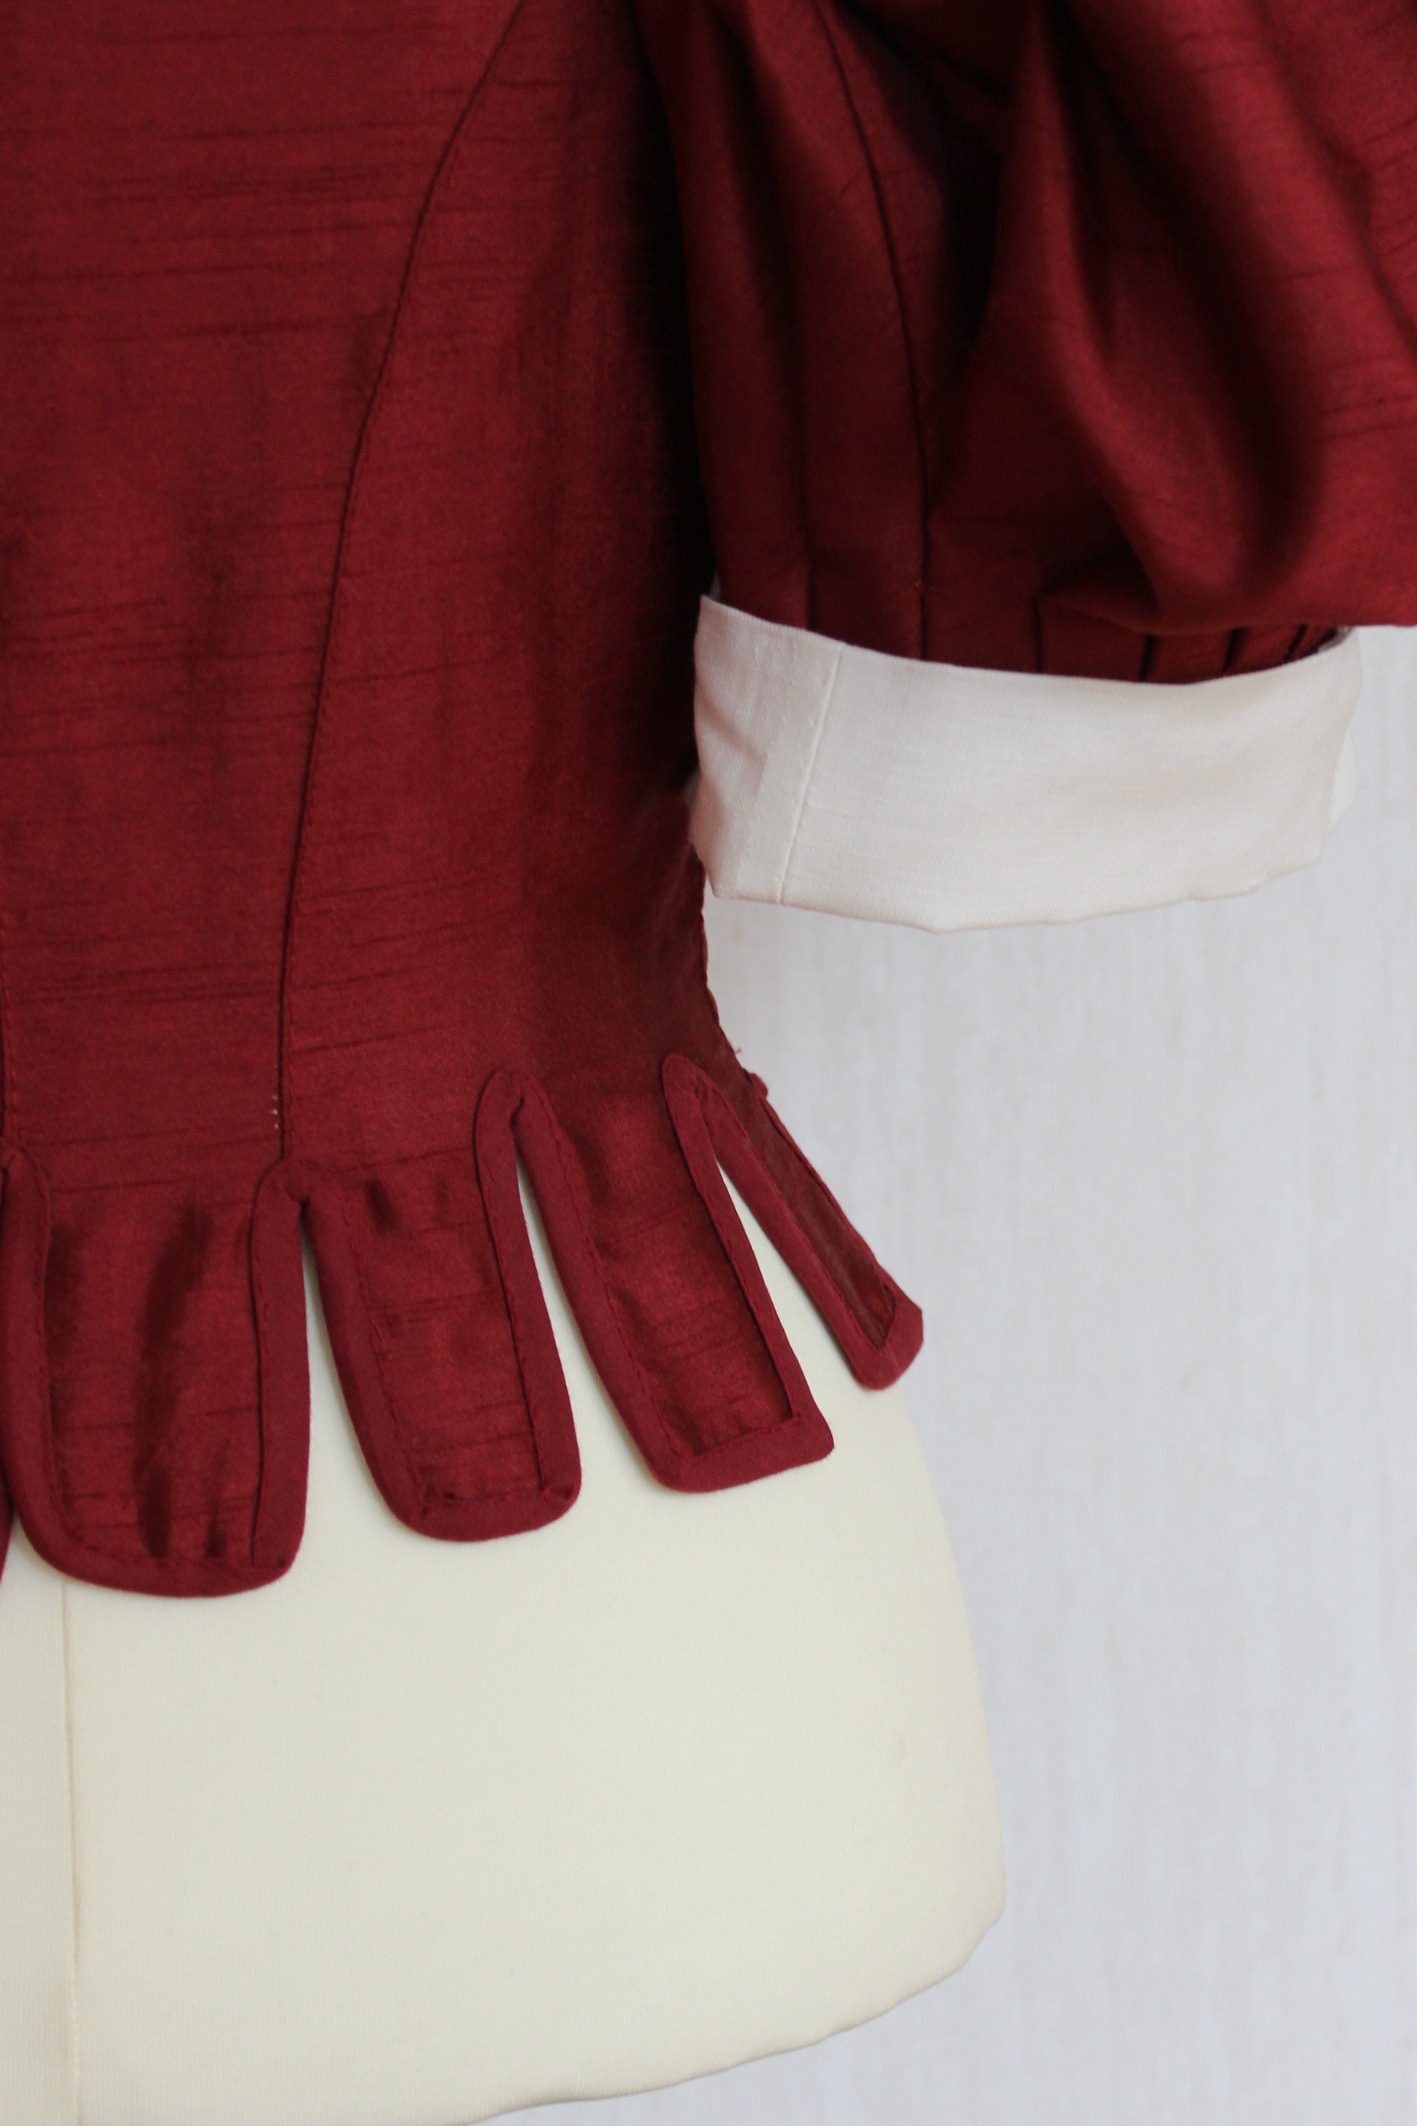
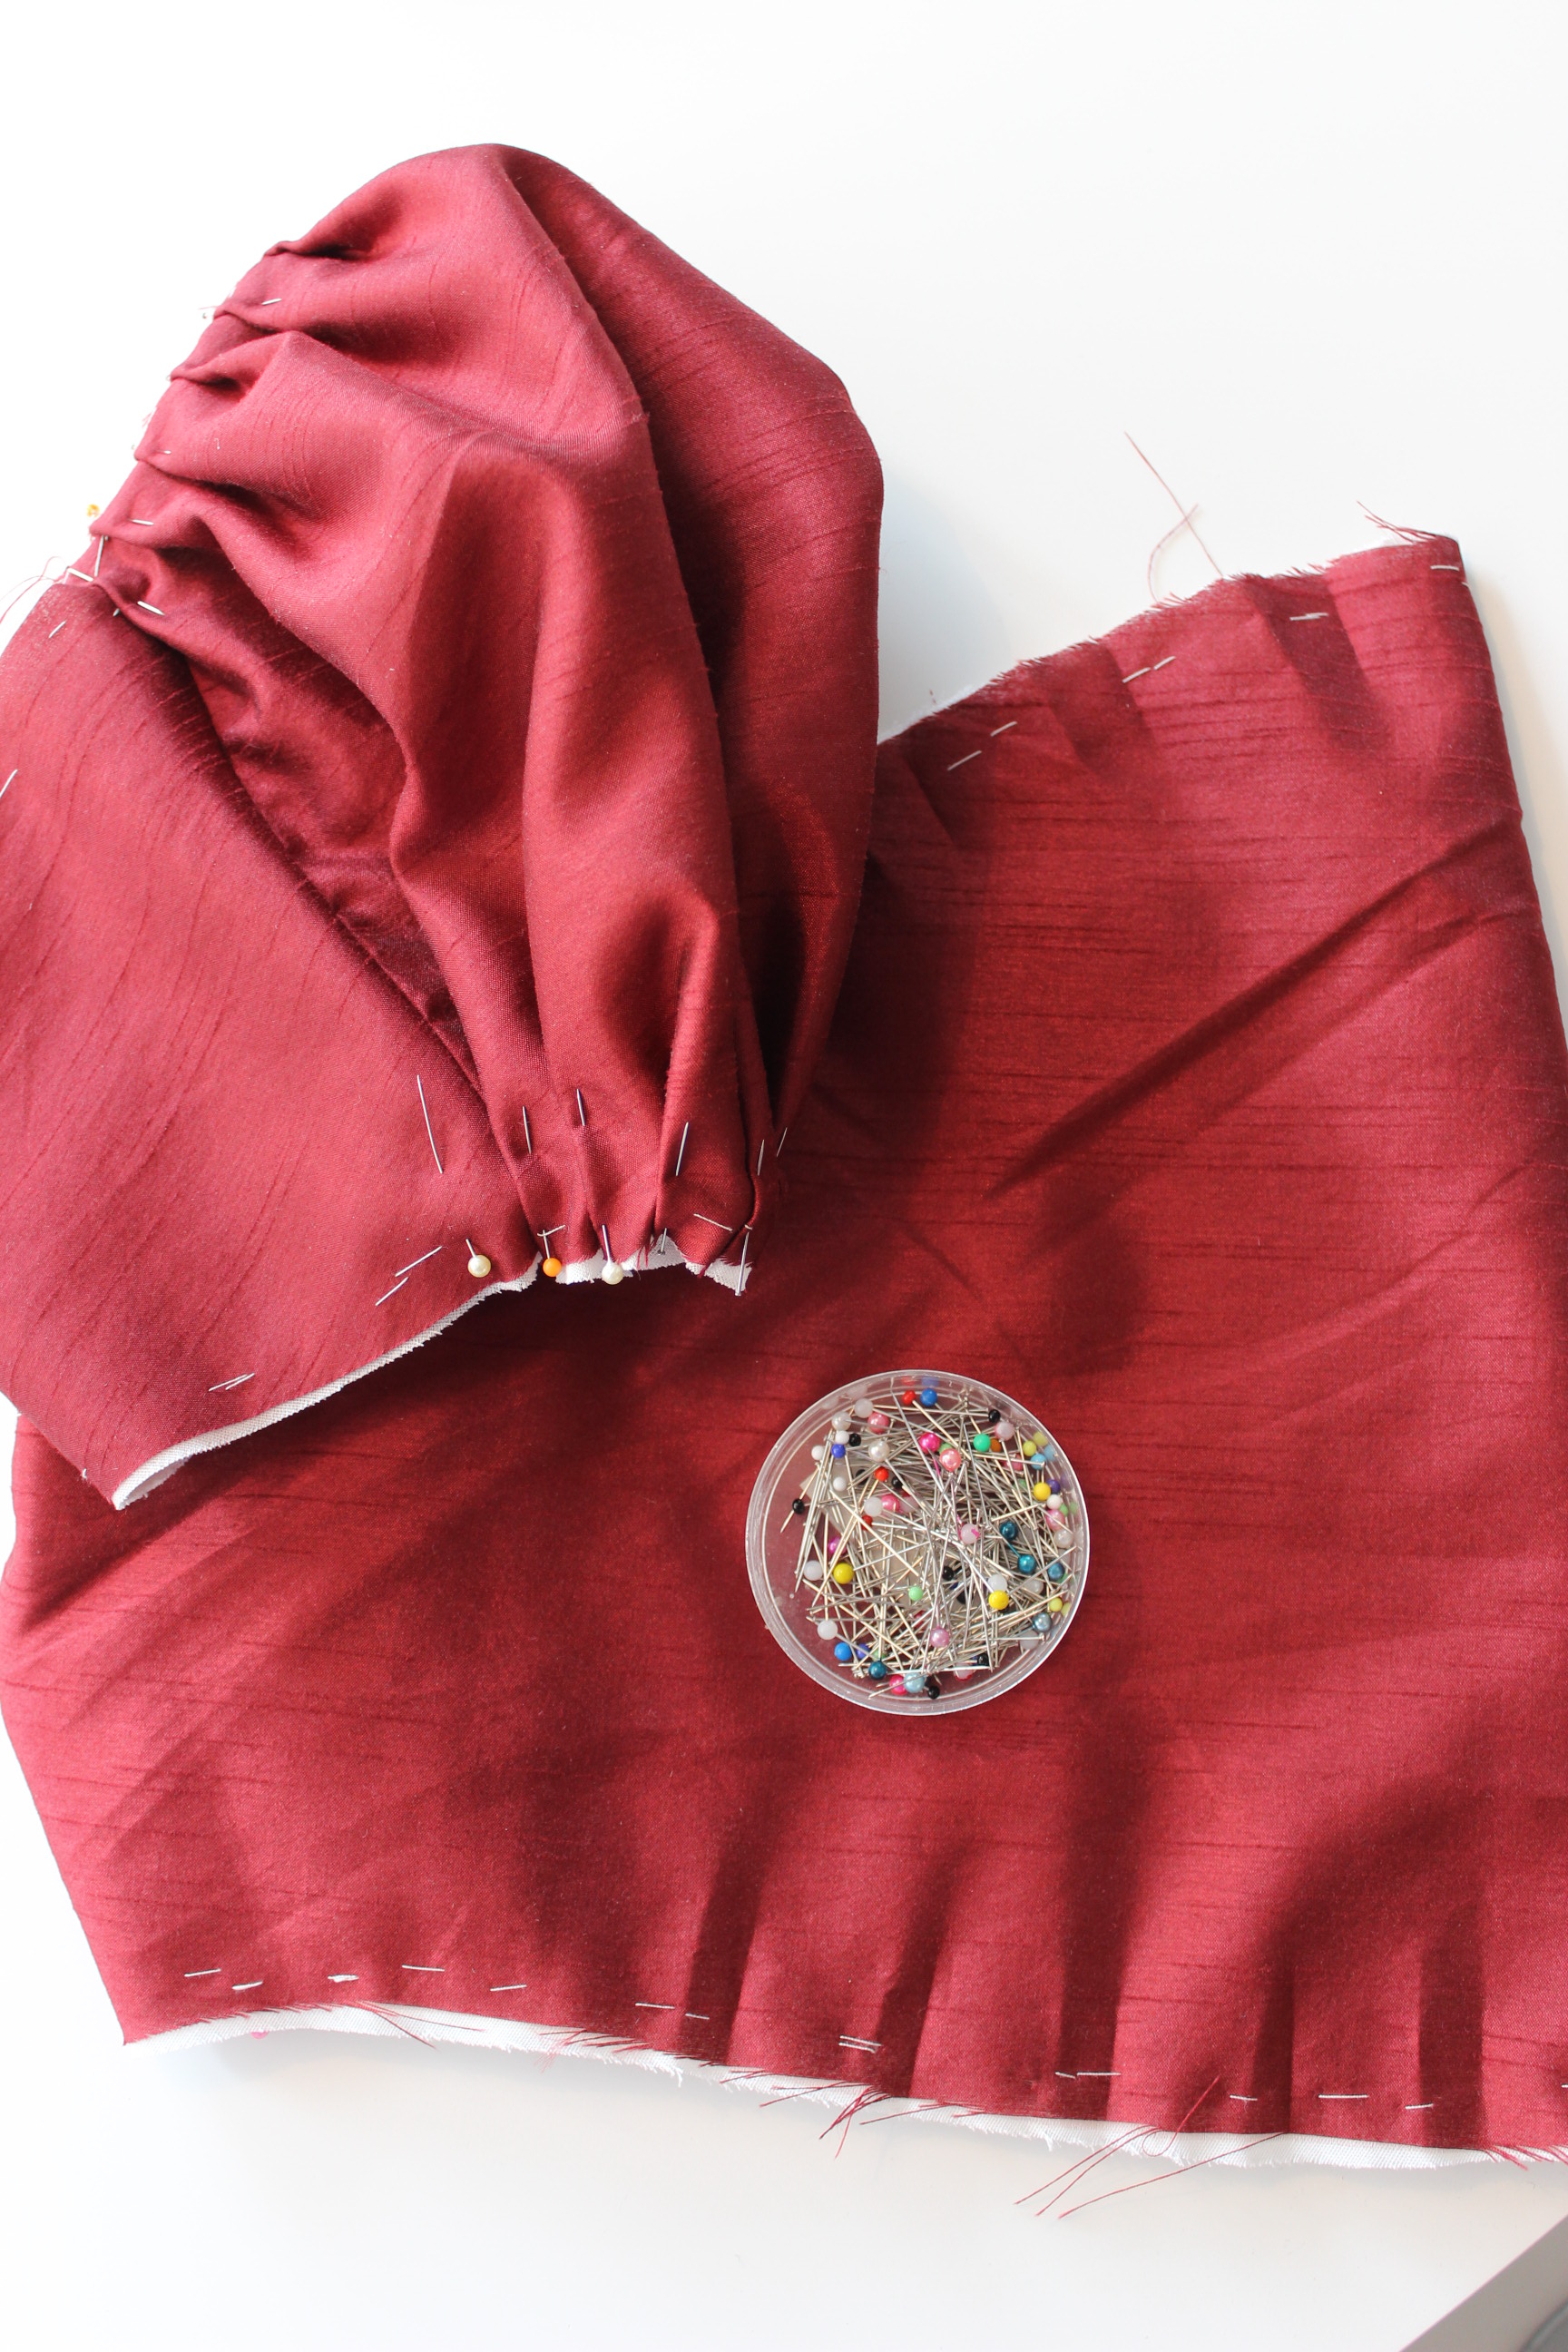
Then I started on the back pleats. Using the pattern as a guide and treating the two layers (fabric and lining) as one, box-pleating the three back seams. I then attached the pleats to the bodice sewing into the interling by hand.
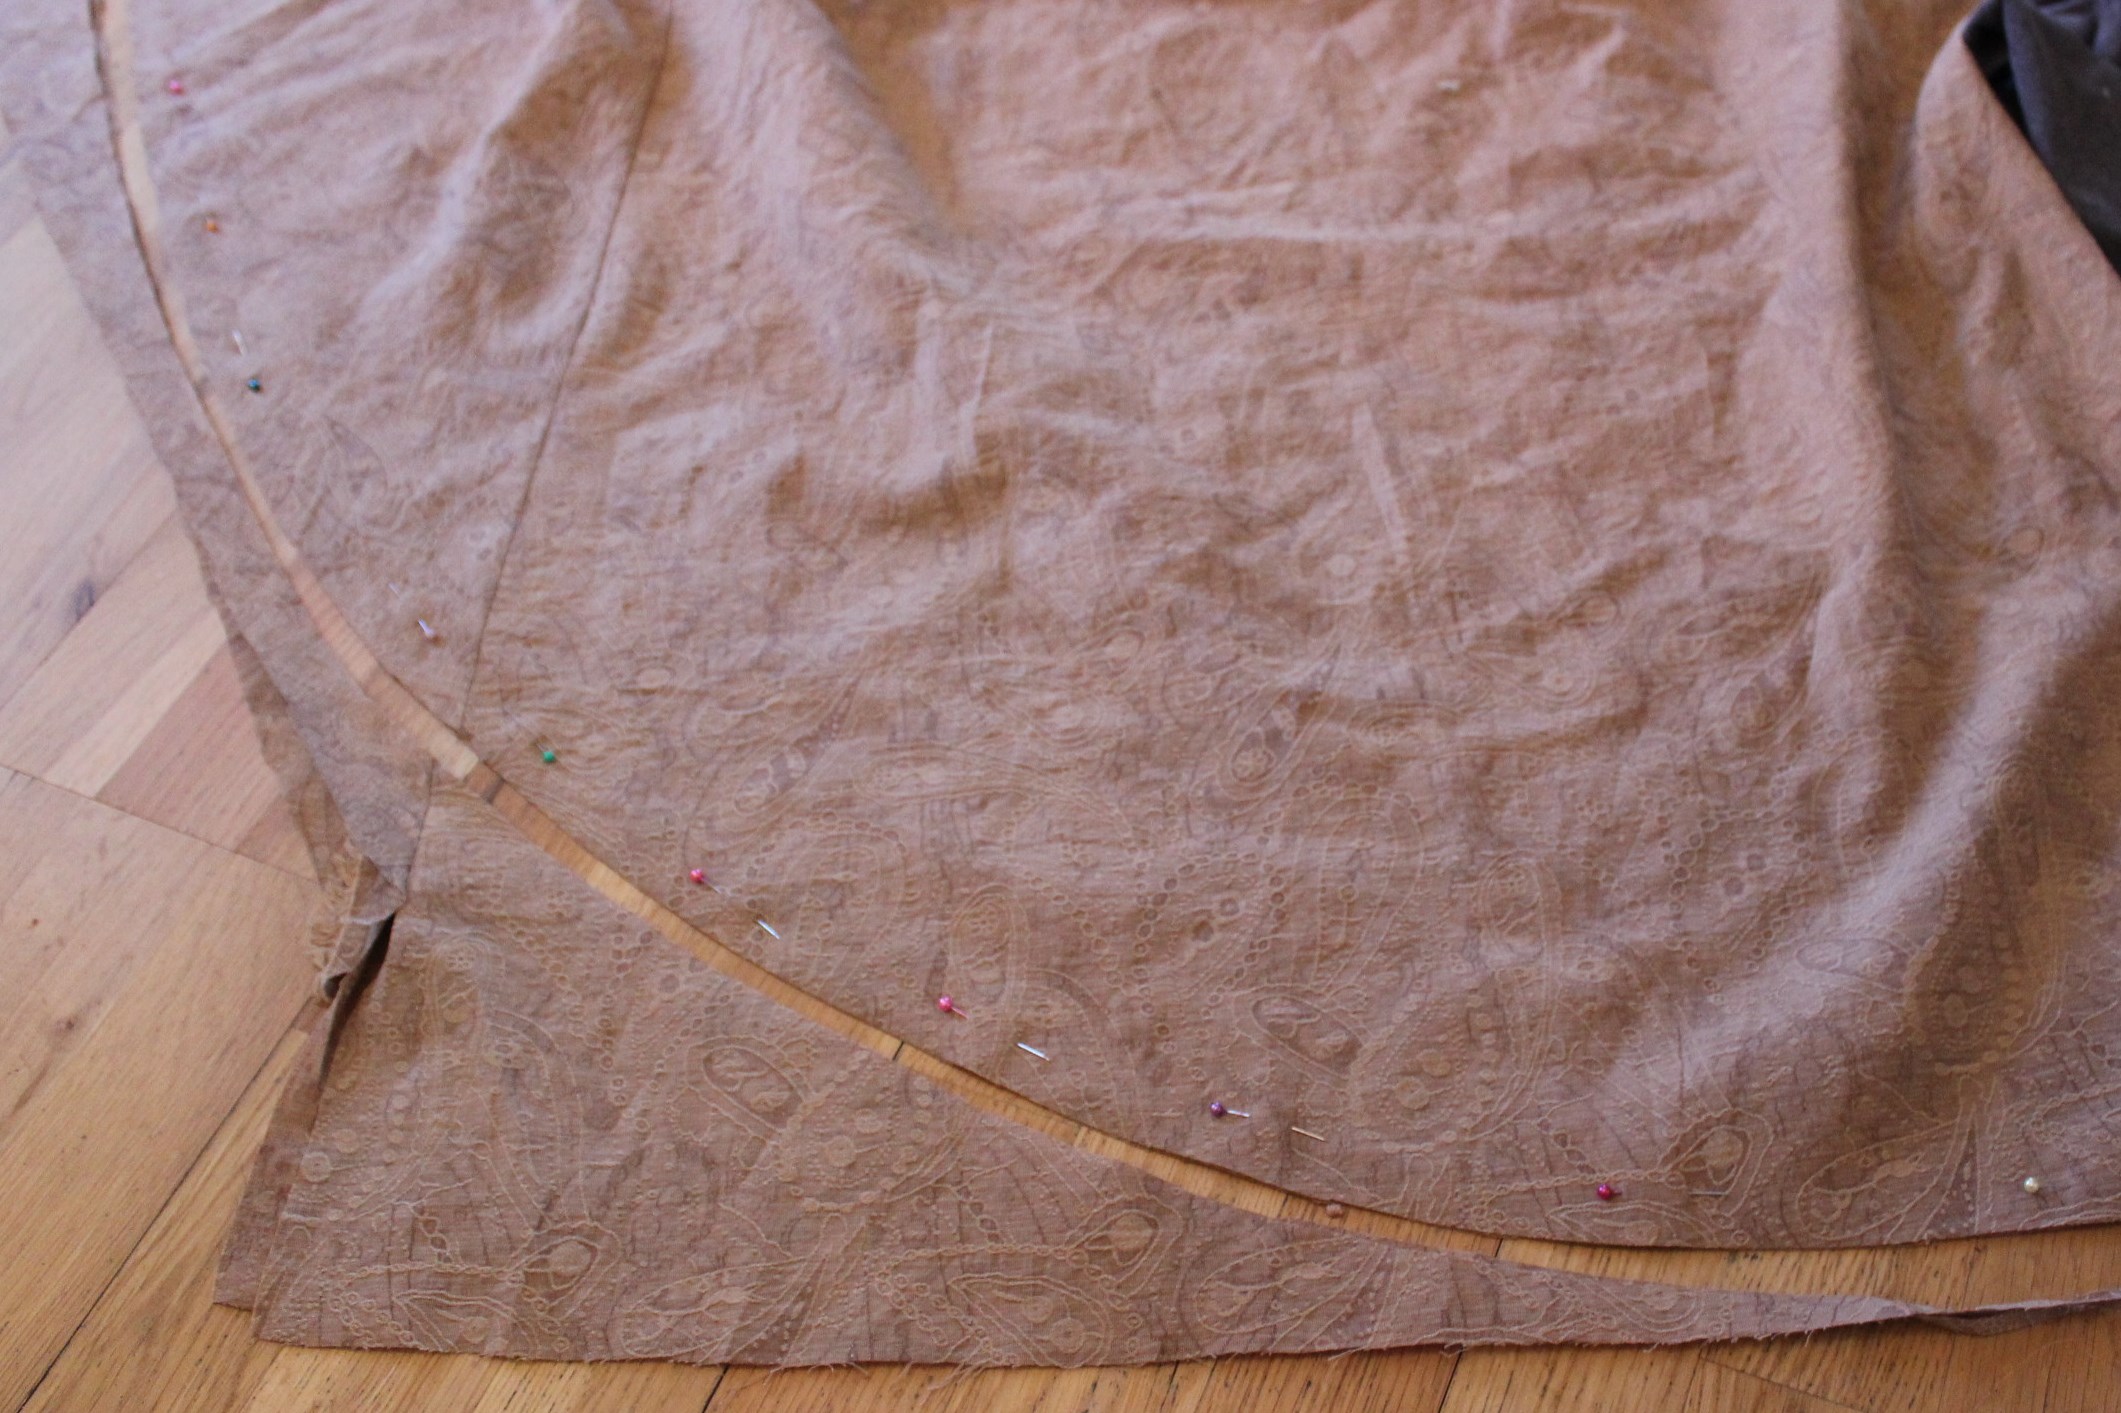
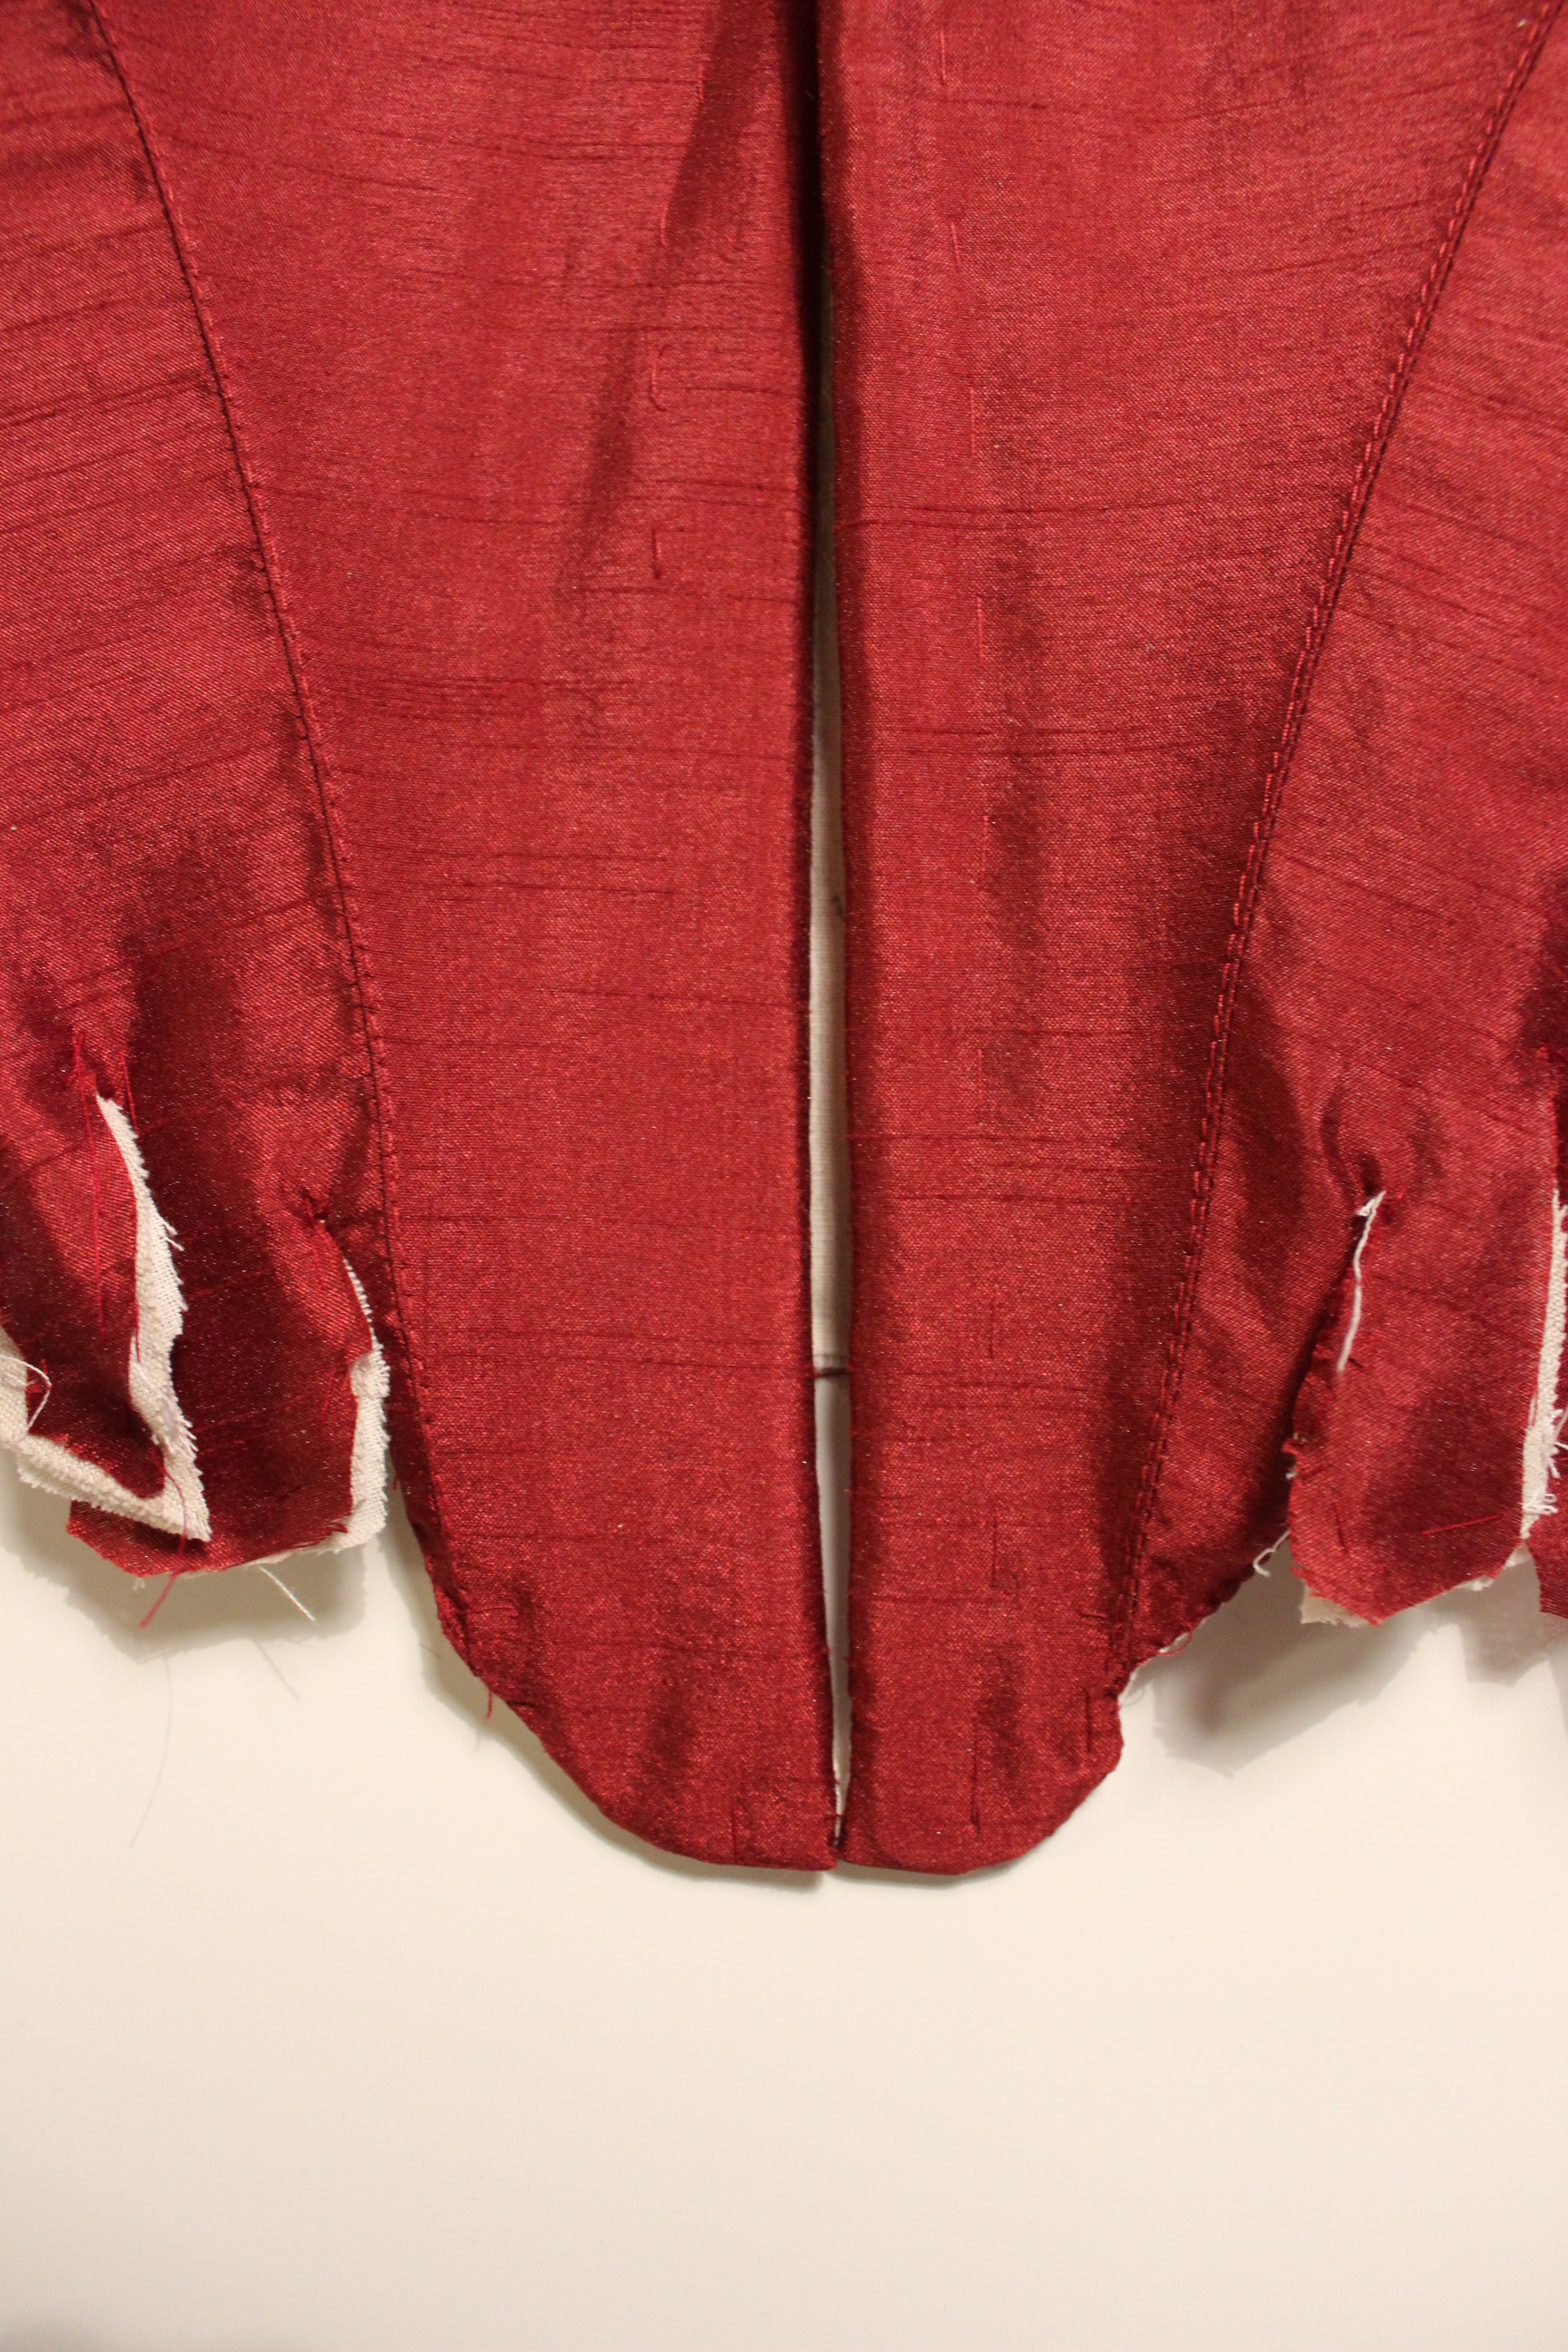
Next up was the lenght – cuting and heming the train.
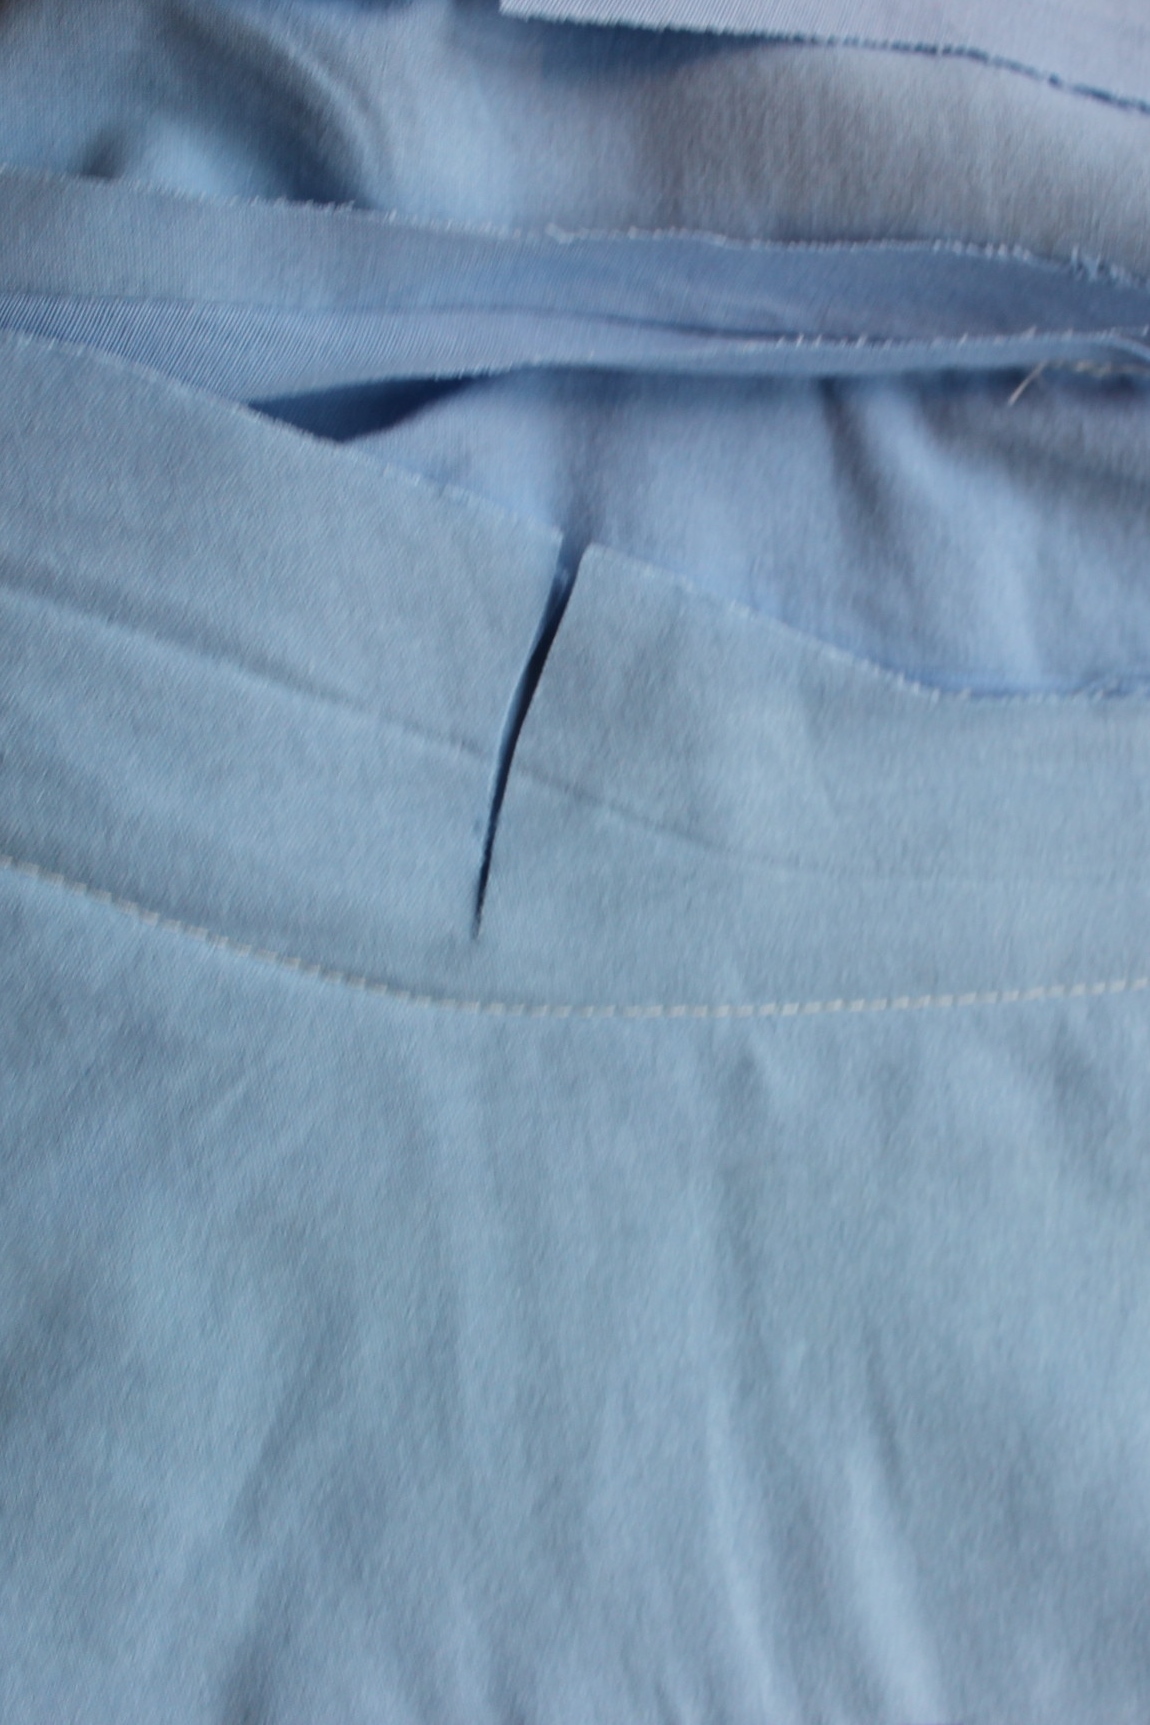
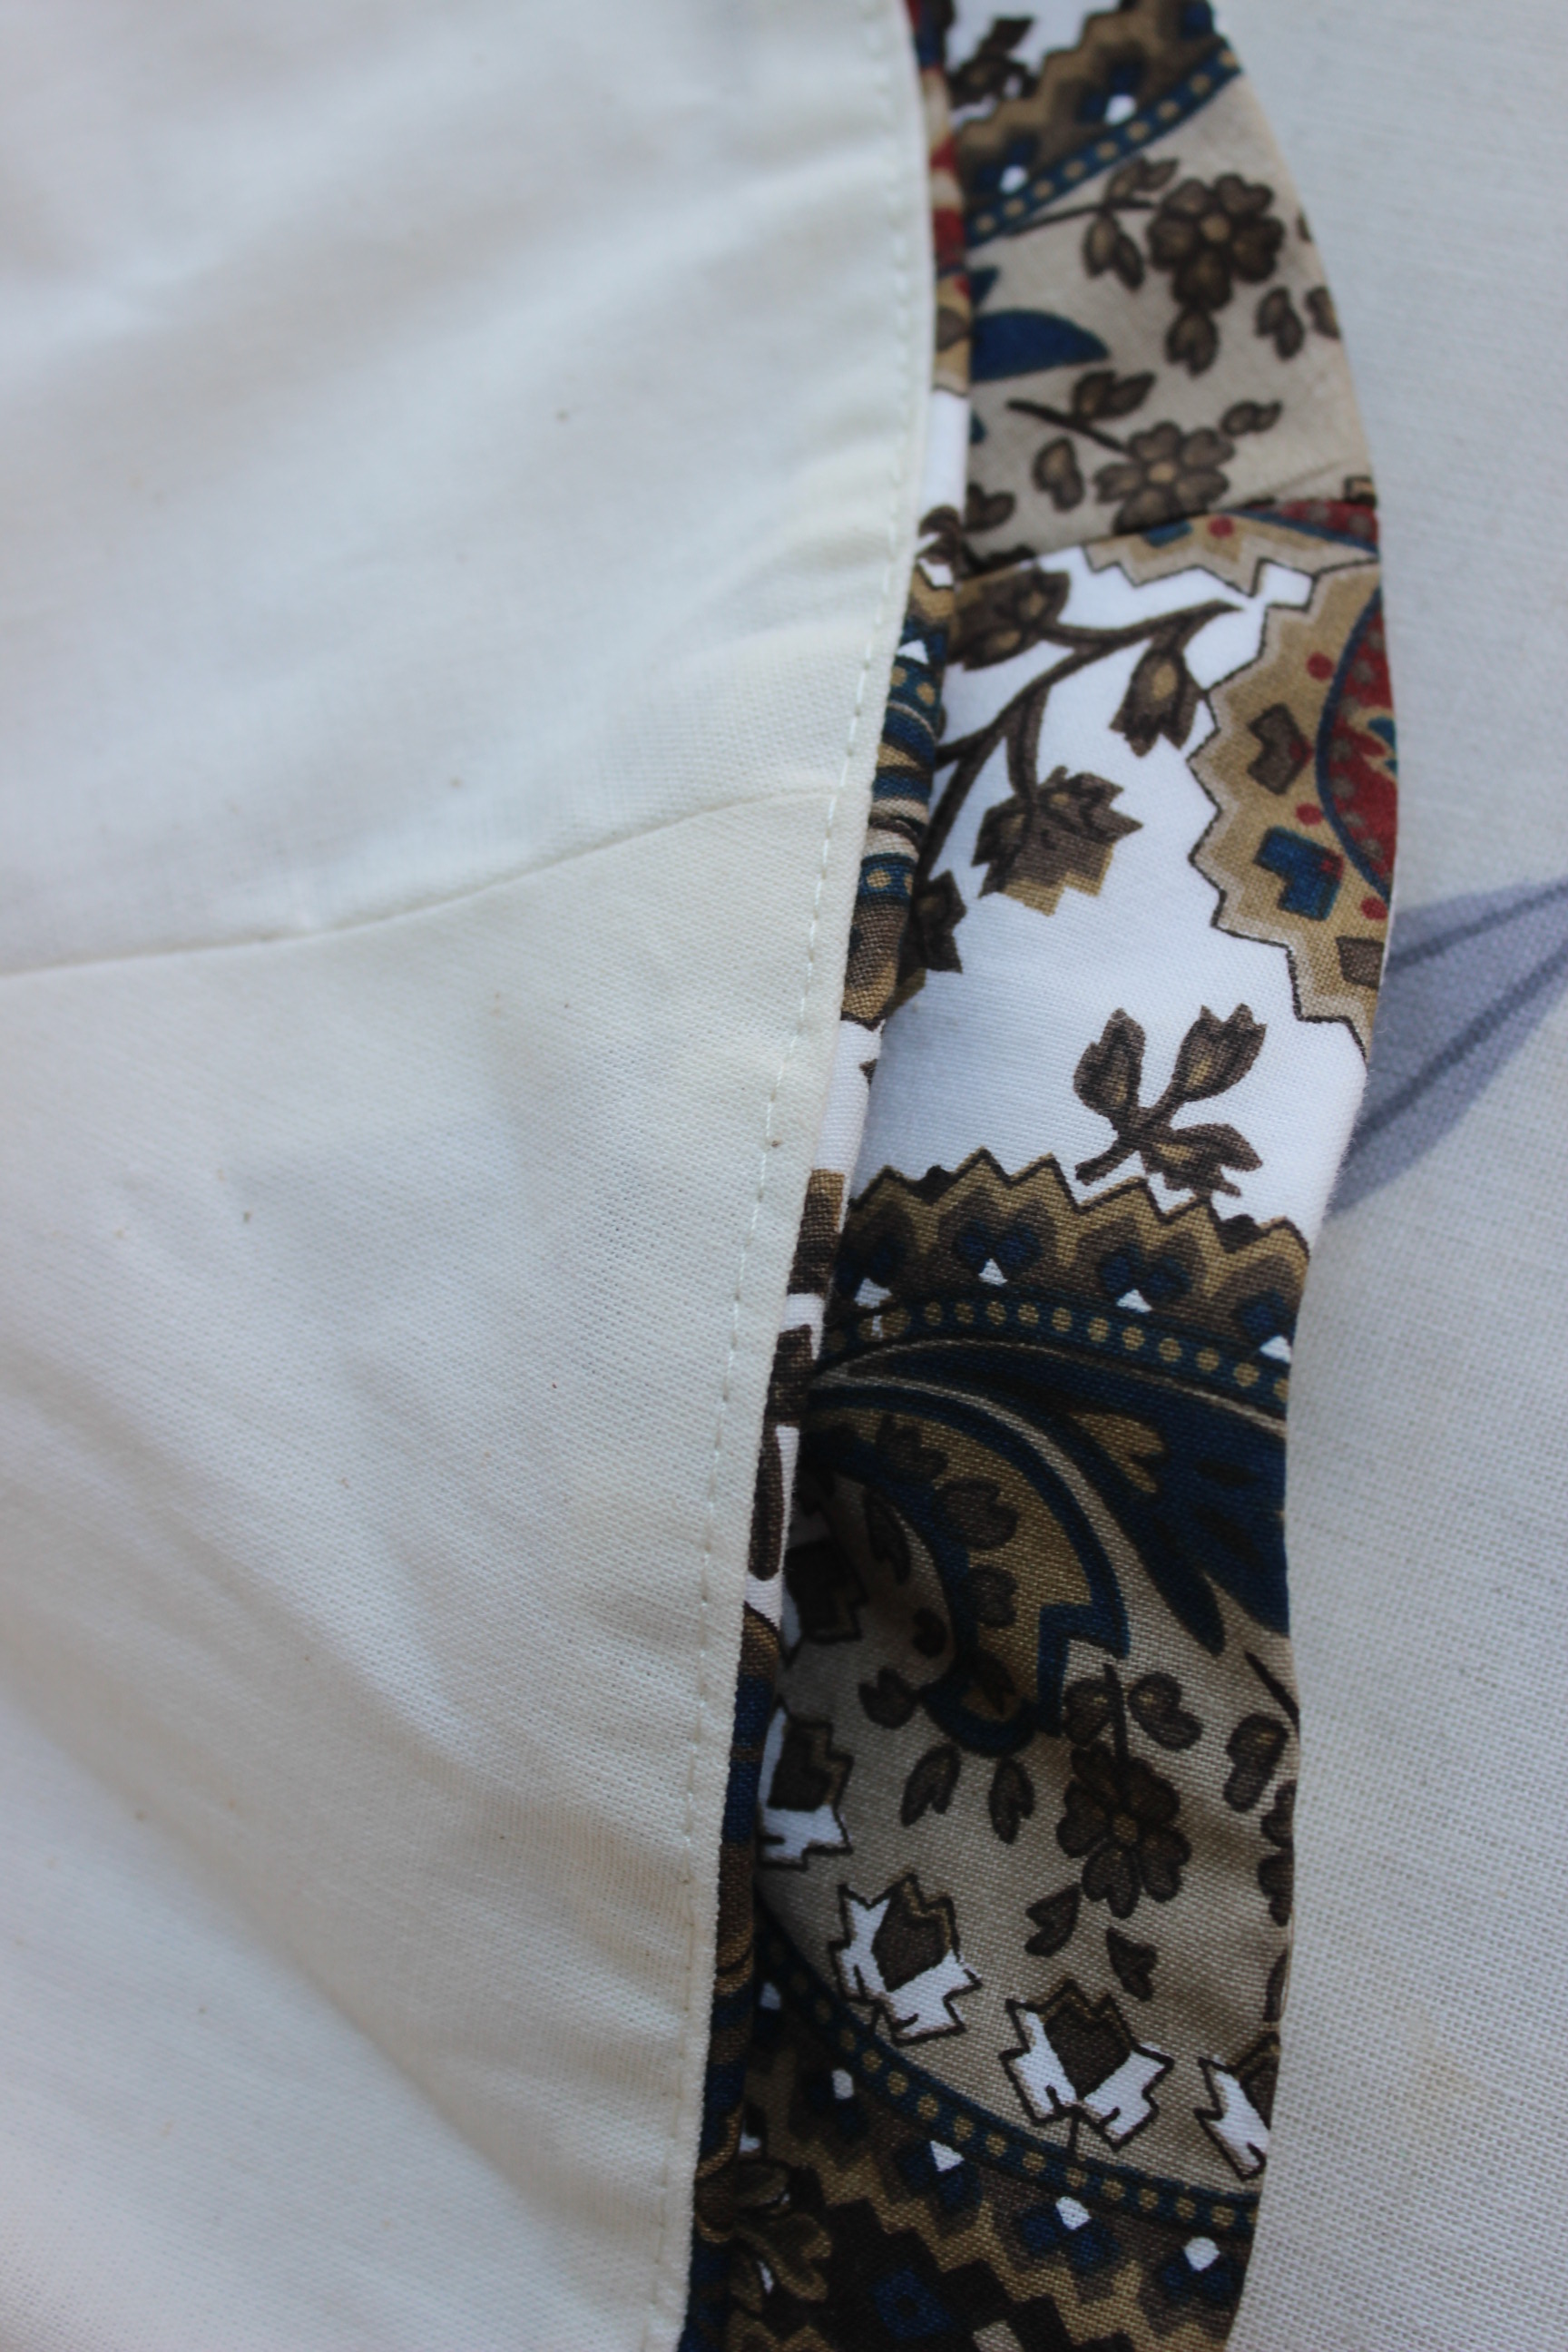
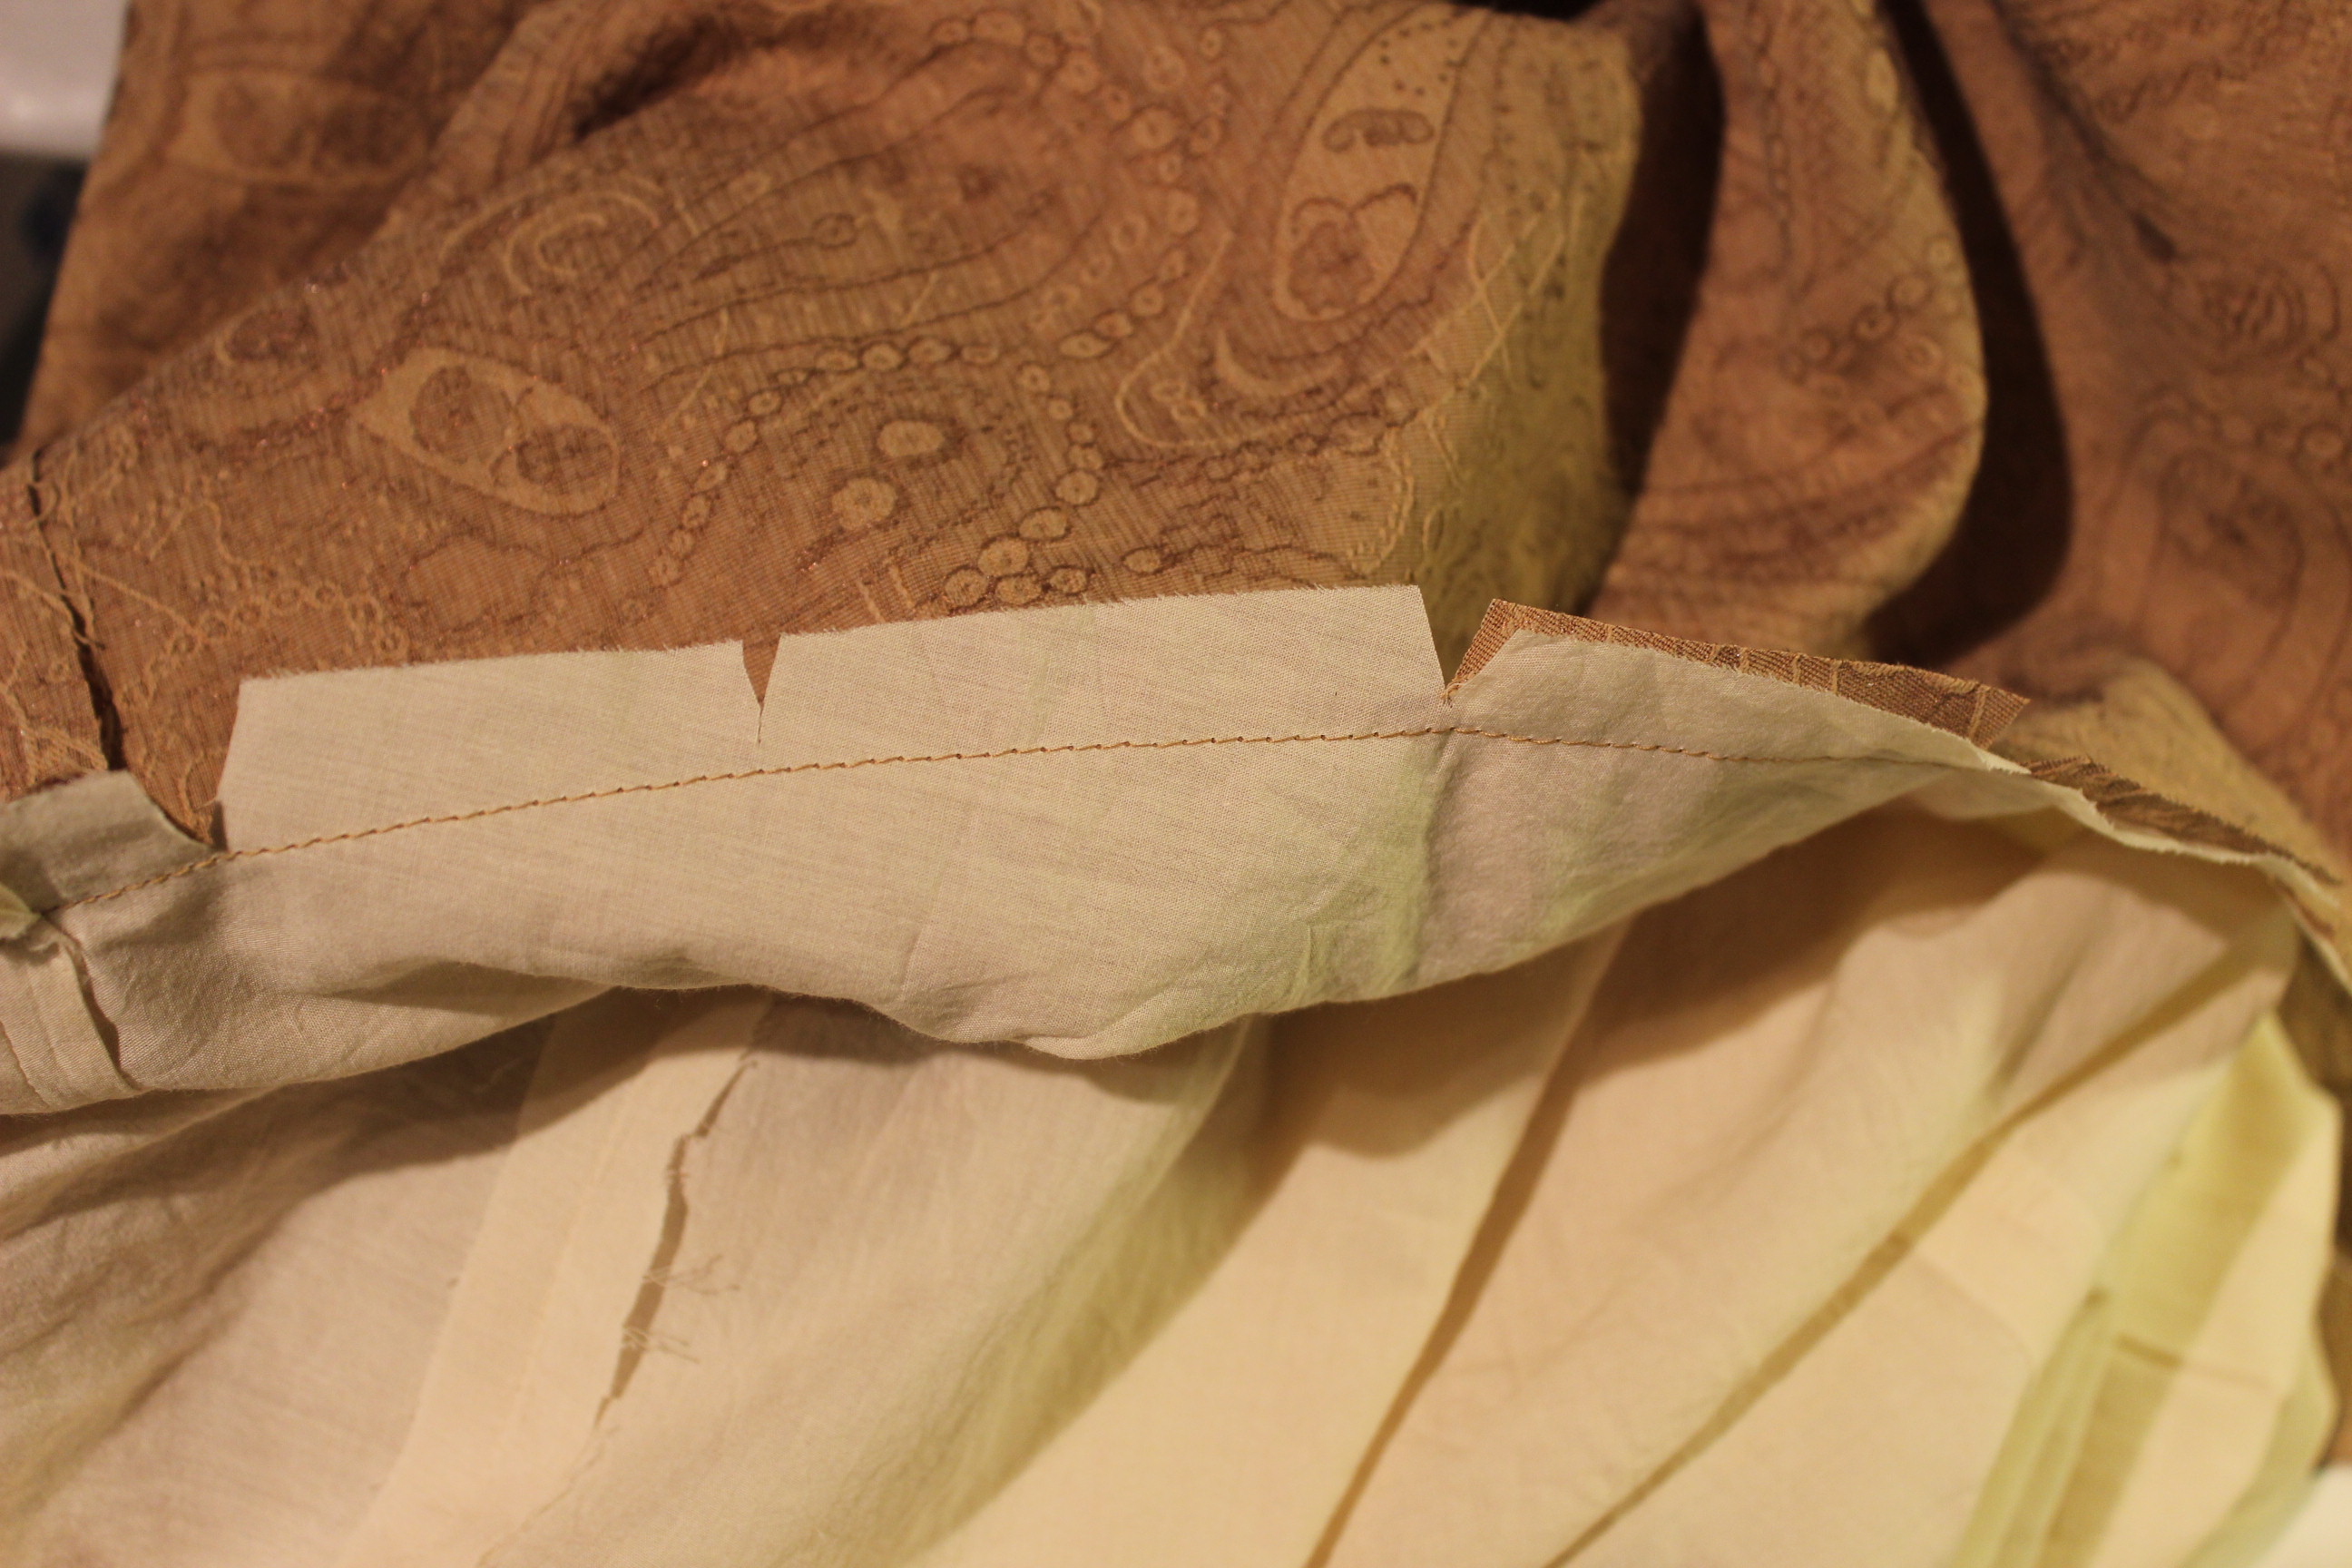
After sewing the lining to the train from the inside, I snipped the seam-allowence, 
and pressed them flat, making sure the lining was a couple of mm smaler, les it would peek out.
Heming the train would have been an easy step, if I’ve cut the lining long enough. But no, I had to skrimp on the fabric, leaving me no other choise but to piece the train (using scraps) to the desired lengt.
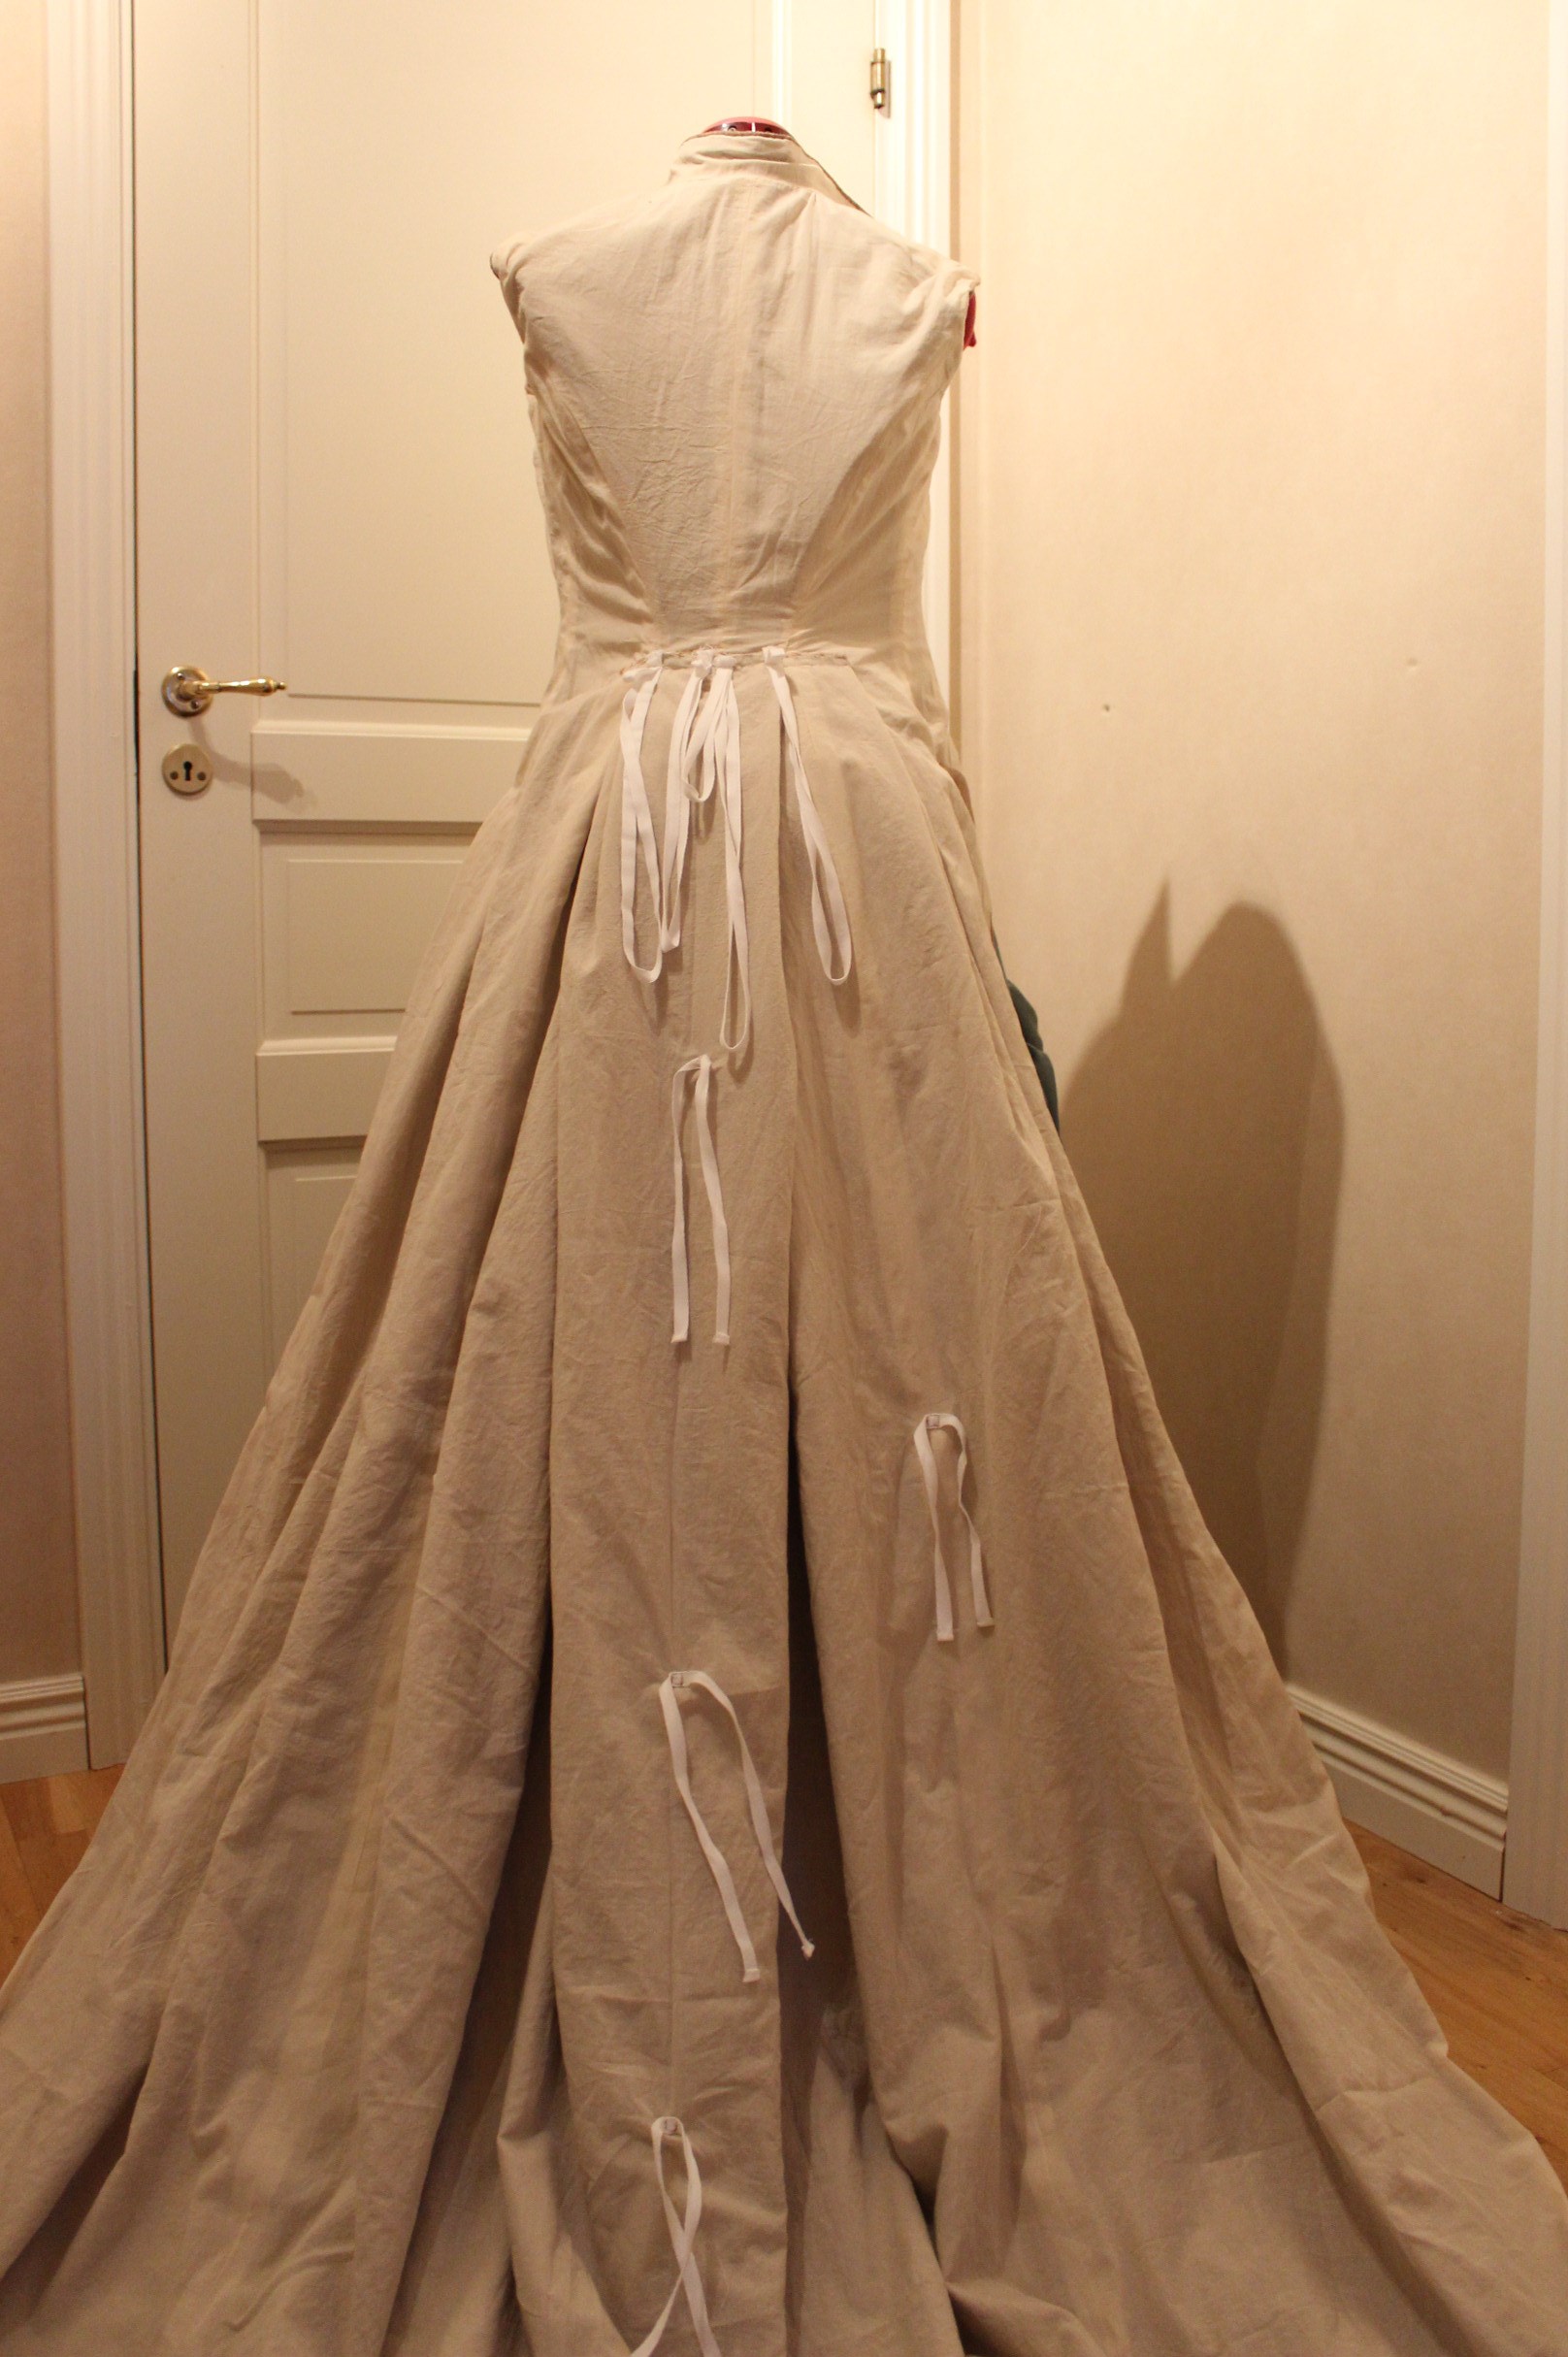
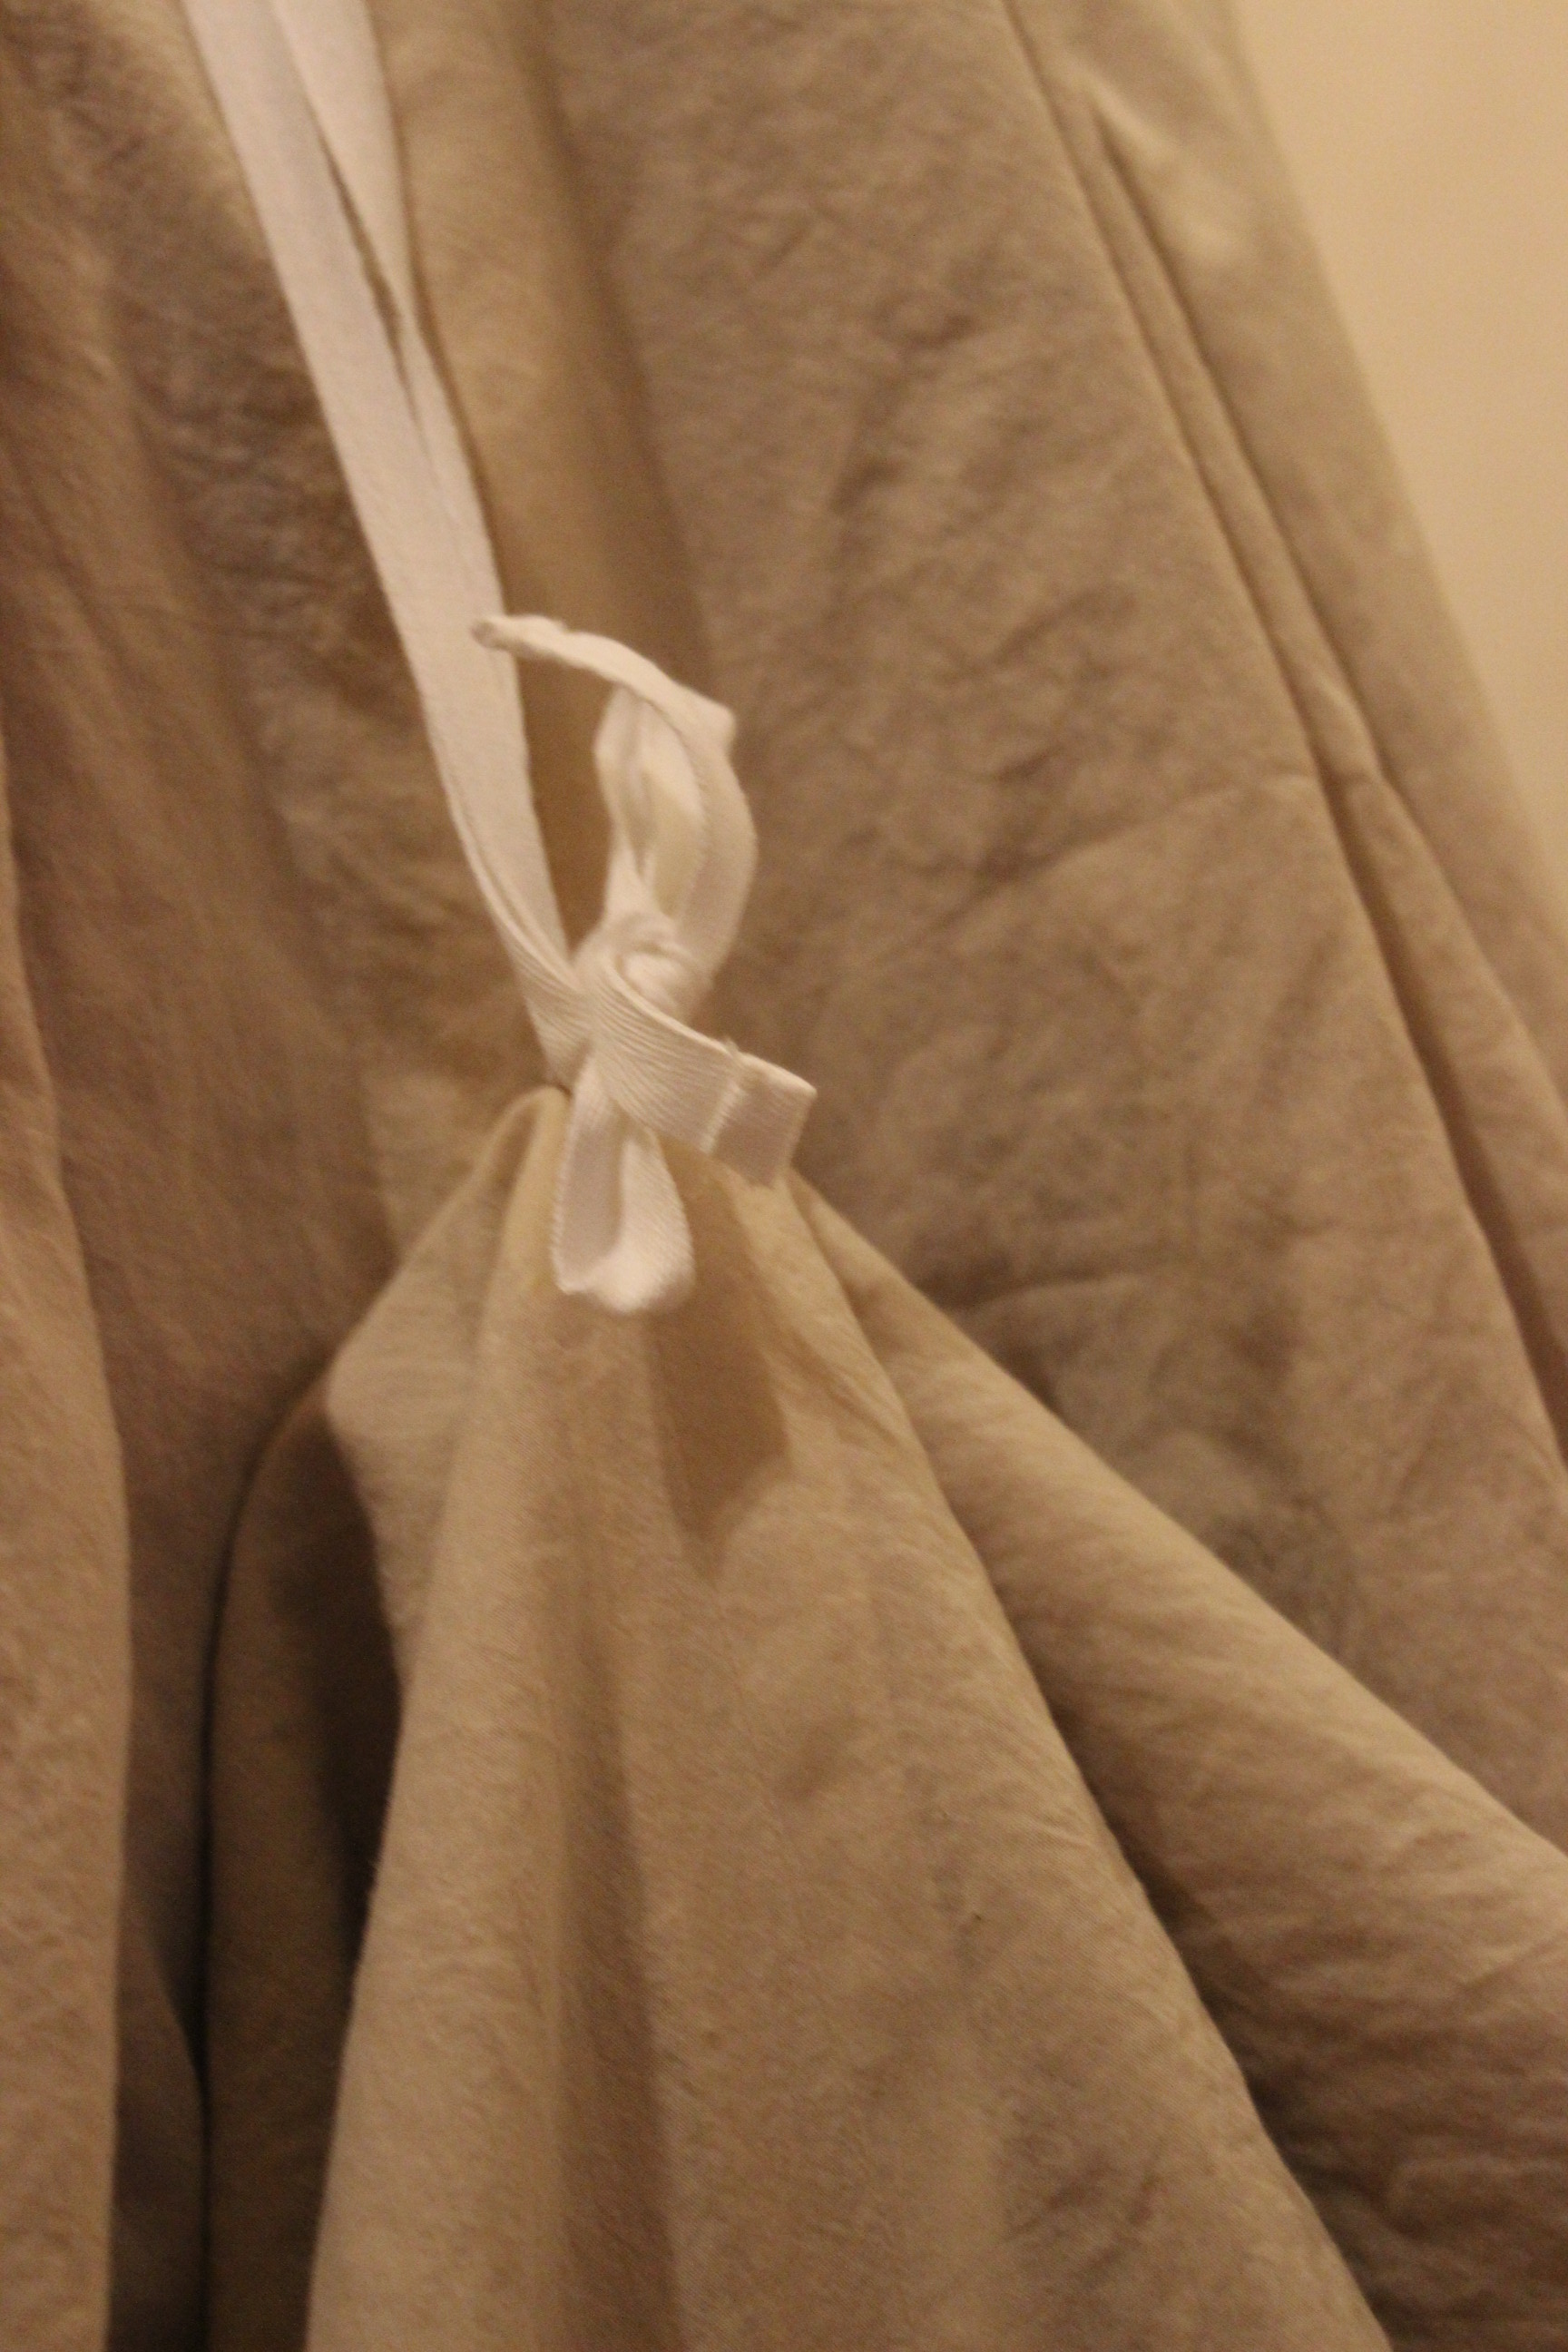
Then I mesured/draped the train to get the right placement on the laces for the “poufines” in the bustle back.
When wearing the dress you simply tie the stings together to get the right lenght on the train. 
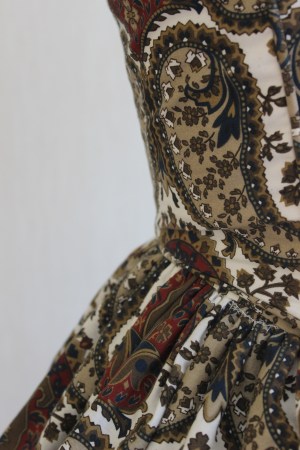
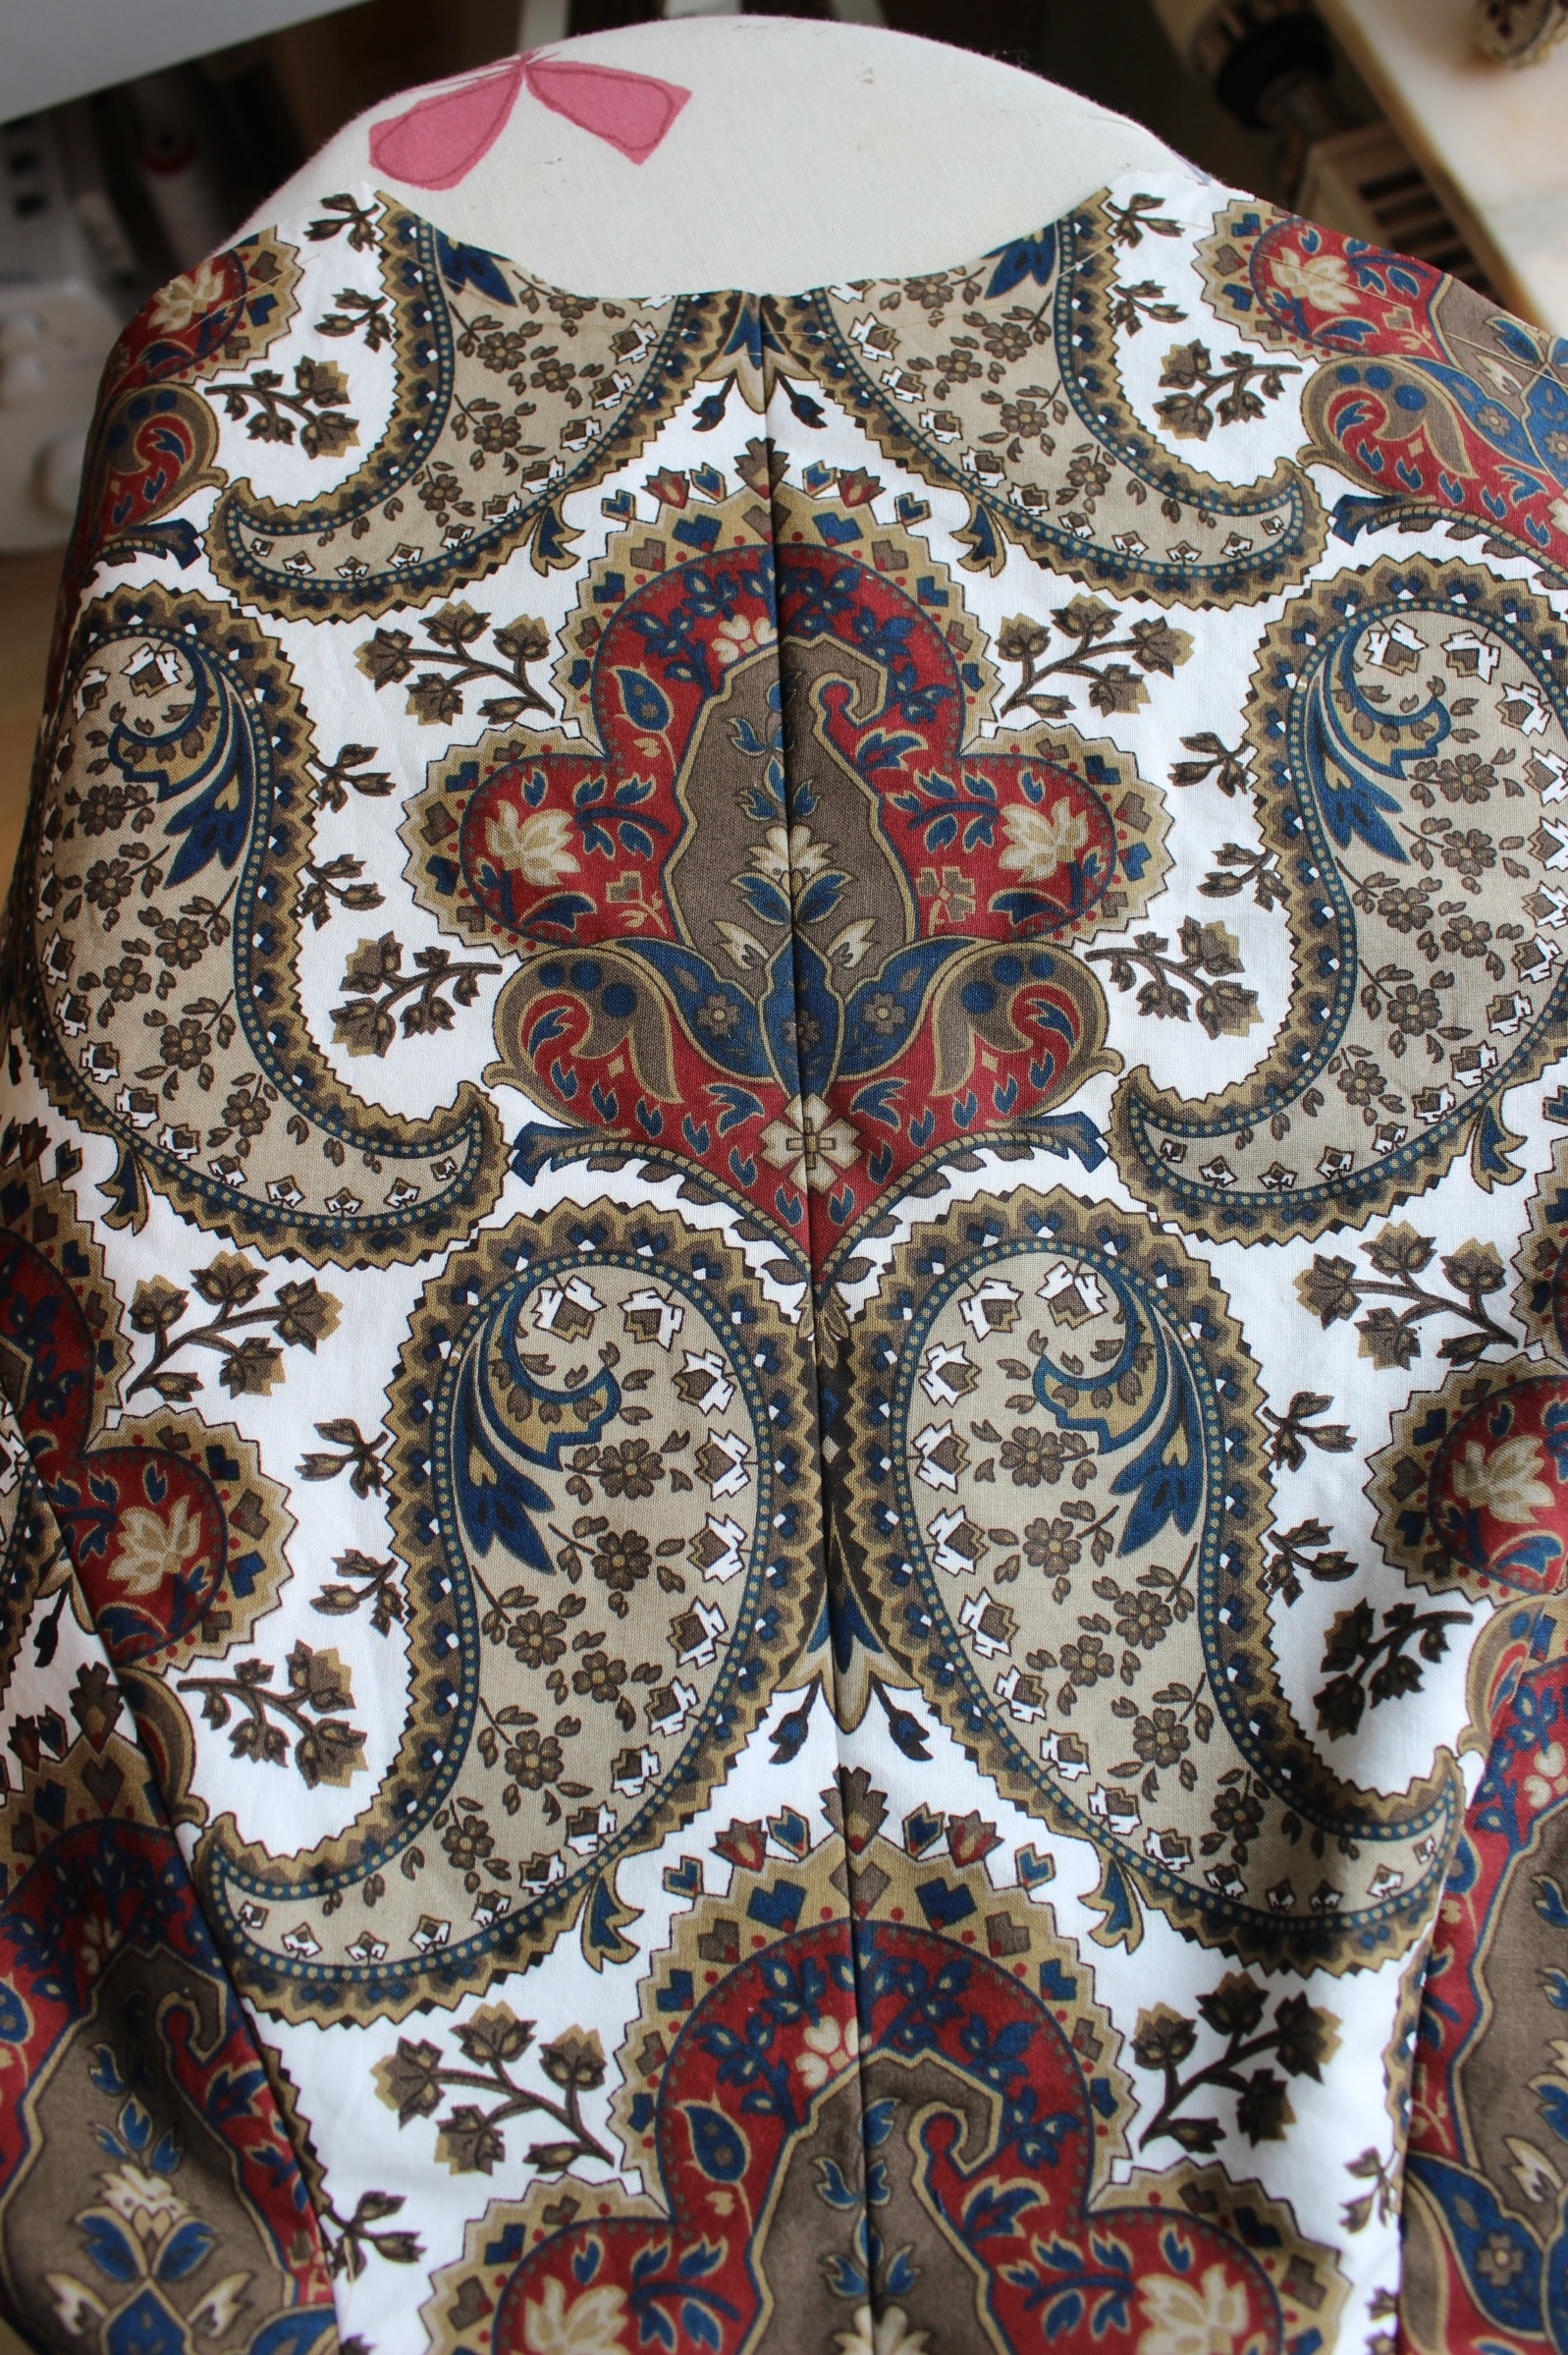
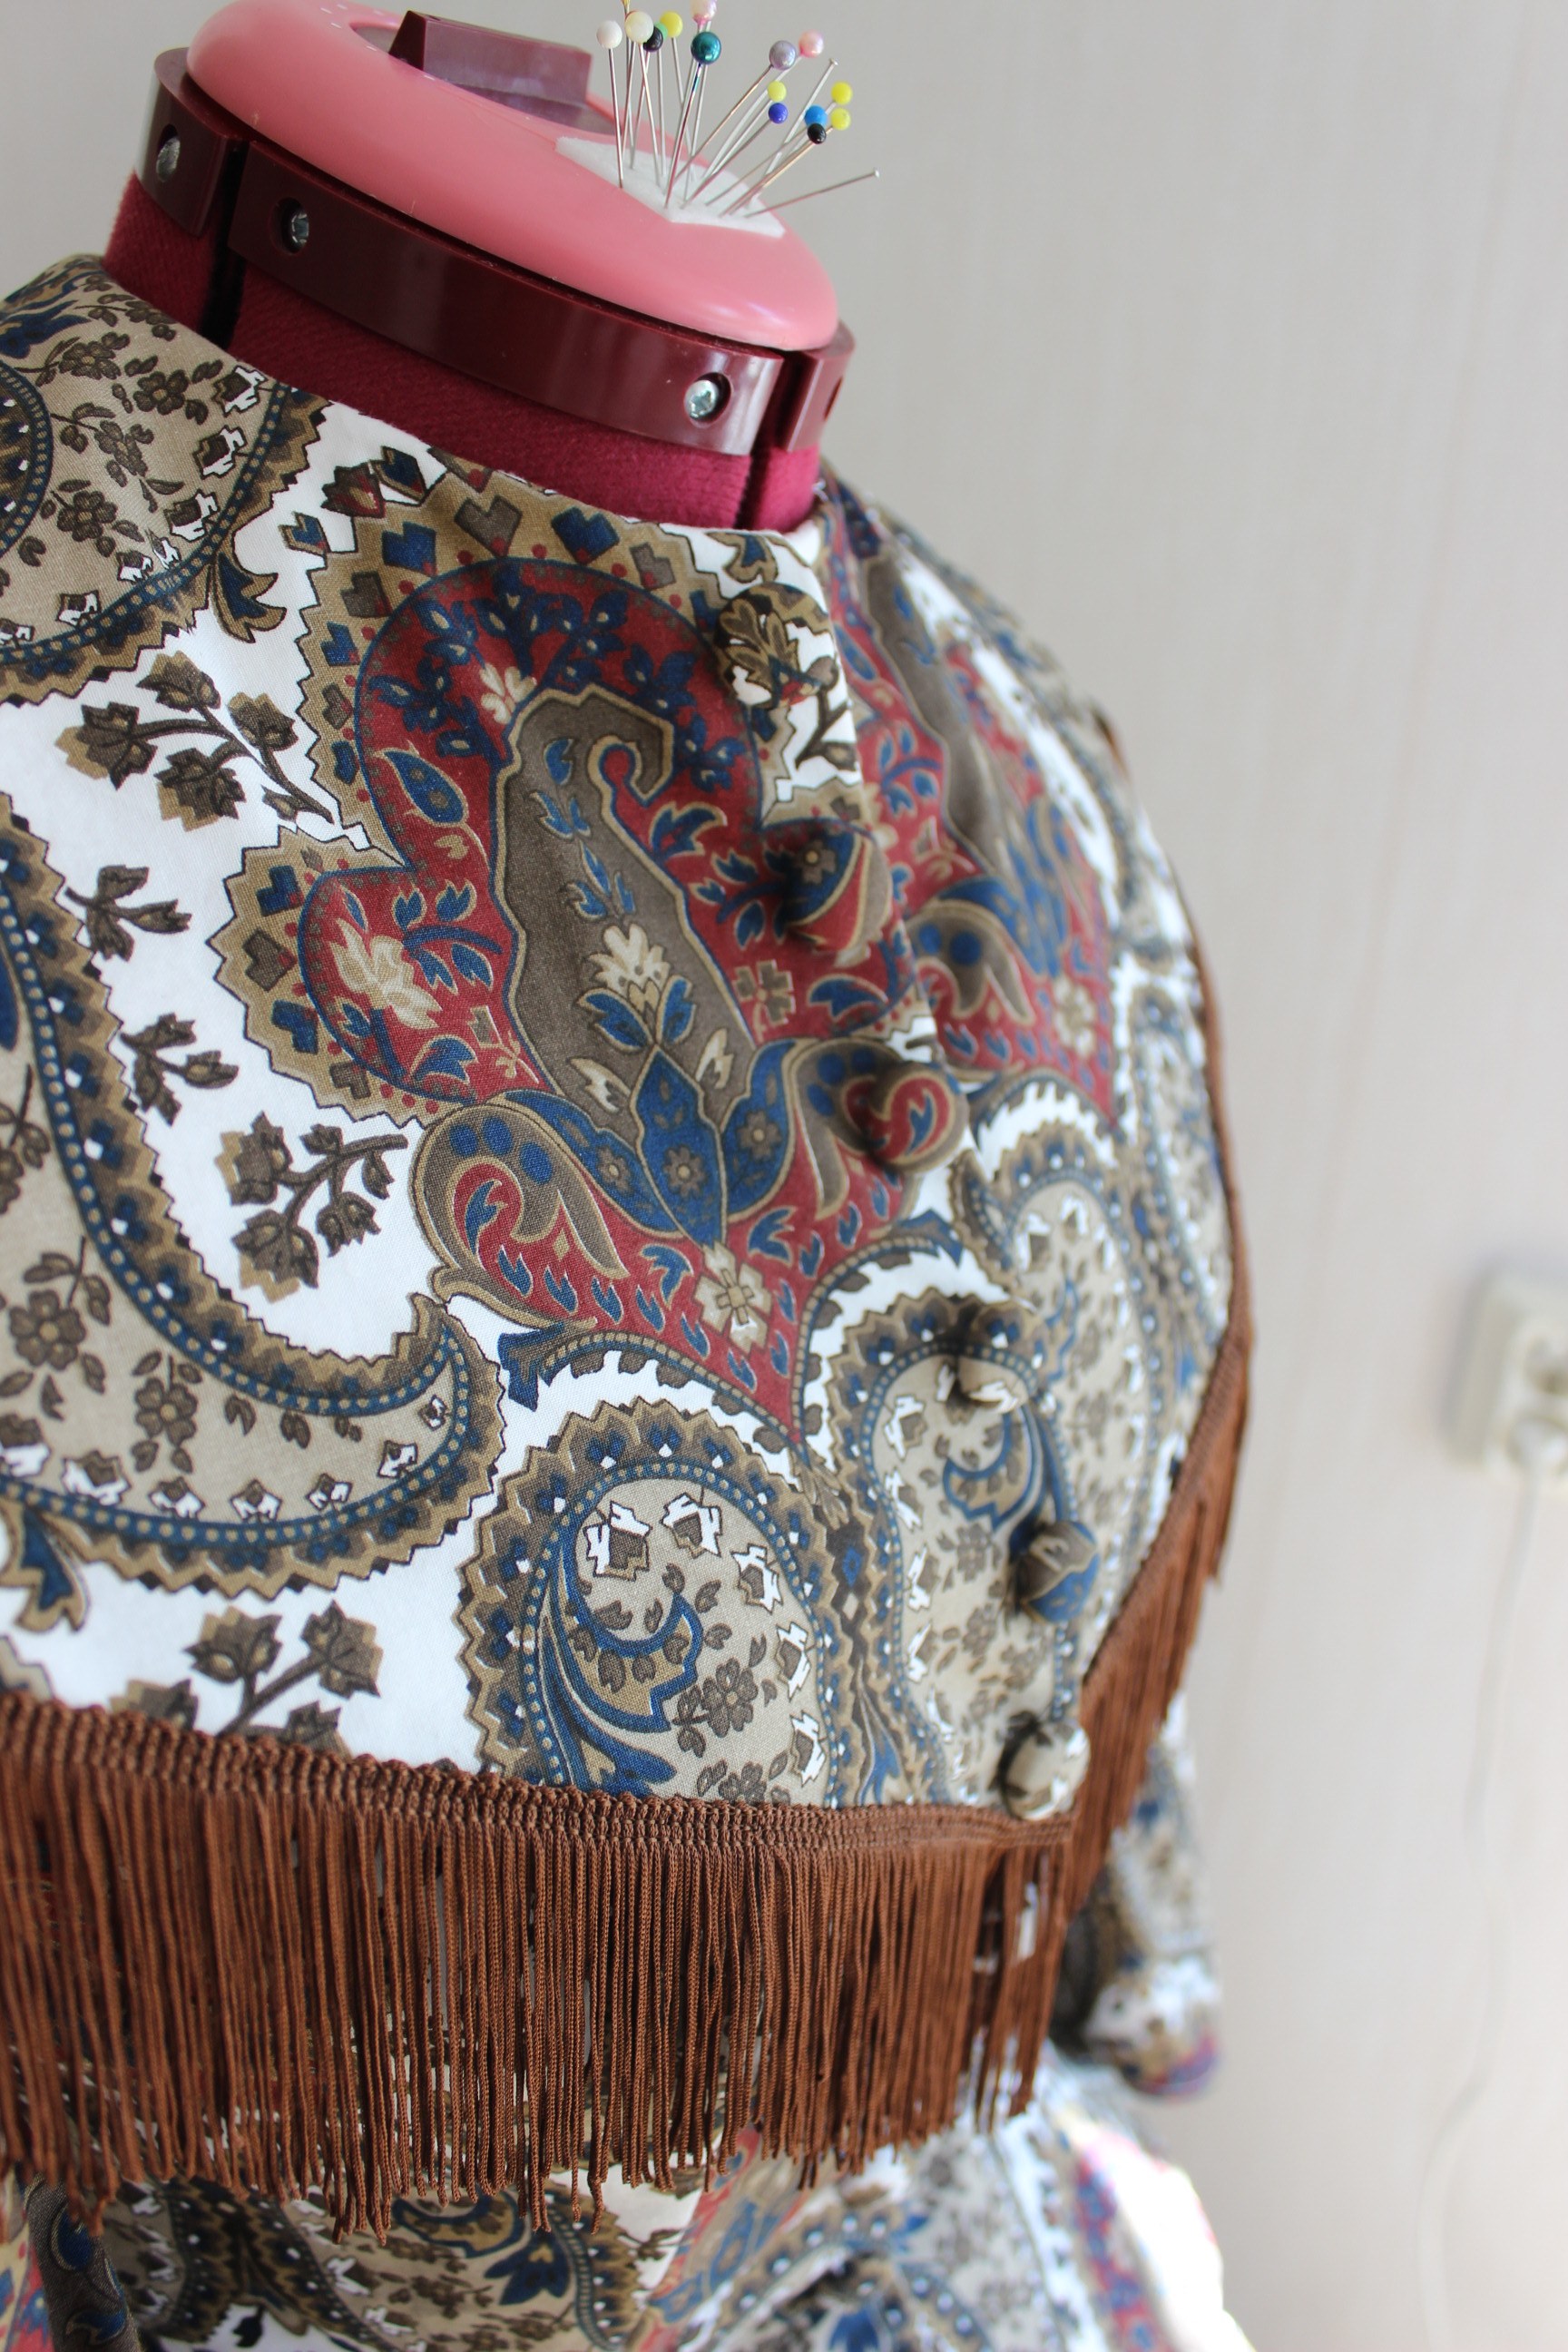
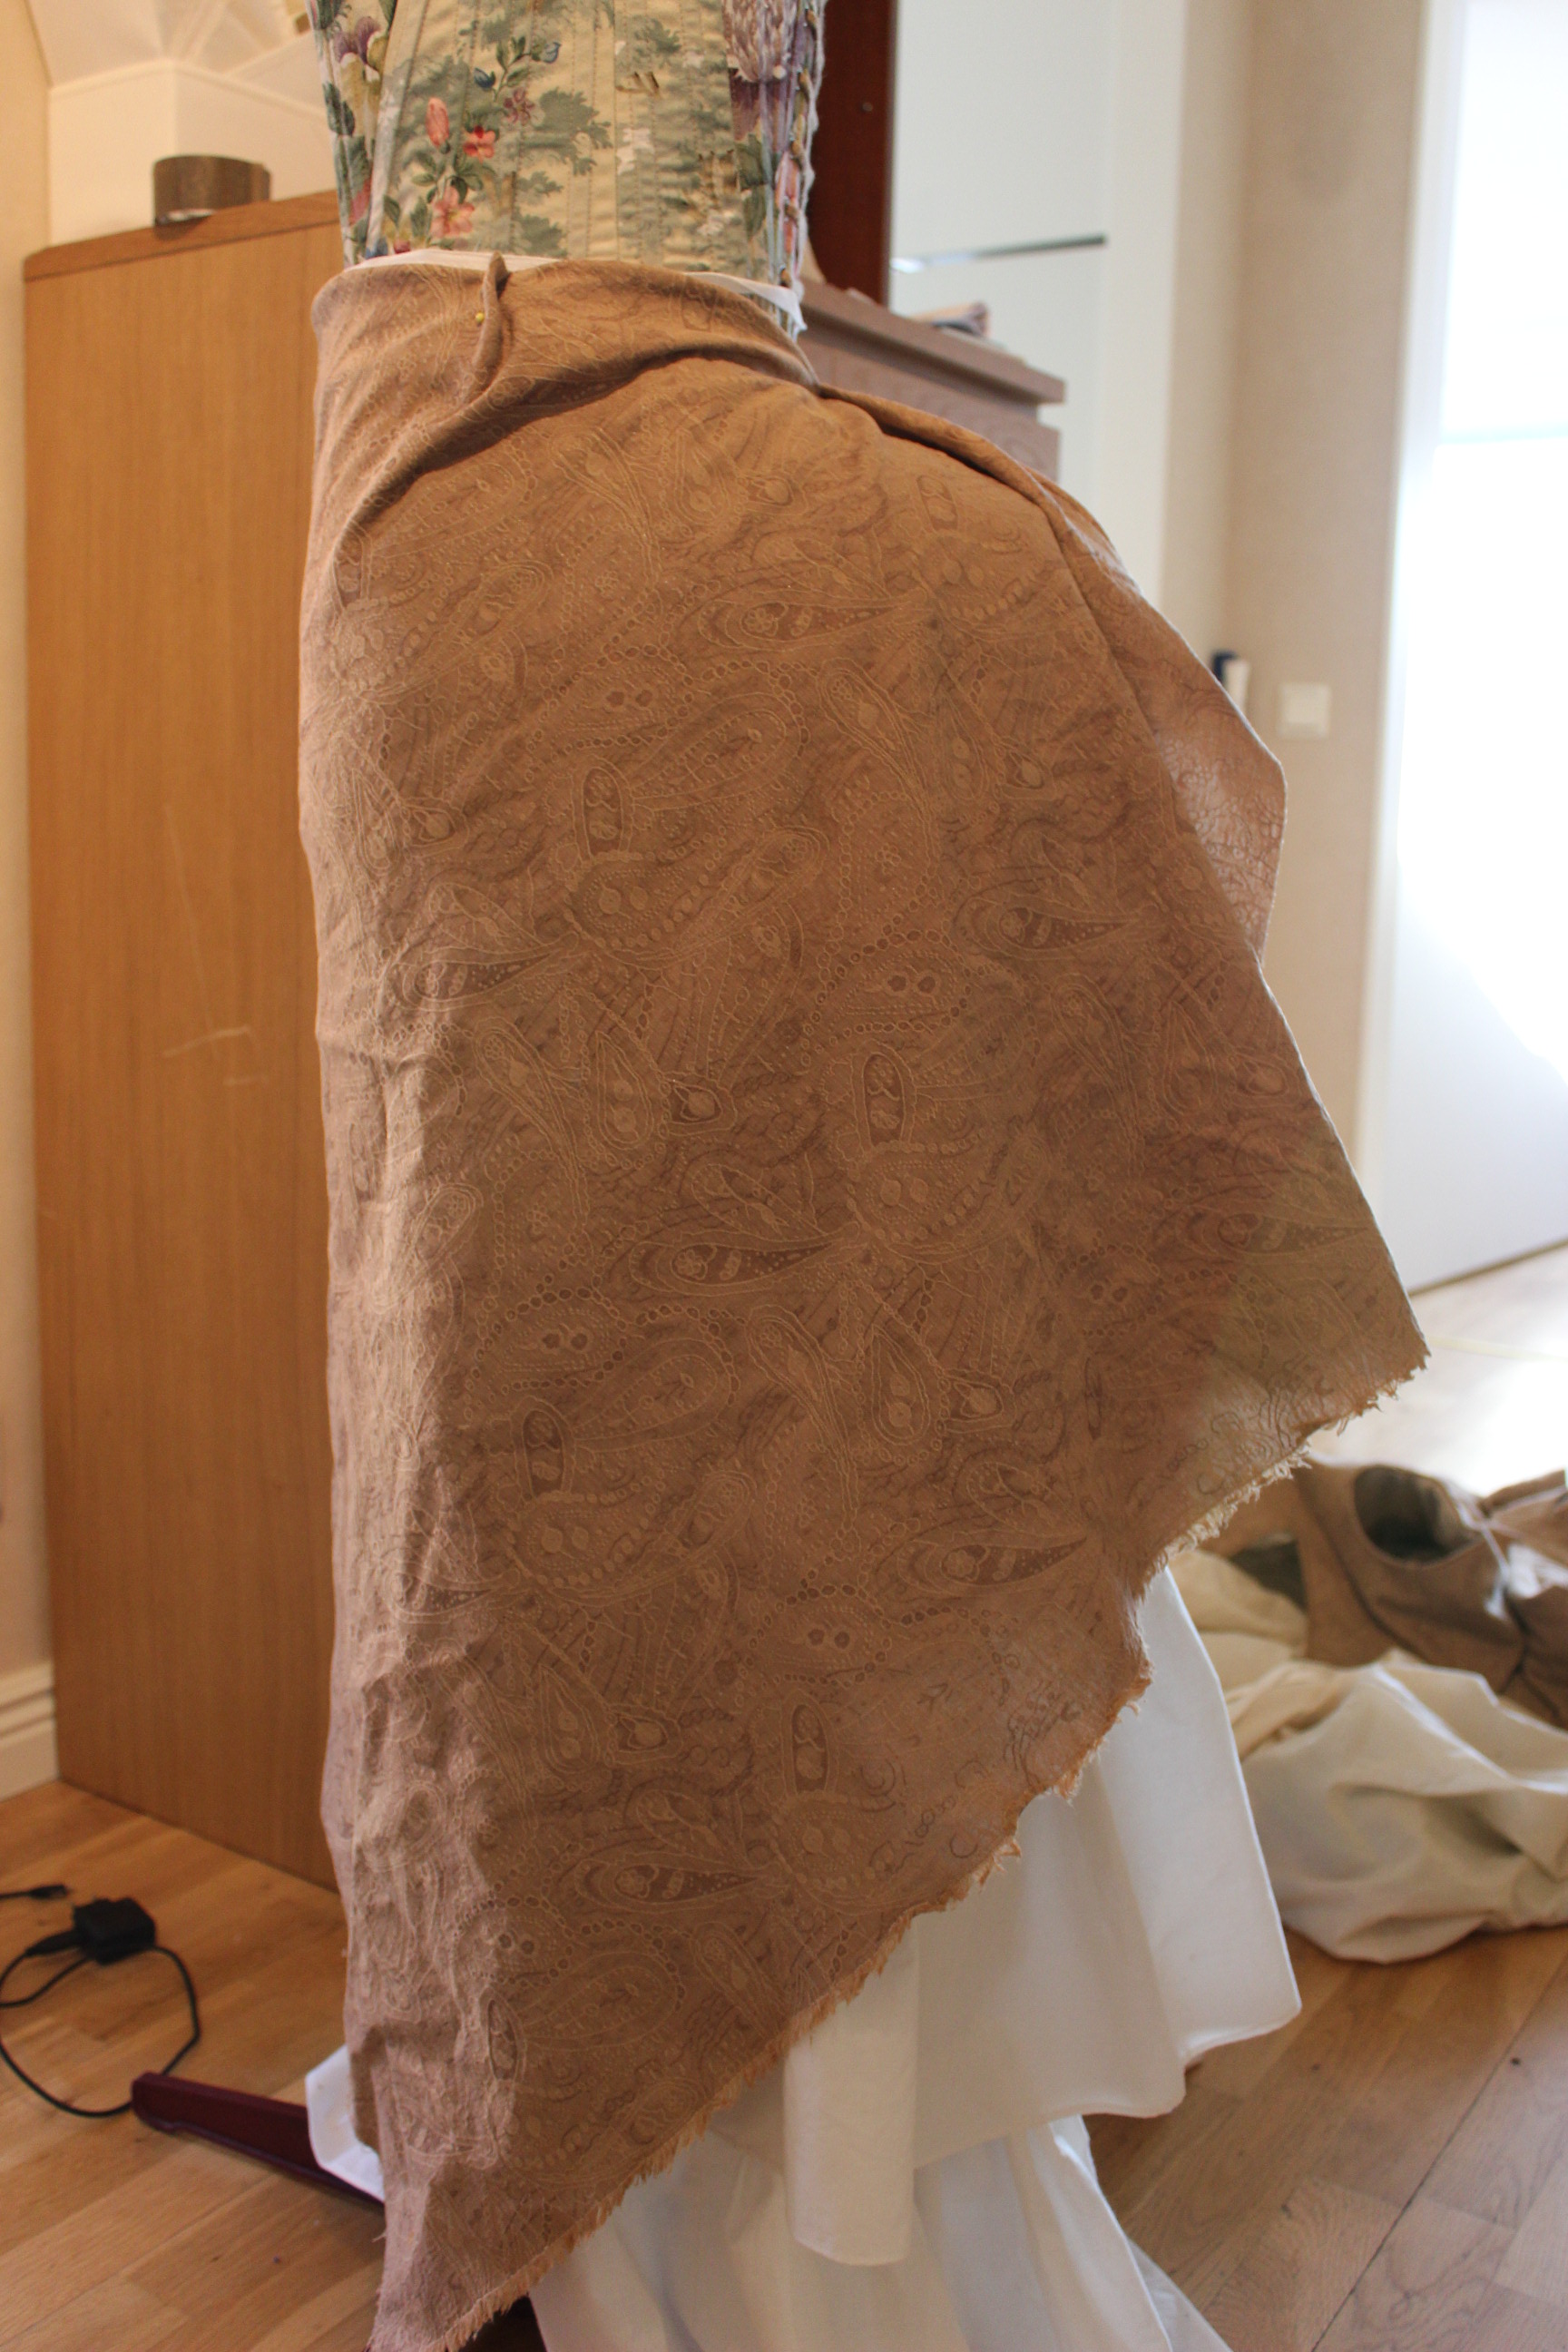
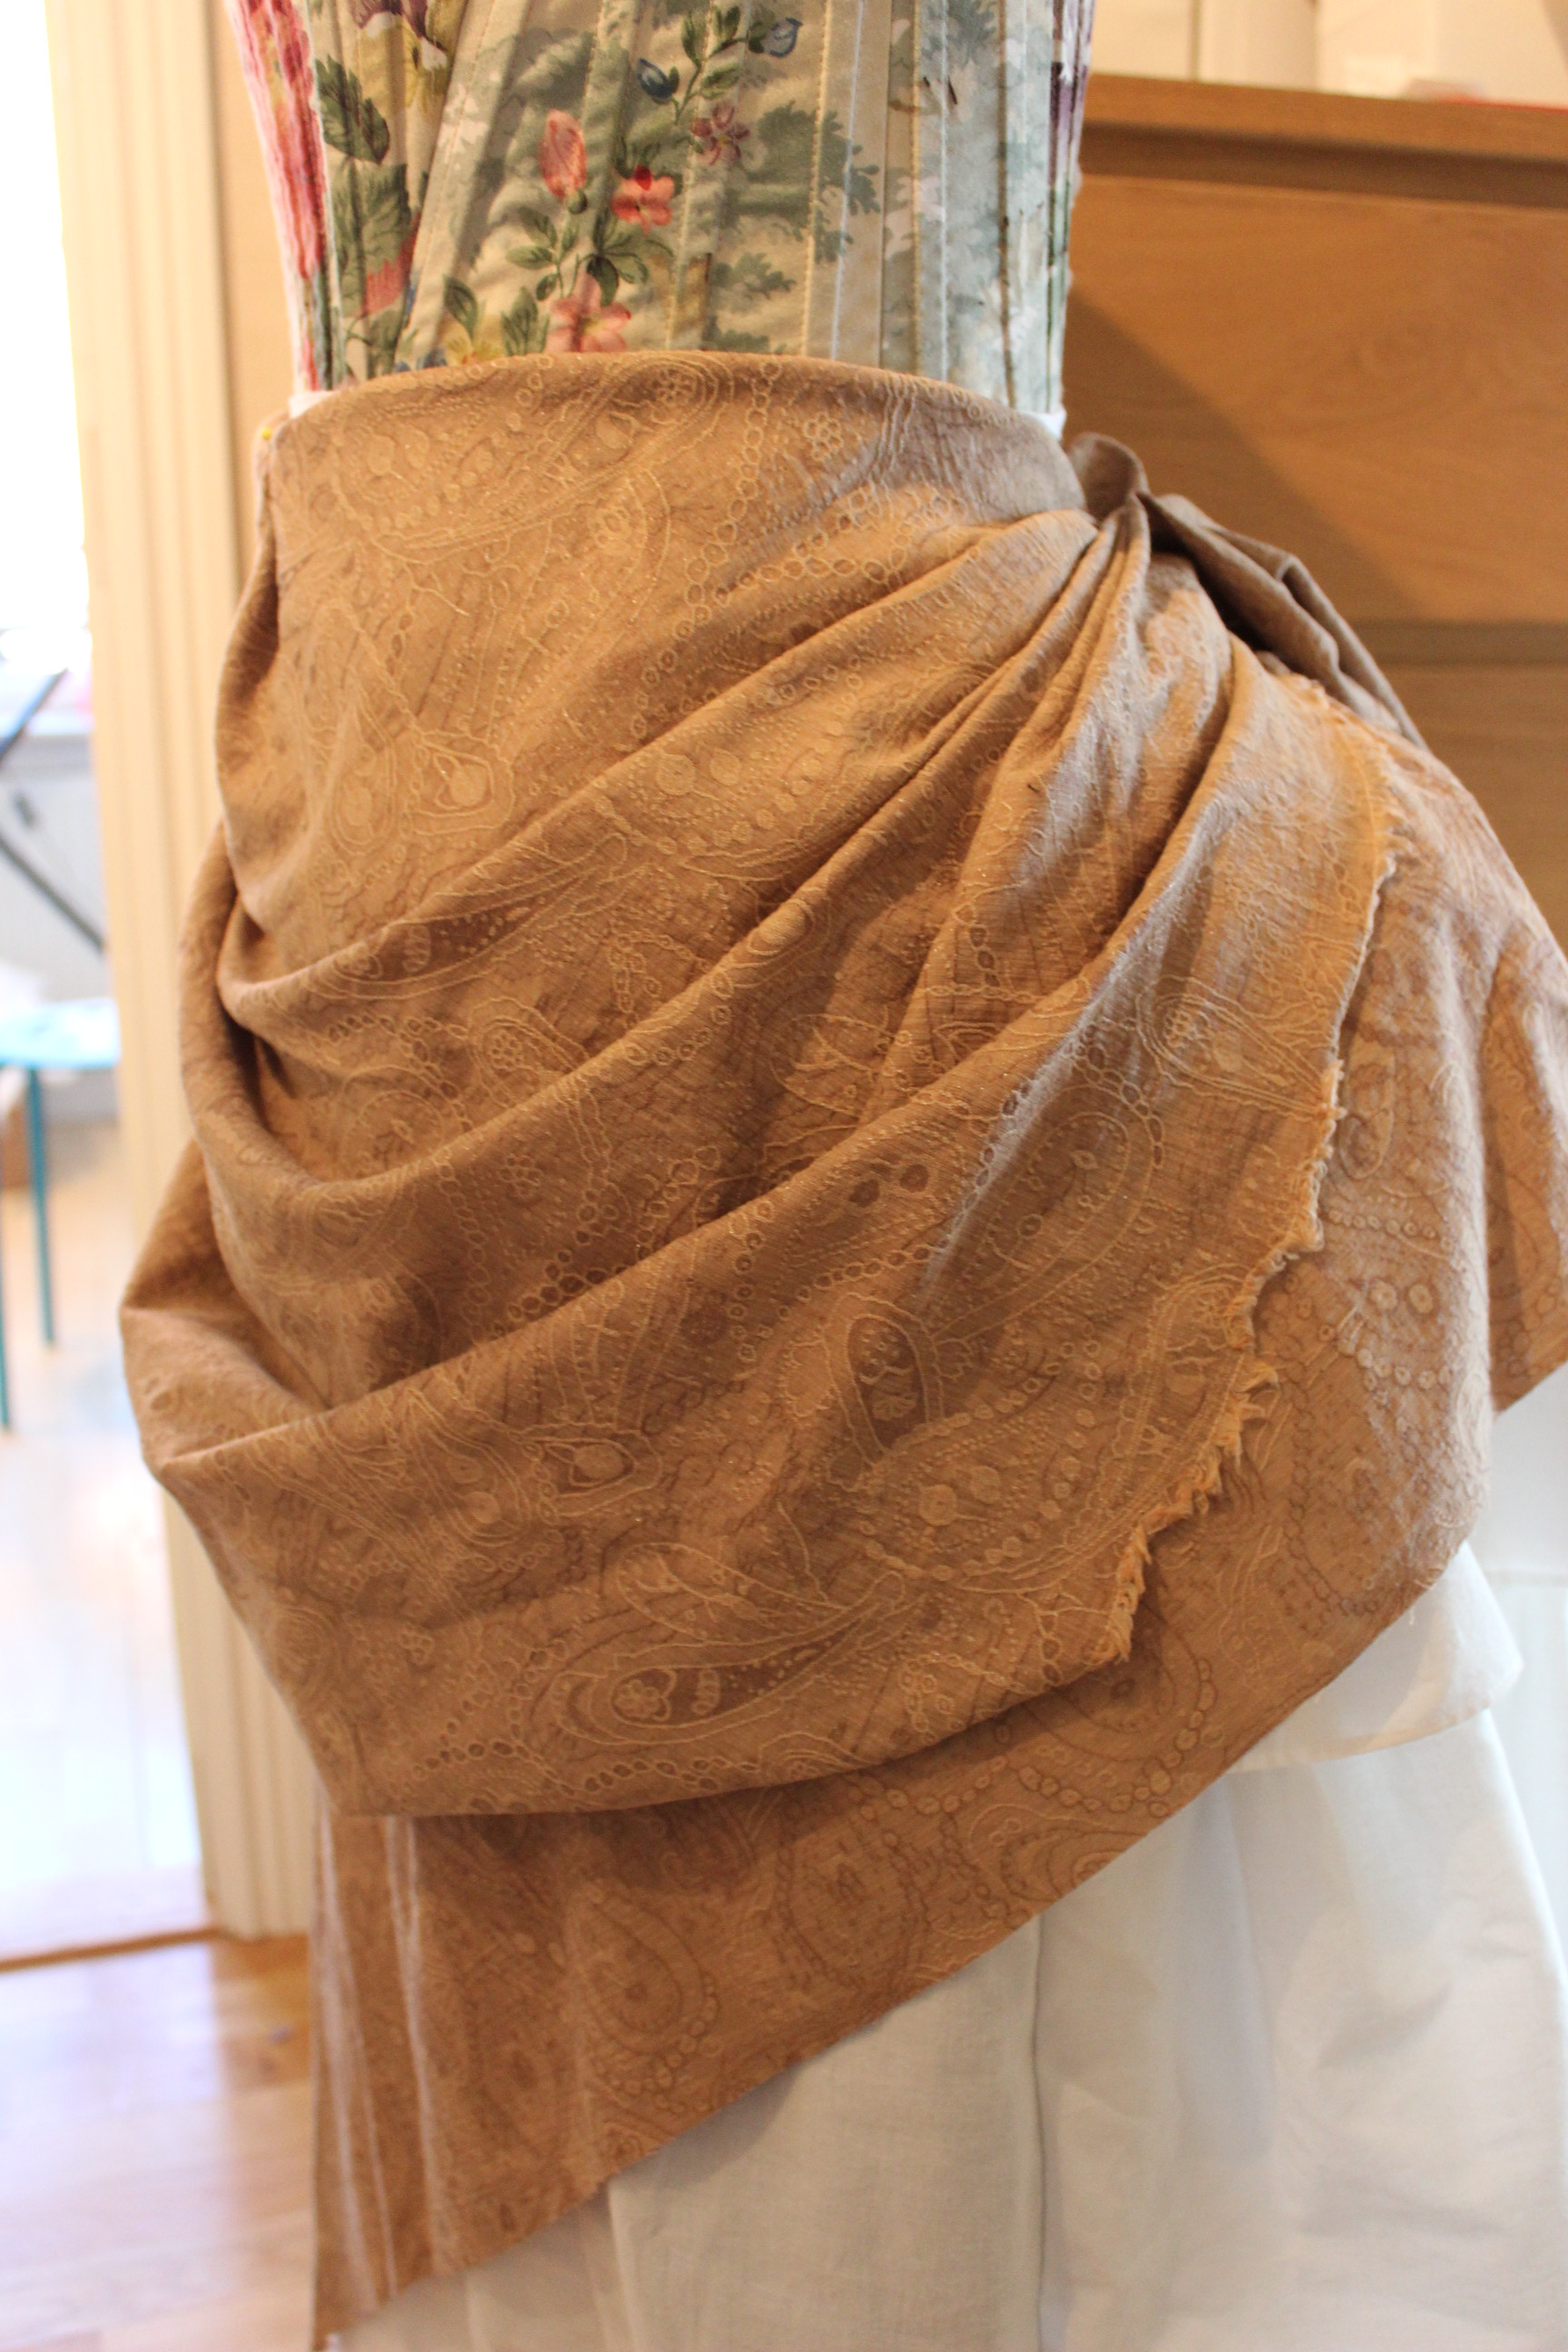
When the bodice was finished I brought out the fabric I saved for the apron, and got to work draping it on the dressform.


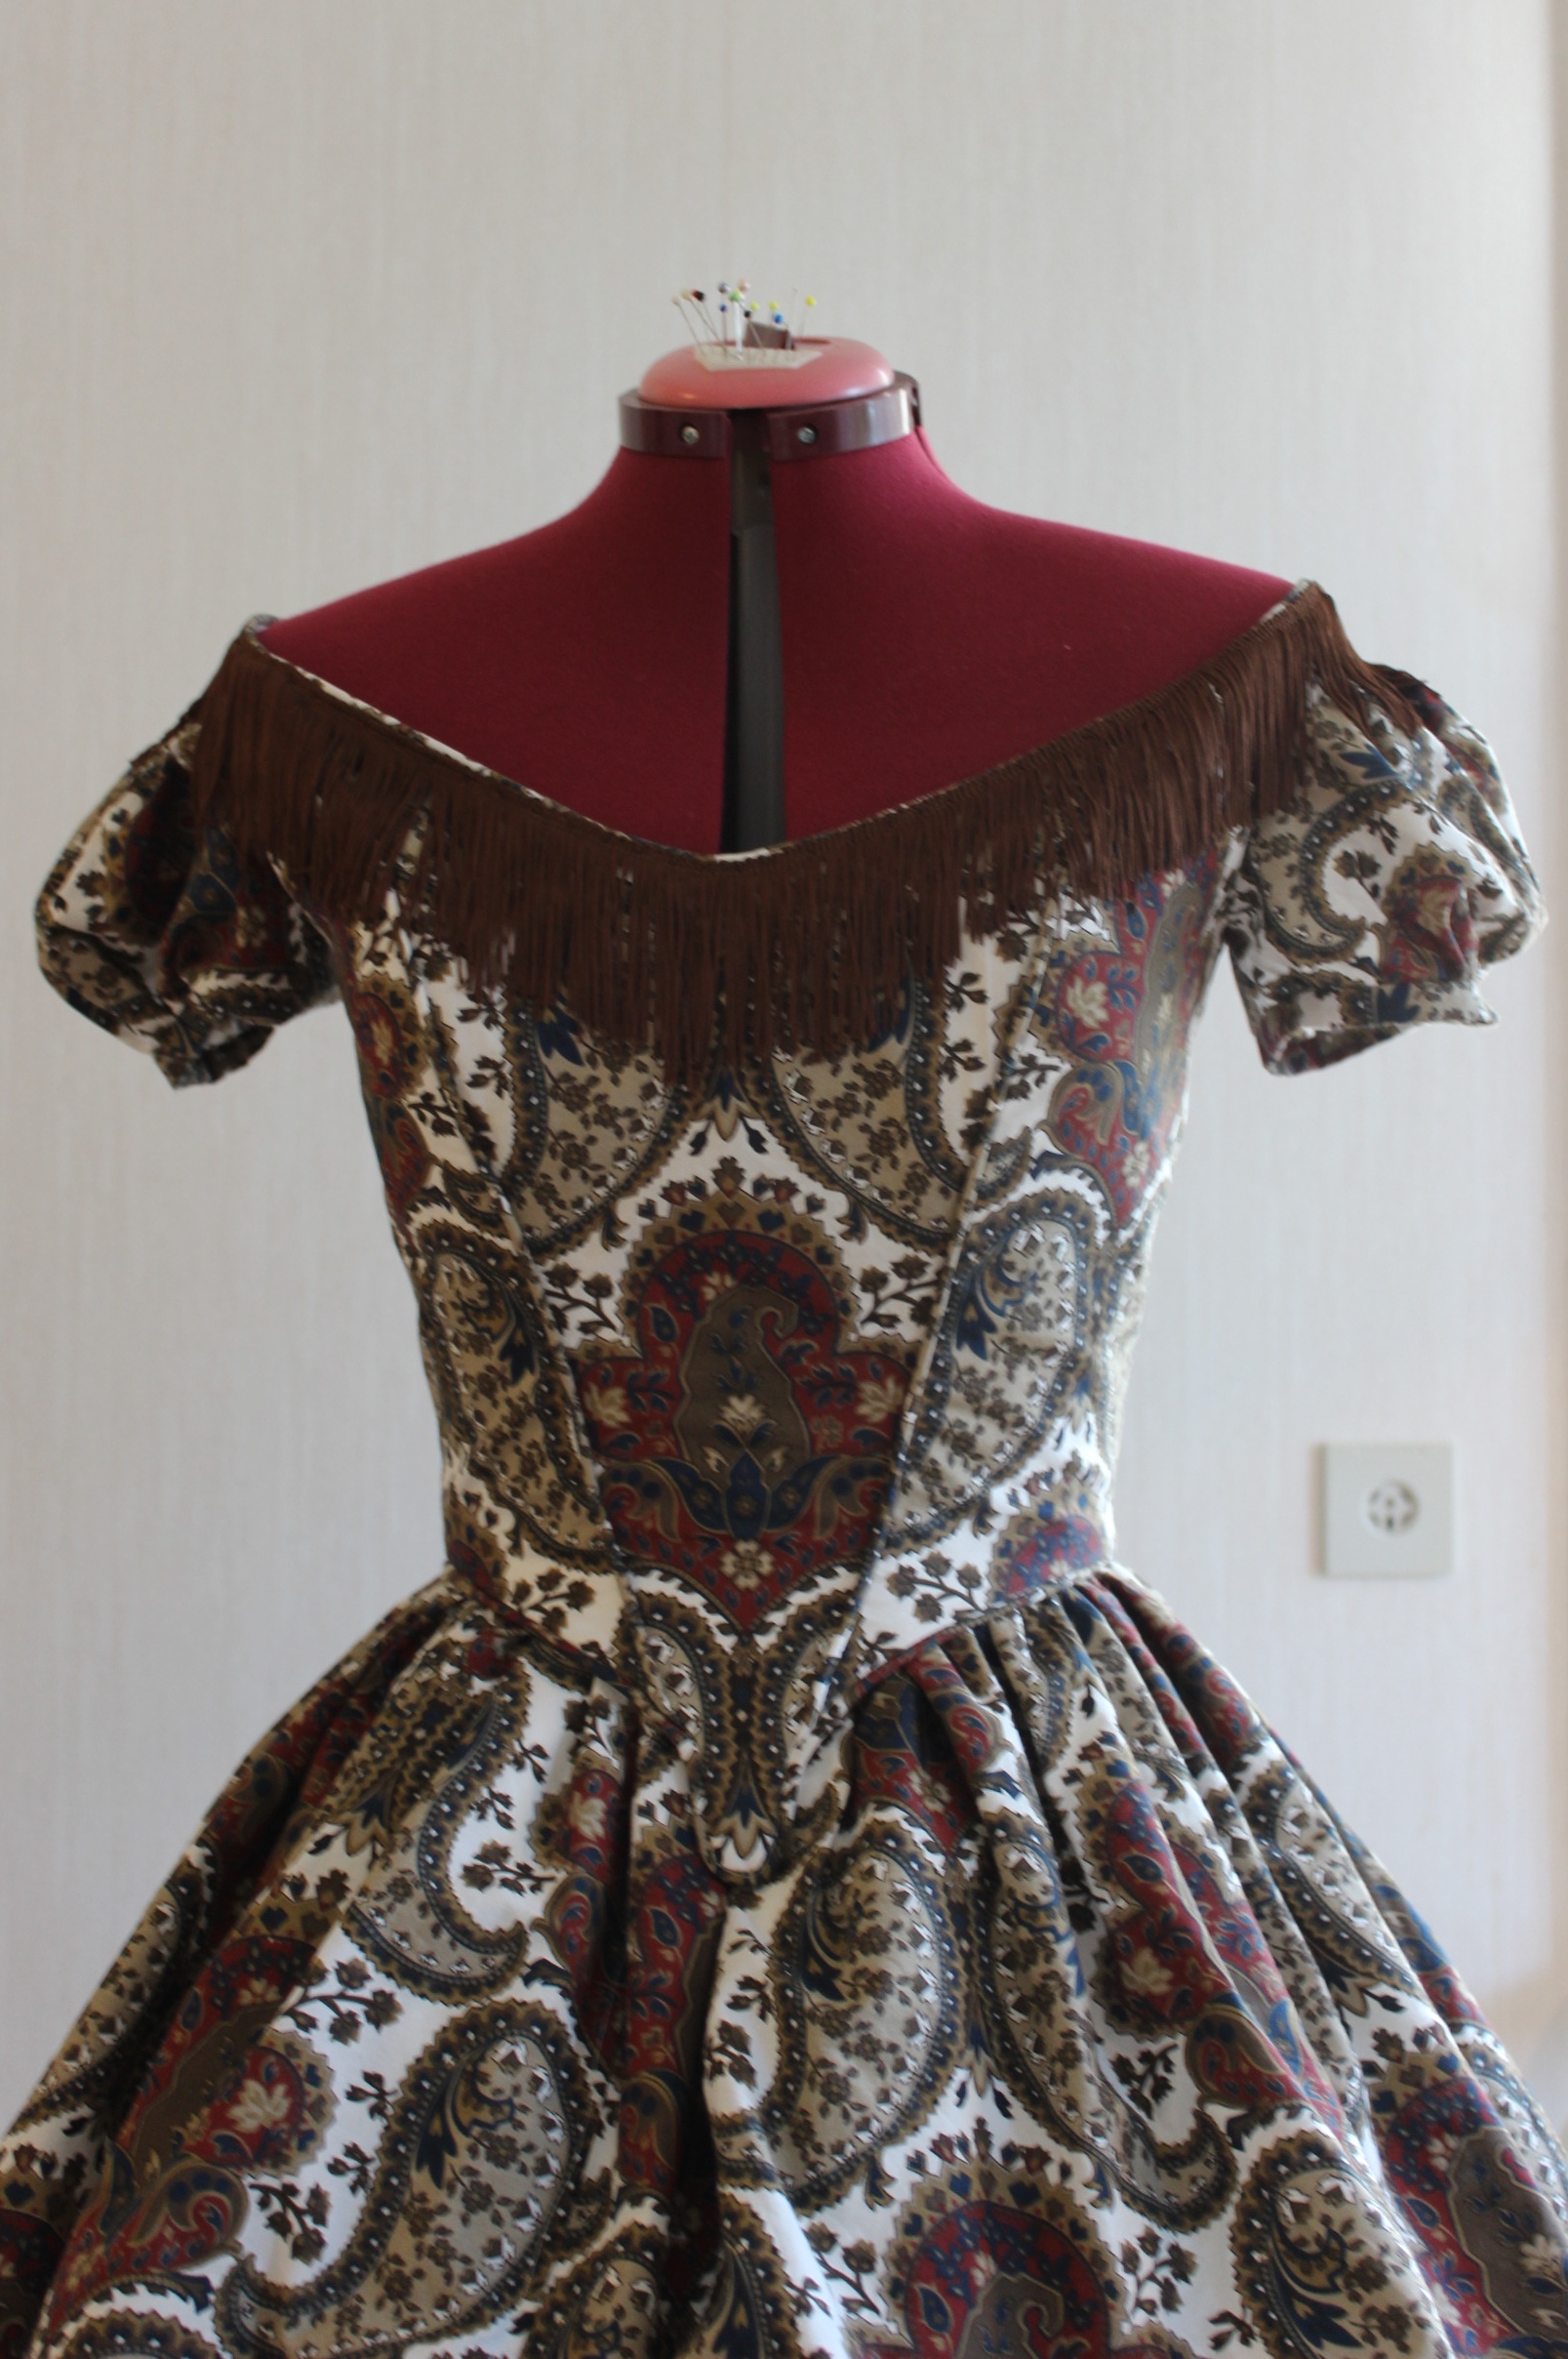
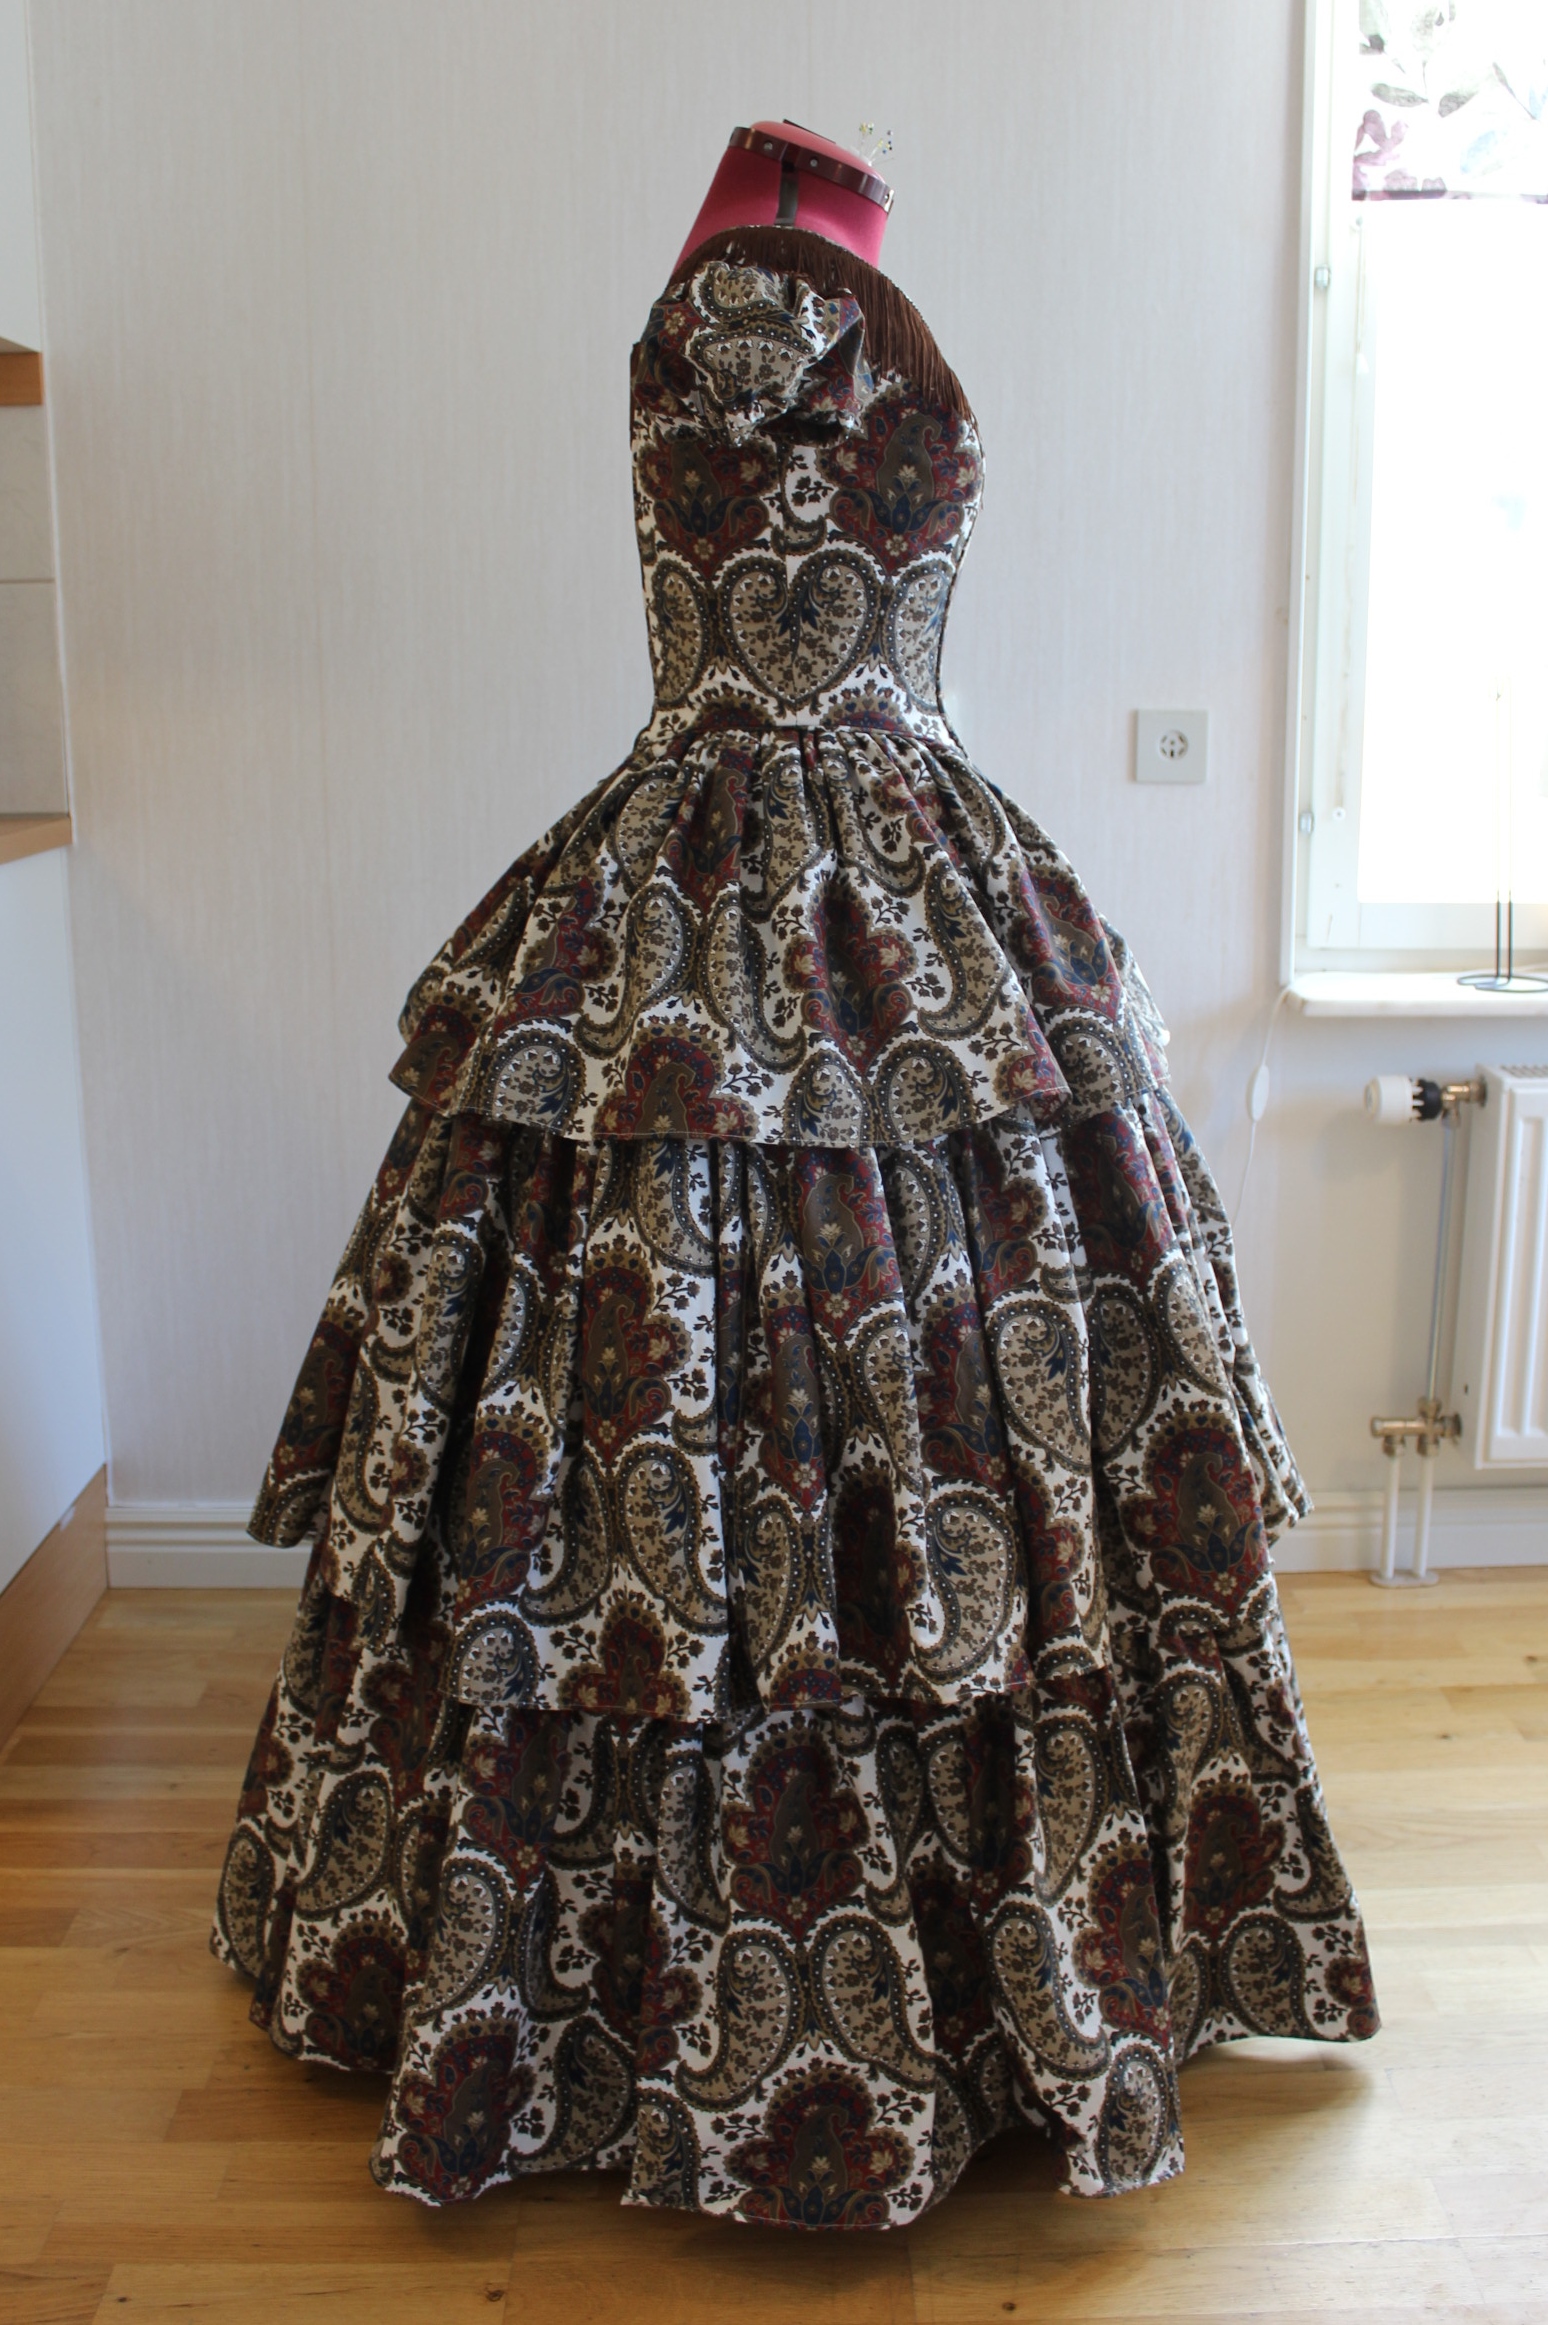
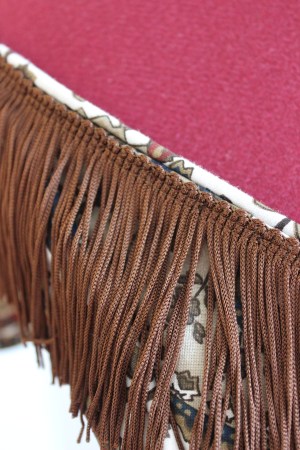
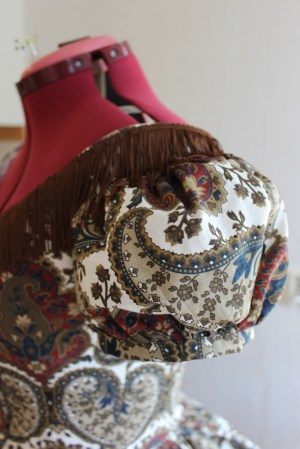
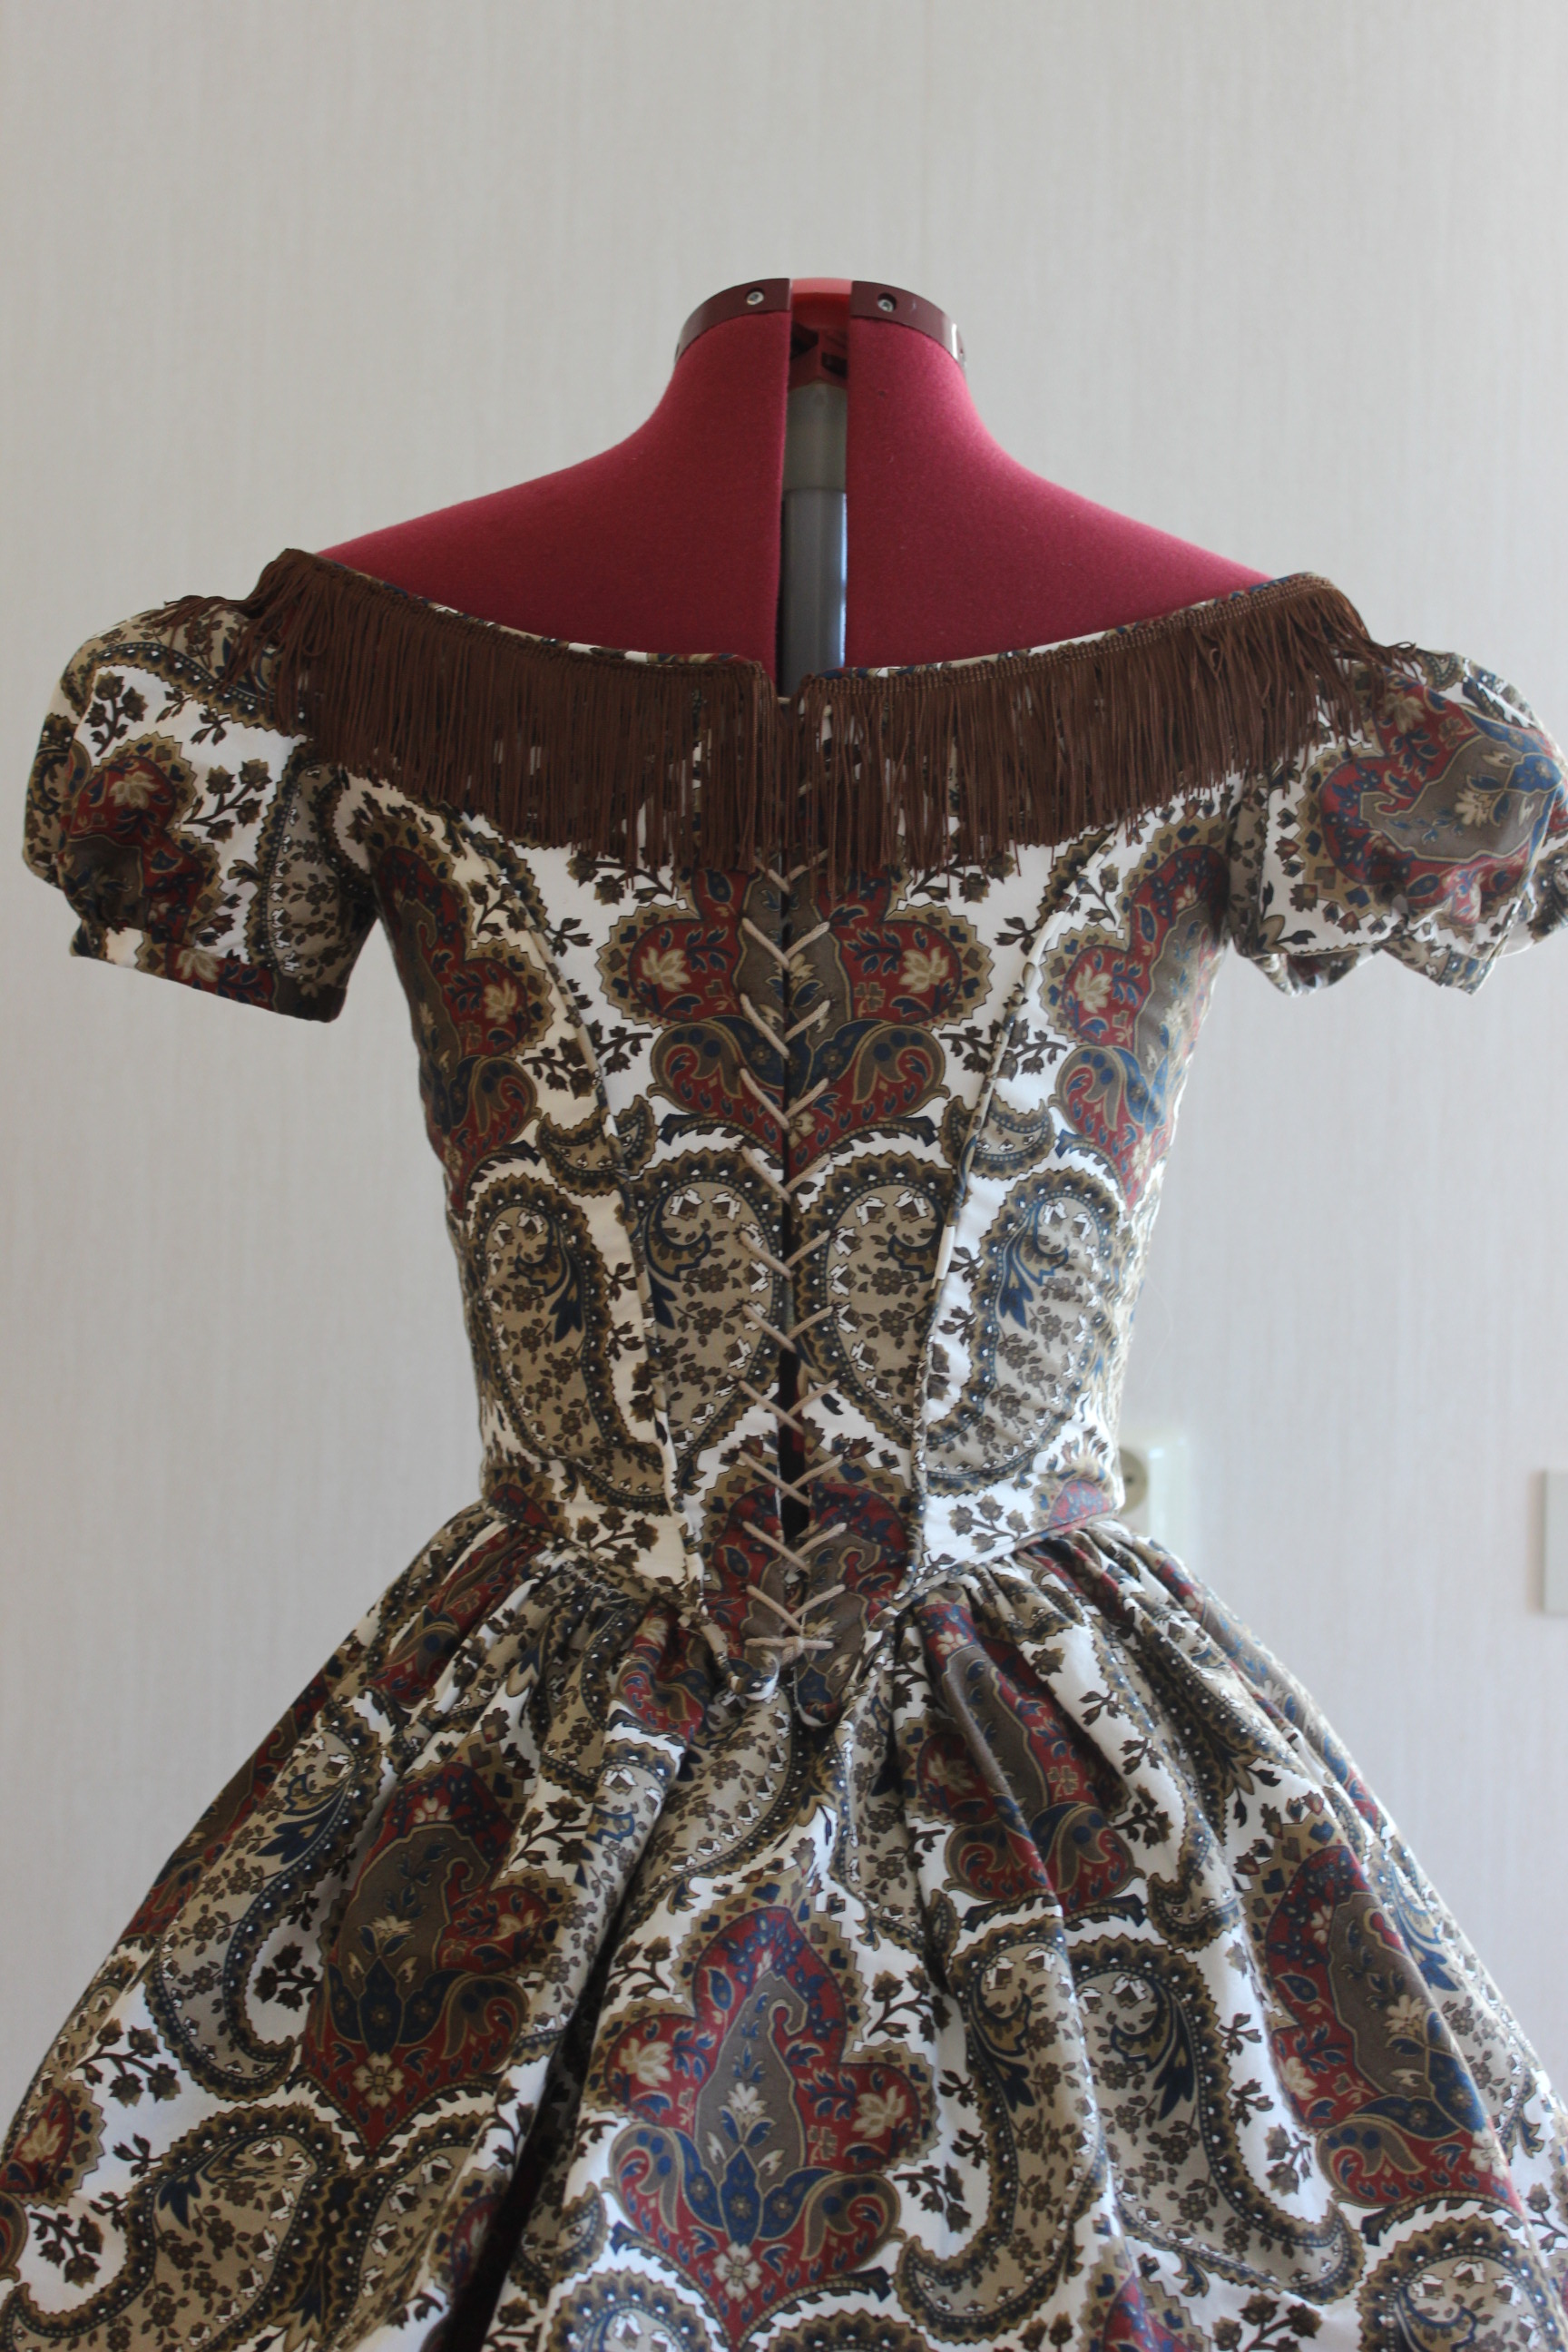
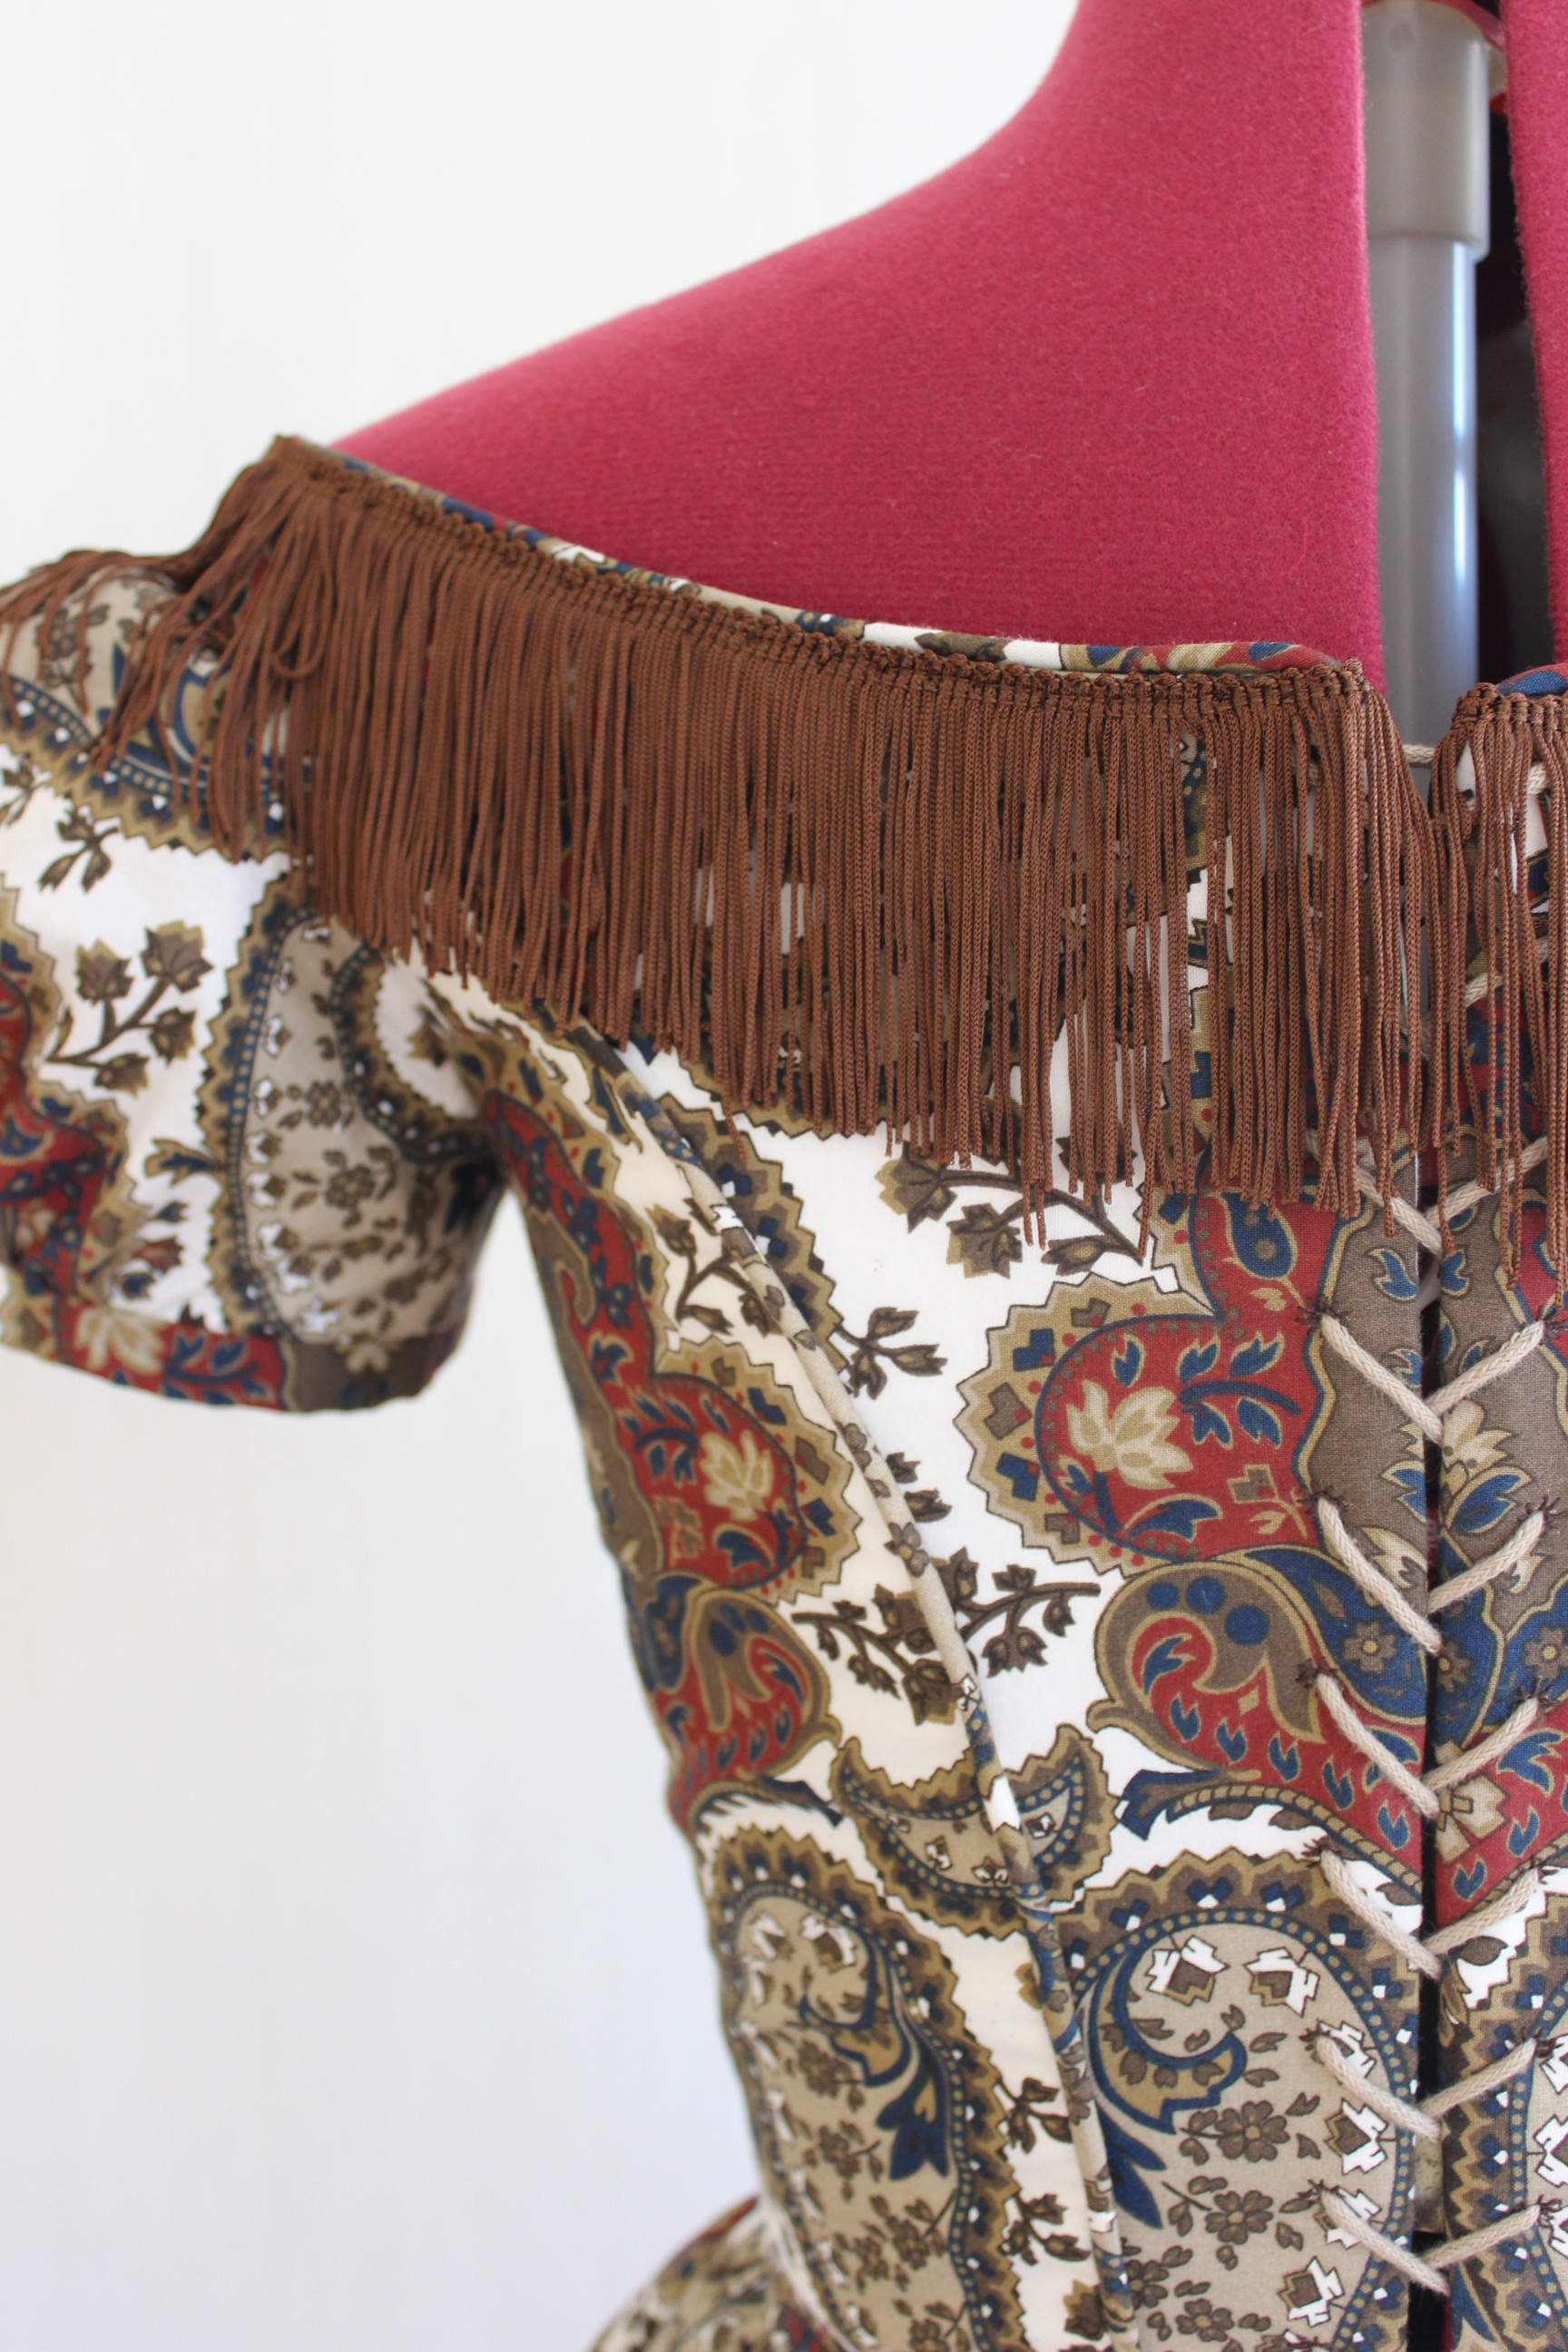
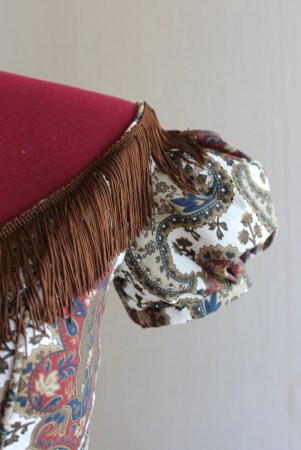
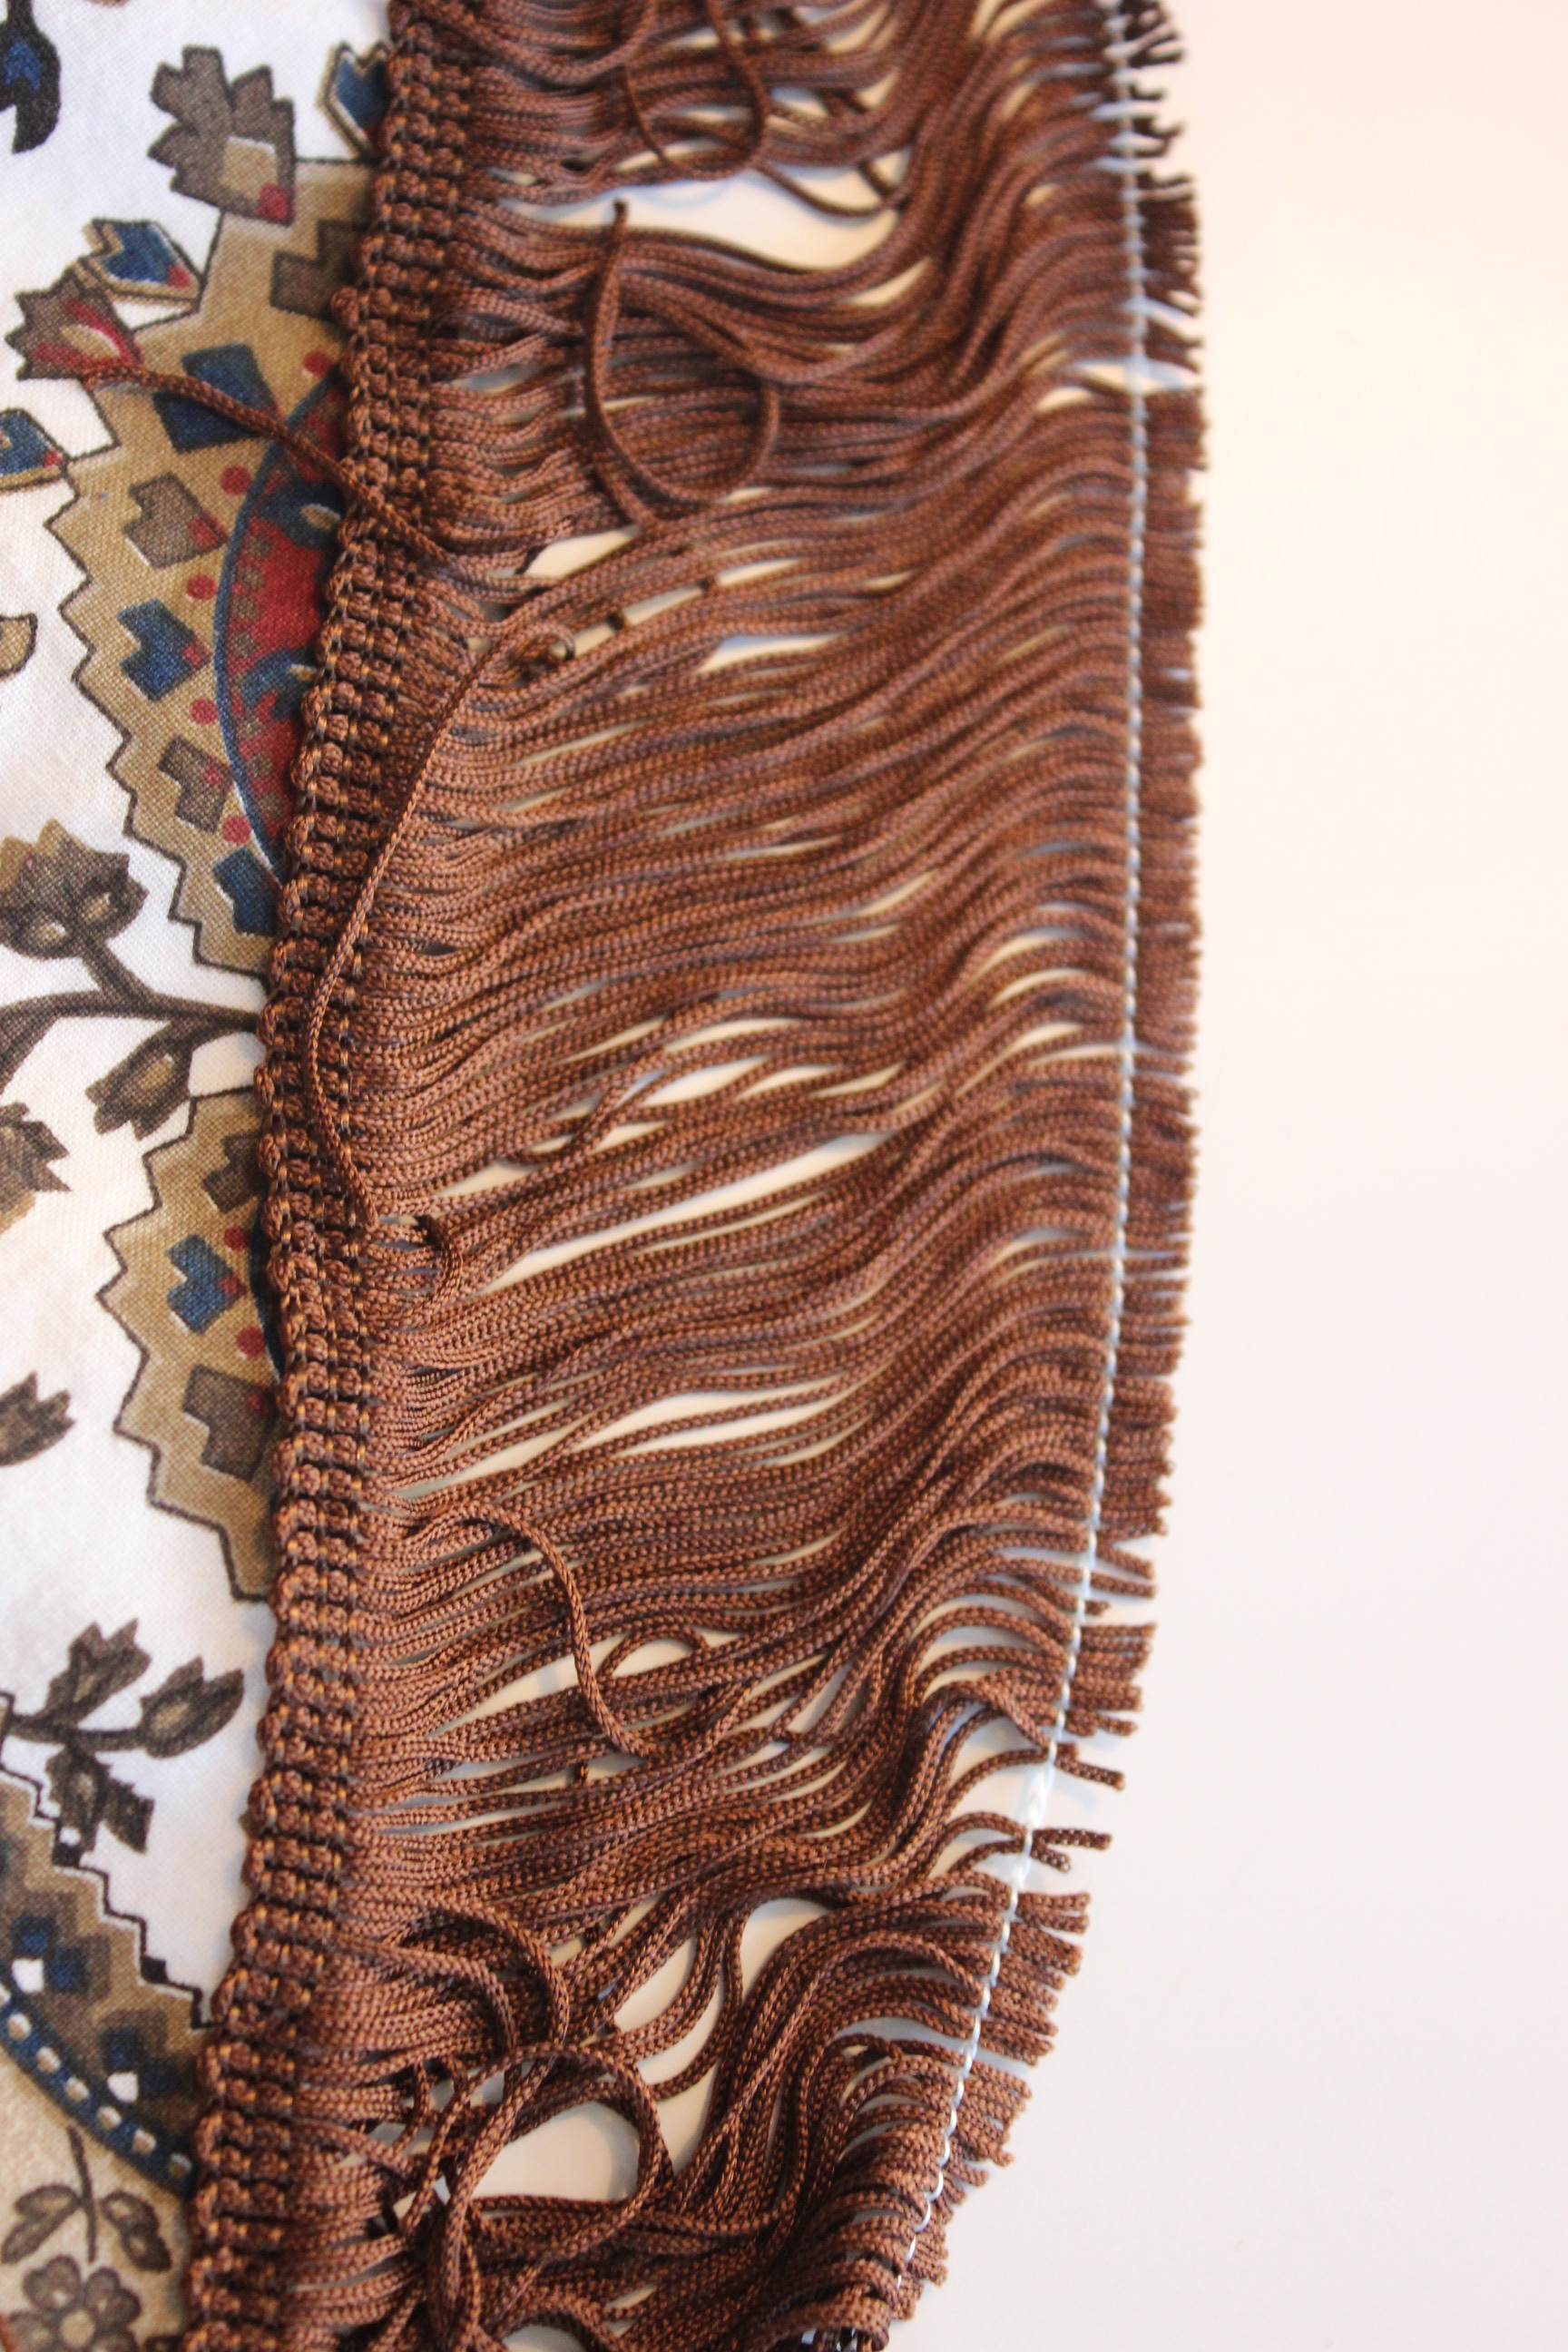
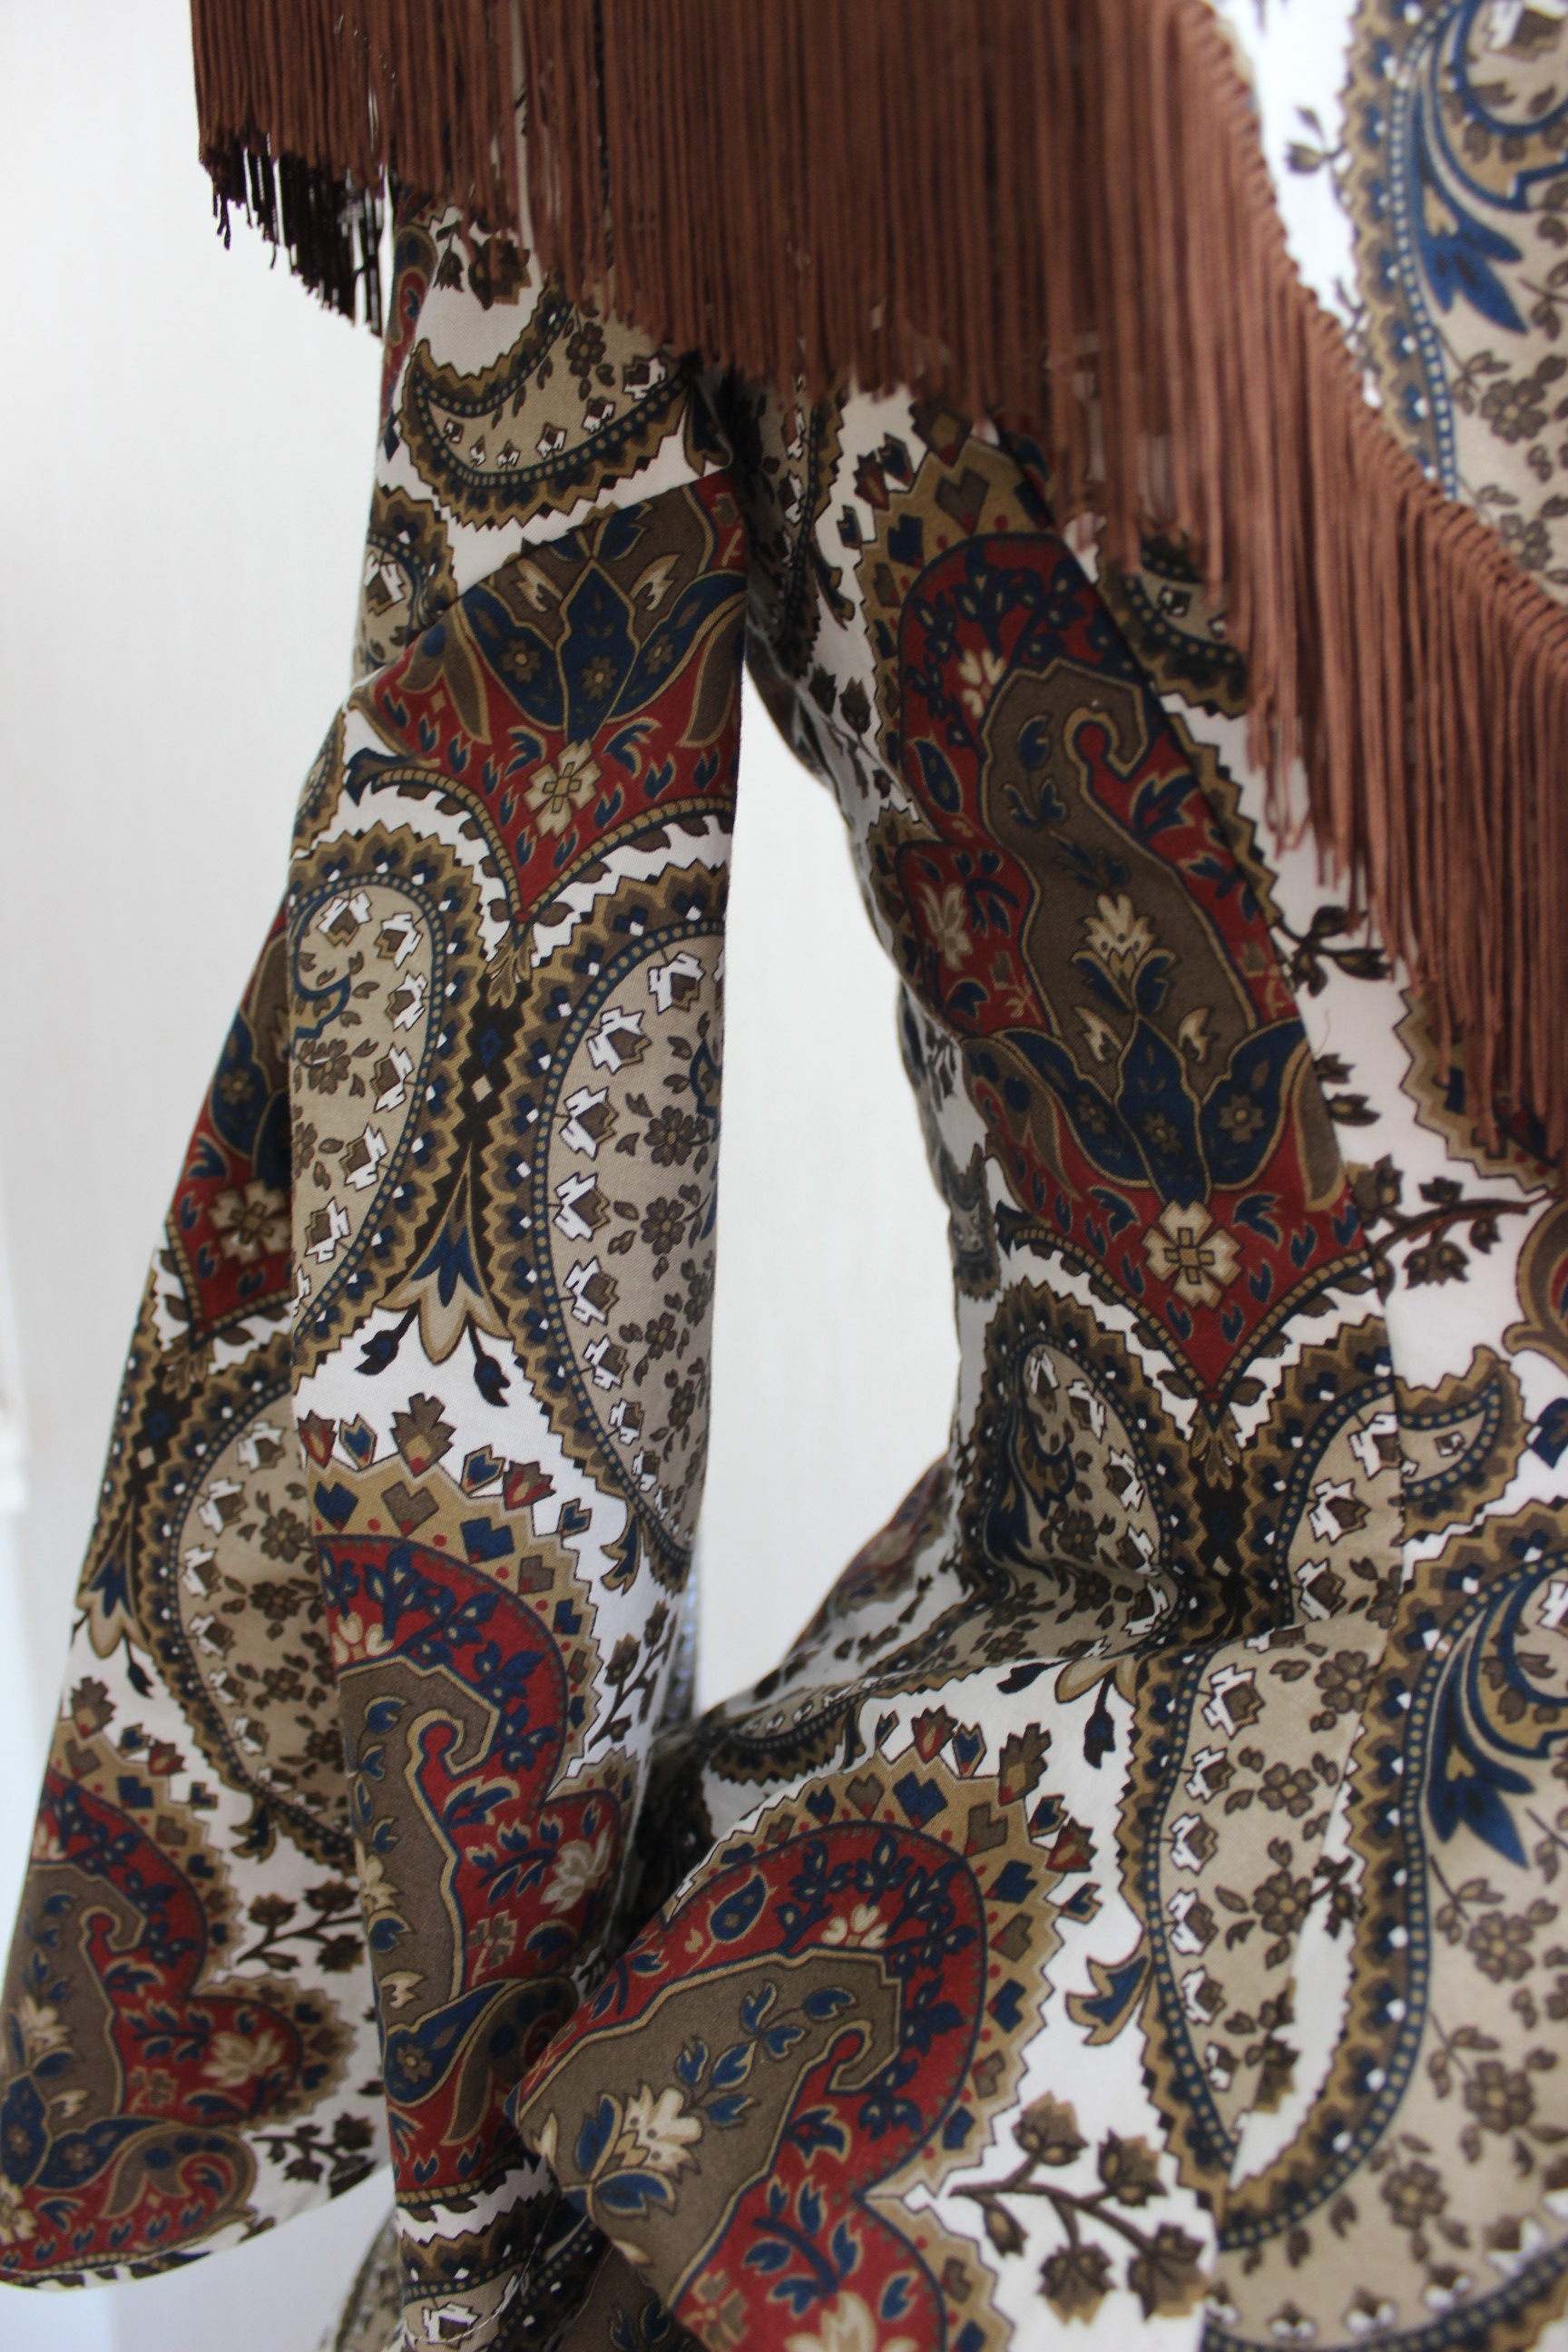
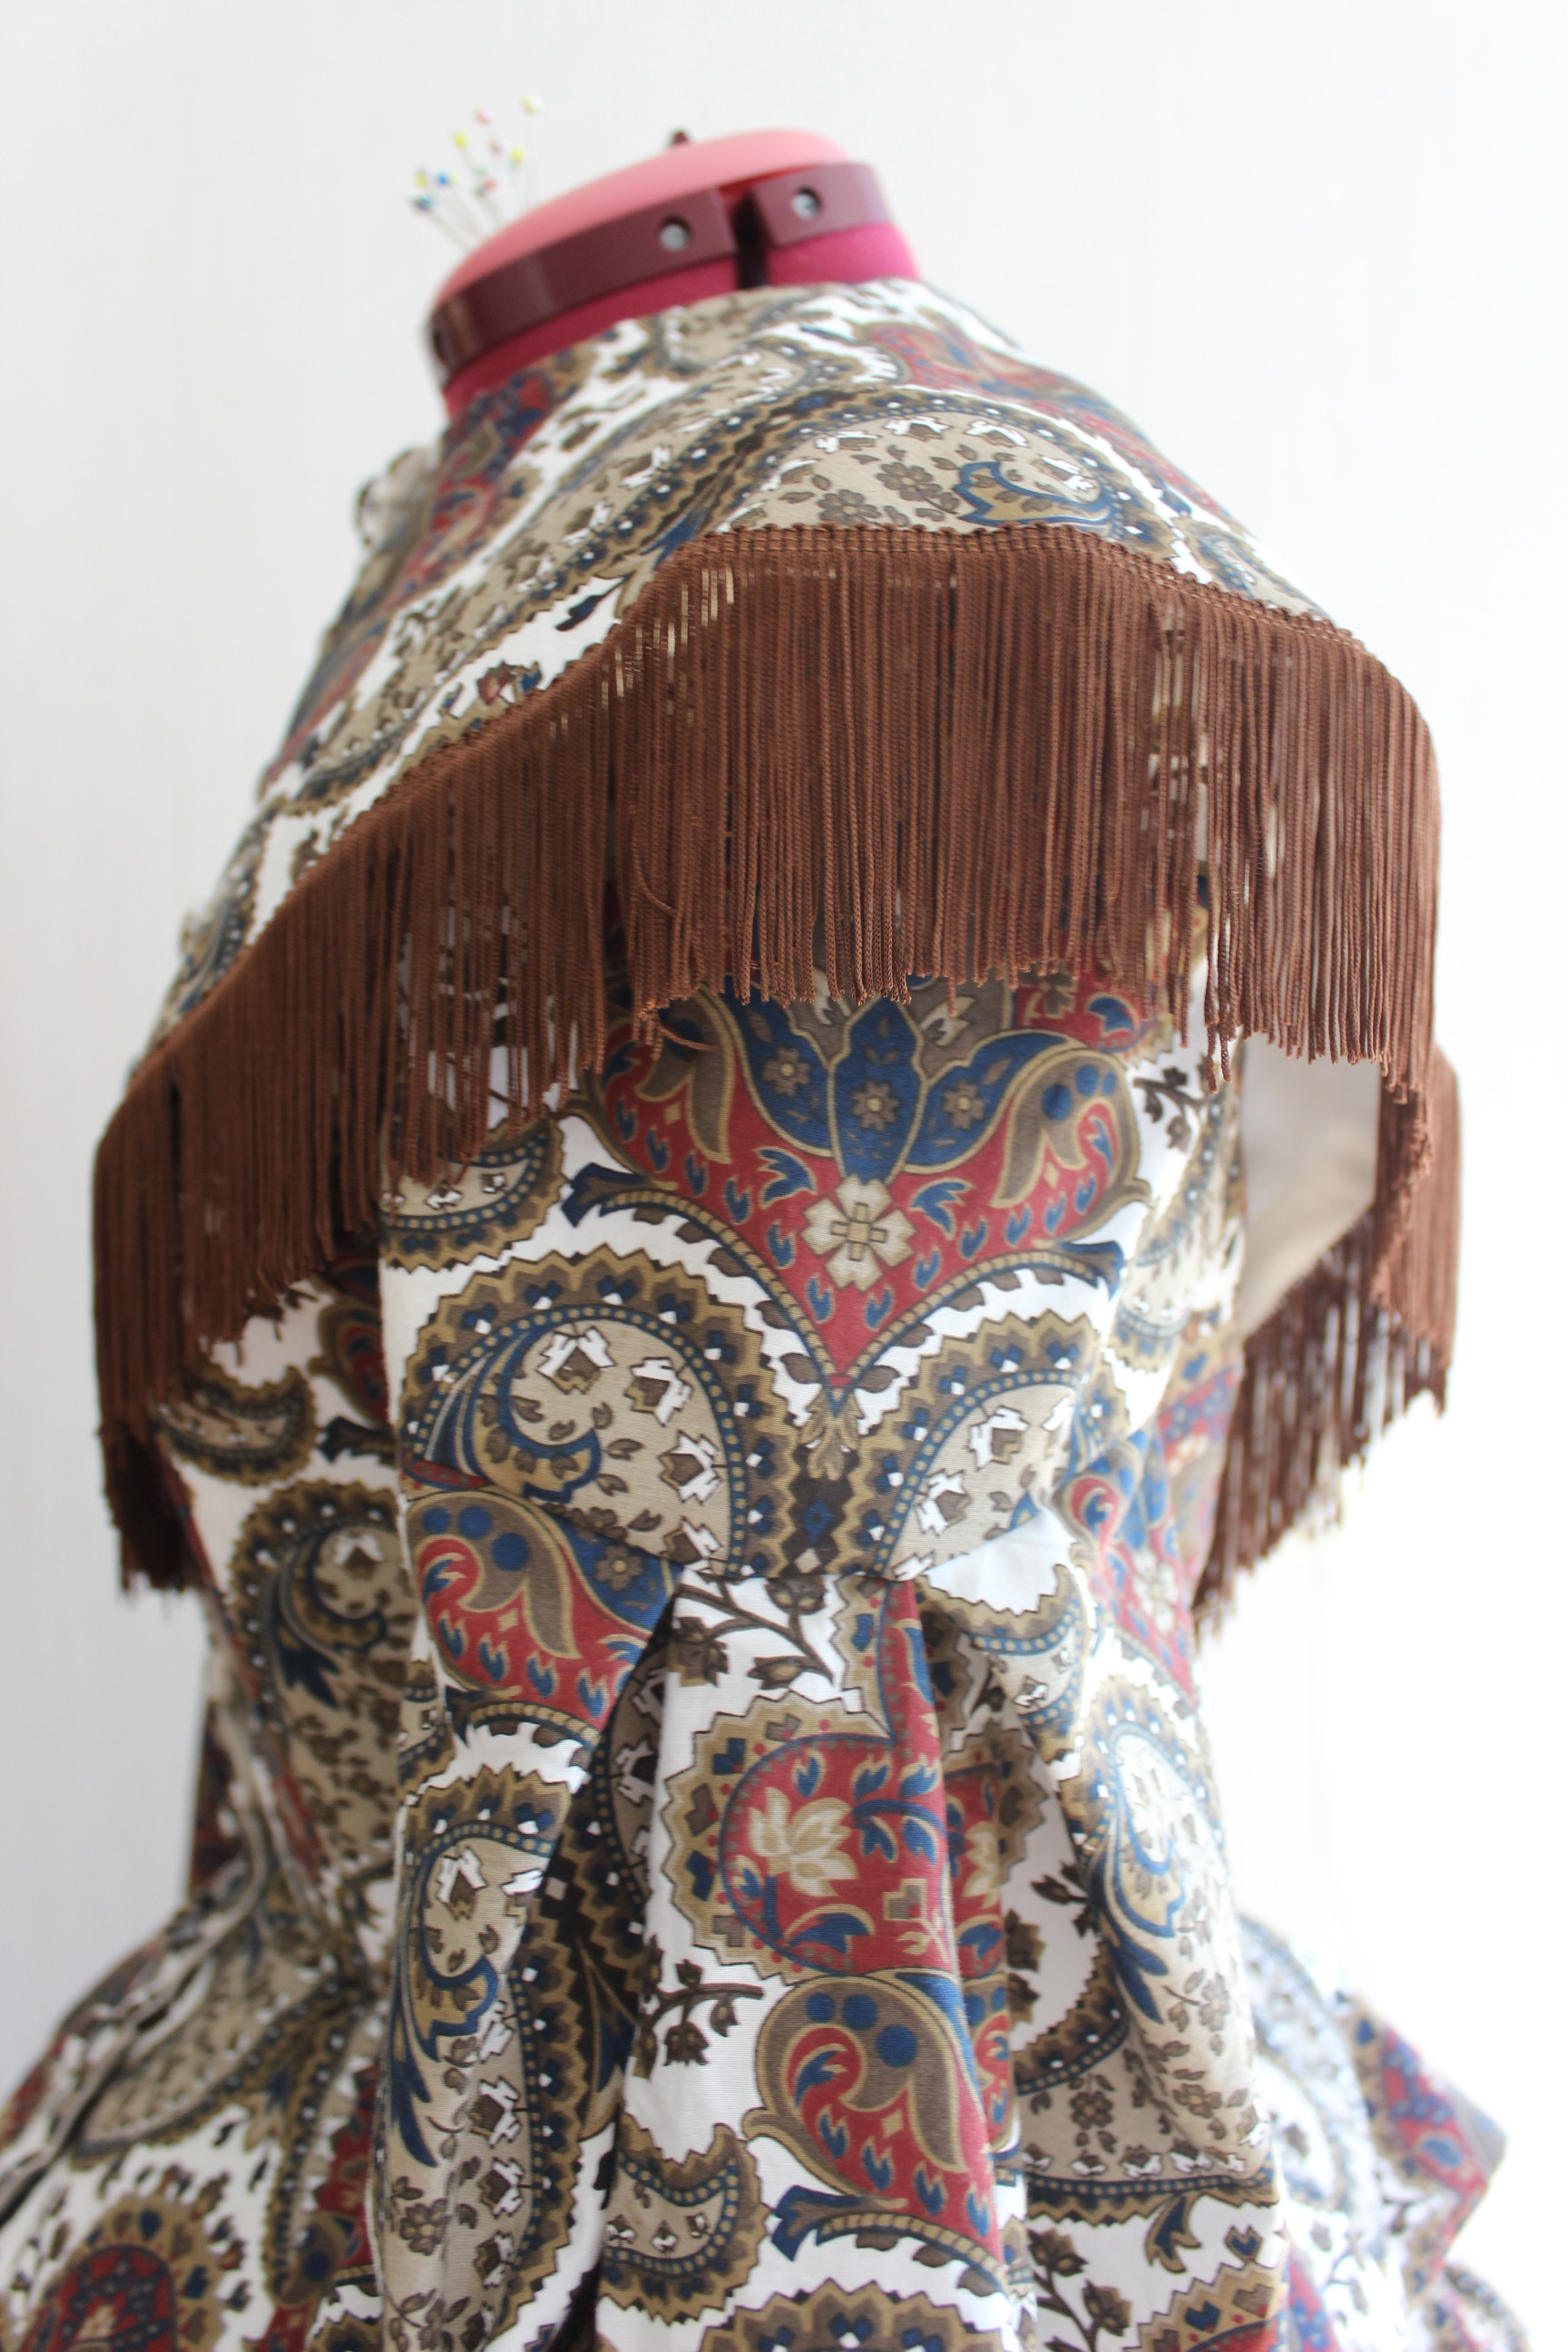
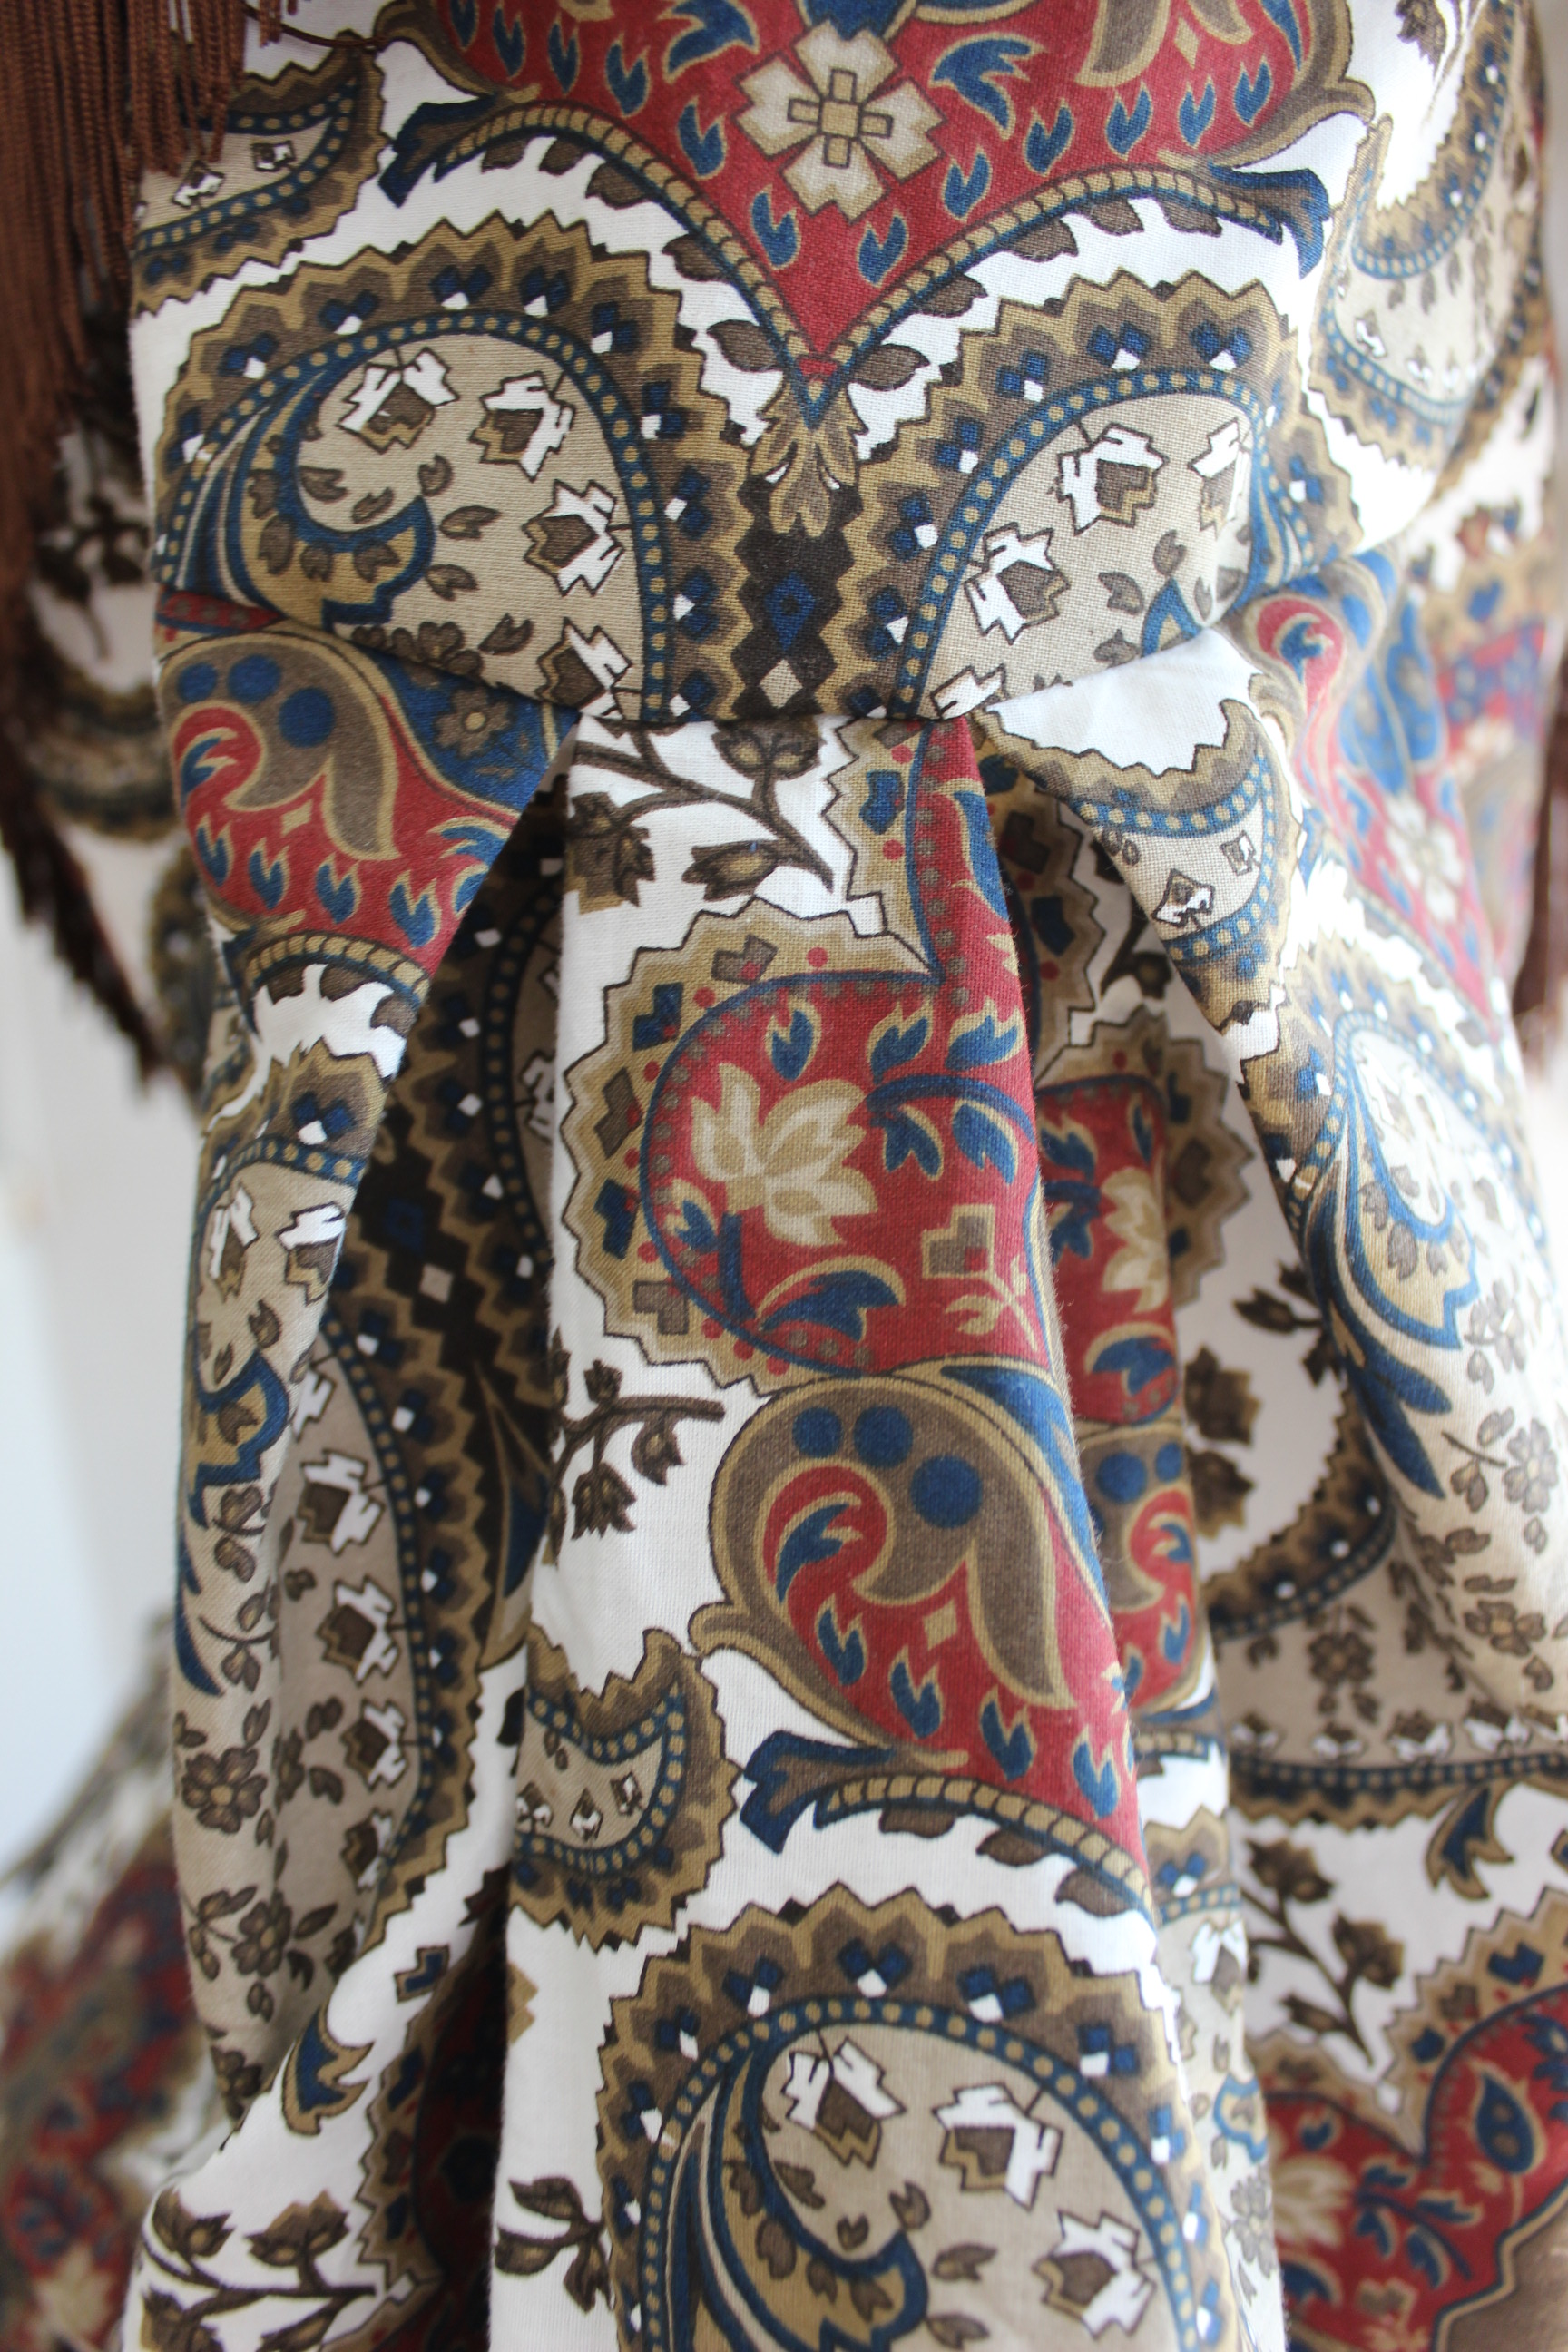
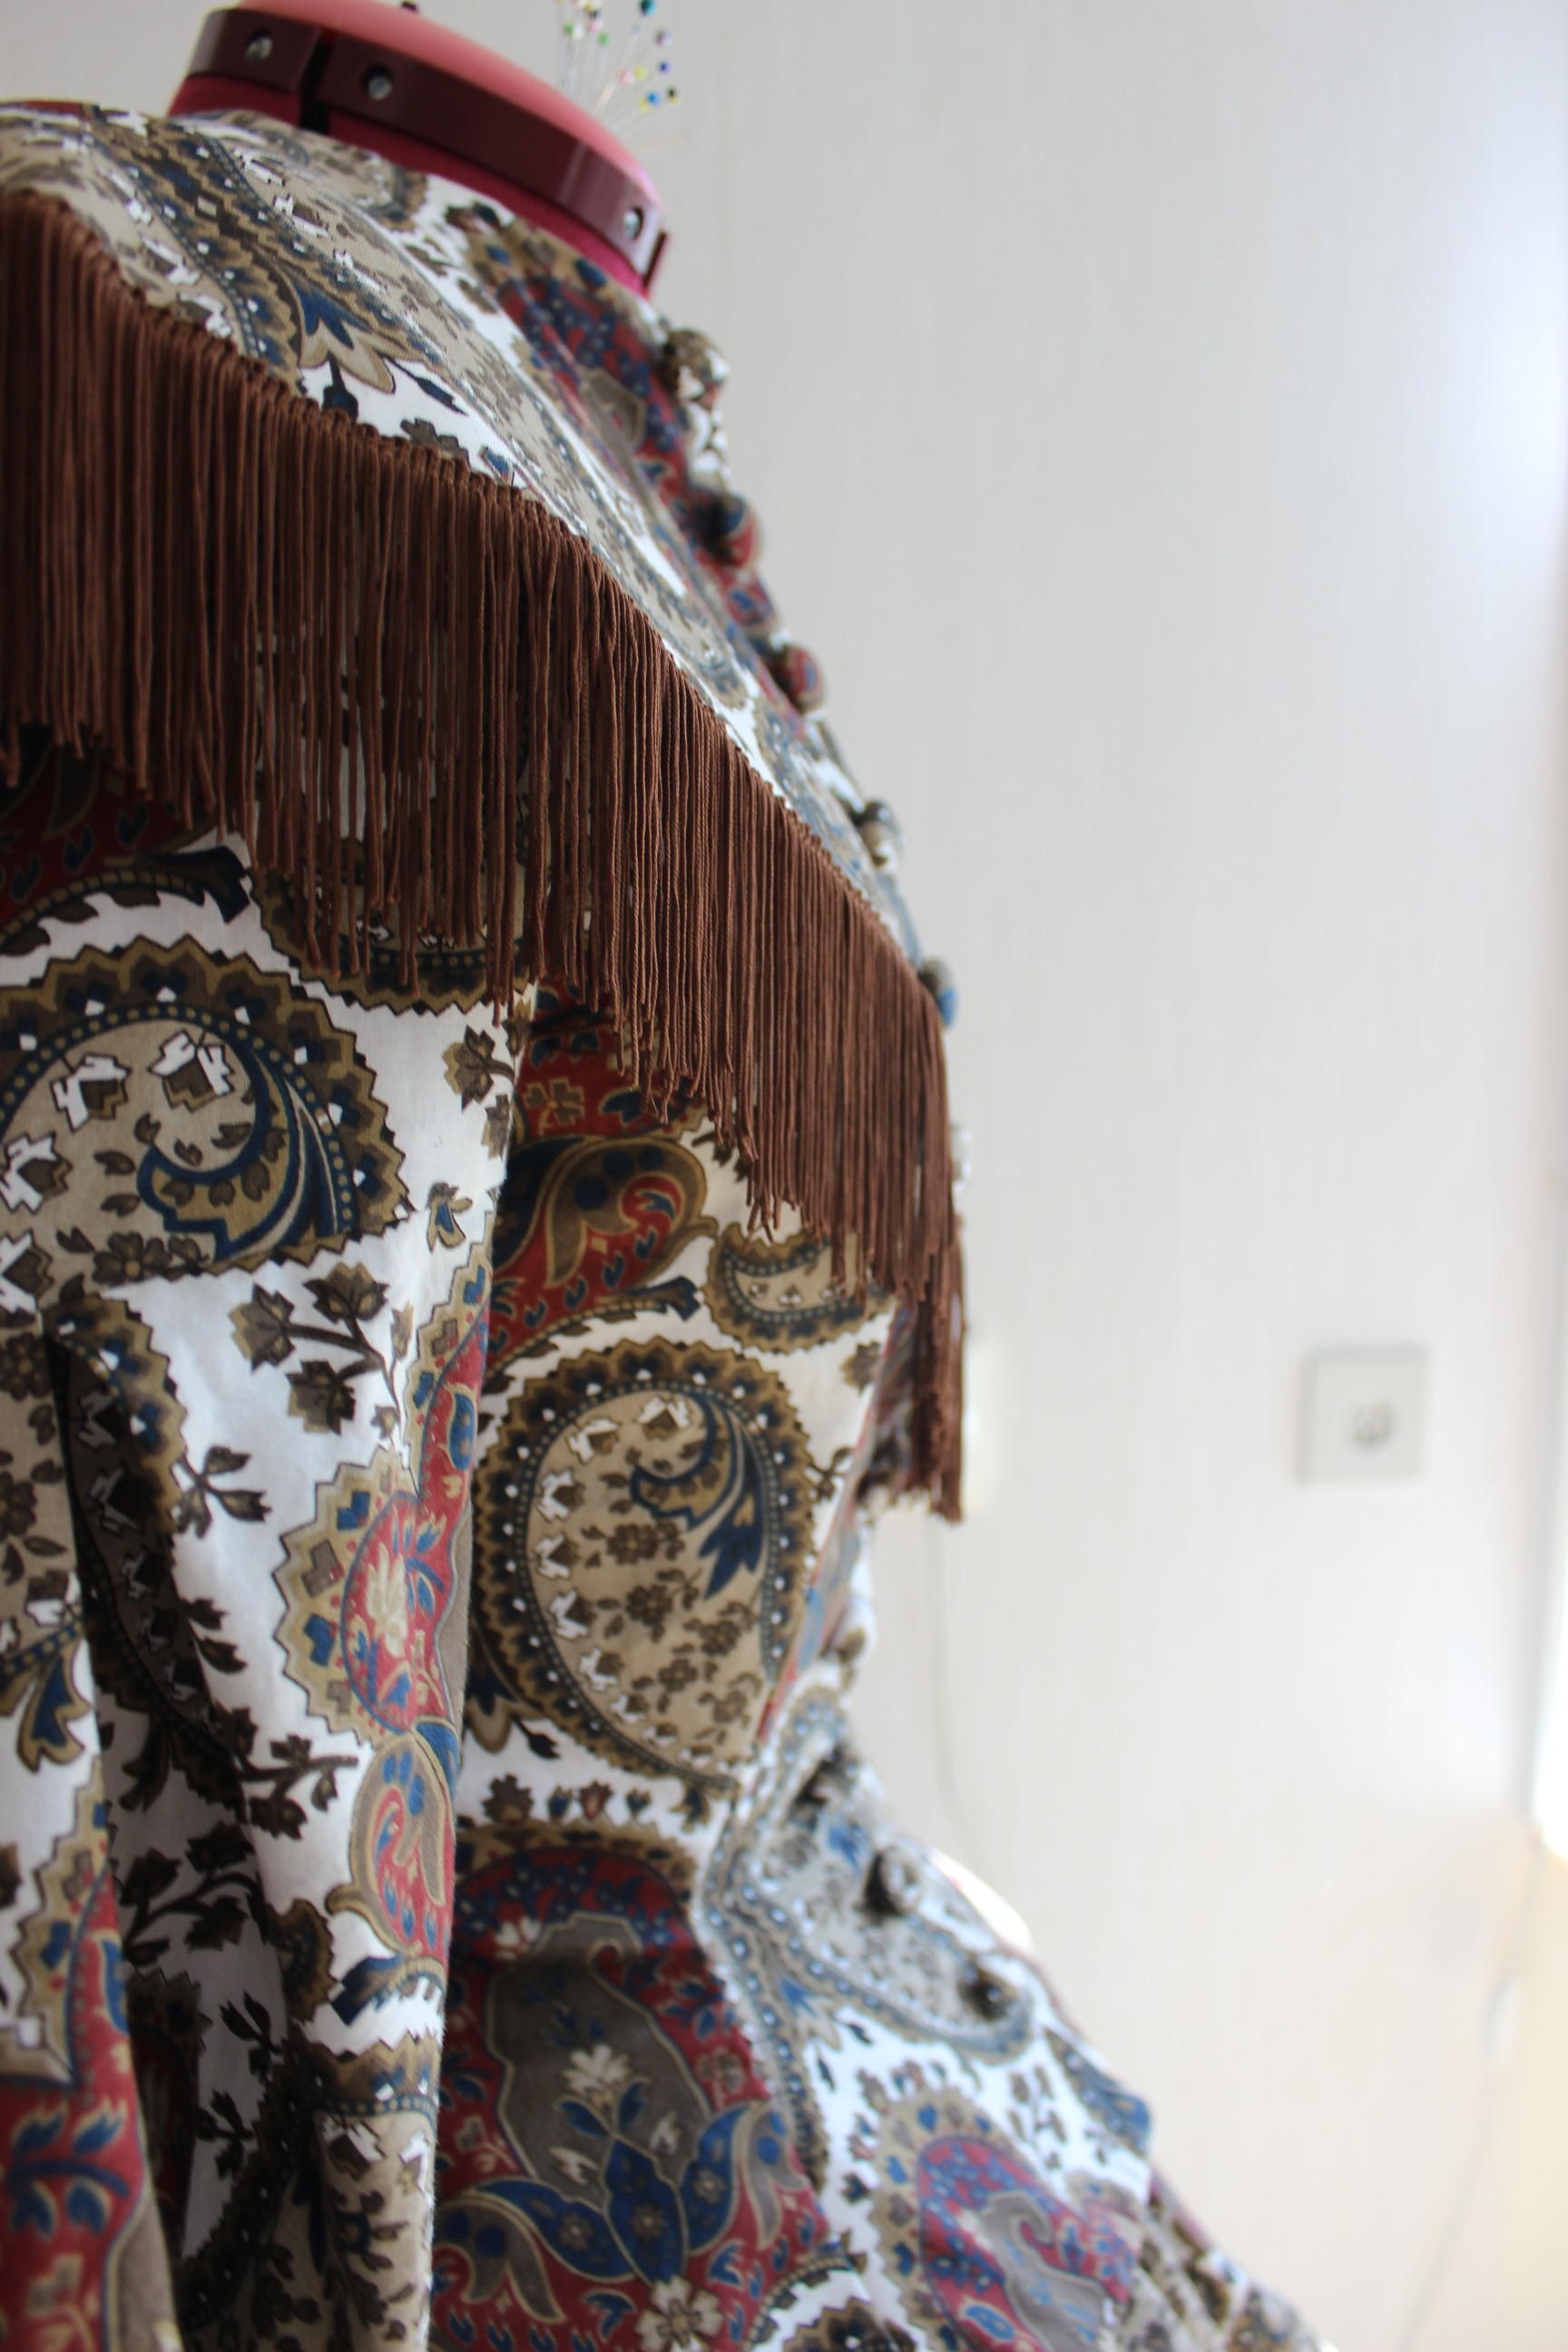
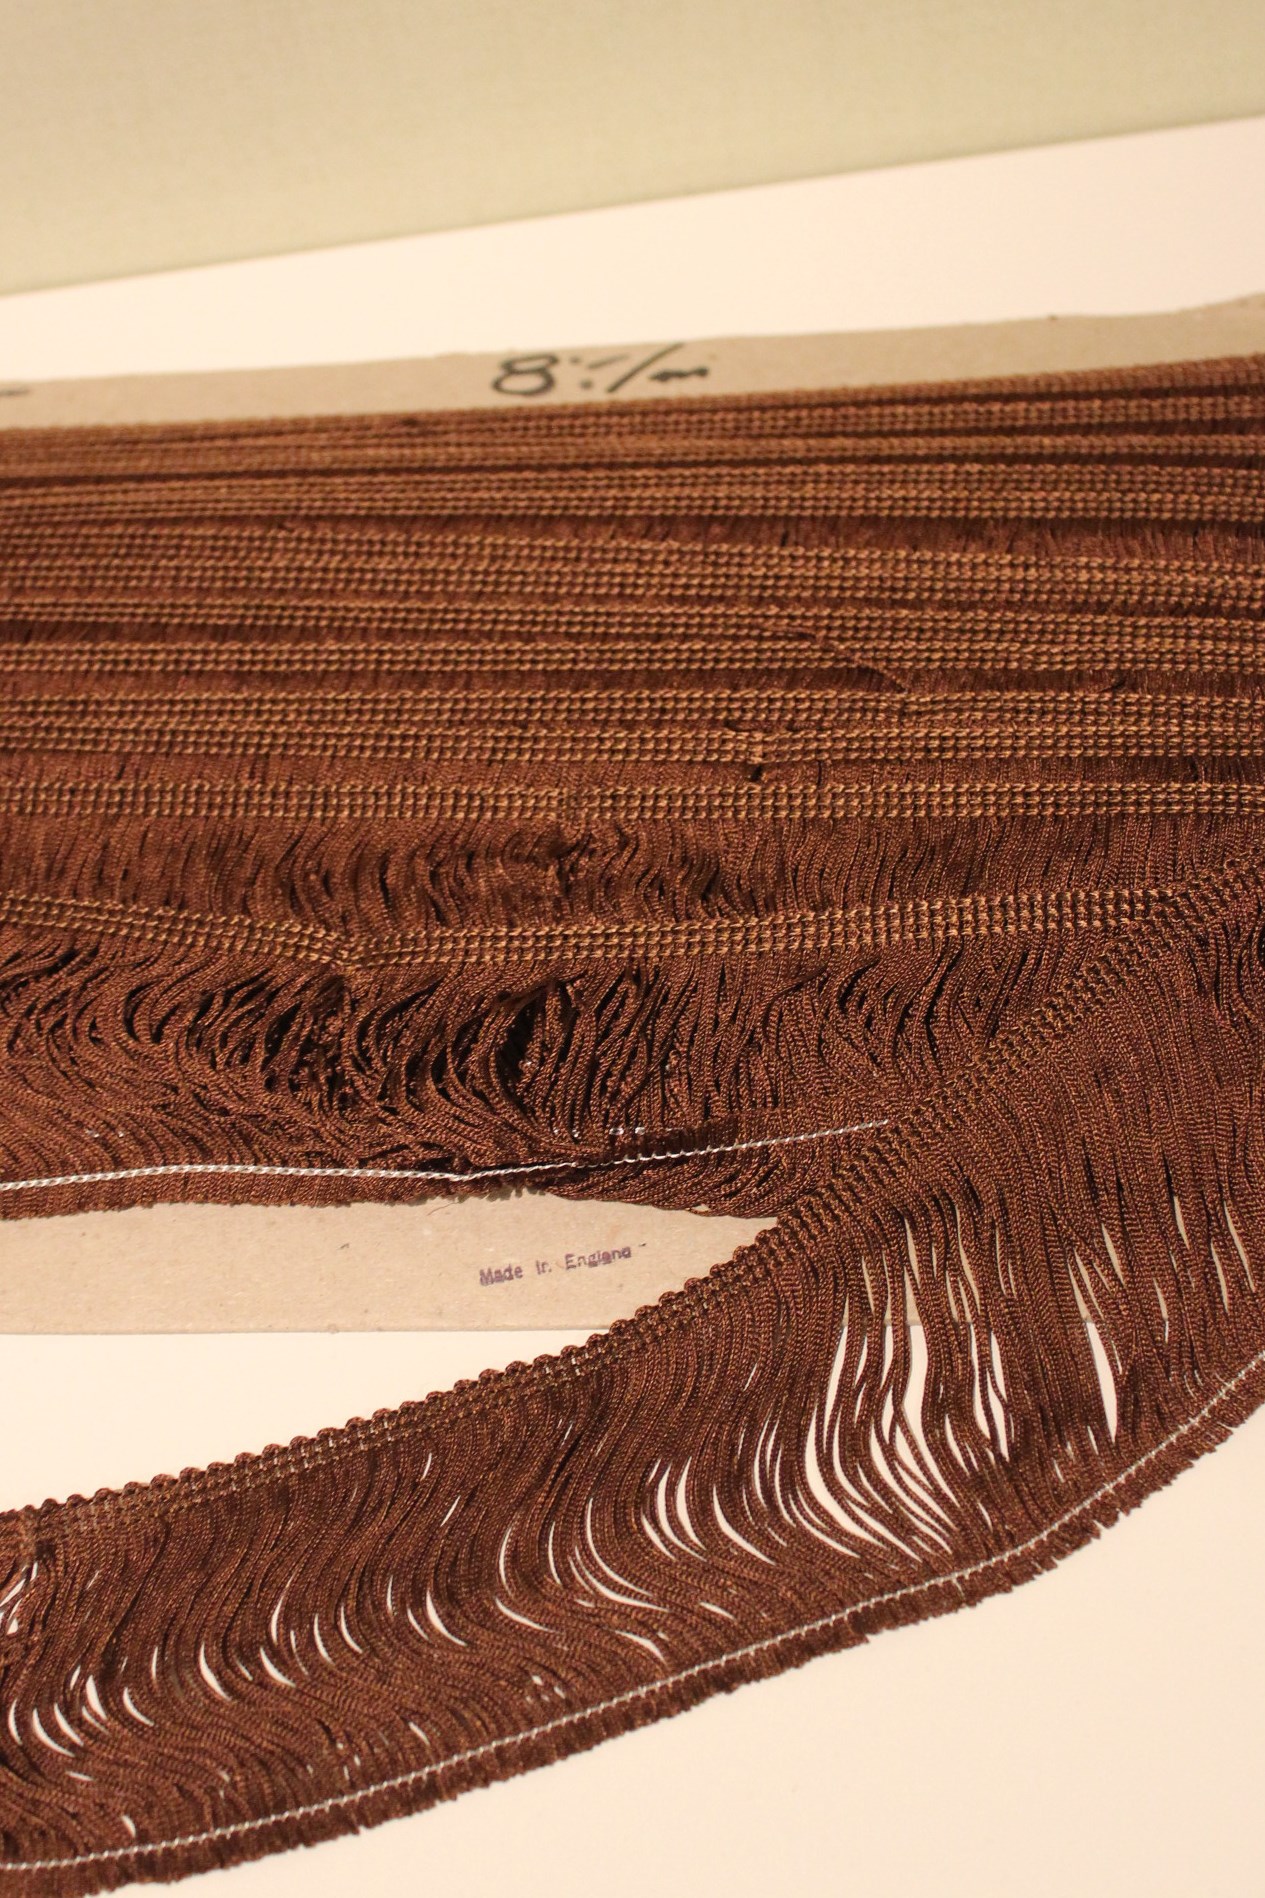
I also decided the dress needed some more decoration. And finding this fringe trim the day before the bal caused me to re-visit the sewing machine, and using 8 m of it on the hem of the bodice, train and apron.  (And since this was a last minute change, I haven’t got any picture of the trimmed dressed).
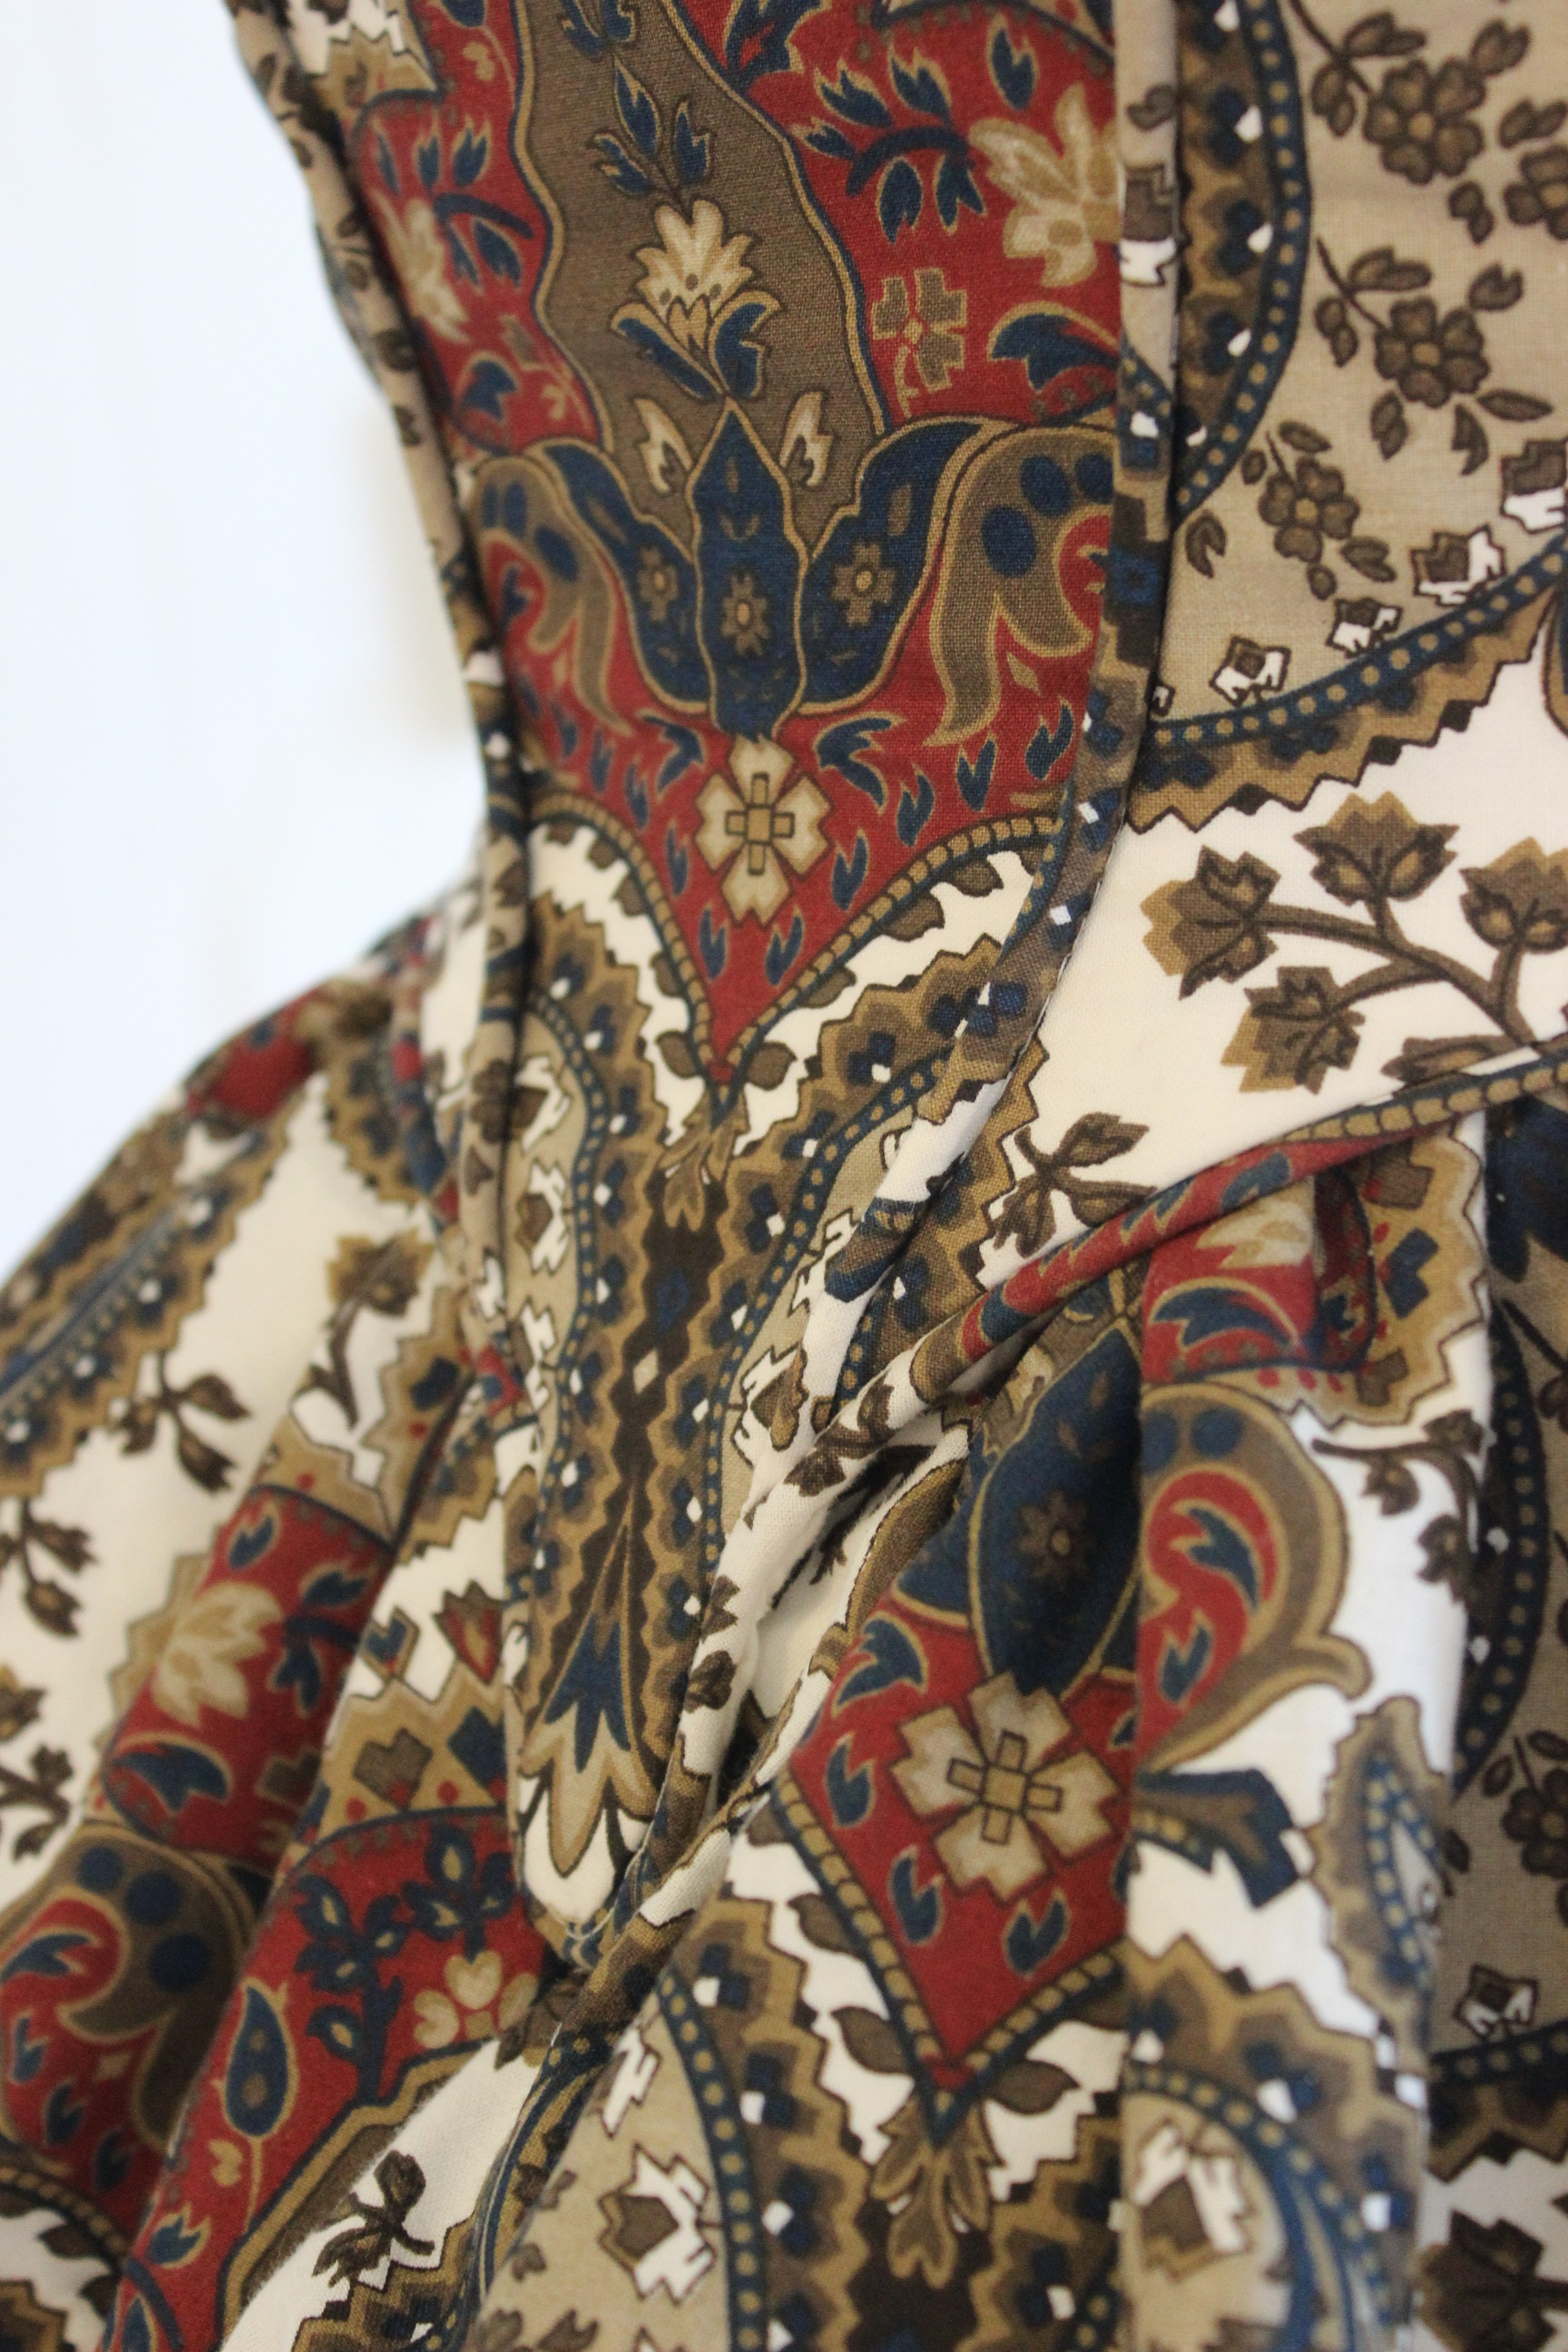
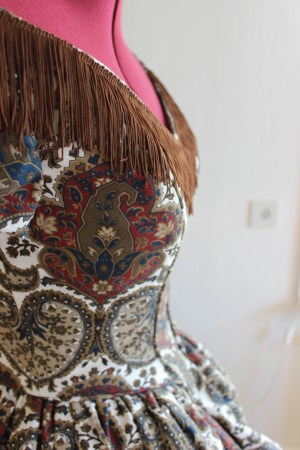
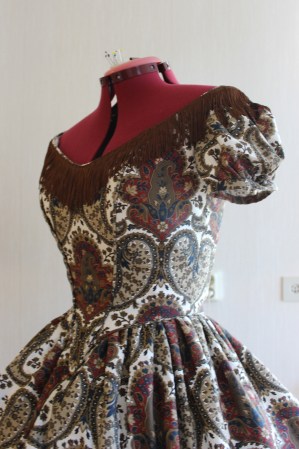
Even with the dress finished I’m not totaly happy with the neckline – the fabric is being pulled in some ugly directions at the neck, caused by some fiting trouble. But It is to late to do anything about it now, and the bal room will be faily dark…
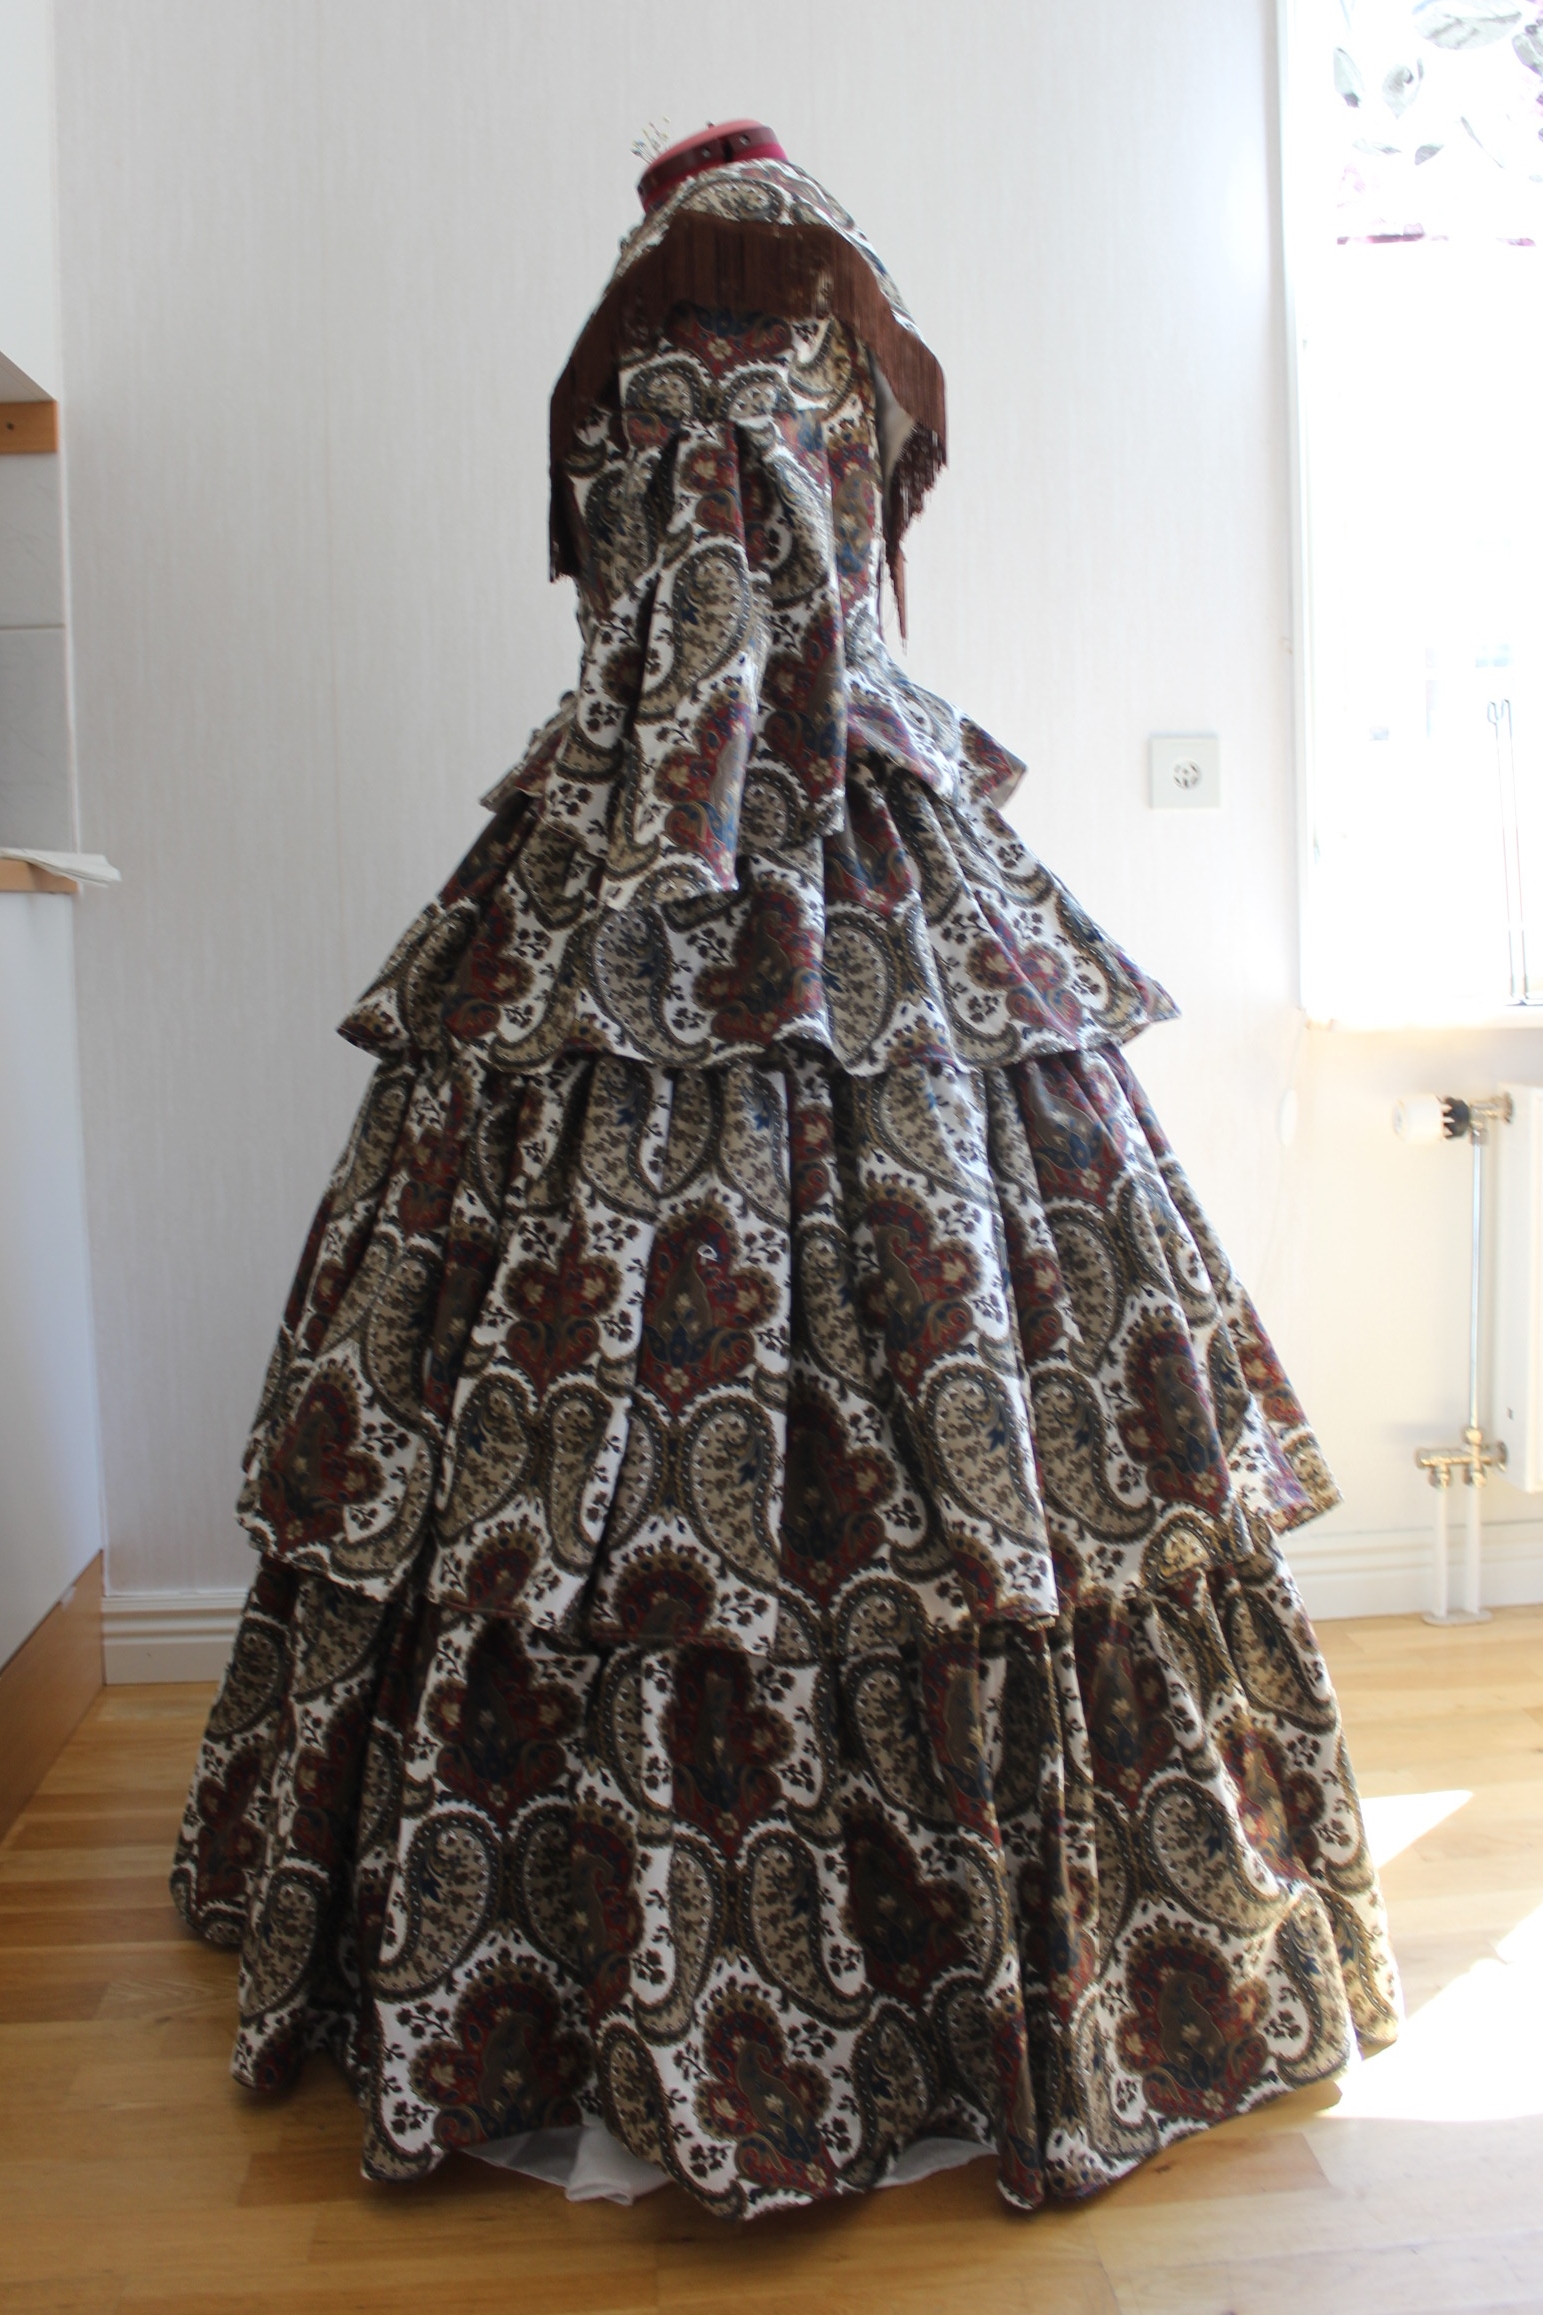
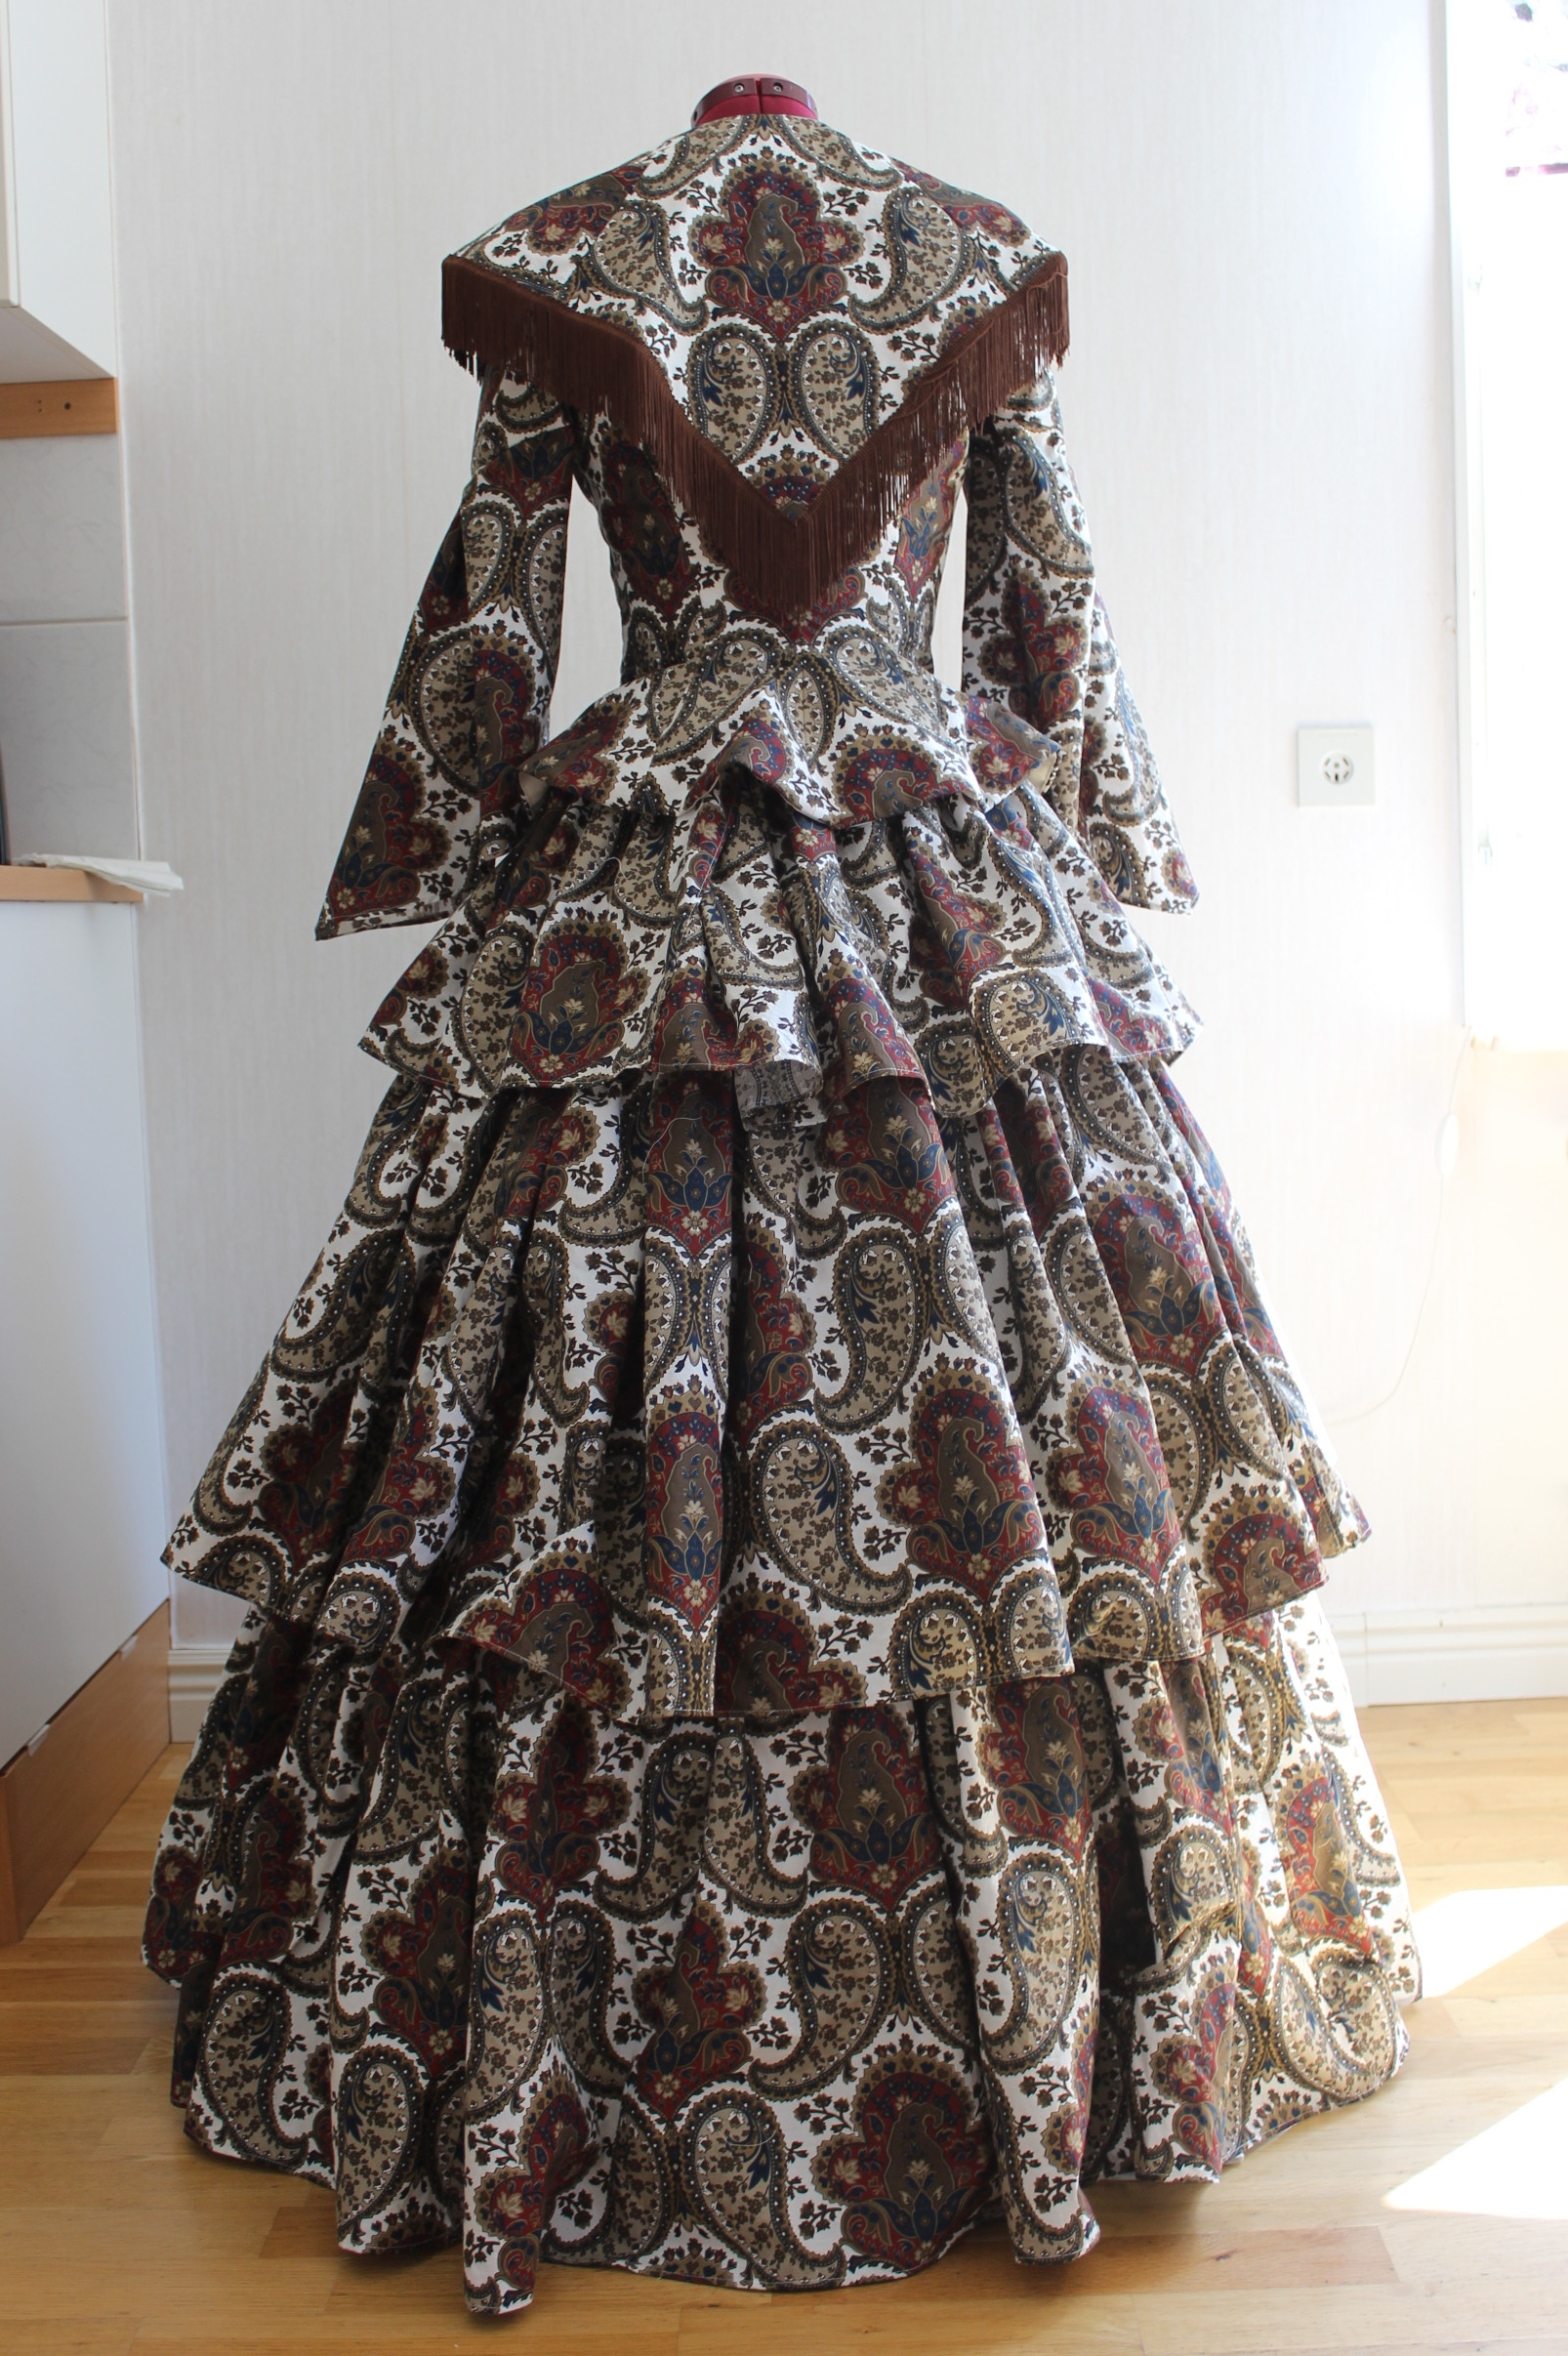
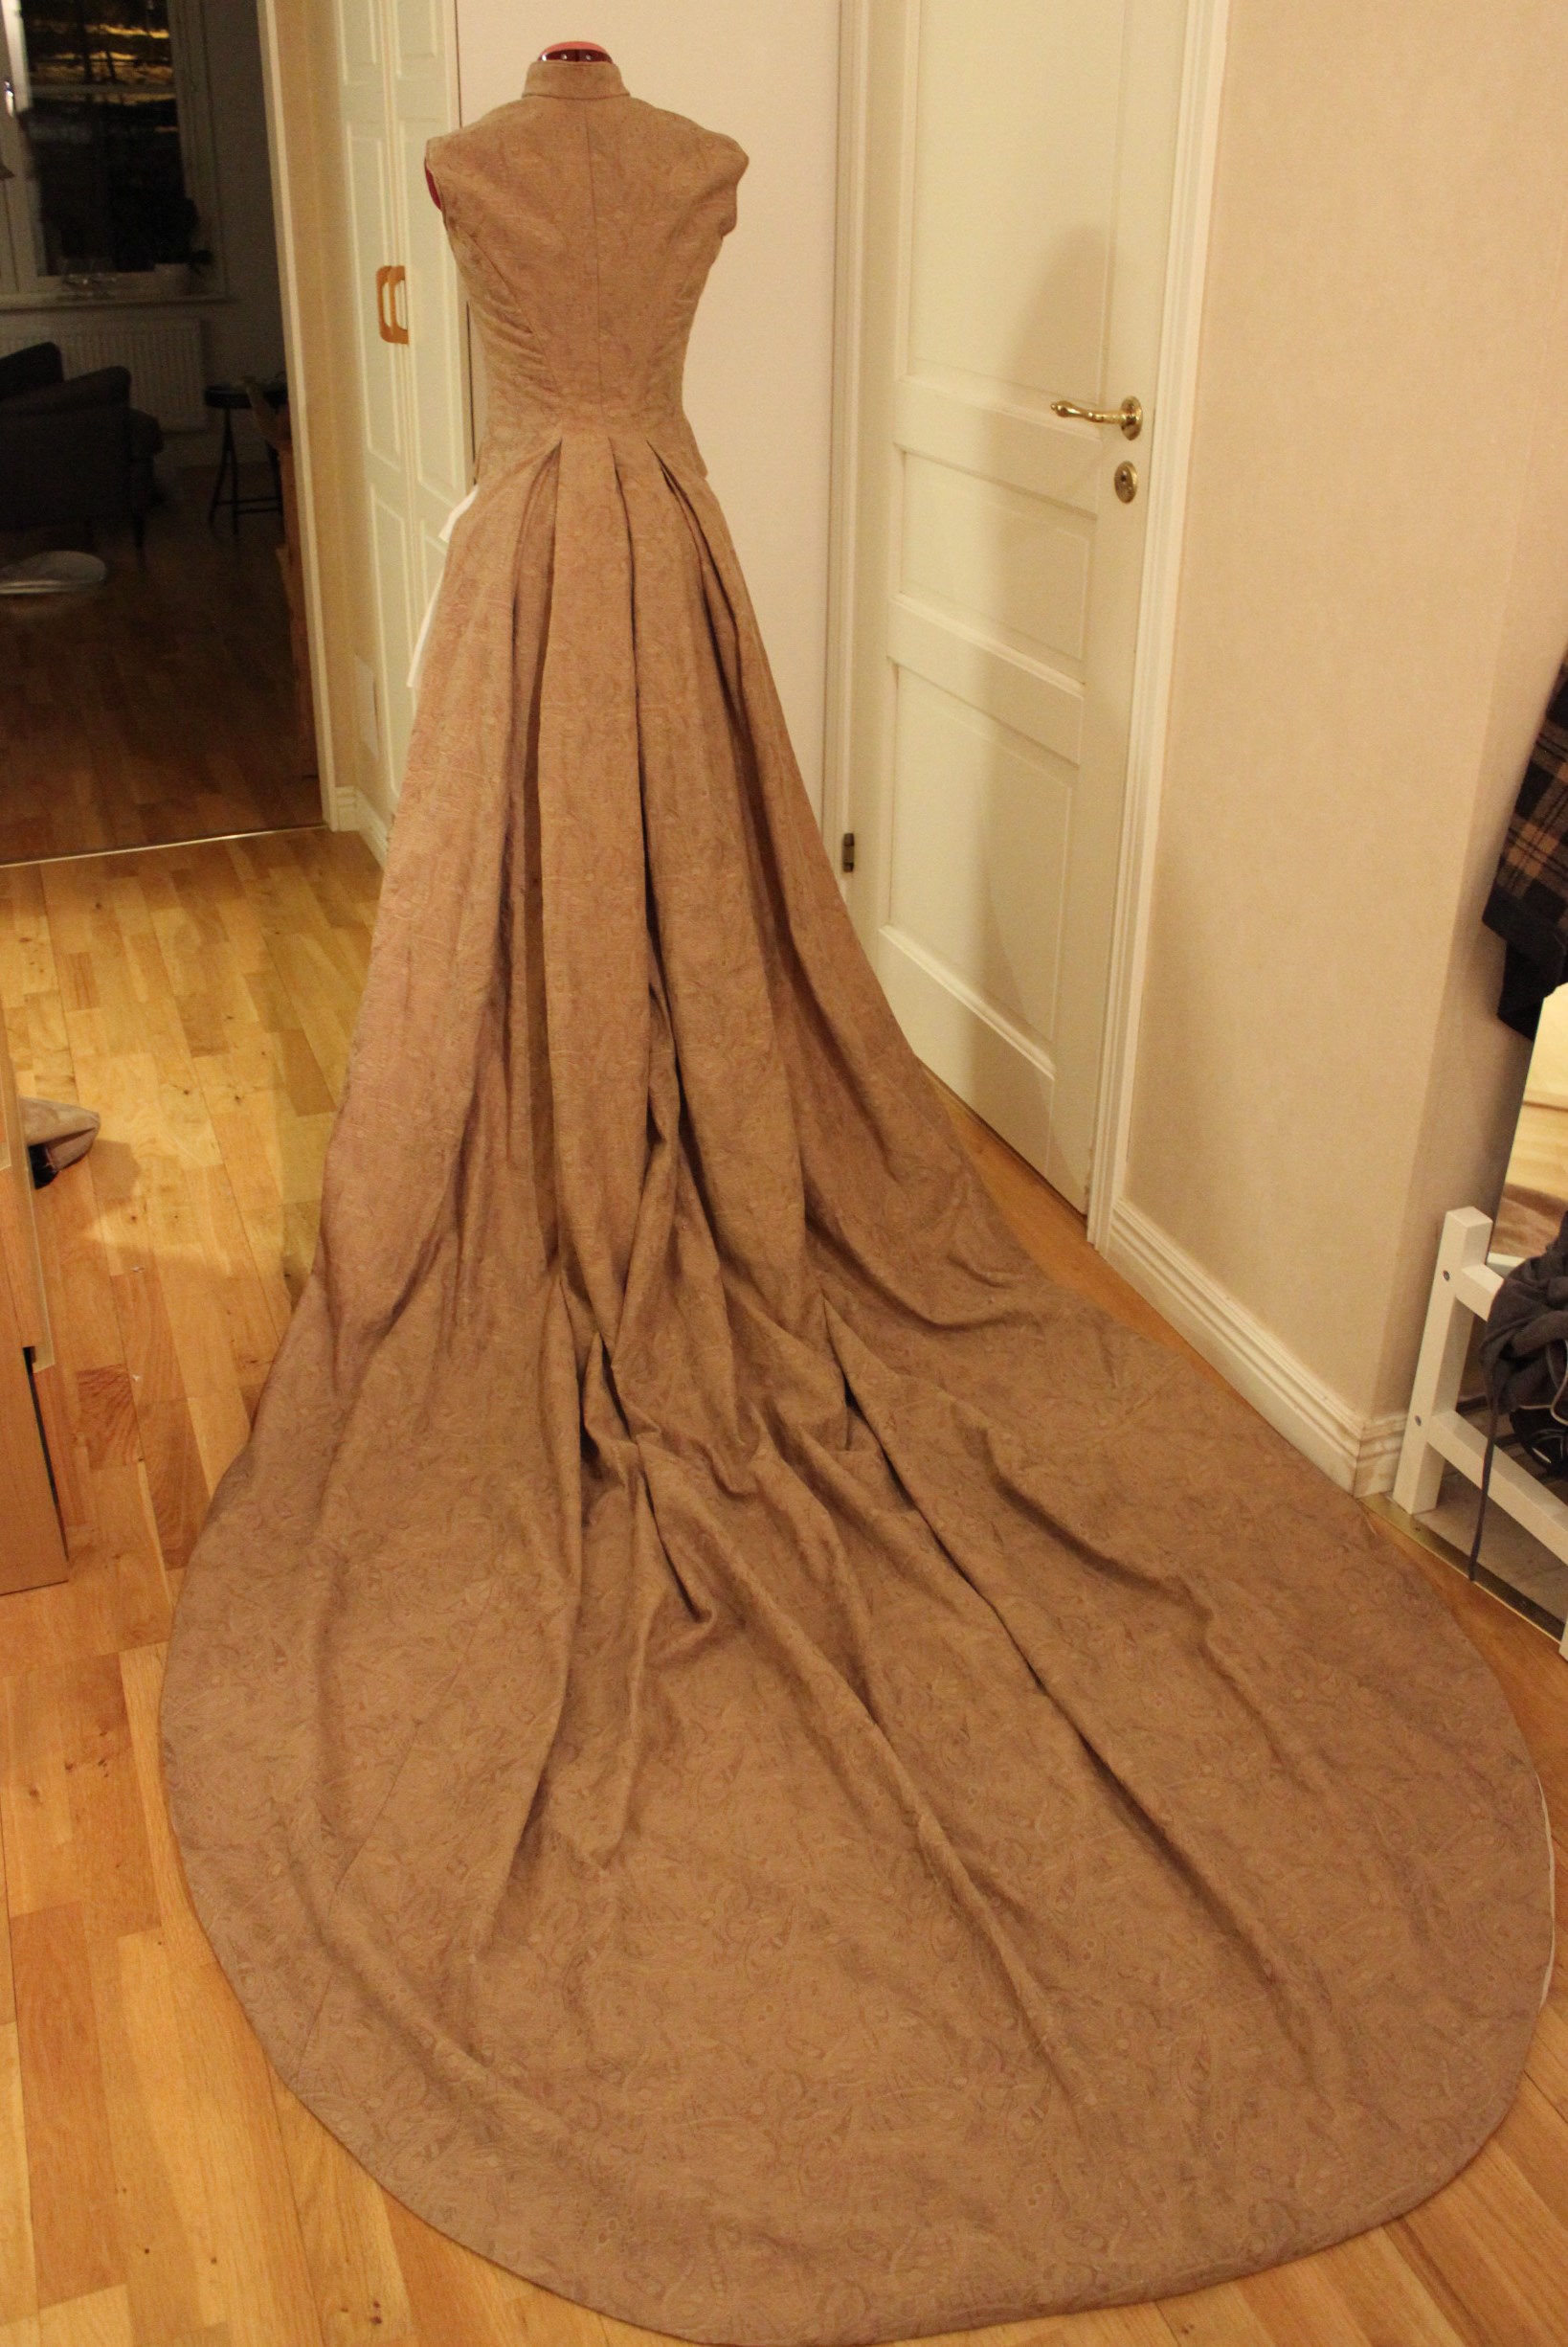
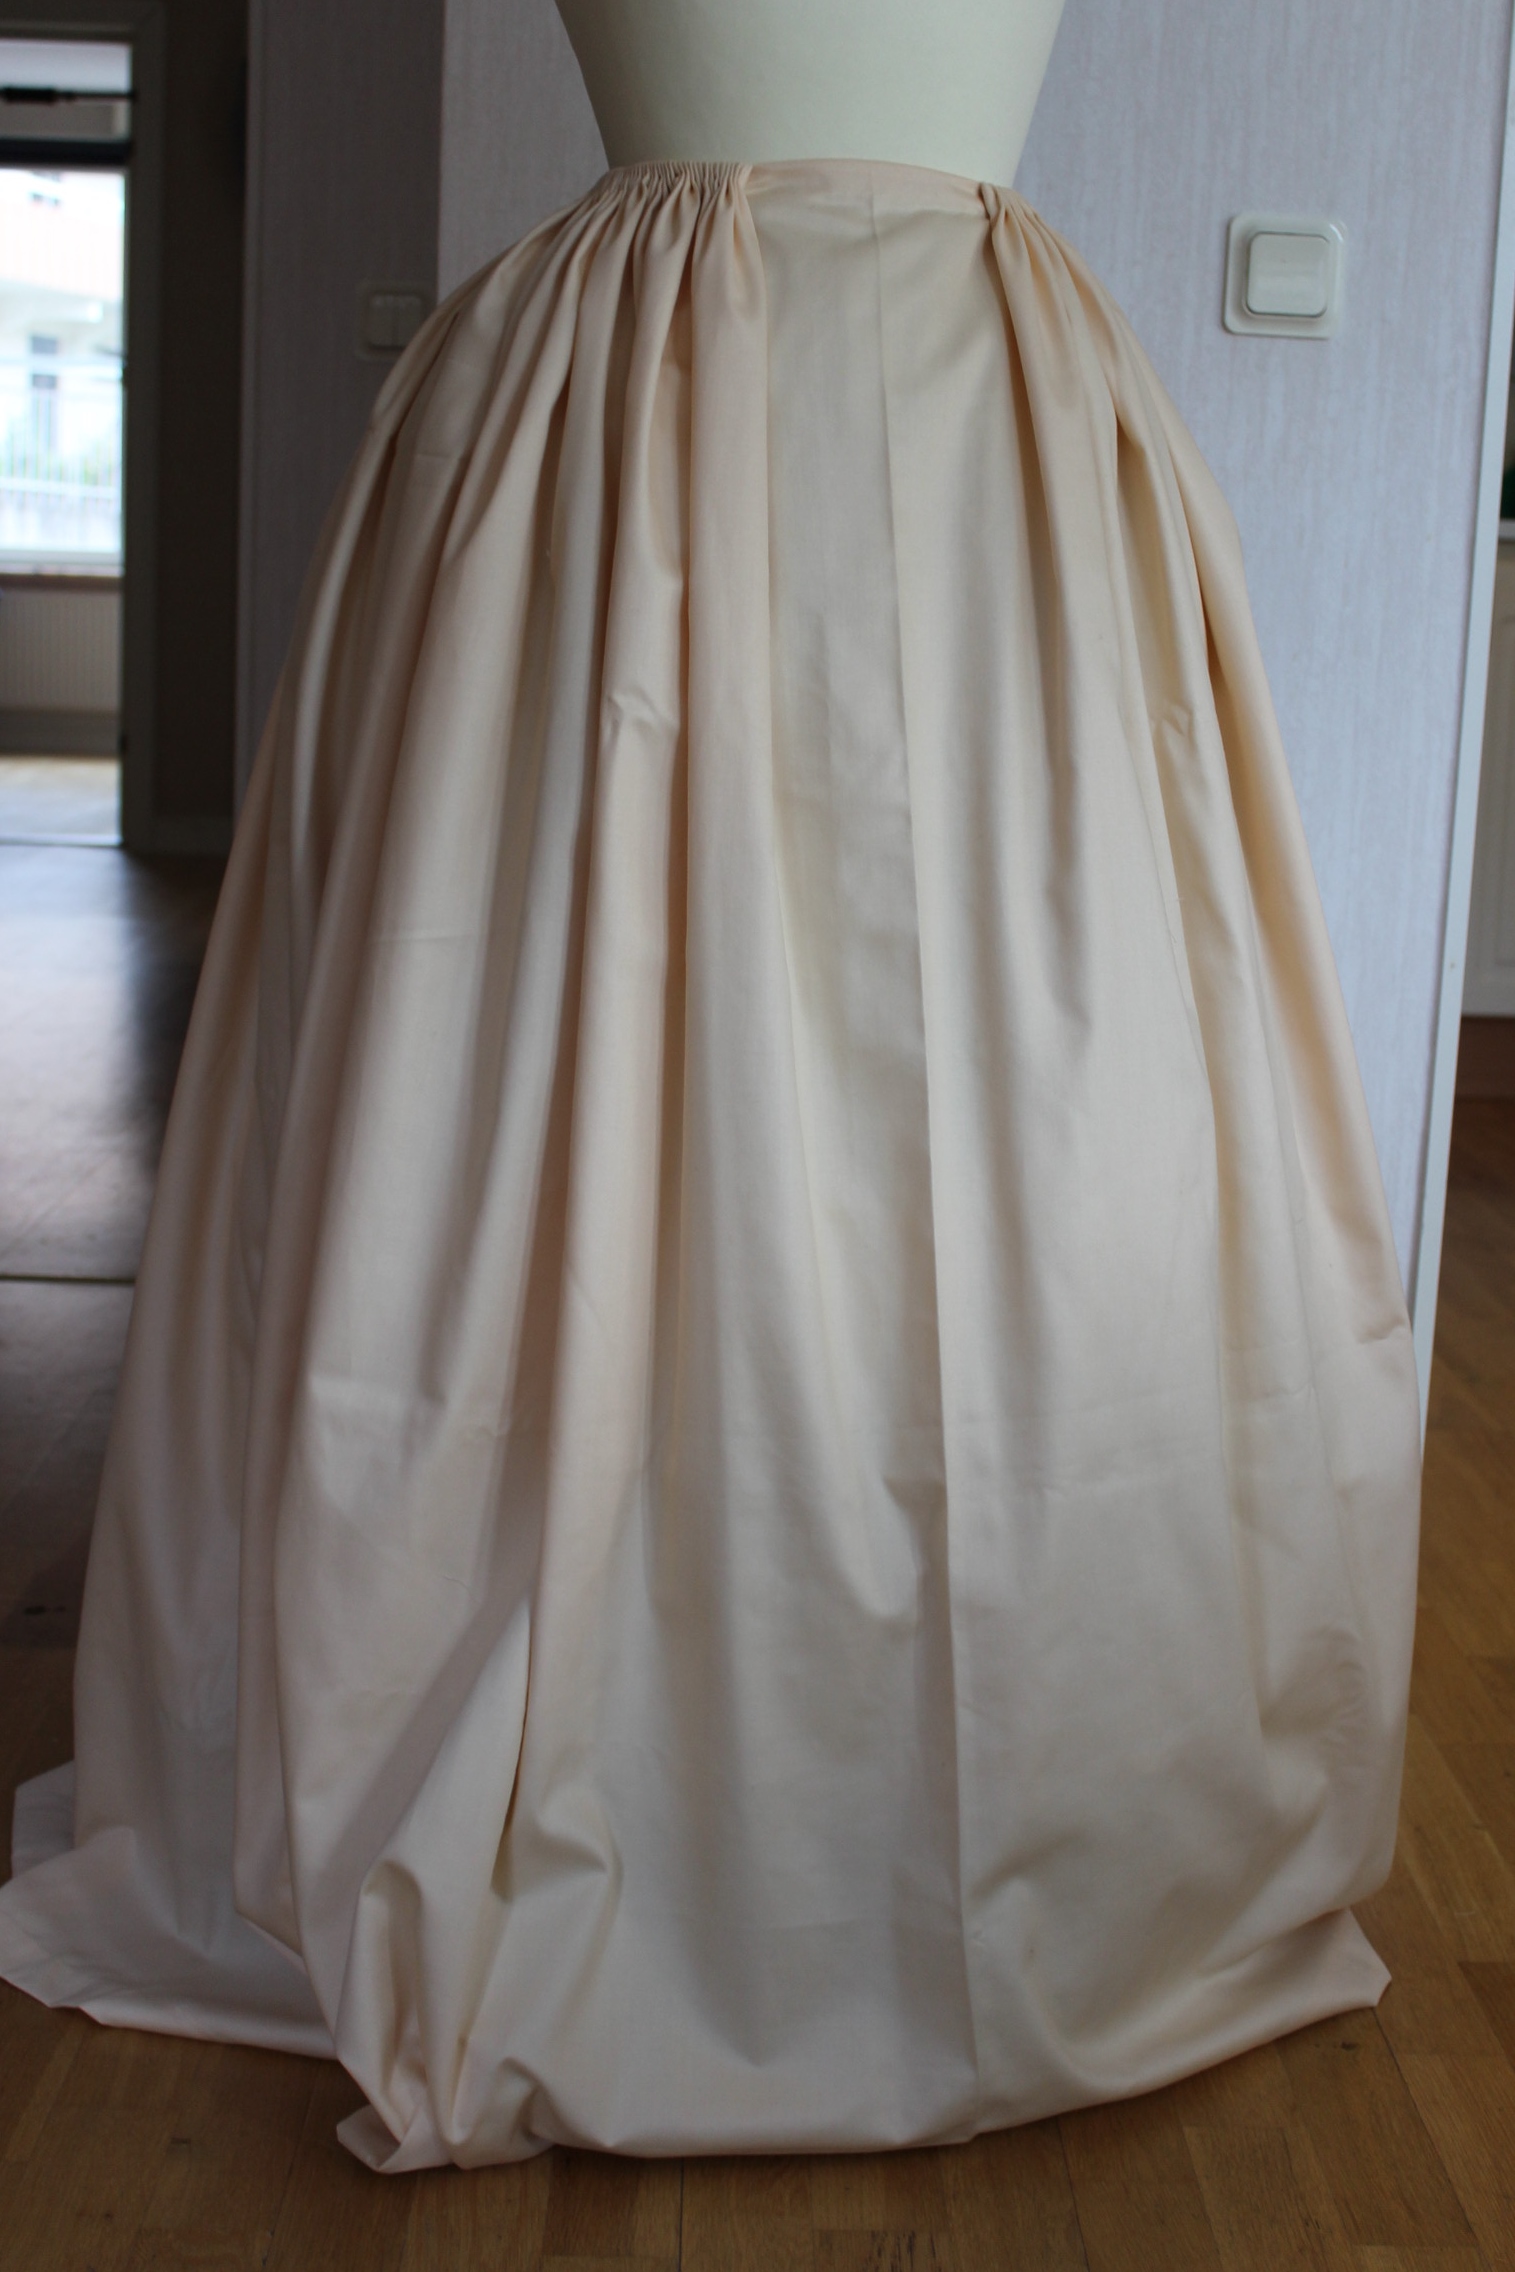
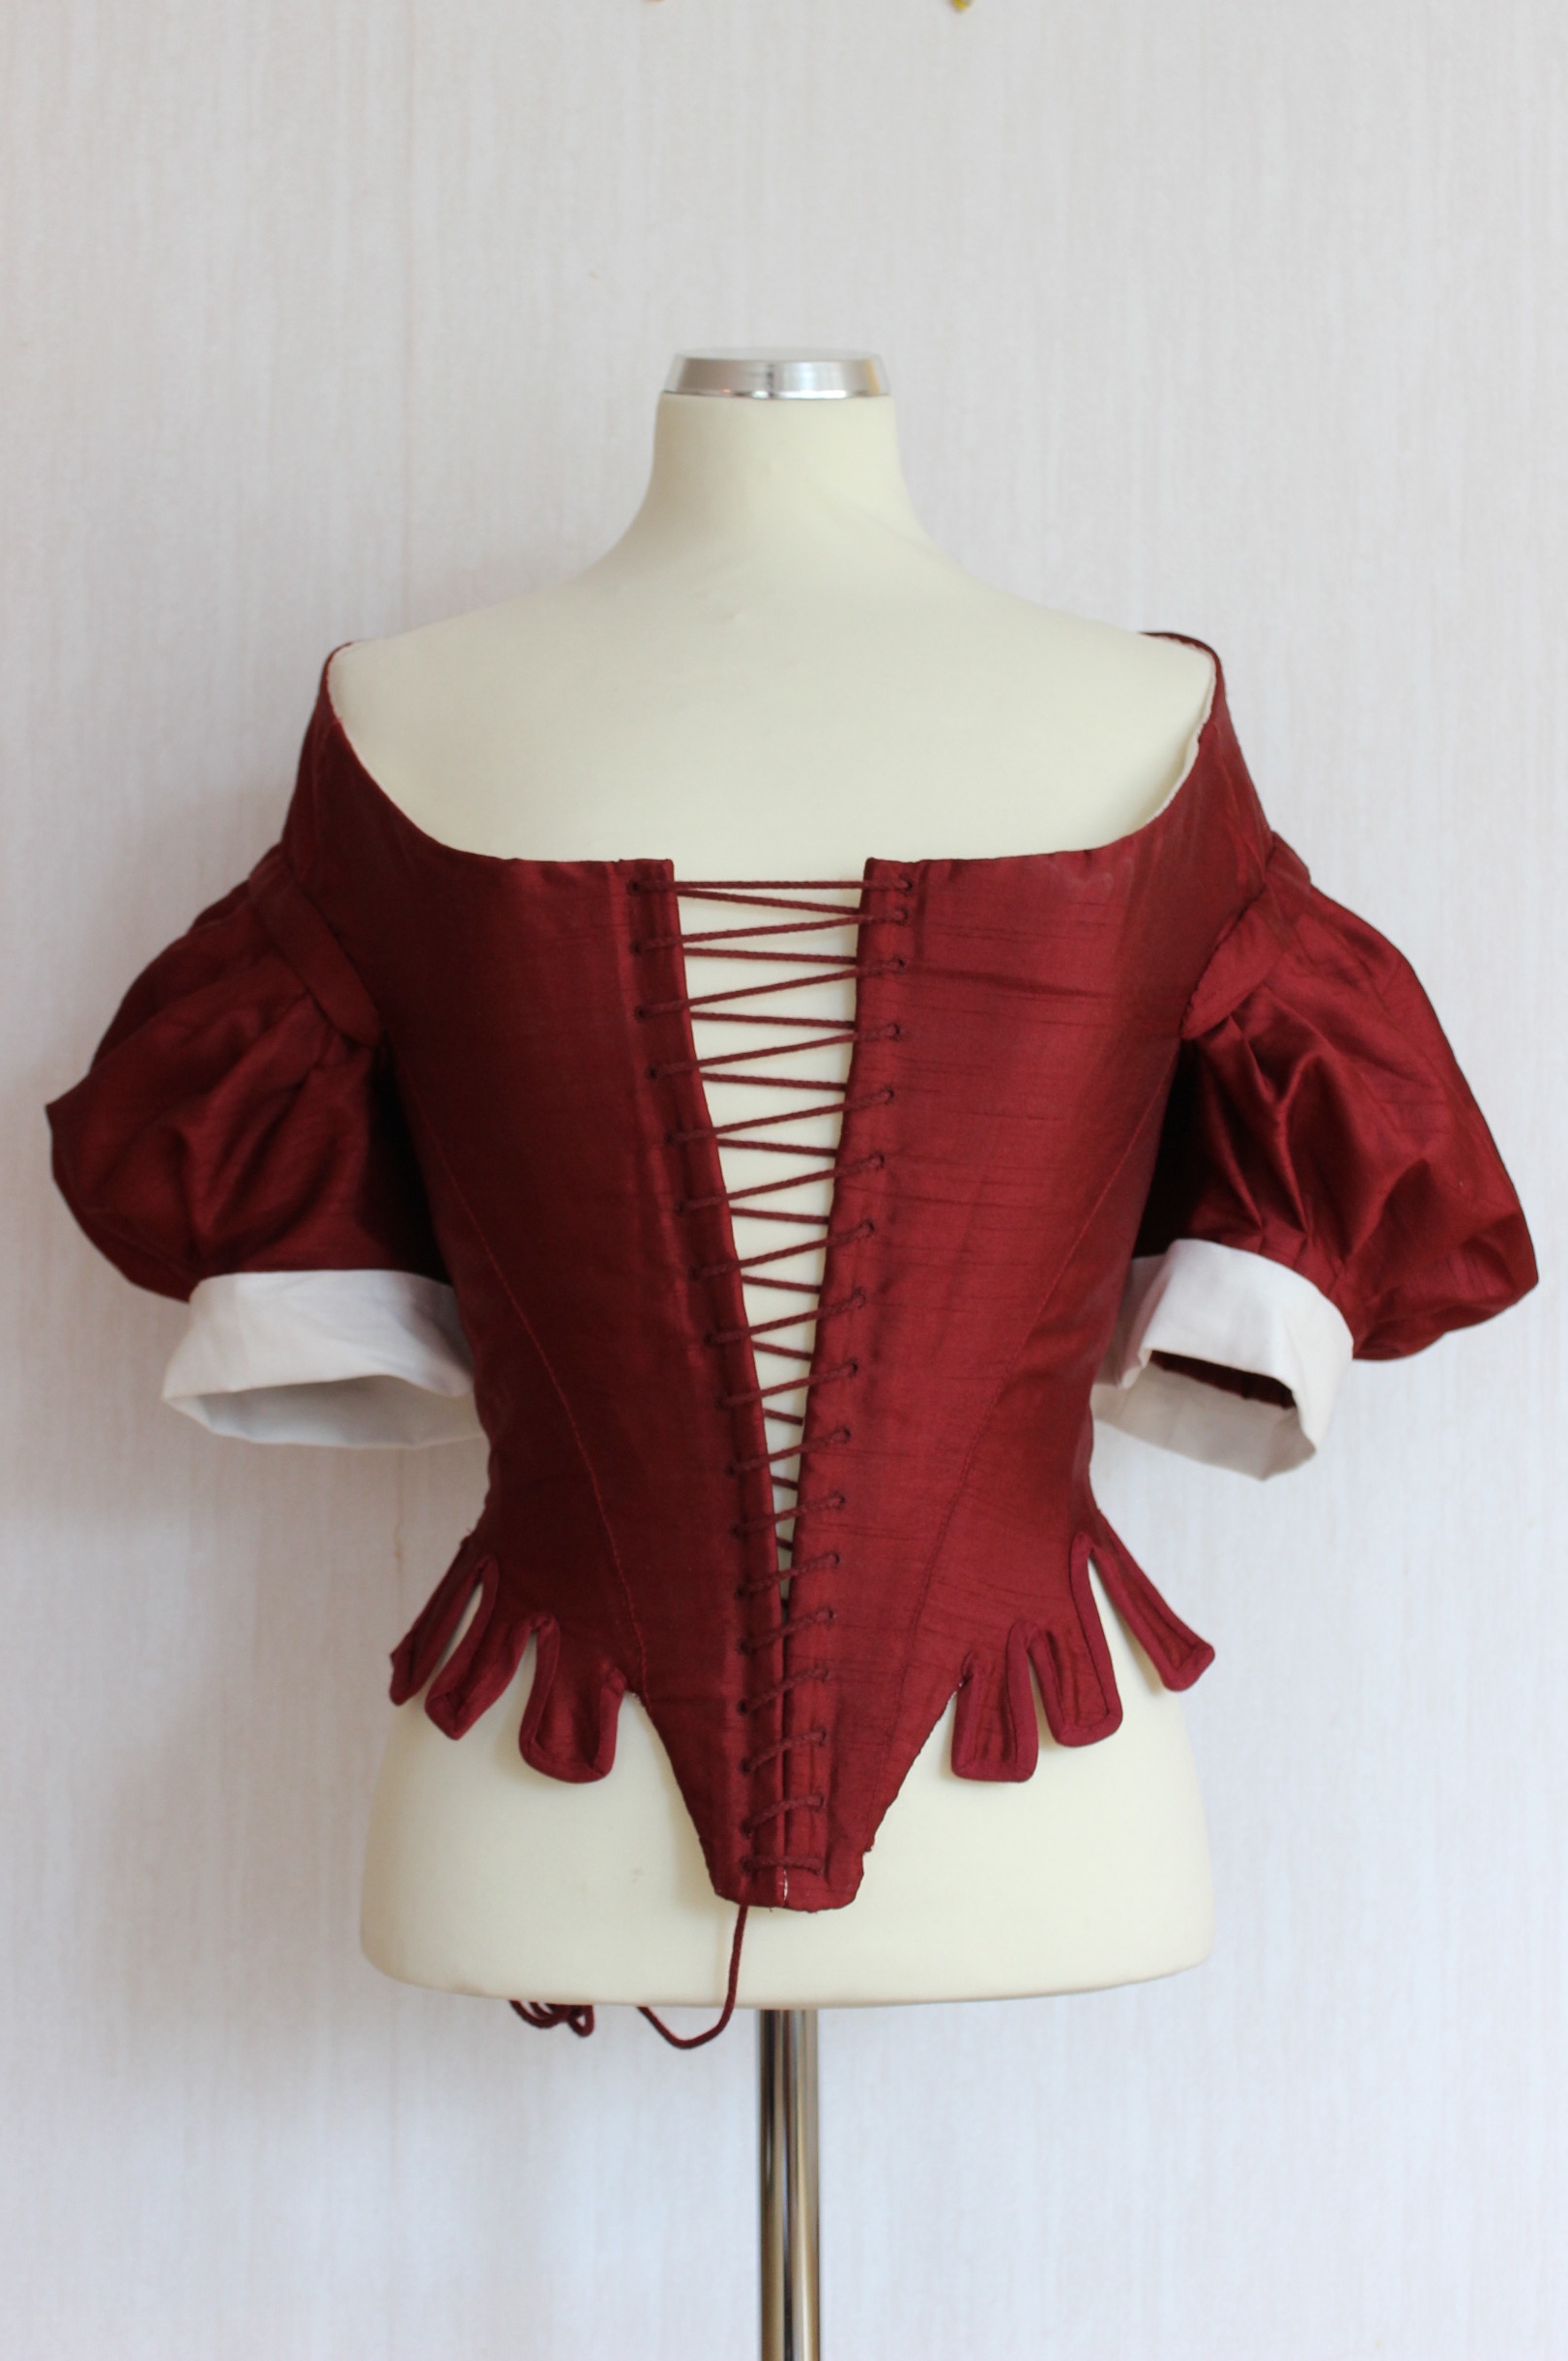
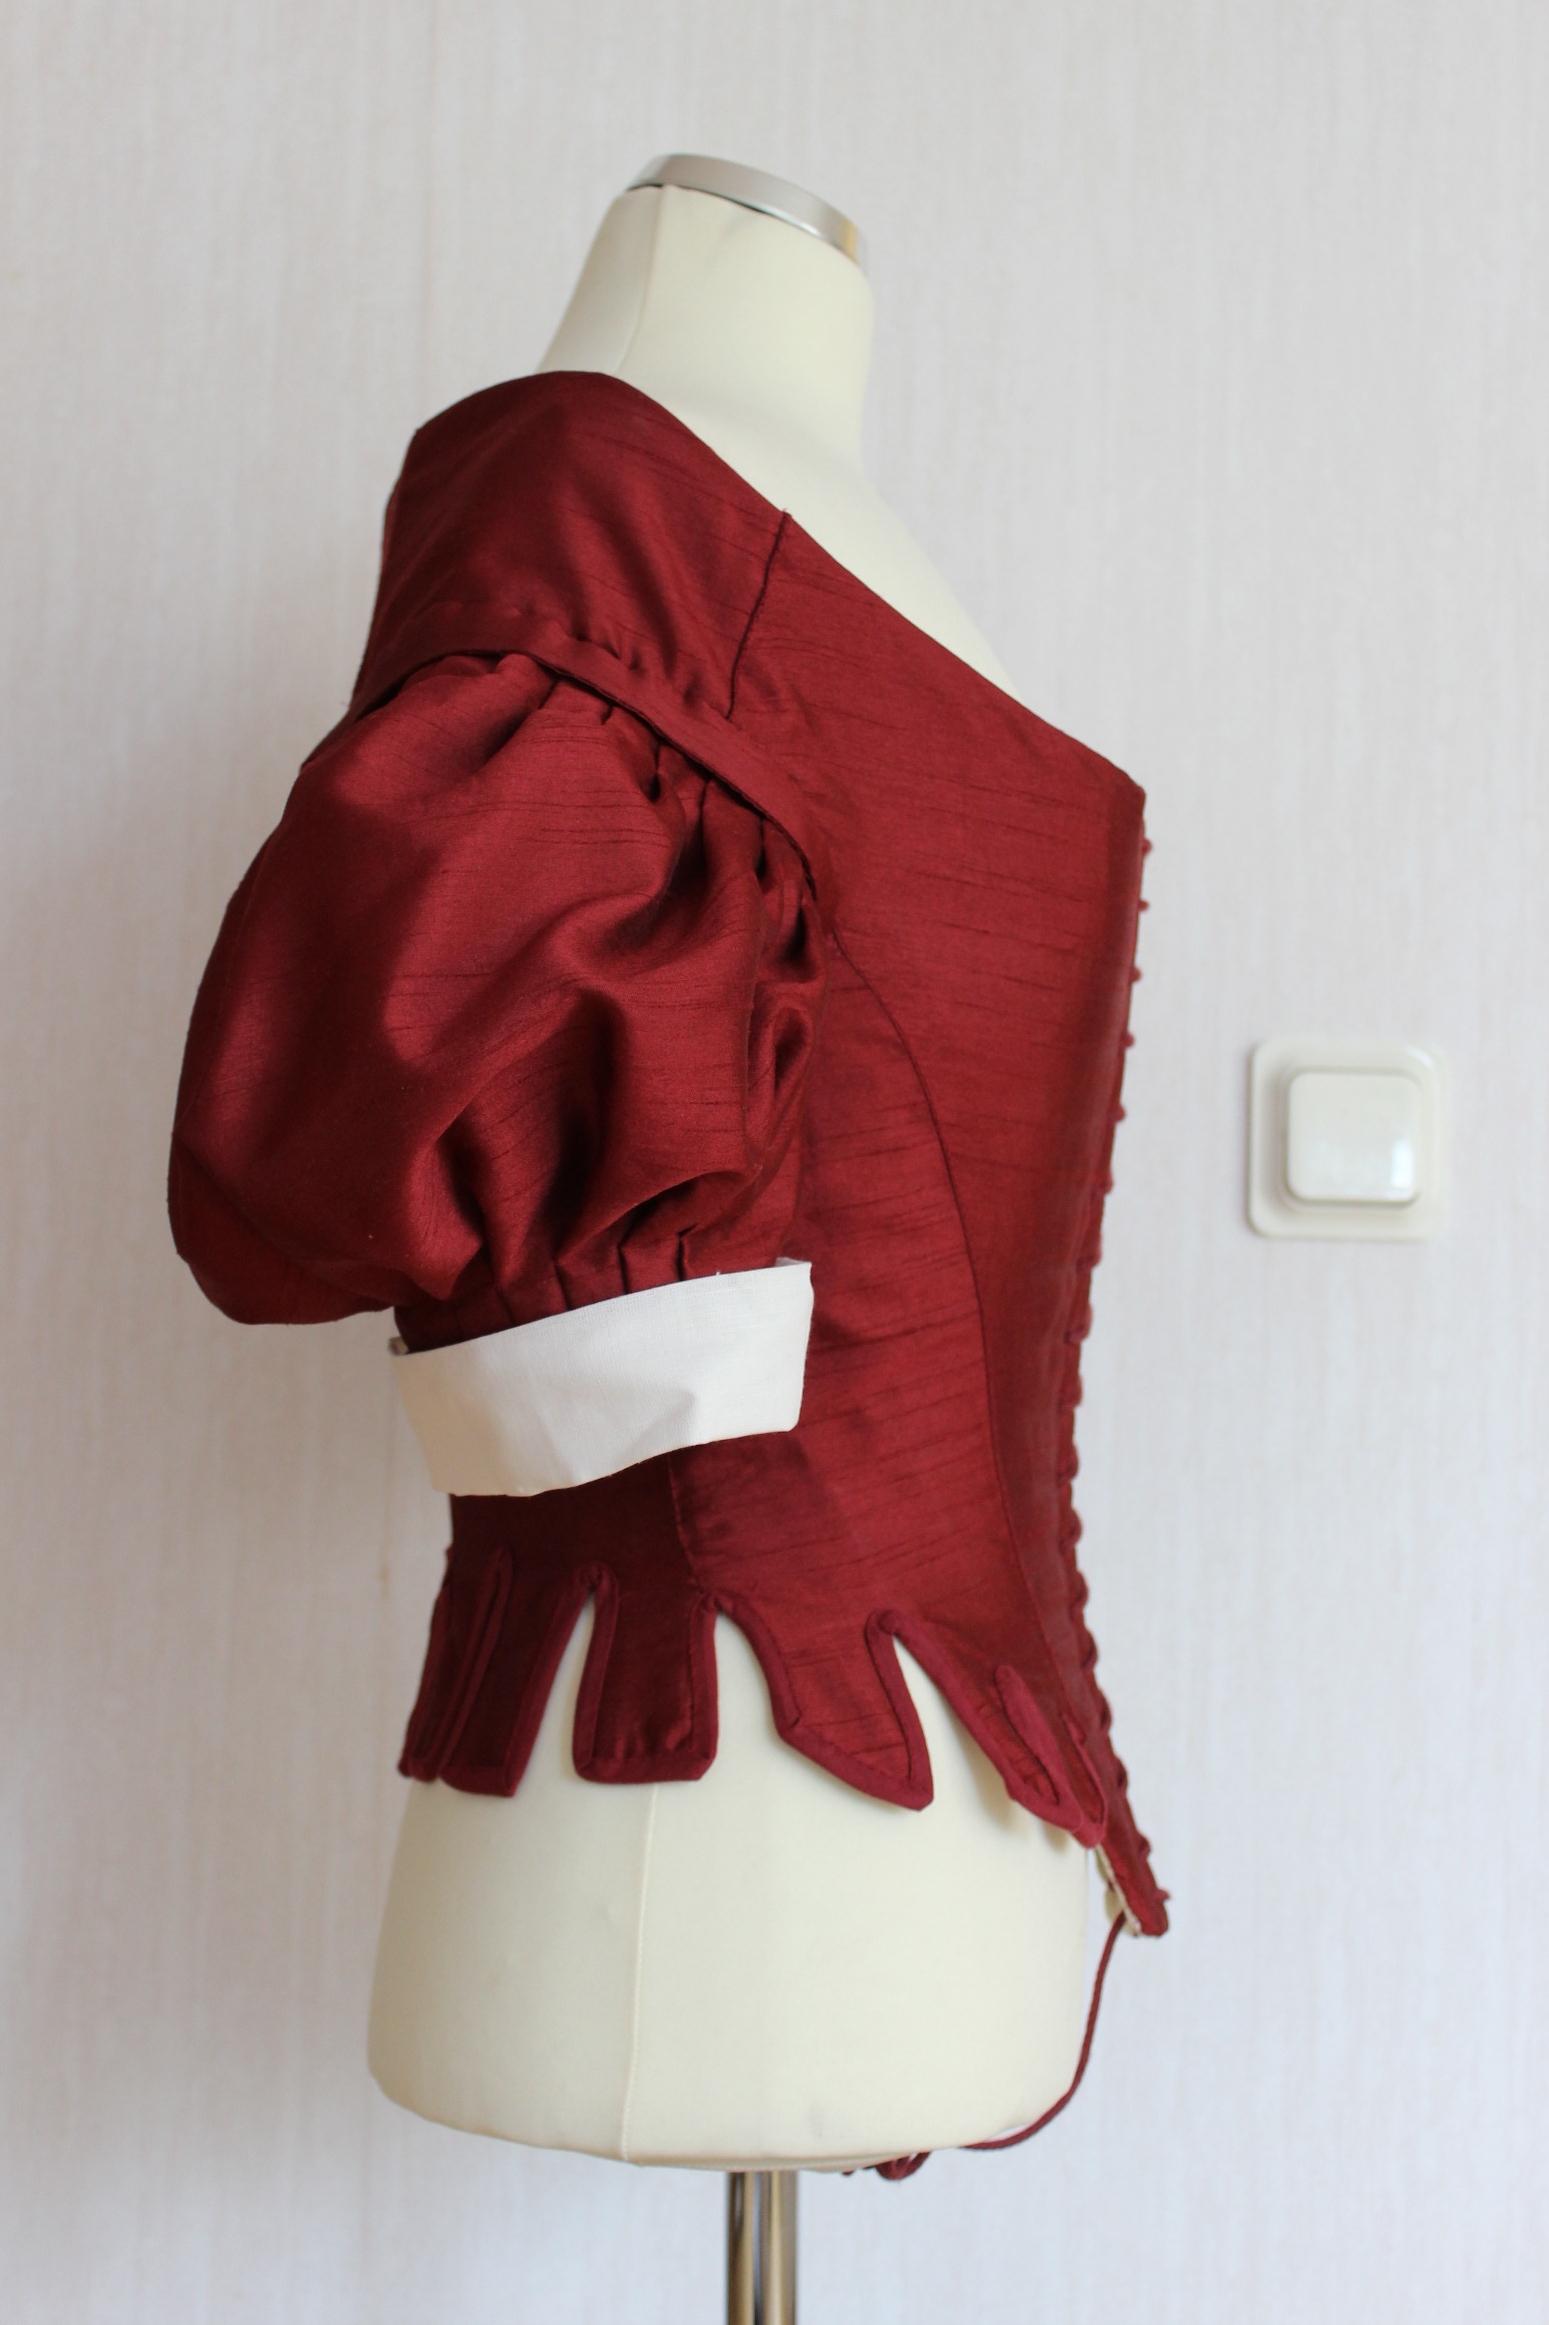
So here it is, the finished dress/bodice.


 Train un-draped


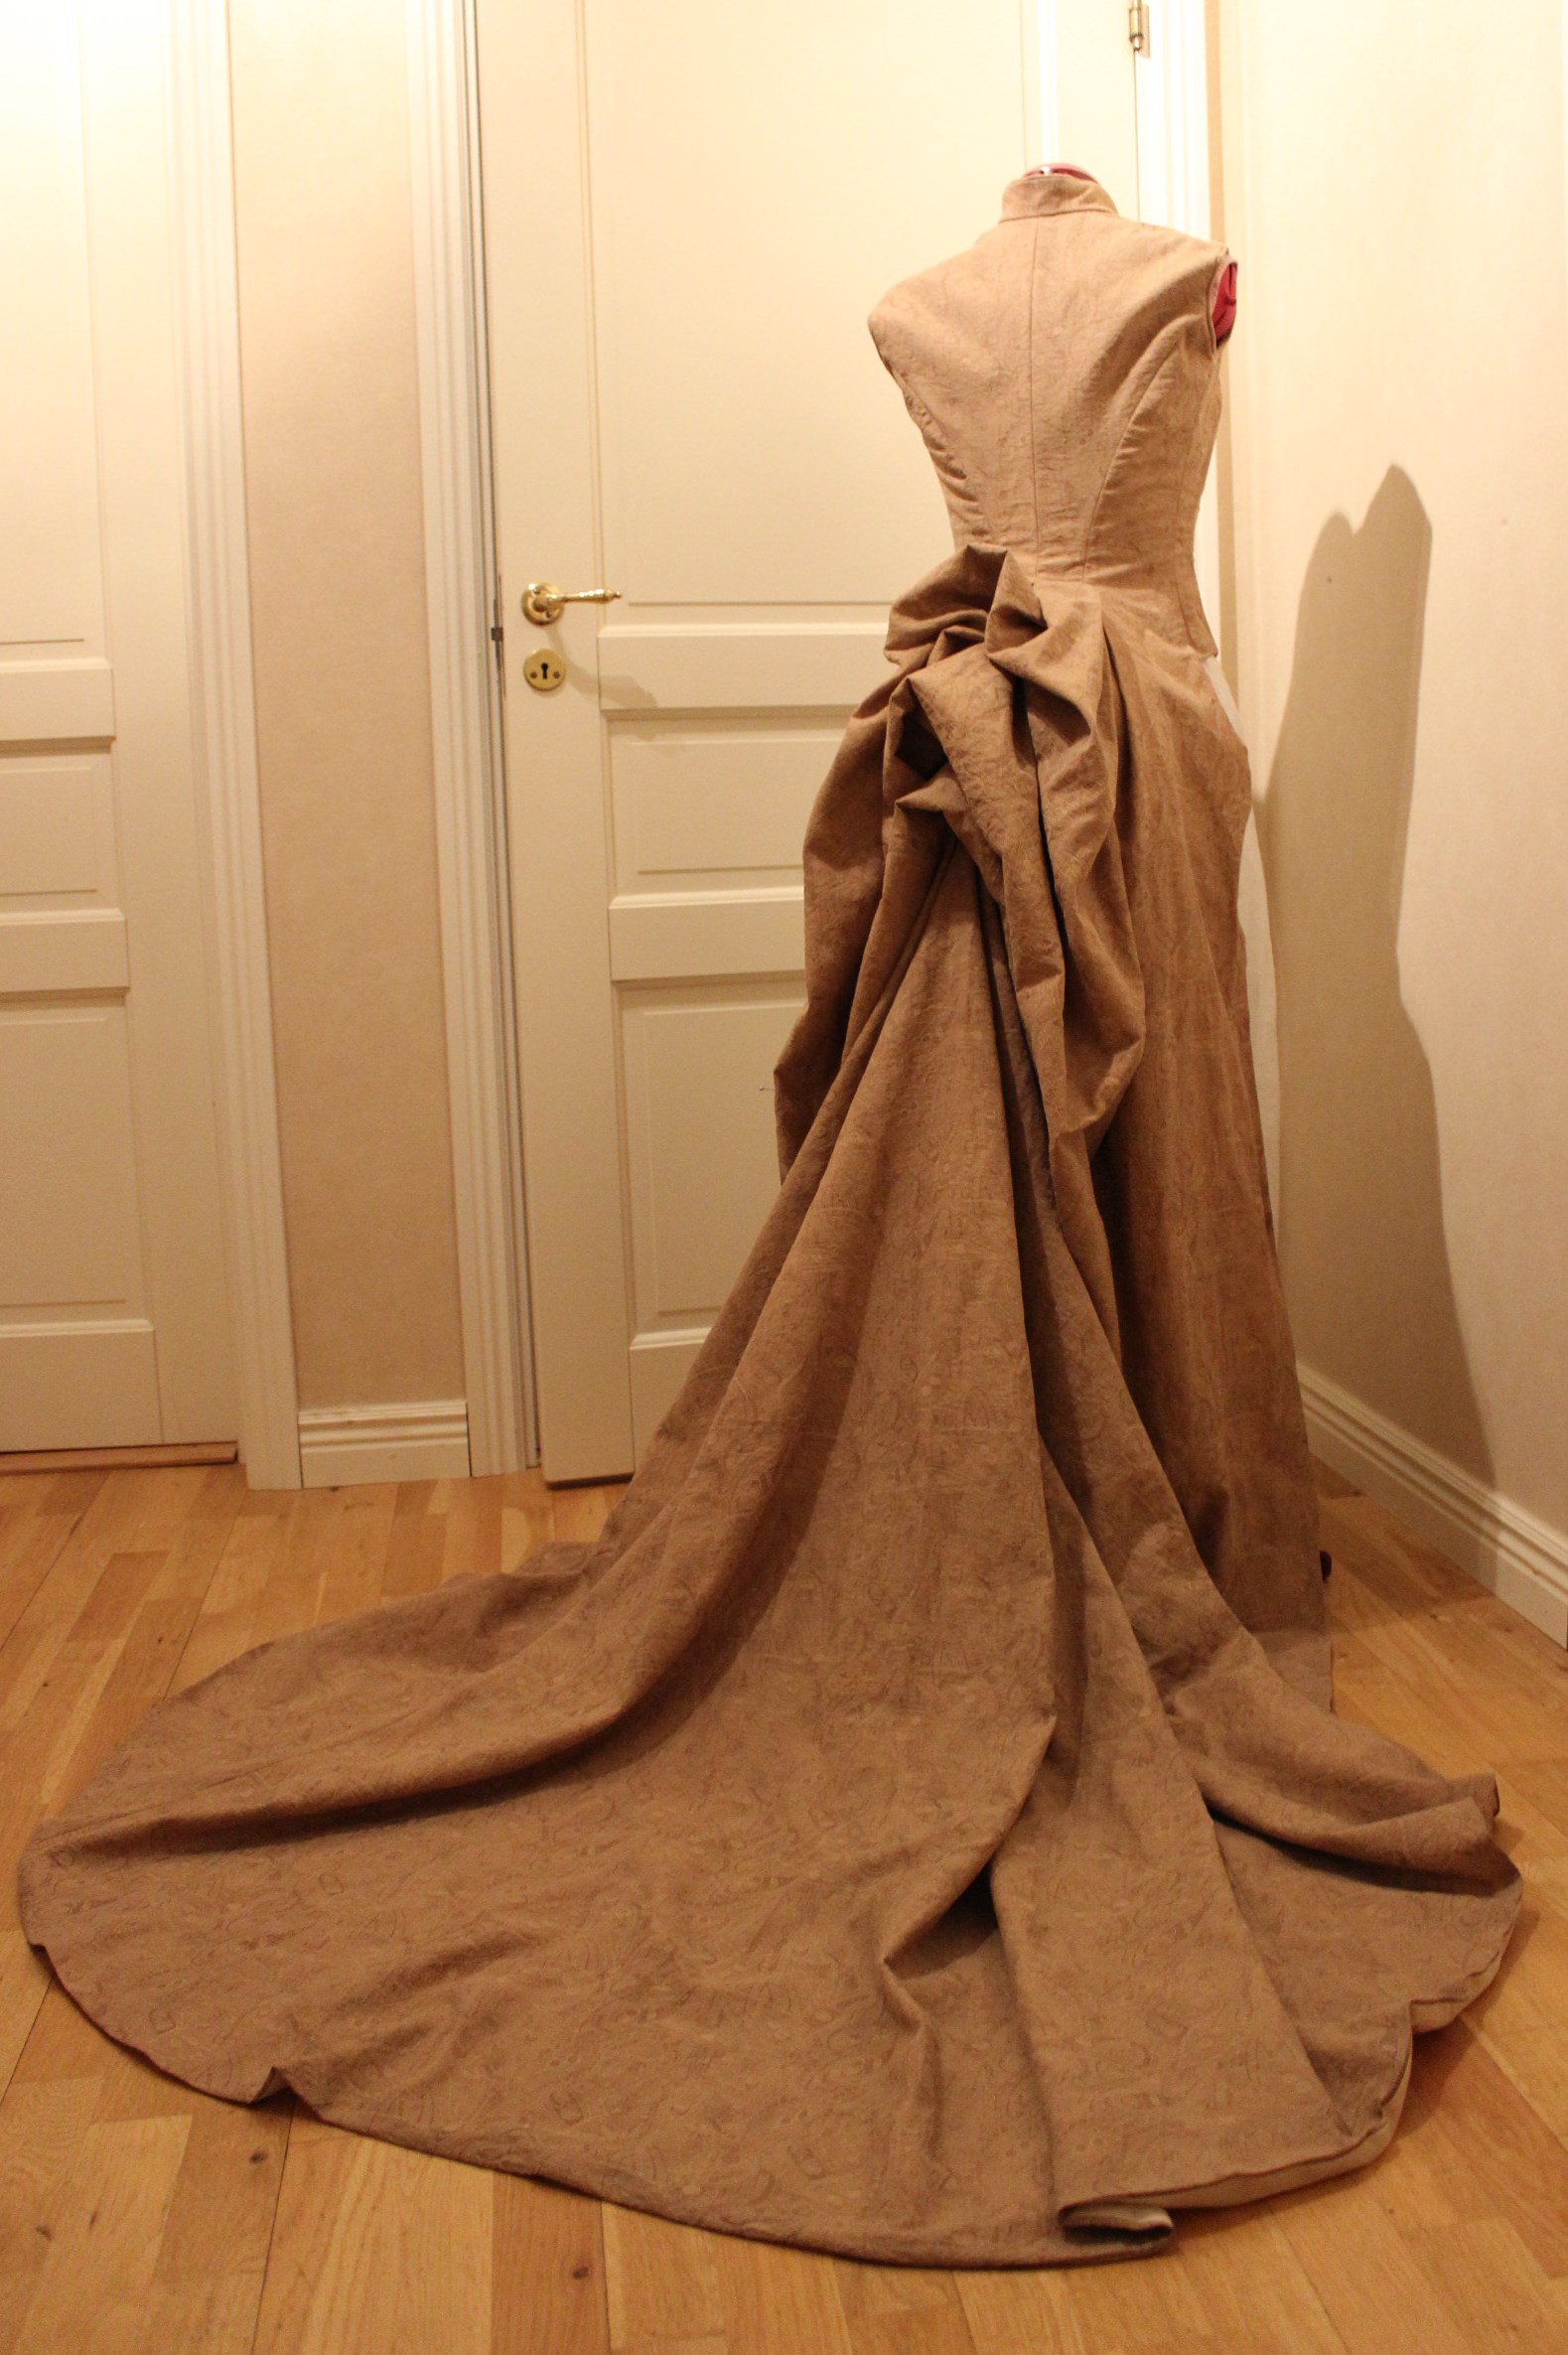
Train draped leaving the sides straight/down, and then with sides tied up.
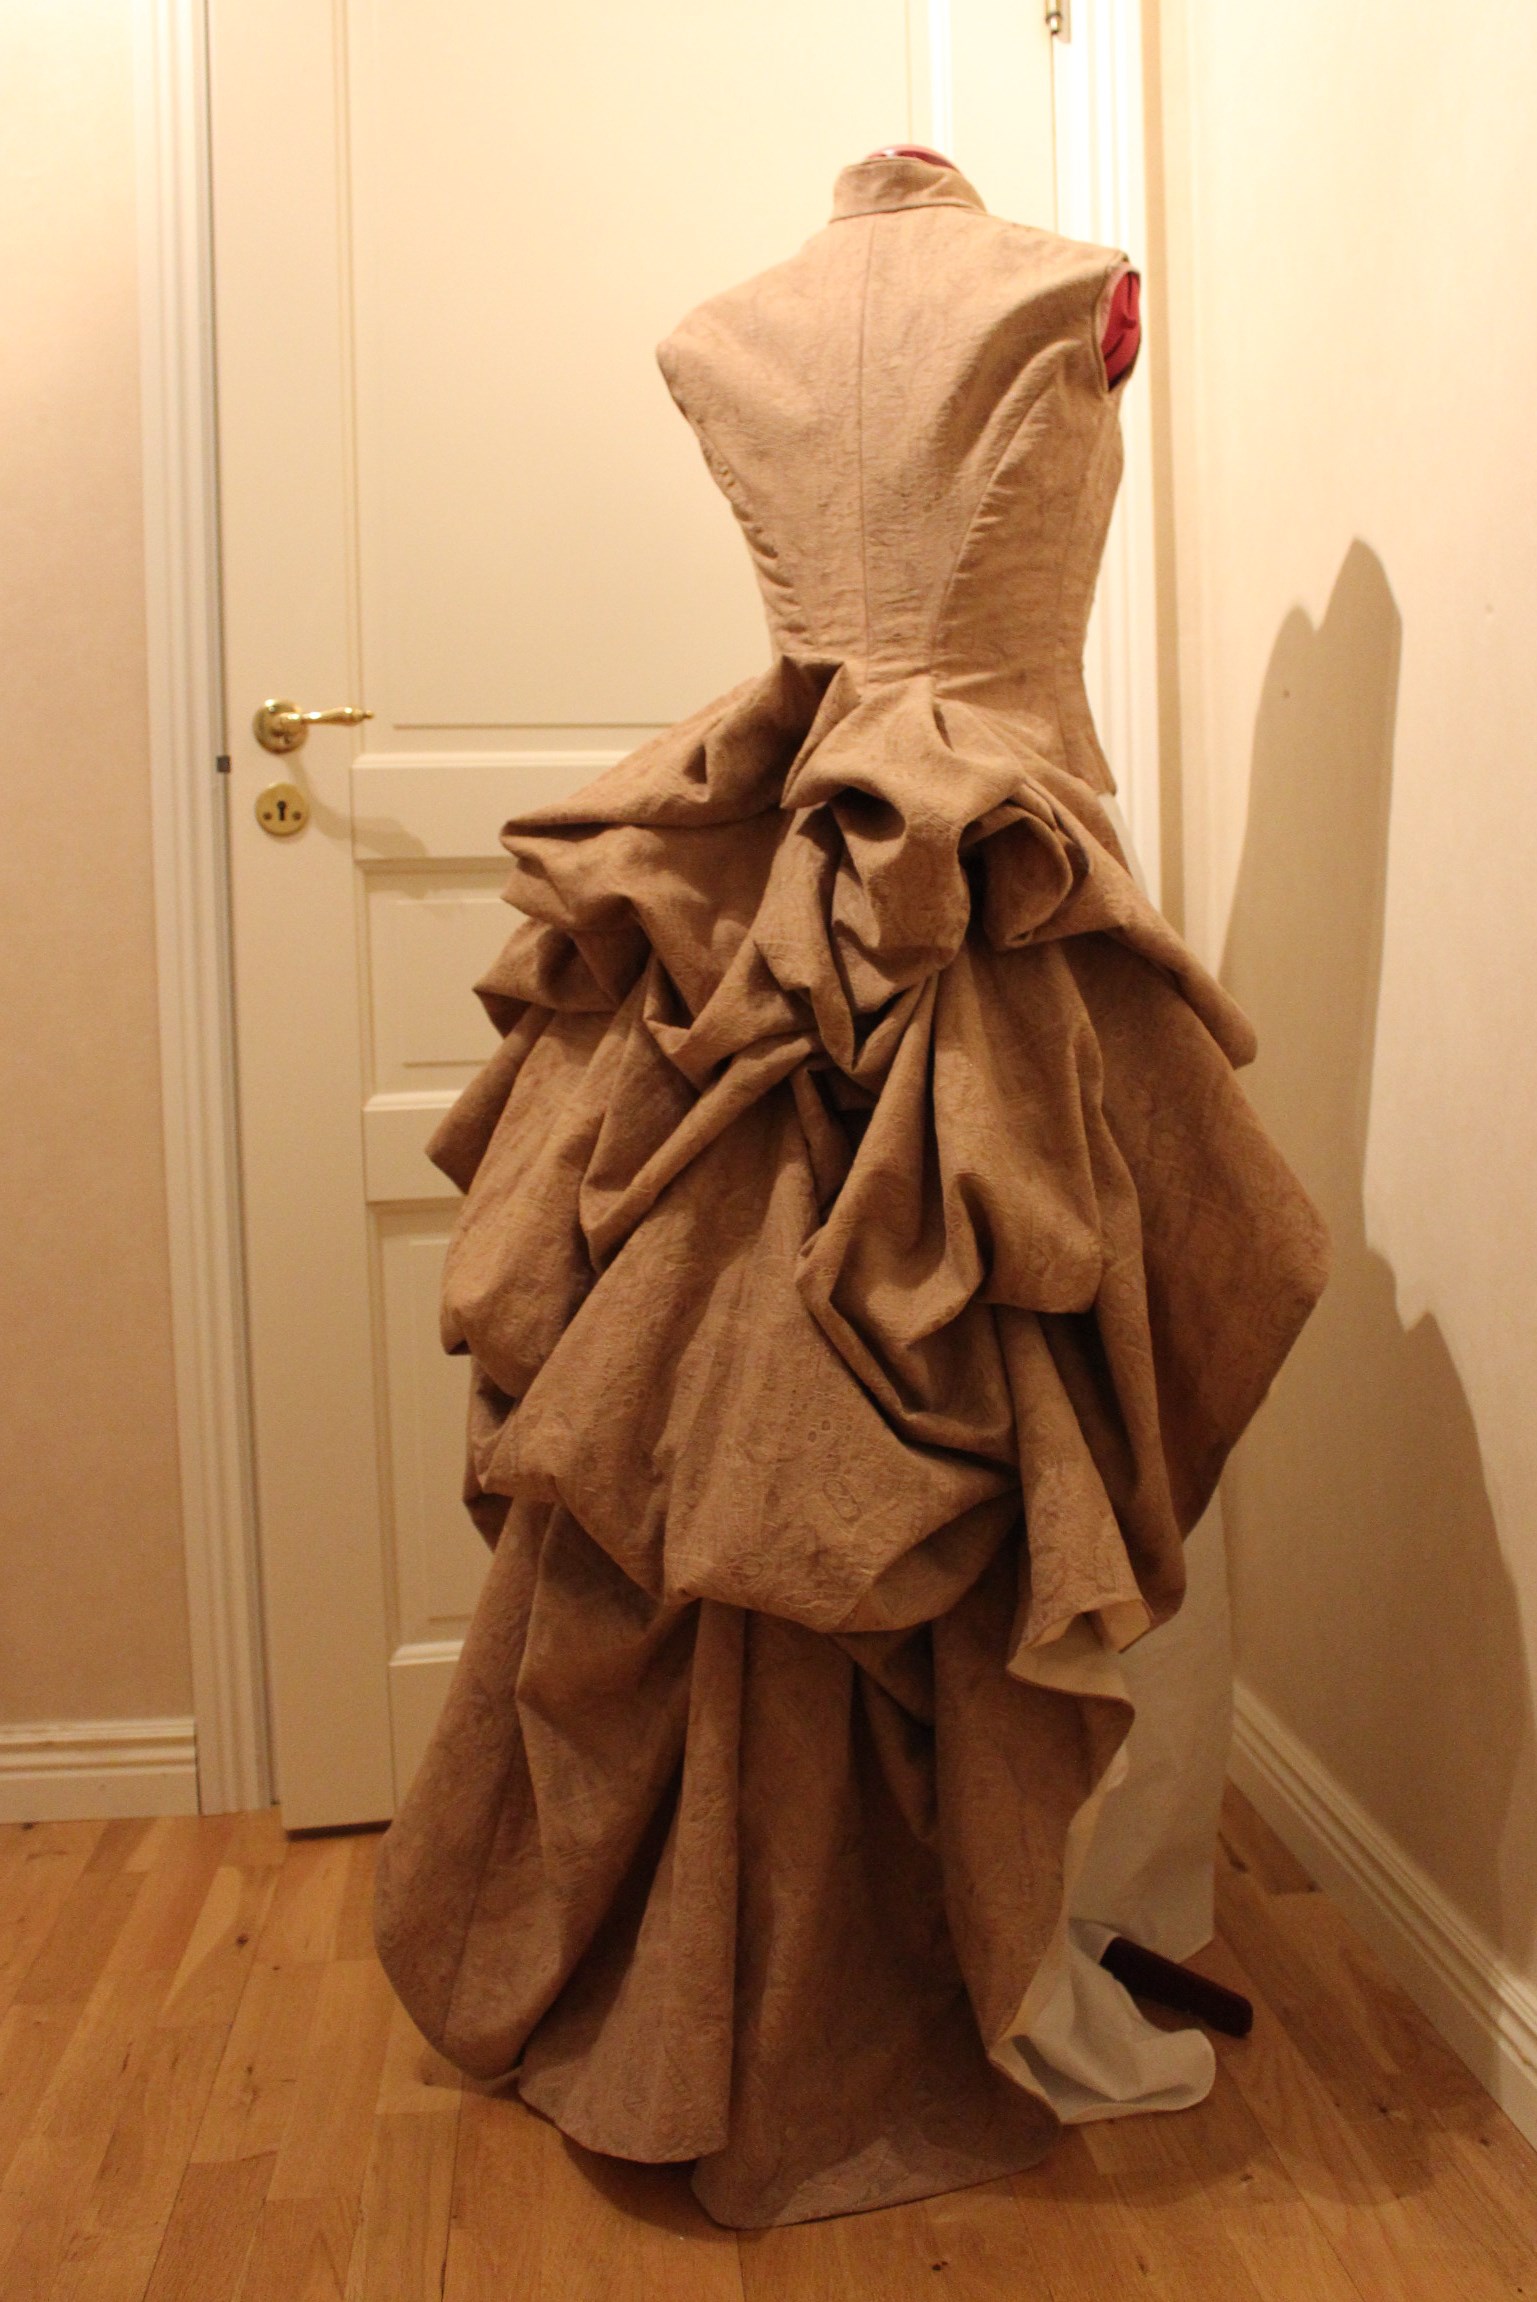
 Train totaly draped (walking lenght).

Facts:
What: A 1880s trained evening bodice.
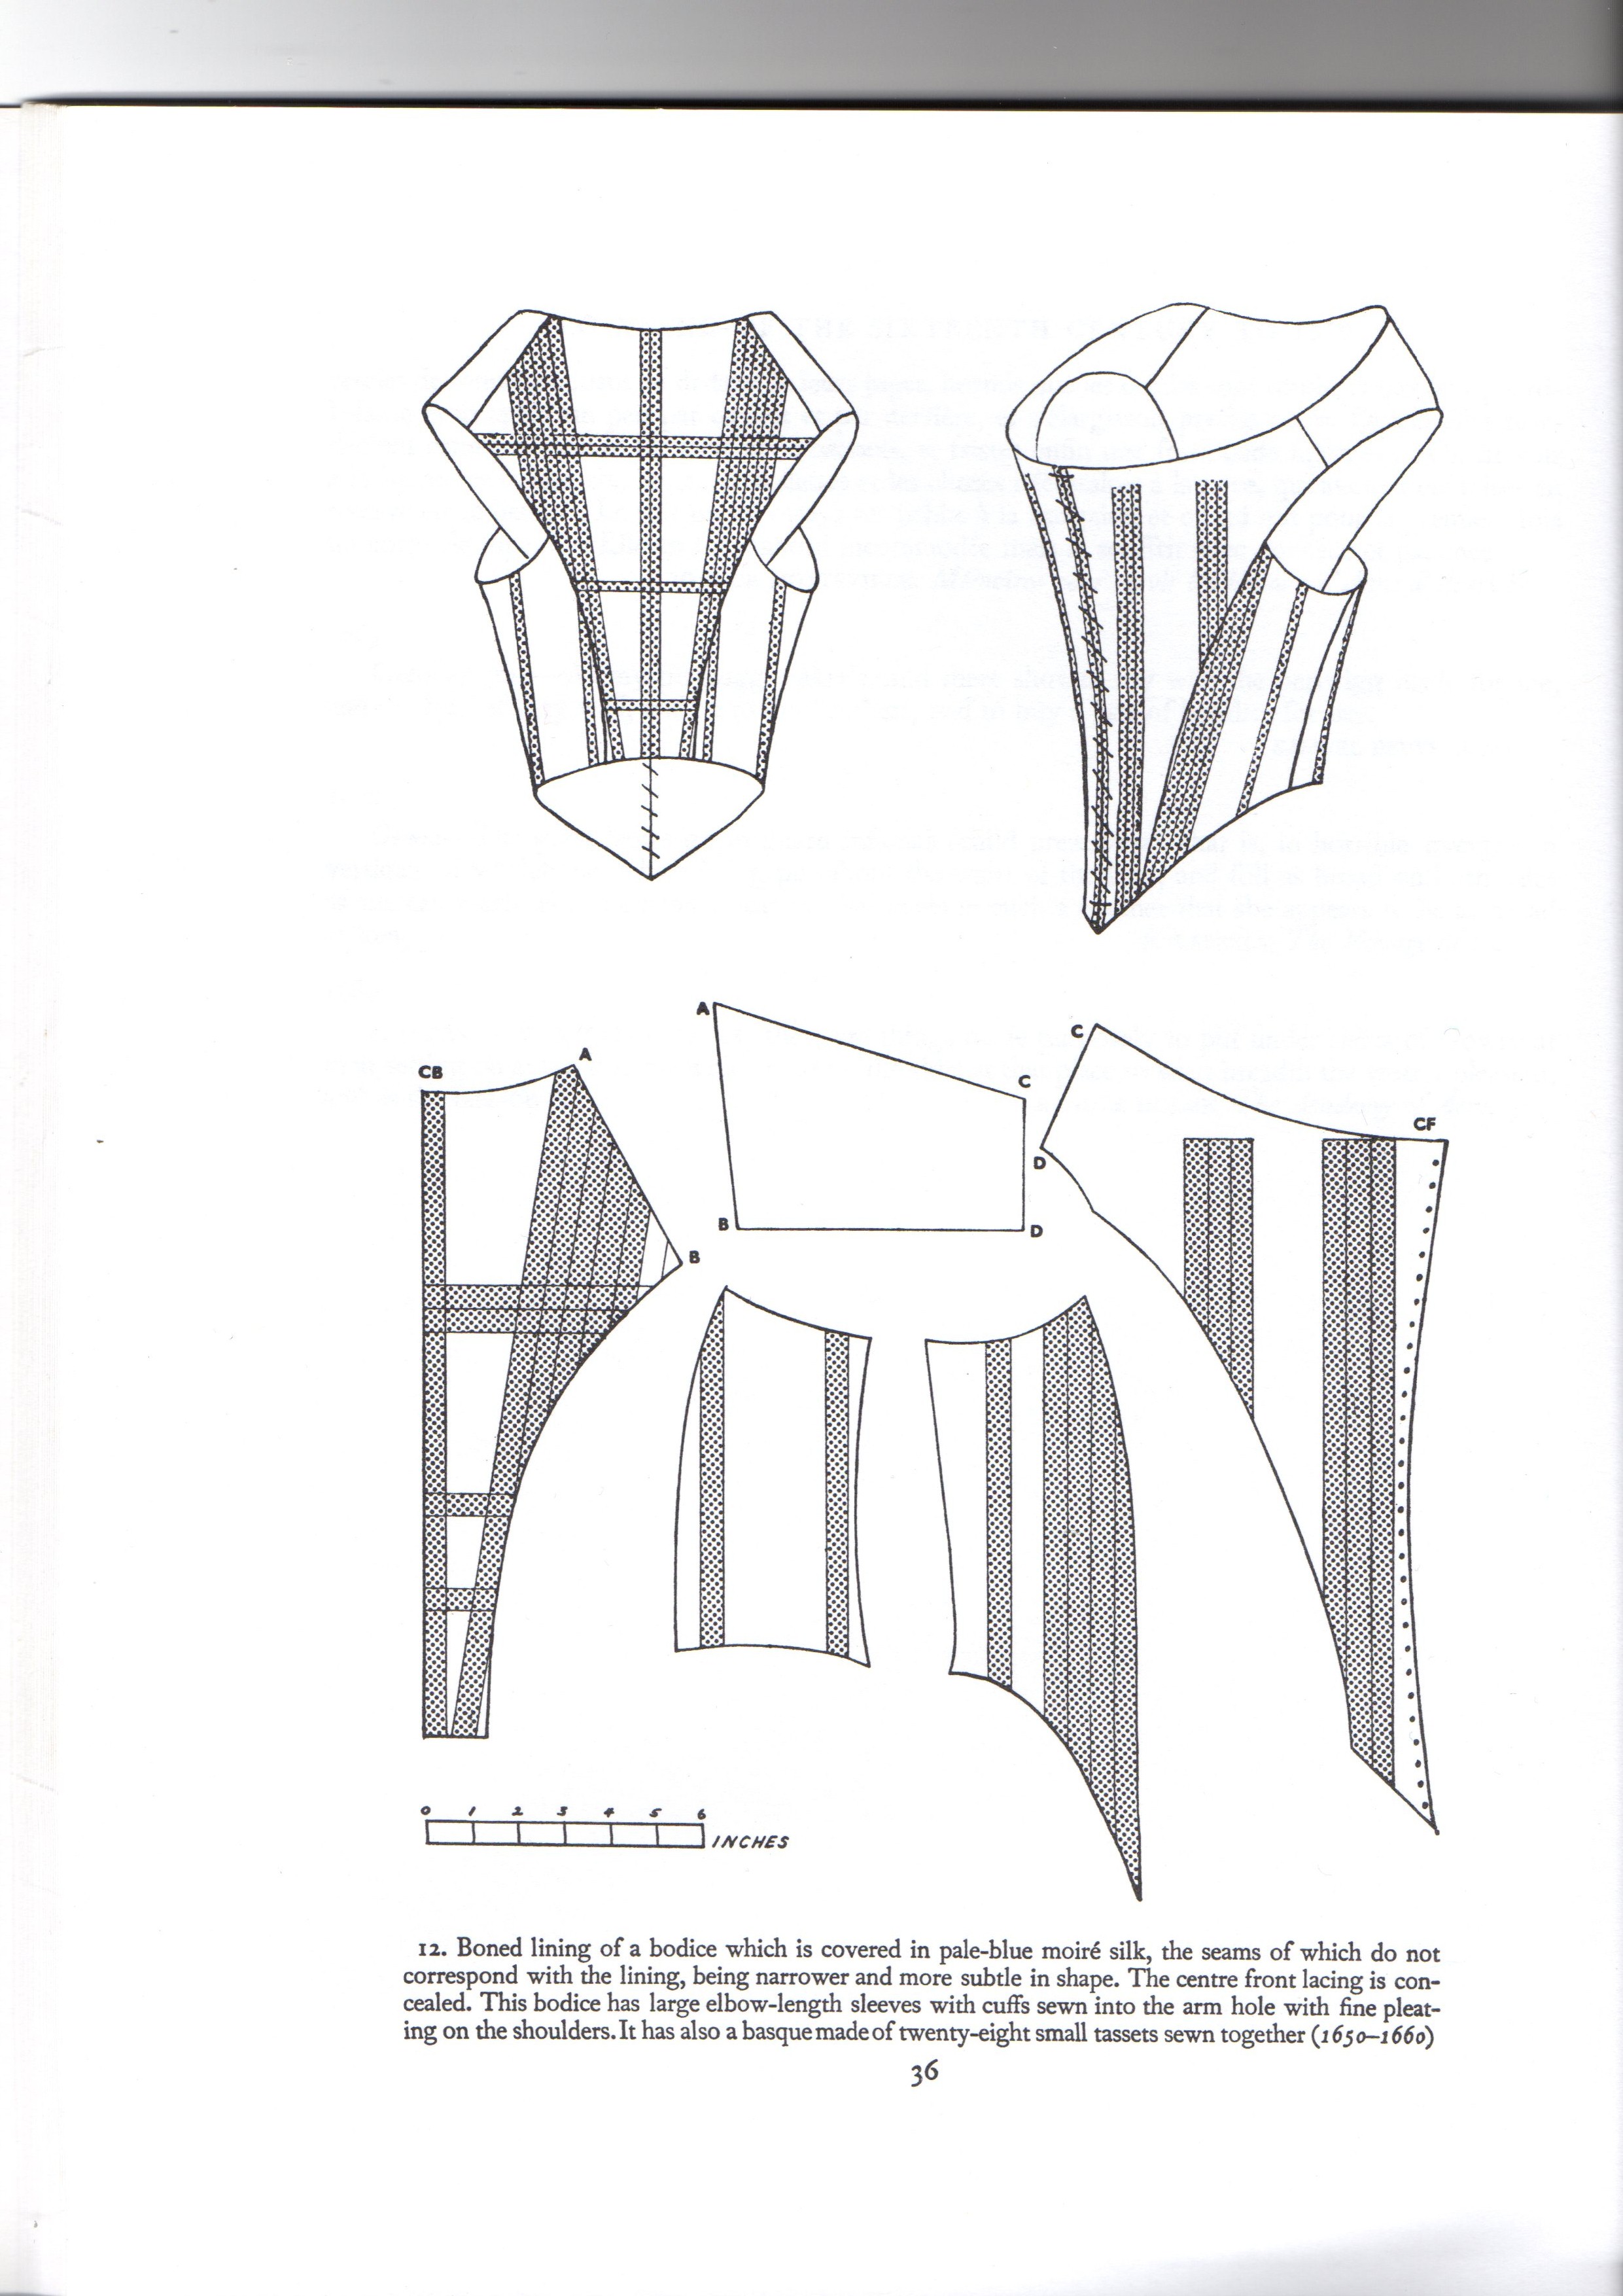
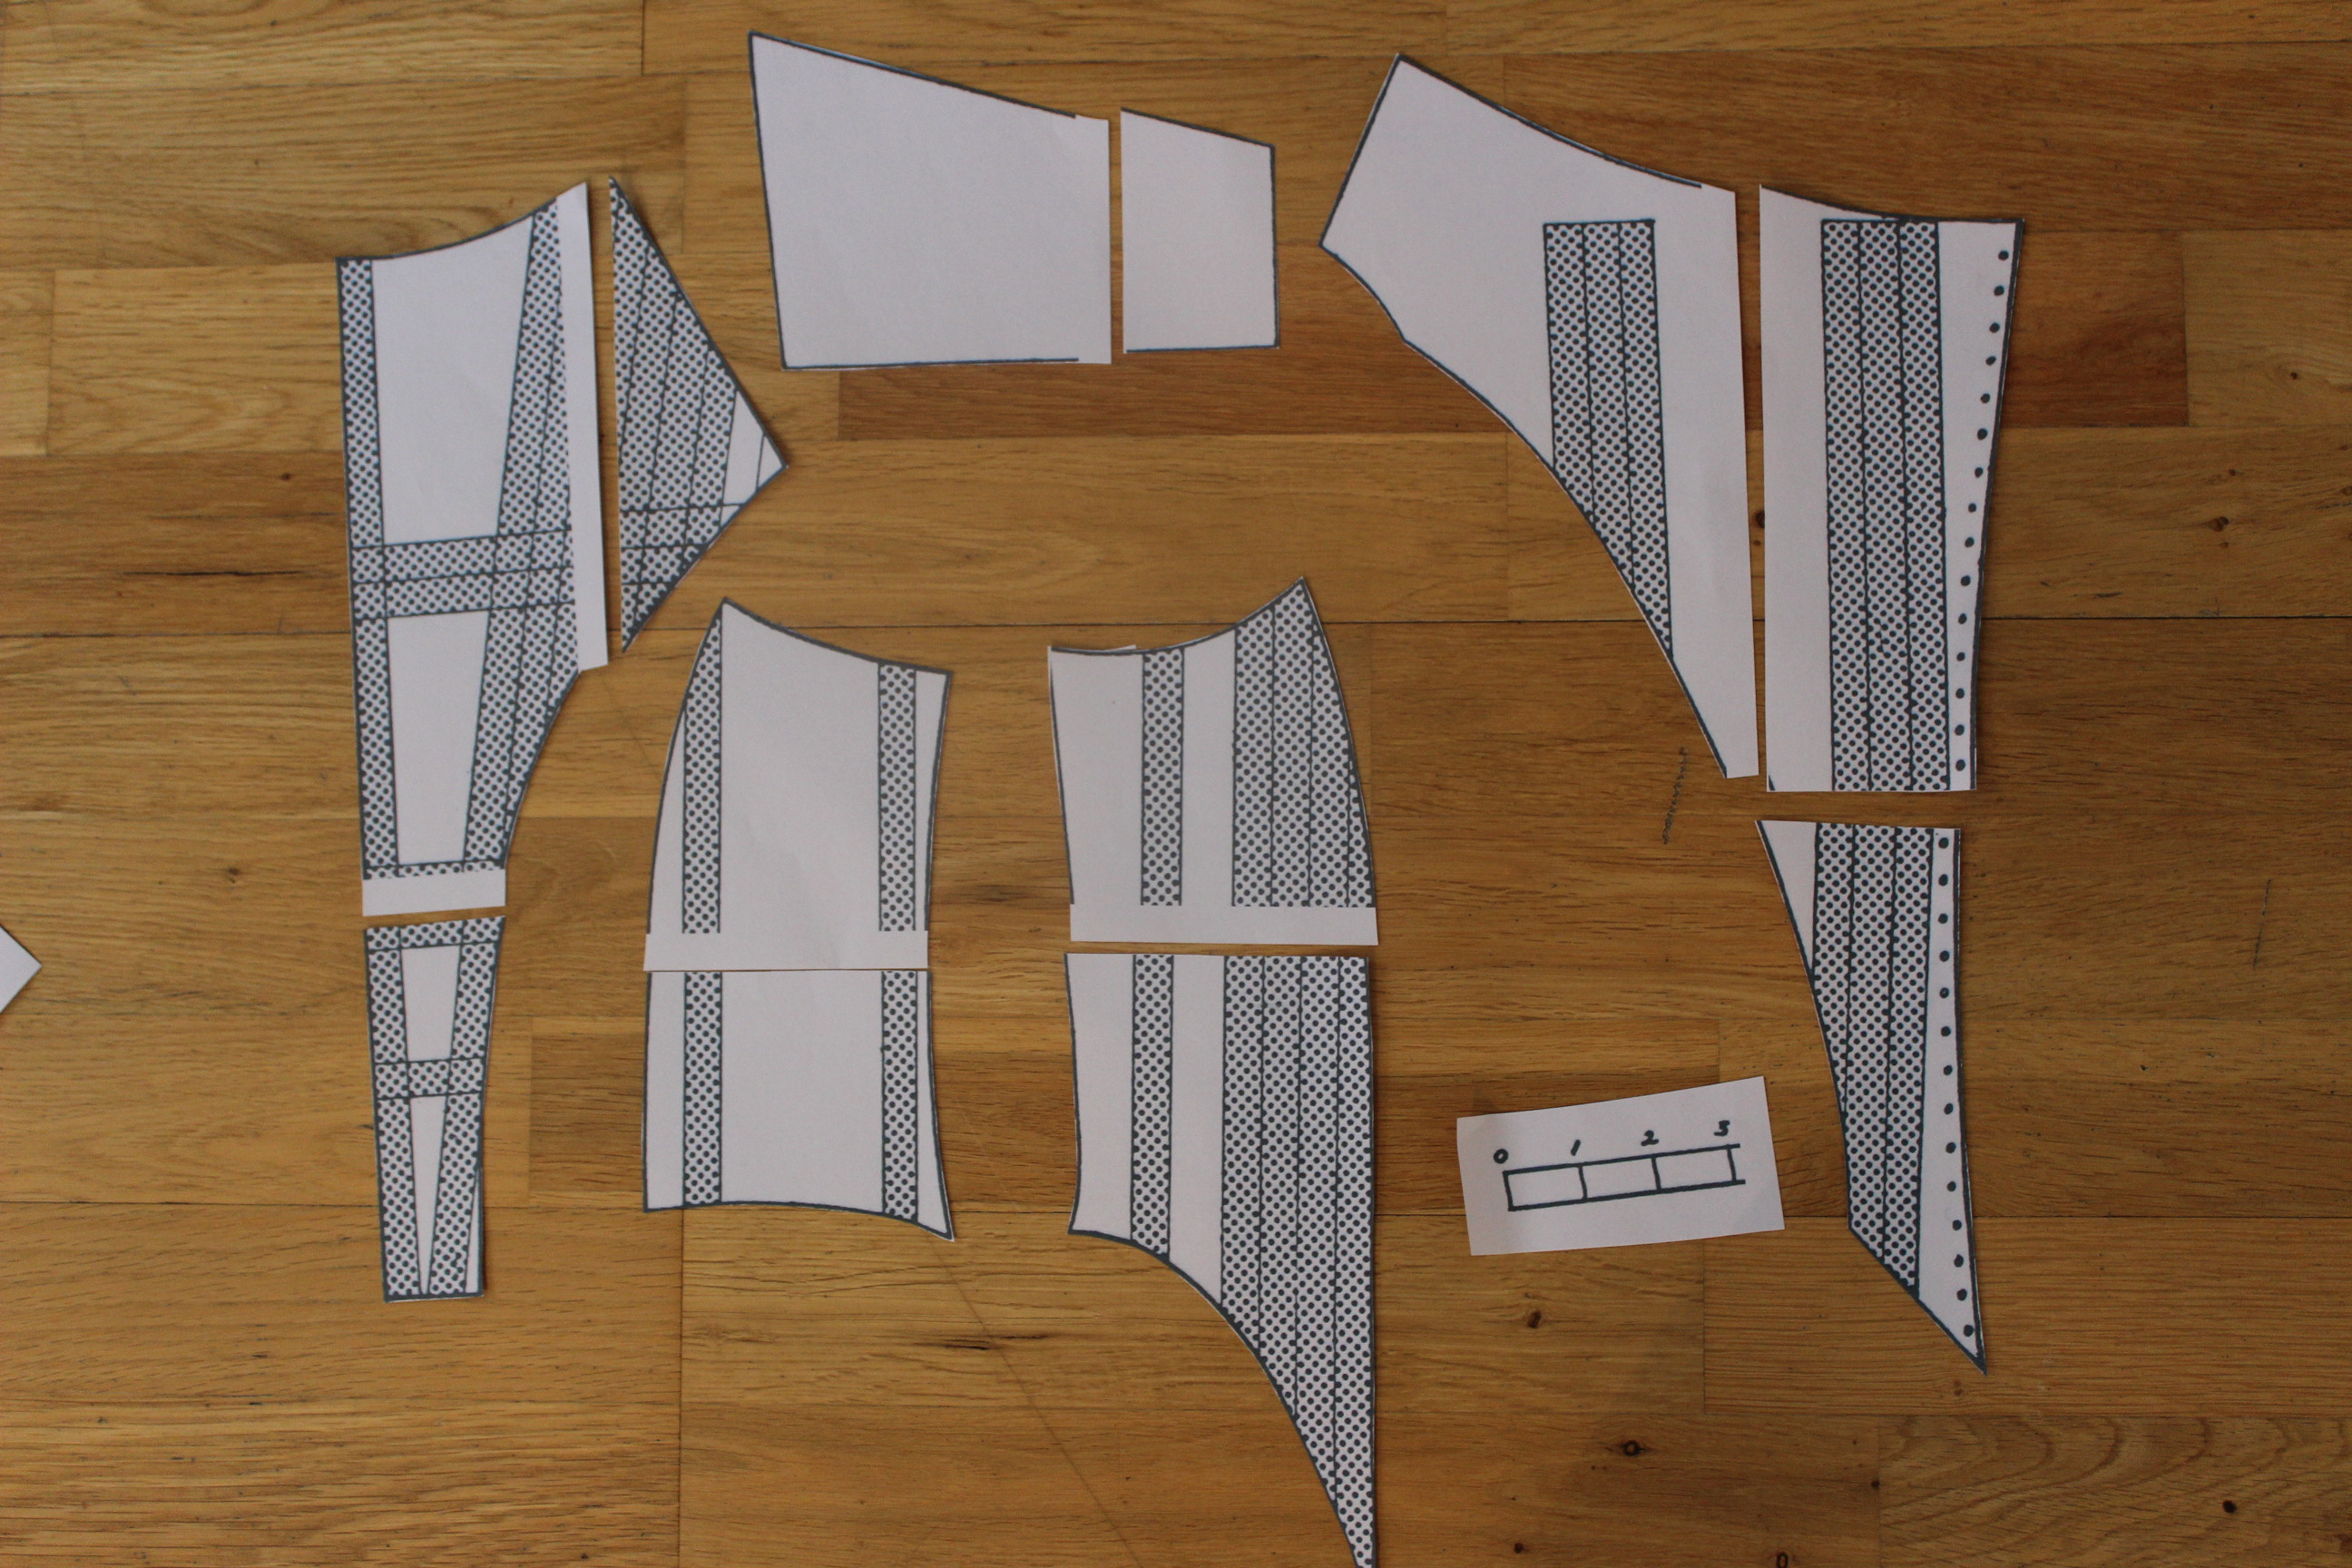
Pattern: Truly Victorian 462 (totaly re-modeled)
Fabric: 6 m golden polyester brocade, 4 m ivory cotton lining, 0,5 m ivory cotton twill for interlining.
Notions: Thread, buttonhole thread, 15 buttons (which I covered in fabric), 2 m string for piping, 3 m string for busteling/draping the train, 8 plastic cable ties for boning, 2 m self made cotton bias tape for boning chanels, 8 m brown fringe trim.
Time: 25 hours
Cost: About 800 Sek (120 Usd)
Things I would do Different: I would definitely have draped my own pattern, and taken the time to do multiple mock-ups to get the fit over the shoulders and neck just right. I will also have changed the lines of the side/back piece which curved shape now causes it to pull a bit. And re-placed the straight boning with spiral boning in the curved side/back seam, for the same puporse.
Final Thoughts: I love the dress. I think it is cool yet elegant and I did get lots of compliments on it at the bal. The unusal neckline makes it so interesting and viasualy pleasing.
I would love to wear it again – perhaps at a steampunk convention, paired with brown throusers and some cool accessories.


 Model: Annika Siljat


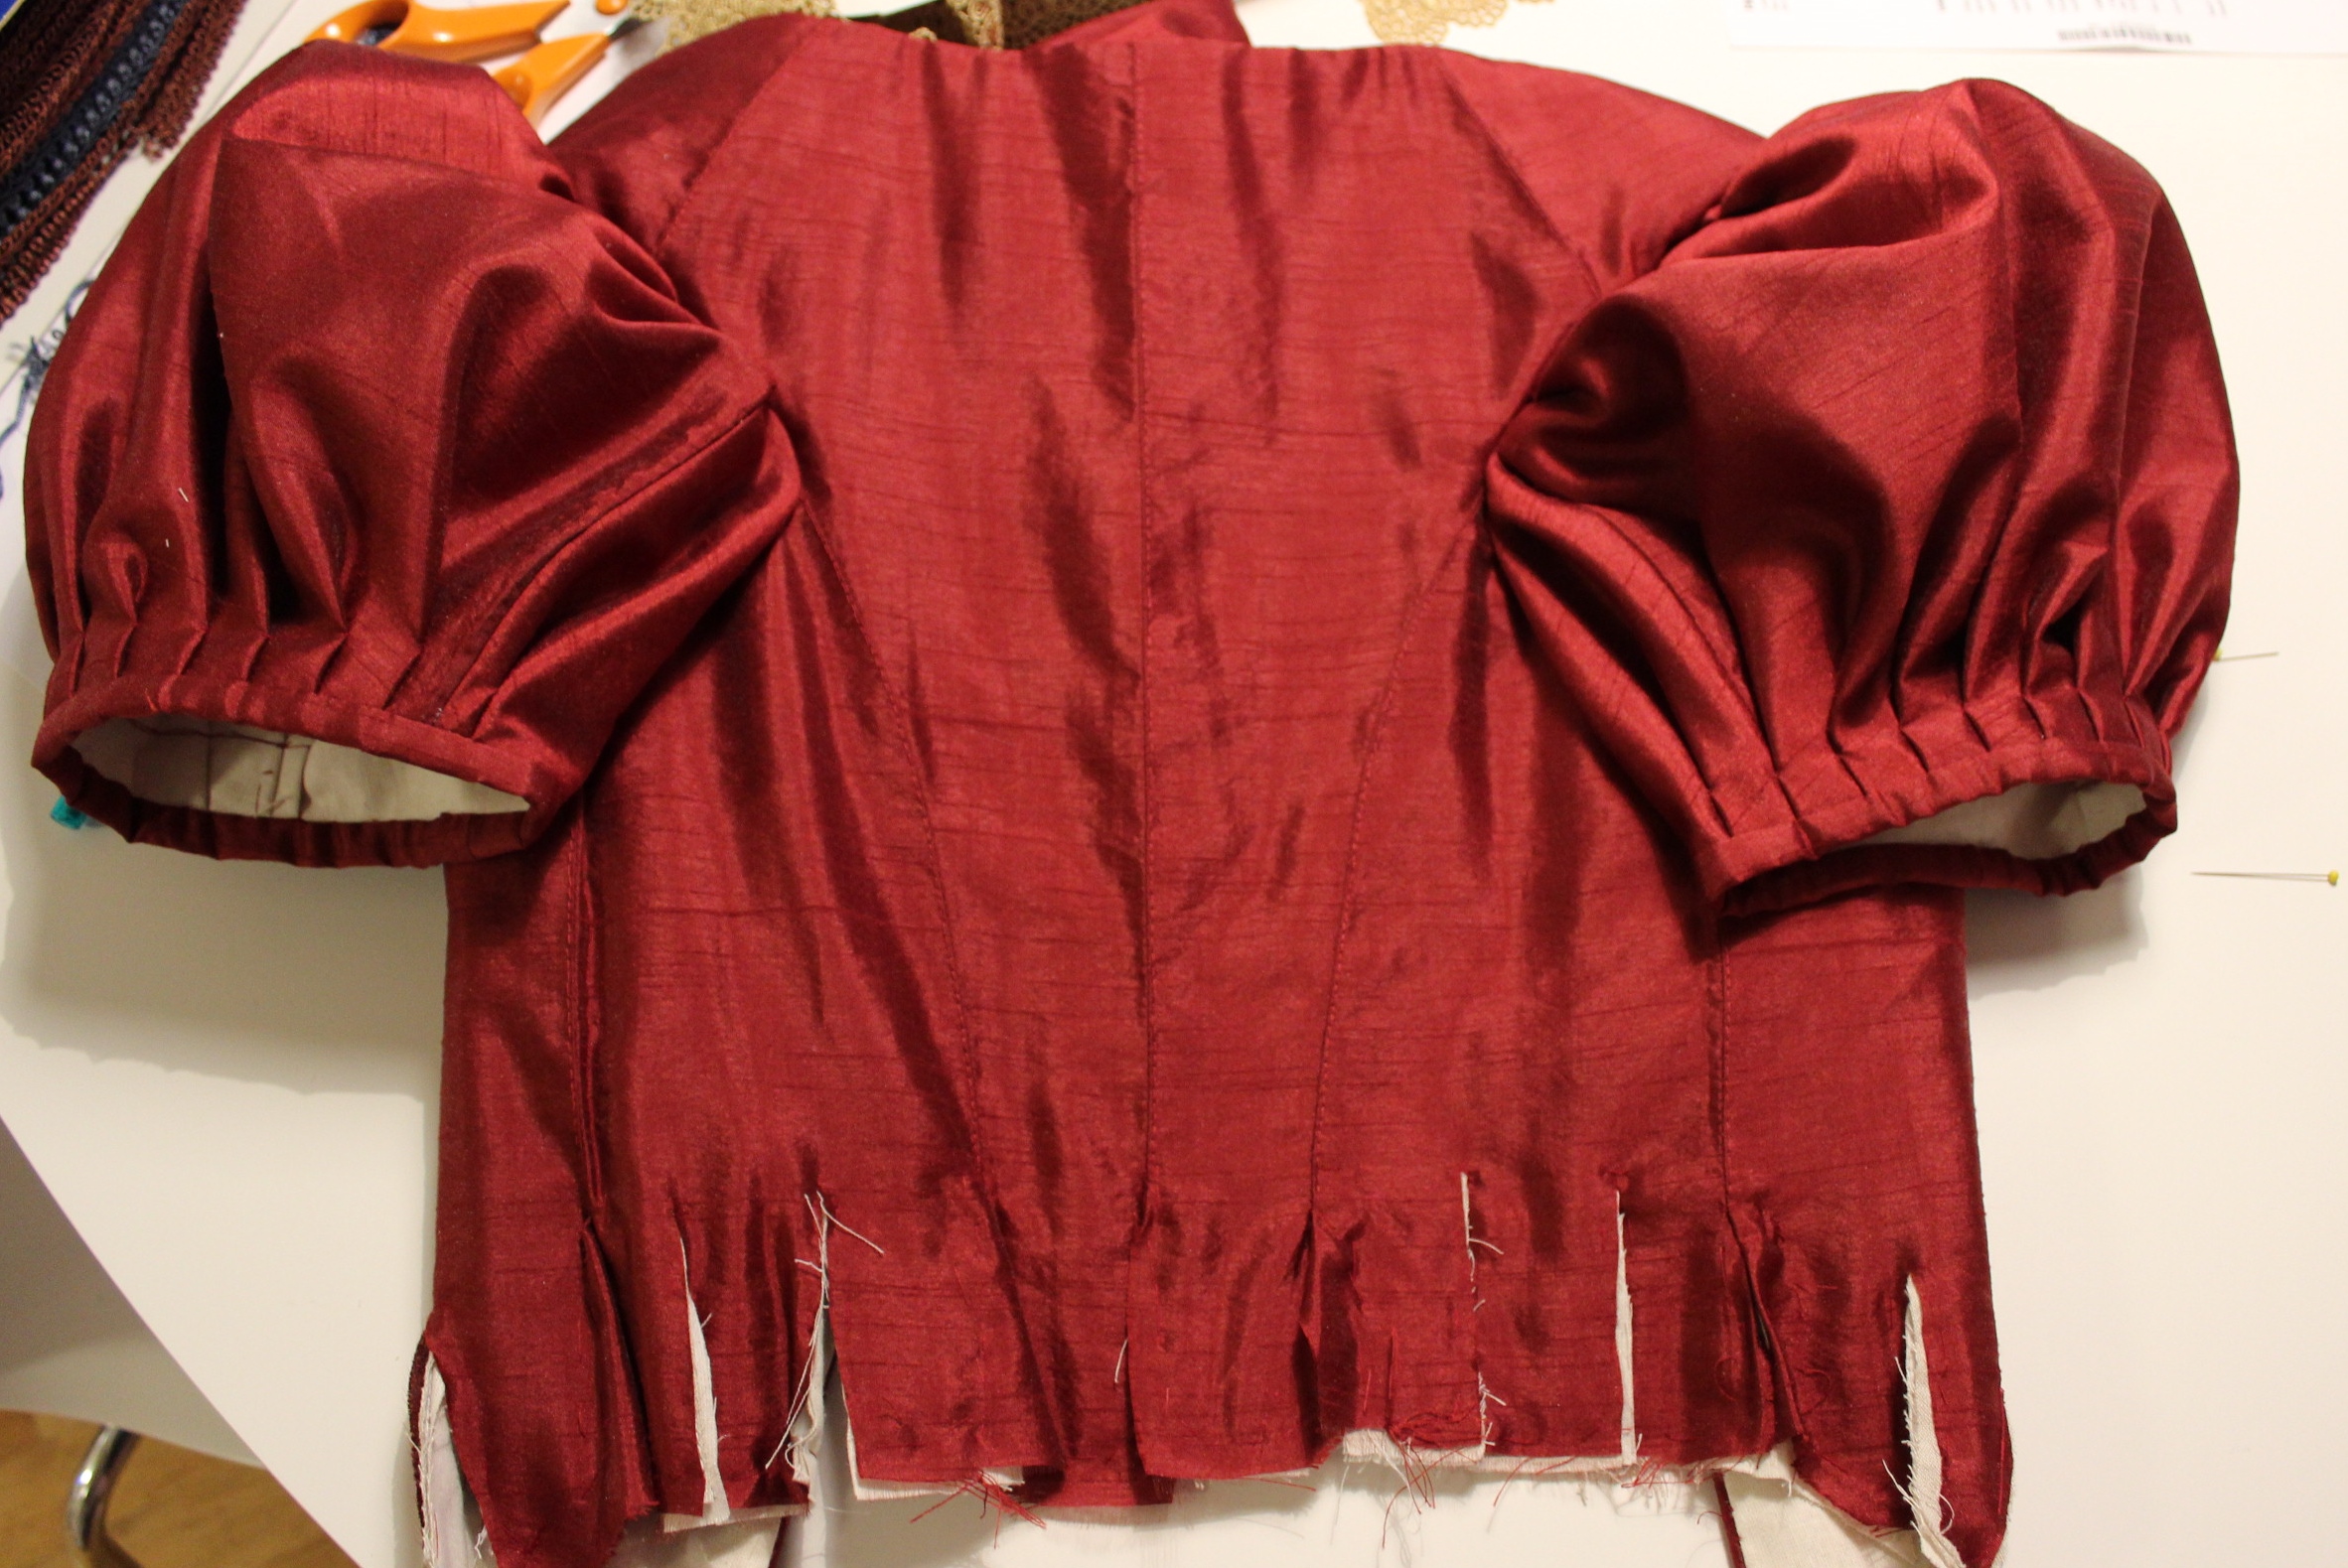


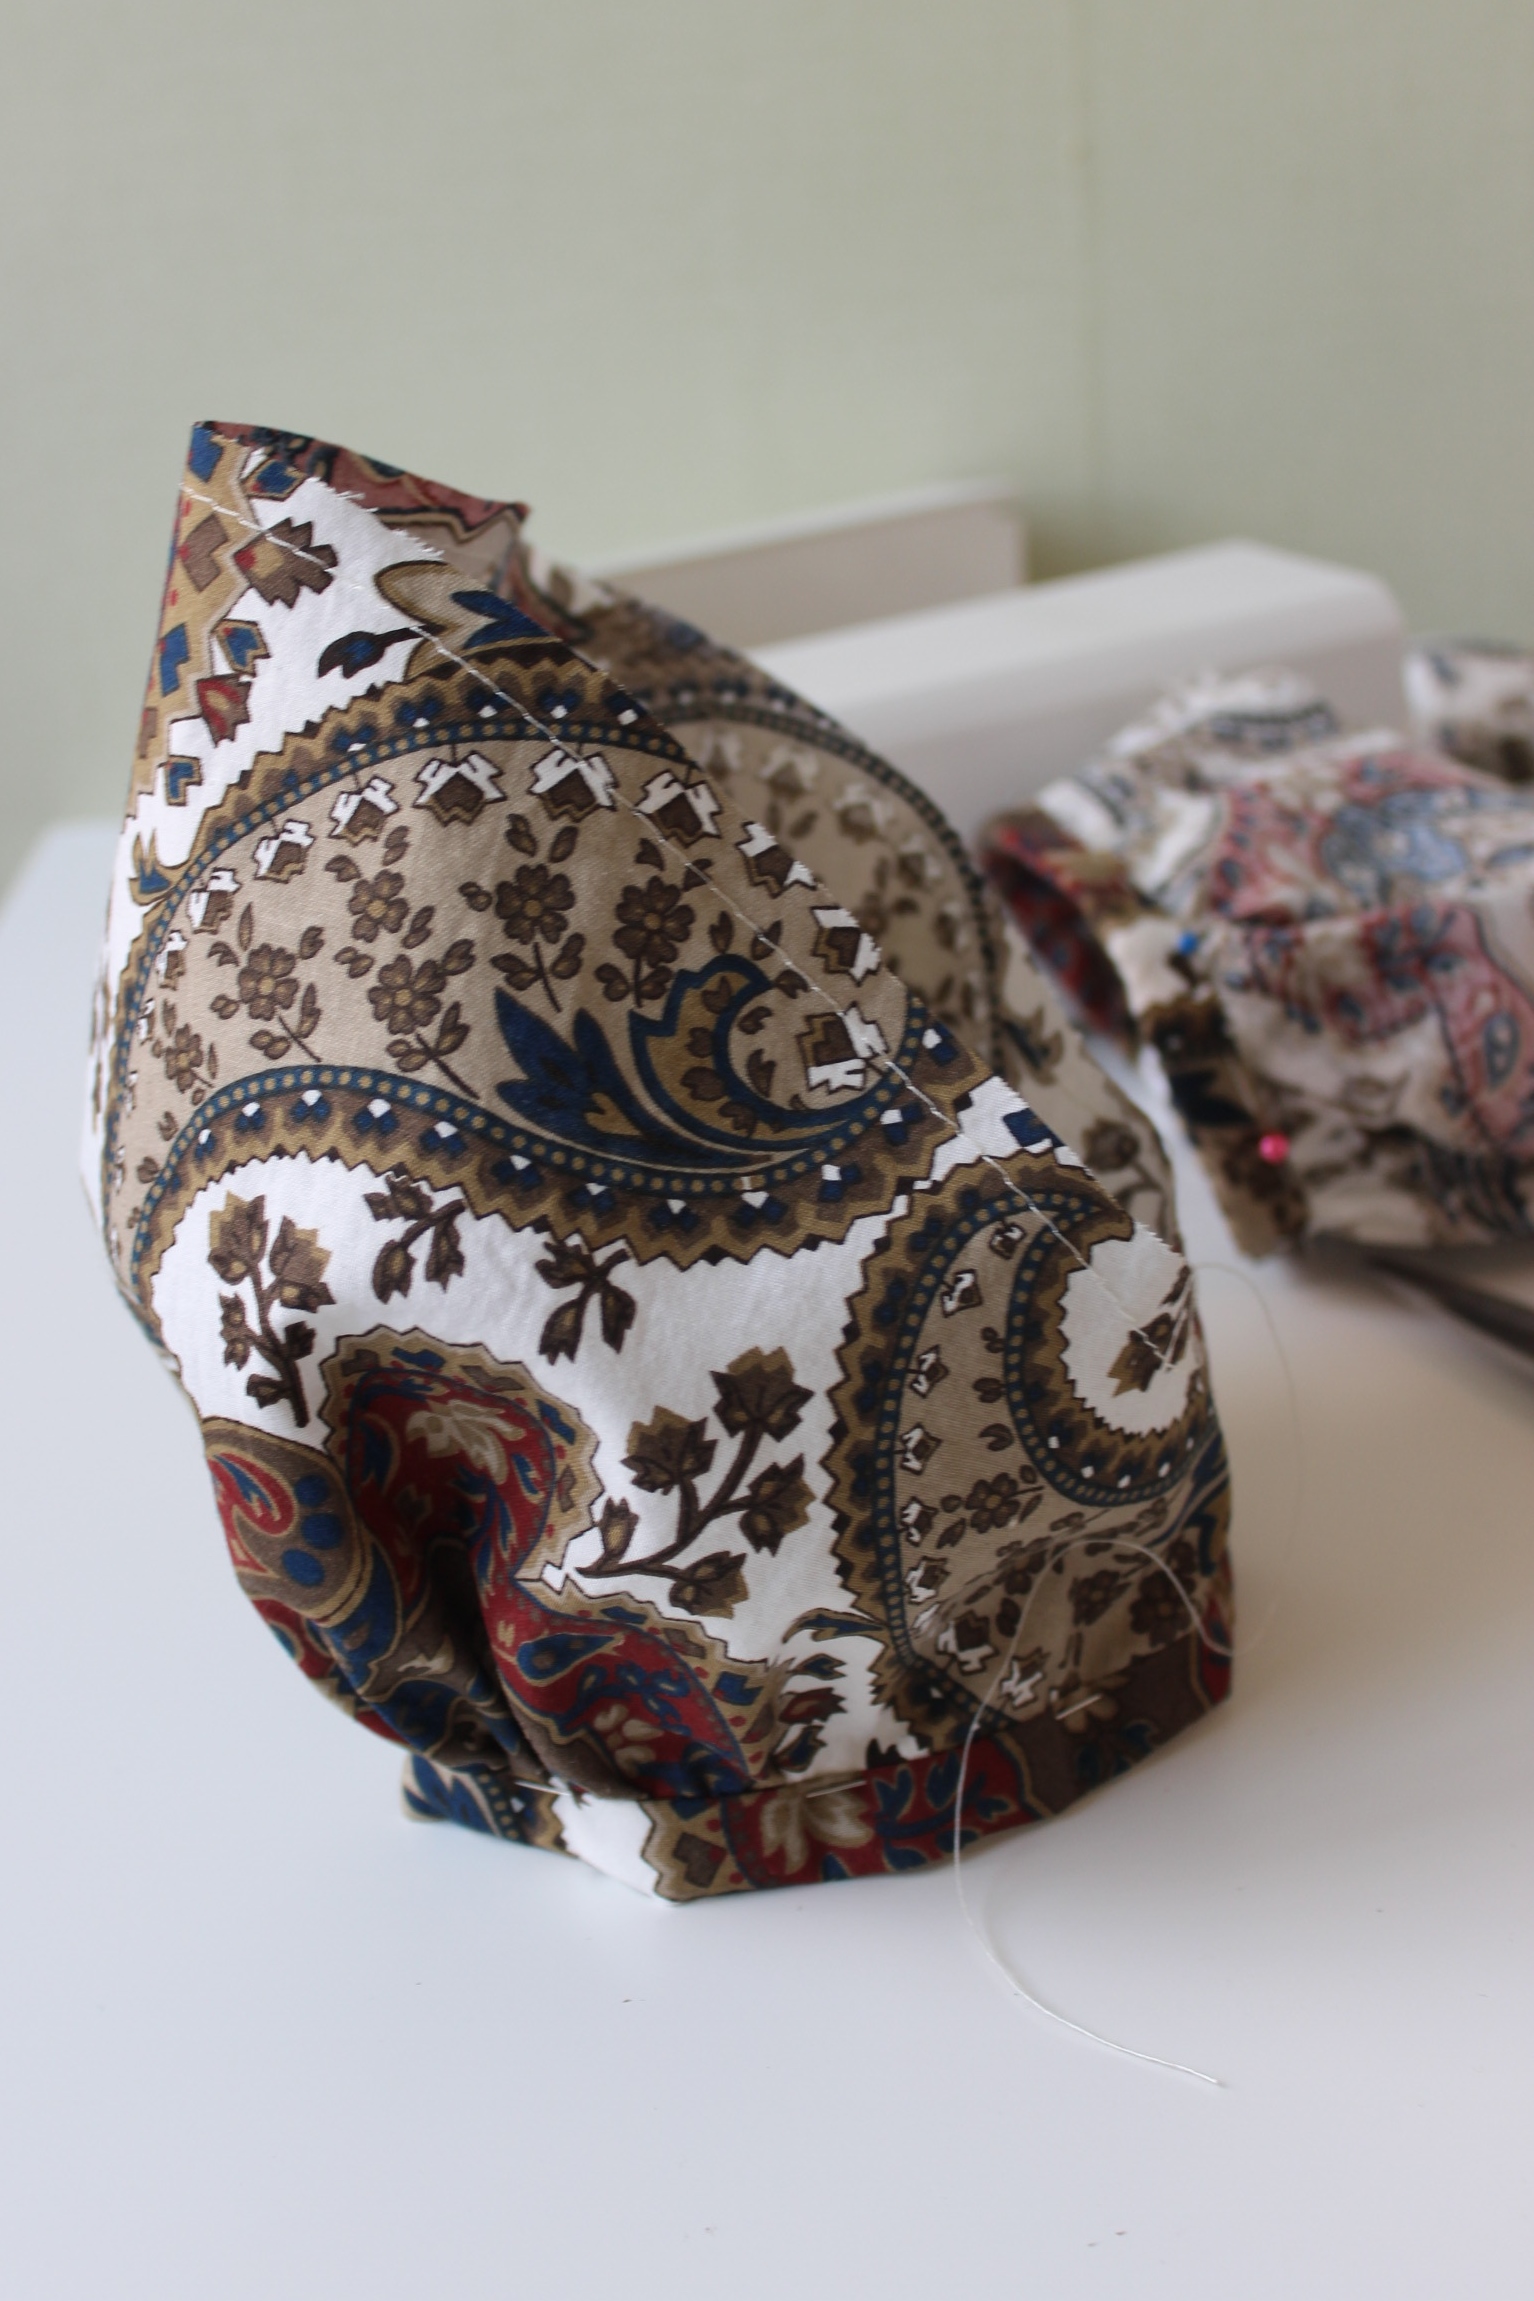
 The sleeves ready to be set.
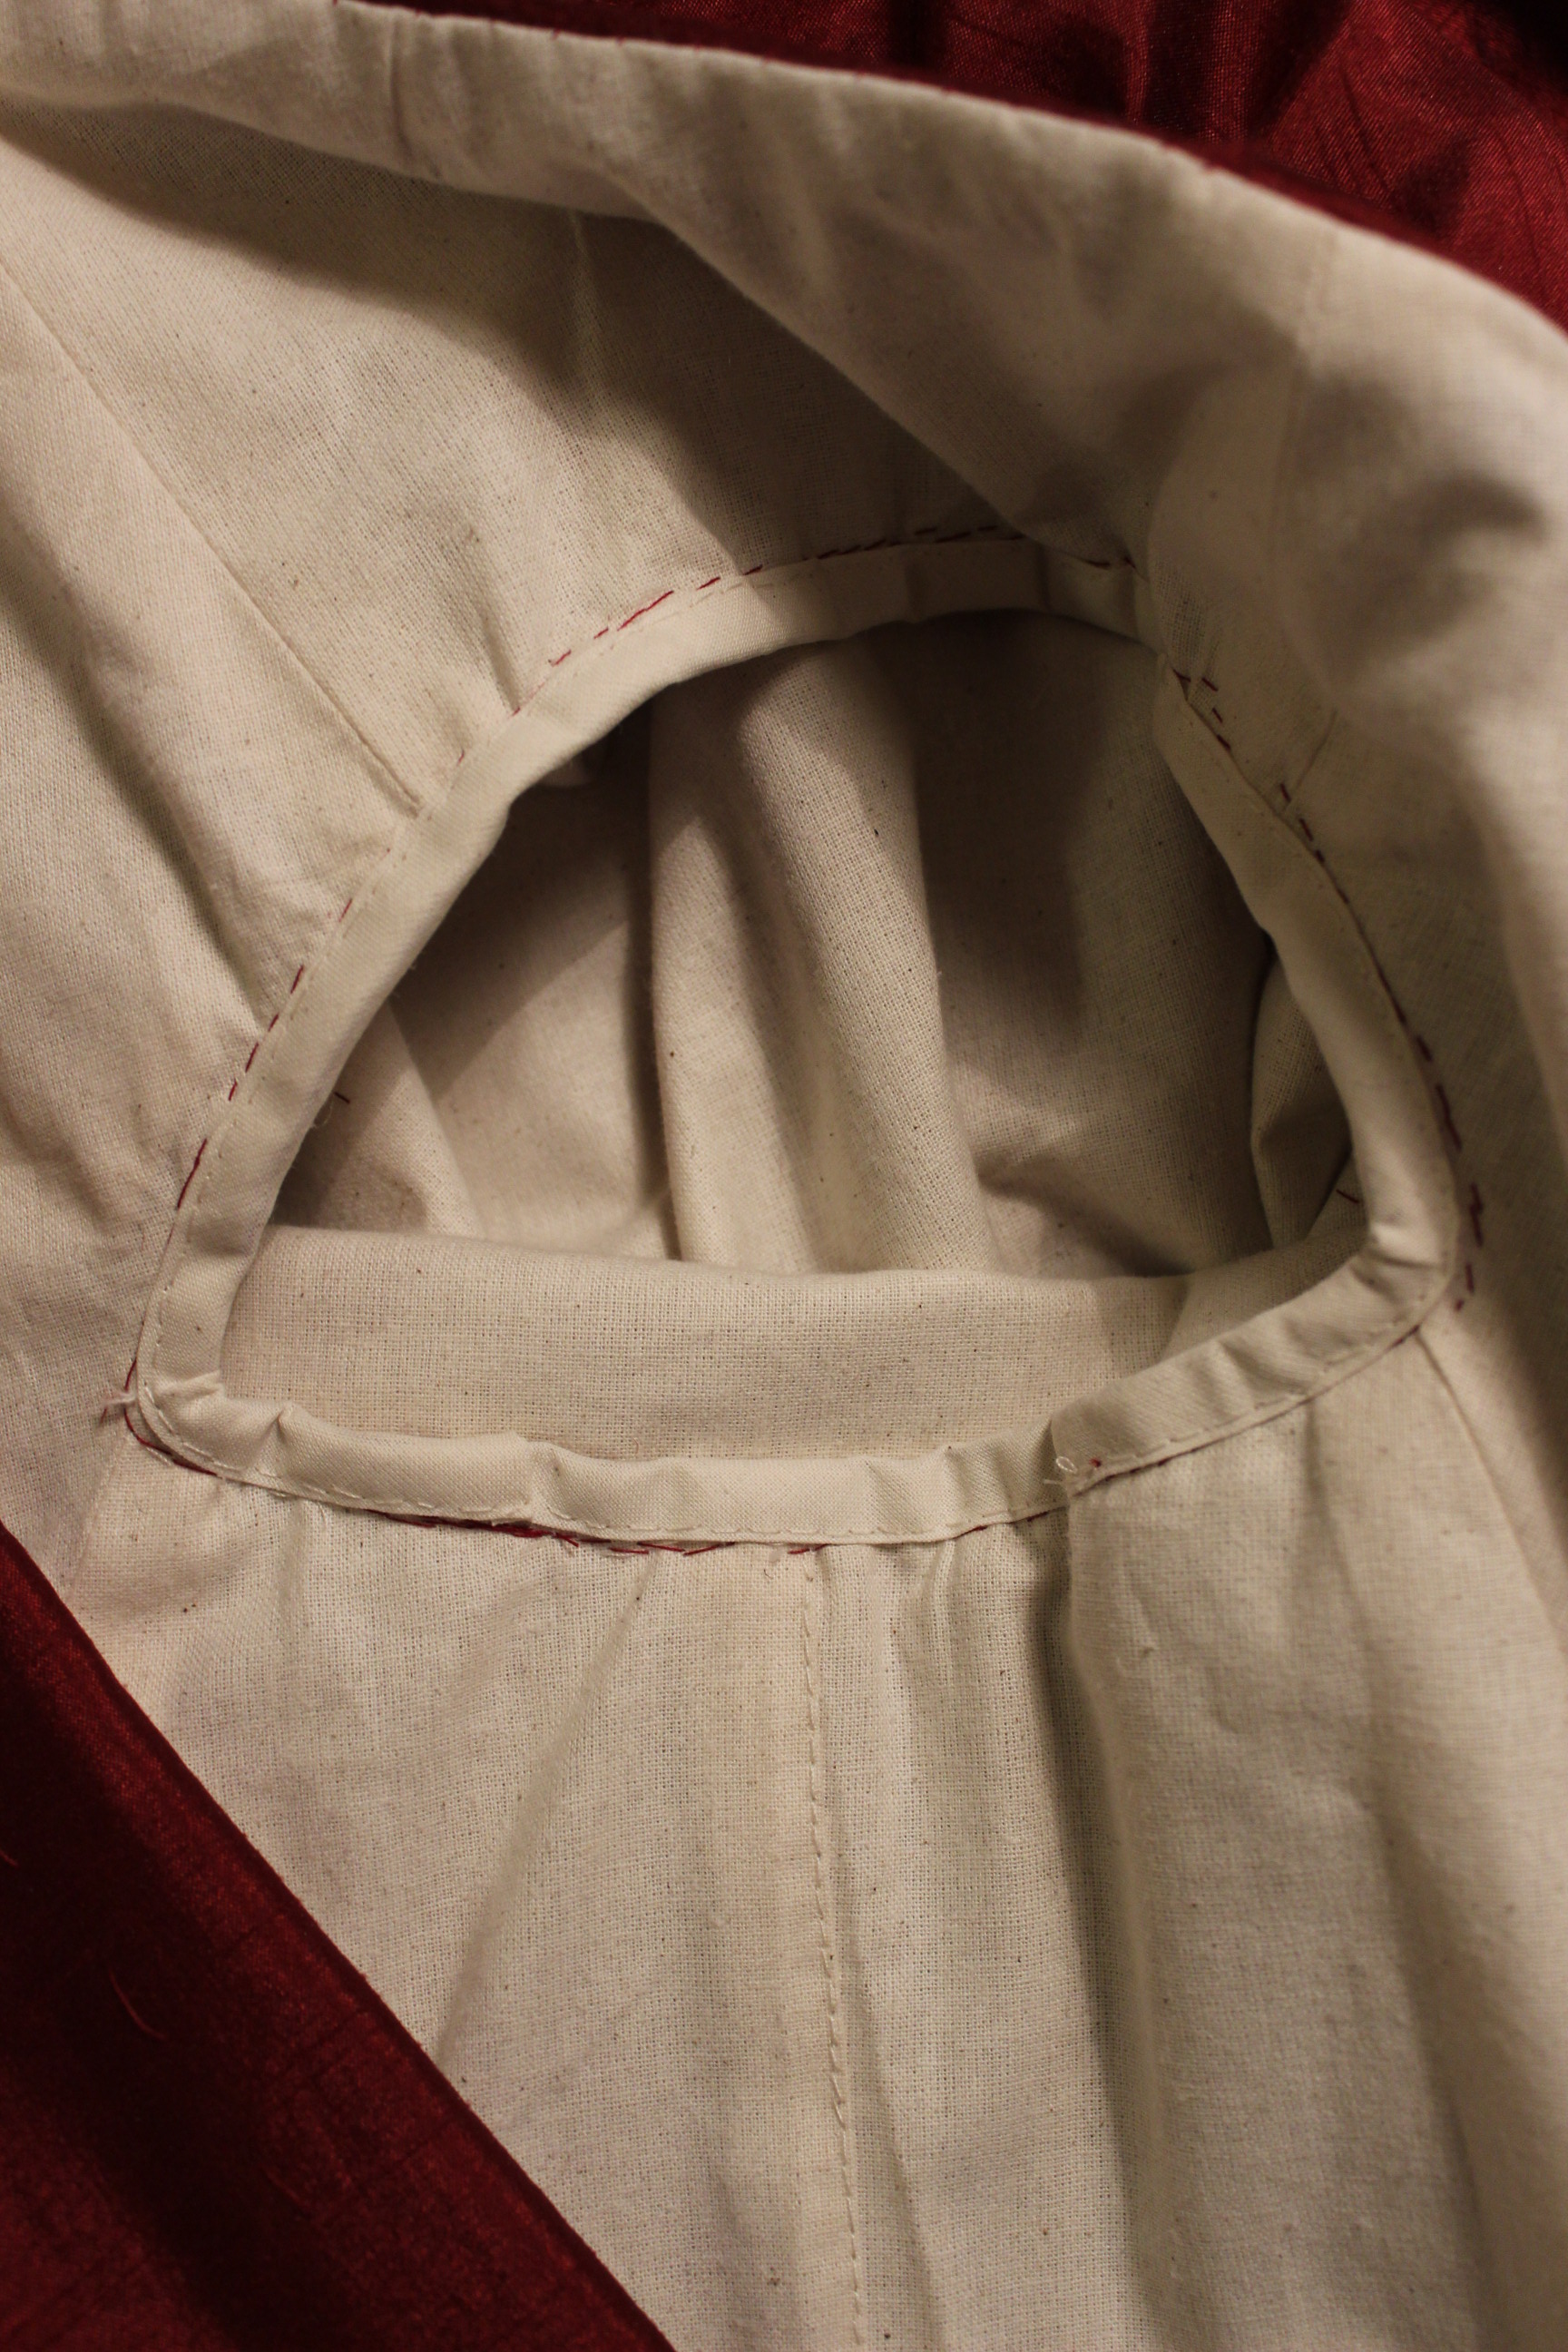


 Different light and a gentleman by the Keyboard.
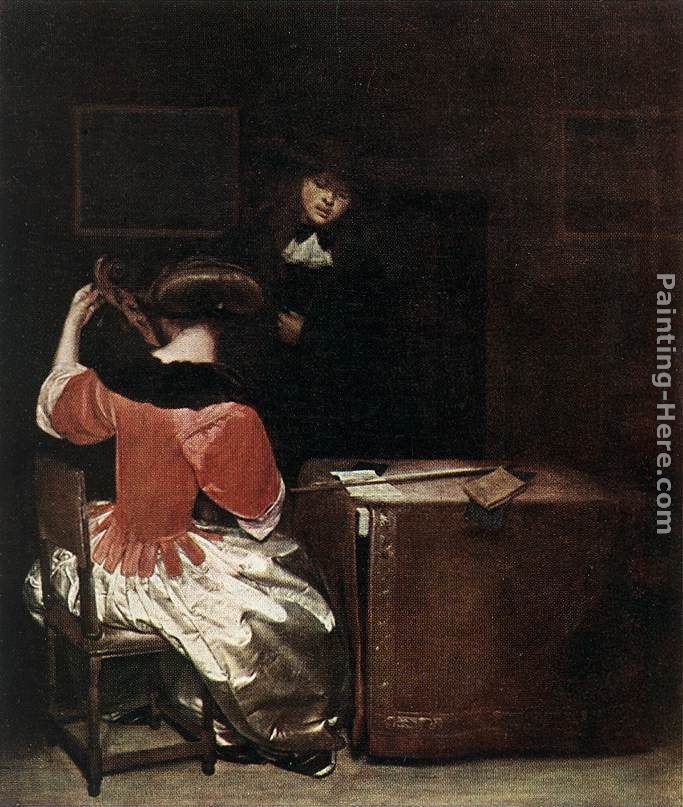


 “Yellow dress” (1632)
 “Susanna Temple ca. 1604-1669″ by Marcus Gheeraerts, (ca 1620)
 “Portrait of Margaret Layton”, attributed to Marcus Gheeraerts, c. 1620. © Victoria and Albert Museum, London
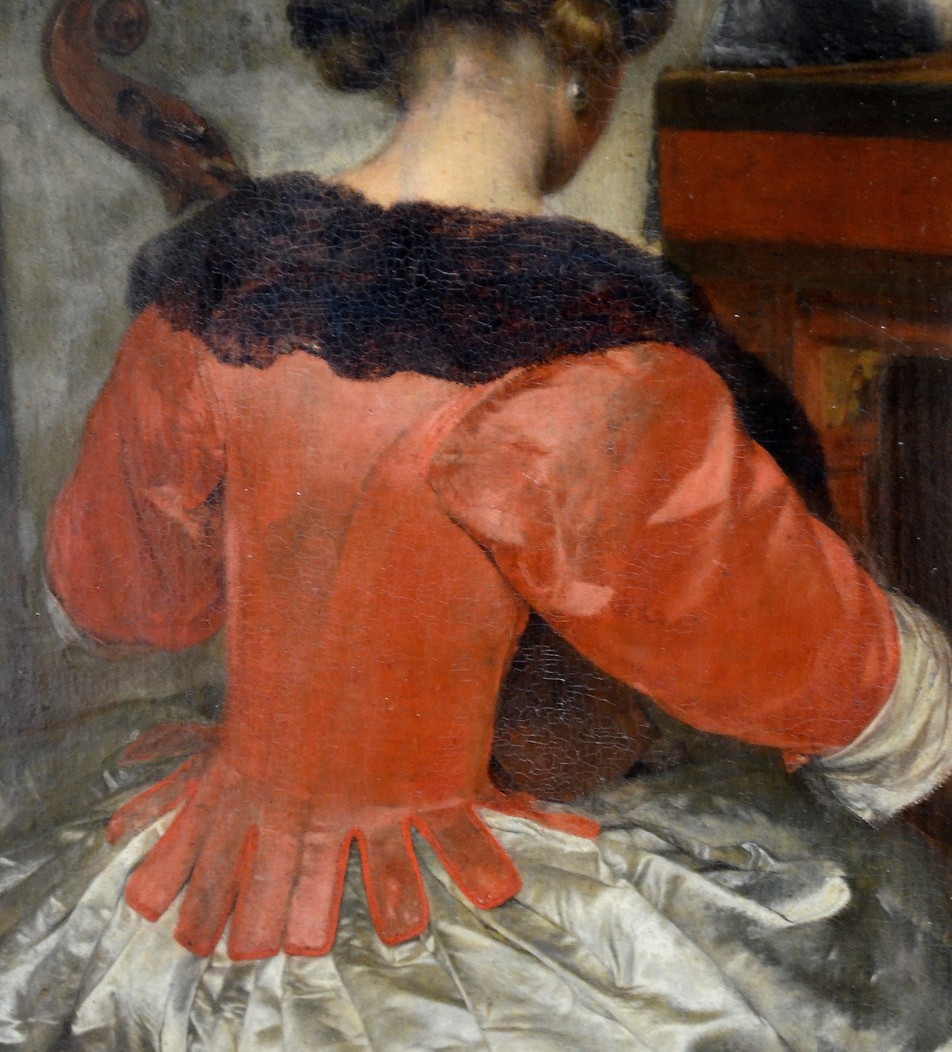
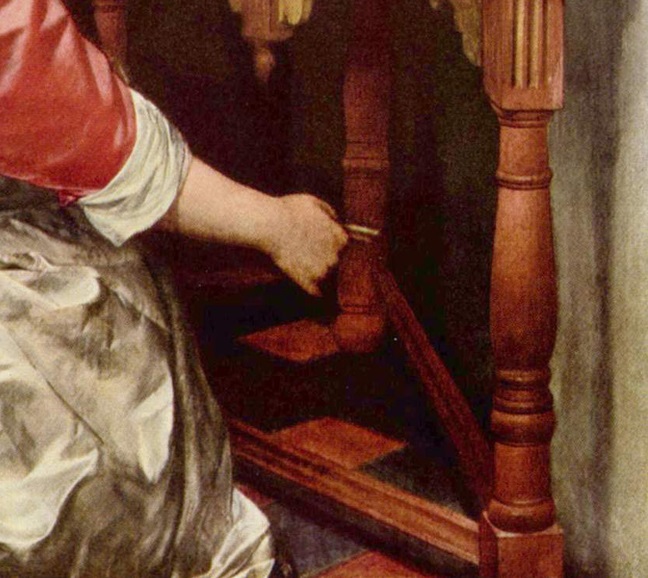
 “Mother Combing Child’s Hair” by Caspar Netscher (1669)
 “Portrait of Elizabeth Wriothesley, Countess of Northumberland, and later Countess of Montagu”, by Peter Lely (1668)
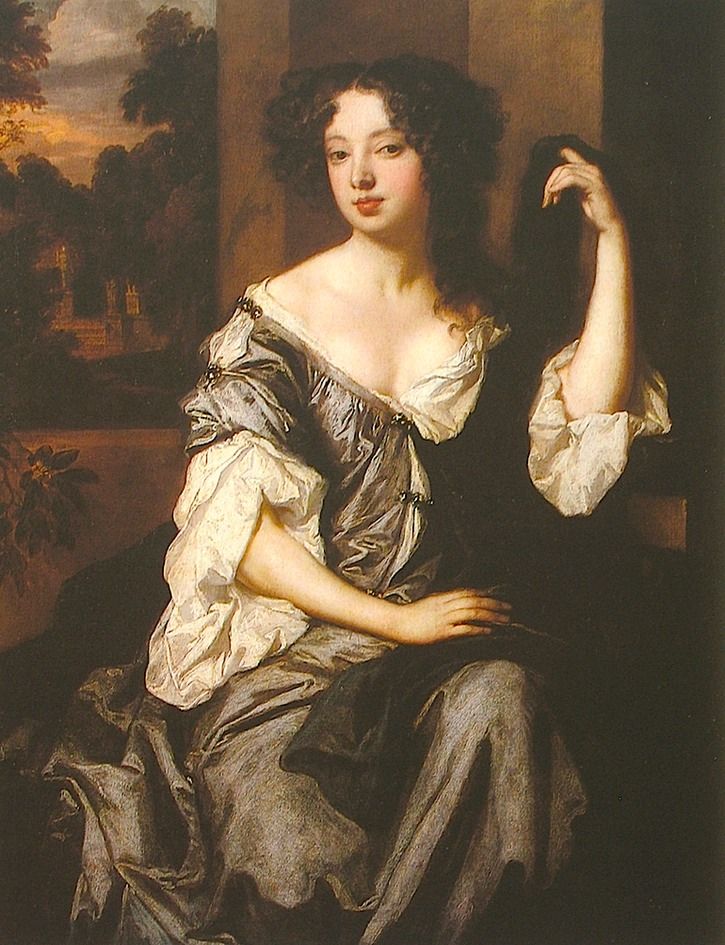
 “Portrait of a Lady” by Gabriel Metsu (ca 1660s)
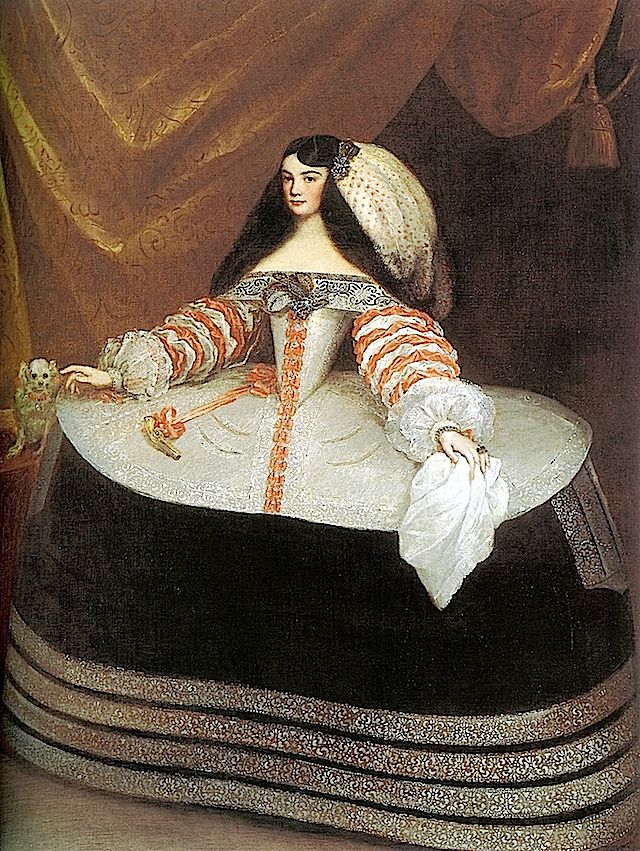
 Elizabeth Capell, Countess of Carnarvon by Sir Peter Lely (ca. 1665)
 Princess Henrietta Anne of England (1644–1670) by Jan Mytens (1665)


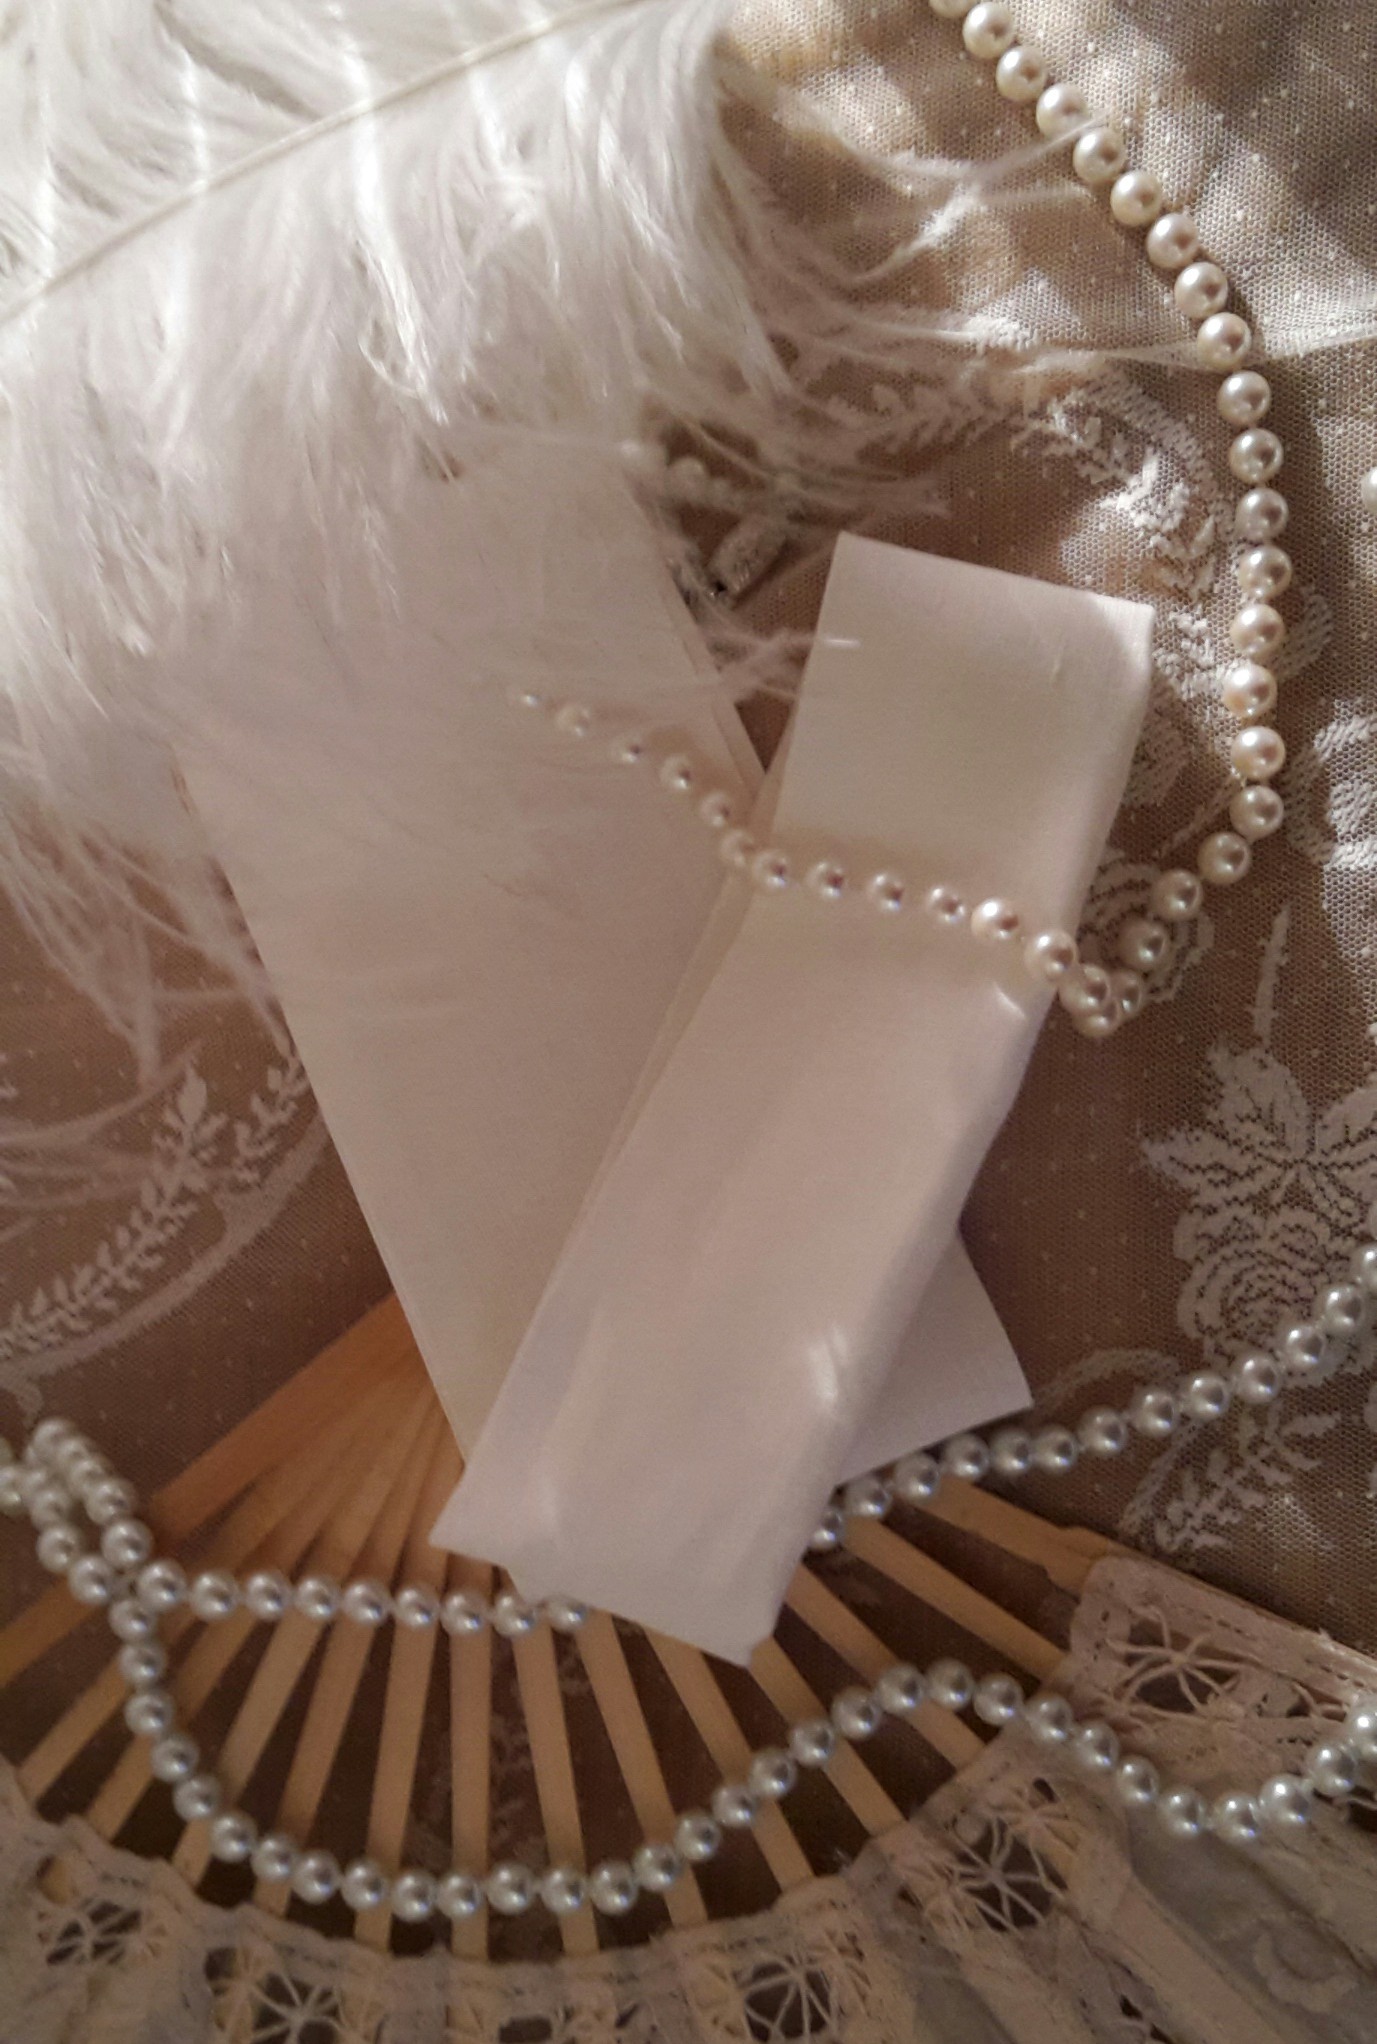
 Piping basted to the seam-allowence.