Last year (about October) I got news of an upcoming late Victorian ball in a beautiful location close to were I live.
The opportunities to attend such events are pretty scarce for me at the moment (with my two small children taking most of my time), so I knew I just had to go.
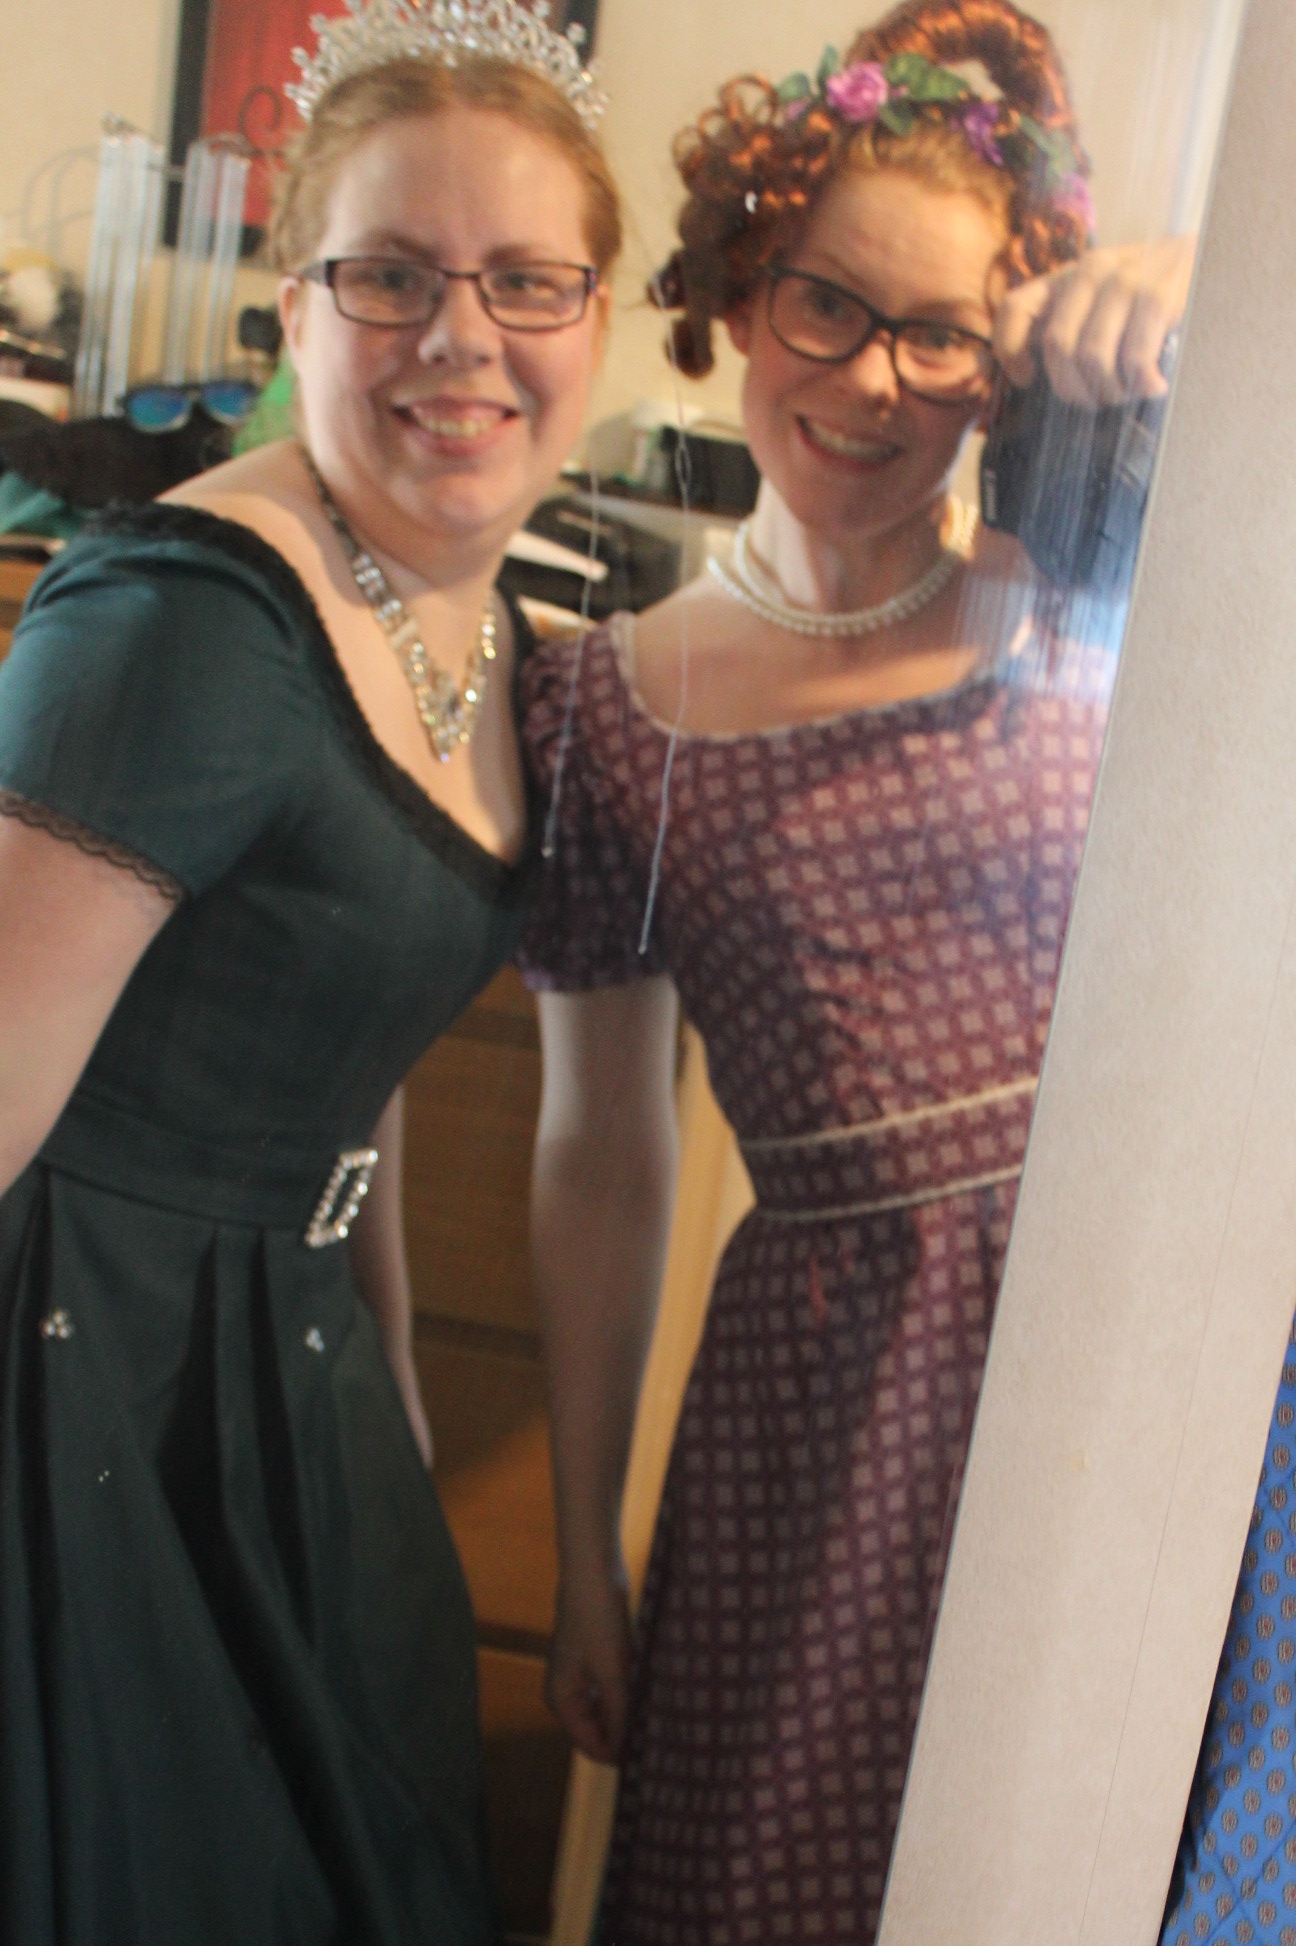
And then I talked my sister into going as well 🙂
But then arose the small but delicate problem of “What to wear”…
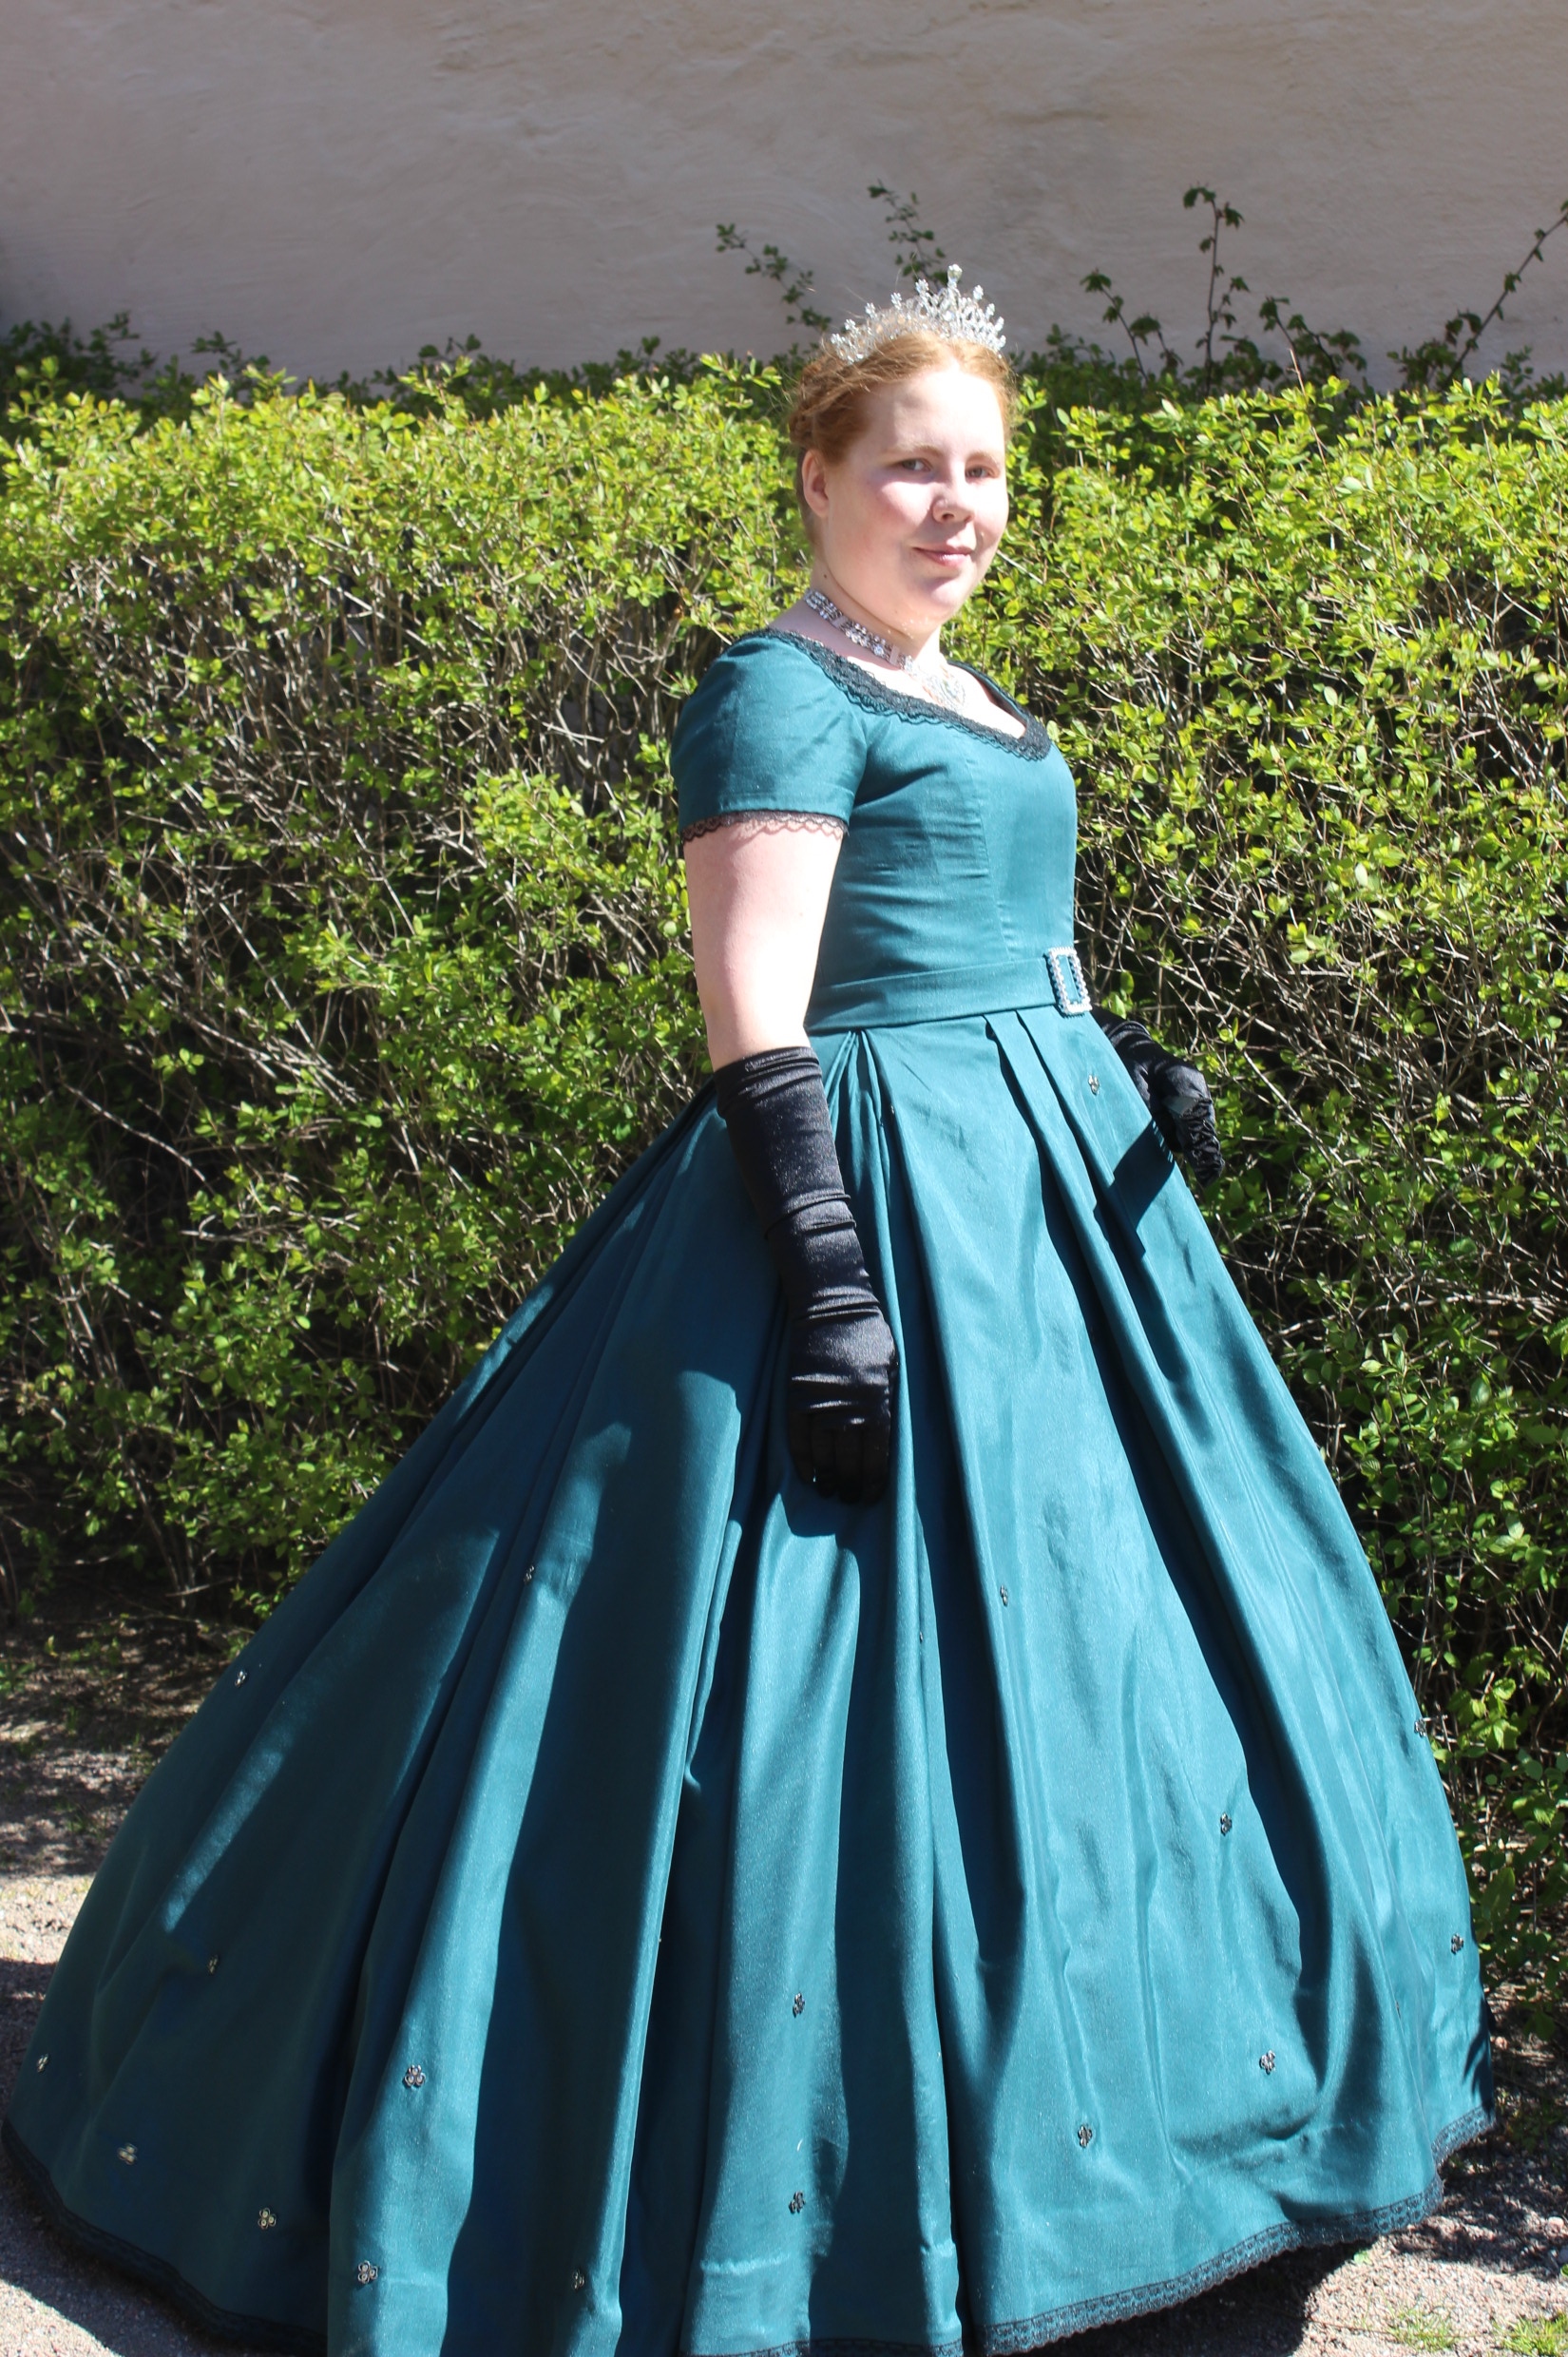
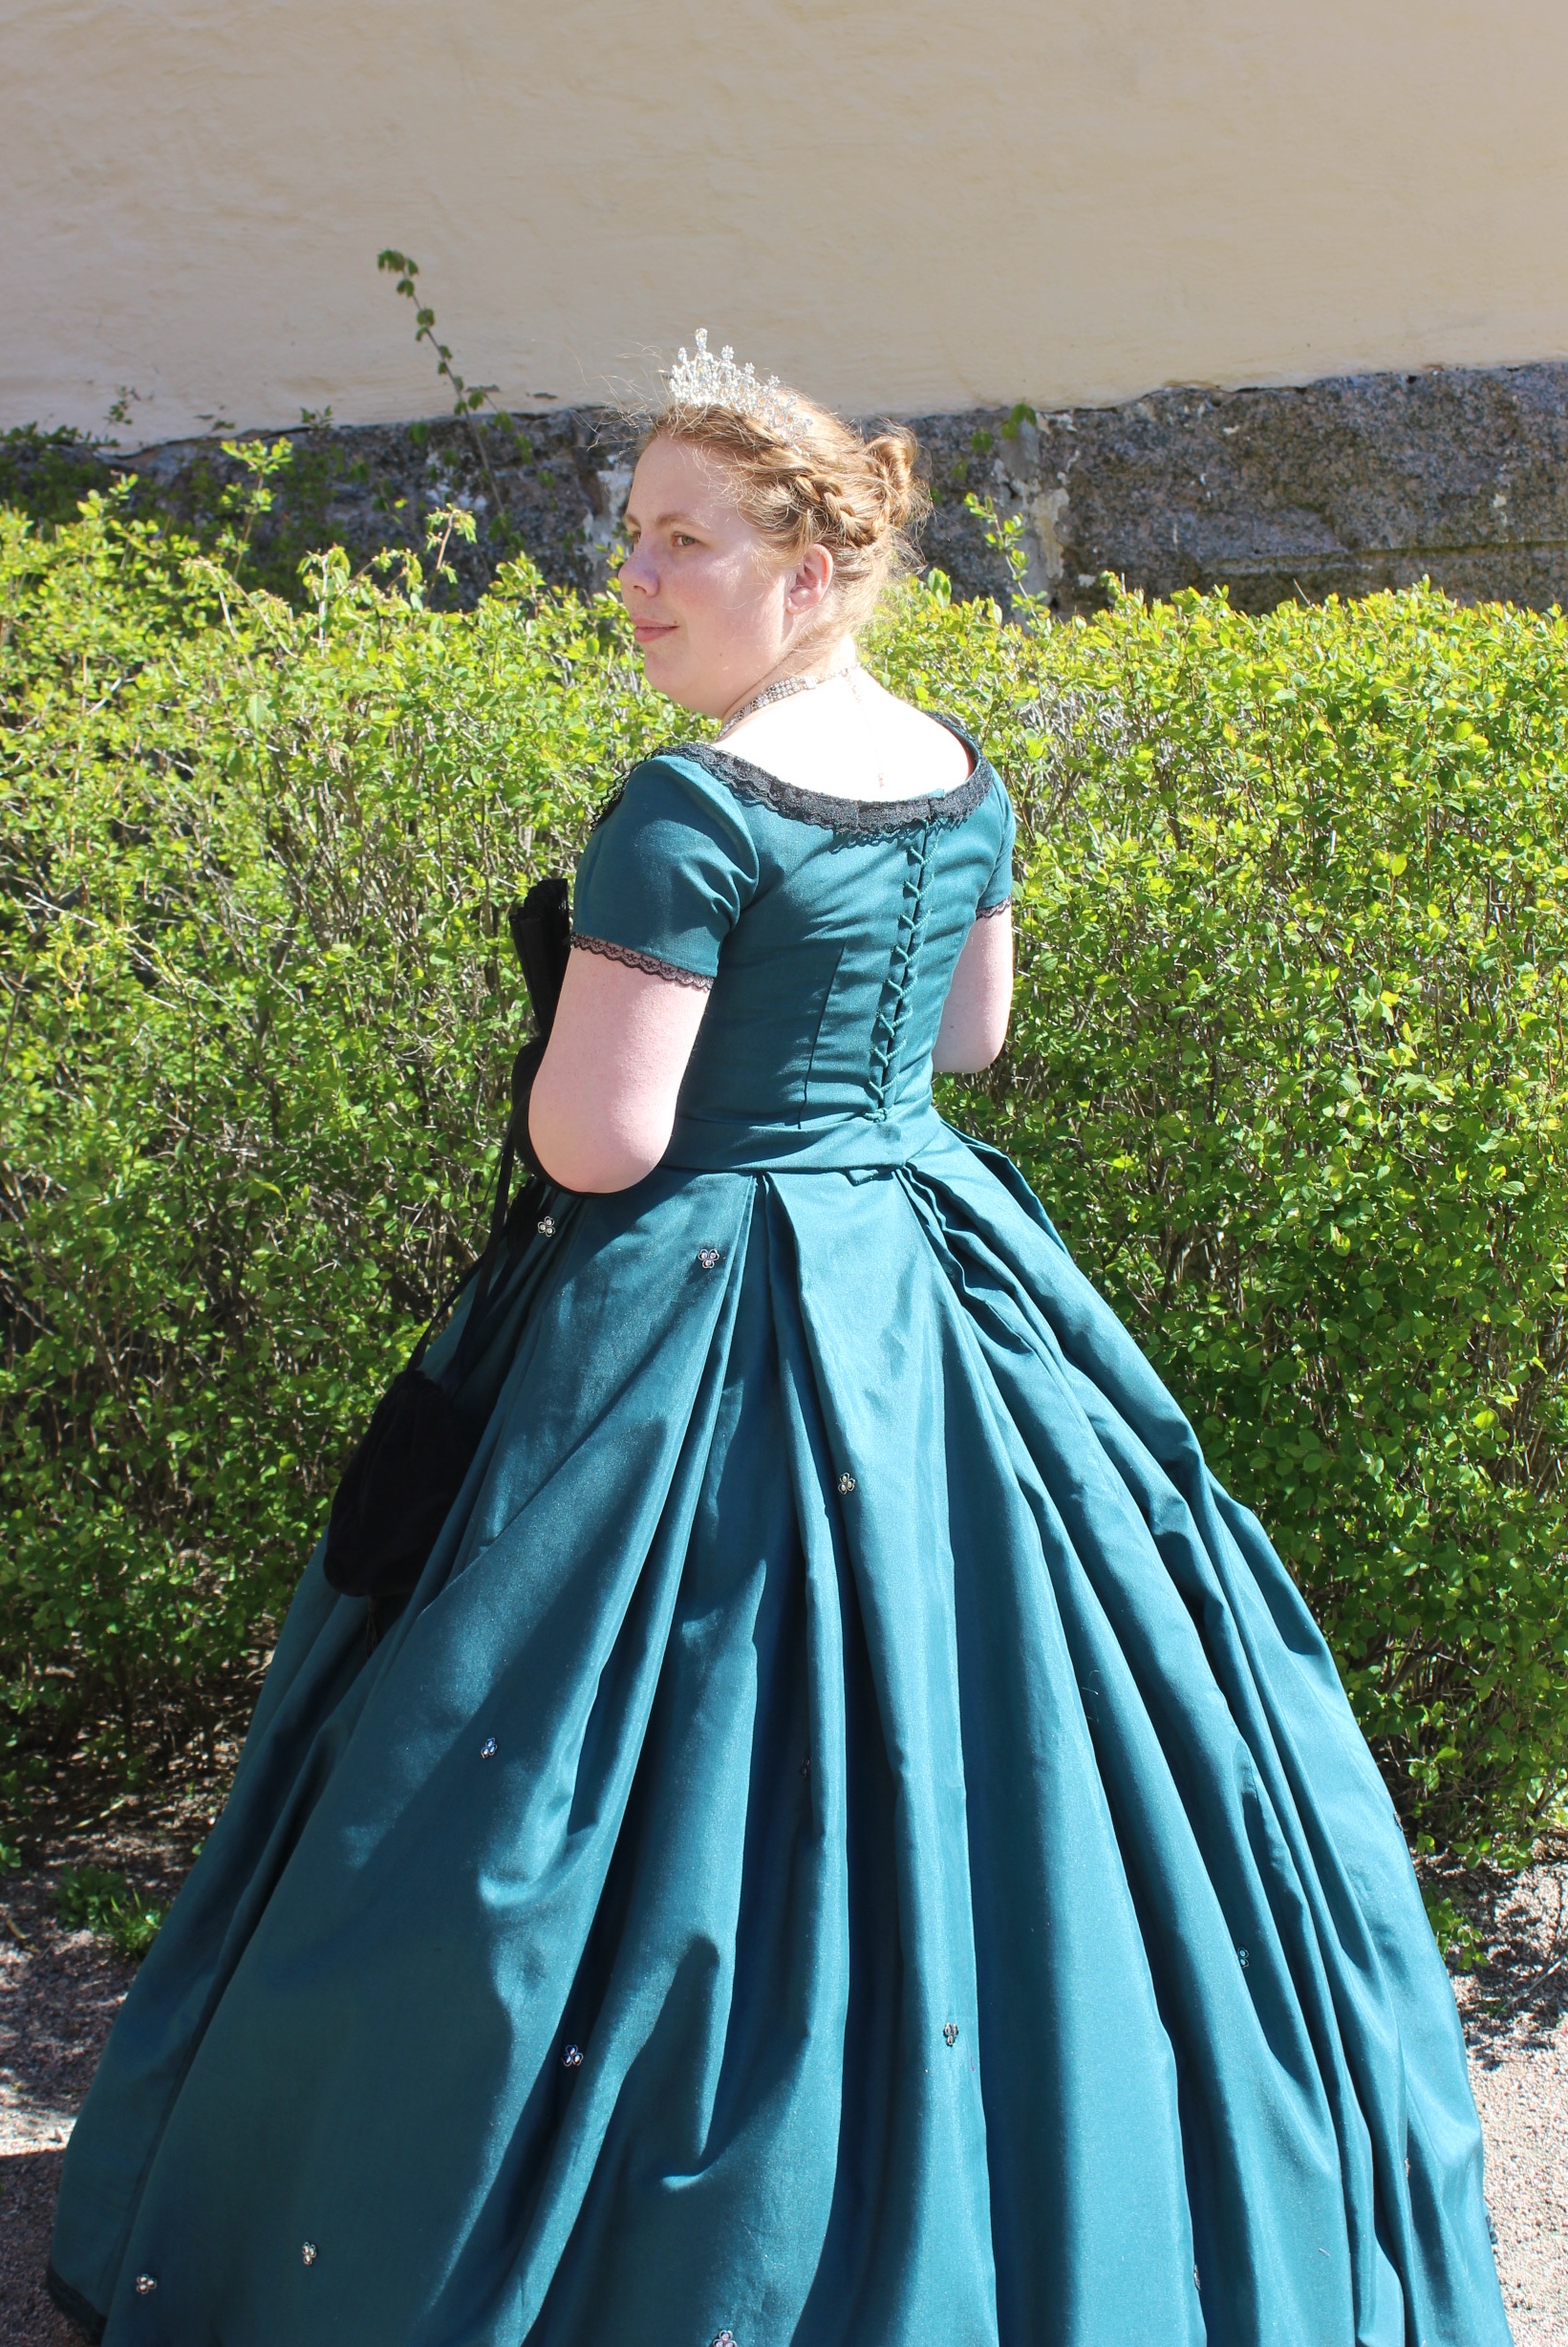
I had a 1880s evening gown that I made and worn in 2014, that would work in a pinch. (And since I just found out I was pregnant (due to give birth merely 3 months before the event), the decision about my gown would just have to wait.)
But my sister had nothing at all to wear, so we started searching for inspiration.
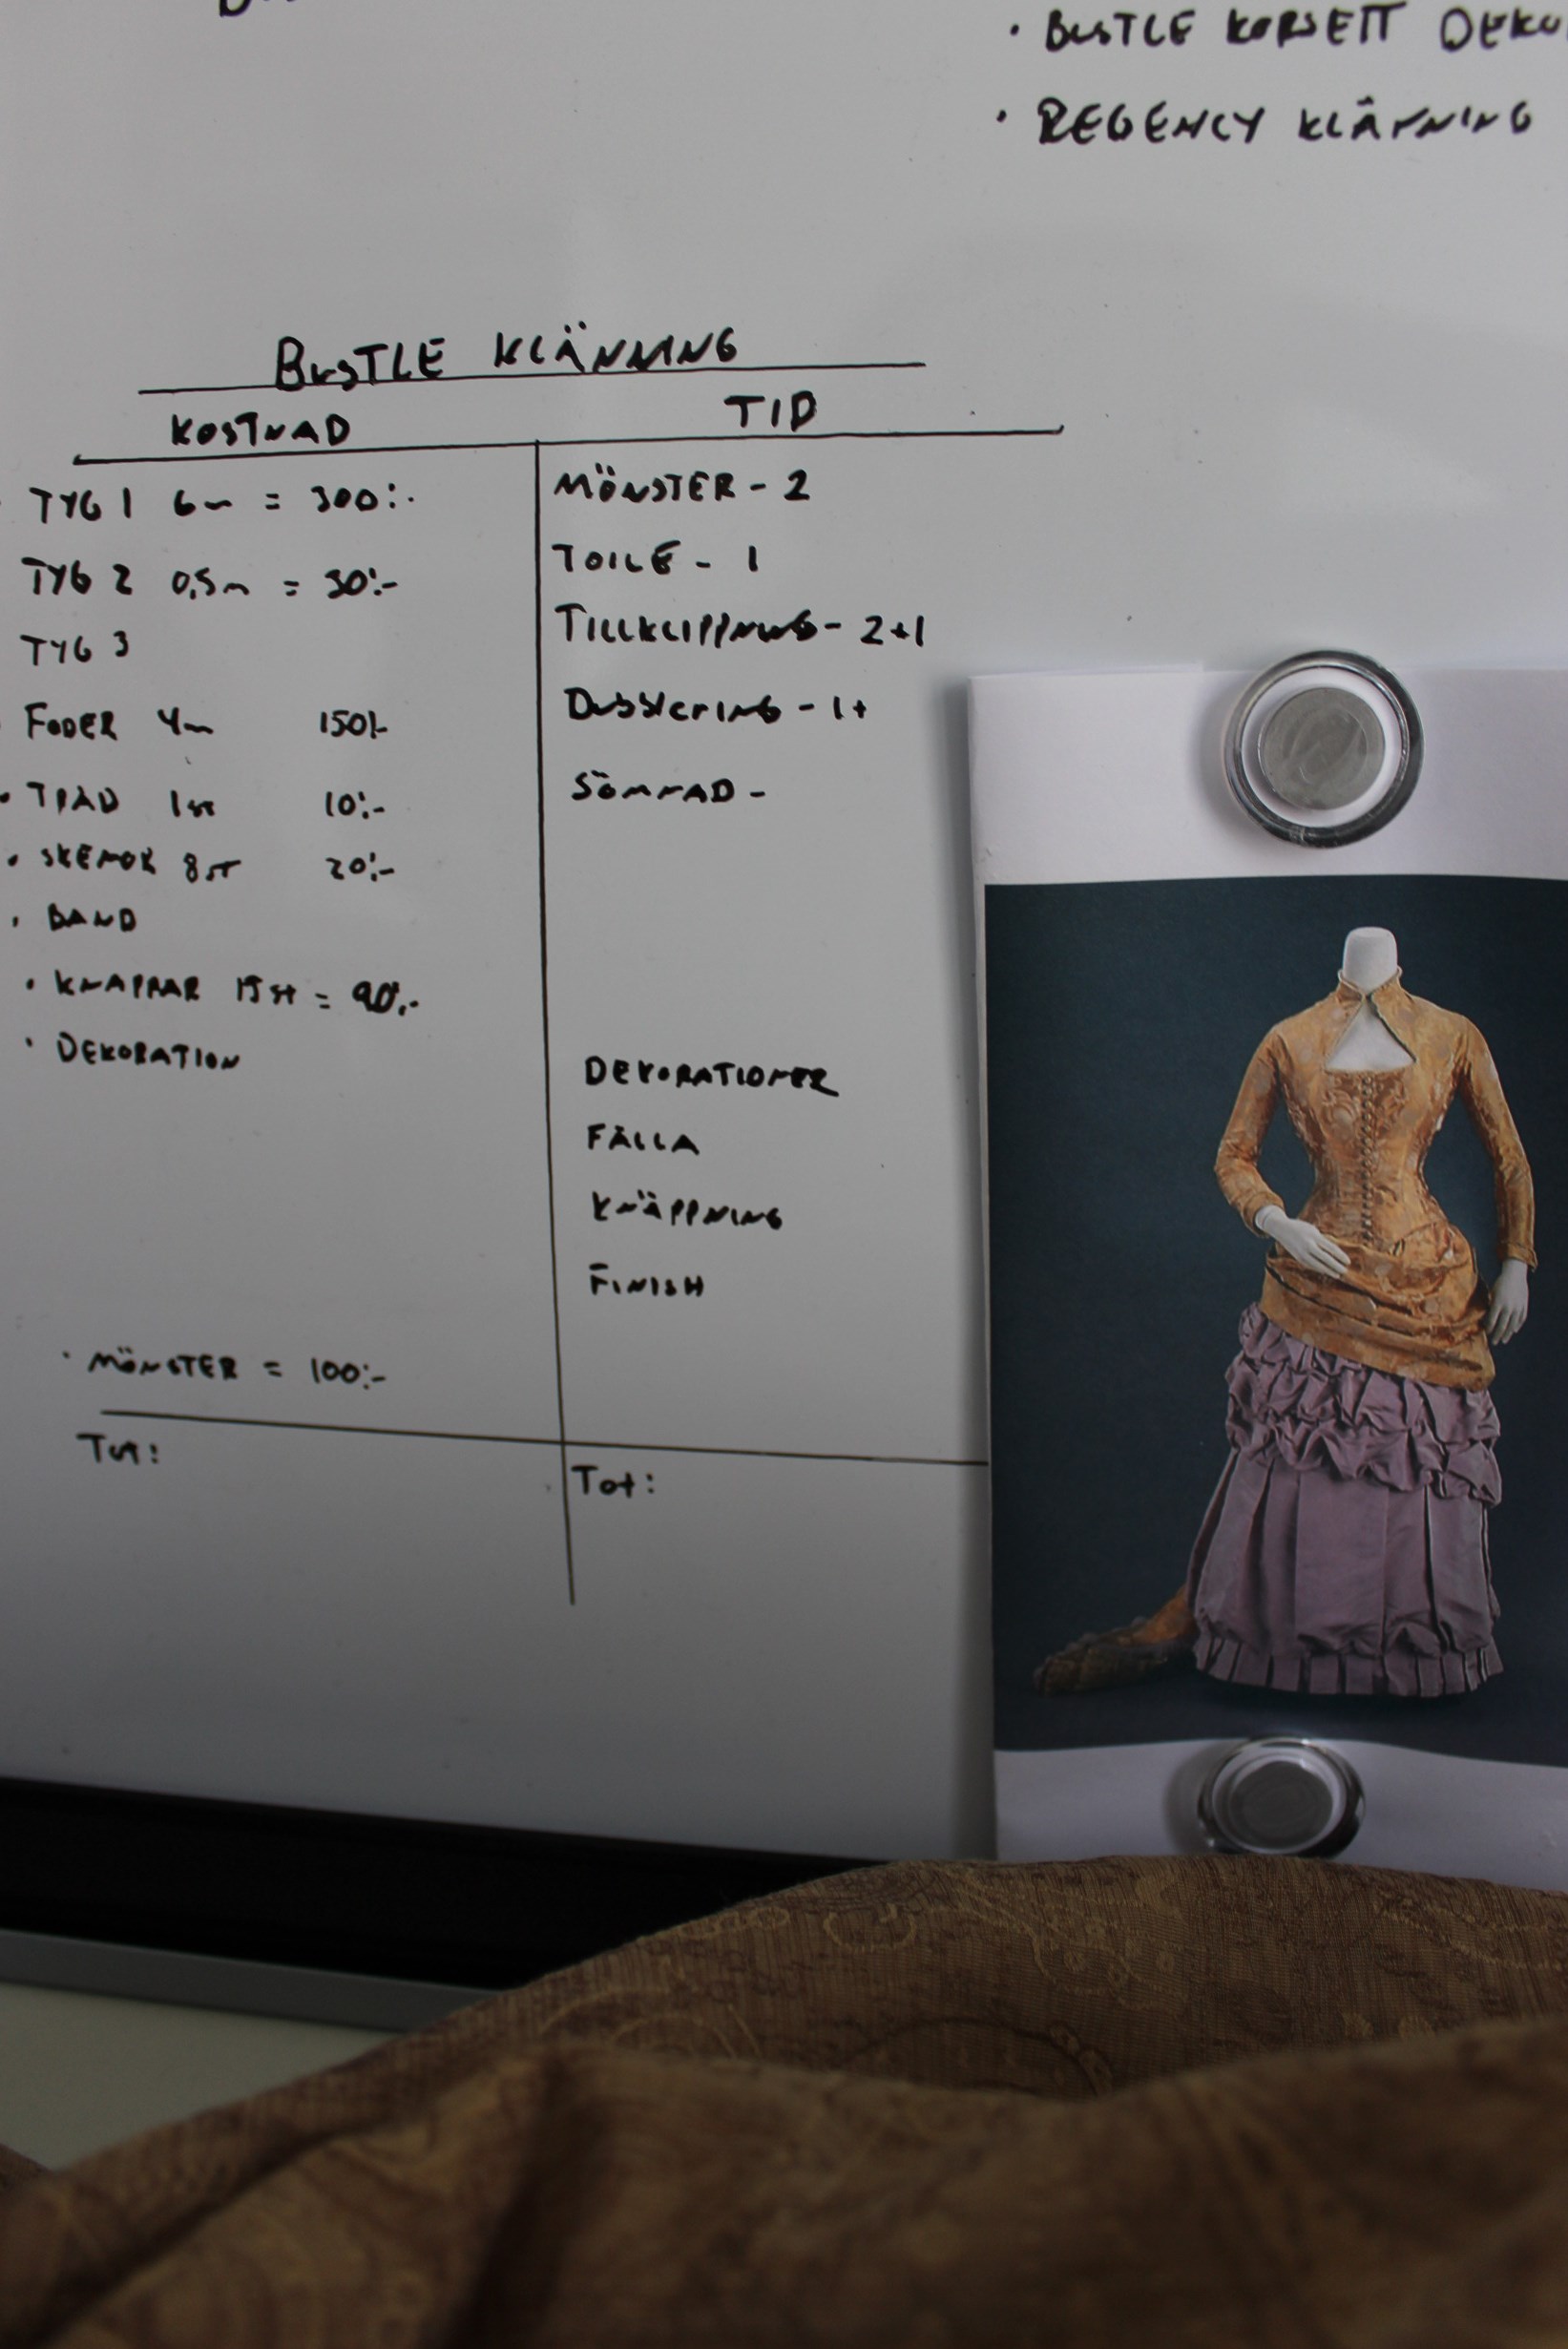
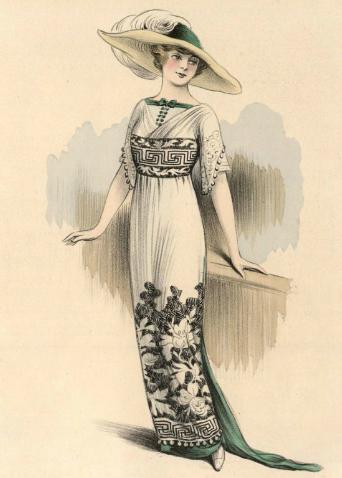
We must have looked at hundreds of fashion plates, but finally decided on this one for our main inspiration. The draping on the bodice and pointed waist would both help to give her body the desired hourglass shape.
And also, who doesn’t love a big as bustle 🙂
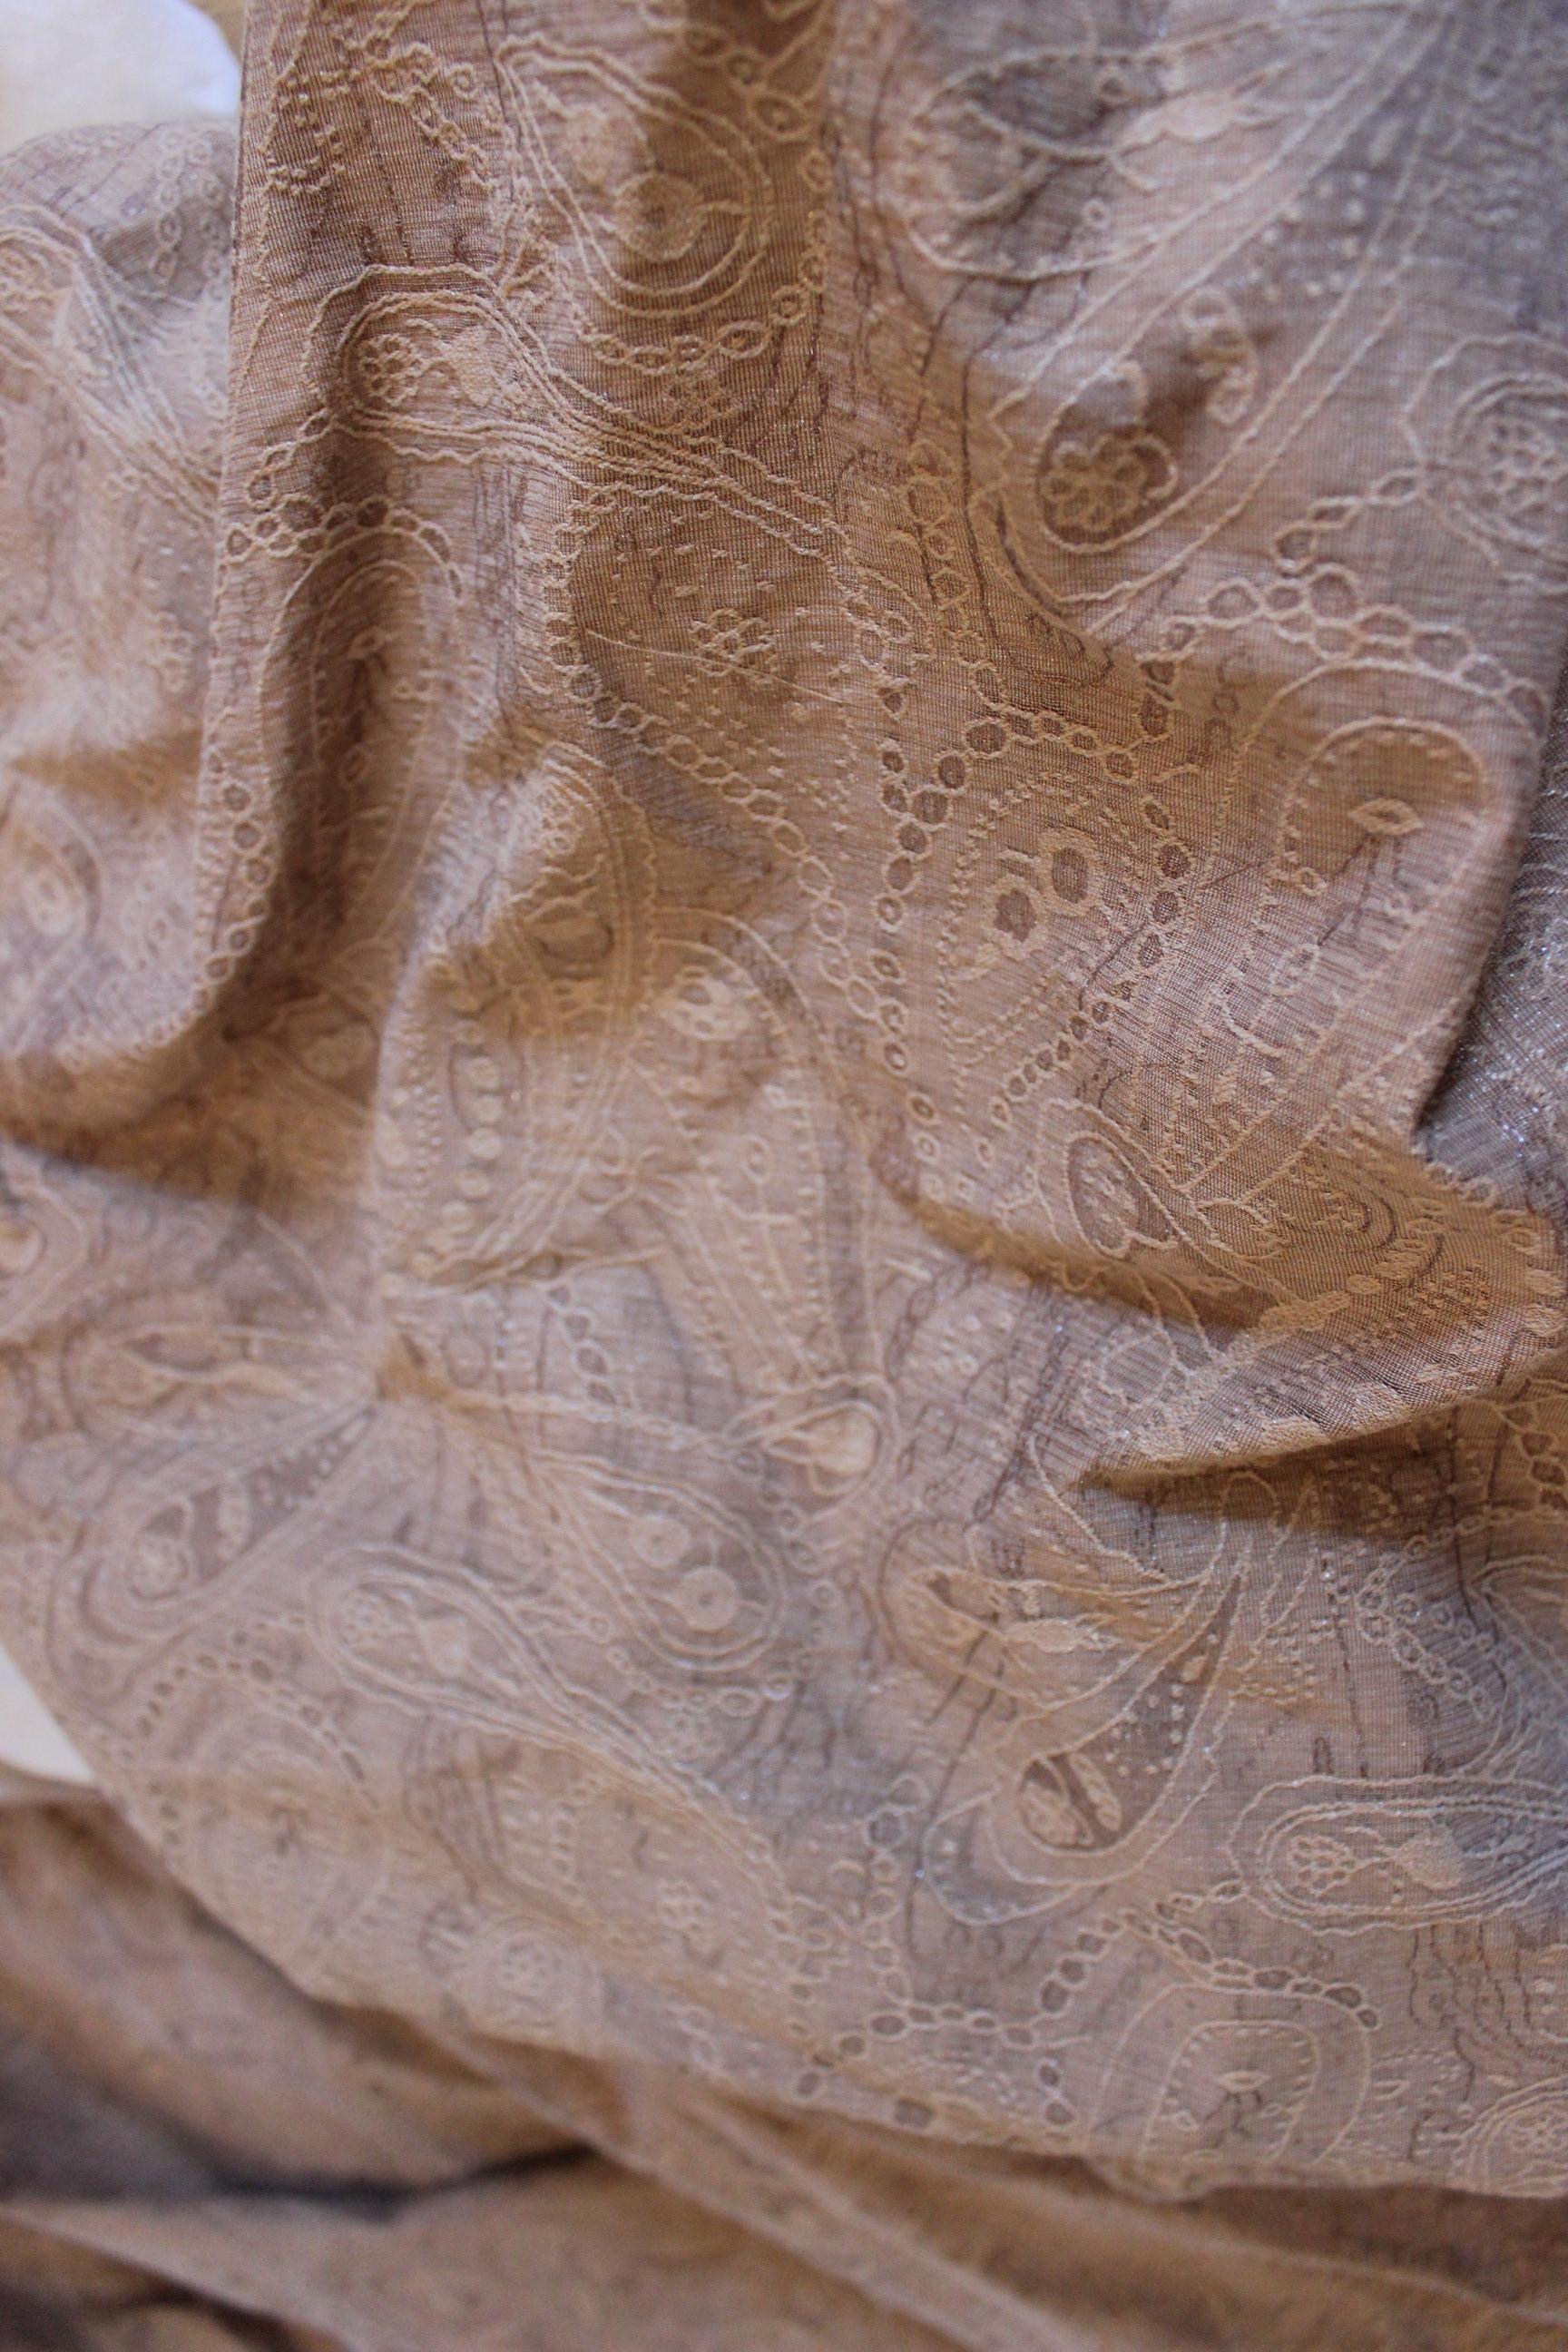
I spent quite some time both online, and in actual stores to try to find a patterned fabric that would work for the design.
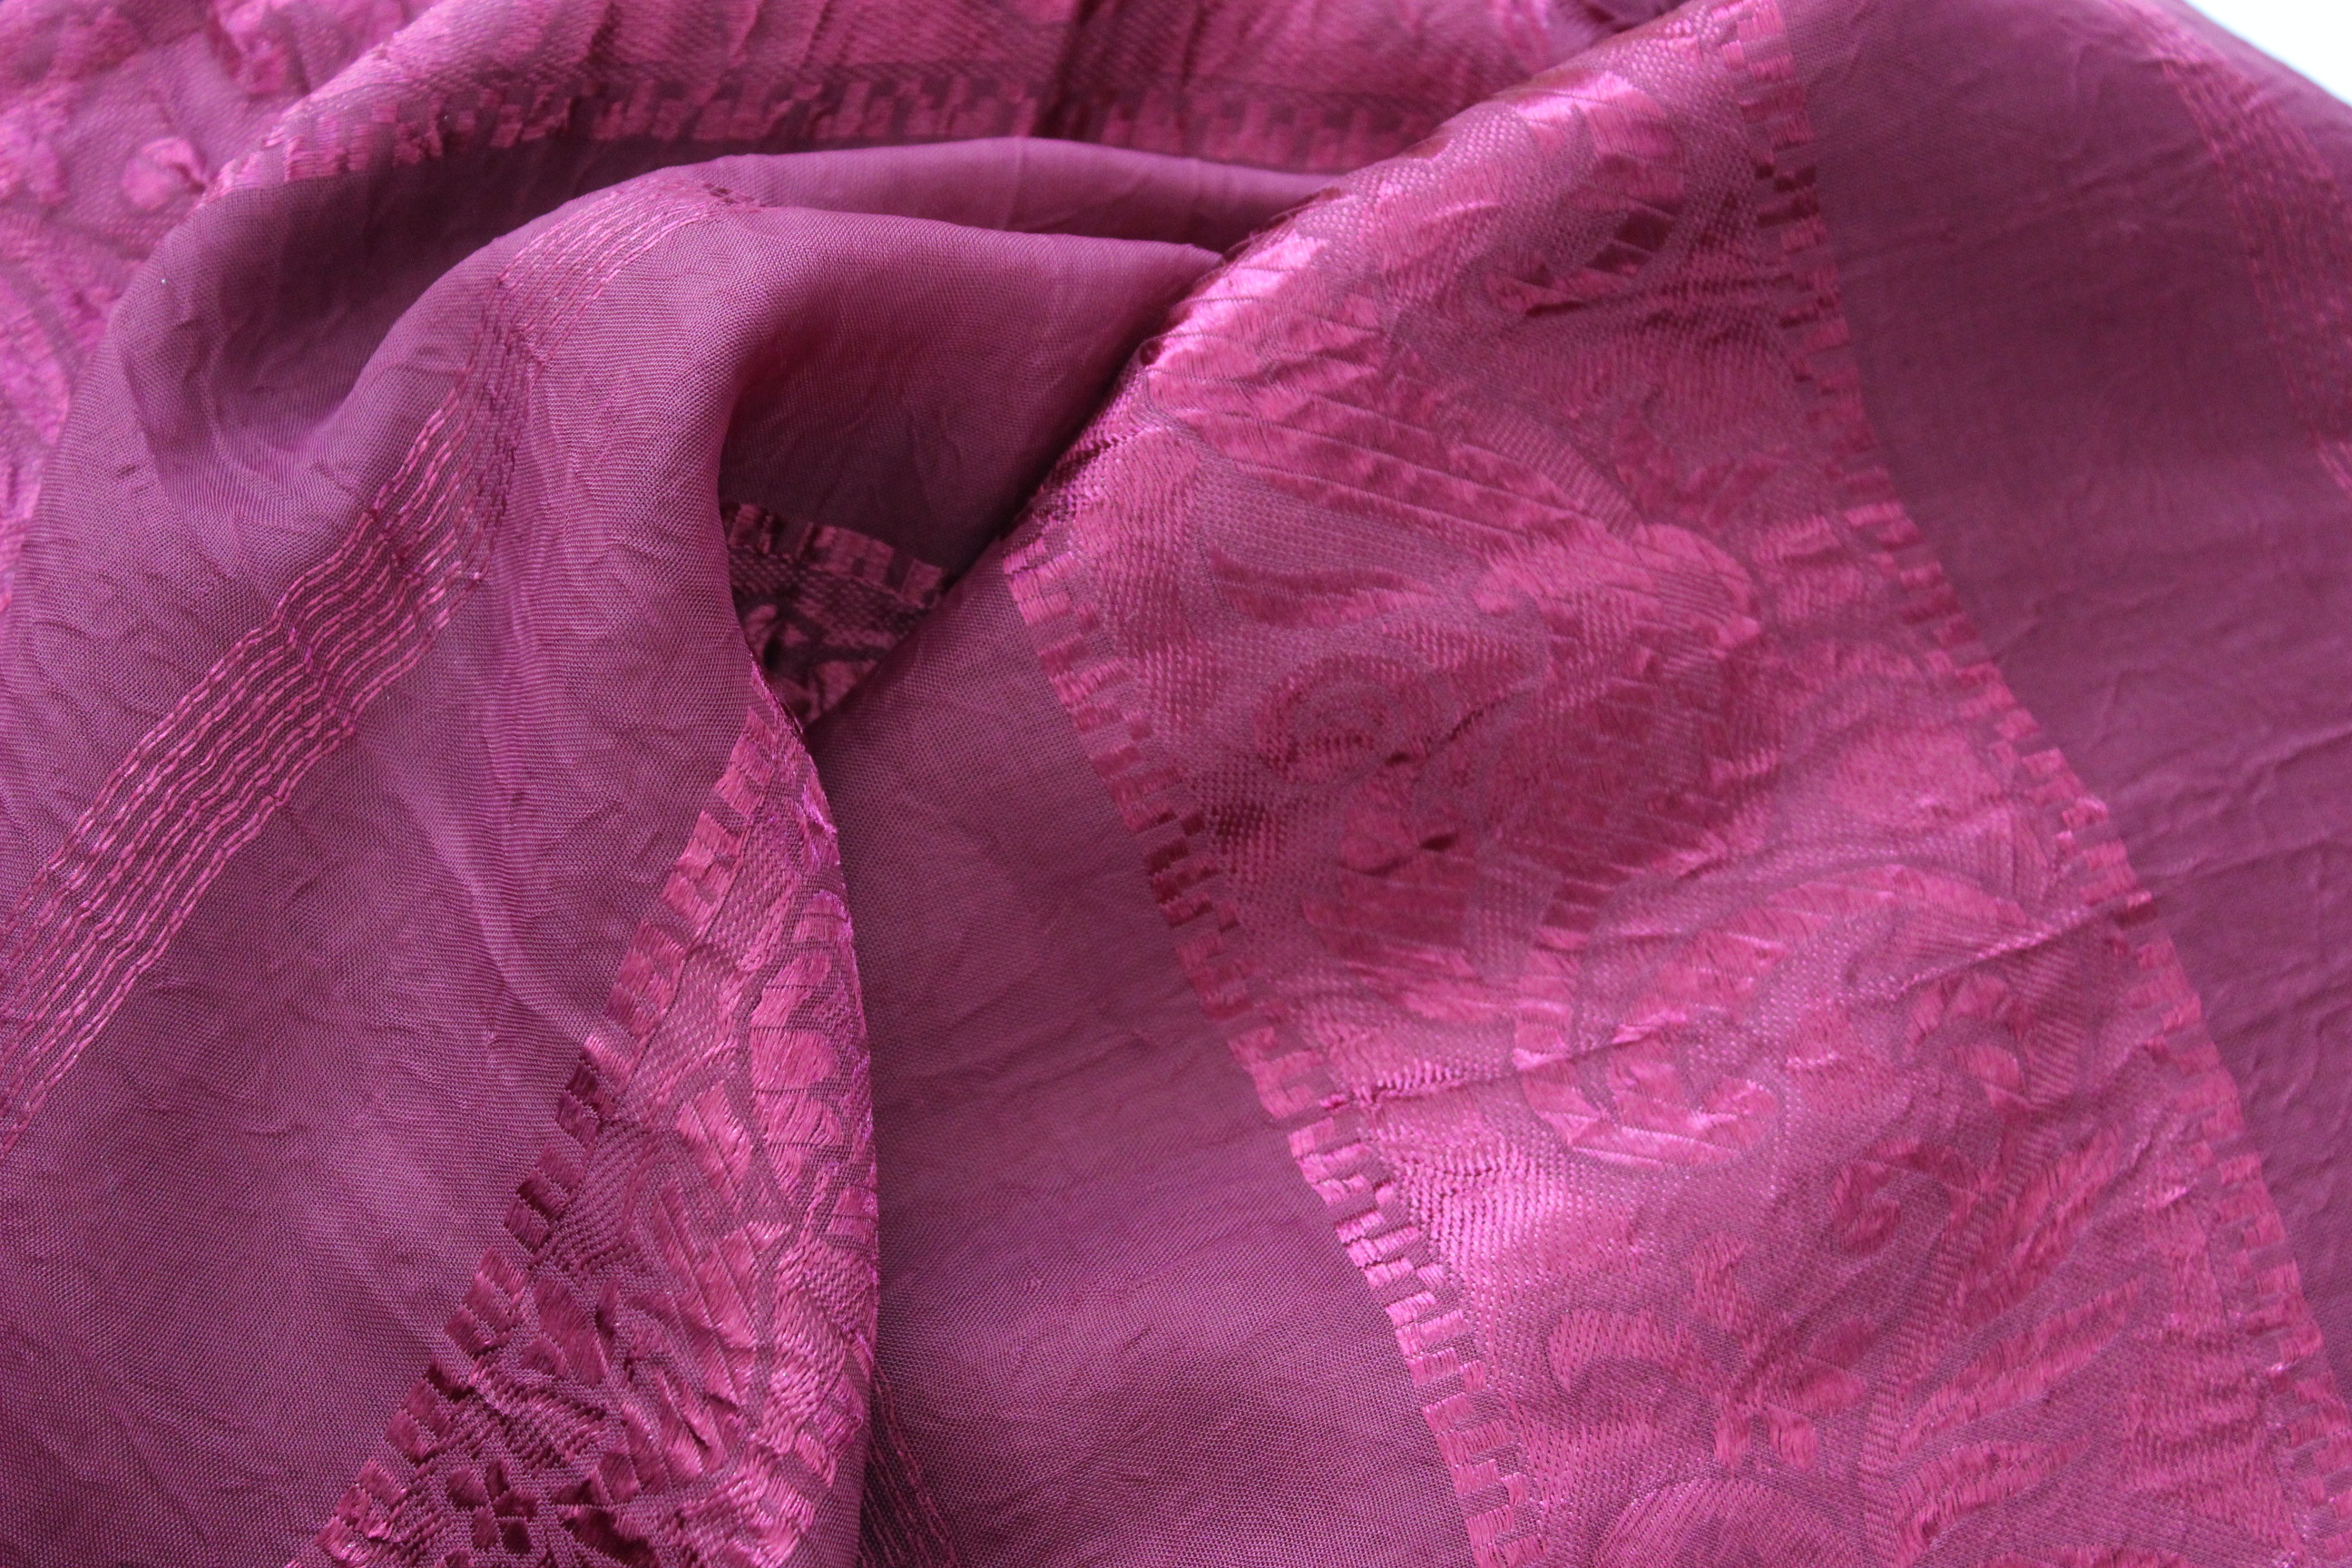
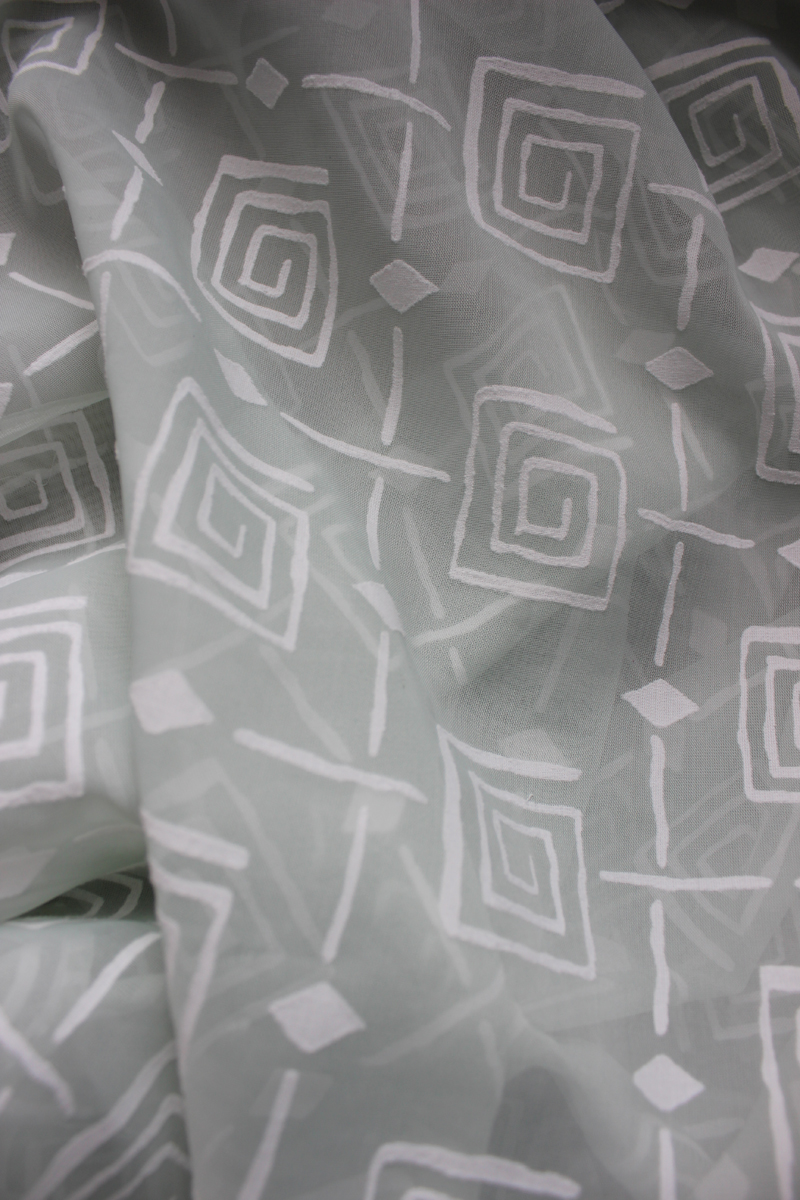
Finally I had to give it up, and once my sister decided she wanted a purple gown I thankfully already know where to look. I found both the cotton/polyester satin and the polyester chiffon on the bargain rack for les then 40kr/m (4 Usd).
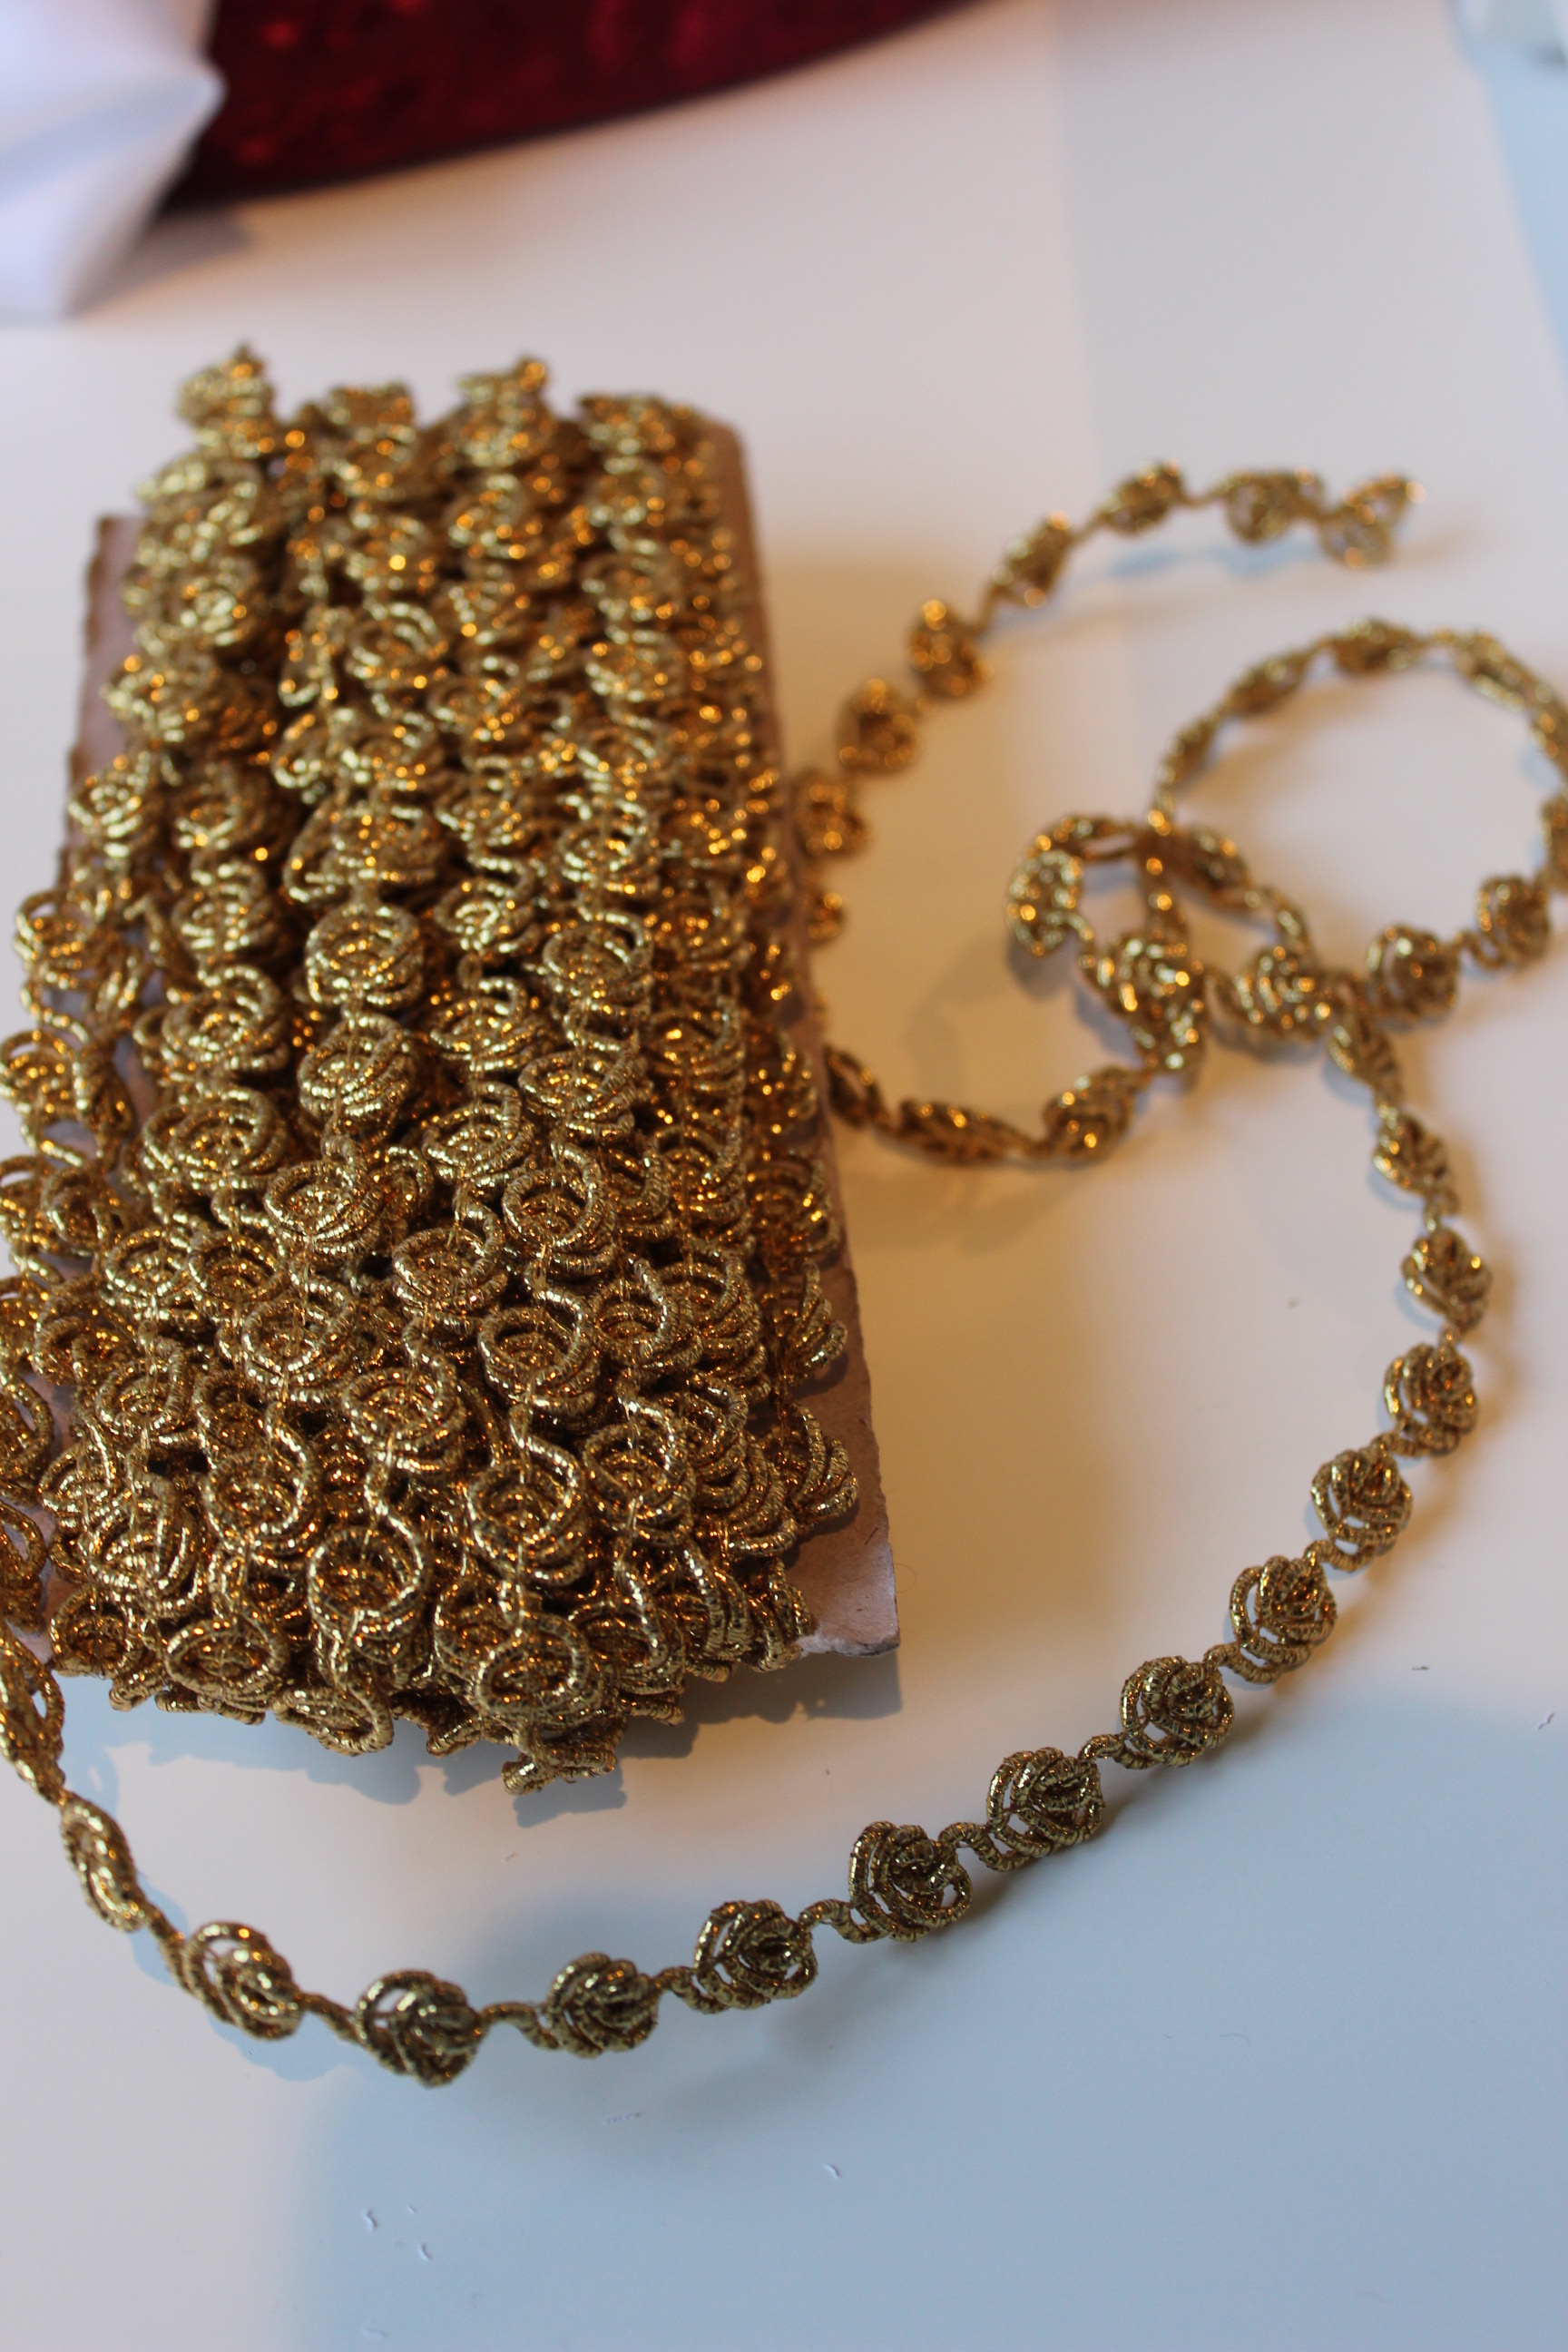
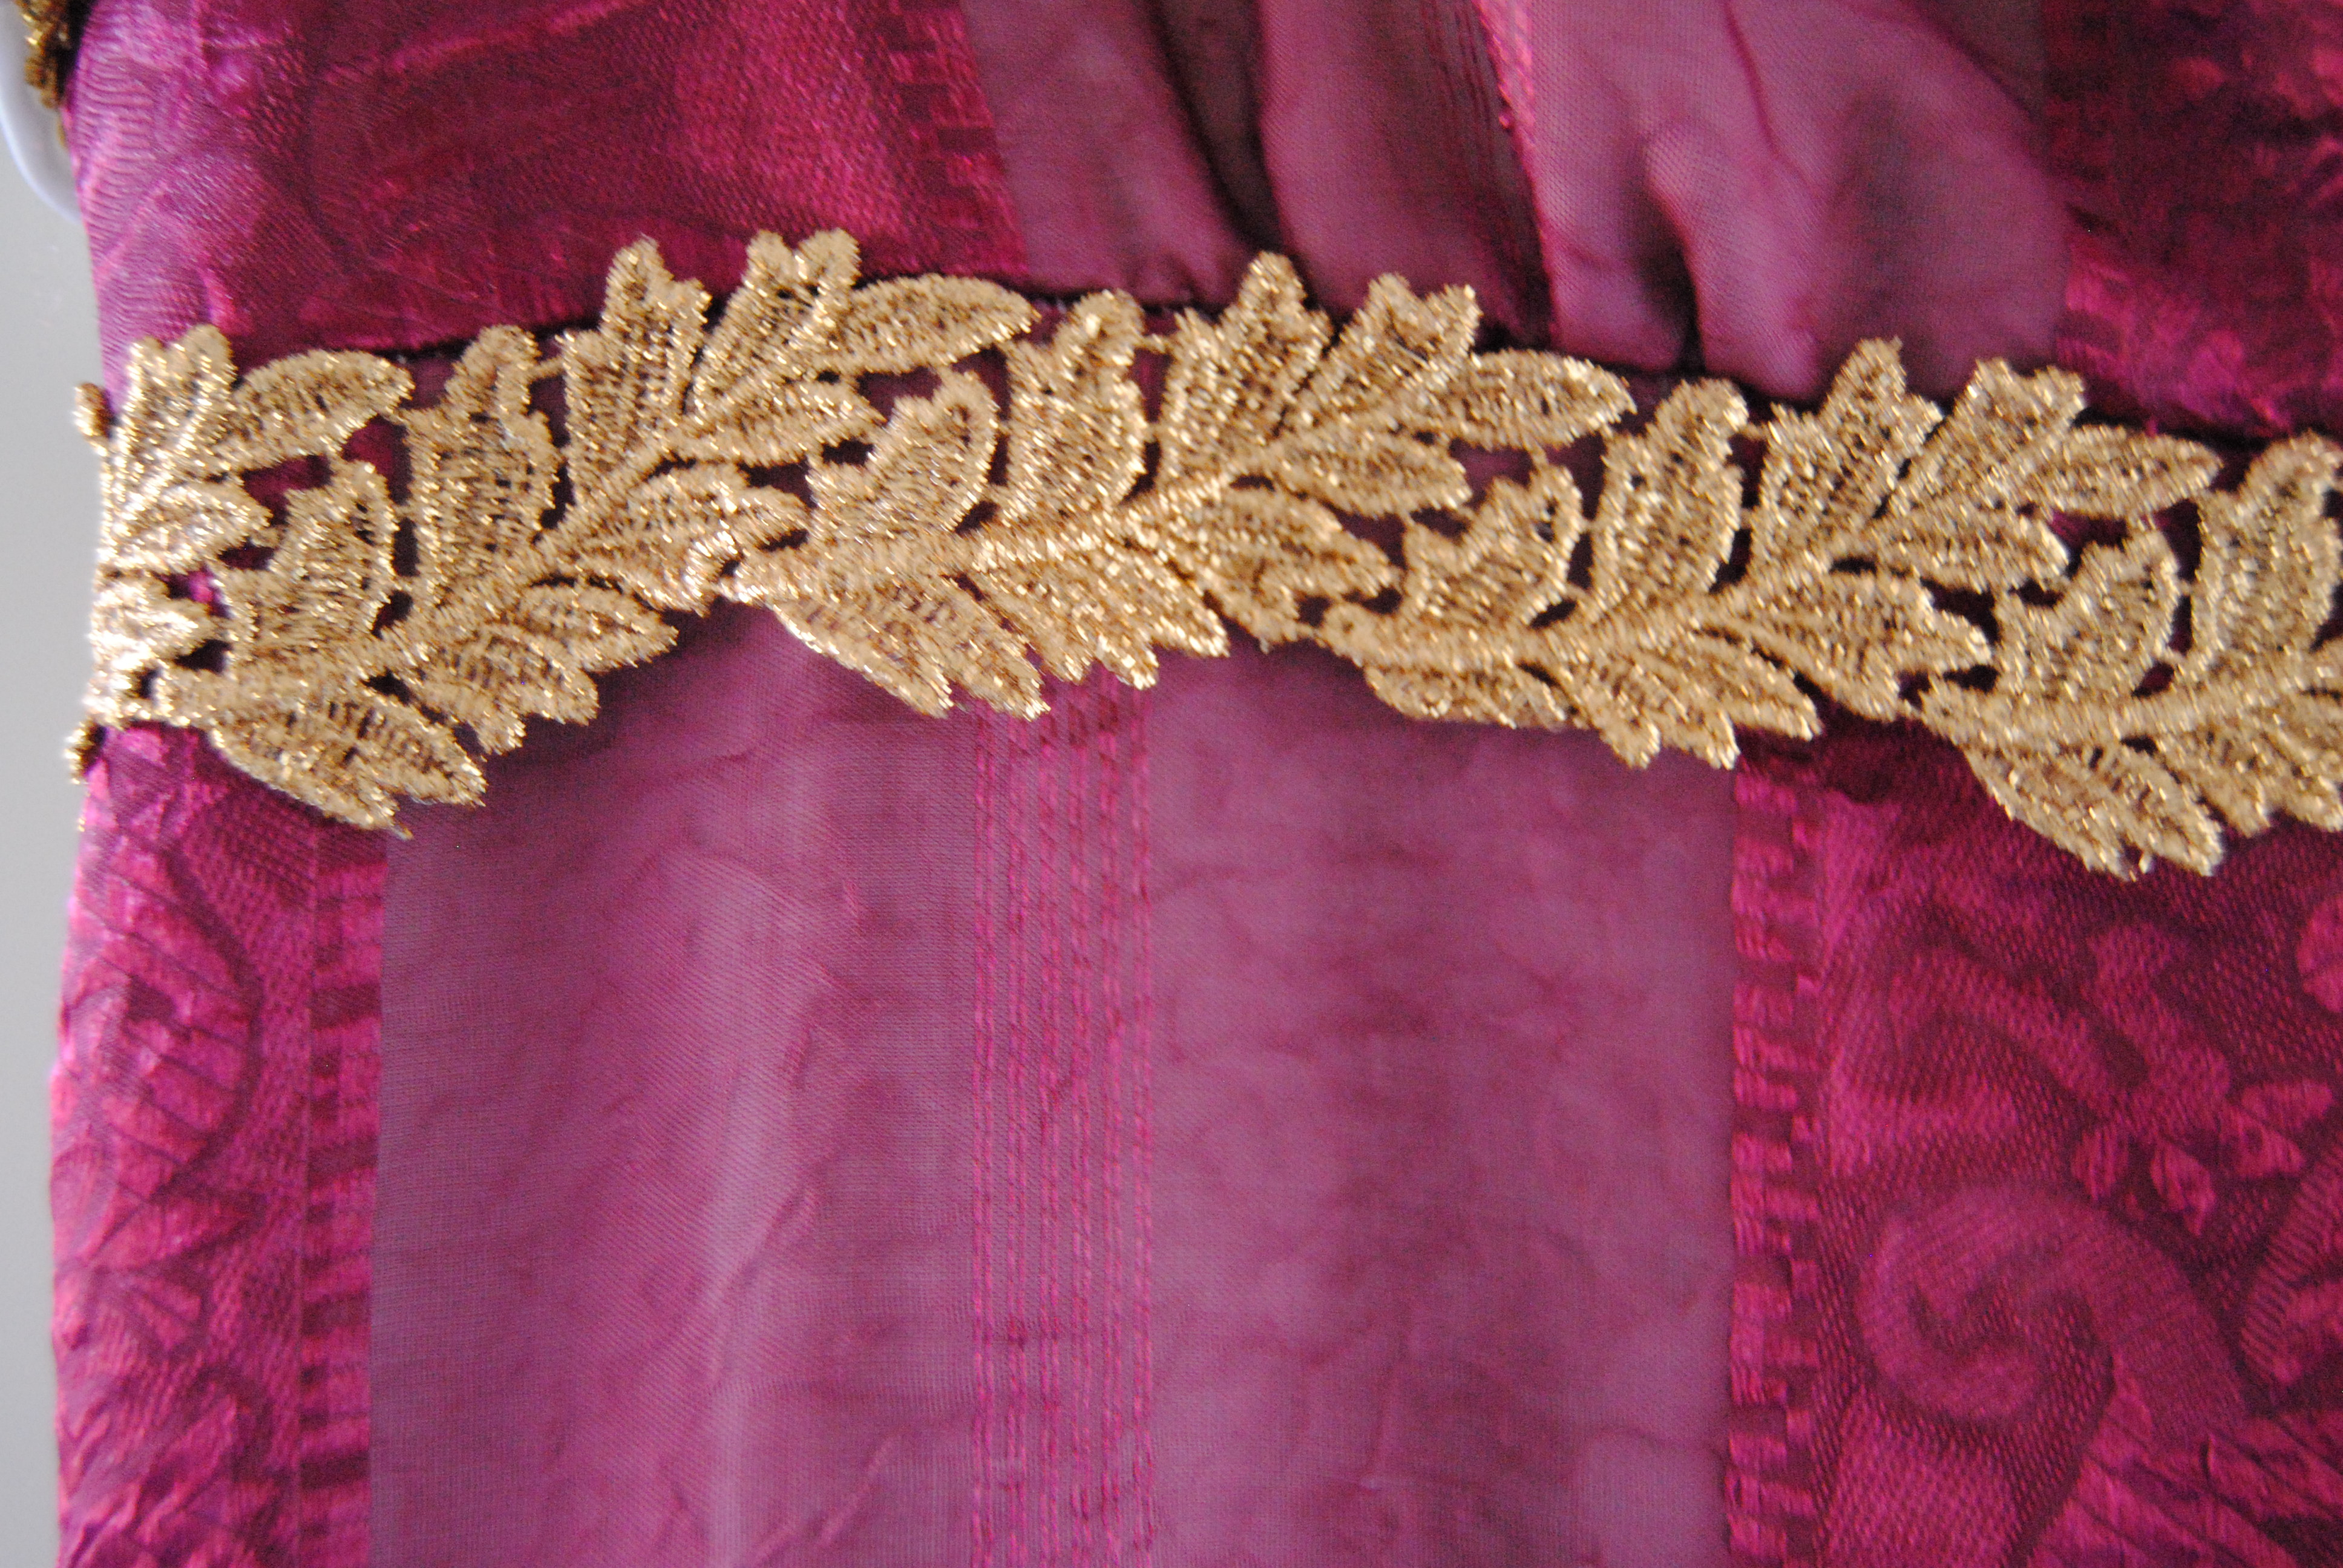
The purple/silver lace was something I grabbed on Sale a few years ago, and never knew what to do with.
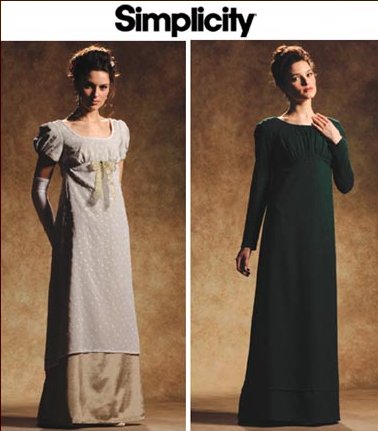
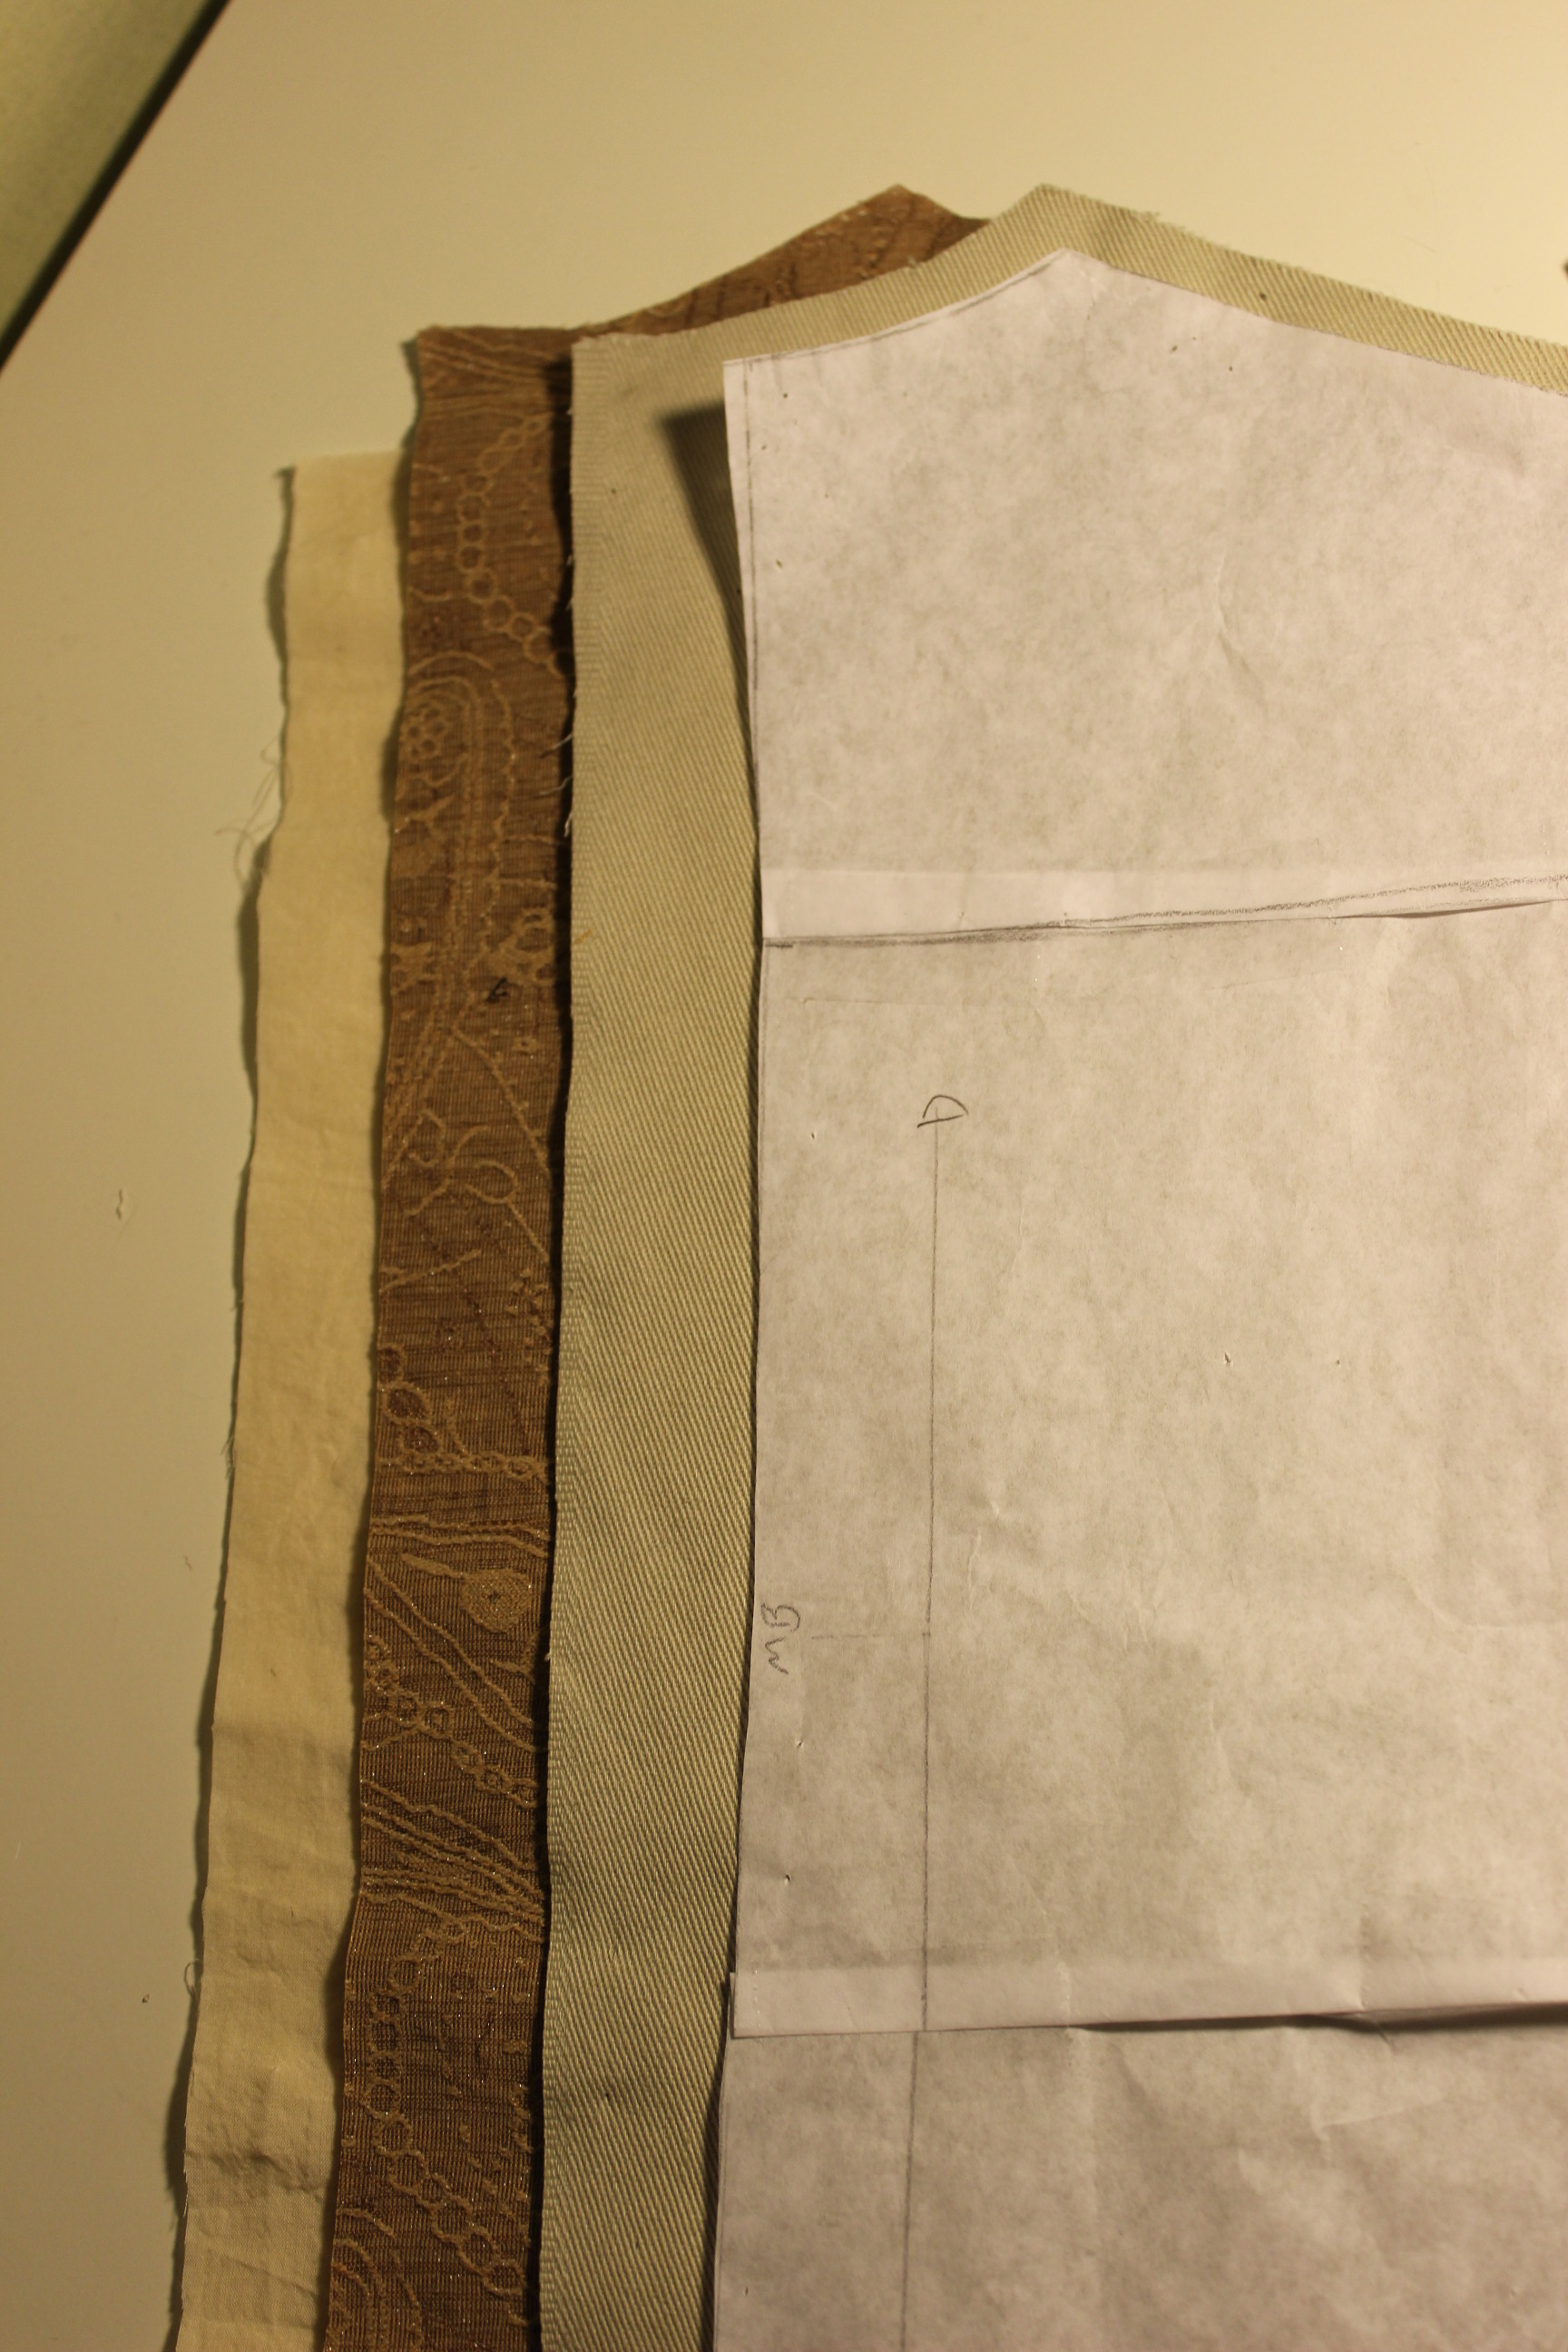
I knew this dress would have to be build during a long time, and preferably be finished well ahead of the ball (you know with work, the new baby coming, and the 1,5 year old kid taking my every spare minute), so even before I found the fabric’s I’d started working on the pattern. I used the “Truly Victorian 462 as the base of the bodice, and altered it to fit both my sister and the style we wanted.
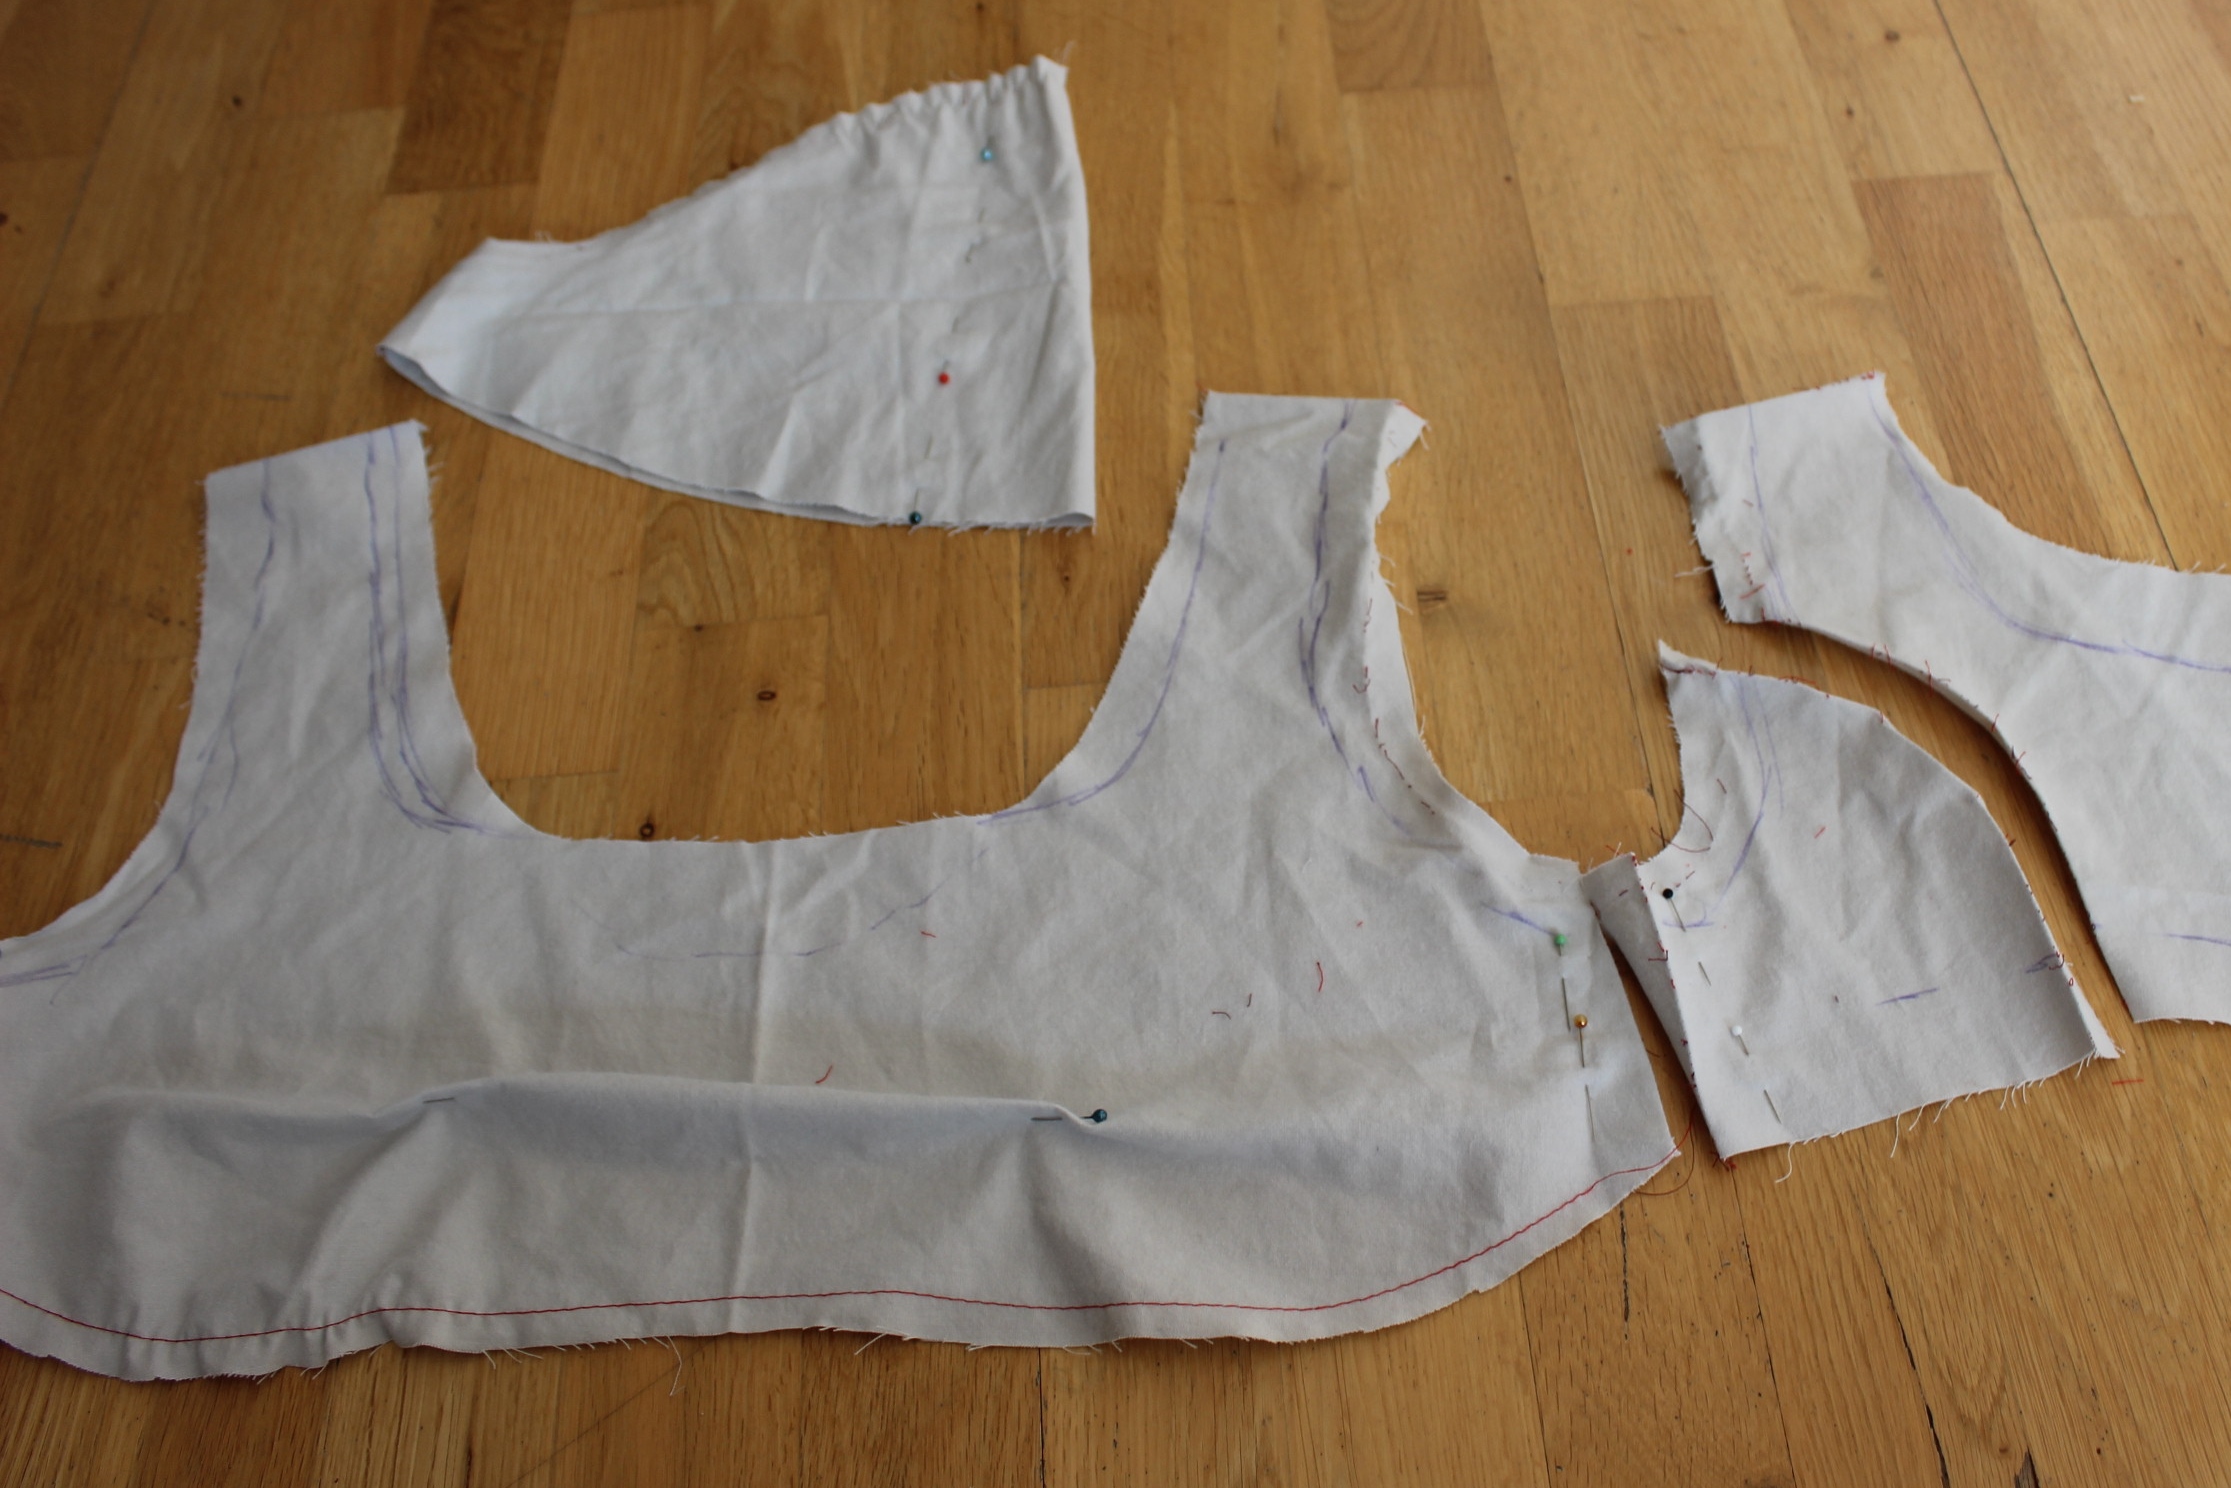
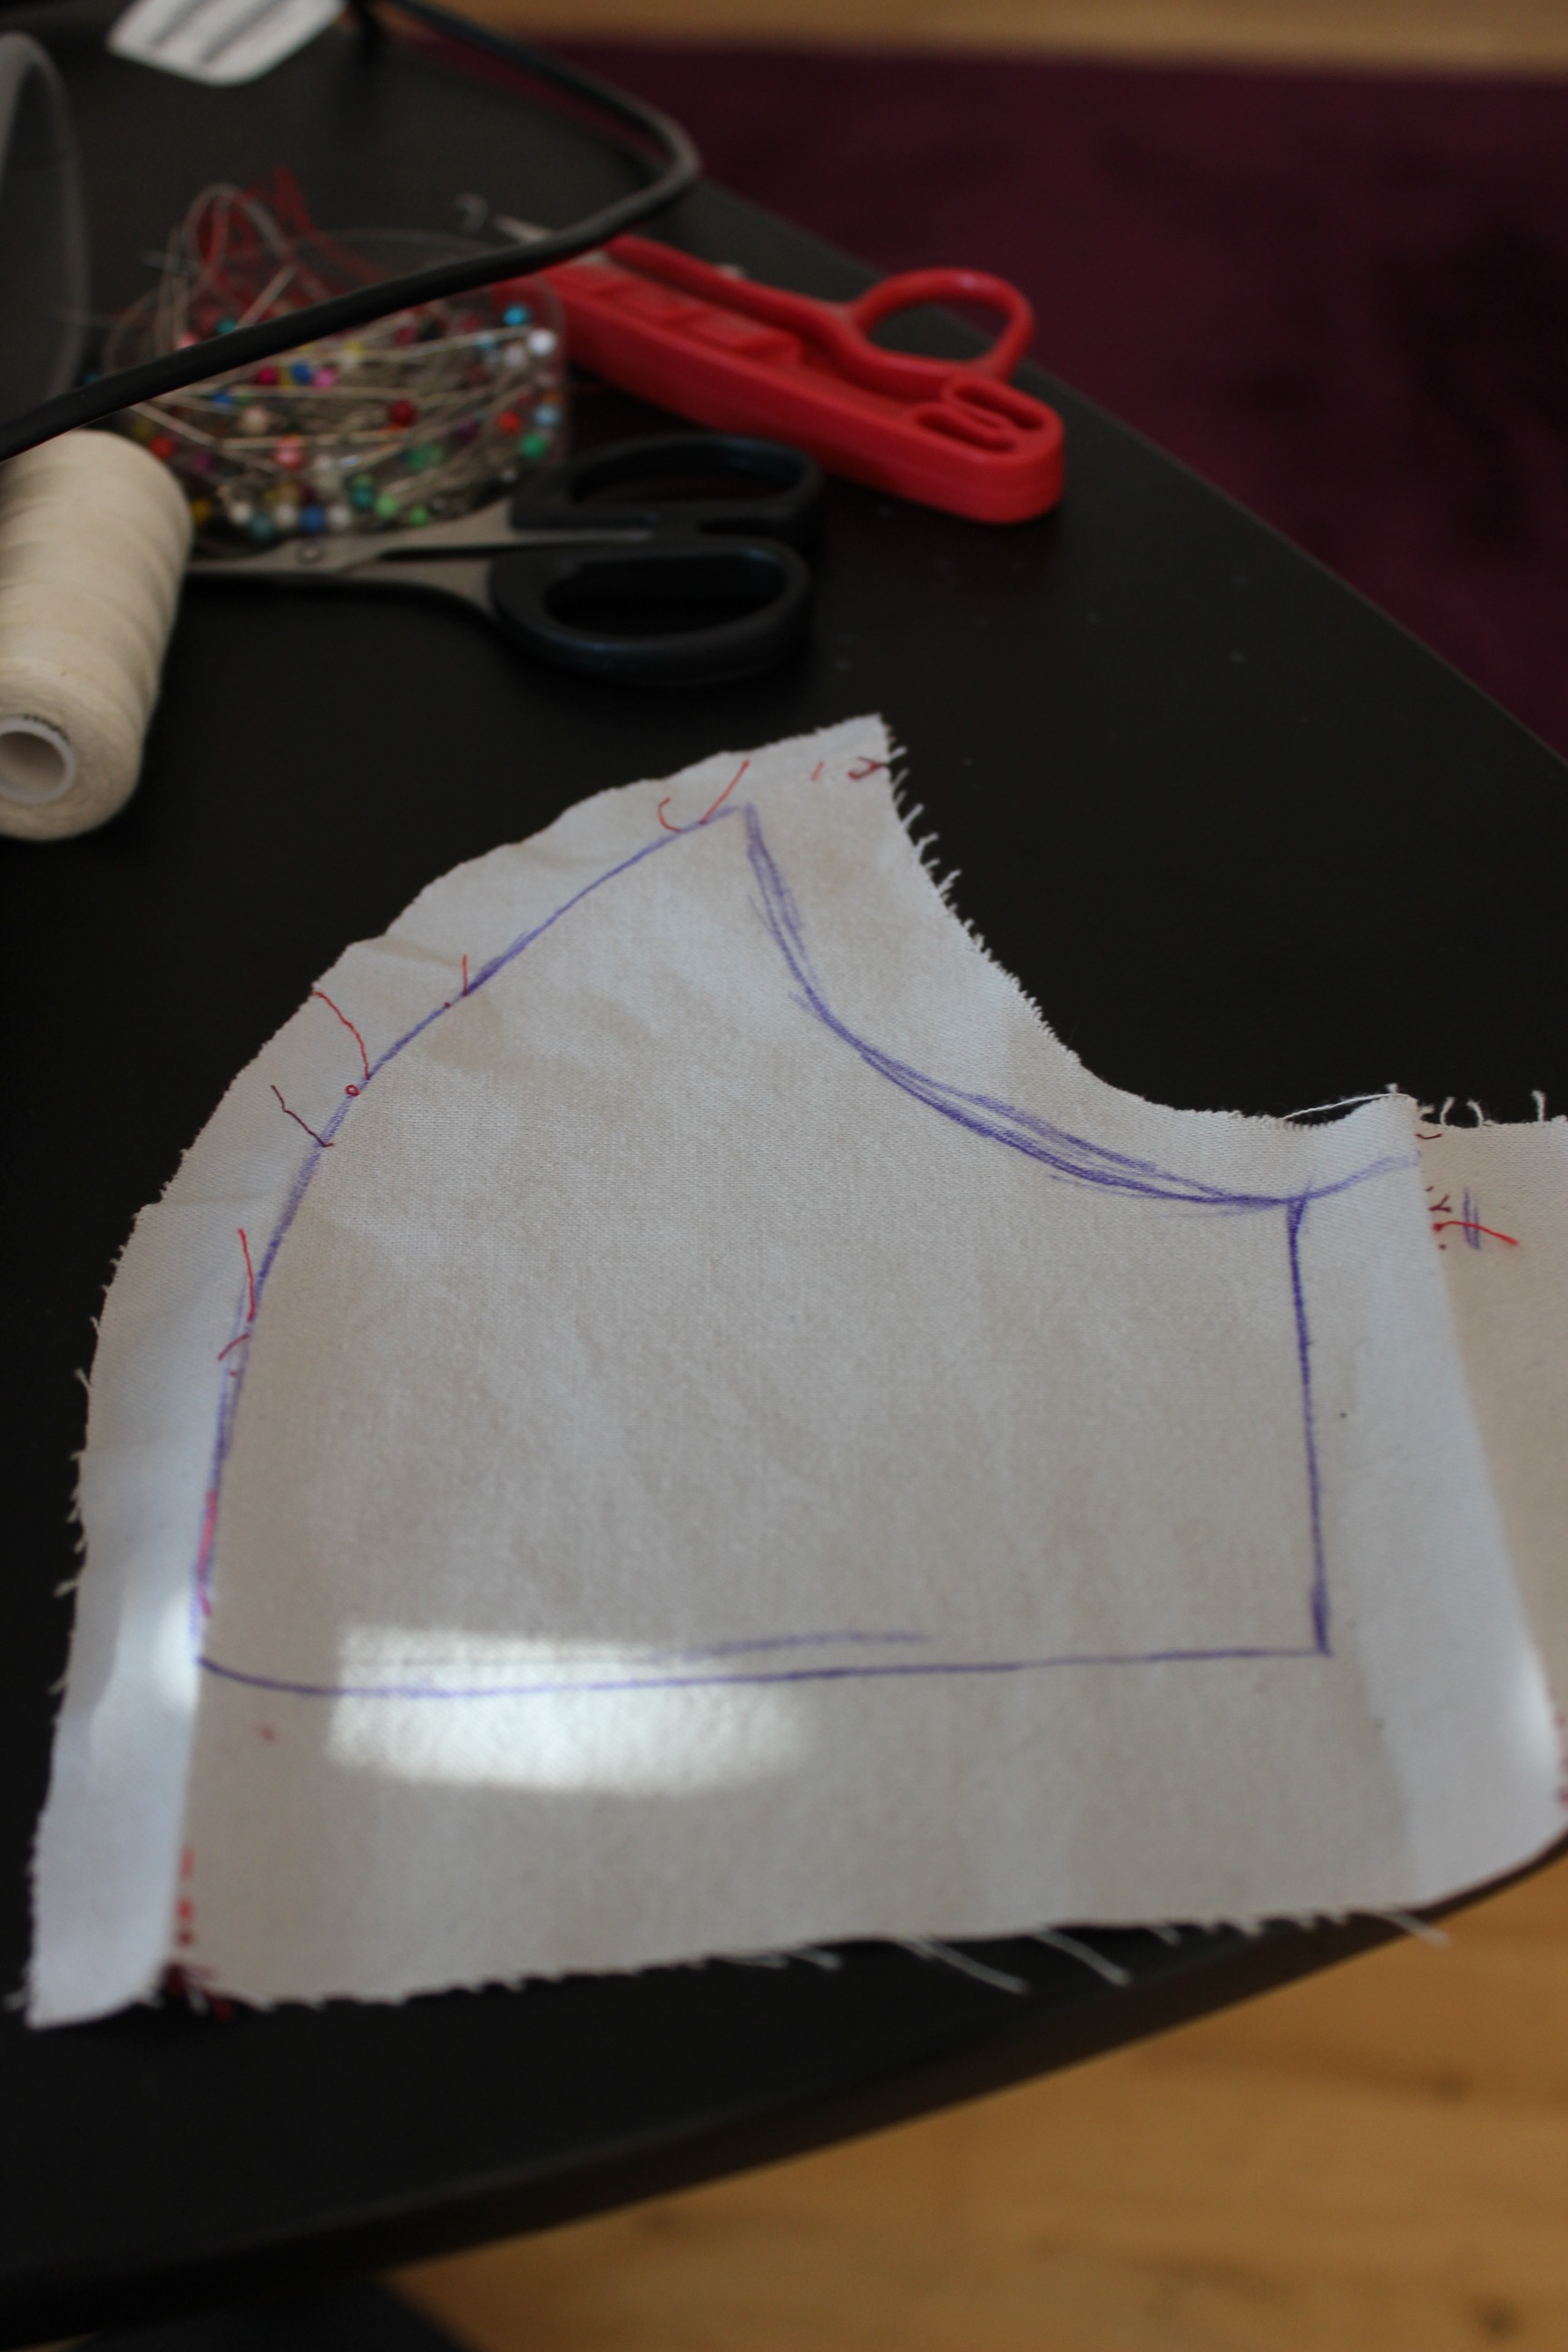
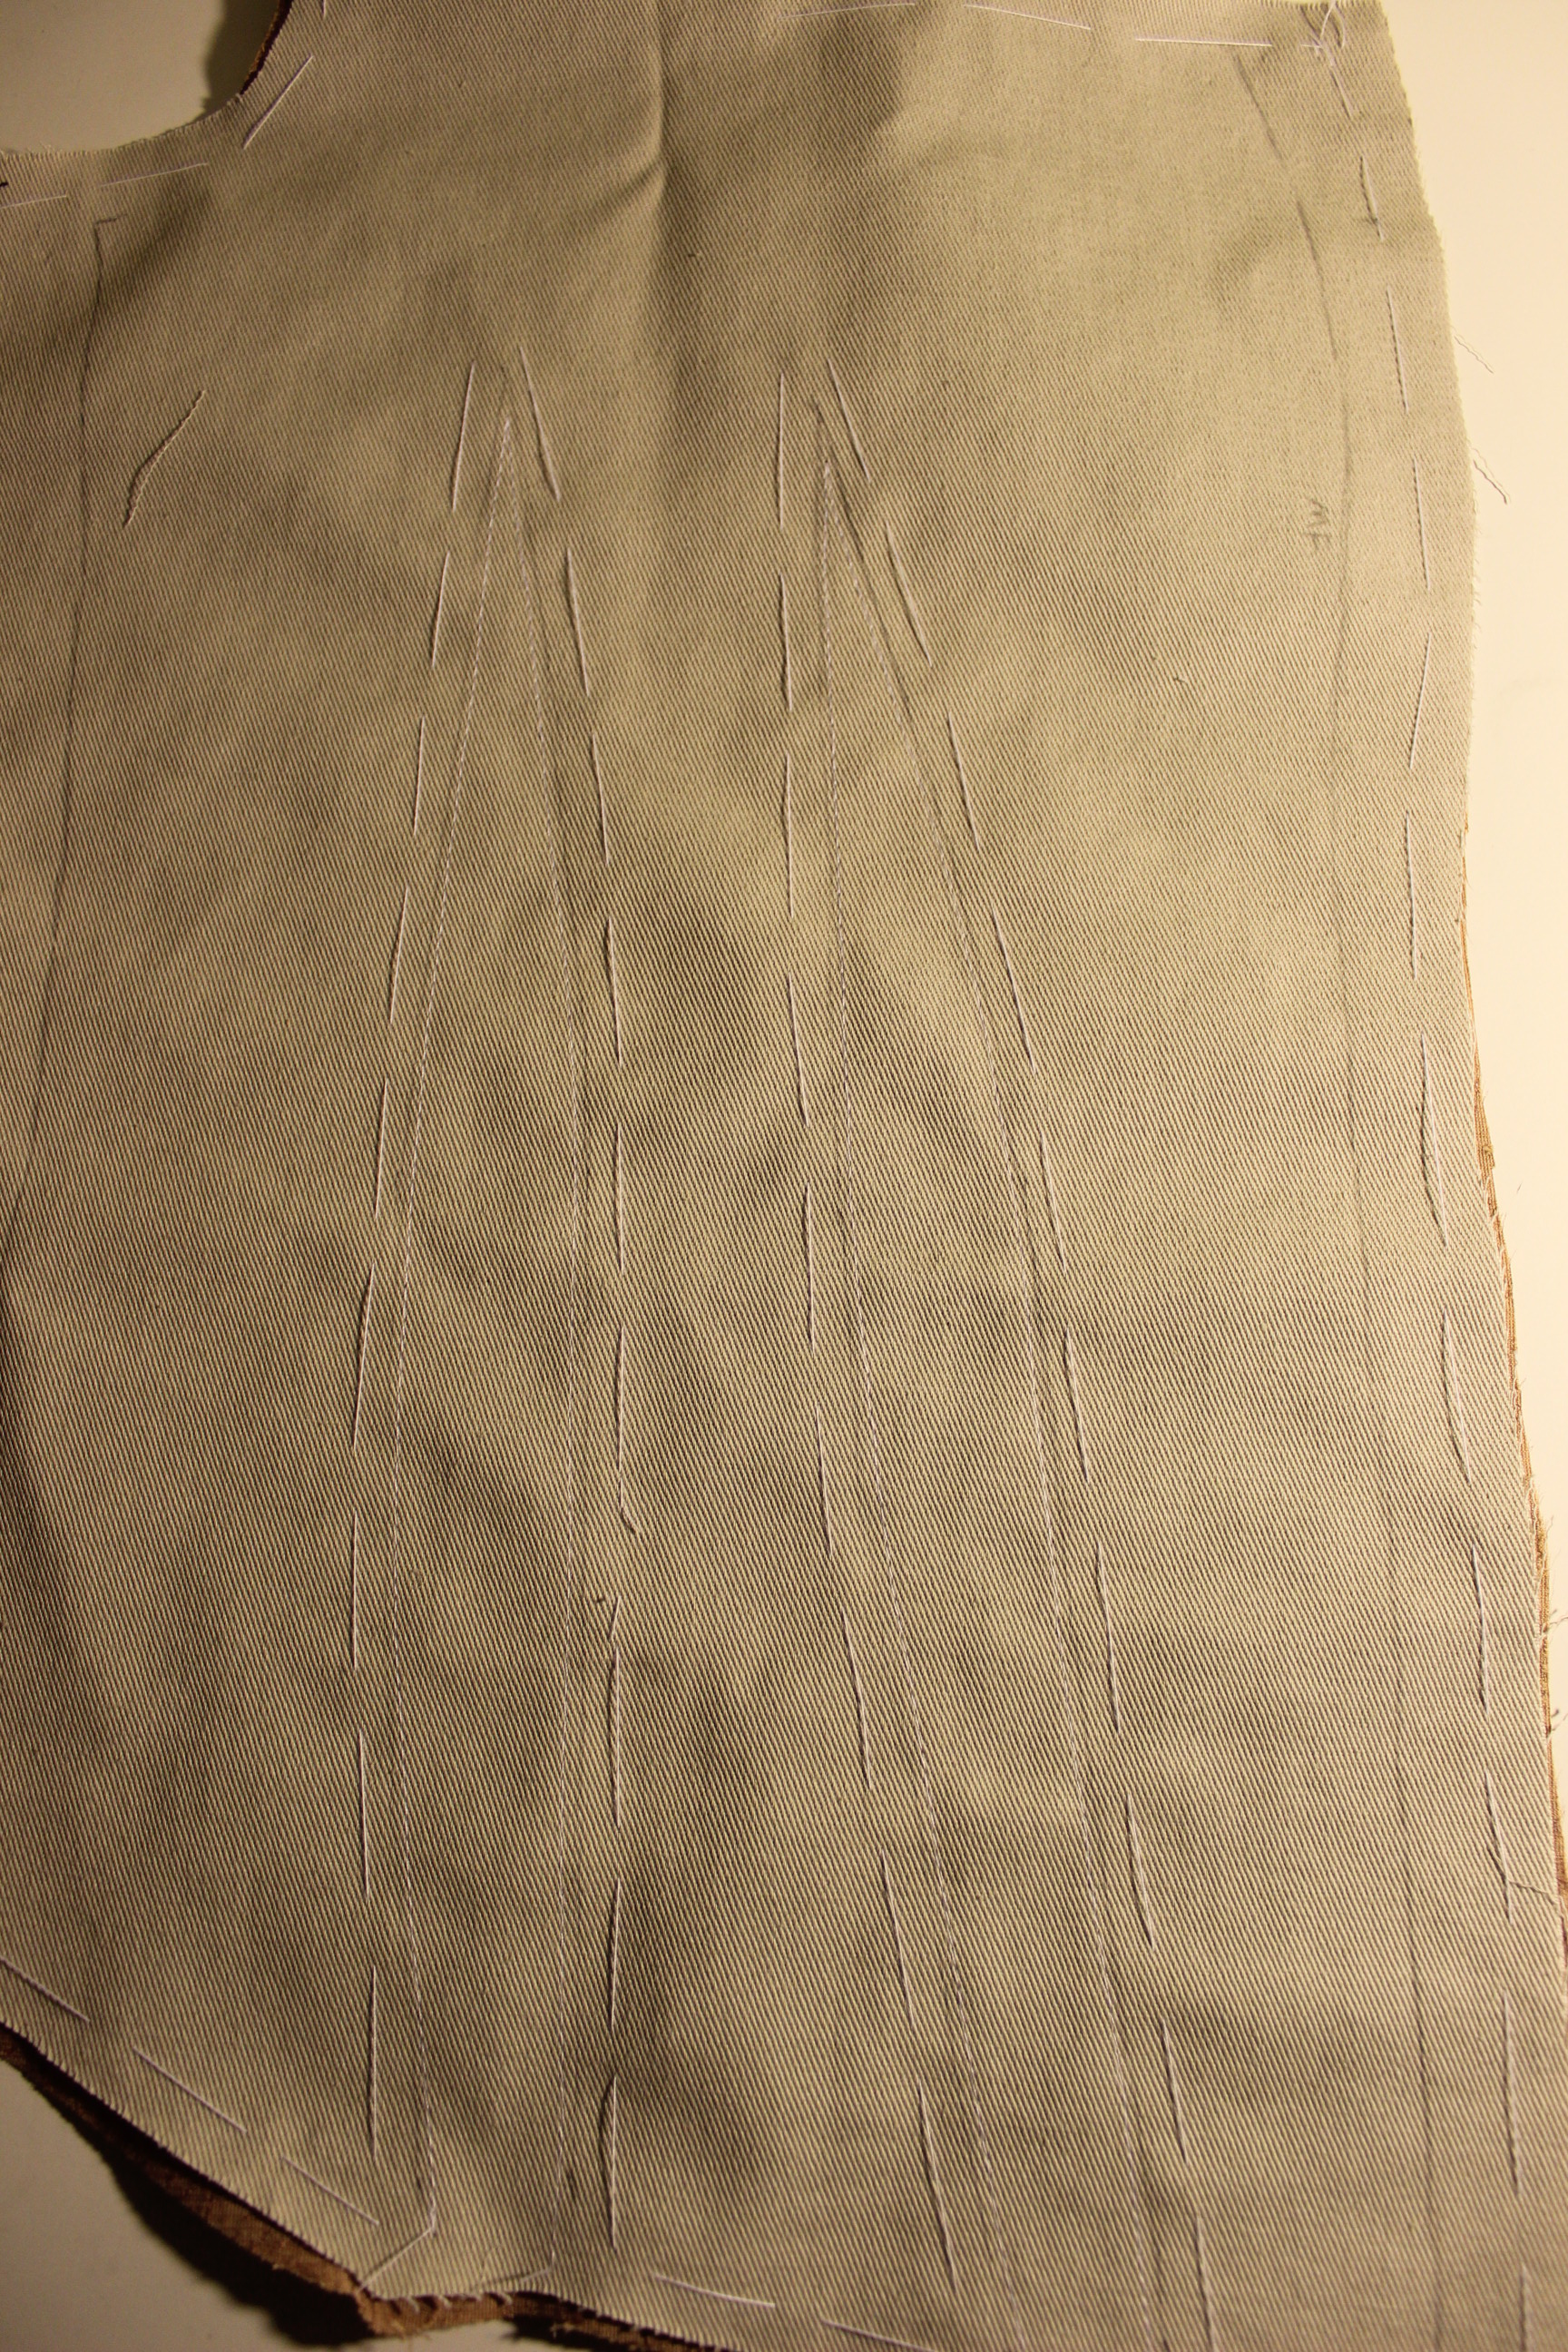
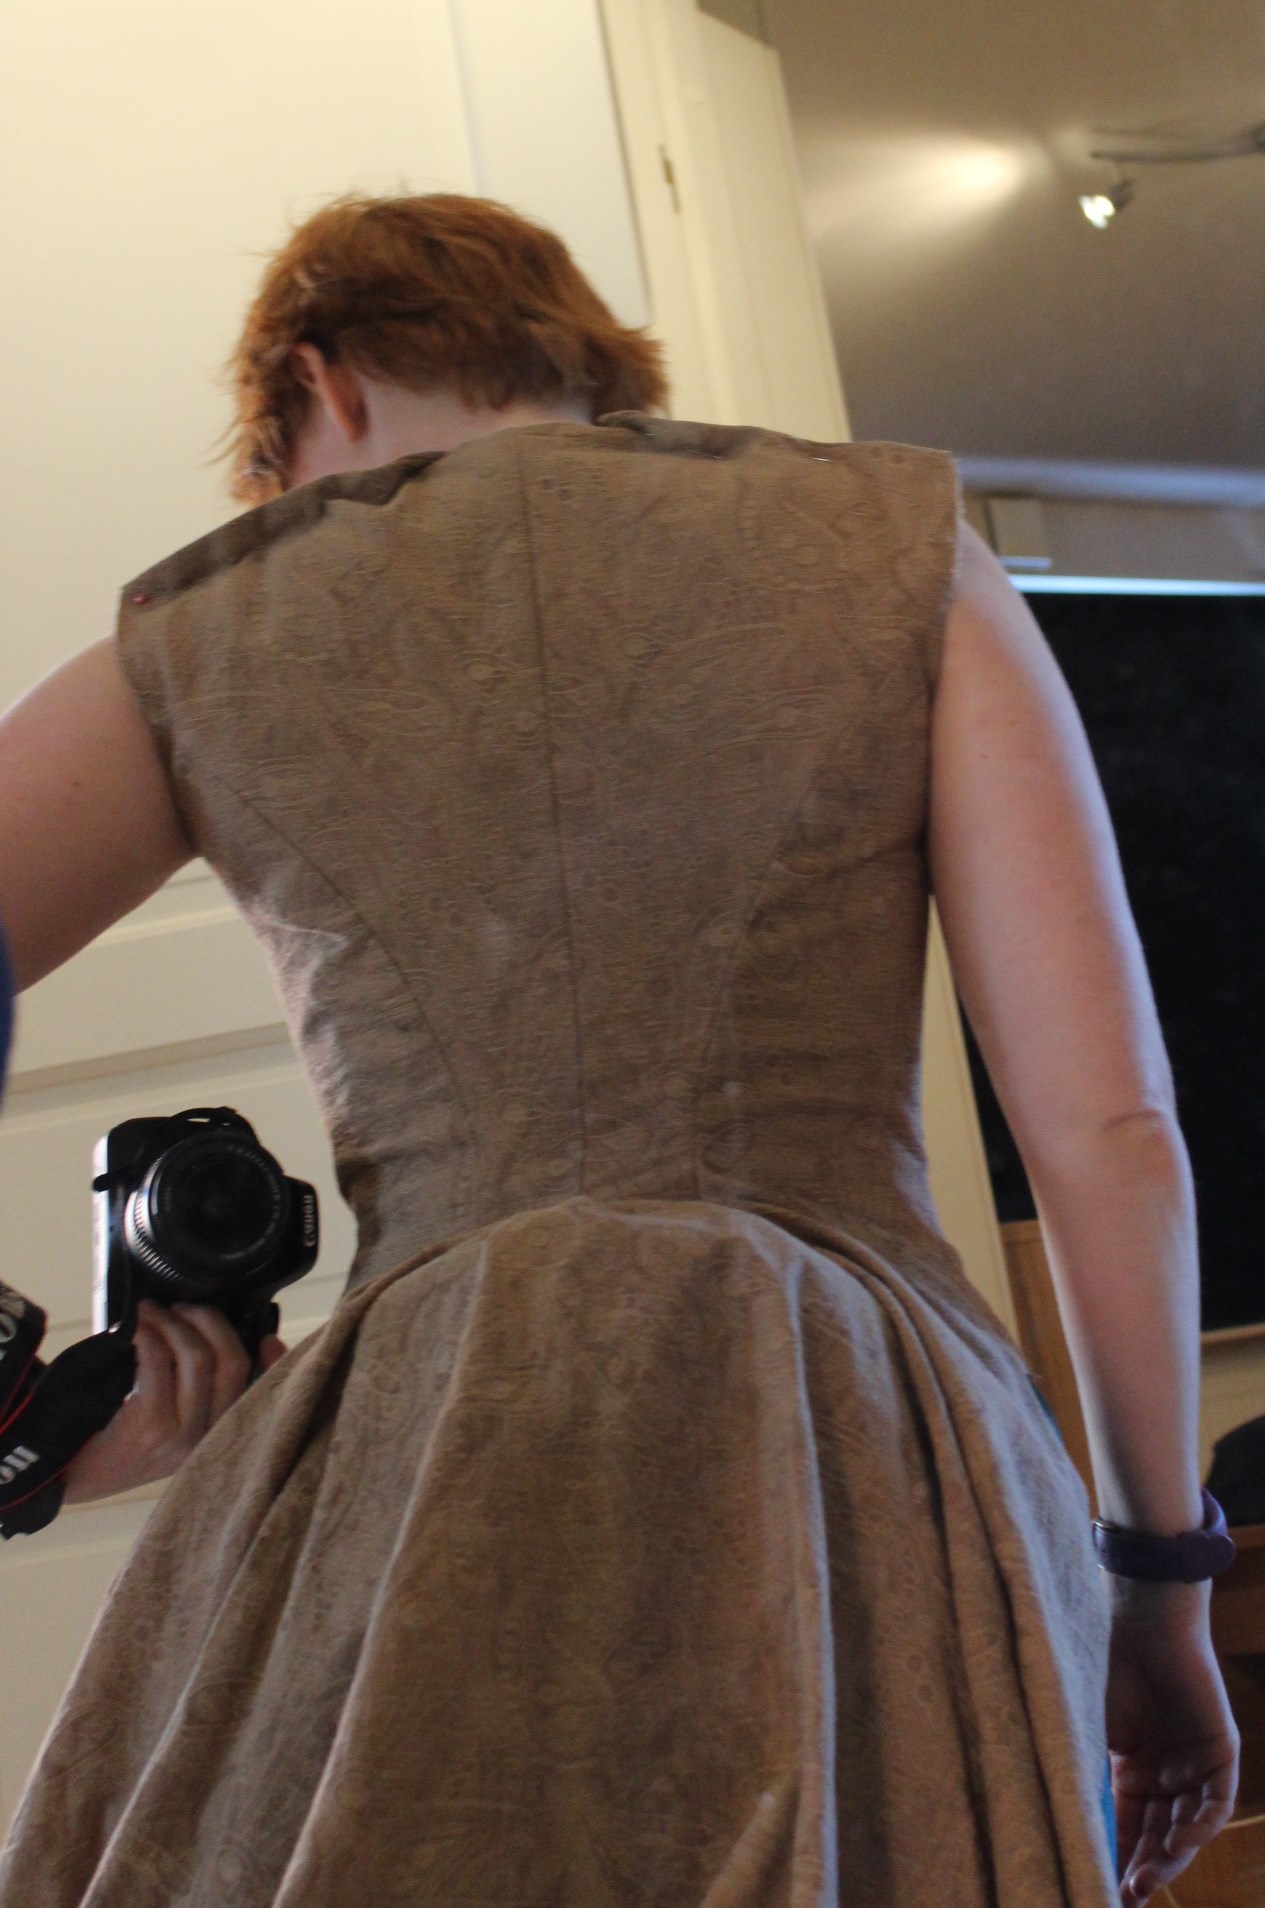
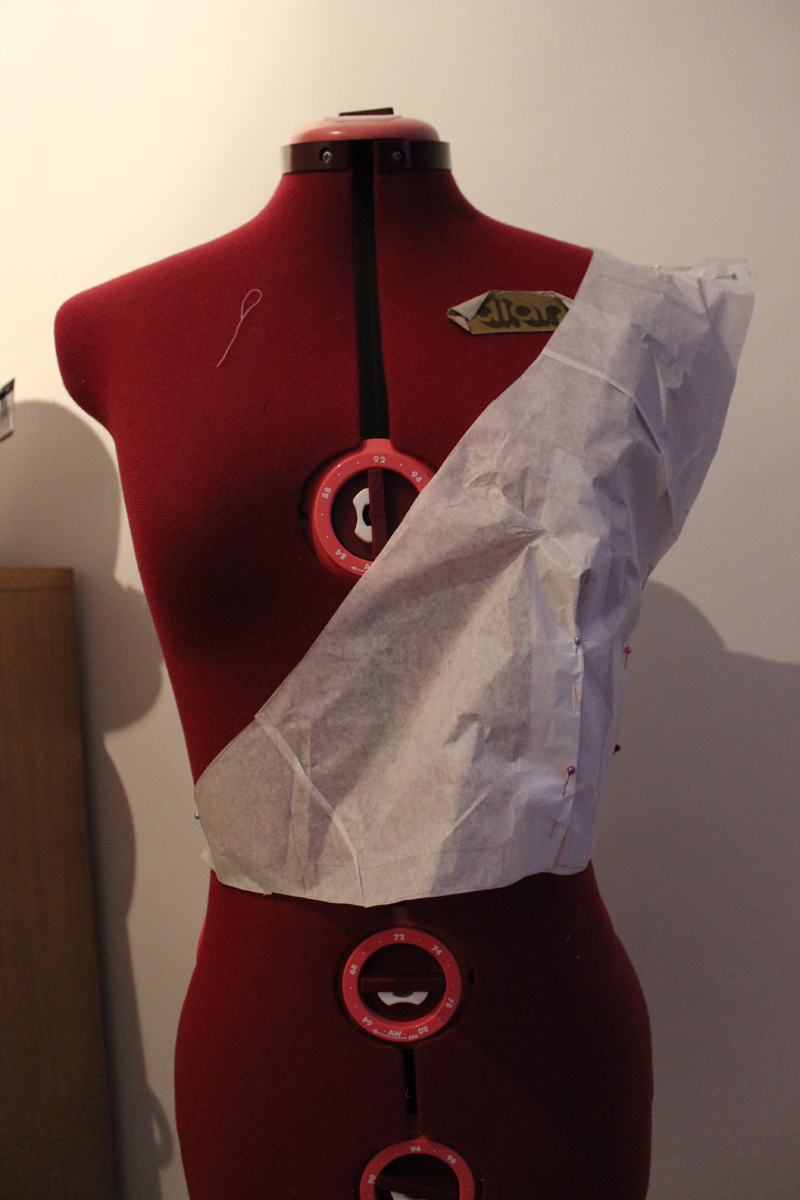
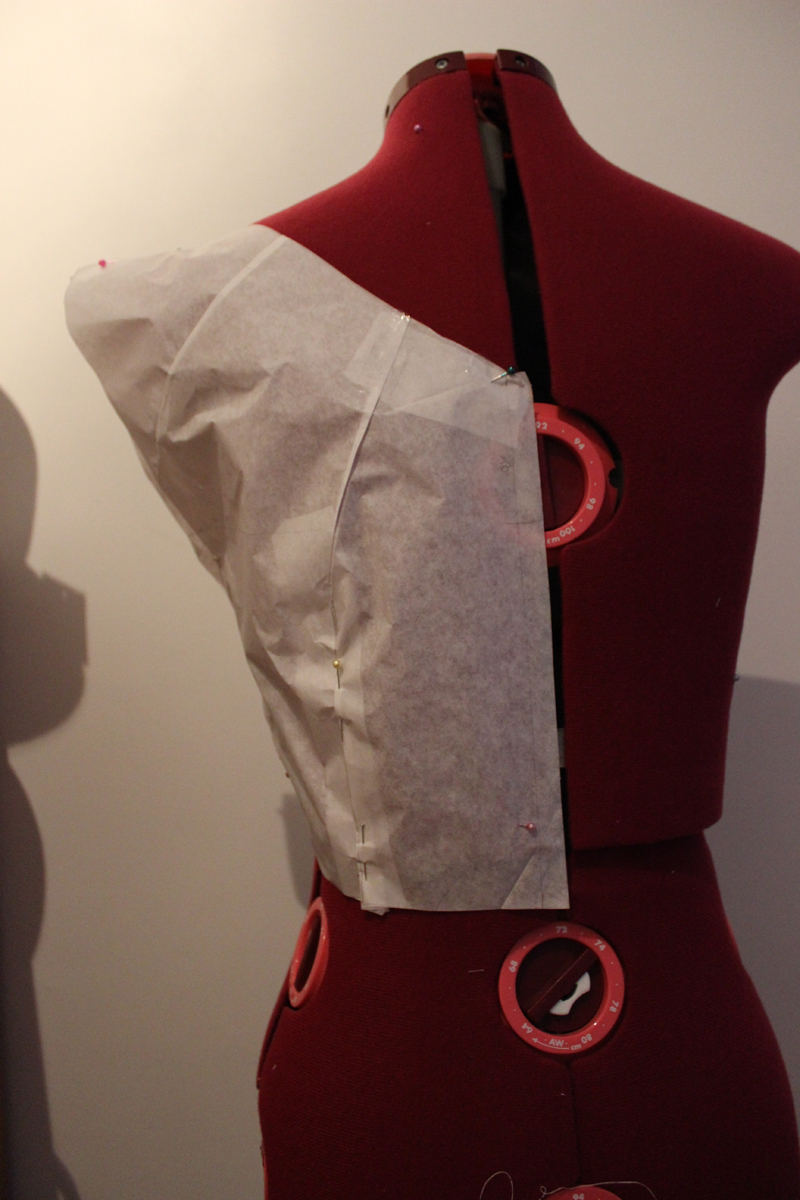
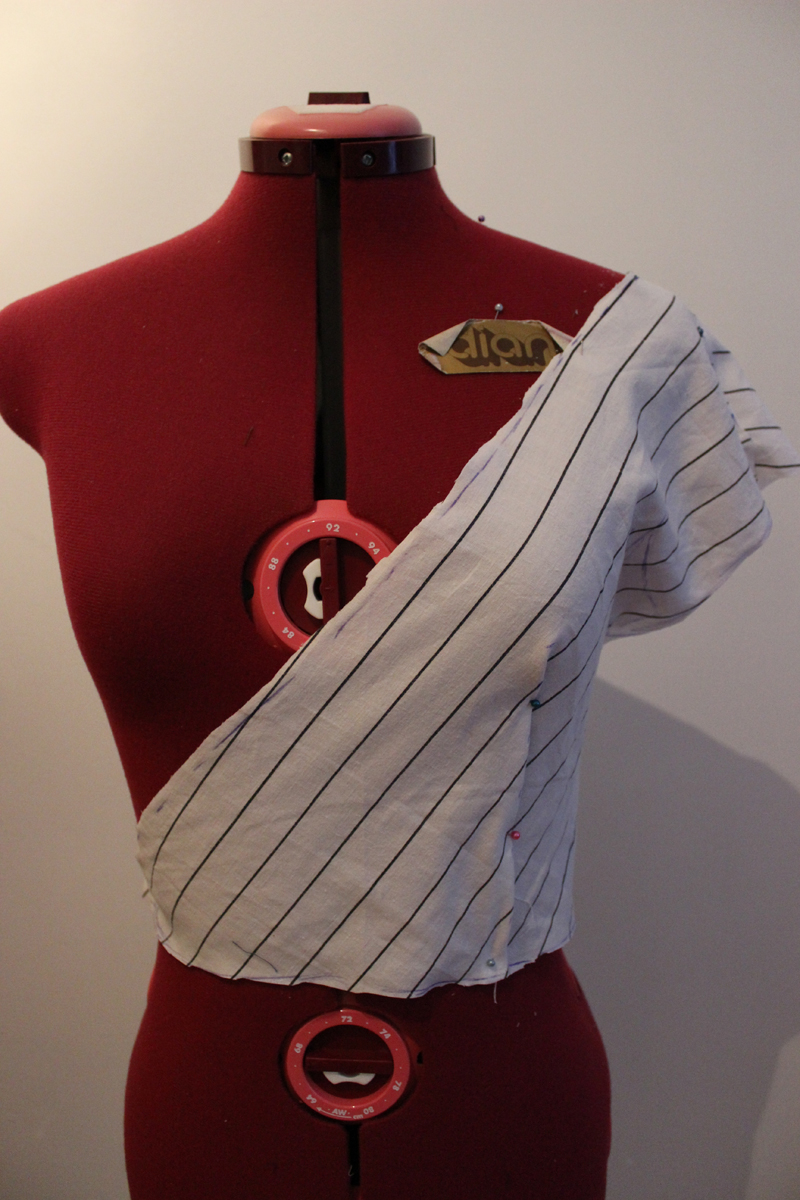
The pattern required quite a lot alterations, so to see that I didn’t made any big mistakes, I also made a paper mock-up and tried it on my dressform.  Then I made the usual cotton mock-up, wich had some major fitting issues – like the back/waist lenght, to little fabric accomodating the back/bustle and the neckline being to high and weird.
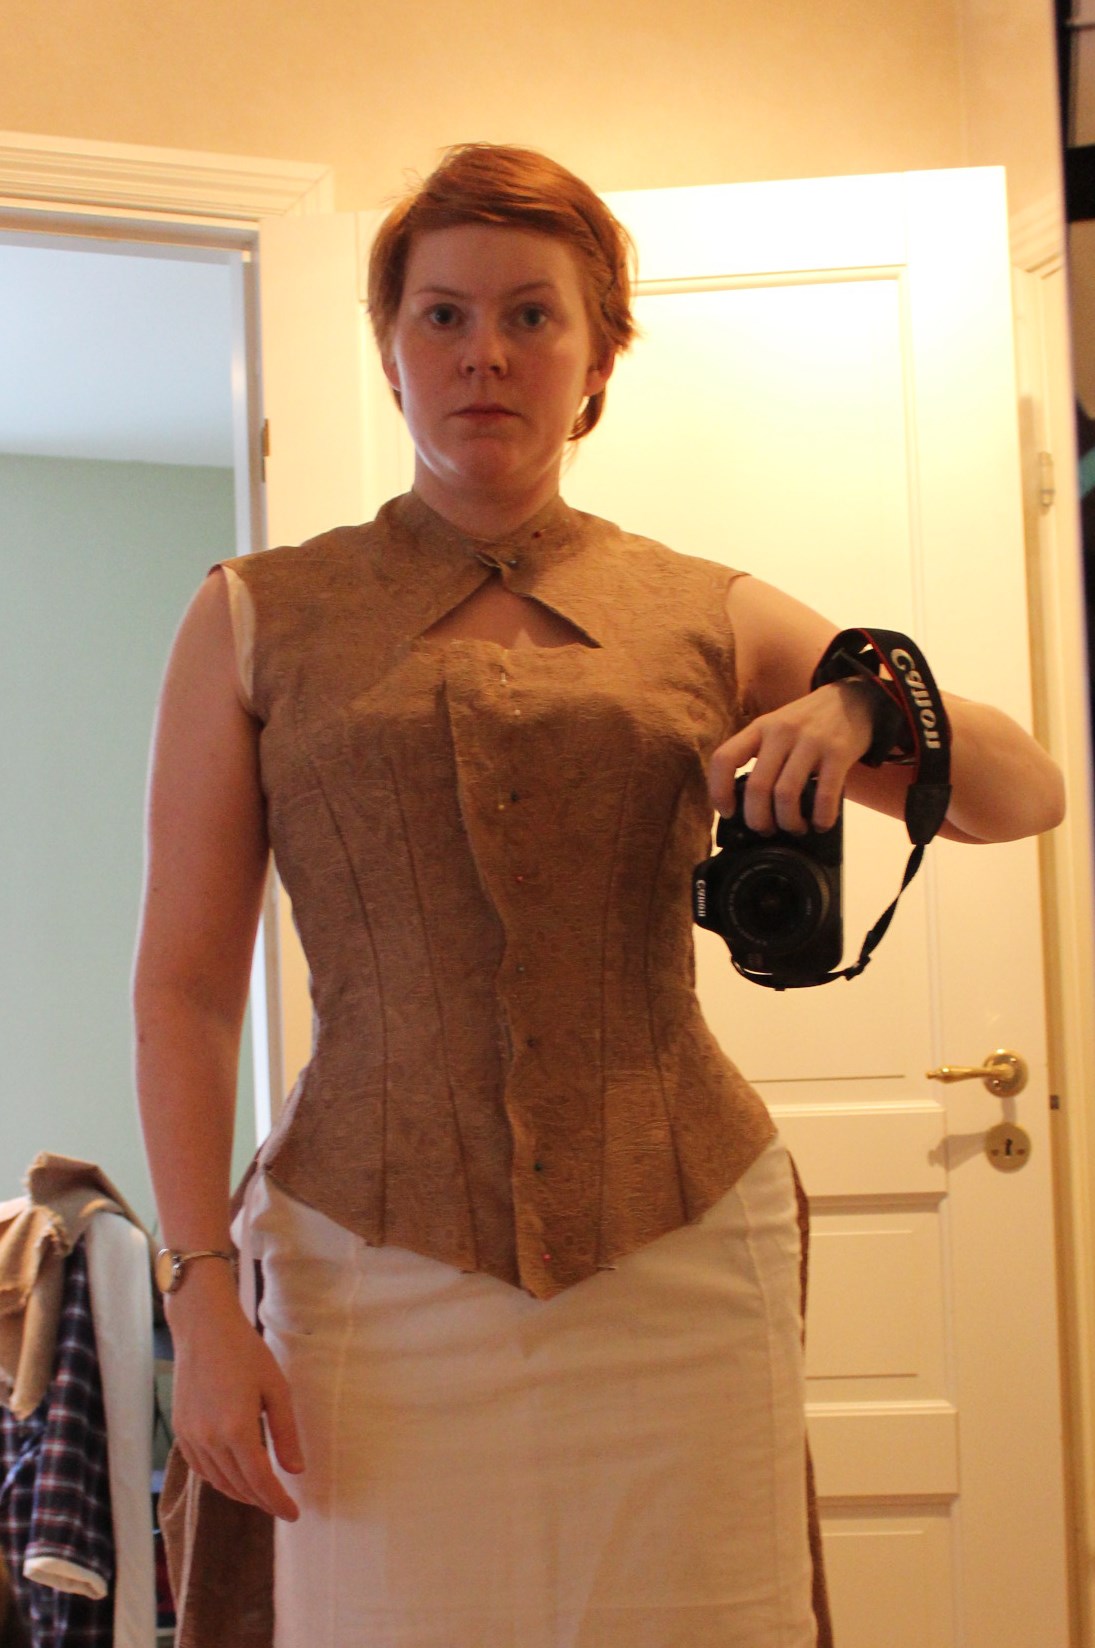
So I went back to the drafting table, did the alterations and cut a second mock-up. This time the fit was so much better.
Then it was time to cut the fabric.
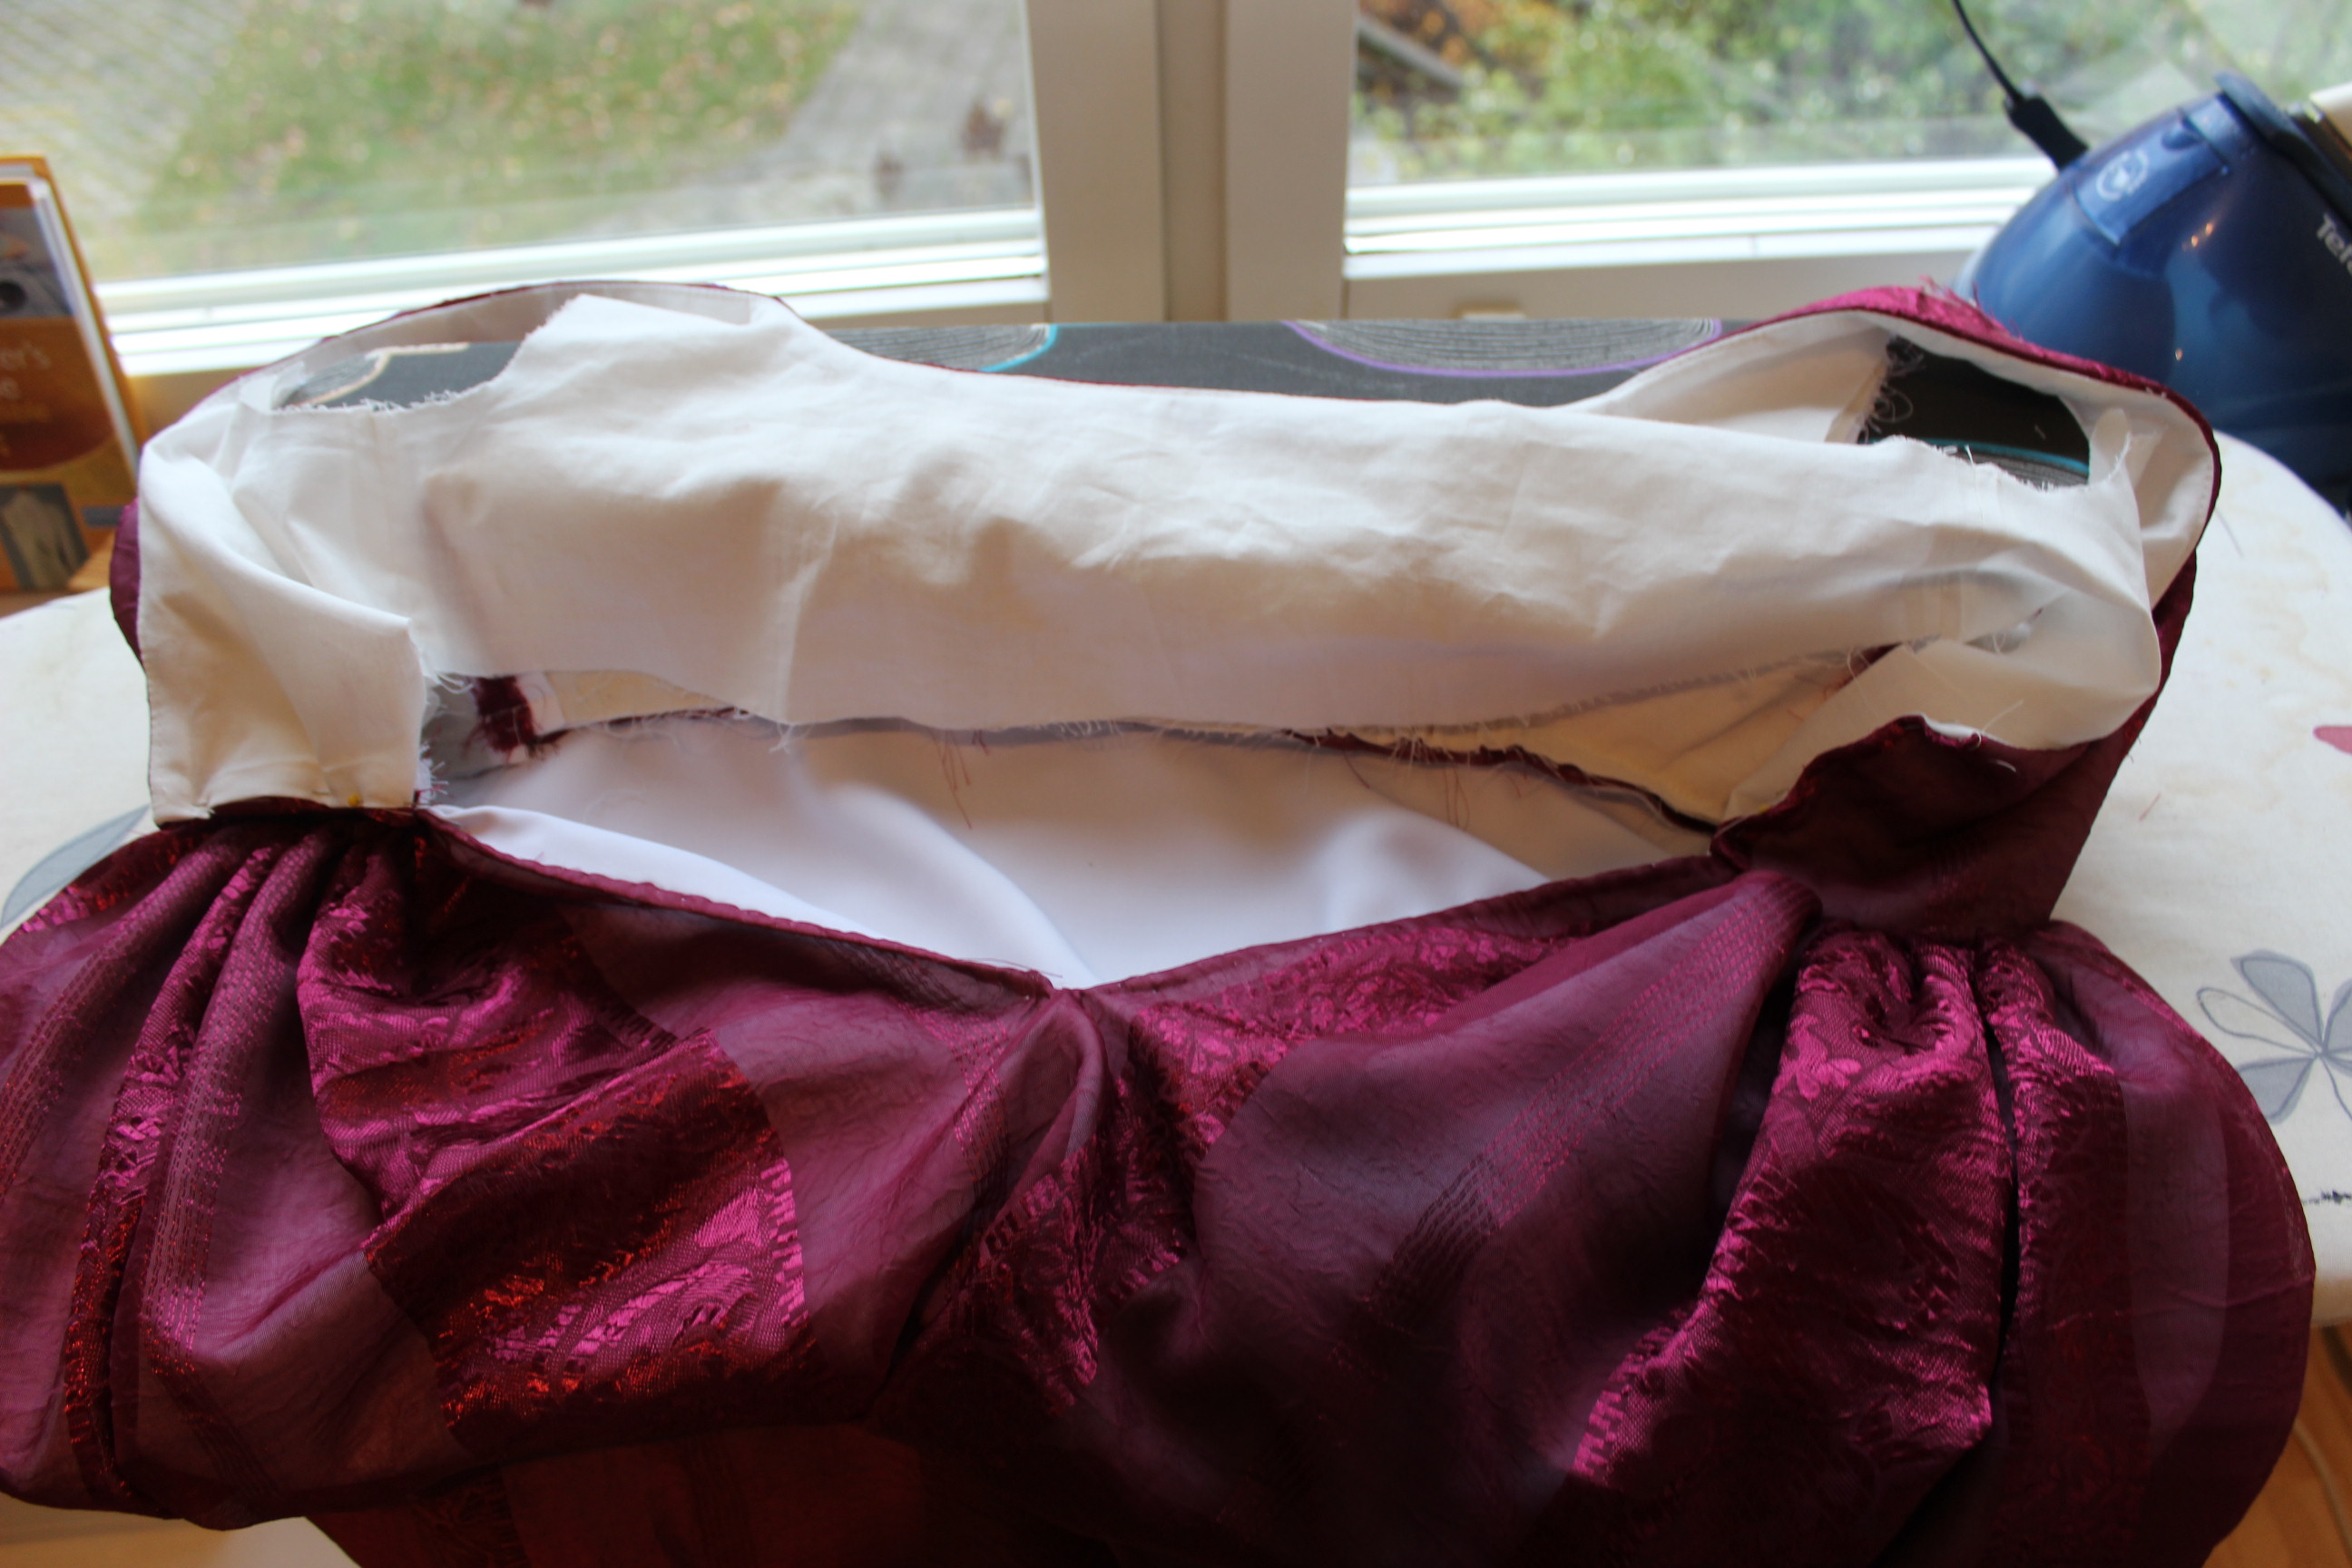
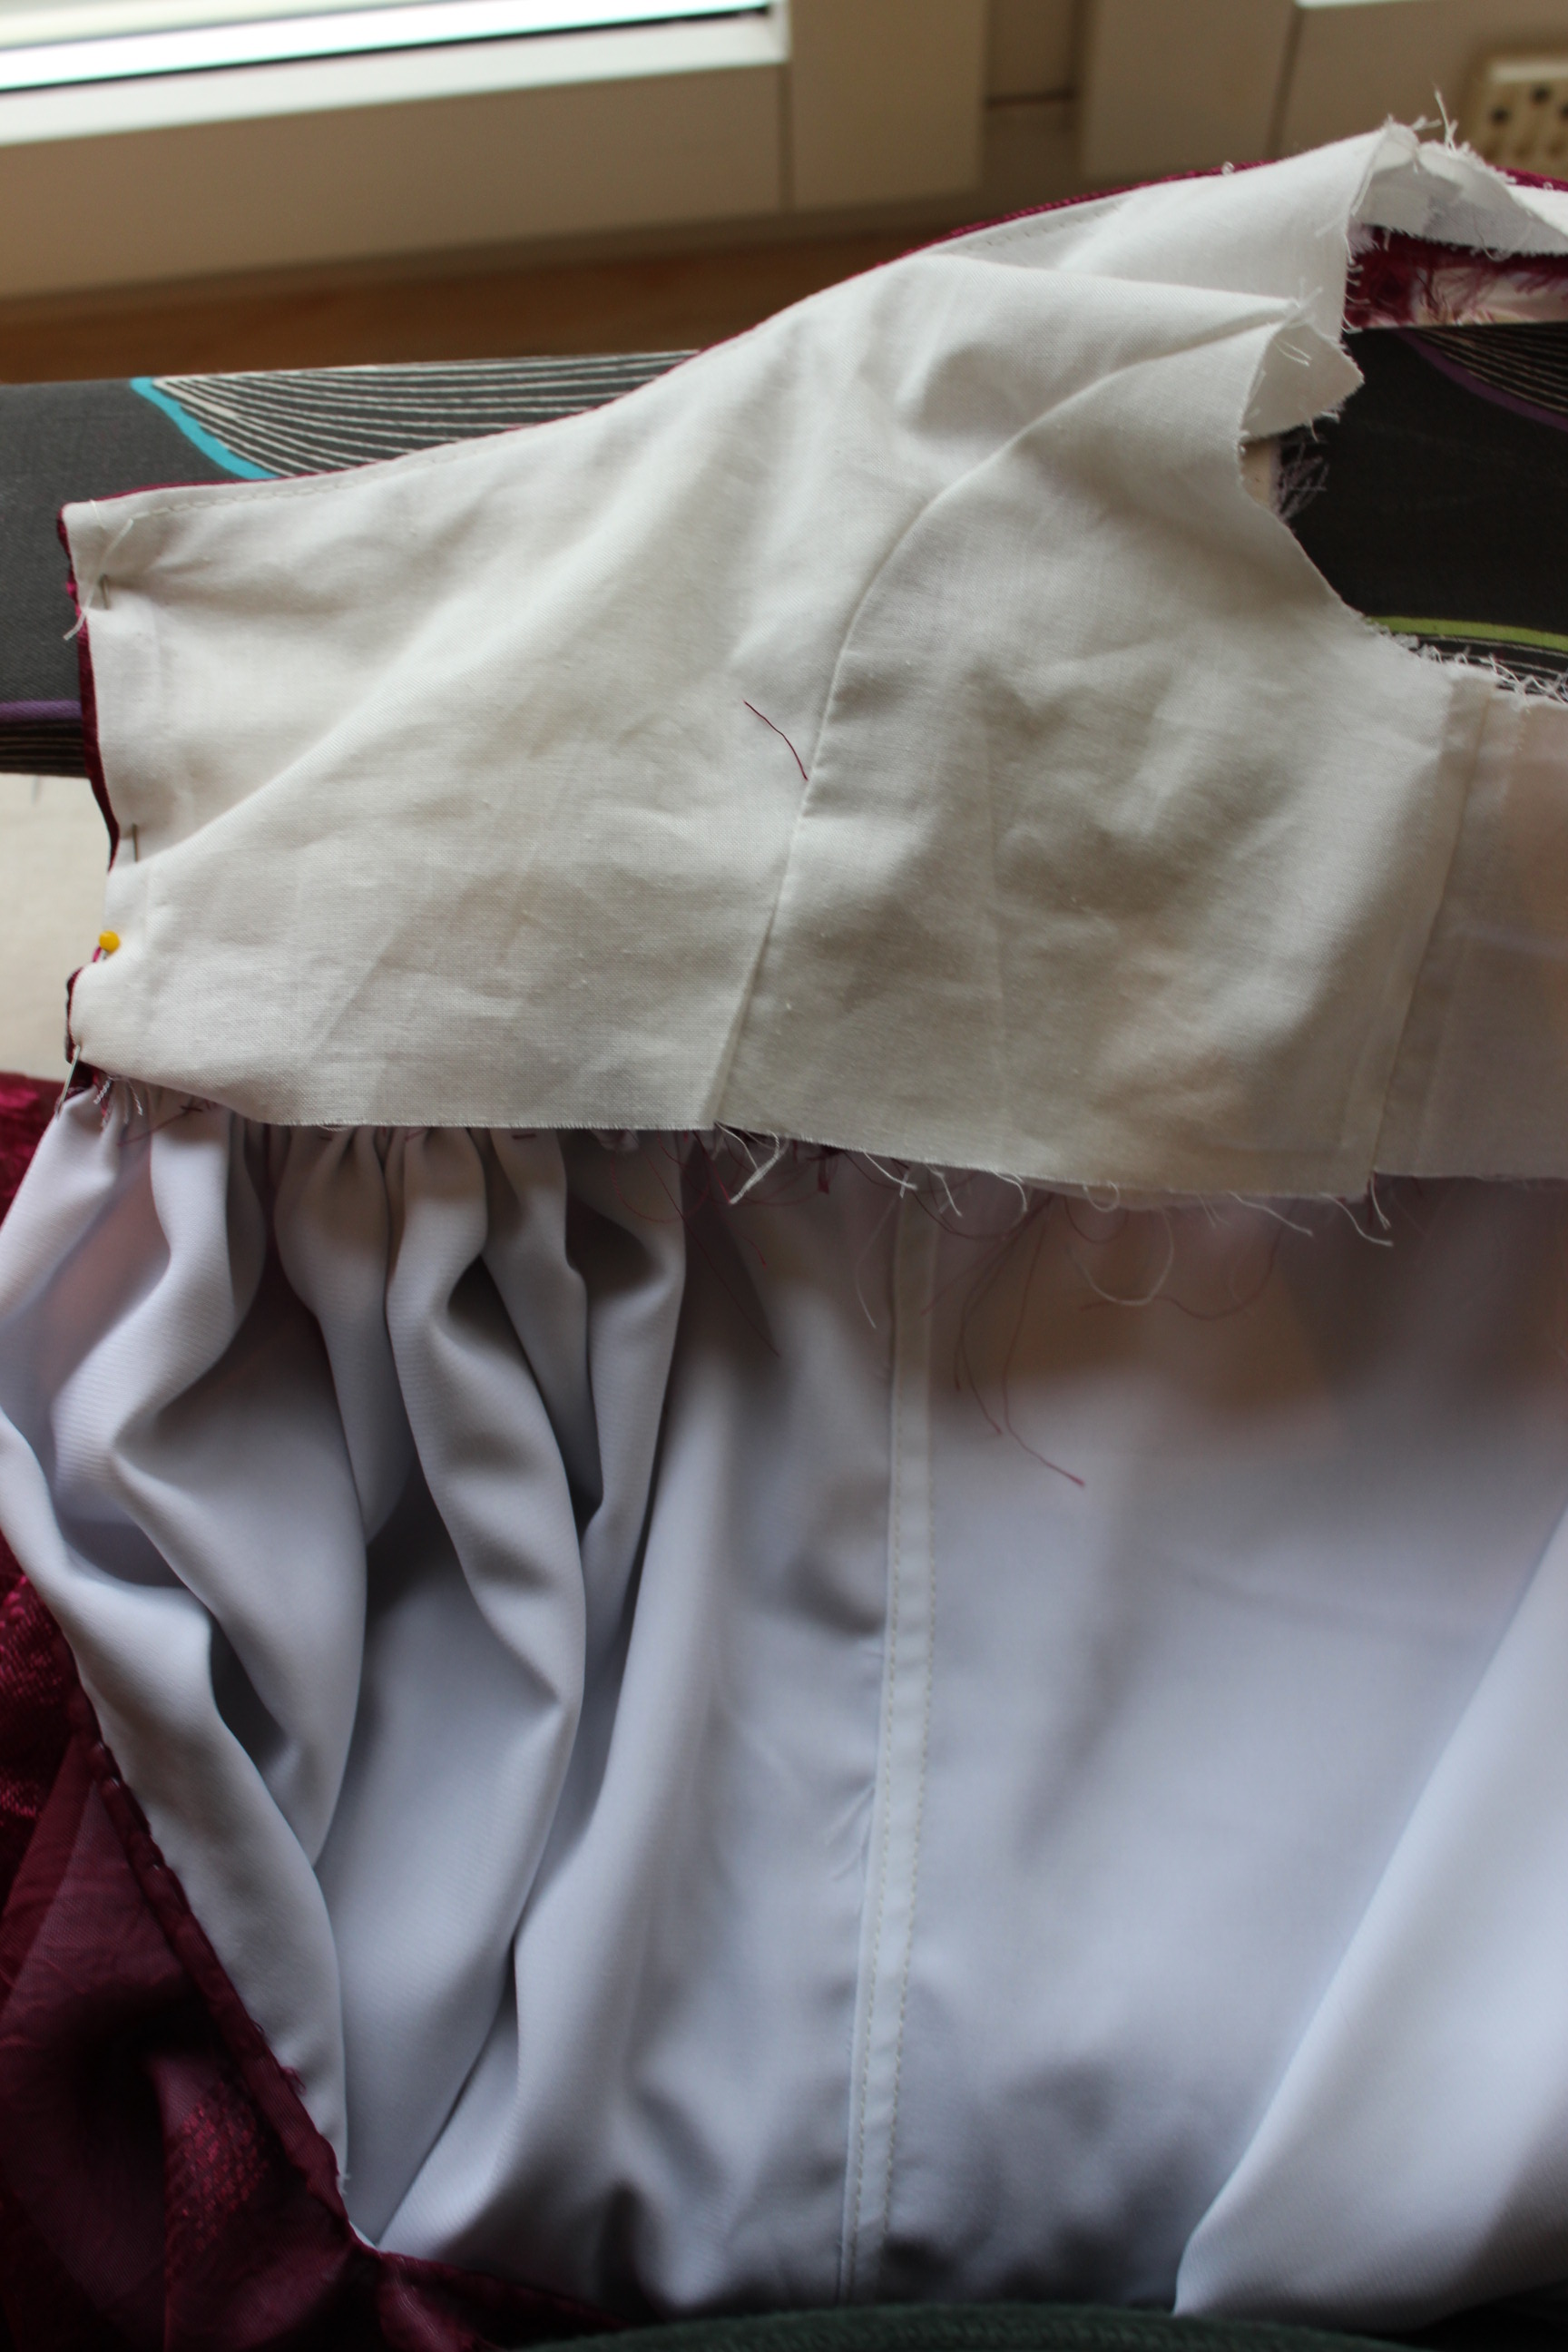
 I used 3 layers to the bodice (outer purple satin, black cotton twill for interlining and regular cotton for lining), basted the 2 outer layers together and stitched the darts.
 Then I stitched the whole bodice together, added the bias tape for boning channels to all the seams and added the boning (cut and shaped from heavy zip ties).
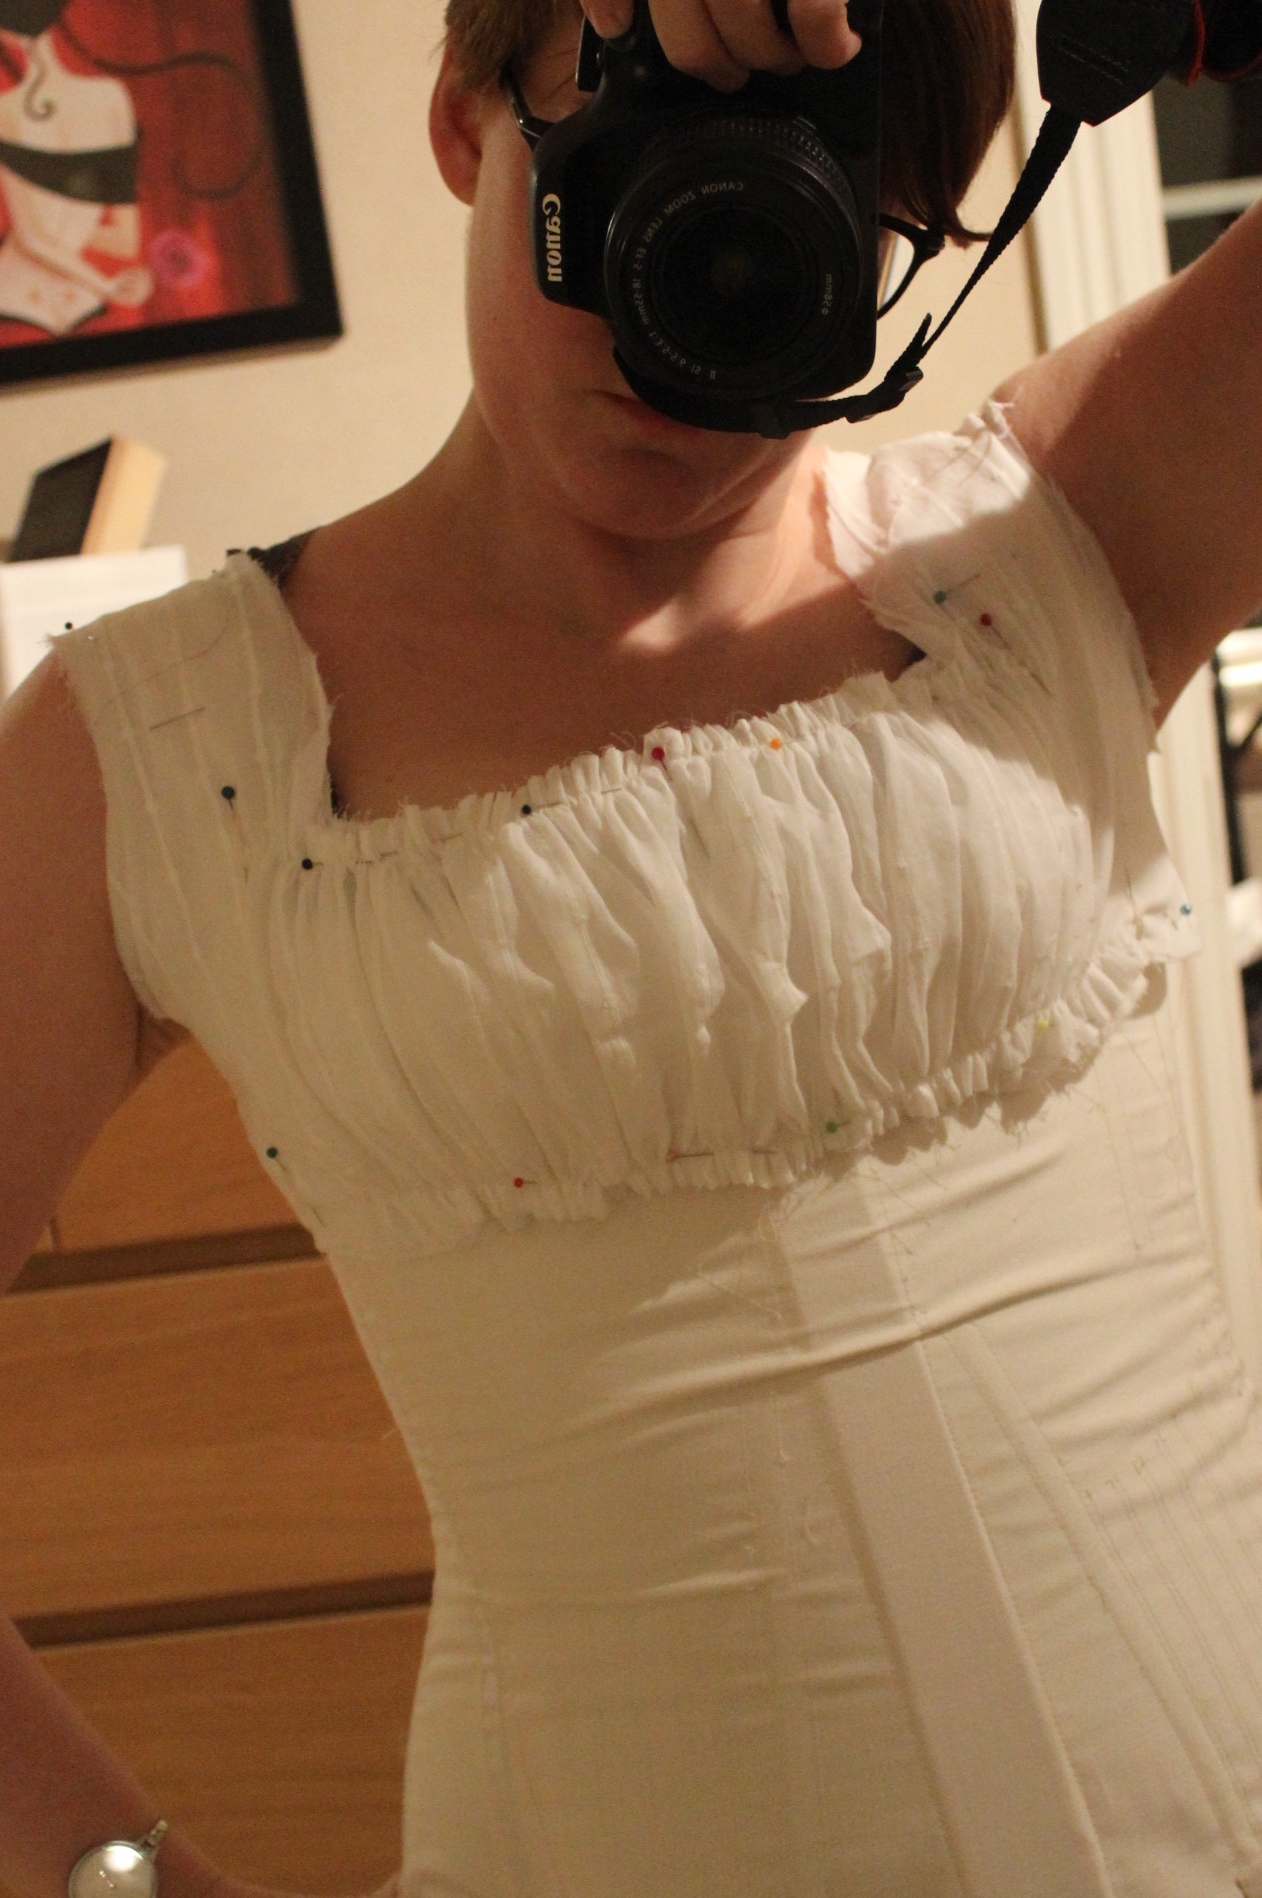
 I also did a quick fitting on my sister at this point to see that I was on track.
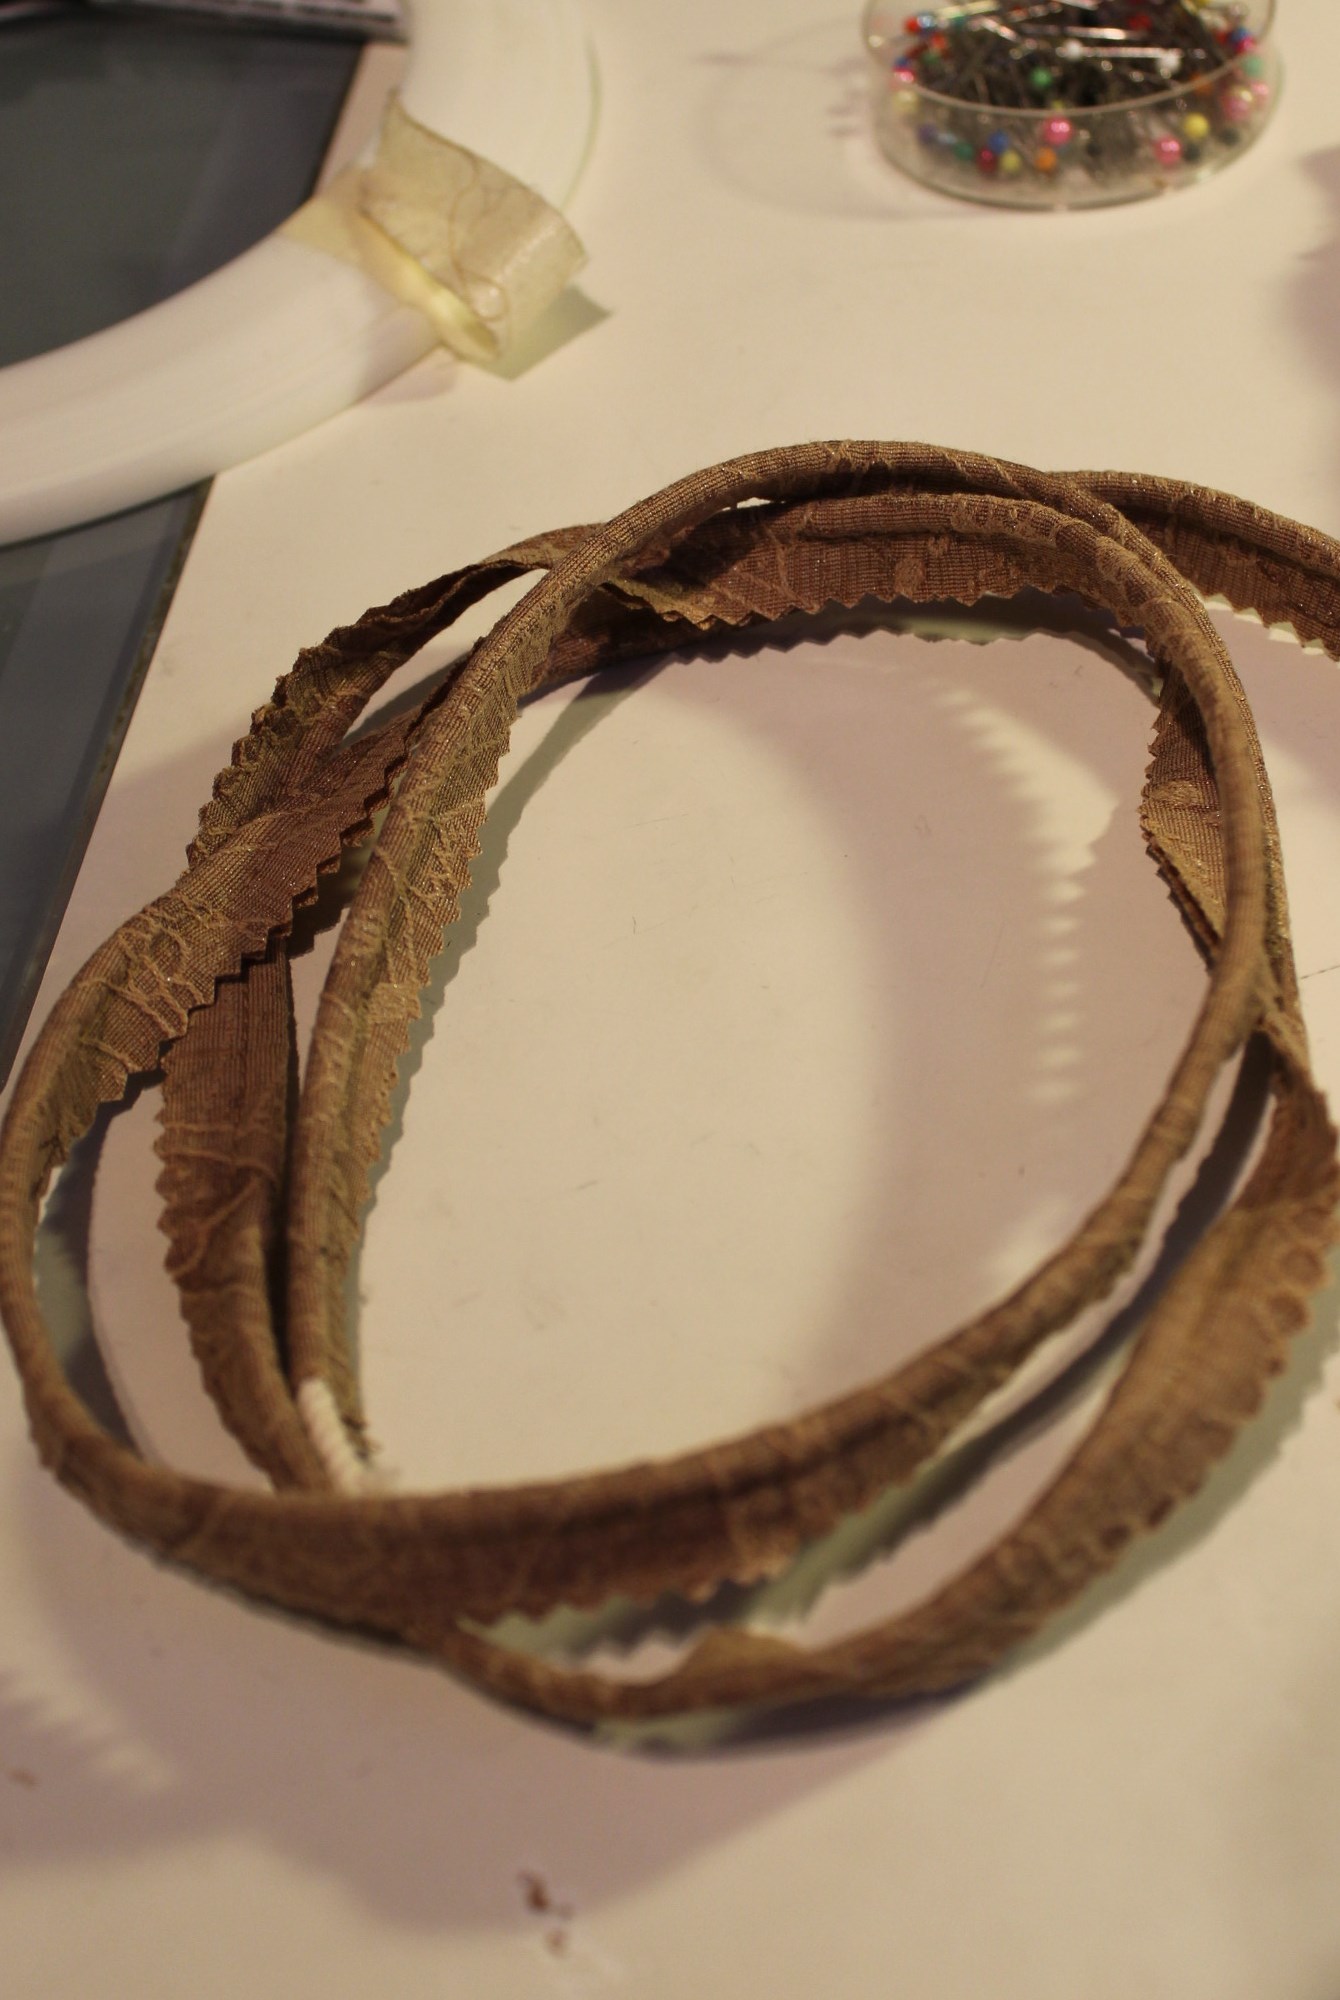
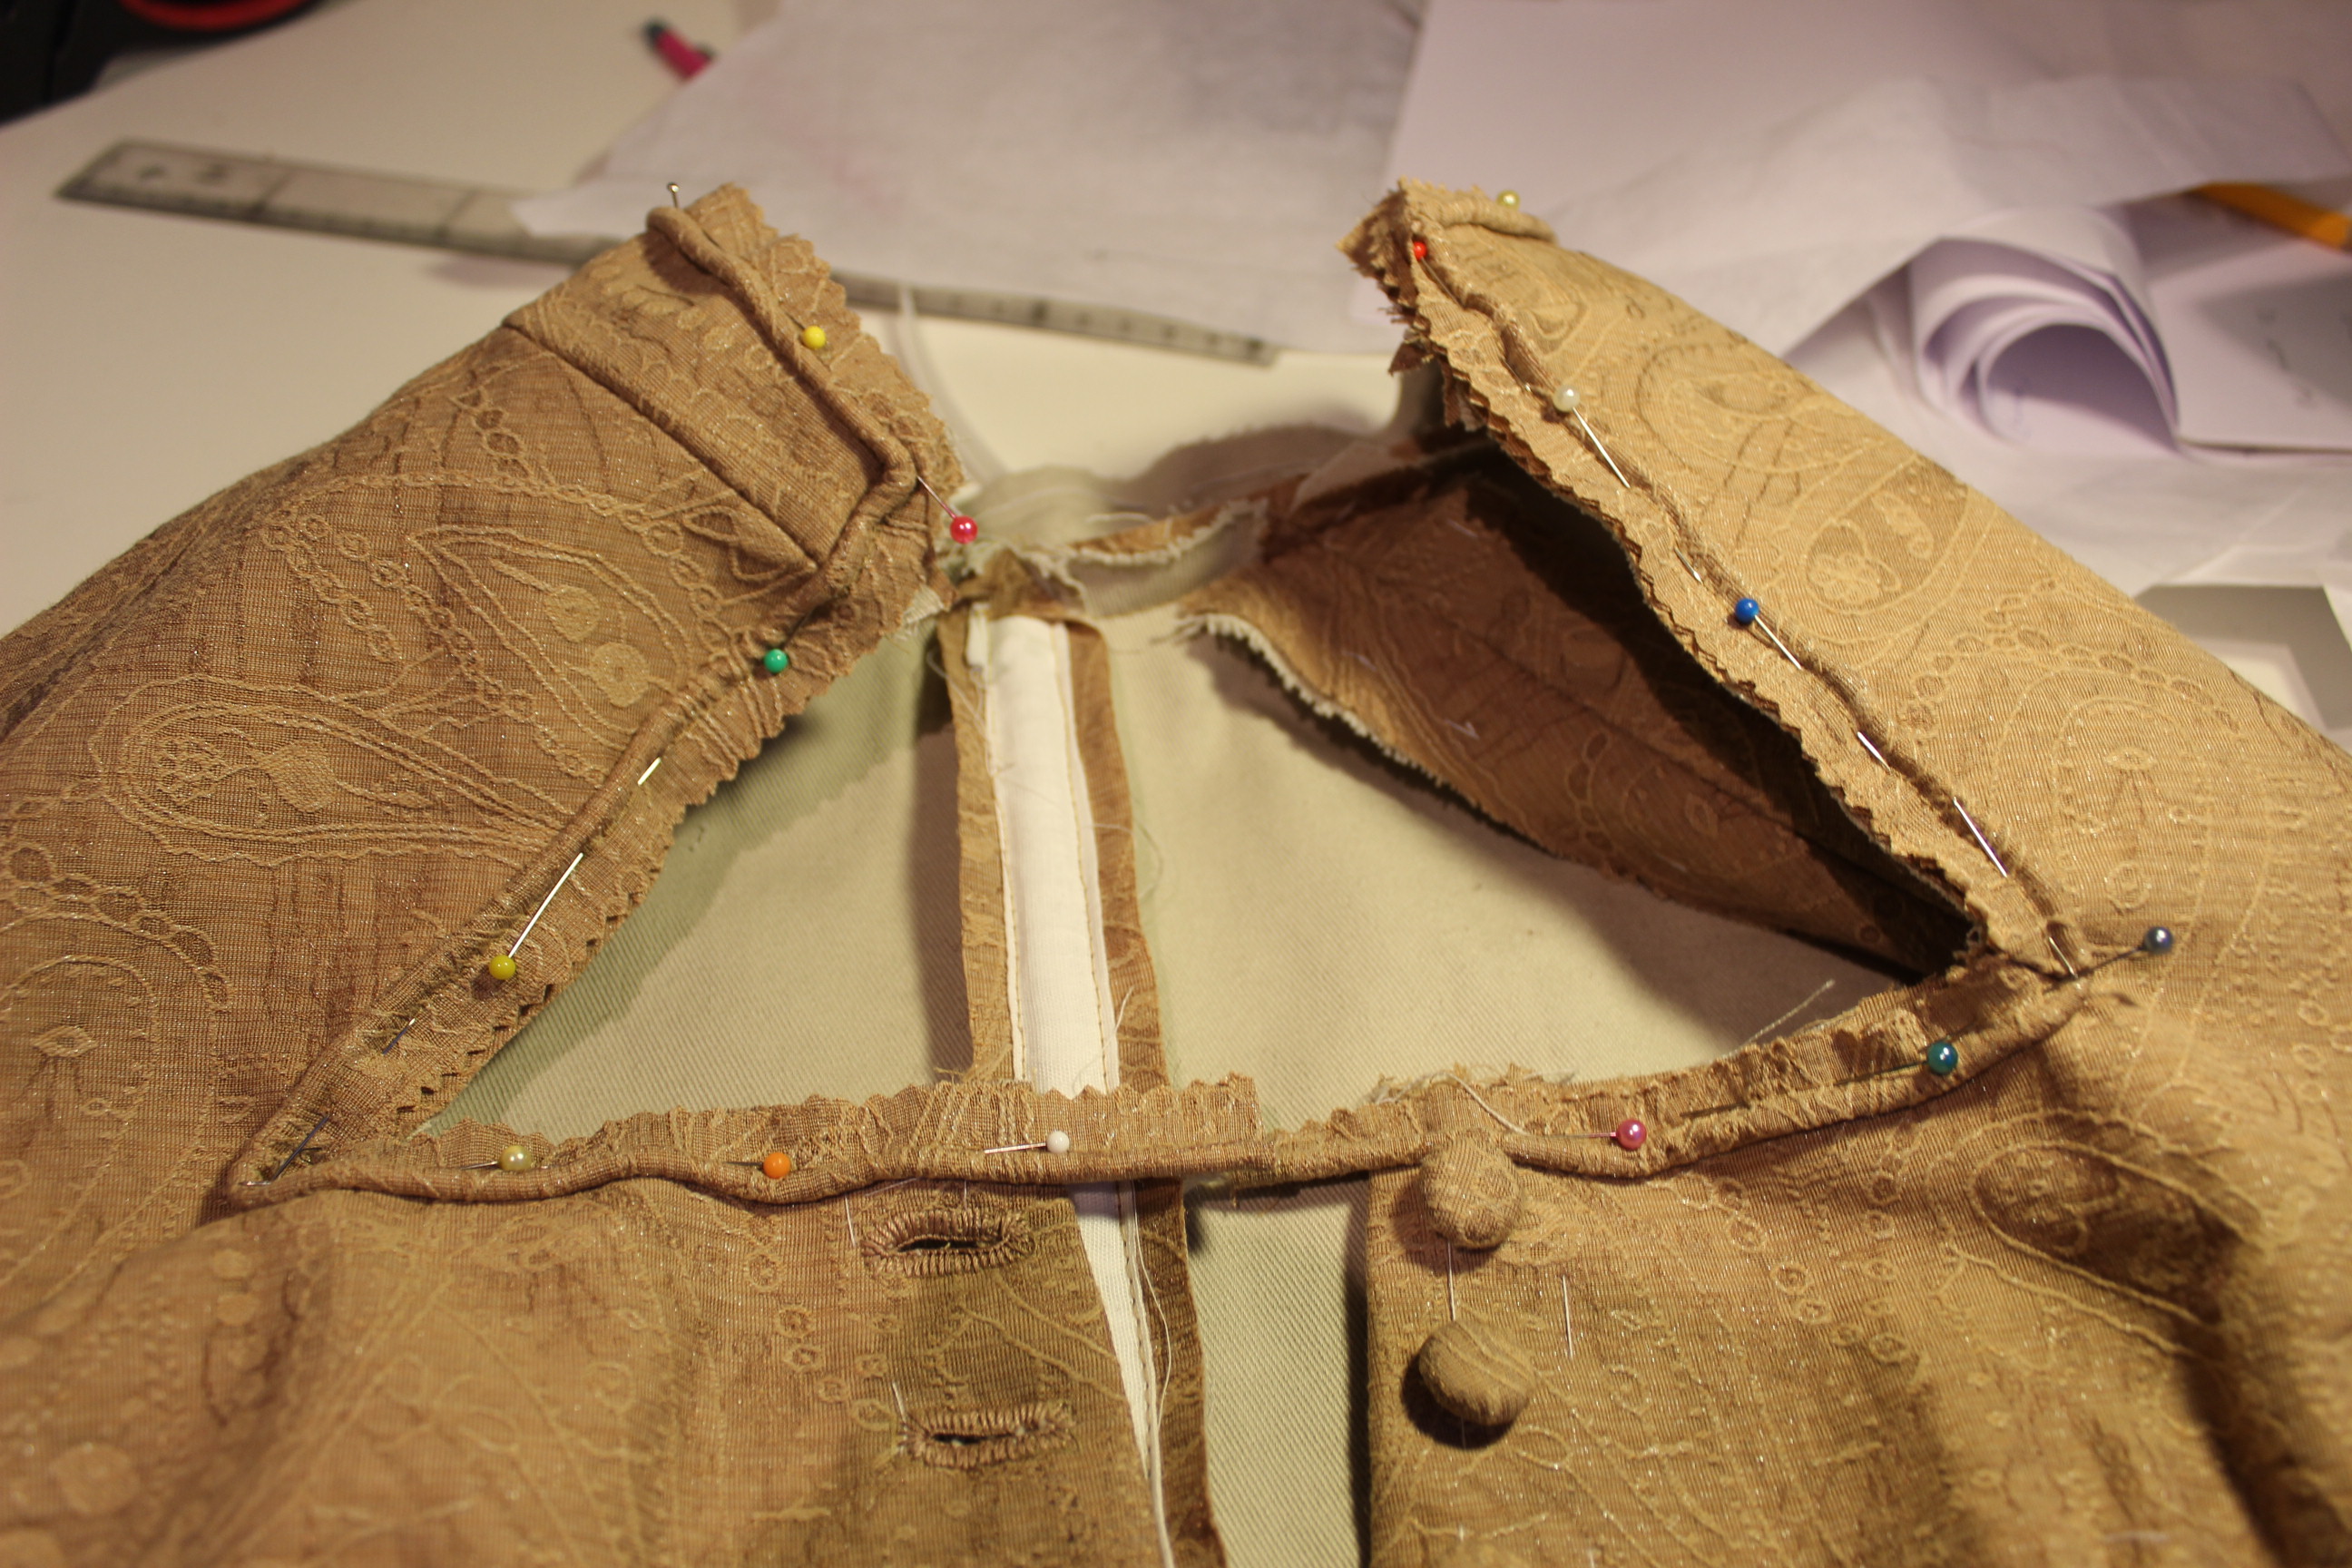
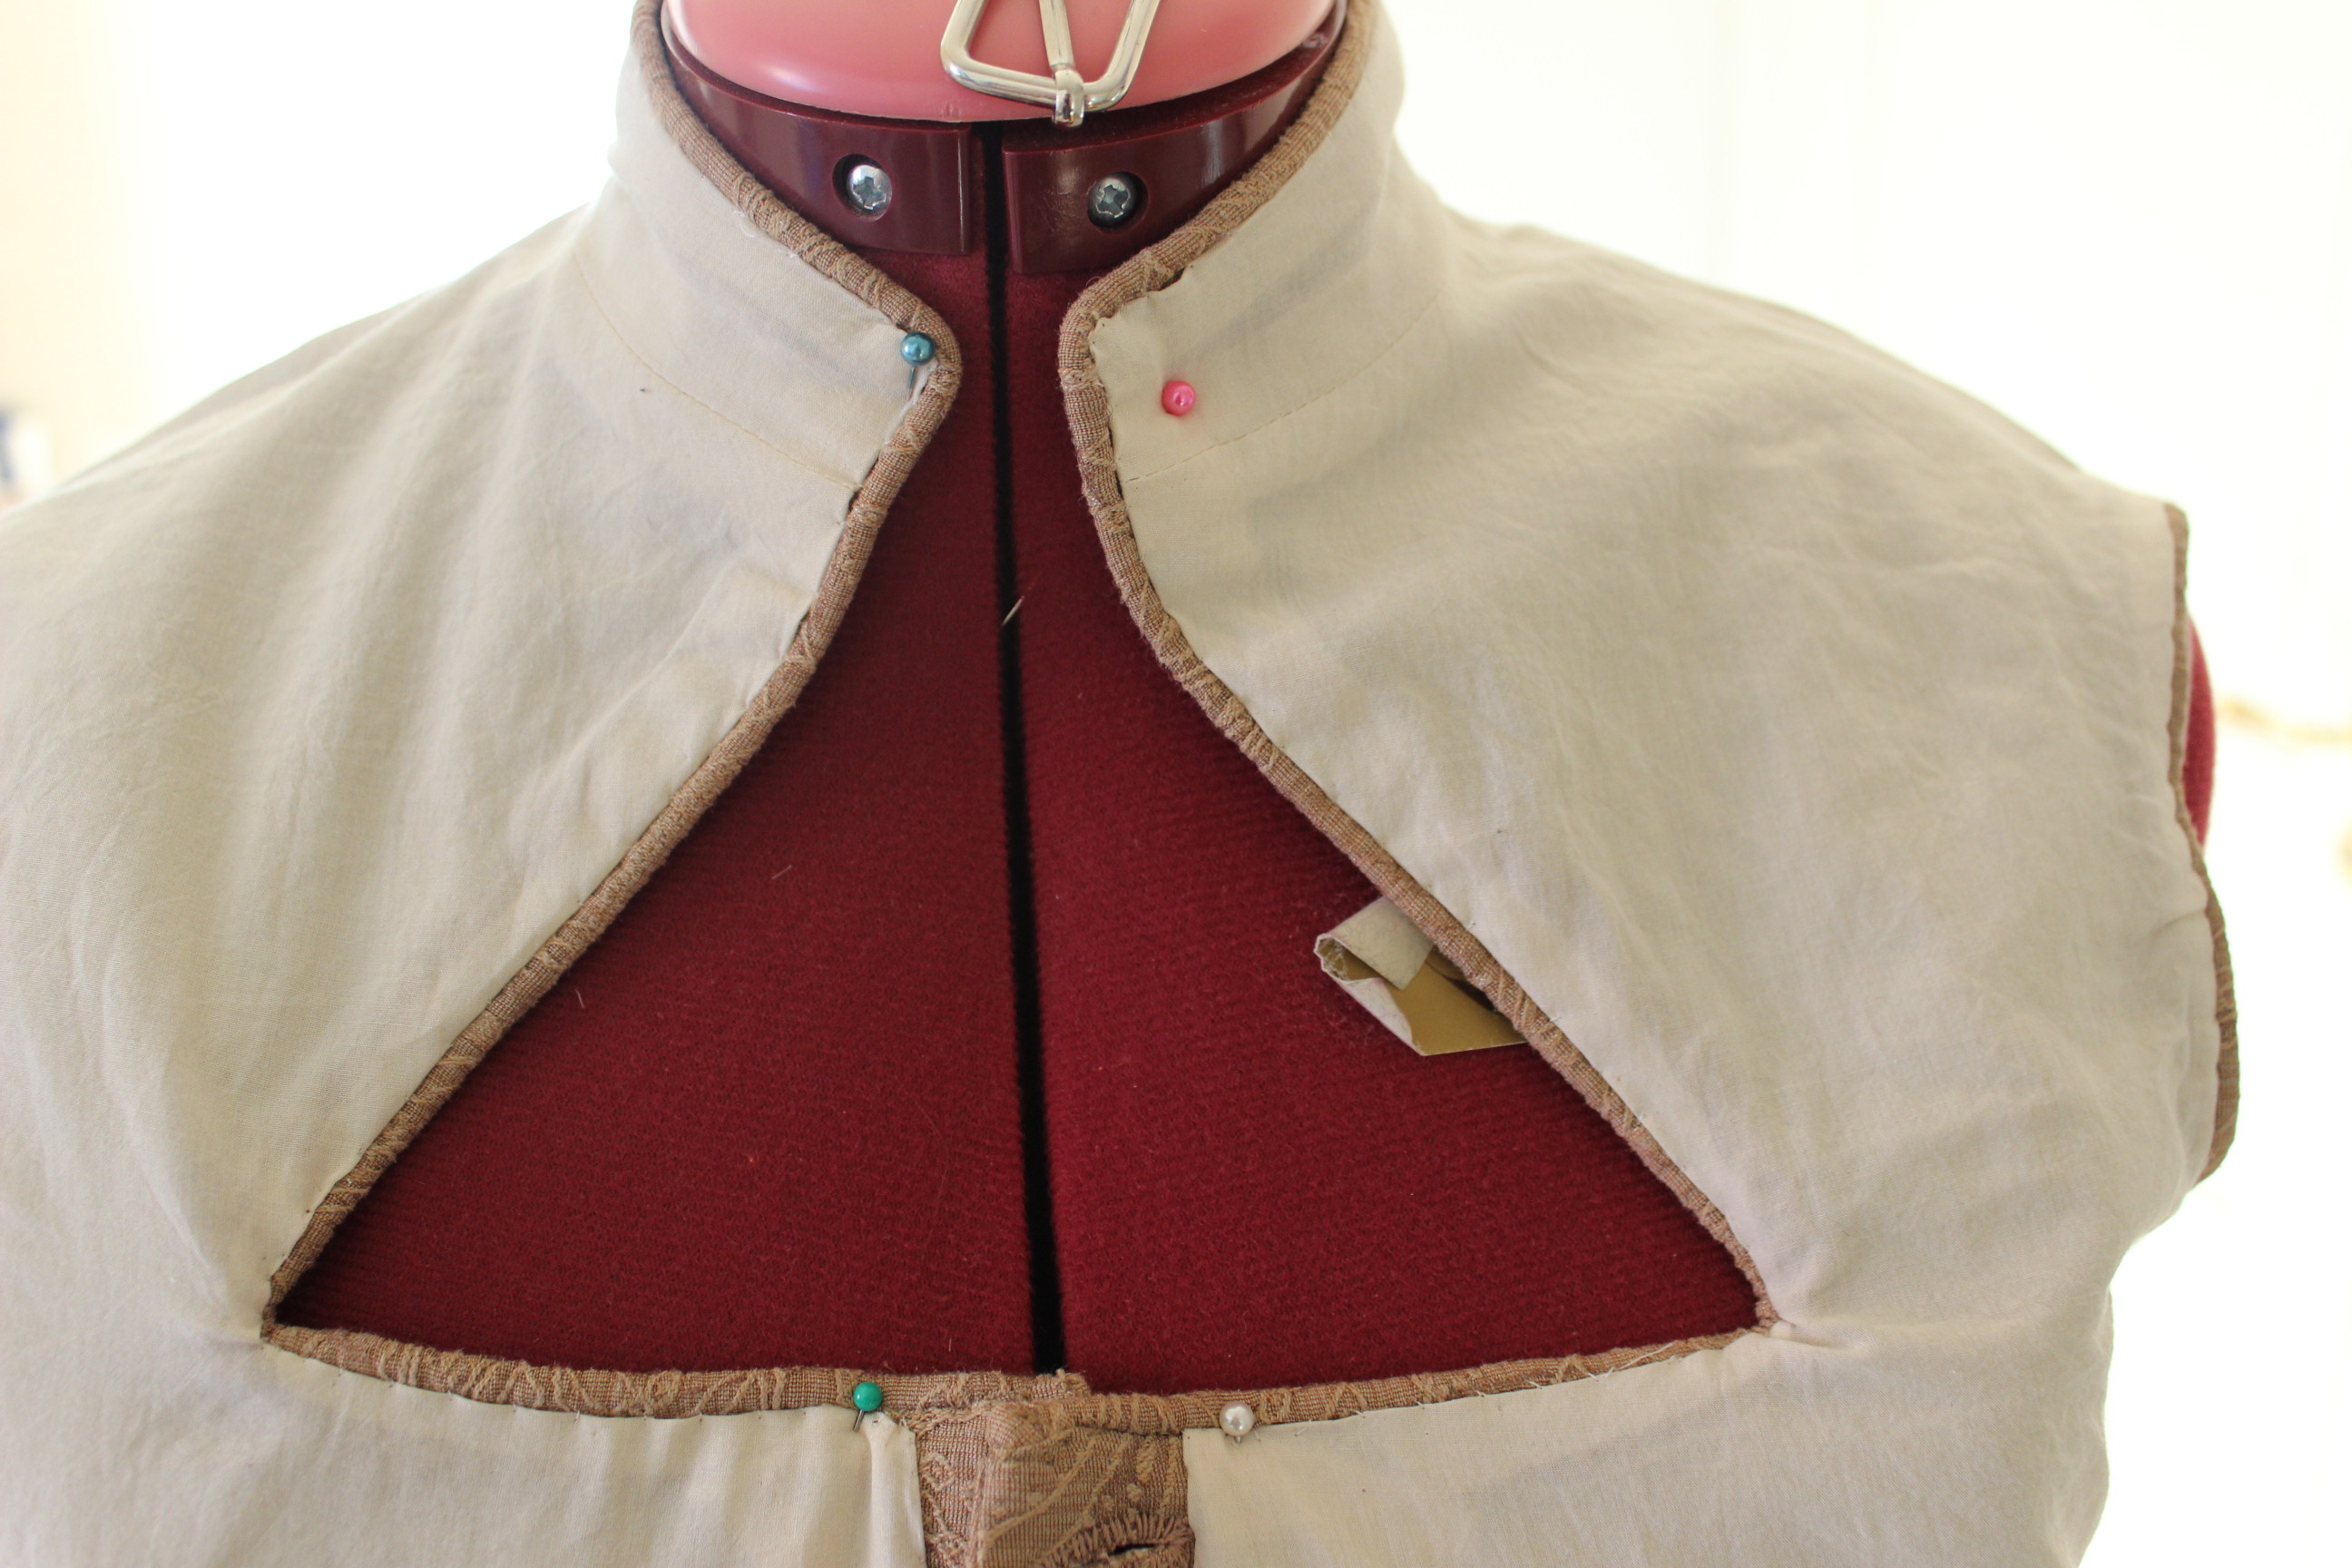
Then I made and added bias cut piping to all the edges (upper, lower and arm hole), before inserting the lining by hand.
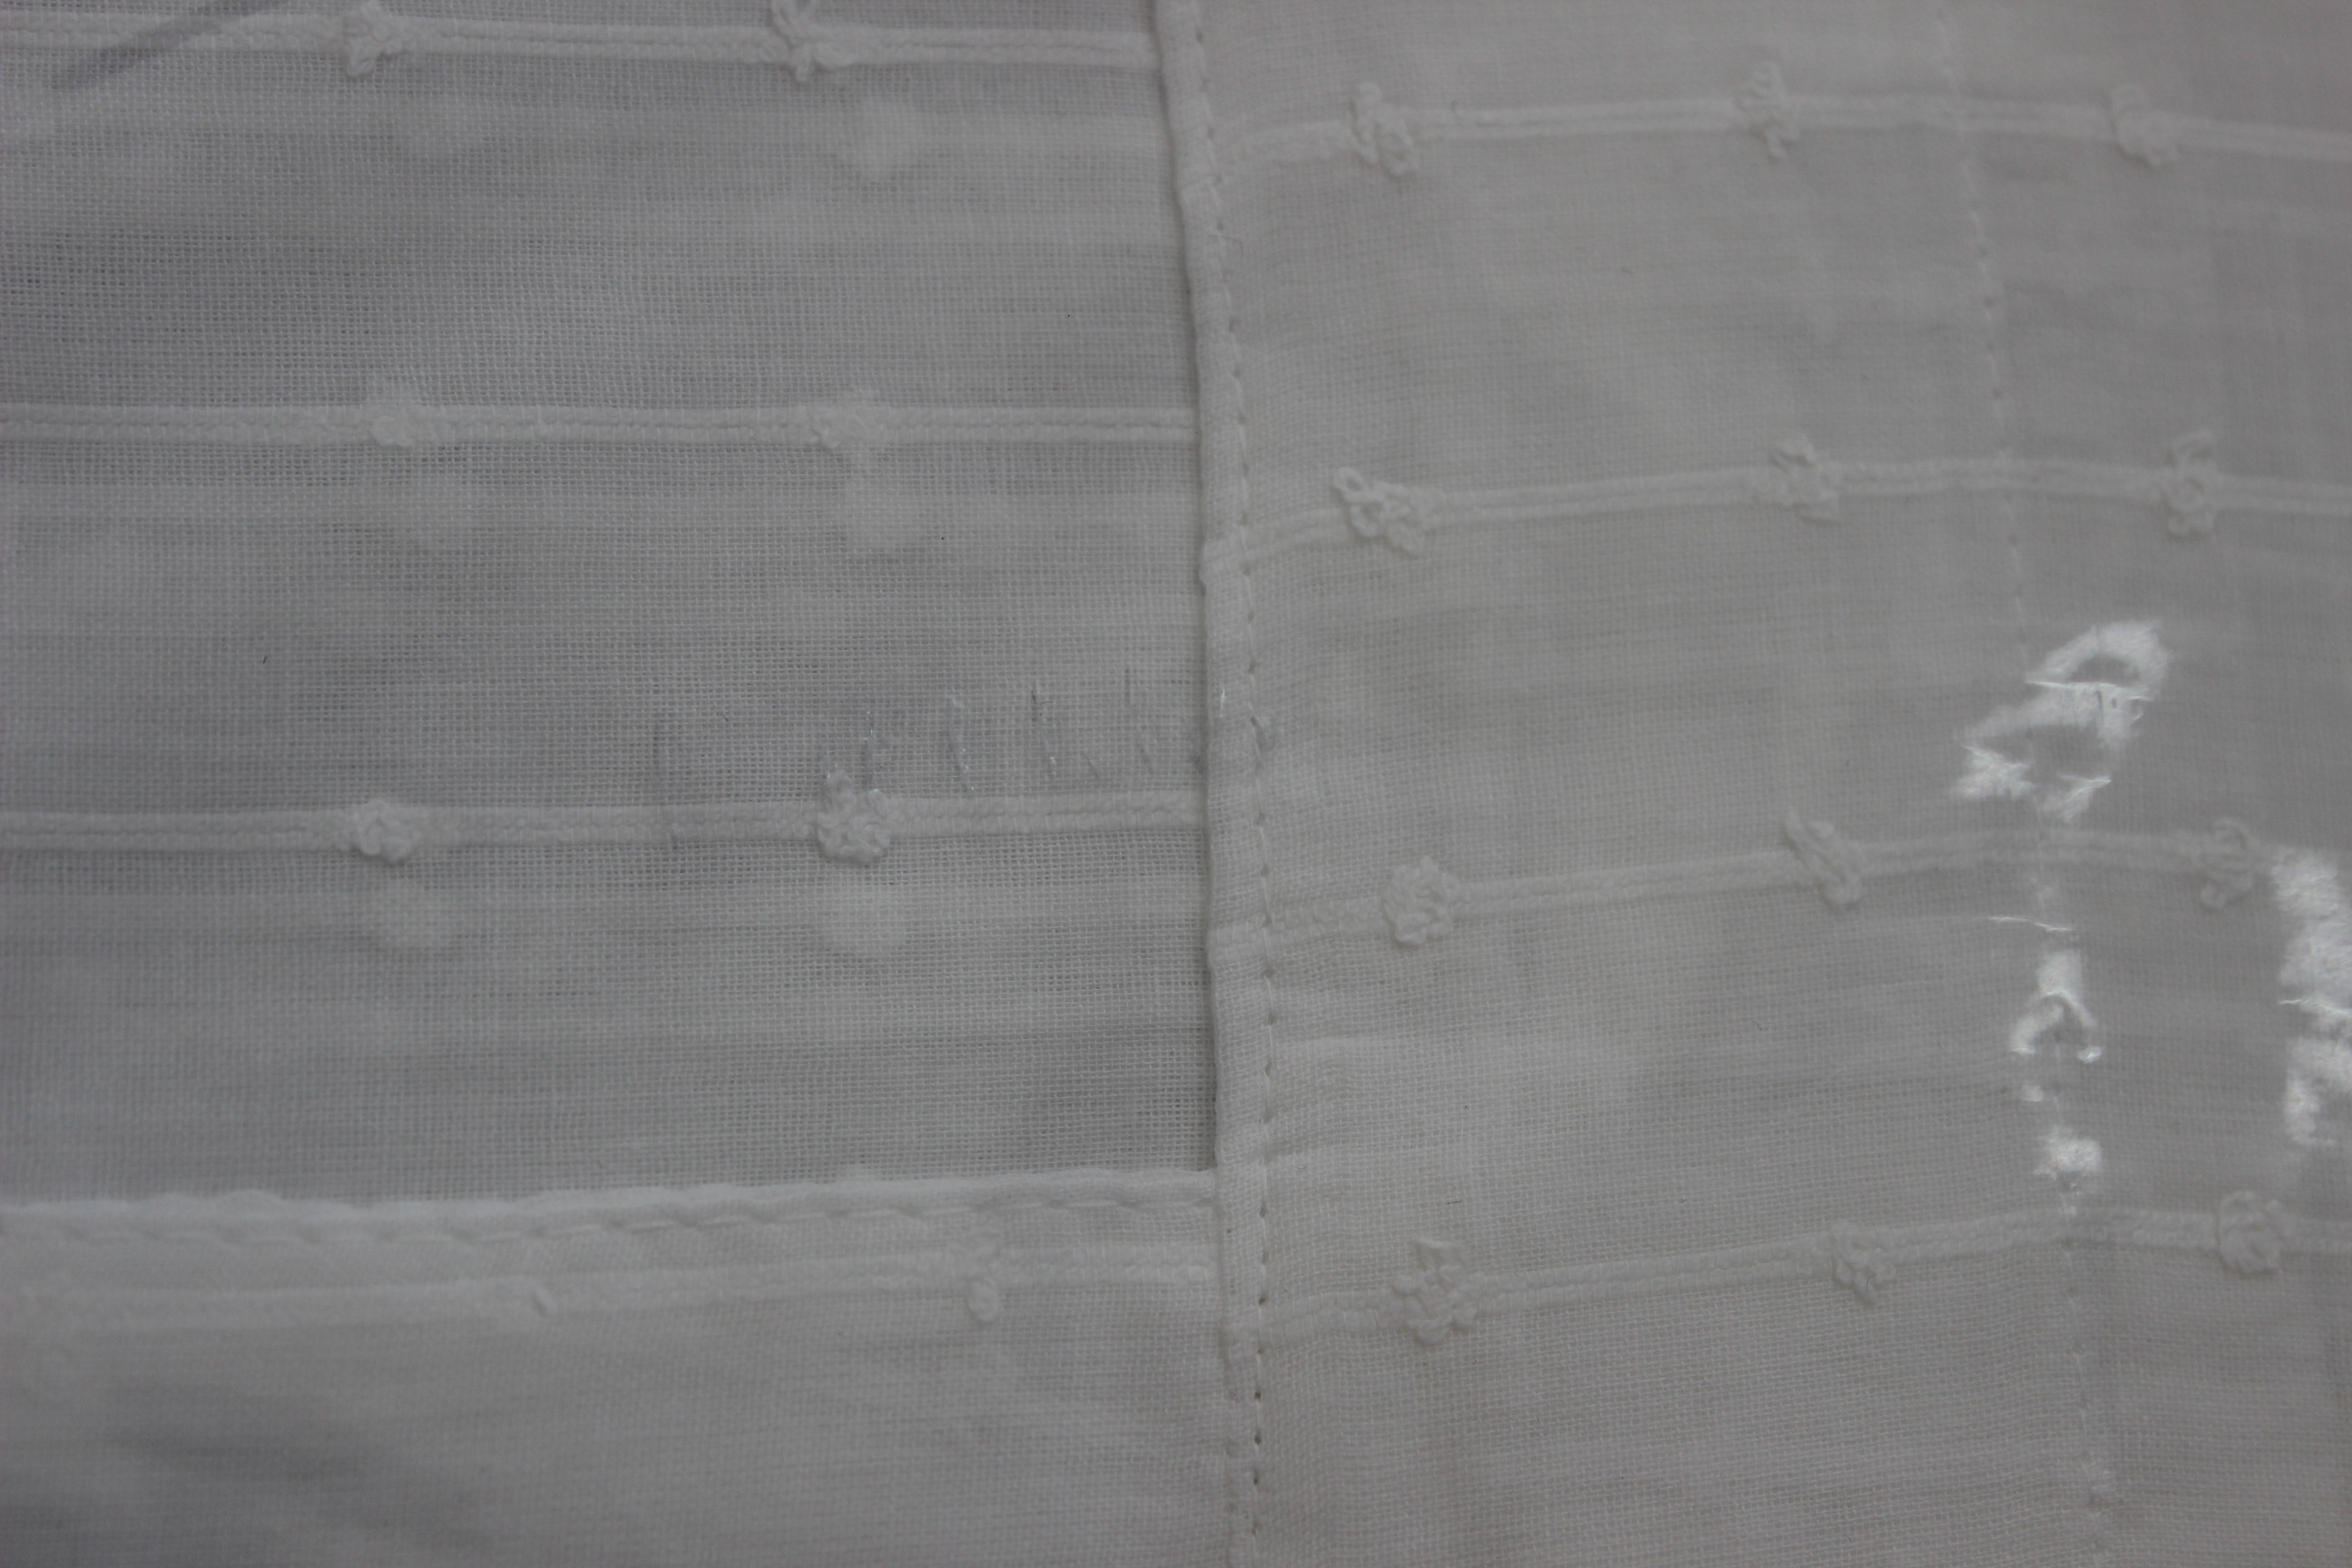
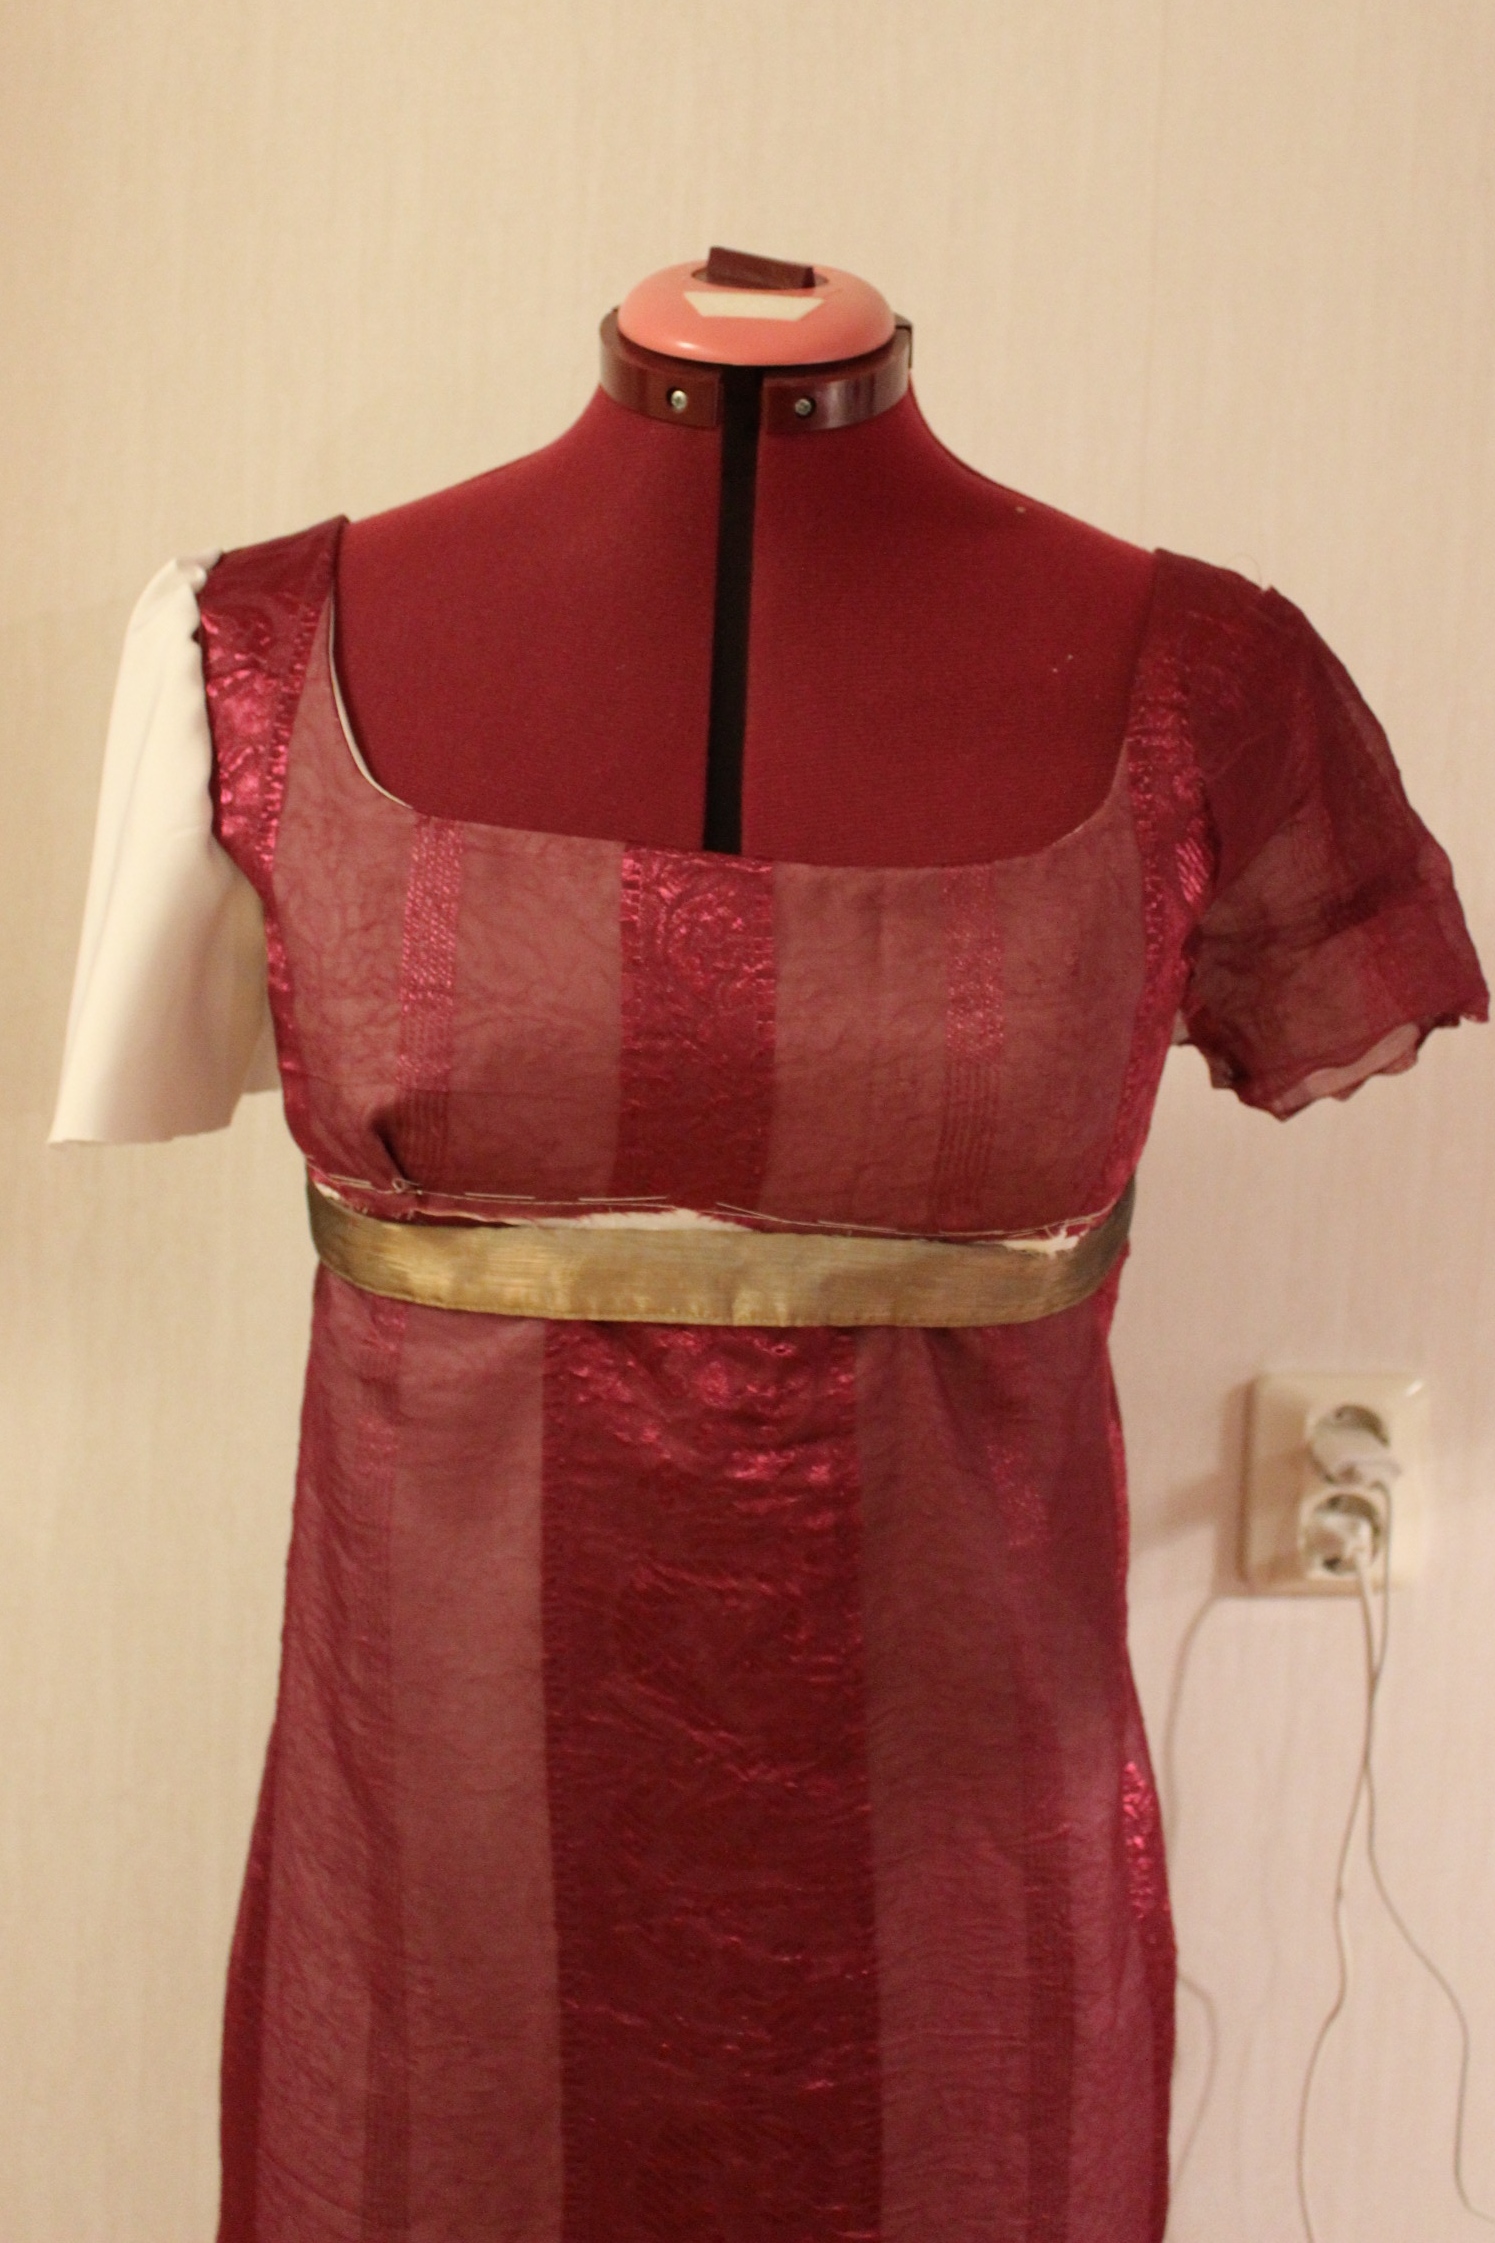
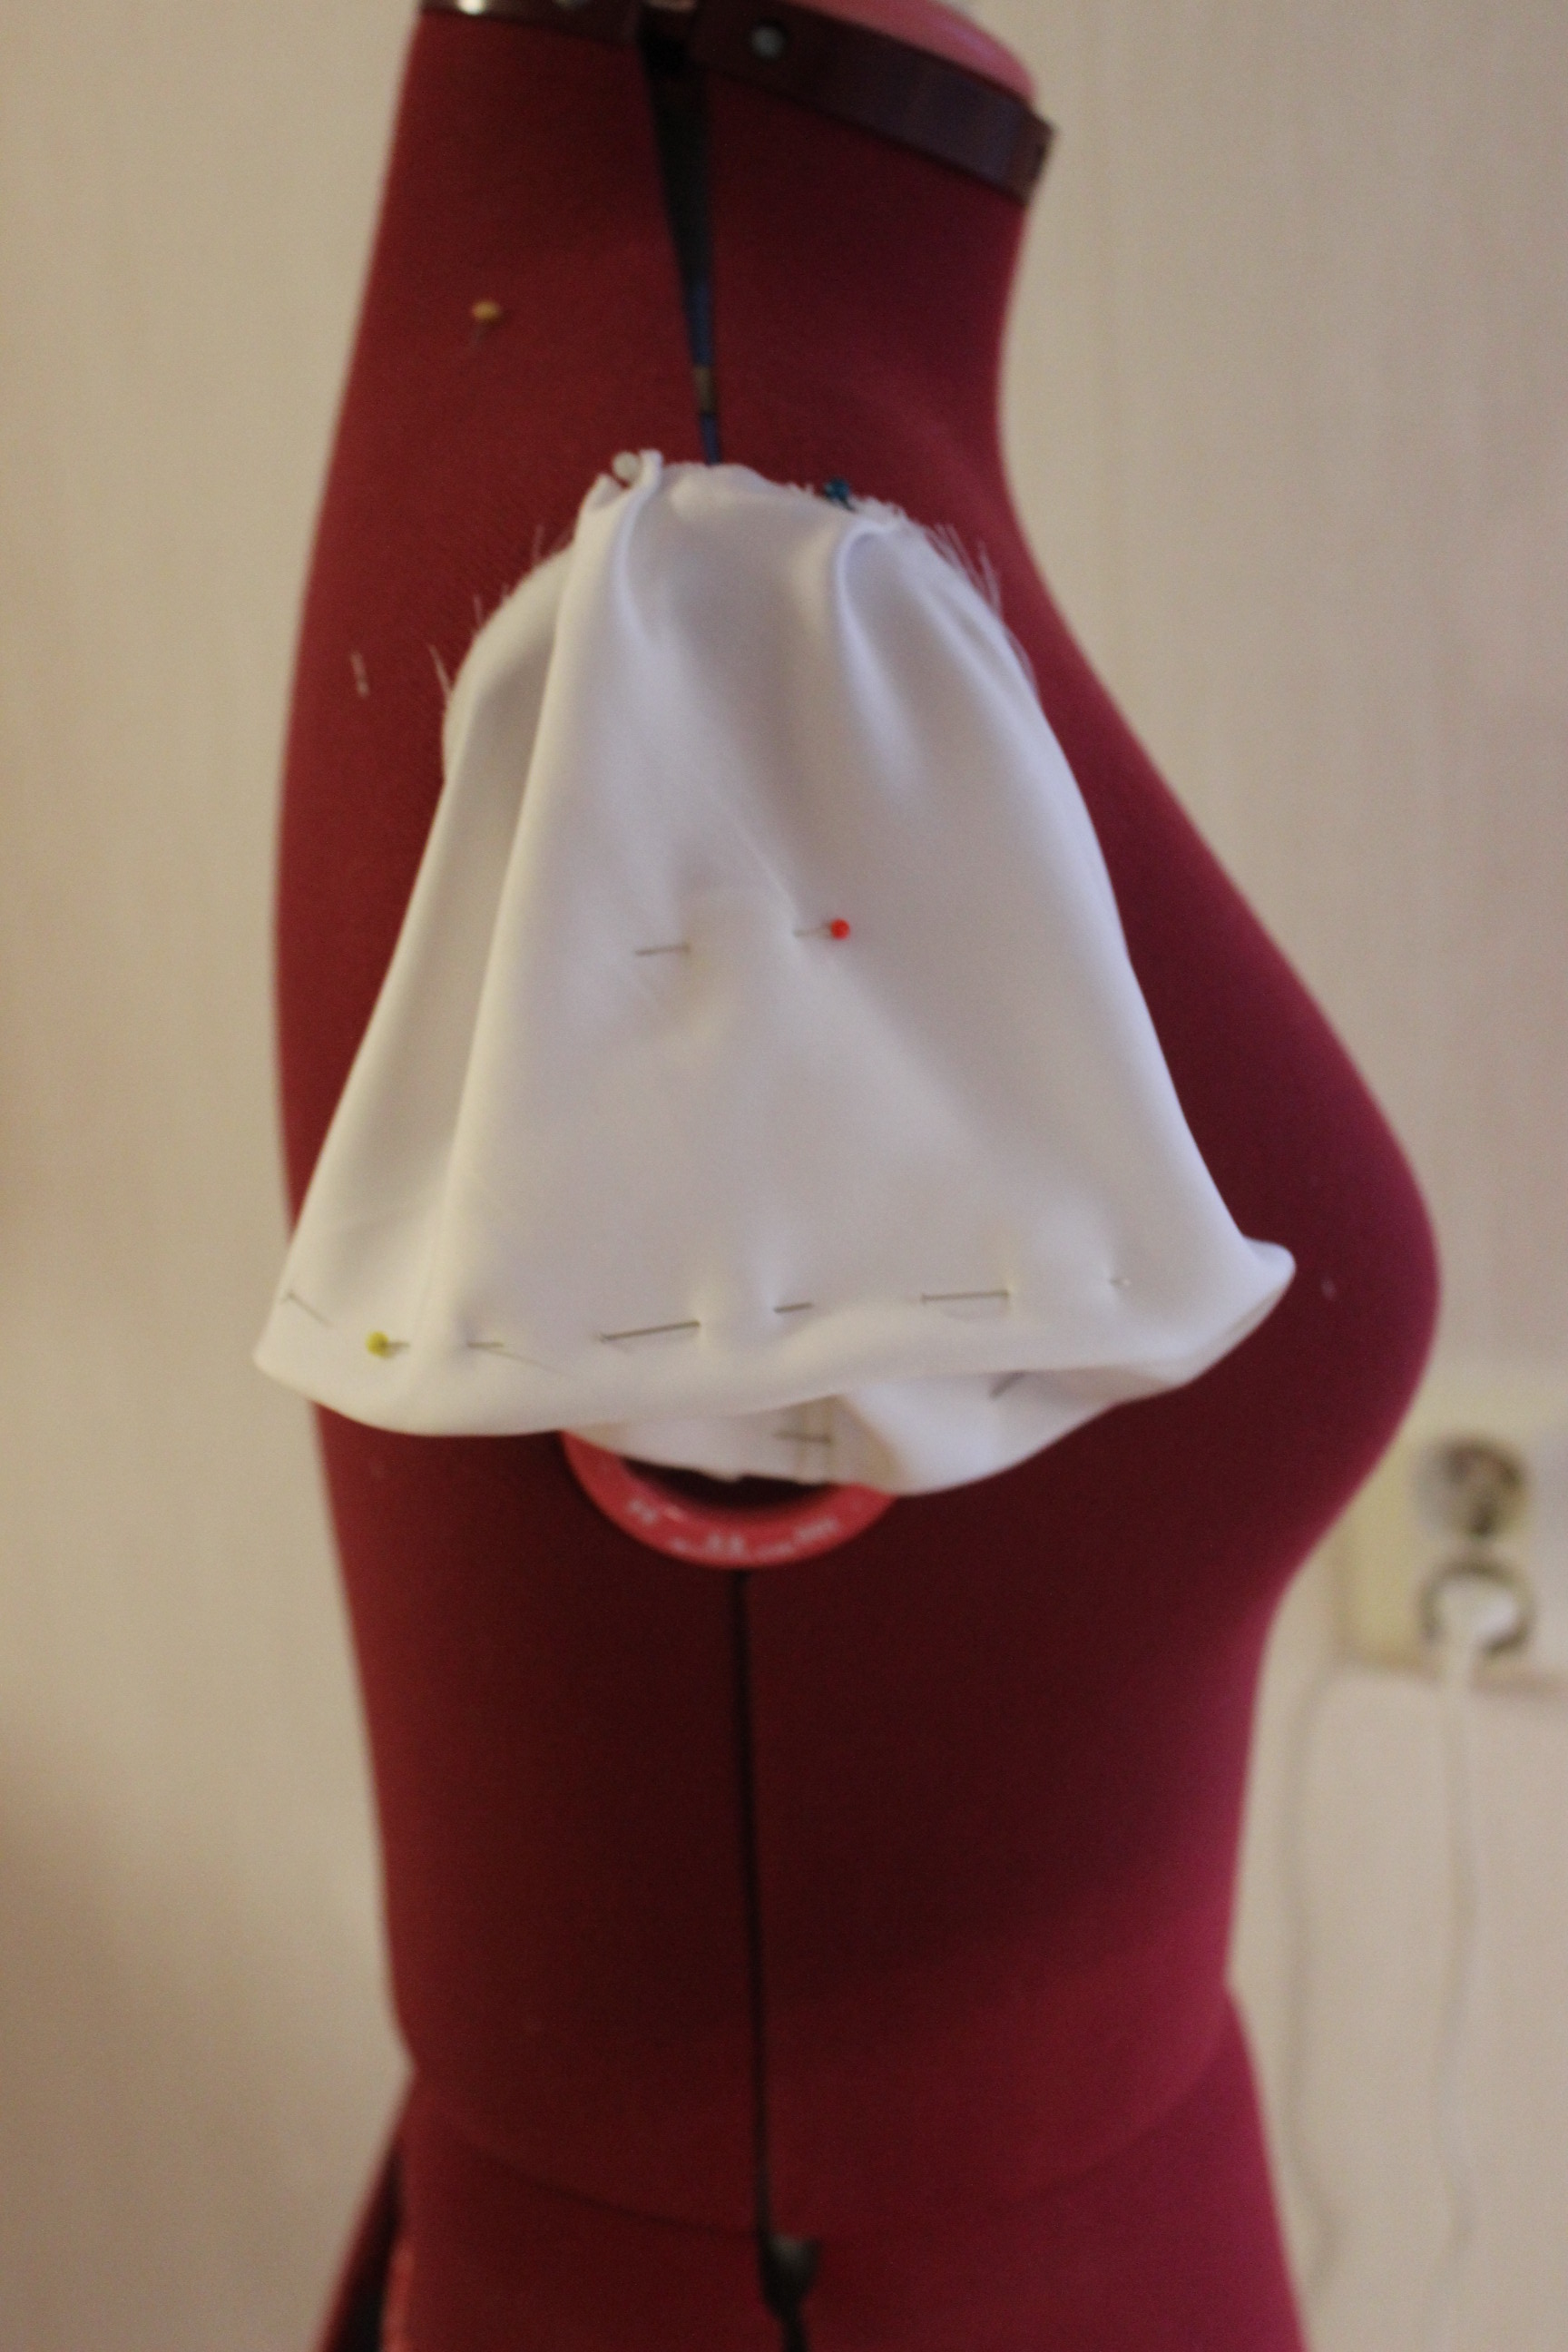
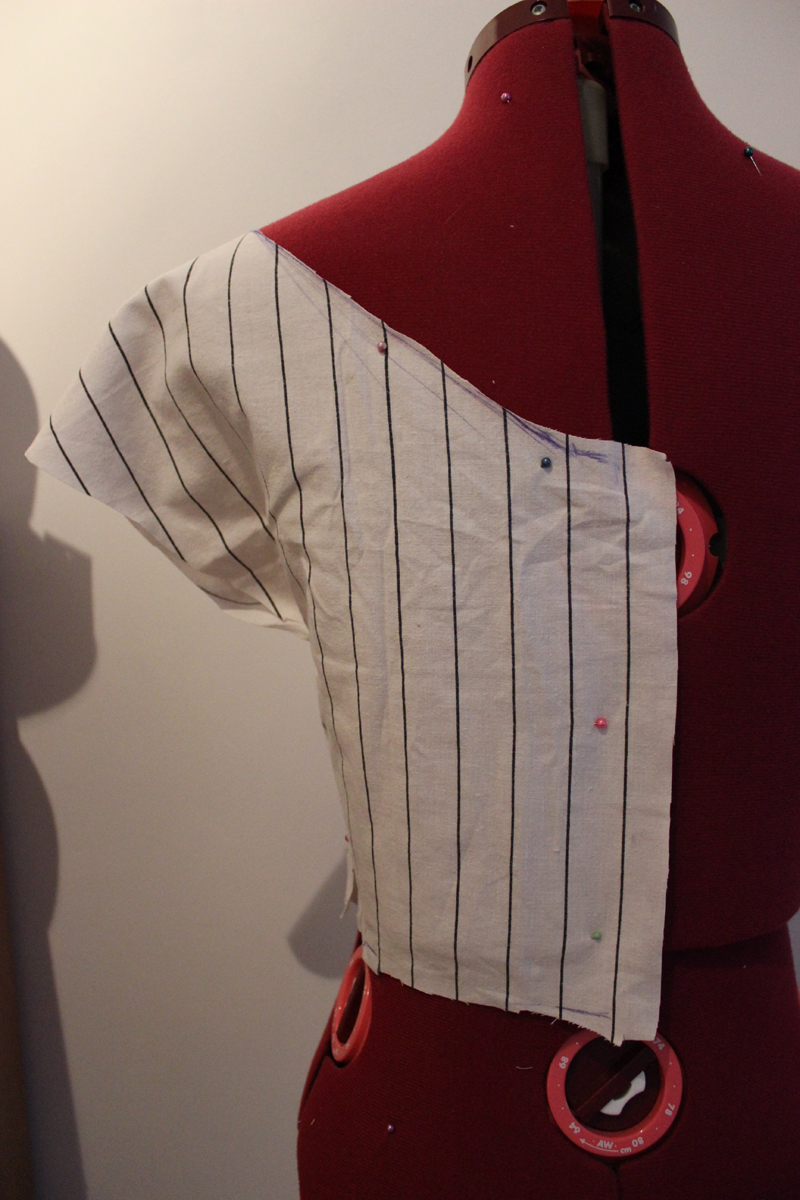
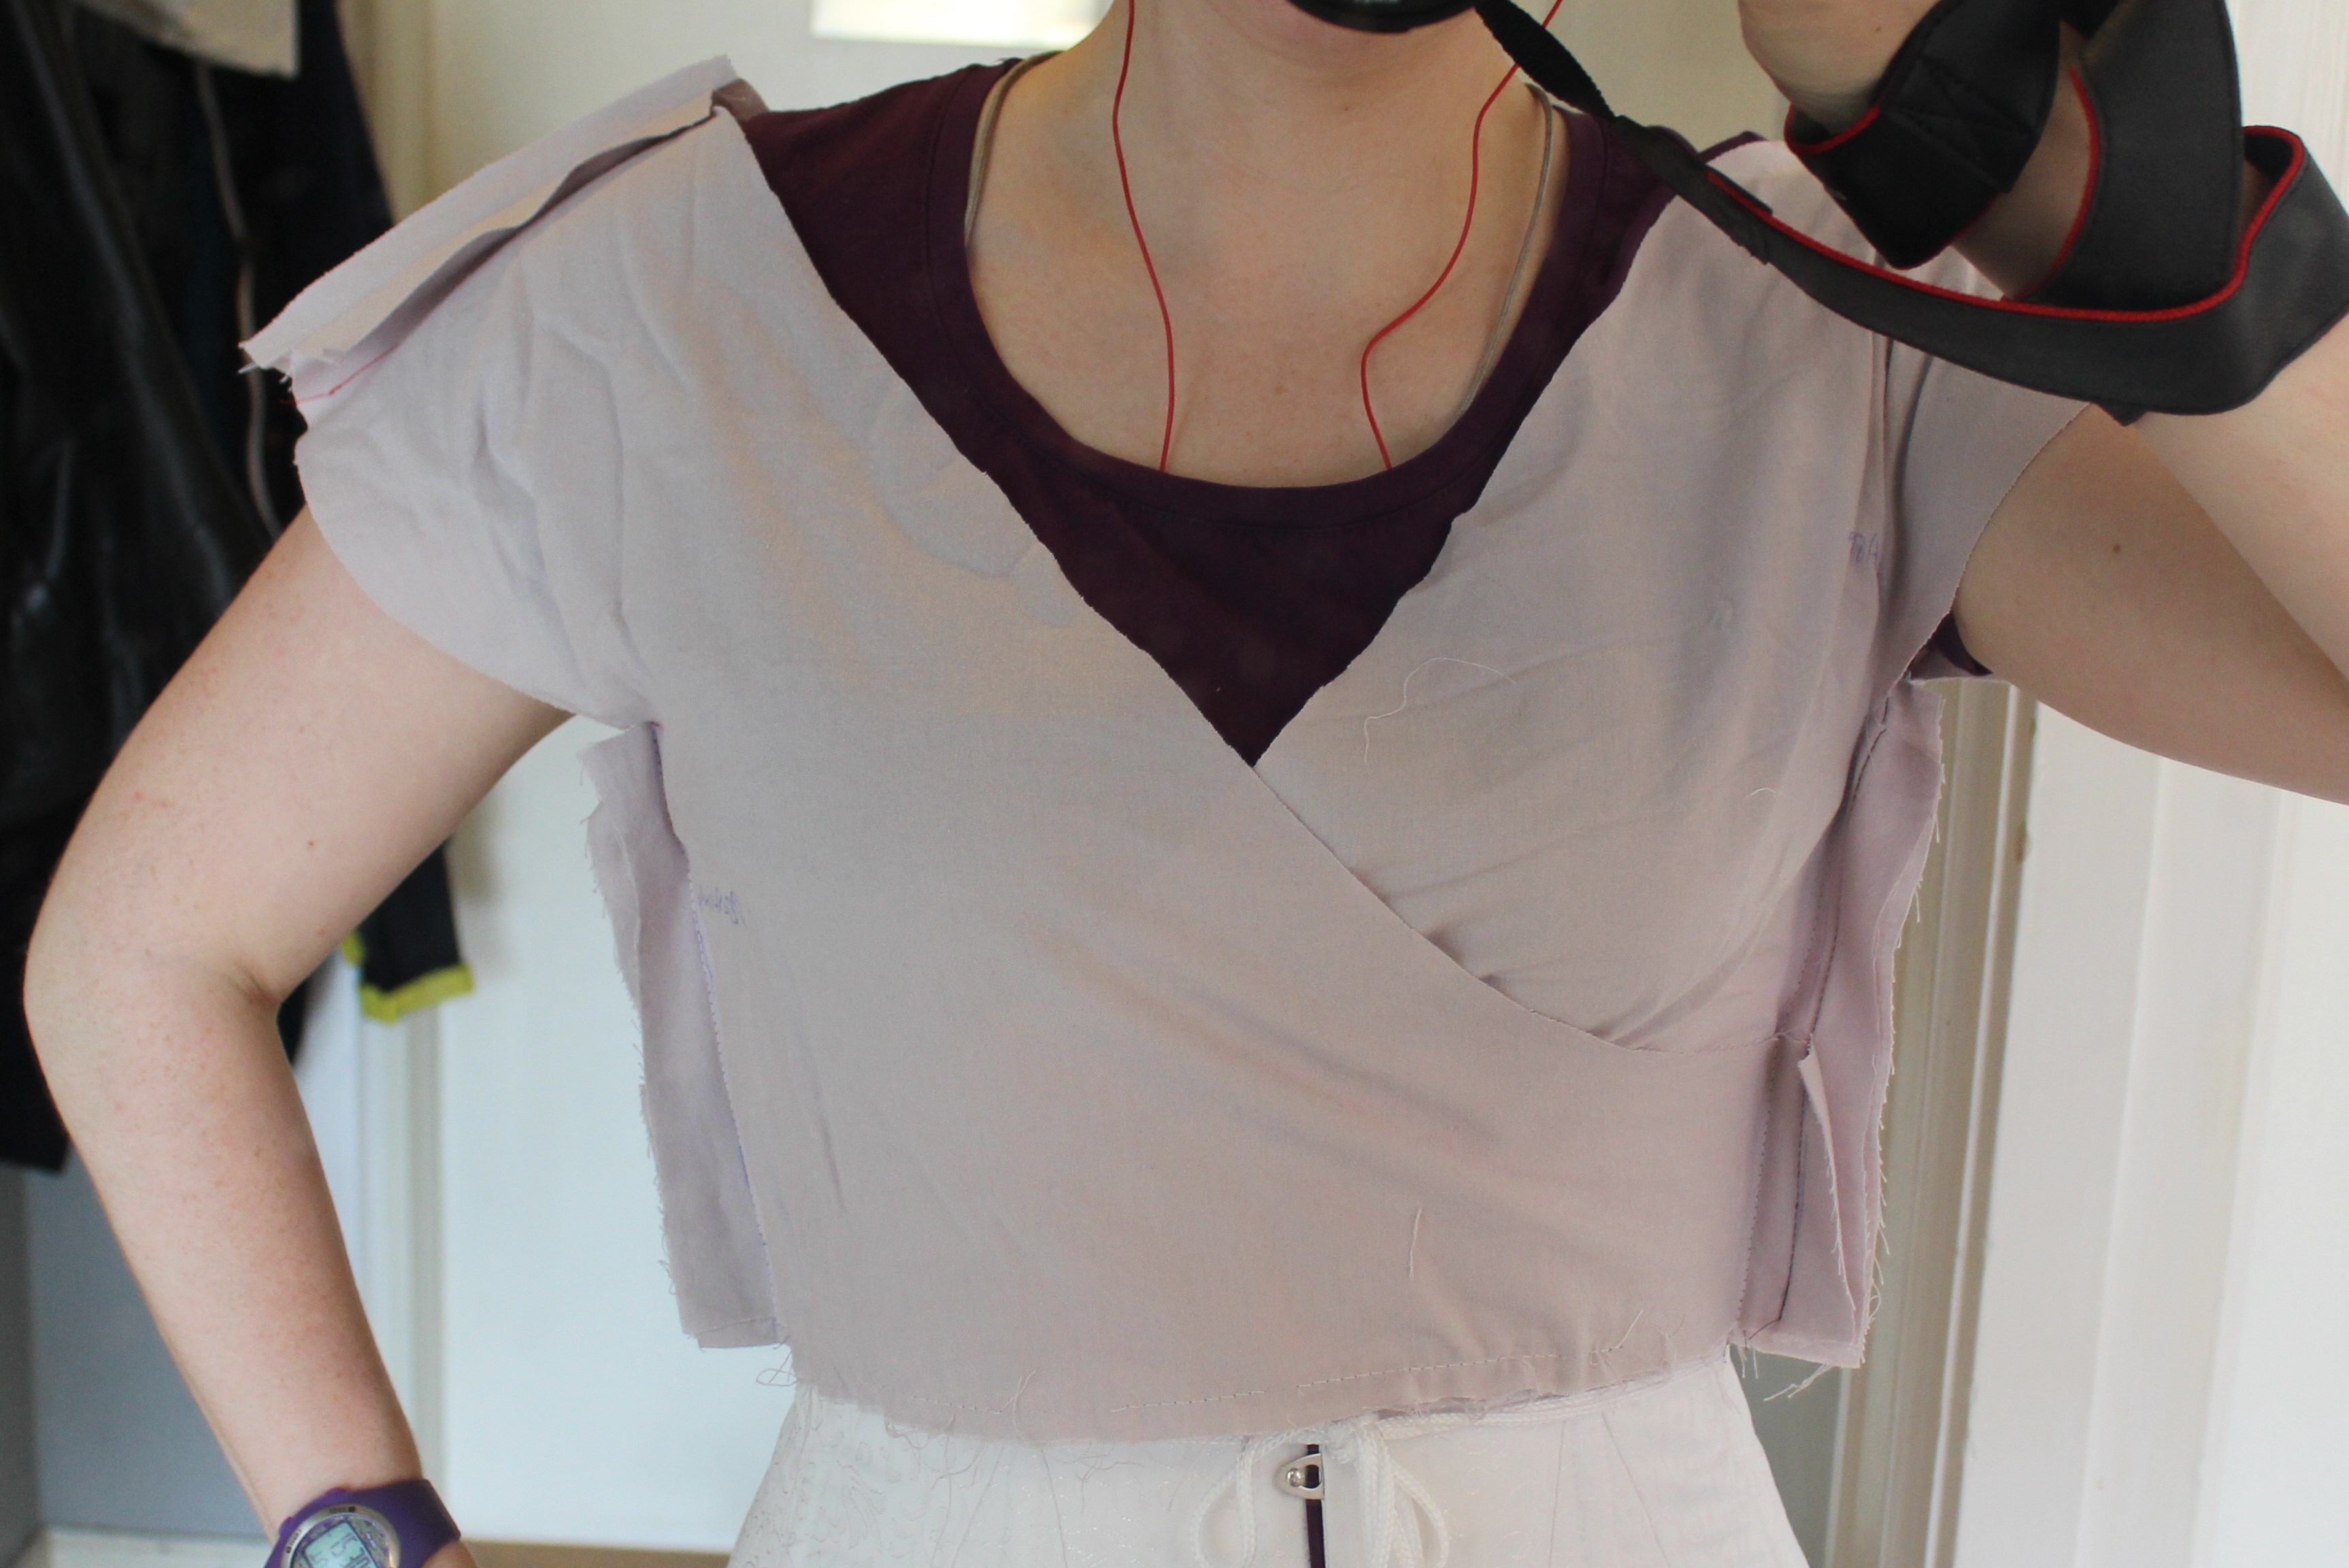
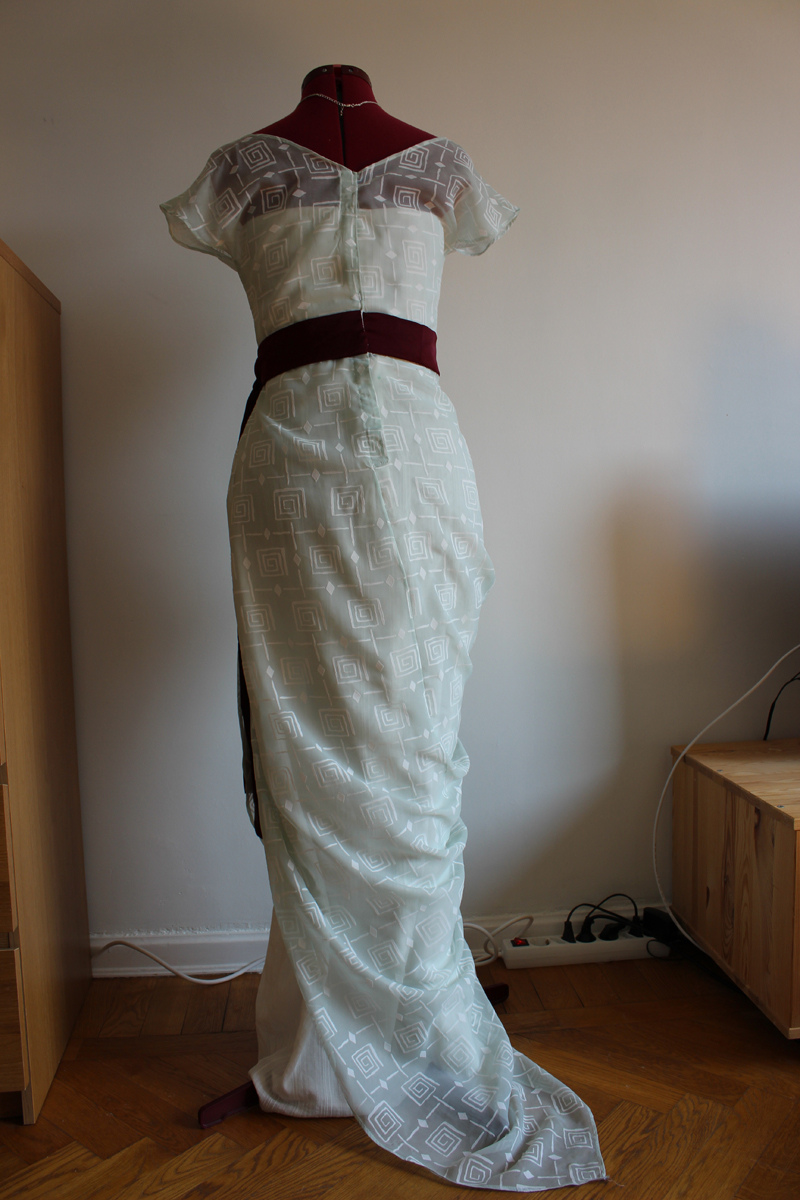
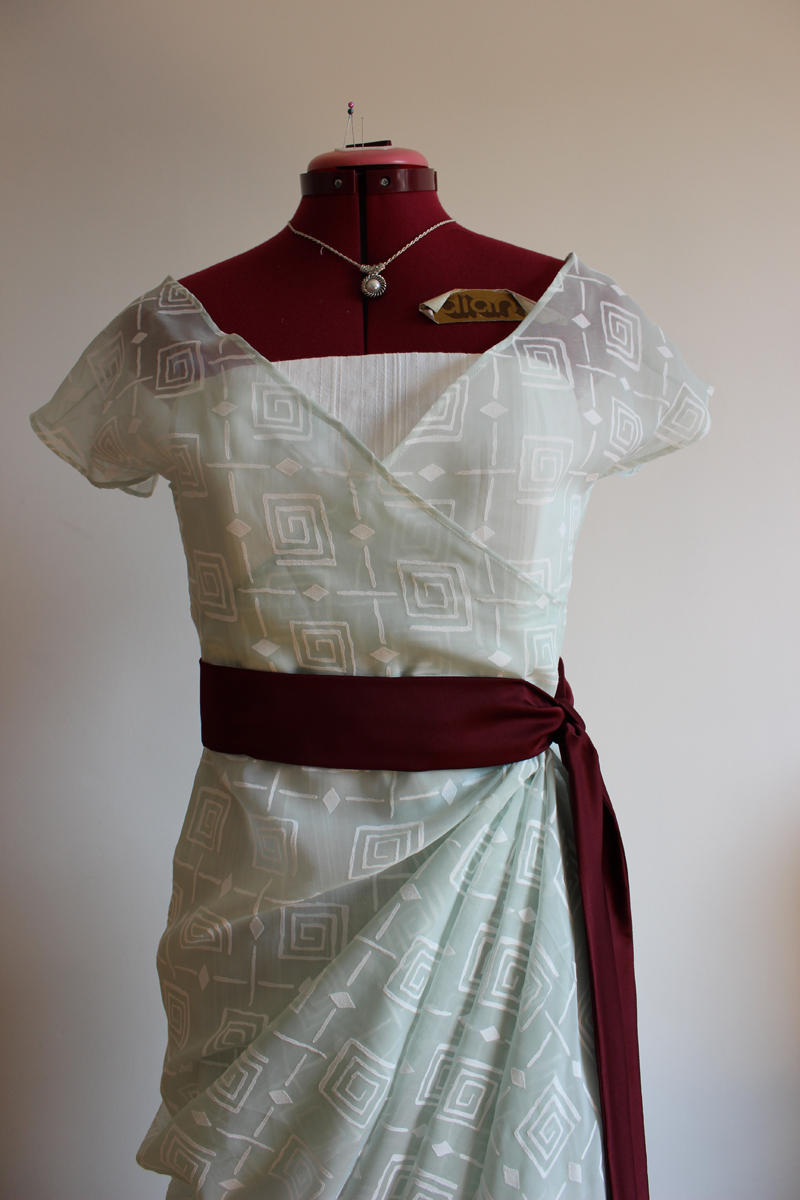
Then it was time for the bust draping.
I found this part really scary, and had no idea of what I was doing, but since I didn’t had any similarly weighted fabric at home to do a test run with, I just took the dive and cut the purple chiffon. I did hesitated a bit about if I should stitch the draping down, and risk it pulling, or to trust it stayed put and nice on its own. In the end I opted to tack parts of it down.
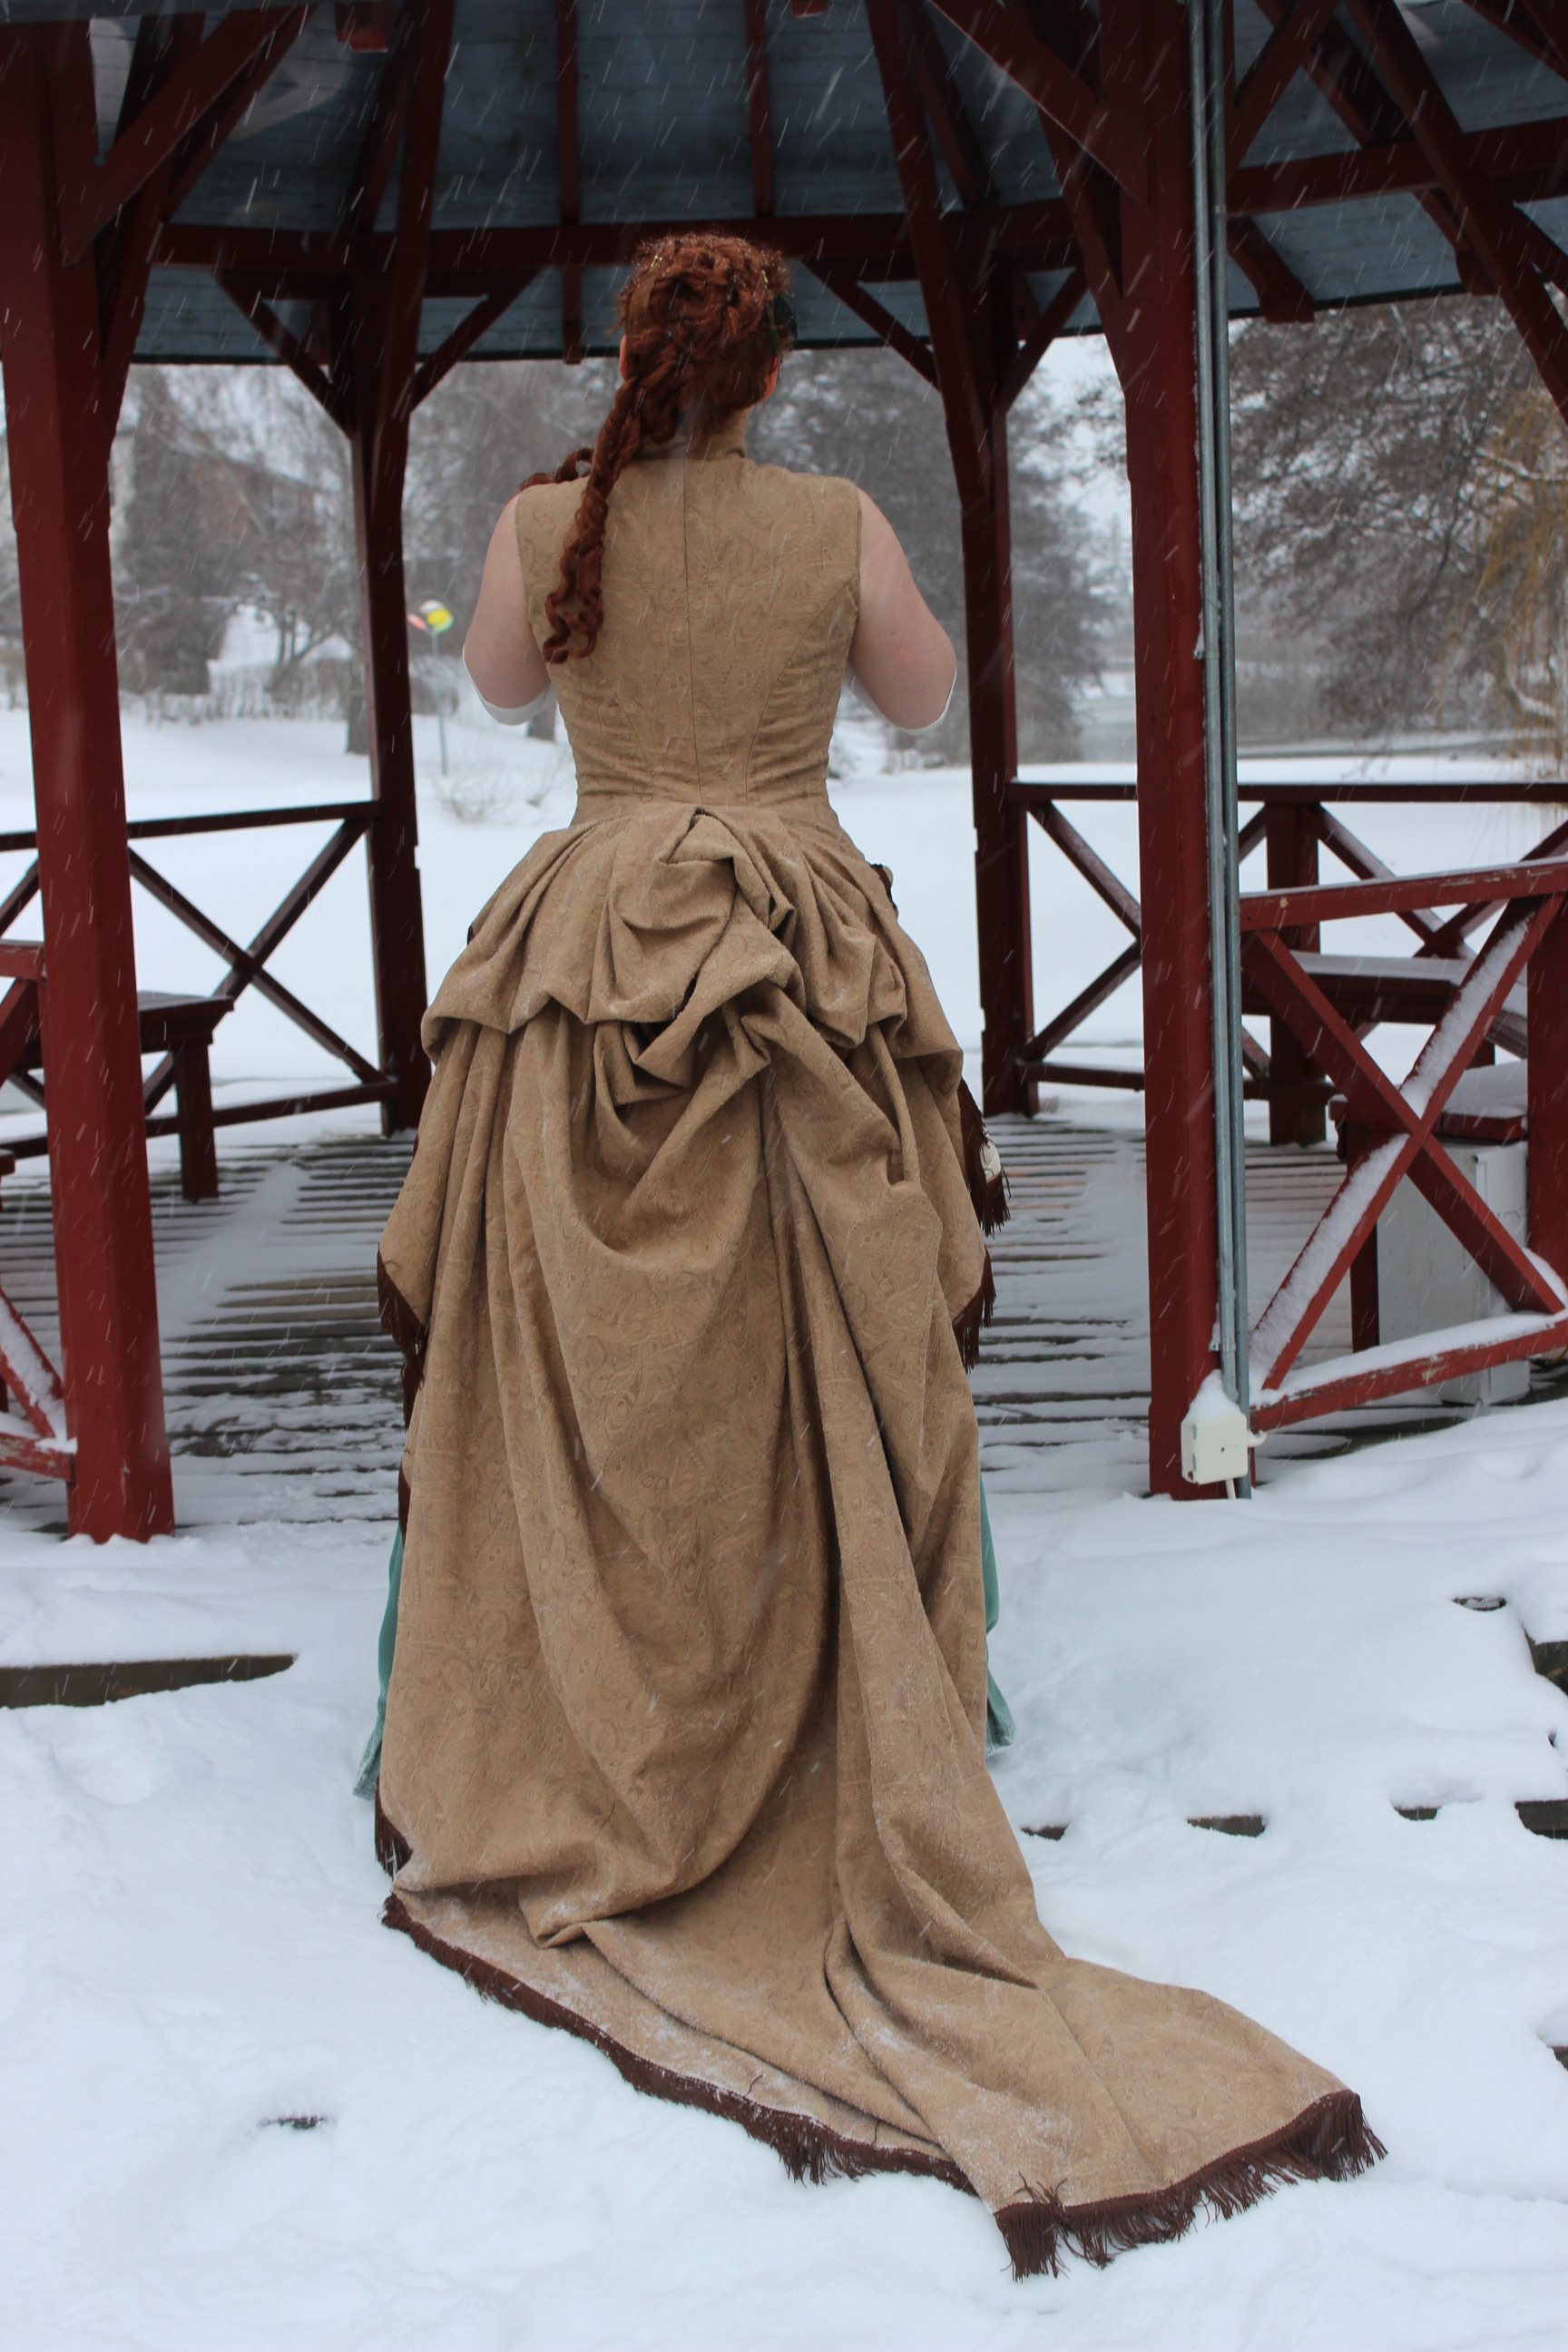
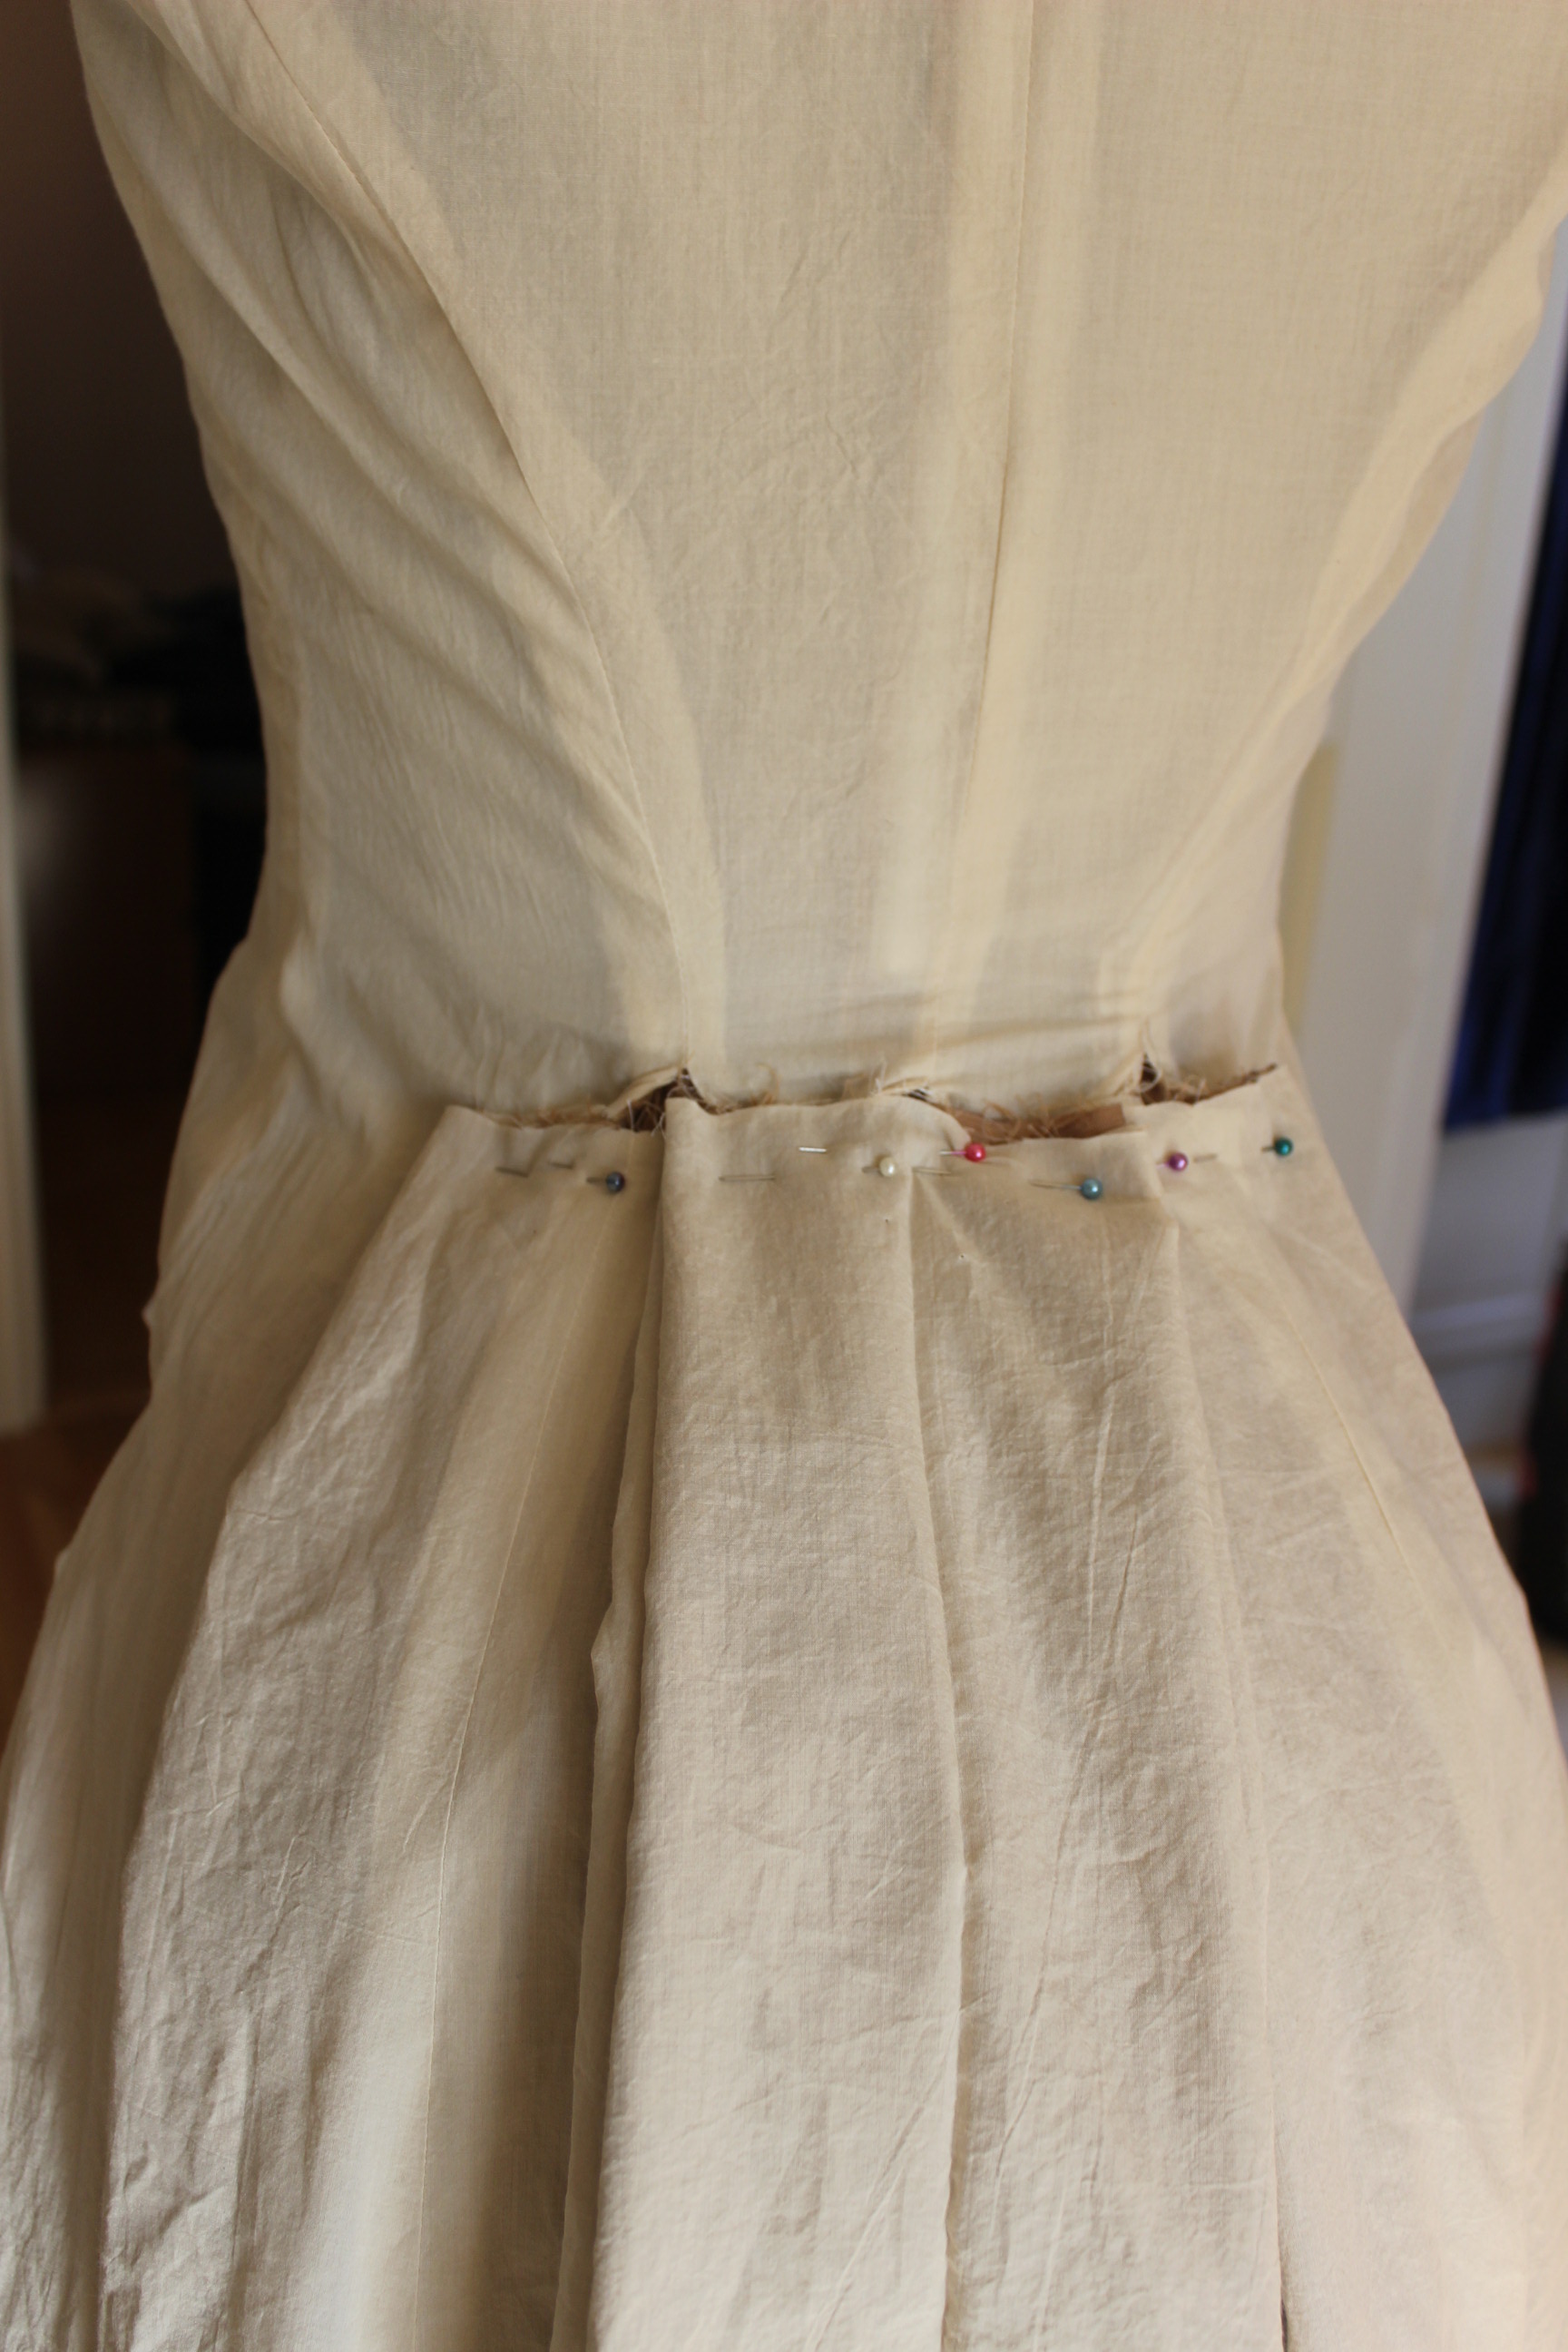
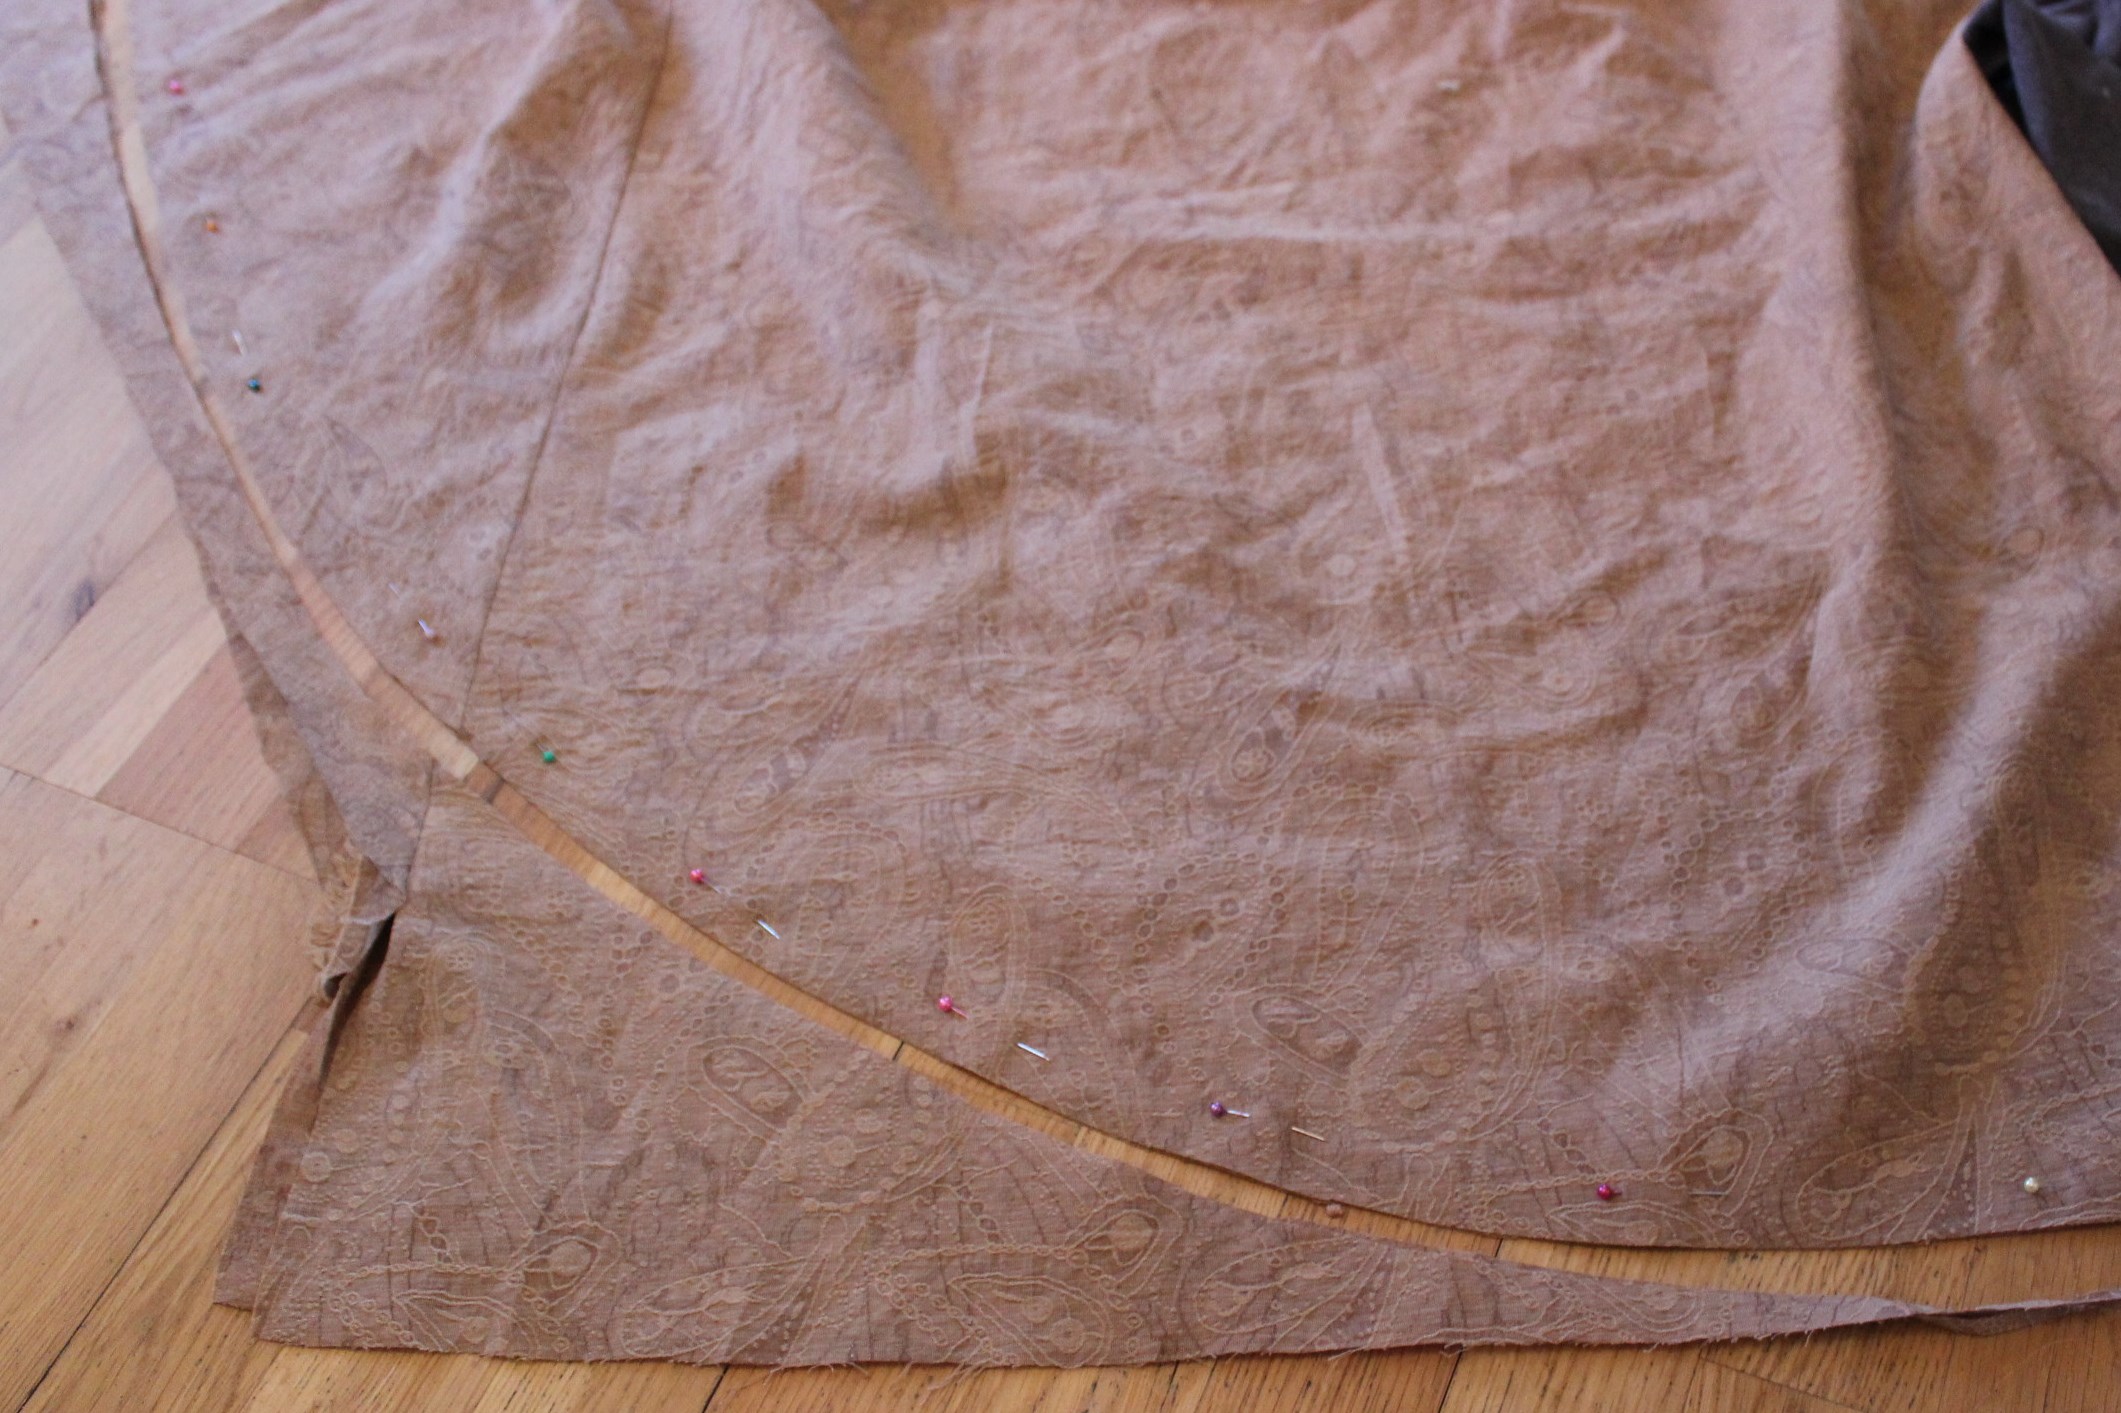
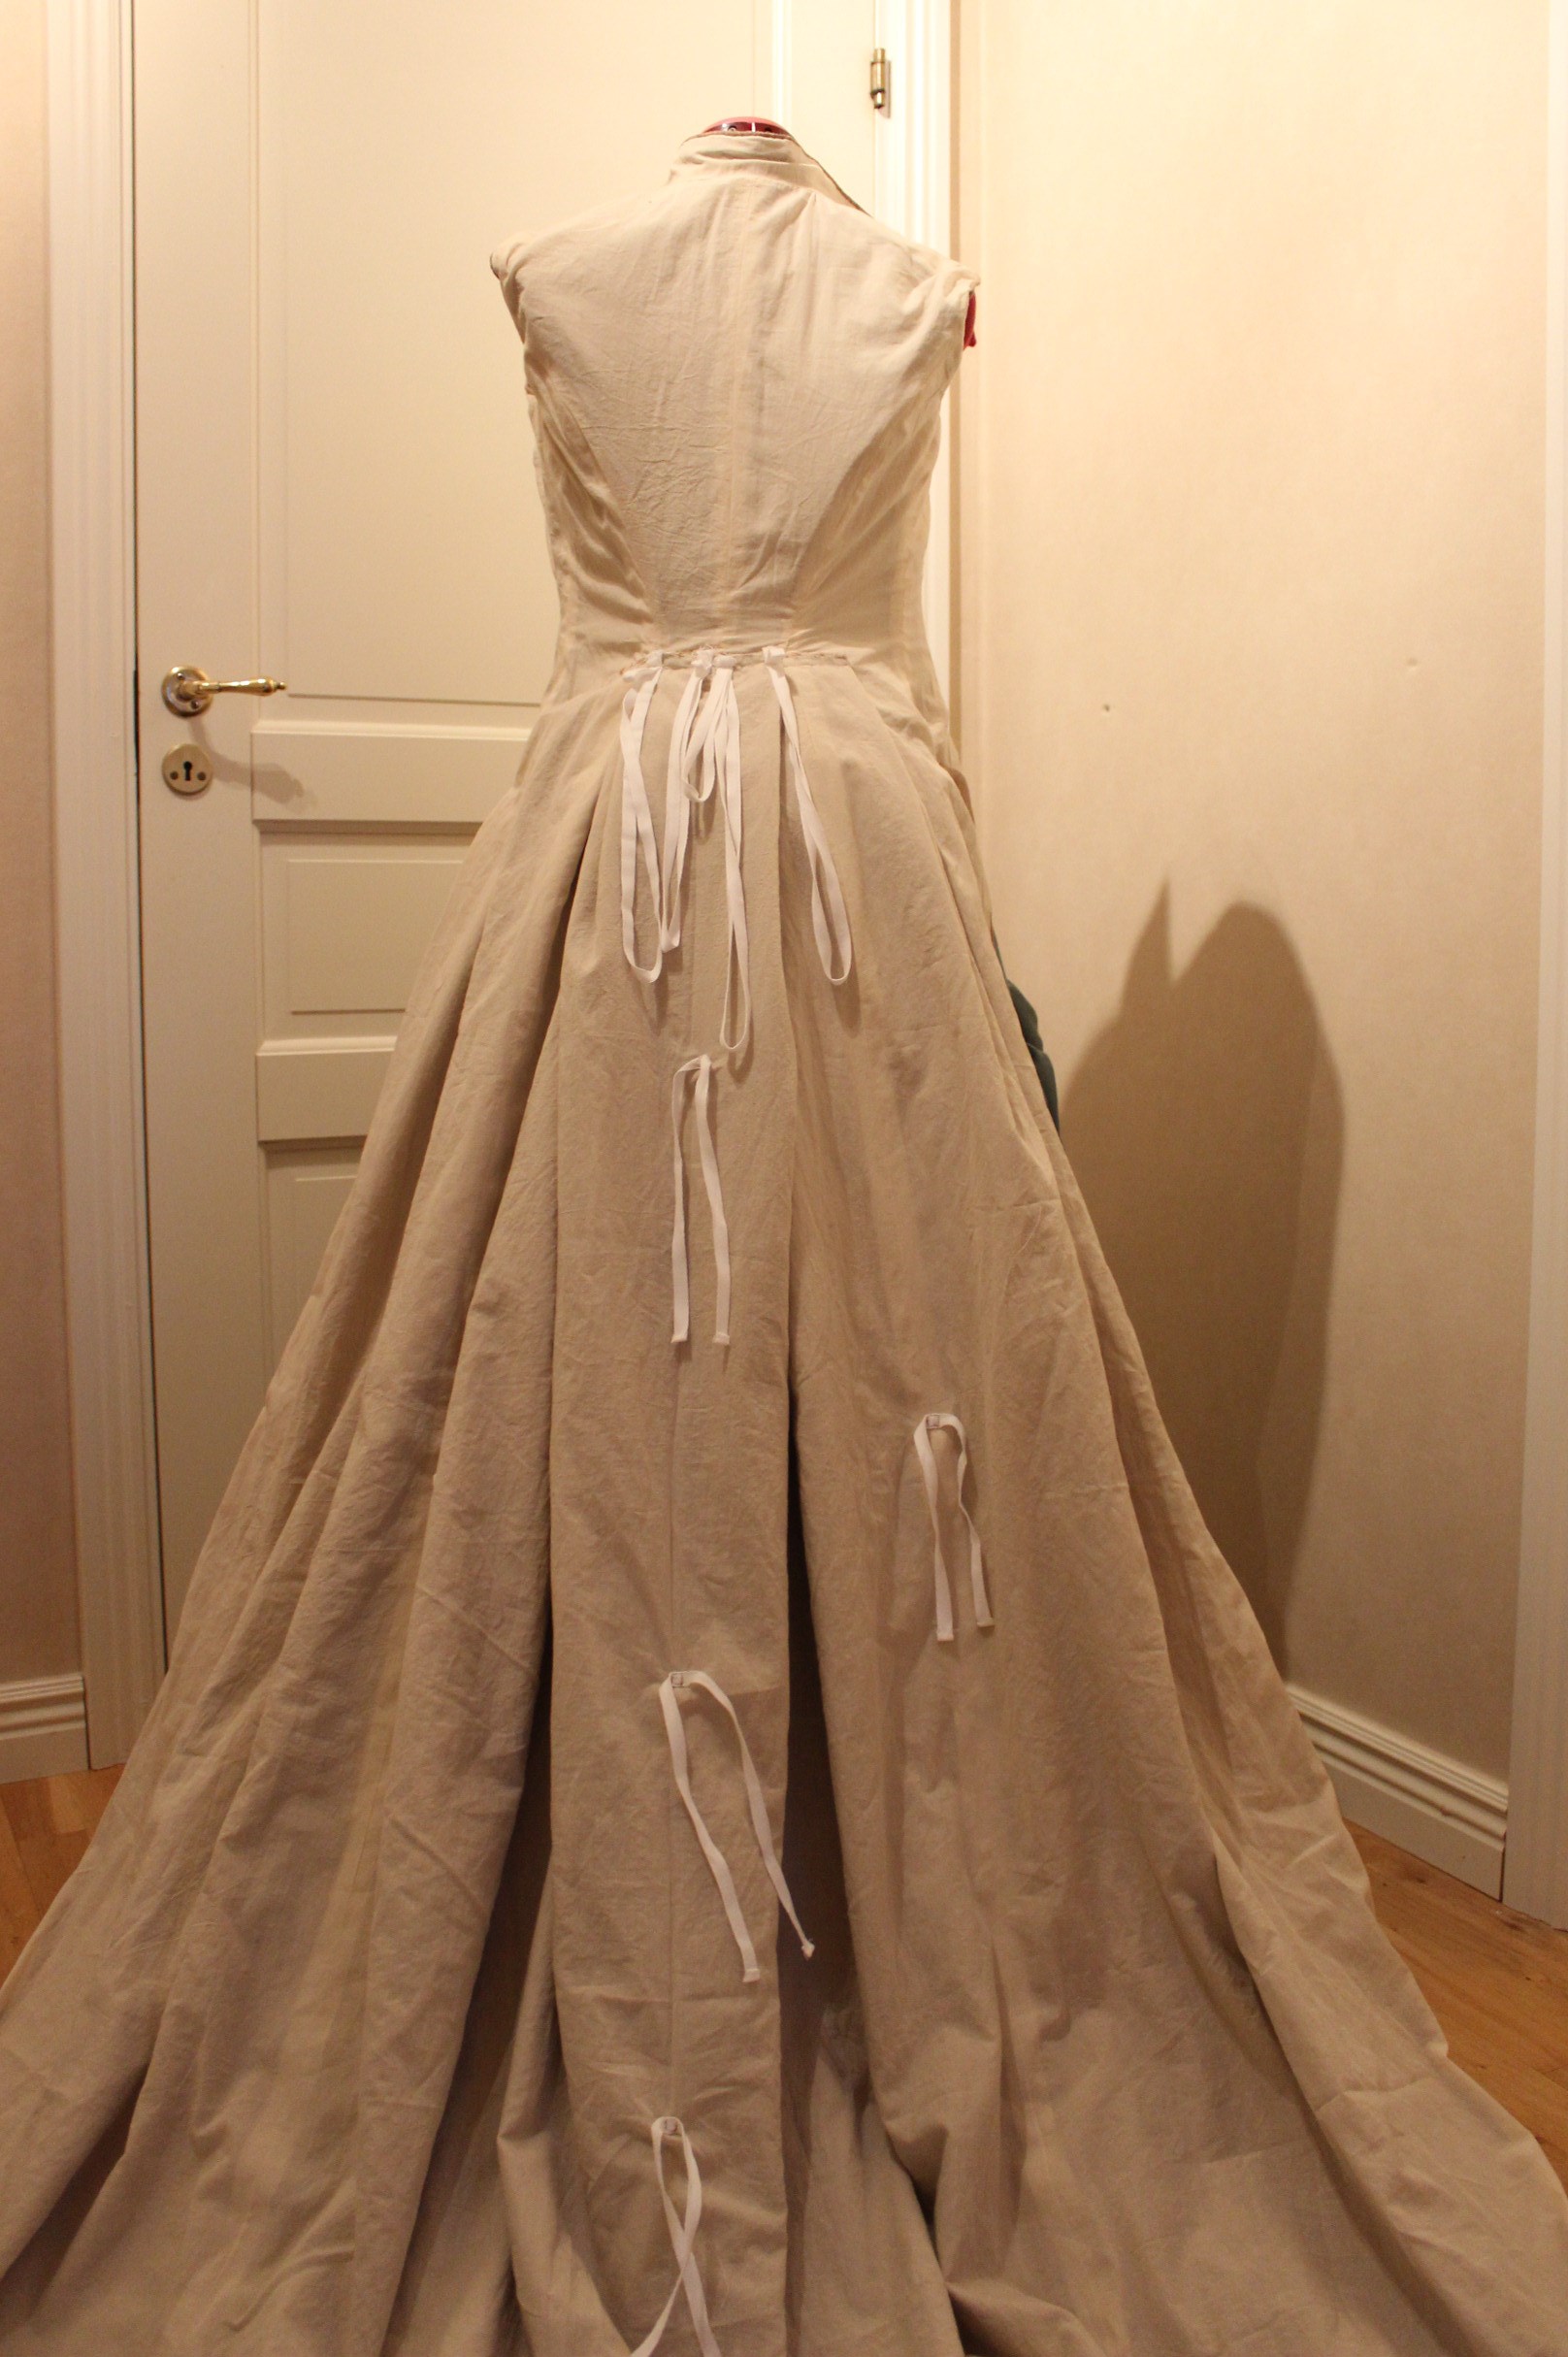
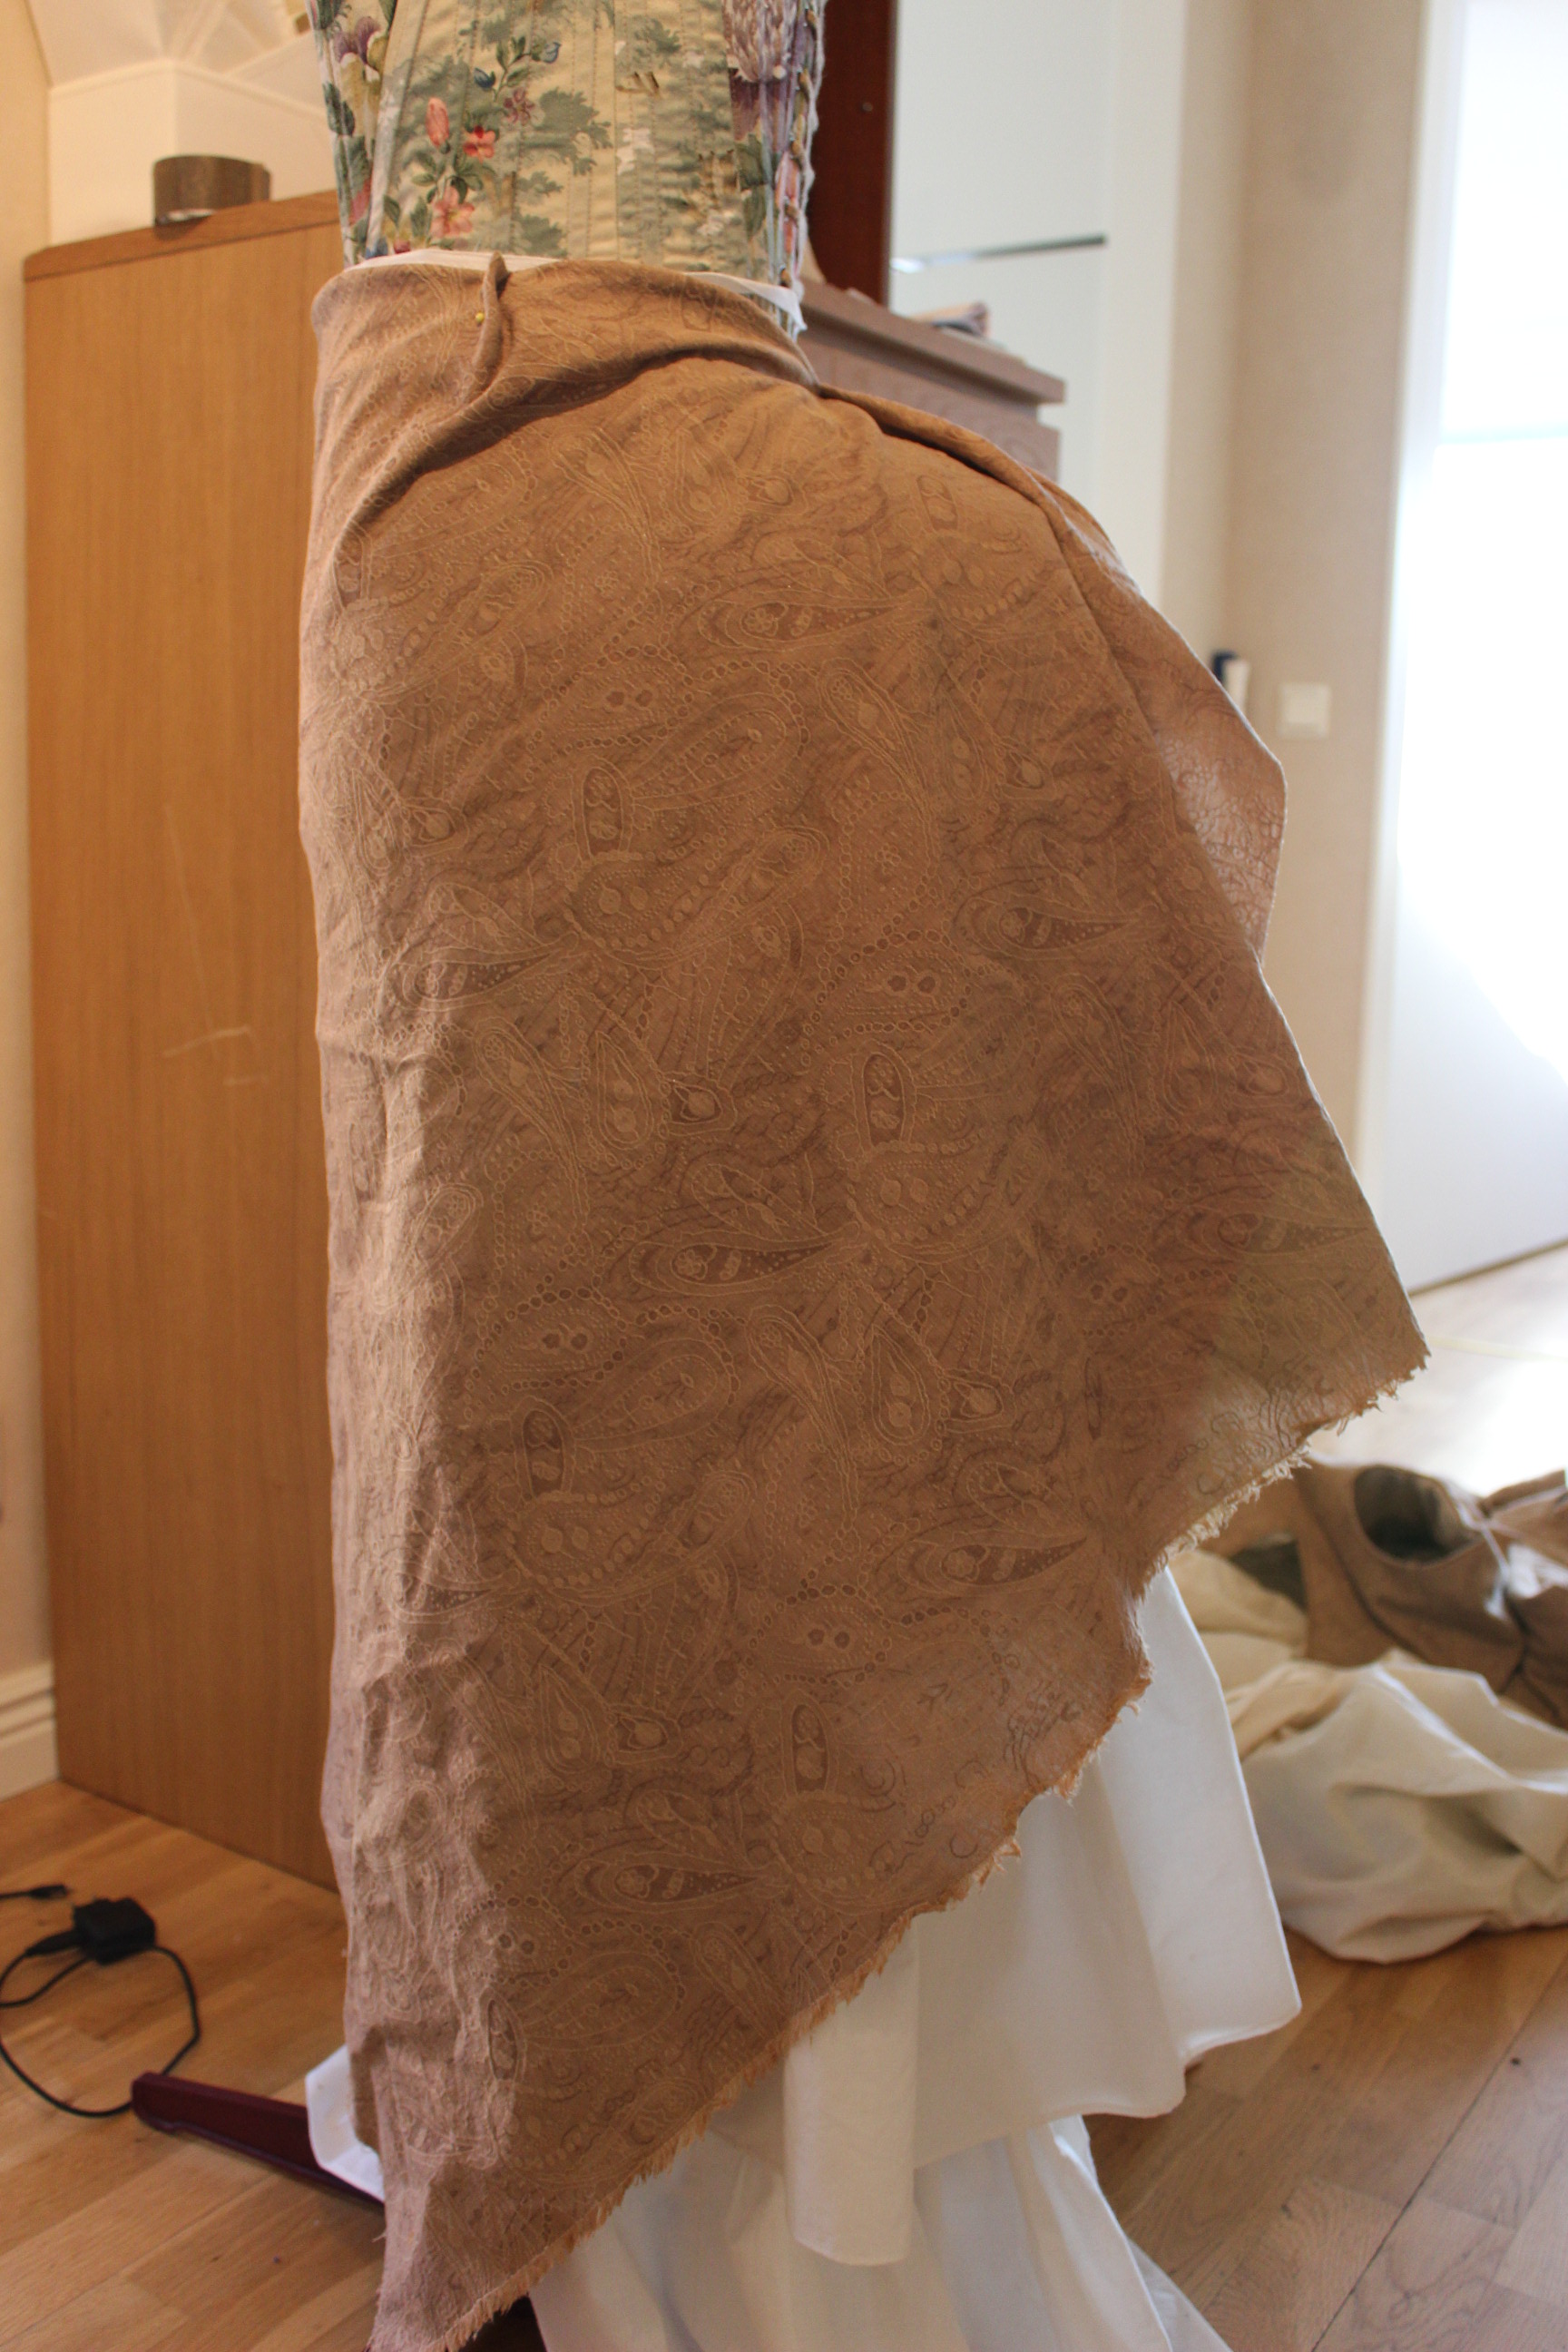
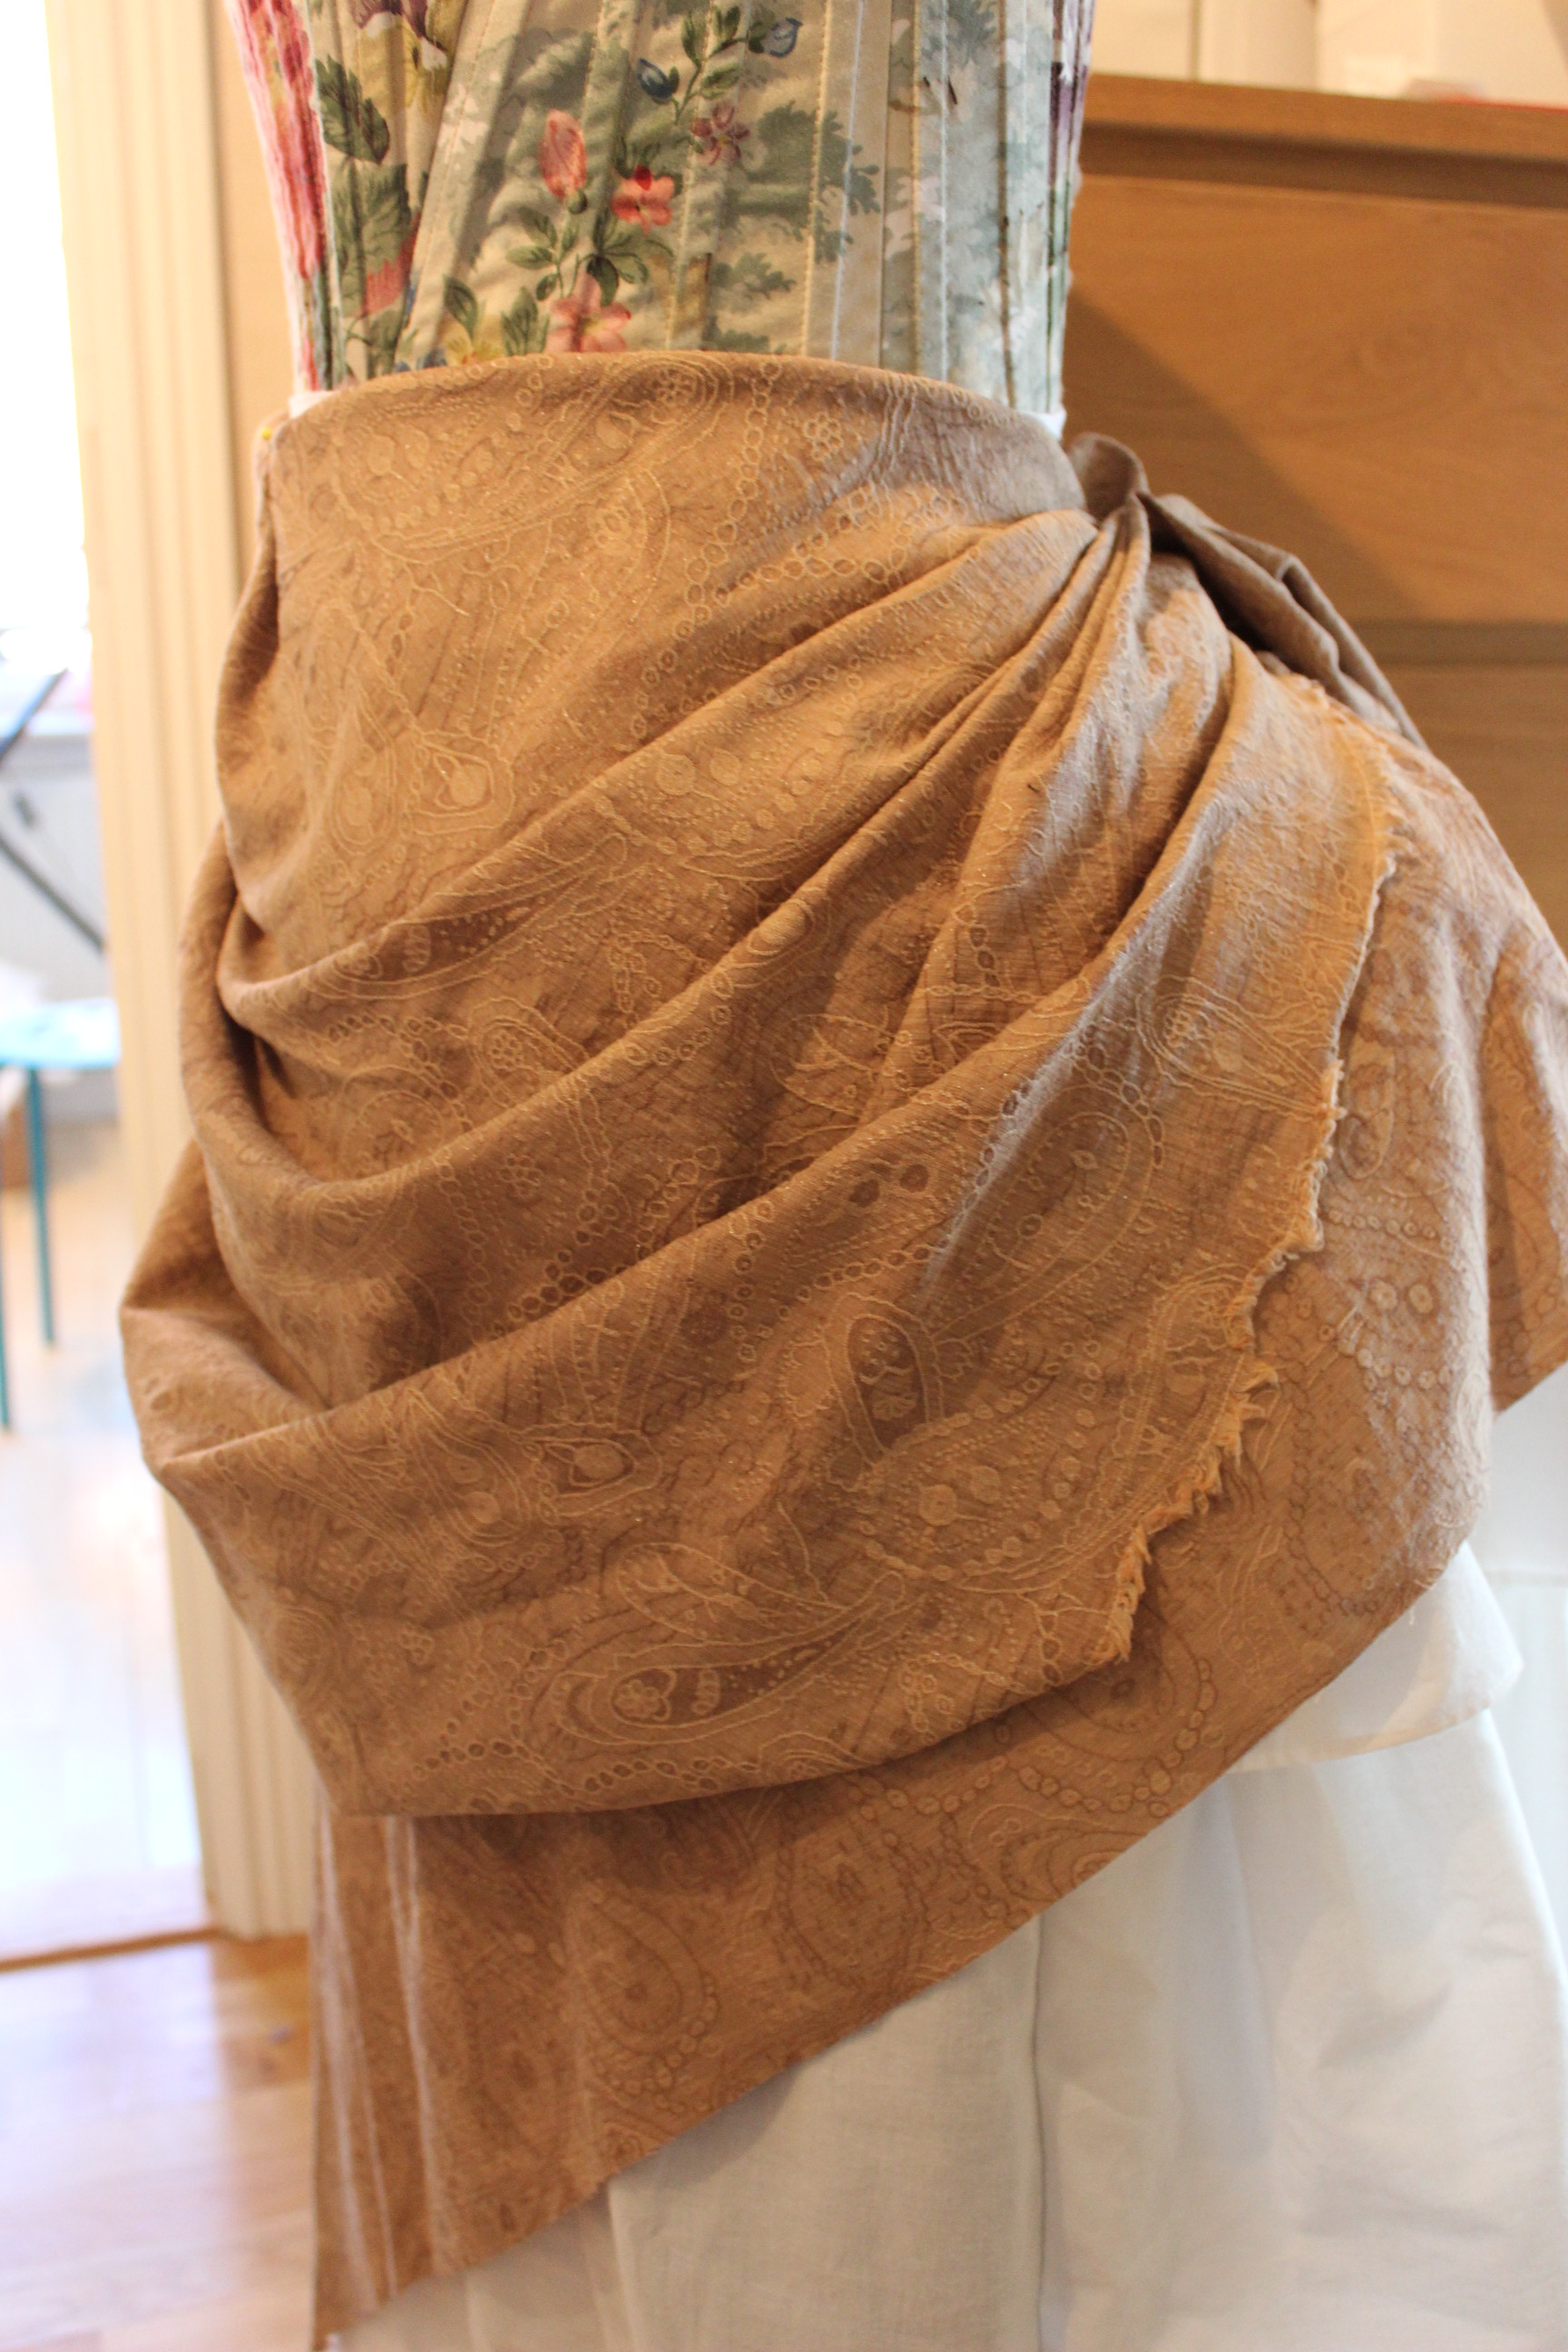
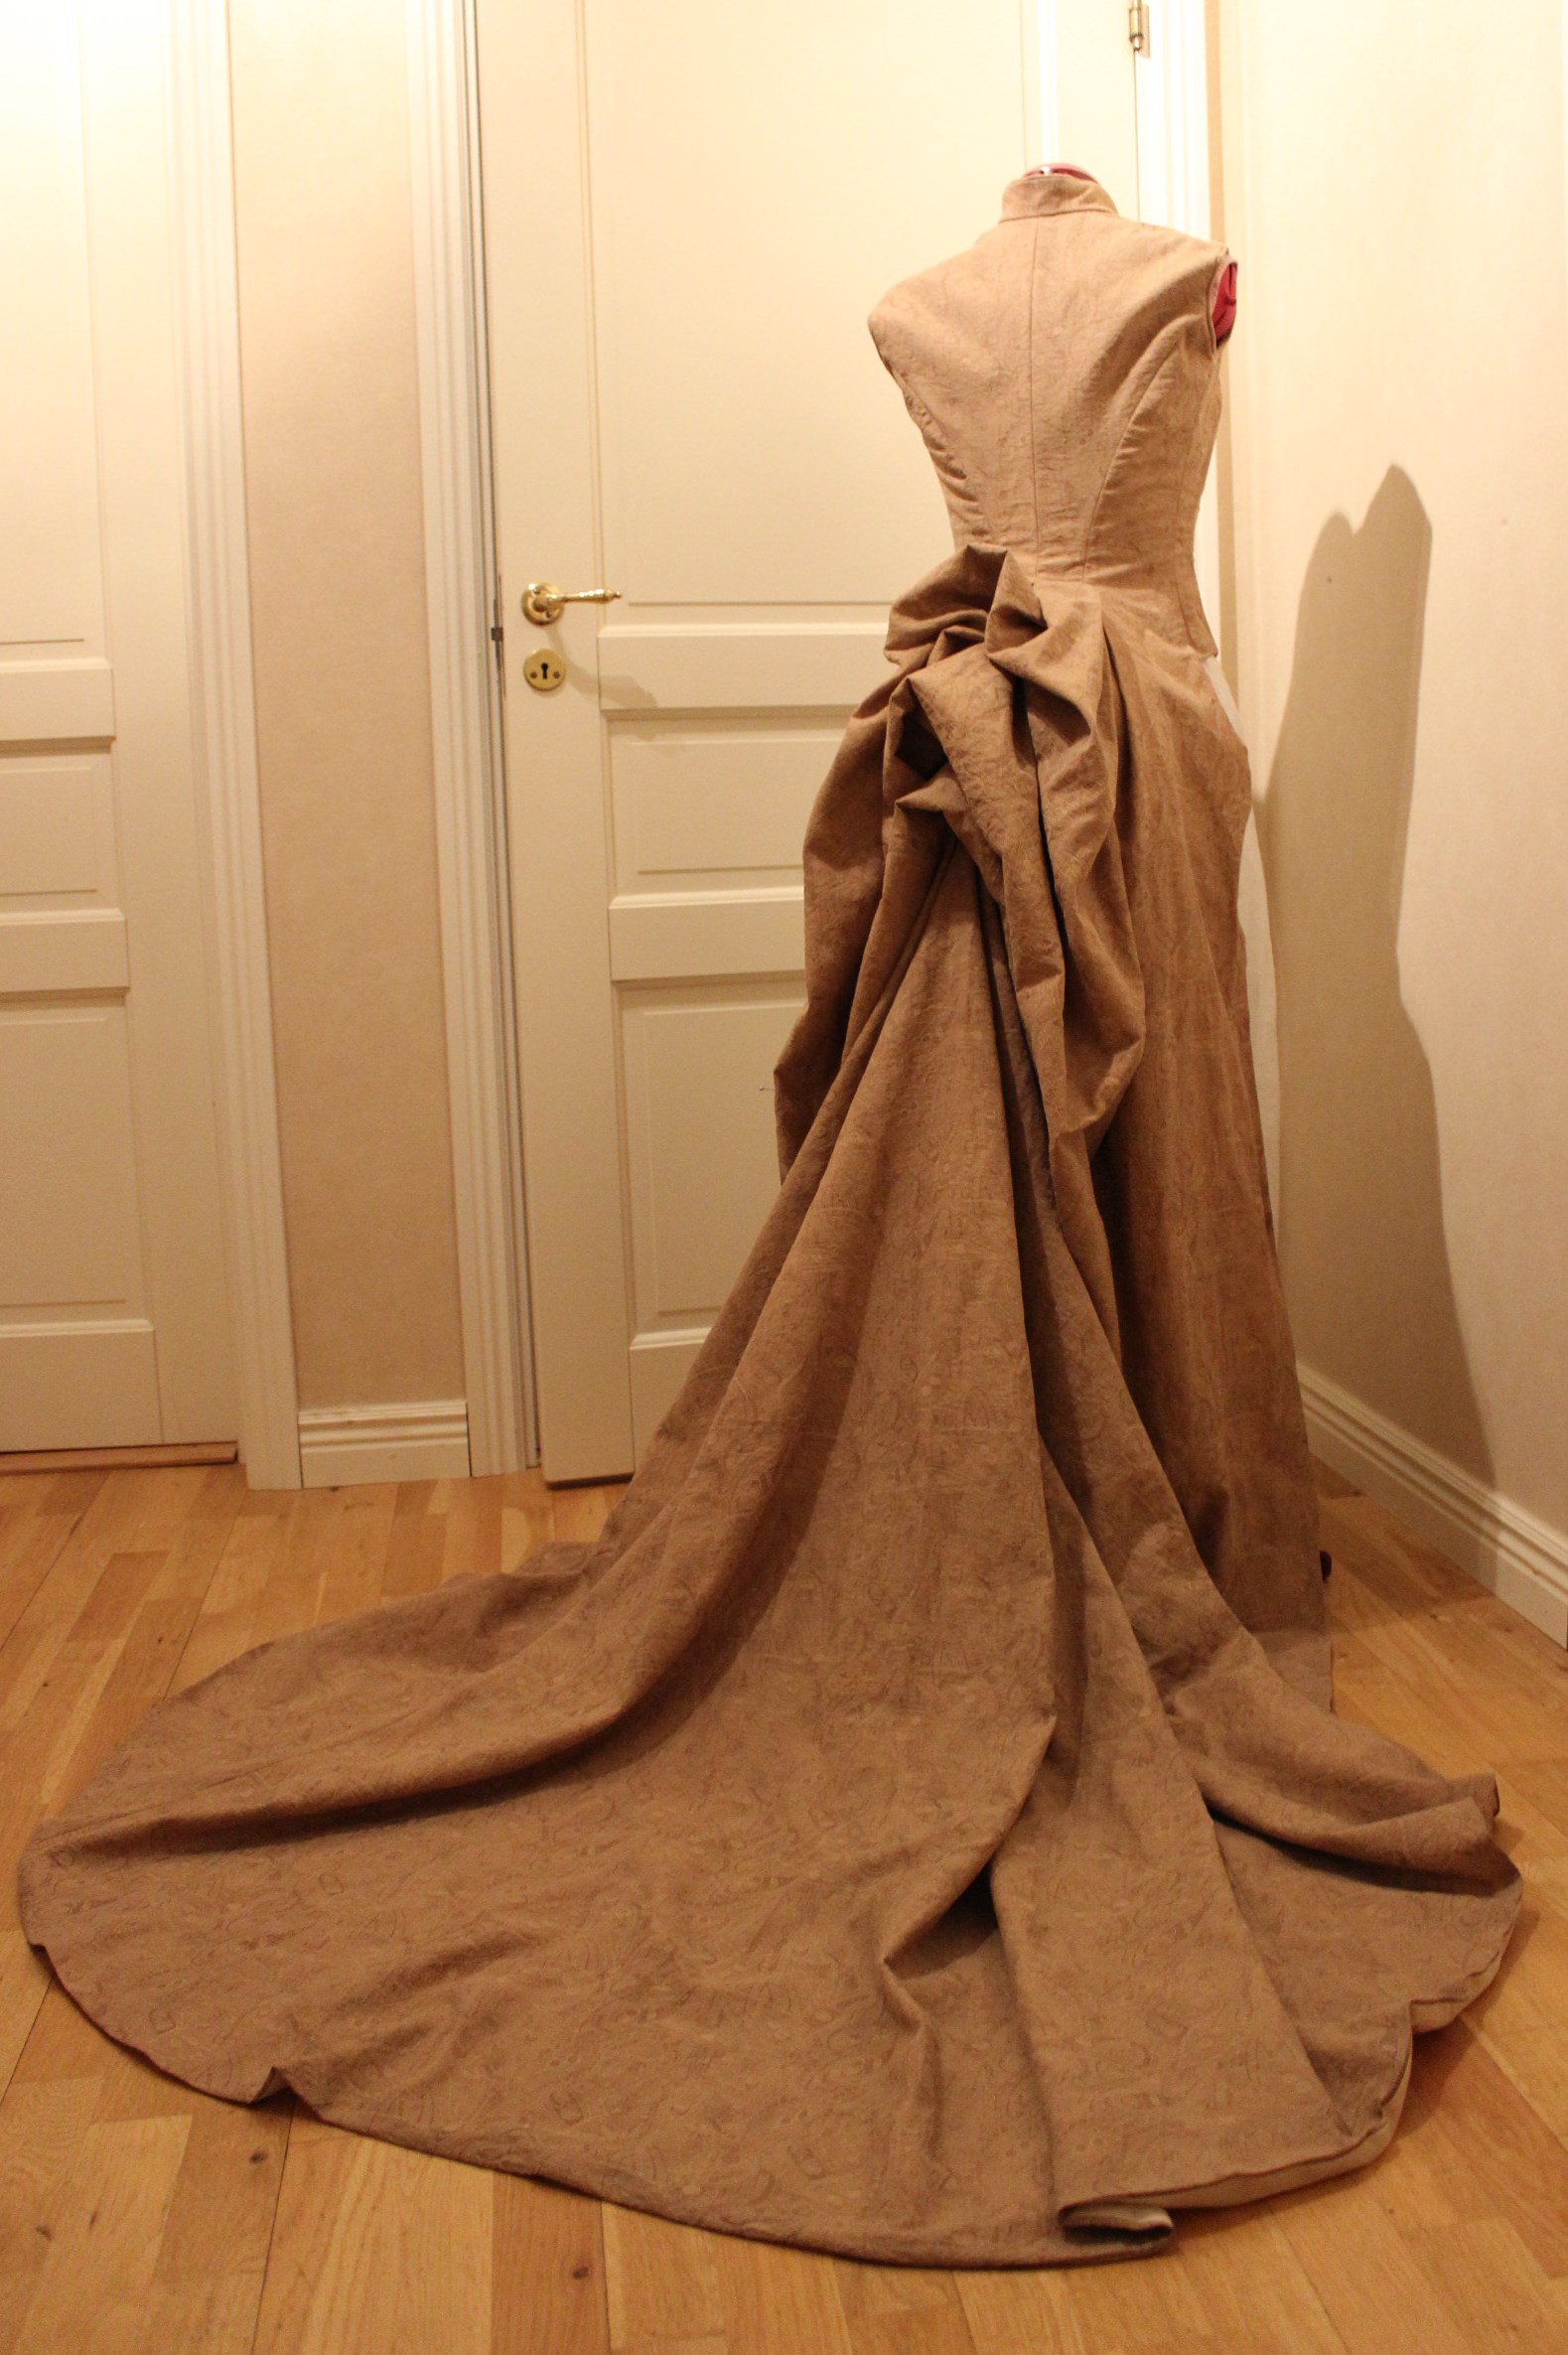
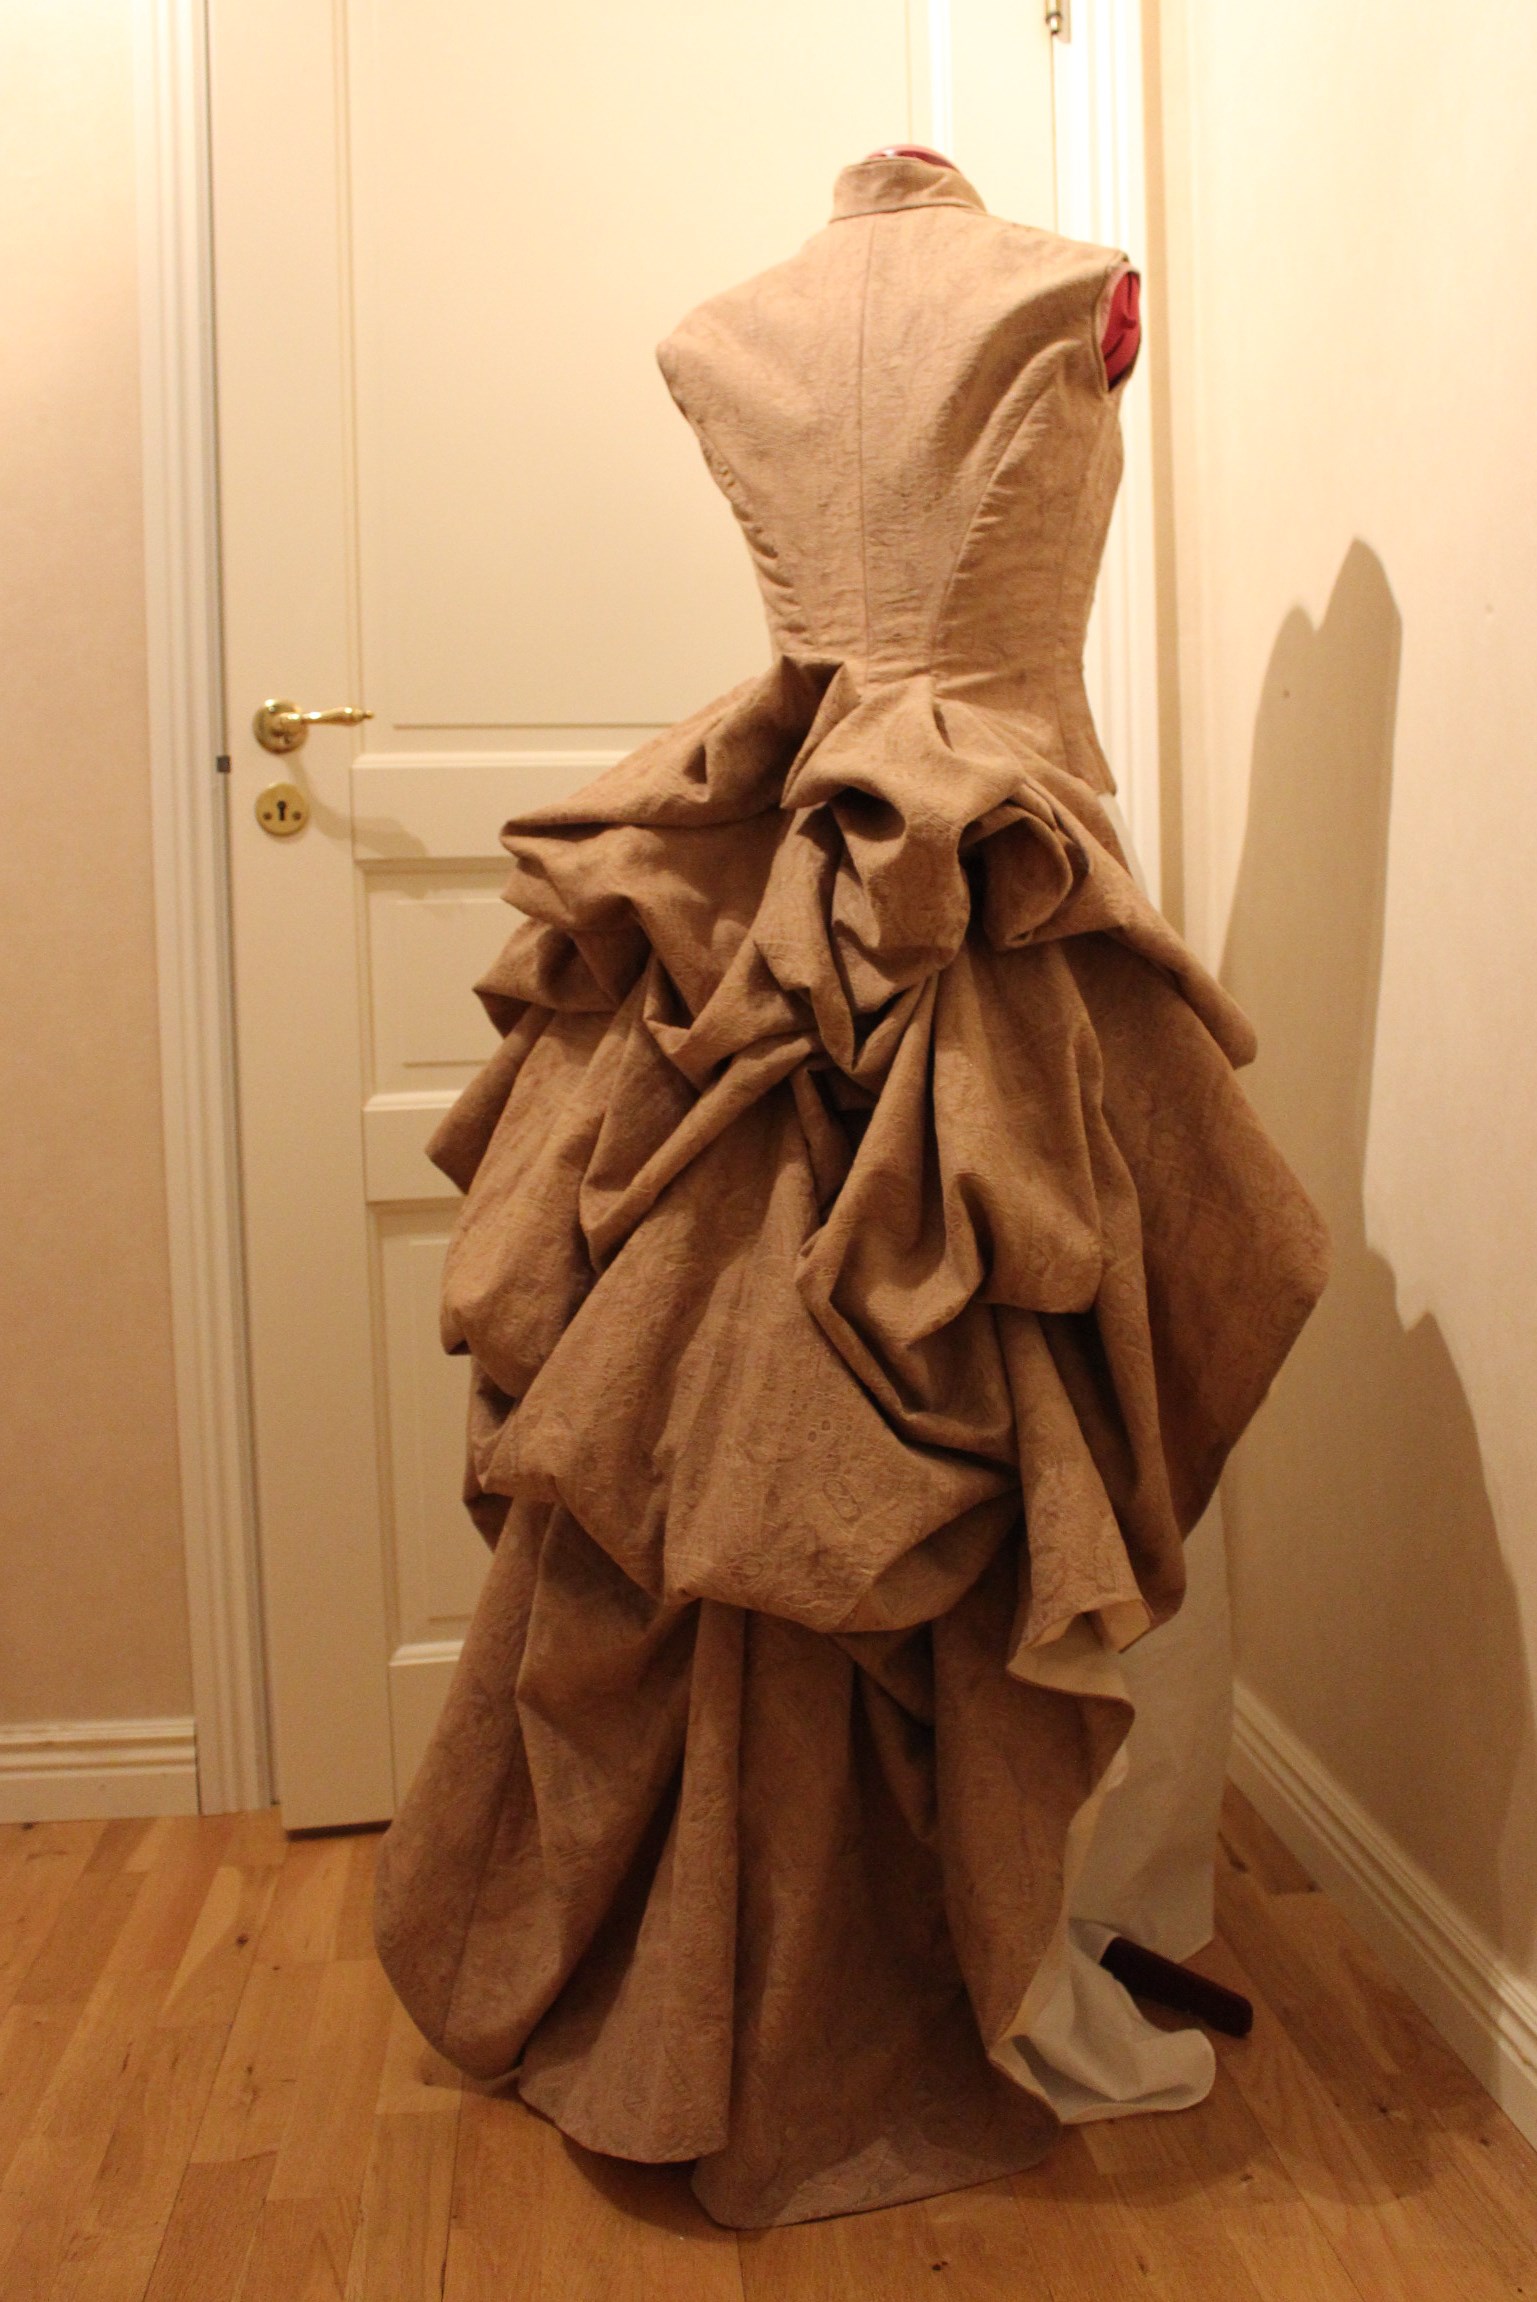
The skirt of the dress is in two pieces with a simple basic straight skirt underneath a draped layer fastened at the front.
I used almost my entire living room experimenting with the skirt drape. left side pinned up.
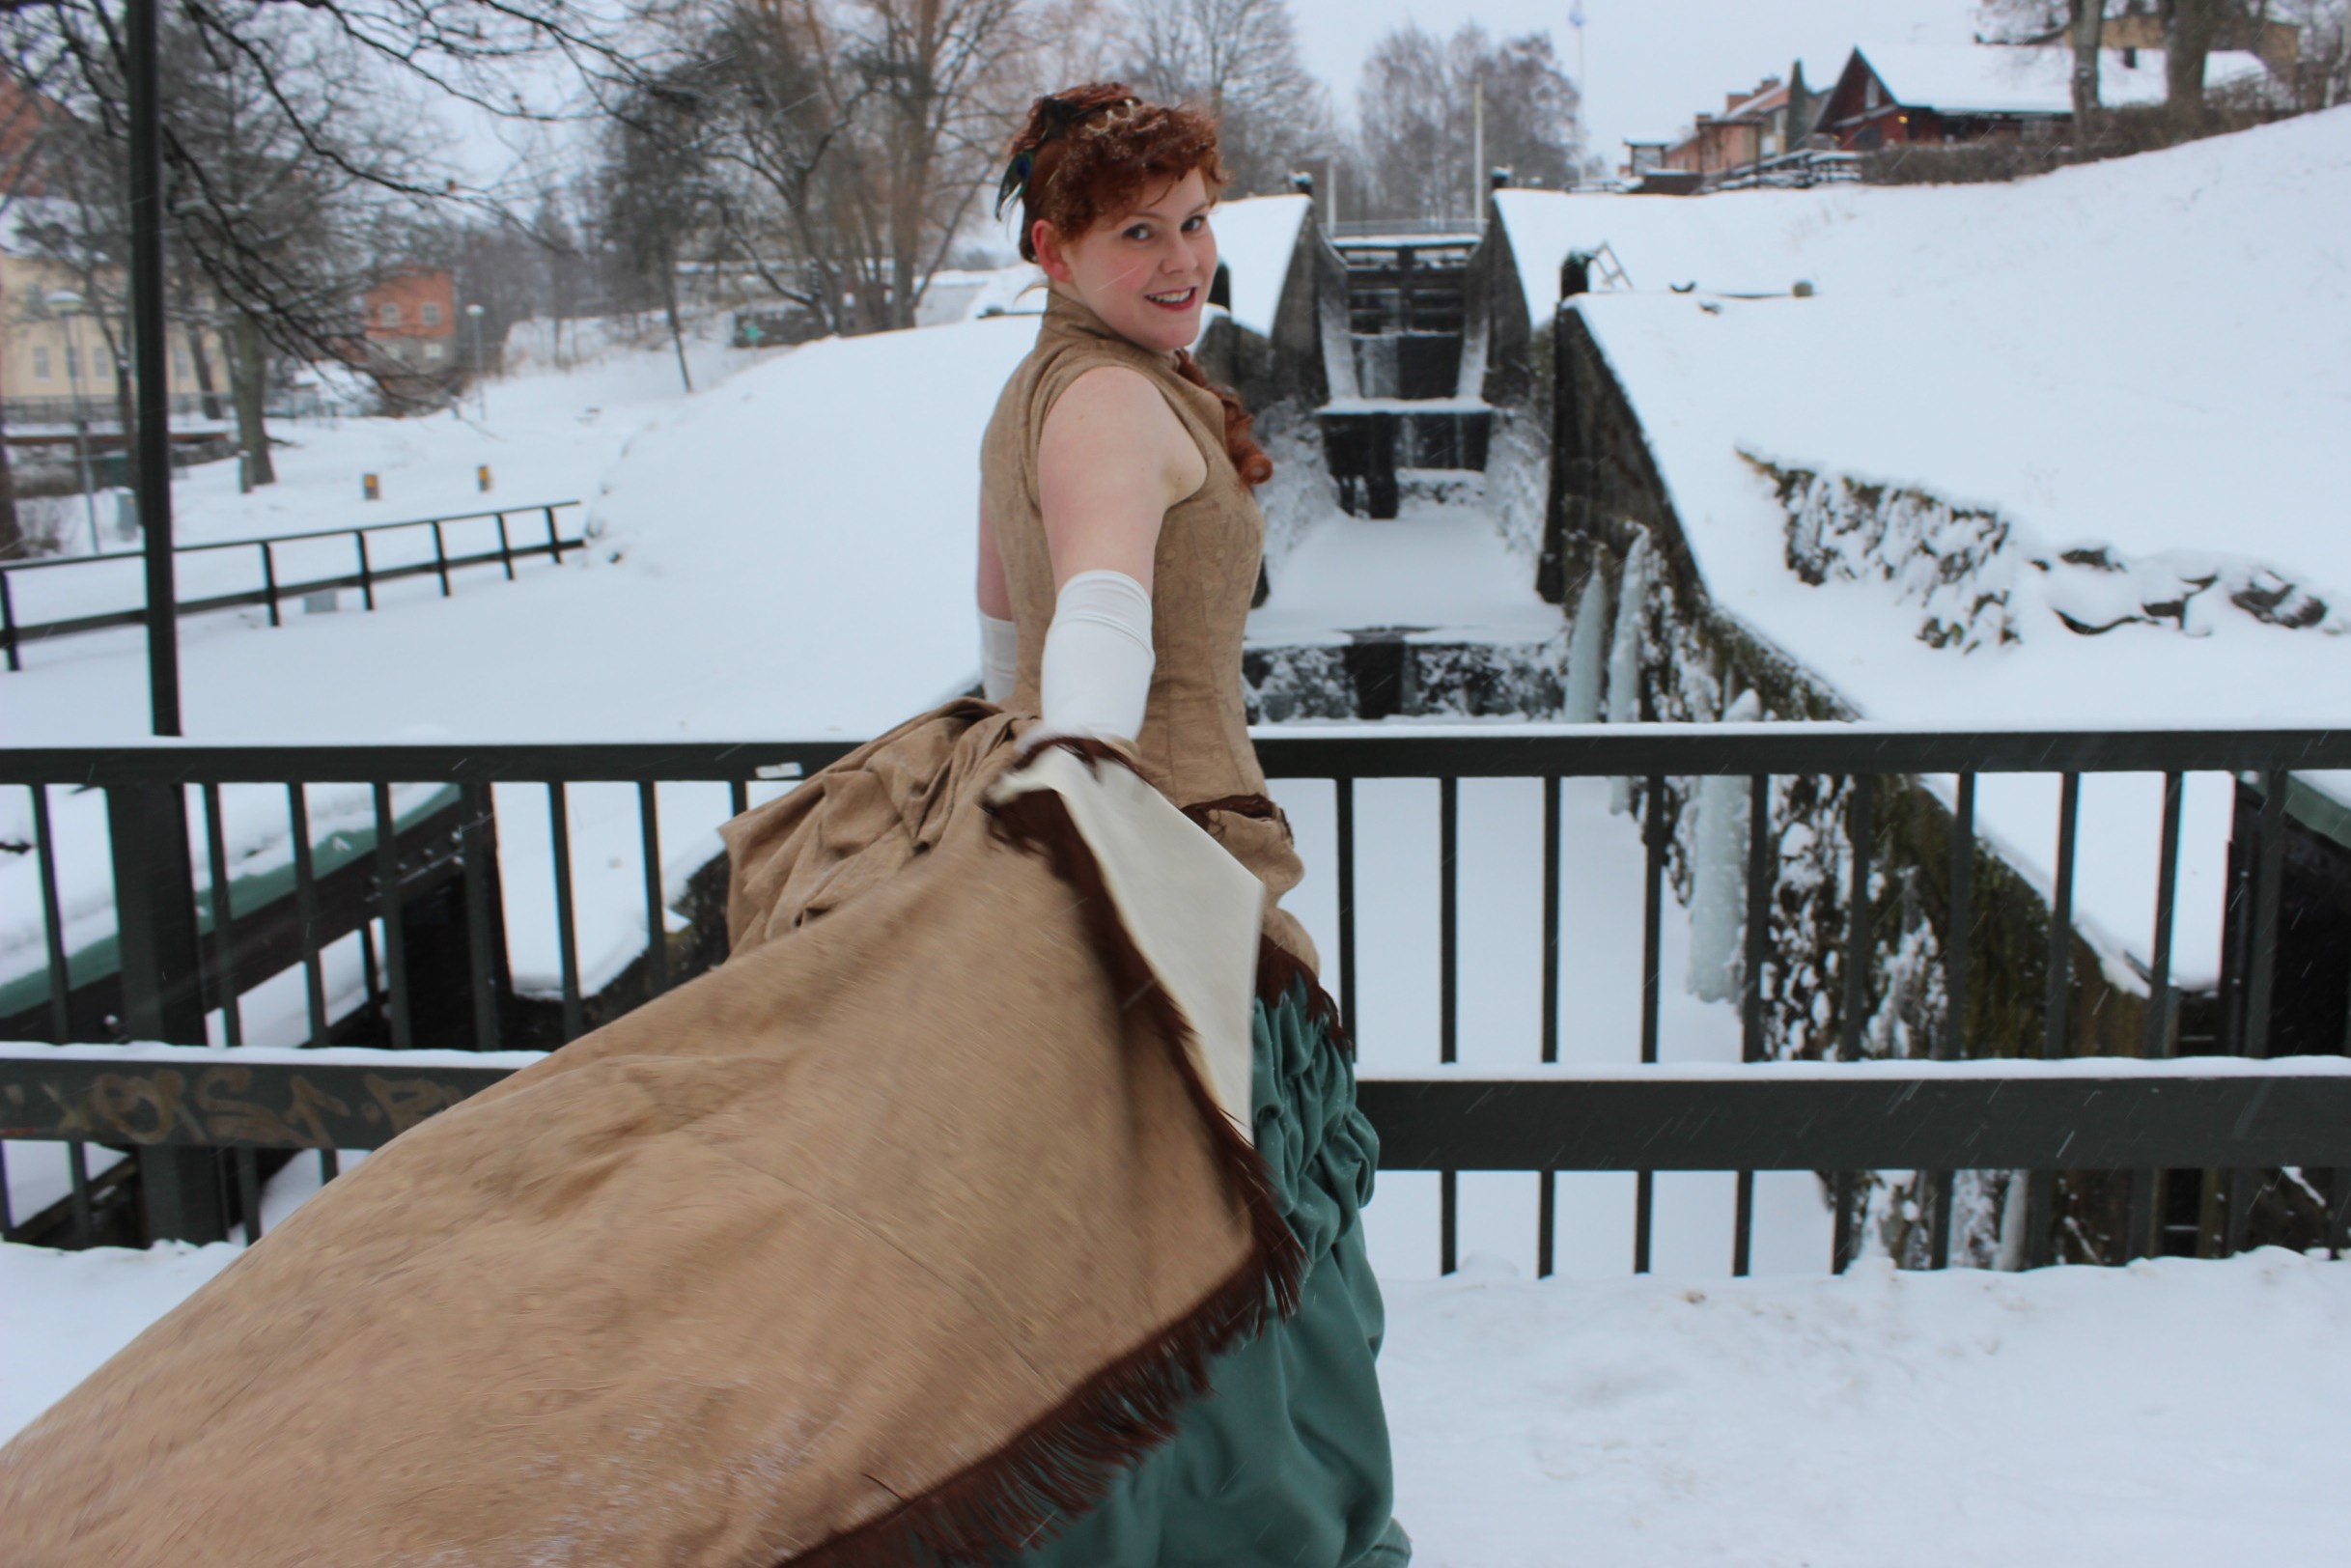
 With the train down
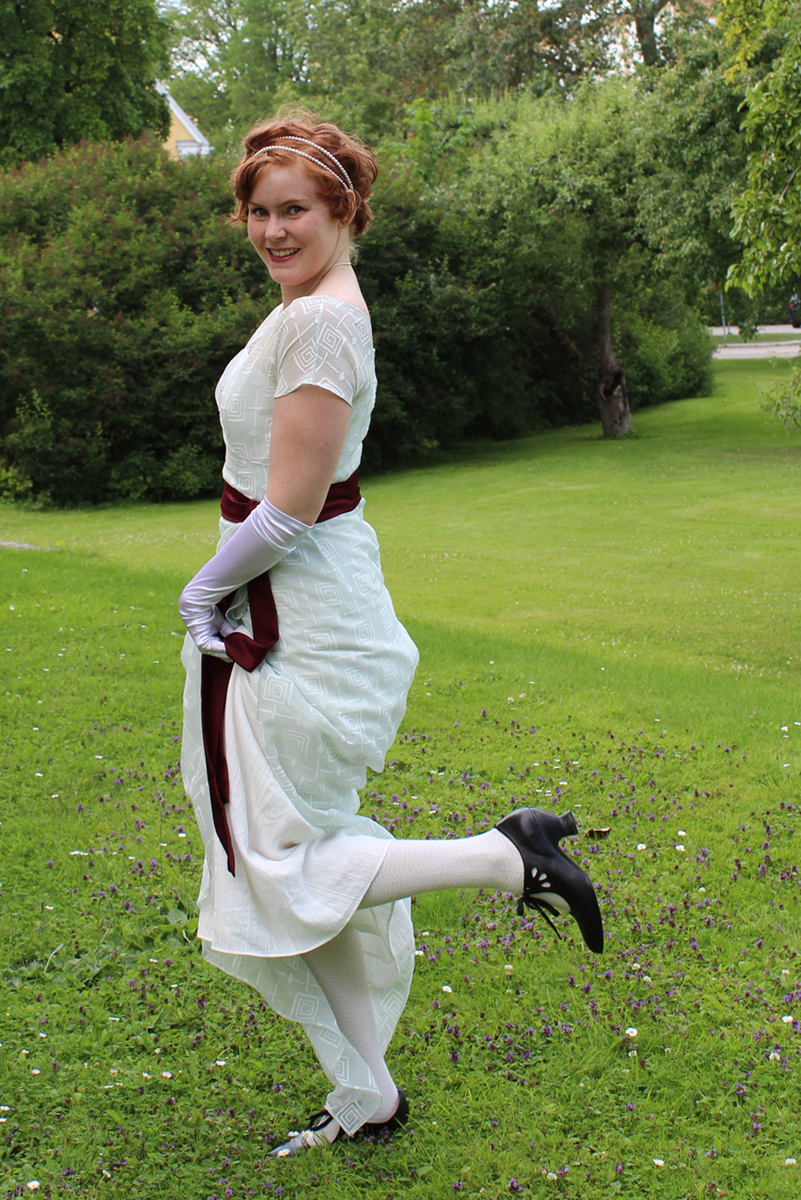
 And the train up for dancing
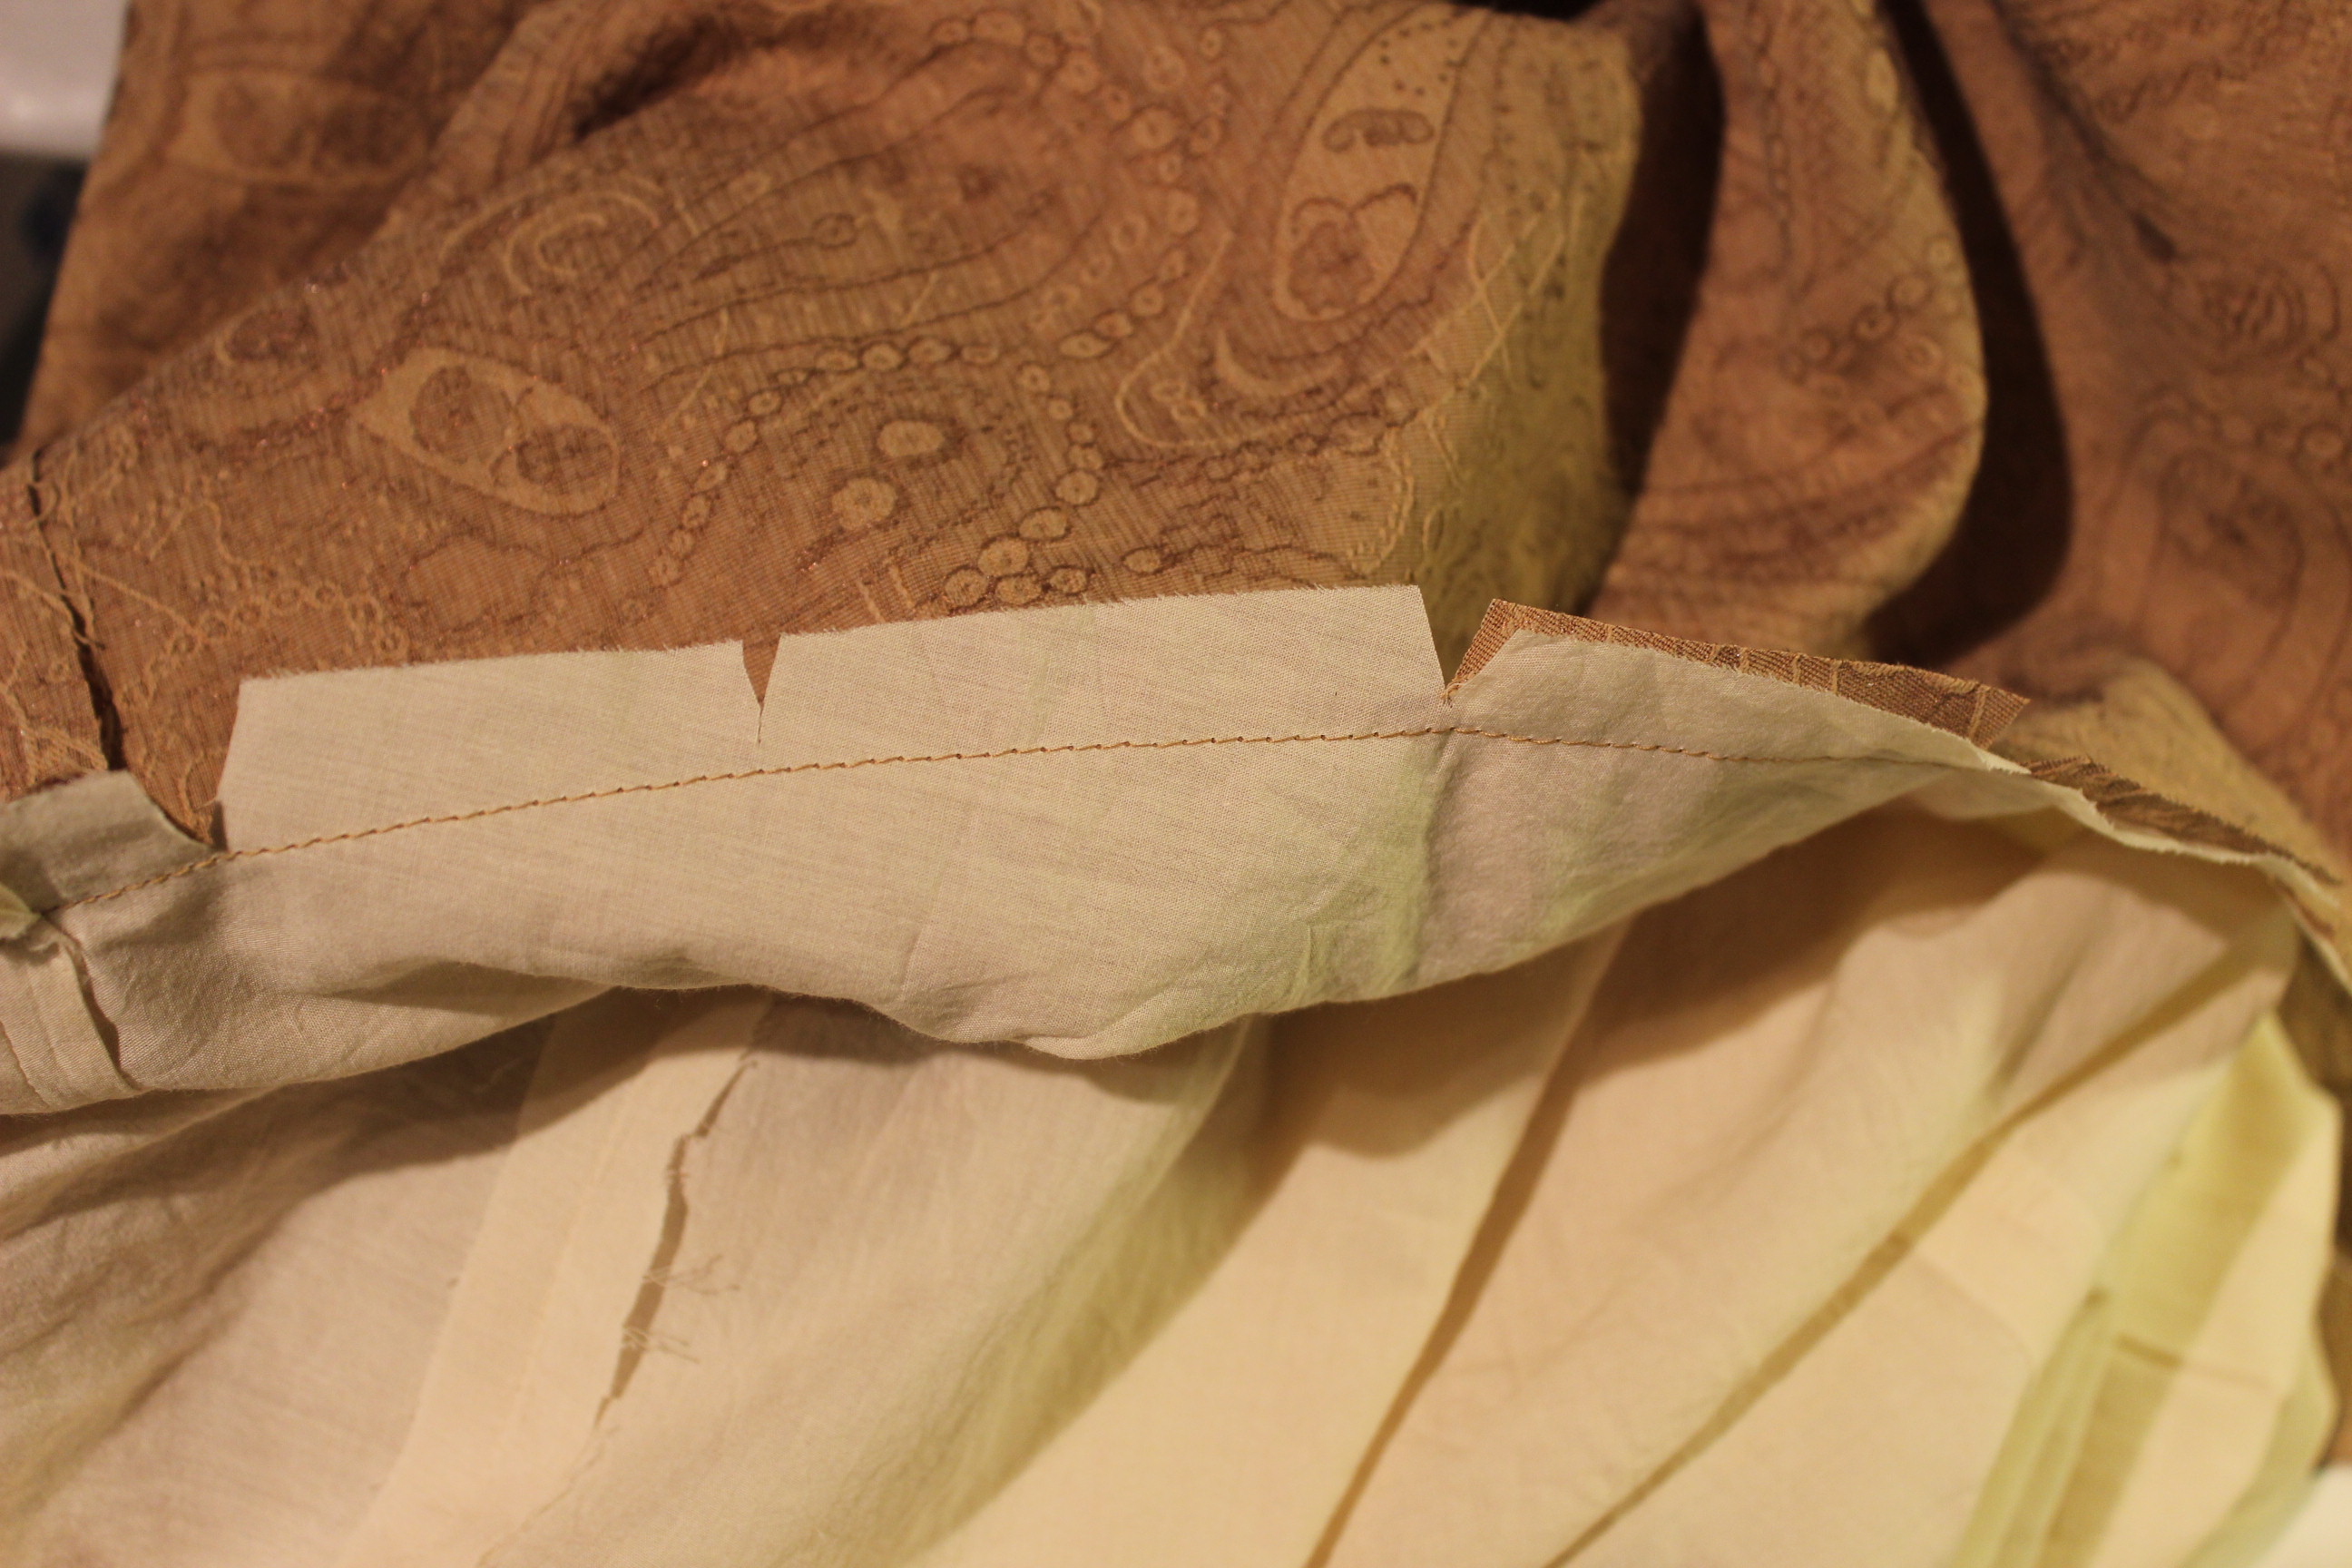
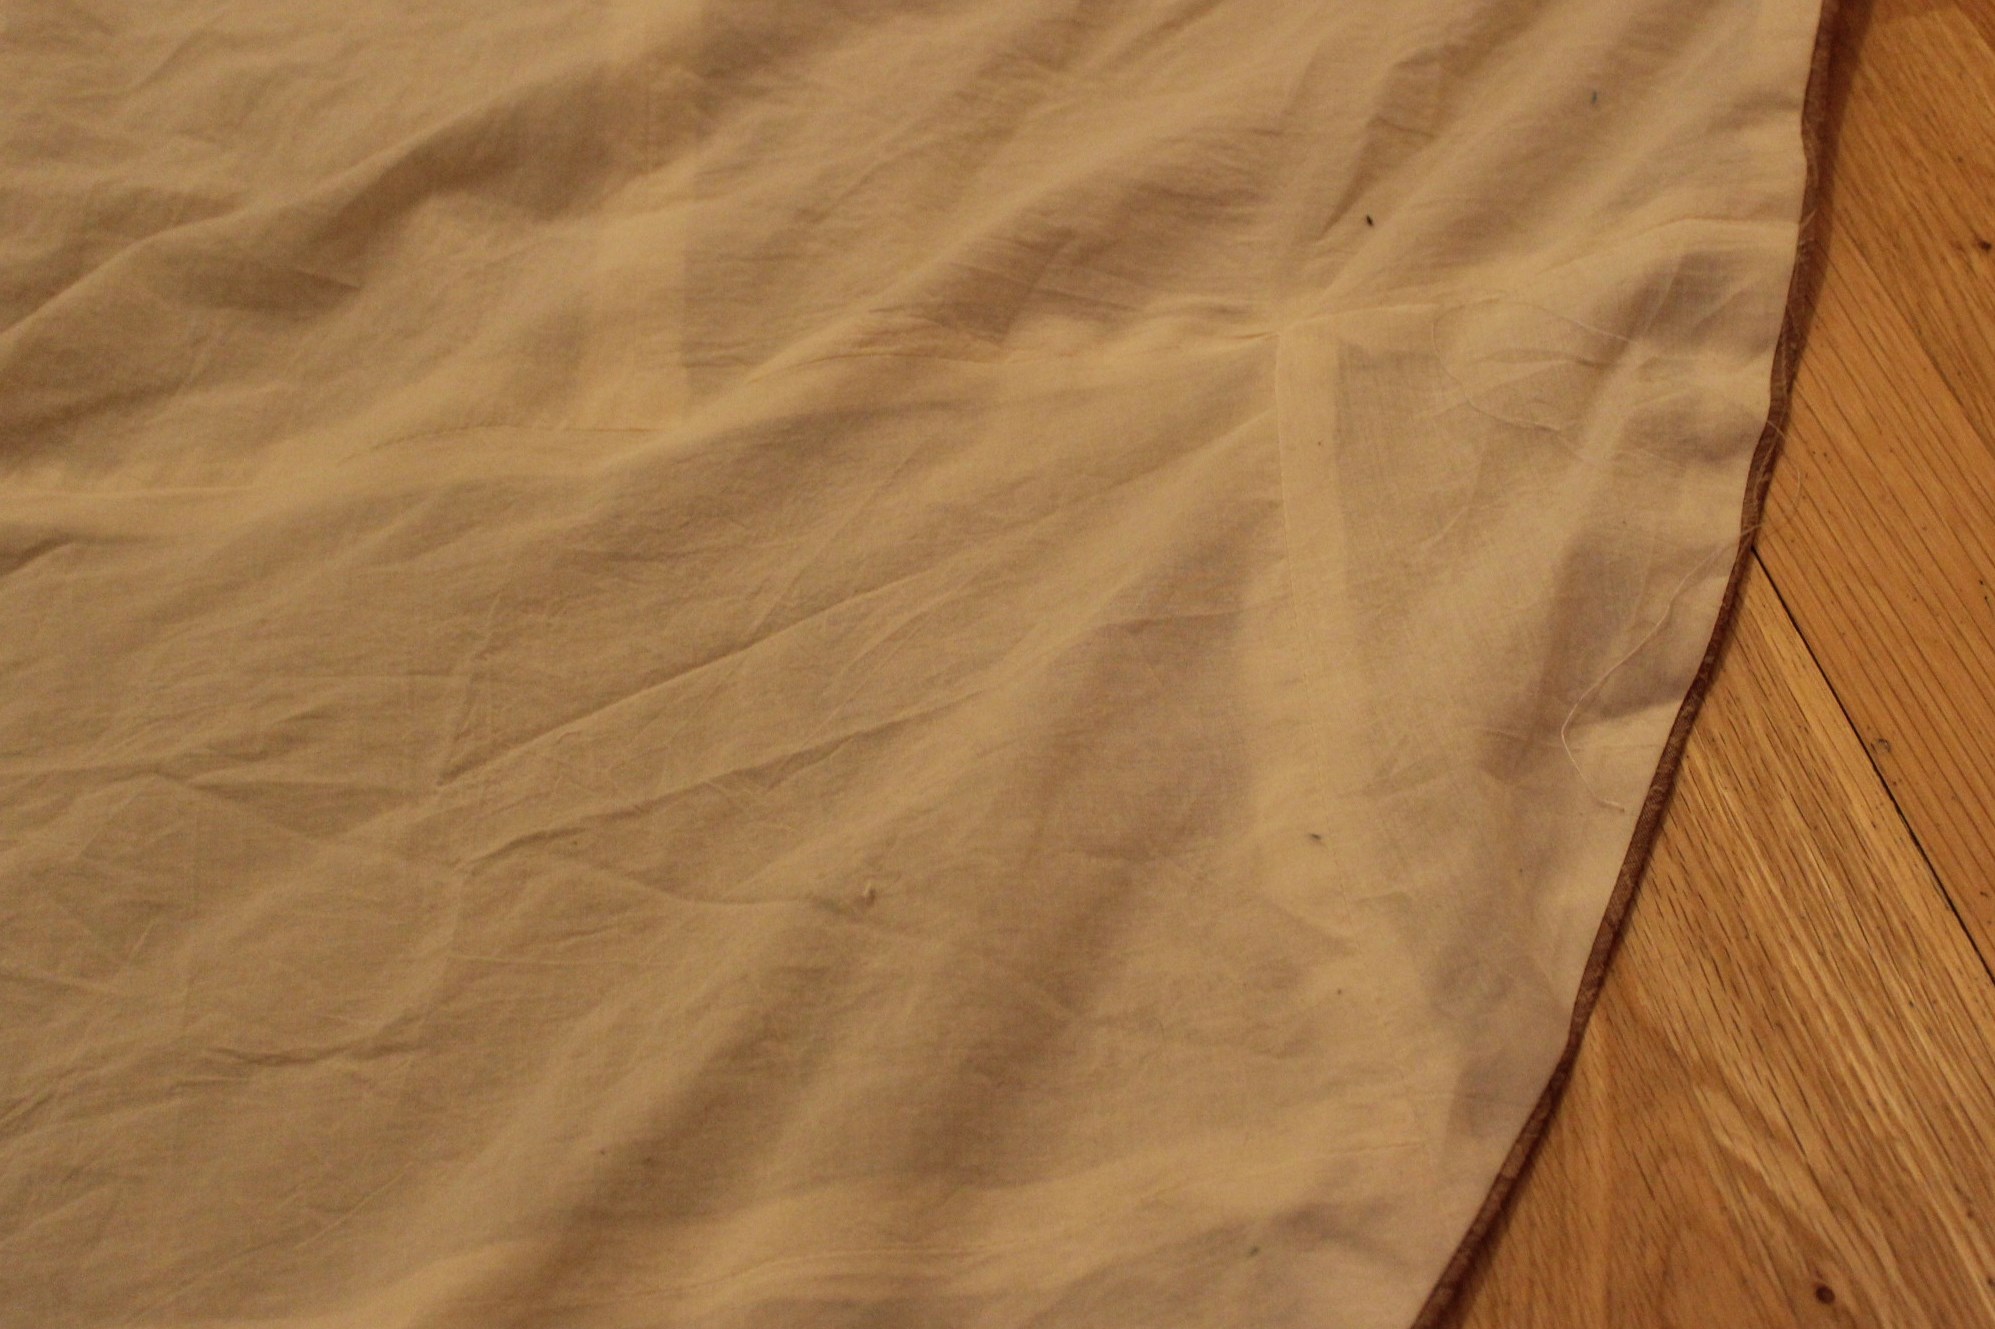
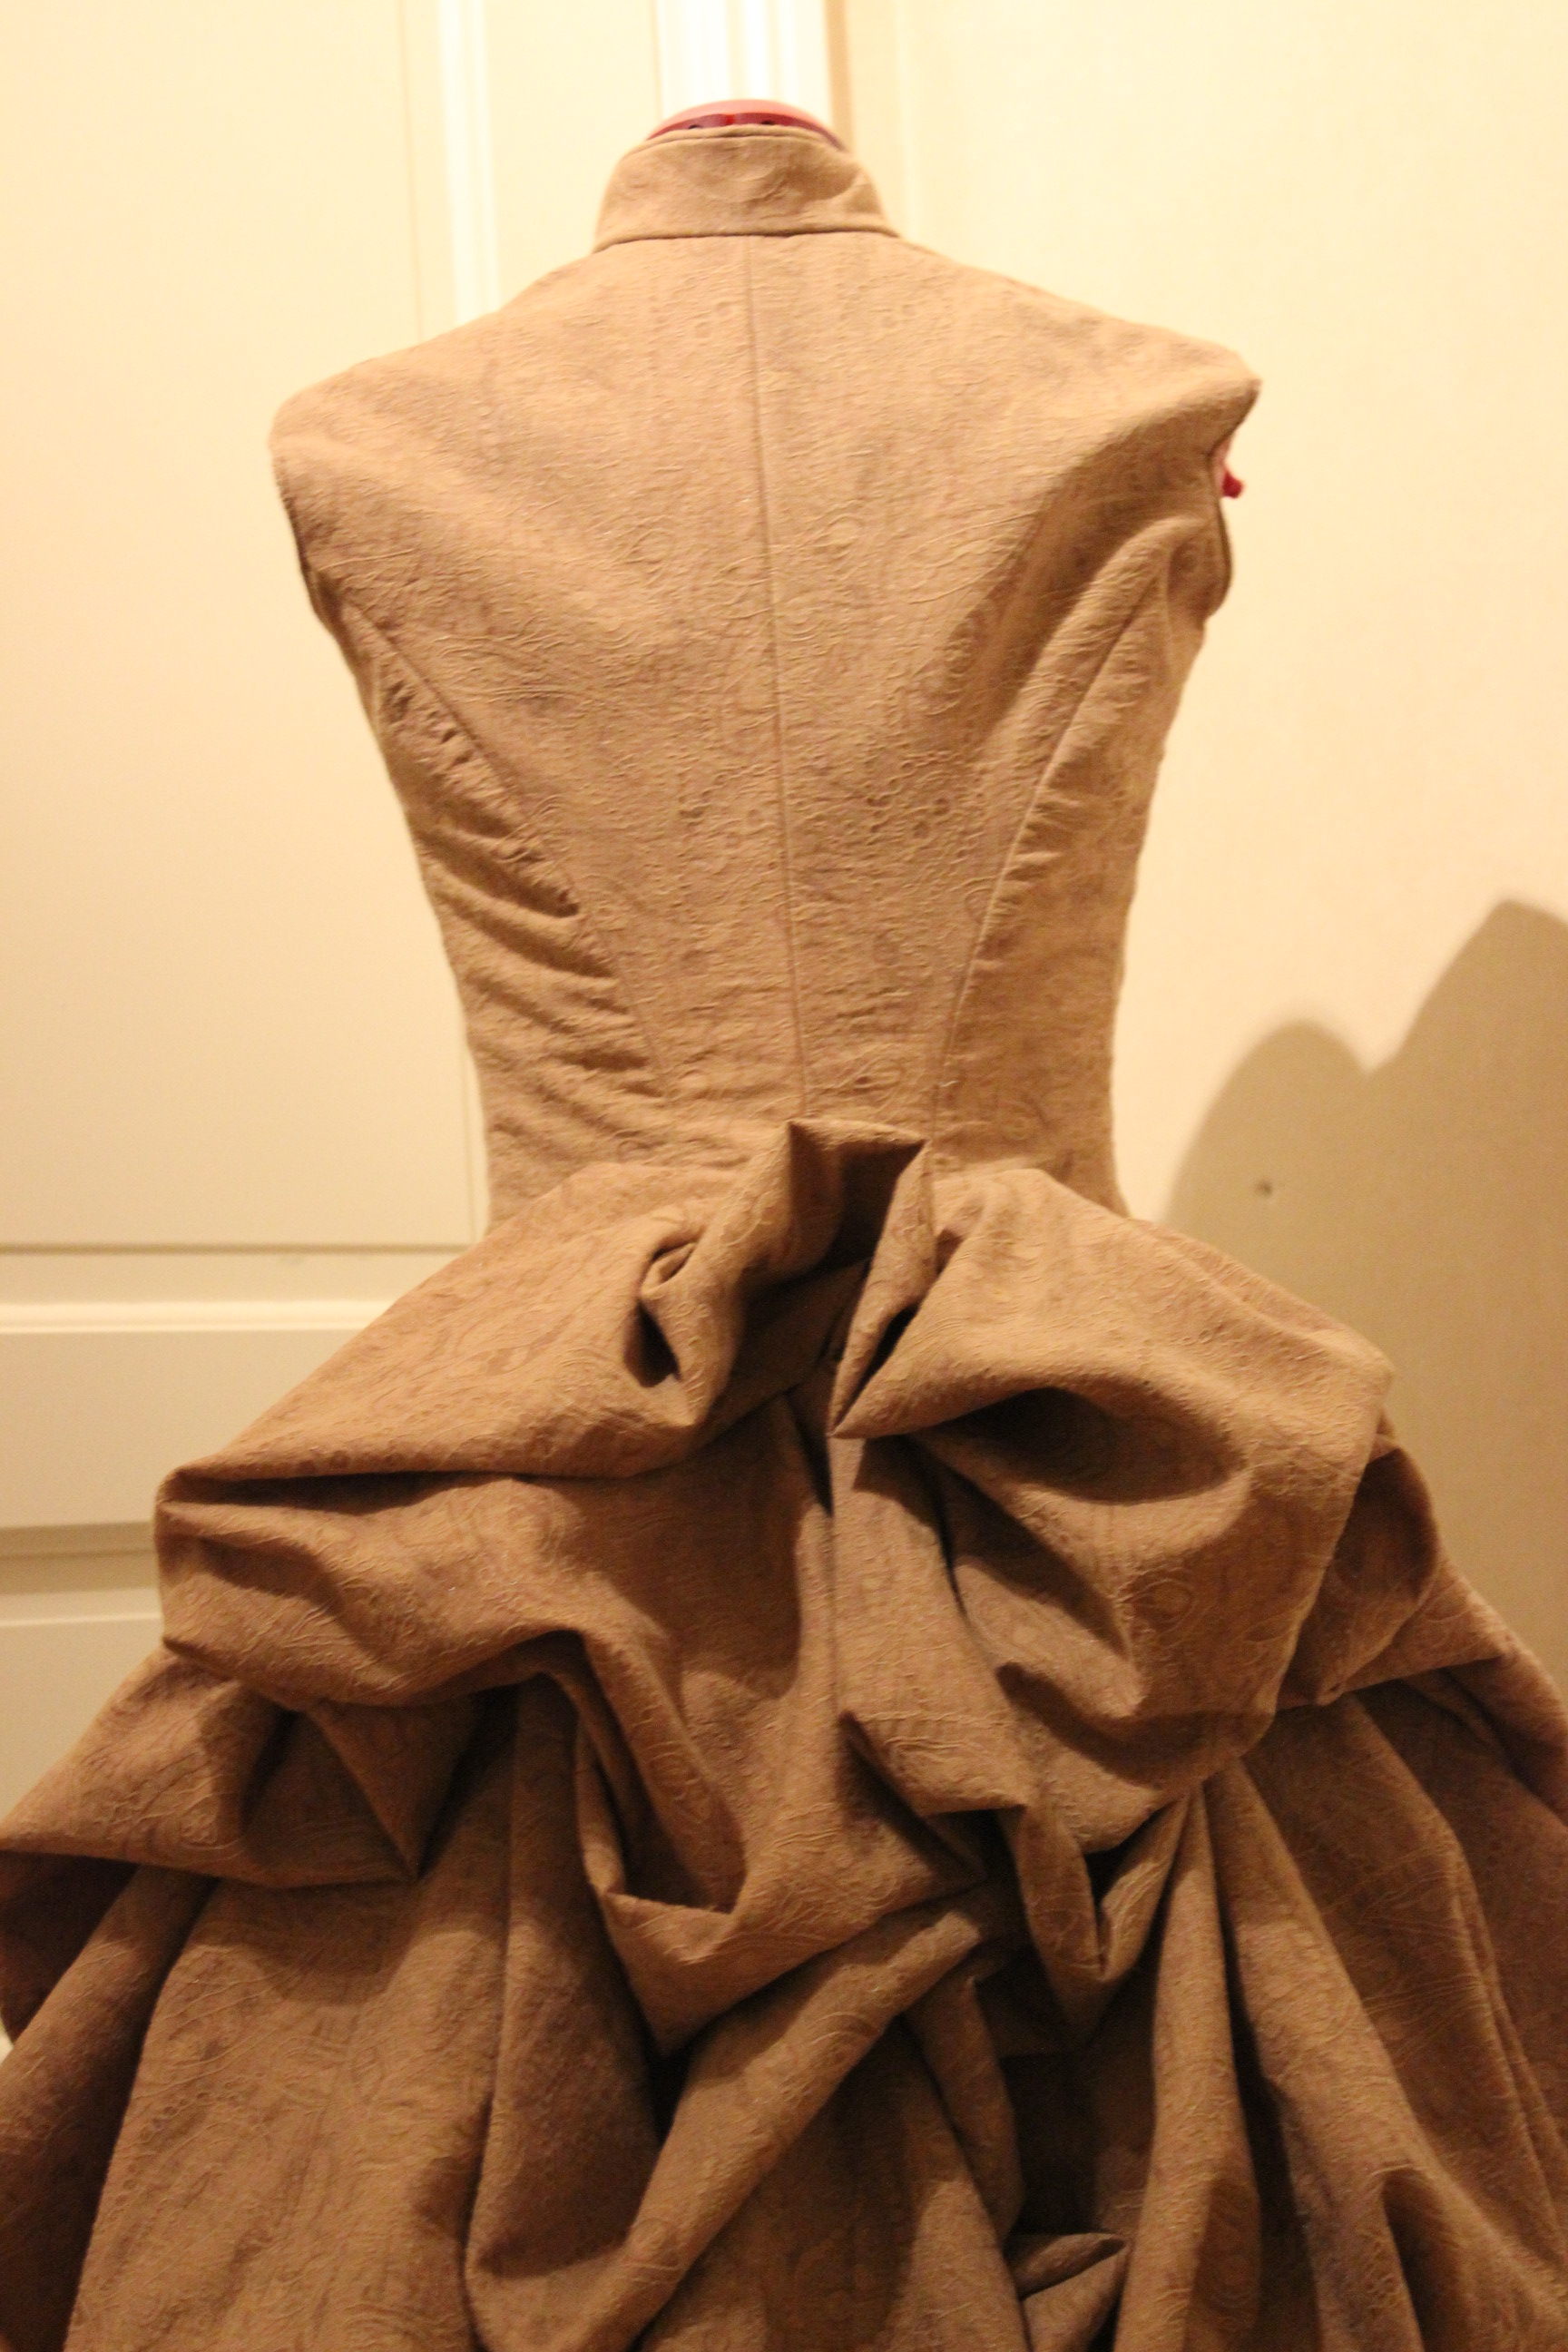
Once I was happy with the shape, I took it all down and copied the left sides drape to the right side to get them exactly the same. Then I hemmed the whole piece, added a small waistband and stitched the draped pleats on permanently.
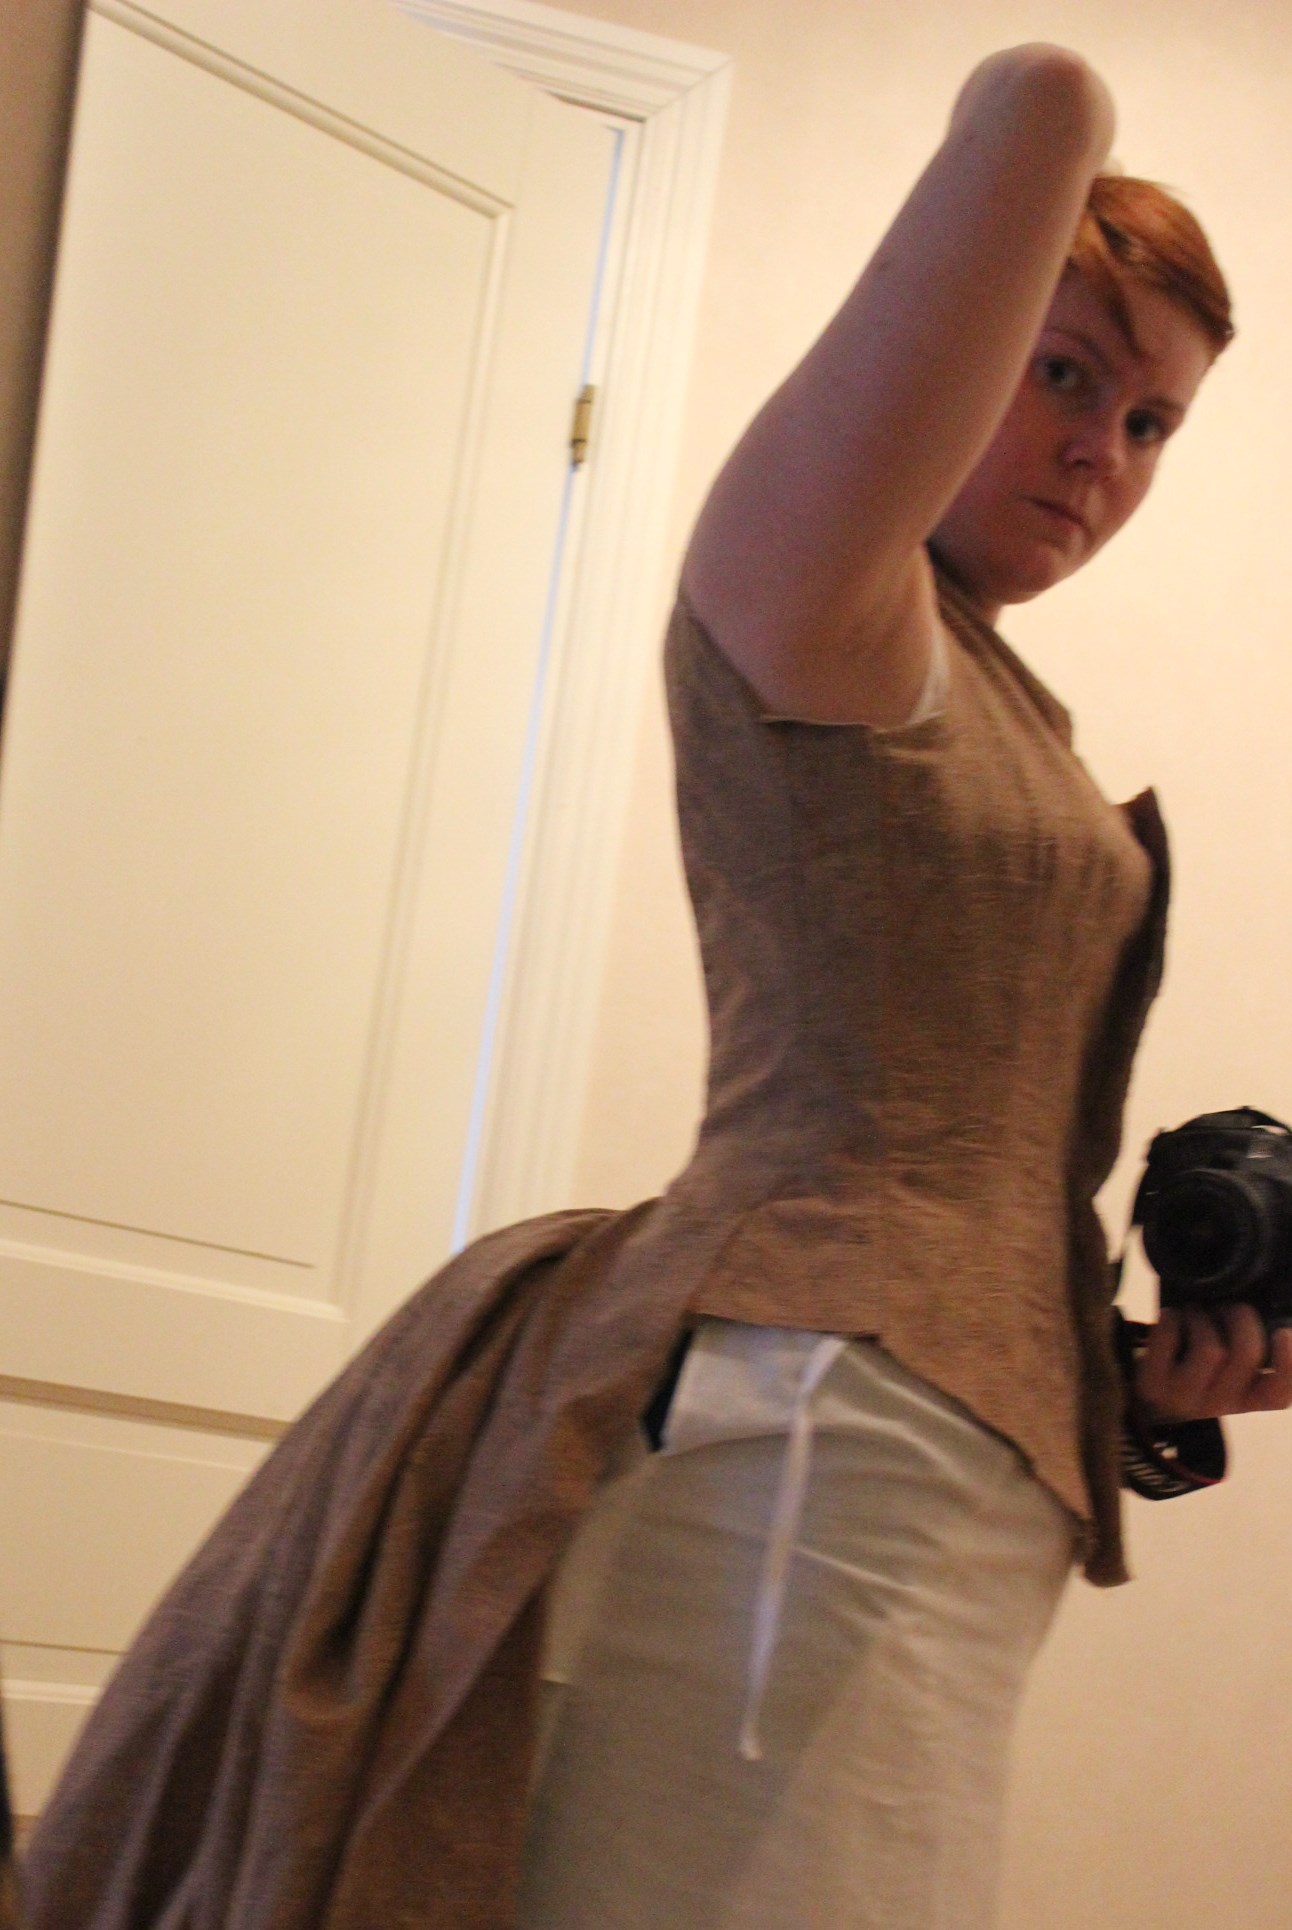
While testing the second bodice mock-up I also tried the skirts on, to pin the length and pin the hook and bar placements.


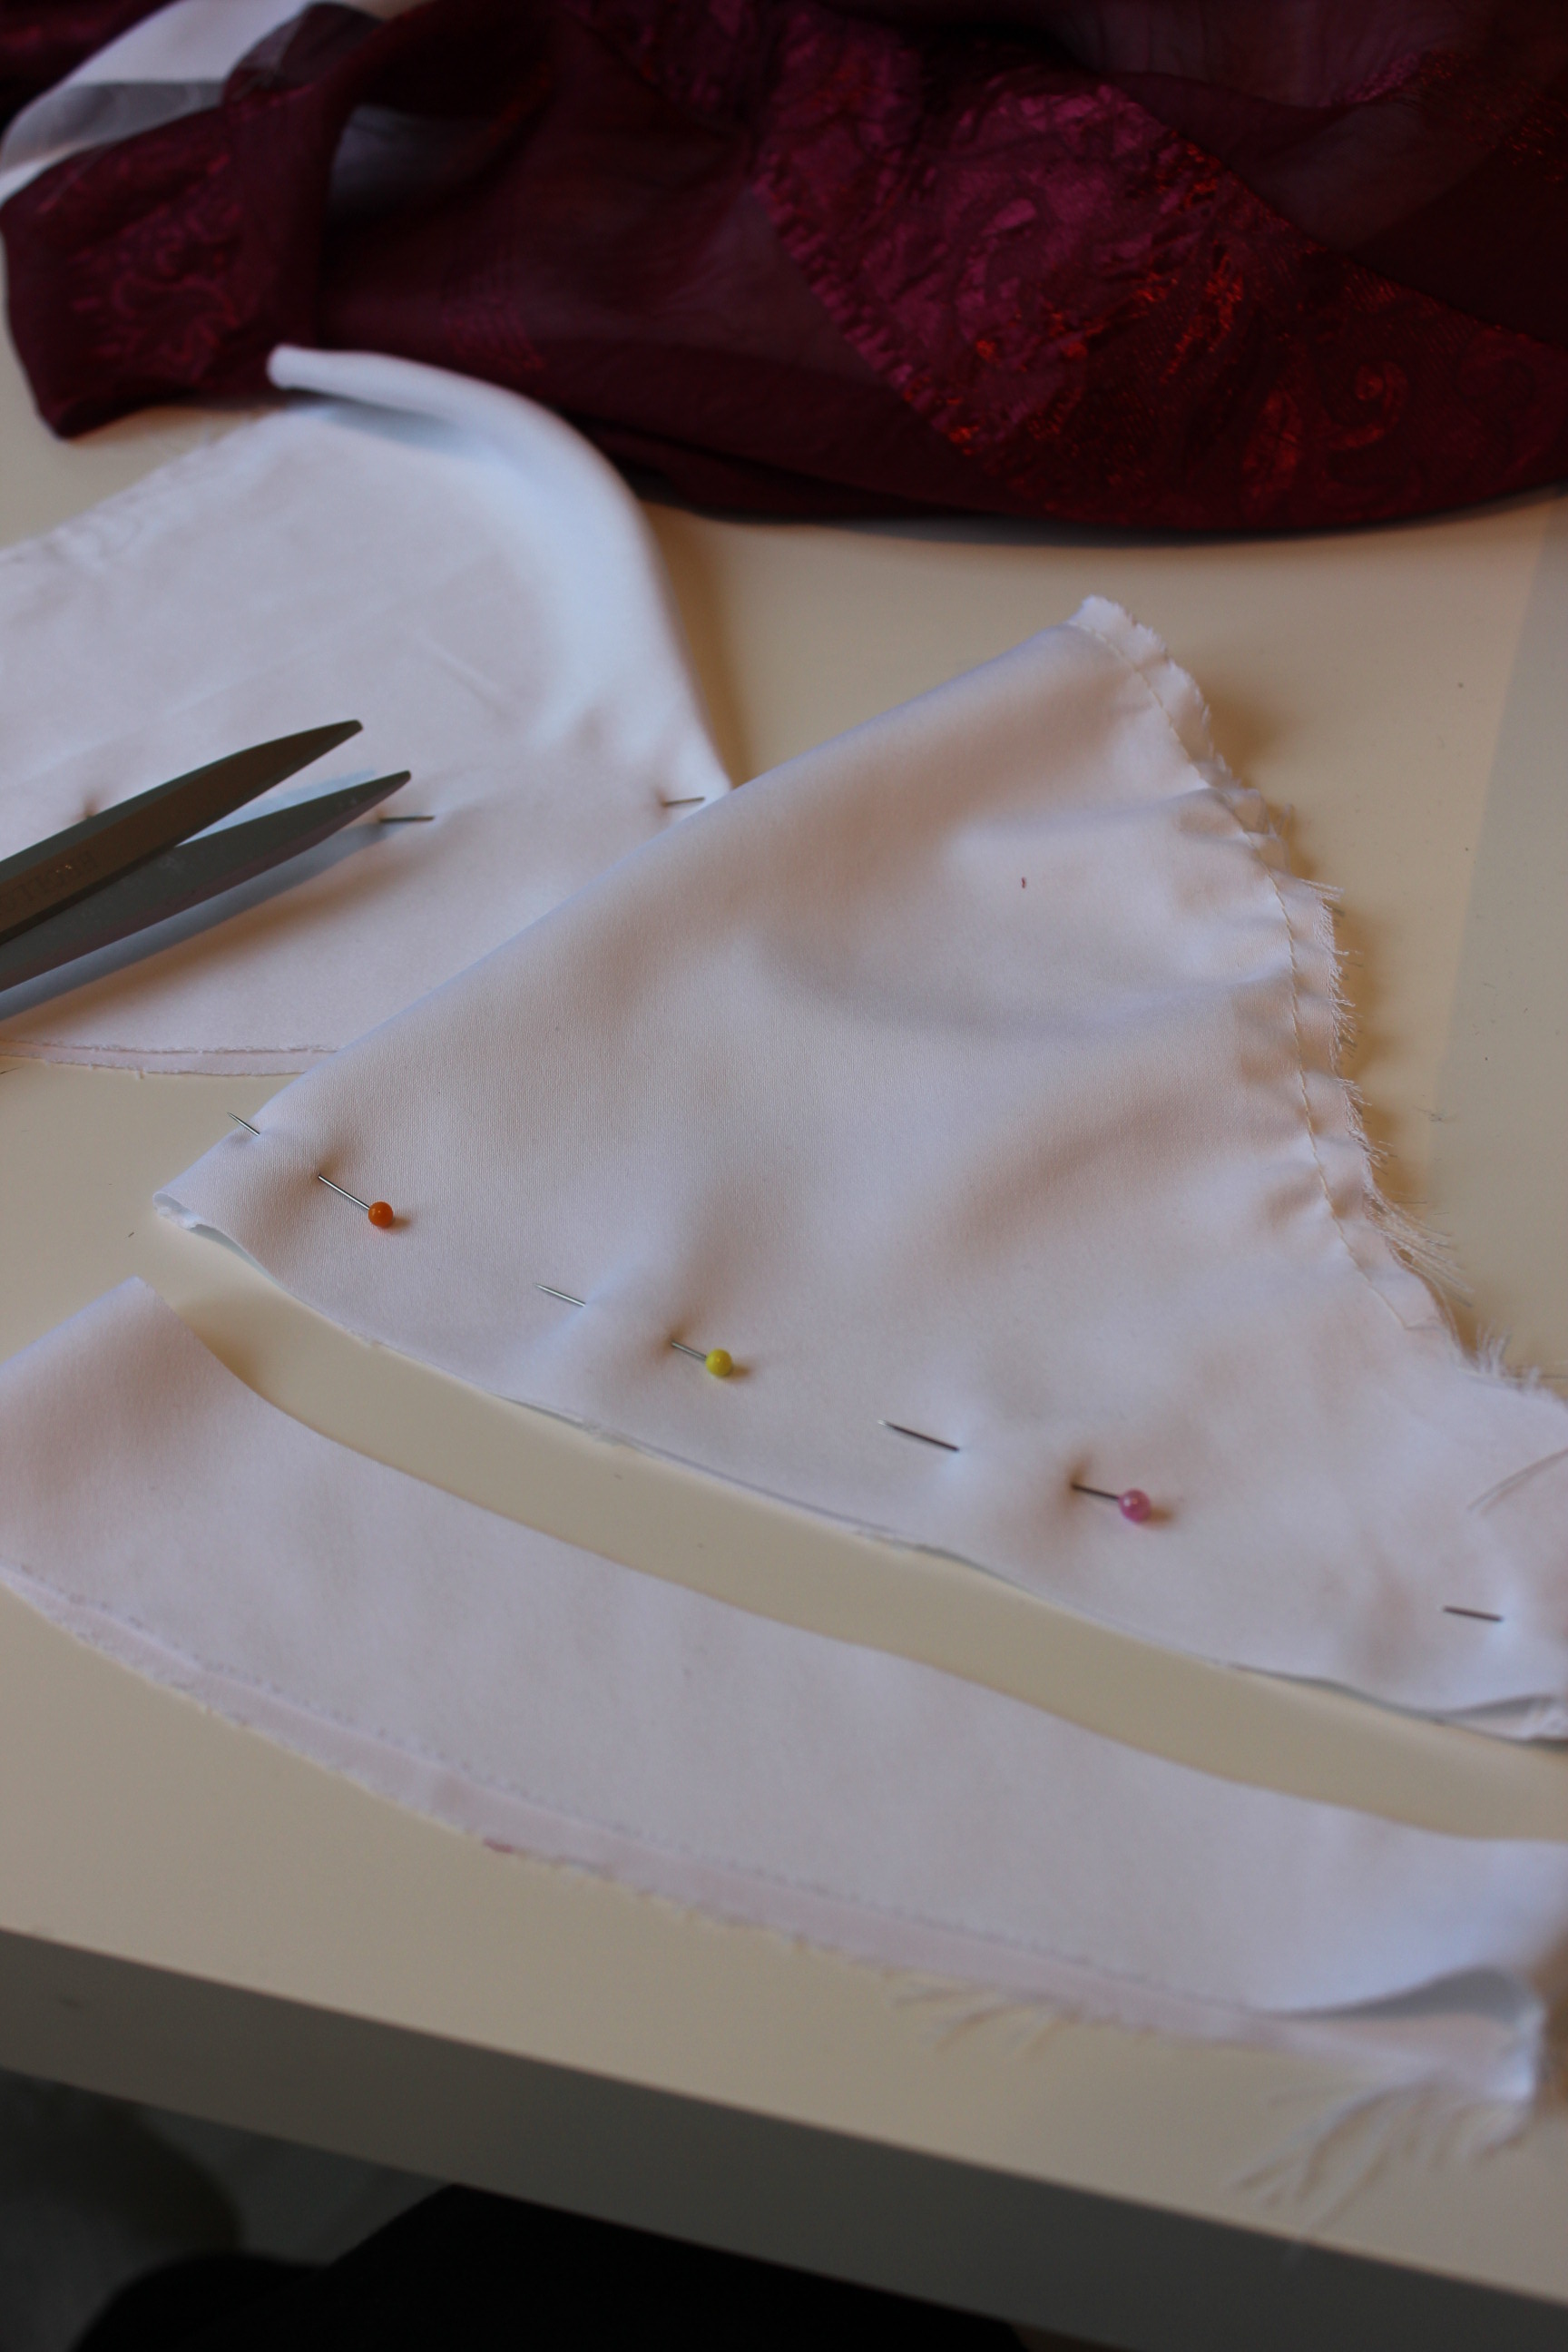
The second most scary part on making this dress was to create the sick-sack border at the hem.
After some testing and a lot of thinking I decided to make it by cutting the skirt in sick-sack, using a cardboard template, edging it with contrasting piping and stitch a row of pleats to the bottom after. Here’s my calculation o each “sick.sack” and pleat width – something that of course didn’t keep.
So after some more math (like, how short should the skirt hem be if the sicks-sack was 4 cm and the pleats was to hang down 12 cm…), I finally cut the hem.
Then I made quite a lot of silver piping using store bought bias binding and left over cord.
My first attempt adding the piping to the sick-sack hem in the “regular” way was a disaster. Probably because I couldn’t get the needle as close to the cord that was needed.
So while cursing quite a bit, I ripped it all out and tried again.
This time I decided to stitch it from the outside. So I carefully pinned, snipped and pressed all the corners to get nice and crisp edges, before adding the bias tape.
 Using clasp instead of pins, I slowly stitched the piping to the skirt, turning every corner and inner curve by hand, hating every minute of it.
 The result was far from perfect, but at this time (about 2 weeks before the ball) I just couldn’t stomach to re-do it all again. Hoping nobody would notice the wonky sick-sack once the pleats were on, I move on to pleat 9 m of fabric into 3 m of hem.
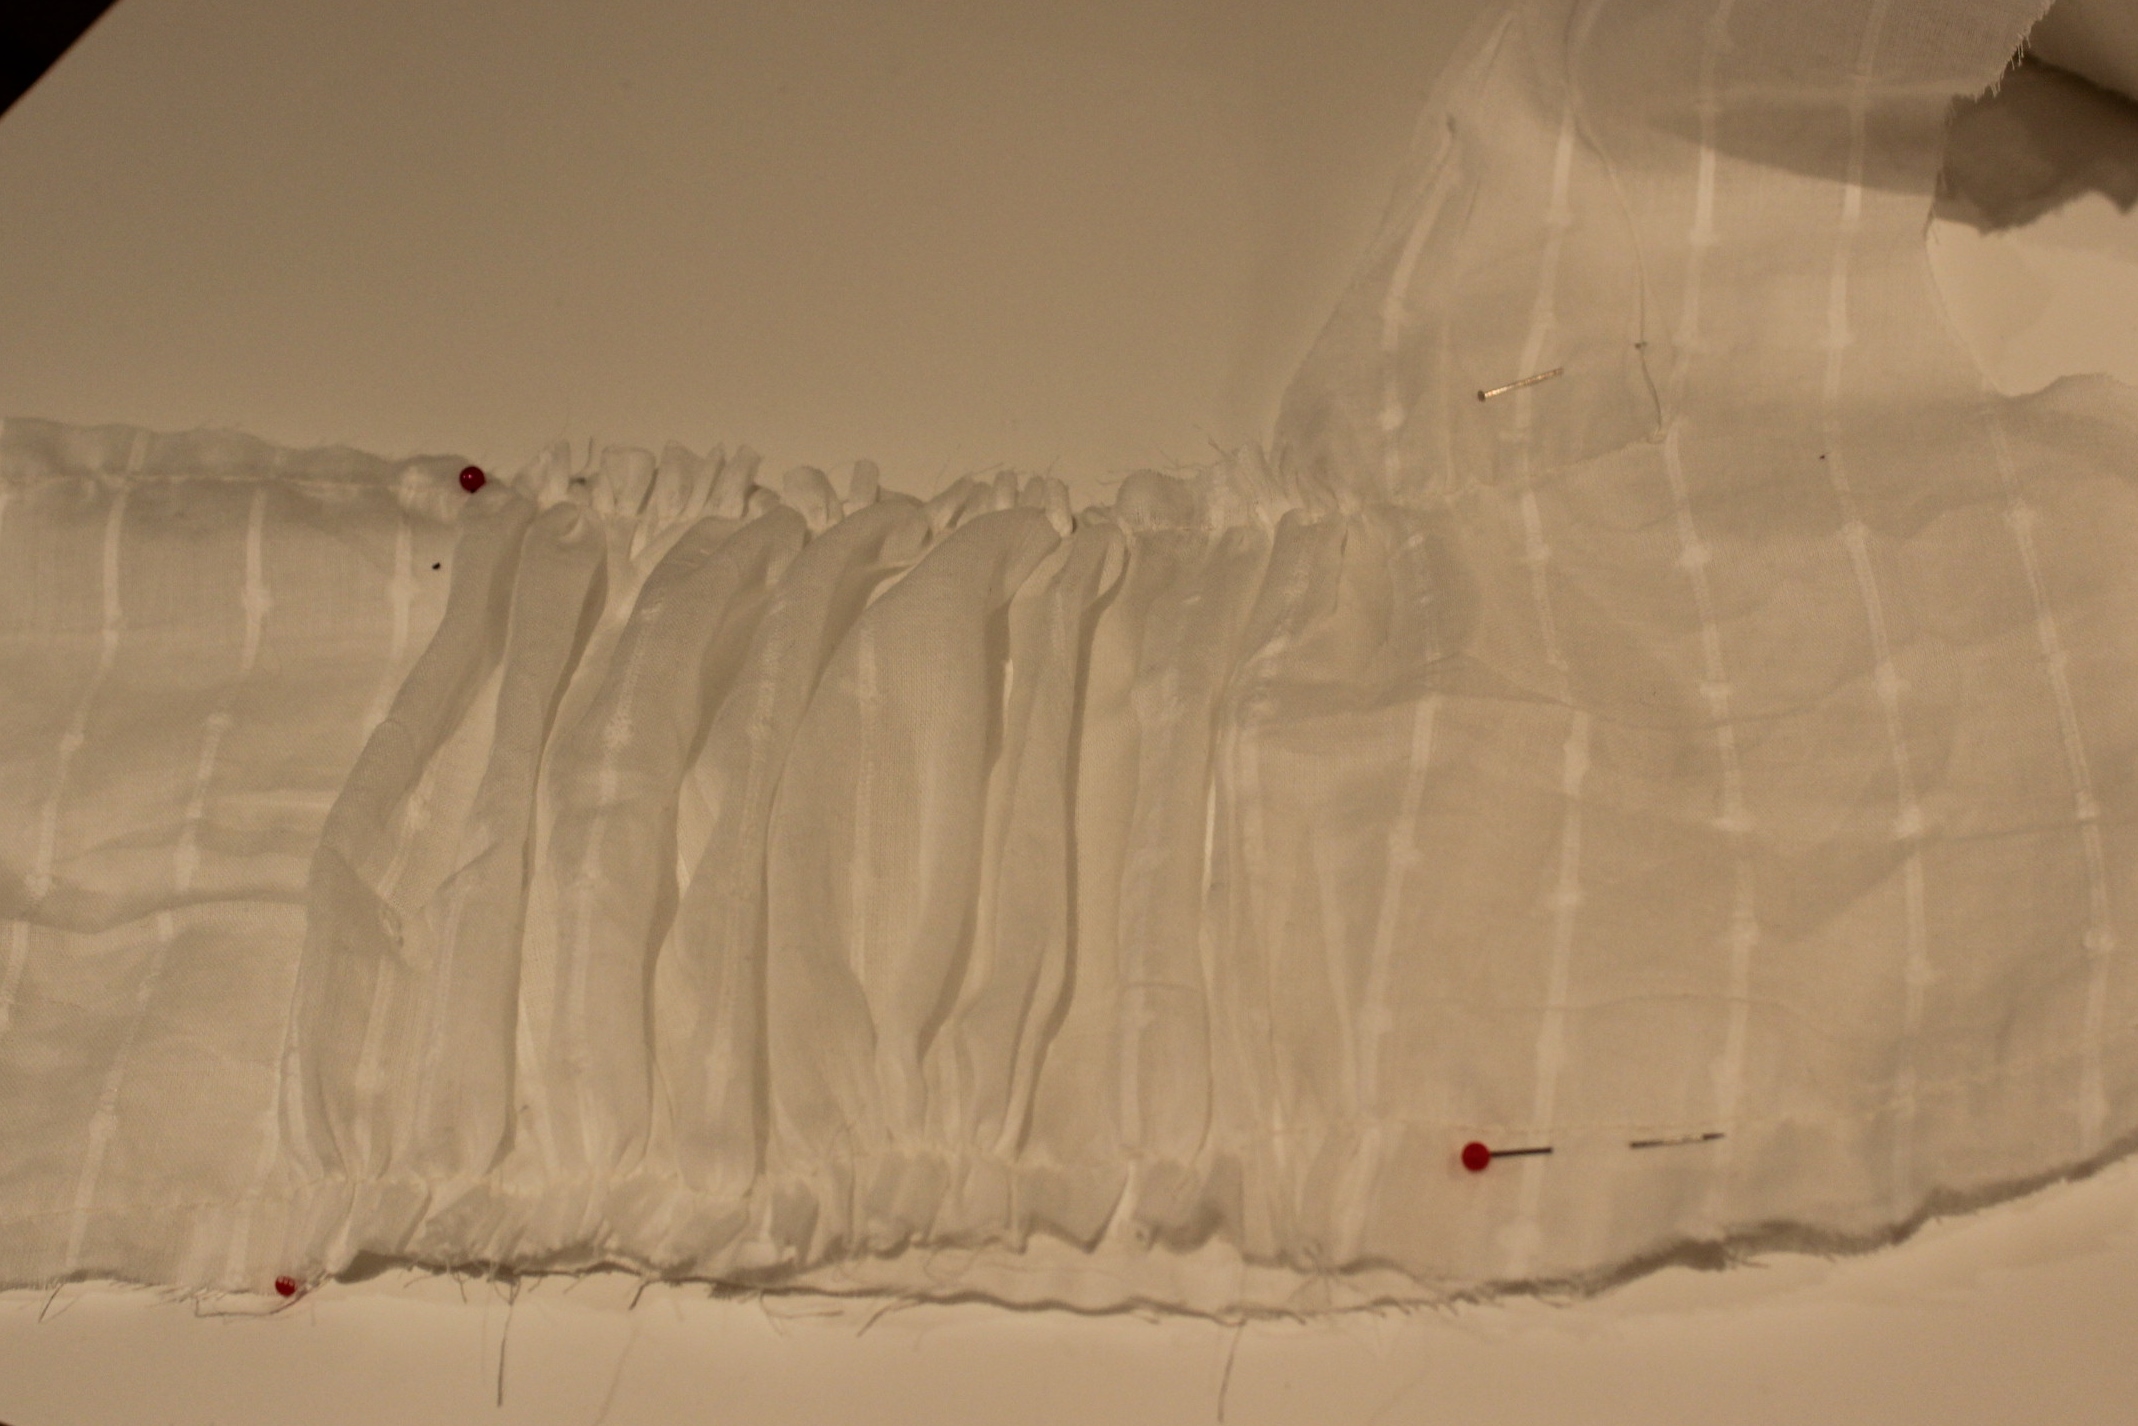
Earlier this year, when deciding to make this gown I started looking for an easier way to do the pleats. And while I found the “Magic pleater” it was way to pricey for me with the import taxes and everything, so I just had to bite the bullet and do it all by hand.
Marking, folding, pinning, ironing and taping every pleat took quite some time, and I was so ready to be done. Learning this trick with the masking tape from Isabella of Prior Attire
 I did however remember to hem the fabric before starting on the pleats – that got to count for something, right?
Once the pleating was done it was time to attach the strip to the skirt.
Then I added some lace to the sides of the skirt for decoration.
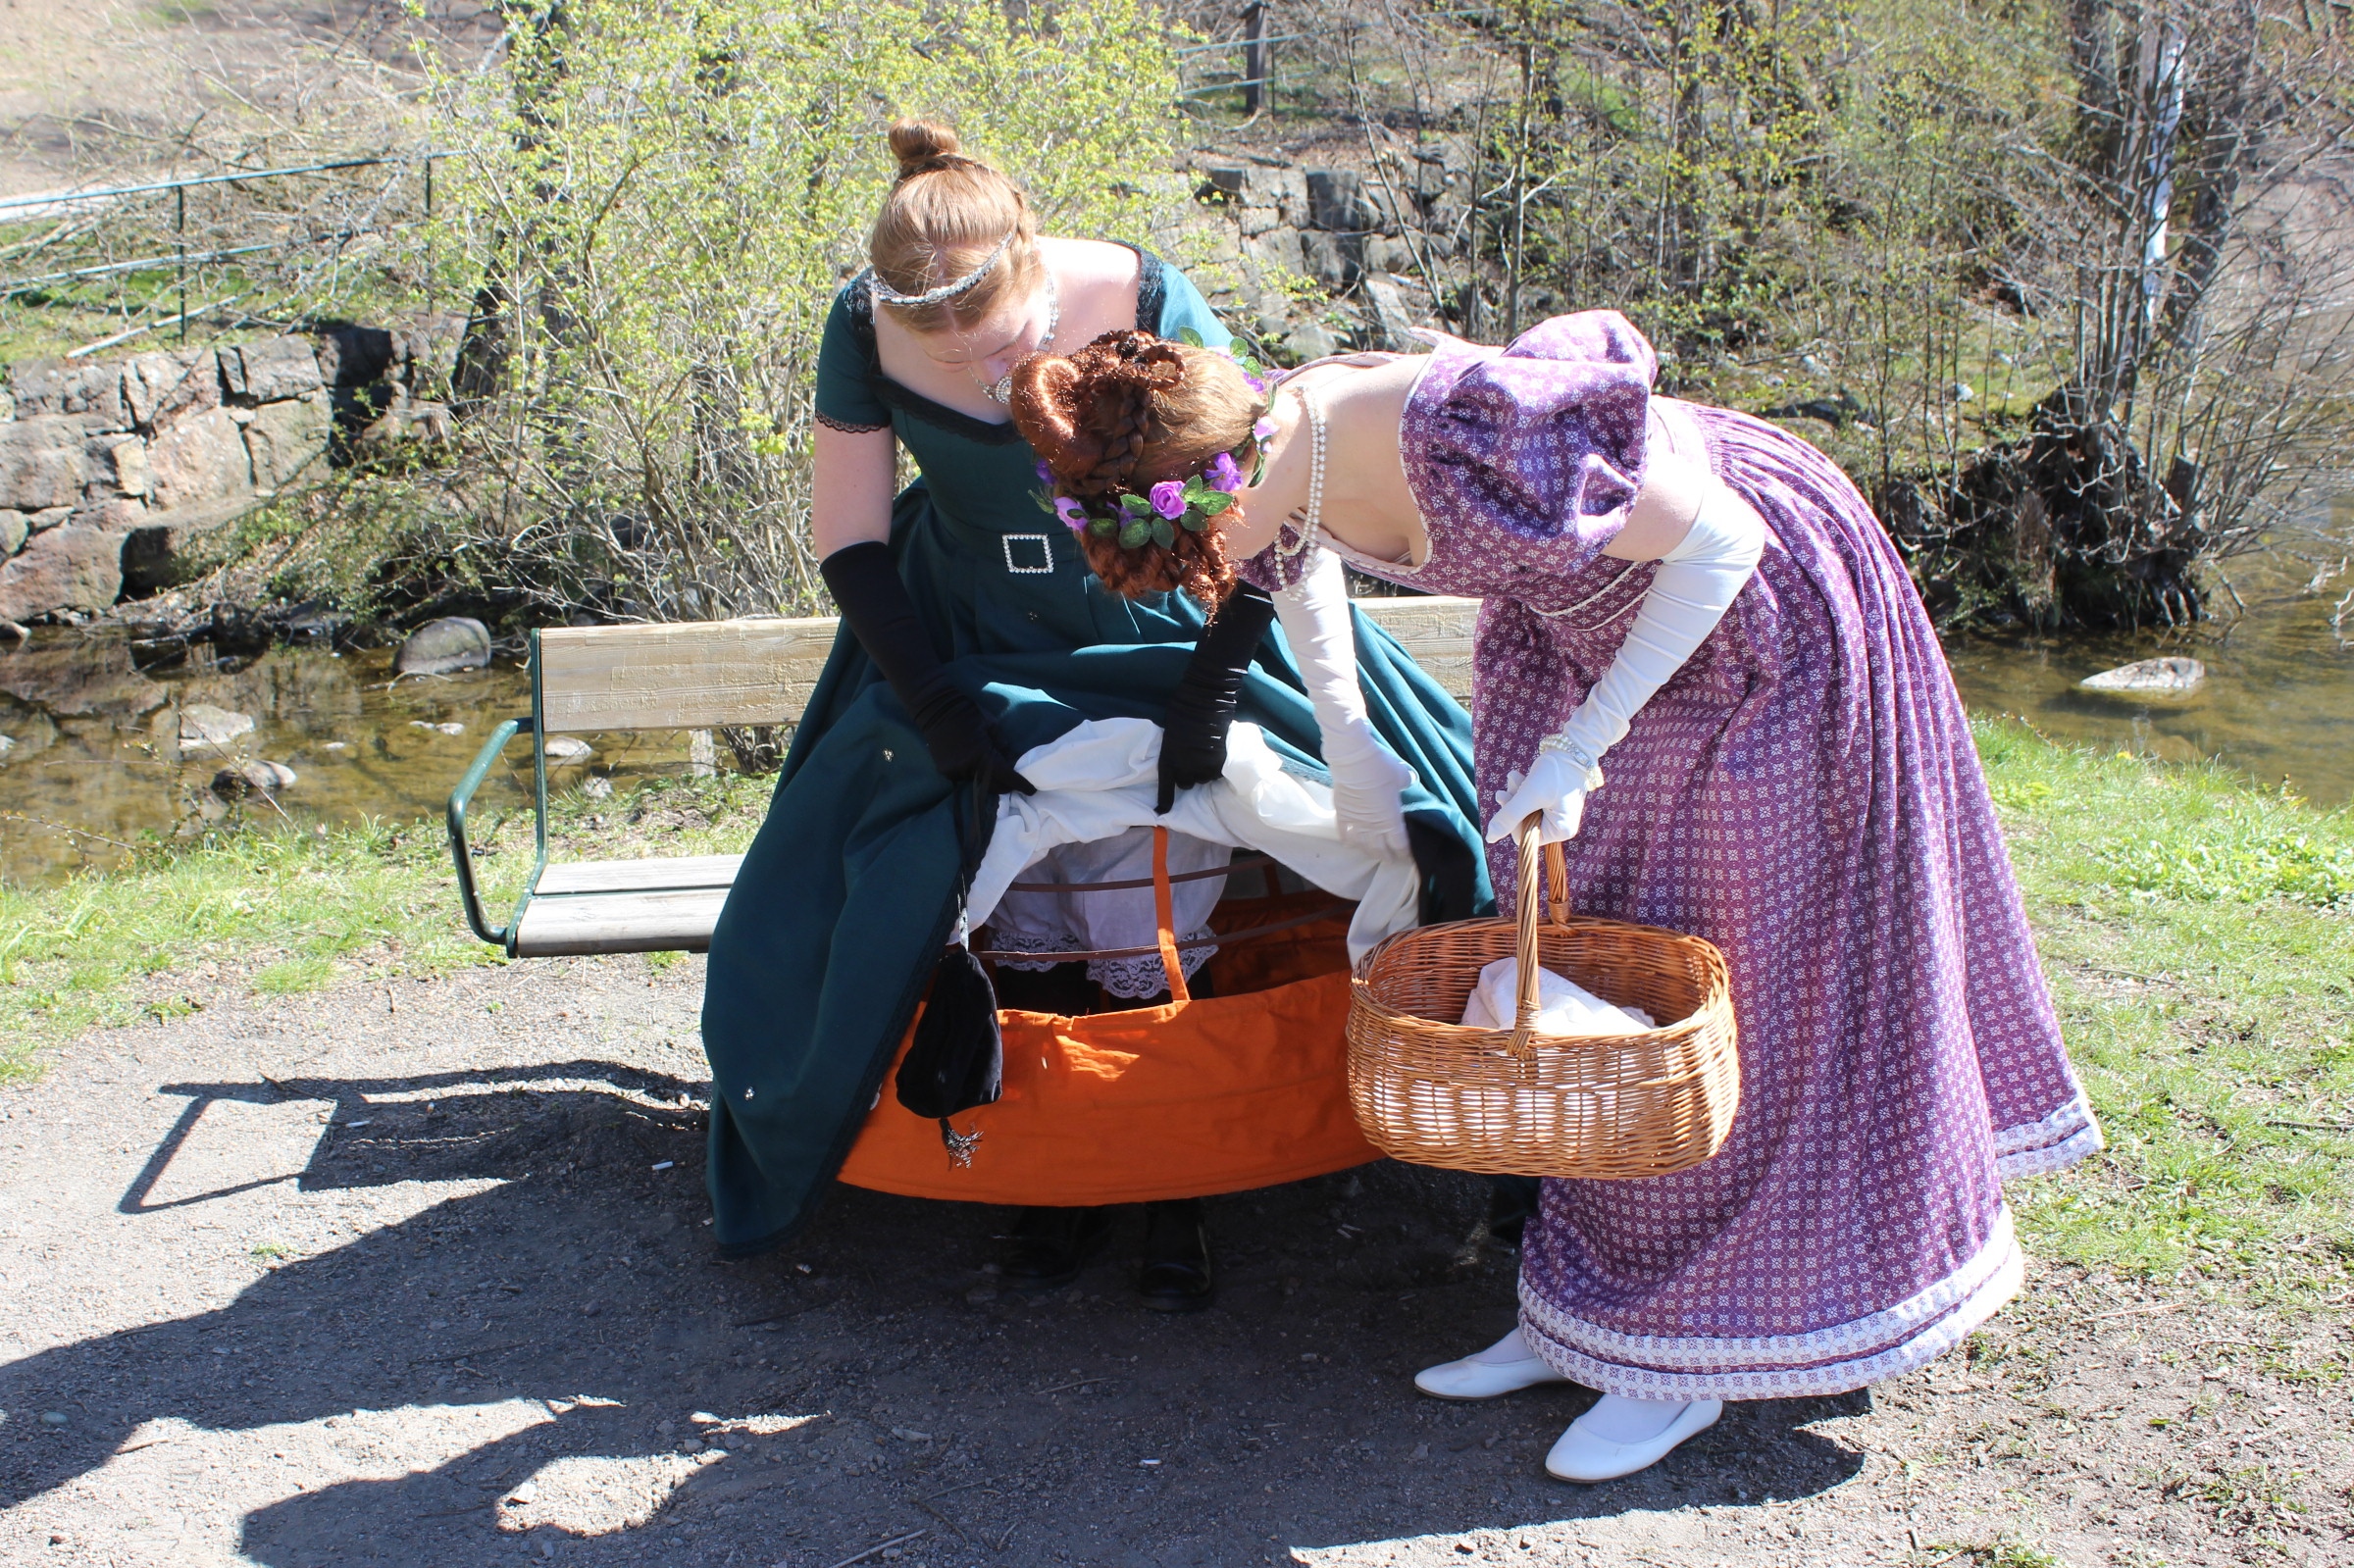
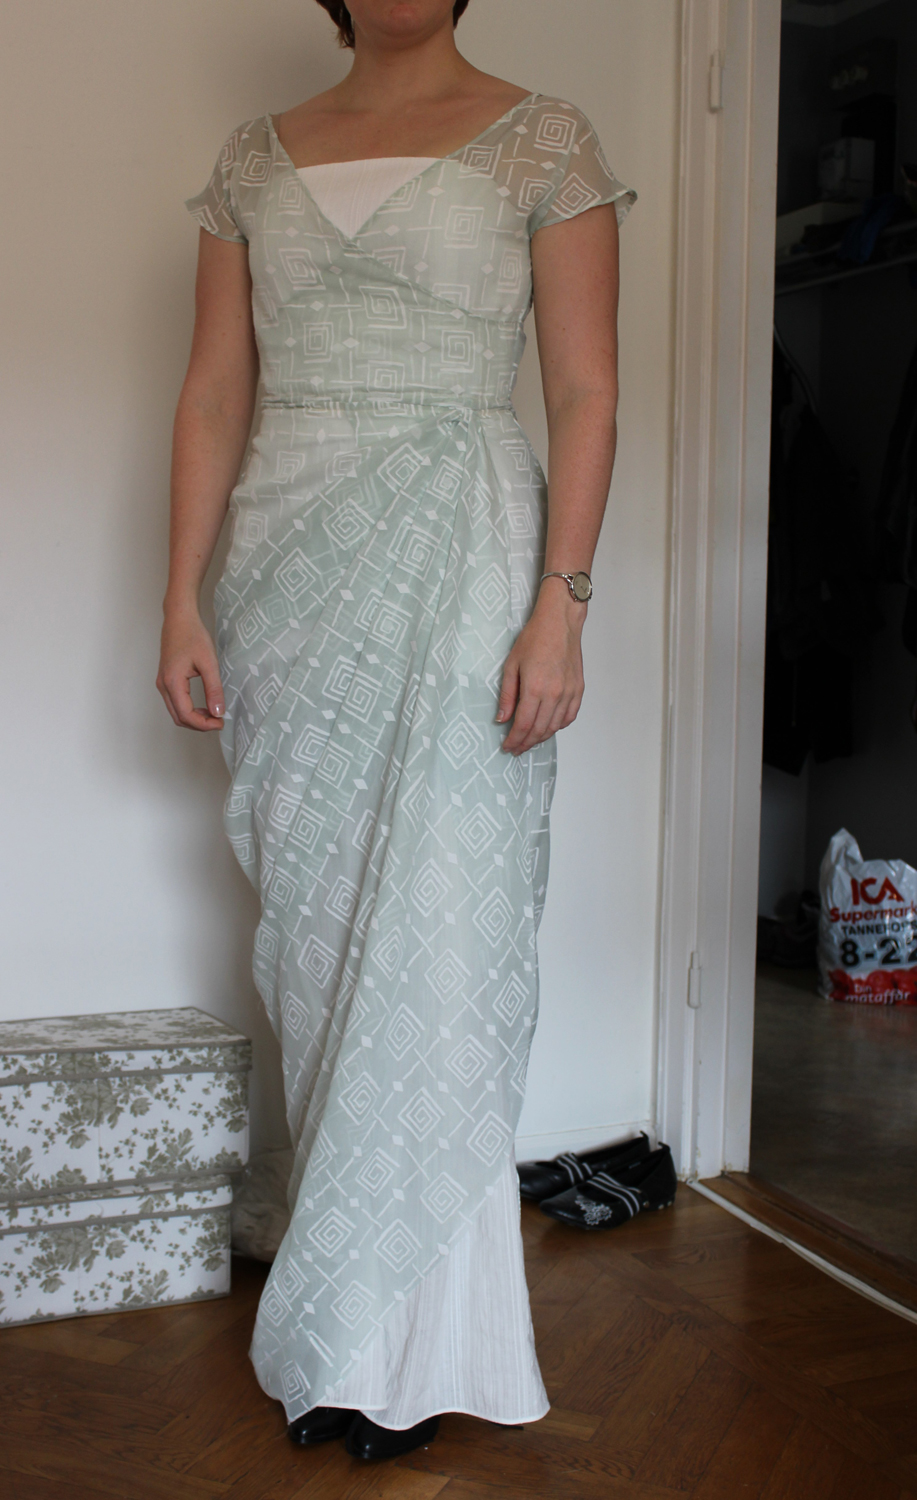
I did a final fitting on my sister only a few days before the event, and thankfully everything was in order.


Even the draping looked nice
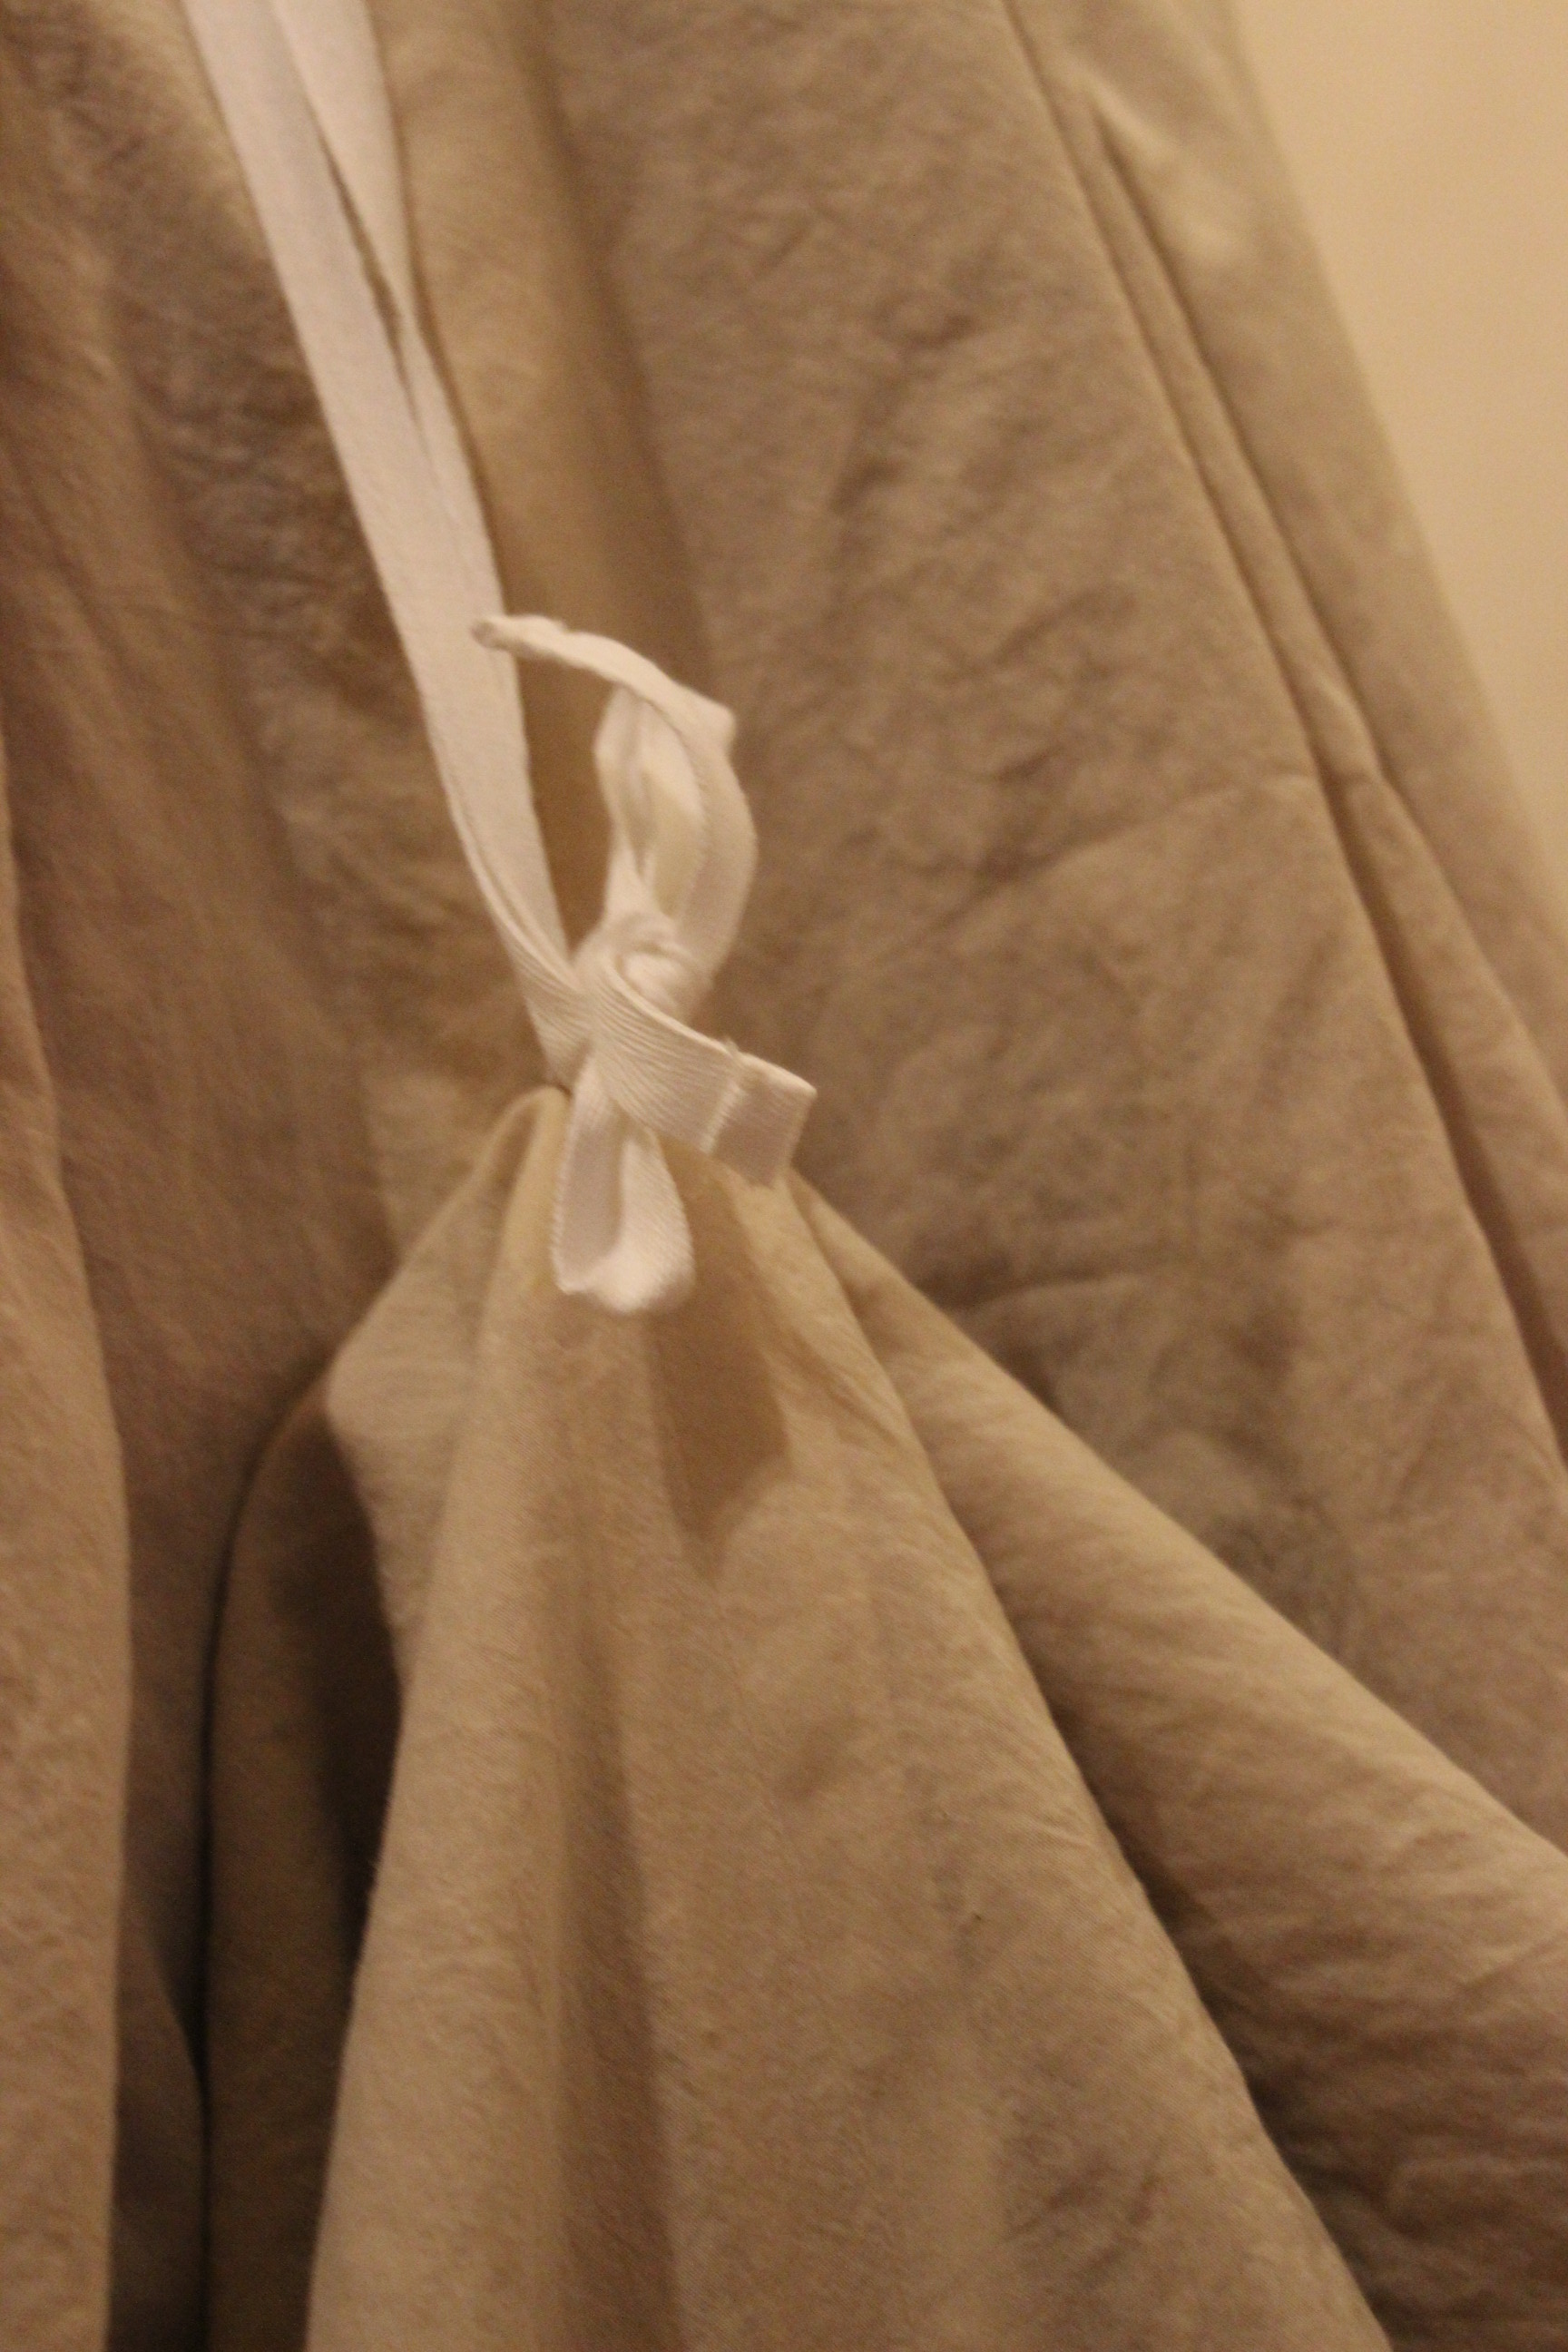
Lastly I finished upp all the small but time consuming part like, adding hooks and eyes to fasten the skirt to the bodice, adding ties for the train and iron it all before pacing it up for the event the next day… 
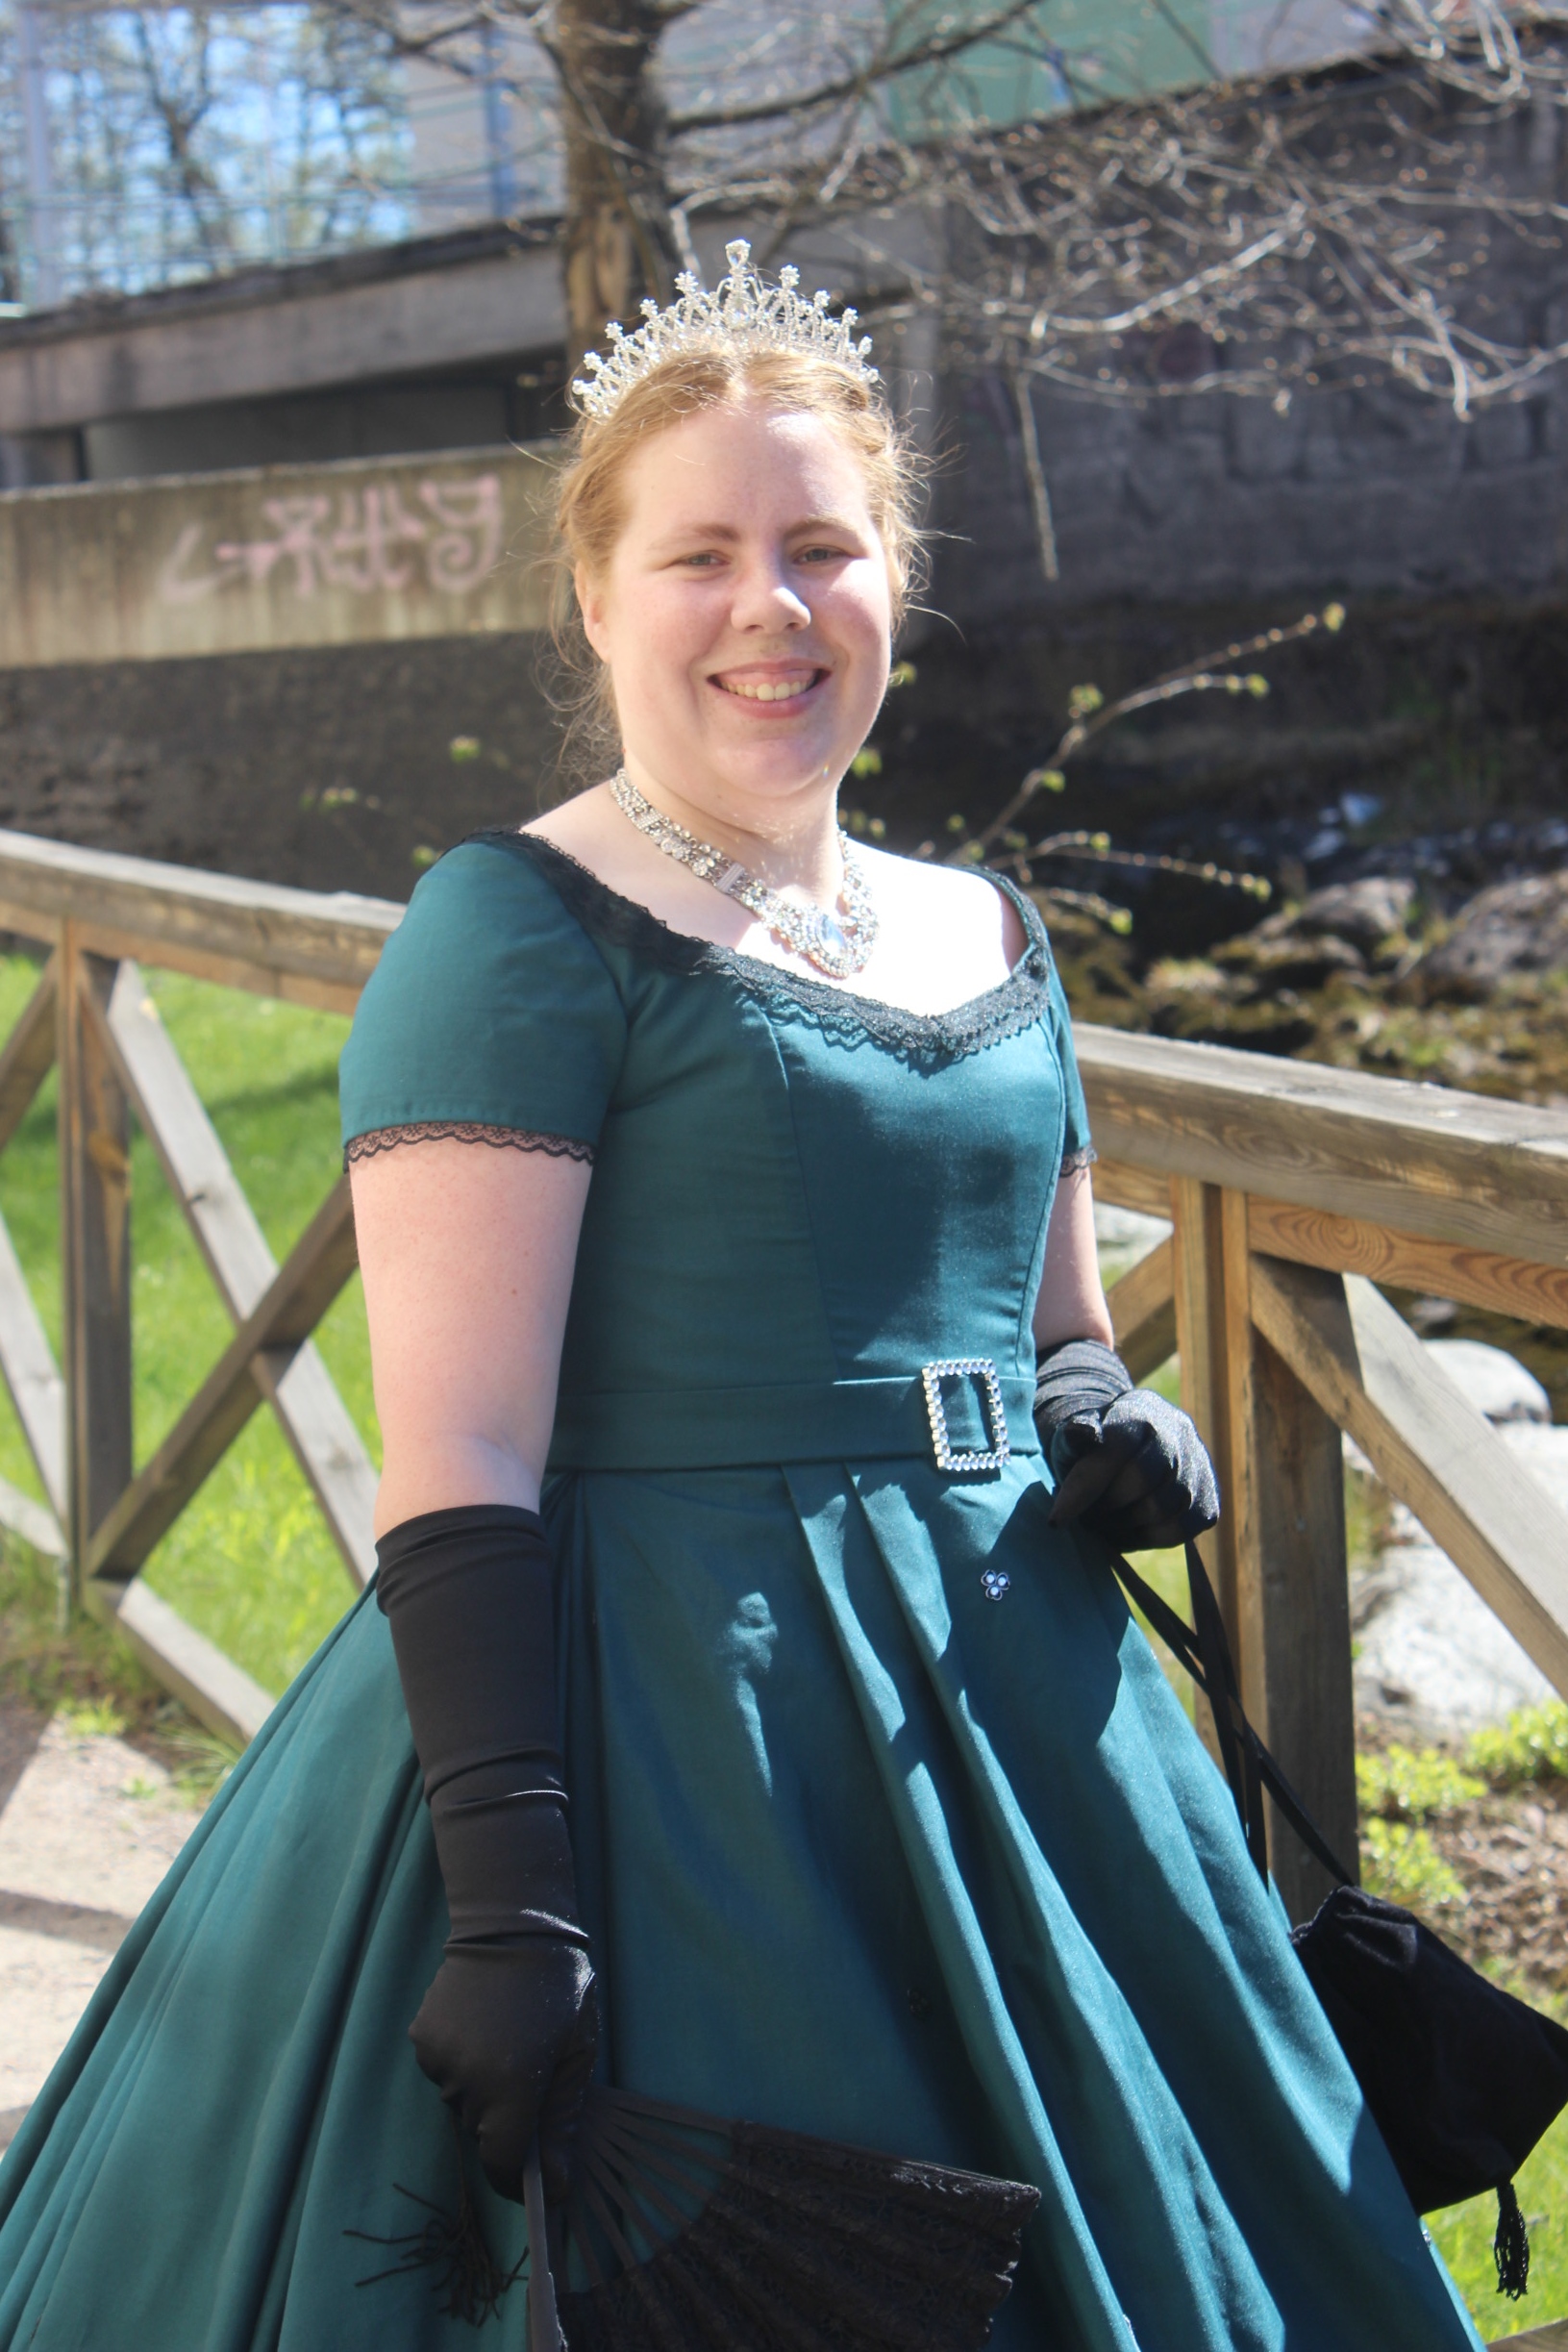
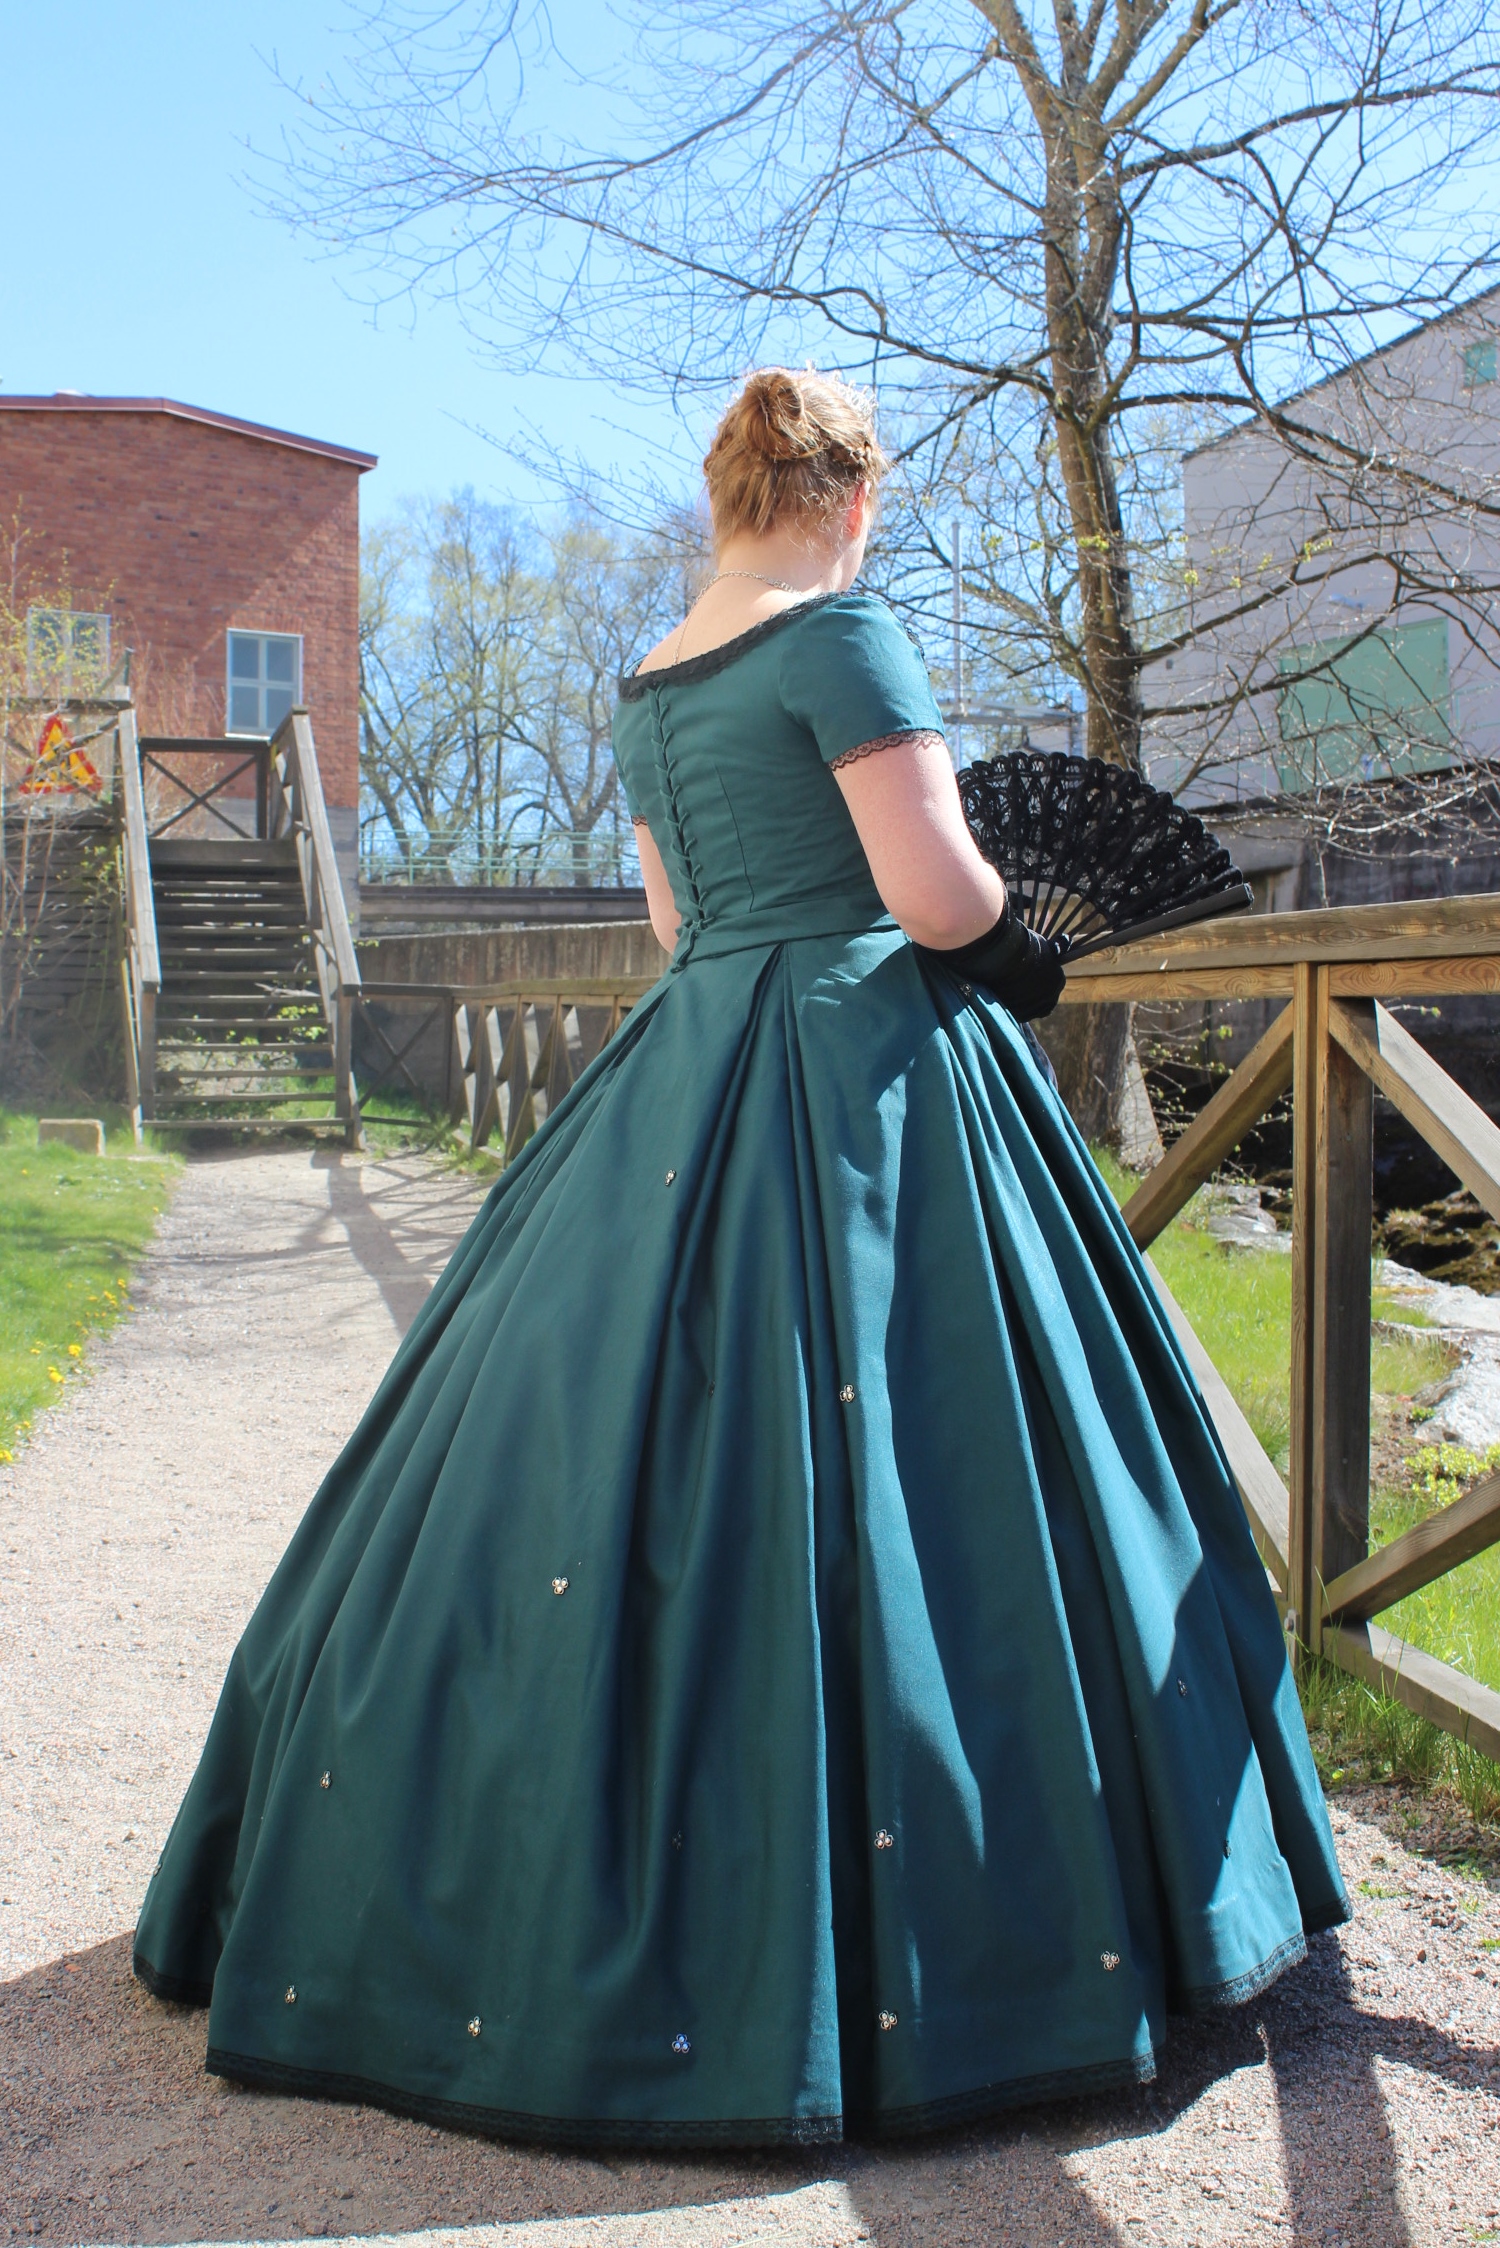
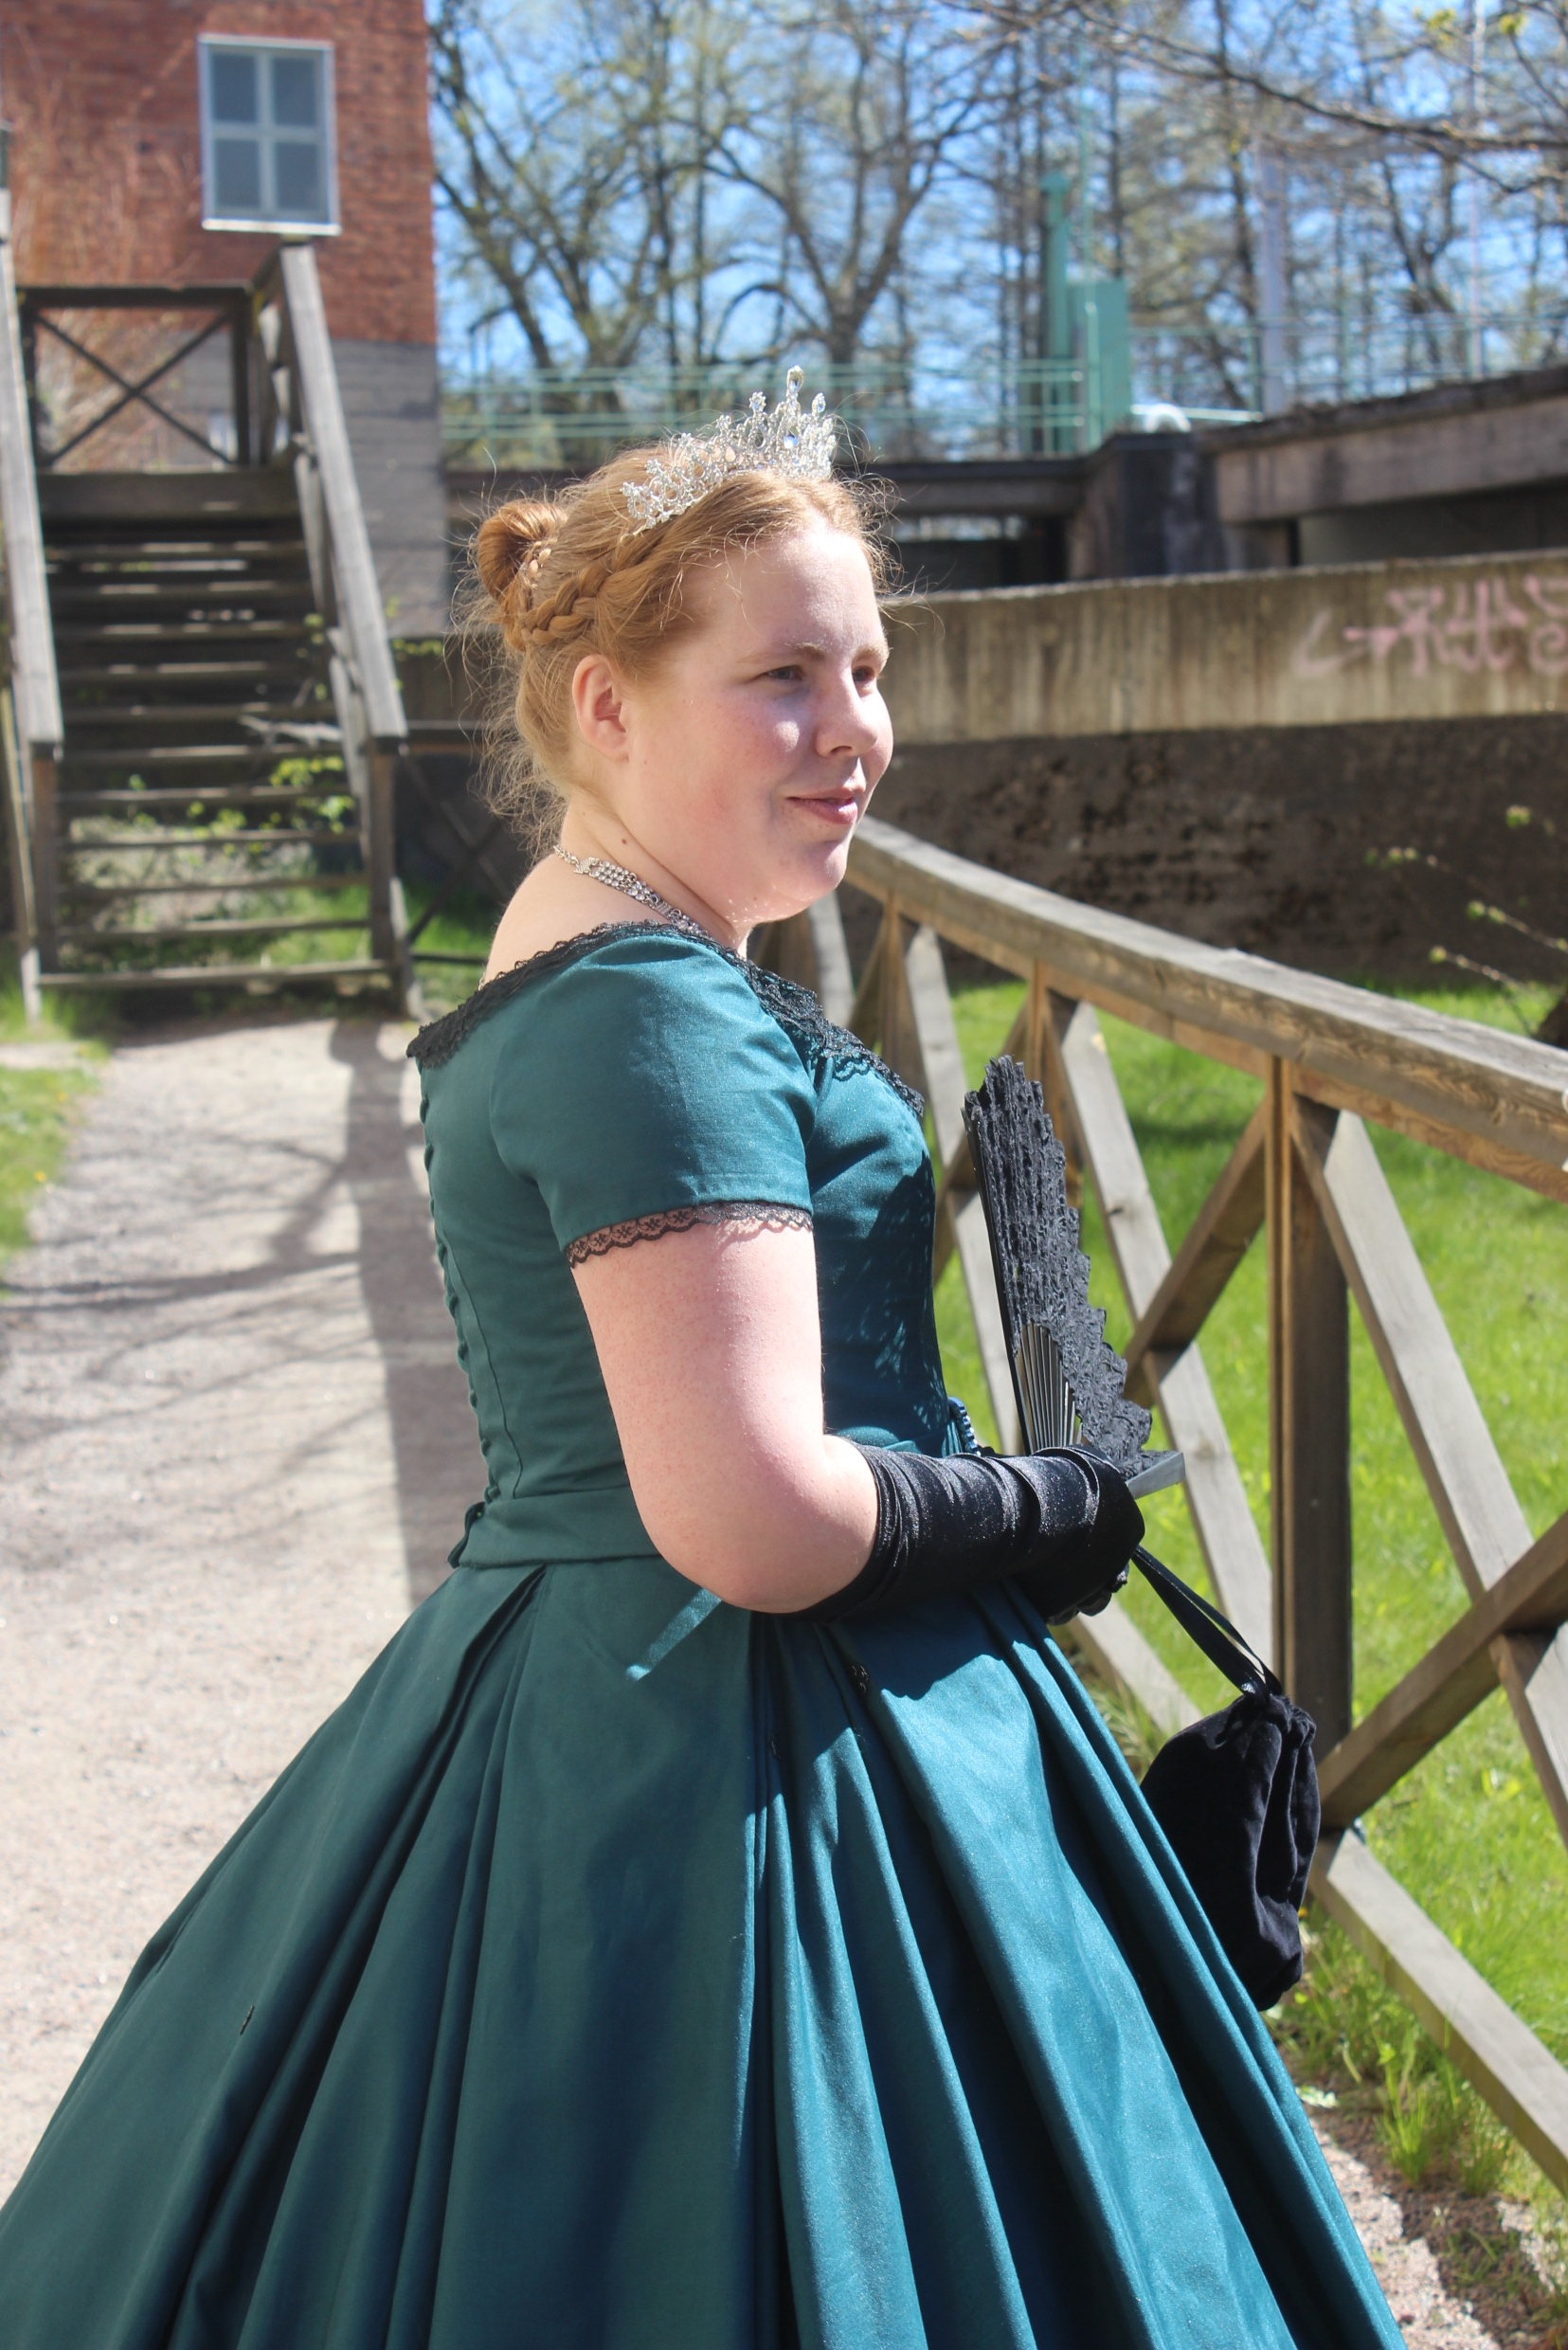
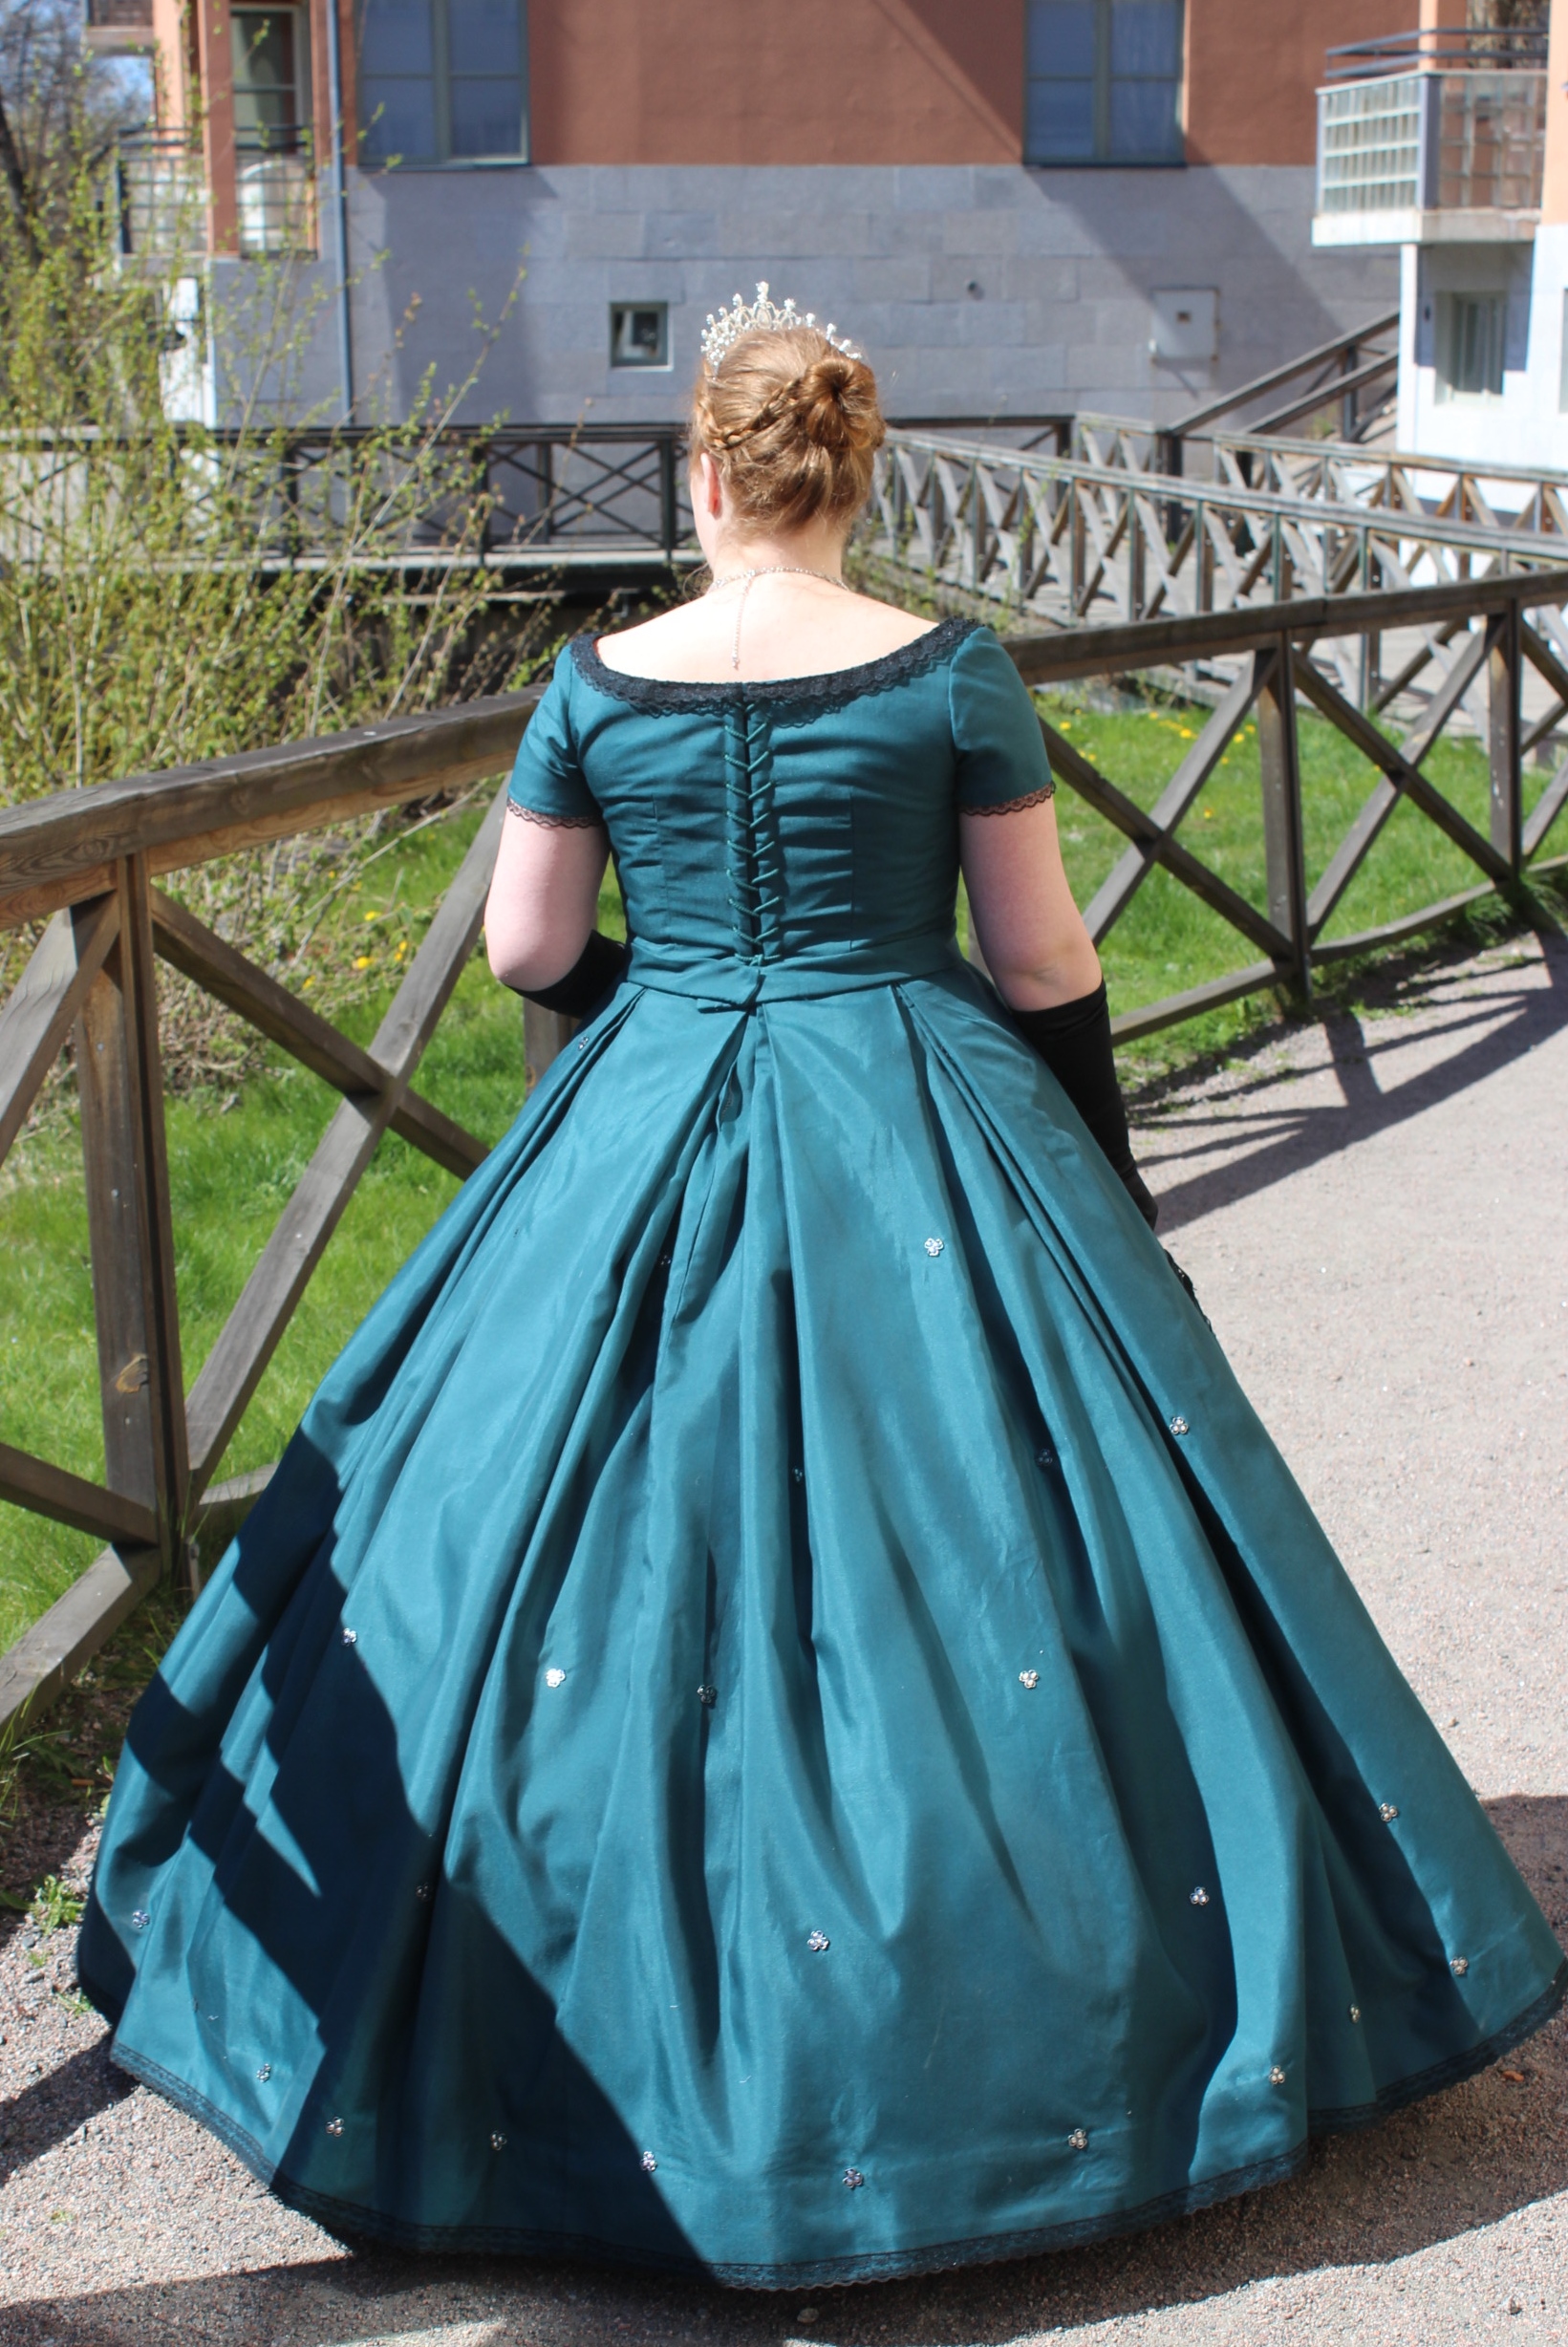
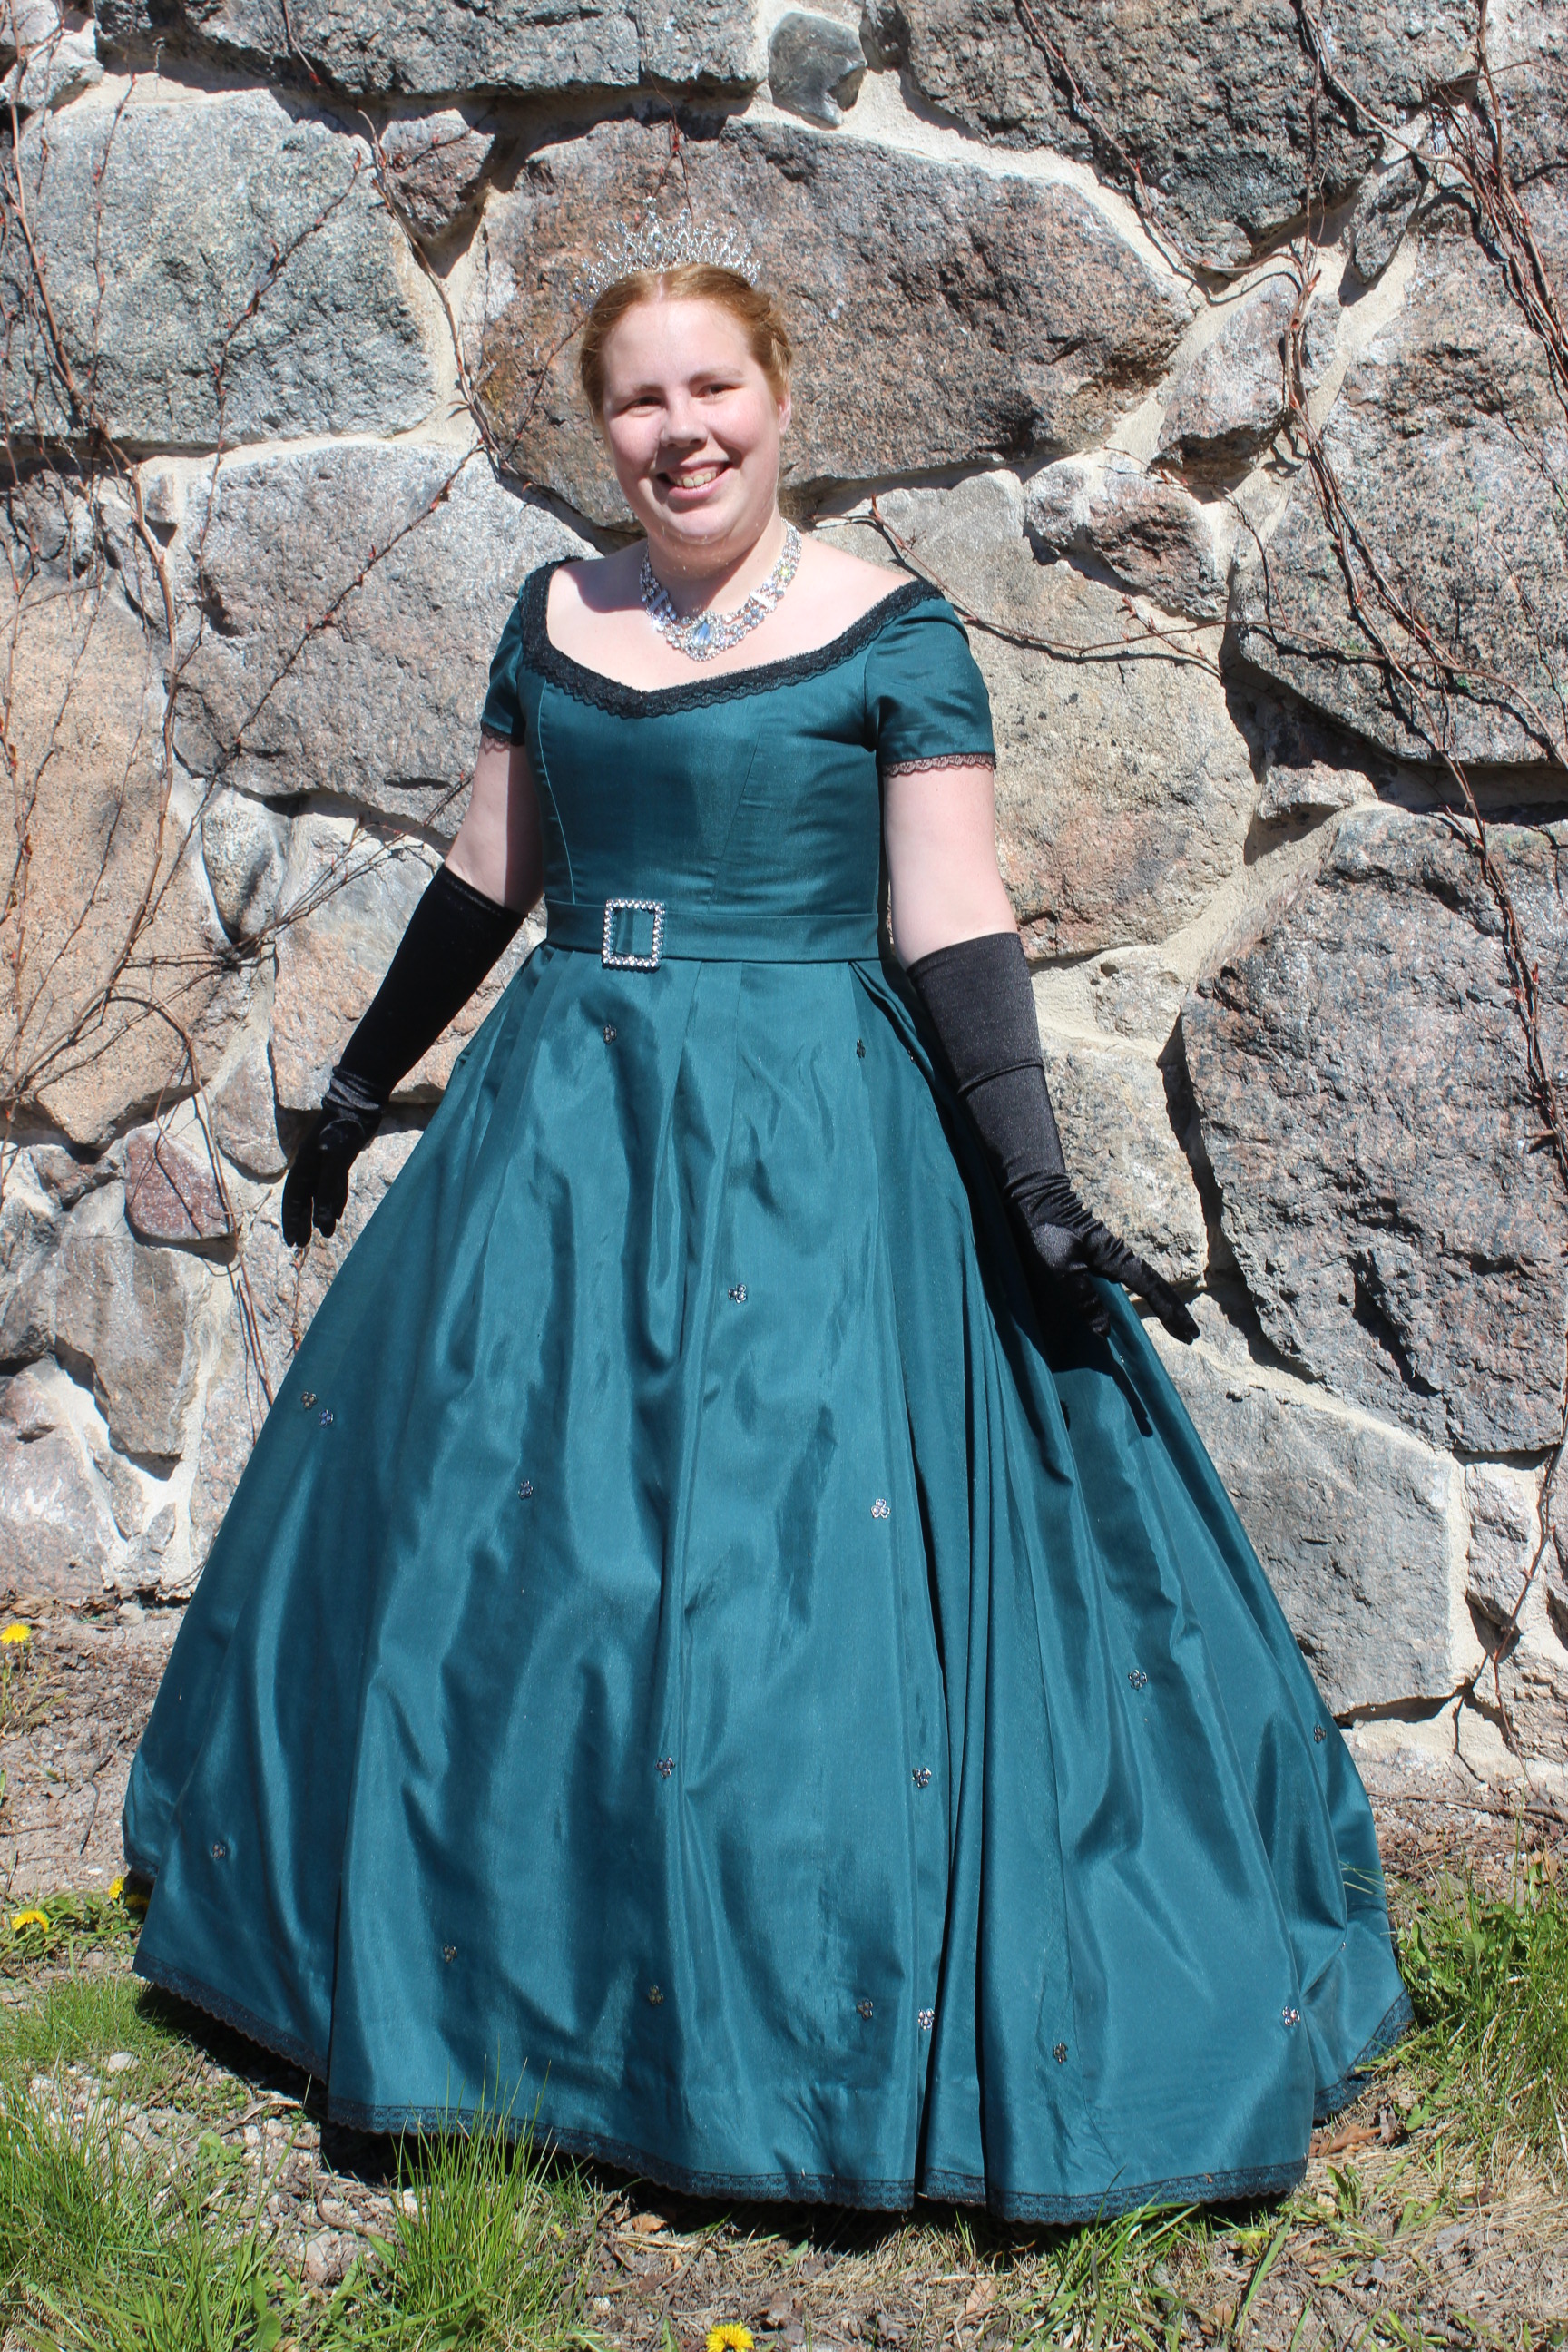
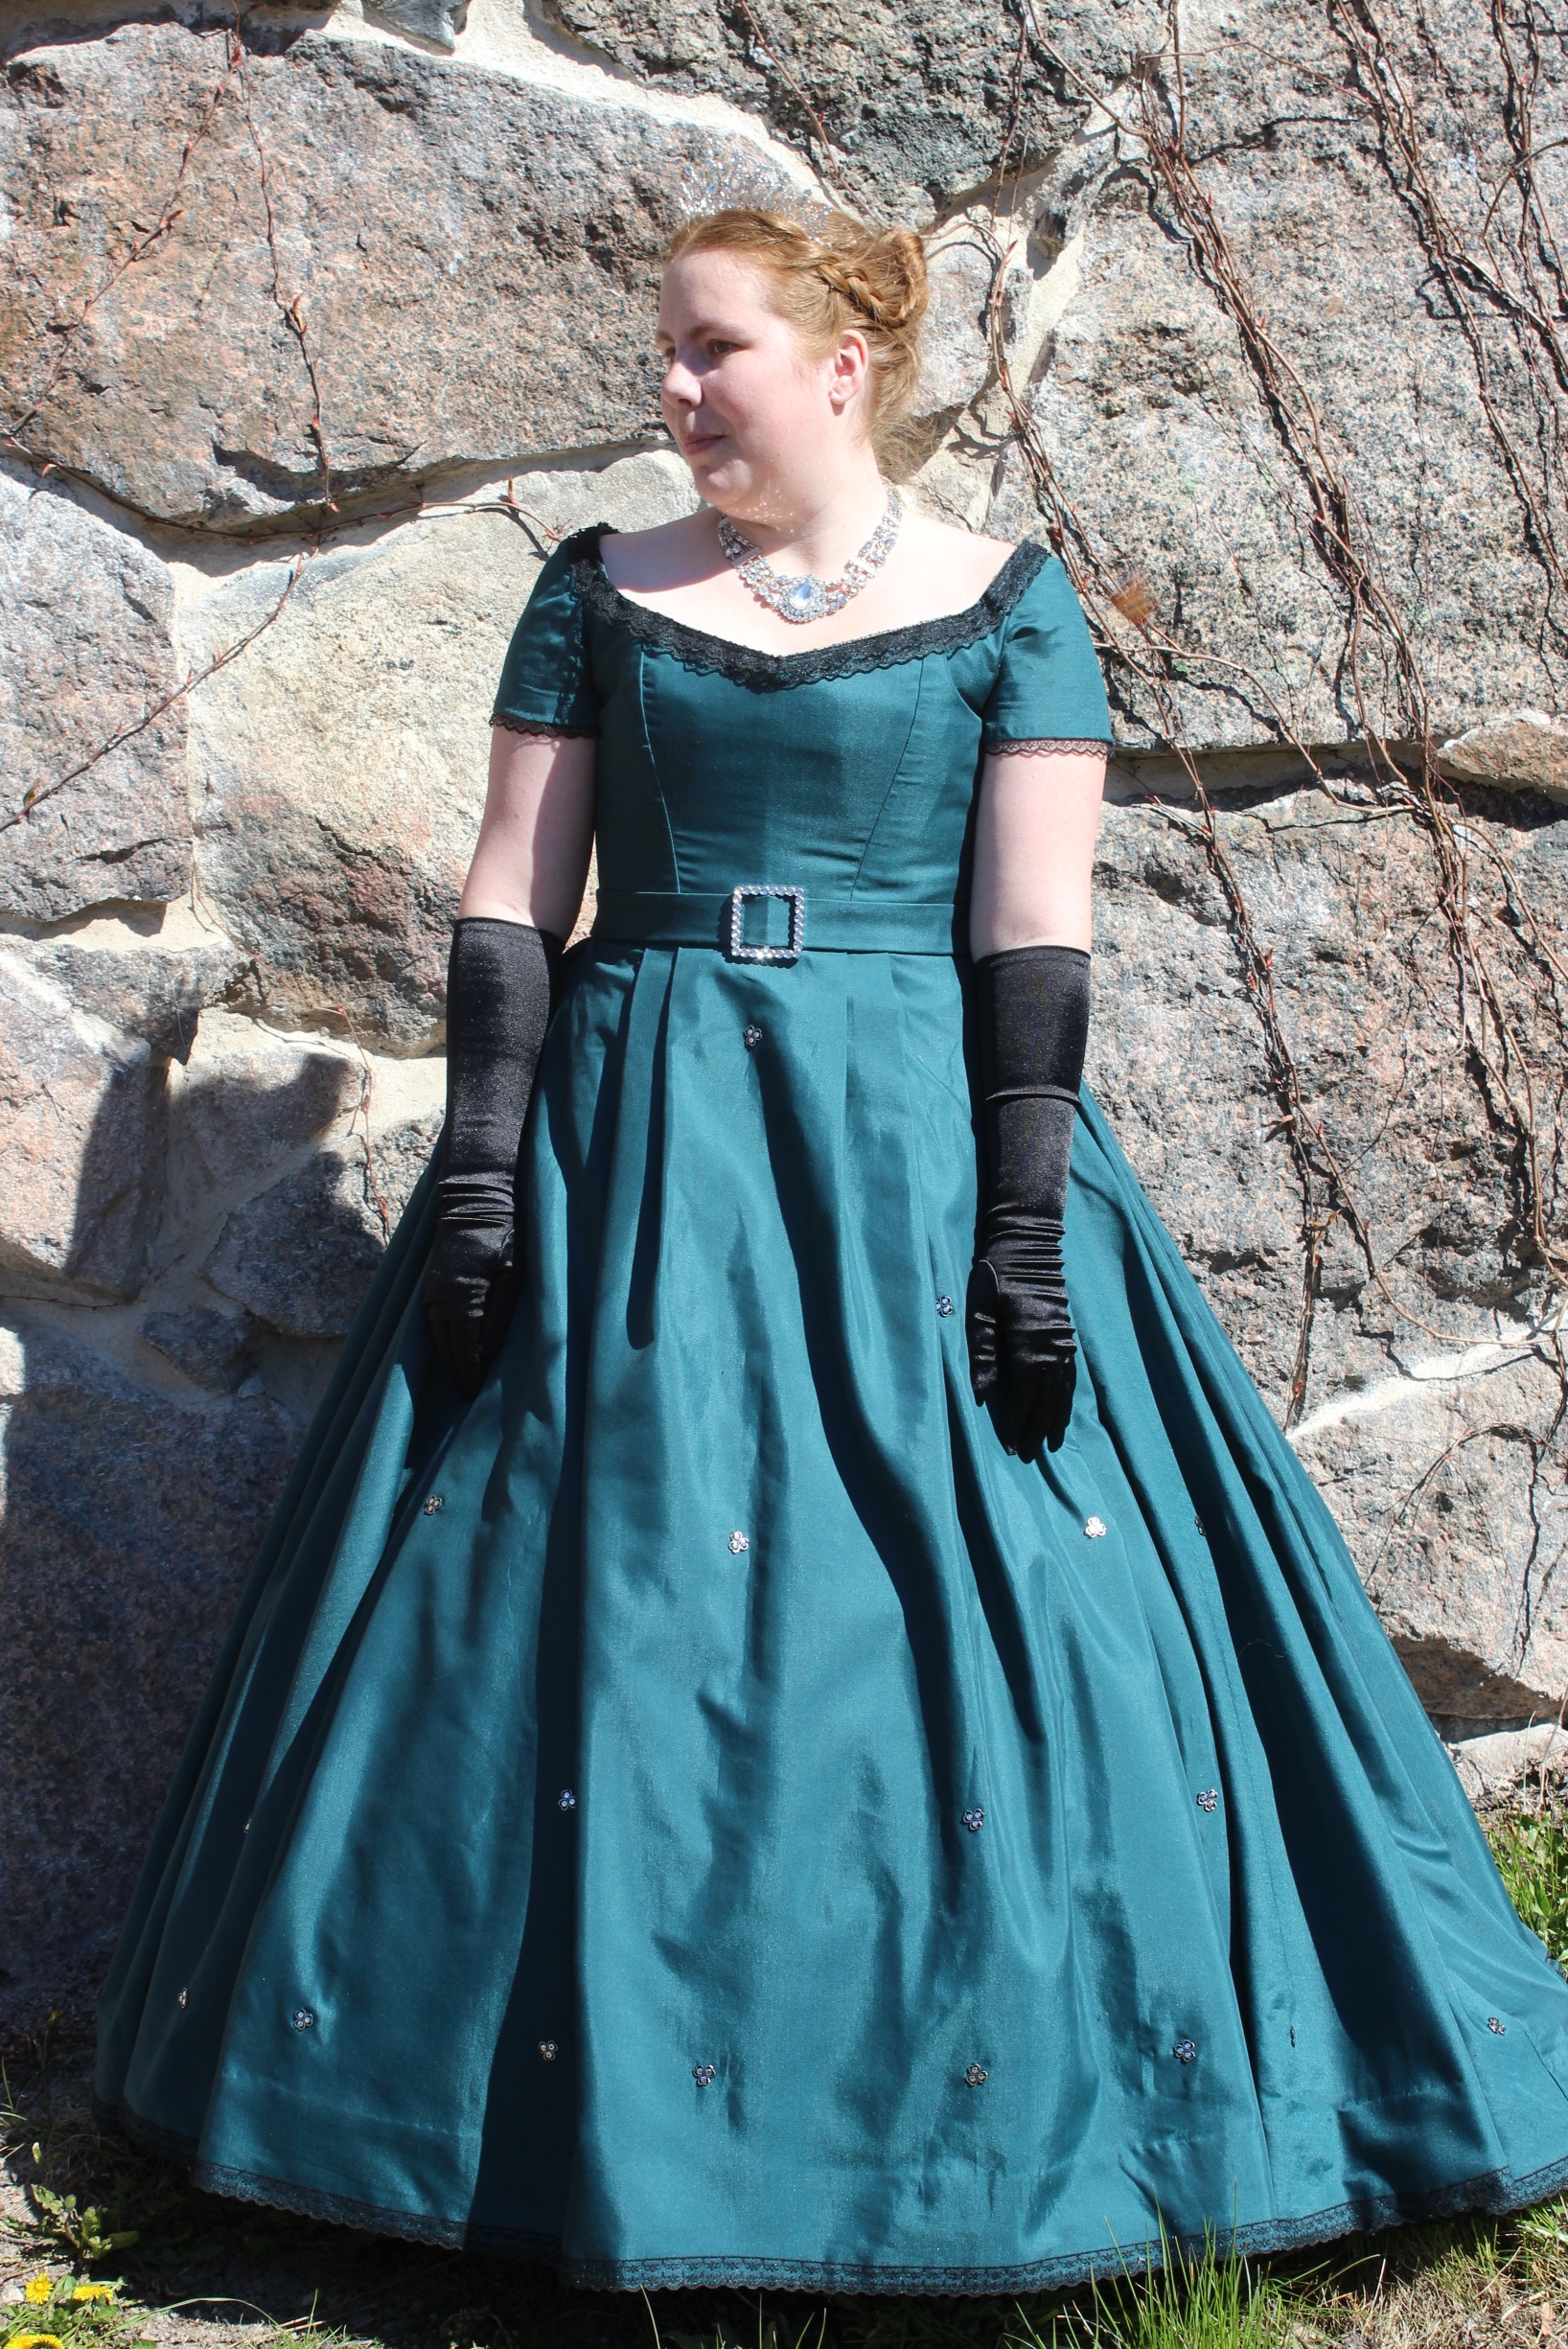
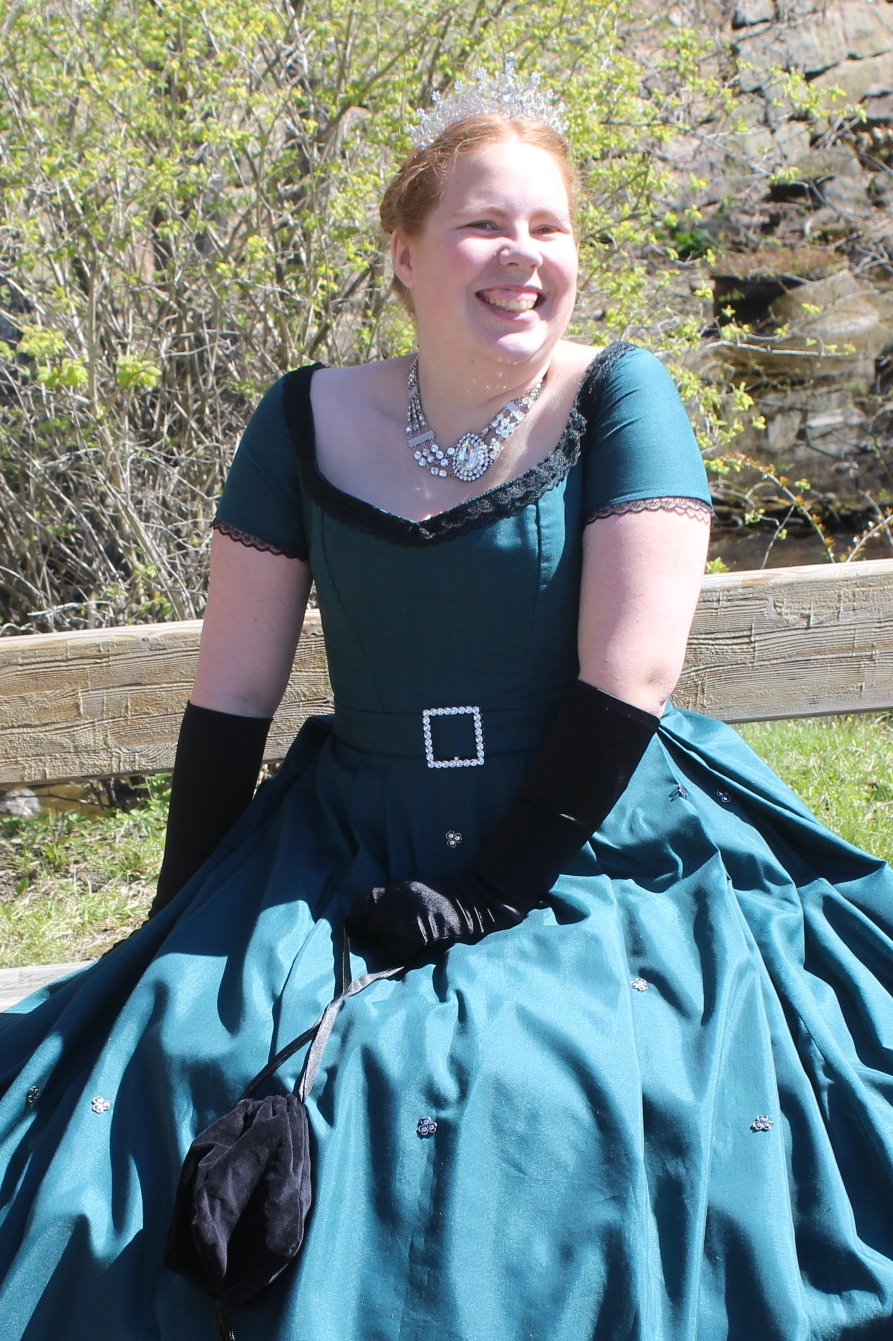
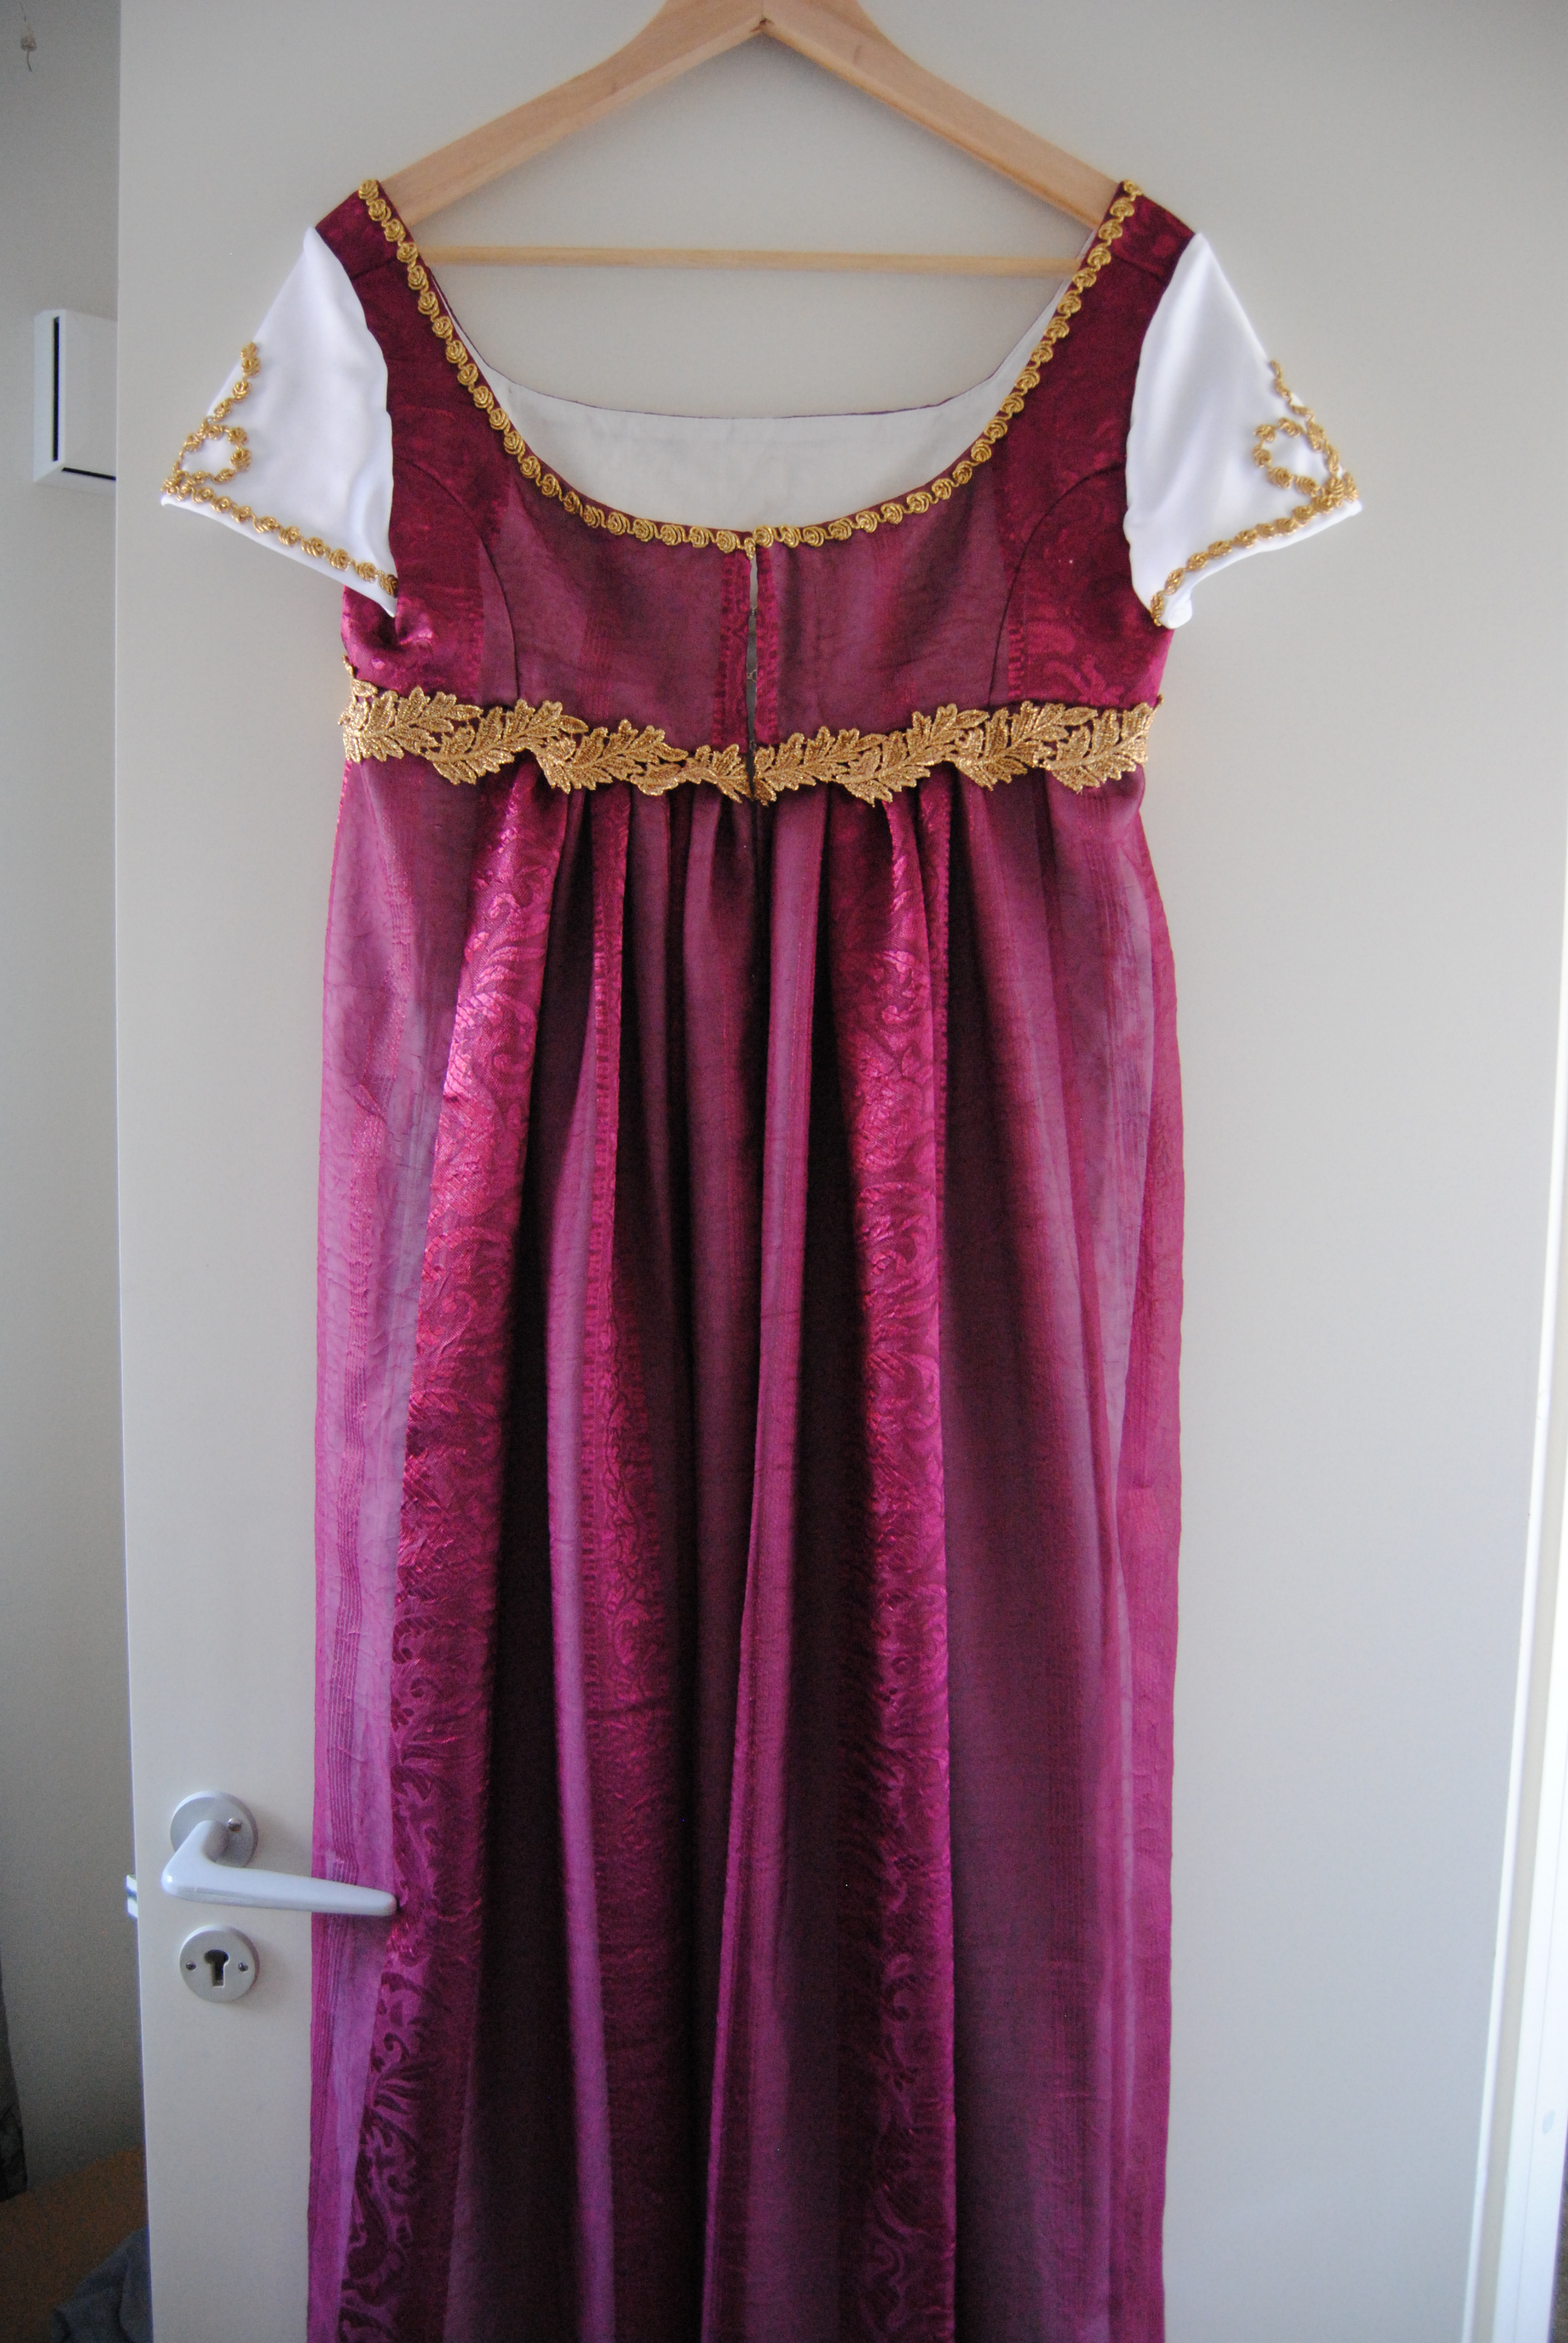
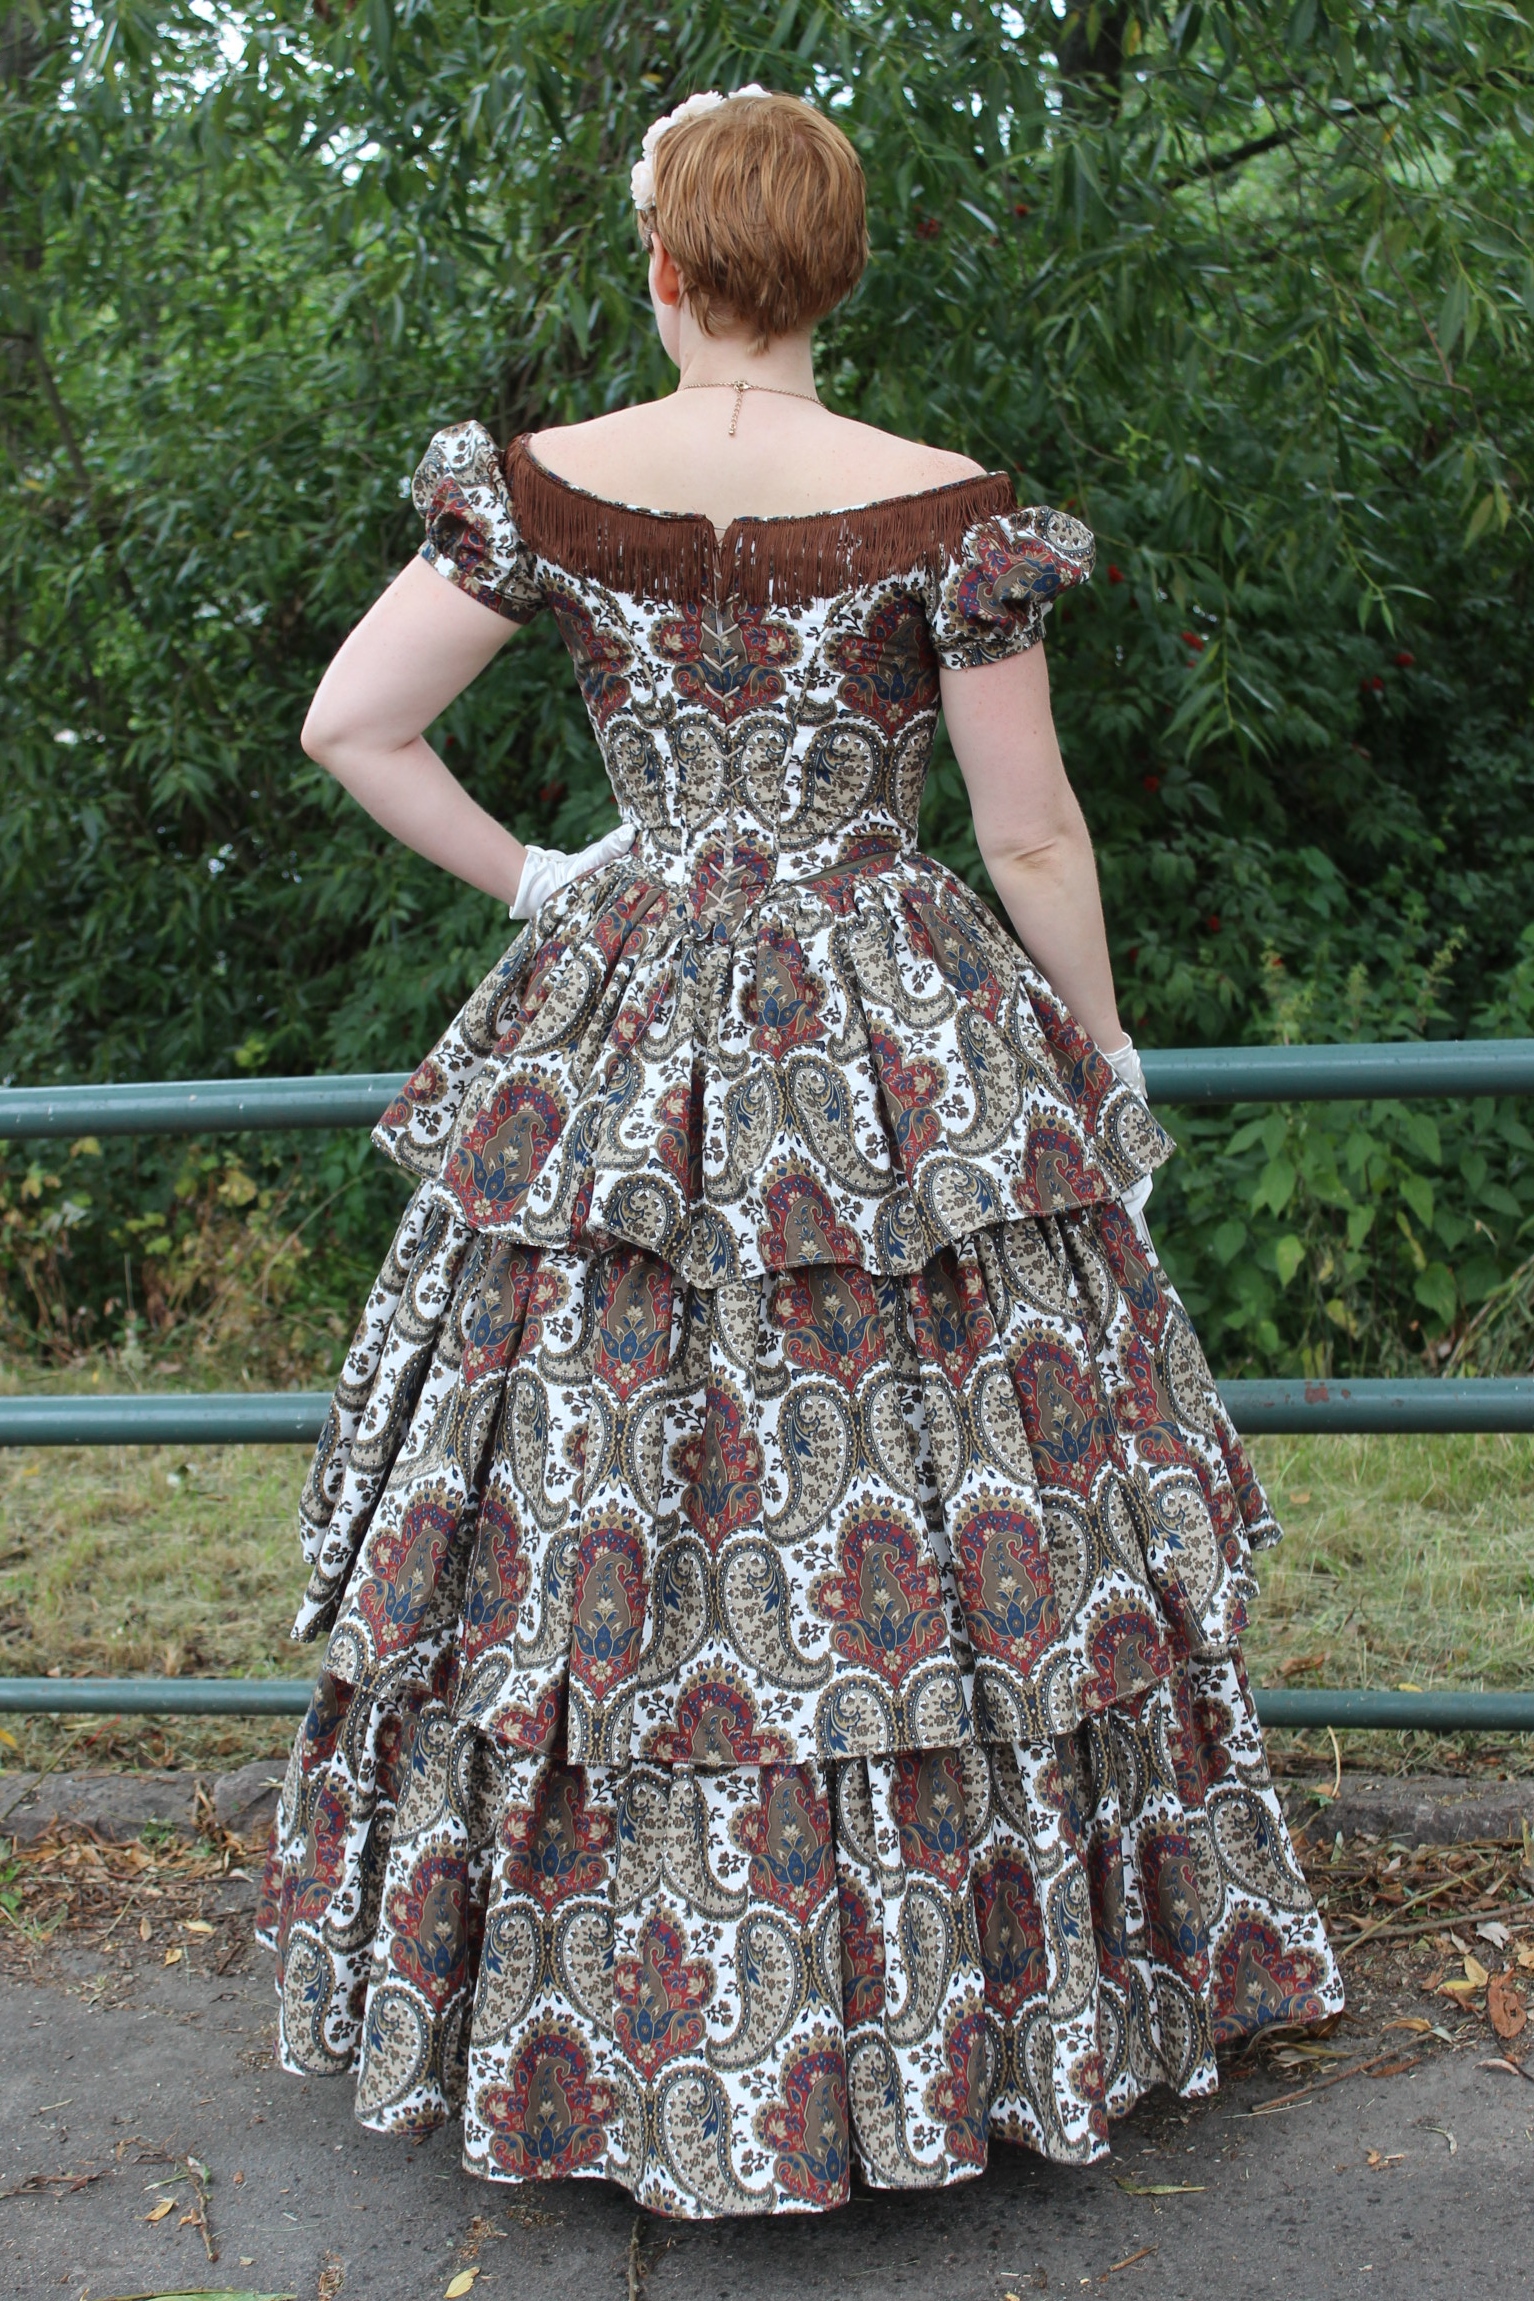
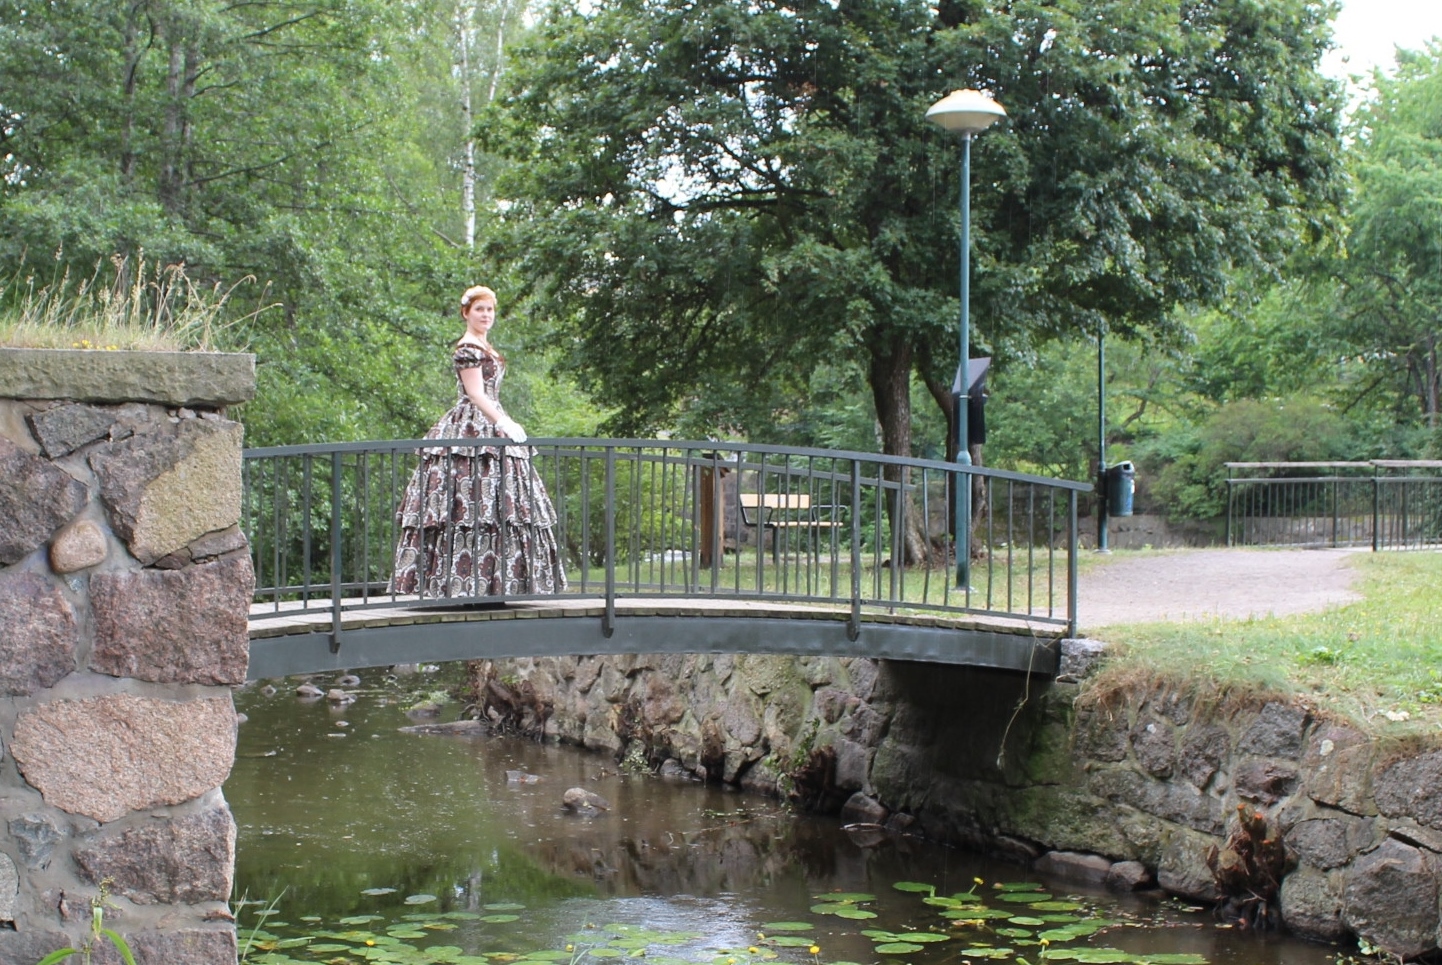
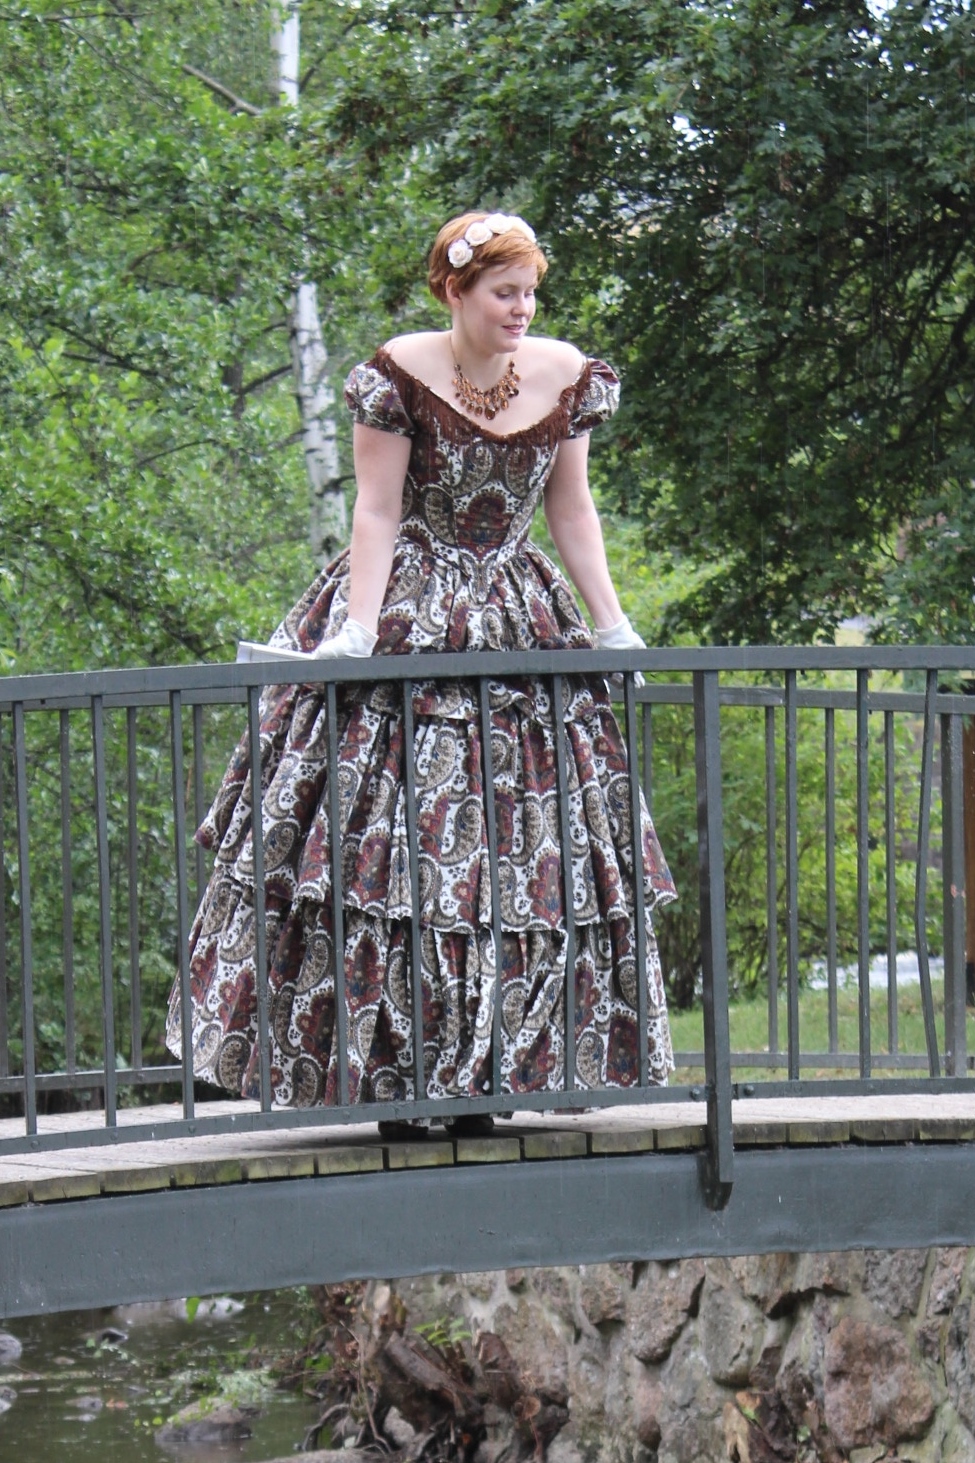
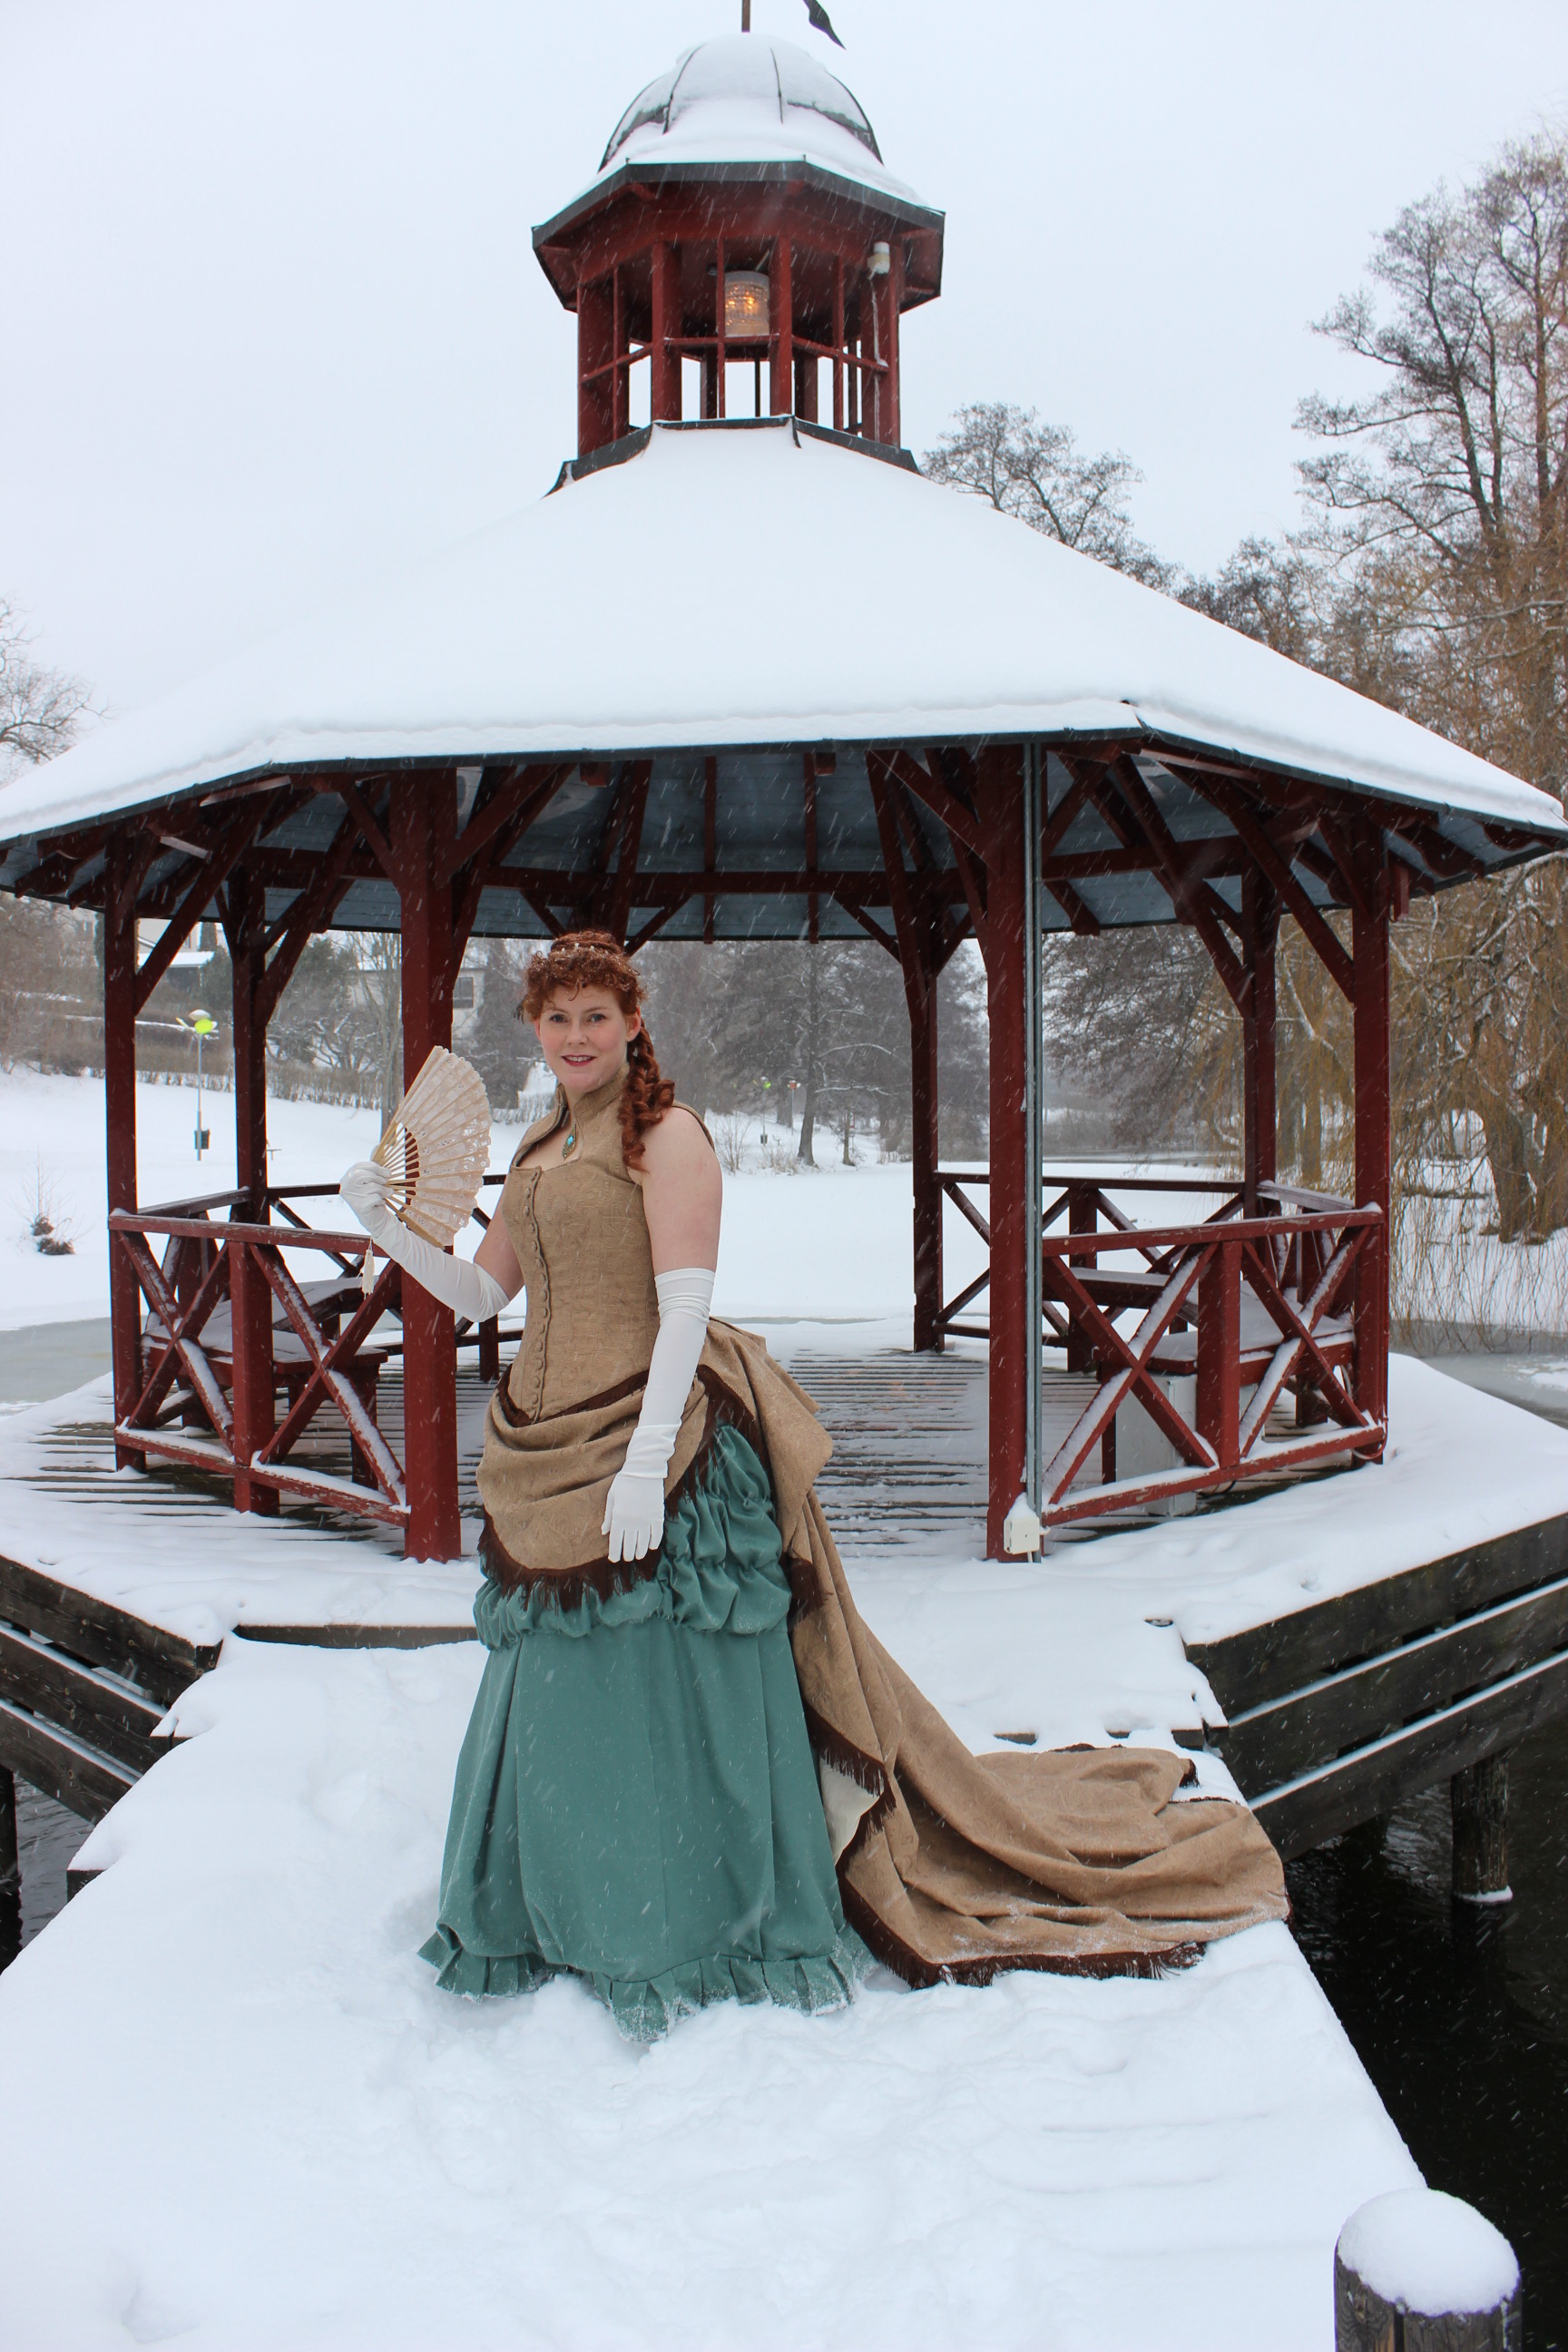
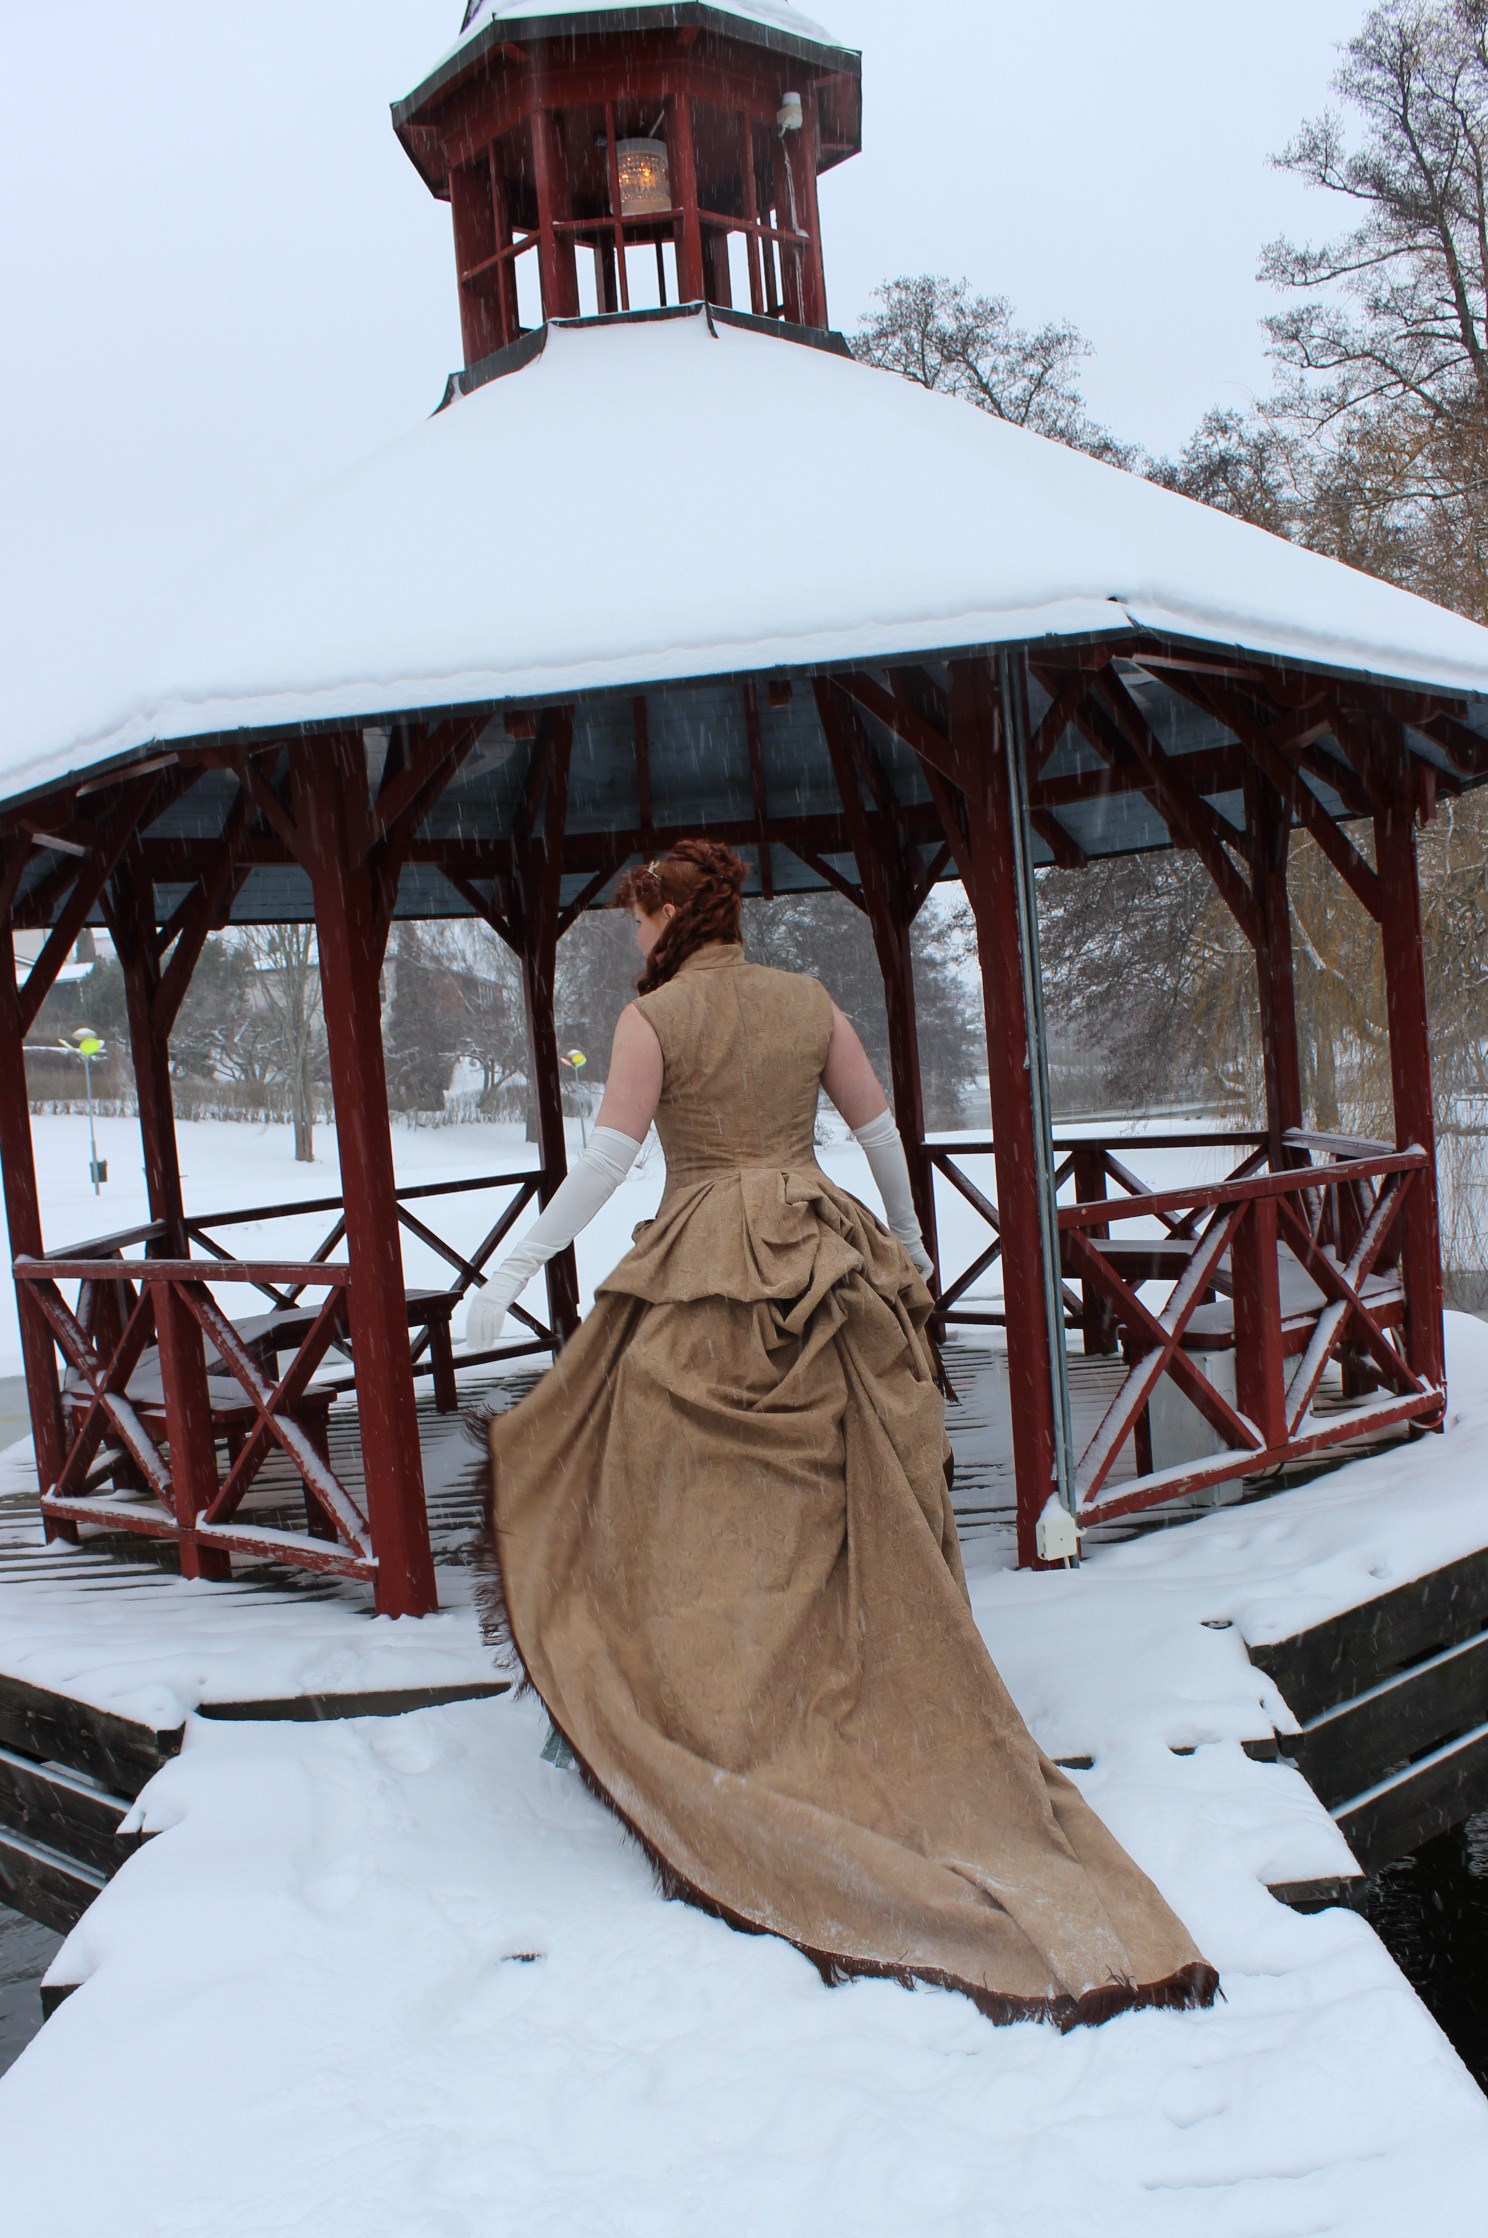
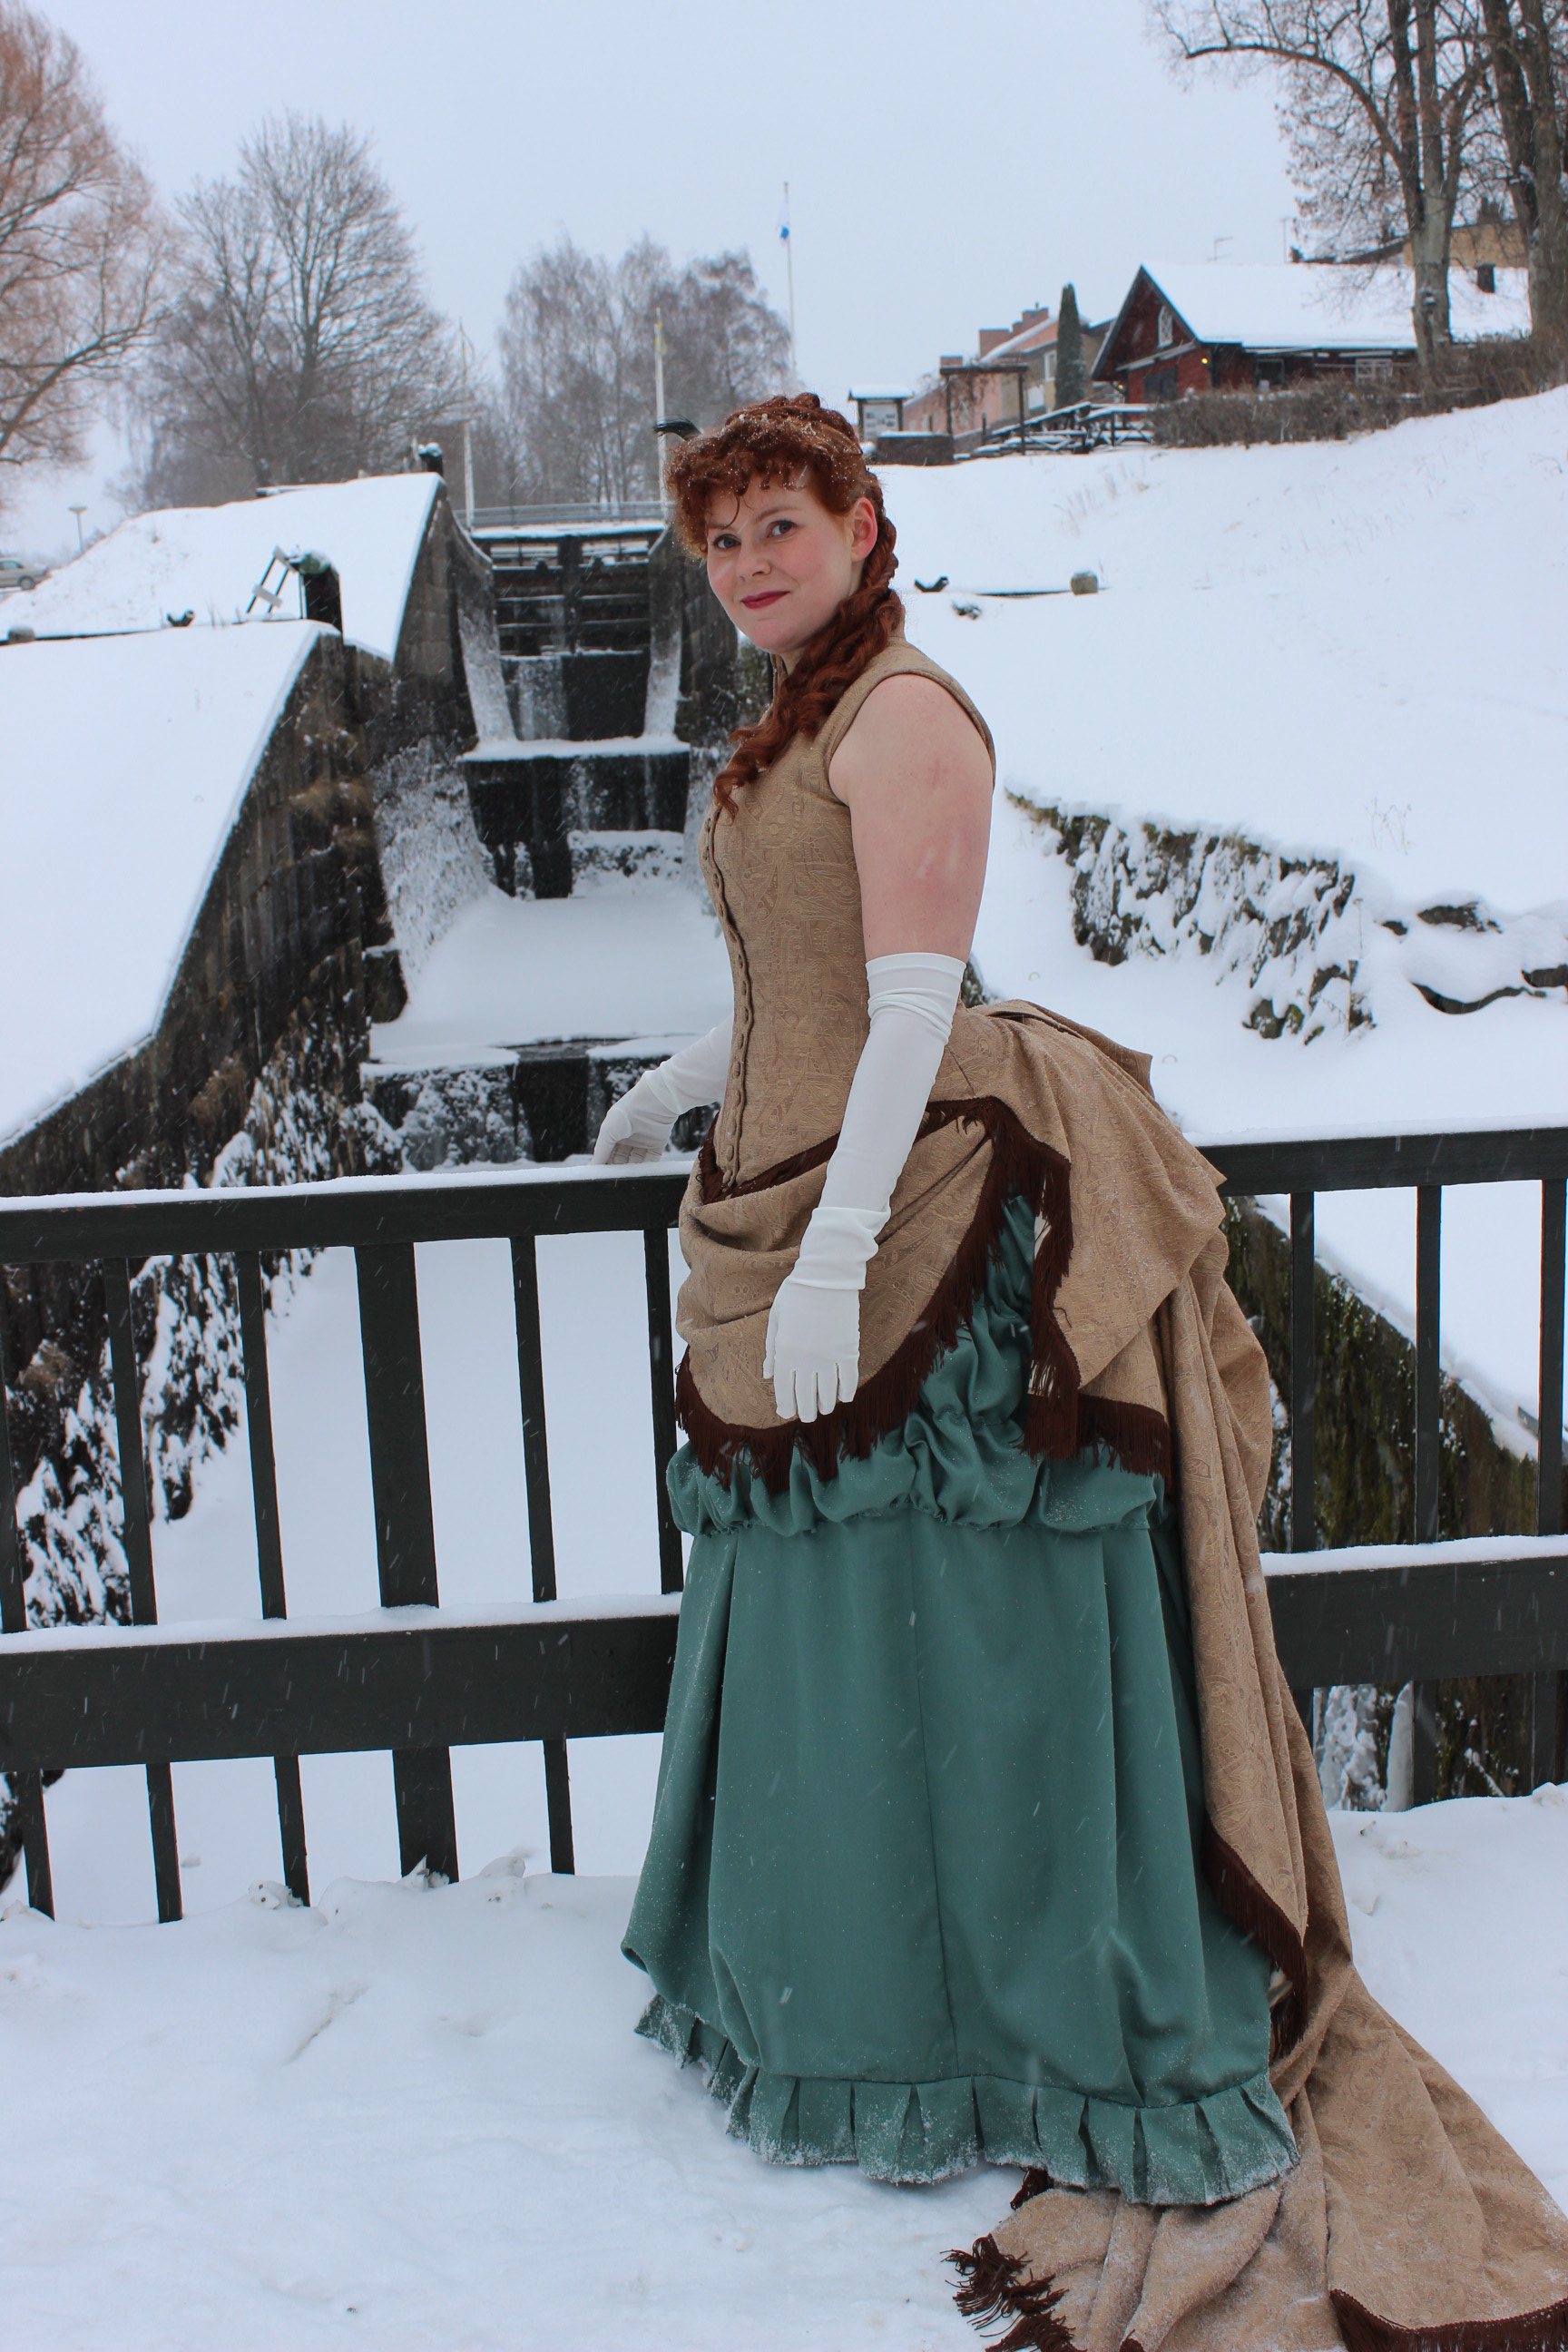
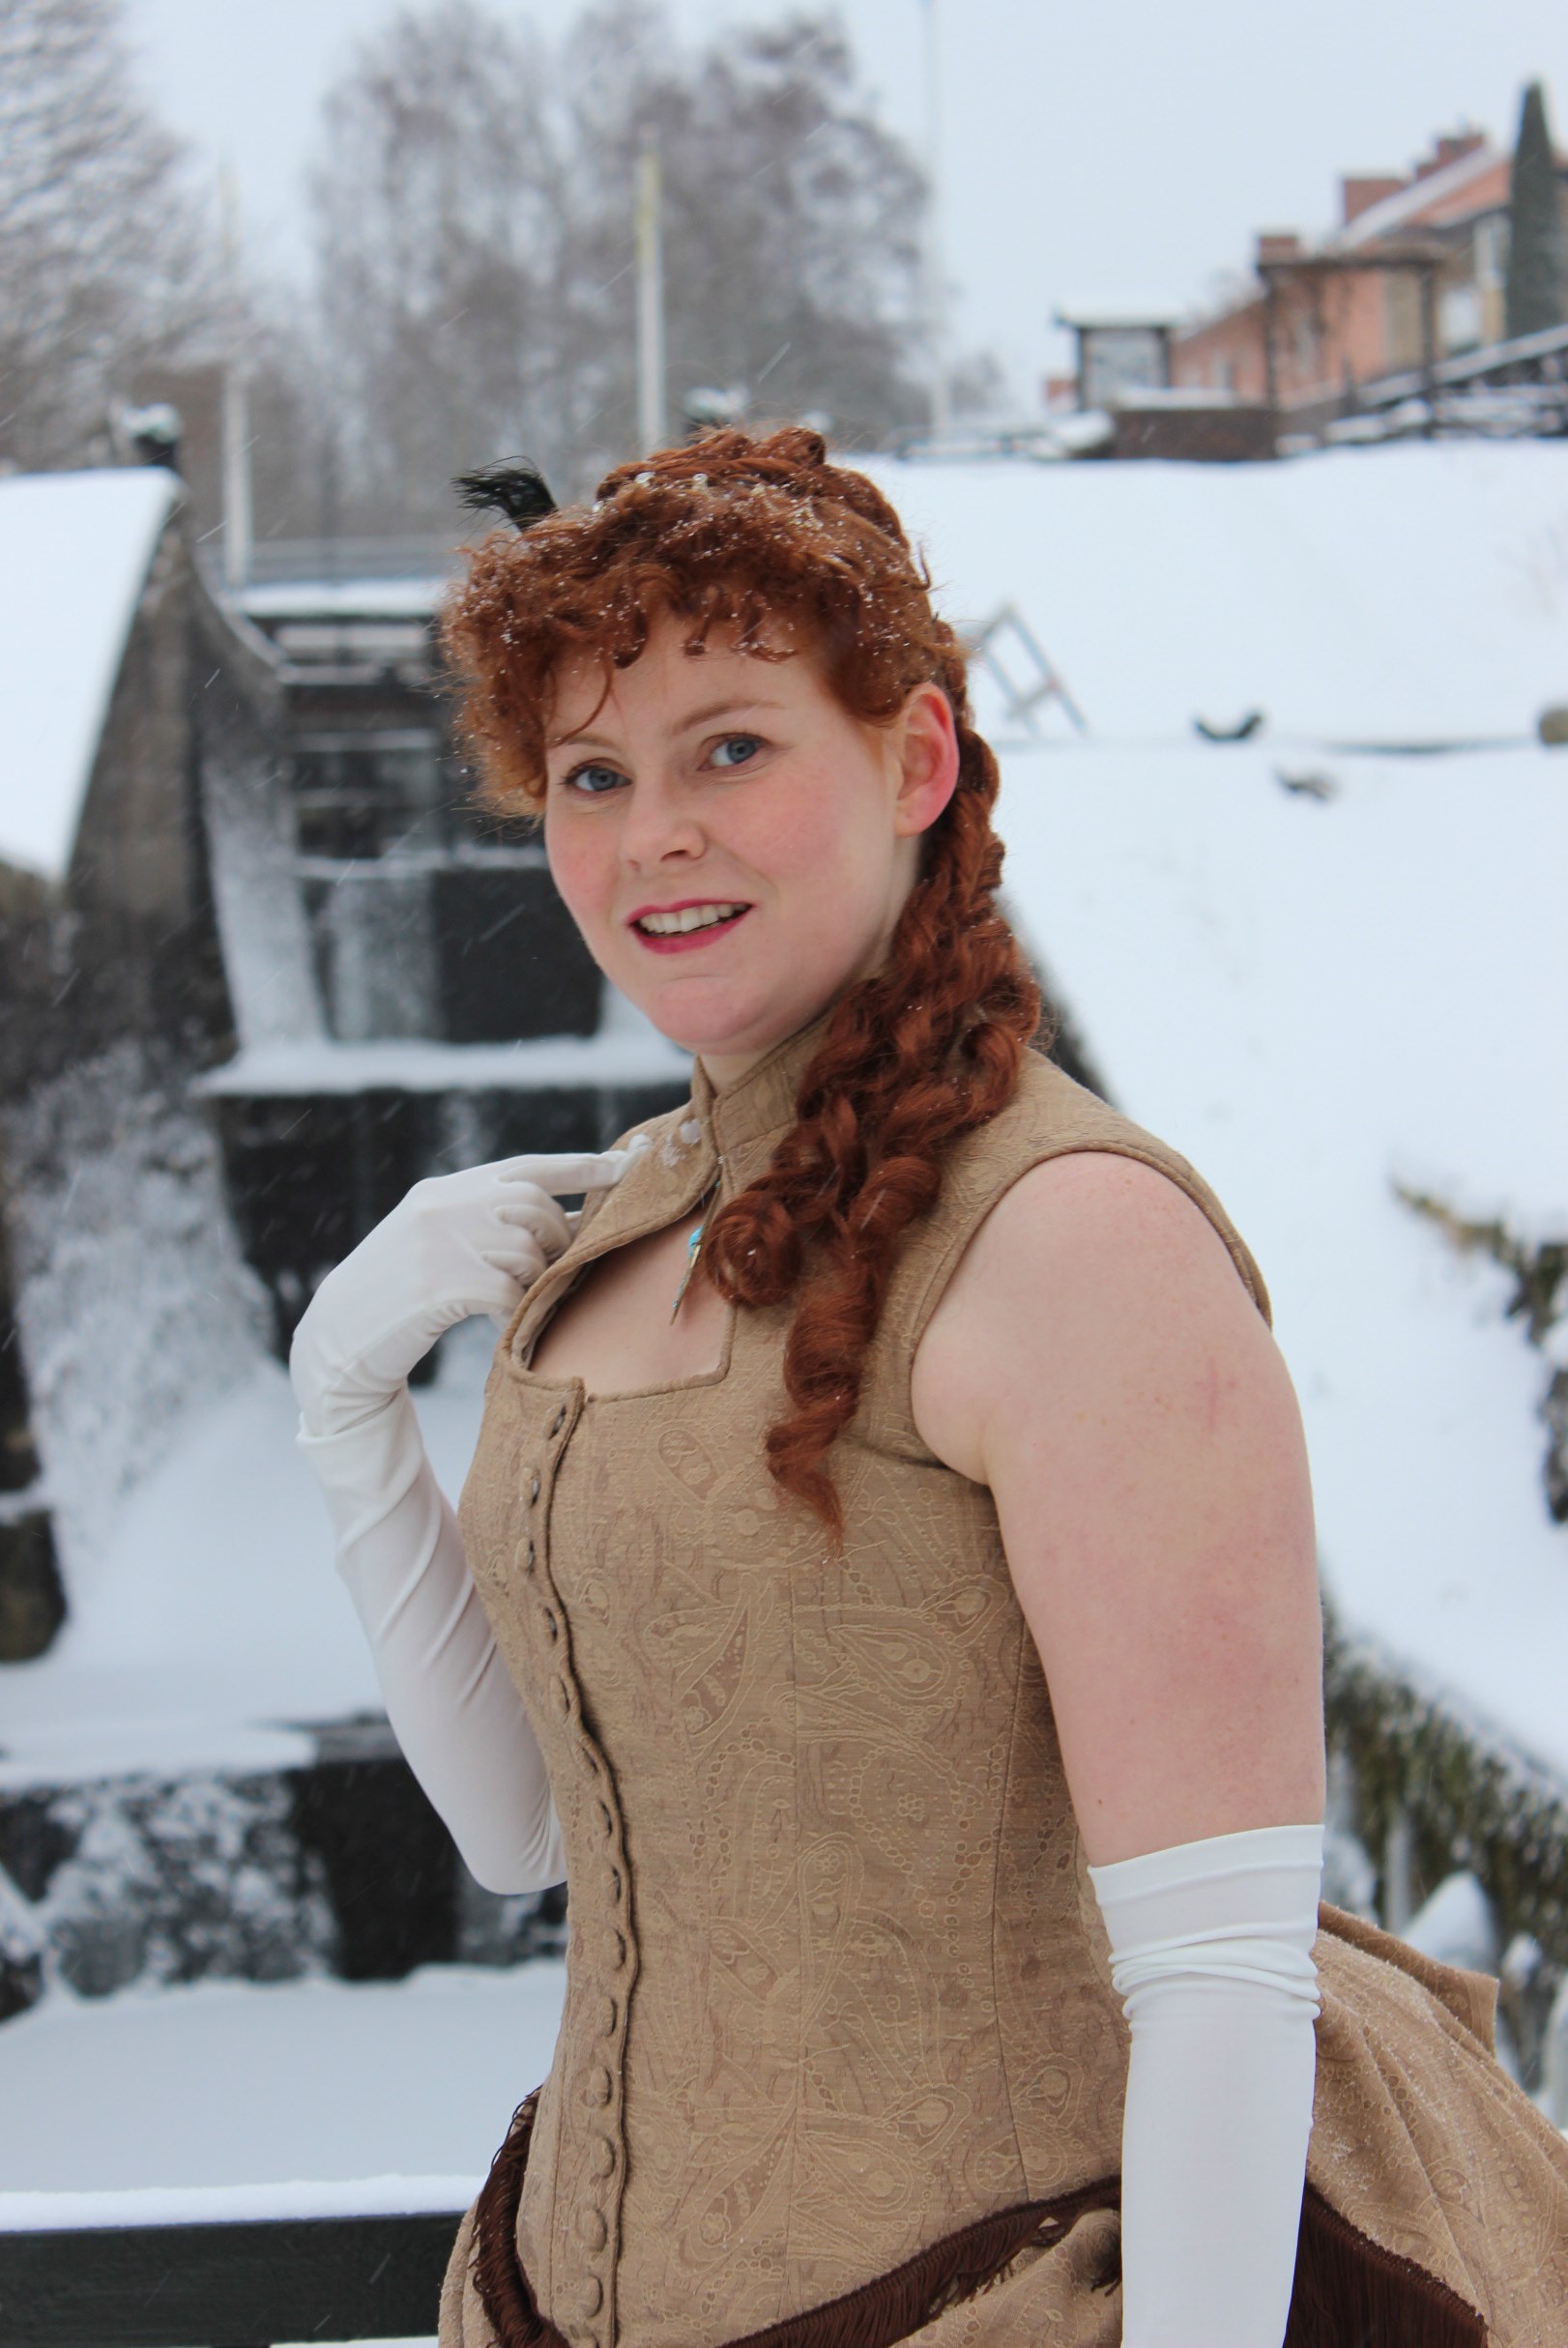
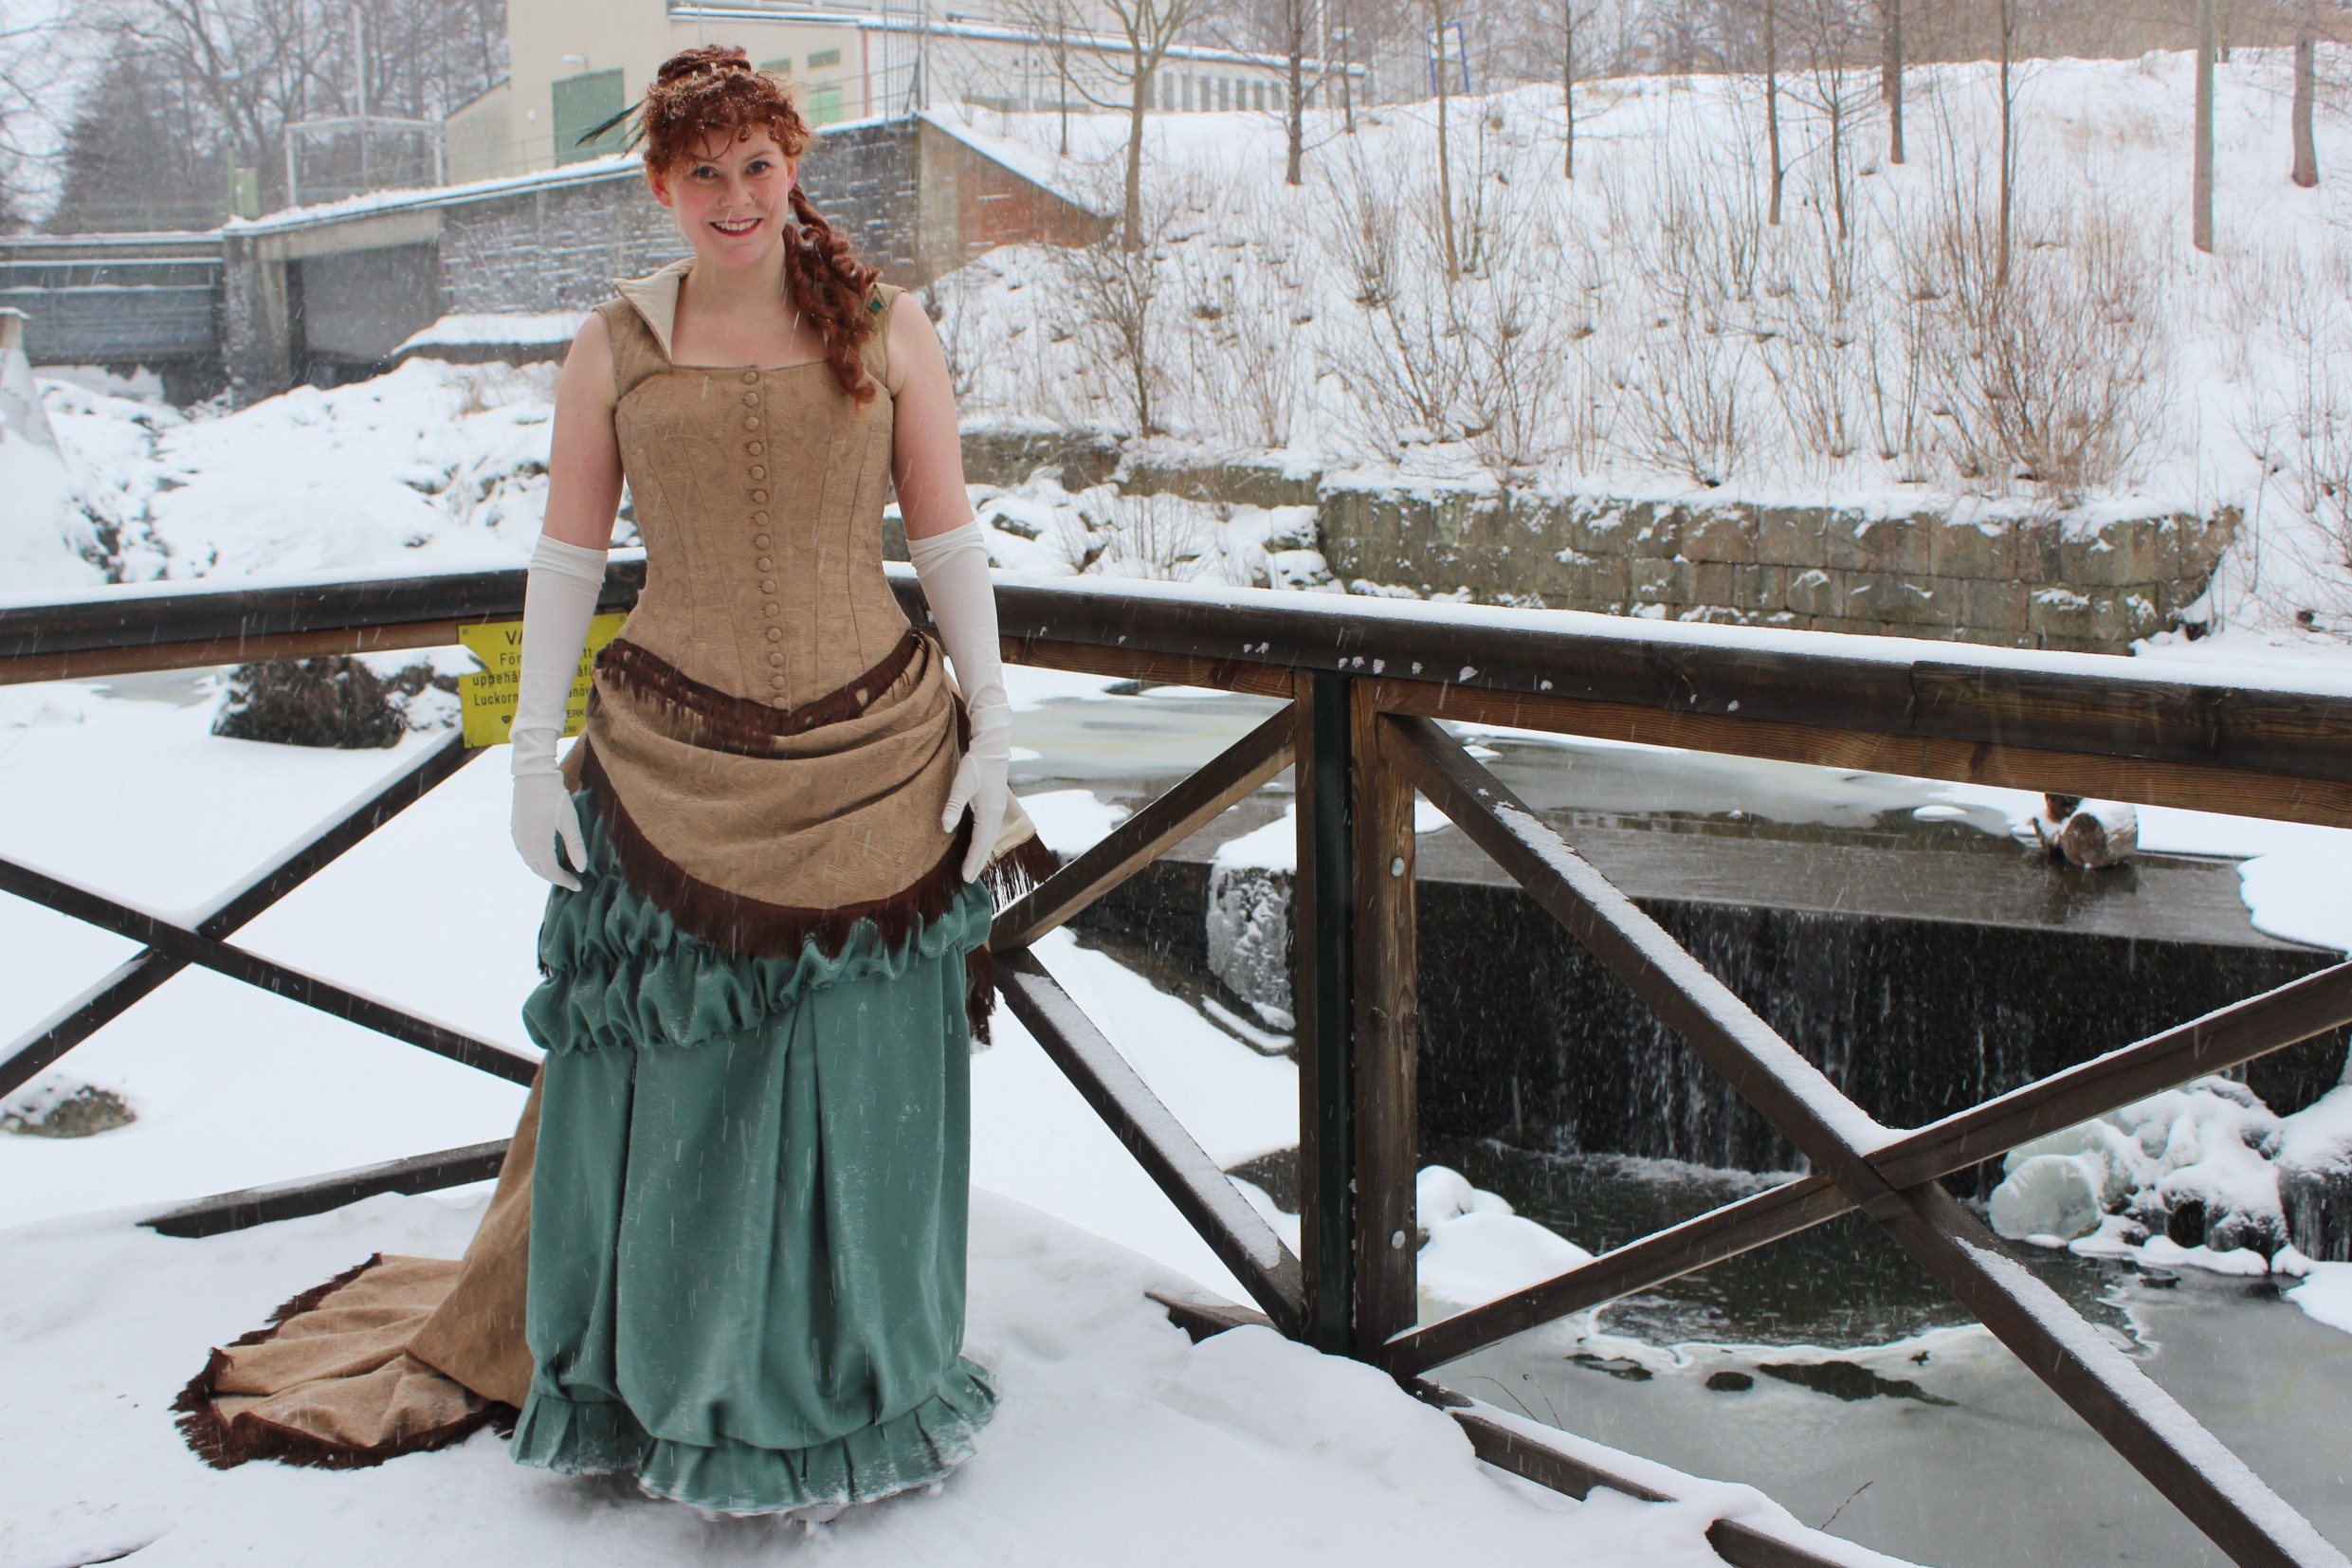
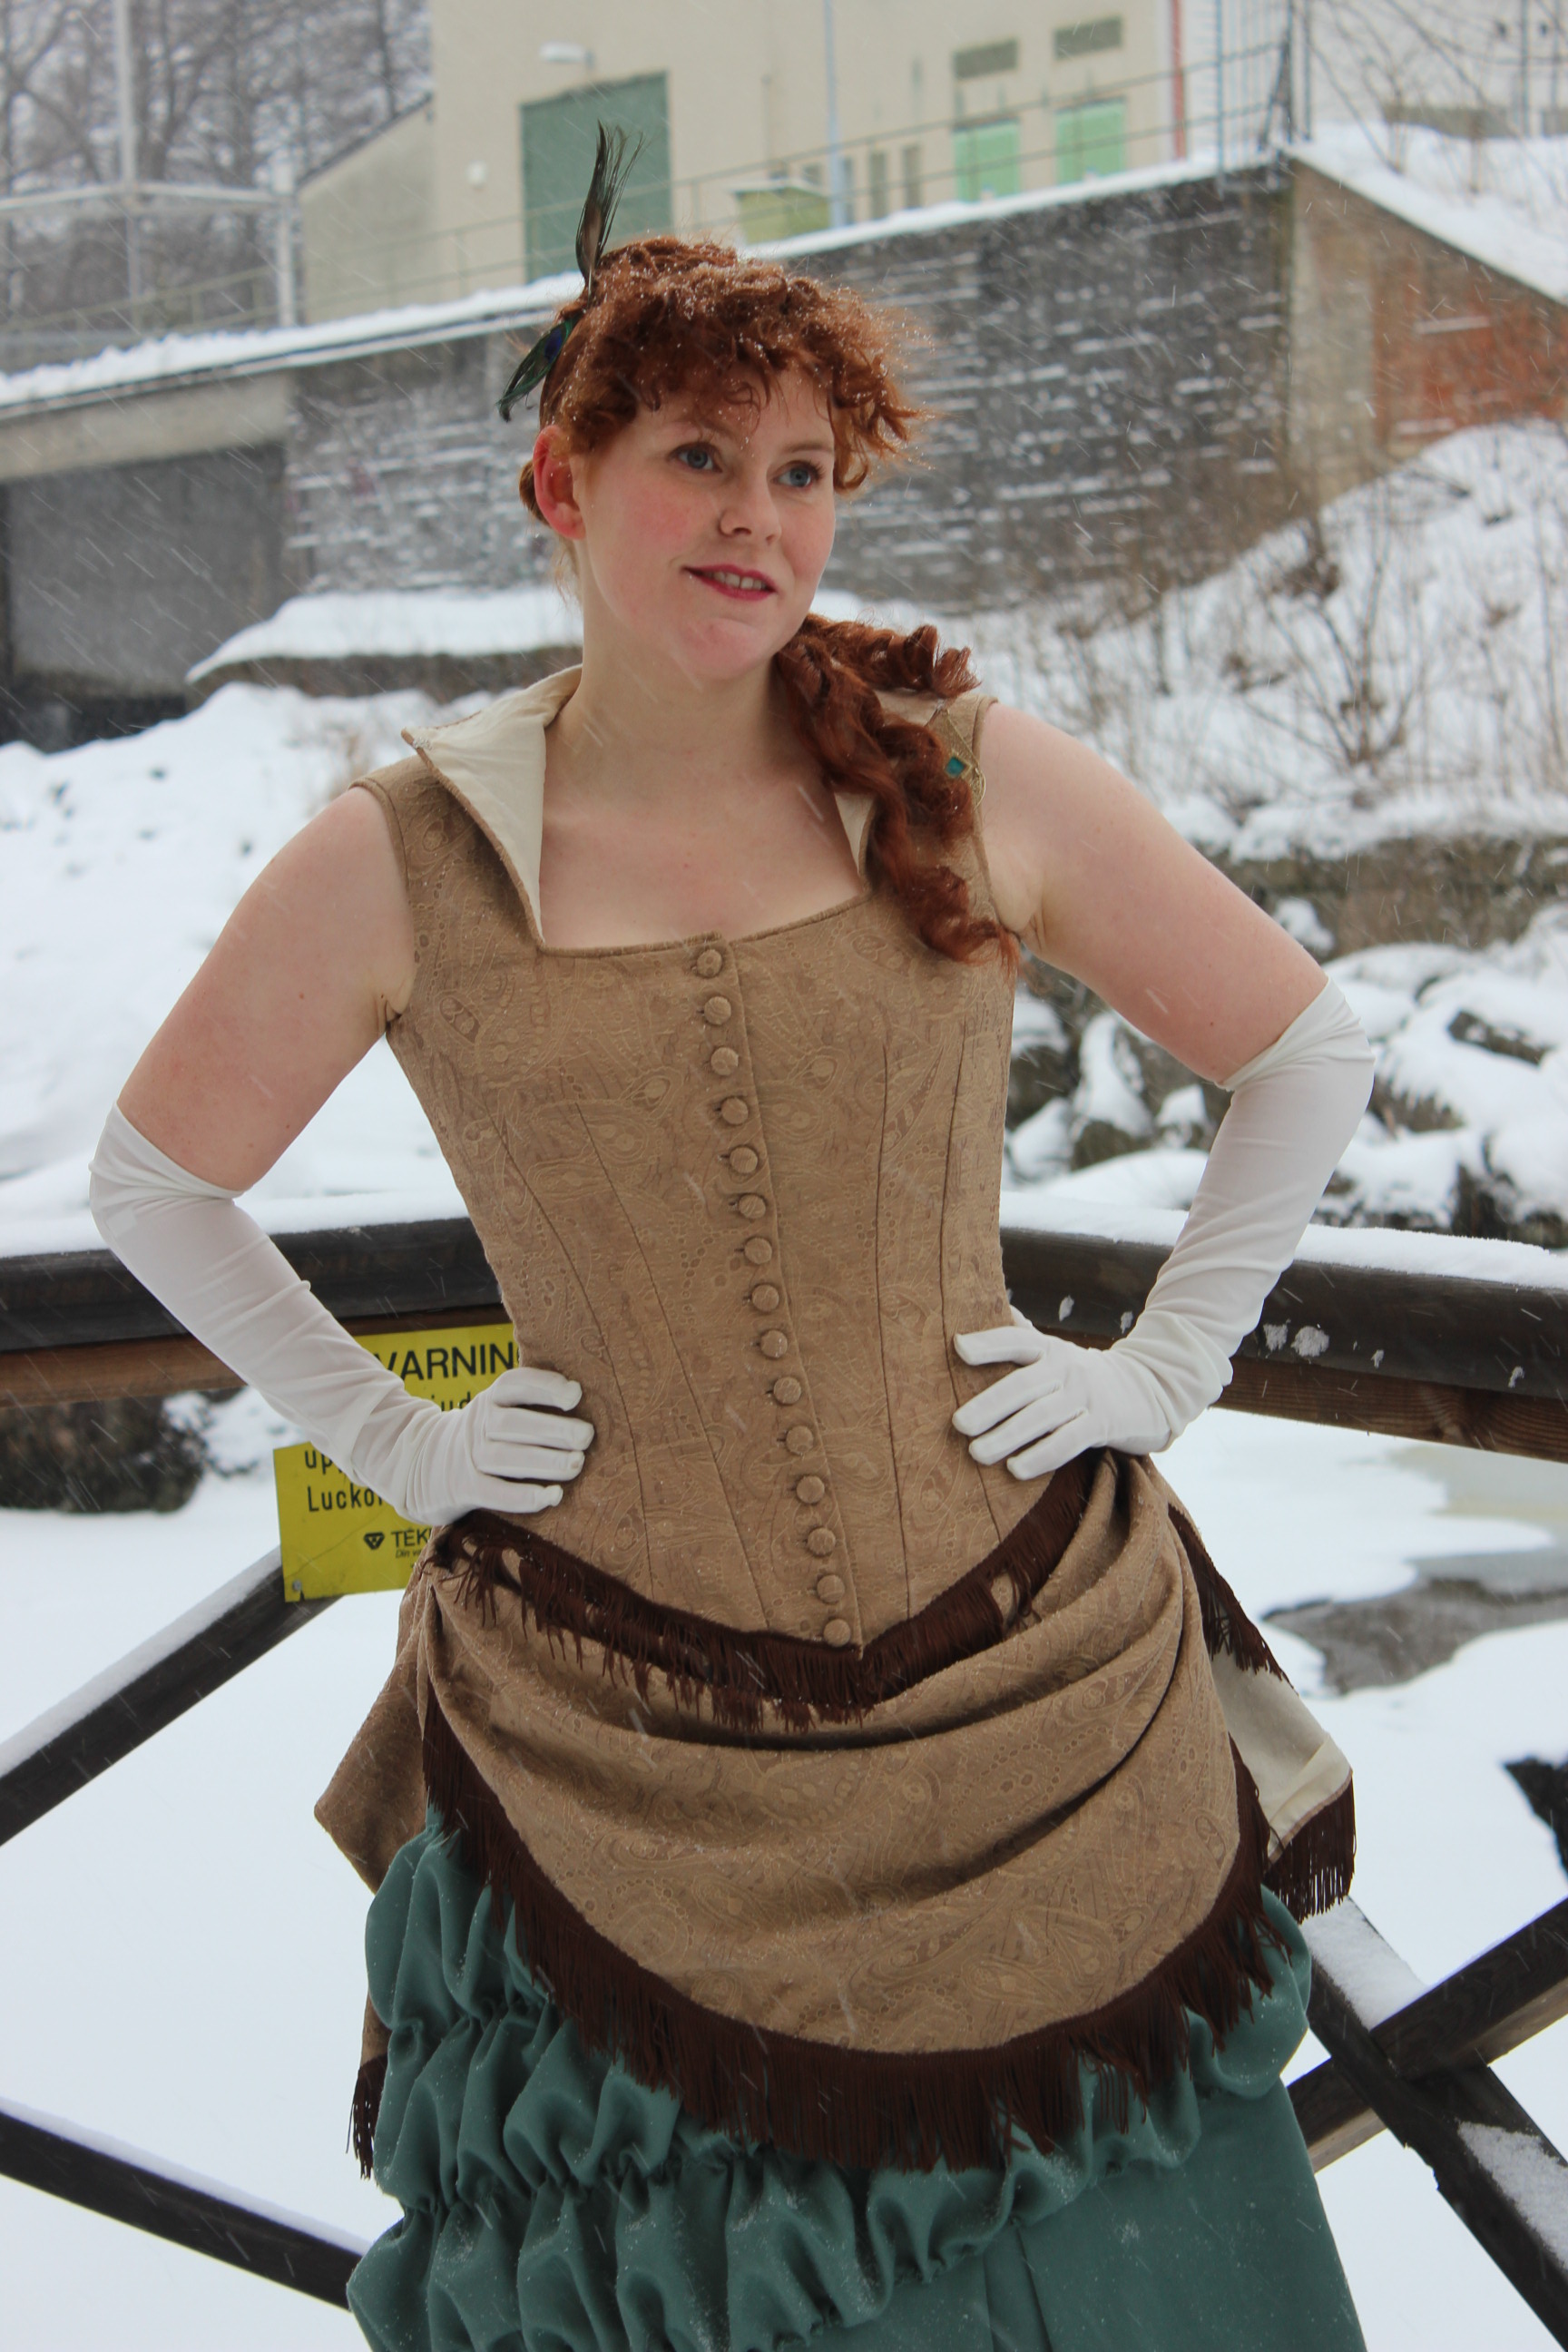
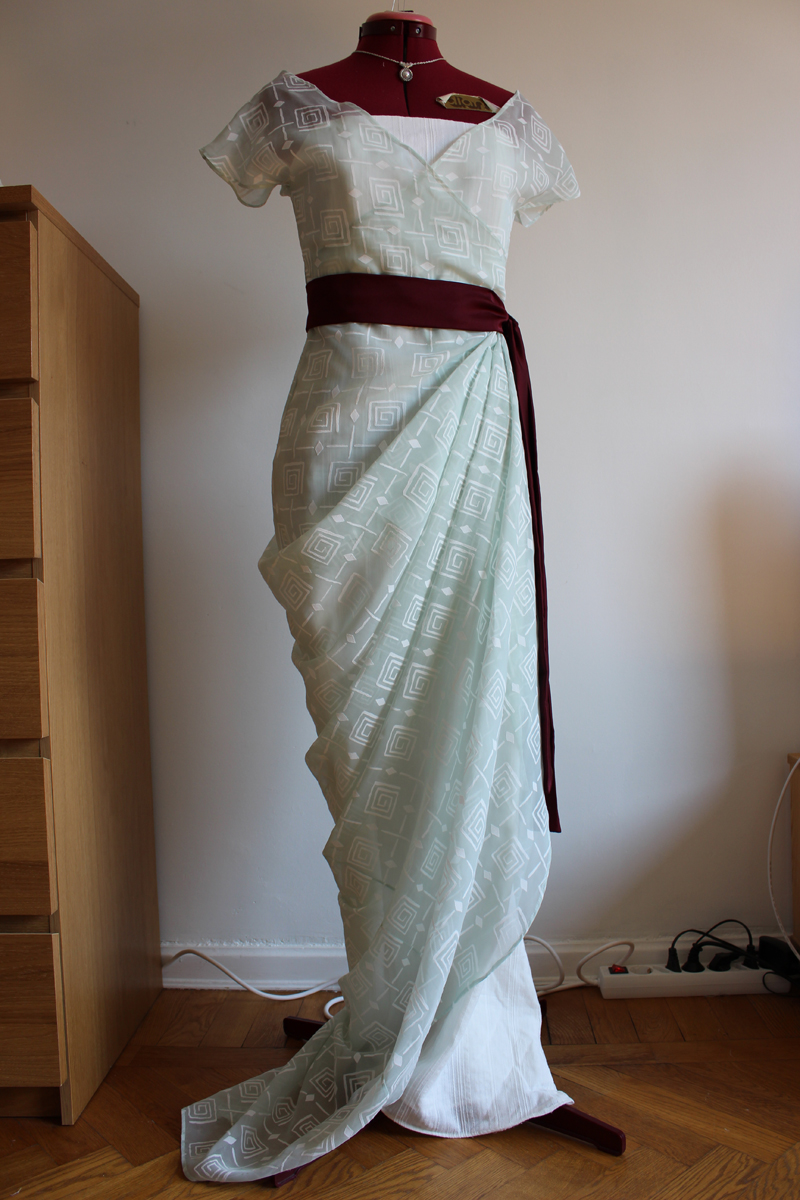
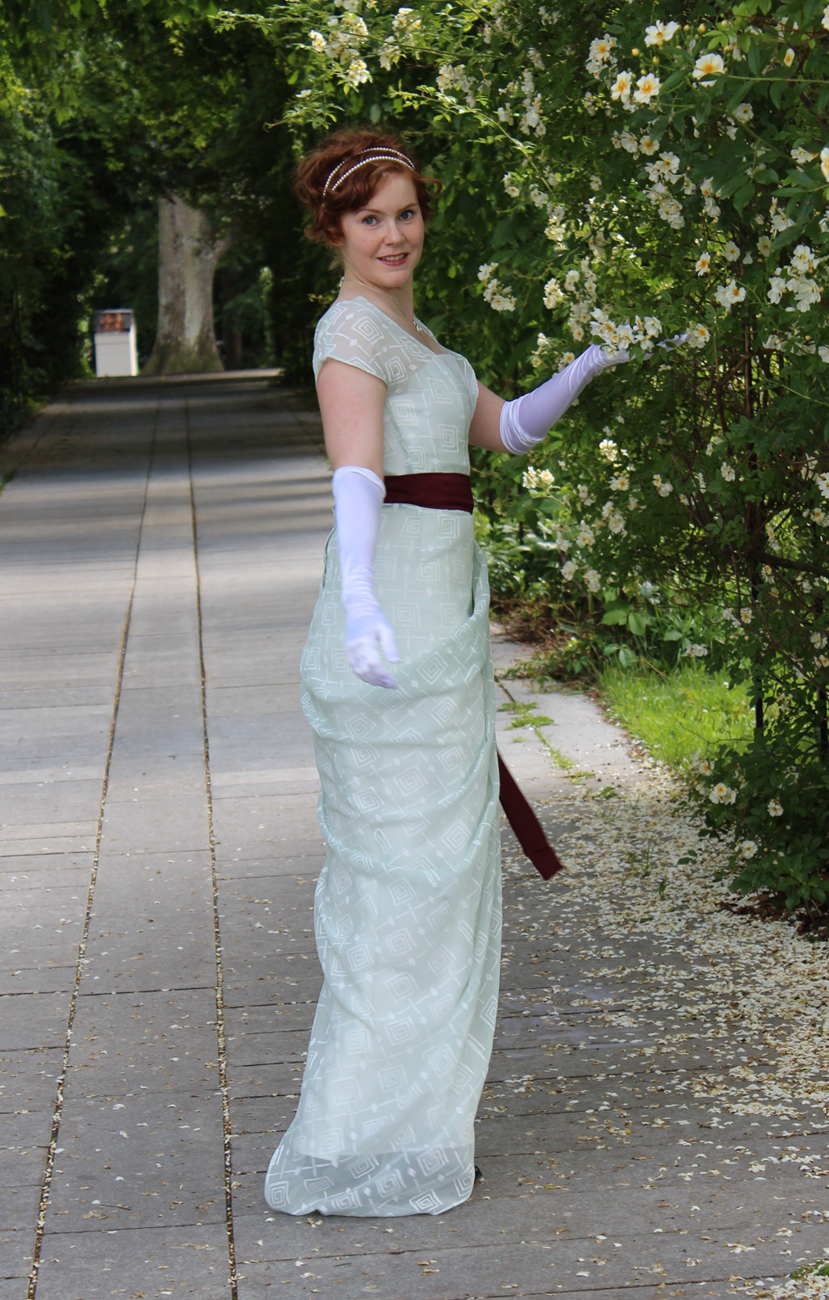
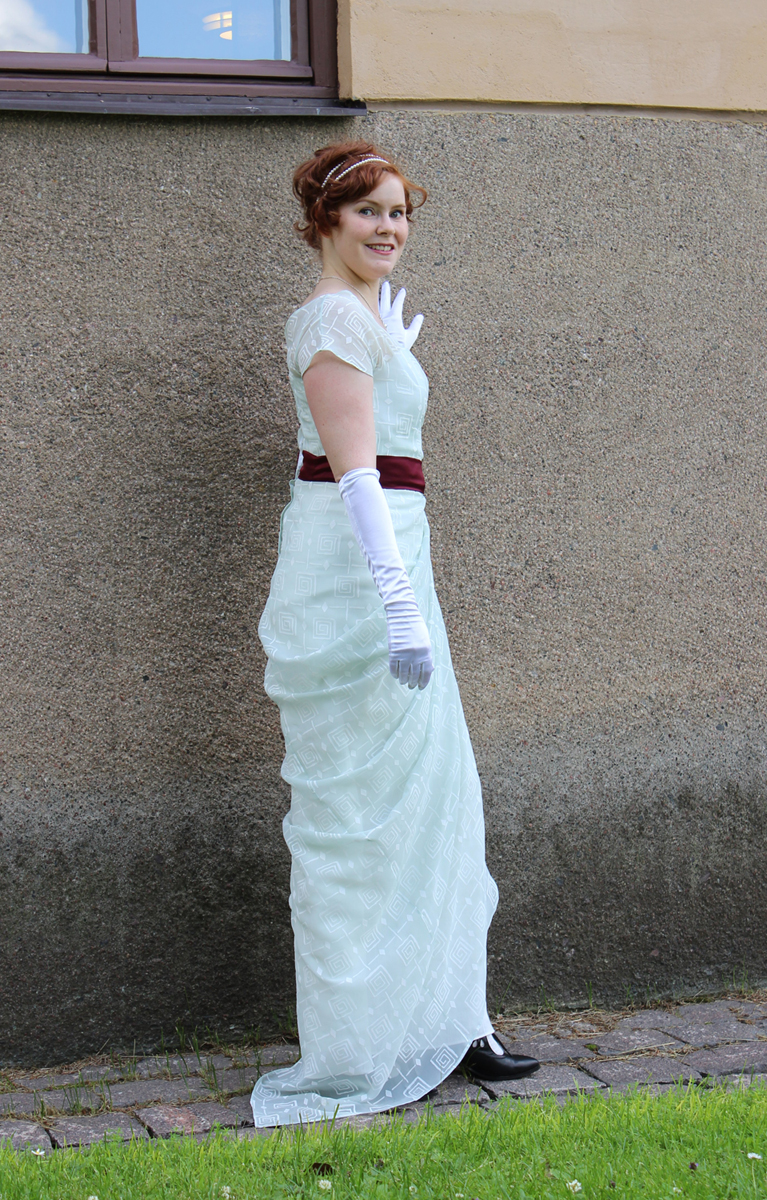
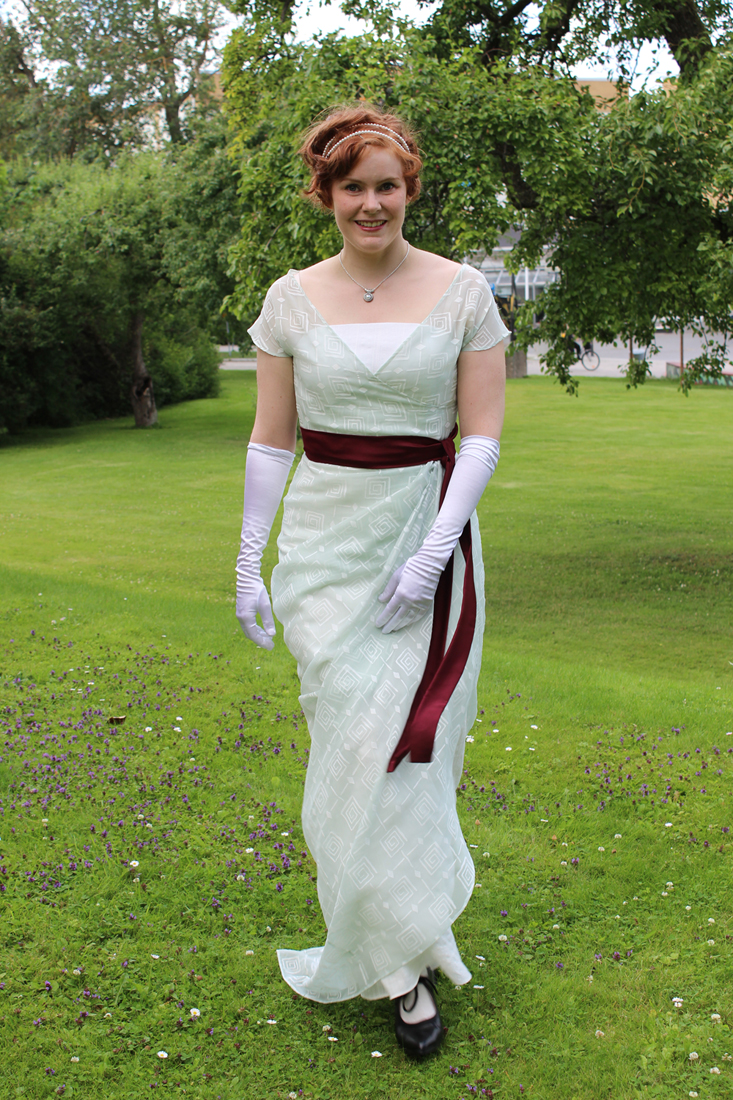
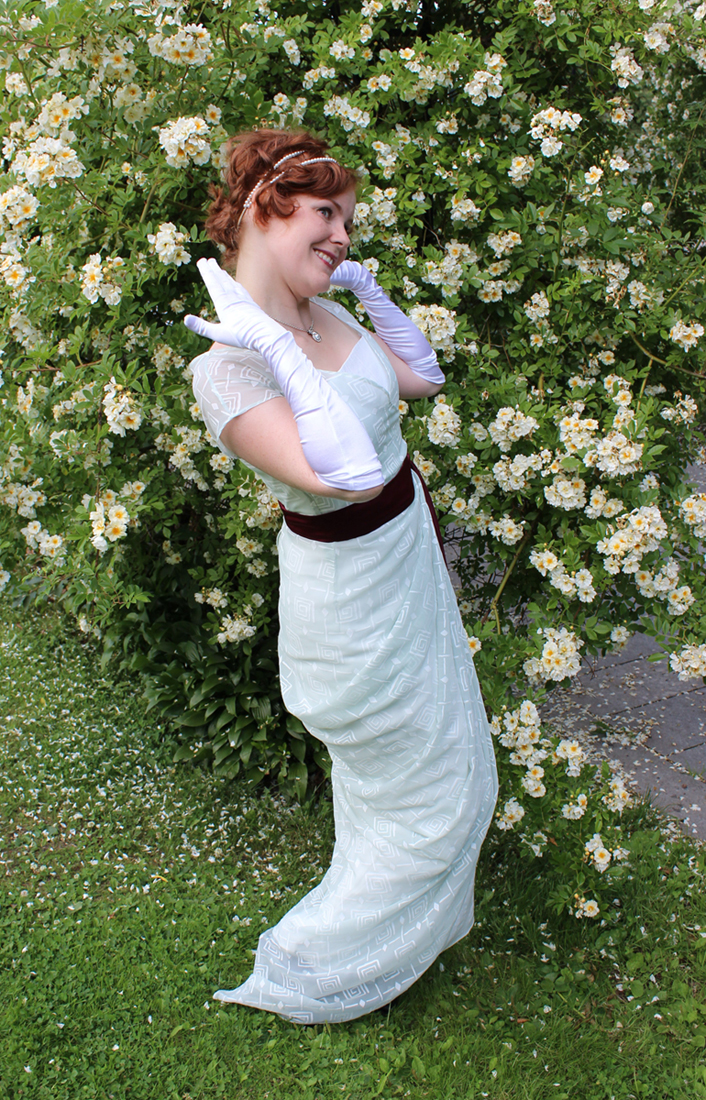
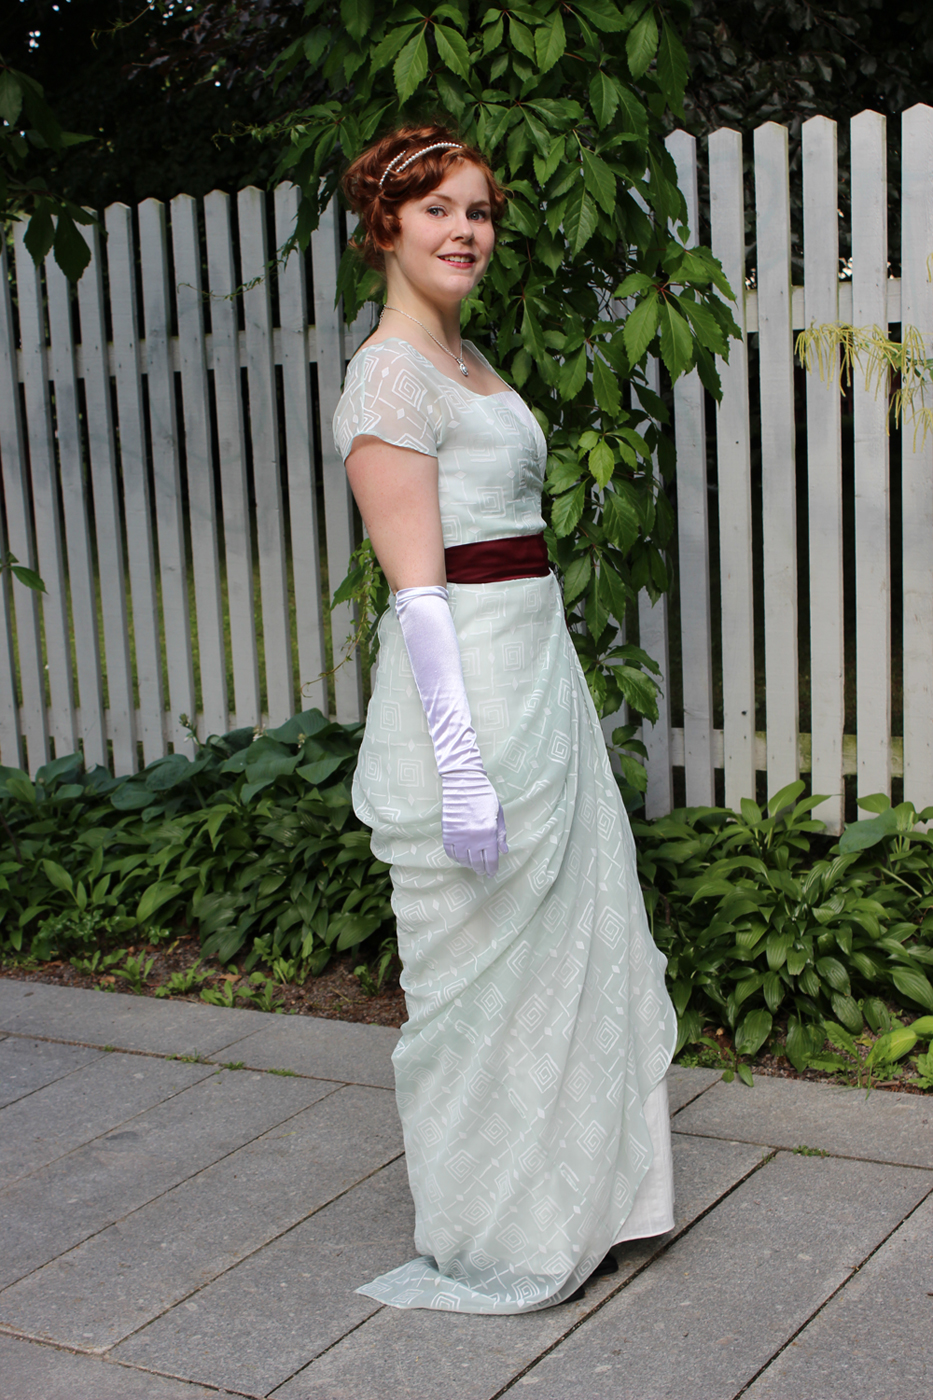
The Finished dress:


The facts:
What: A 18880s Evening gown for my sister to wear at “The Officers Ball 2018”
Pattern: Truly Victorian 462 as a base for the bodice, but the rest is just drafted and draped based on images and how I wanted the gown to look.
Fabric: 5 of purple cotton/polyester satin, 1 m of purple polyester chiffong, 0,5 m of black twill for interlining and 0,5 m of black cotton for lining.
Notions: Thread, 6 m of silver bias tape, 9 m of cotton cord for piping, 3 m of lace for decoration, button hole tread for eyelets, 3 m of black cord for lacing, 4 m bis tape for boning channels 14 zip-ties for boning, 0,5 m black cotton ribbon to tie the train, 6 pair of heavy hook and eyes to keep the bodice from riding up.
Time: Way to long…
All and all I think I put about 40 hours of work over the course of 5 months into this gown, so not that much, but to me it never seamed to be finished.
Cost: Since every part of this gown came either from the sales bin or my own left over stash, it was a real cheap project. And I estimate about 500 Sek (50 Usd) all and all.
Final thoughts: I’m fairly happy with it. My sister loves it, and that’s really what counts, but there are things I wished I’d had time to do better.