Here comes the finishing steps of making my yellow Caraco jacket (read Part 1).
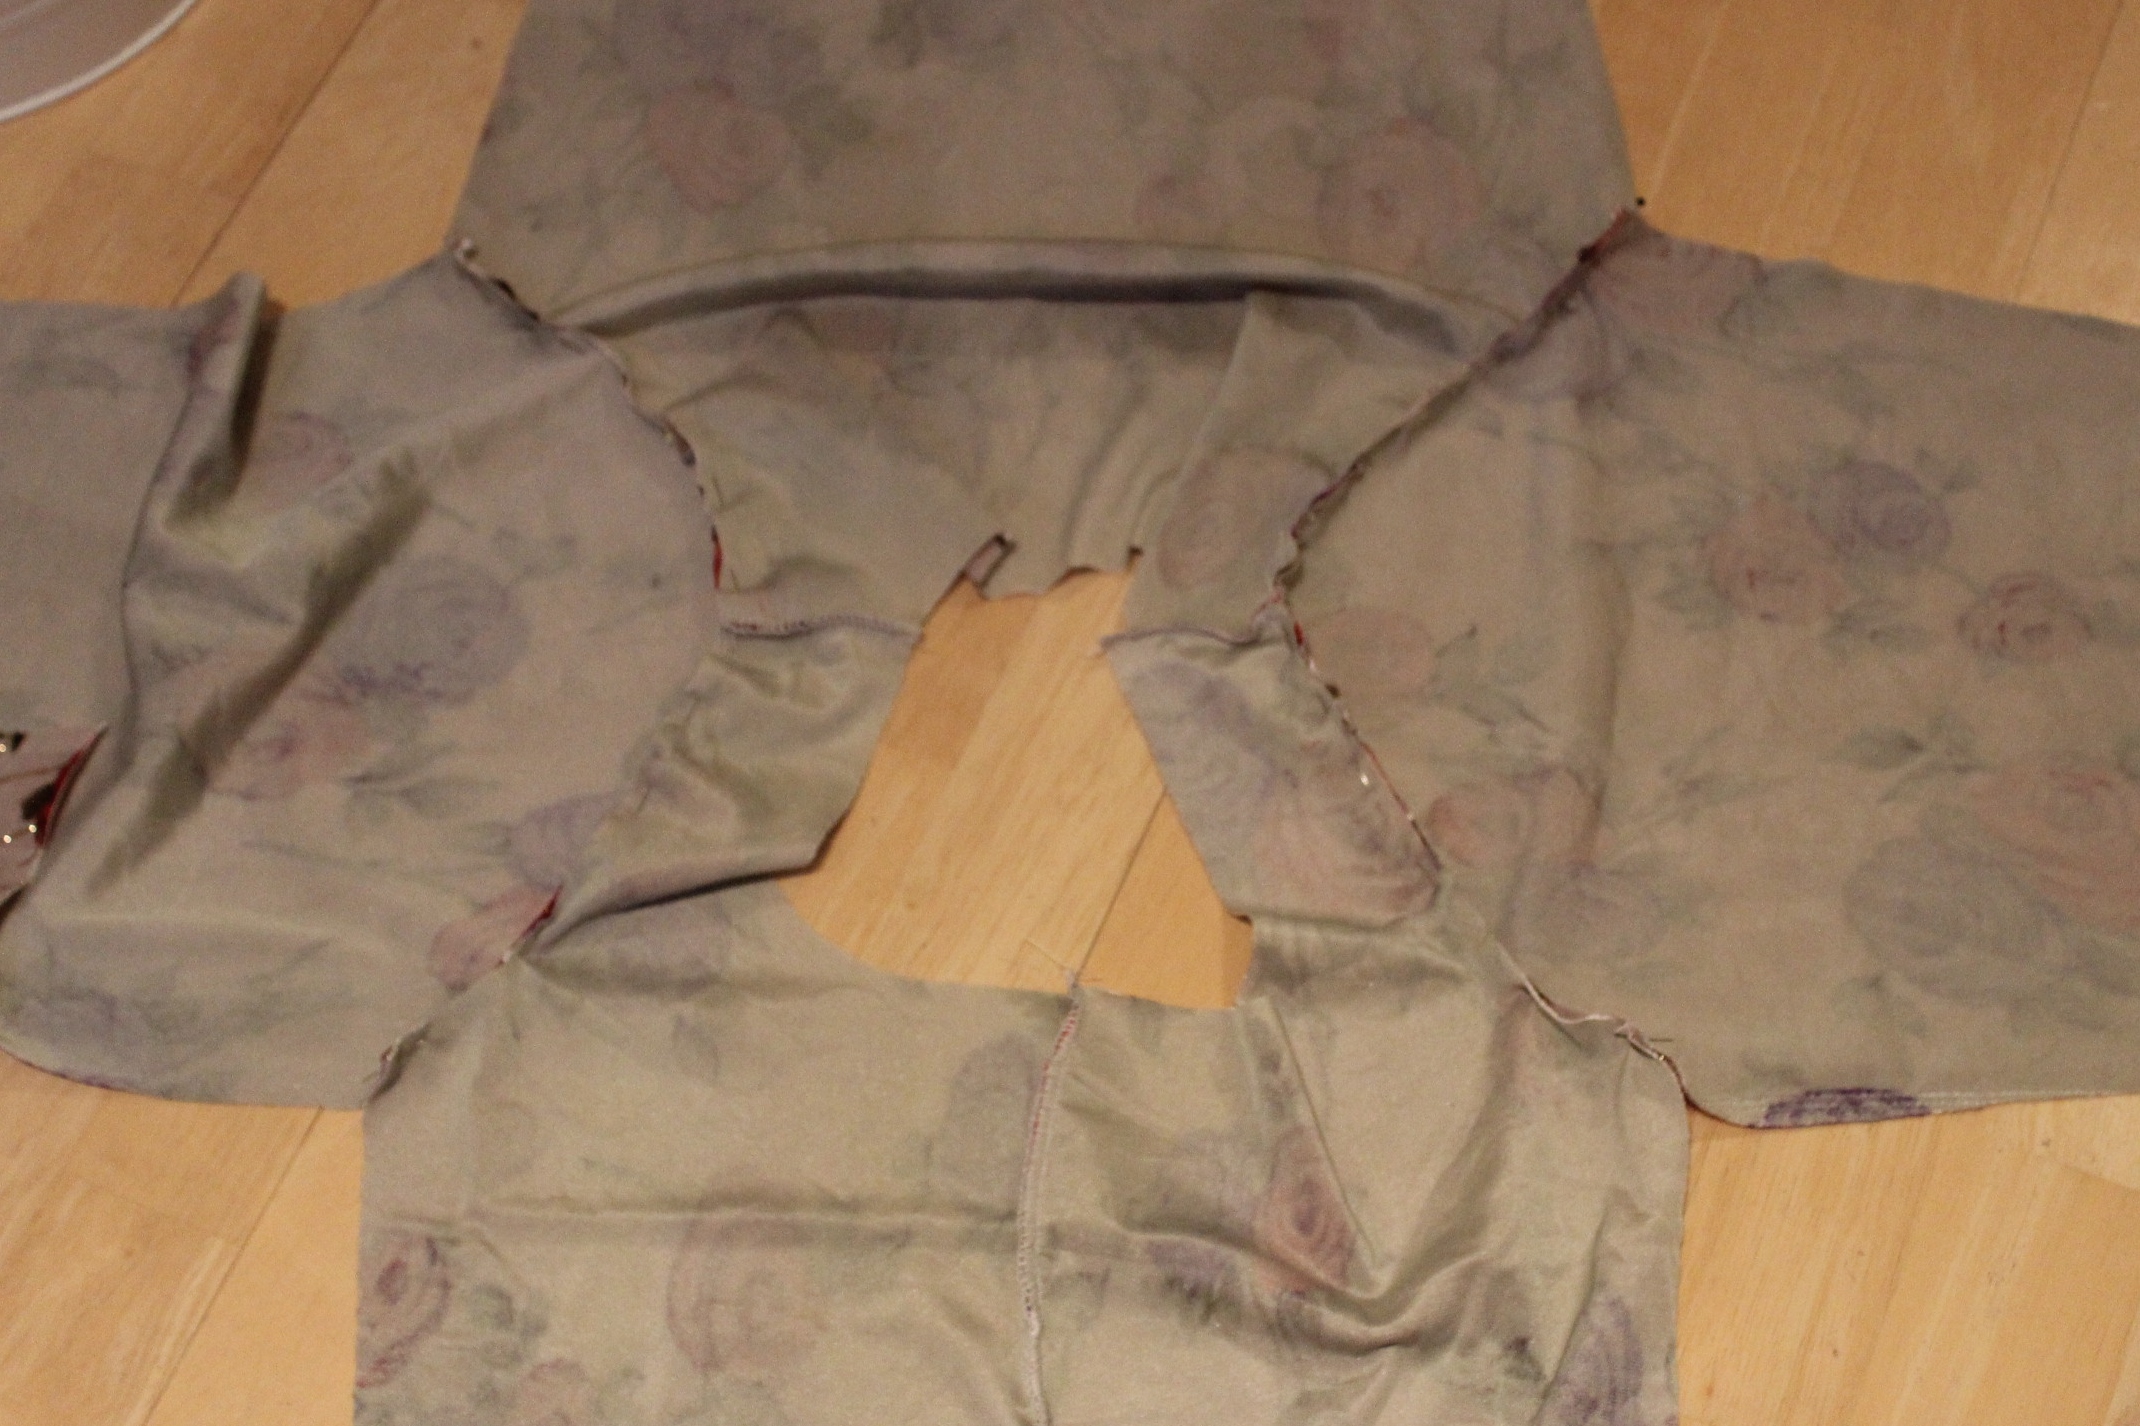
After the assembling of the bodice, and insertion of the lining to the jacket, it was time for the clouser.
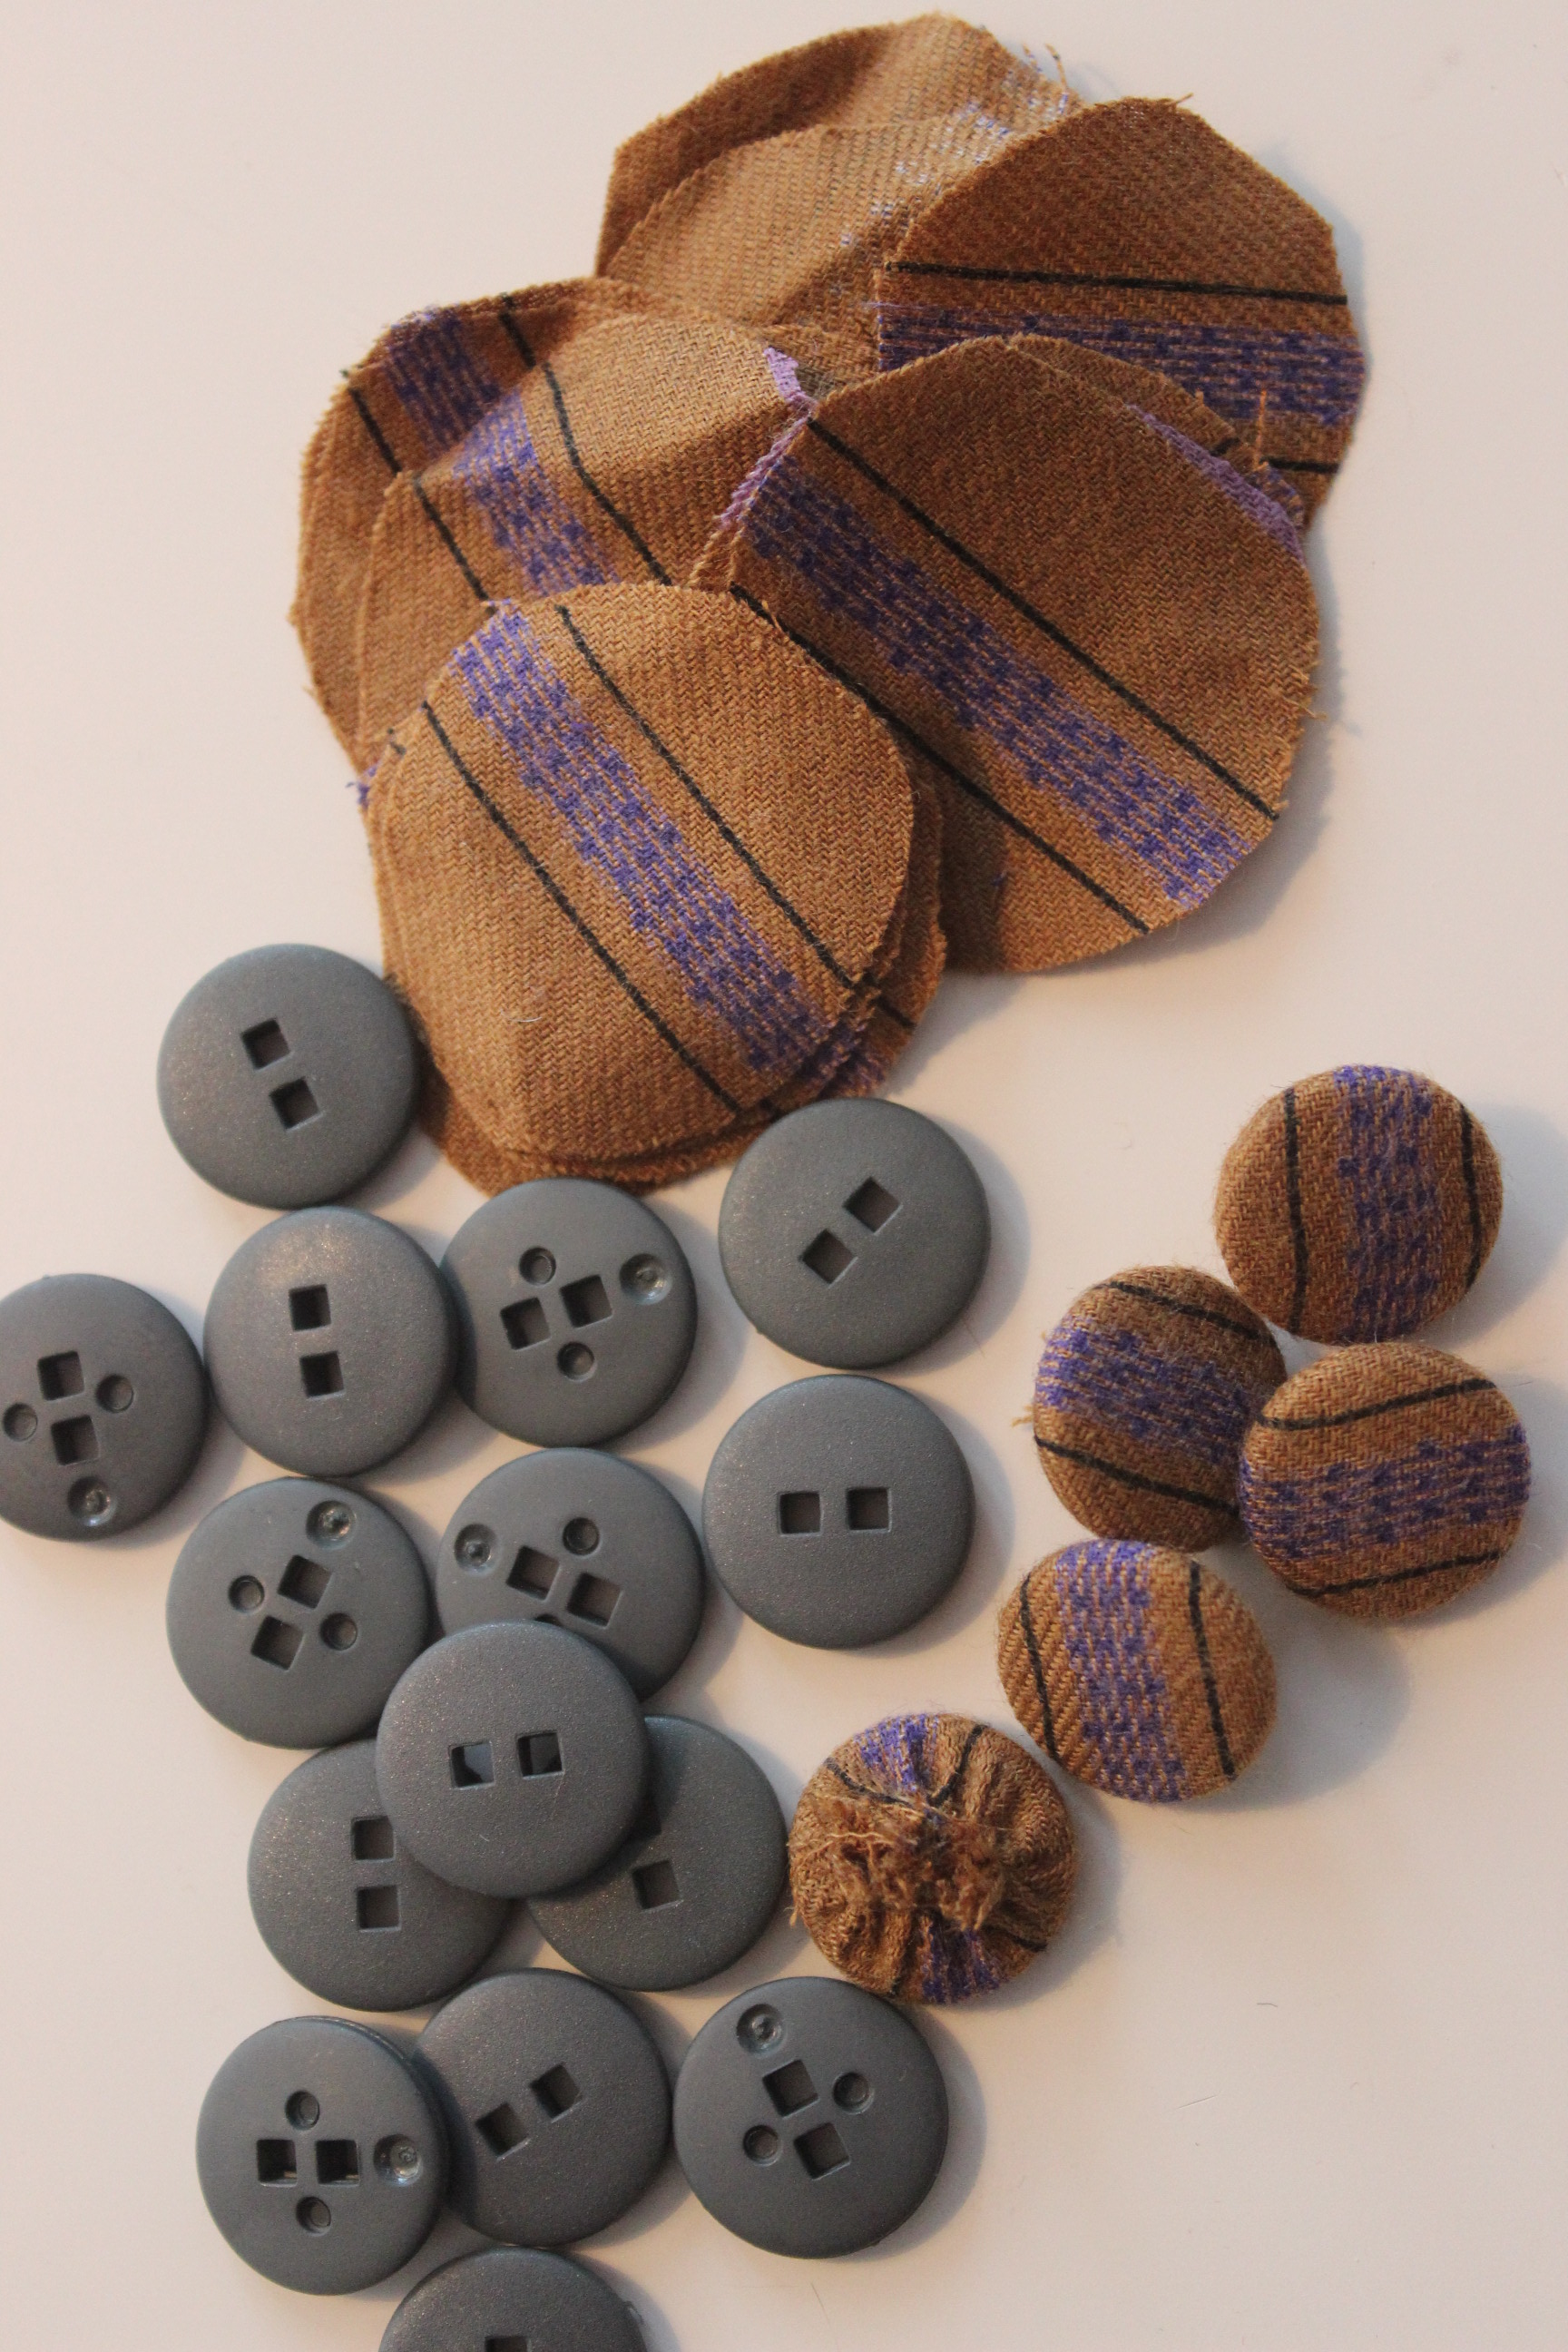
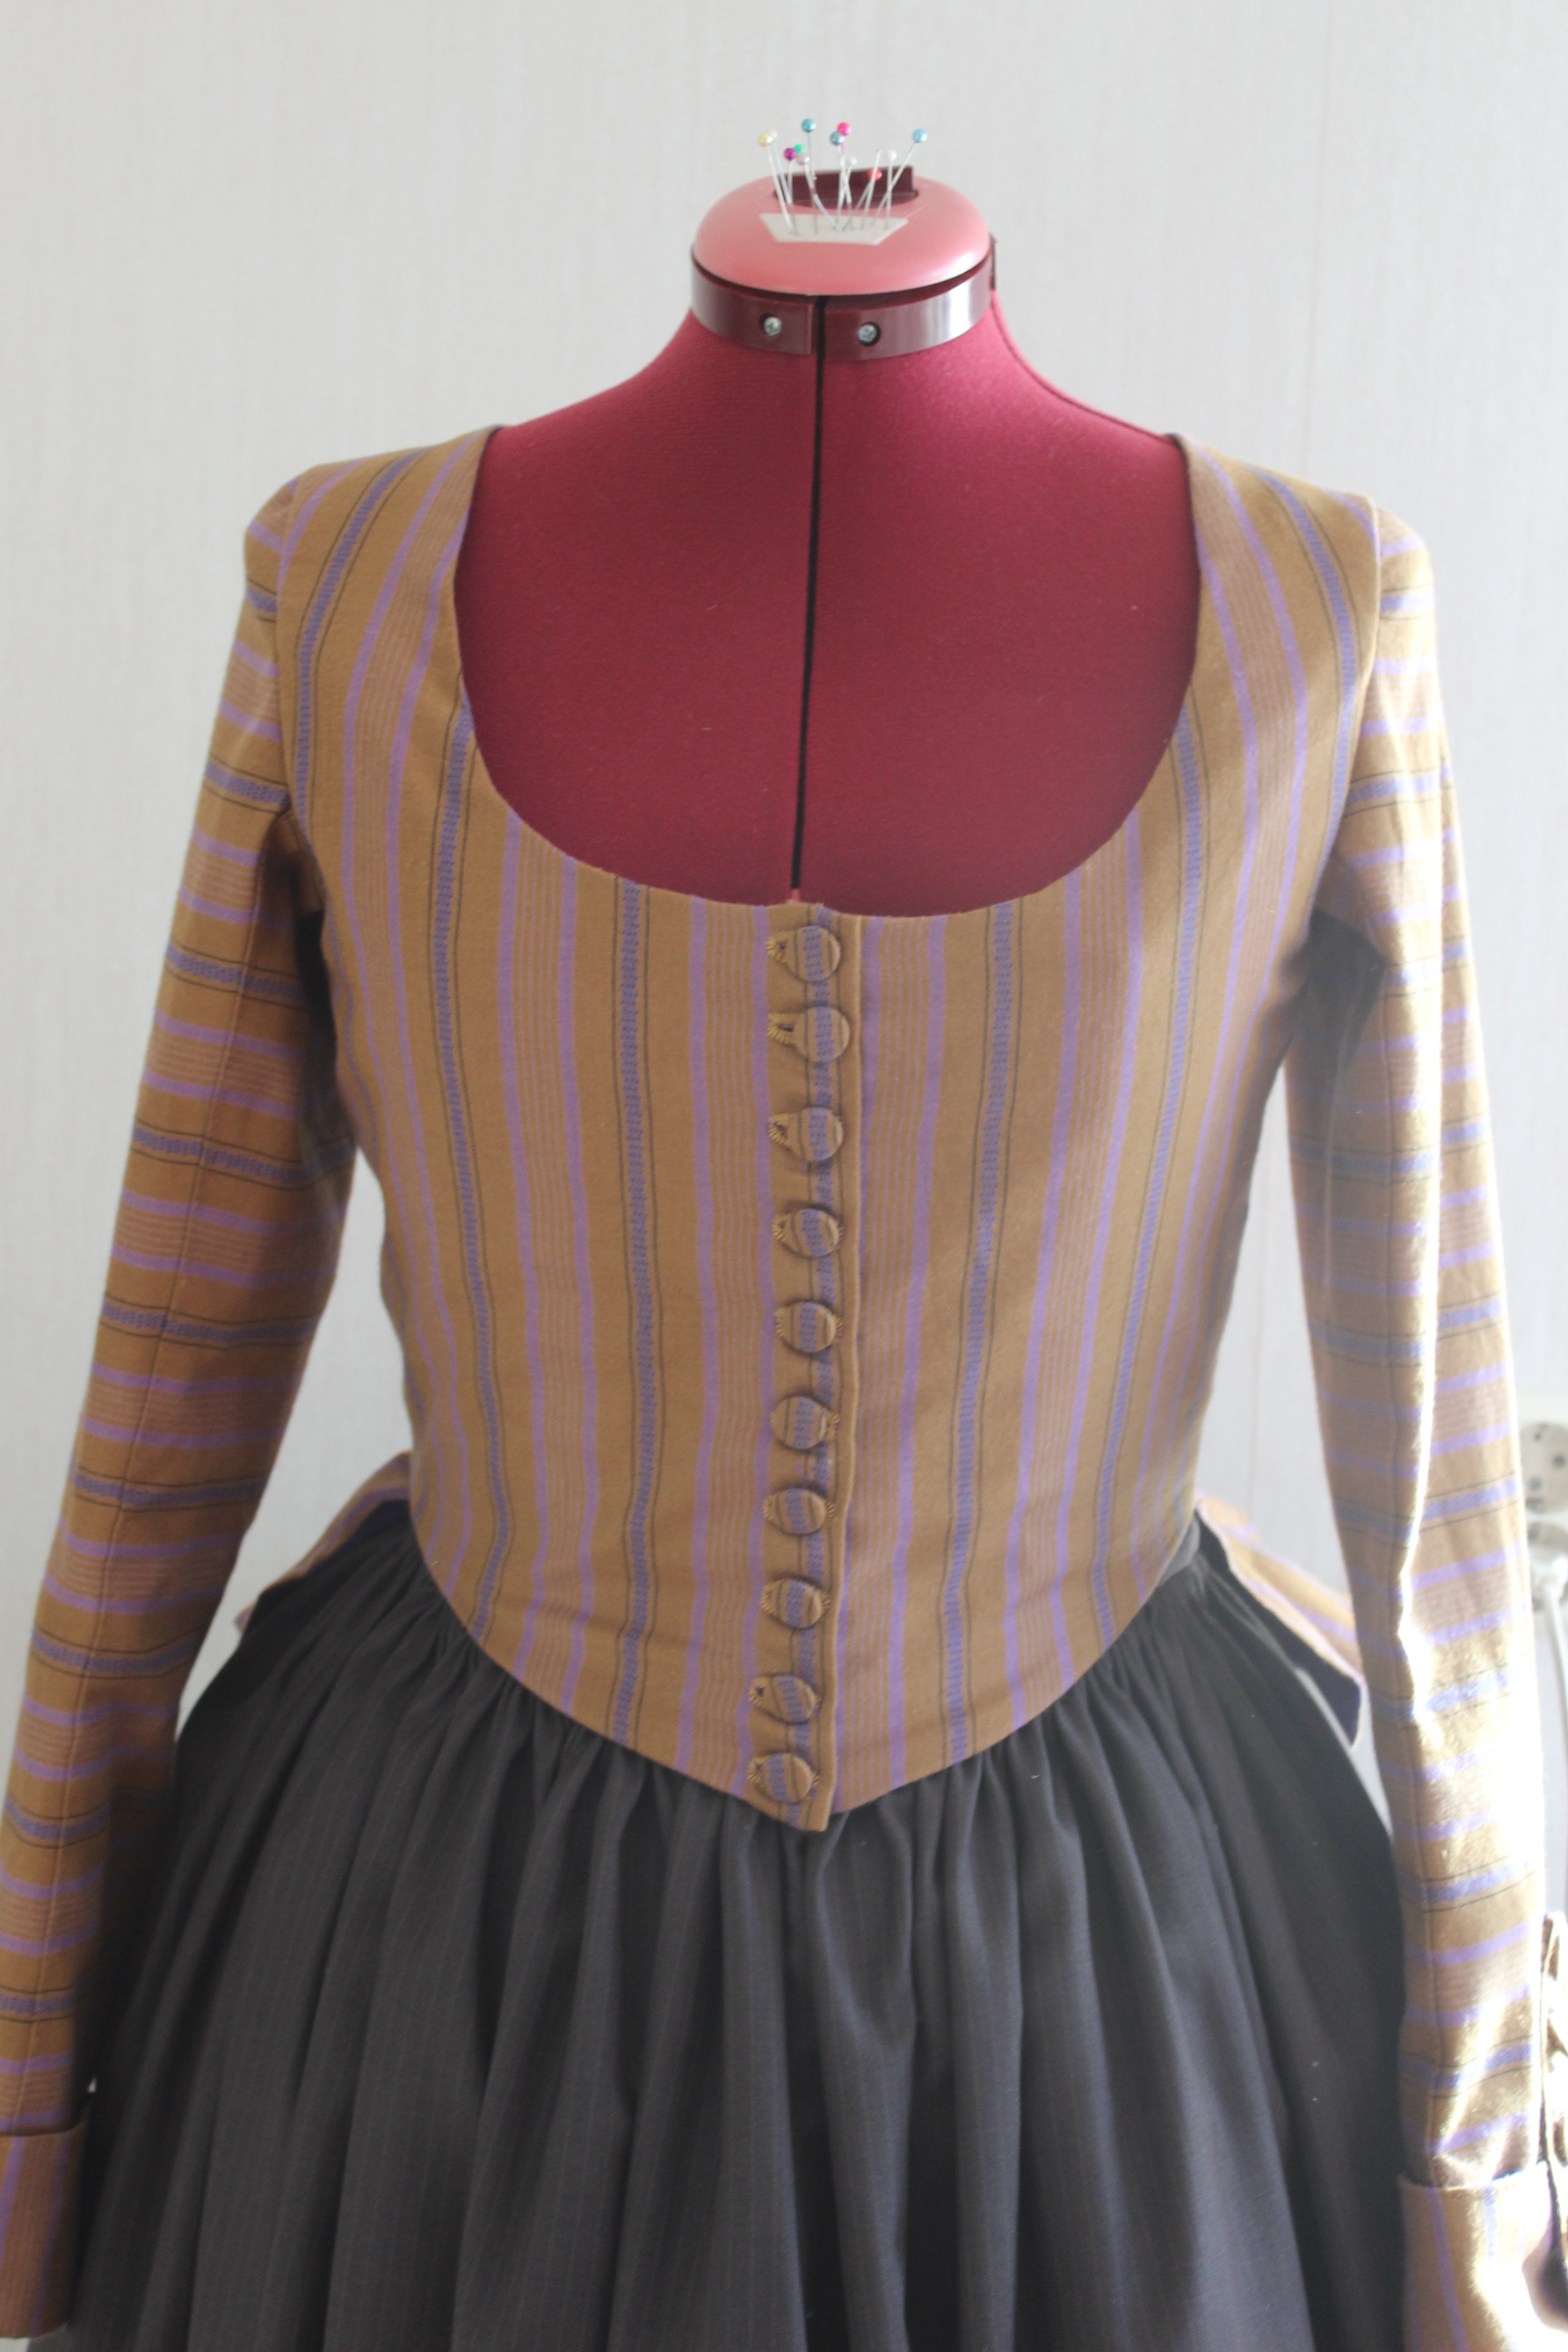
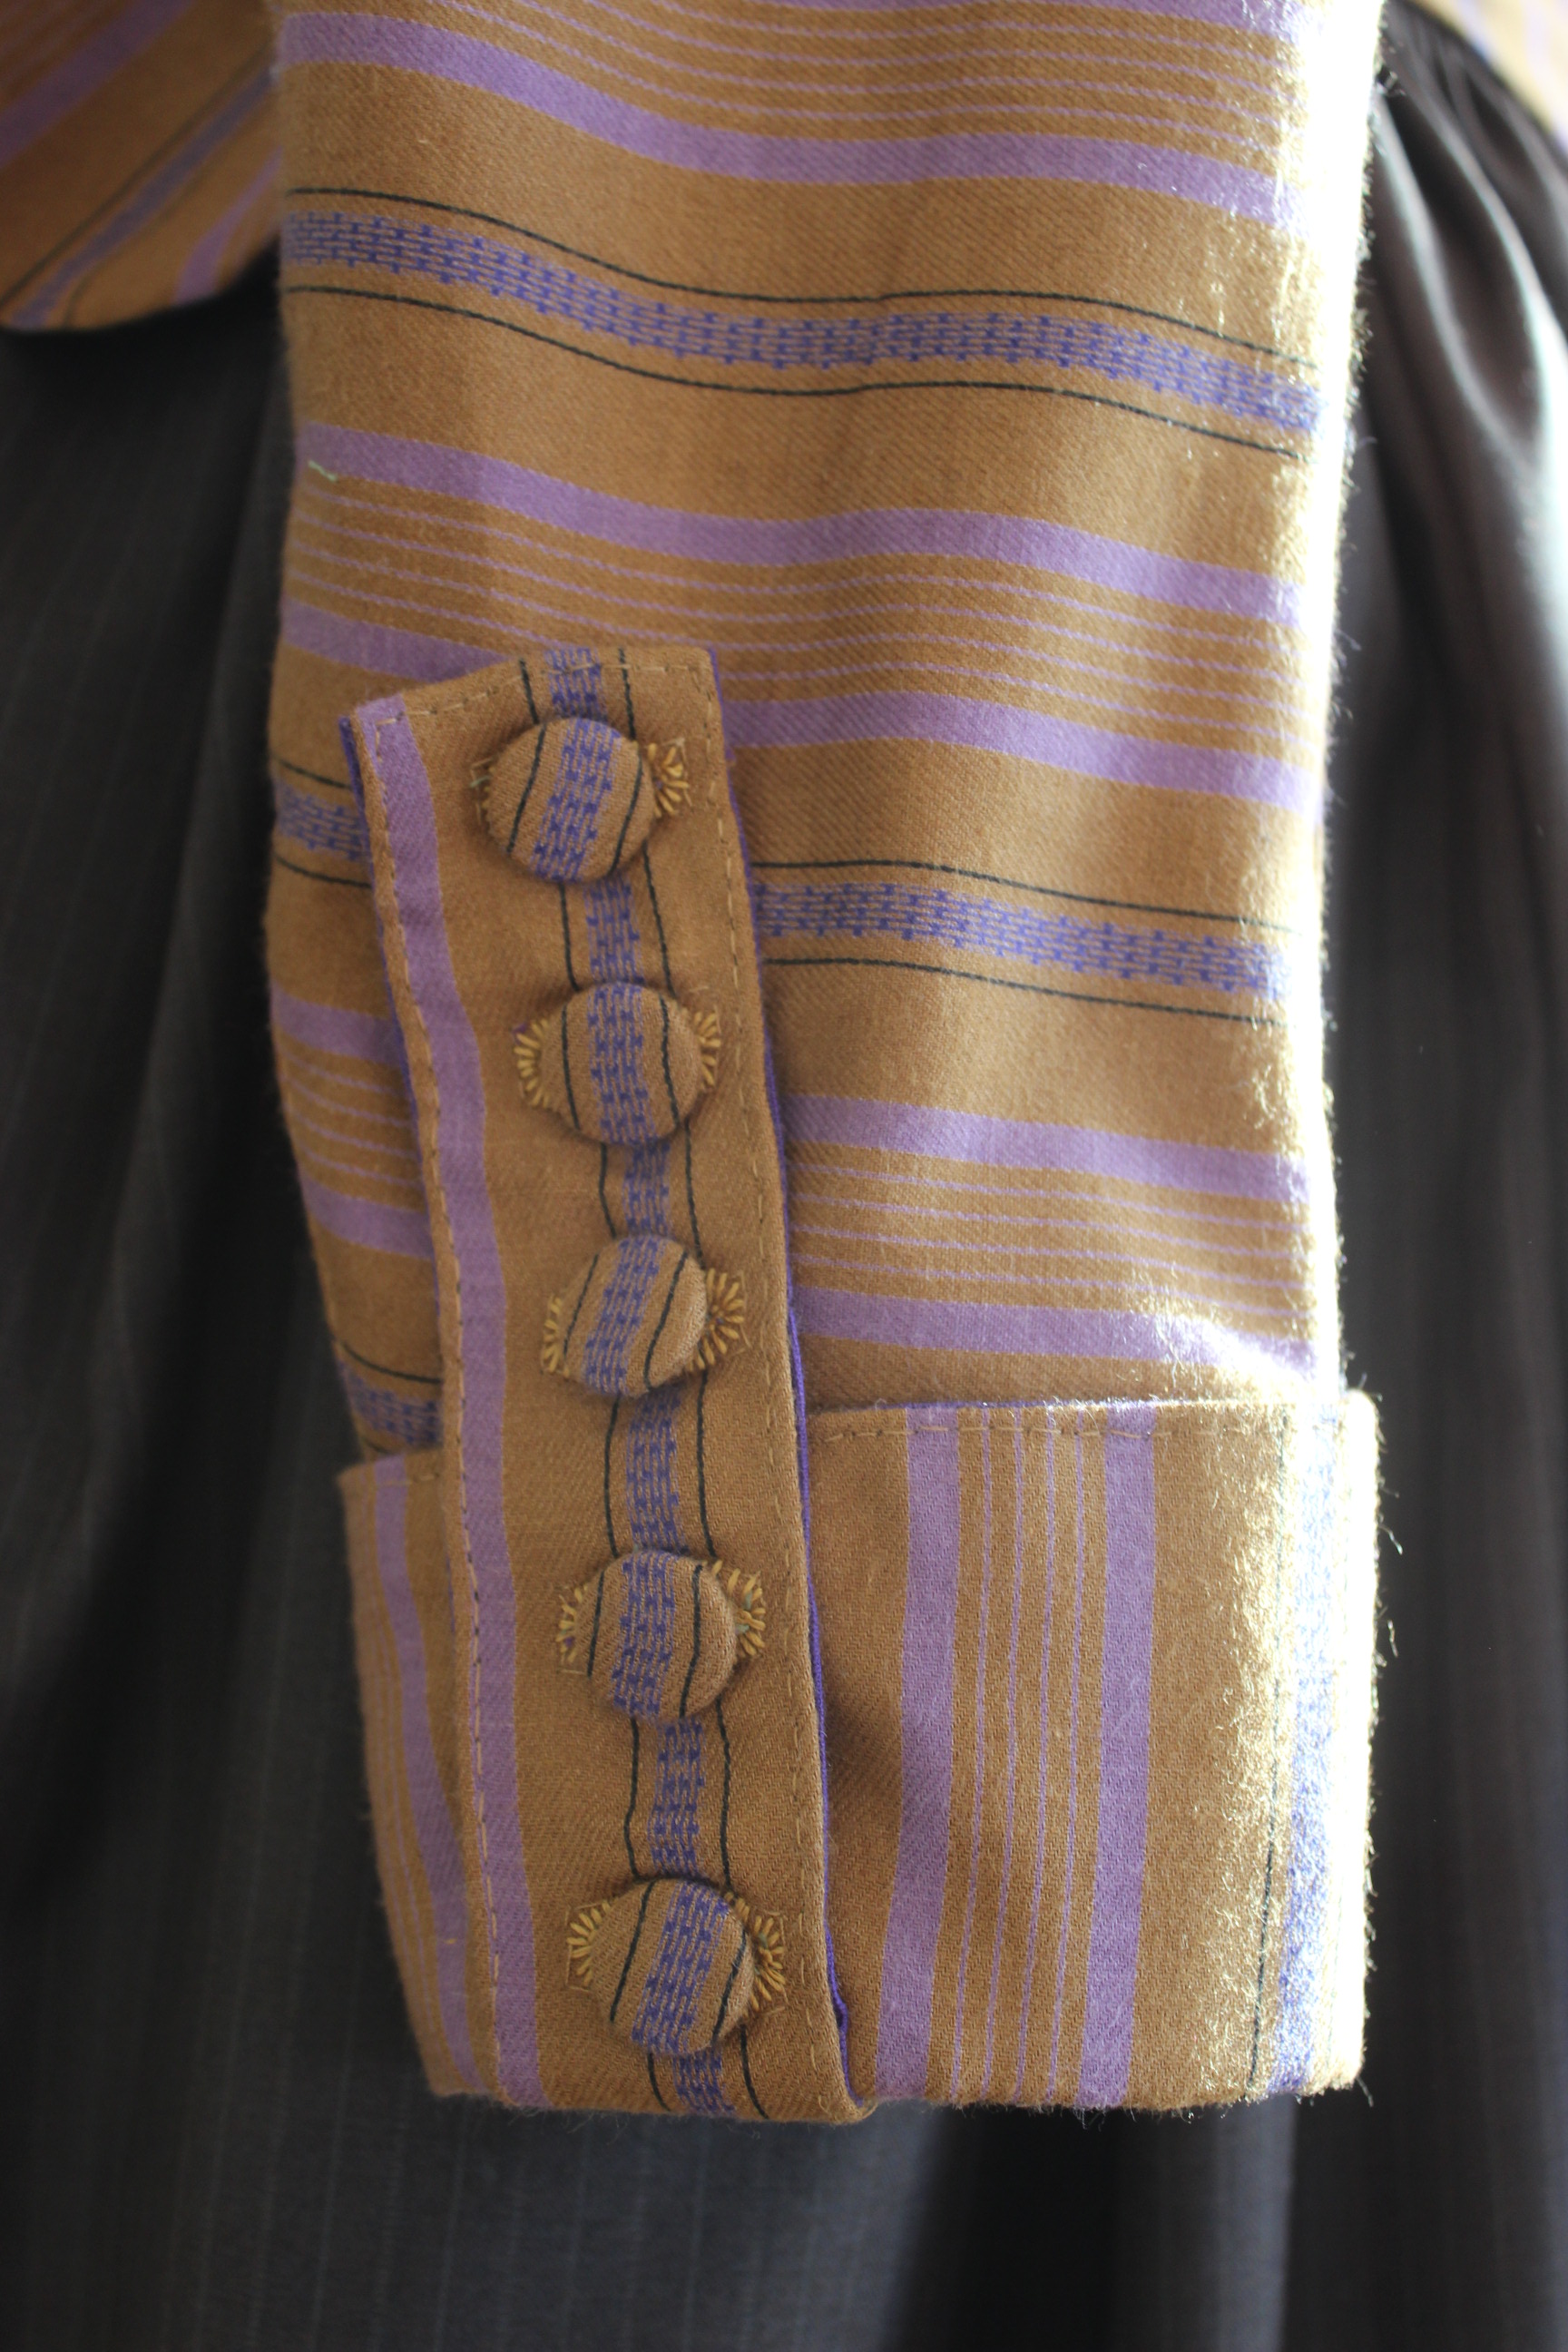
Since it is was a stash-busting challenge, I knew I needed to find some solution in my own bins. And after some searching I did. 20 small buttons. Trying out the layout on the pattern, 10 on the bodice front and 5 each on the sleeves.
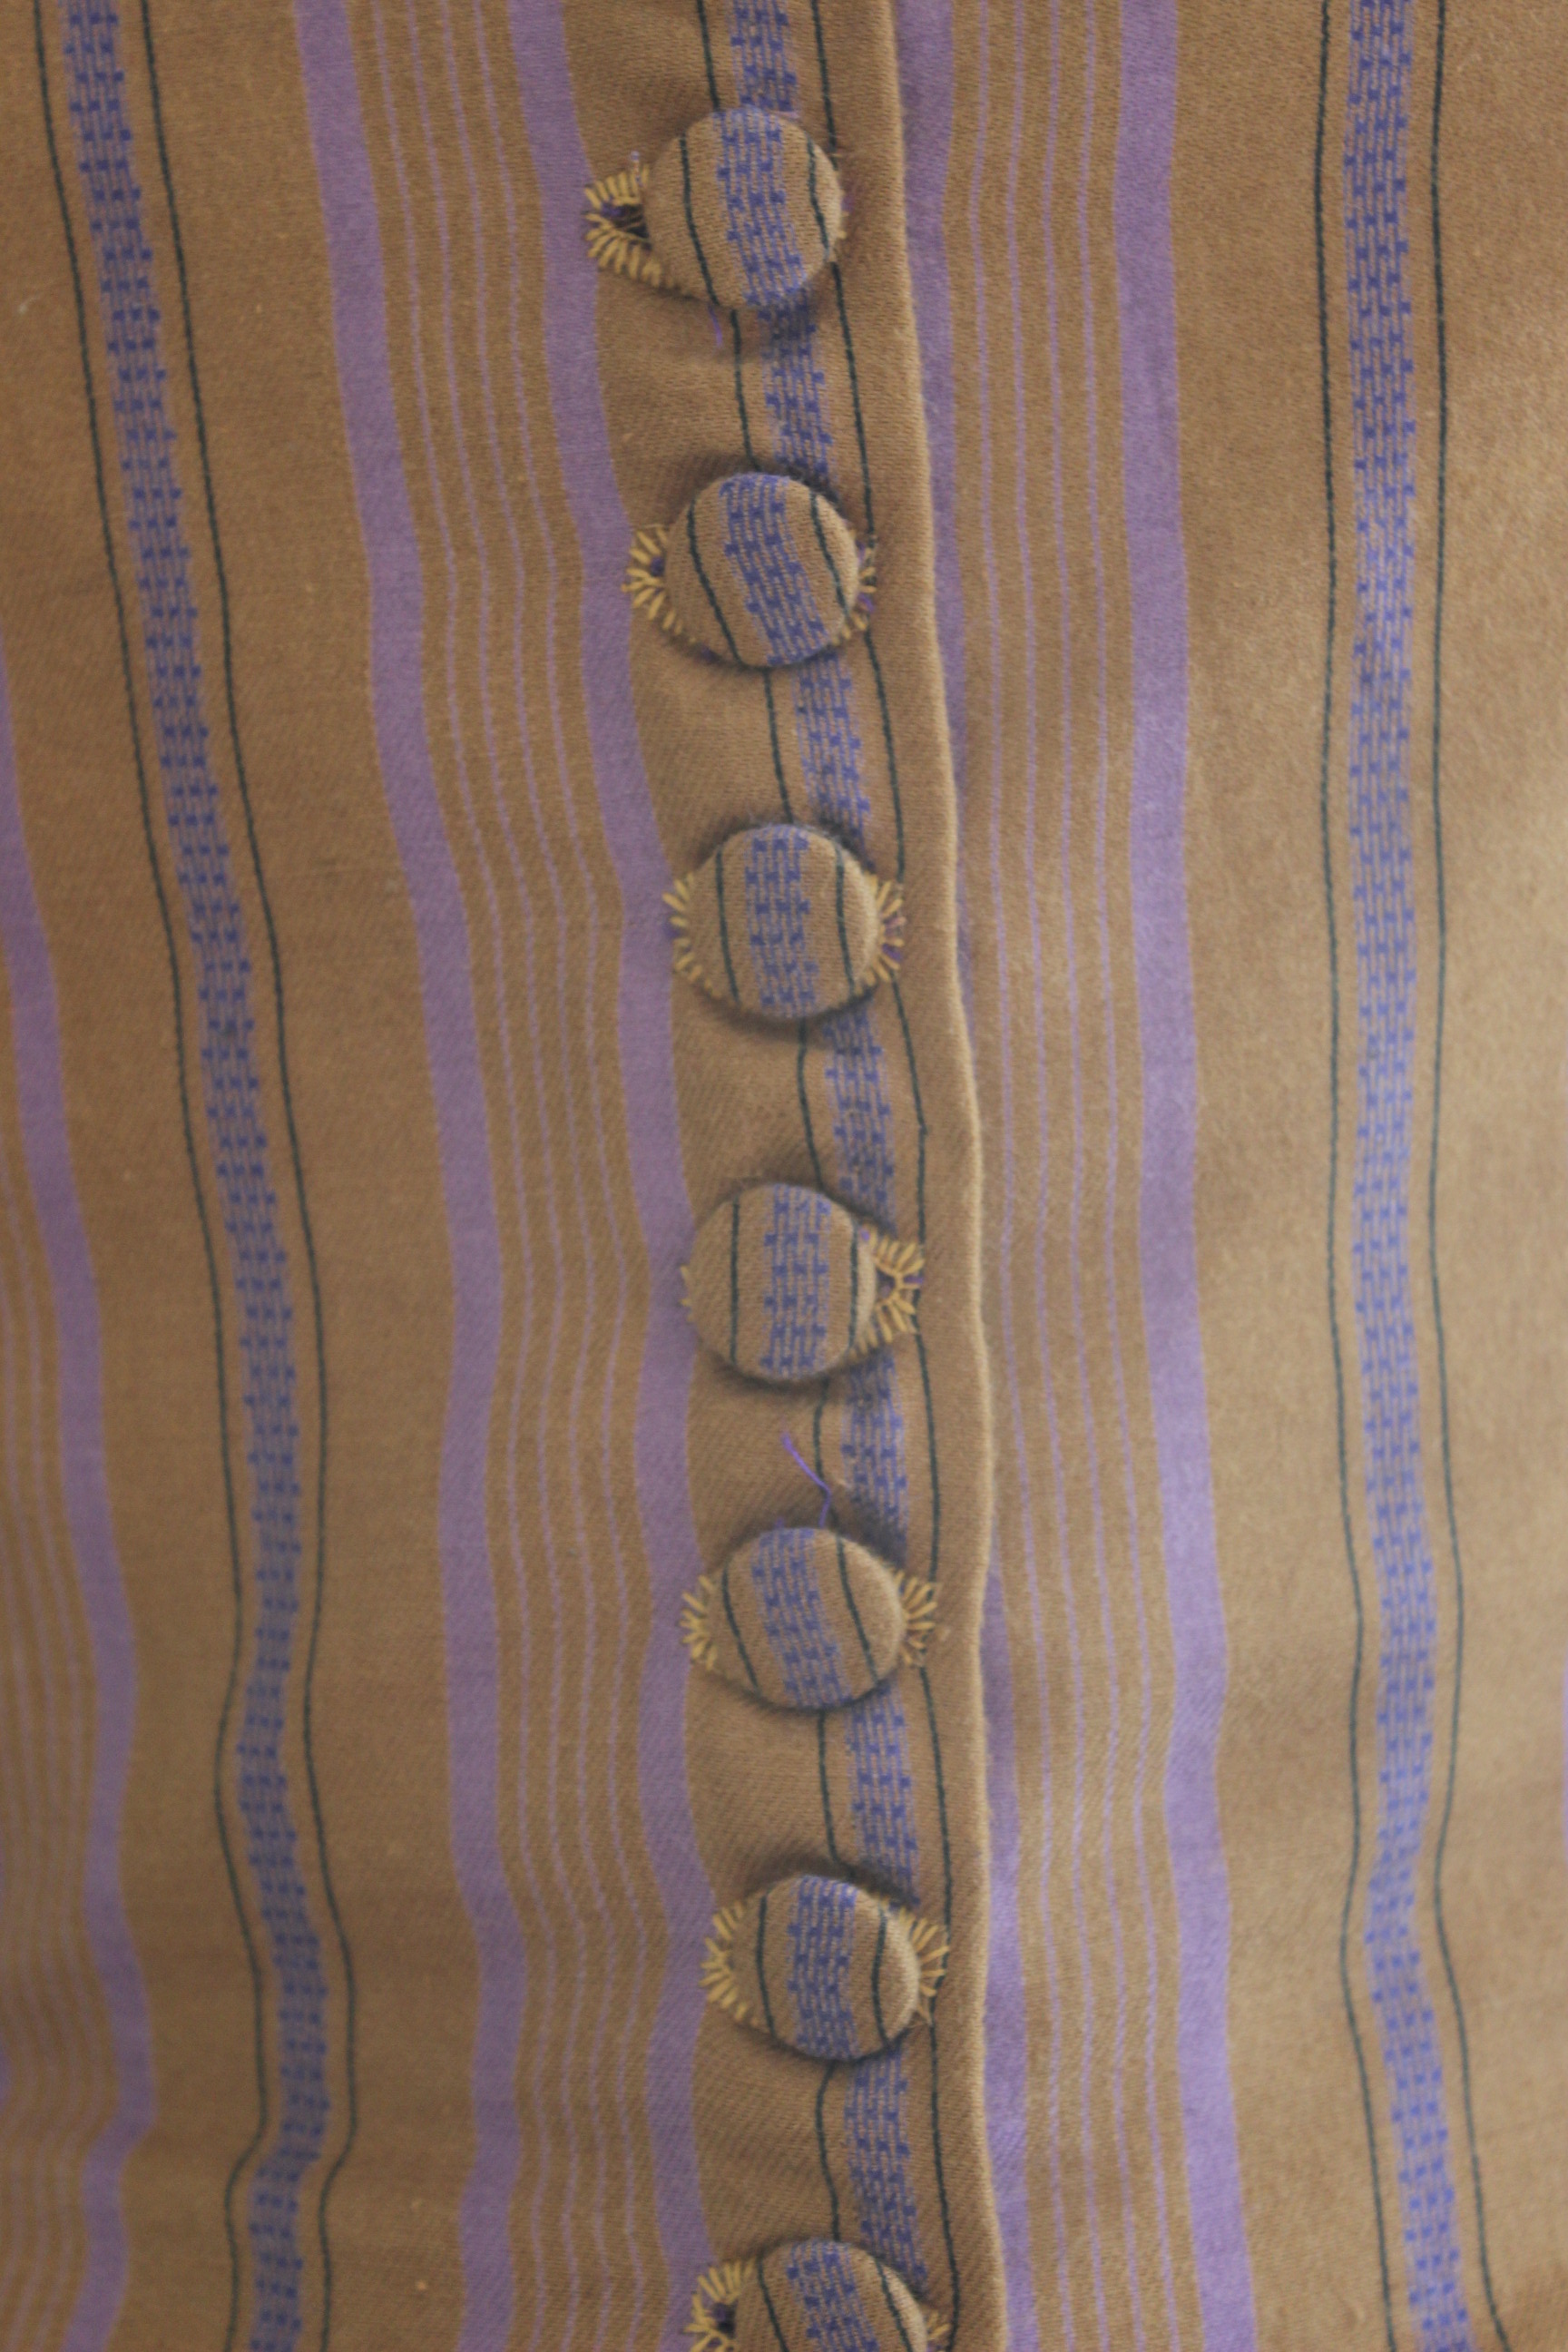
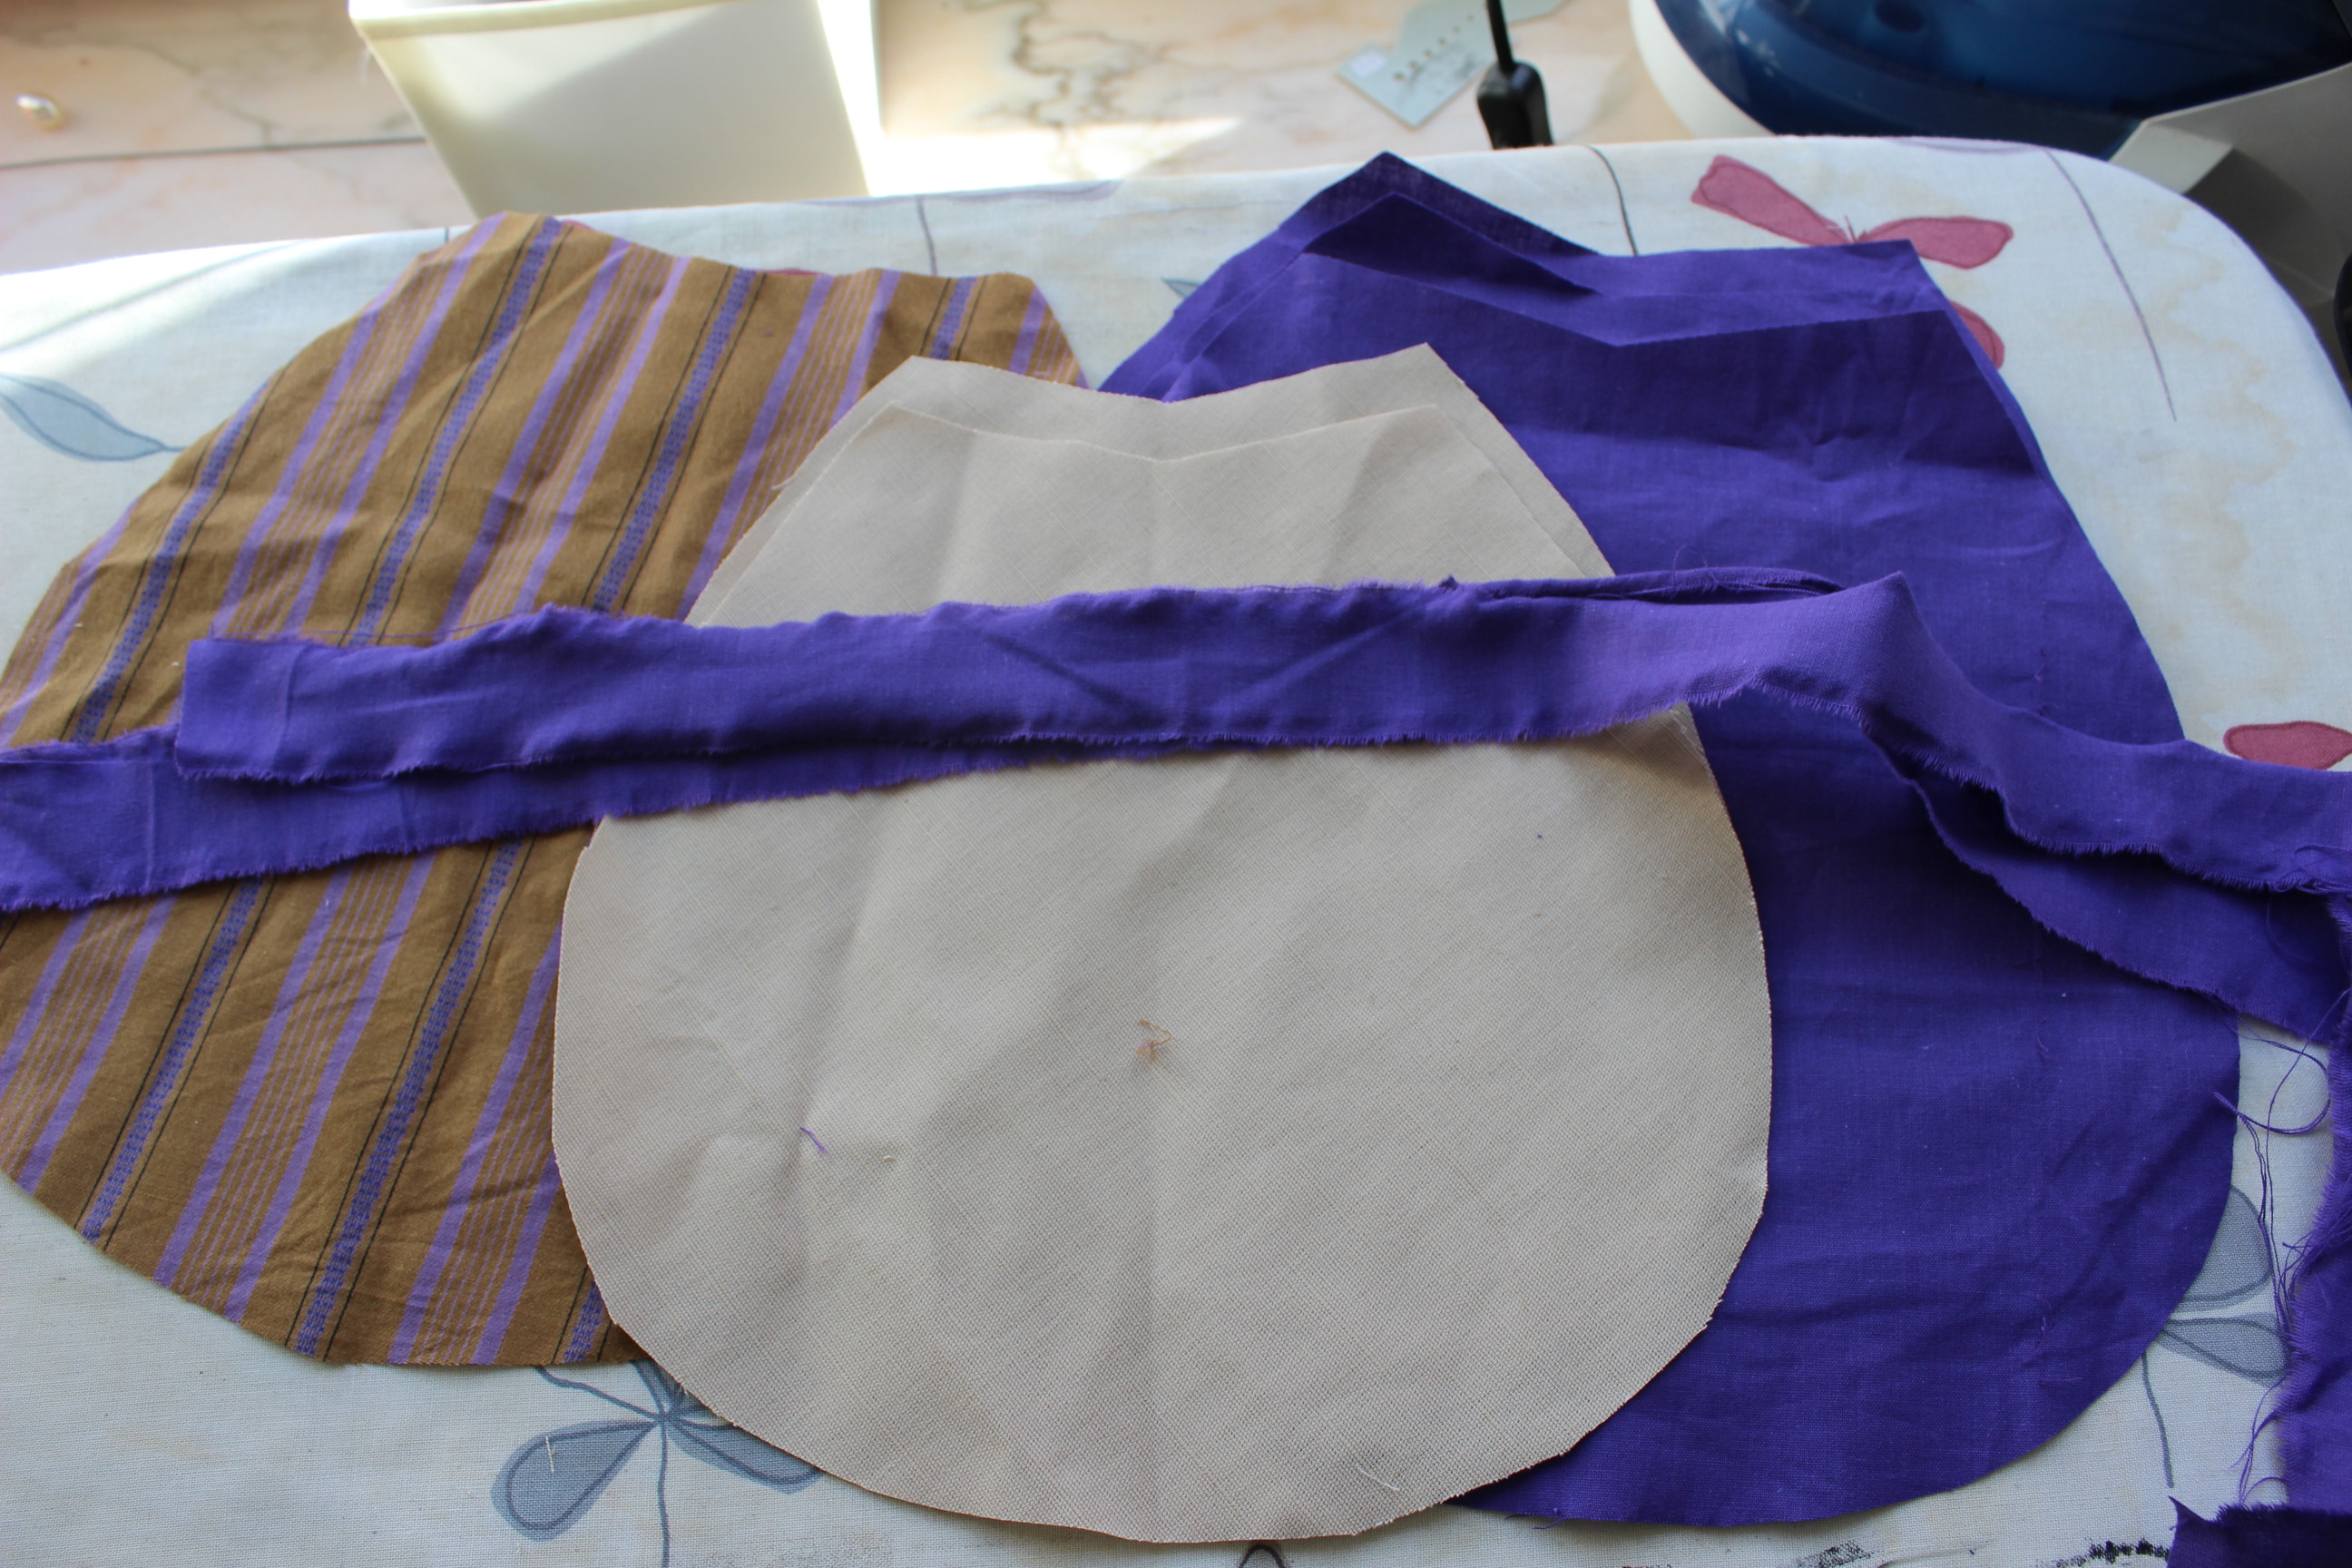
Even though hey might have worked as they where, I decided to cover them in self fabric. Cutting small circles to cover the buttons, making sure the purple stripe is centered on all of them.
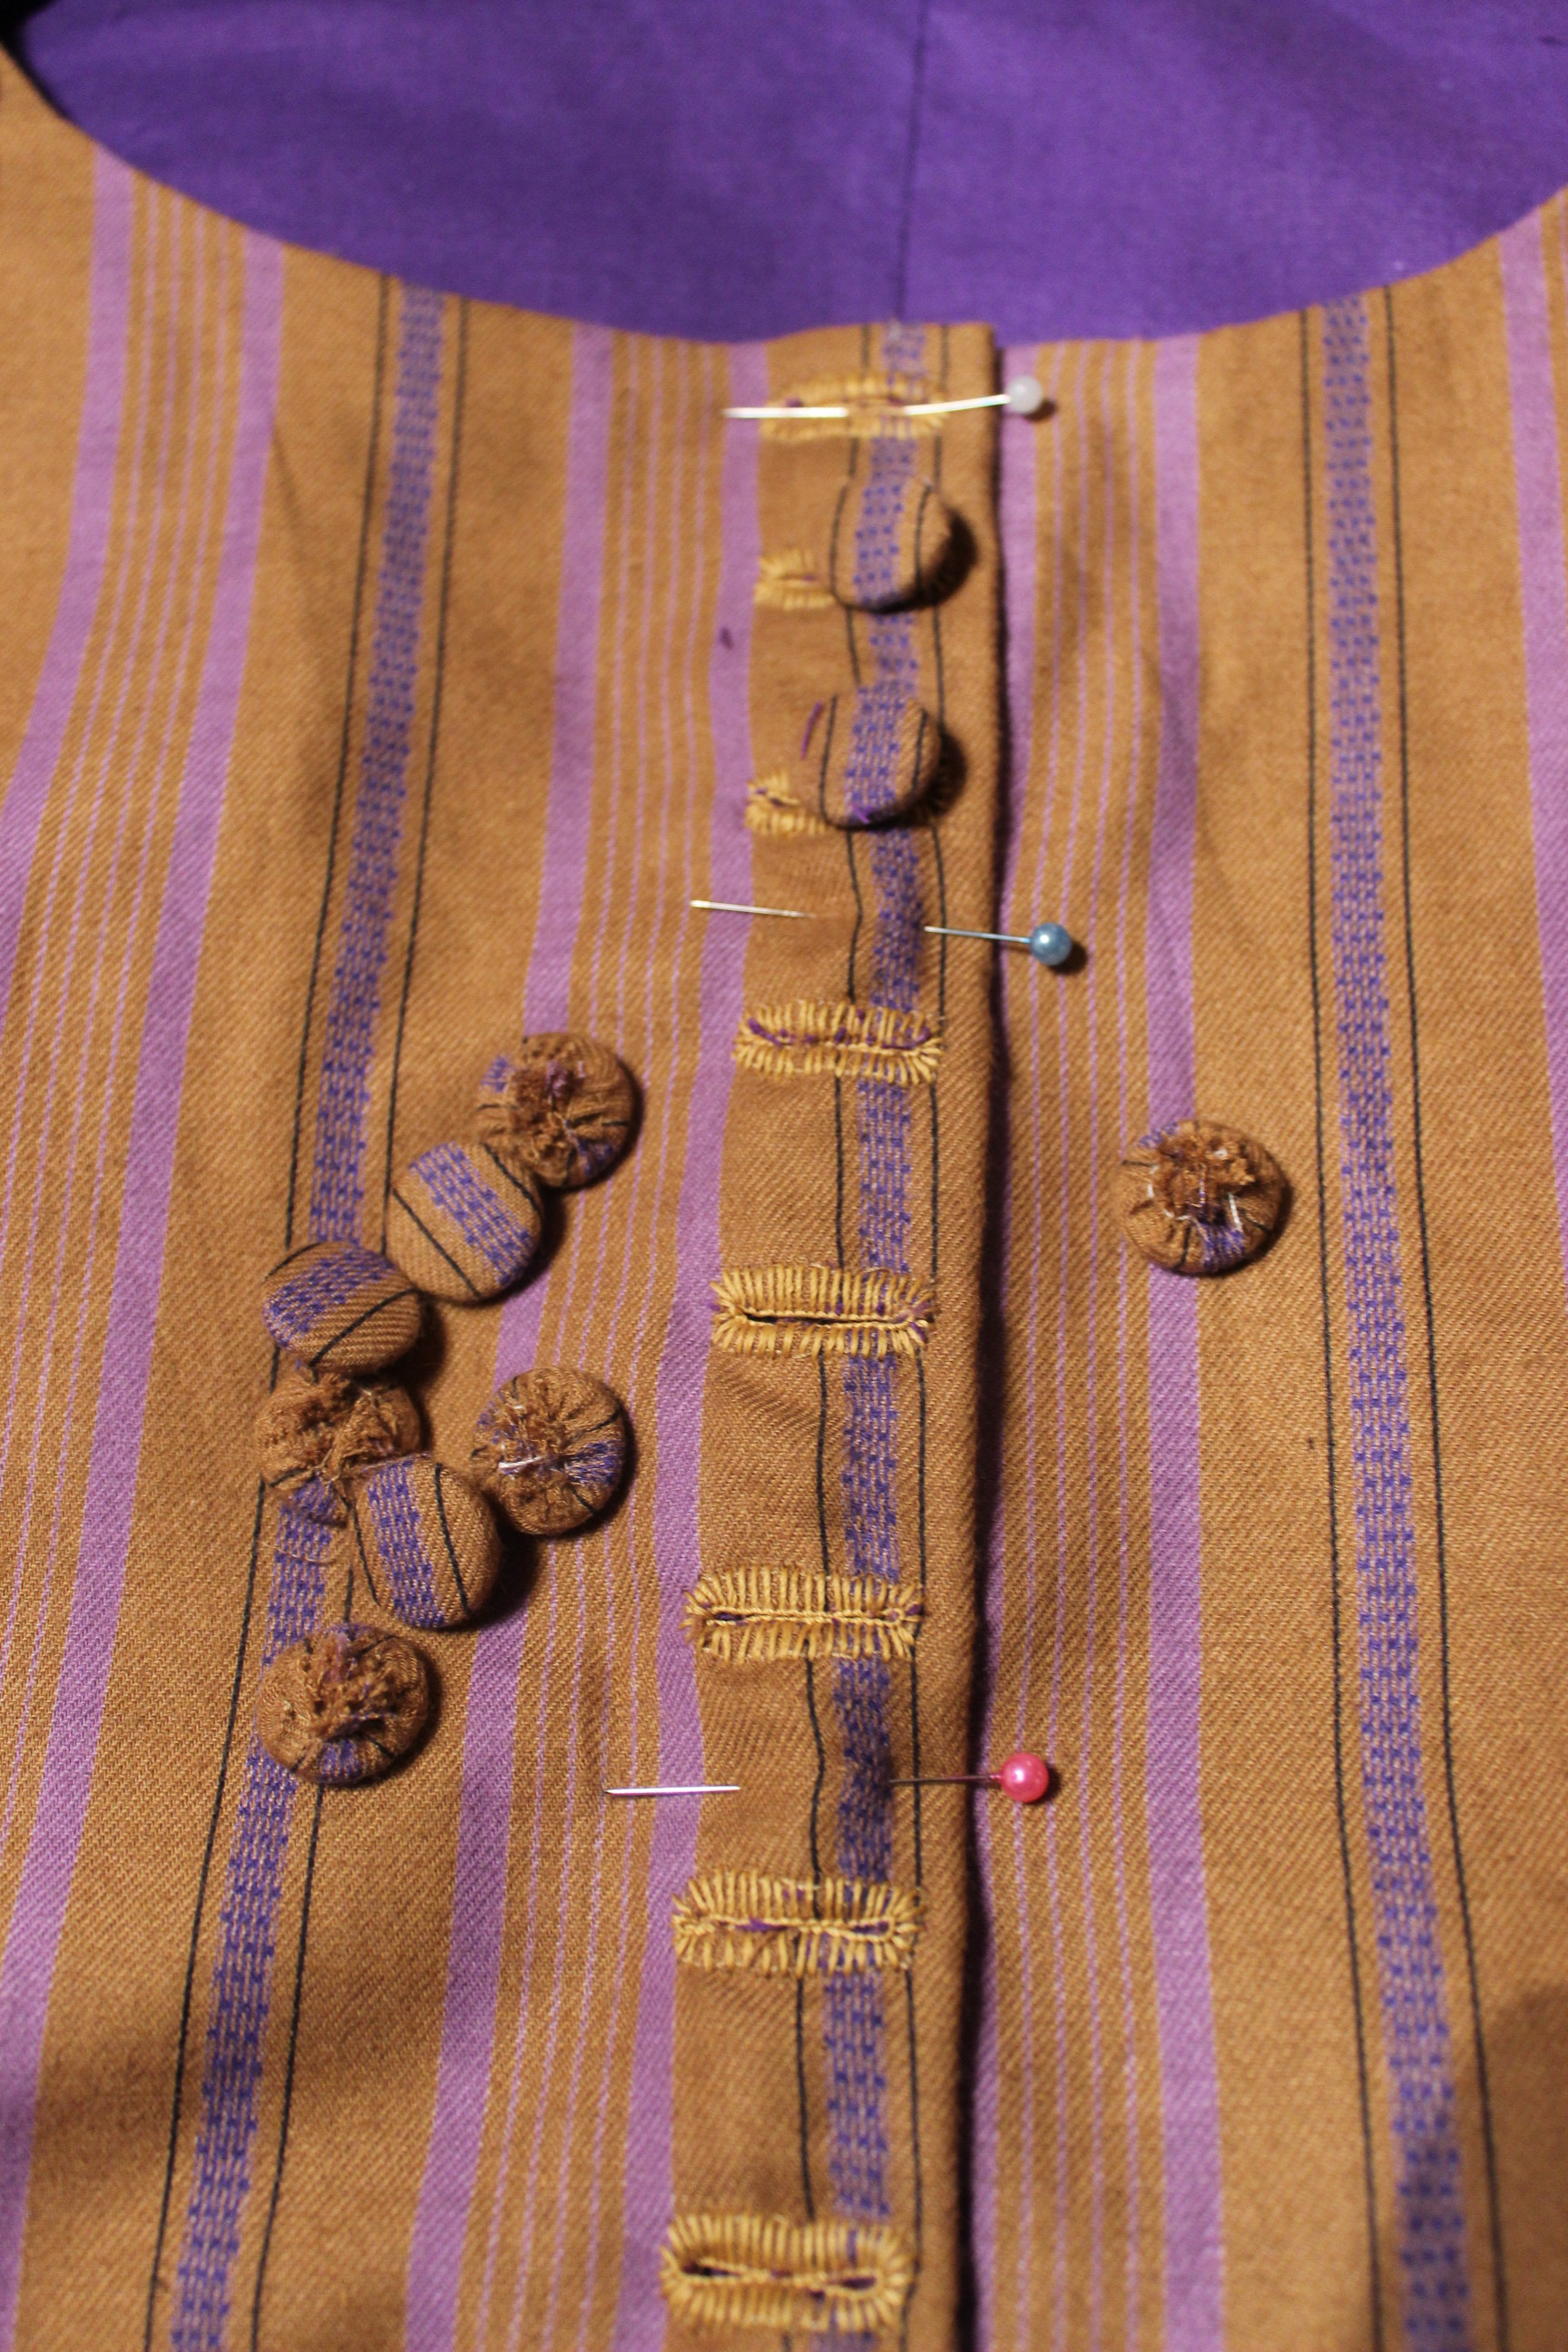
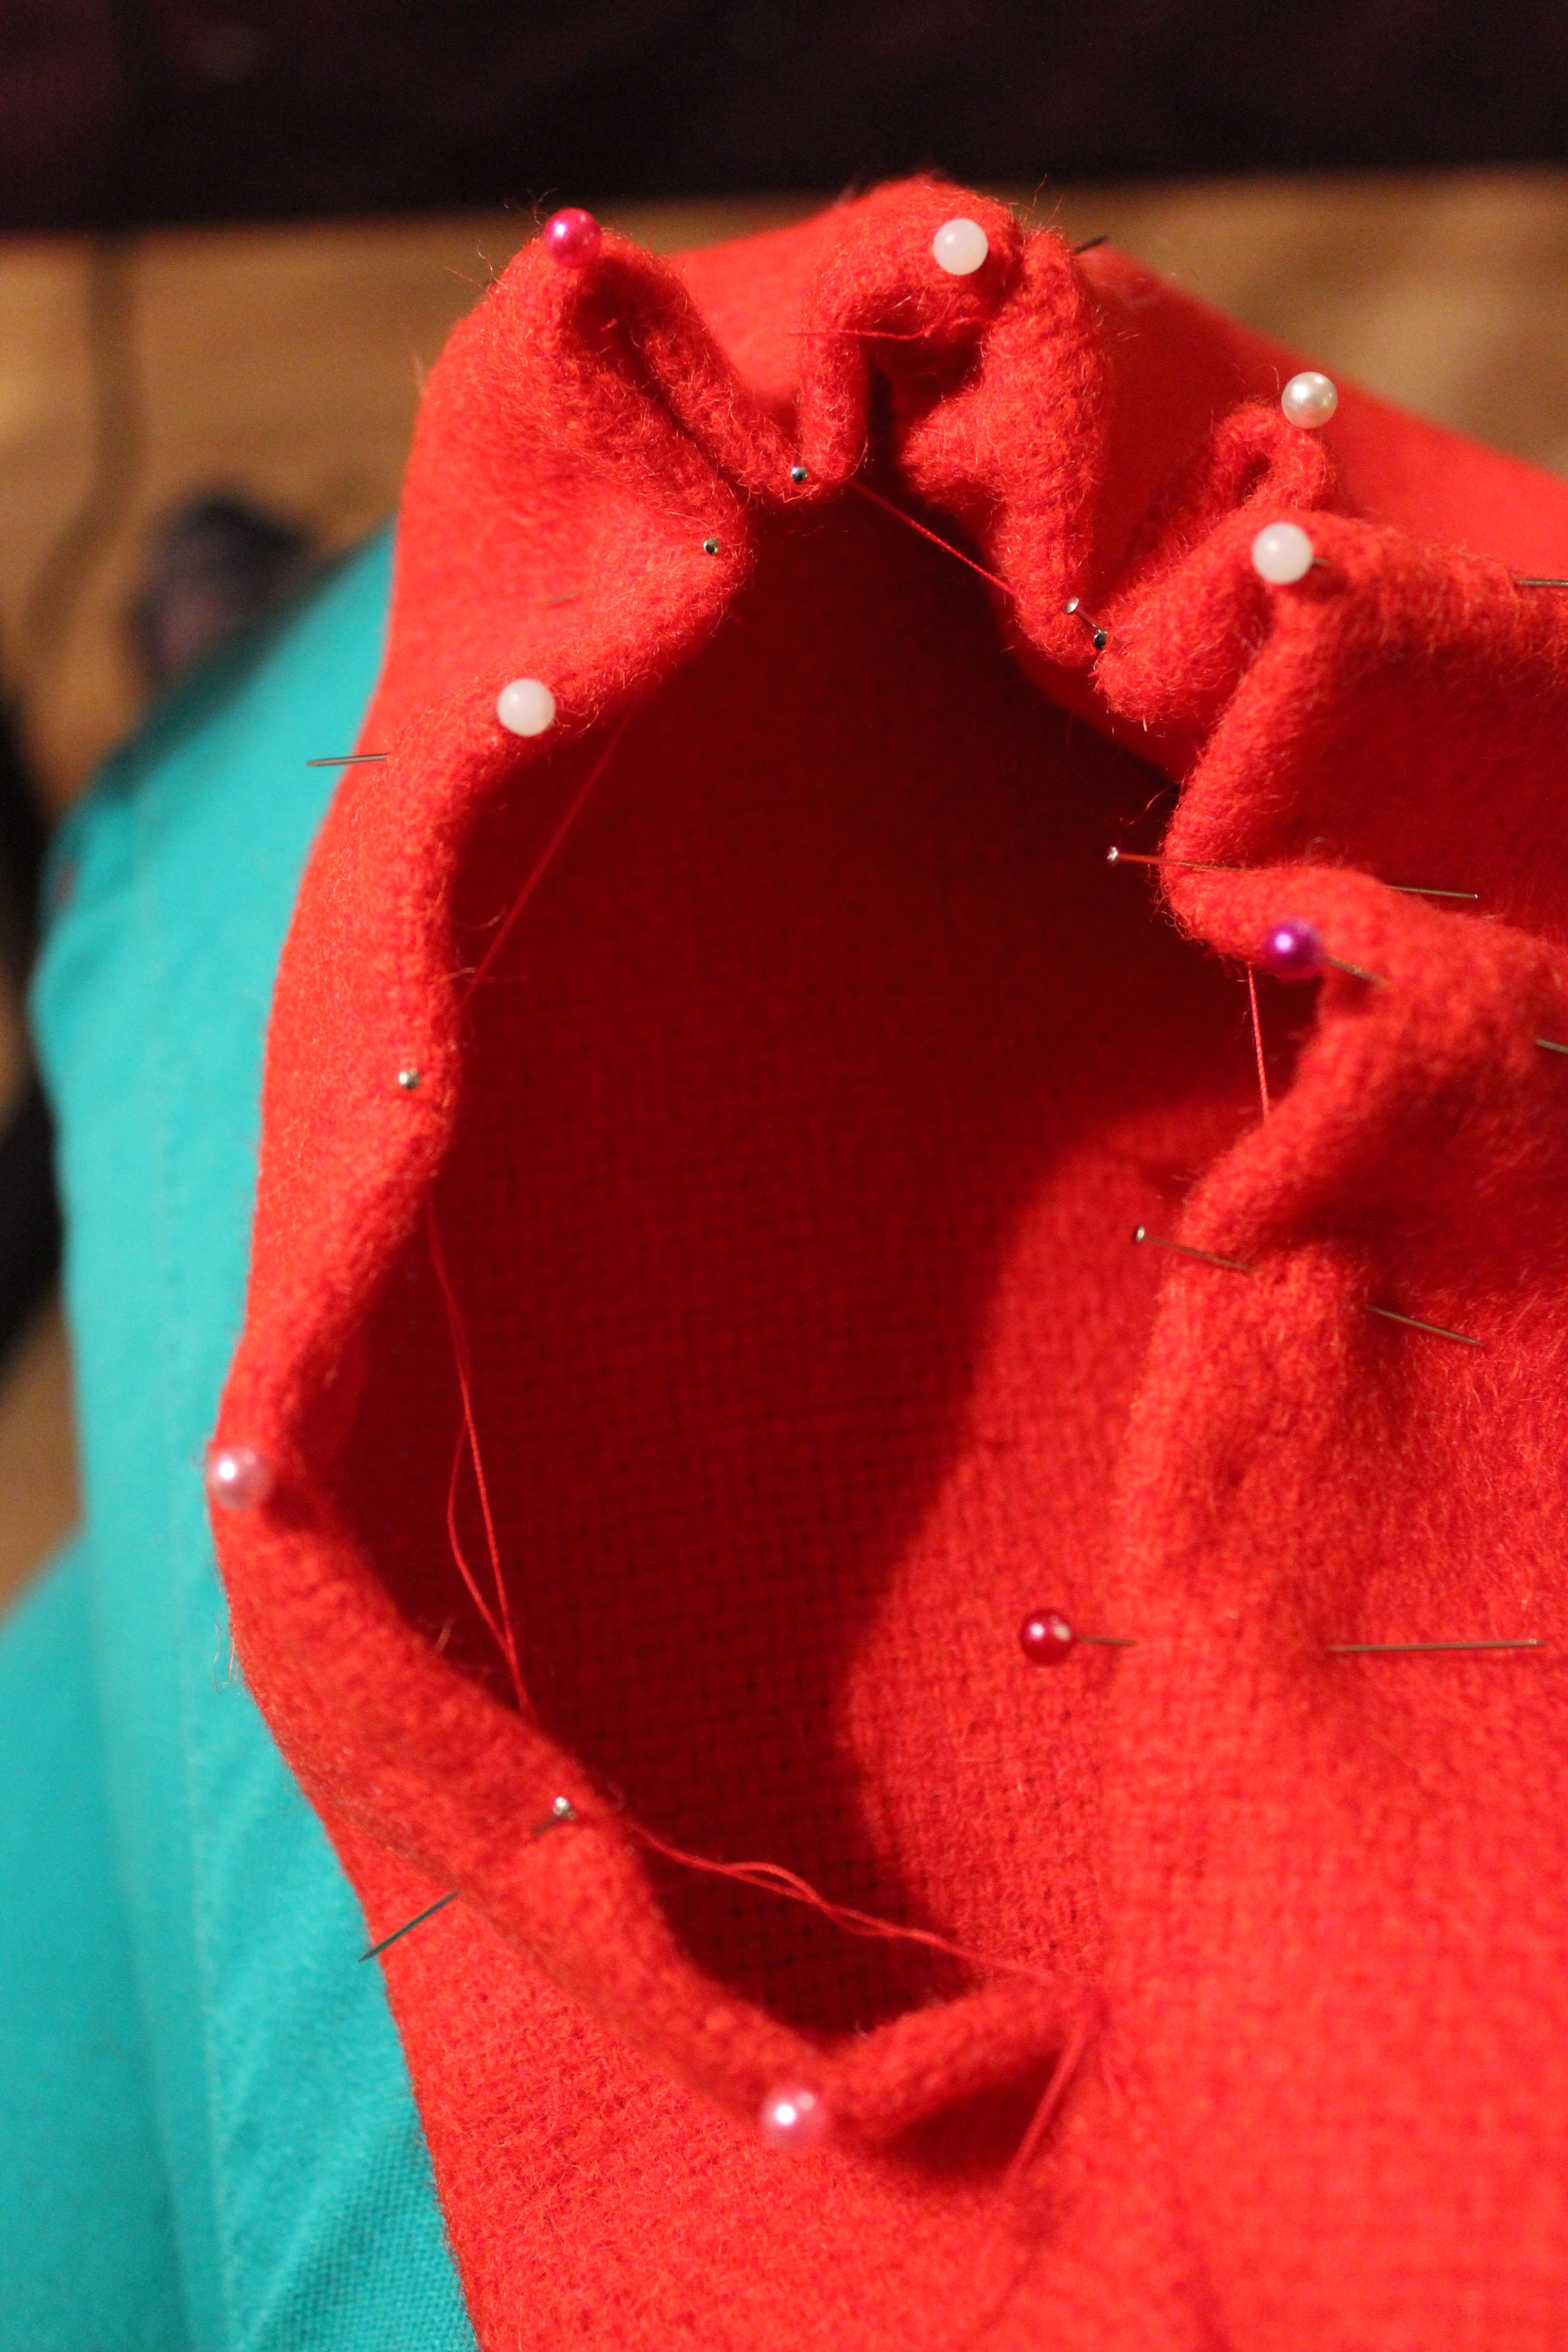
Then it was time to start on the buttonholes. Markings and buttonholes on the sleeves.
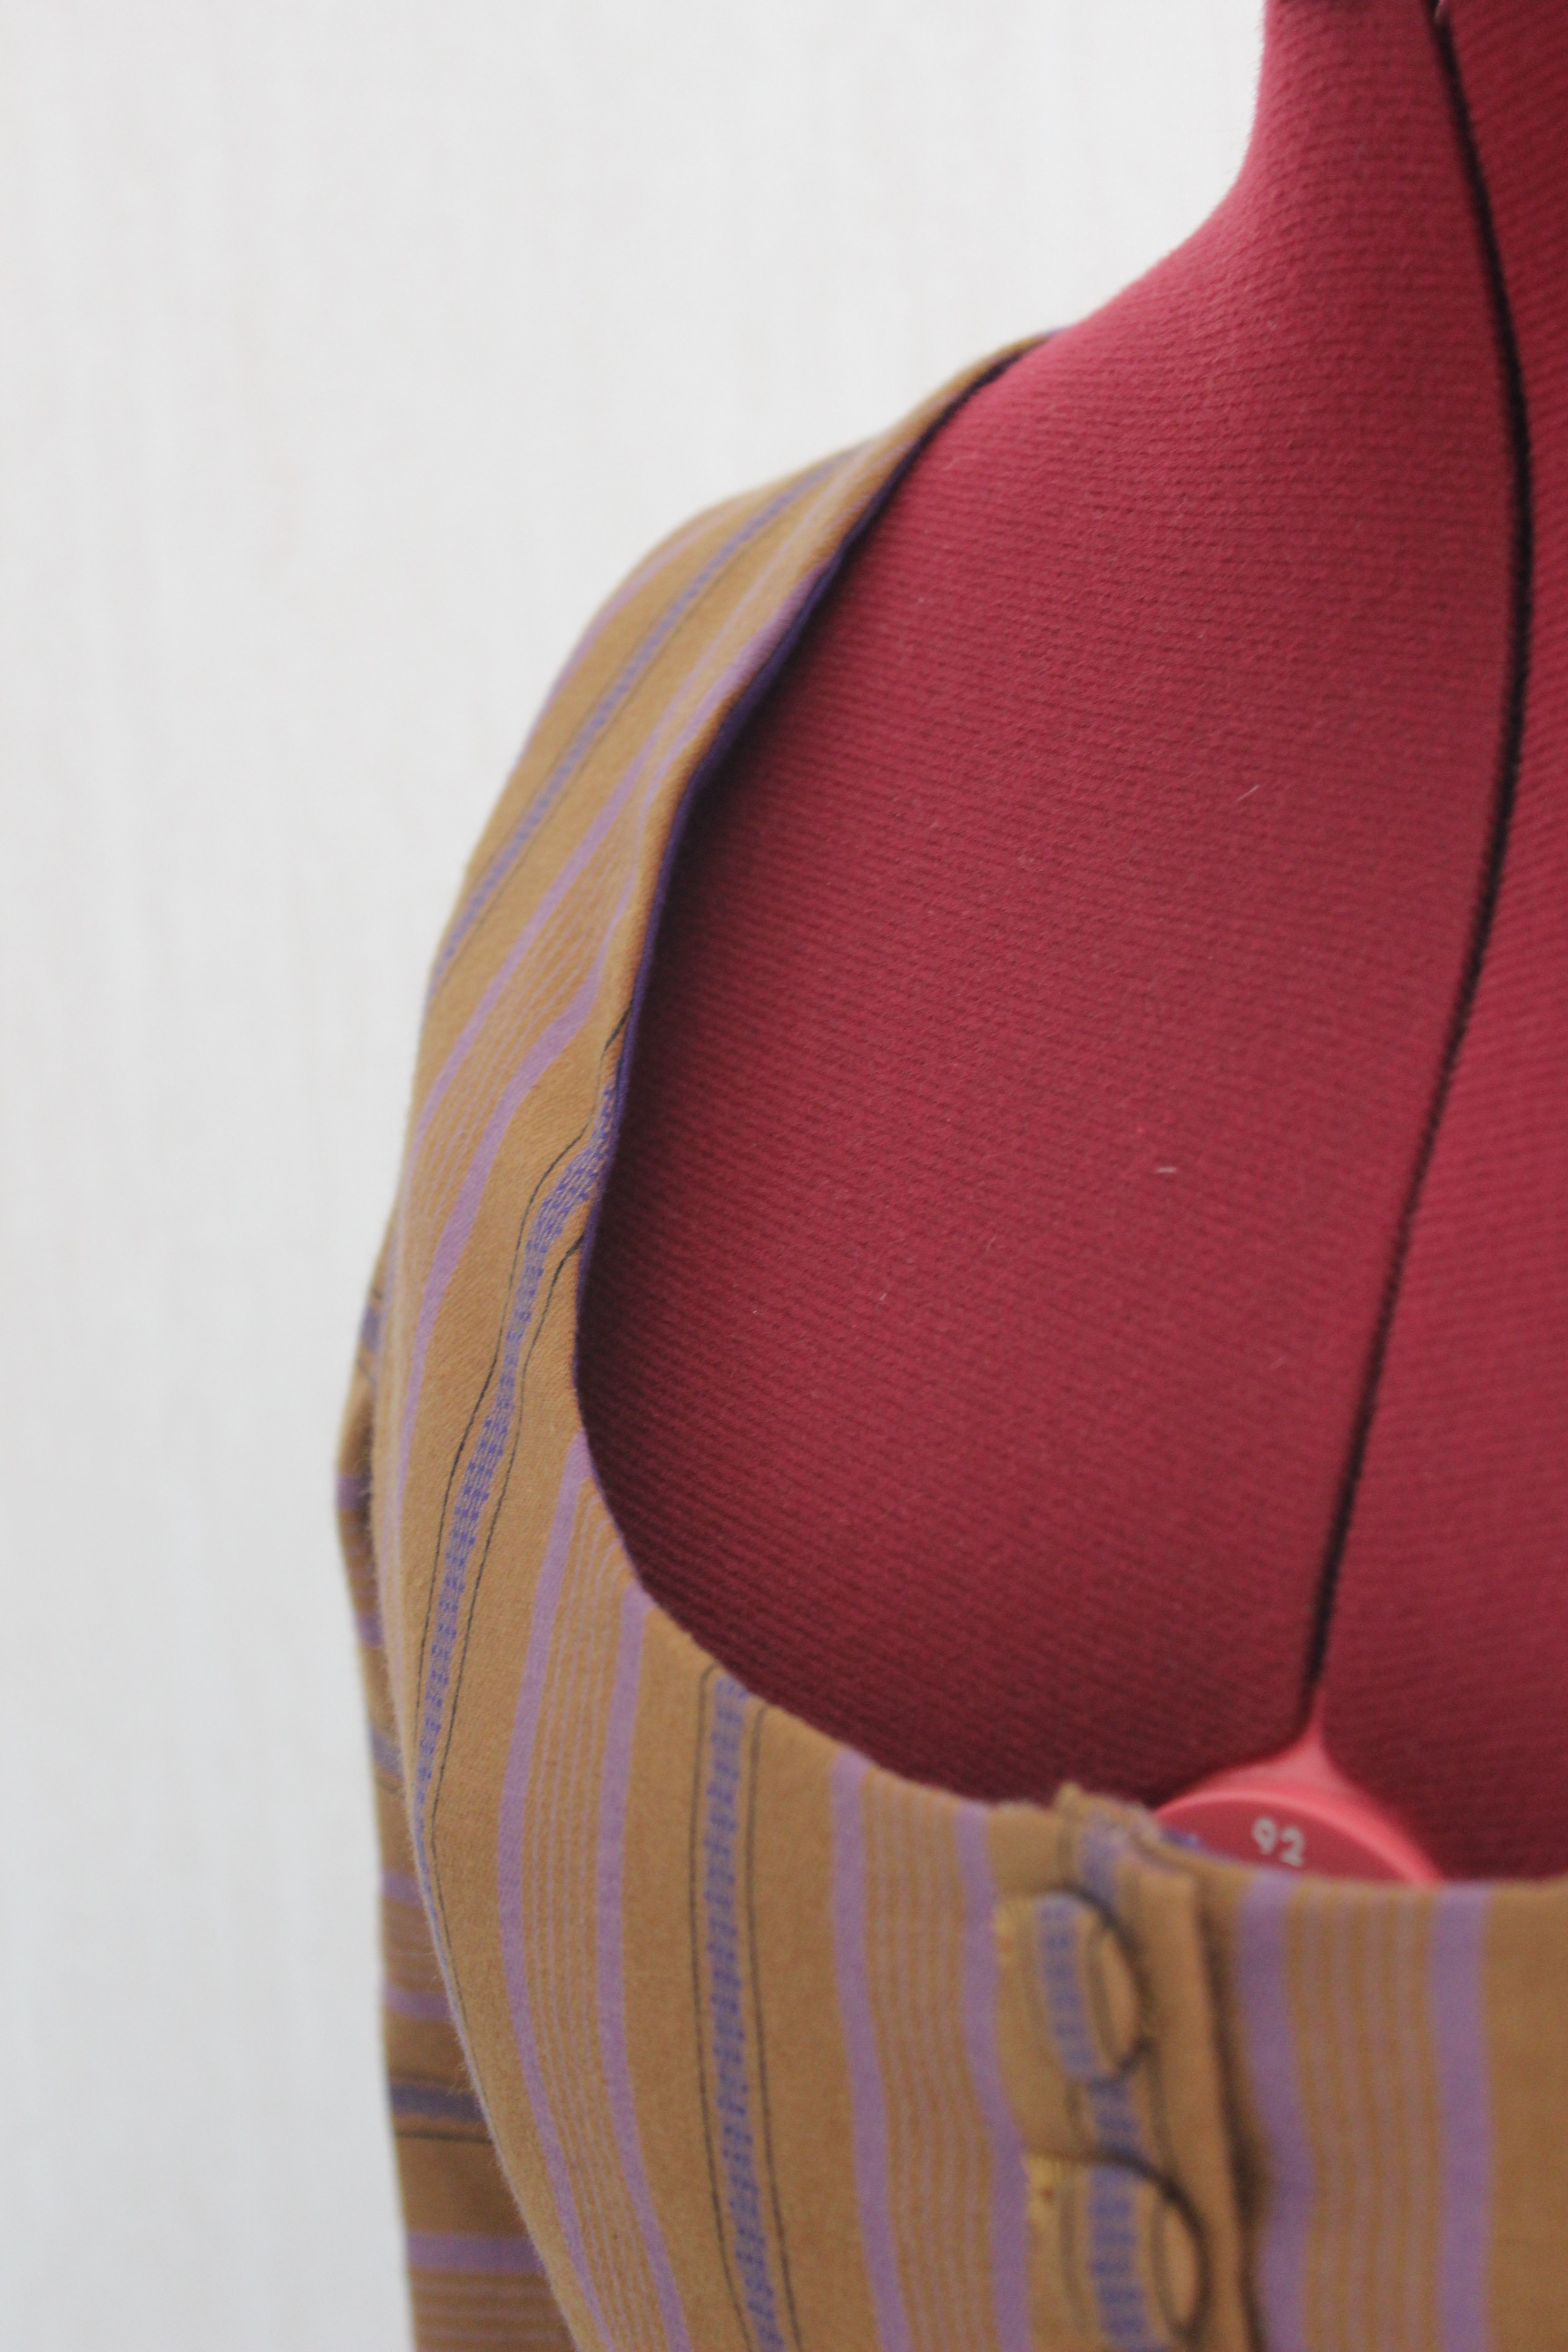
And on to the bodice front. Pinning the edges together to mark the button placement through the buttonholes.
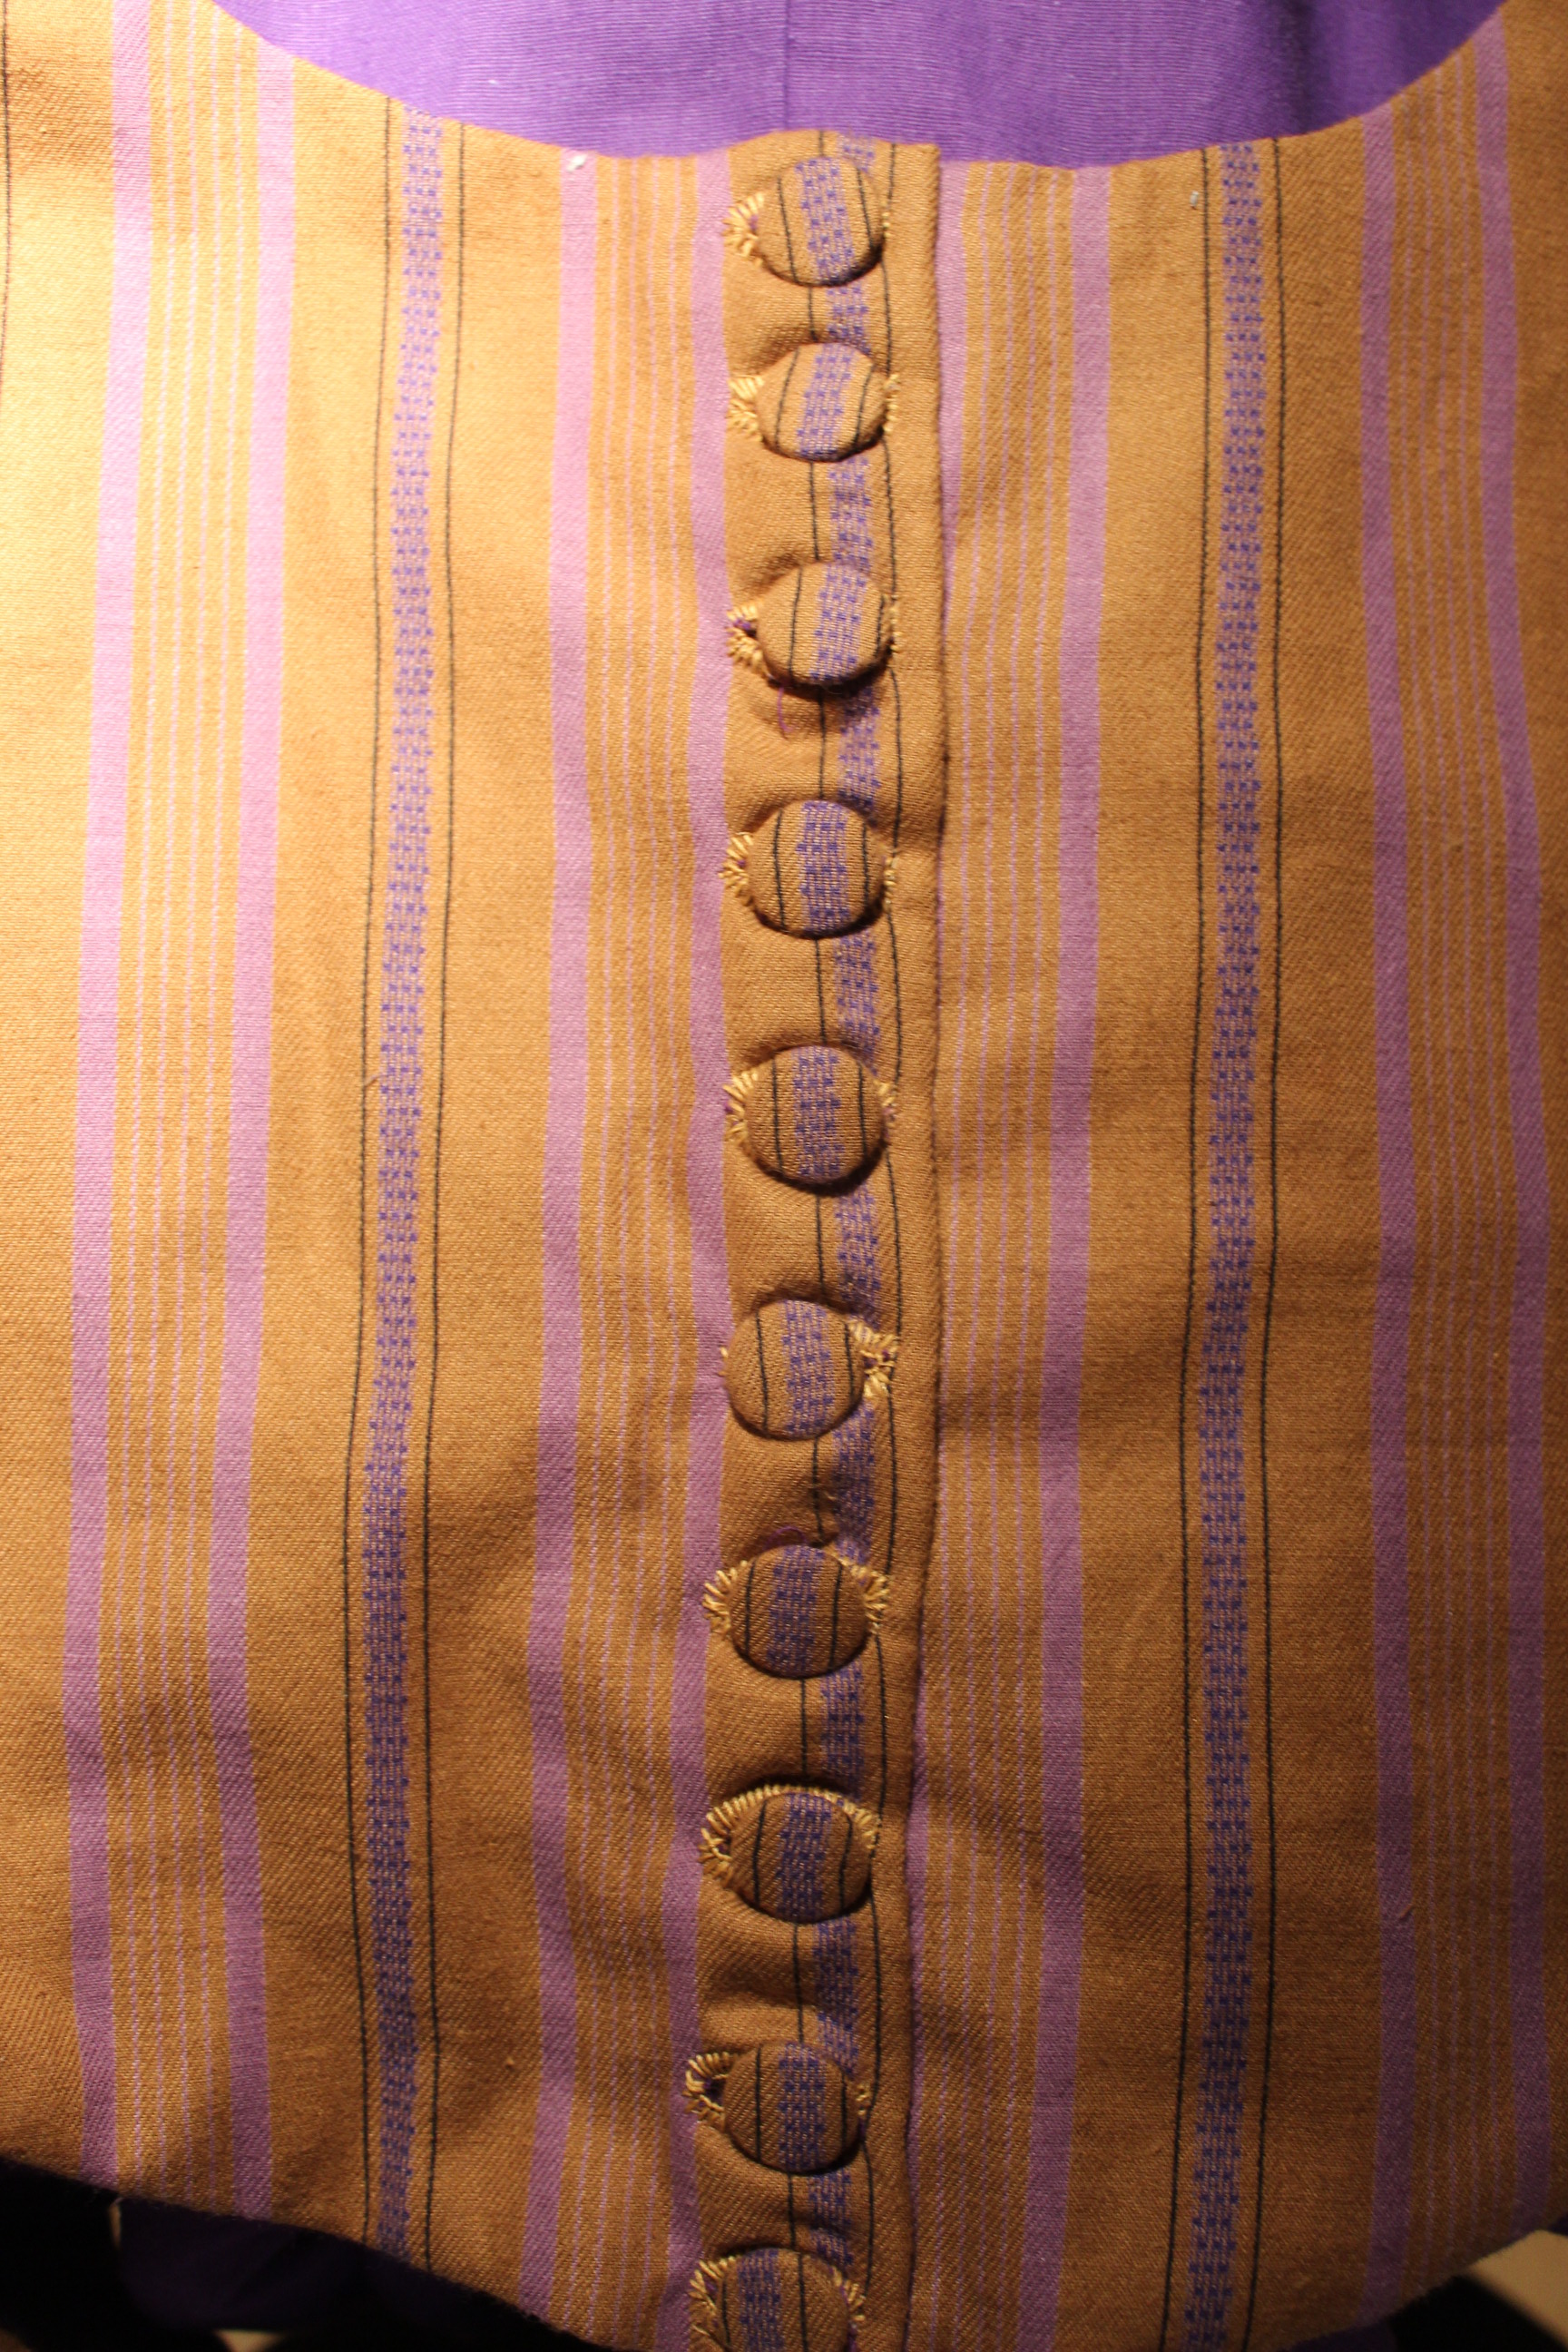
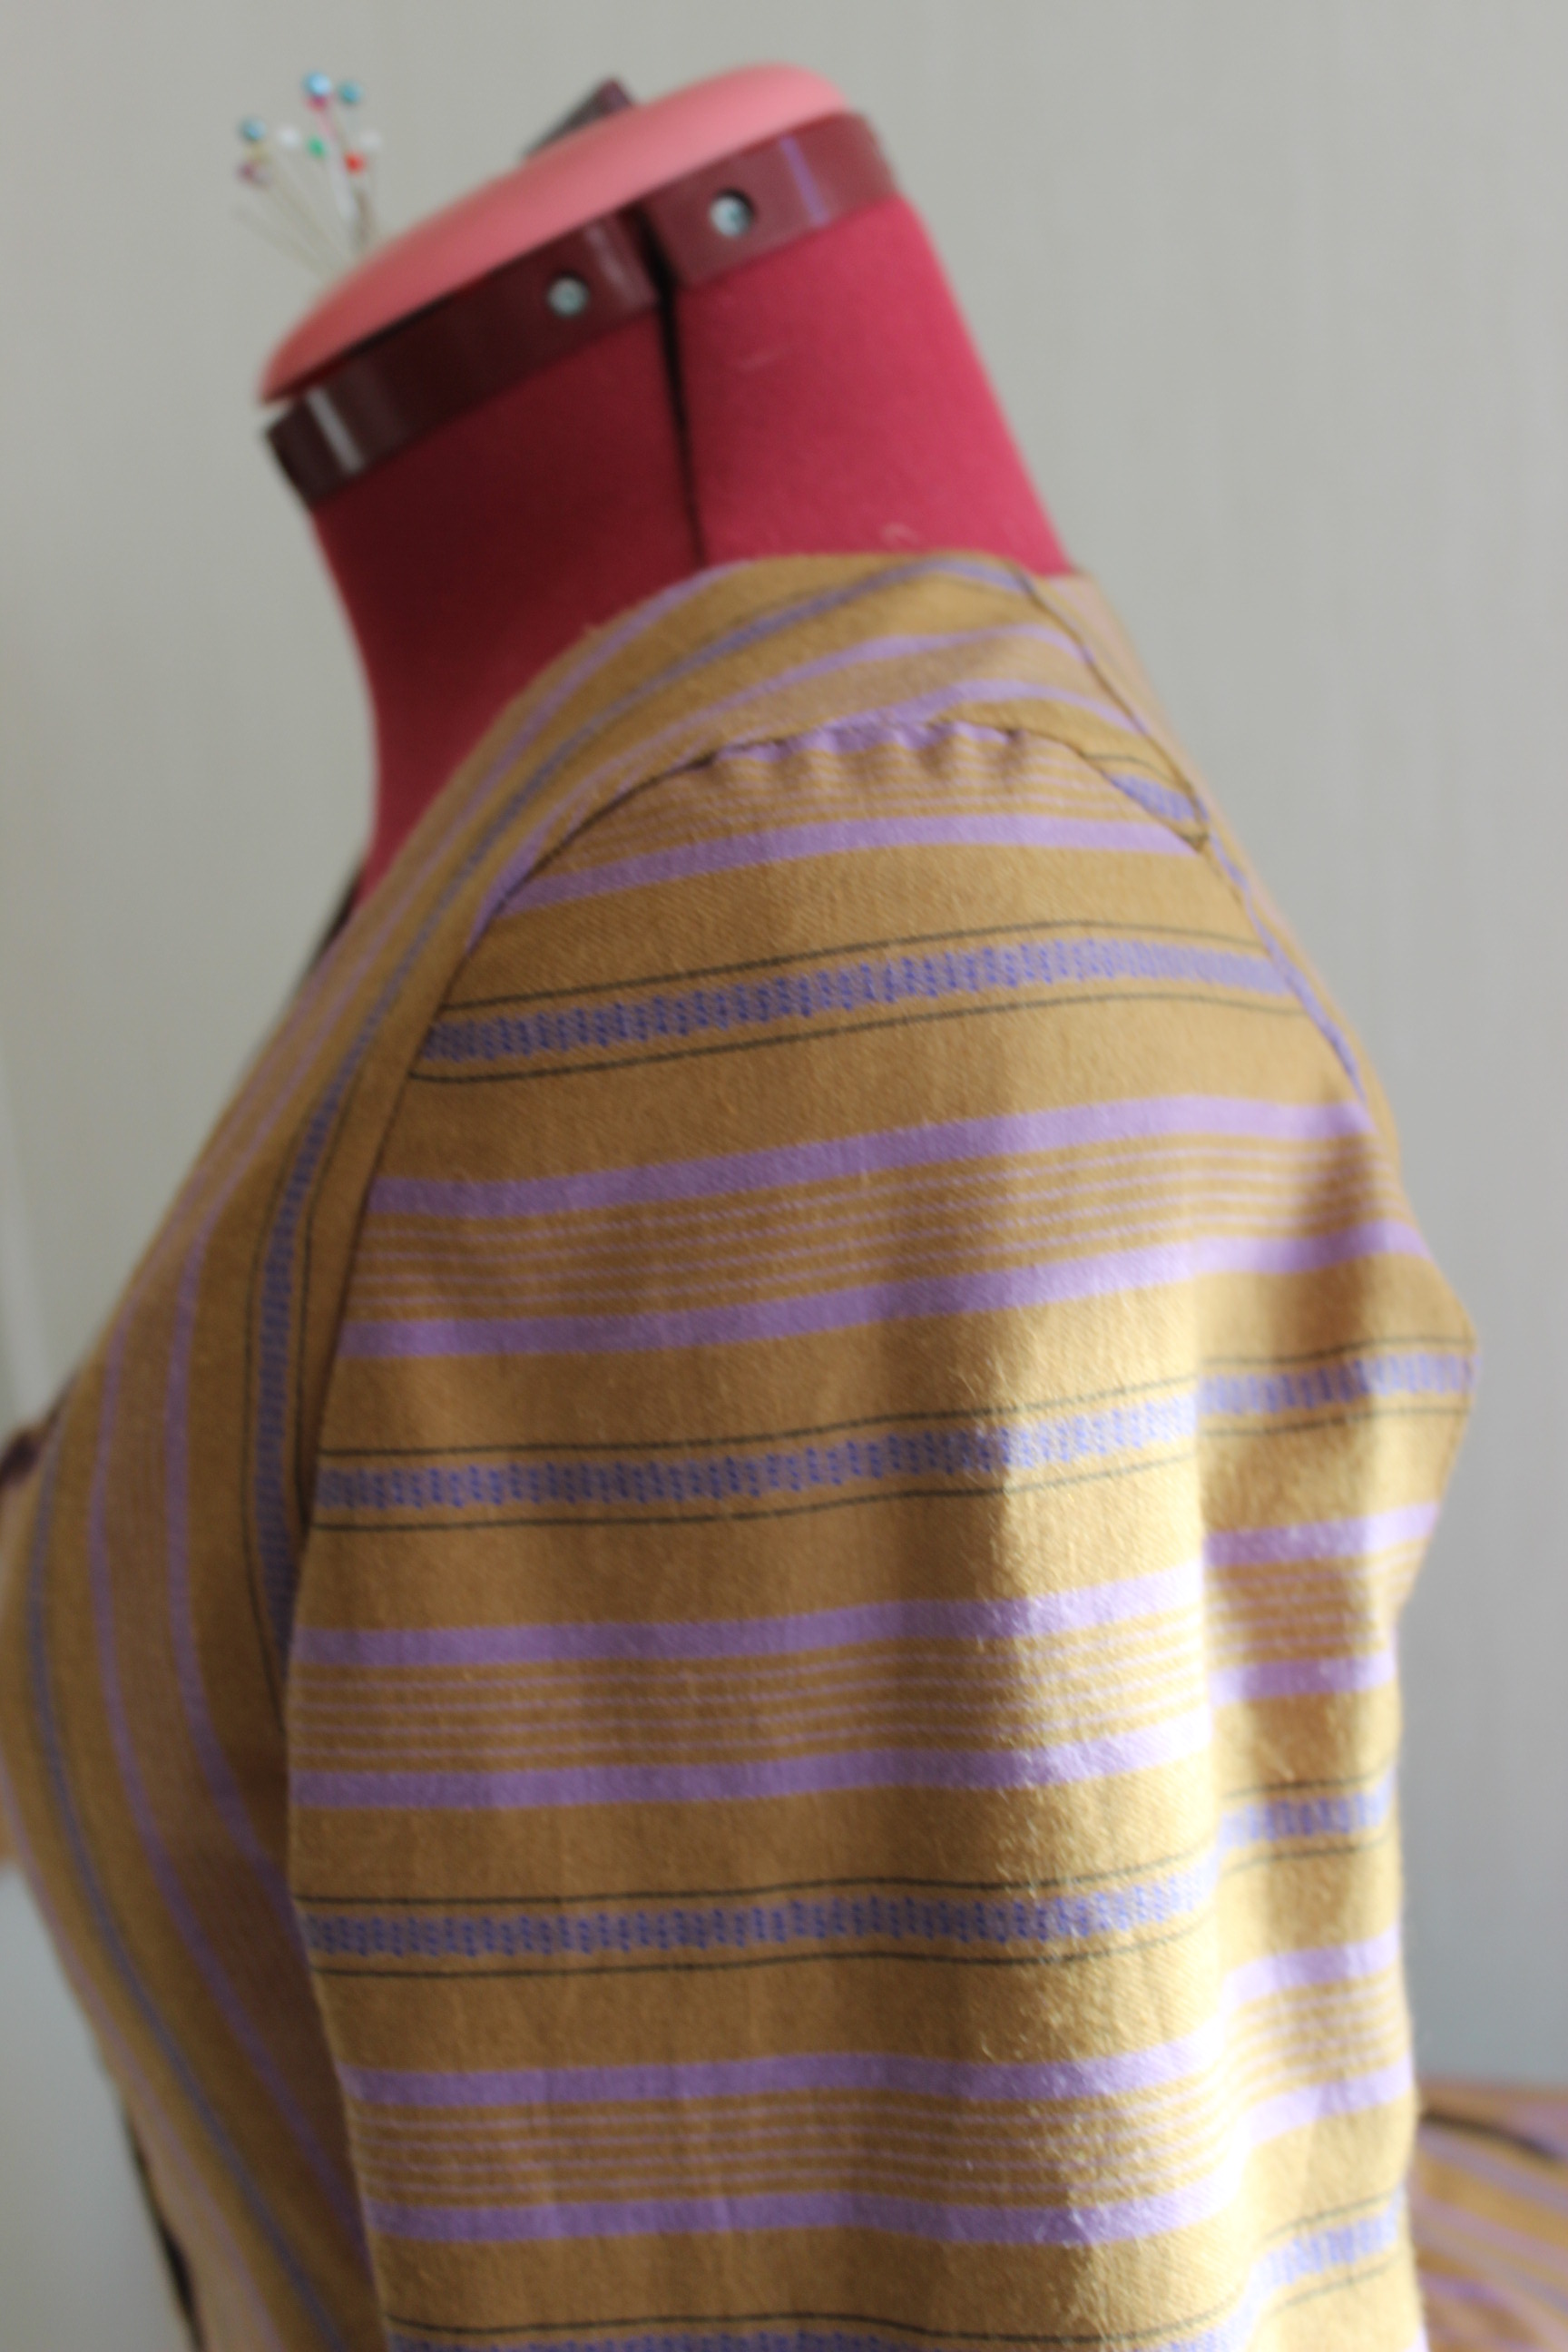
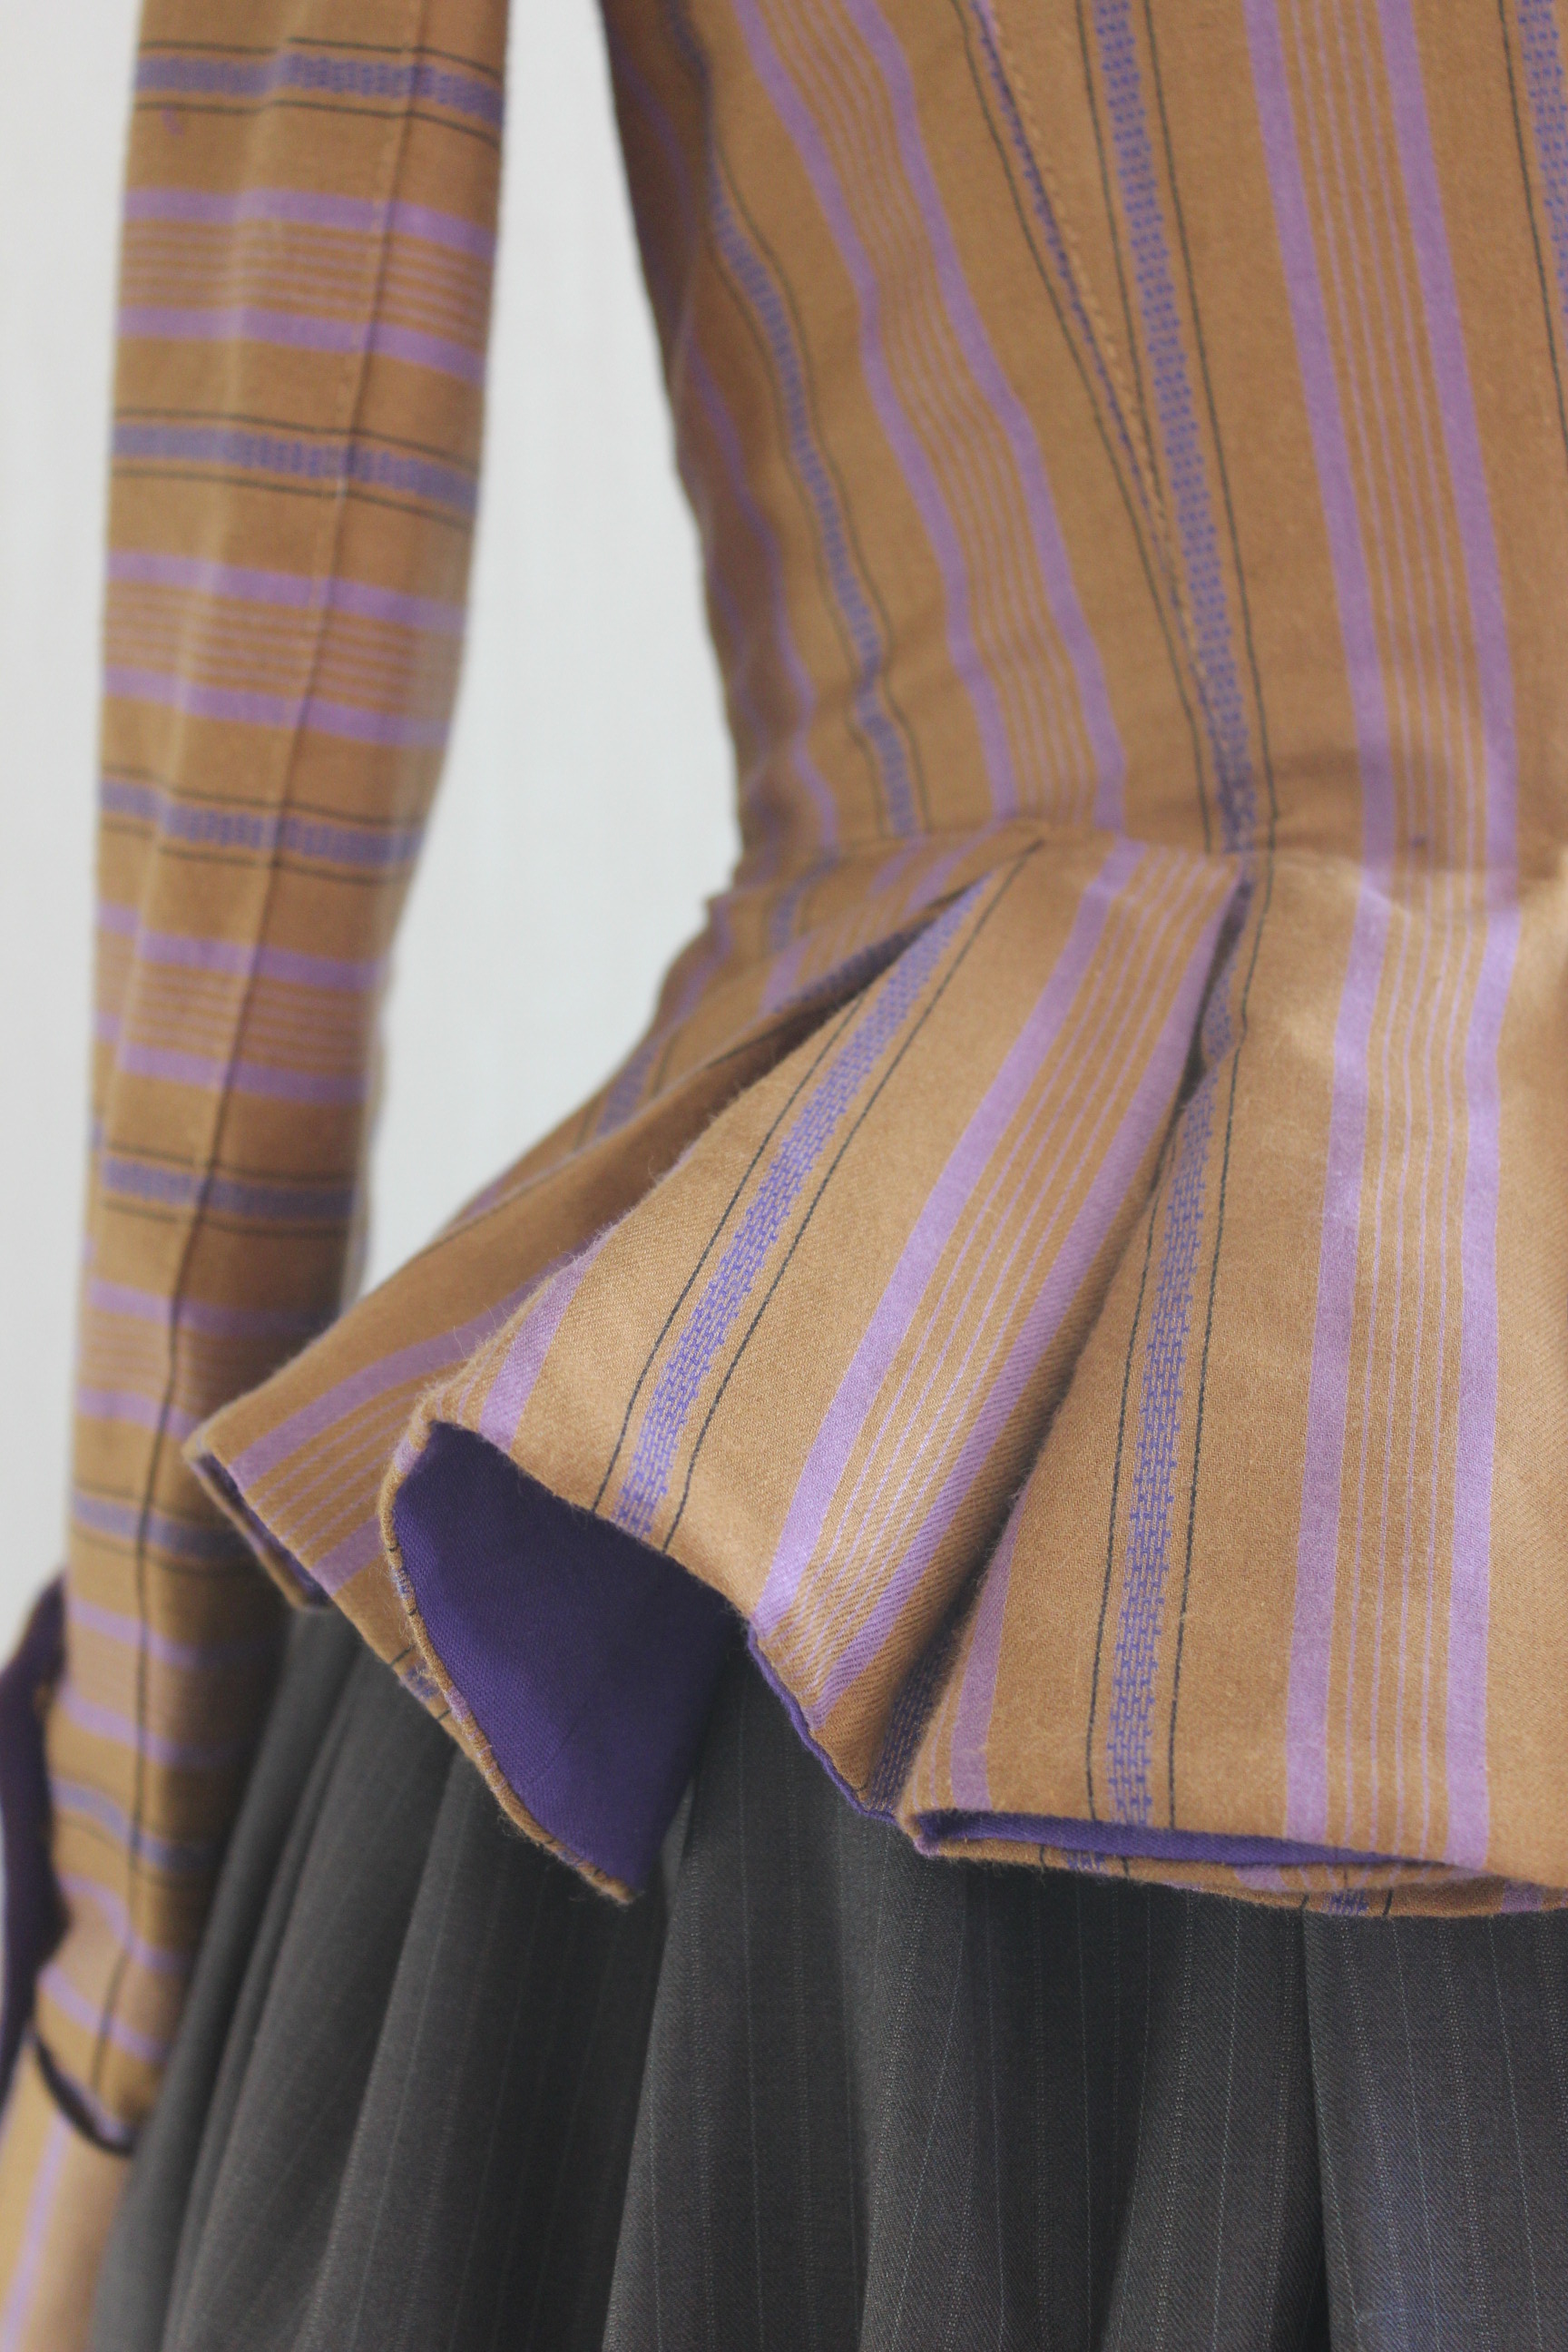
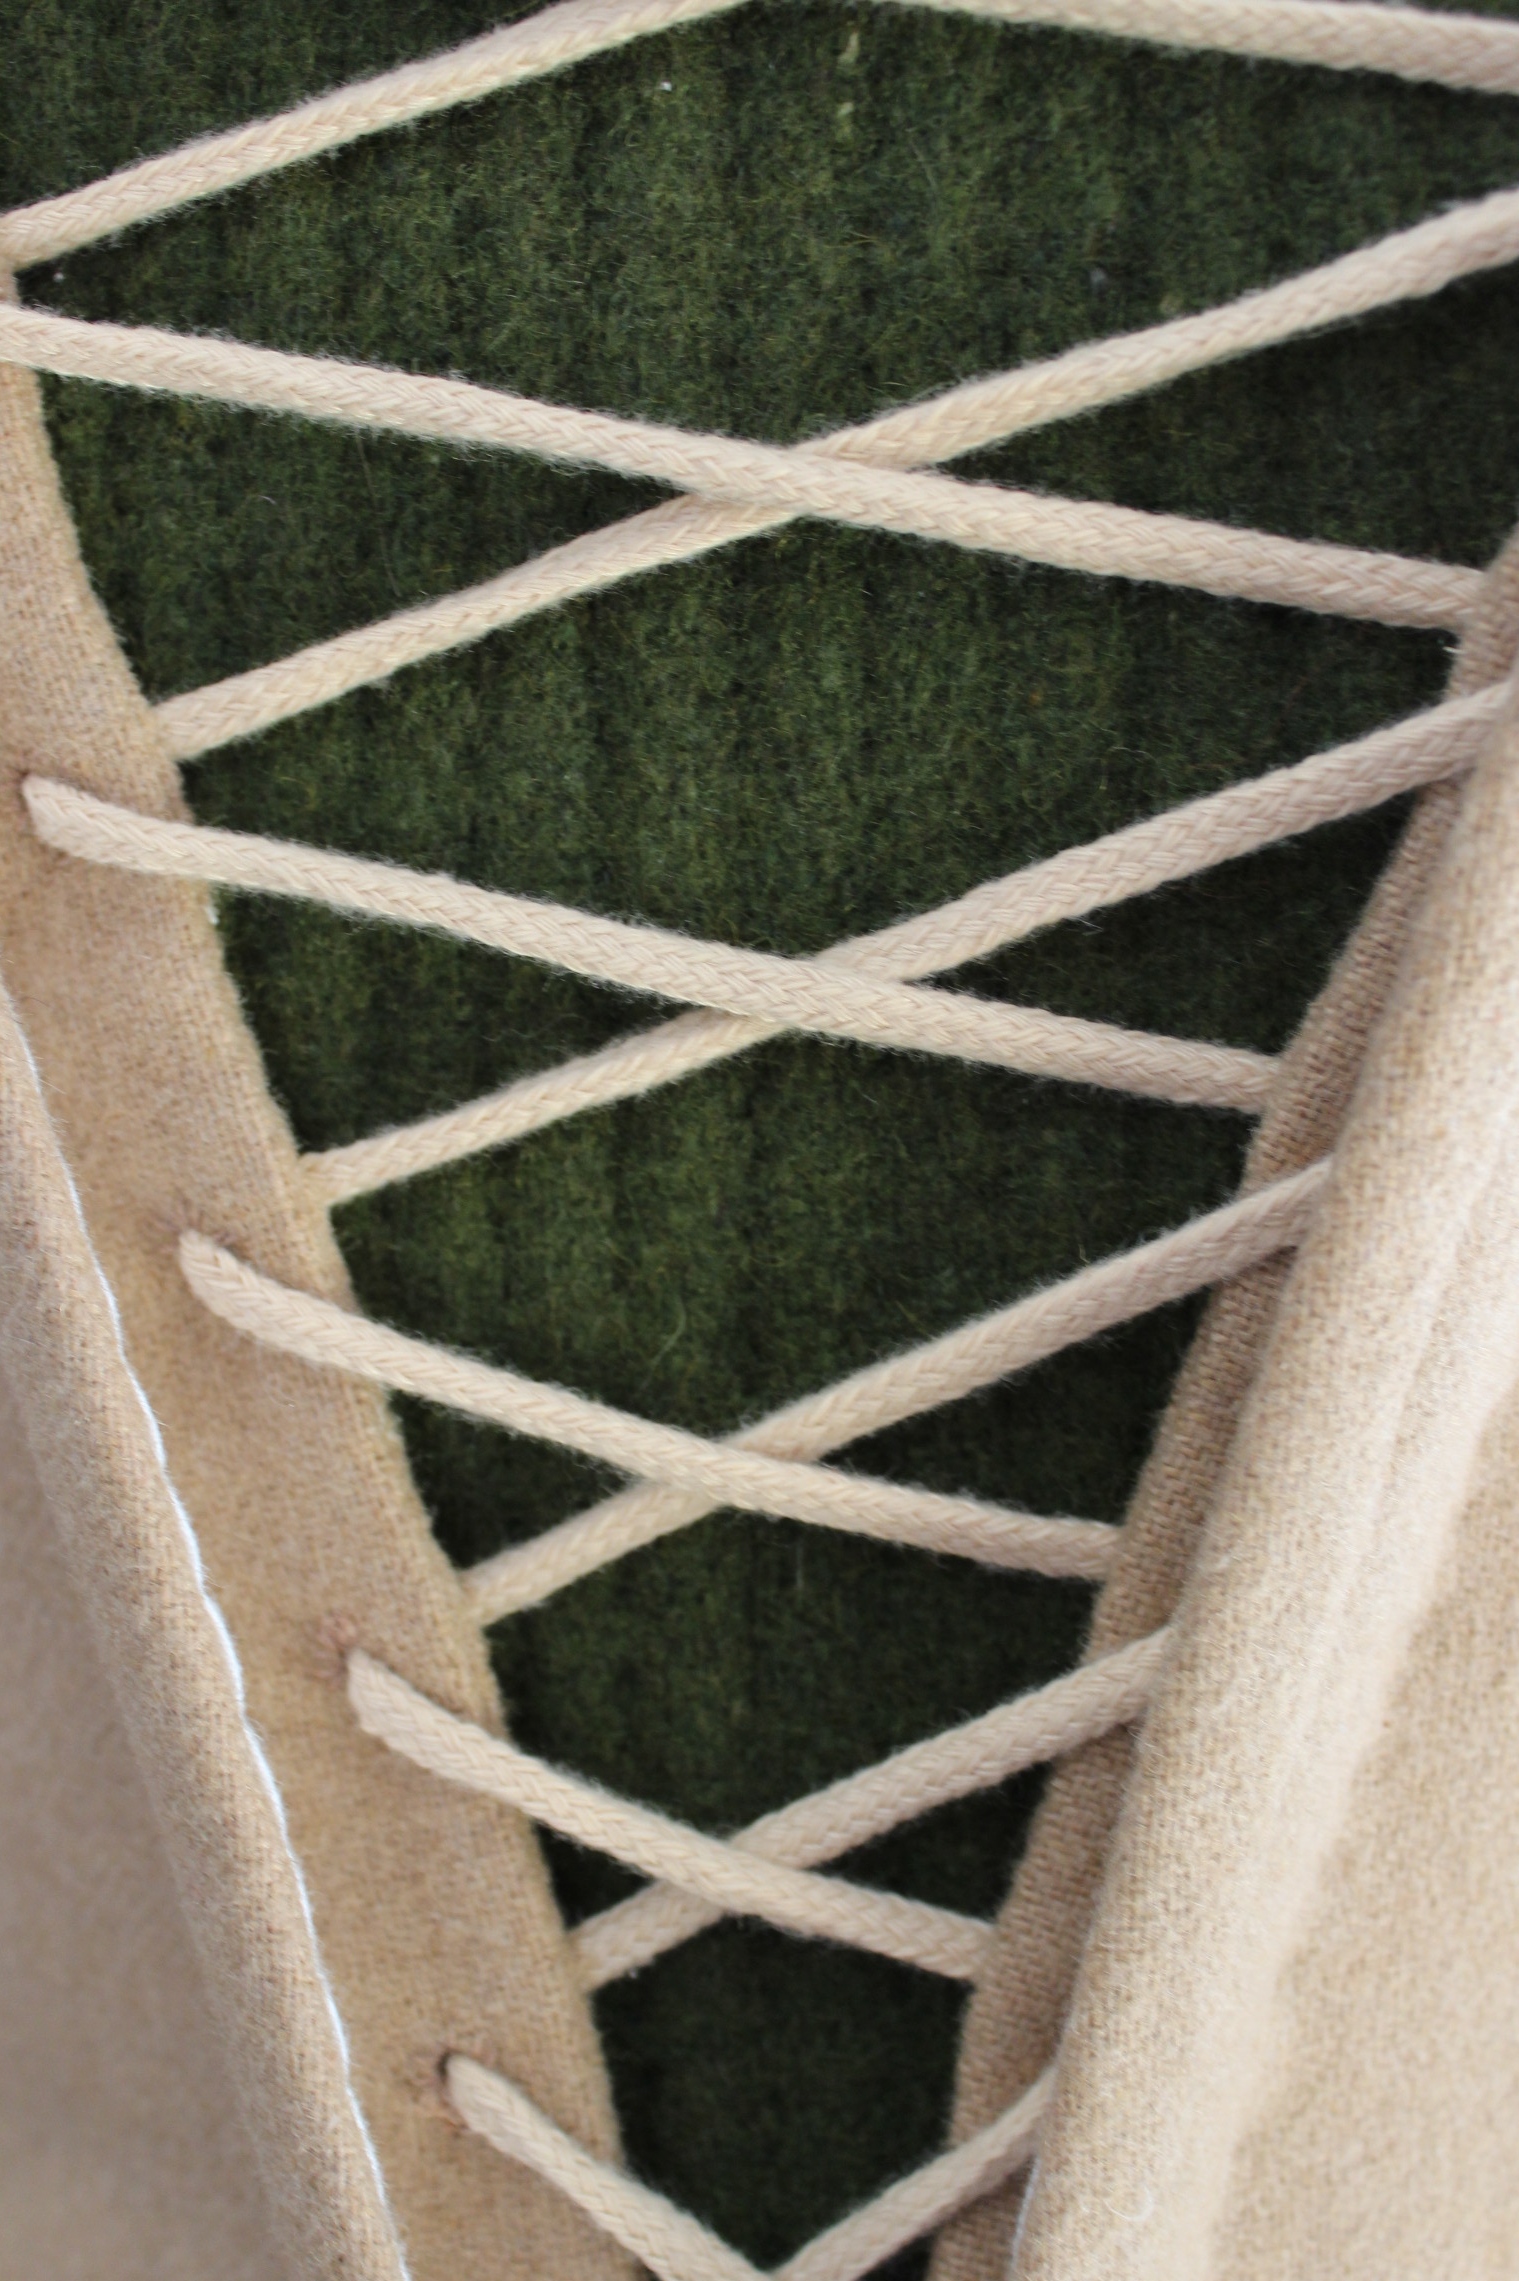
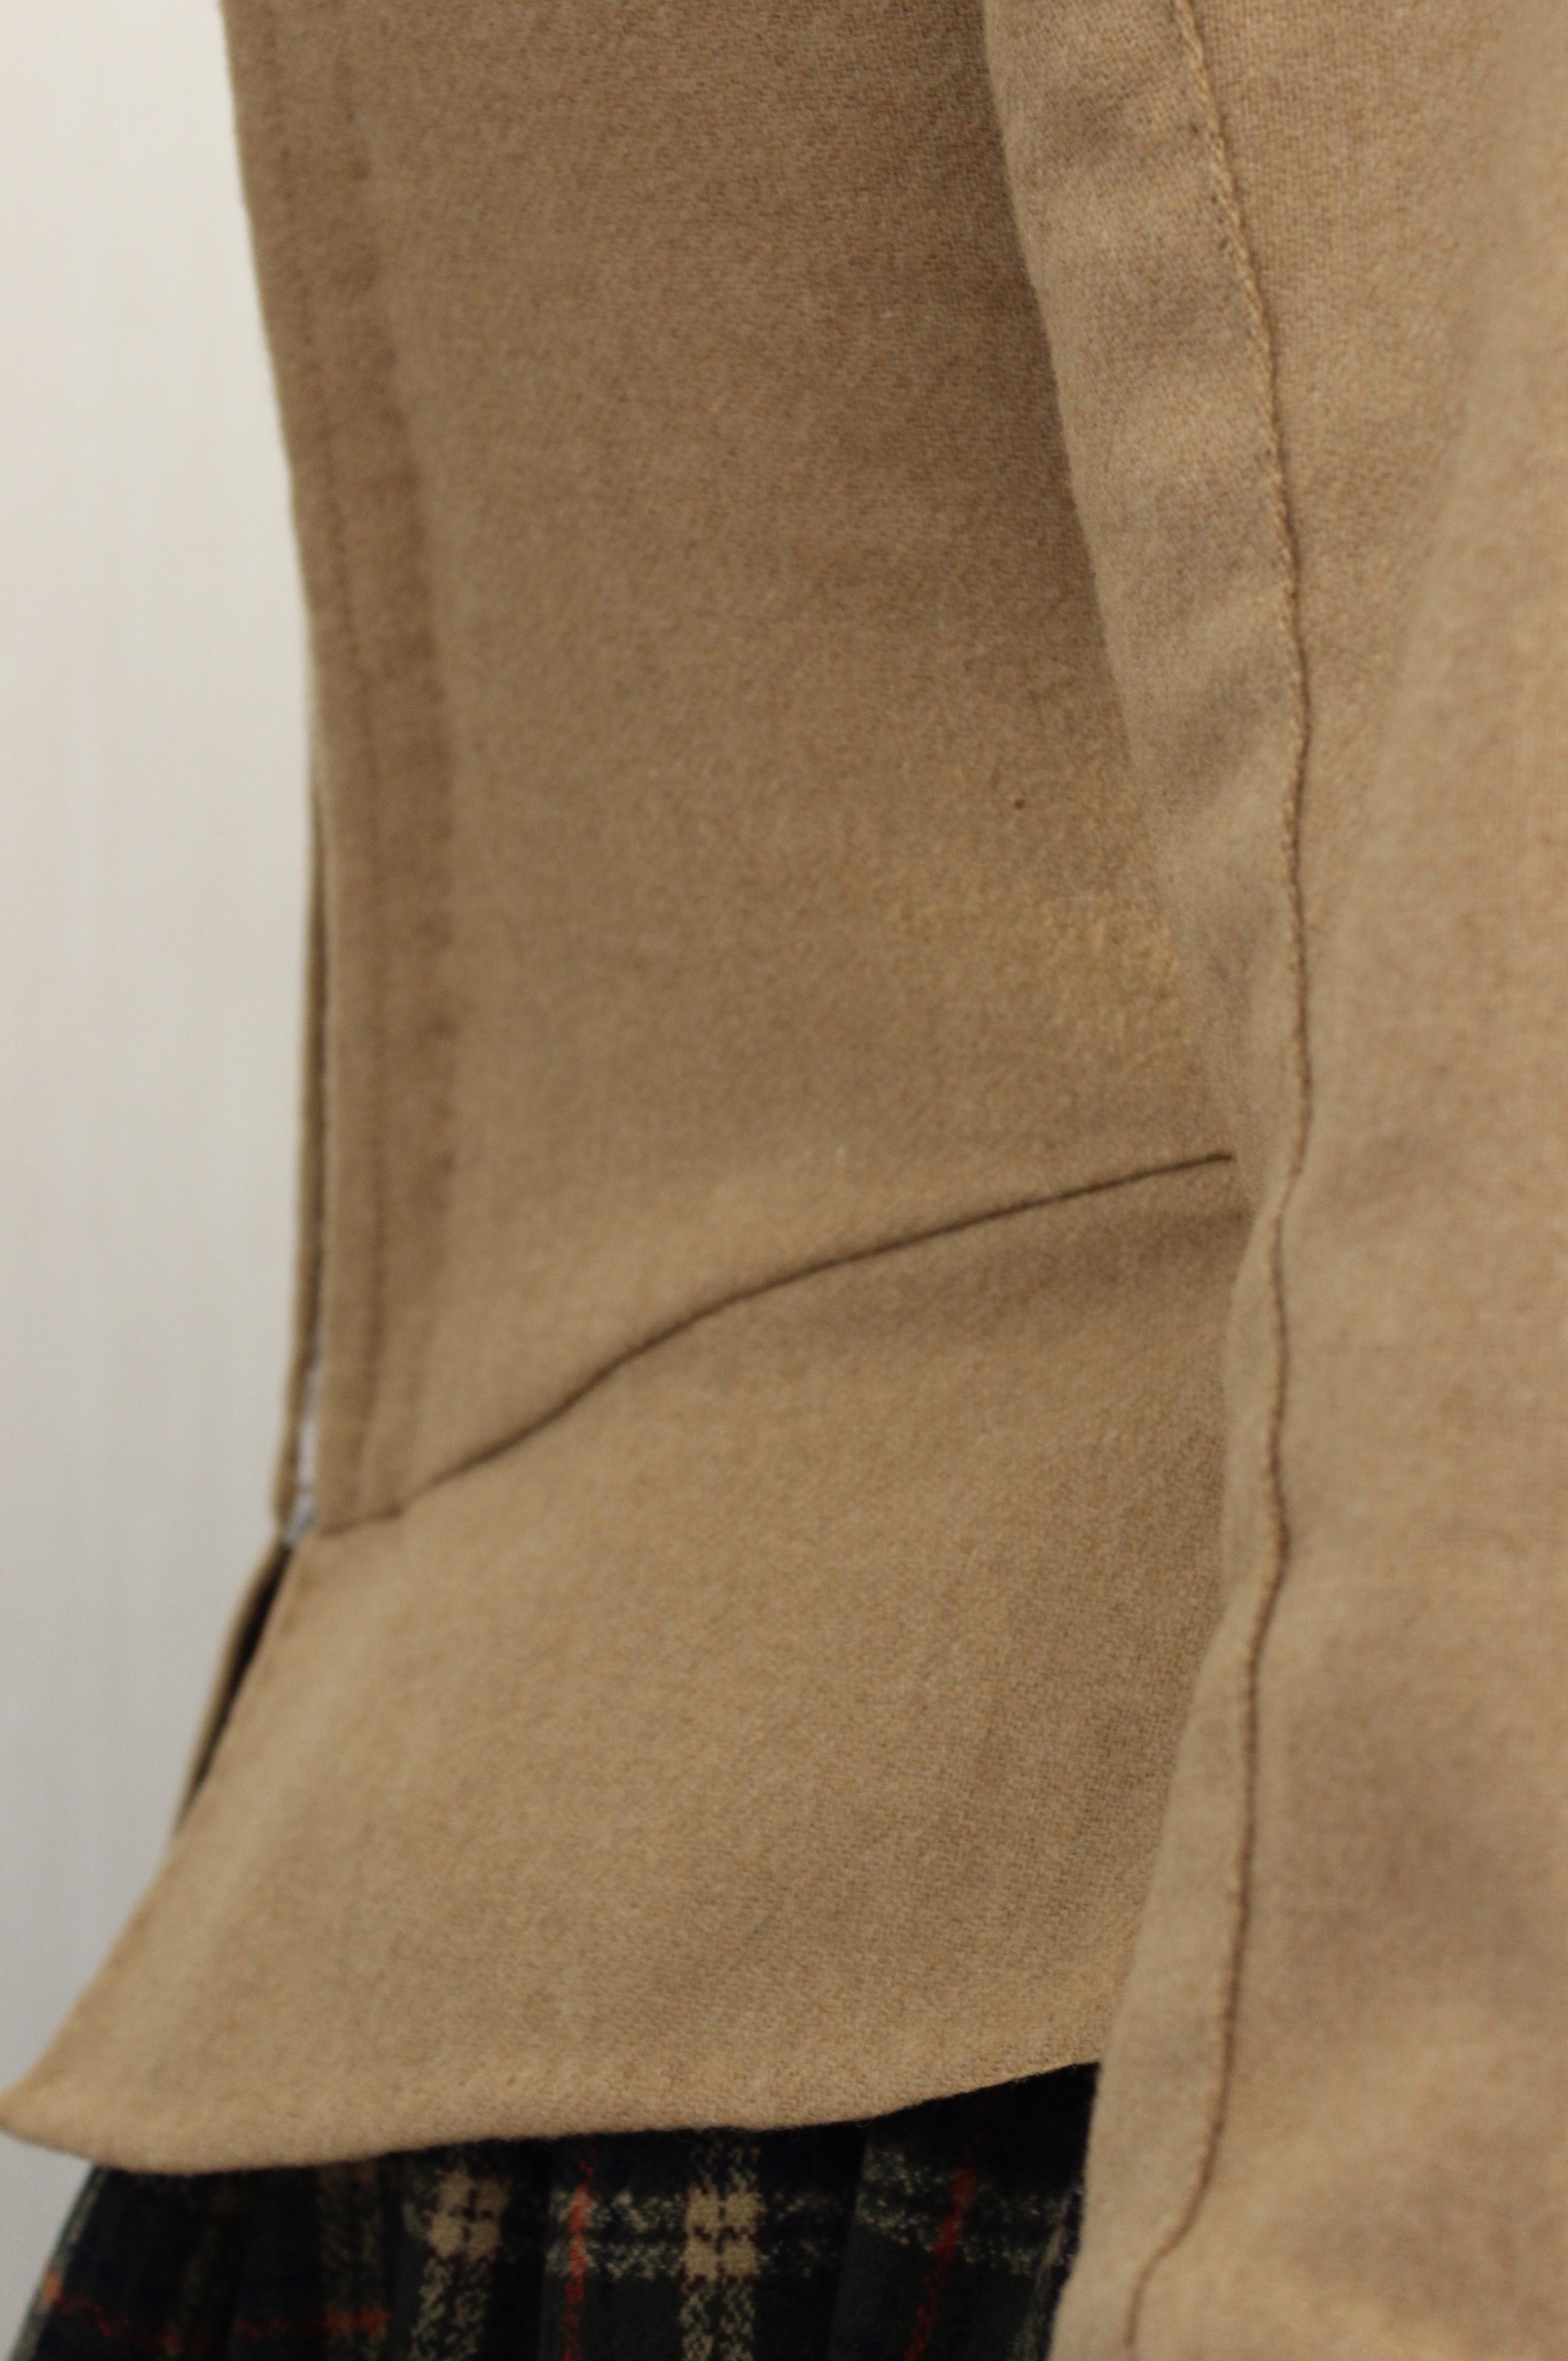
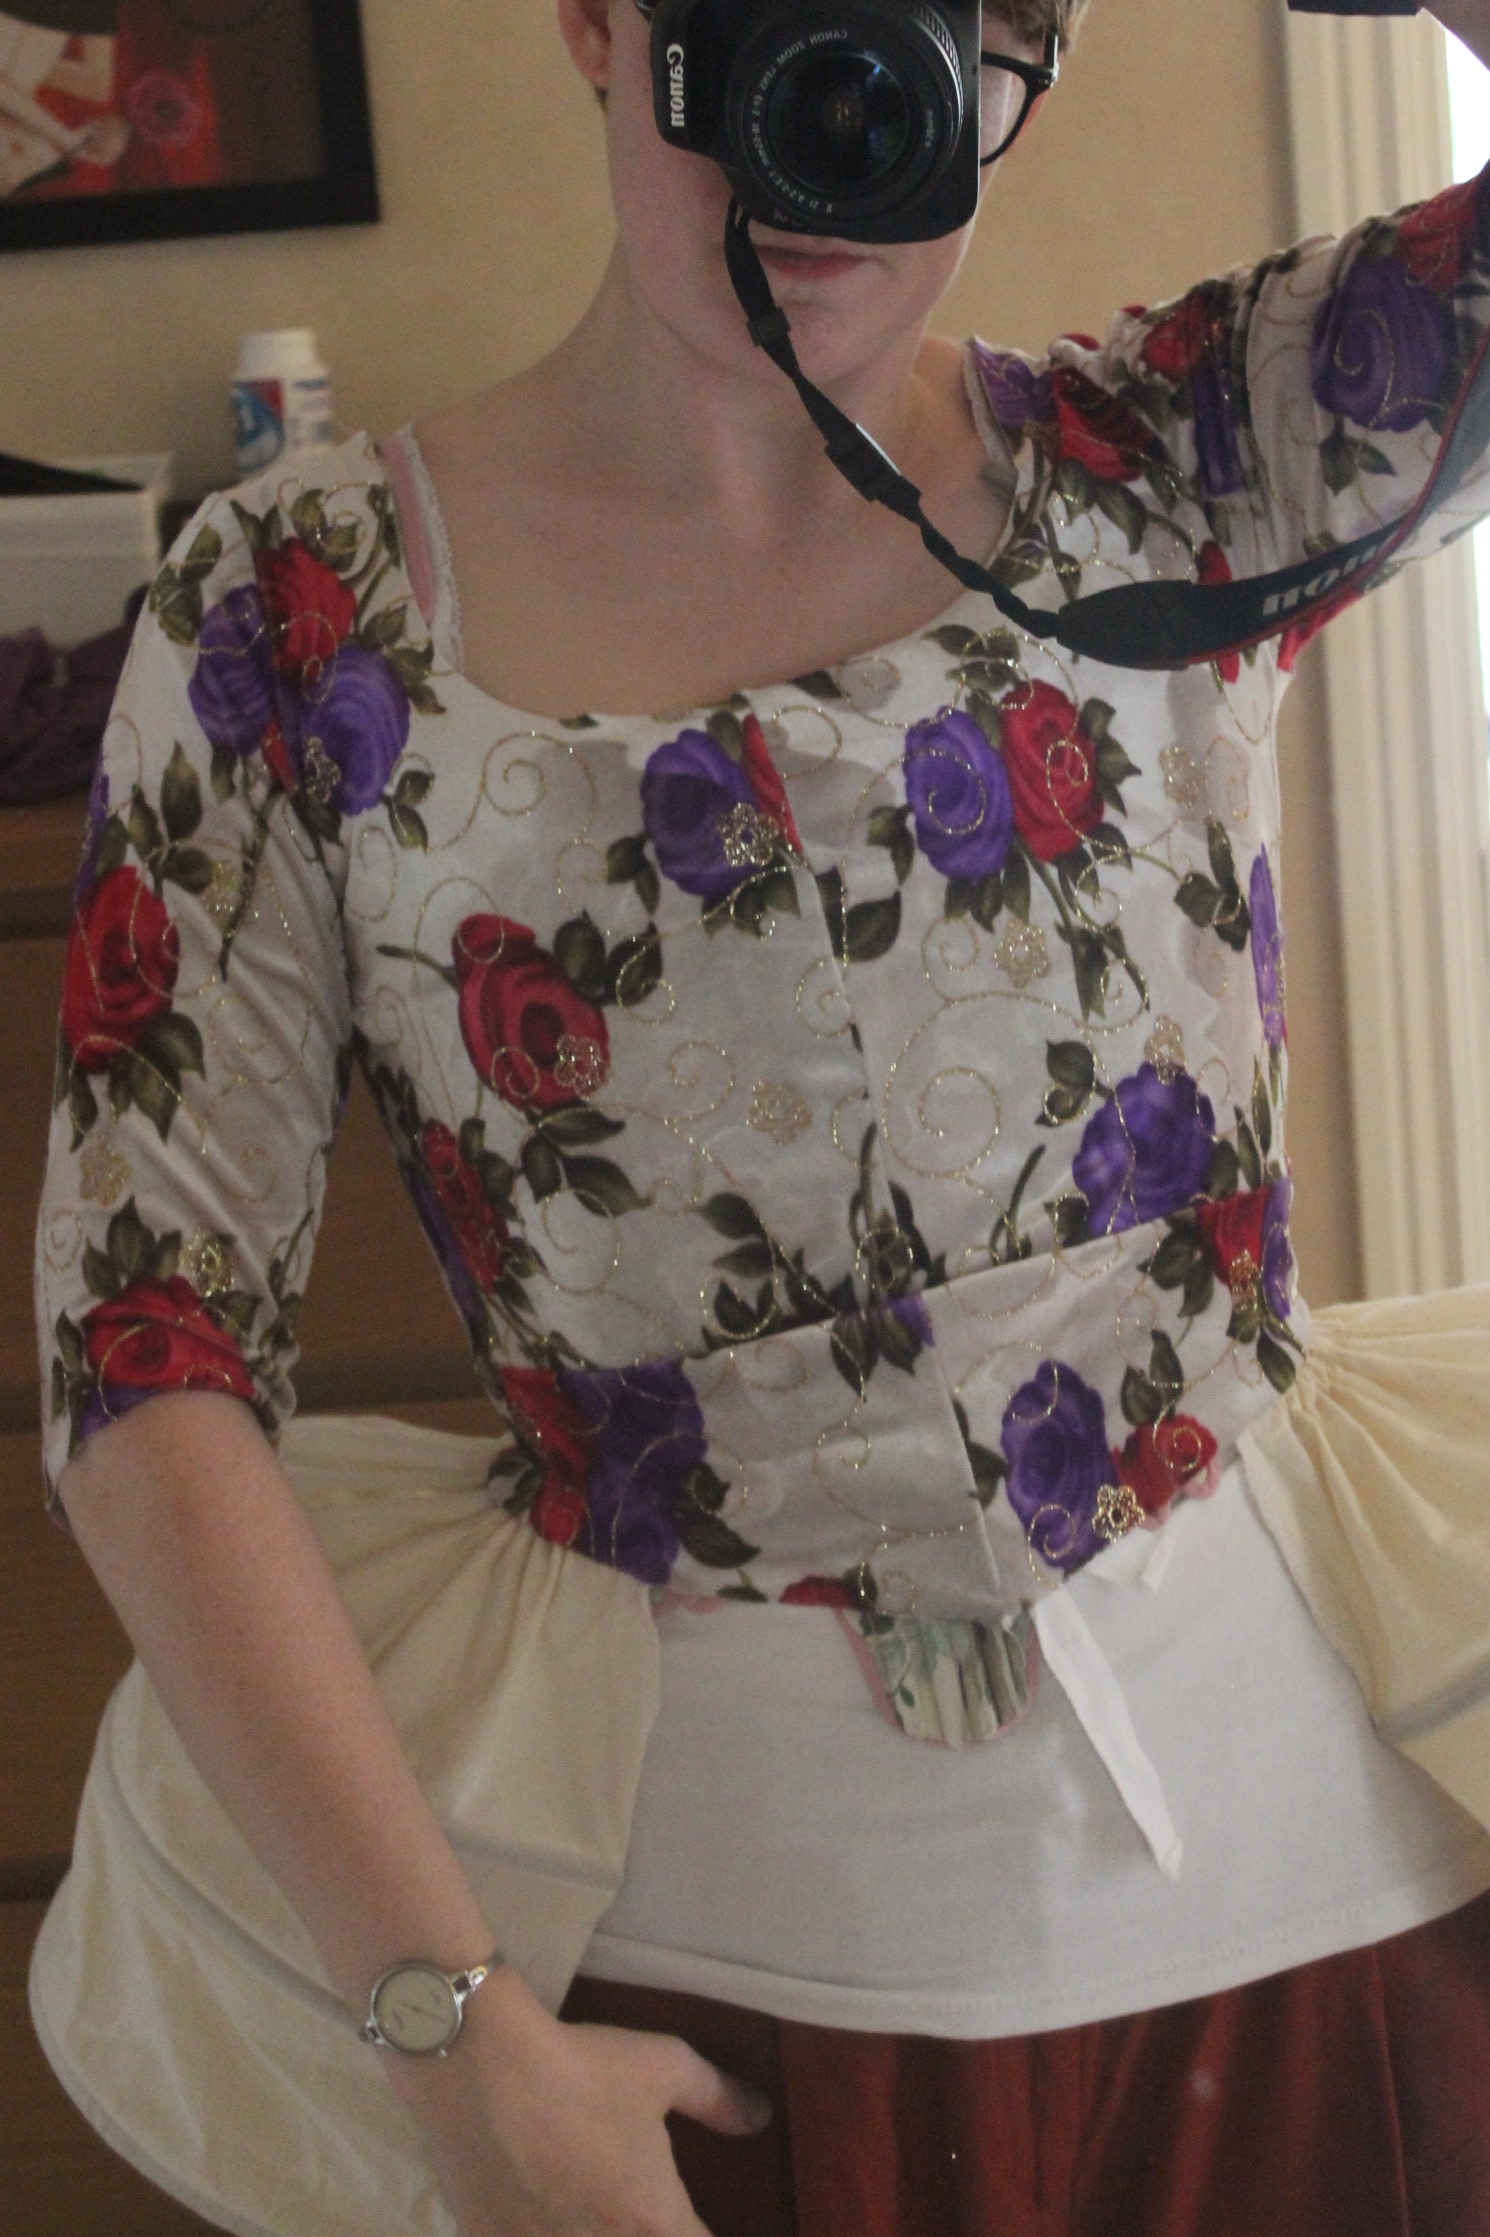
Once the clouser was done, I thought it looked pretty shabby, puckering and not laying flat at all.
Thankfully the problem was adverted once I realized I hadn’t pressed the buttonholes properly.
And once I did they looked so much better.
 Hard to tell from this picture, but the difference are really obvious in real life.
Lesson learnt – don’t cheat on the pressing!
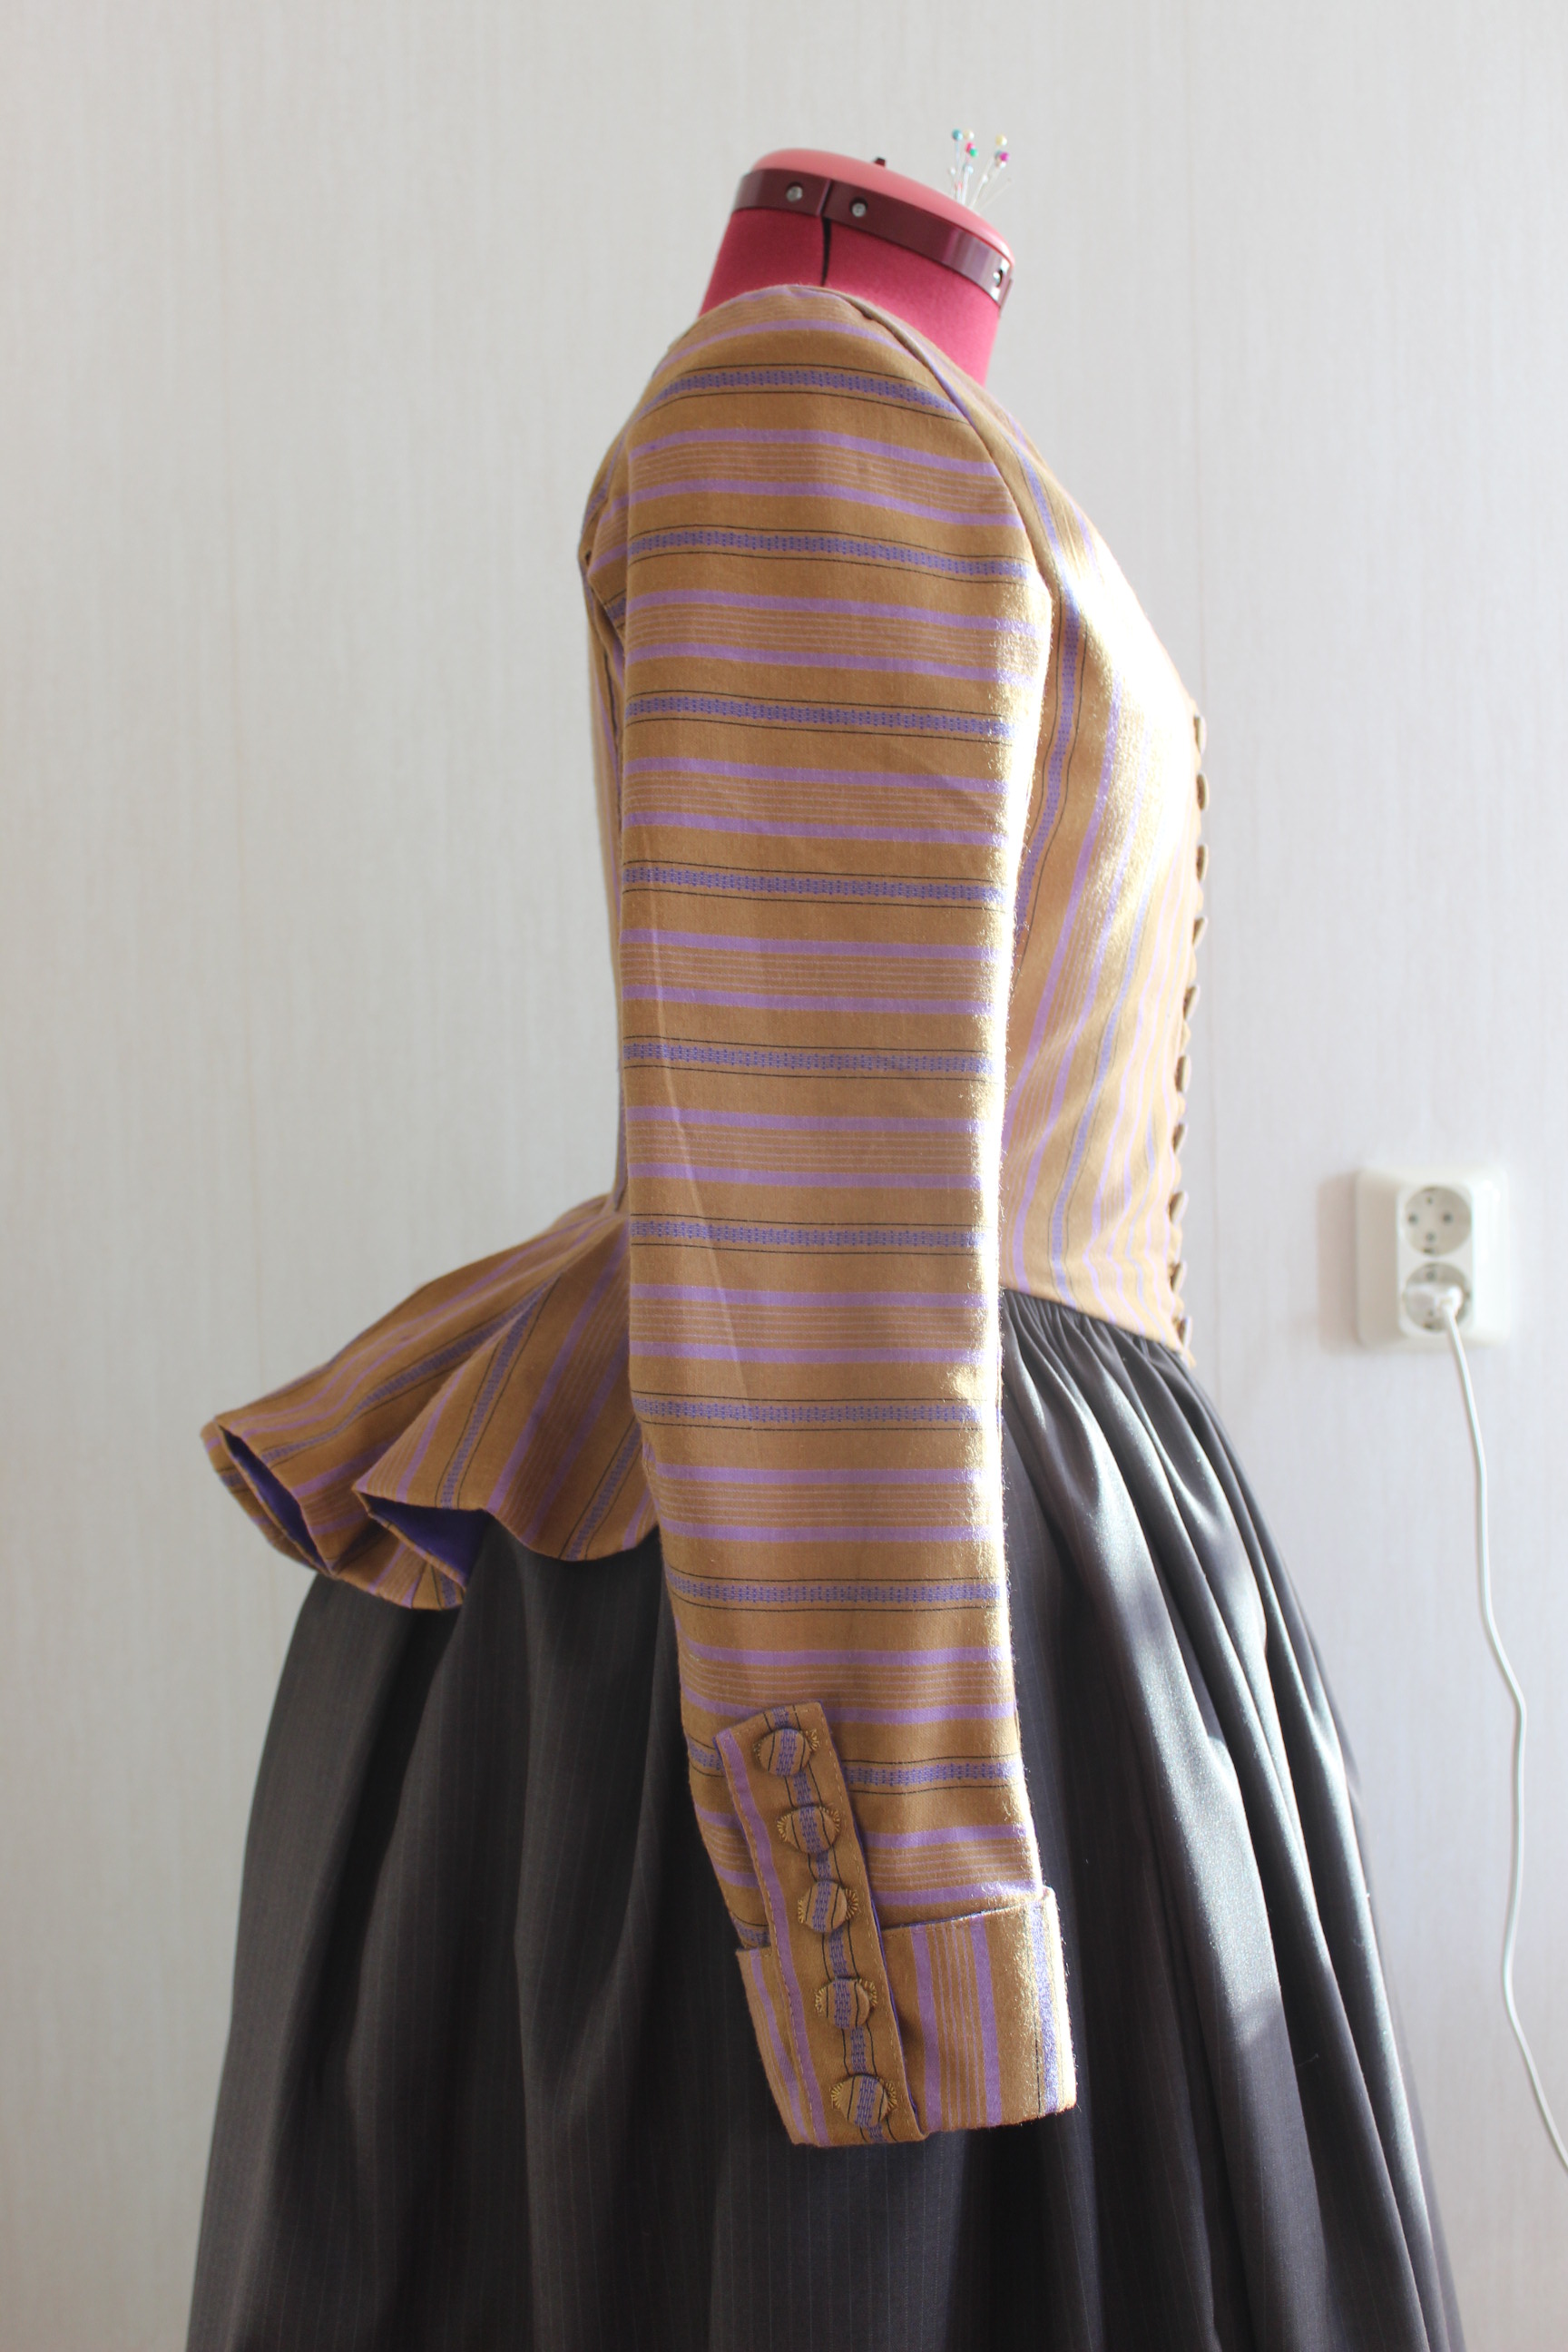
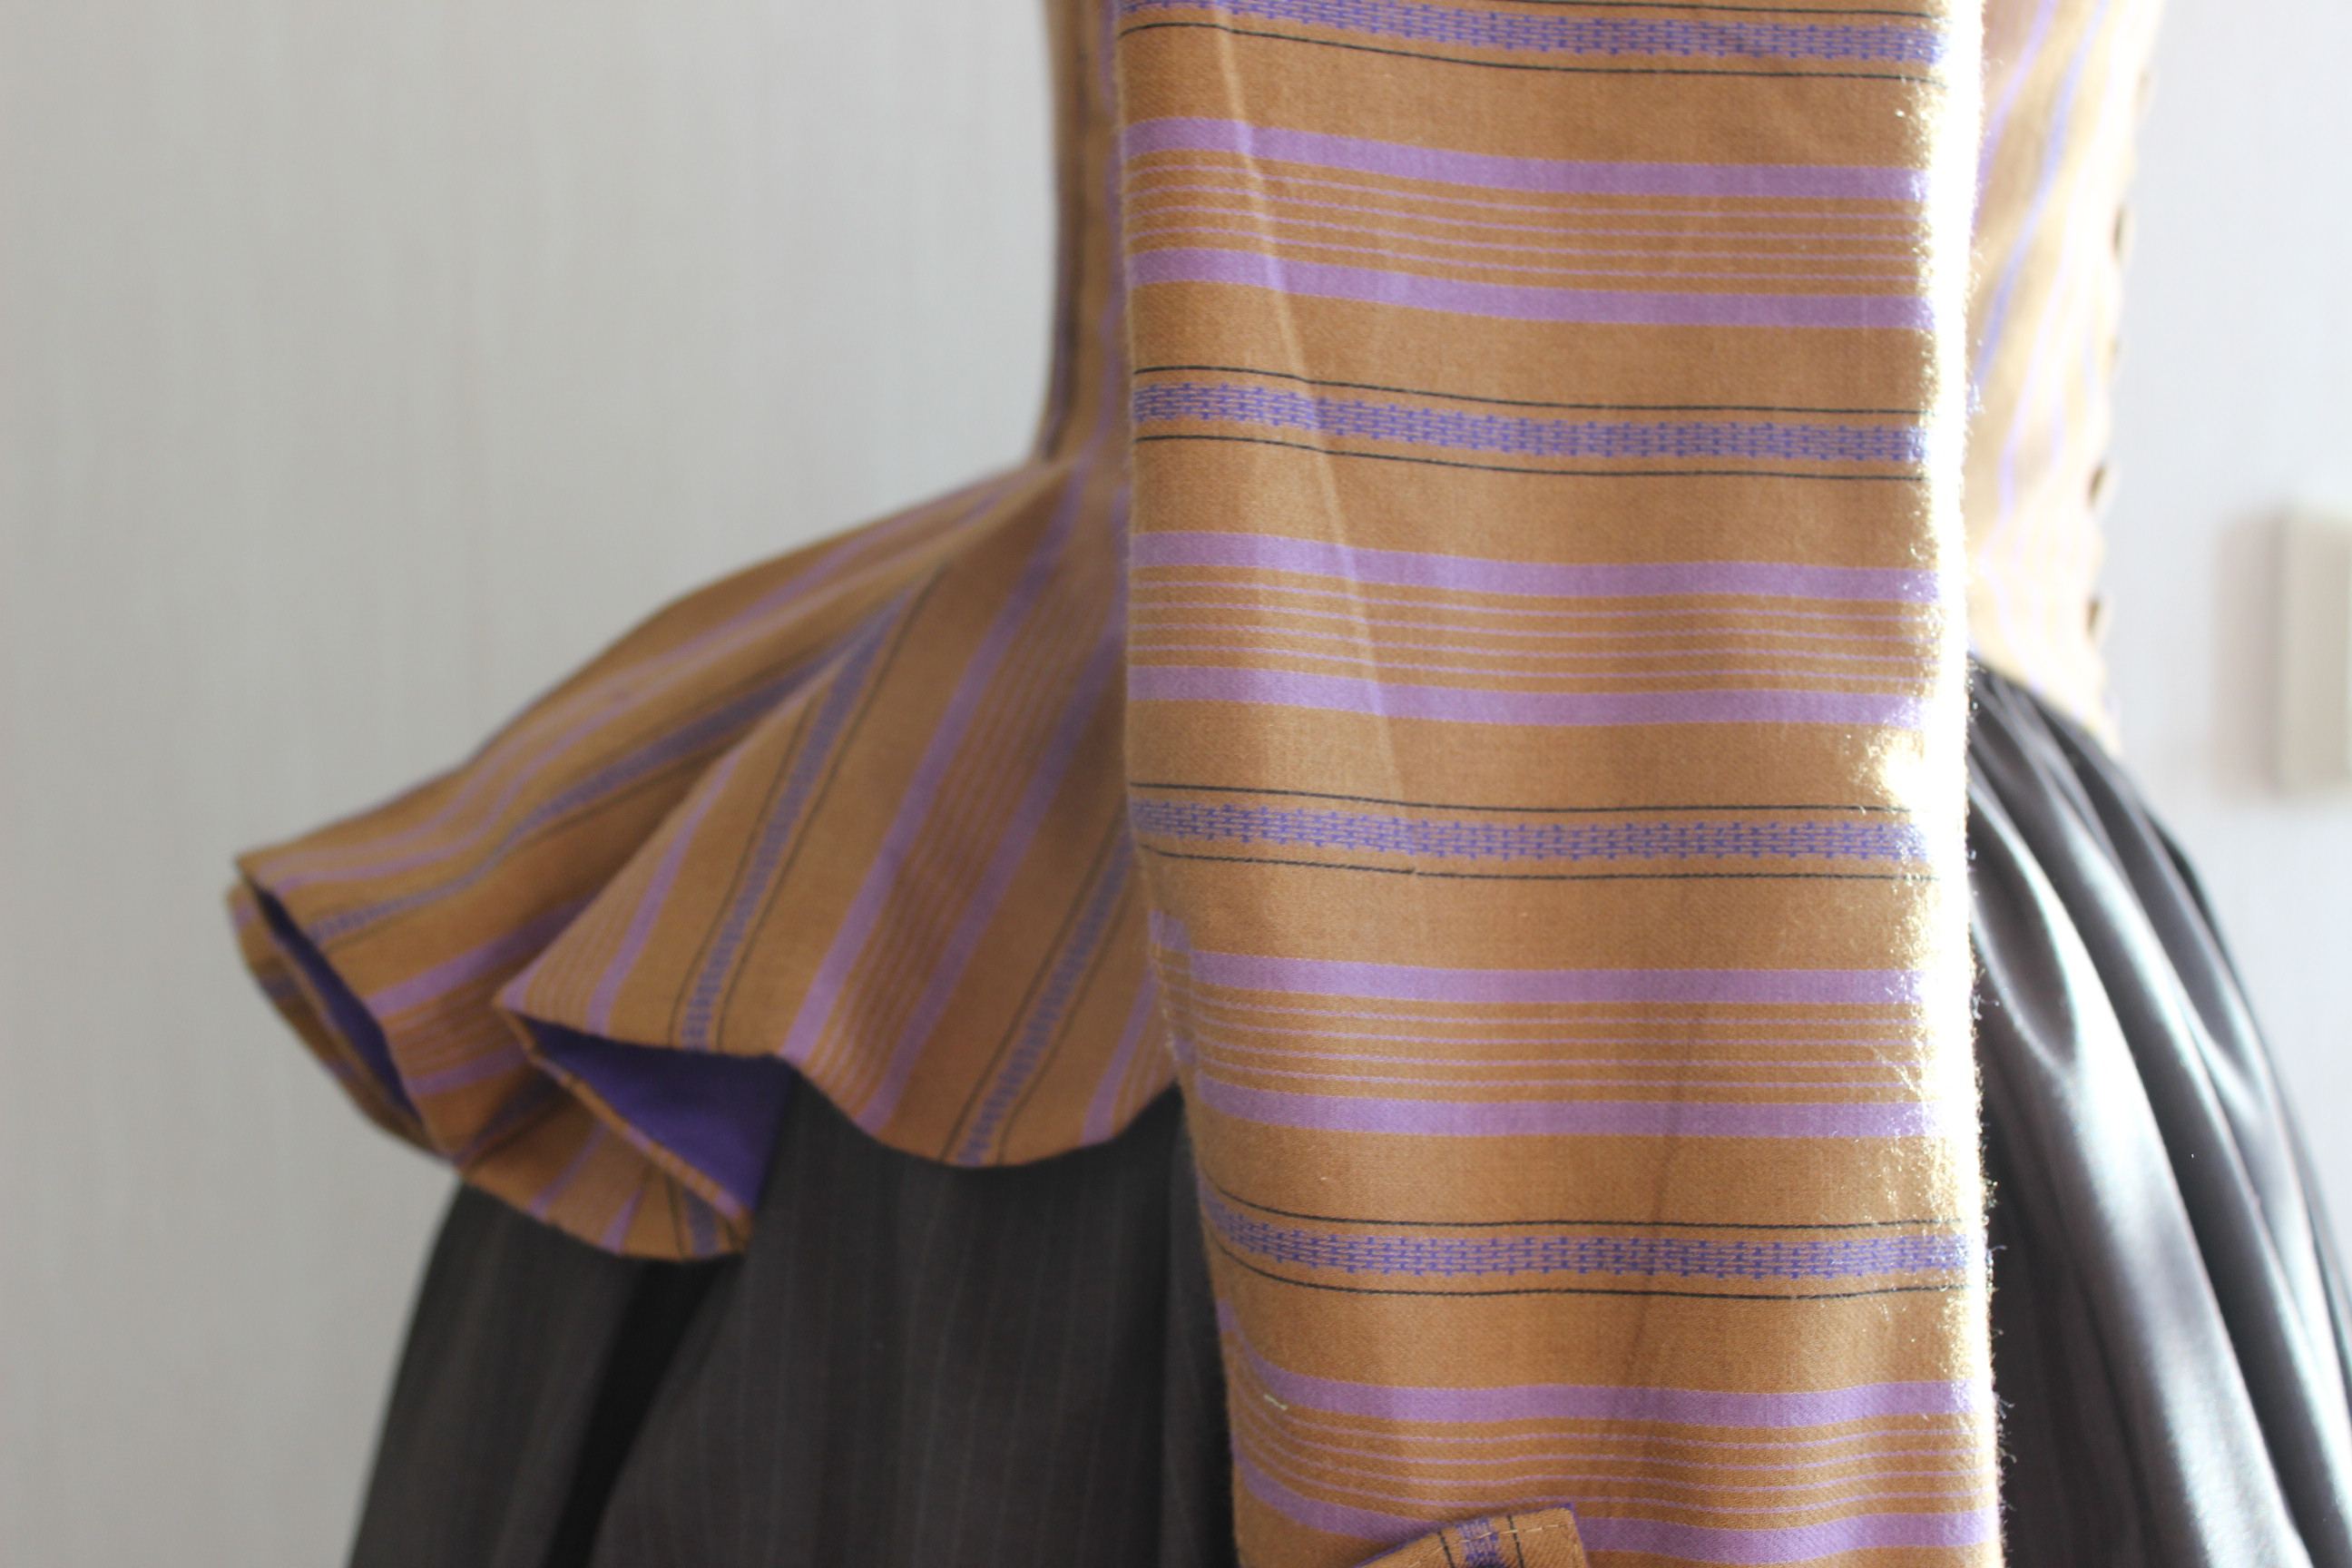
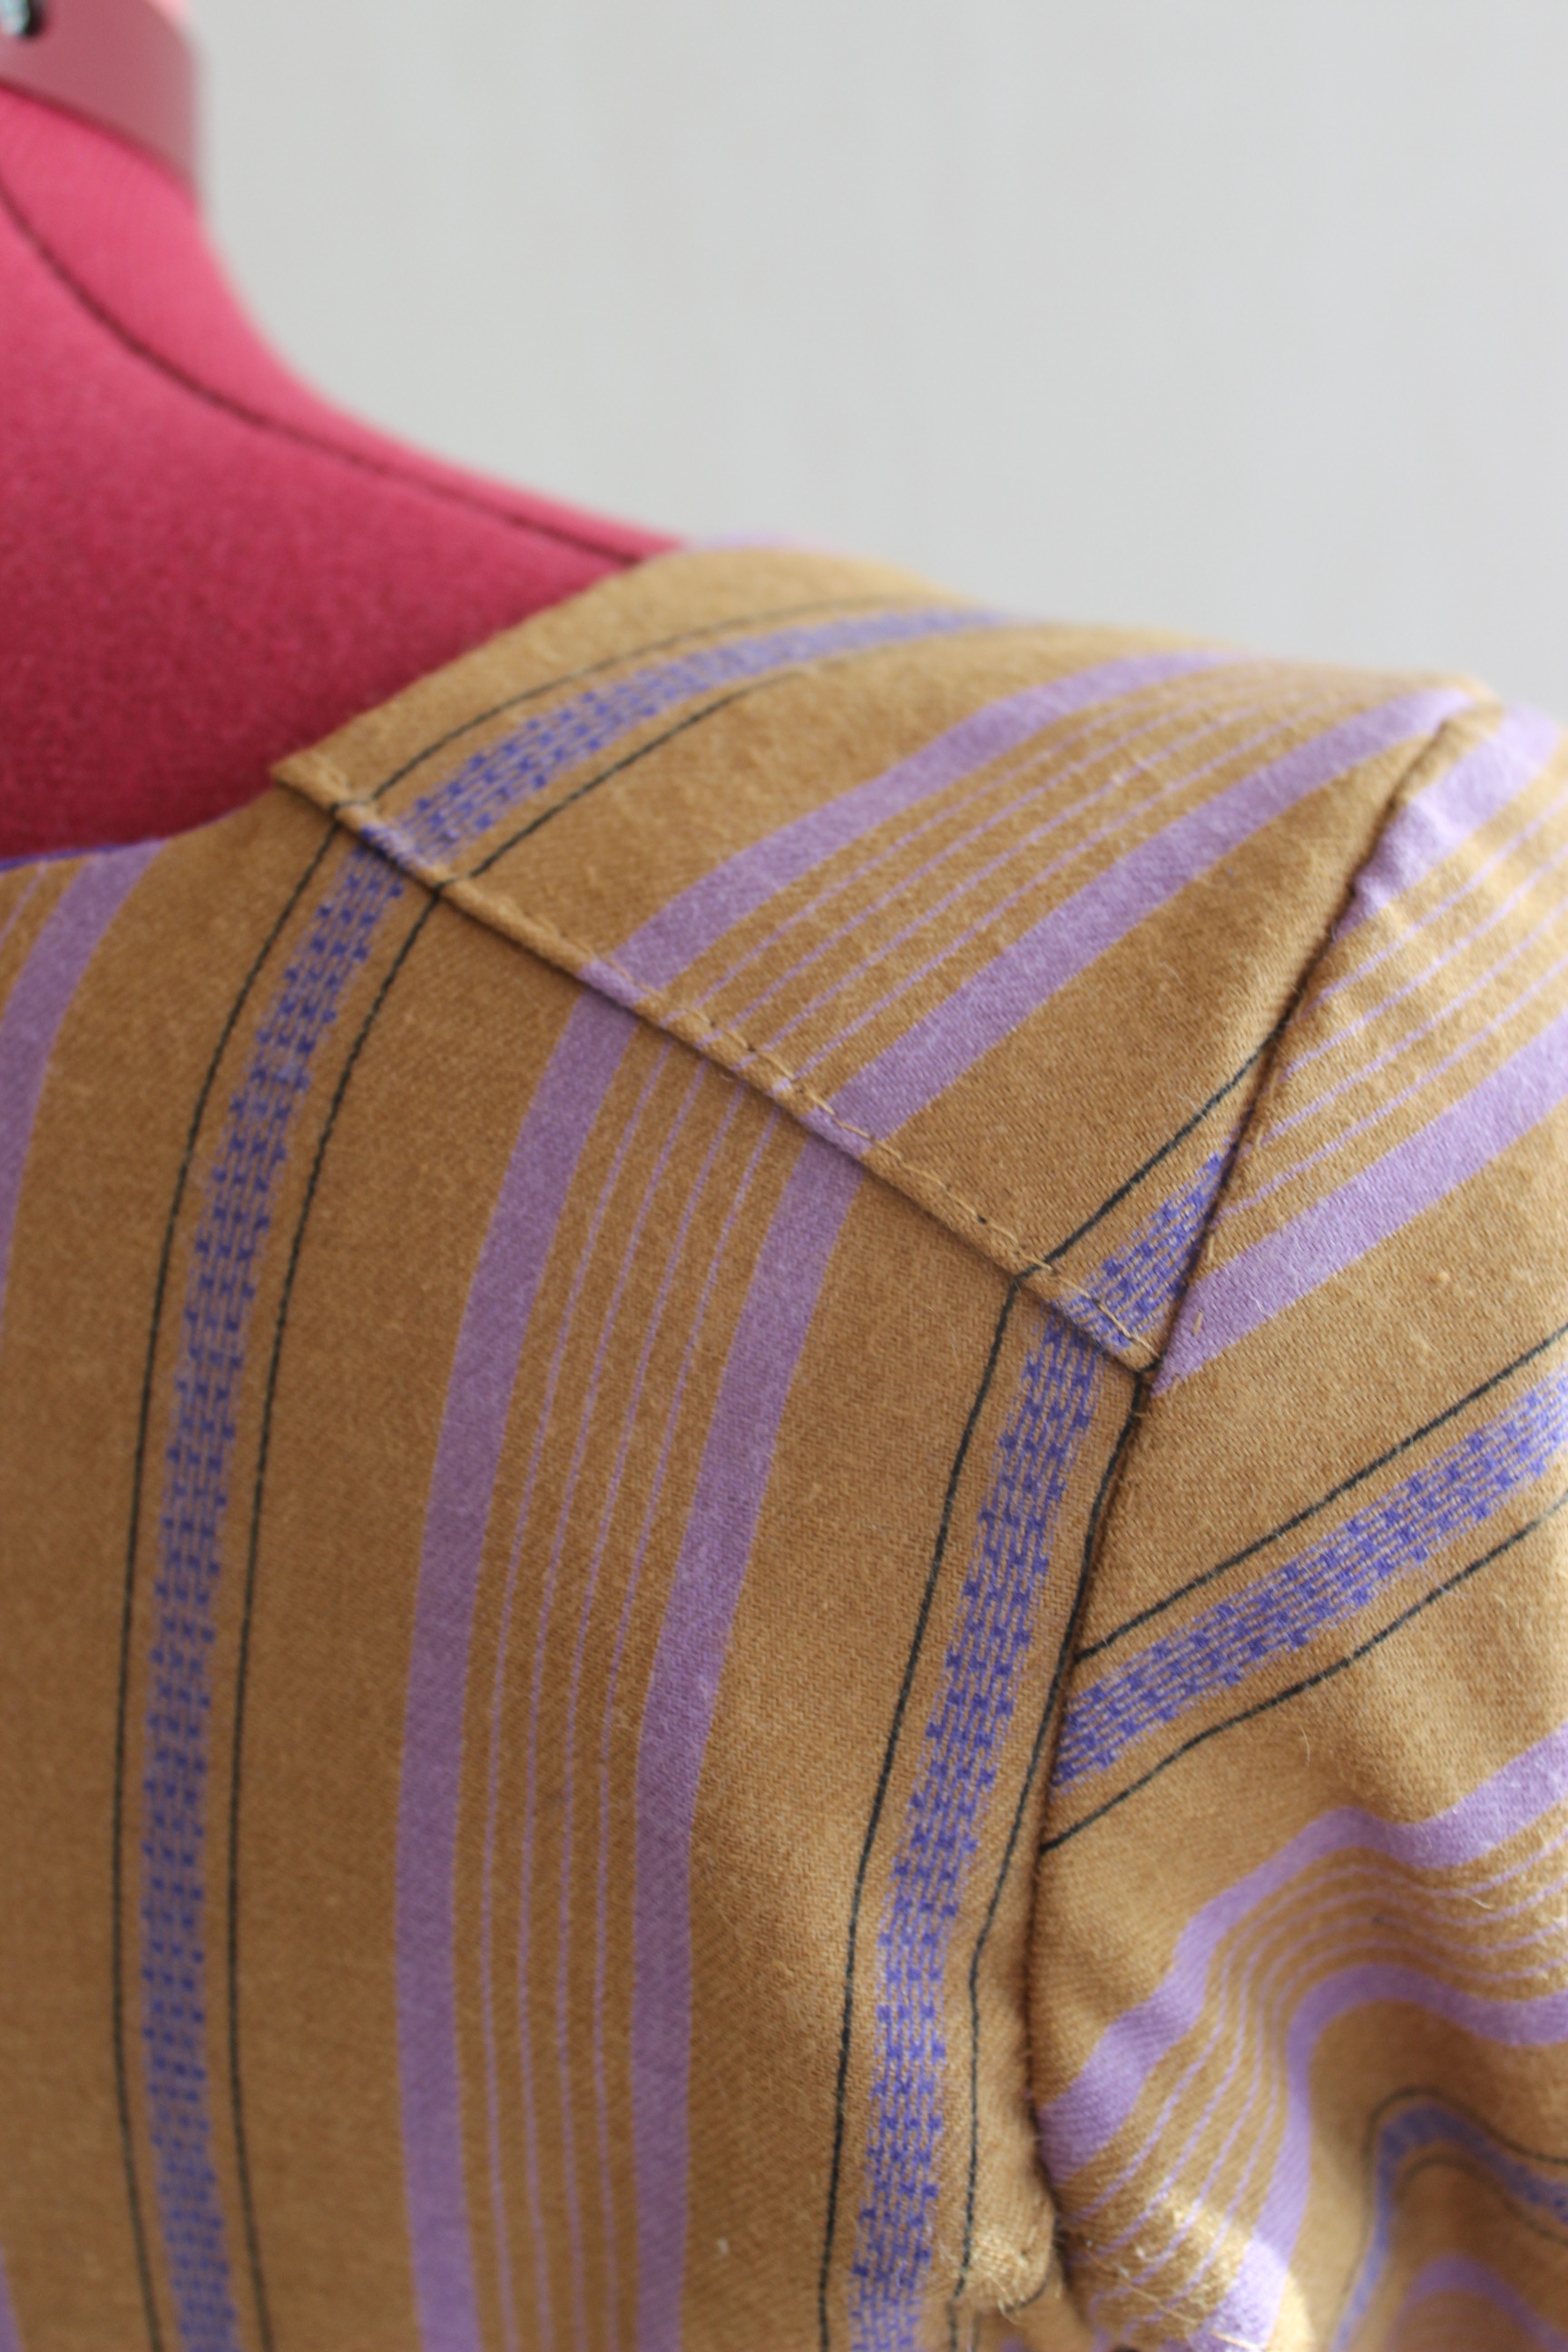
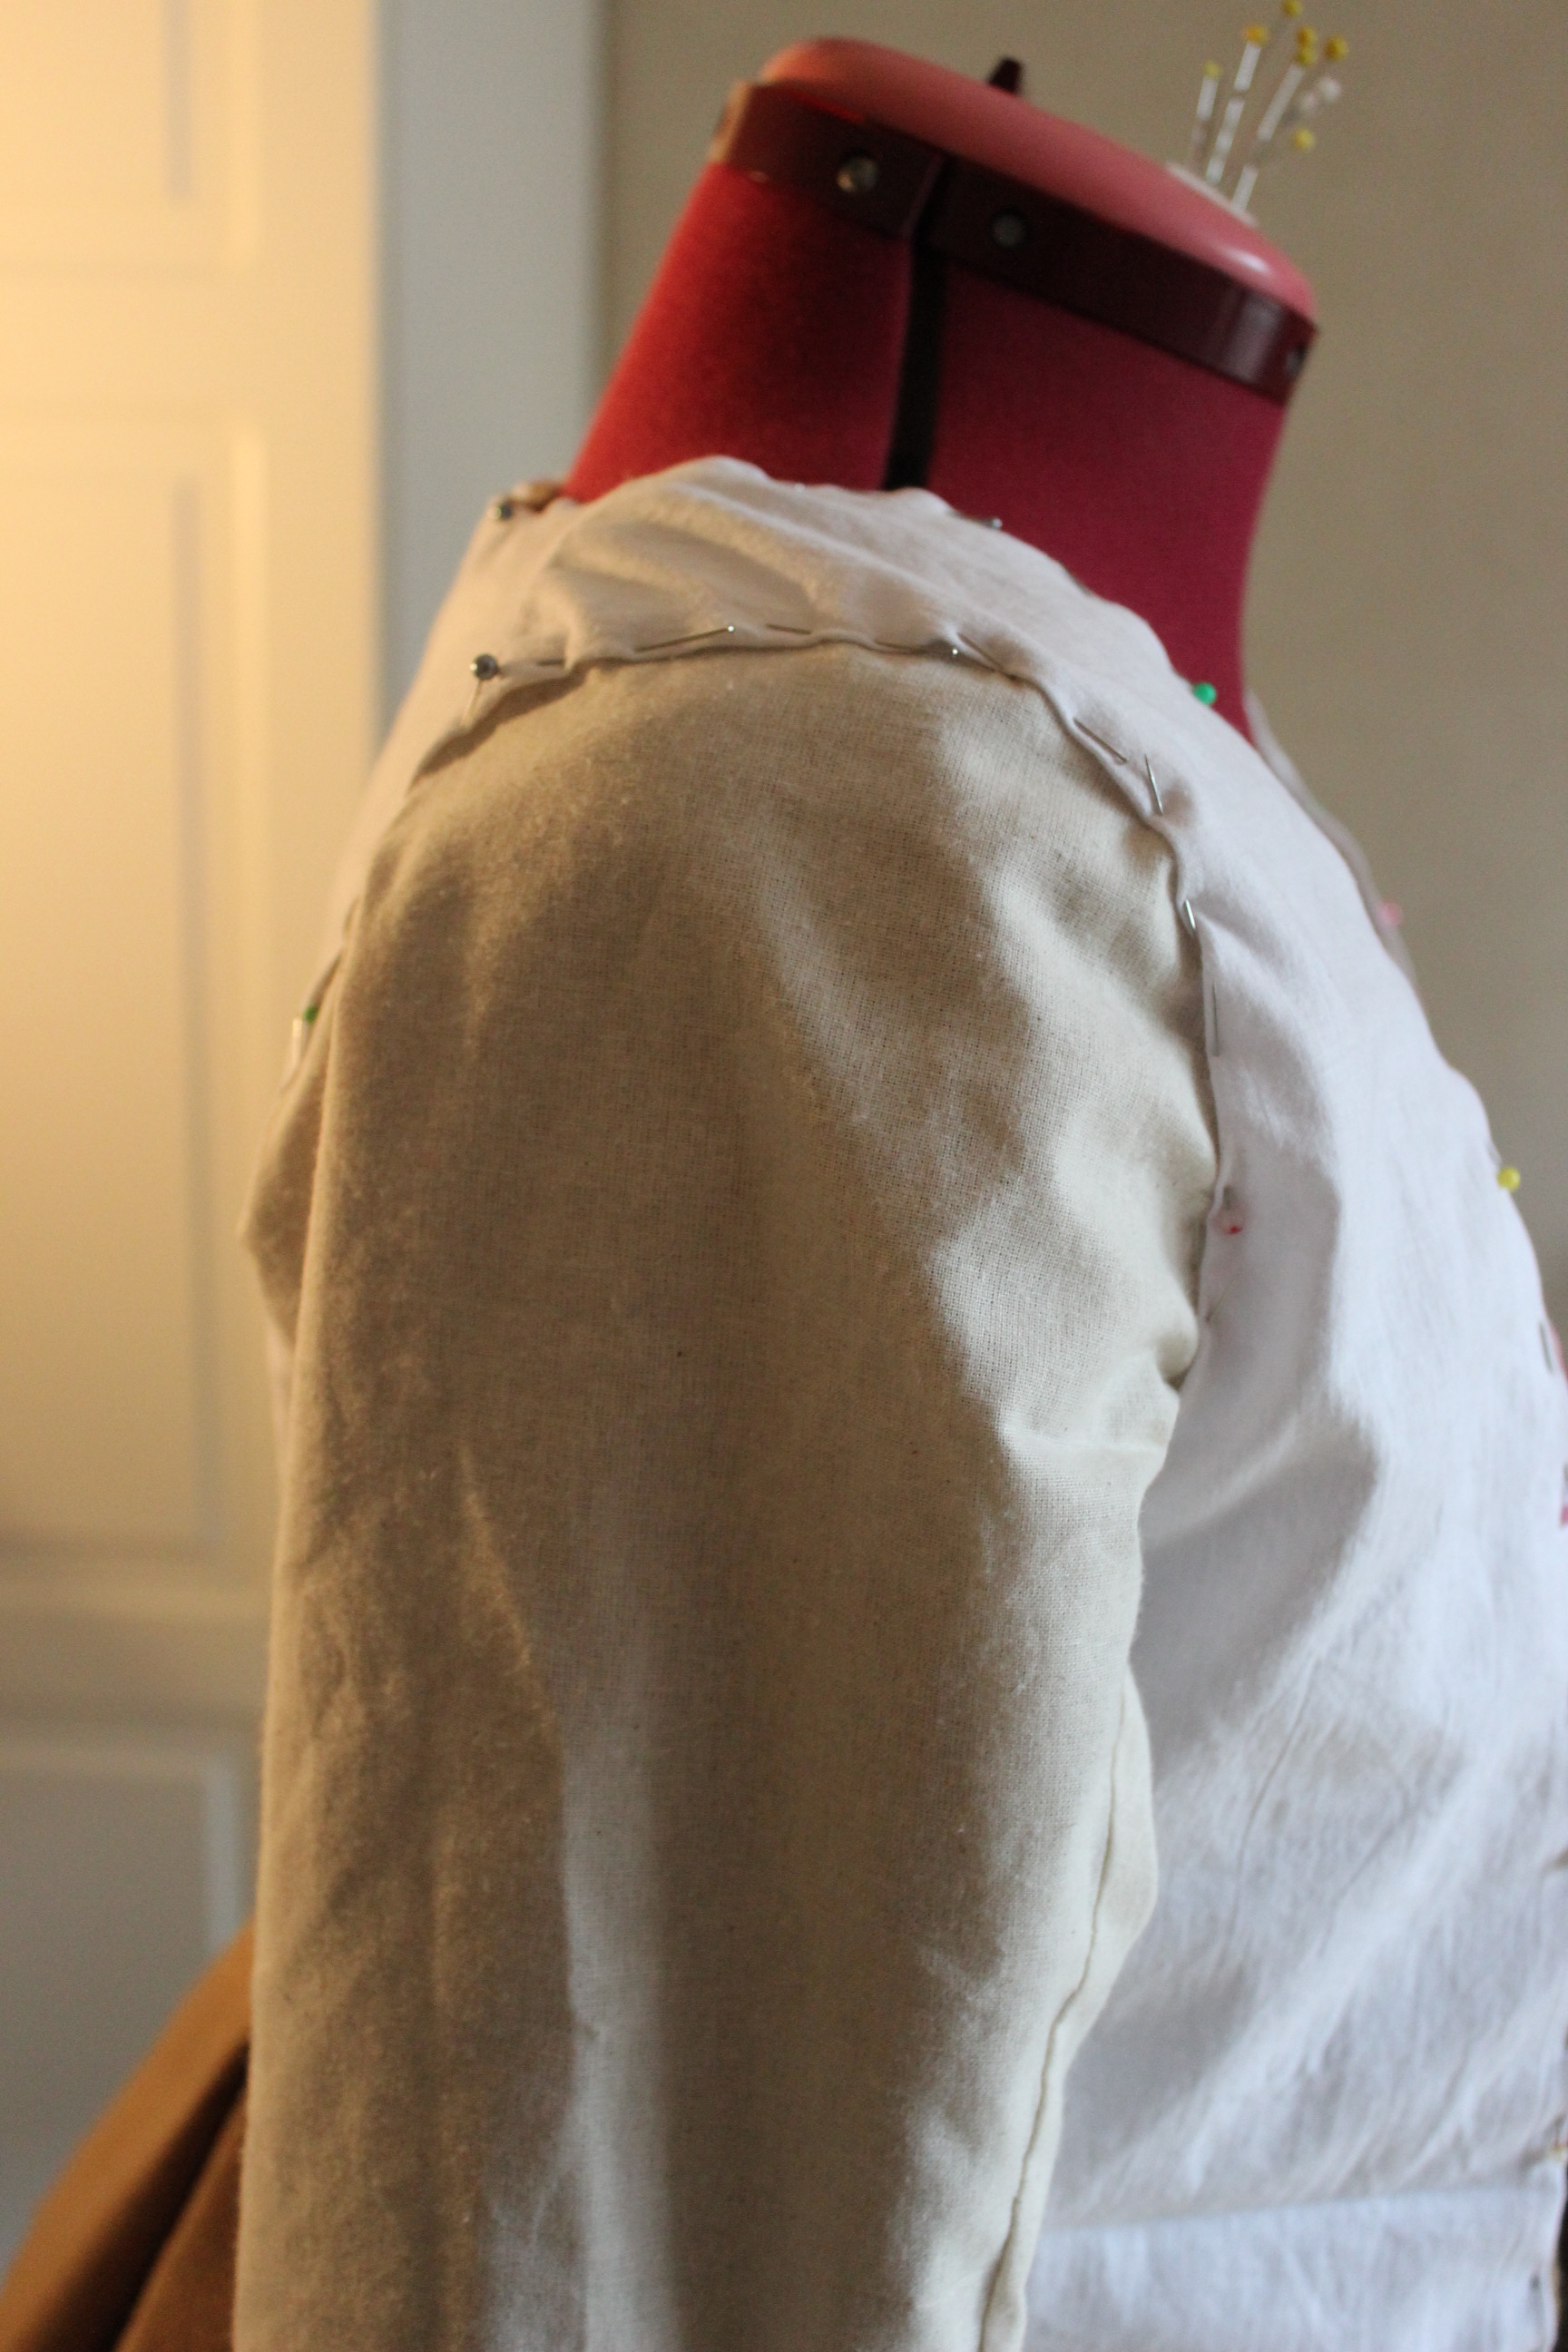
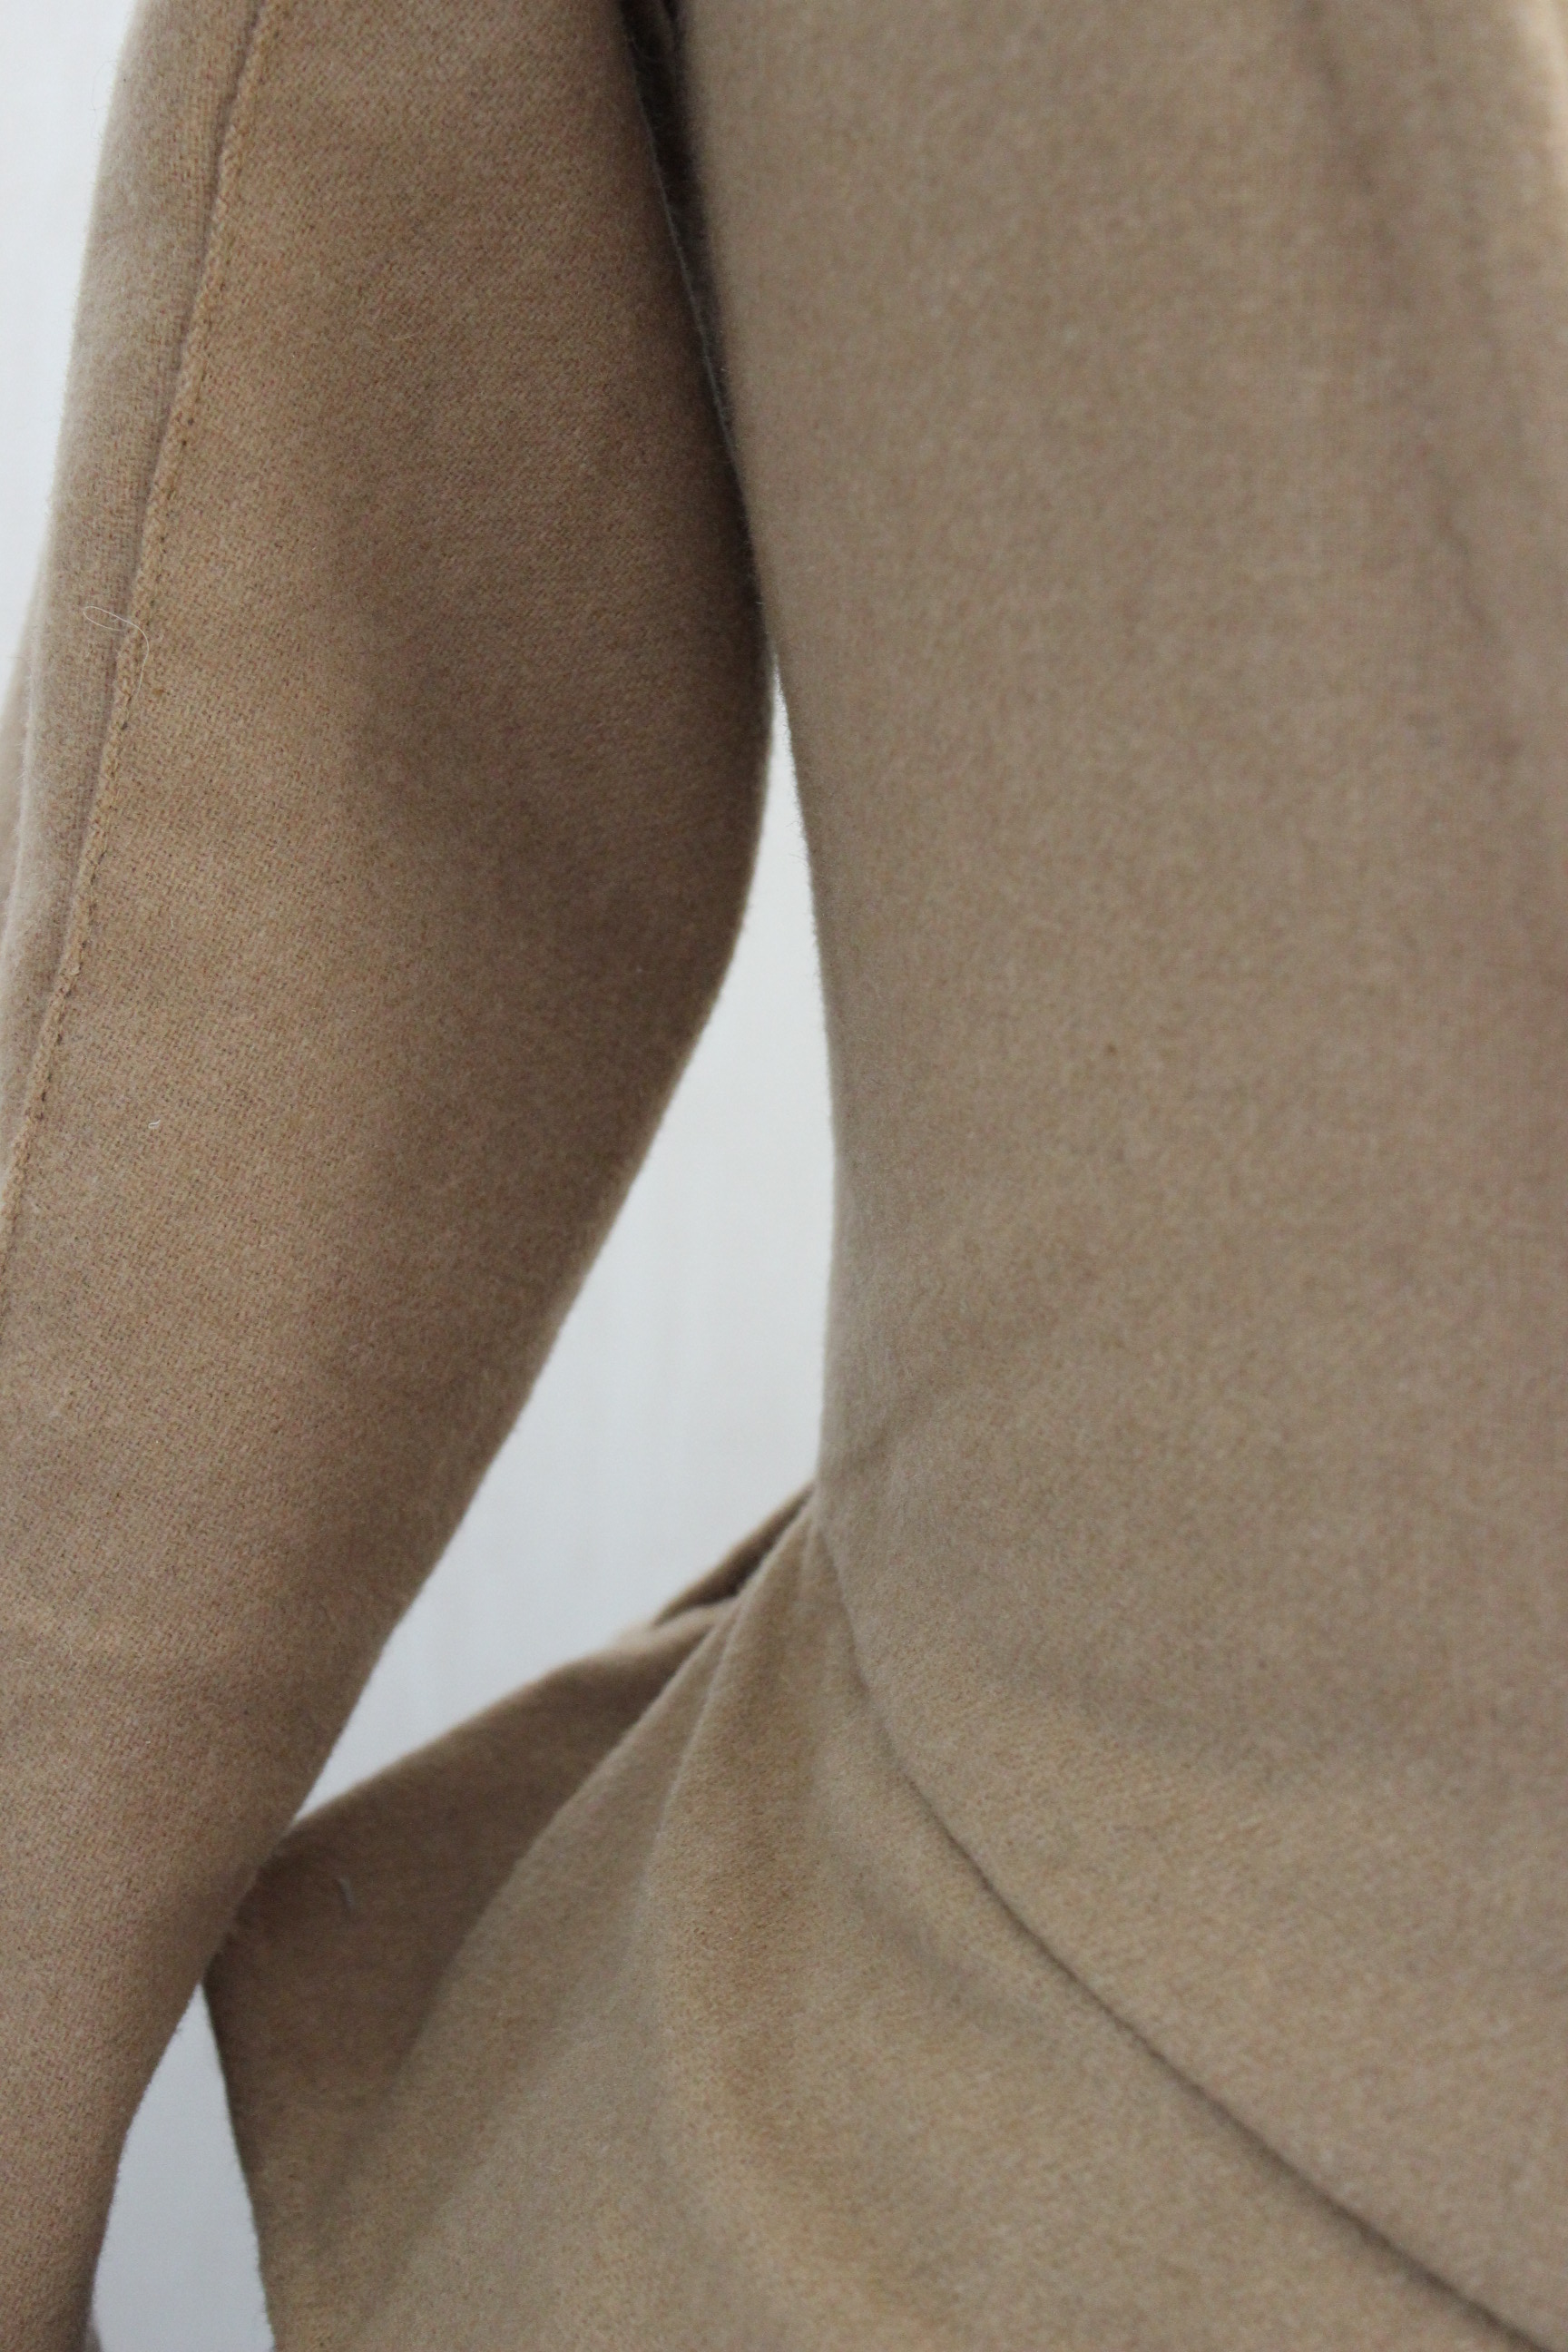
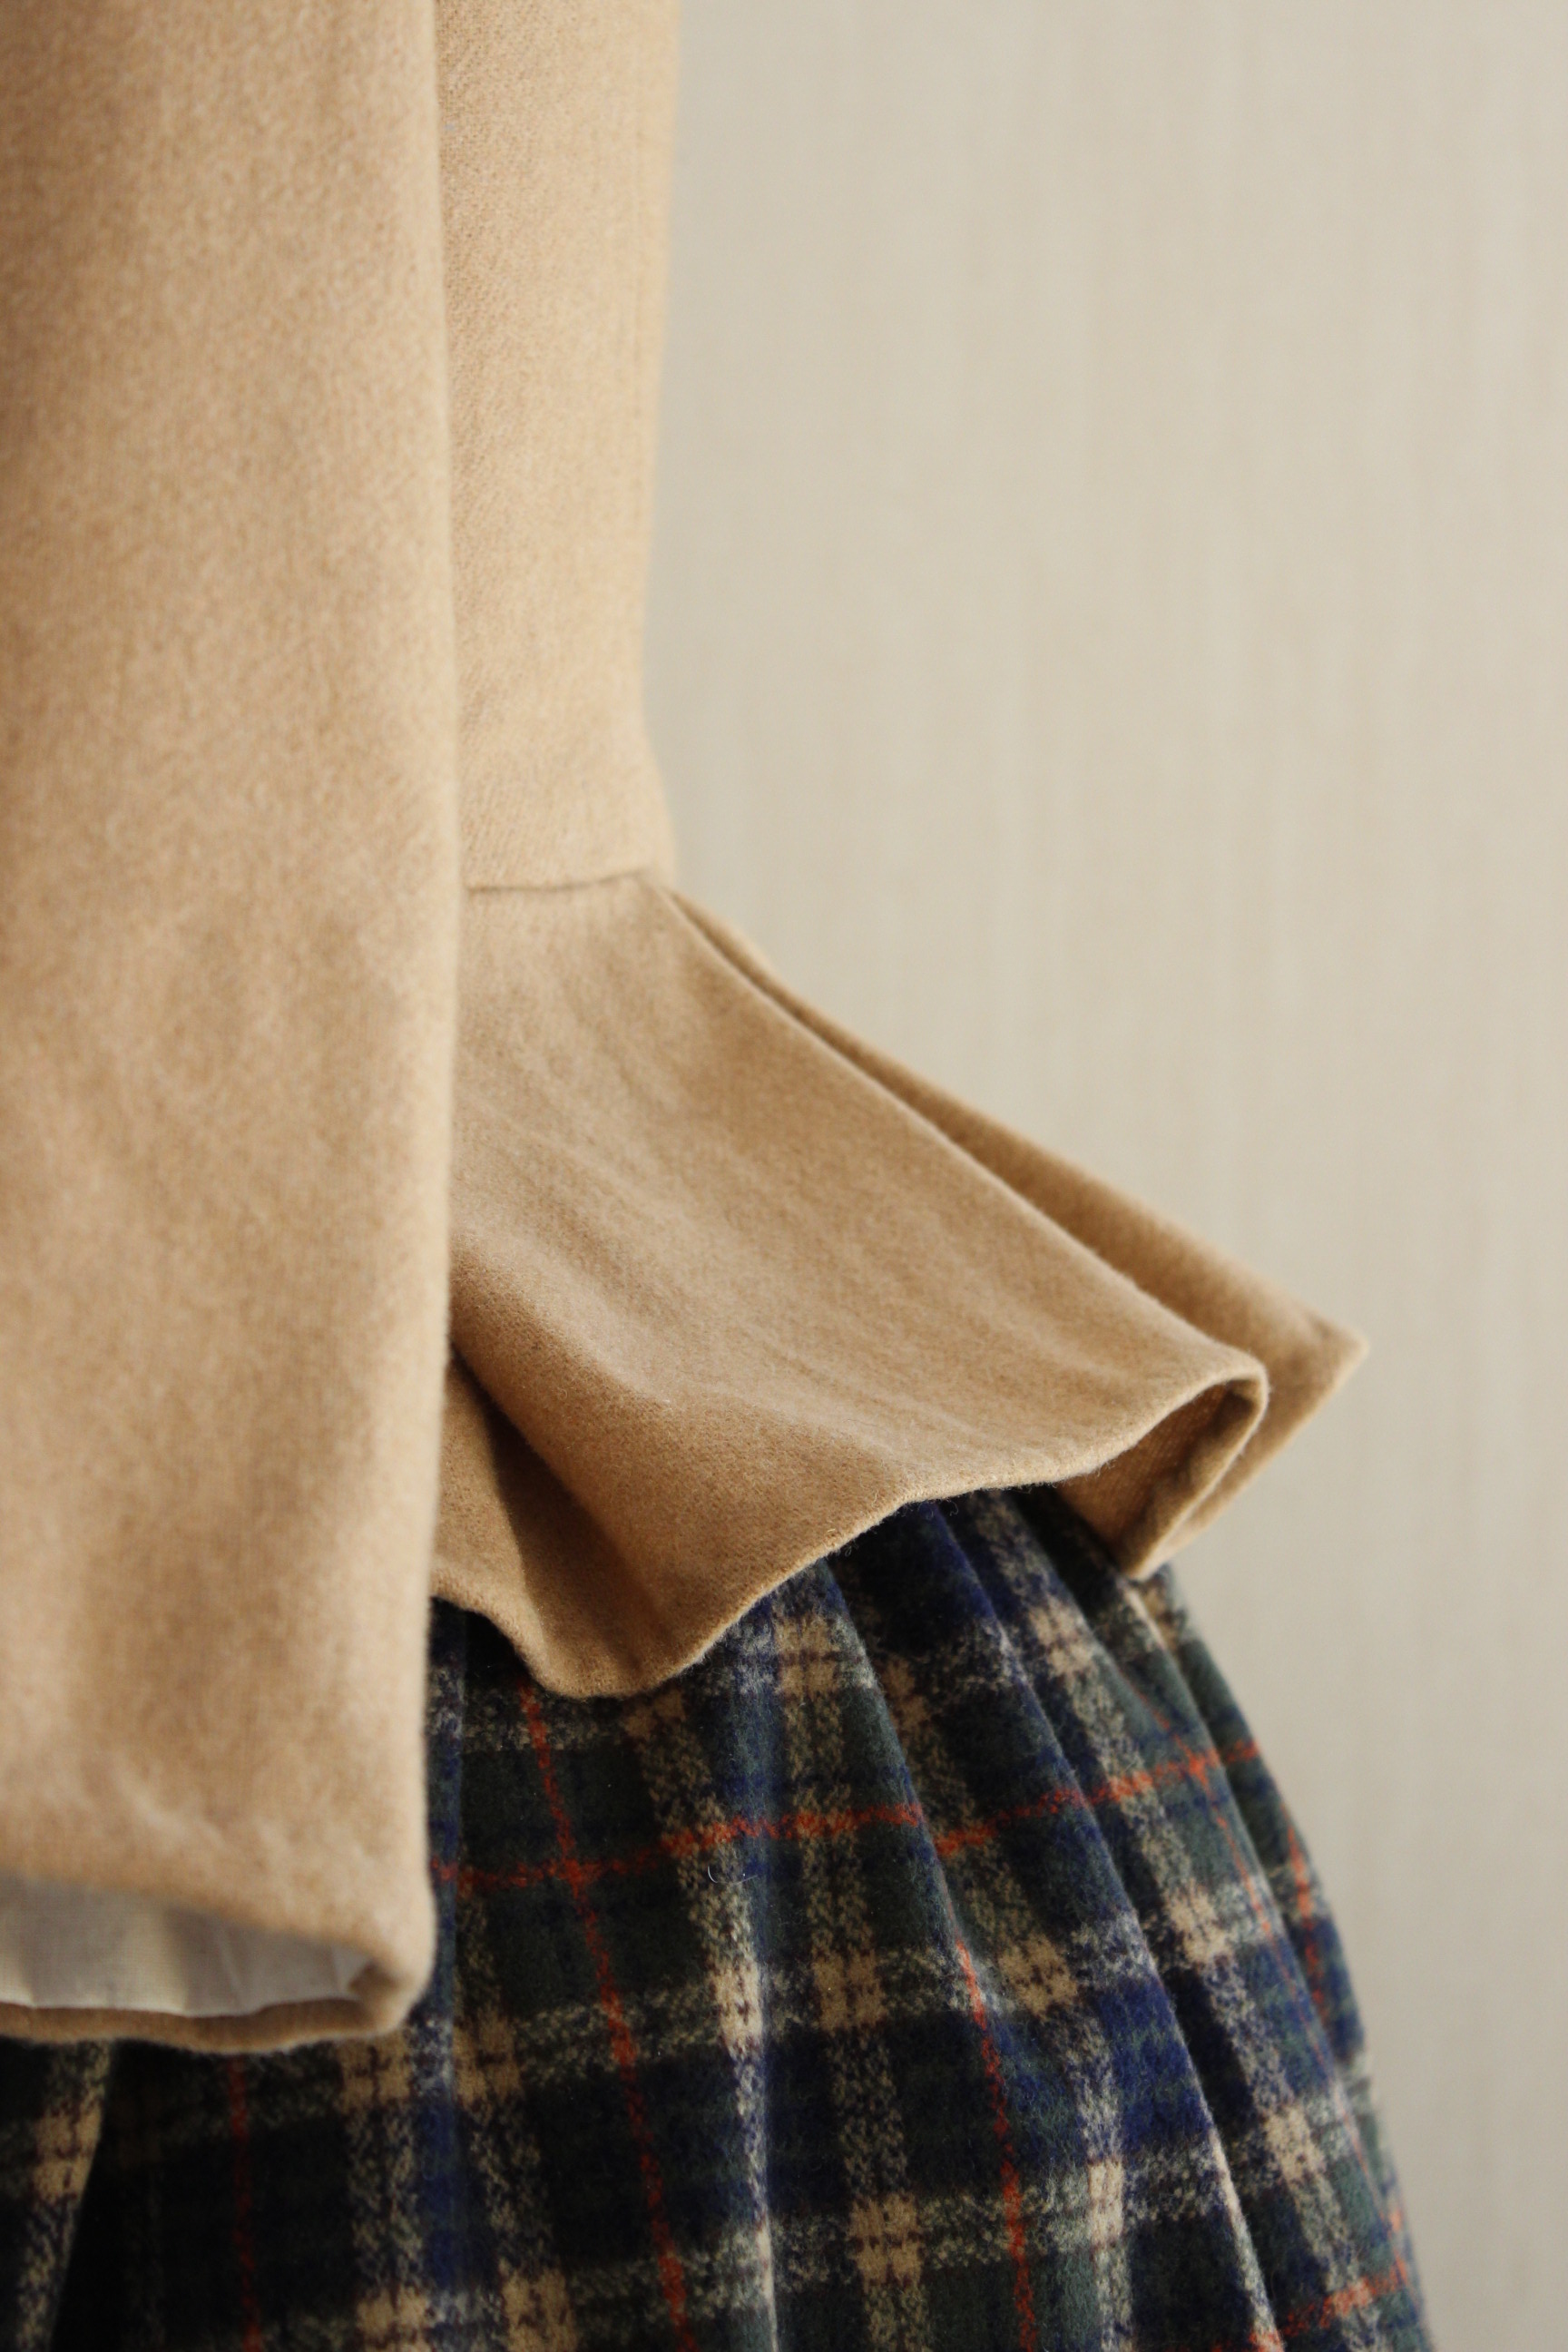
Then it was time to attach the sleeves.
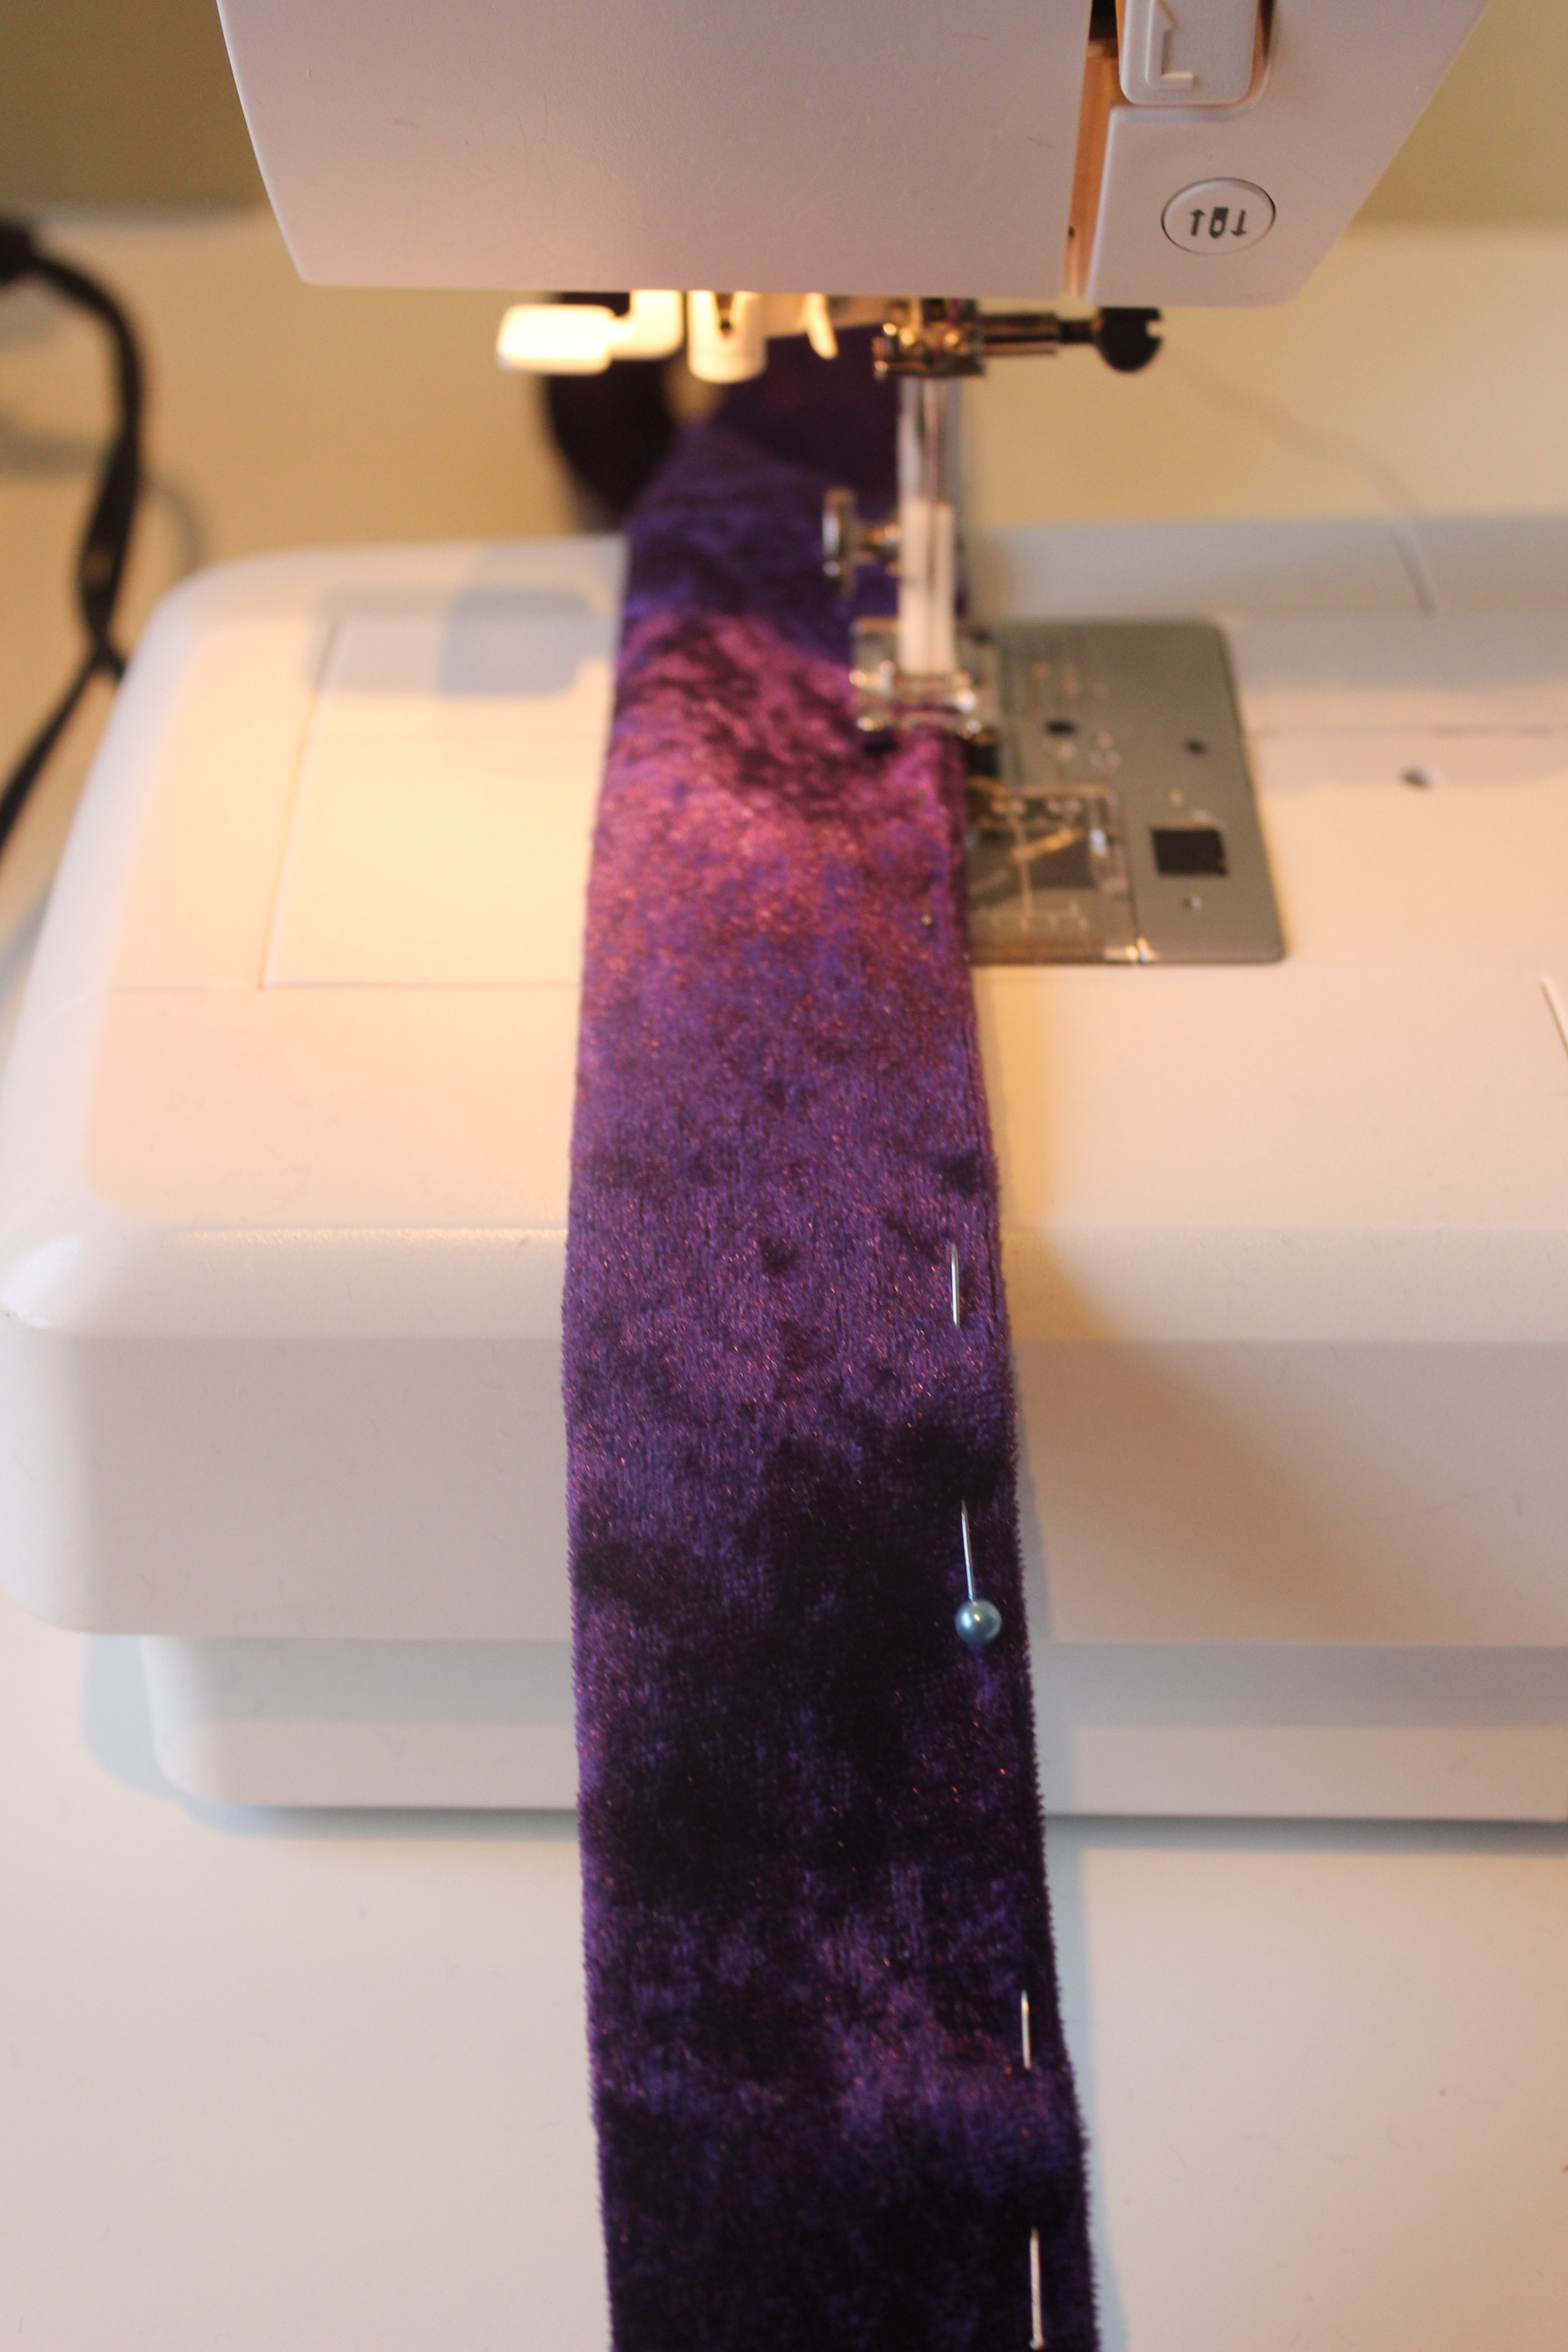
I stitched them from the inside and covered the raw edges with a bias tape (also left-over scraps) 
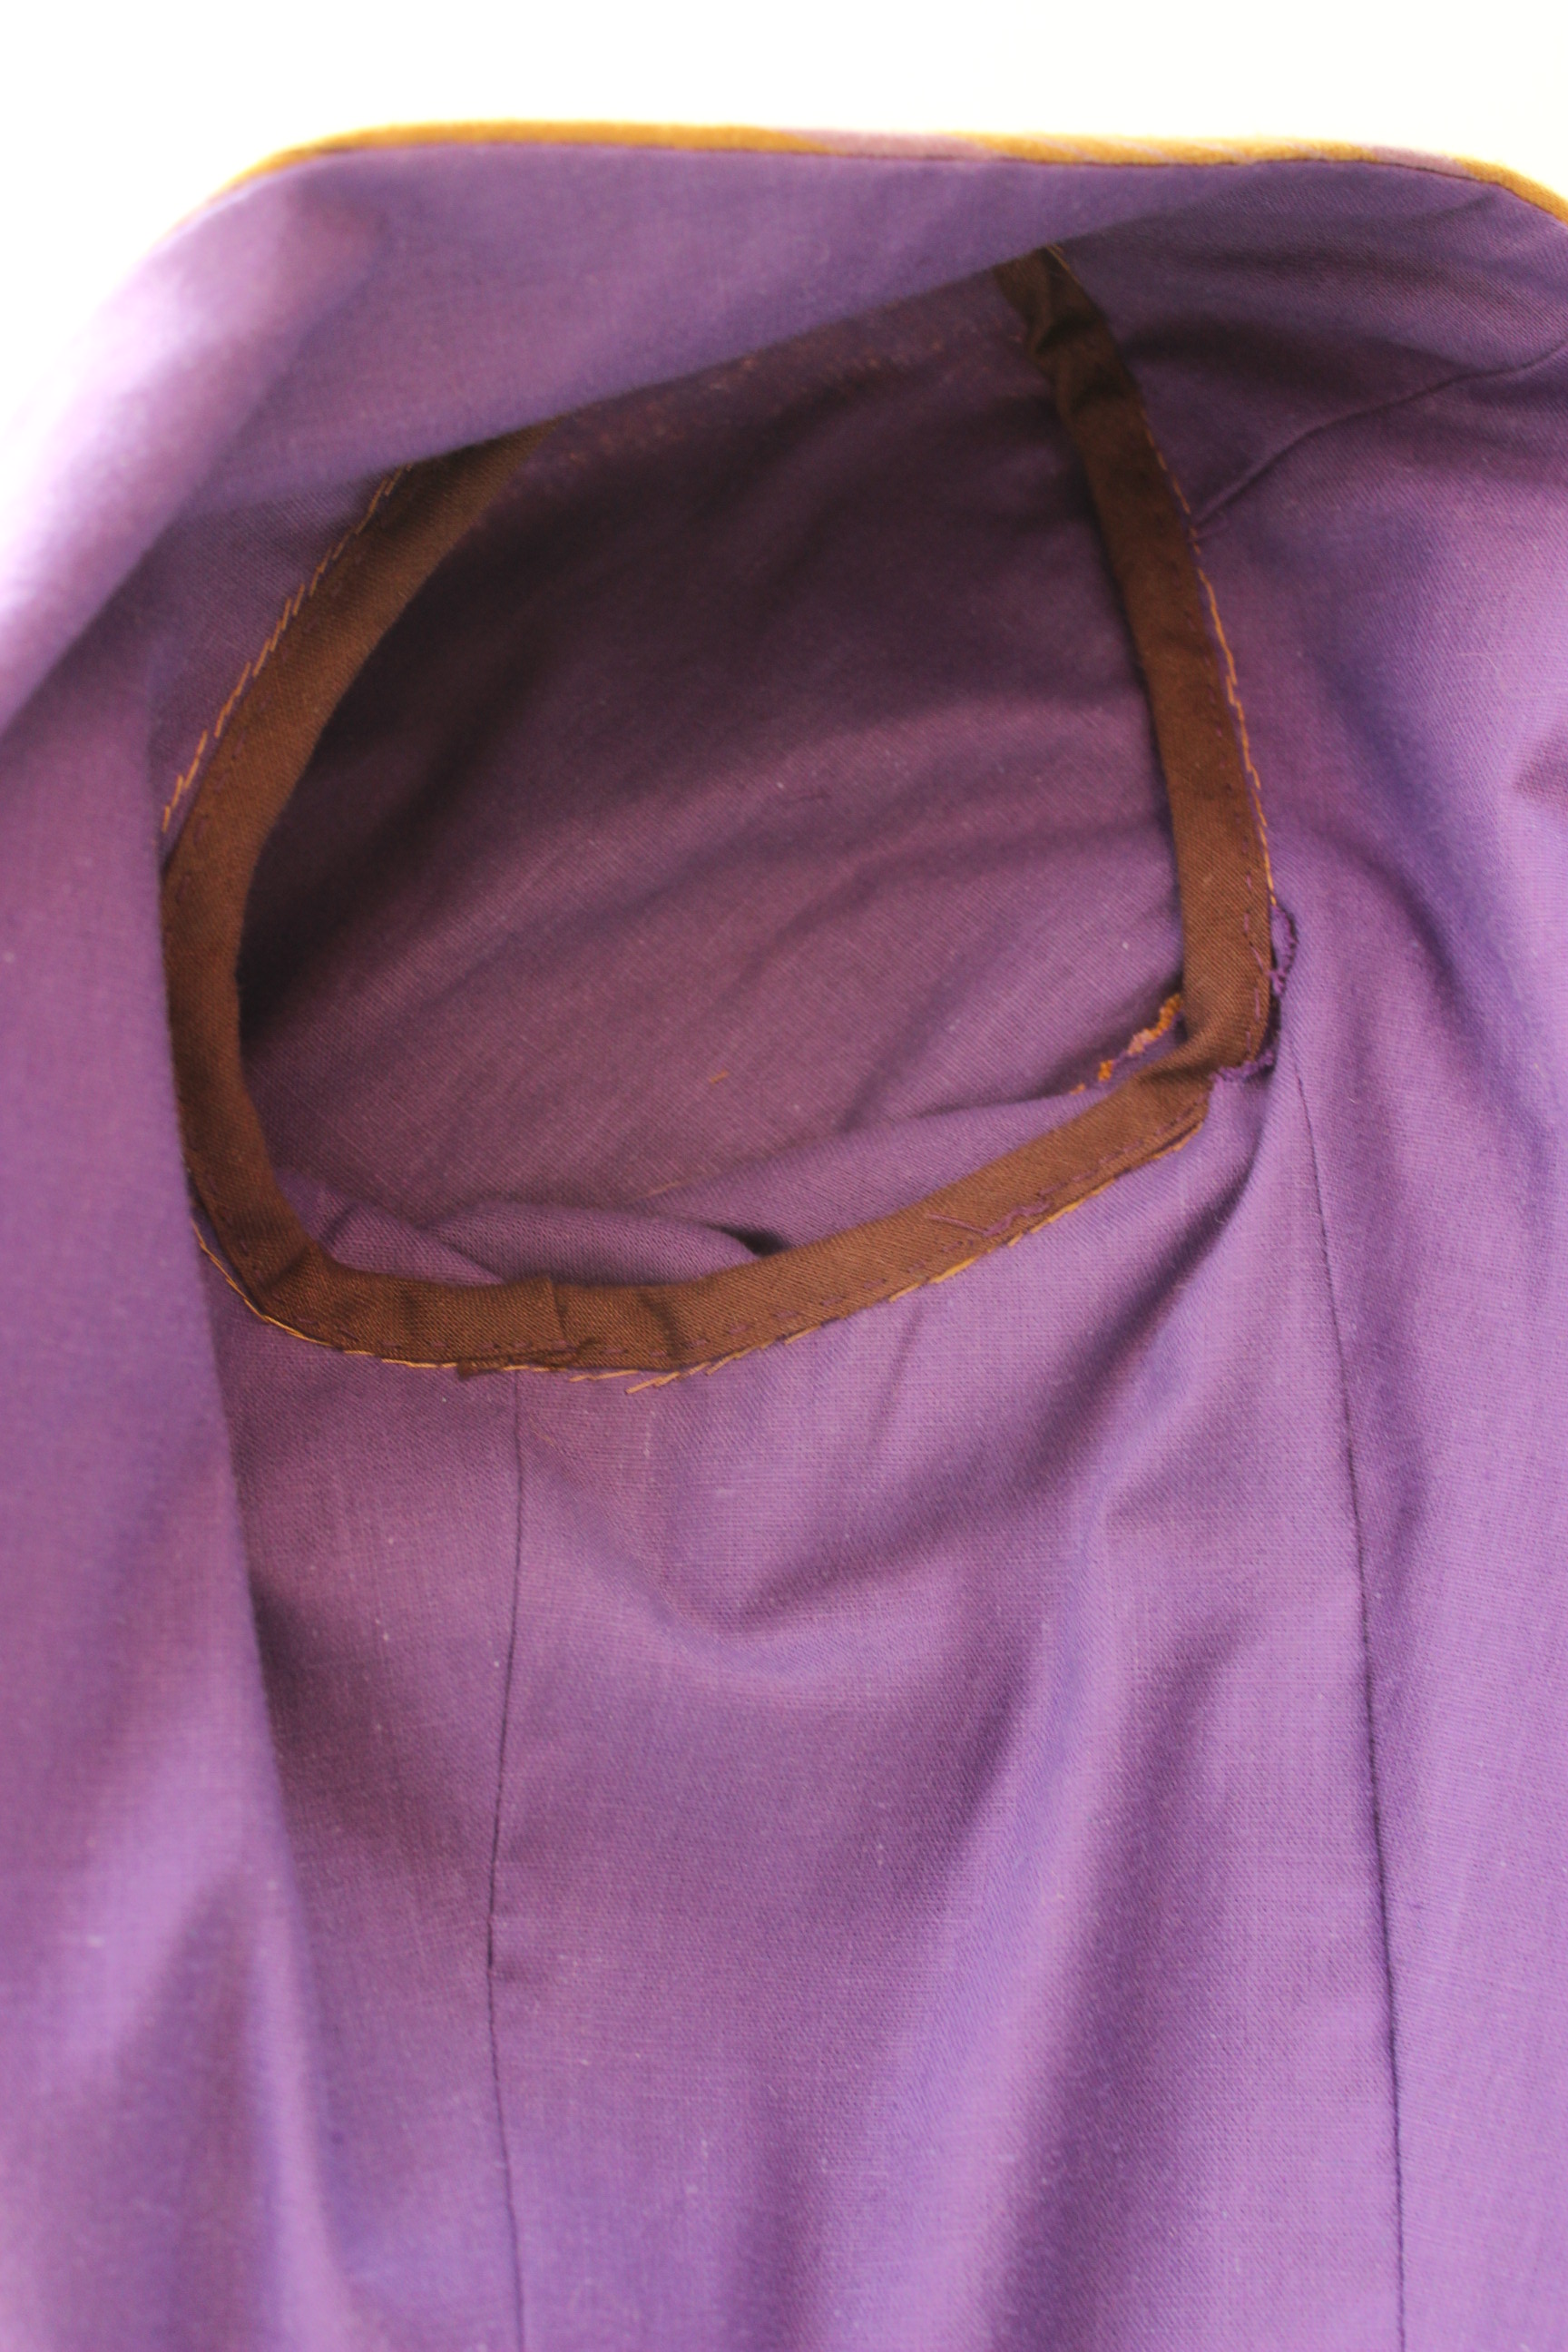
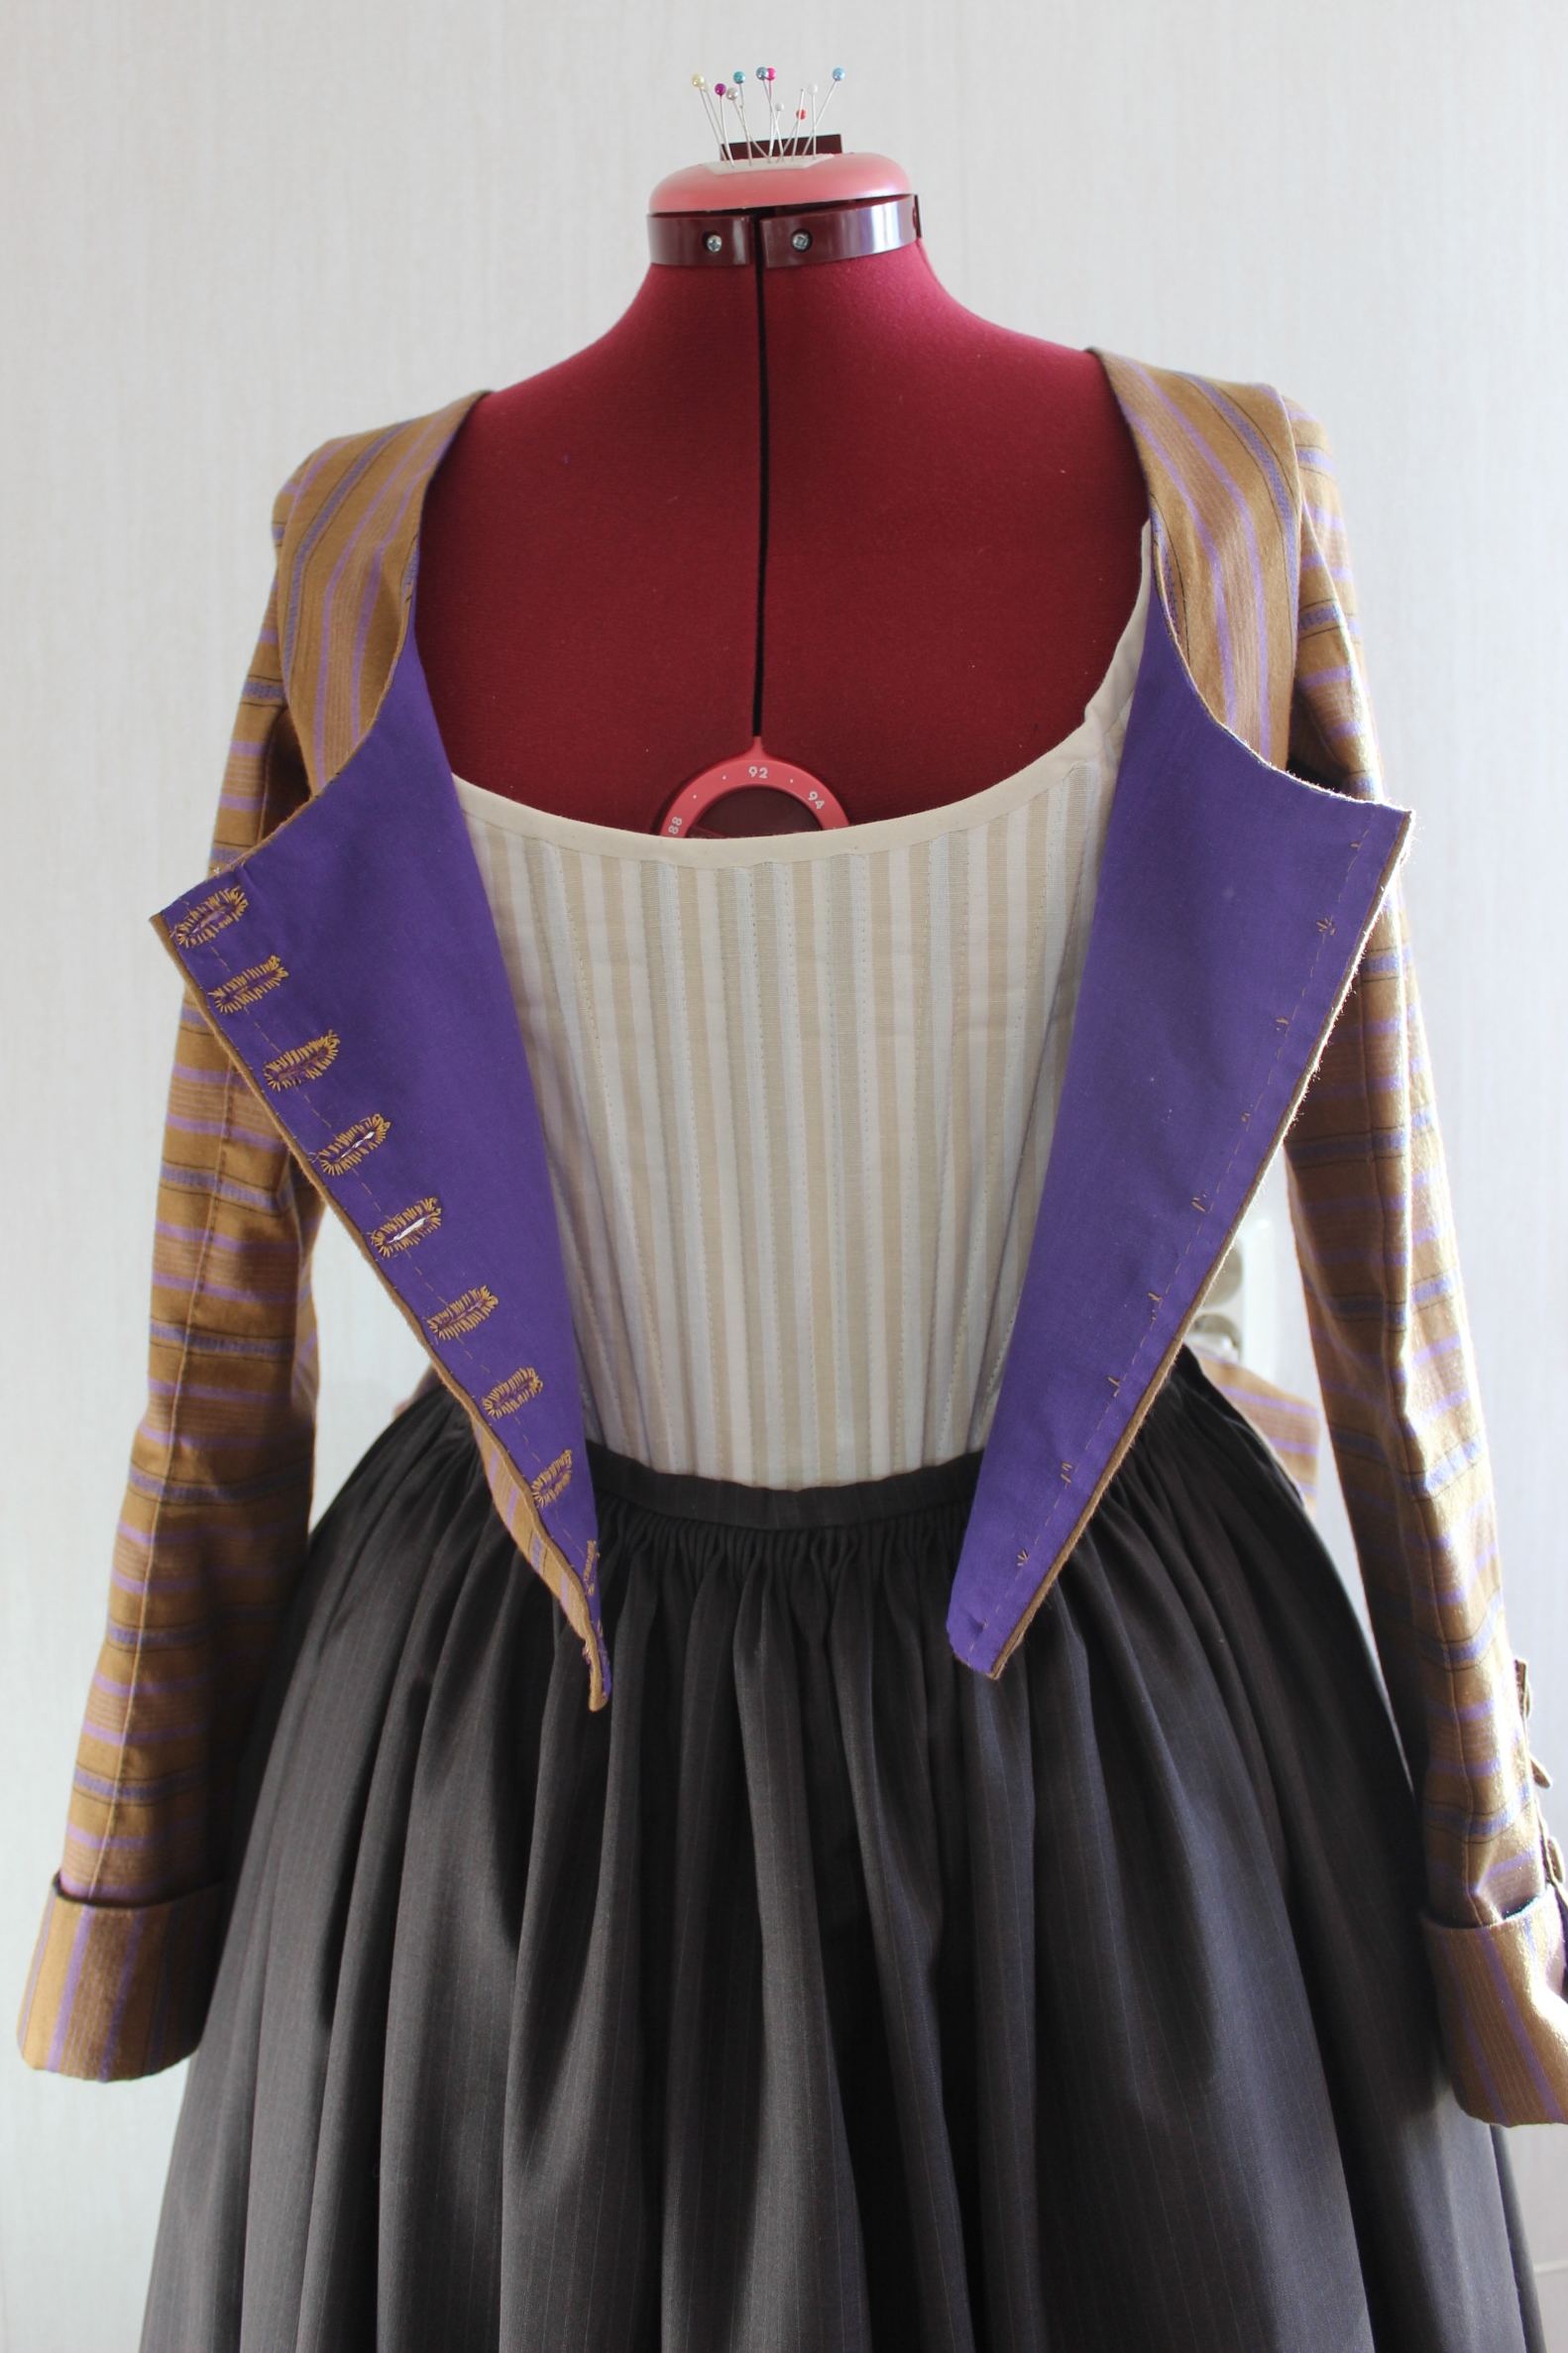
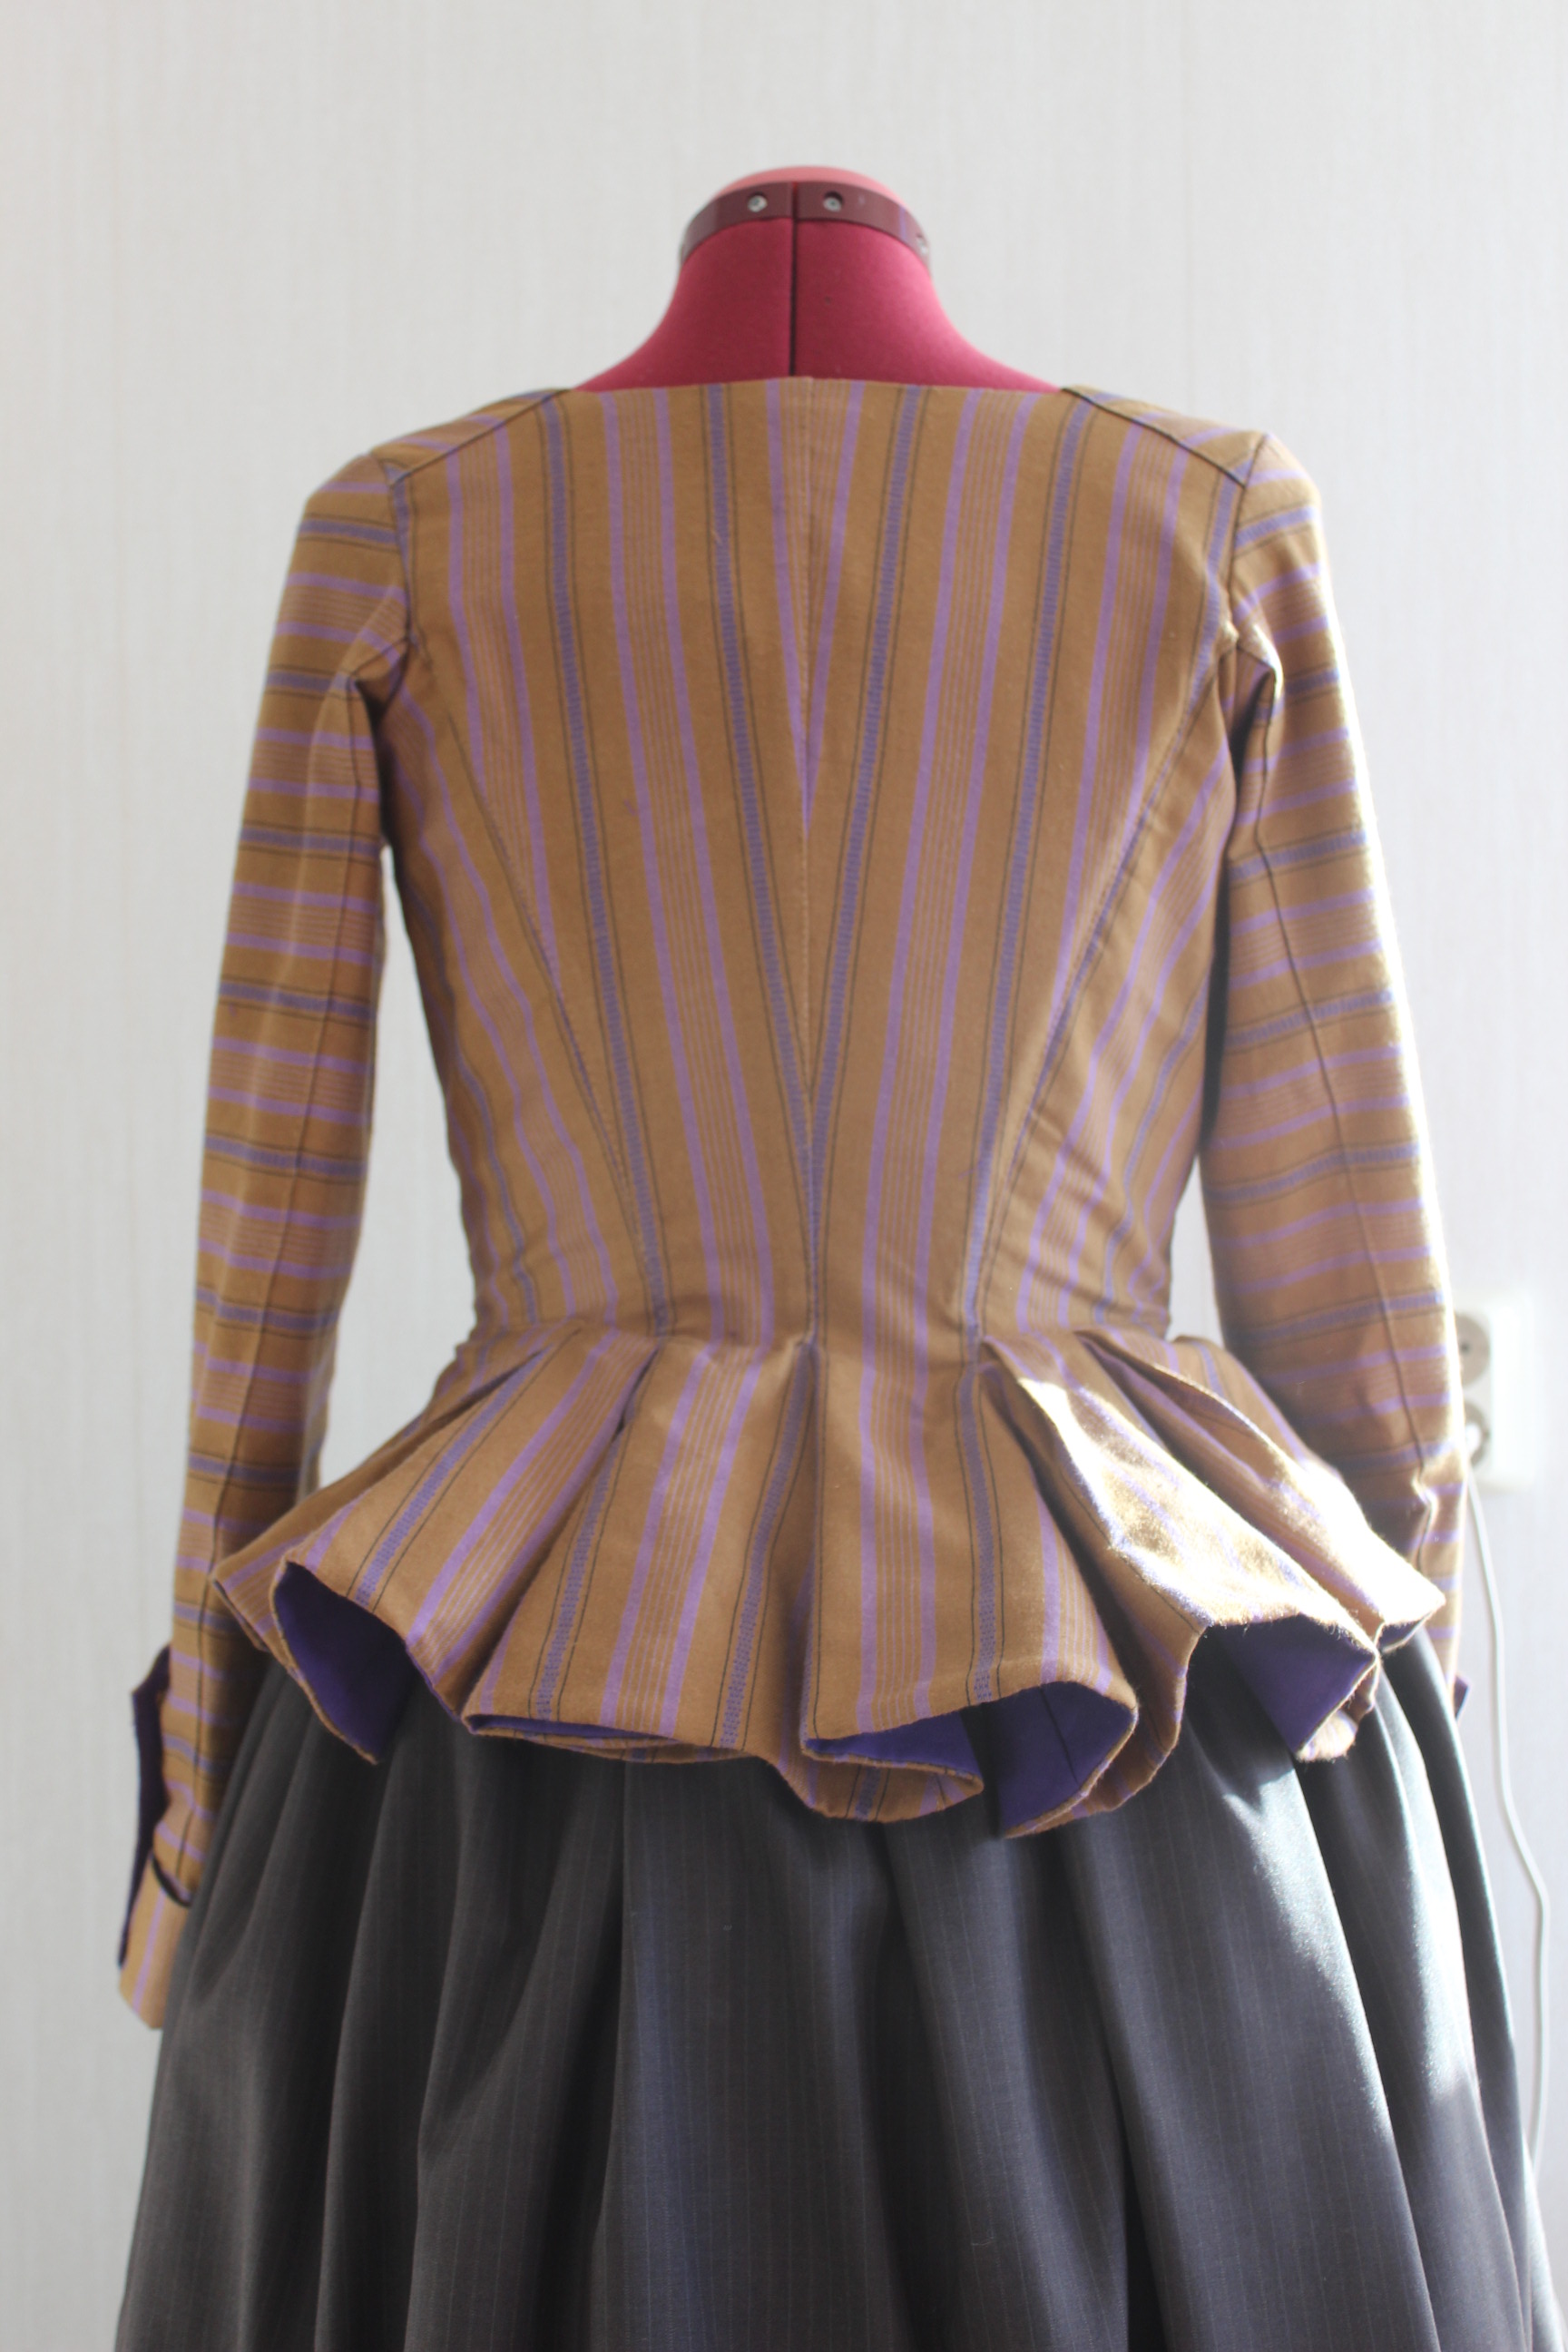
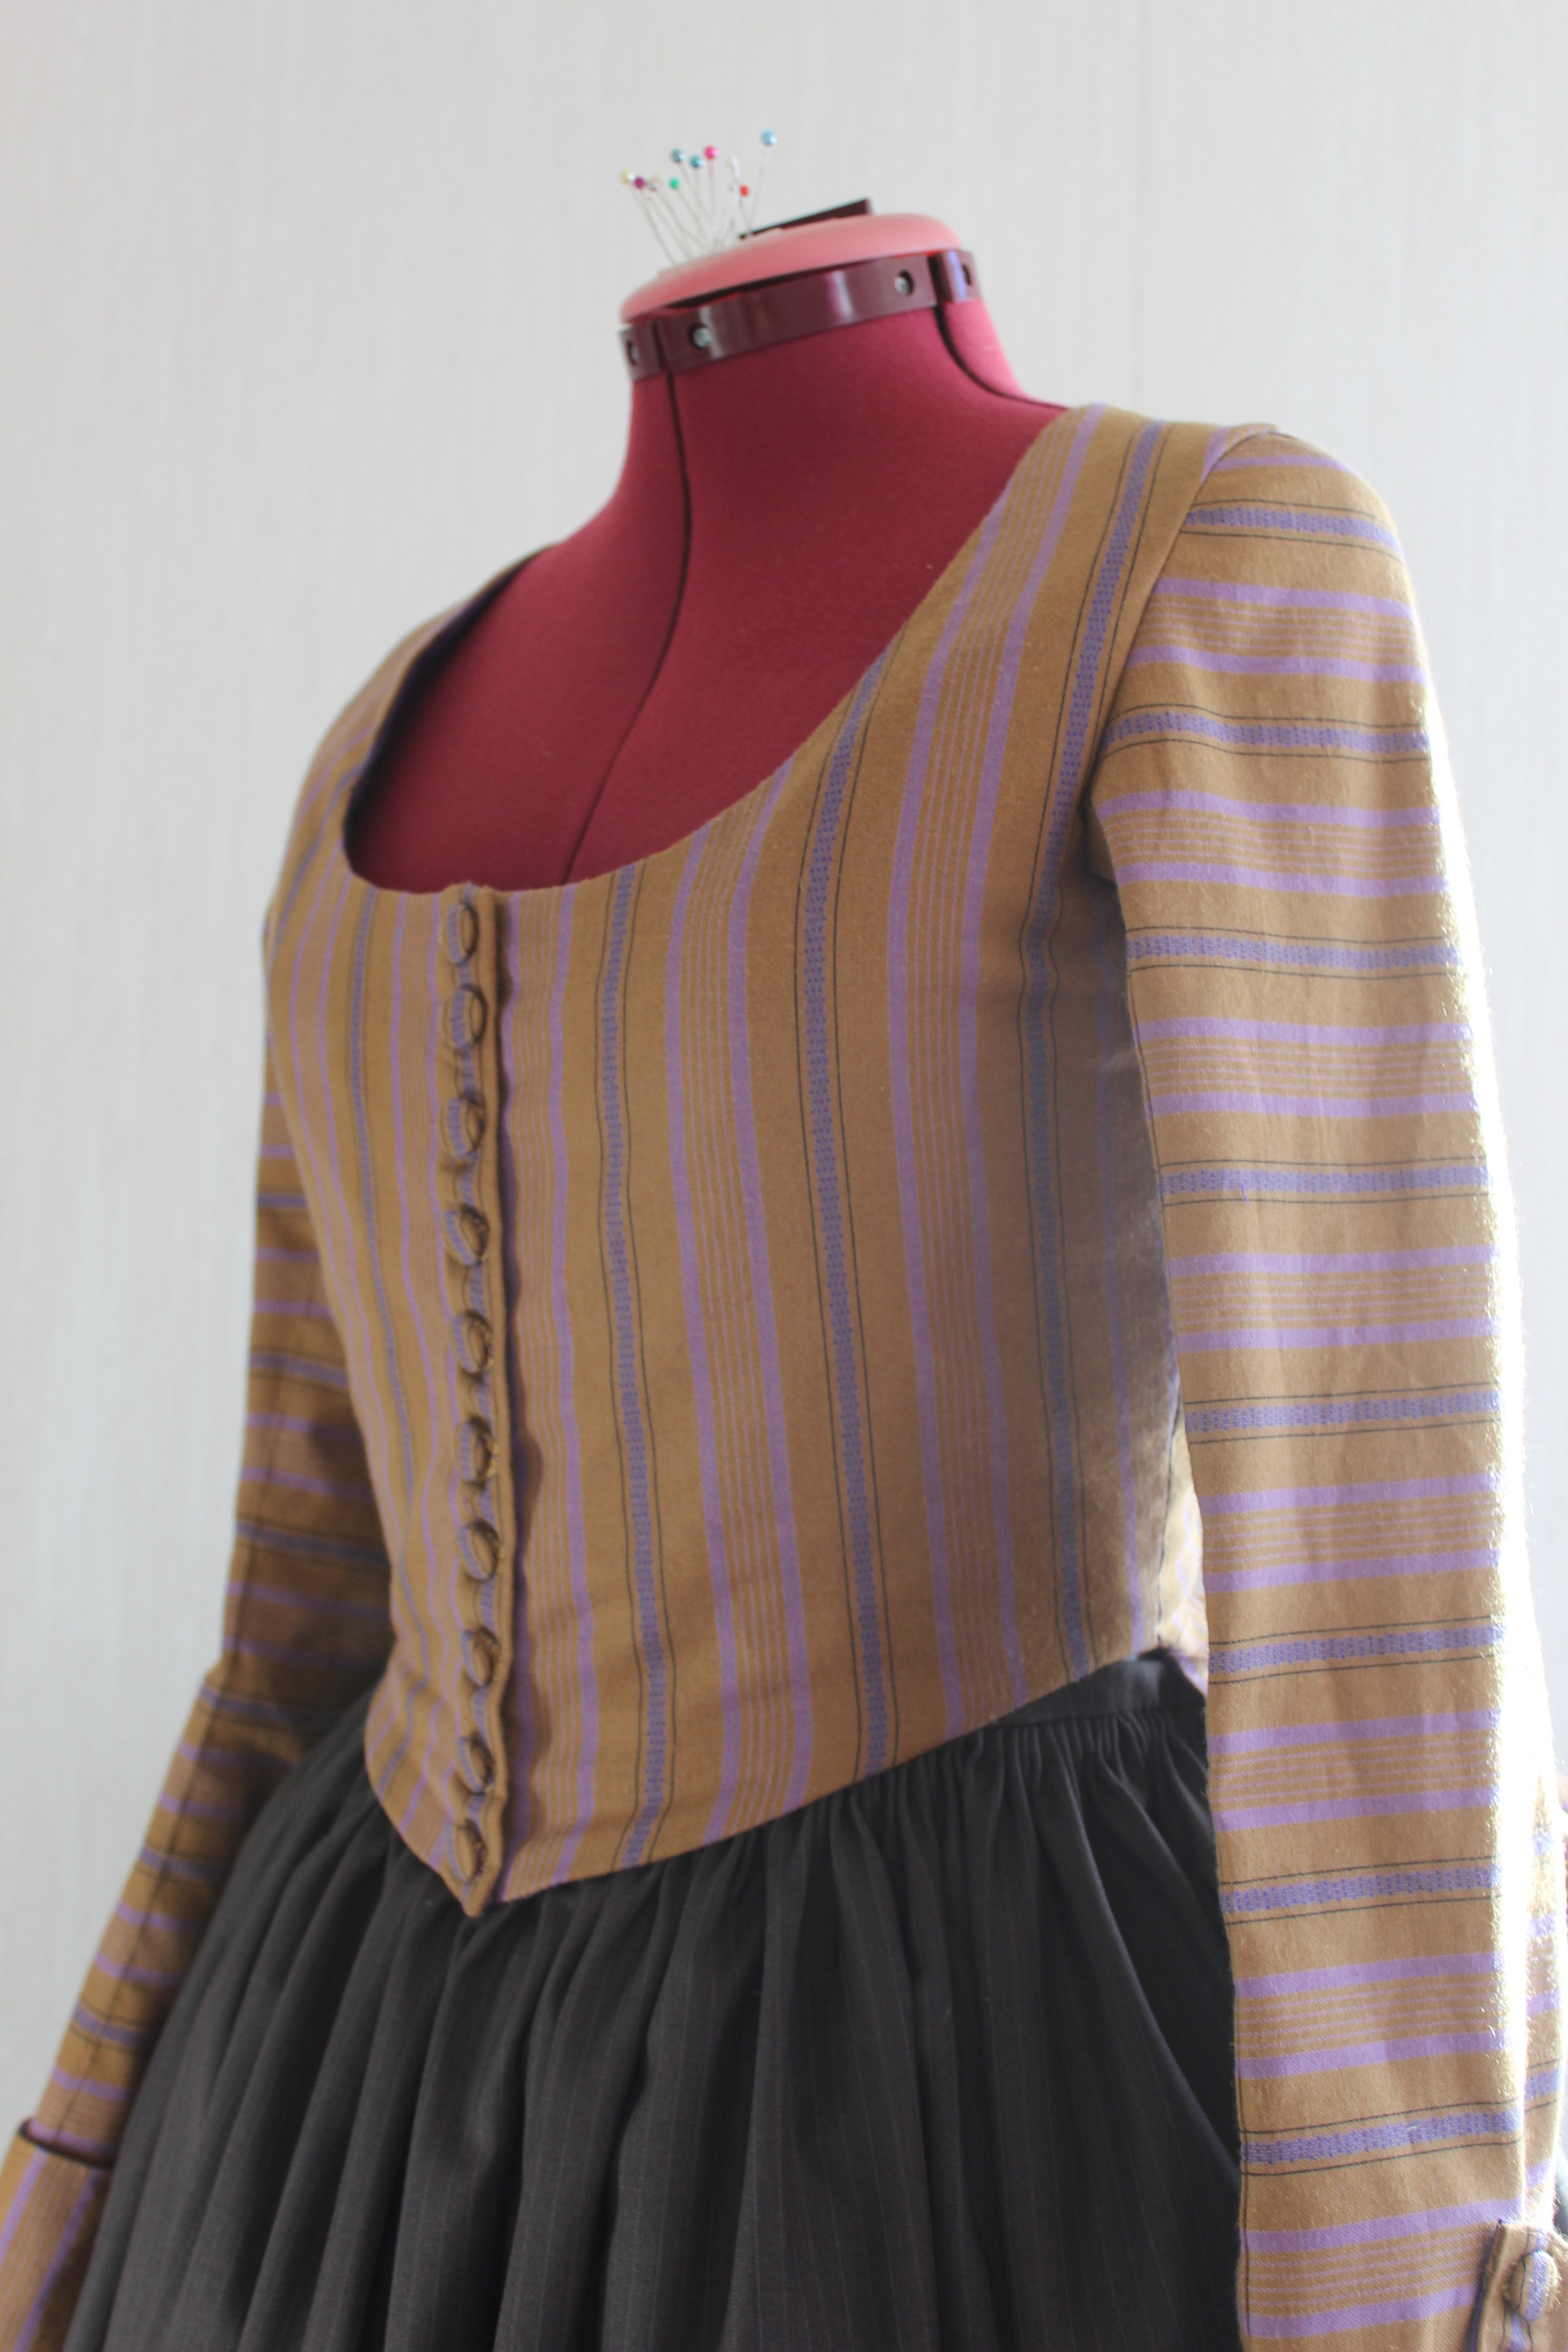
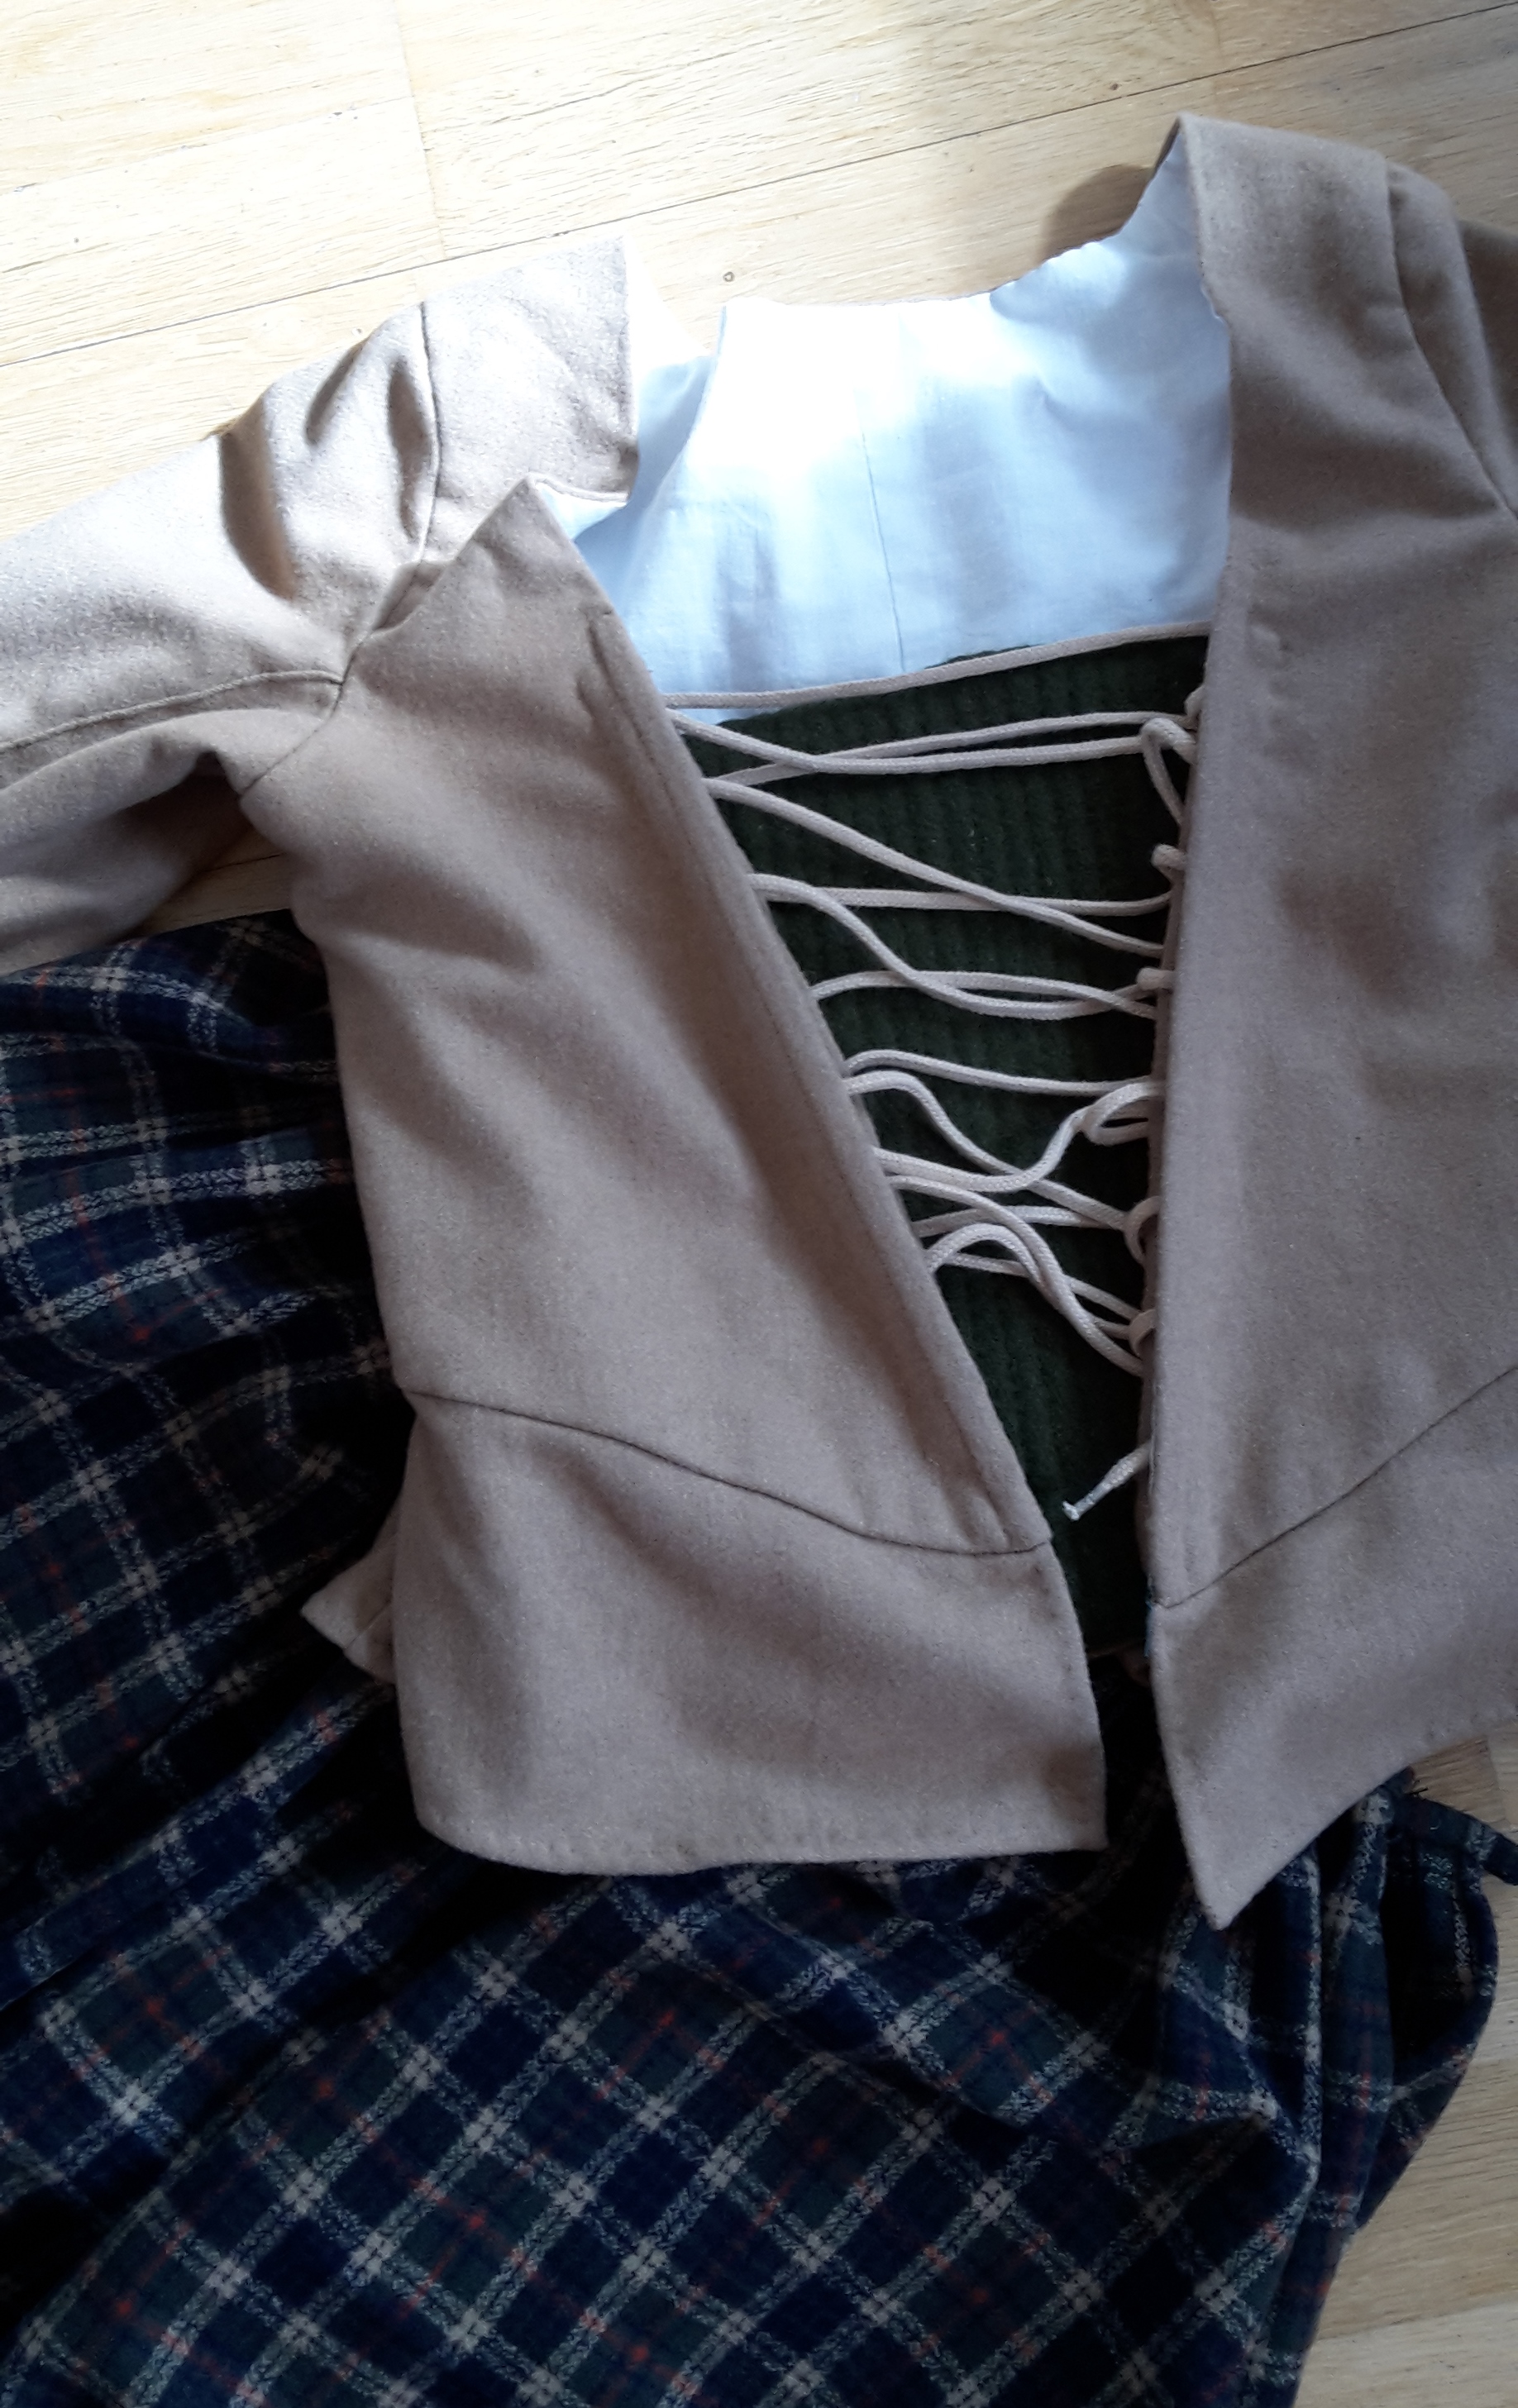
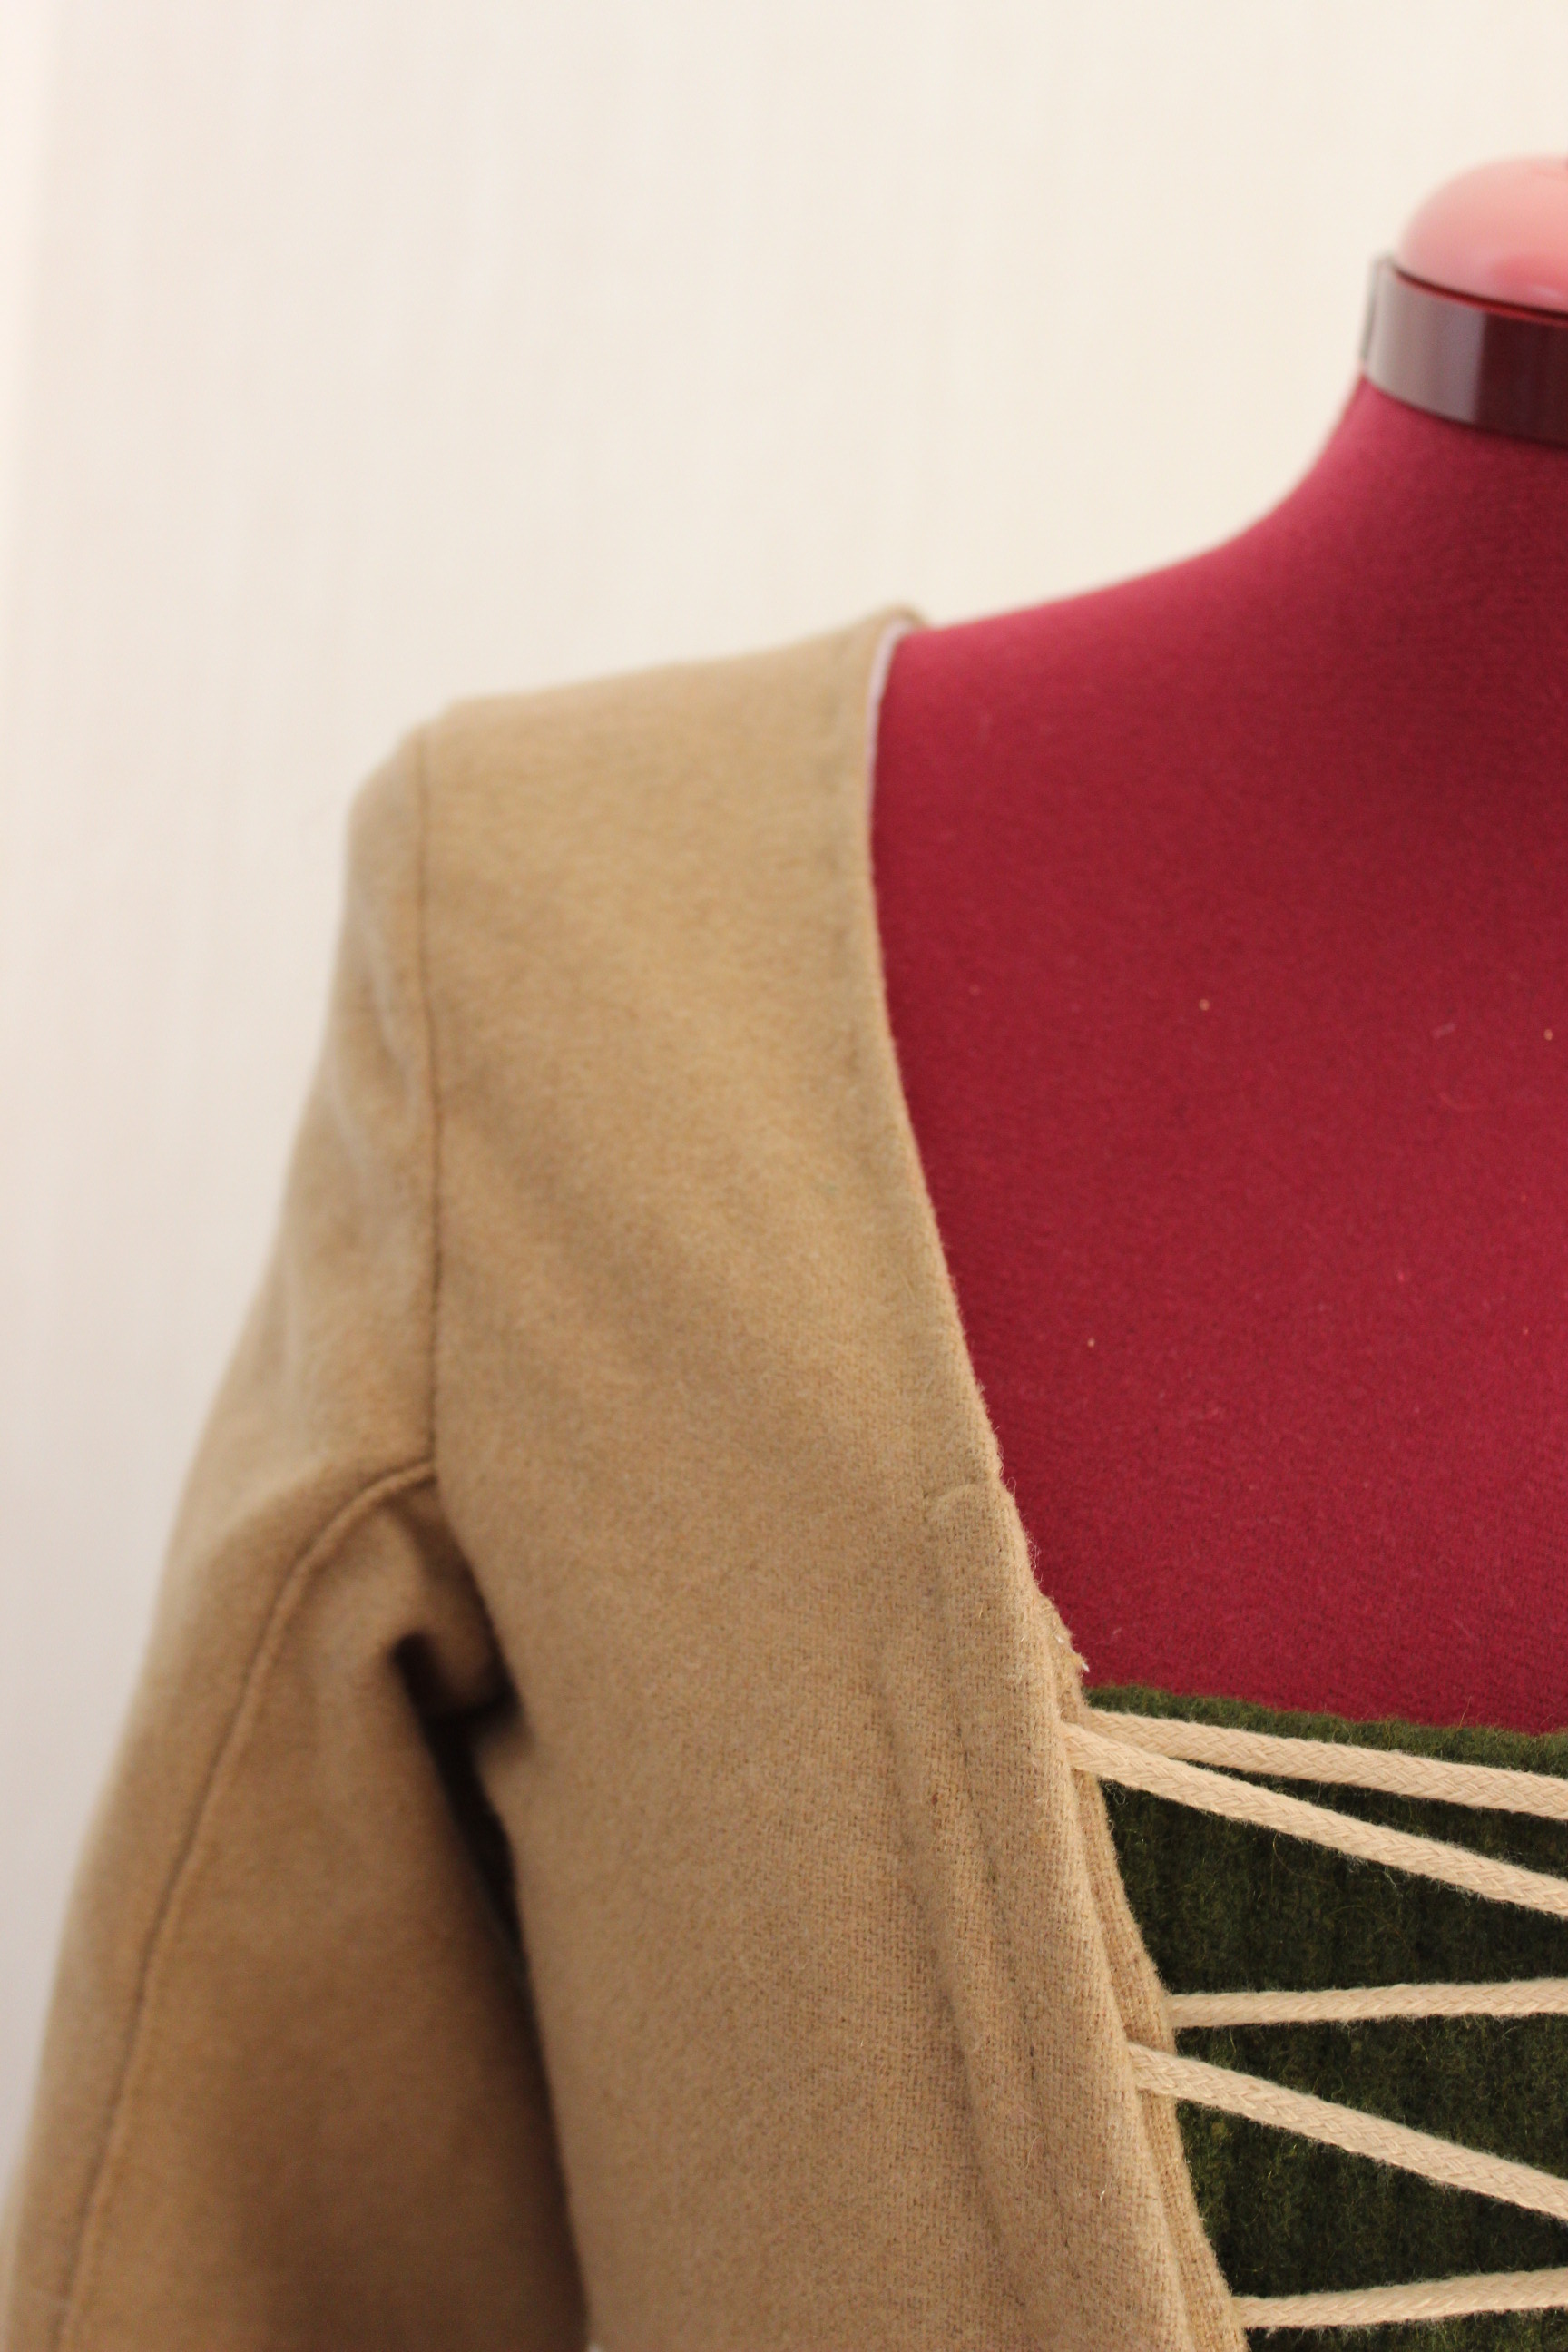
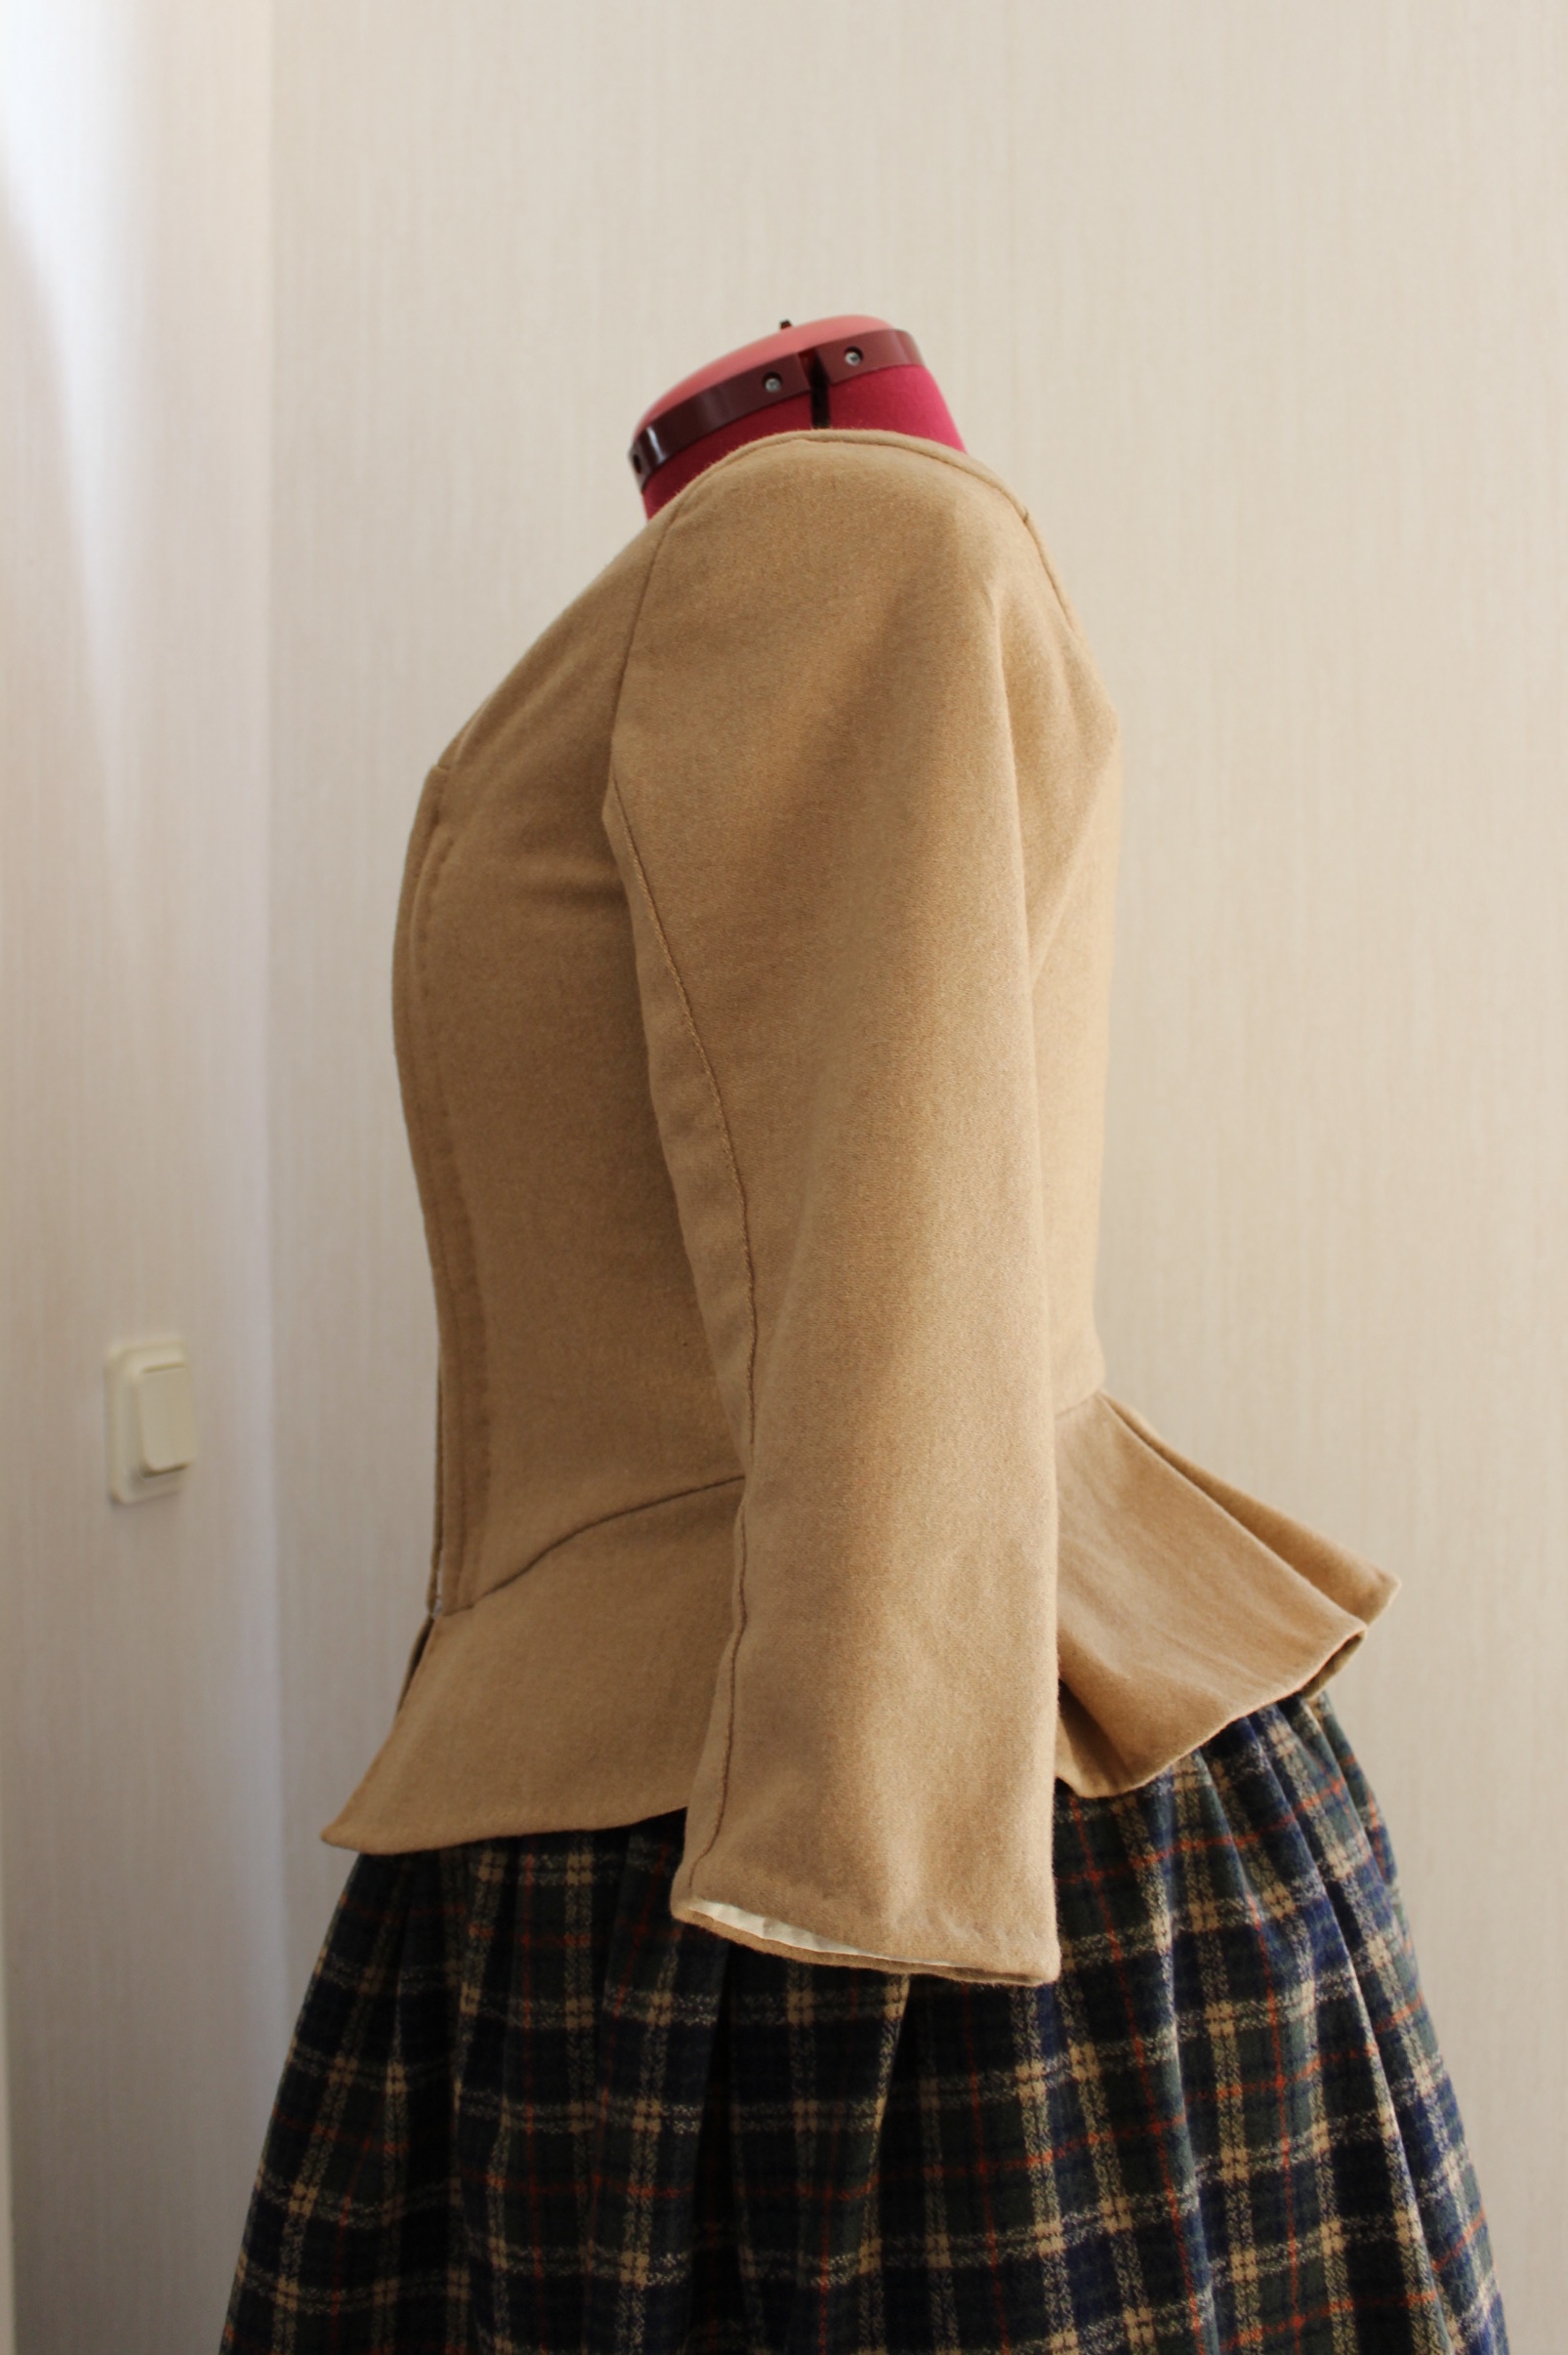
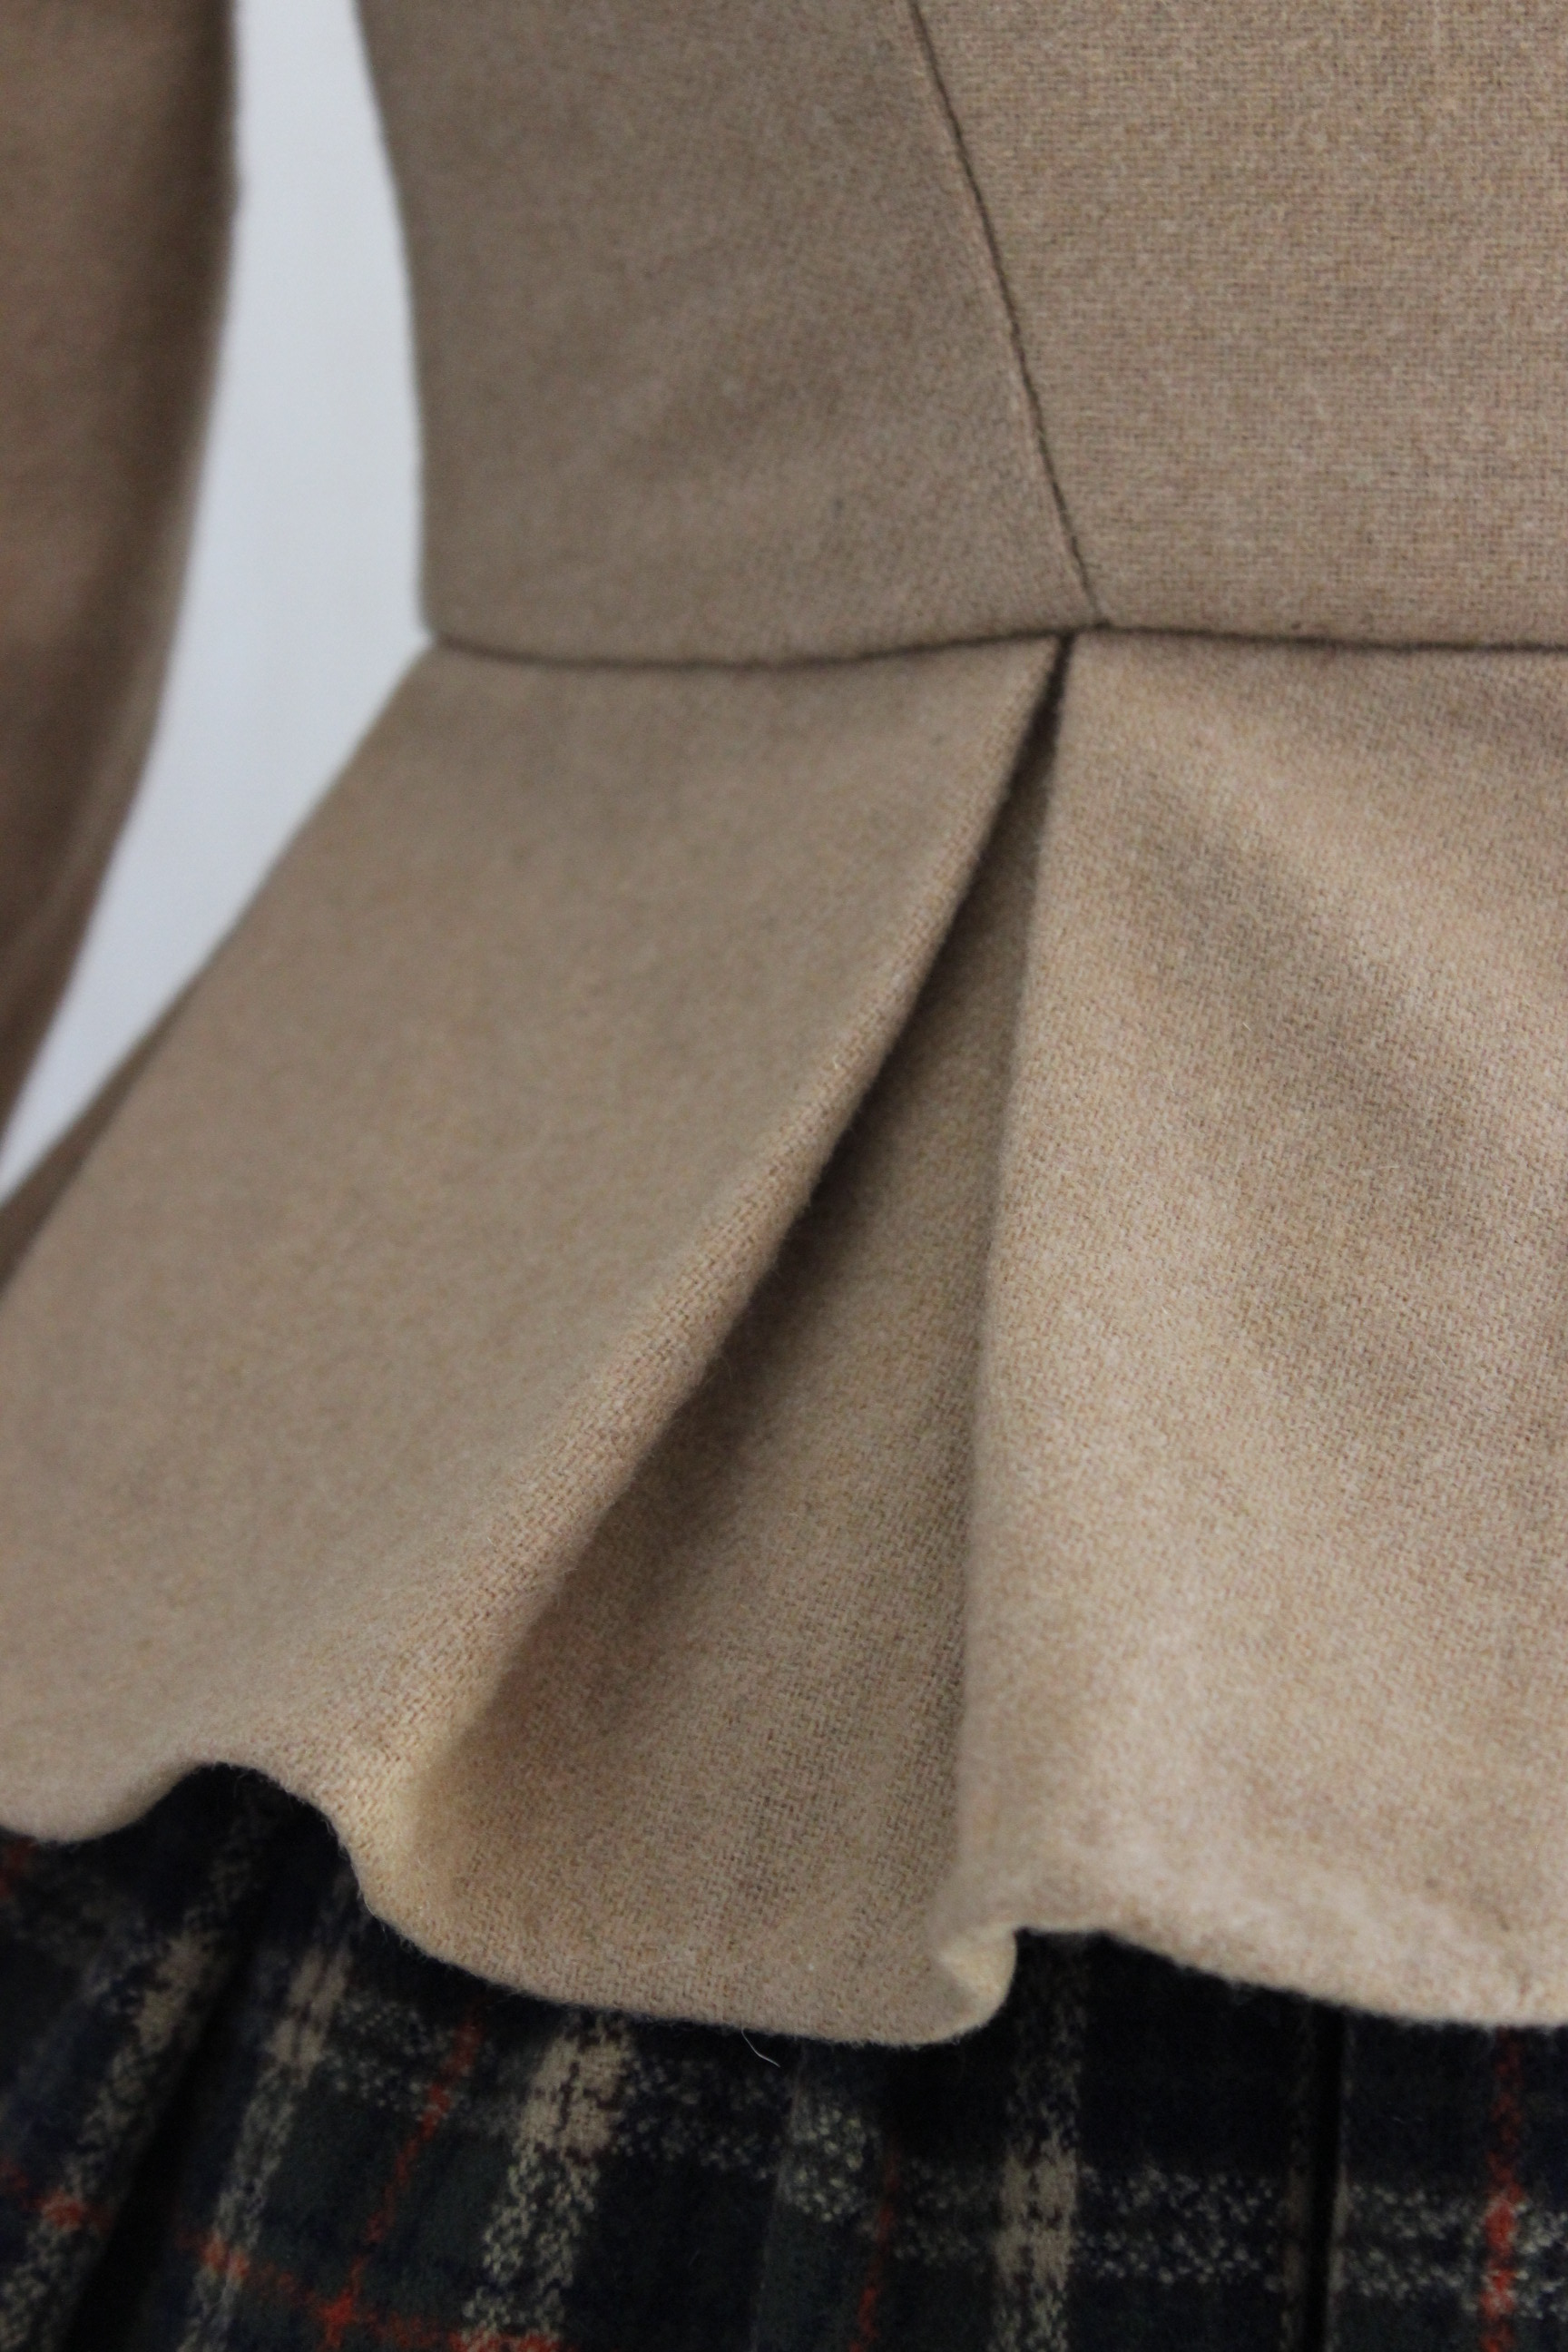
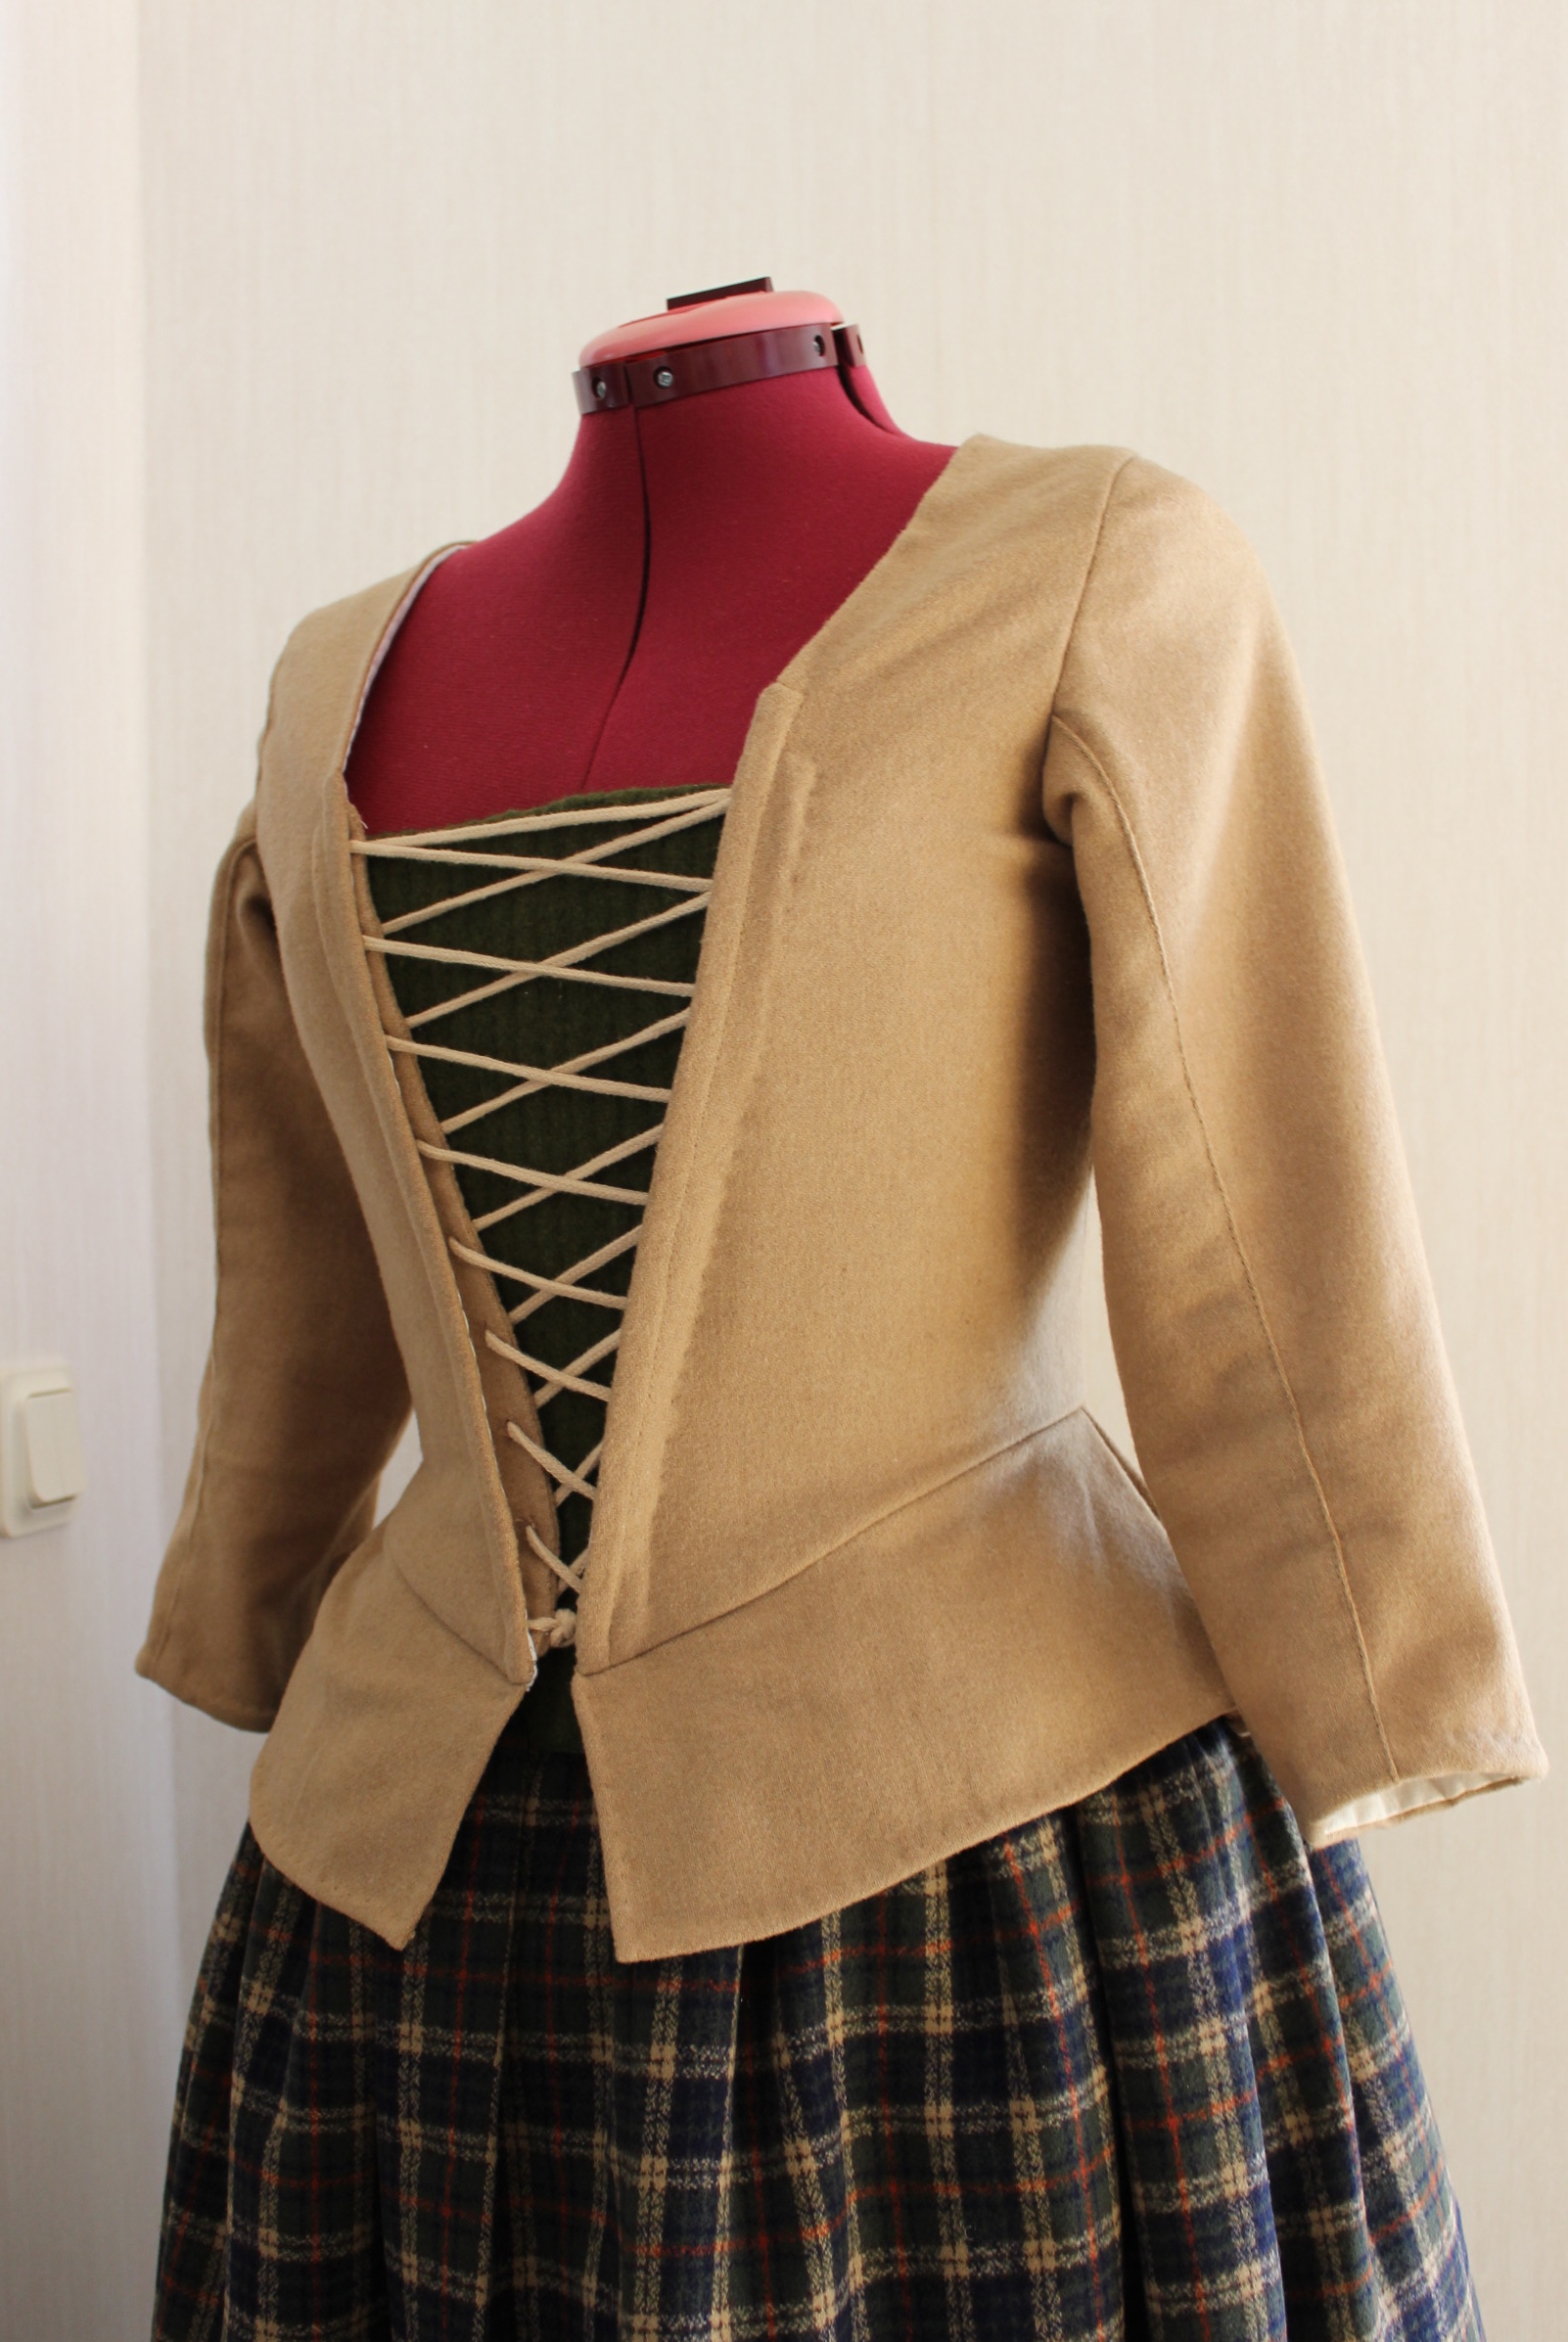
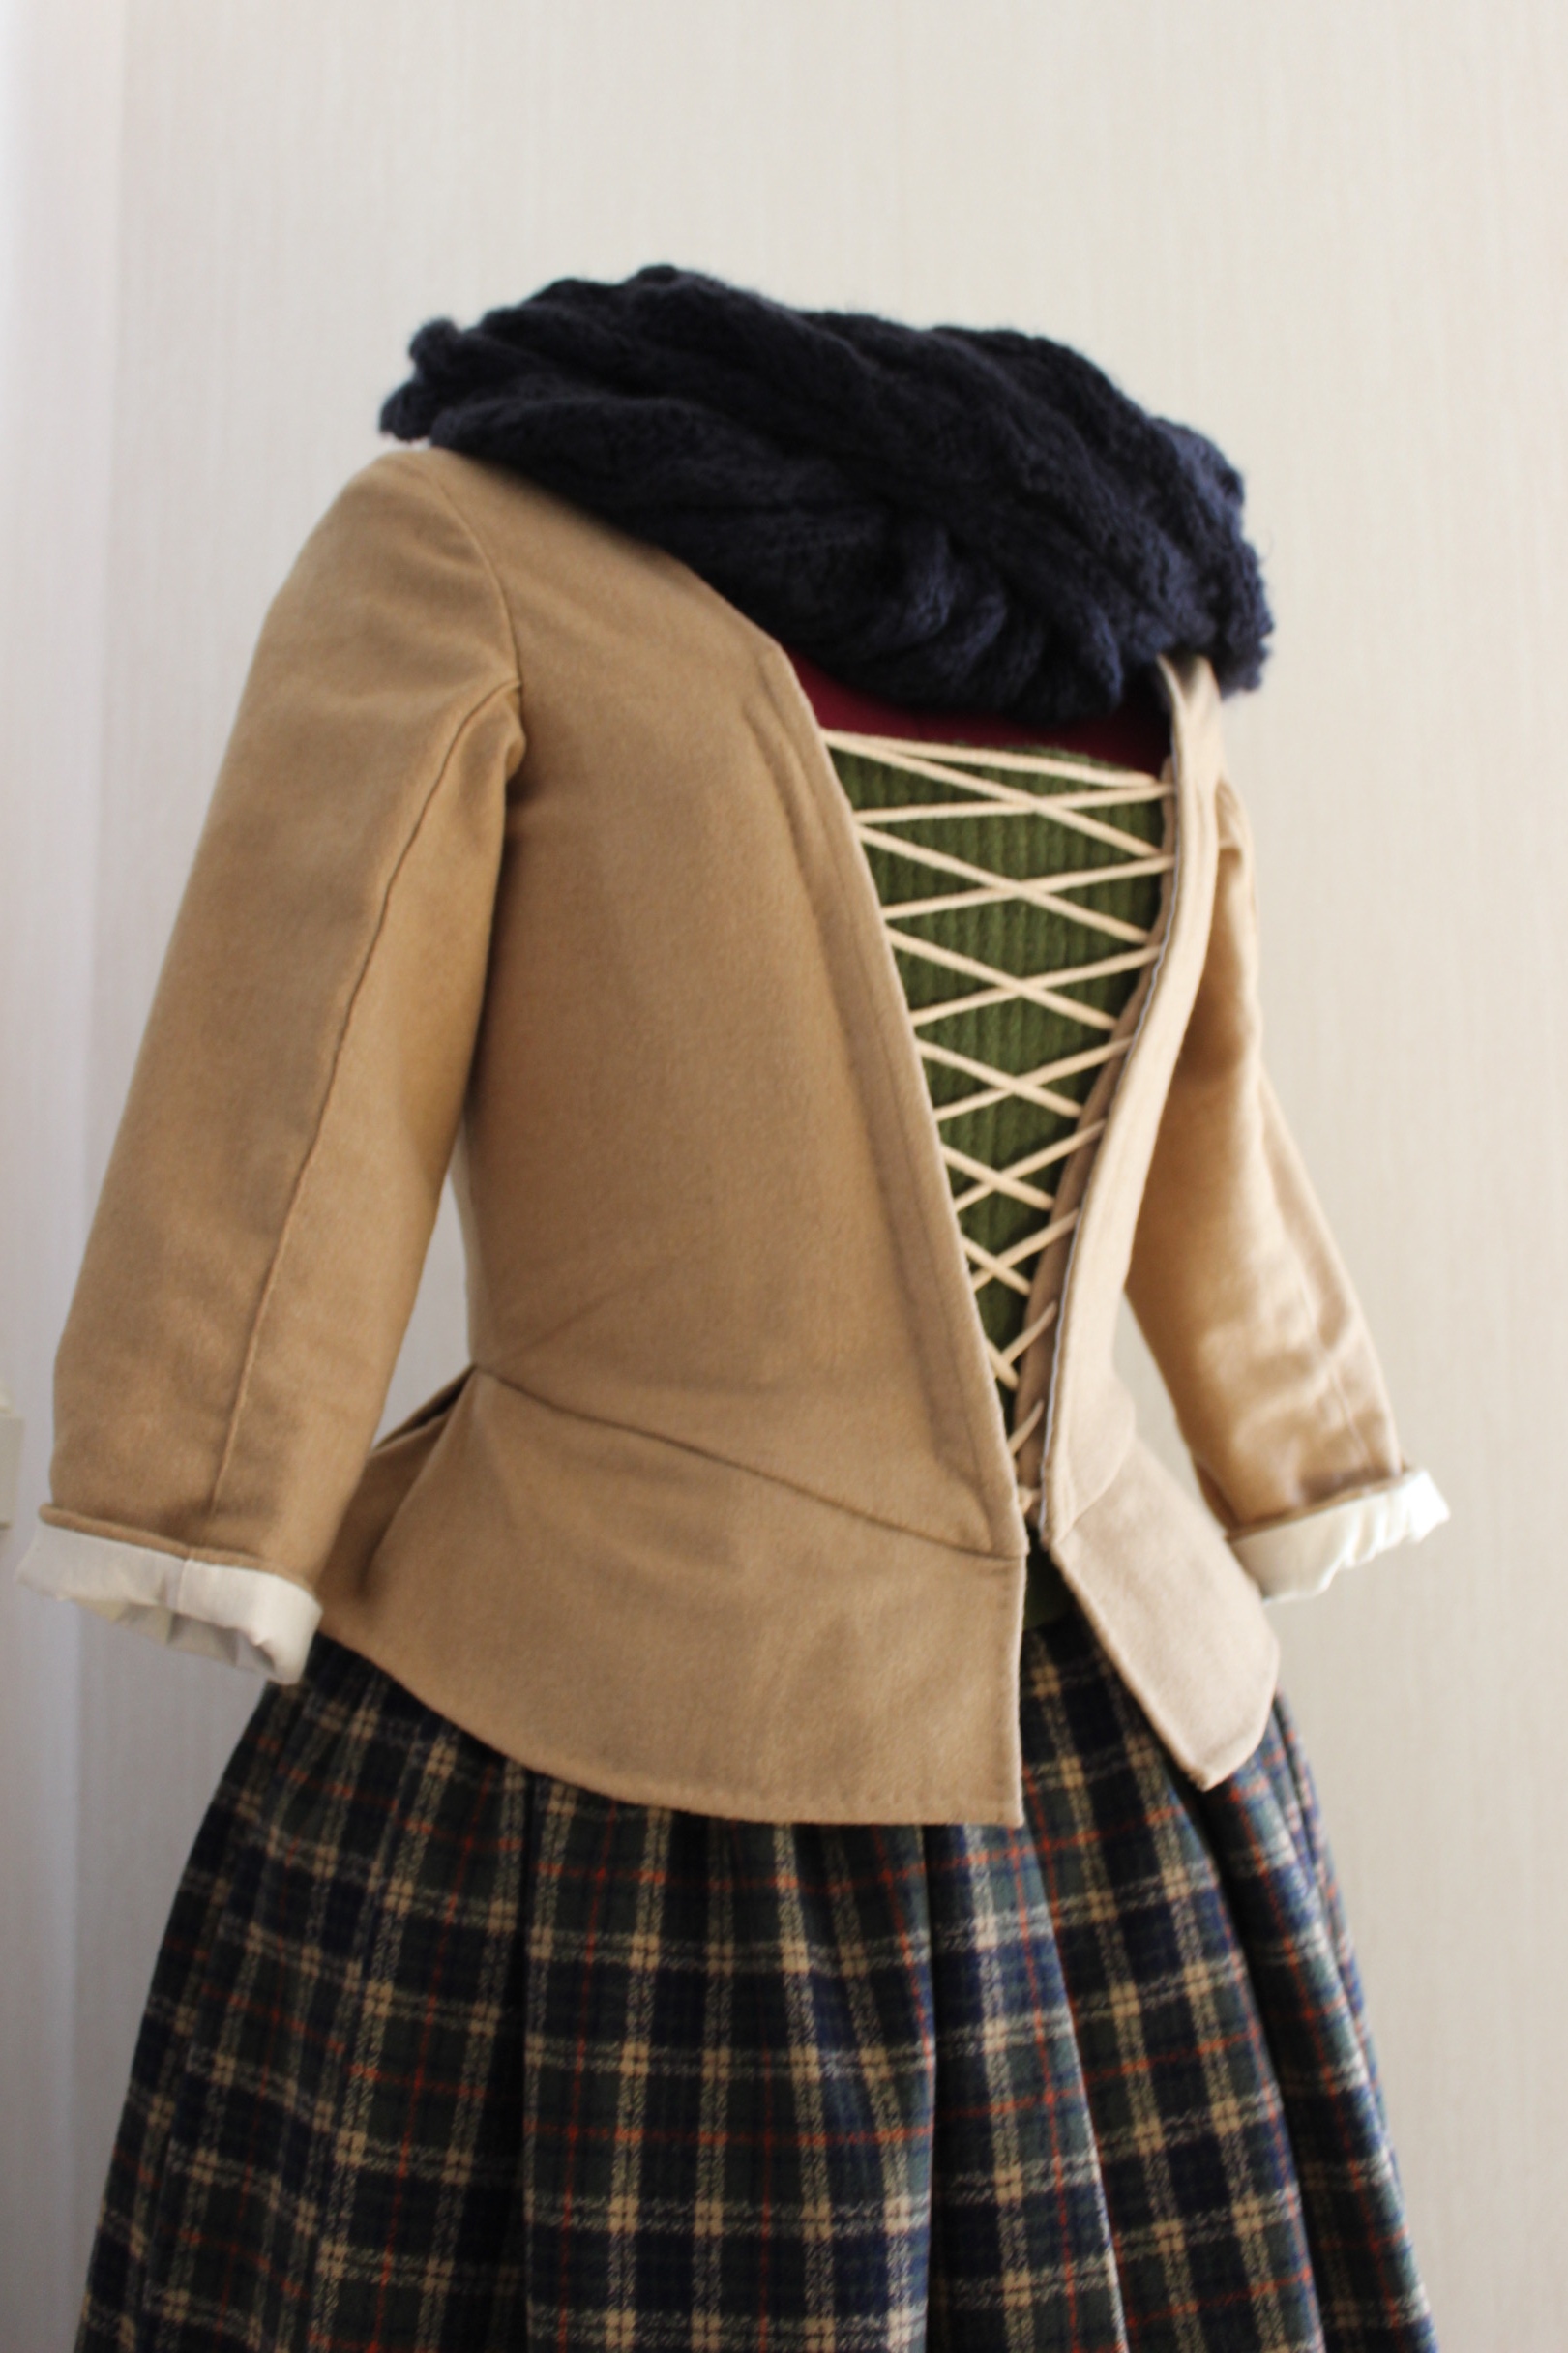
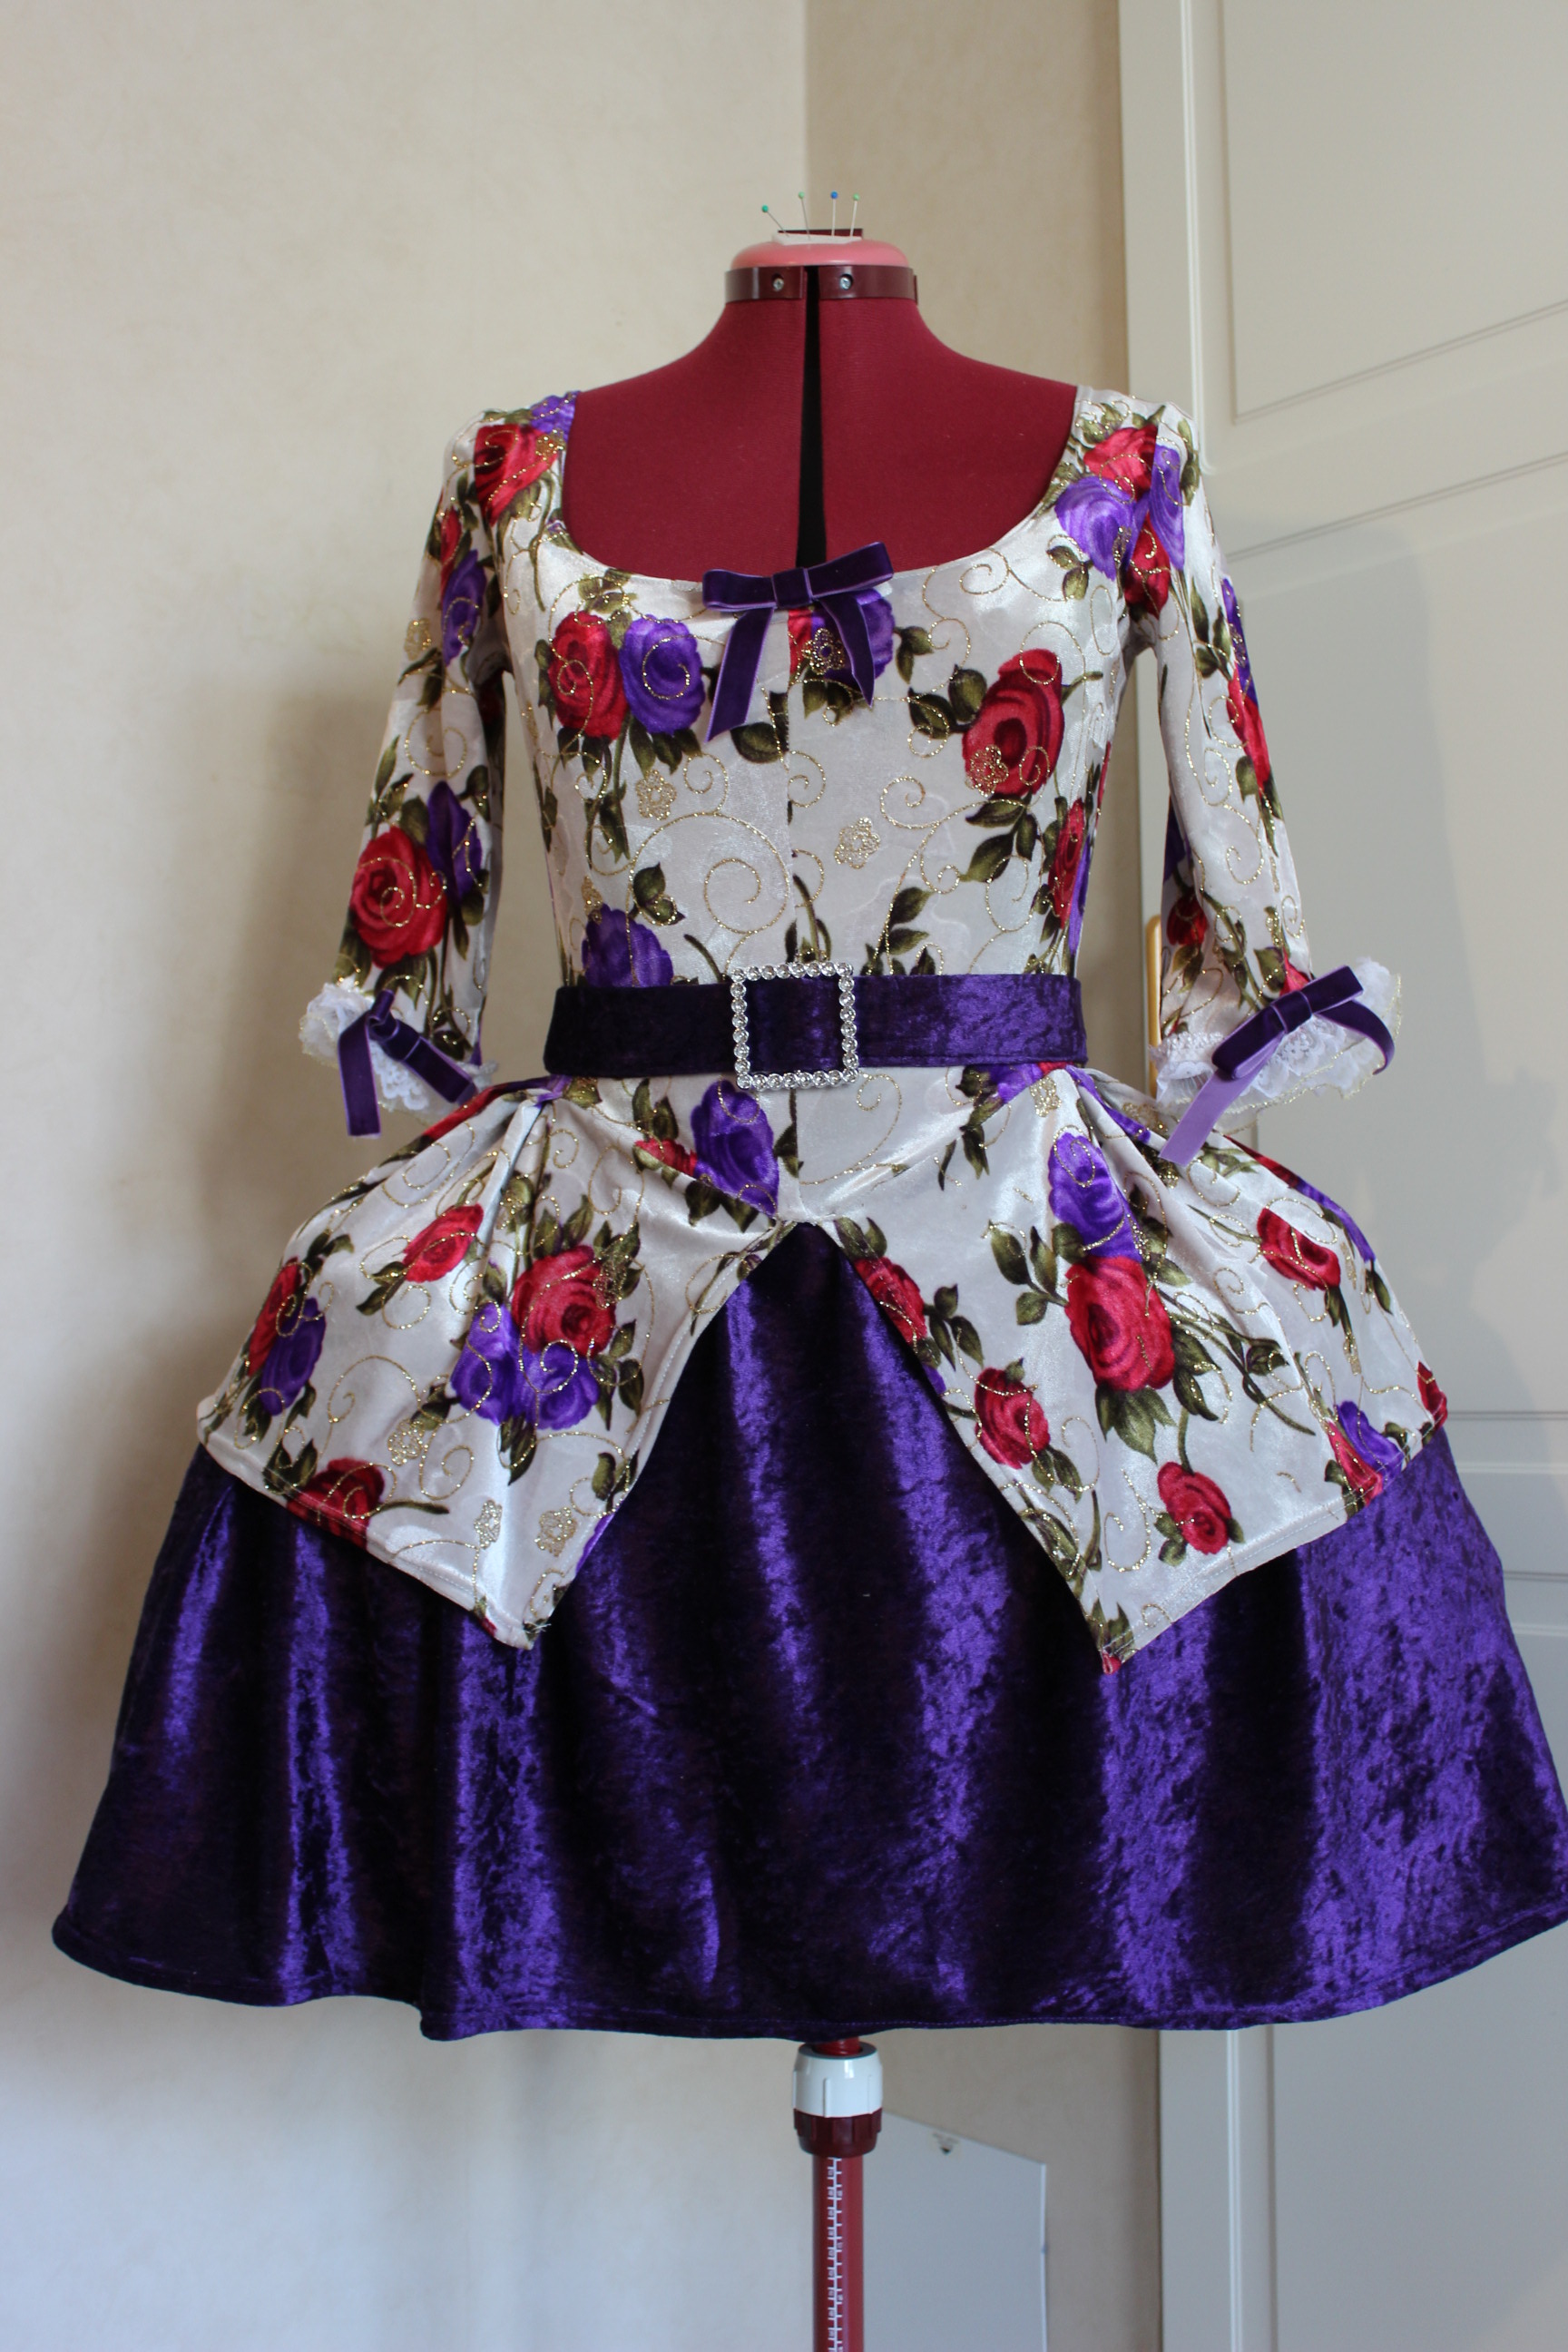
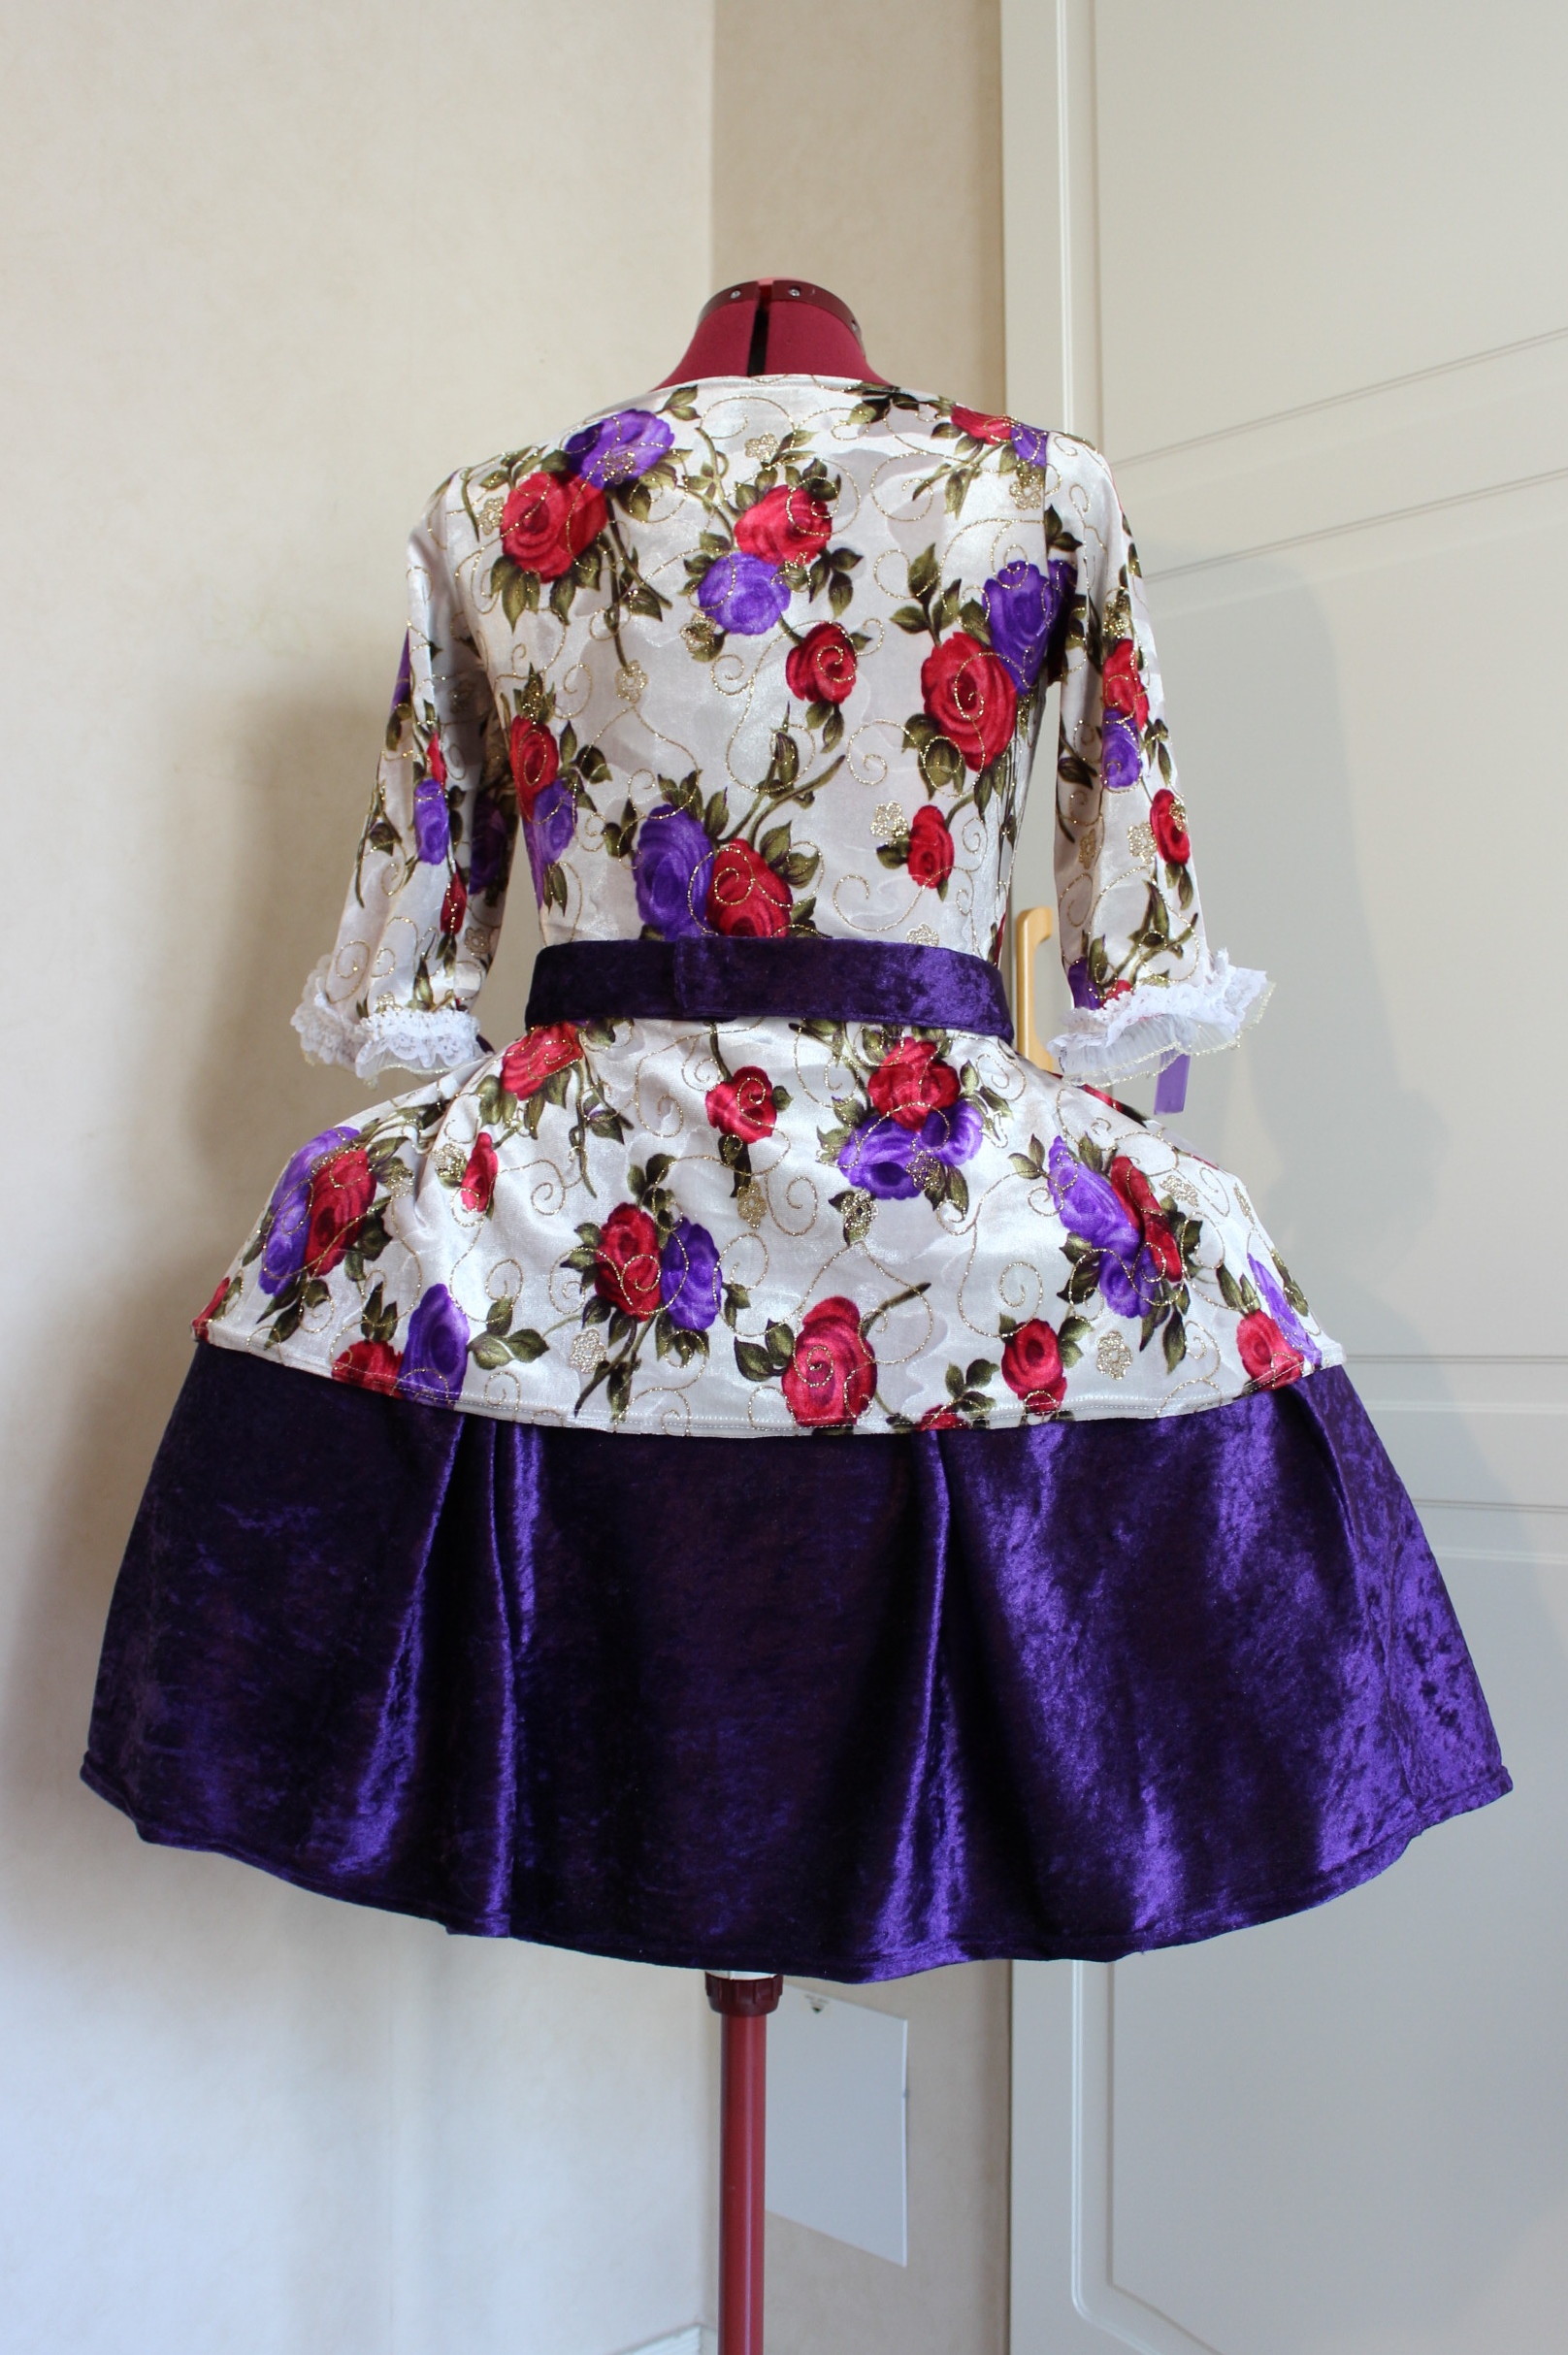
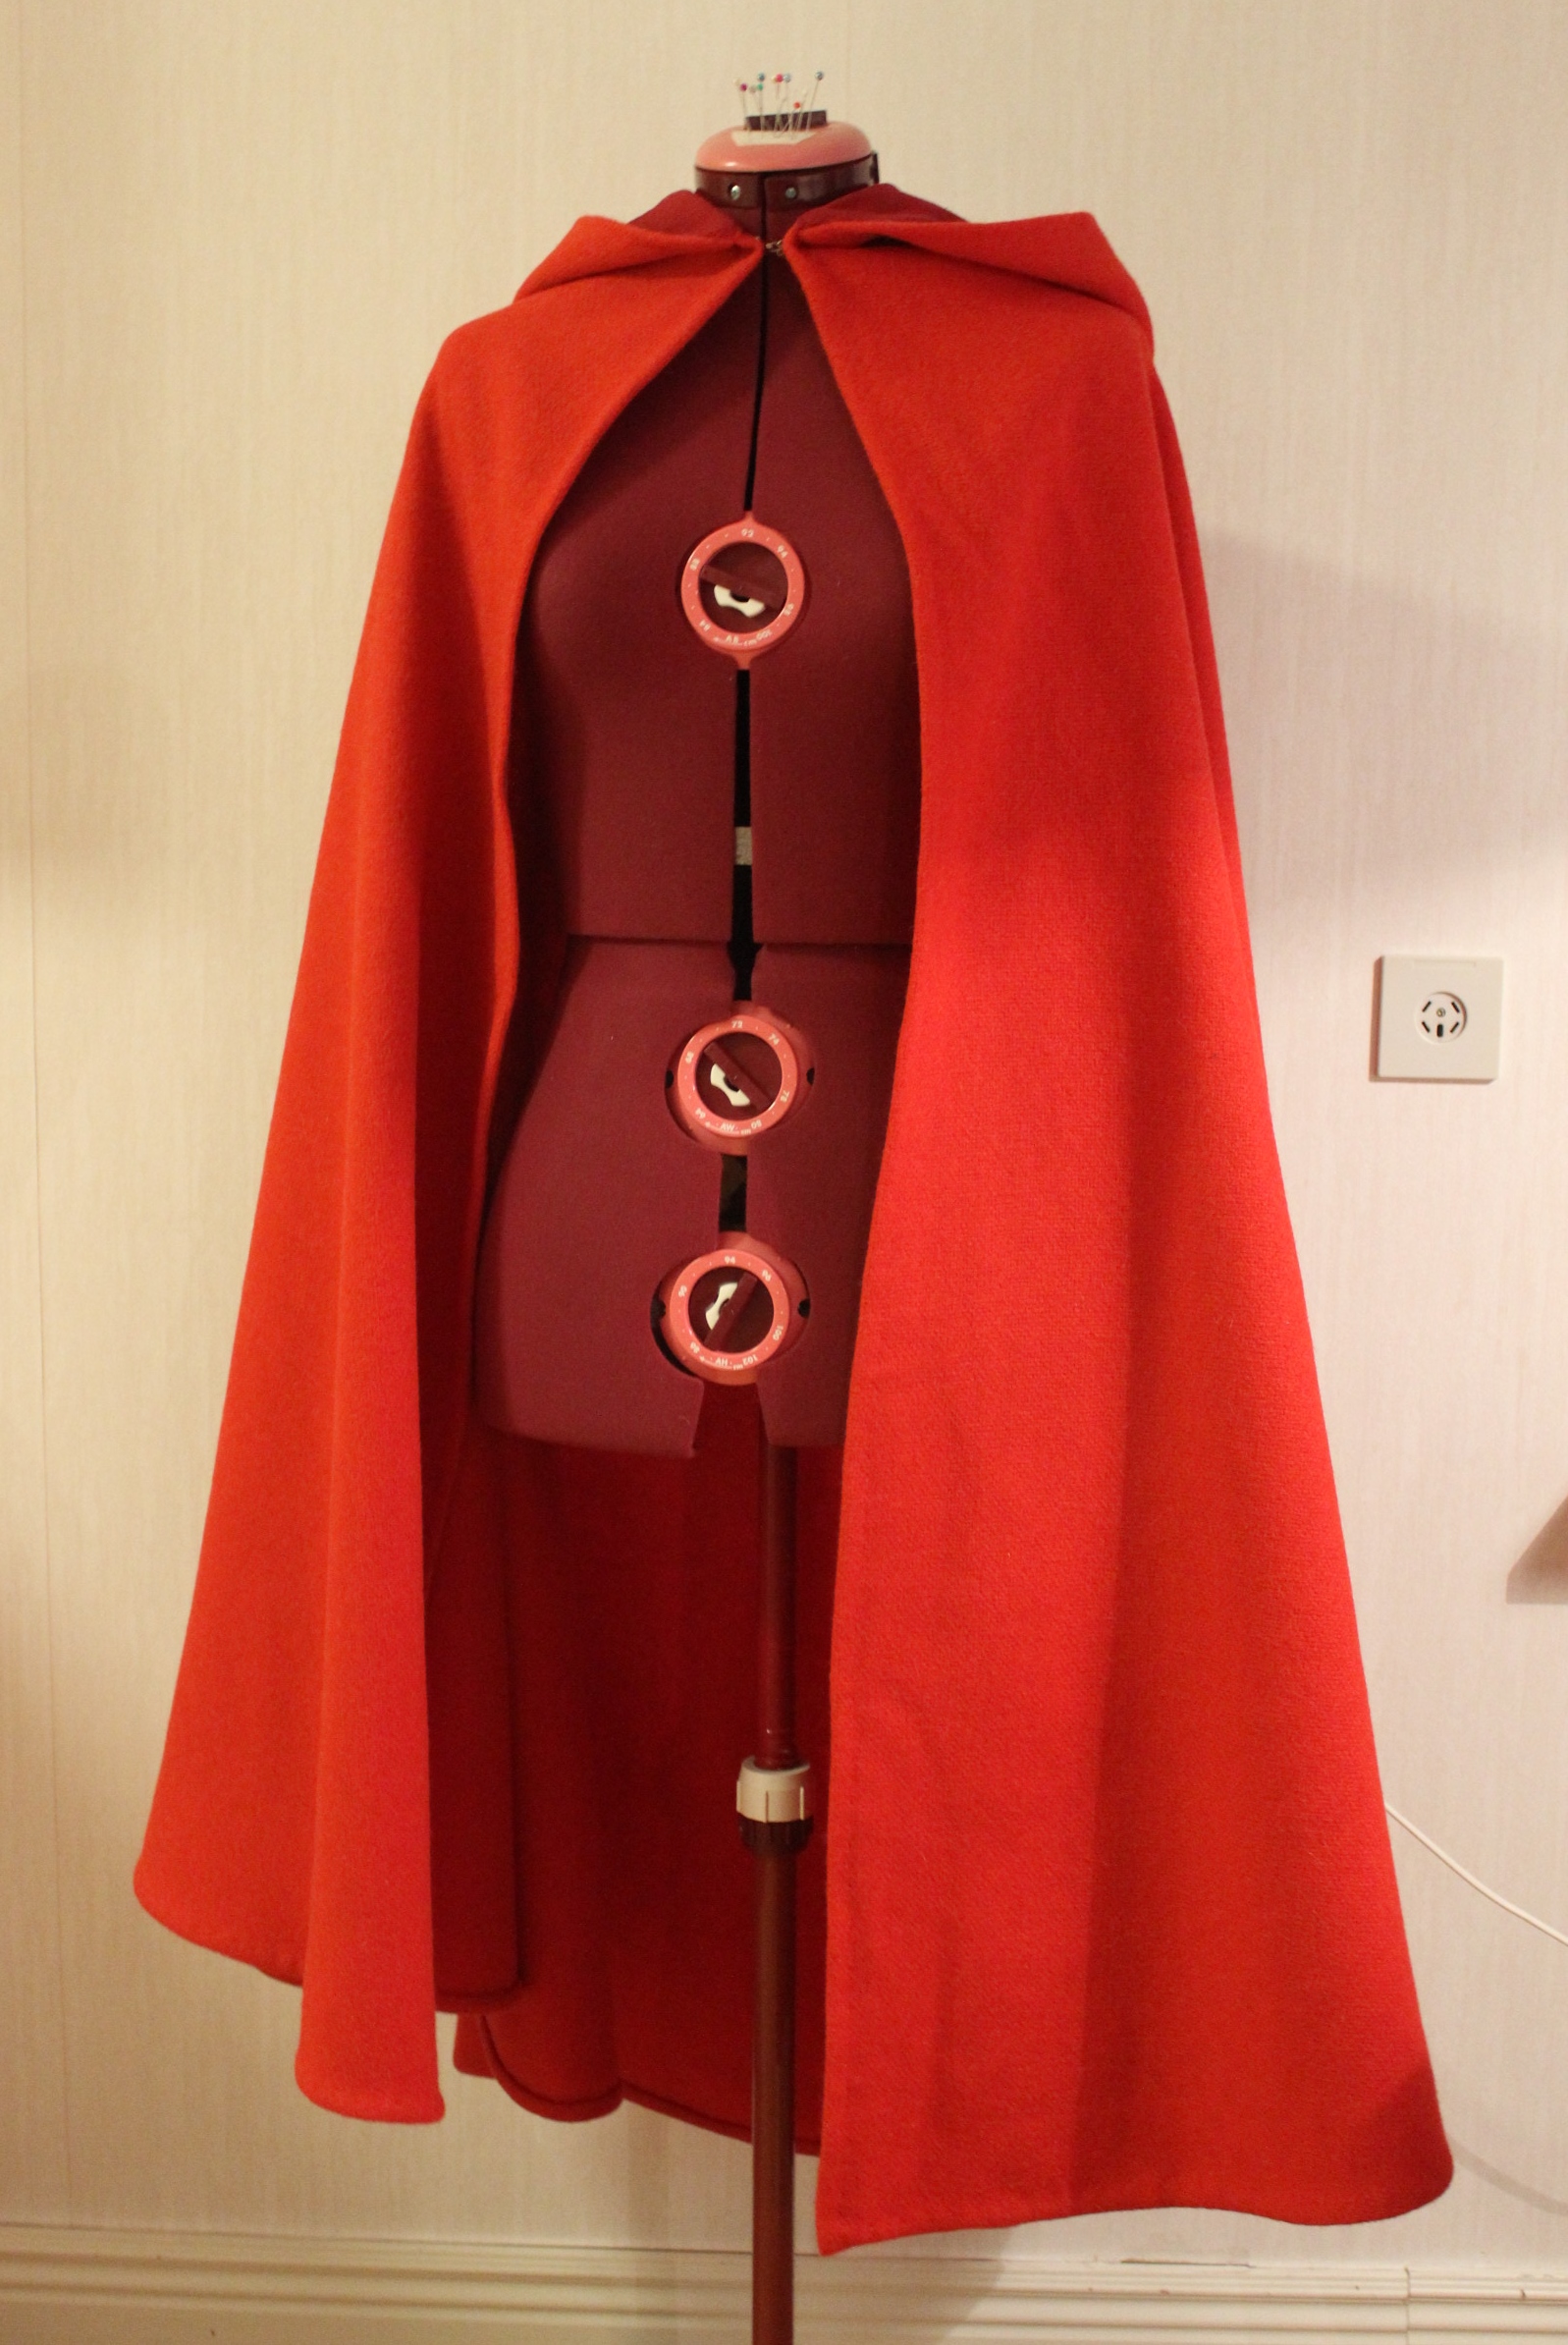
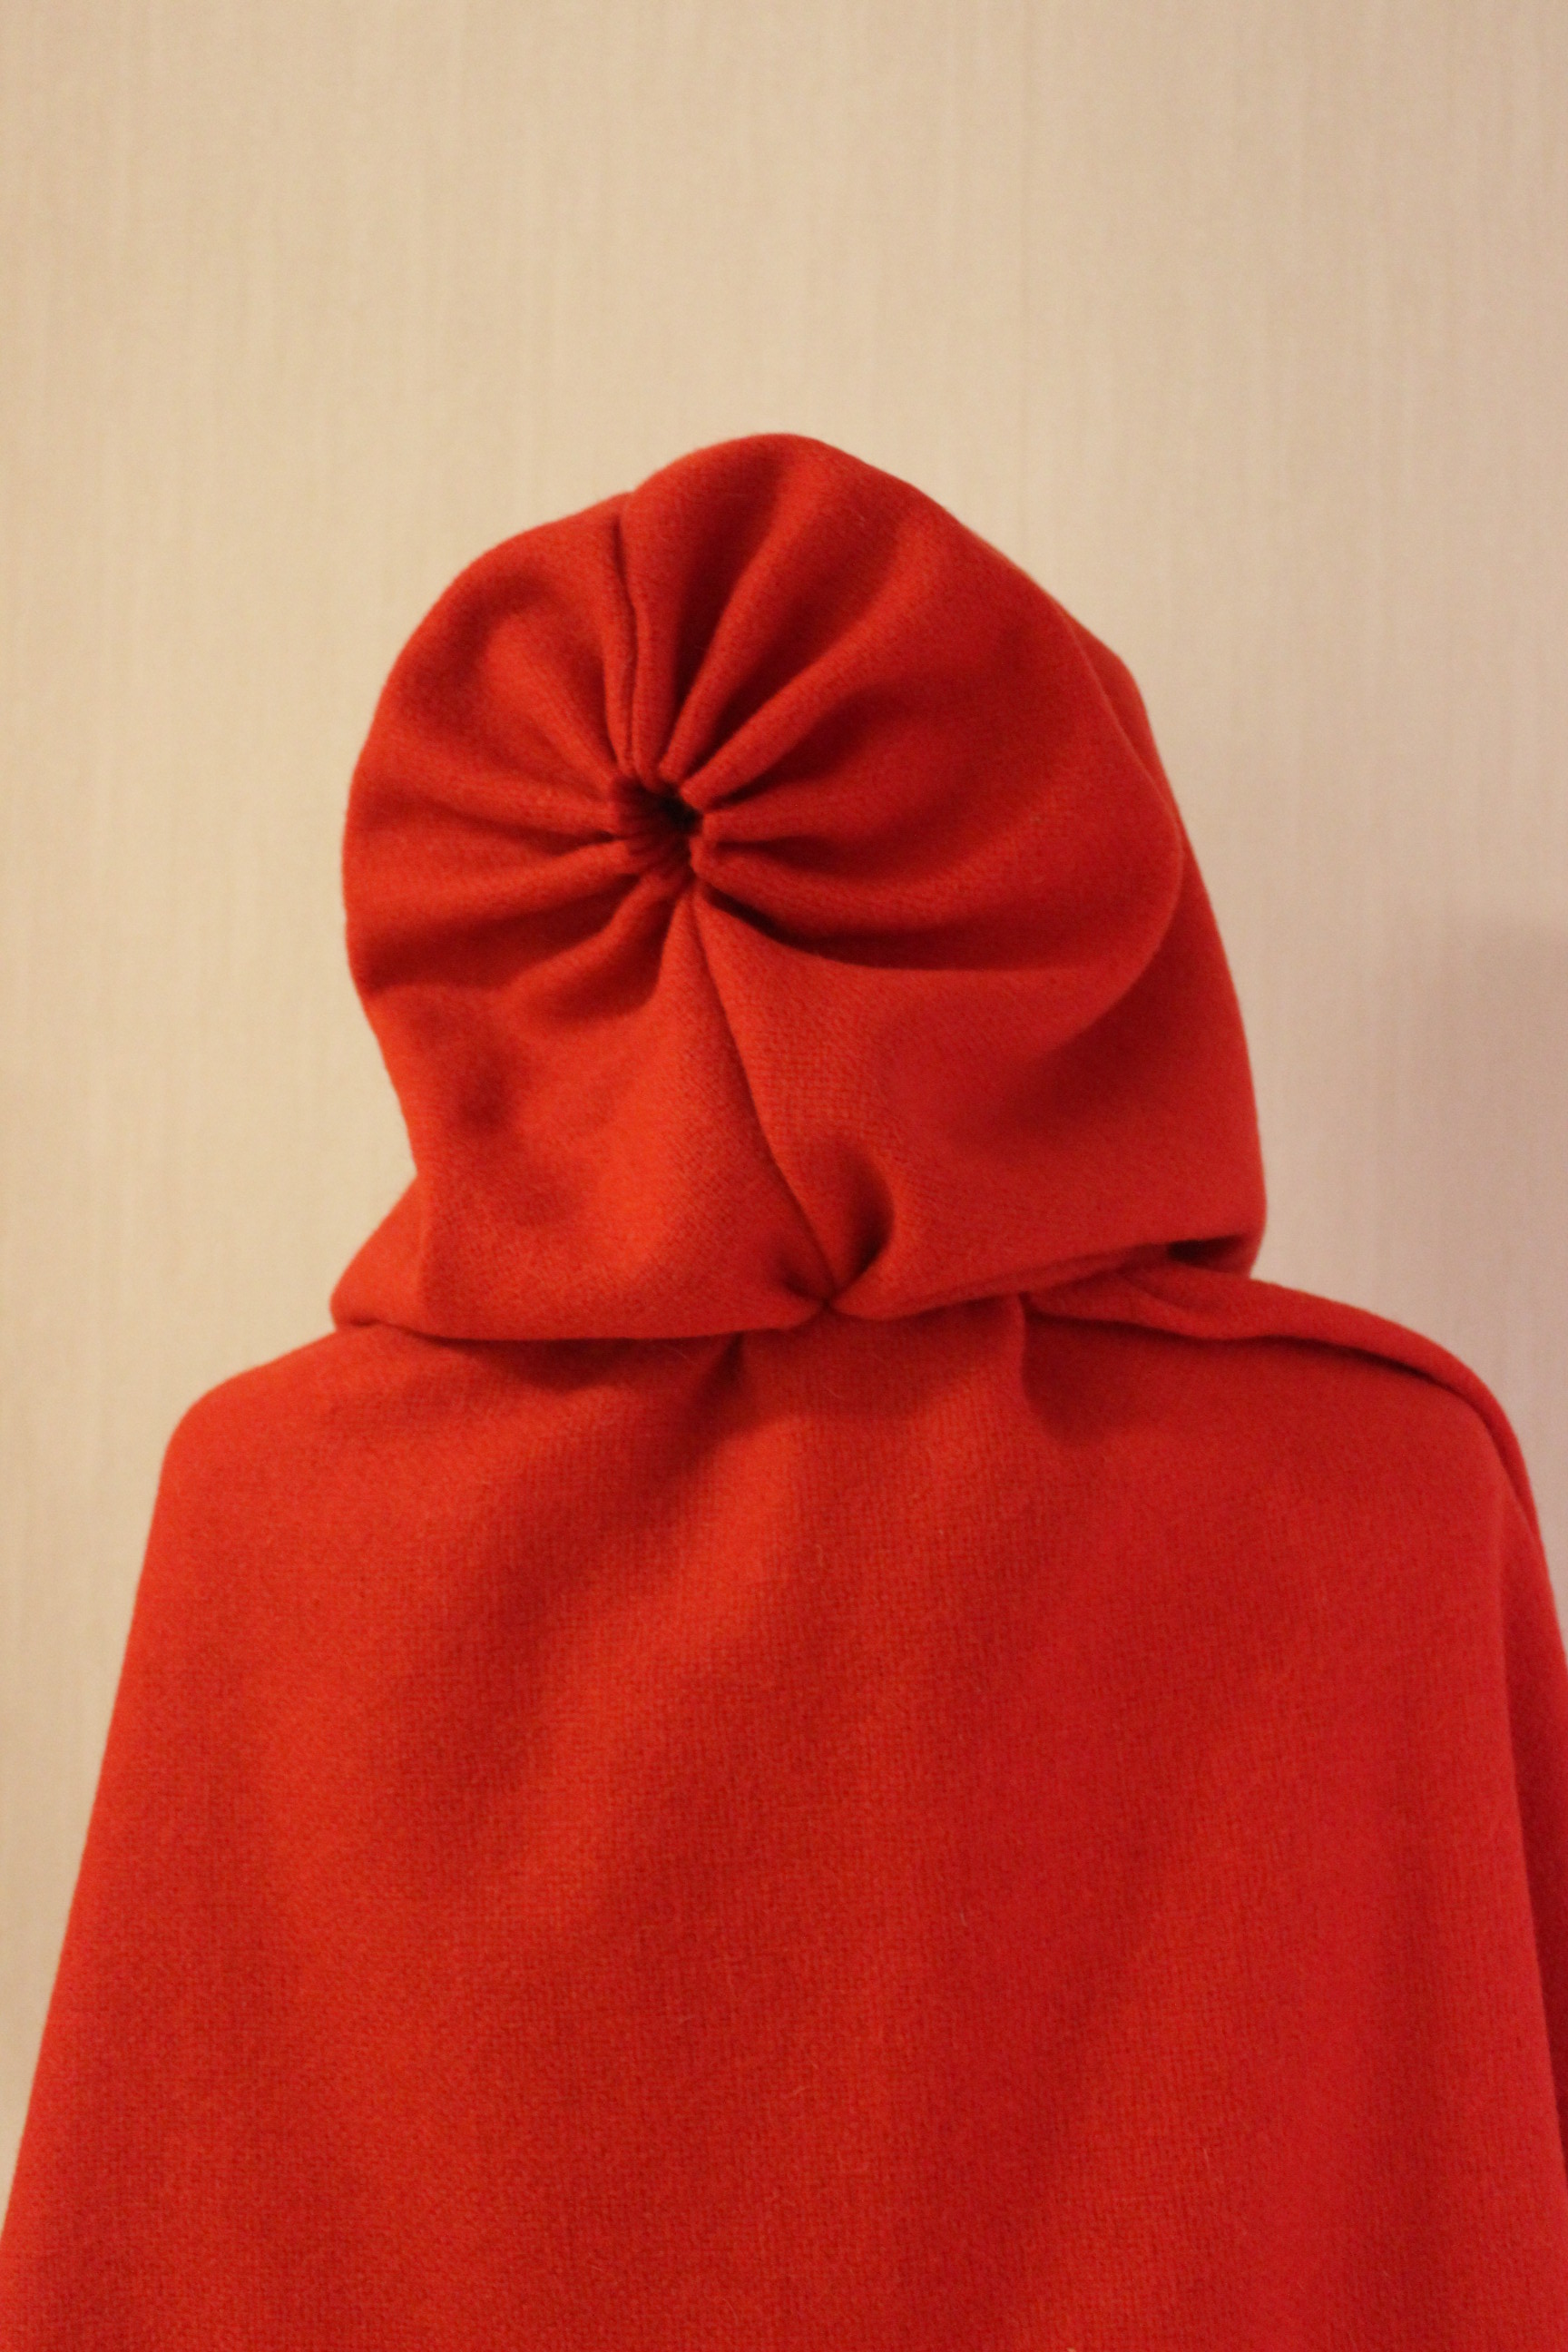
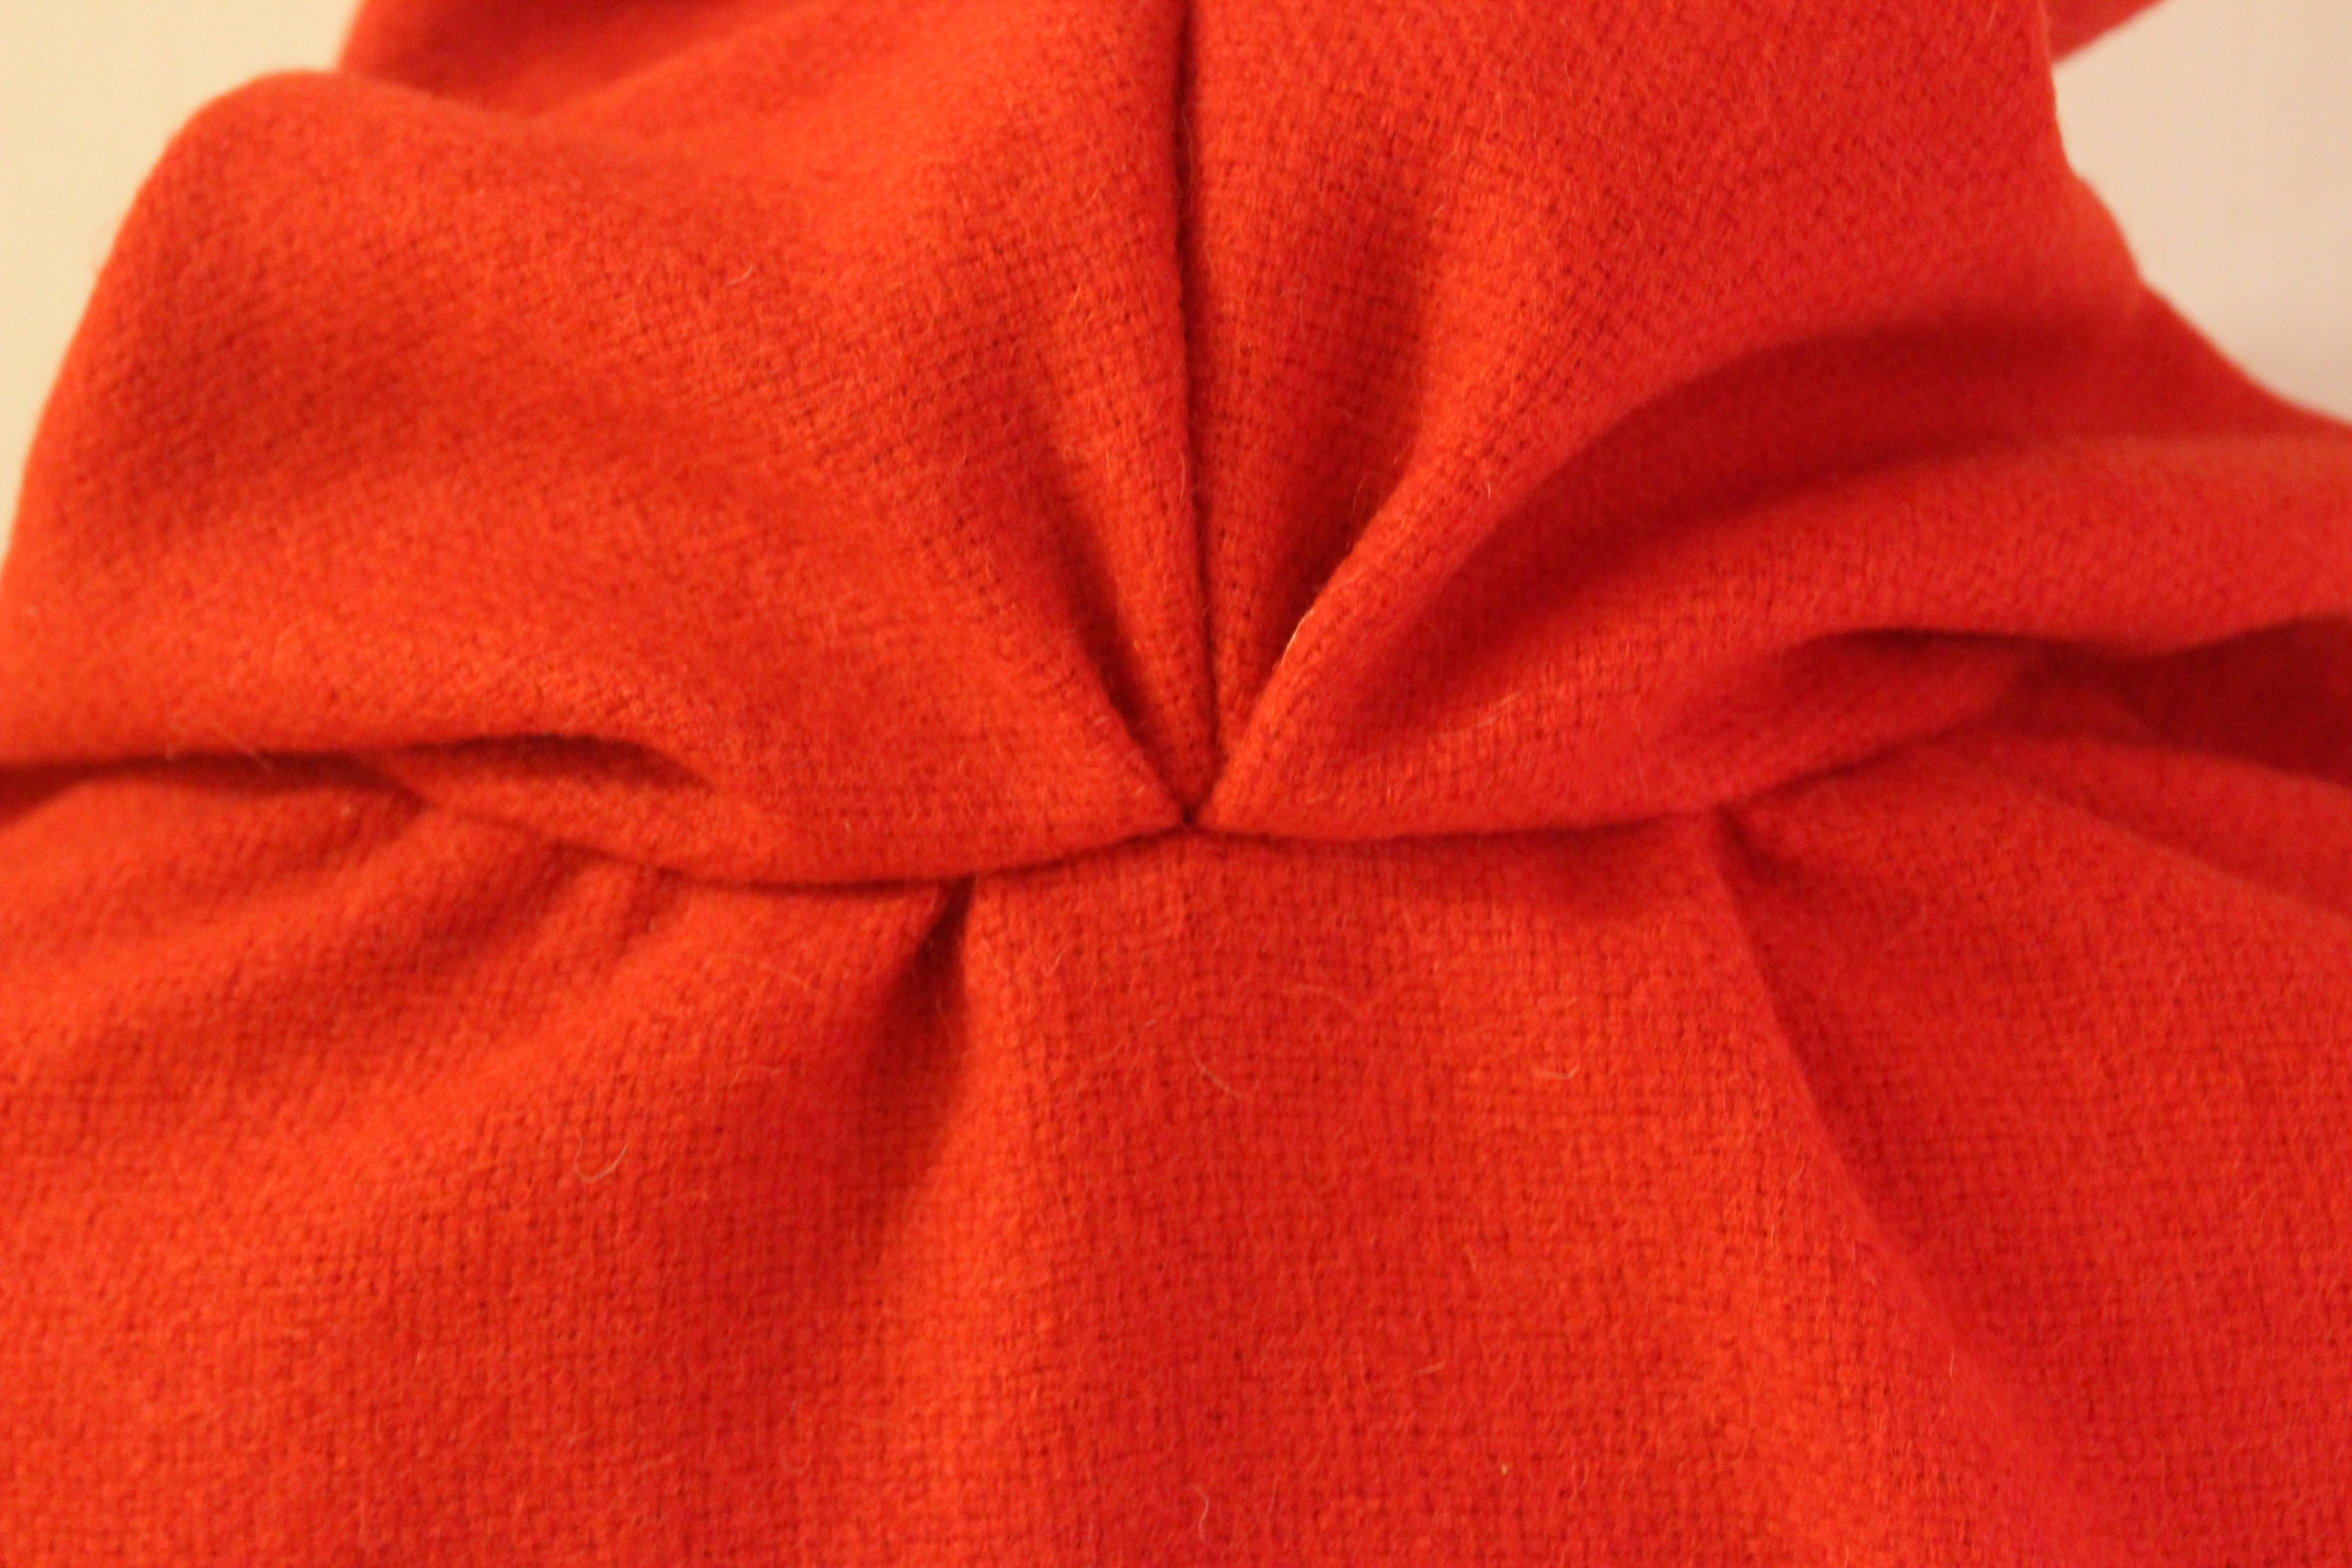
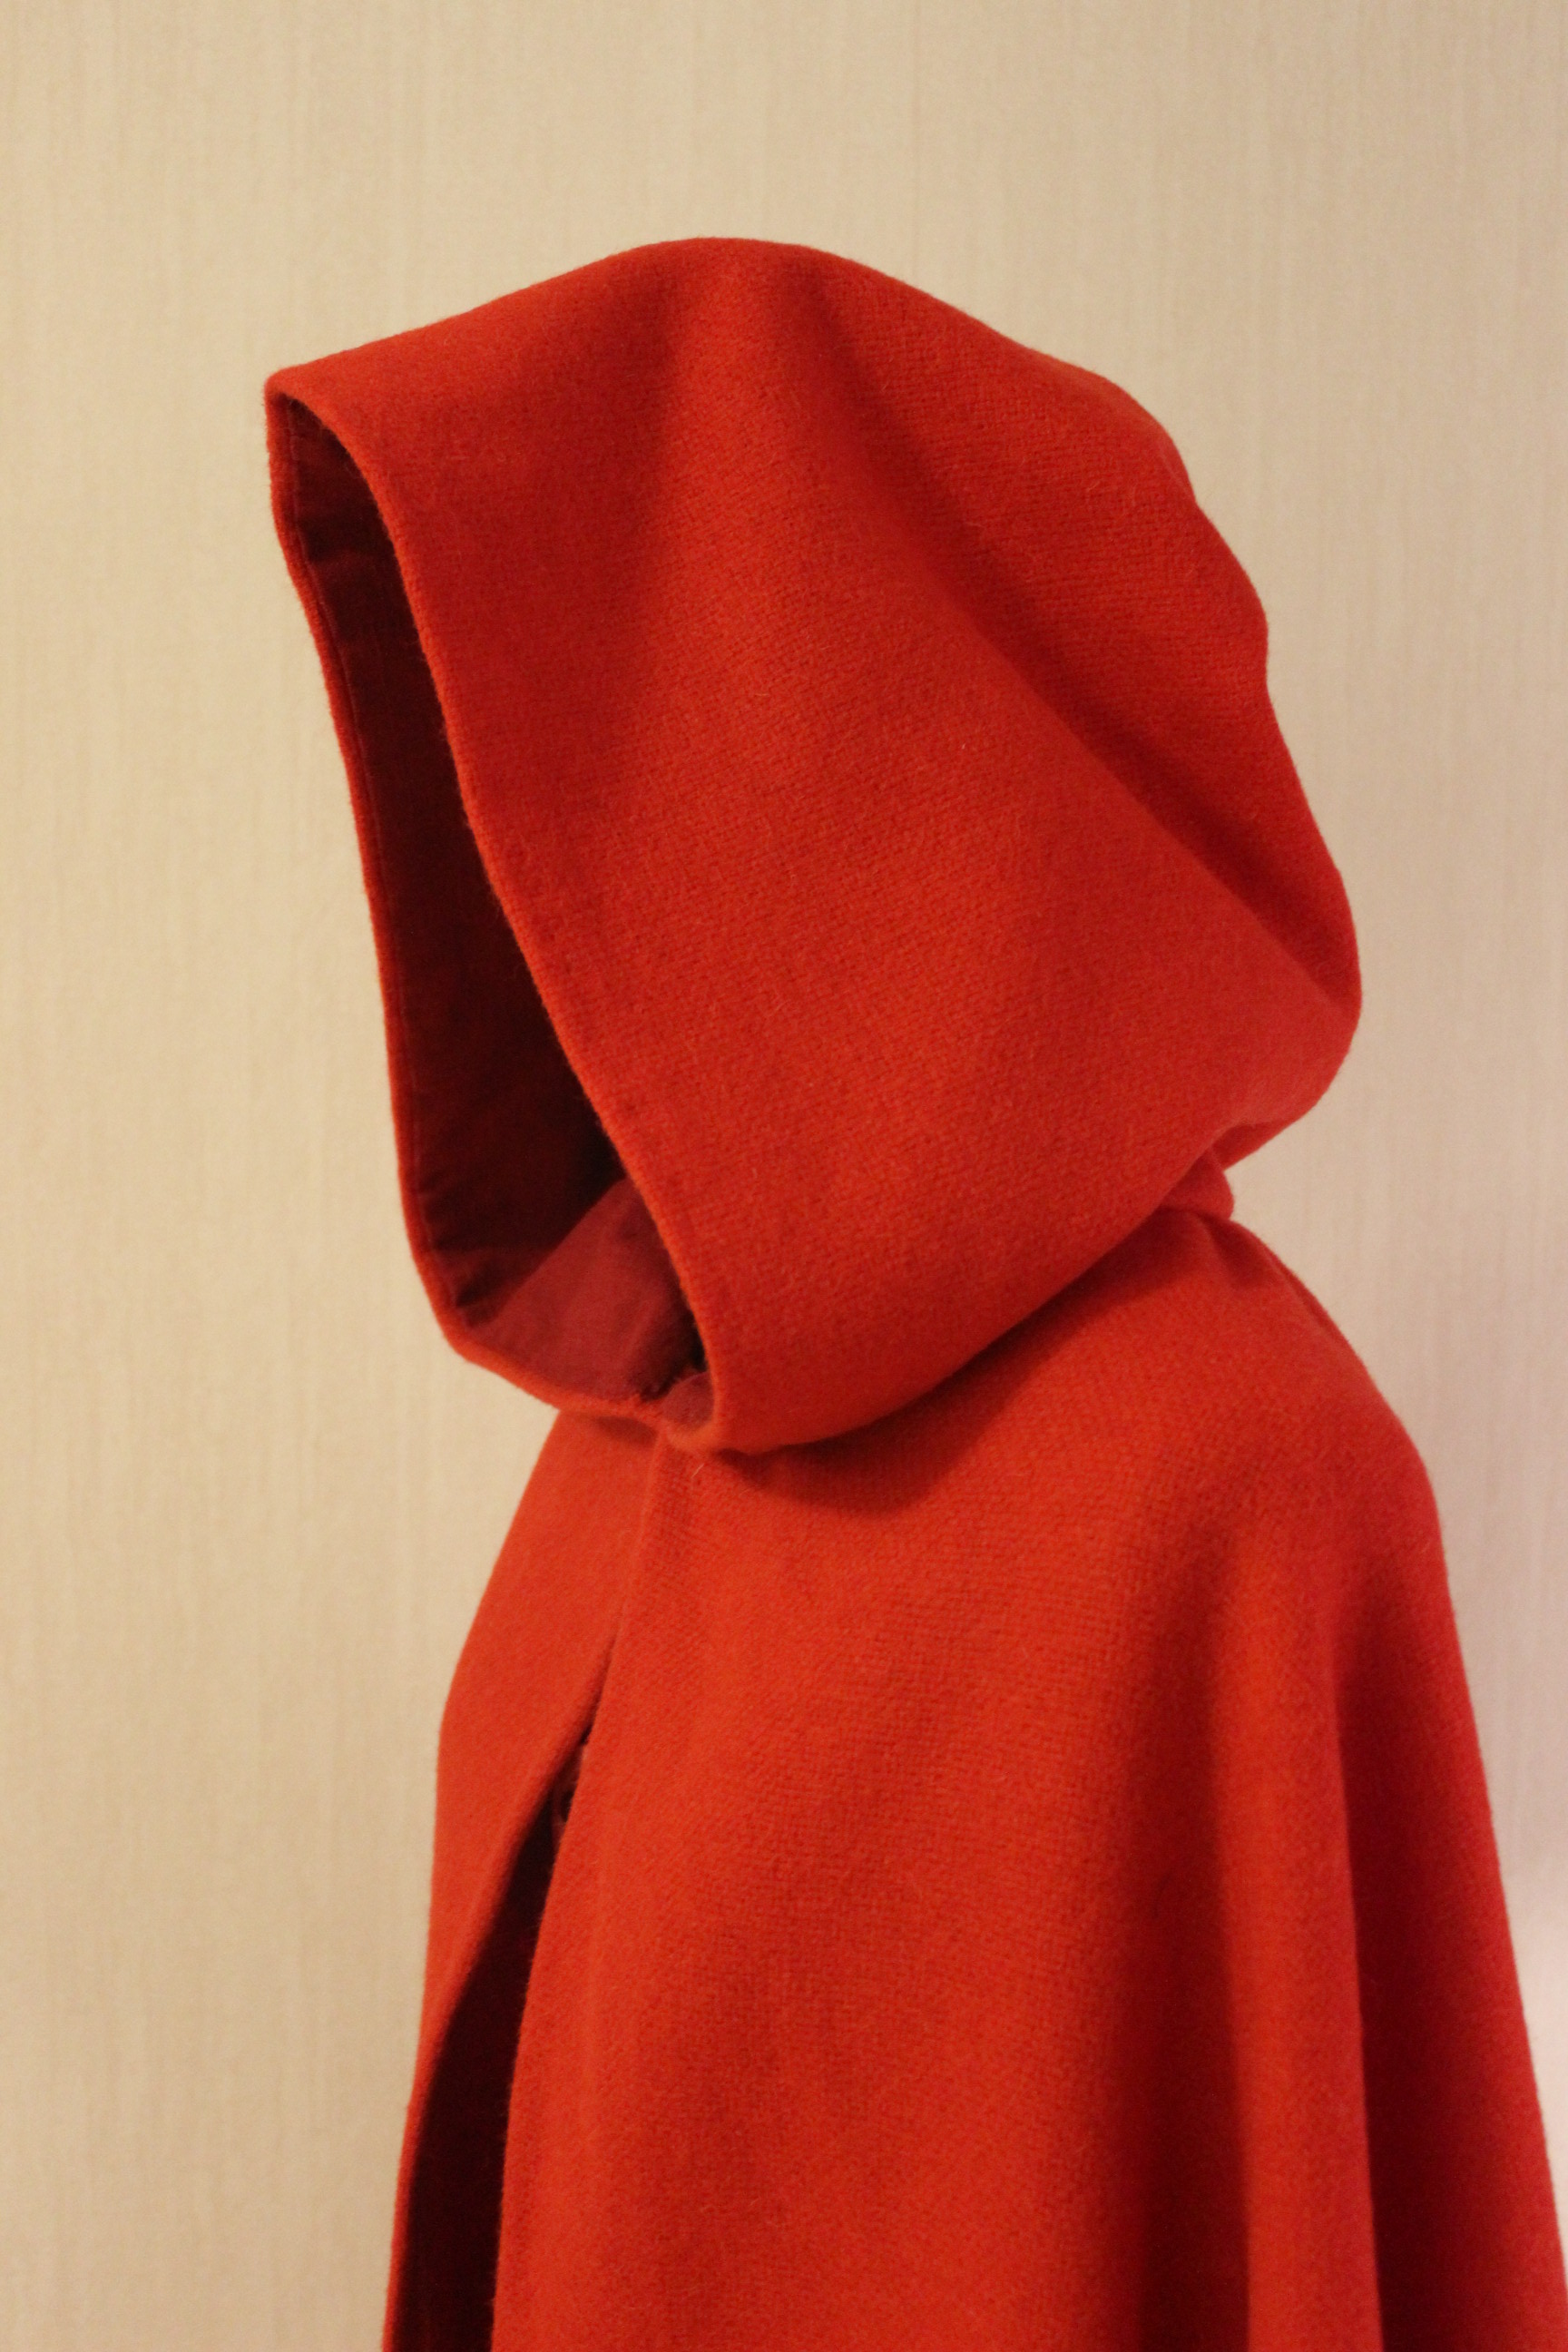
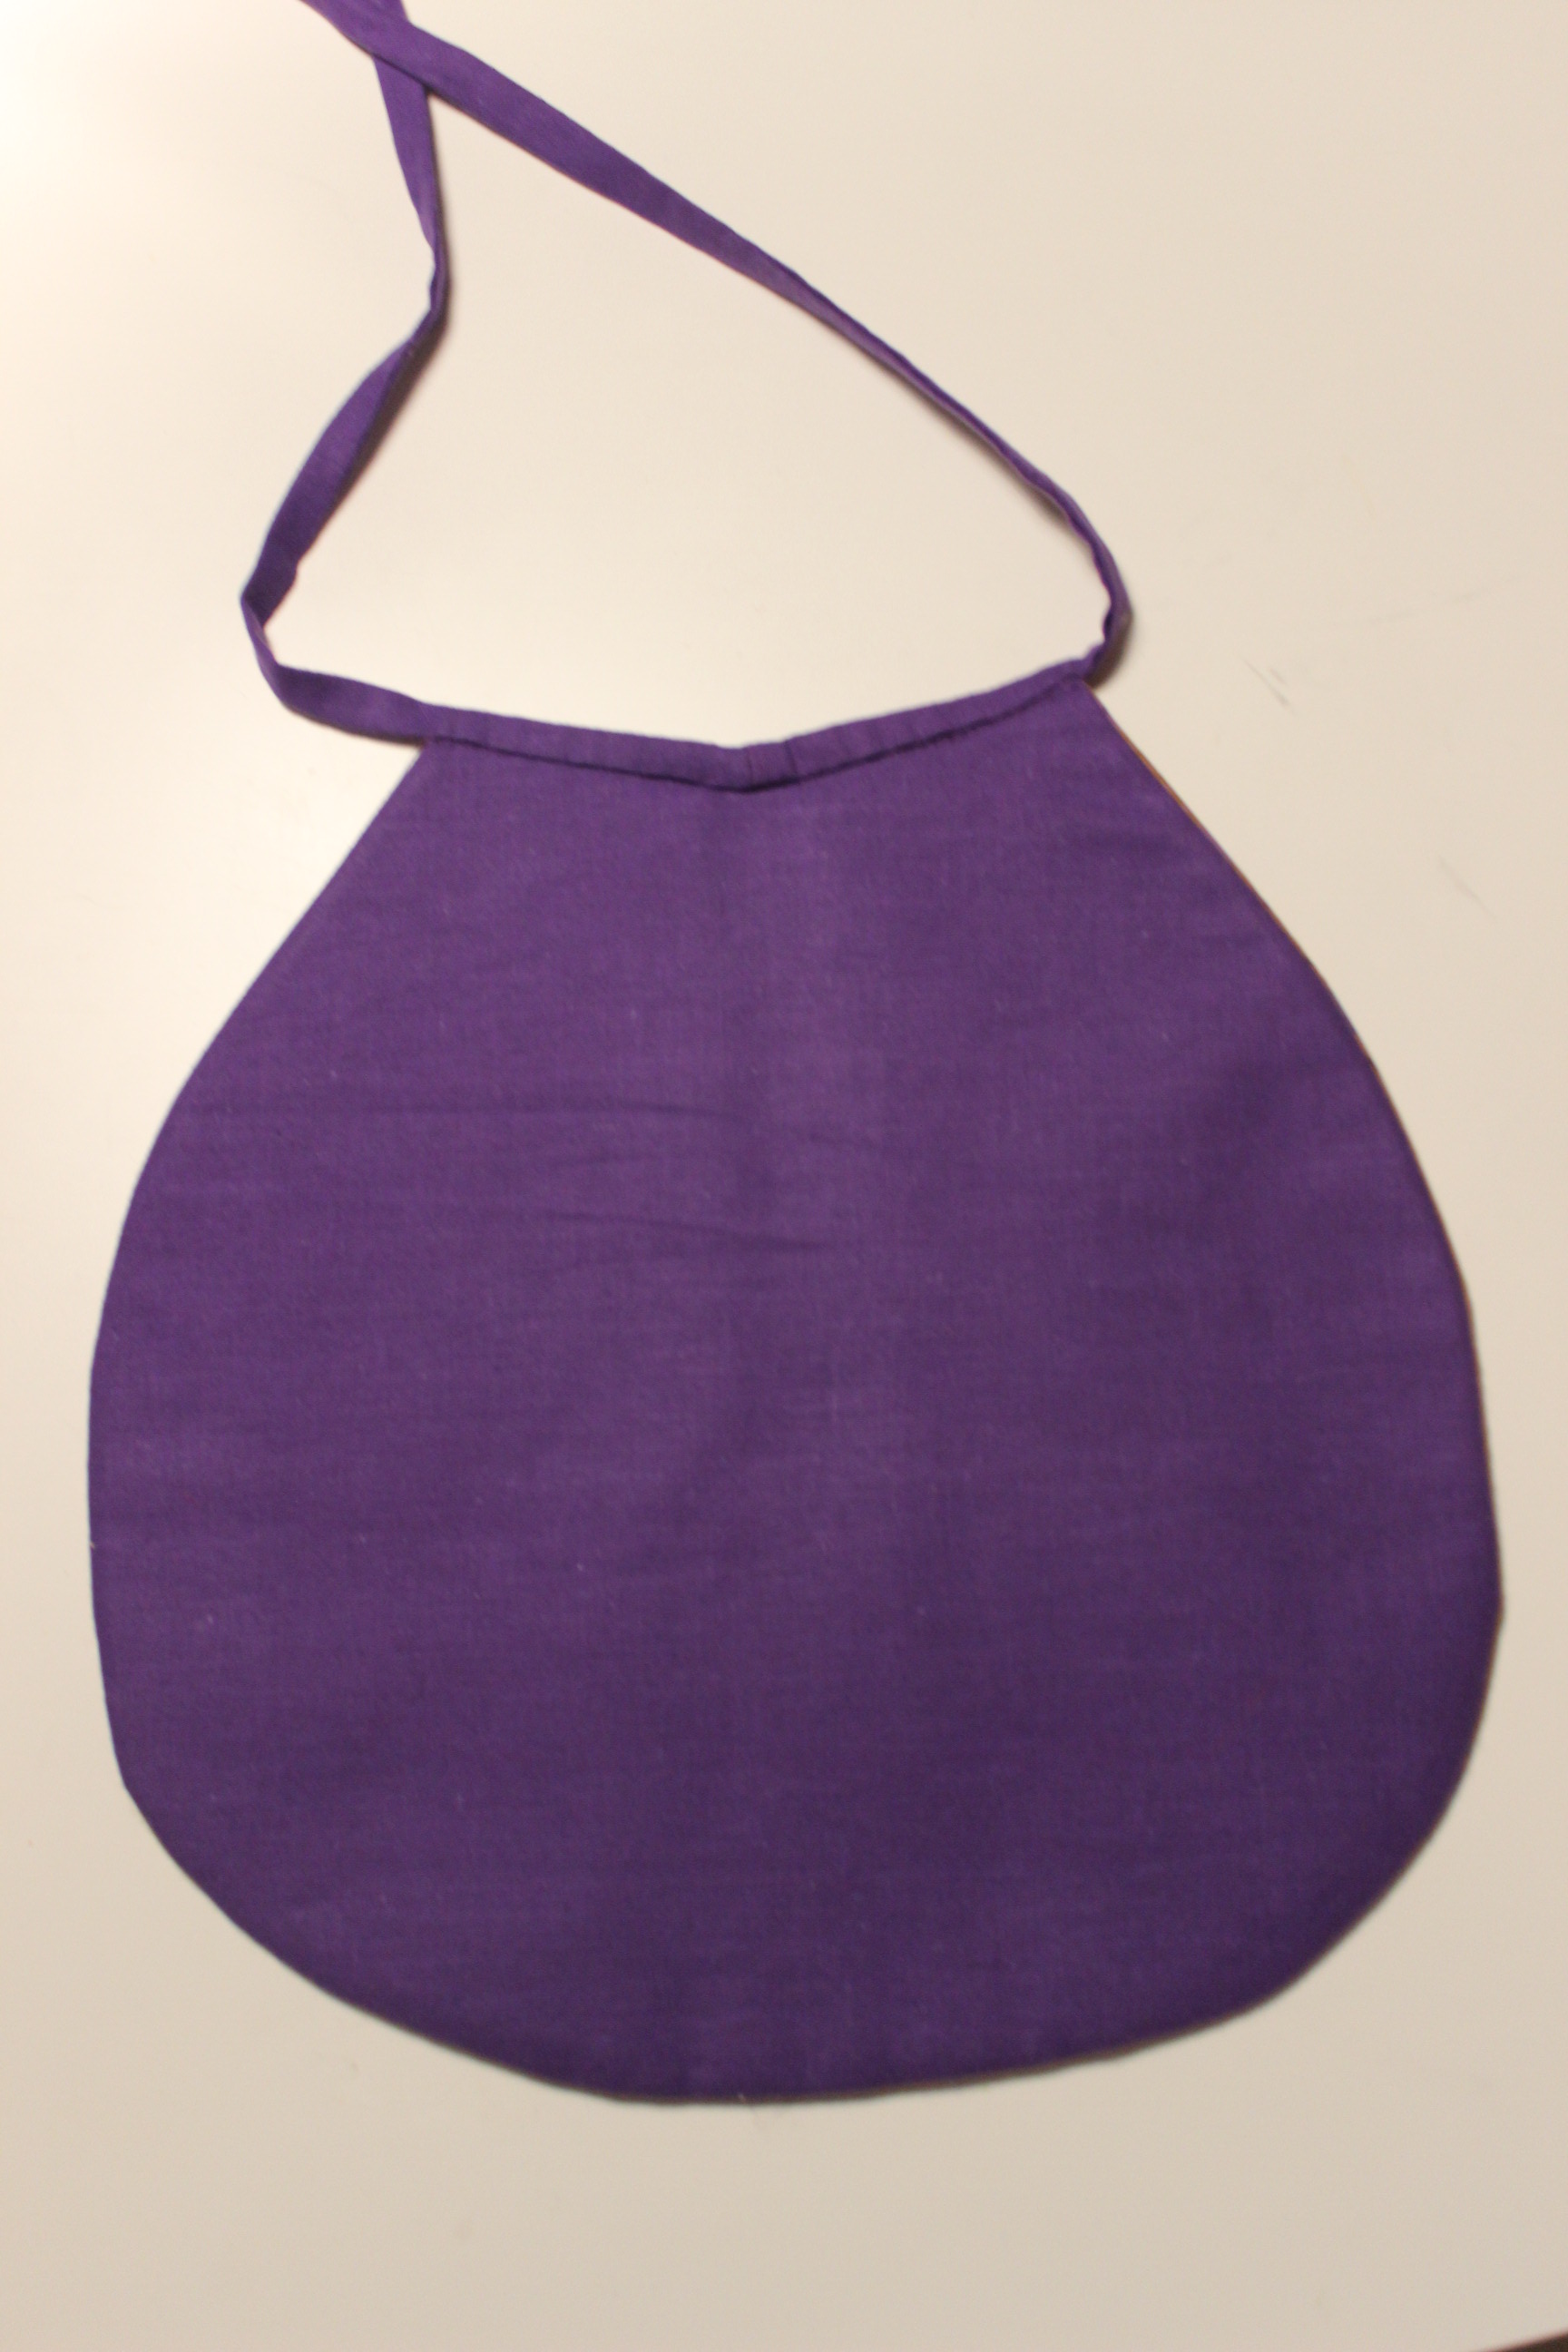
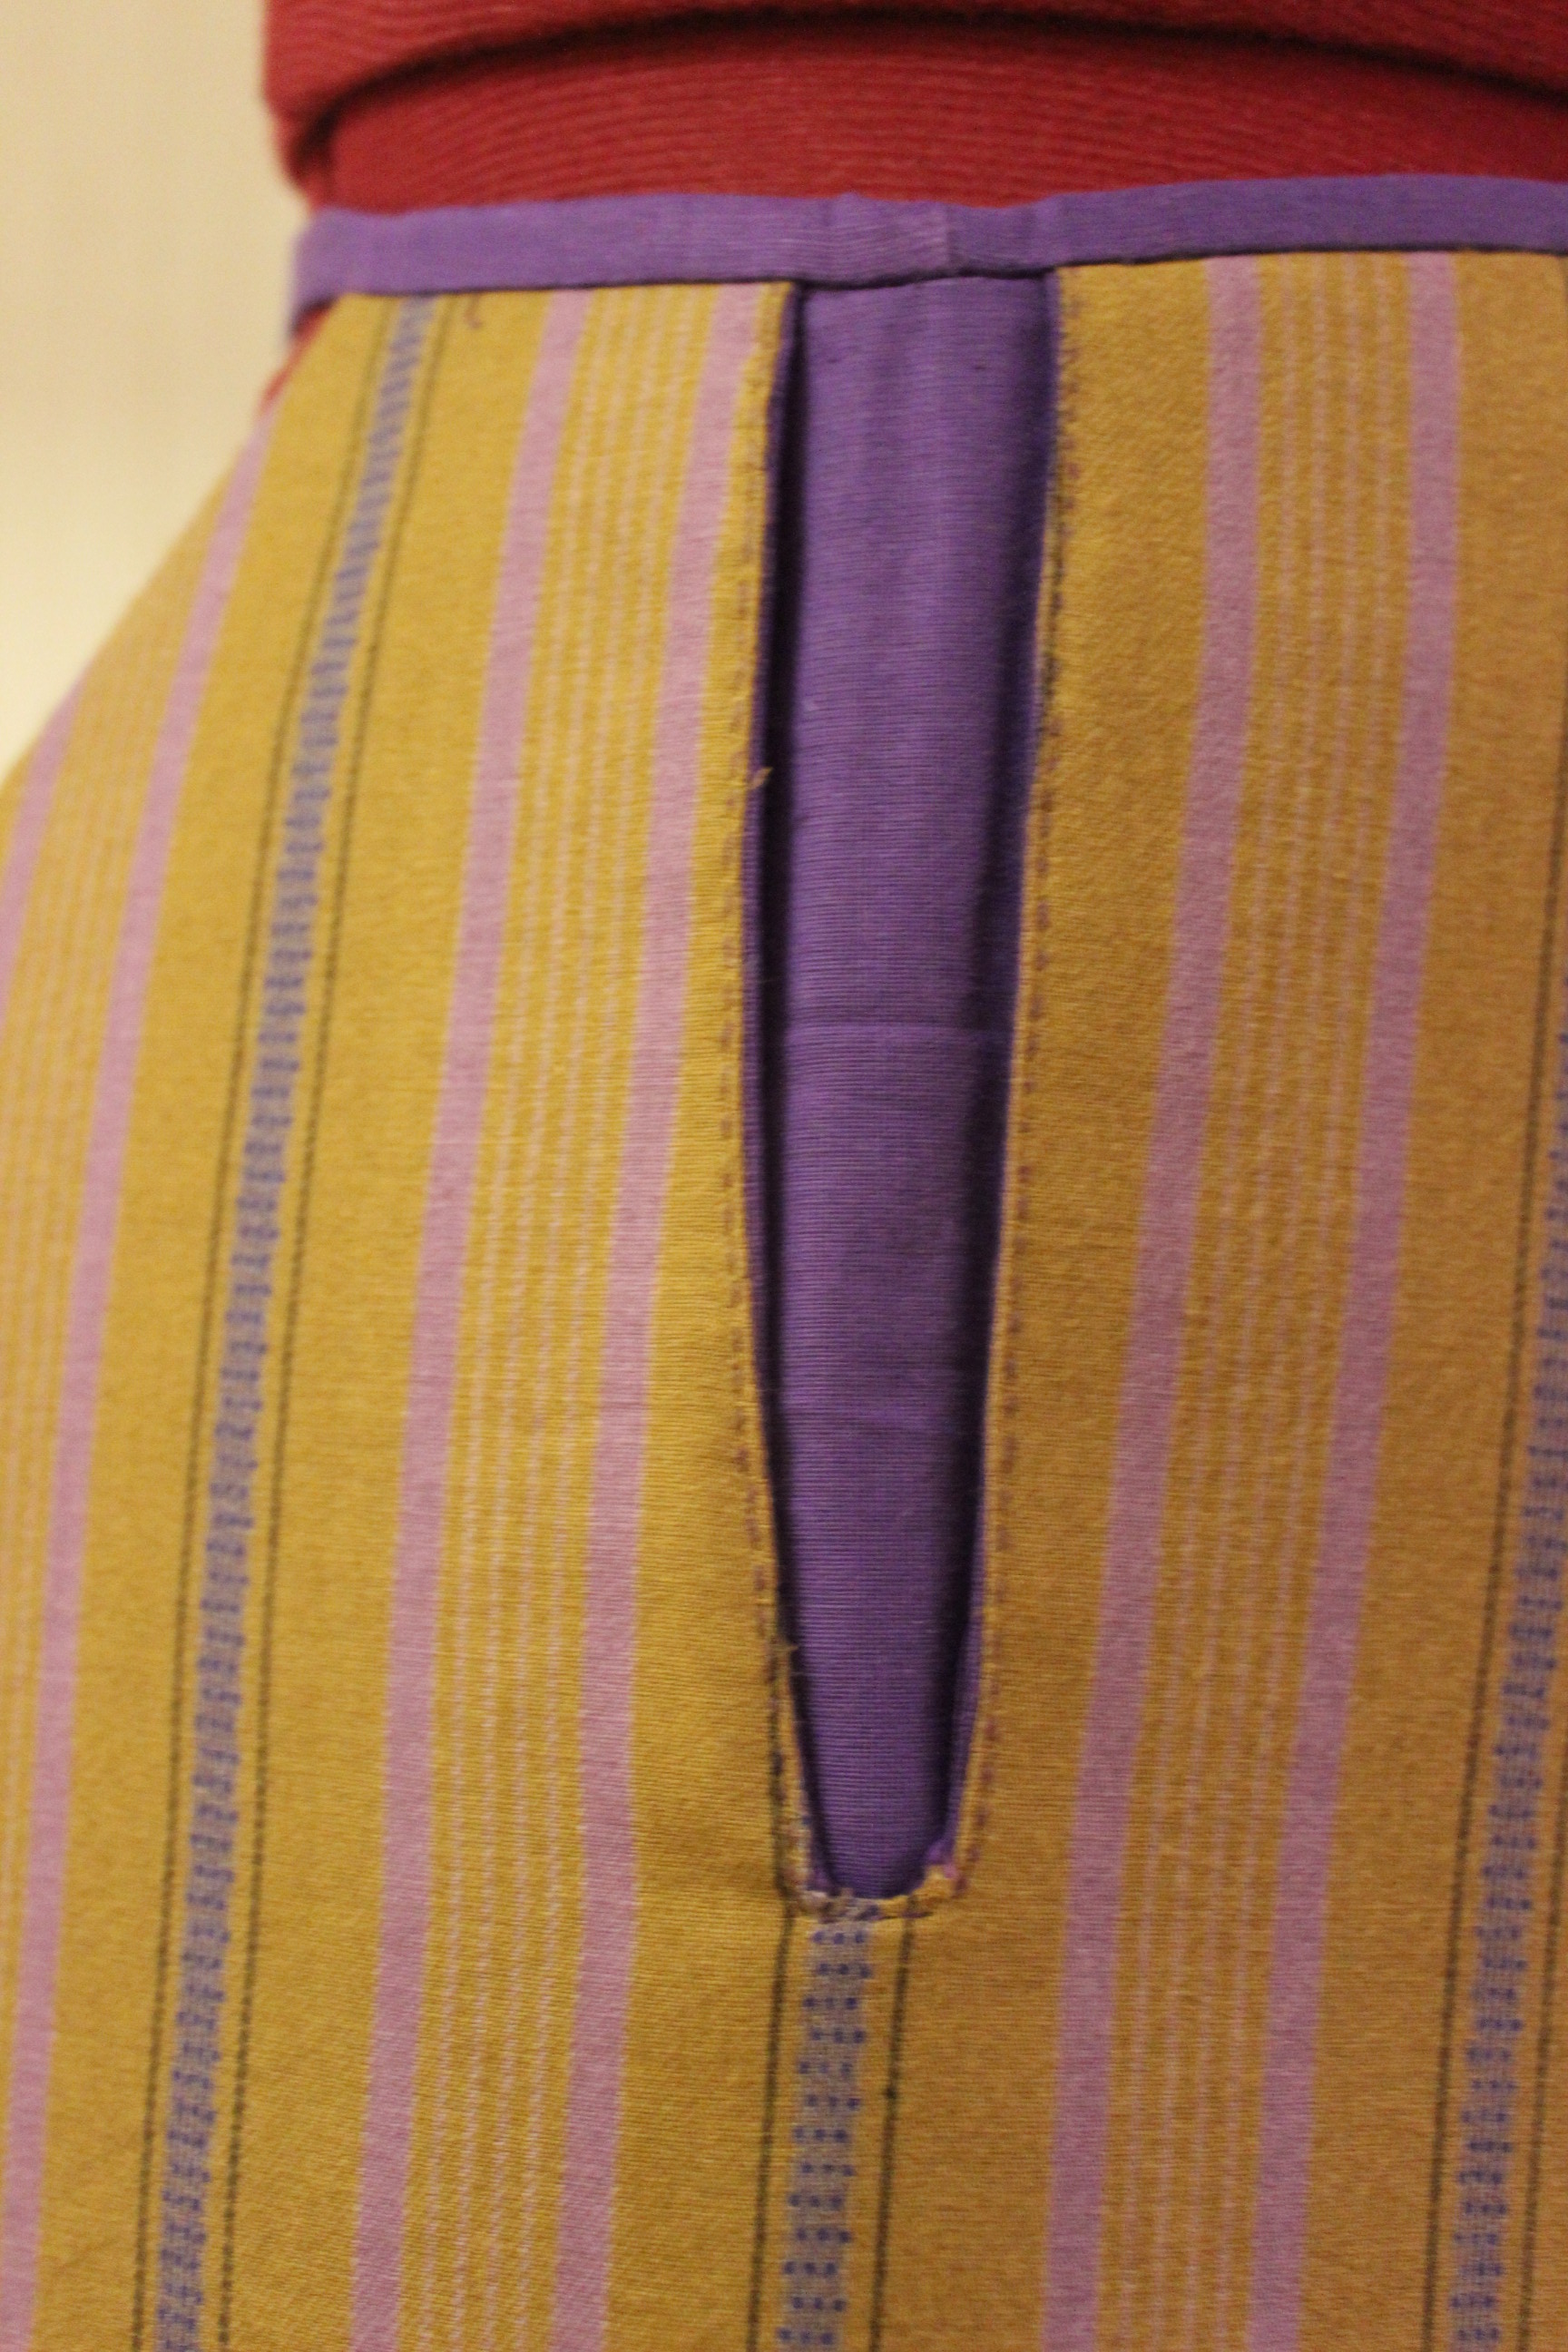
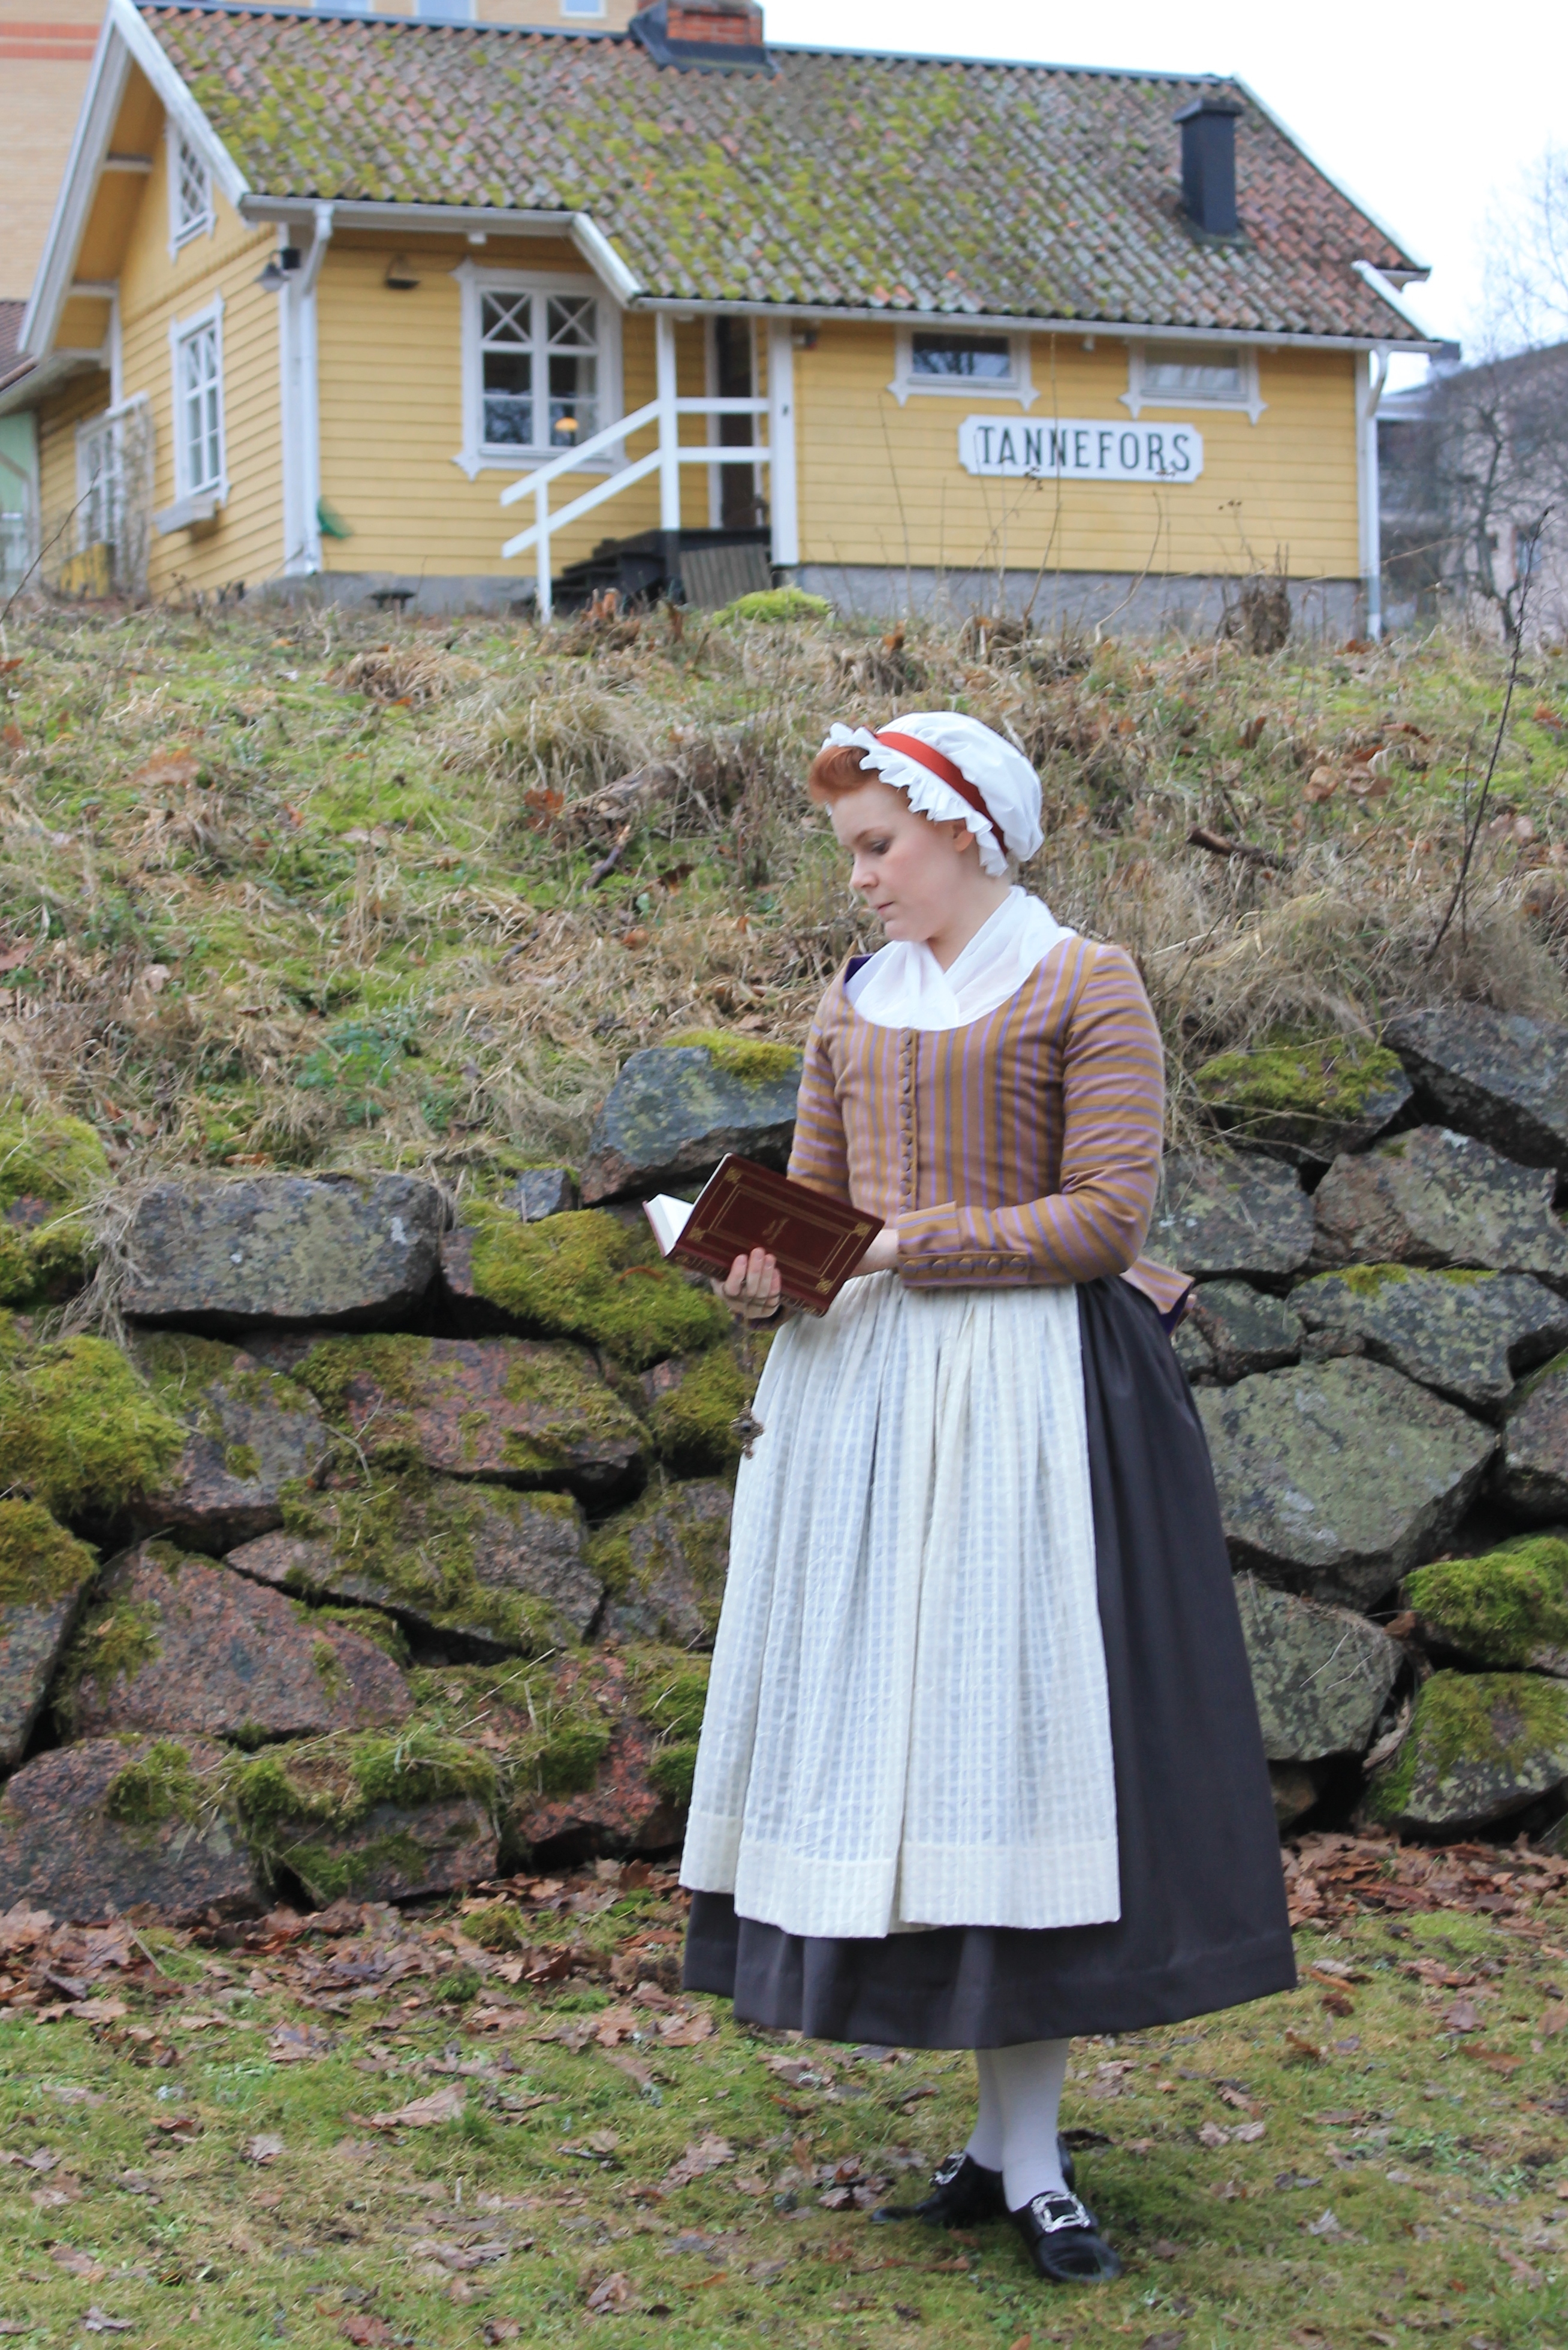
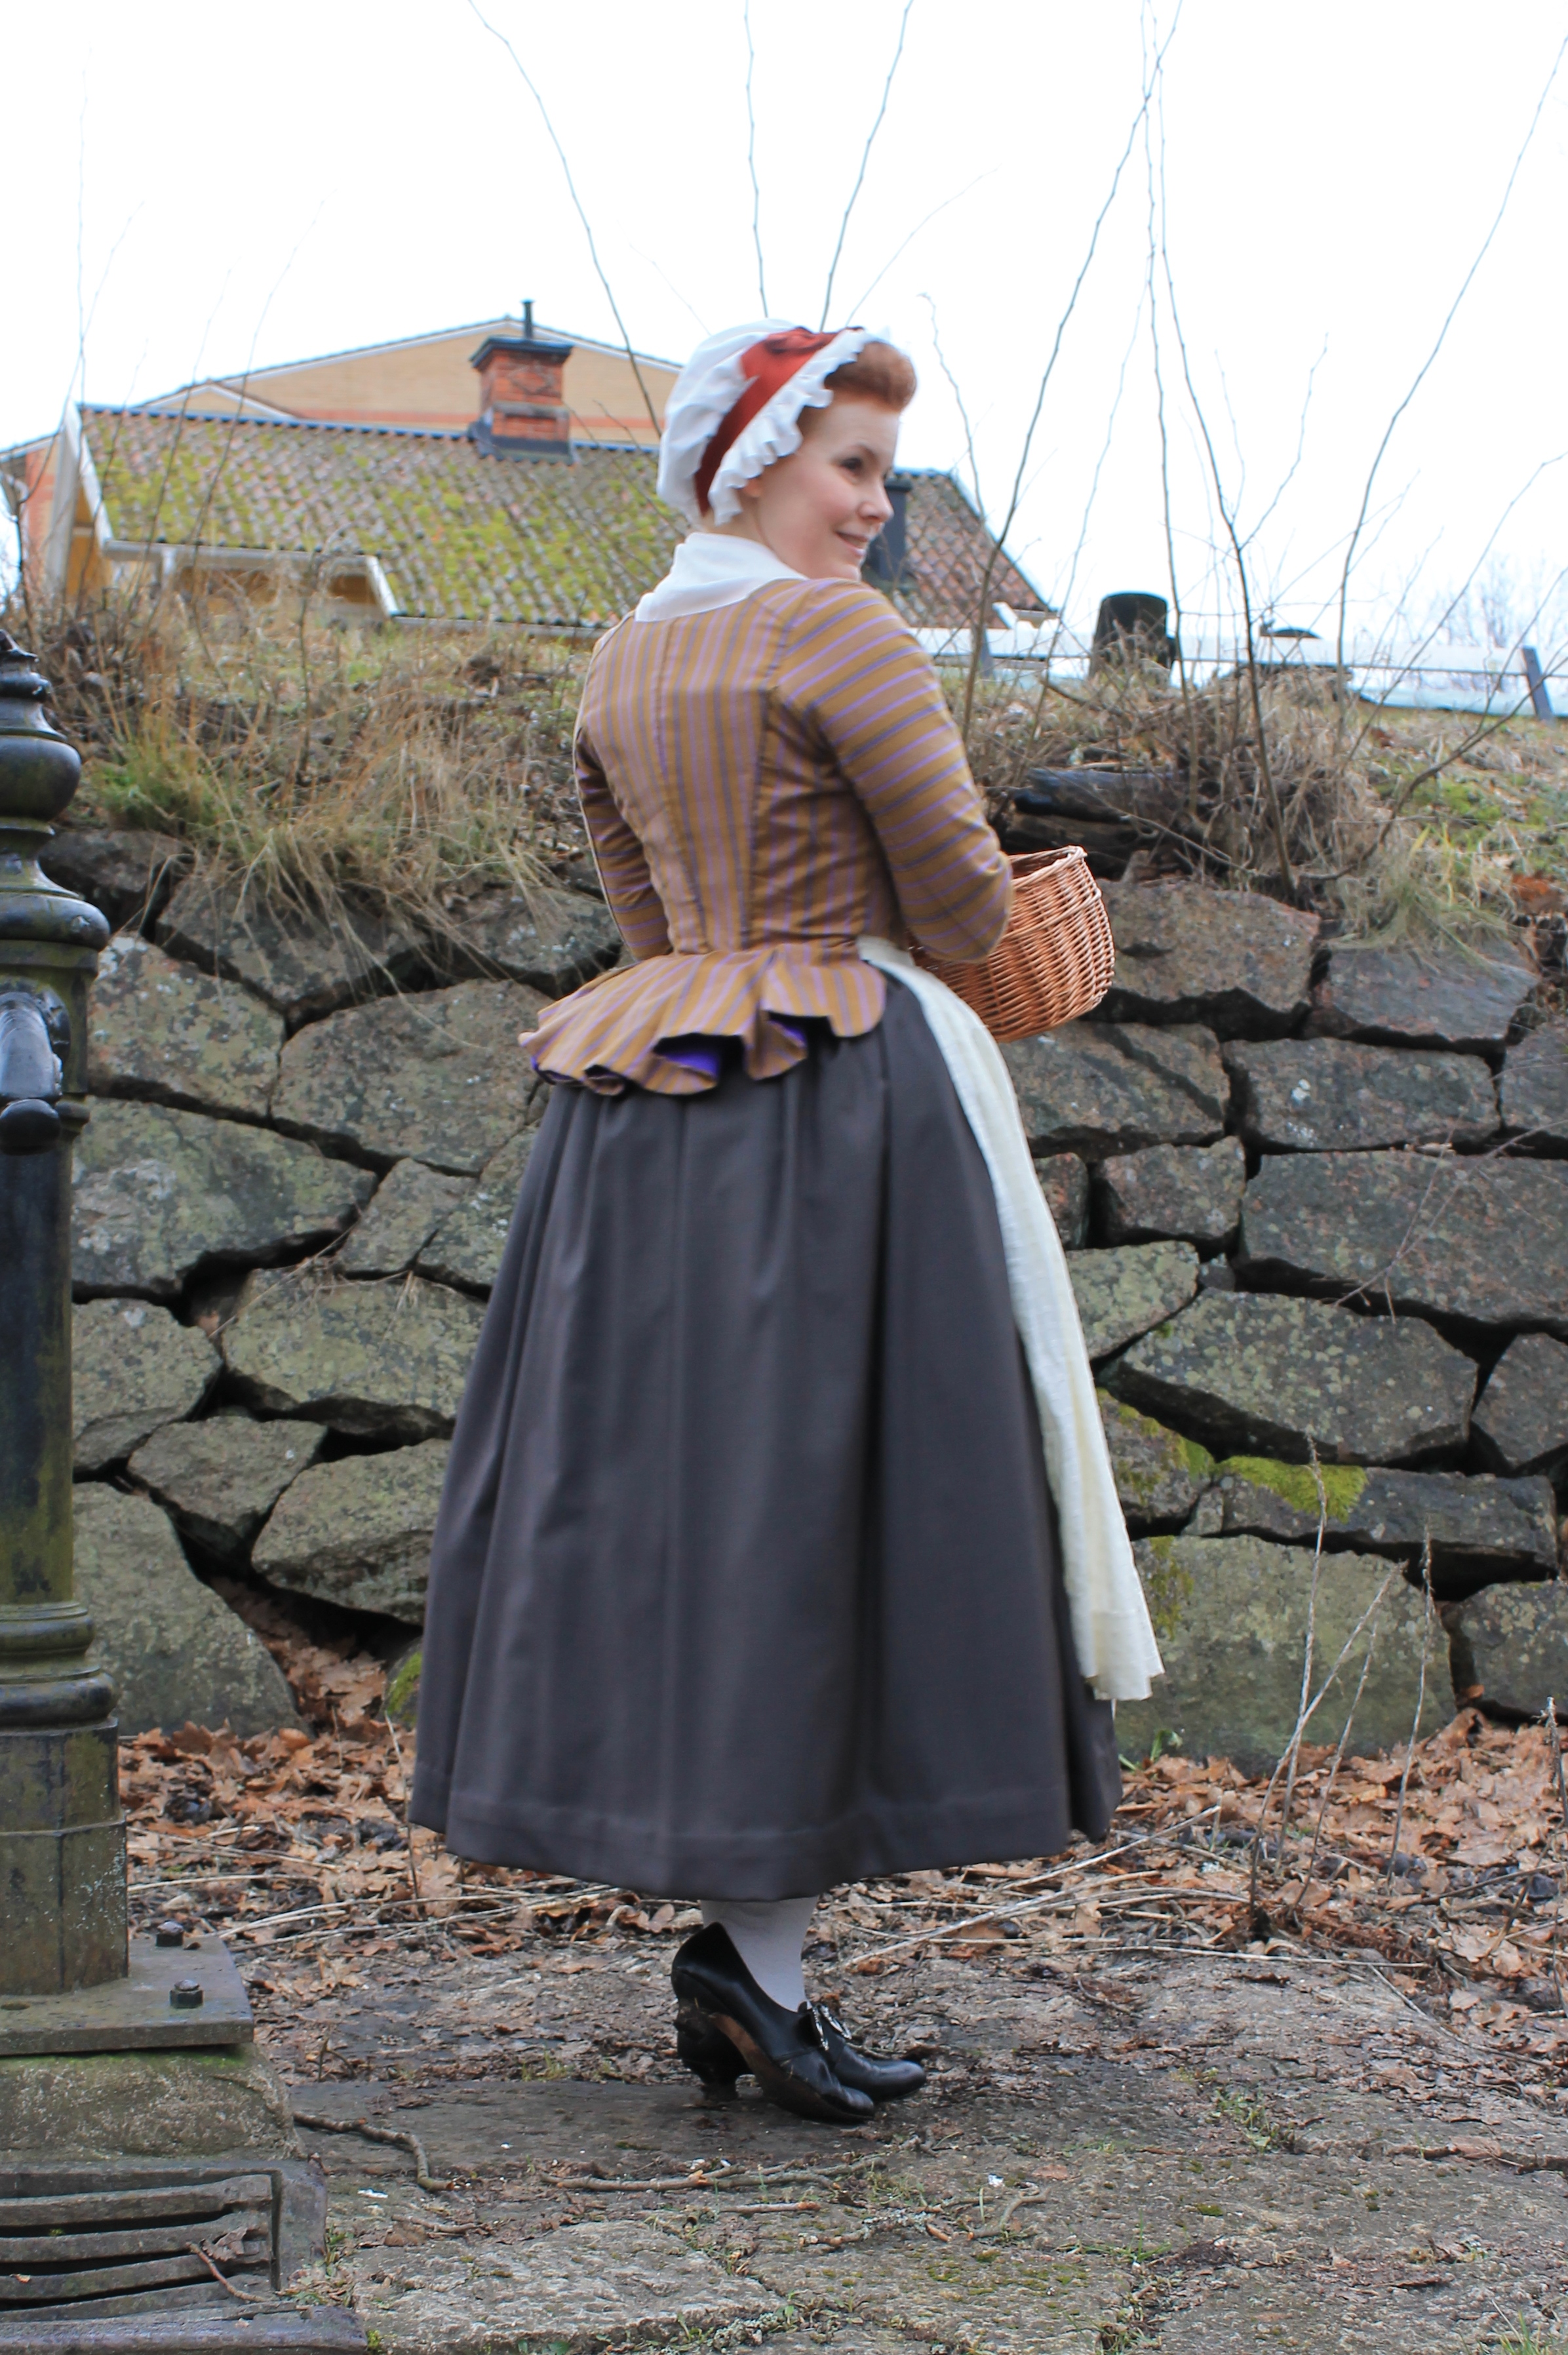
Then I finished the jacket by inserting a few plastic bones in the front and back seams, giving it a good press and putting it on the dressform for pictures.  The purple lining makes me so happy.
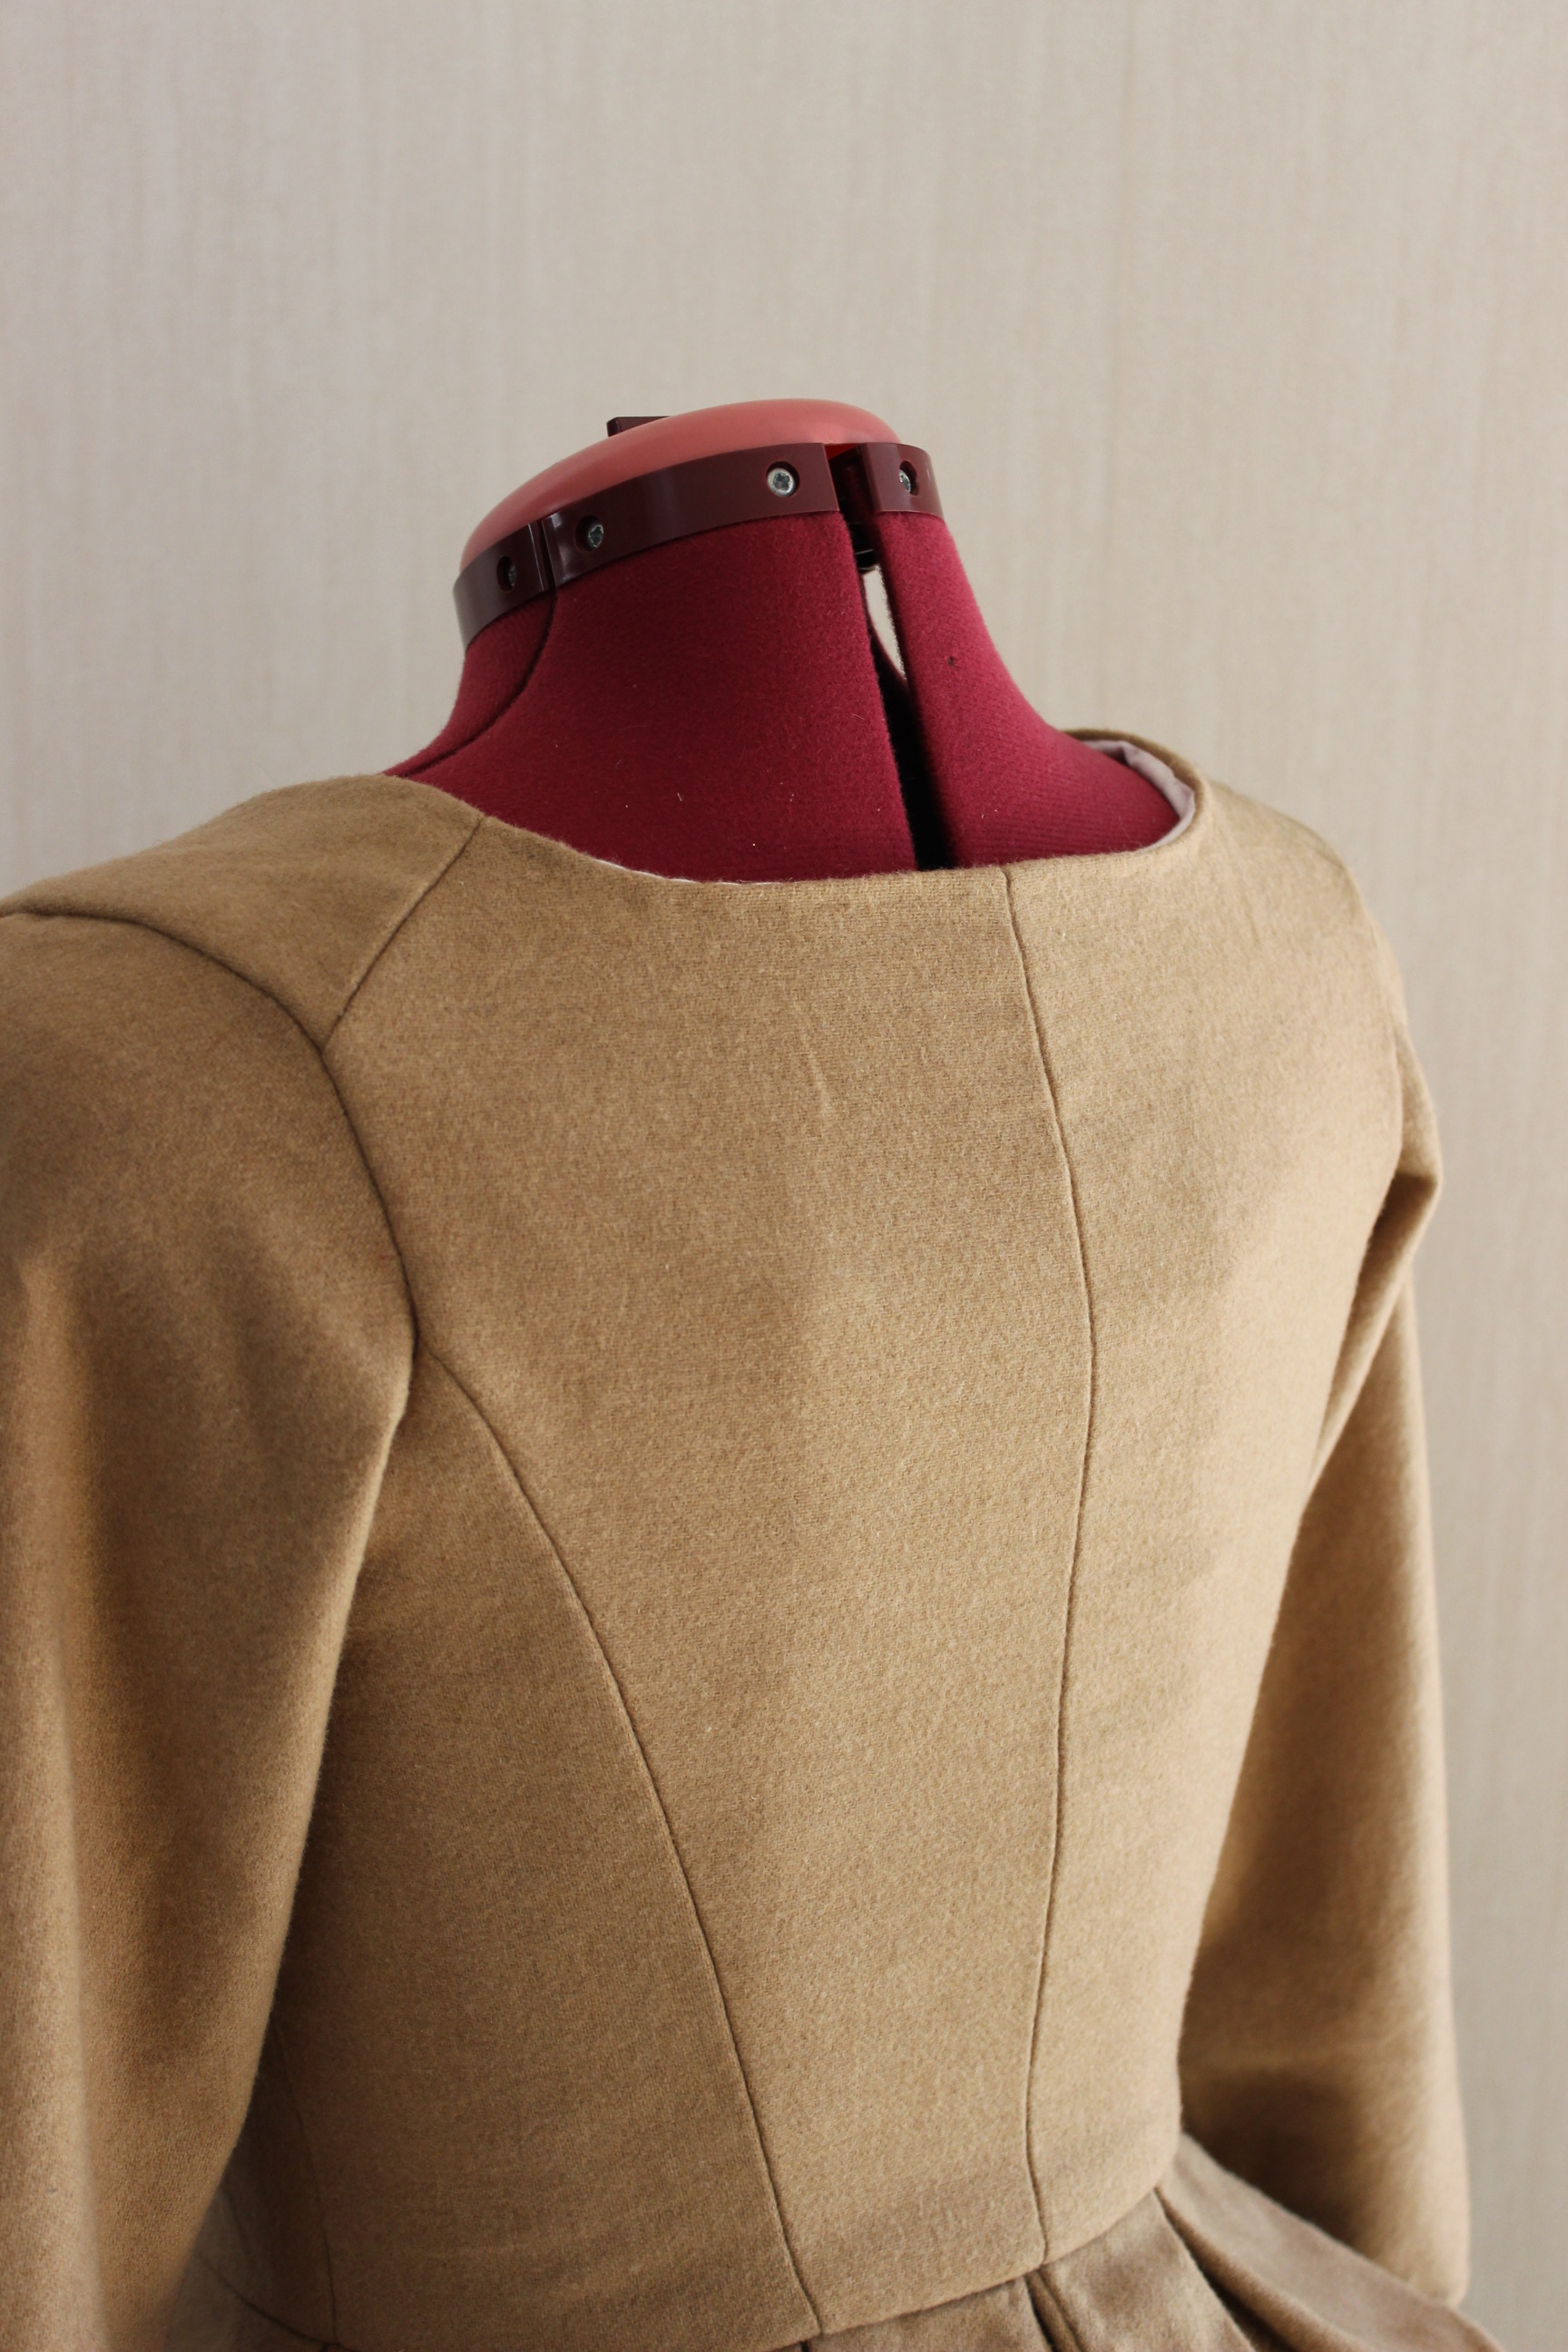
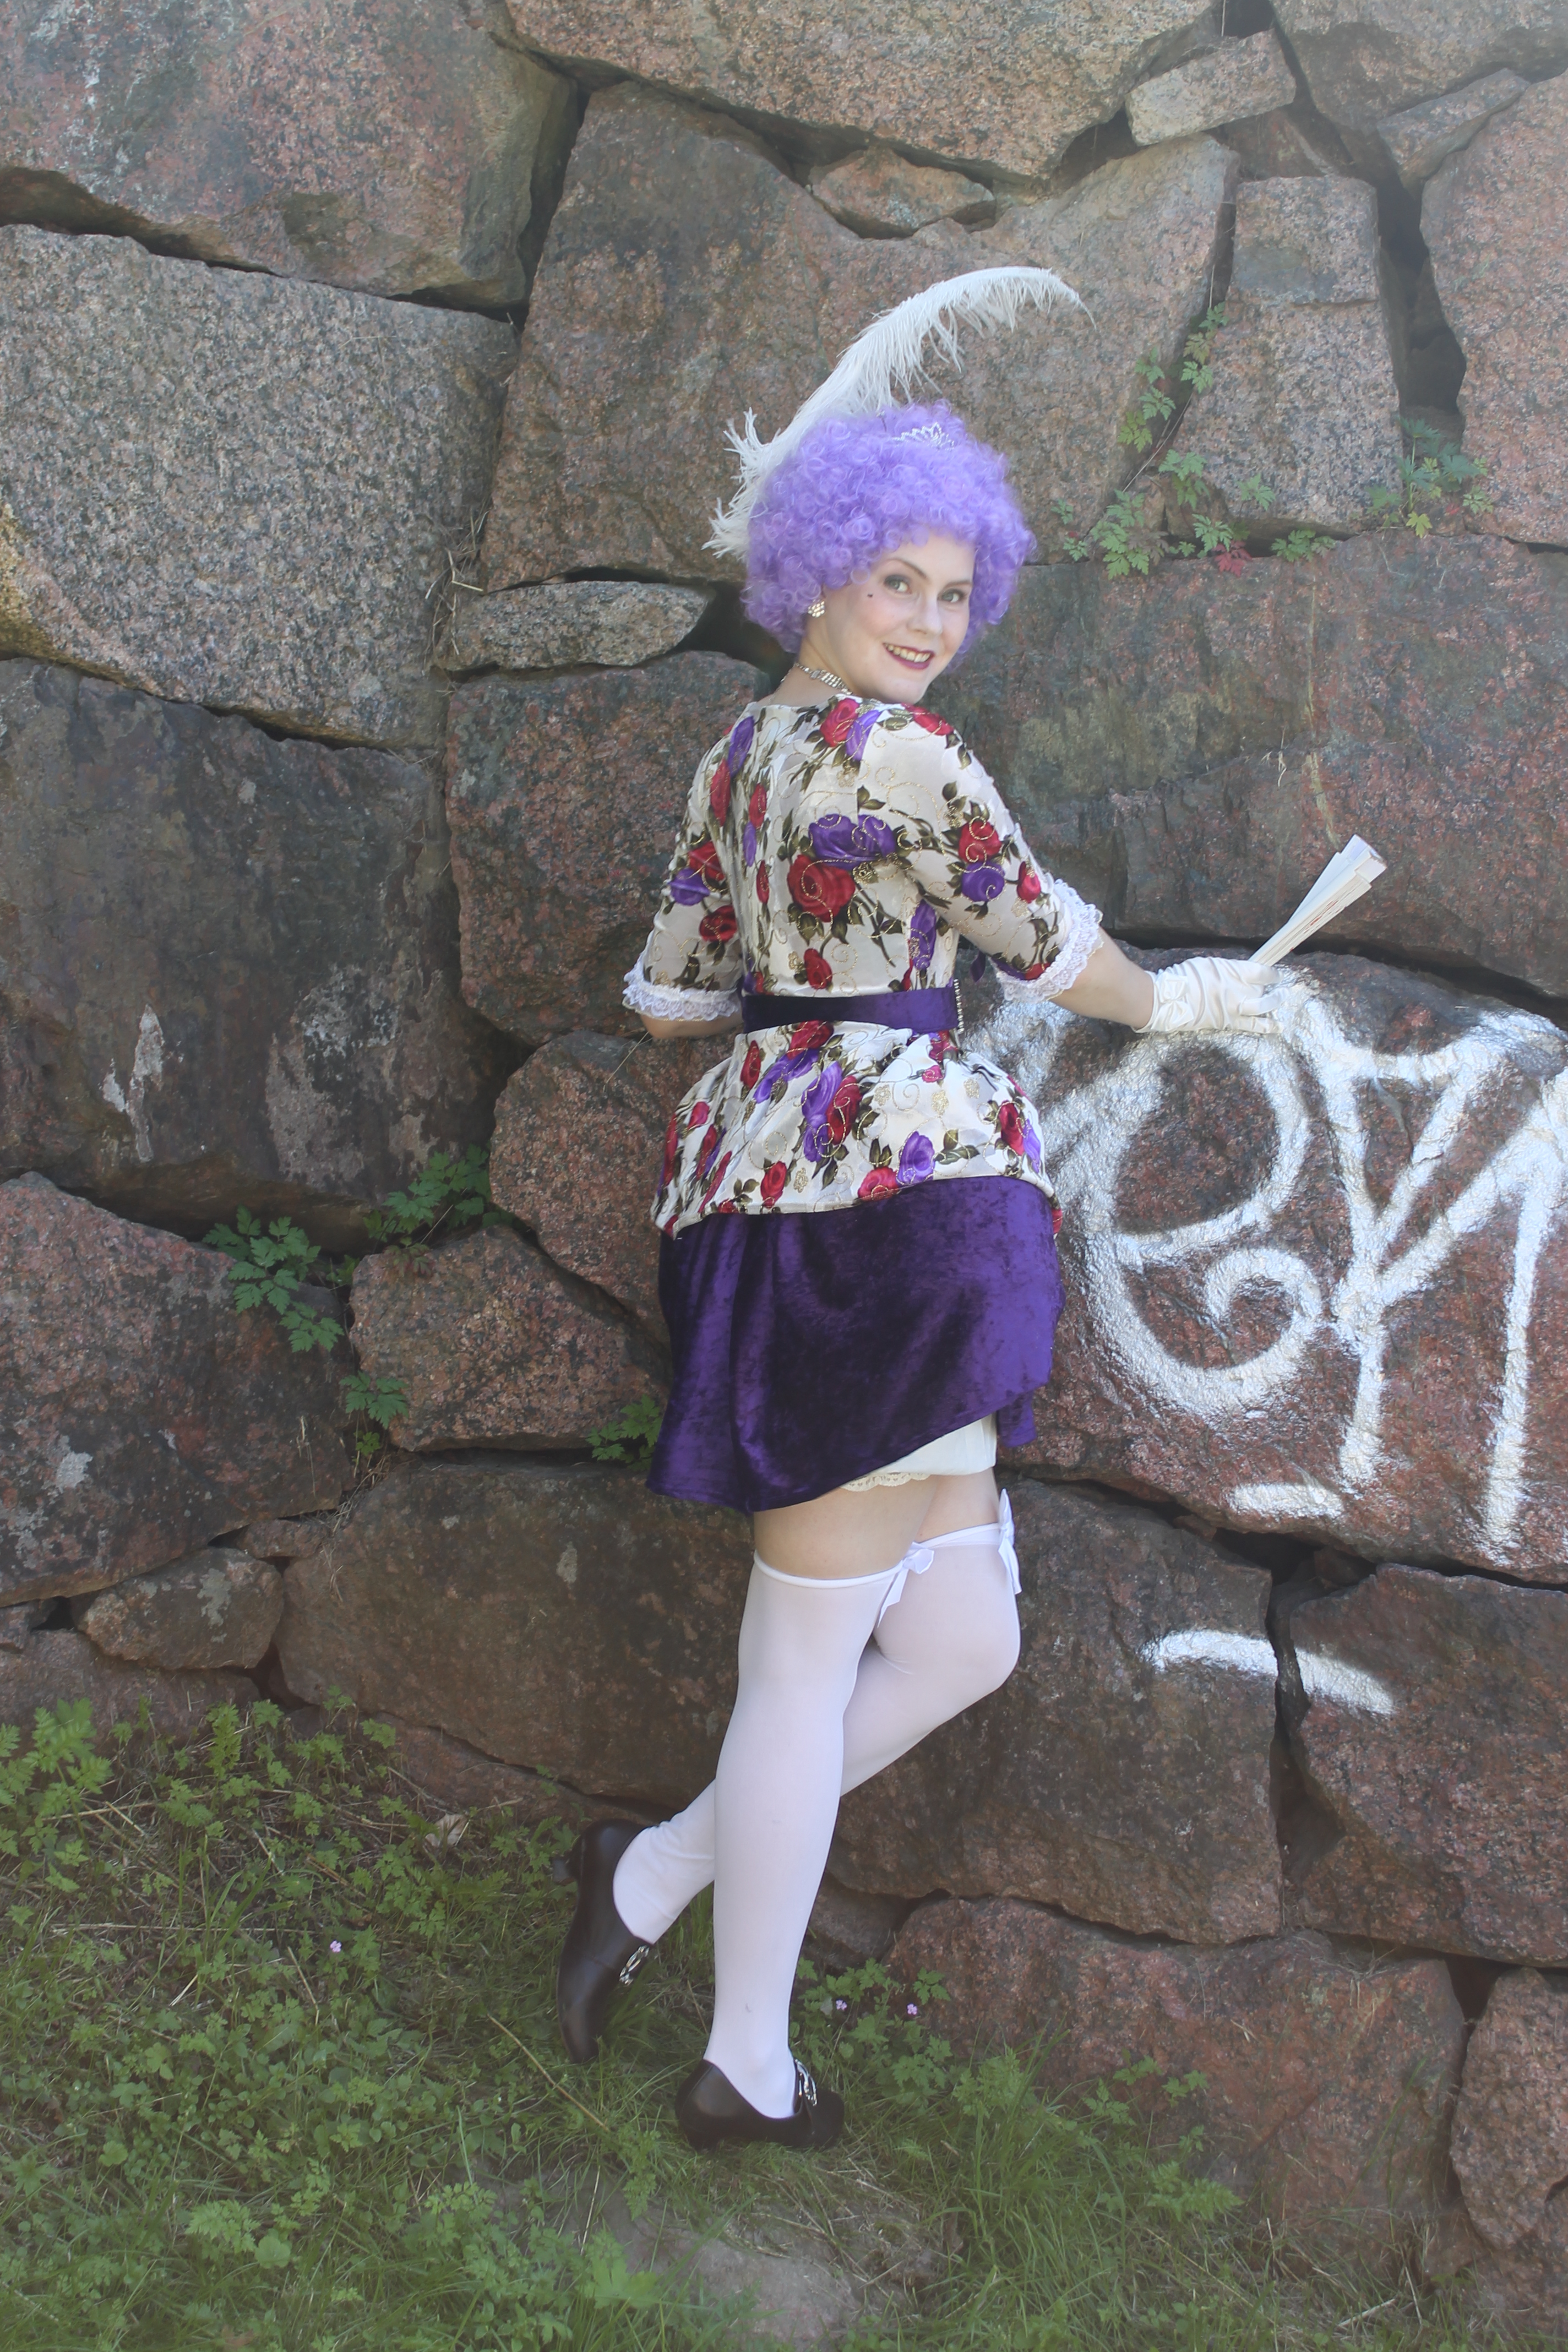
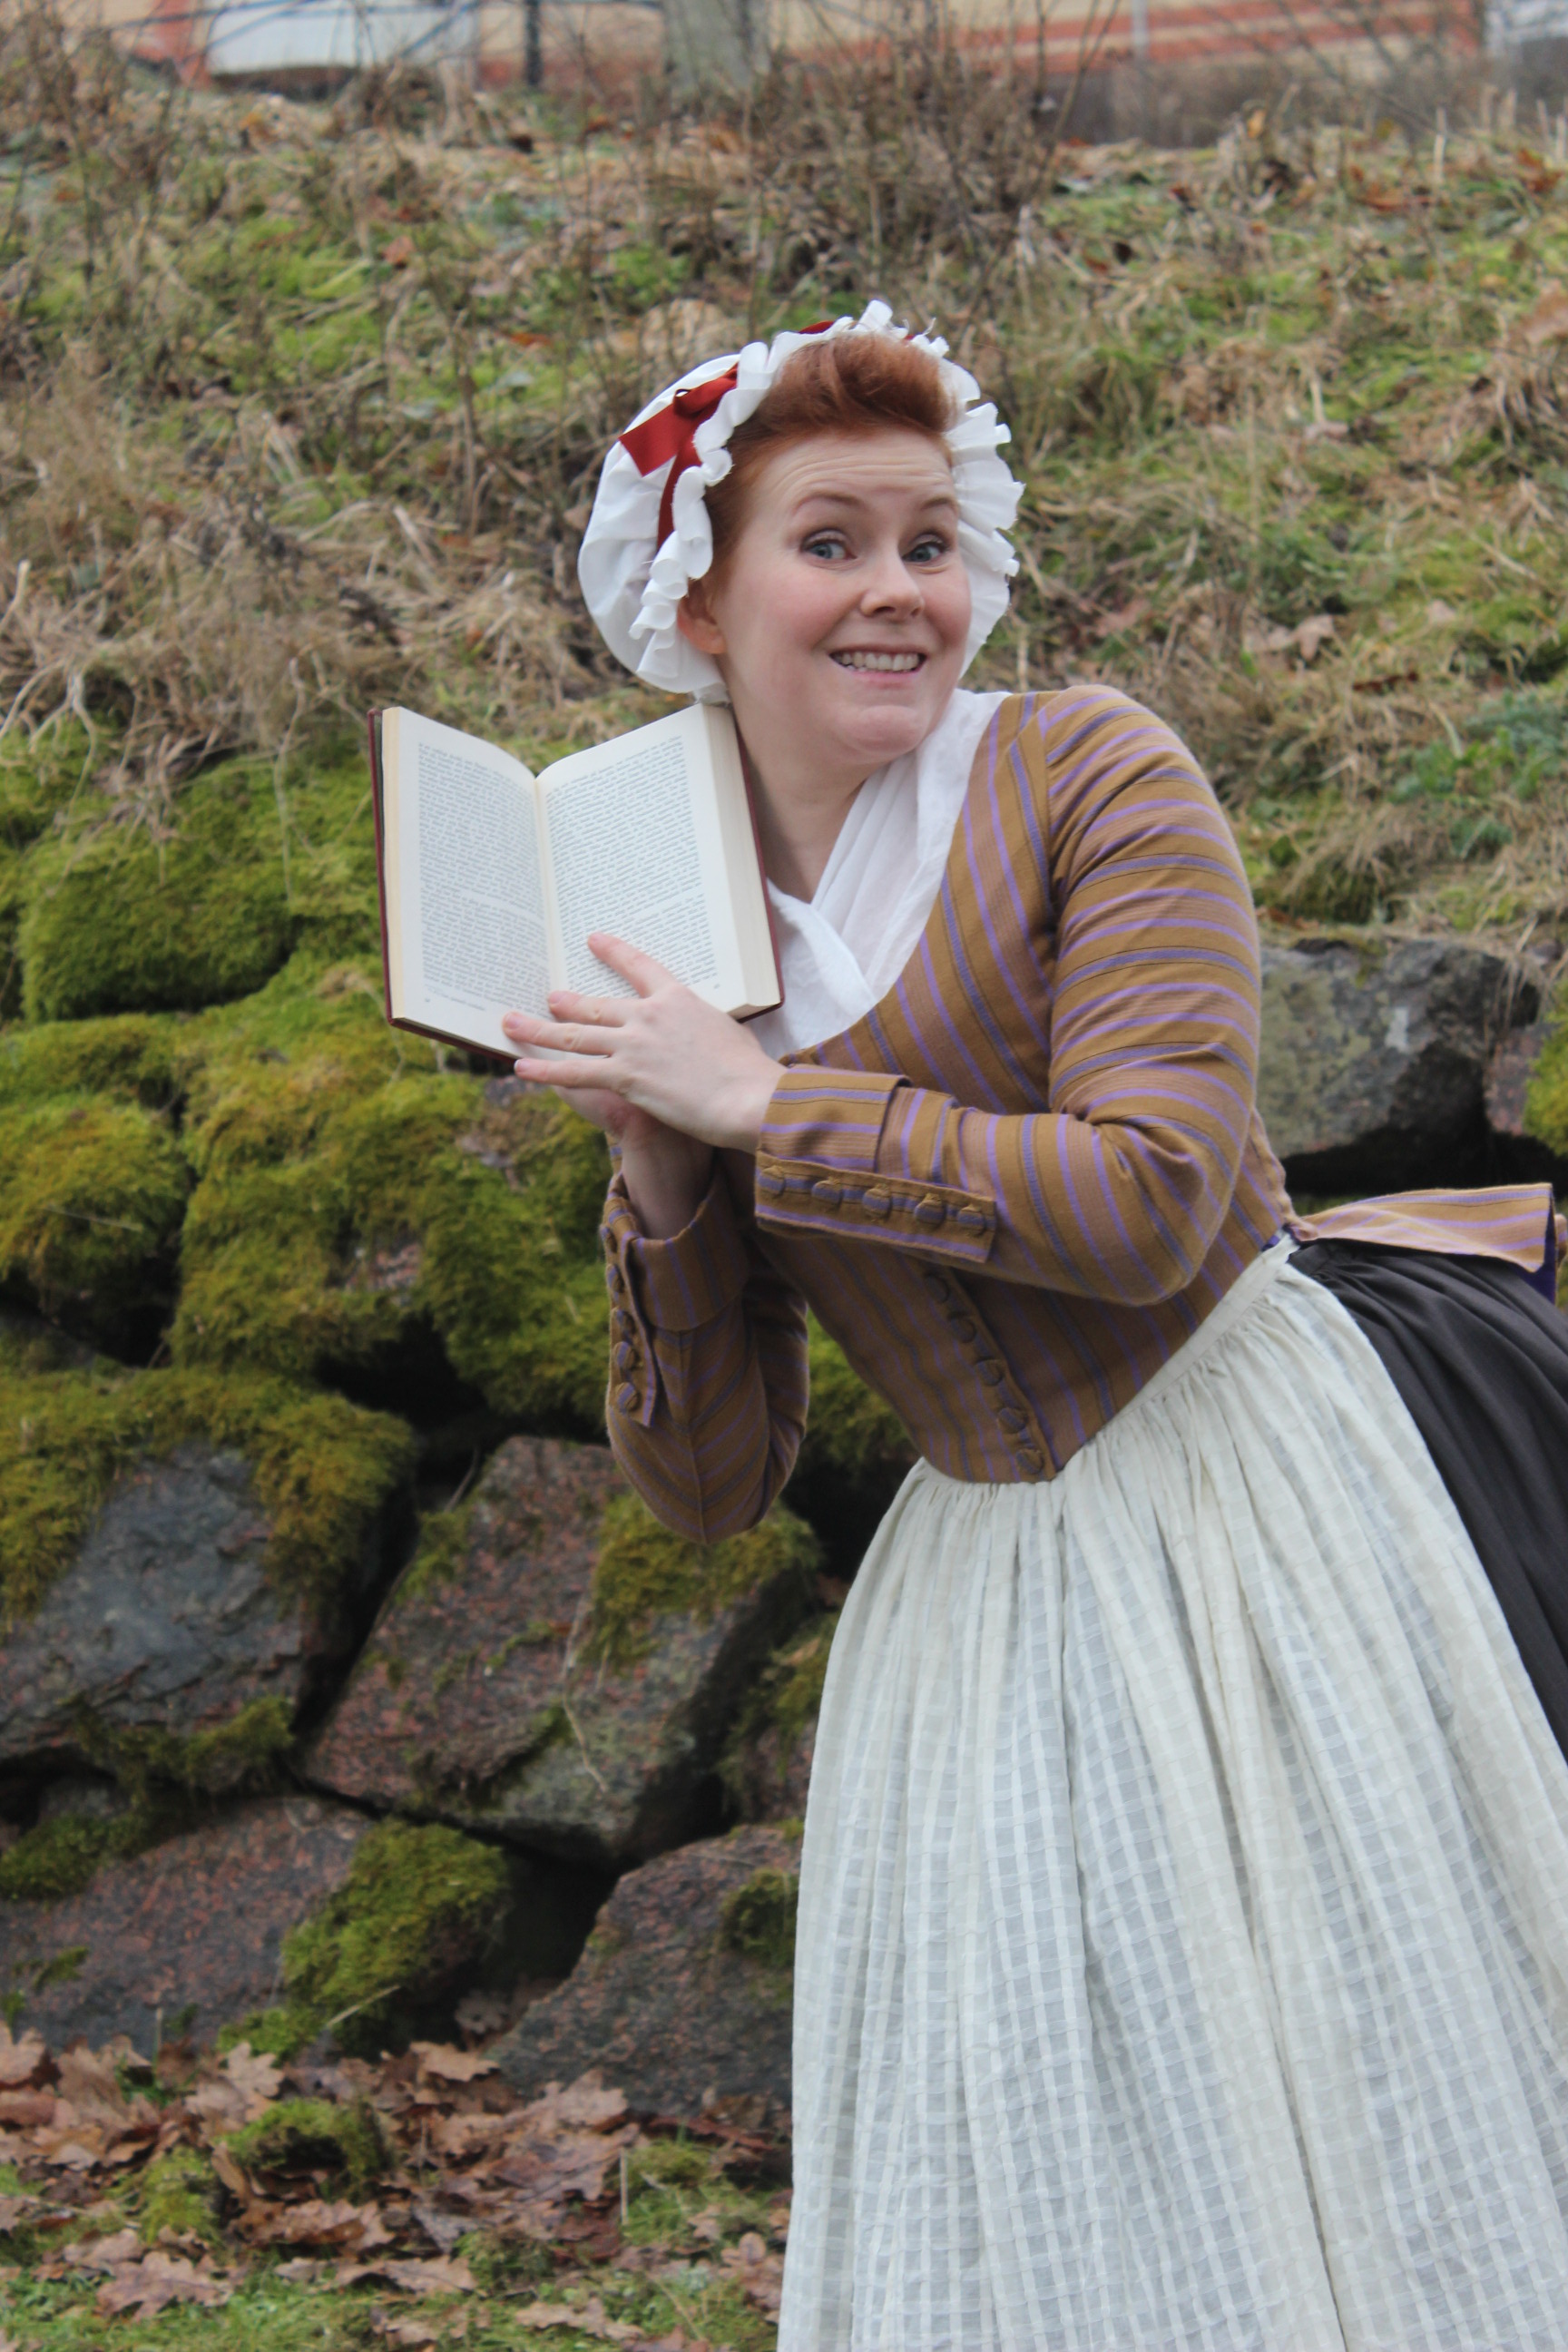
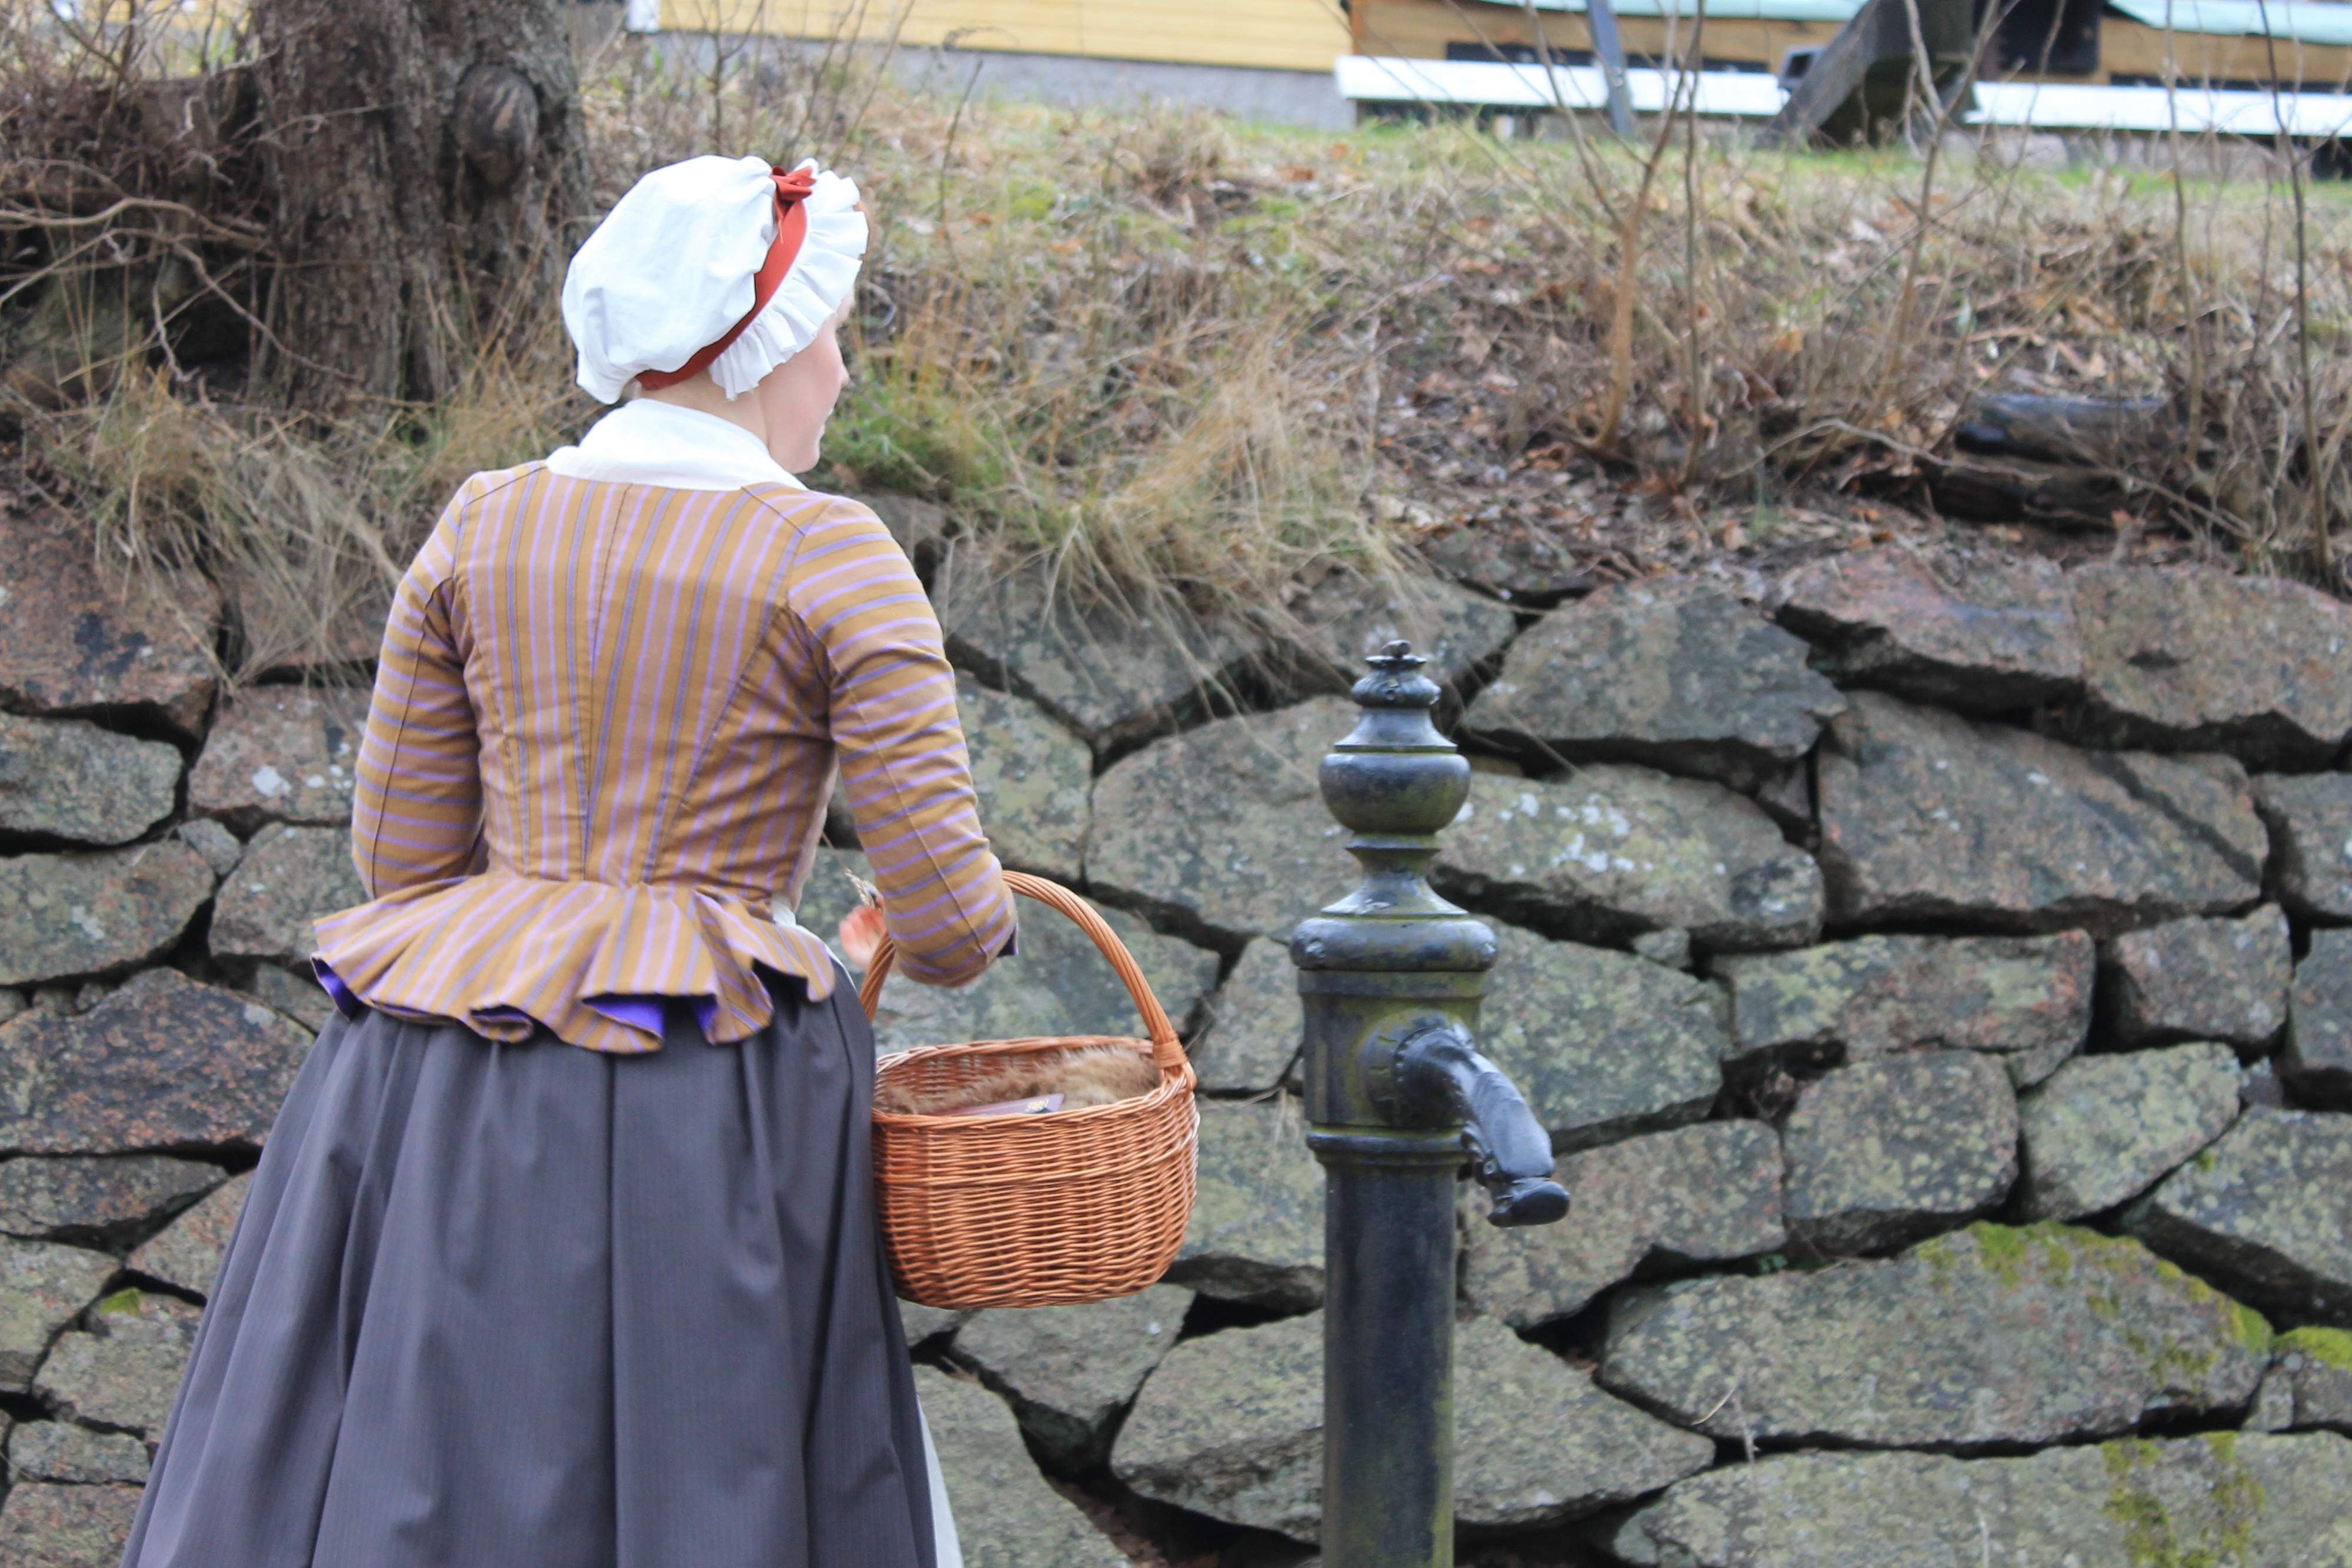
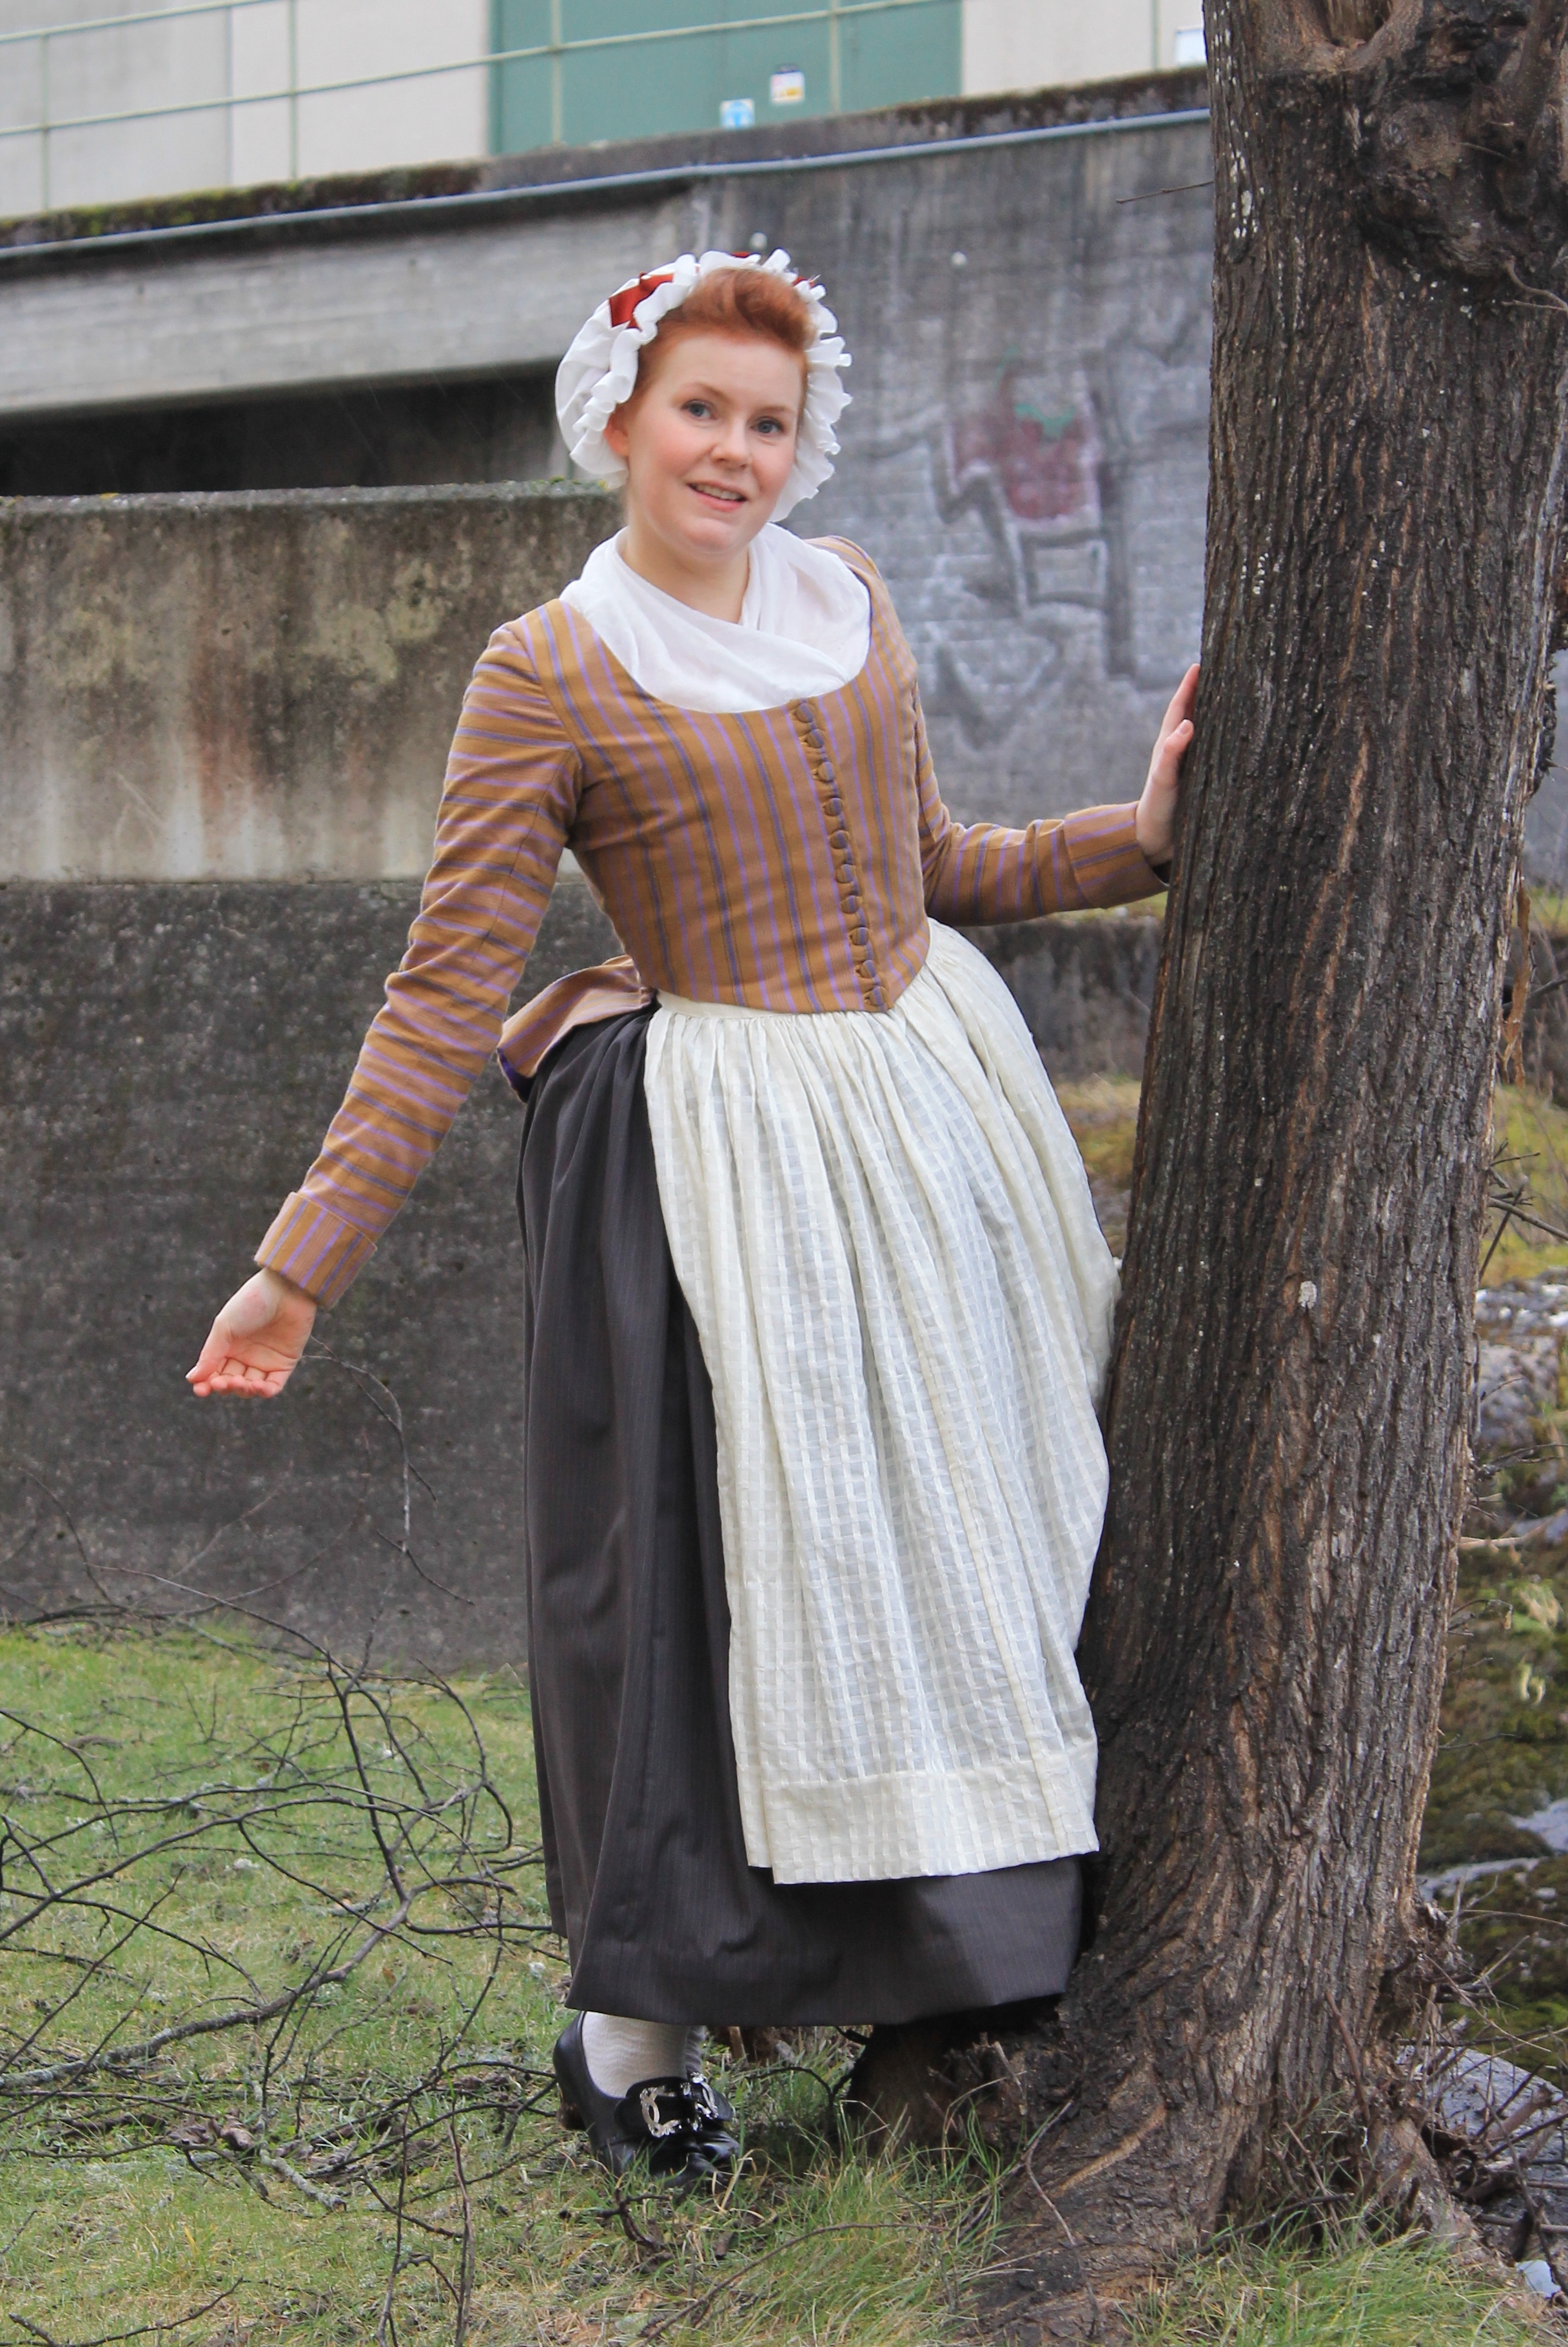
Finished:


Just the facts:
Challenge: nr 3/2015 Stash-busting
What: A 1780-1790s working class jacket
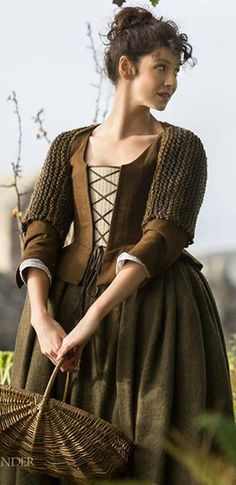
Pattern: A combination of the “Kofta KM 25.429 (jacket) pattern from “Skräddaren, sömmerskna och modet” (“the Tailor, the Seamstress and the Fashion”) and Nehelenia patterns nr E21 1790s Redingote.
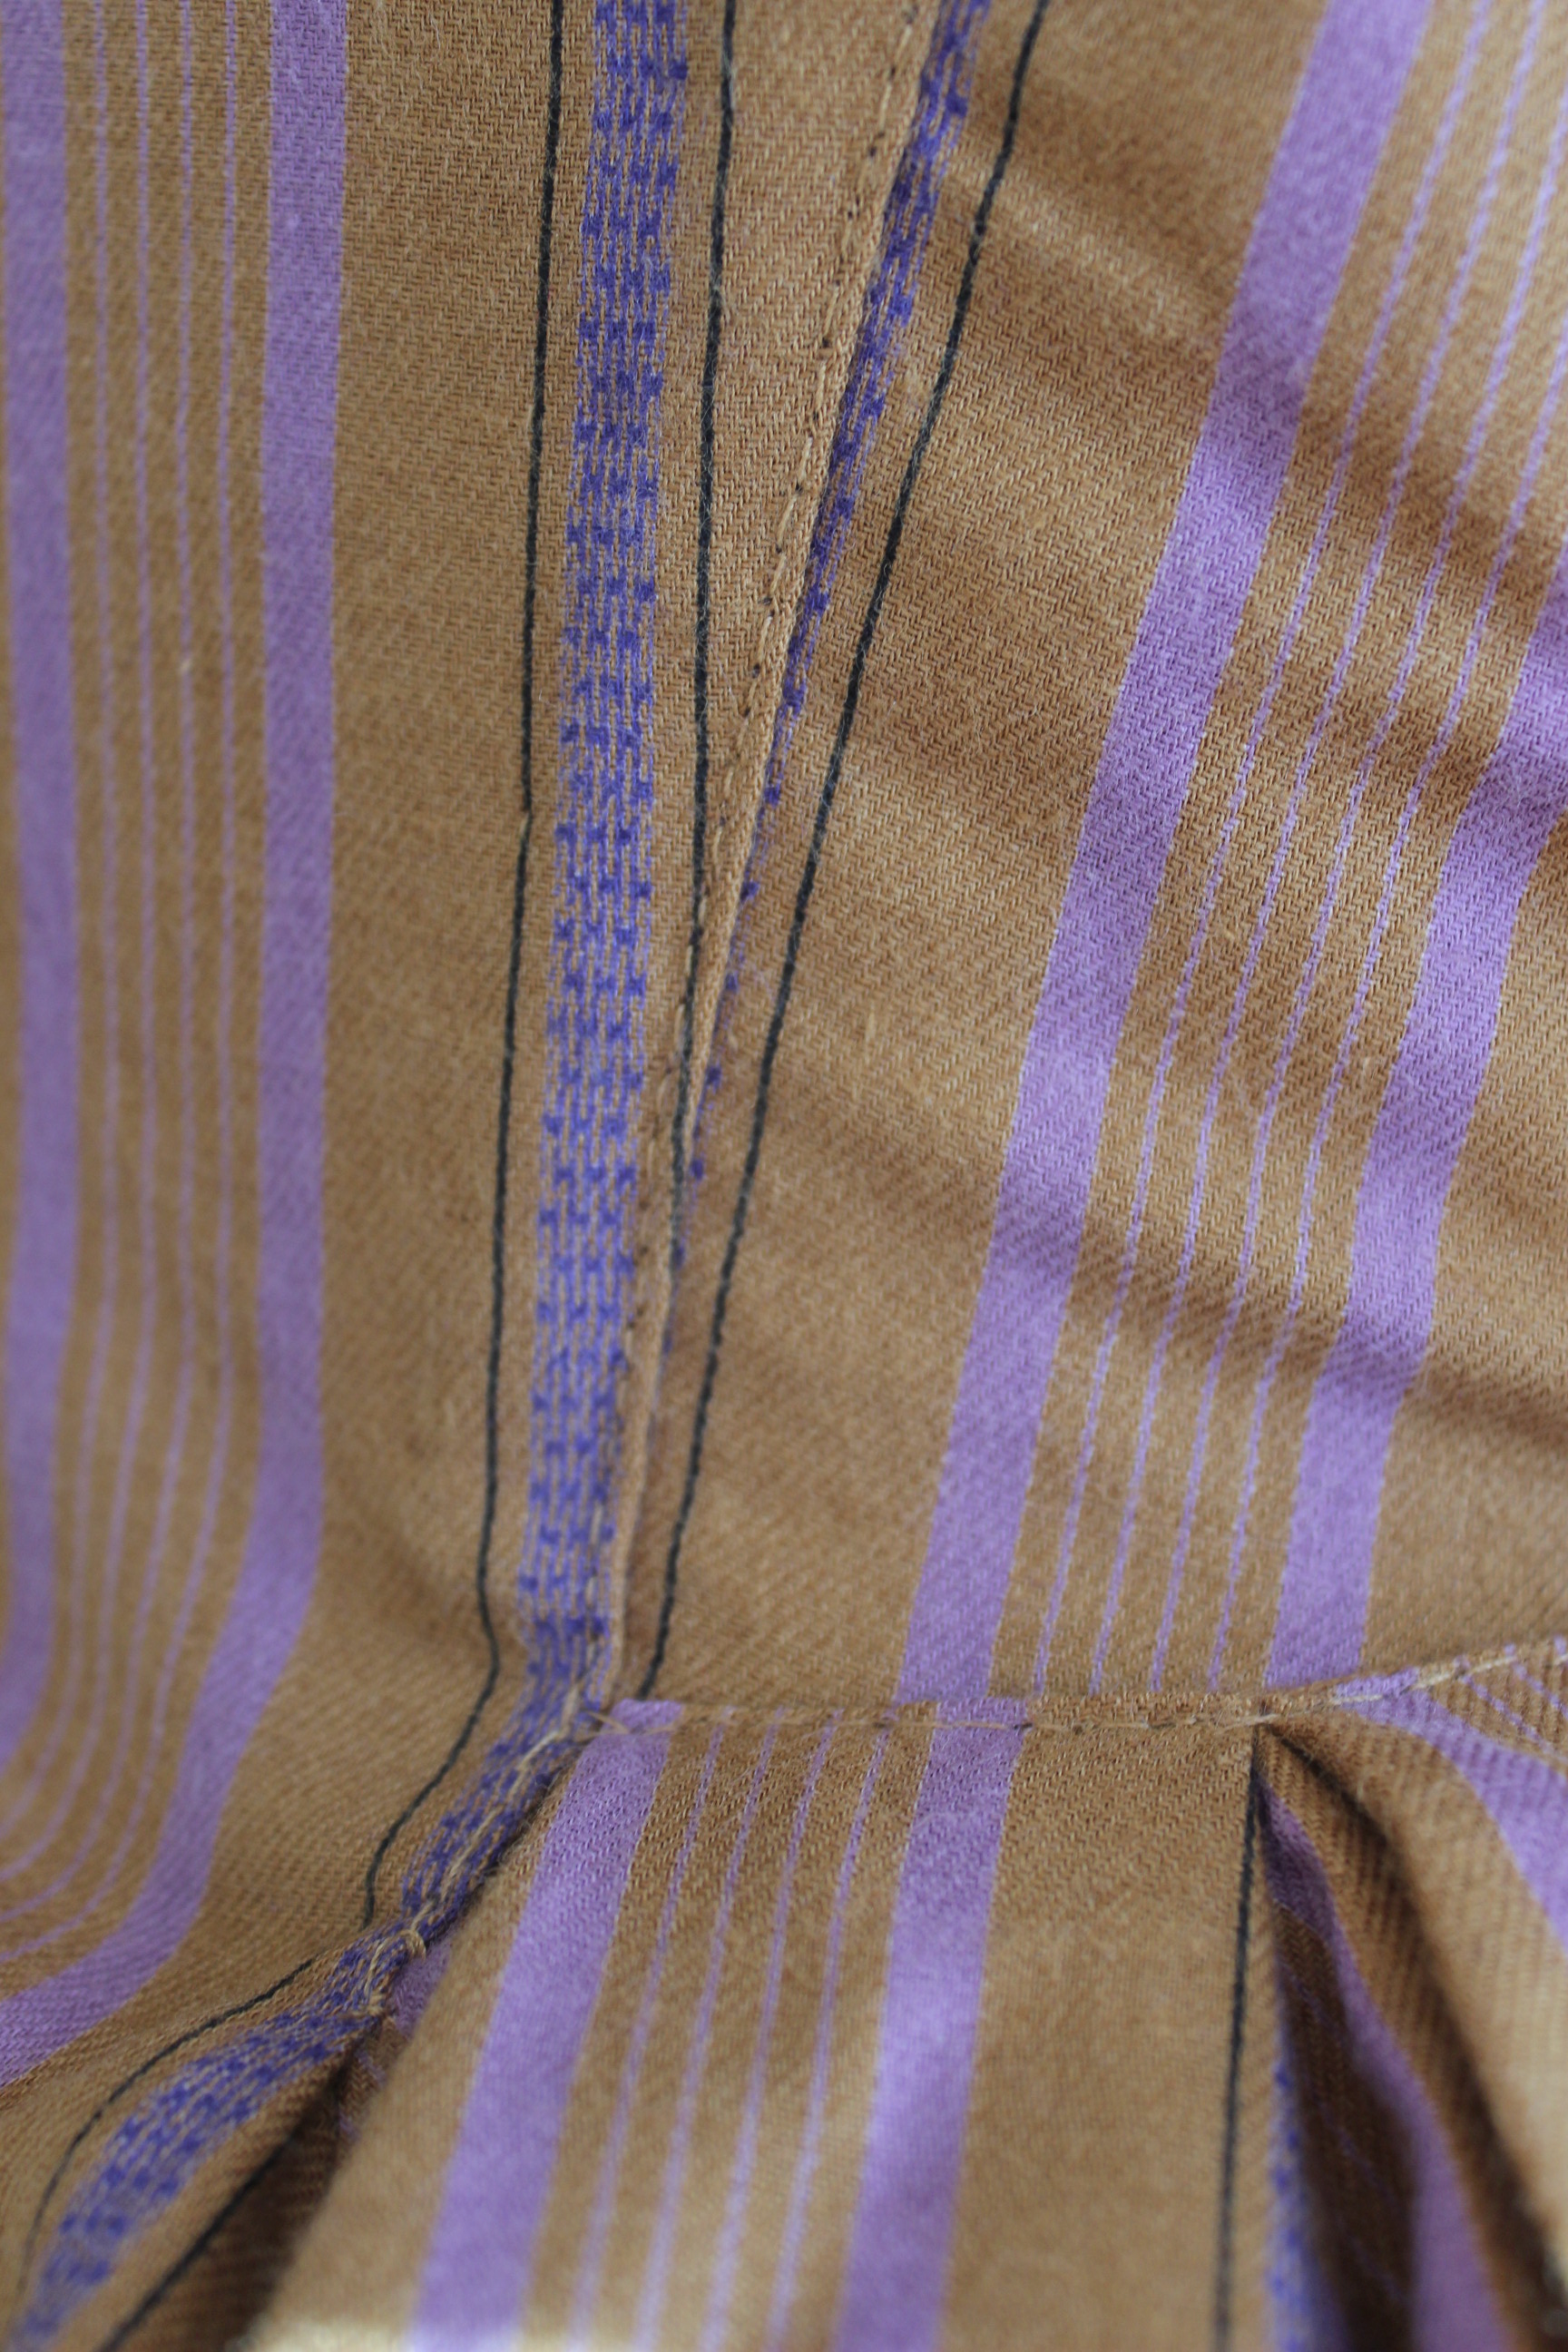
Fabric: 1,5m of yellow/lilac striped cotton, 2 m of purple cotton for lining and interlining.
Notions: Thread (purple and yellow), yellow buttonhole thread, 4 cable ties for boning and 10 buttons.
How historical accurate: As much as I could, and to the best of my abilities. The fabric and colors are plausible, the patterns and construction are accurate and came from good sources. I hand stitched the whole garment using period techniques. The only thing I can think of that not right are the use of plastic boning and polyester thread for the buttonholes. I give it 8/10.
Cost: 10 Sek (1,6 Usd) since almost everything came from stash and was leftovers from previous projects. The only thing I bought was the yellow buttonhole thread.
But if you would buy it all anew I’d say about 250 Sek (36 Usd).
Time: It went pretty fast considering it is all hand sewn. About 10-15 hours I think.
First Worn: on February 28 for photos. I started the jacket with the intention of wearing it to a 18th century Tavern Event in beginning of February. But as it happened I newer went. Hopefully I will get another chance later this spring.
Motivation/ How It fit into the Challenge: Even though it did not use up a lot of fabric, I think the jacket serves the challenge both in using leftover stash fabrics and notions, and in helping me re-discover all the little pieces of left over fabrics I already own.
I also think the garment itself is suitable as the women who wore such jackets would not be splurging on new fabrics.
Final Thoughts: I really loved making this jacket. It was such a joy how fast and easy it came together, and I think it looks adorable. I want to make lots more of these jackets.
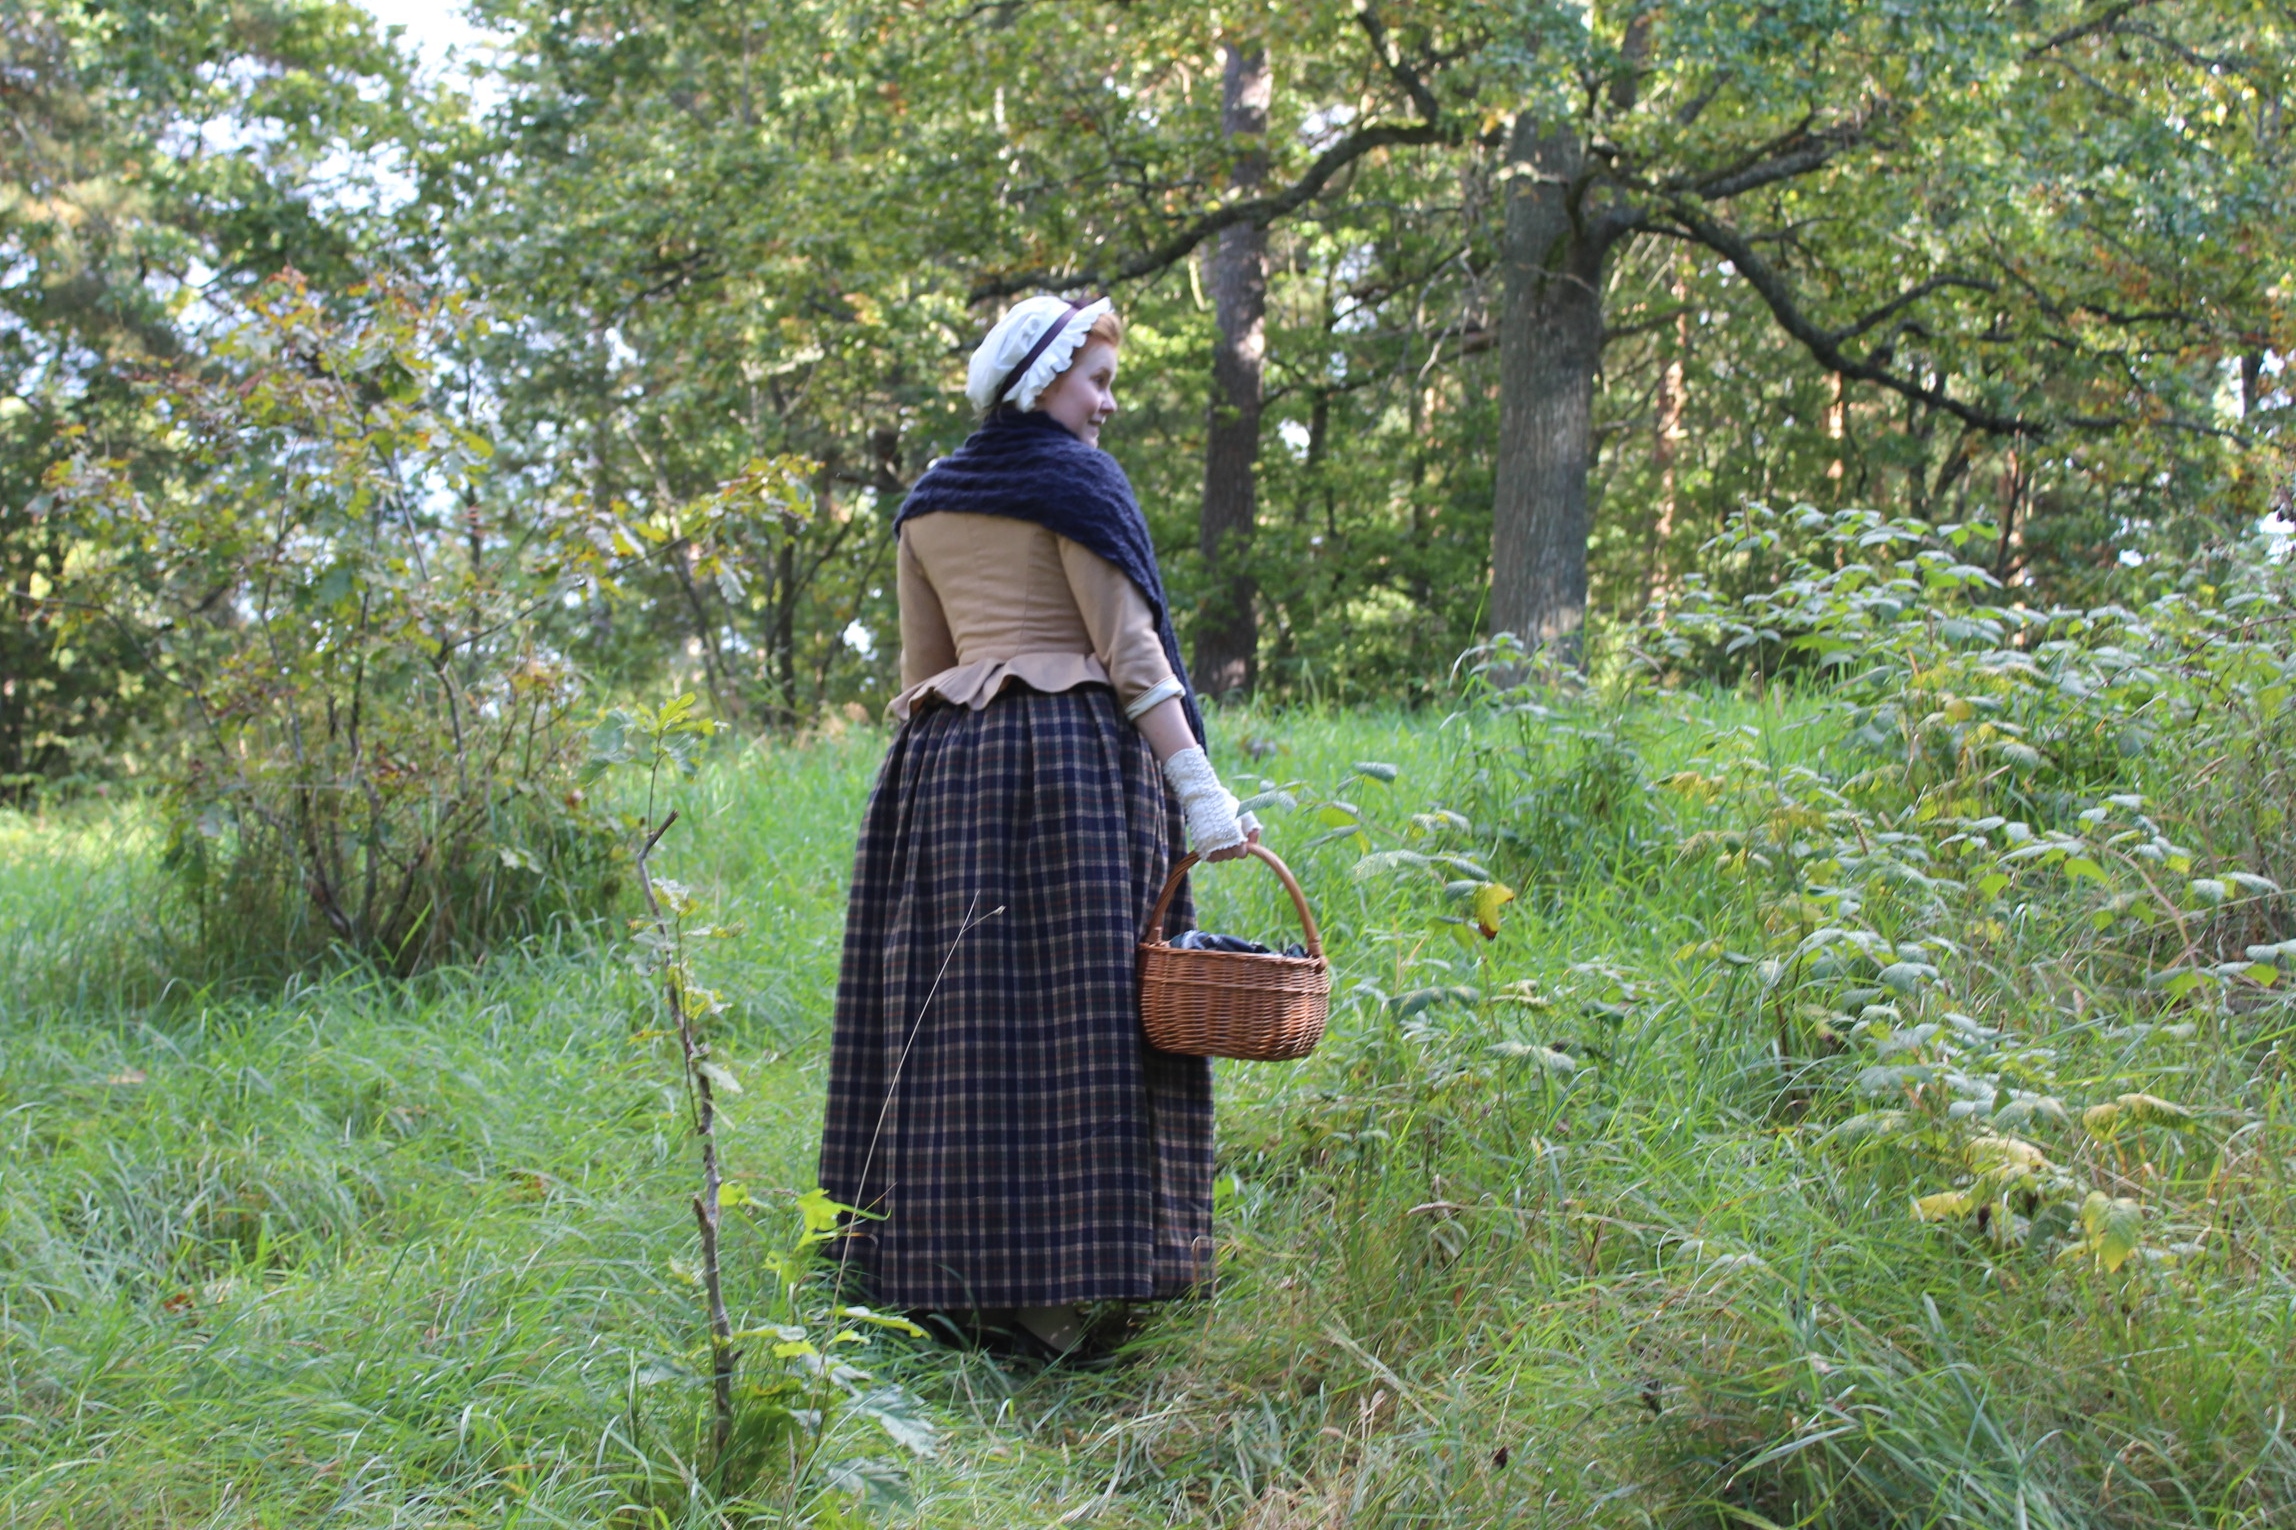
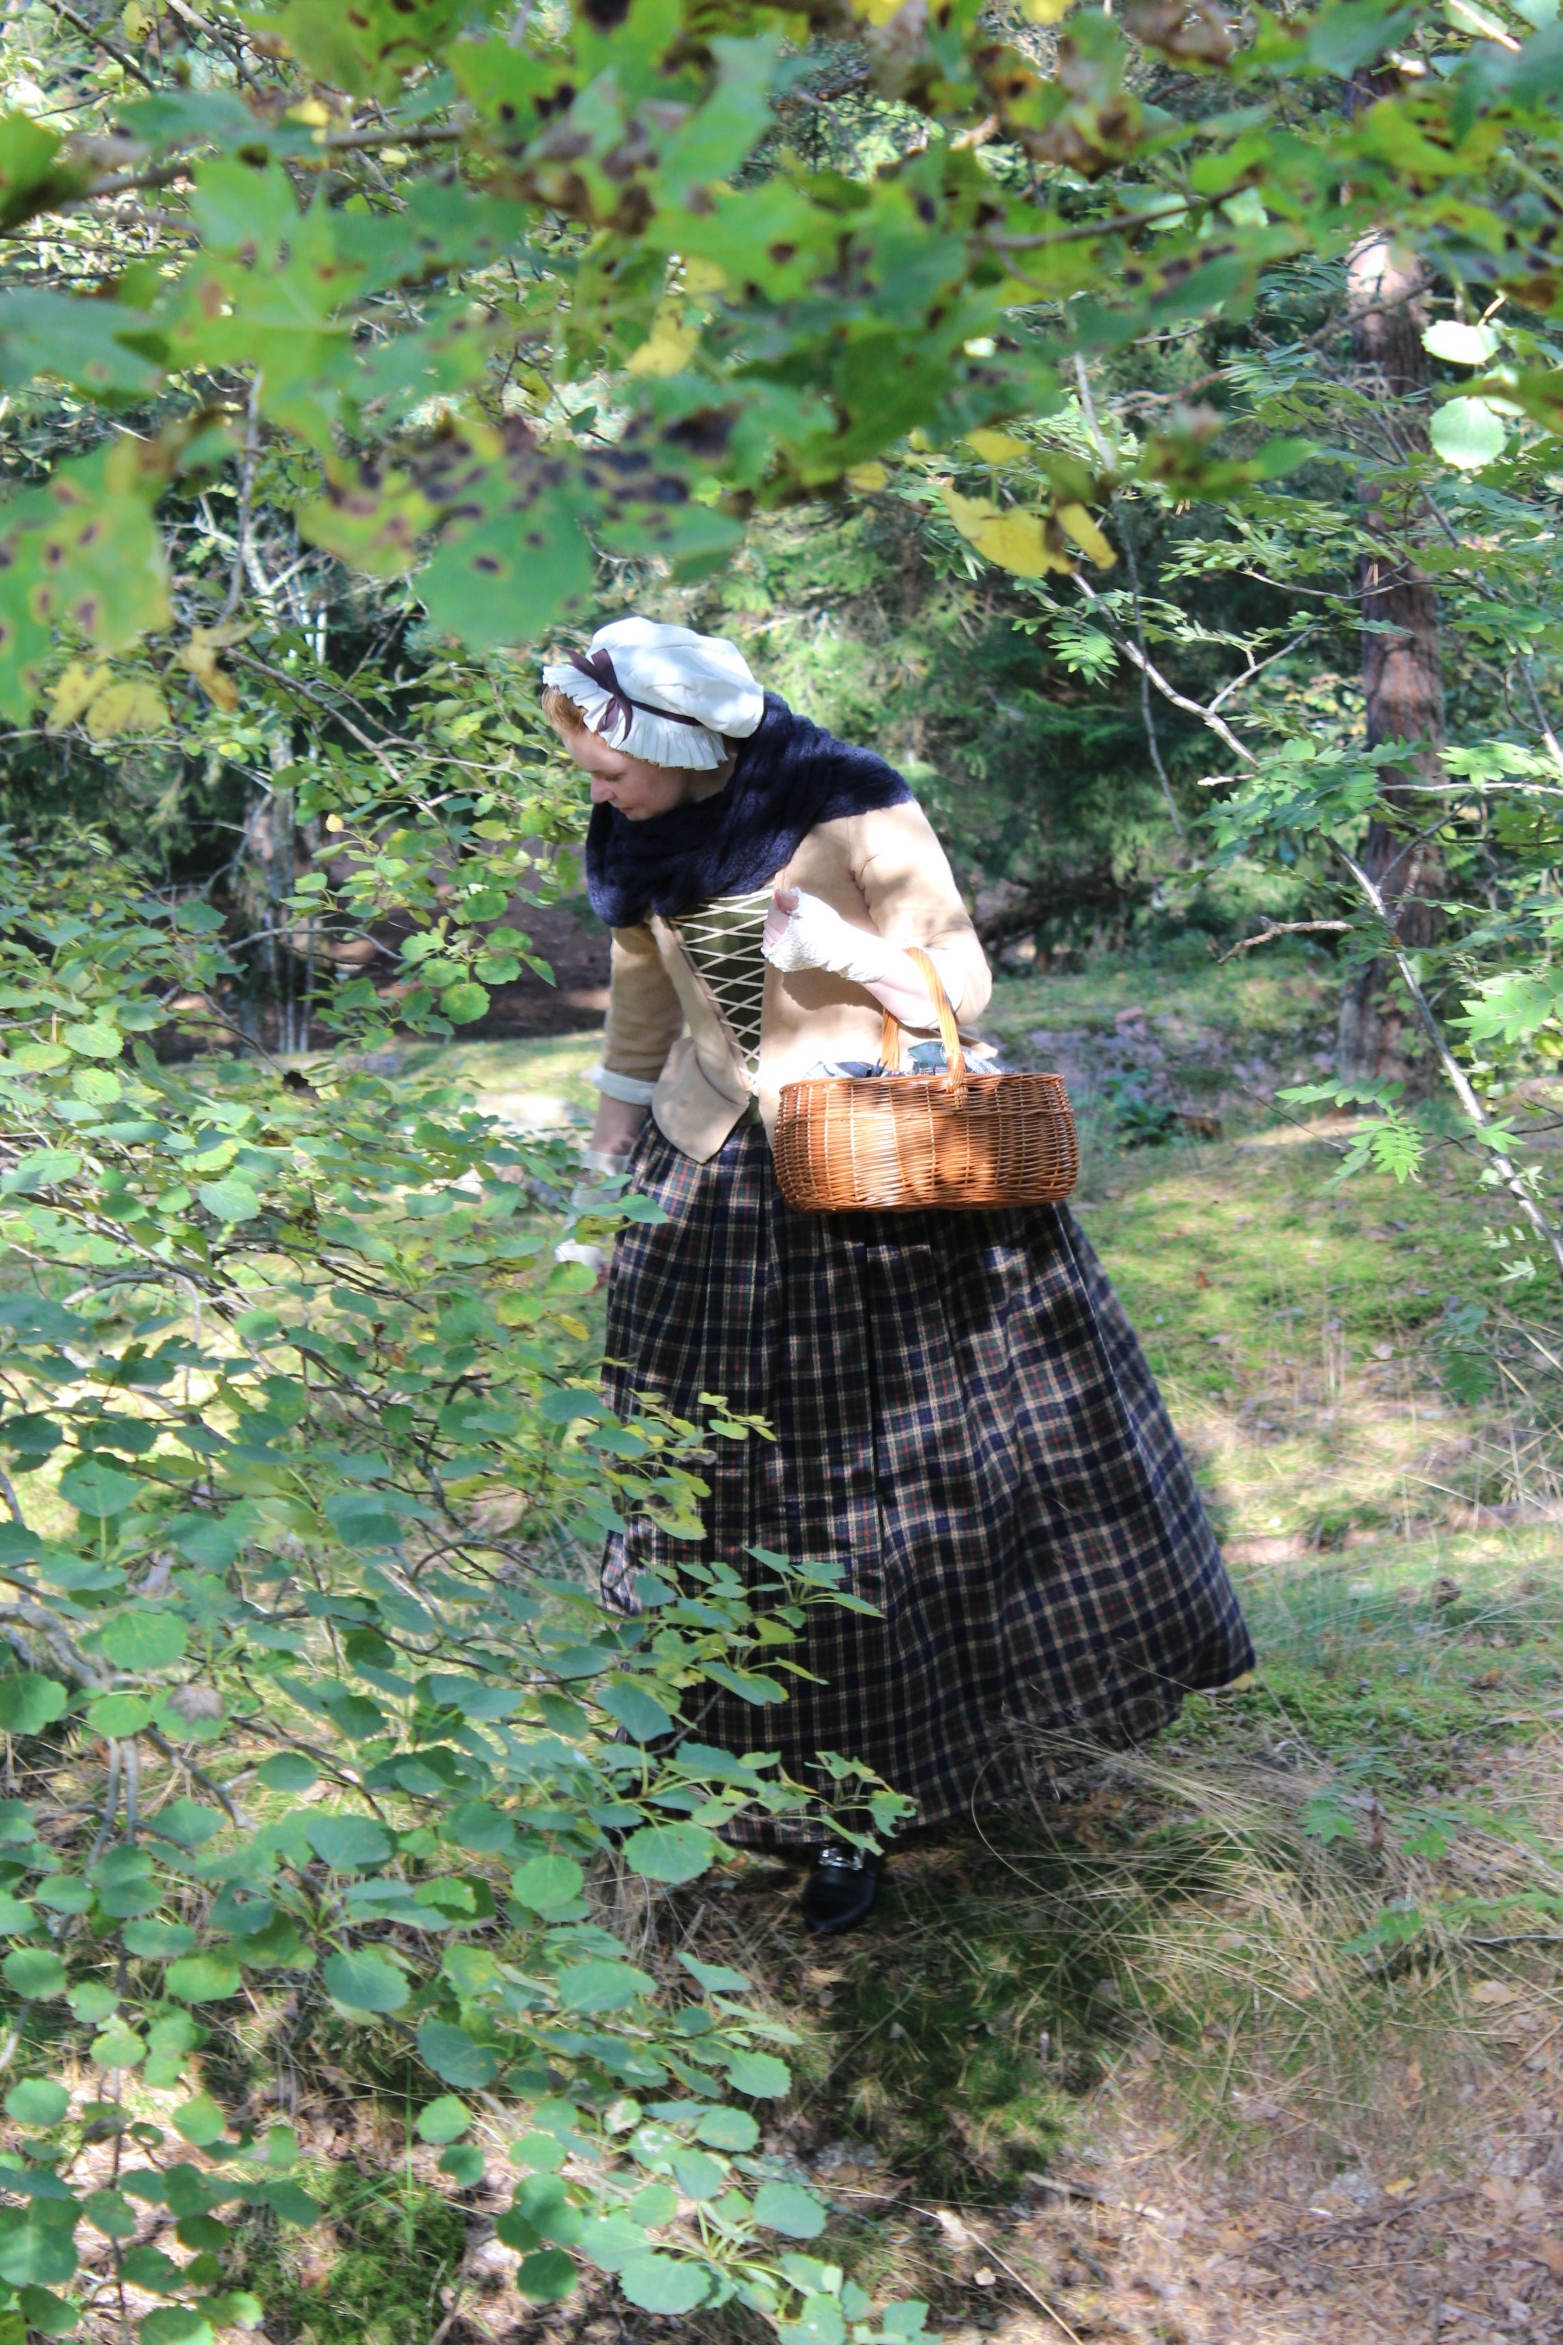
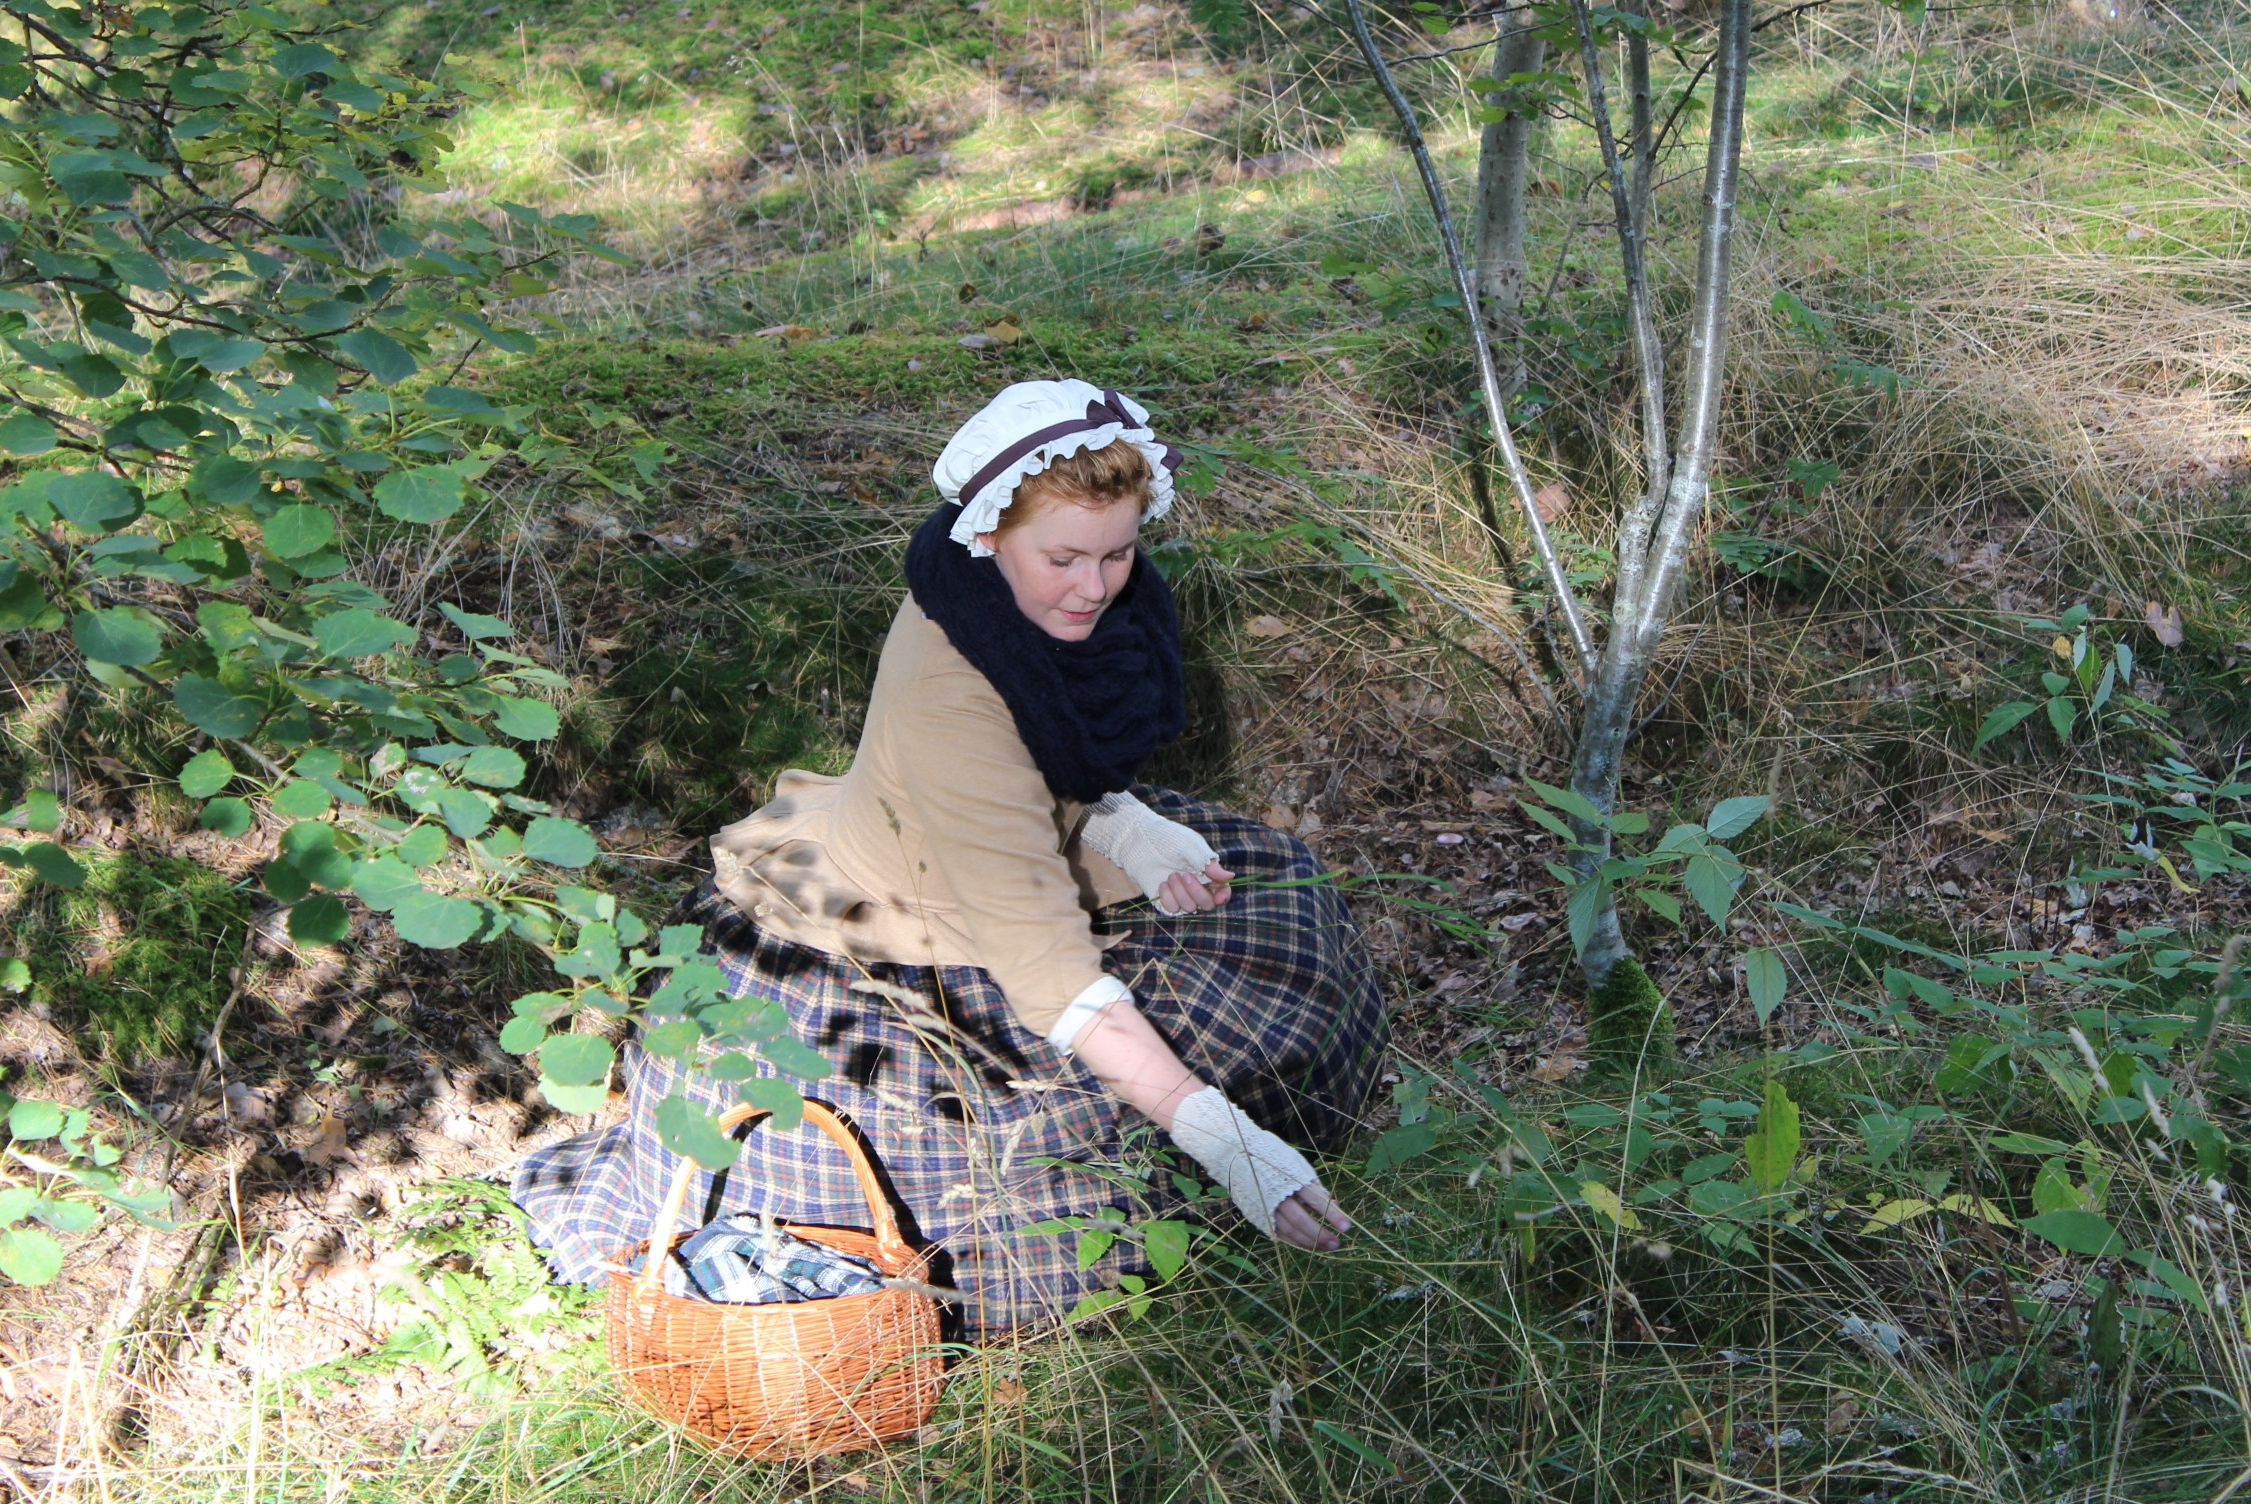
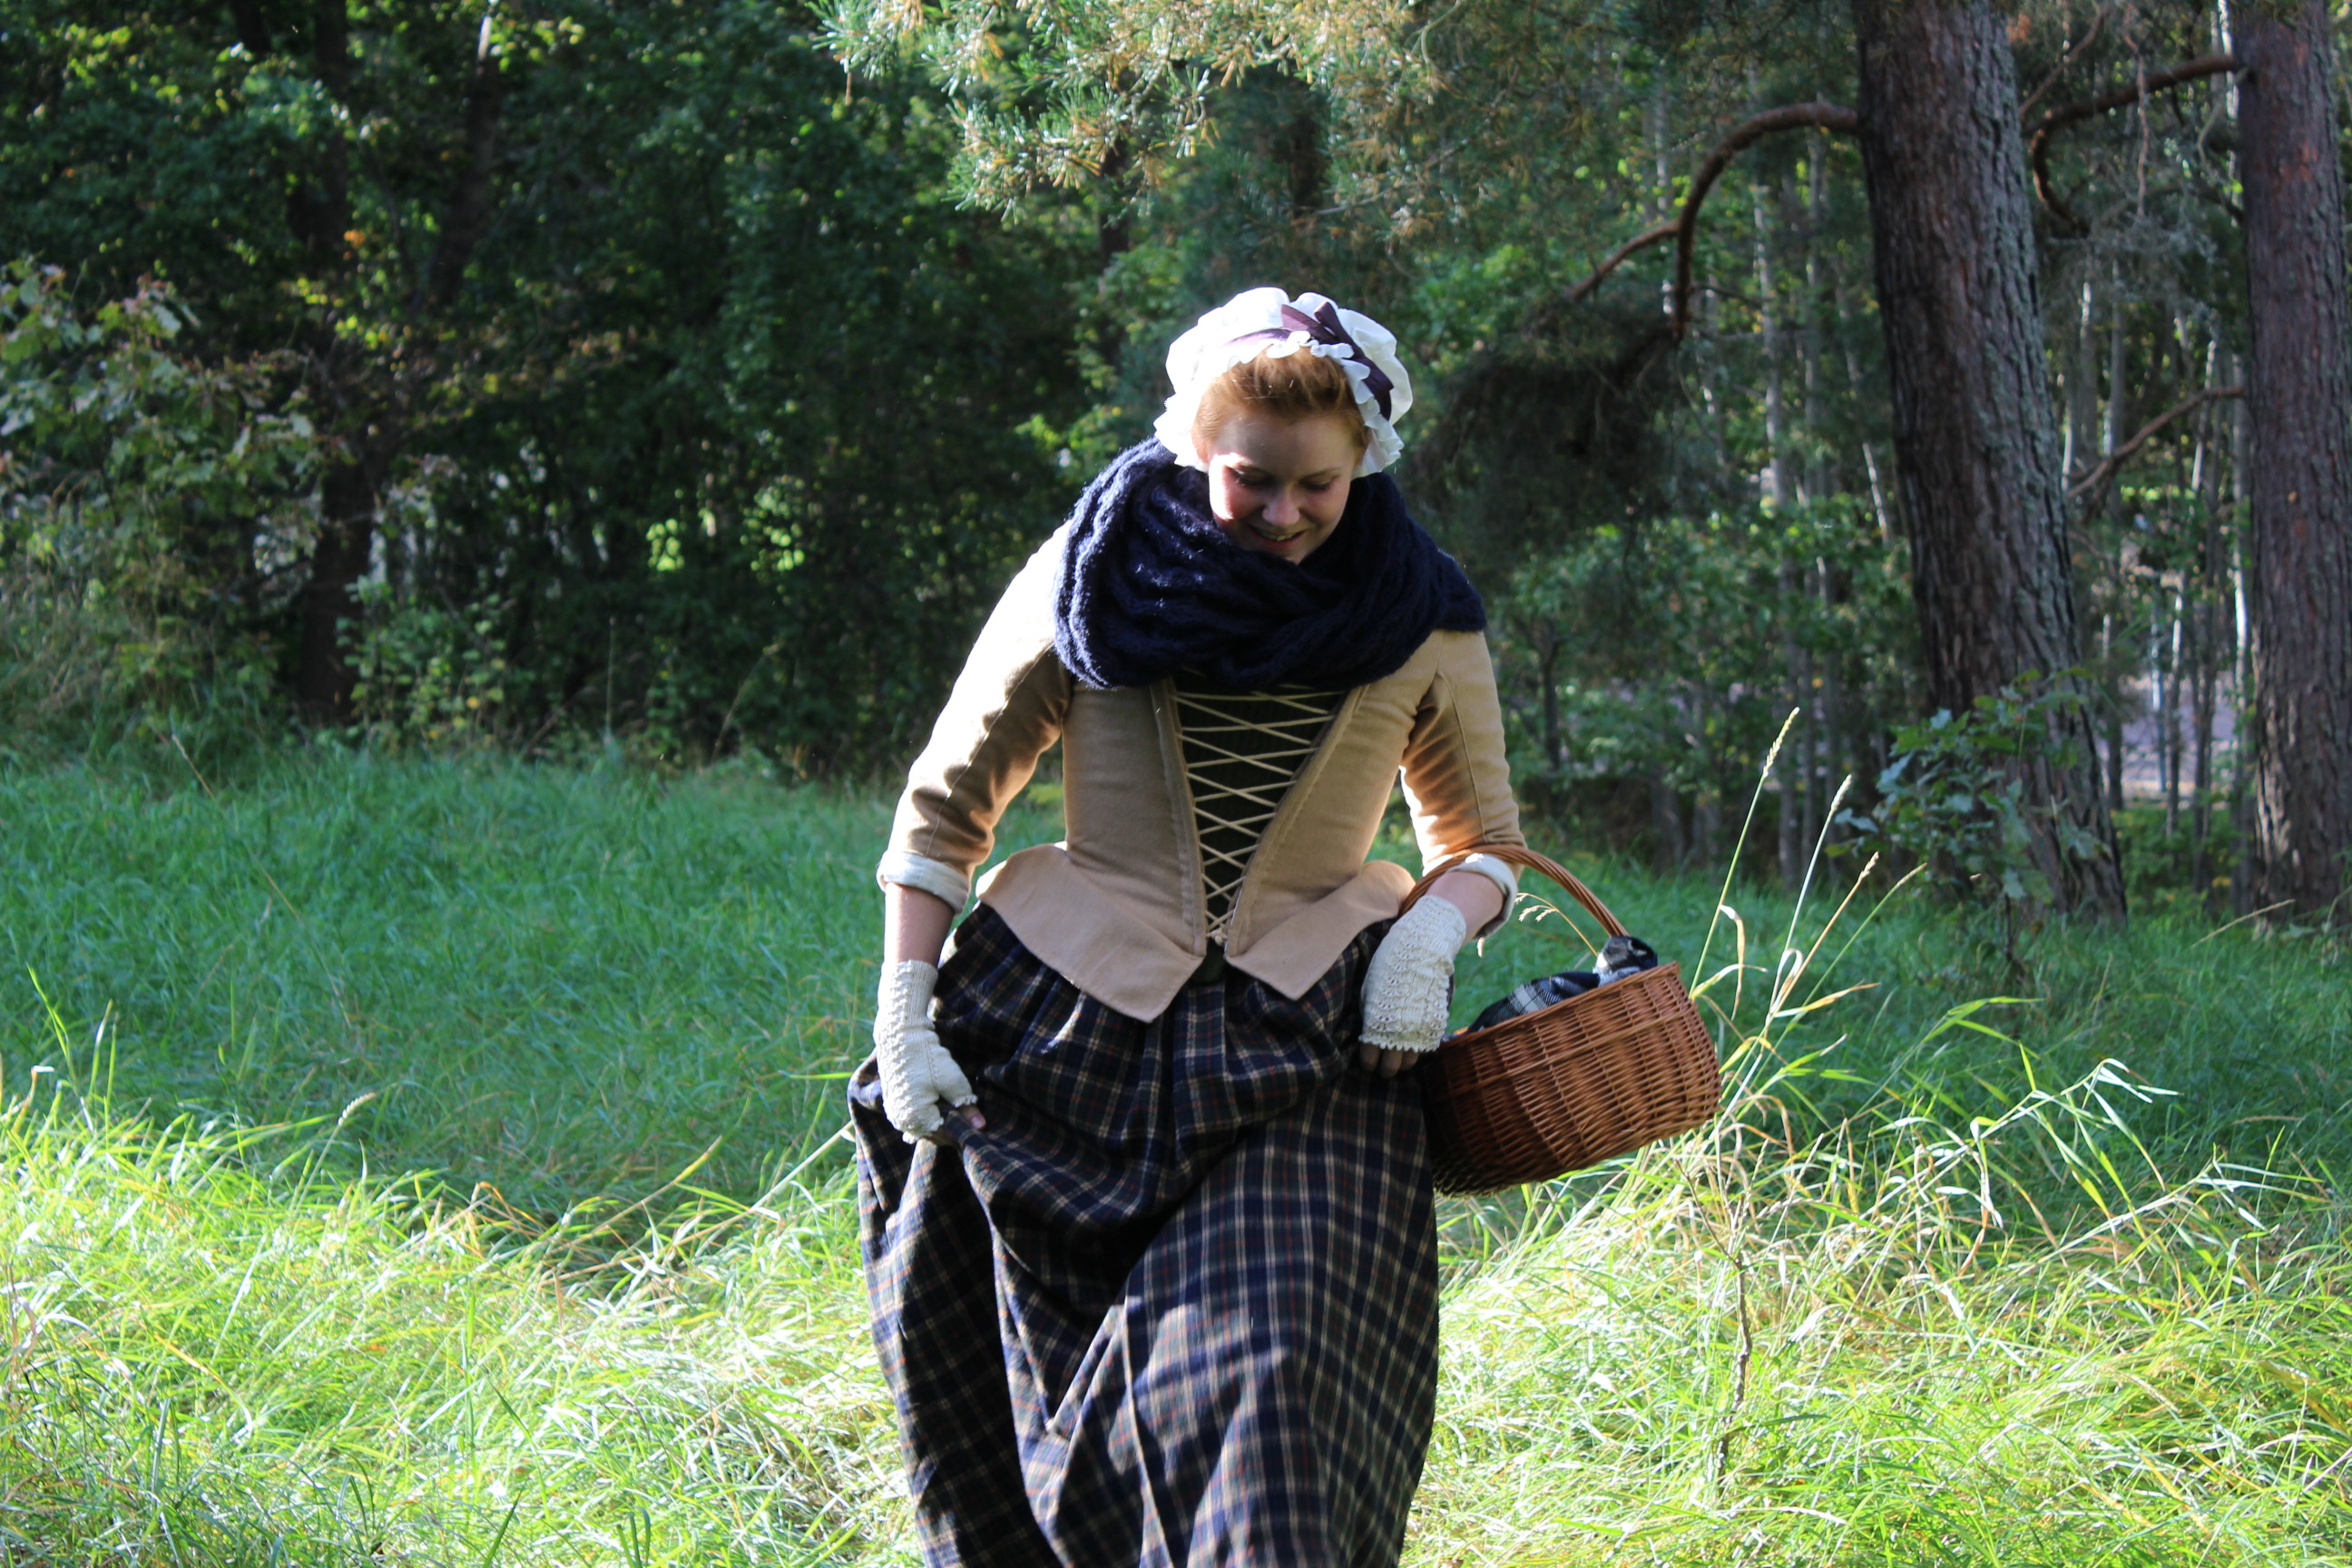
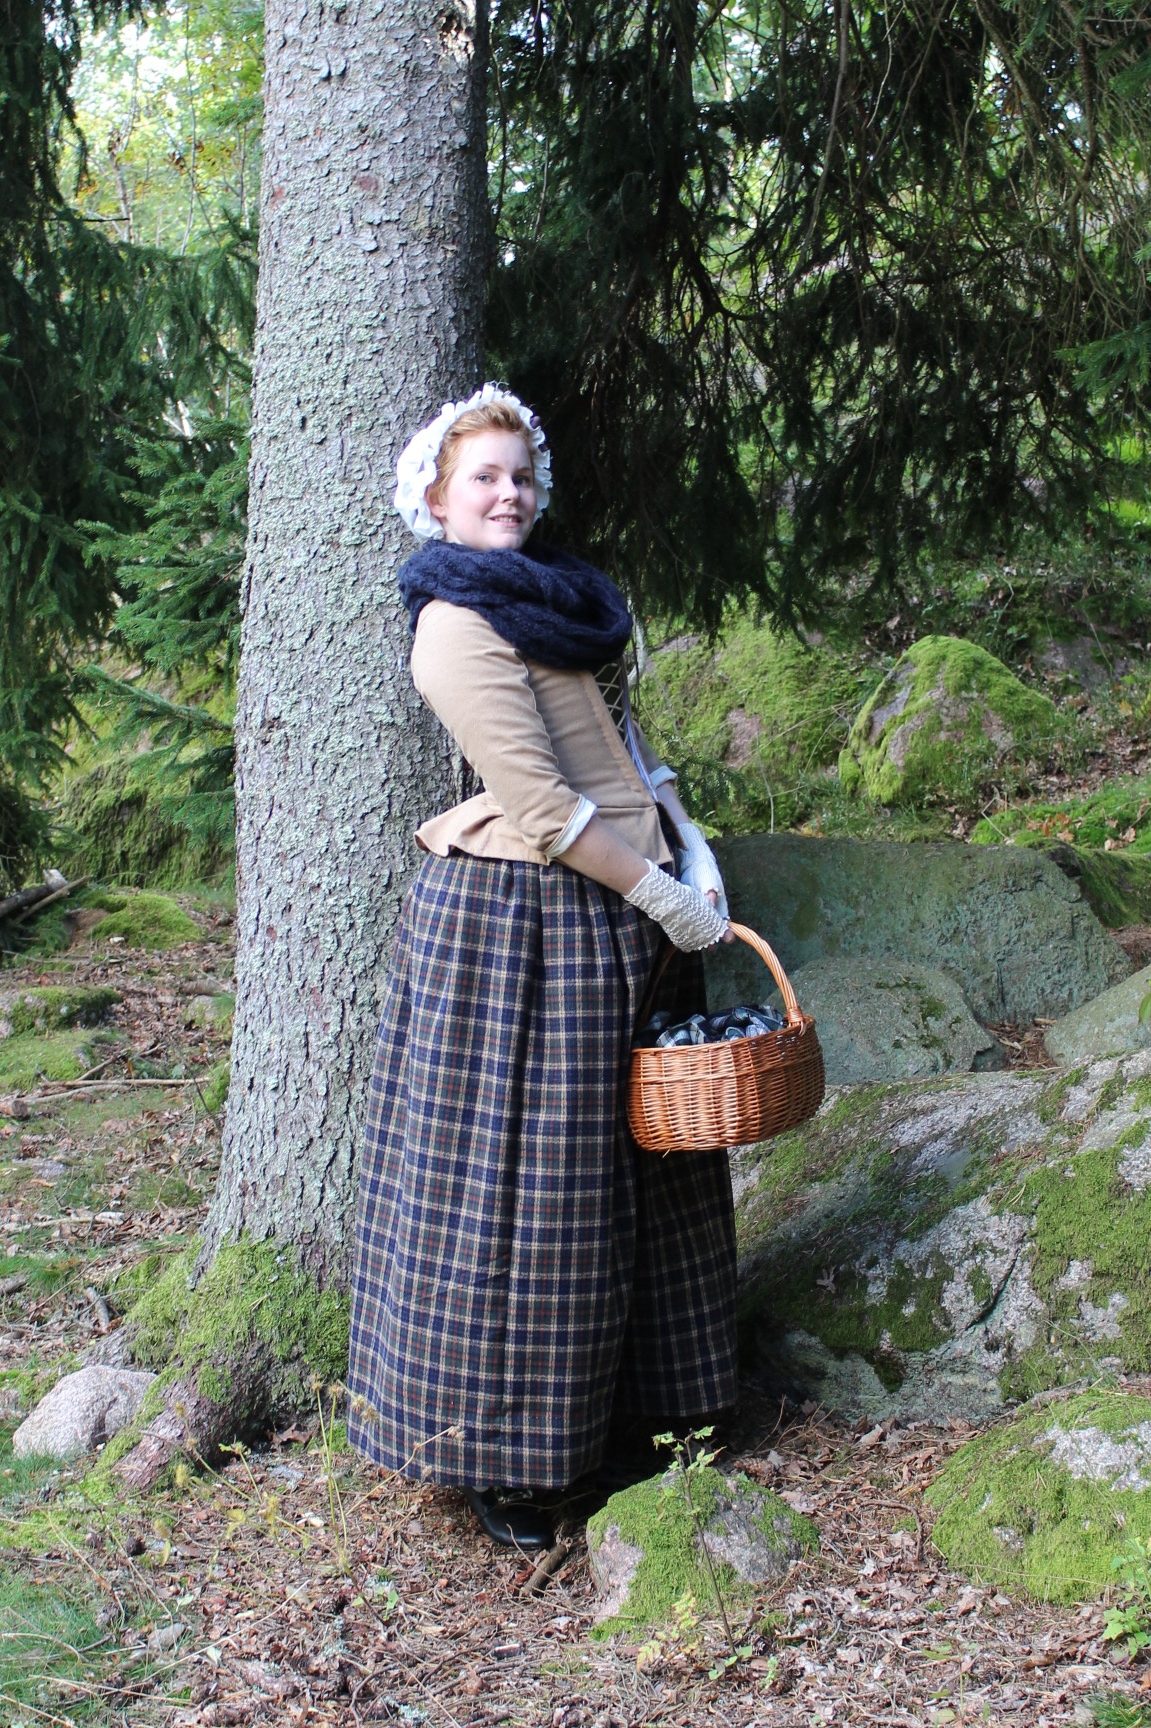
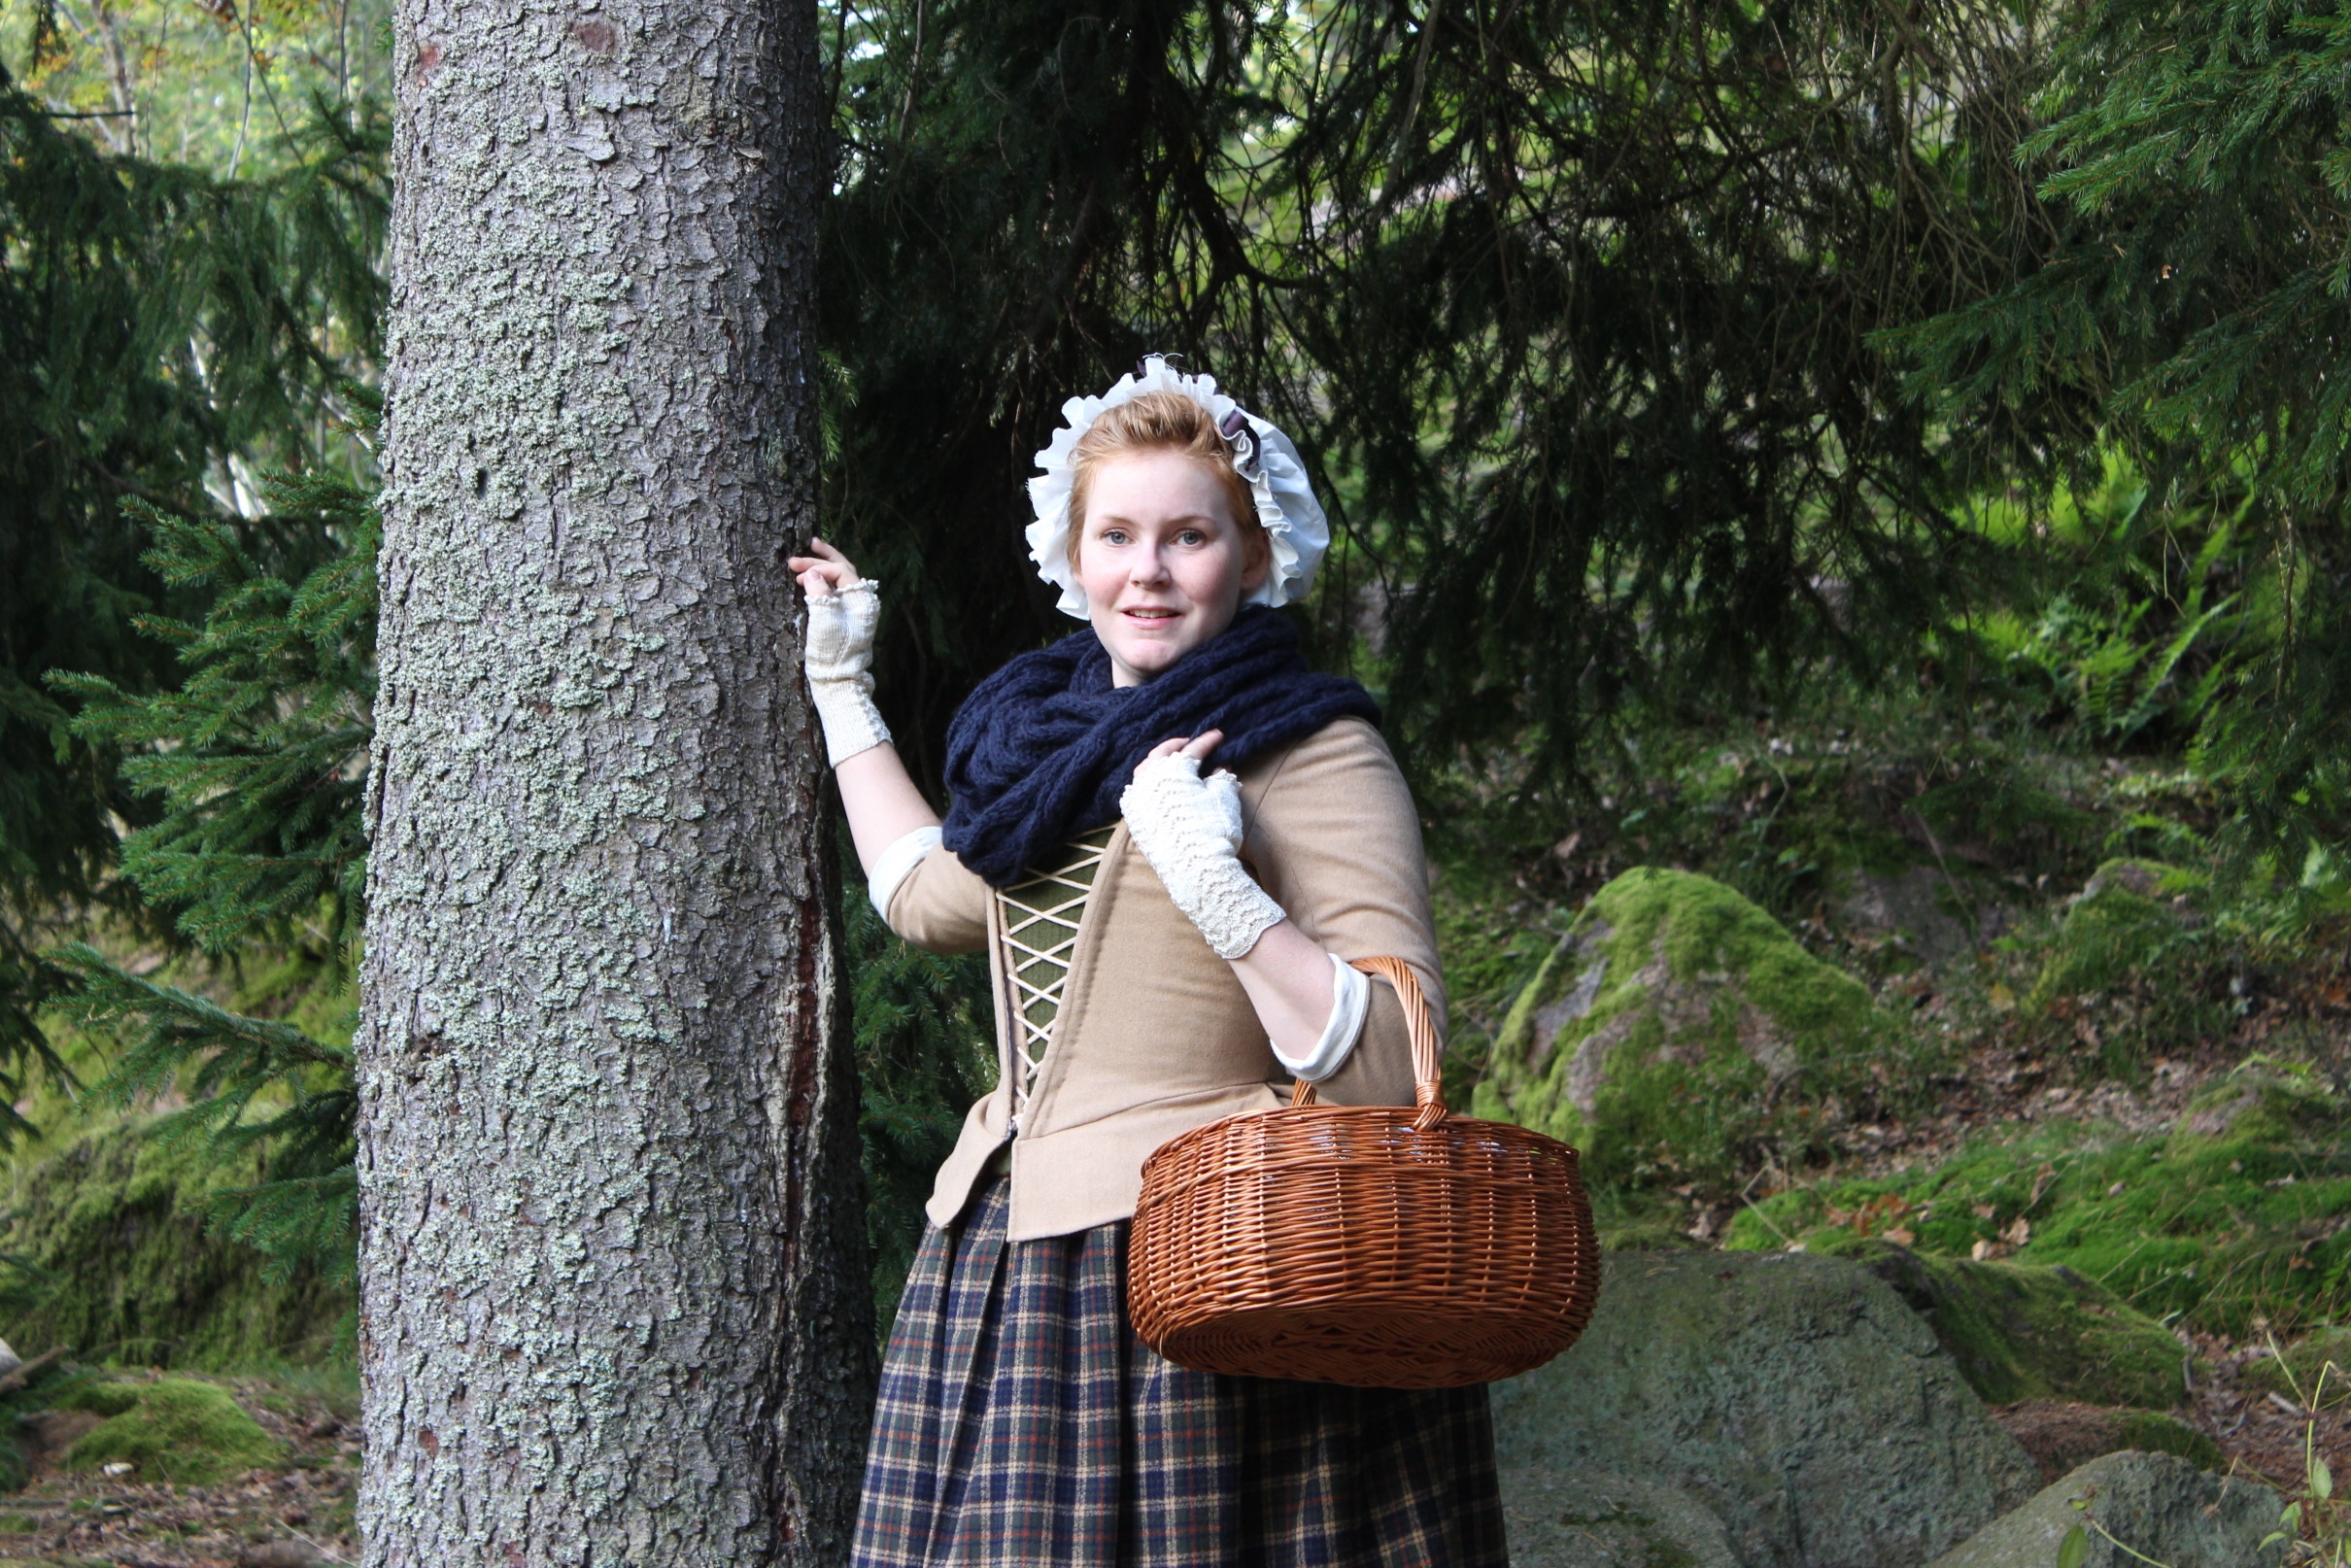
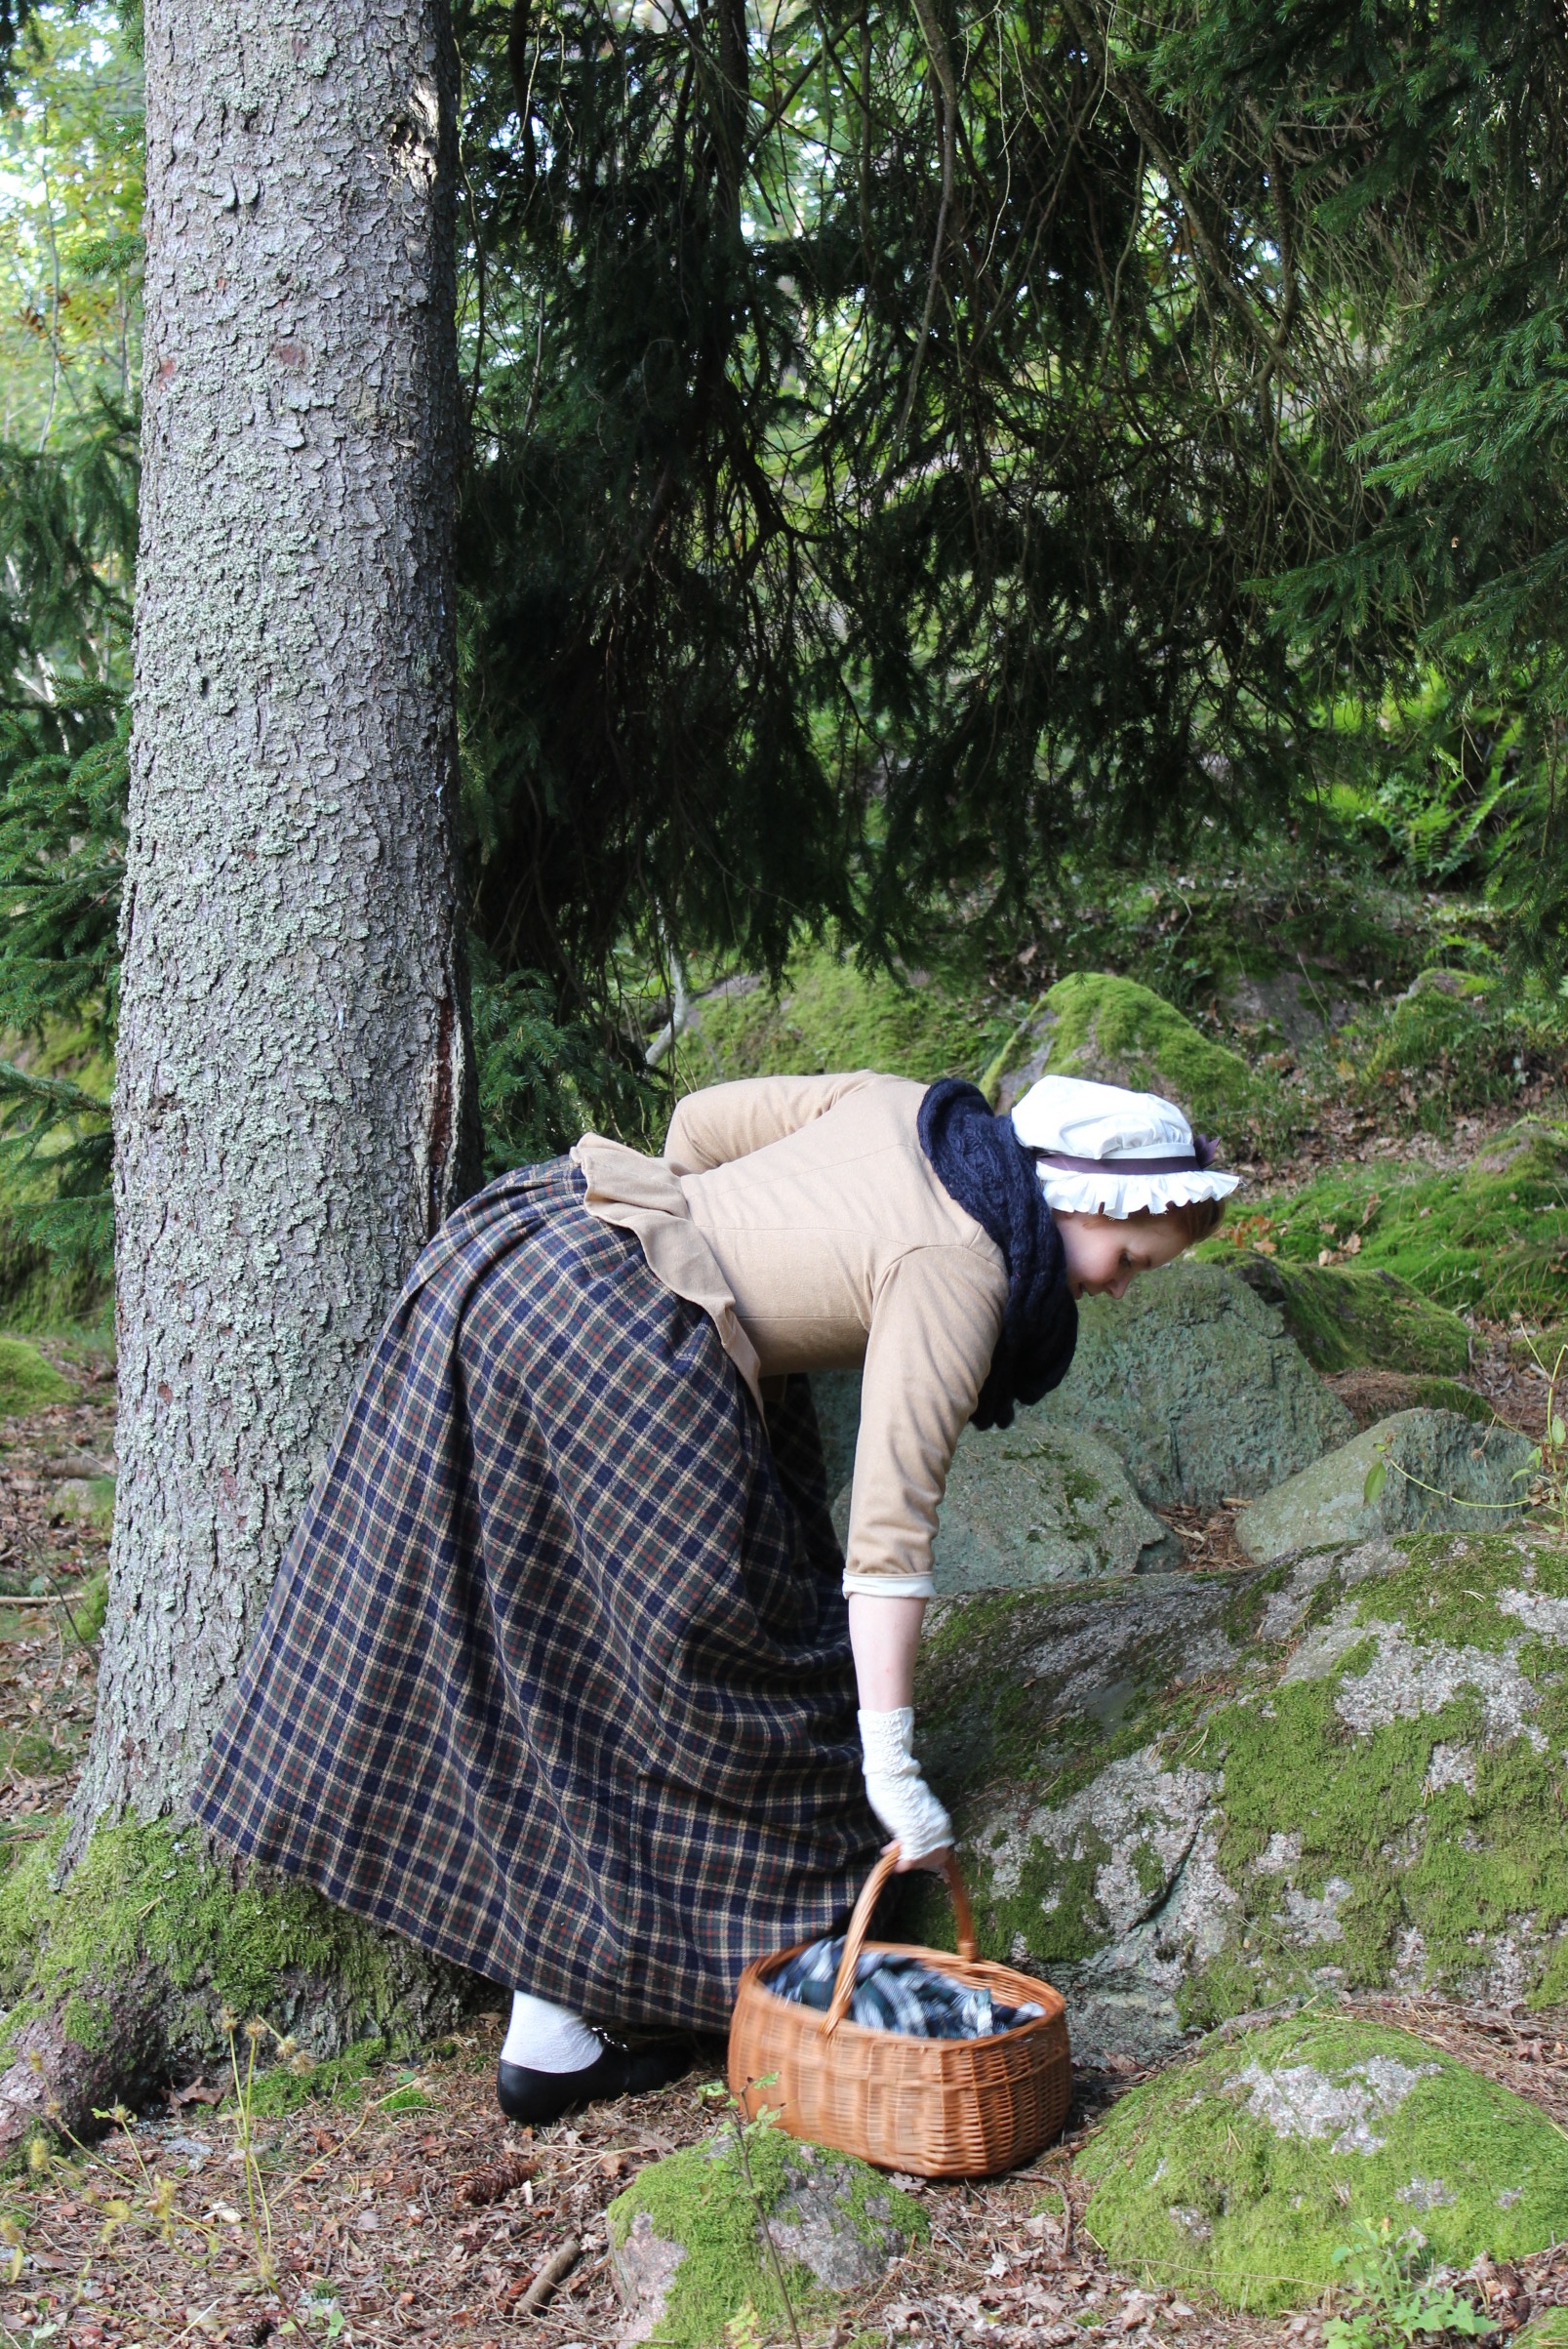
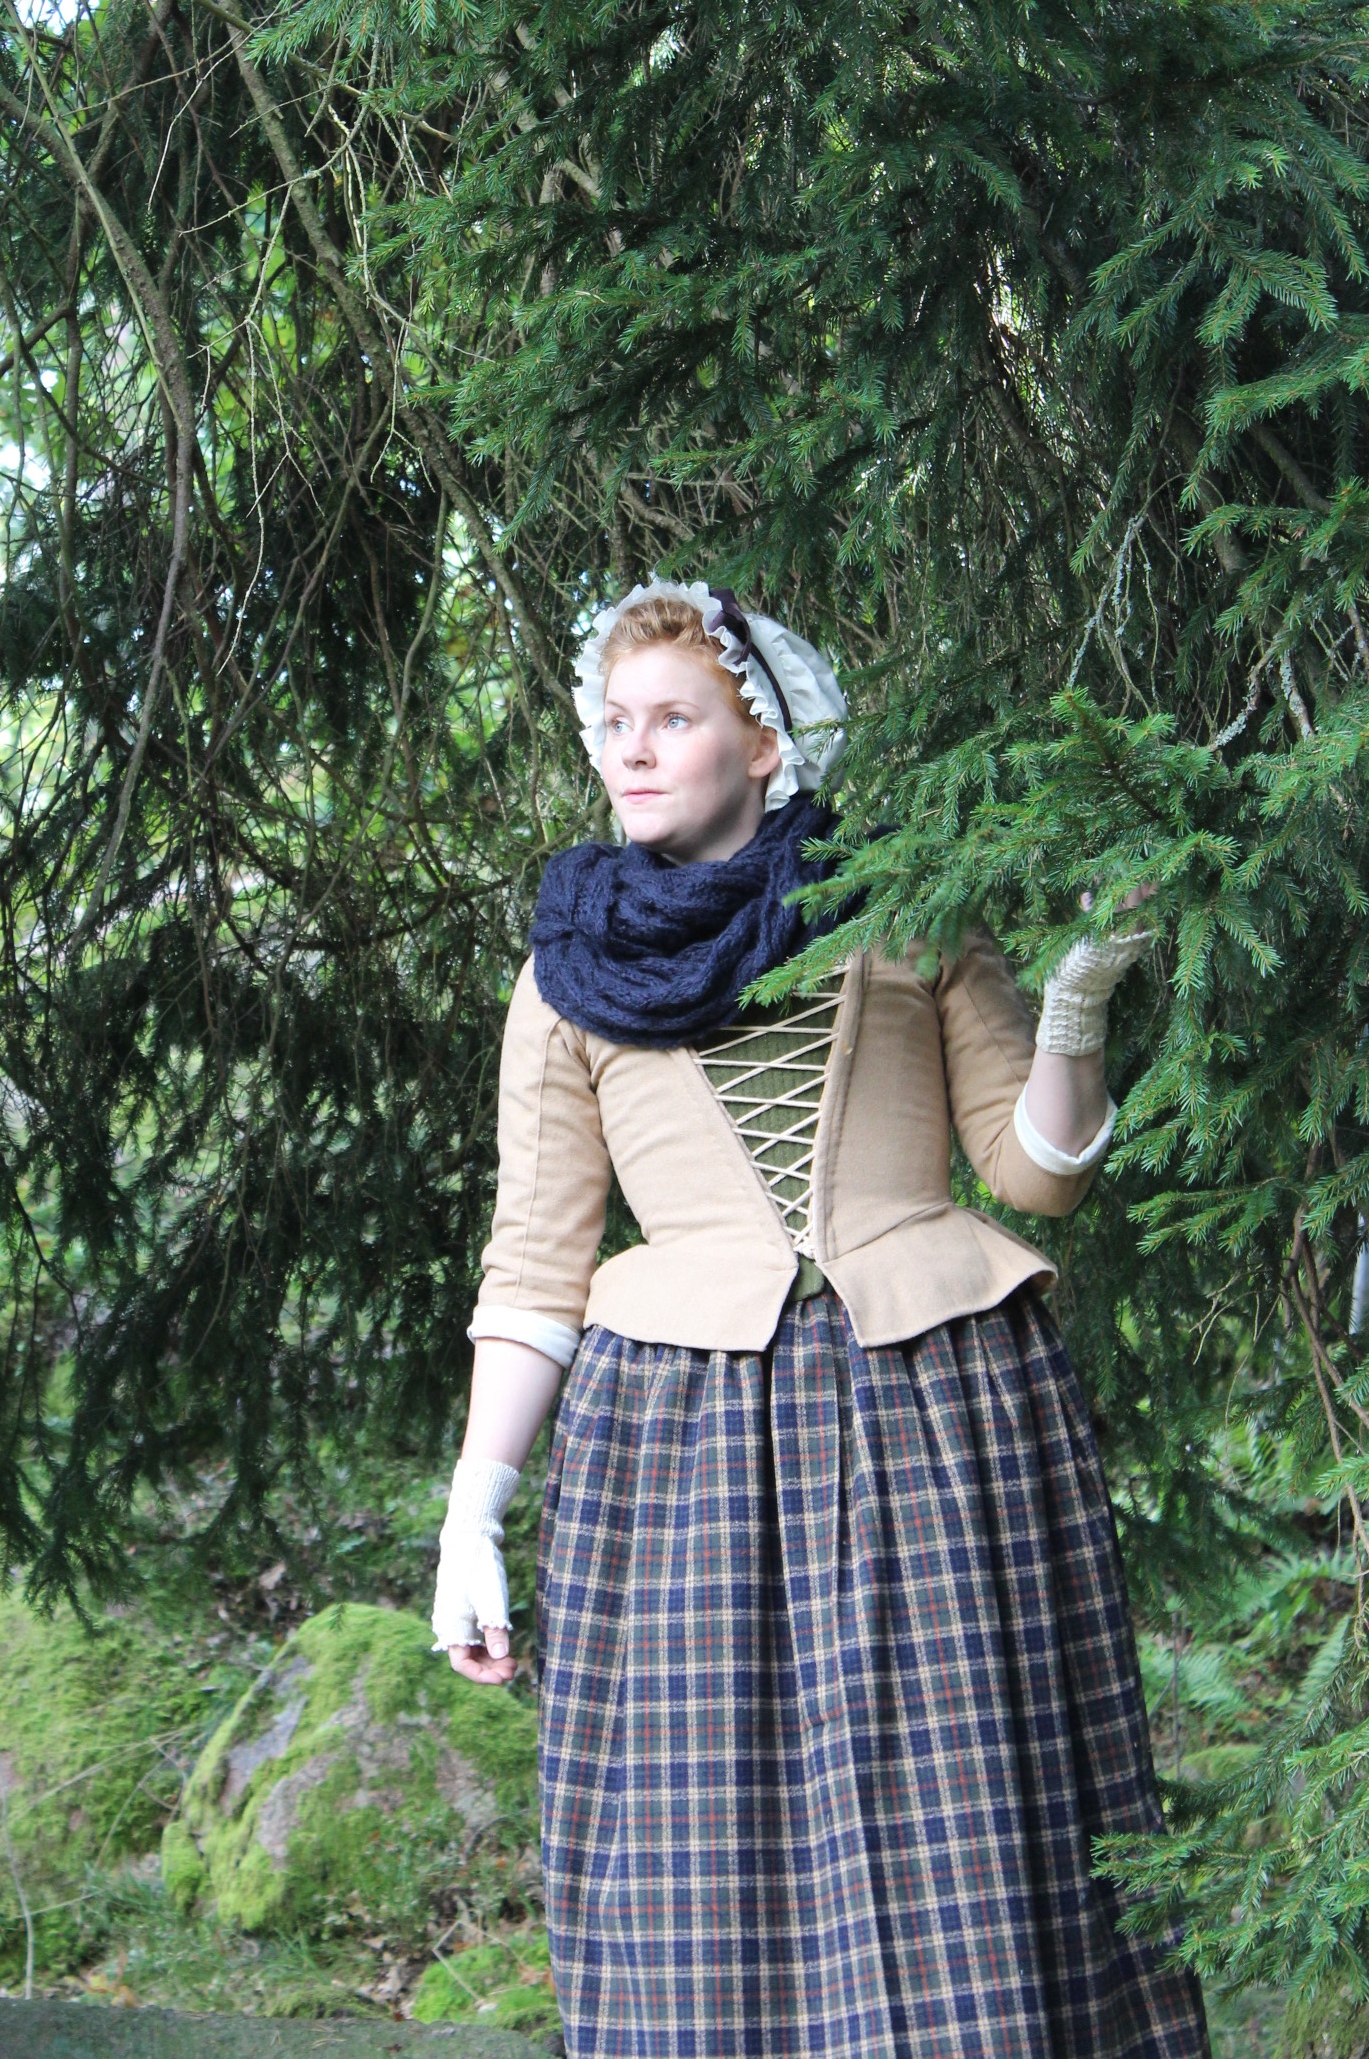
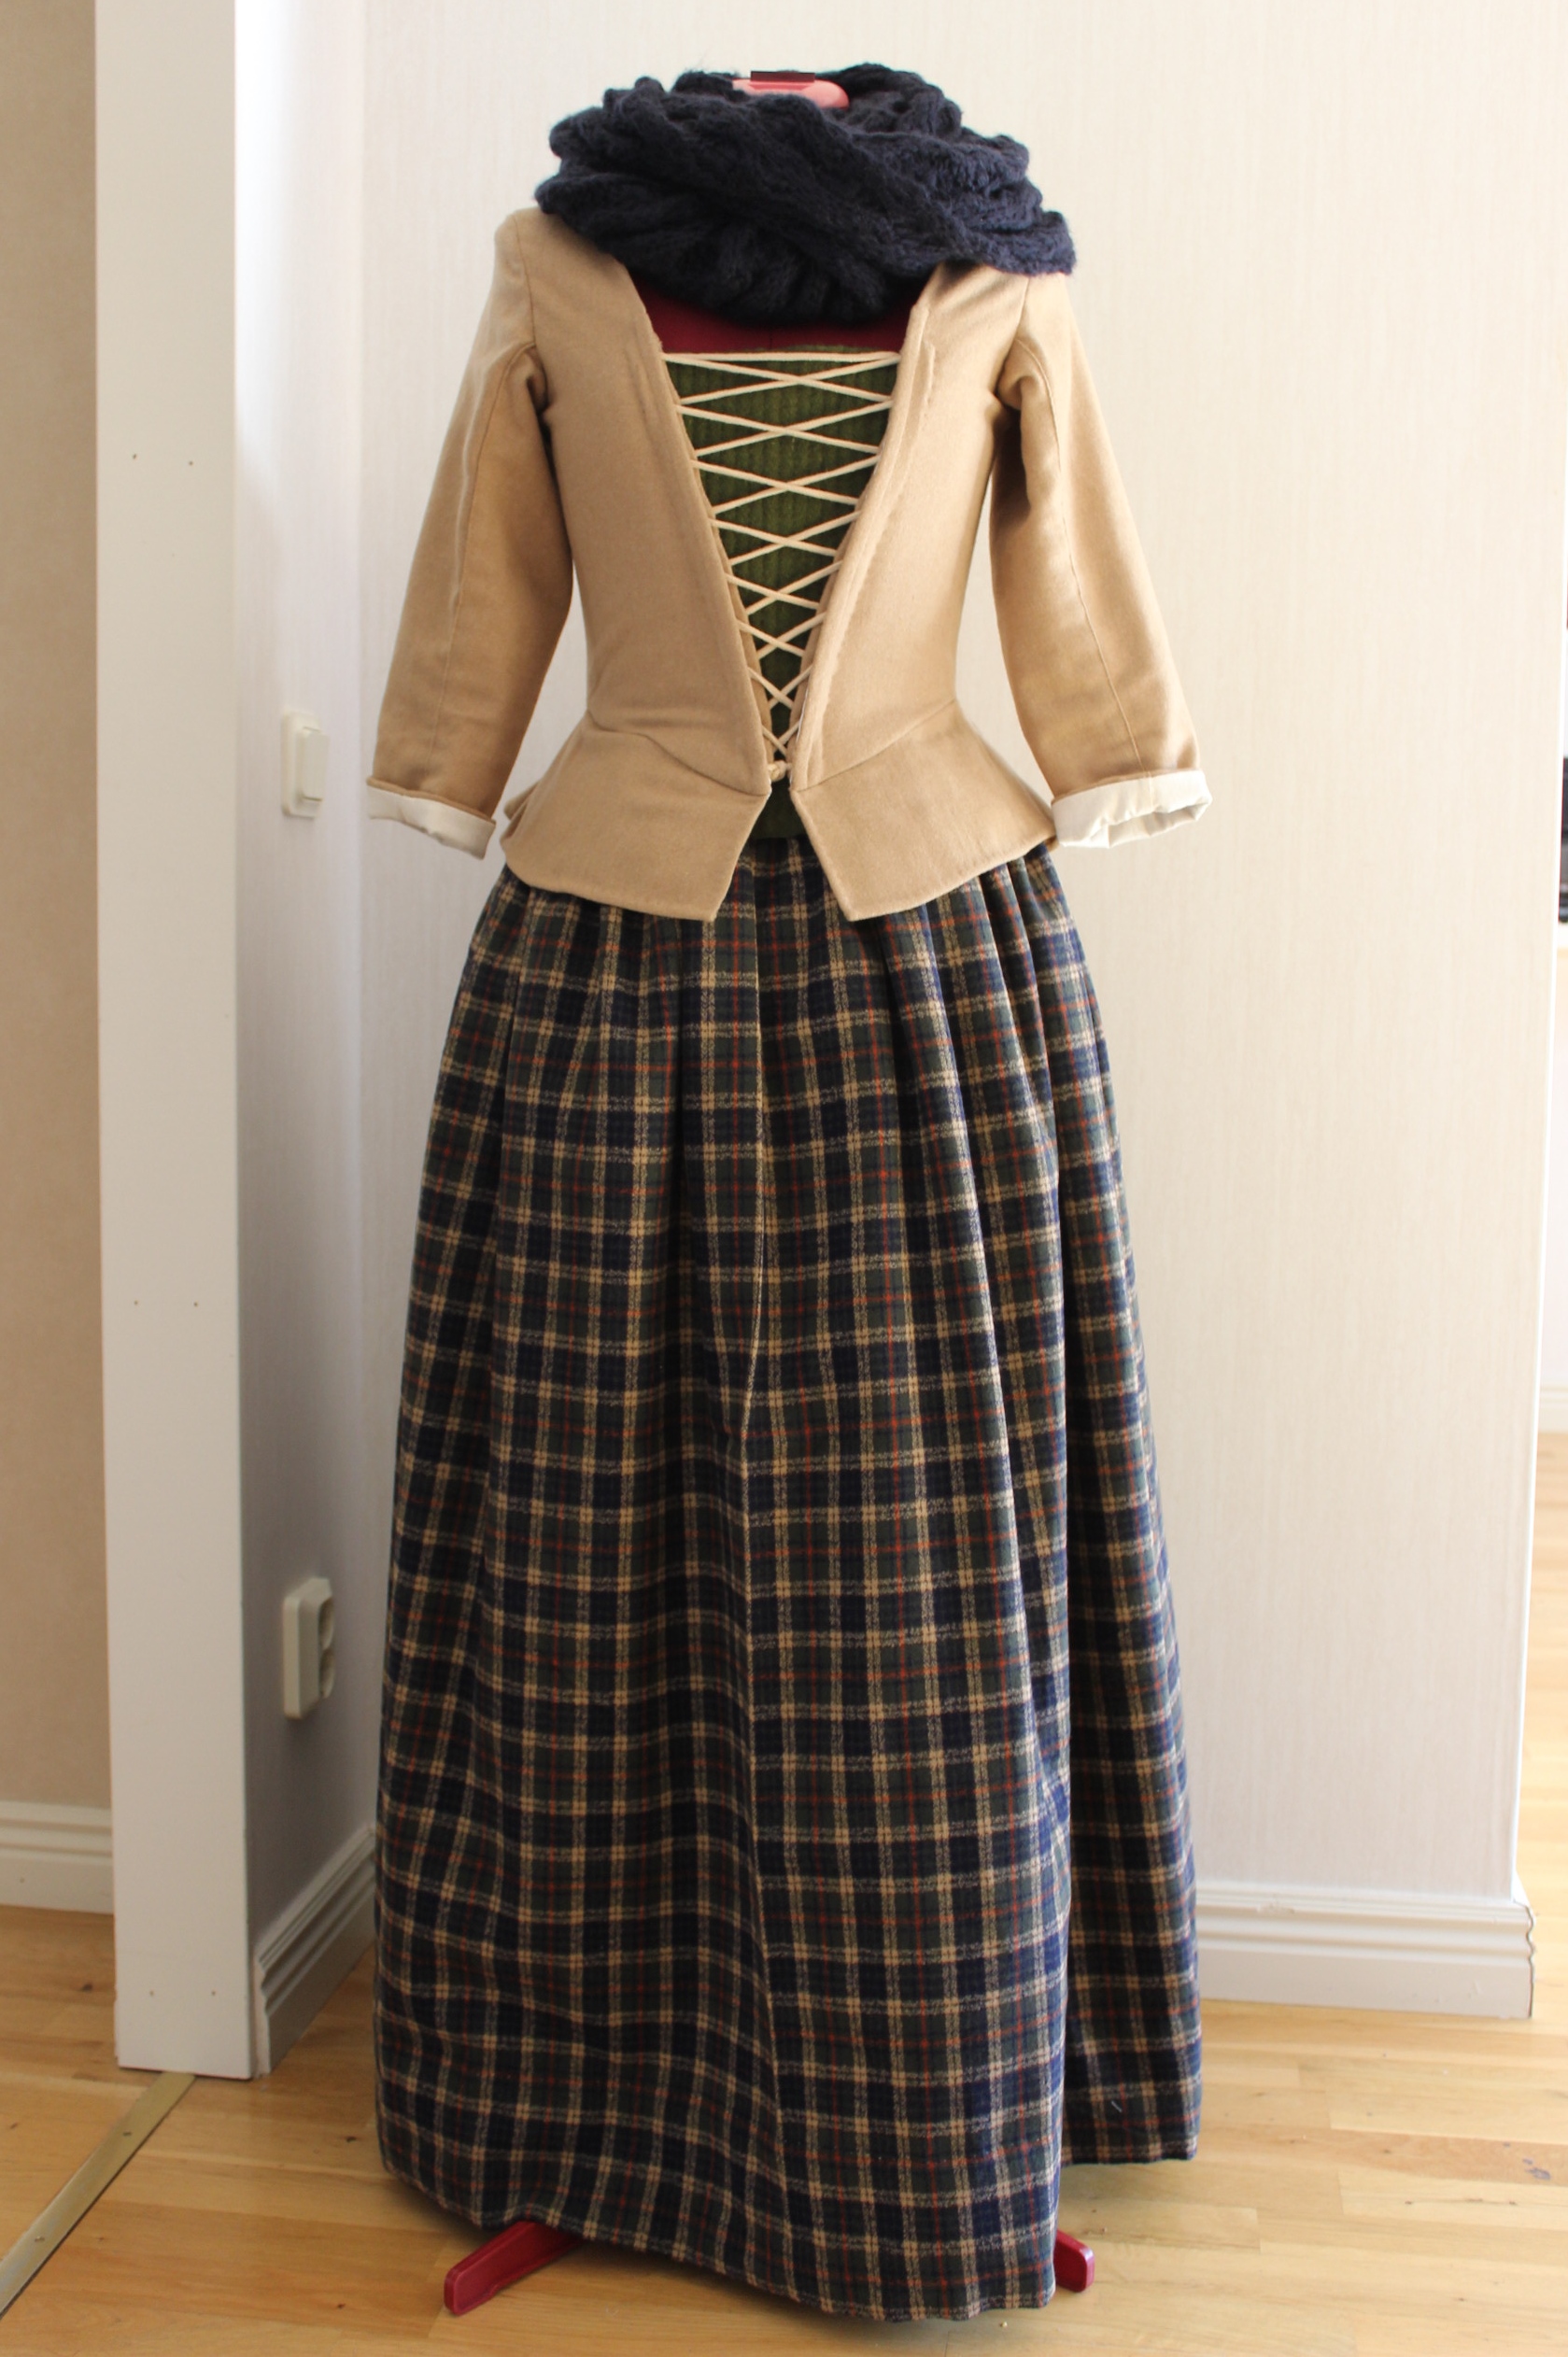
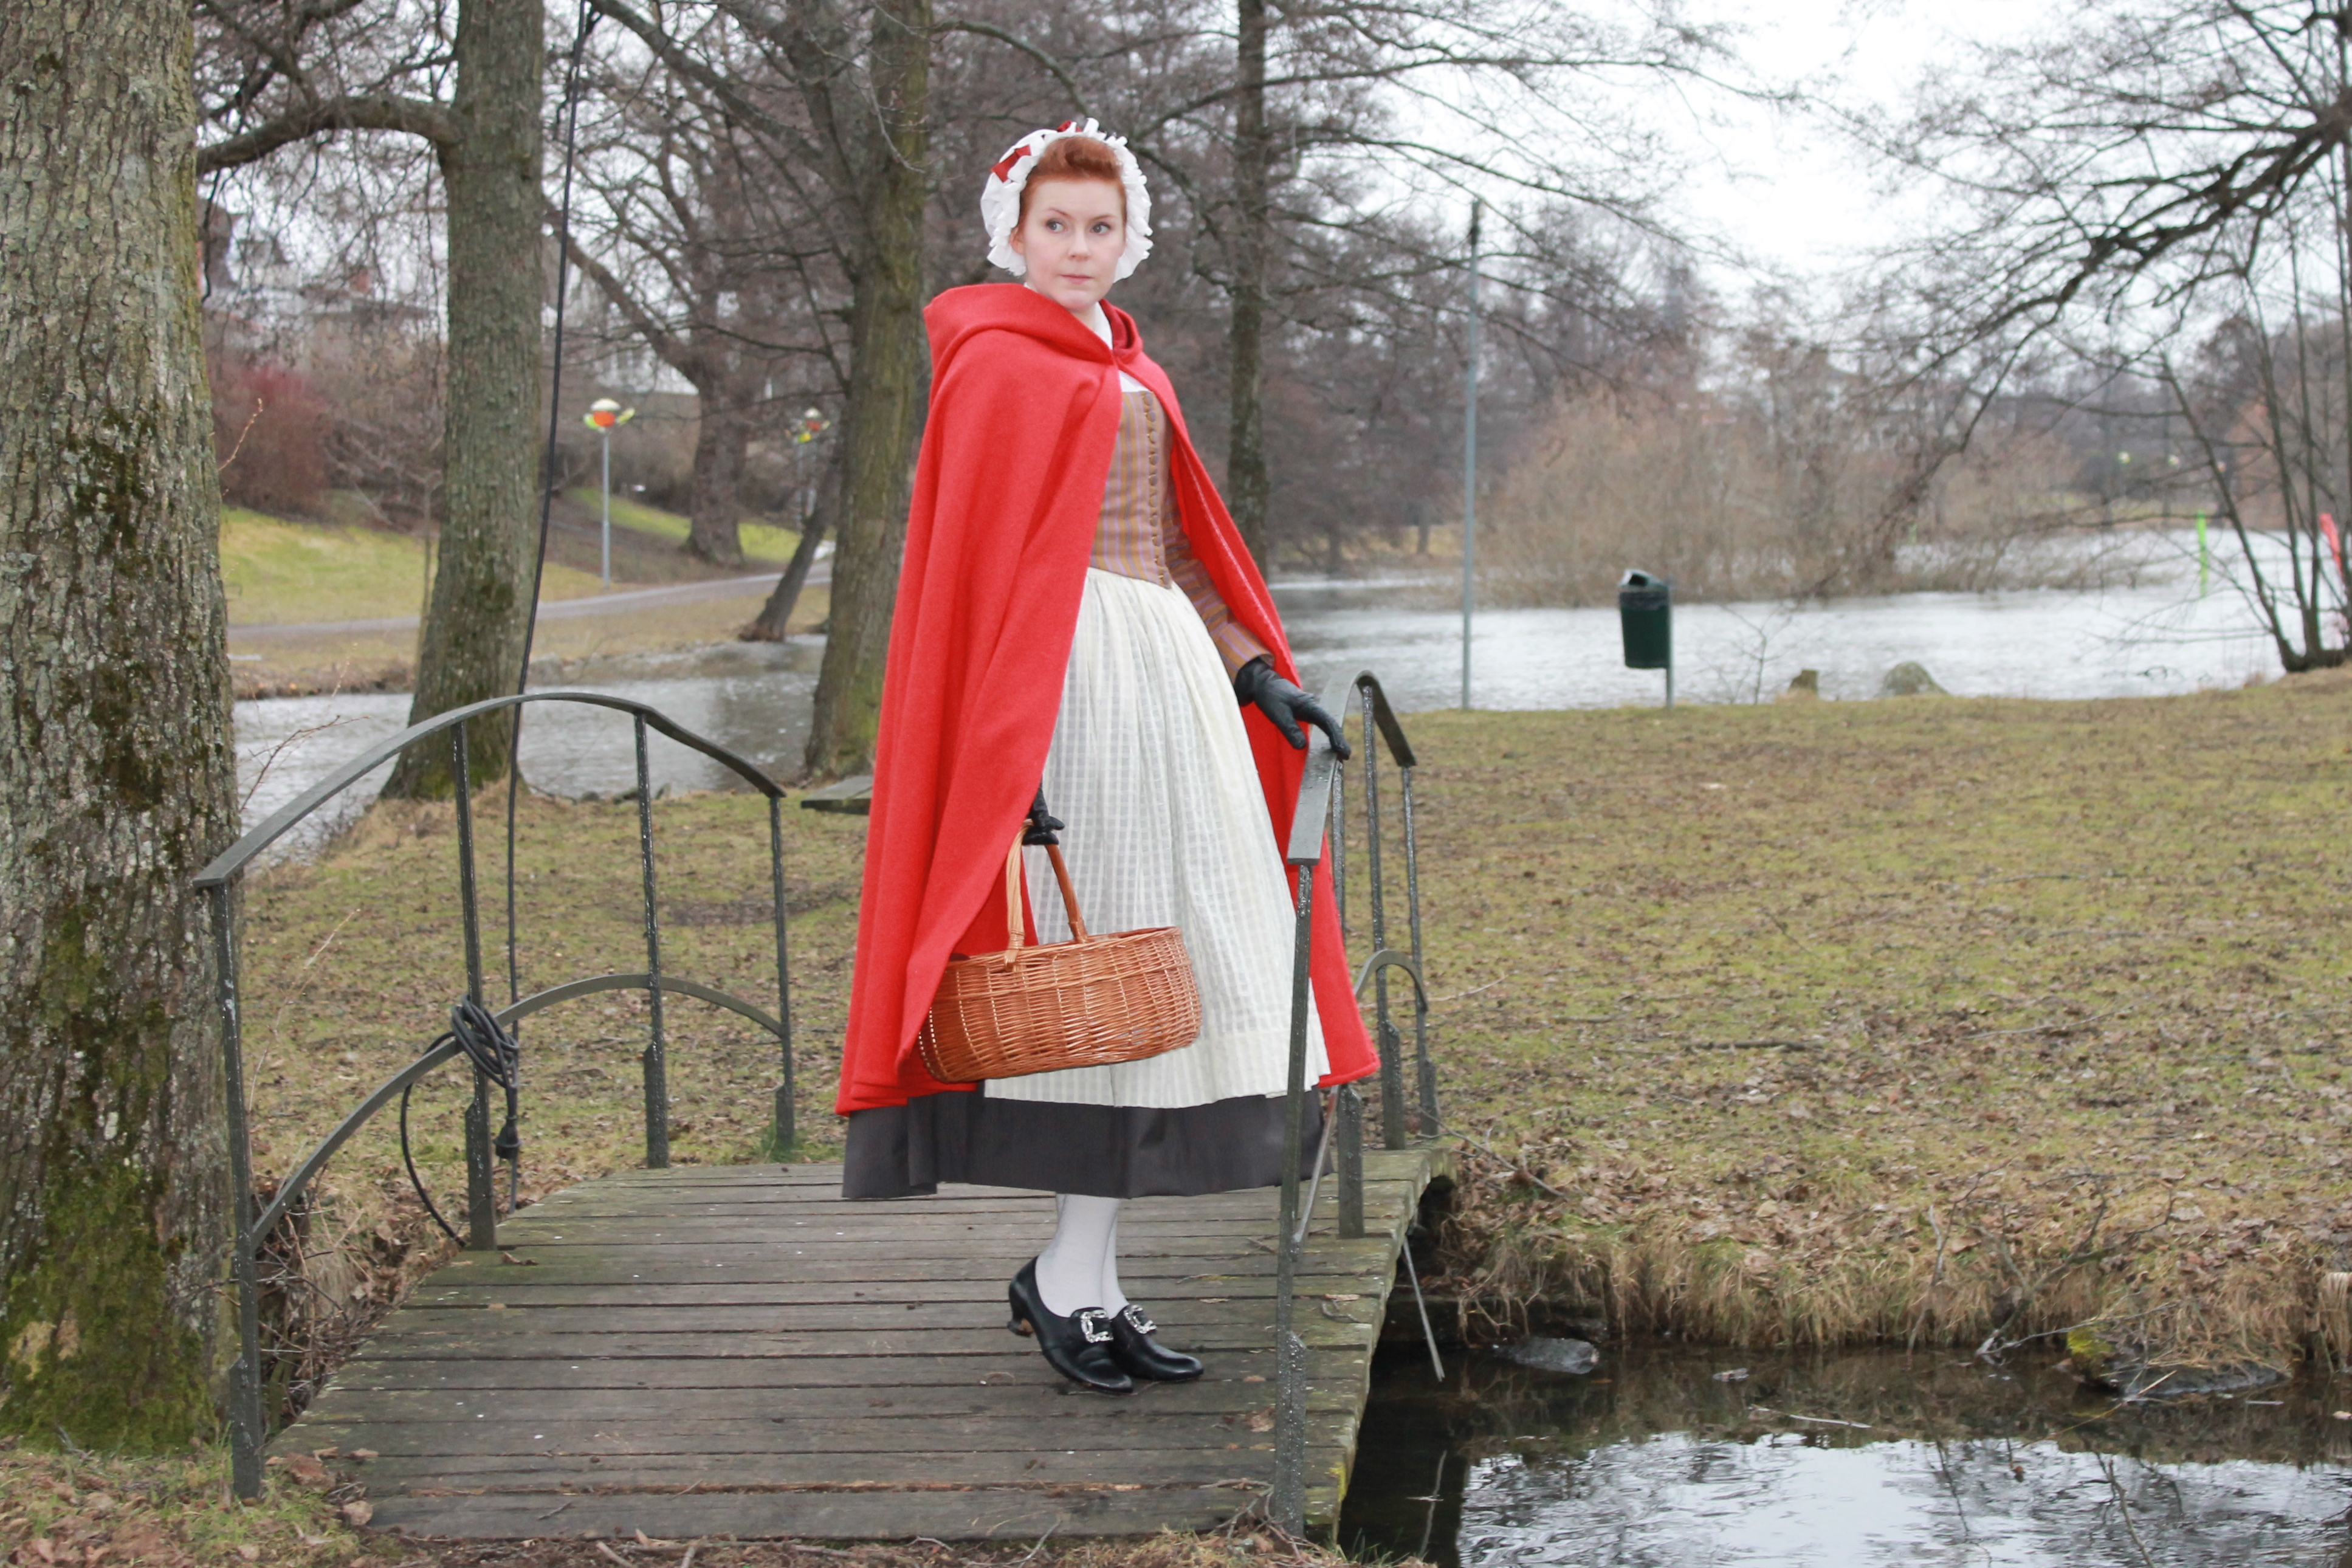
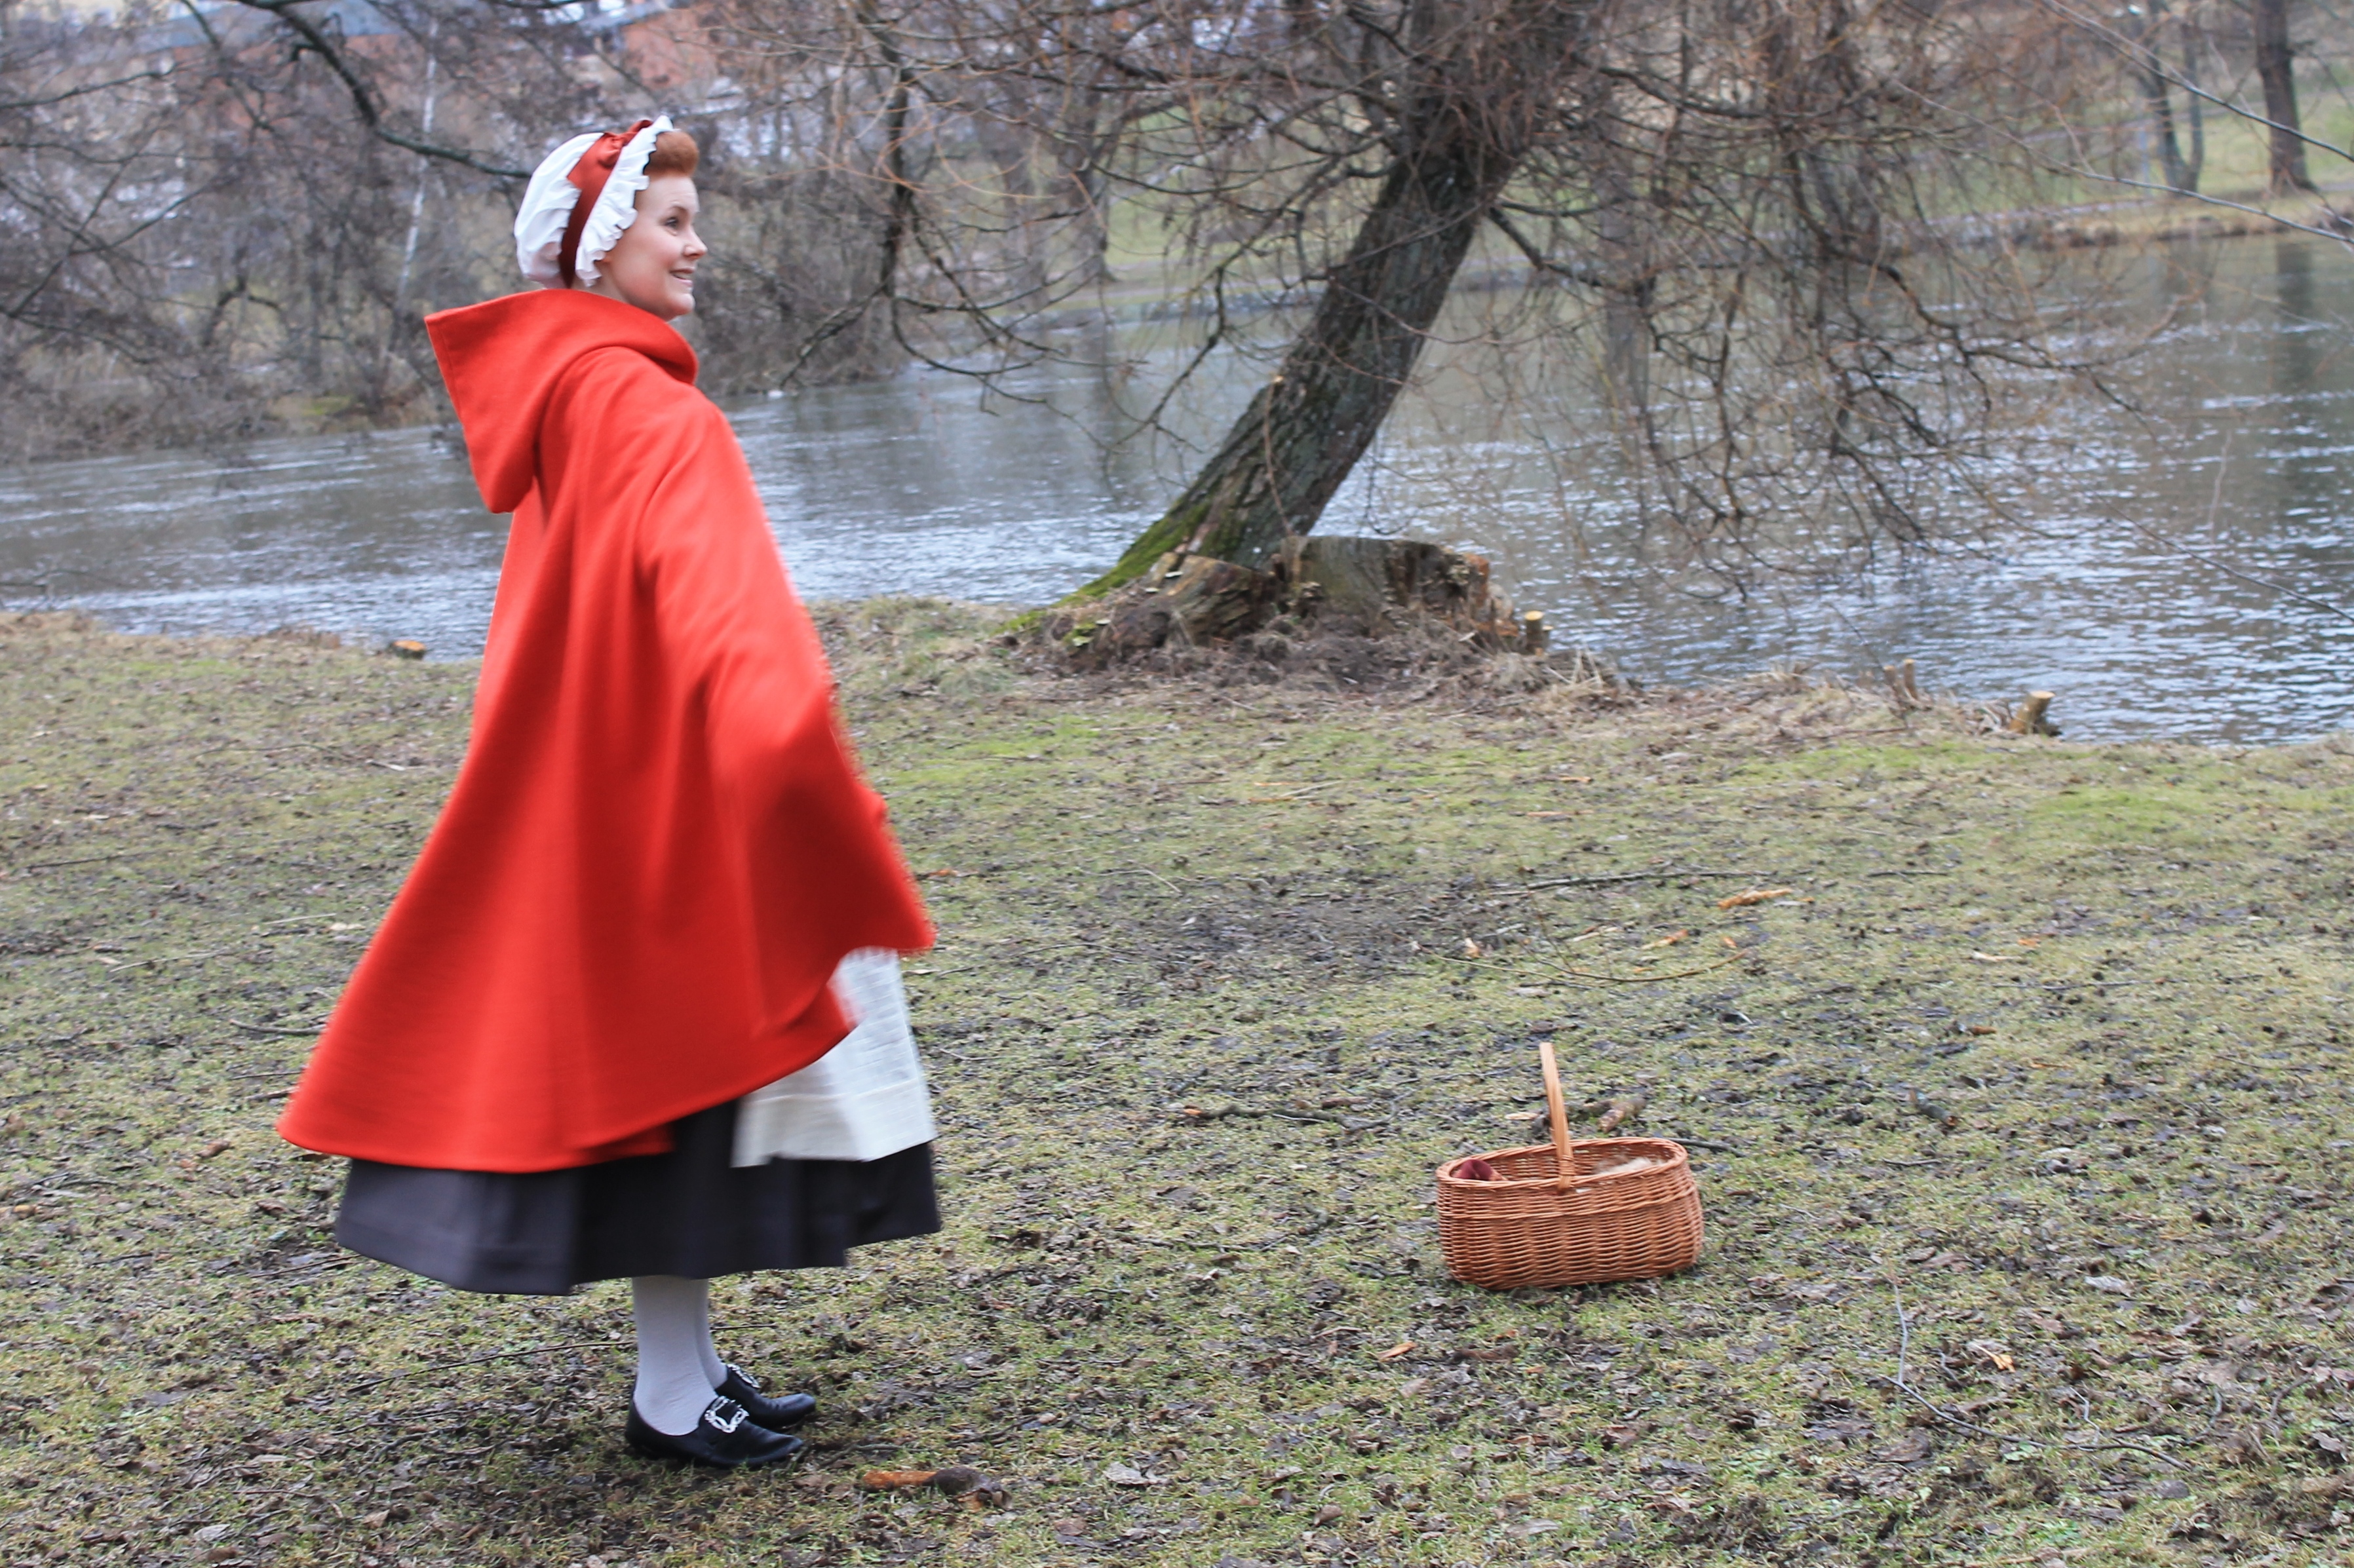
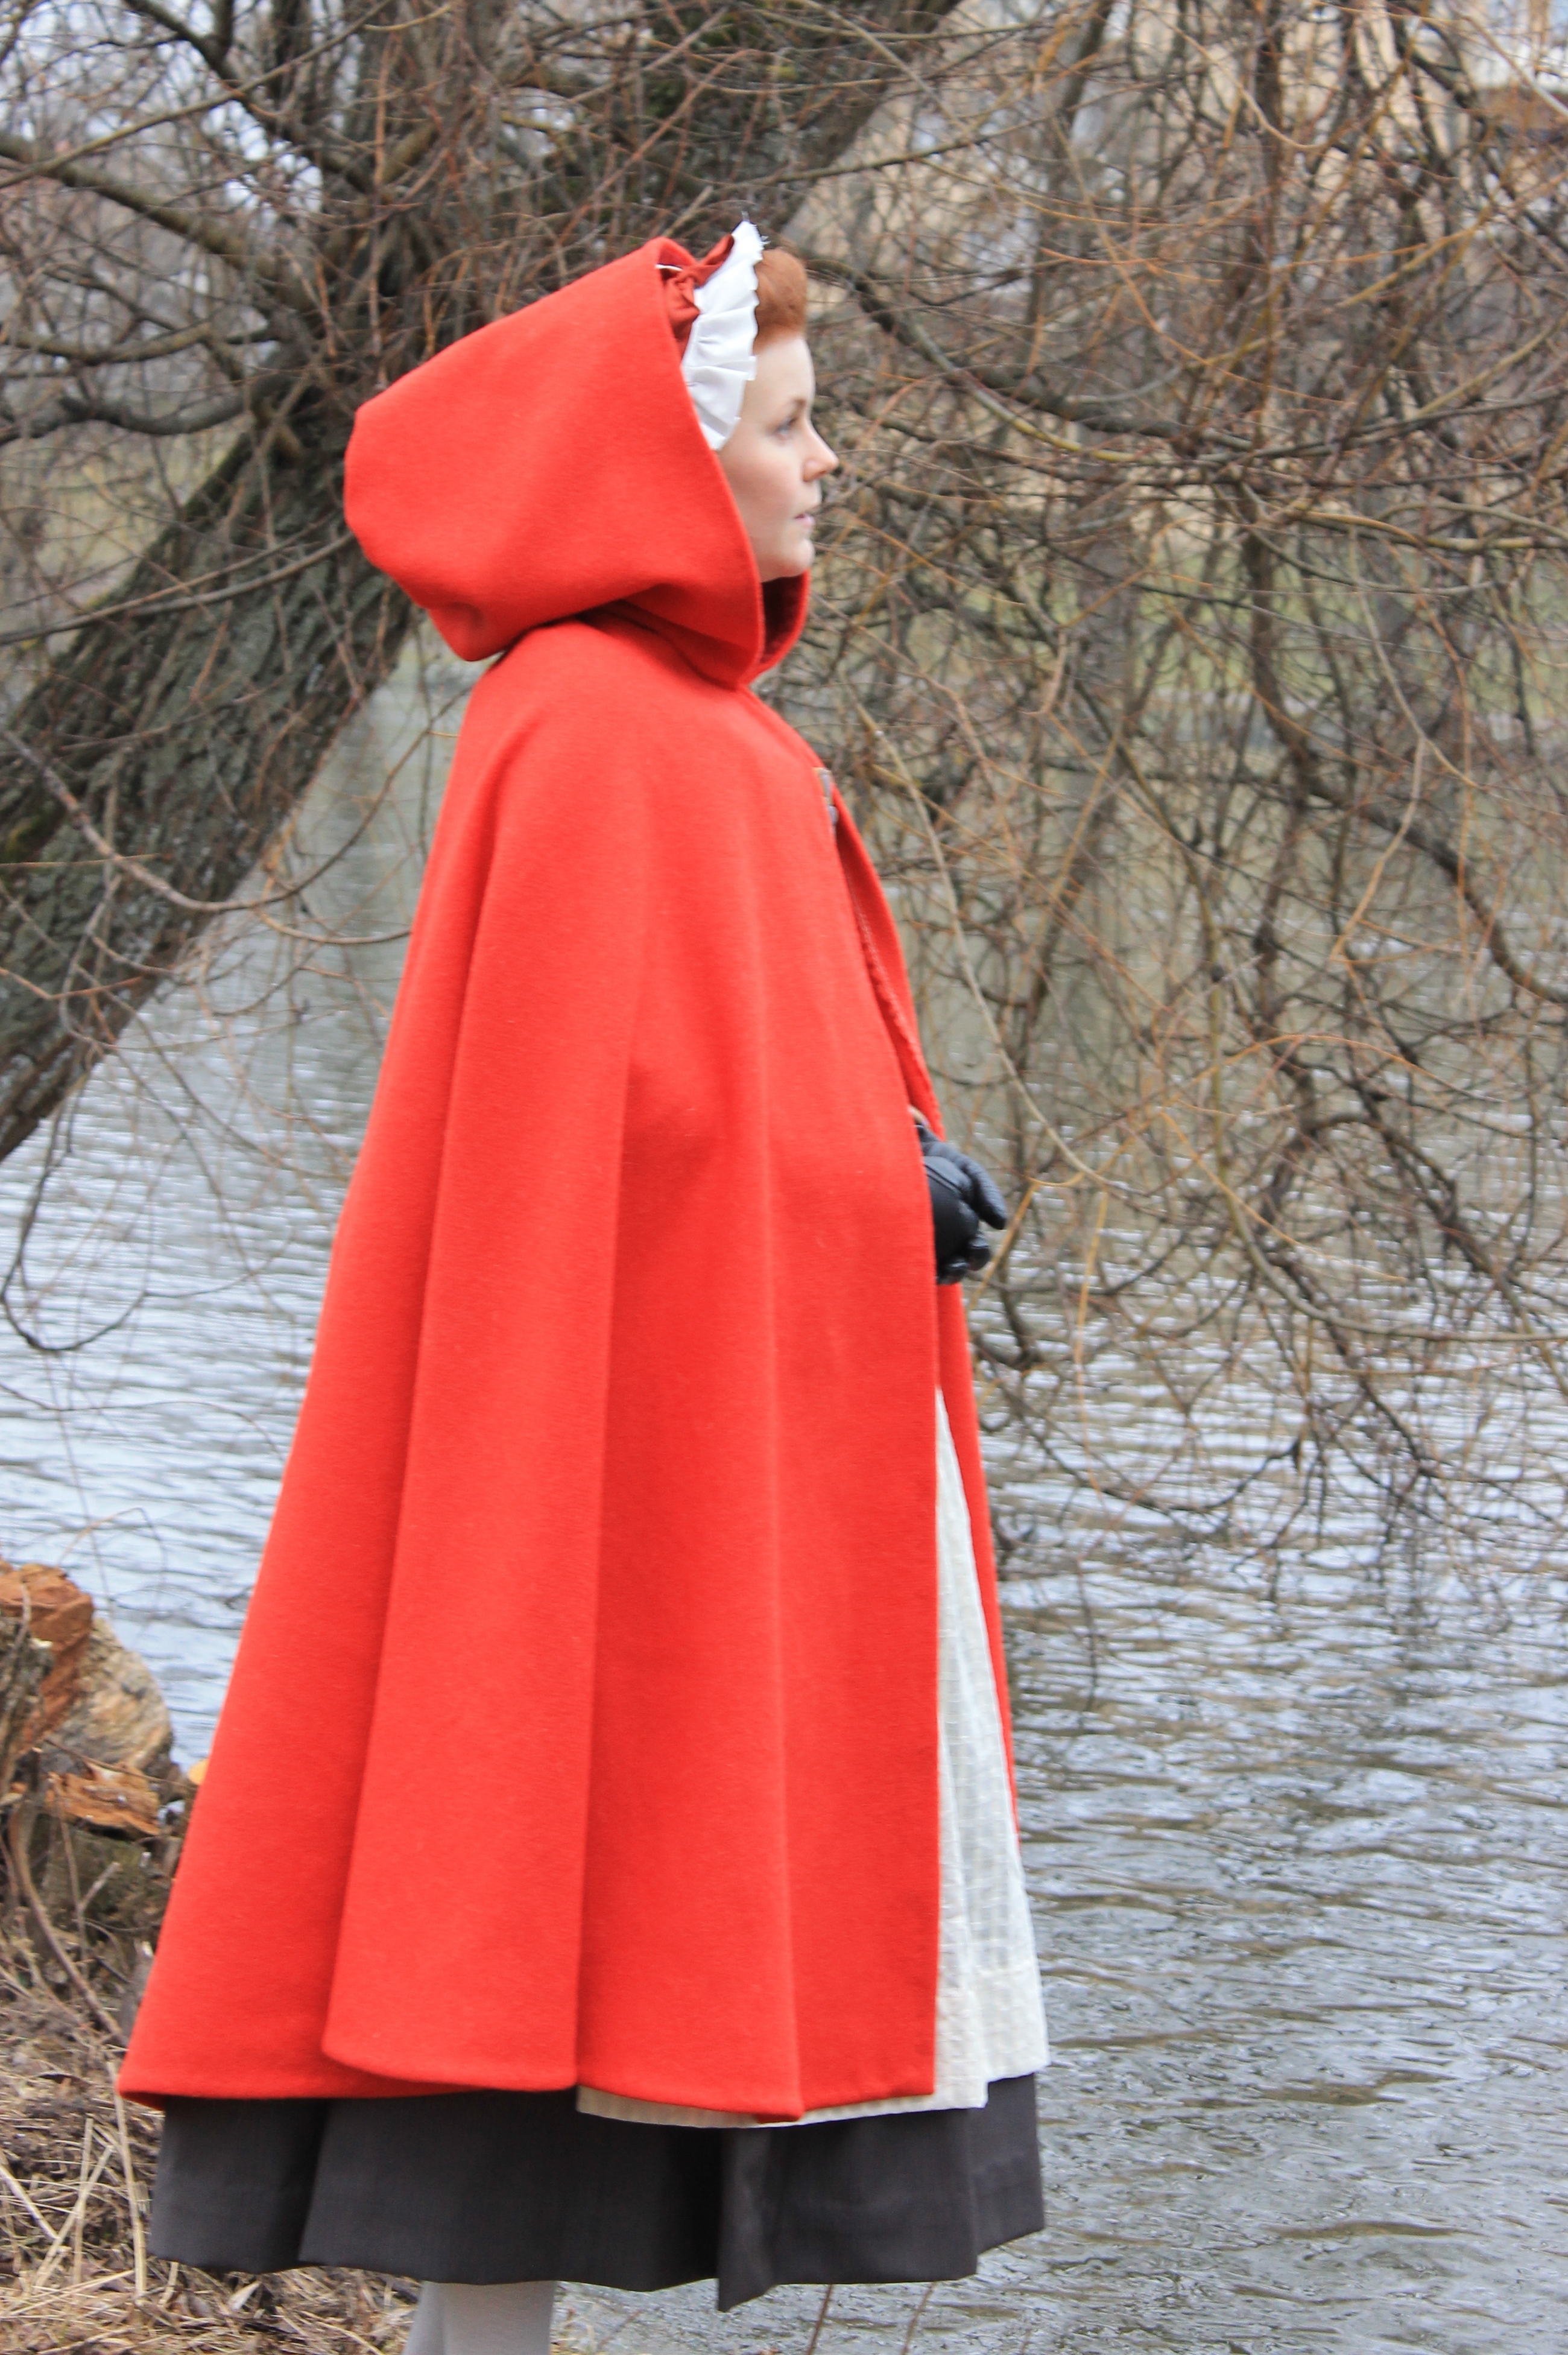
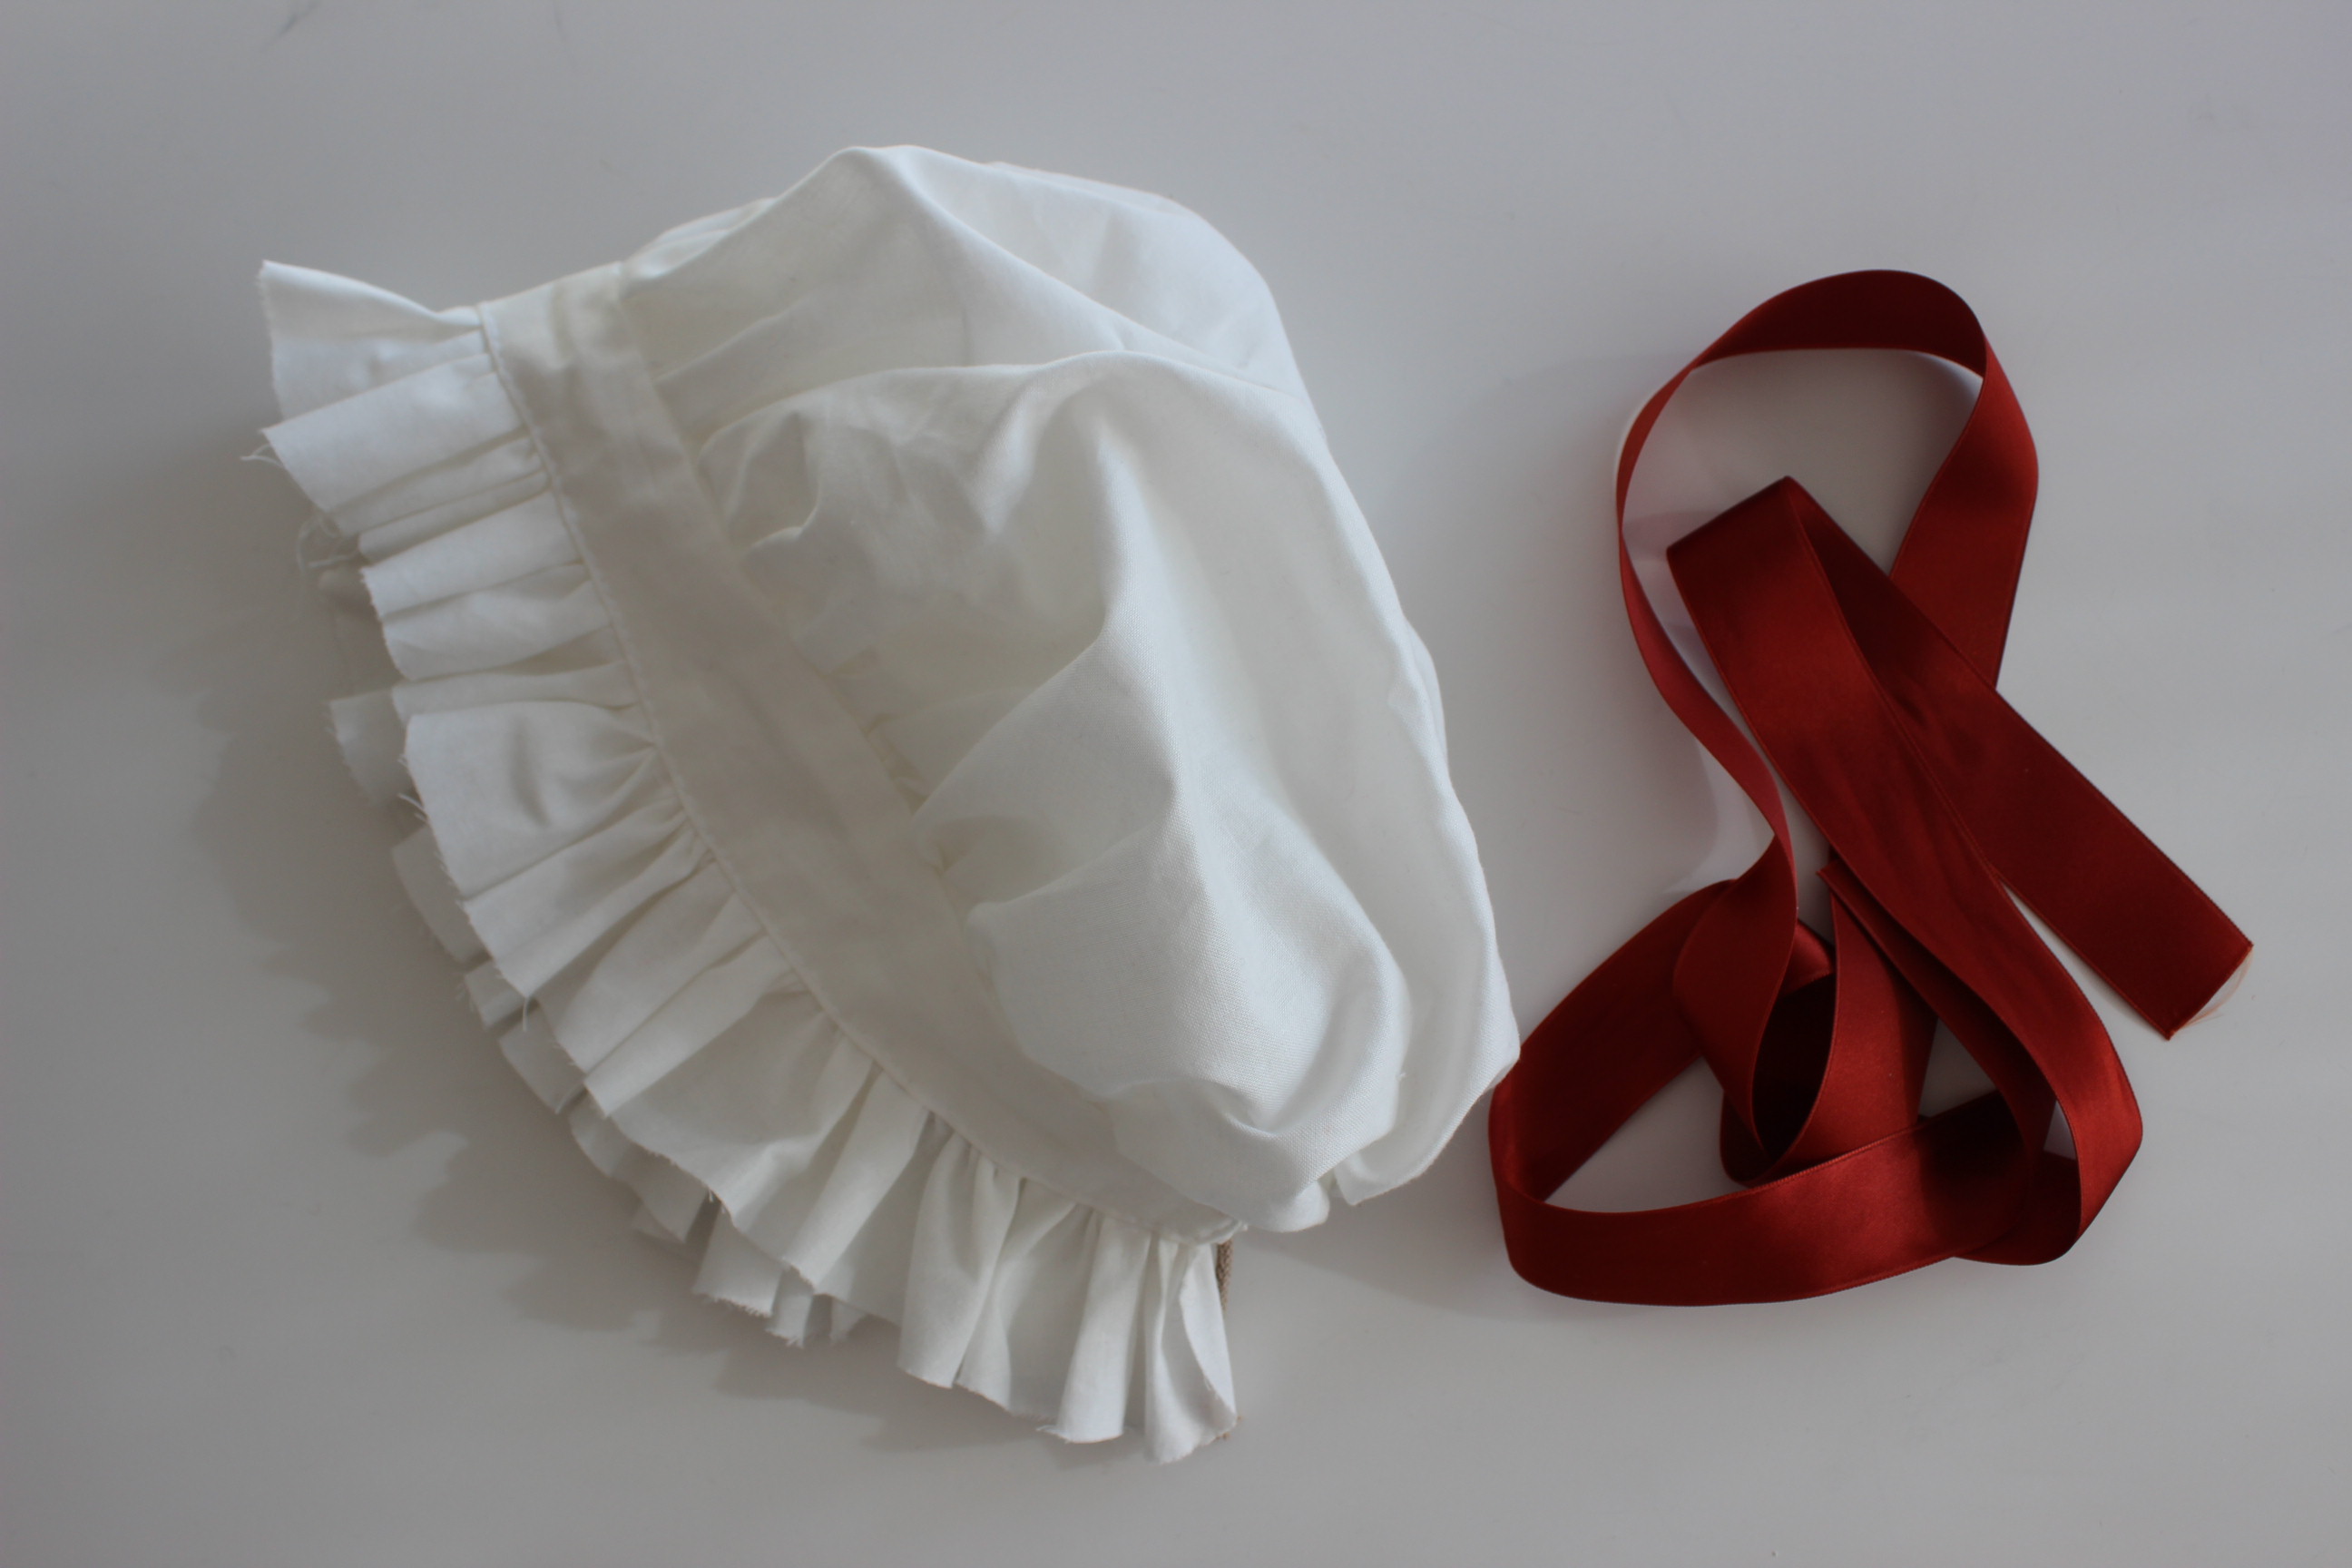
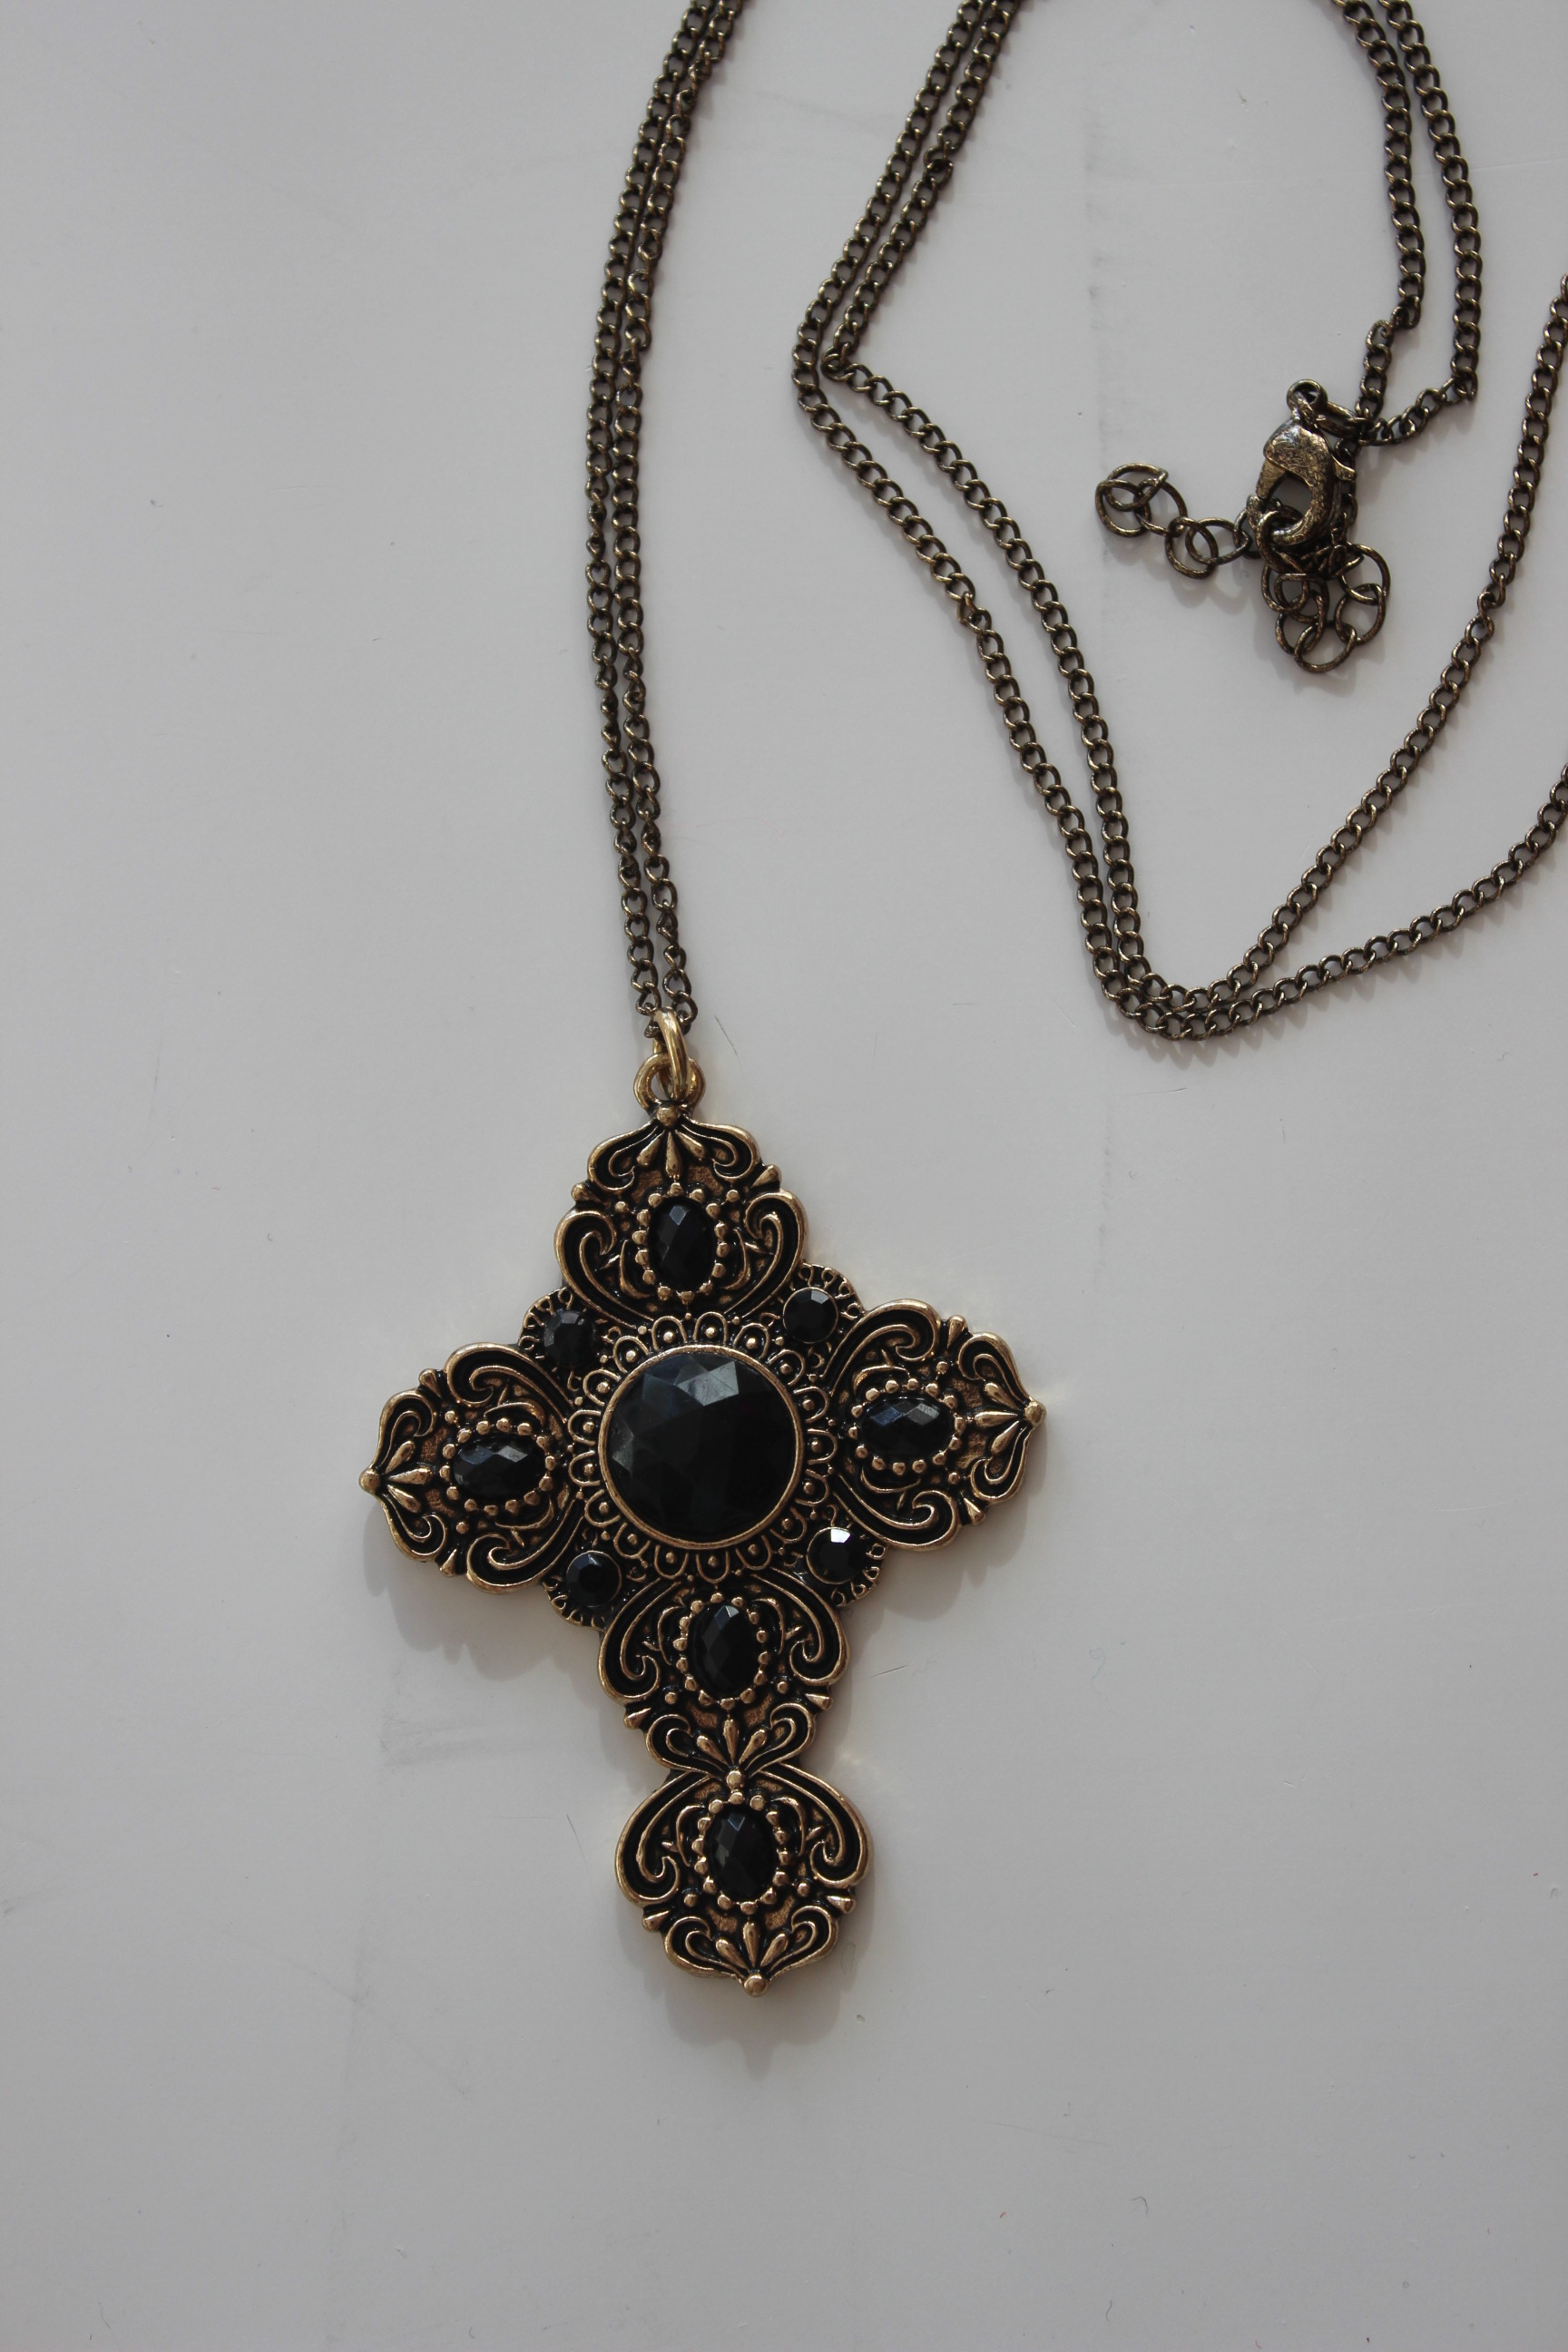
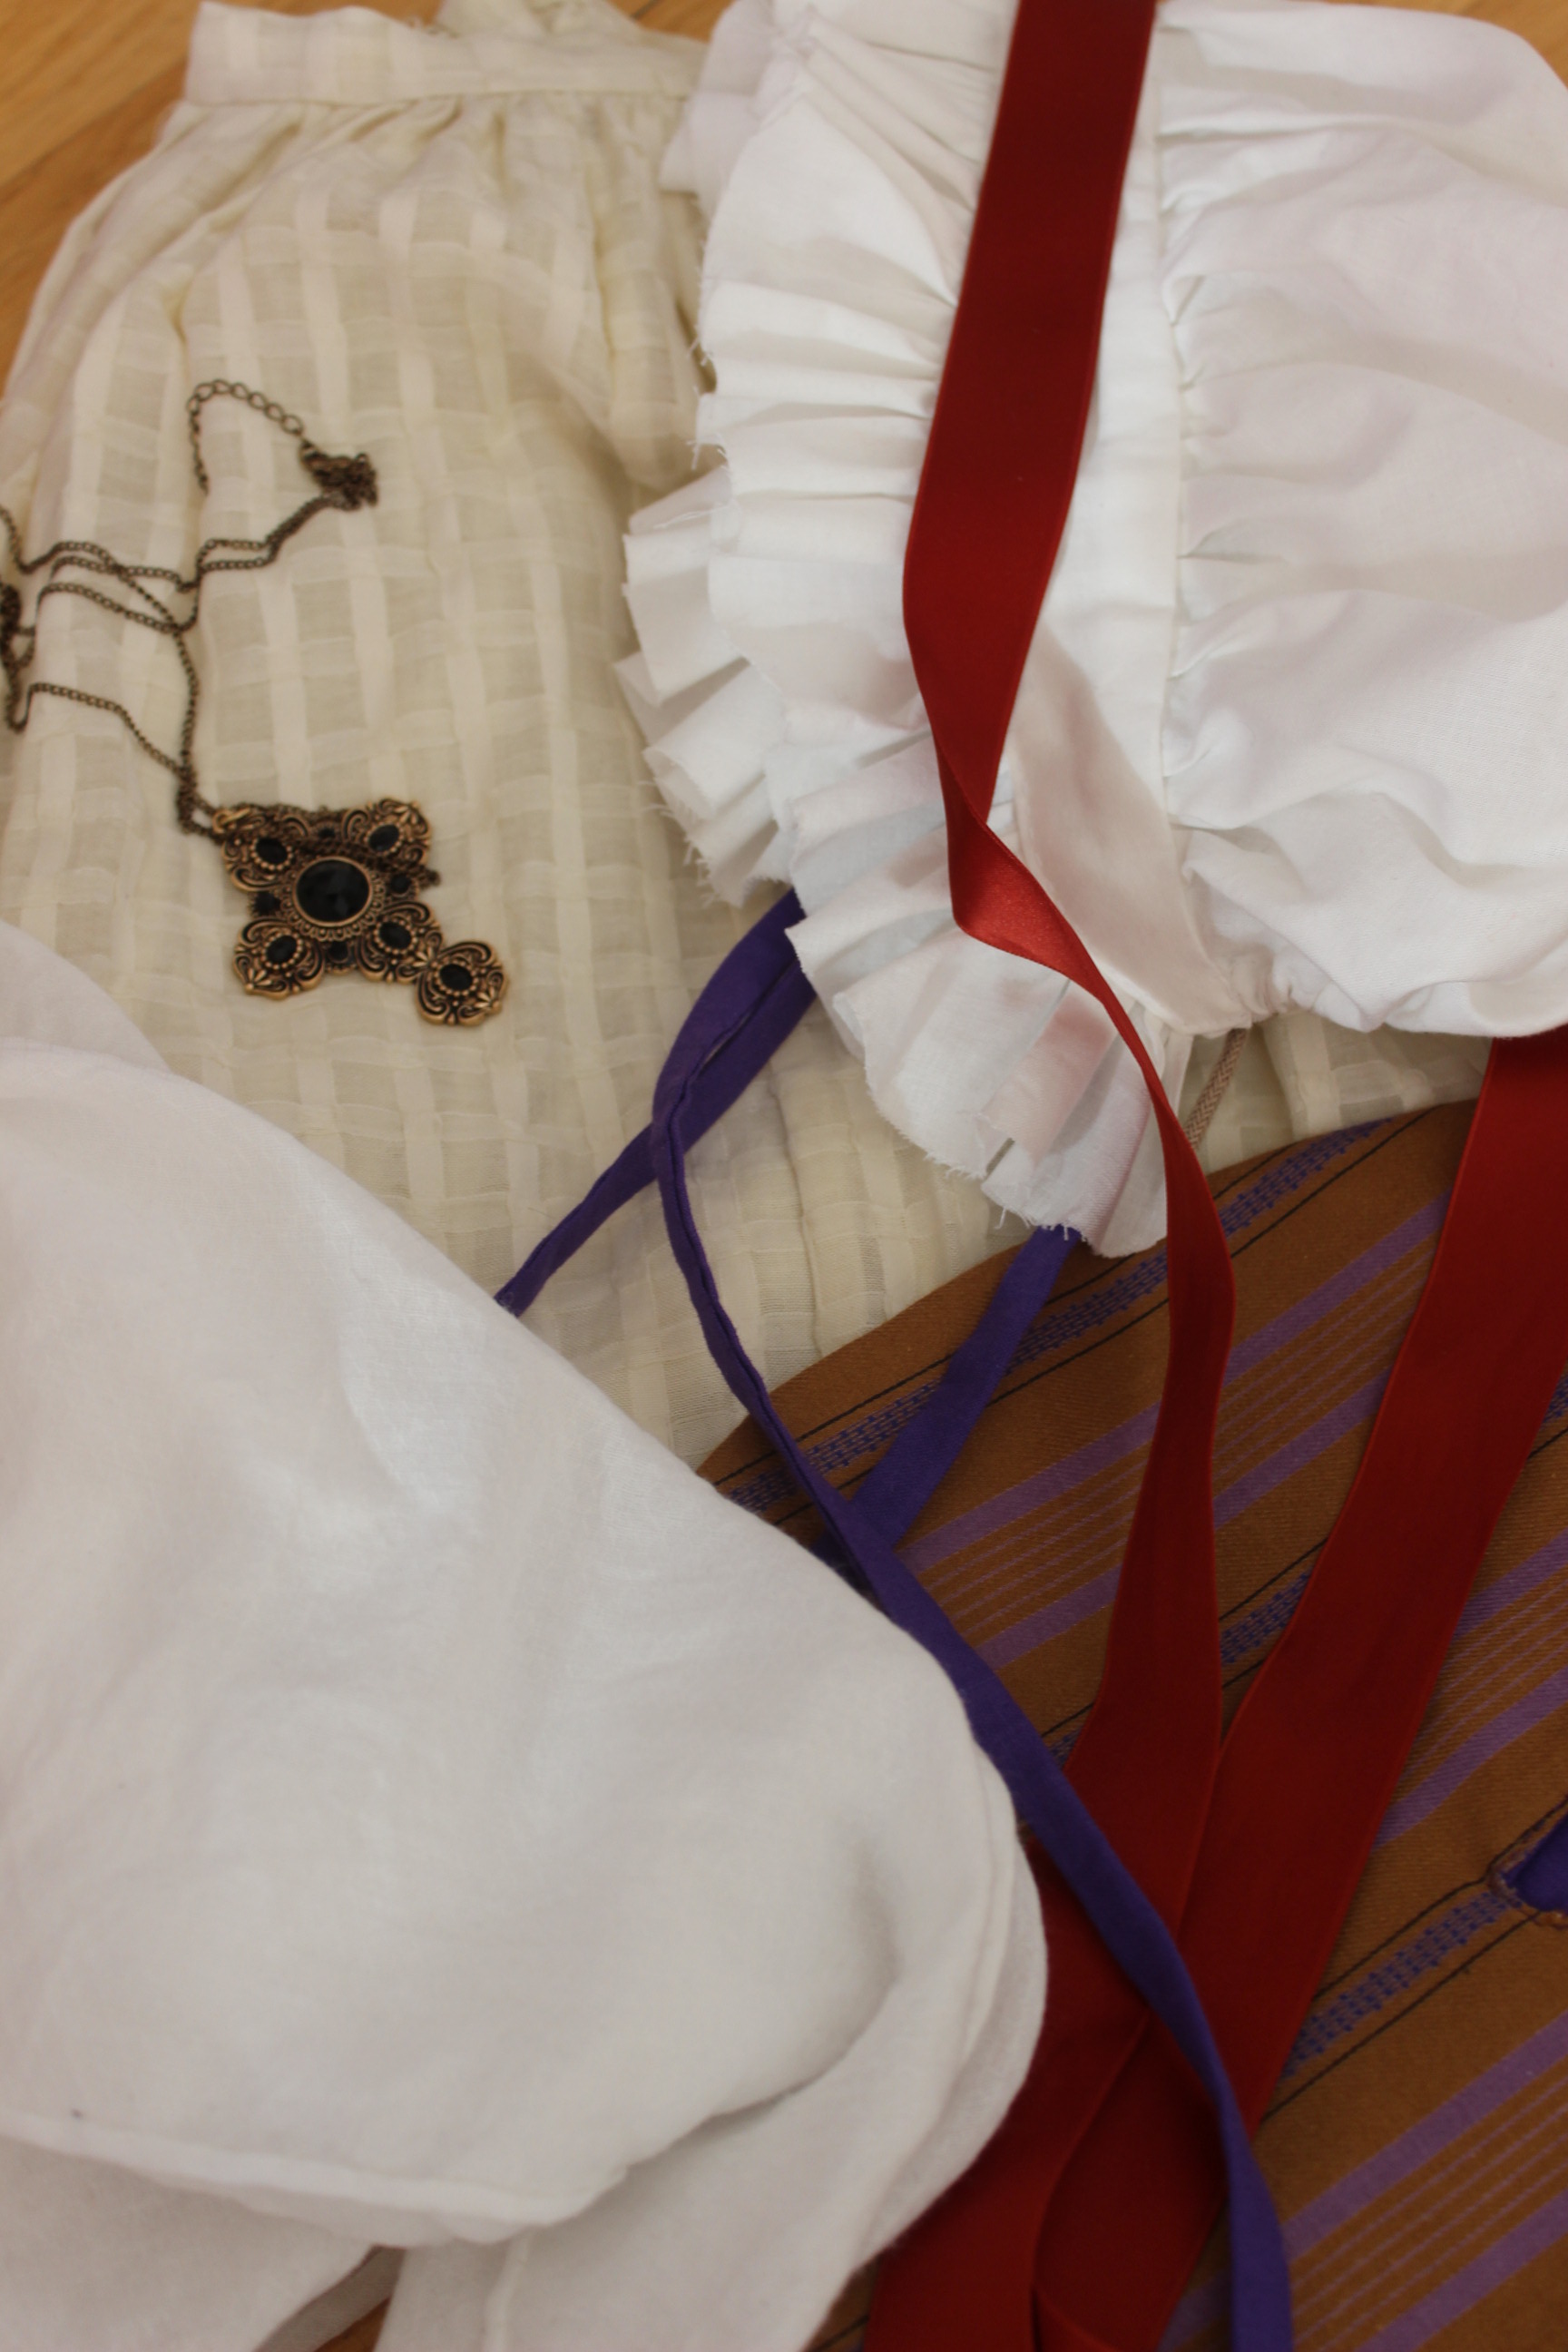
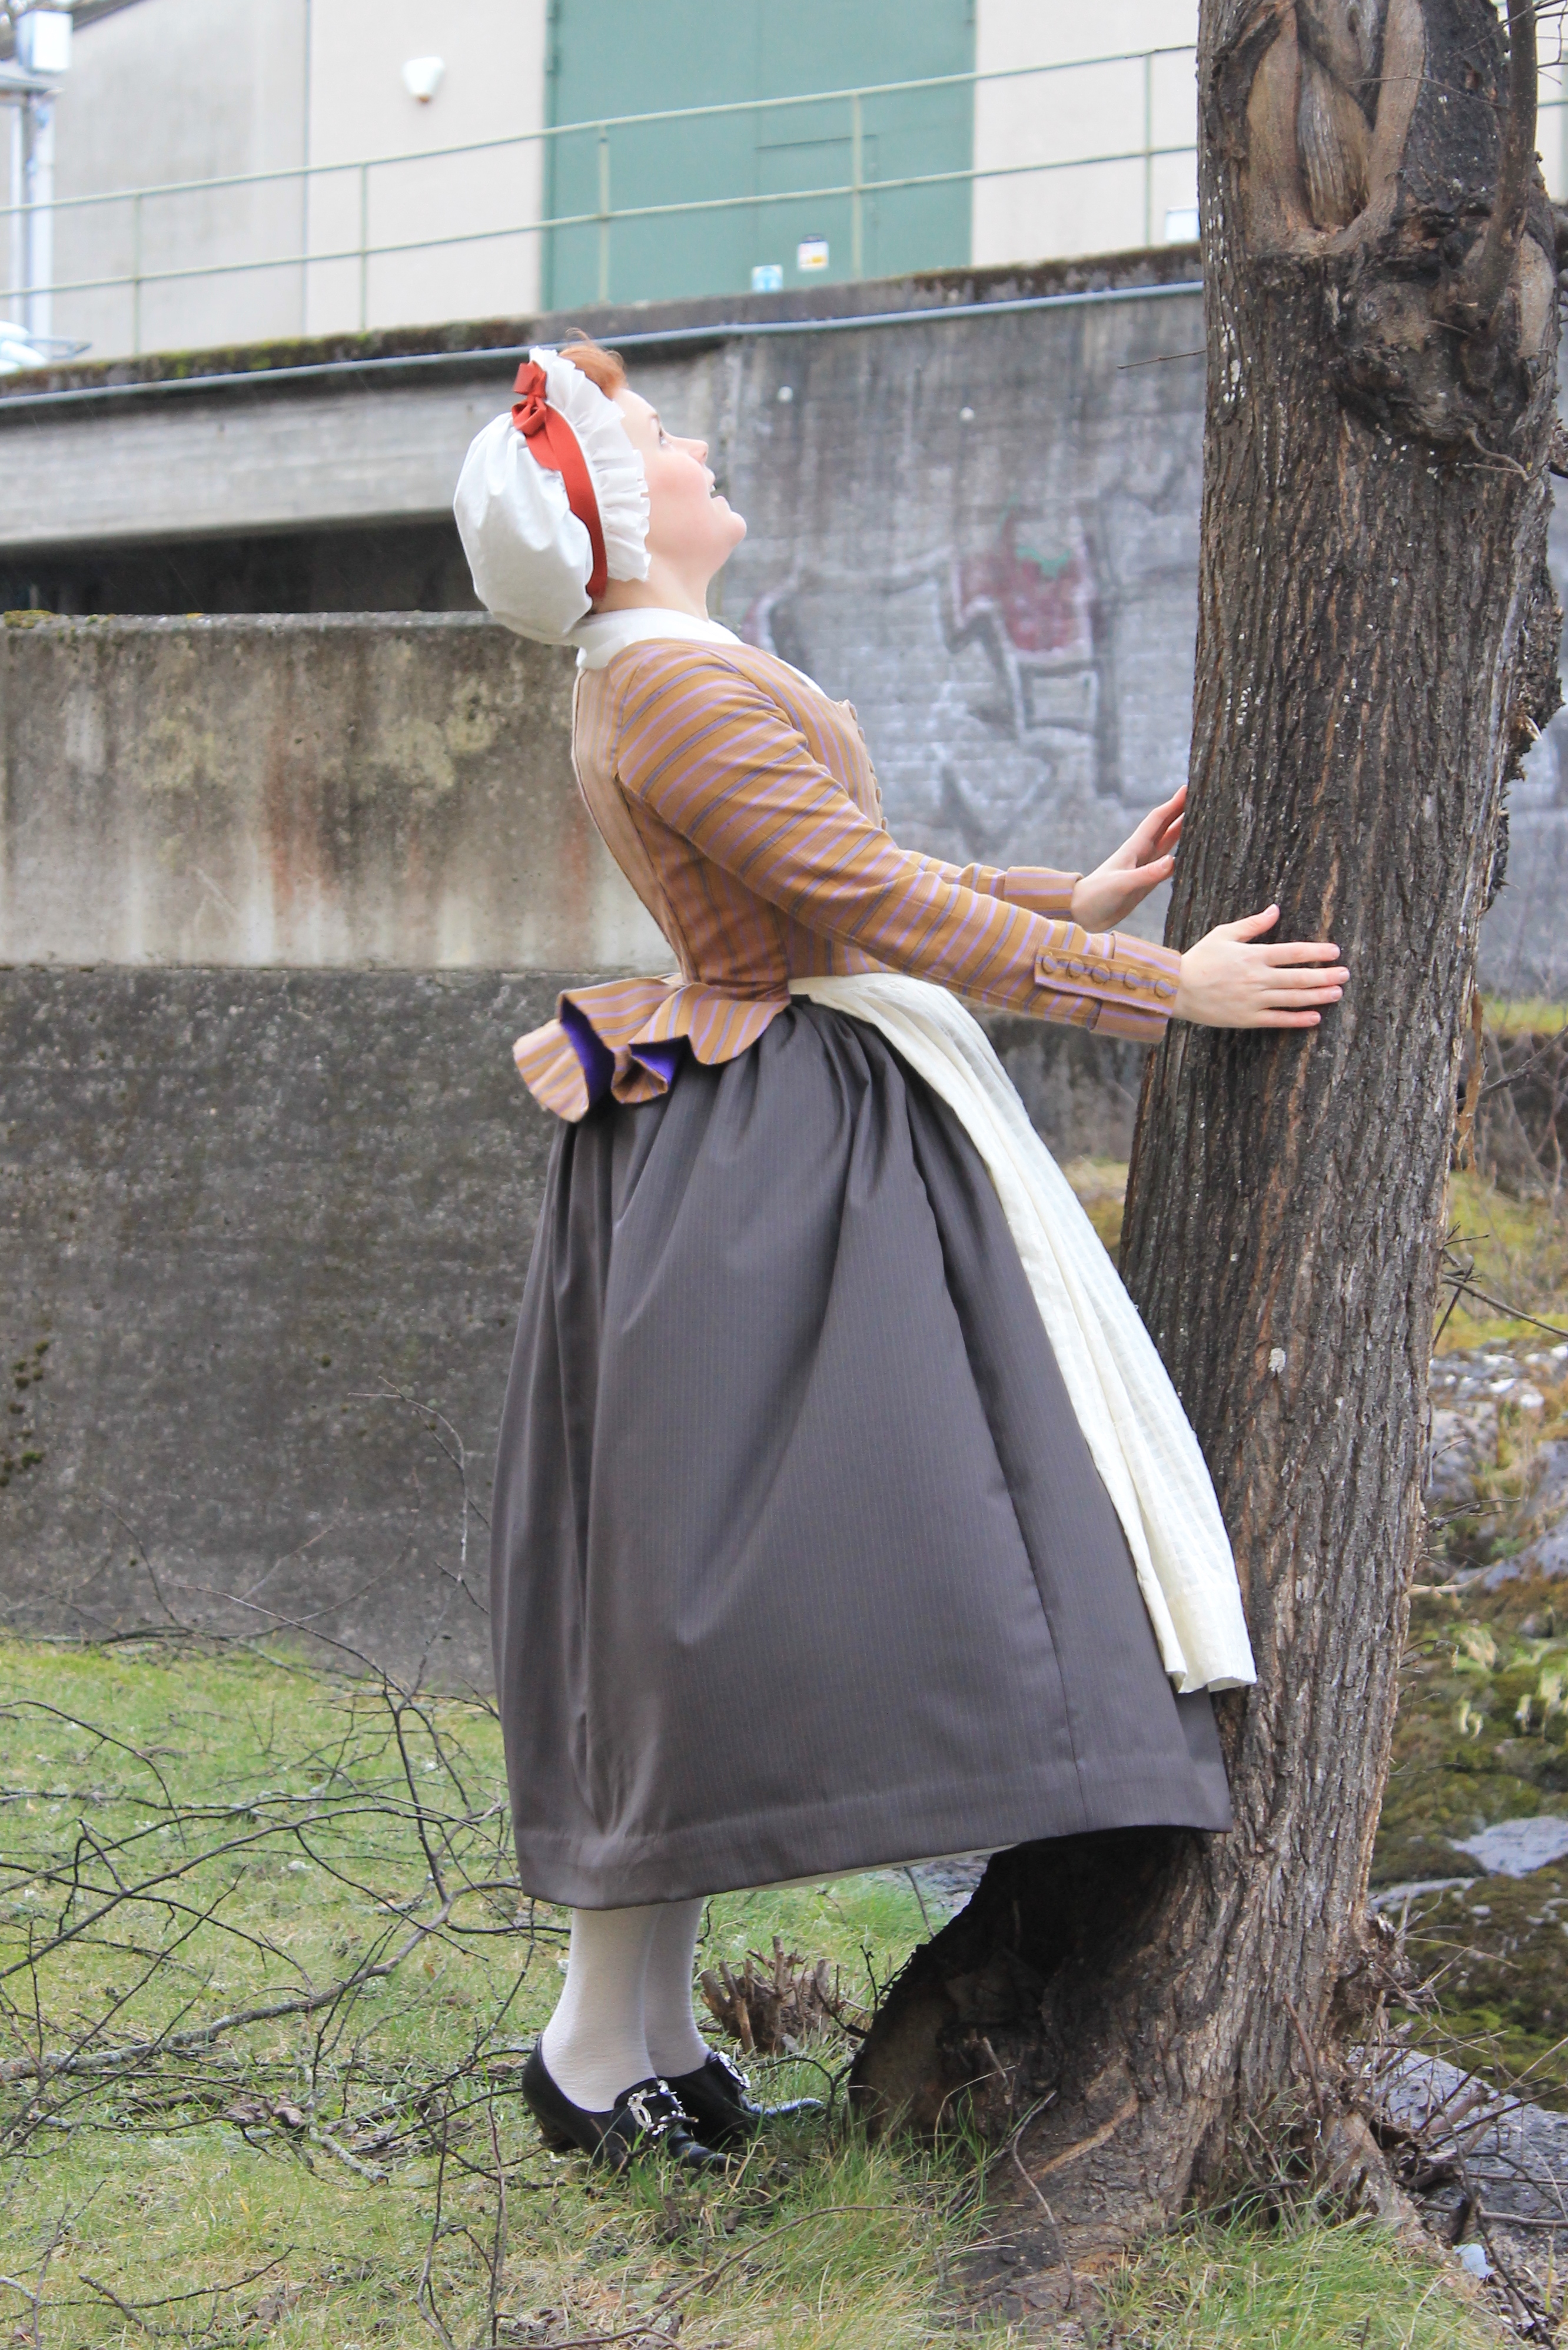
 Accessorized and ready for more pictures.


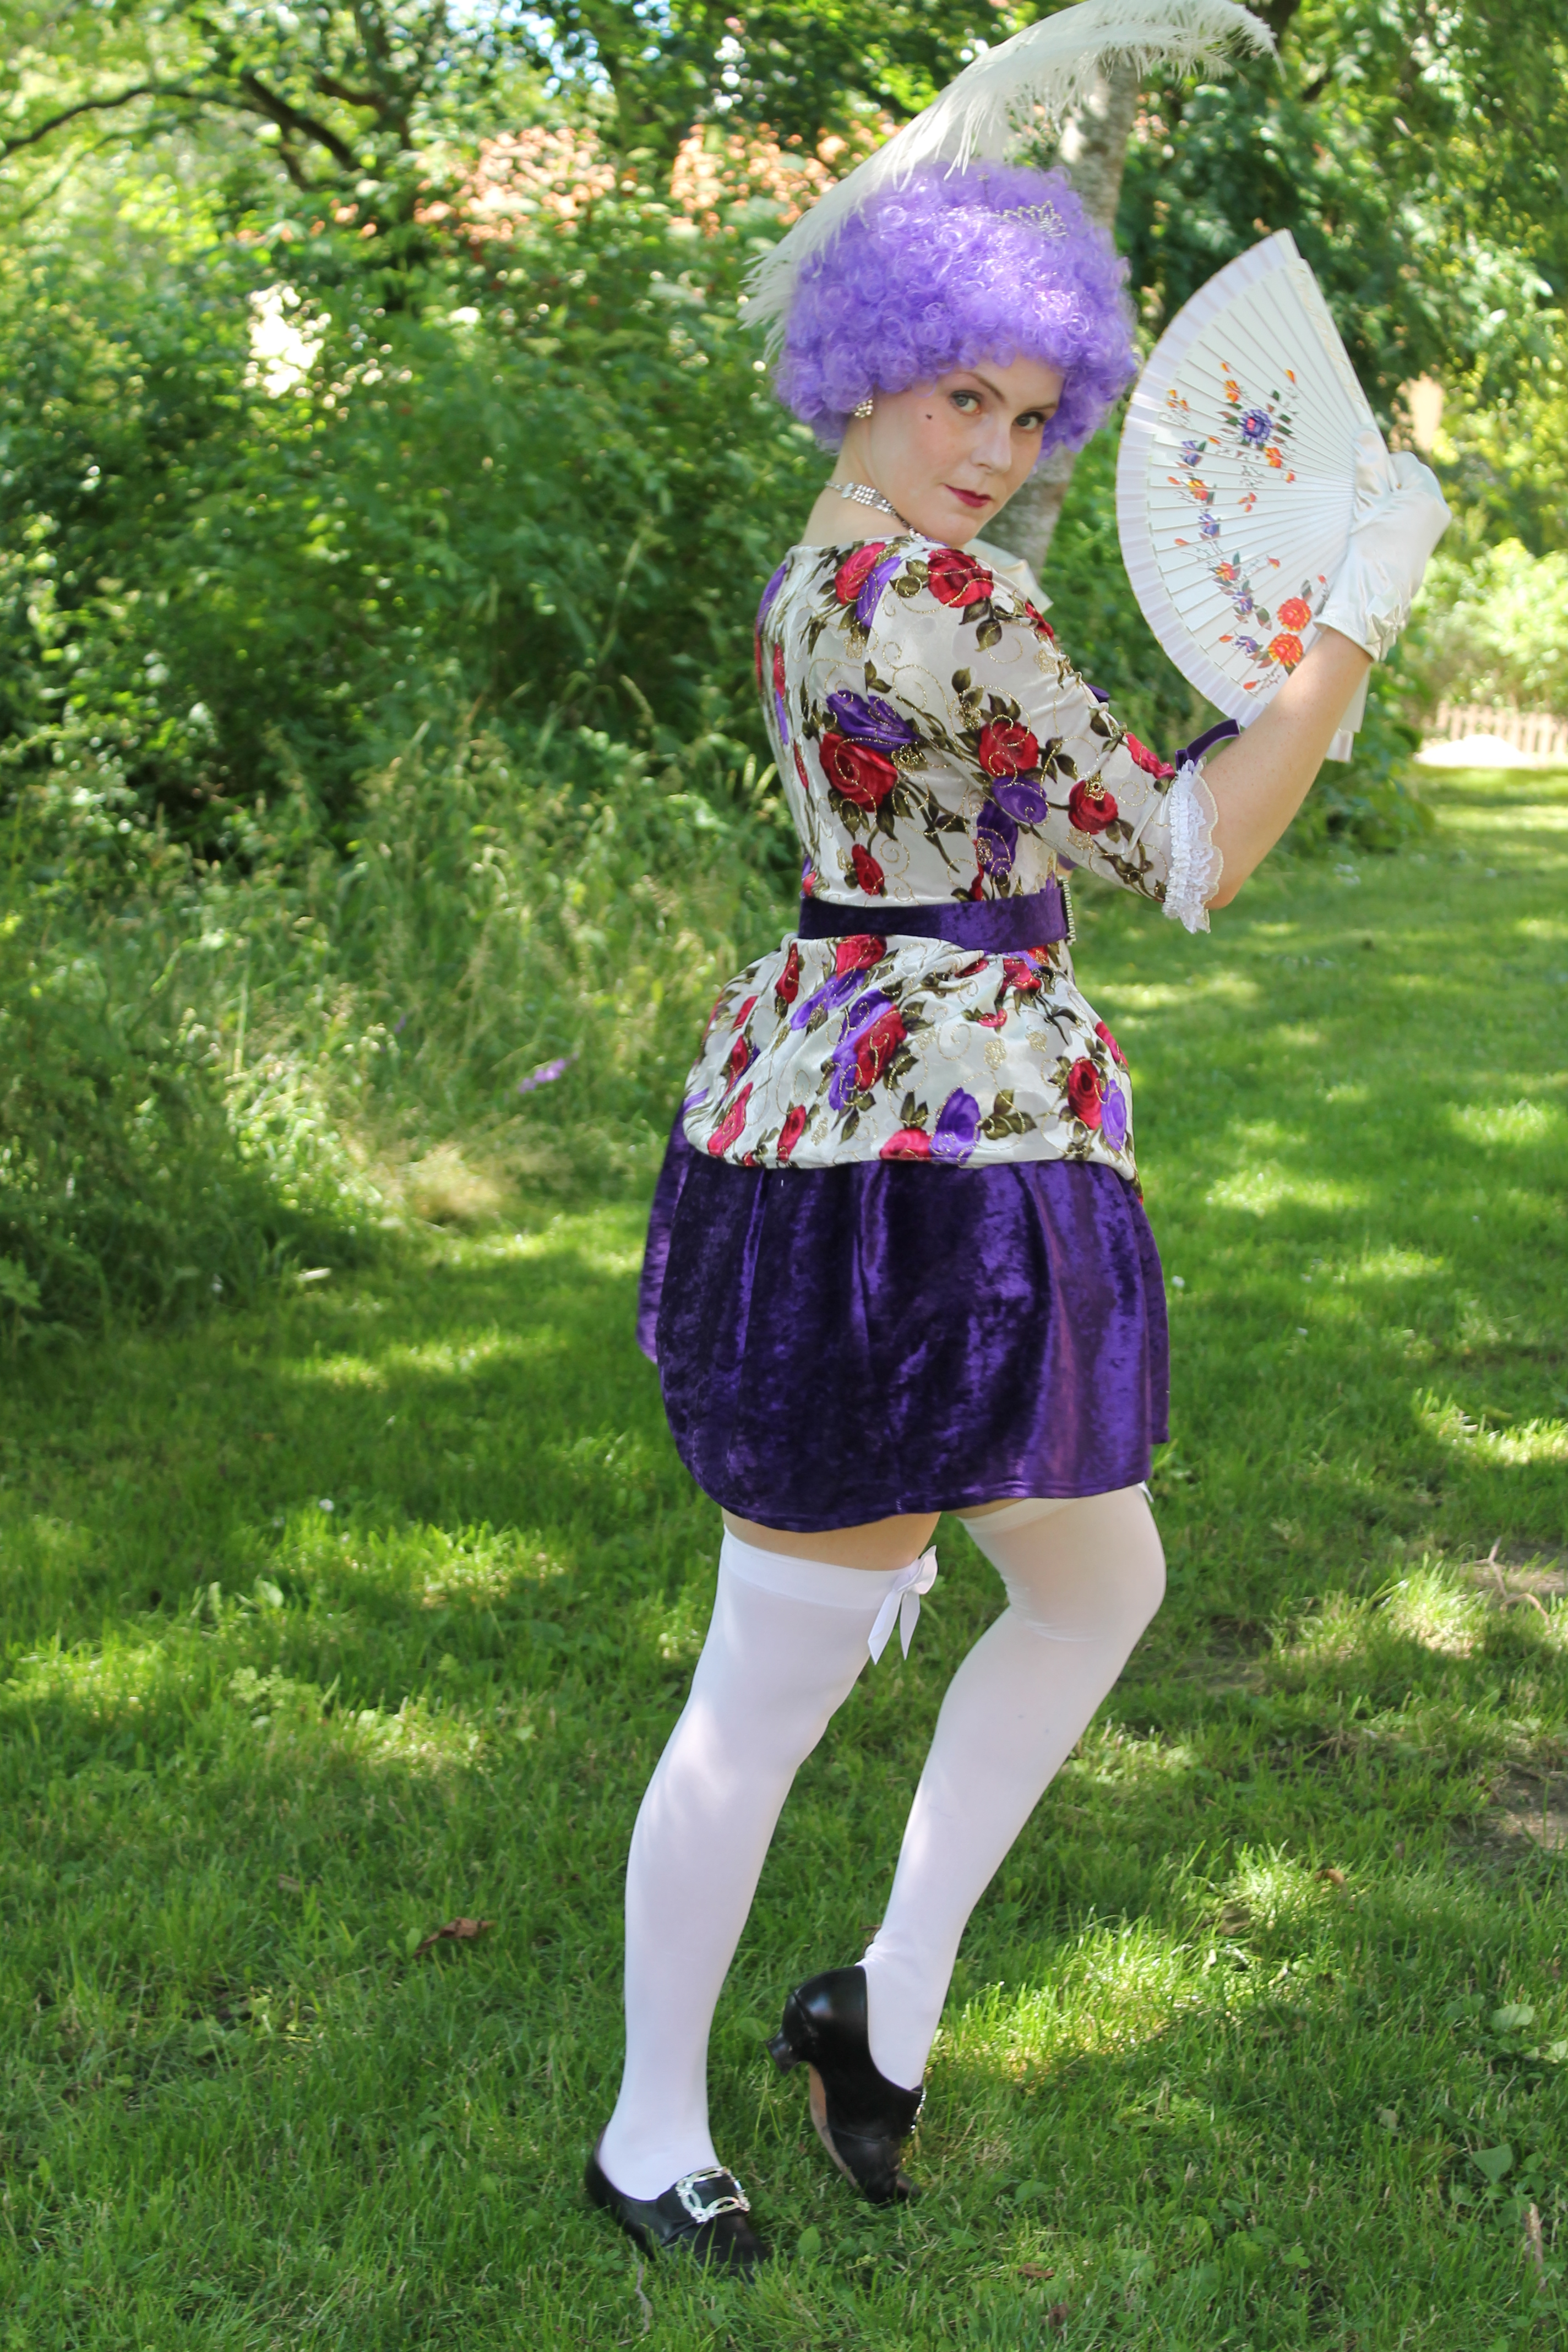


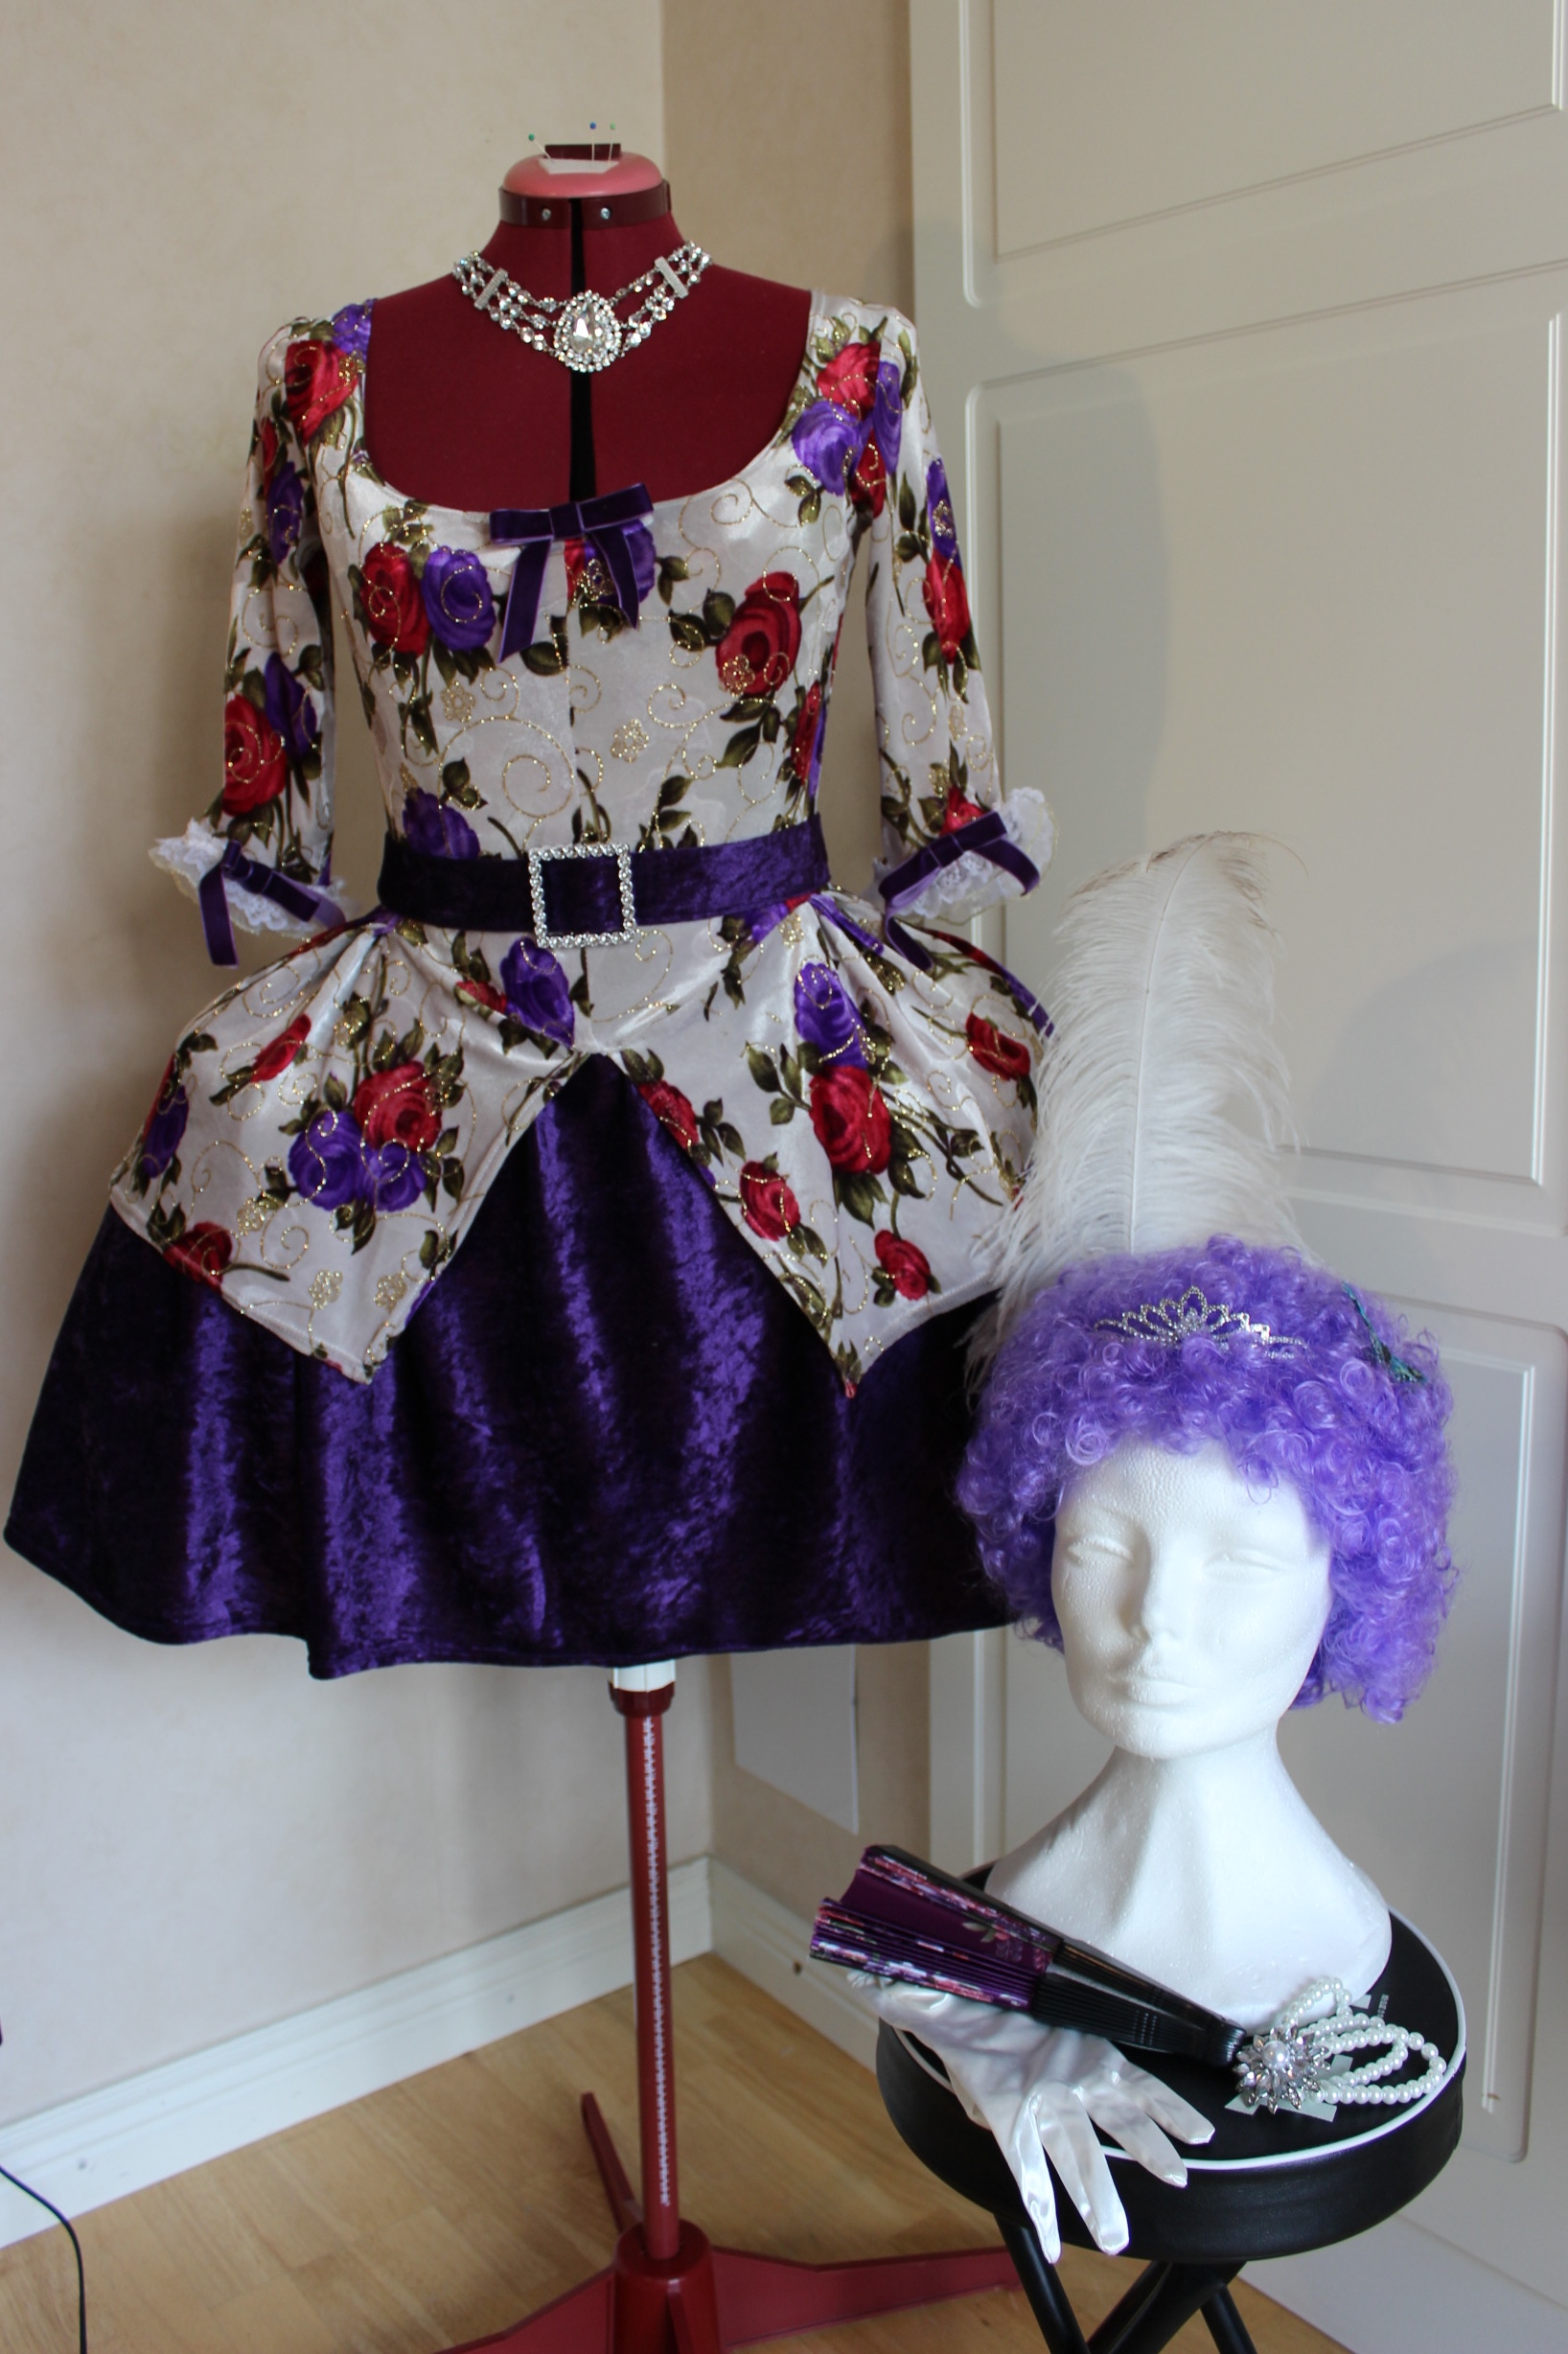
 Doll Antoinette
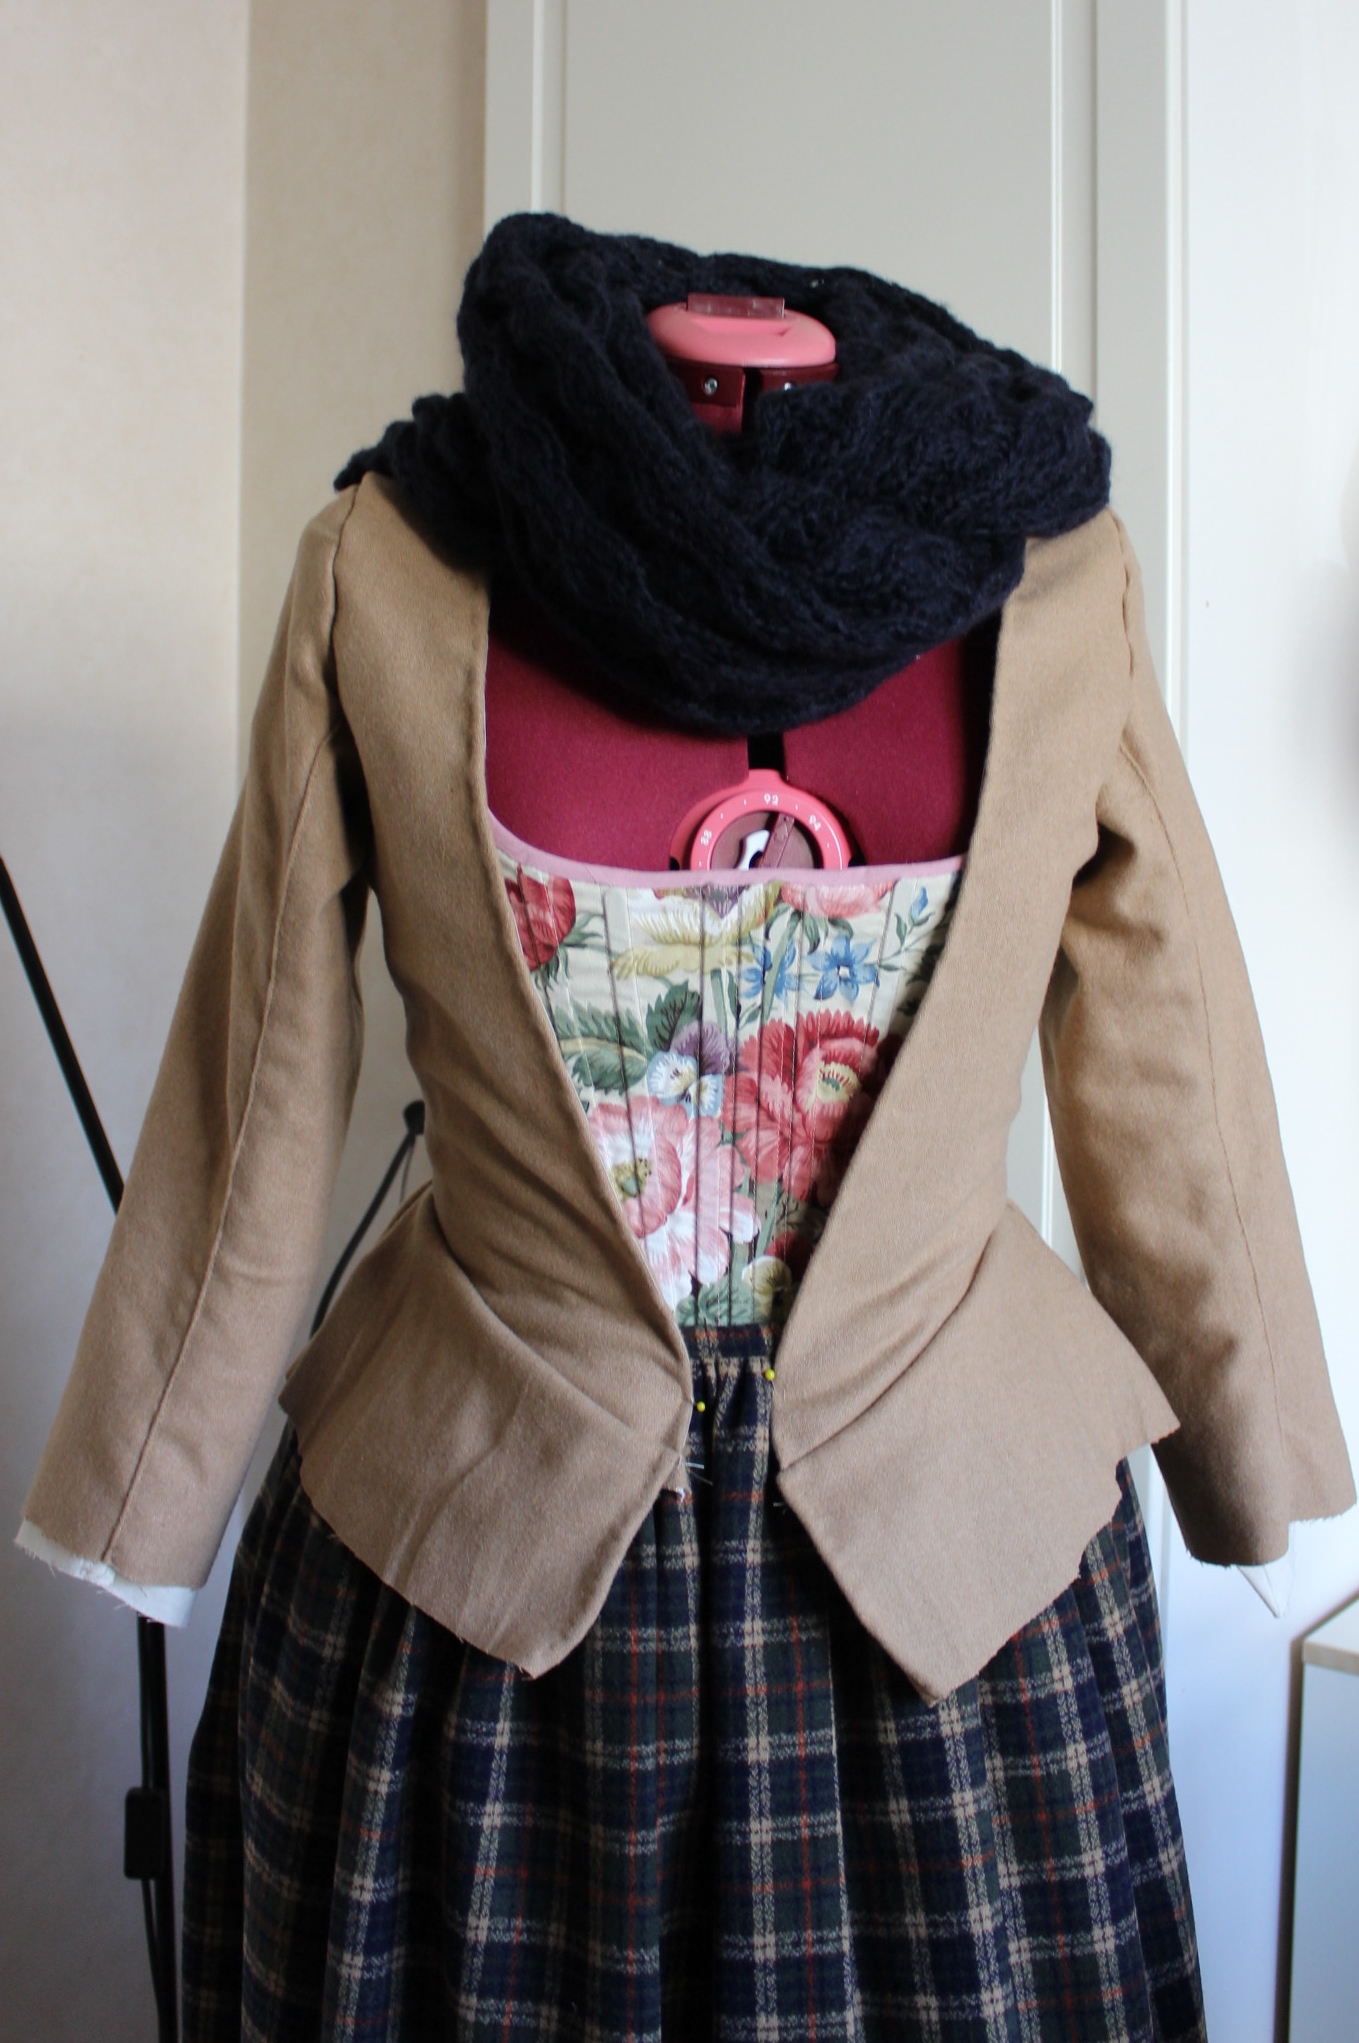
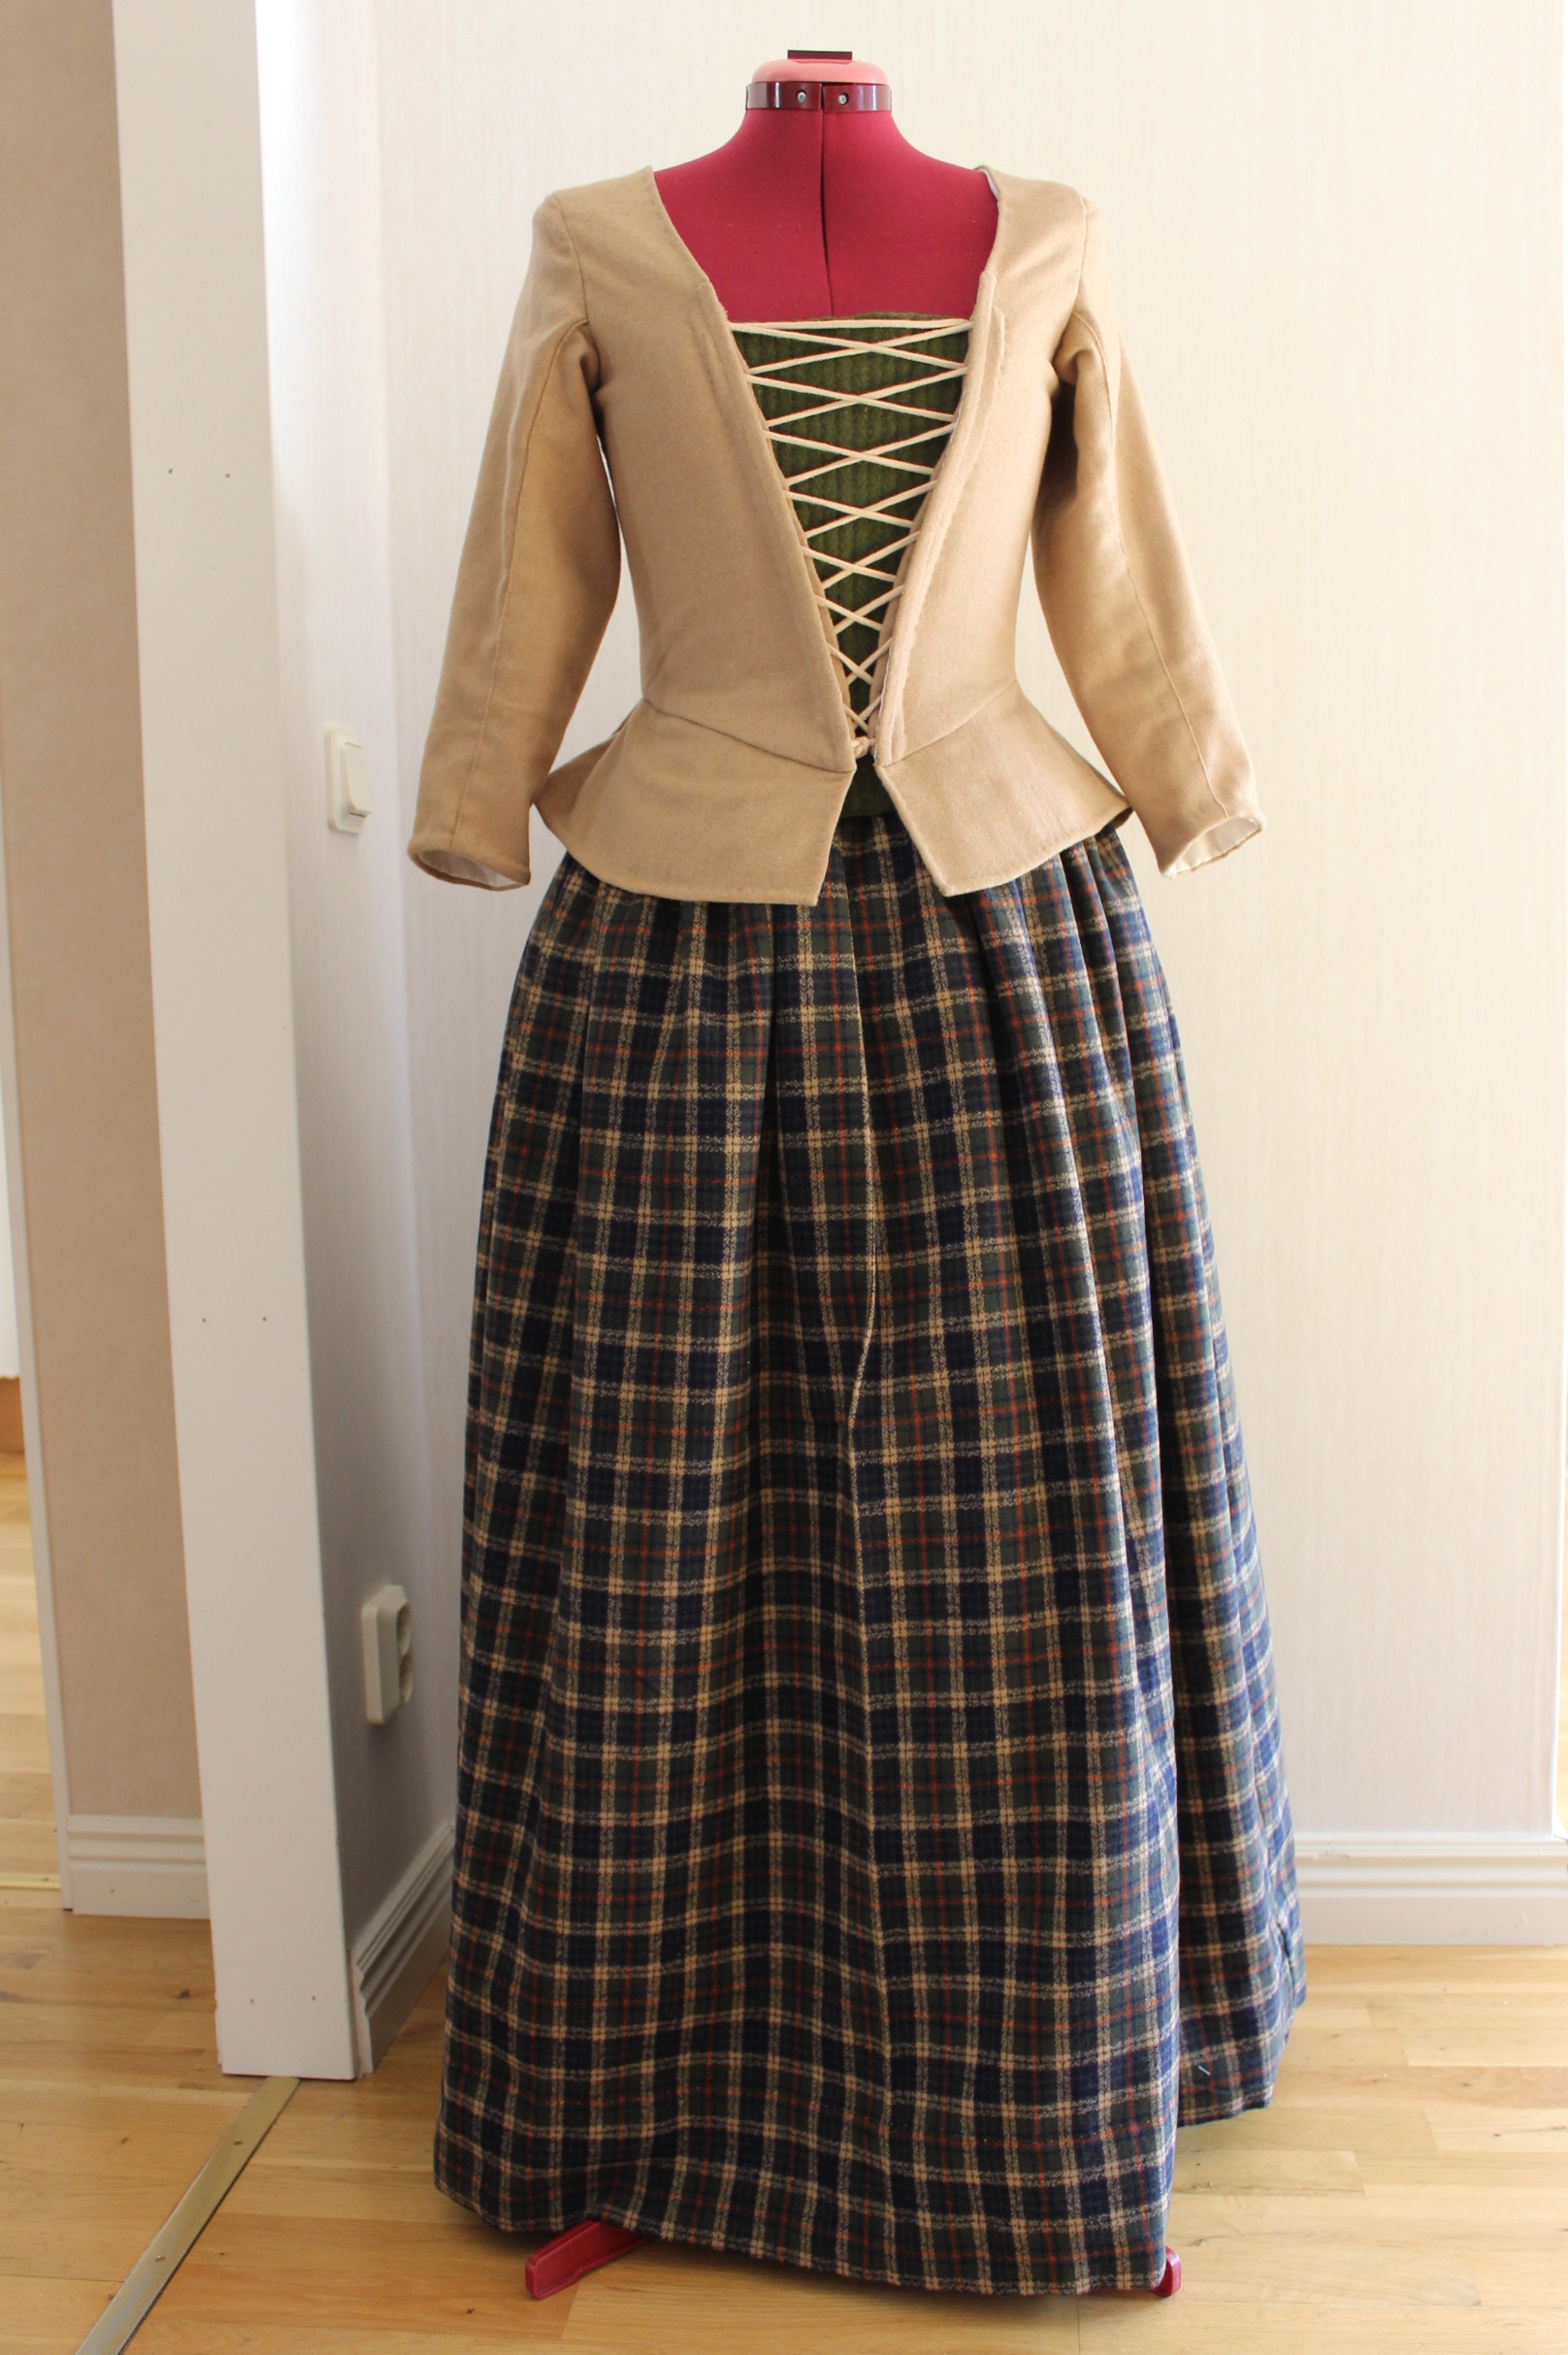
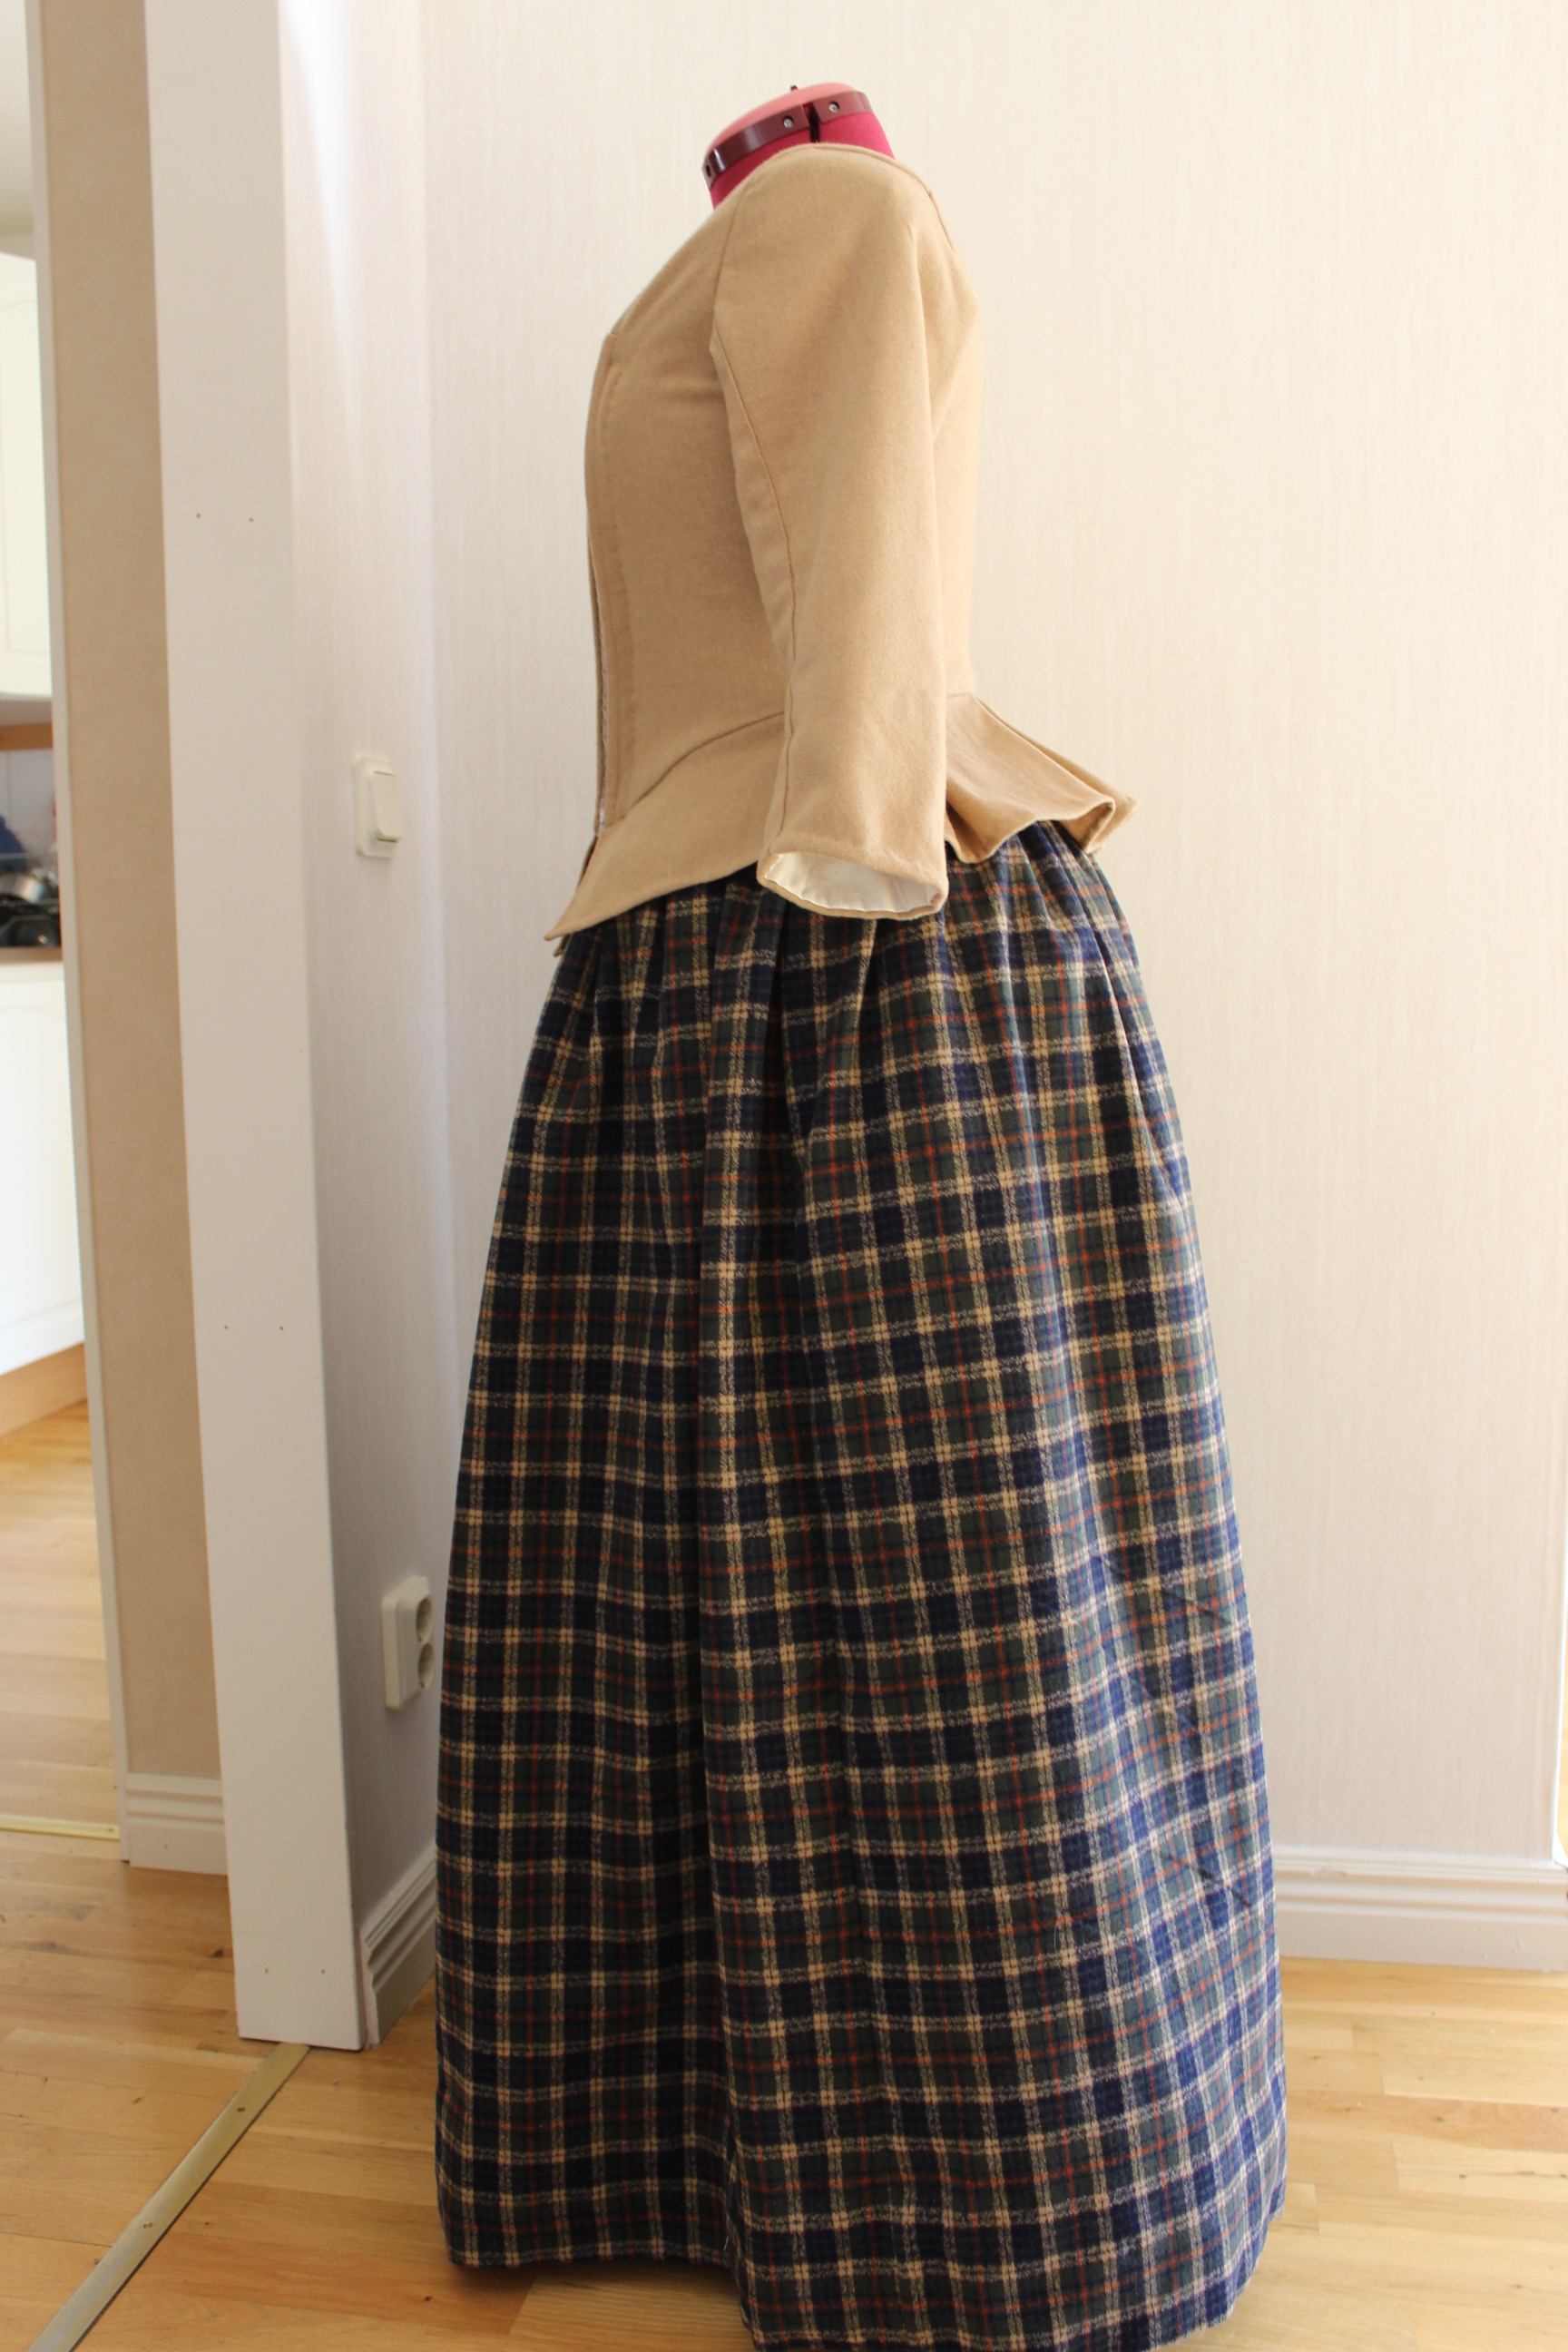
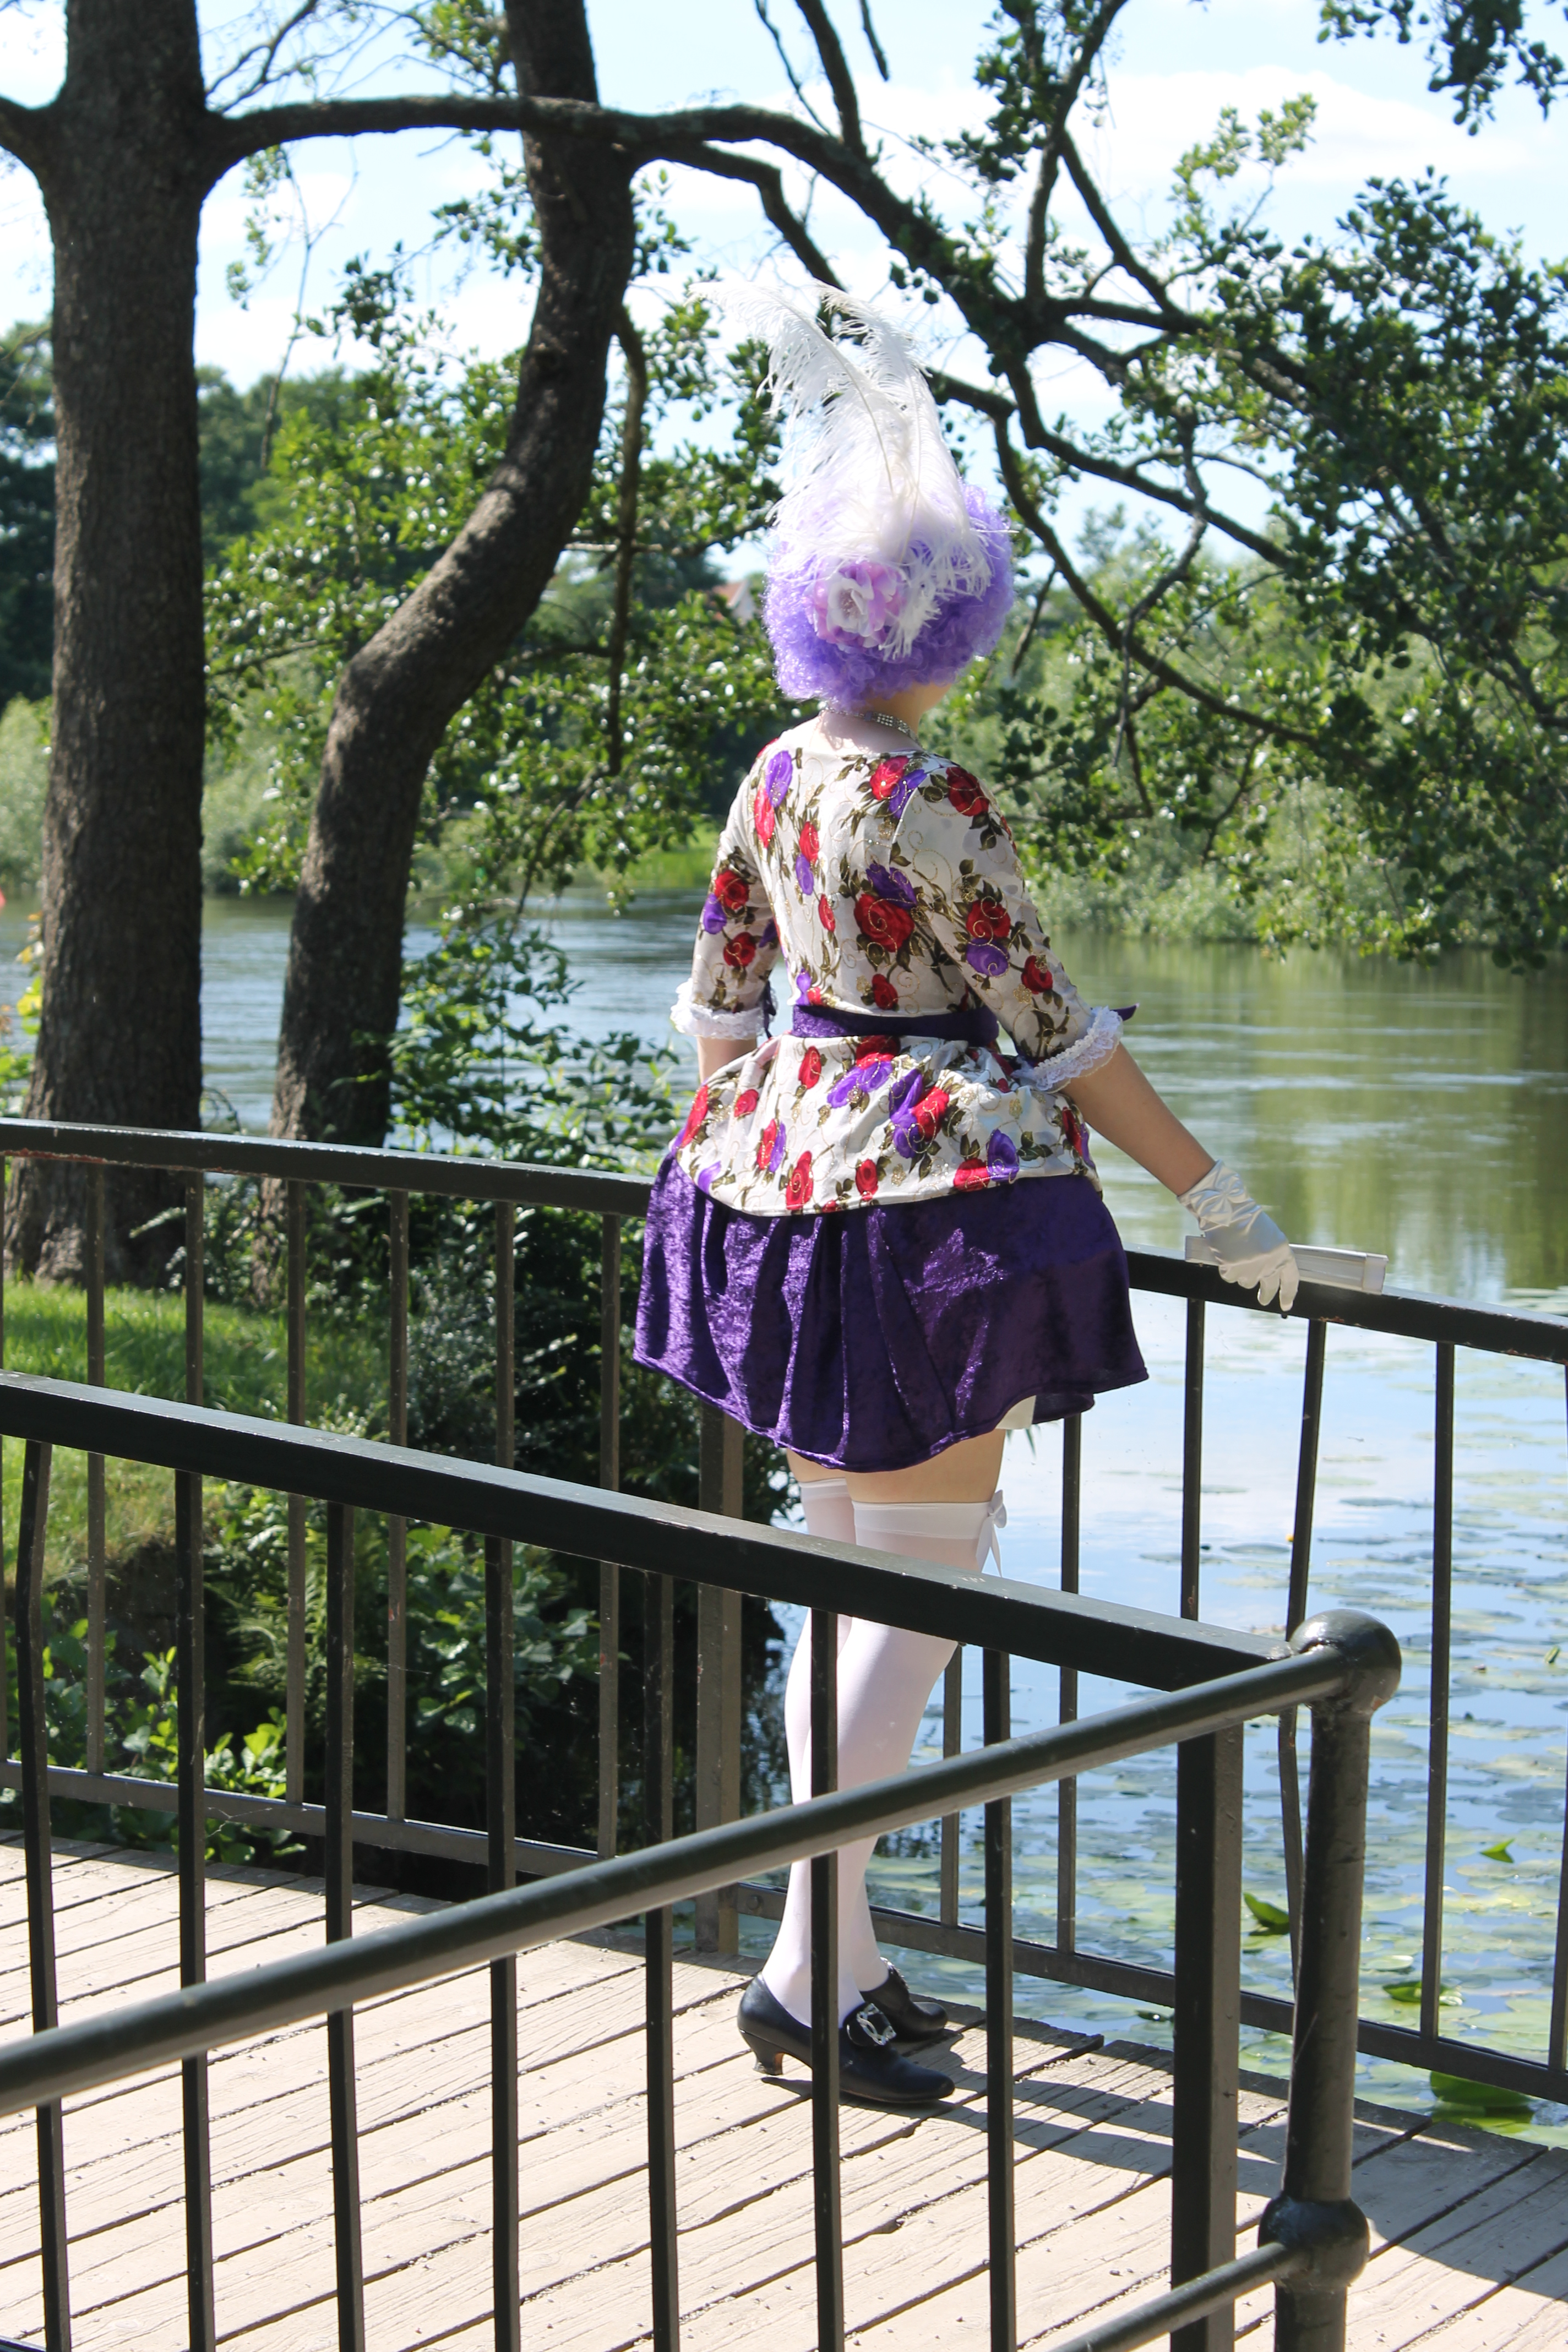
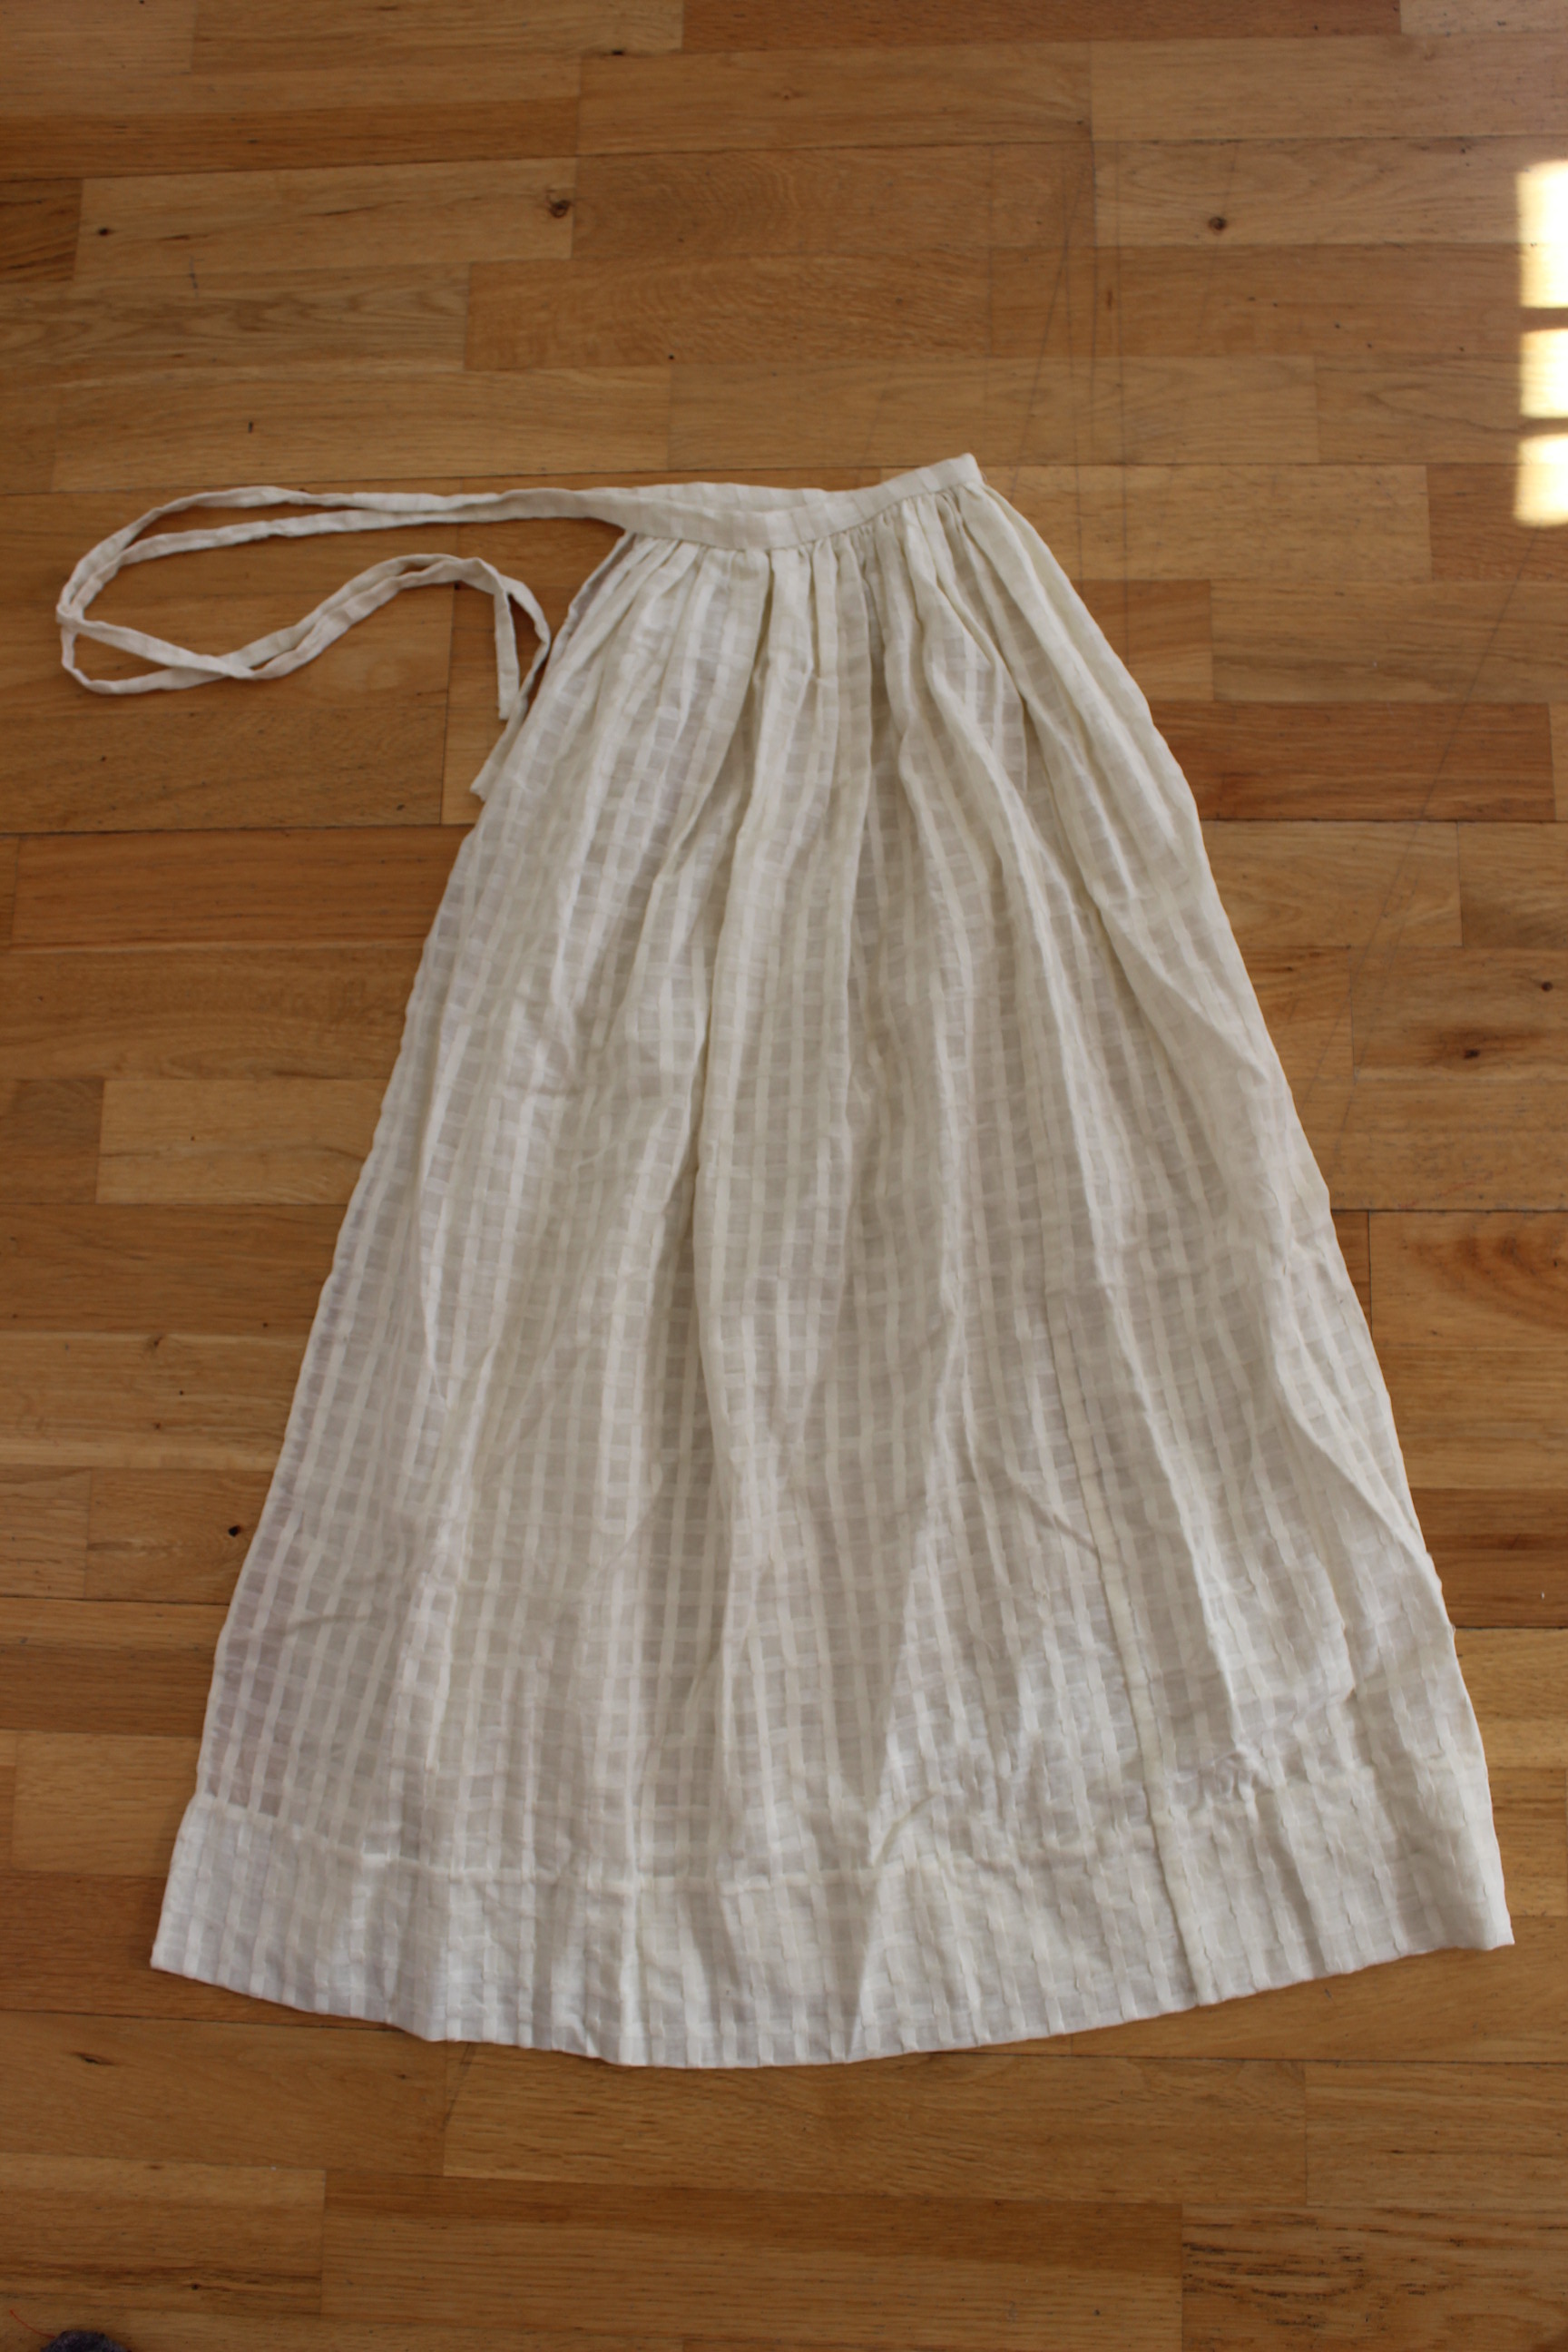
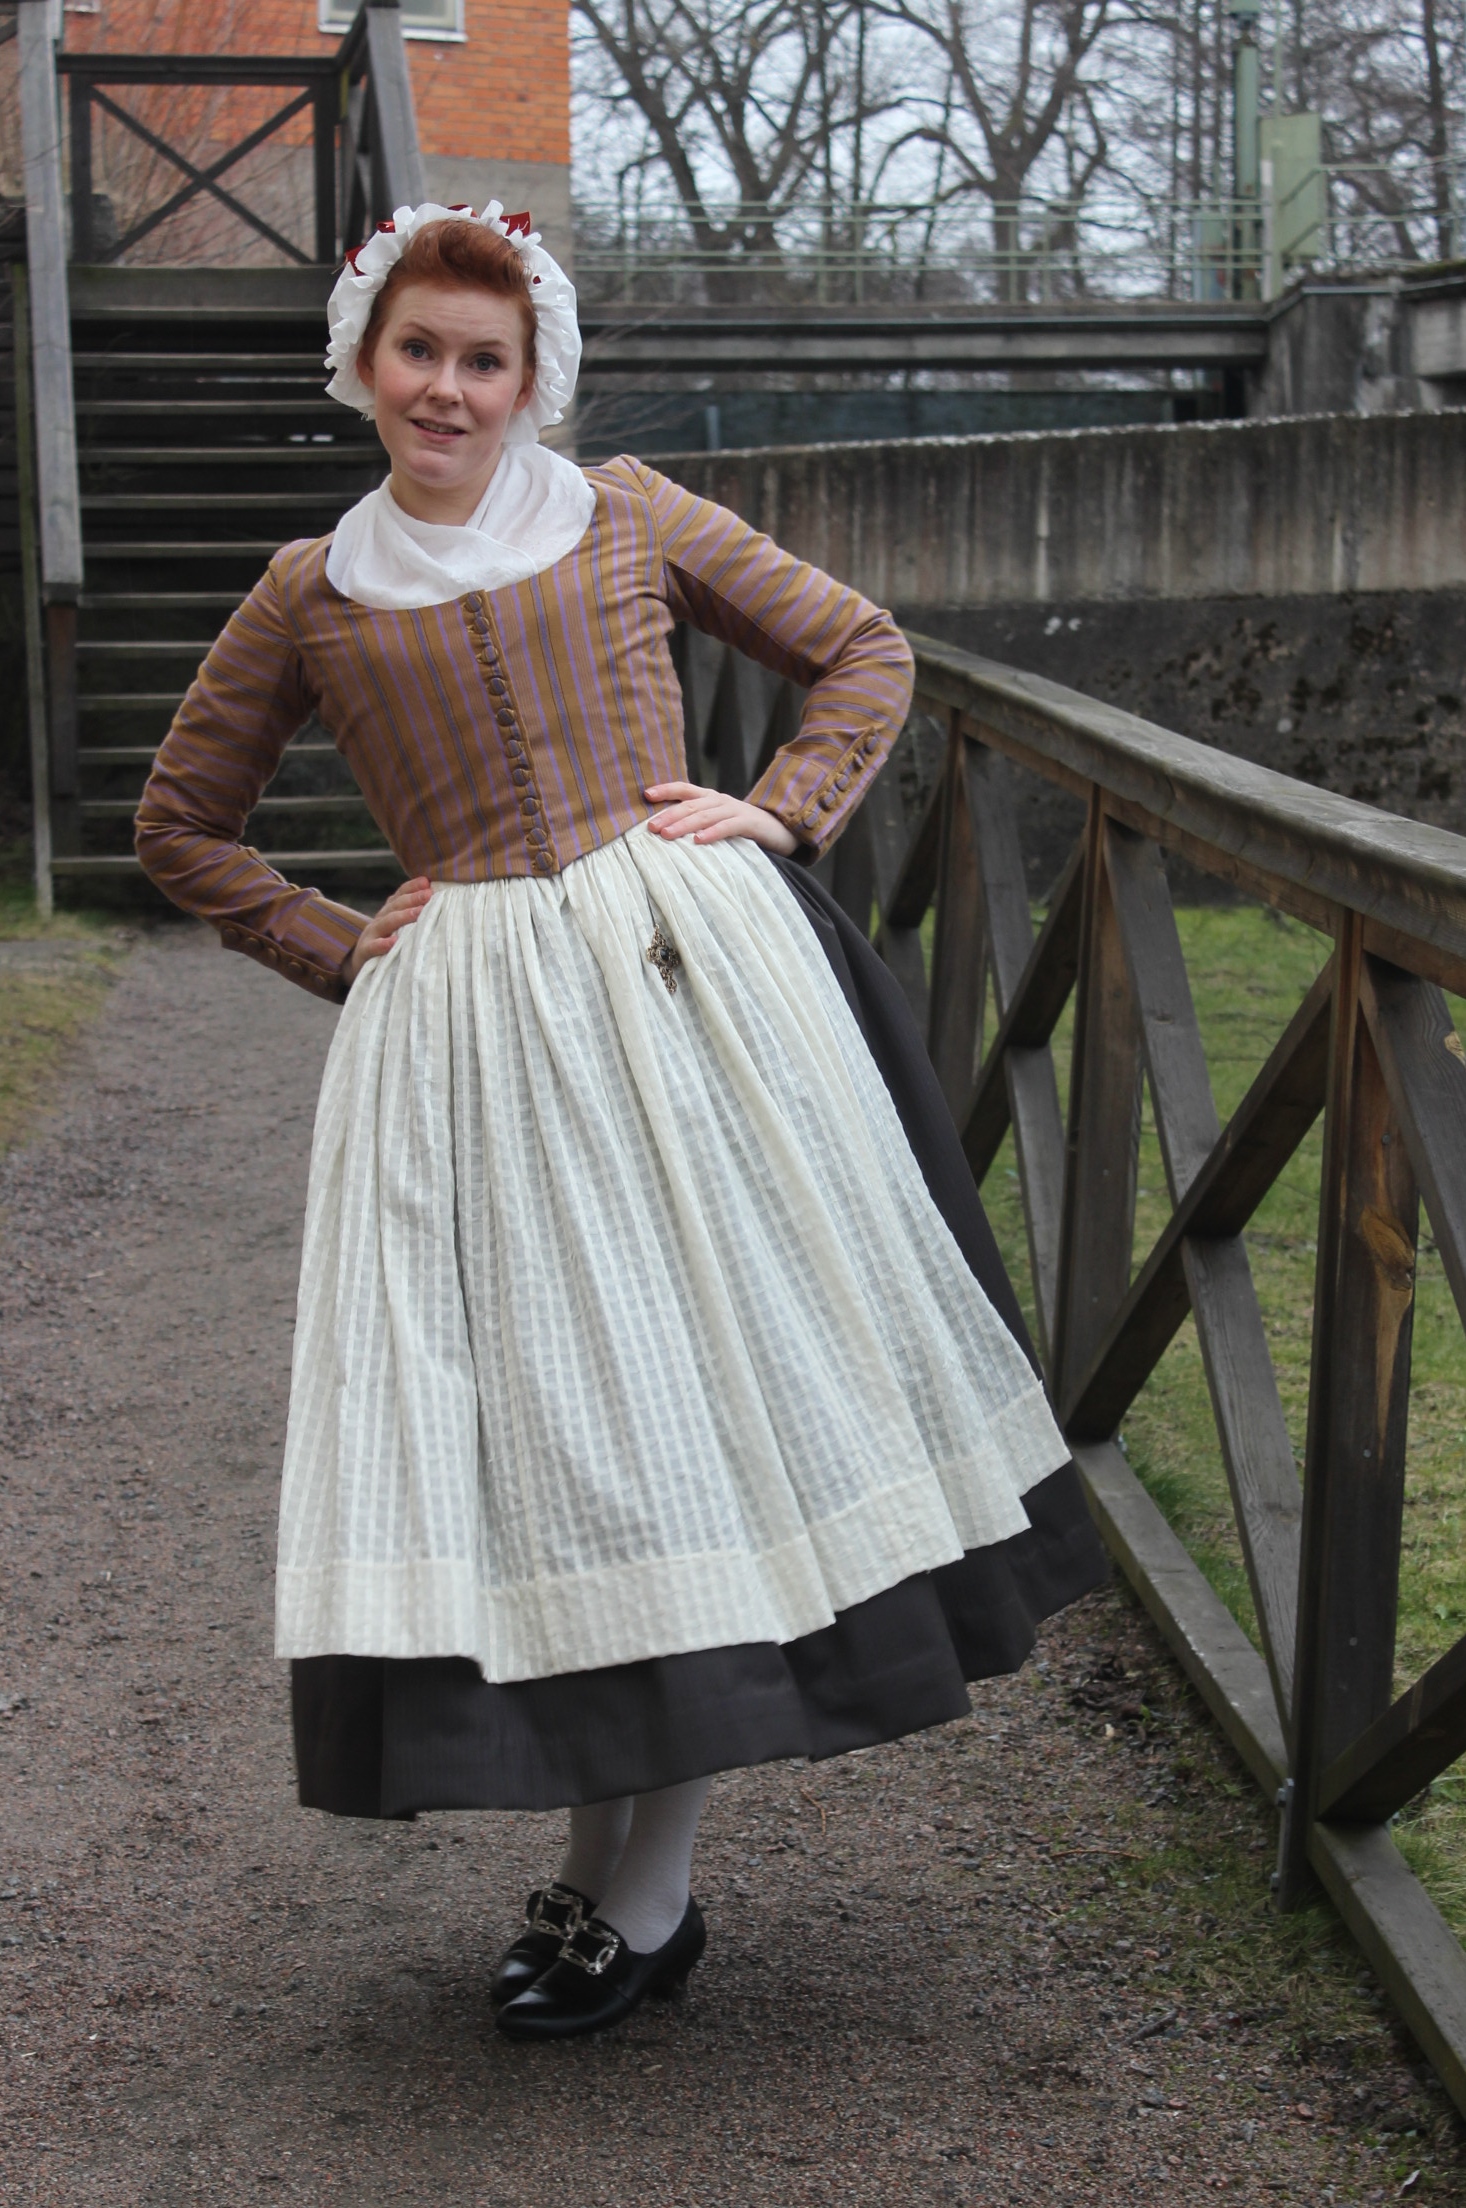
 Jacket/Caraco and skirt combination.


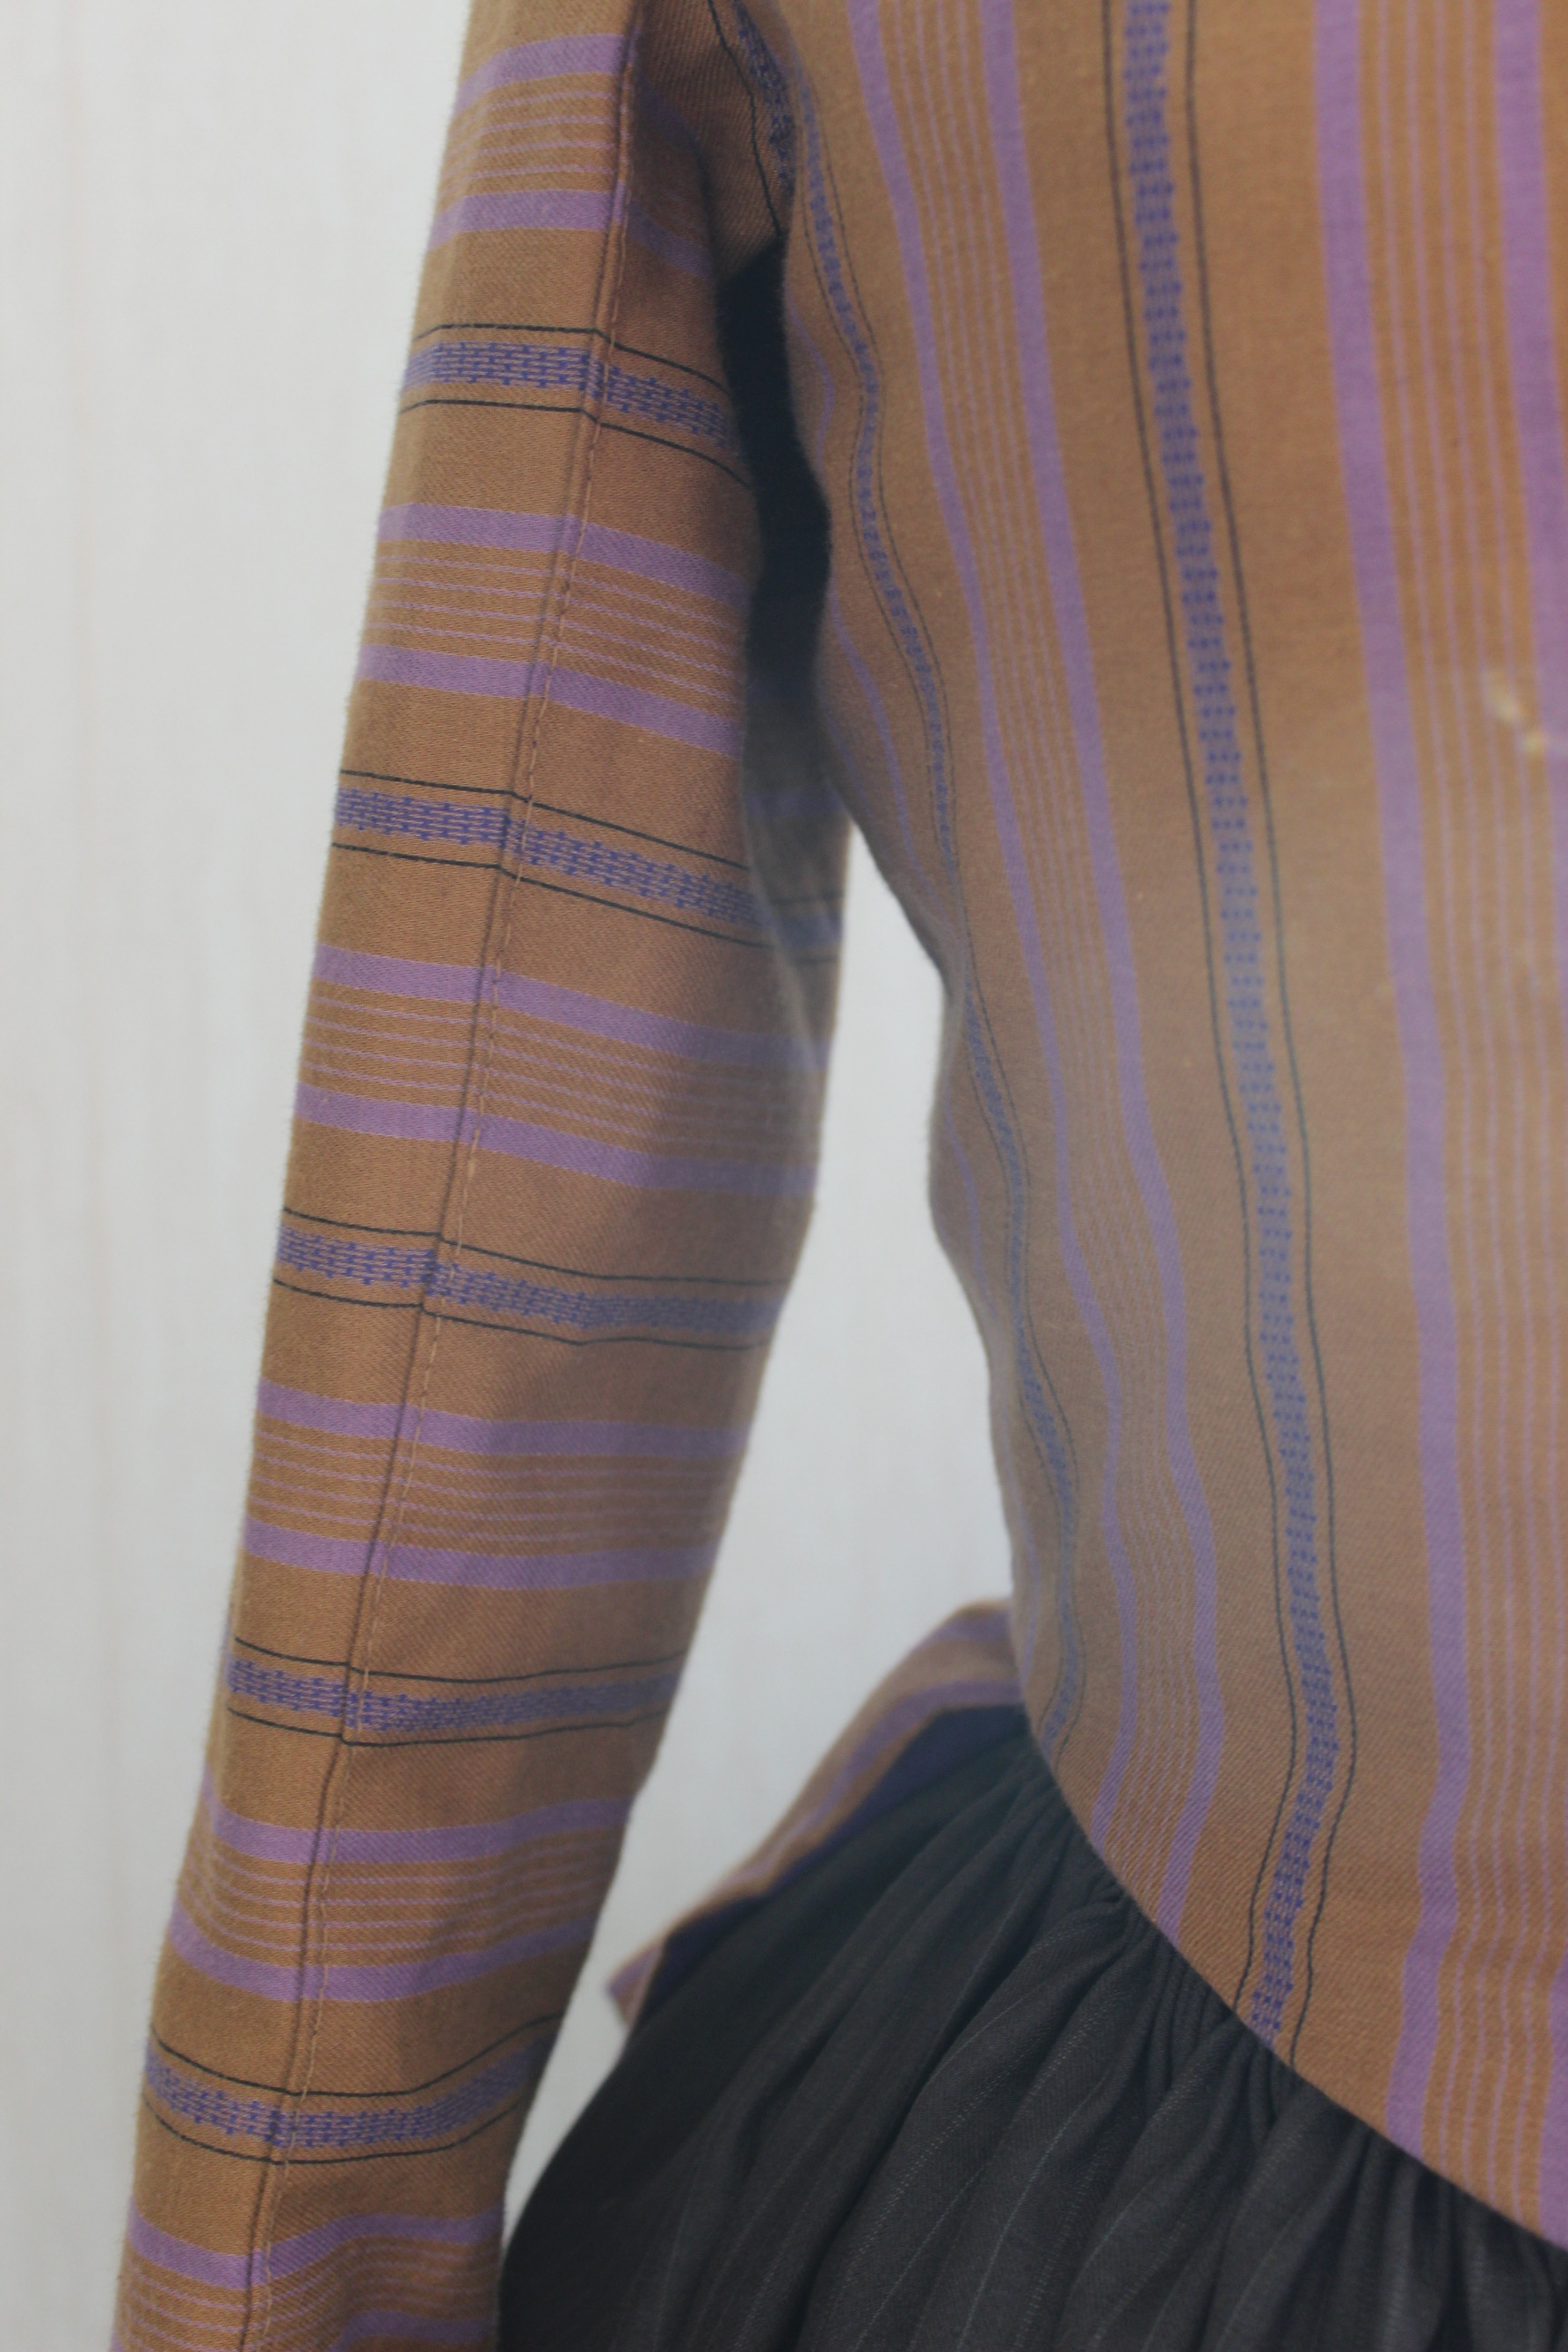
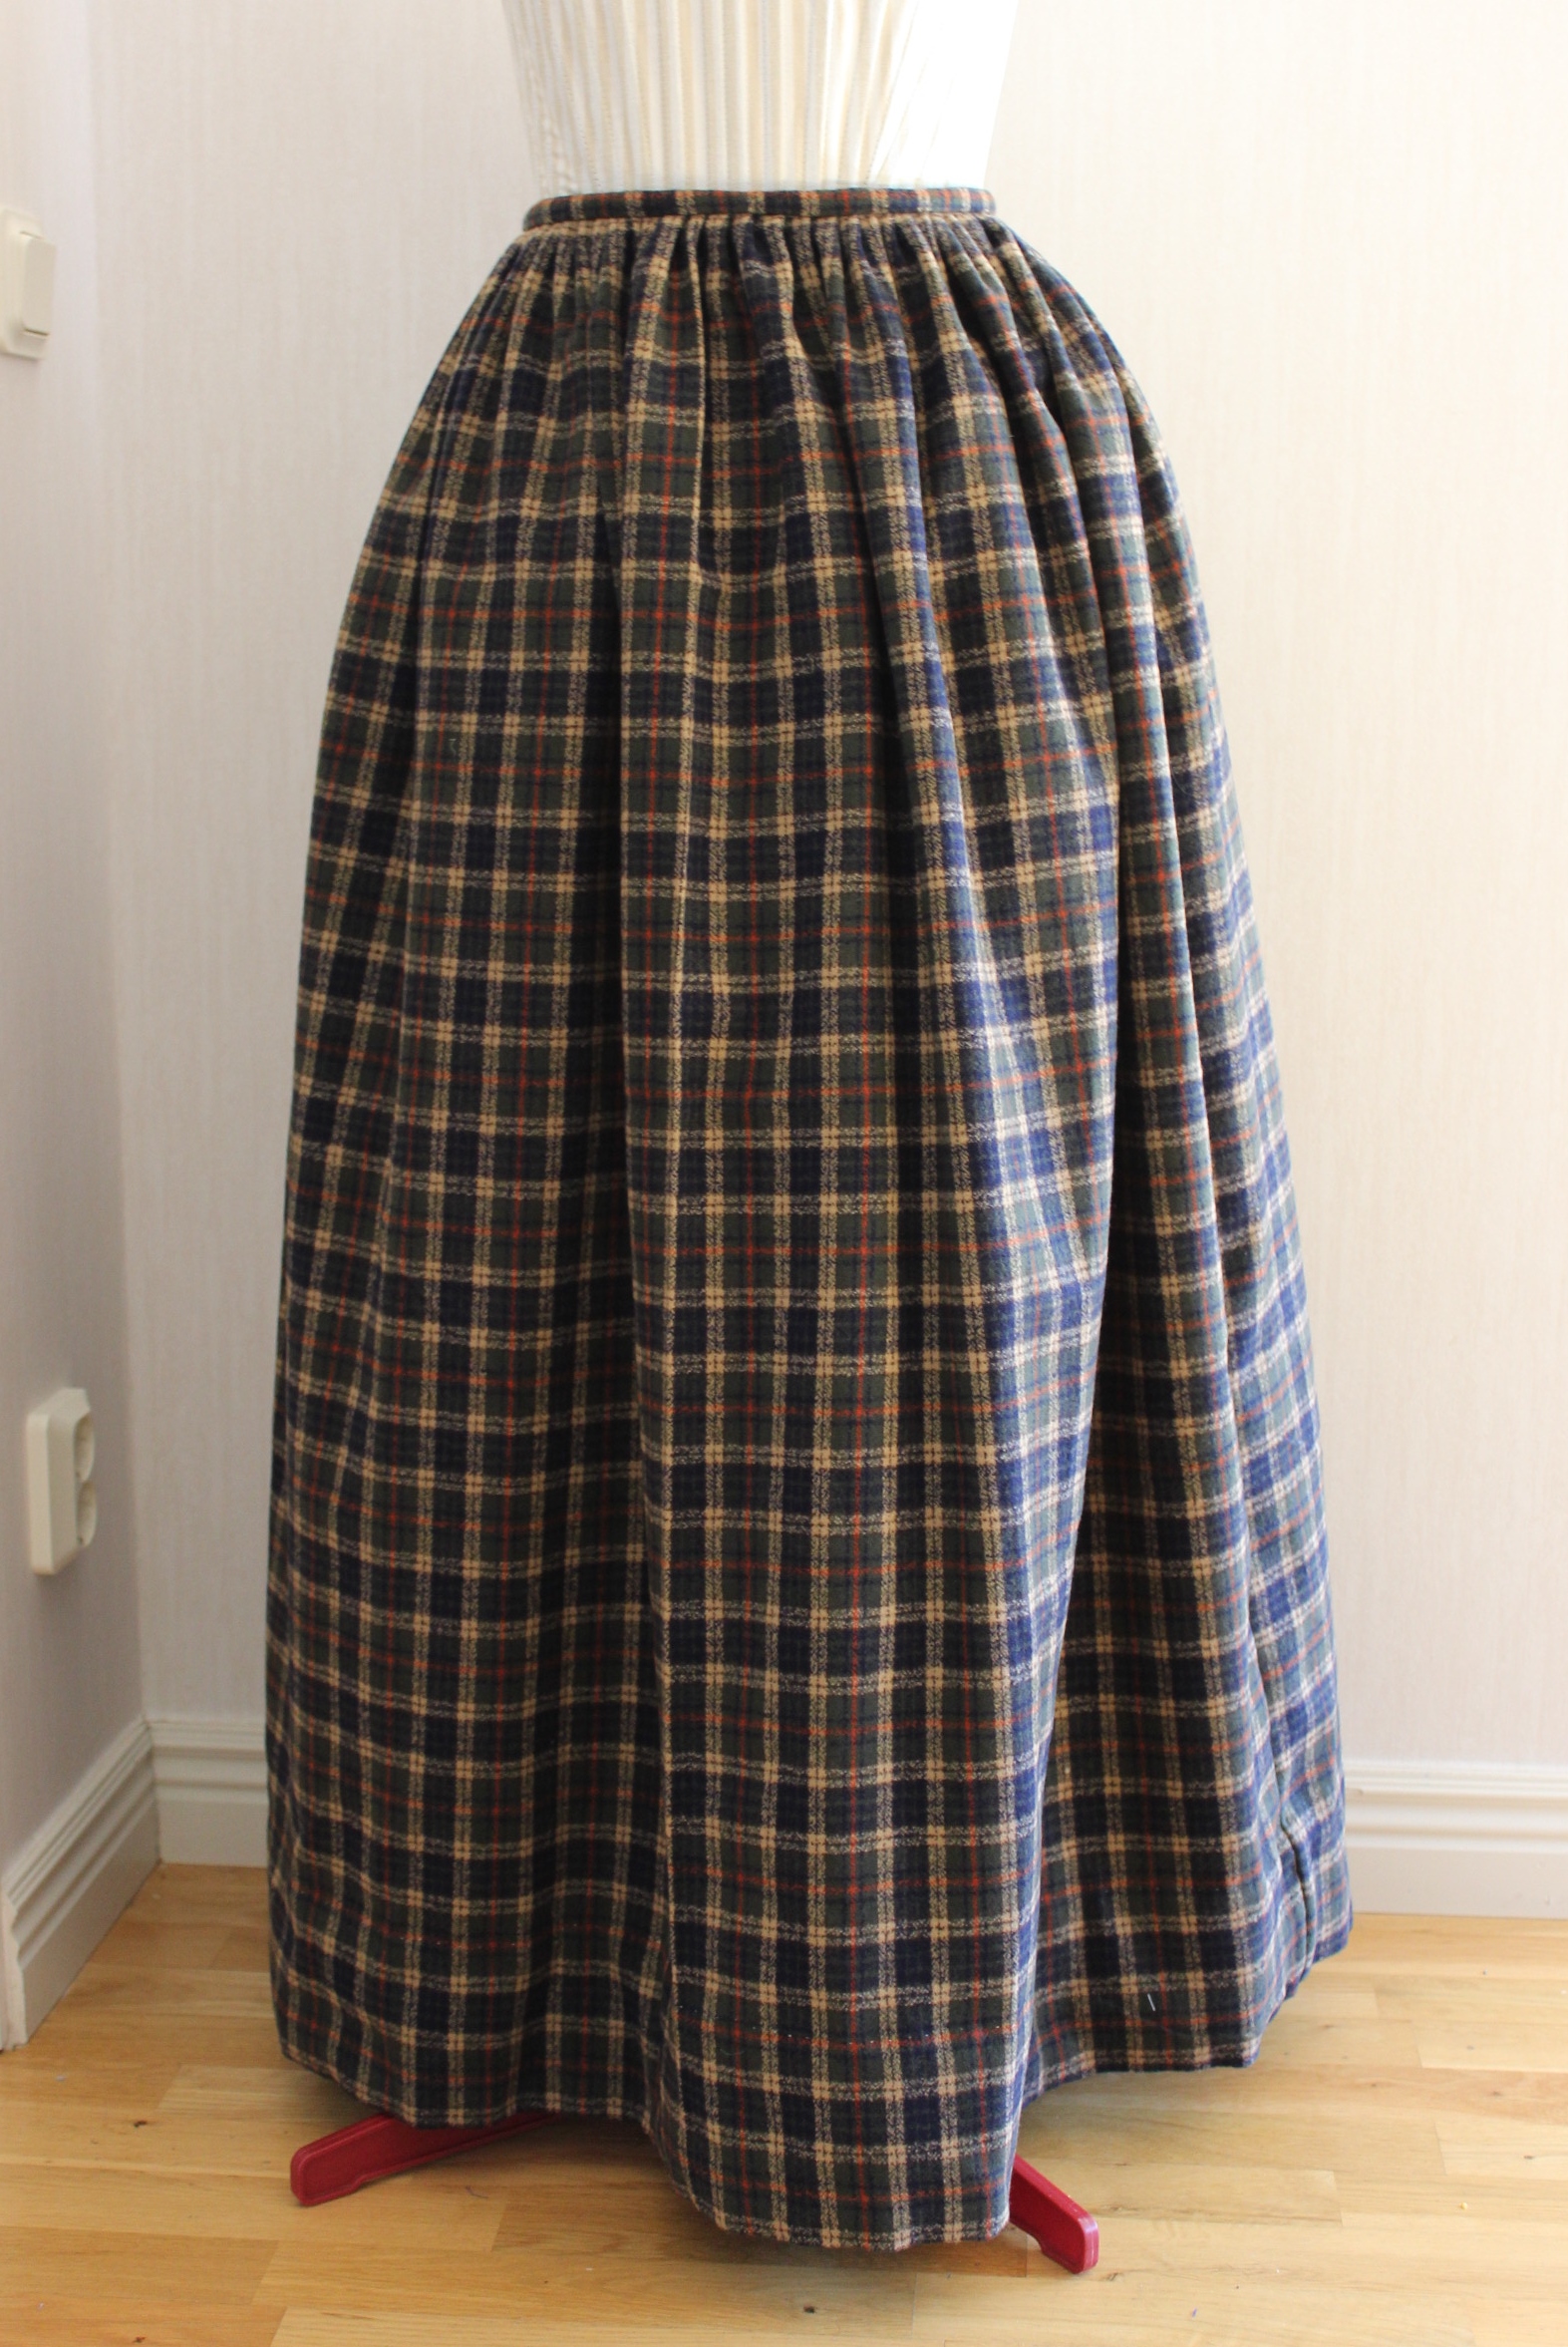
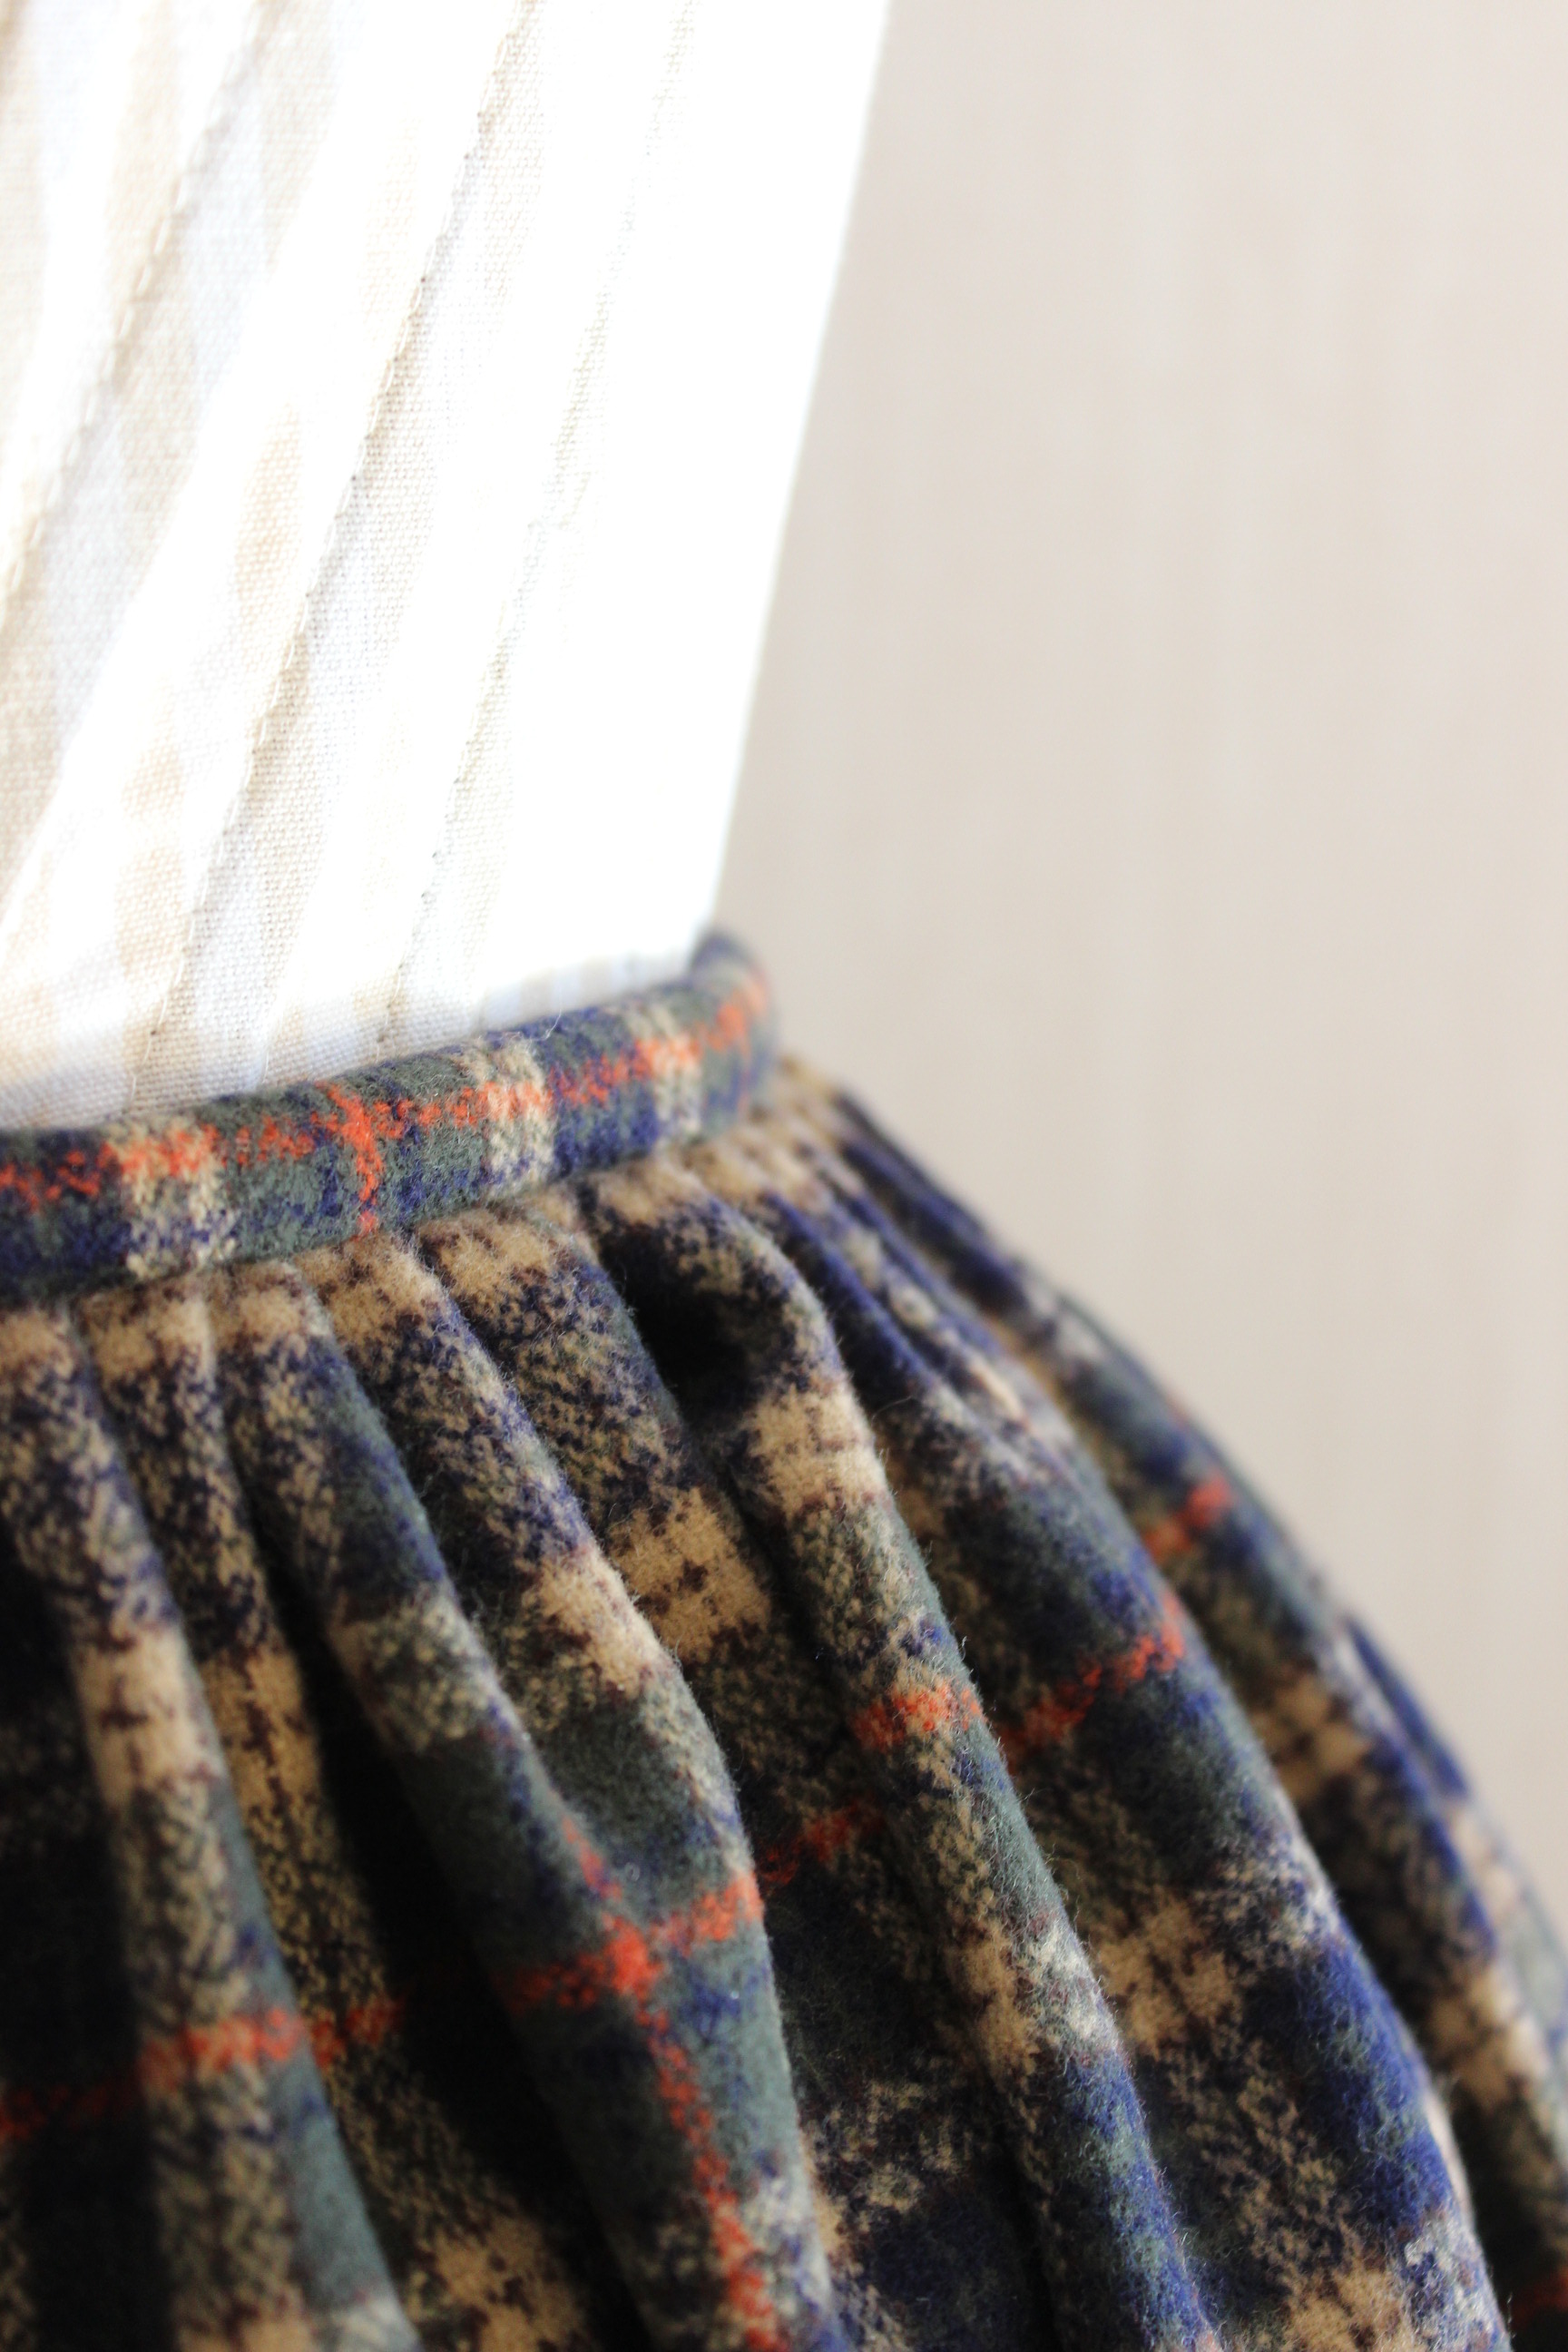
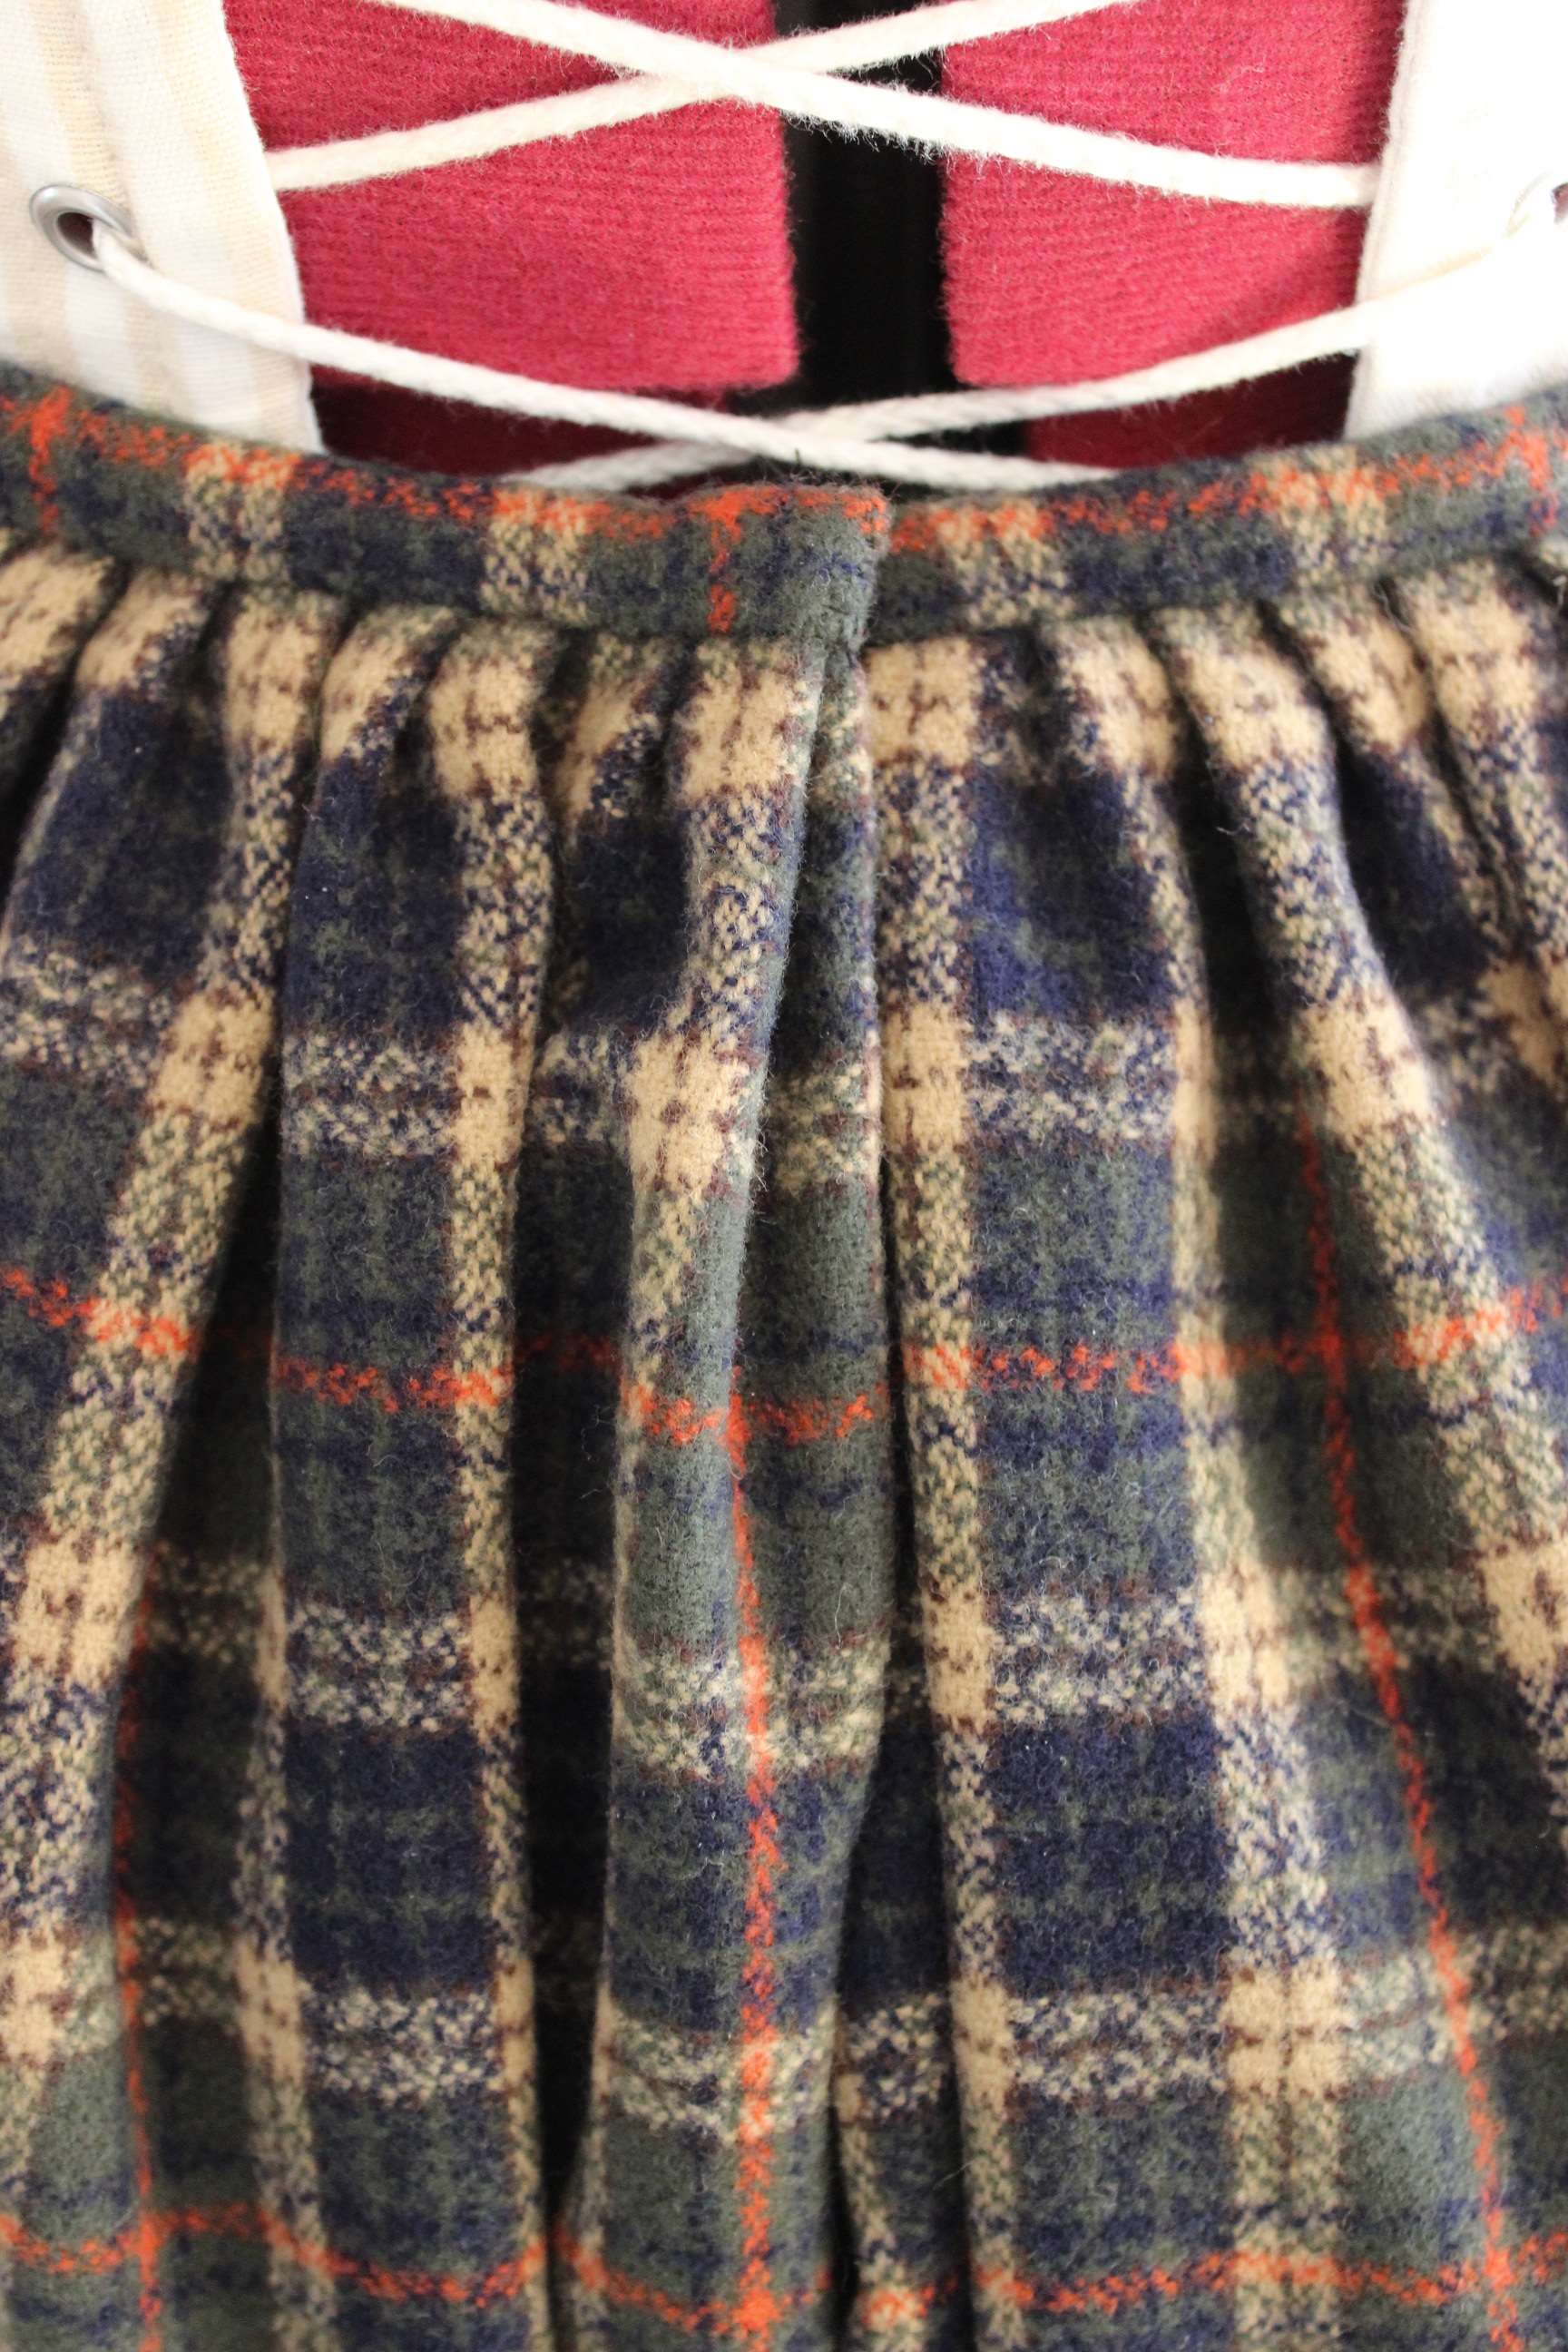
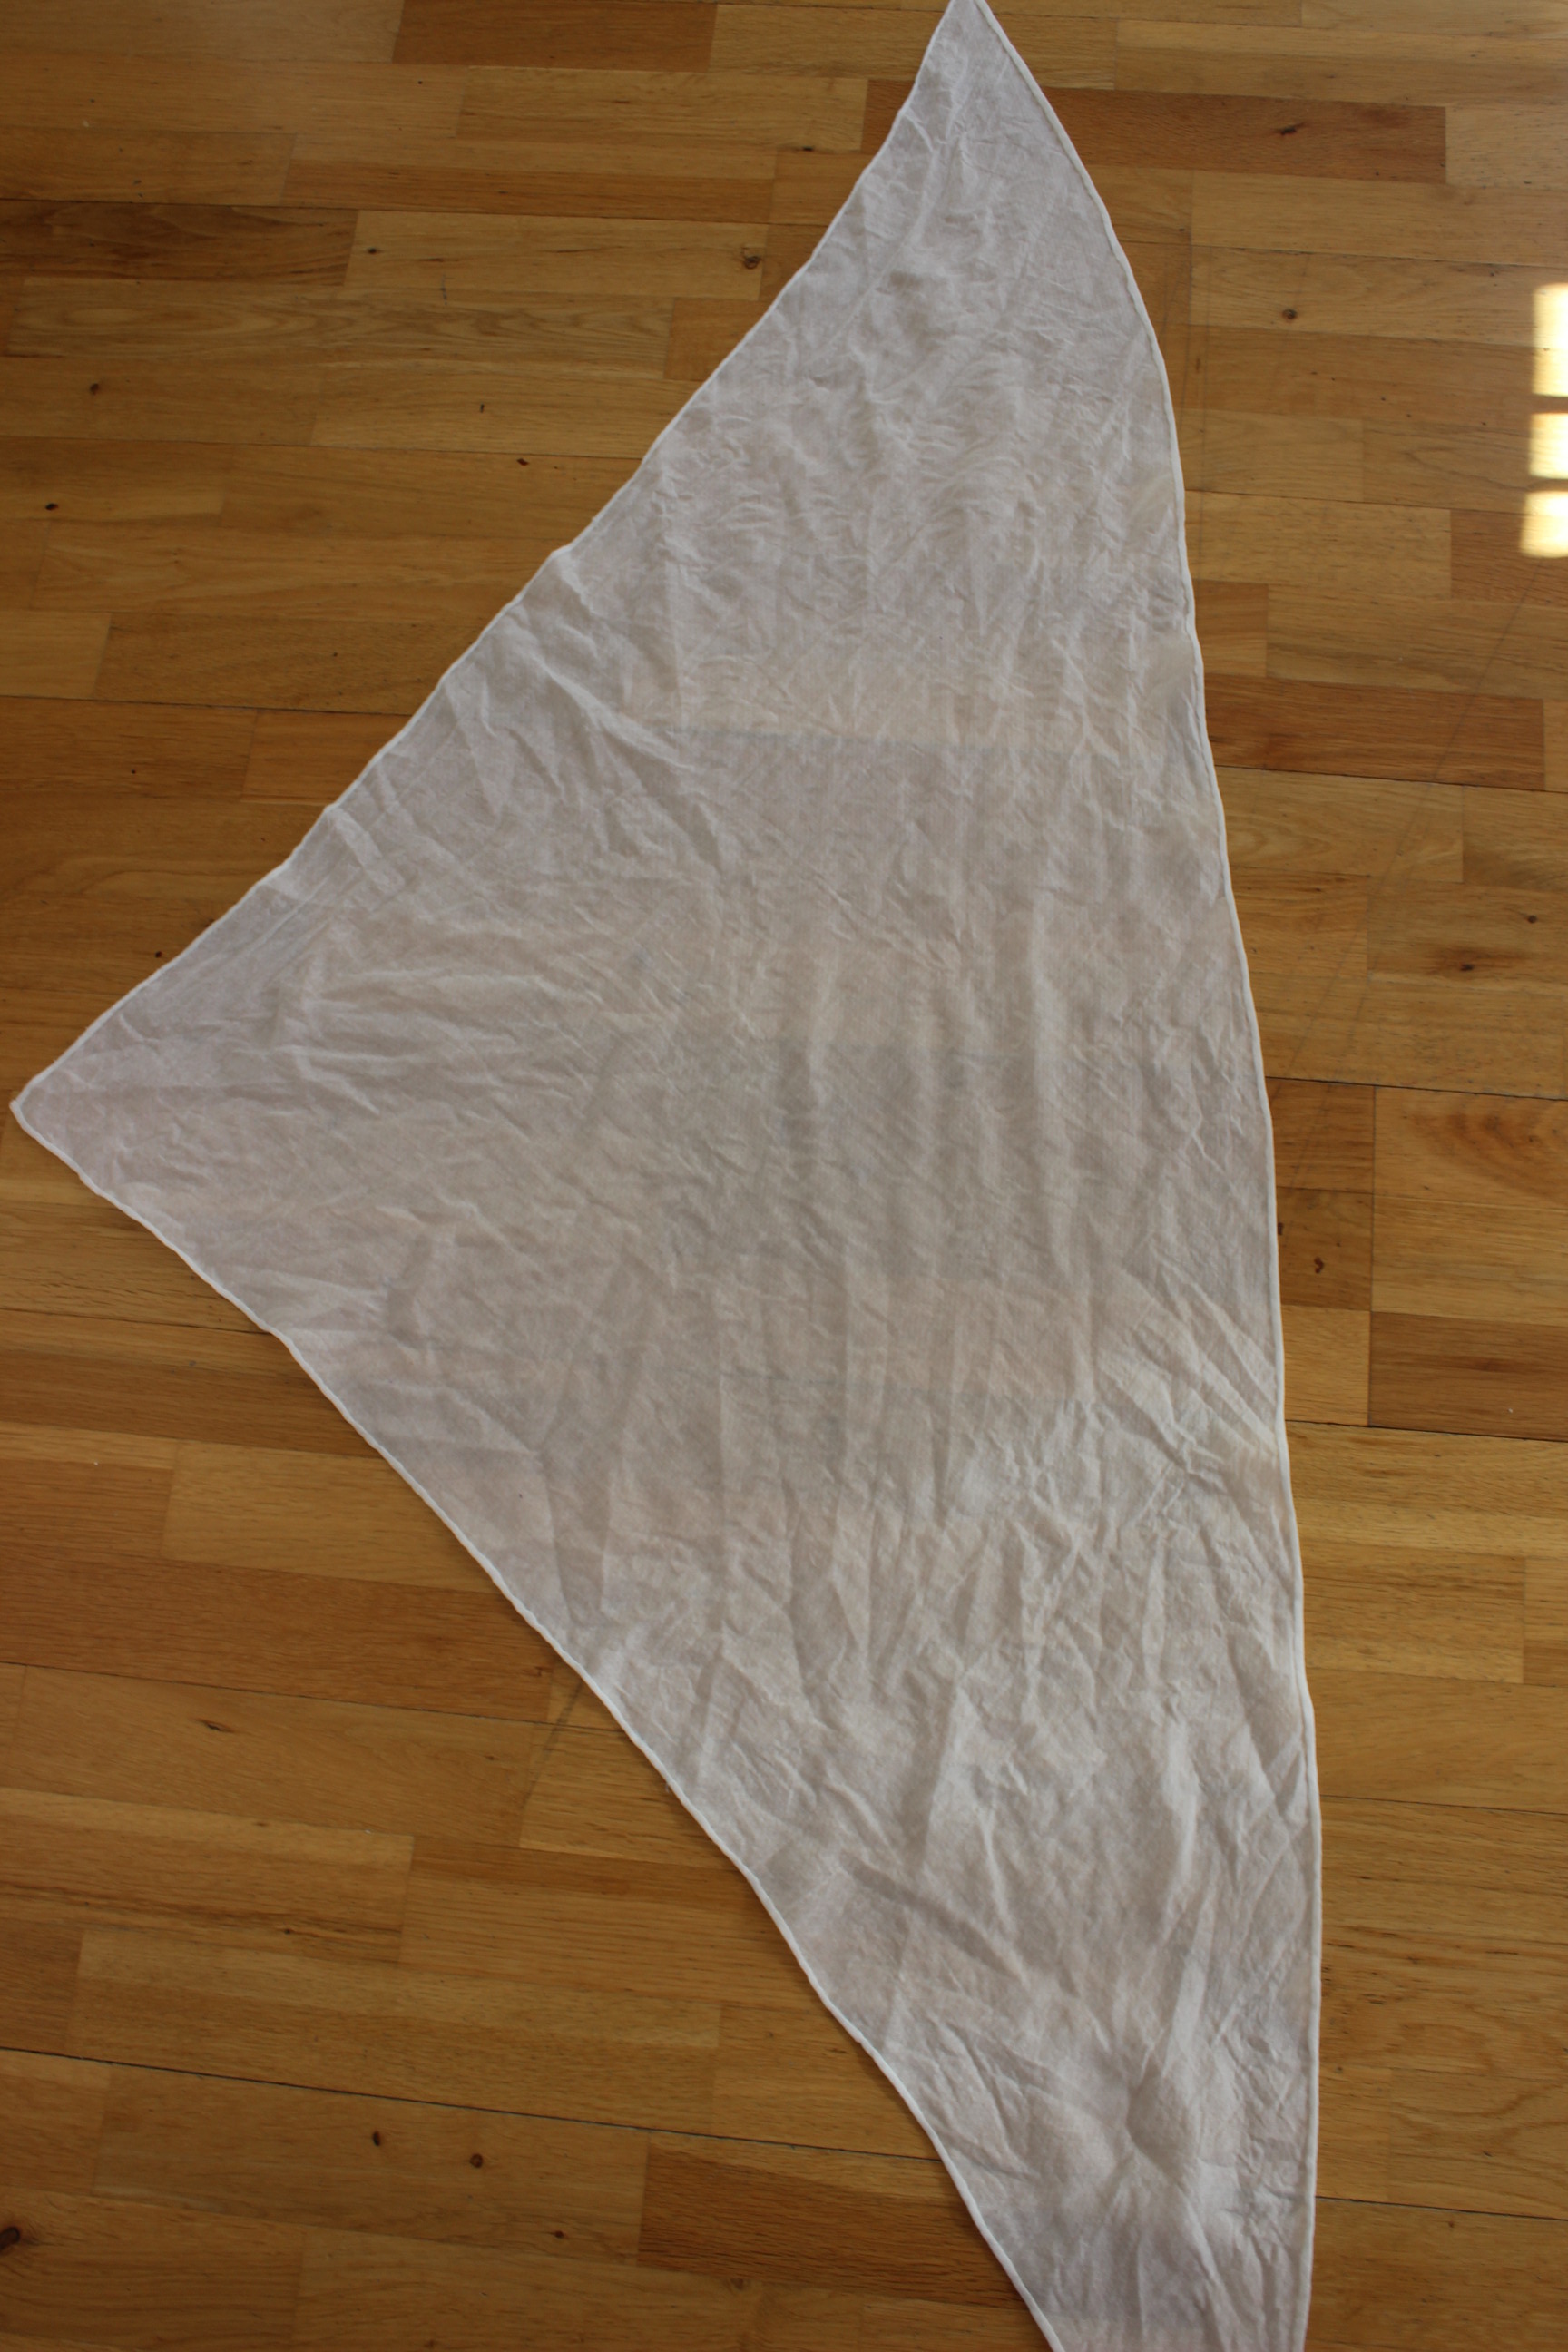
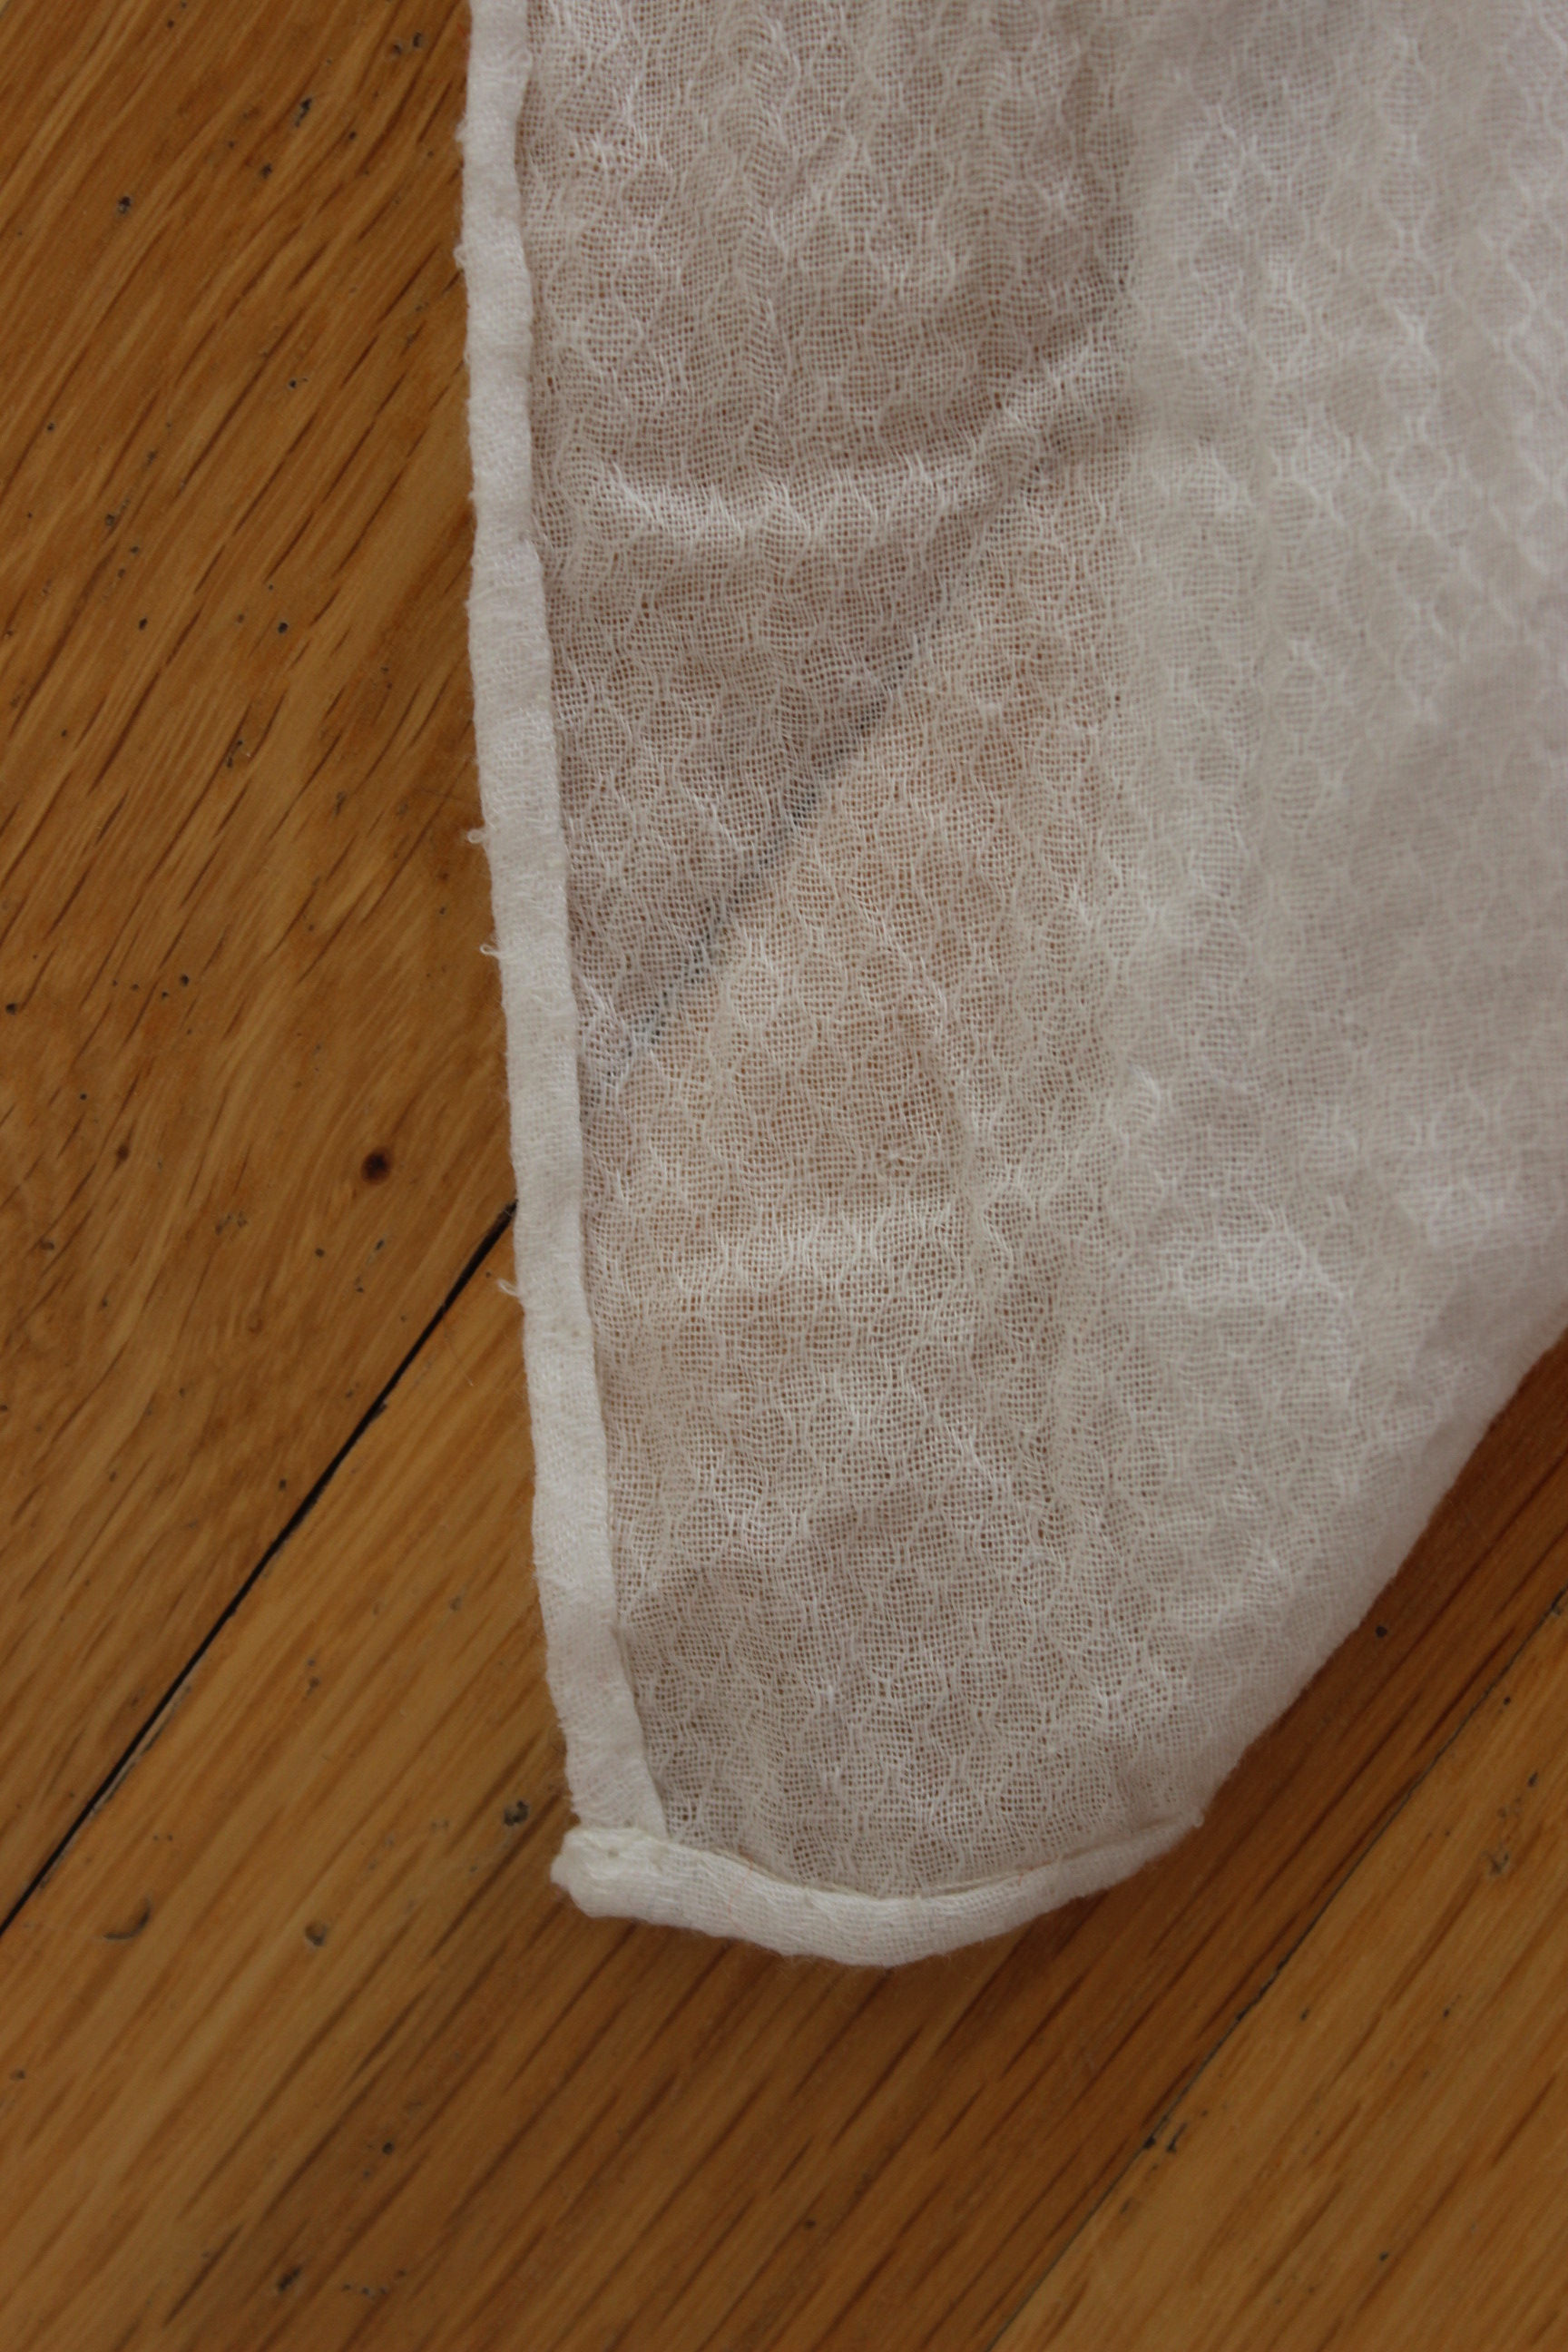
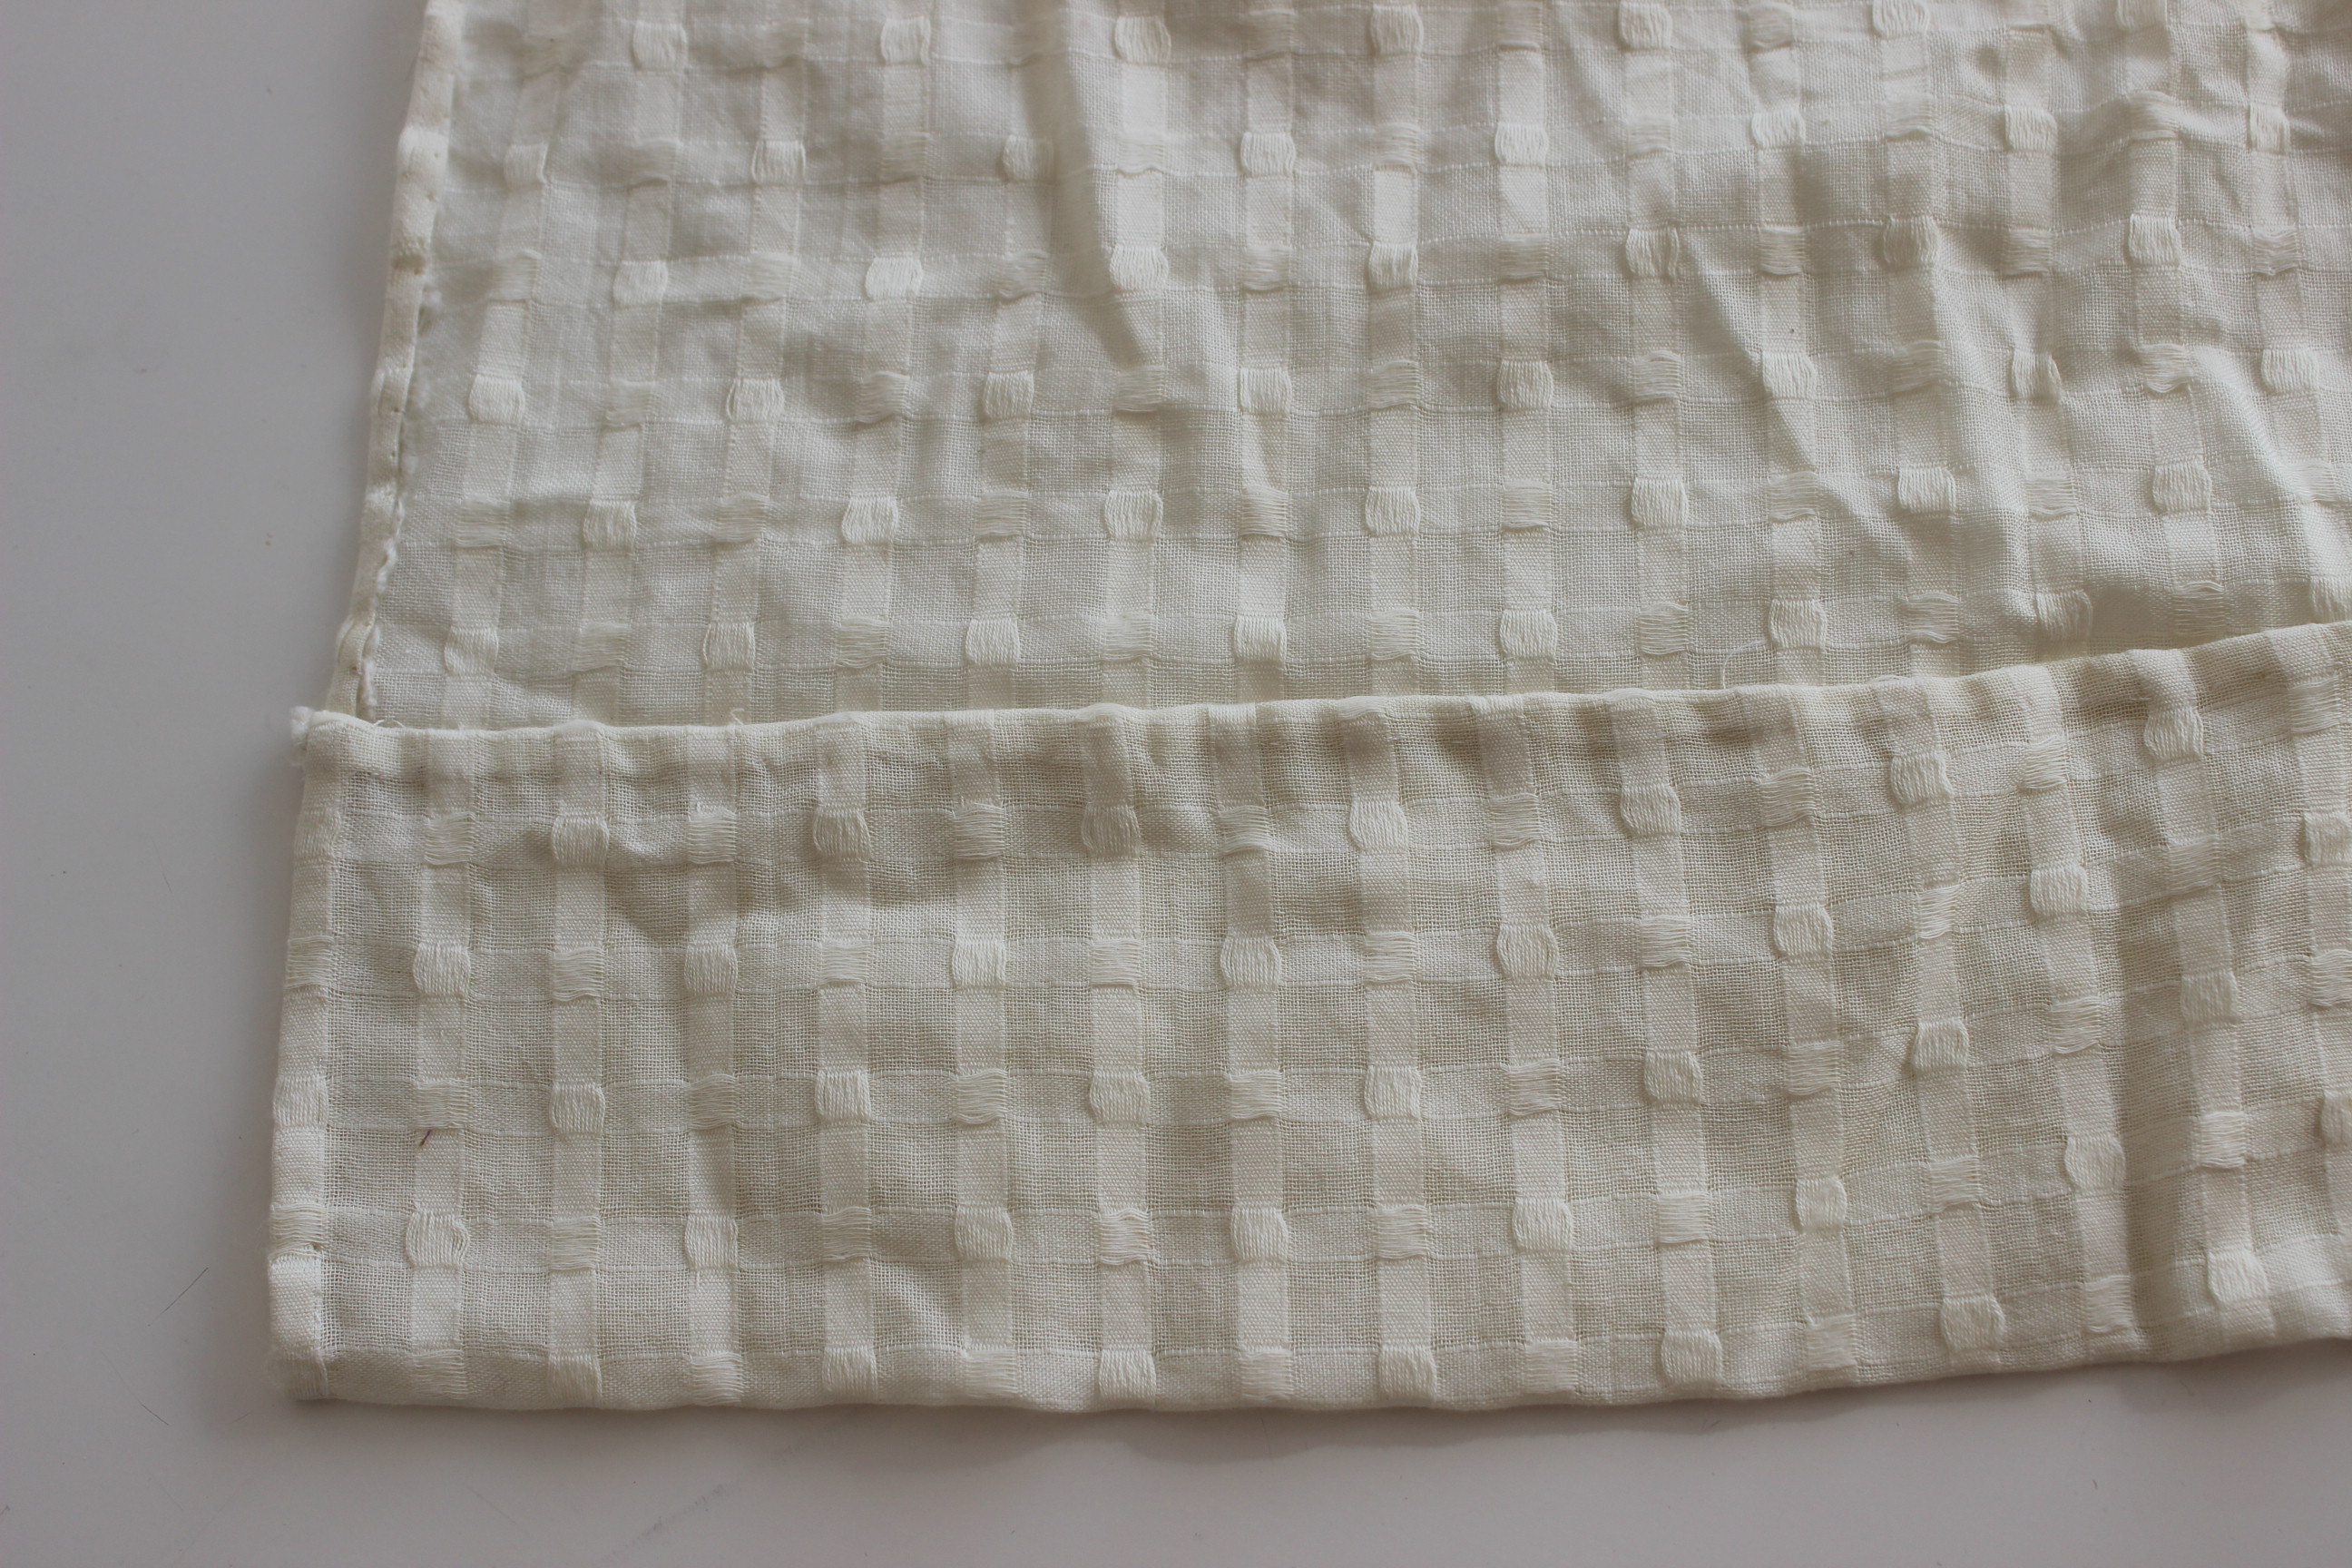
 The fabric are realy coarse and I never thougt I would ever be able to use it for anything, particularly not for a garment.


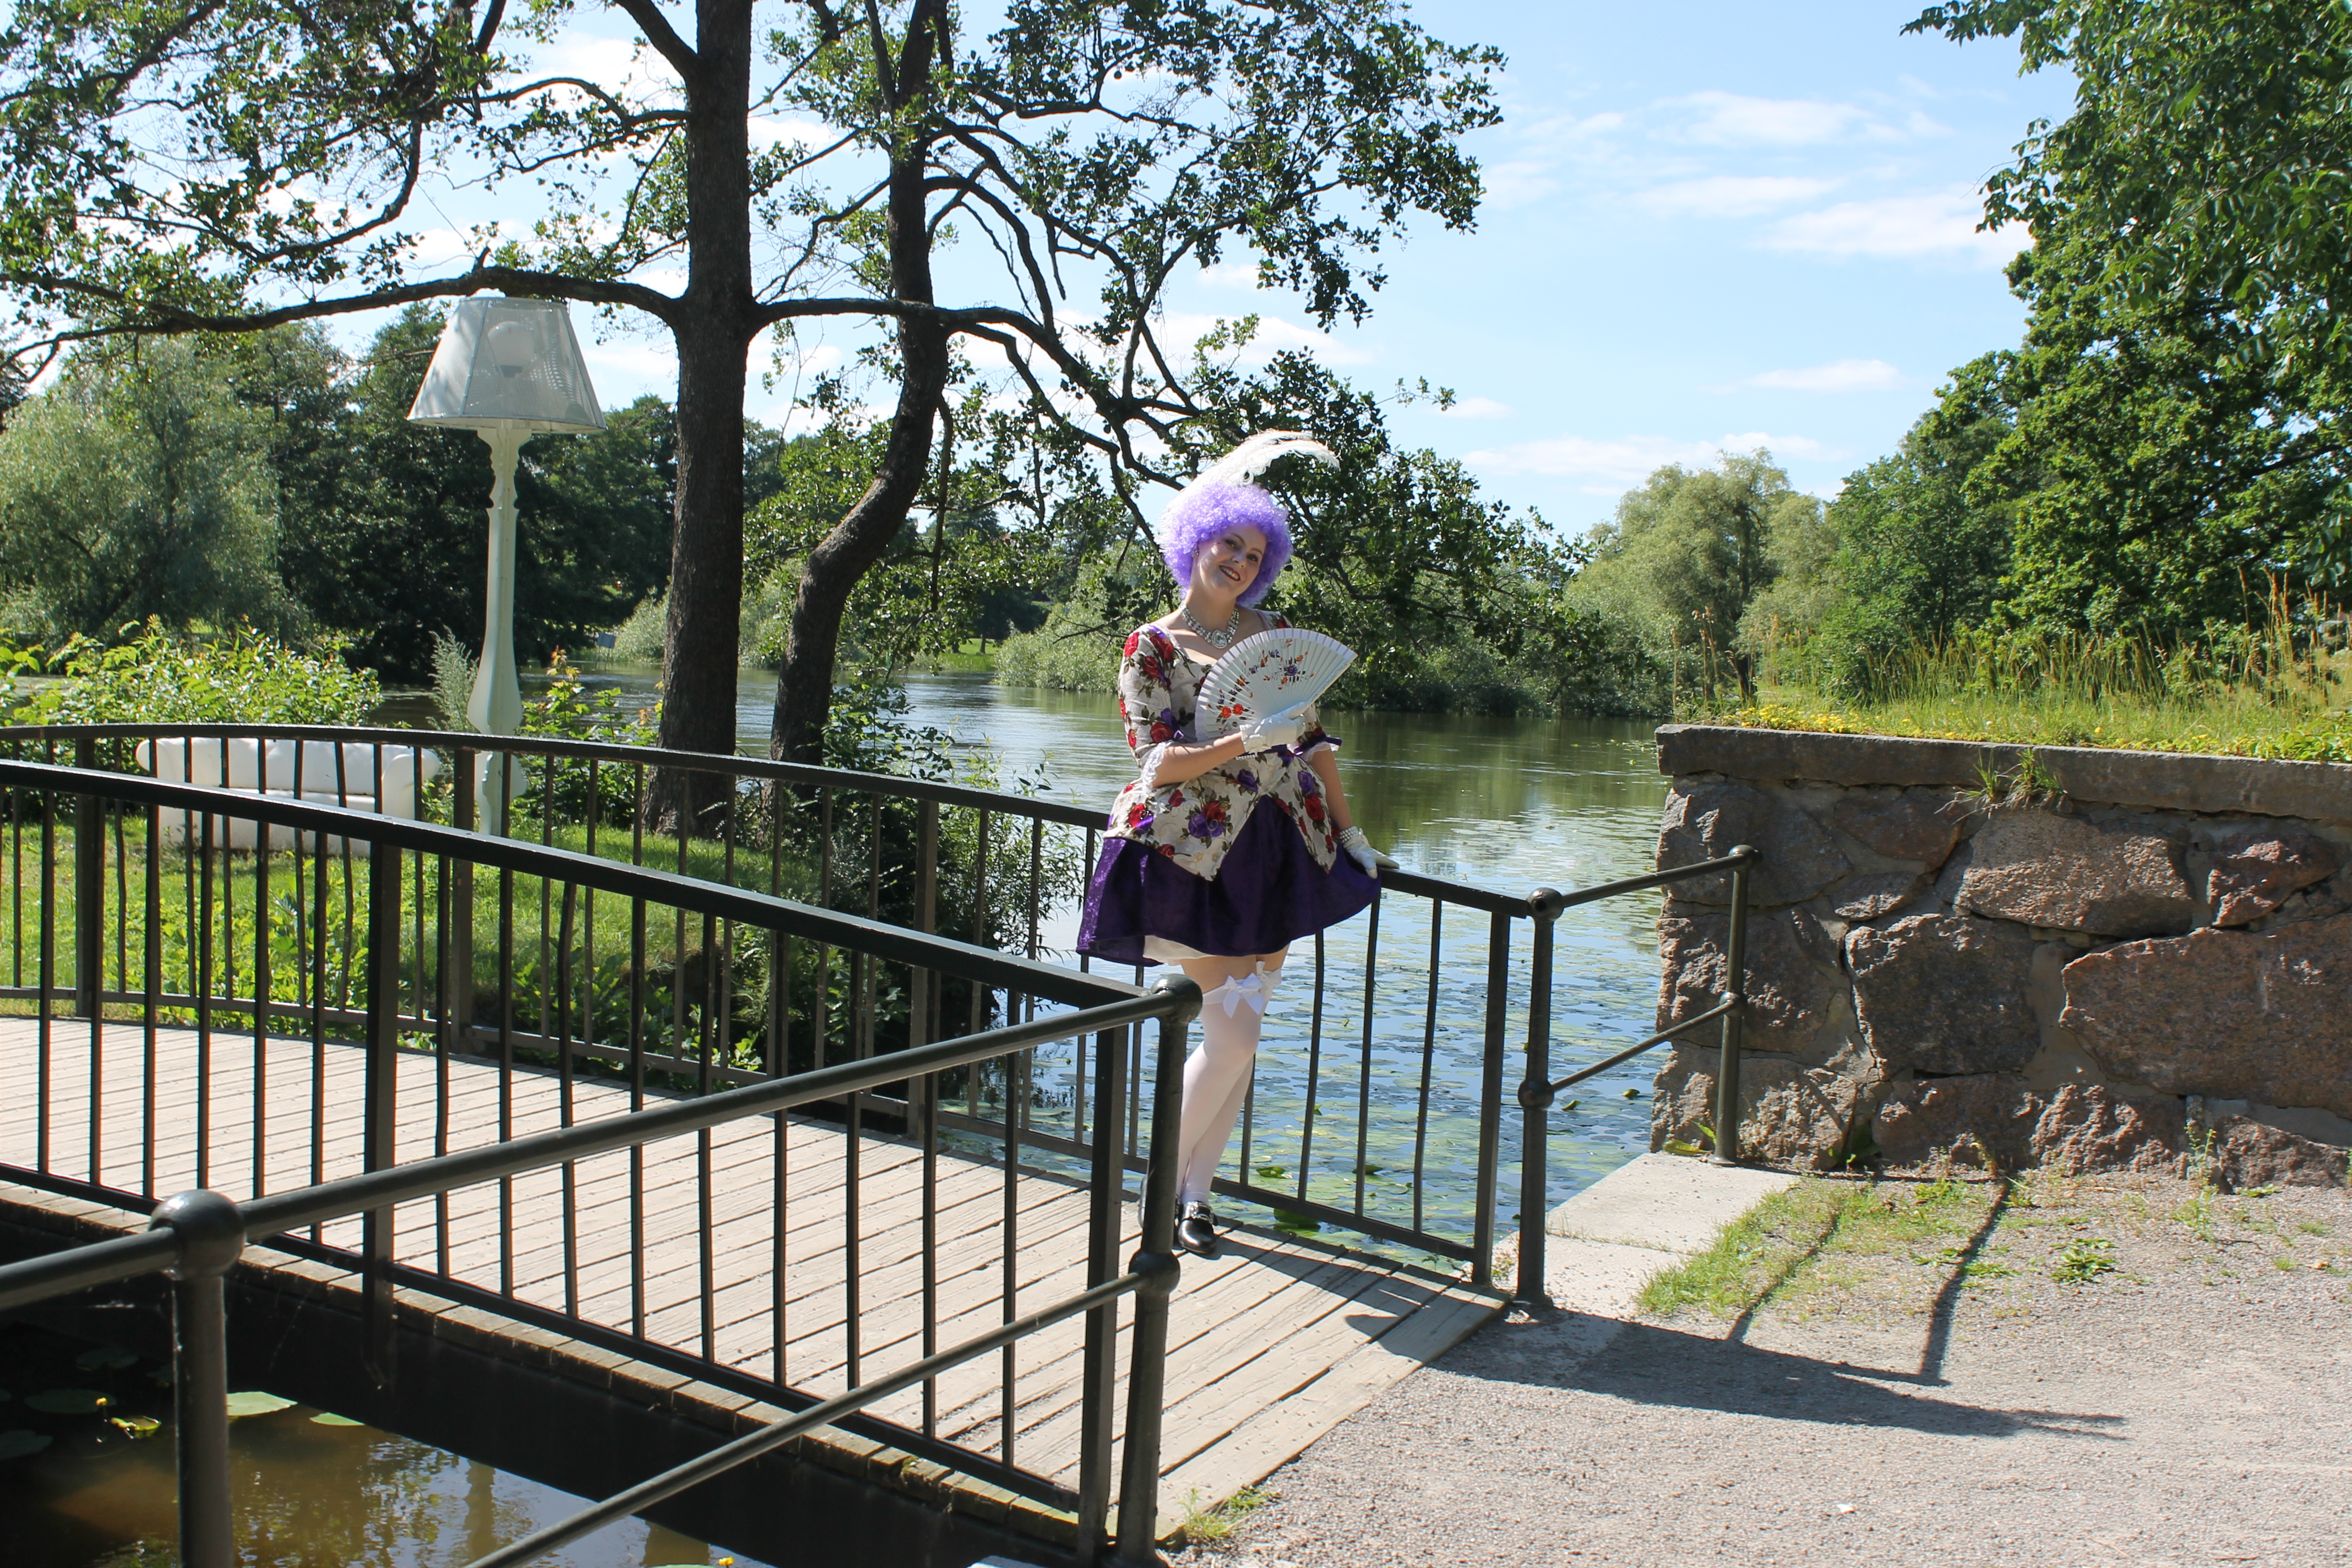
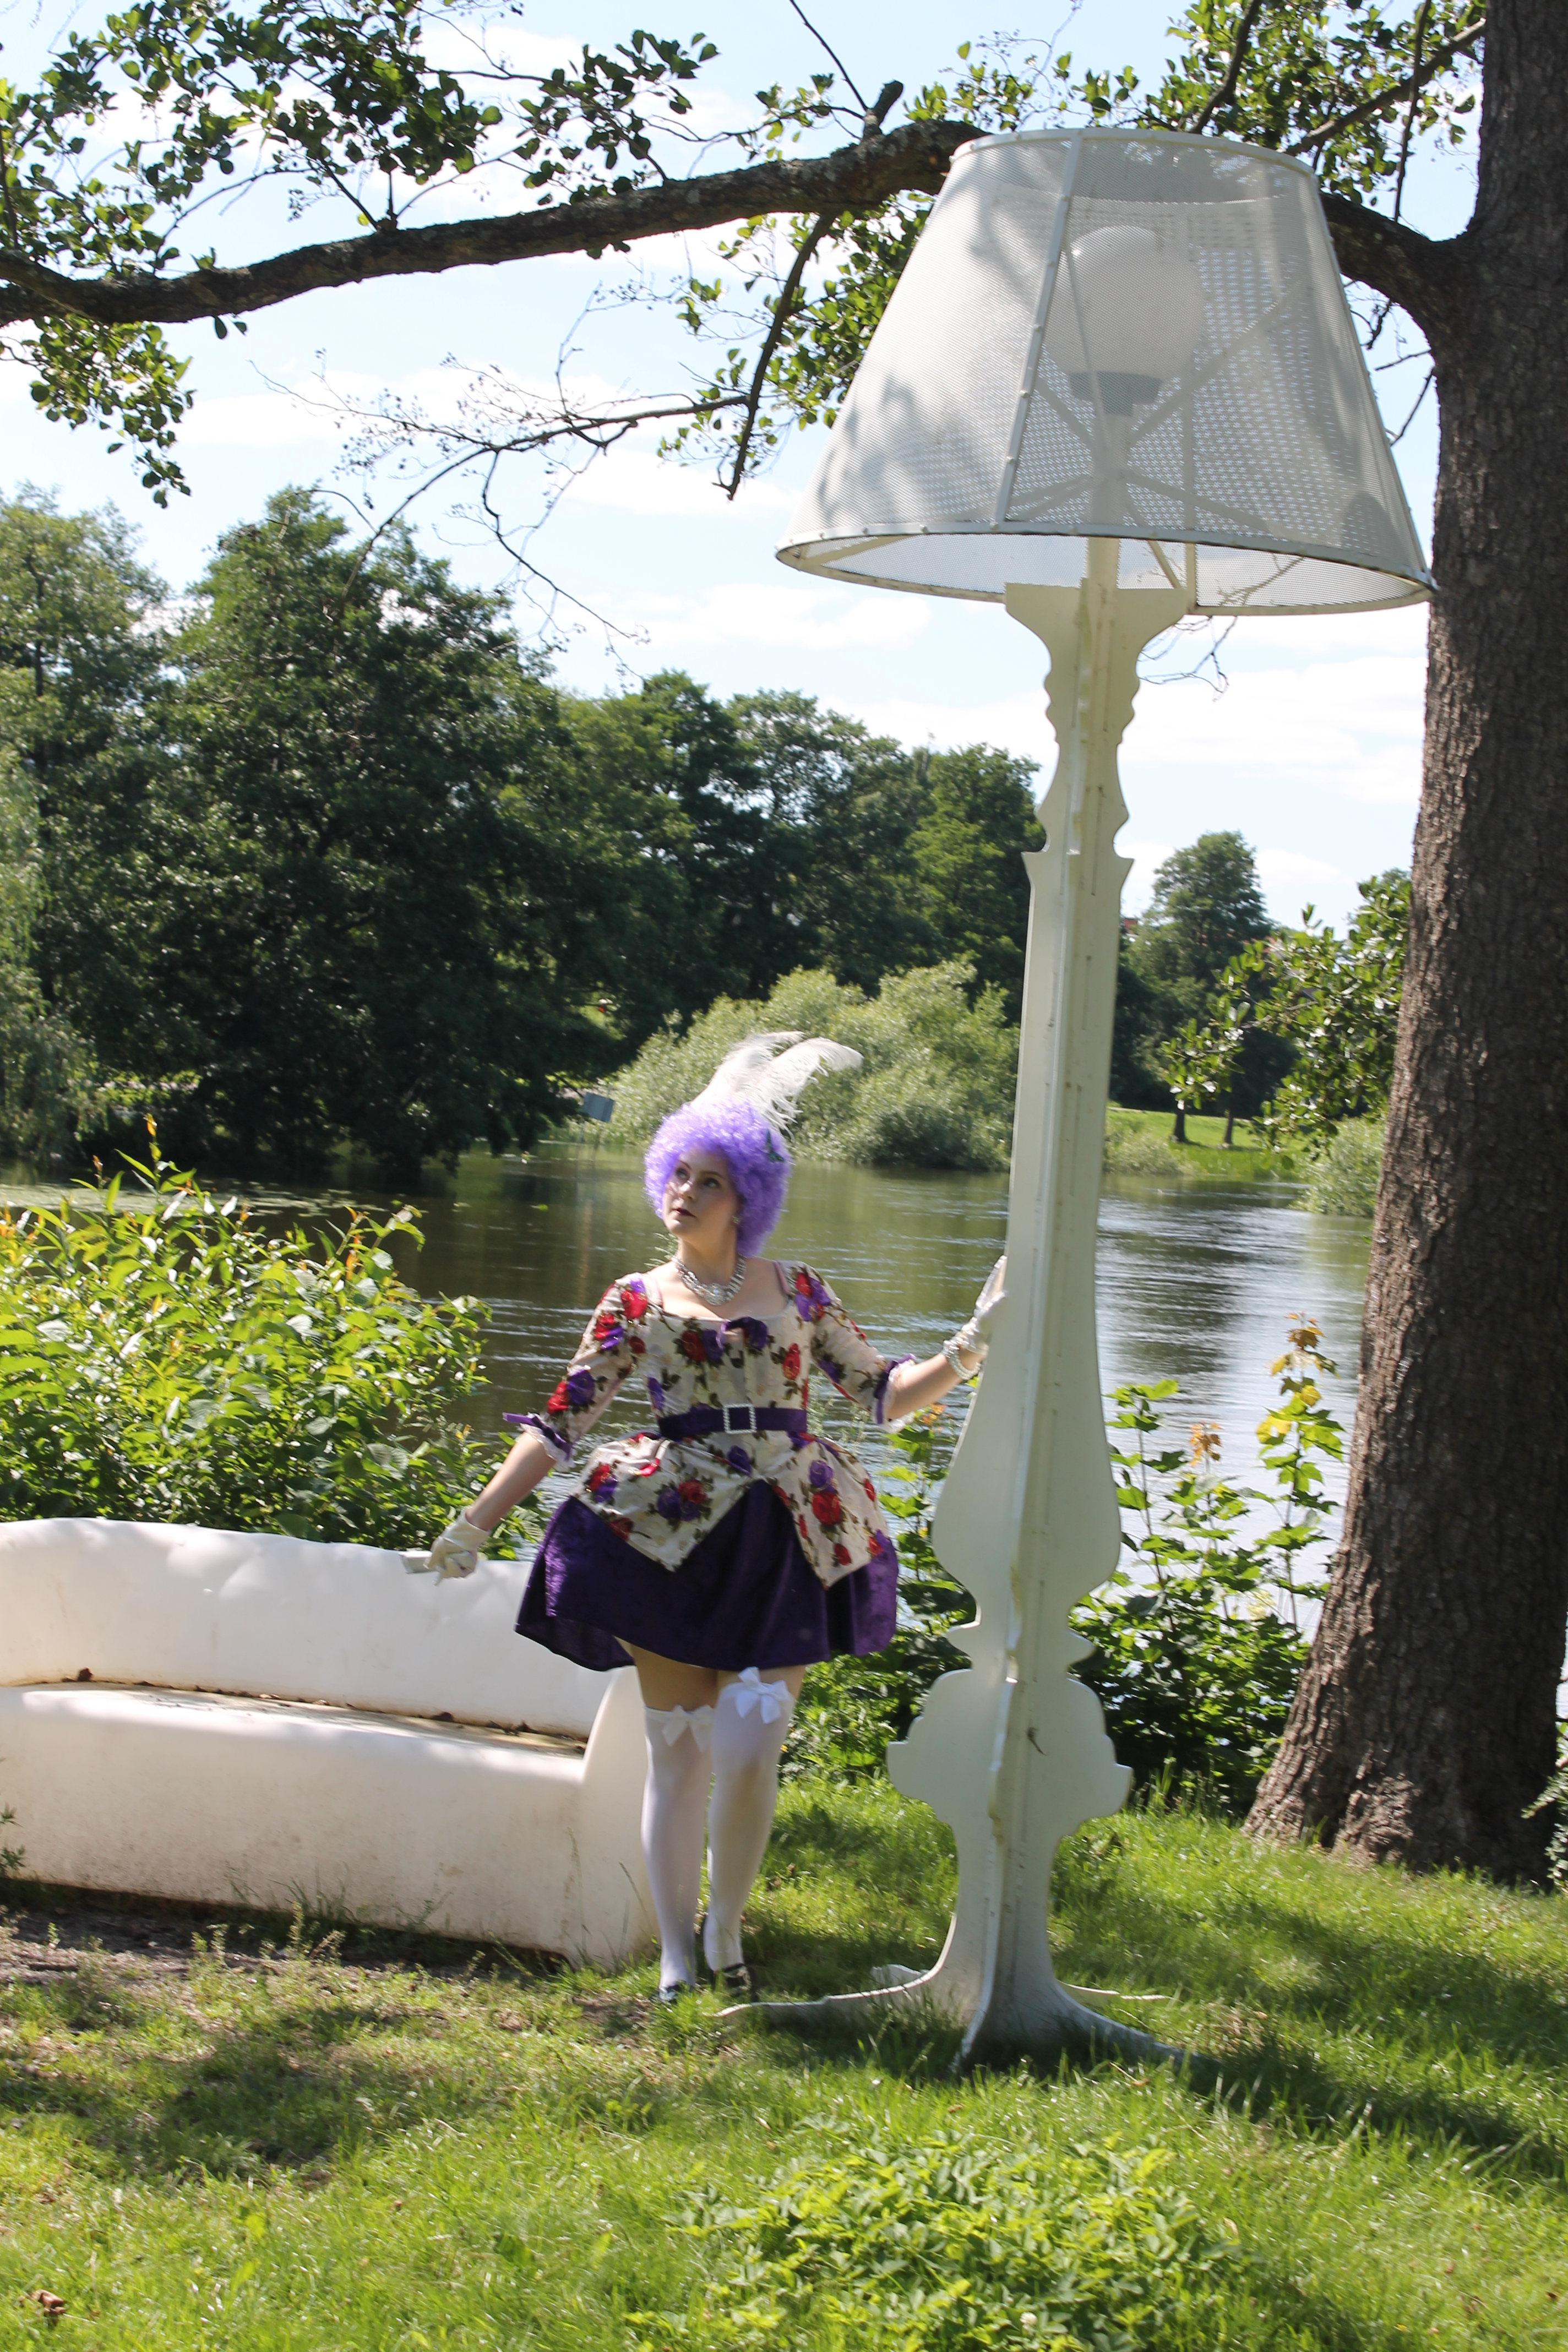
 Photos: Elin Evaldsdottra och Maria Petersson