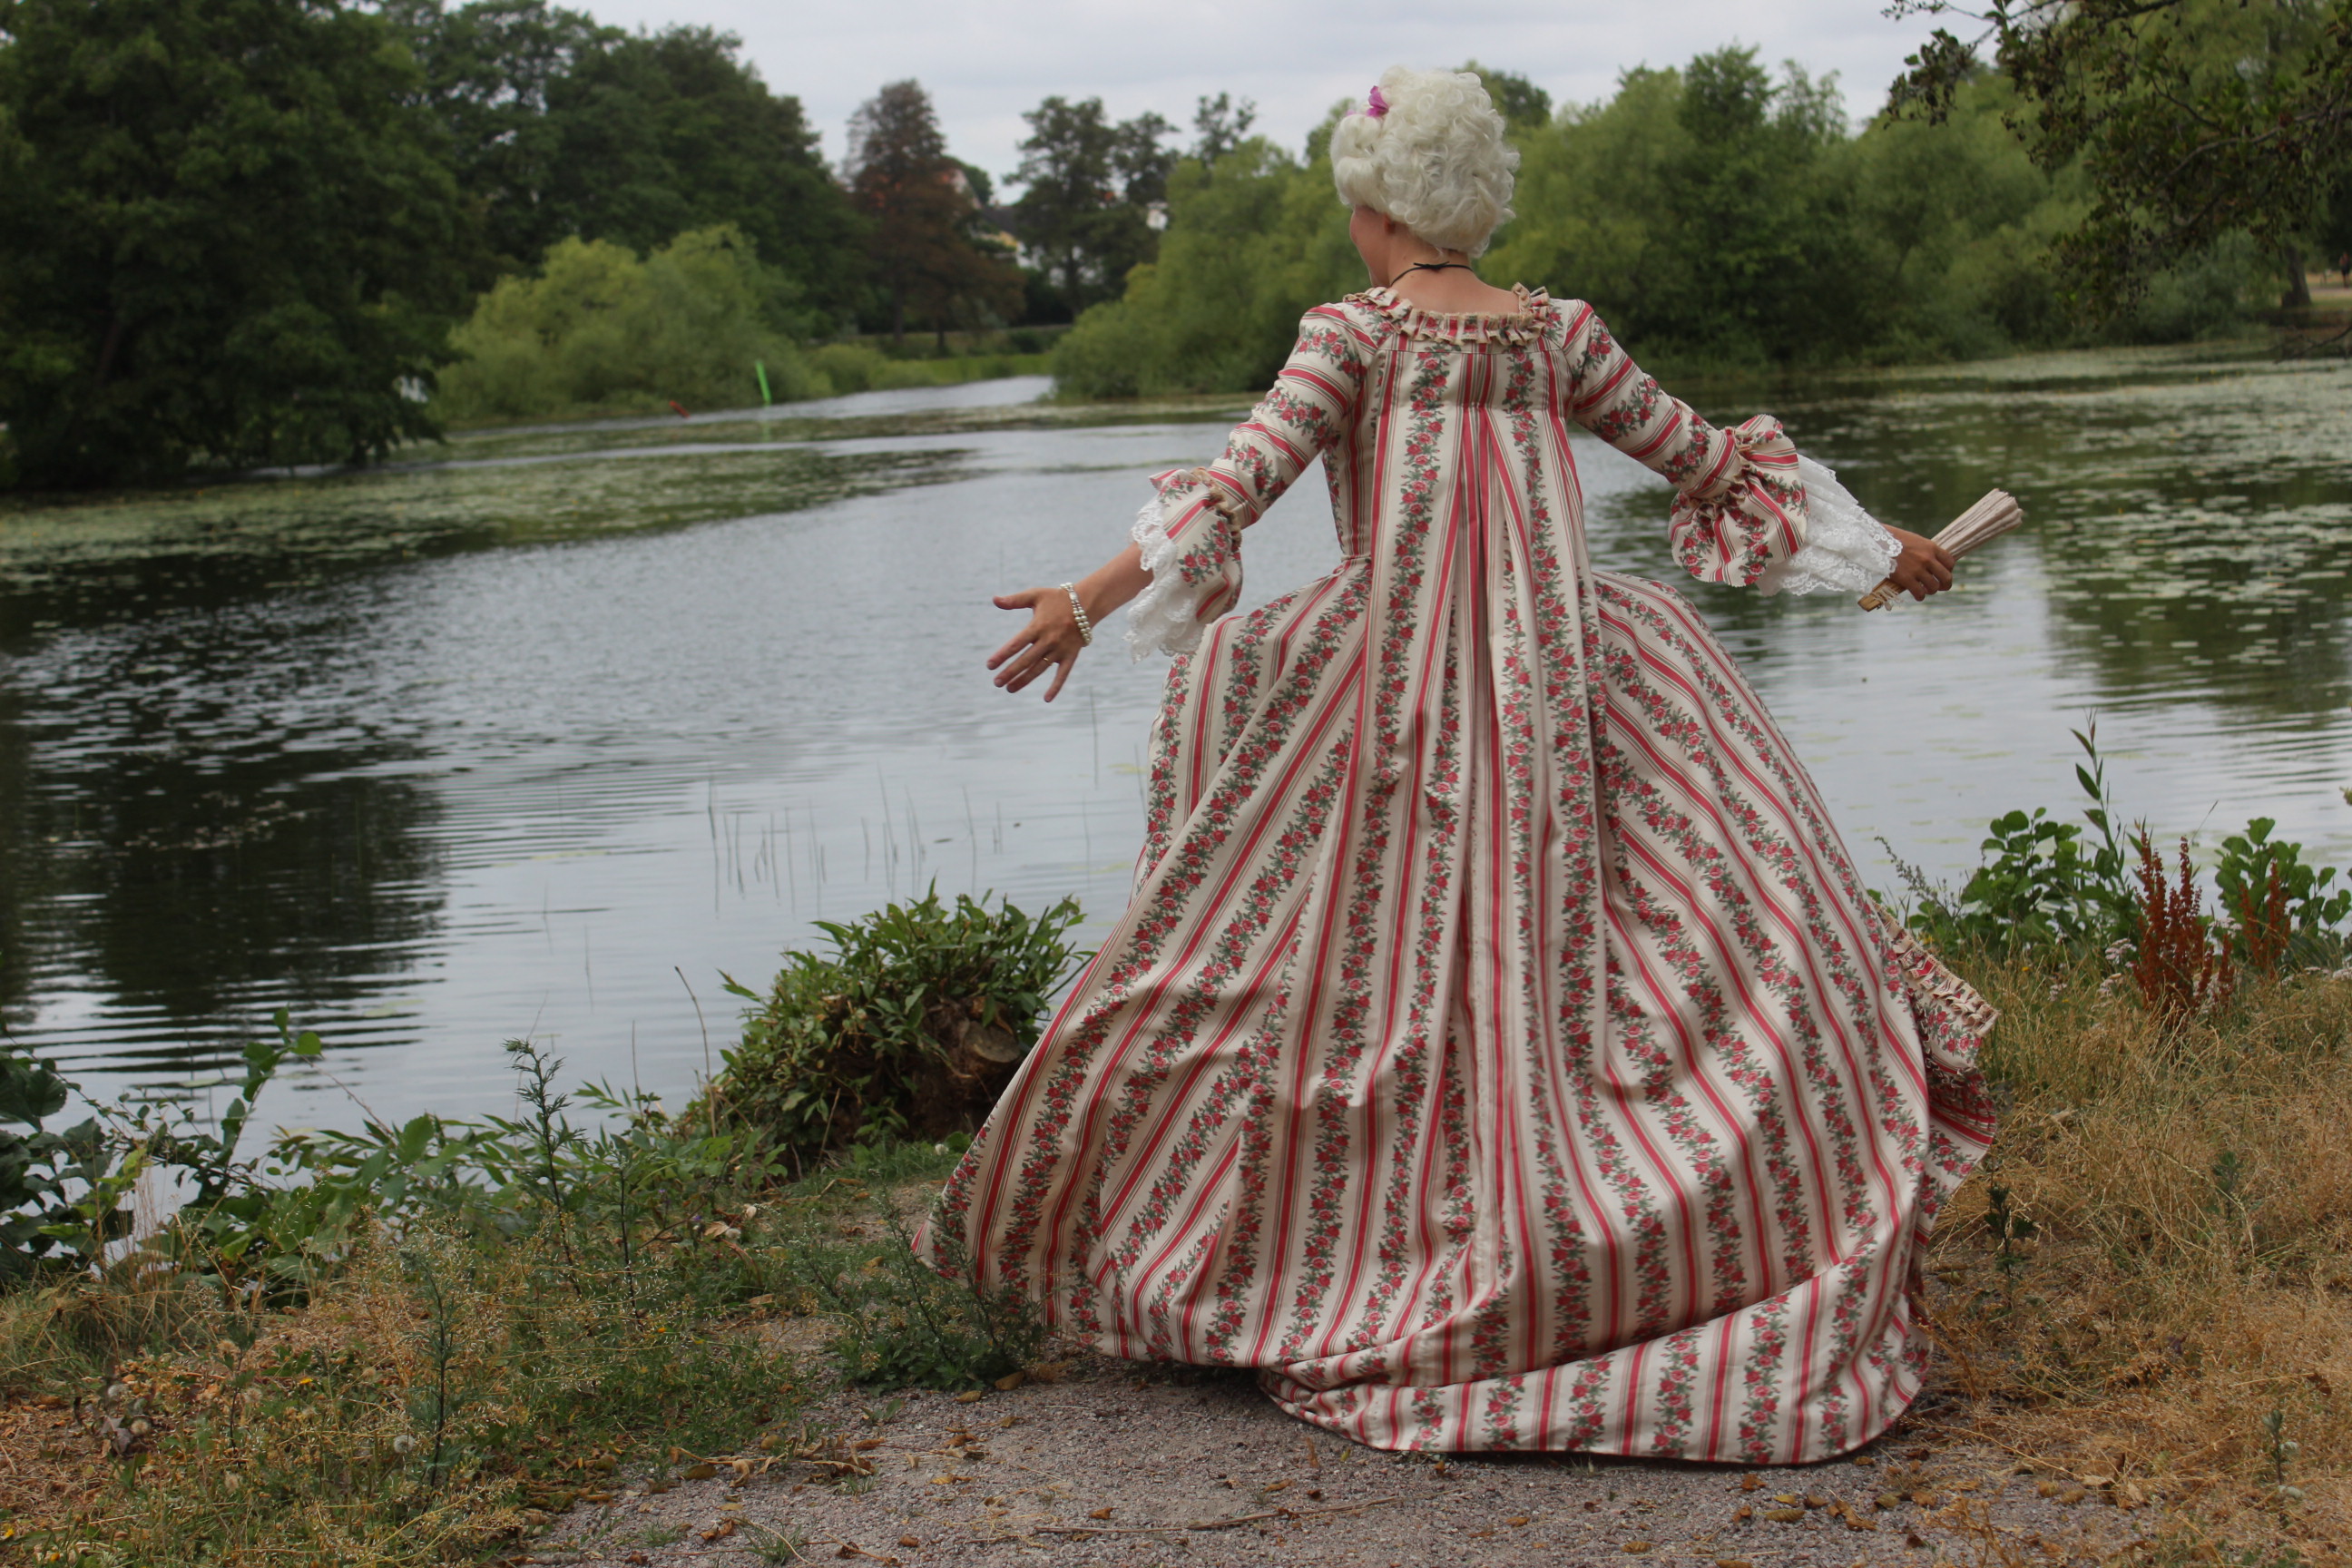
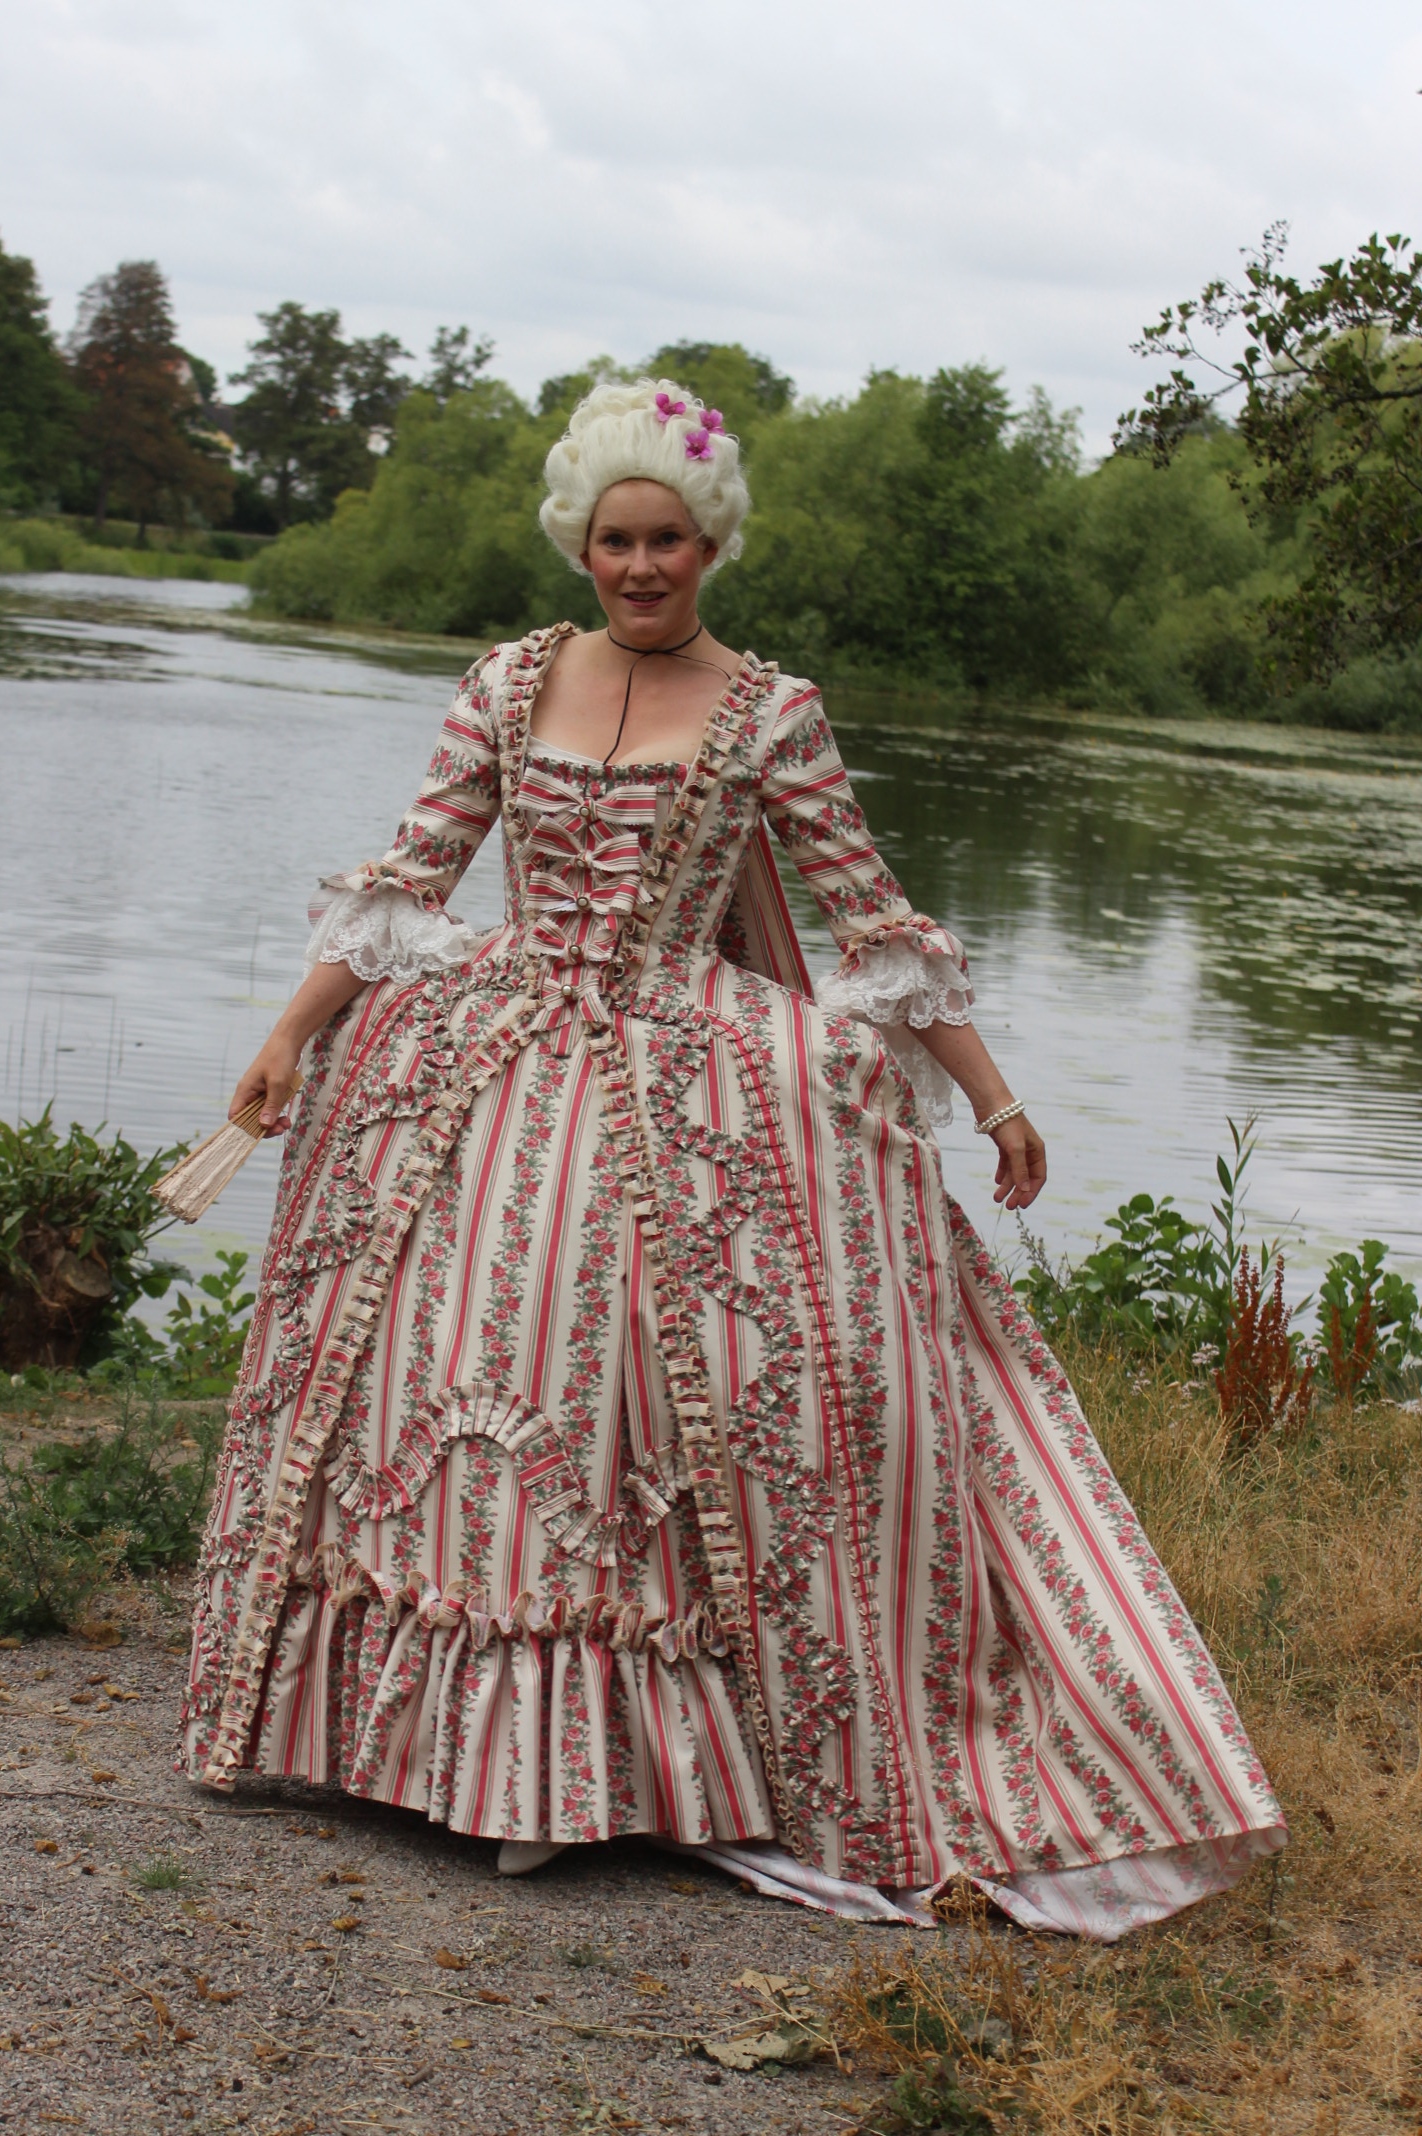
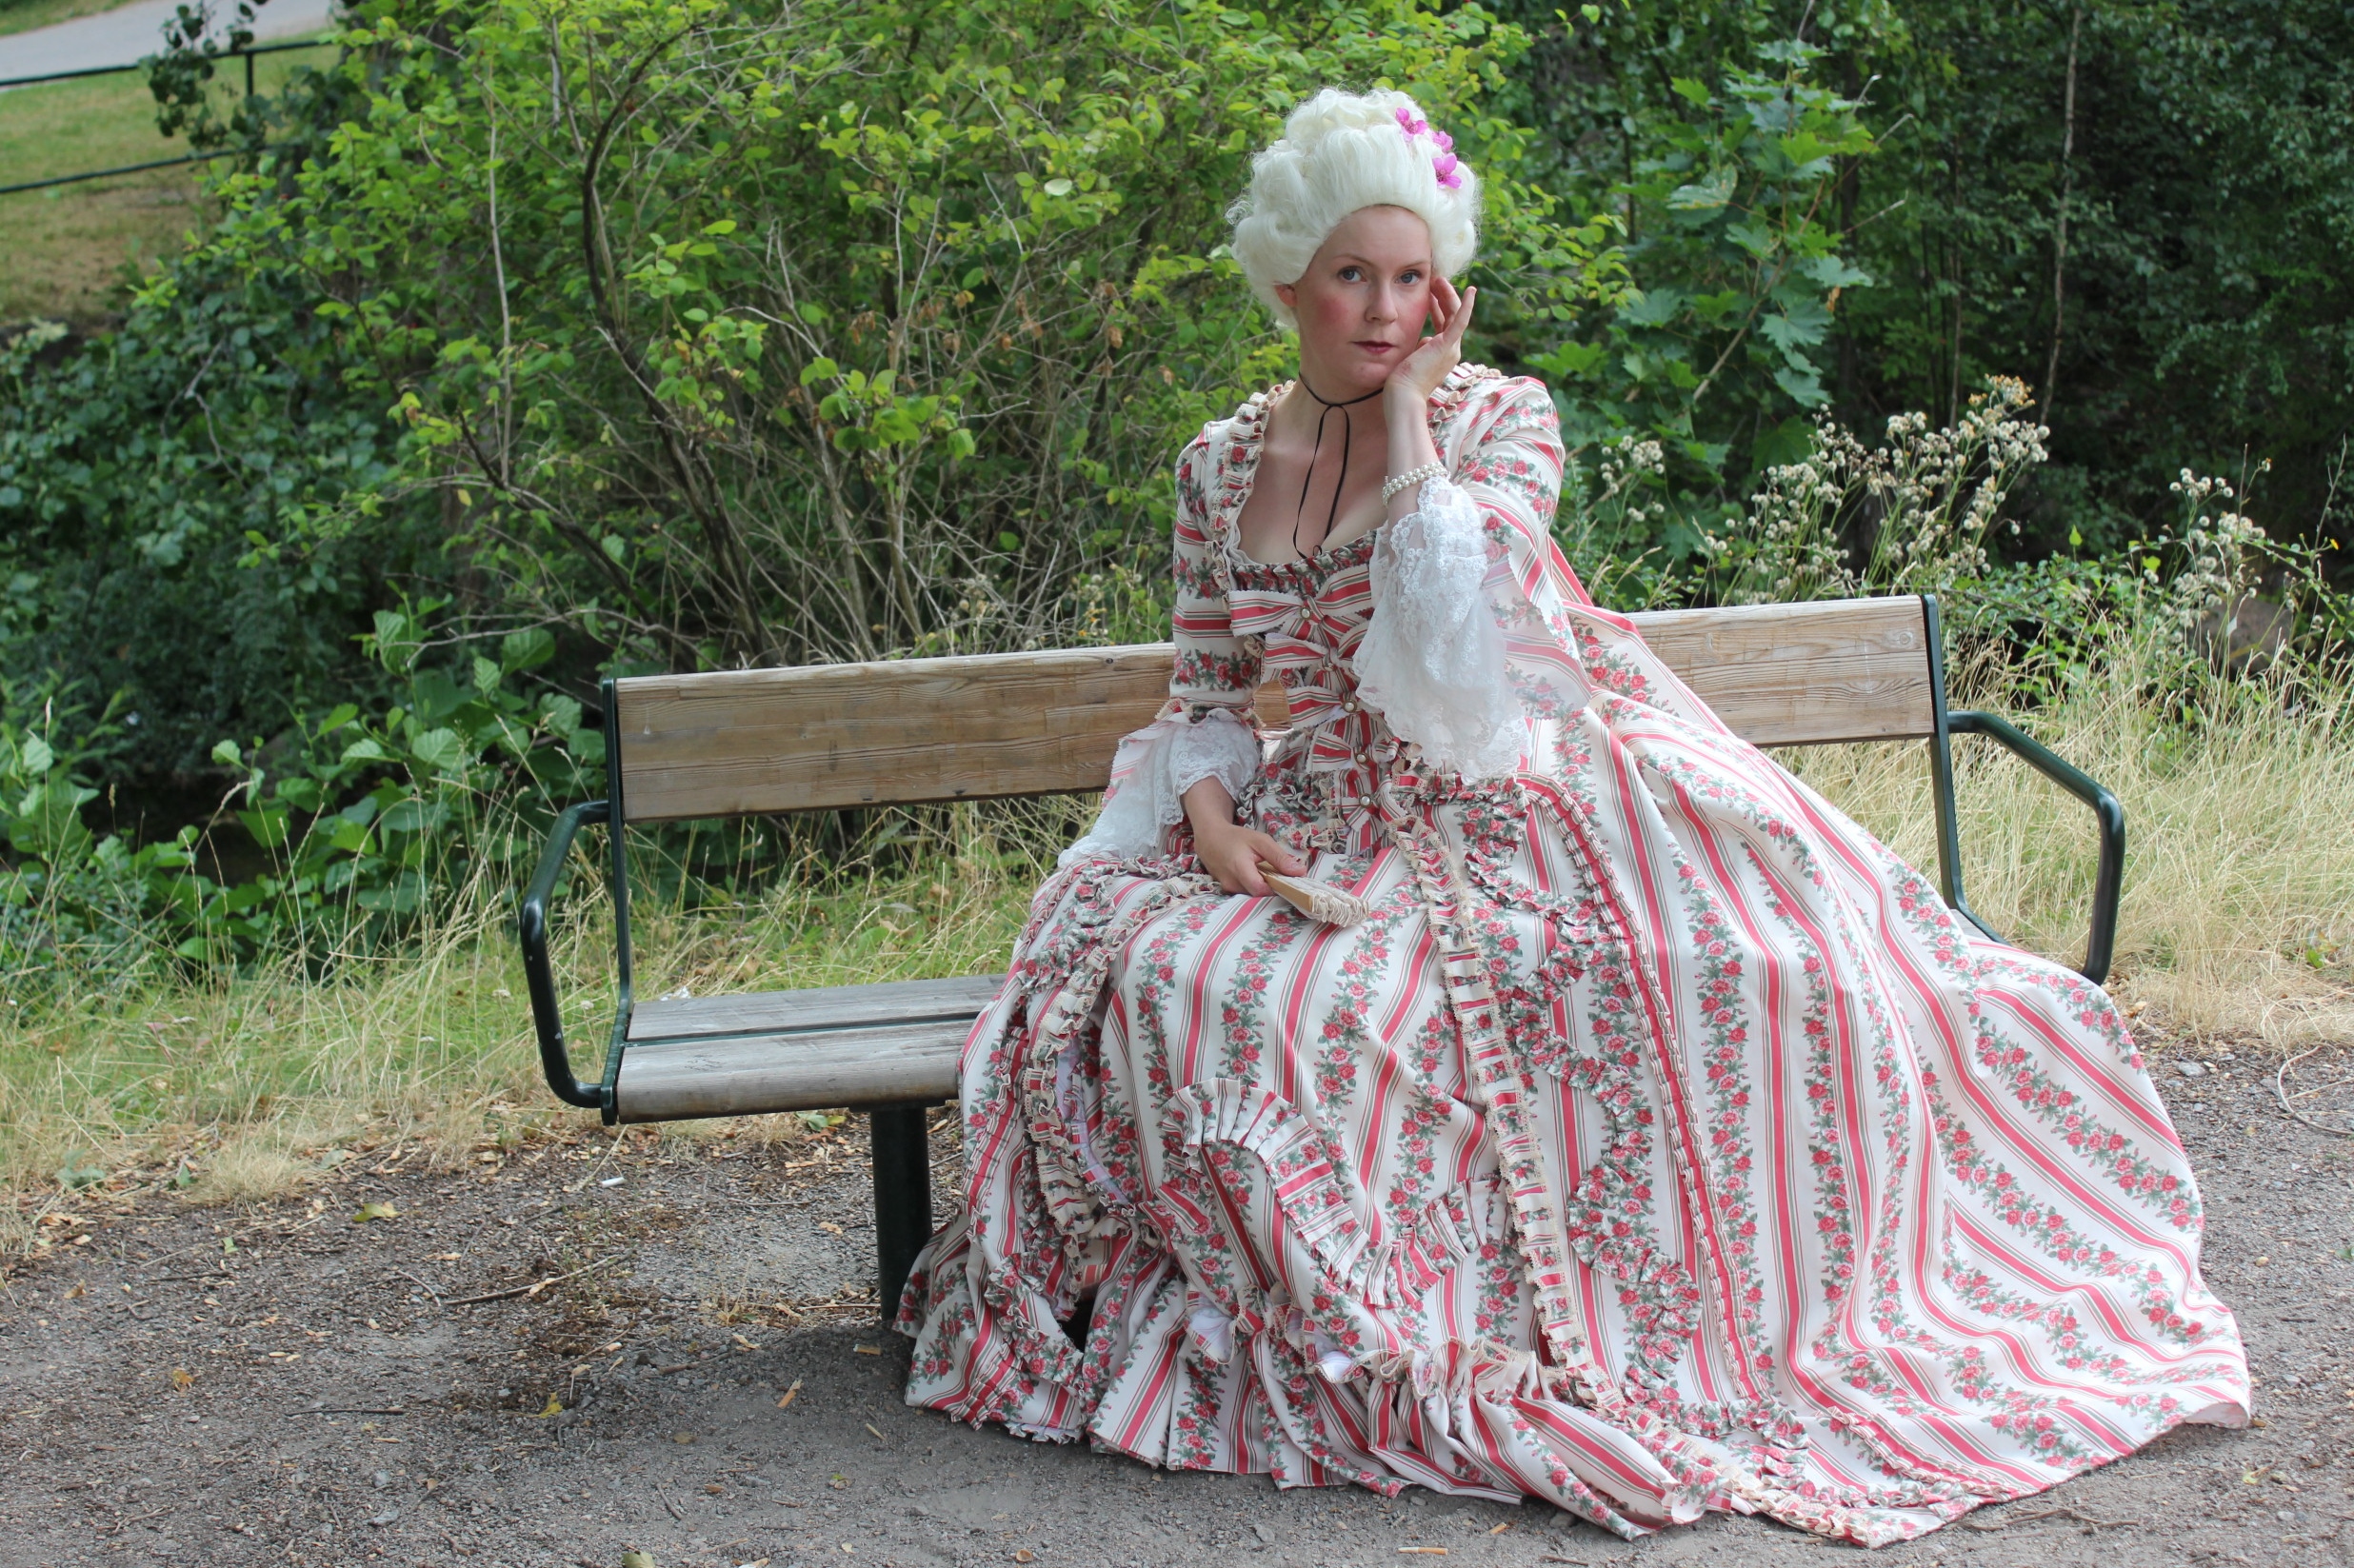
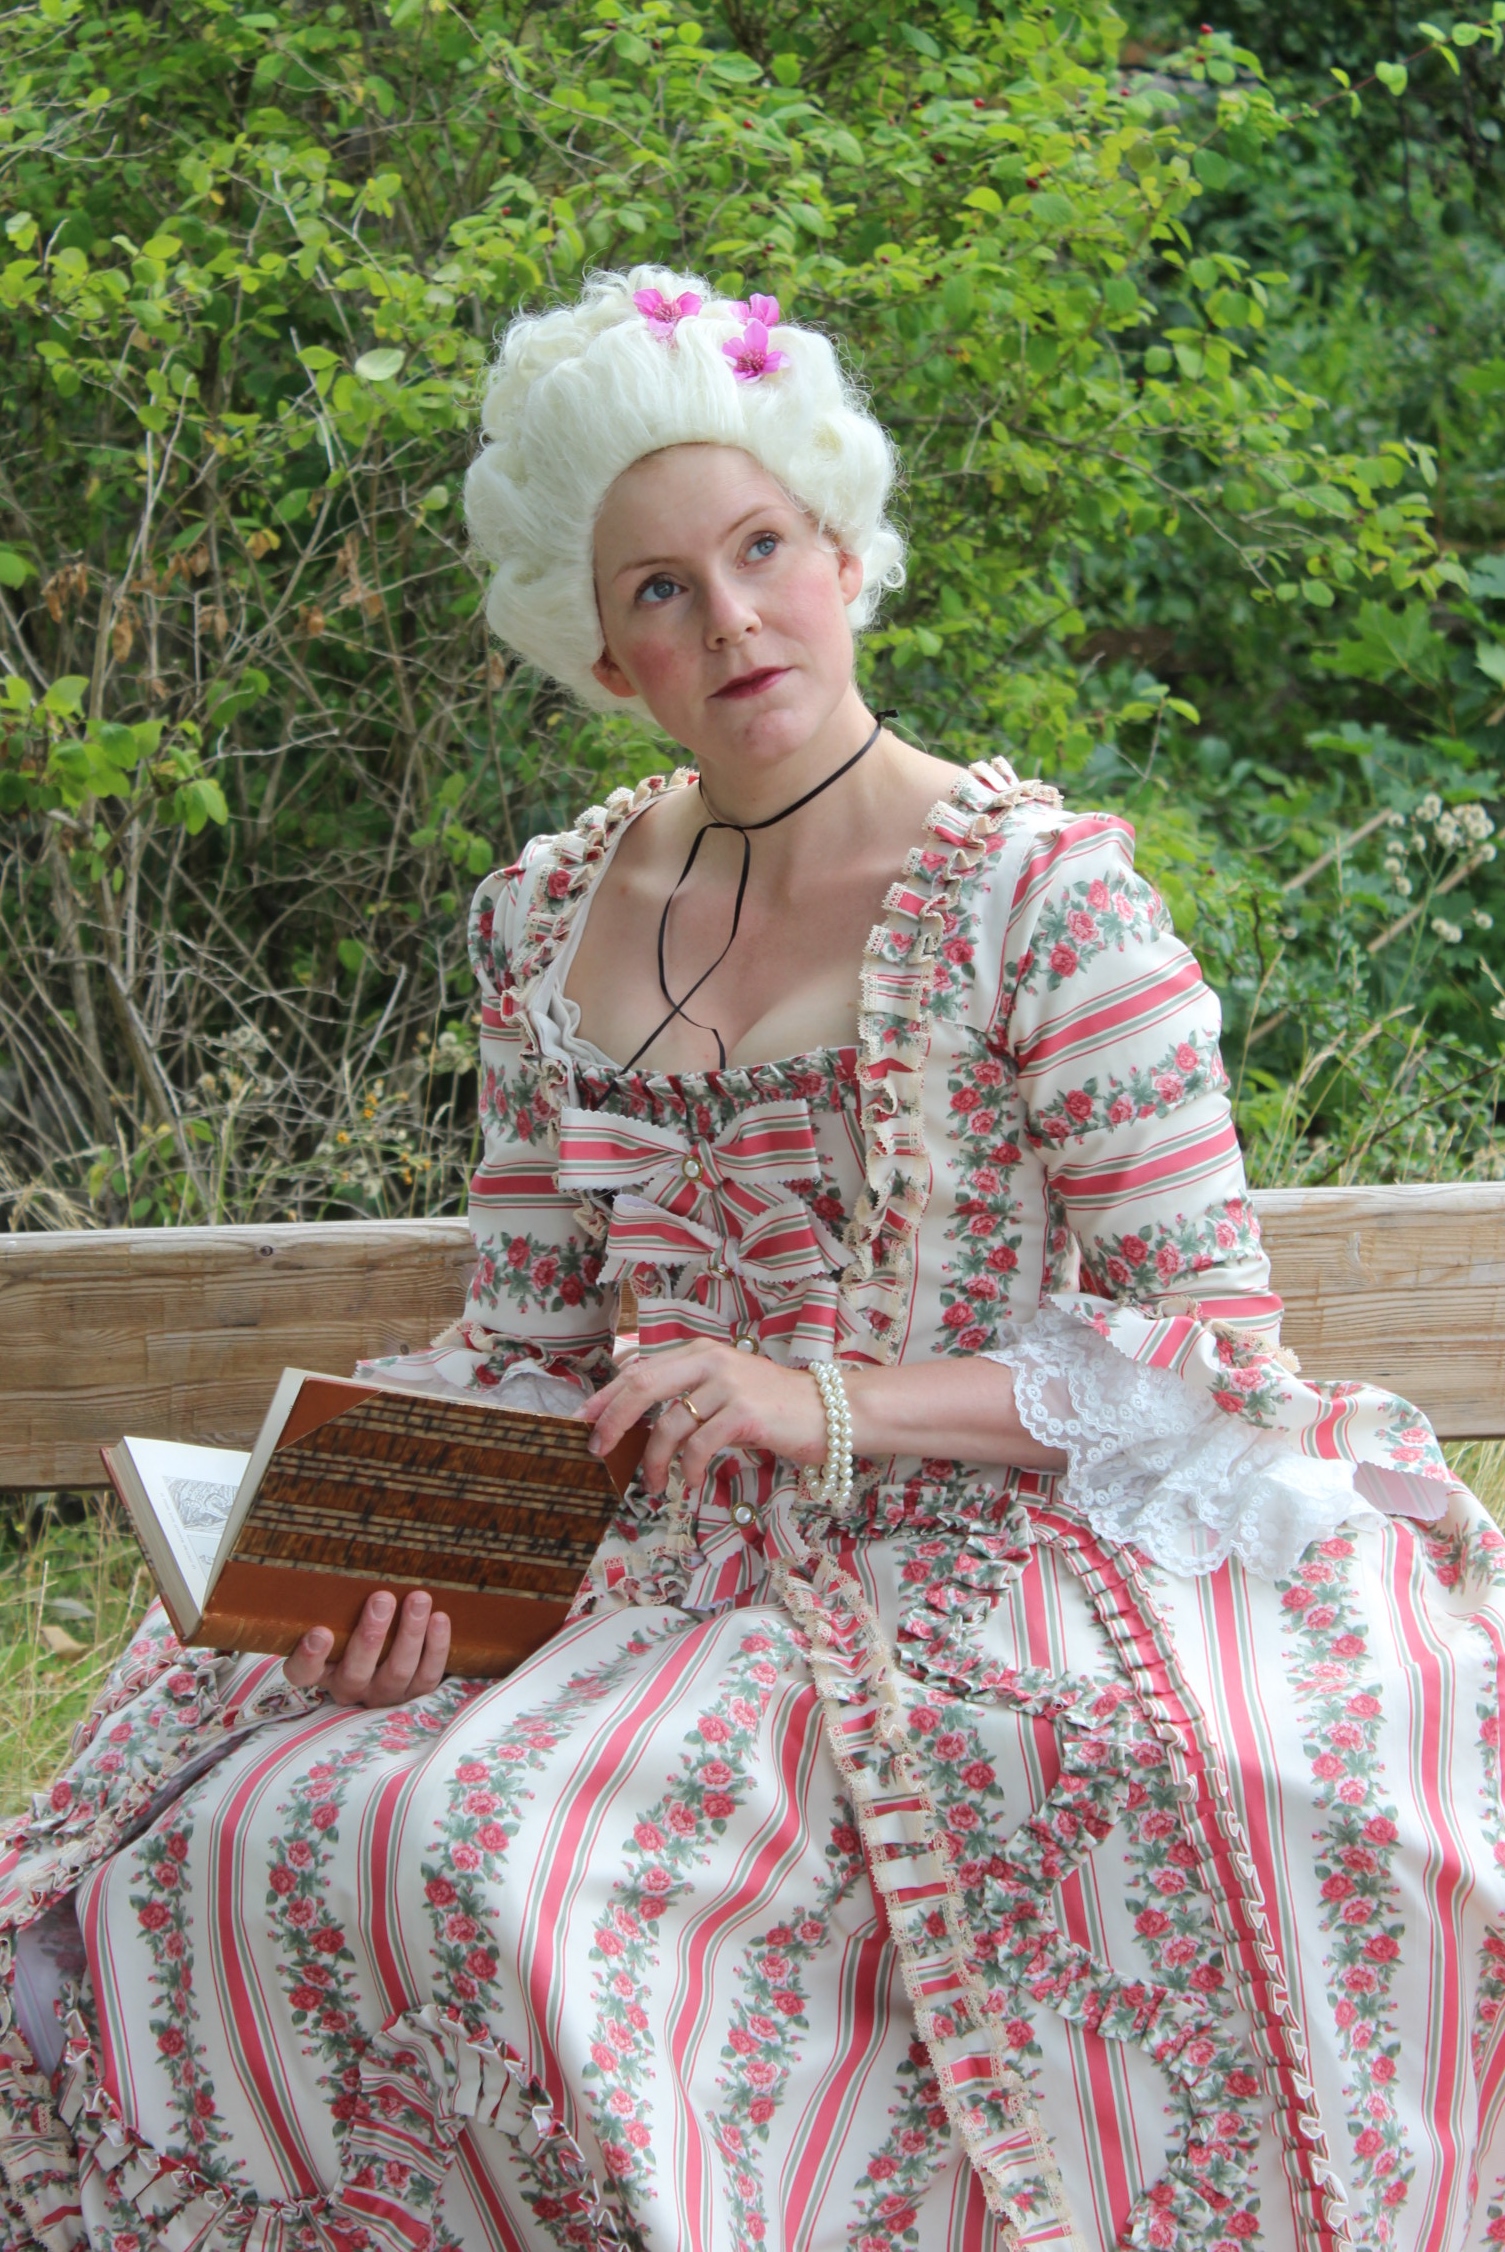
It took me more than a month to get the necassary components togeter for a photoshoot (free time, 1 sister to photograph, 1 sister to take care of the toddler and nice weather…), but yesterday we did manadge to take some nice new photos of my re-made “Spring Anglaise”.
So, in late August is was time for the event I’ve been working (sewing) like a mad for.
The “Light party” at Ljungs castle (webpage).
It was an evening in honor of the parties van Fersen d.y. used to host in the late 18th century.
As you now know I had a bit trouble deciding on what to wear (as I always do).
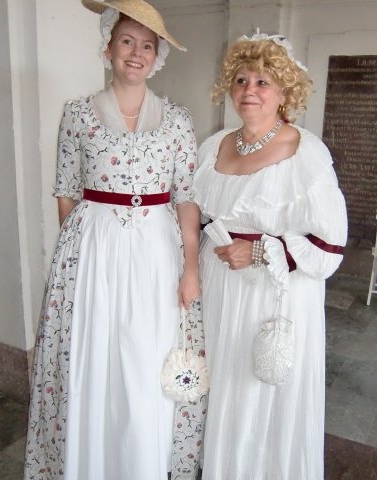
But the theme for the party was “light”, and called for light/white 18th century costumes.
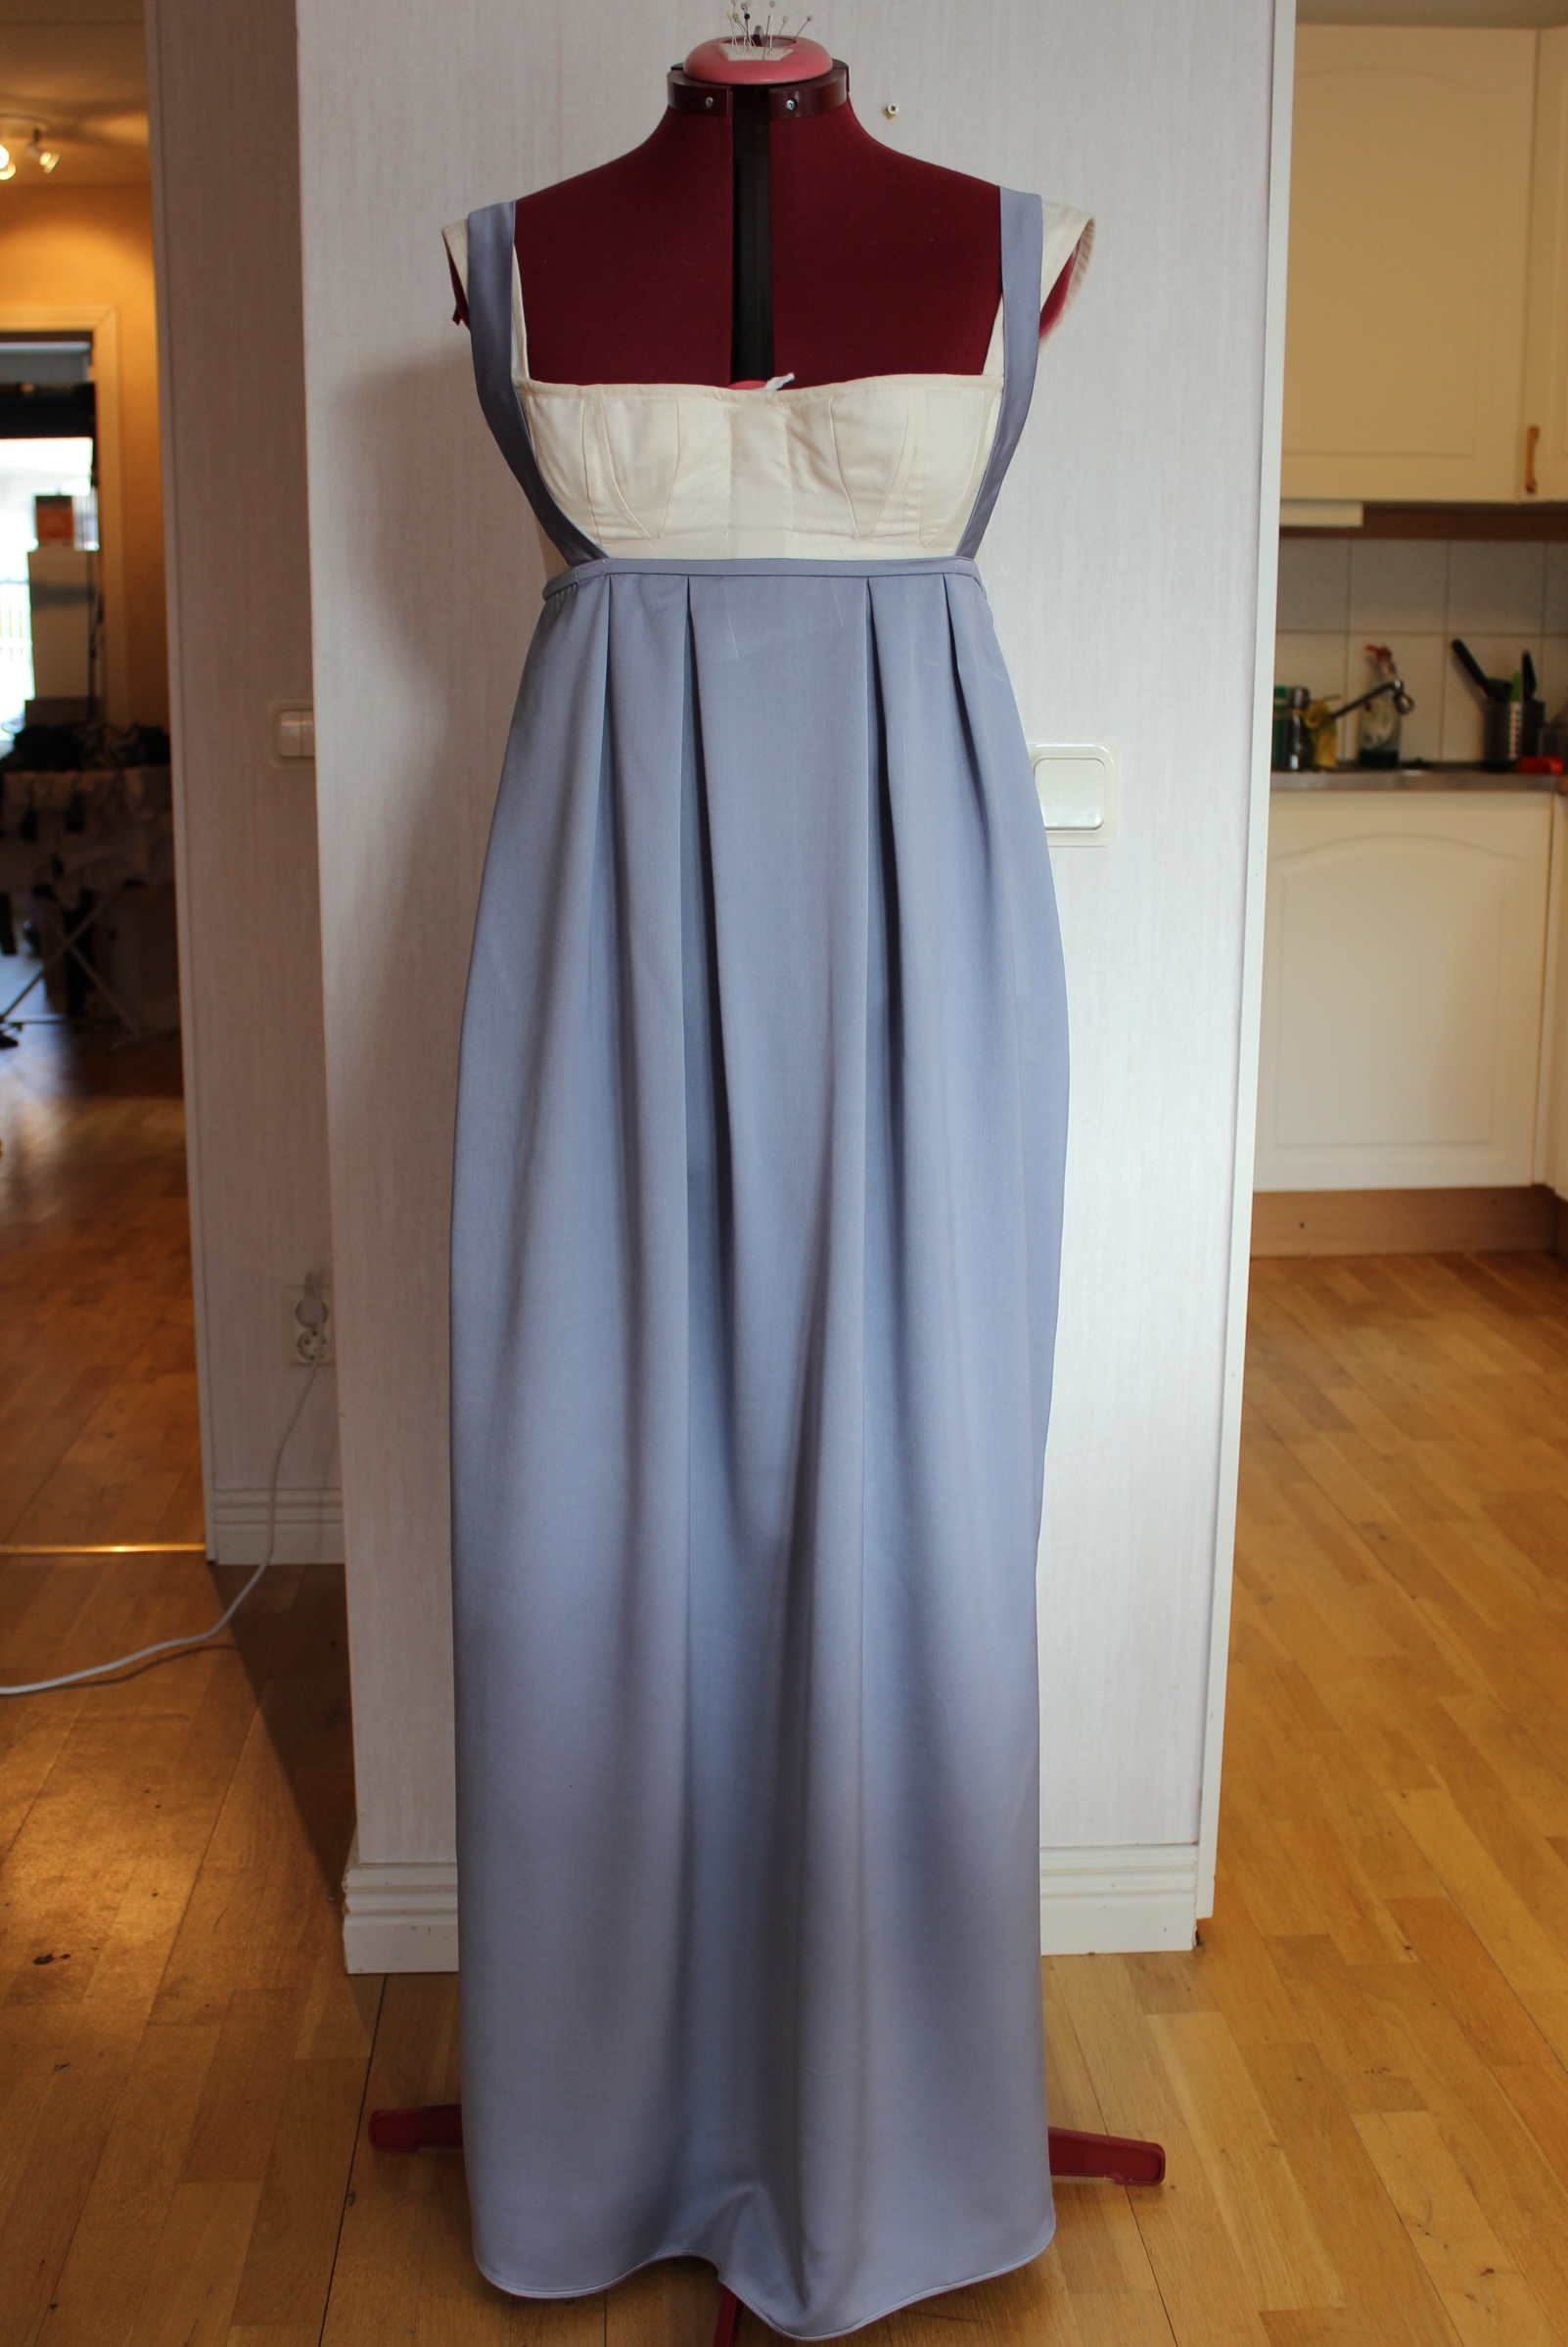
So after some to and forth (read about it here) I finally had my ger ready. Gown with skirt and bumpad.
The only trouble was that the party was on the same day as “Söderköpings medieval fair“, which caused me to be in a bitt of a hurry to change from one costume to another, and get myself to the party in time.
But after a quick pit stop at home where I handed over the toddler to my fiancé, jumped out of my Elizabethian gown and quickly laced myself up in 18th century stays, skirts and gown (gulping down a sandwich at the same time) I was ready to once again get on my way.
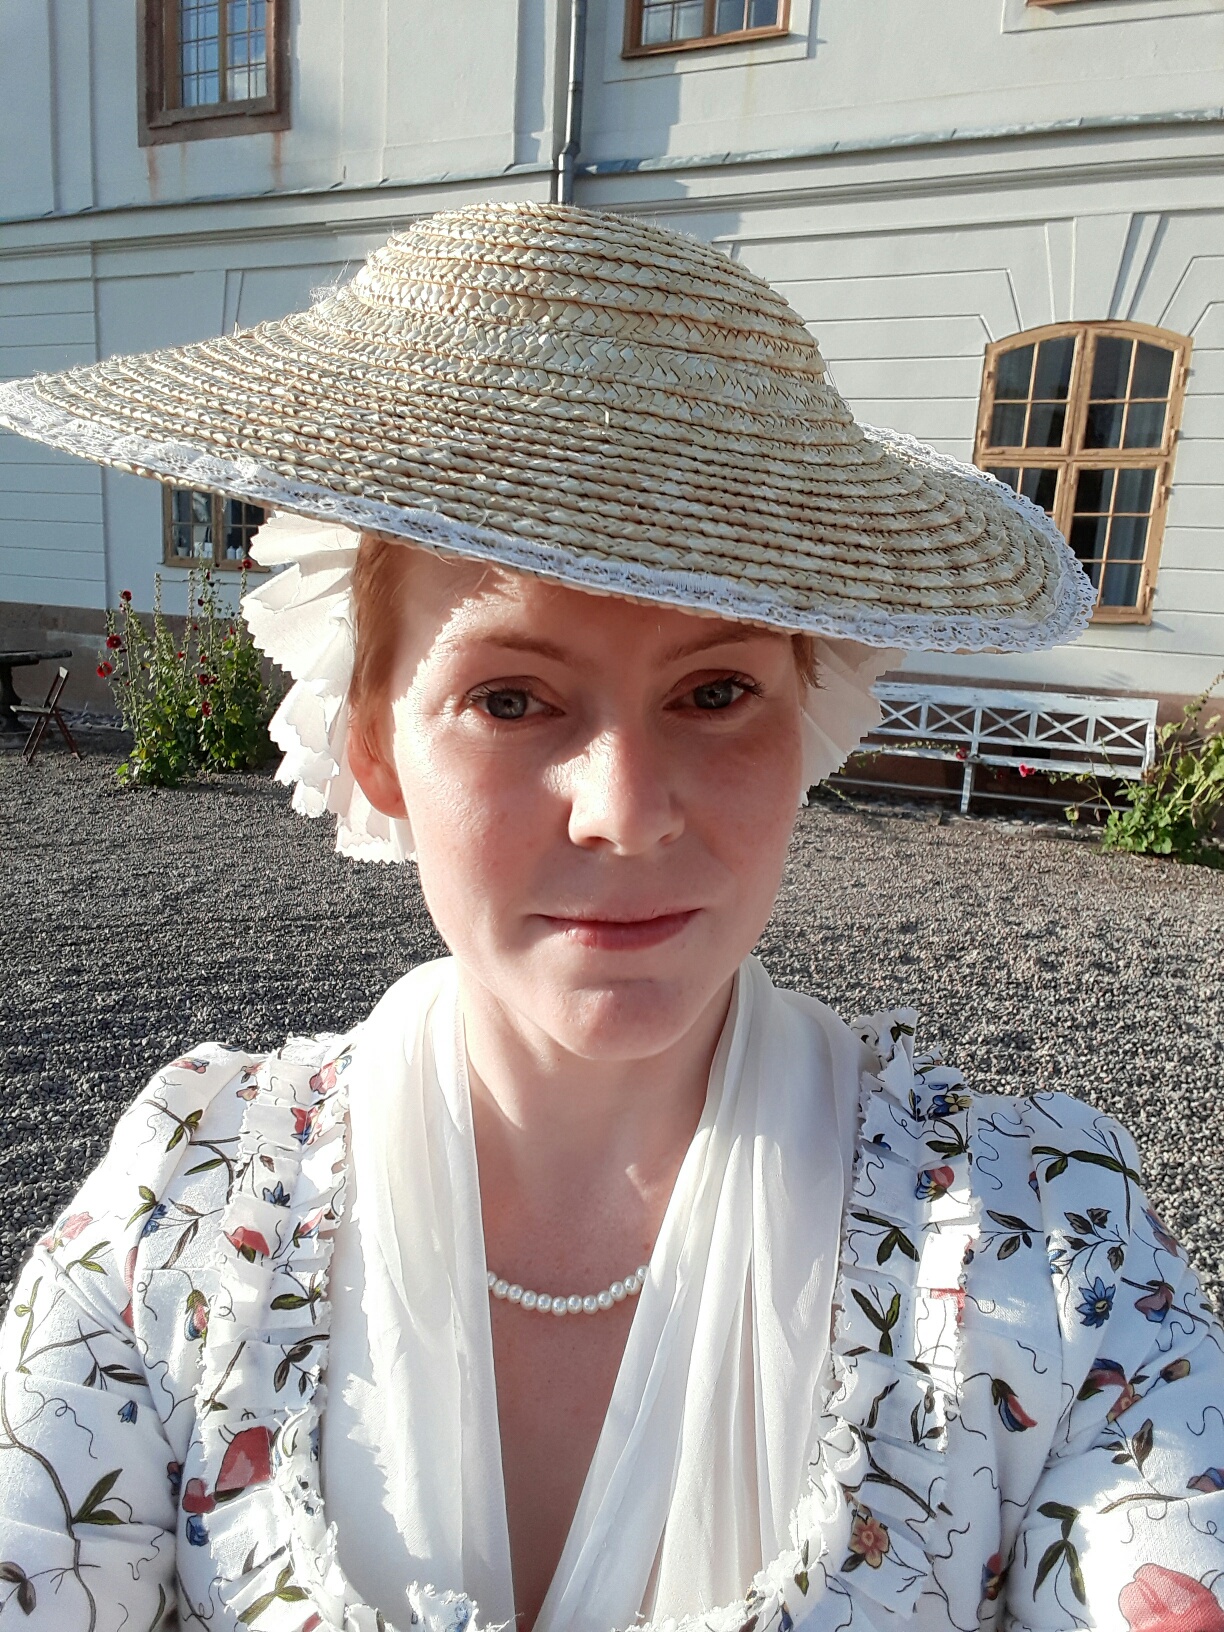
I made it with 10 minutes to spare…“Before event” selfie
The party itself was held at the beautiful castle of Ljung perish about 30 minutes from my hometown.
The day was warm sunny and the slowly setting sun gave a lovely air to the place (and some of my pictures).
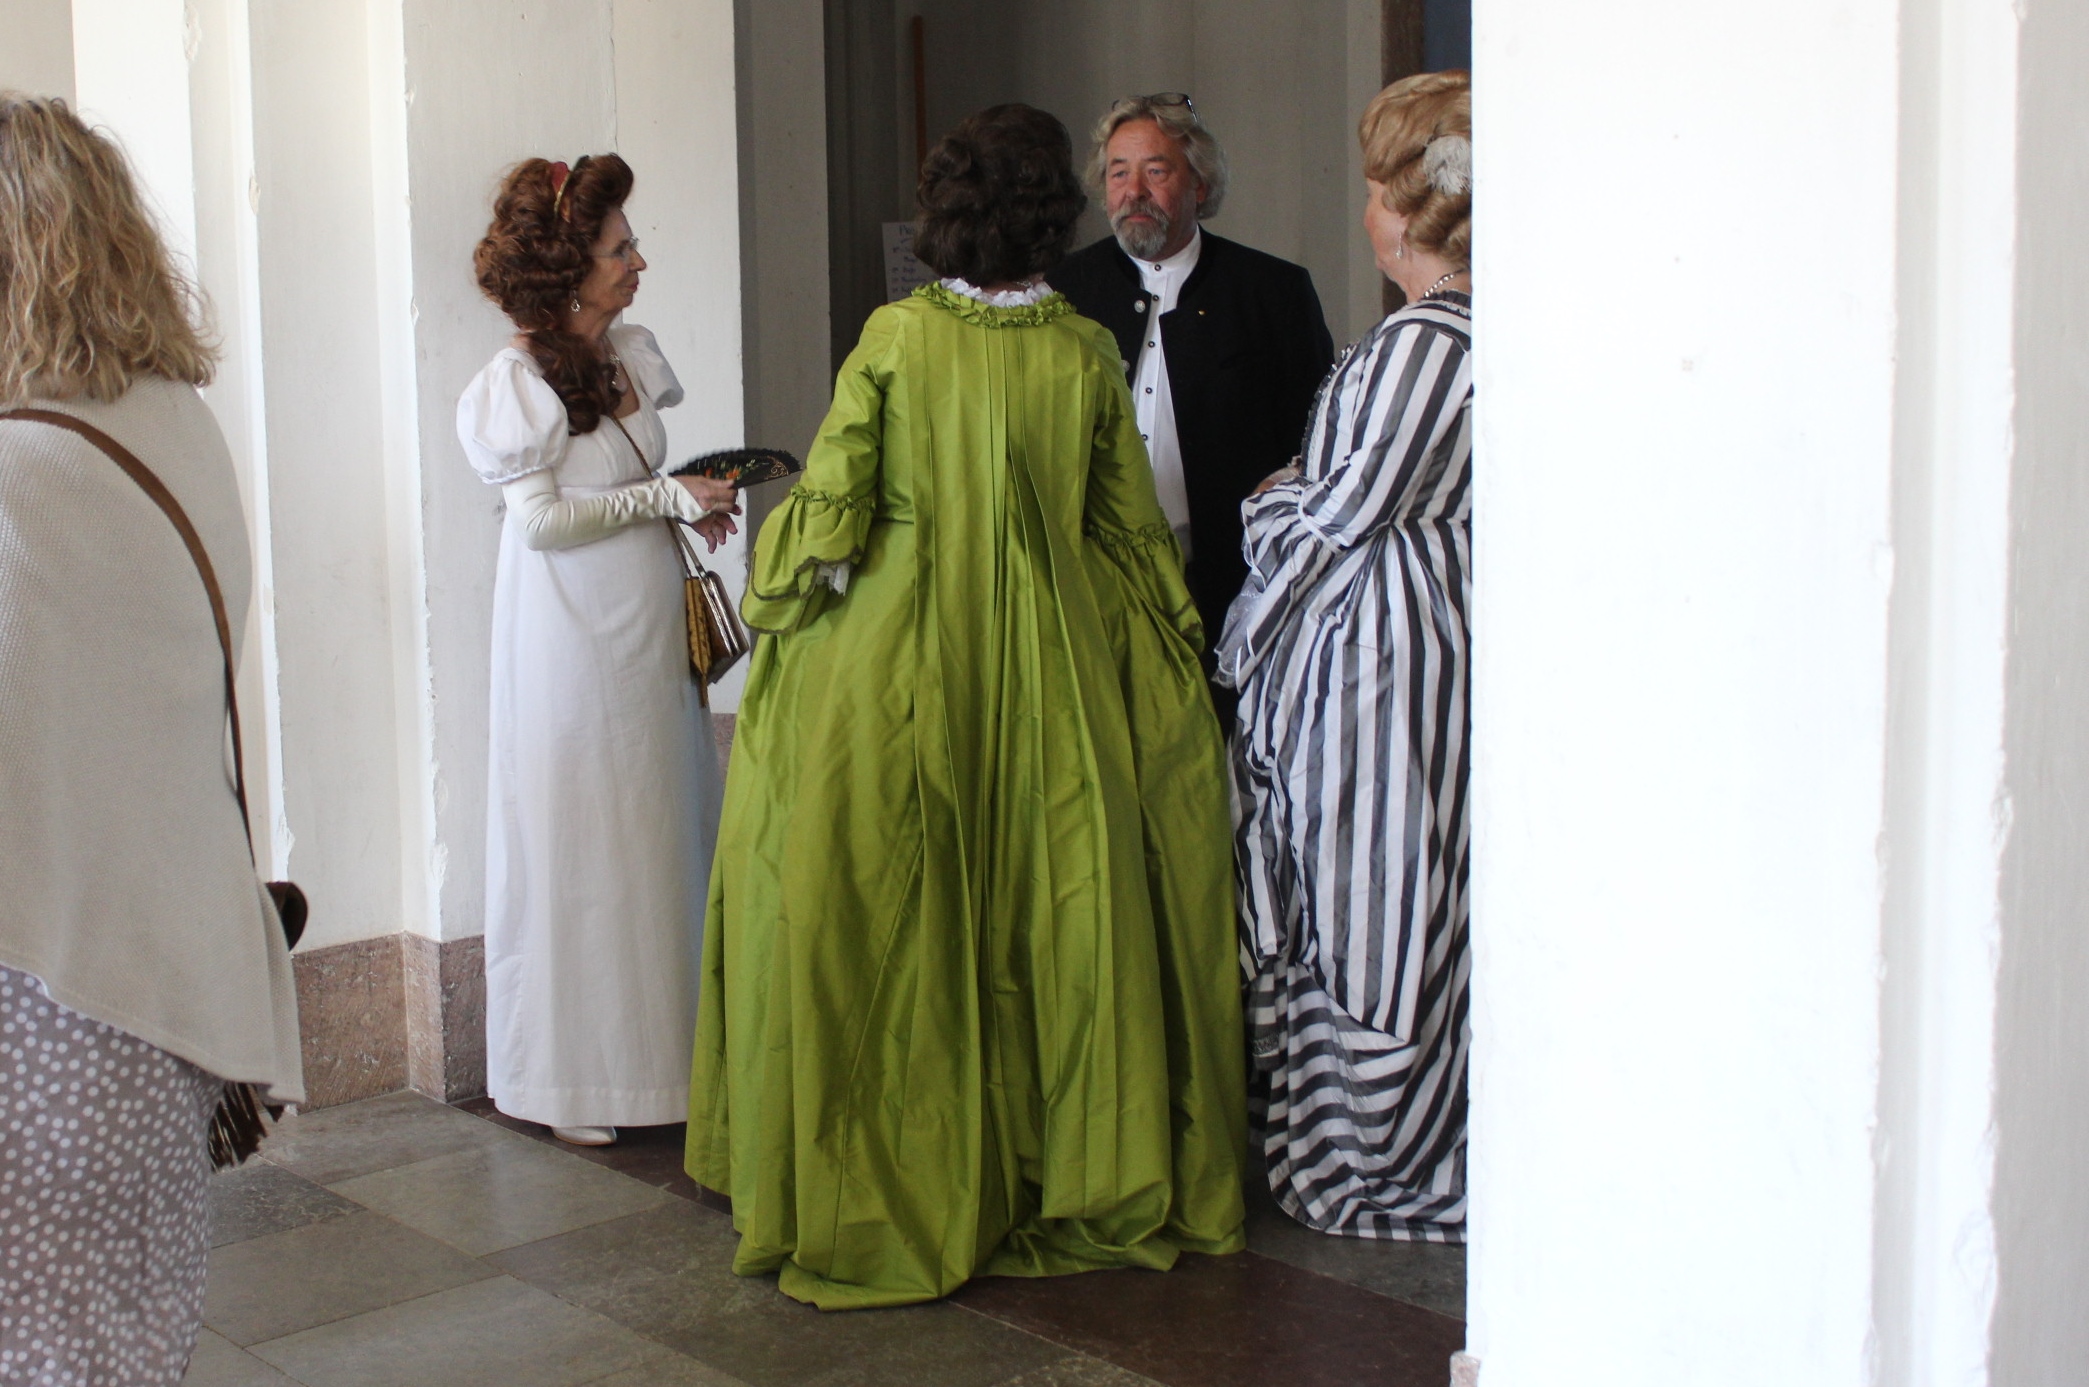
Once there I started by walking around talking to people and admiring everyones outfits
I only knew a few people there and one of them was maud from my dance team (who also done the fast-forward in time from medieval to 18th century an hour before). Picture by Ljung Castle
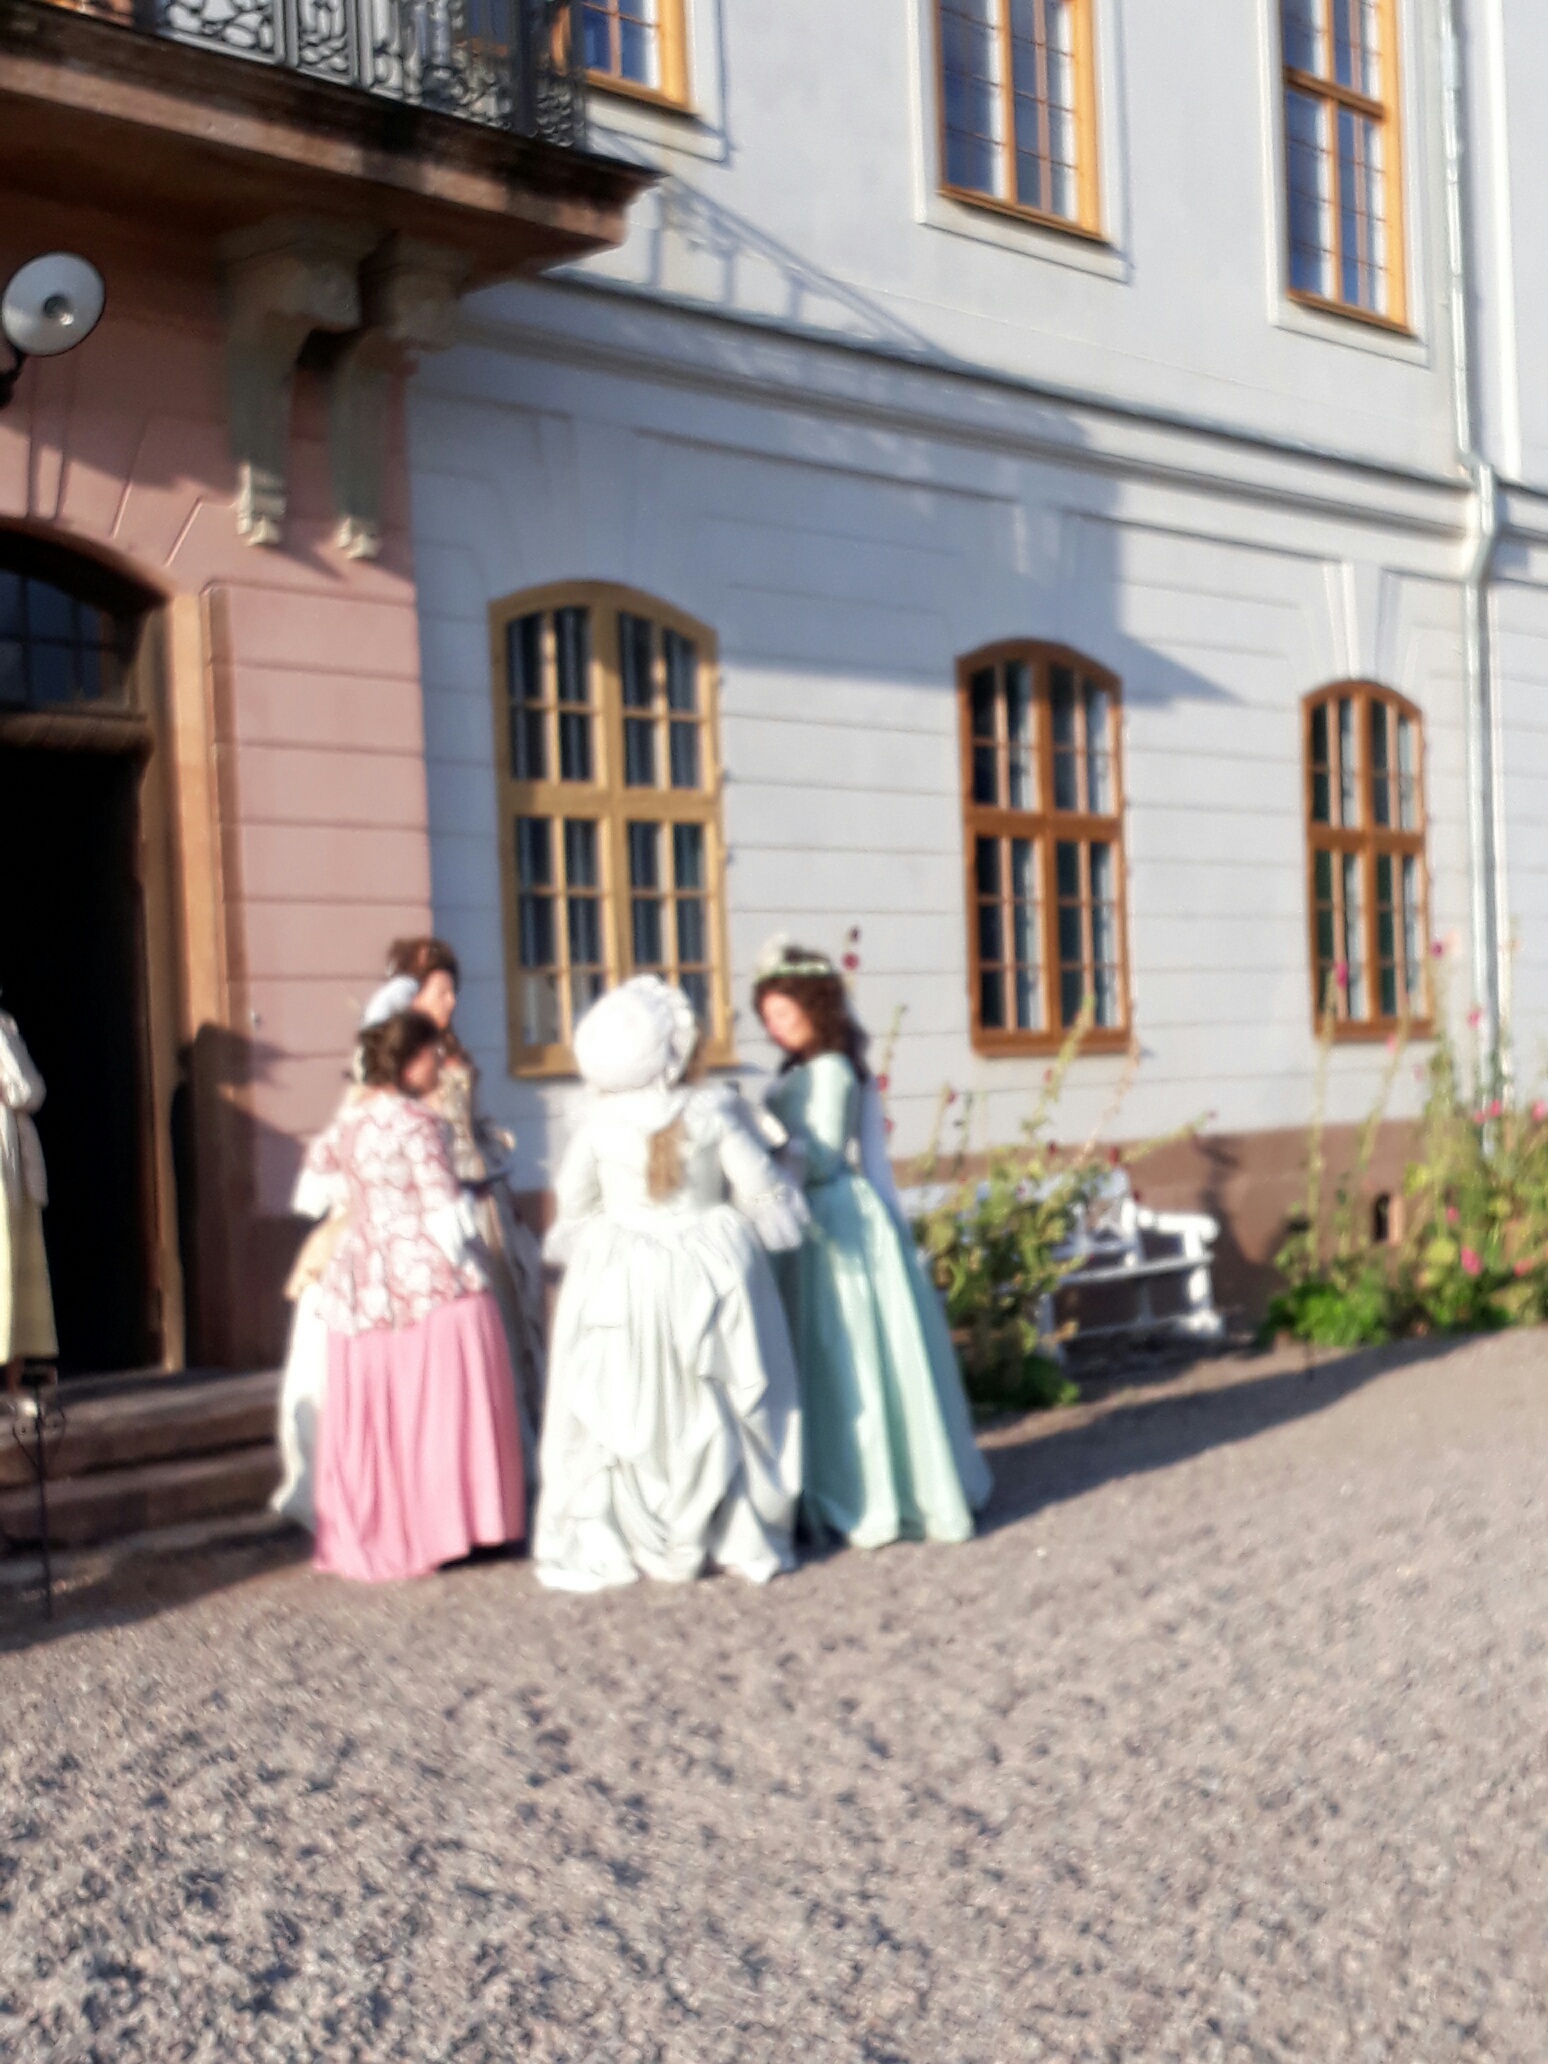
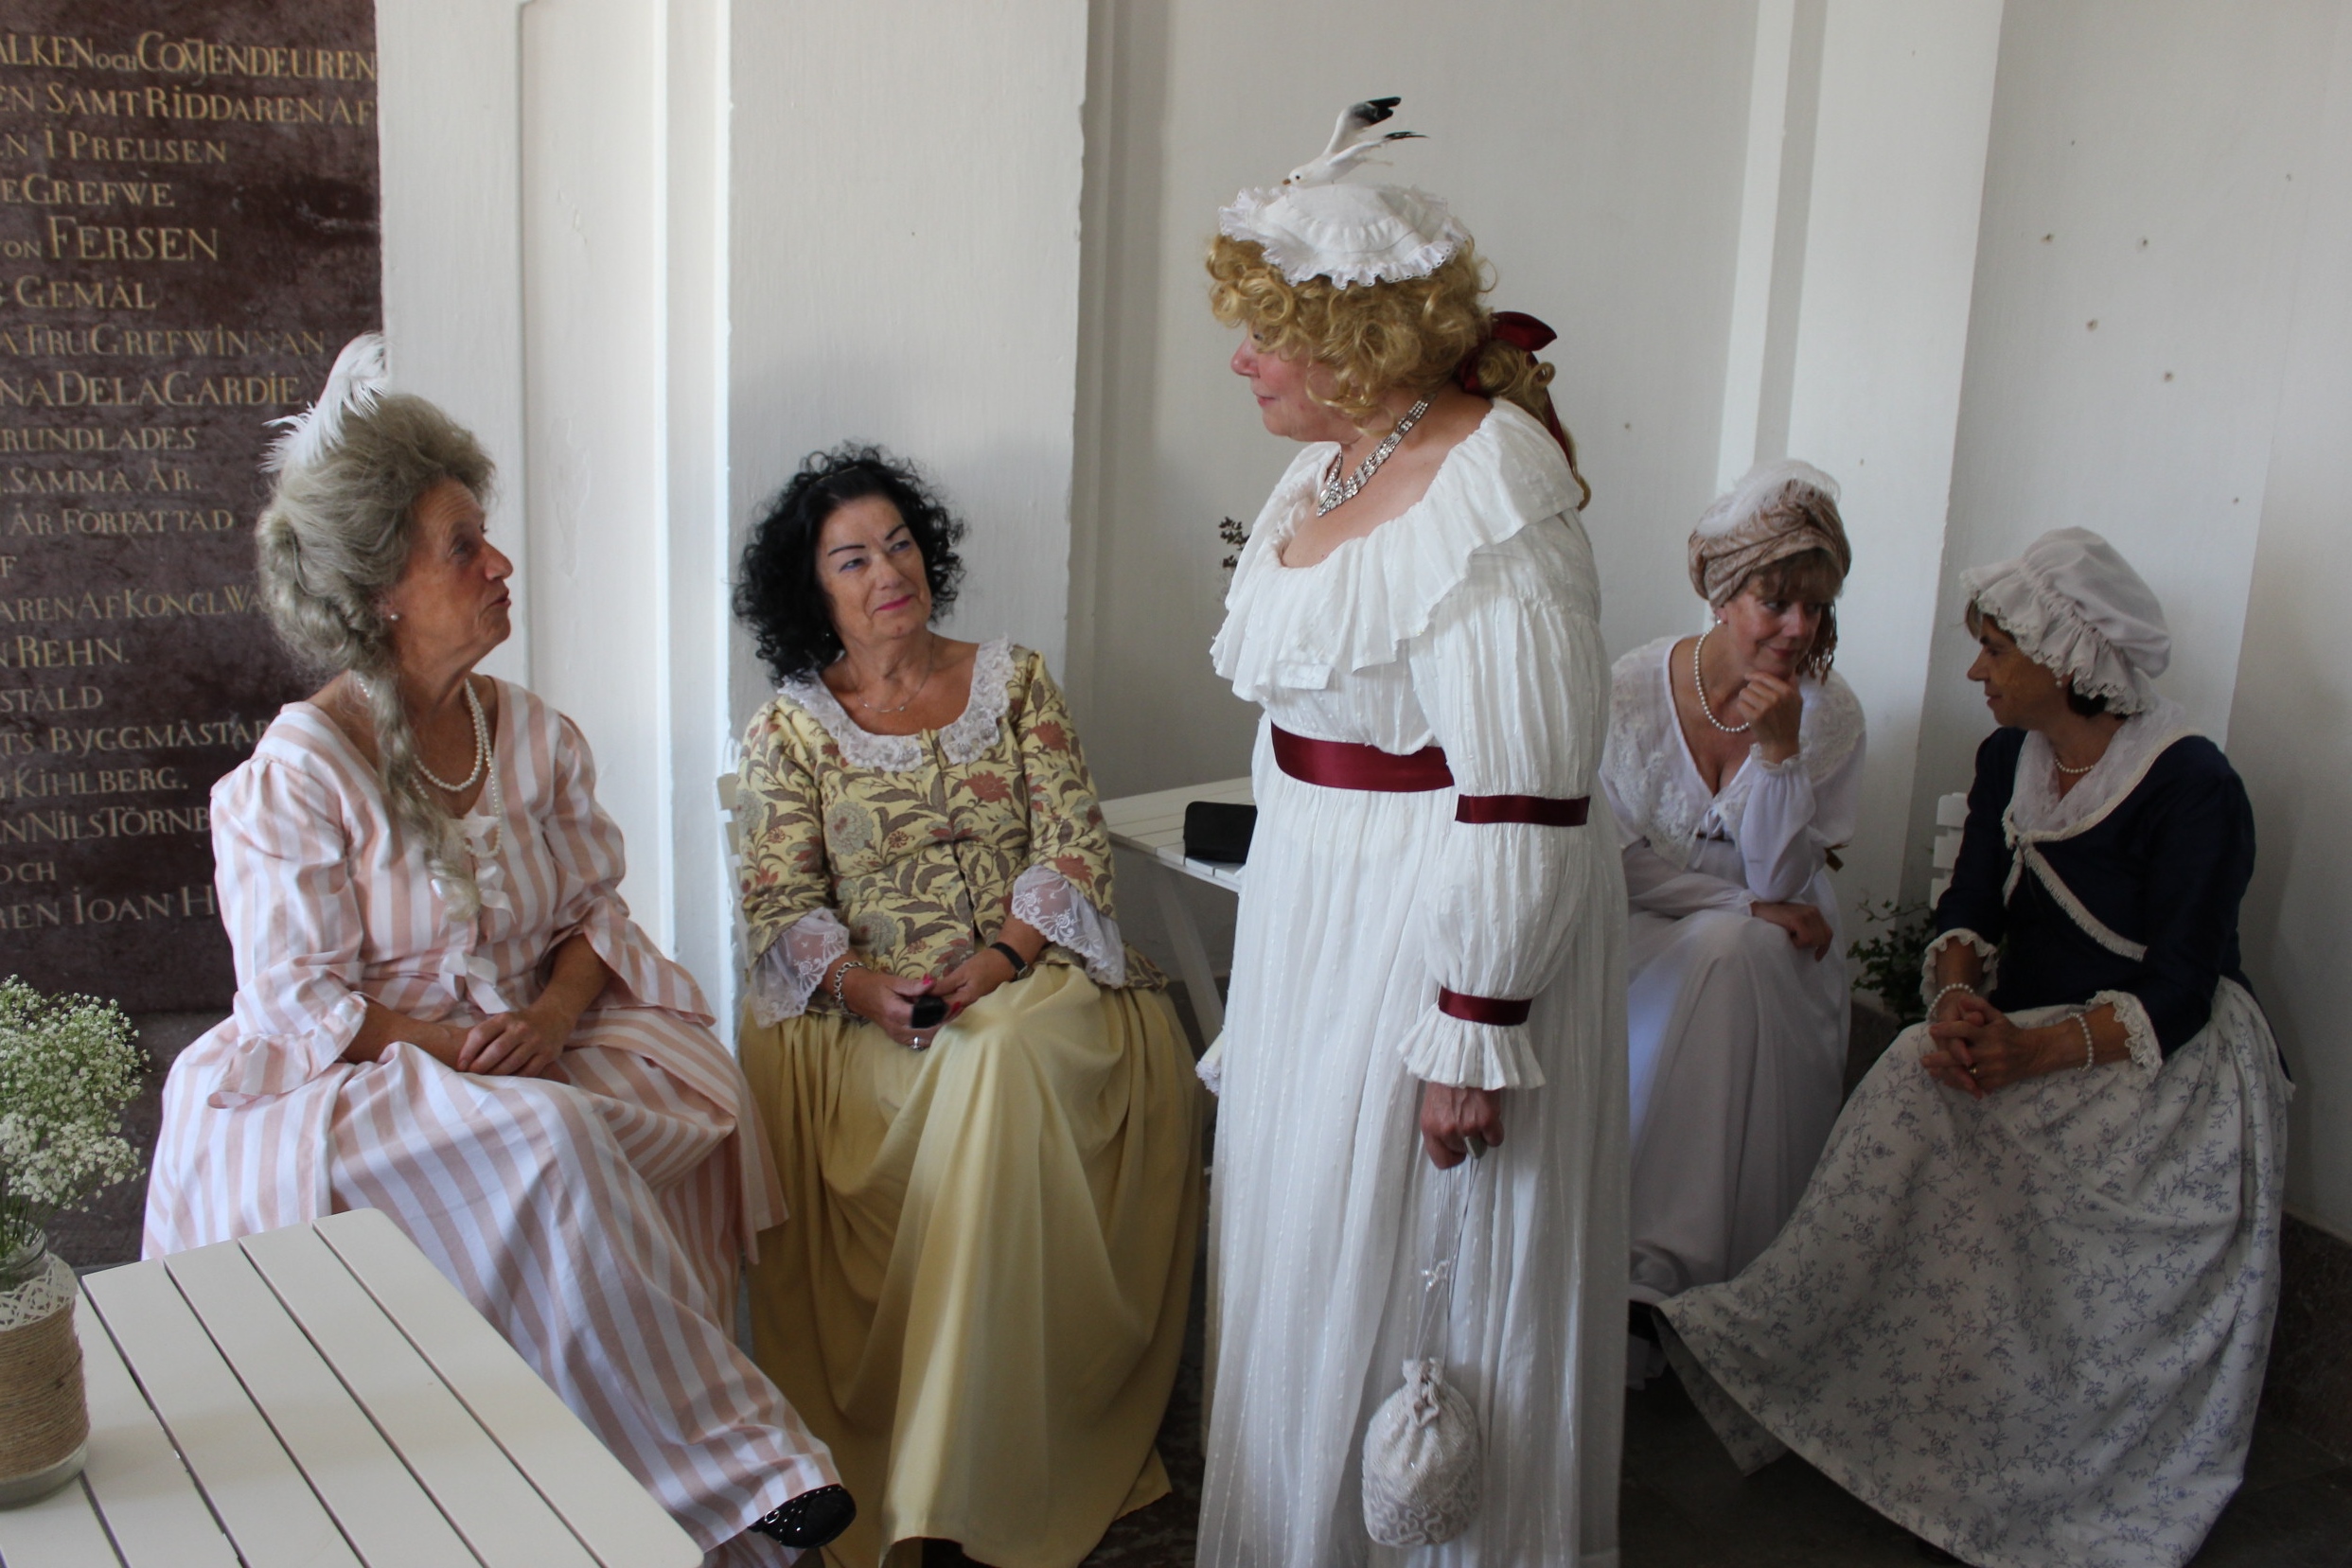
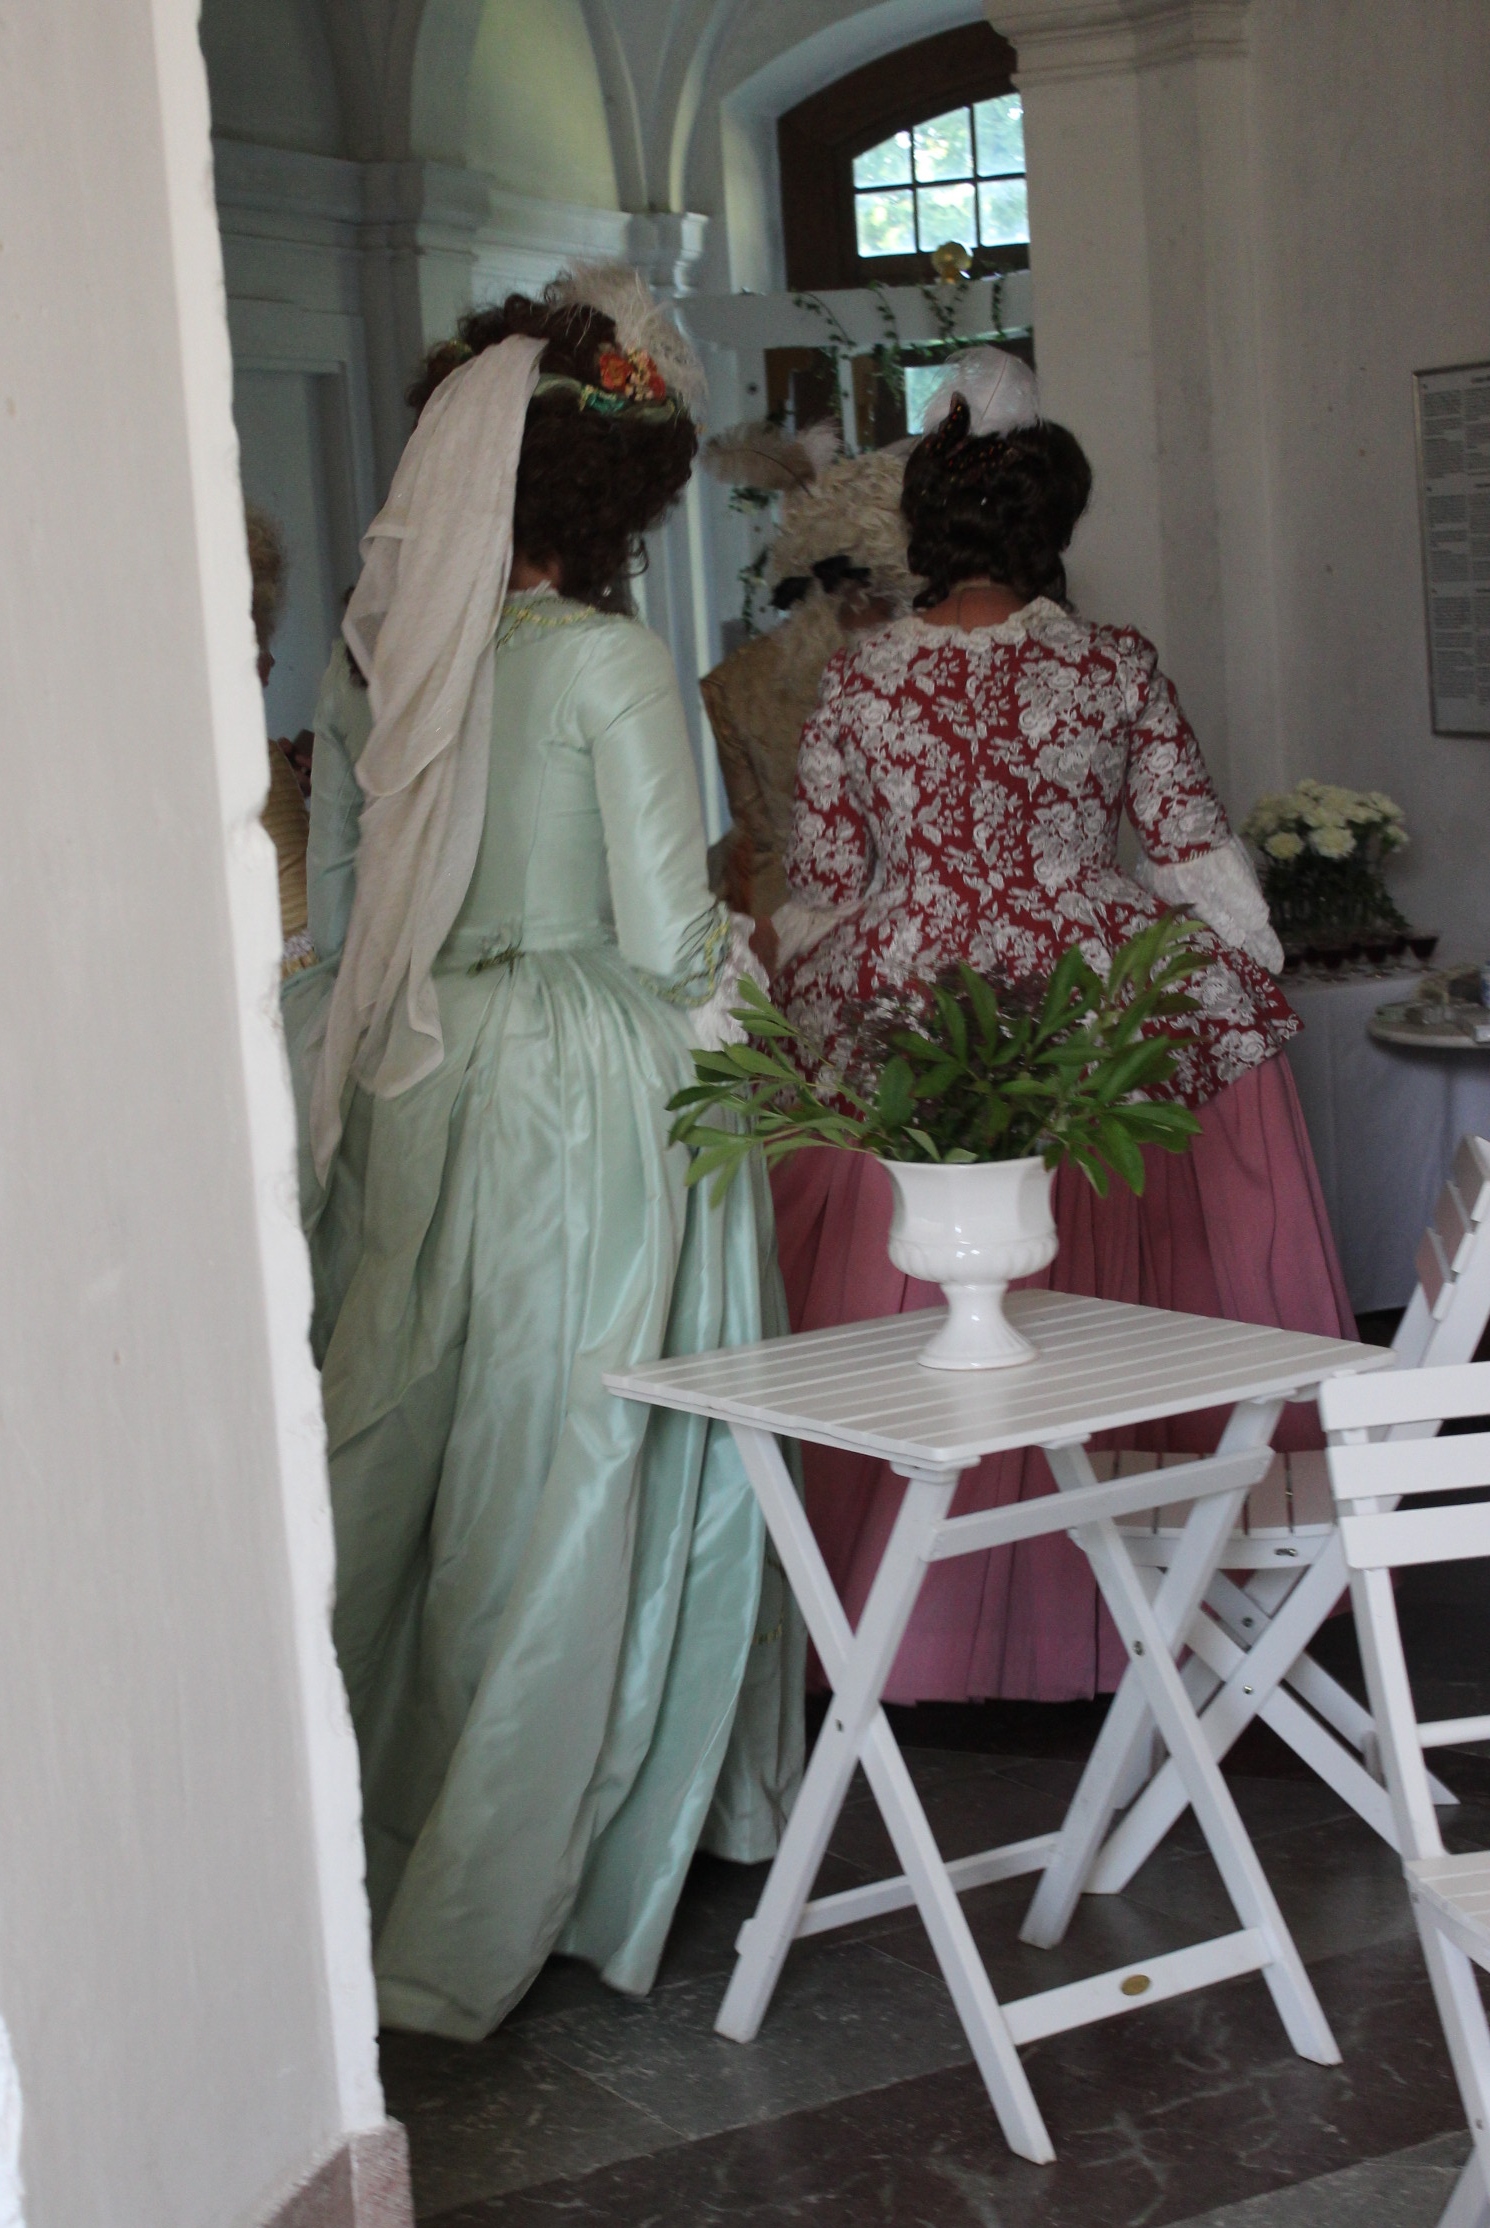
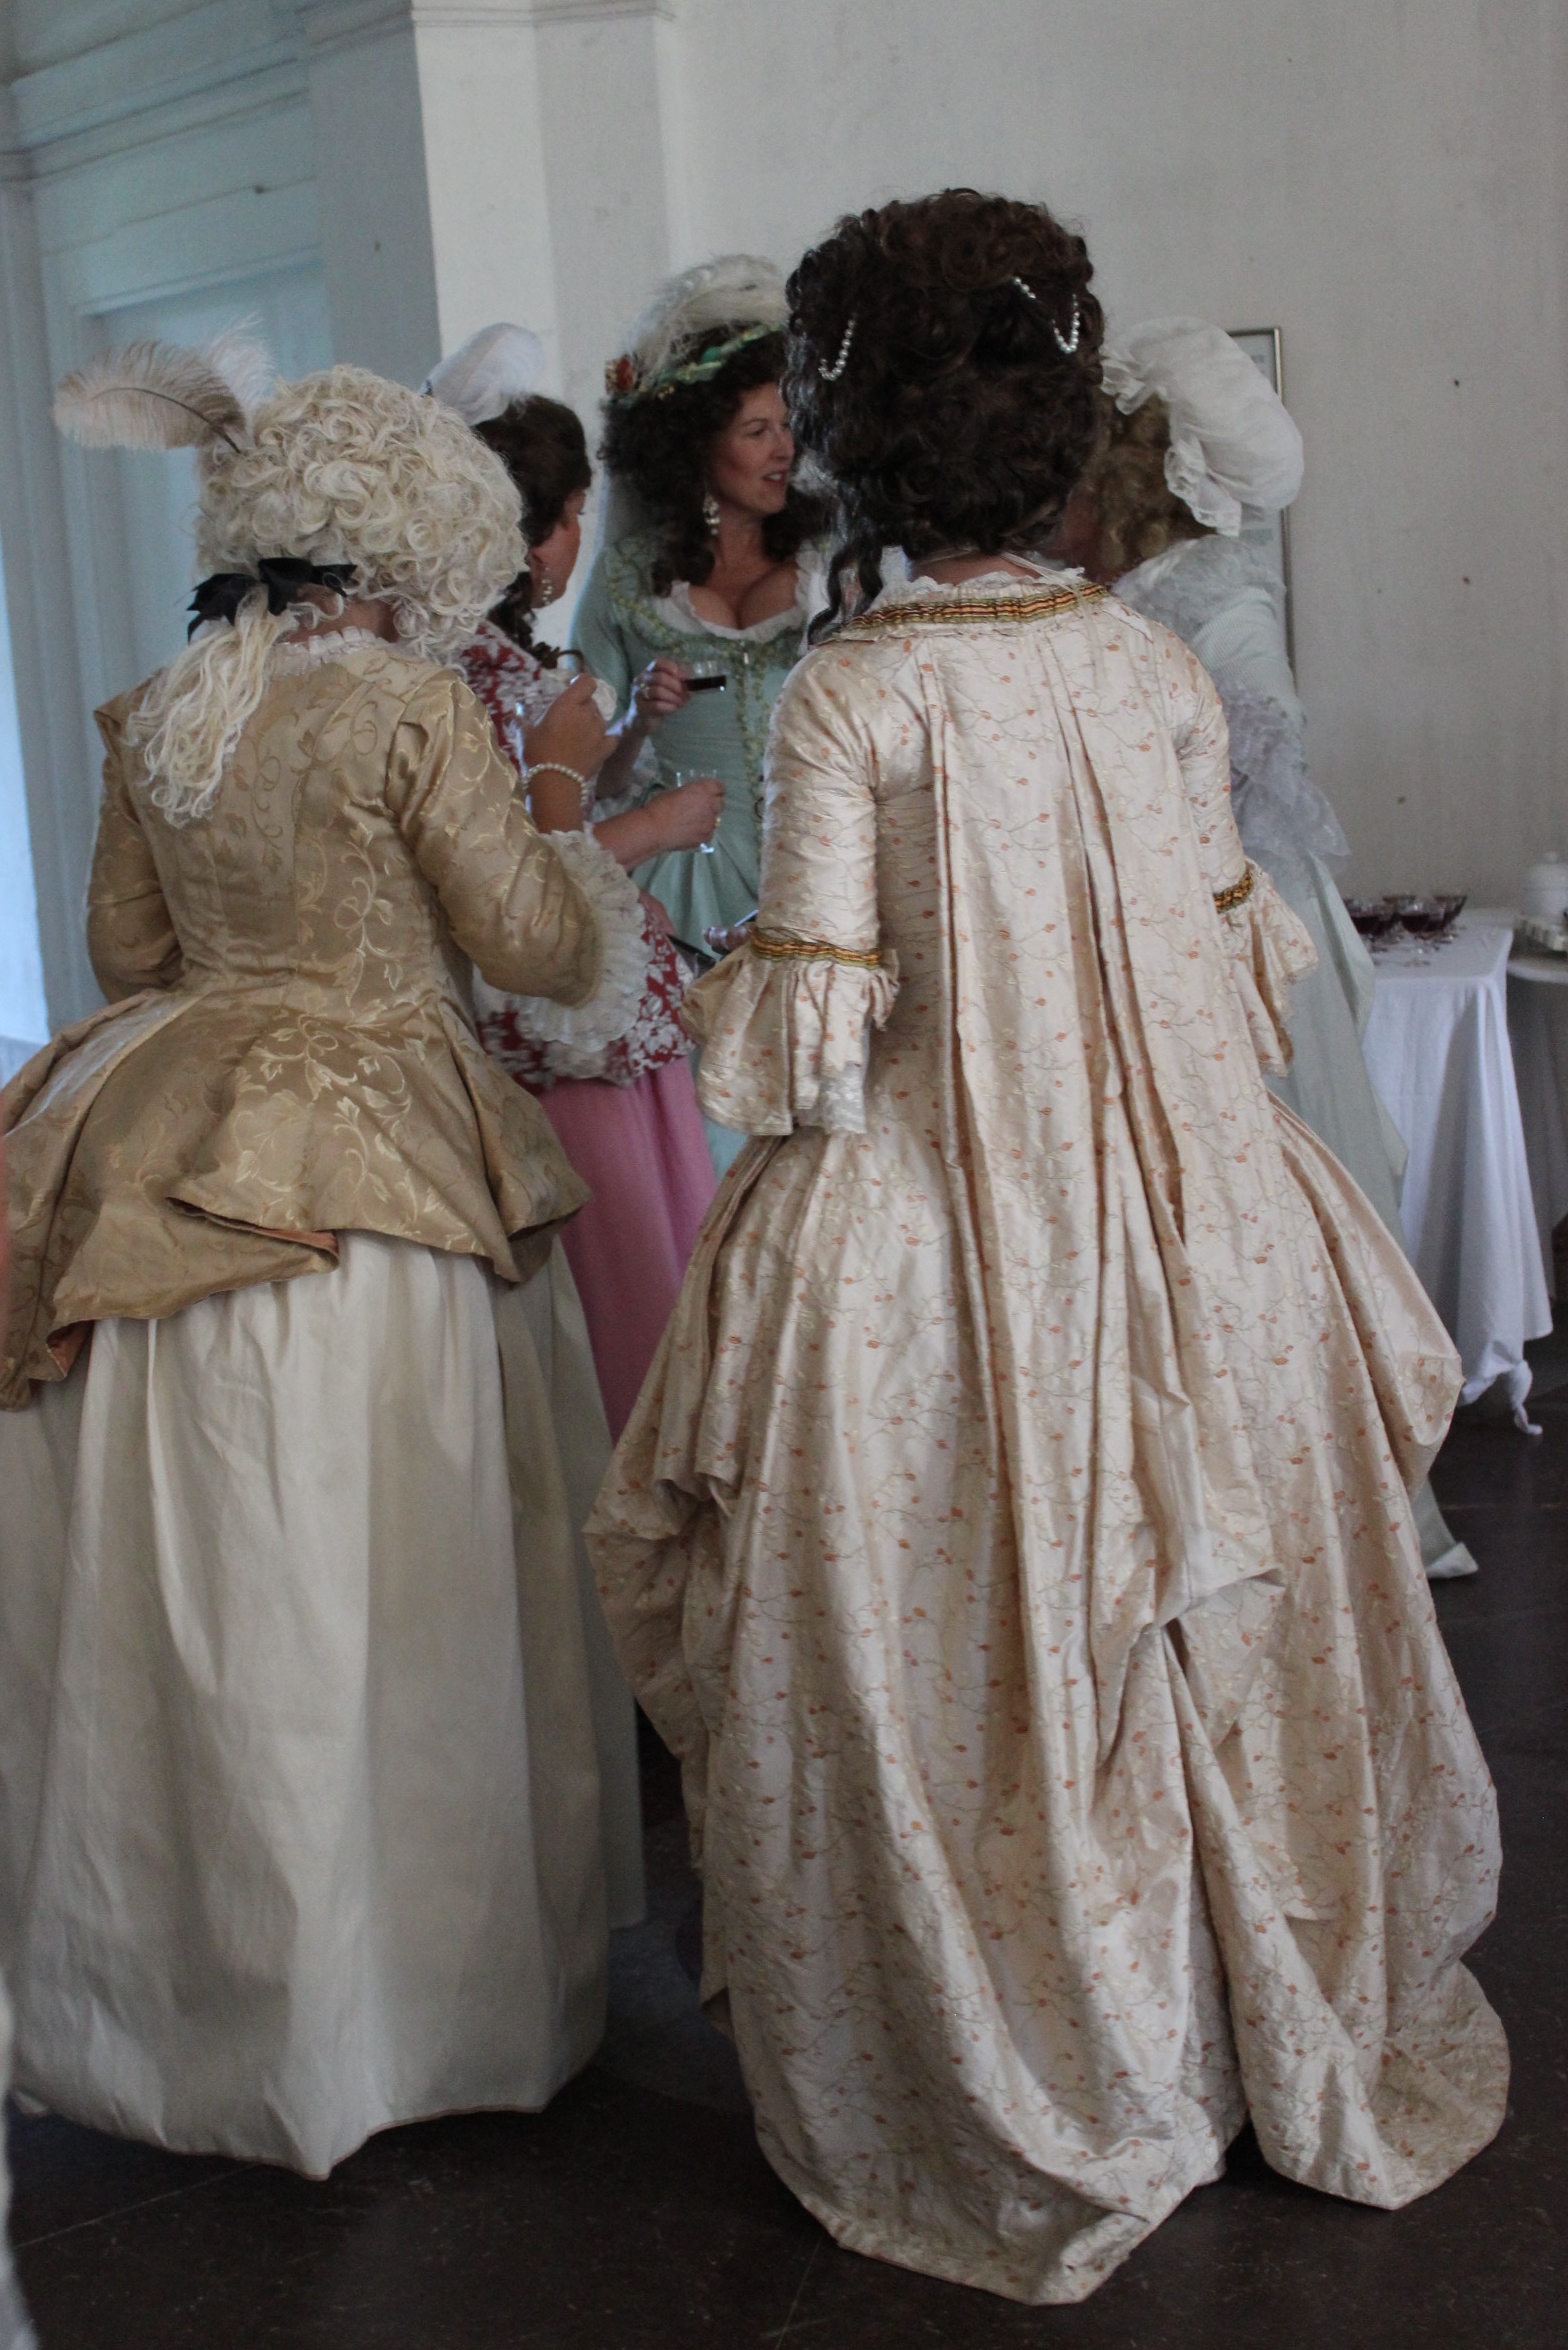
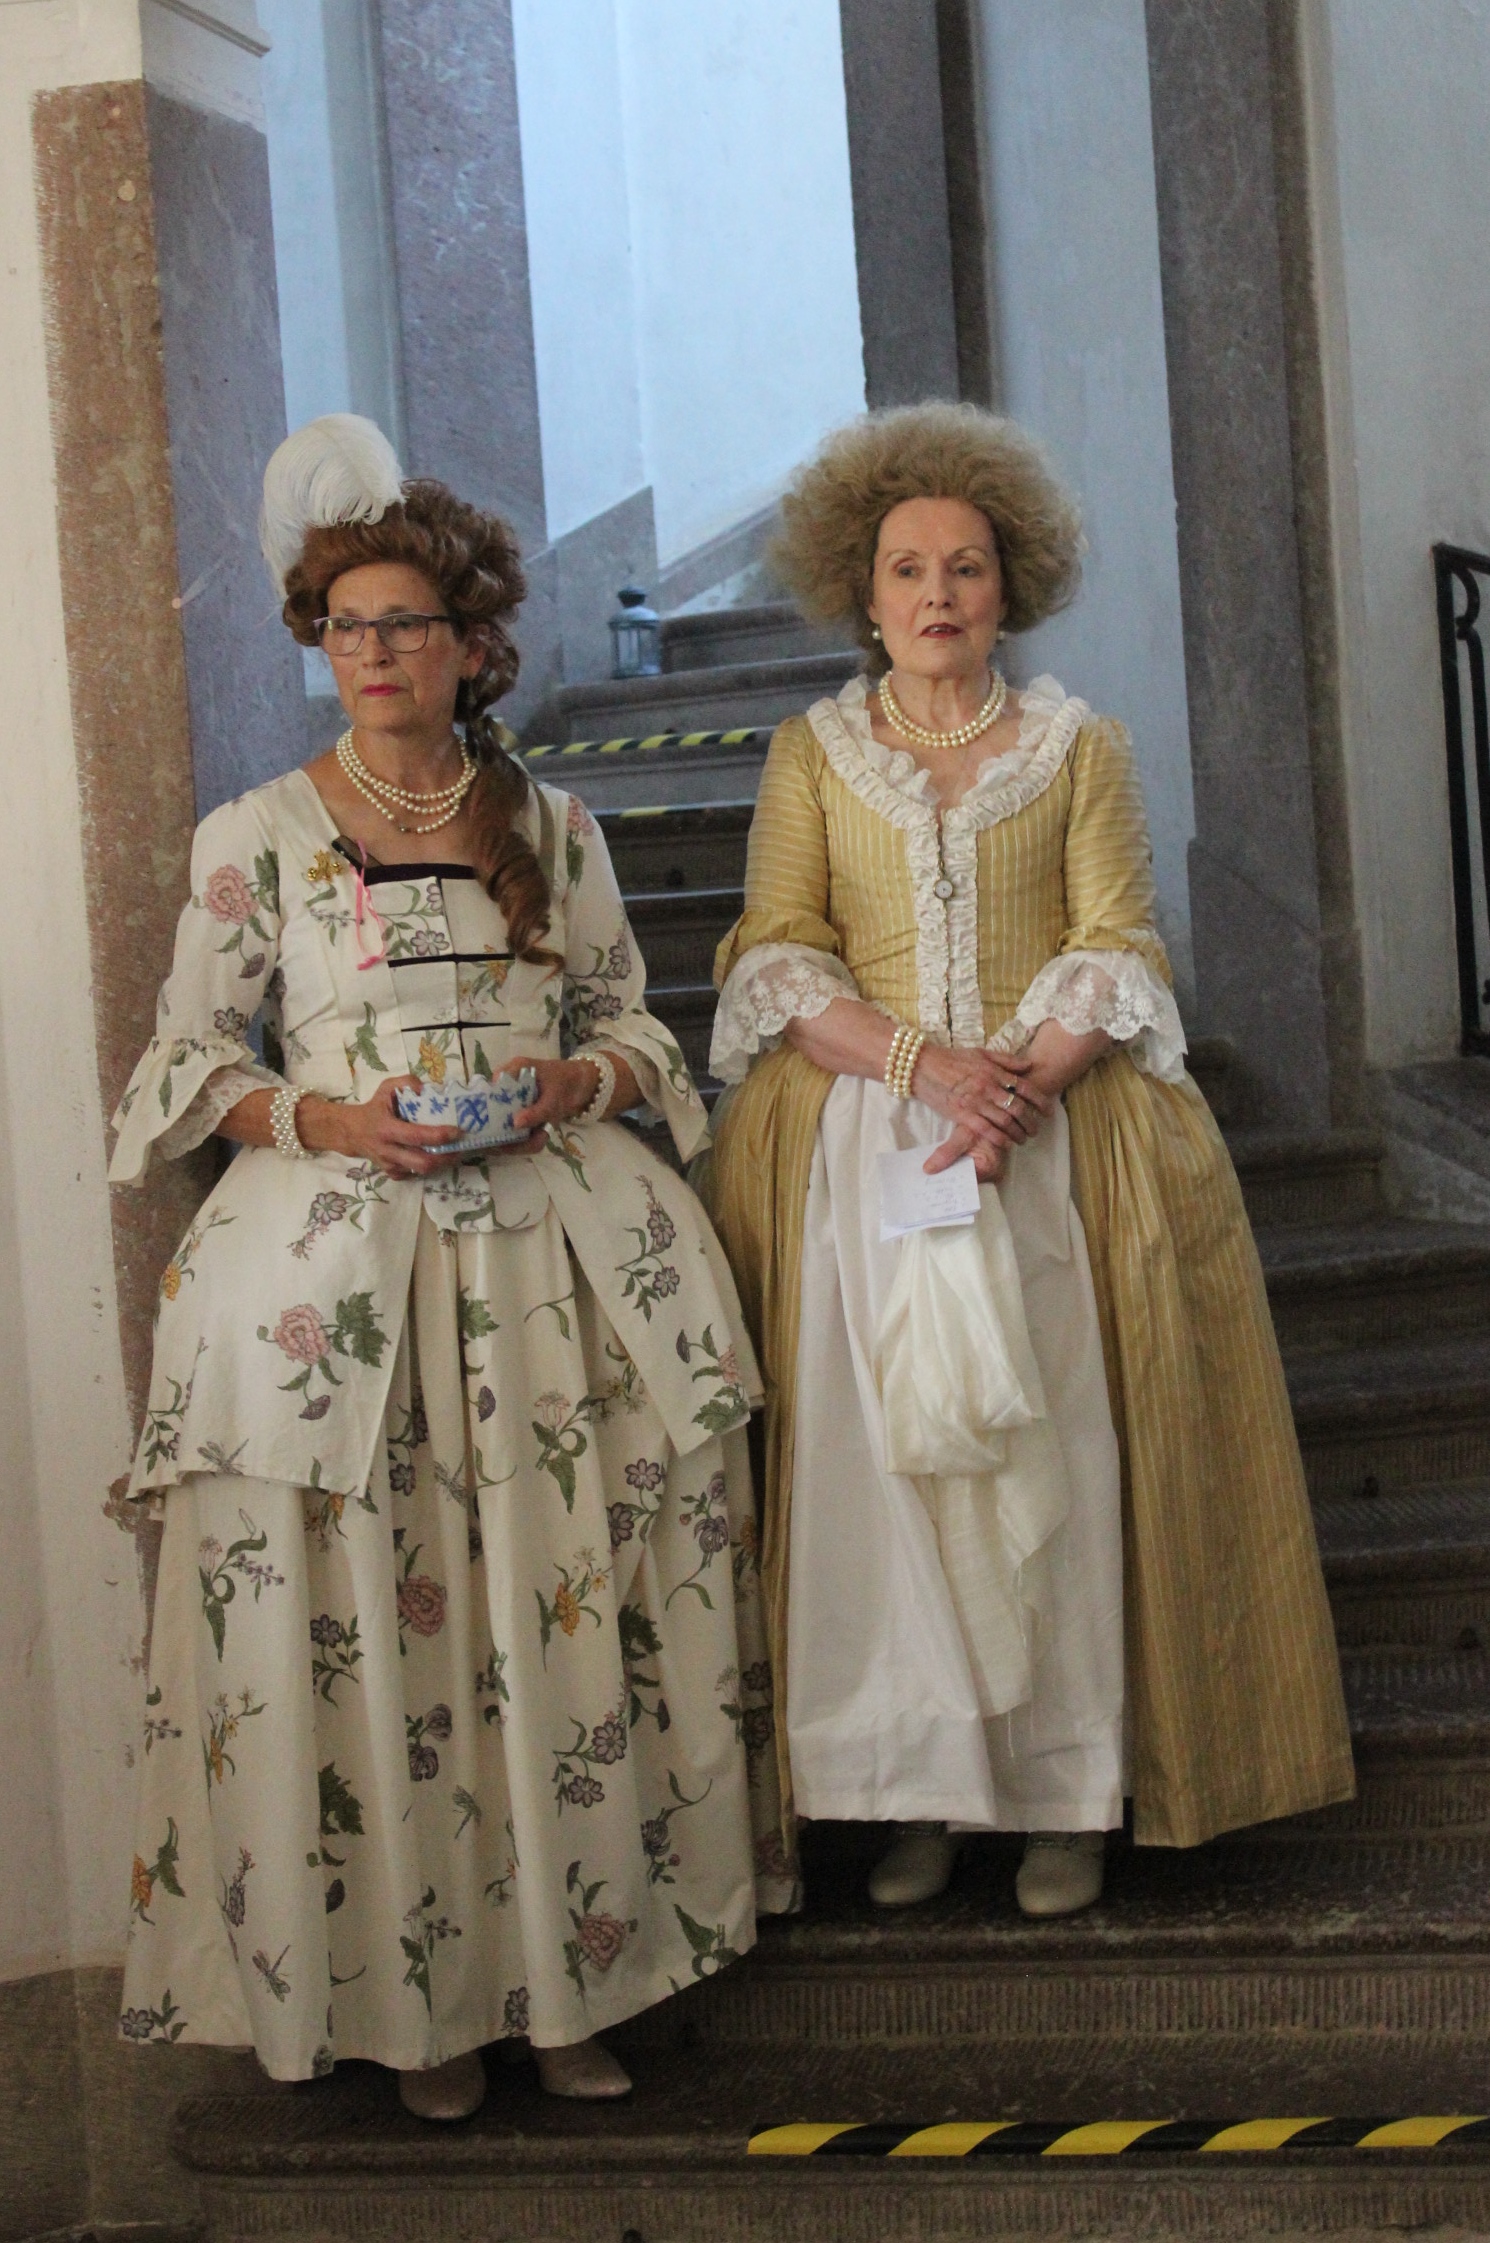
Some costume candy from the other ladies attending…
After an initial toast and speech from the hostess we where all invited upstairs for some fine dining.A lovely dinning-room, with lots of food and drink being served. And for once, the vegetarian food was both delicious and plenty-full 🙂 After dinner there was a lovely concert (with music from the 18th century of course) played by some really talented muschians. Then it was time for dessertby this time I (and surely a few others with me) was pretty sick of sitting down (after all we had done so in over 3 hours – in or corsets!) and was really happy when it was announced the dancing was about to start.
First there was a small dance-recital by the Ljung castle sociaty, and then we all got to dance a few of them. Picture by Ljung castle
As a dancer myself I was a bit disapoined by how little there was time for, and would have wished for quite a lot more. But a least we could fiest our eyes on the spectacularly good dancing of one of “Menuettakademins” recitals, who was projected on the wall.
After the dance we had some fun looking trough some of te rooms (all very dark by this hour) and taking some photos and selfies.A newly made friend and me.
Keit makes the most amazing 18th century dresses, and acted as the dance master for this event.IKEA dresses unite 😀 Our costumes are all made from different flowery IKEA fabrics.The evening ended with some champagne and a toast down in the main hall.
I had a really good time, and I wished it could have lasted longer.
Especially since the most fun (for me) begun after the dessert was finished and it almost was time to go home…
And I do hope they will host more of these parties in the future.
Thinking about my costume for the up-coming 18th century event in late August, I know I needed to solve the problem with what to make of my hair/head.
As a (really) short haired modern person, I always struggle with my historic personas hair. usually I just put a cap/hat on it, but sometimes that is not an option (or at least a lesser option). (Here is how I solved it for the 1825s party this spring).
I have a 18th century “hedgehog”(ish) wig that I’ve tried to restyle before to better but not perfect result. But to wear a synthetic wig, inside in the mids of summer was not something I looked forward to. And besides, I know there would be a really talented wig-maker at the party, and I had no desire to sow her my meager skills.
My other option was to wear a cap, Which I think work just fine with les fancy stuff.
I did consider making a fancier frillier cap for the occasion but without the correct hairdo, a sheer organdy cap would look even worse then my old cotton one.
So, how would I complete this outfit in the best way?
A would wear a Bergere, of course!
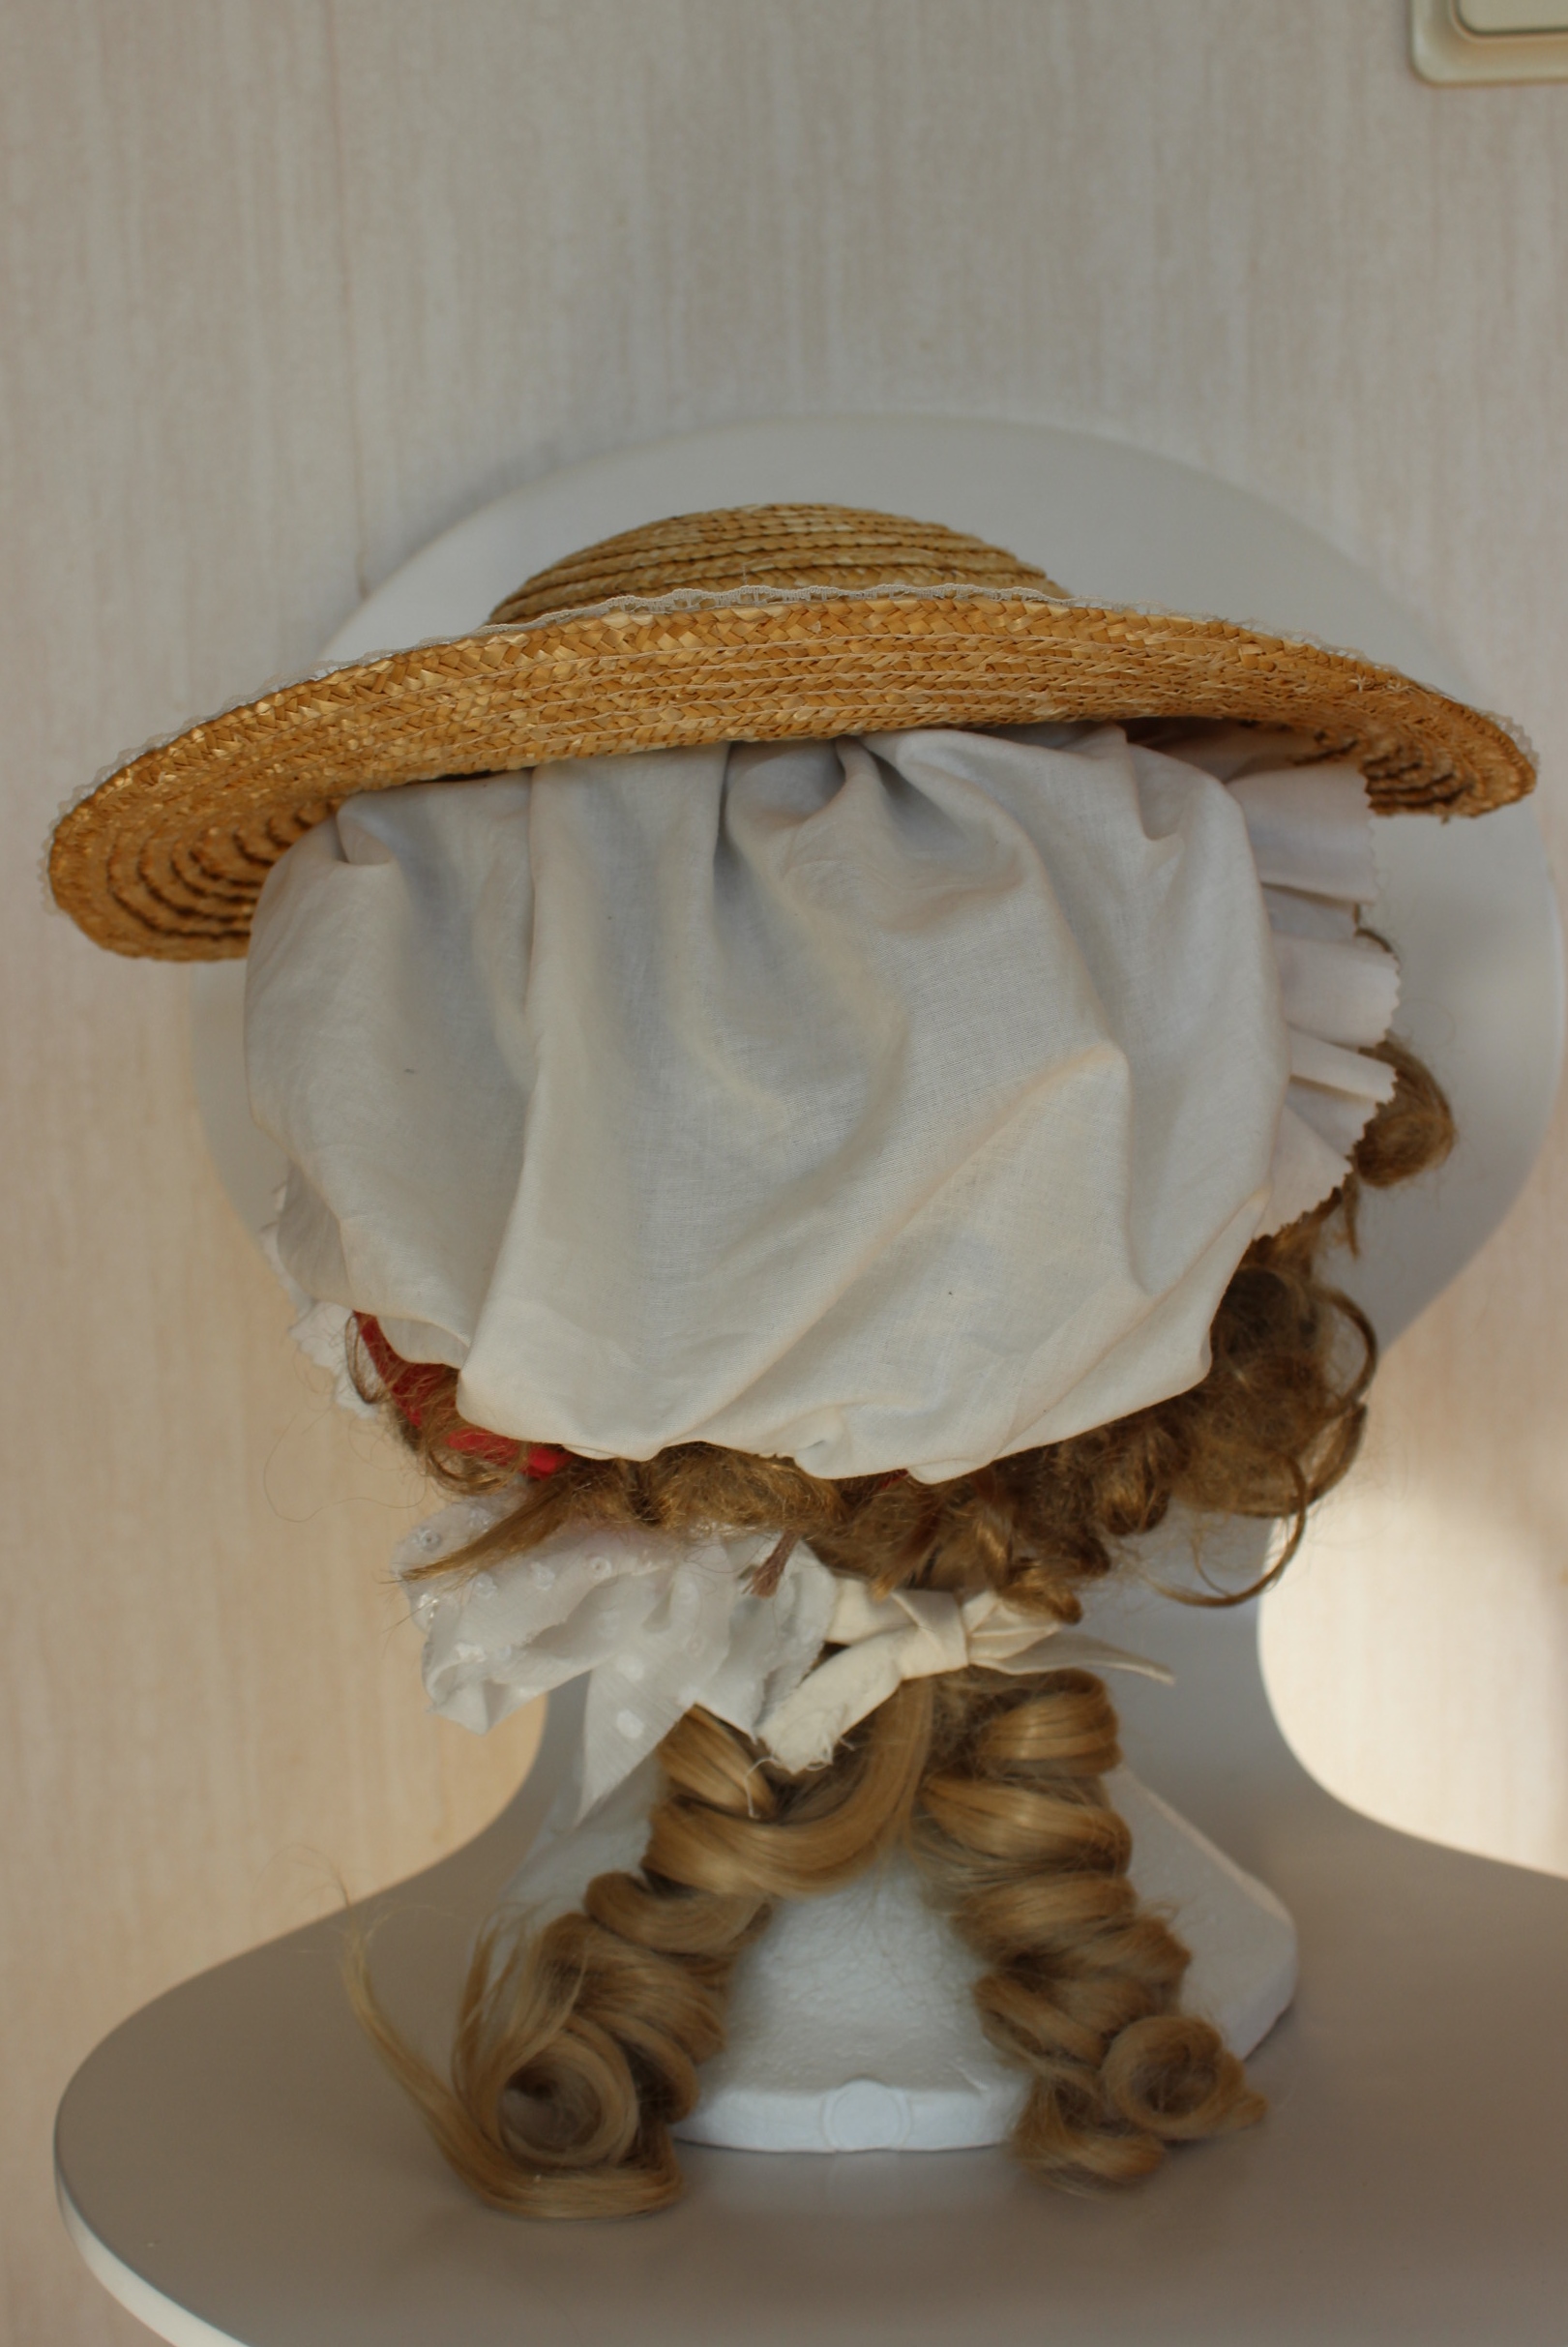
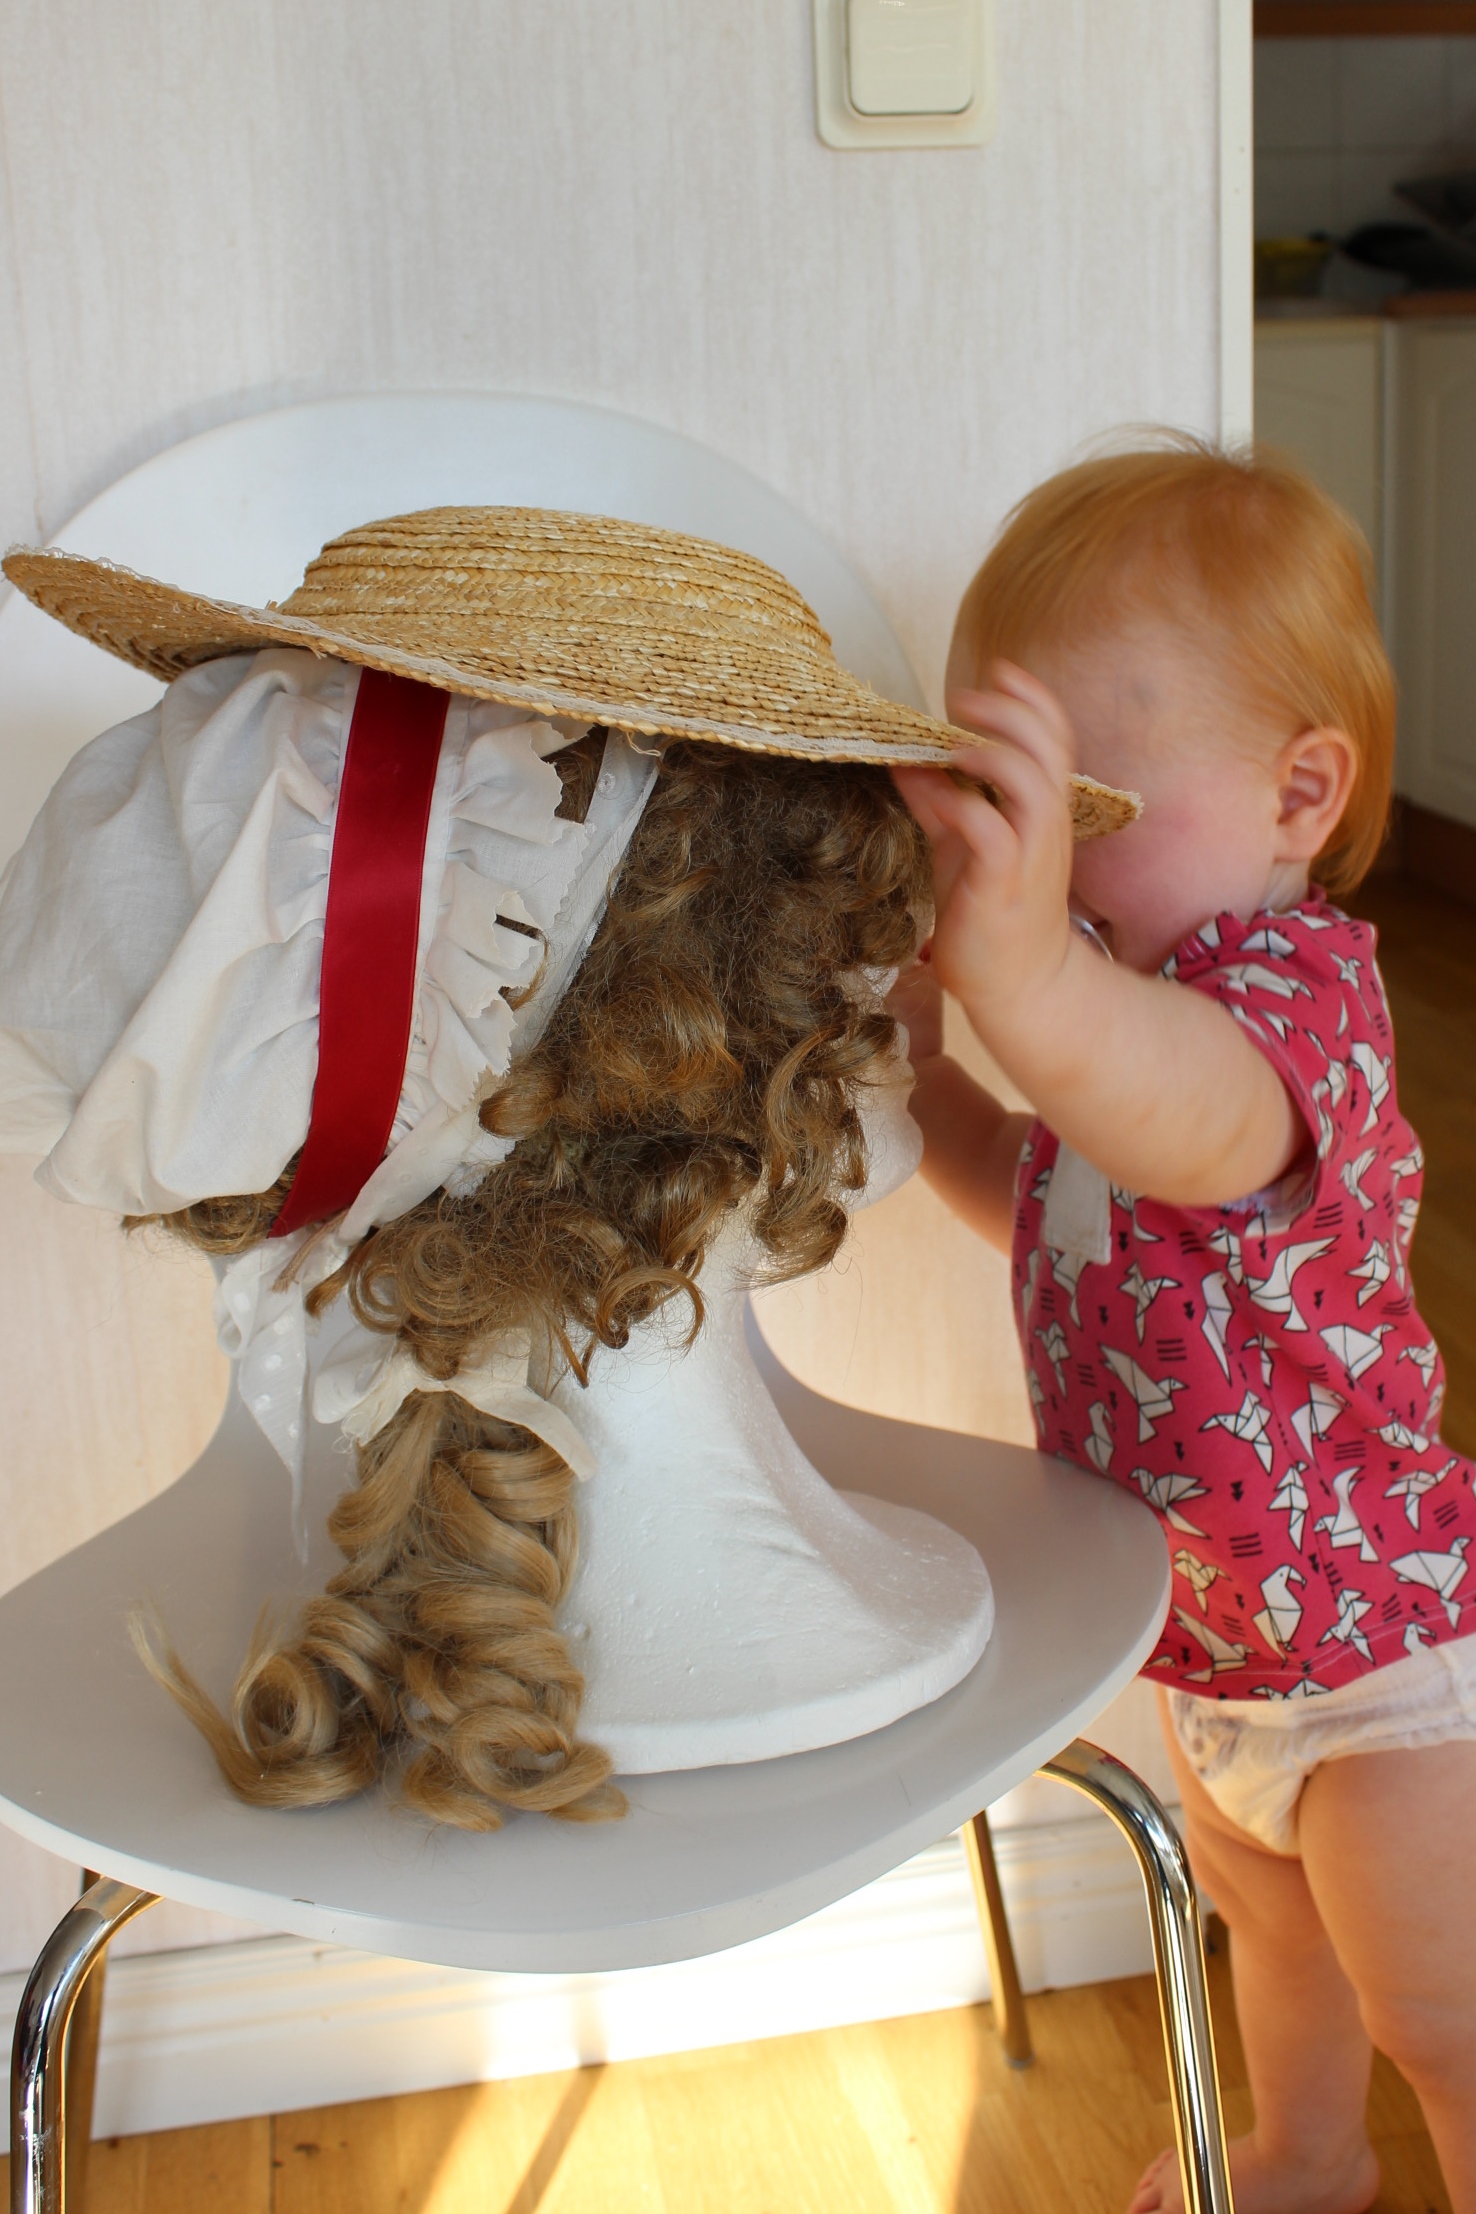
But my old one is not really up to my standard any moreHere you can see both the wig and the Bergere in is first adaption
So I decided to make myself another one.
Starting the night before the event(s), I found a cheap (real)straw hat in my stash that I bought on sale from a big clothing store, a few months earlier for just such an occasion as this.
I started by removing the (glued on) black ribbon And un-picked the stitching a few rows up on the crown so I could lift it of and snip the straw braid at good level.Then I continued to un-pick the stitches on the crown. This went really fast since it all was made with chain-stitches which (if you got hold of the right thread) you can just pull right out.
I removed almost all of the hight in the crown and then used some hot water to reshape the rest of the crown and brim to match eachother before stitching them together again. I stitched it on my sewing machine, just like I did on my sisters 1860s straw hat, and in a minute it was done.sitting on my wig-stand to dry.
Once dry, I tried out some different ways to shape and wear it, using a piece of dotted chiffon to tie around the head.
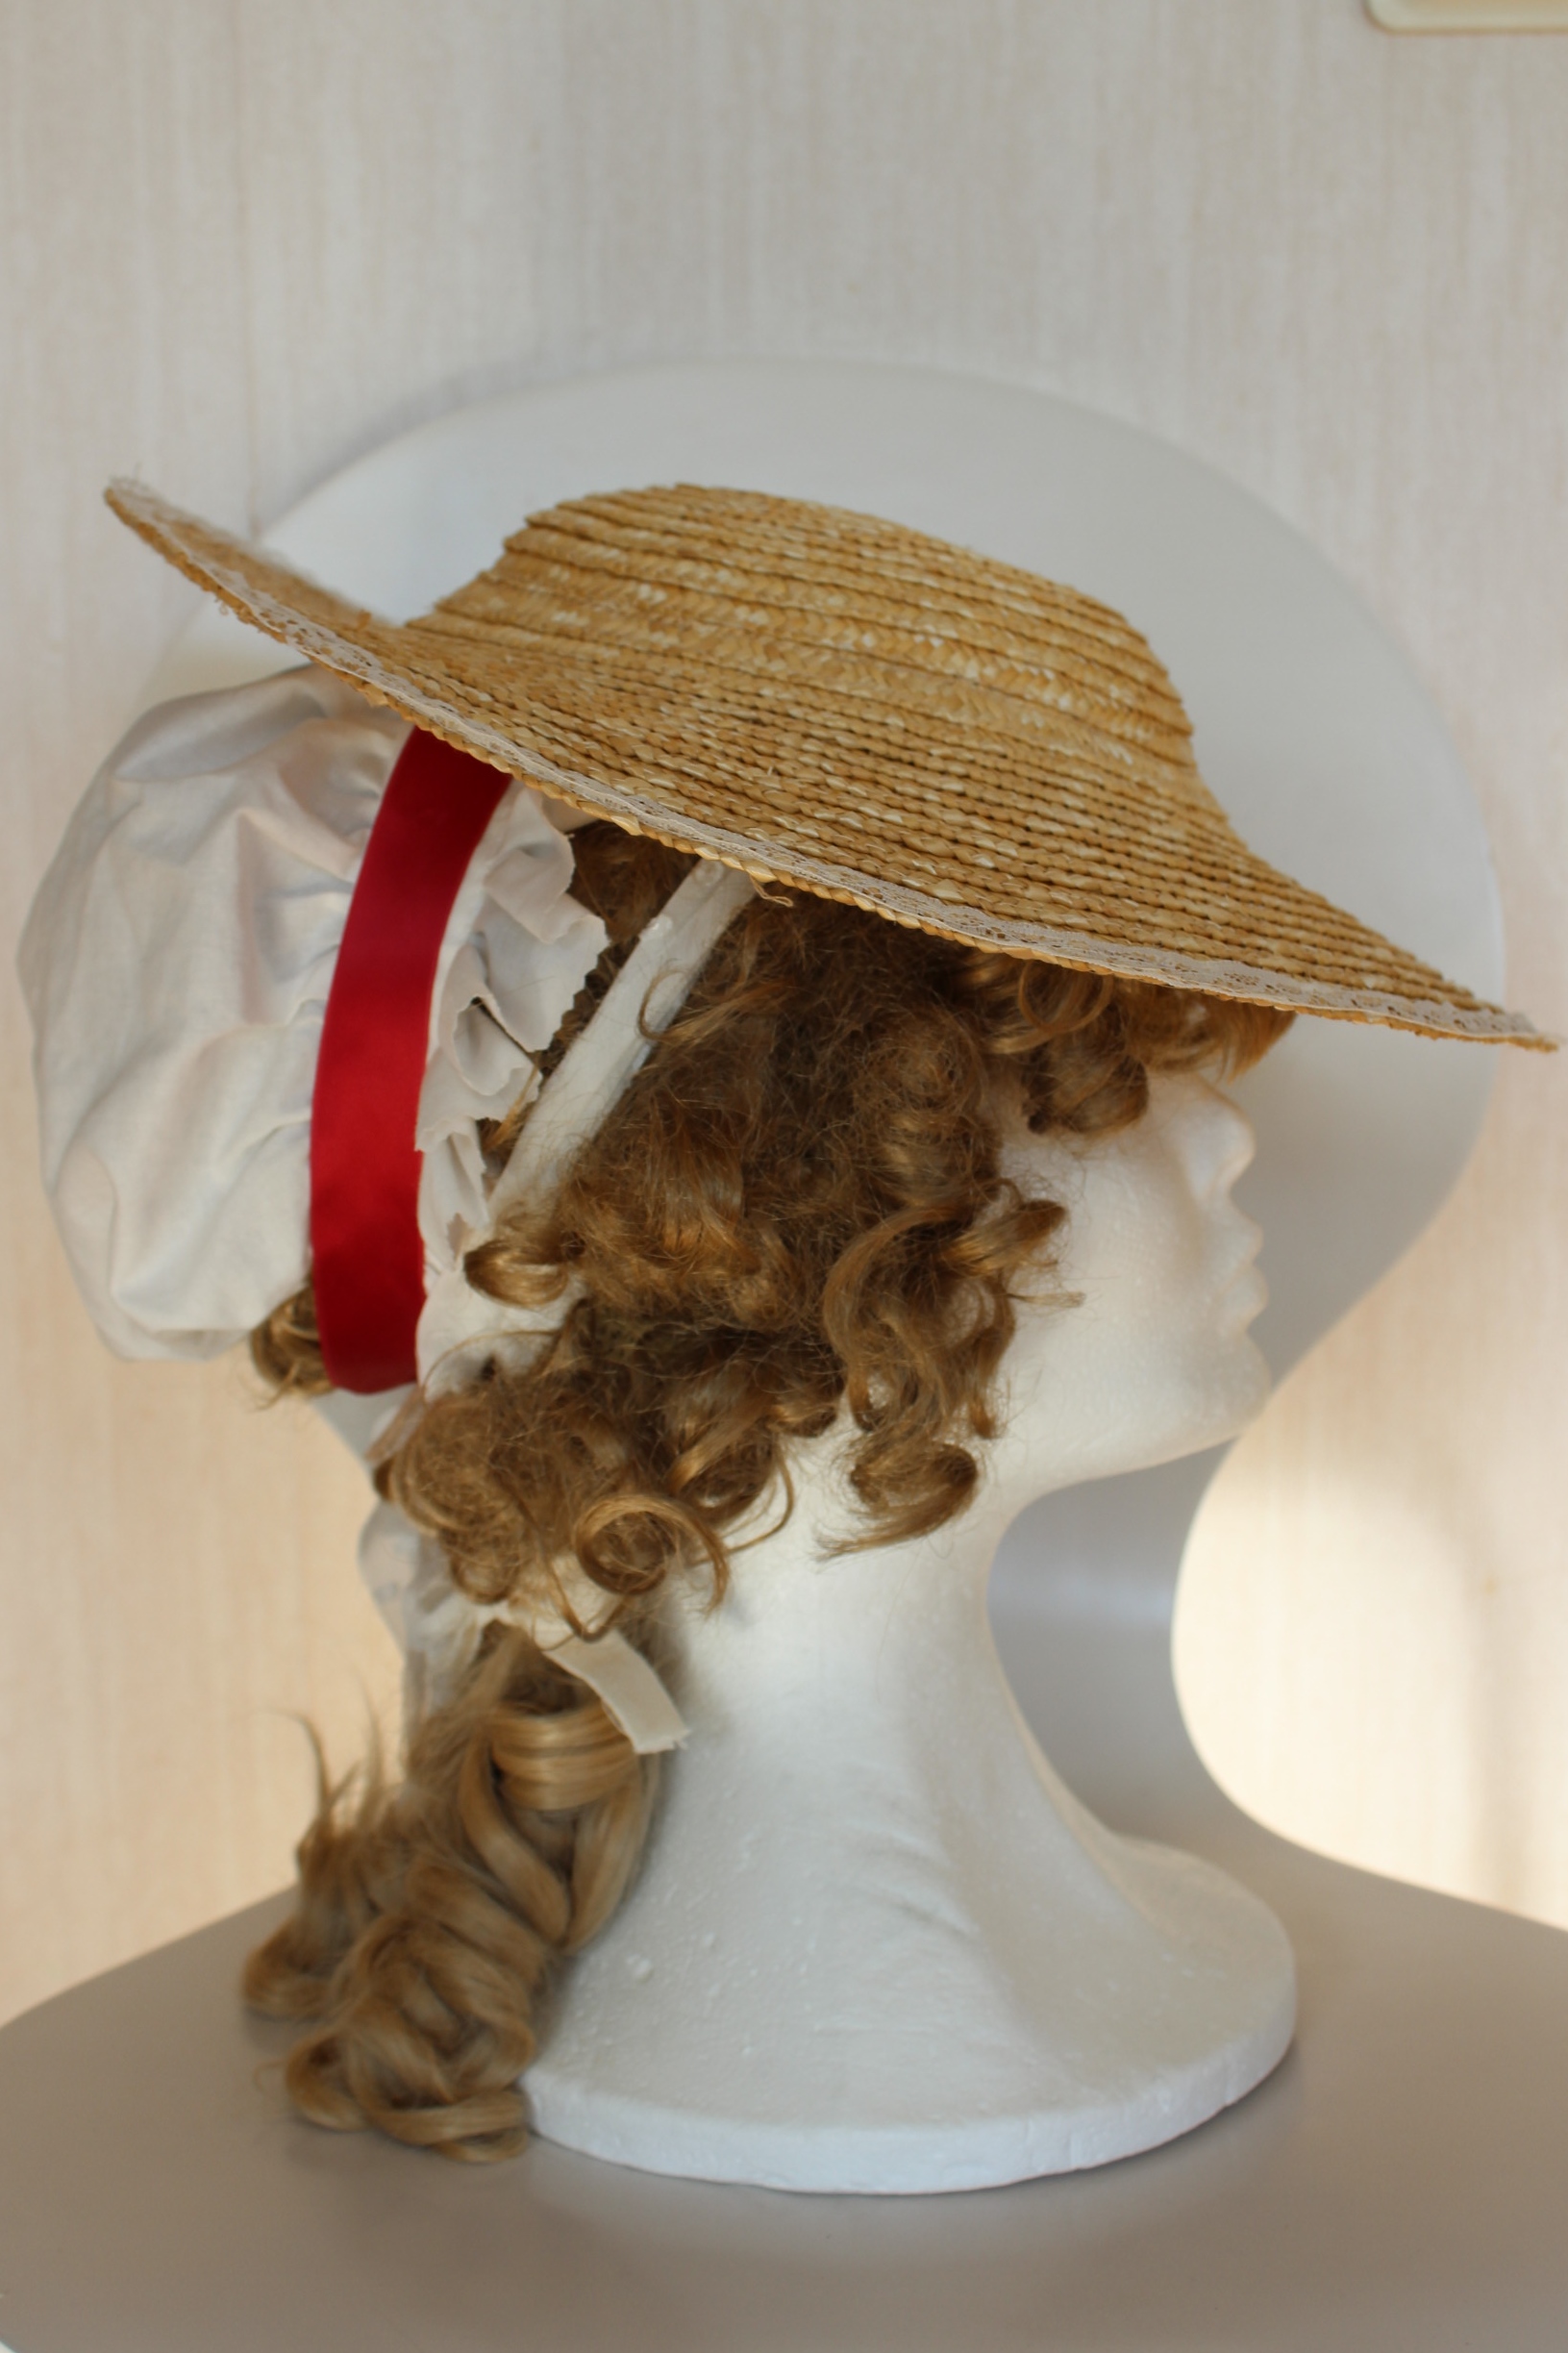
once I shaped the brim to my liking (a bit up at the back and down at the front), I attached the ribbons to the underside of the hat, as seen in paintings and extant pieces..
Once the basics was done, I tried the hat on to see how I would best wear it. With my wig
Or with my cap
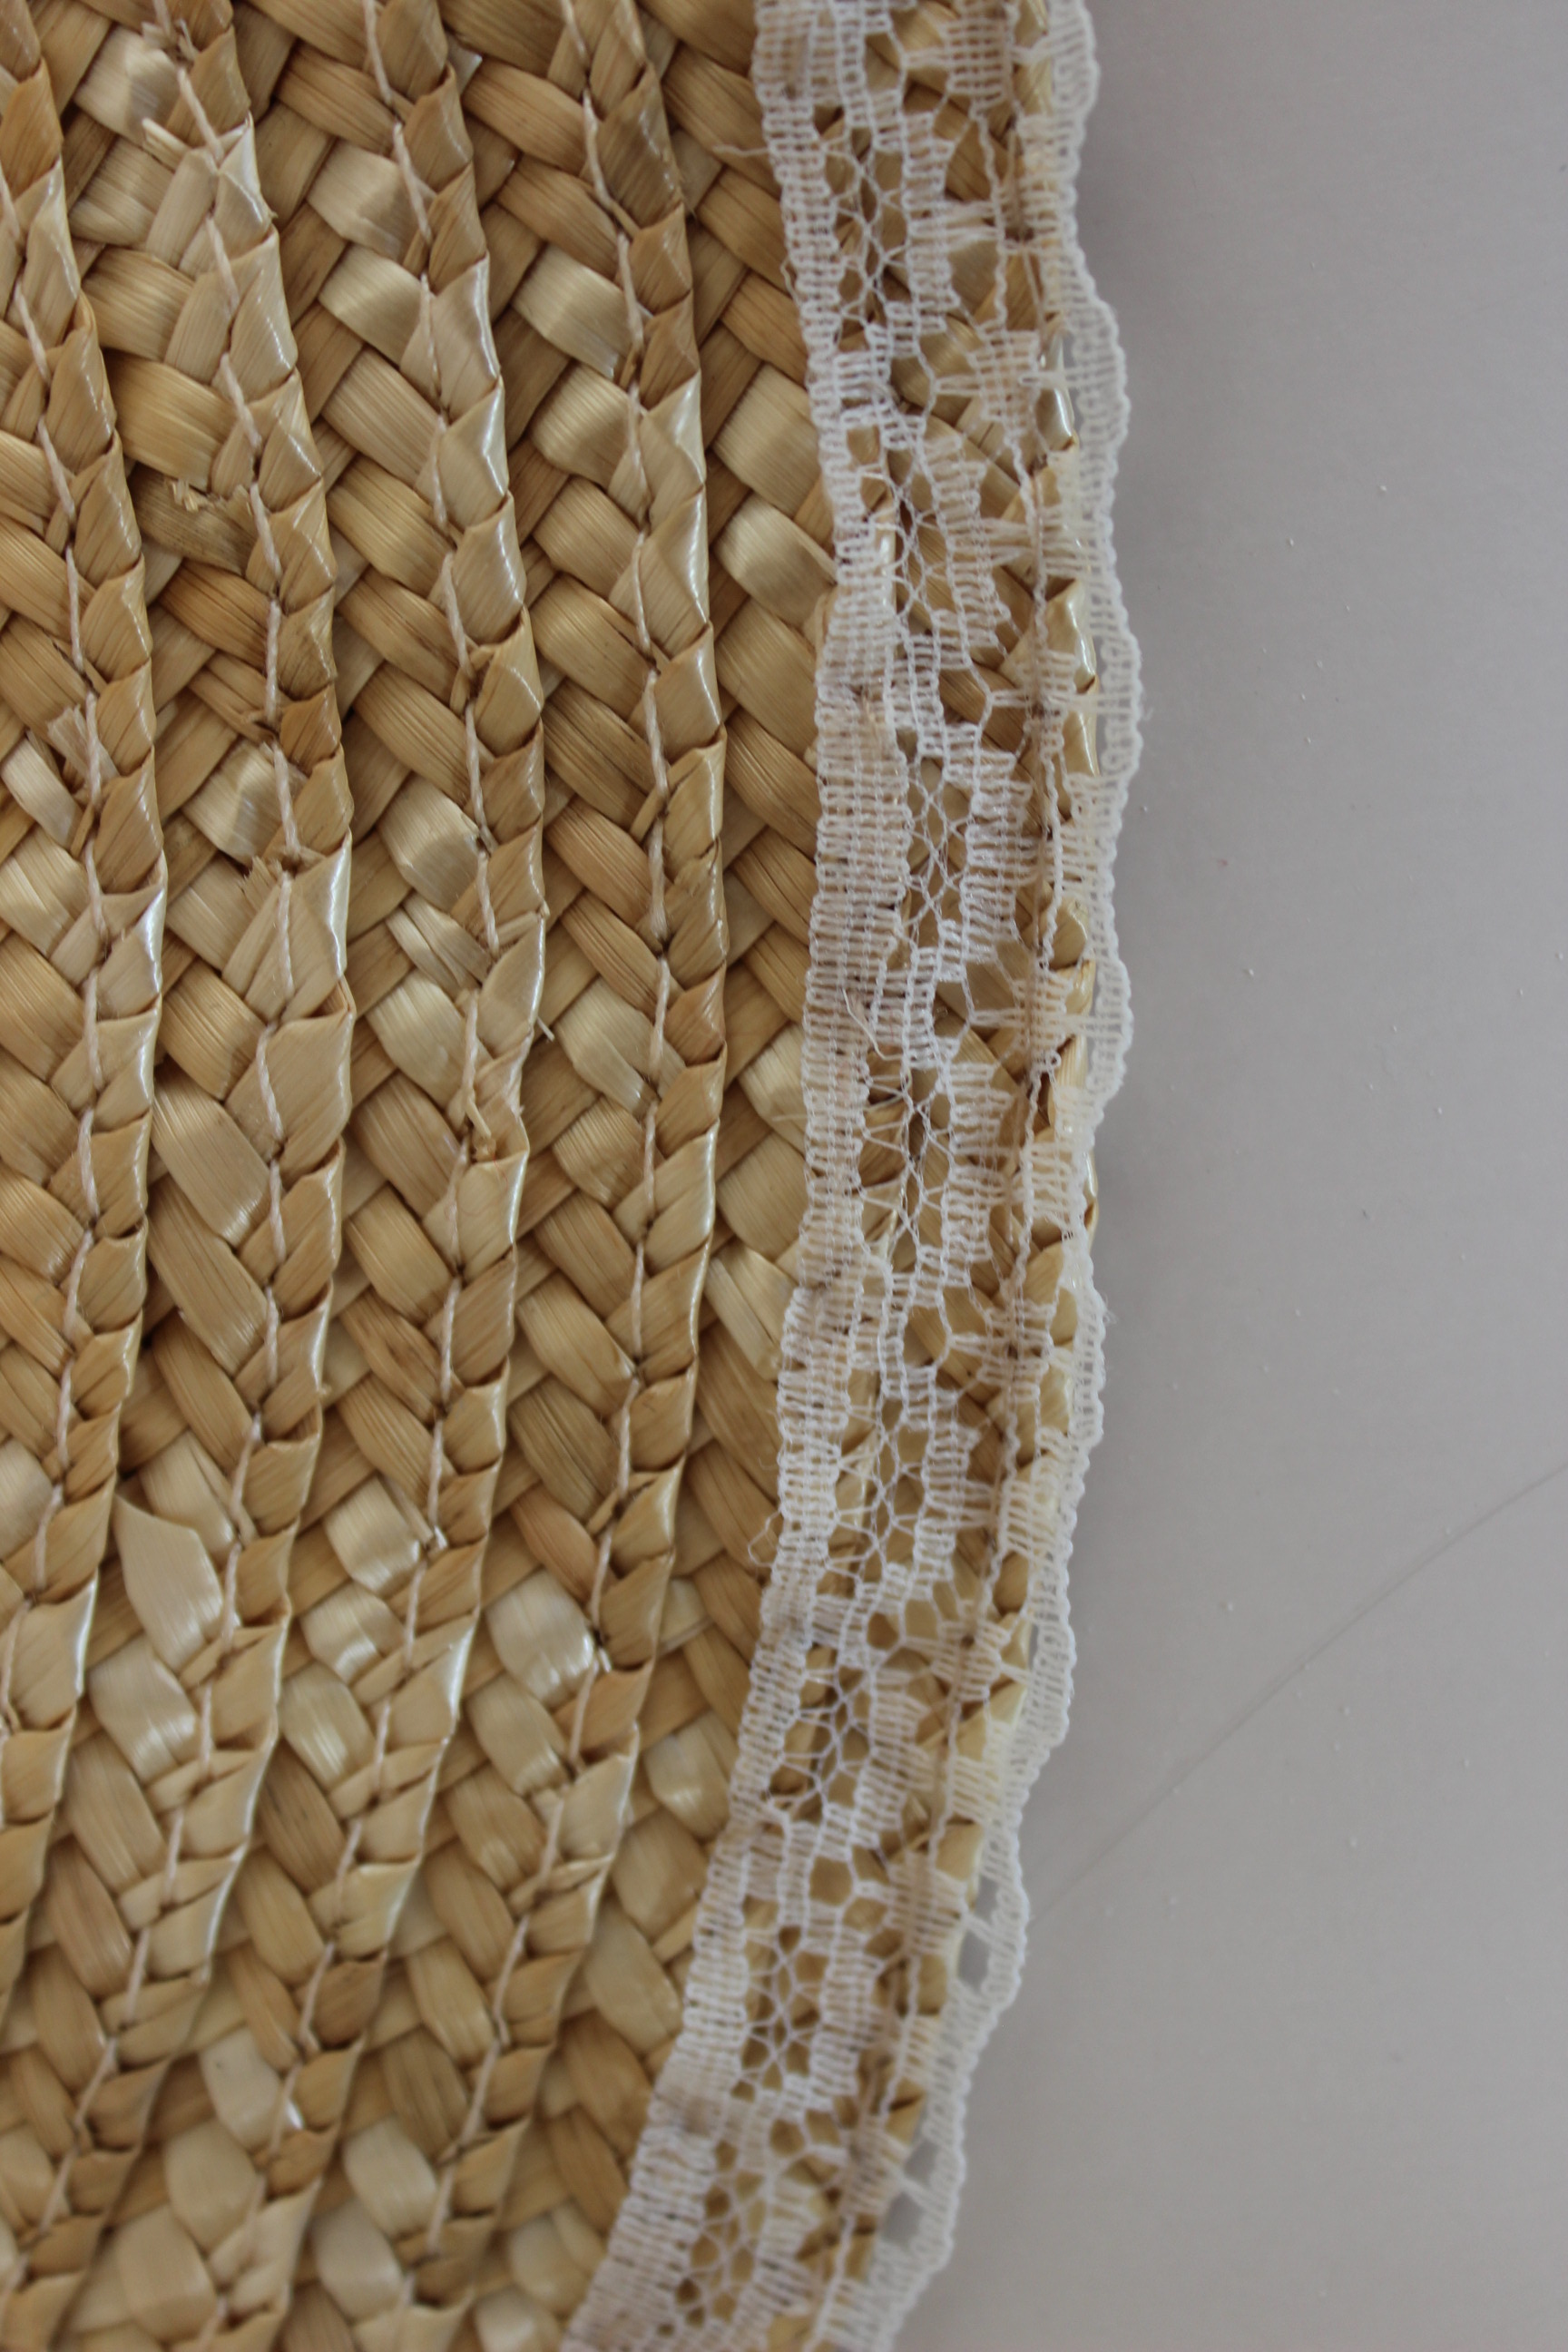
Then, as a final detail I decided to and a narrow band of lace to the edge of the hat to make it softer and to look more finished.
The finished hat:
Just the facts:
What: a modern straw hat reshaped into a 18th century Bergére
Material: 1 cheap straw hat, thread, 80 cm thin lace and
Time and cost: about 2-3 hours if you don’t include the time it took to dry. And the cost was less then 100 Sek (8 Usd).
Final thoughts: I really like it, but I´m not sure how to shape it to look its best. I wil defienetly be wearing it for more events in the future.
You know the dress that got rushed and didn’t turned out the way you liked?
Or maybe the fit wasn’t perfect, or the matching trim didn’t quite match after all.
Or maybe you just learned so much lately that what seamed pretty good to you before, just won’t cut it anymore?
We all got one (or more) dresses/costumes that we just can’t seem to love.
I love the fabric and the style, but for some reson I never cared much for the finished dress.
I’d say it is the styling combined with the fit that makes it look… of.. at least in these pictures.
But why don’t I love the dress itself then?
It’s for exactly this reason that it’s been sitting in my wardrobe un-loved and un-wanted for quite some time now.
I even thought about selling it, but decided I didn’t want to sell something I wasn’t completely happy about.
But then something happened.
It all started earlier this summer when I decided I wanted to attend a event, to which this dress would be perfect
– if only I could get it to work.
So I dug it out the closet, and gave it another try on. Still not loving it…
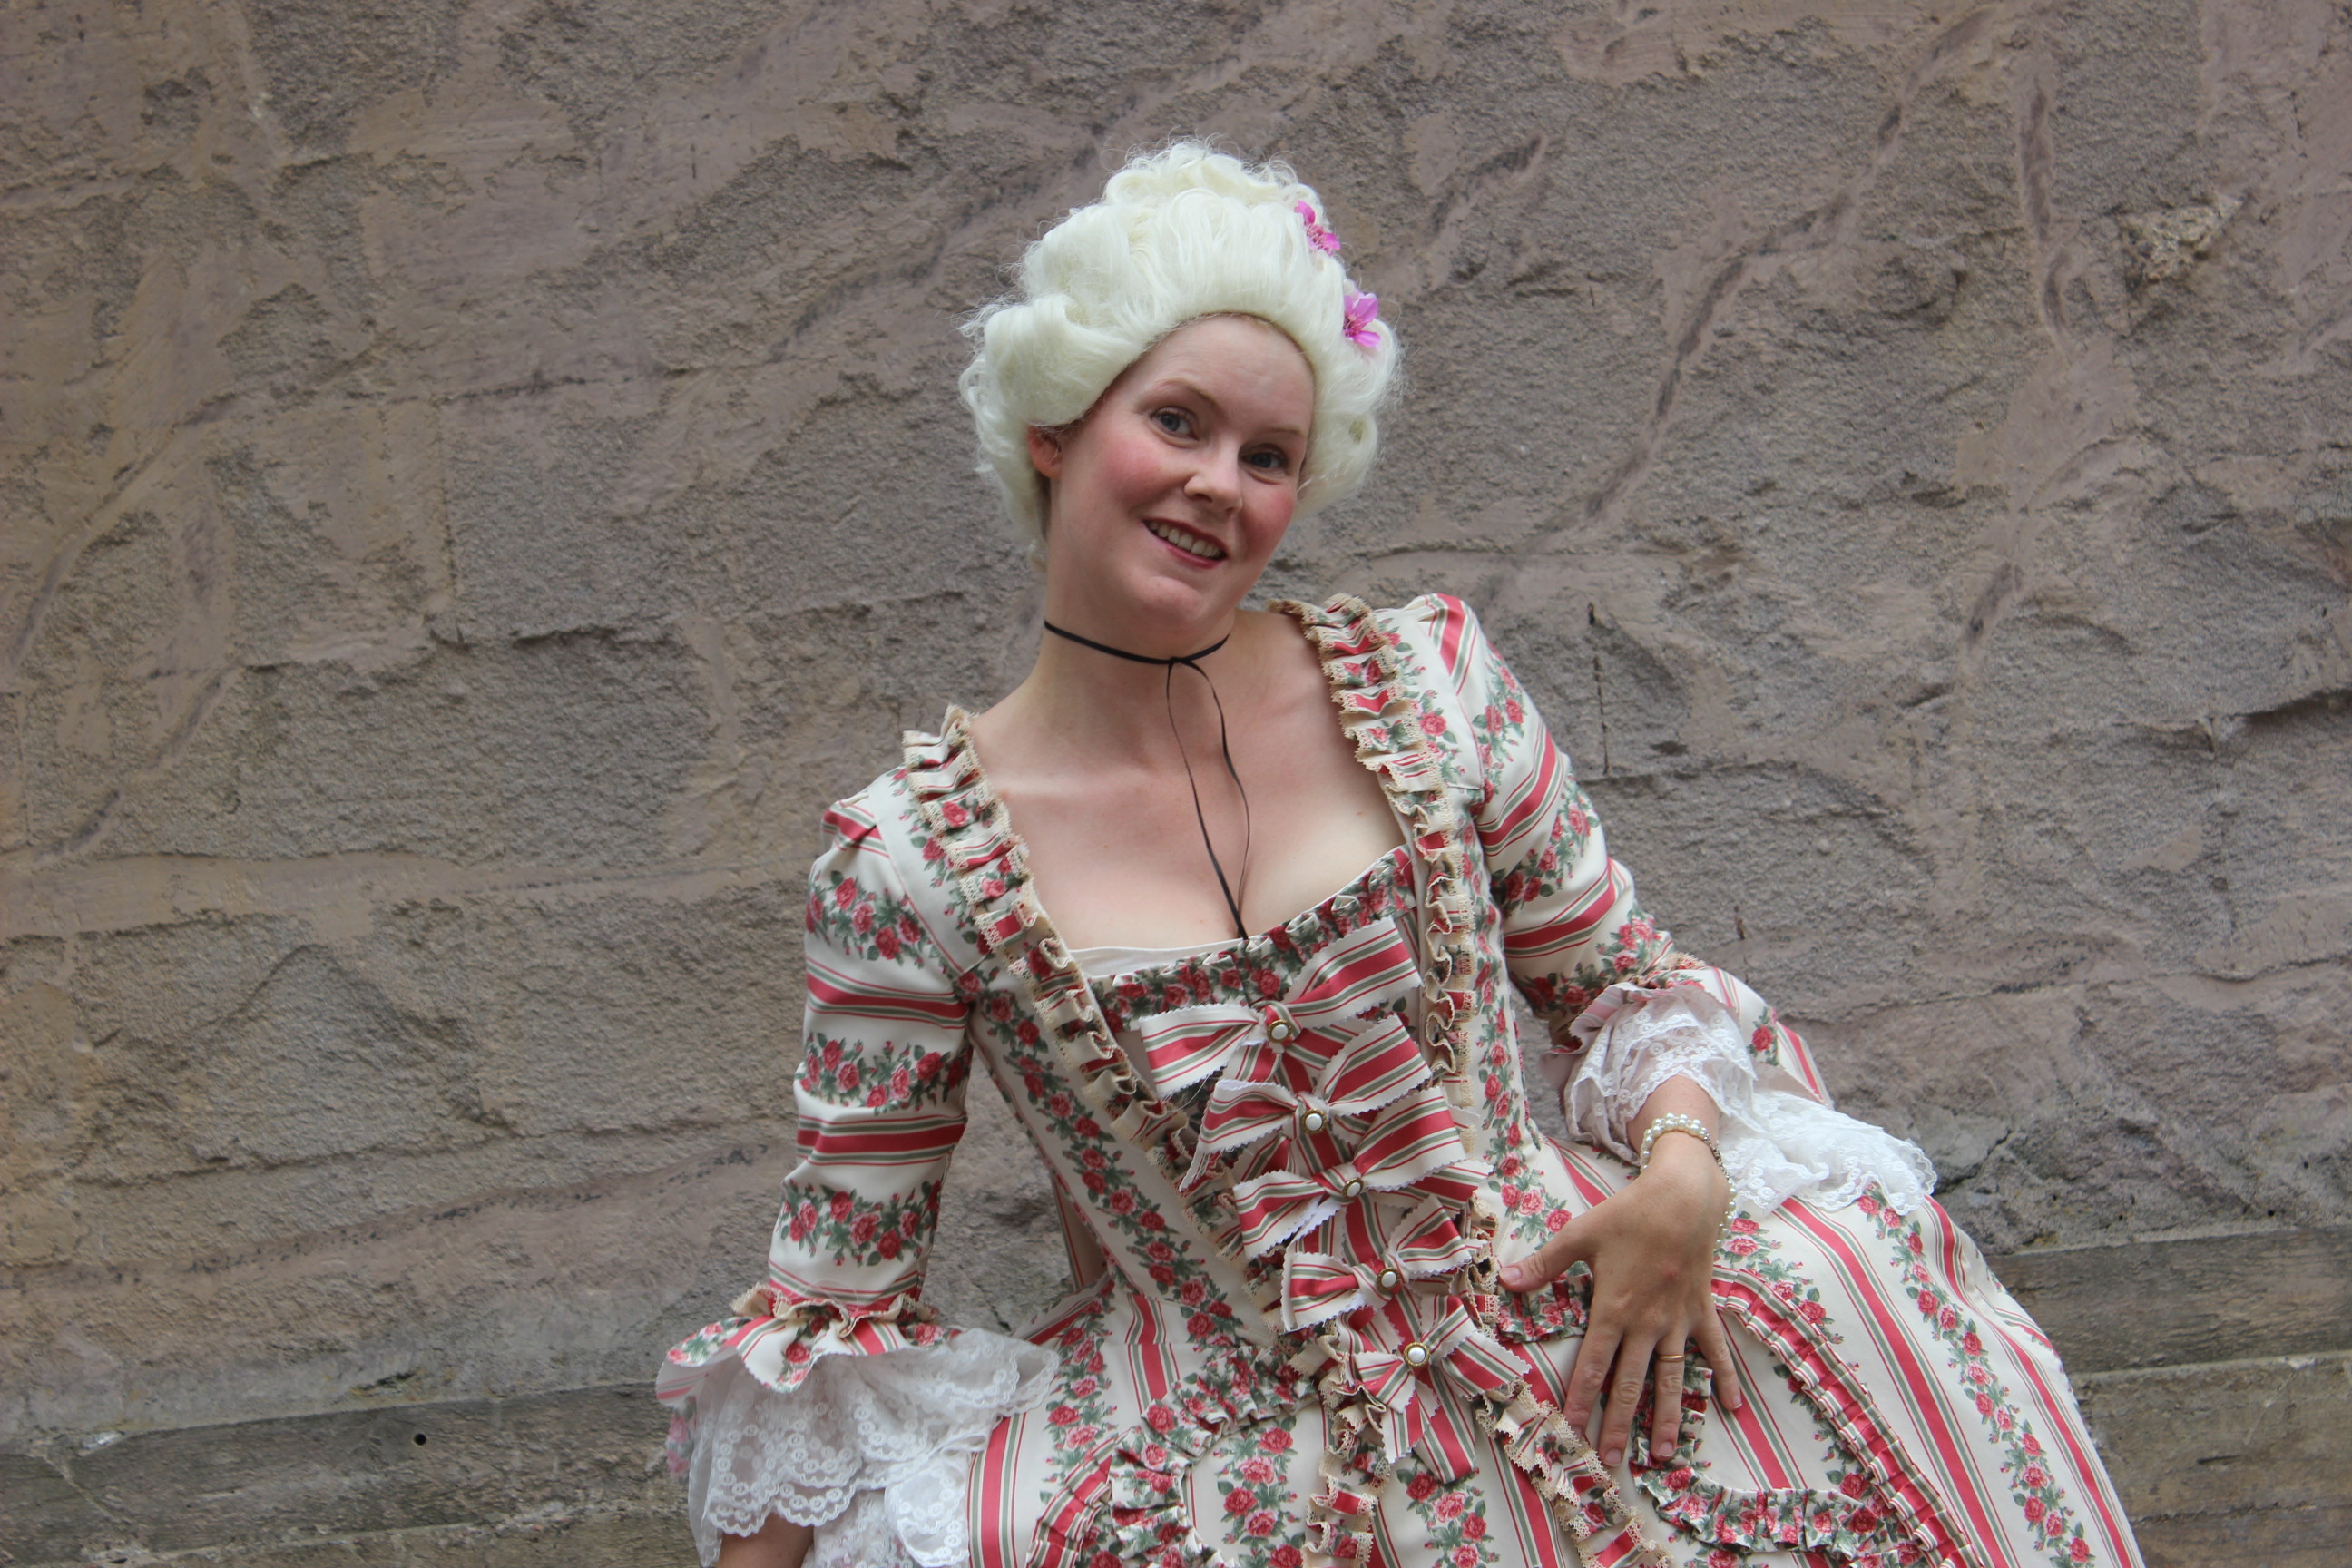
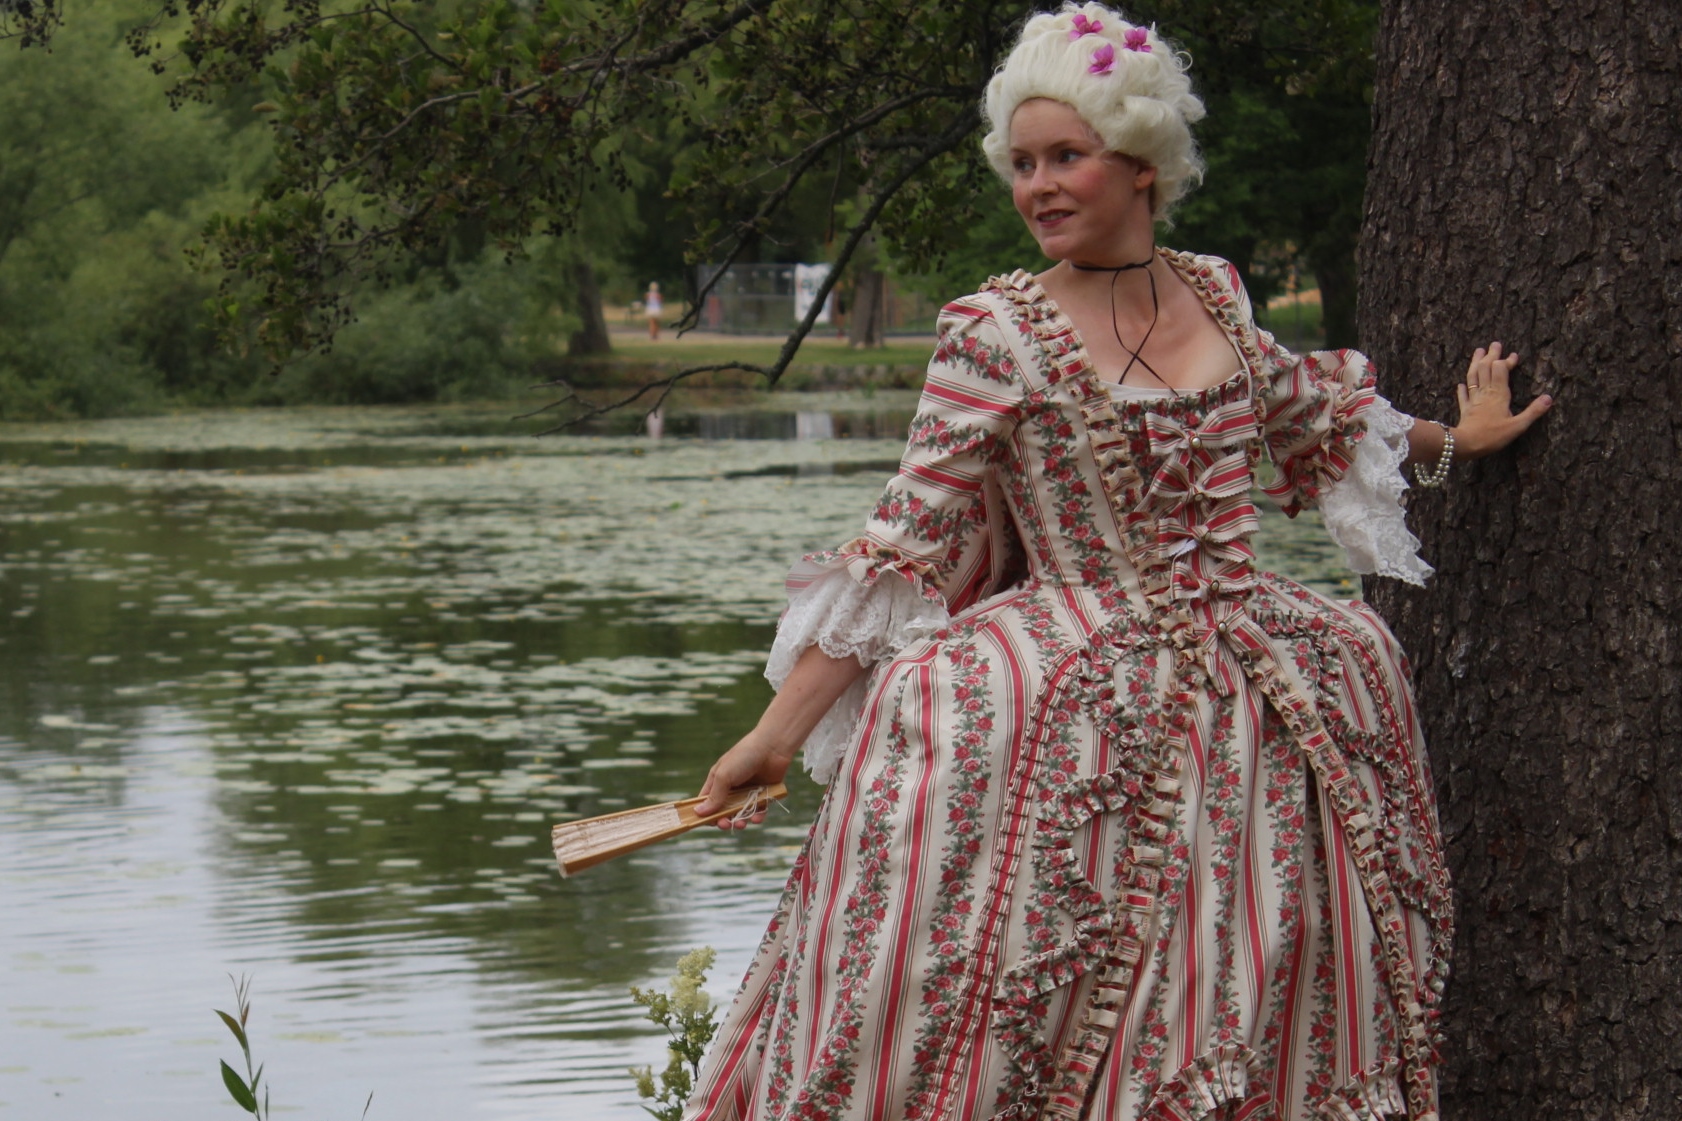
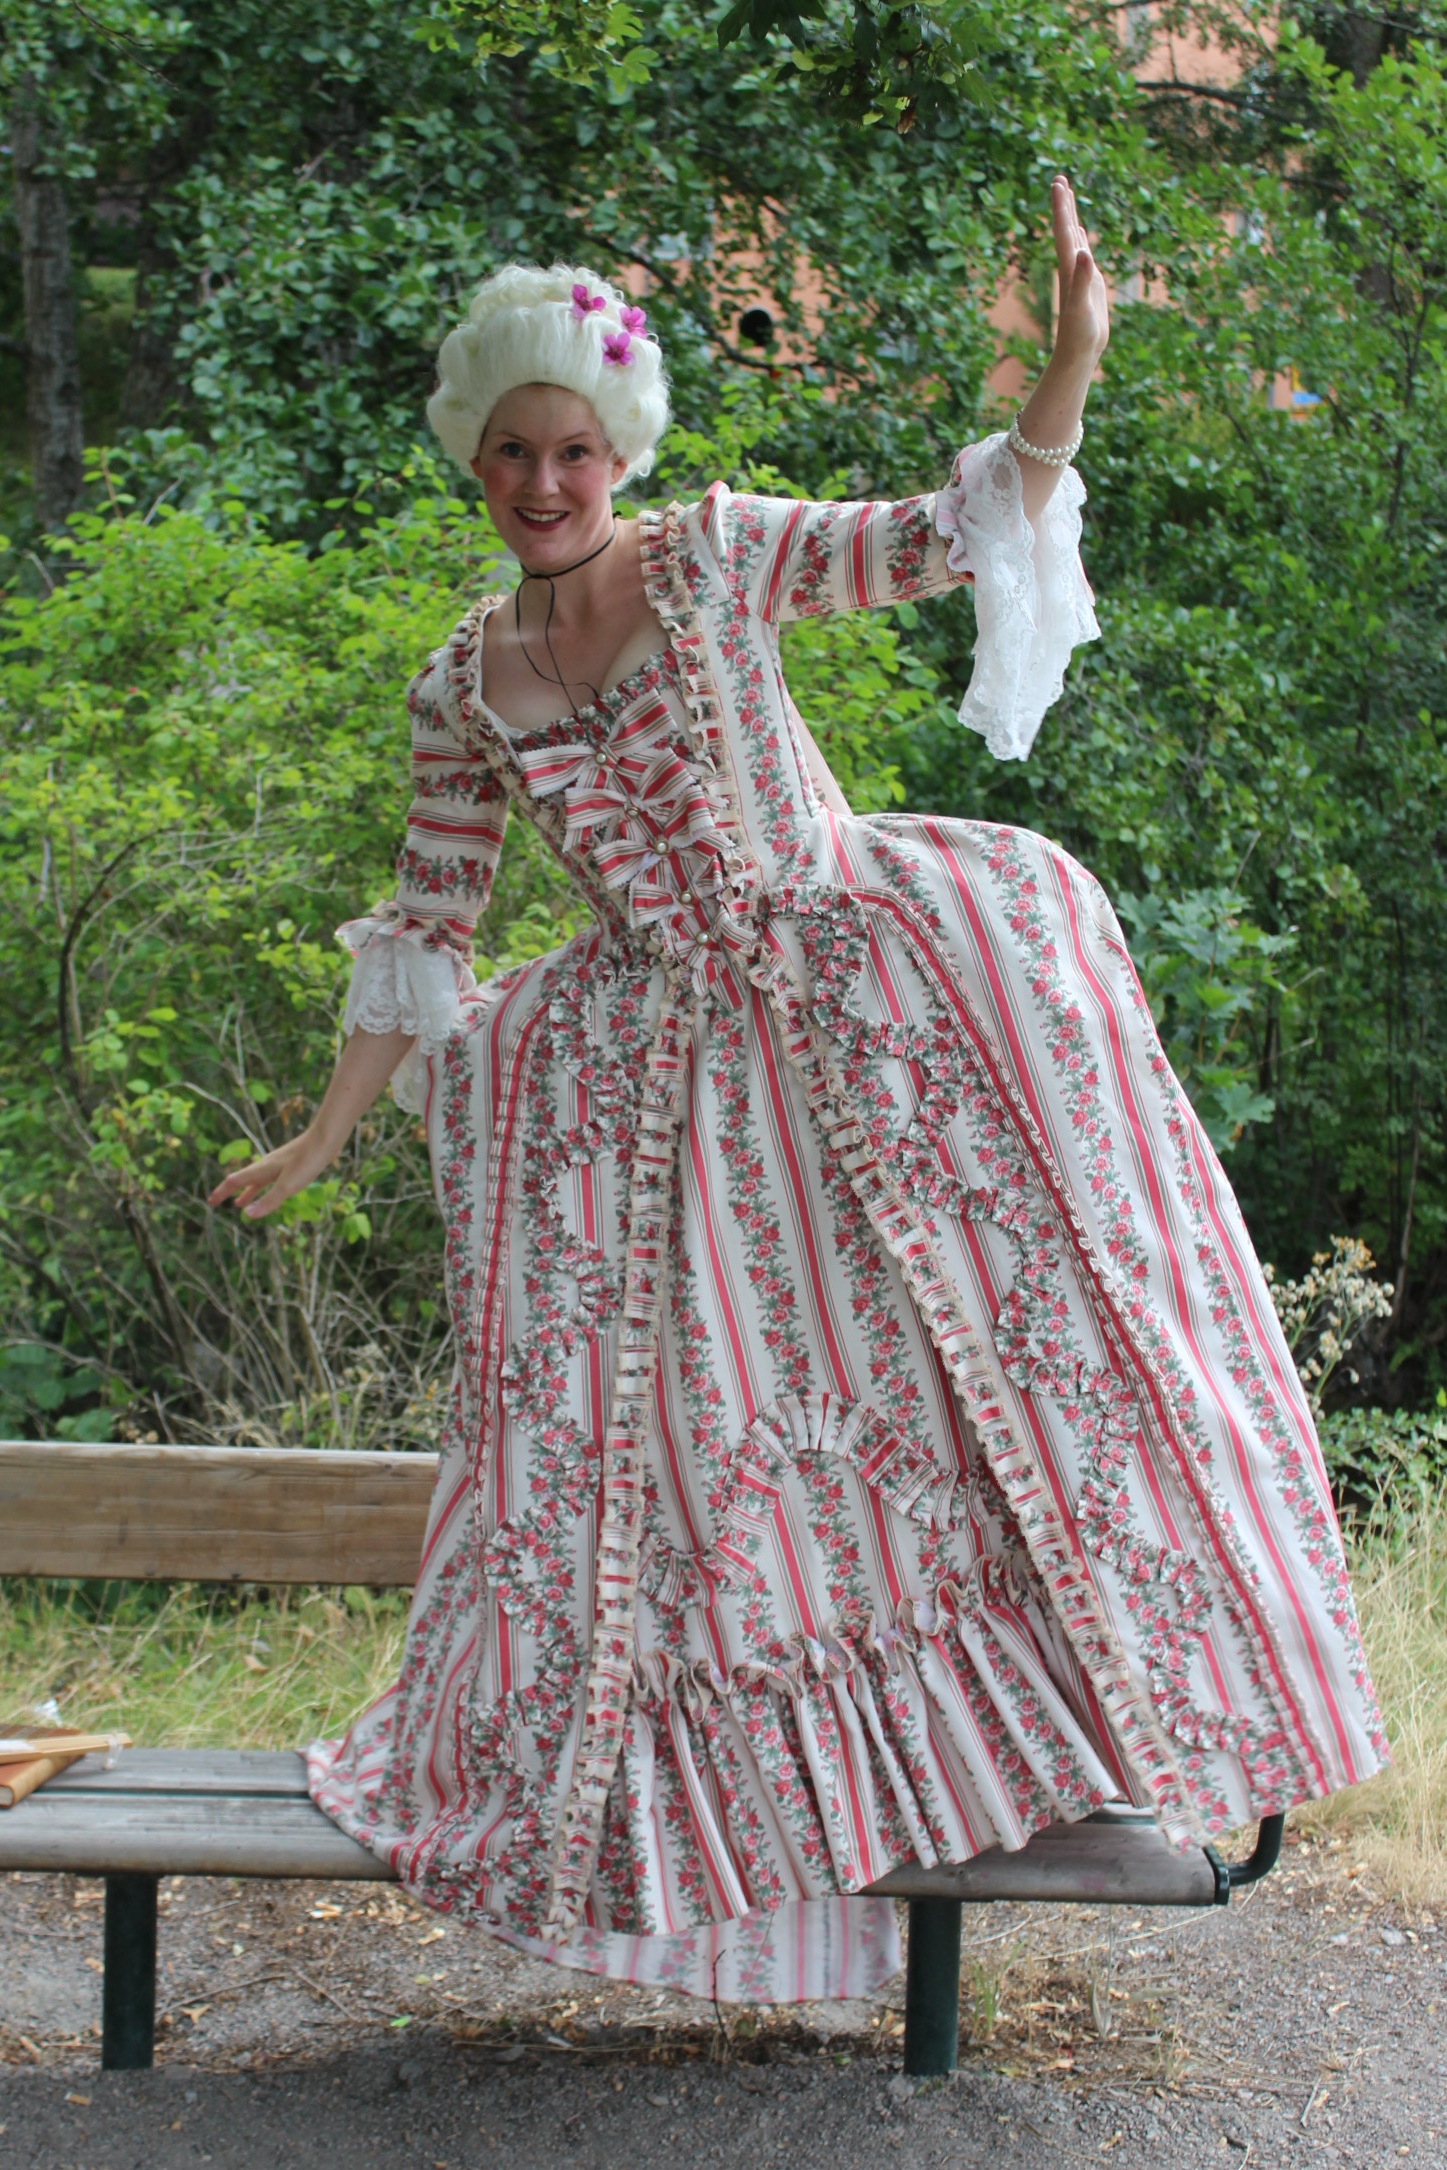
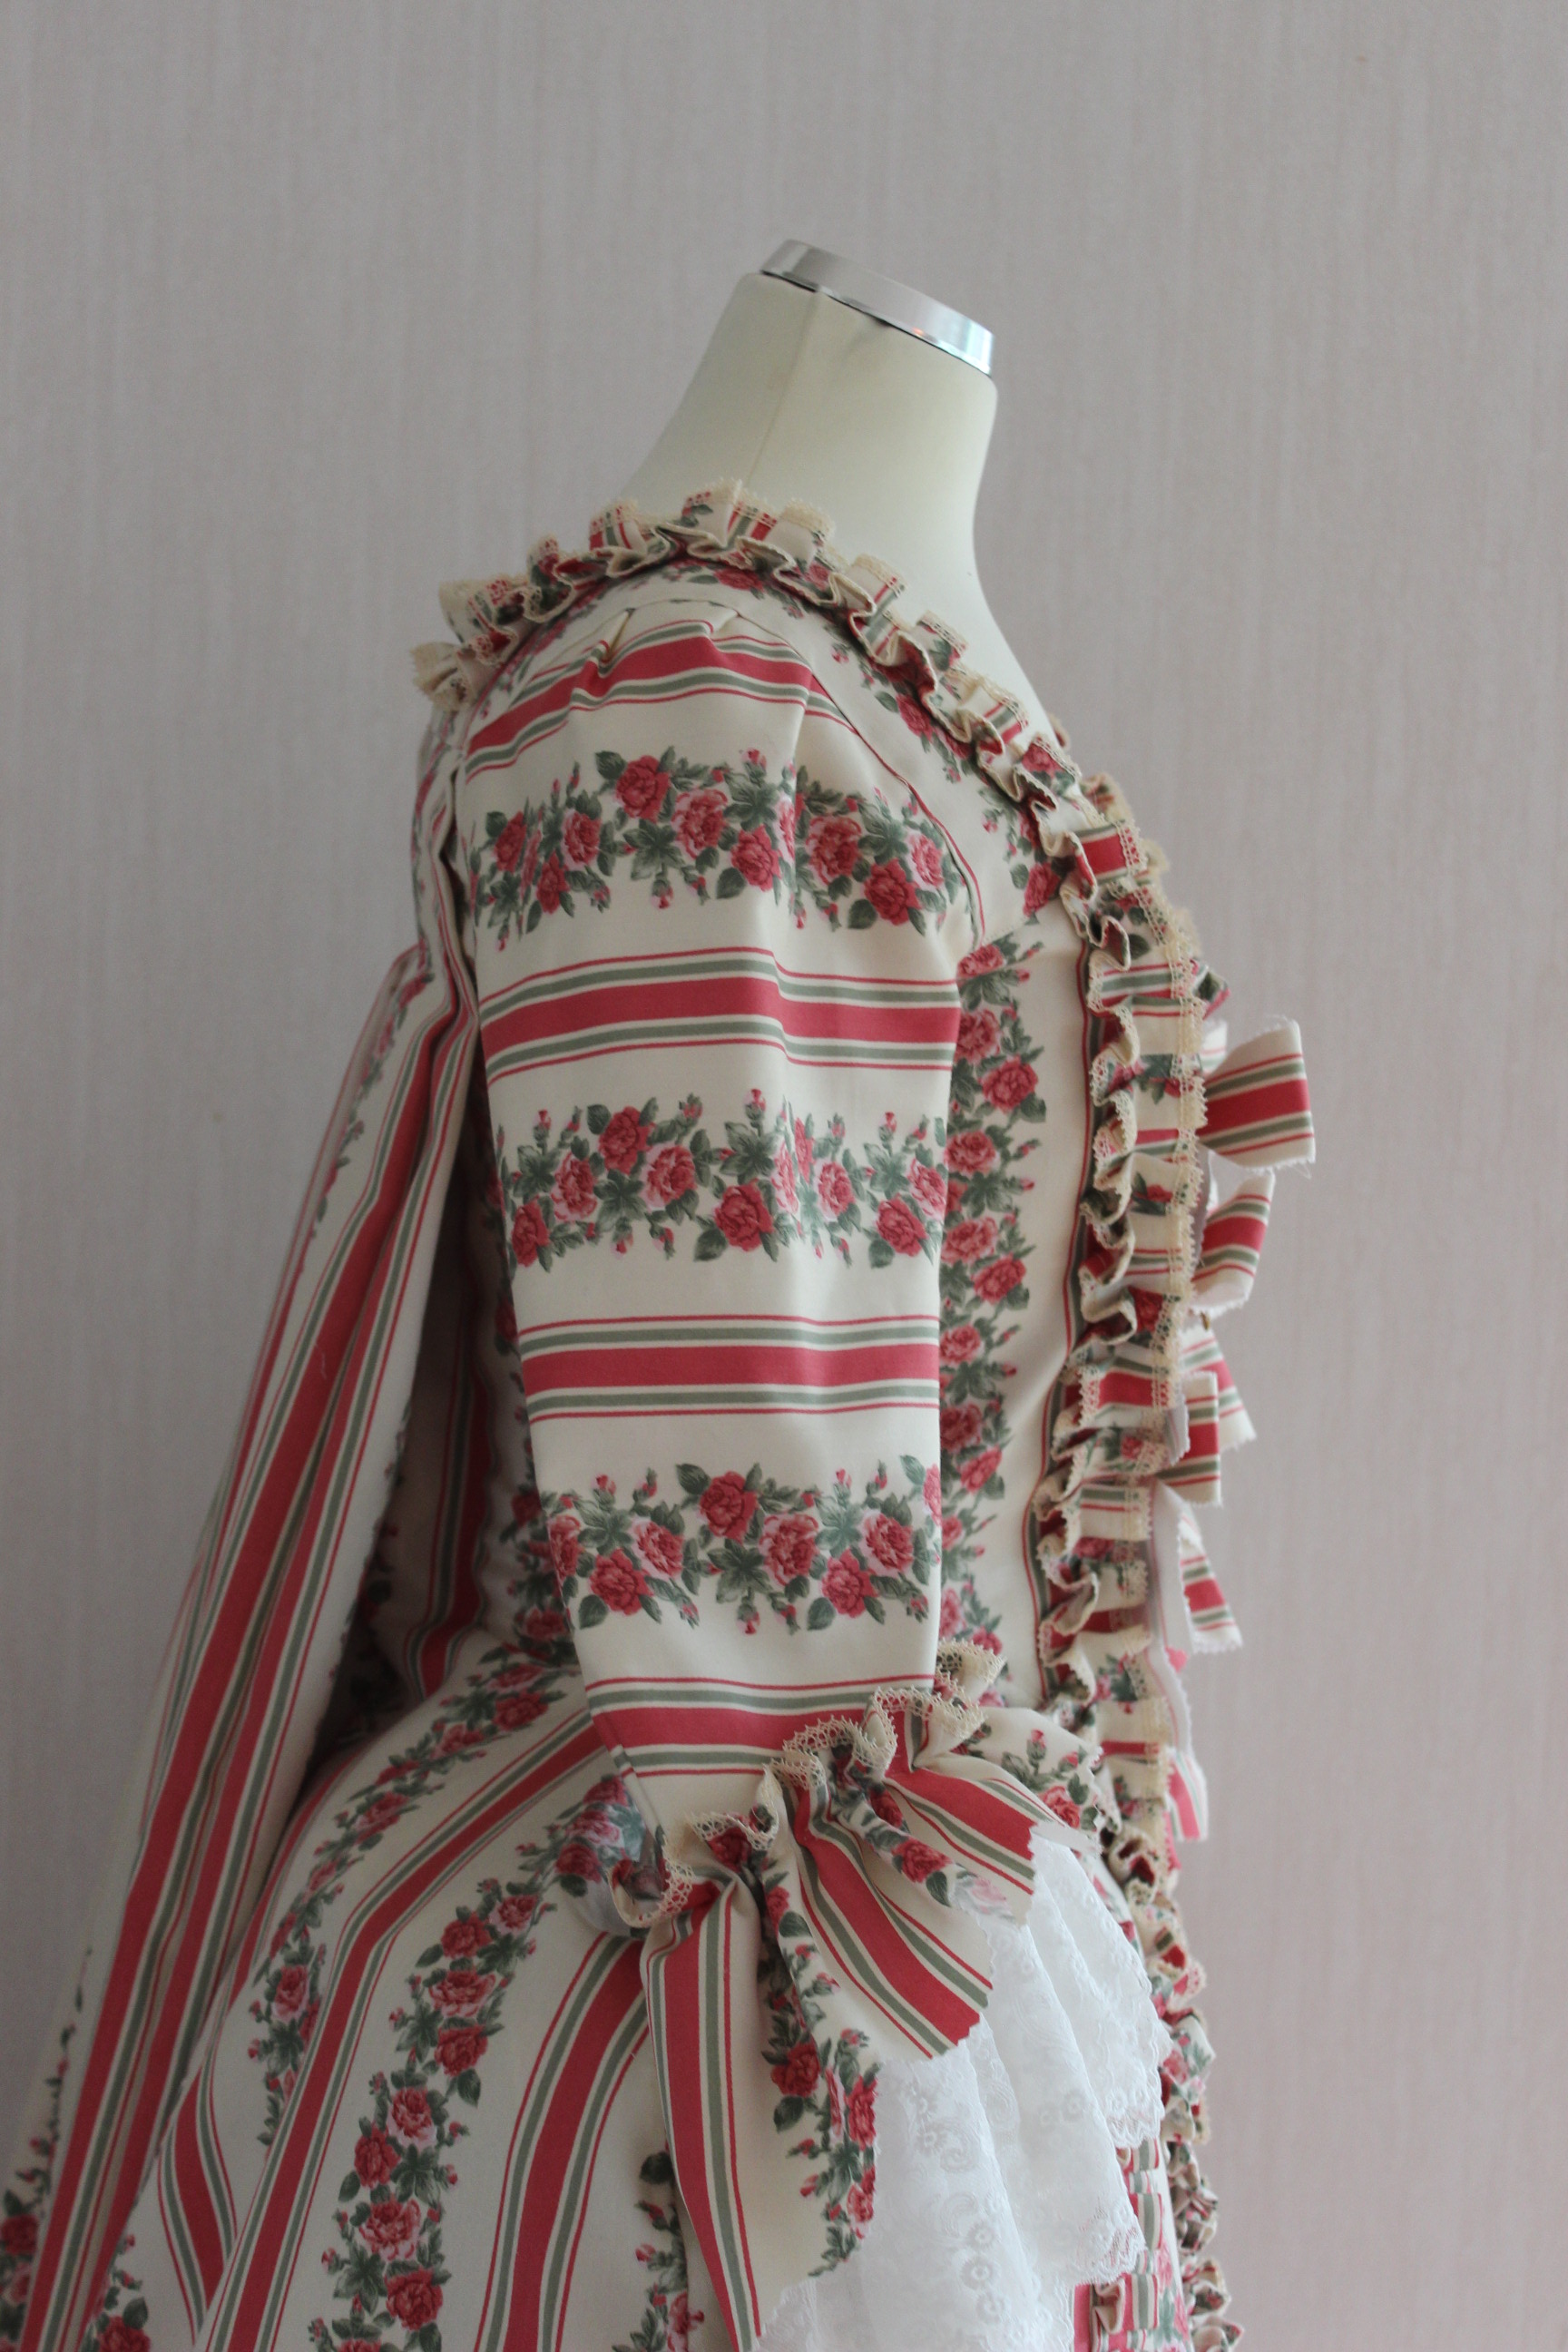
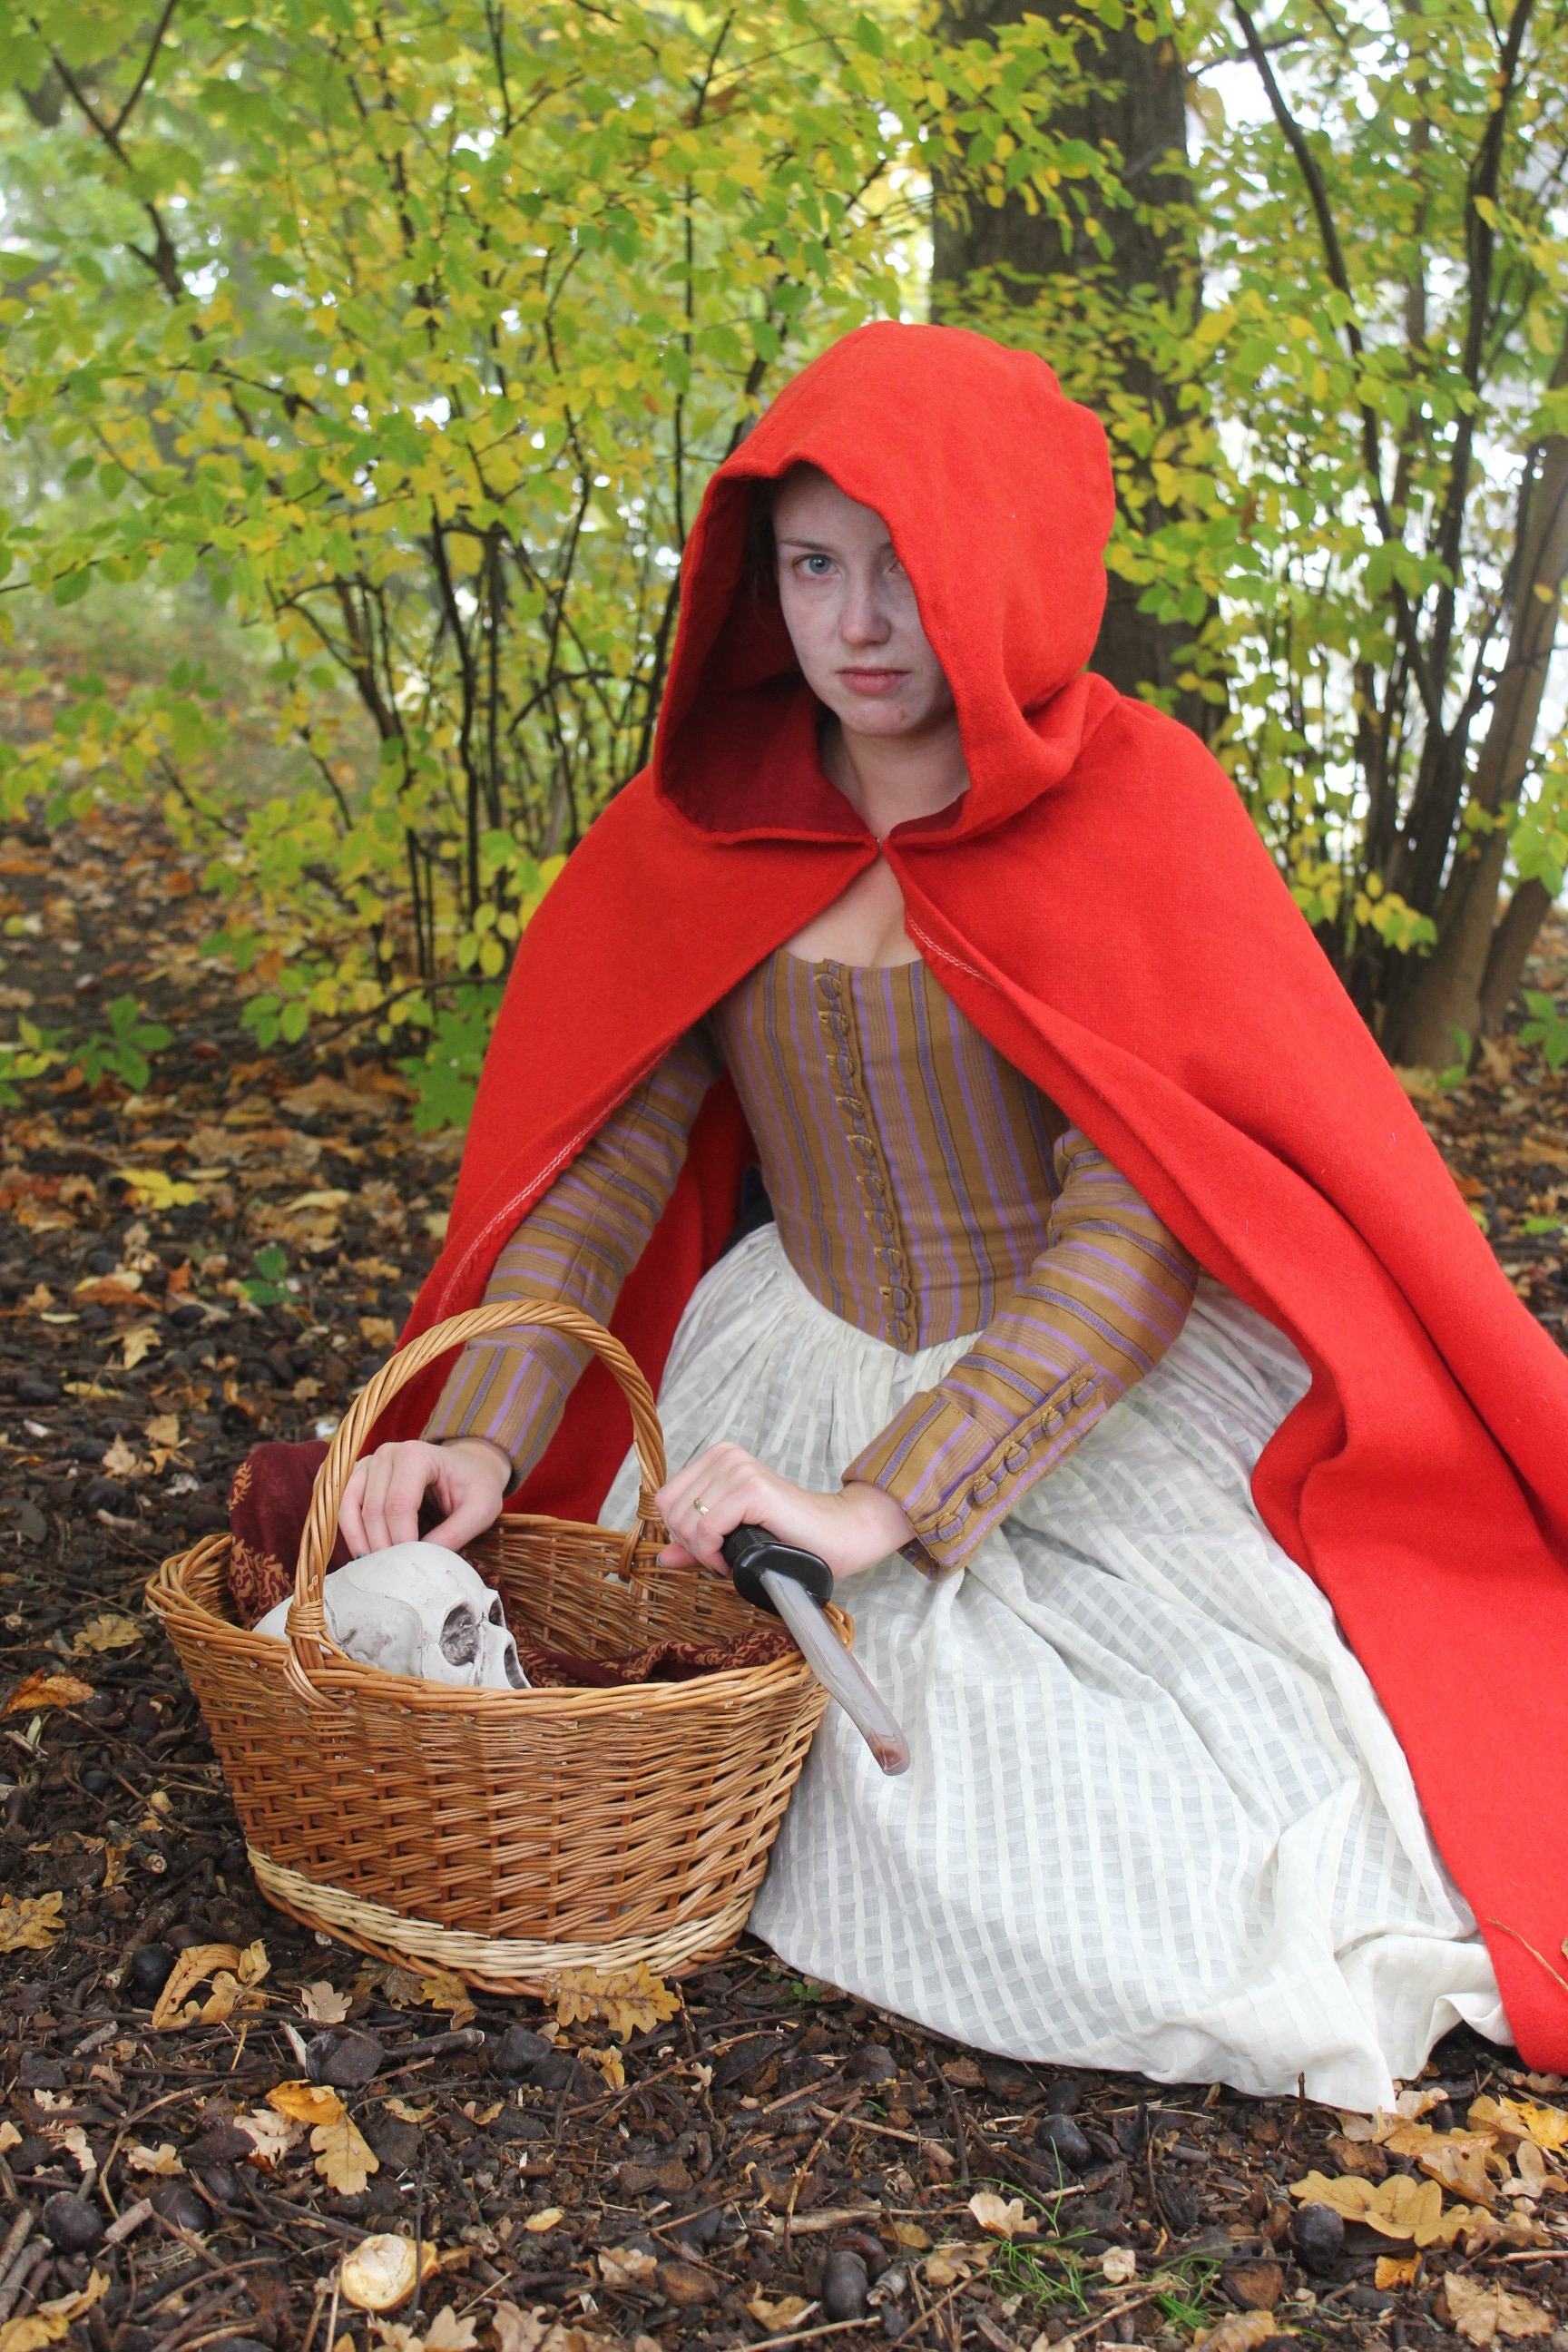
So I put it aside in favour for another dress I do like (the striped Anglaise/Turque), and which I’ve worn two times before.
But I couldn’t put it to rest completely, and a few days before the event I decided to see if I could fix it.
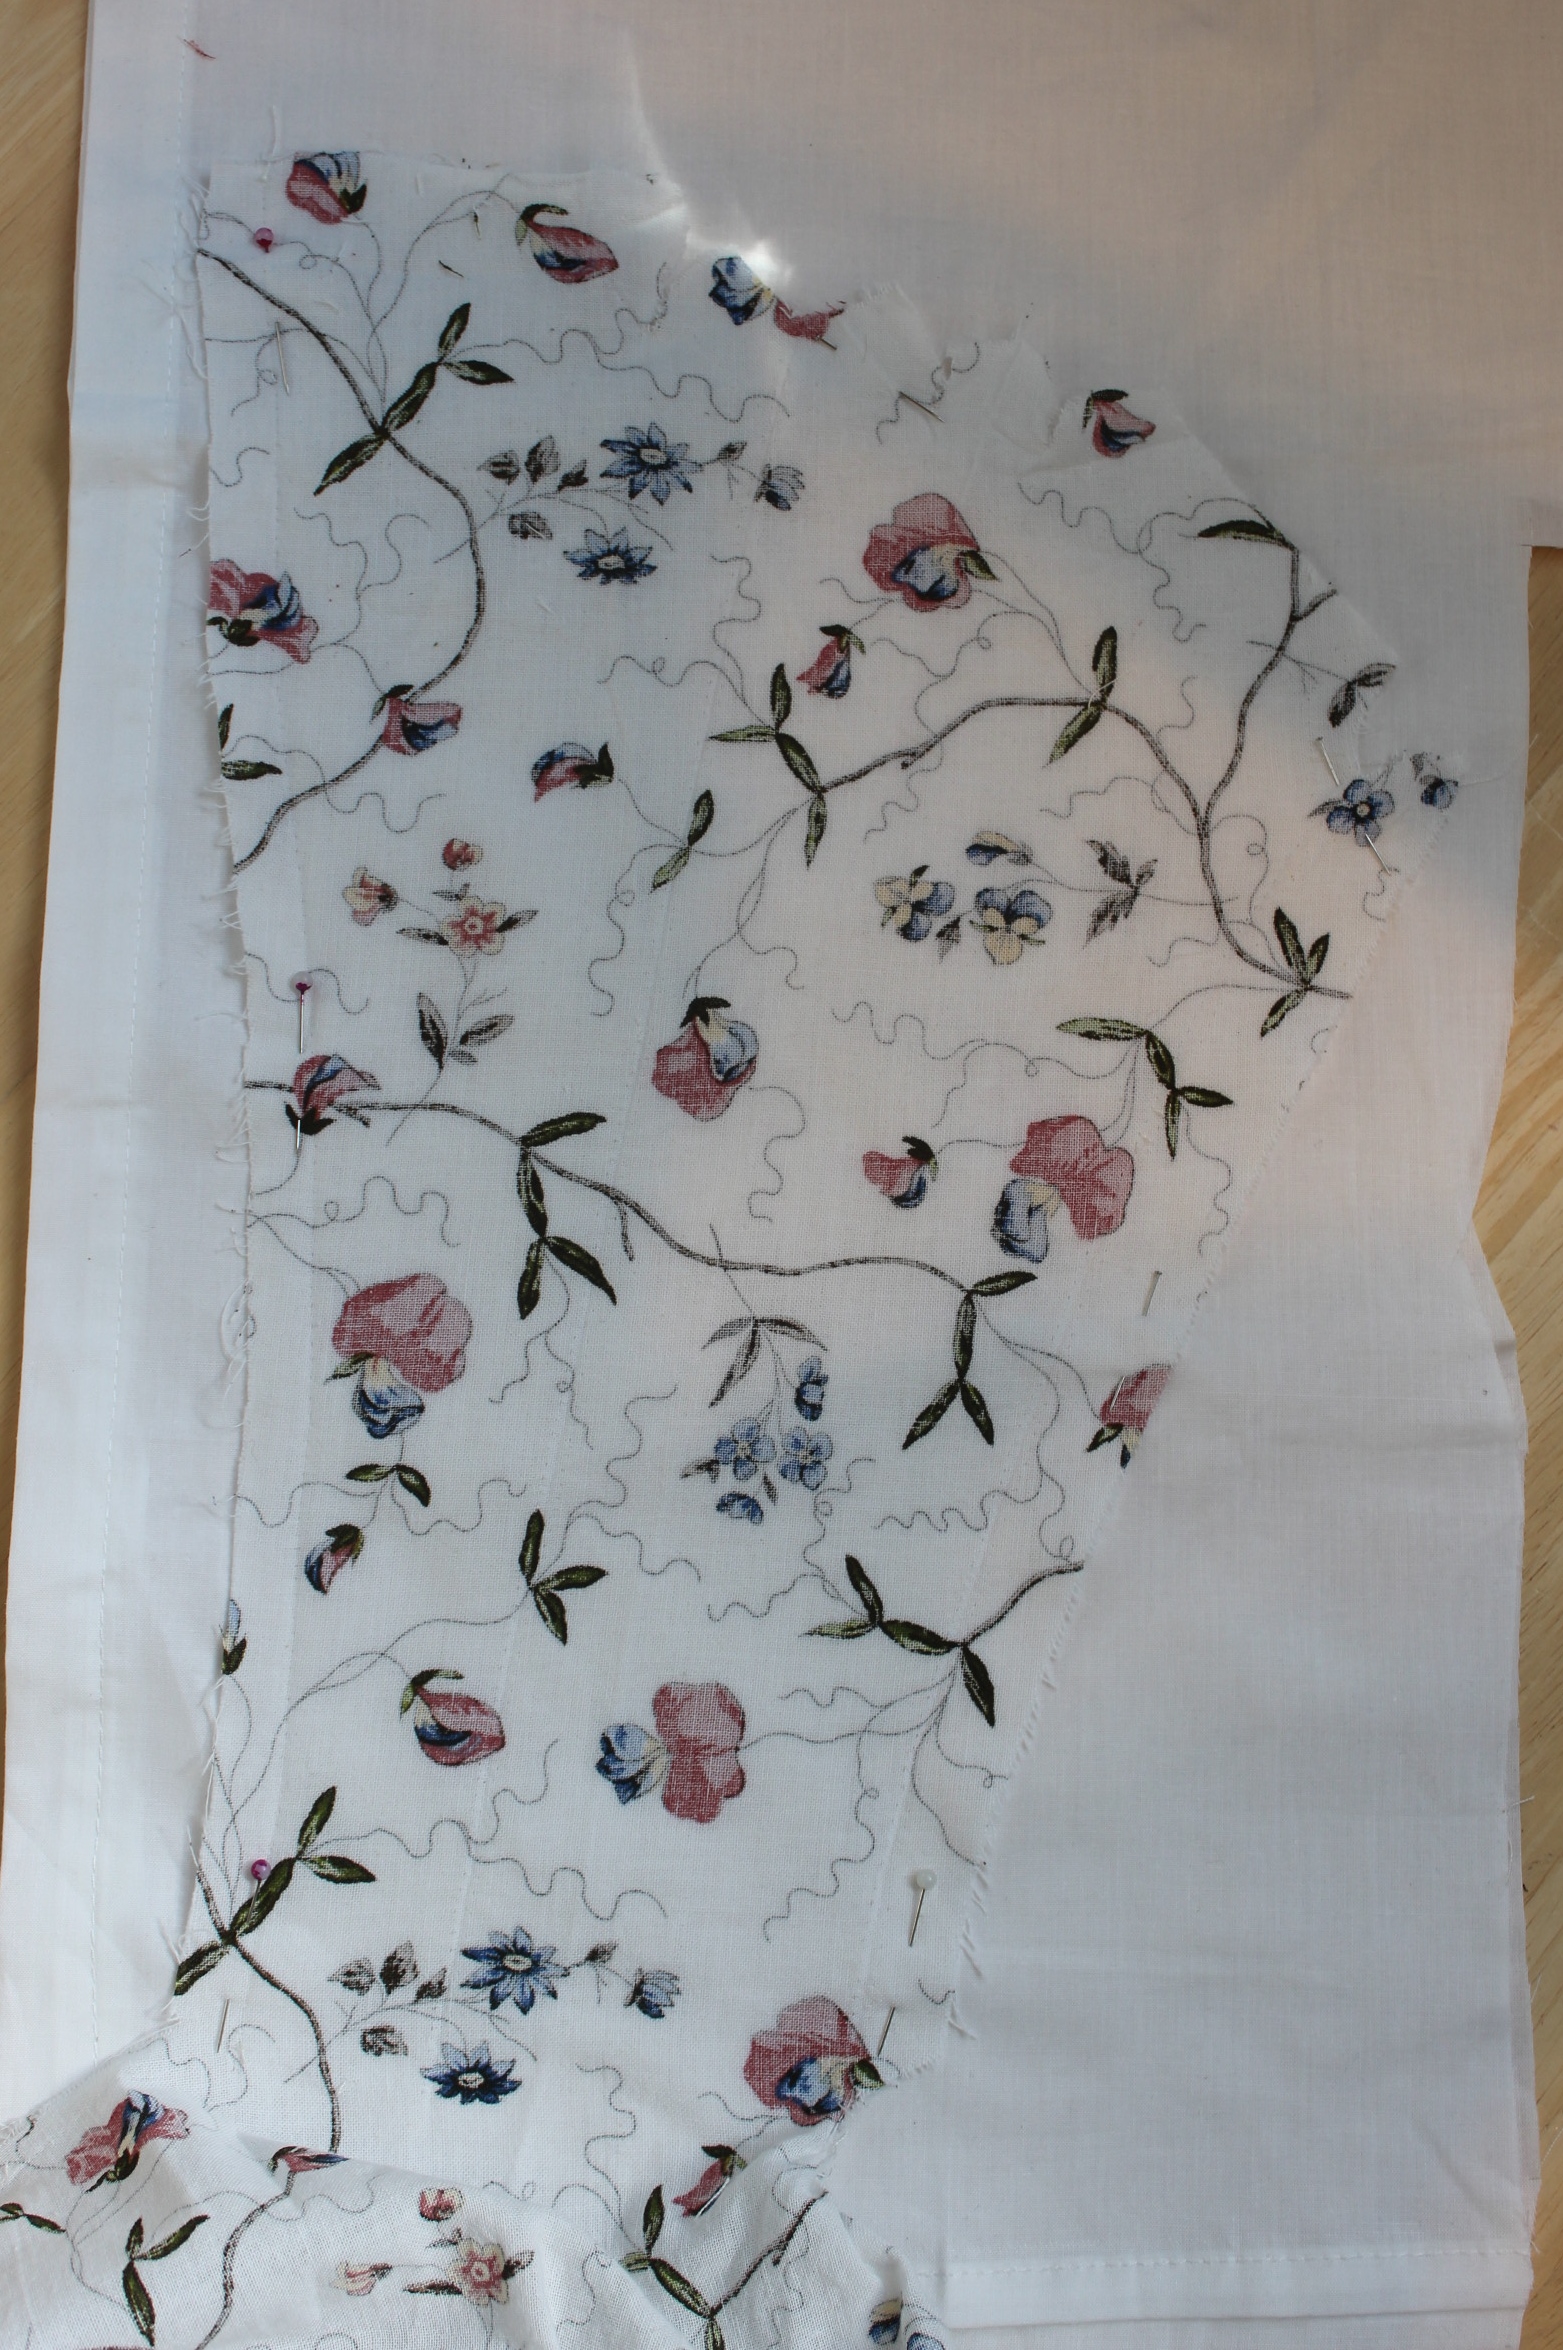
So I ripped the gown apart and started from scratch (sort of, since all pieces was already cut.)
After removing all (hand-stitched) seams I pressed the pieces flat with the new iron I got from my boyfriend for my birthday a month or so ago. quite the difference
Even though the dress originally was completely hand stitched, I decided to use the machine this time since the few days I had was quickly running out.
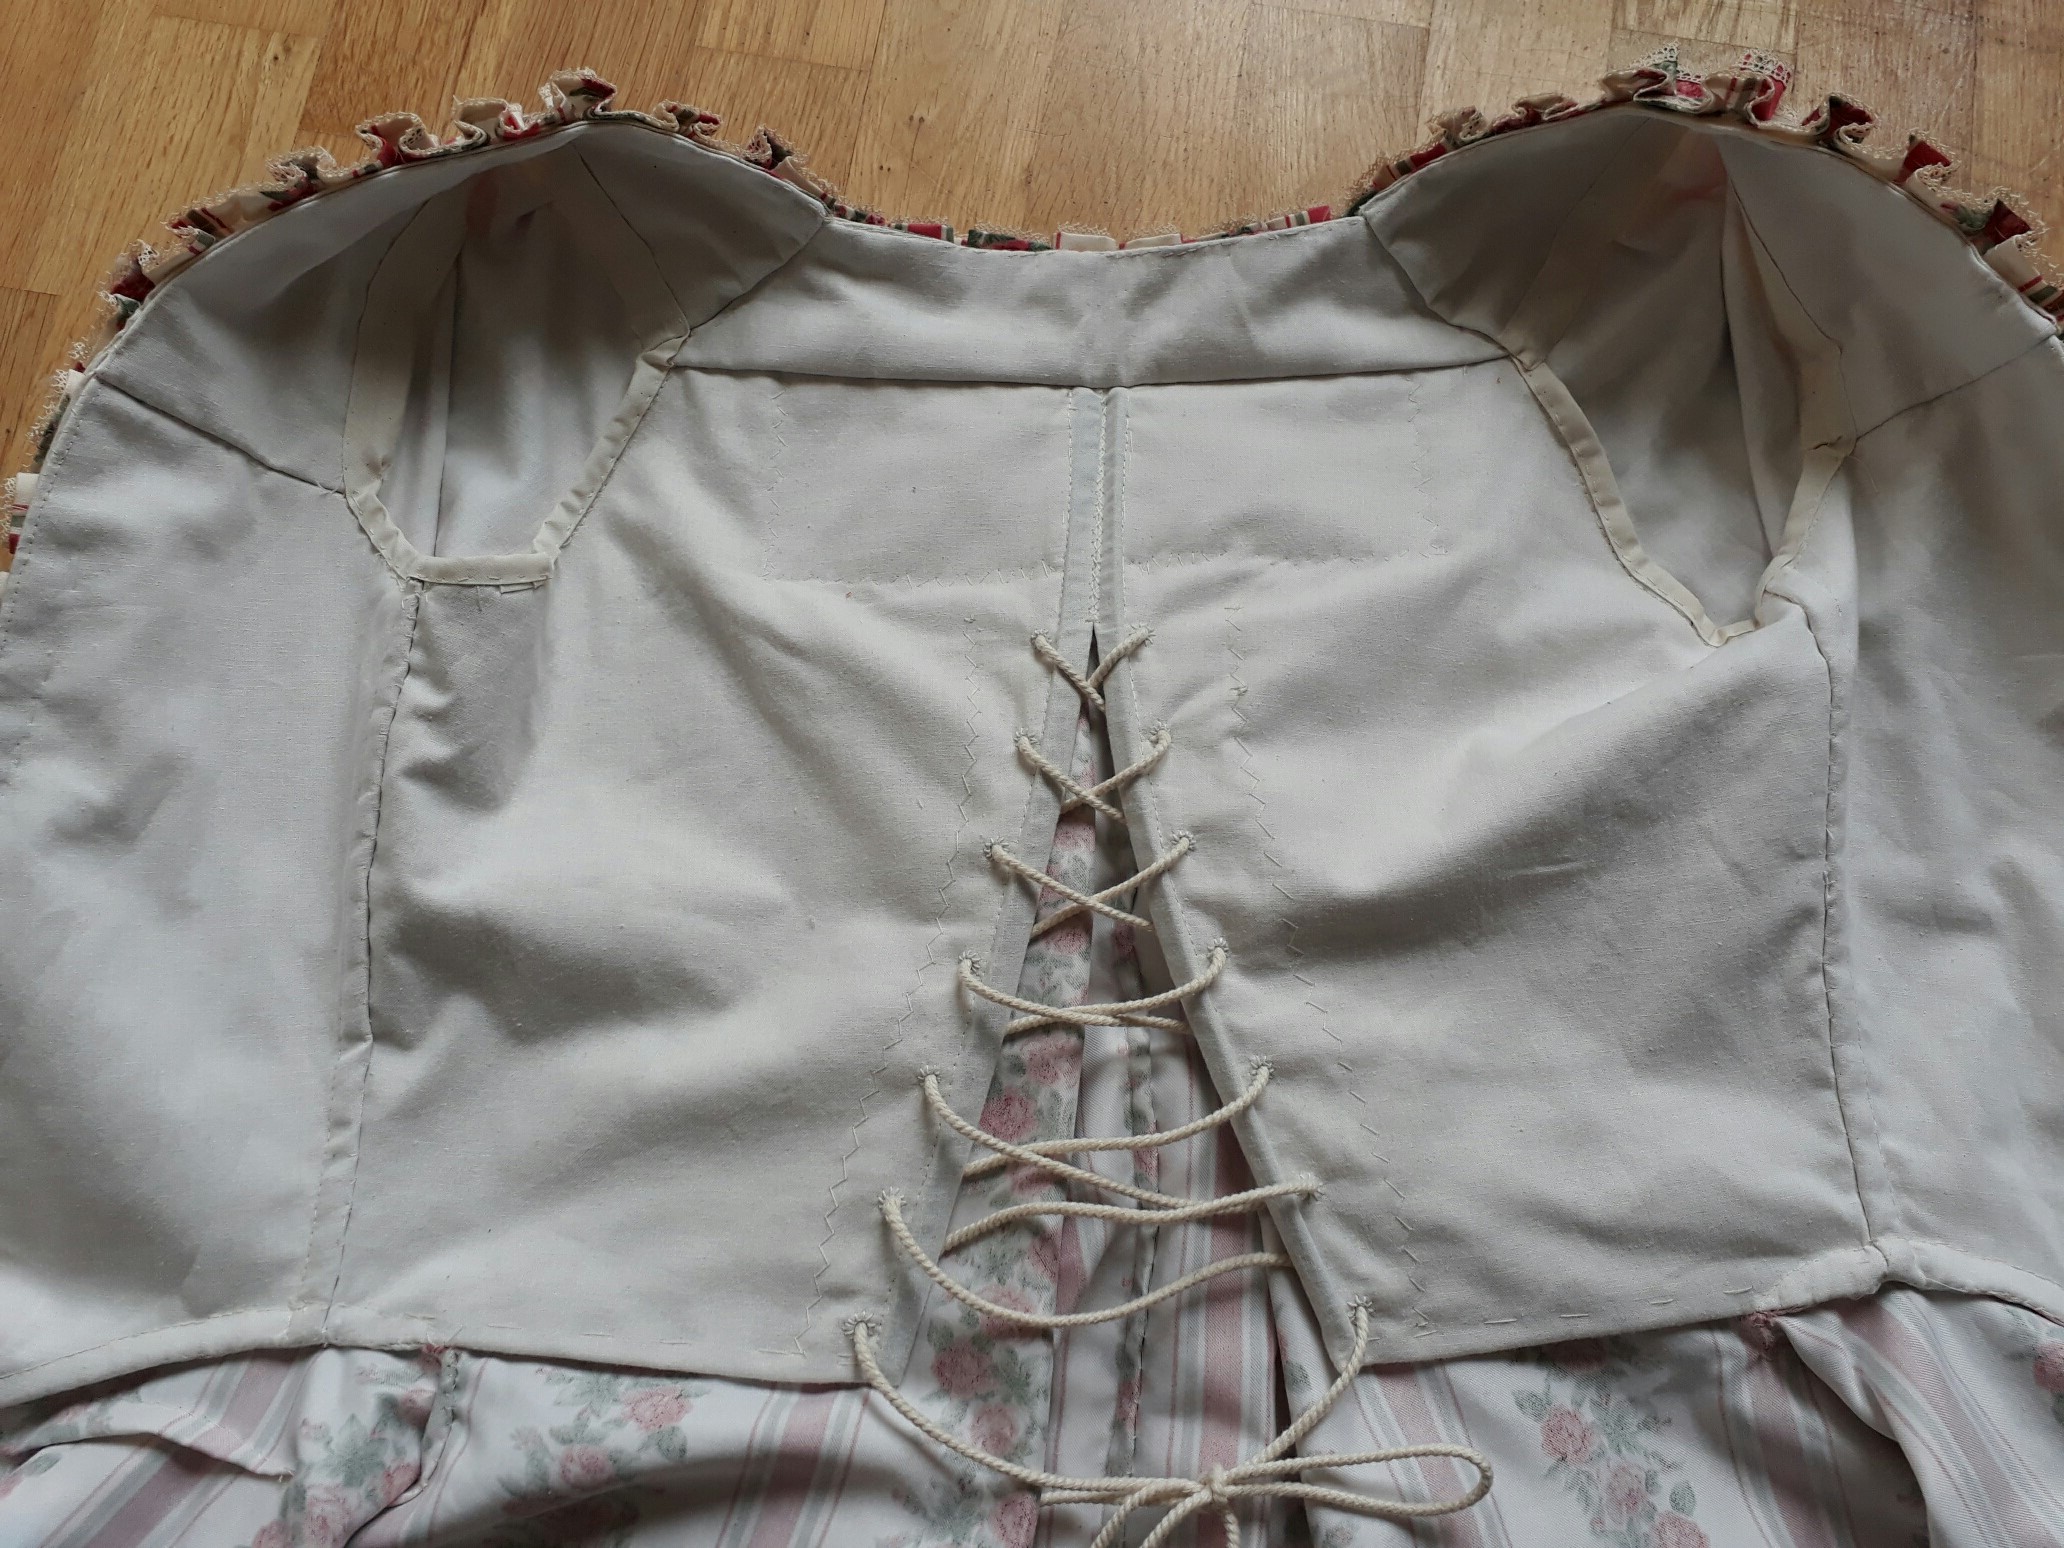
I started by stitching together and tried on the lining (as you would a mock-up) to see what I could do to make it fit better. It needed to be taken in a bit, and the under arm needed to be lowered, but other than that the fit was quite good.
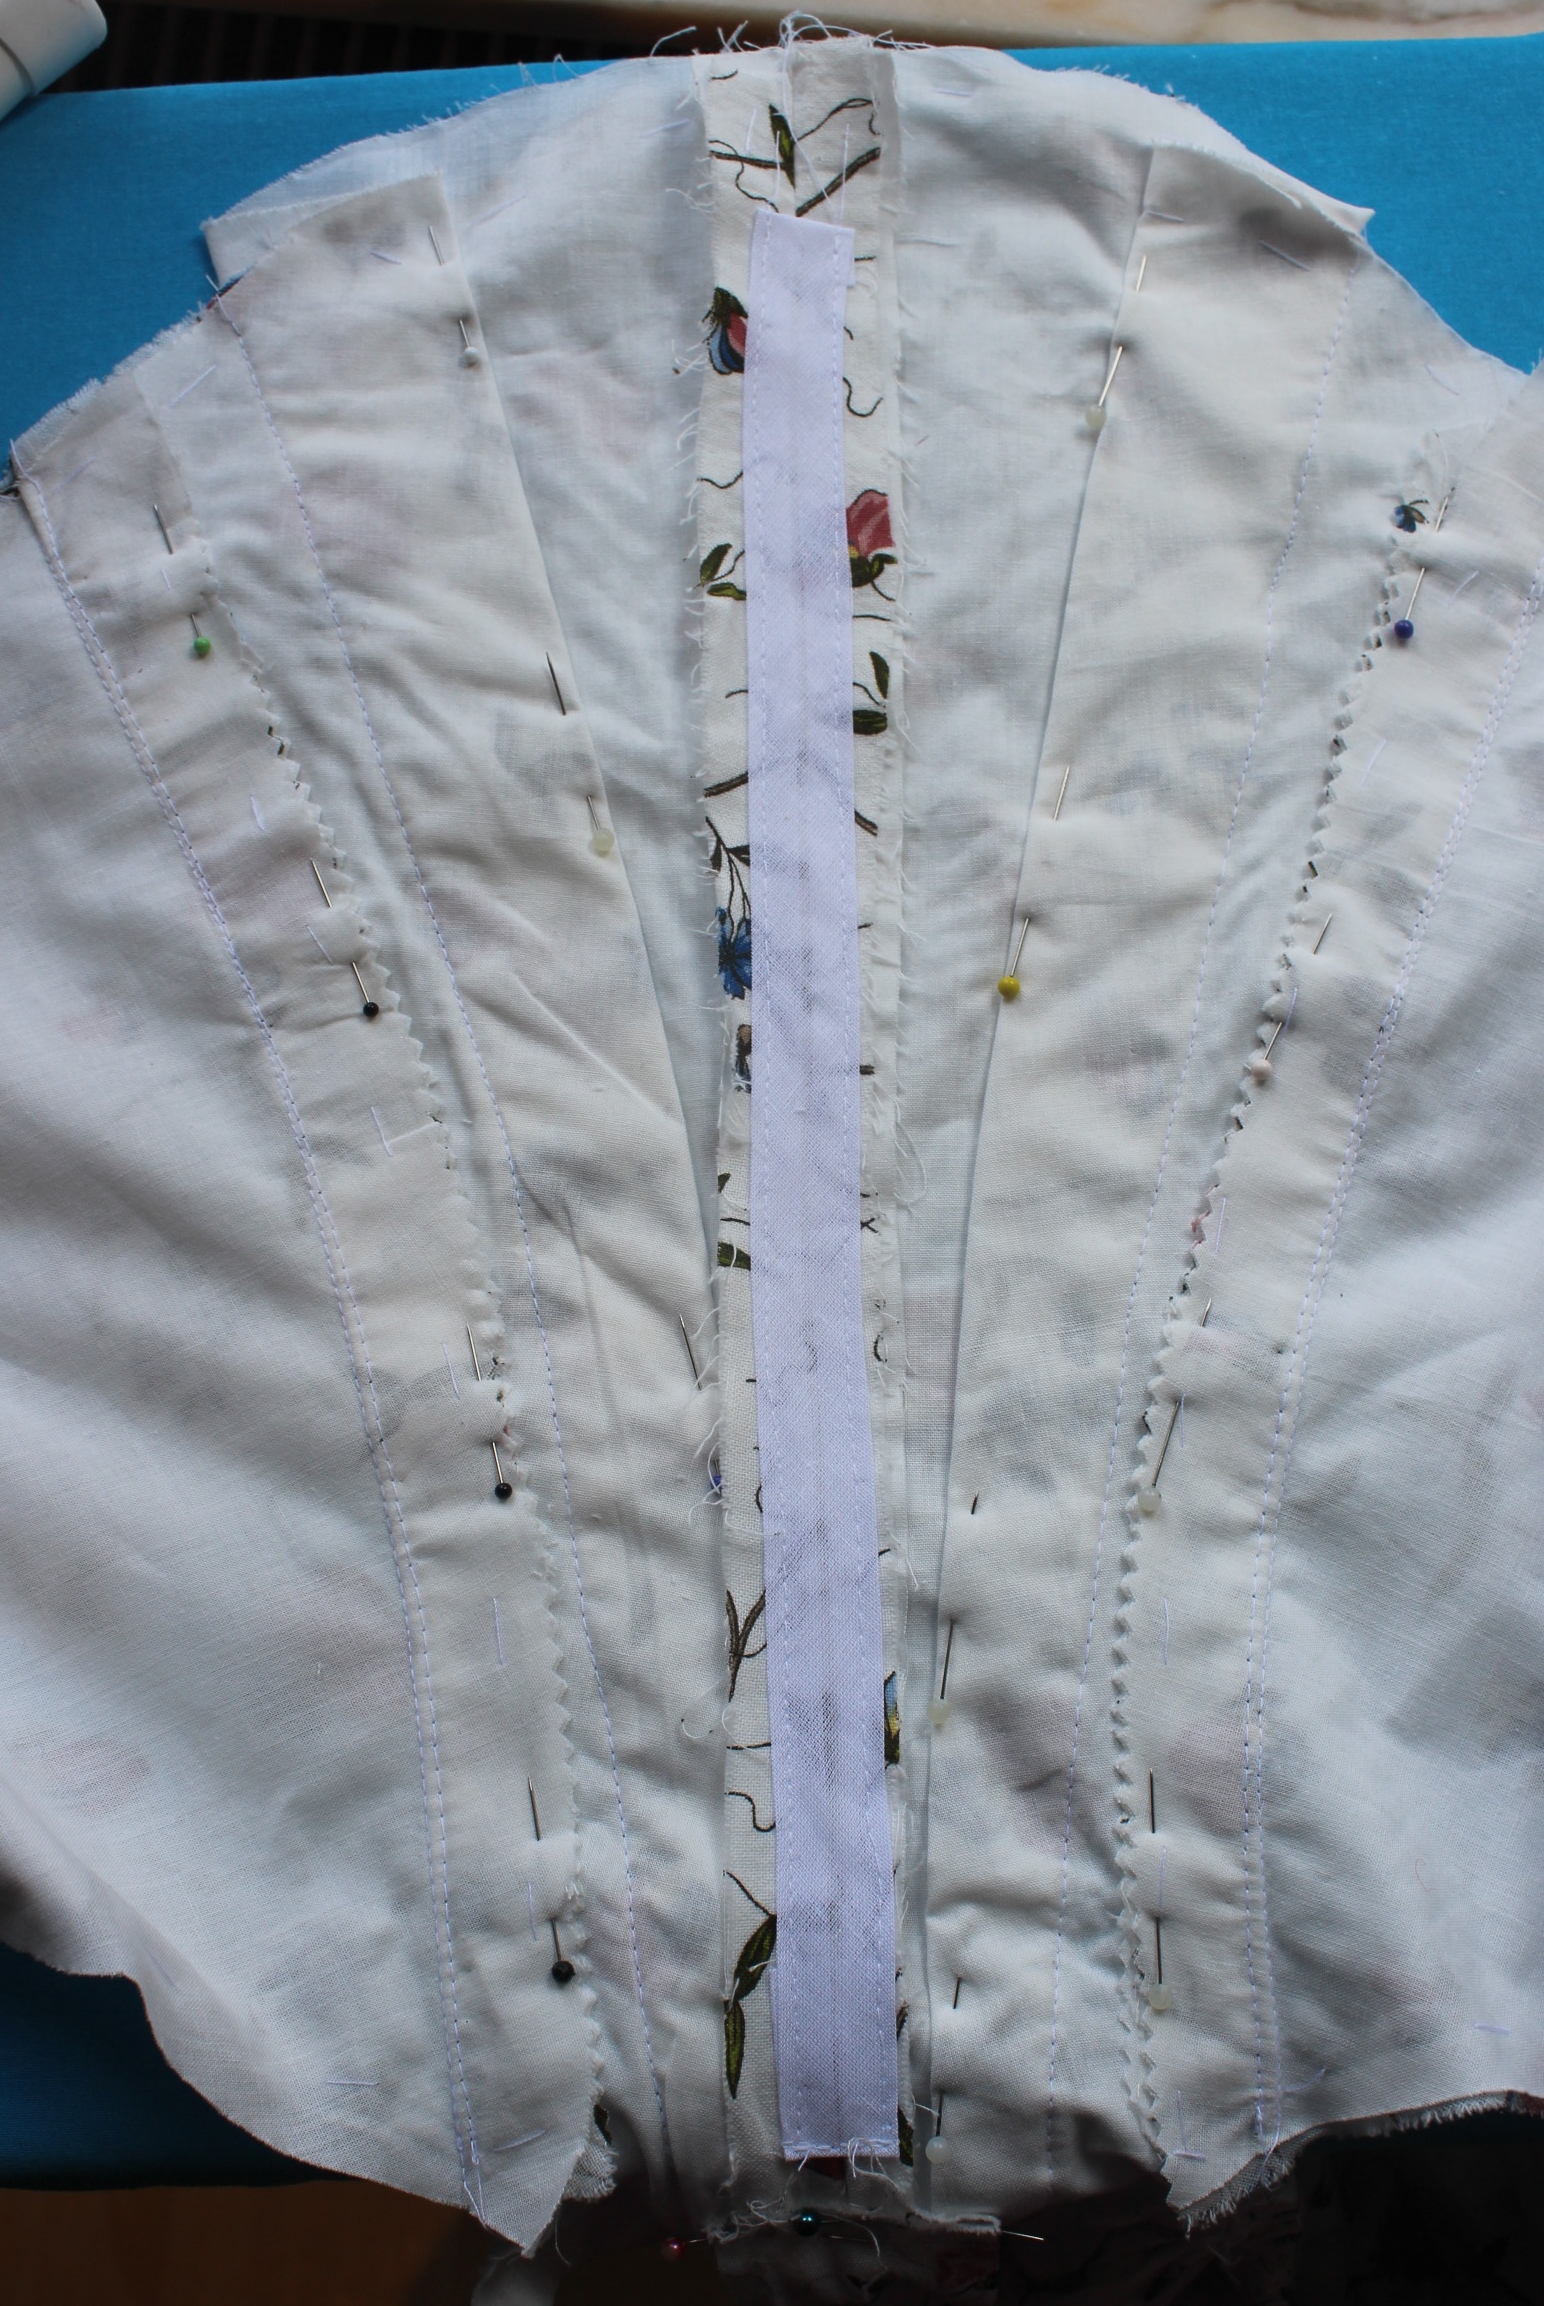
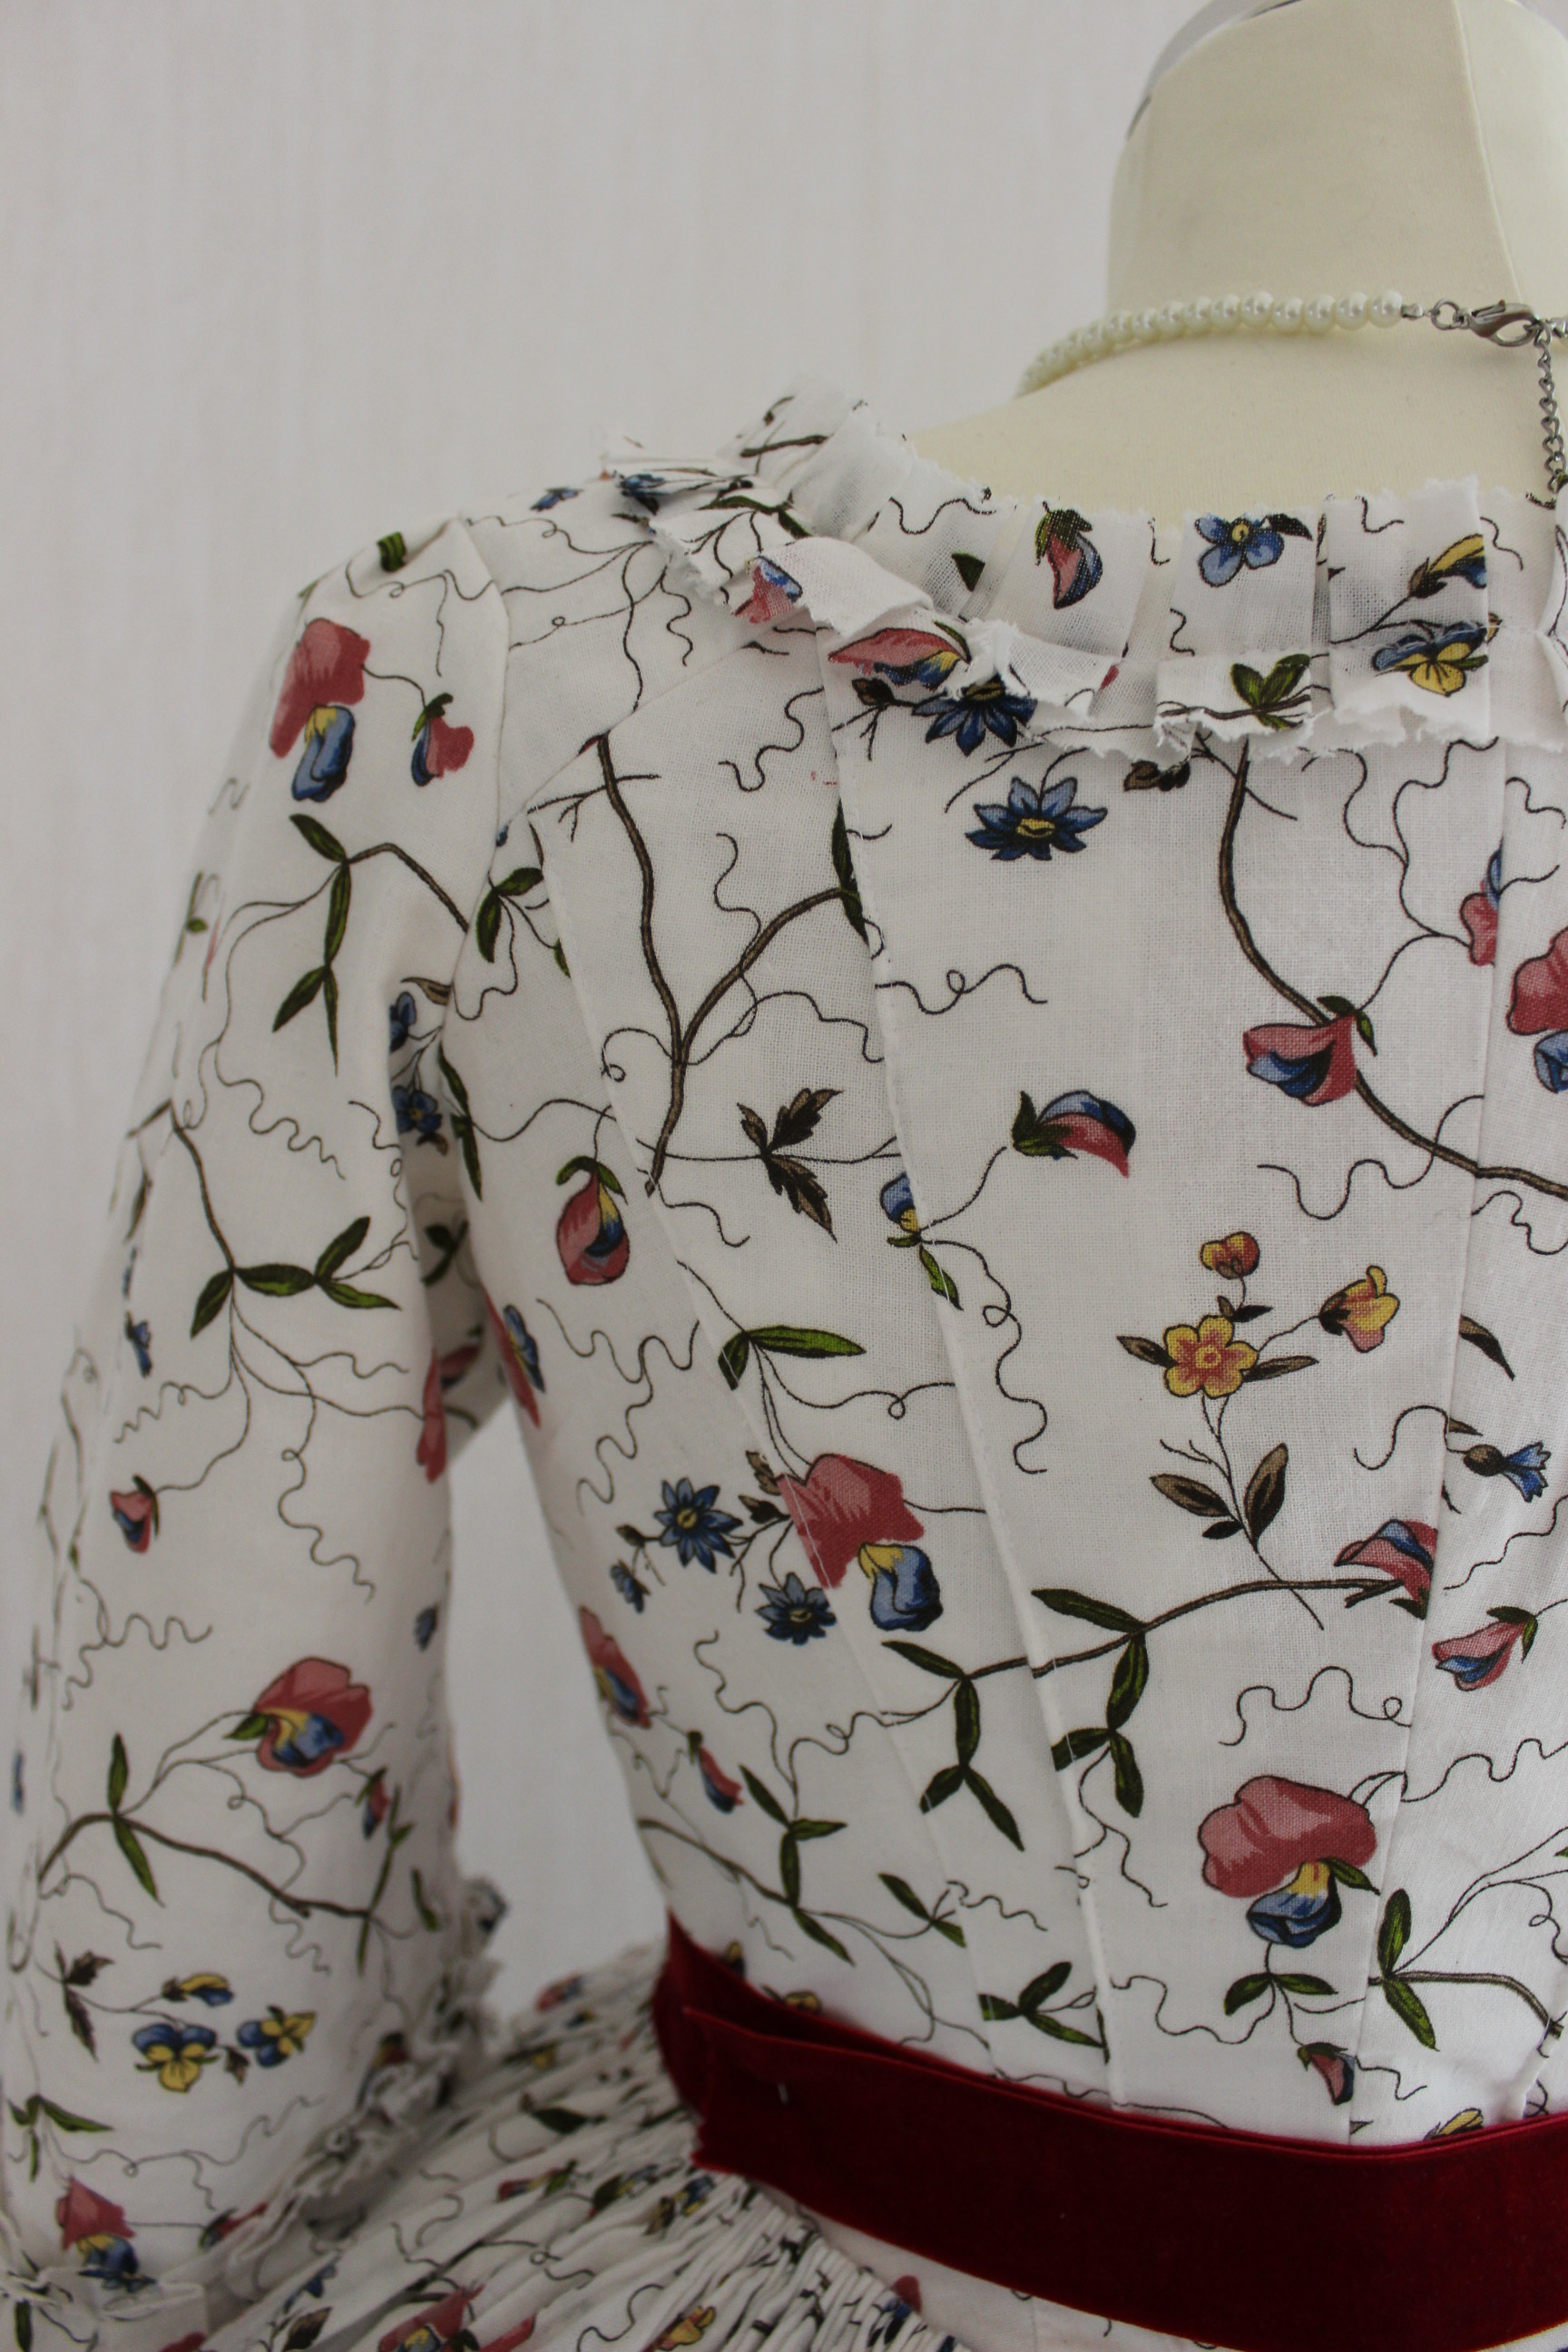
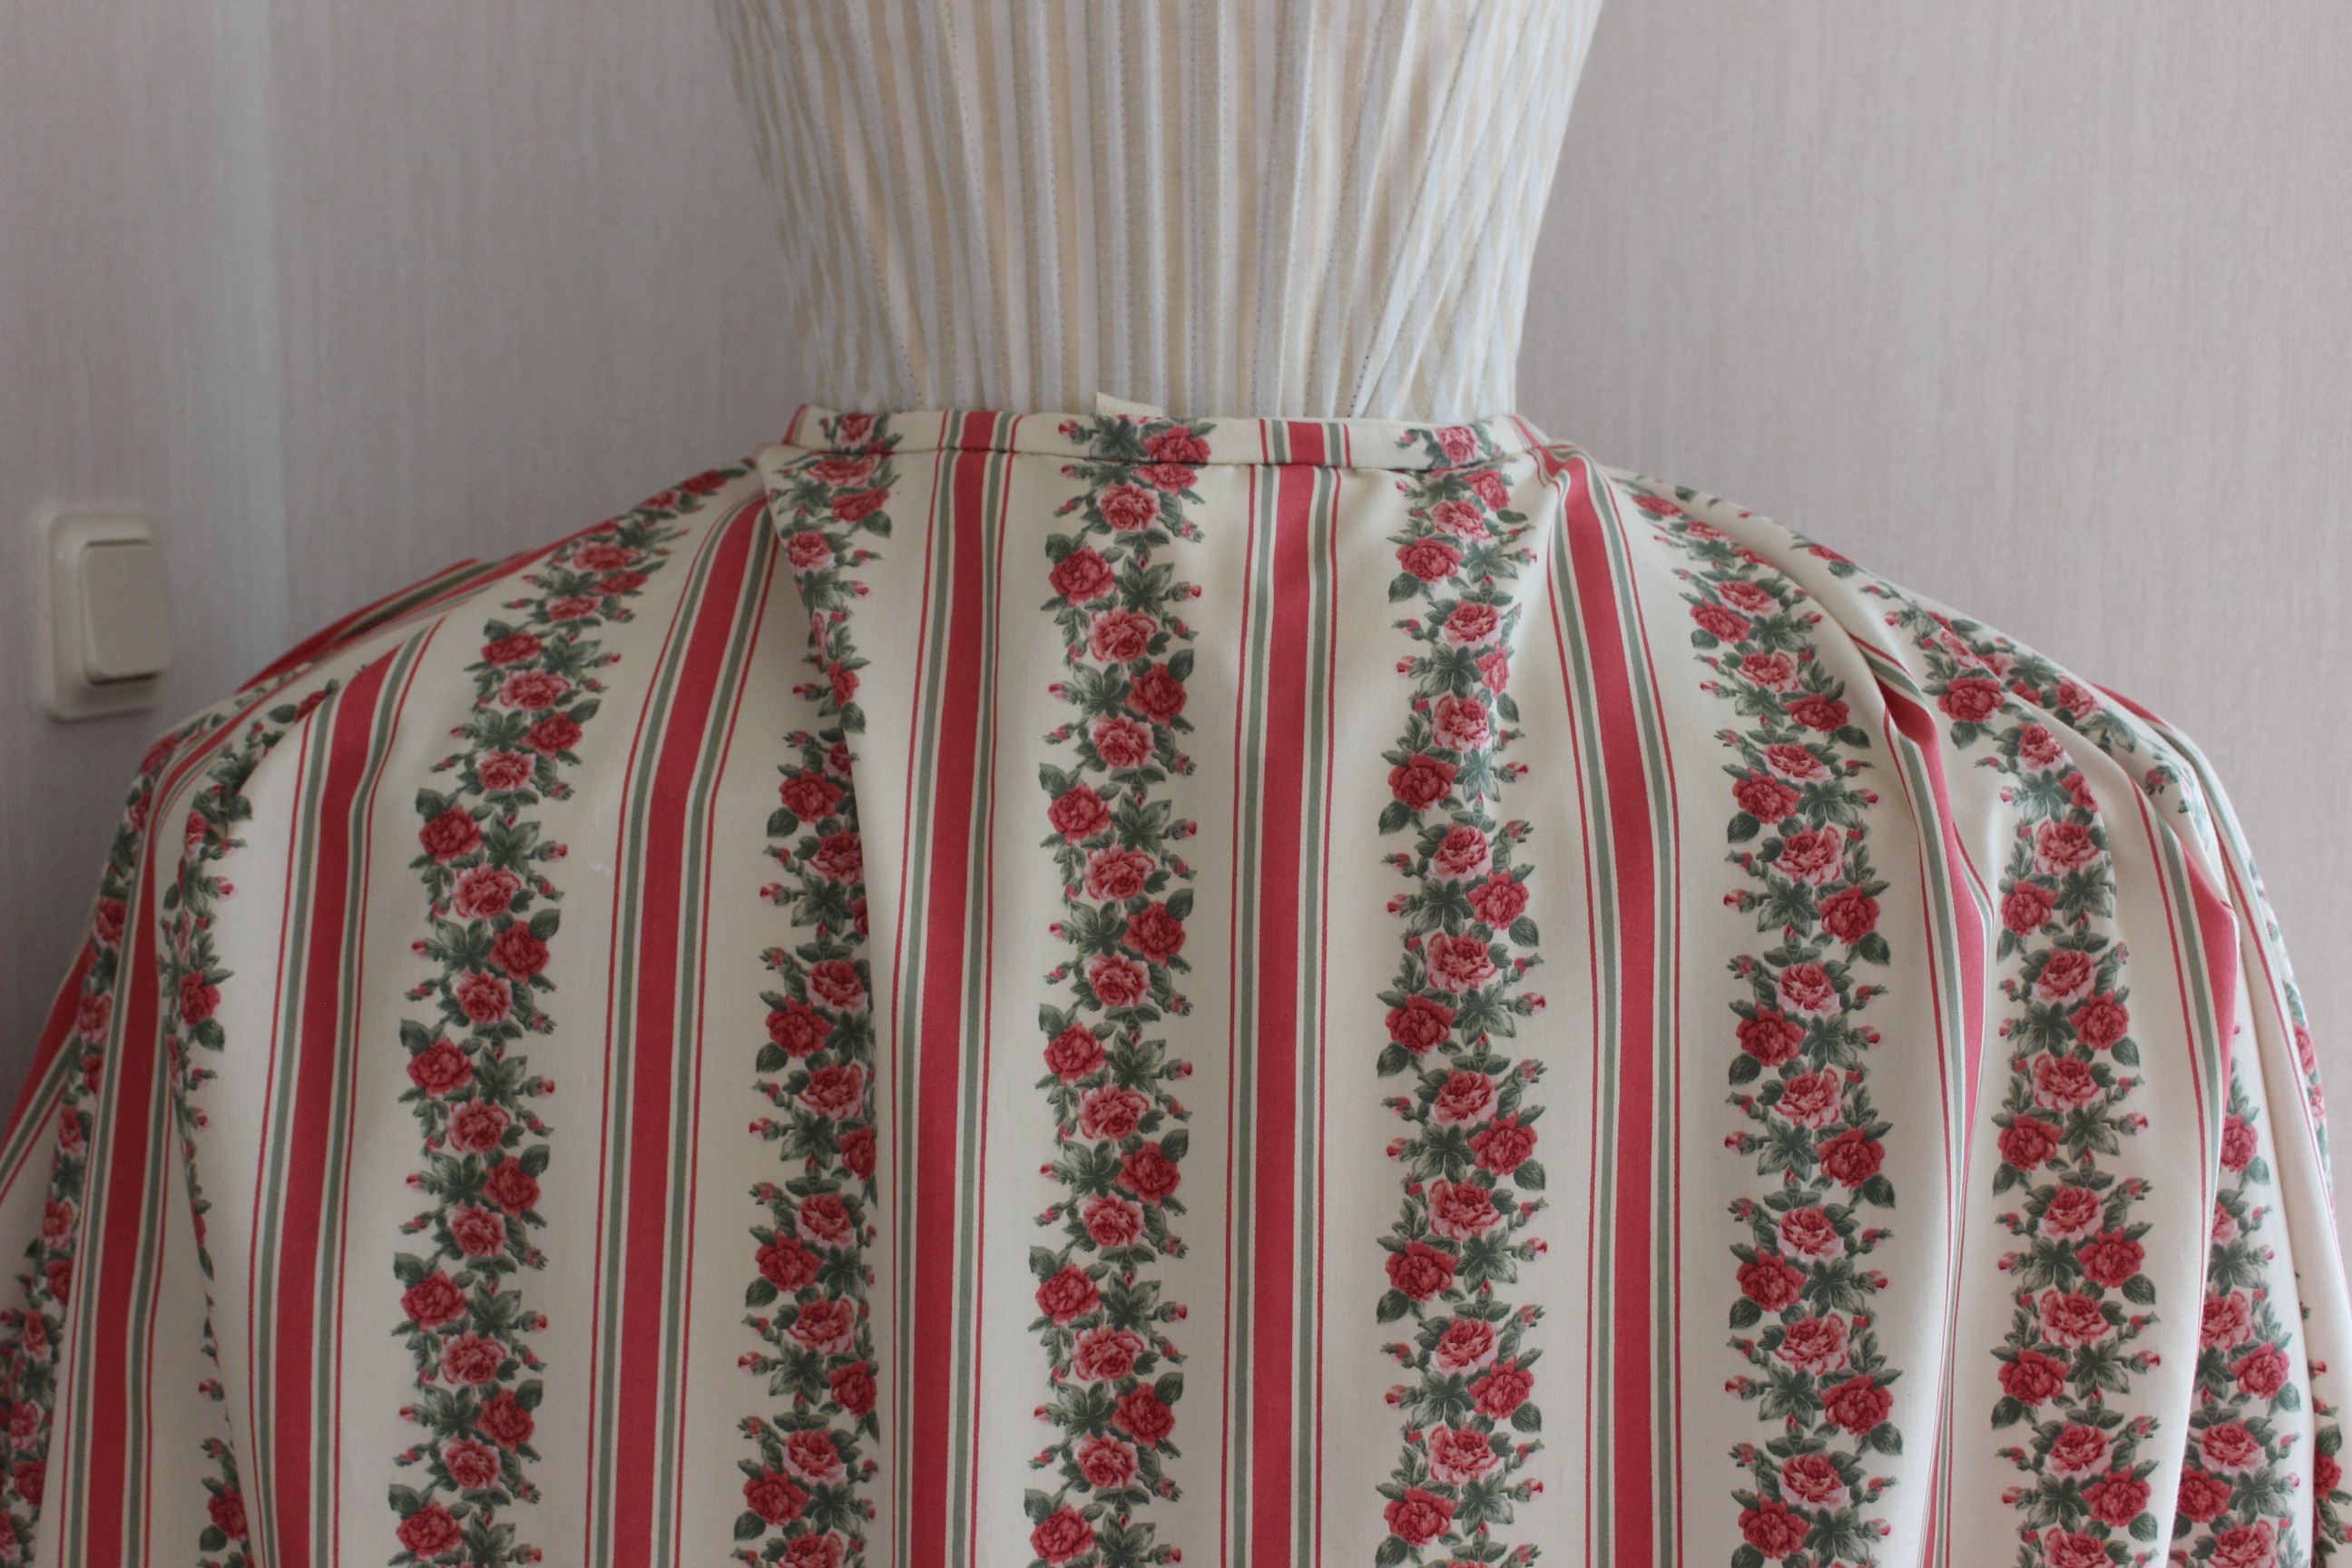
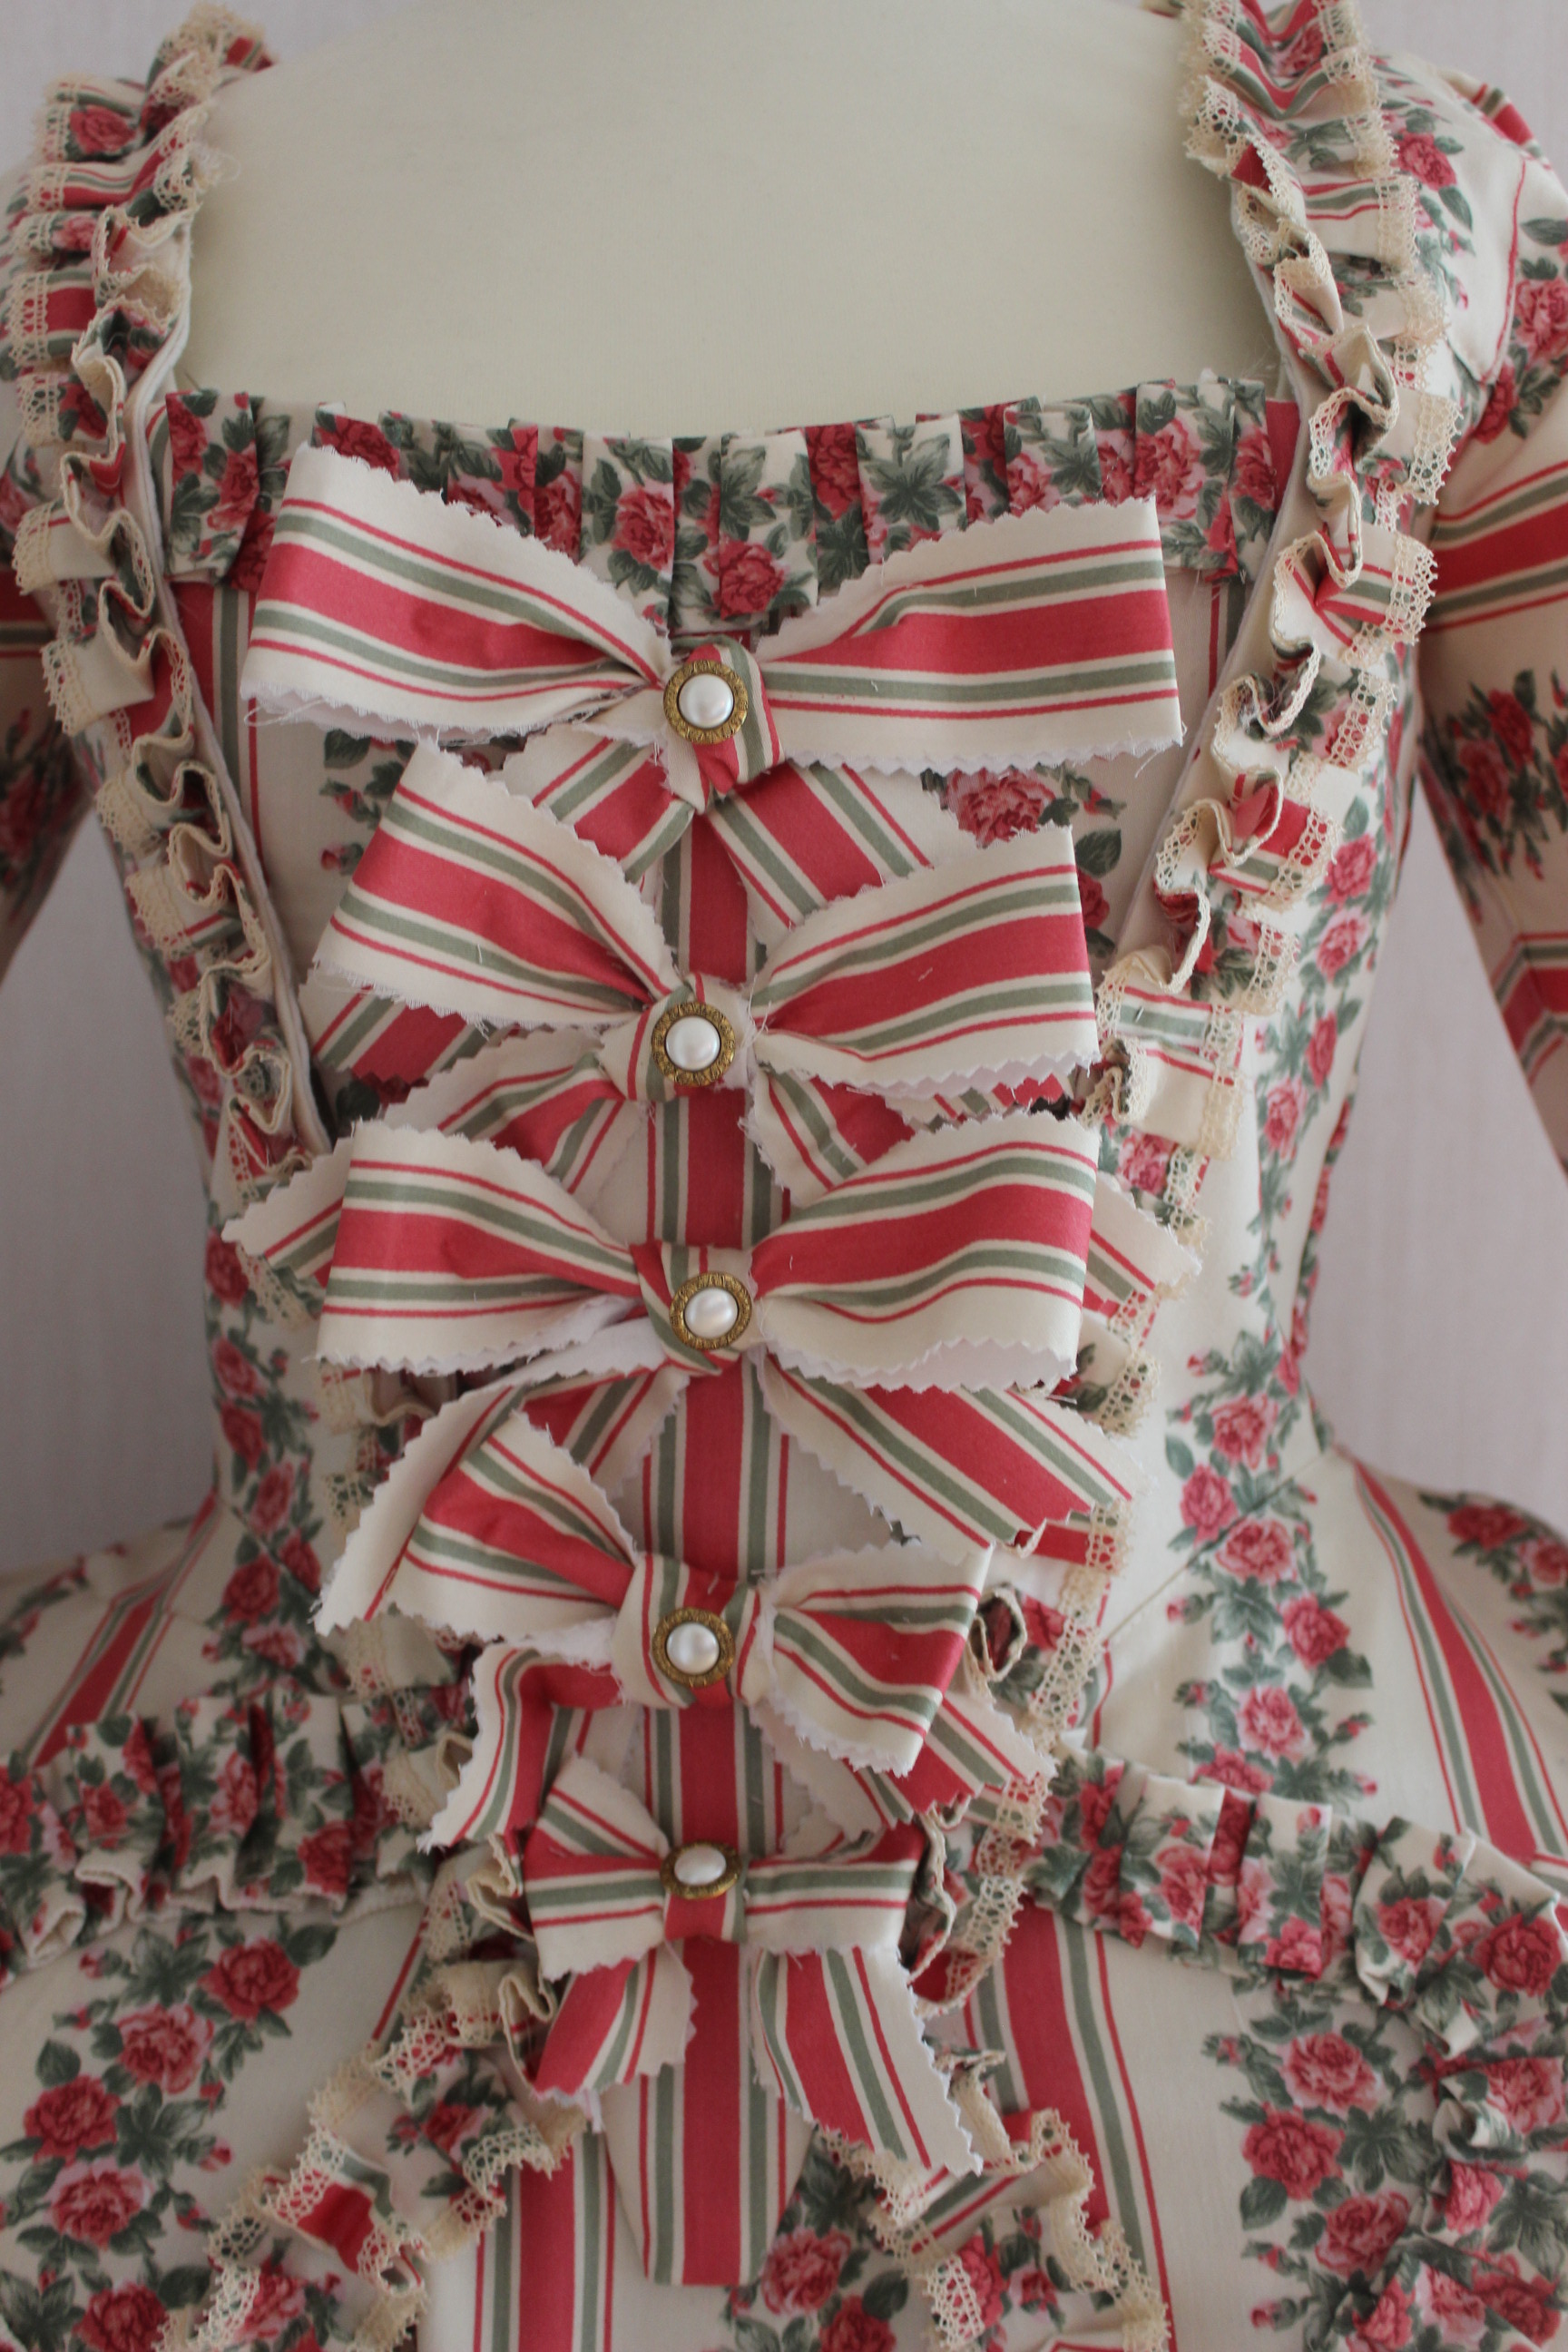
This time I decided to baste a cotton interlining to the bodice pieces of the fashion fabric (instead of just to the lining as done before), and I think that made a huge difference in the way the pleats and fabric looked once stitched.
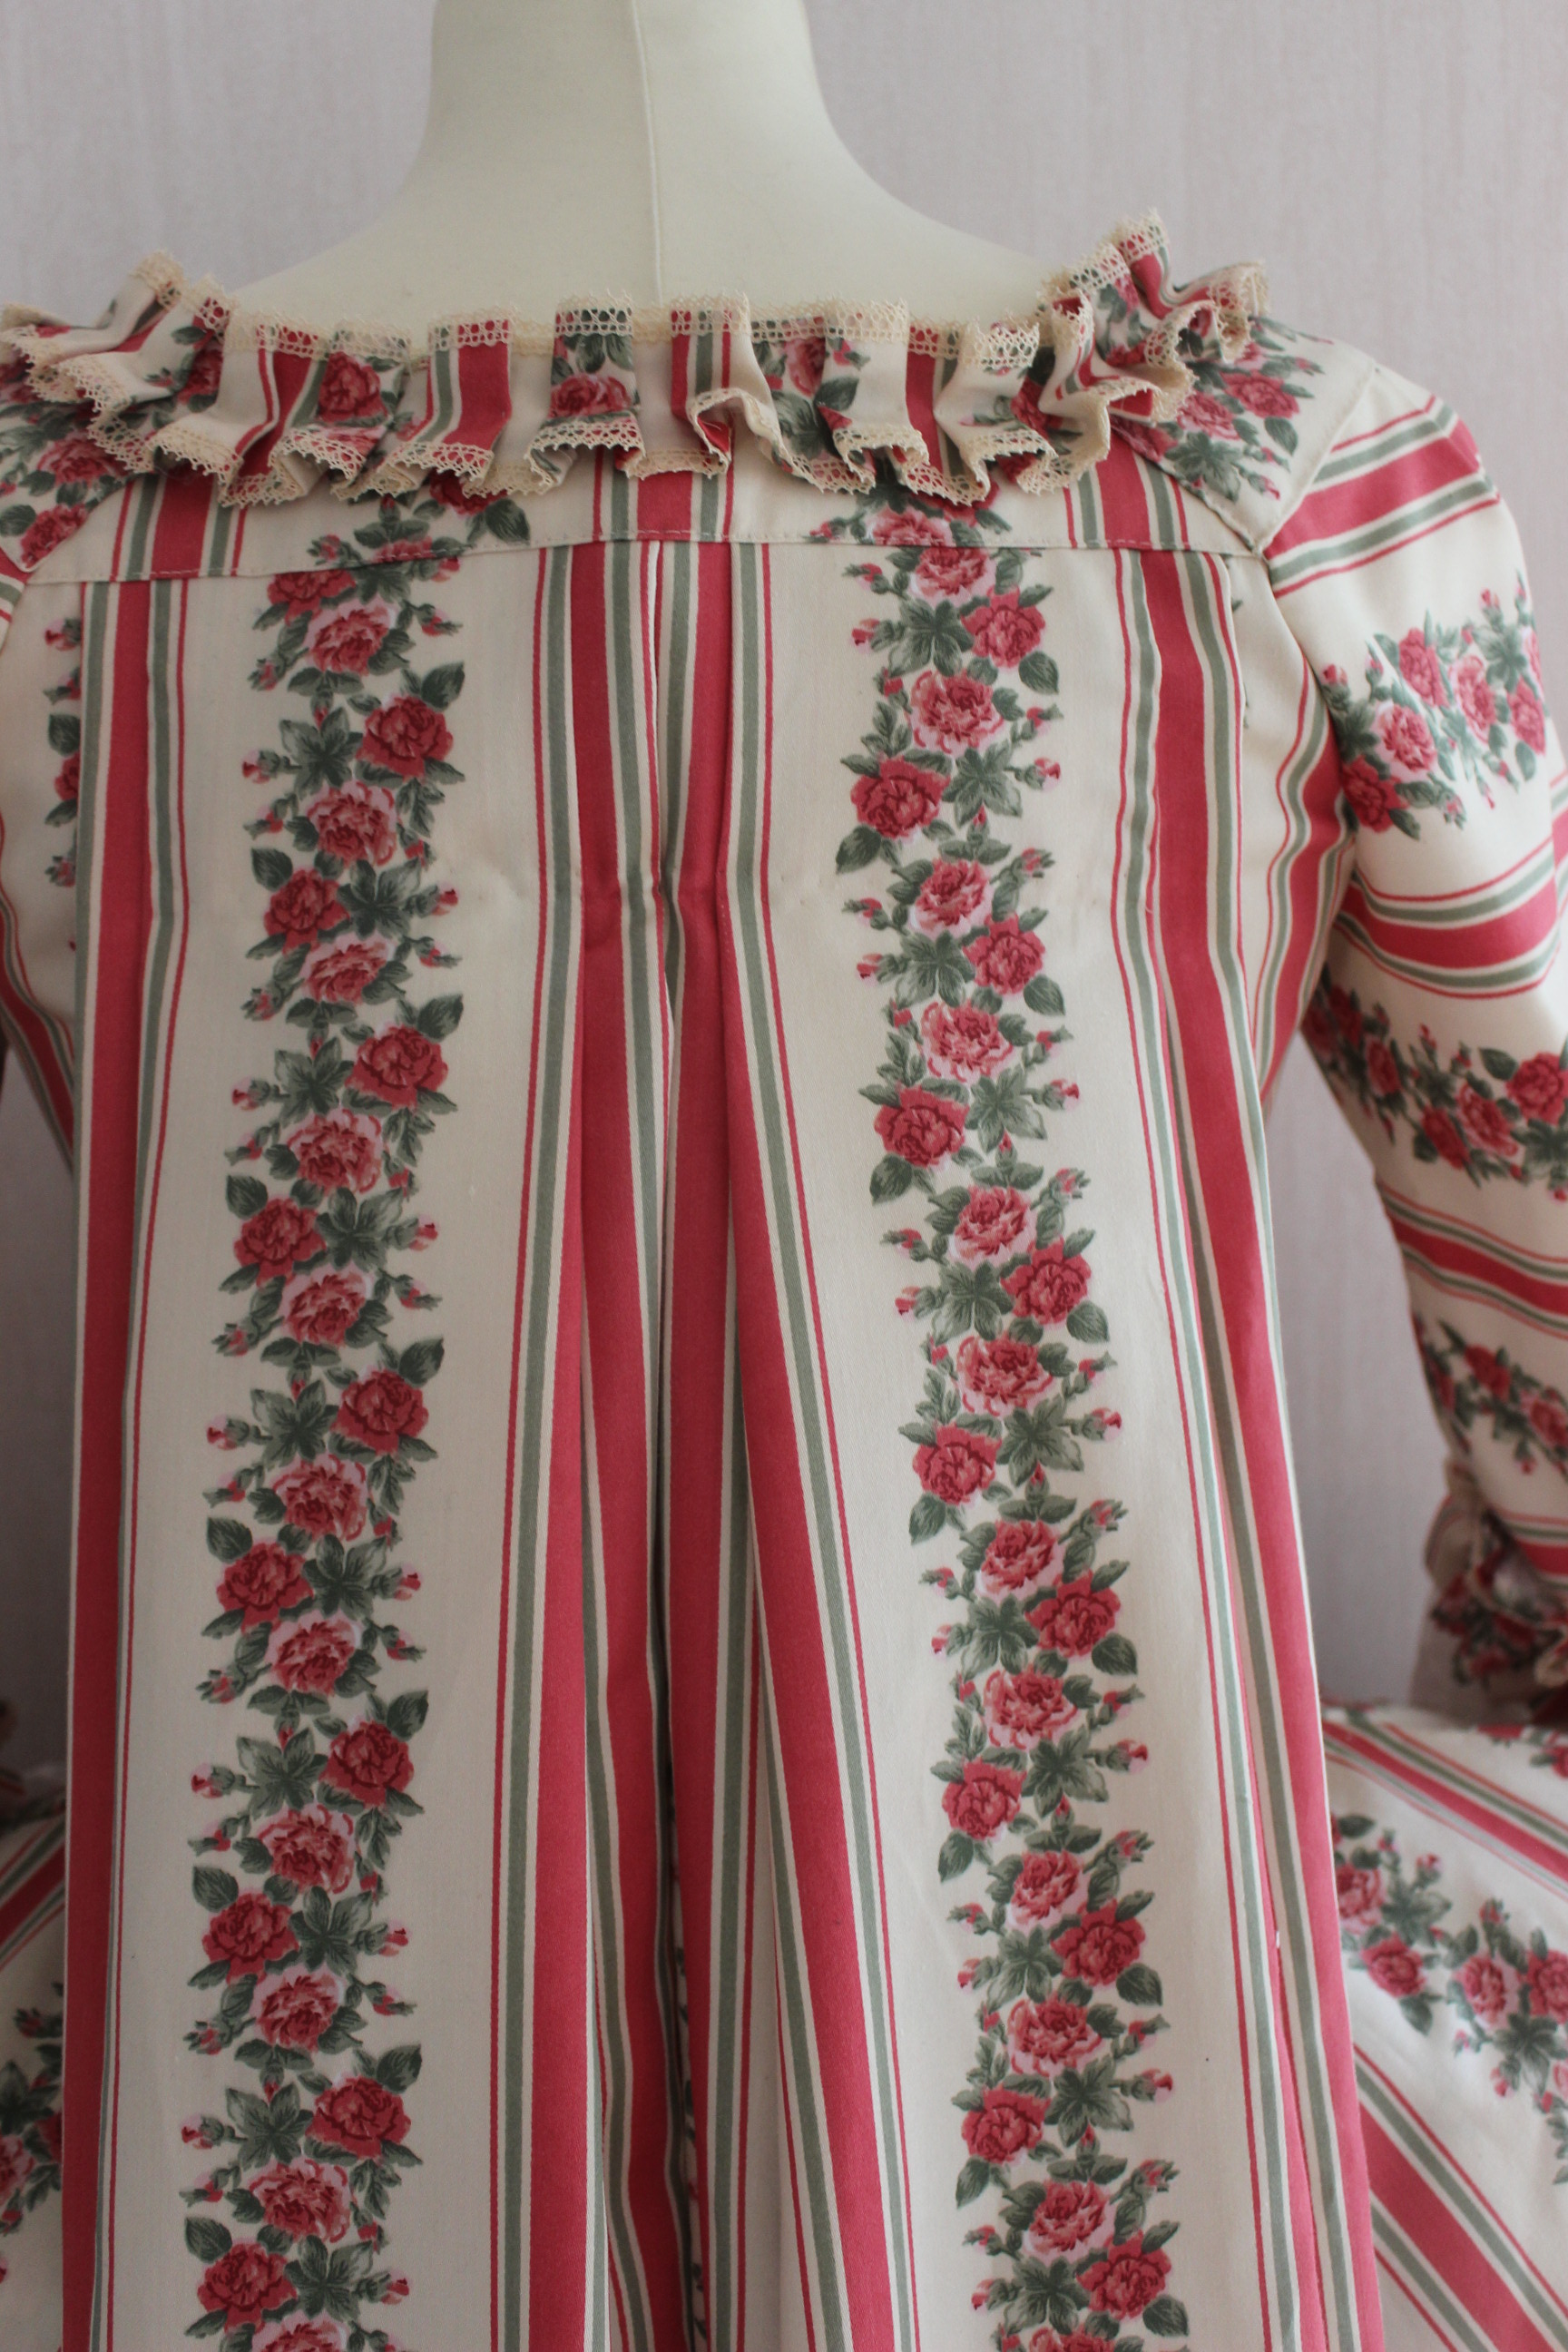
The pleating of the back was a bit tricky but, after some fiddeling I got it to lie nice and flat.
Then I stitched on the sleeves, added some boning at the center back and front, attached the skirt and rows of hooks and eyes for the clouser.
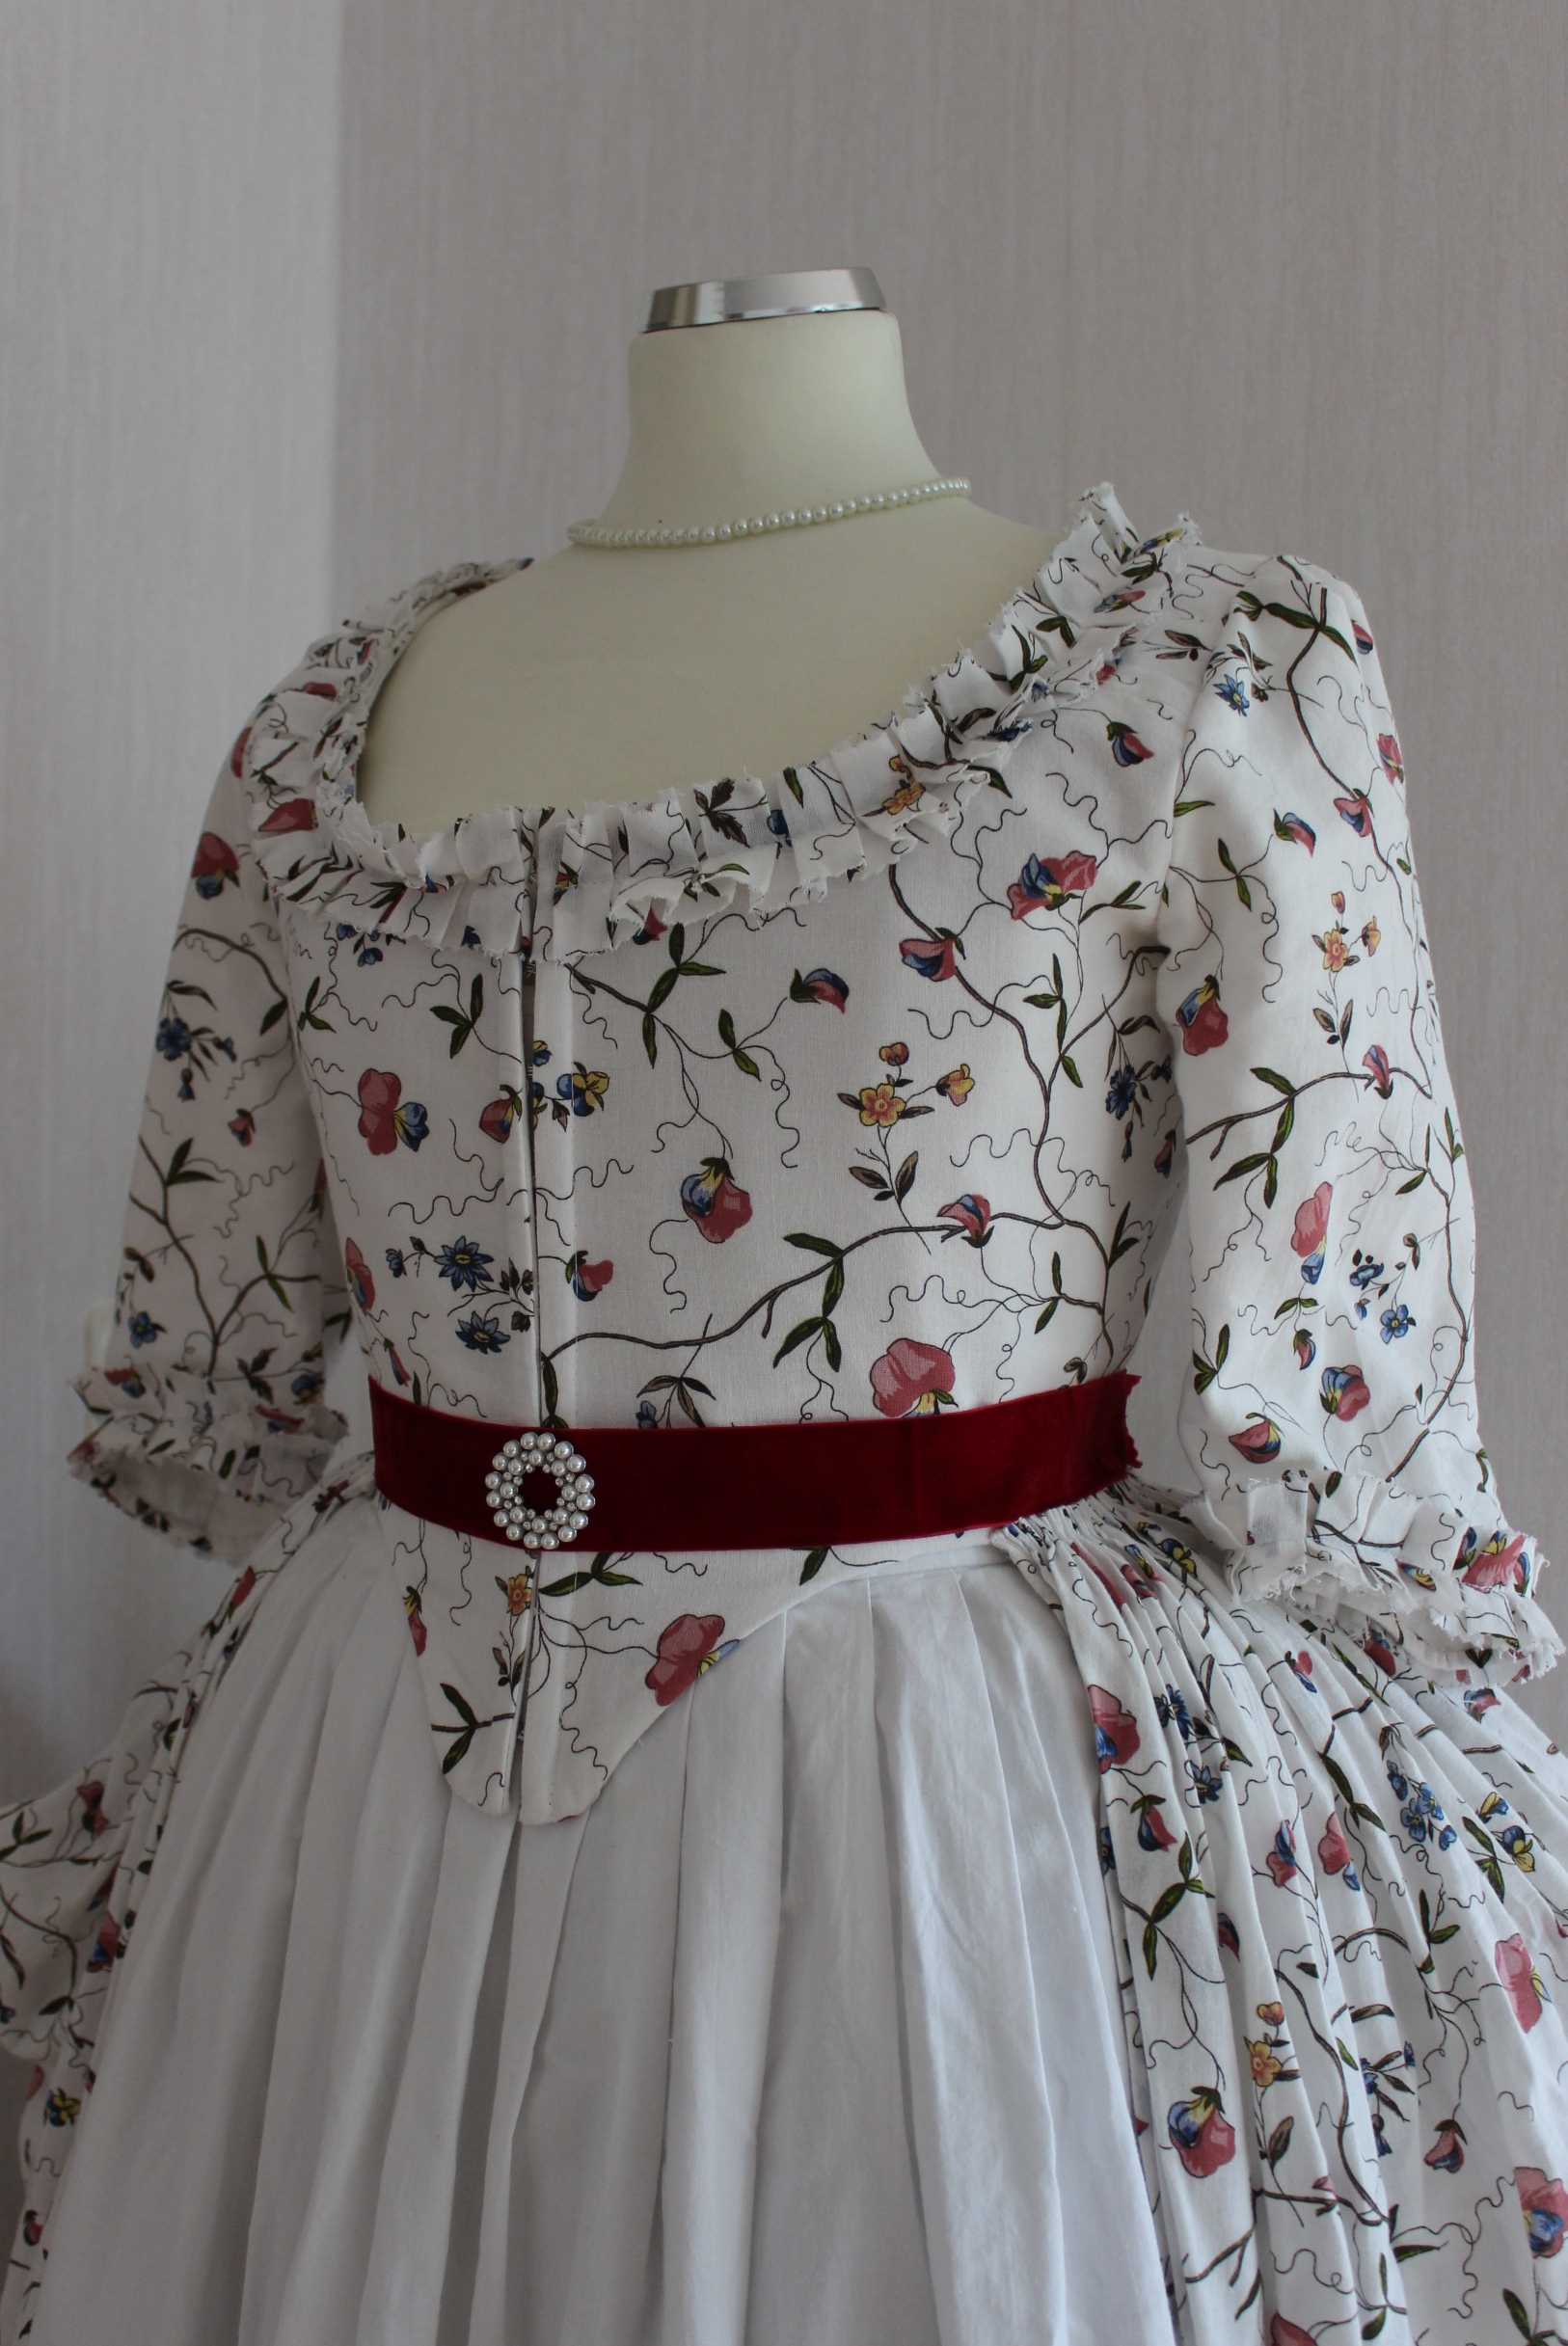
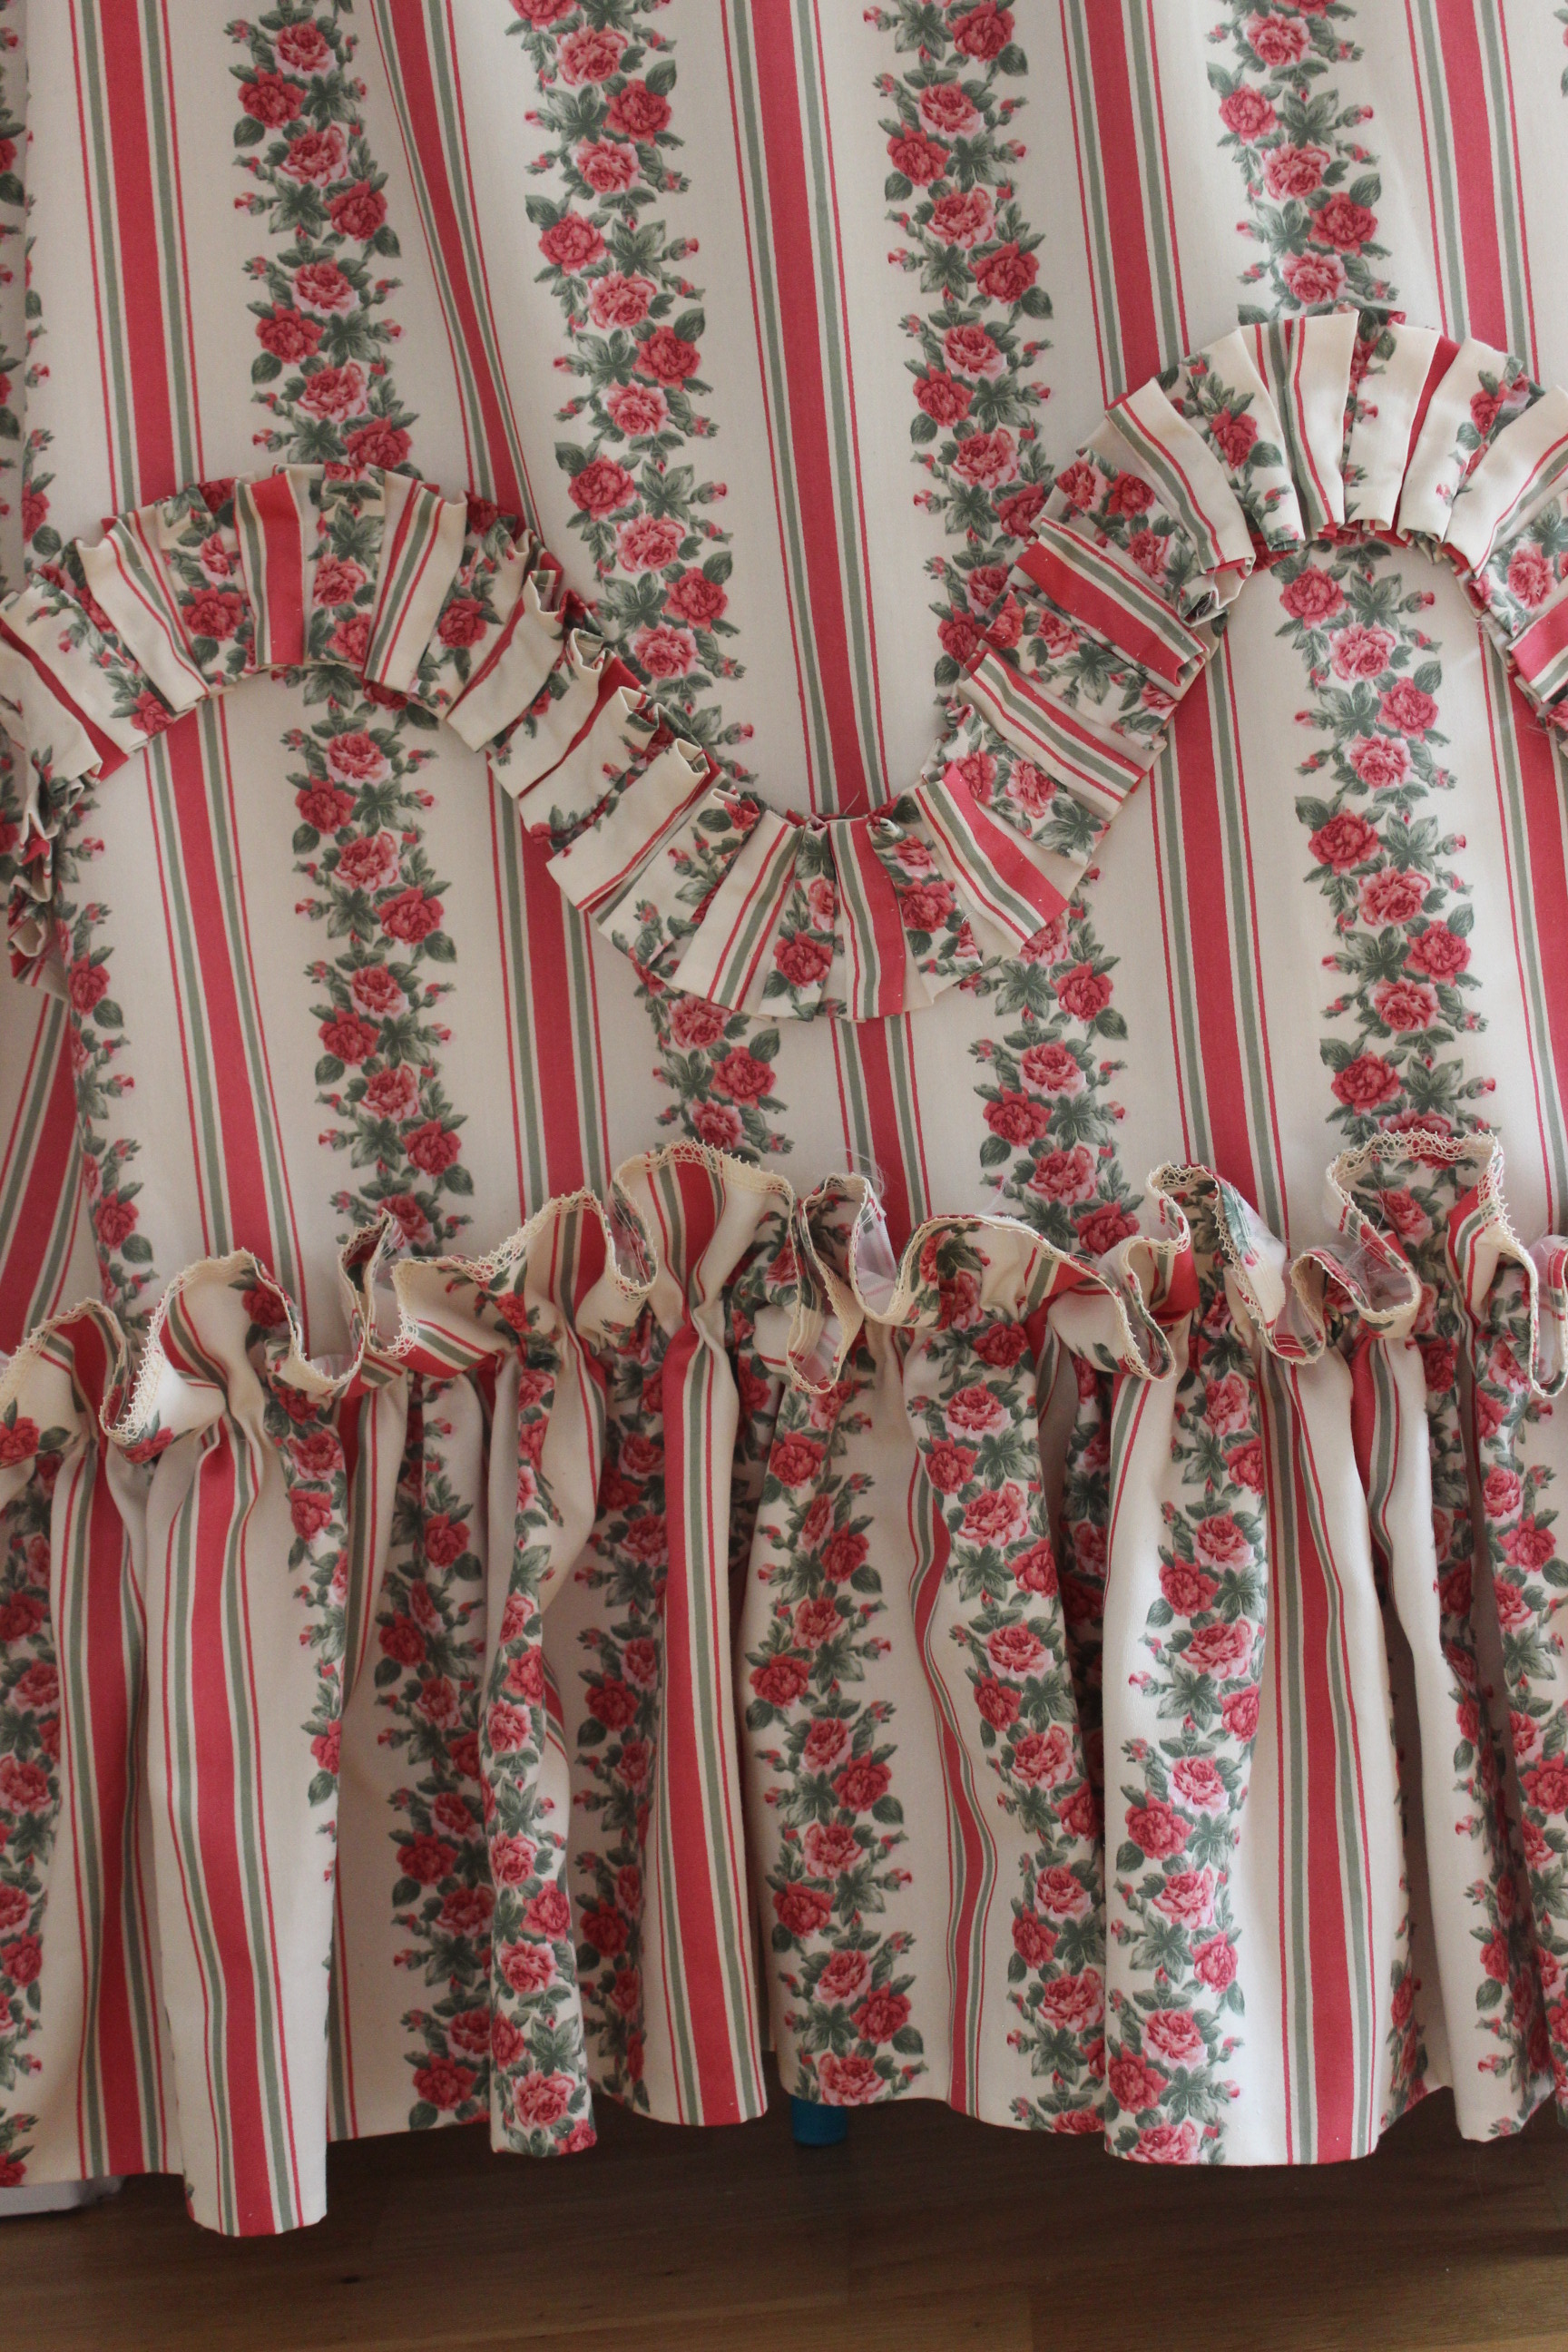
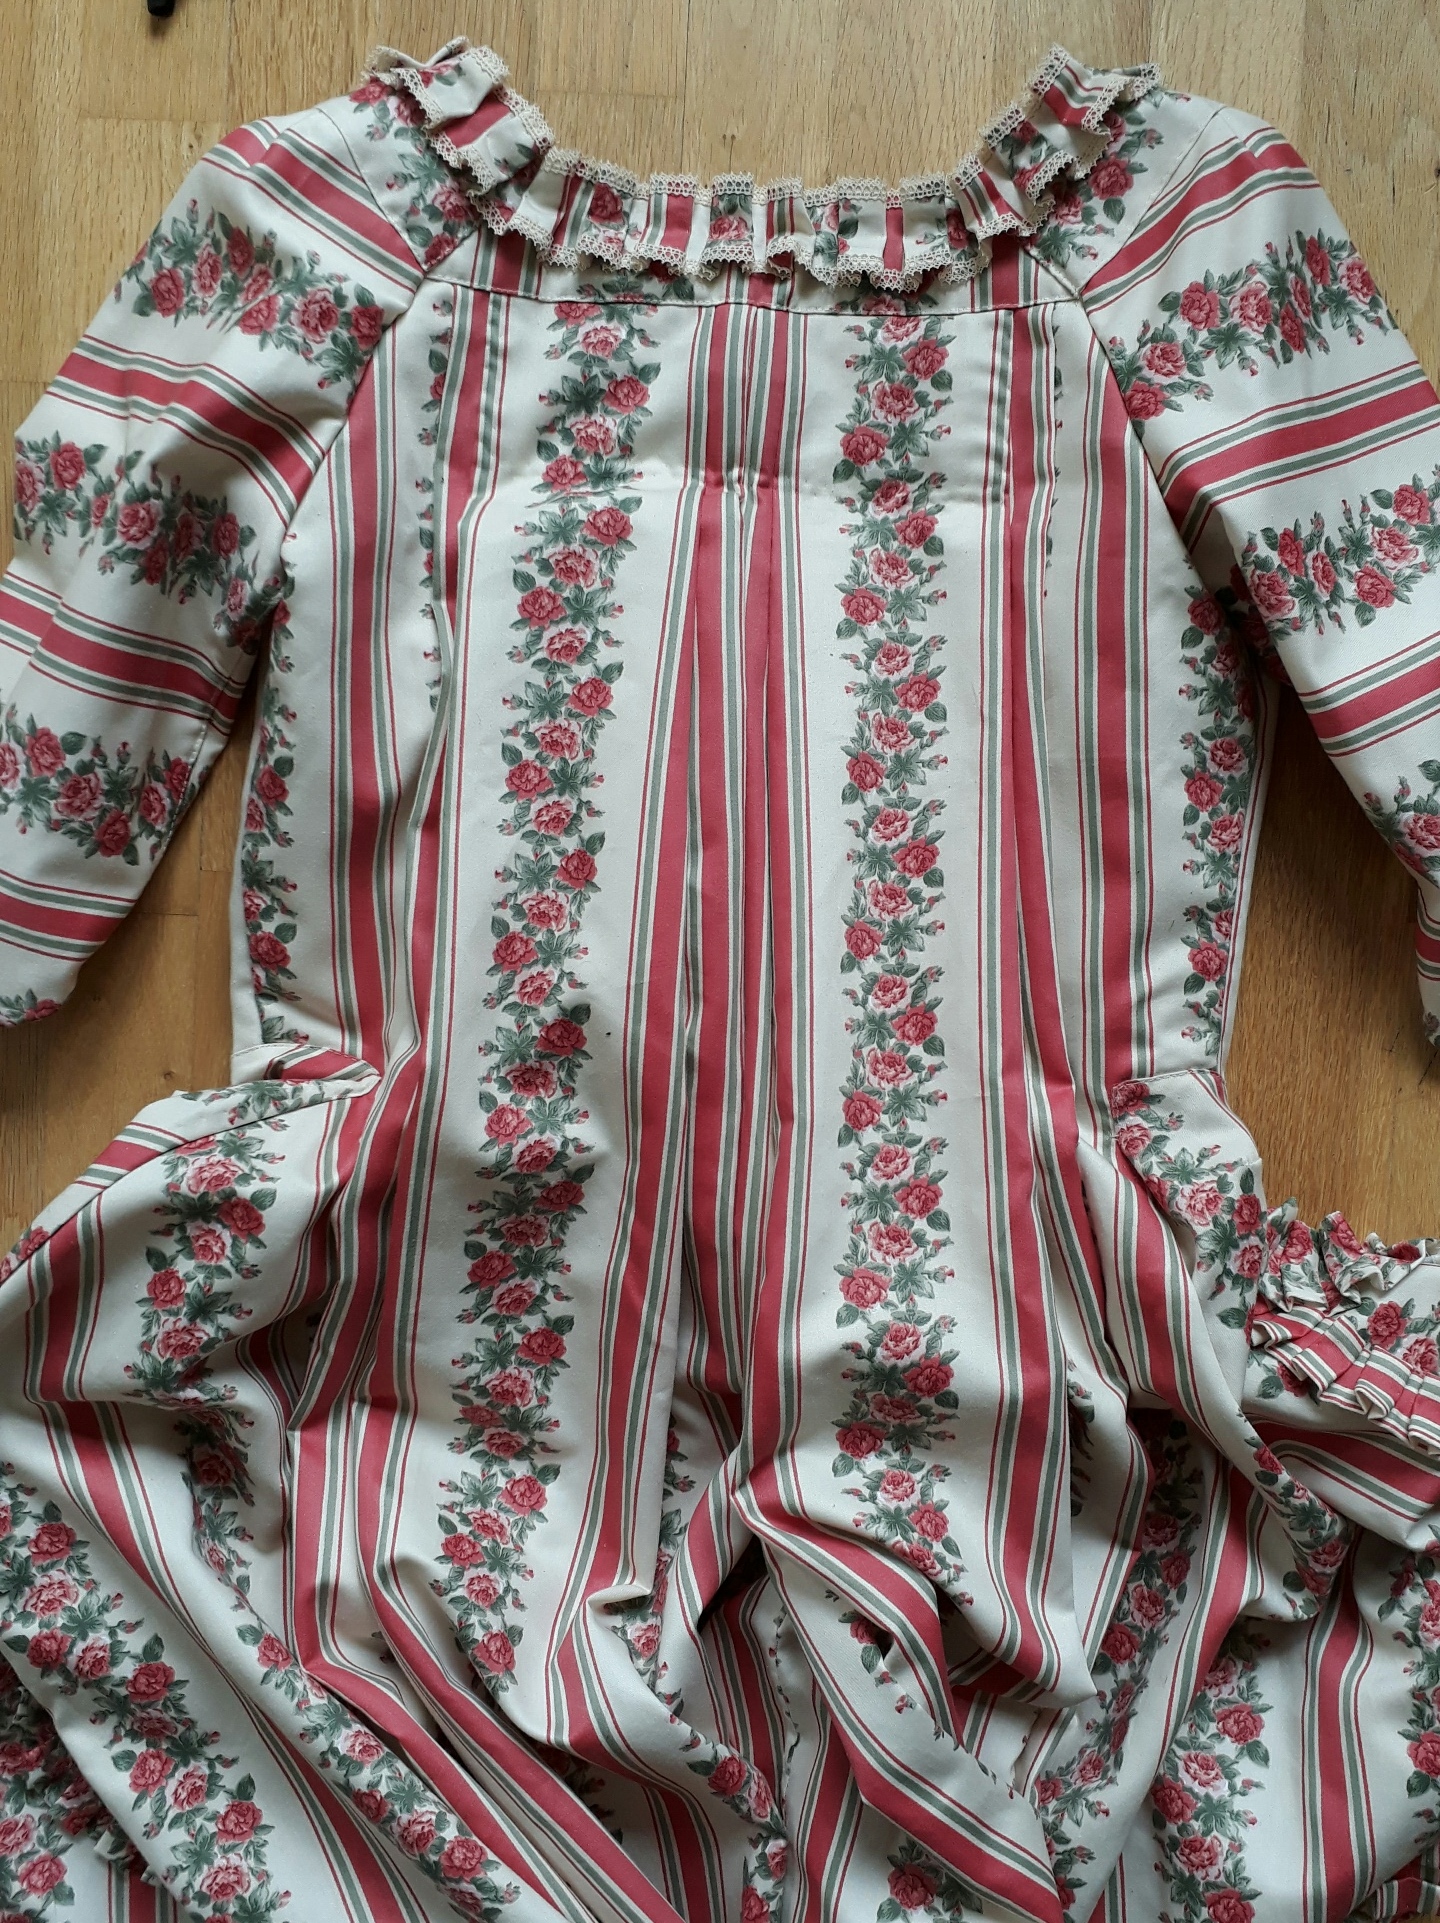
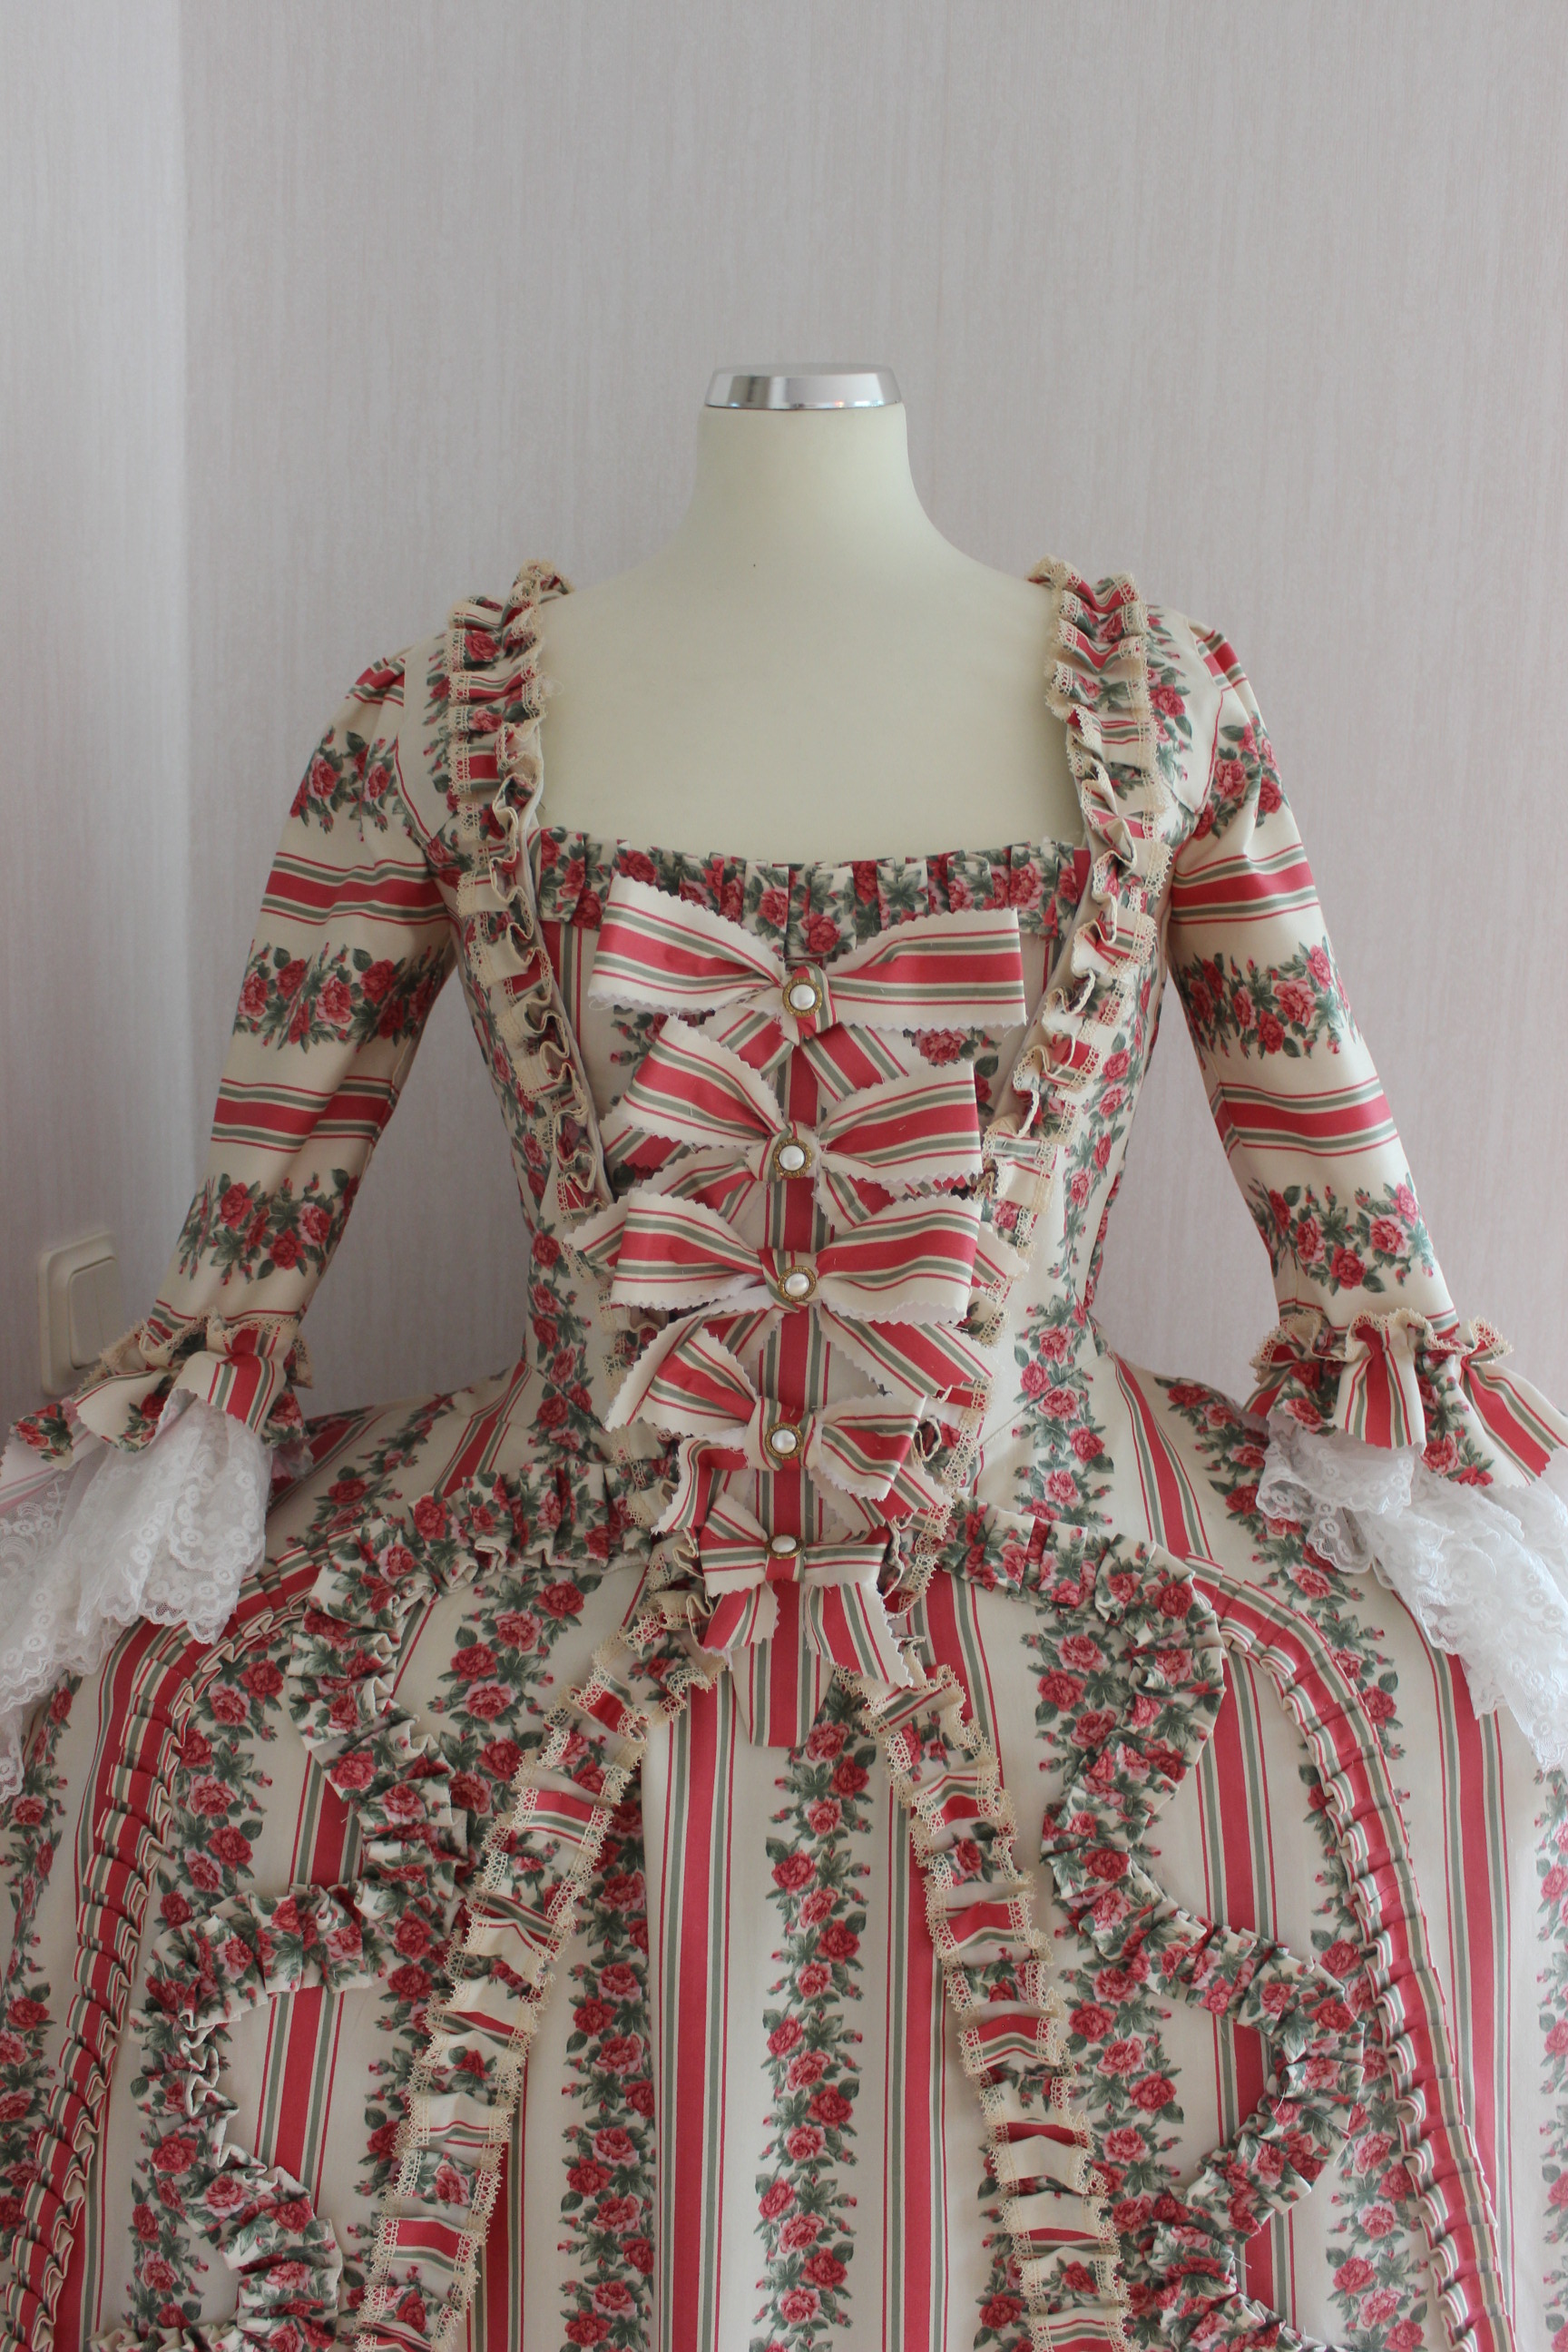
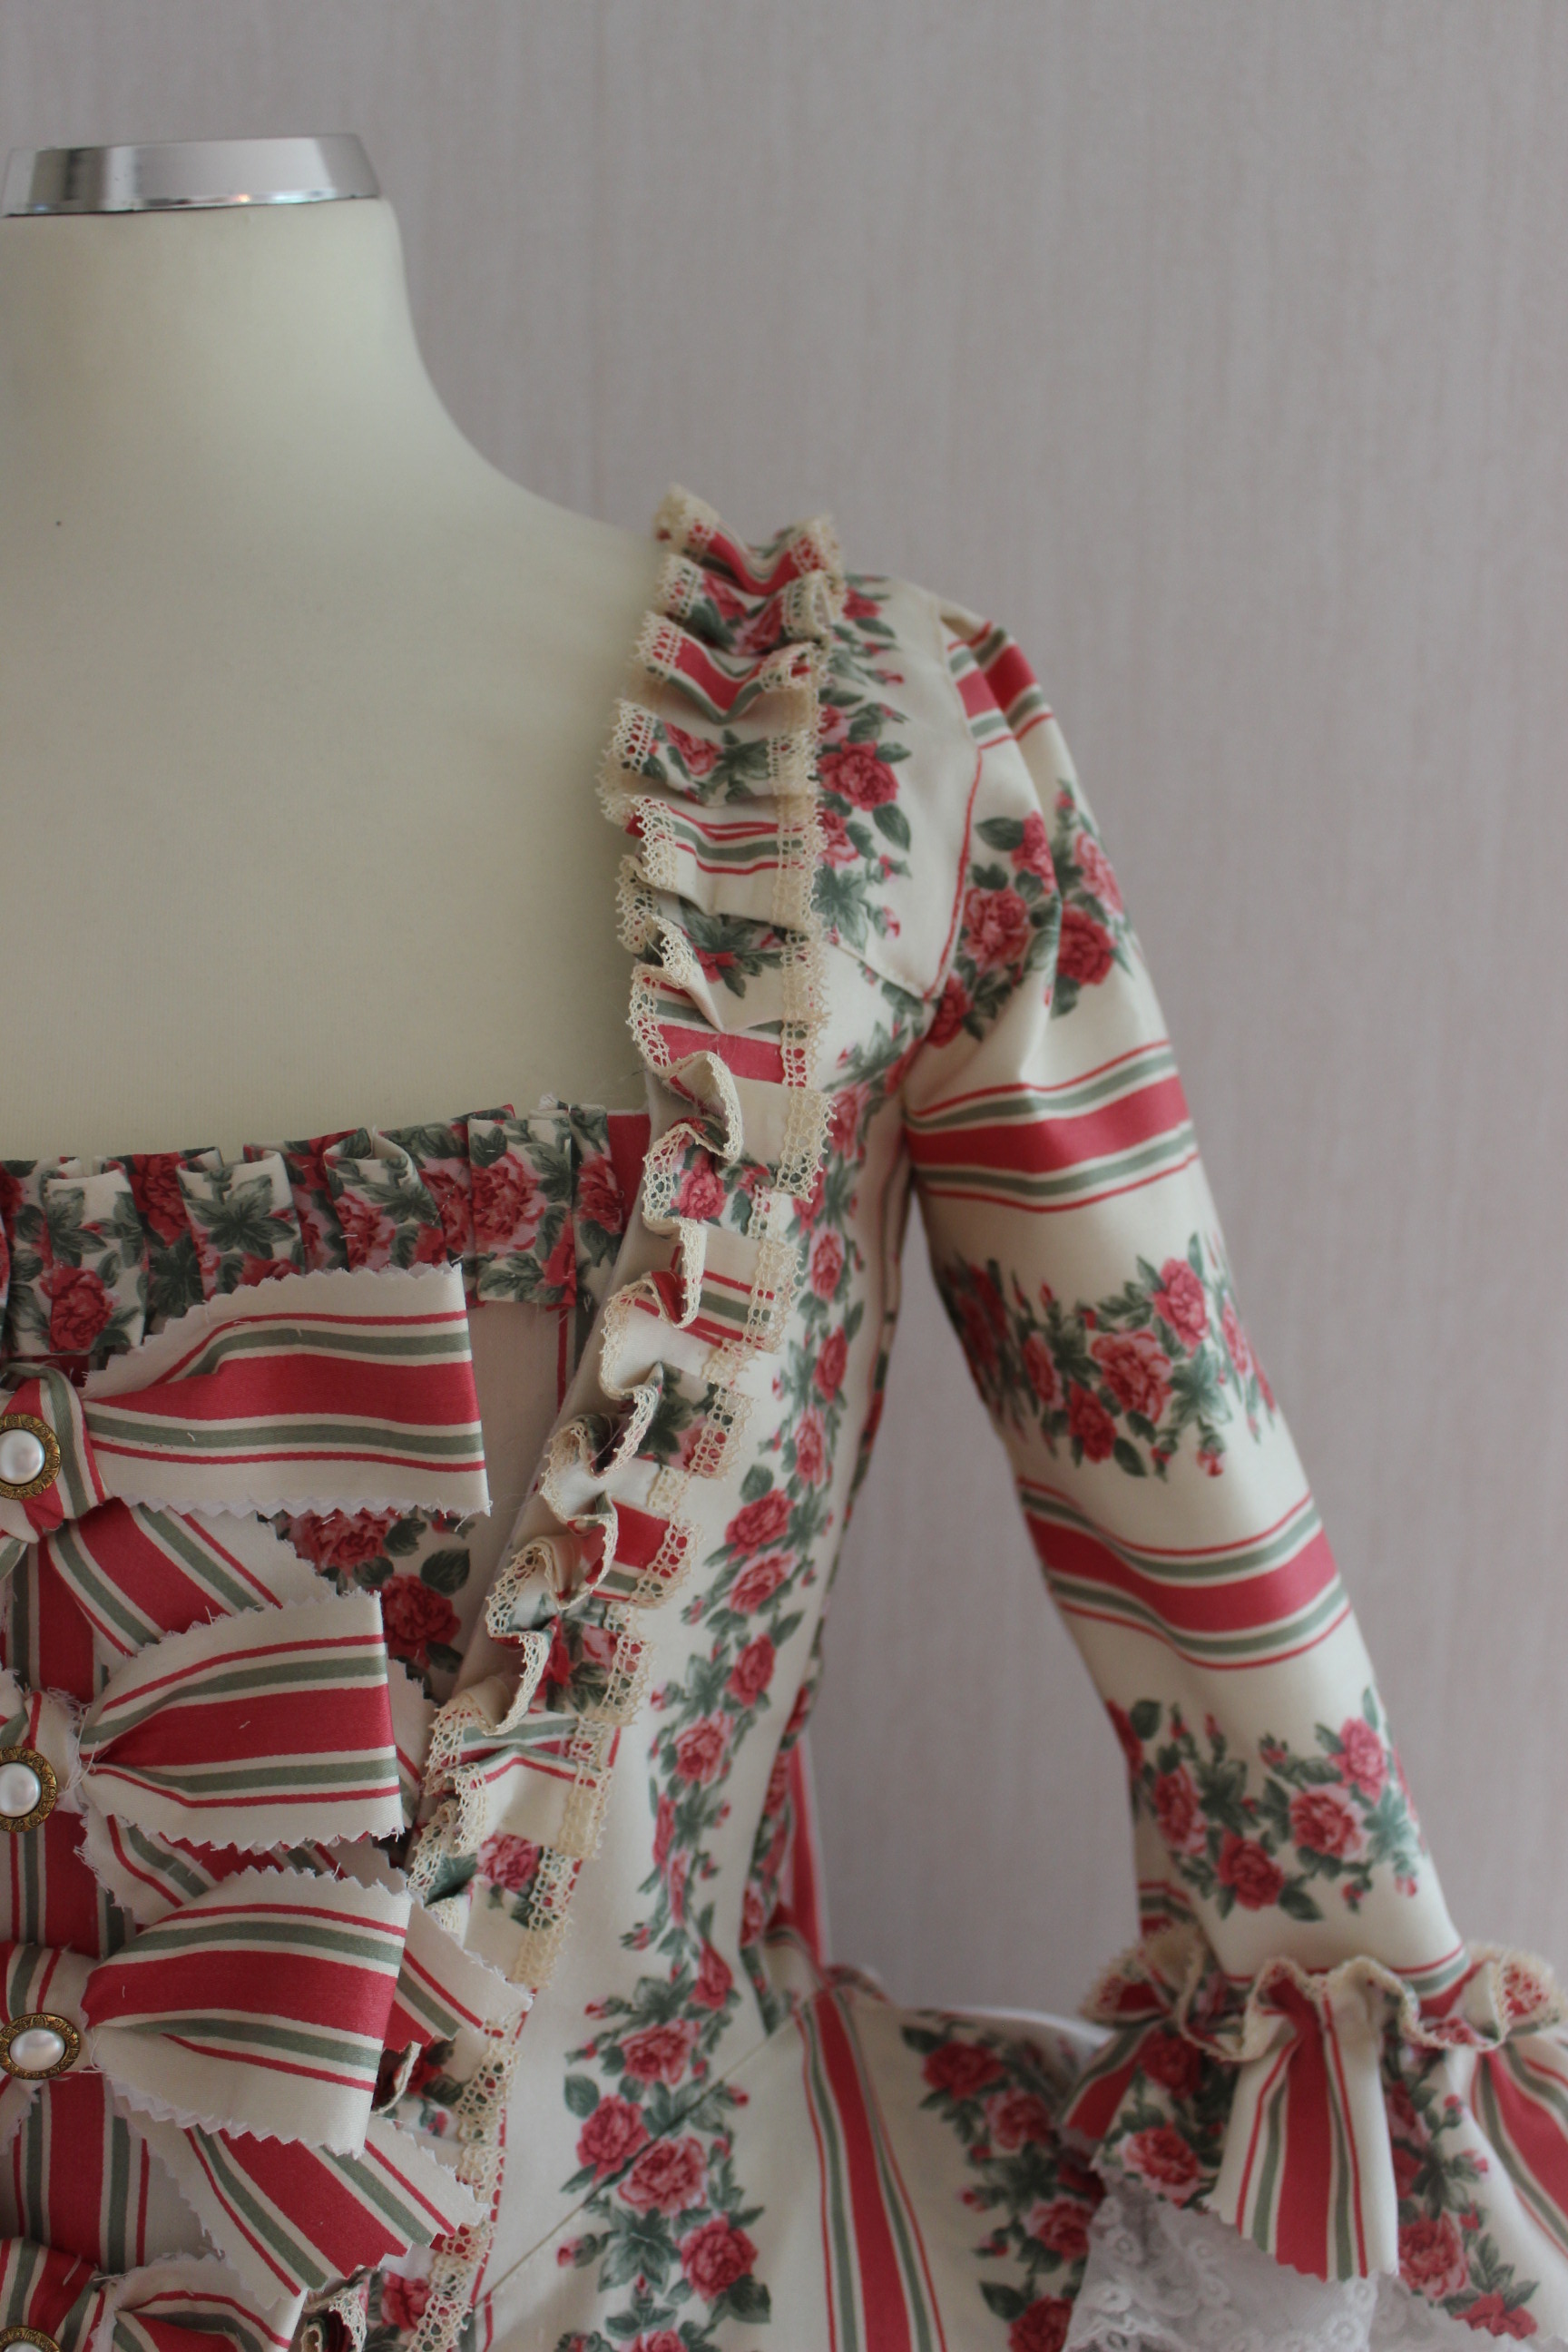
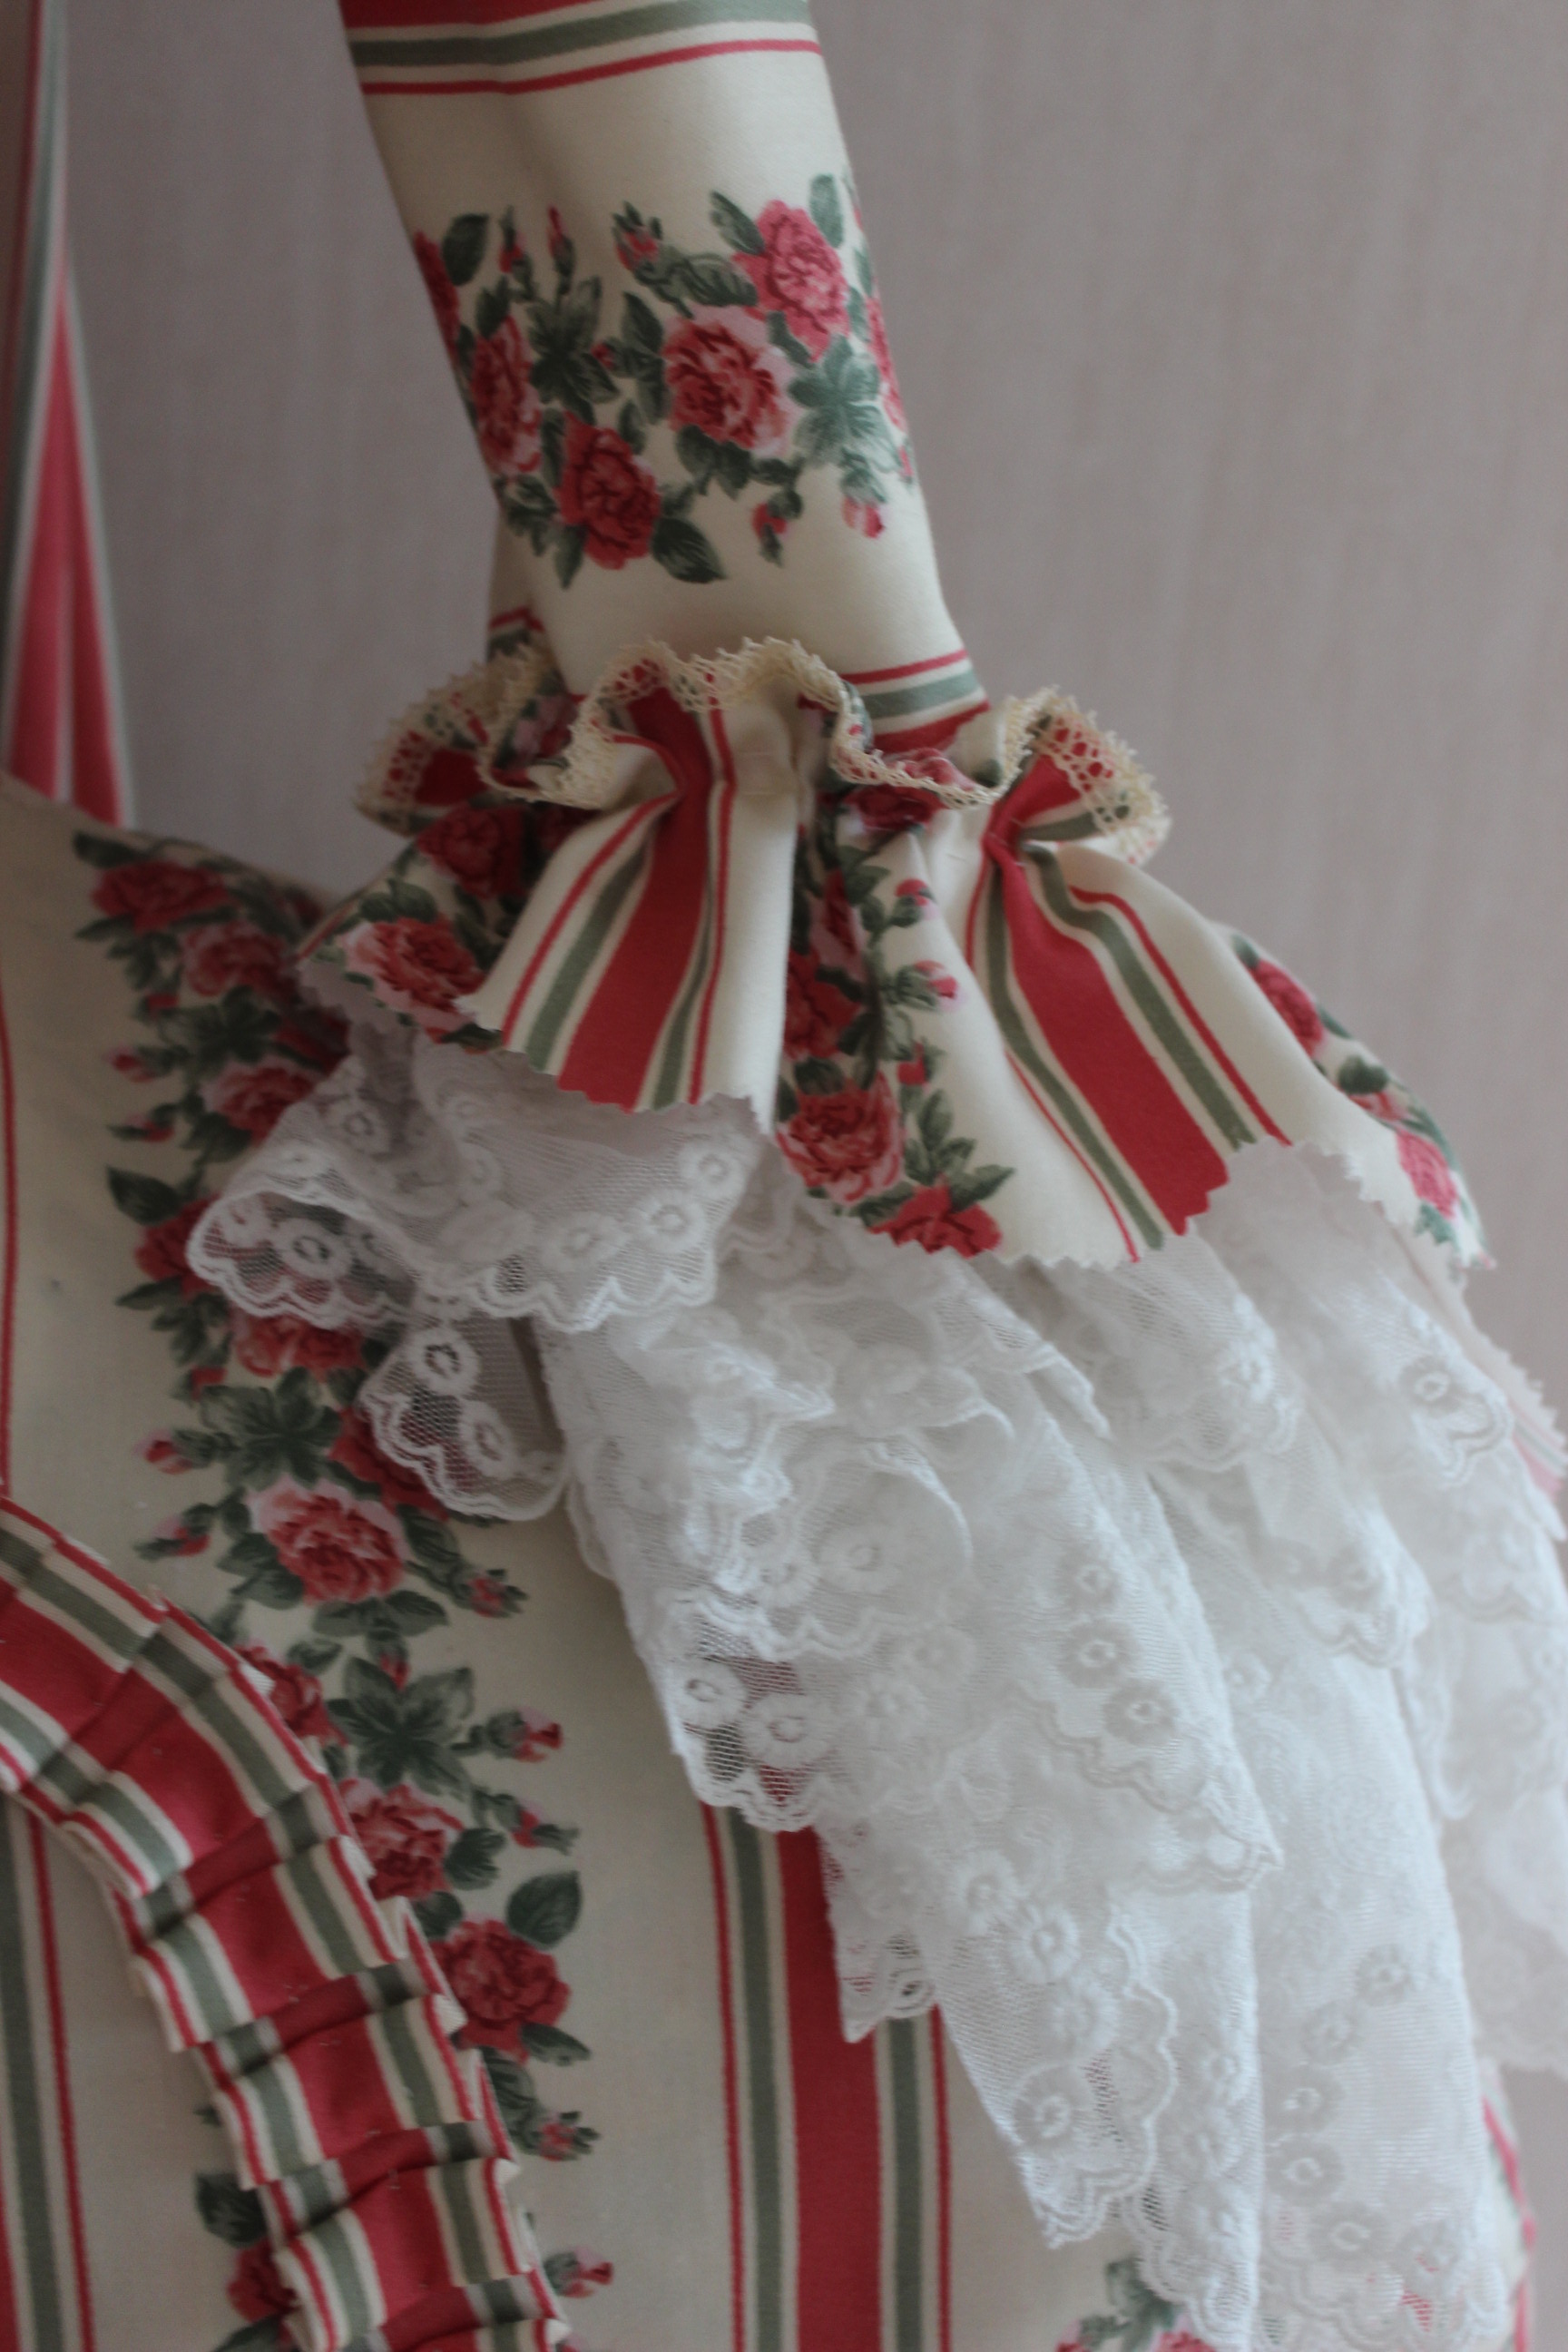
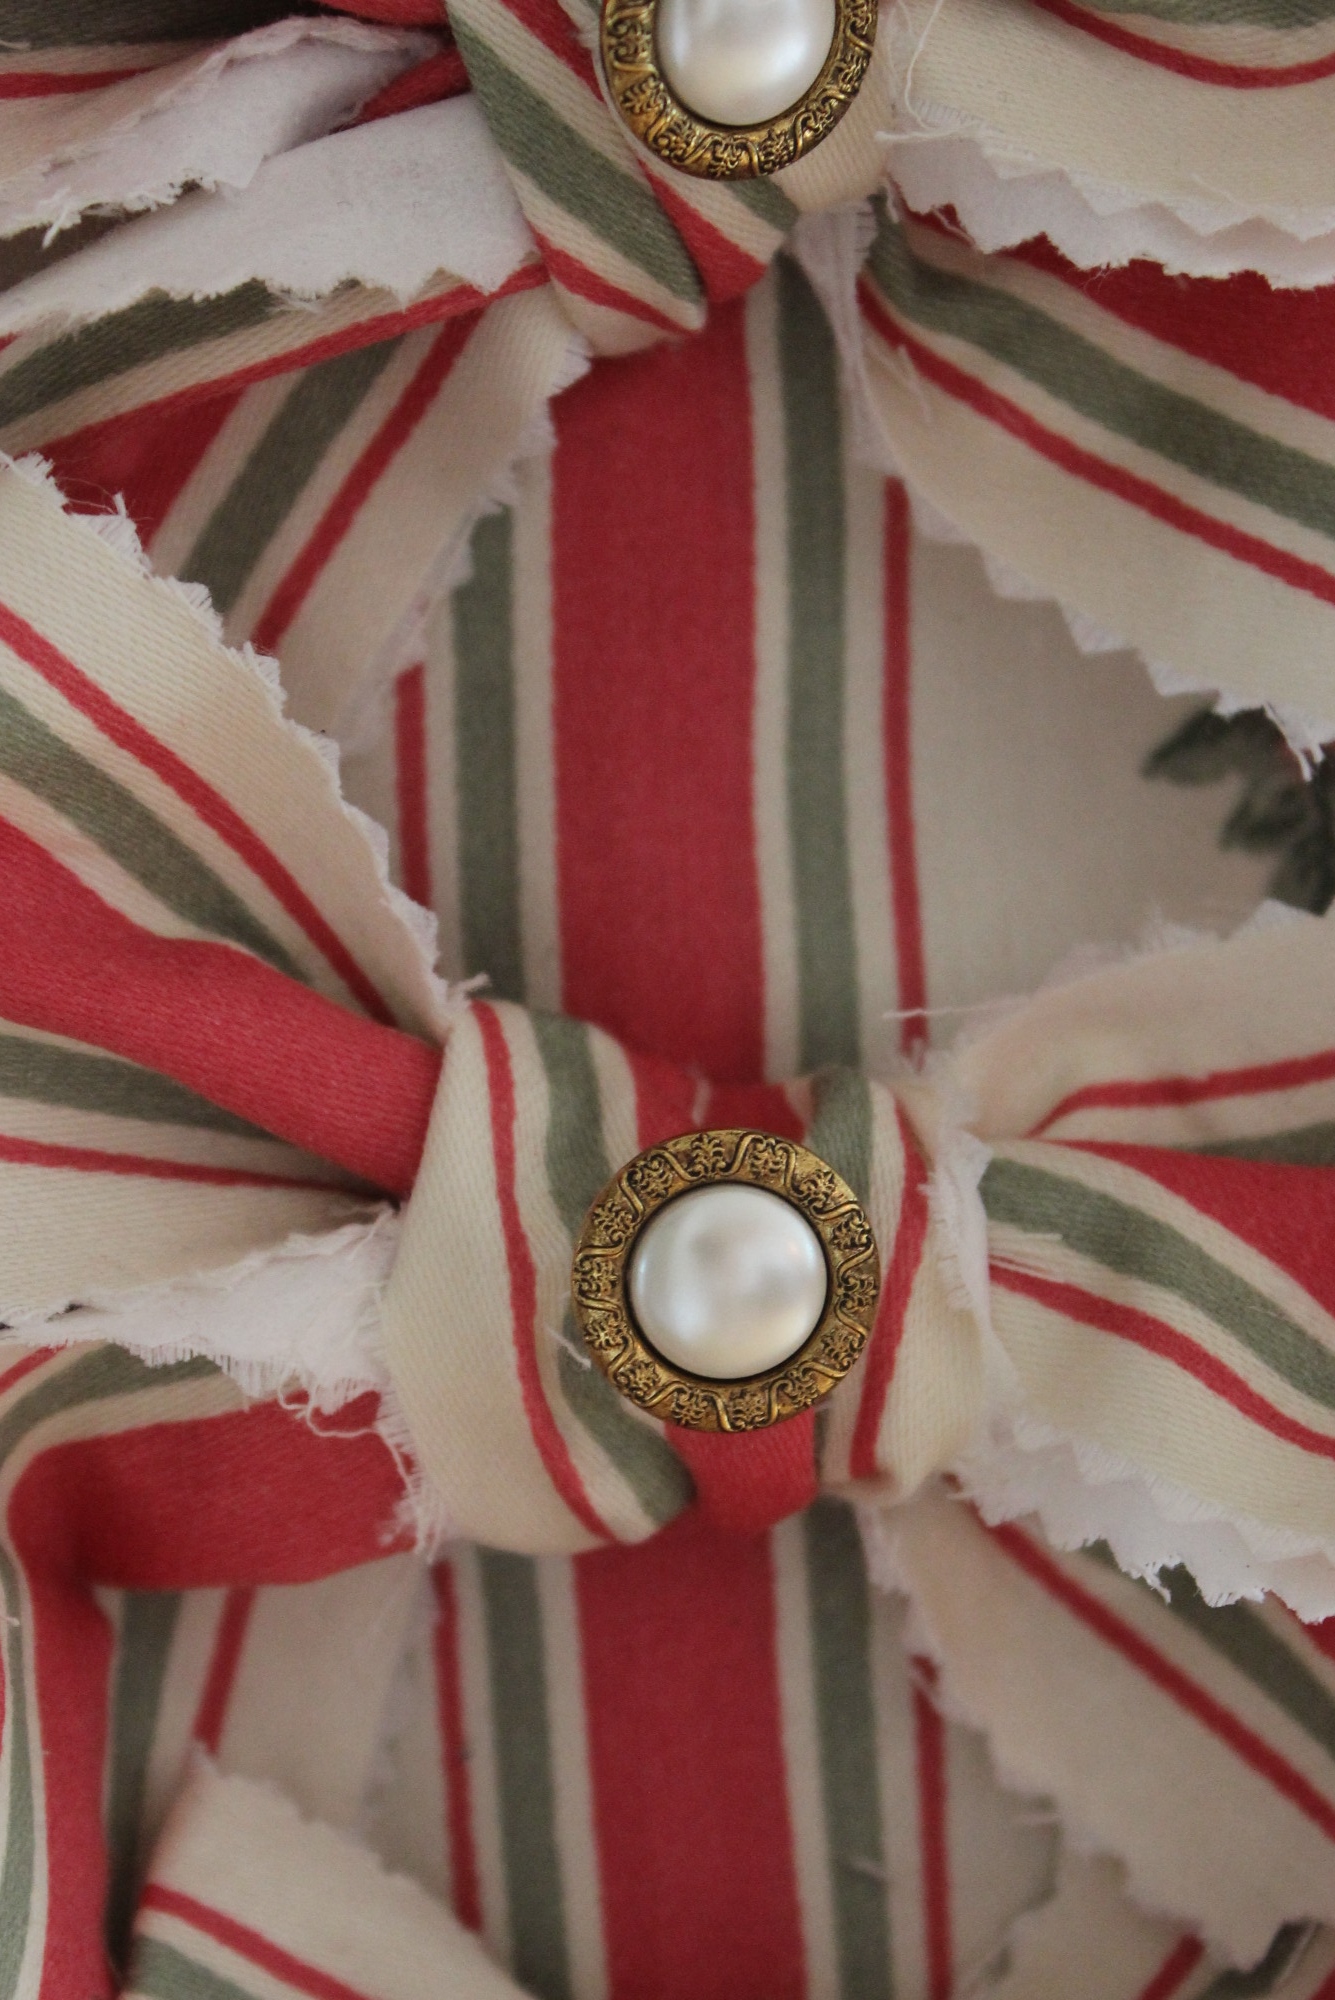
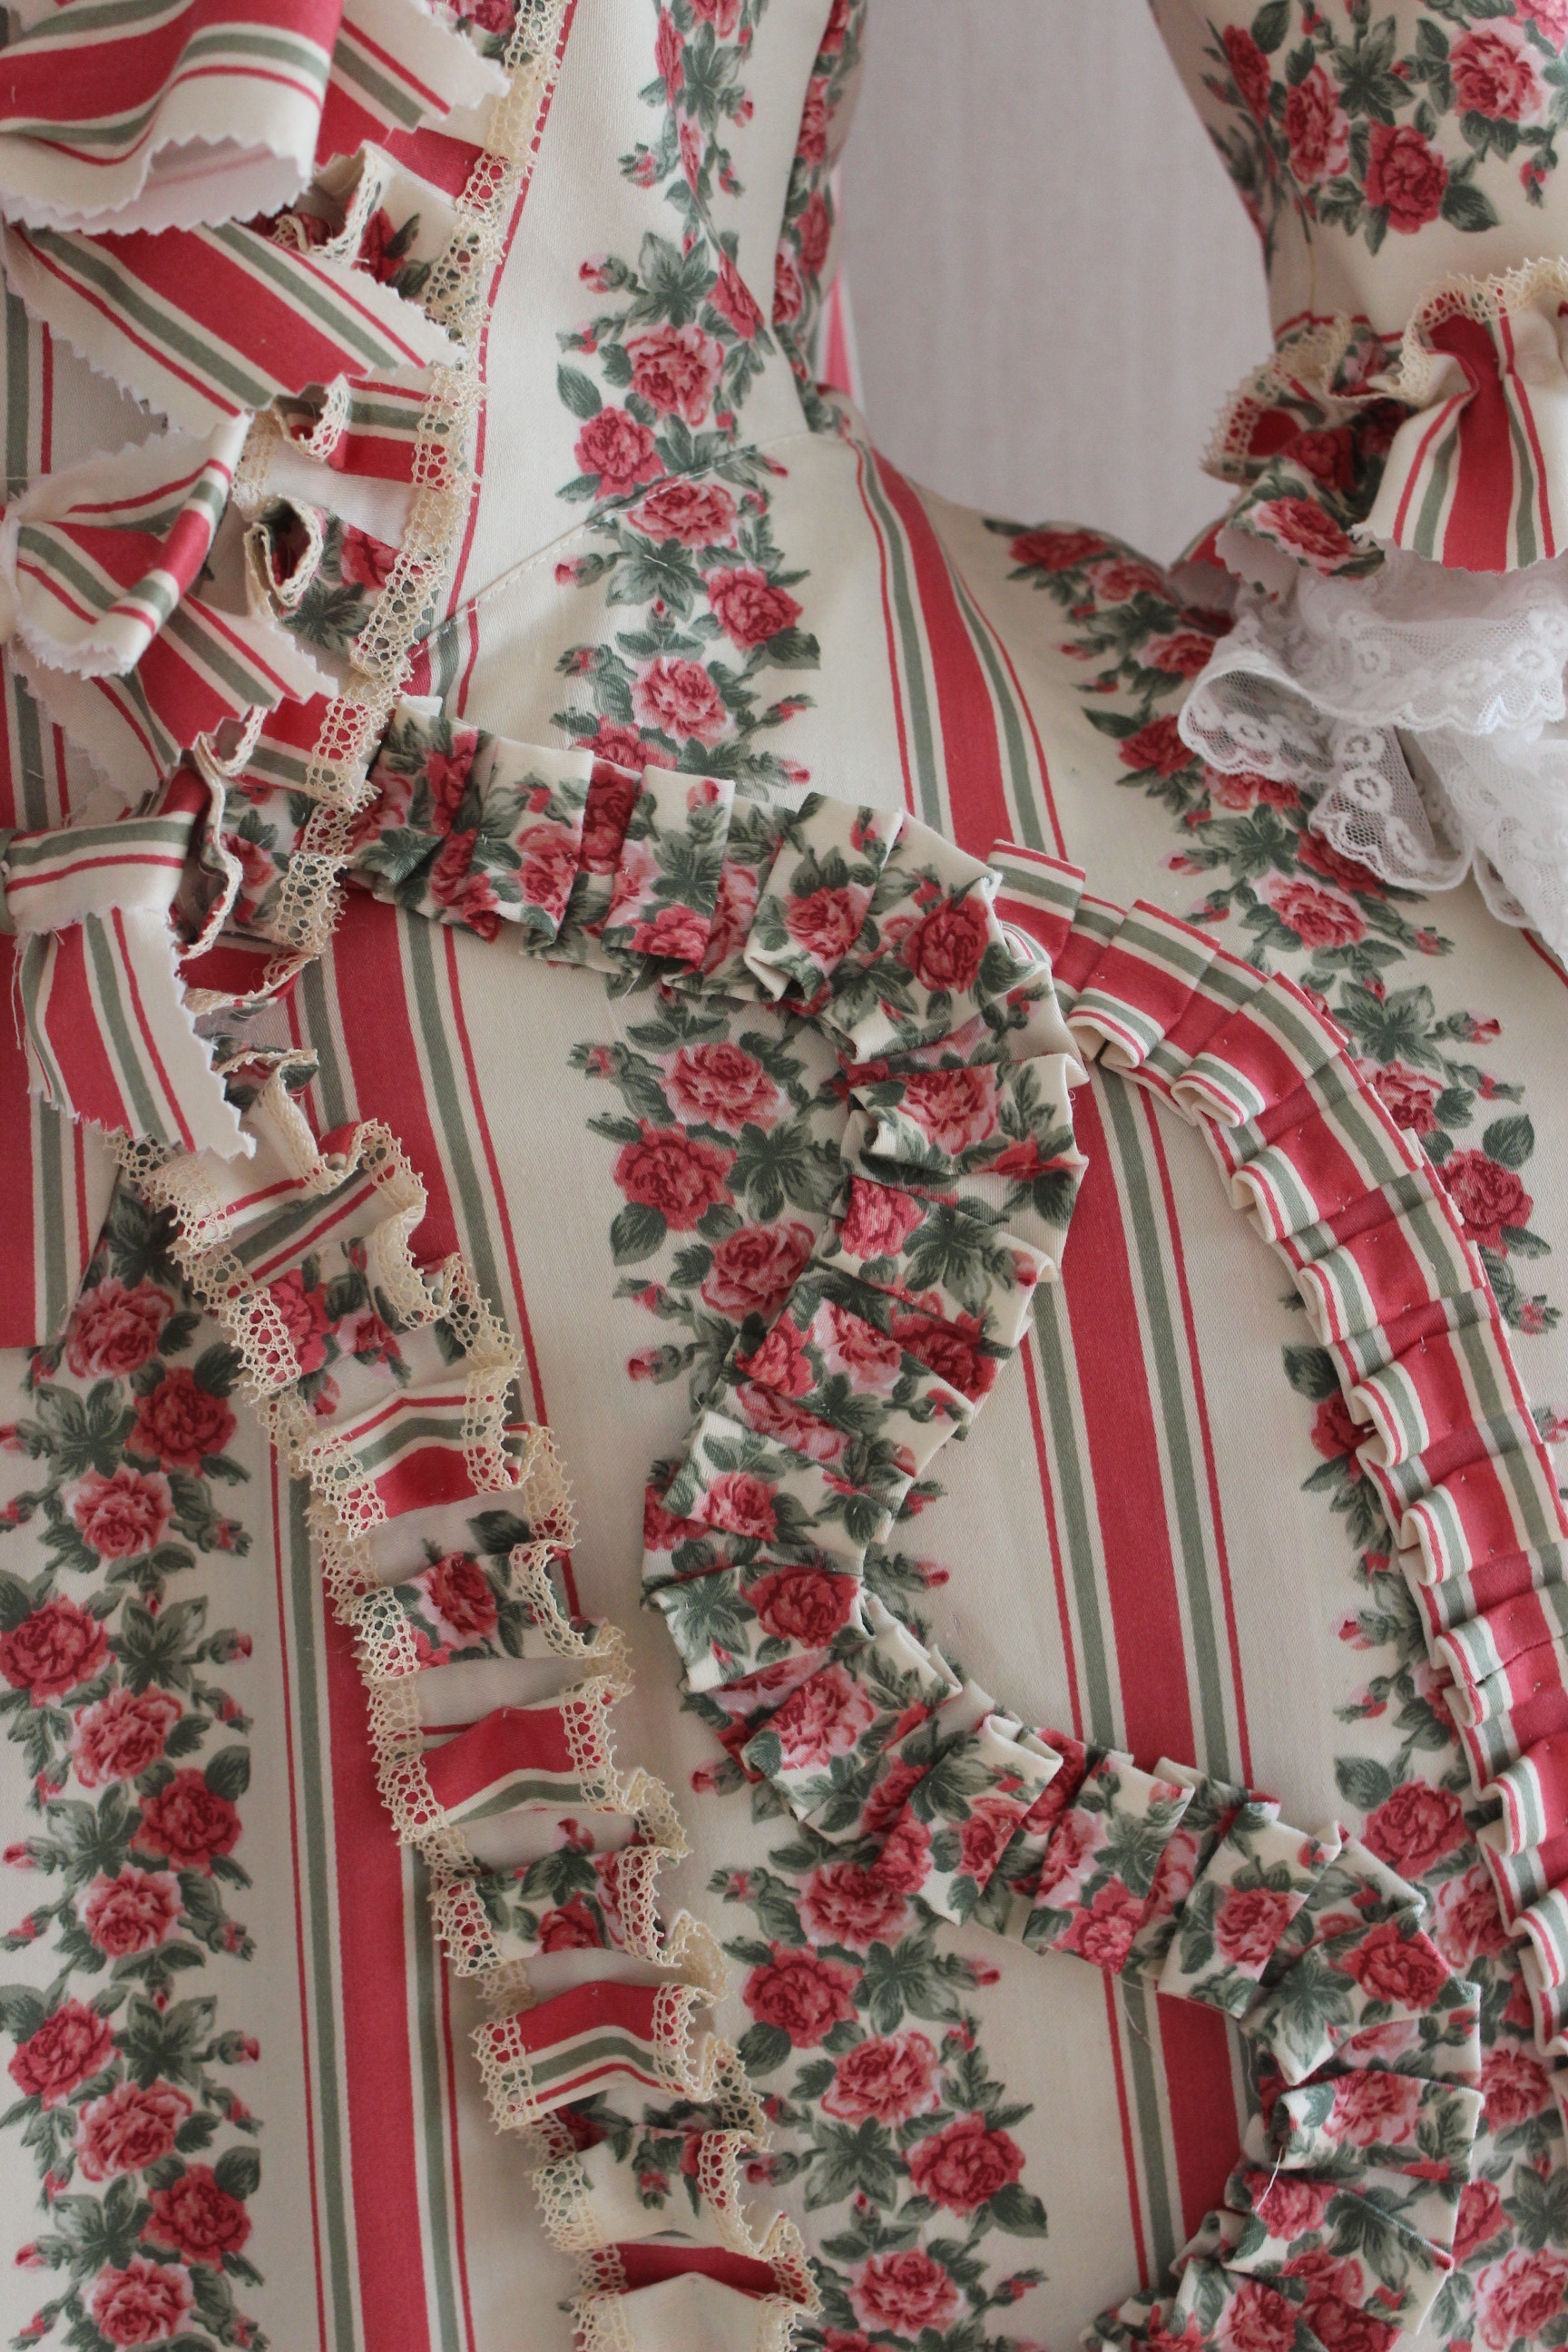
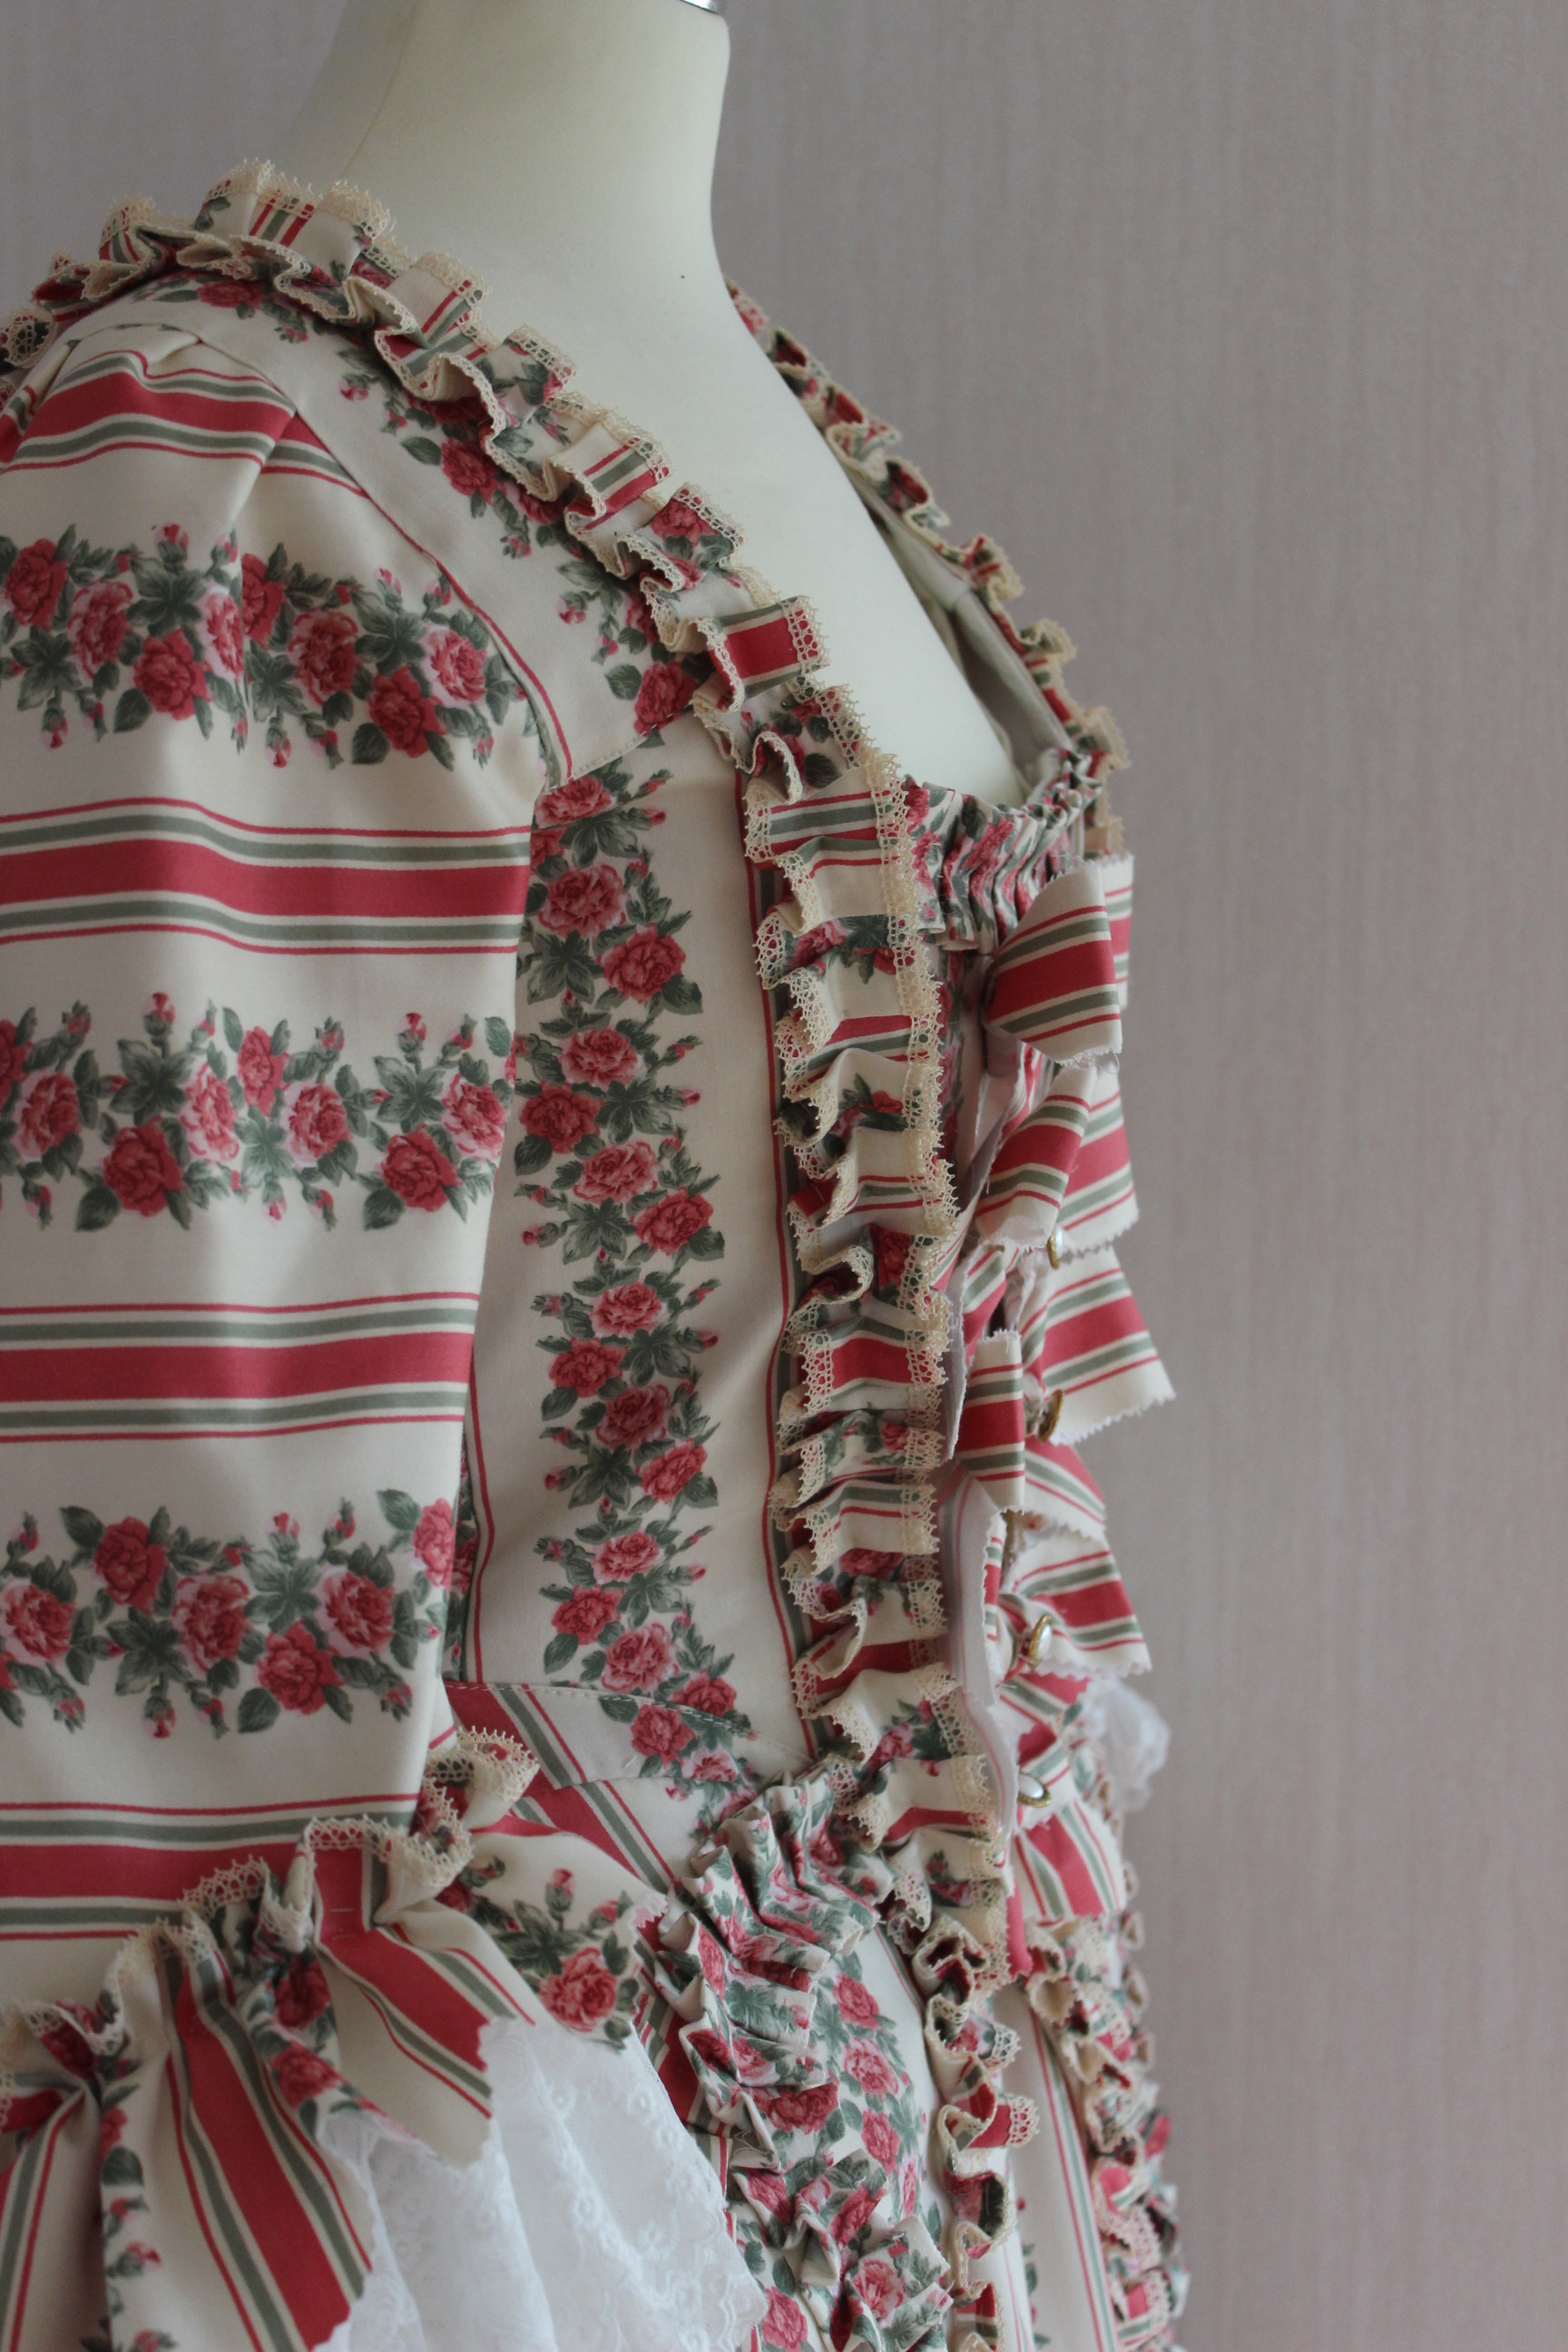
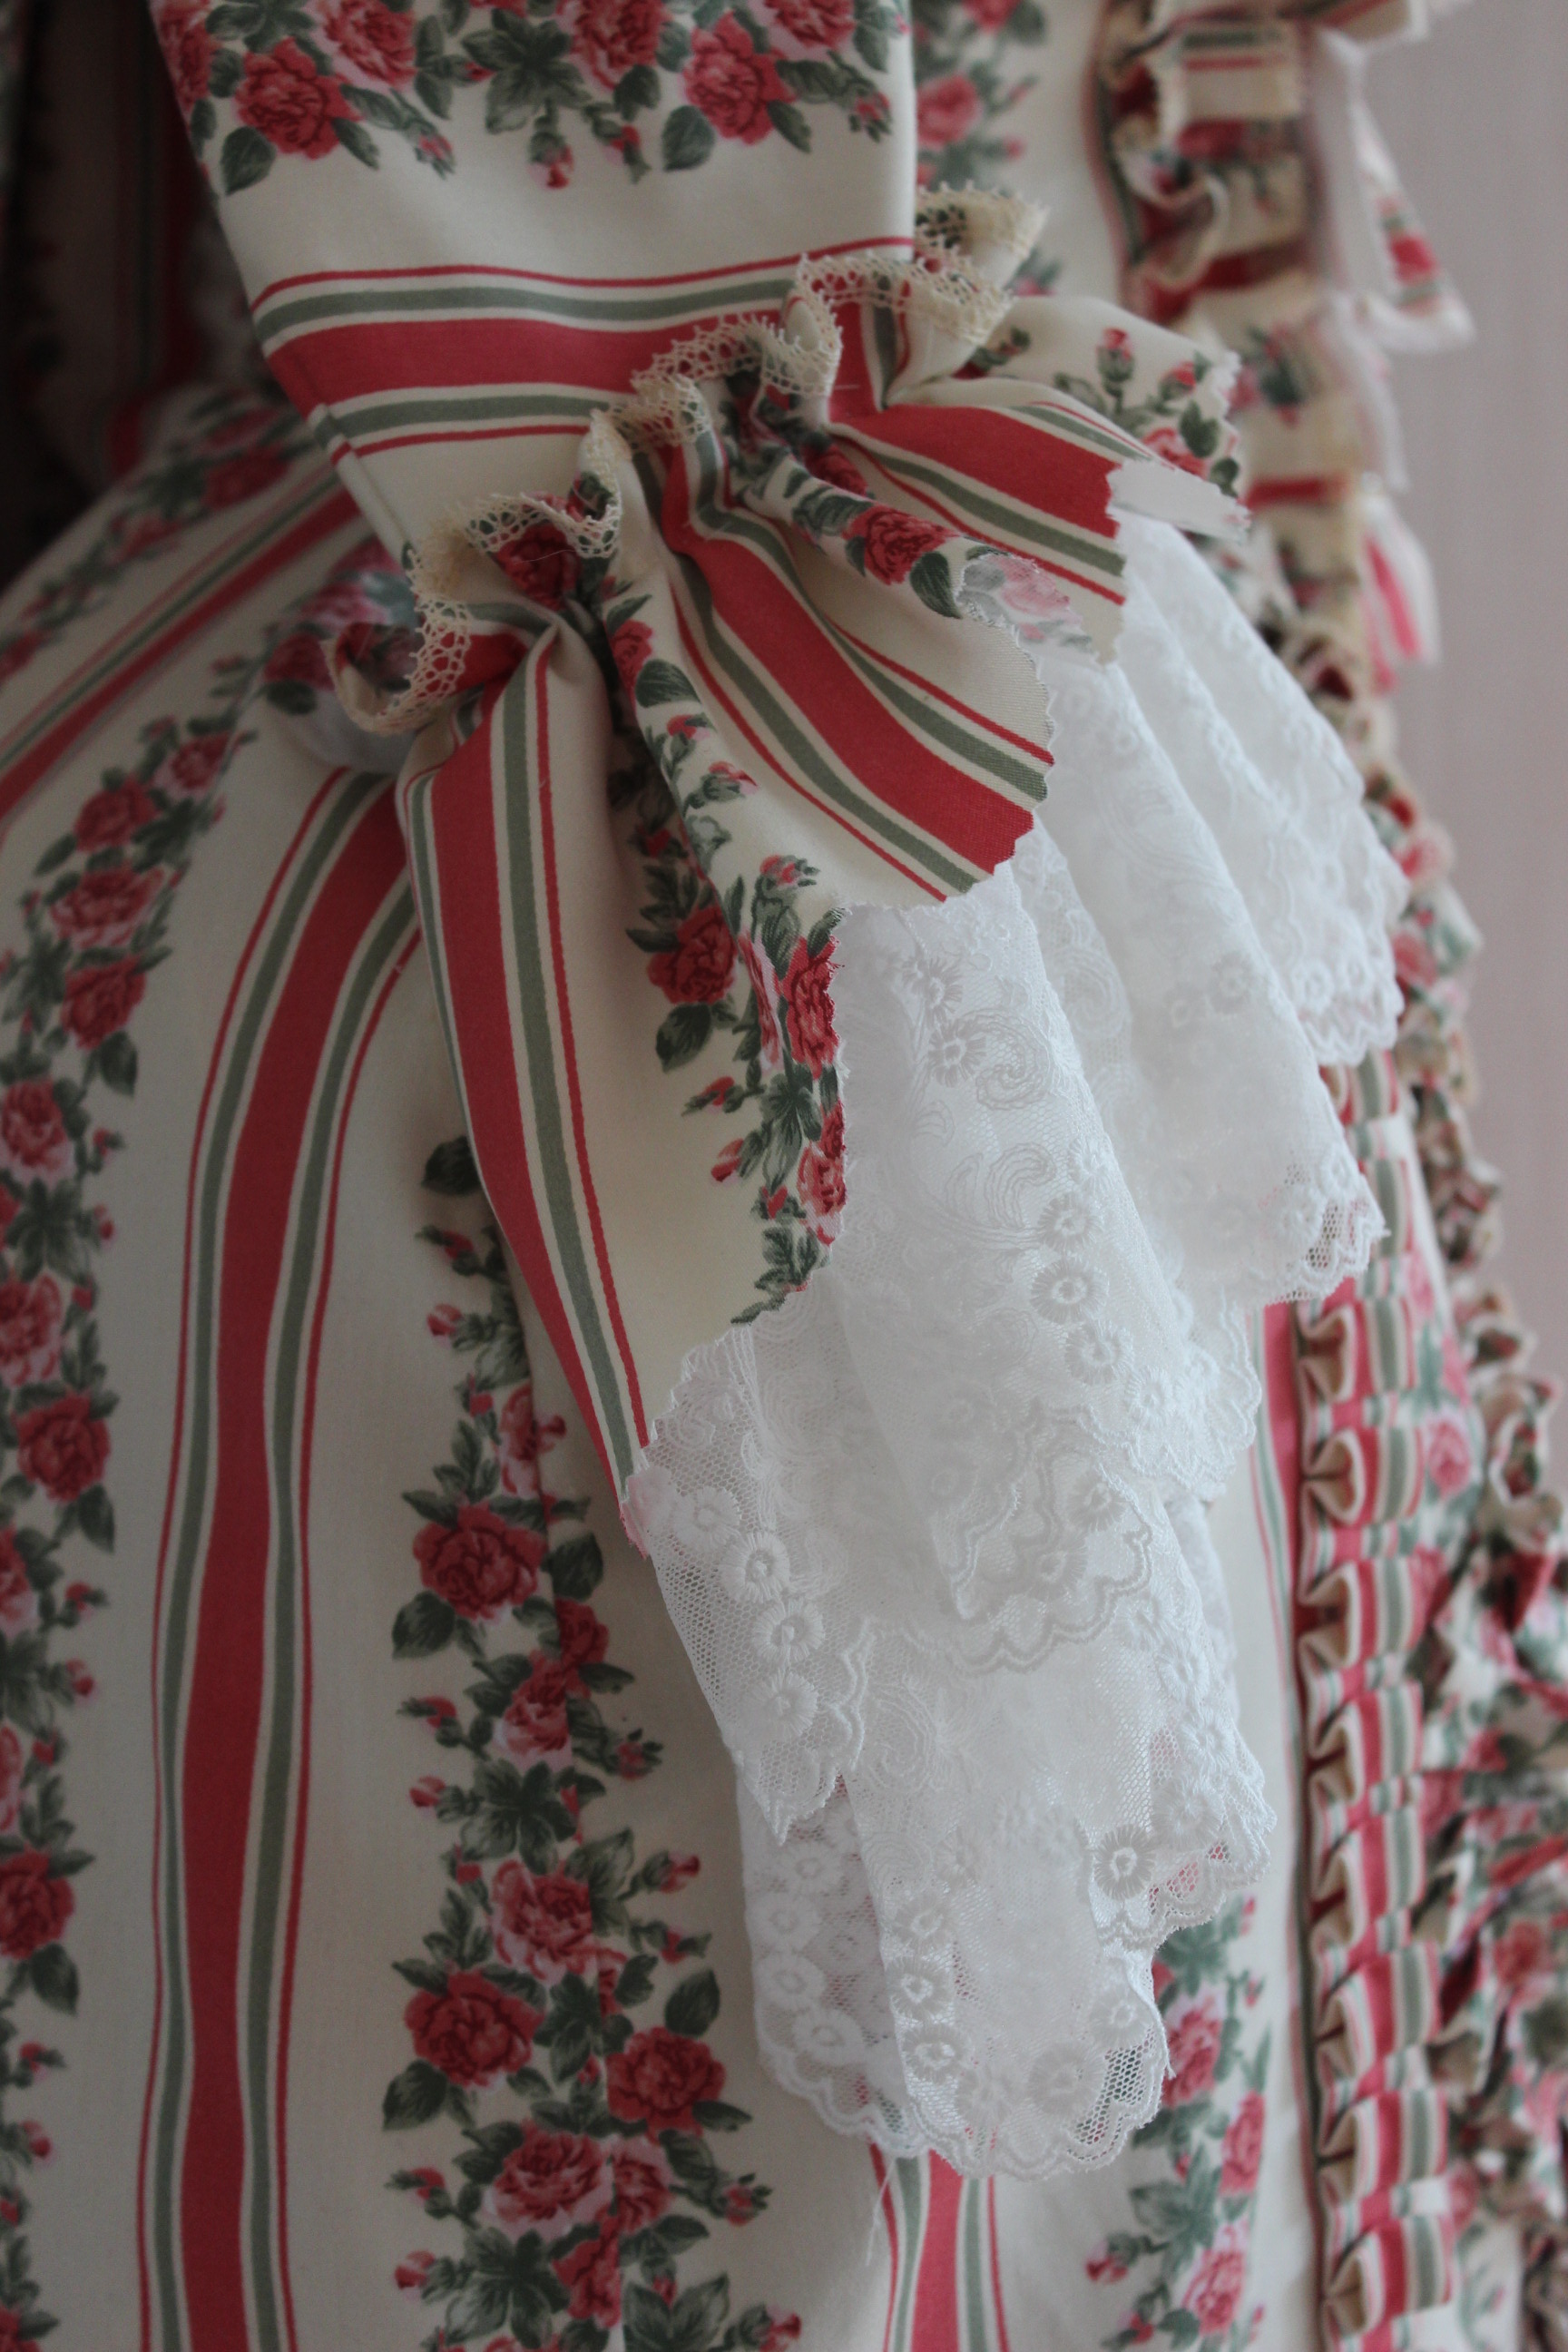
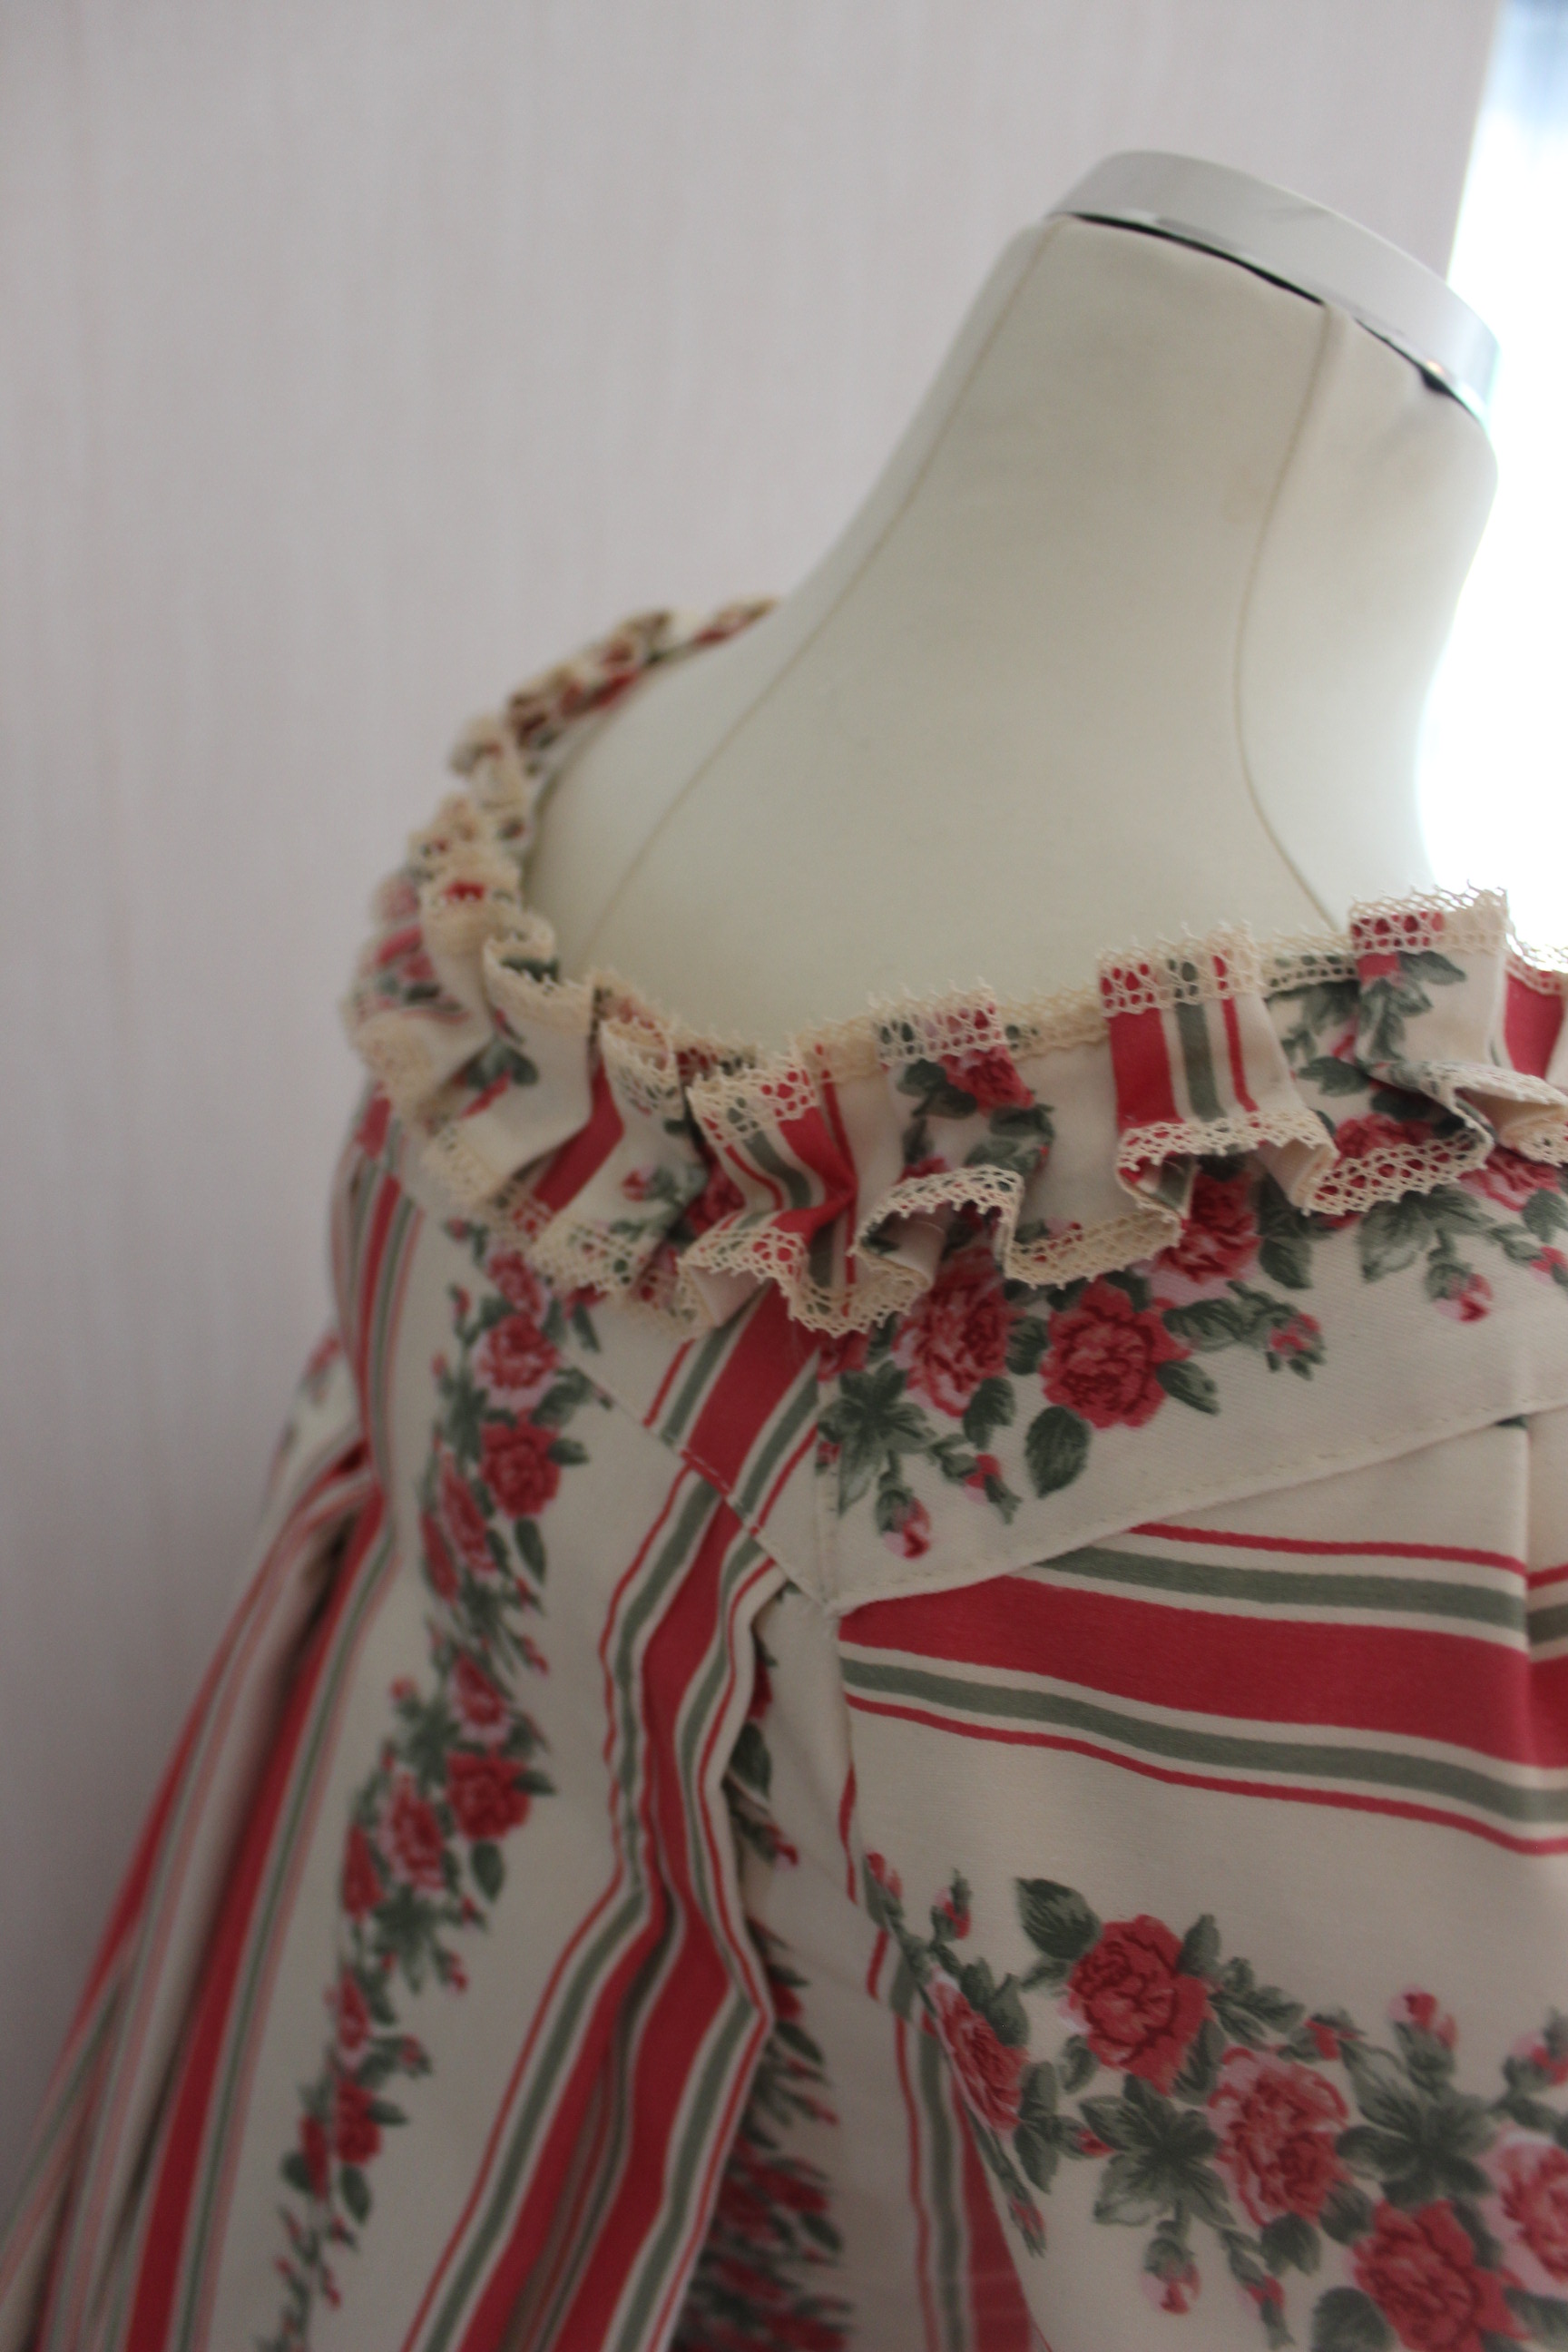
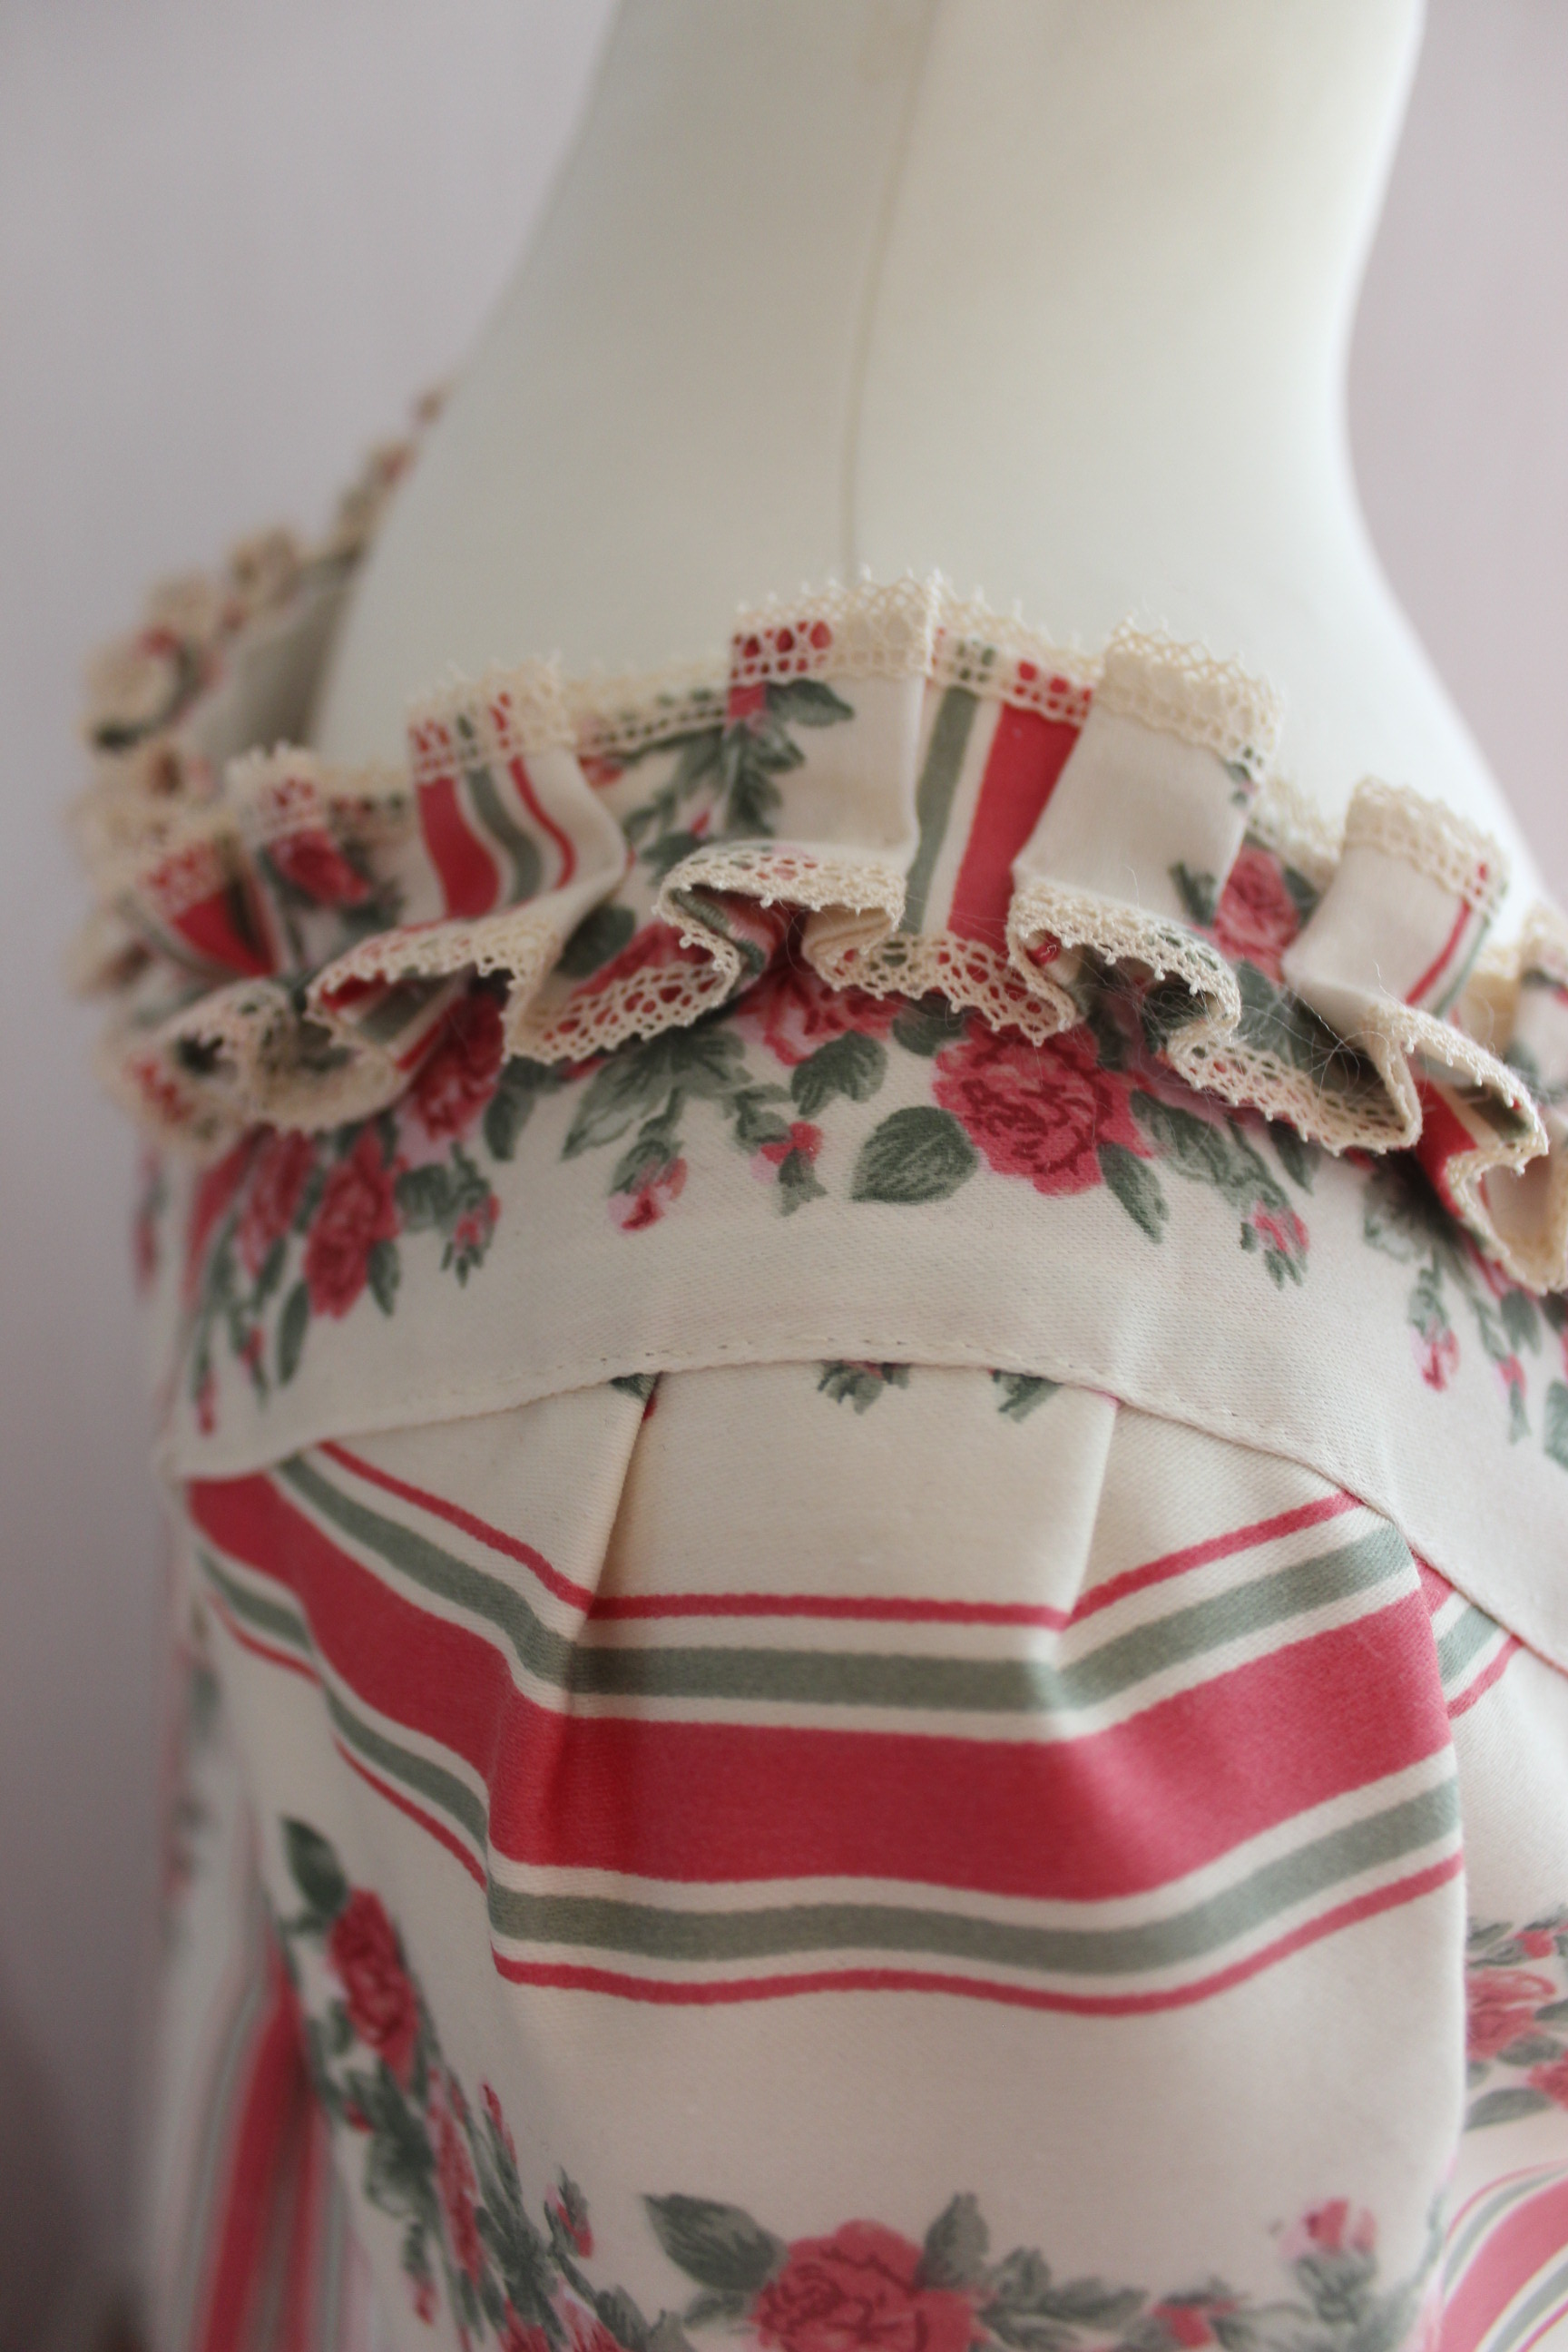
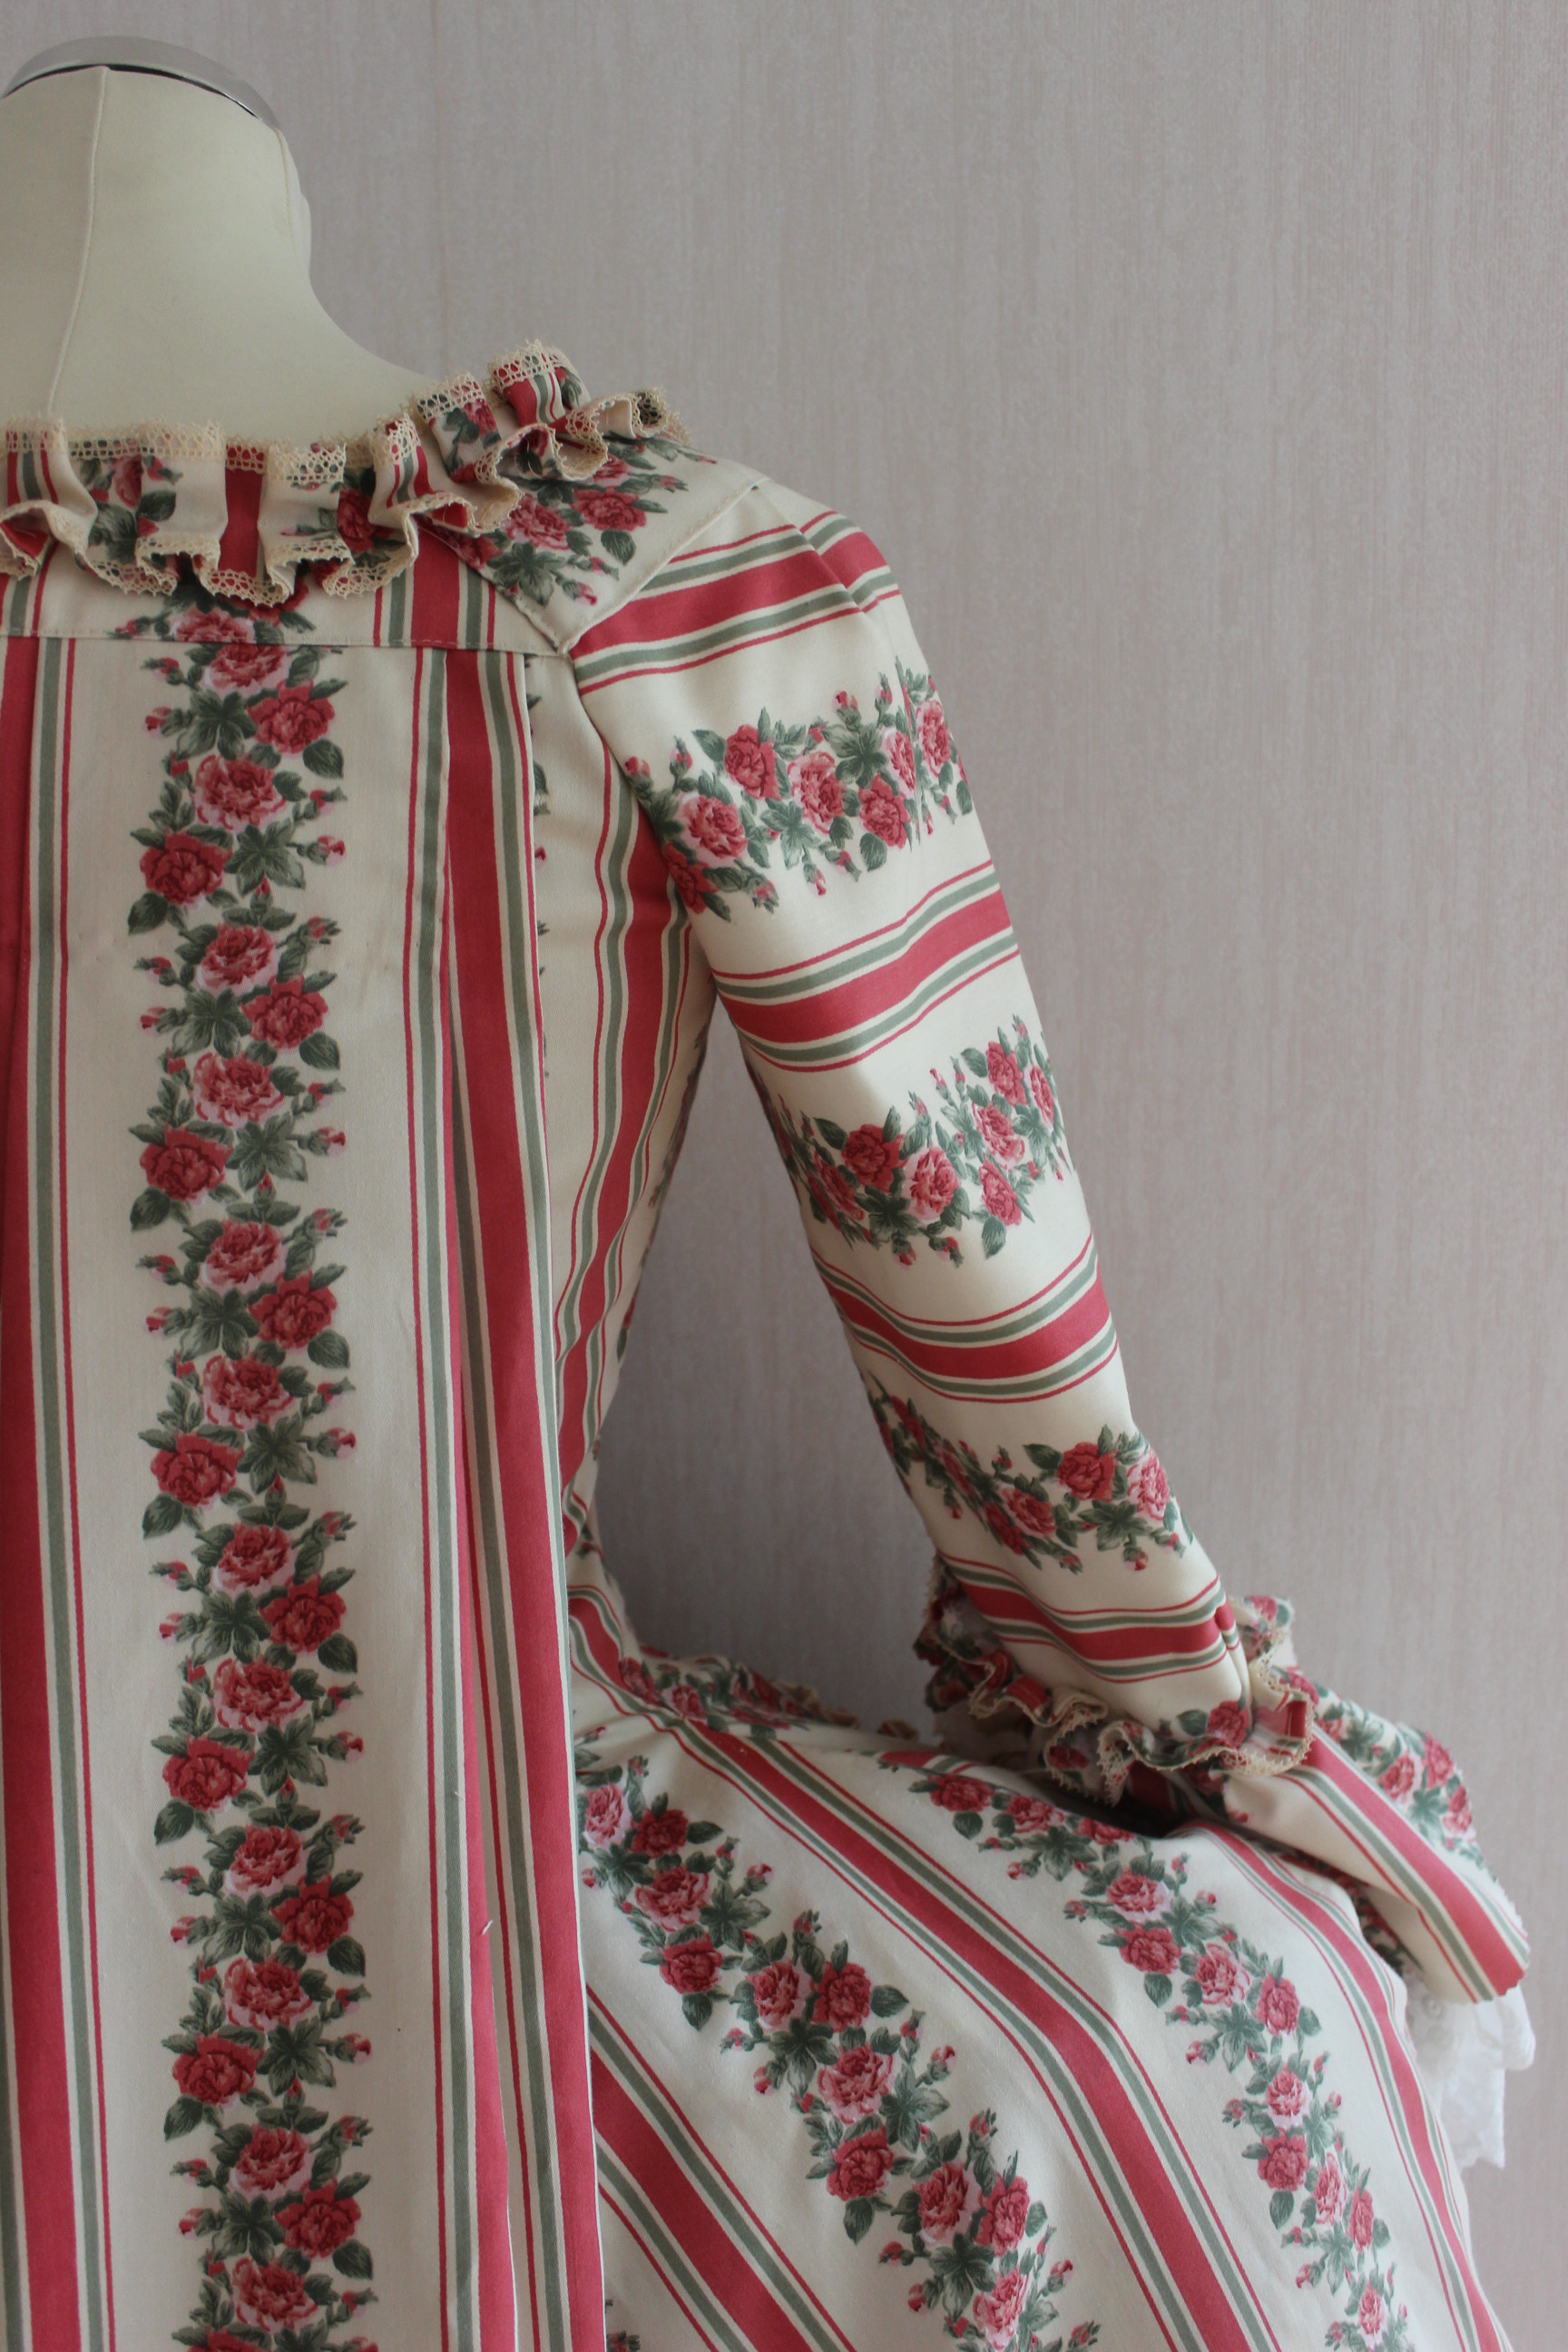
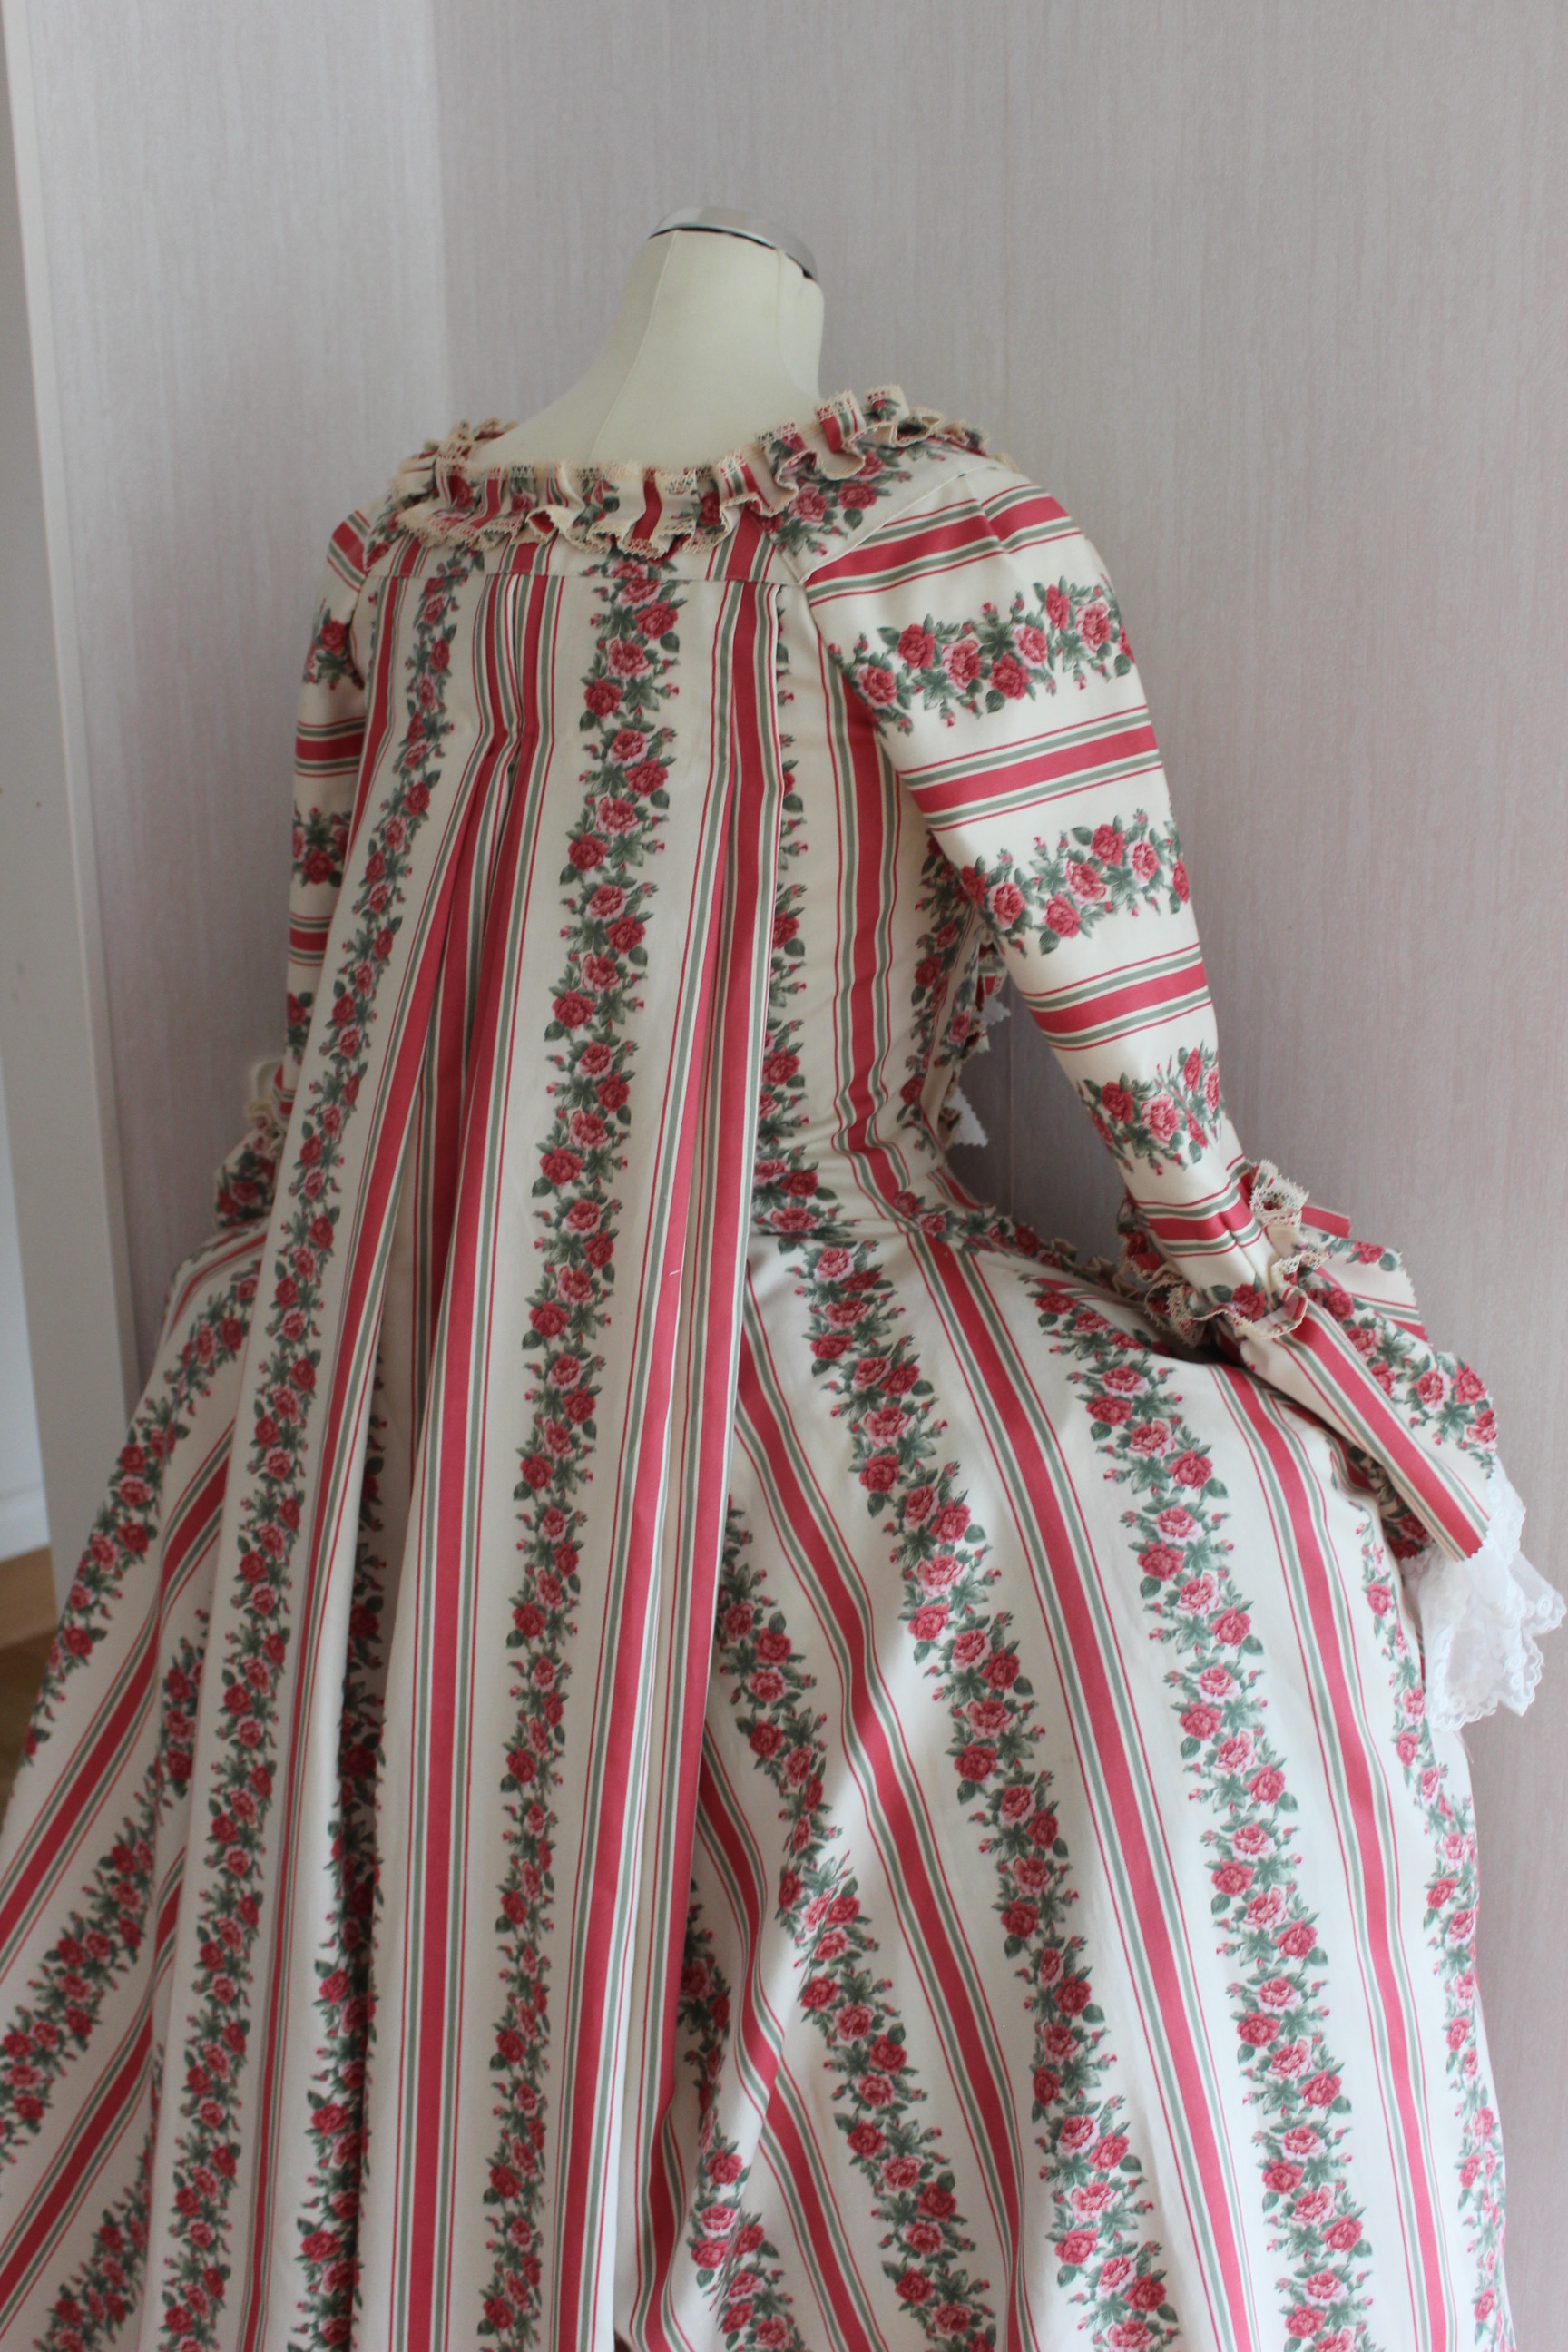
Lastly I re-pleated and attached the trimmings around the neckline and cuffs.
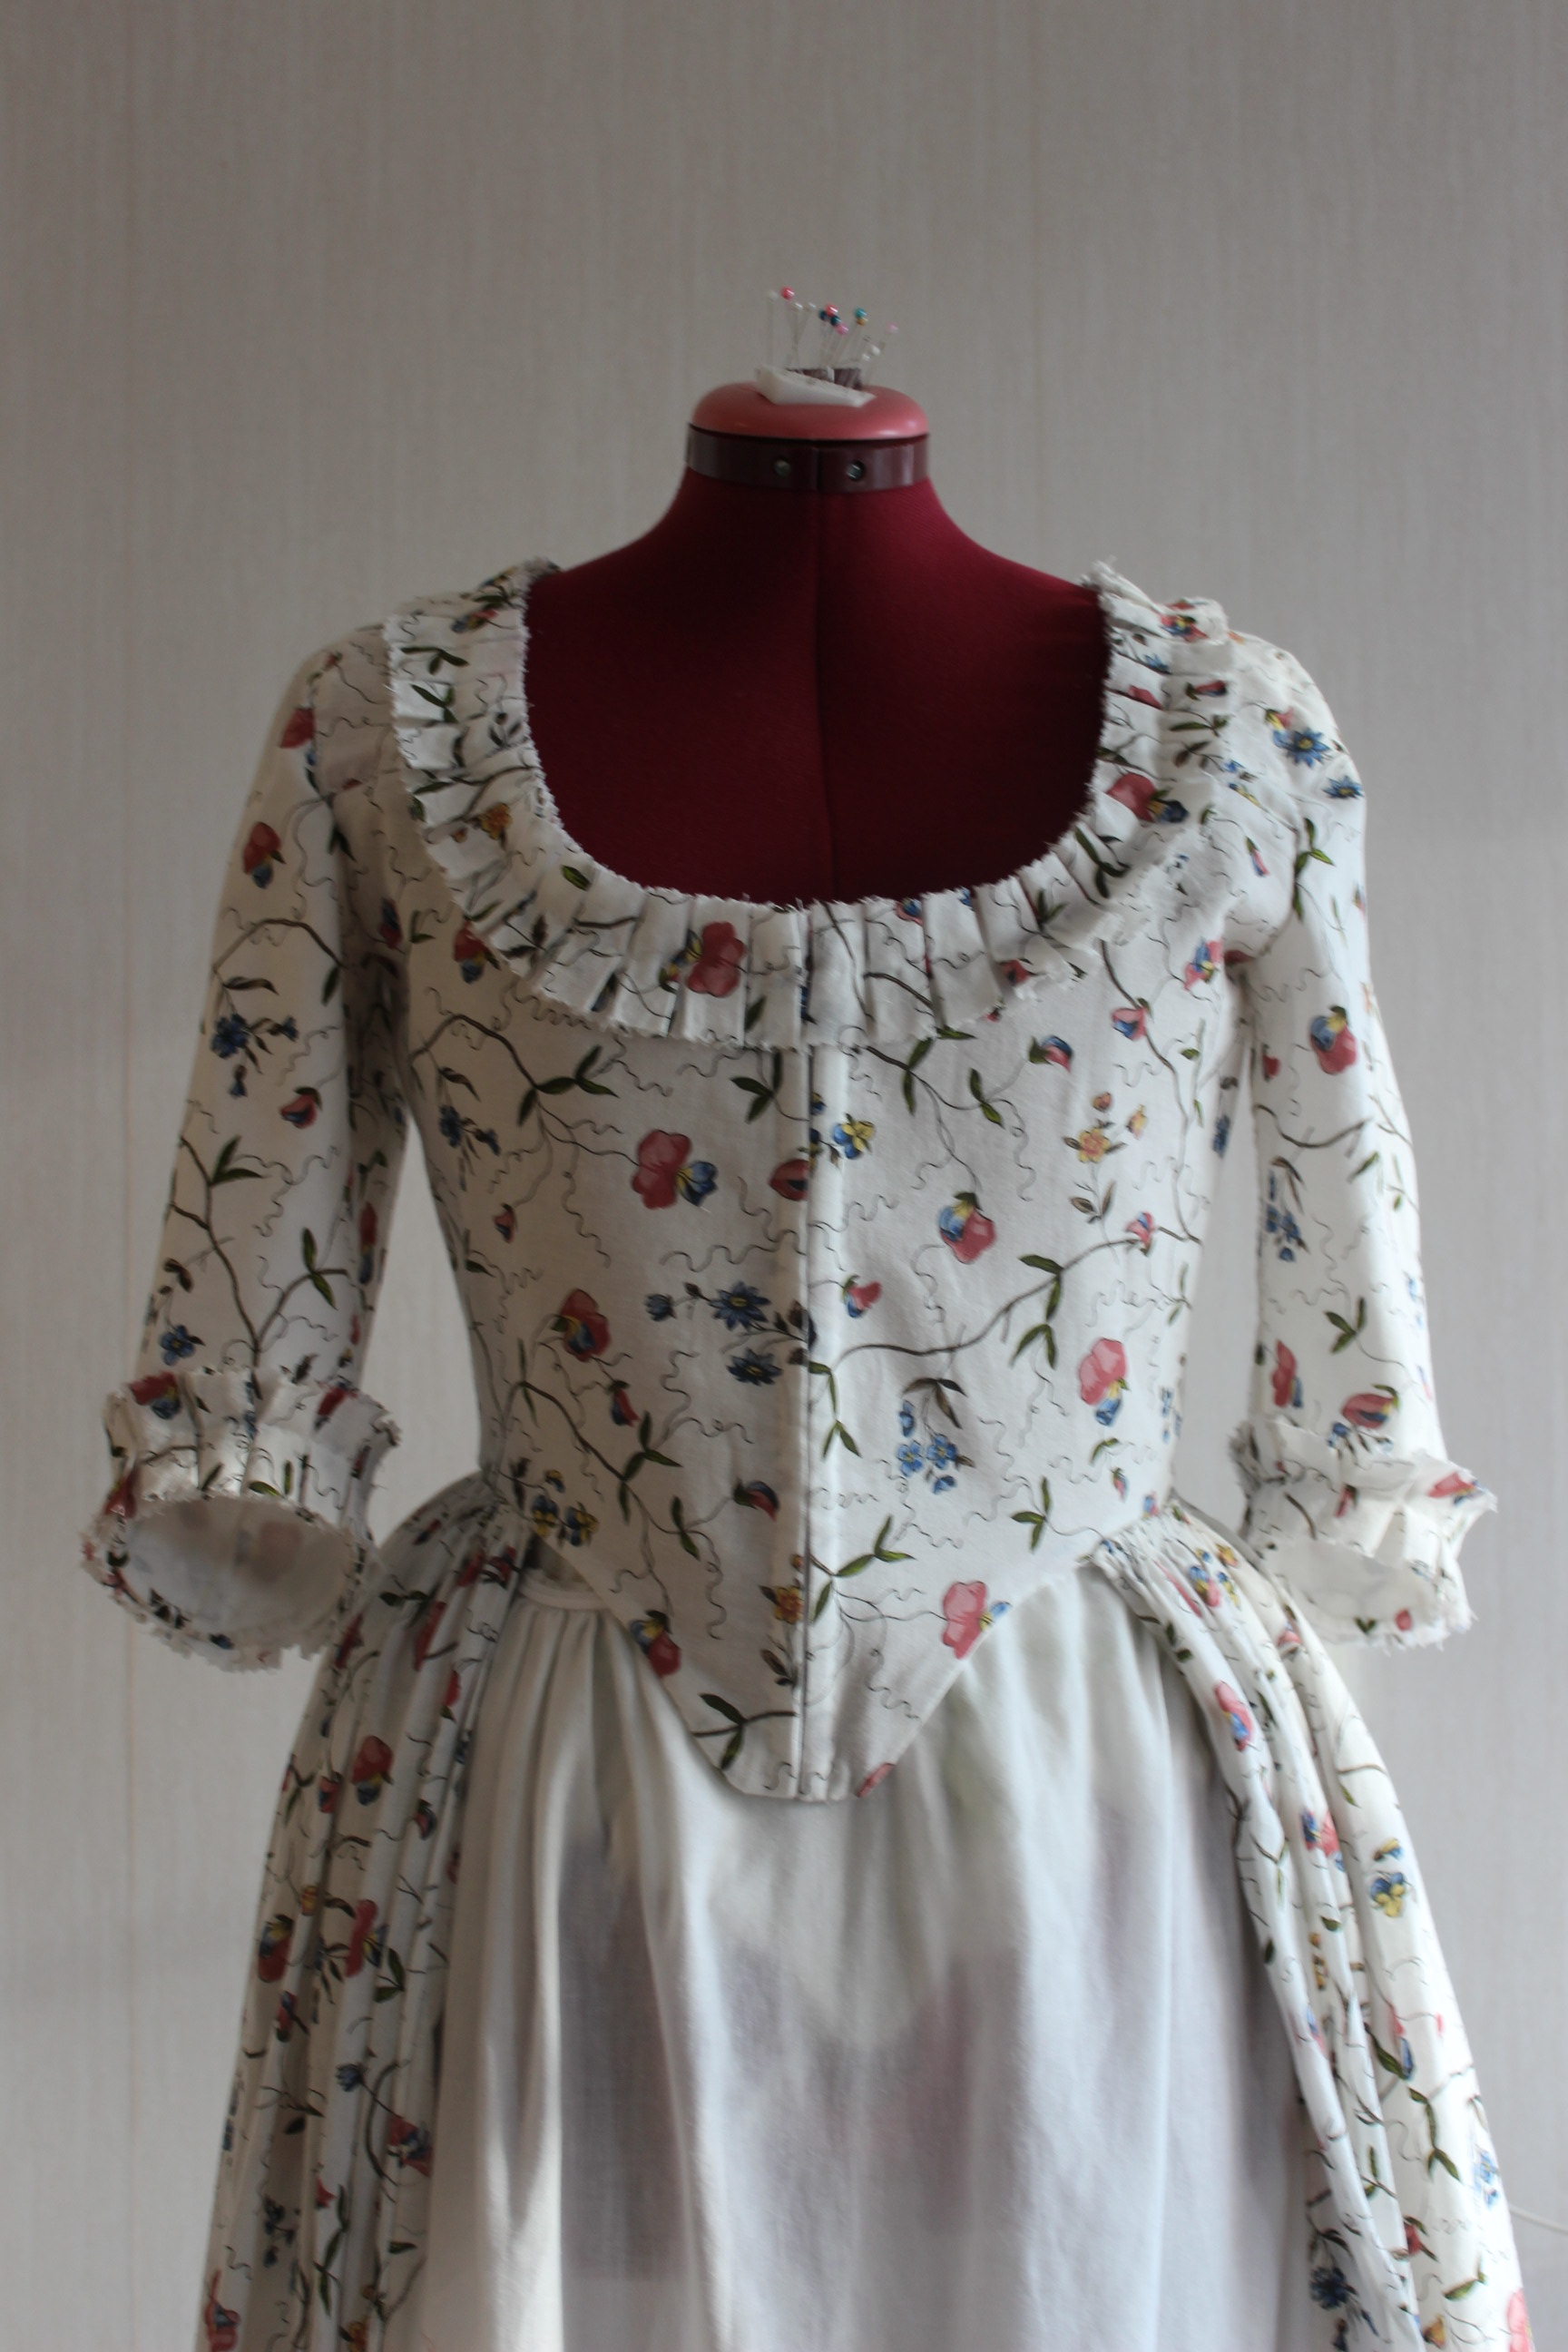
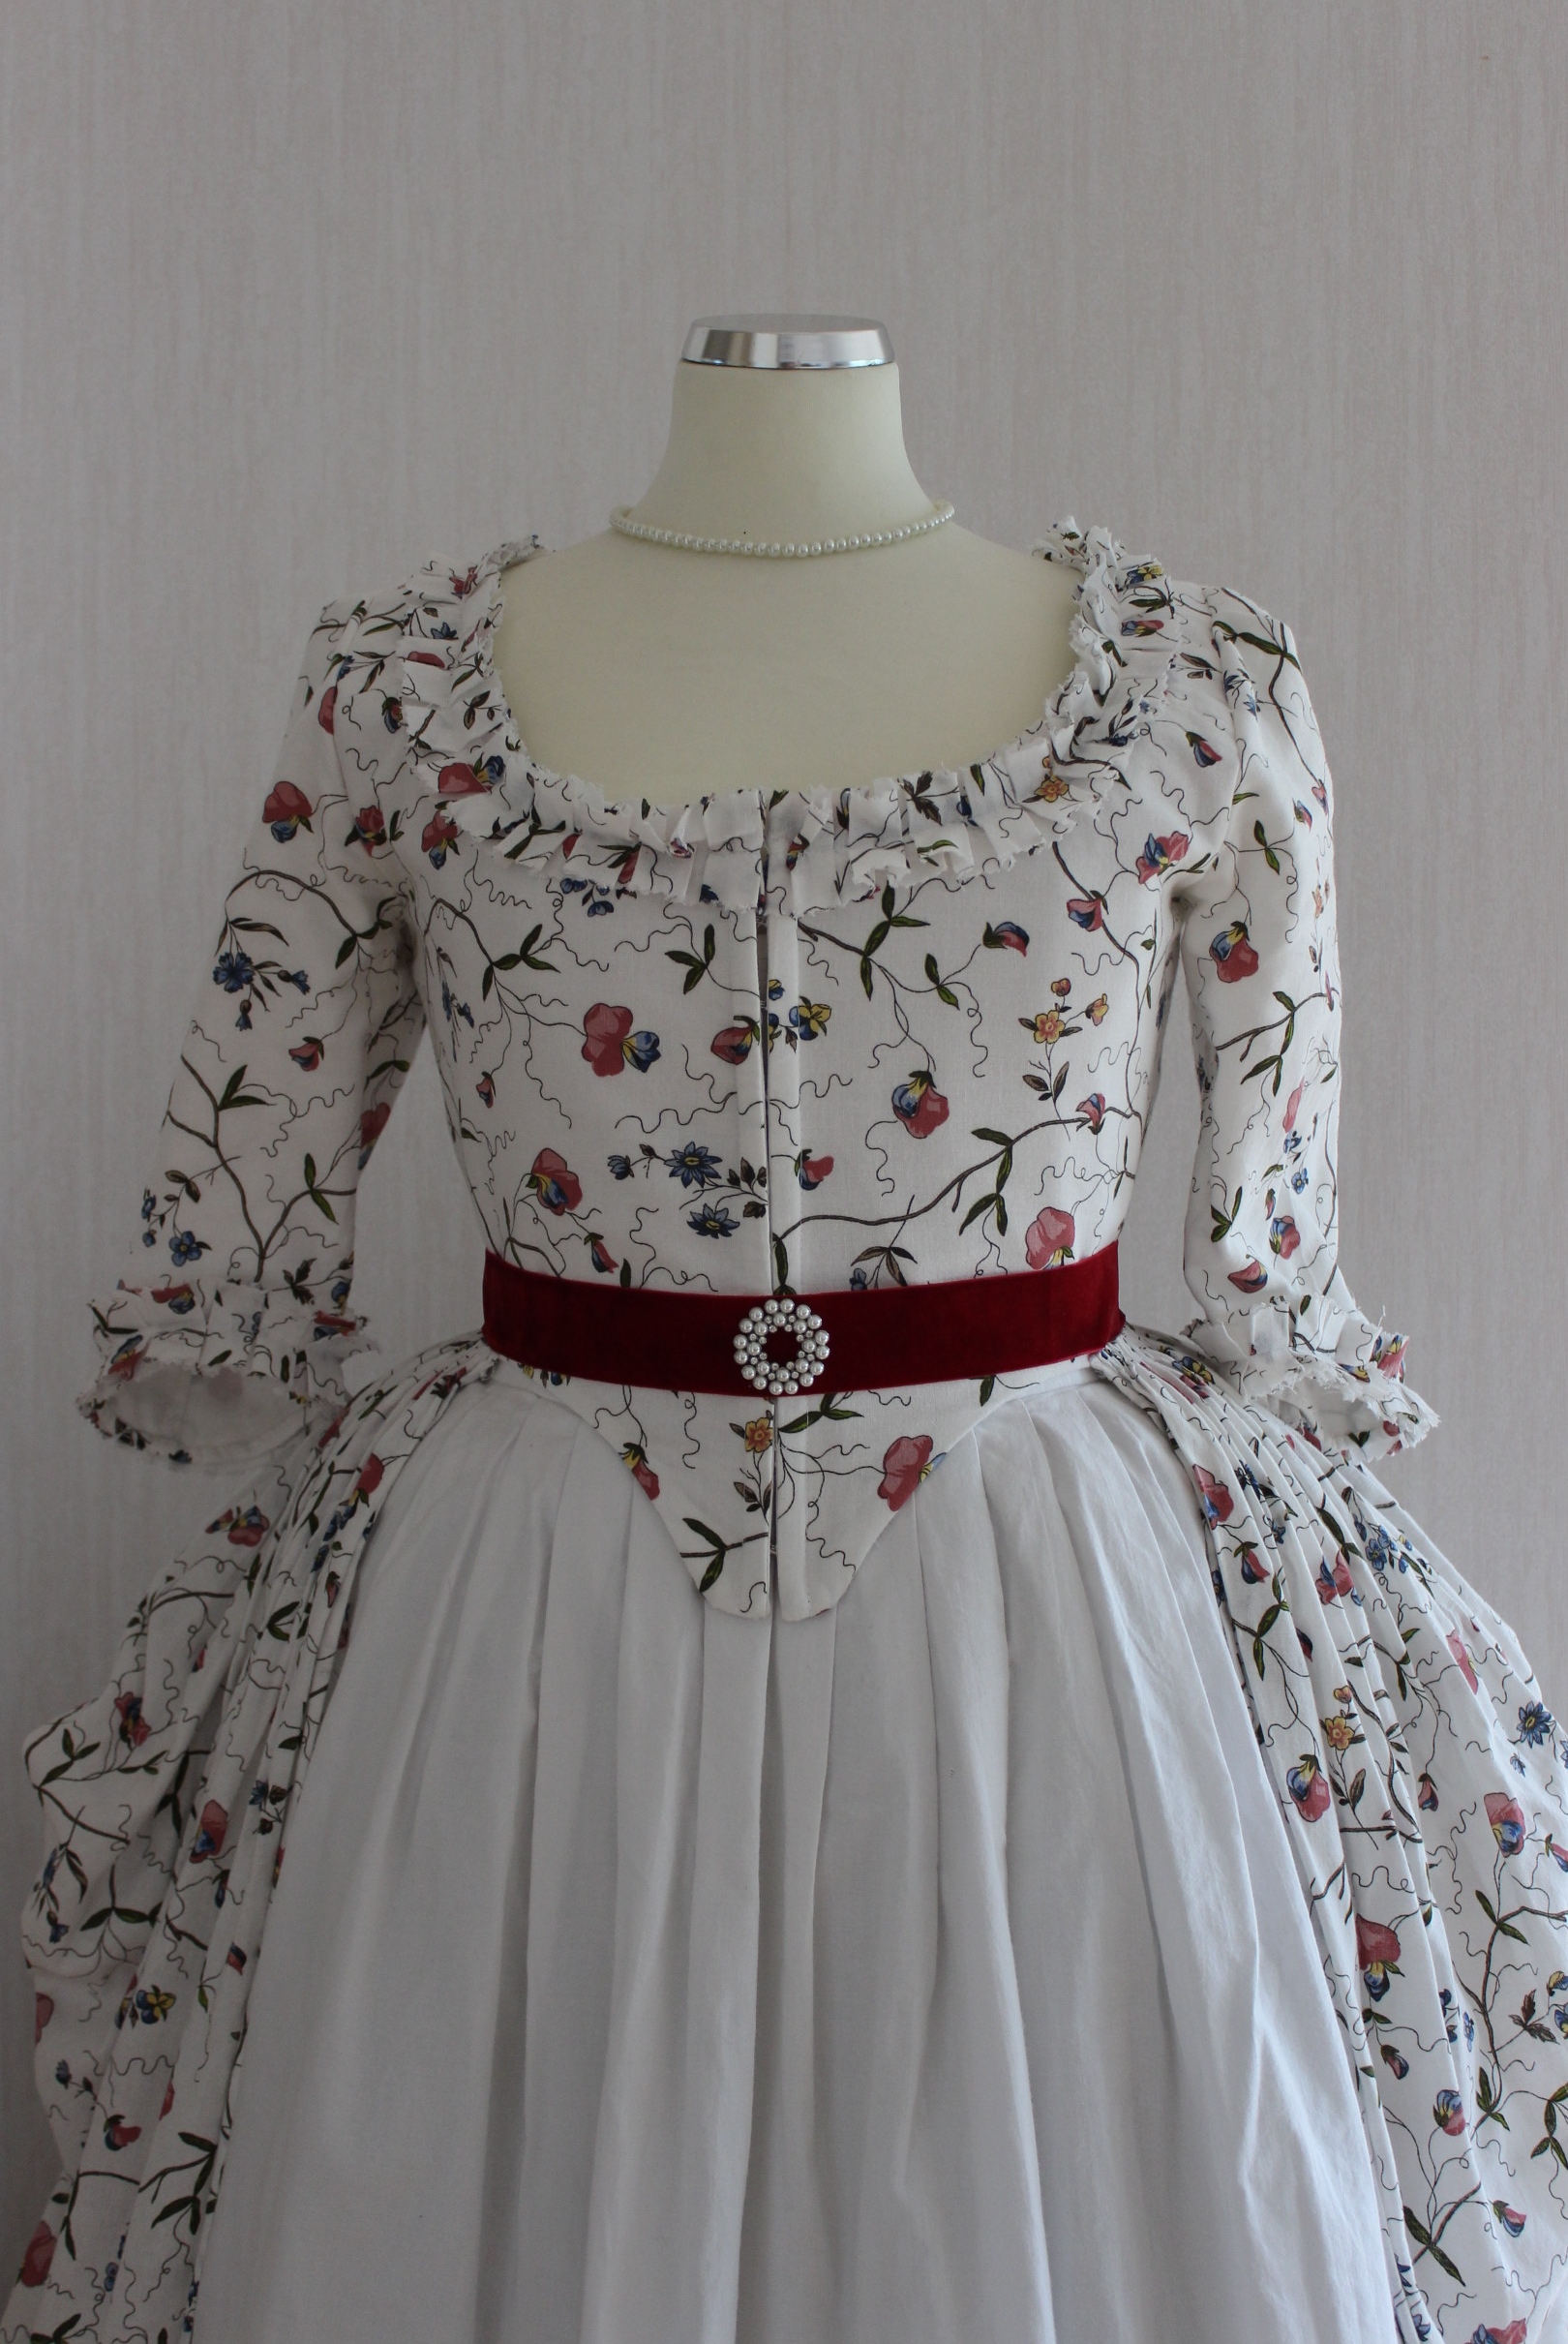
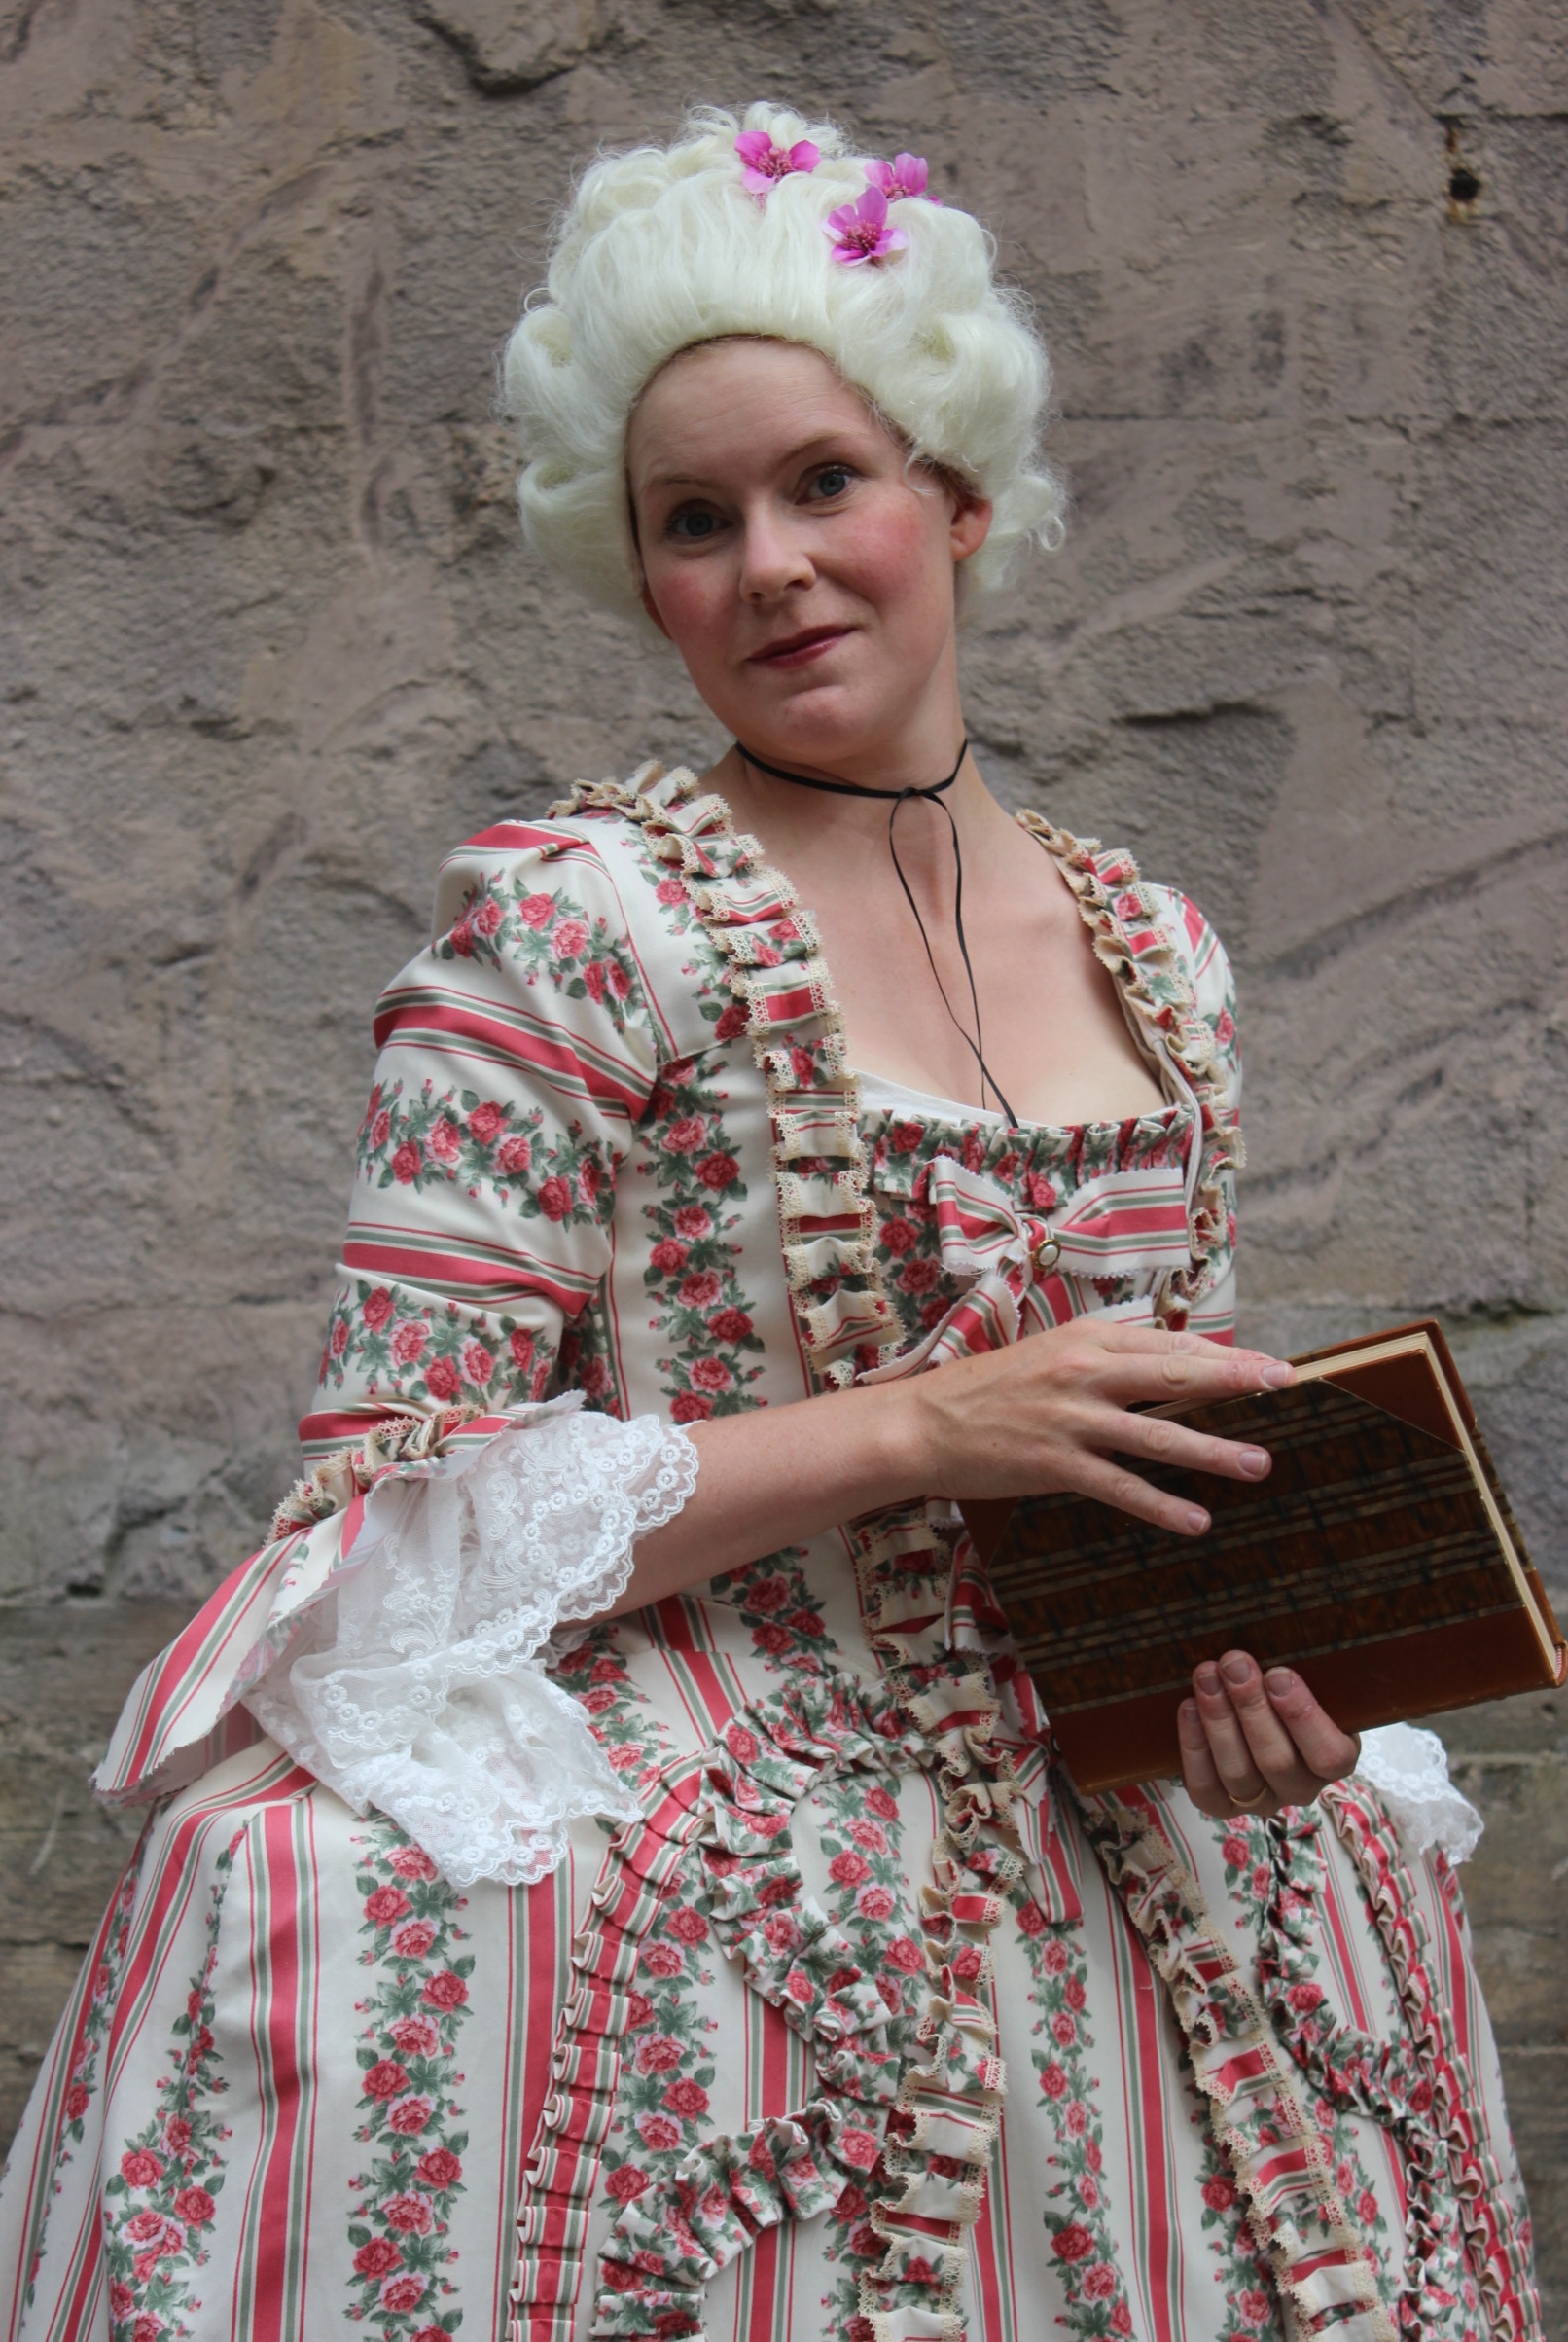
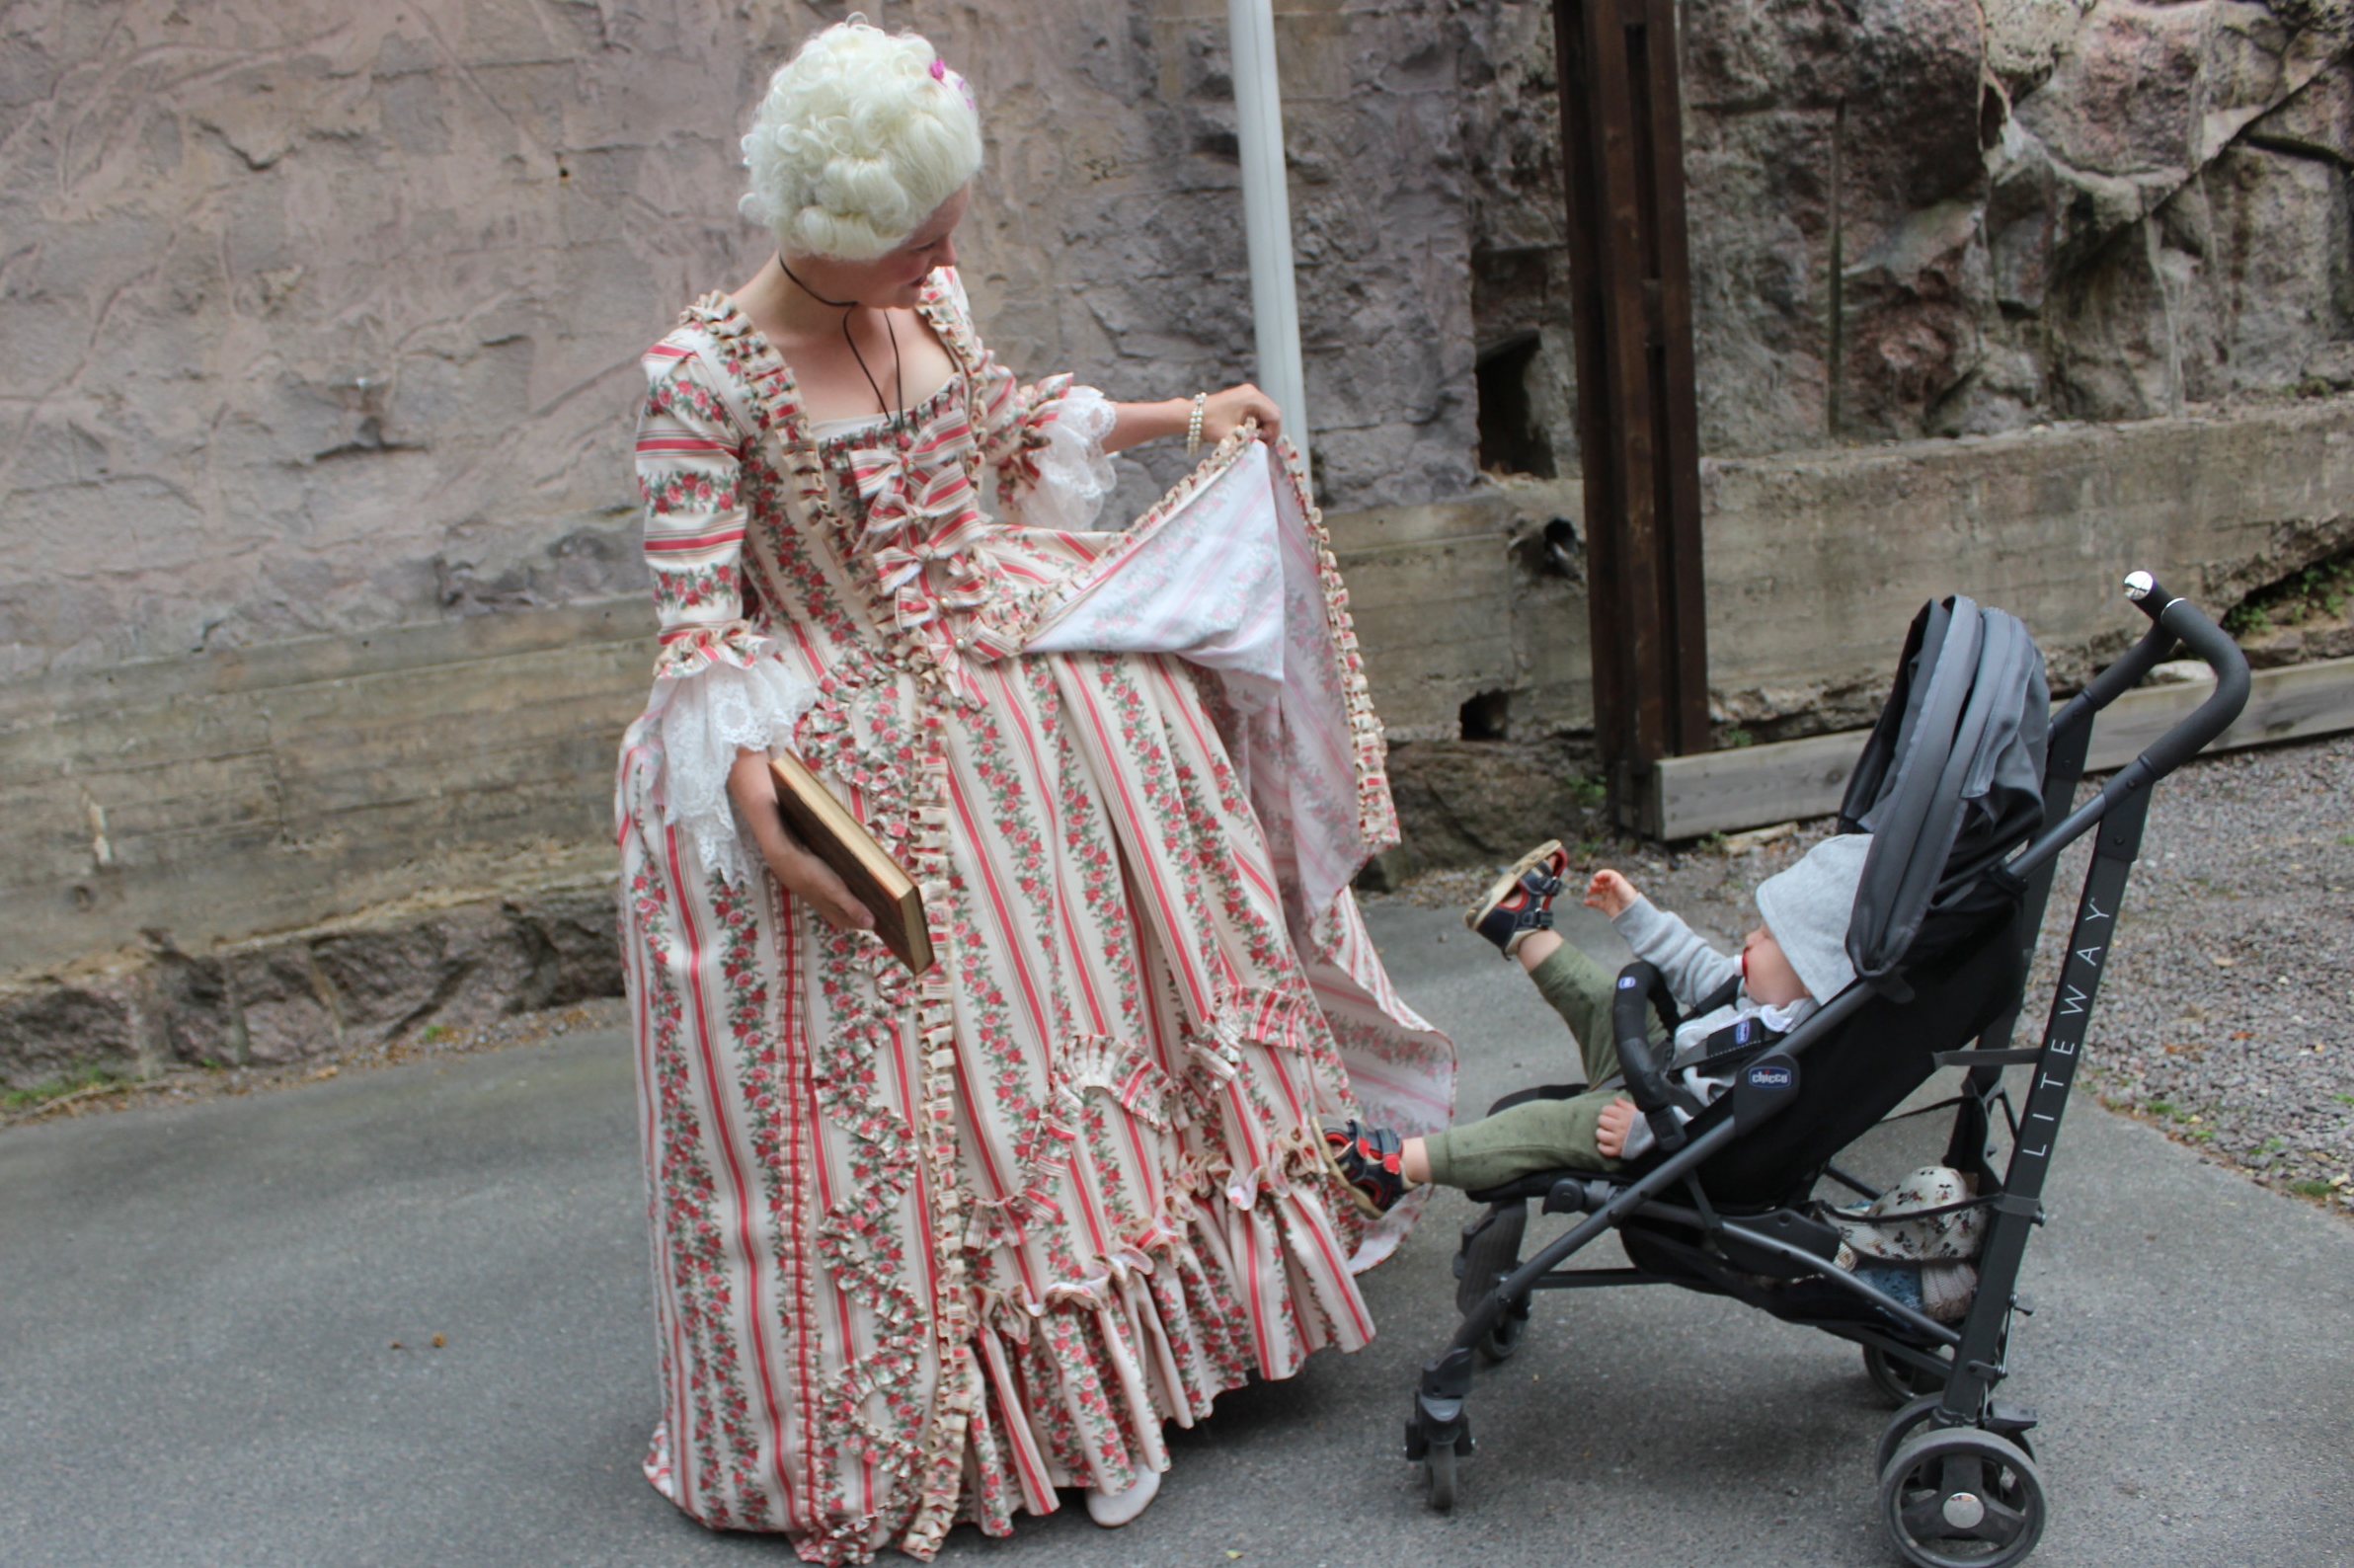
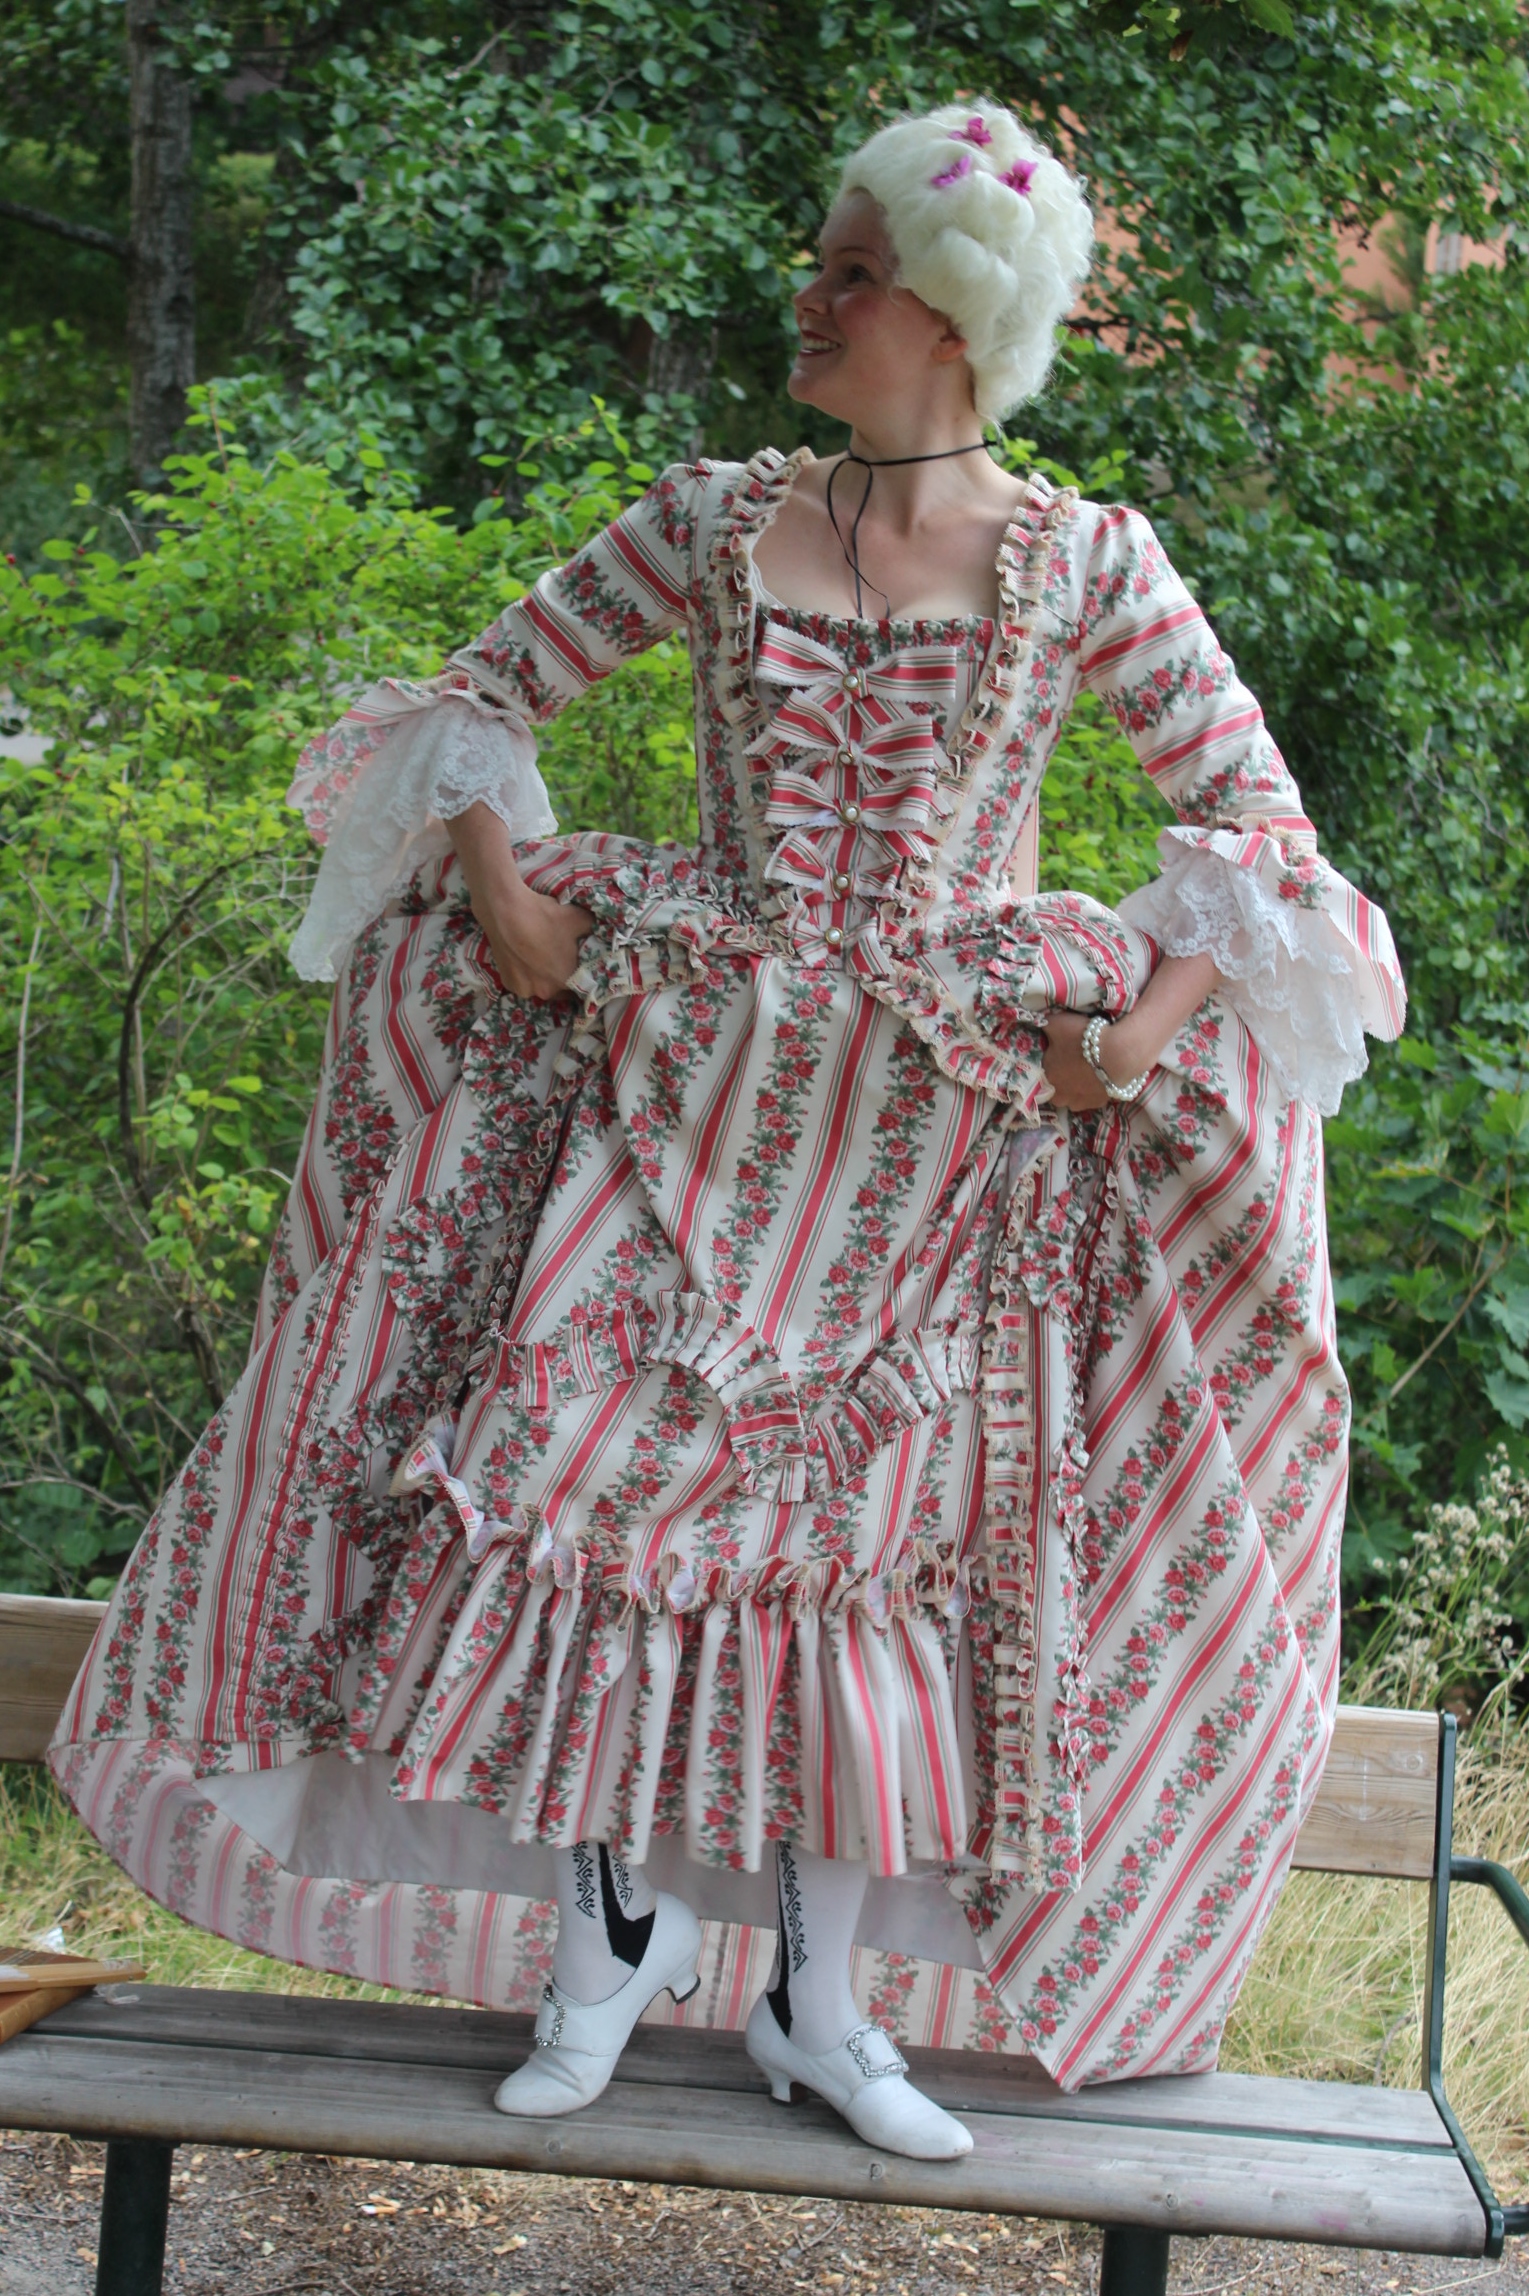
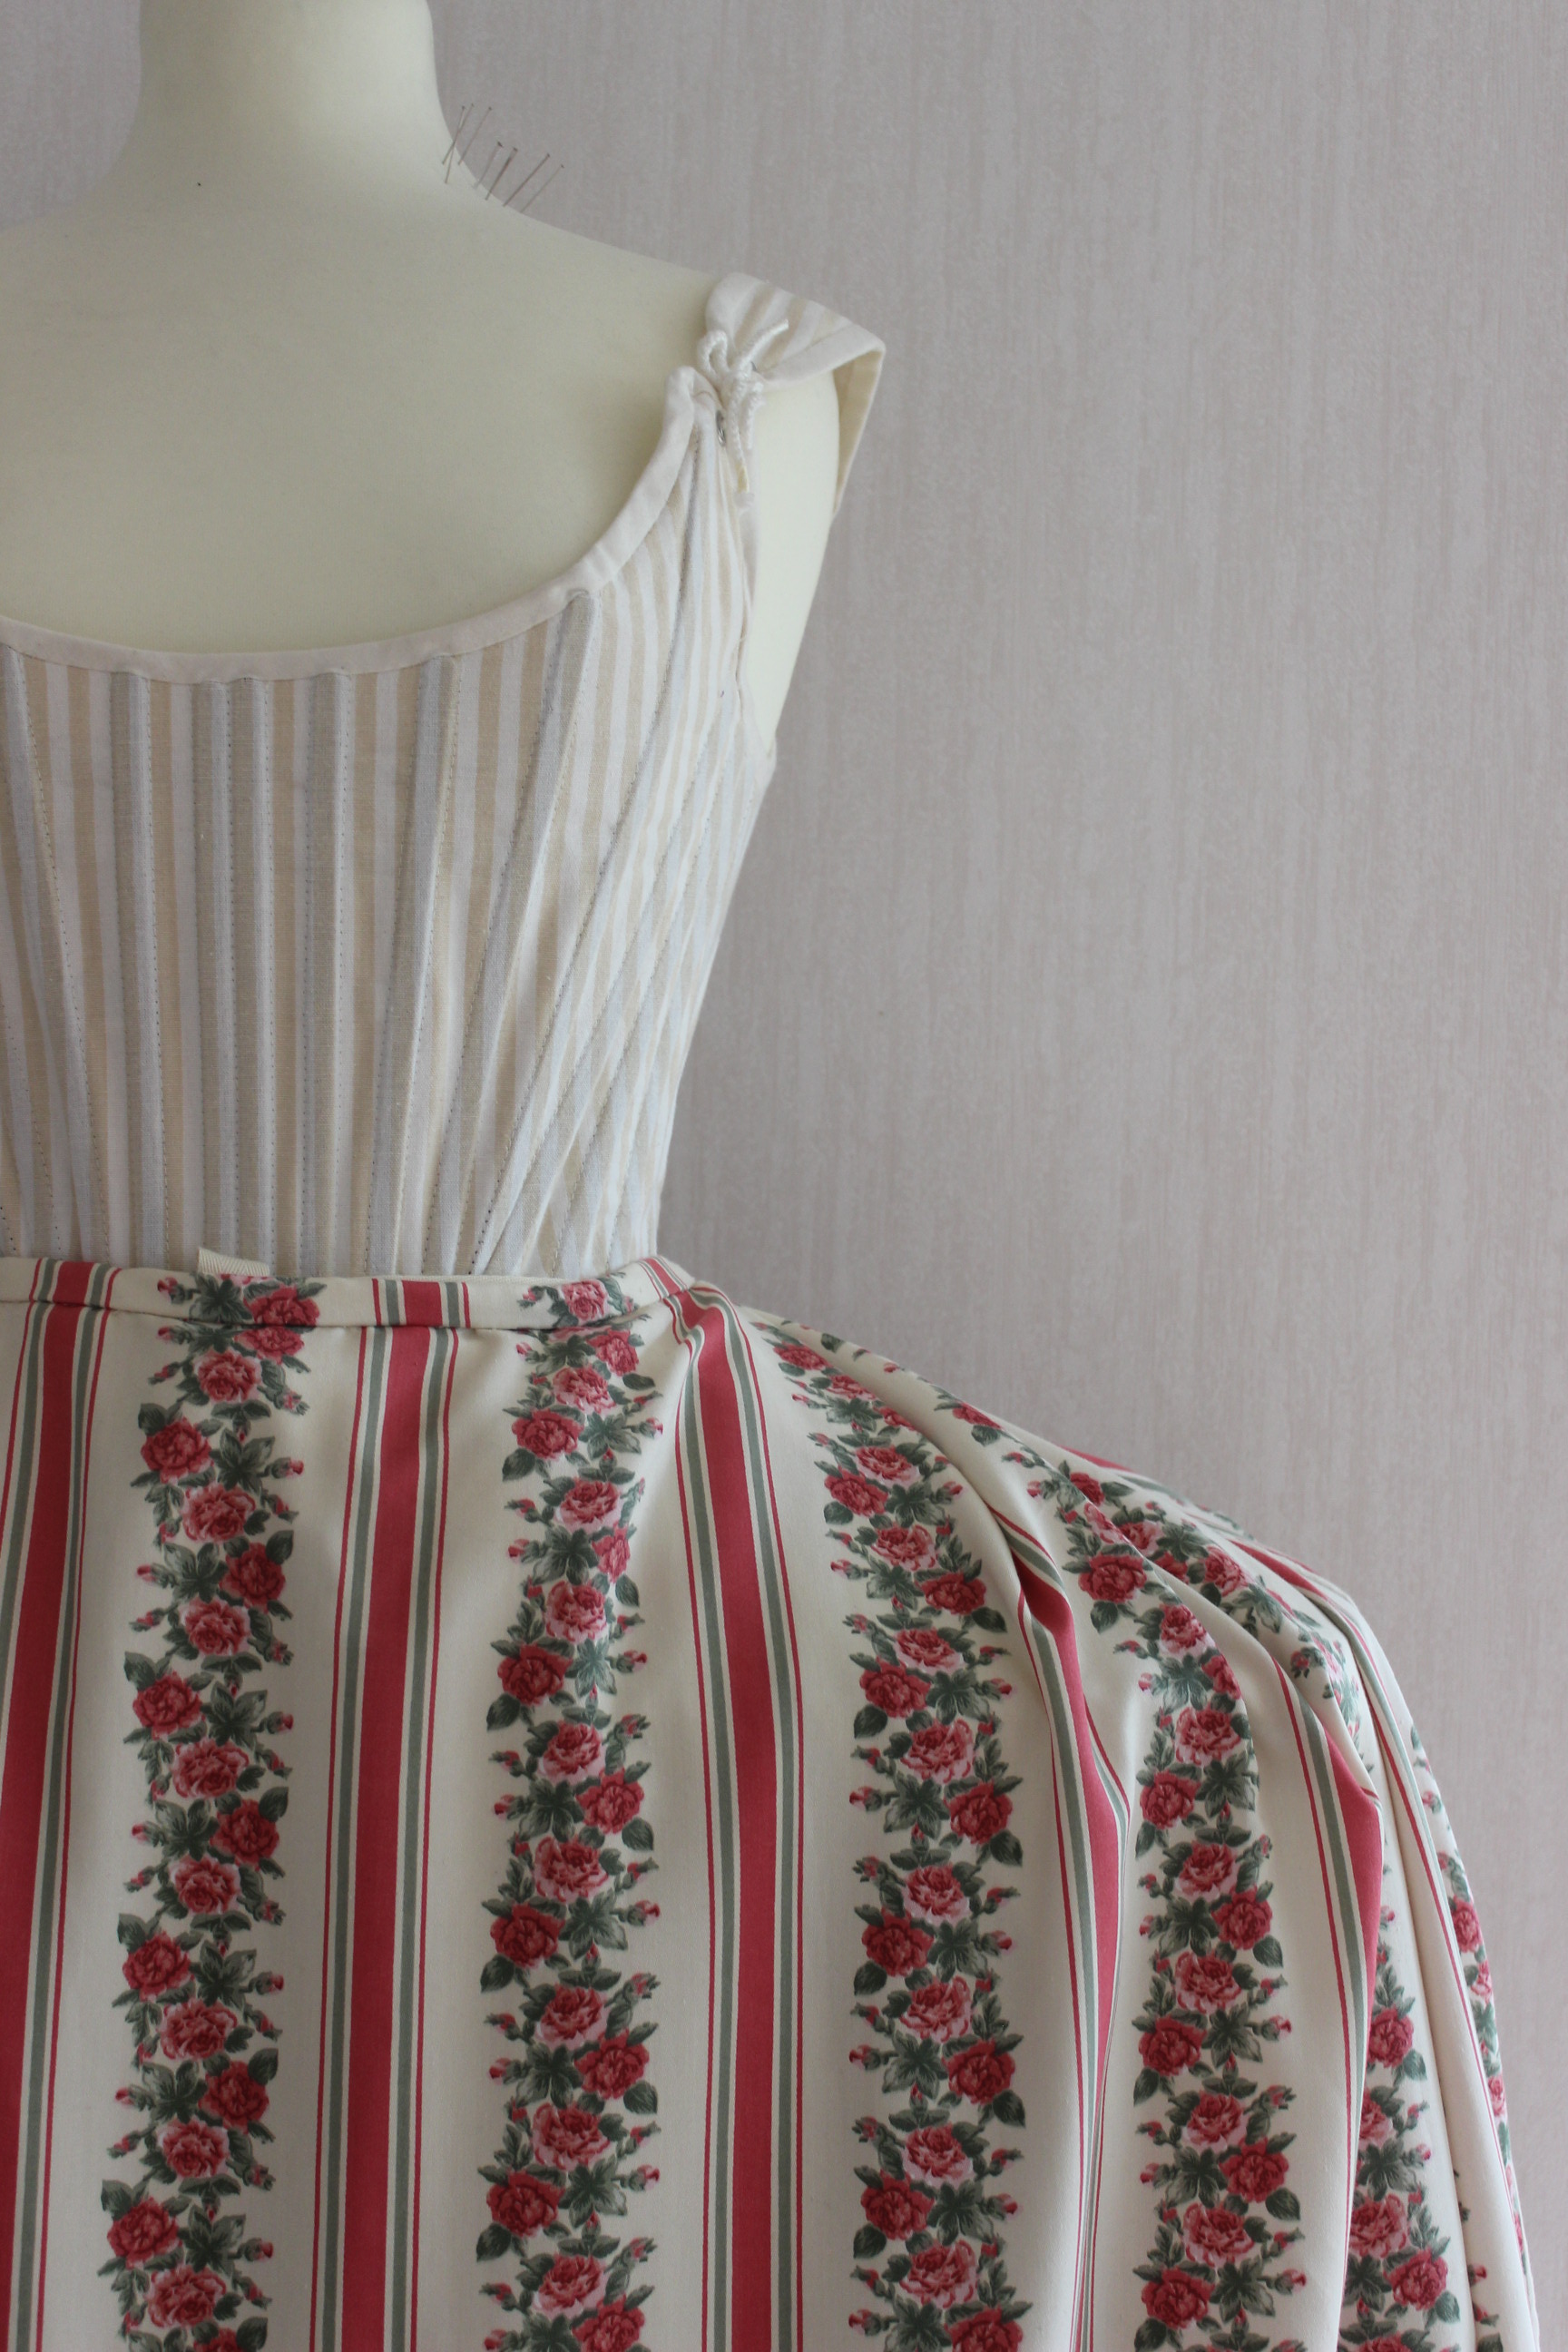
And then it was done (and I even had a *whole night to spare before the event) Worn with a white fichu, petticoat and cap as it would during the light party.
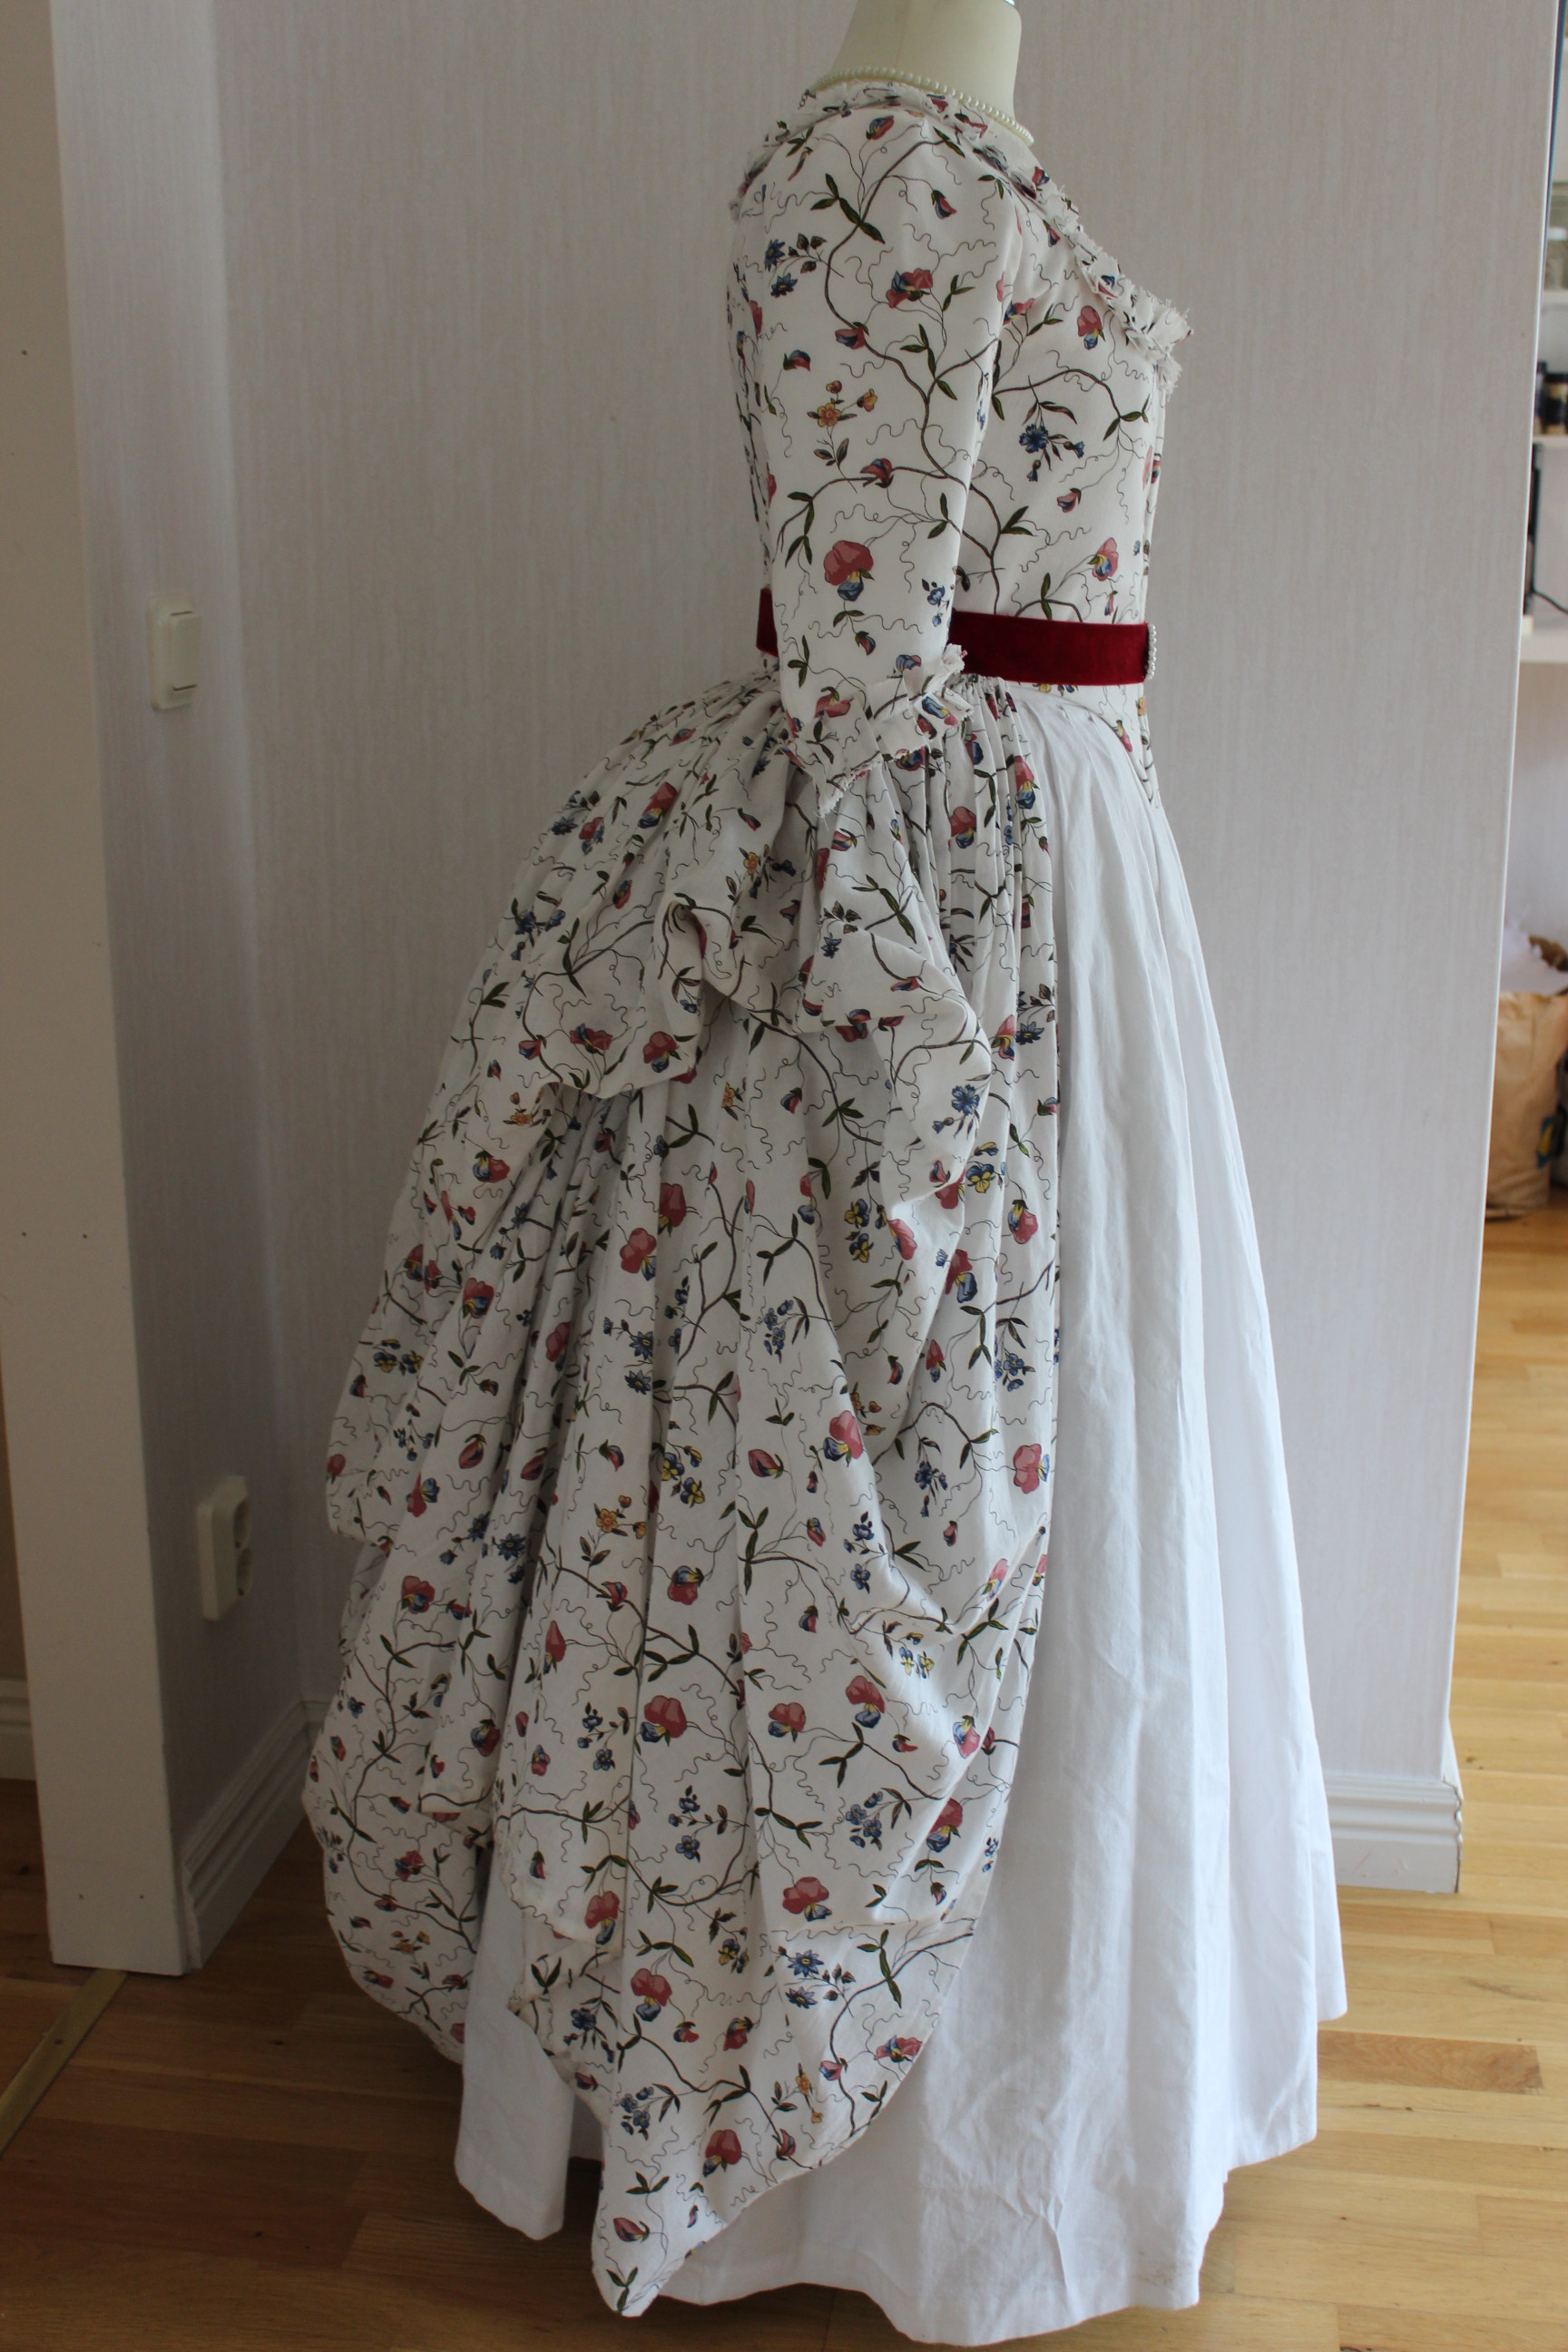
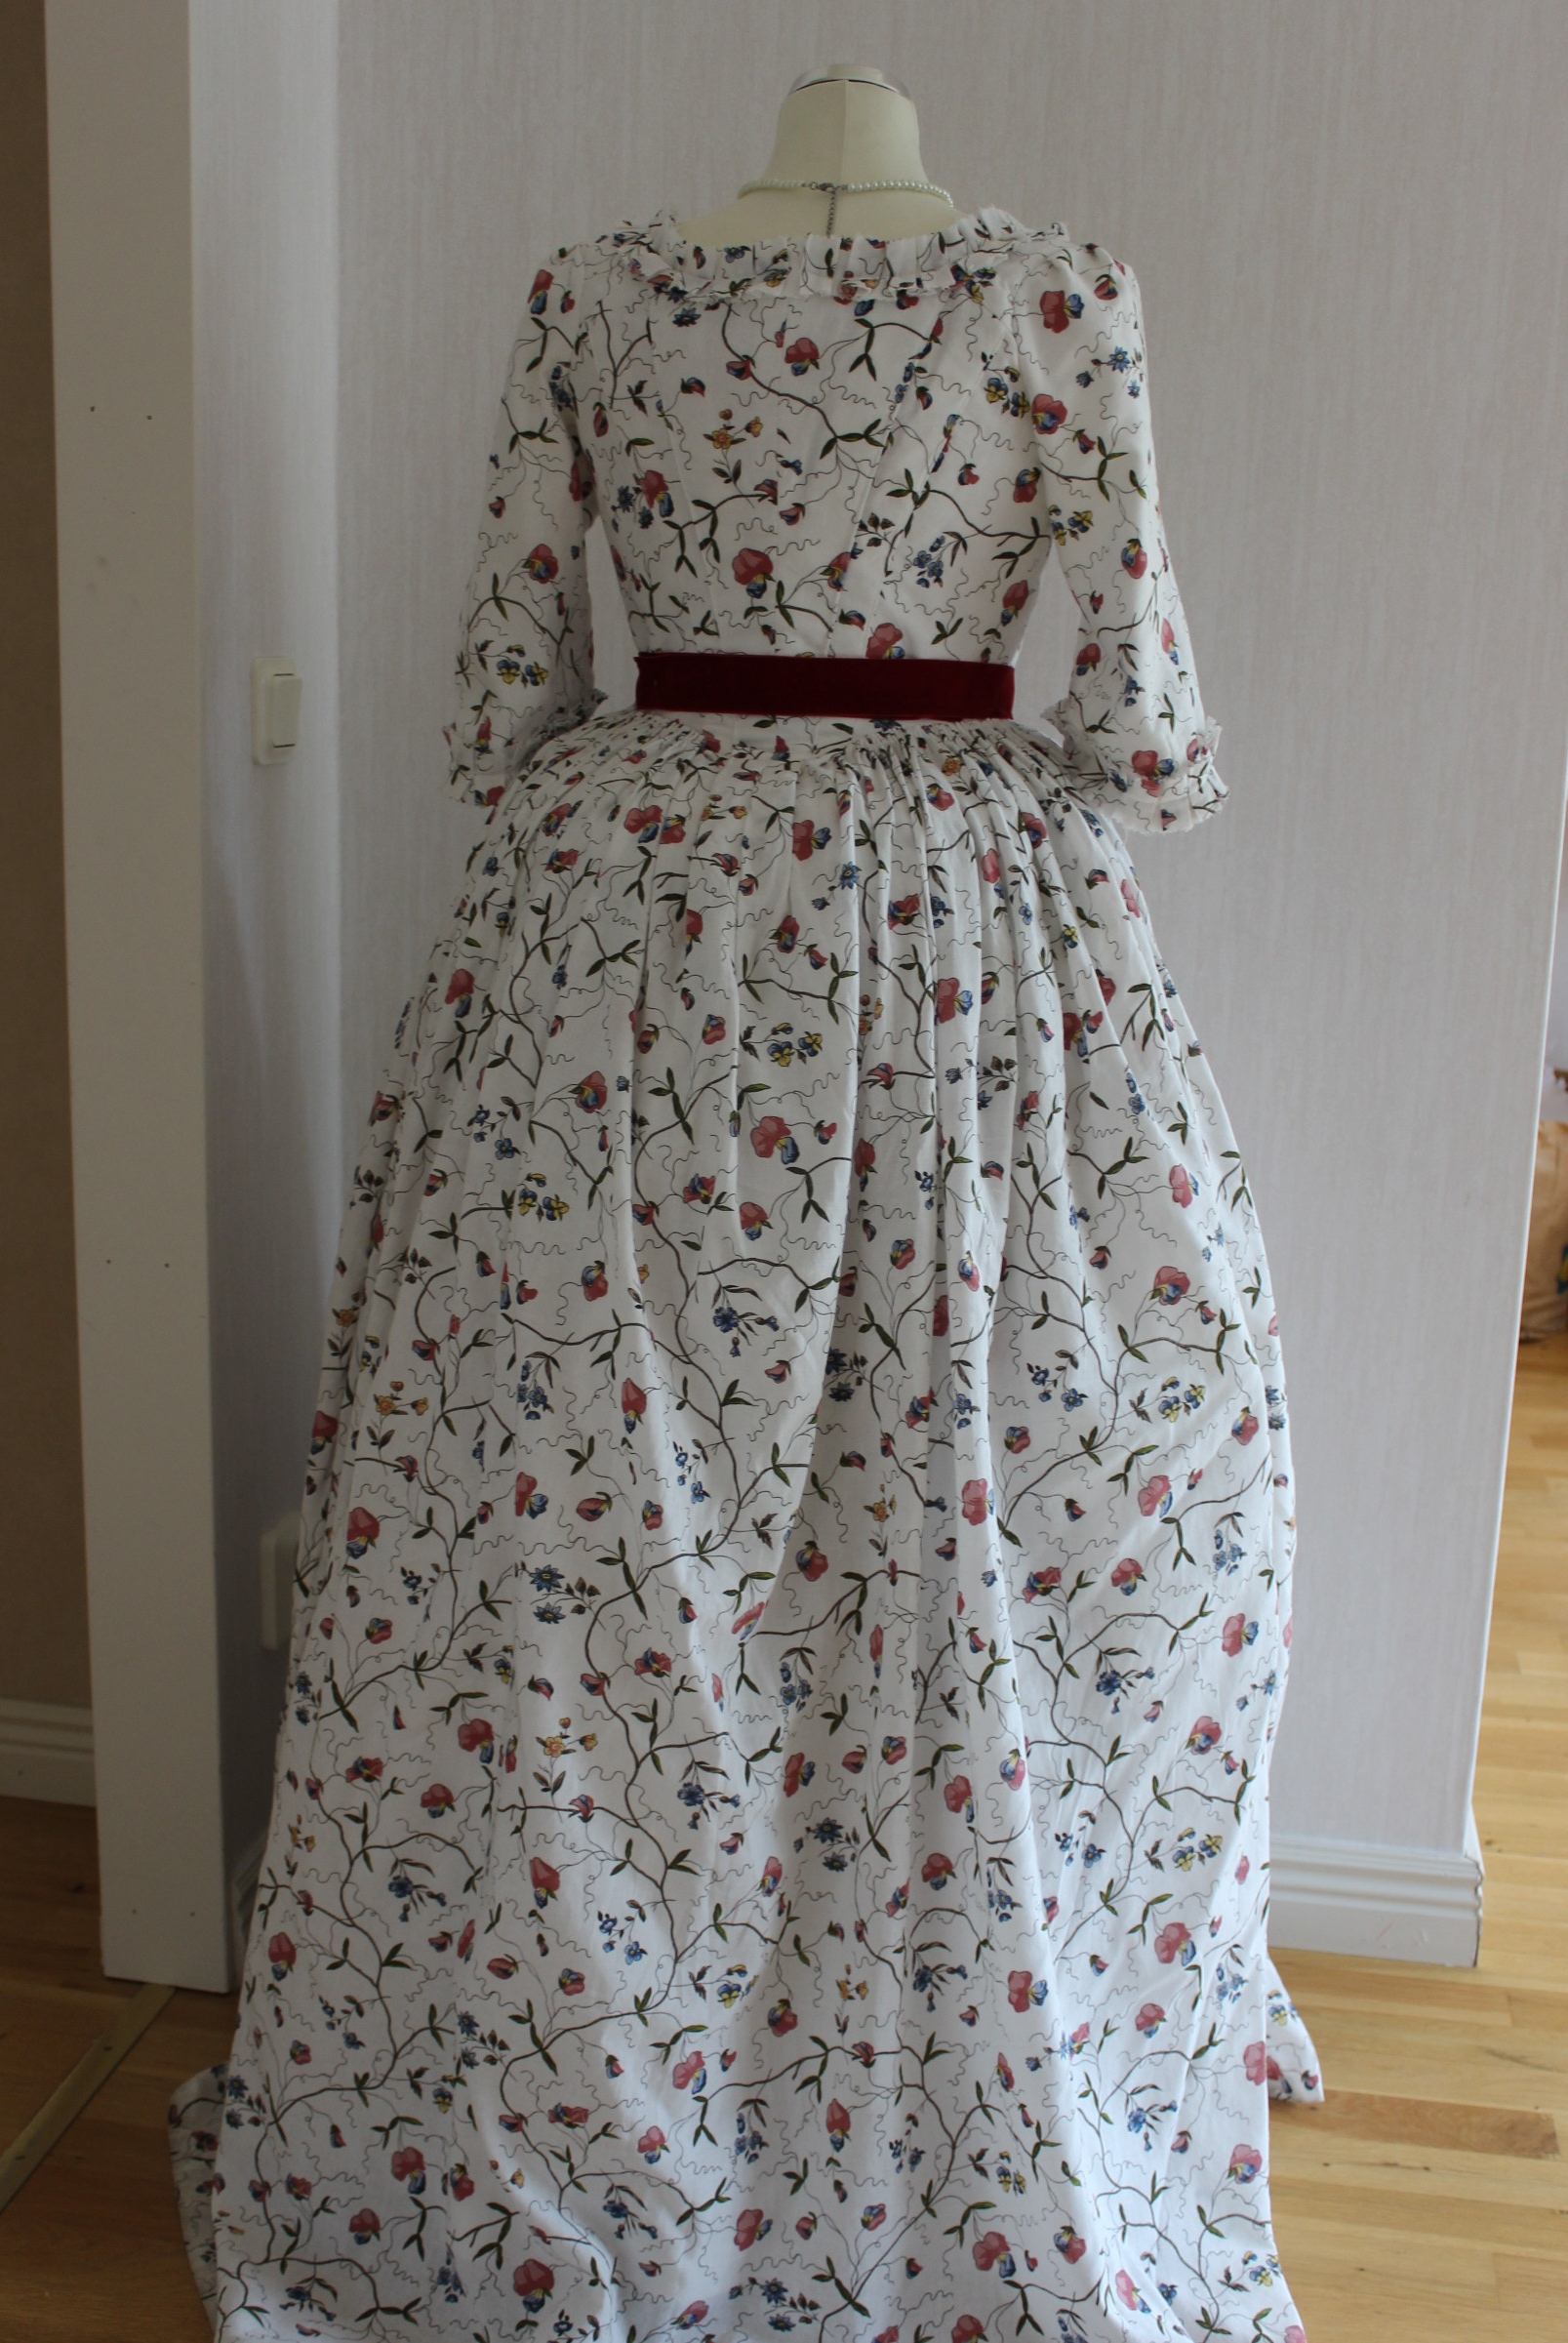
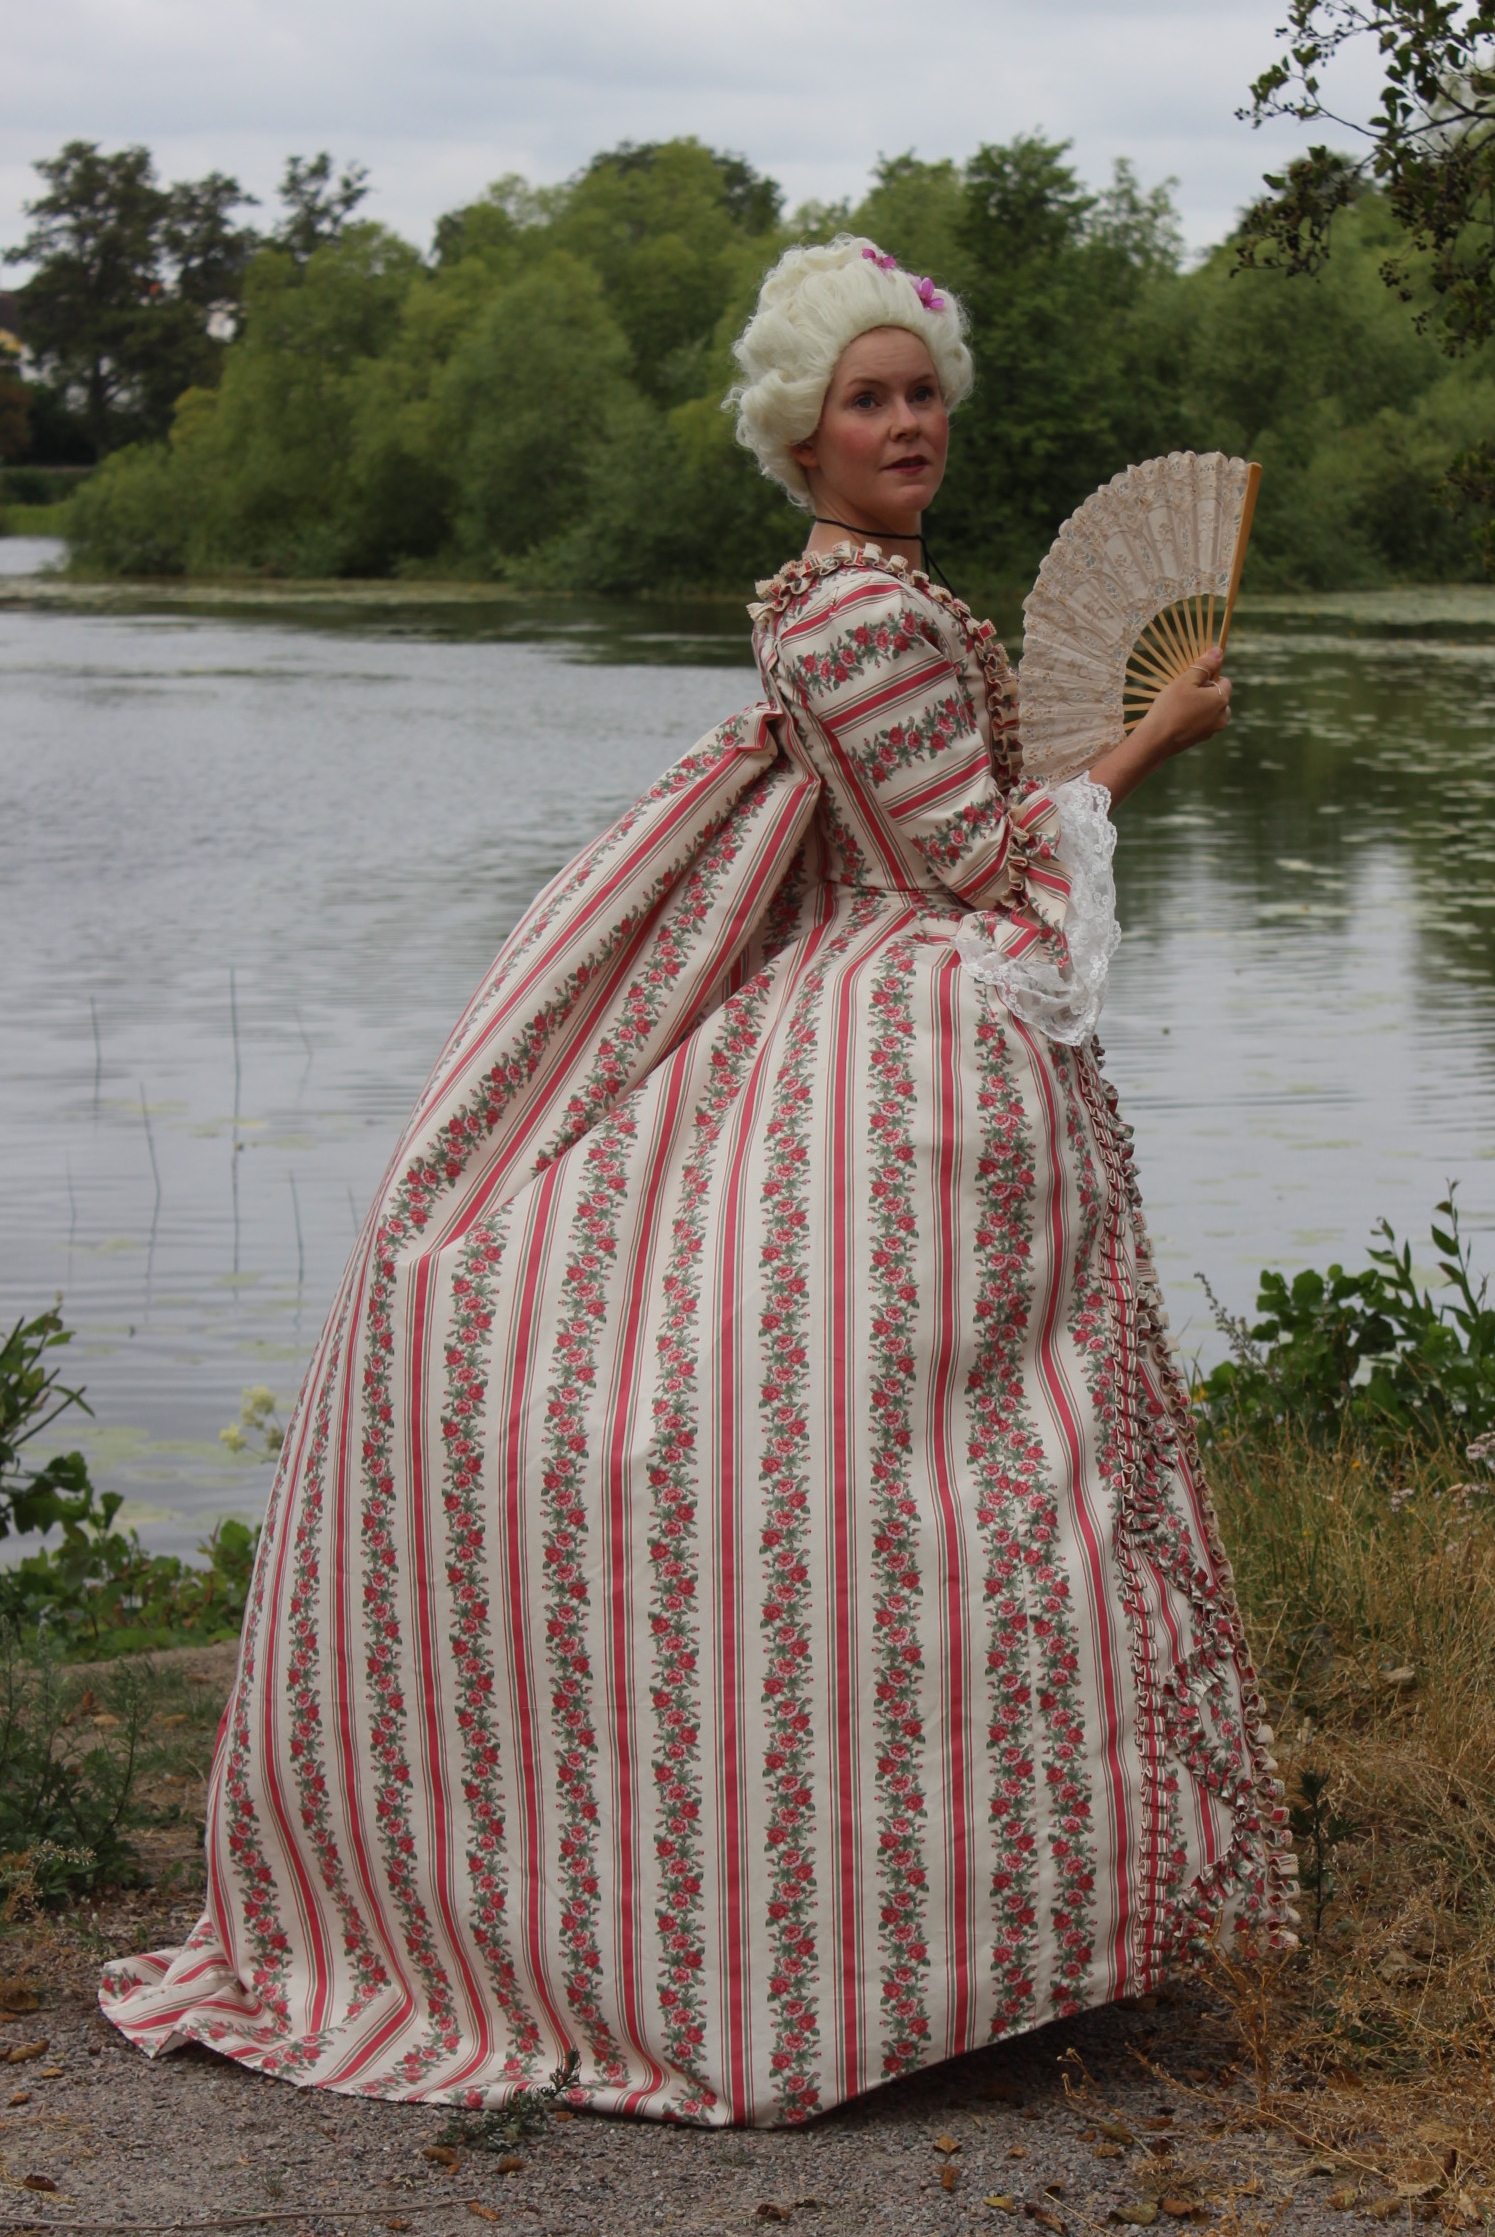
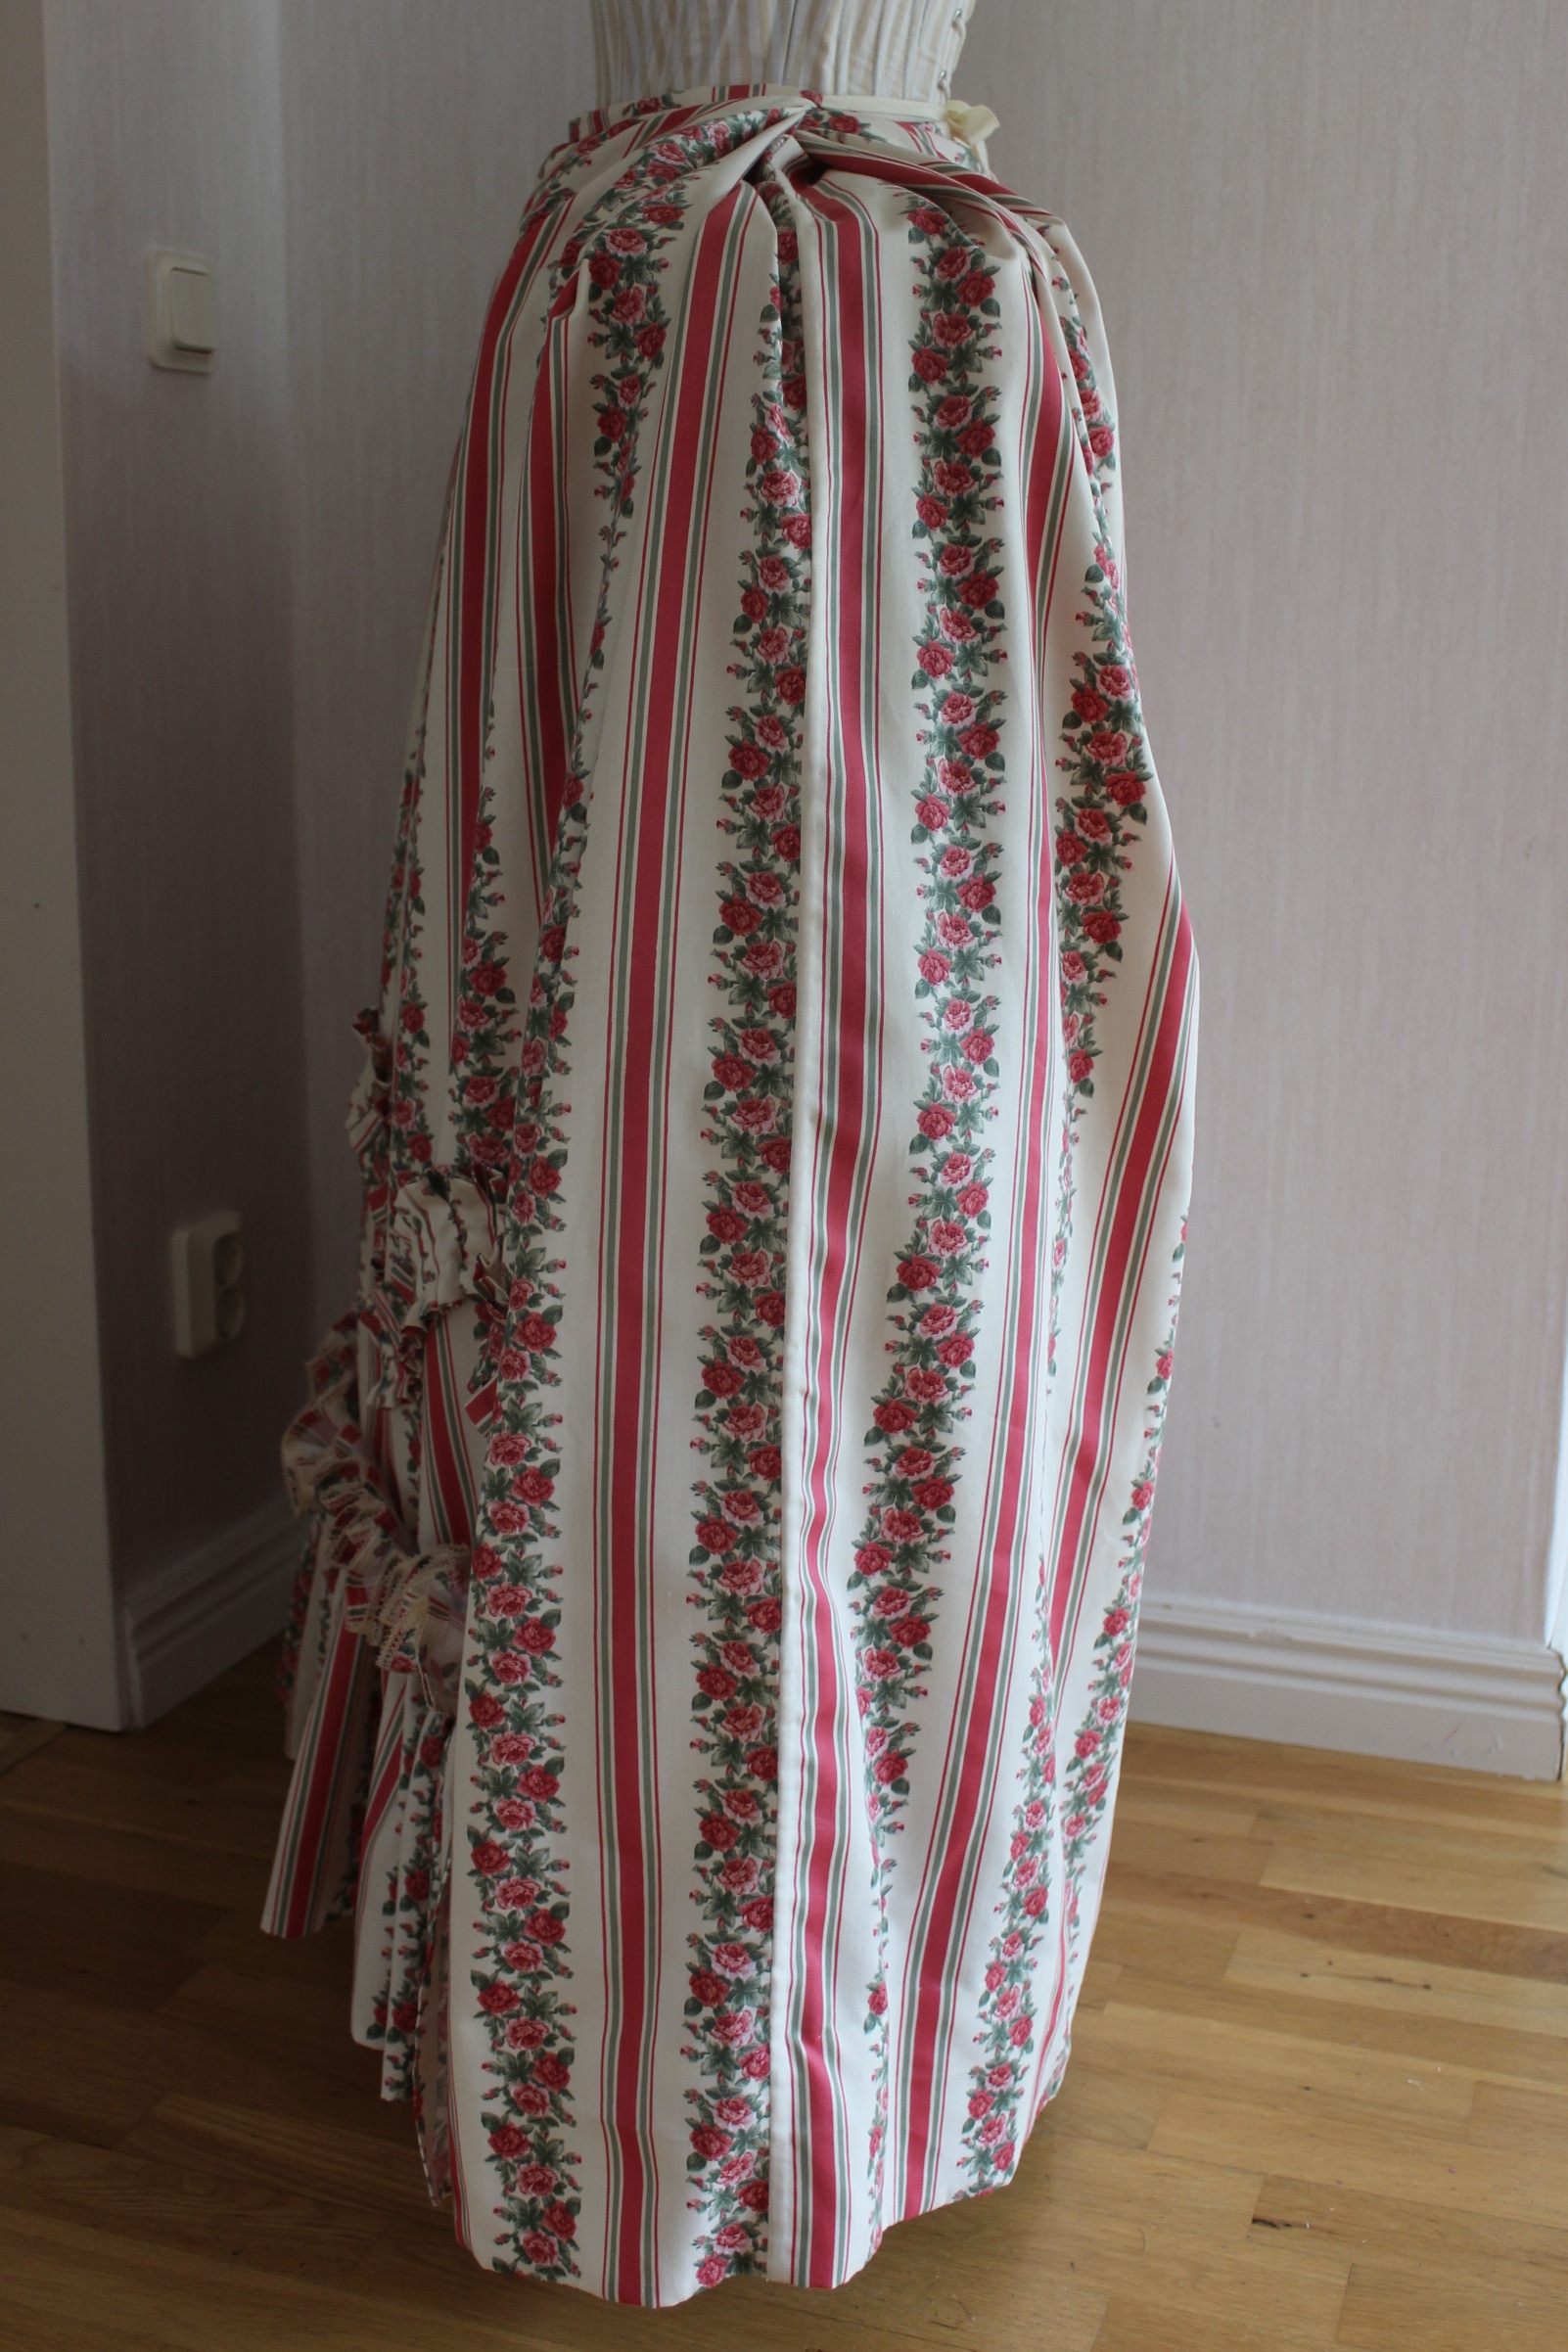
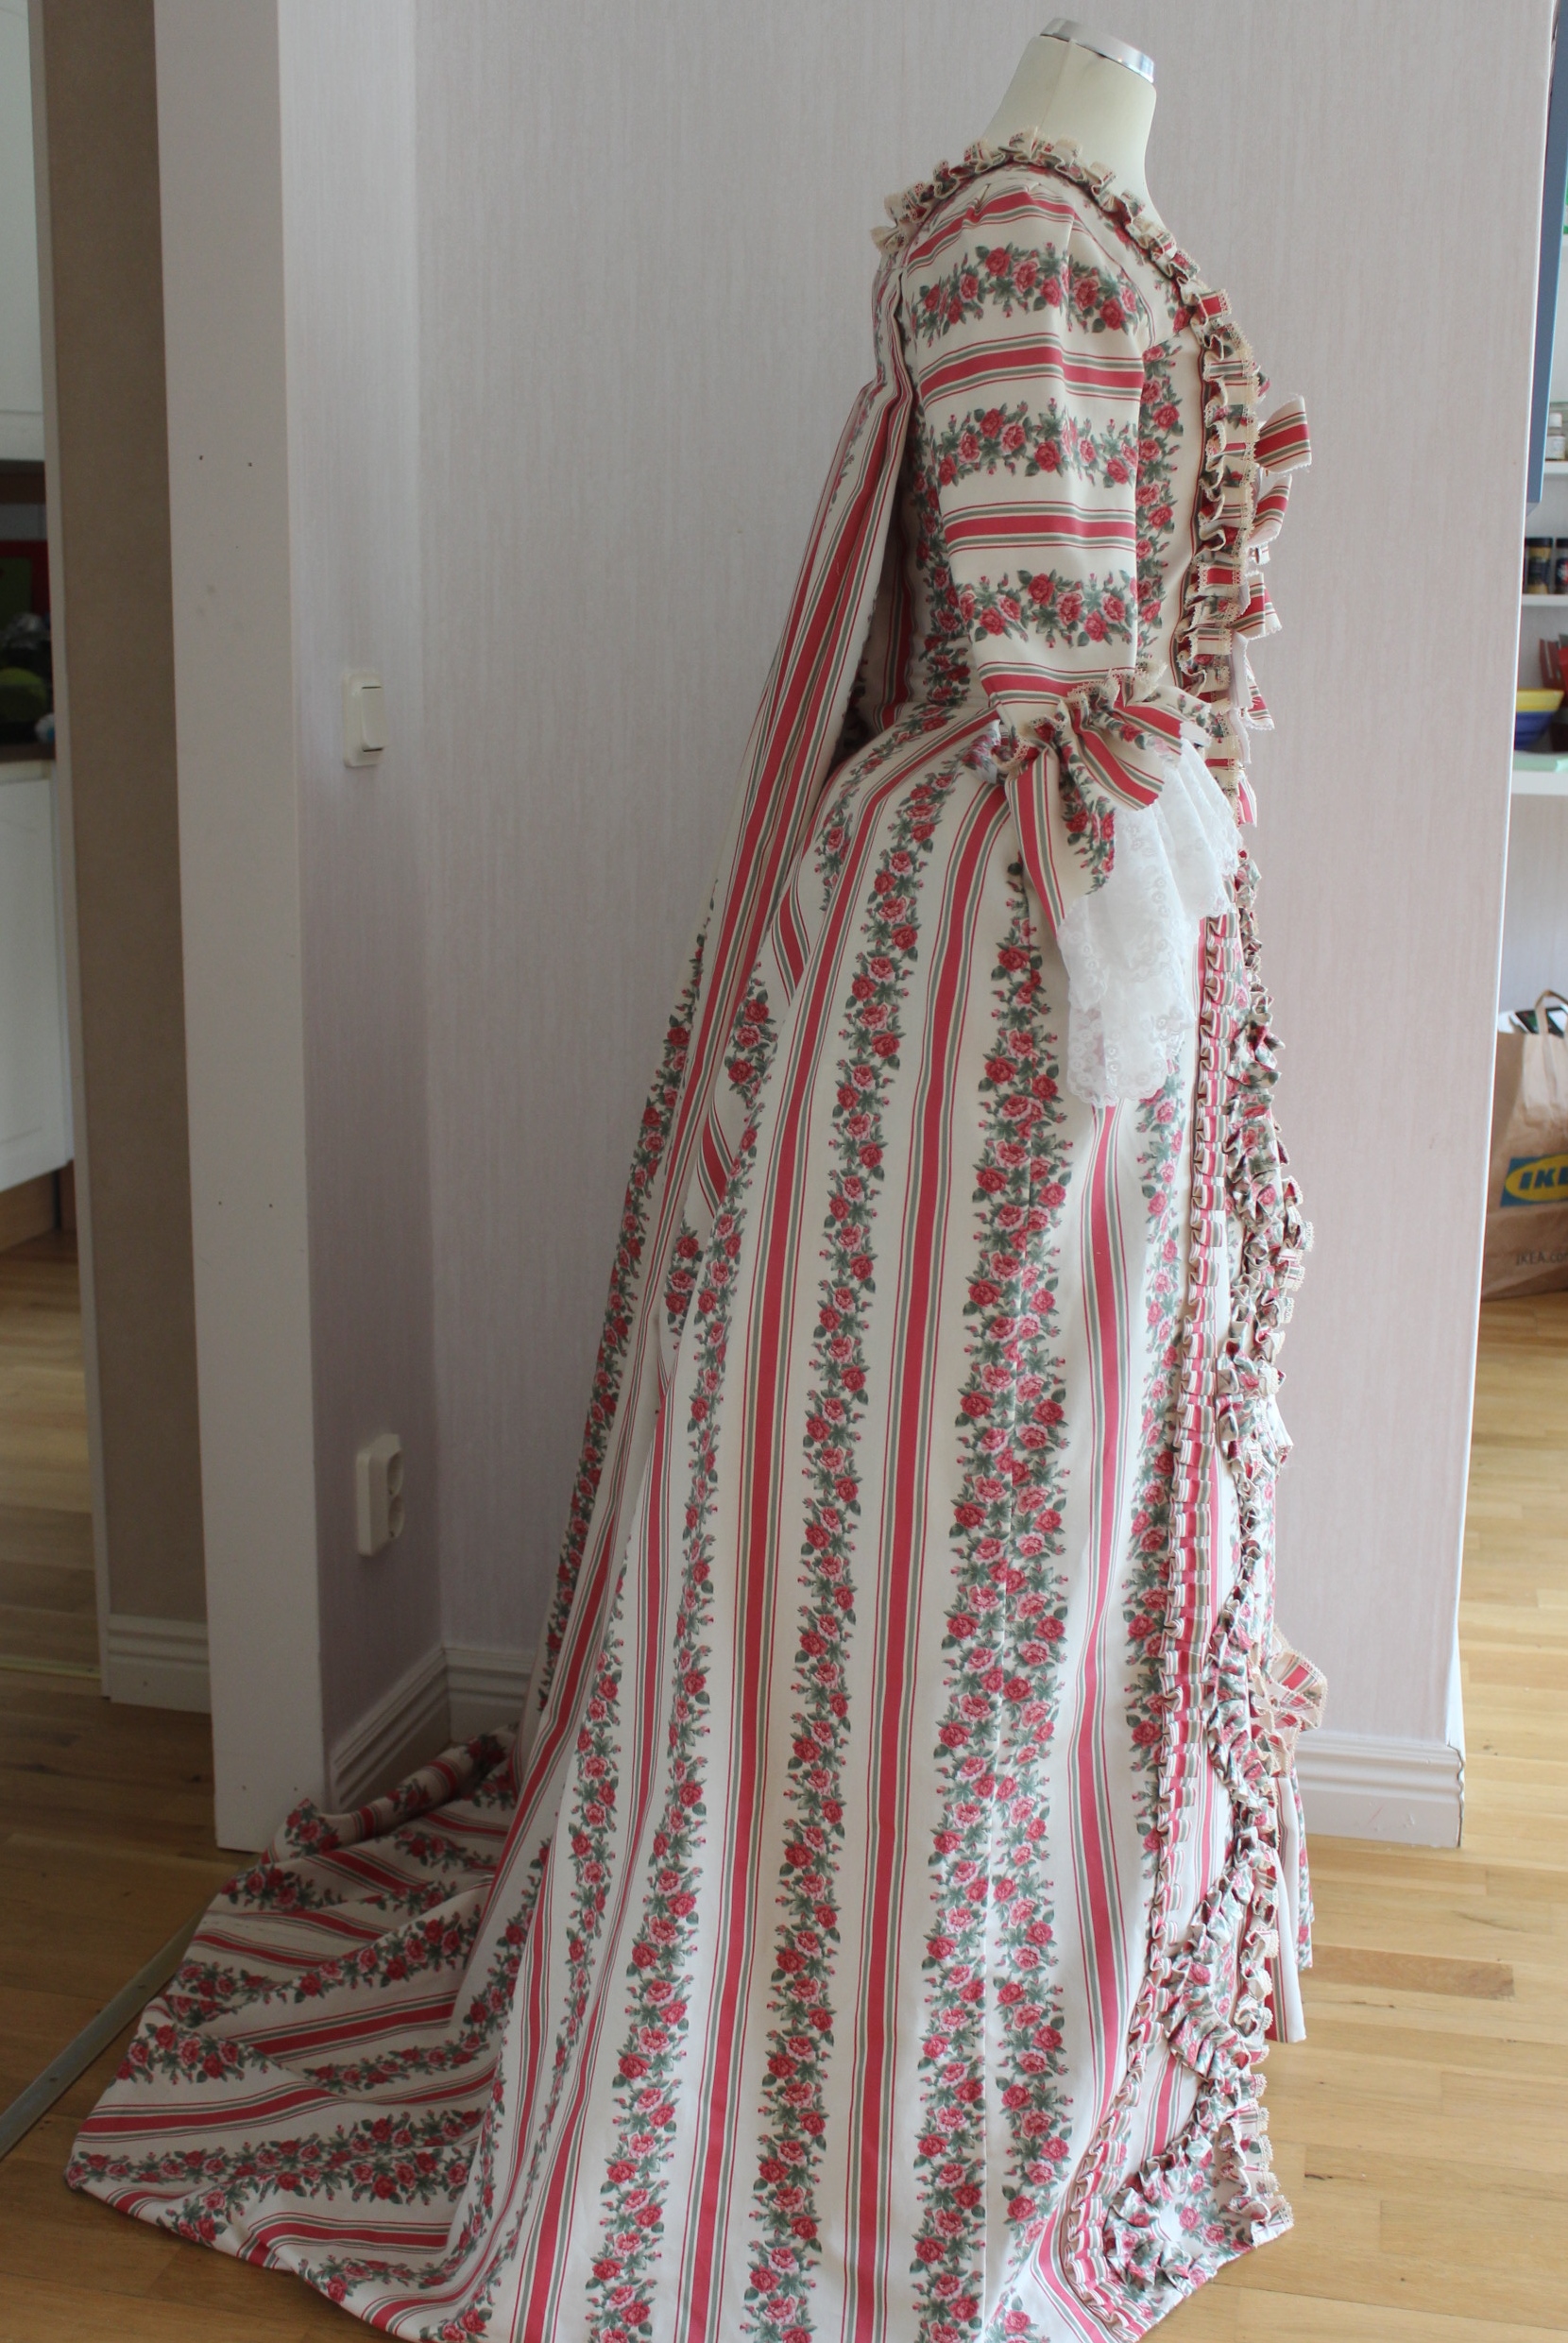
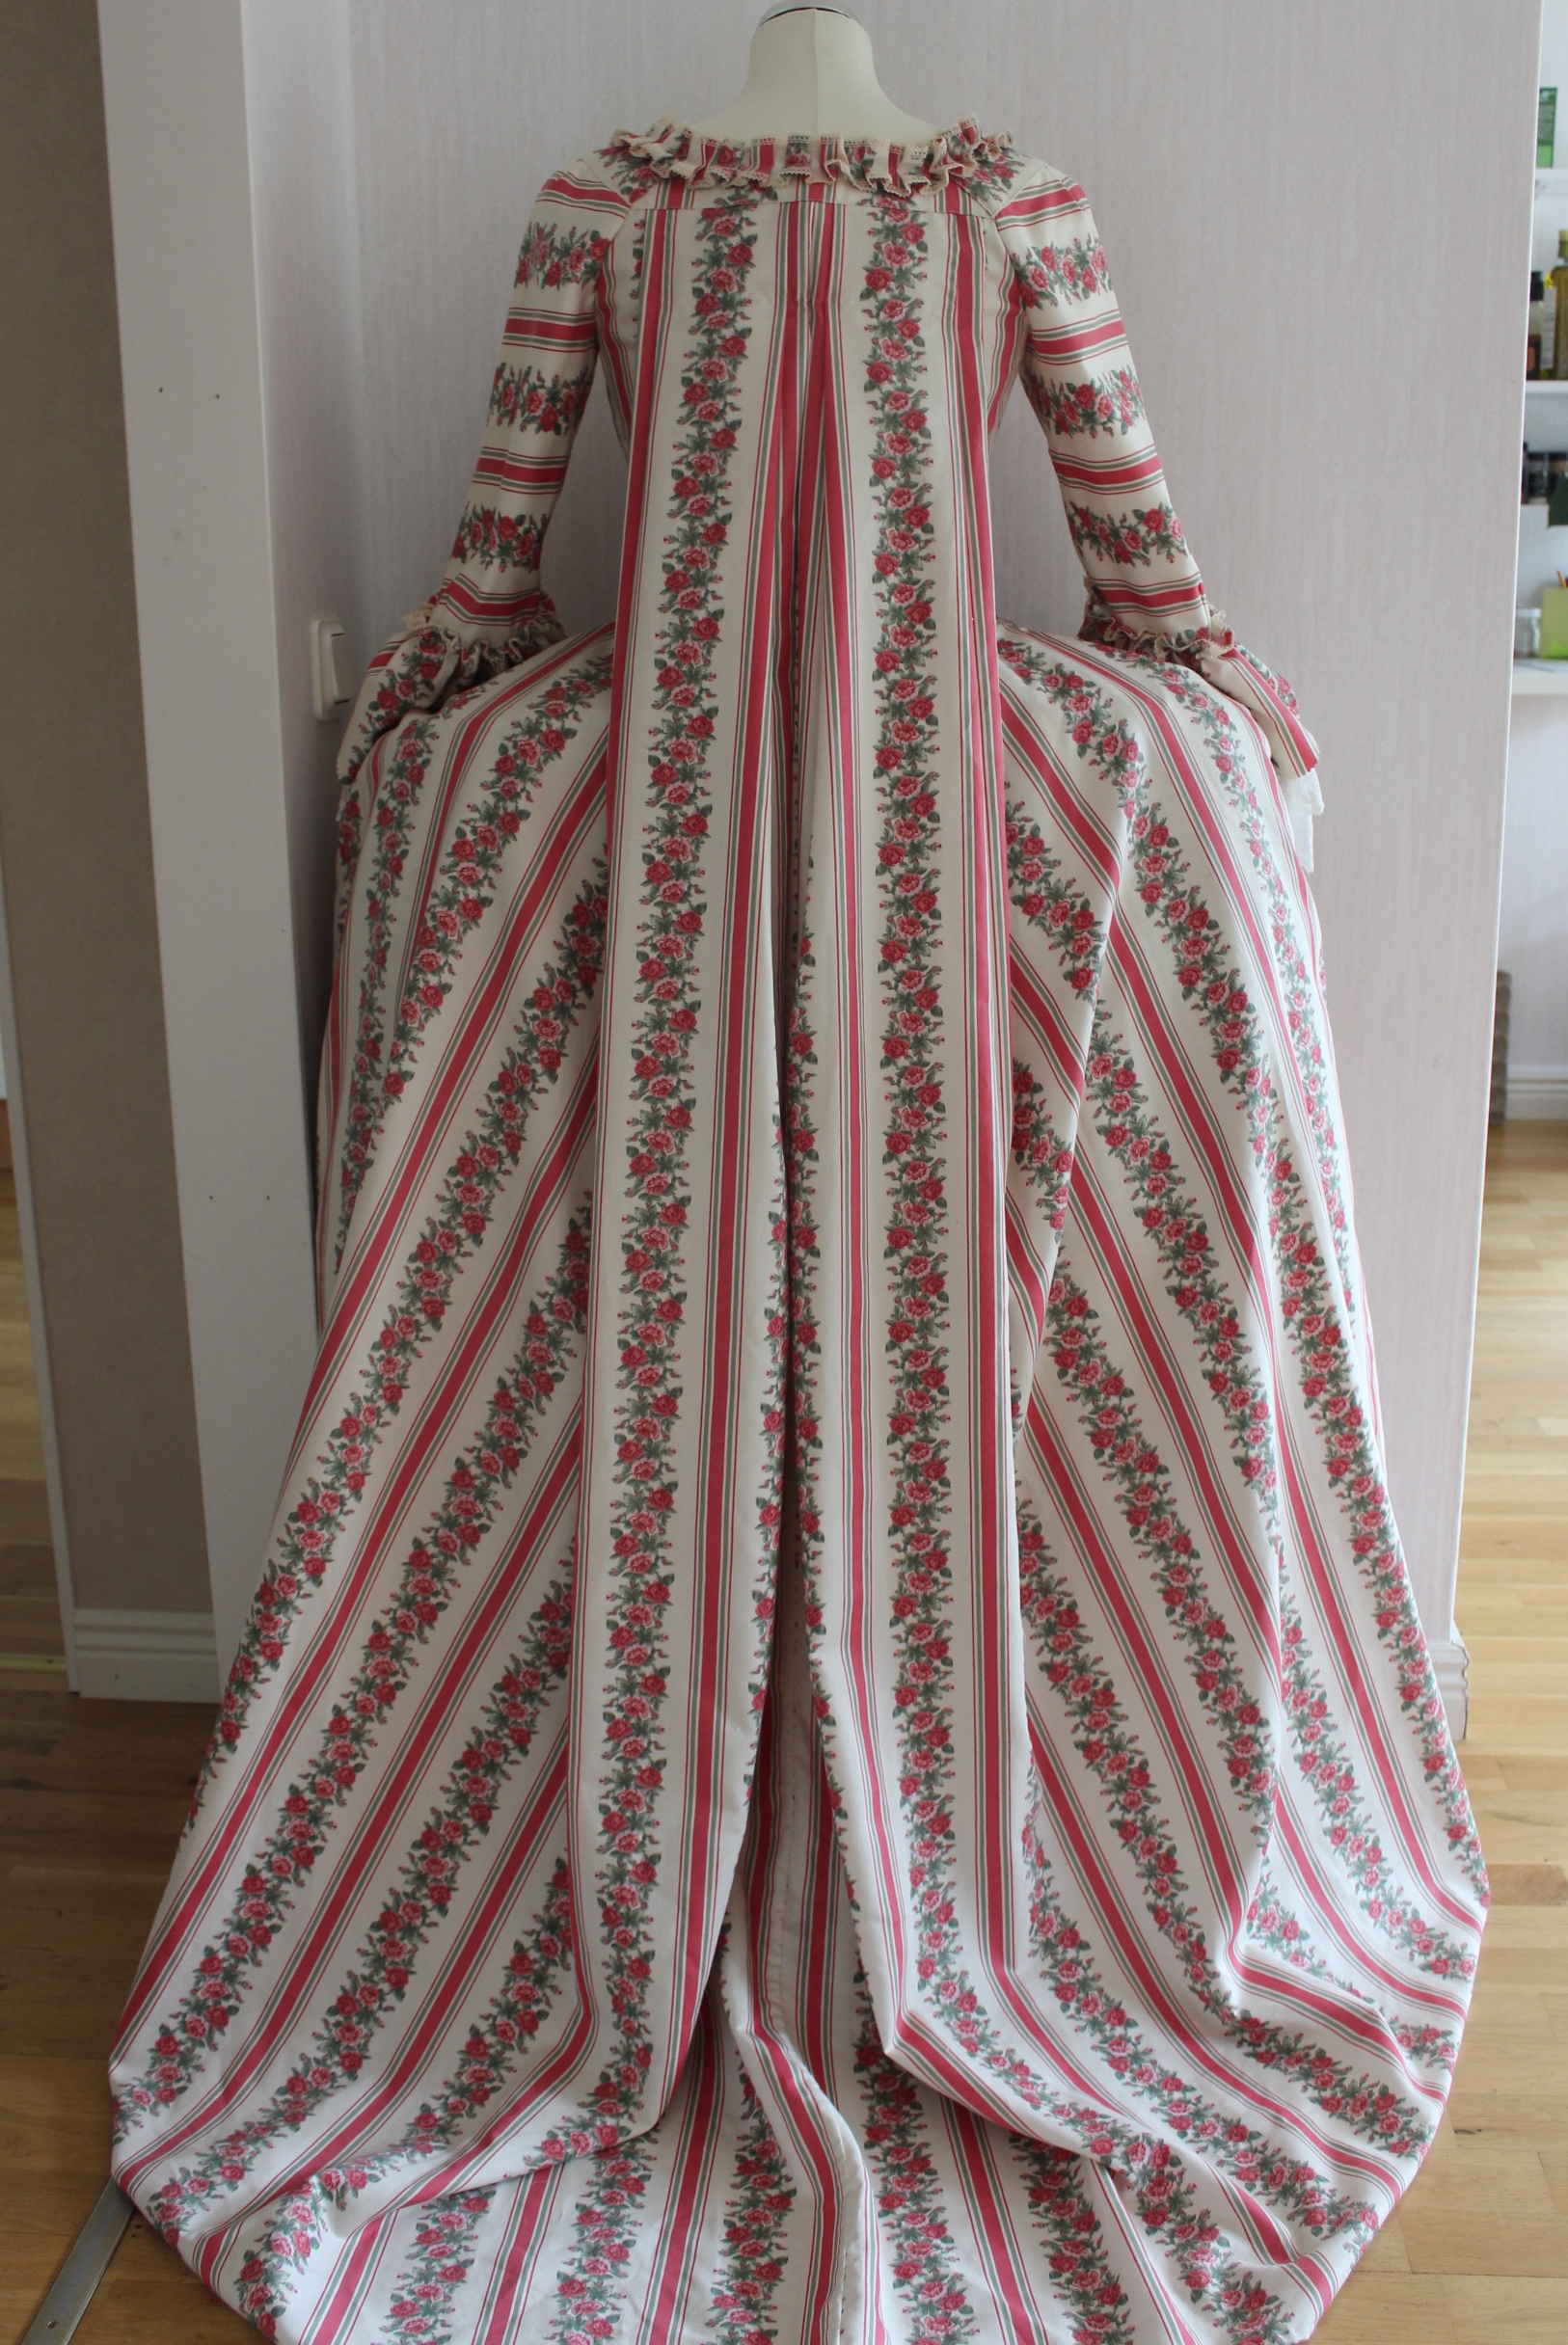
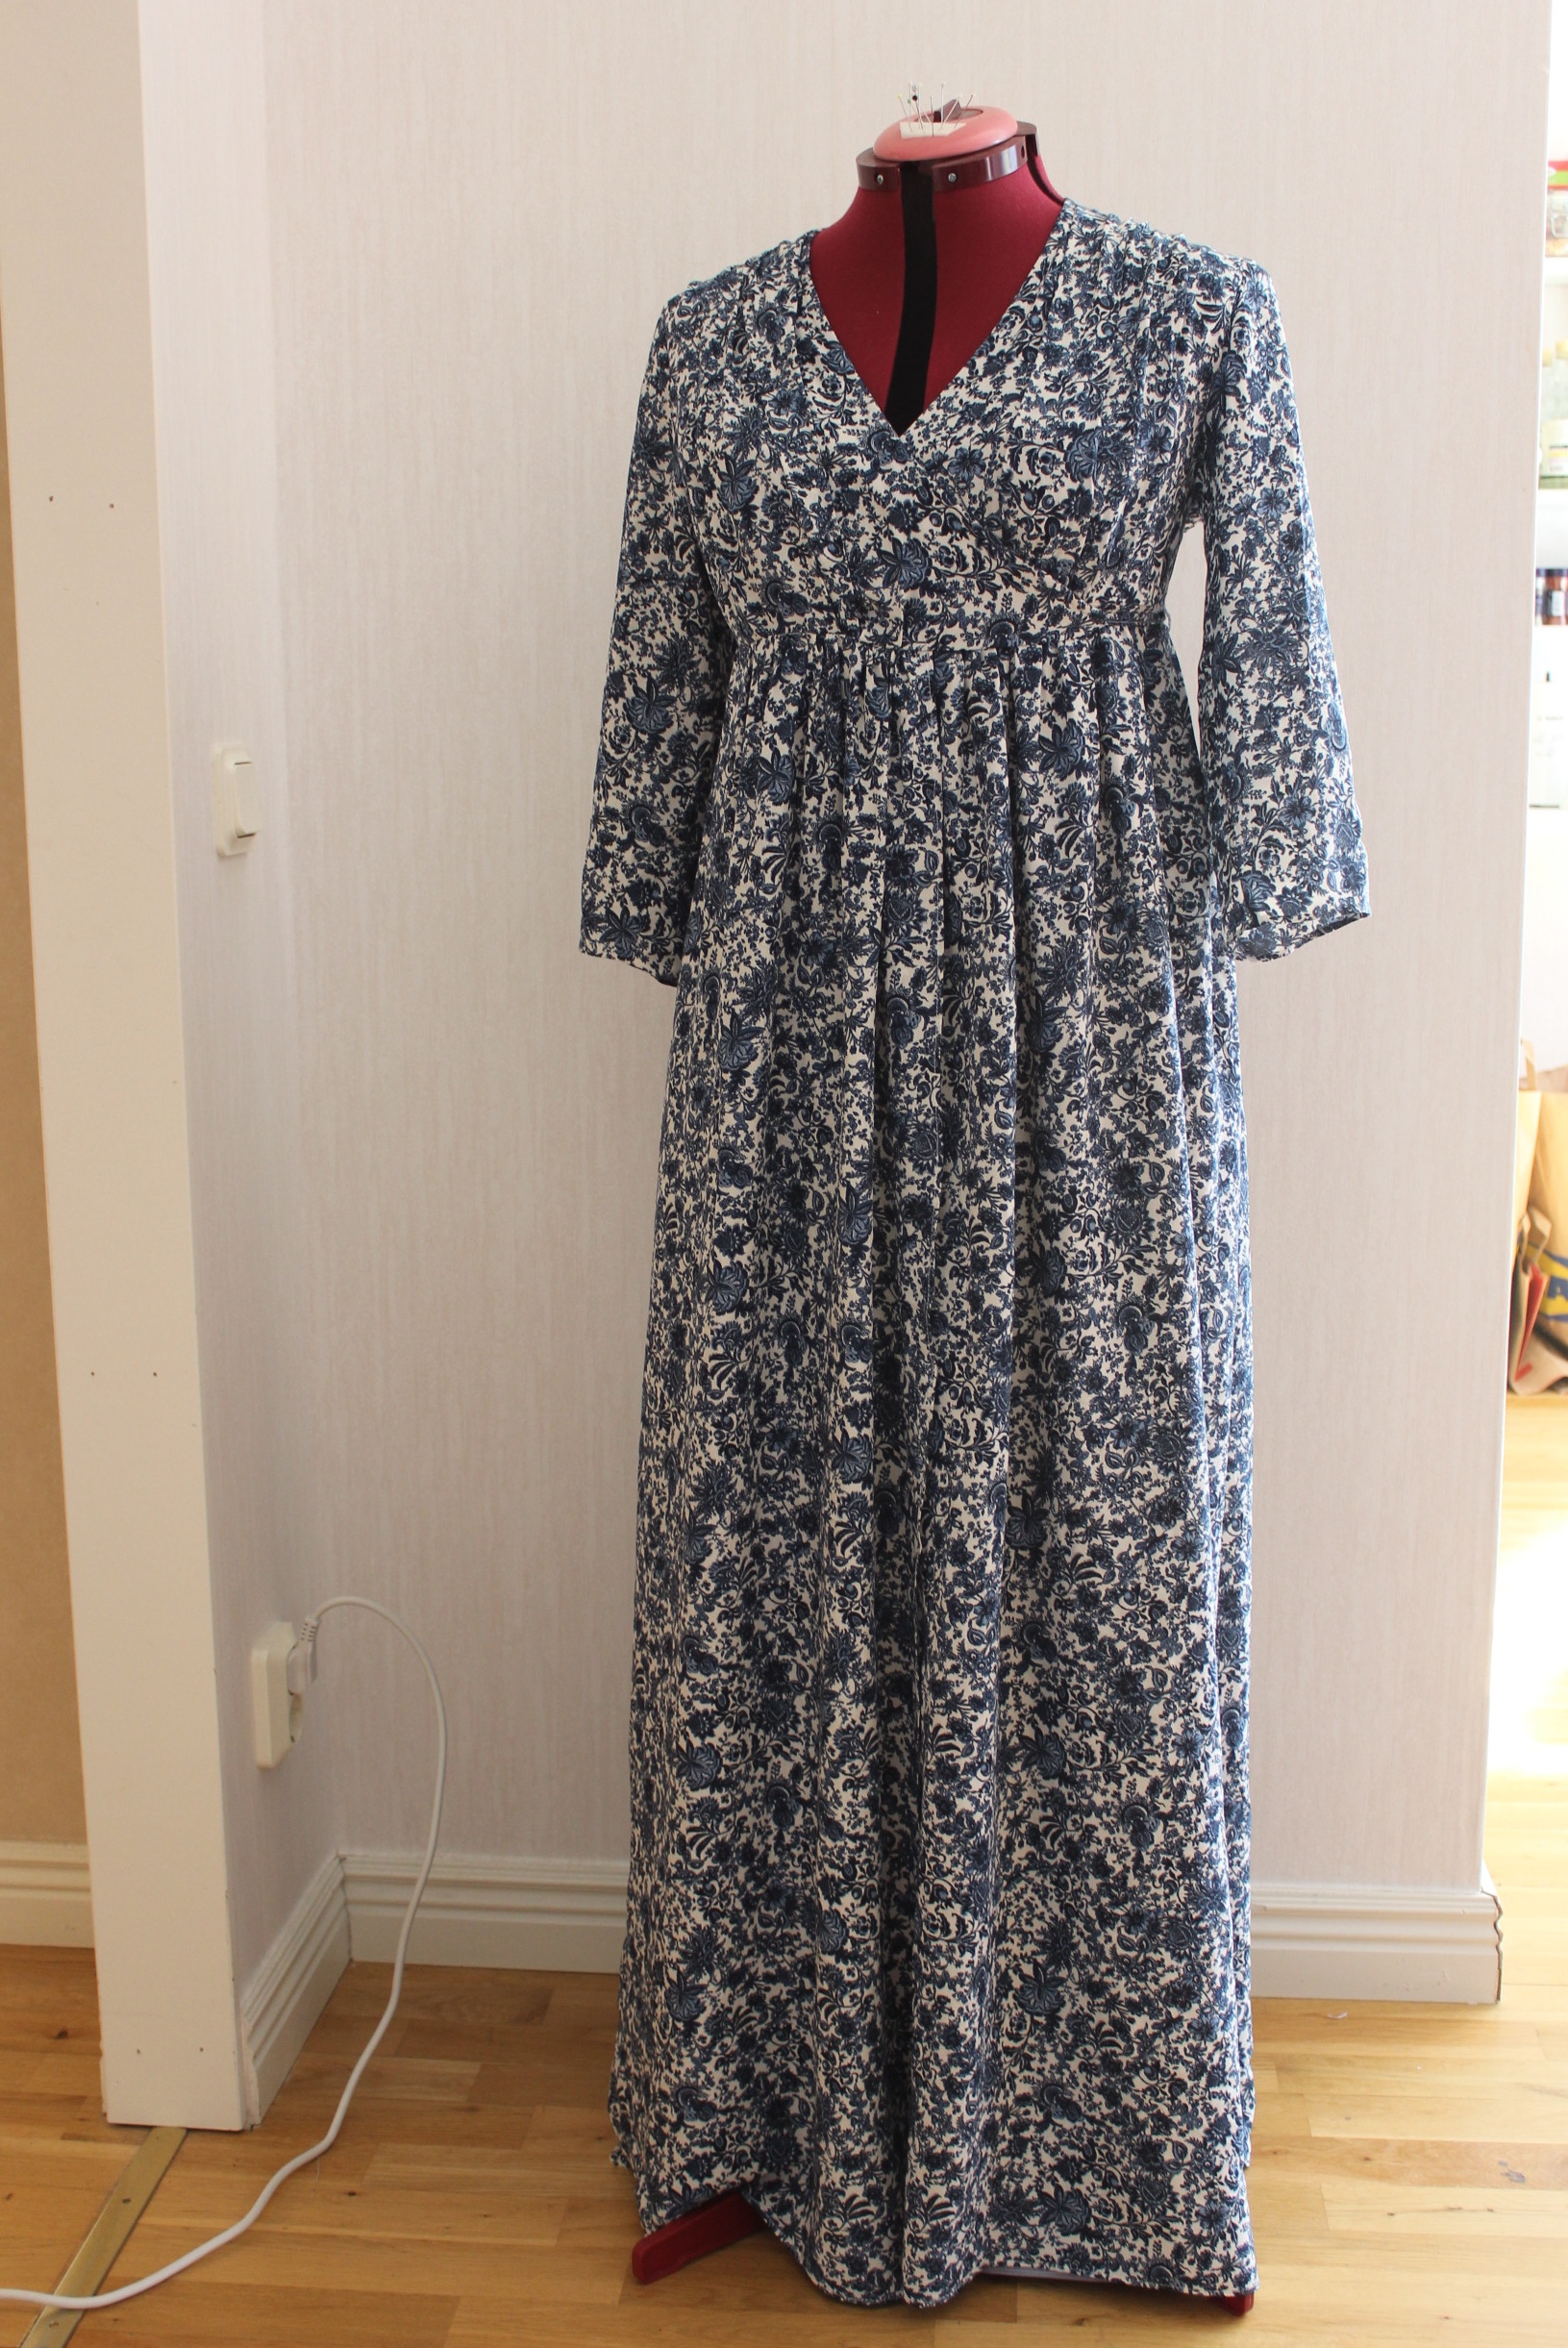
The finished dress: Worn with the skirt down:
The facts:
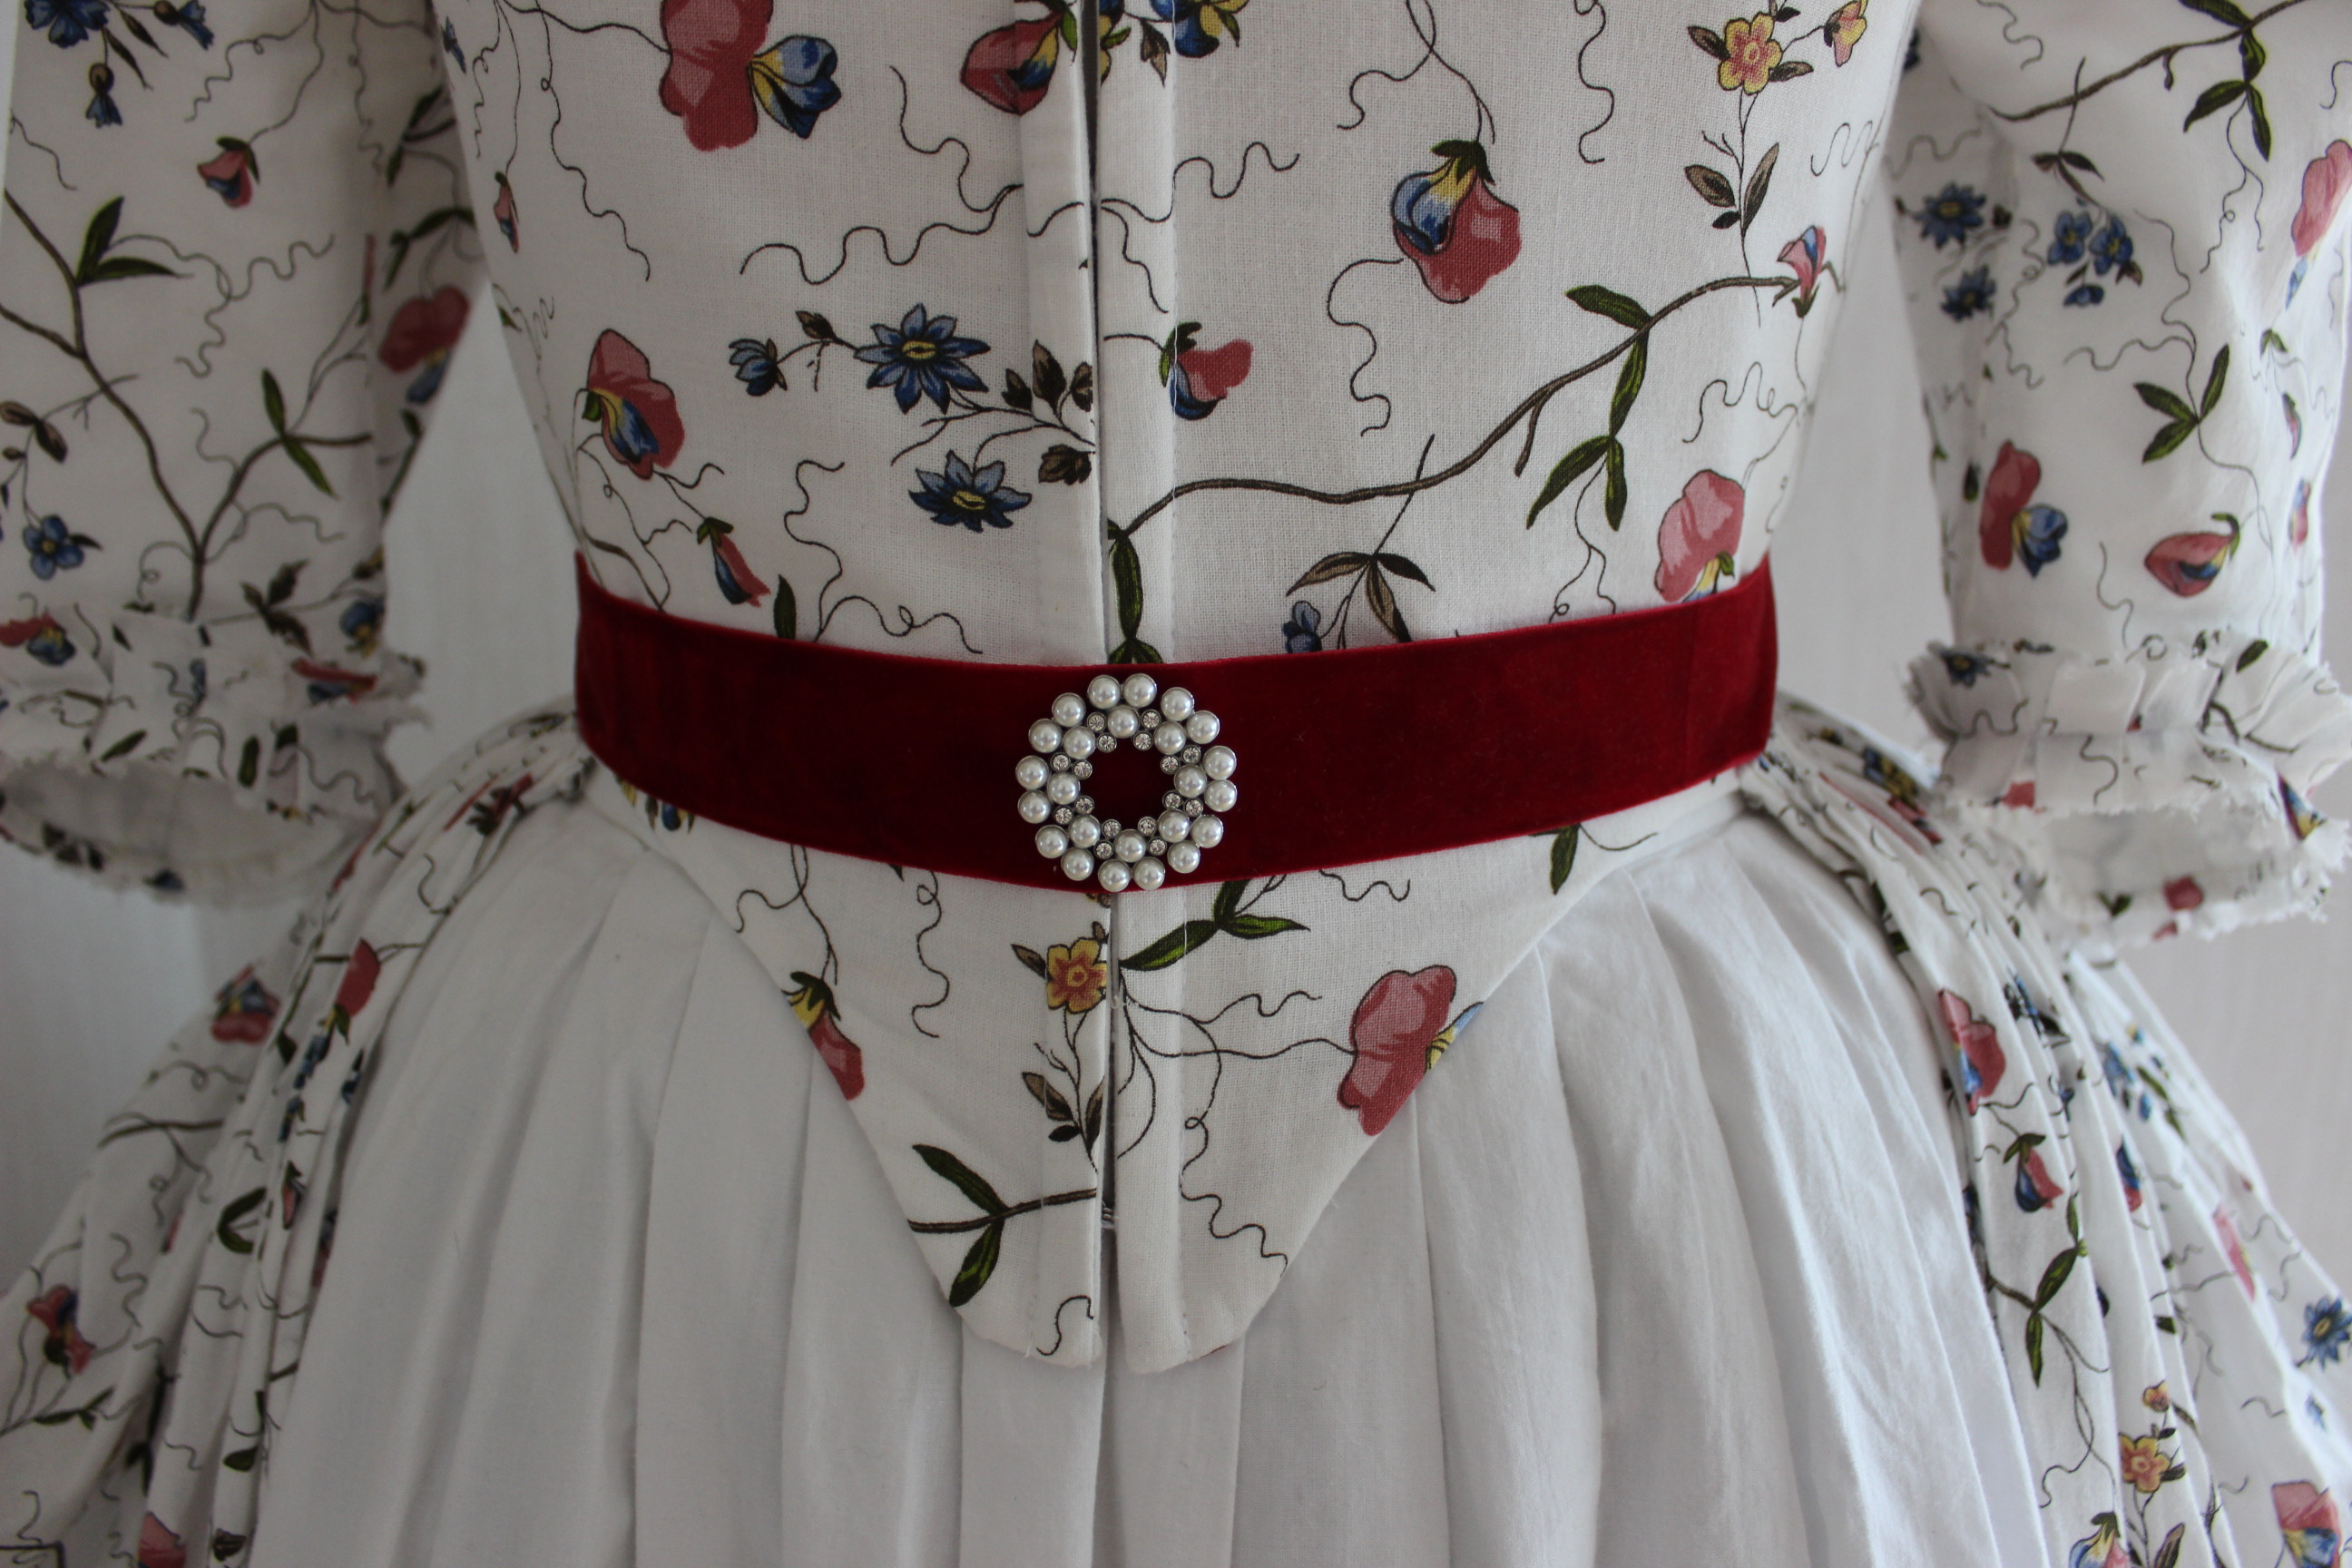
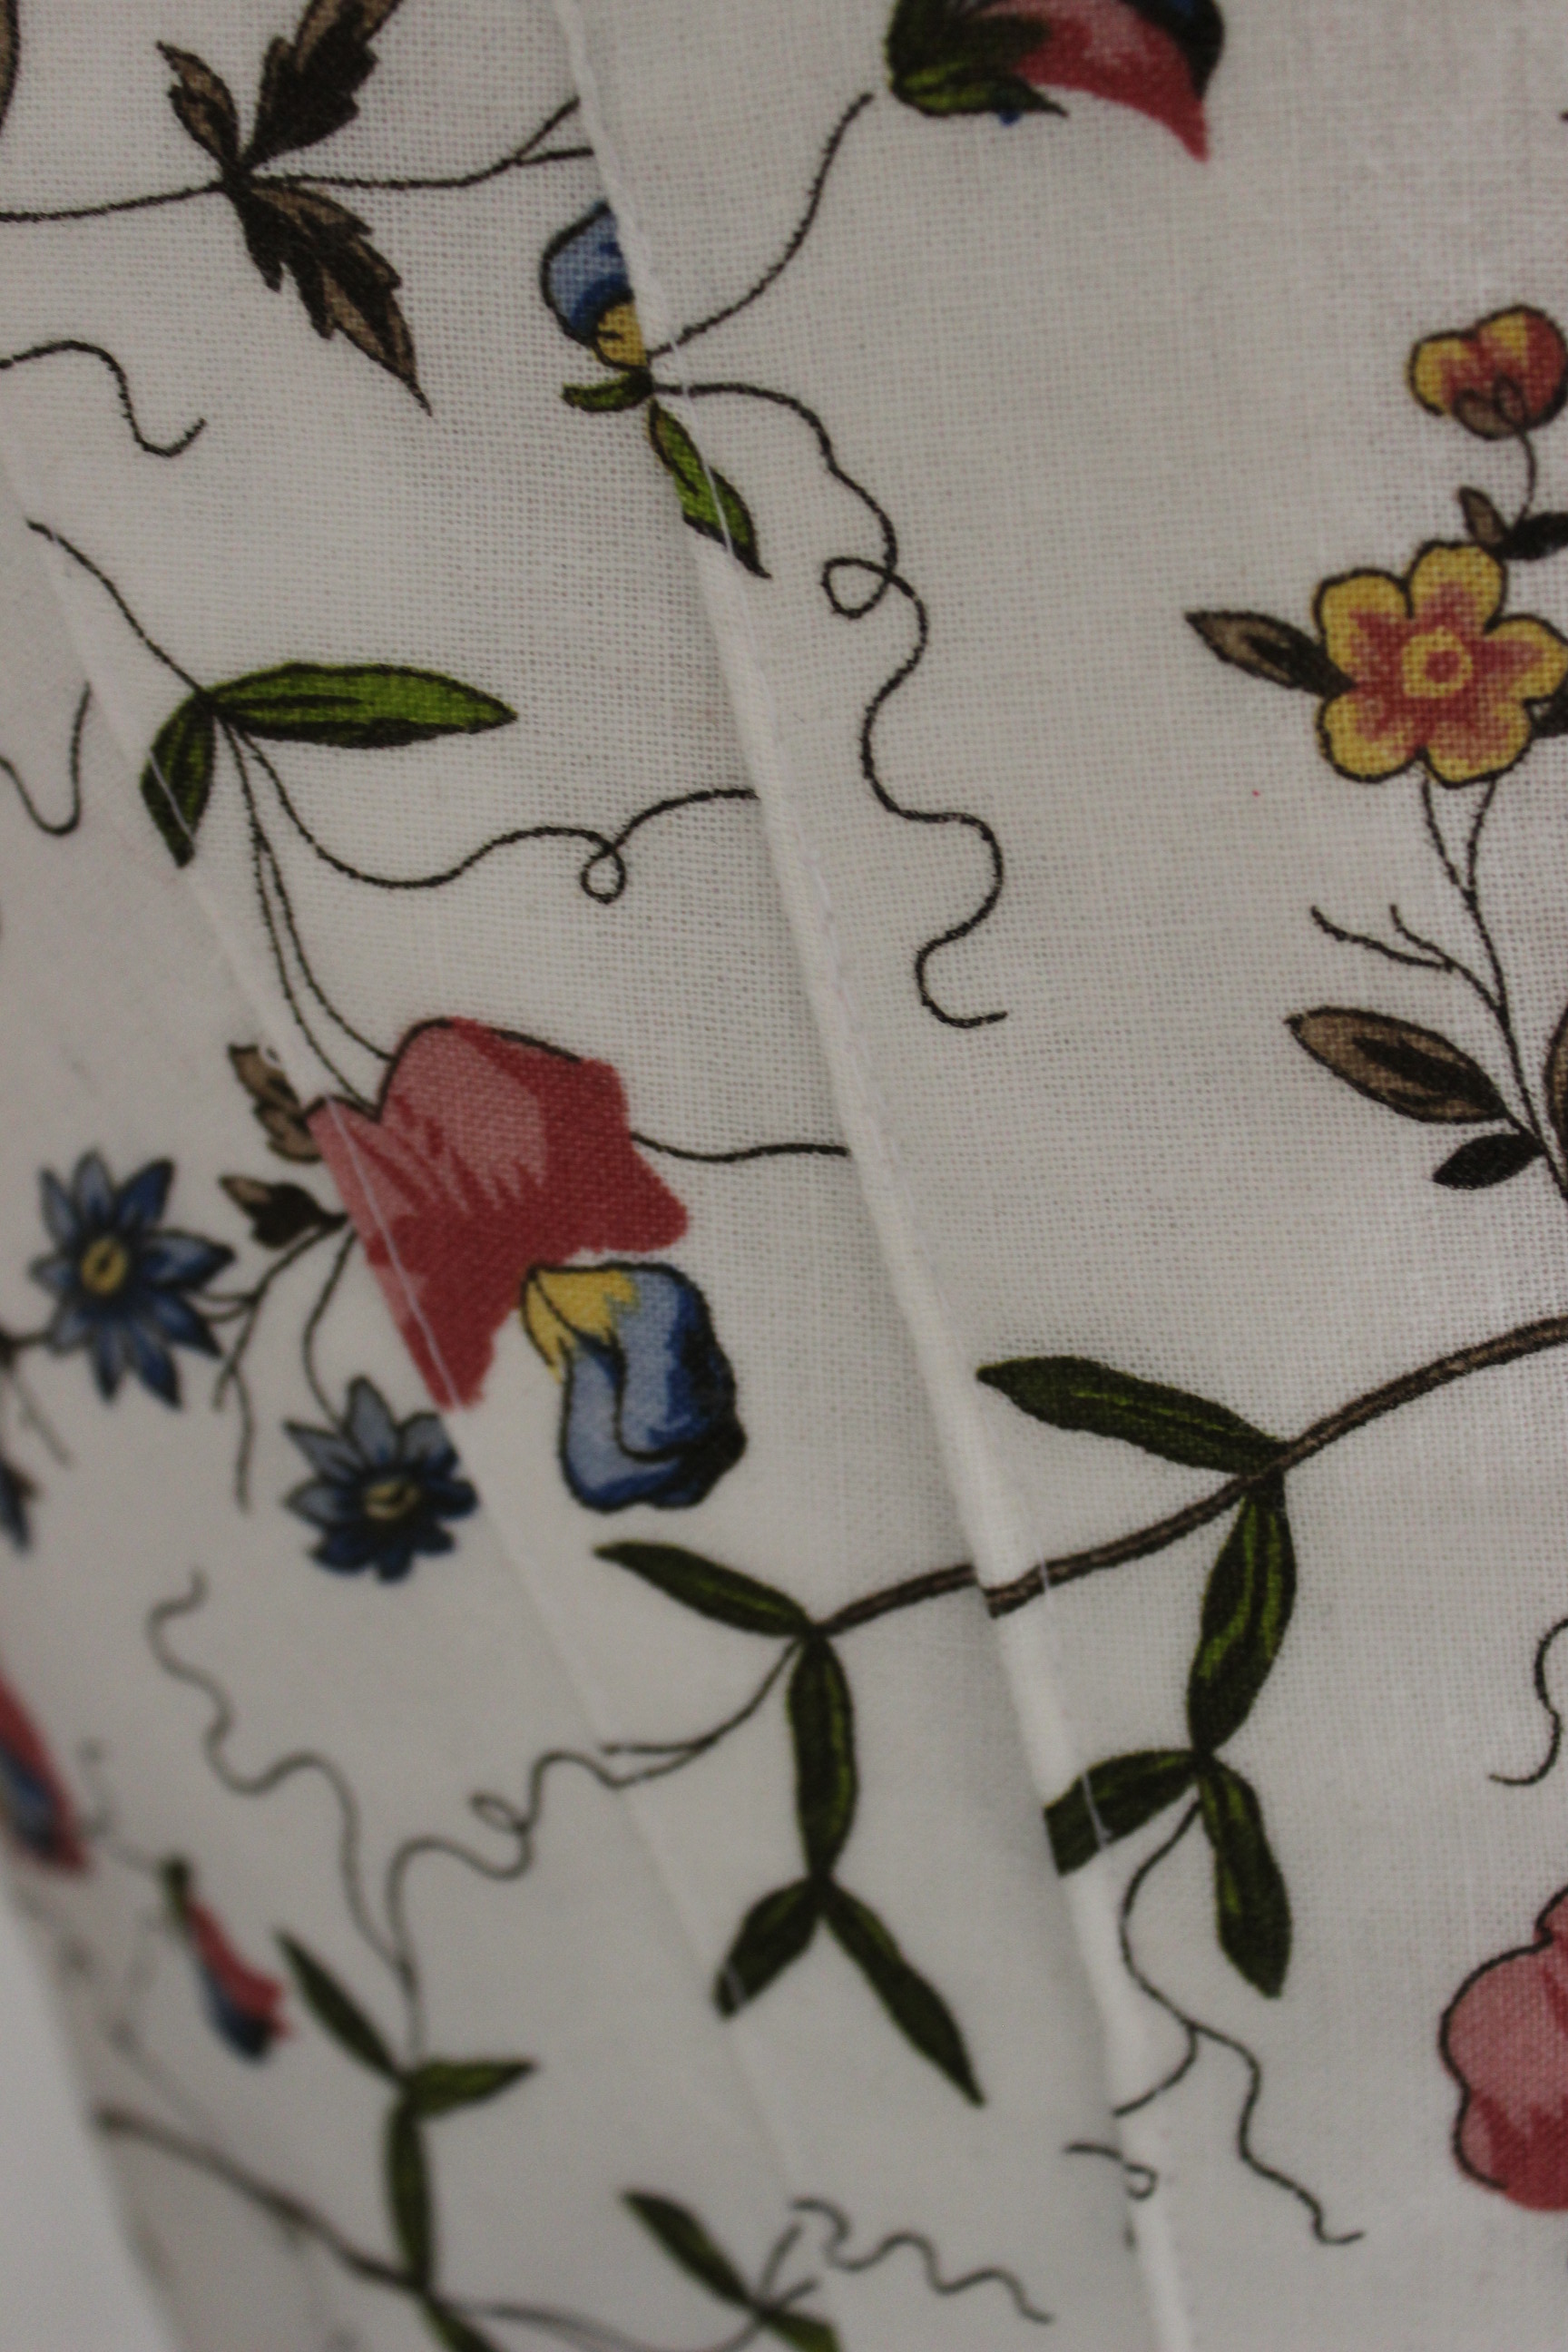
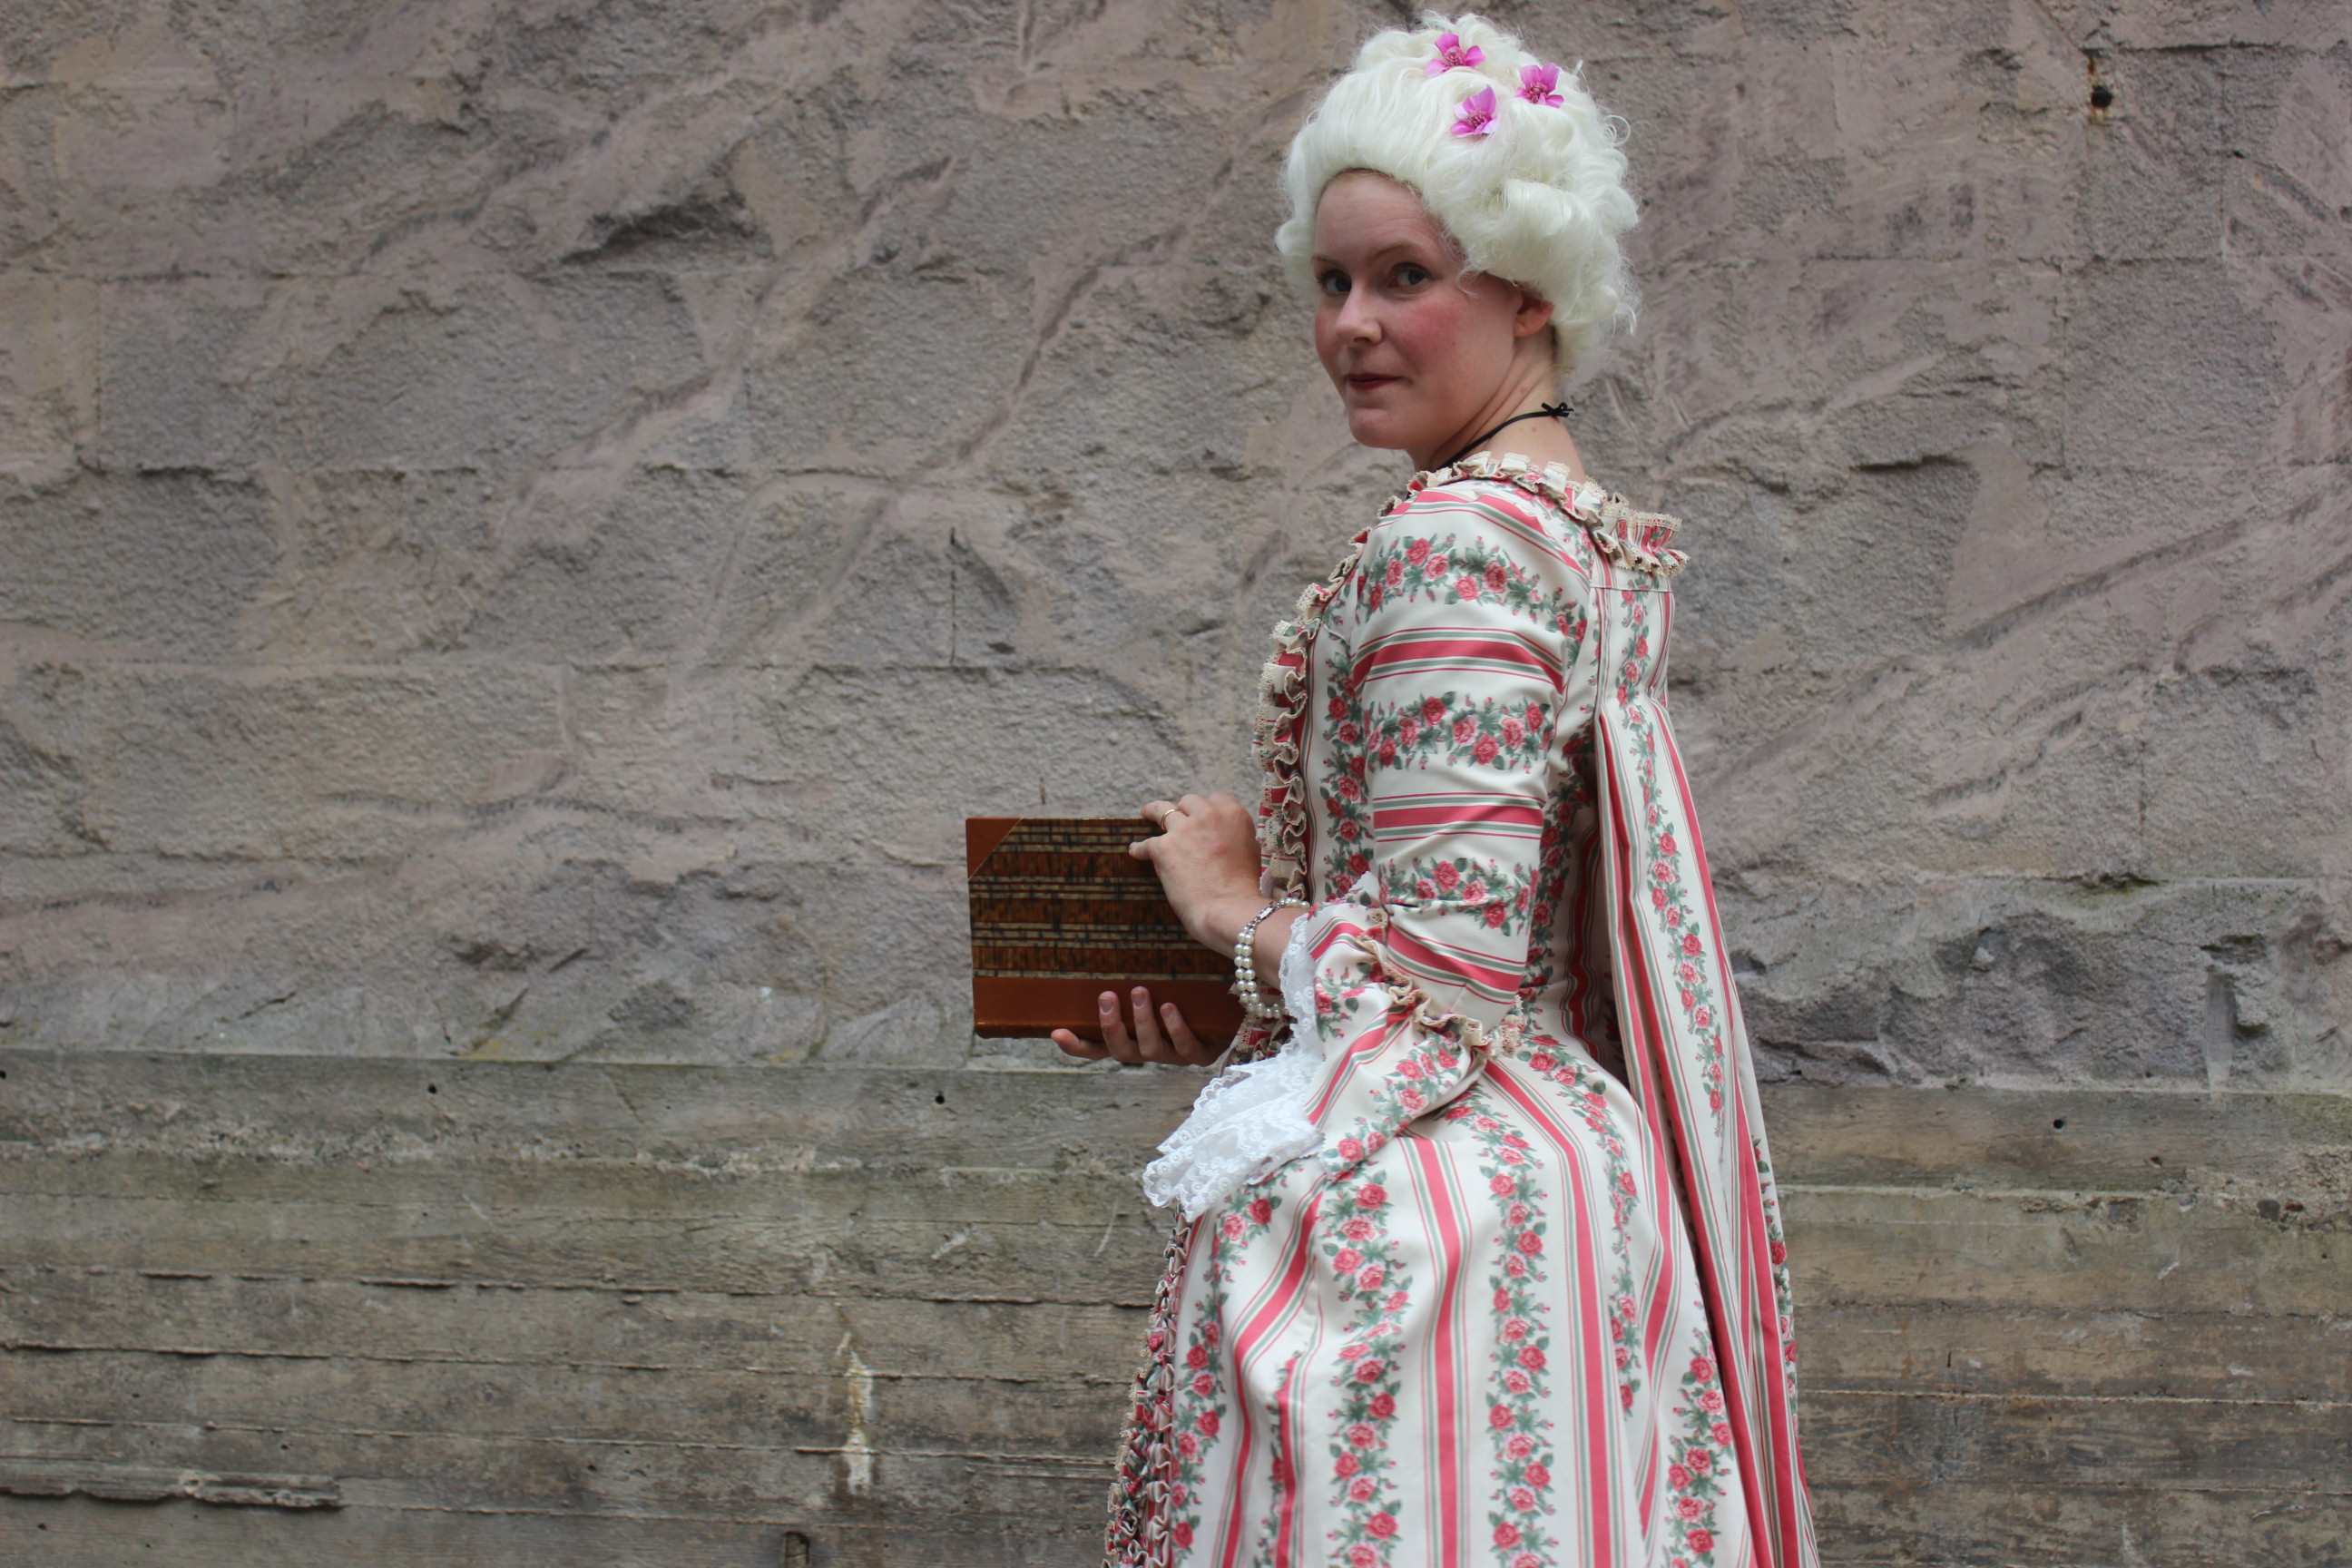
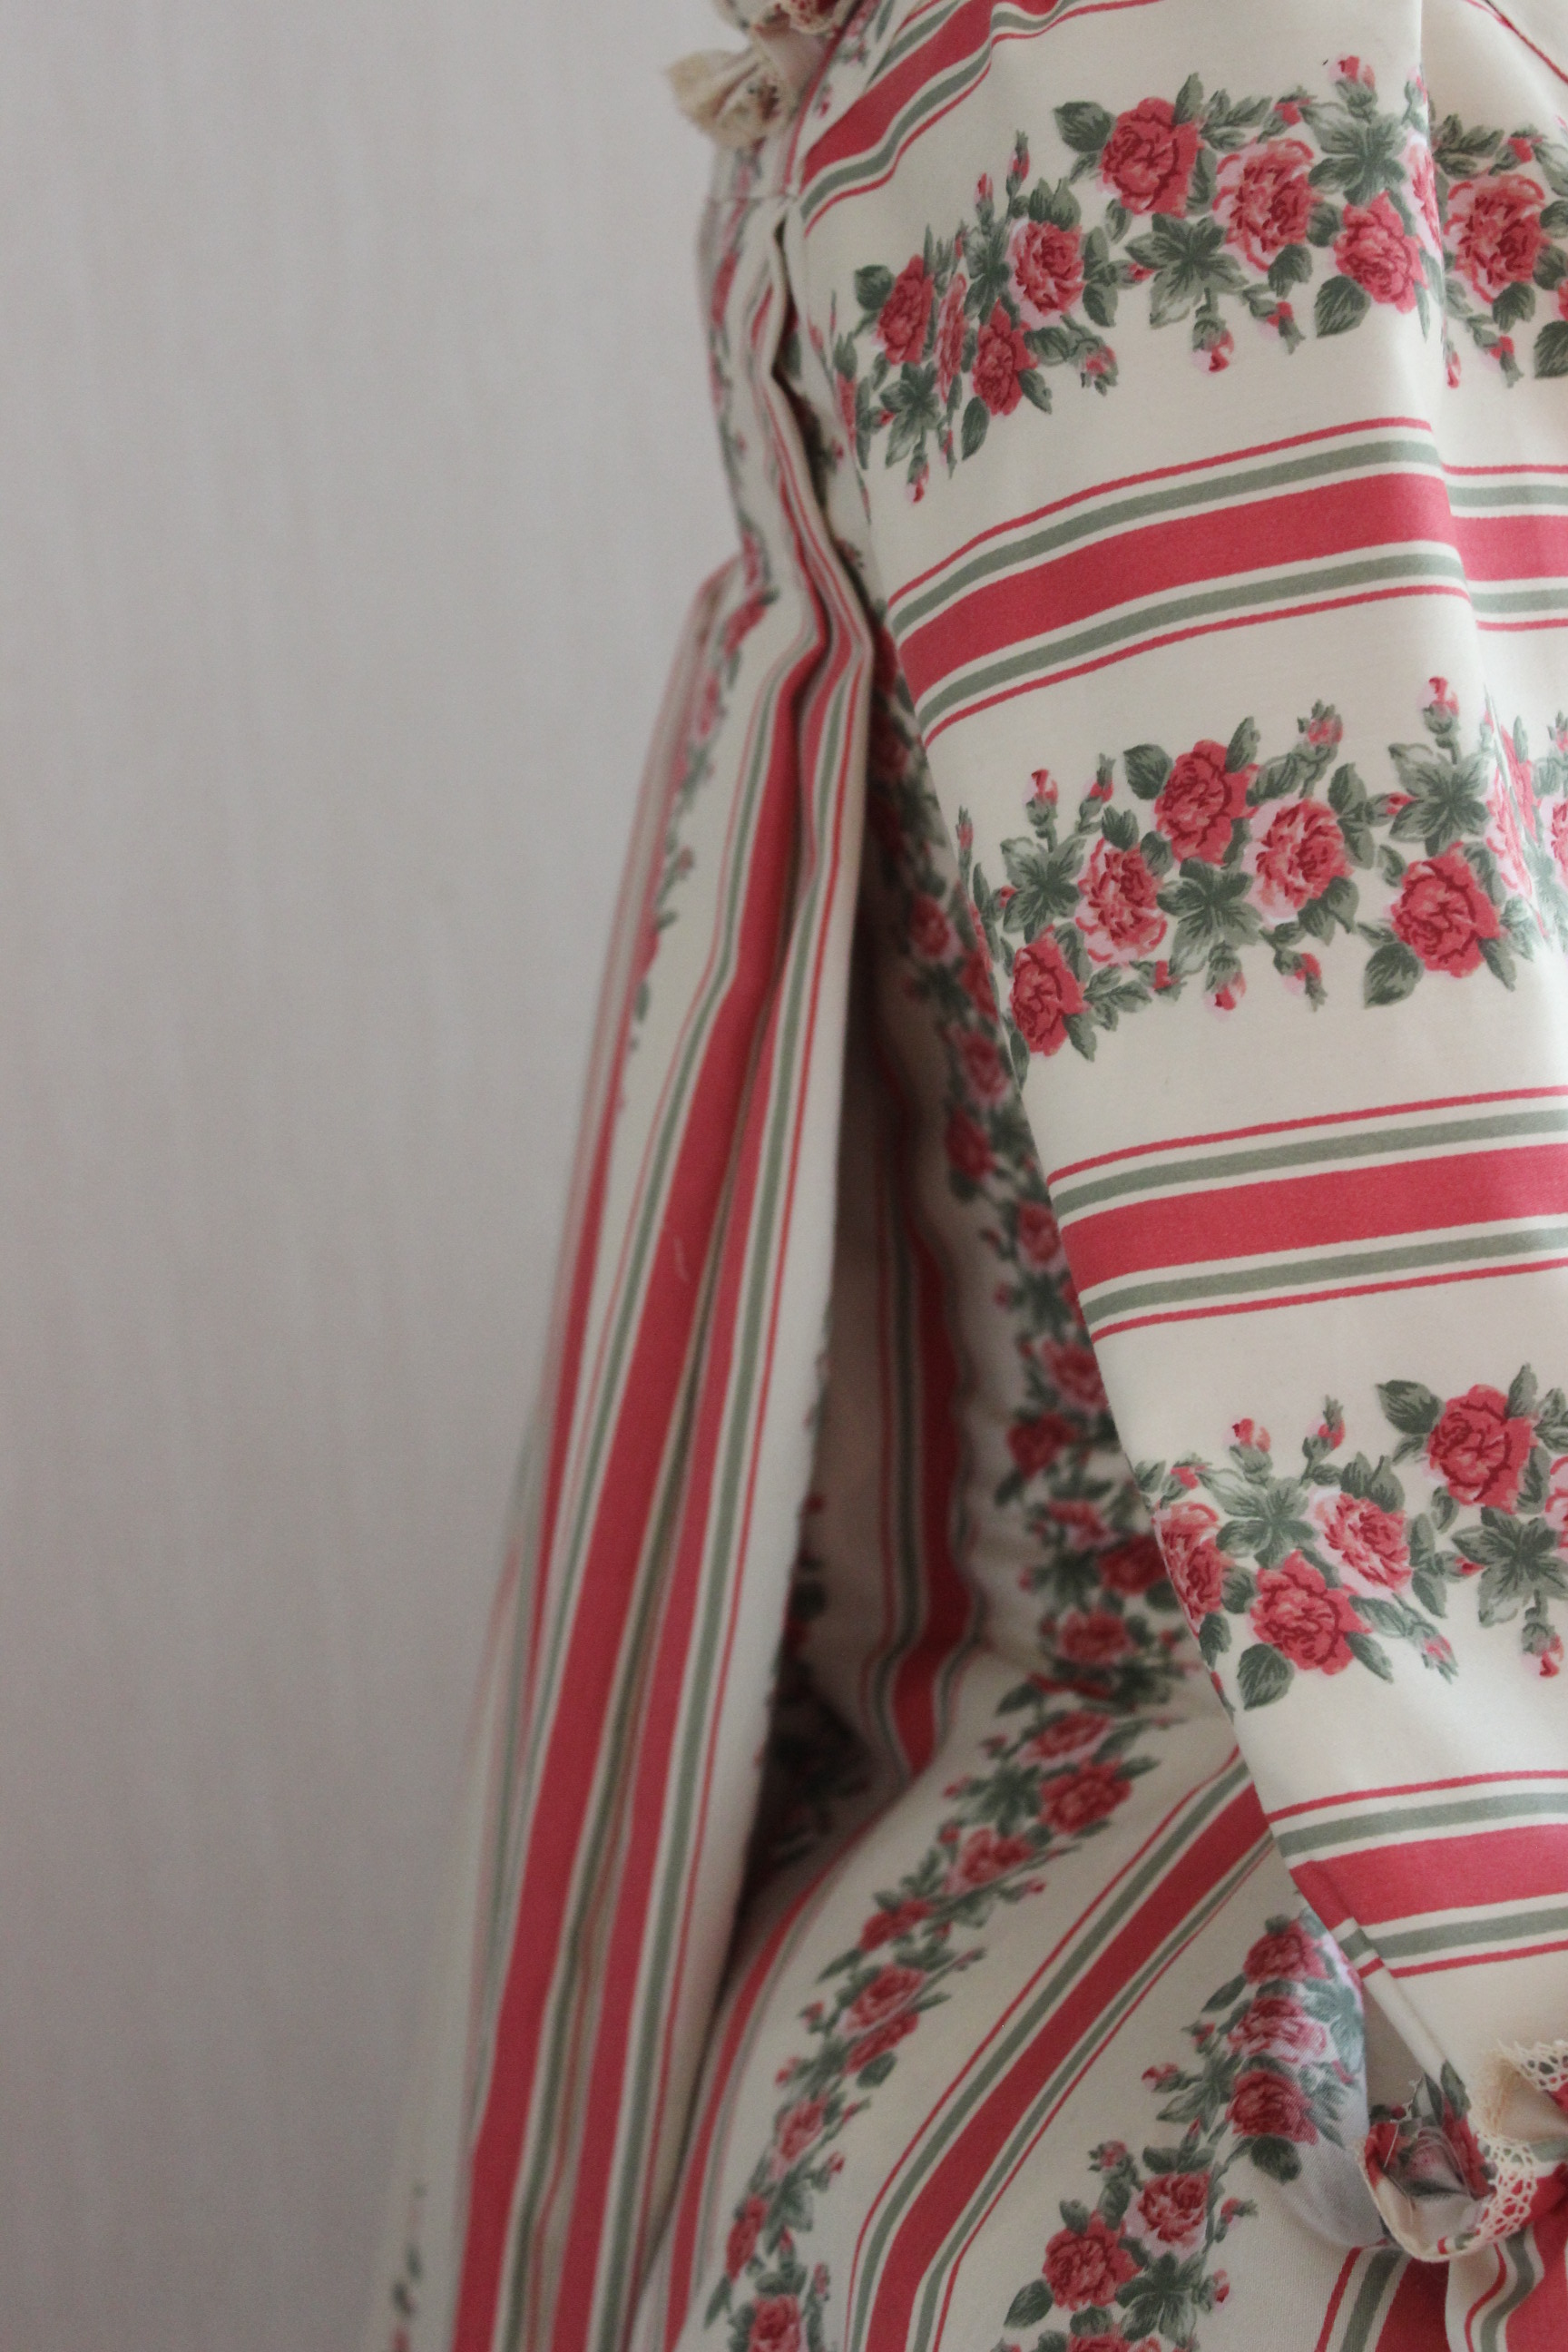
What: Re-make of a 1780s Robe anglaise made from IKEA fabric/bedsheets.
Original blog posts: Construction and photoshoot
Additional fabrics and notions: 0,5 m of white cotton from stash and thread. Accessorized with a red velvet ribbon and a old brosch.
Additional costs: about 20 Sek for the cotton sheet
Time: 8 hours ro re-make
First worn: On August 26 (2017) at Ljung castle Light party
Final thoughts: I’m so happy I took the time to re-make this gown because I love how it looks now, and I feelt so pretty wearing it. Hopefully it will be worn several times more.
*That “whole night left” part wasn’t completely true since I also decided I wanted a Bergere hat, and needed to re-hem the petticoat. But the dress itself was finished one day before 🙂
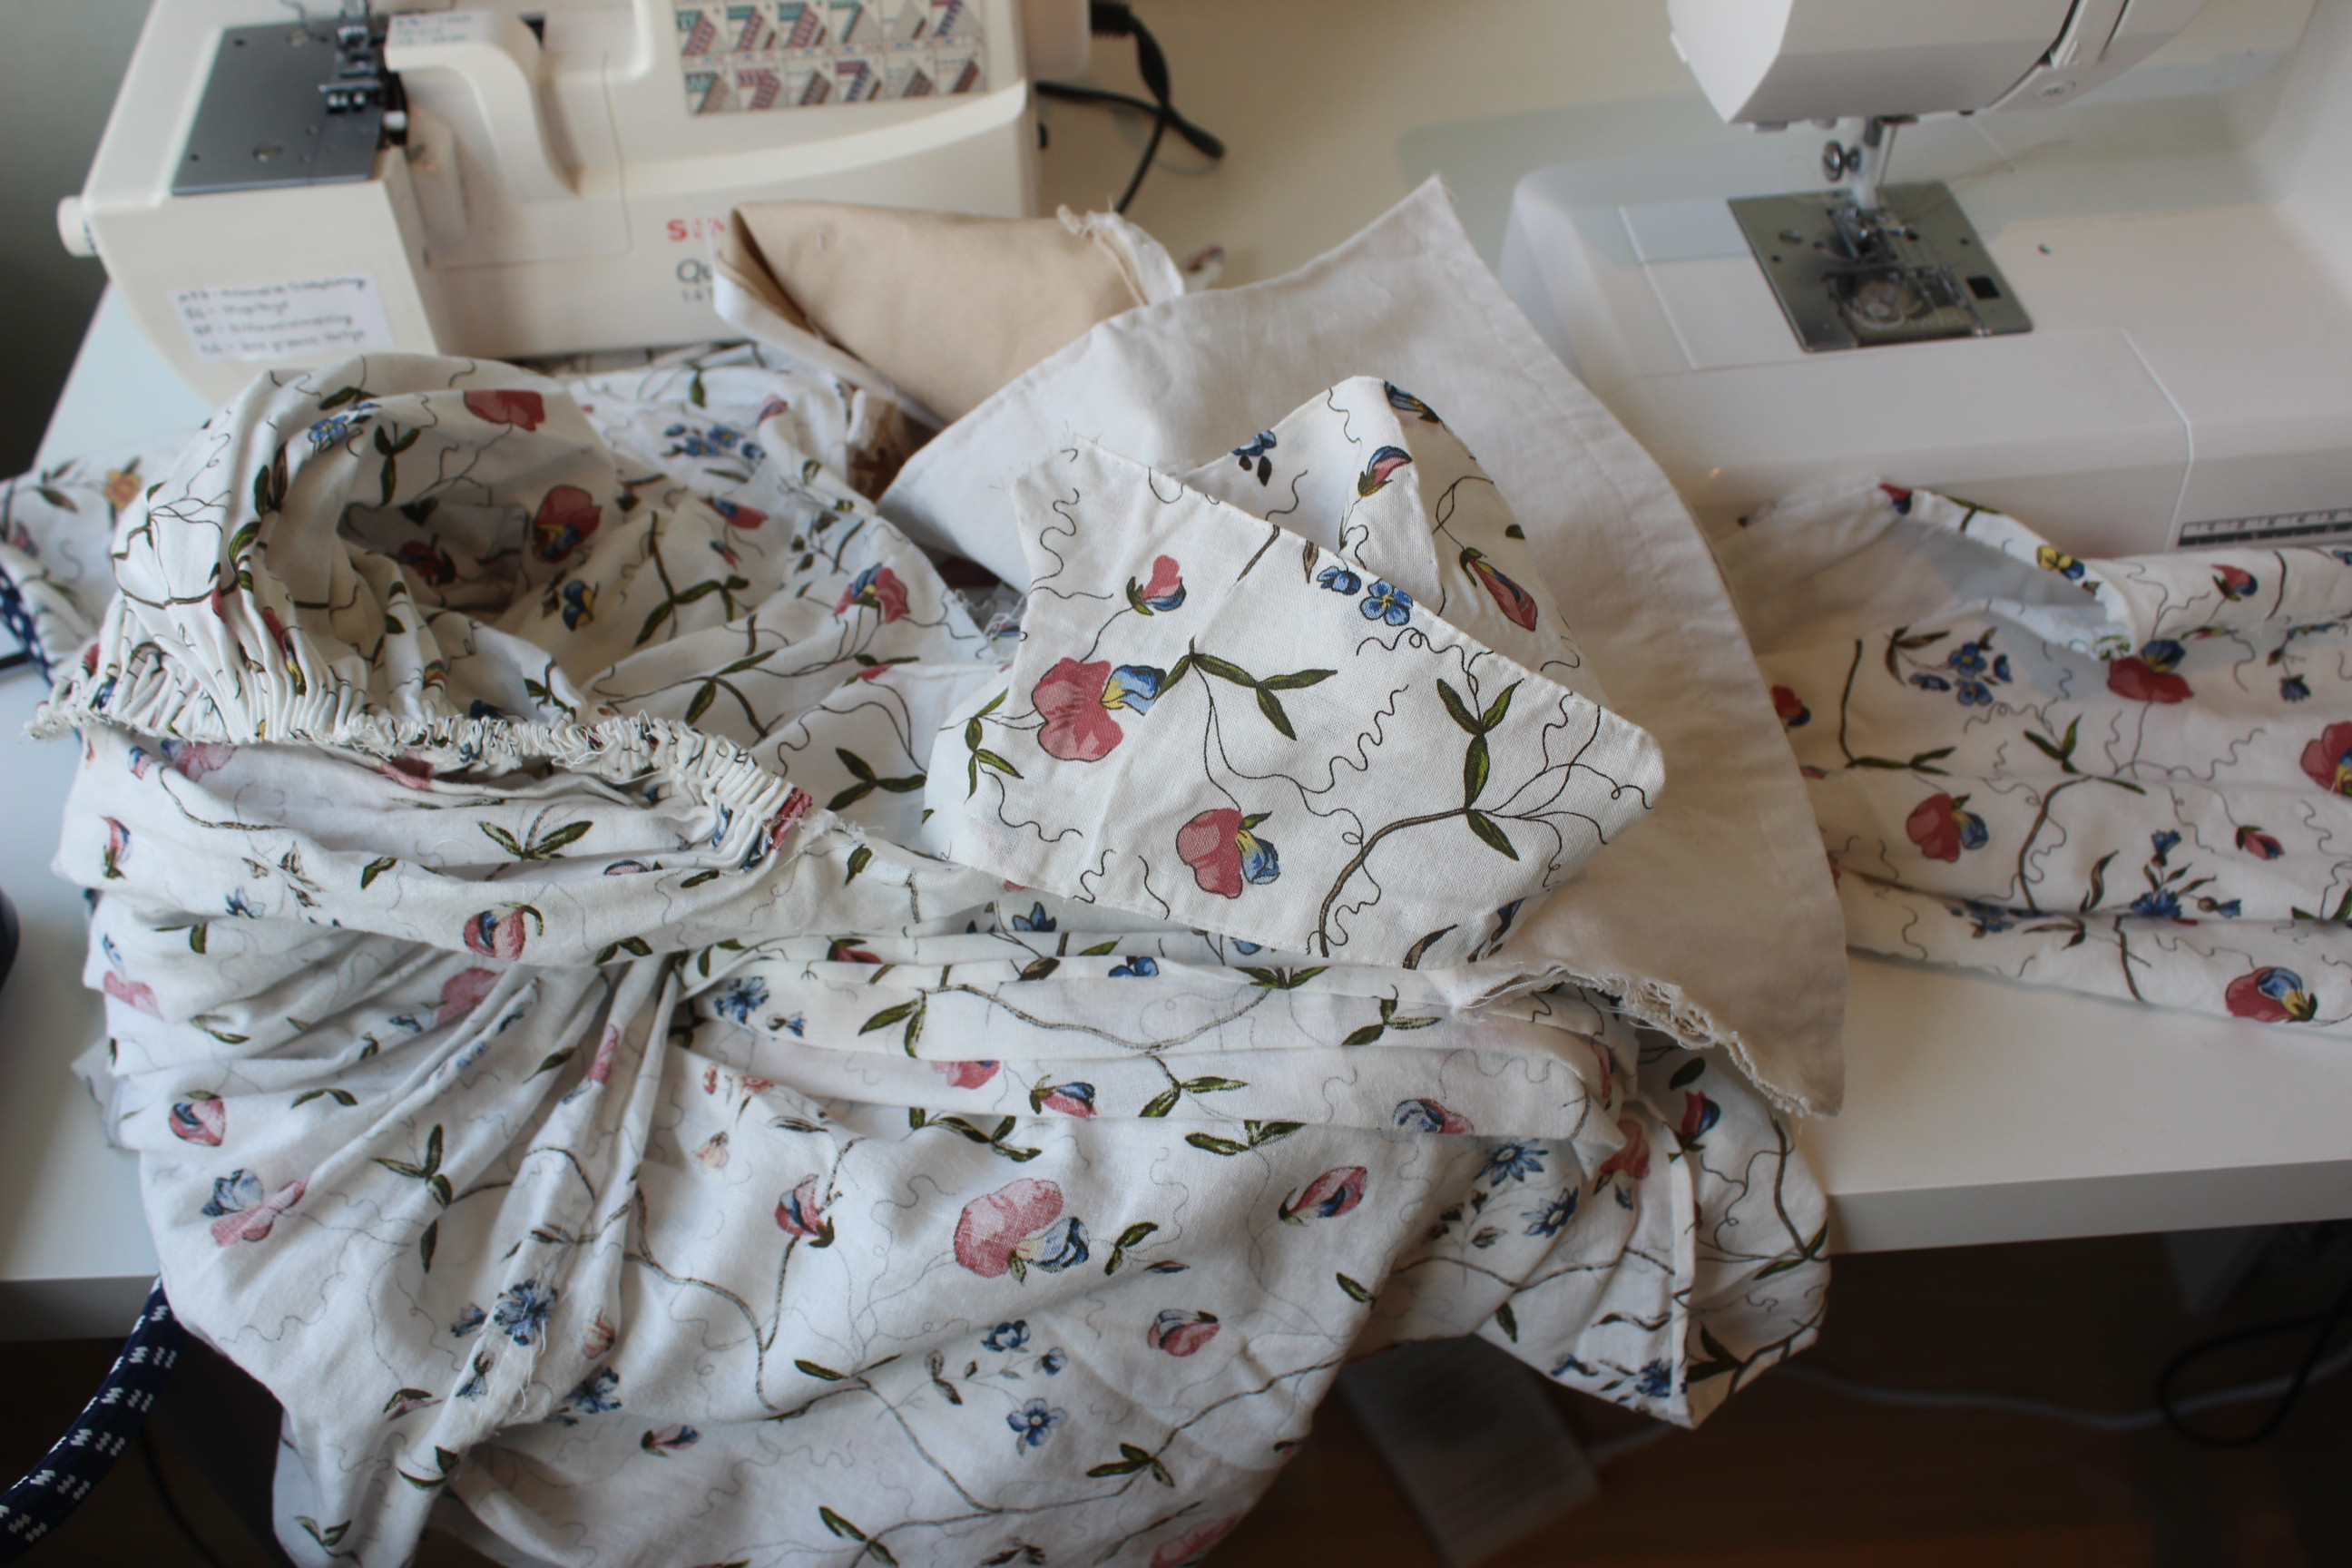
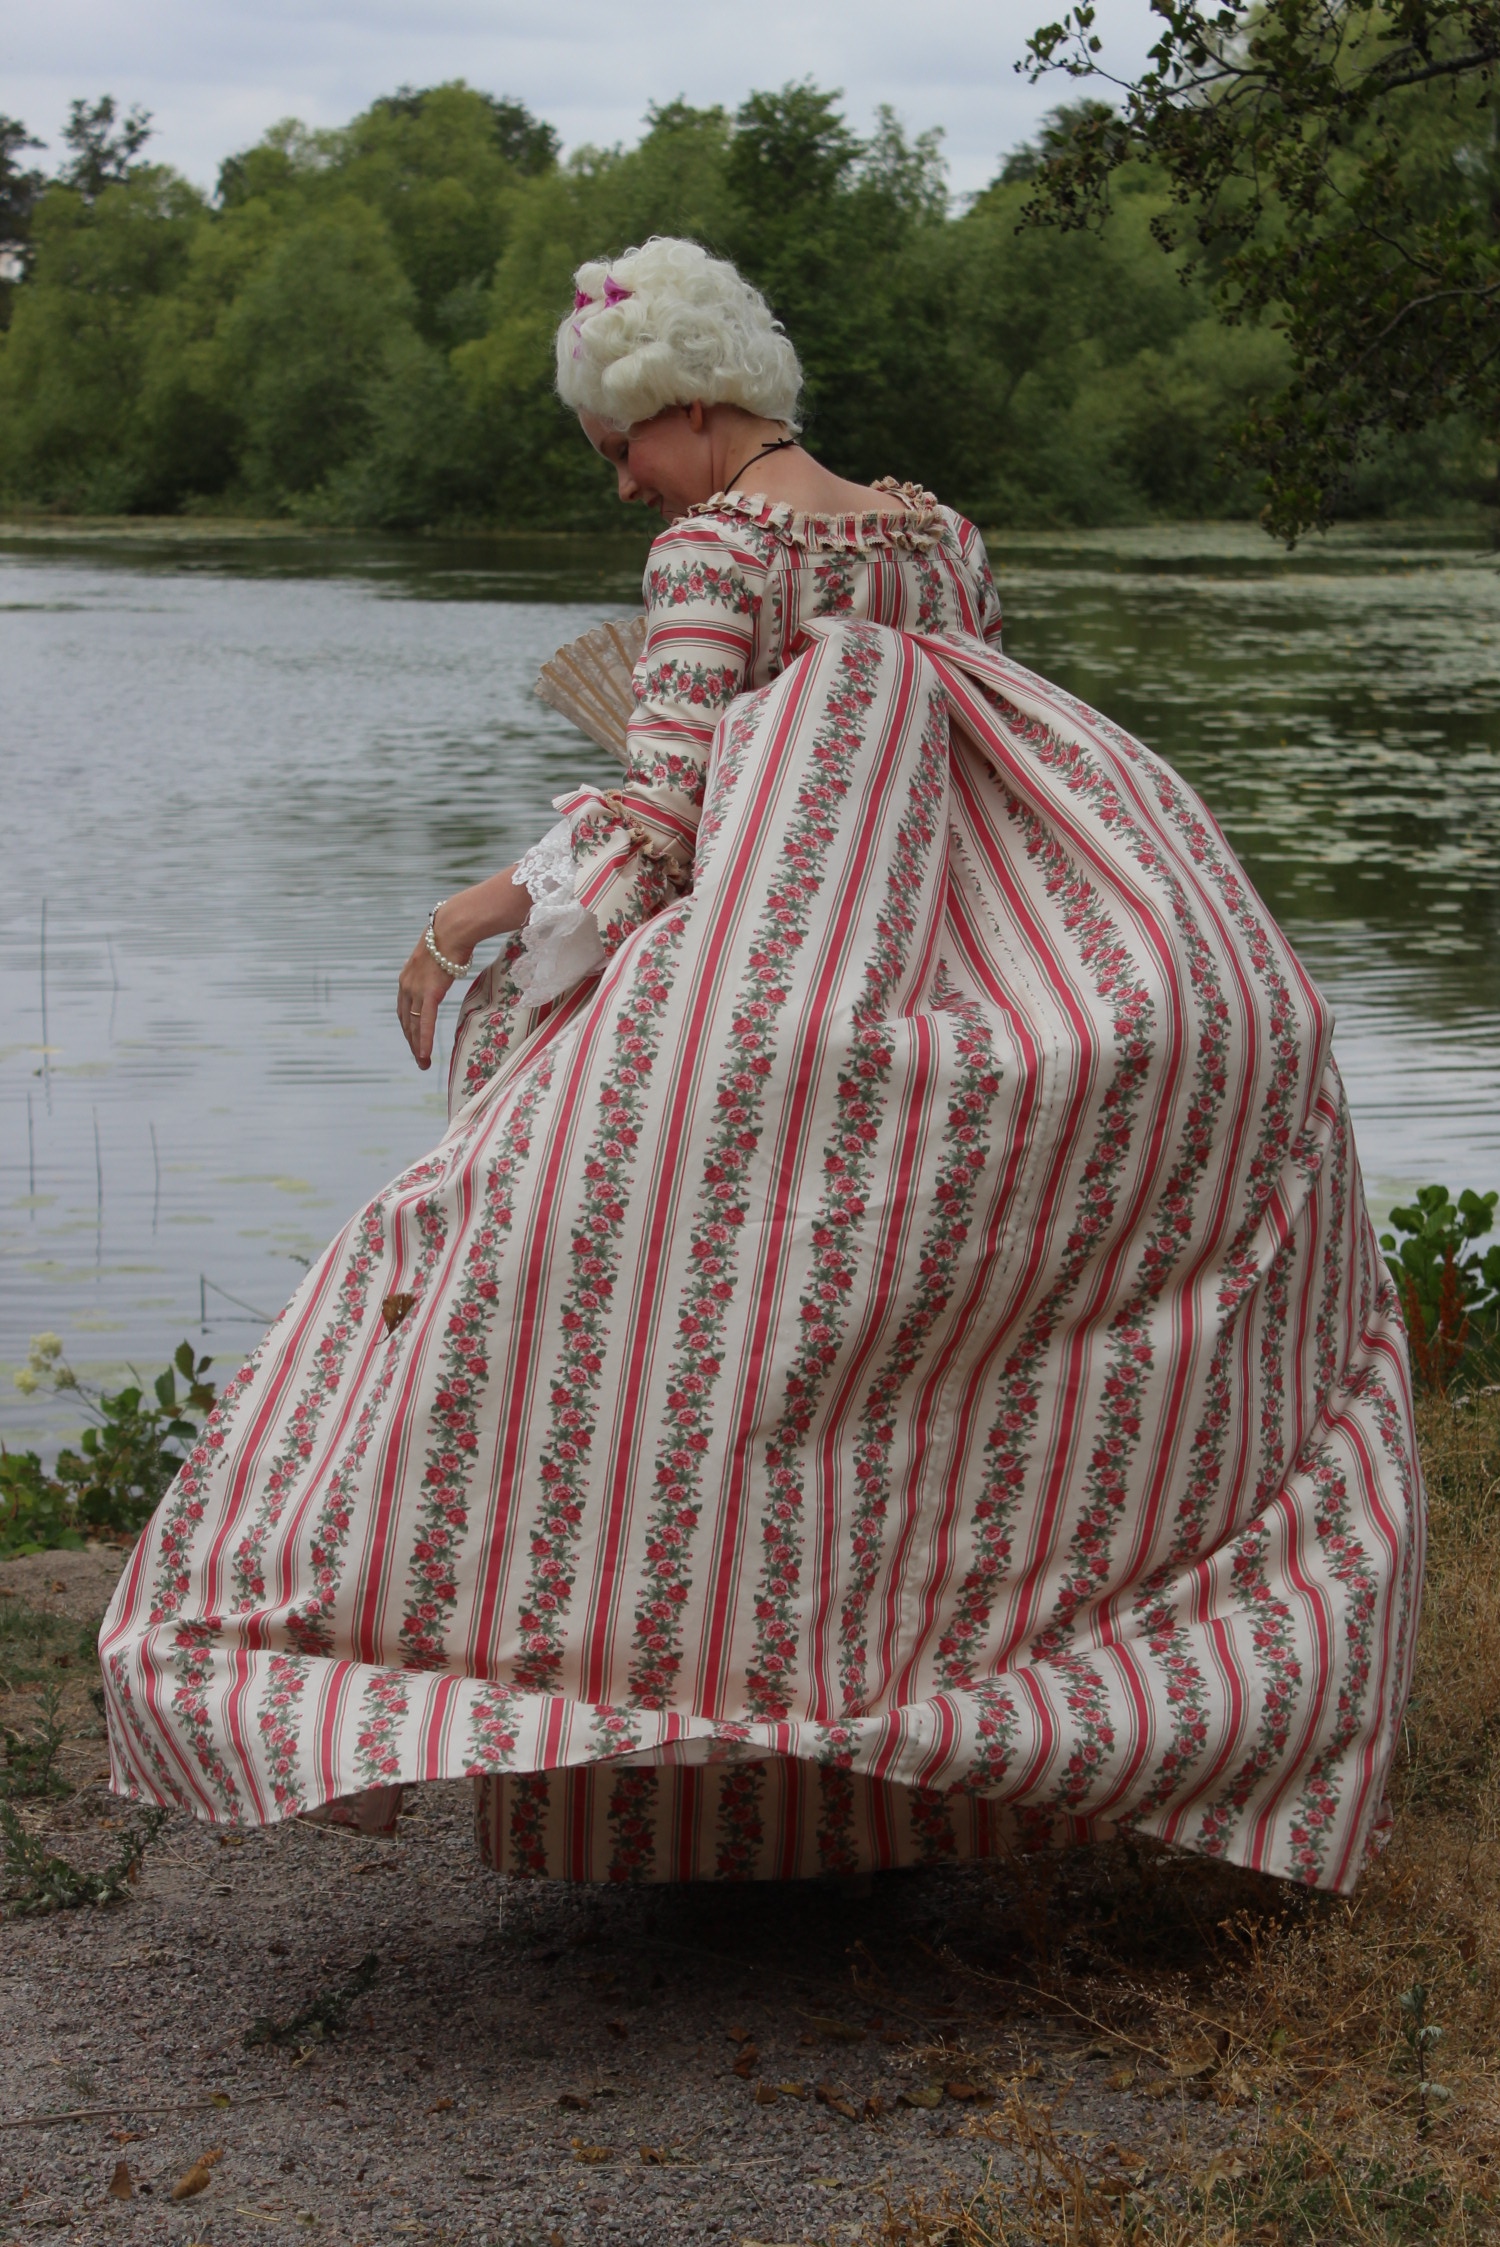
Once the Robe a la Francaise finally was finished, I couldn’t wait to get it photographed. So I asked my sister to help me take some pic (on one of the windiest day no doubt).
When I started this project back in 2014 I never thought it would take this long to get it done, (then, a bit later I thought I would never finish) But here it finally is, My long awaited Robe a la Francaise.
As mentioned this project took it’s sweet time to get finished, and it all started with this: A pink/flower/striped polyester satin found in the bargain bin at my local fabric store.
I immediately though it would be perfect for a Francaise, and bought the while bolt (8-9m)
Then it rested a while in my stash while I finished some other projects and gathered the courage to actually get on with it.
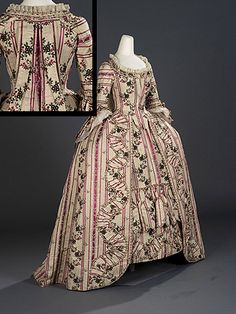
The intention was to make something like these
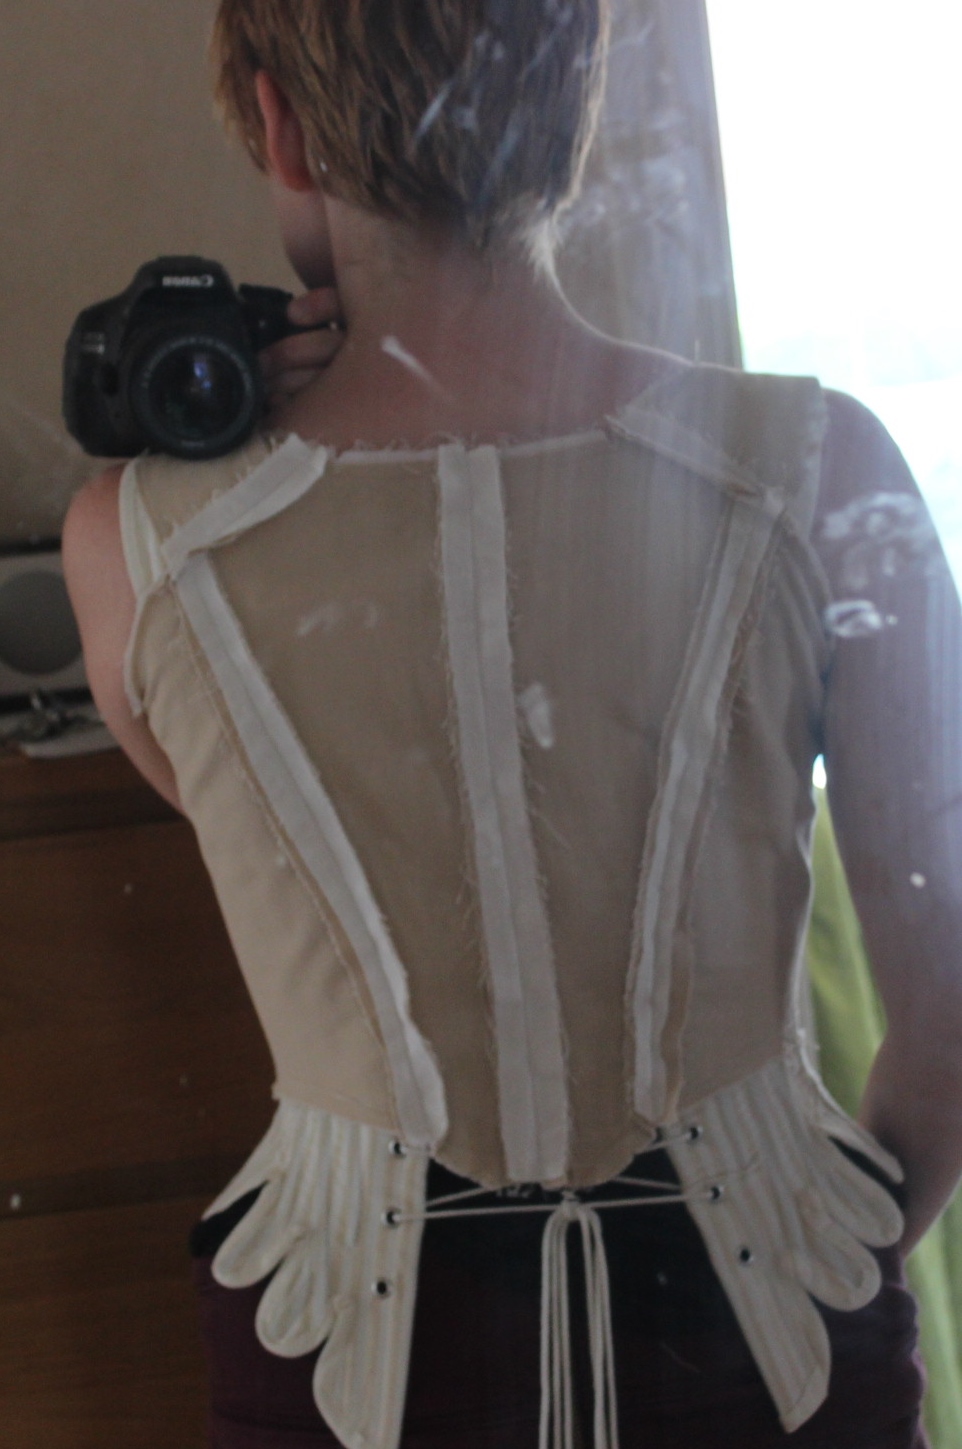
The project then started in 2014 when I made my 18th century long stays, and then cut into the fabric to make the skirt/petticoat for the dress.The first version of this petticoat paired with my (then) newly made stays.
In jan 2015 I continued the project by making my “Panniers of pain” (and getting started on the actual robe)
Along the way the petticoat have evolved a bit and here is the final result after some additional tweaking of the hip-pleats, hem and adding of some decoration.
In January 2015 I started on the robe by drafting the pattern, making the mock-up and cutting the fabric.
I spent so manny hours hand-stitching the pieces, draping the pleats, adding the lining, and making the lacing holes, that I eventually tried of the whole thing.
(the curse of the creative – always got to move on to new exiting things).
Then, in Jan 2017 I picked them up again, and continued by adding the sleeves, and making (and adding) all the trimmings. The firs try on after 2 years (and 1 baby) – and it fits like a glove :-D.
But then I got stuck on how to best solve the tapering of the sleeve flounce, and since I no longer felt the excitement over neither the fabric nor the gown itself the project once more went back in the closet.
Unfortunately all y pictures from the construction (from 3 years past) got lost in a computer crash in mars, (It wasn’t even the damn computer that crashed – but the extern memory/safety backup where I kept all the old pictures:-( – how is that even possible) and all I got left are these who happened to be on my phone.
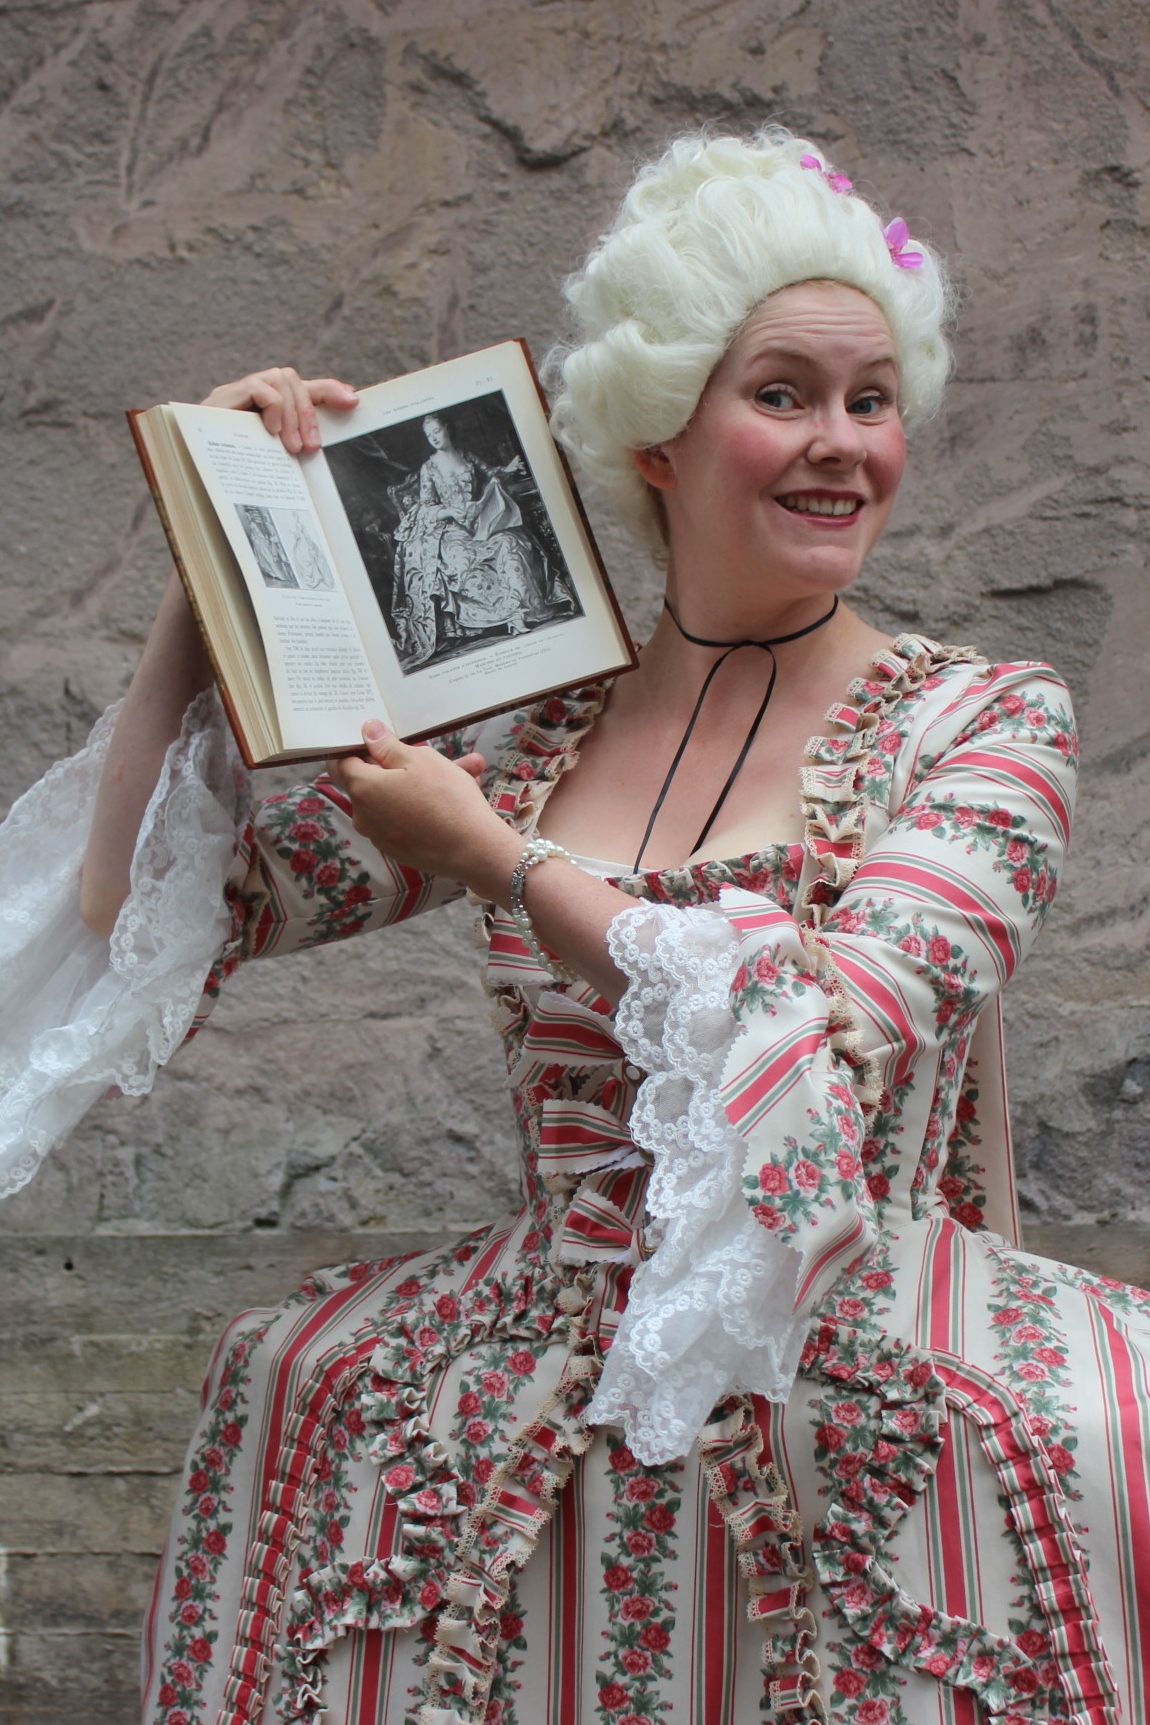
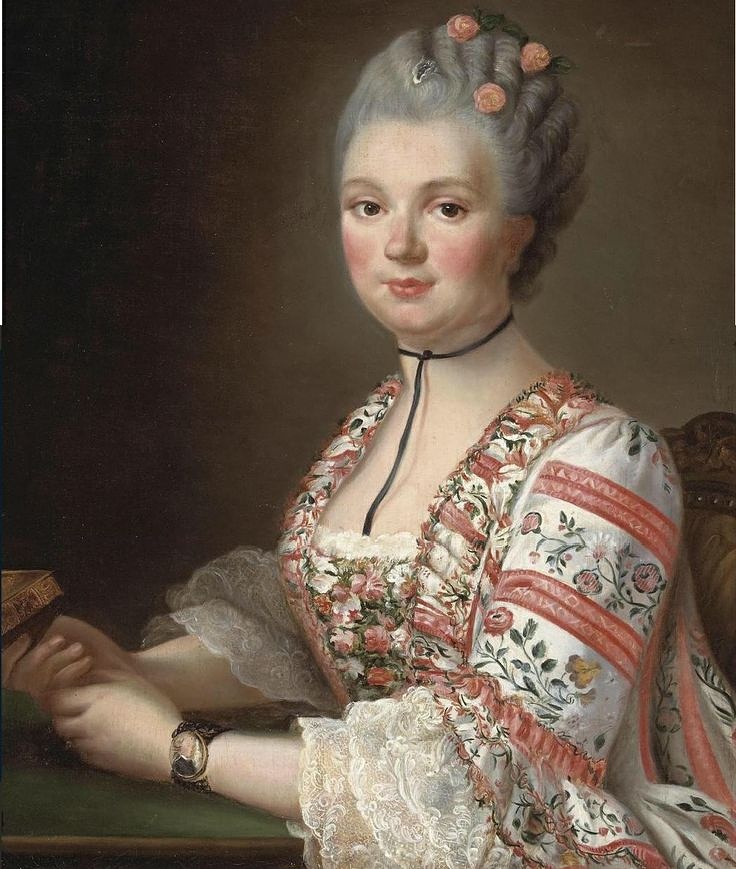
In June, however, my interest returned when I found this picture: “Portrait of a lady” (thought to be Madame de Pompadour) by François-Hubert Drouais
Whoa!
So close!
And once more the excitement came rushing back.
So I spent a few more hours finishing the lace flounces and decorating the stomacher, and that was that.
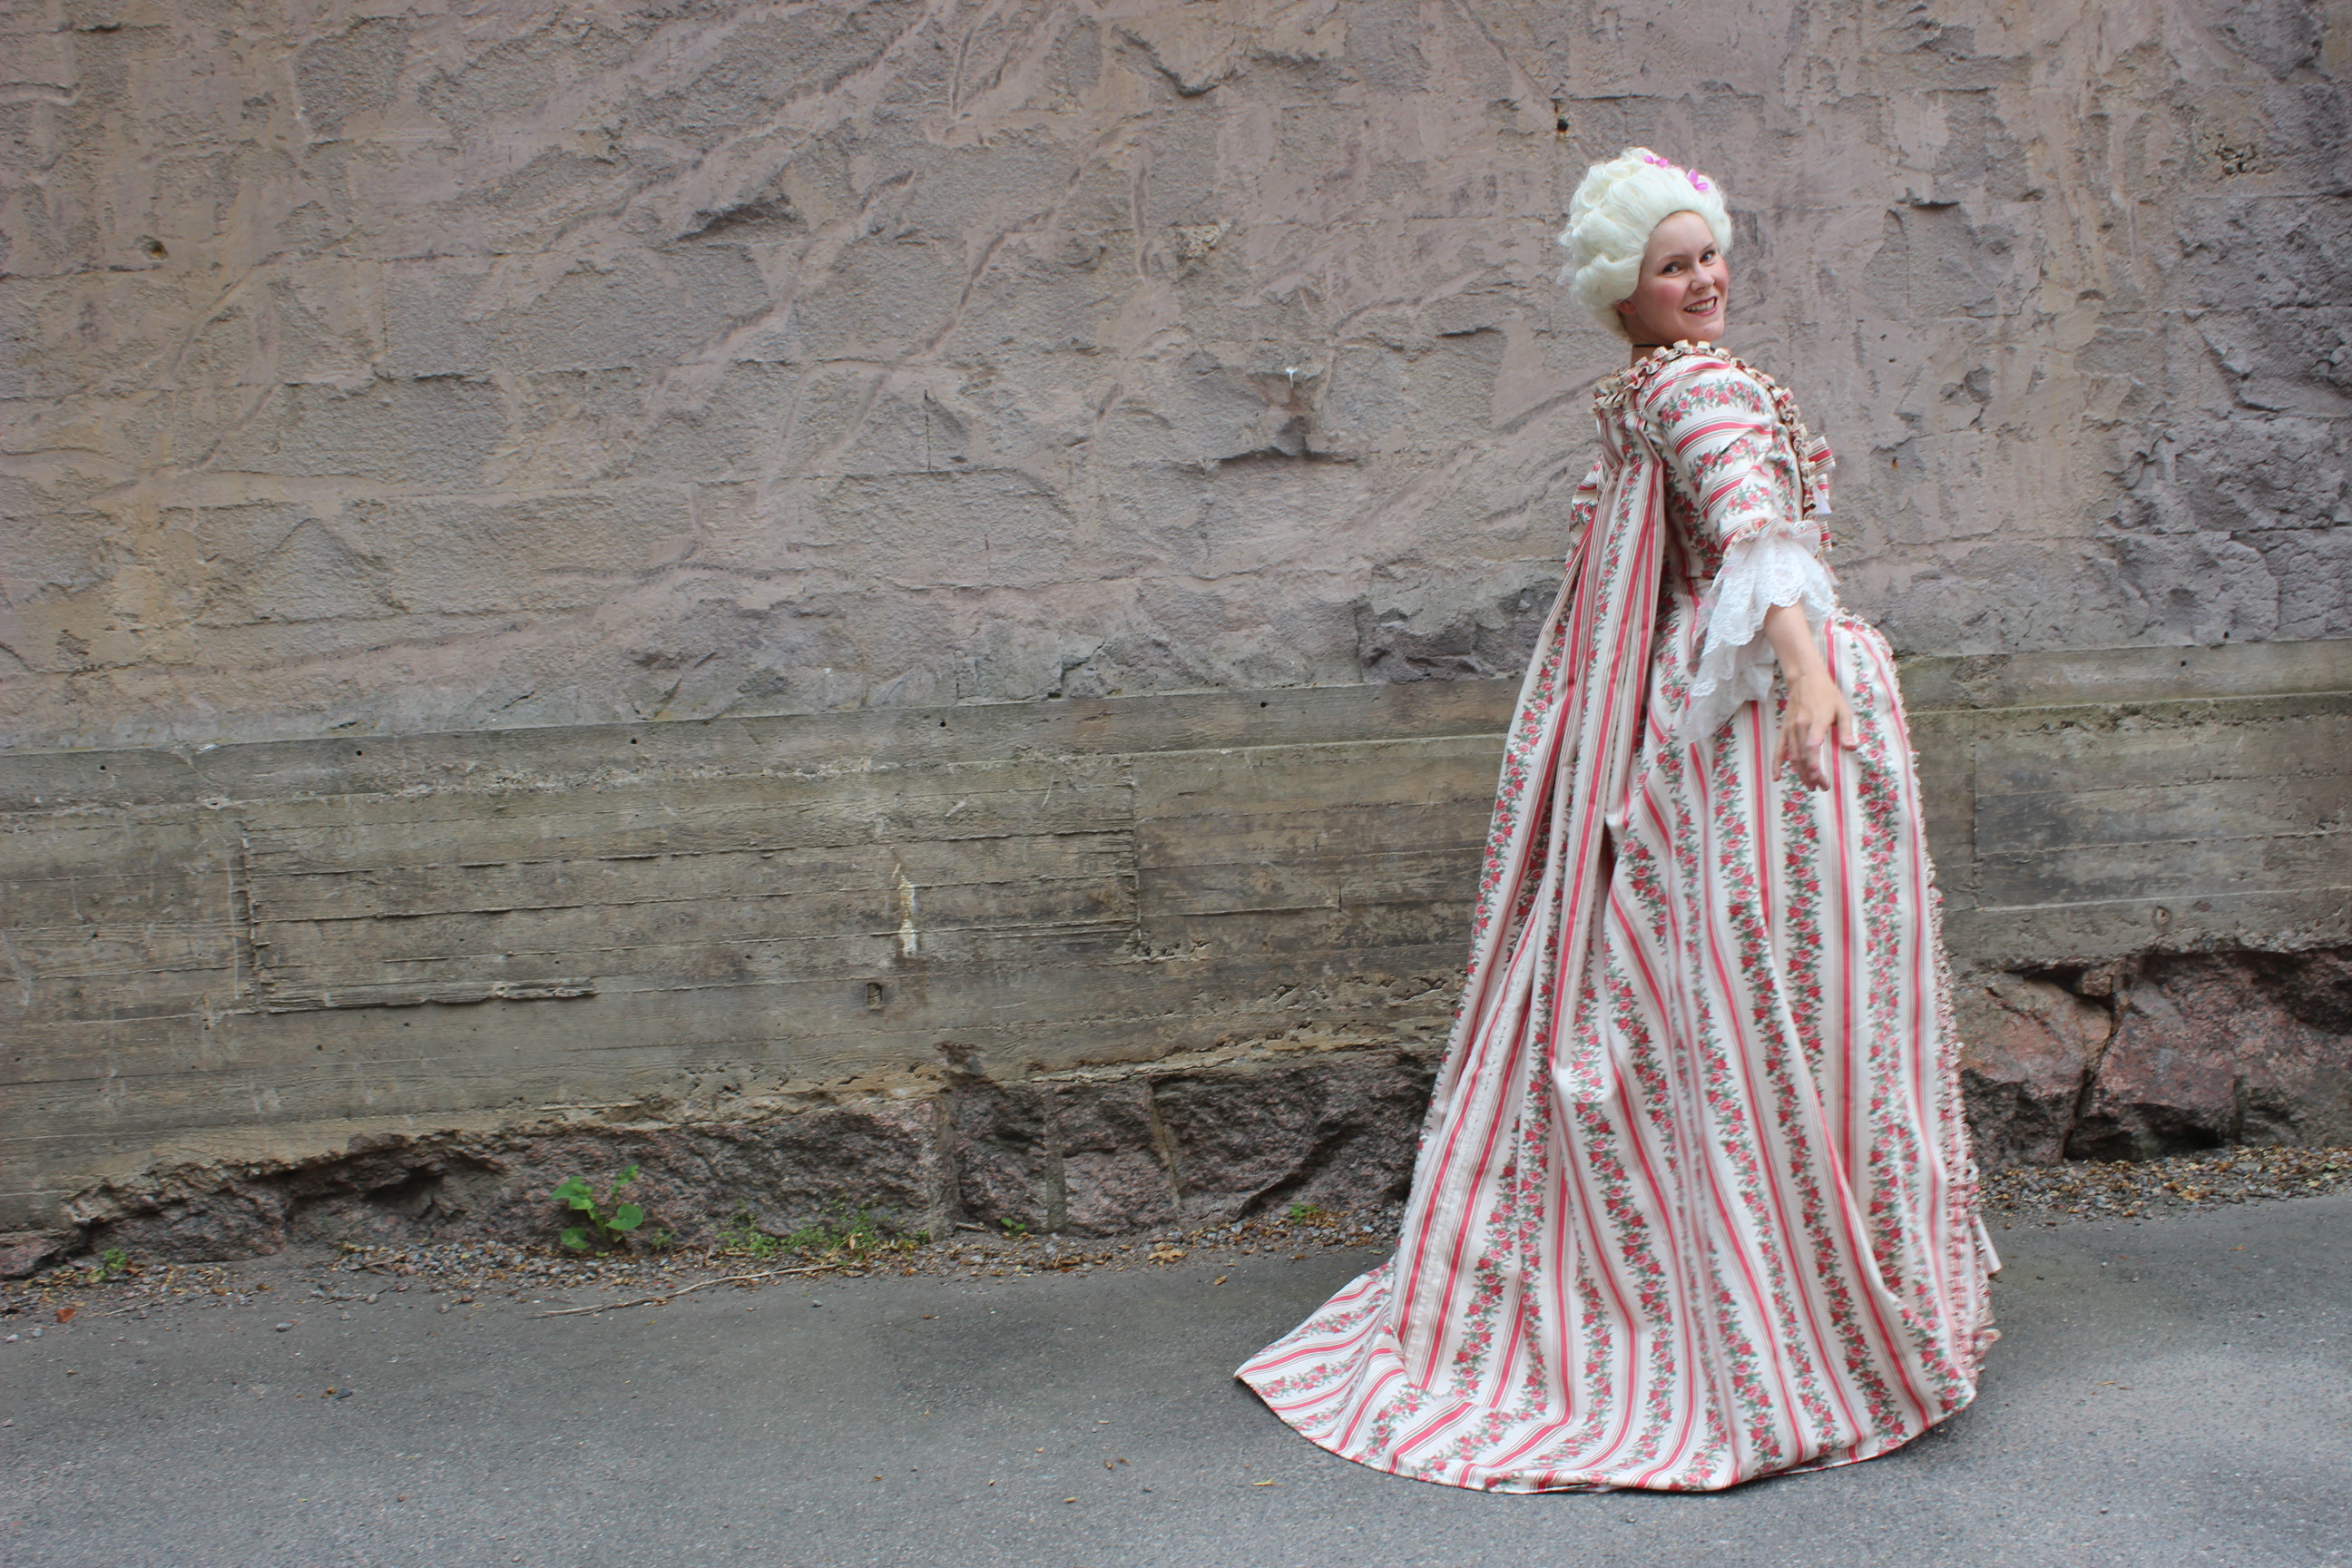
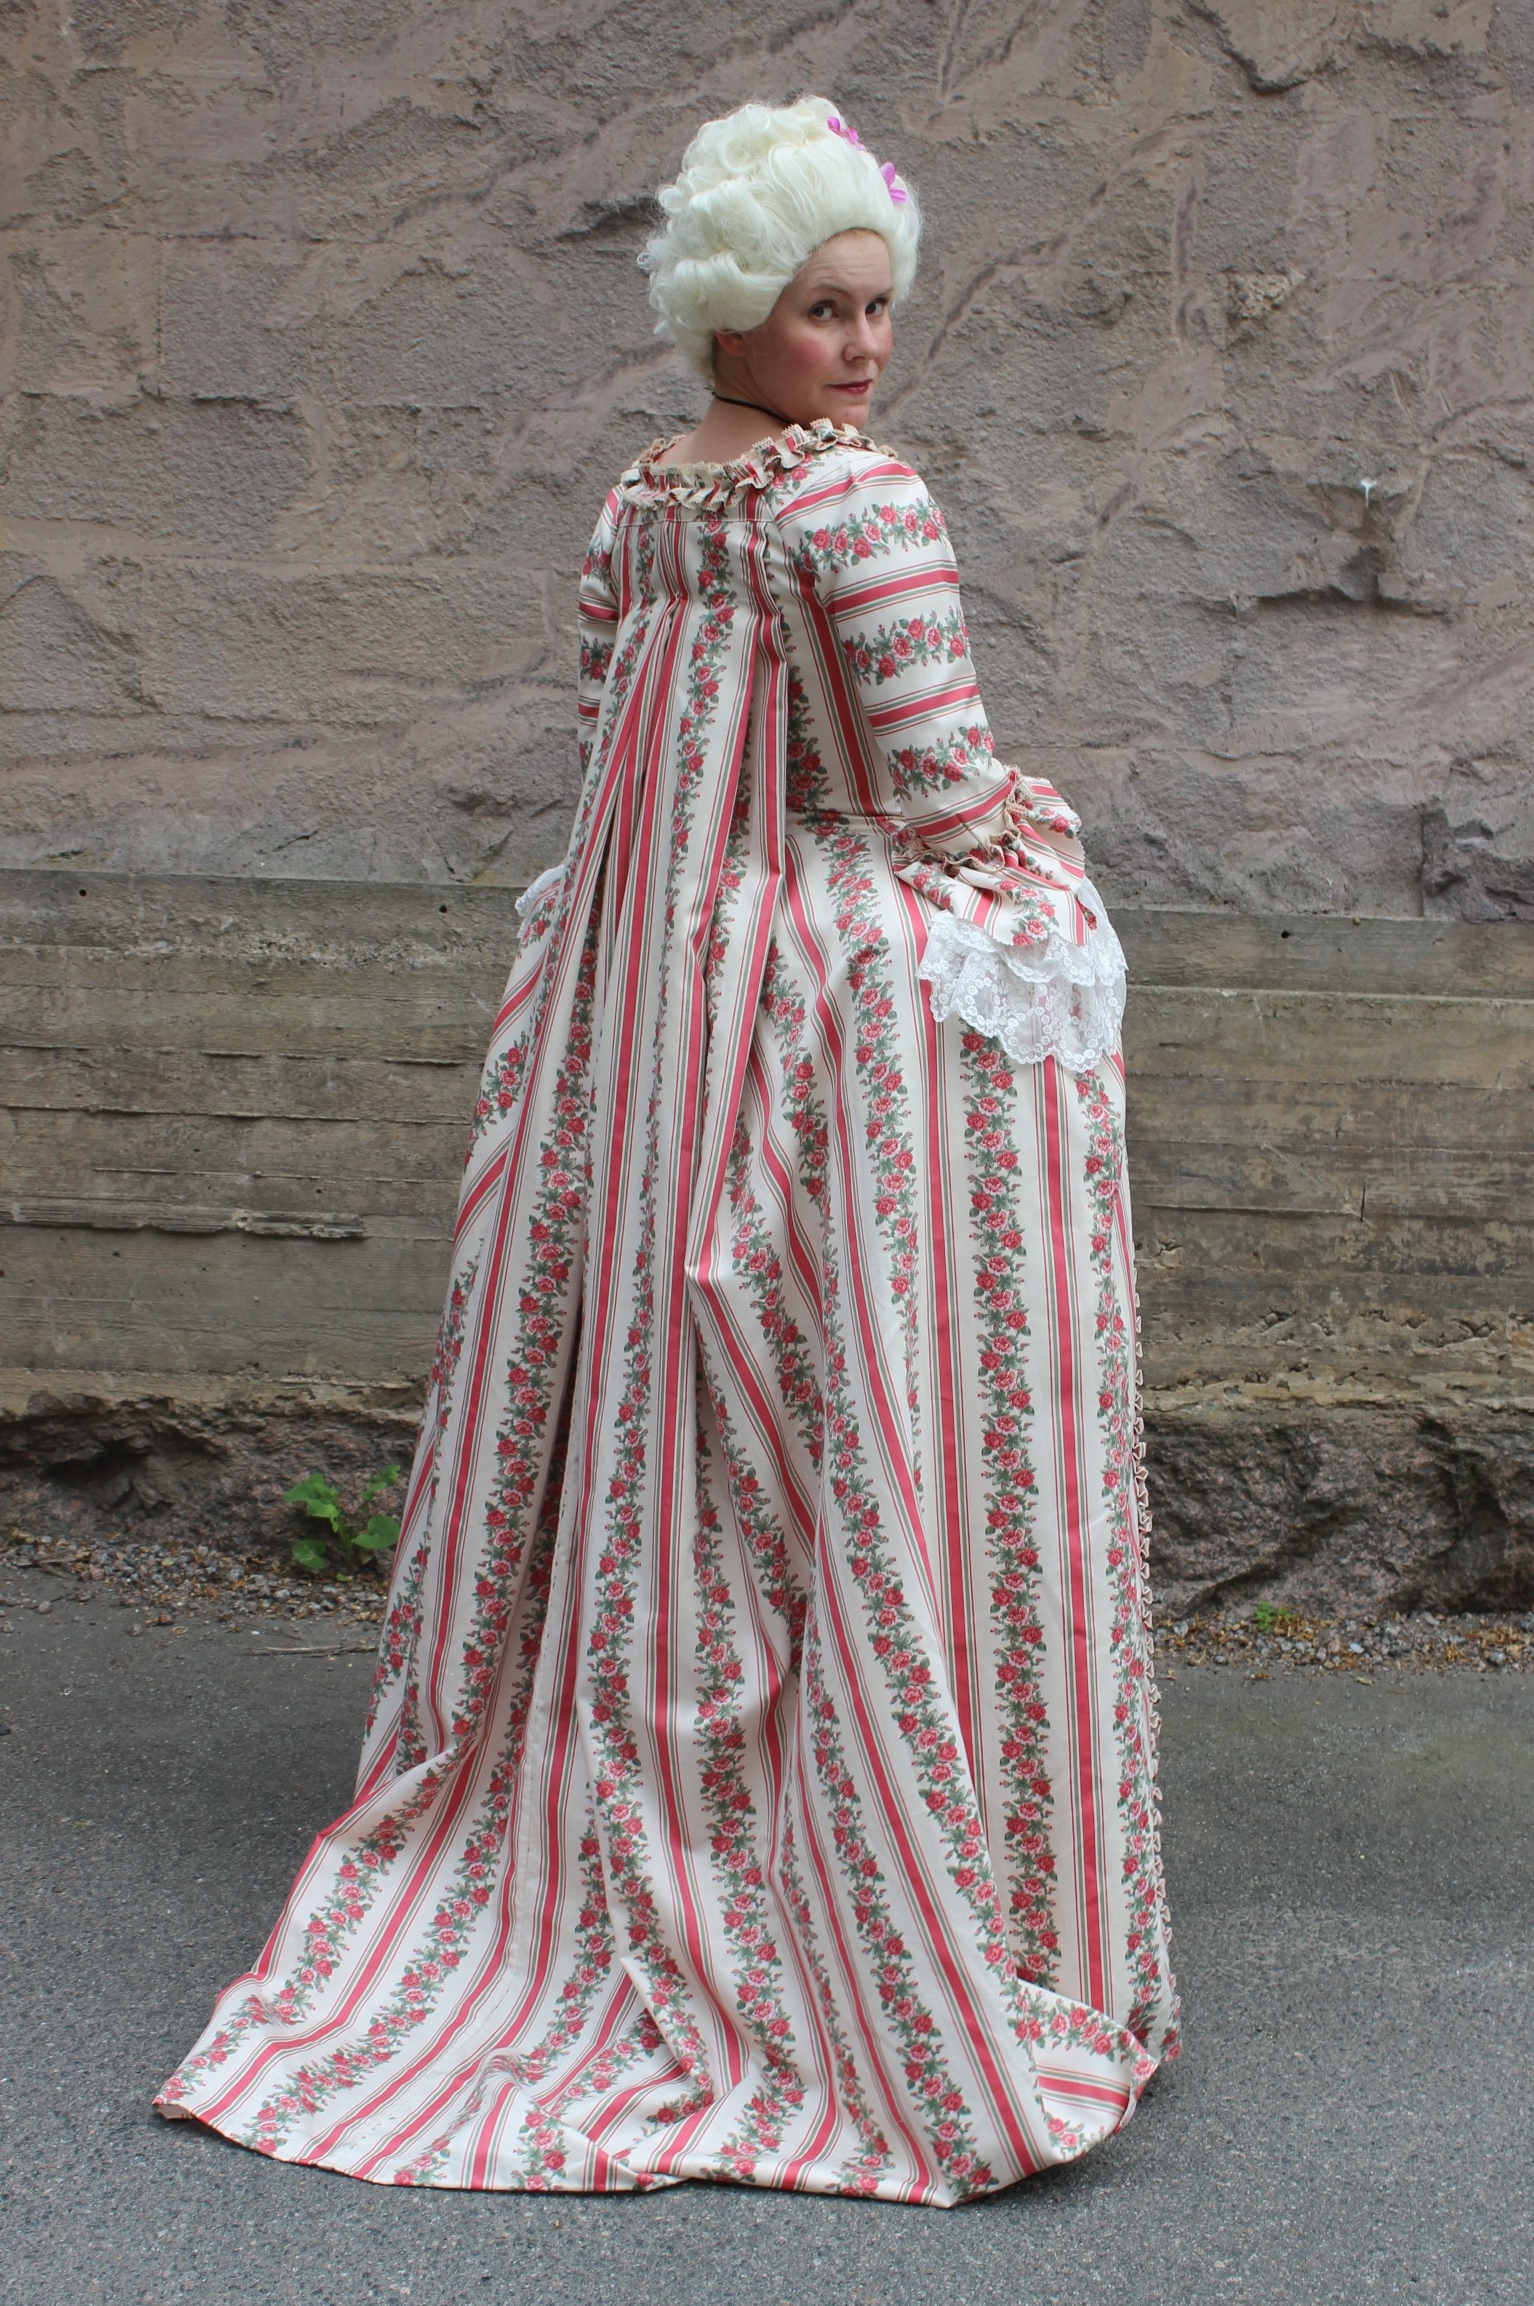
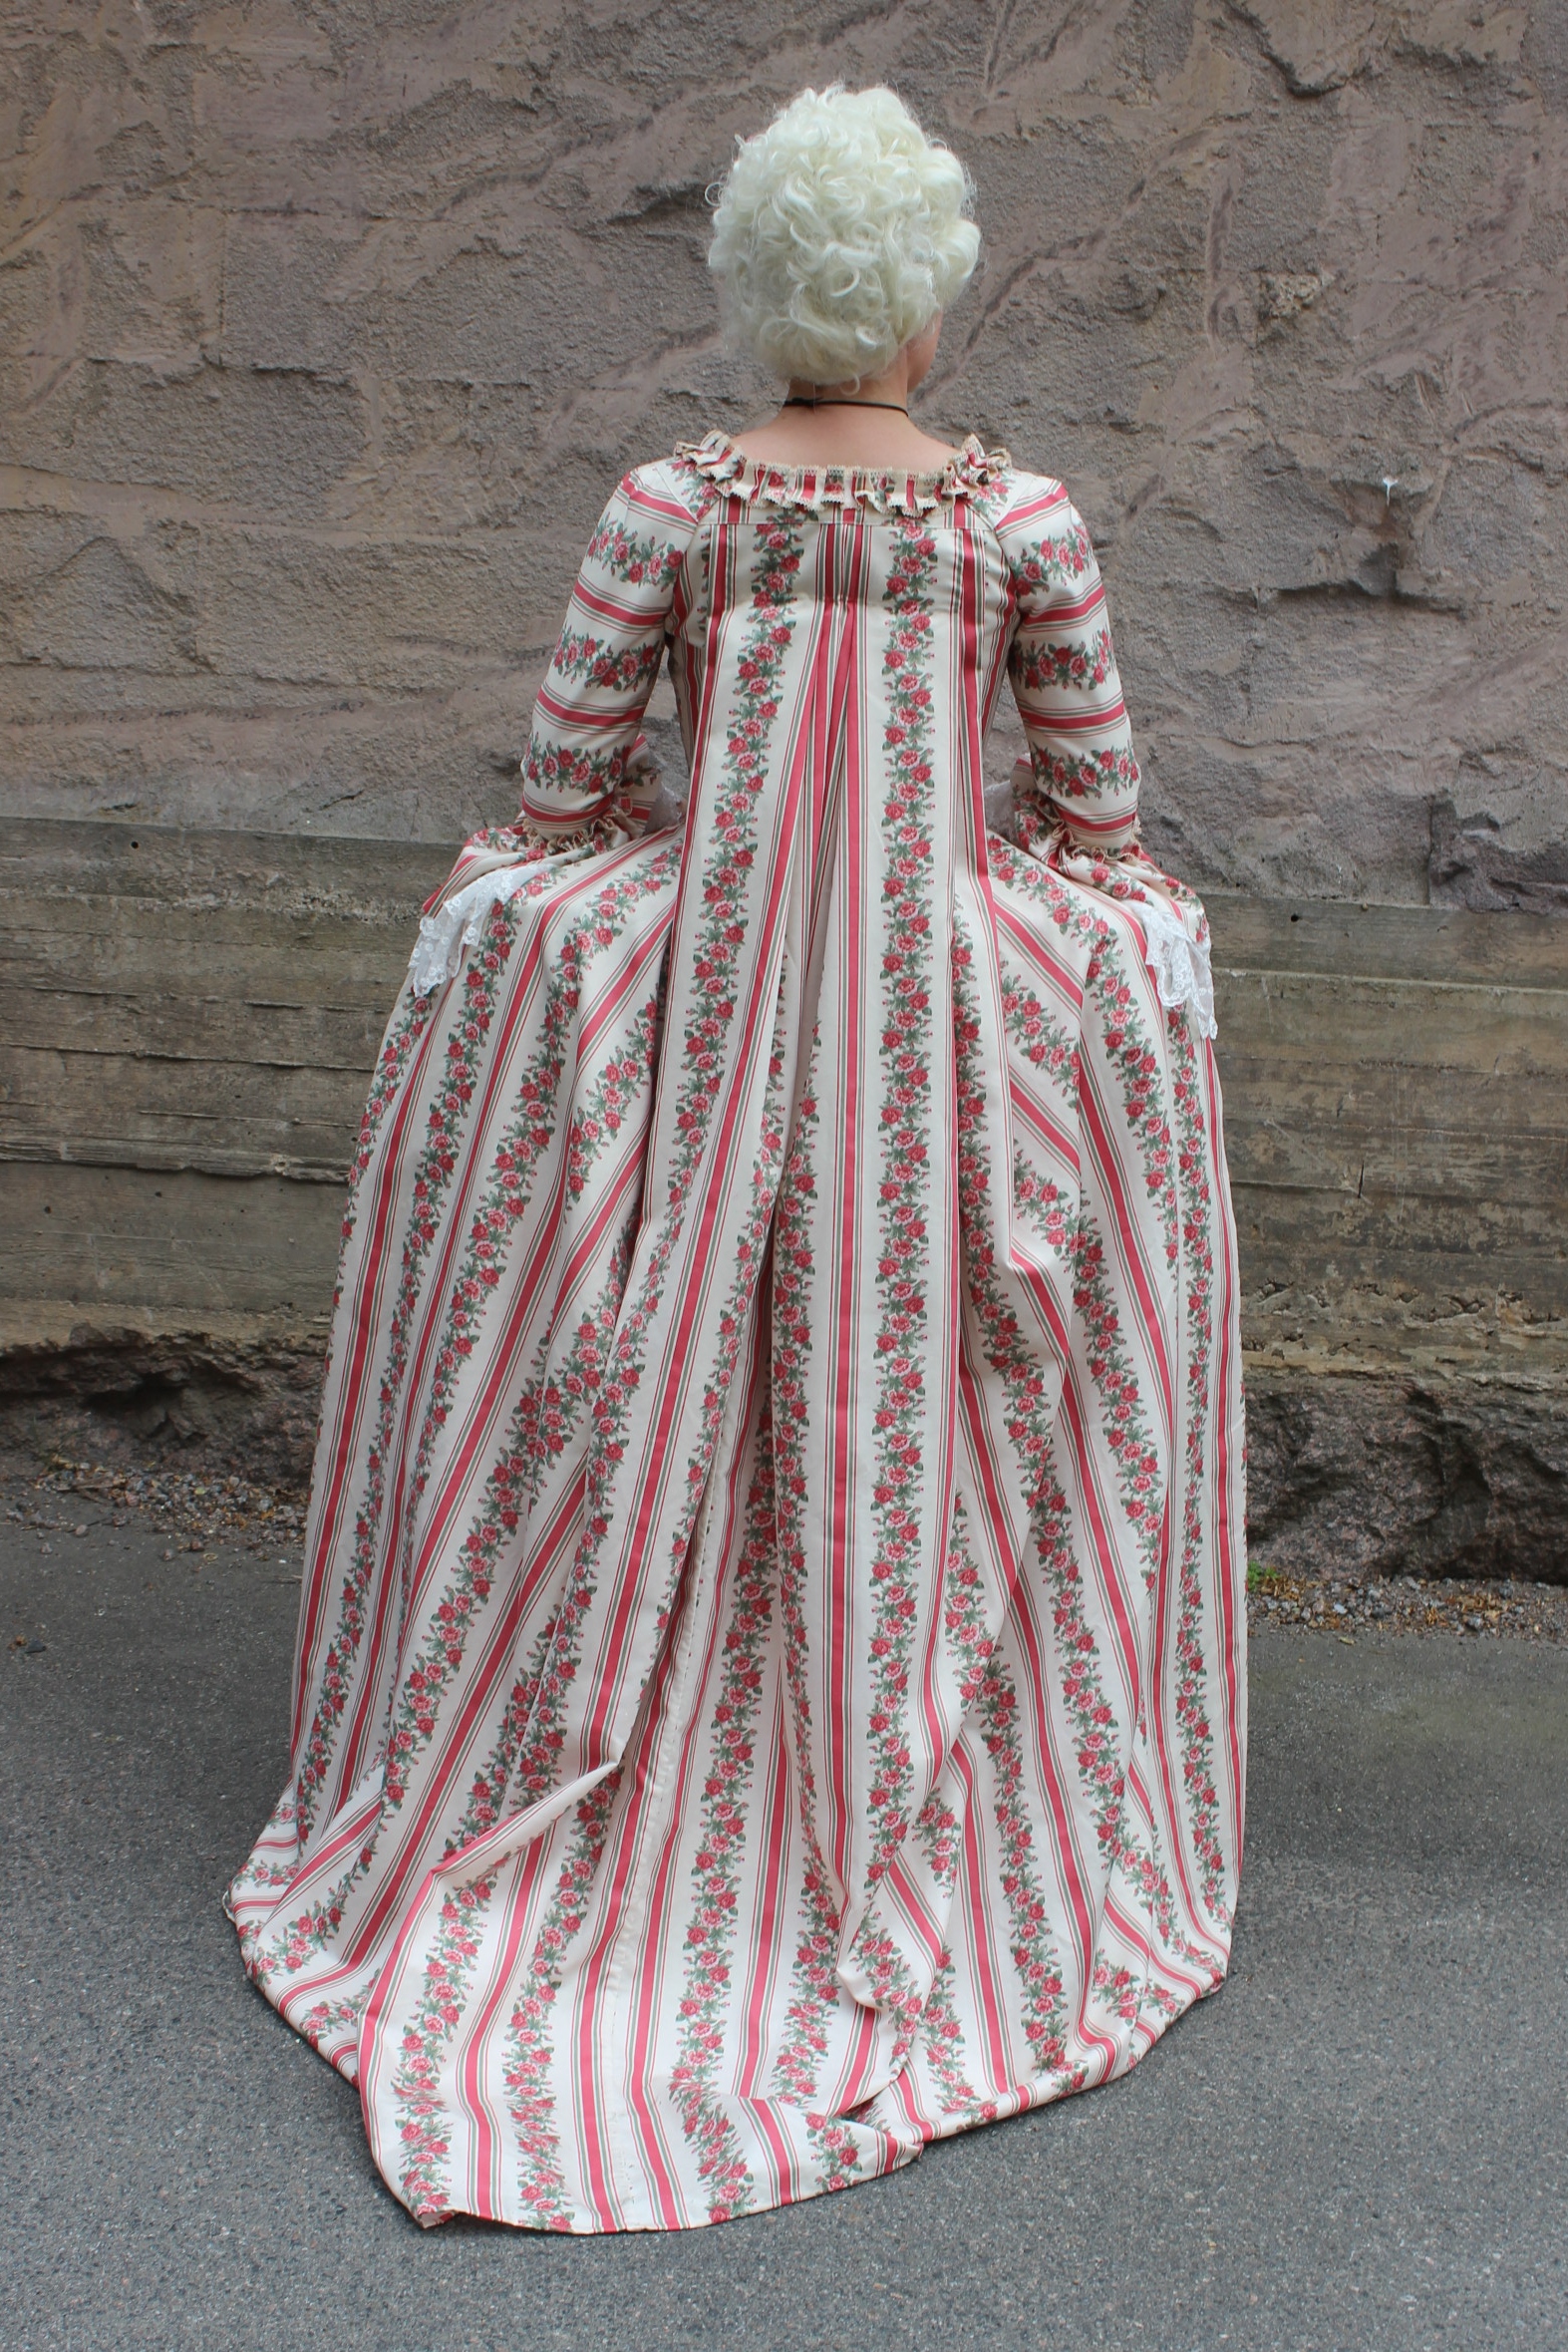
The Finished Francaise:
Just the facts:
Challenge: nr 8/2017 – Ridiculous – Fashion is sometimes a little silly, and historical fashions can look particularly odd. Make something that was considered outrageous in its own time, or is just utterly ridiculous to modern eyes.
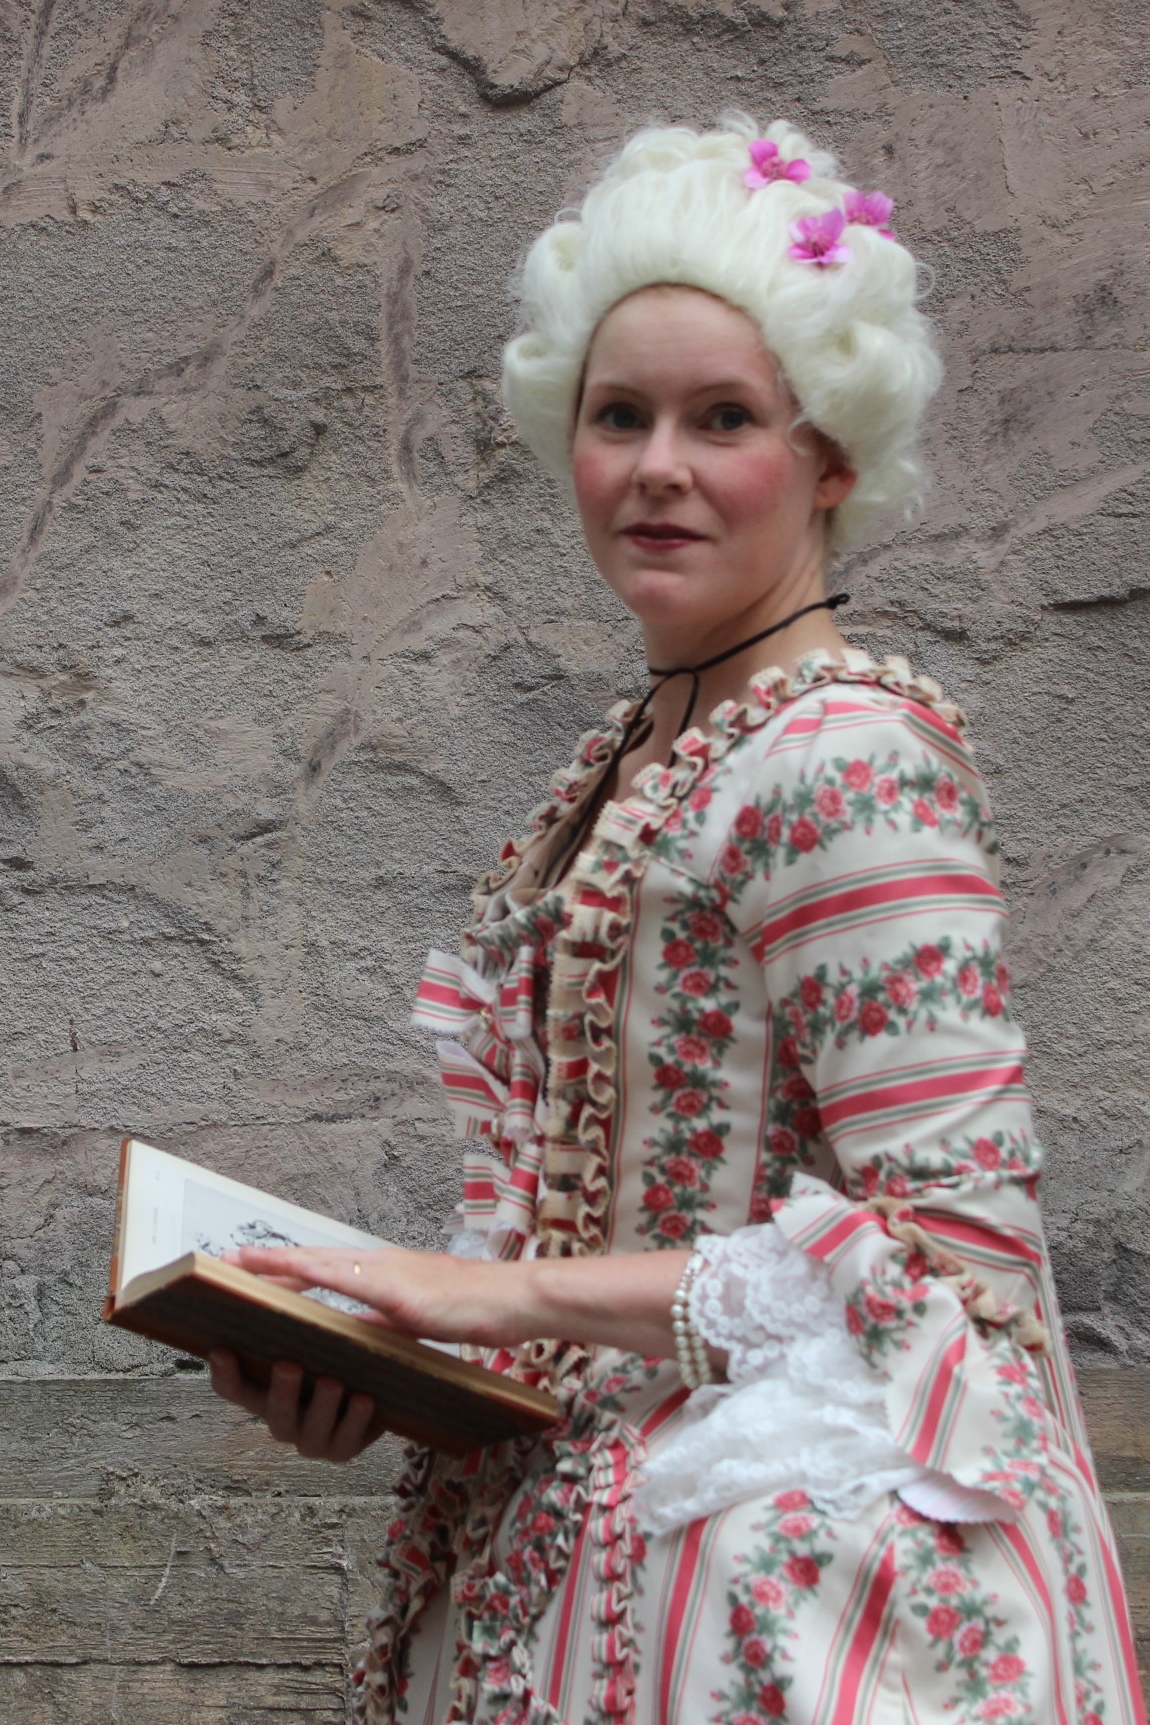
What: A 1760s Robe a la Francaise
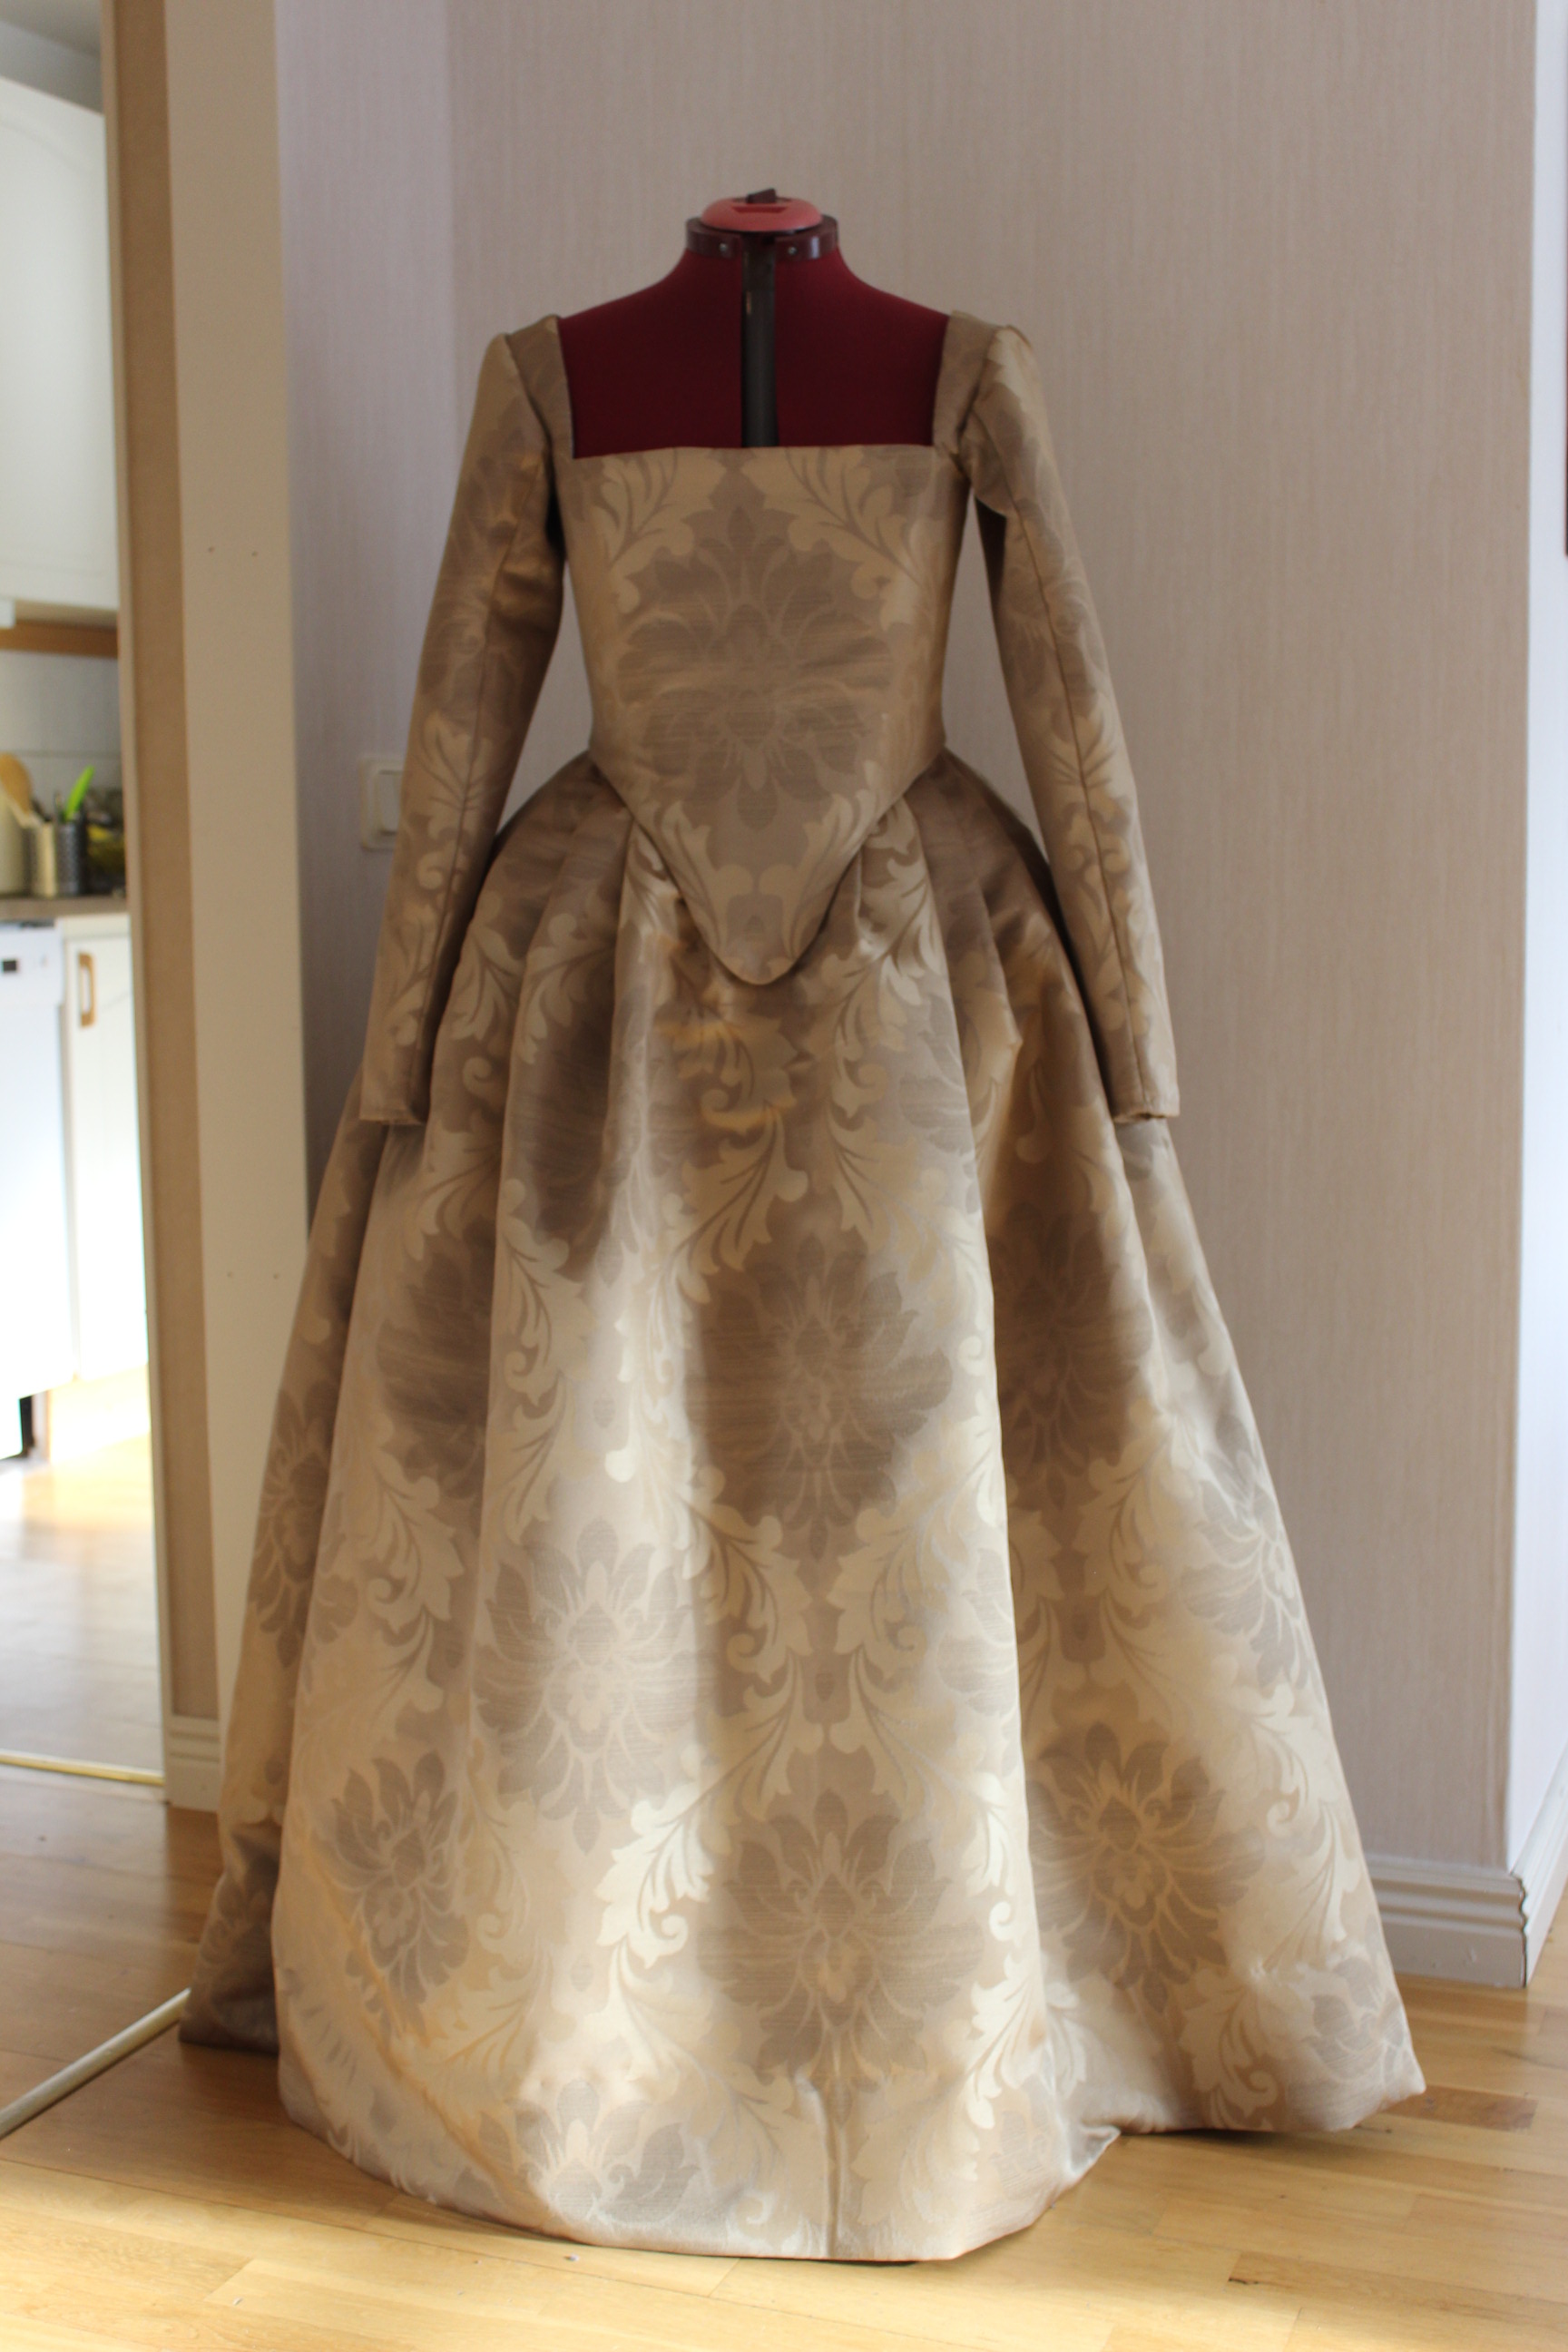
How it fit the challenge: The special shape of the Robe Francaise, with its wide hips/panniers and full back pleats makes it instantly recognizable for the modern viewer as a piece from one of the most exaggerated part of history. Both the shape and the “fru fru” trimmings are cause for ridicule and head-scratching in our time, even if it was a more common and sought after sight back in the 18th century.
Pattern: I draped my own based on drawings from Waughs “Cut of Womens Clothes” and Arnolds “Pattern of Fashion”
Fabric: 6-7 m of a thick flowery/striped polyester satin, 0,5 m cotton twill for interlining and 0,5m white cotton for lining.
Notion: Thread, 2 m cotton cord for lacing, 3 m plastic bones for back opening and stomacher, about 20m of thin cotton lace for the trimming, 5 m of 15 cm whide cotton lace fro the sleeve ruffles and 5 buttons for decoration on the stomacher.
How historical accurate: So so. The fabric are polyester (should have been silk), the pattern and construction method are ok since its draped for my (corseted) body and entirely hand sewn. The print on the fabric is a bit to modern, but as shown in the above portrait not to far of. The business of the design/print are totally accurate even though it may seem a bit over the top for our modern sensibilities. I’ll give it a 7/10
Time: Waaay to long… I started this project in the autumn 2014, the again winter 2014/2015, and again winter 2016/2017 and only now (summer 2017) got around to finish it. I spend somewhere between 100-150 hours on the dress.
Cost: Not sure but I’ll guesstimate about 600 Sek (75Usd).
First worn: For photos in late July
Final thoughts: I’m so happy that it is finished! And even though there is some things I liked to have made differently I think it is spectacular, and it’s so fun to wear.
***
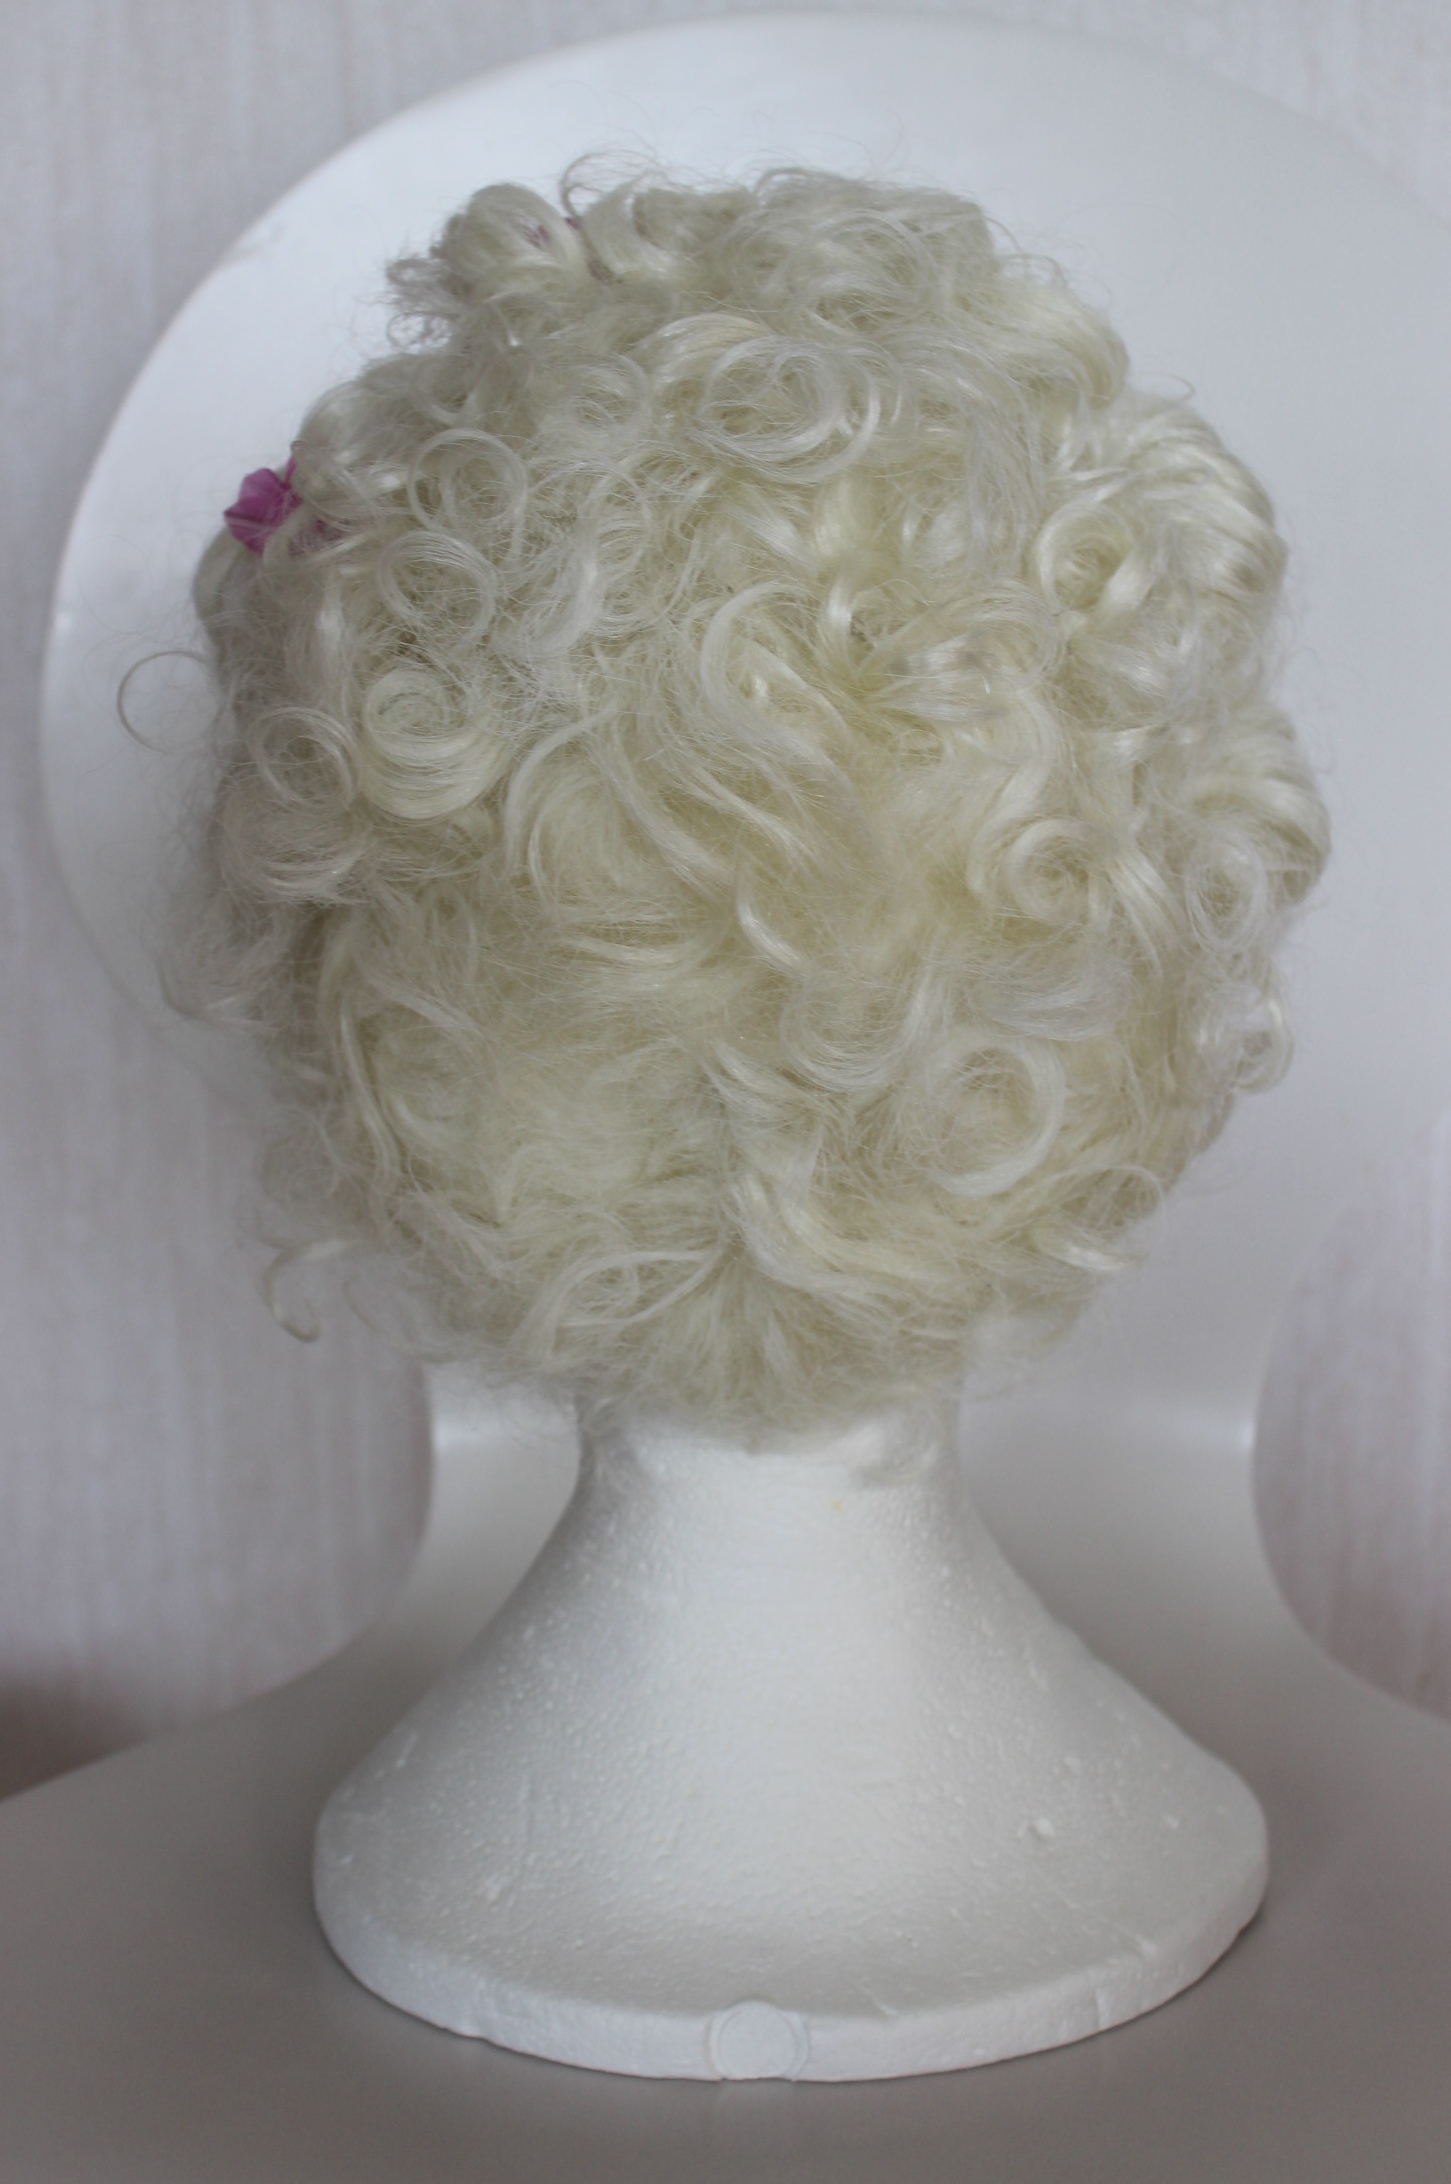
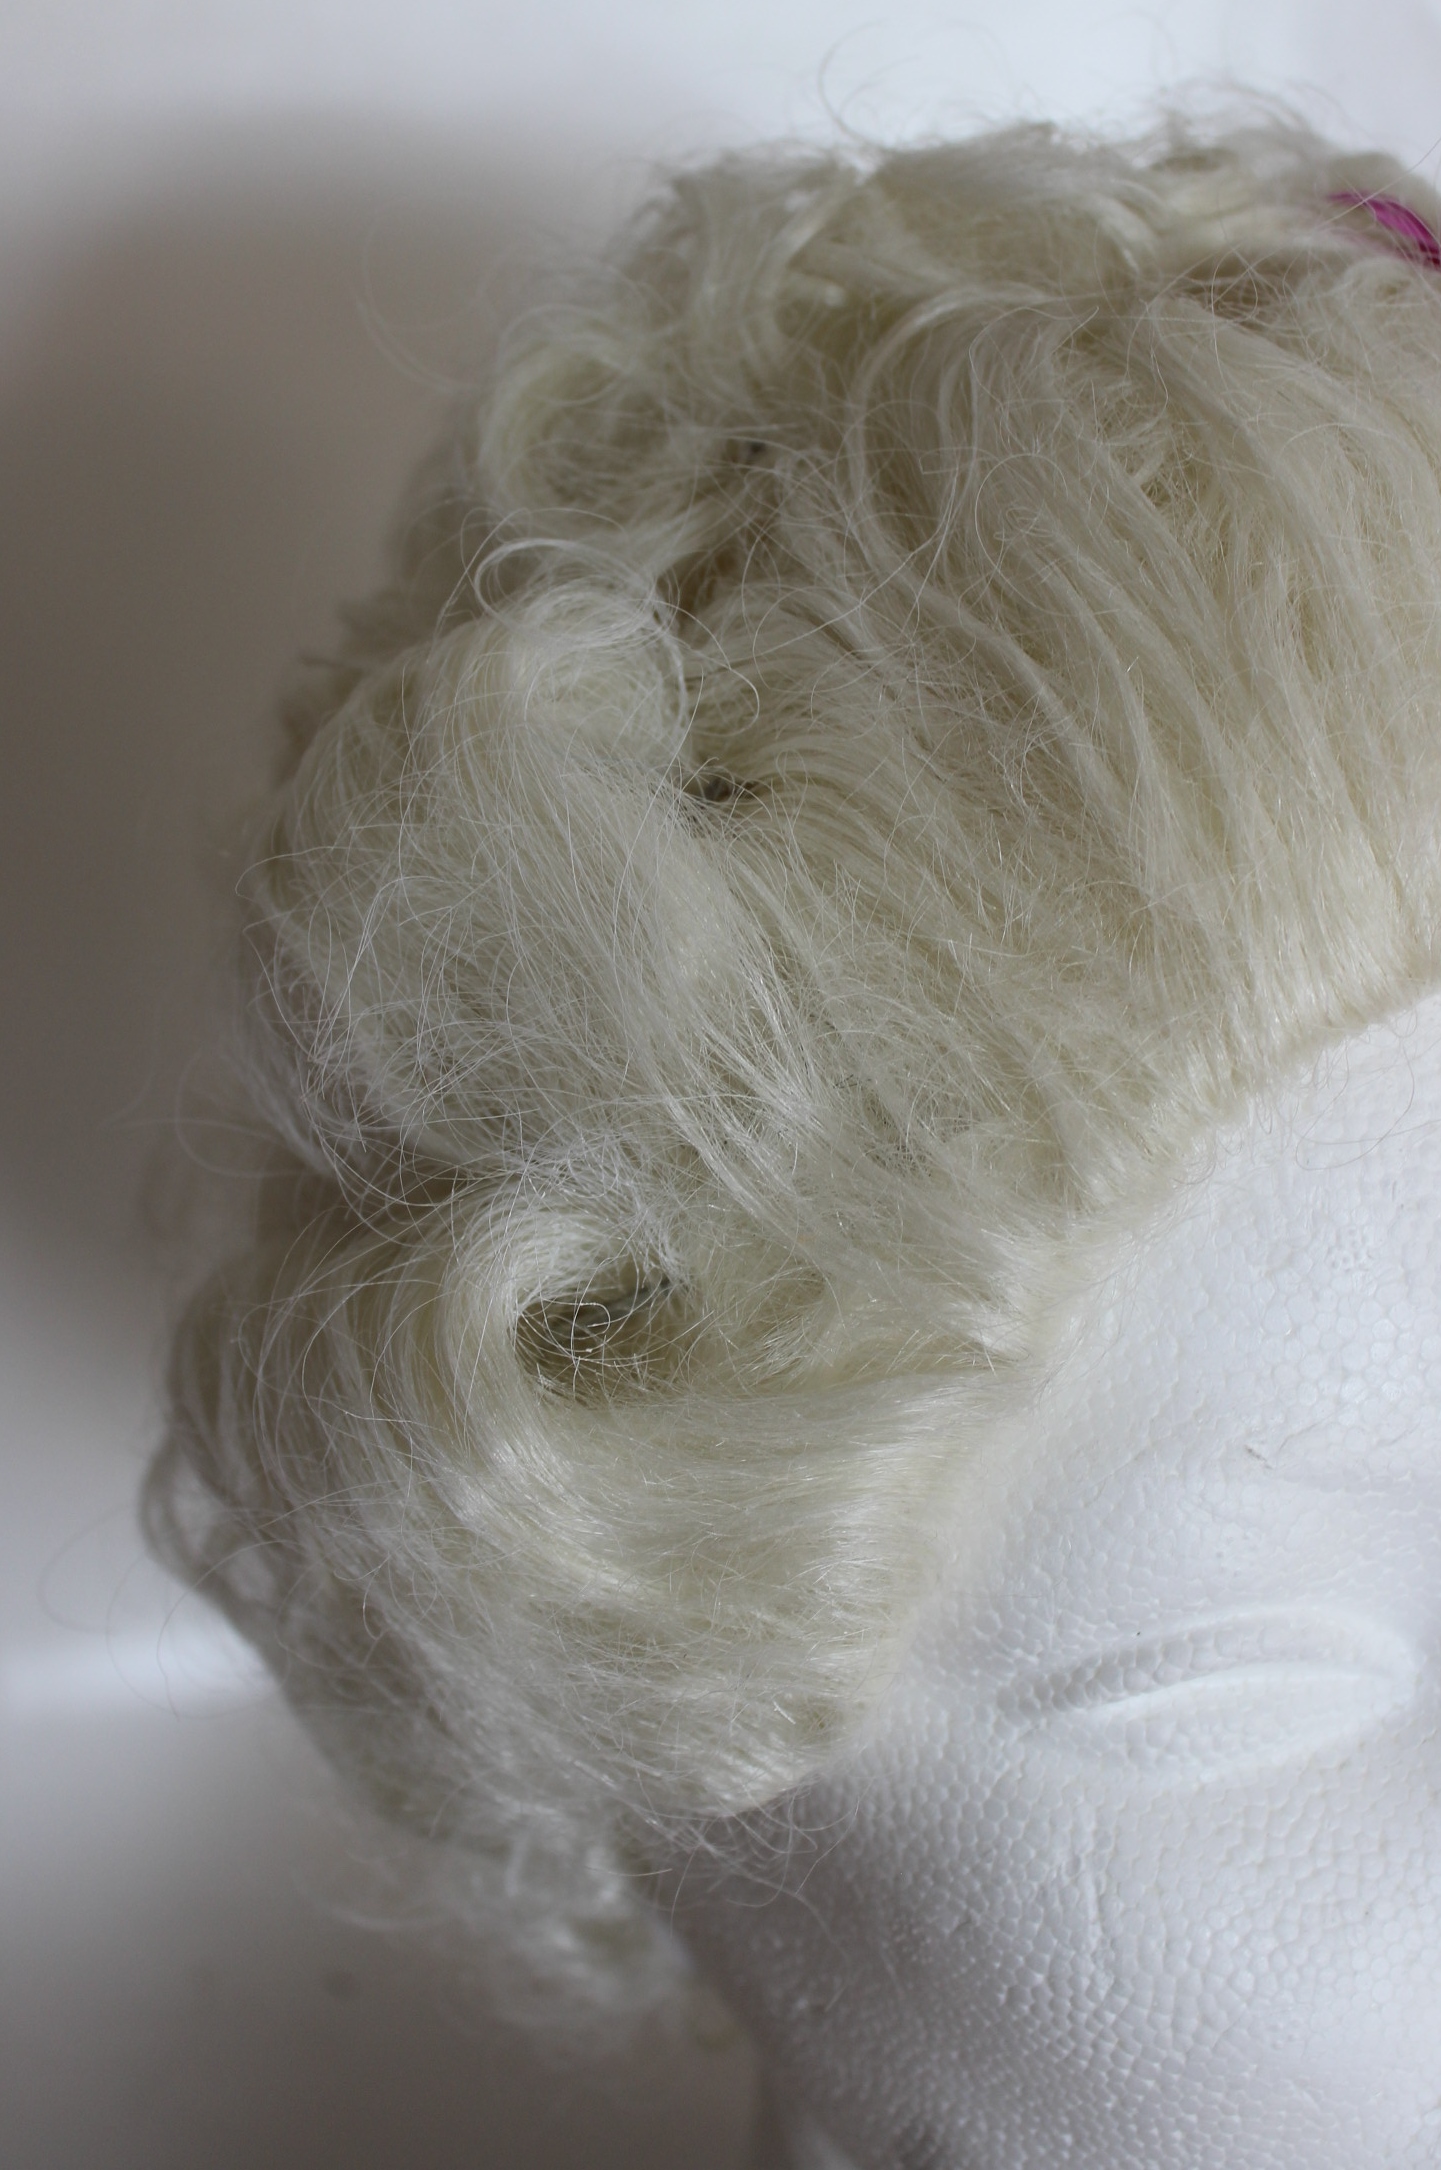
For this project I alos made a Masquerade wig to match my gown.
It’s made from a re-styled and powdered halloween wig.
Last fall, right before I hit the wall sewing wise I’d taken on one of my rare commissions (I don’t usually sew for others unless its totally on my terms).
But when my wonderful dancing master Sievert asked me if I could help him update his historical shirts I couldn’t say no.
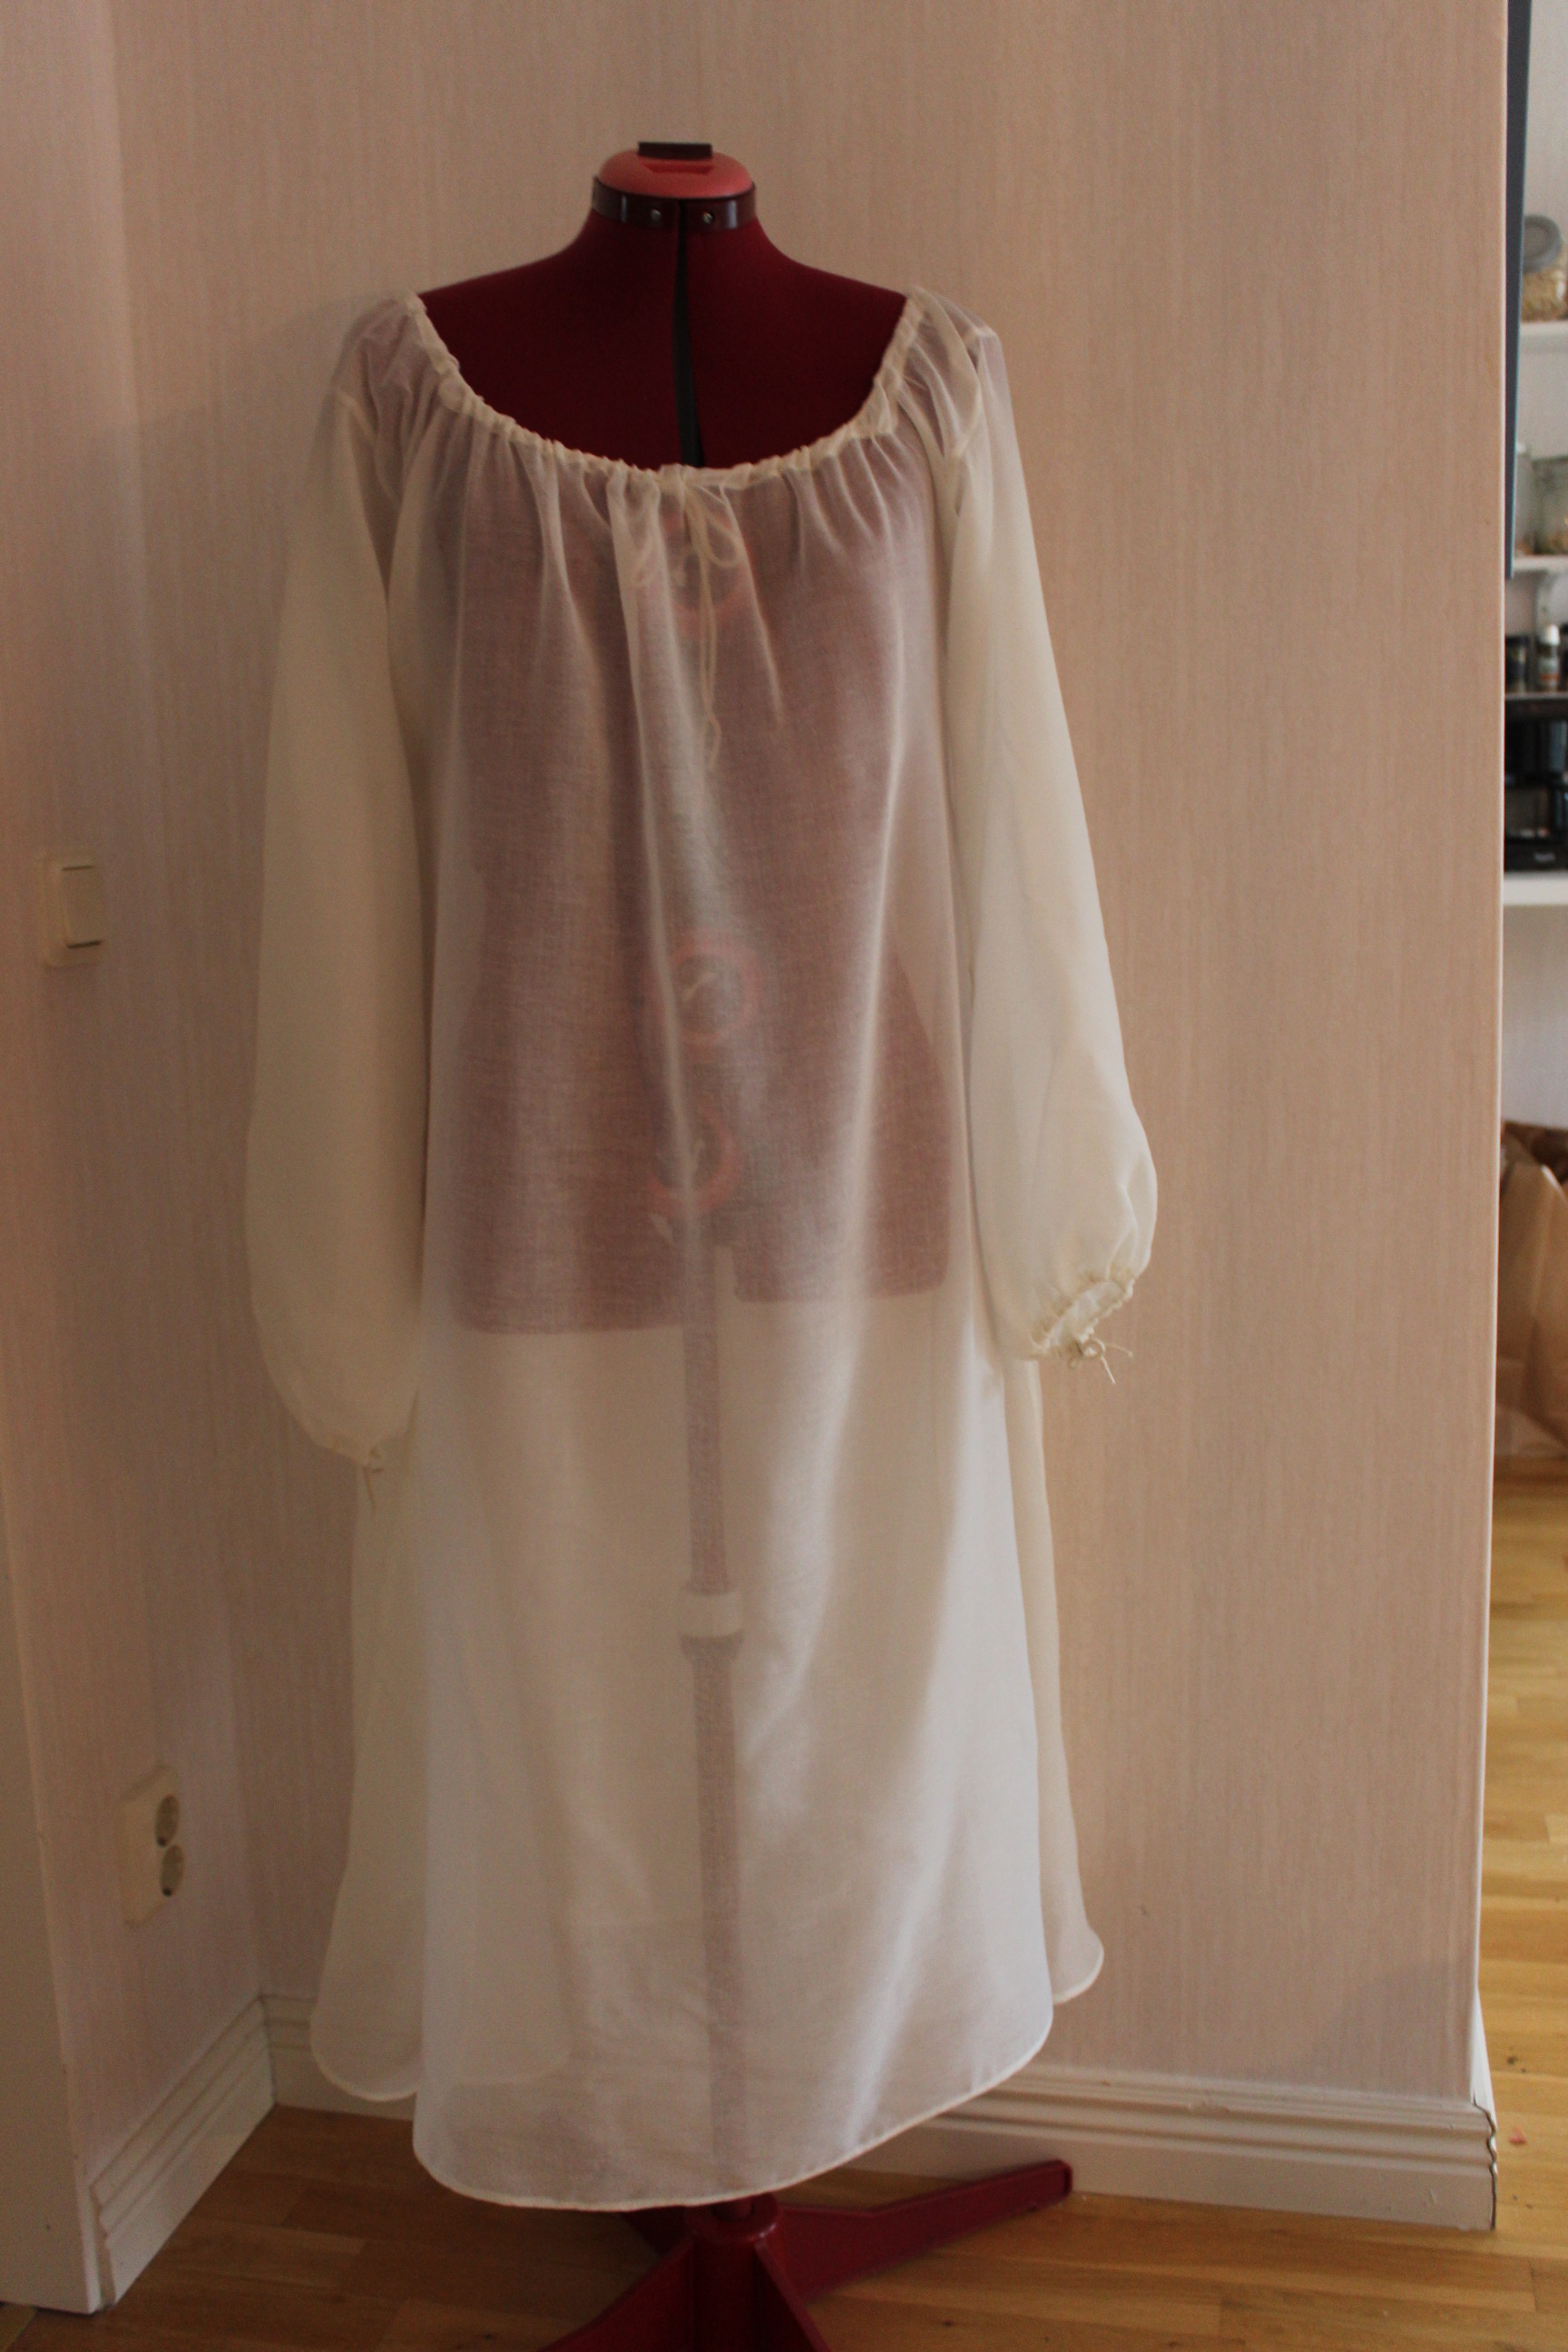
He needed both a new medieval and a new regency shirt to use on our dance recitals.
So I got some nice cotton (I know linnen would be more accurate but I was to make them on machine anyway. And they needed to be easy to wash and care for), made some quick pattern calculations and cut the rectangles needed for both the shirts.
Then I stopped, put my head in the sand and closed my eyes to everything sewing/historical (because pregnancy can do that to you)
More then 10 months later (after the birth of my son, and then some), I was once more ready to tackle the shamefully late commission.
So after one intense week of sewing in between feedings, I managed to sew and deliver both shirts.
The process went pretty fast and straight forward except one little hiccup –
While putting the last hand on and pressing the Medievals shirt I noticed the seam allowance on the outside on one of the sleeves.
Meaning i’ve put it in inside out.
Crap!
So it was on to un-picking the french felled seam (with hand finishing:-( )
I then turned the sleeve outside- in and re-attached it, pressed and once more used tiny hand stitches to fell the seam.
There done!
Or, wait a second…
NOOOOoooo!!!
I done the exact same mistake AGAIN!
Some of you might remember that I’ve done this before (on my Borgia chemise les then a month before).
How is it even possible that I didn’t learn?
By now I tossed the damned thing into the corner and went to sleep, debating with myself if I could leave it like that.
Of course I couldn’t – It was a commission piece after all.
So bring back the seam ripper.
The only trouble was that these folded french seams needs really small seam allowance to look good, and the only way to achieve that is by trimming it after you stitched the first seam. This practice, and the fact I’ve done it wrong not one, but twice, meant that I cut of about 1,5 cm on the left shoulder compared to the right. Making the whole garment a bit of.
Once the sleeve was re-set, a third time, I quickly finished and packed the shirt away, out of sight.
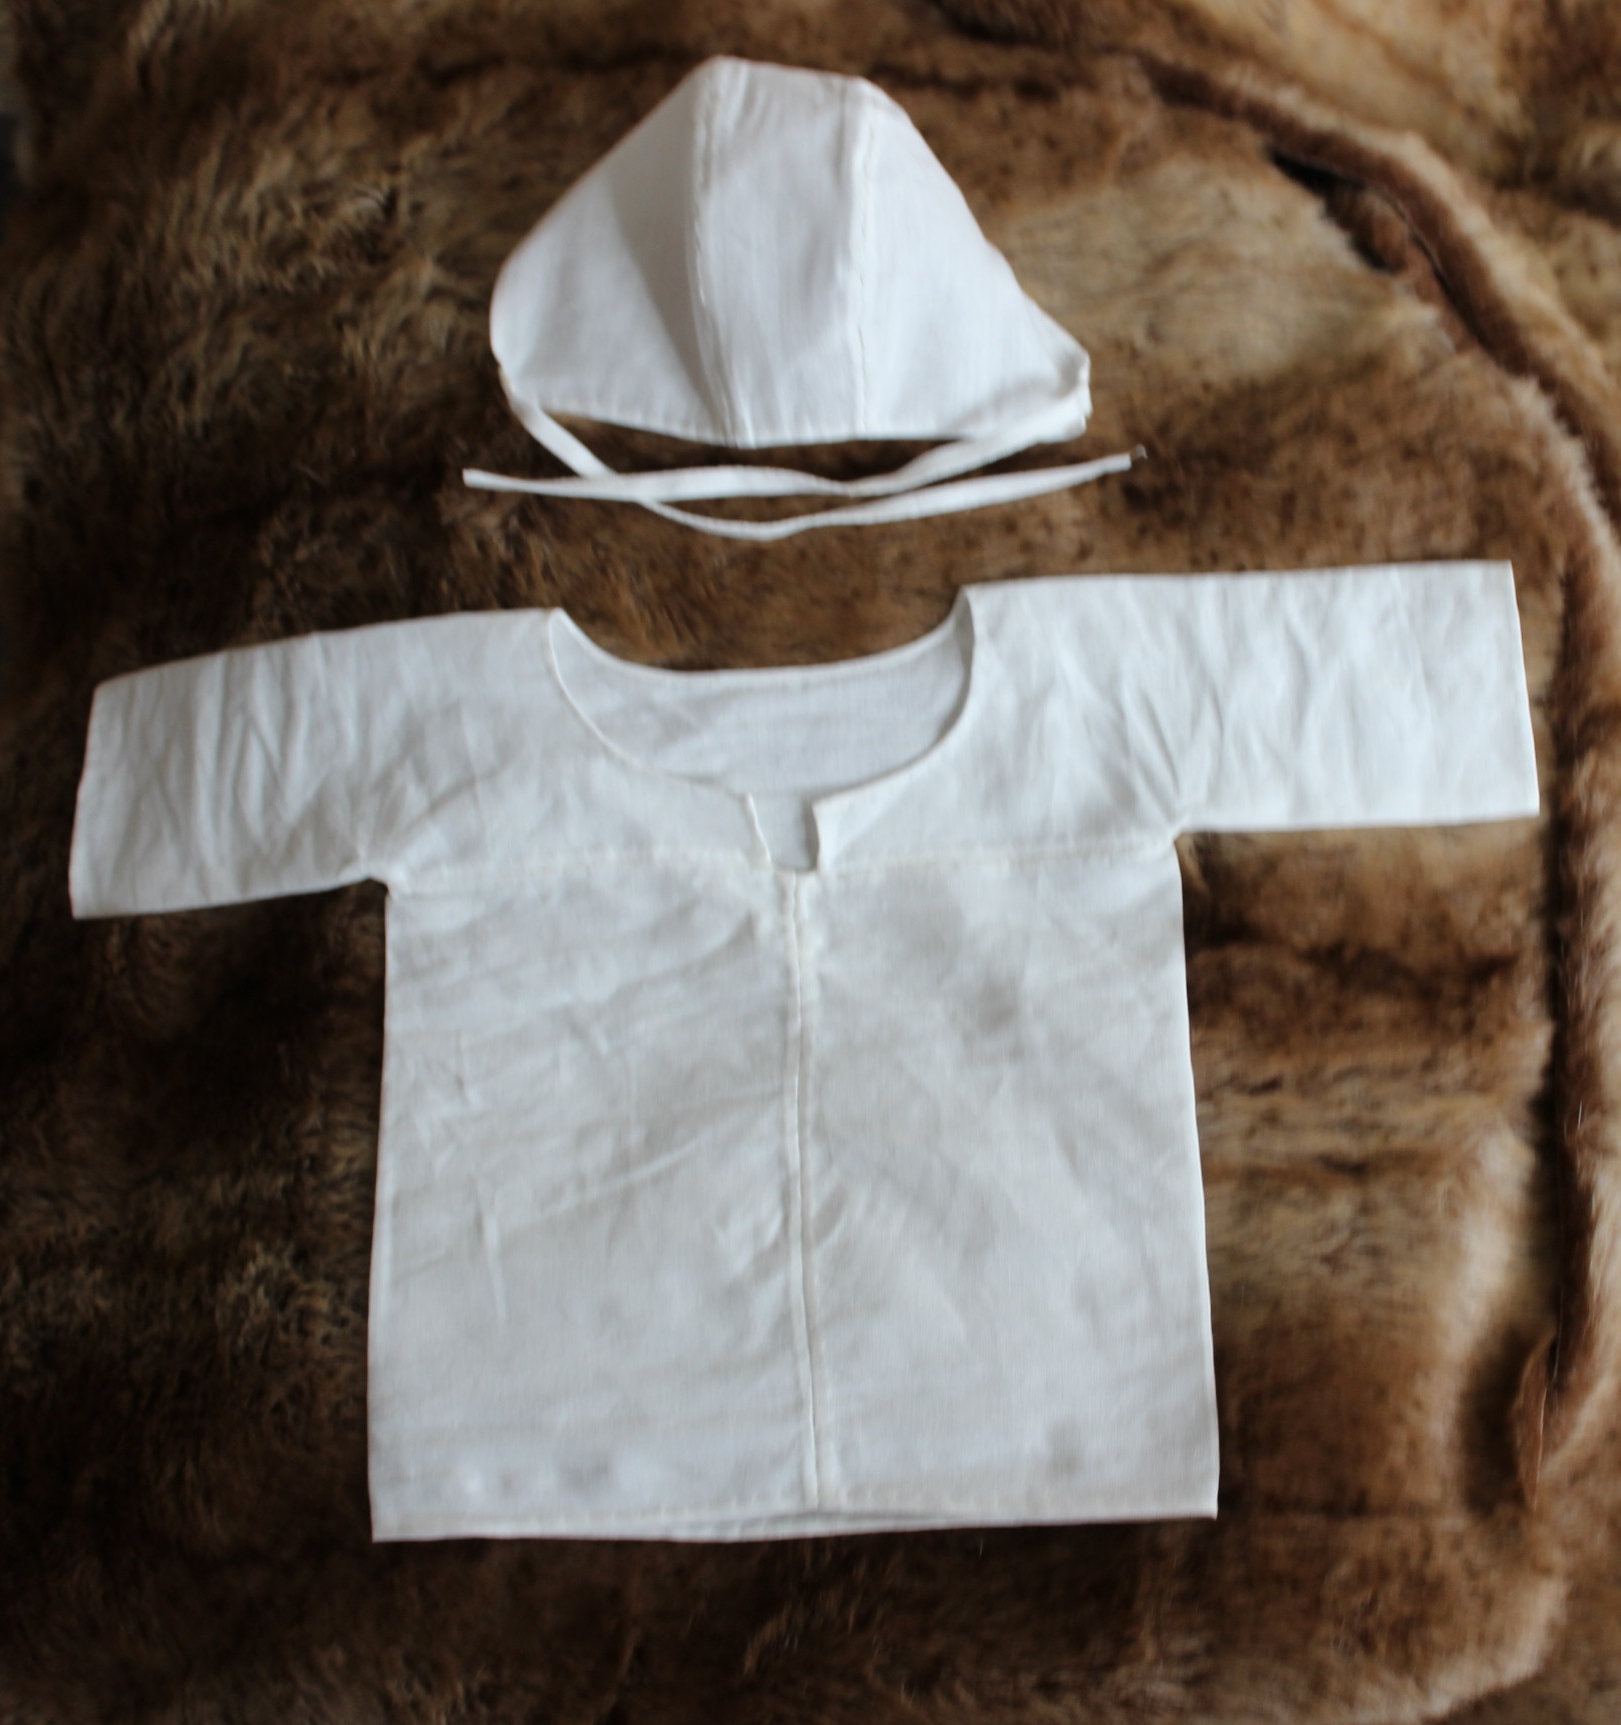
The finished medieval shirt:
The final result after all the re-stitching.
Sleeve with ties
Then it was time to get cracking on the Regency shirt.
This time I didn’t do the same mistake (Hurray!), and the shirt was finished in a few days.
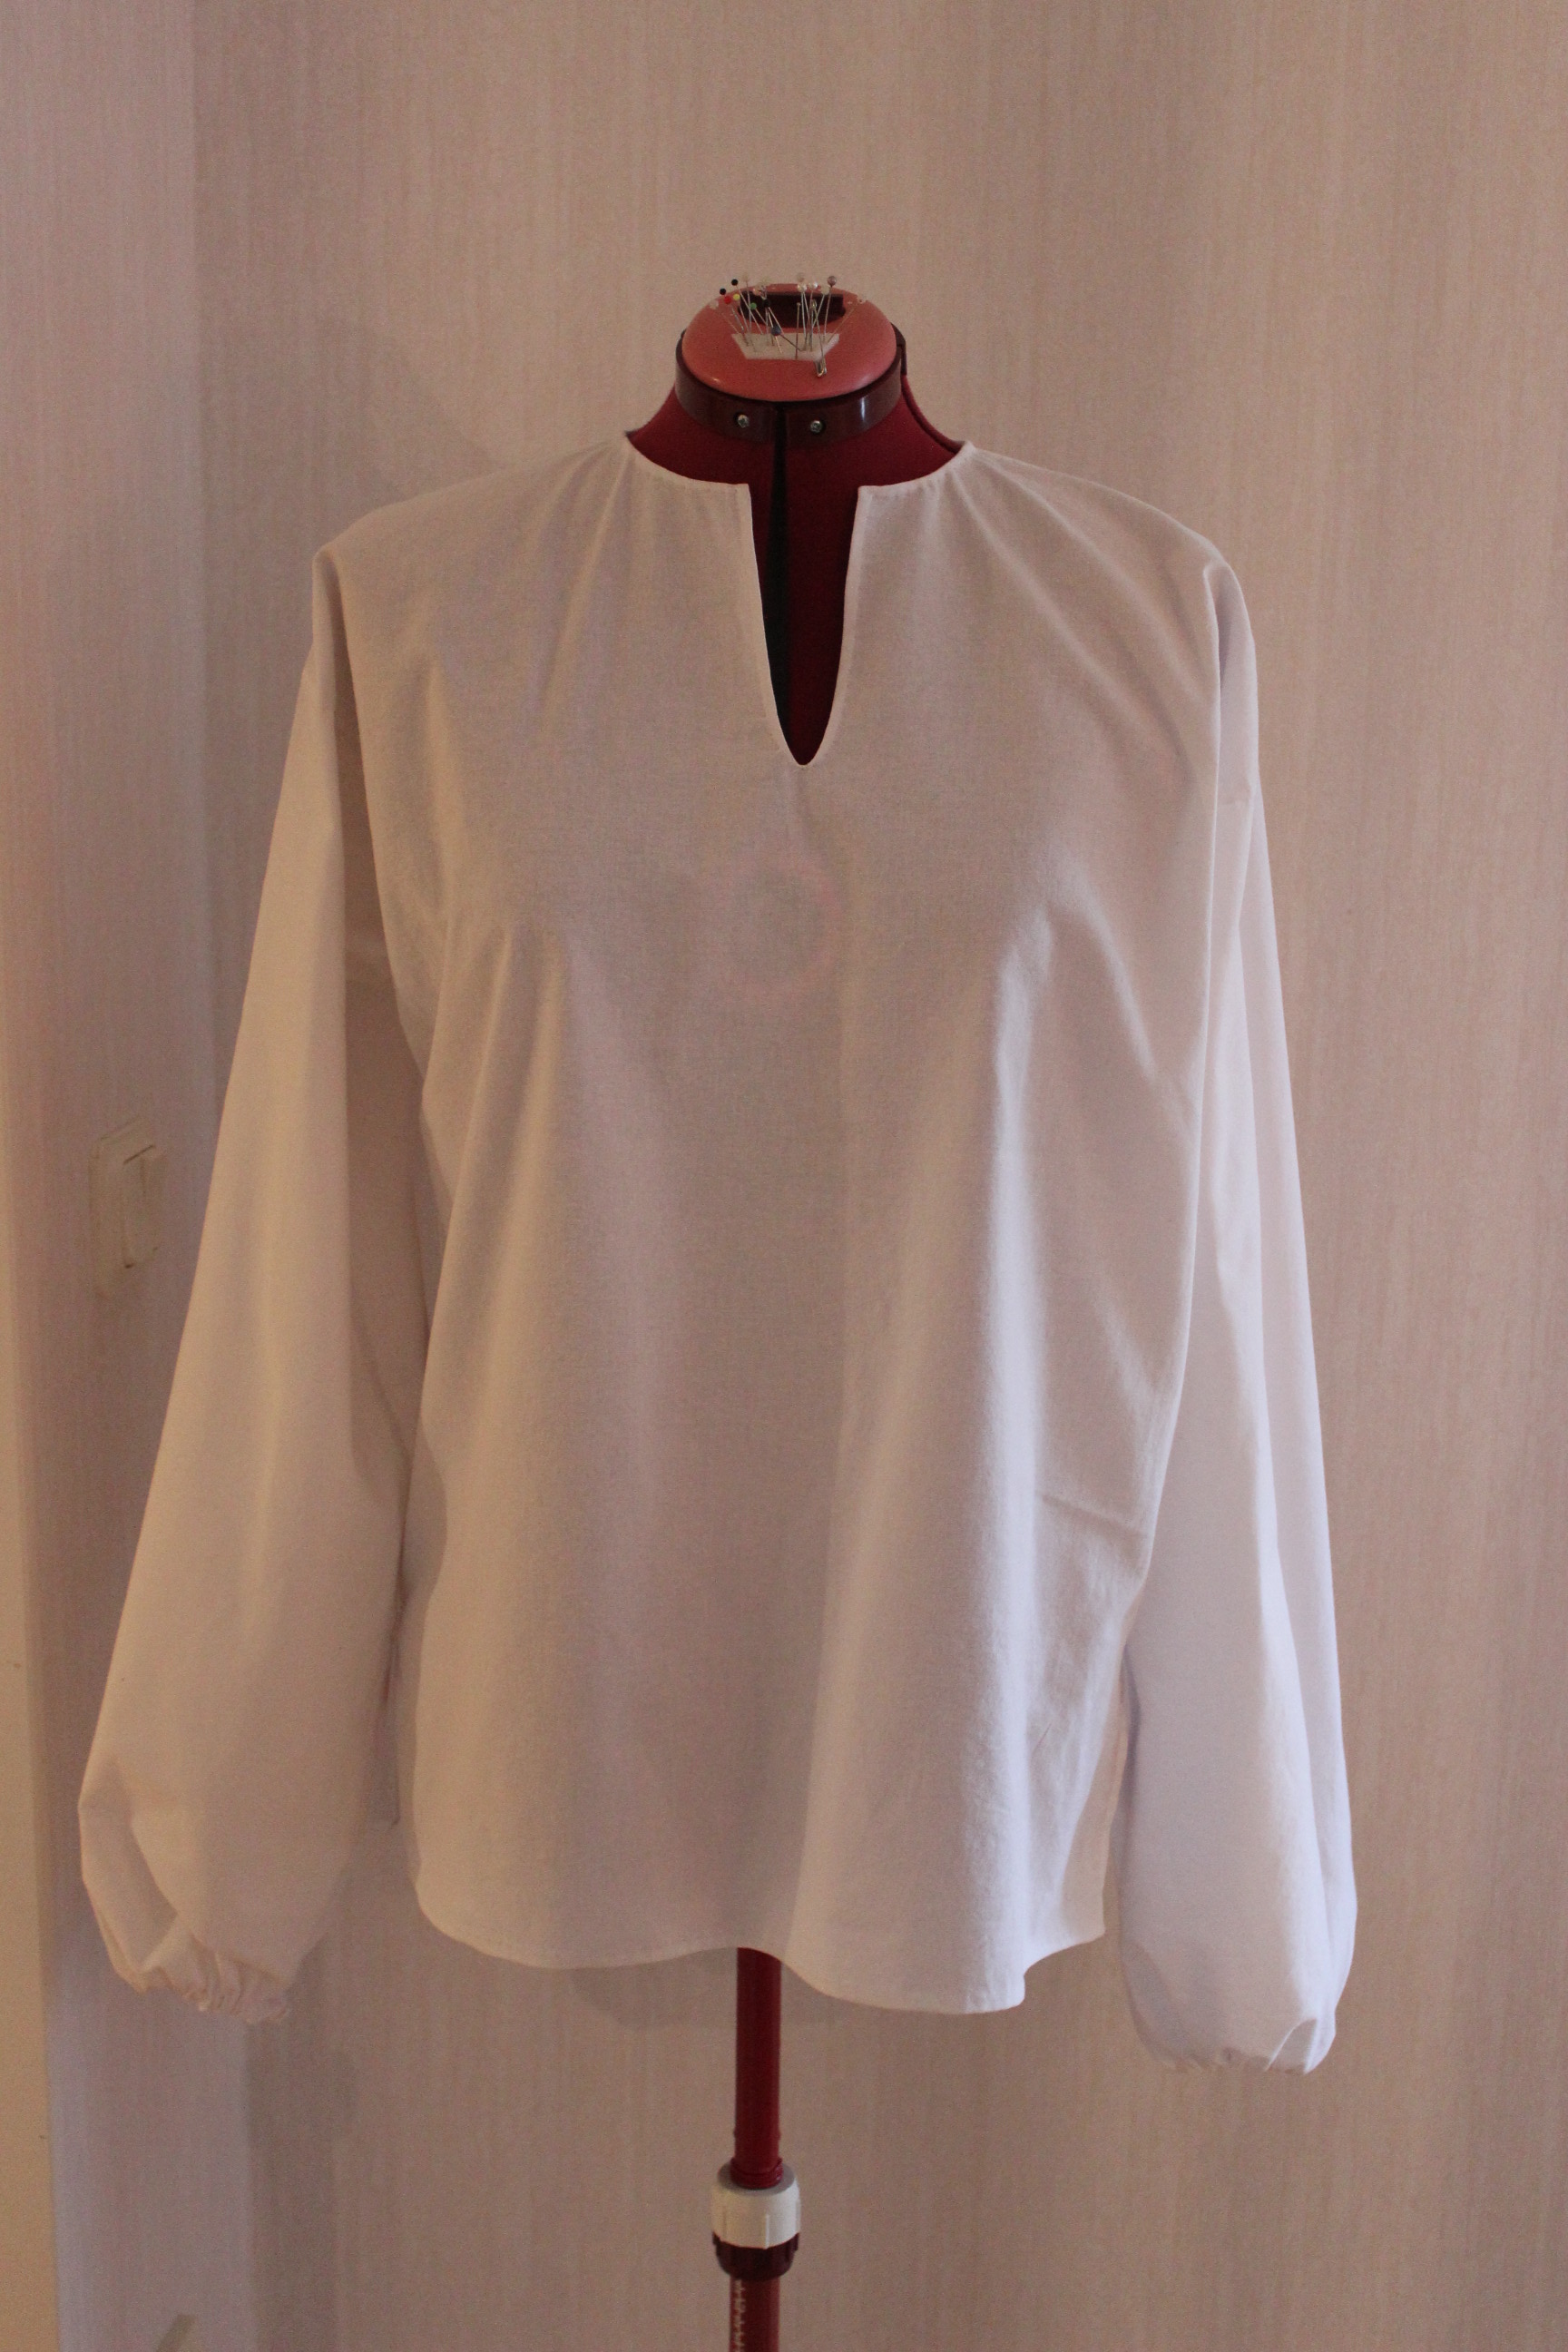
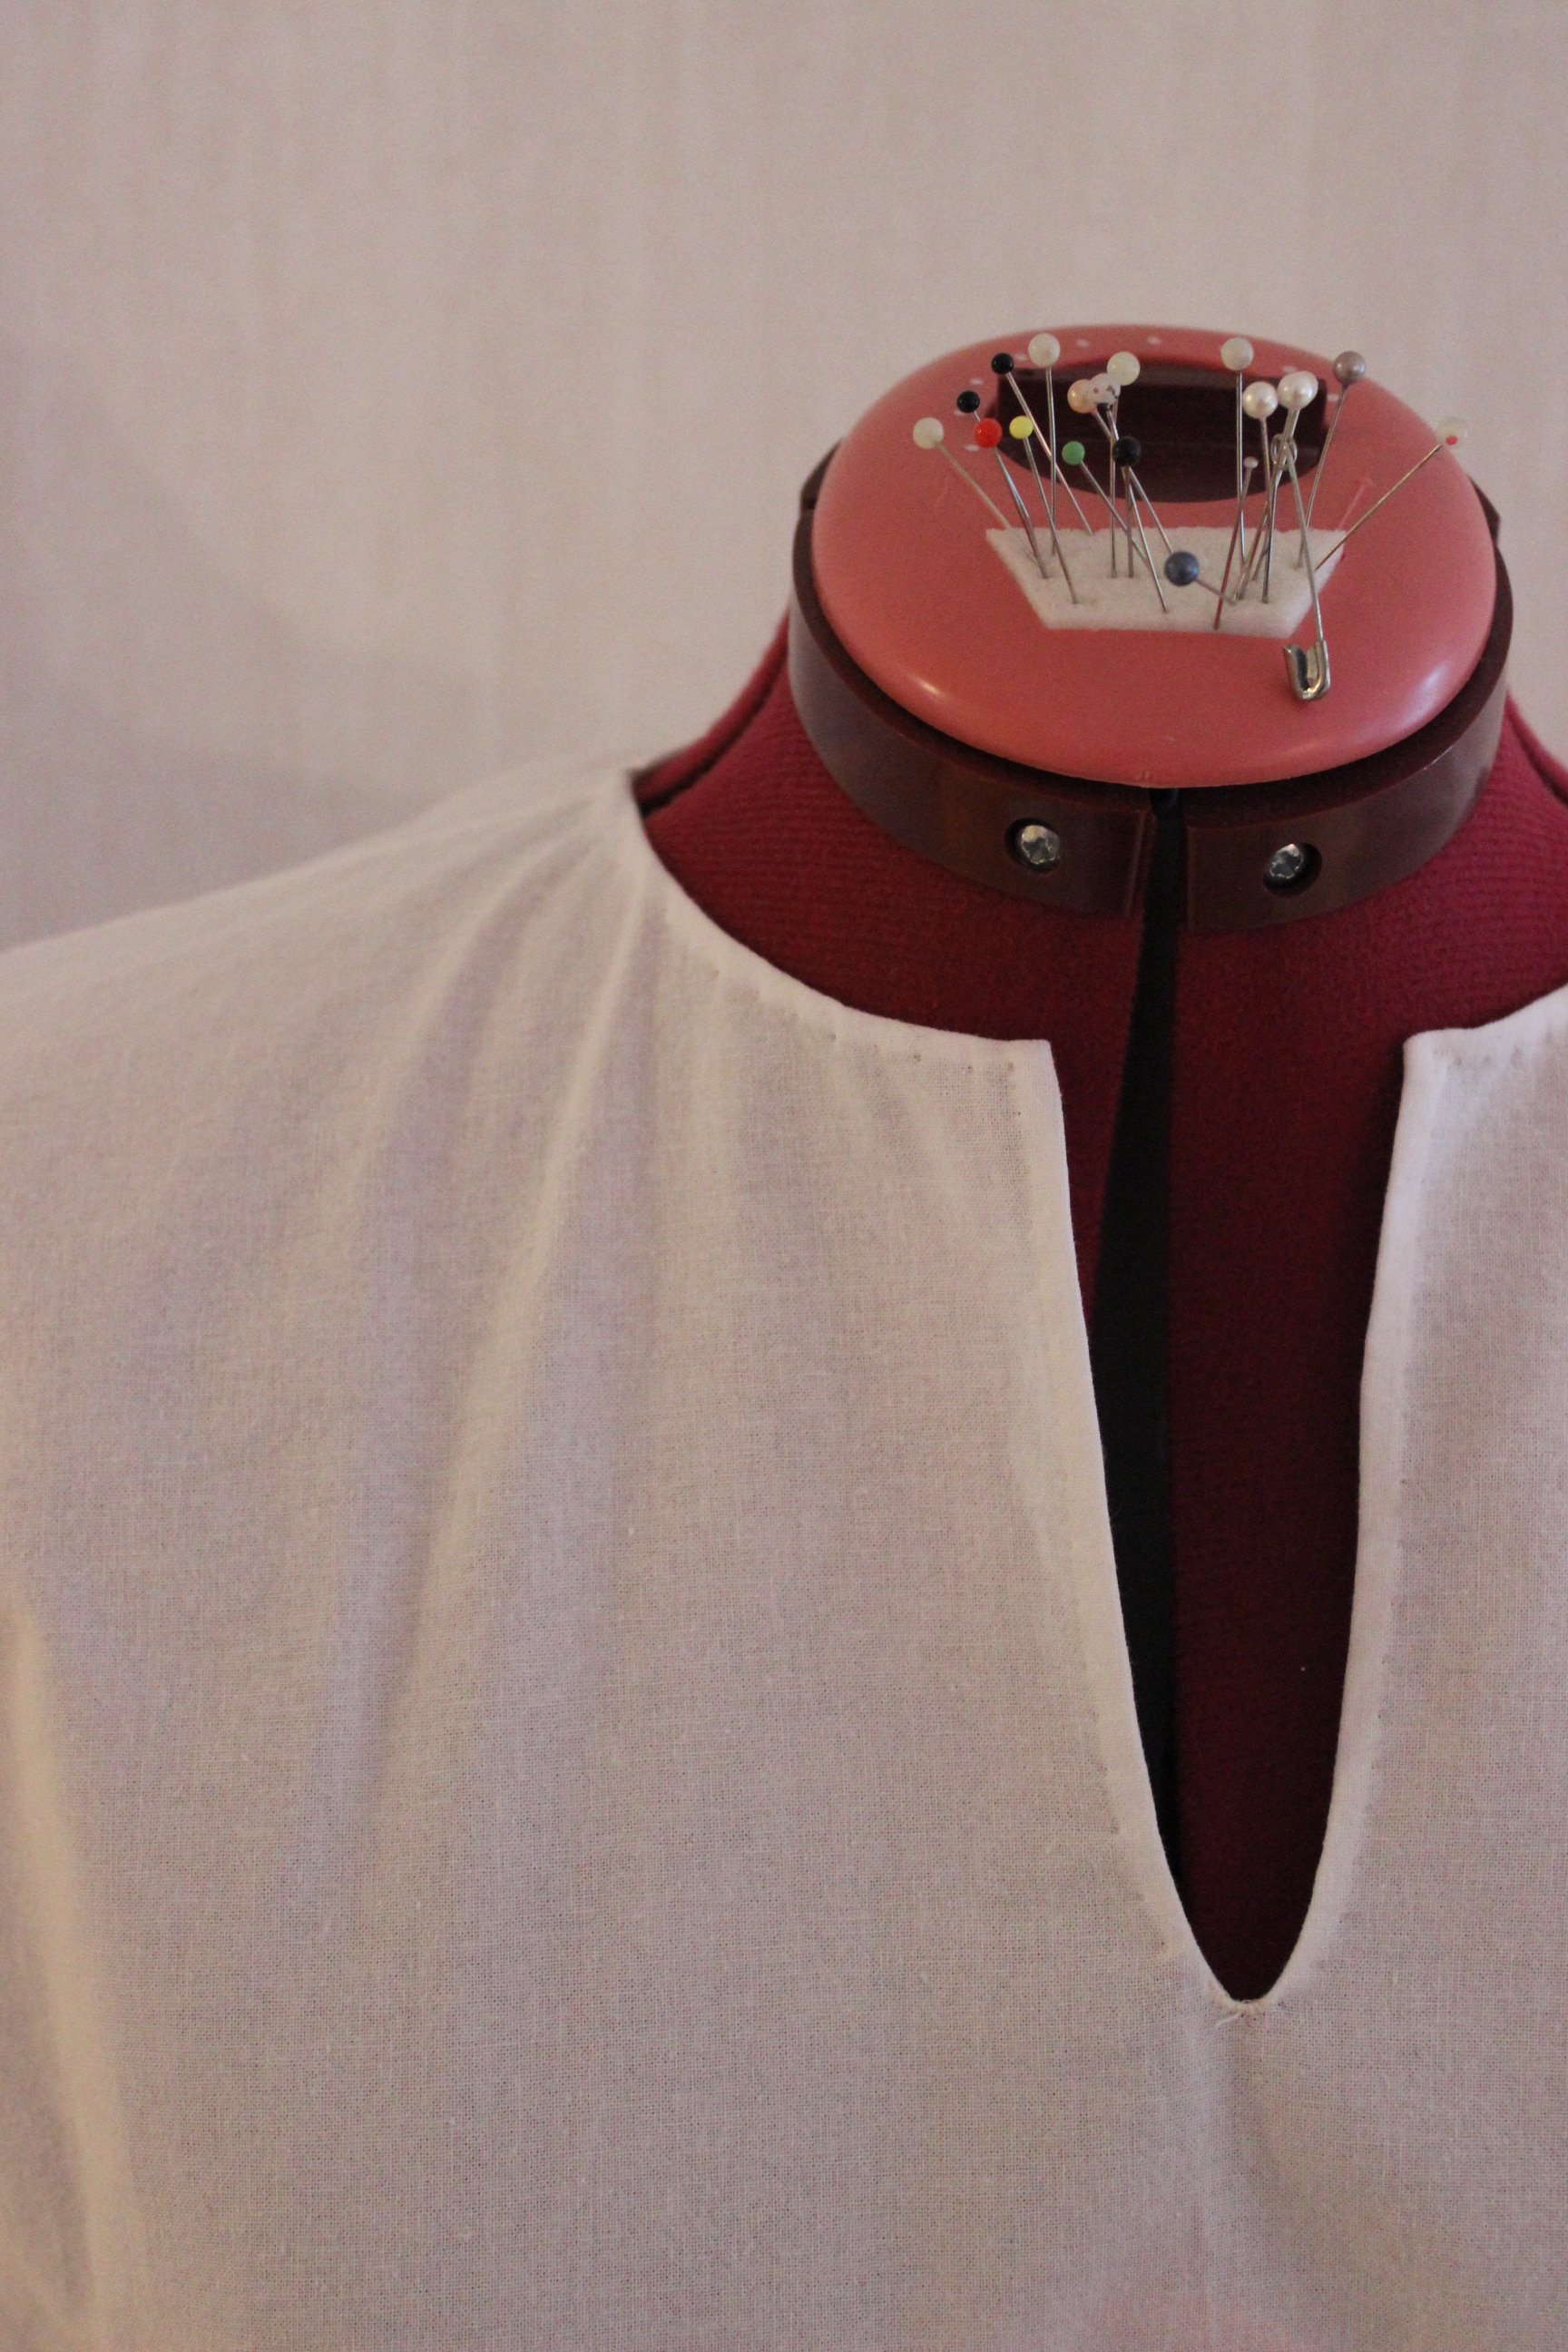
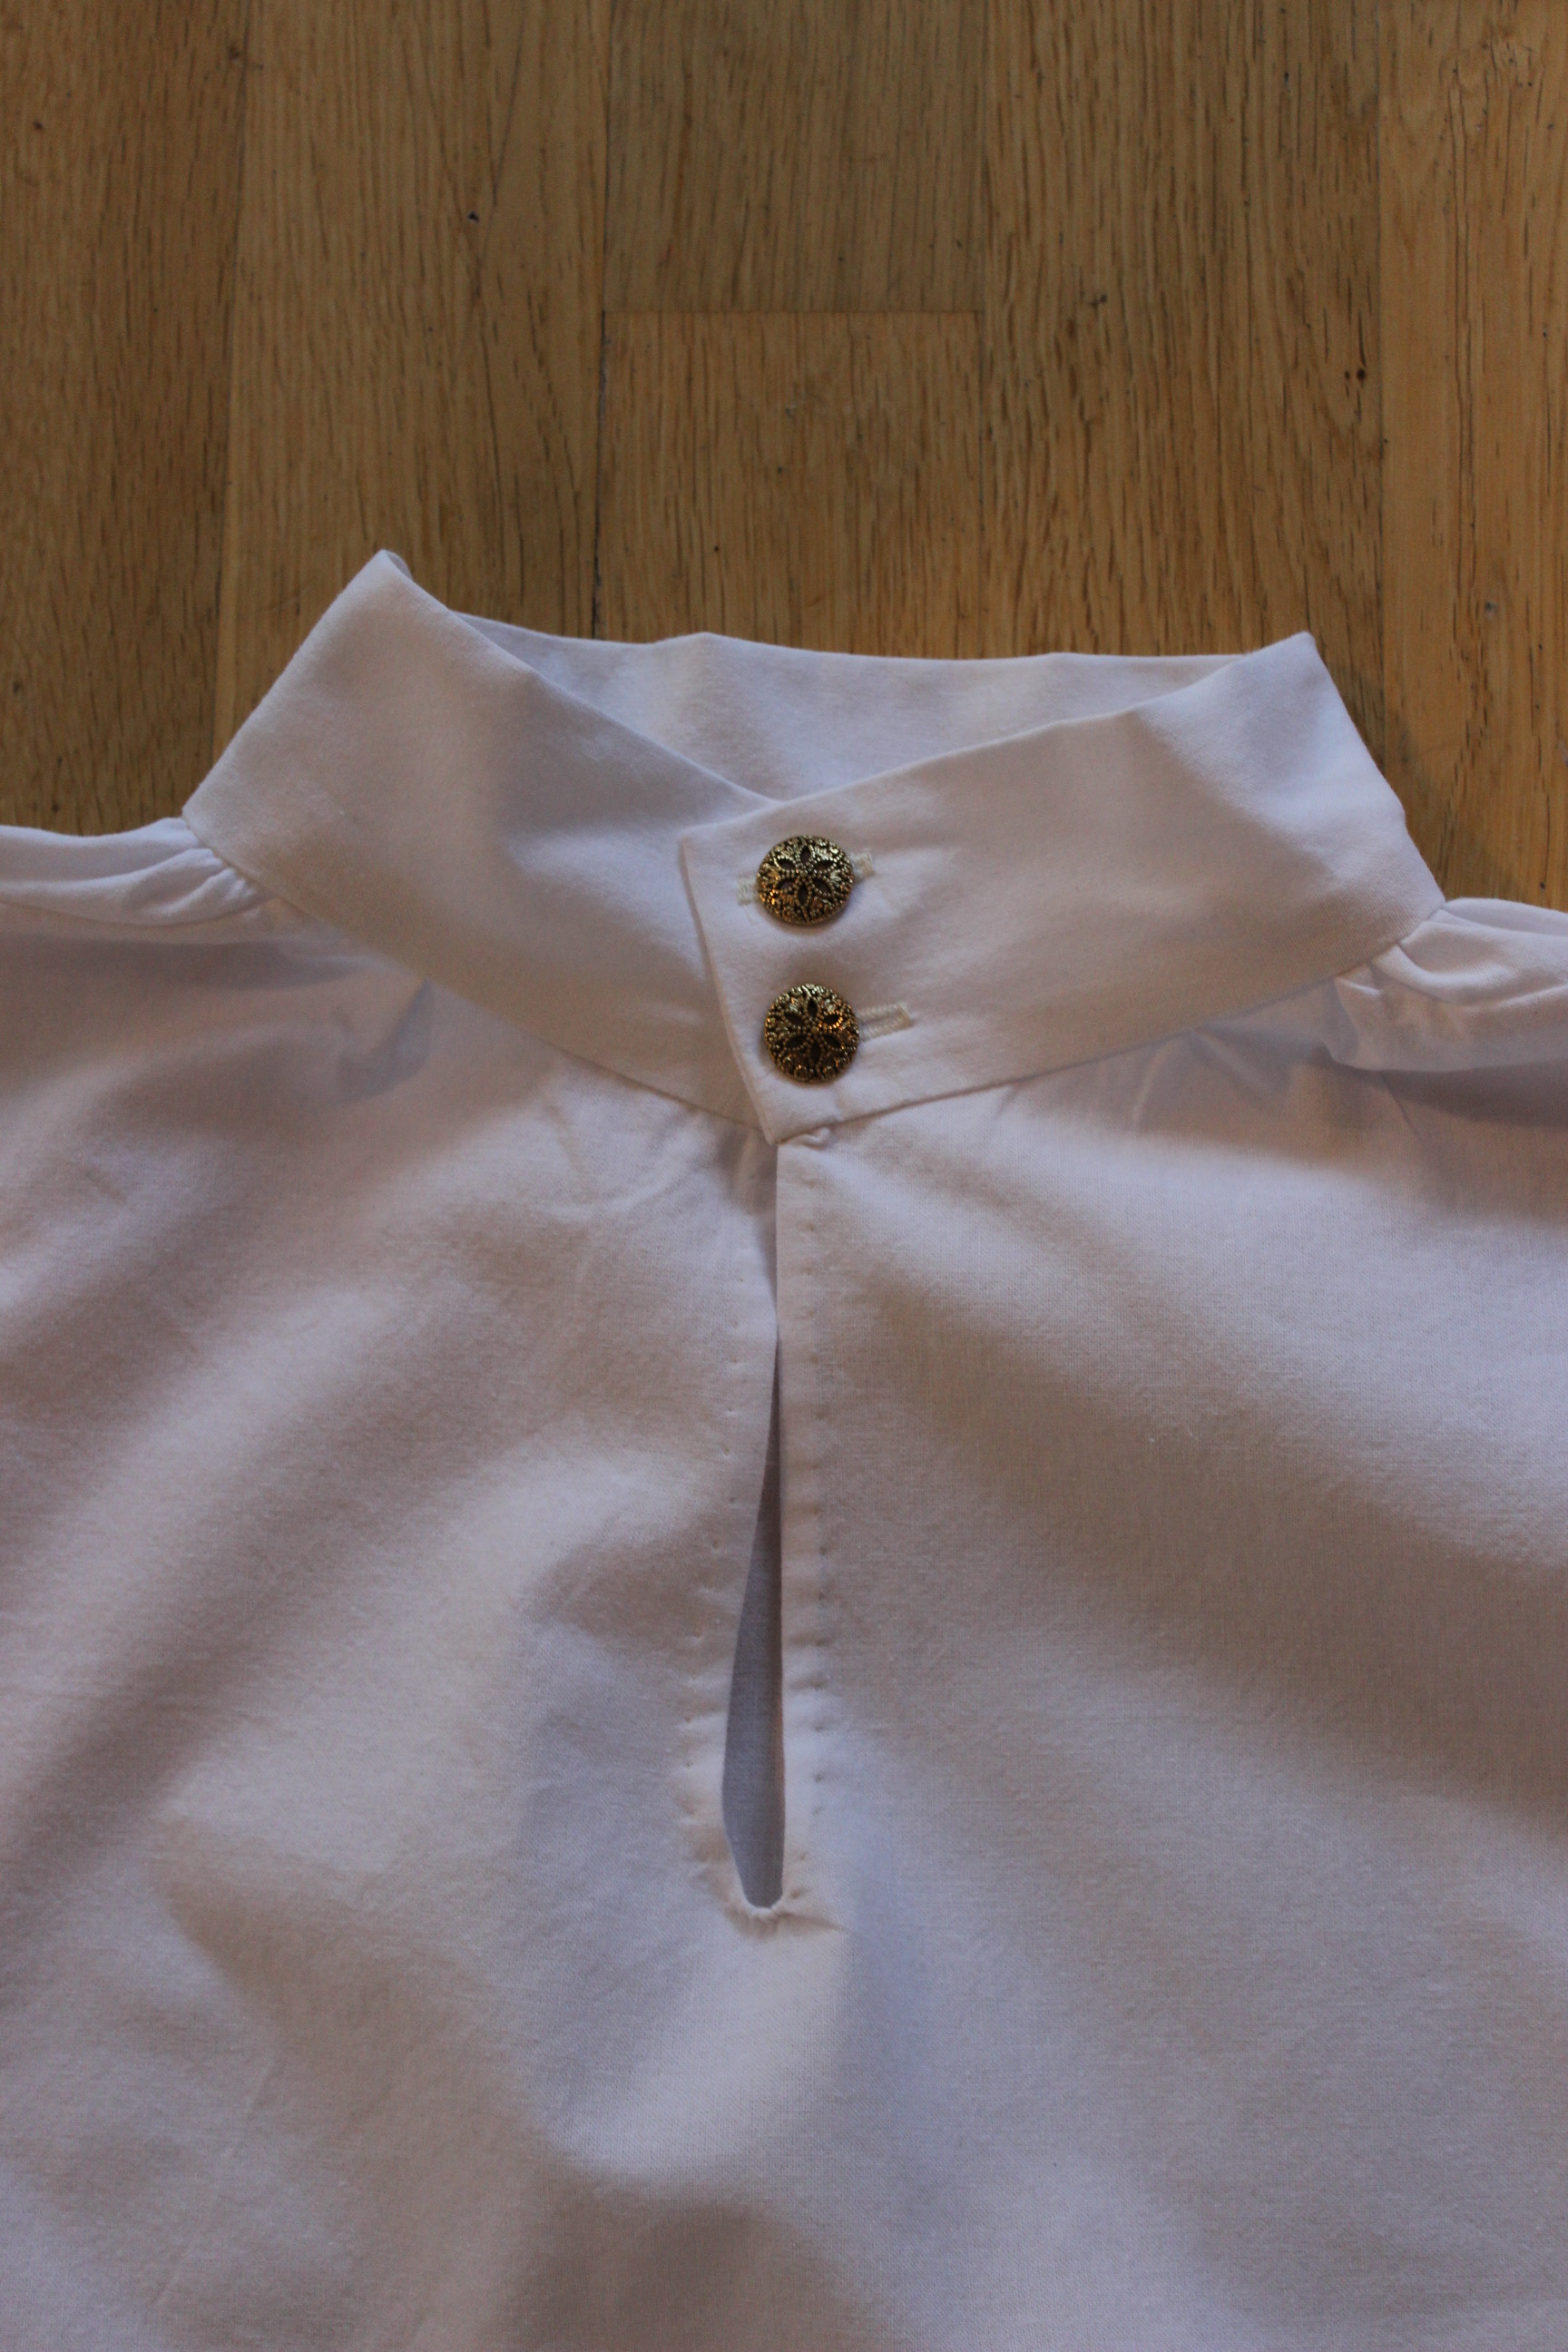
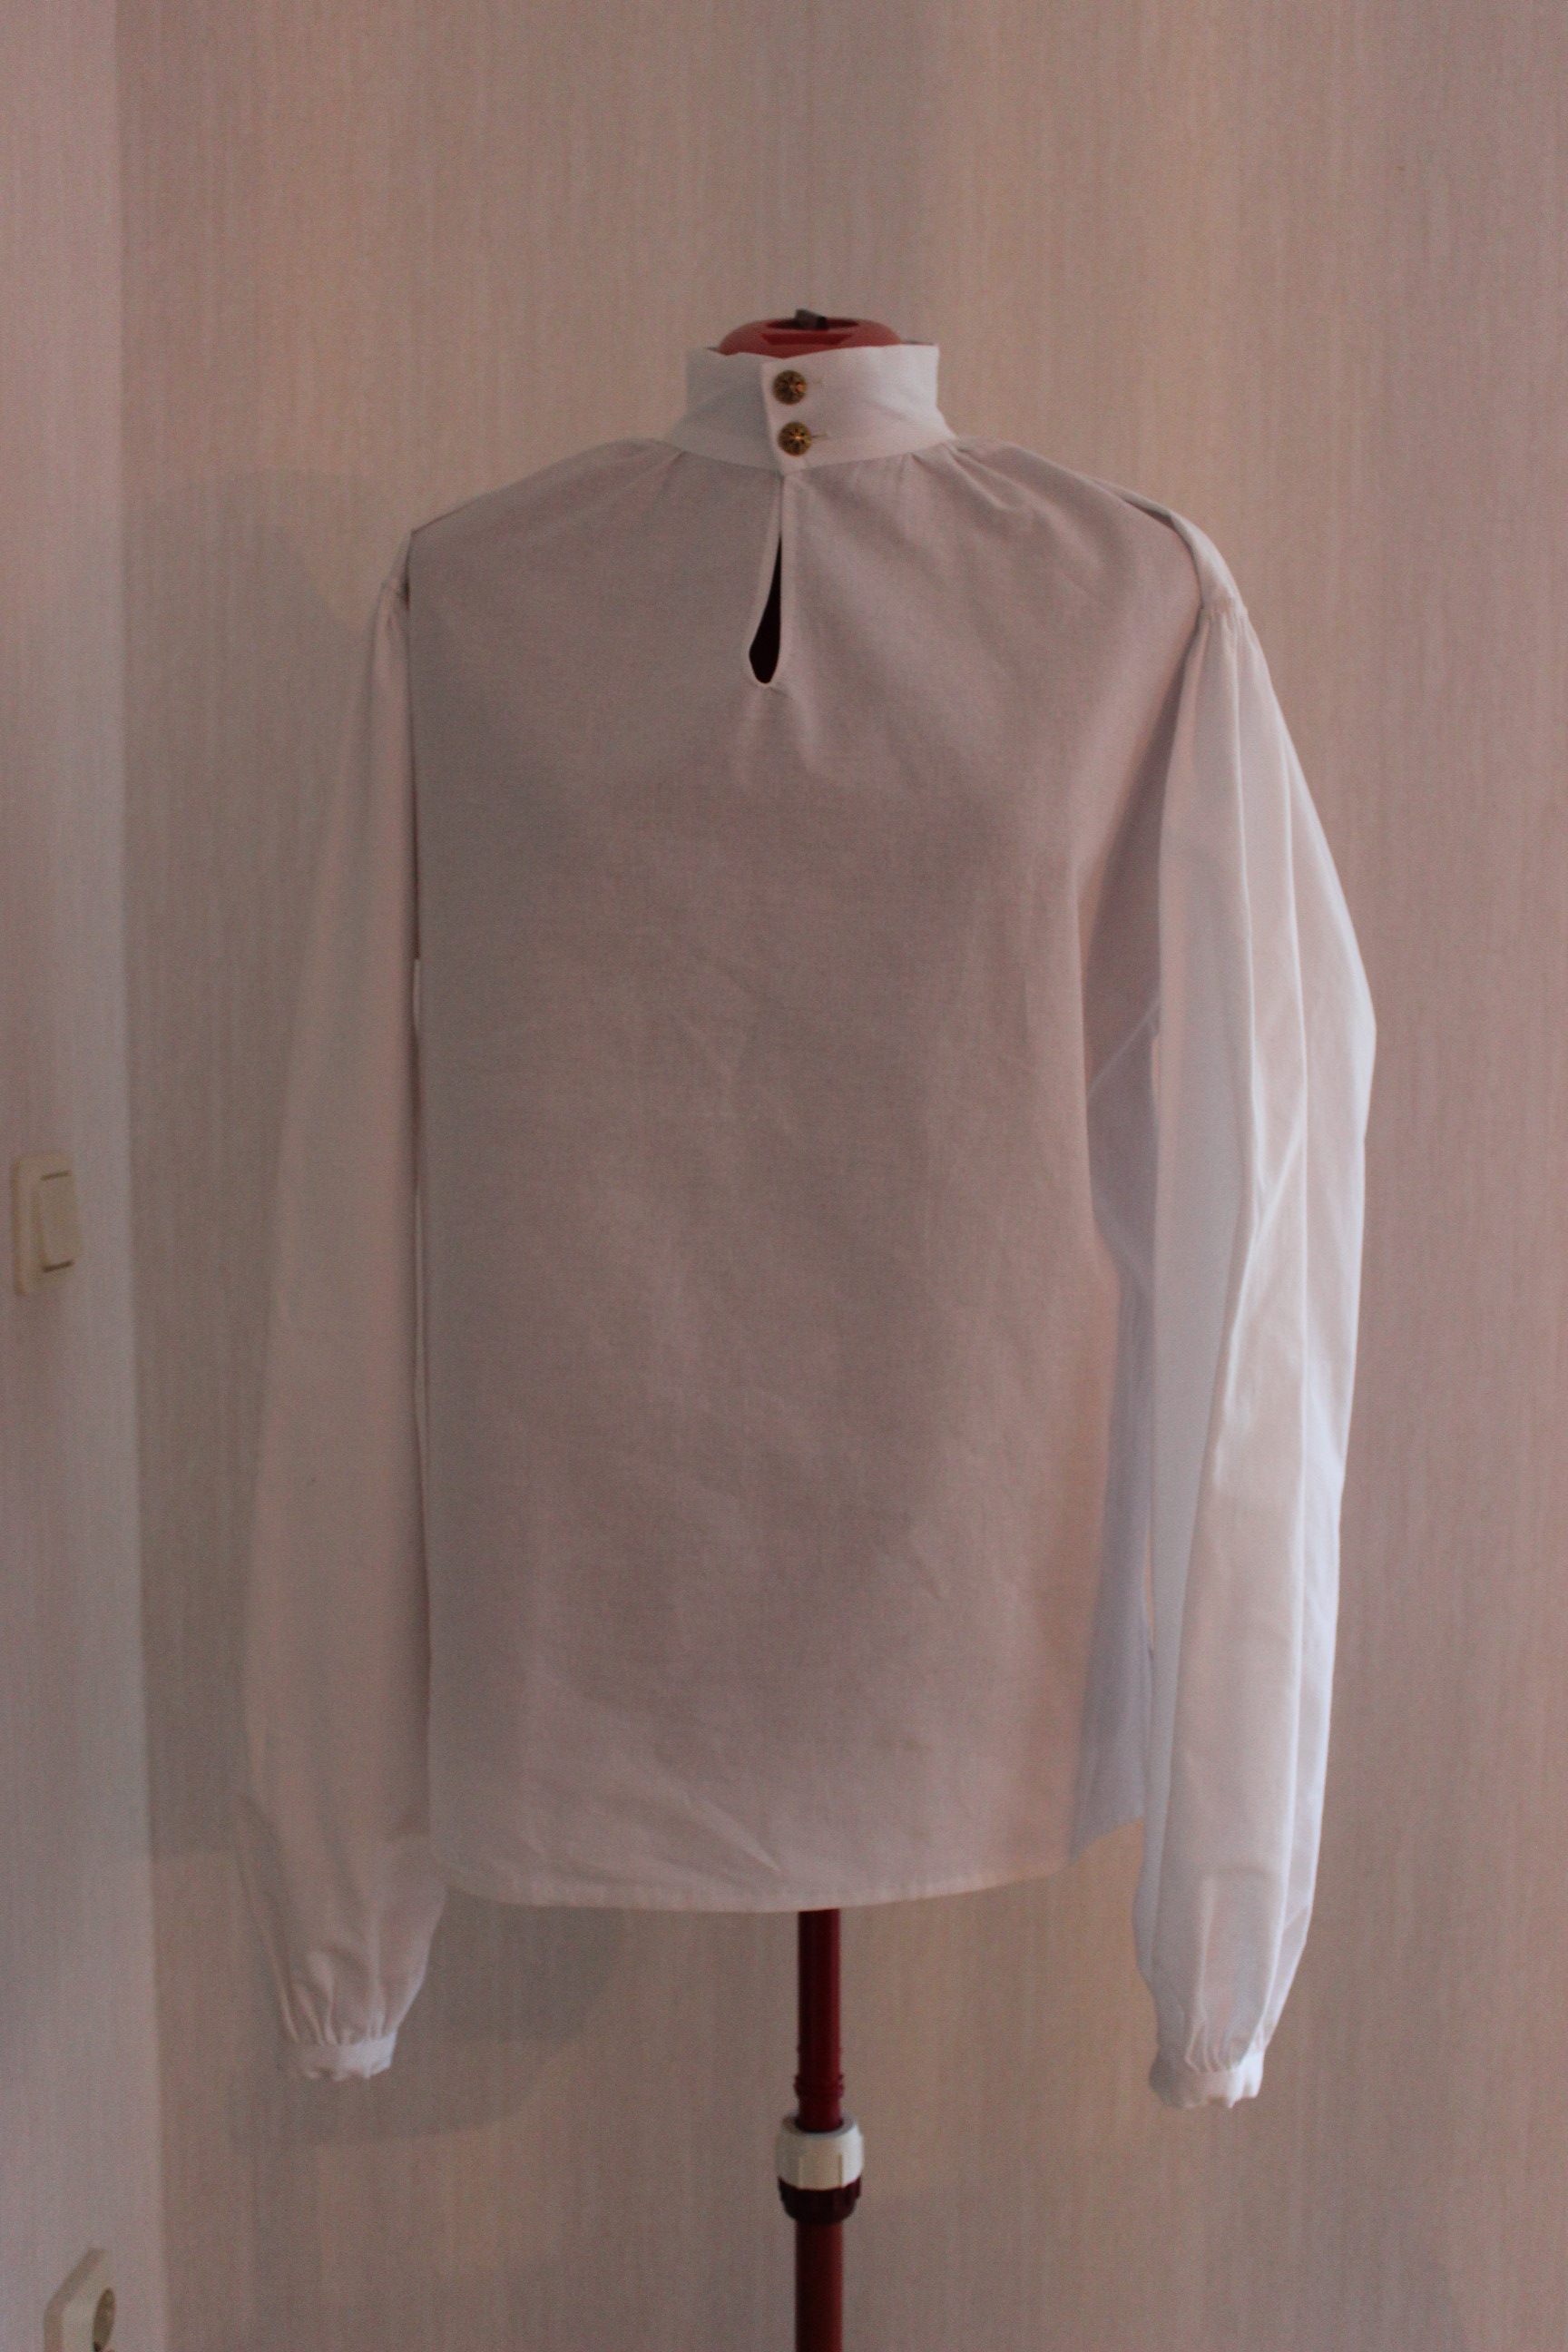
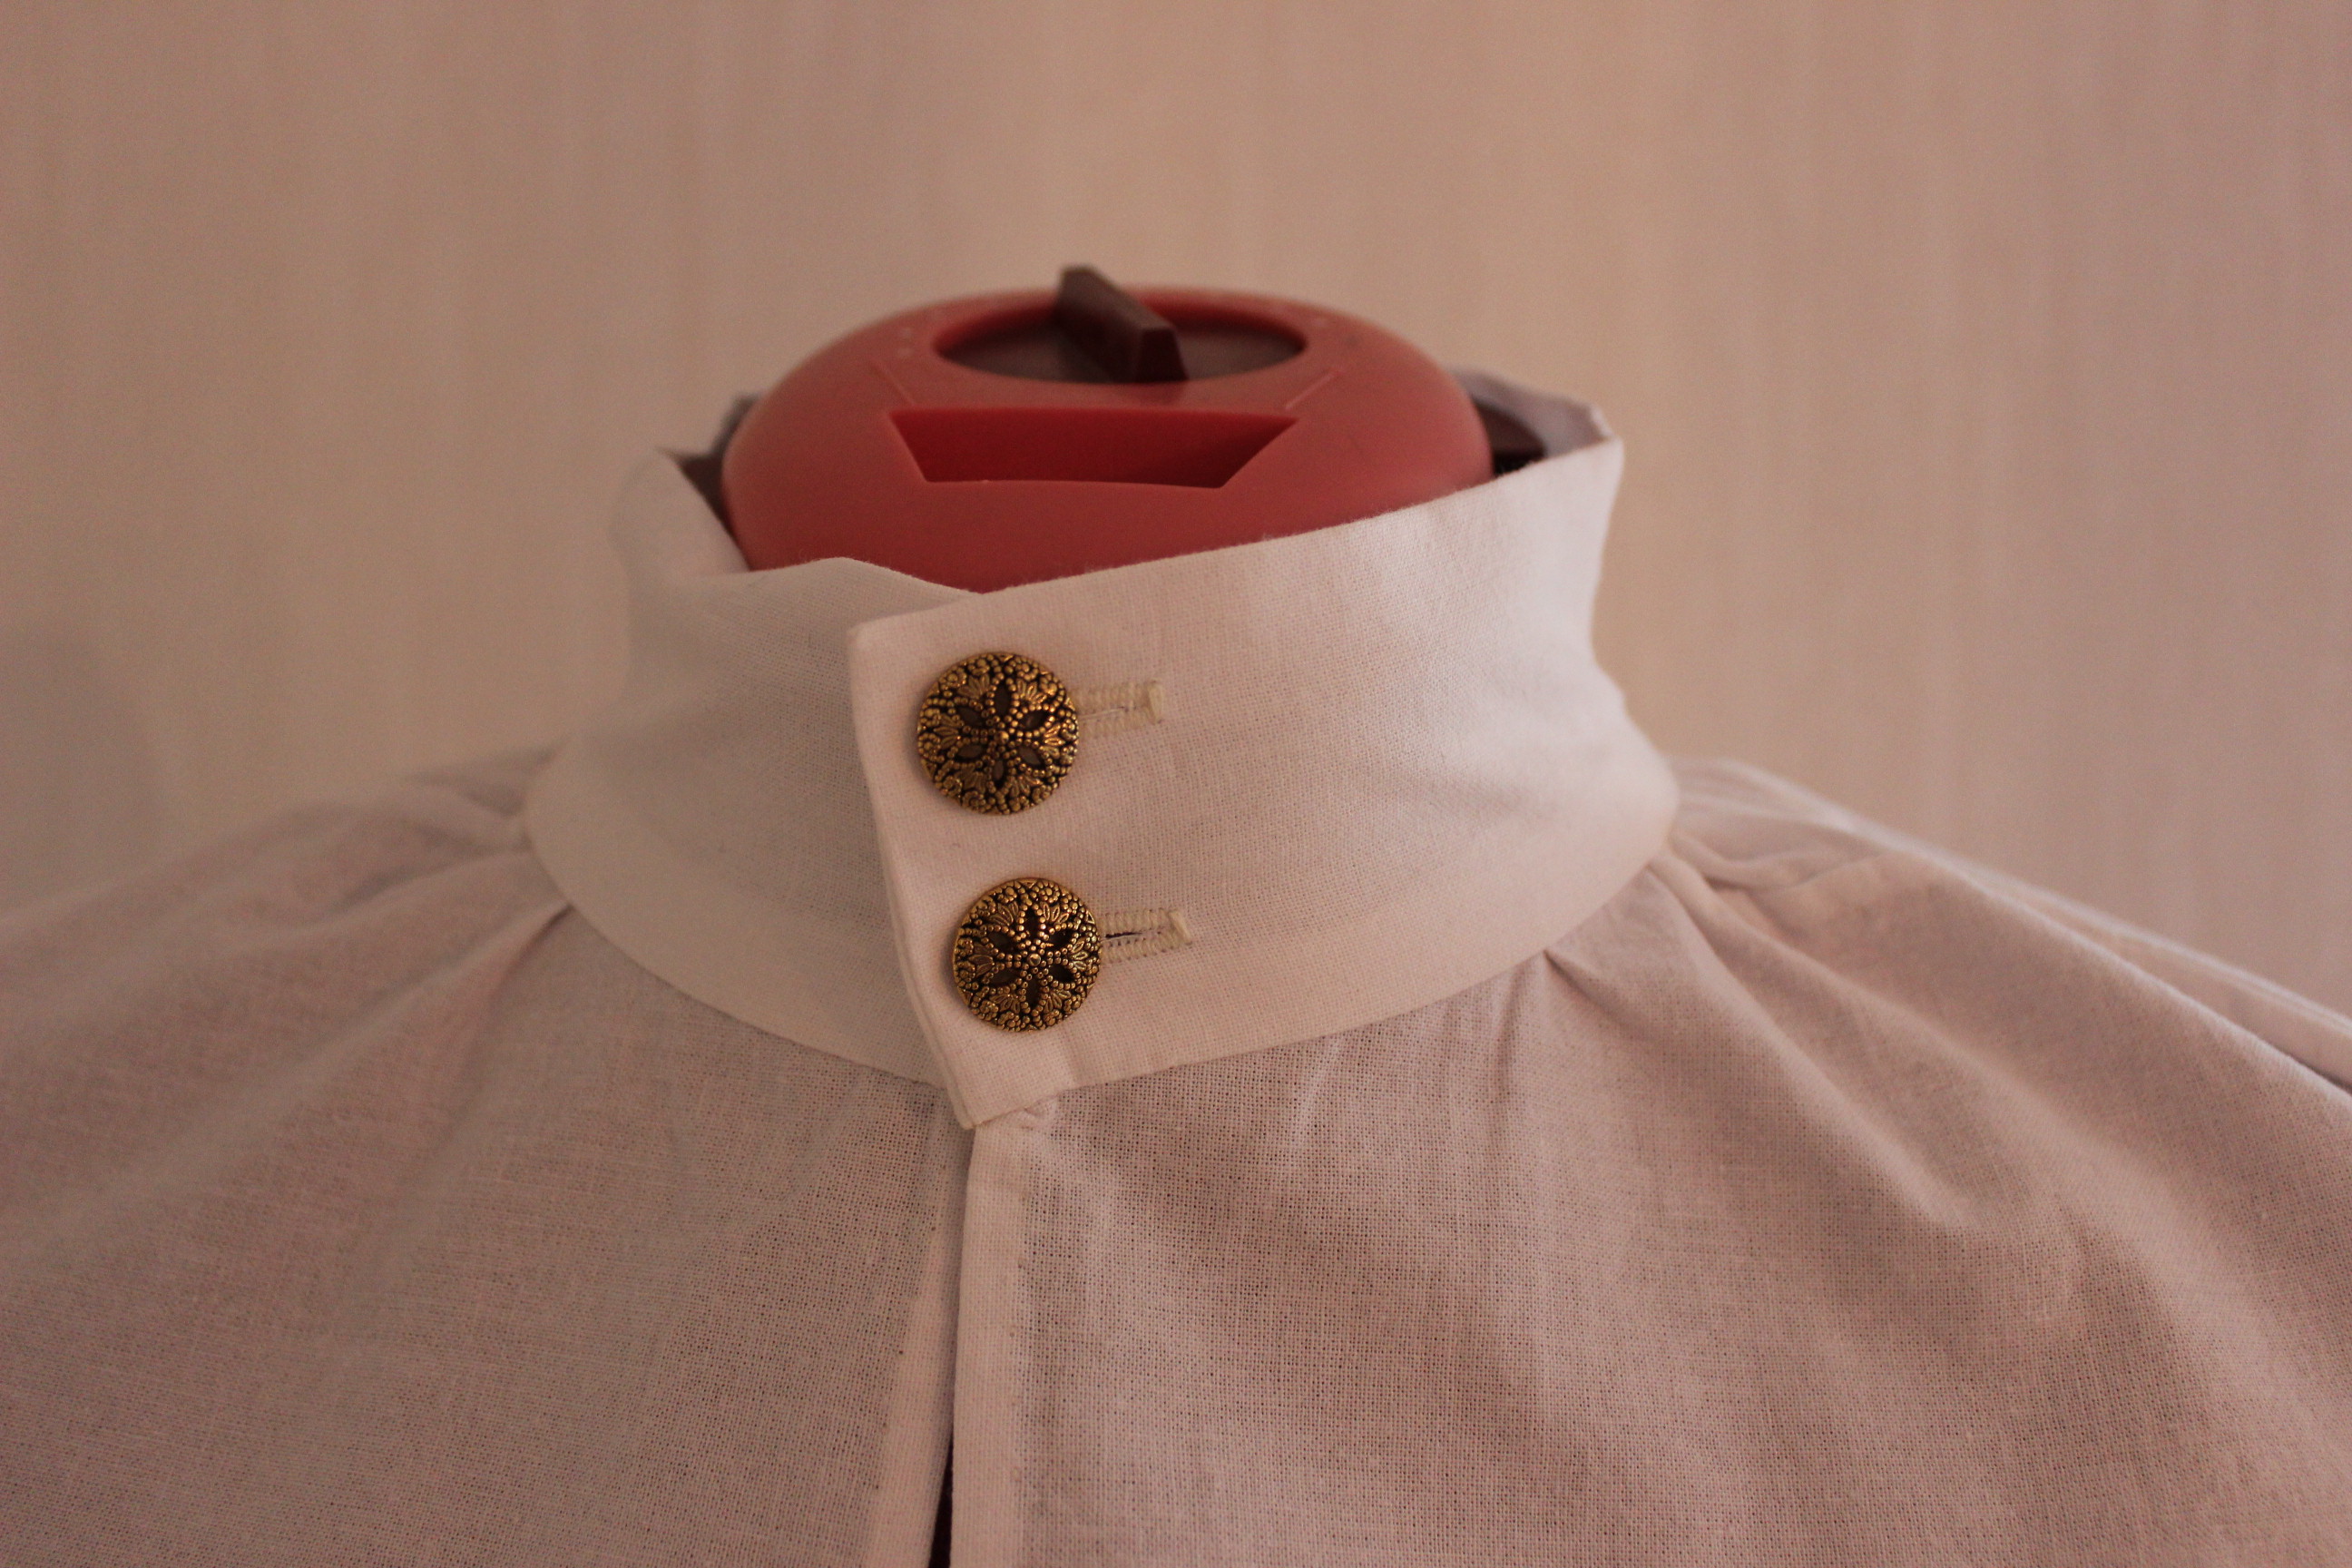
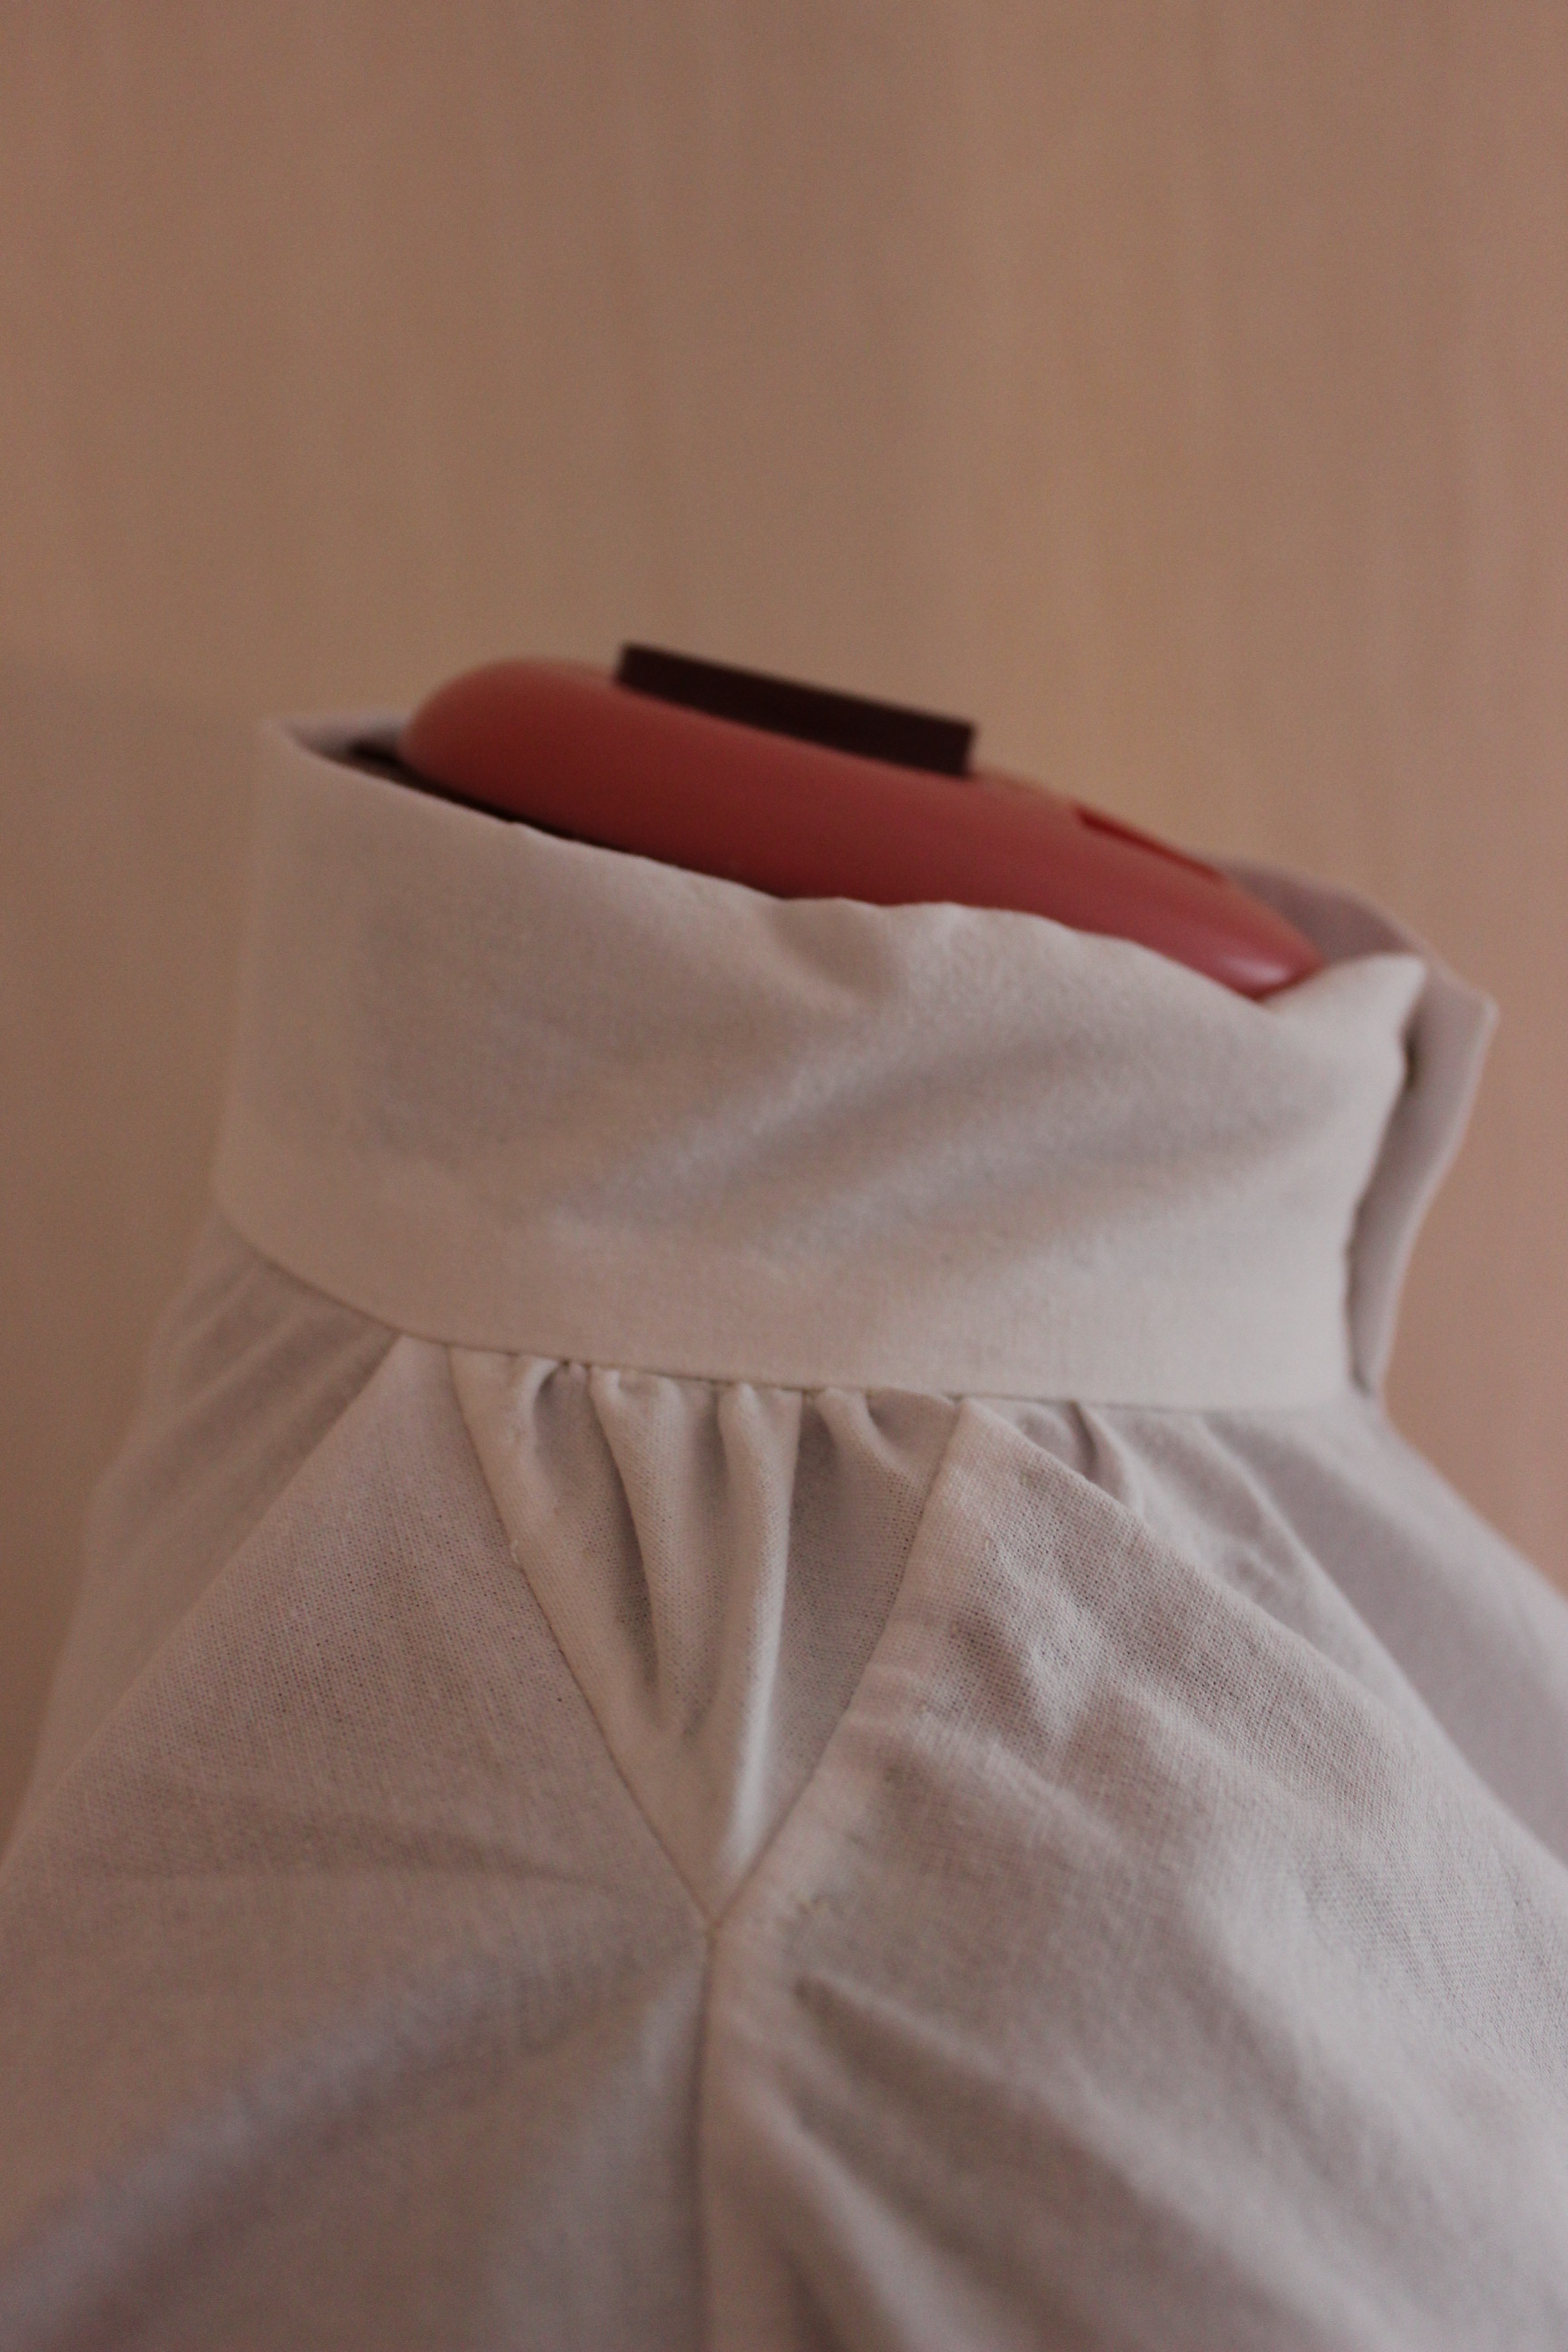
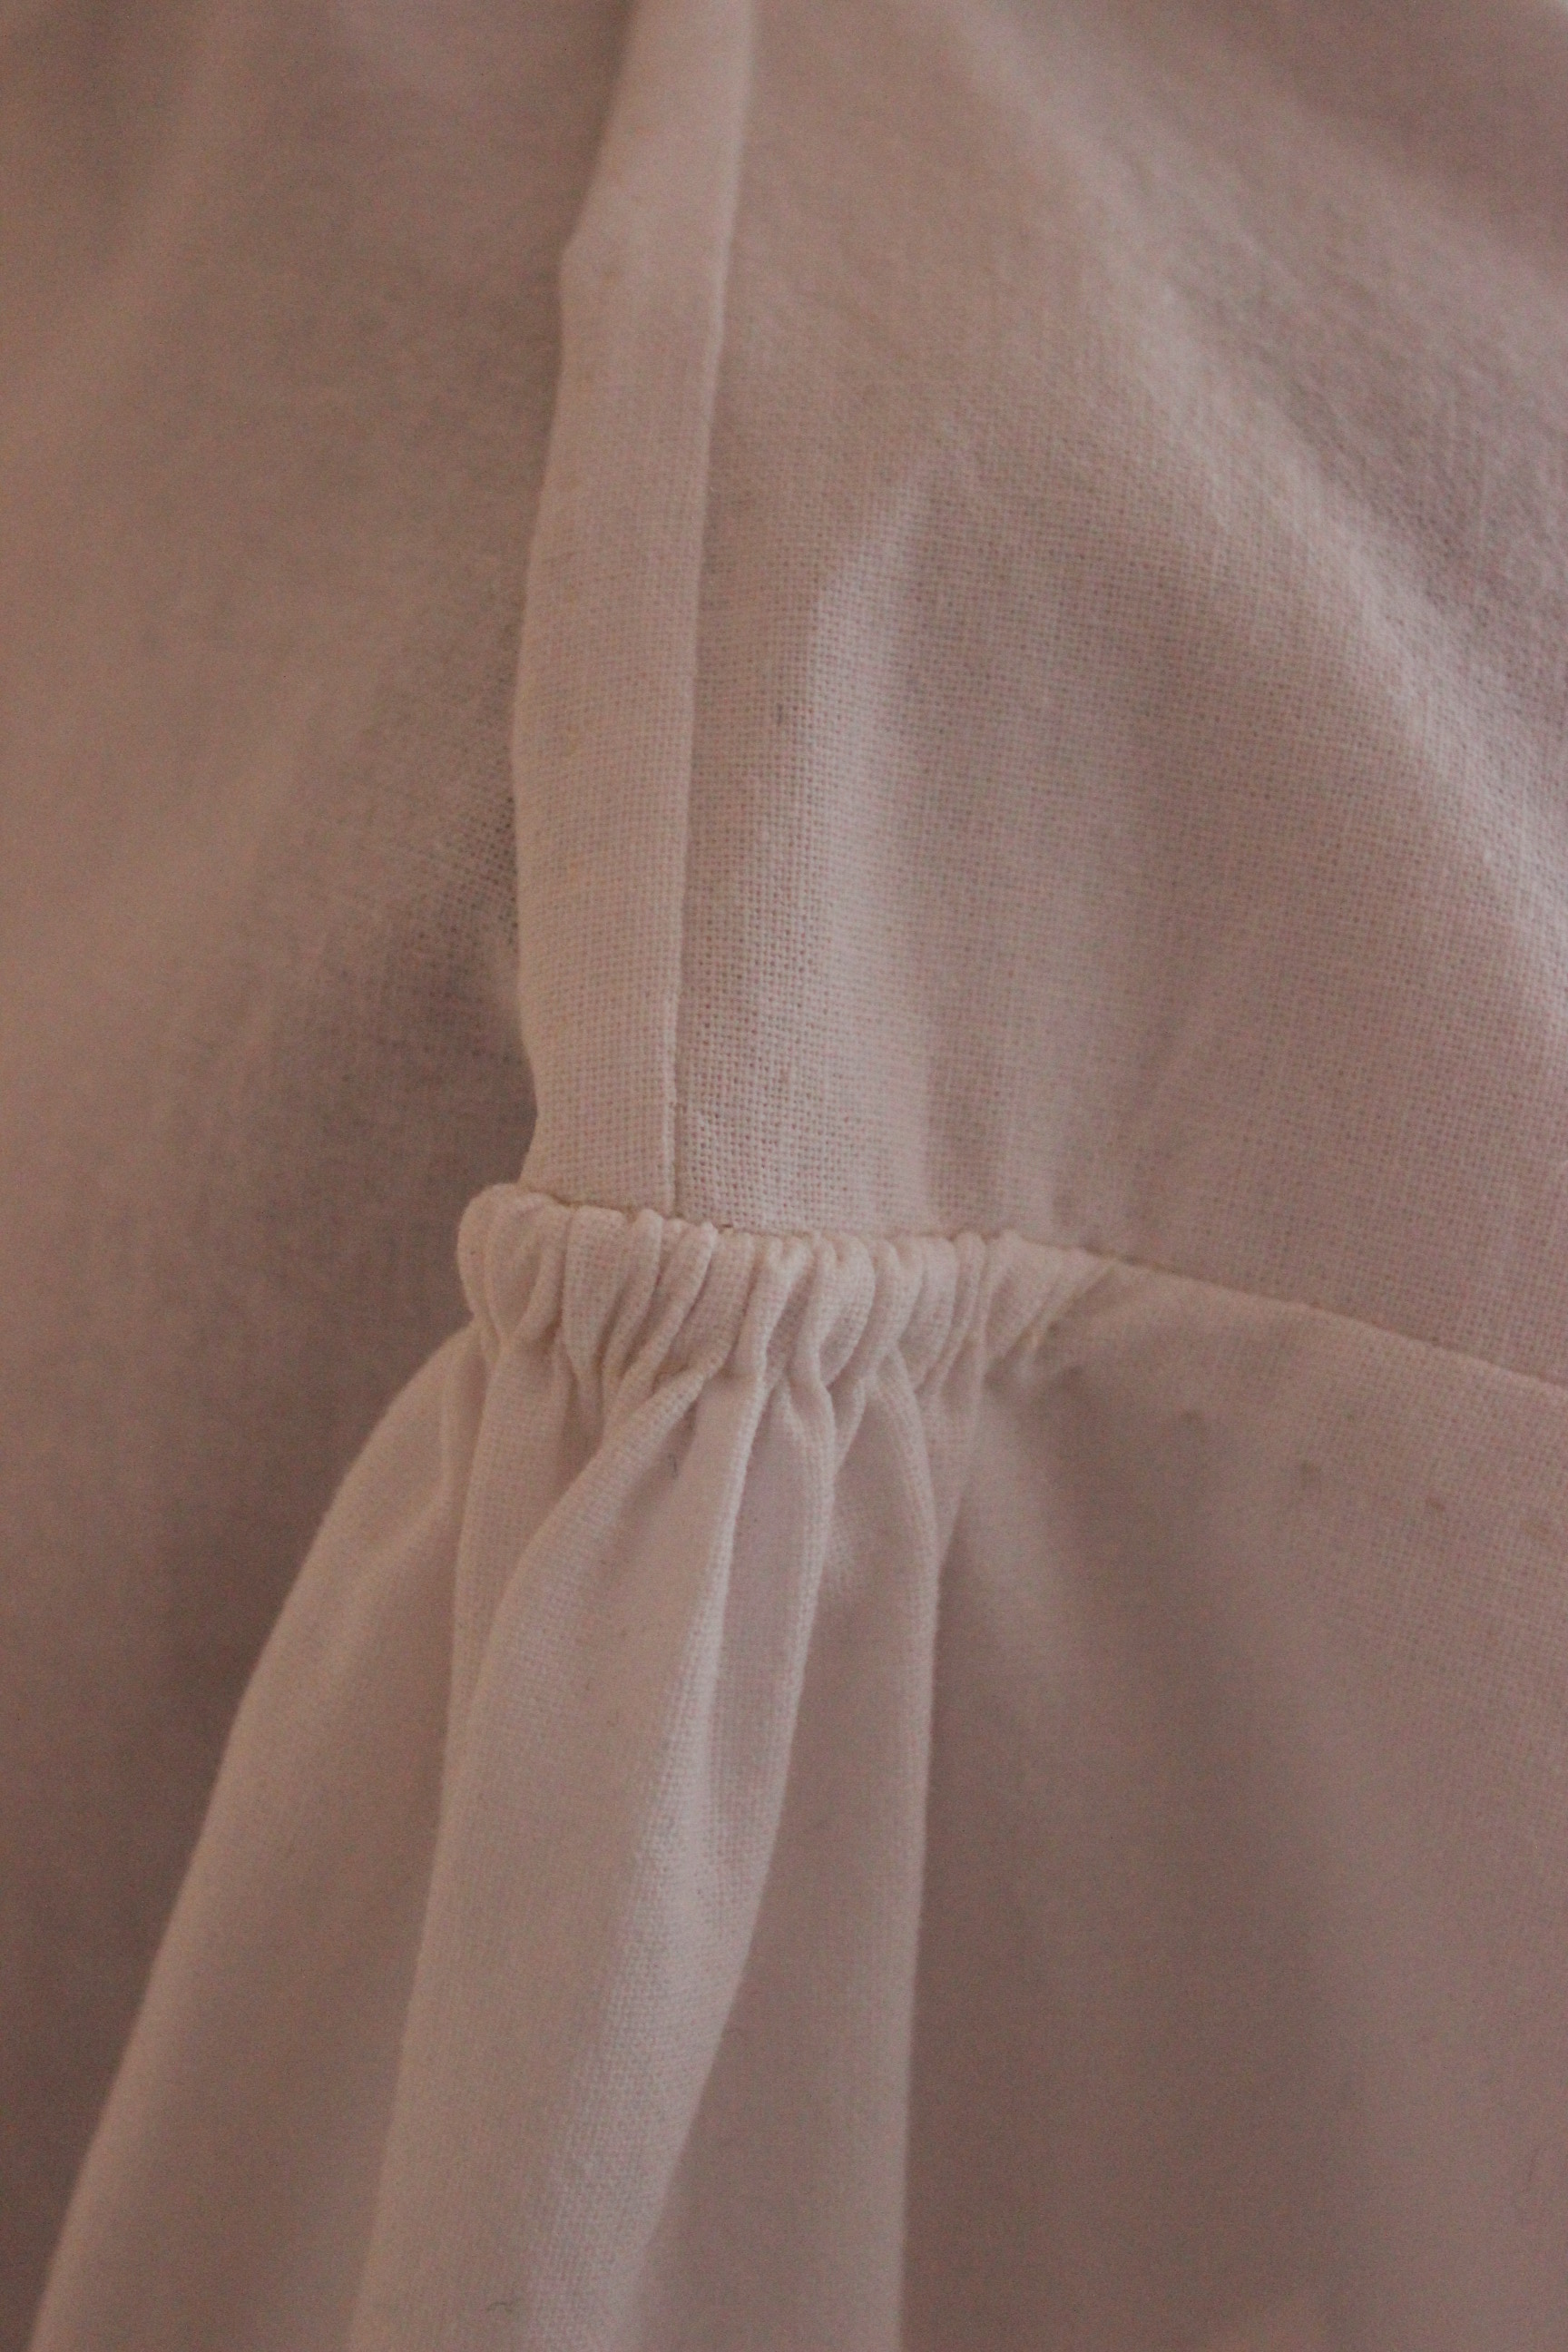
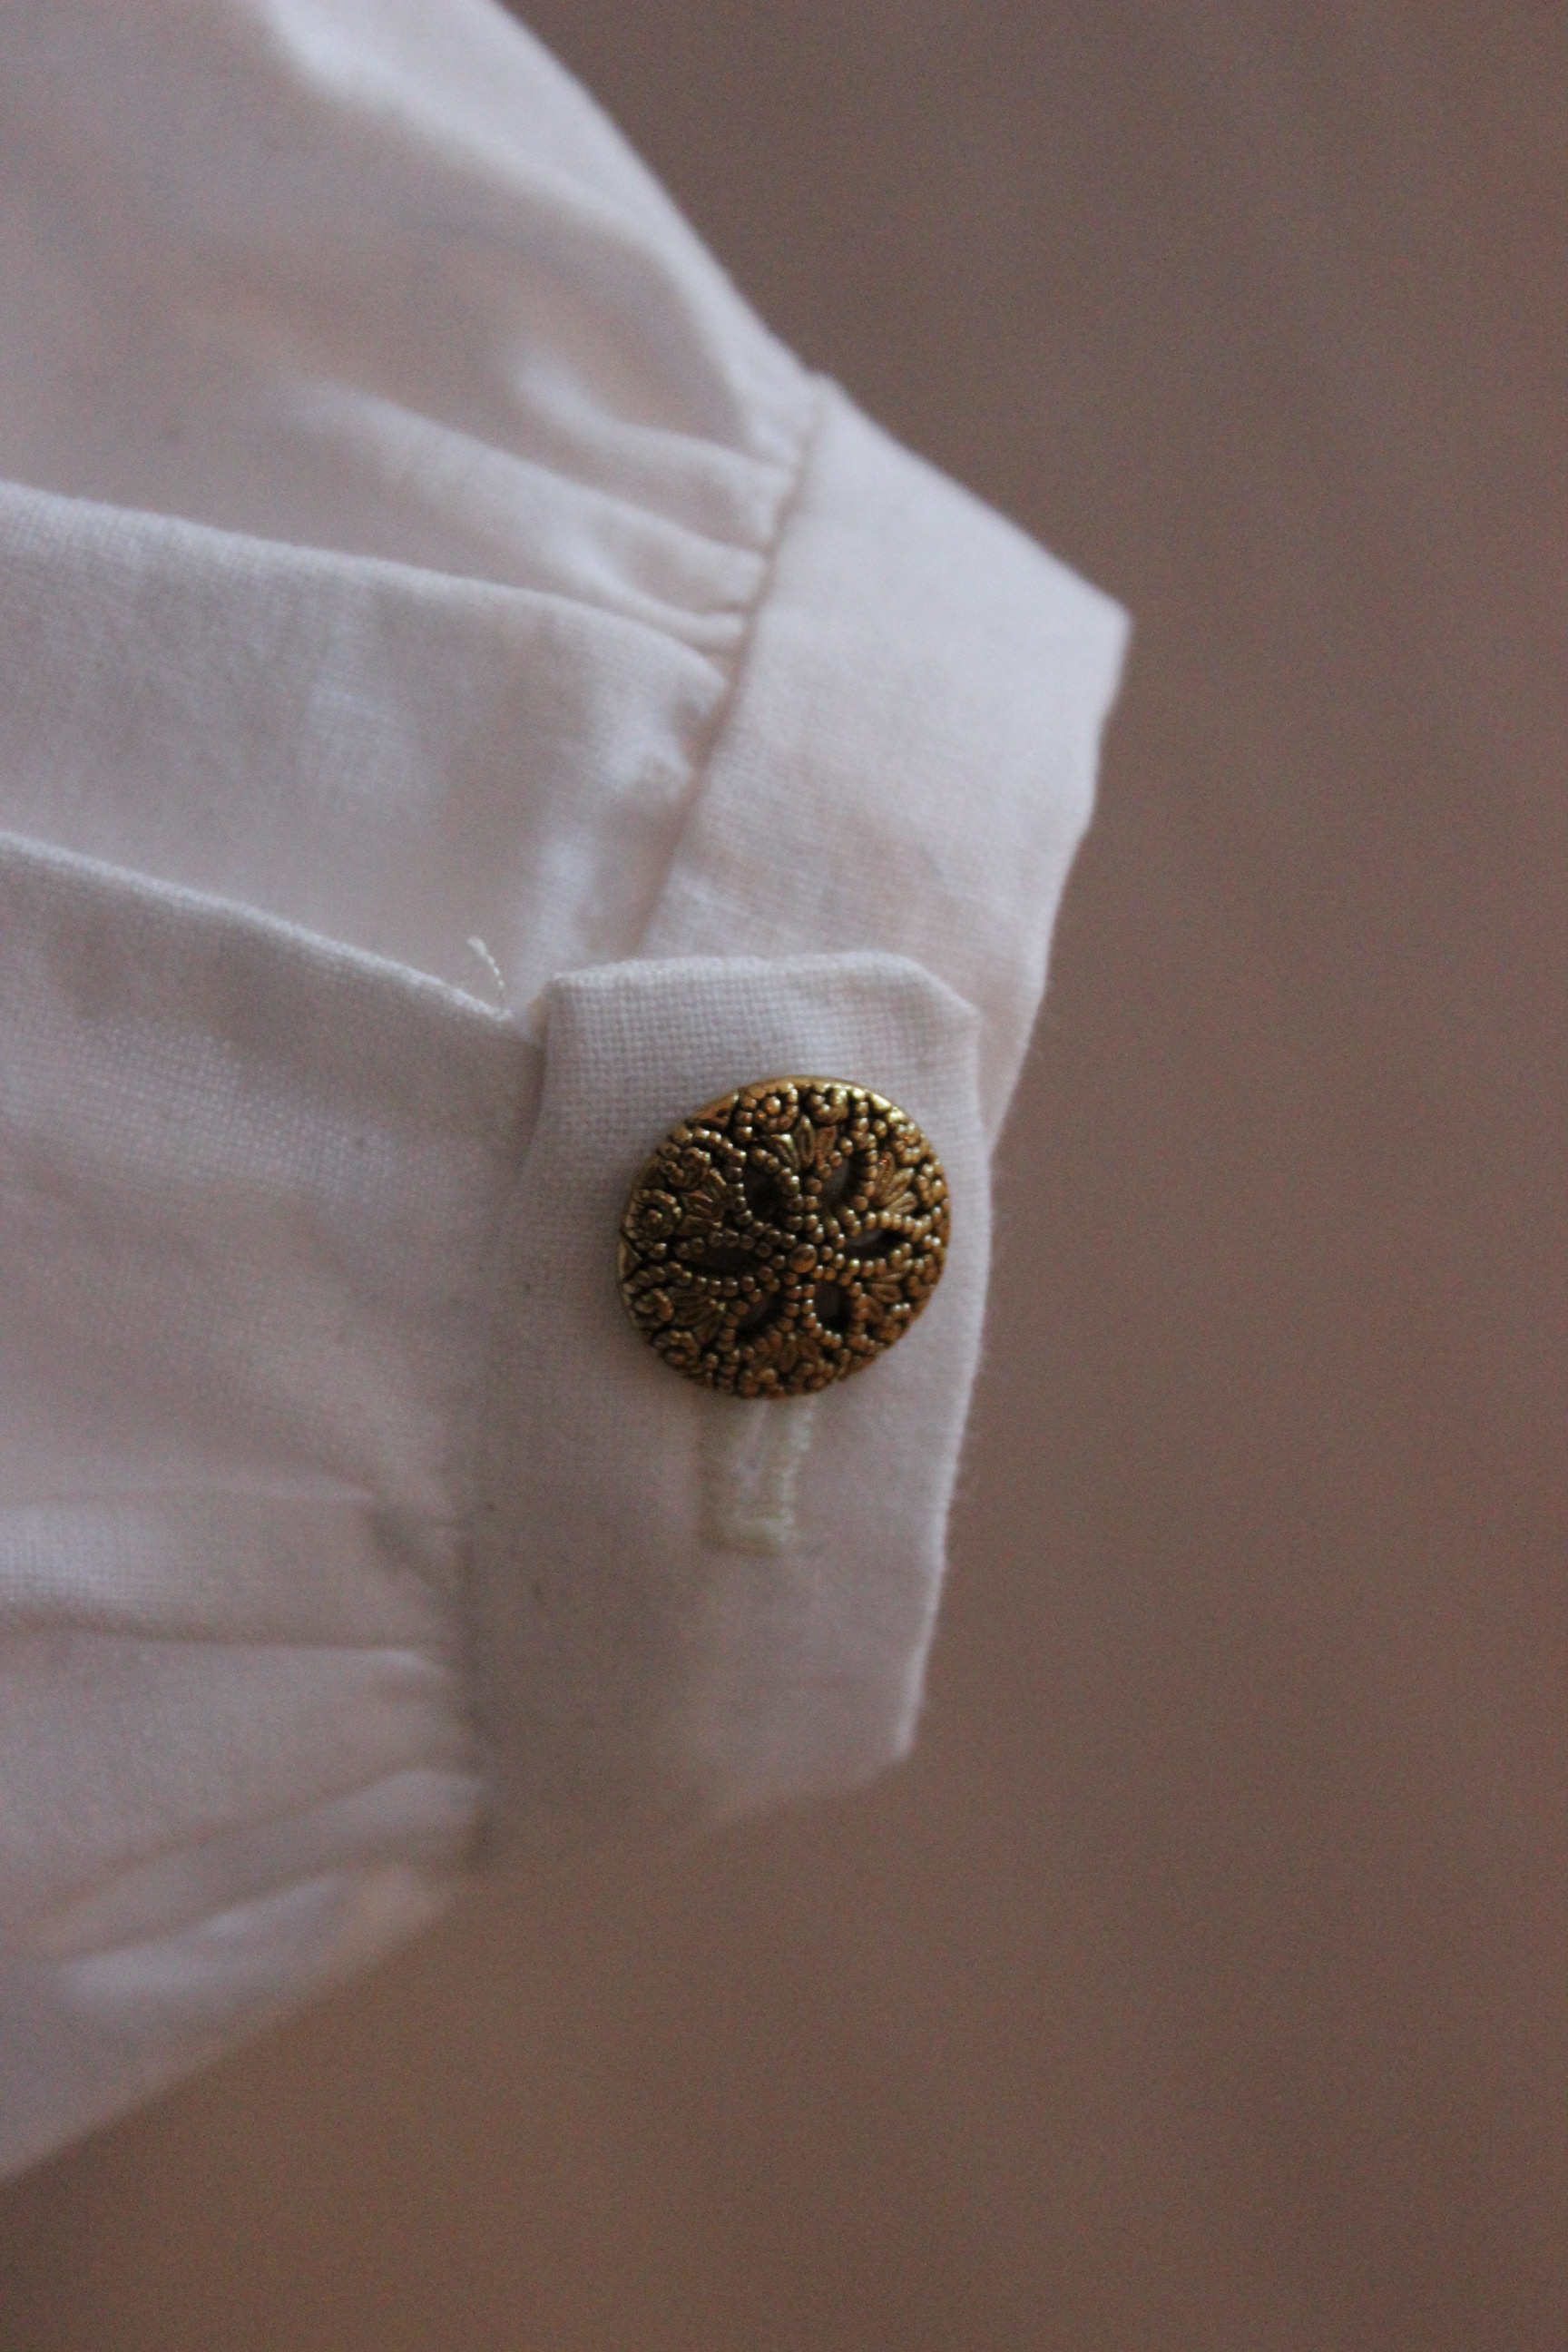
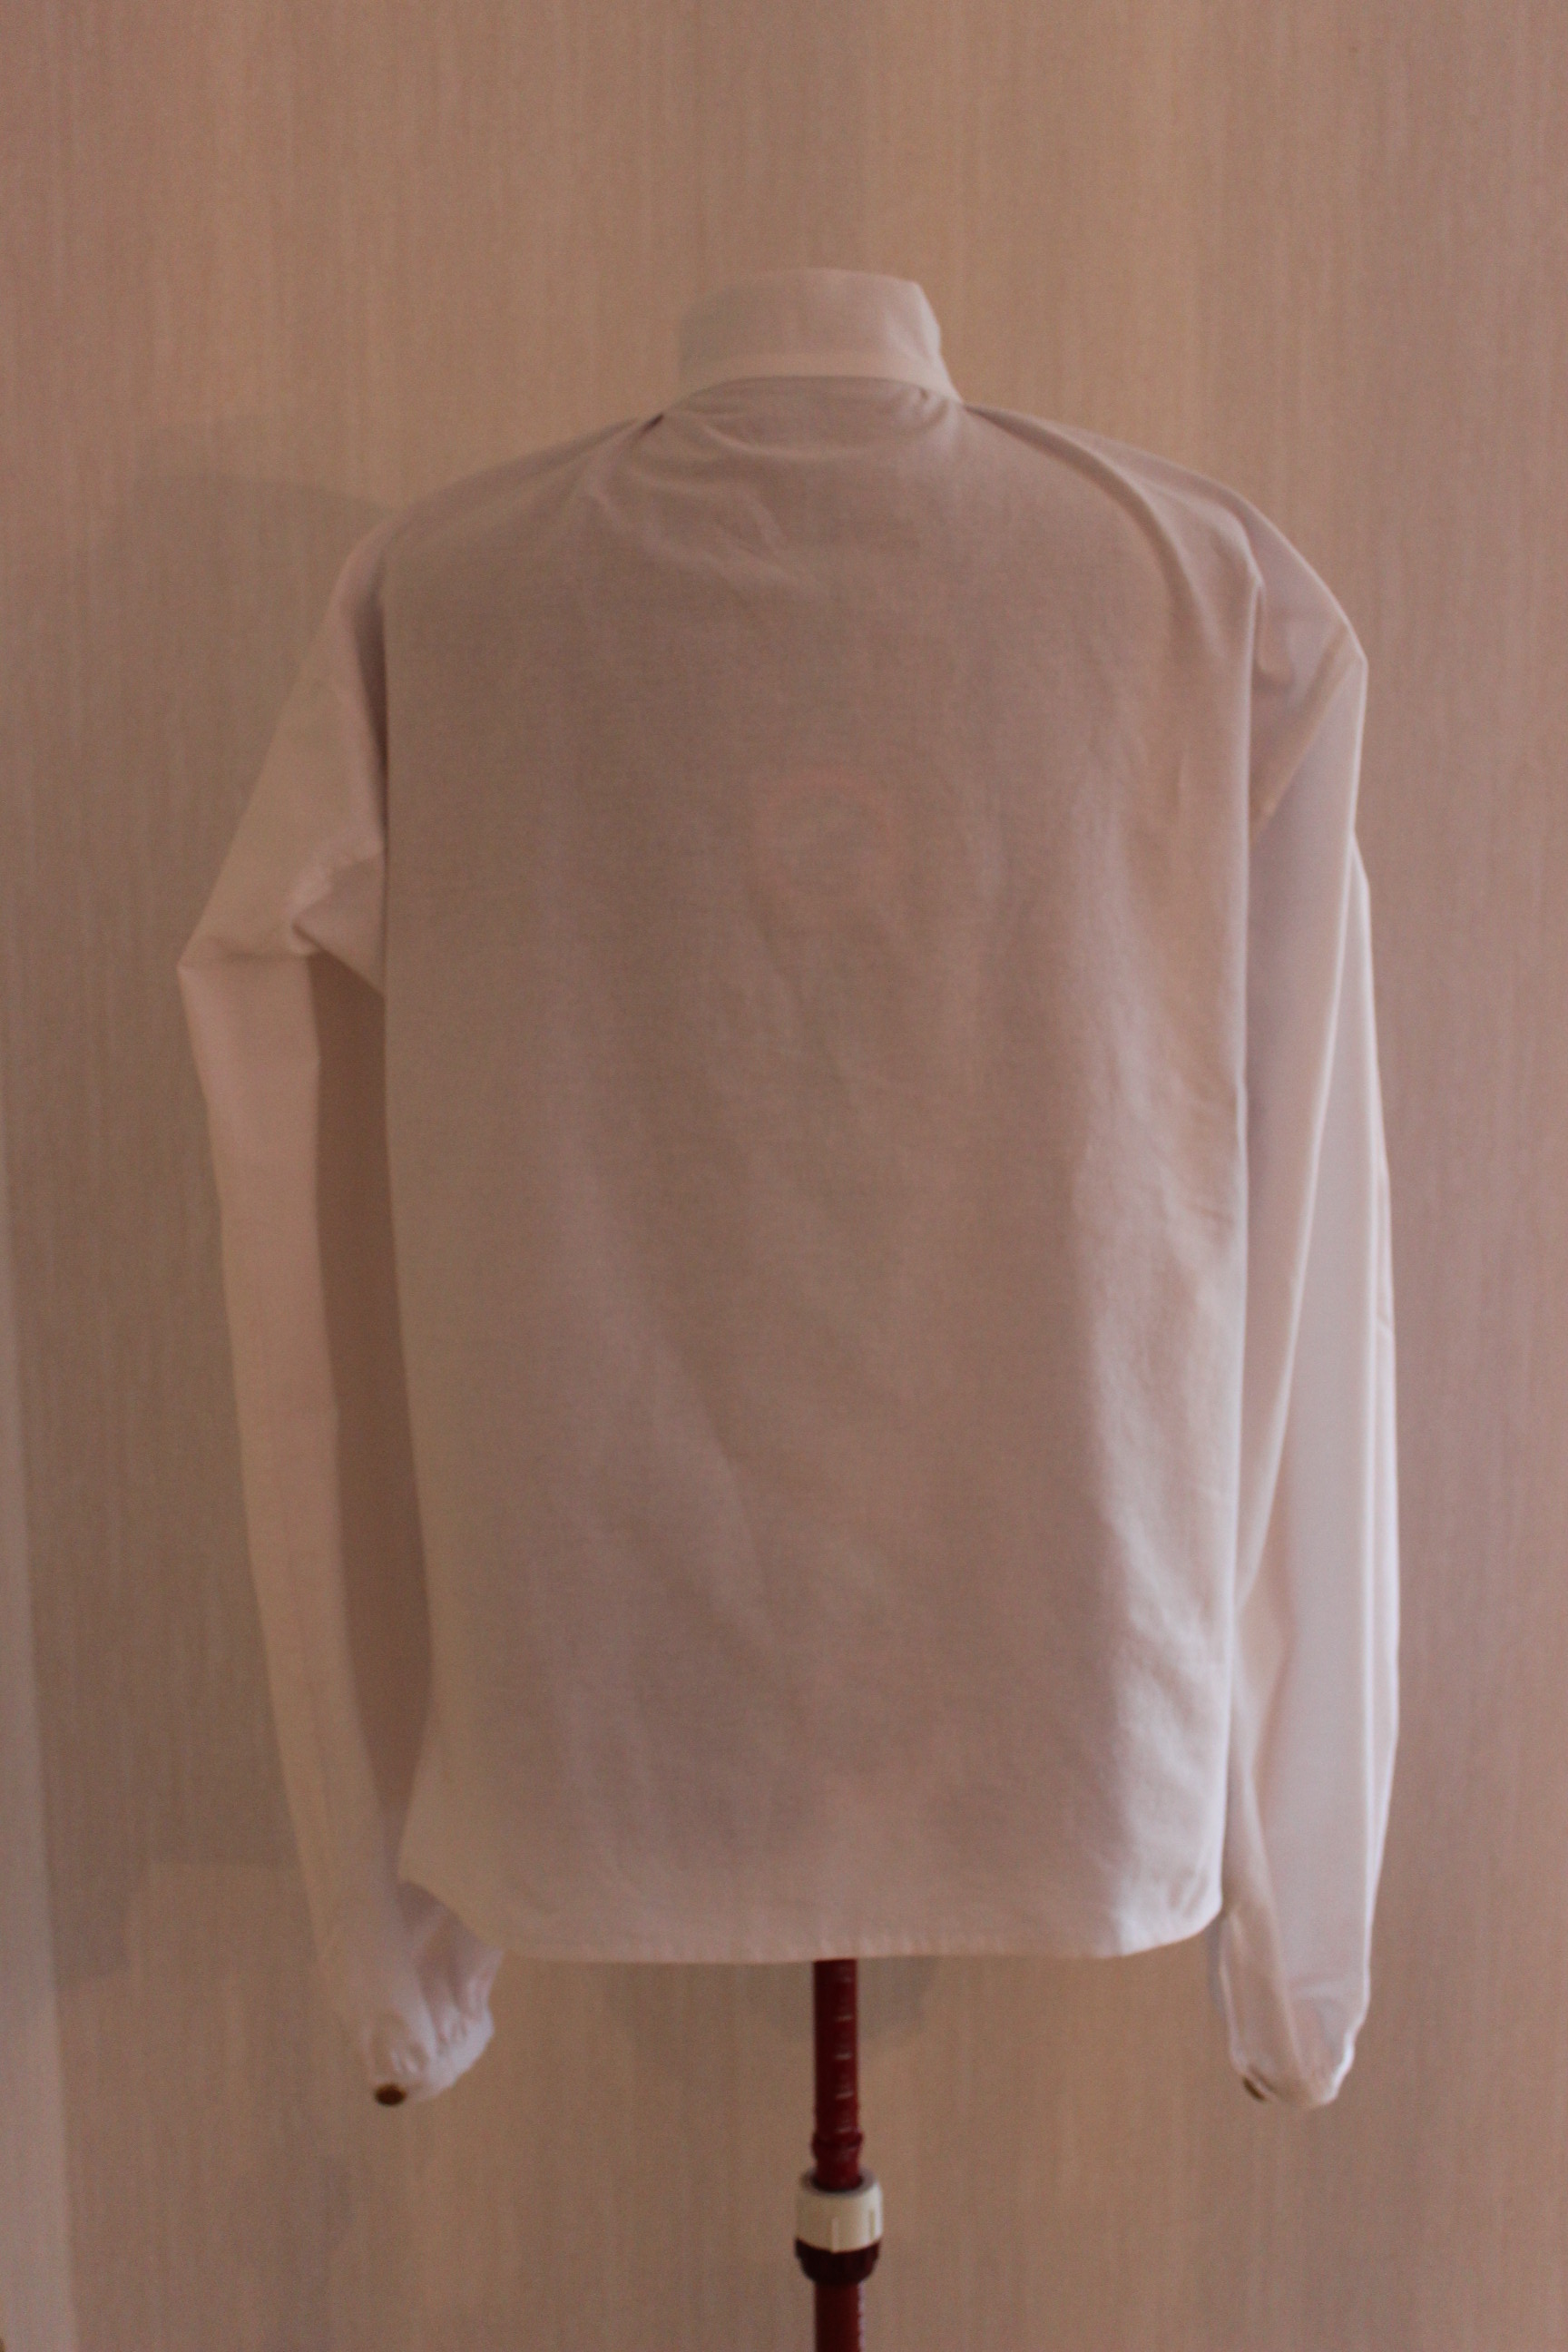
The finished Regency shirt:
Metal buttons on a standing collar.
The two shirts now at their new home.Lets hope he gets a lot of wear out of them.
2016 is one of those years we will always remember for it’s tragic events, raising lack of humanity/ compassion for the most vulnerable in our society (and world).
But for me, 2016 will always be one of the mot important years in my life – it’s the year my son was born.
Thus a big change in my priority’s (and time/energy) leaving my sewing somewhat on the backwater.
And taking into account that I had a 6 months hiatus from sewing last winter(Oct 2015 – April 2016) there is a miracle I managed anything at all. But I did actually finish a few items both before and after my delivery in June.
I’ve also finished a few minor projects like, hemming skirts/pants, sewing curtains/pillows, adjusting dresses etc.
And as always I have a few things on their way which I didn’t manged to finish before the new year (but which hopefully will be completed in he following months).
Al in all I think I did pretty well with my 3 mayor project, which all has been on my wishlist for quite some time.
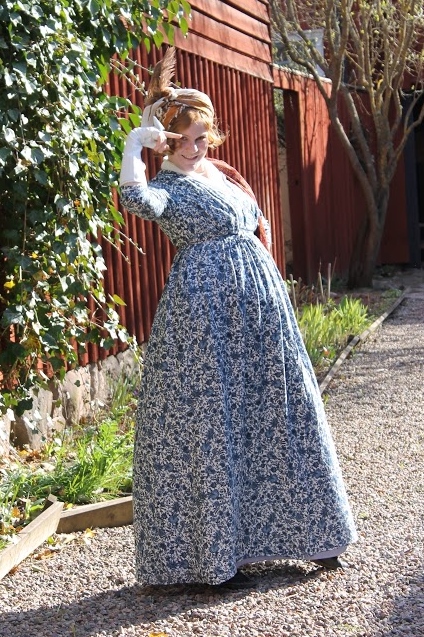
I’m wearing the dress (obviously), my new petticoat, chemise, stockings, American Duchess 18th century shoes, a white fichu, mittens, and a turban made from a shawl decorated with feathers.


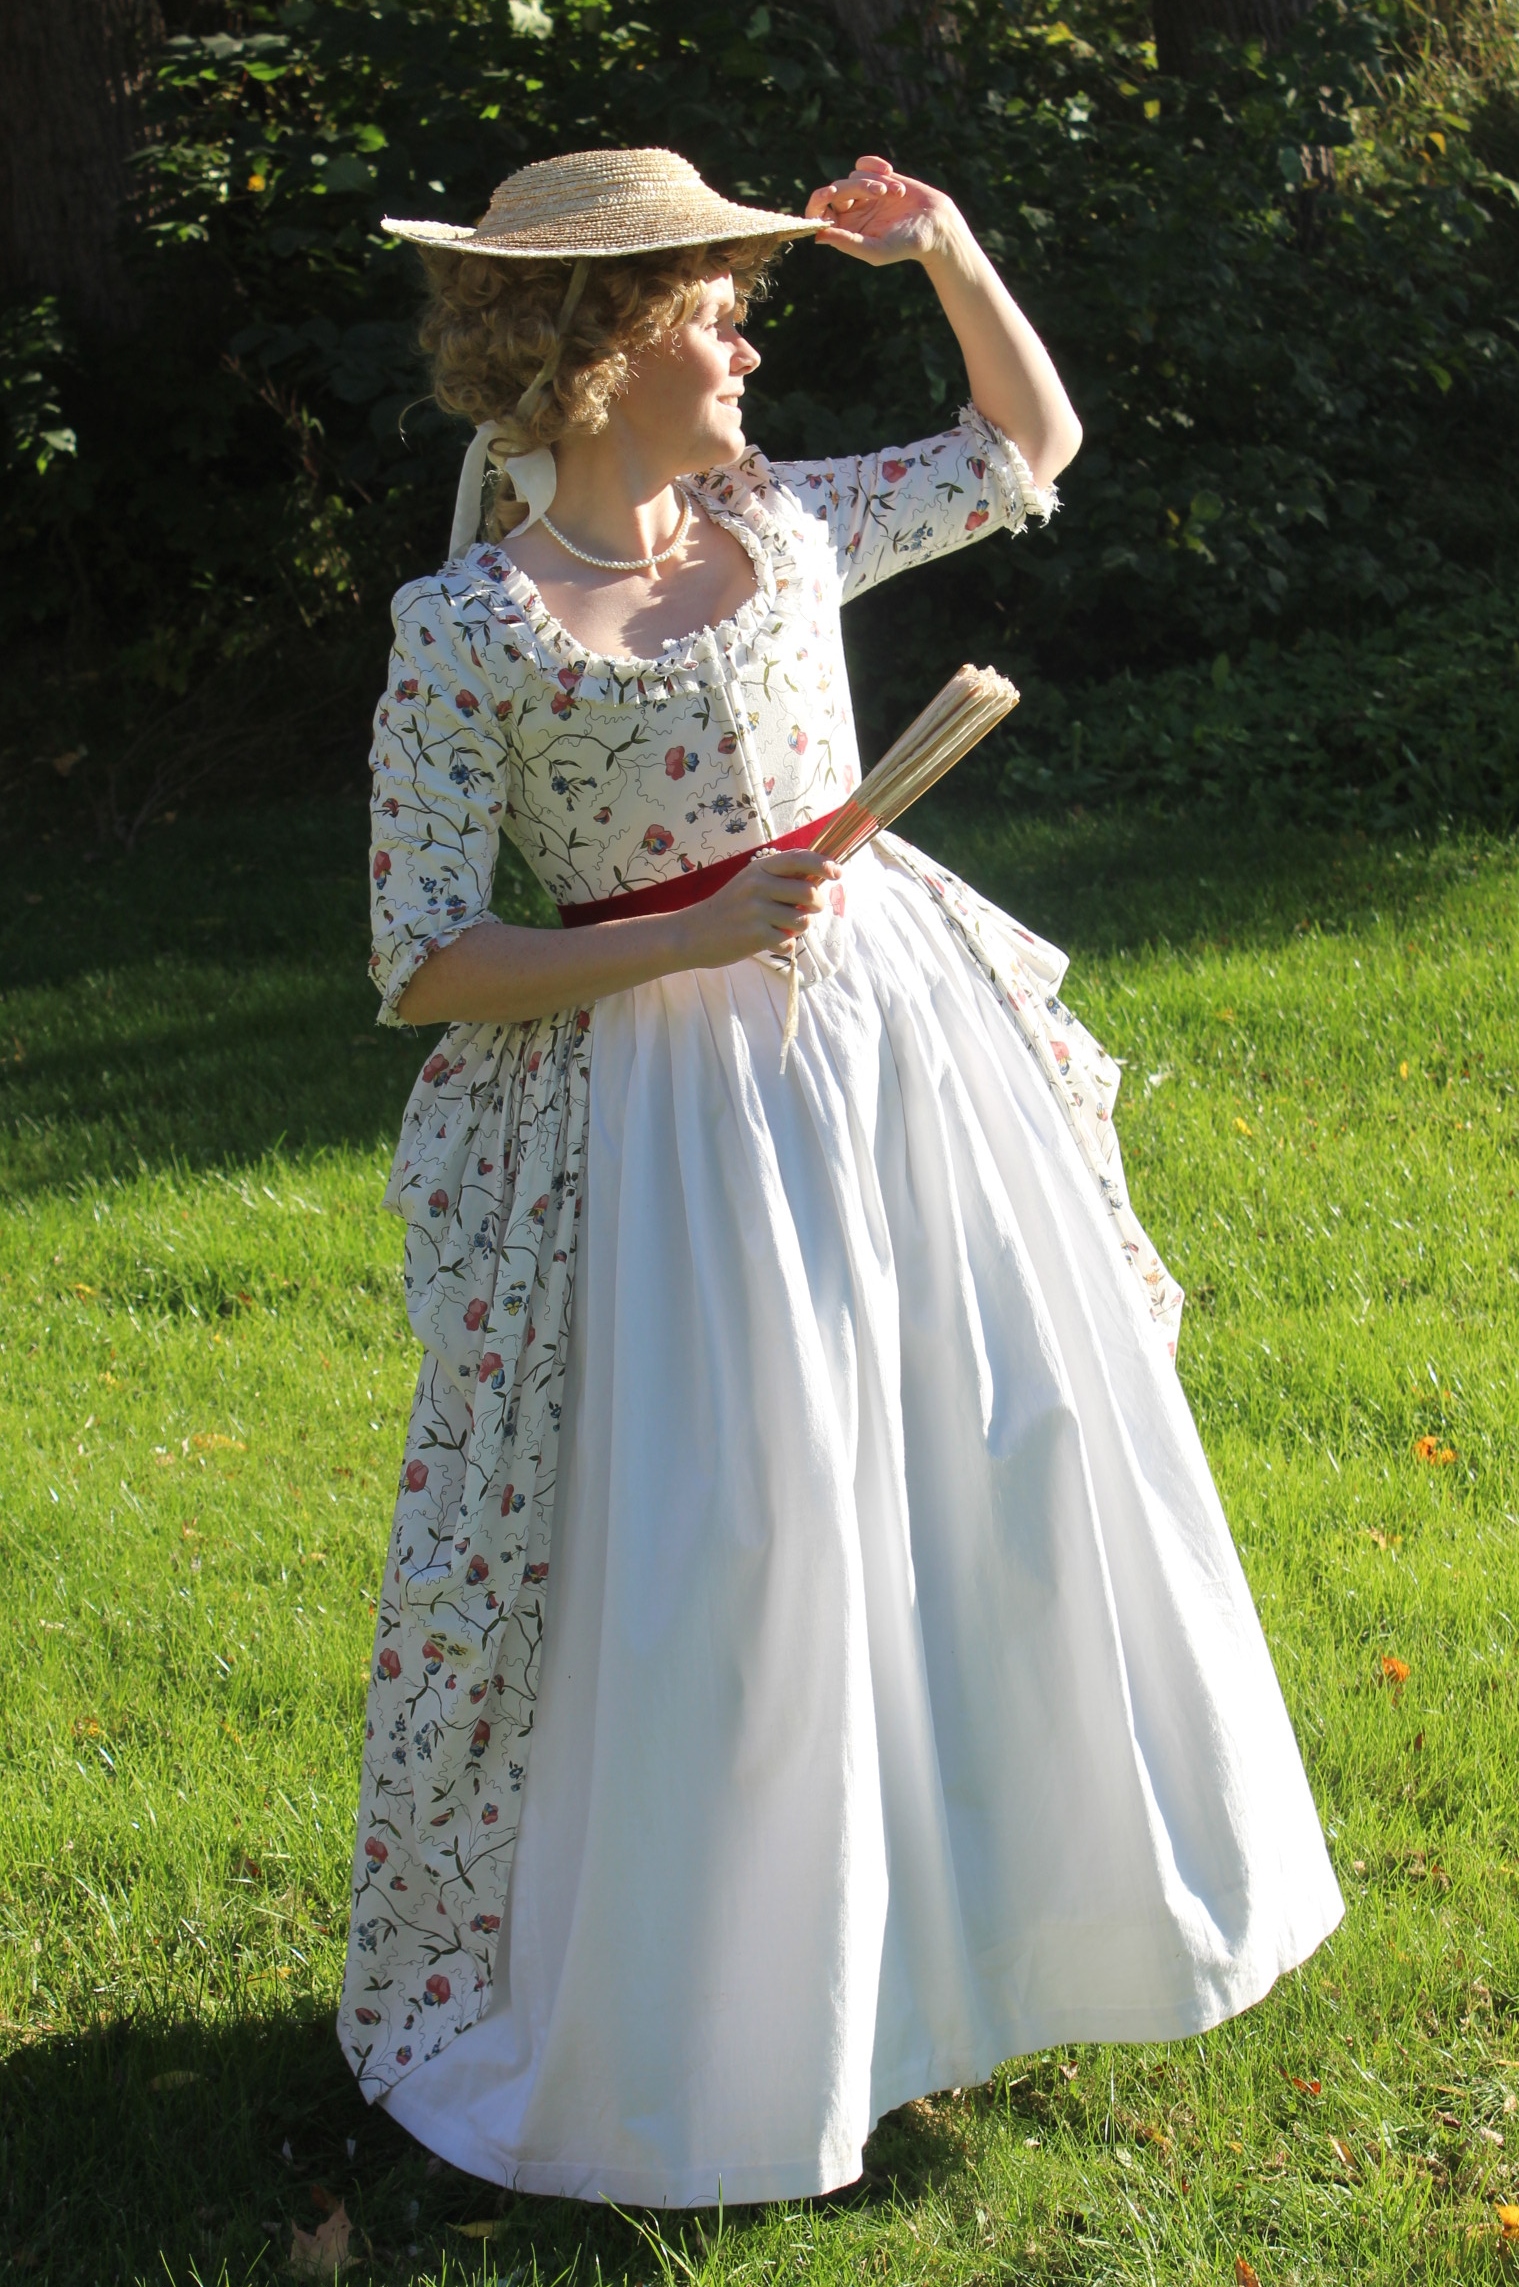
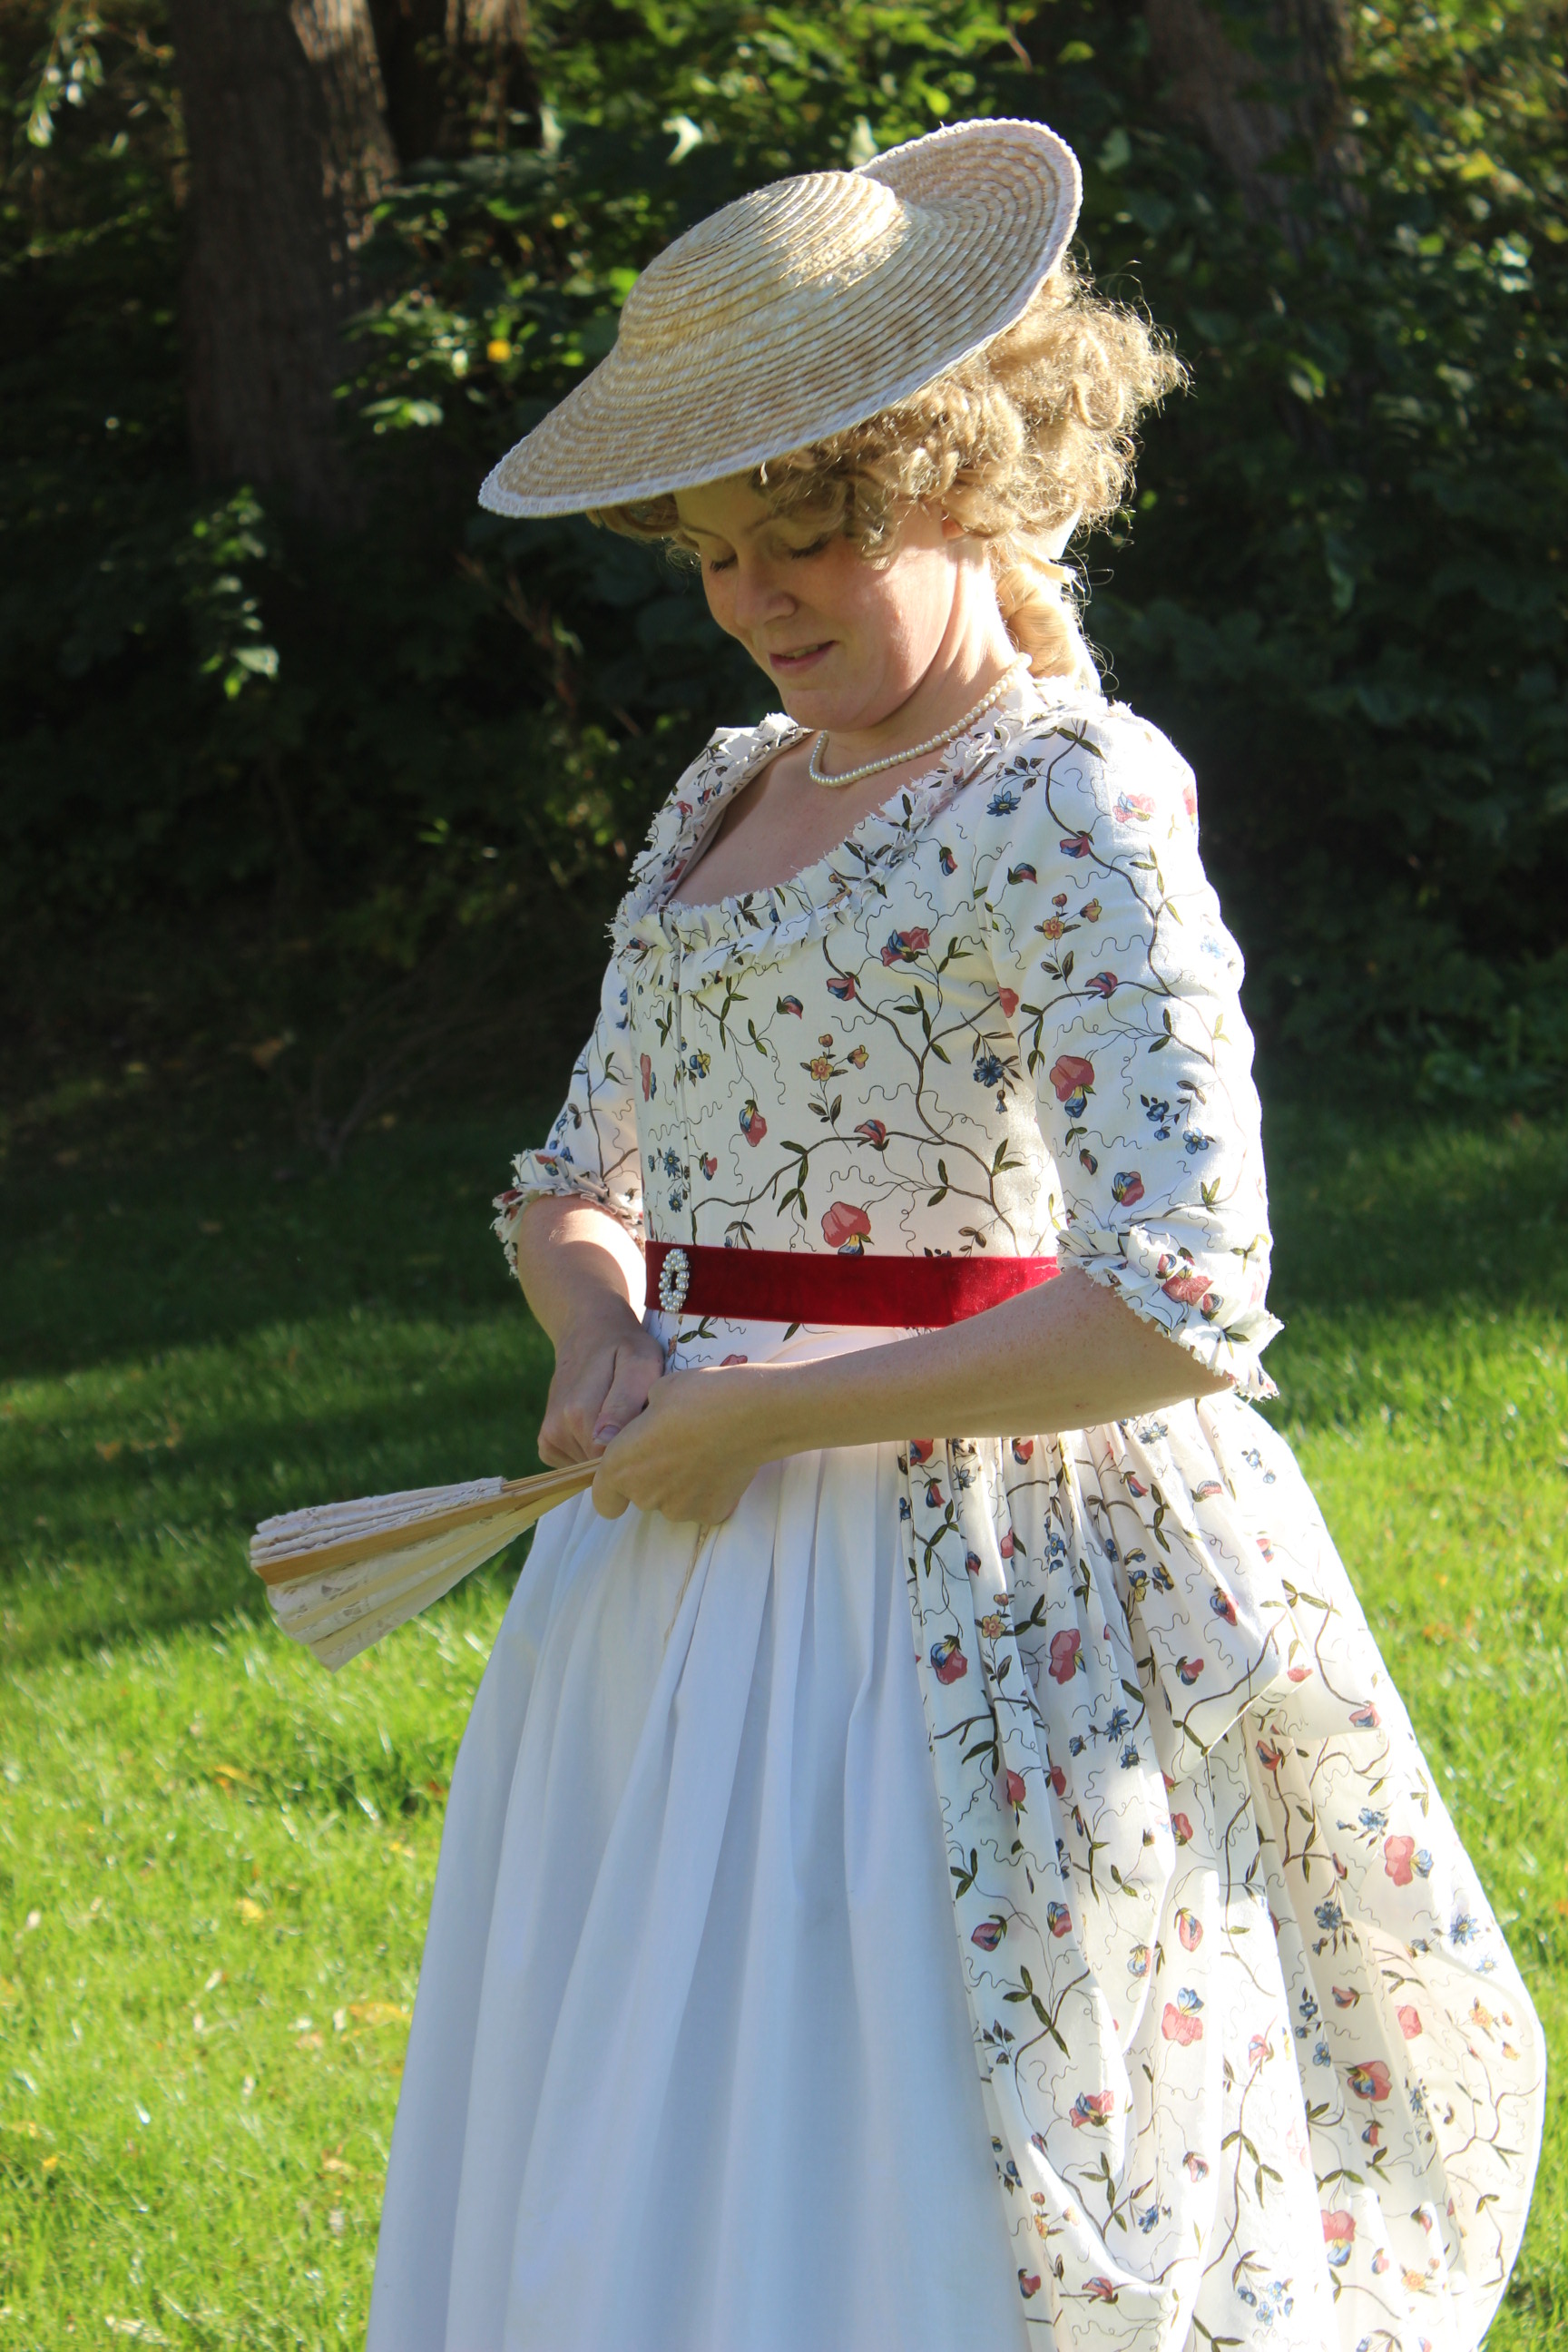
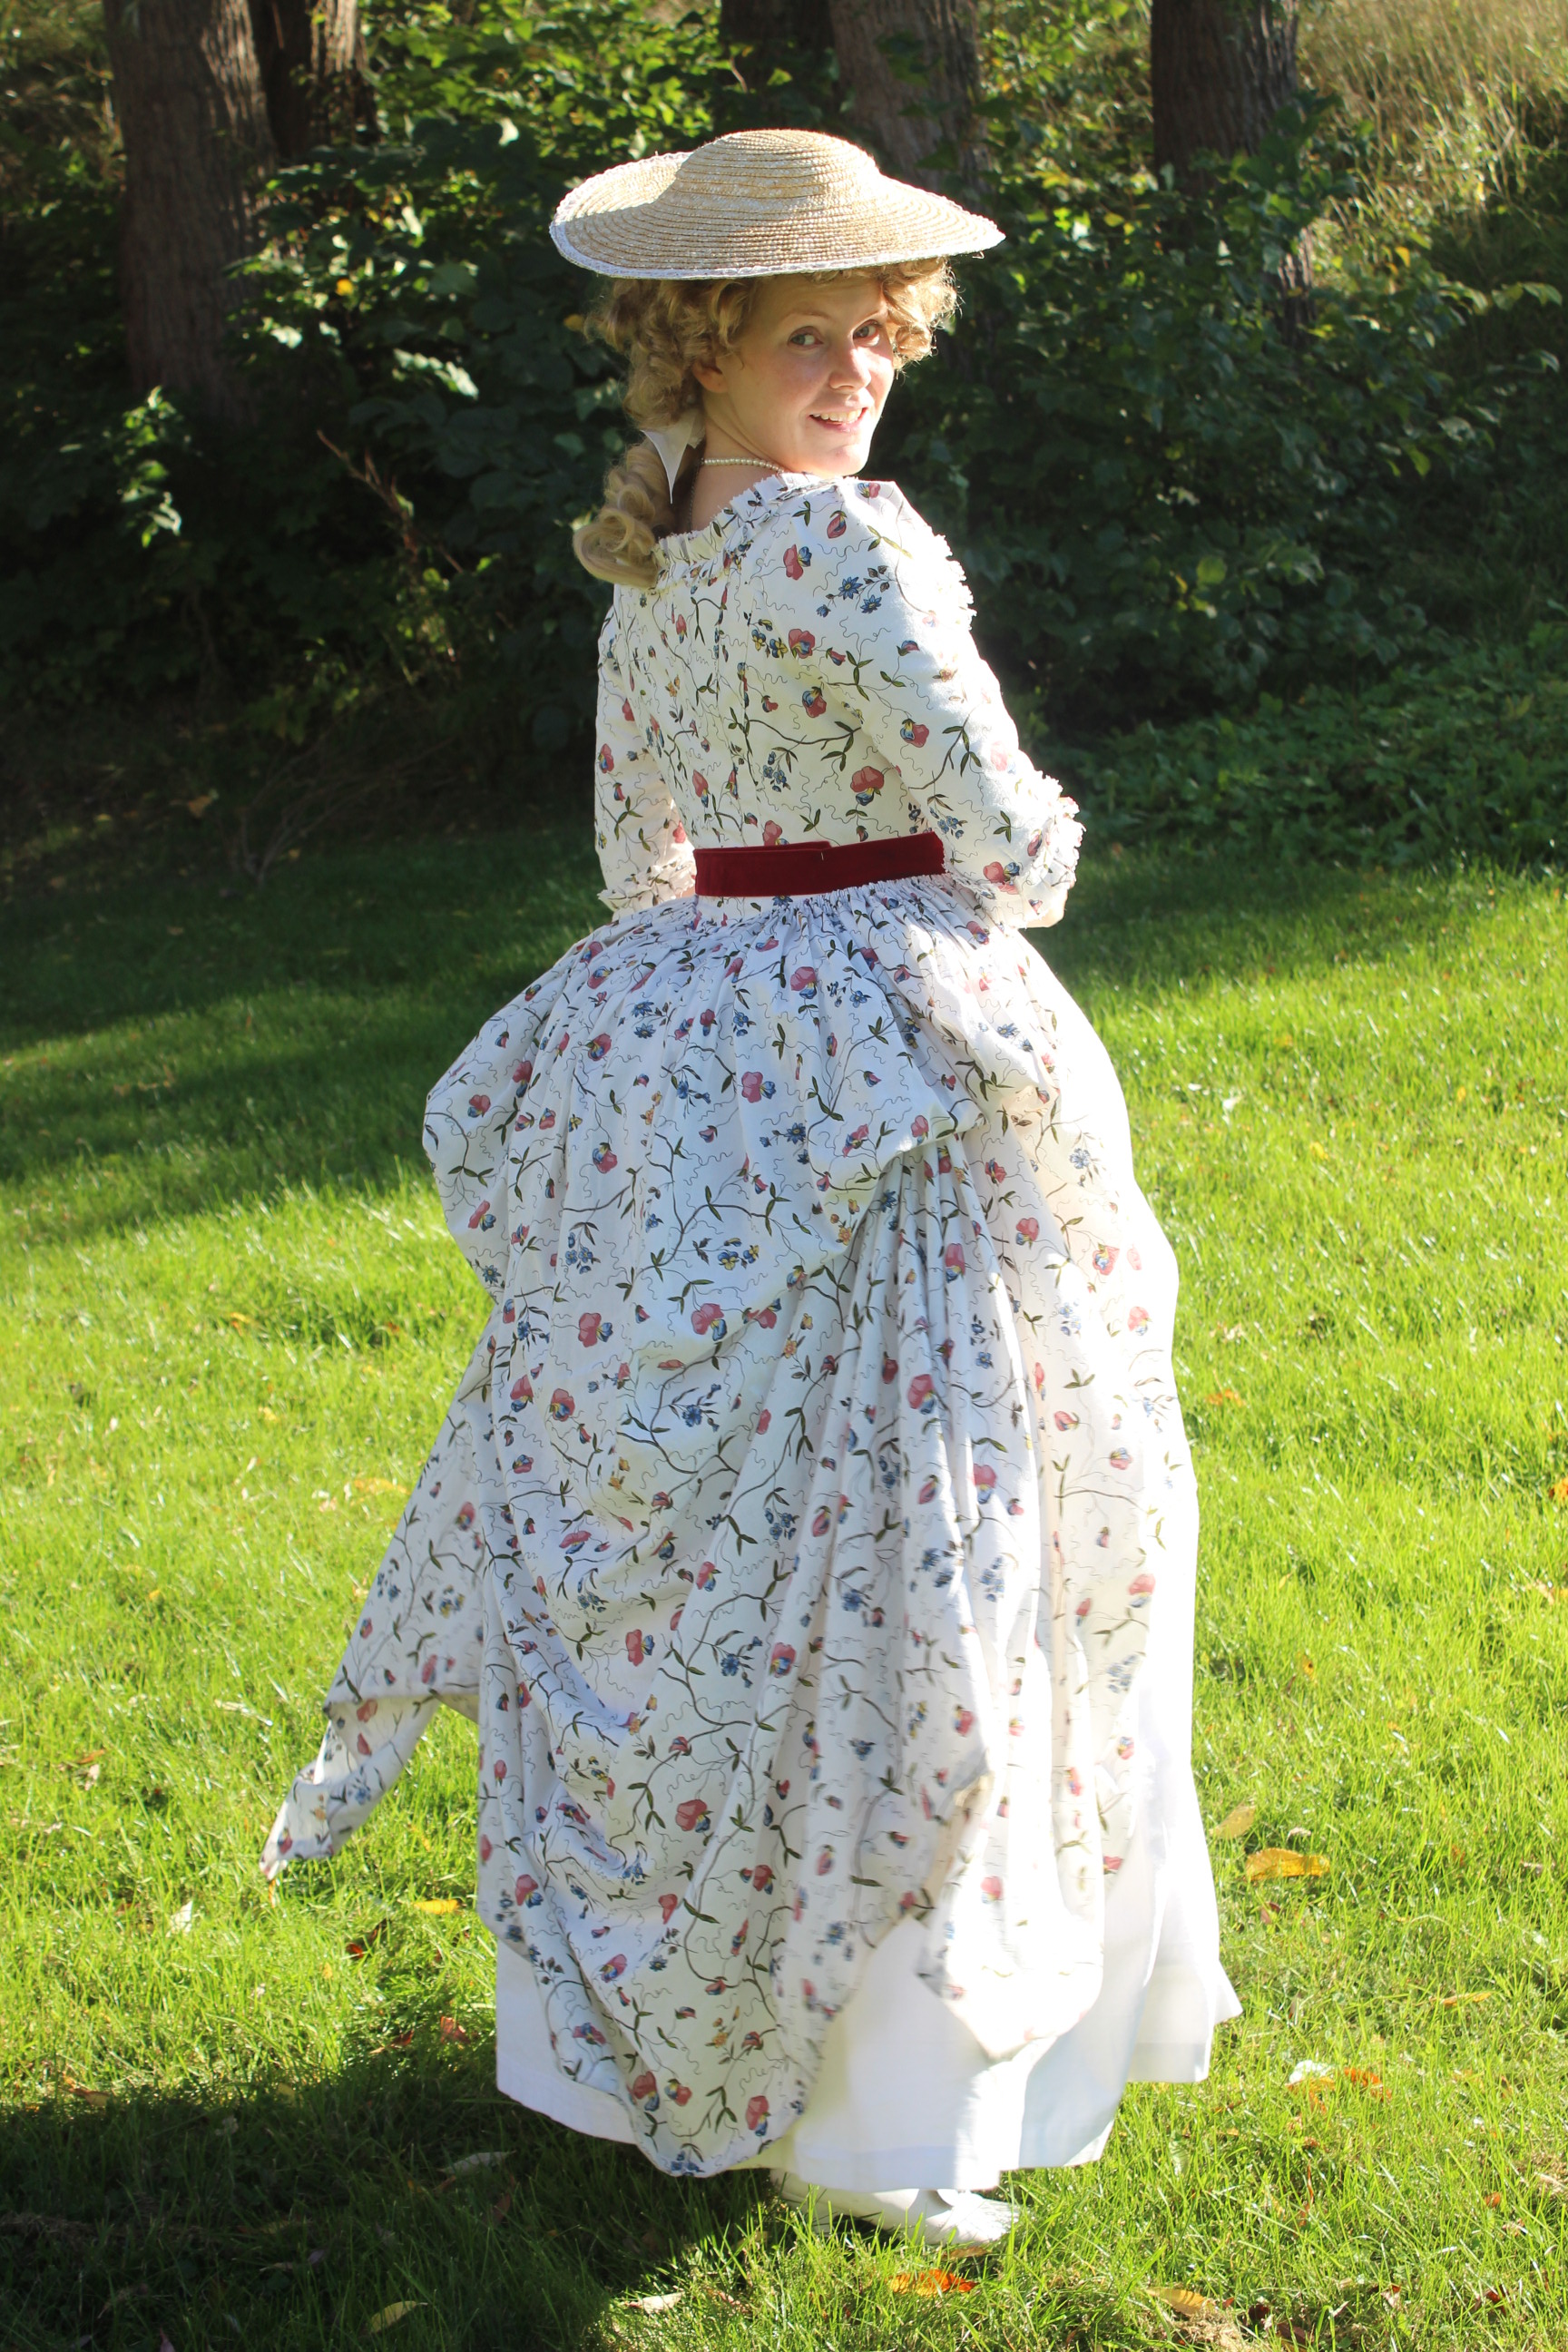
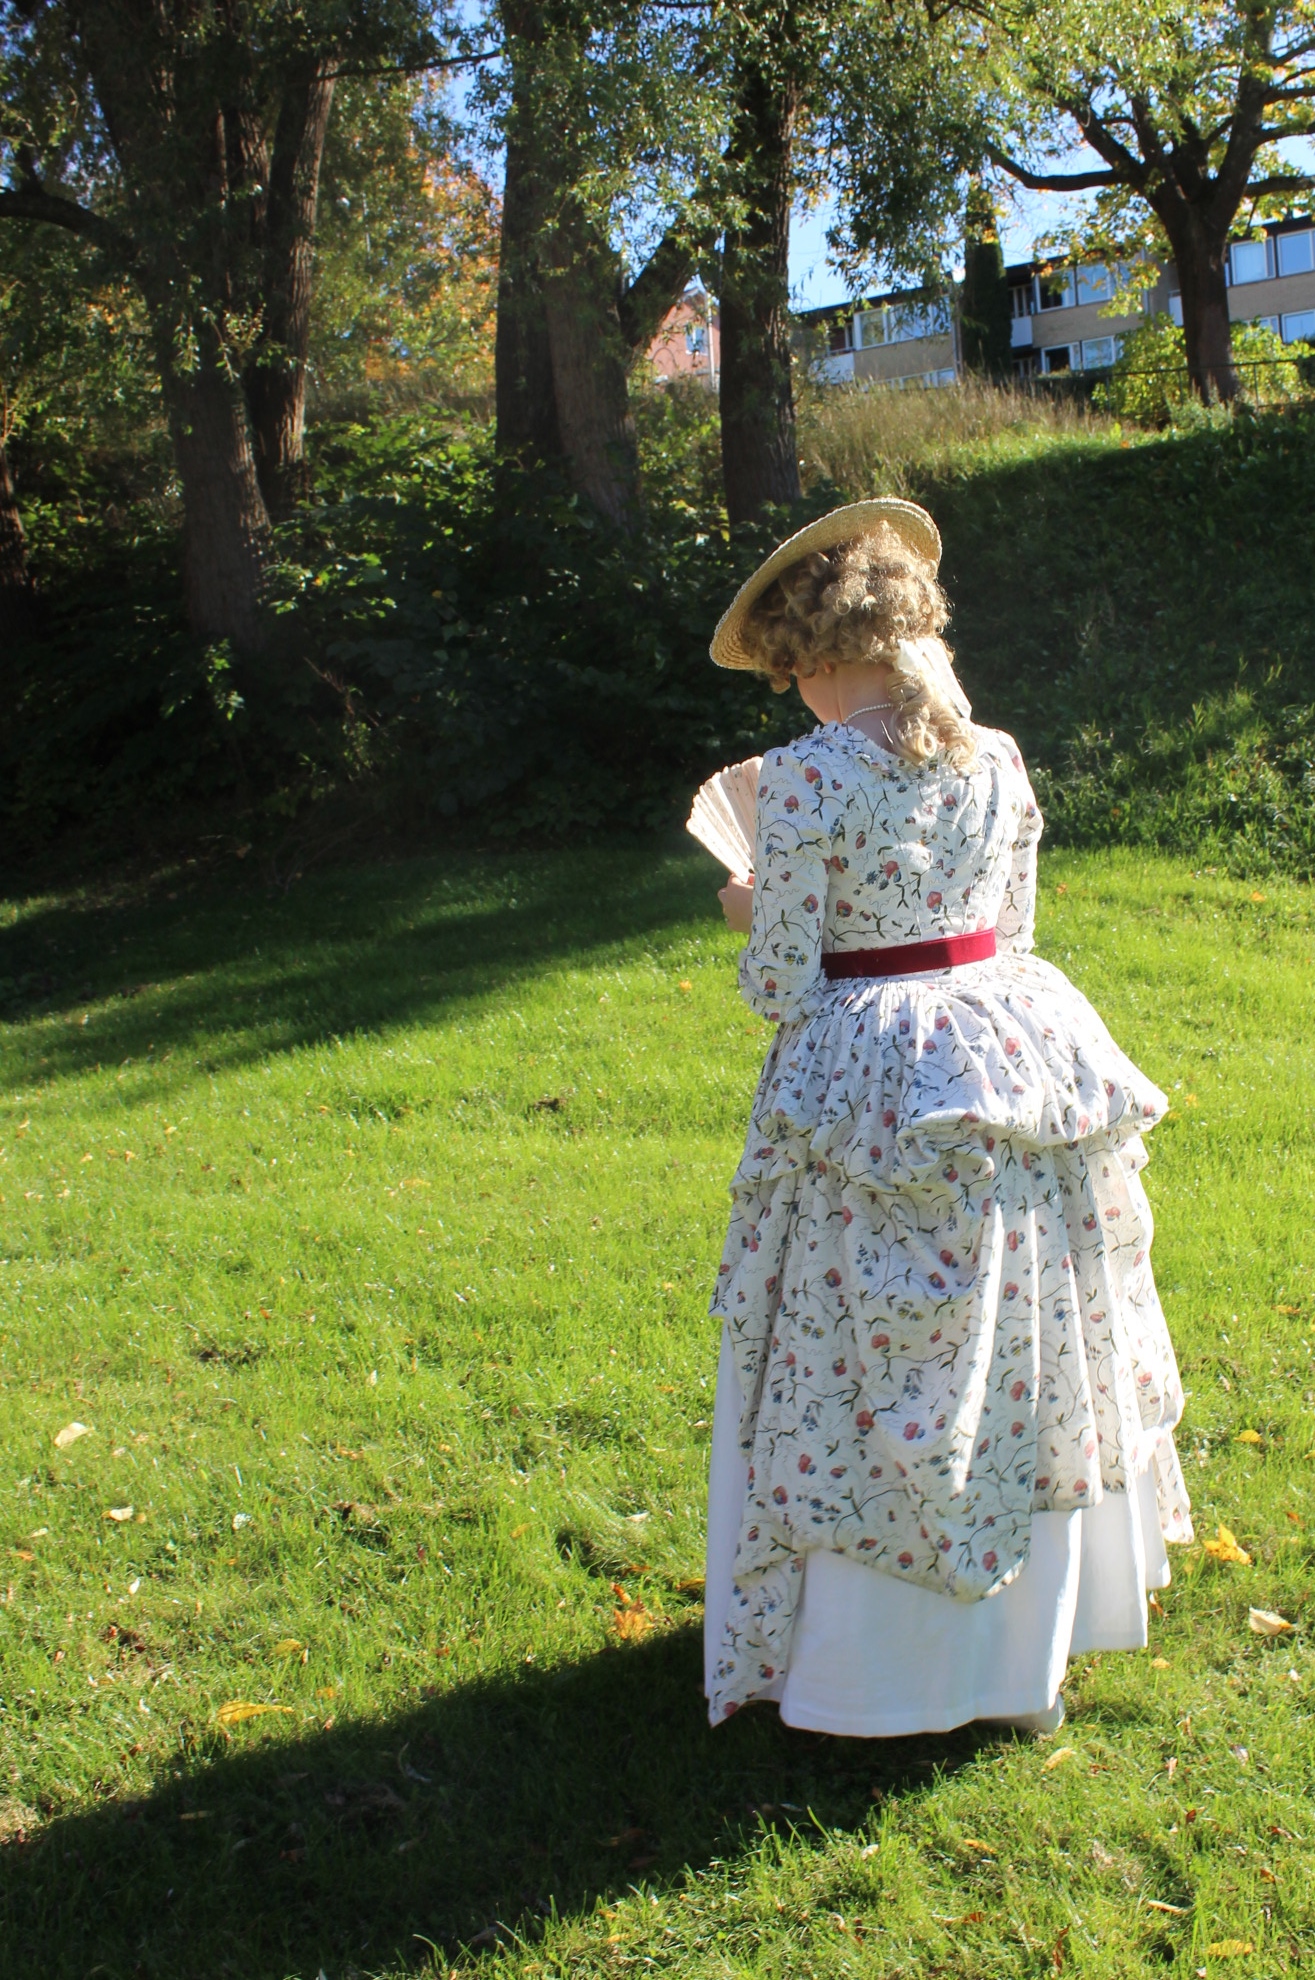
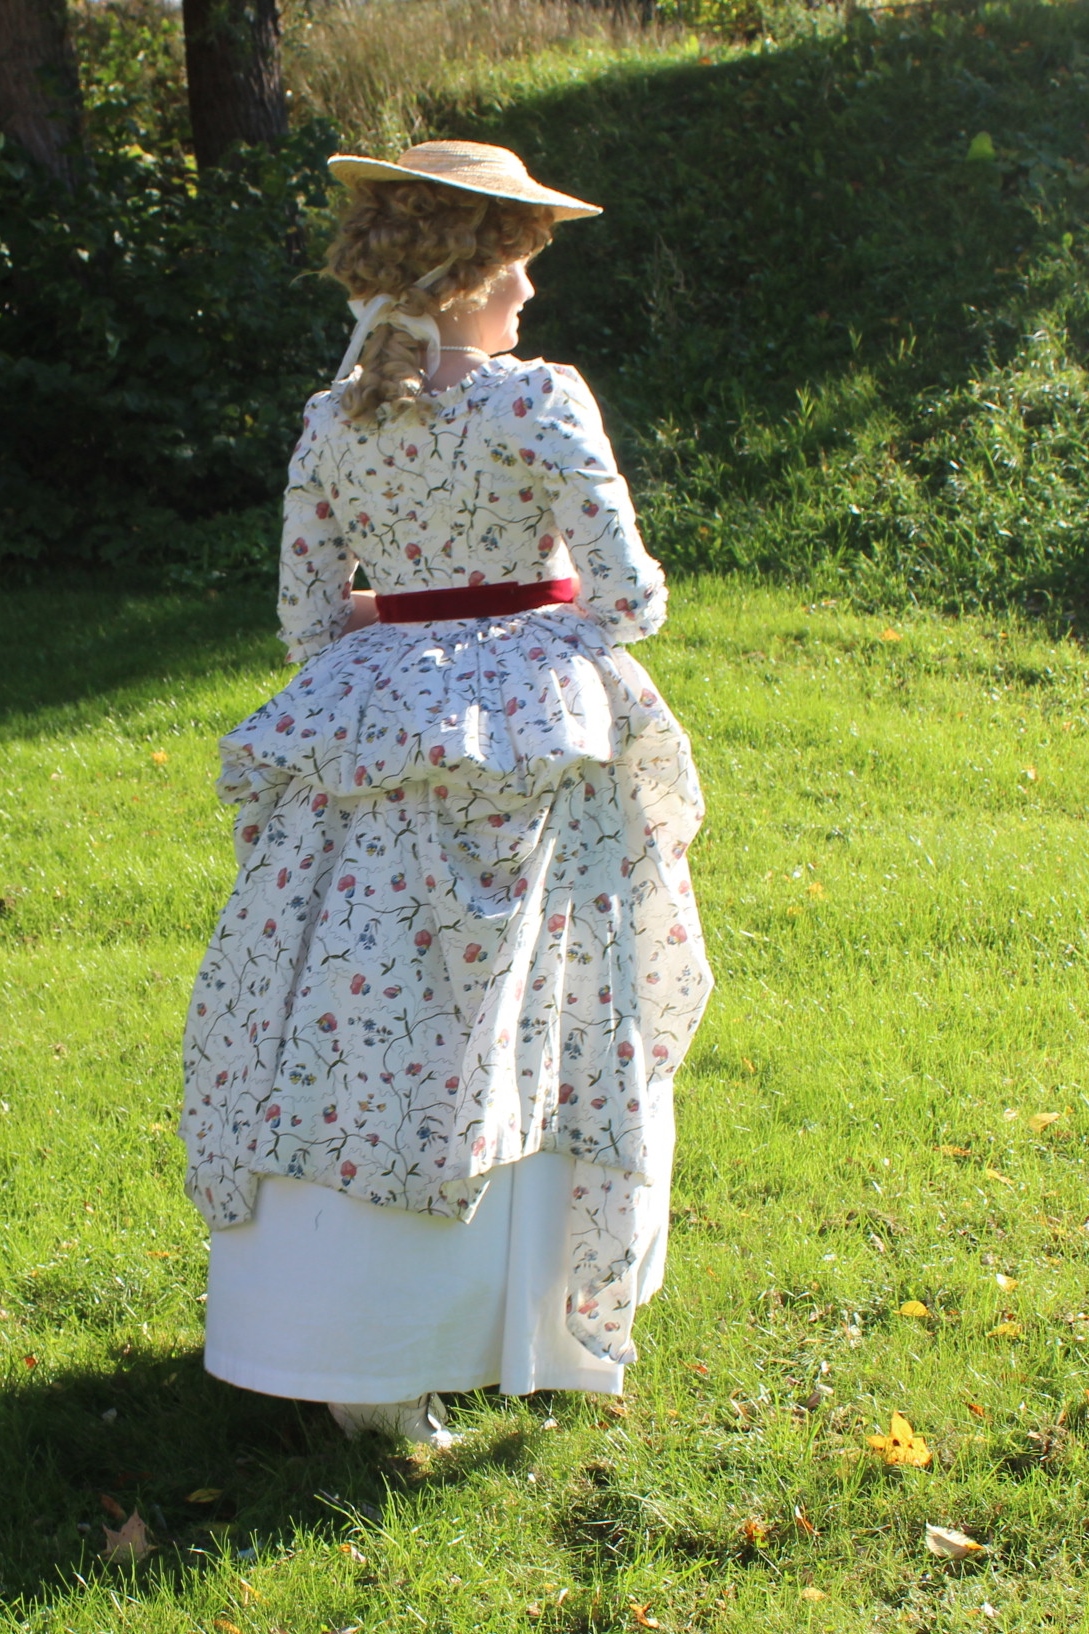
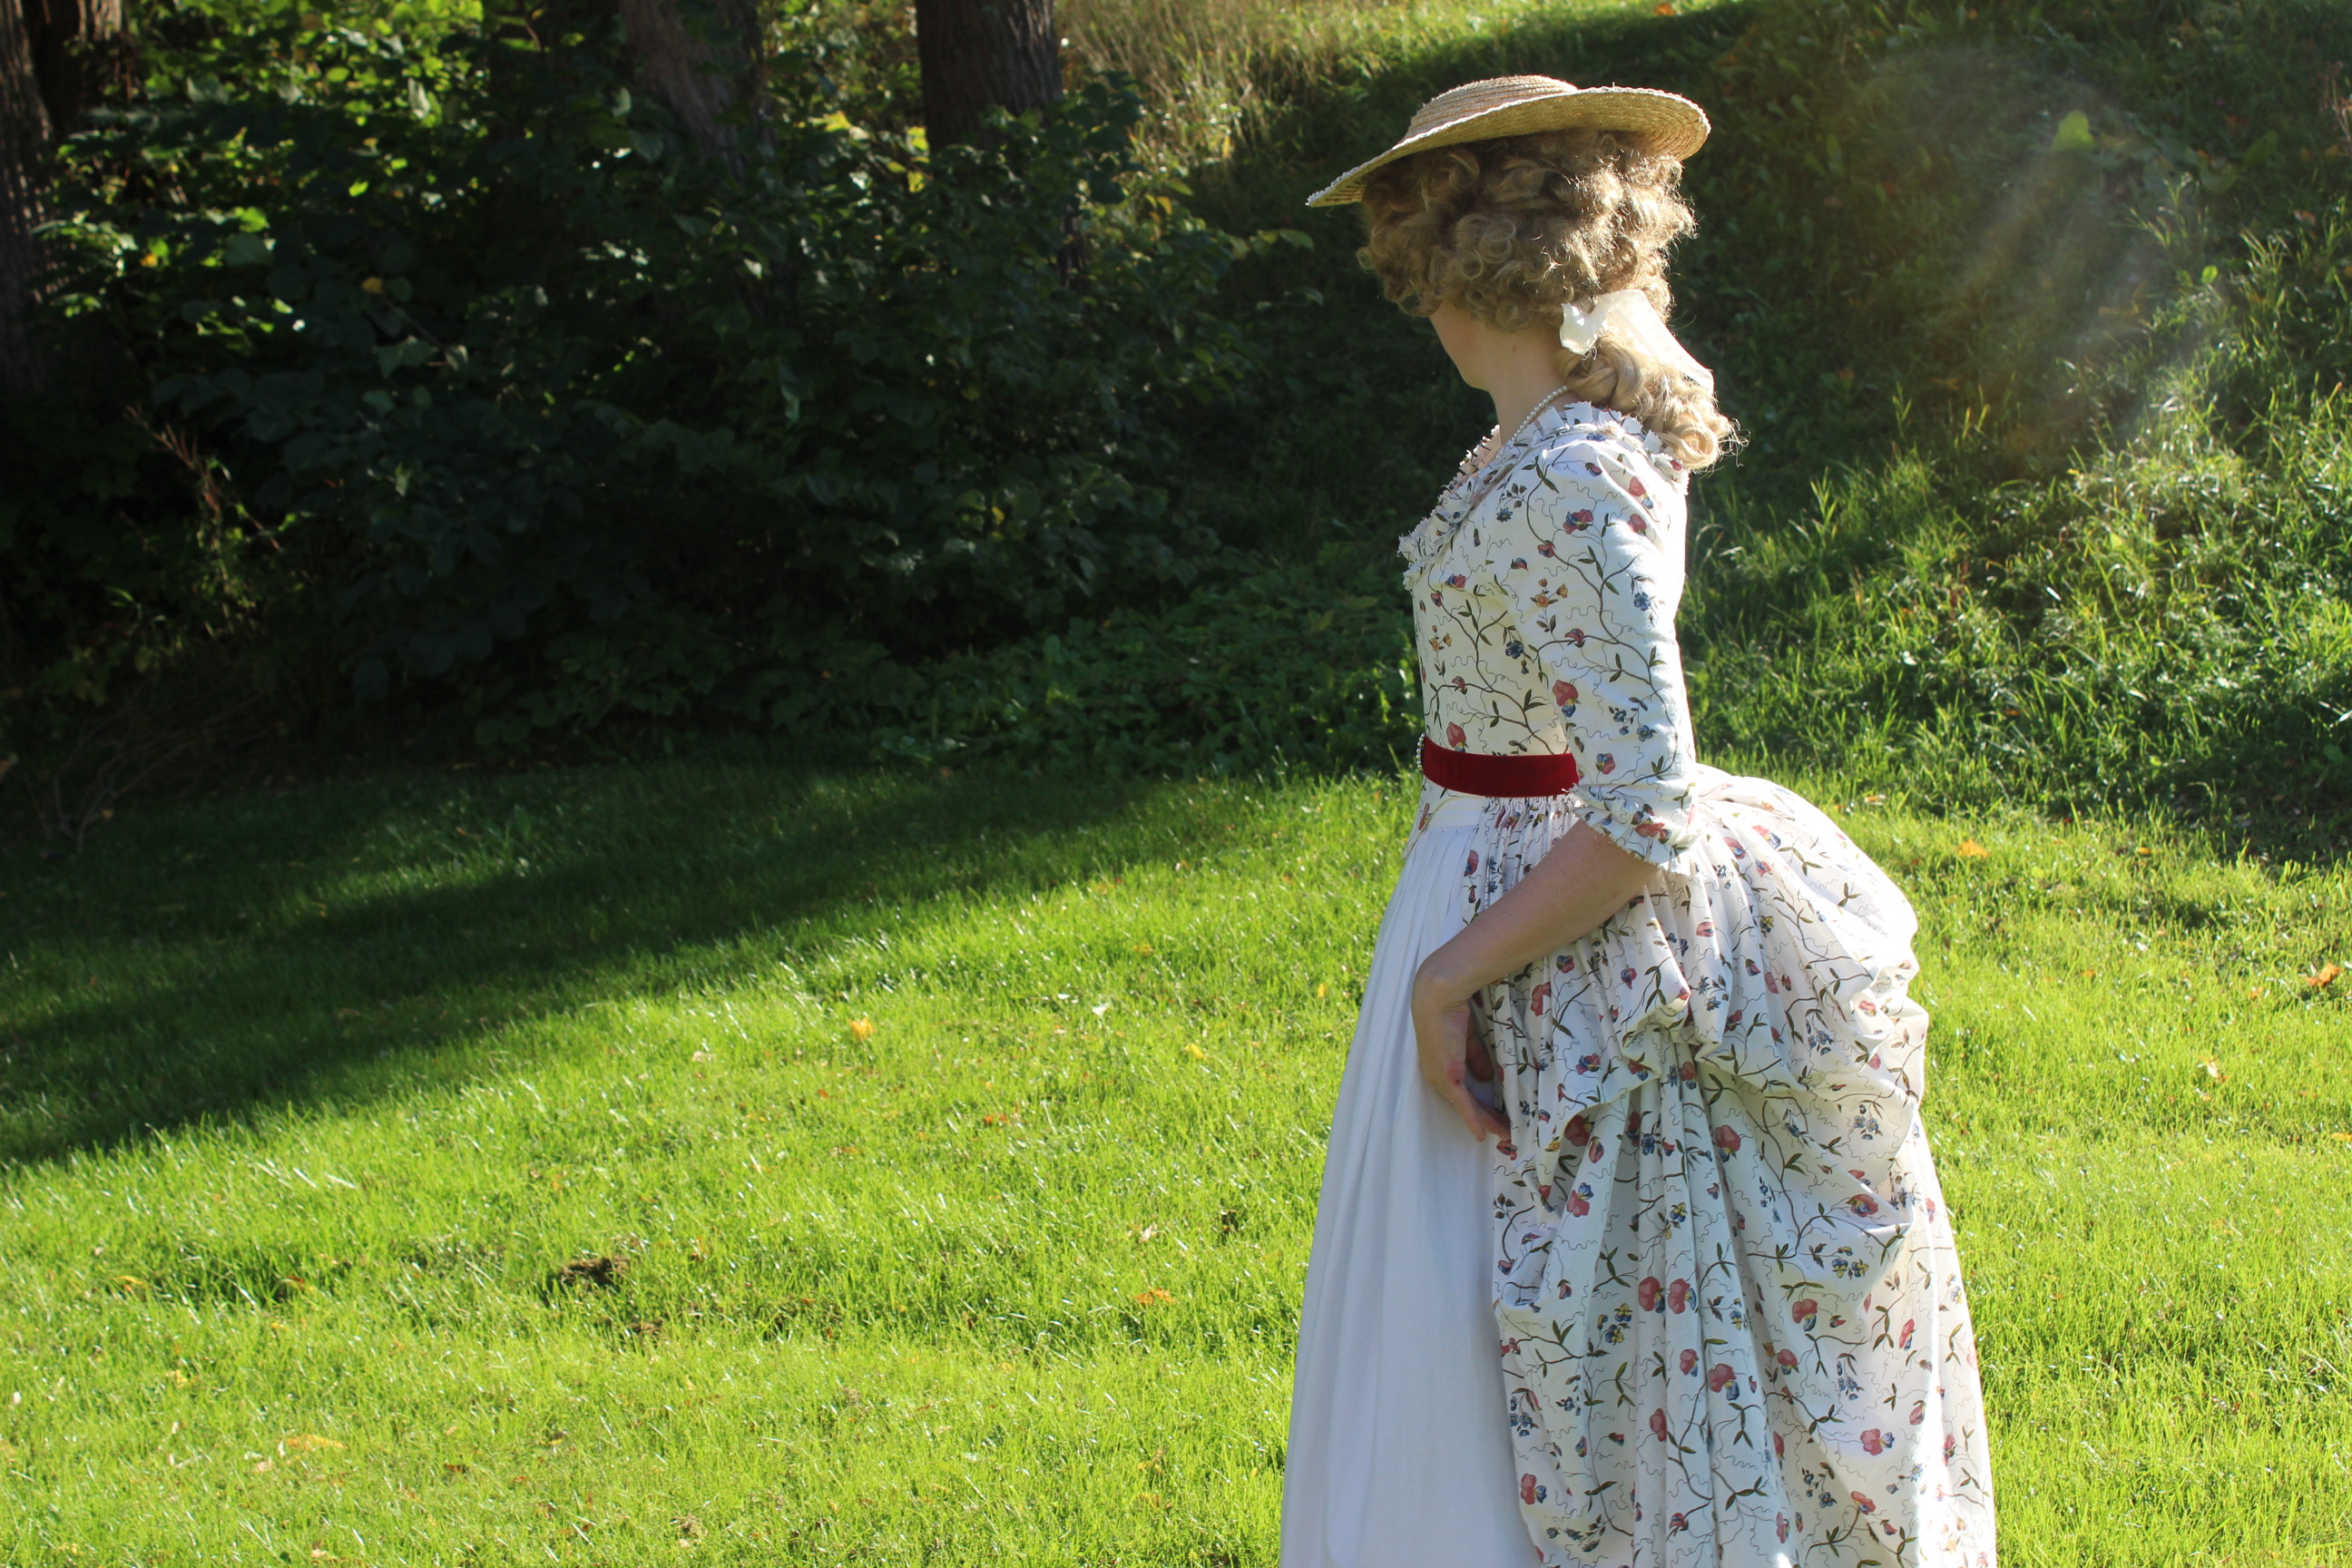
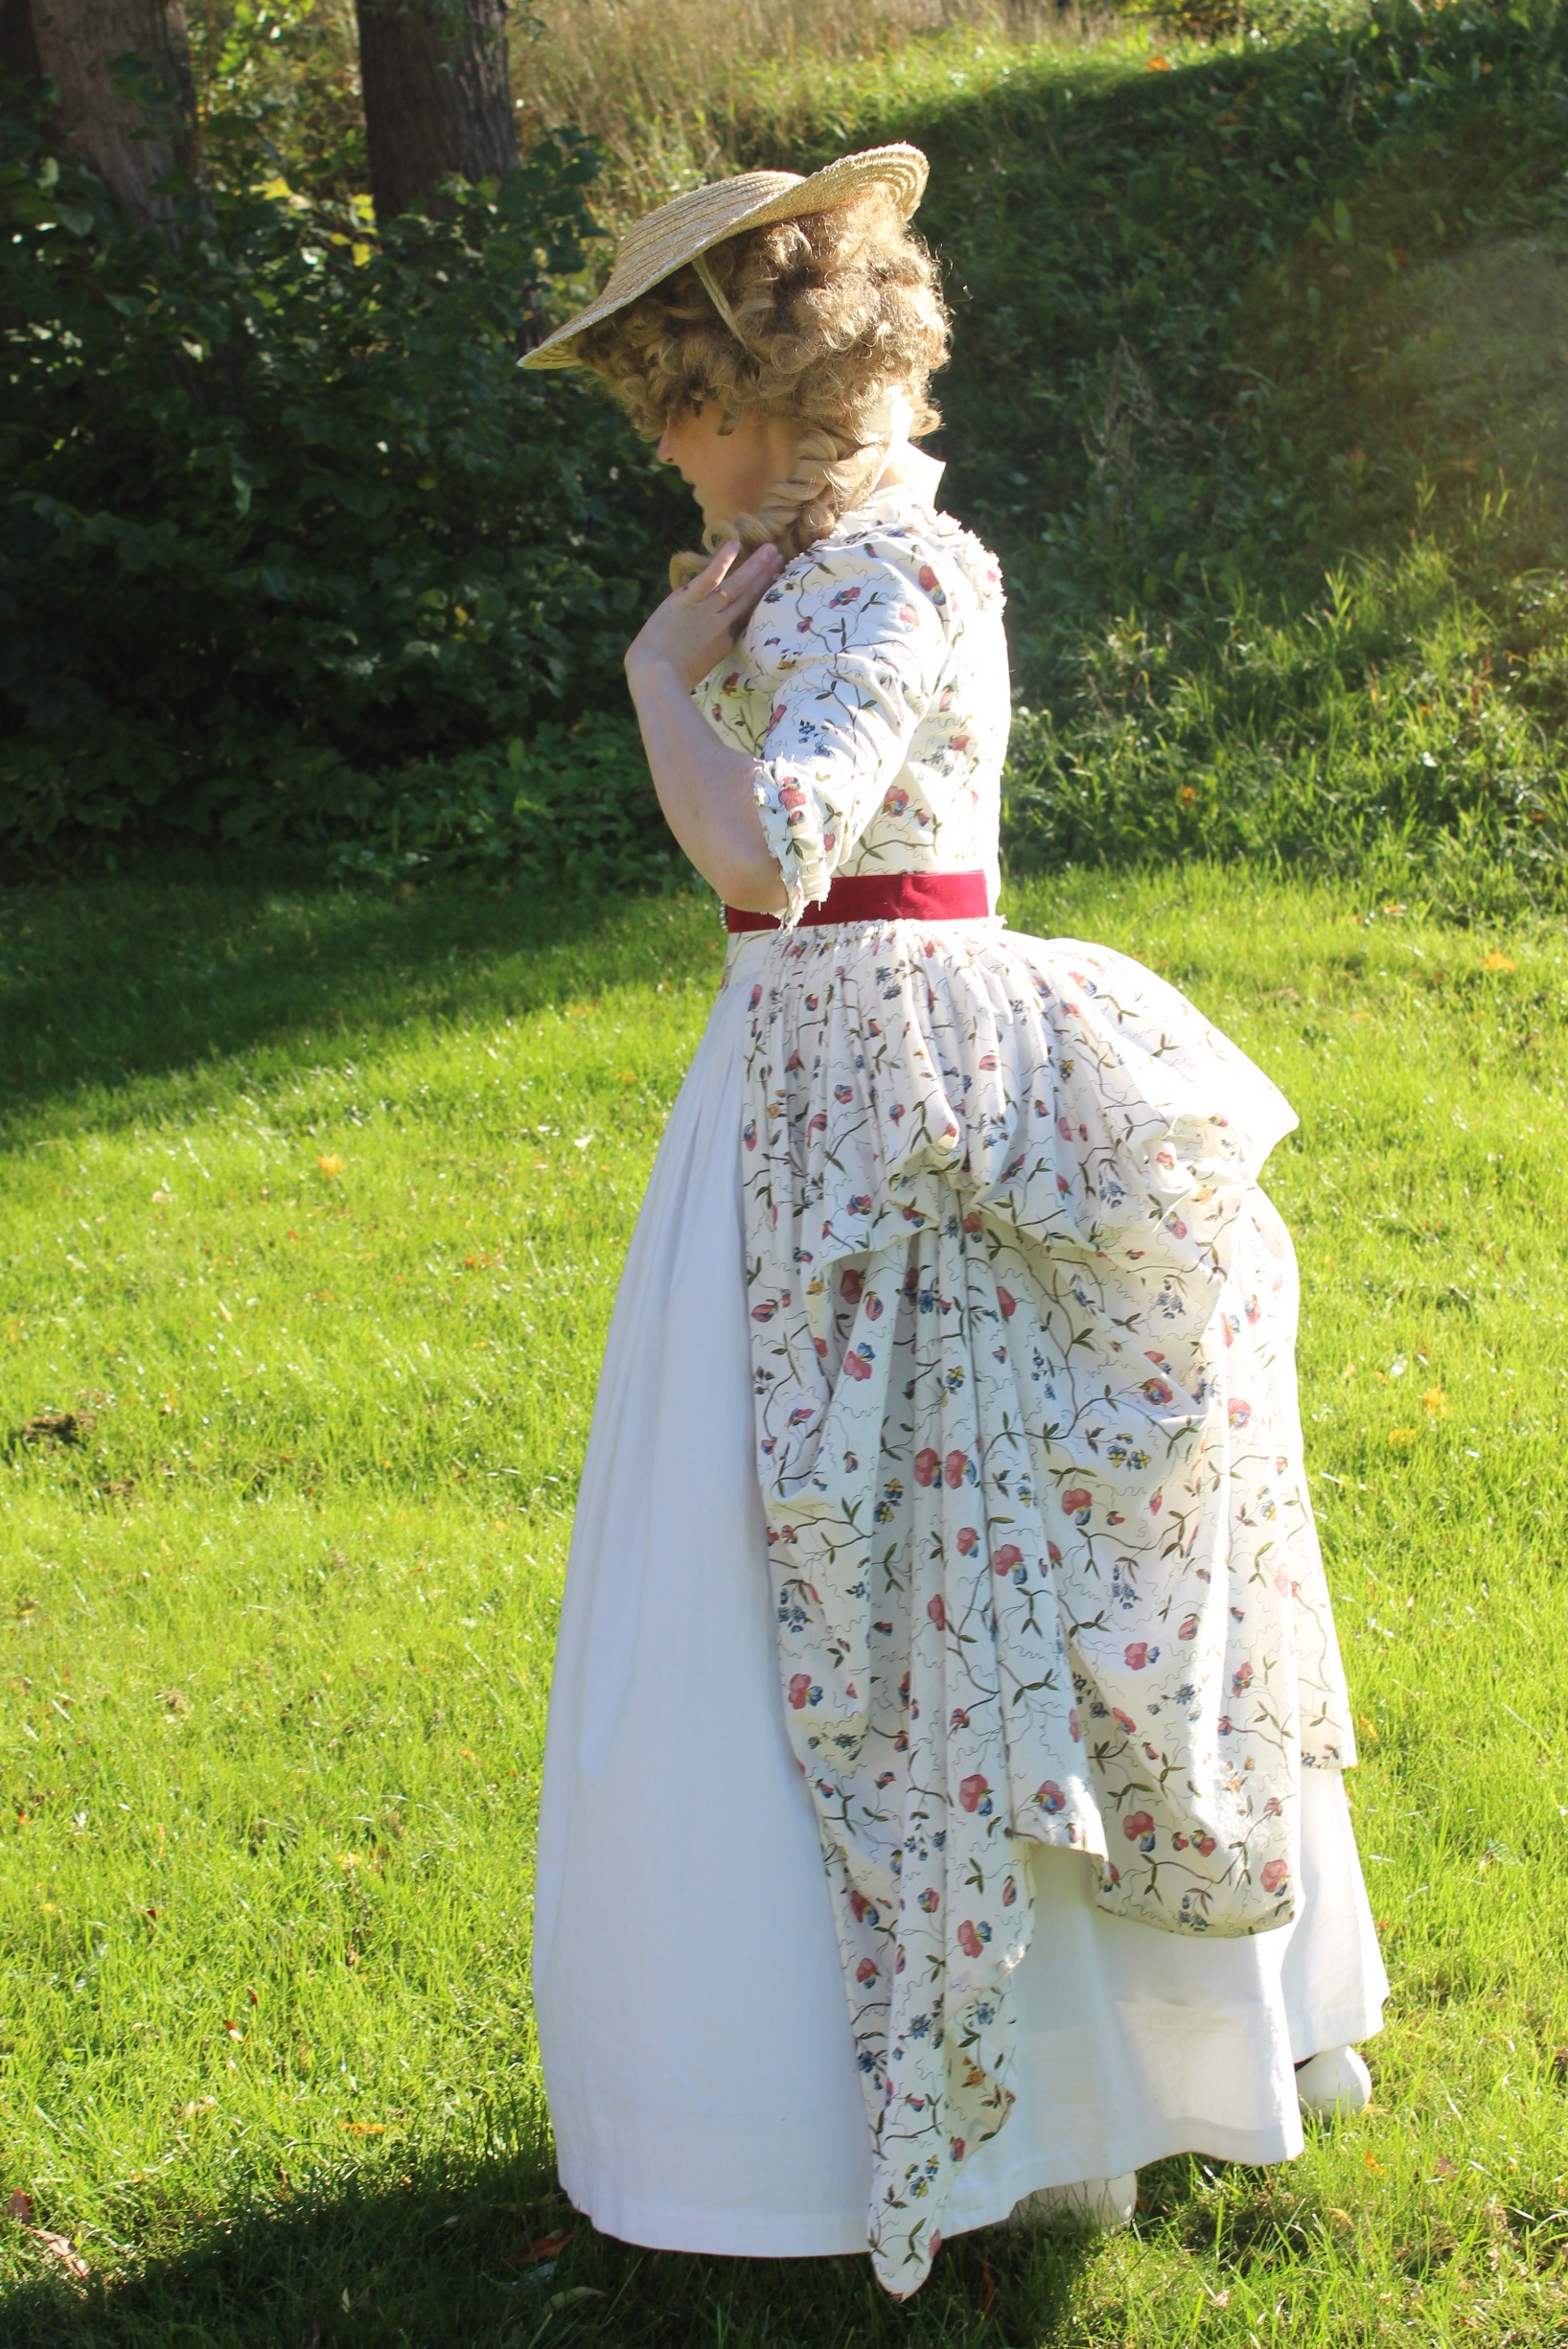


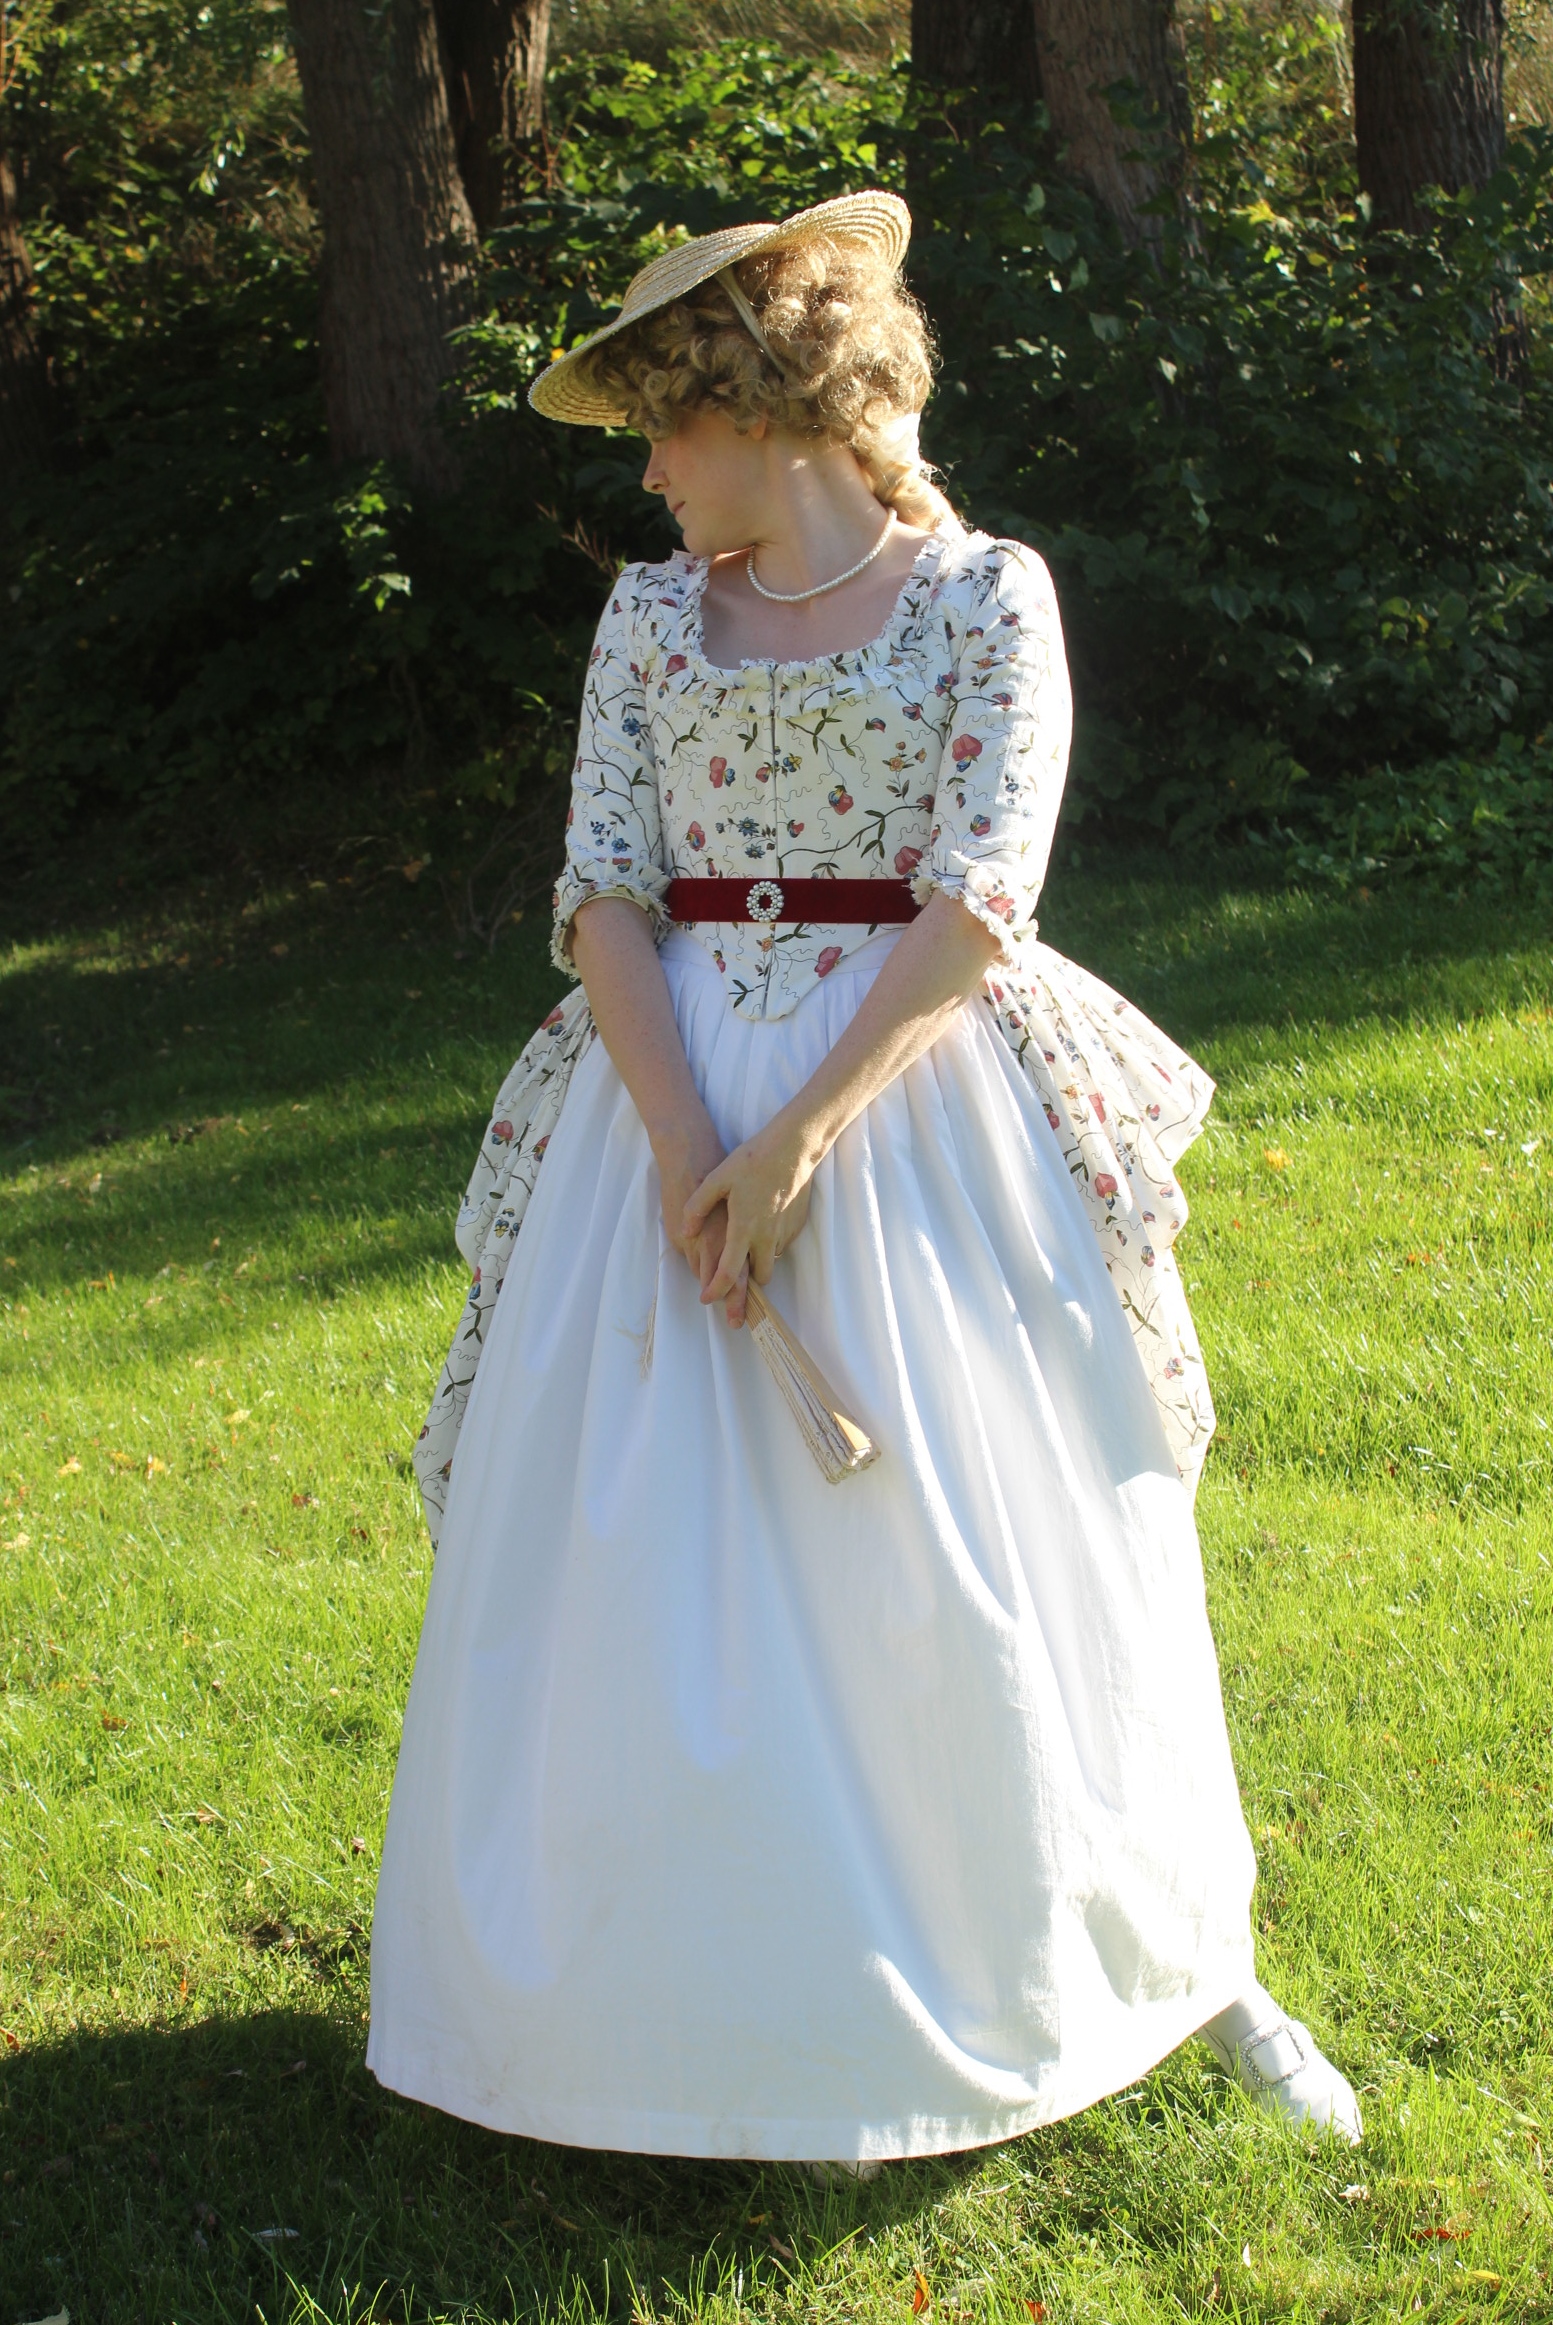


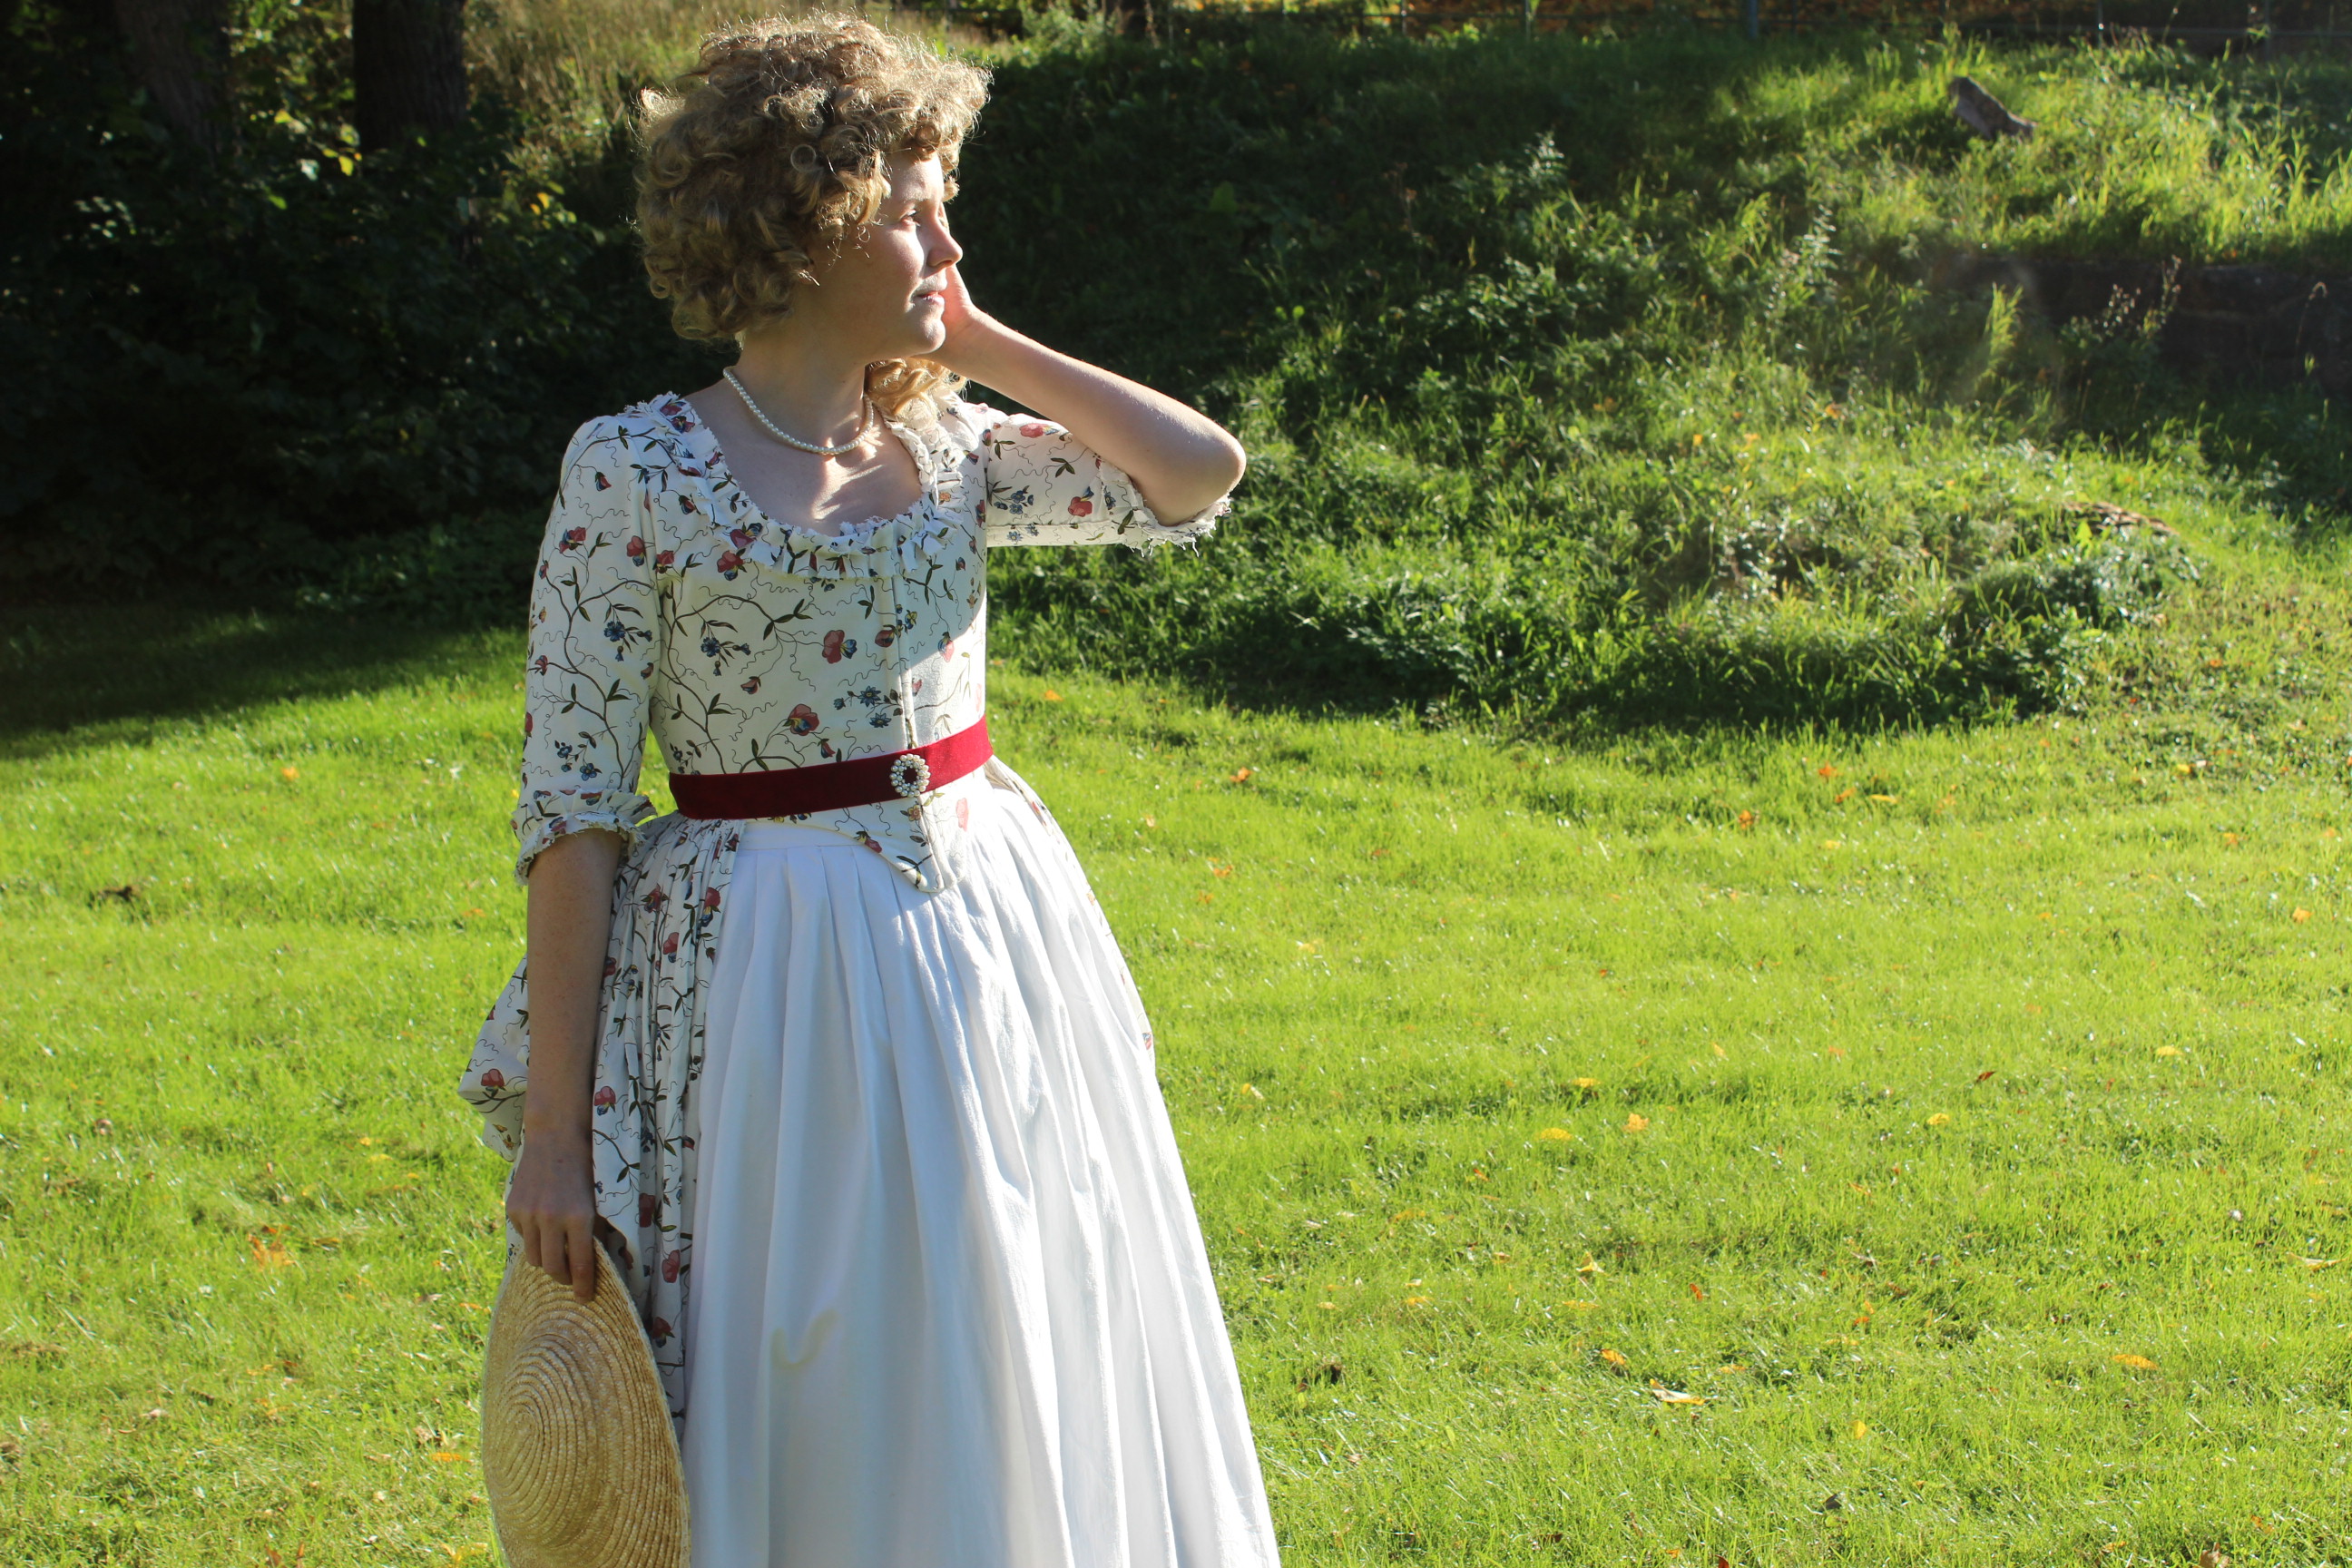 Photo by: Maria Petersson
 Gown with skirt and bumpad.
 “Before event” selfie


 After dinner there was a lovely concert (with music from the 18th century of course) played by some really talented muschians. Then it was time for dessert
 by this time I (and surely a few others with me) was pretty sick of sitting down (after all we had done so in over 3 hours – in or corsets!) and was really happy when it was announced the dancing was about to start.
 Picture by Ljung castle
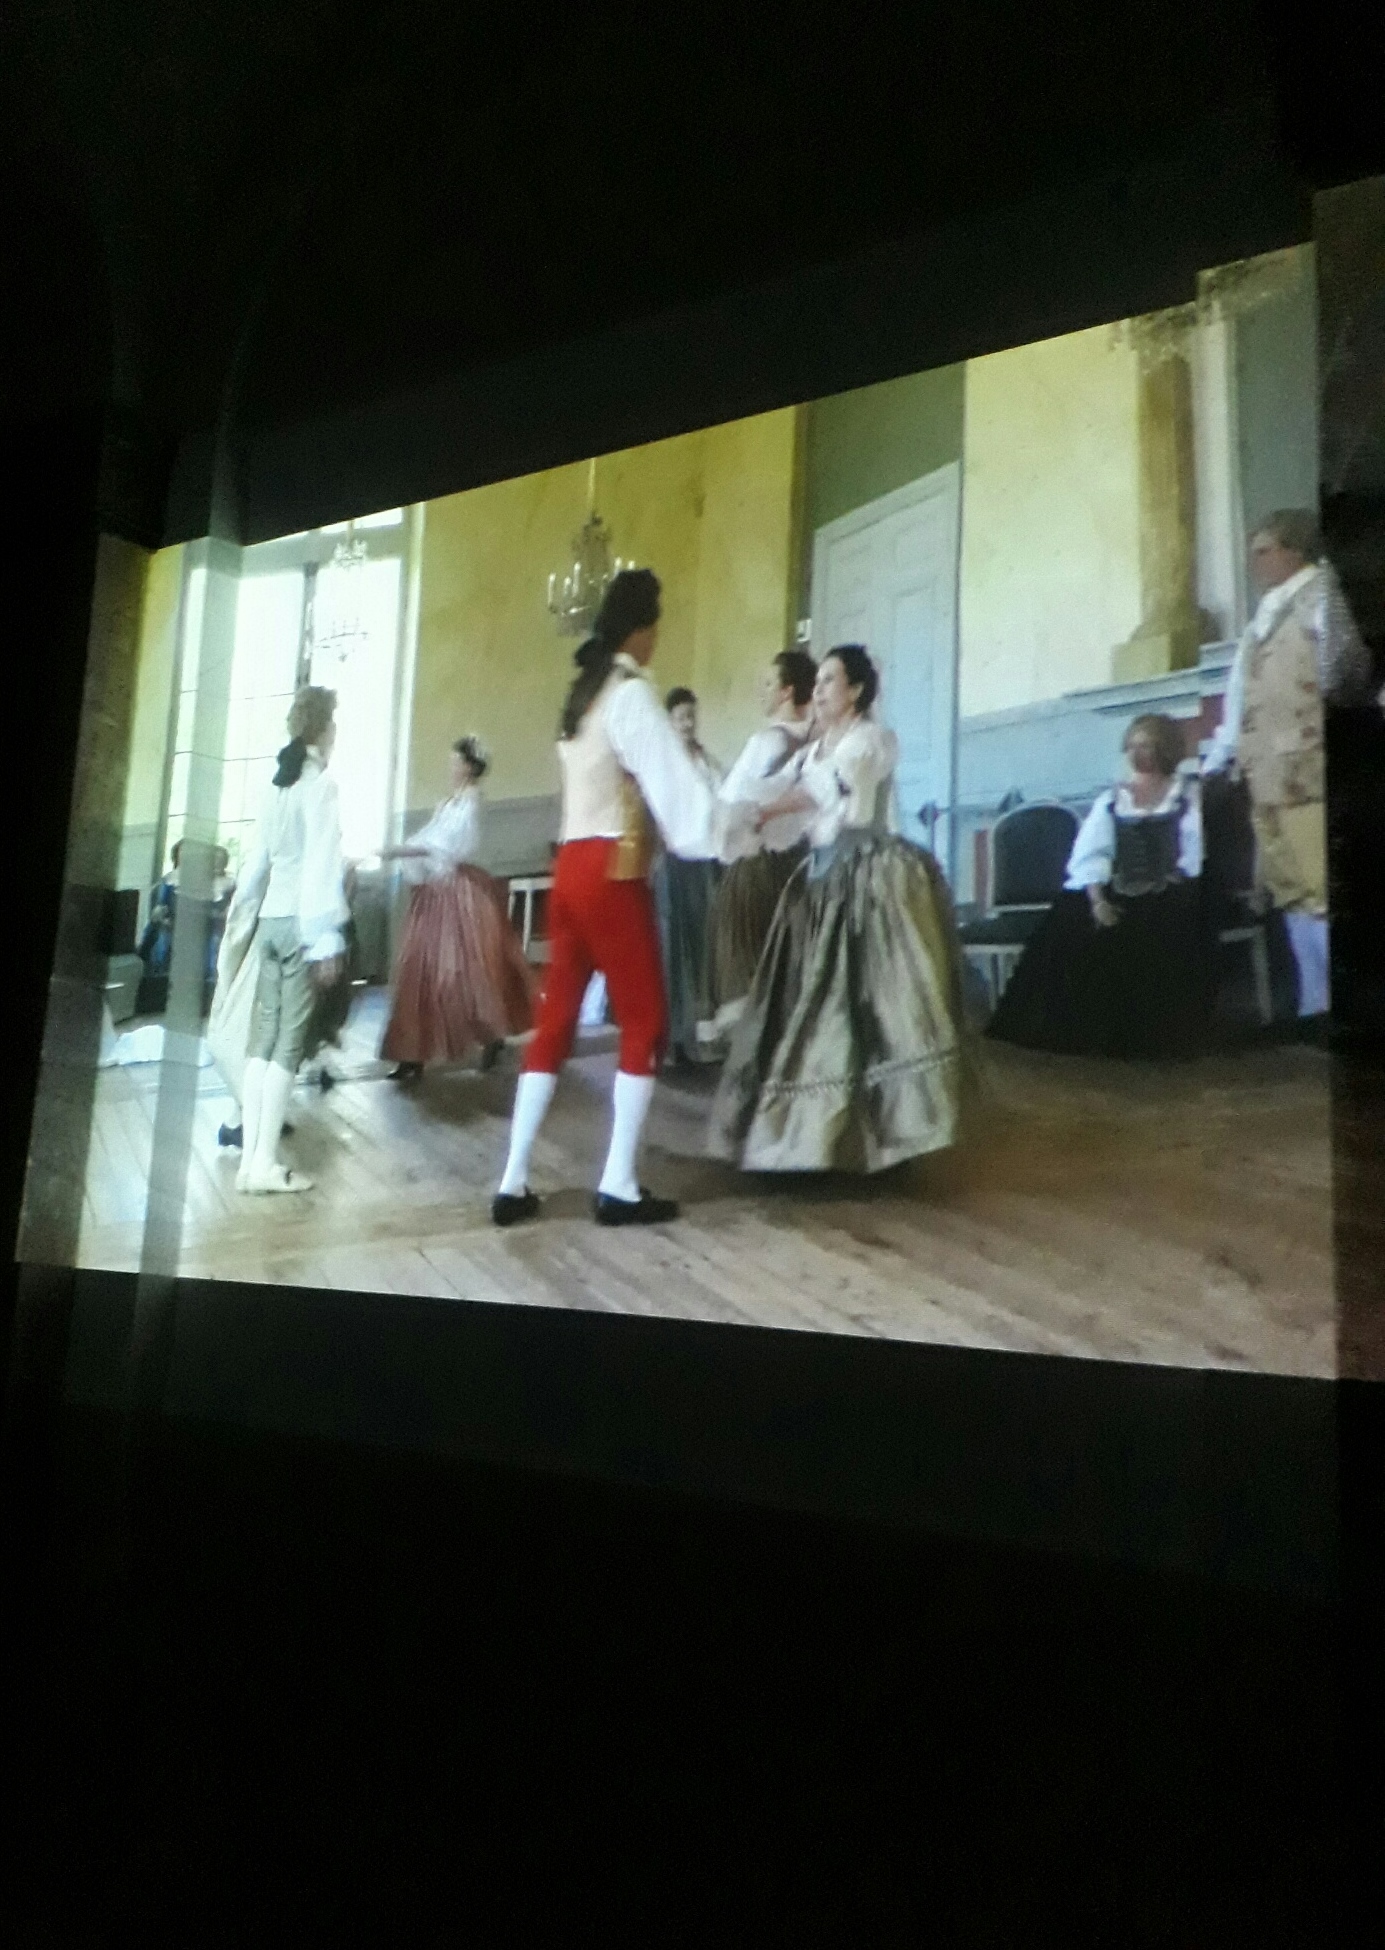
 A newly made friend and me.
 Keit makes the most amazing 18th century dresses, and acted as the dance master for this event.
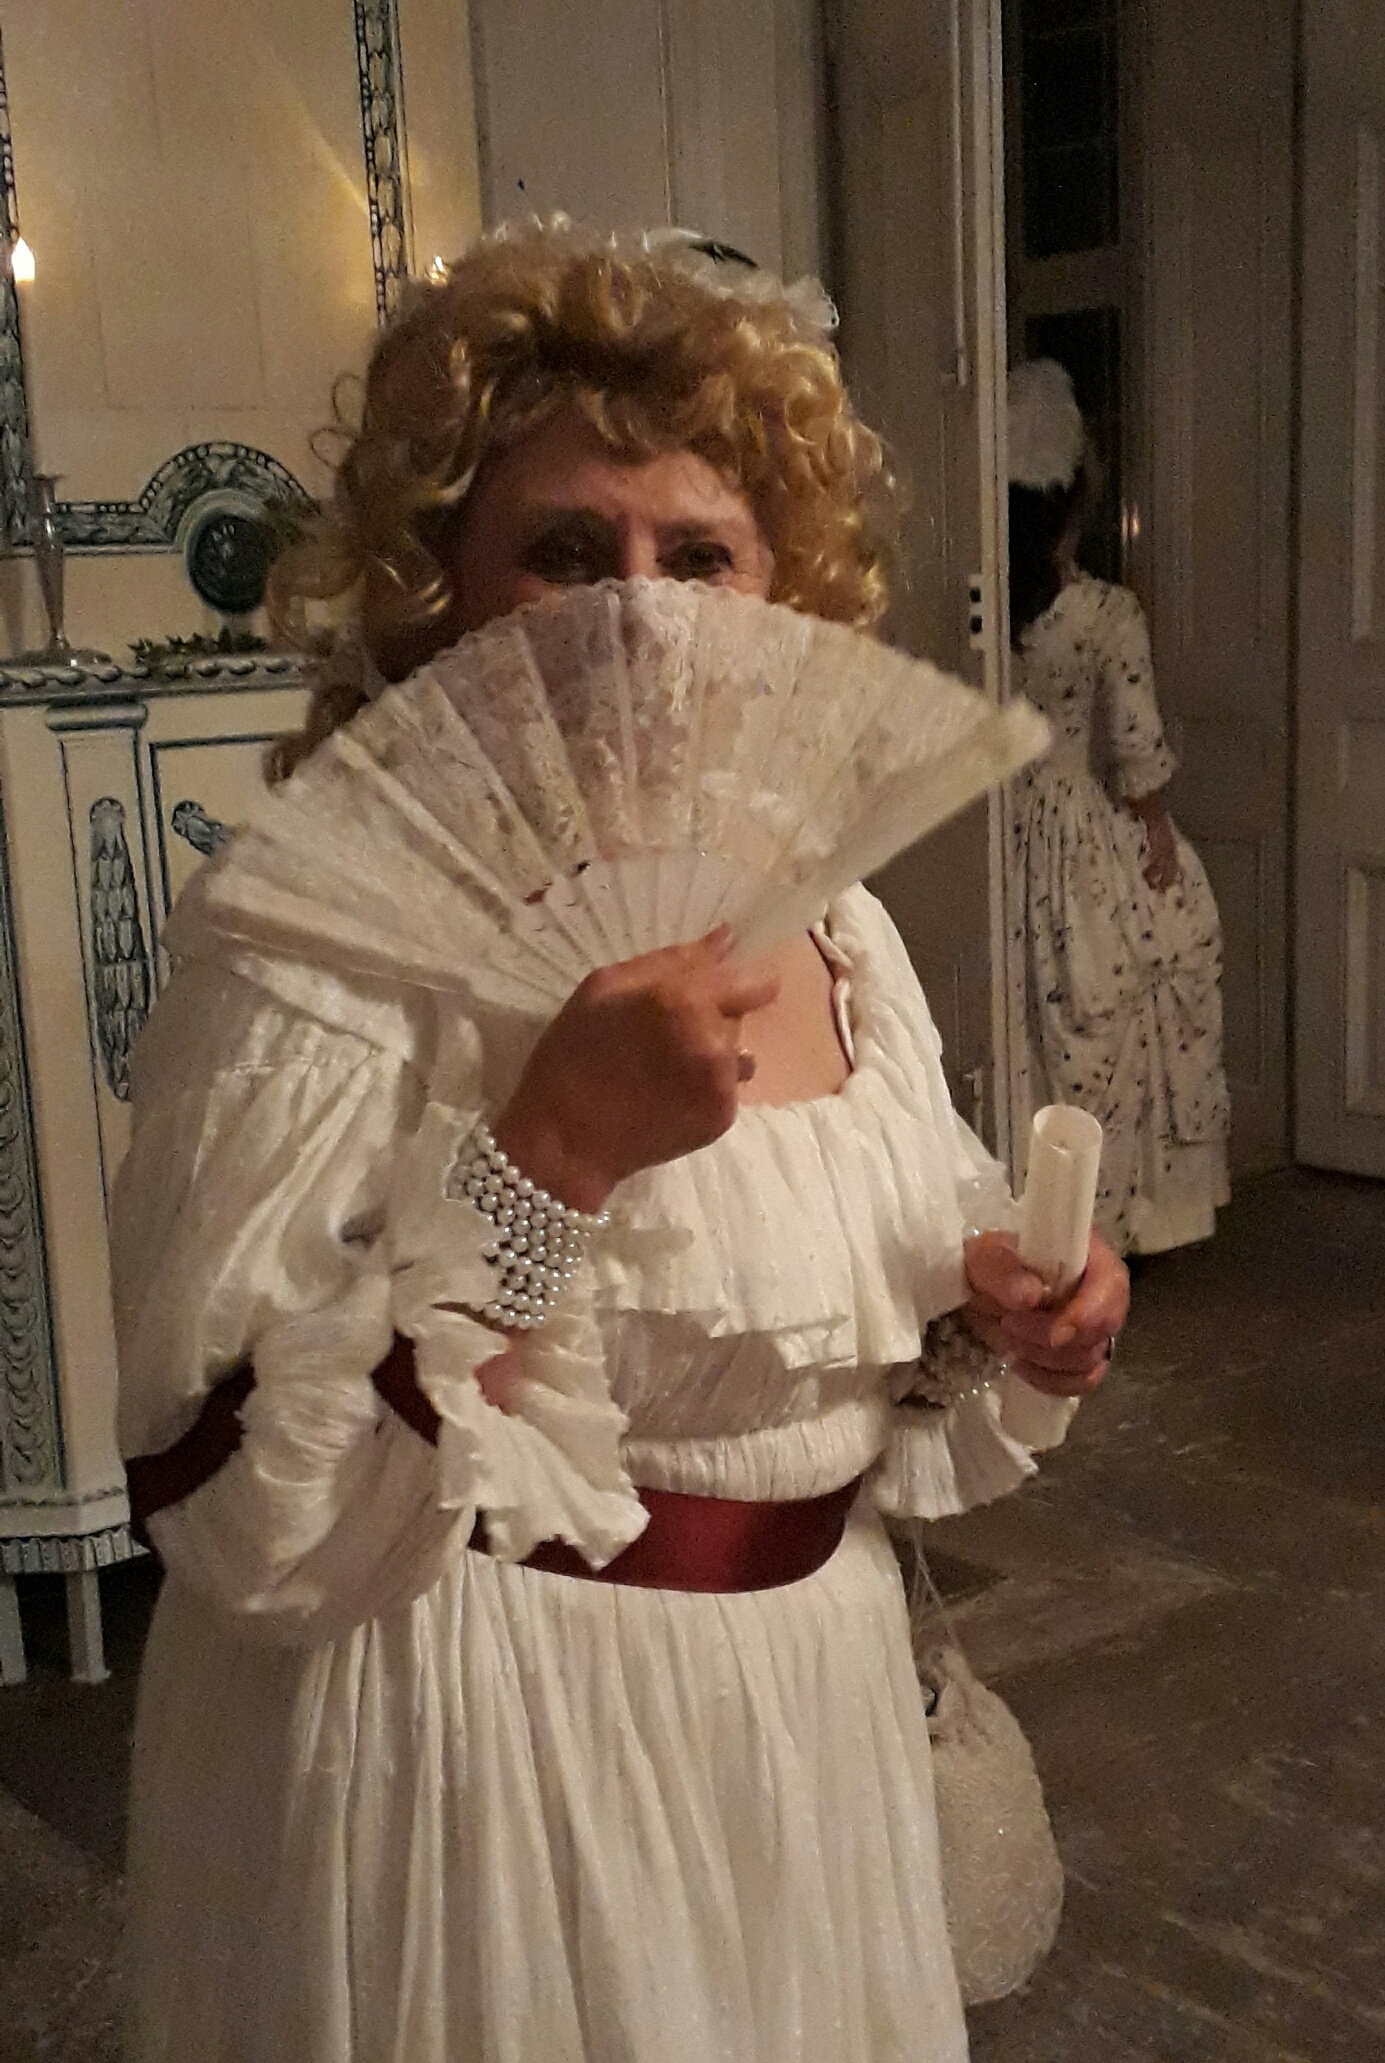

 IKEA dresses unite 😀
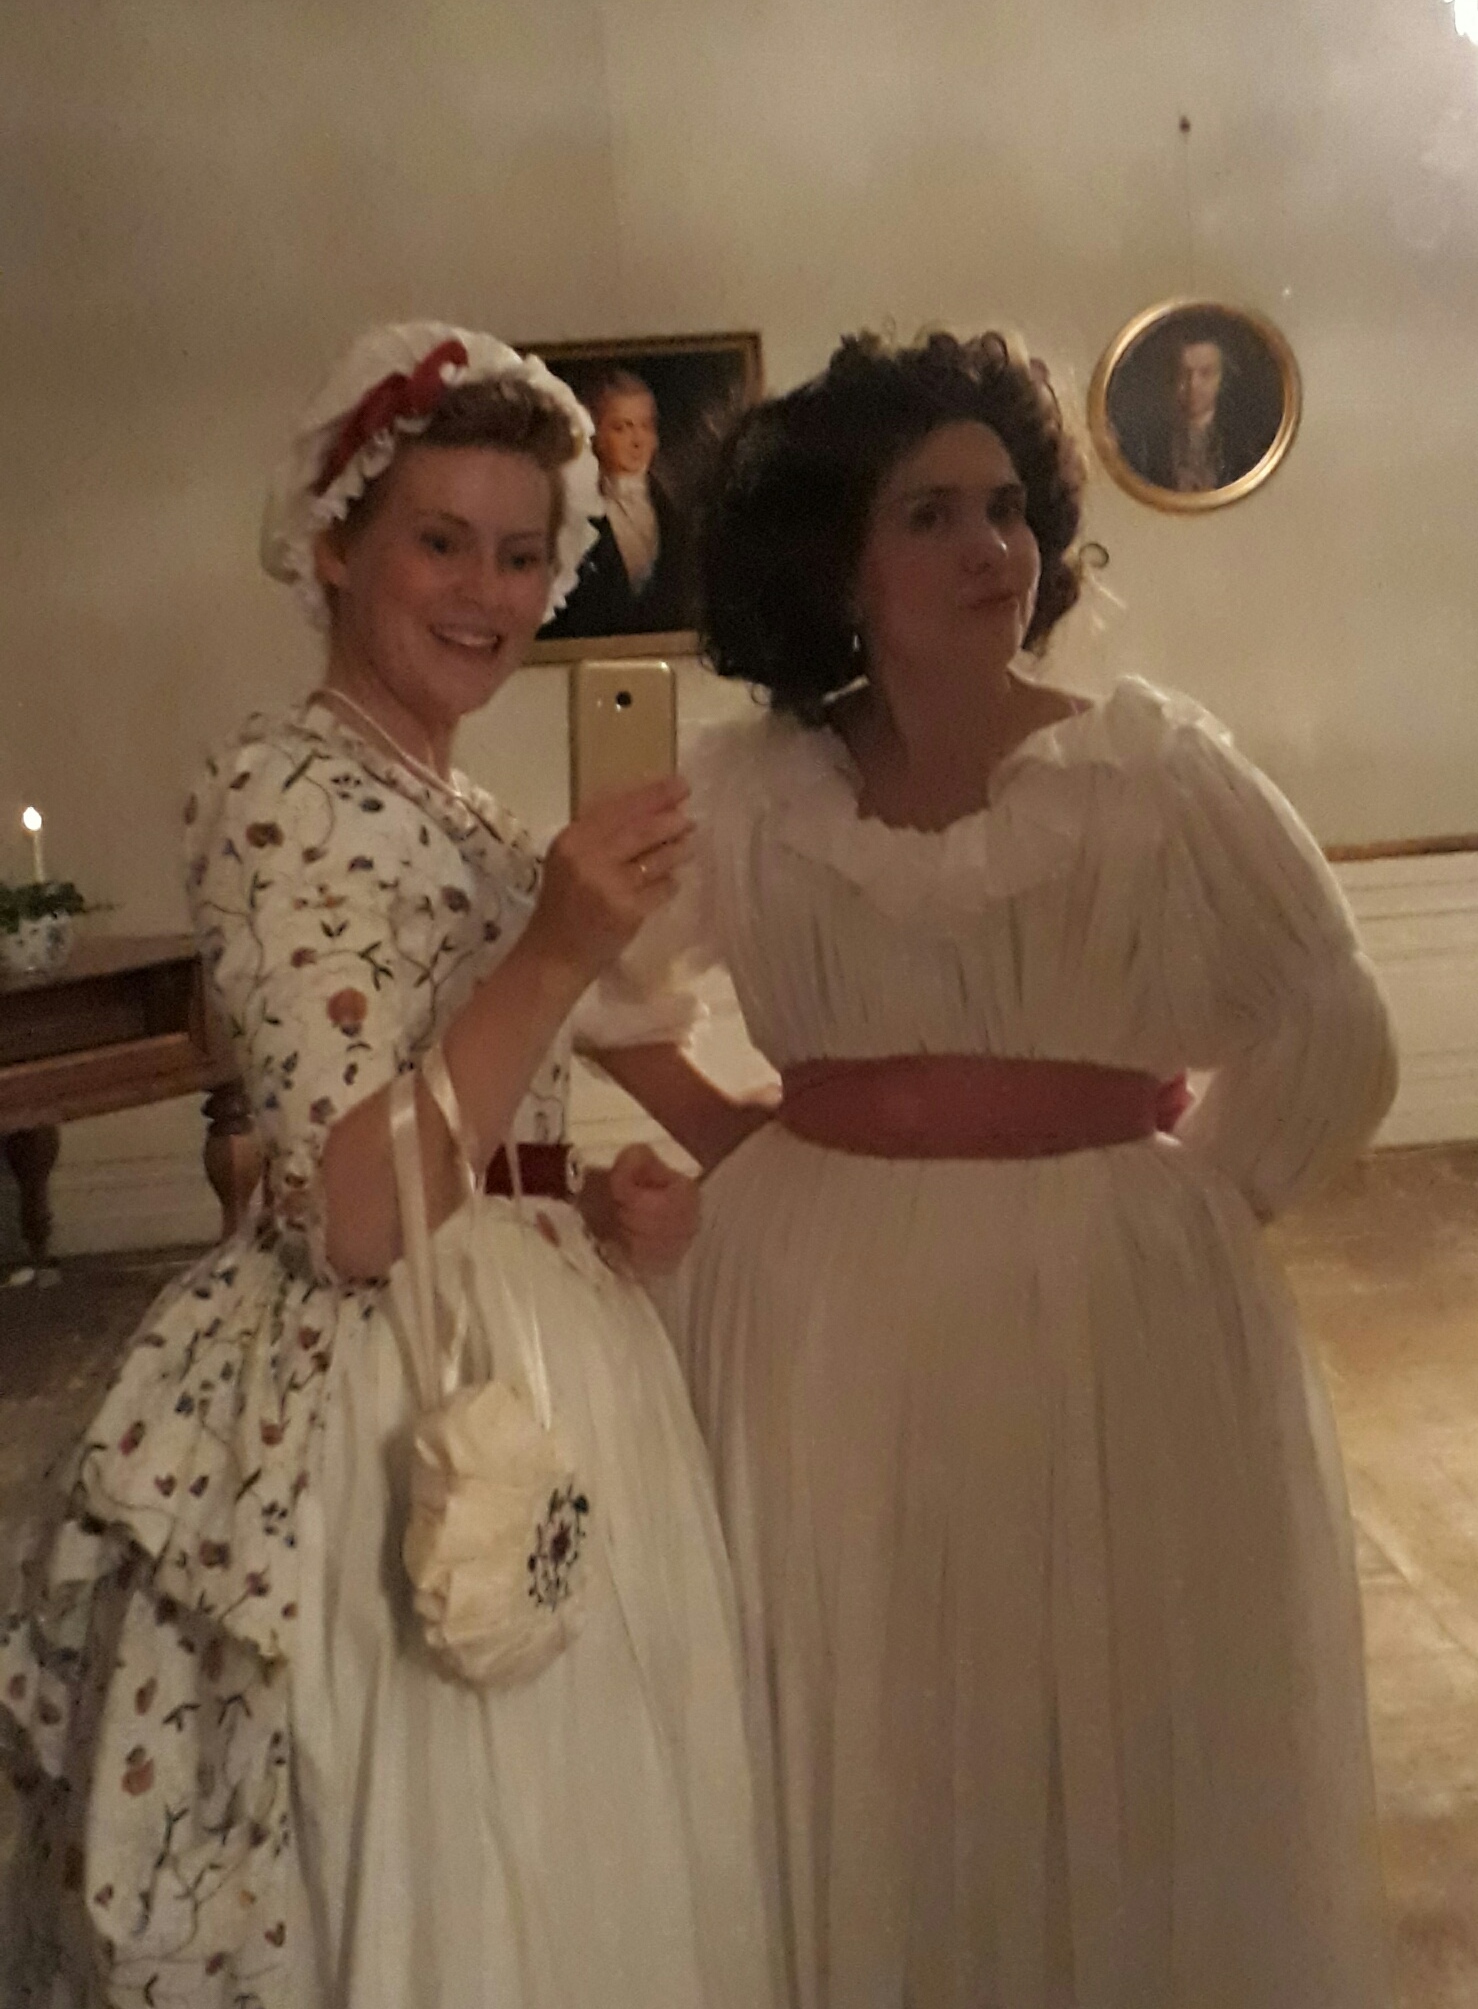


 Which I think work just fine with les fancy stuff.
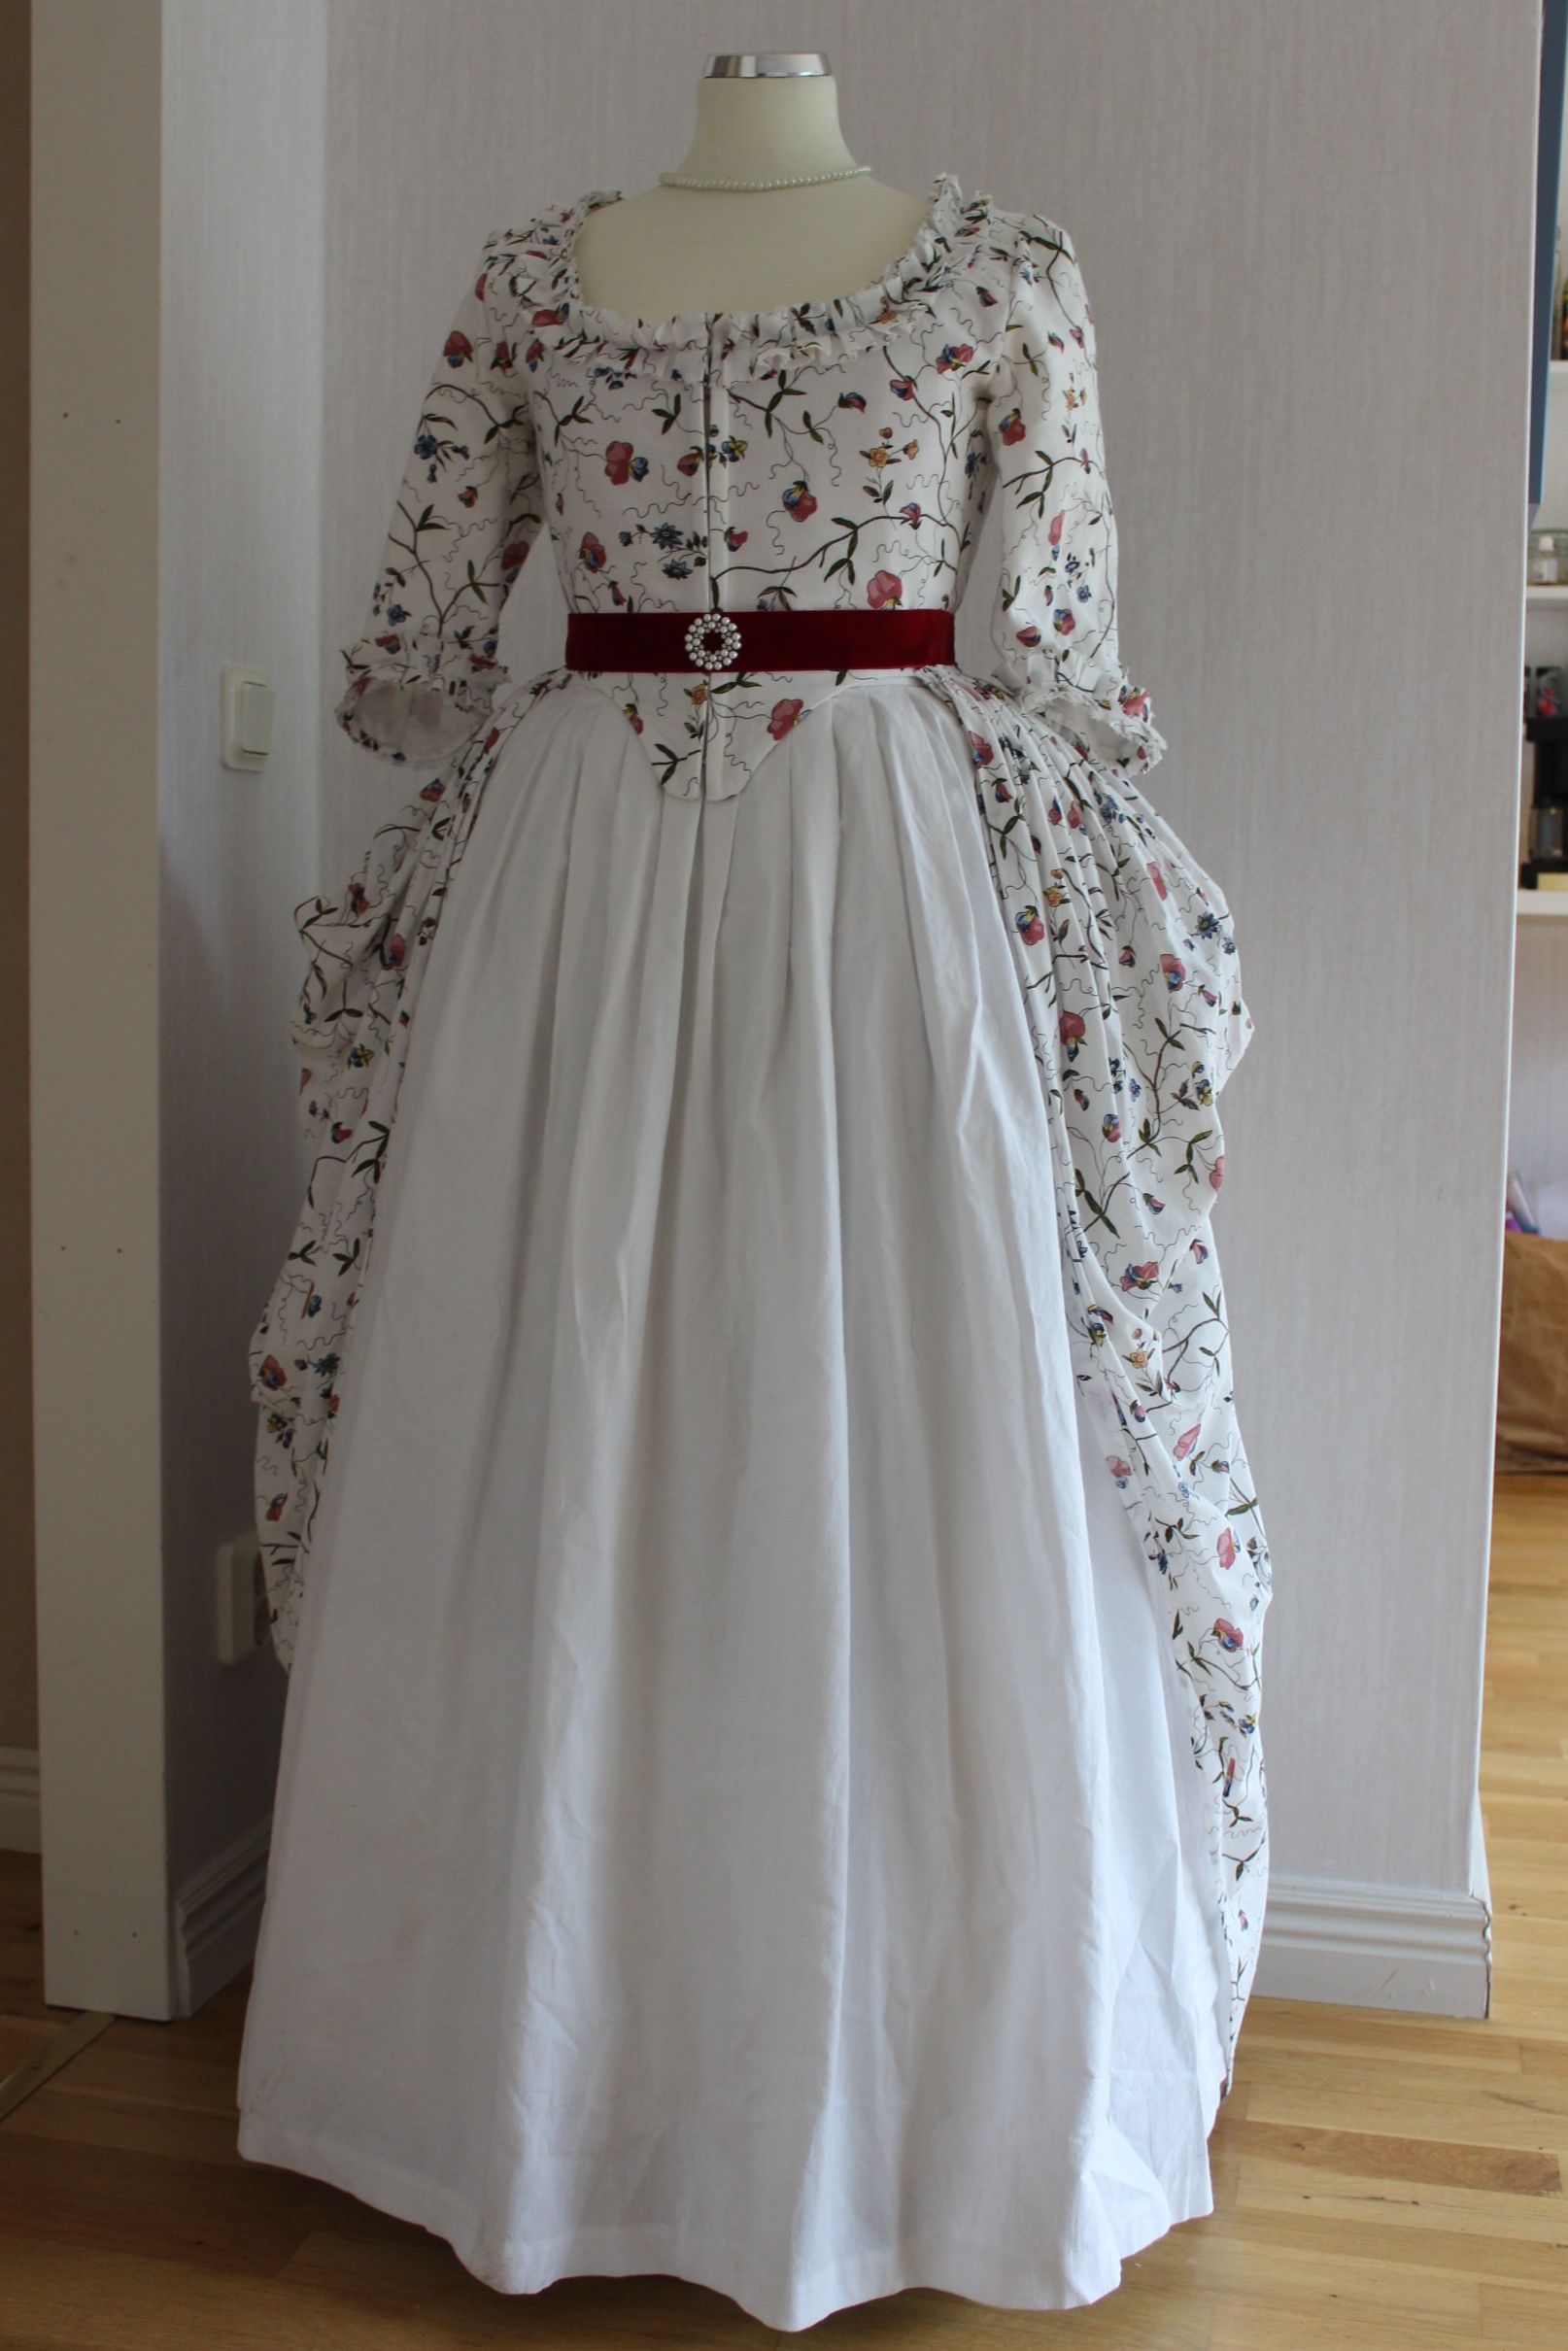


 And un-picked the stitching a few rows up on the crown so I could lift it of and snip the straw braid at good level.
 Then I continued to un-pick the stitches on the crown. This went really fast since it all was made with chain-stitches which (if you got hold of the right thread) you can just pull right out.
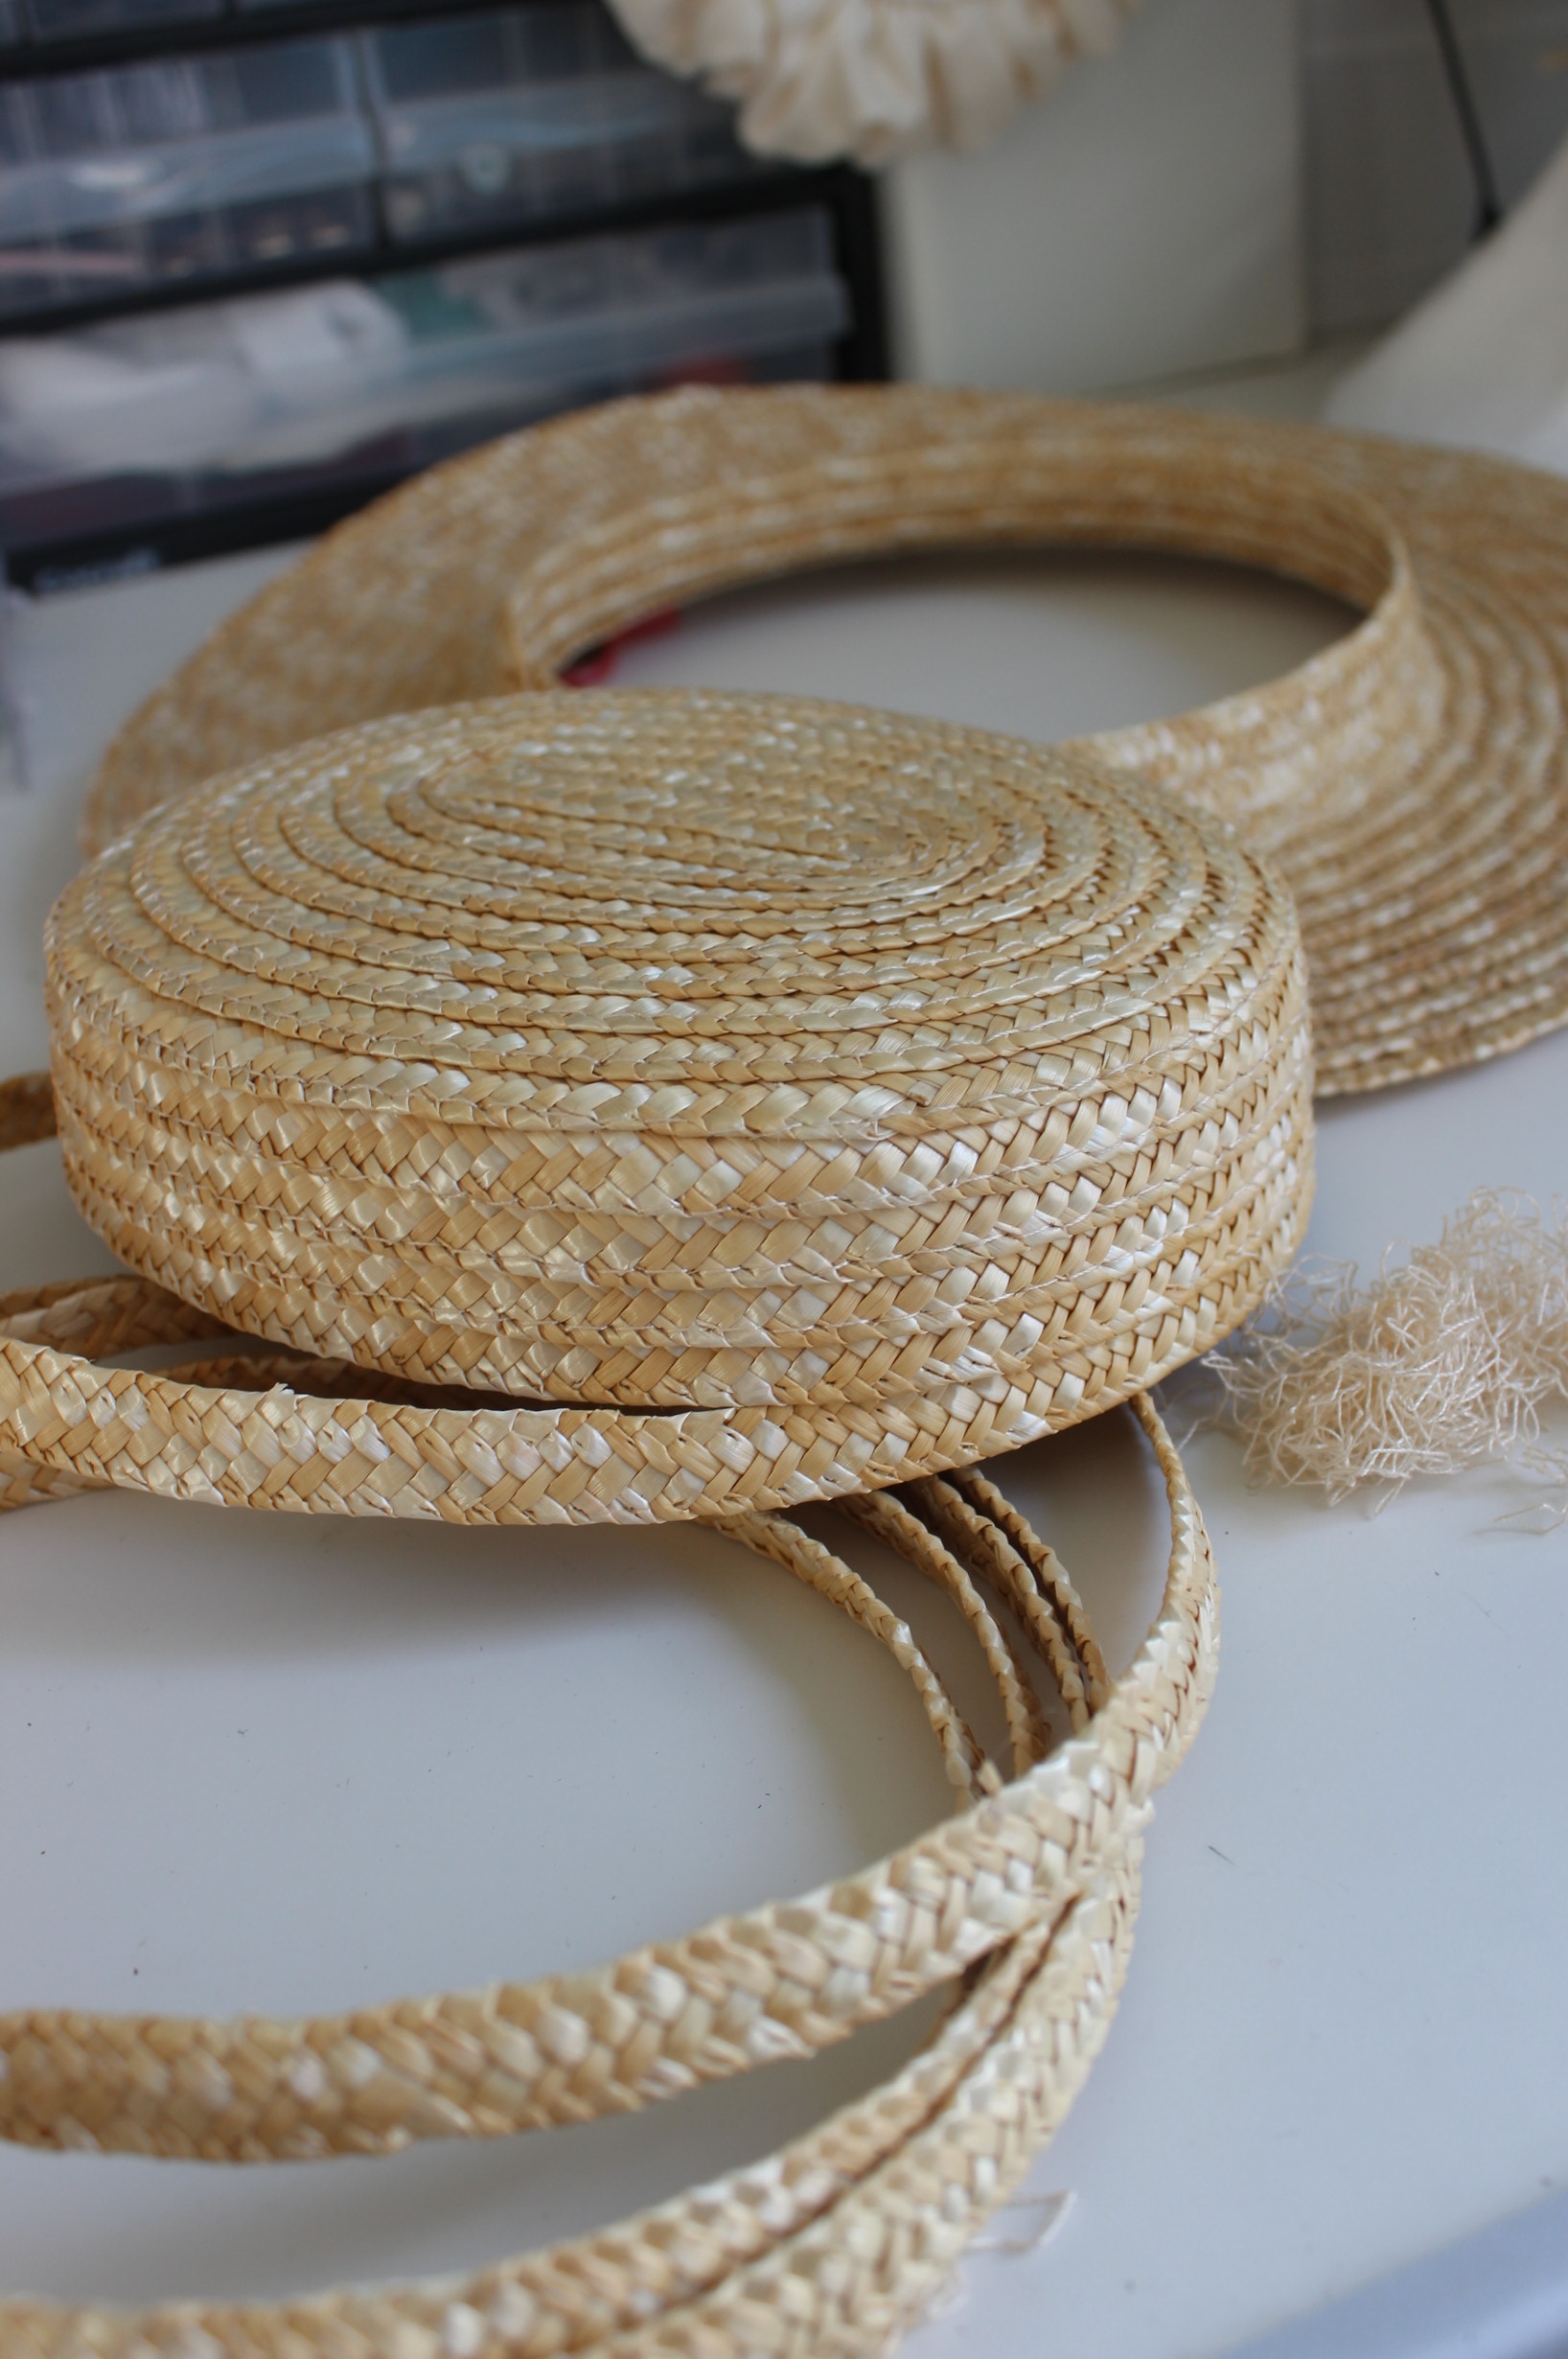
 I stitched it on my sewing machine, just like I did on my sisters
 sitting on my wig-stand to dry.


 quite the difference


 Worn with a white fichu, petticoat and cap as it would during the light party.


 Worn with the skirt down:
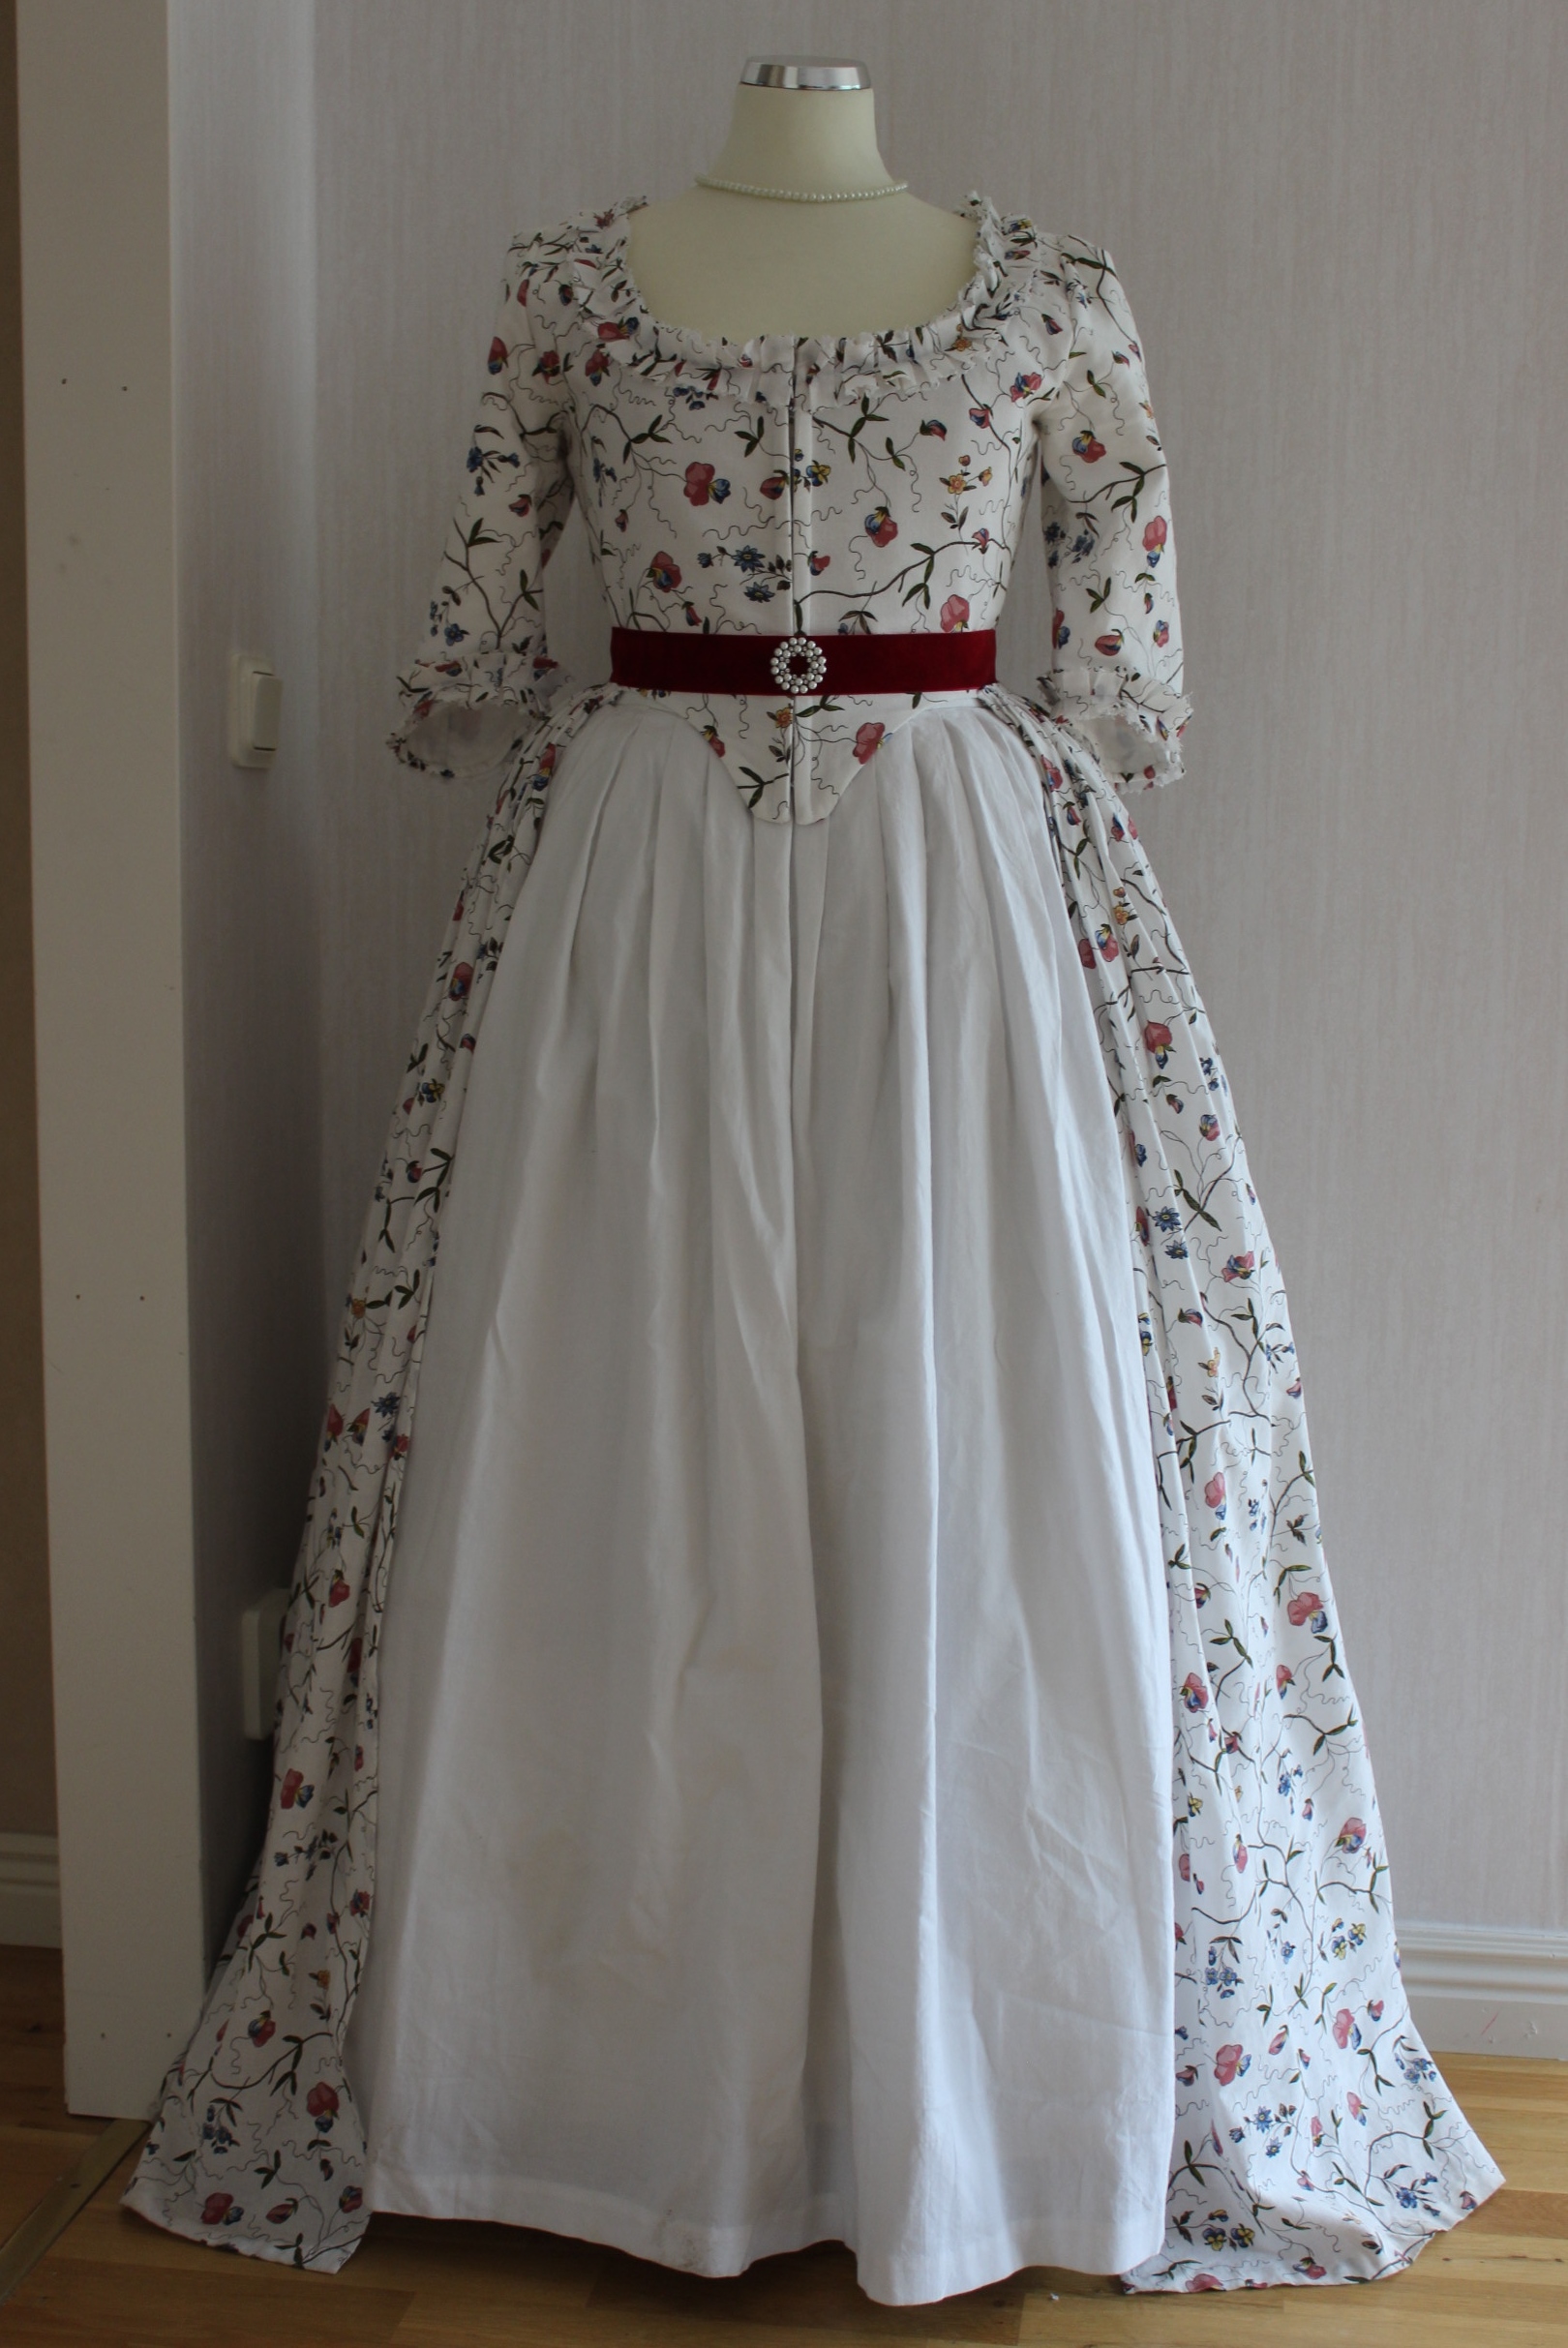

 Inspiration
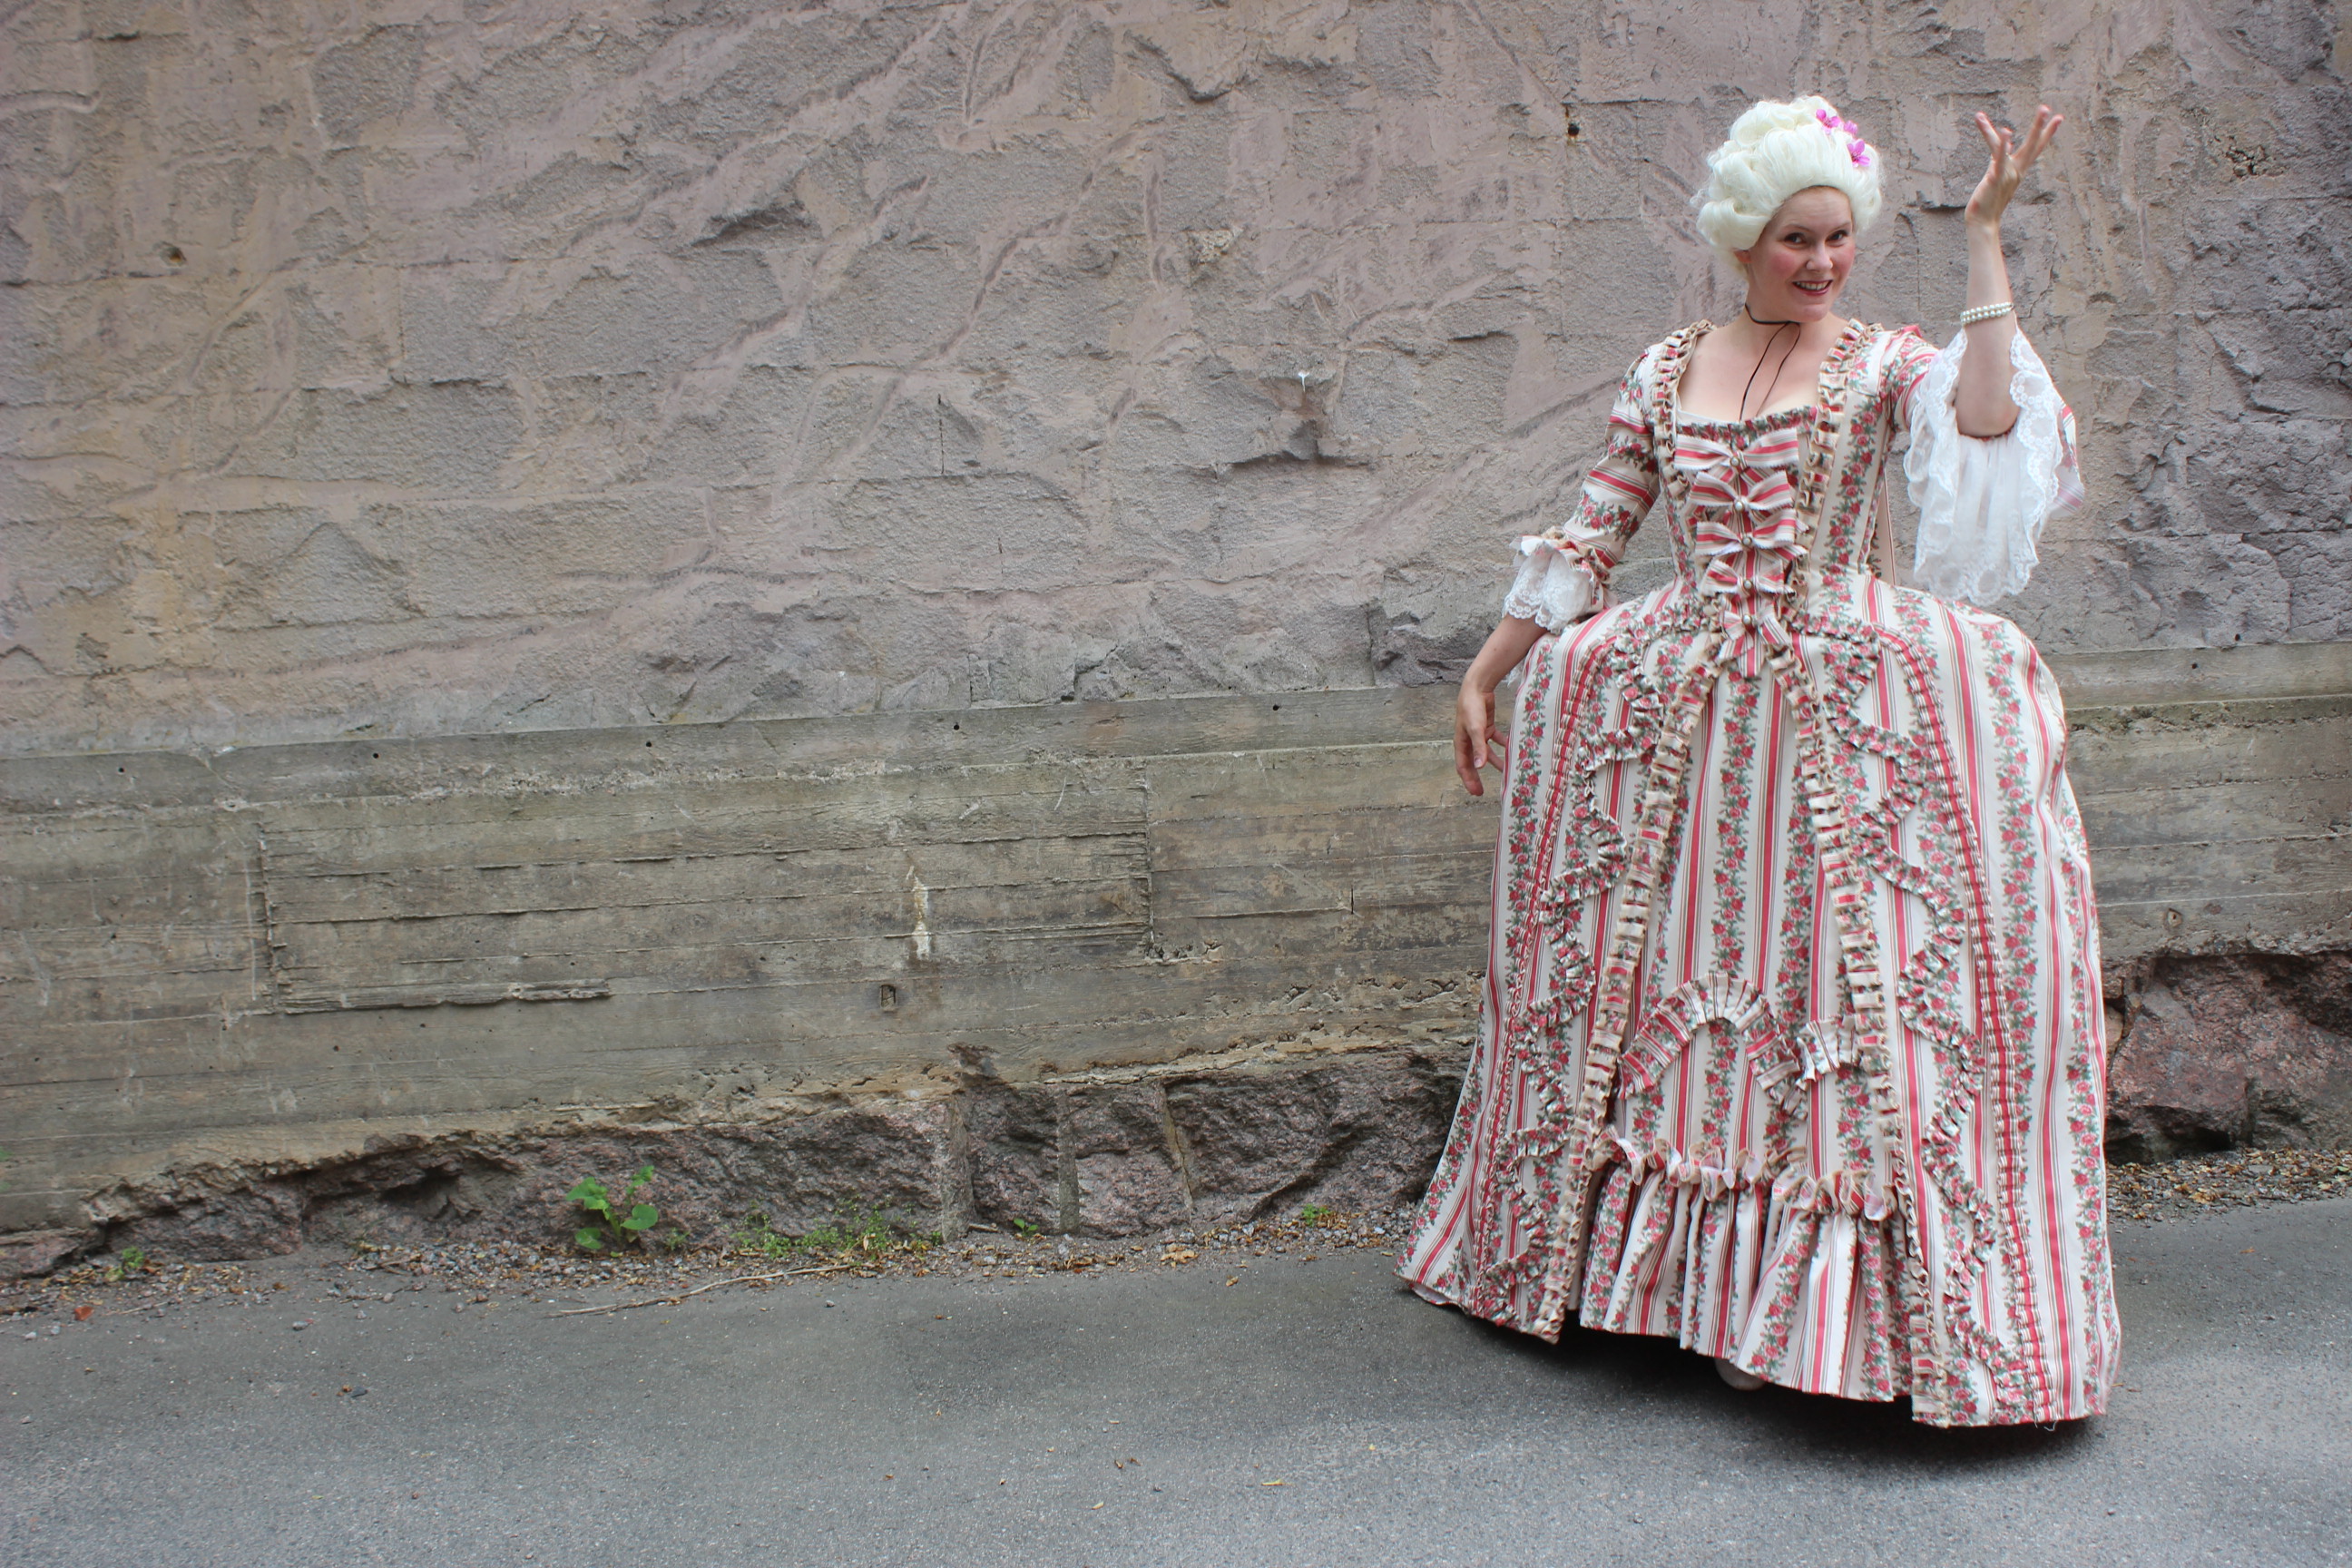


 Pictures by: Elin Evaldsdotter
  A pink/flower/striped polyester satin found in the bargain bin at my local fabric store.
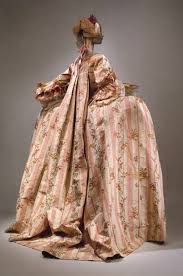
 The first version of this petticoat paired with my (then) newly made stays.

 The firs try on after 2 years (and 1 baby) – and it fits like a glove :-D.
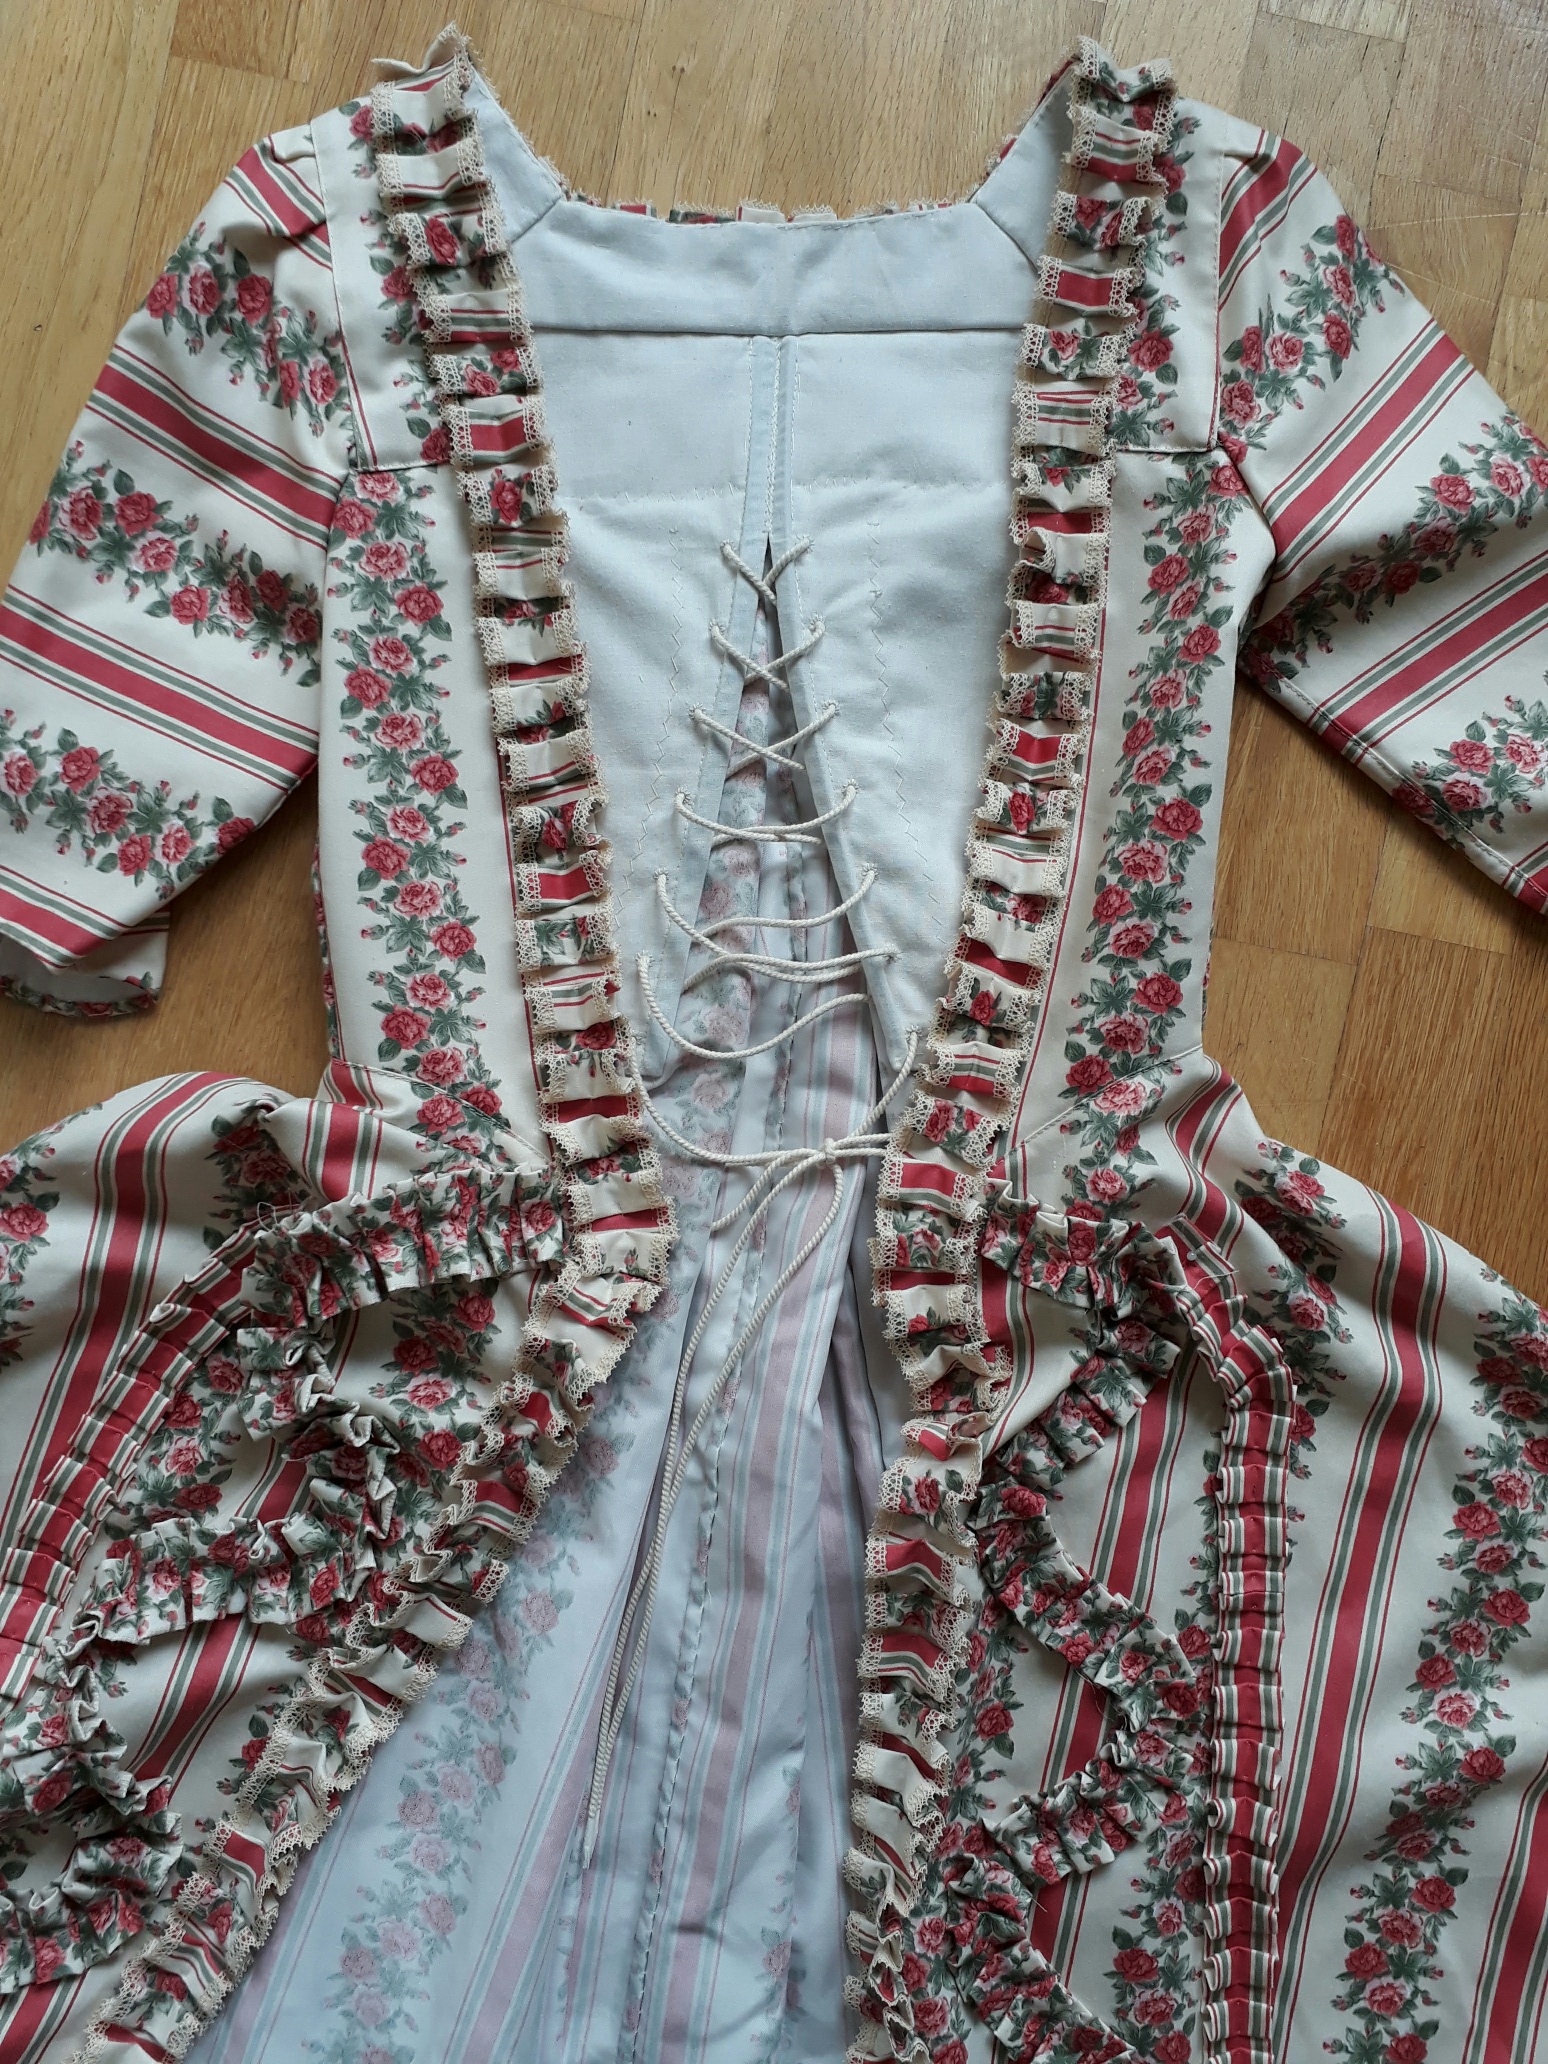


 pic from before the photoshoot


 The final result after all the re-stitching.
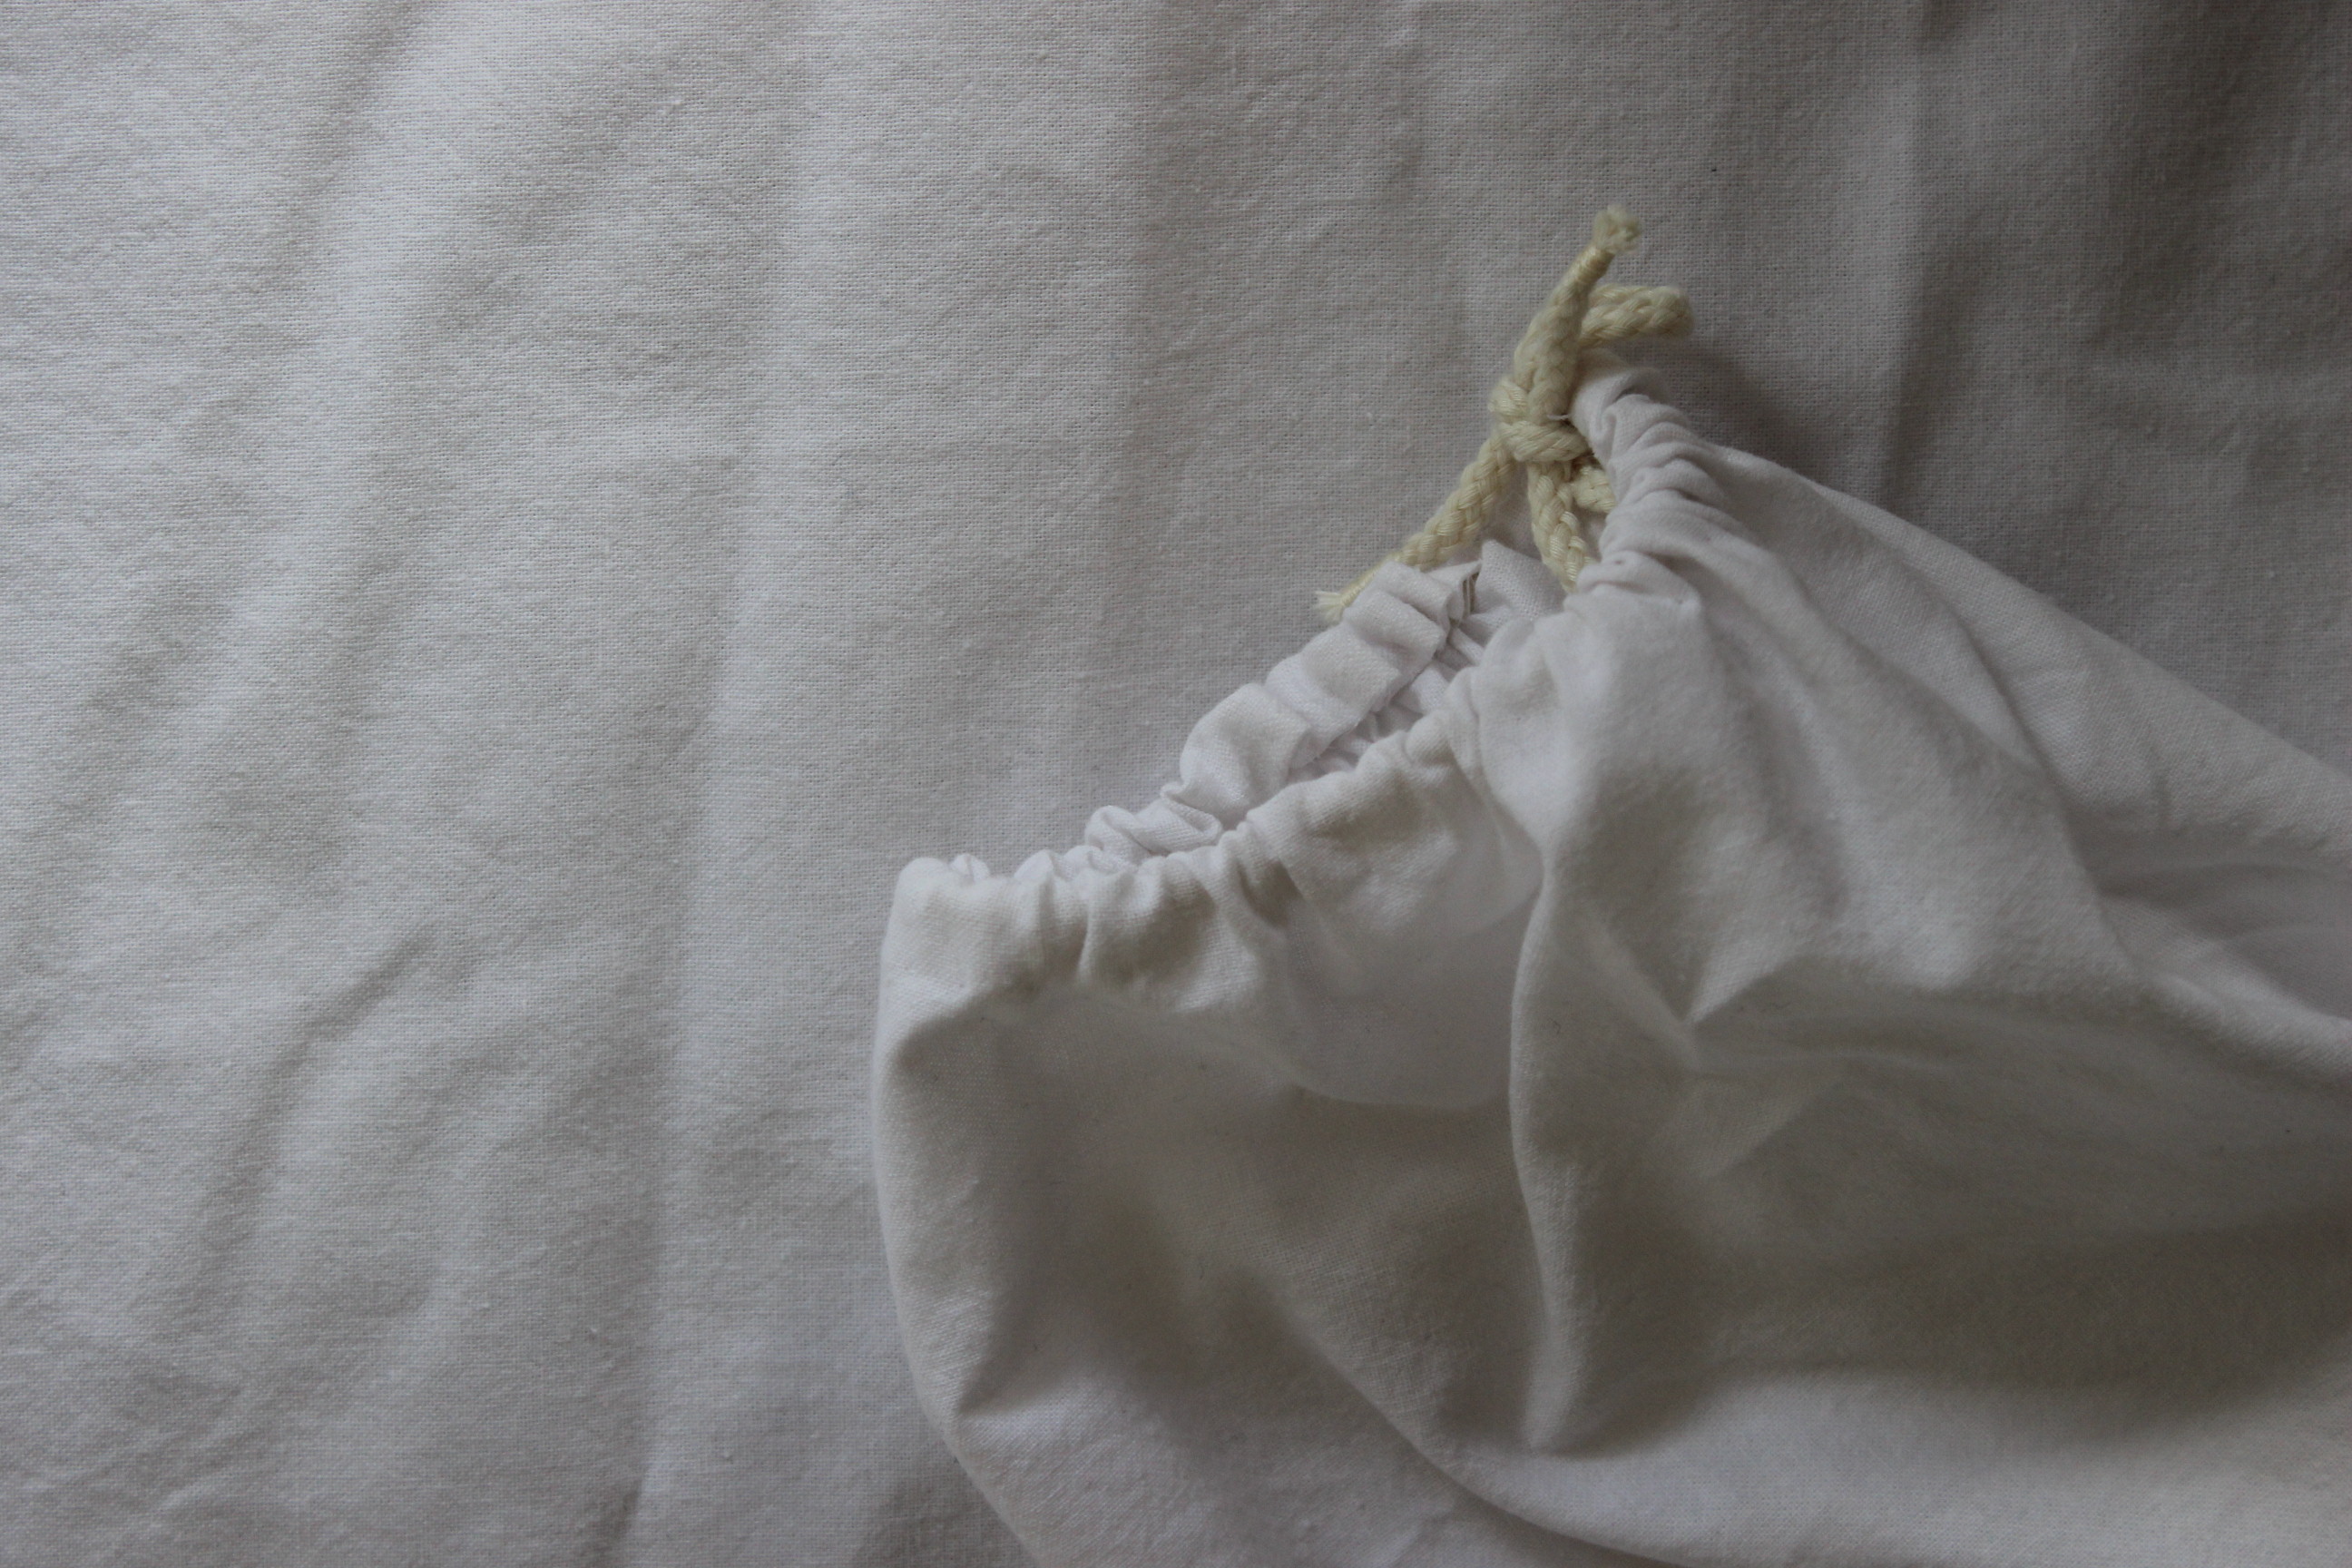


 Modell: Matilda Nilsson
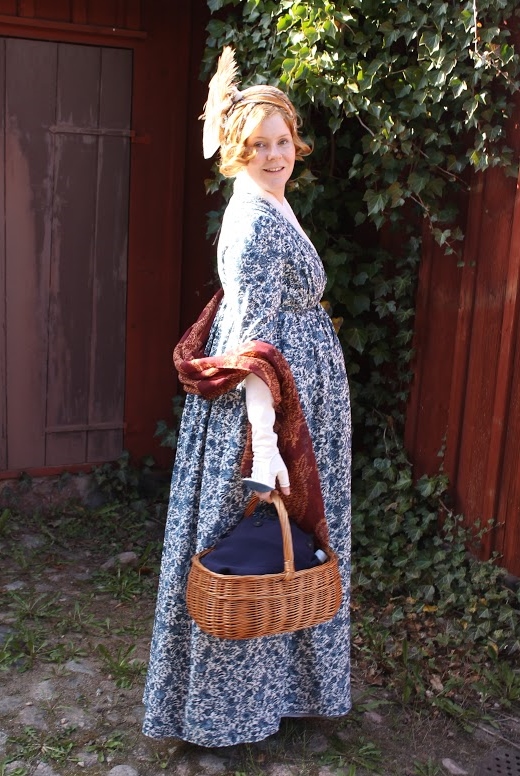


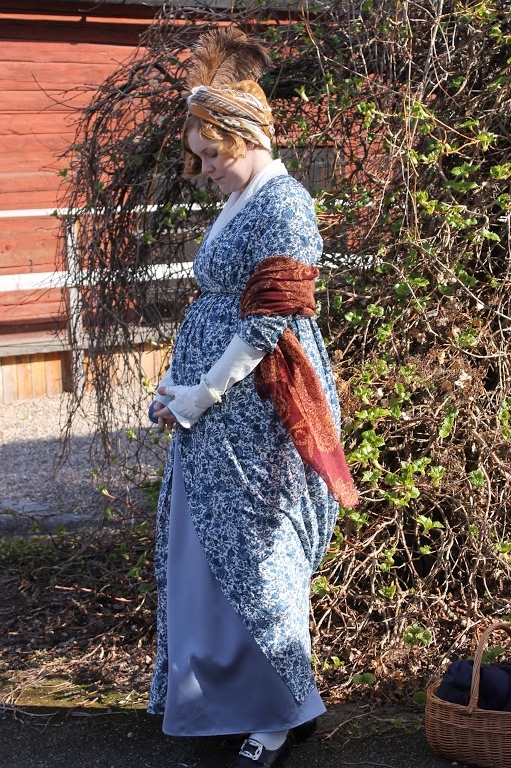

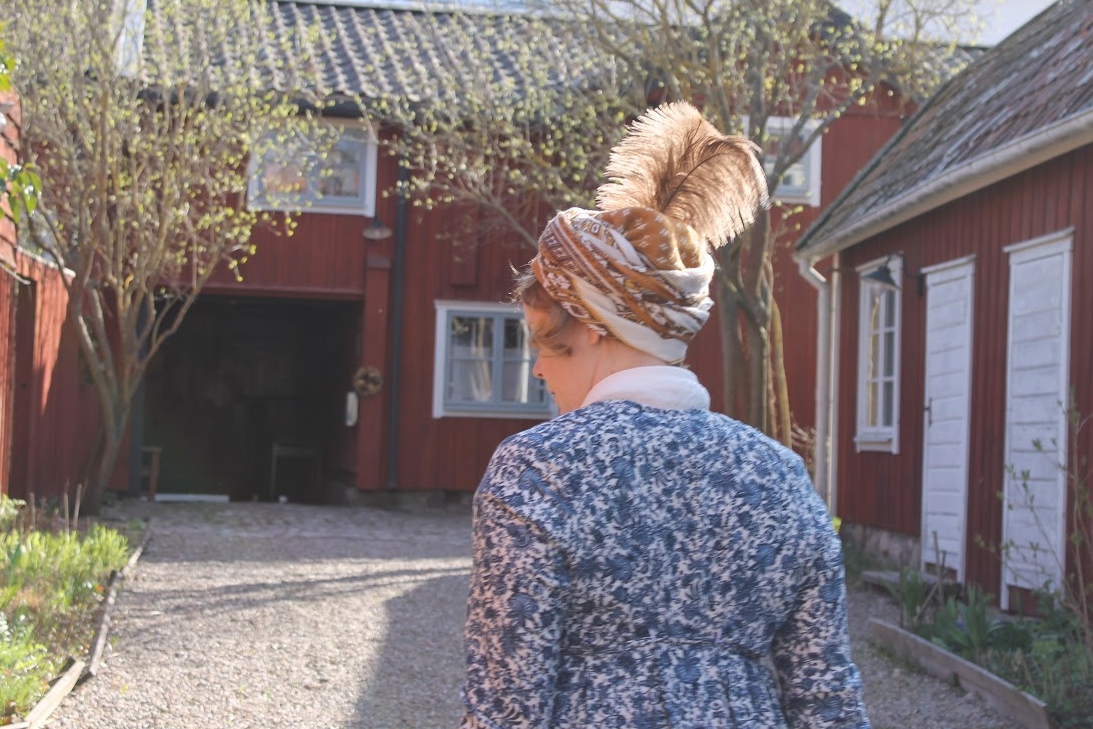
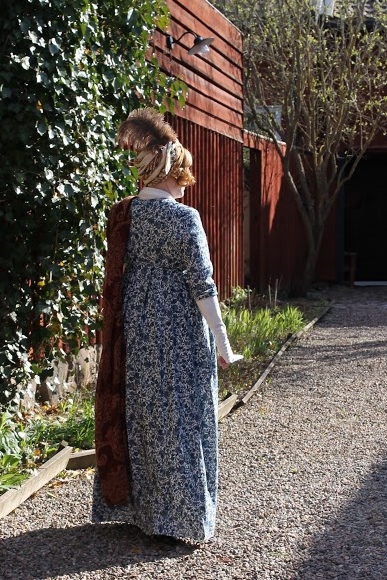
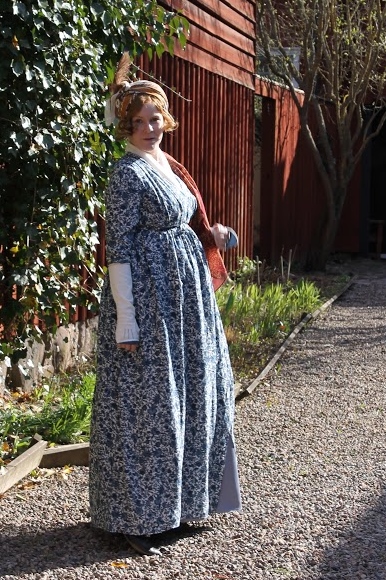
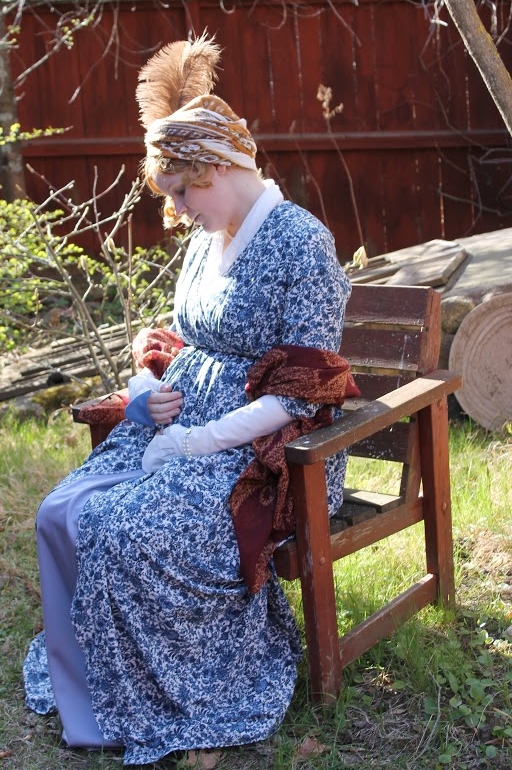
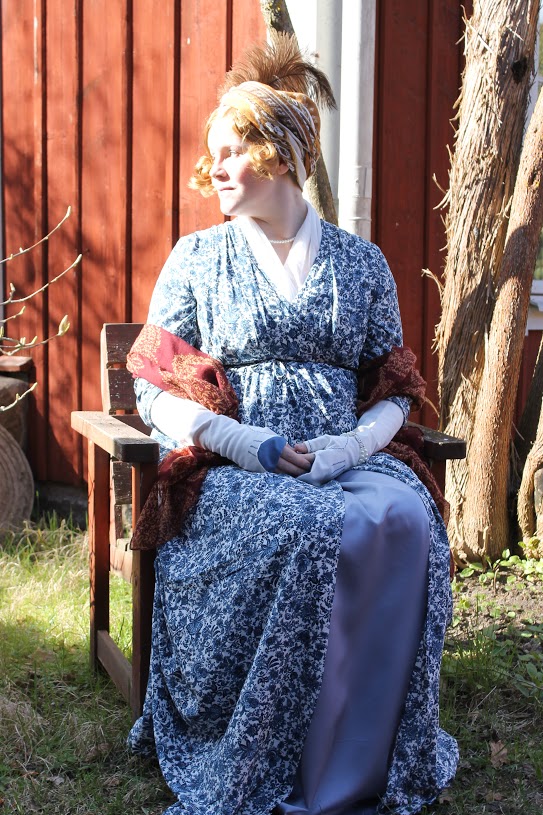
 Photo: Elin Evaldsdotter