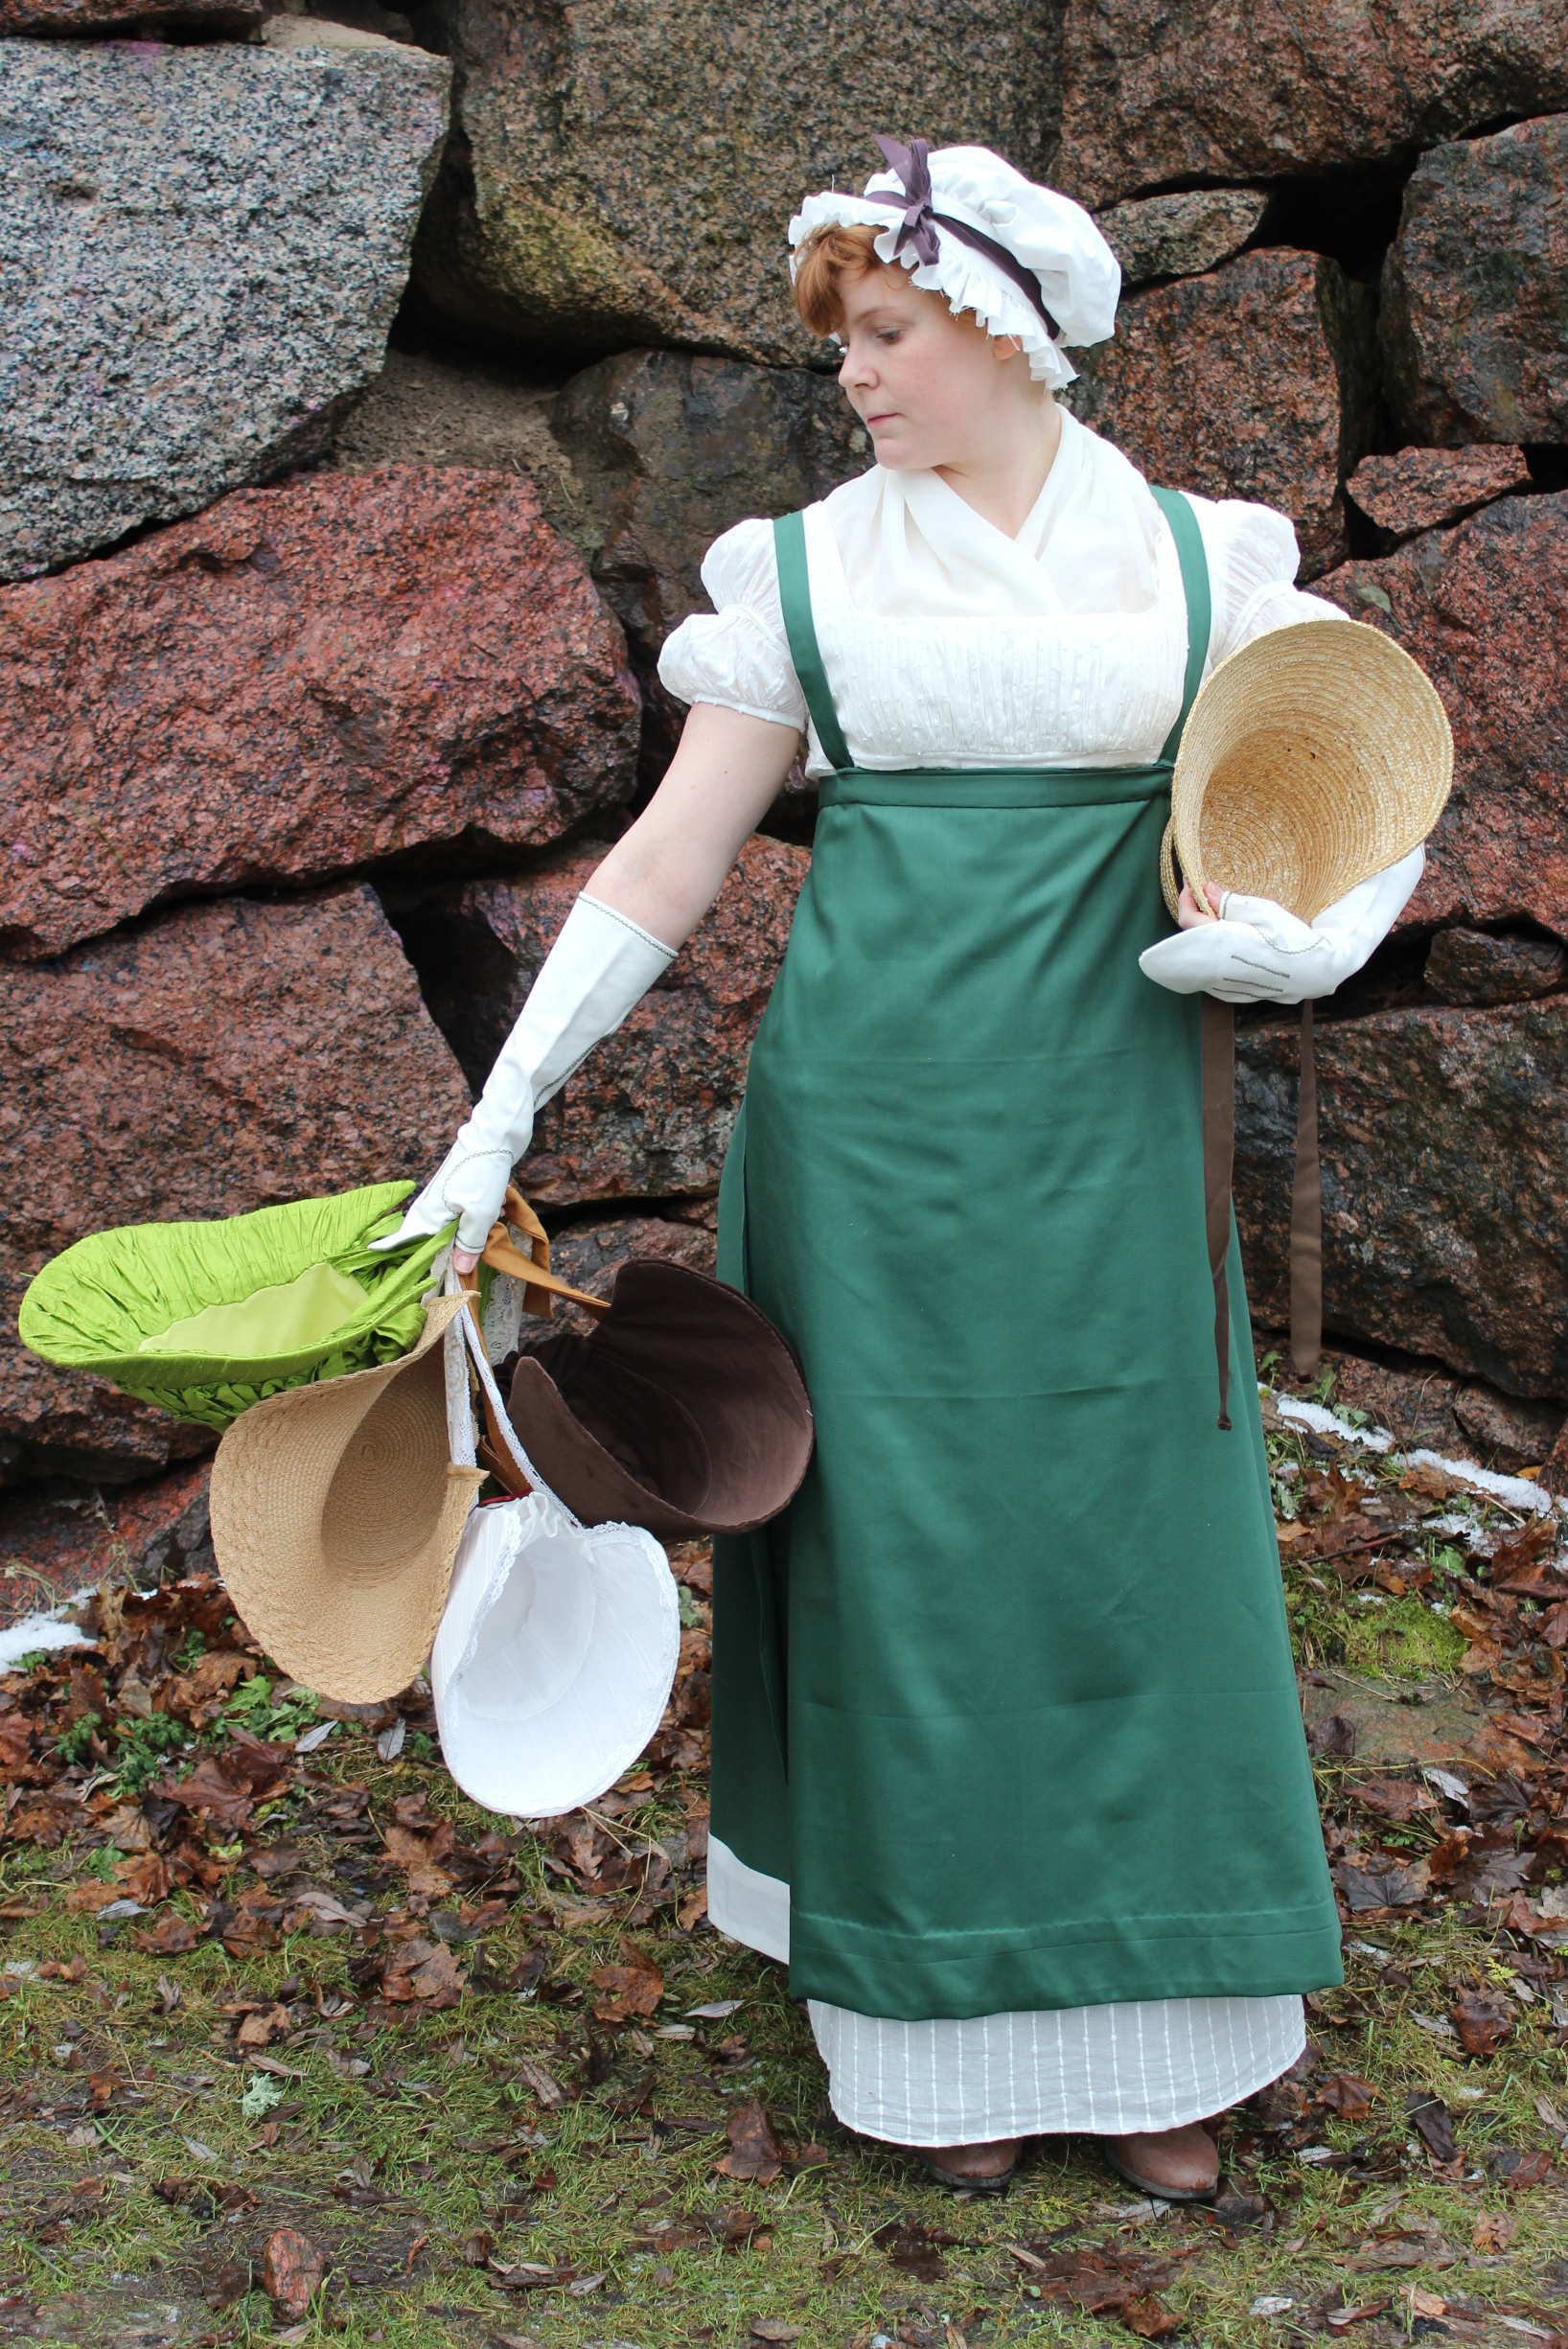
Since my plan is to go for easy pieces this year (yeah, Erhm, sorry that ship’s already sailed) I decided to submit a lovely piece of clothing I started sometime this fall and only finished a little while ago.
Namely this pretty Apron: I loved this print since I first saw it and been wanting to re-create it for quite some time.
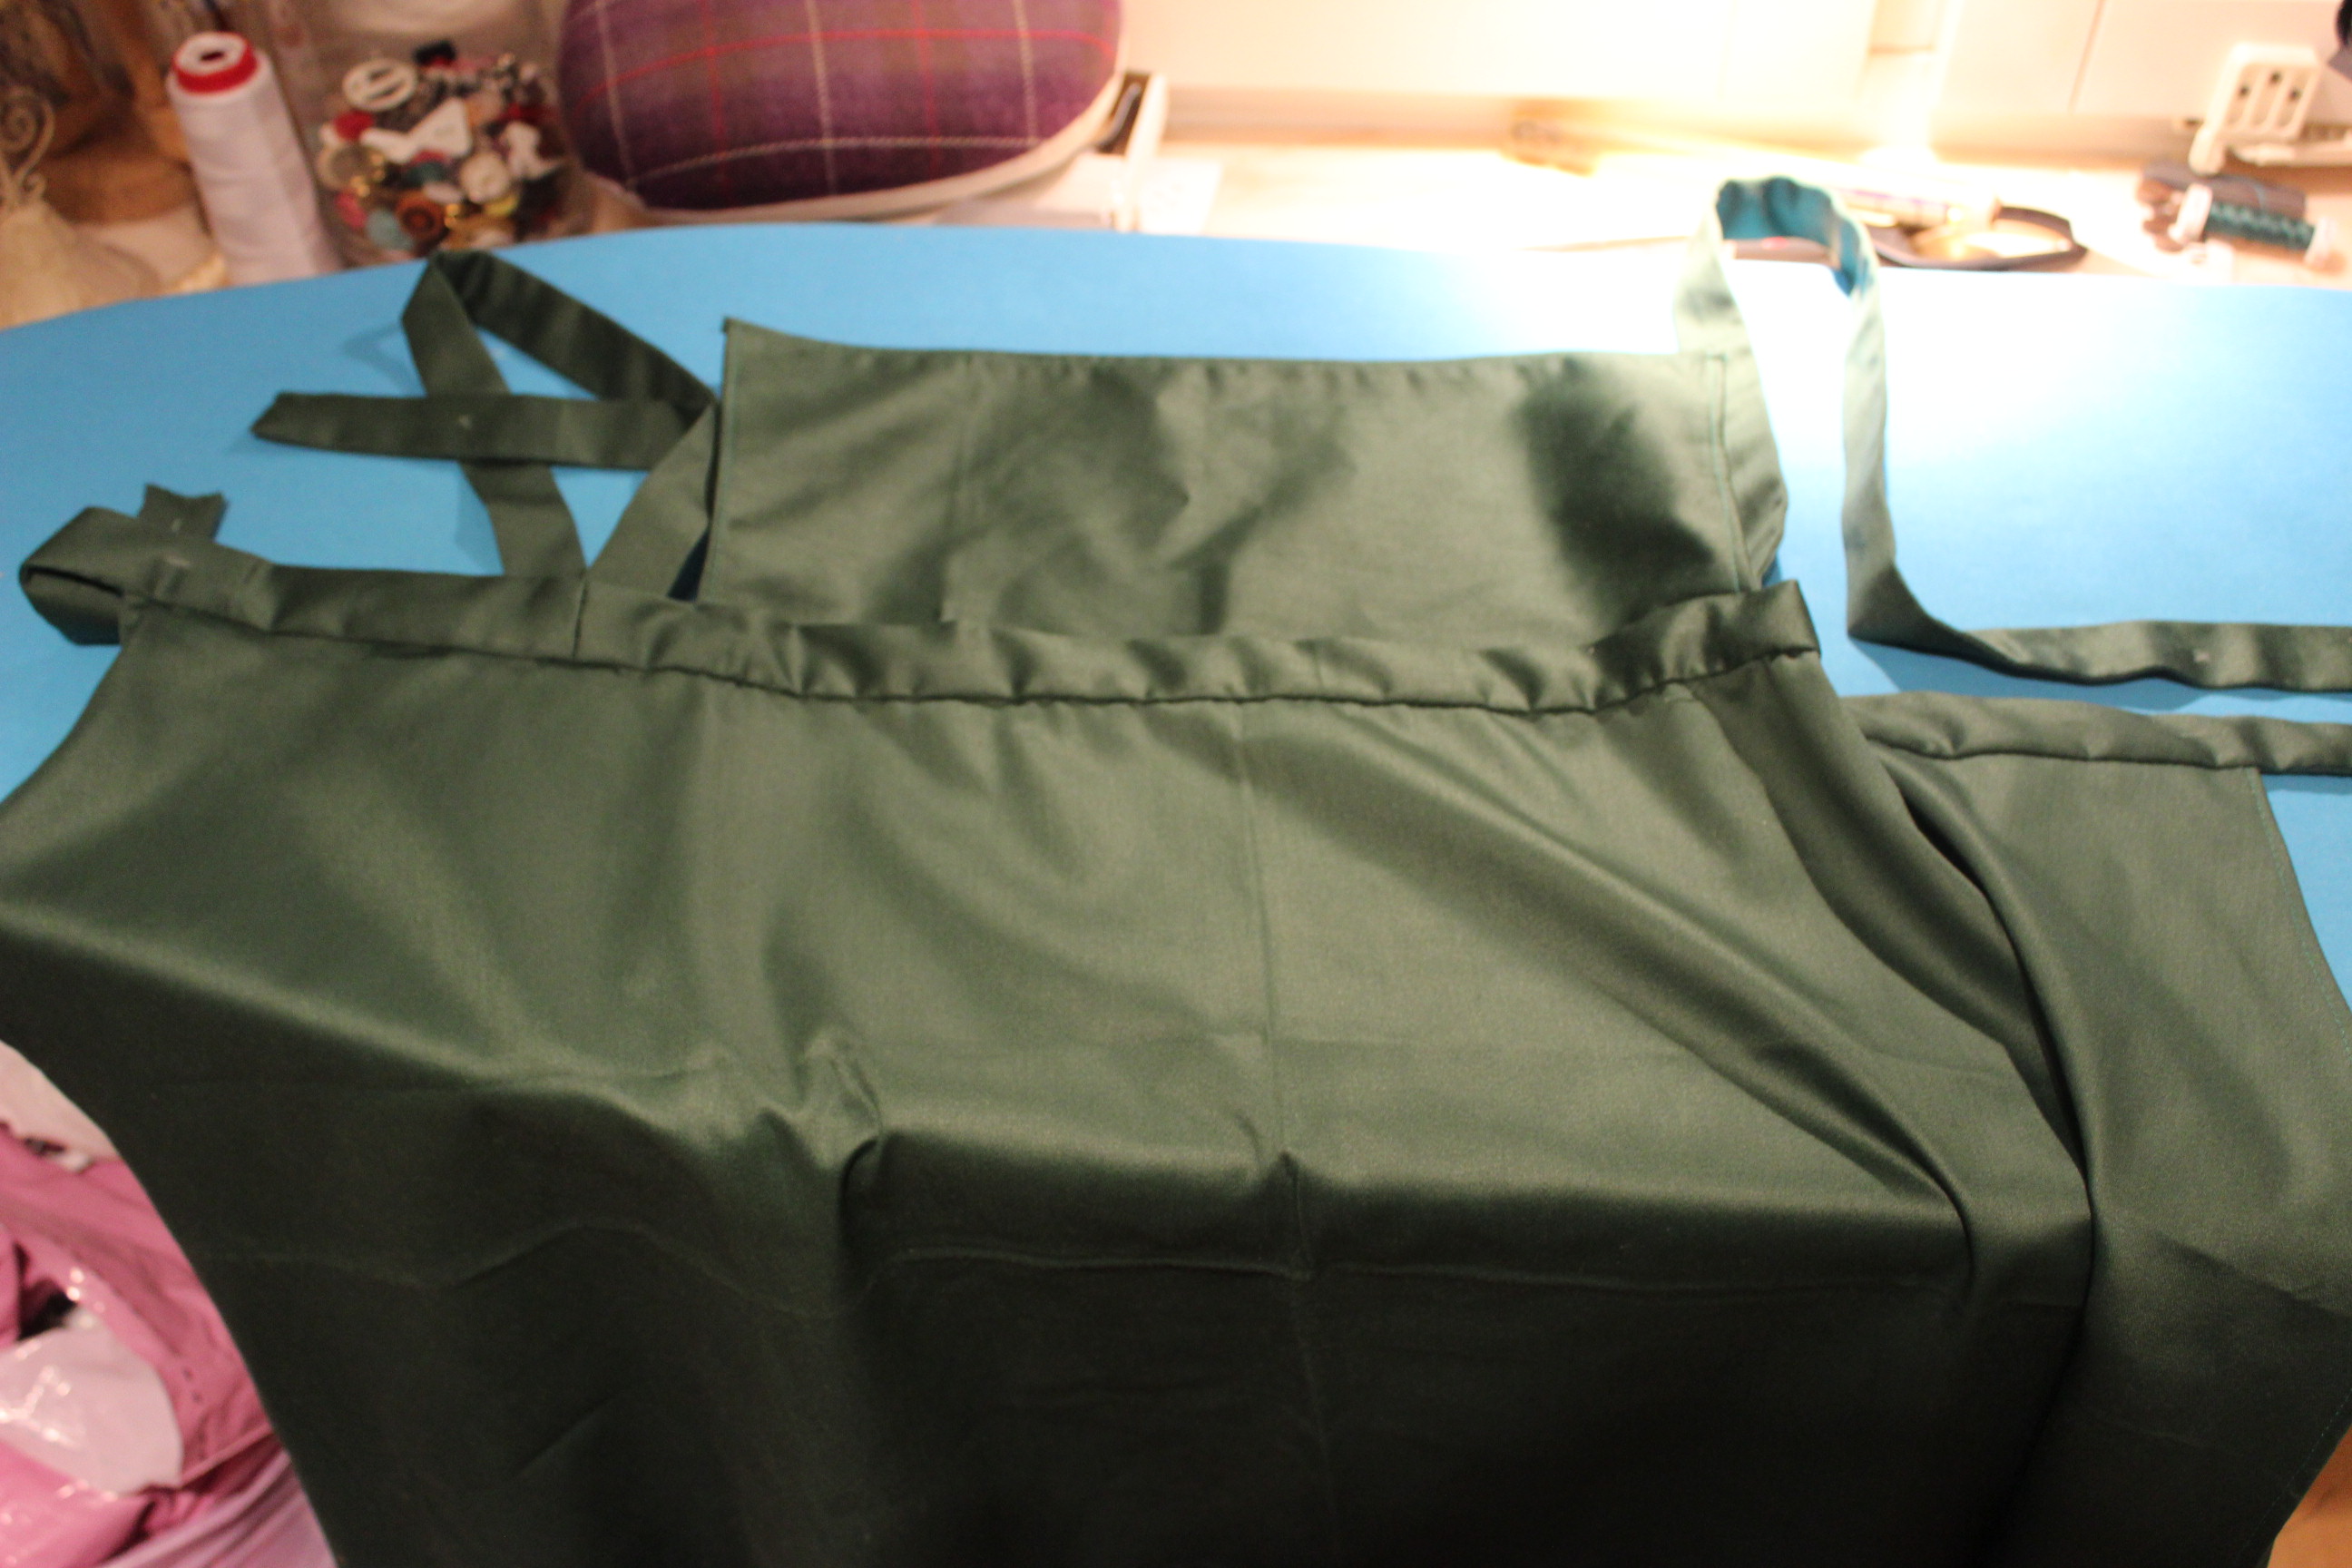
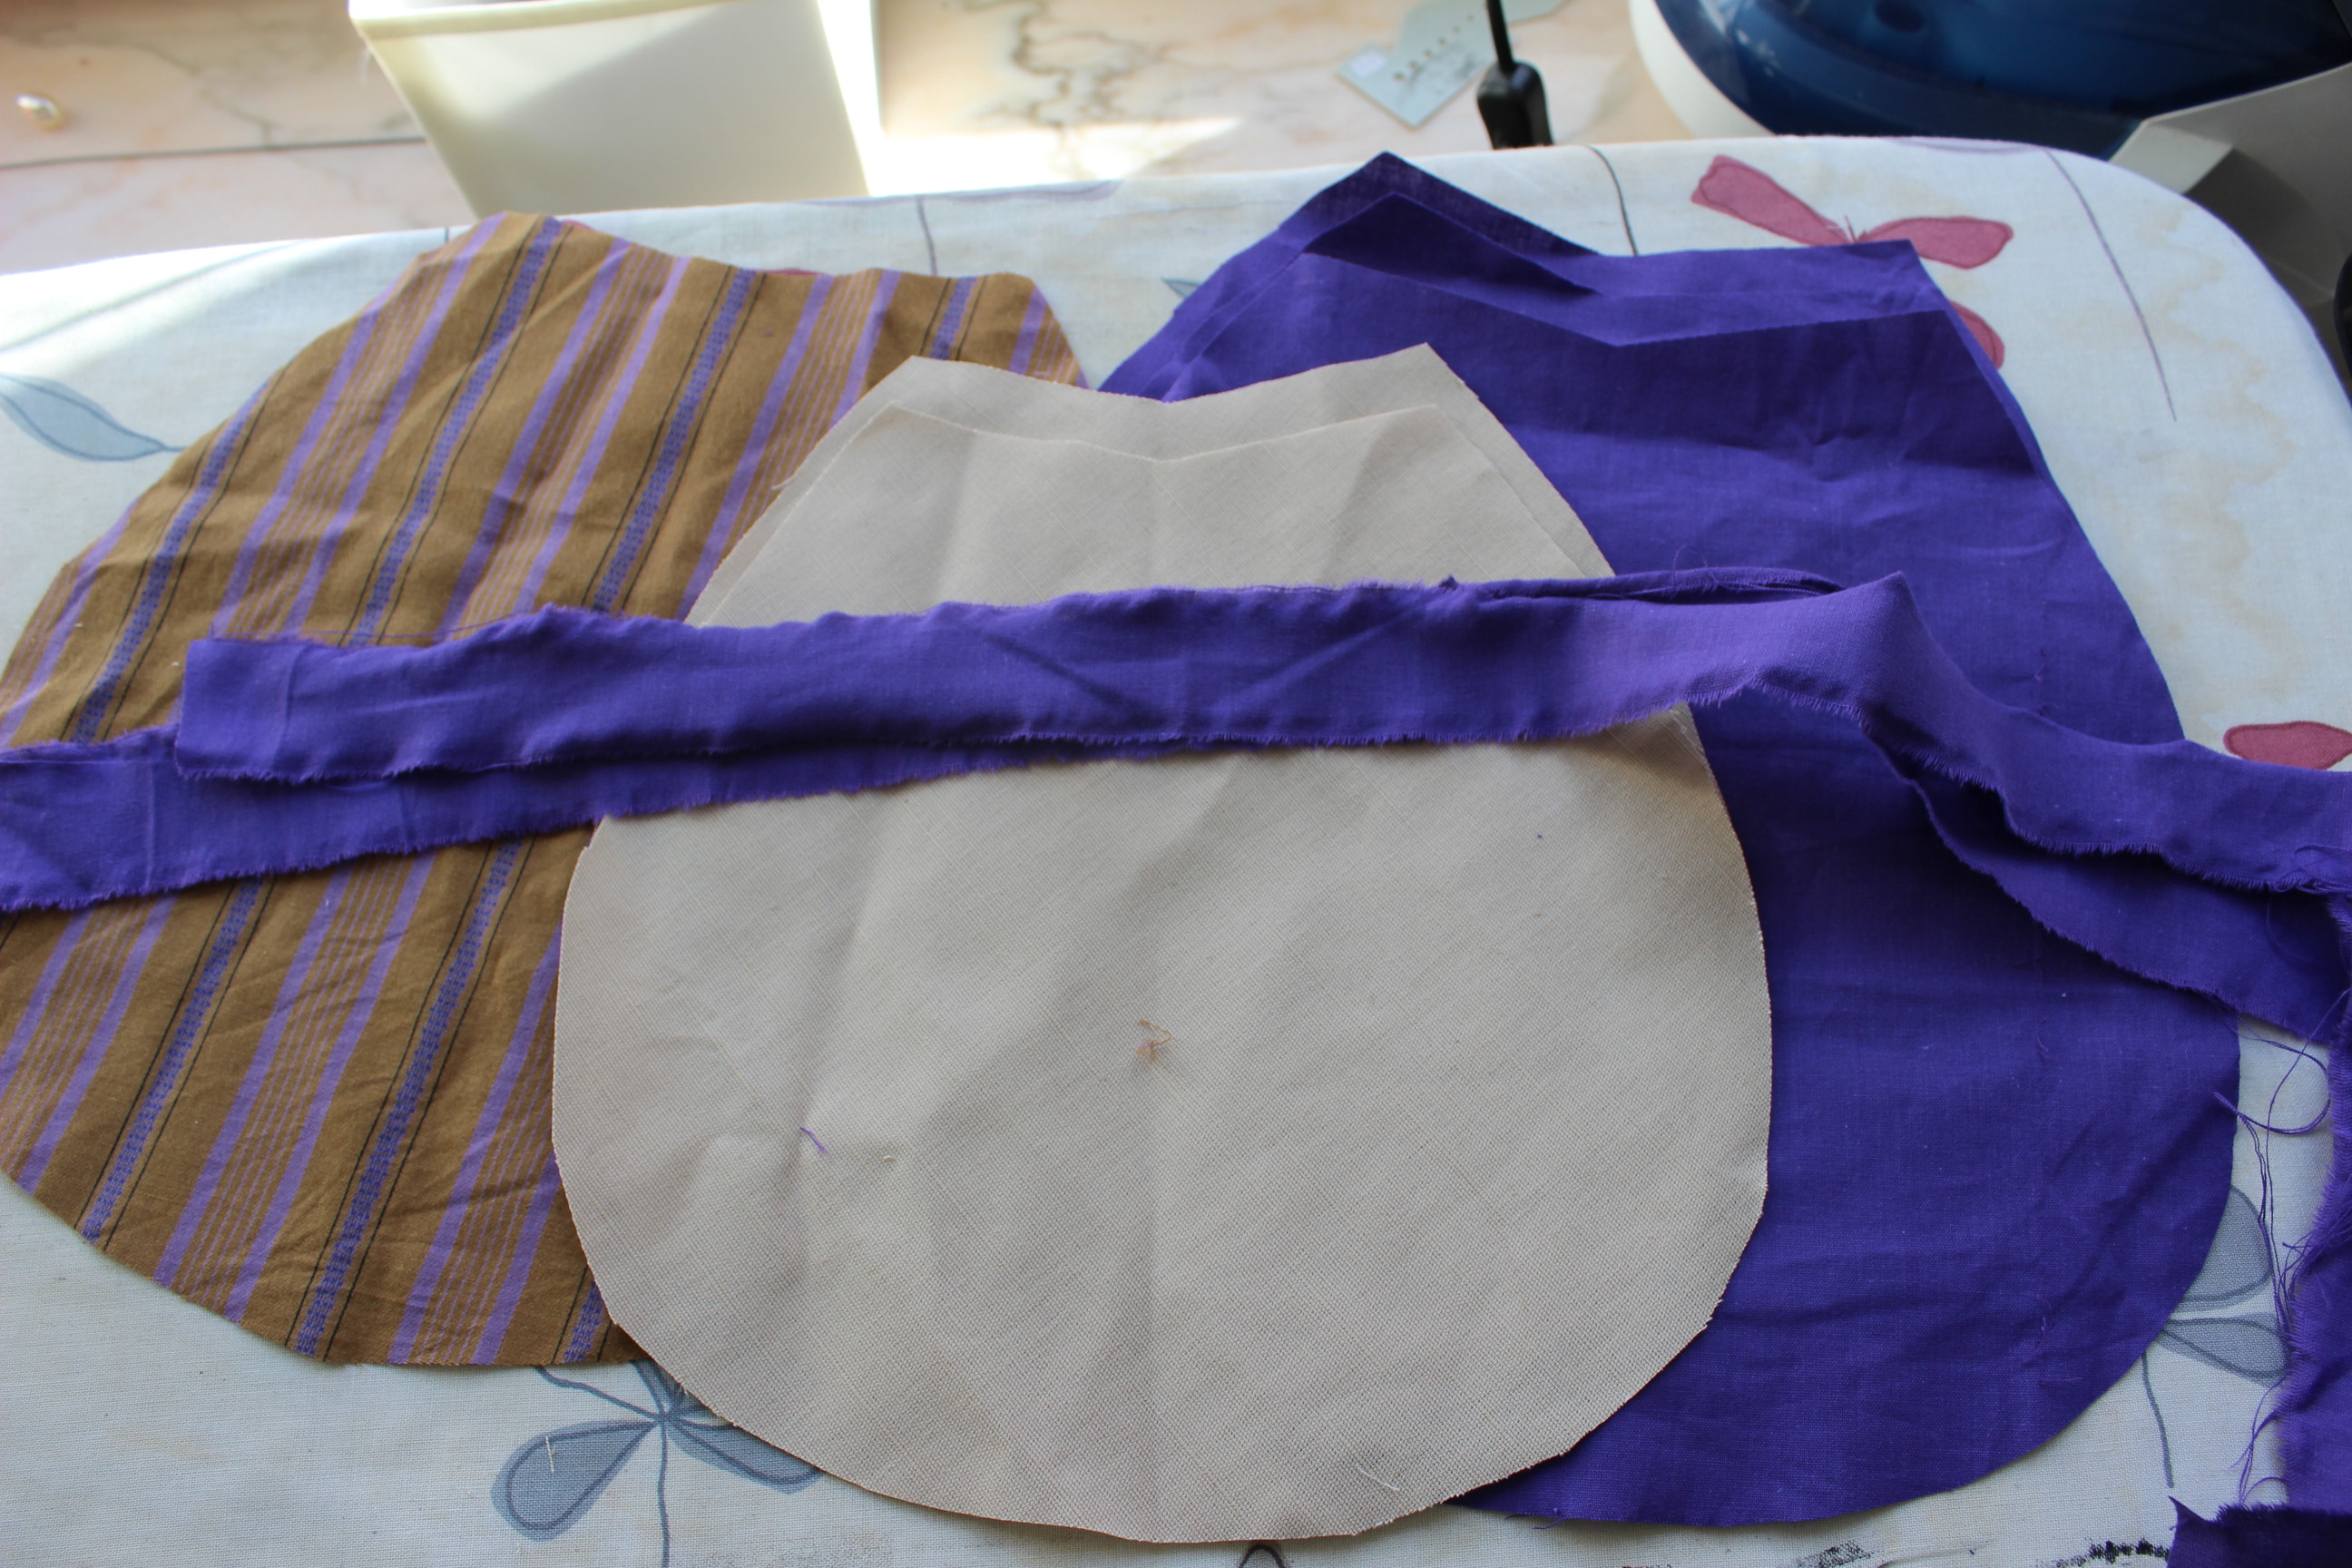
The first thing I did was to dig up a piece of soft cotton satin in a lovely dark green color, which I scored for basically nothing at a flee-market a while back.
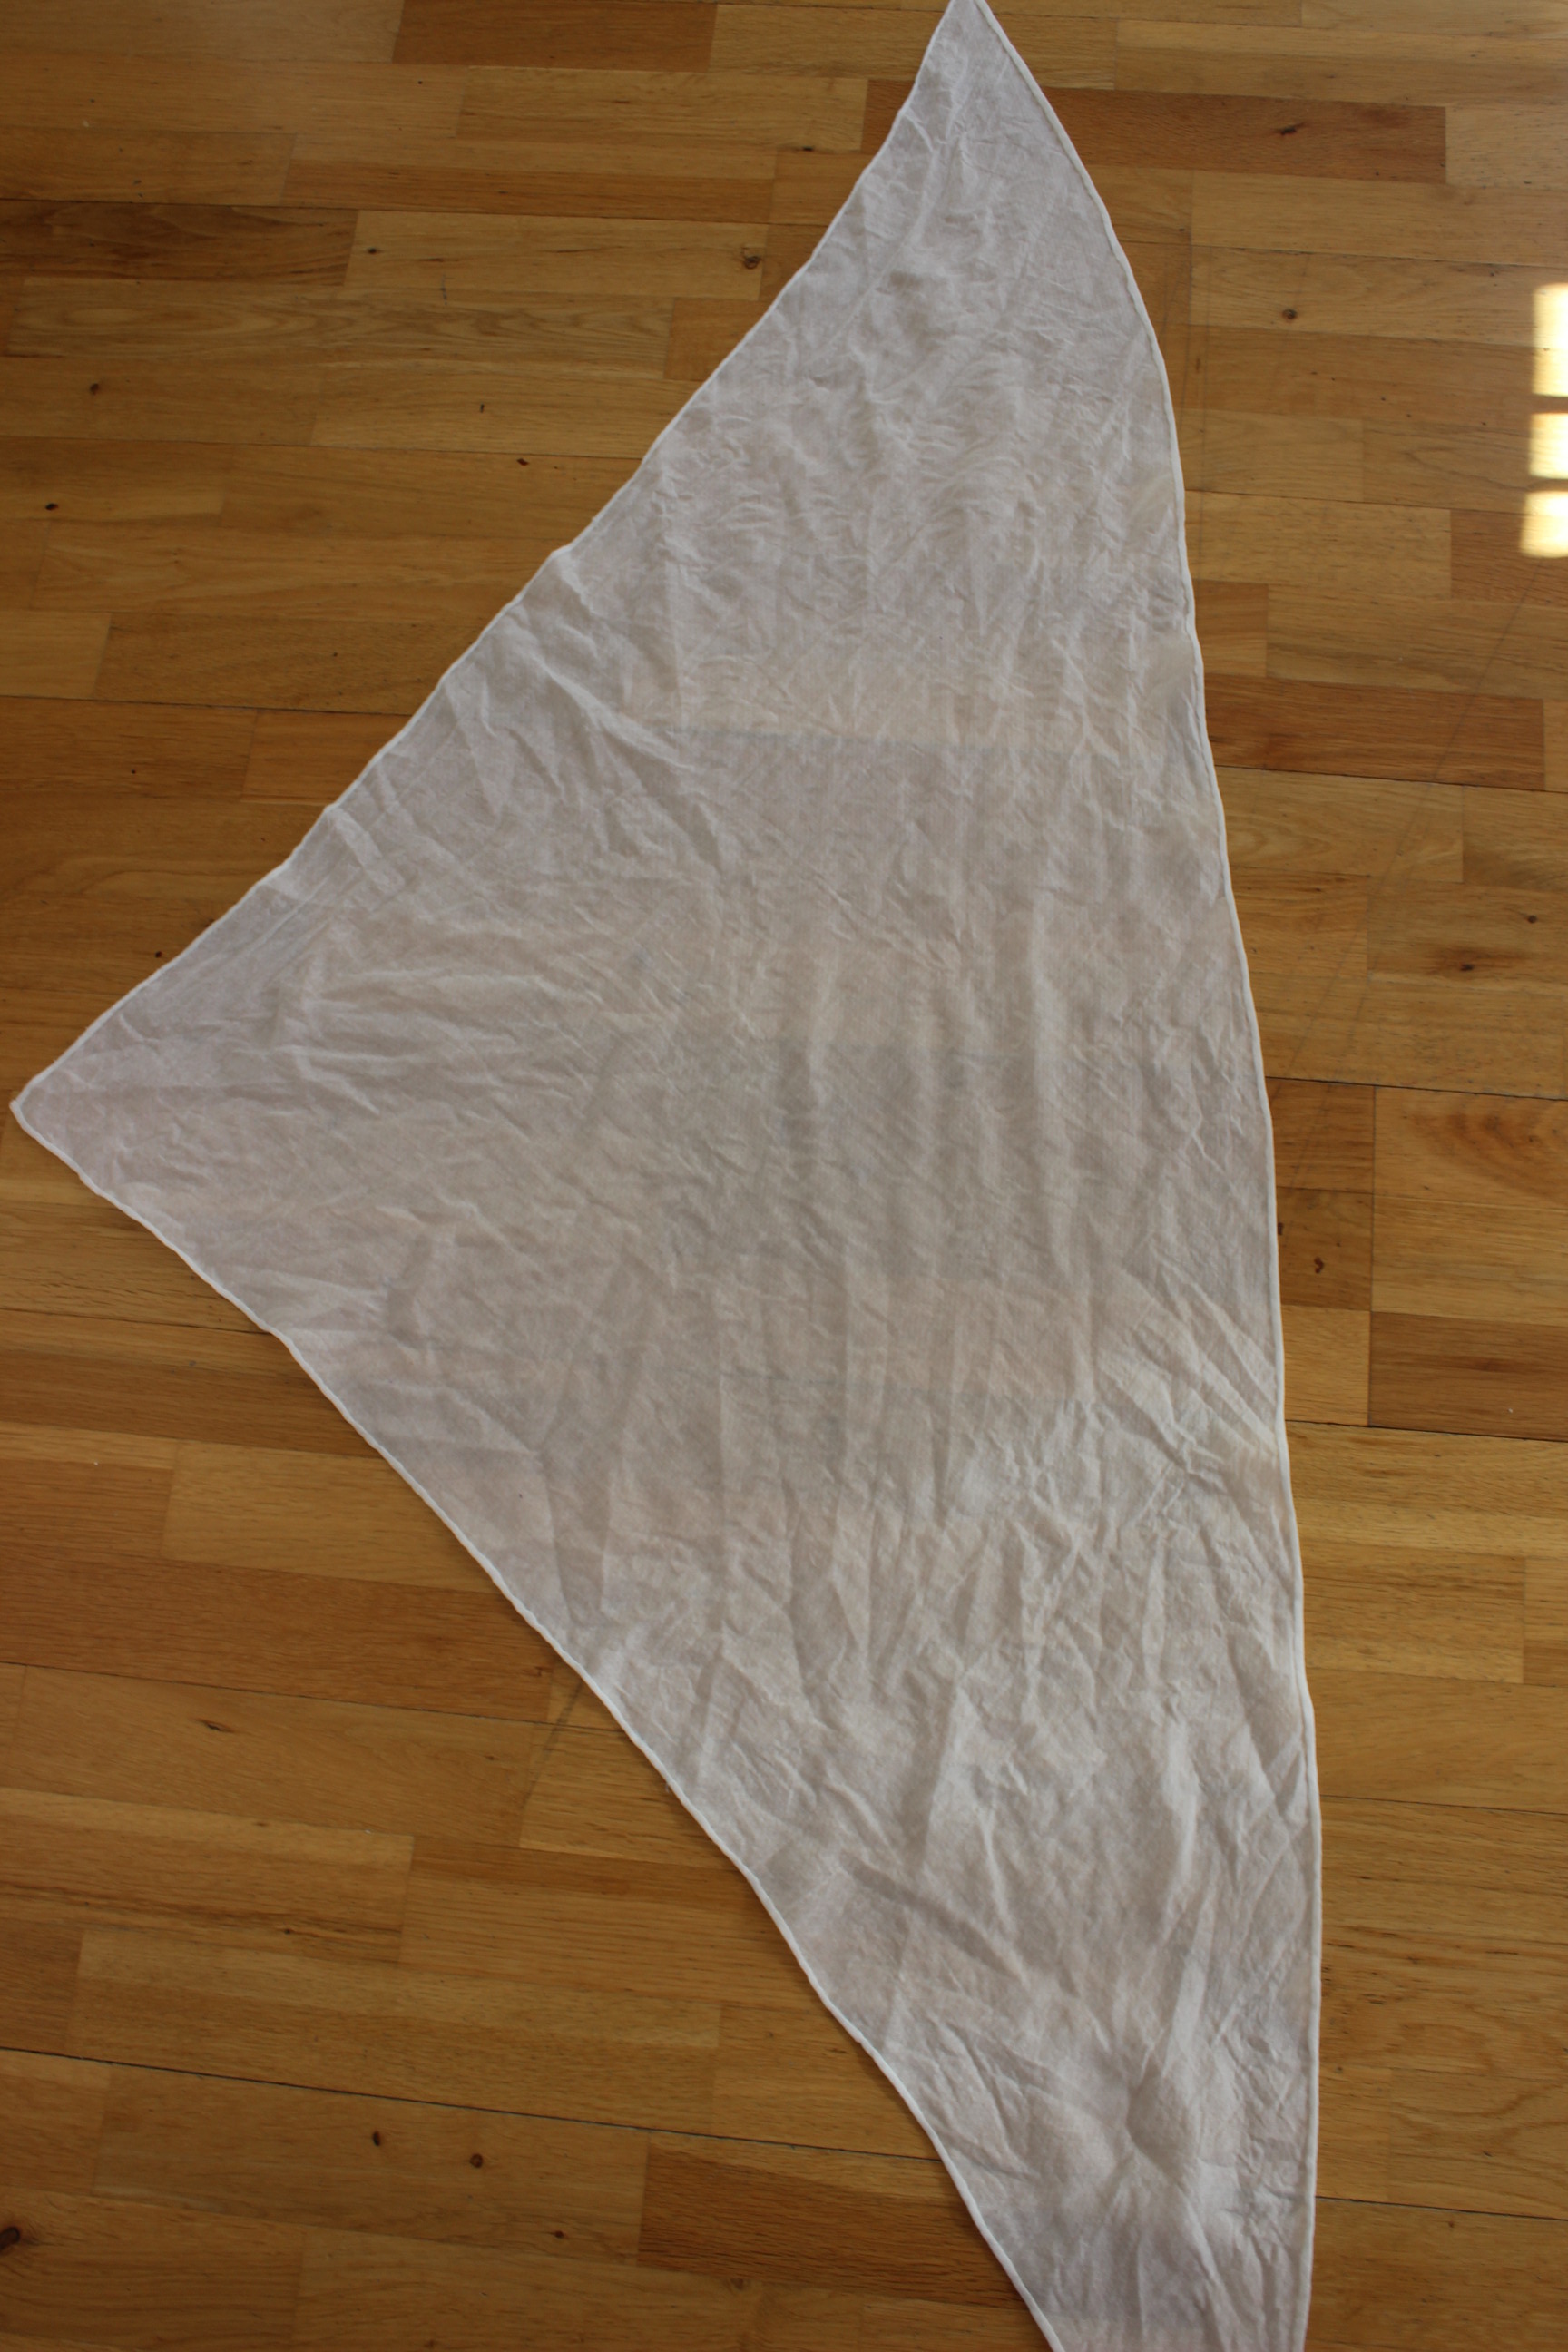
The fabric was only 1 m long but that was exactly enough. Some creative cutting (without piecing, Yay!)
 I started by hemming the sides, and bust “flap”, using my sewing machine, since sewing time is scarce at the moment.
Then I stitched and turned the tubes that was to become the shoulder straps.
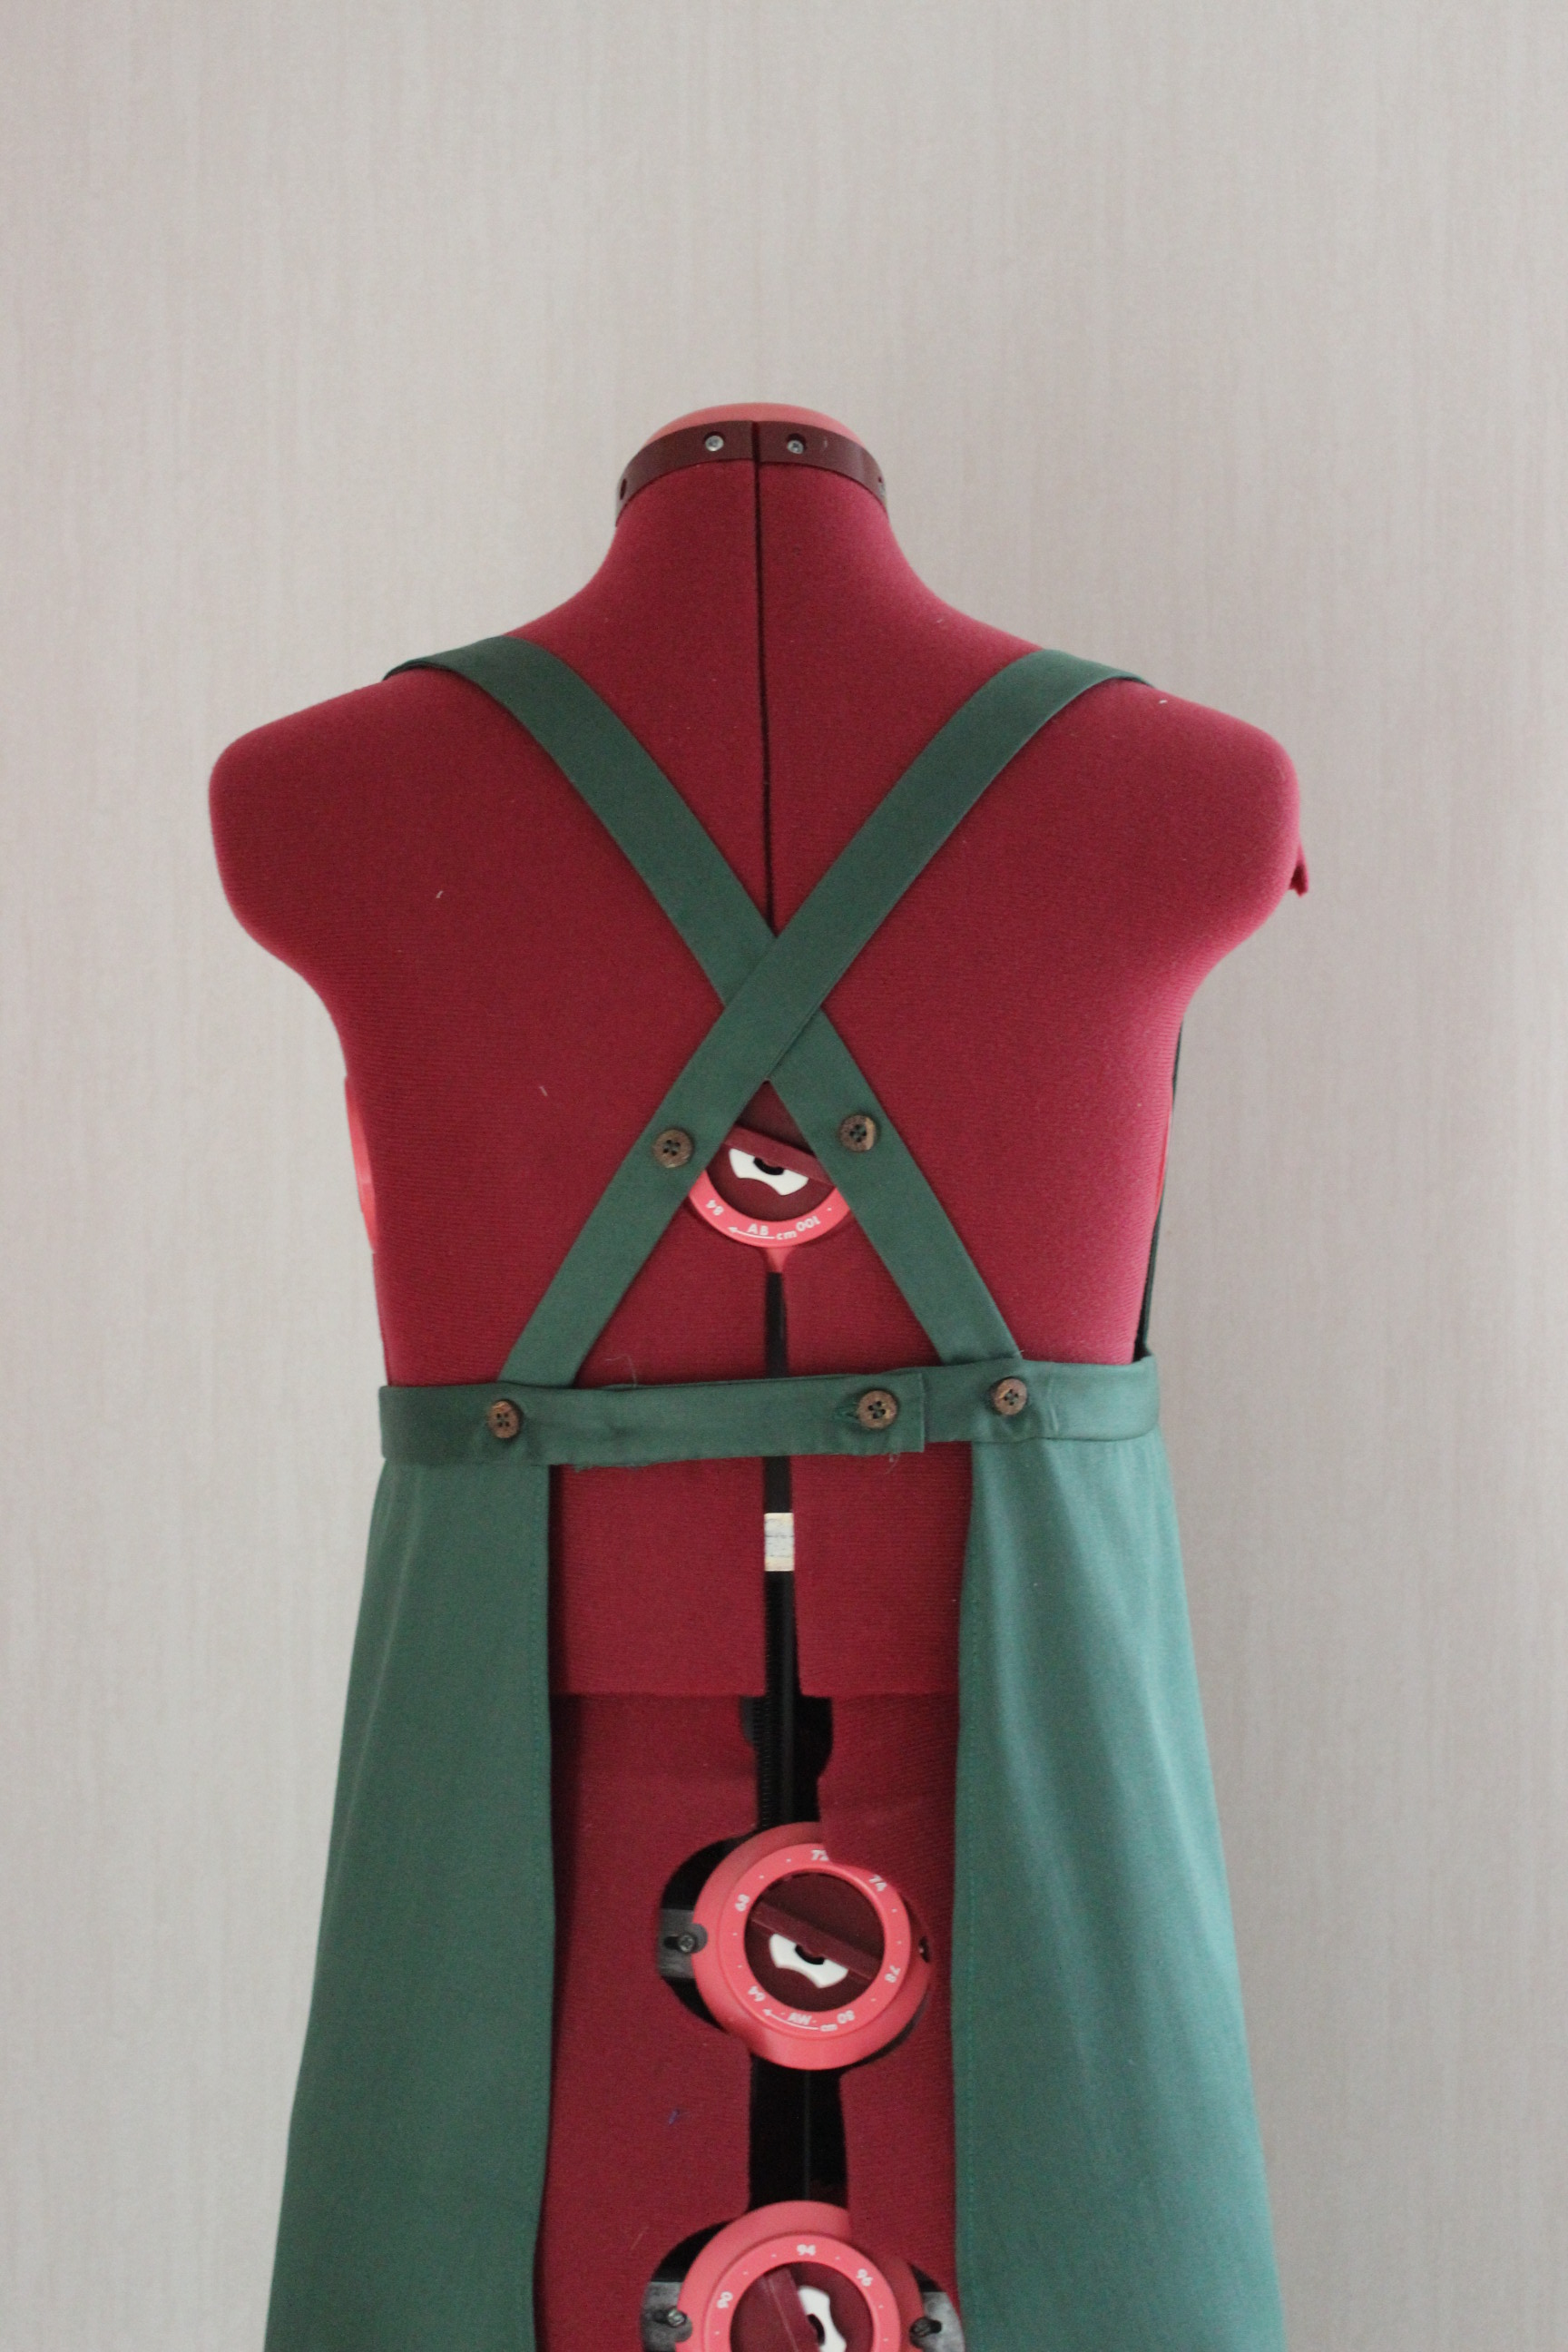
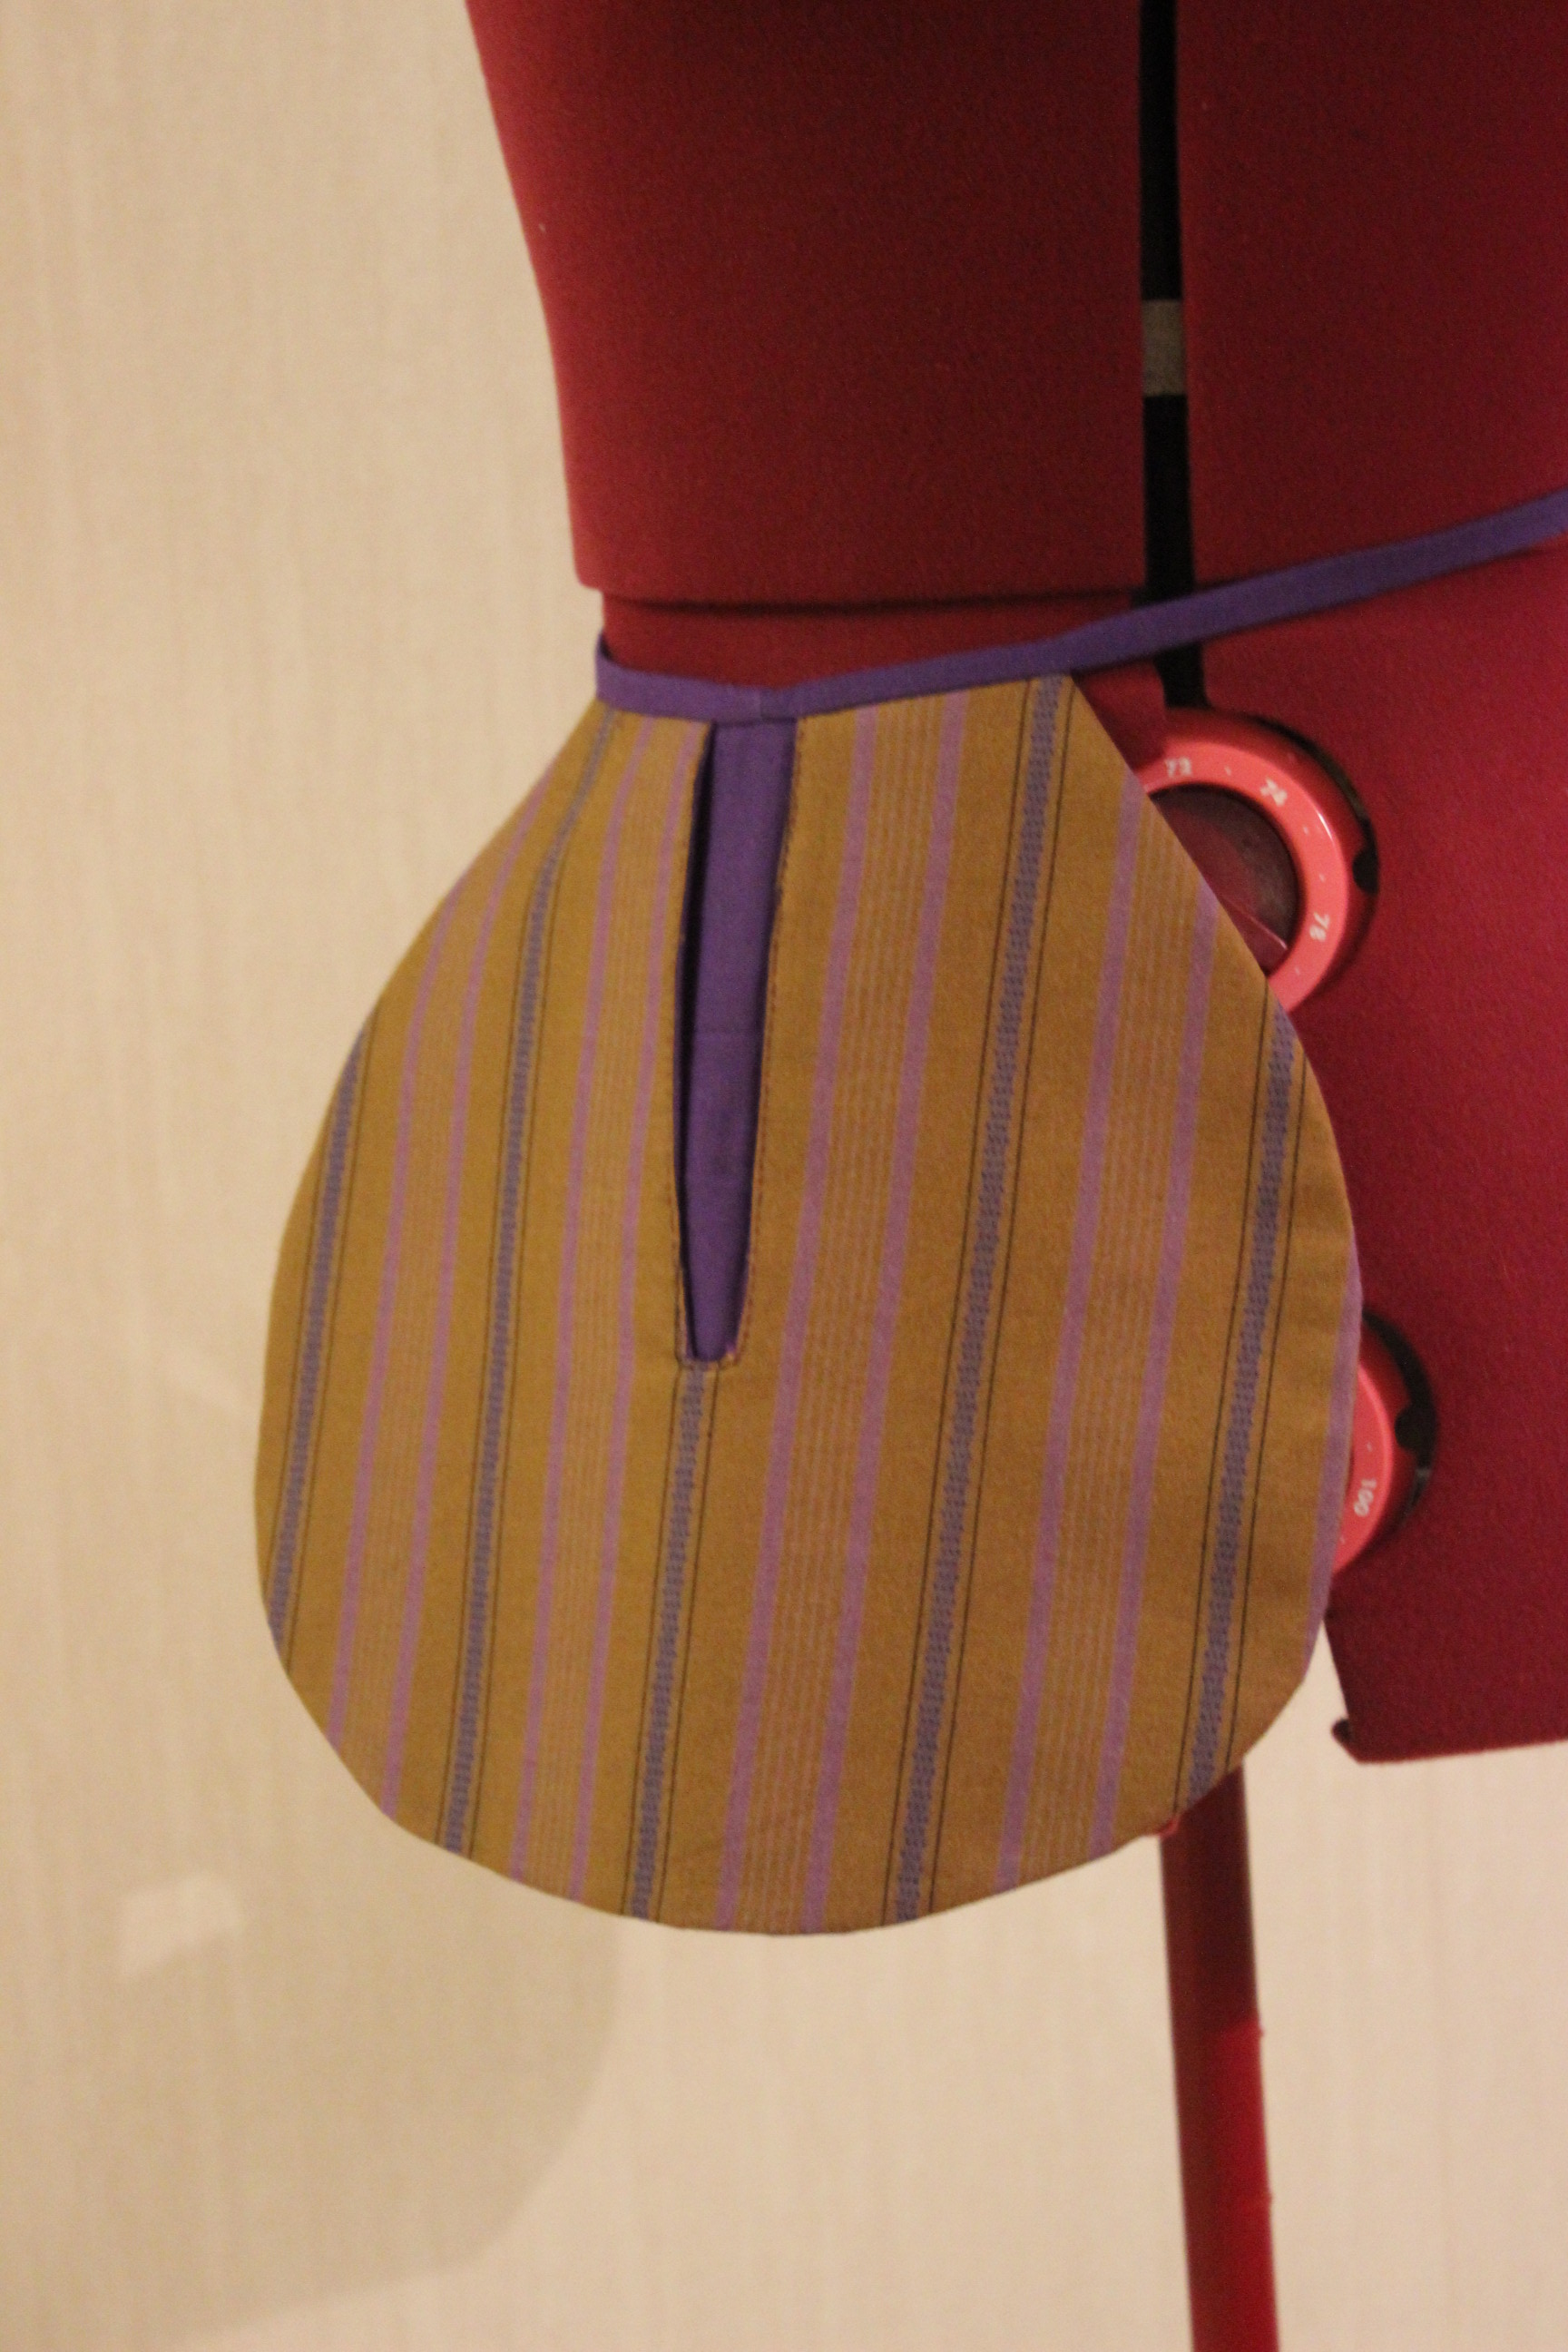
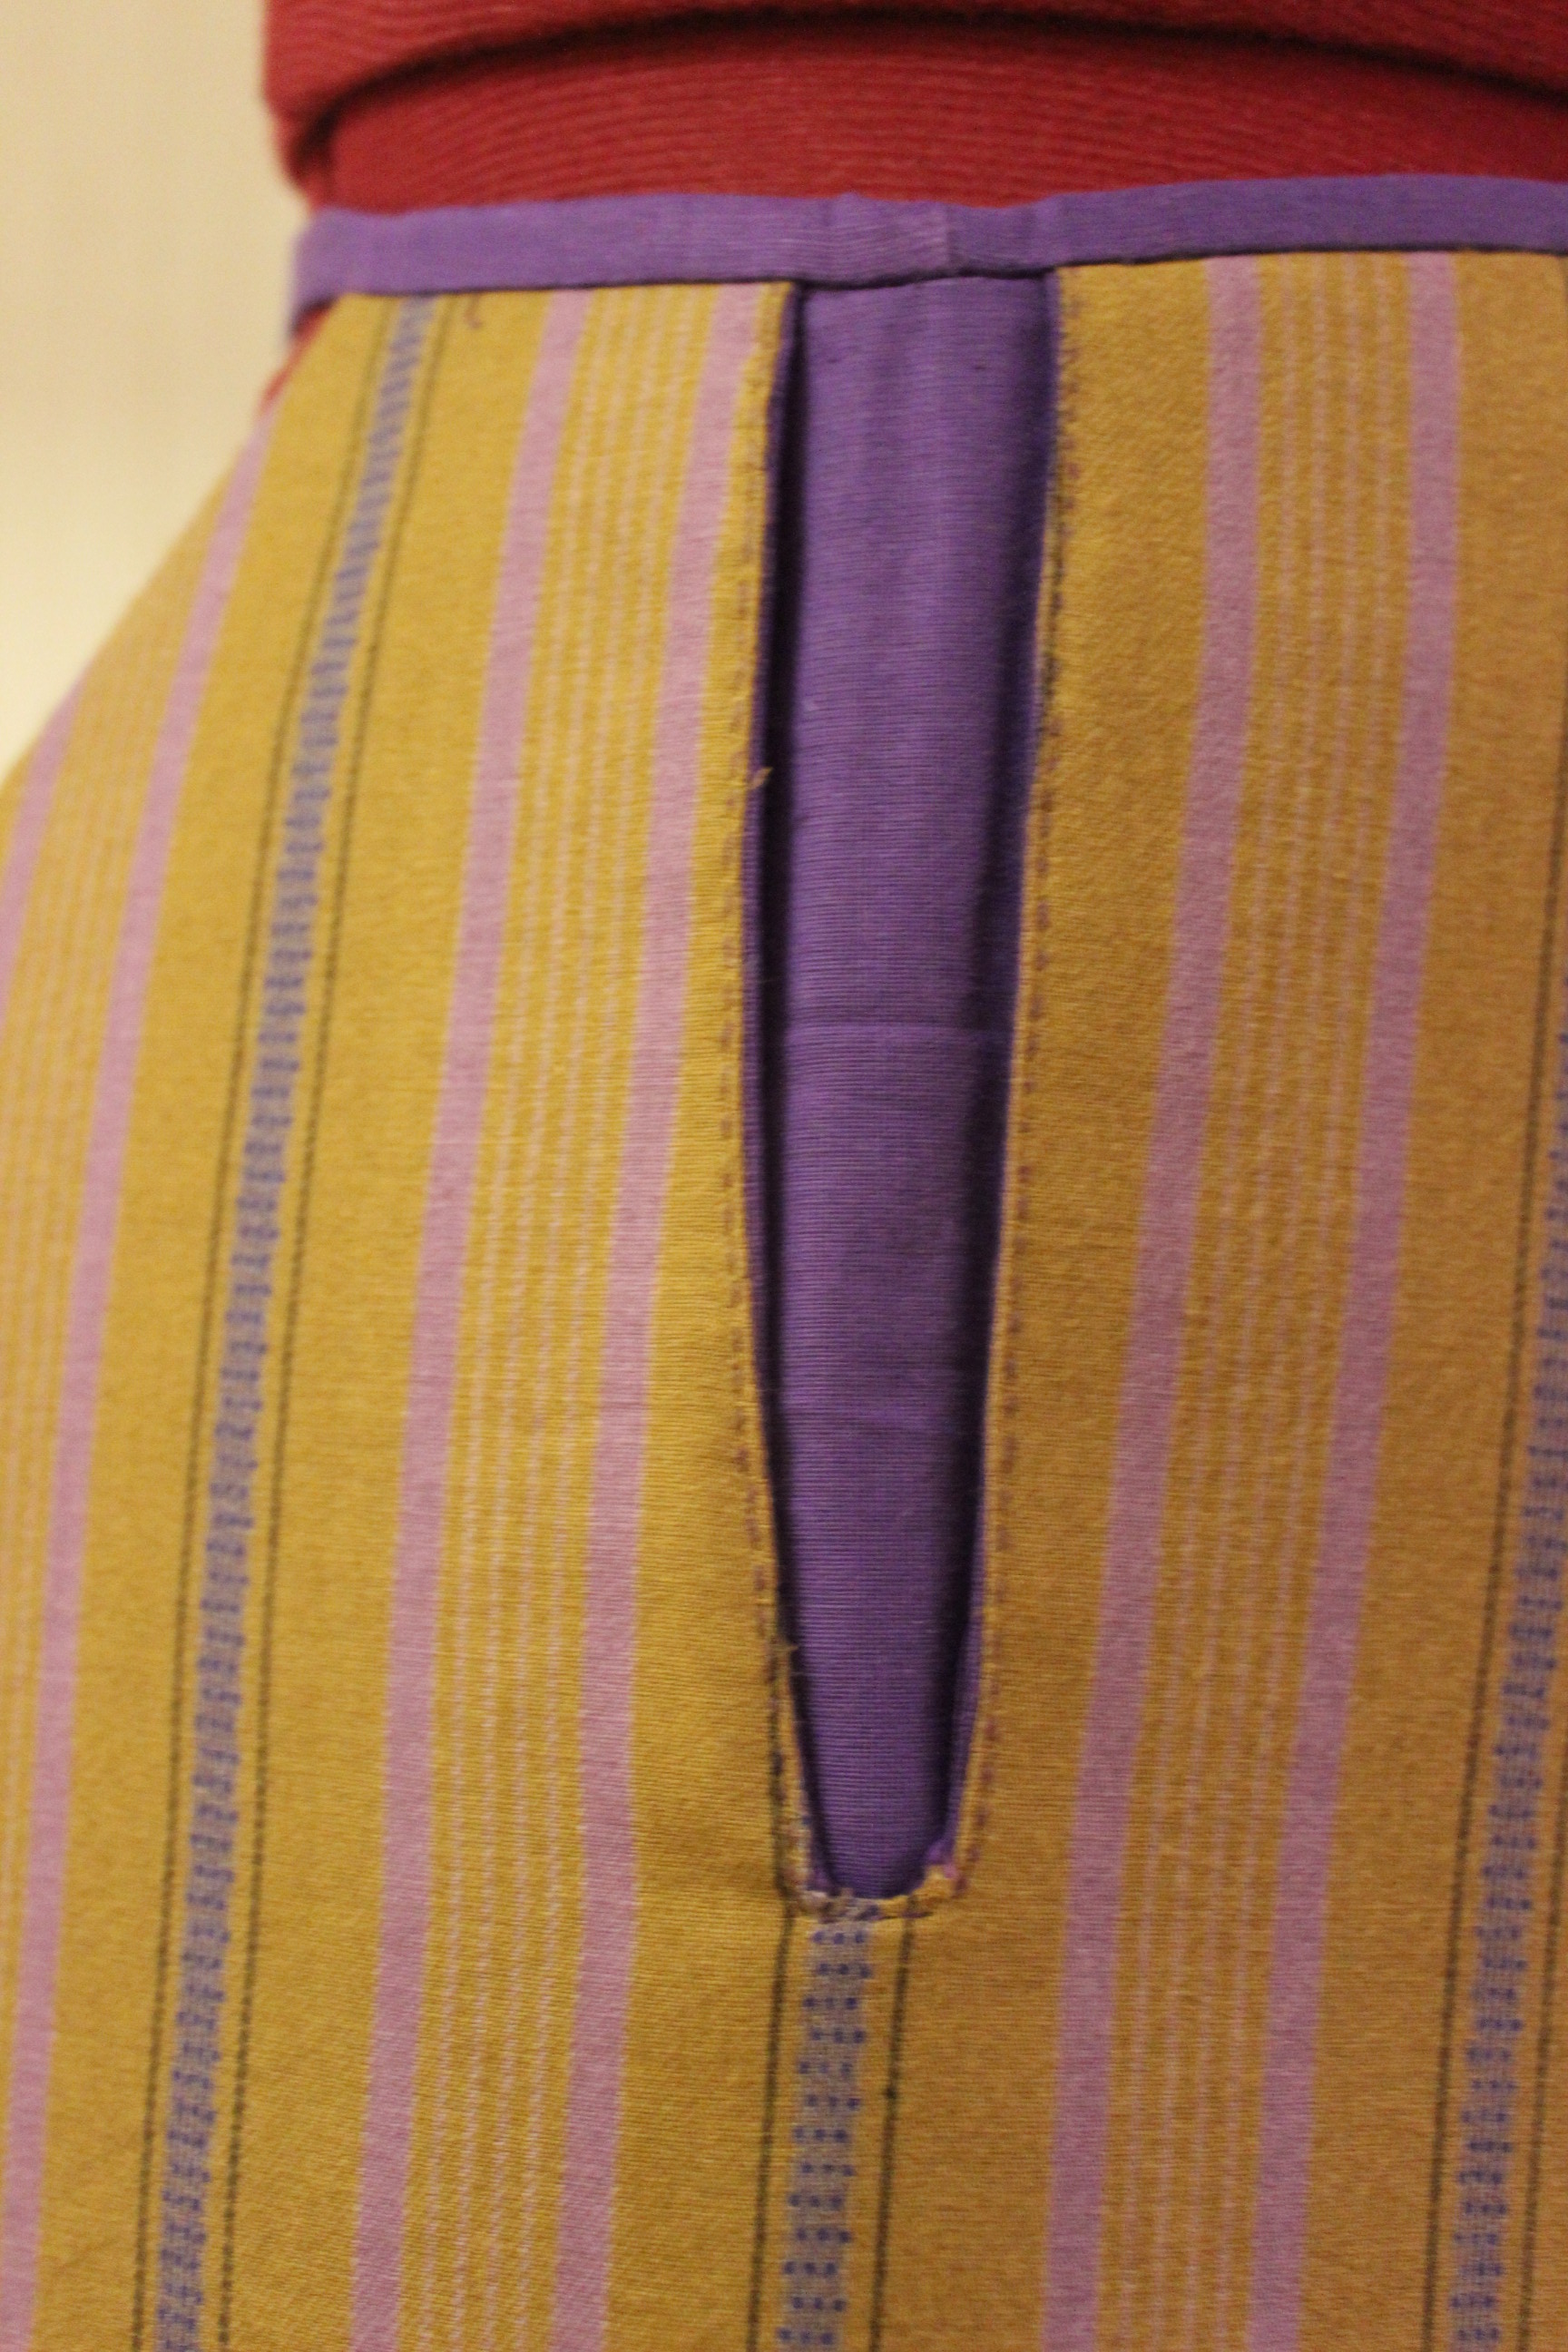
The hardest part was to figure out the bust flap and the closing, since I wanted to be able to wear it in several different ways (Flap up/down, Straps straight/crossed at back) I ended up only attaching the flap at the “waist” so that it could either be folded down (hidden) or pinned to the straps if worn up.
Then I marked the buttonhole placement, and stitched them (using my machine). 
I finished by adding the buttons, and a 10 cm wide piece of linen to the hem to give it some weight. 
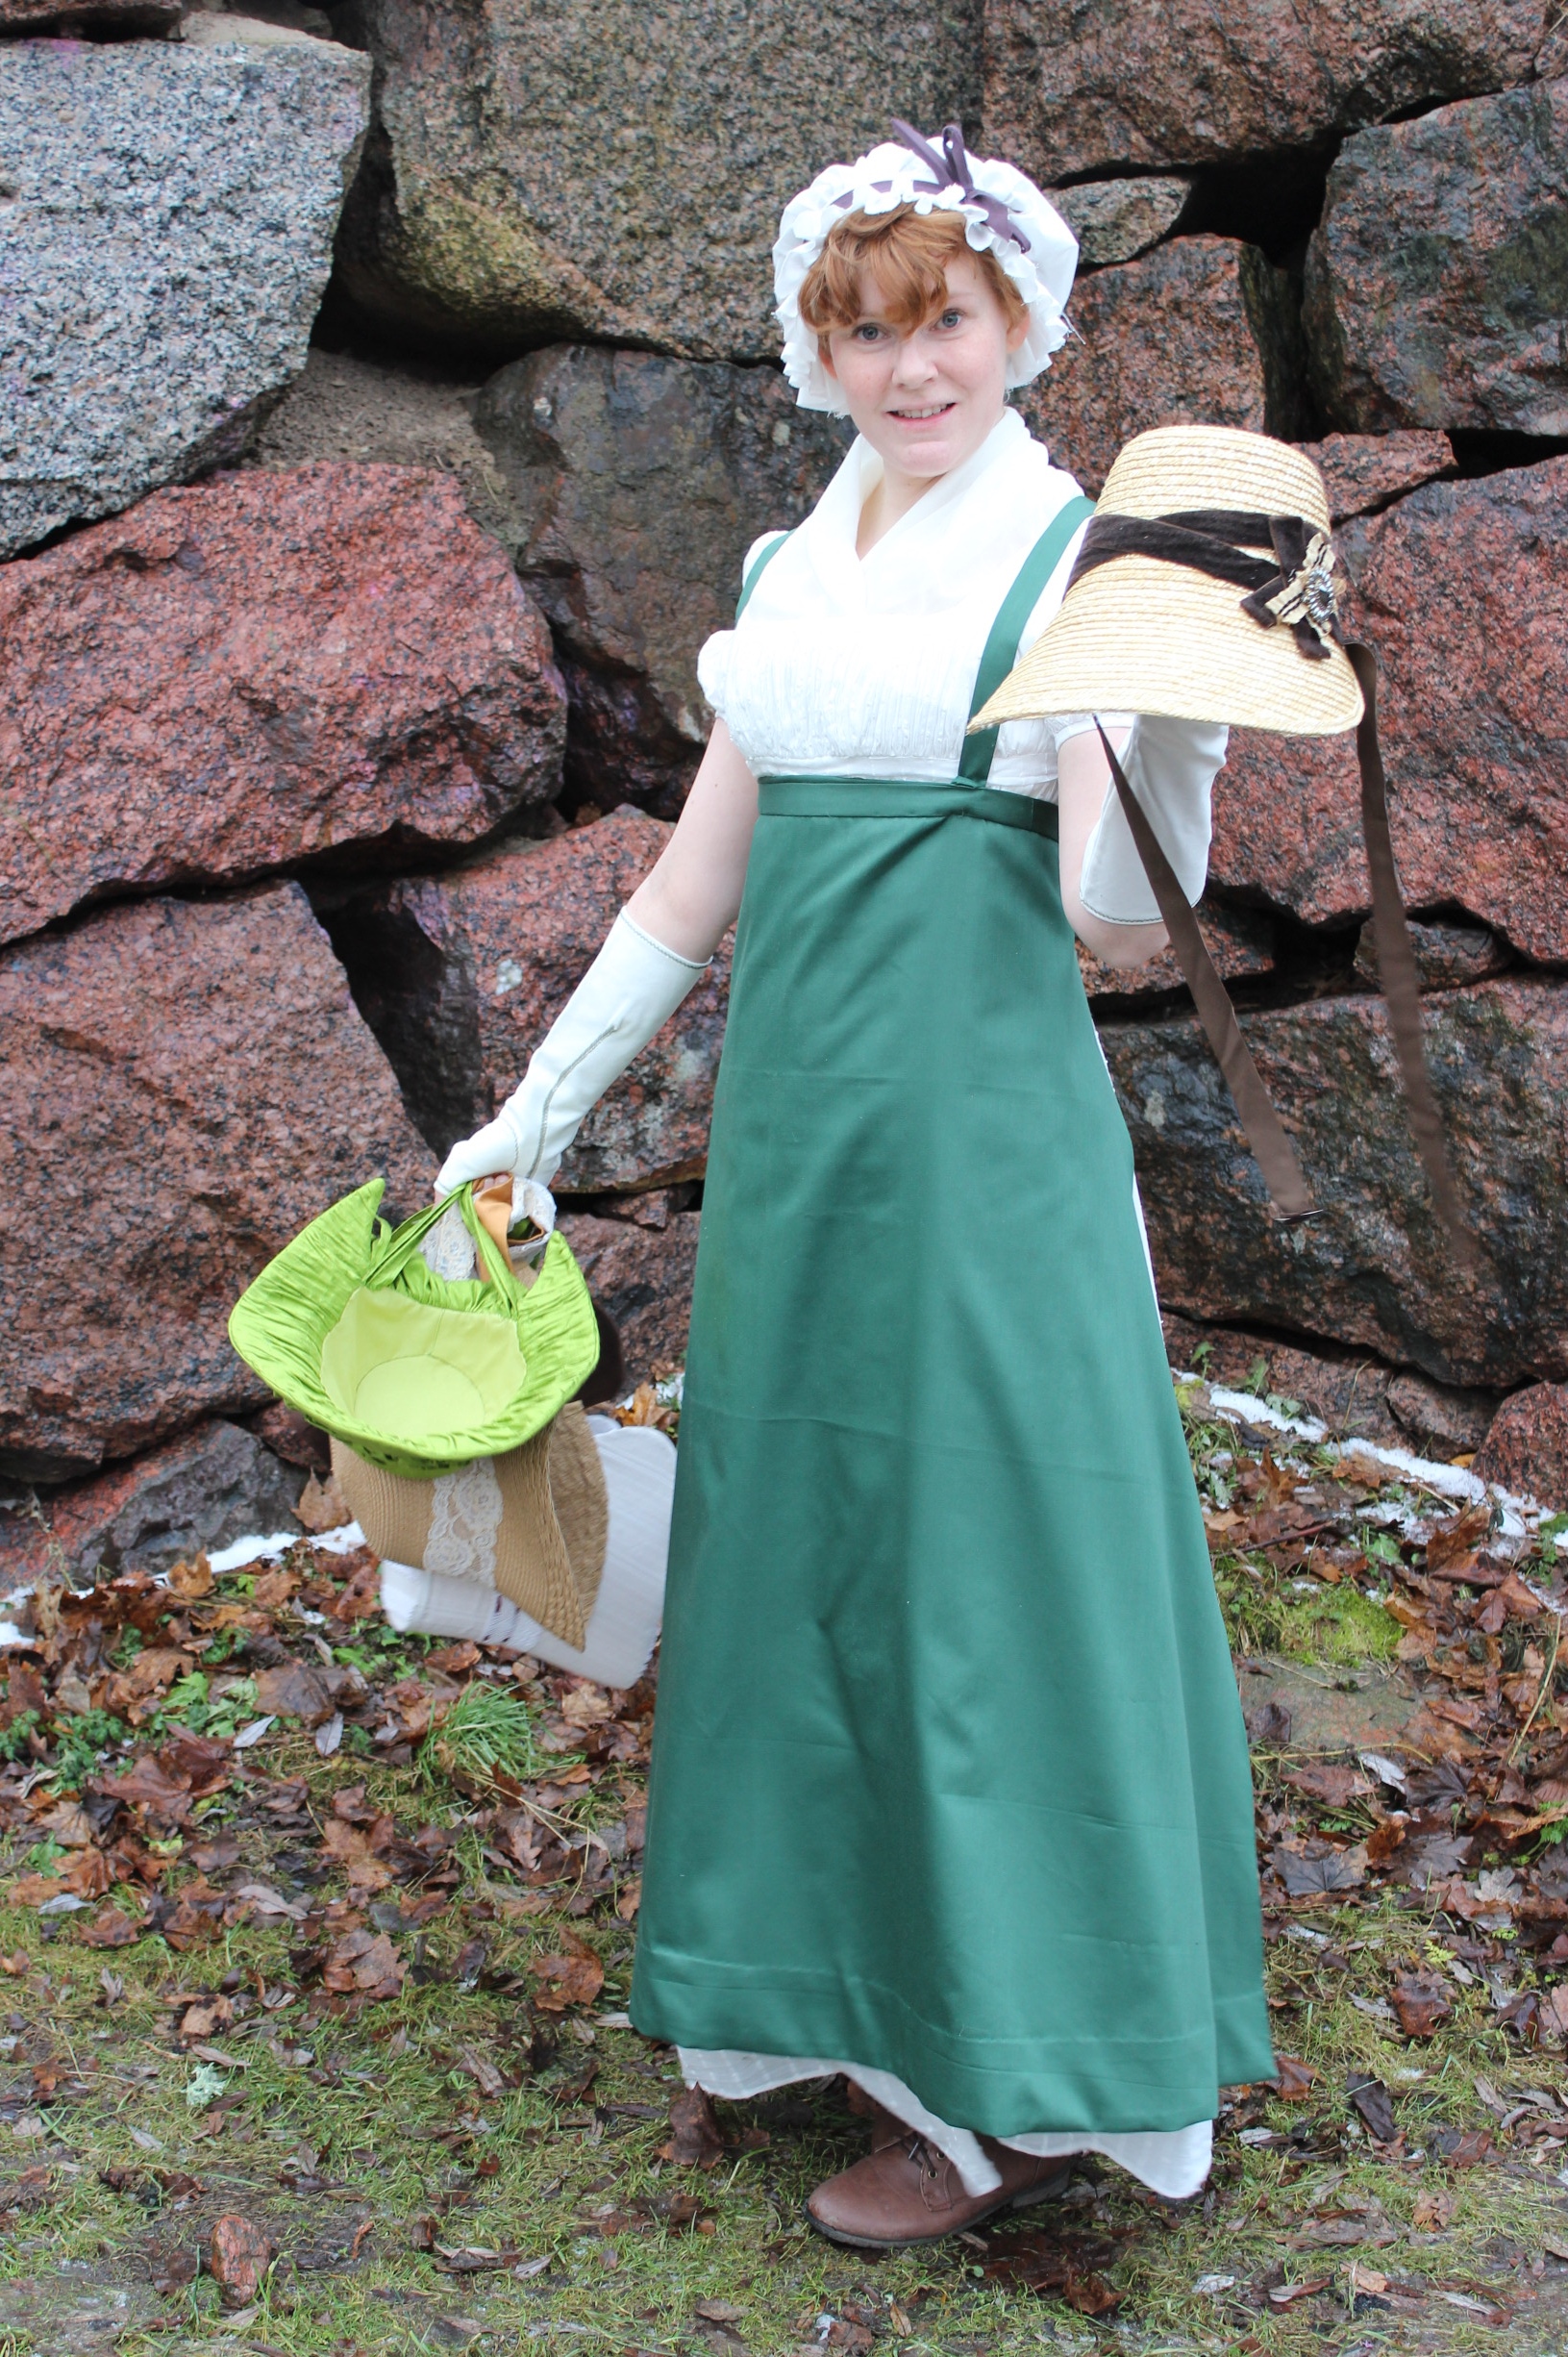
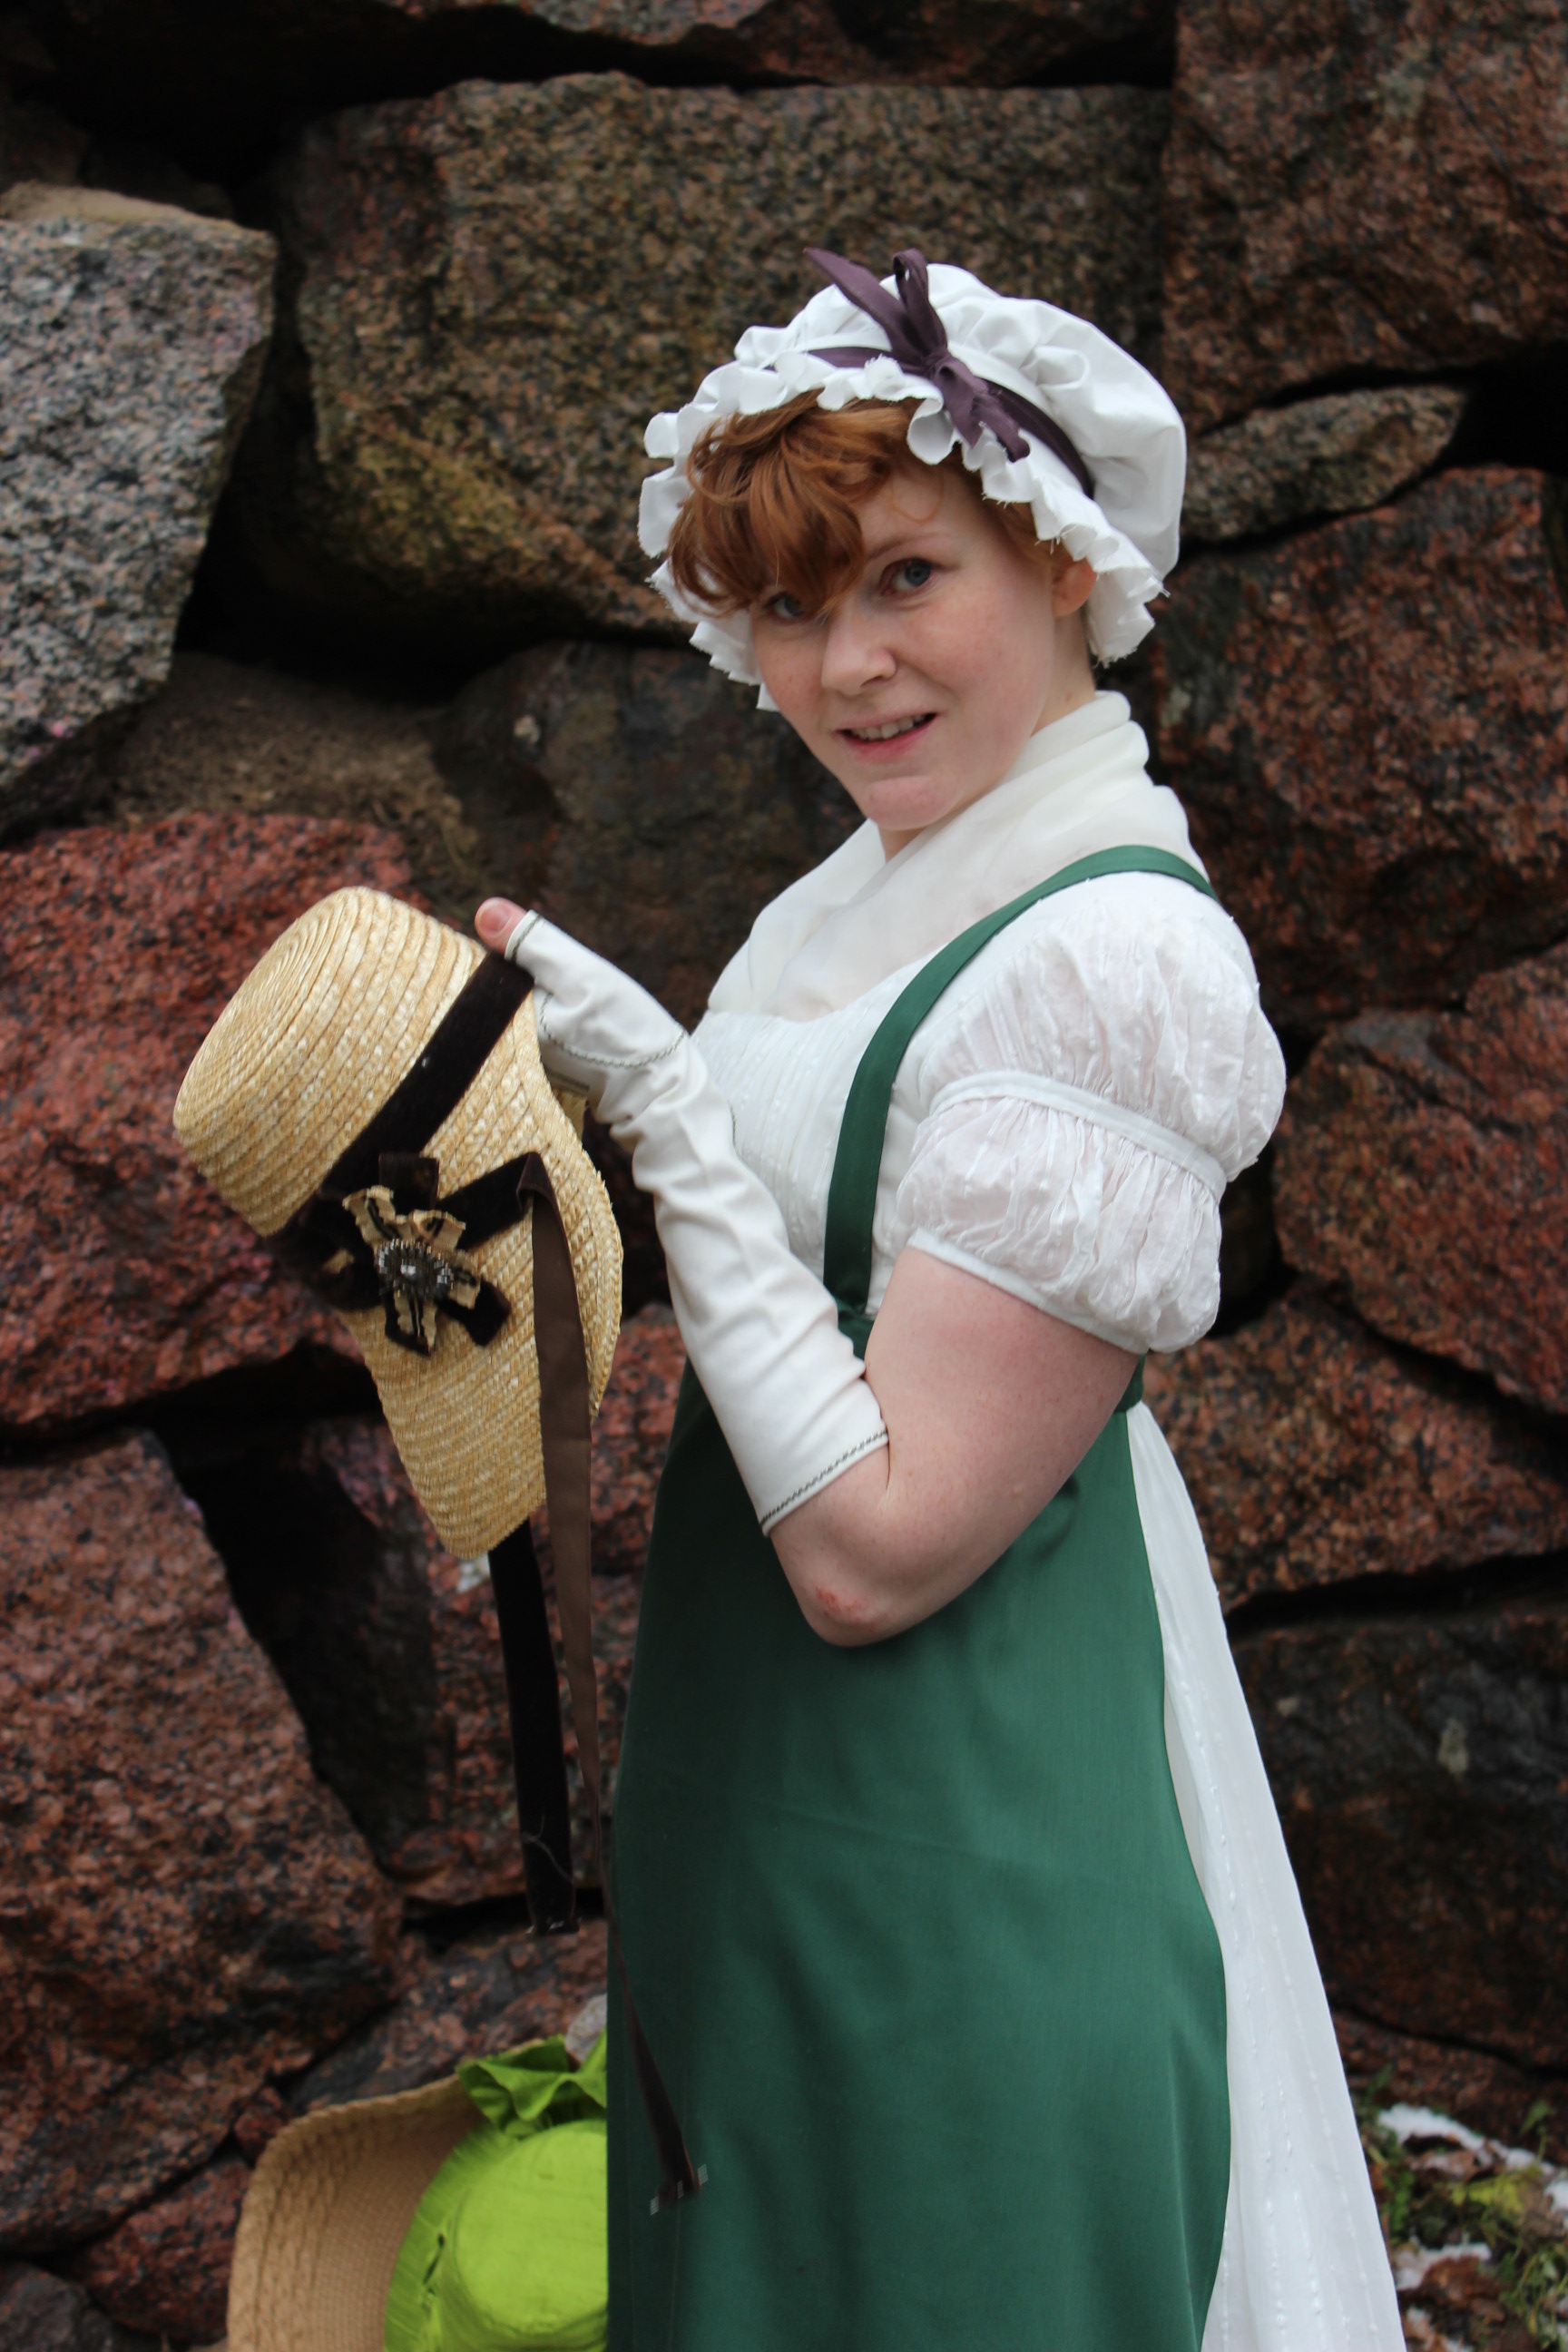
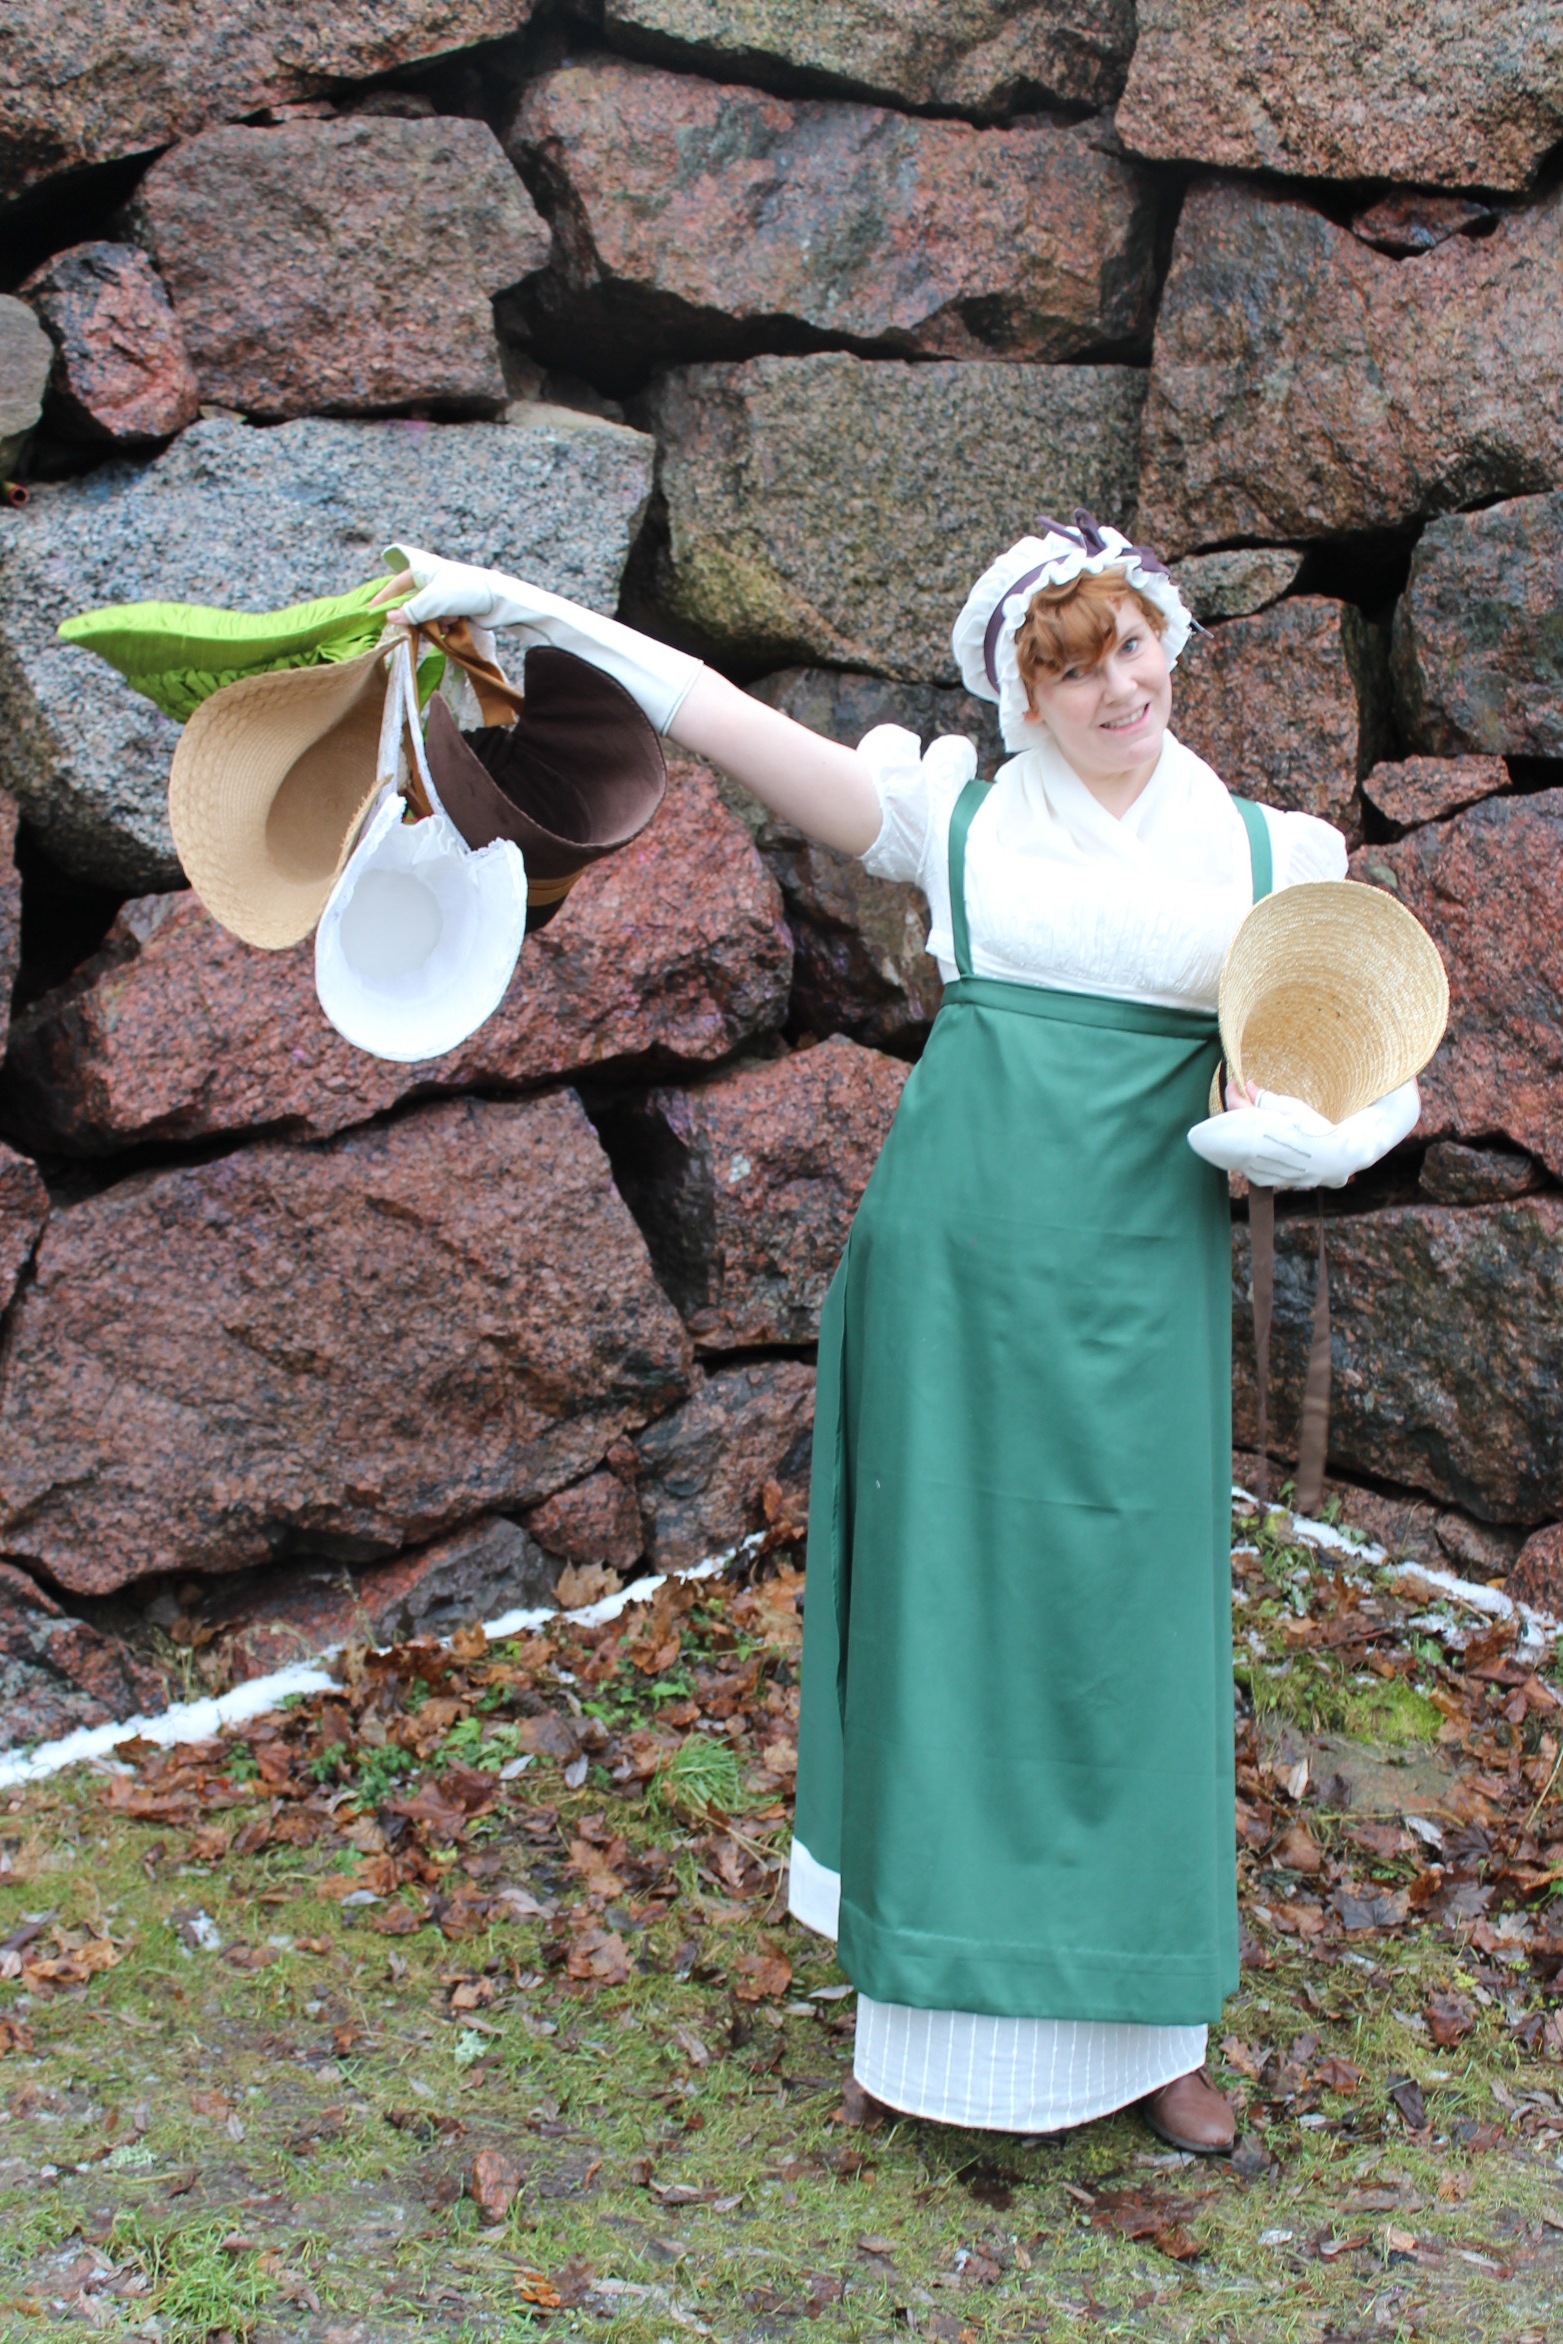
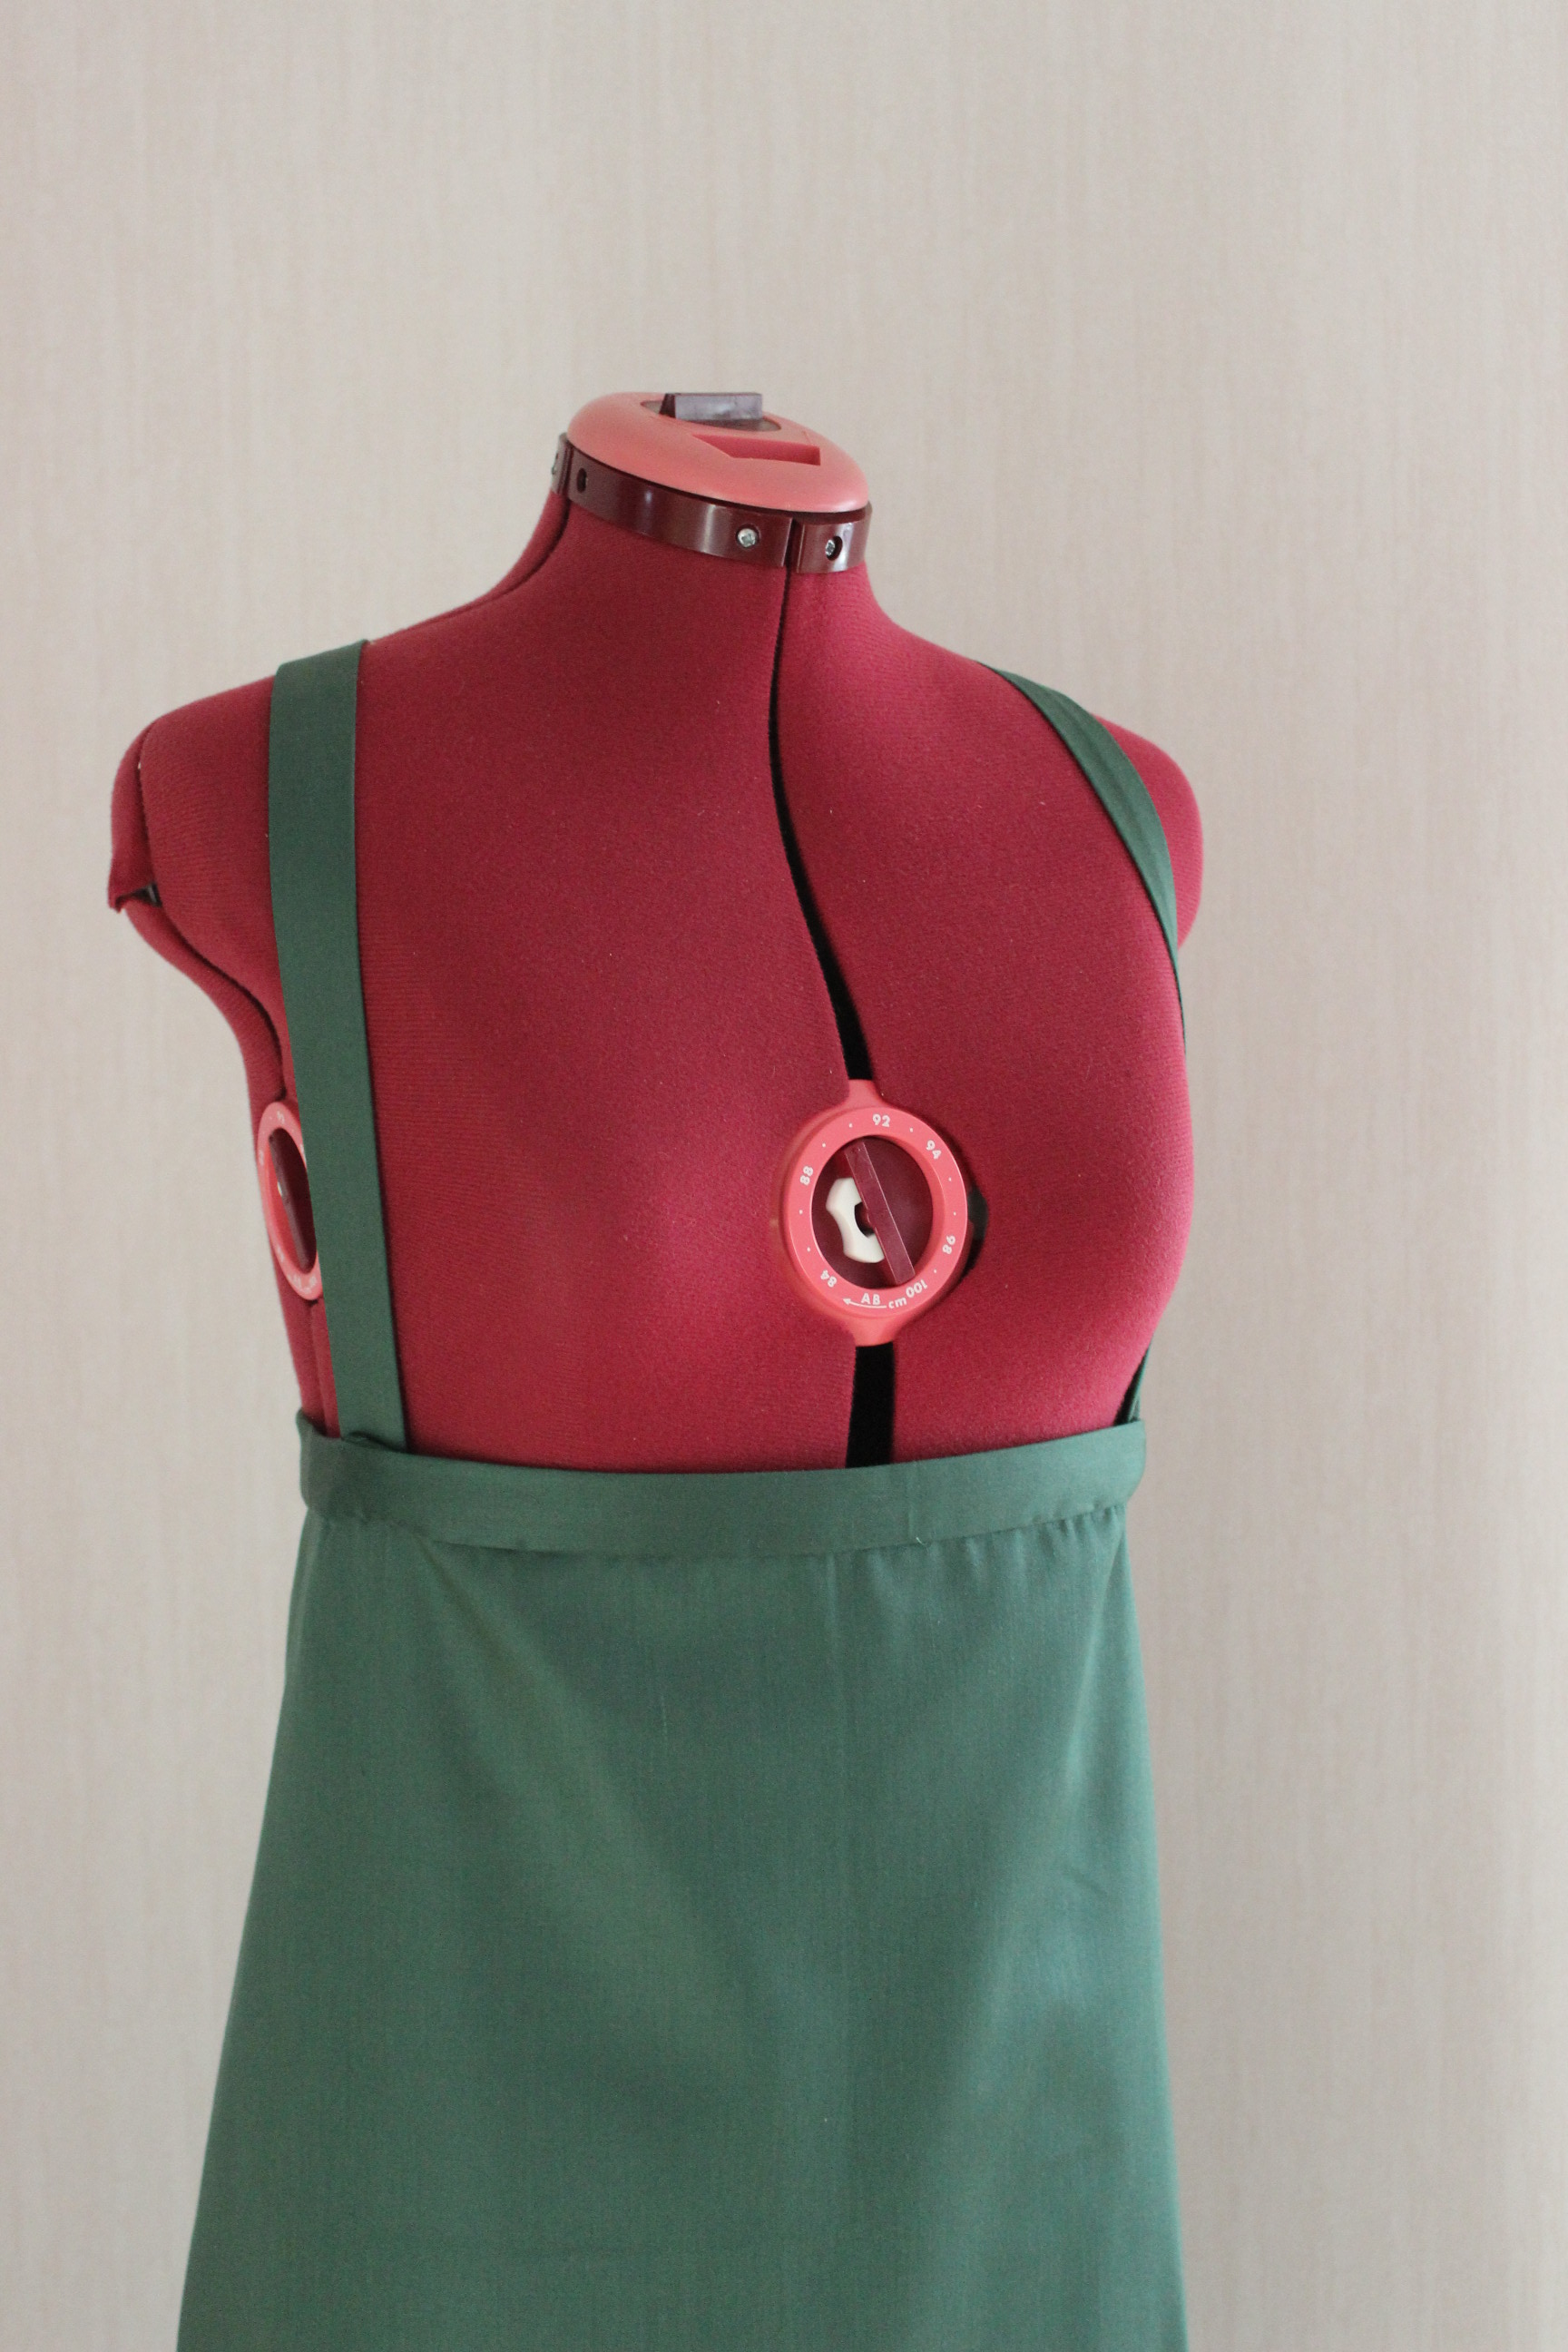
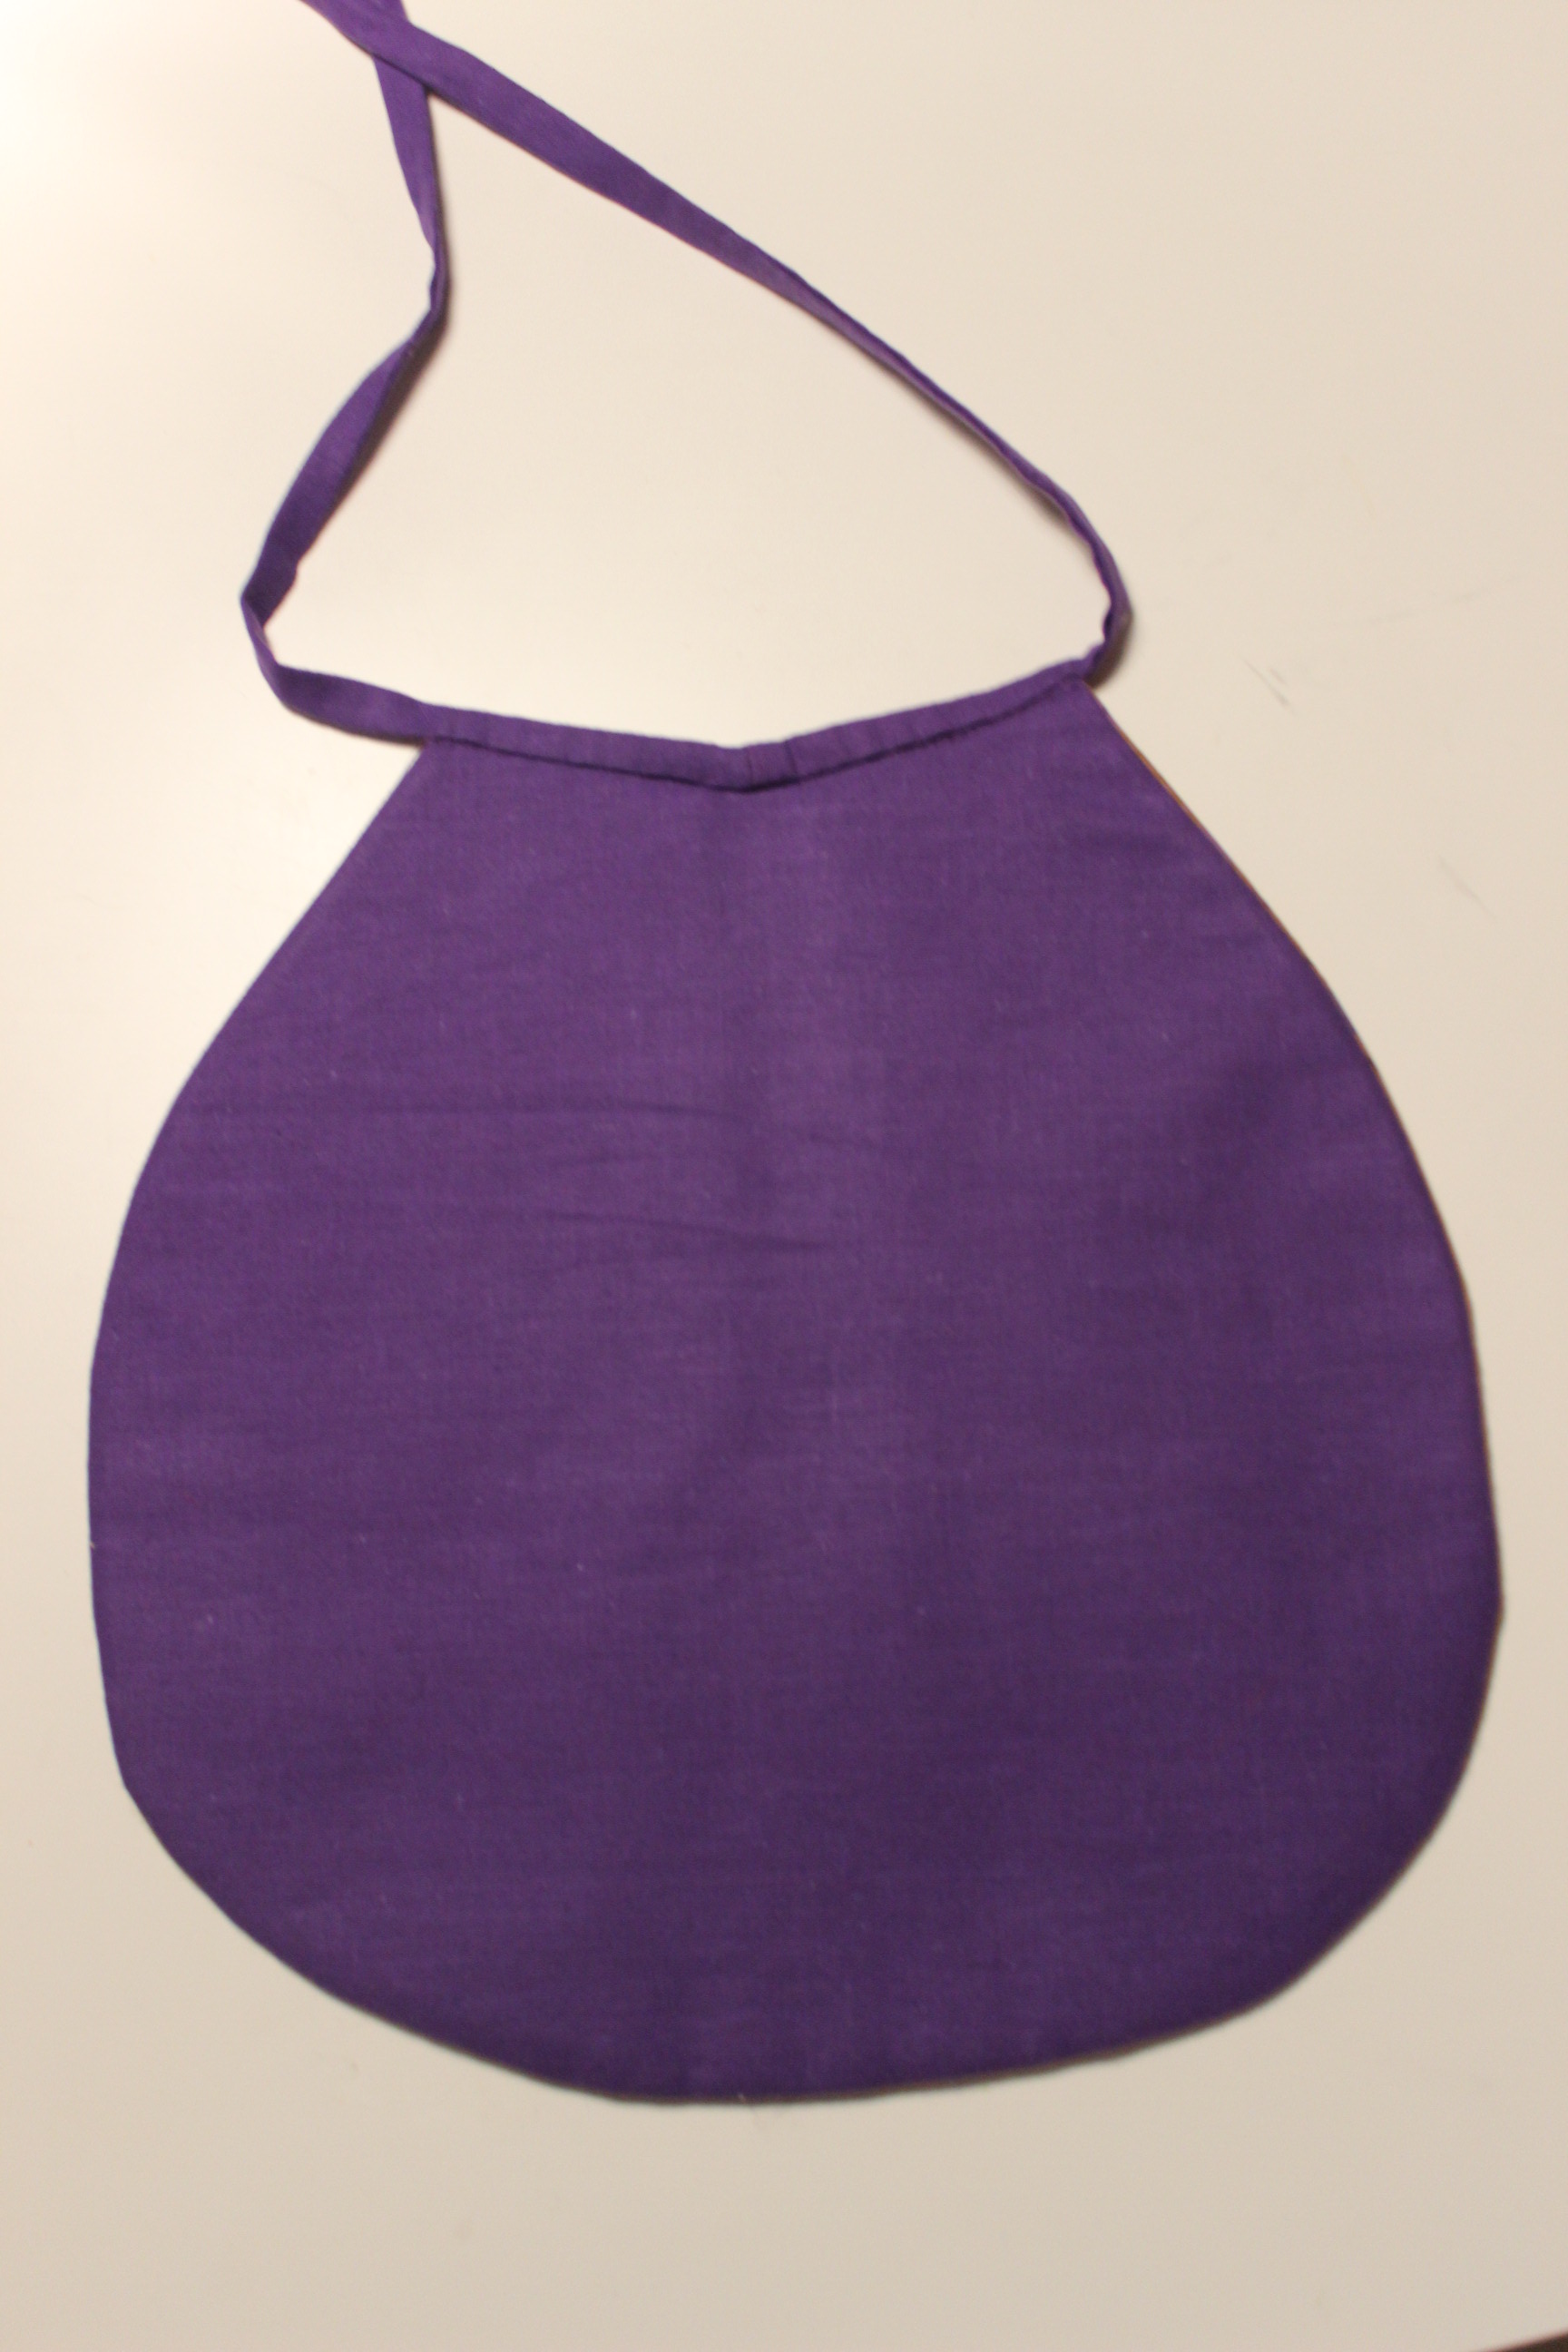
The finished apron:


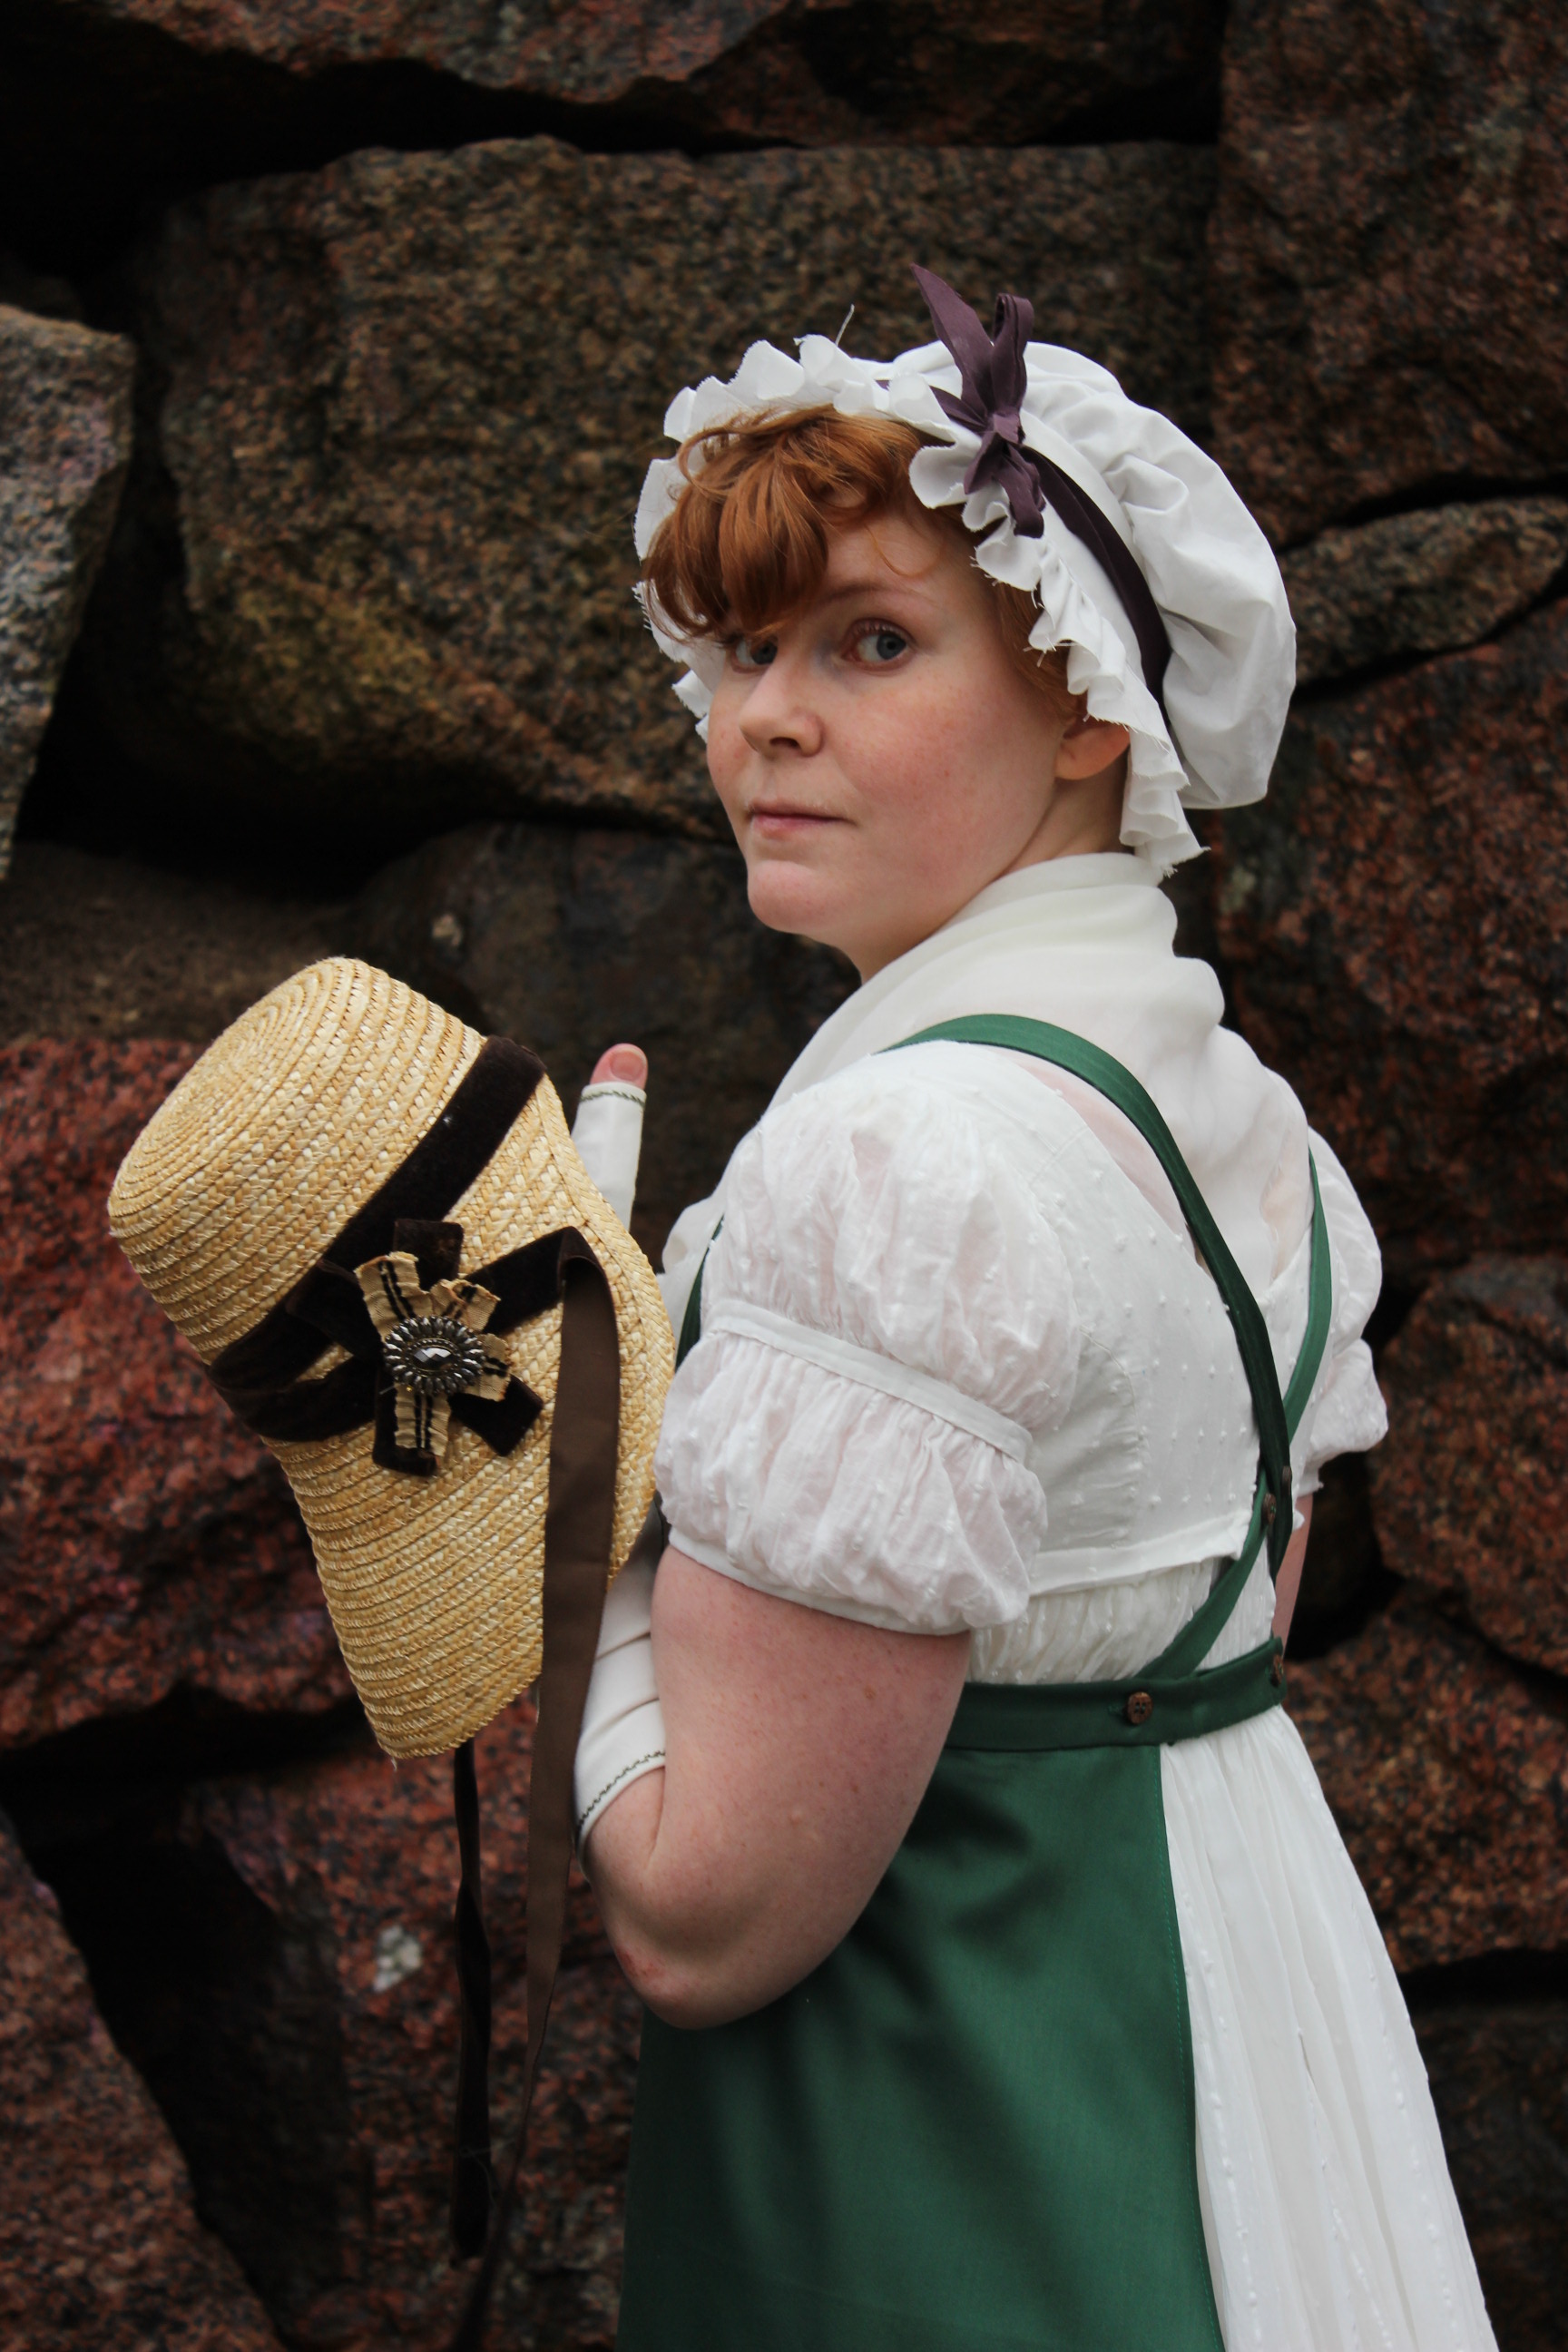
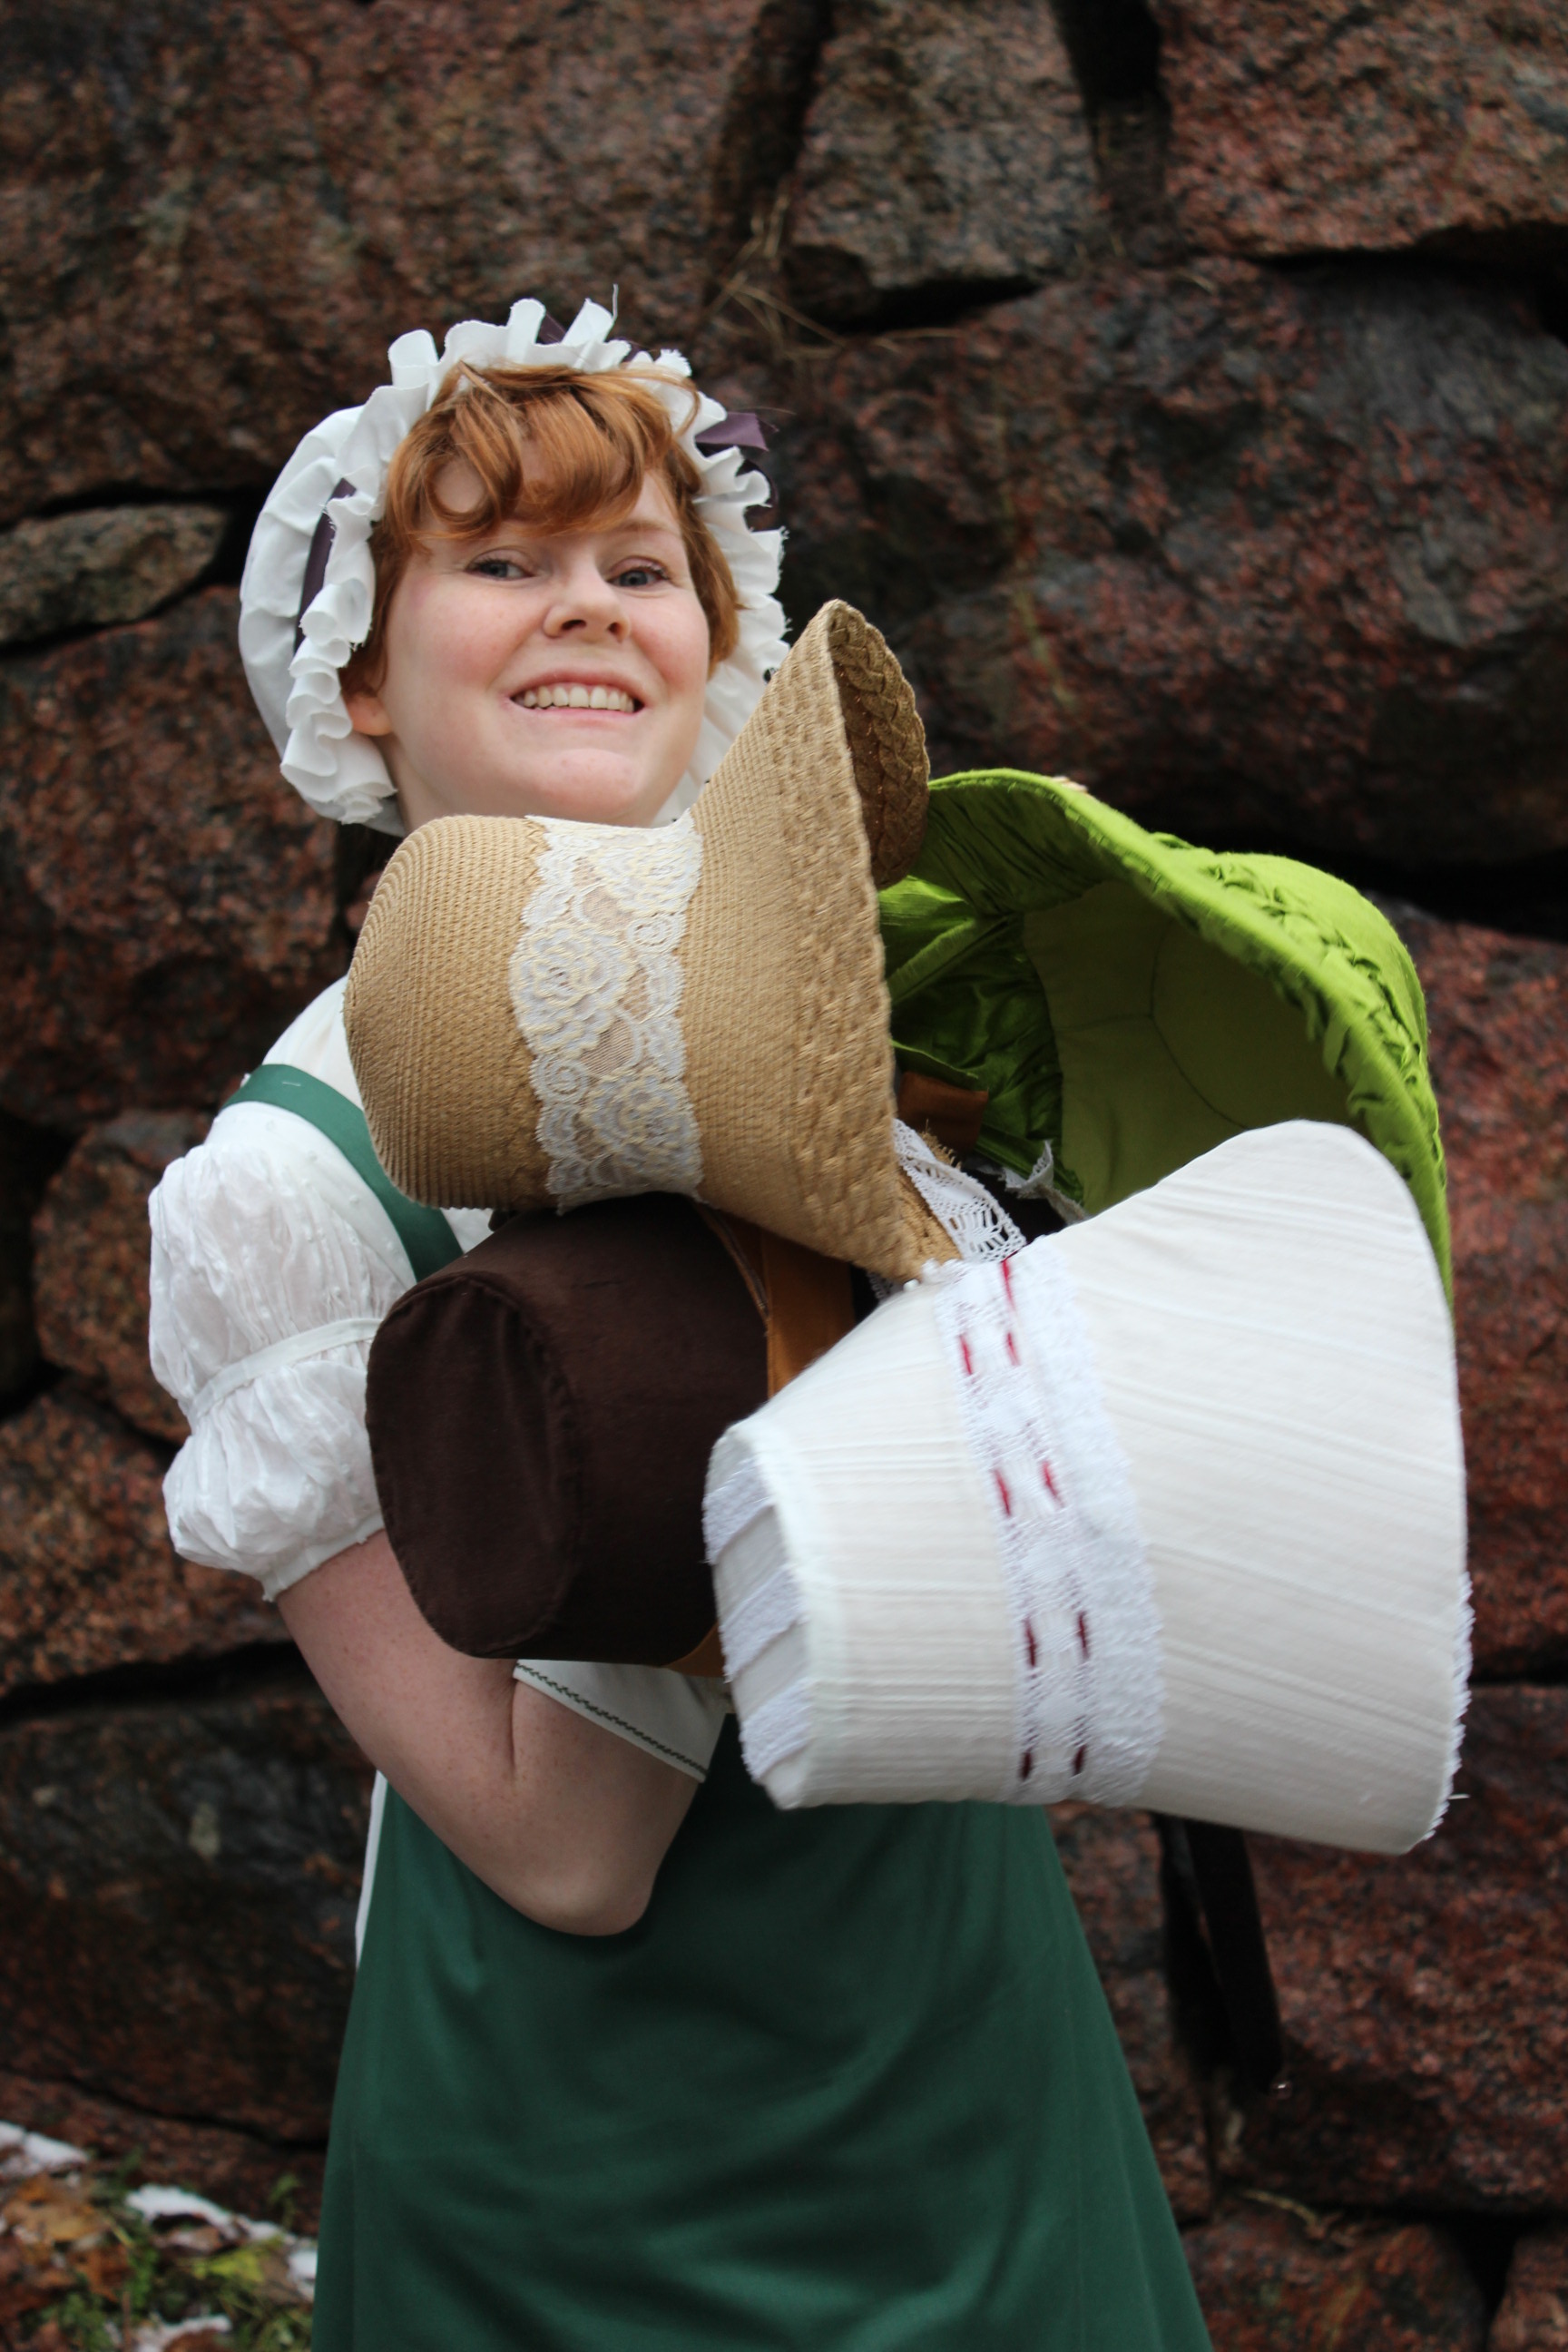
Bust flap down and crossed straps in back: 


Just the facts:
Challenge: 1/2017 “Firts & Last”
What: a Regency apron
How It fits the challenge: It would be one of the last pieces you put on before leaving the house/doing your chores. It’ also the my first venture into the late Regency/early Biedermeier but not my last since I now wish to make the whole outfit from the inspiration print.
Pattern: None, I drafted my own – It’s basically a trapeze with shoulder straps.
Fabric: 1 m green cotton satin and 15 cm white linen for hem binding.
Notions: Thread and buttons
Historical accurate: Besides from the machine stitching and maybe to “weak” fabric I would say it is pretty good. The shape is good and the construction is plausible. about 6/10
Time: About 4 hours – figuring out the construction took the longest time.
Cost: 30 Sek (3 Usd) – got to love those flee Market bargains.
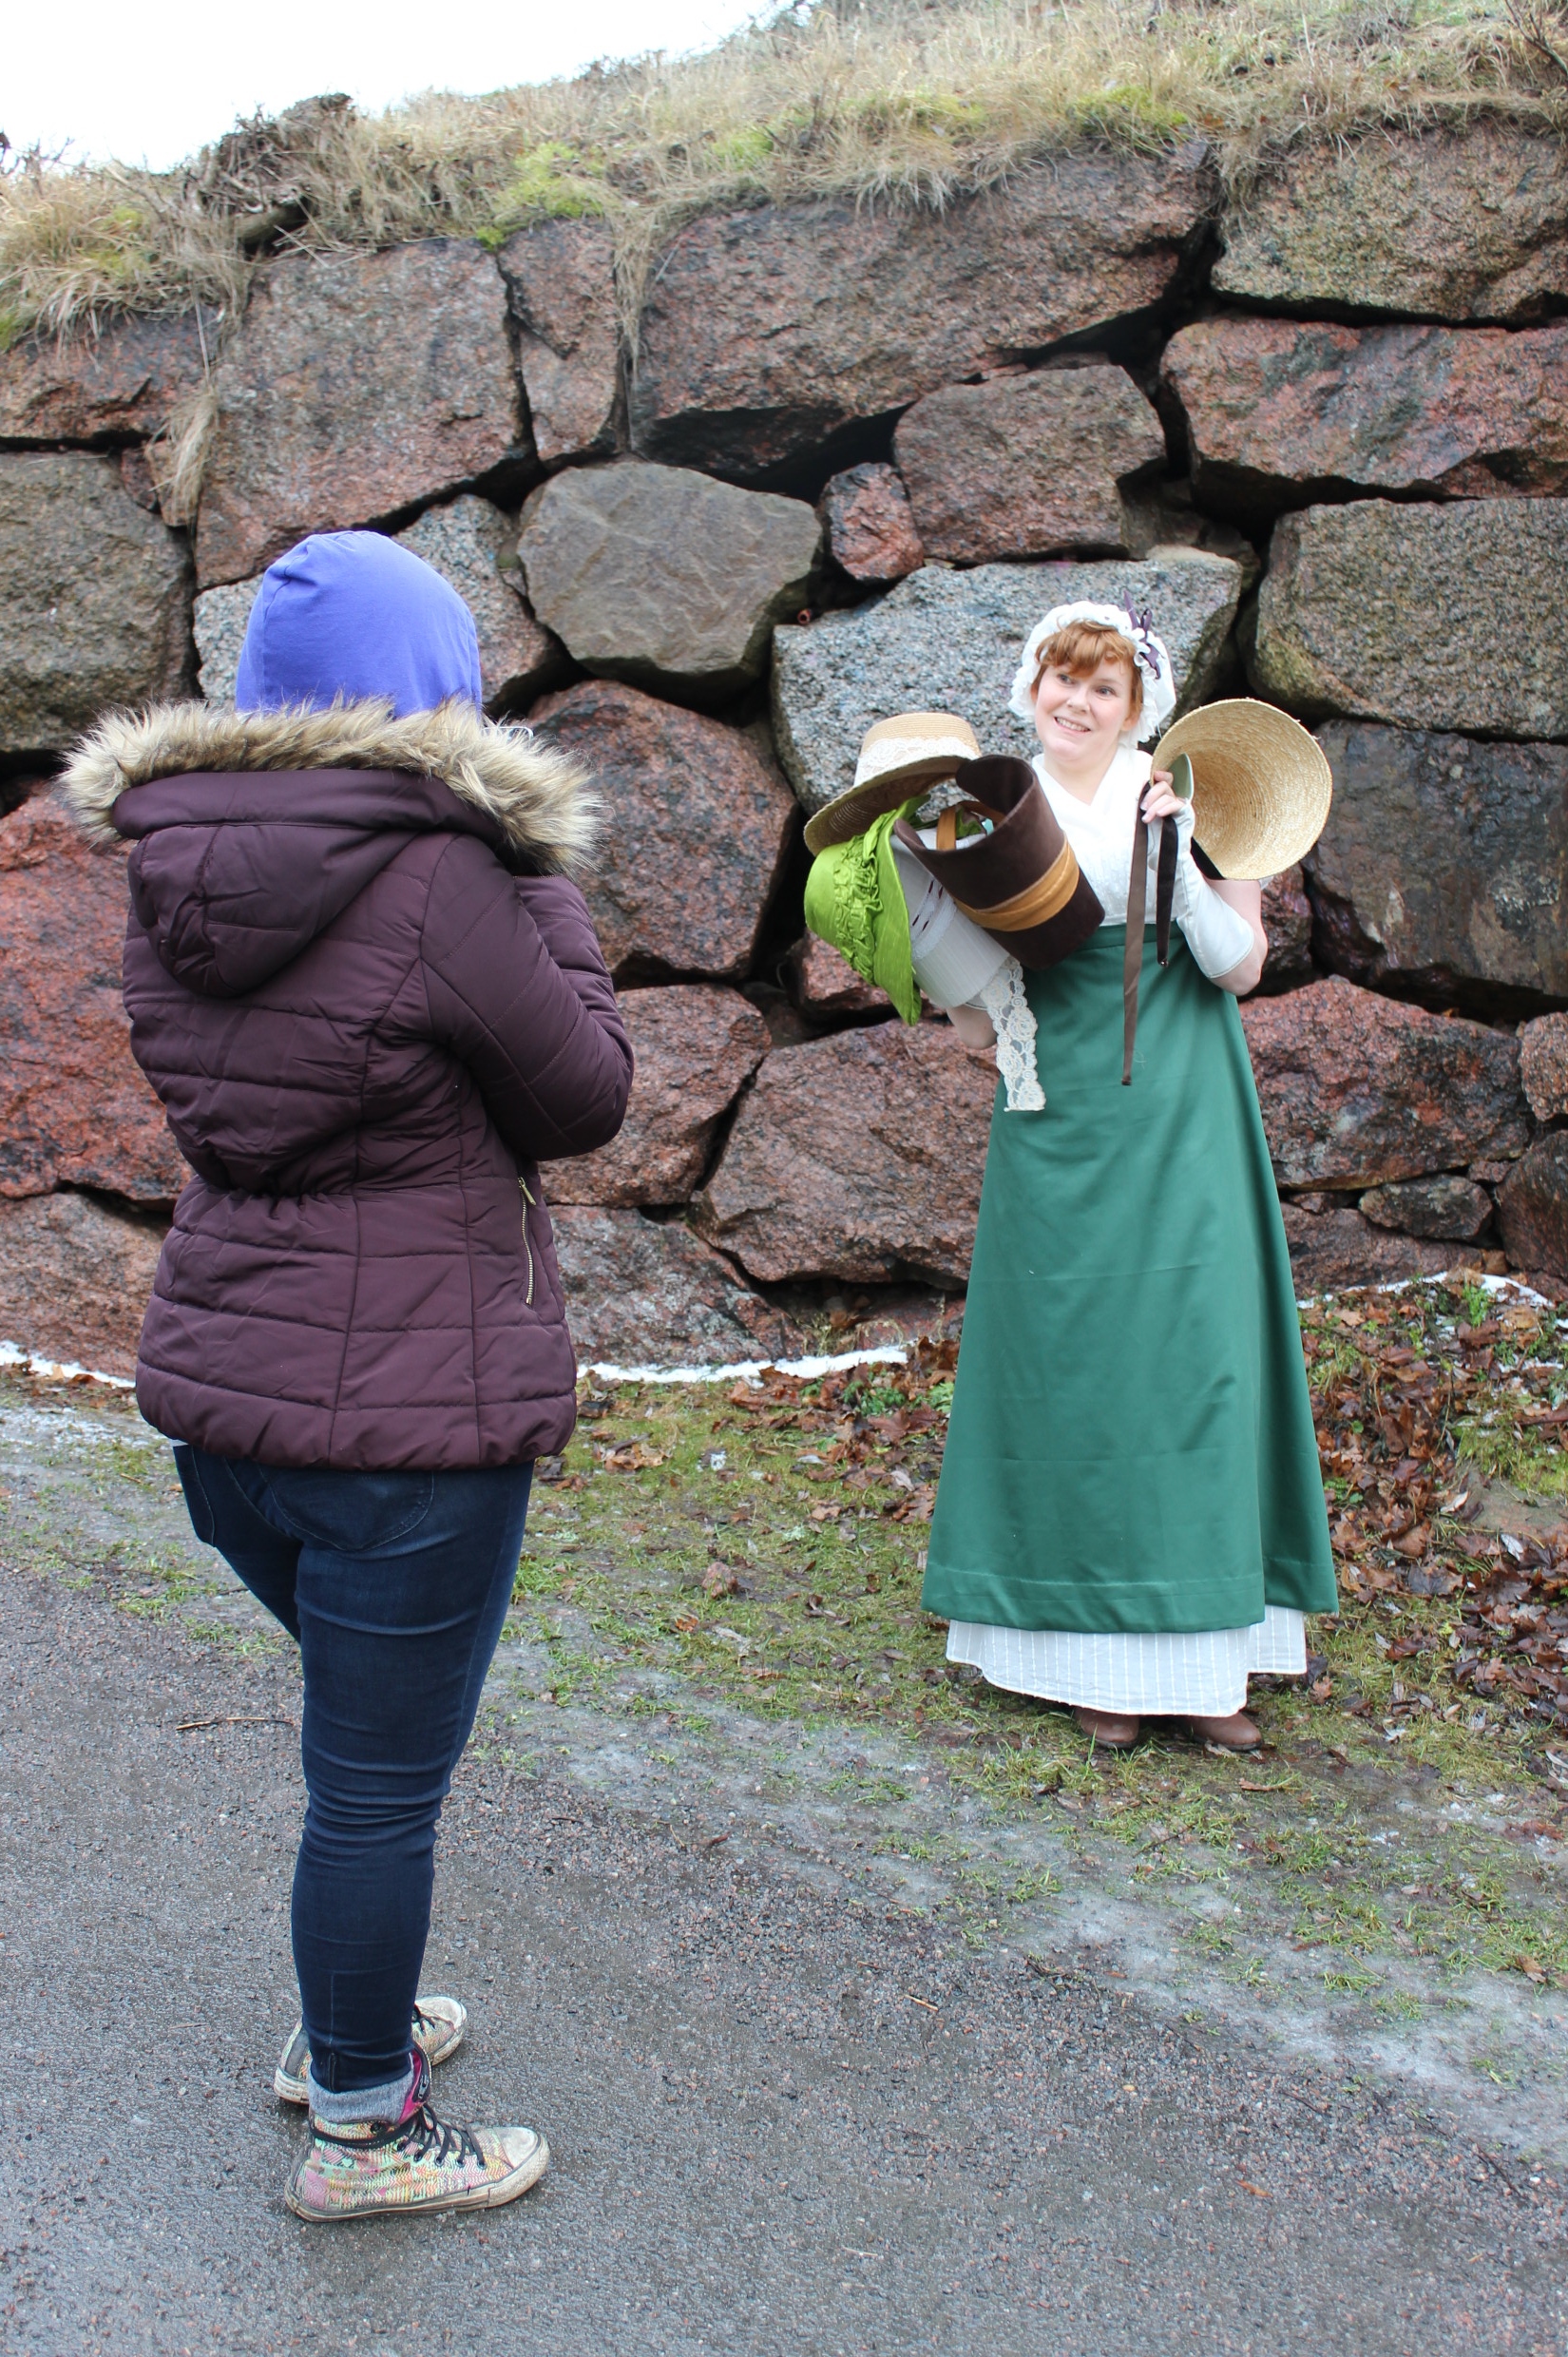
First worn: Mid January for pictures
Final thoughts: I think it looks pretty good, and helps “dress down” my more fancy frocks in a pretty way.