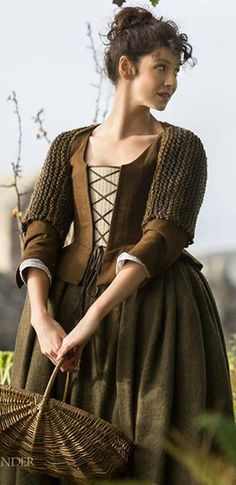
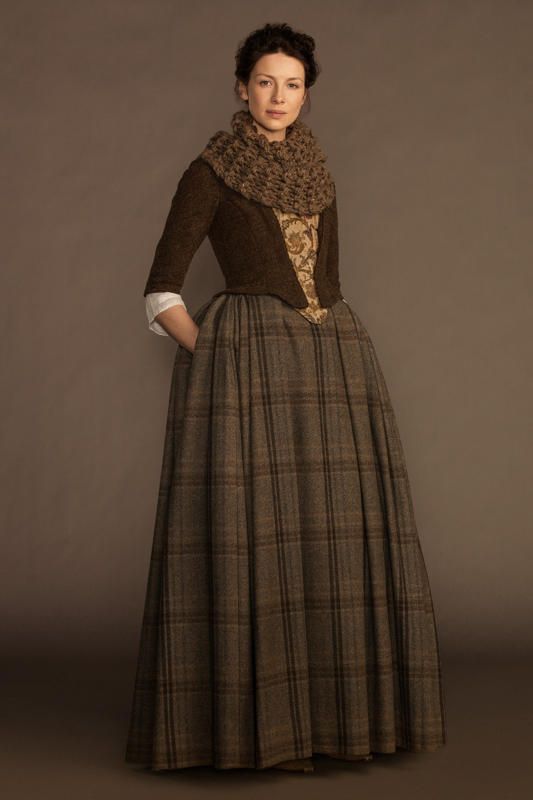
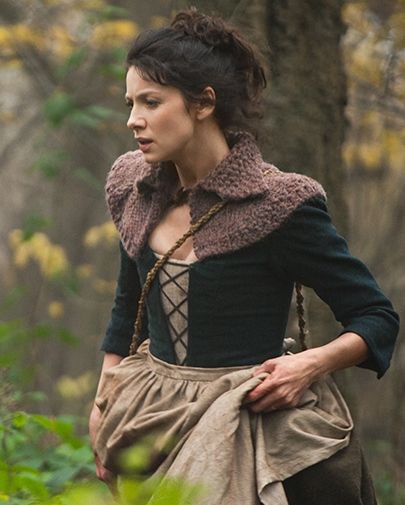
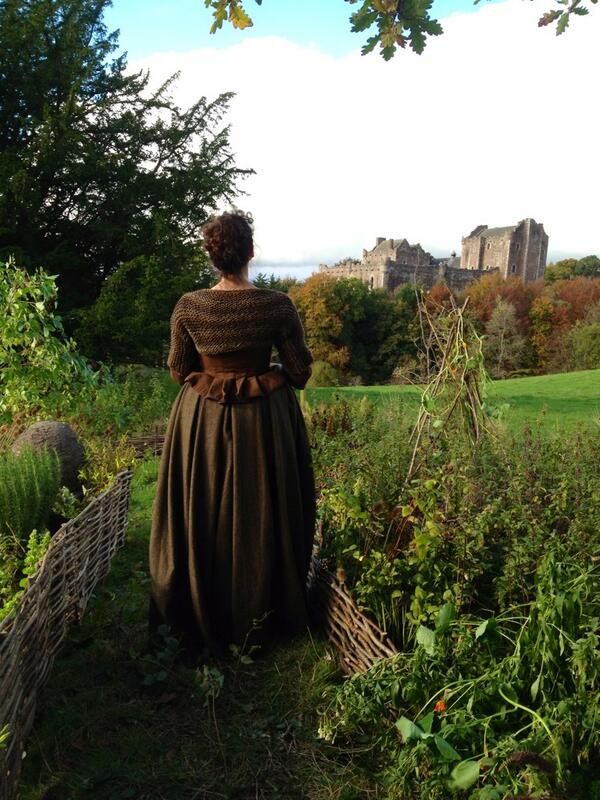
After studying the various looks of the character Clare in the series “Outlander”, comparing them to the fabrics from my stash I decided to go for the simple laced up jacket and skirt that’s became symbolic with the series.
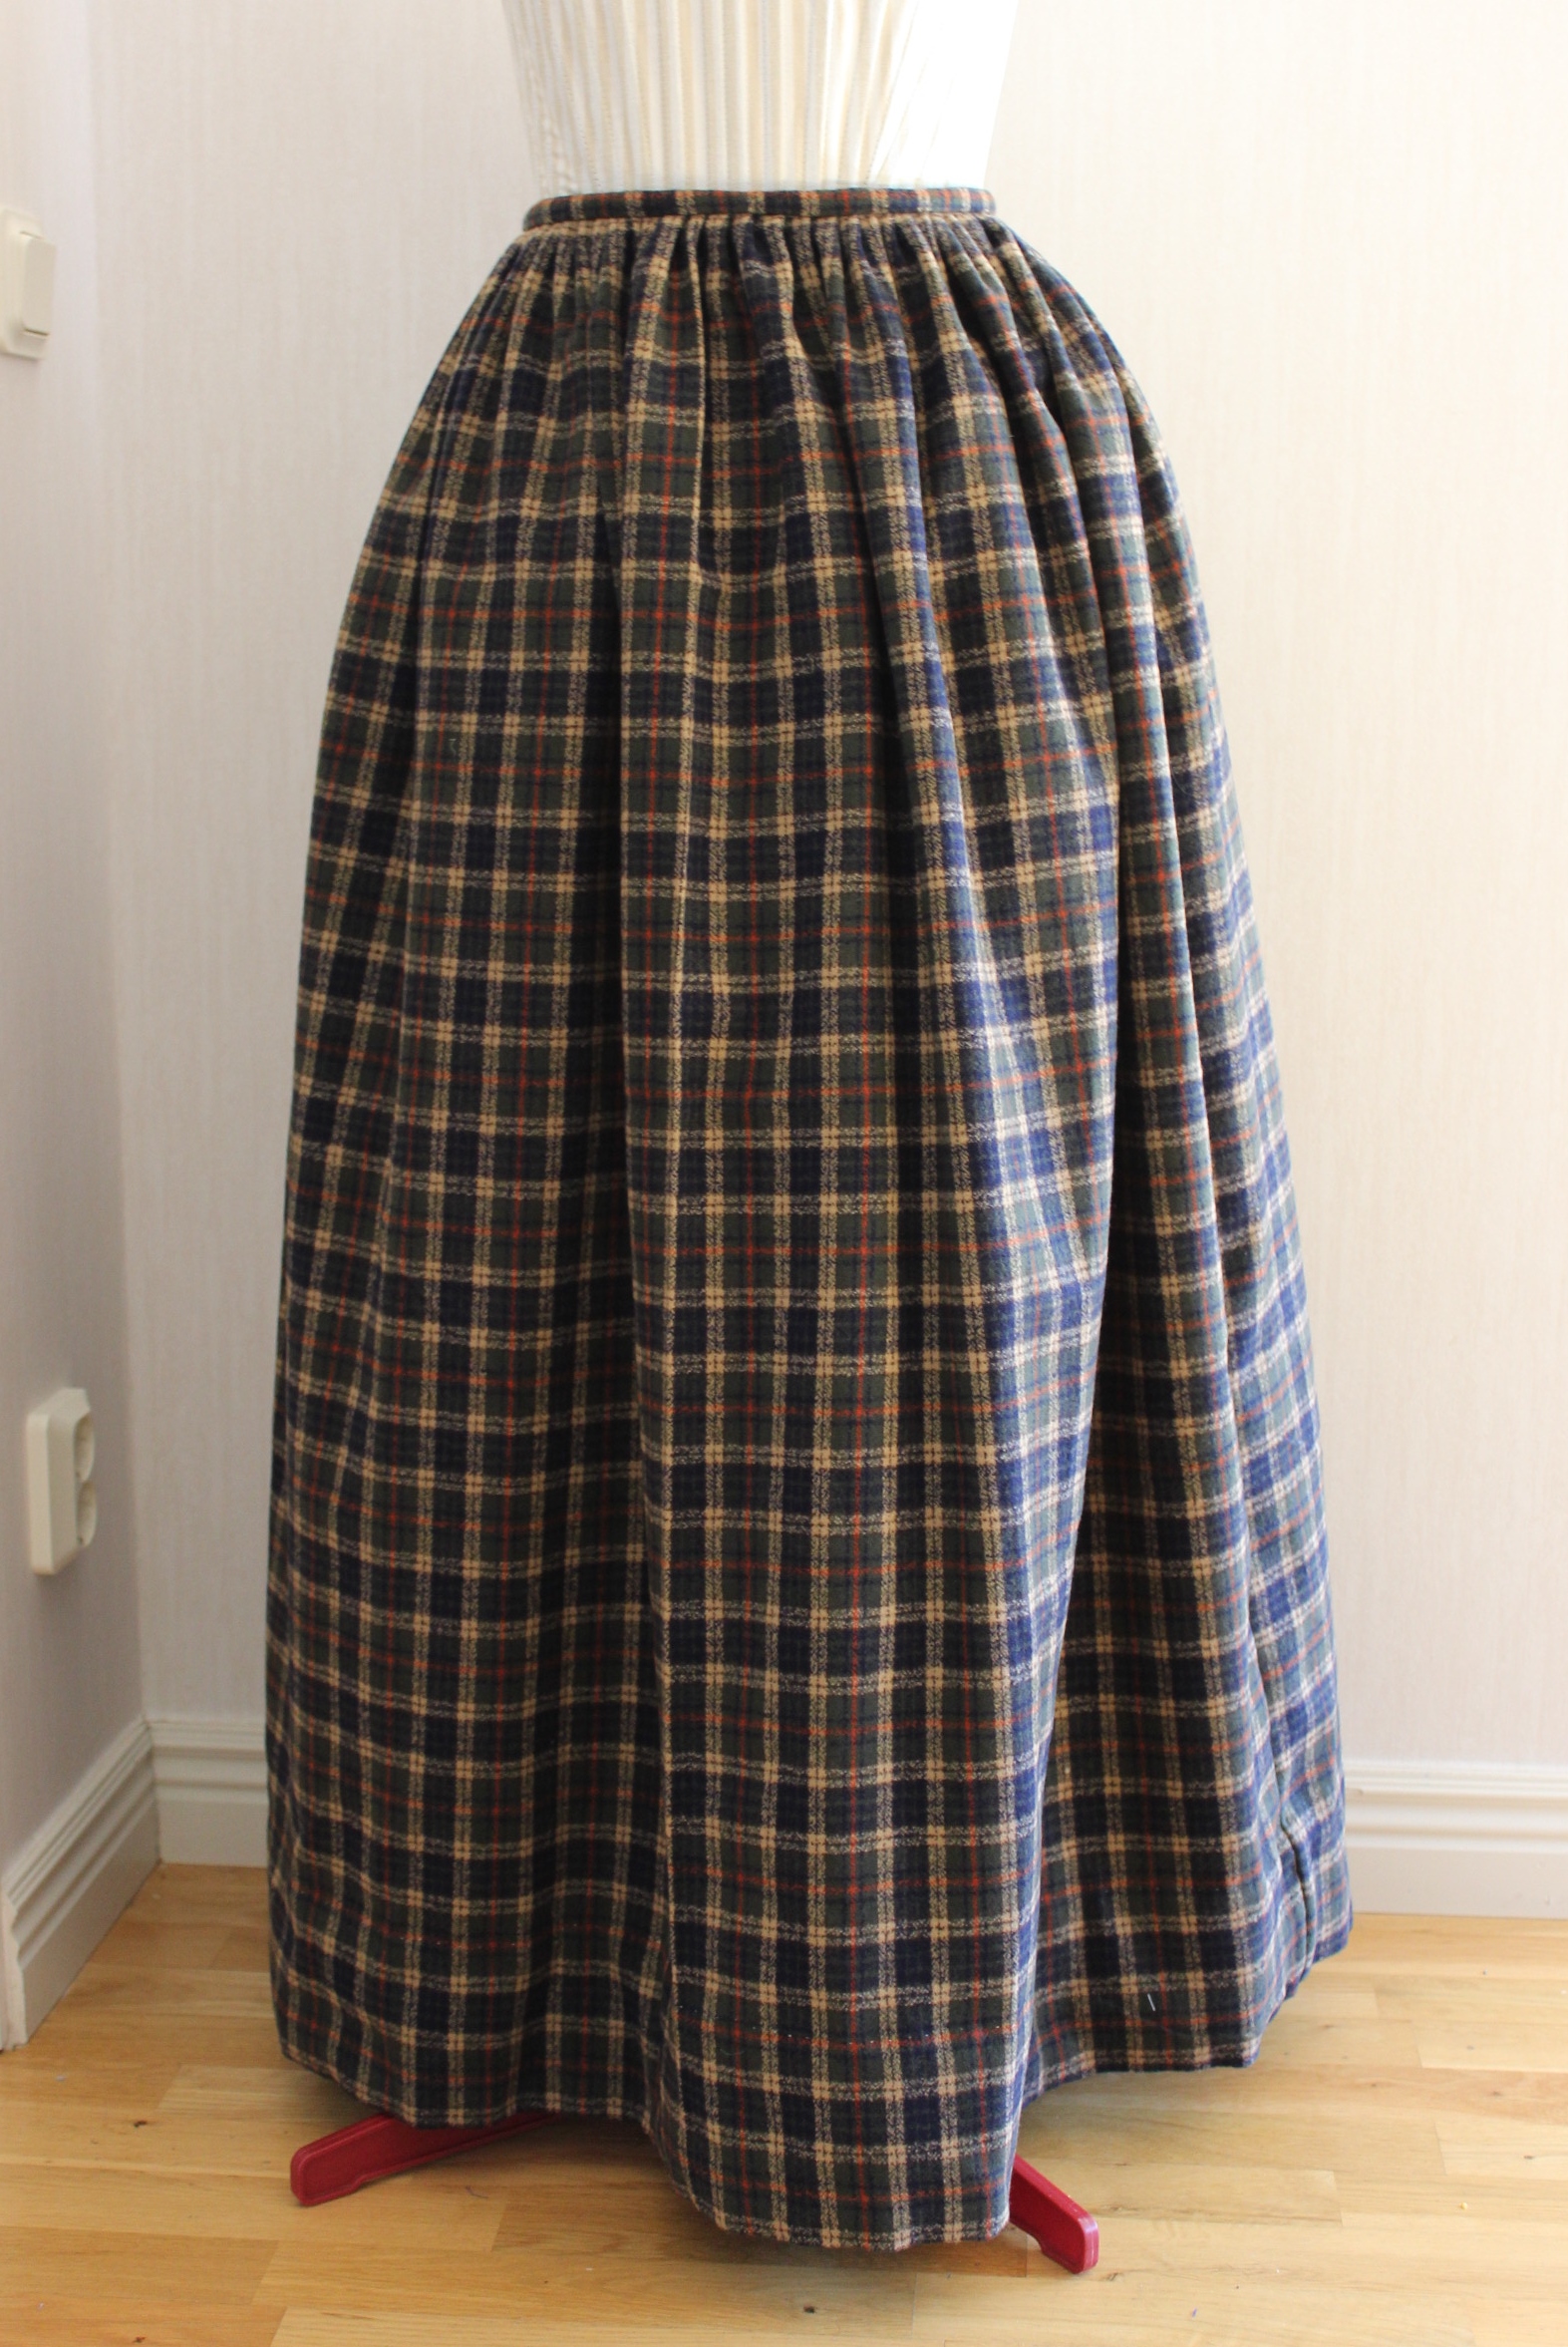
I started by making a skirt out of some plaid wool I found in my stash (which I’ve bought on sale about a year ago).
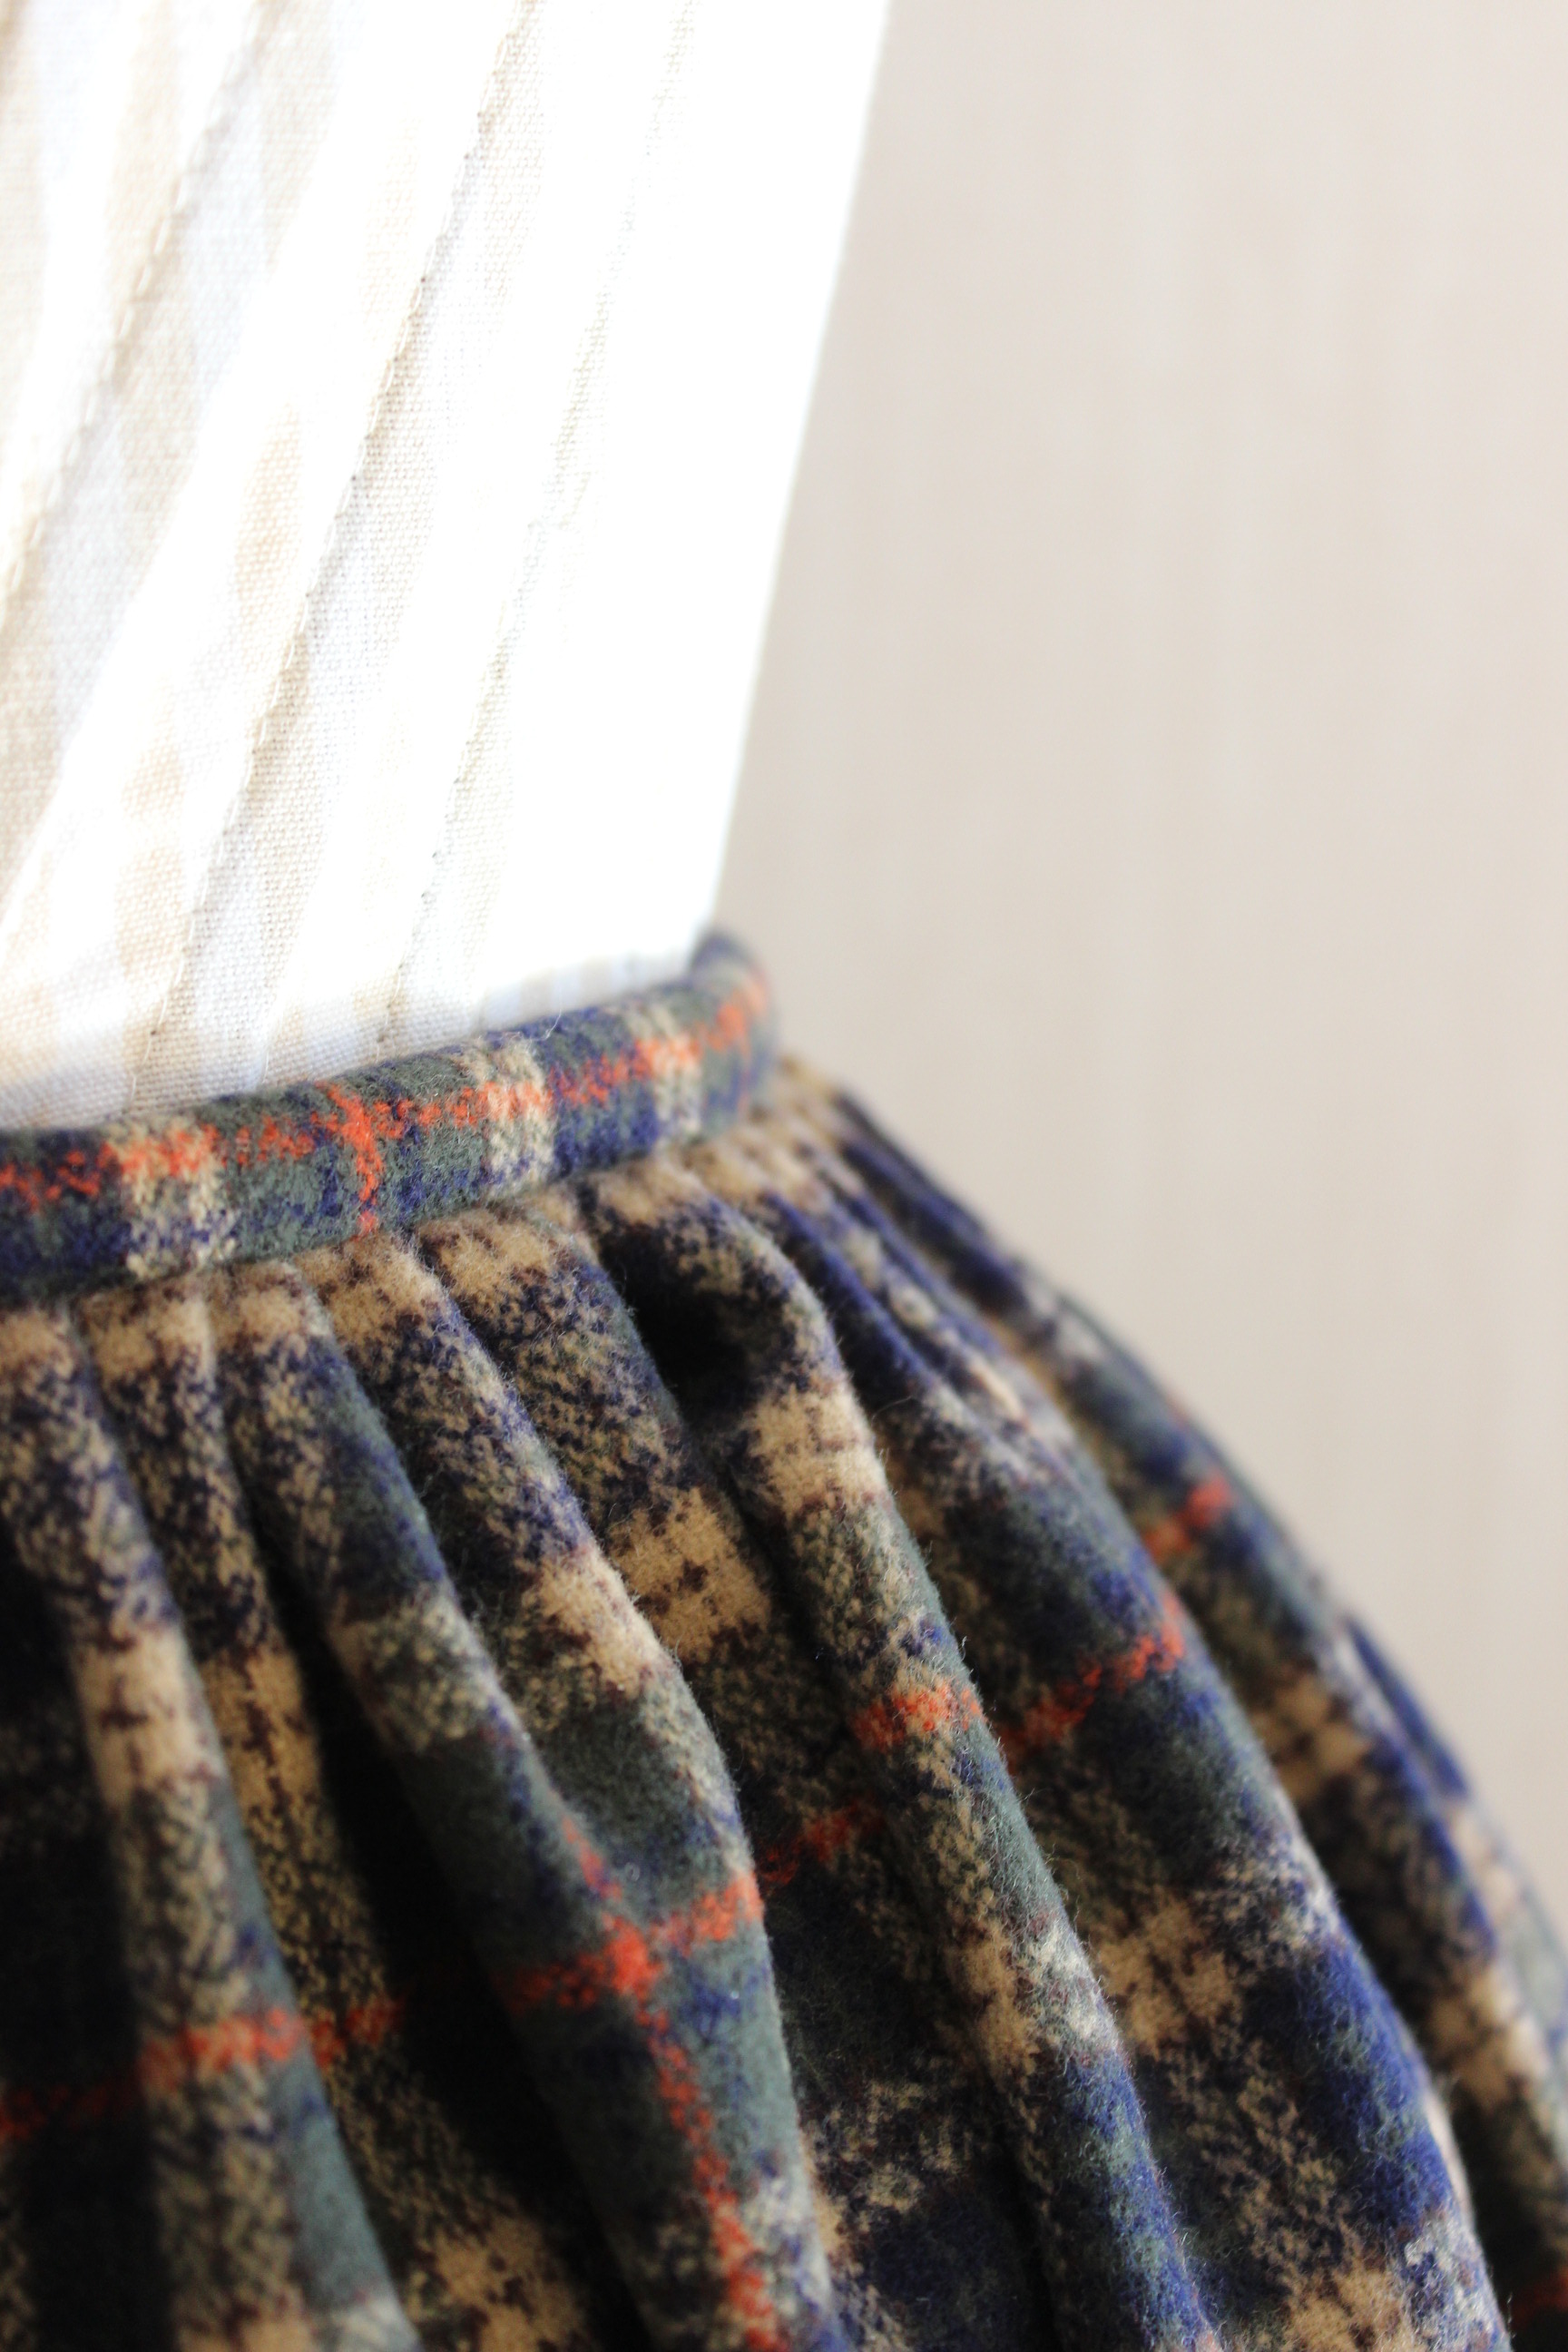
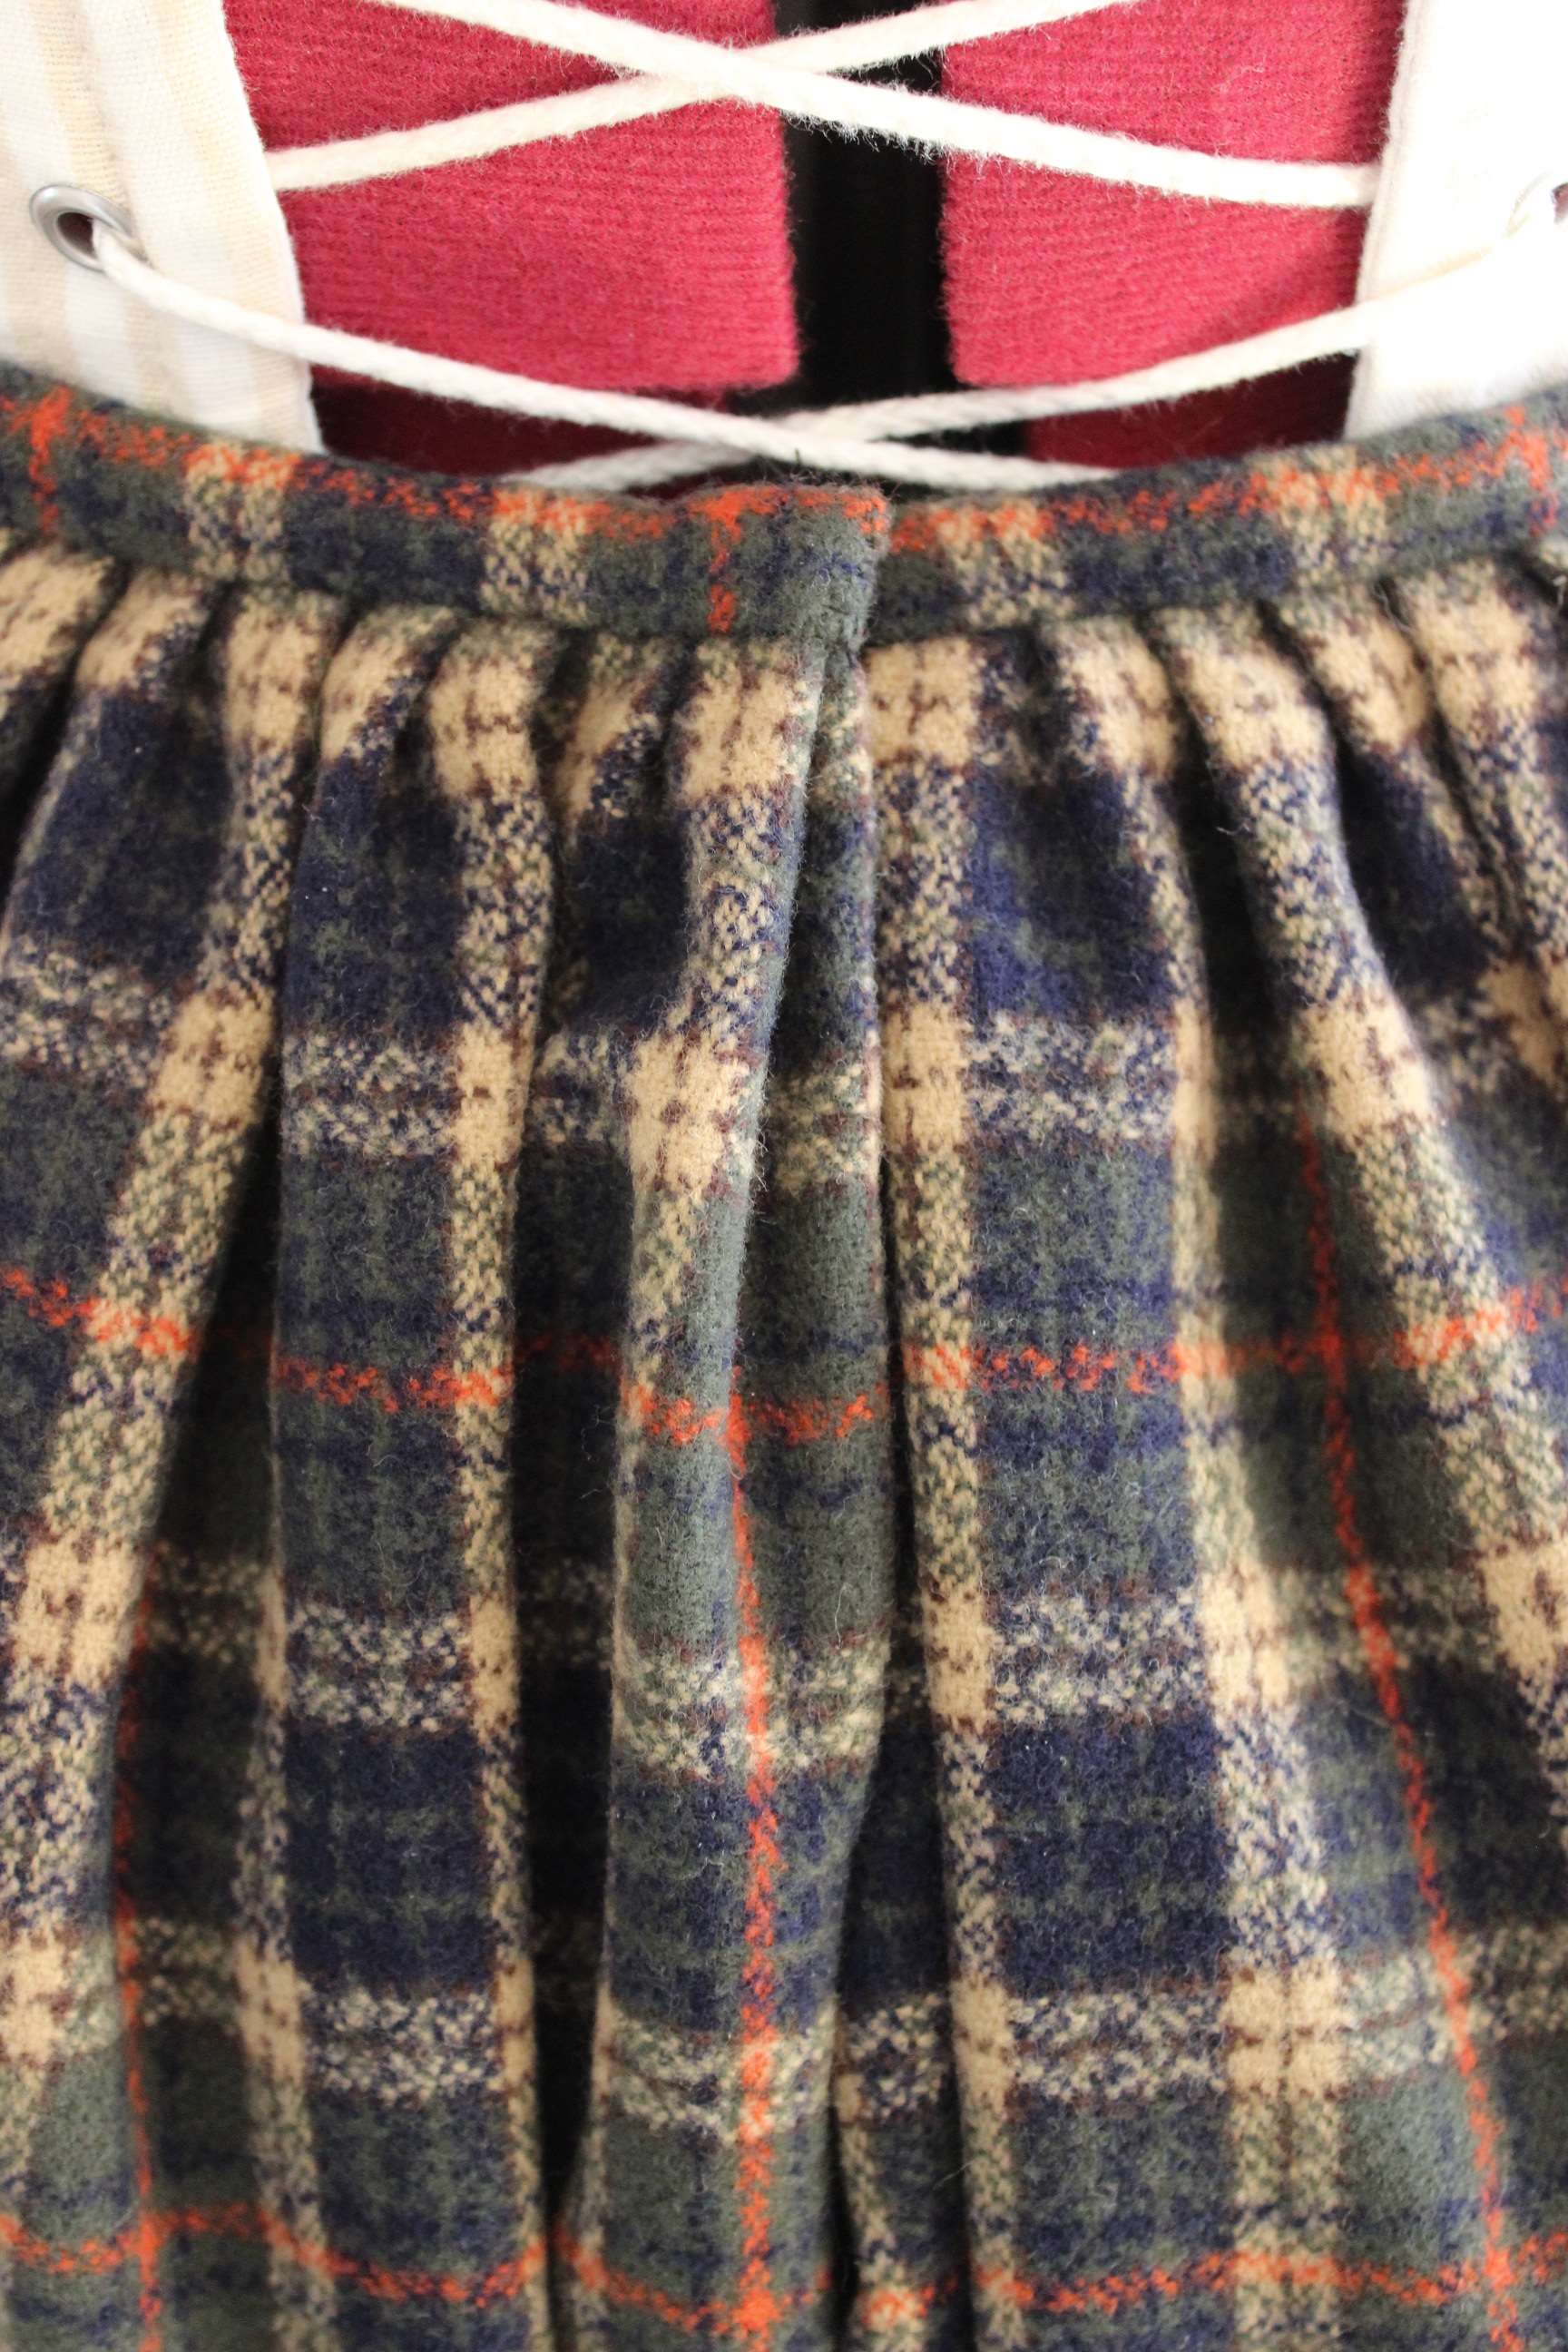
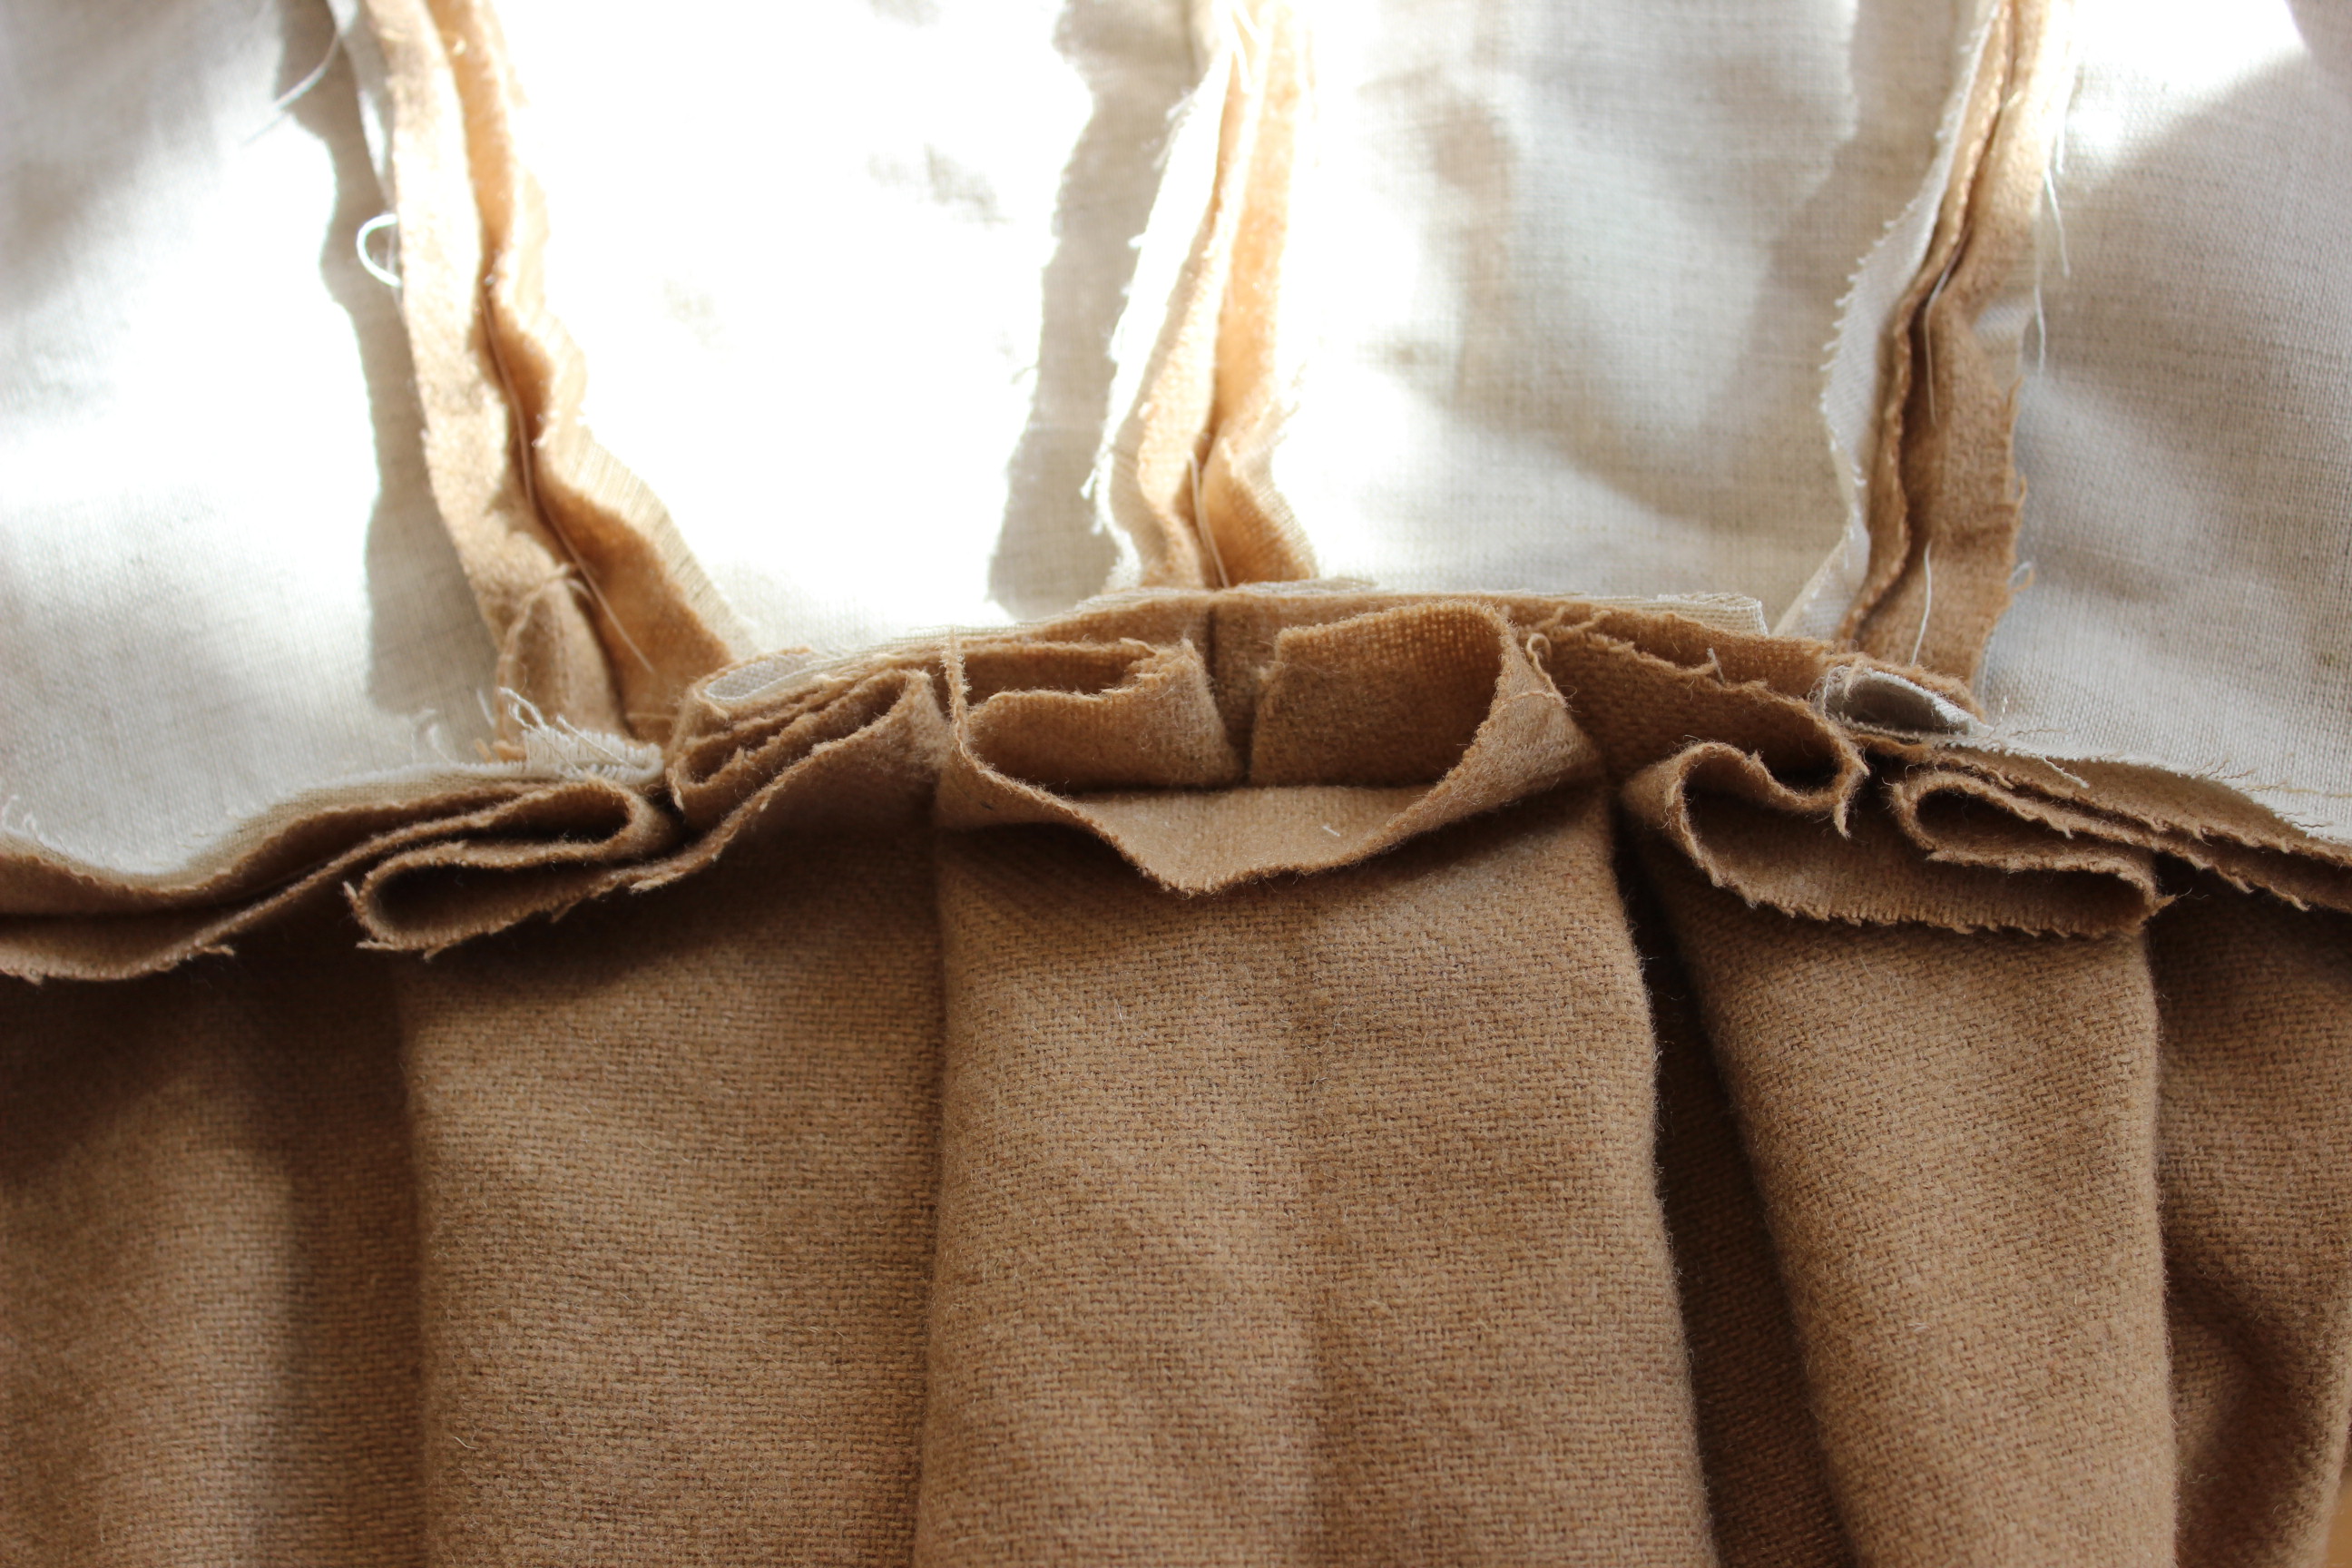
The construction is really simple, since it’s basically two widths of the fabric sewn together and gathered to a waistband. I used some linen scraps for he hem facing and hooks and bars to close the waistband.
The finished skirt: 


Then I started on the bodice.
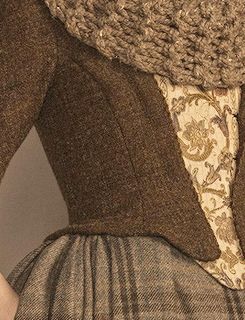
Using the pattern from the yellow caraco jacket, only changing the front to accommodate a stomacher instead of button closer, and adding a peplum at the bottom edge.
I used some leftover beige wool for the jacket, interlining it with some linen scraps and dark green wool for the stomacher – all made to match the plaid of the skirt.
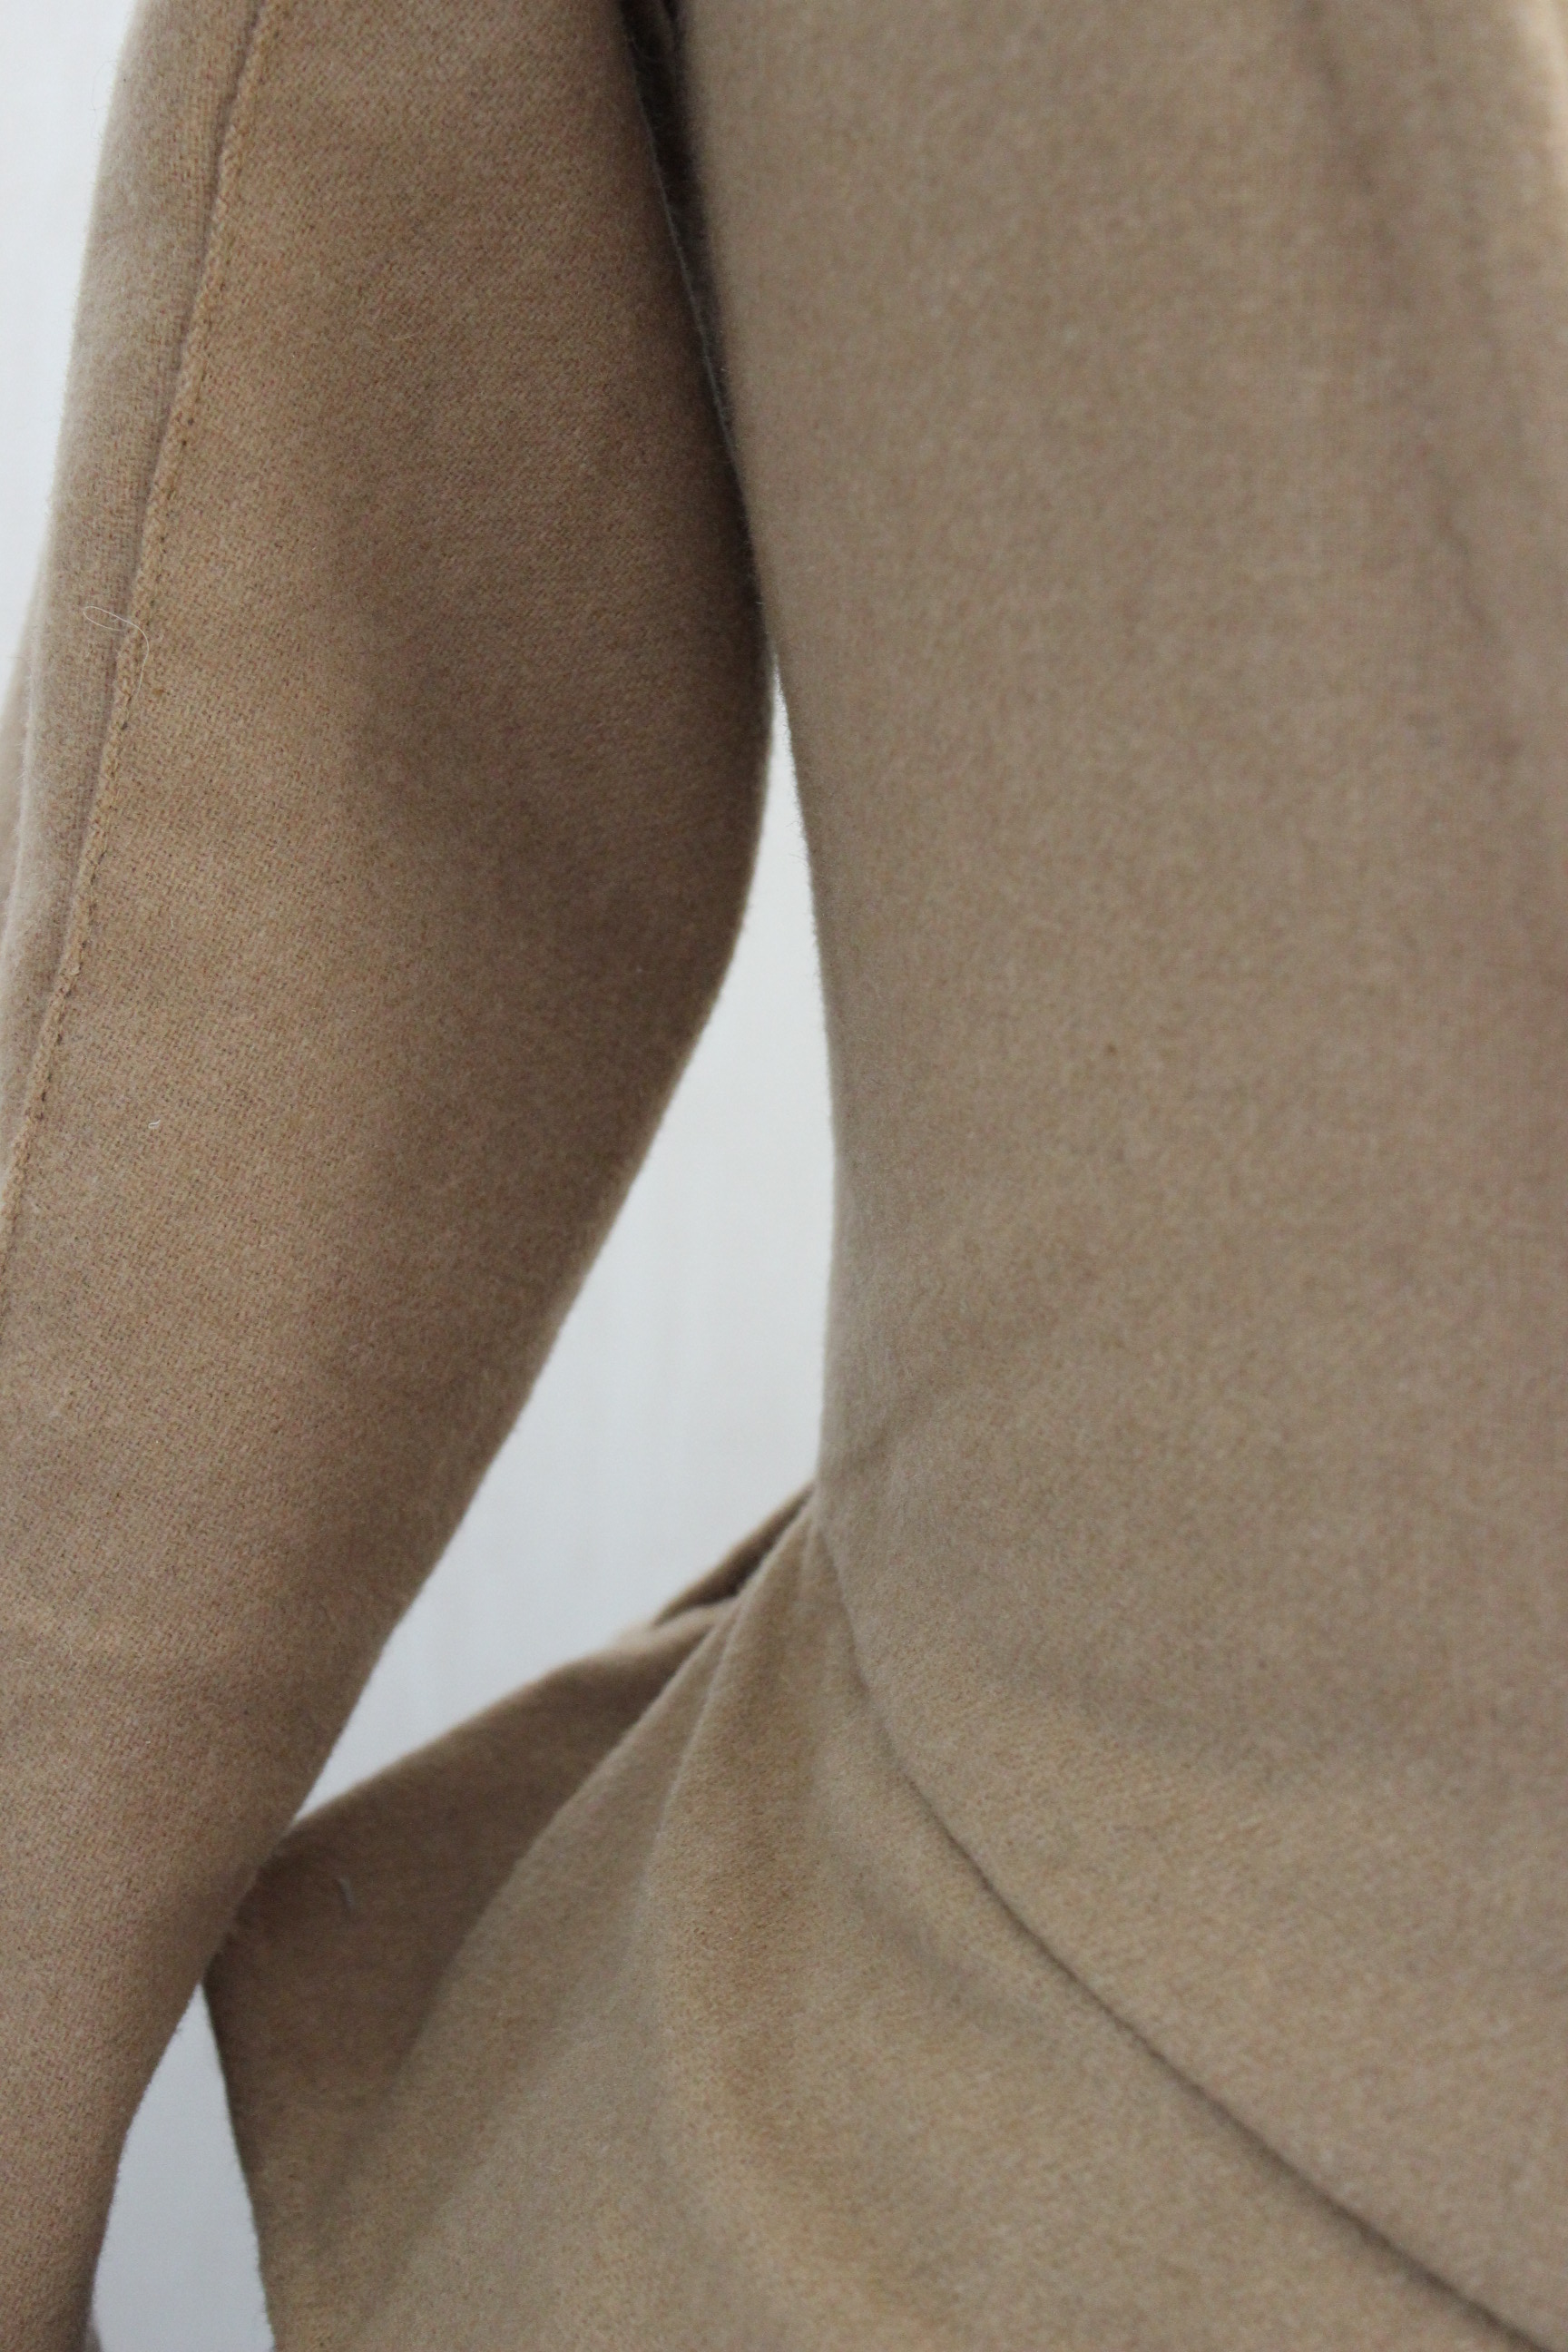
It went together pretty fast even though I made it completely by hand.
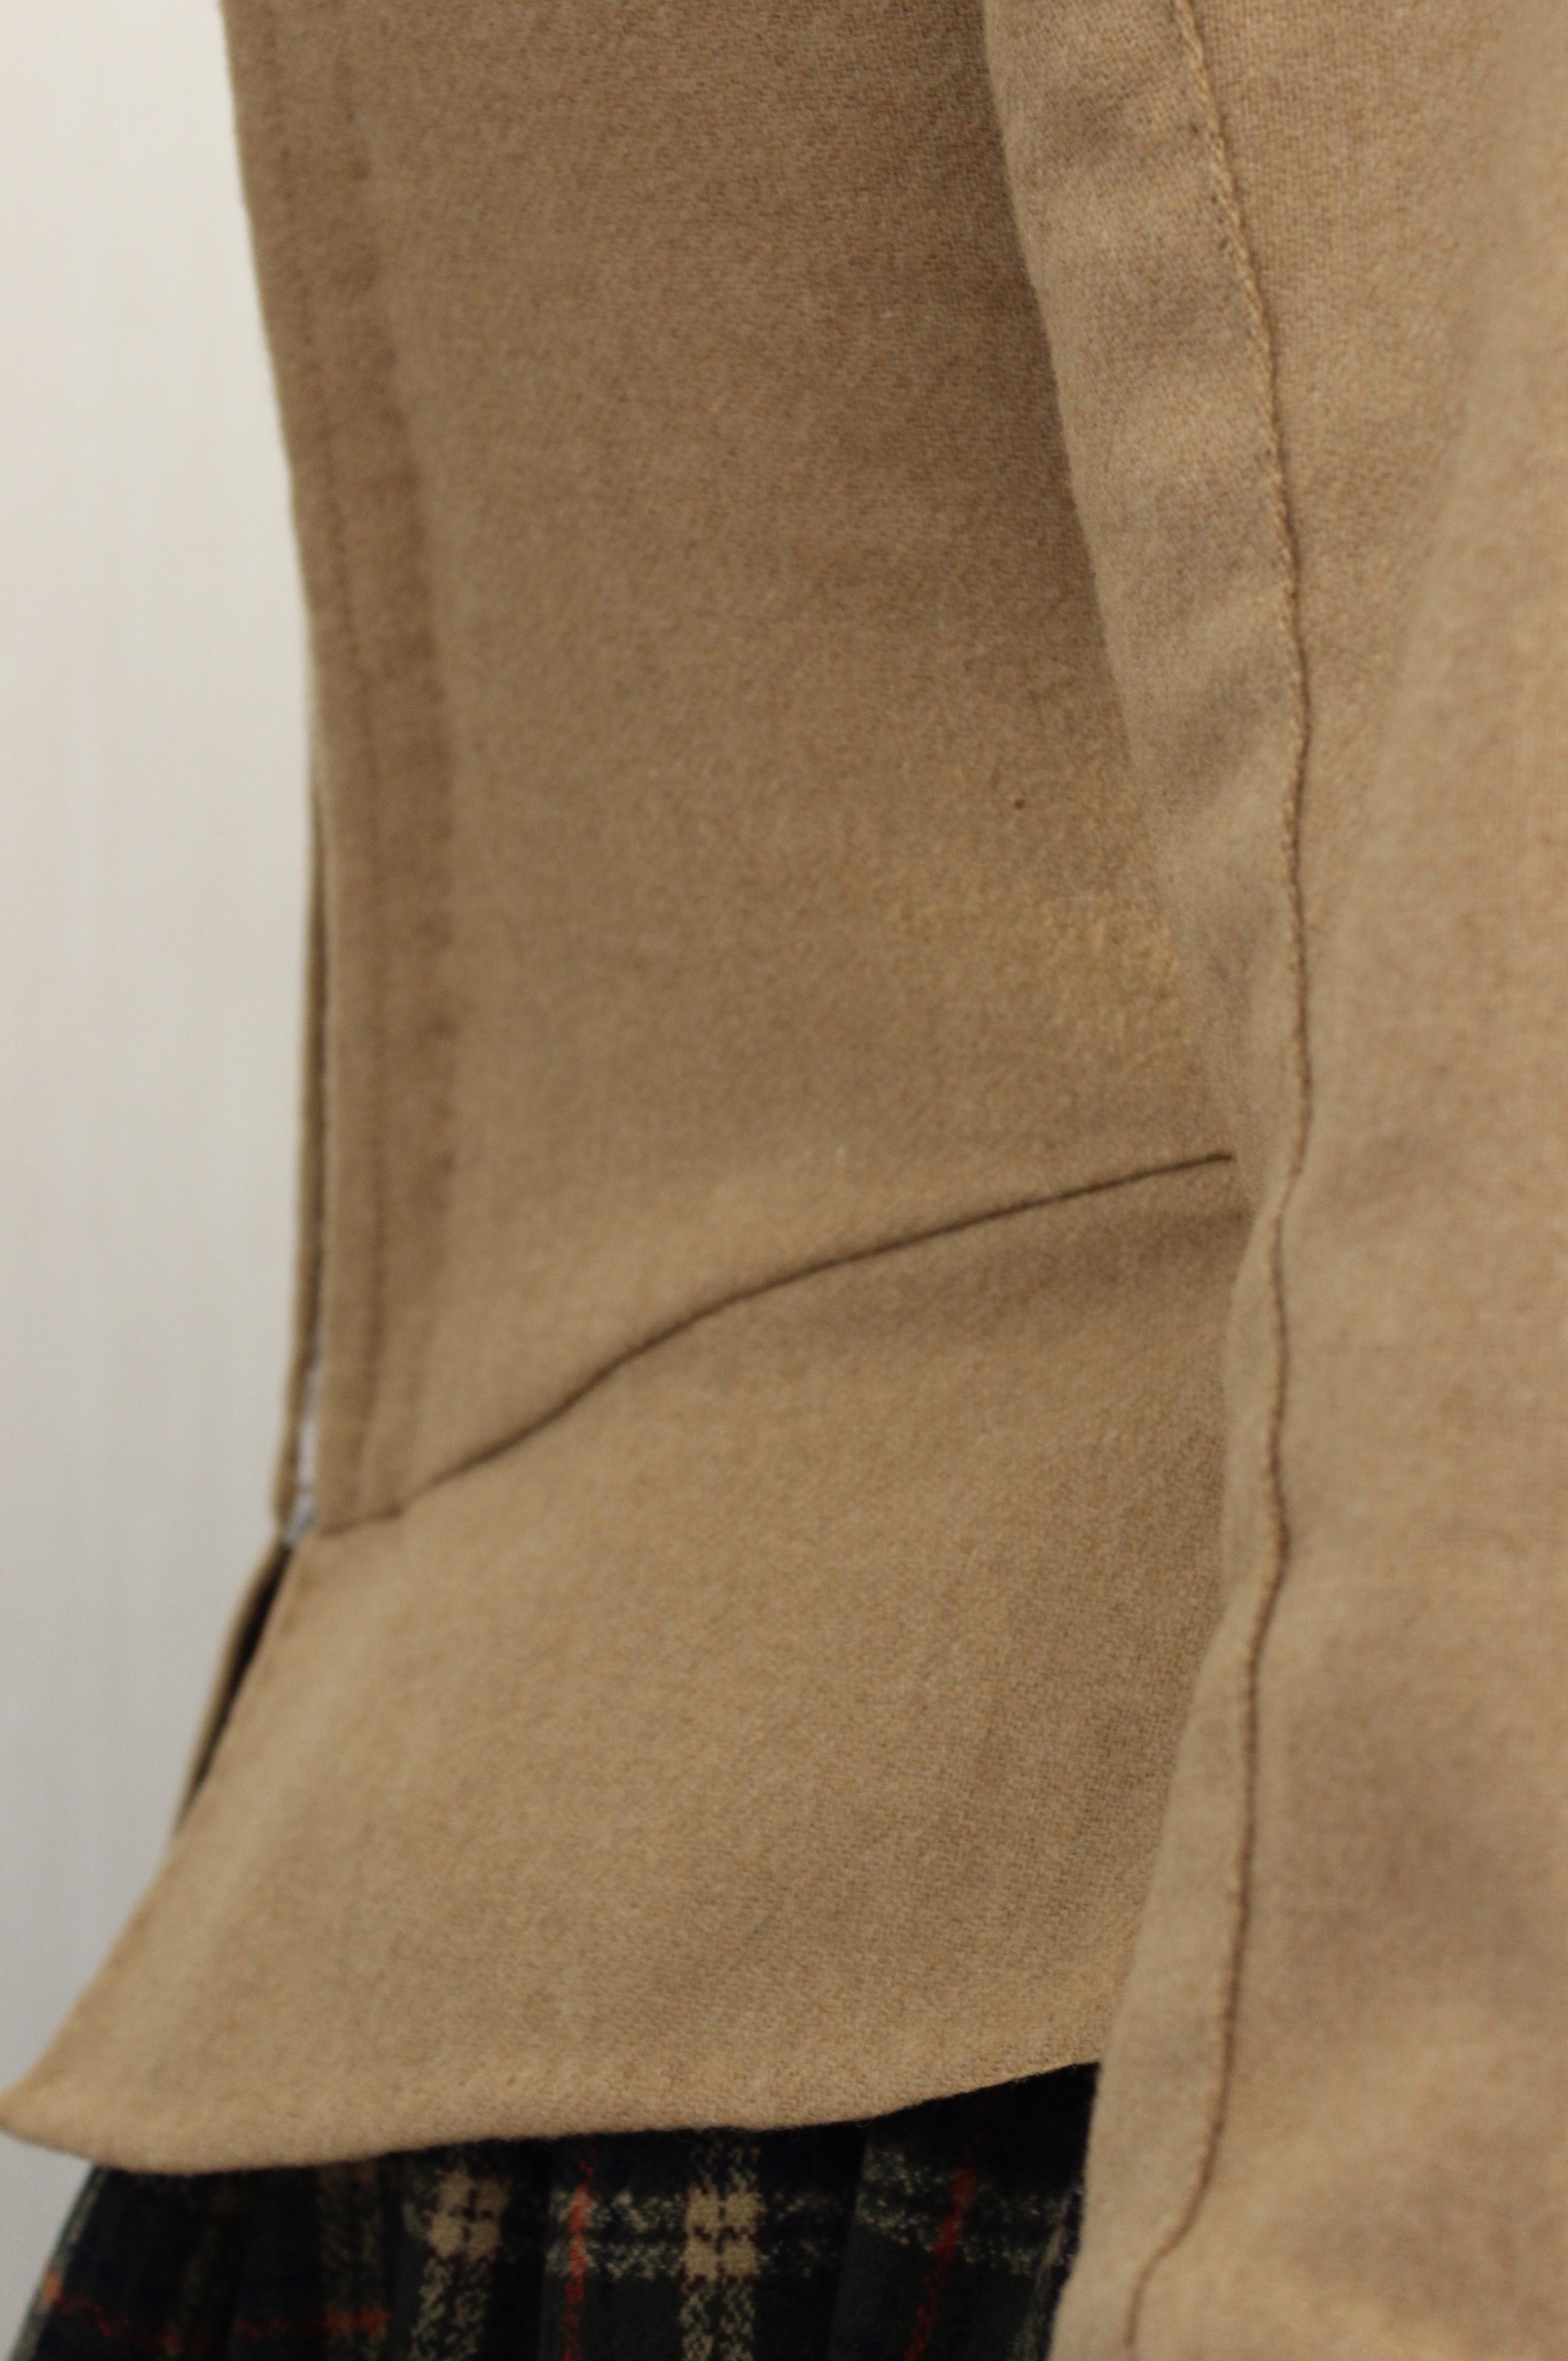
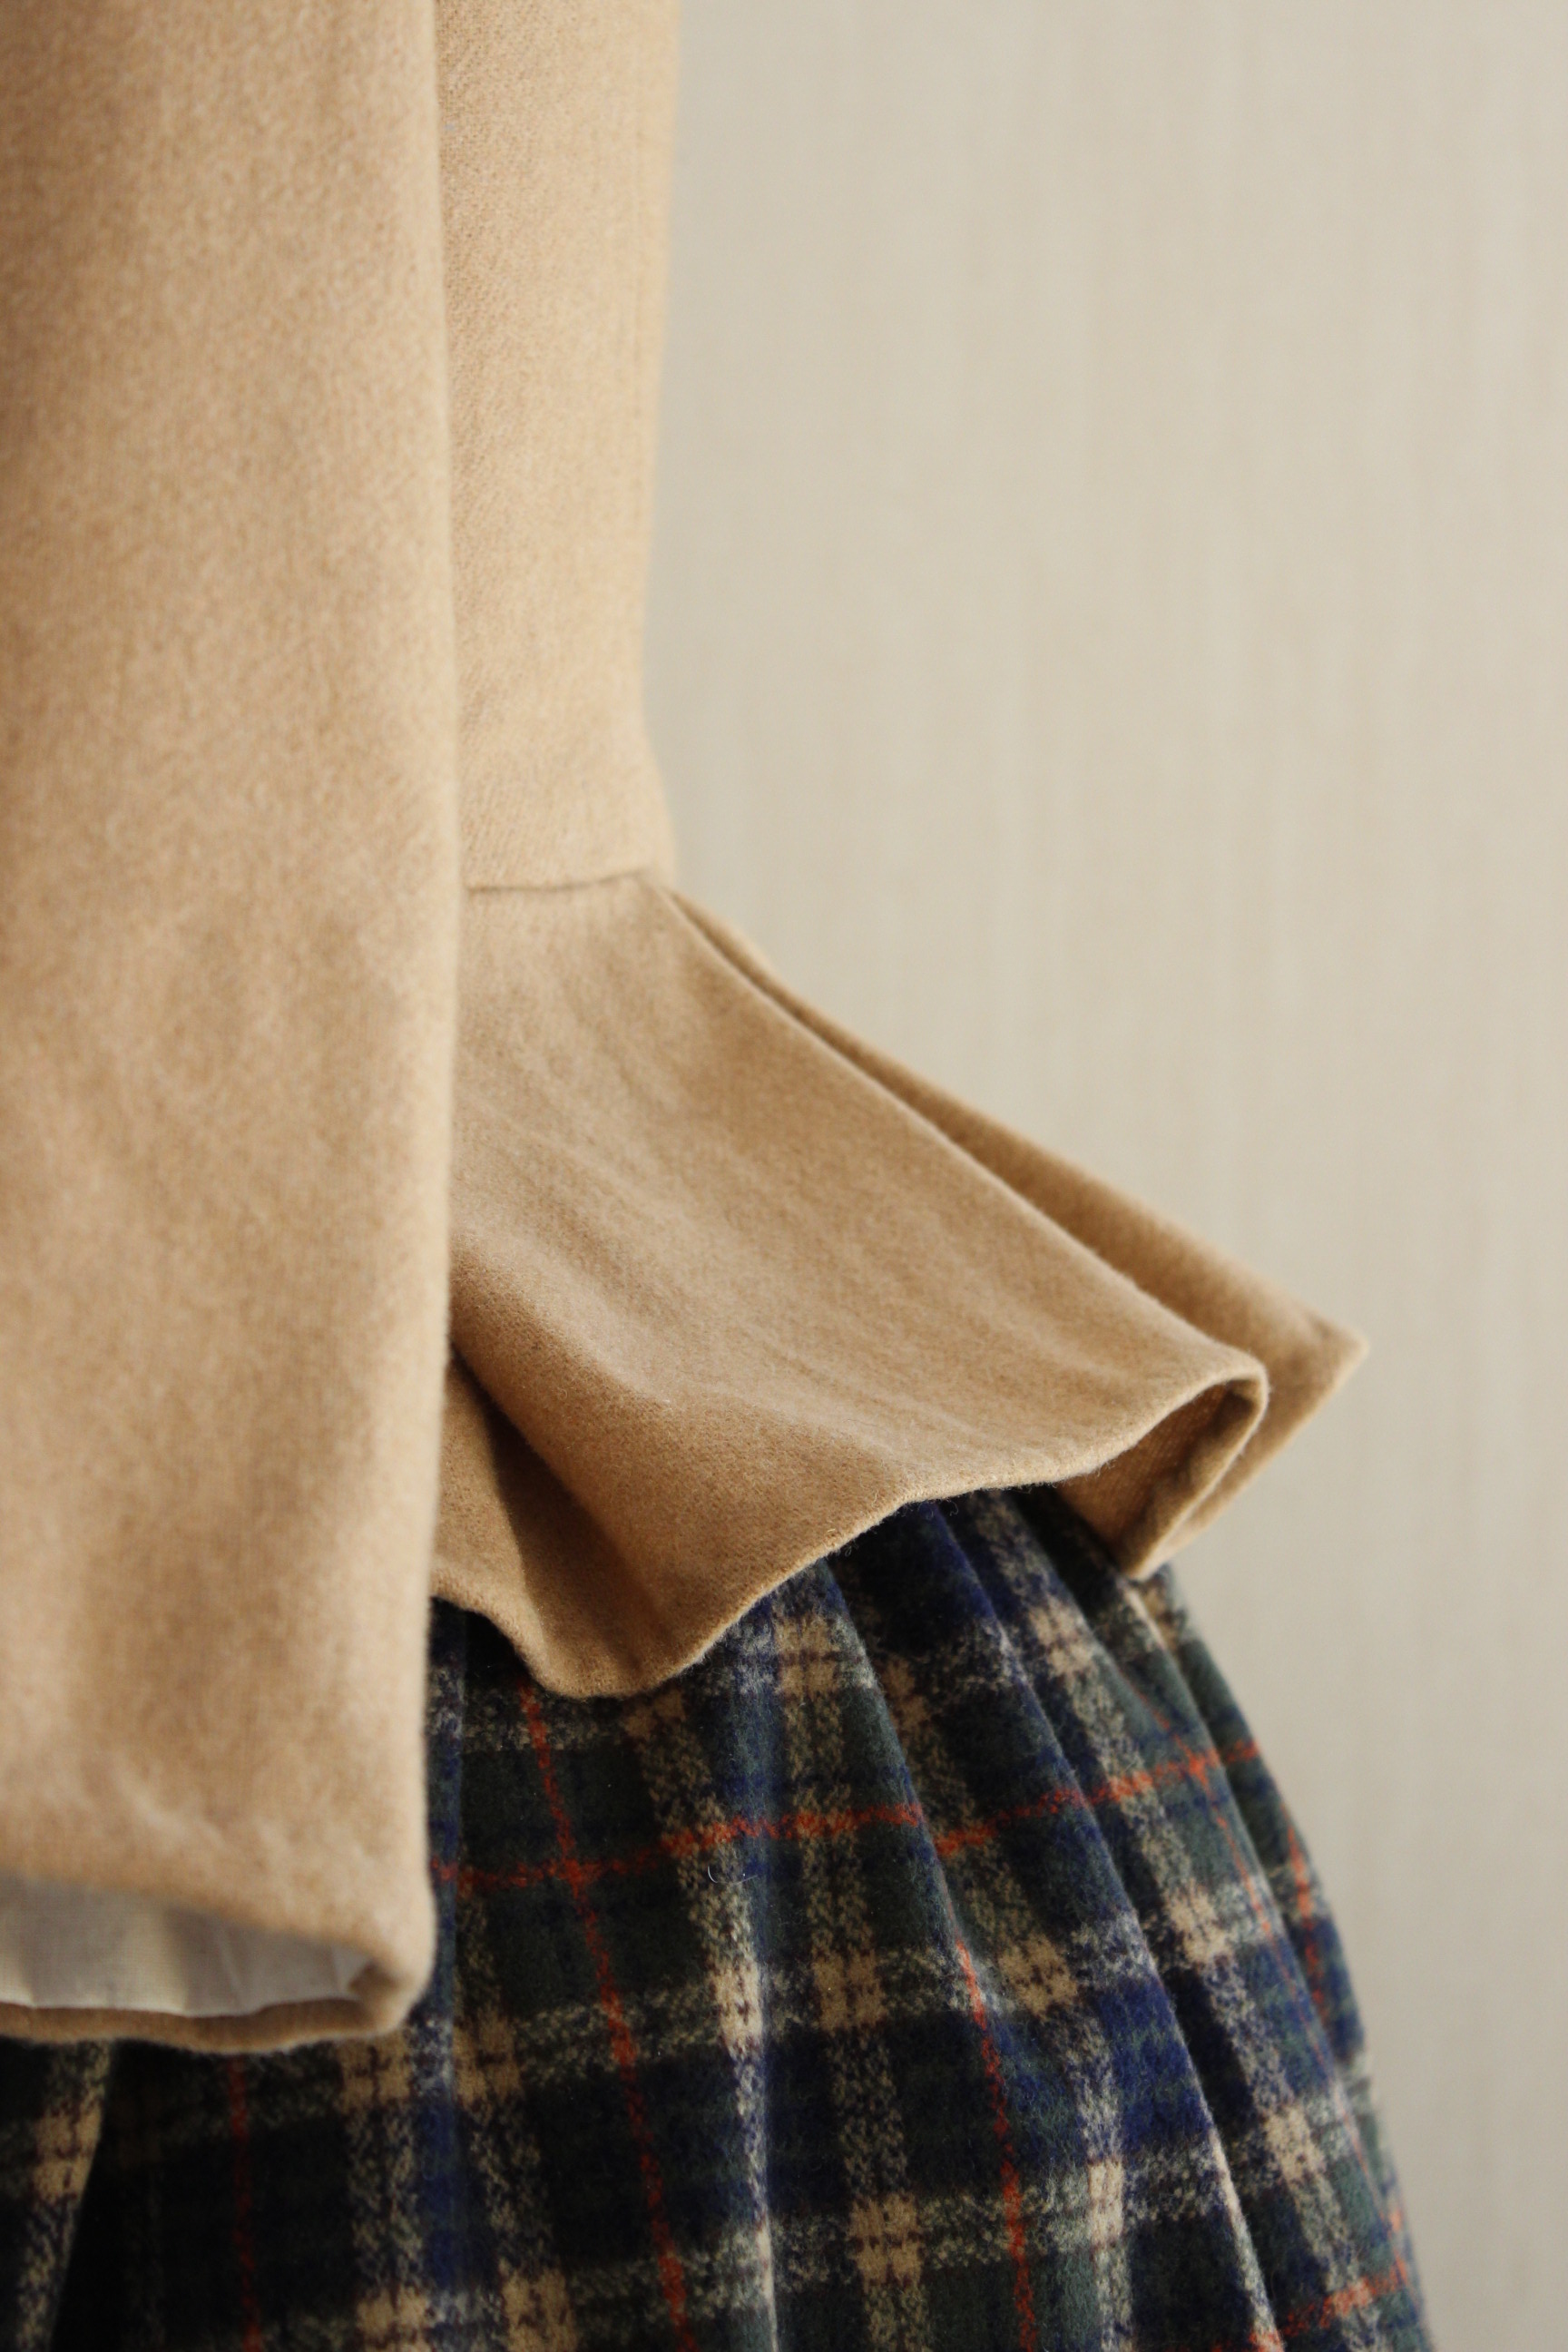
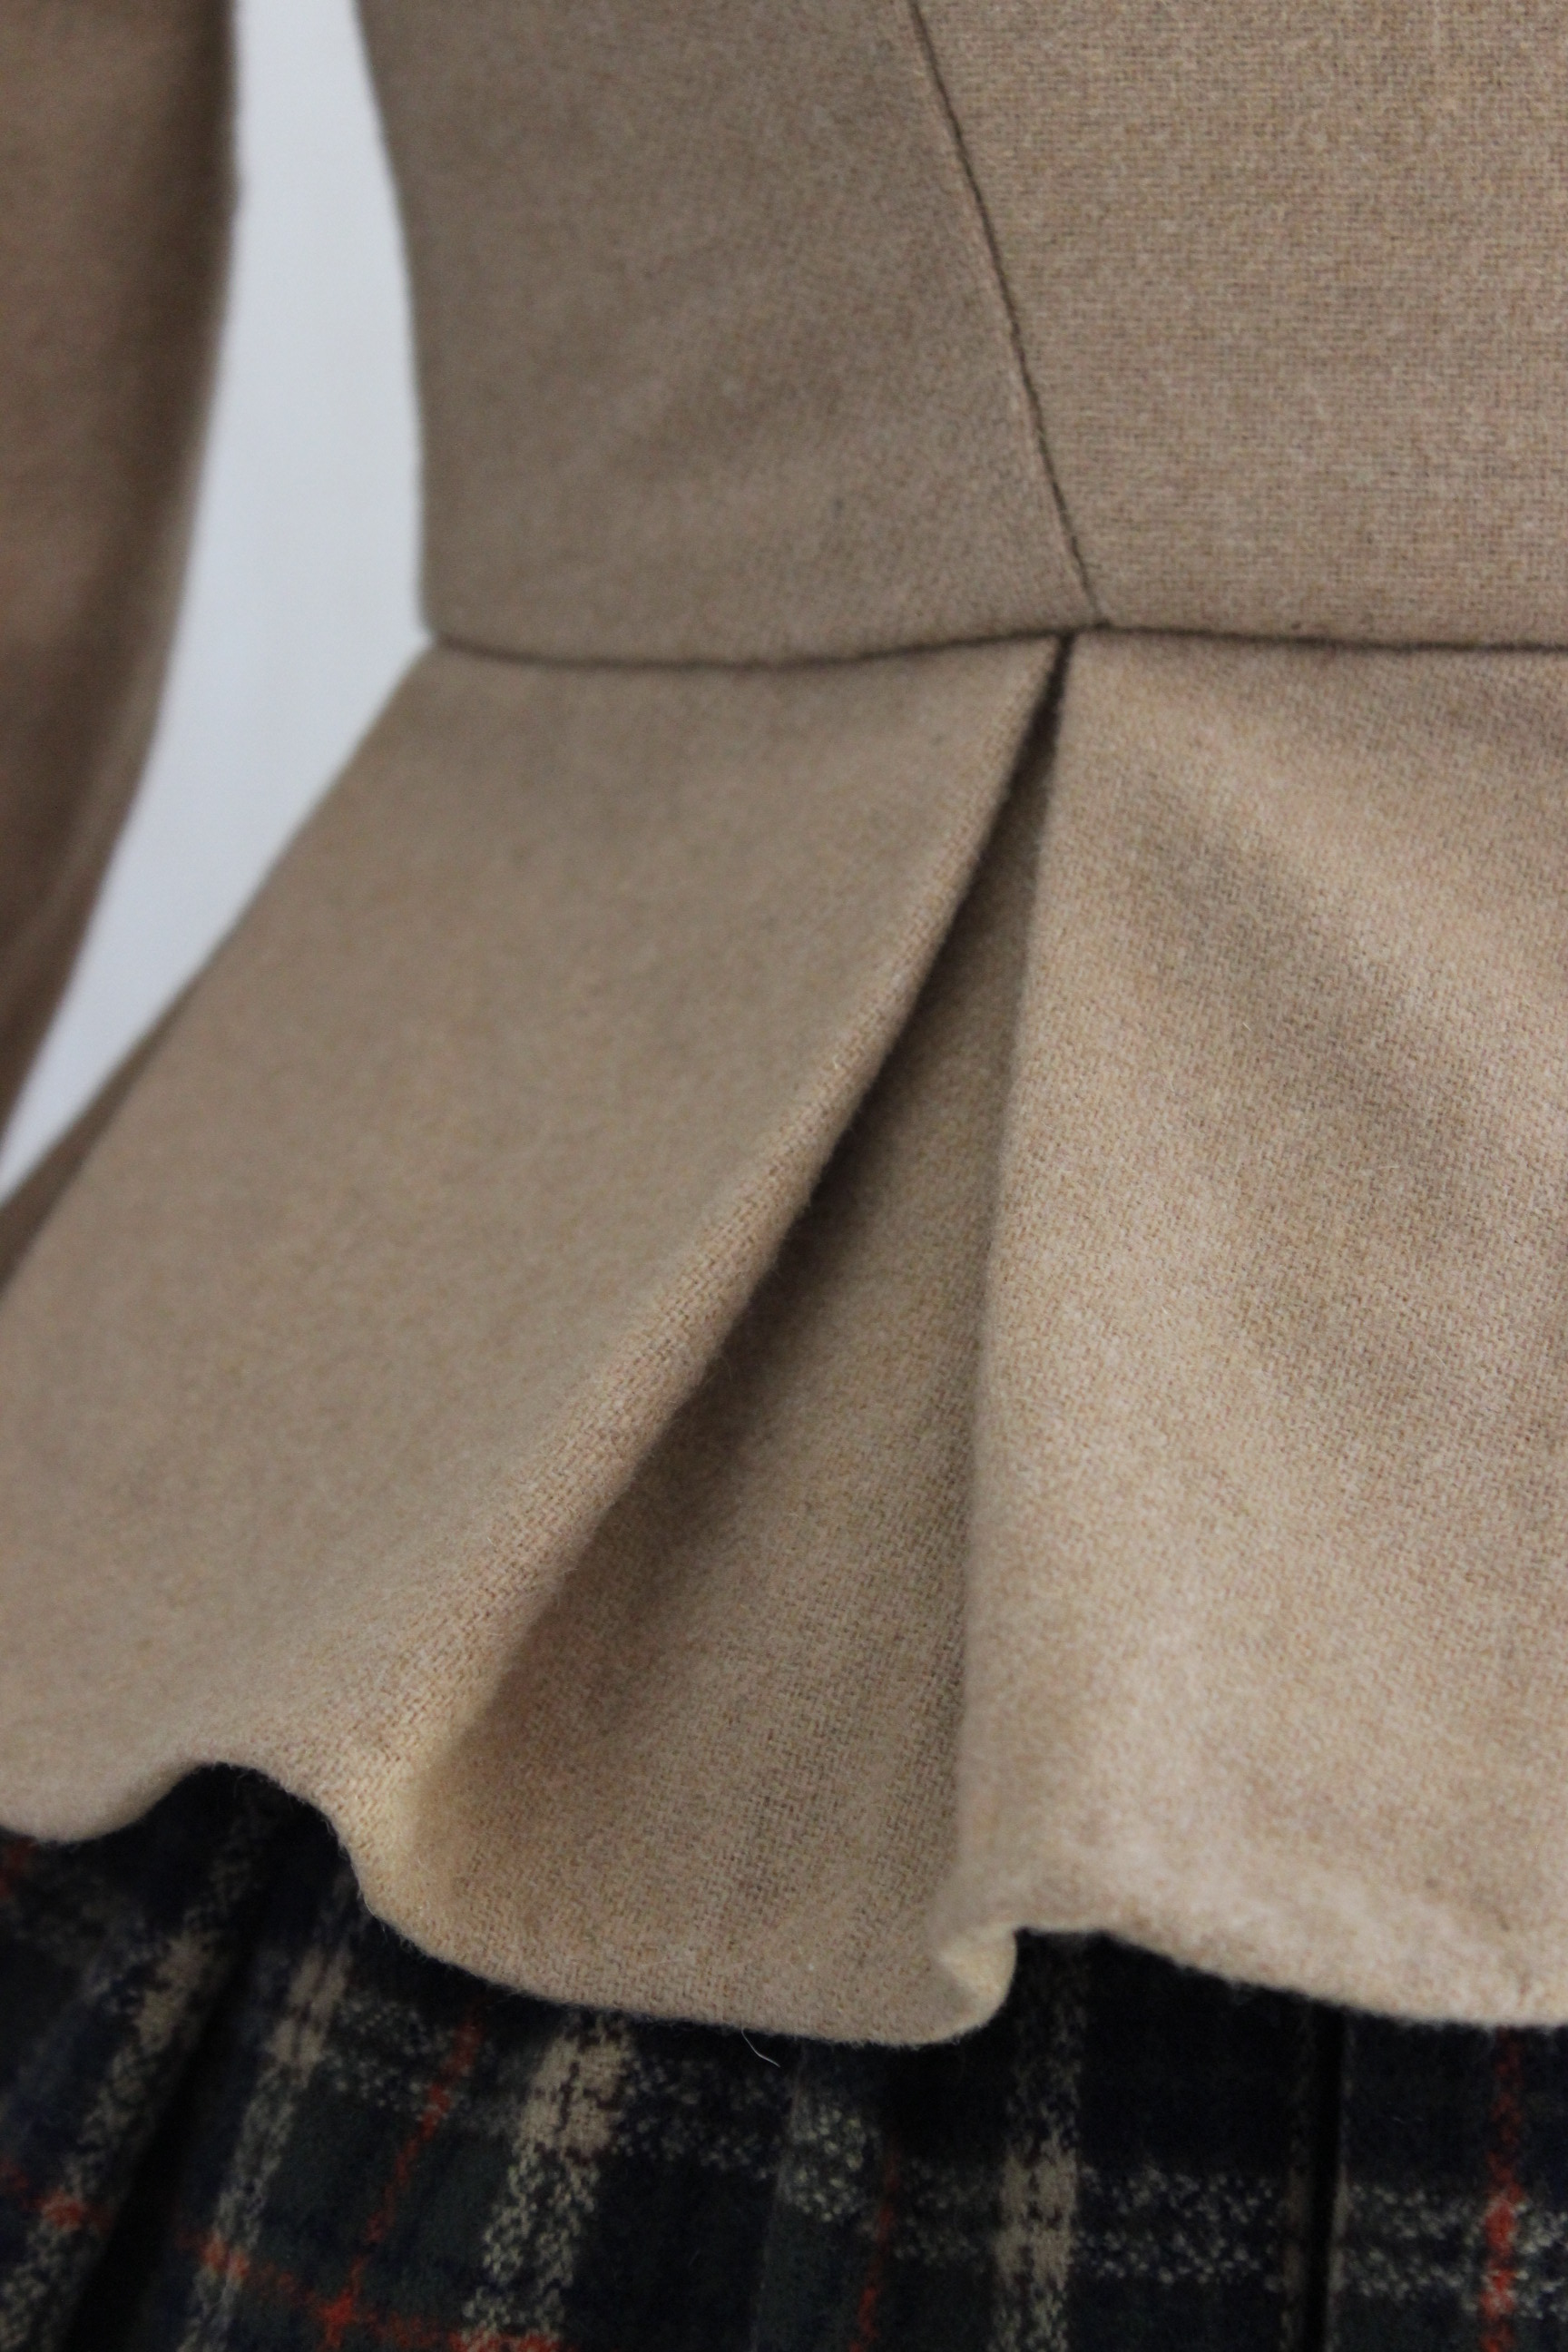
 The peplum being attached.


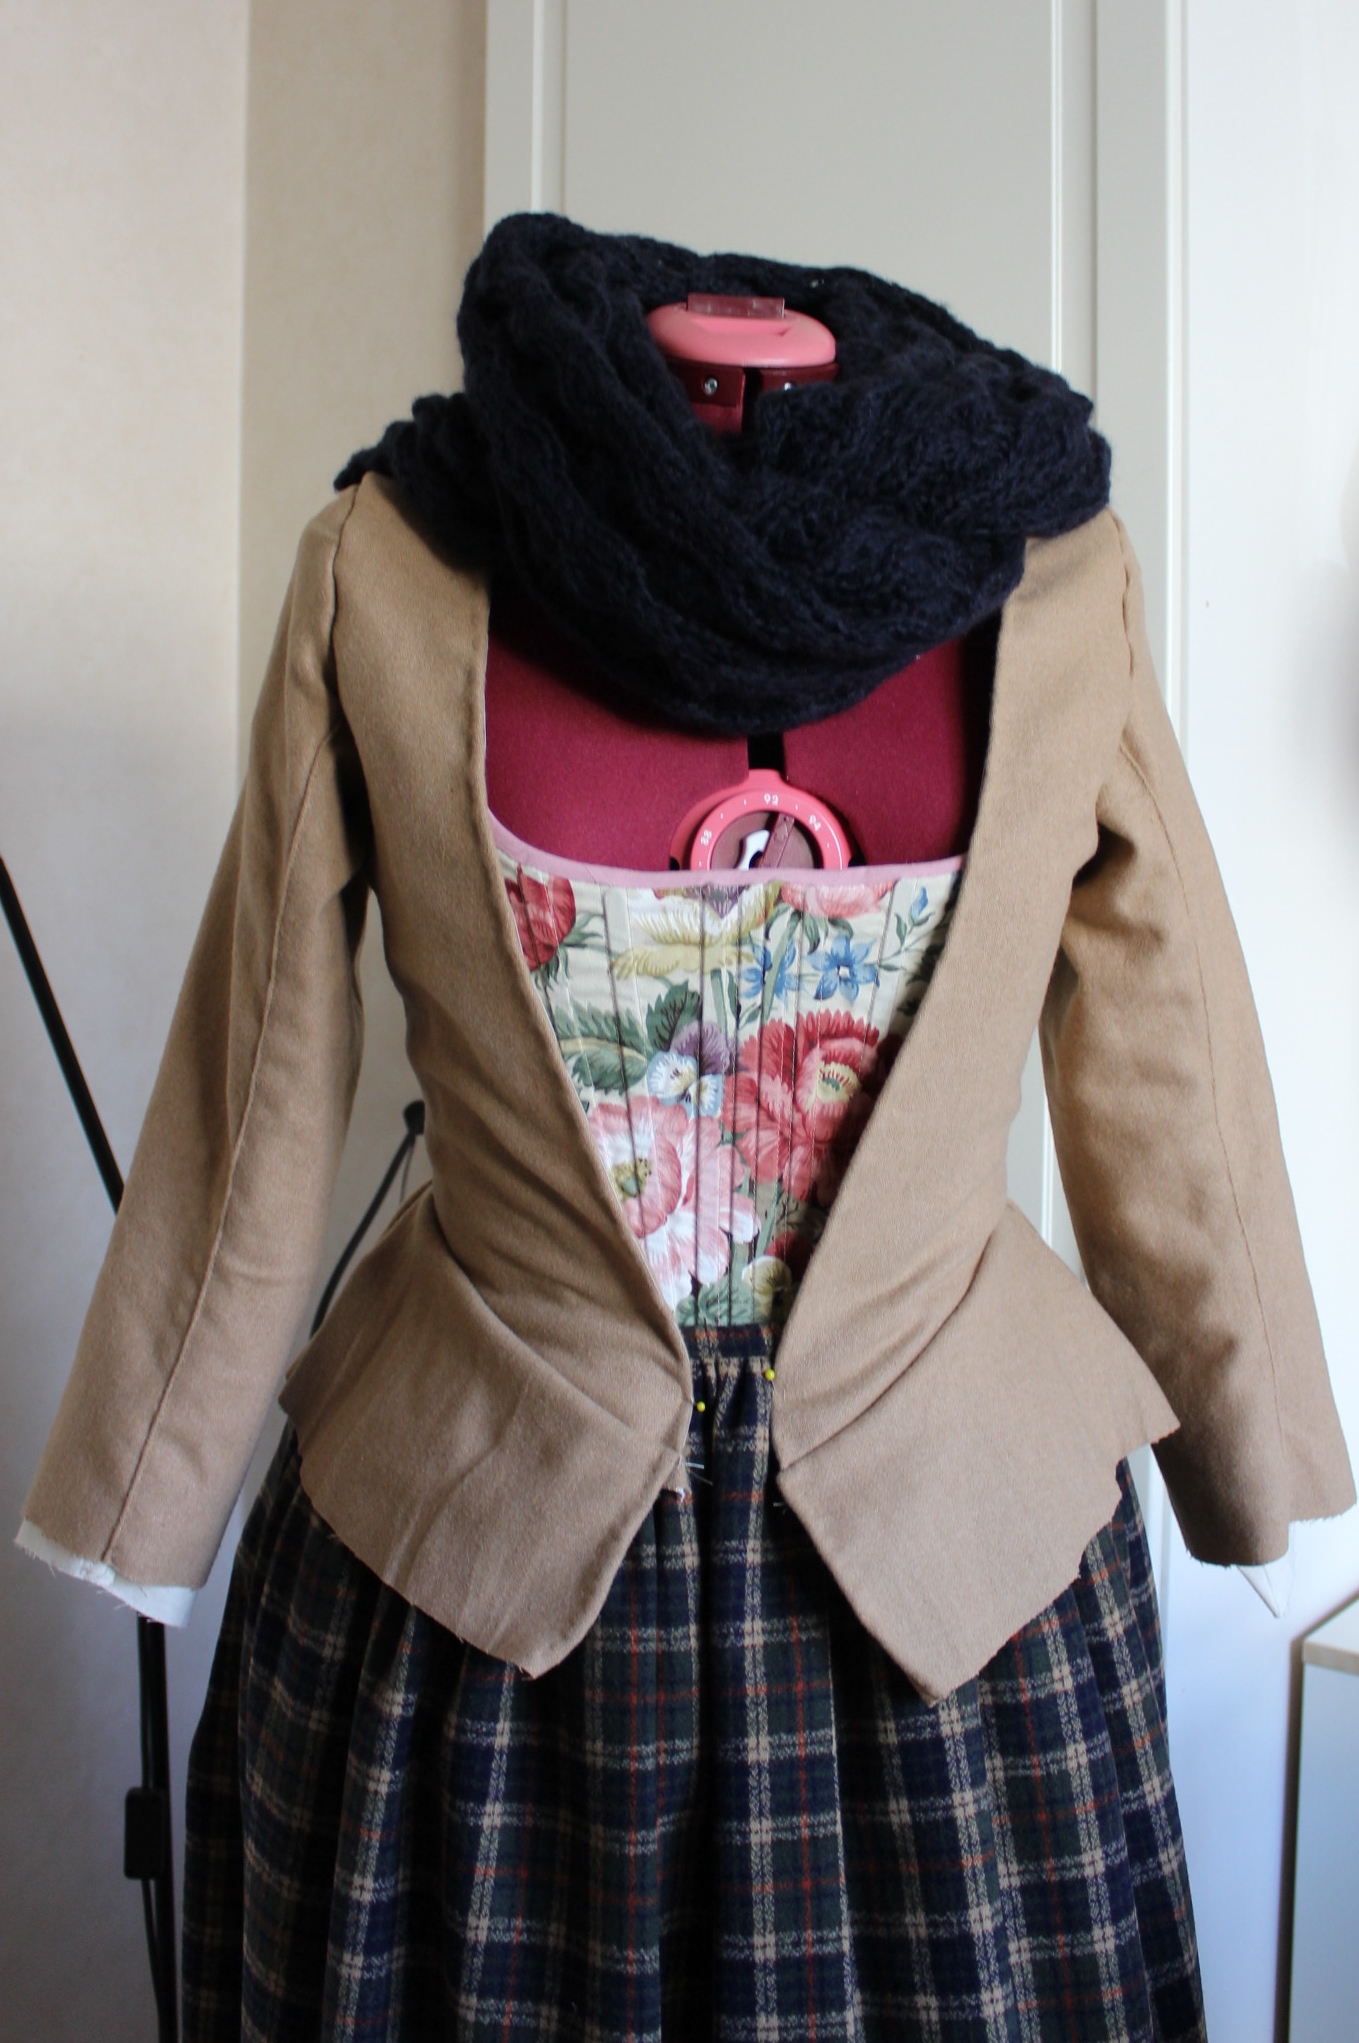
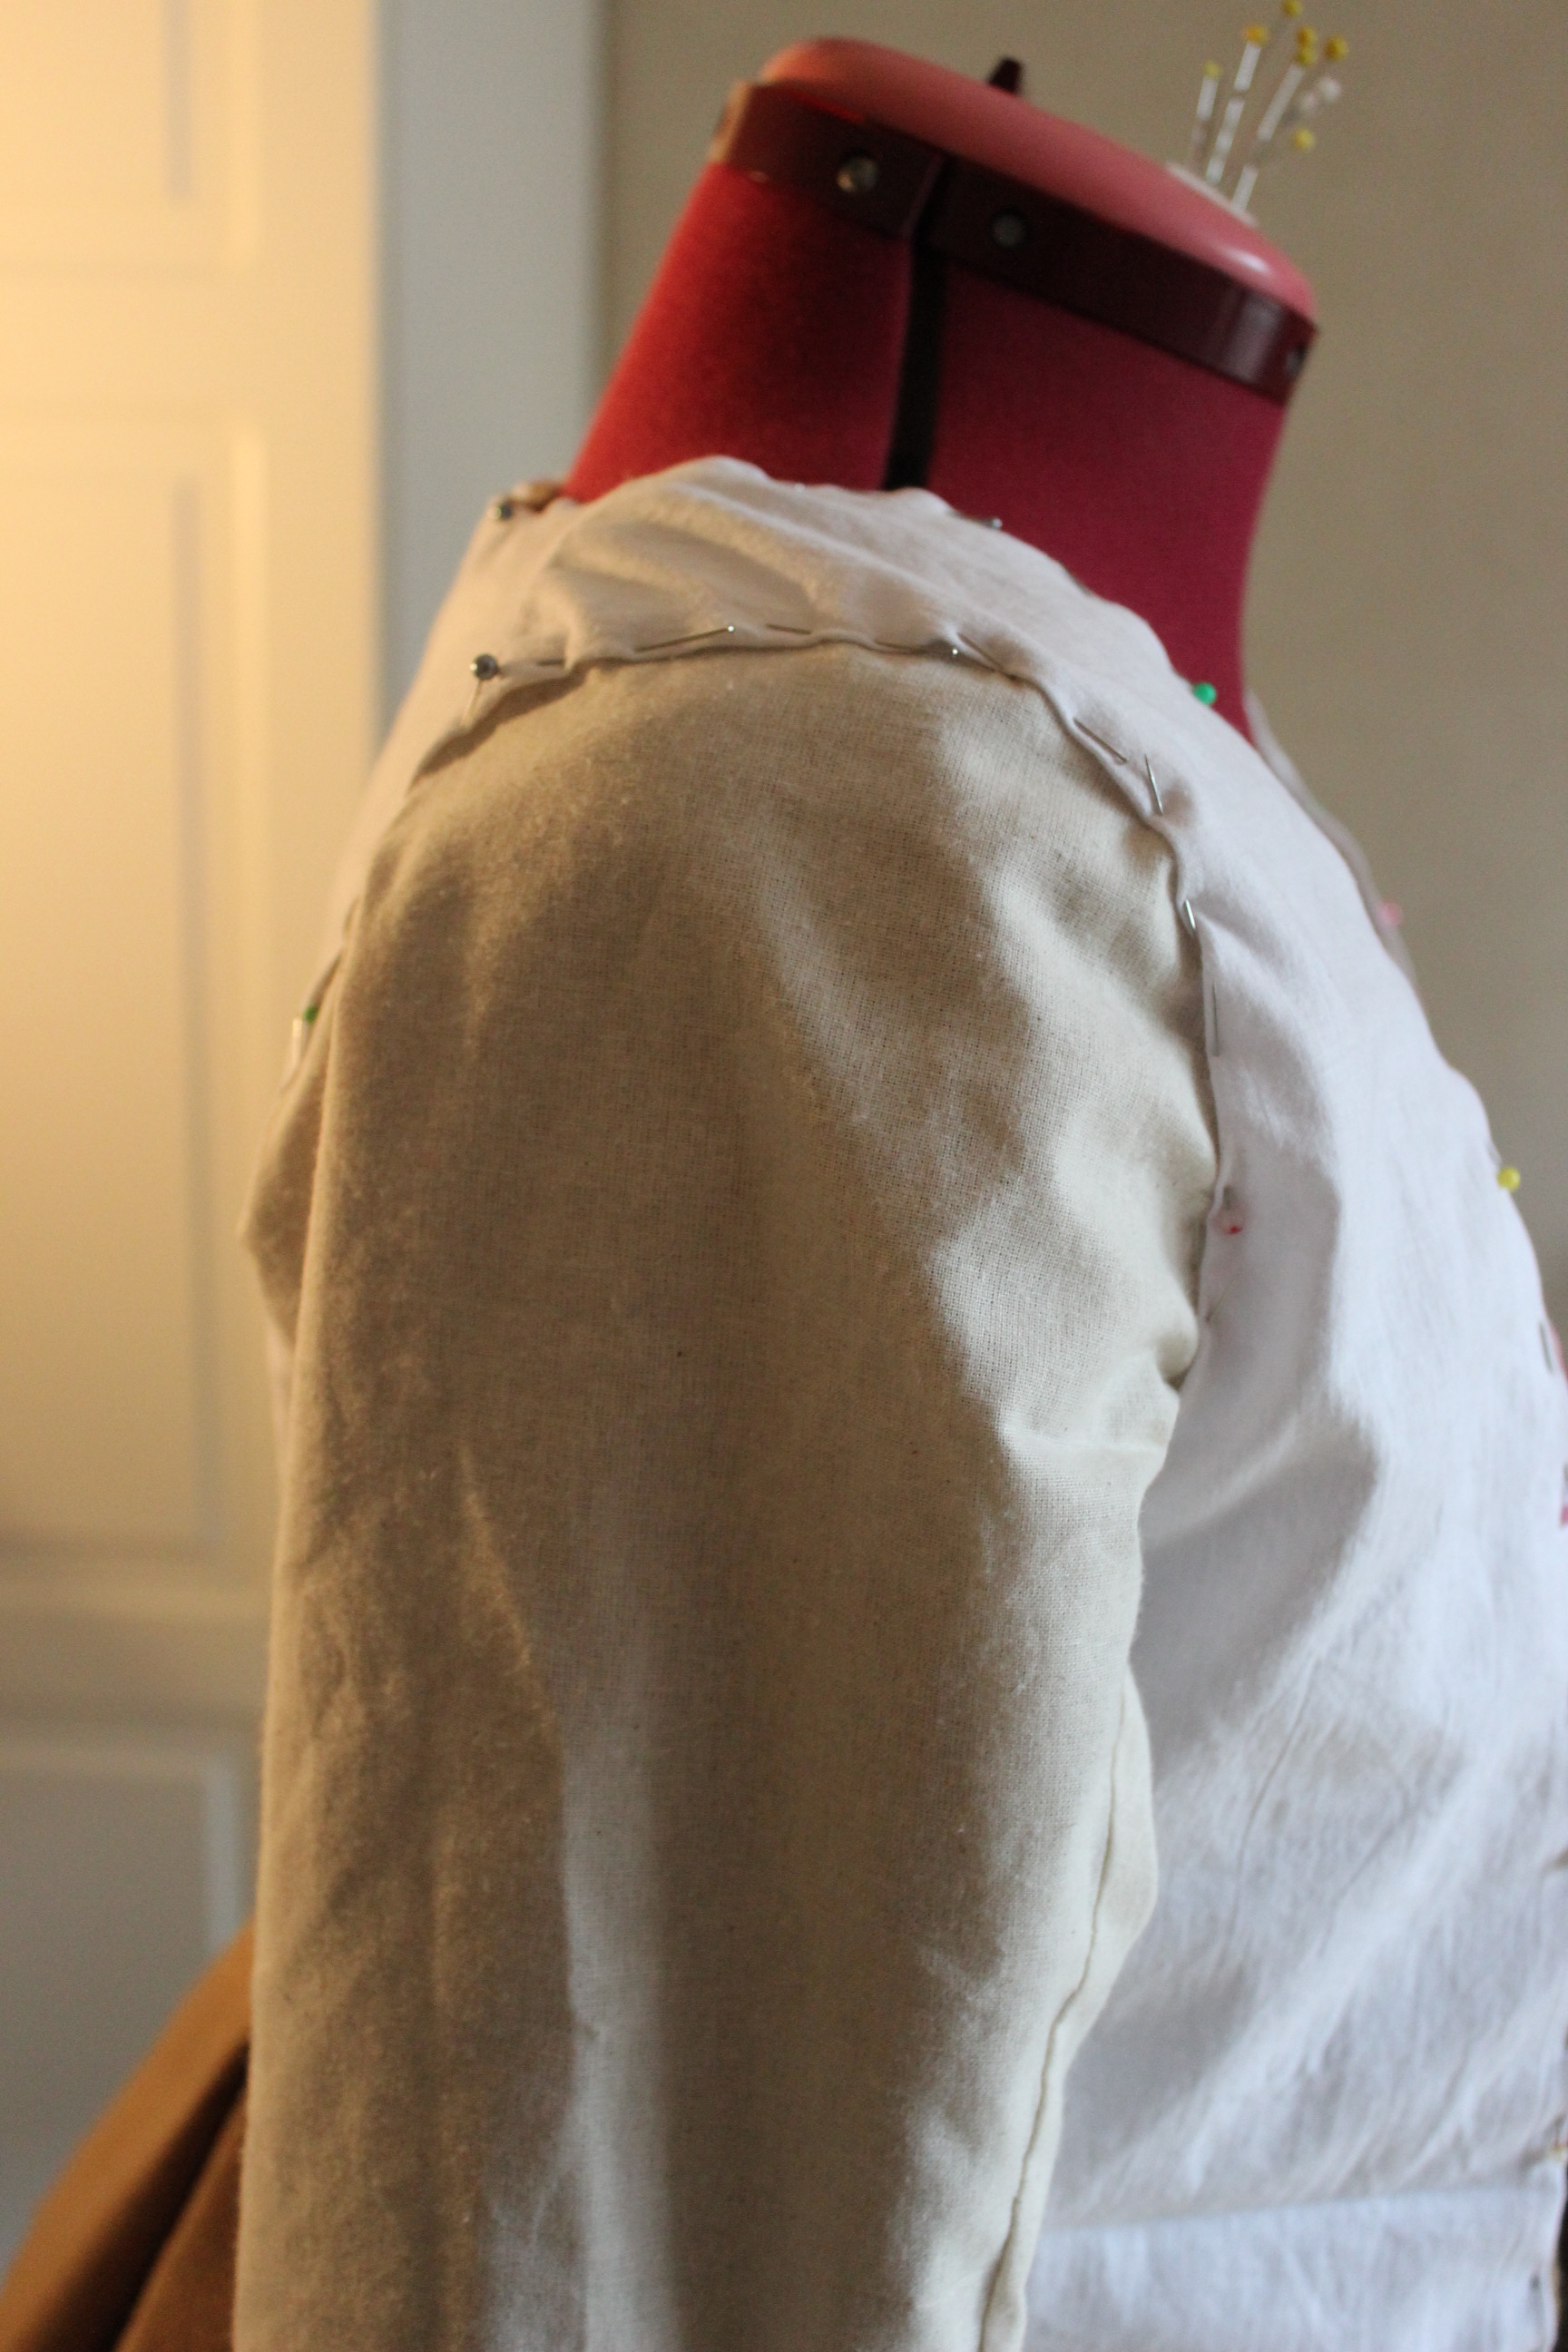
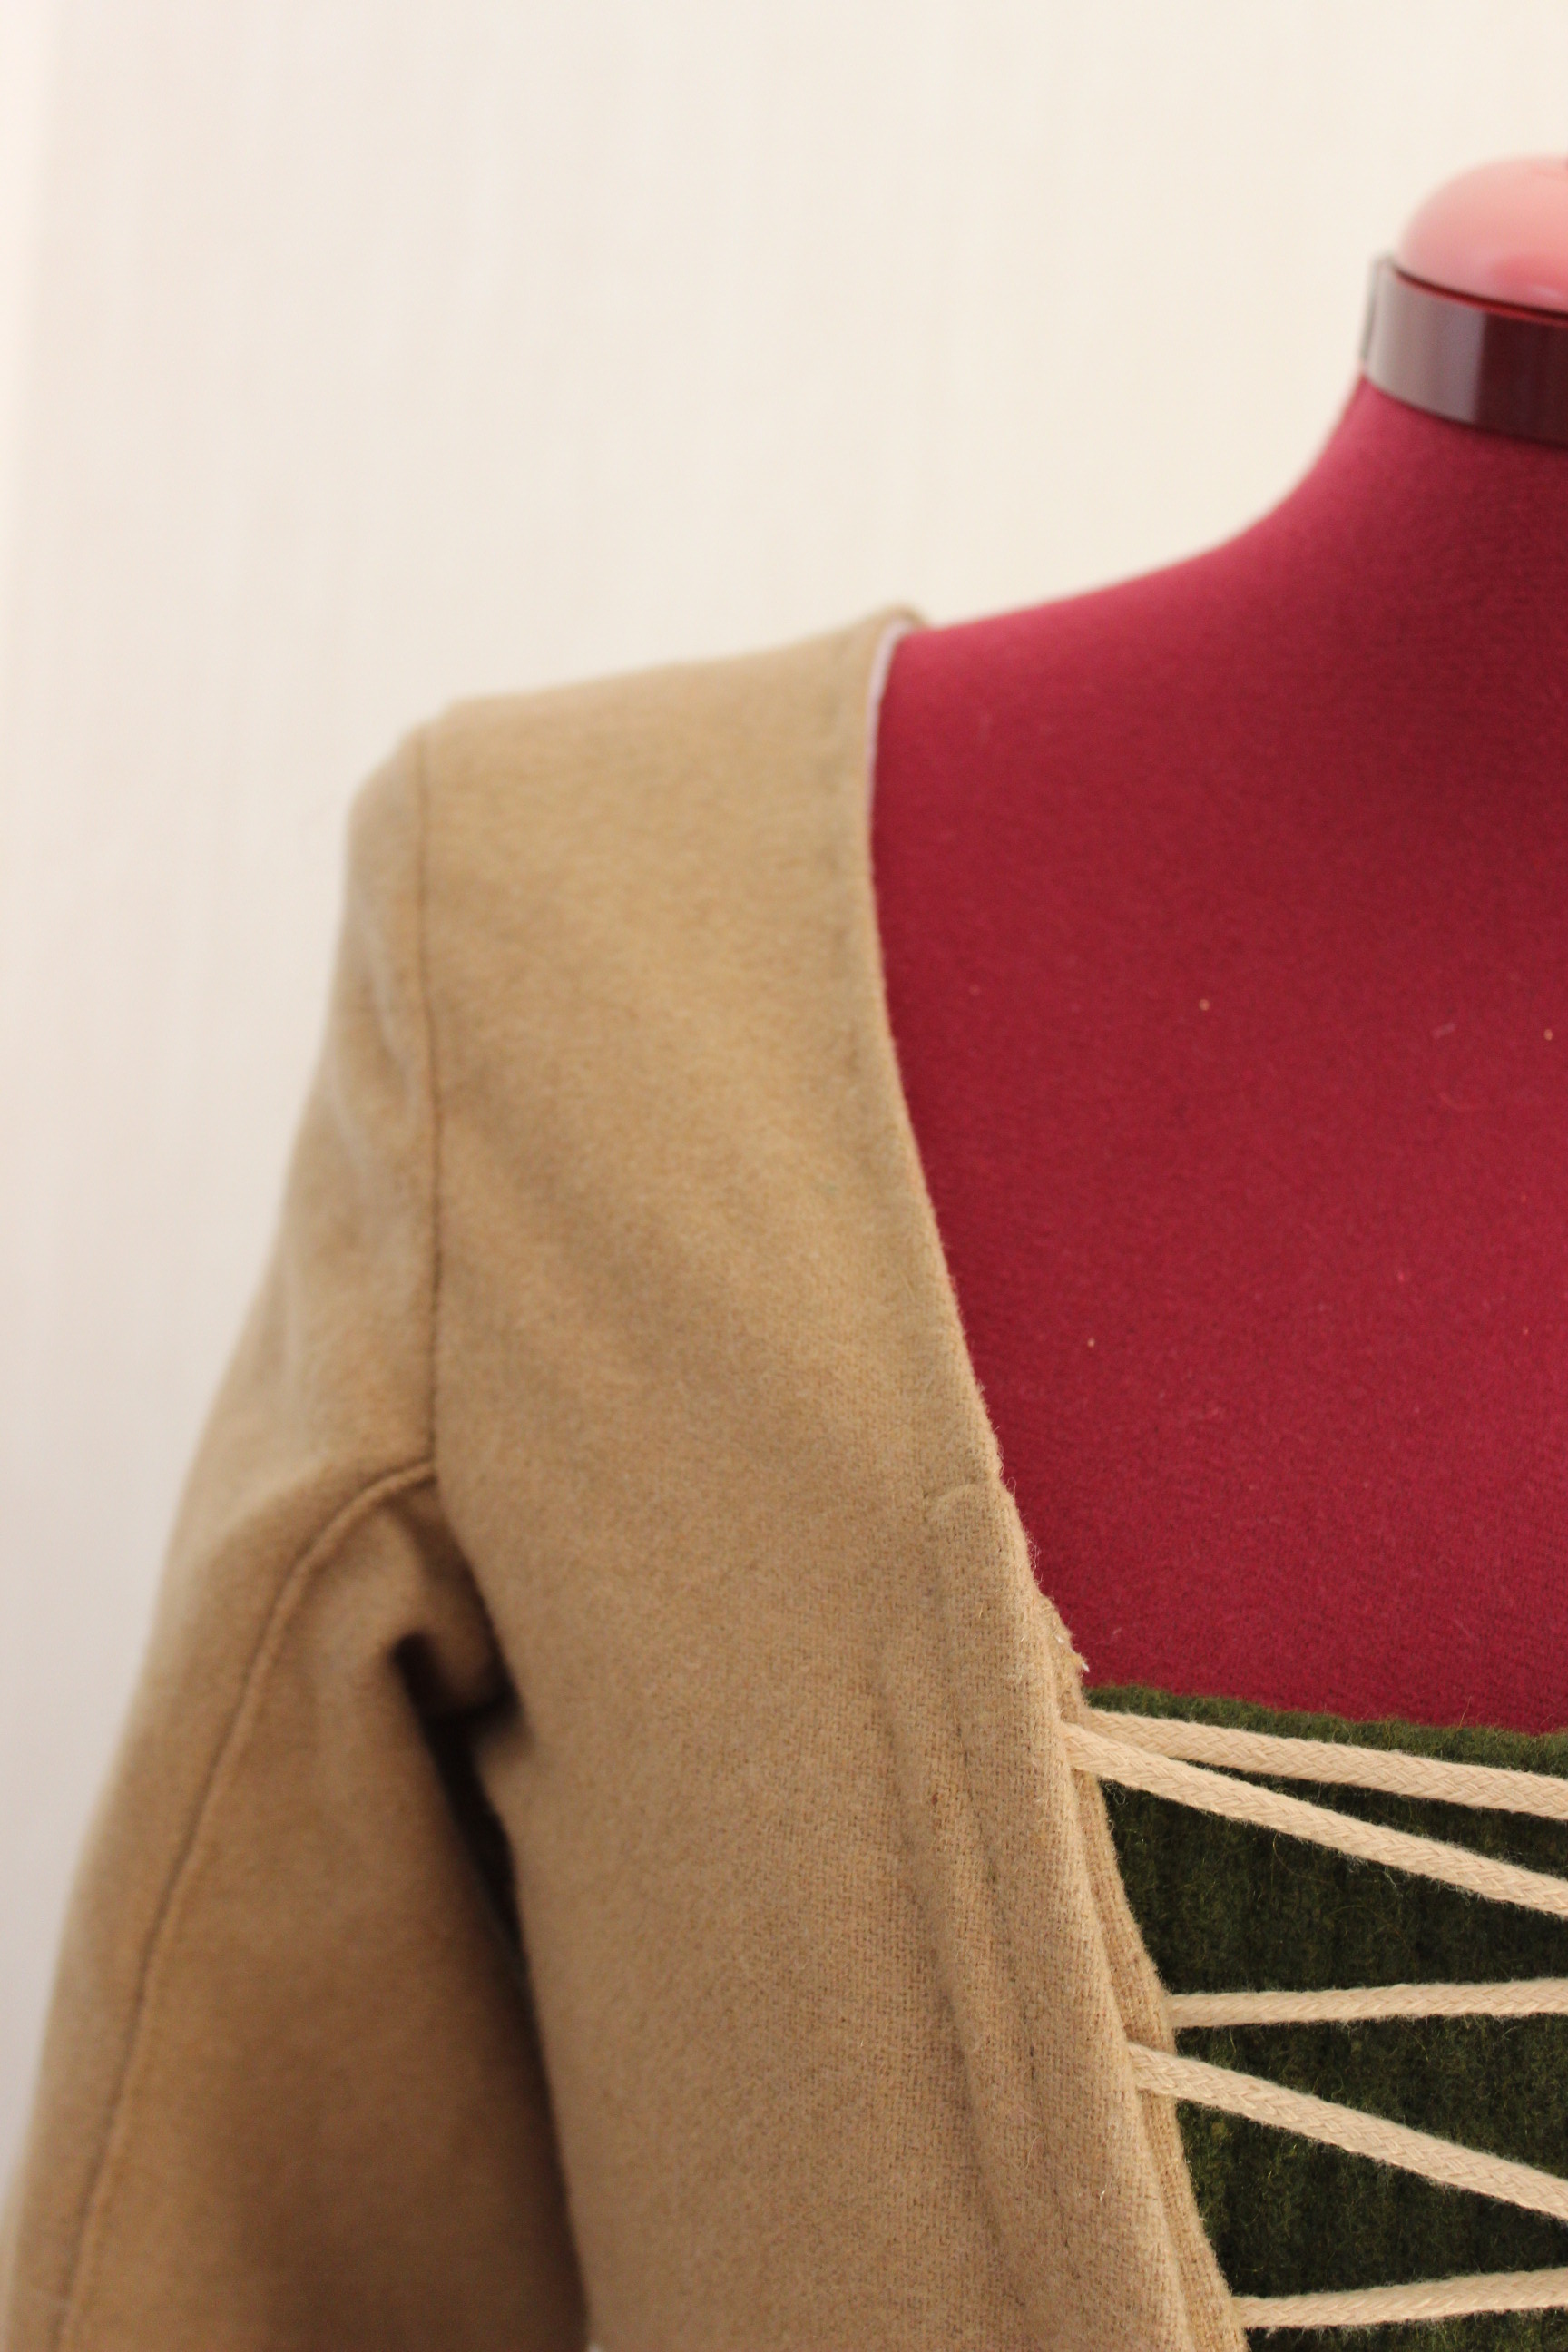
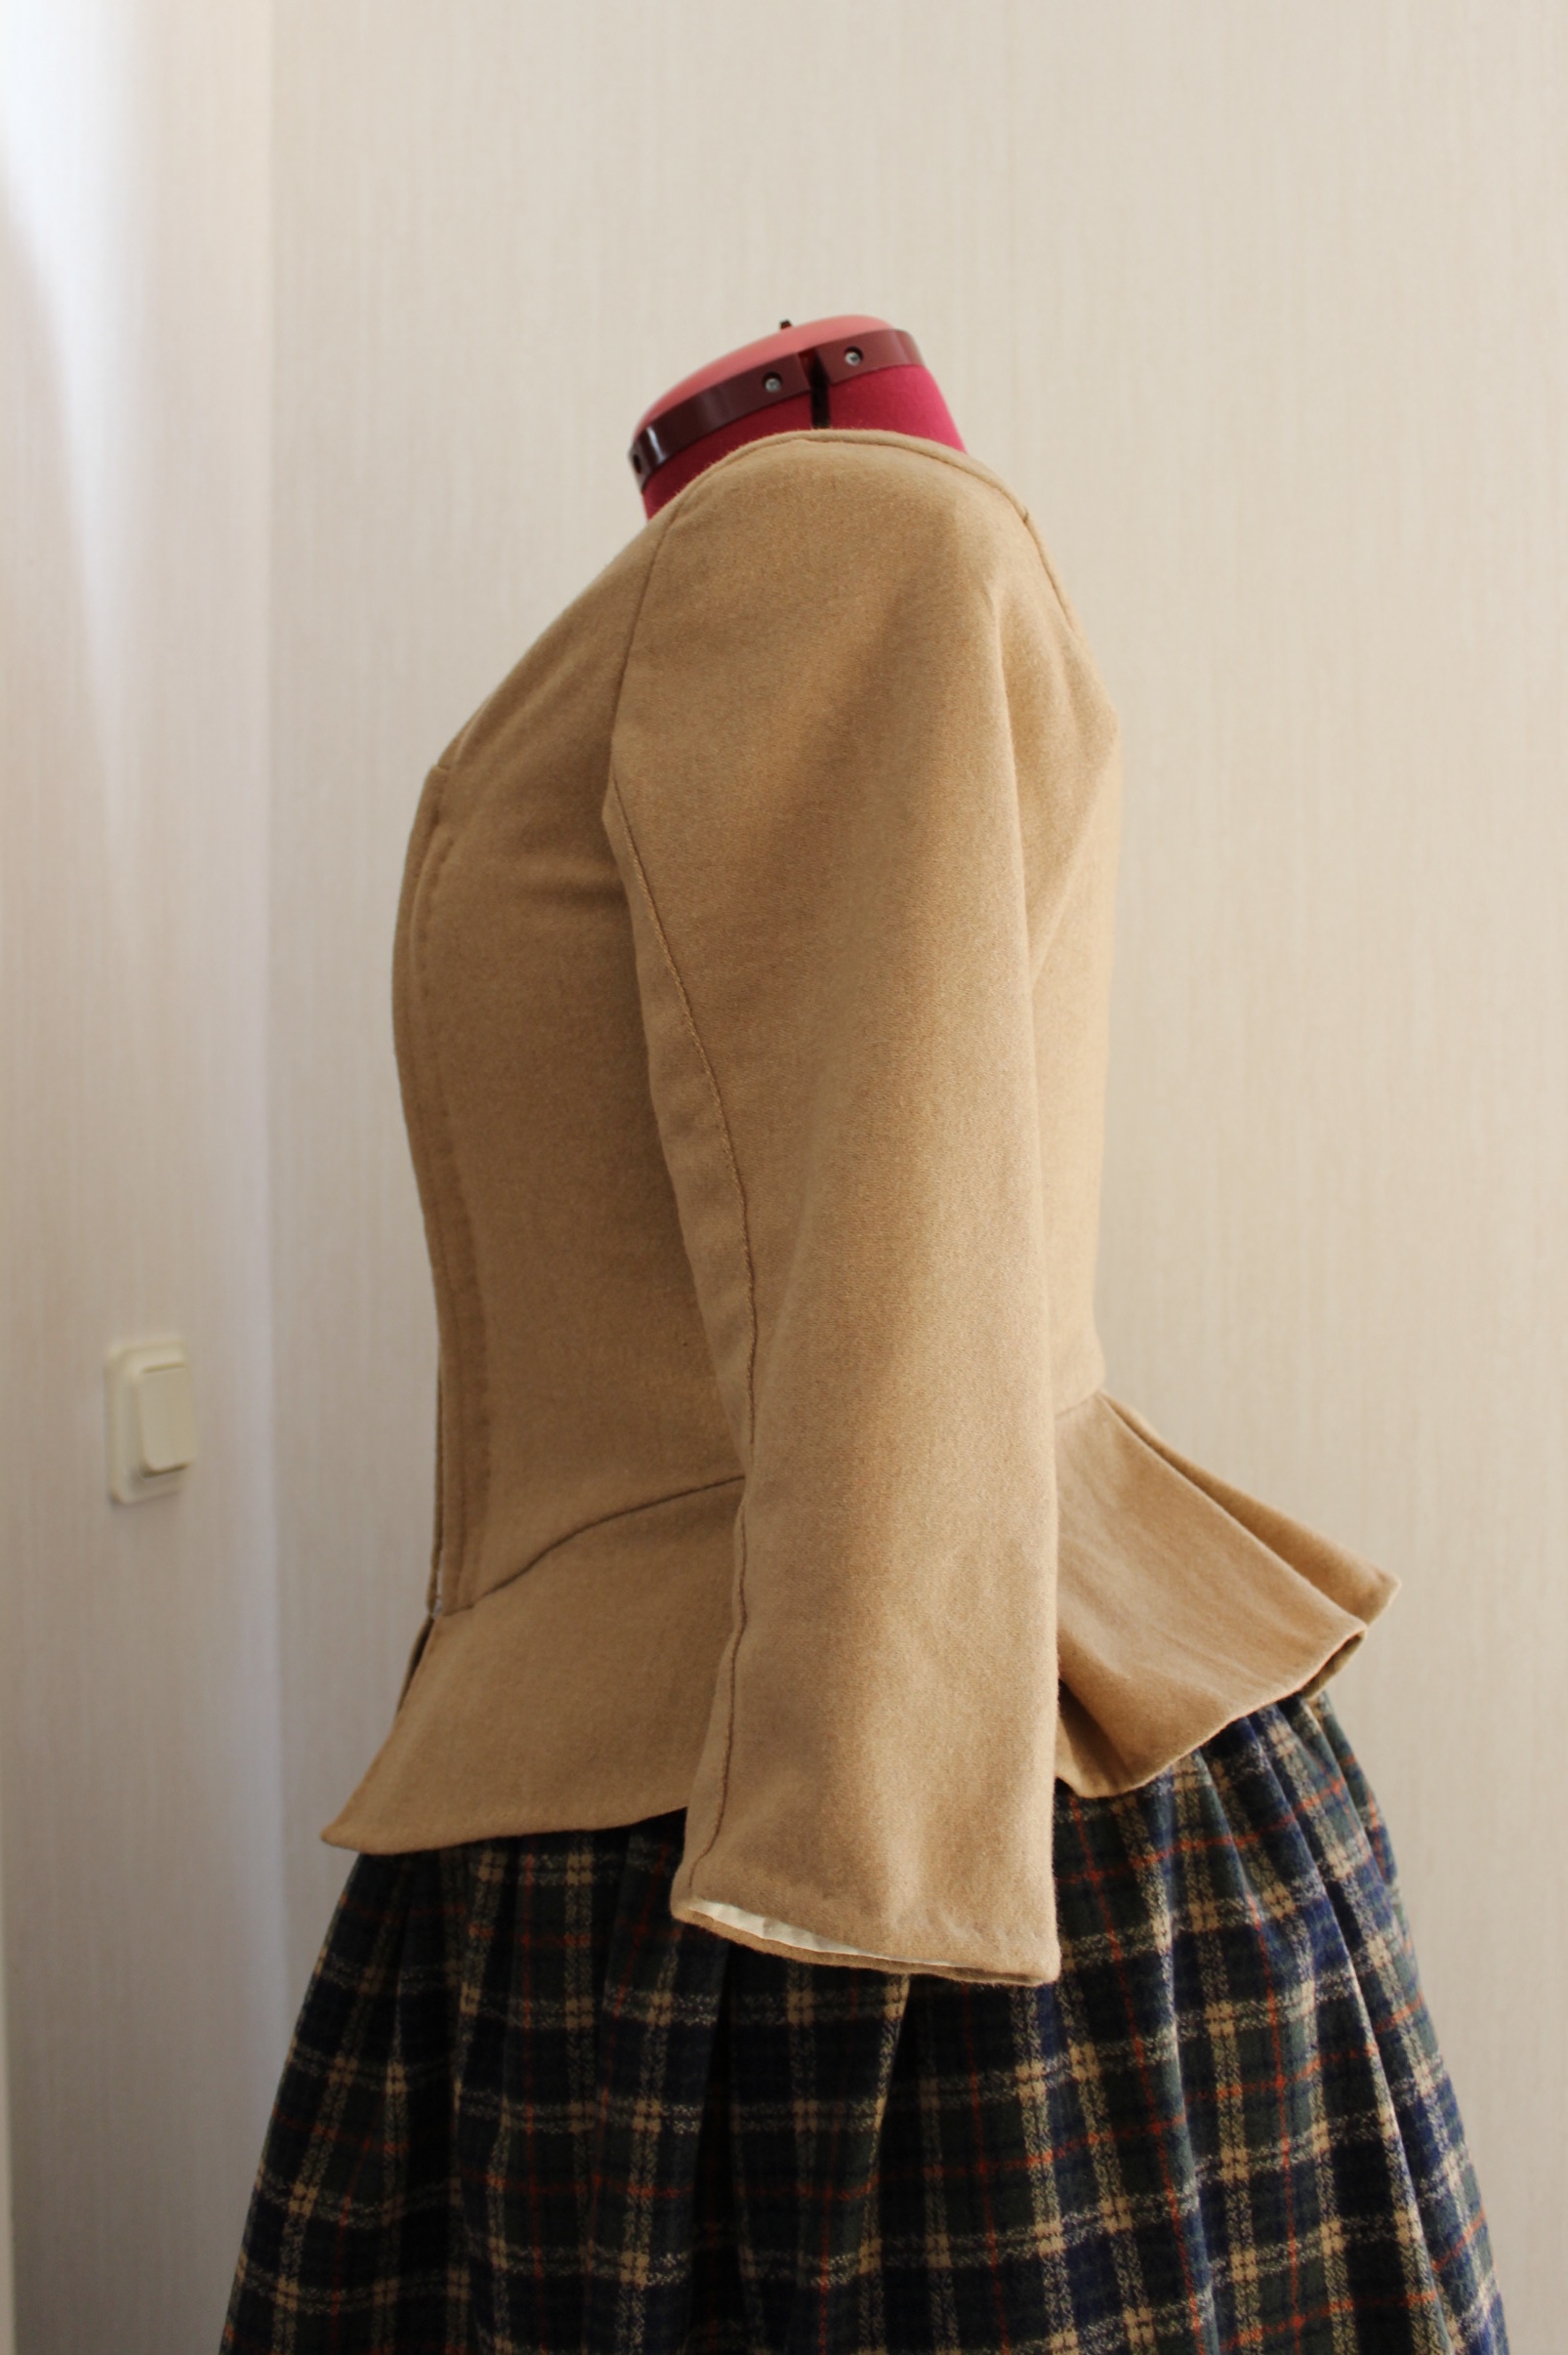
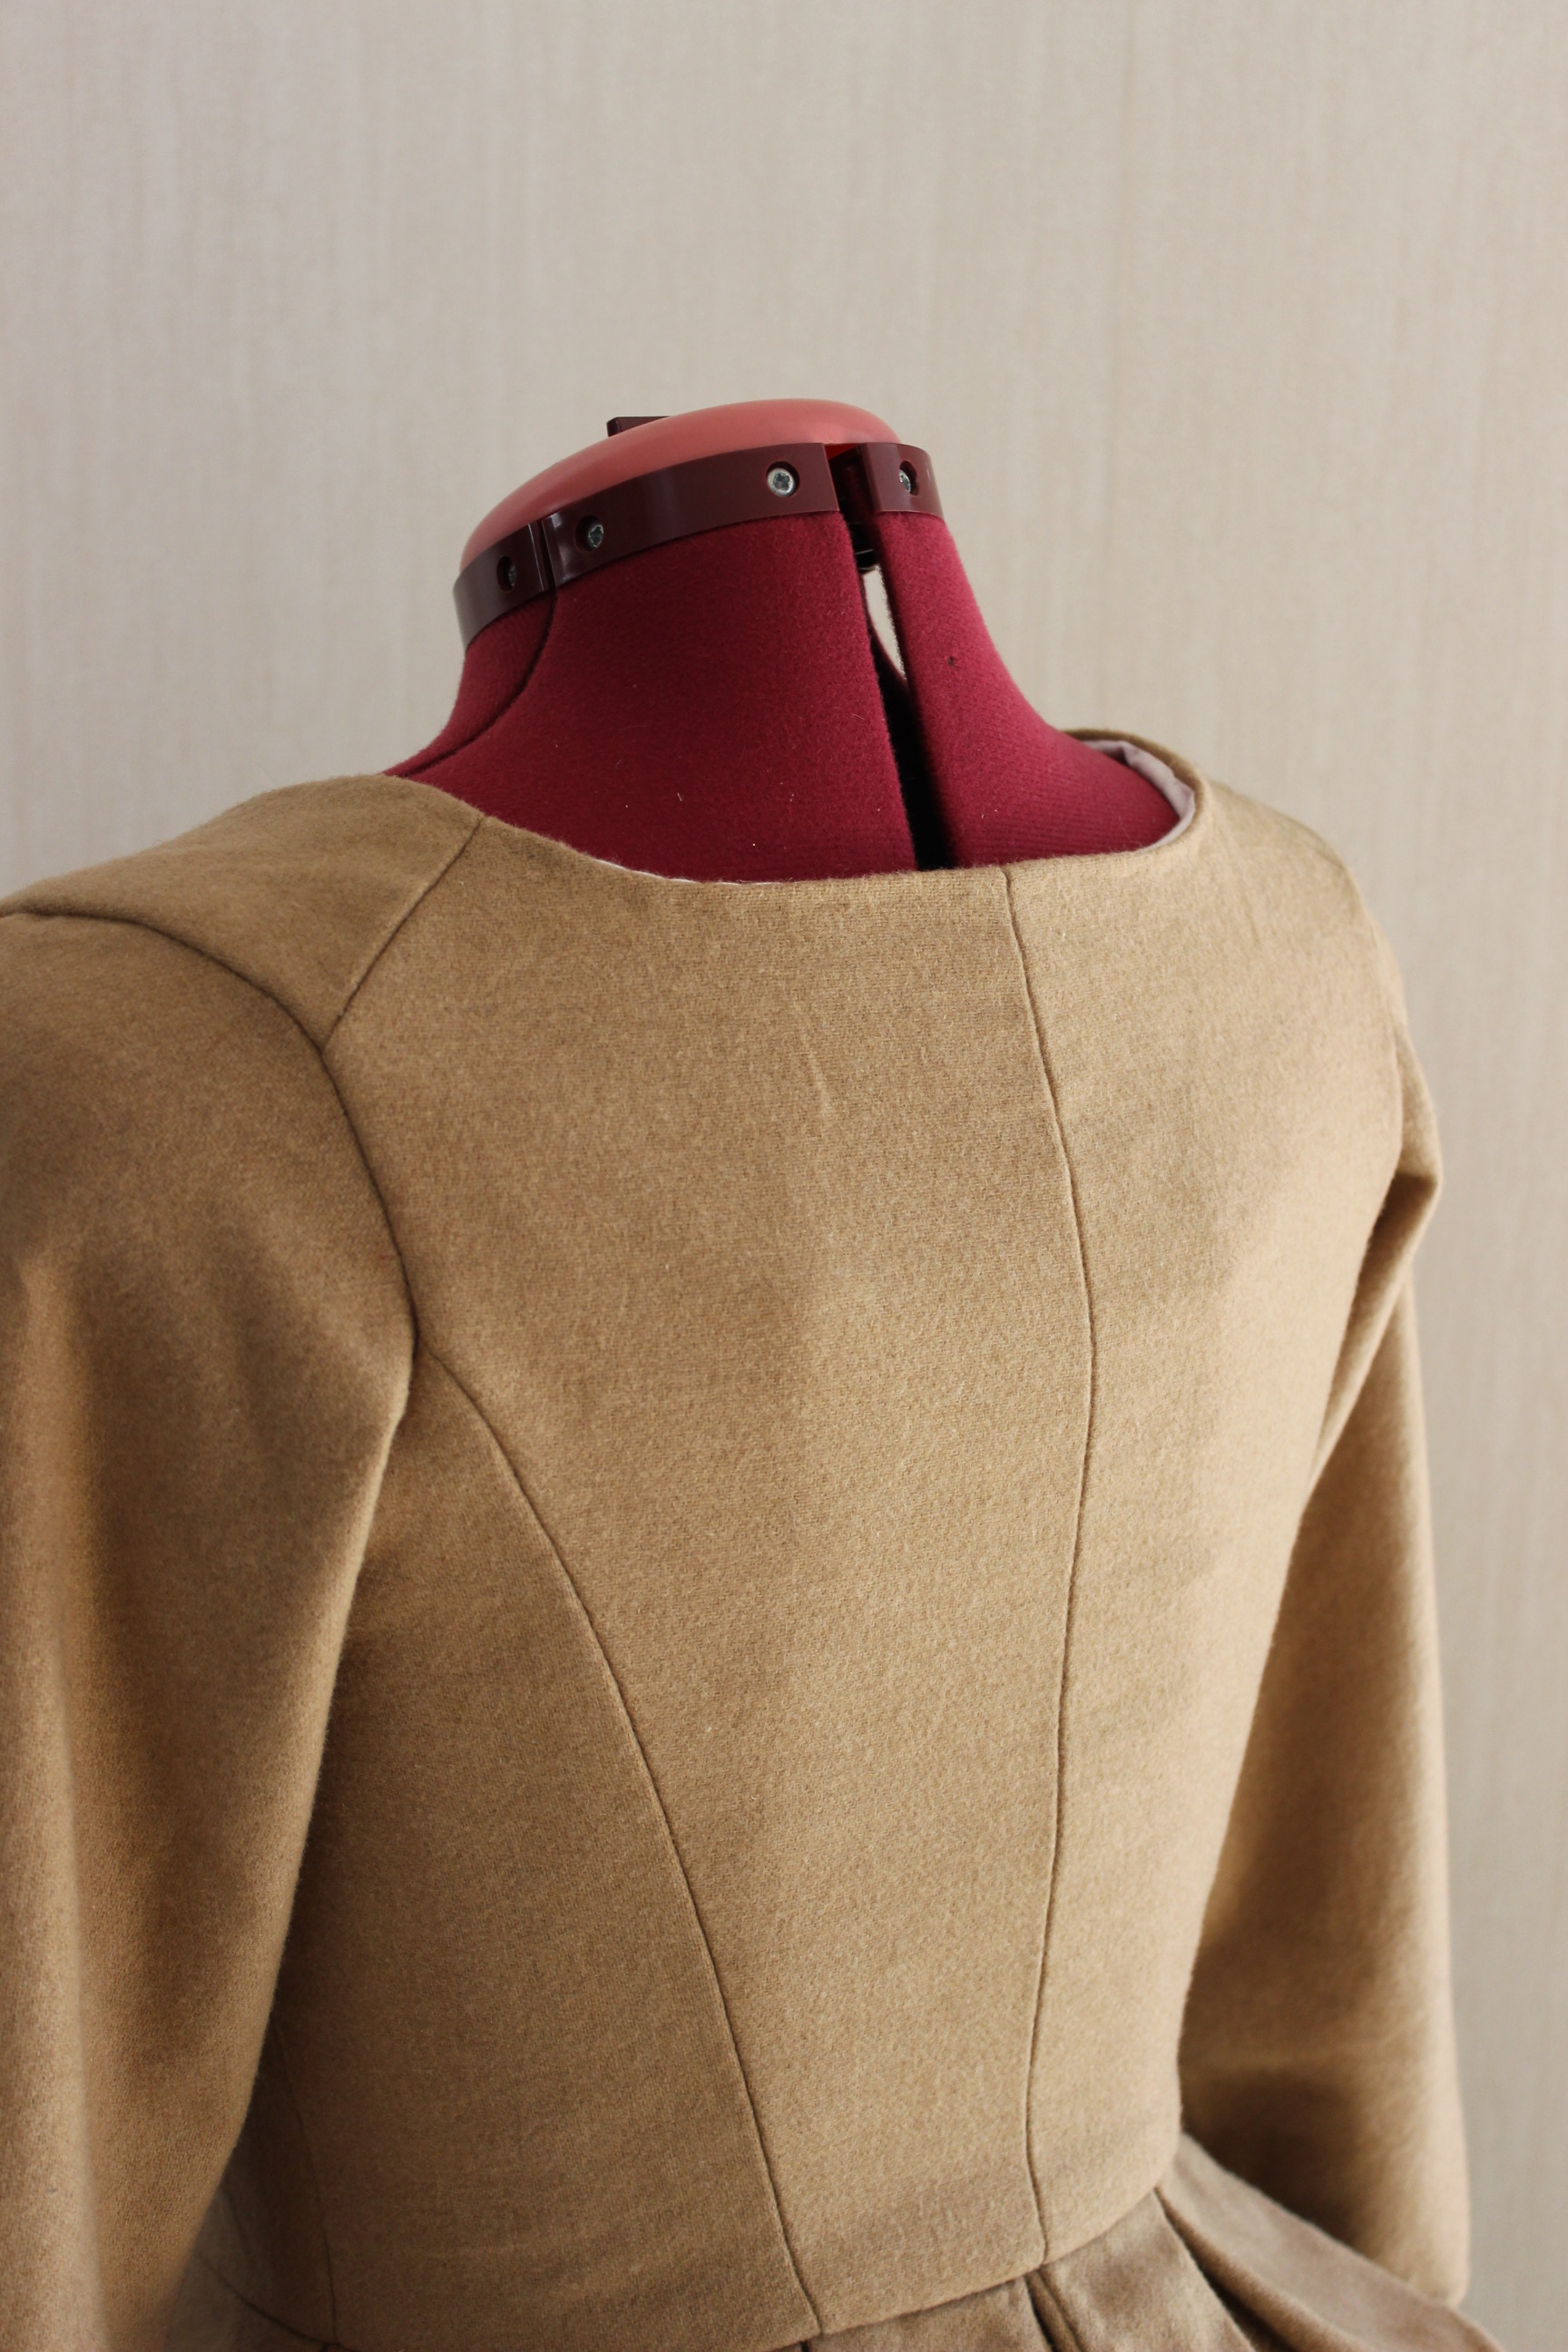
Trying the jacket on my dressform.
I attached the lining made from two different pieces f left over cotton sheets. 
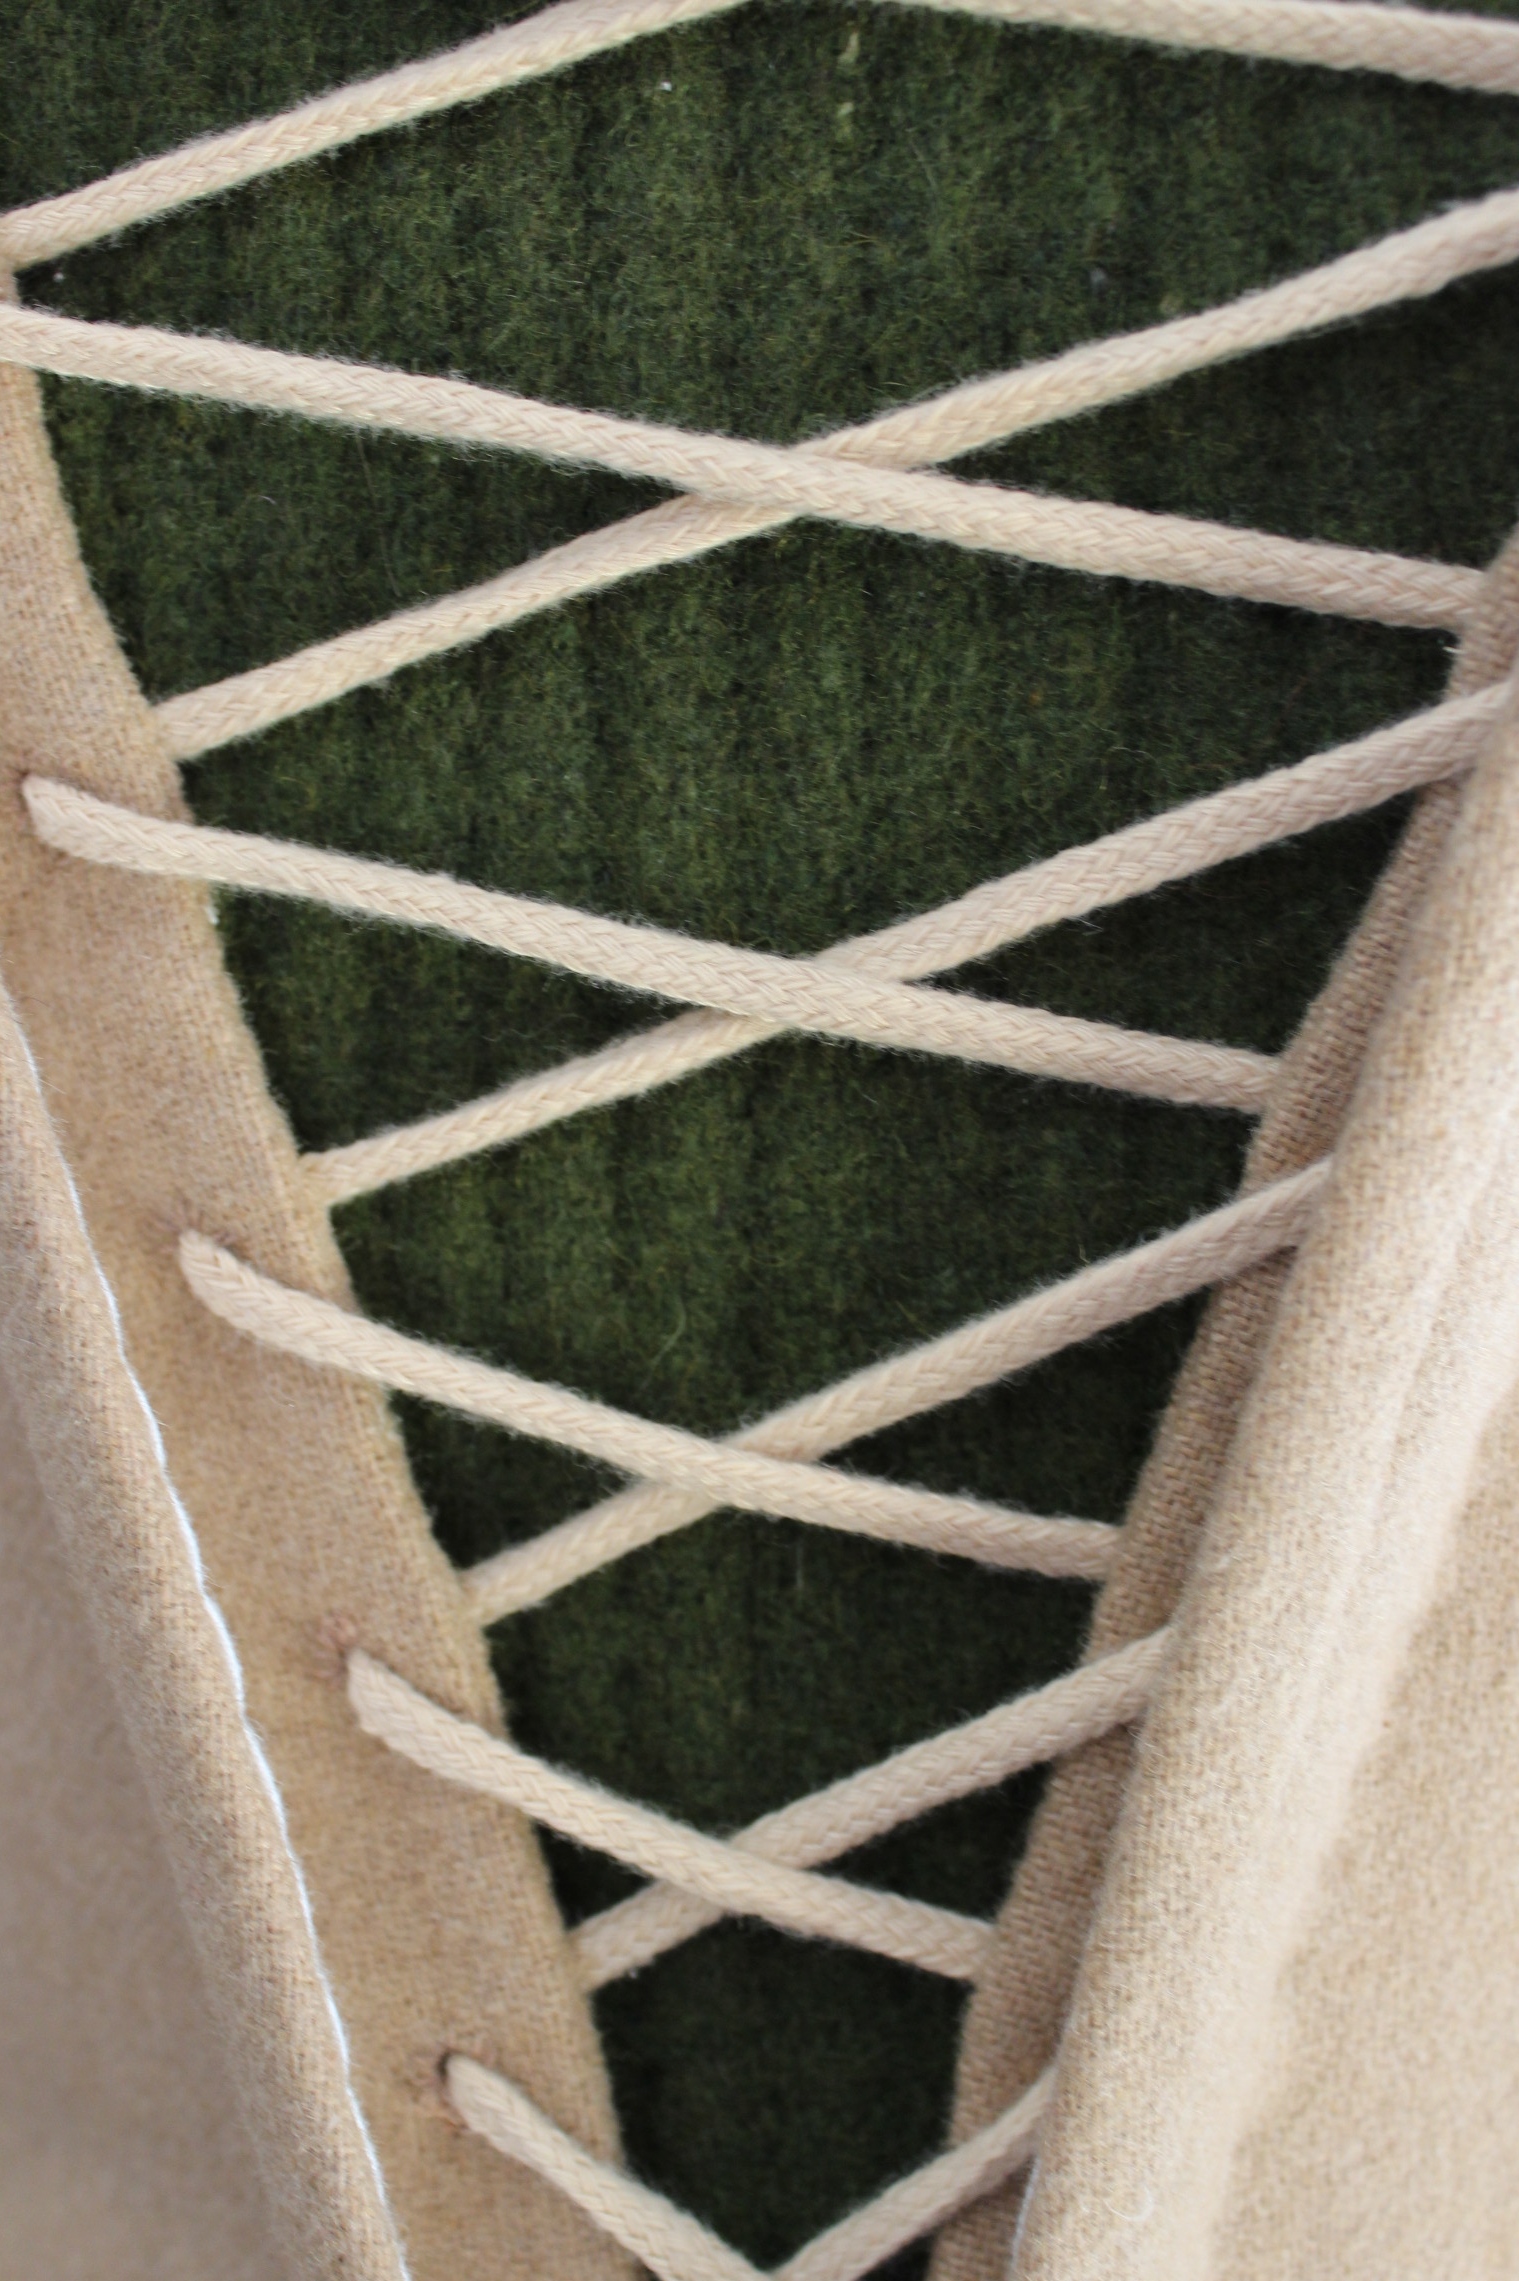
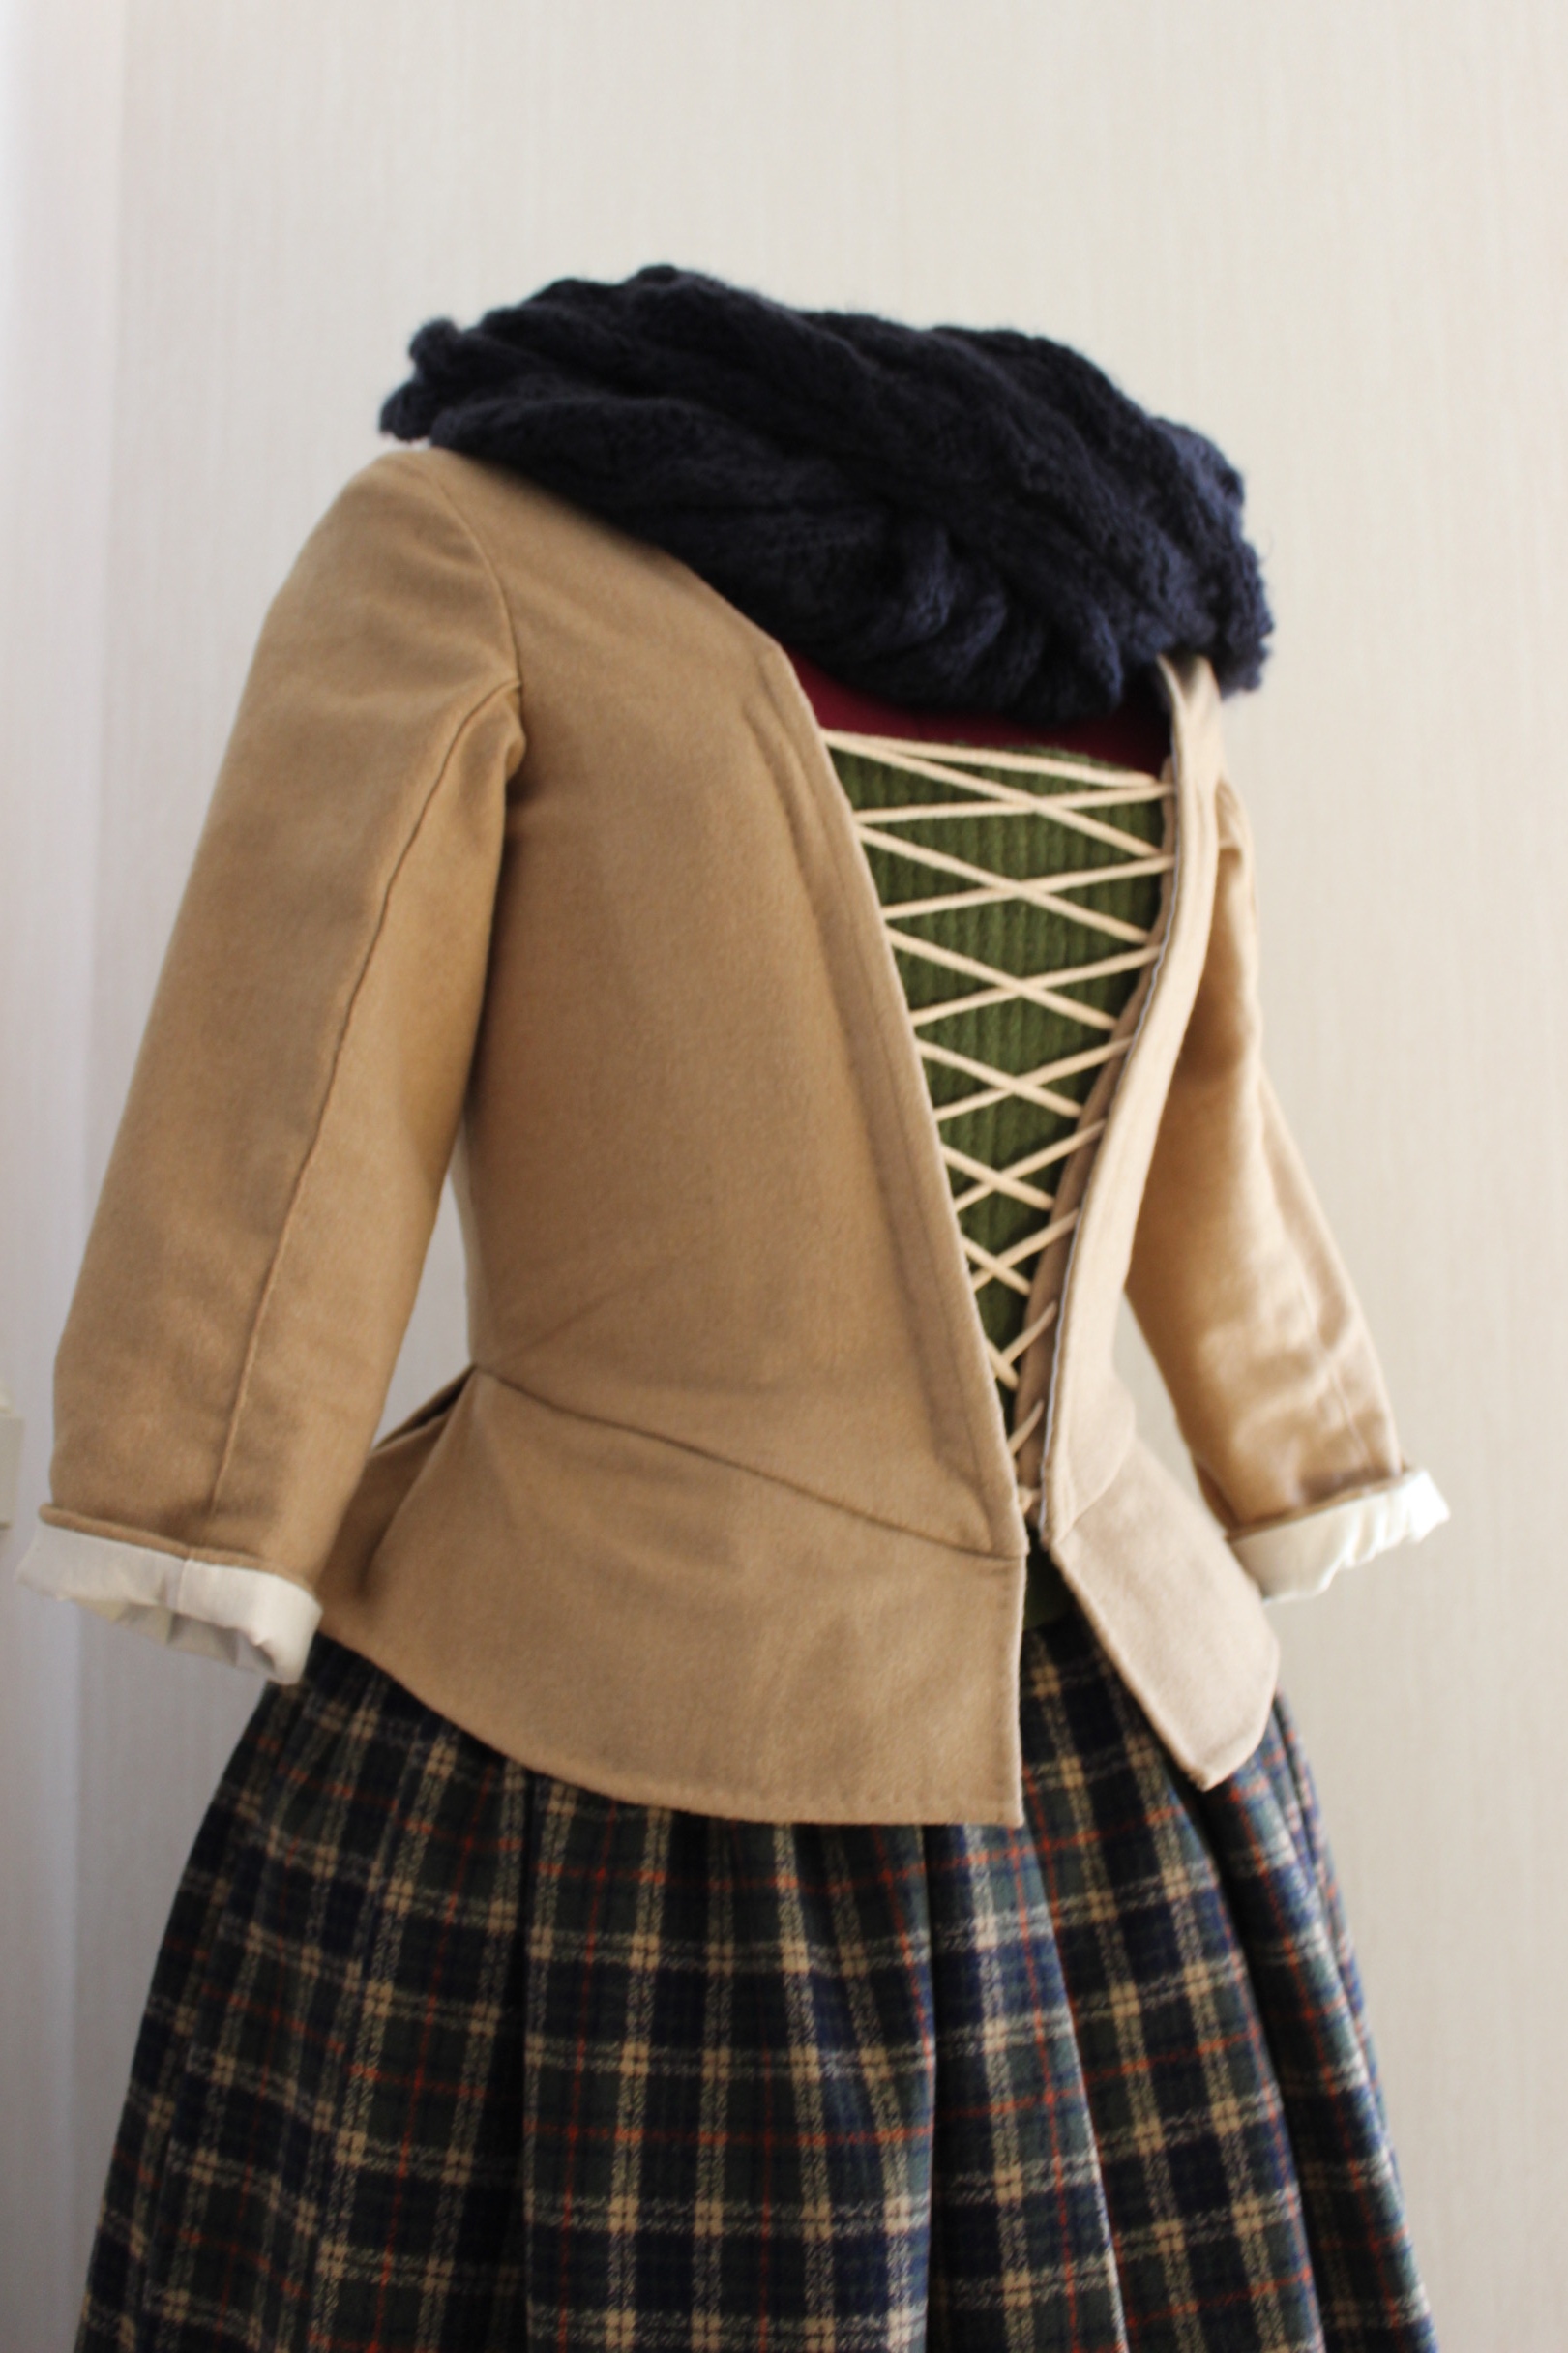
Then it was time for the eyelets to be made, using a separate fabric strip attached hidden under the boned front edge.
The finial thing to make was to ad channels and boning to the stomacher.
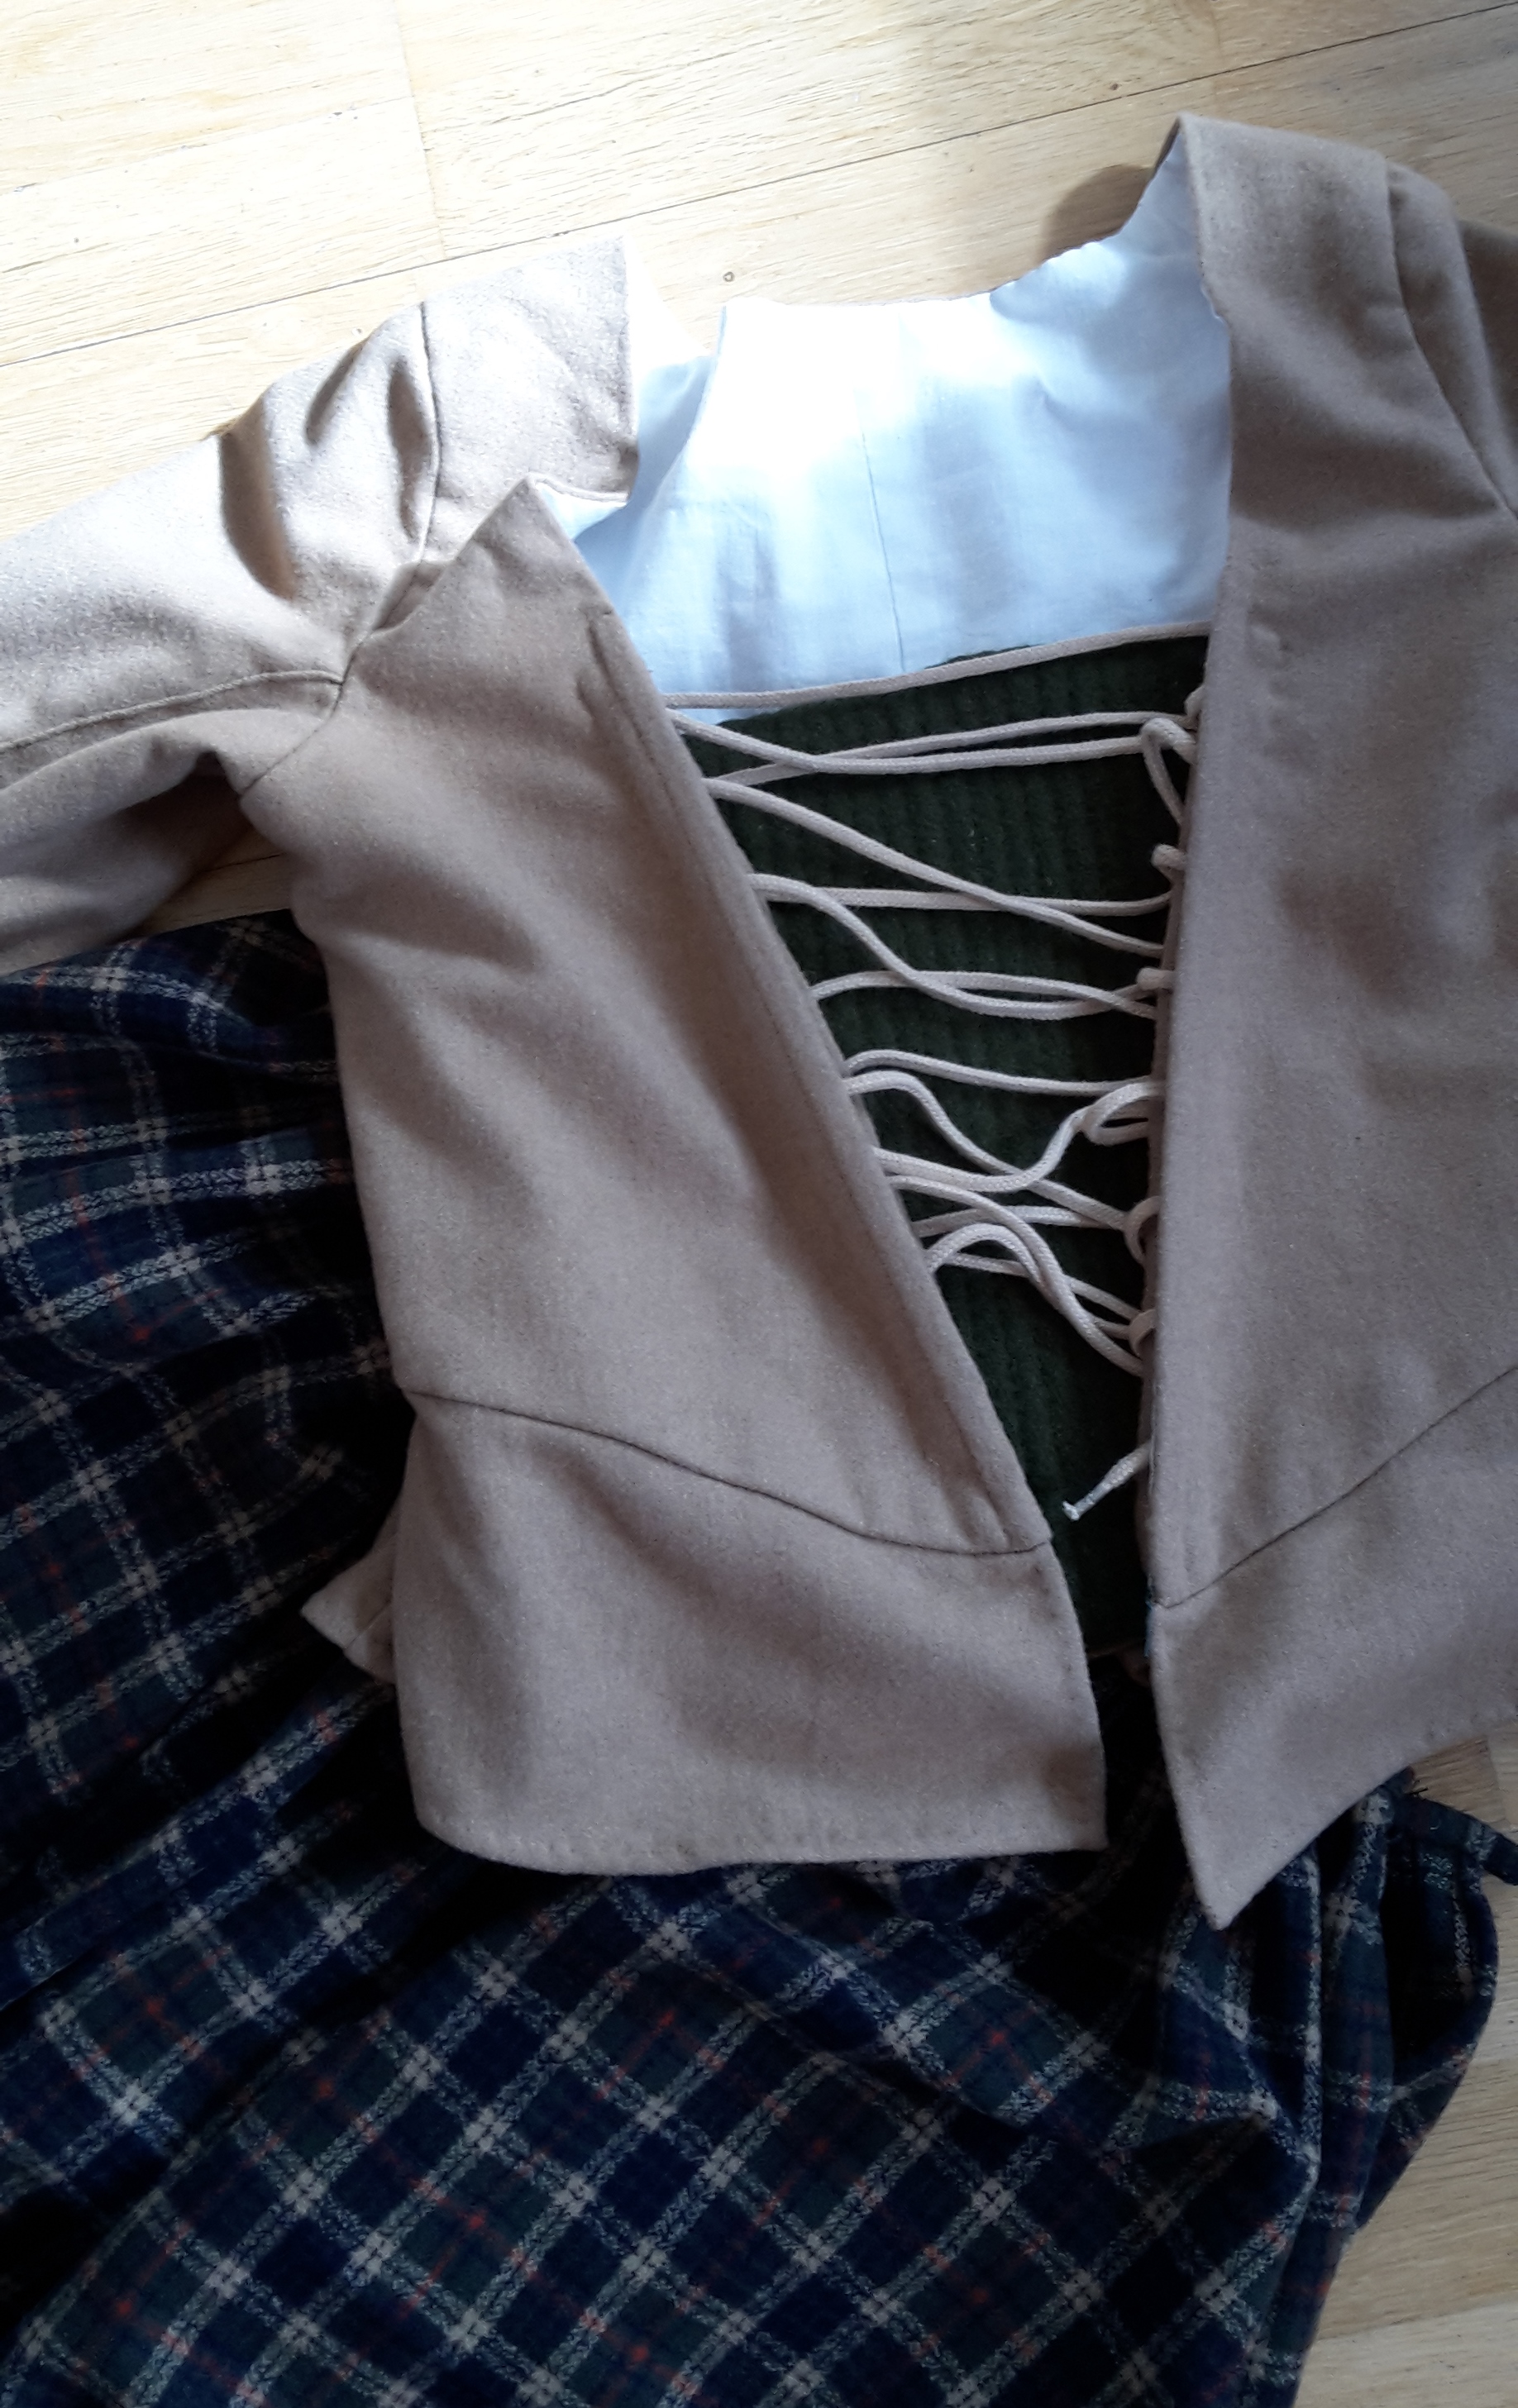
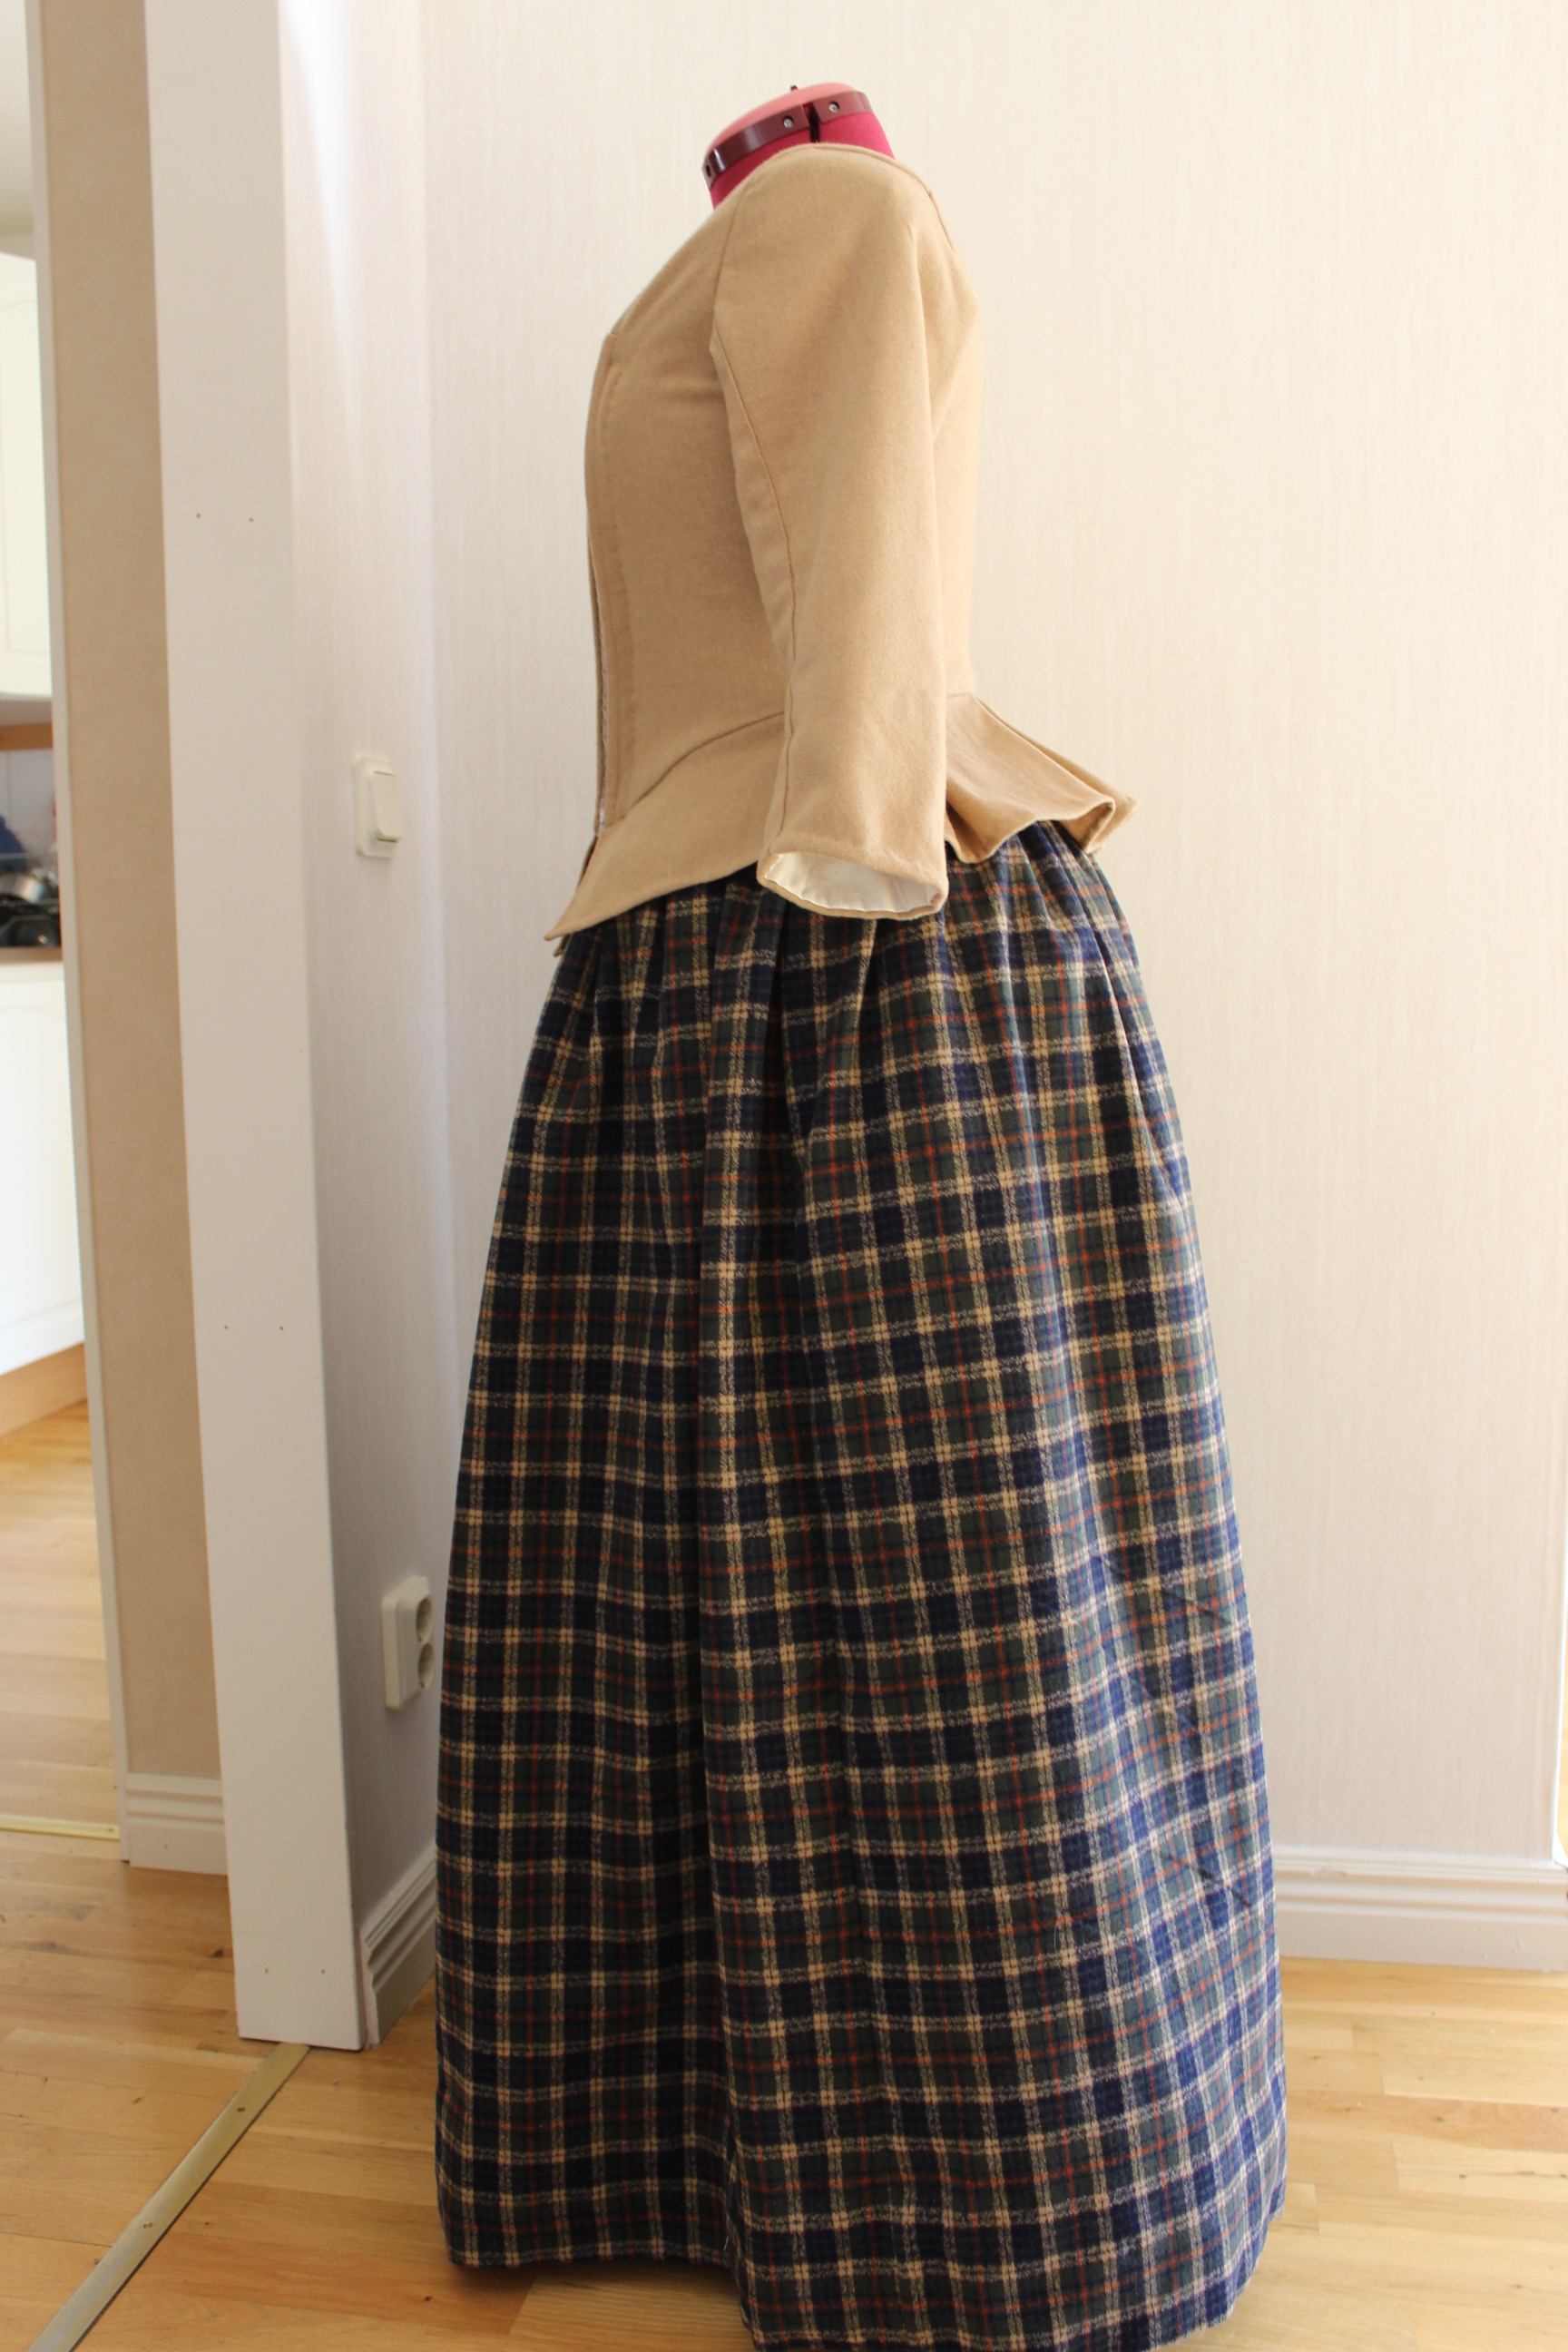
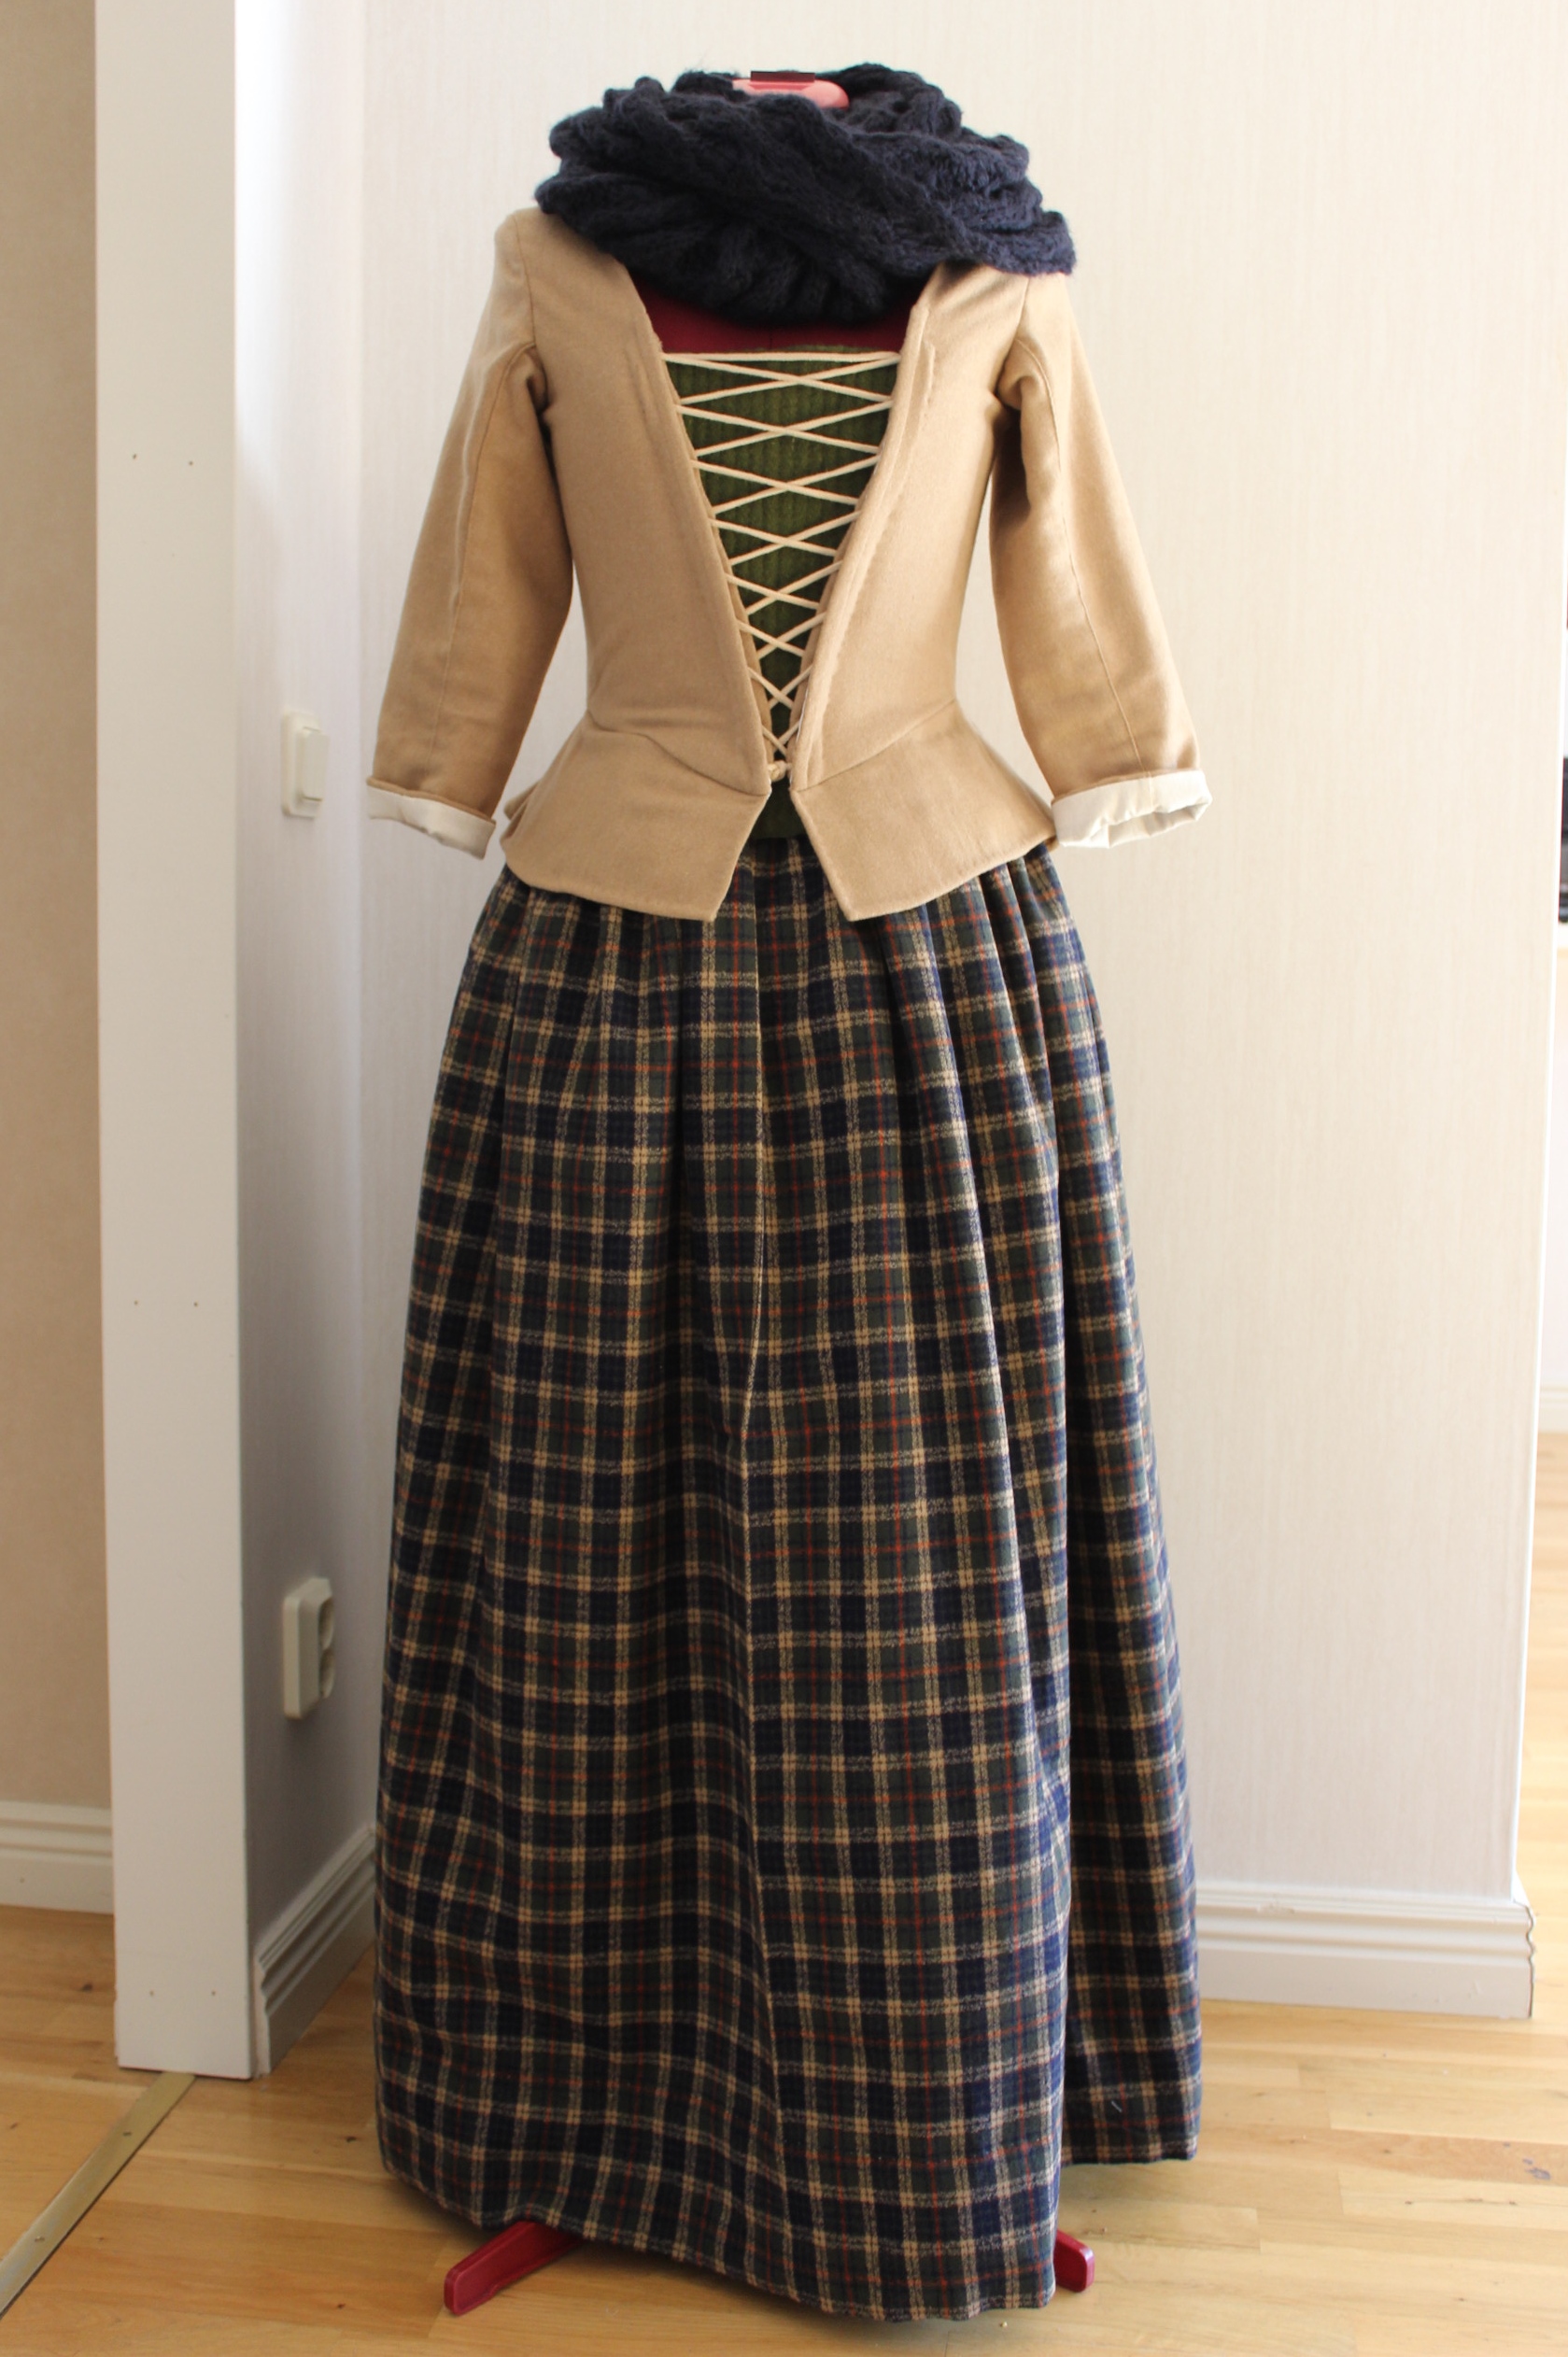
The skirt and jacket ready to be packed for the photoshoot. 
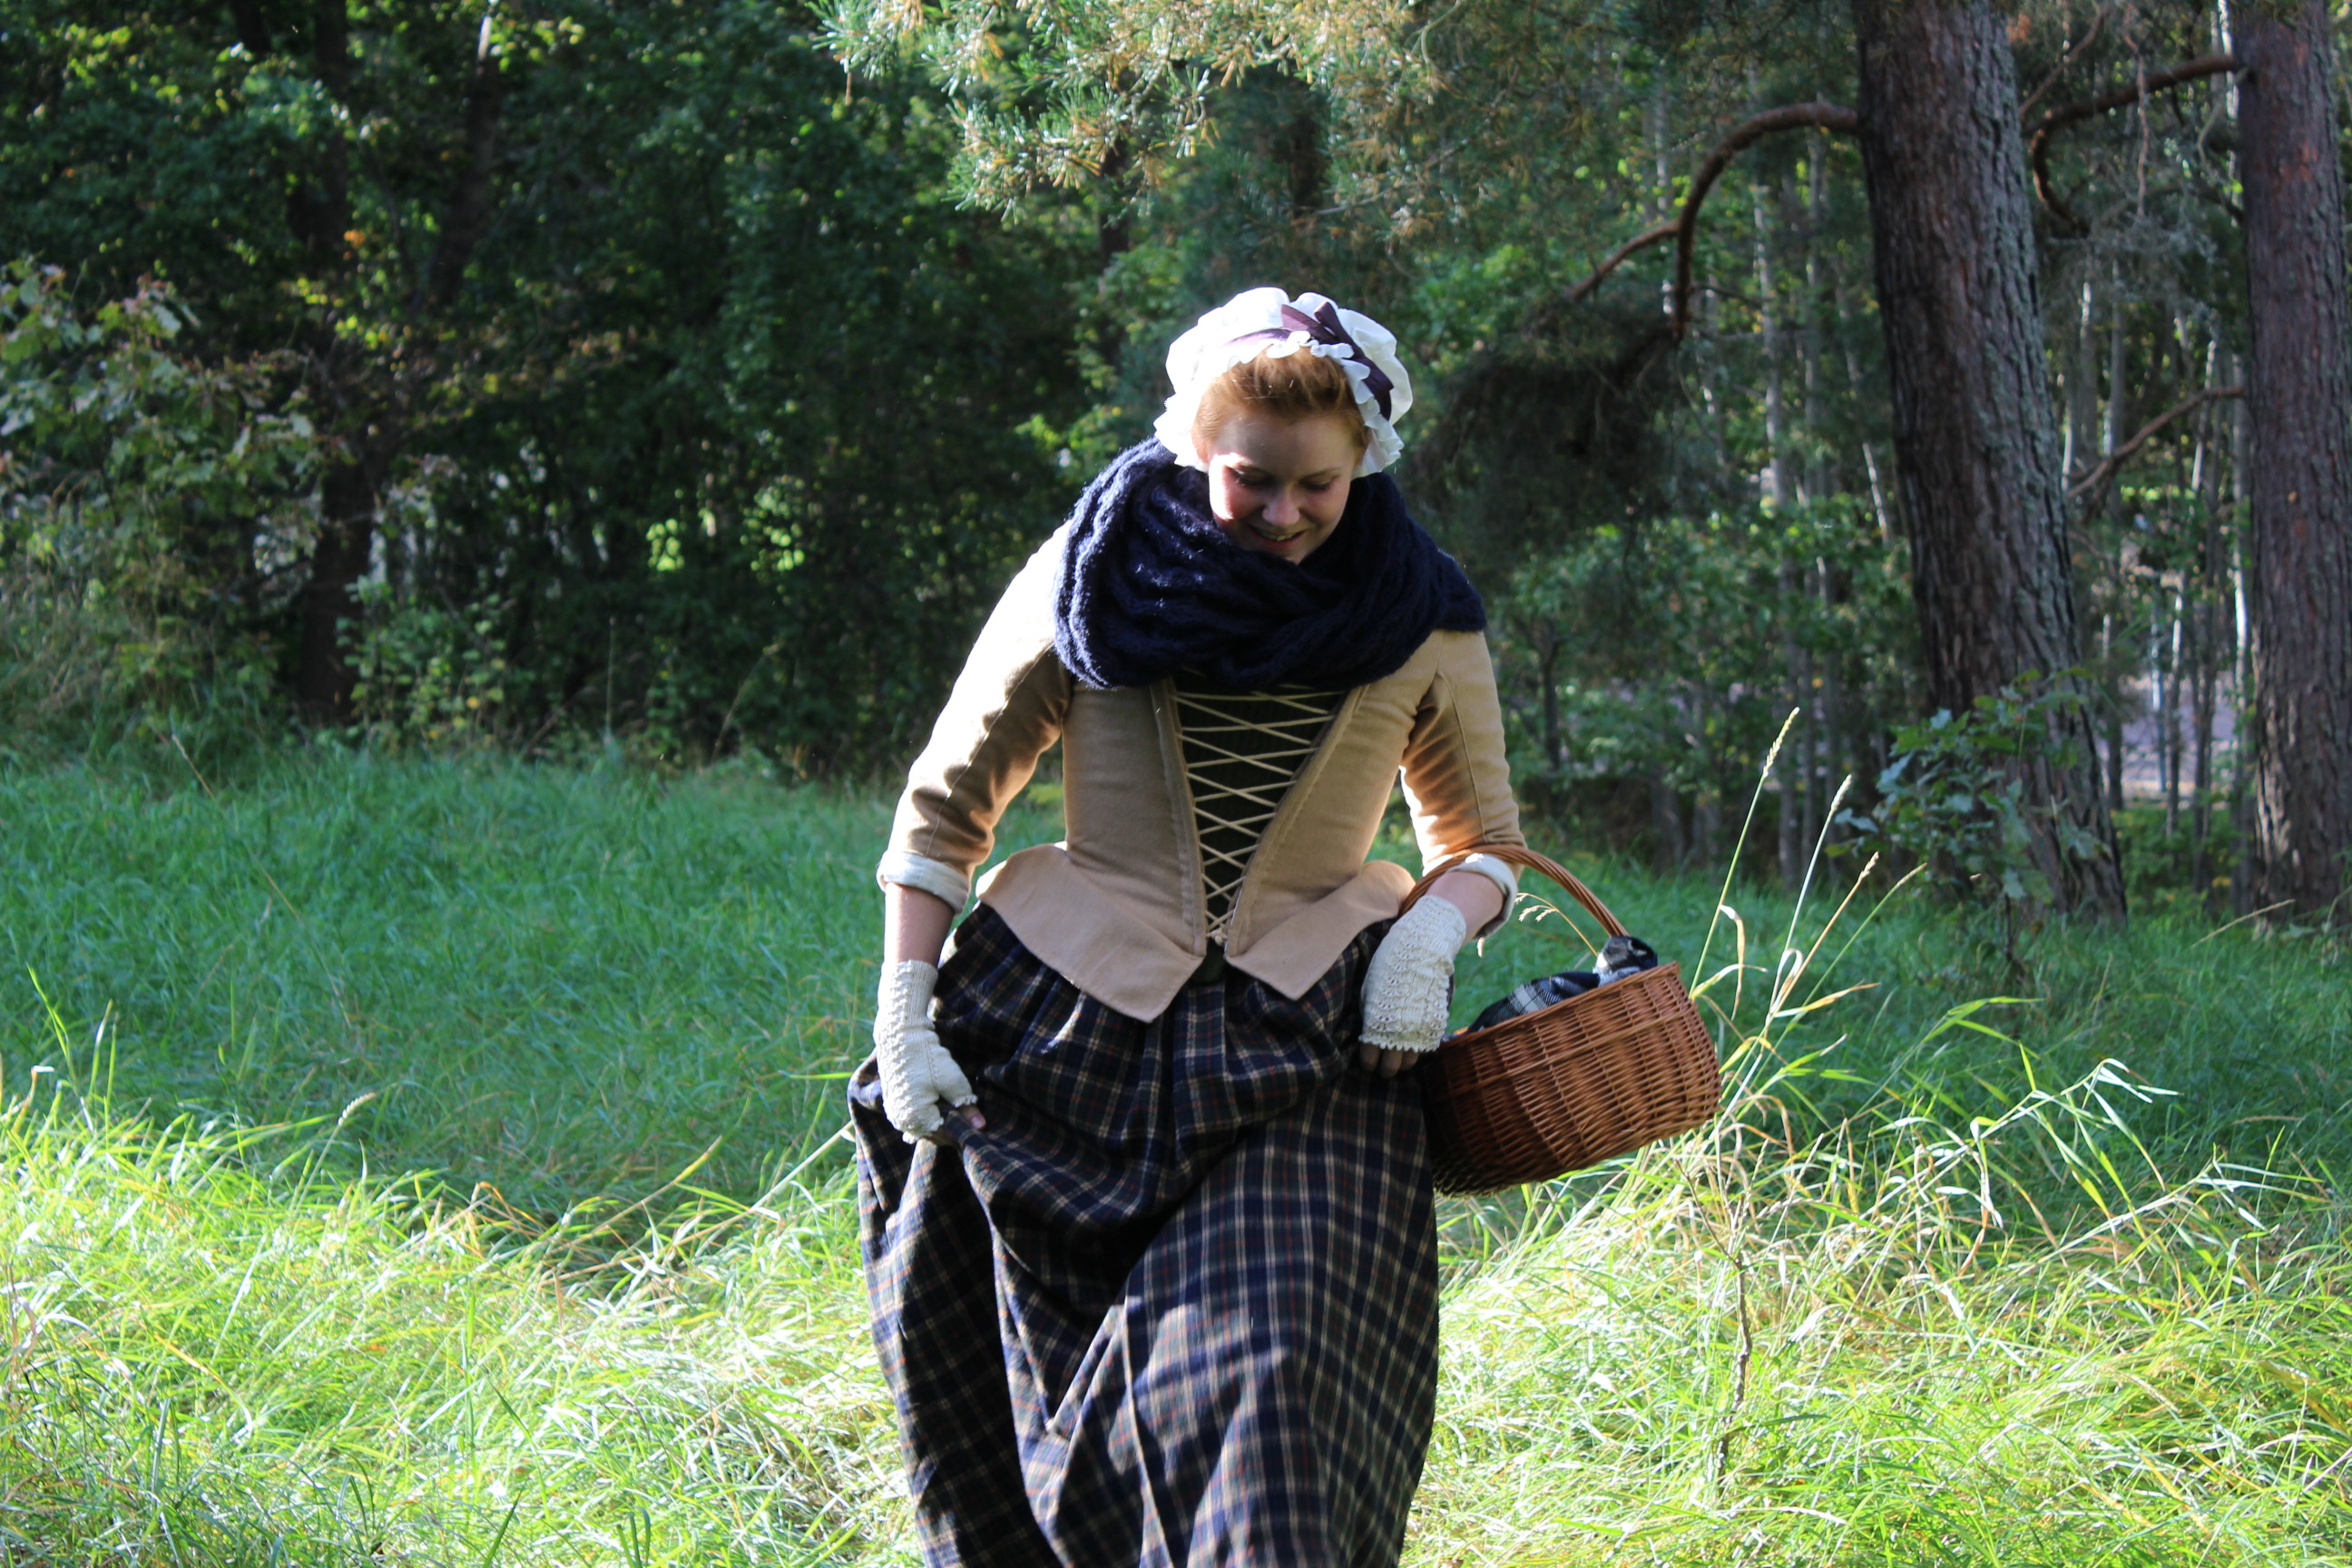
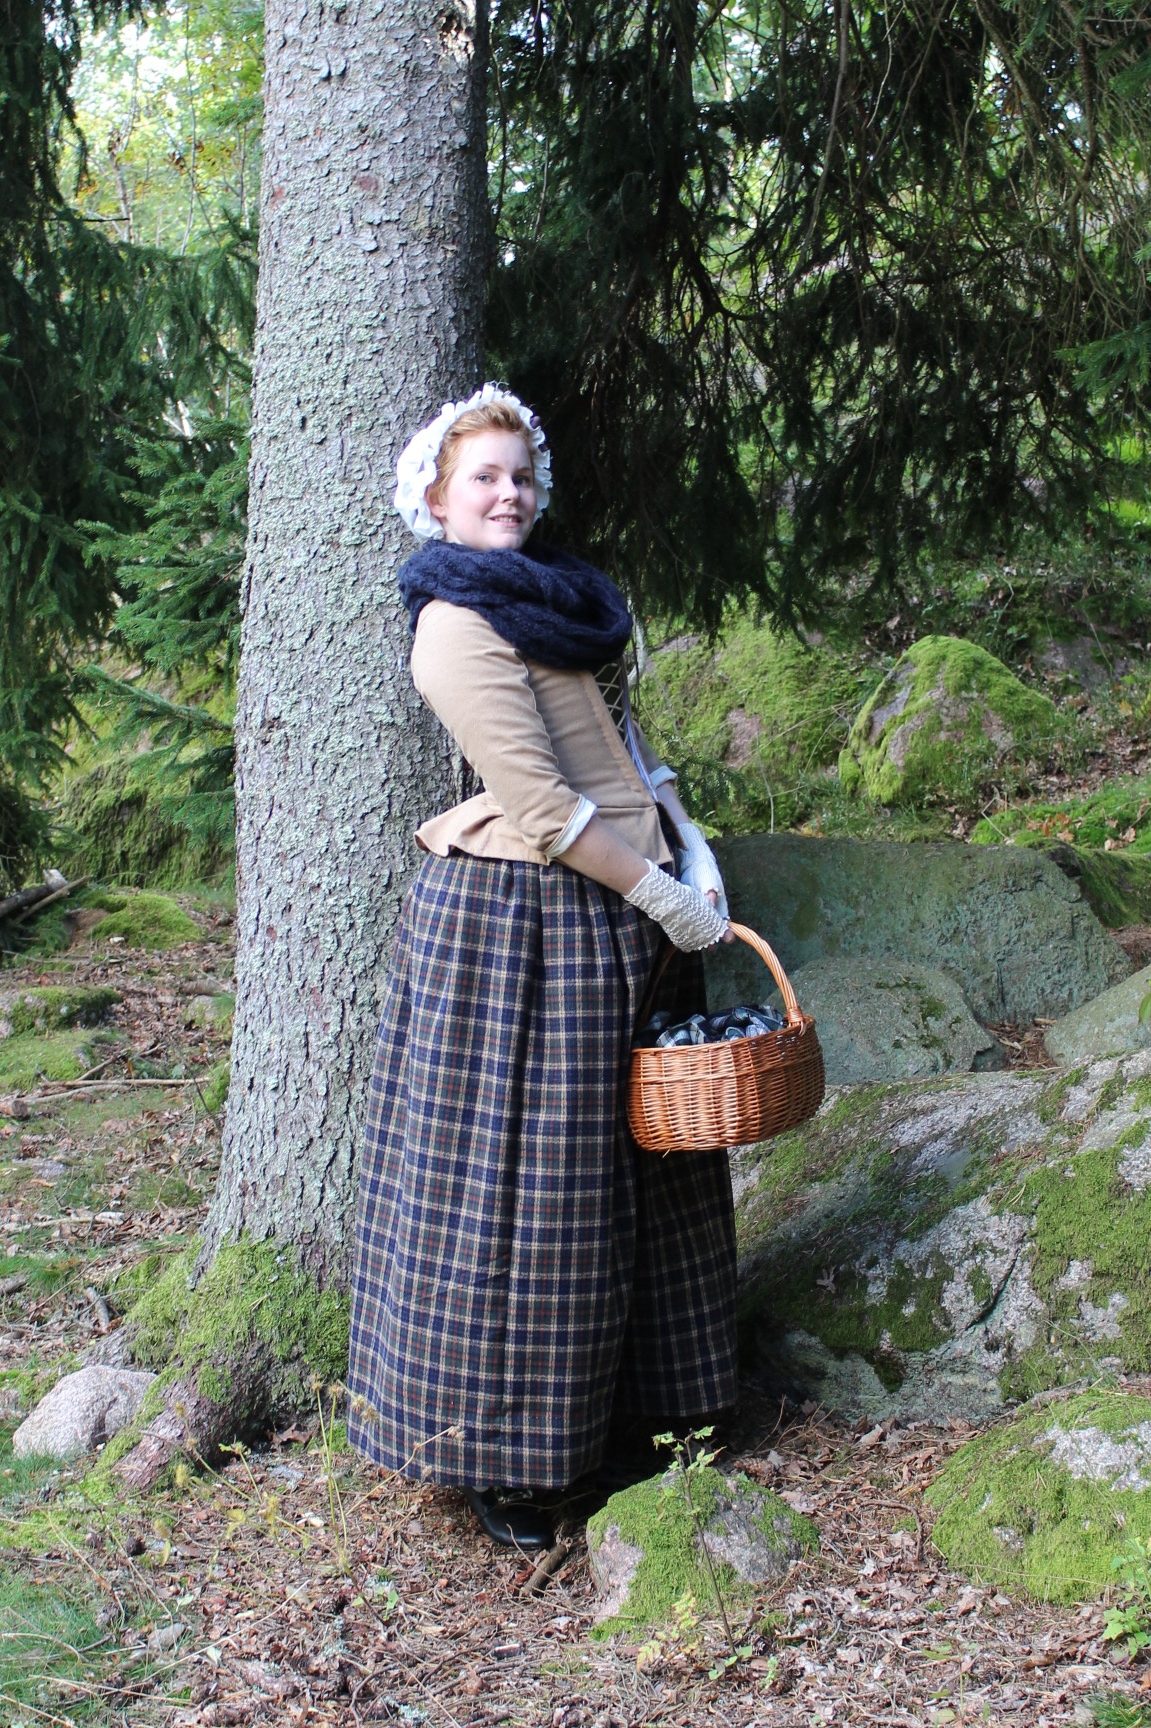
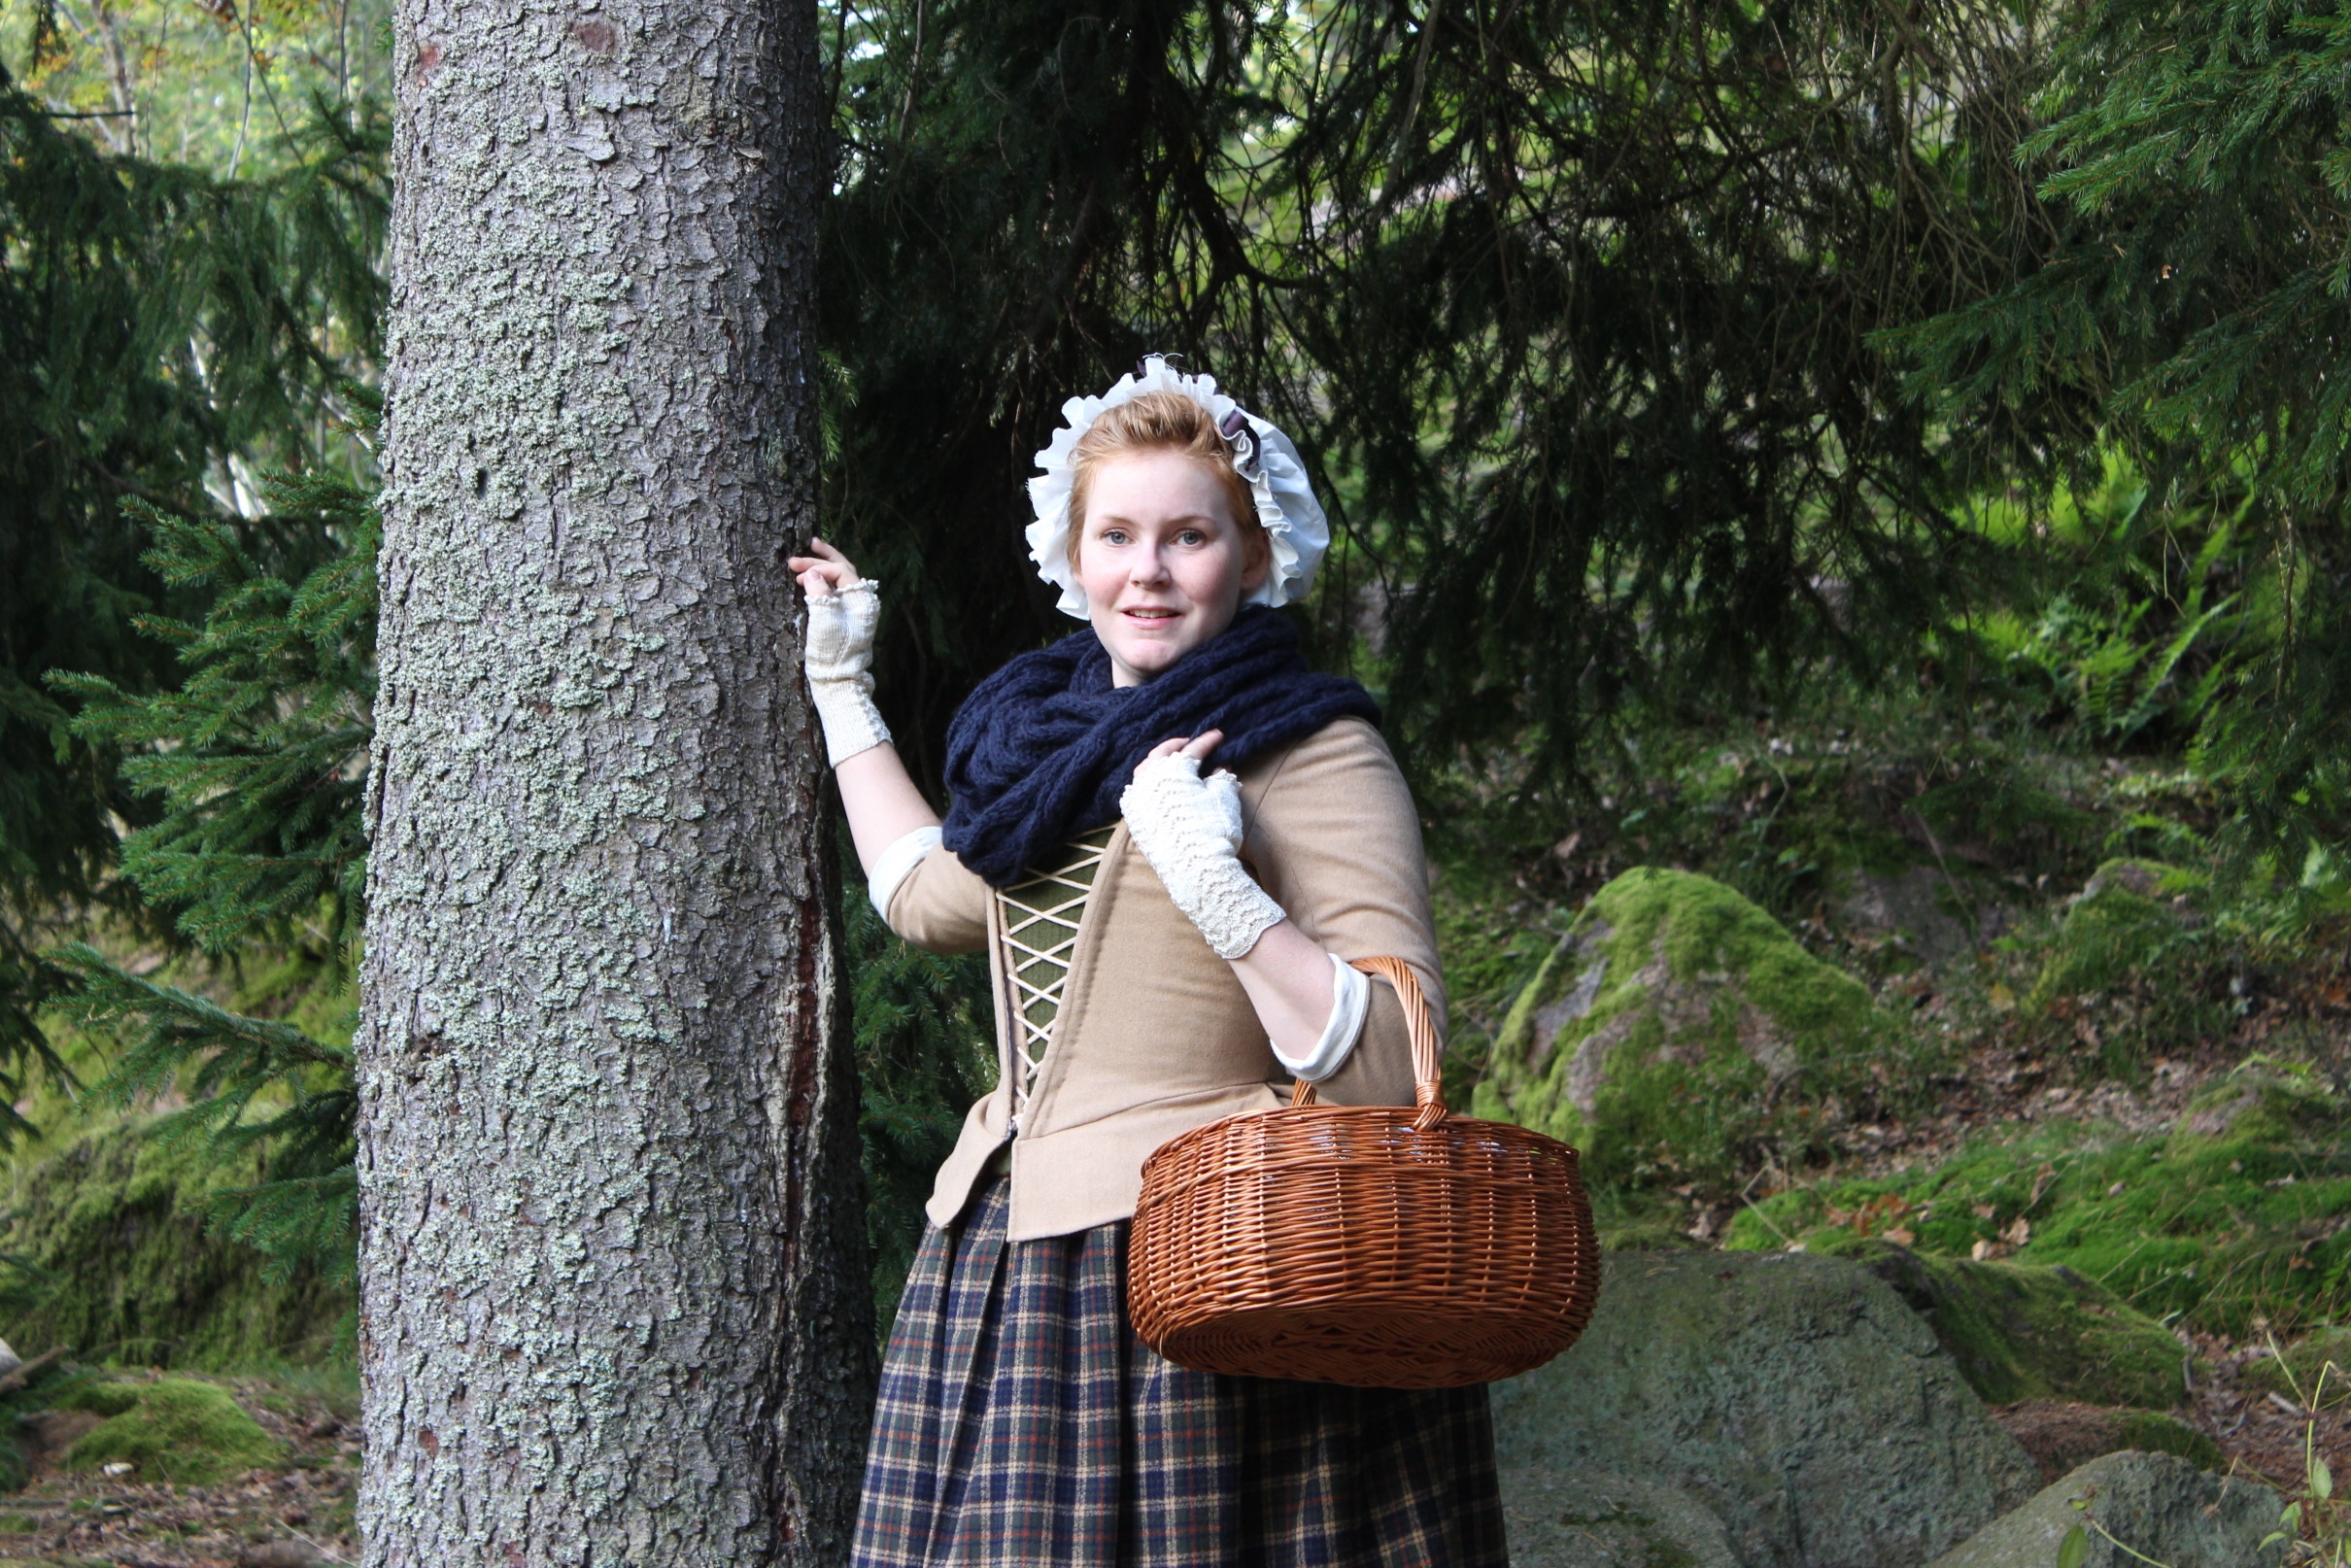
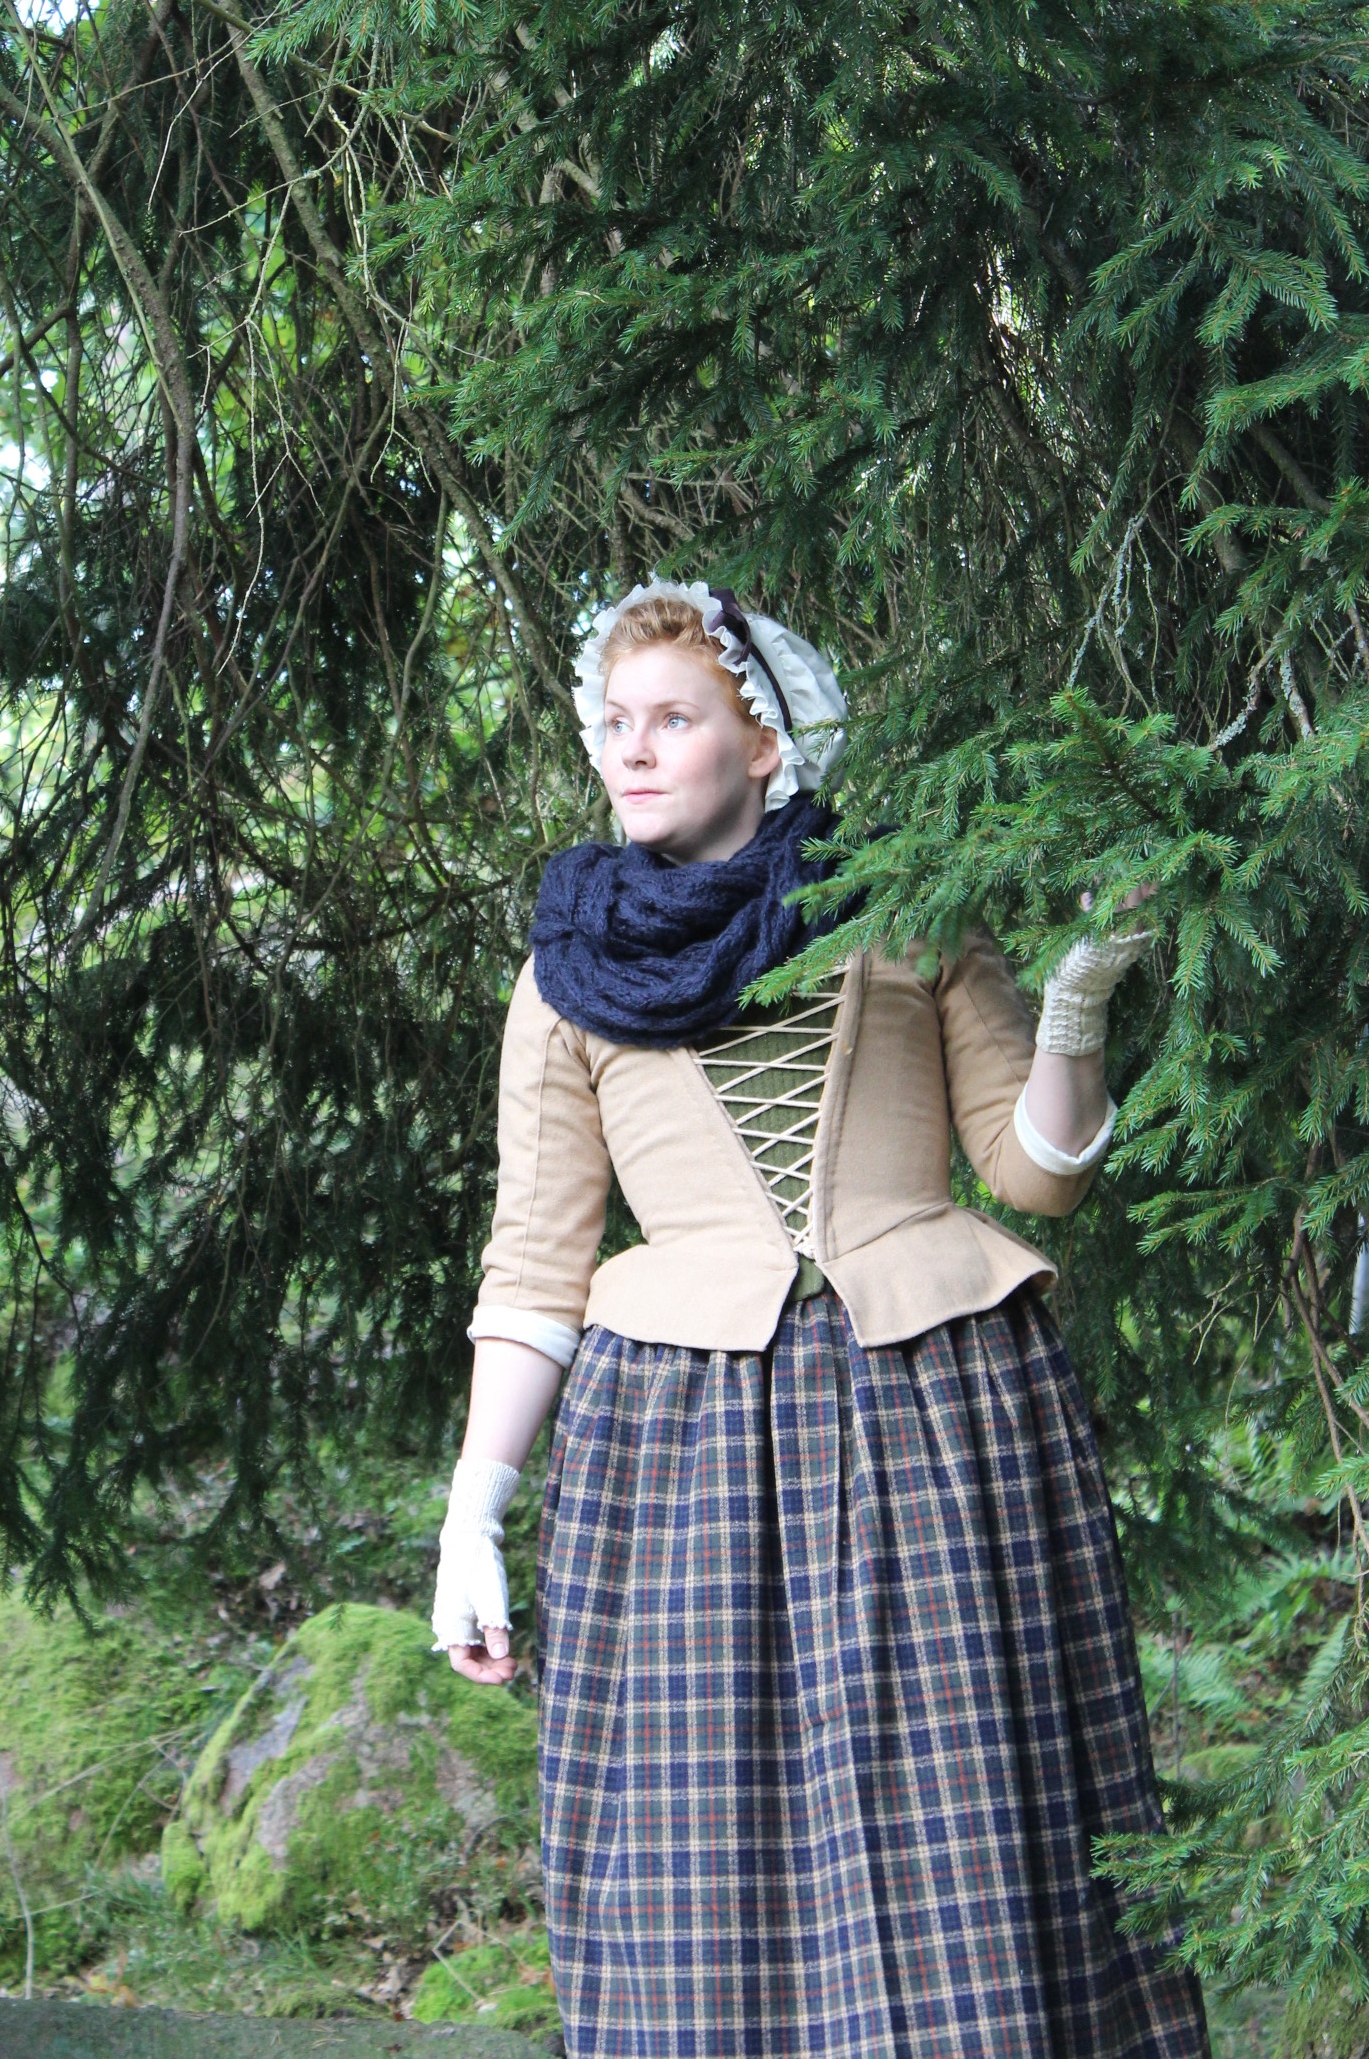
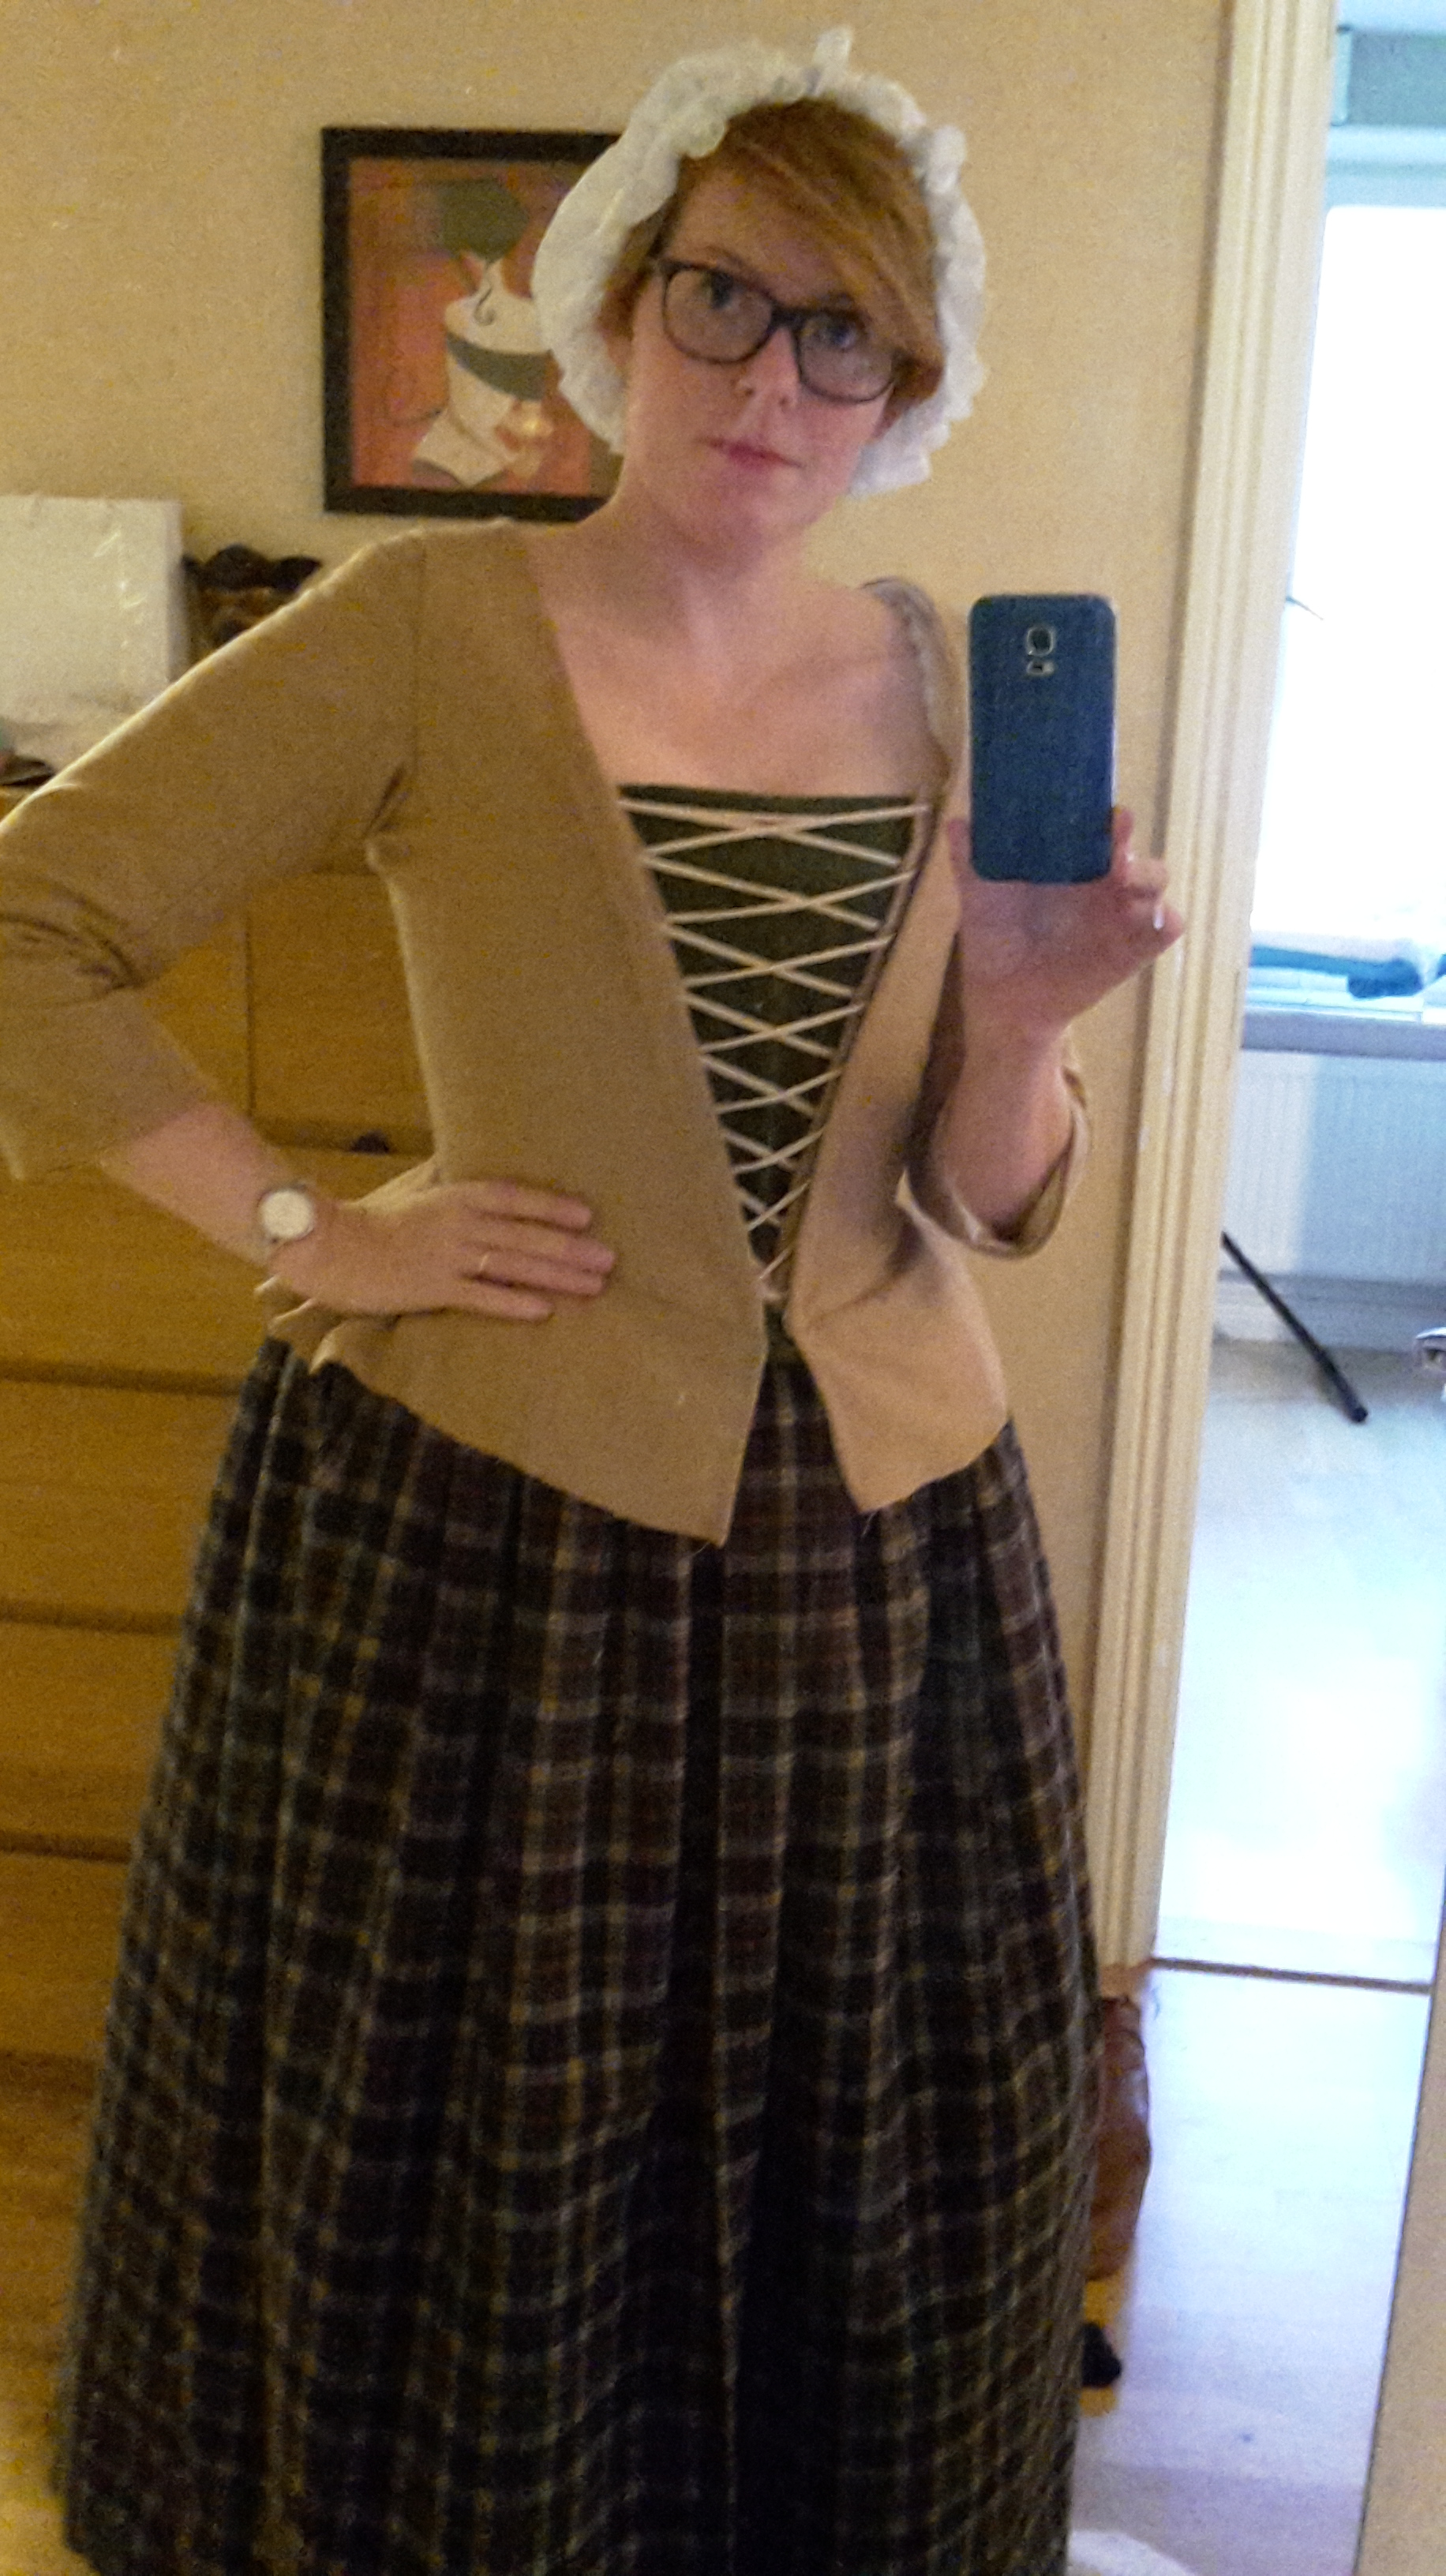
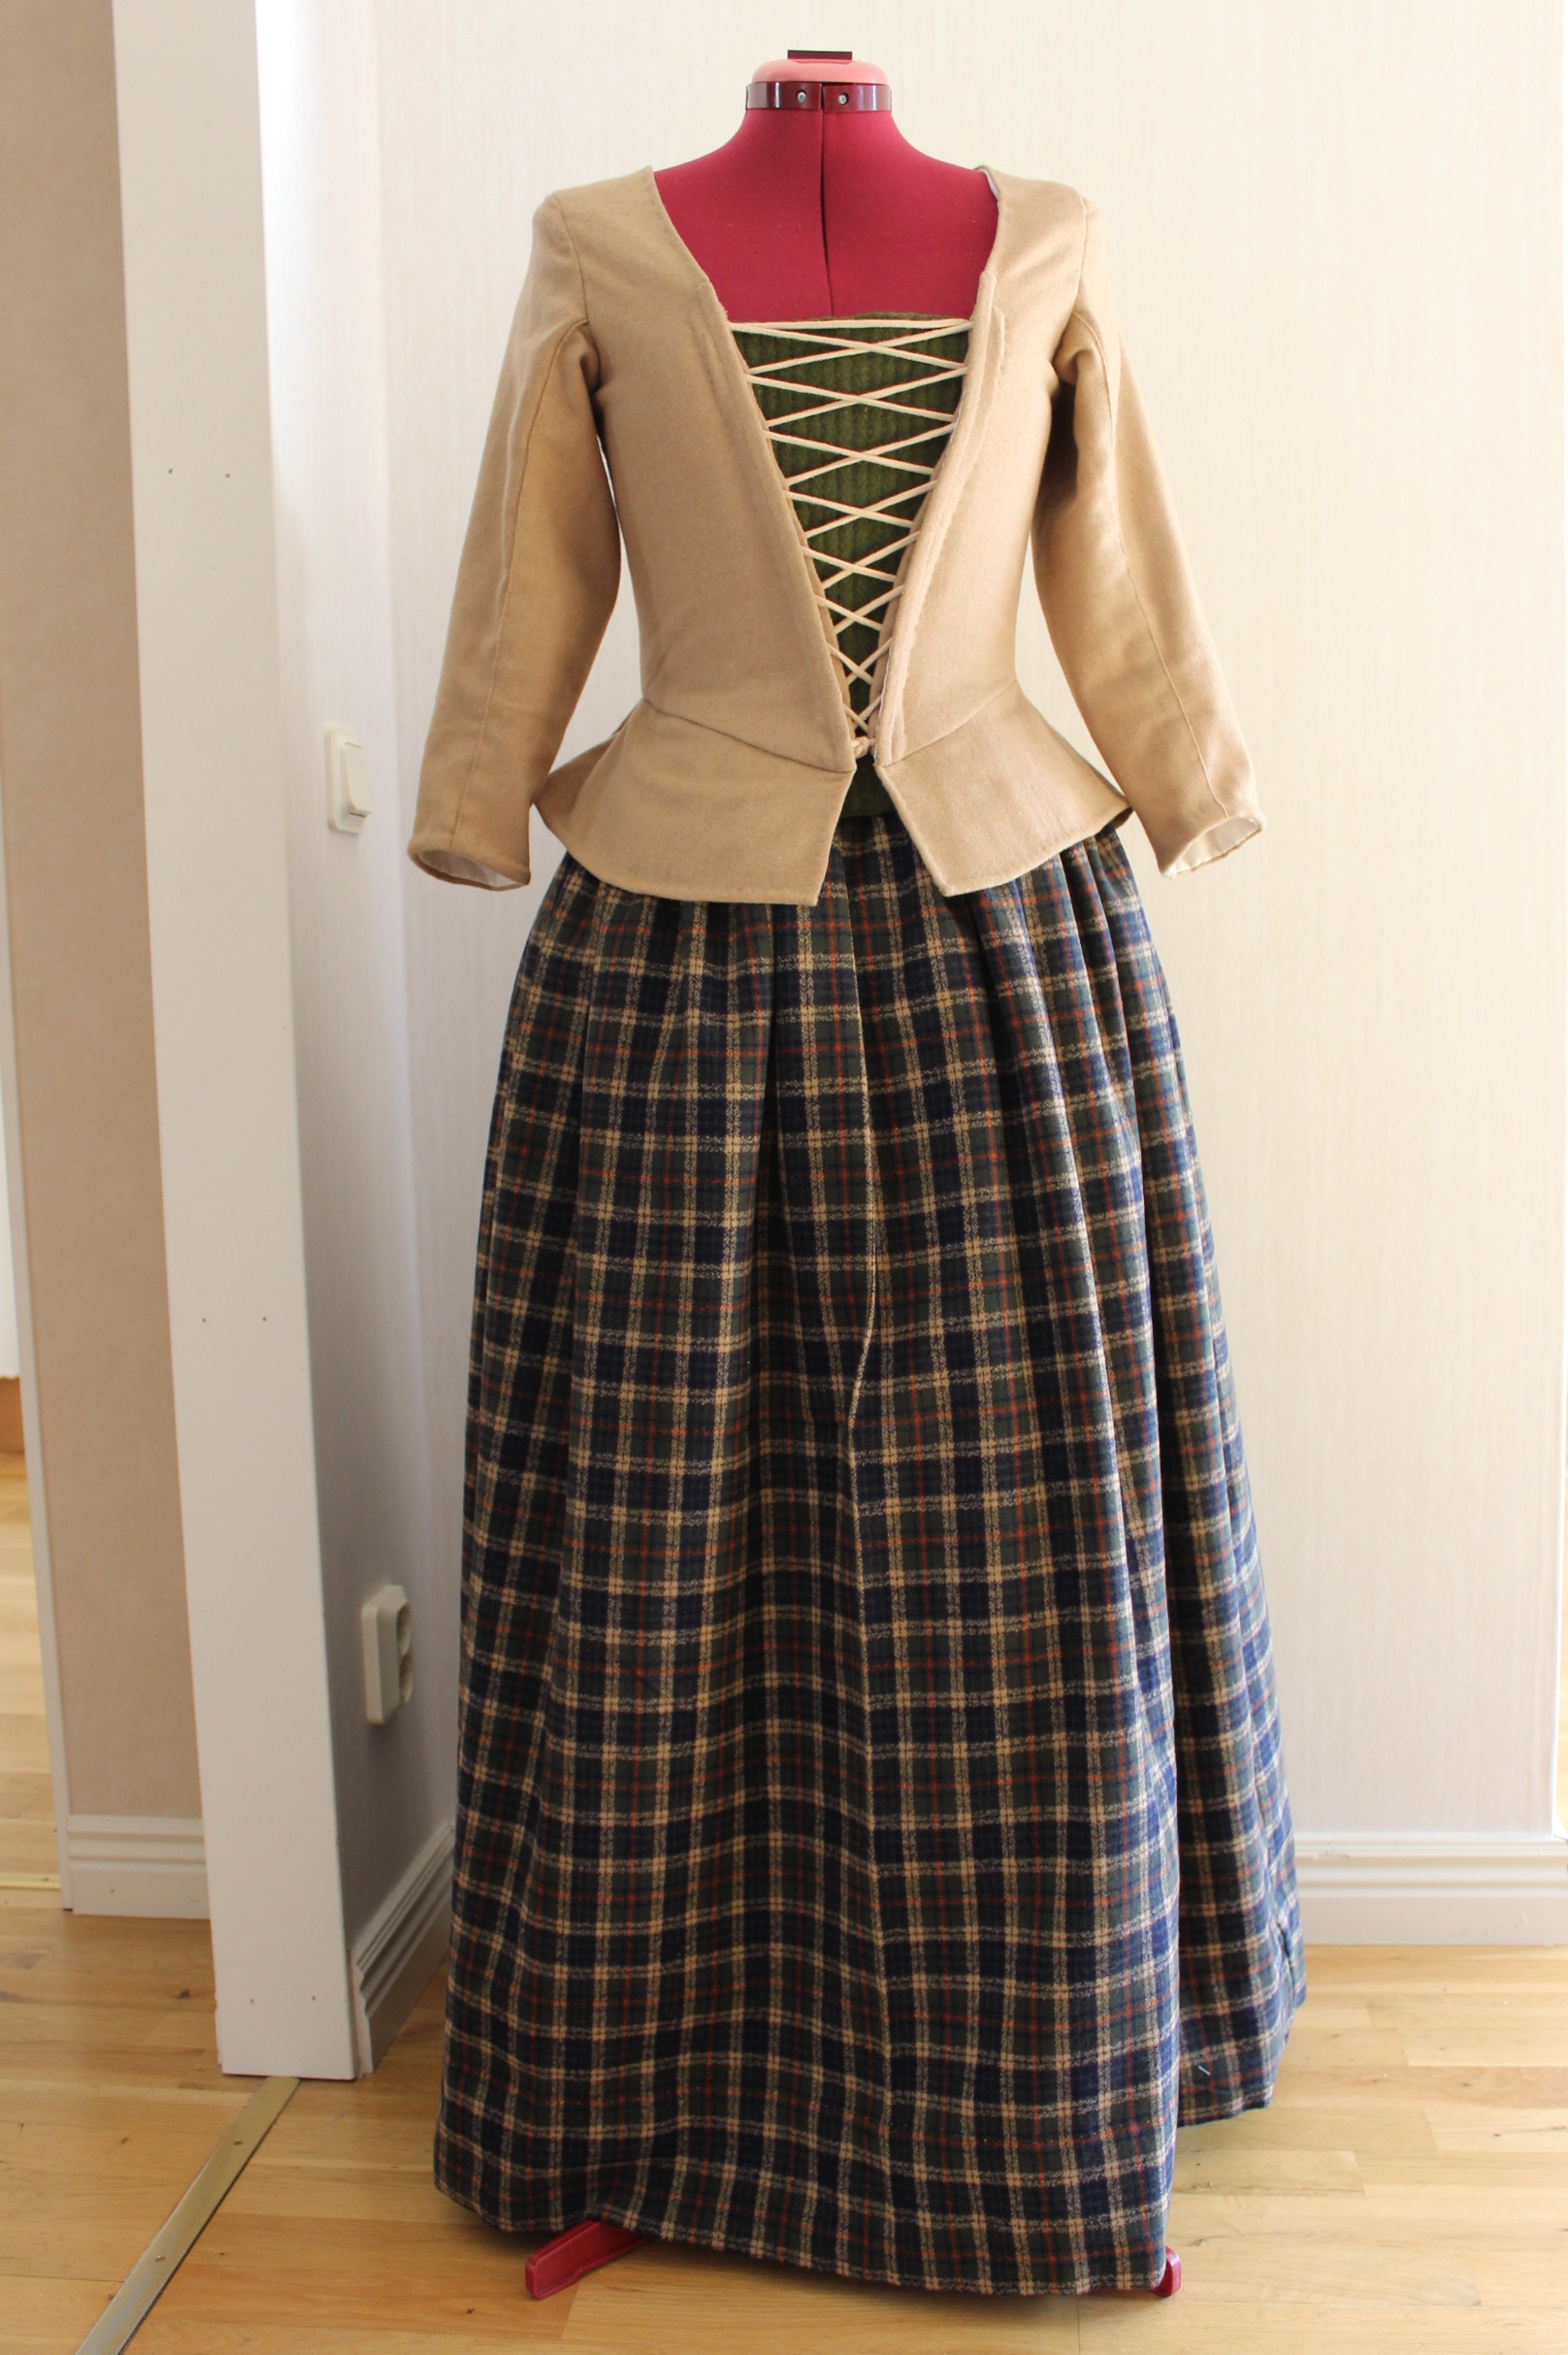
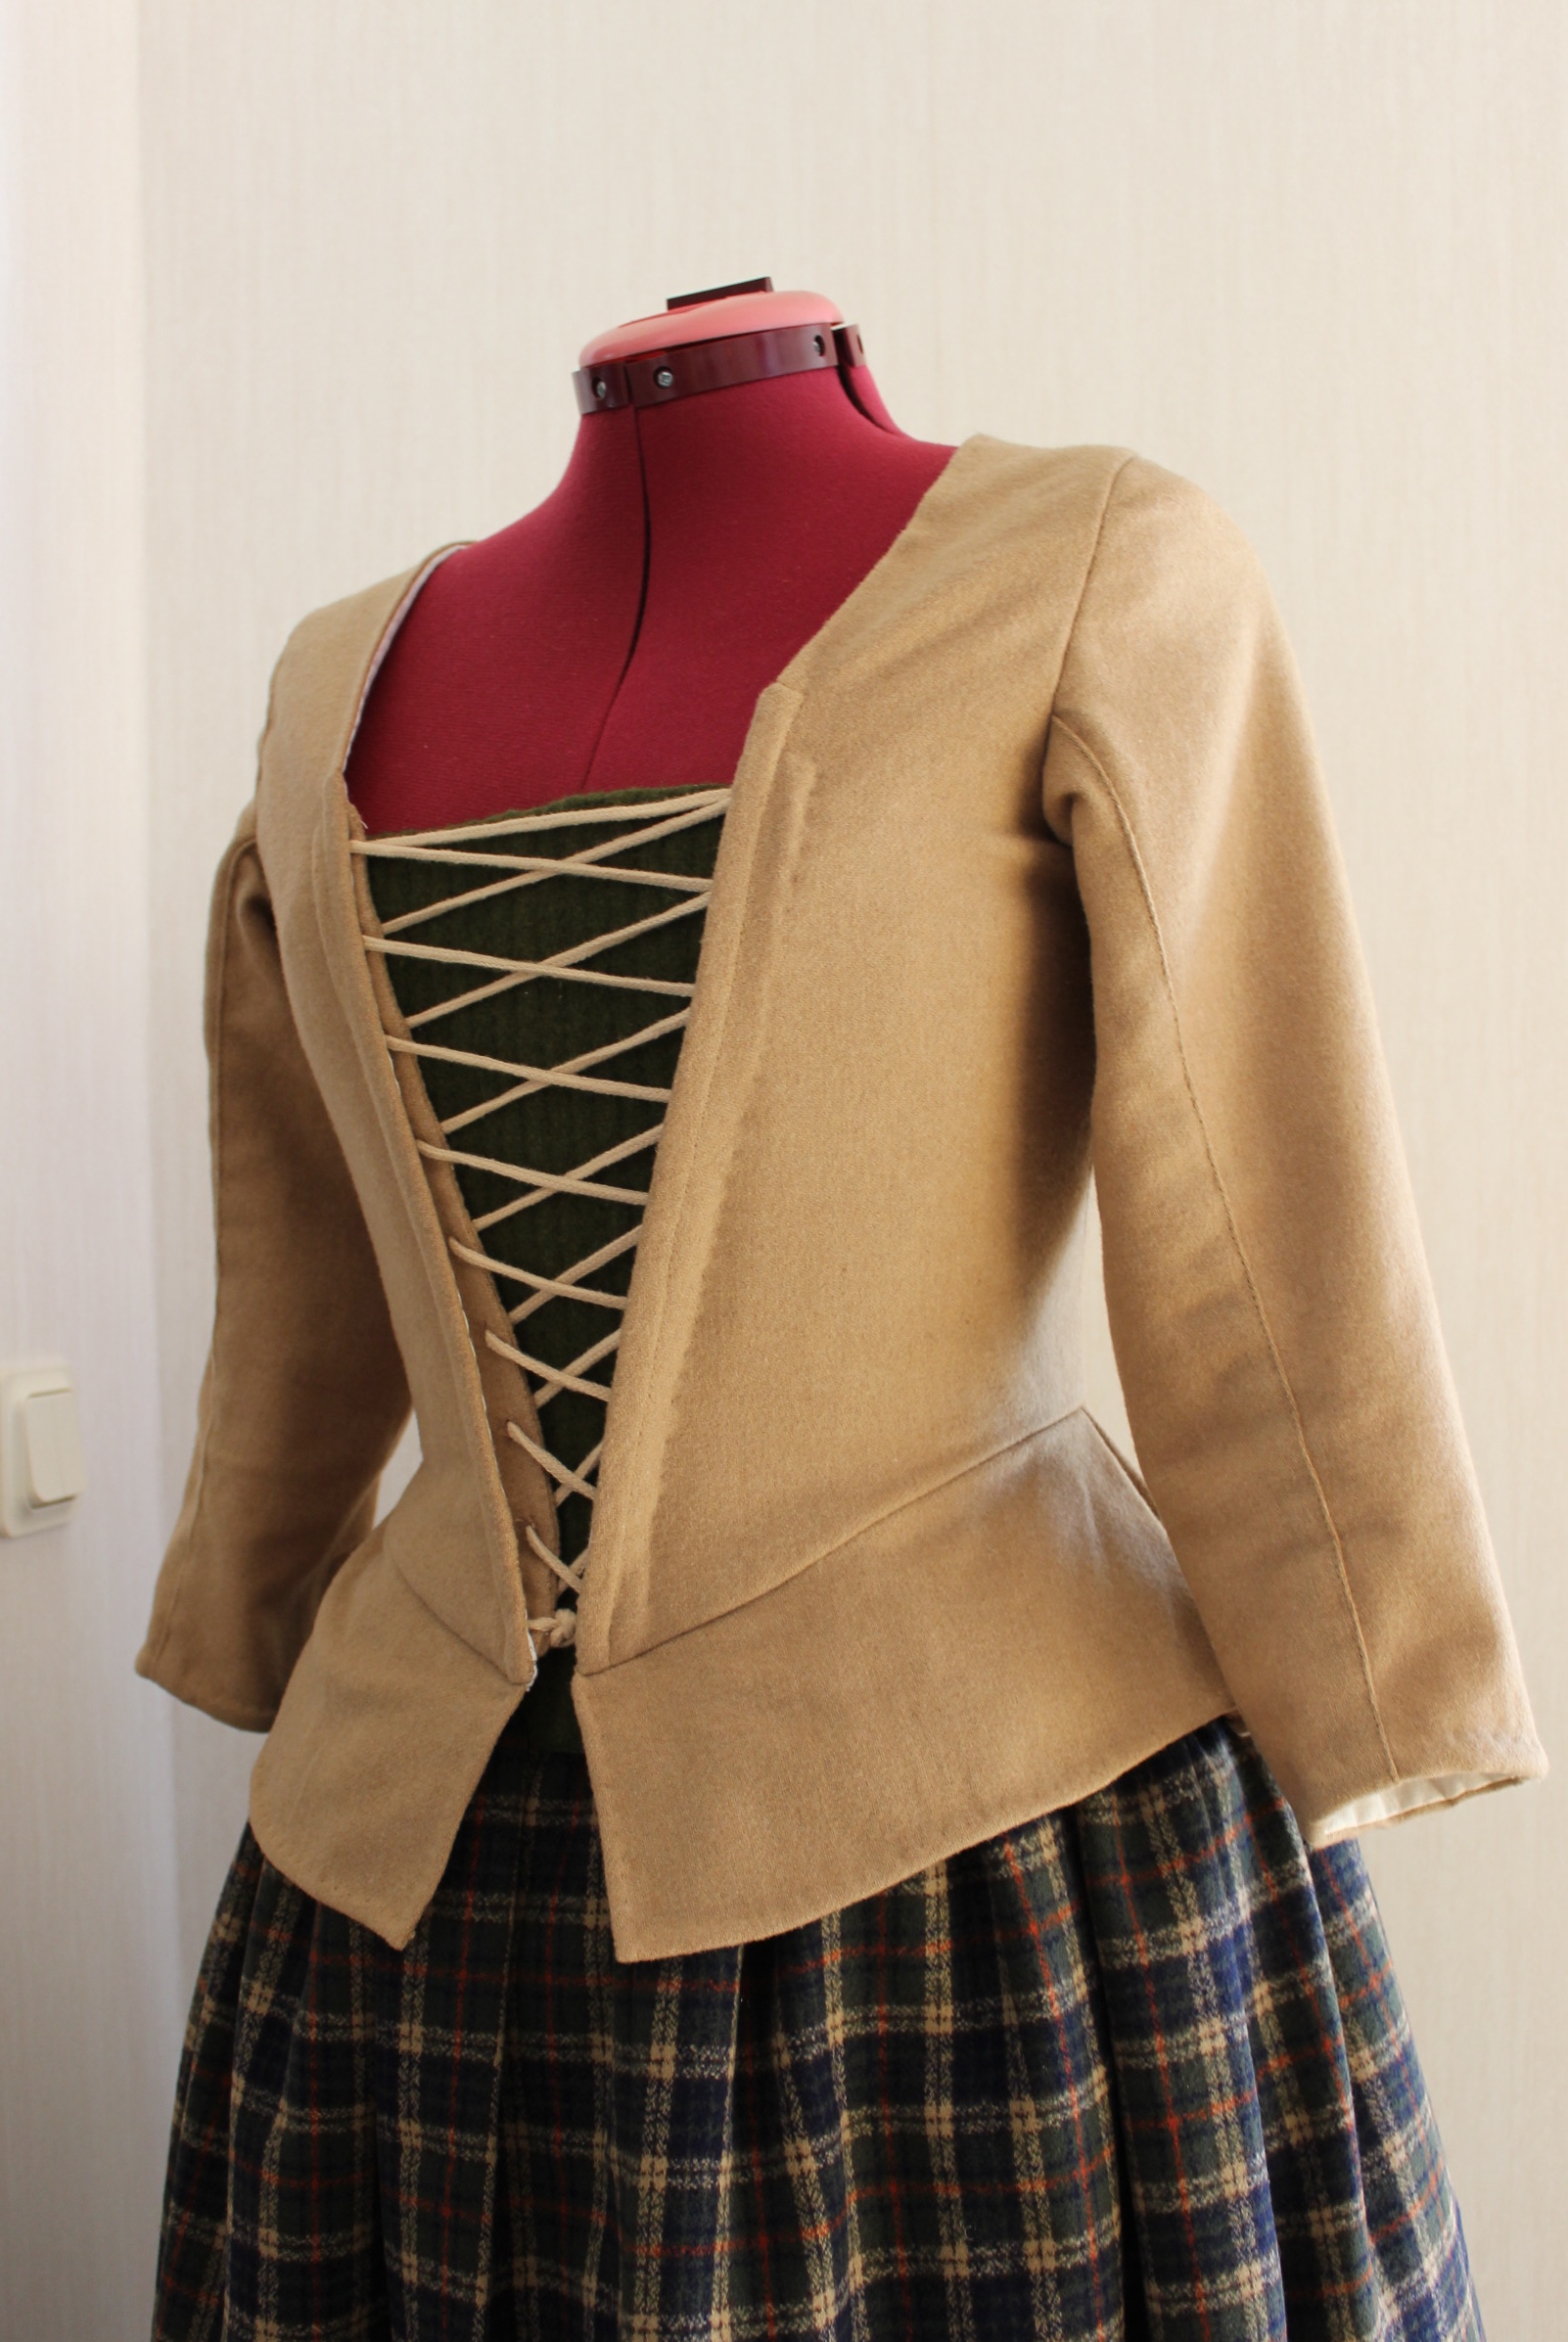
The finished outfit/jacket:


Just the facts:
What: A 18th century jacket and skirt.
Pattern: The jacket is my own draft (yellow Caraco jacket), and the skirt is just two rectangles stitched together.
Fabric & Notions: Skirt – 2,2 m plaid wool, thread and hook & bar.
The bodice: 1 m beige(left over) wool, 1,5 m white cotton for lining and interning, m cotton cord, thread, buttonhole thread, 60 cm plastic boning.
Cost: Everything came from stash but 300 sek would be a fair calculation.
Time: Pretty fast for a complete hand made costume – about 20-25 hours for the whole outfit.
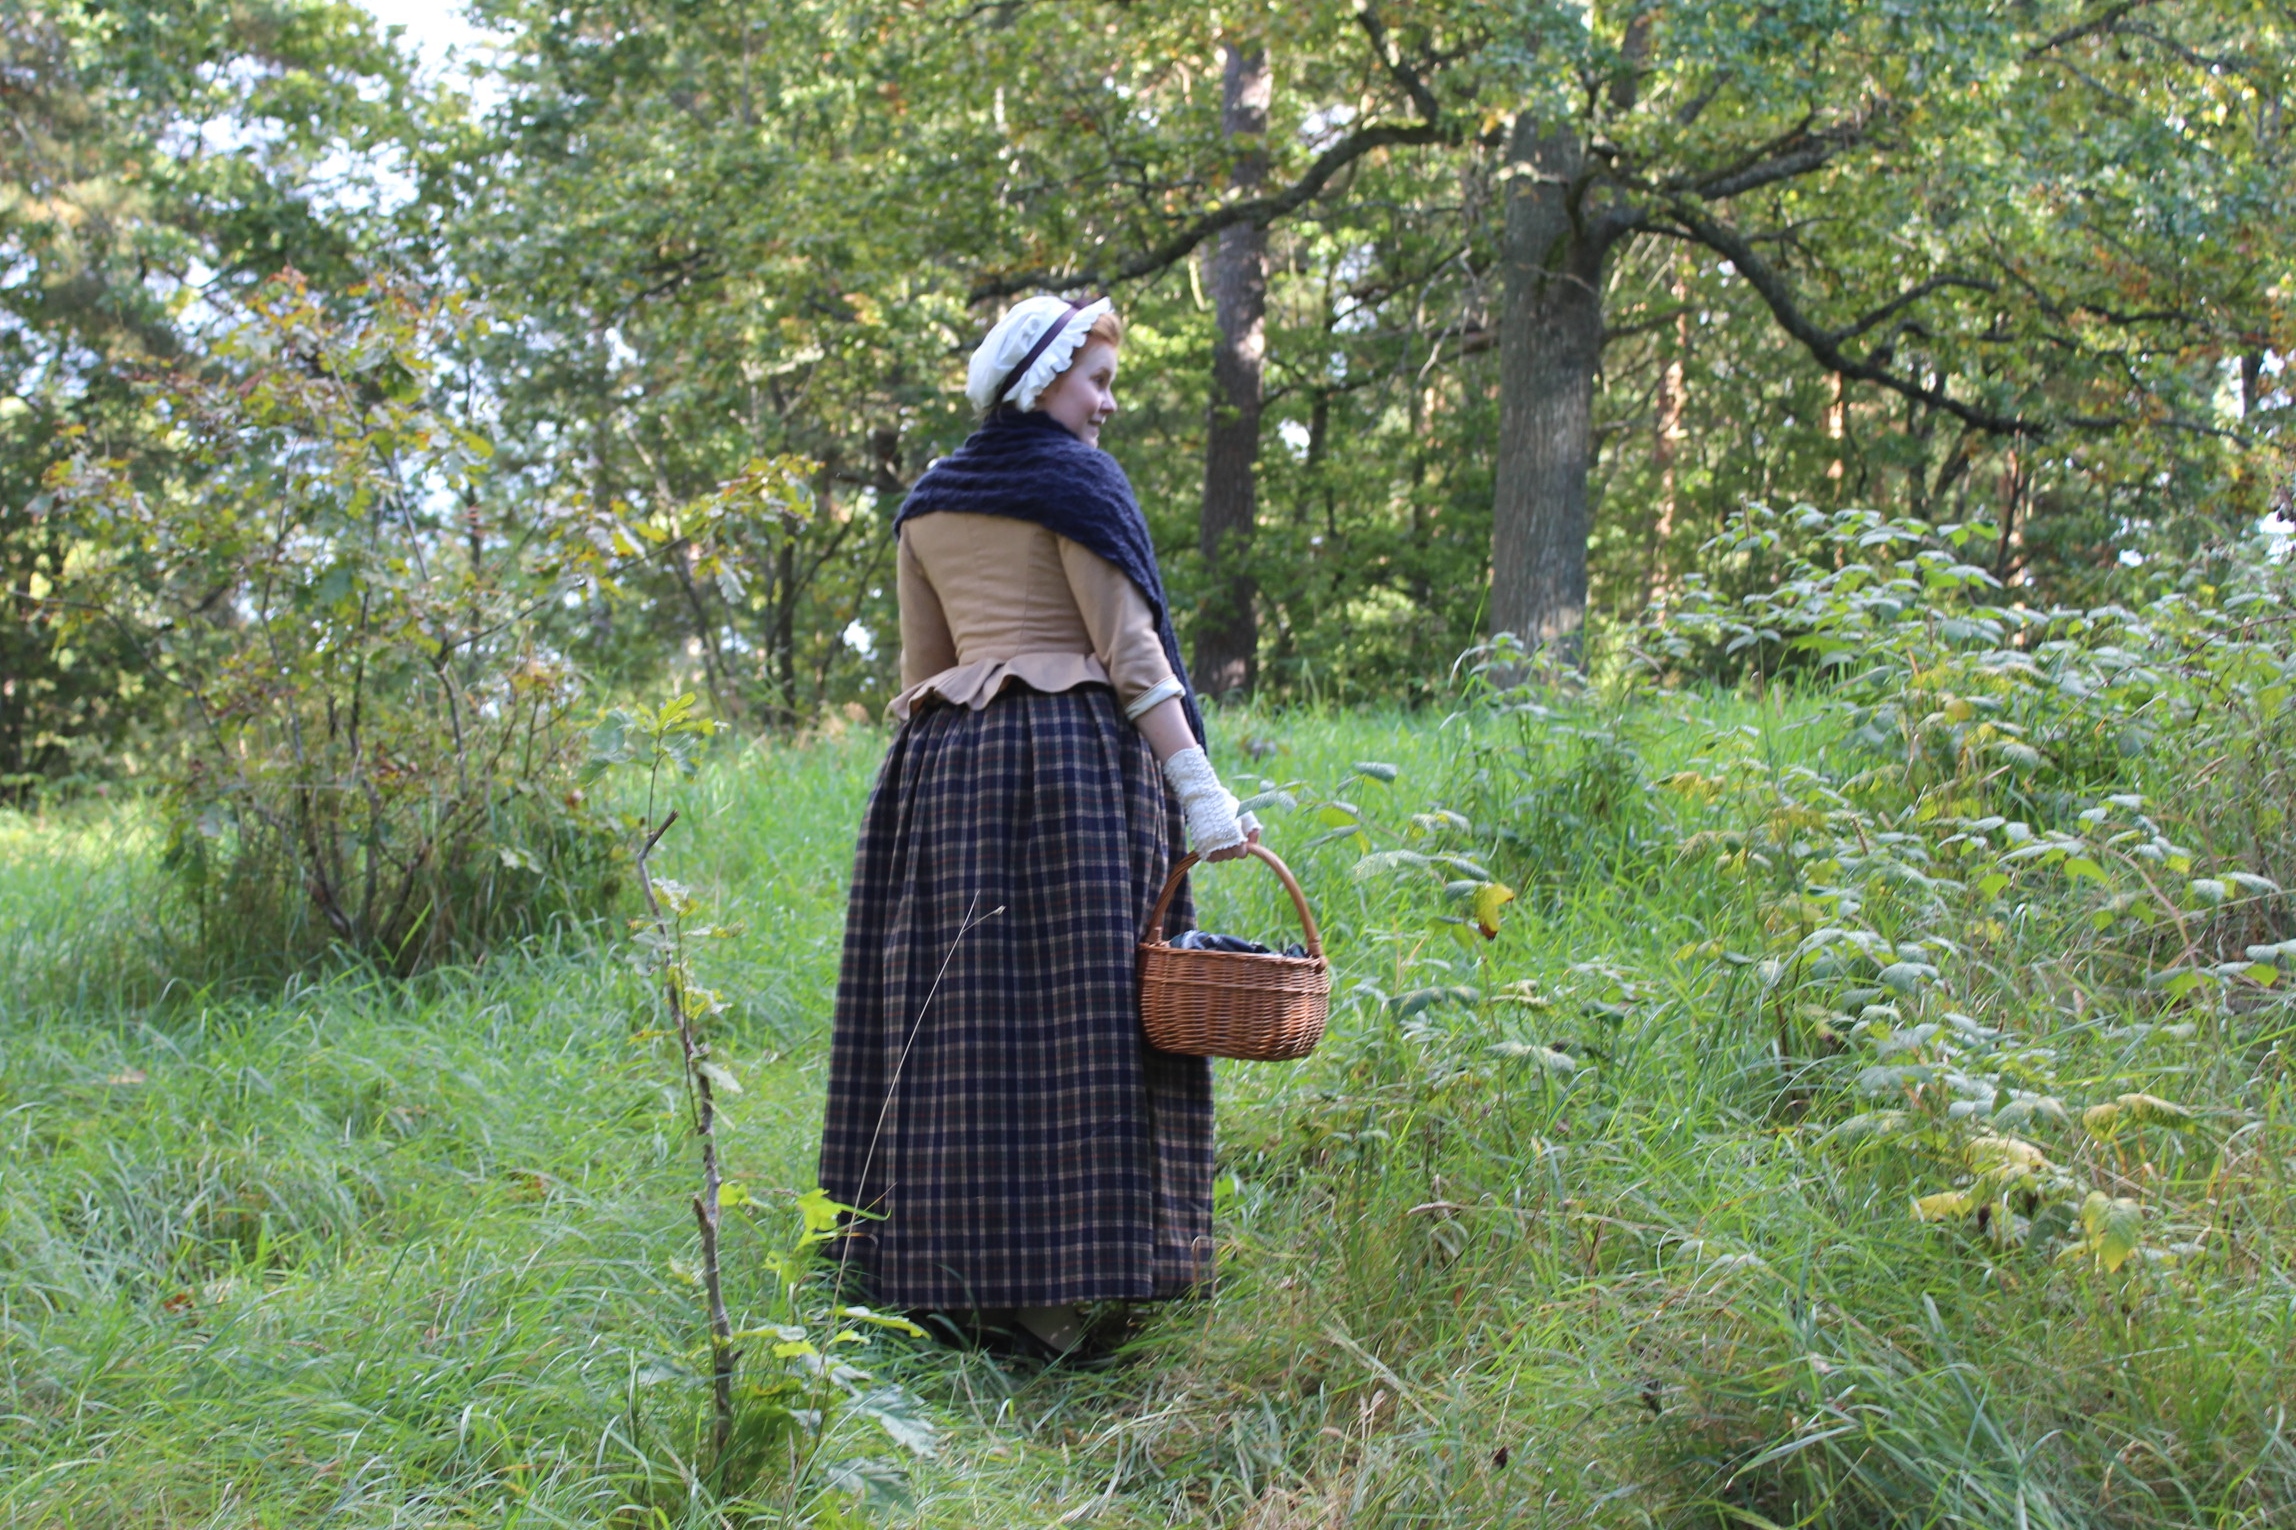
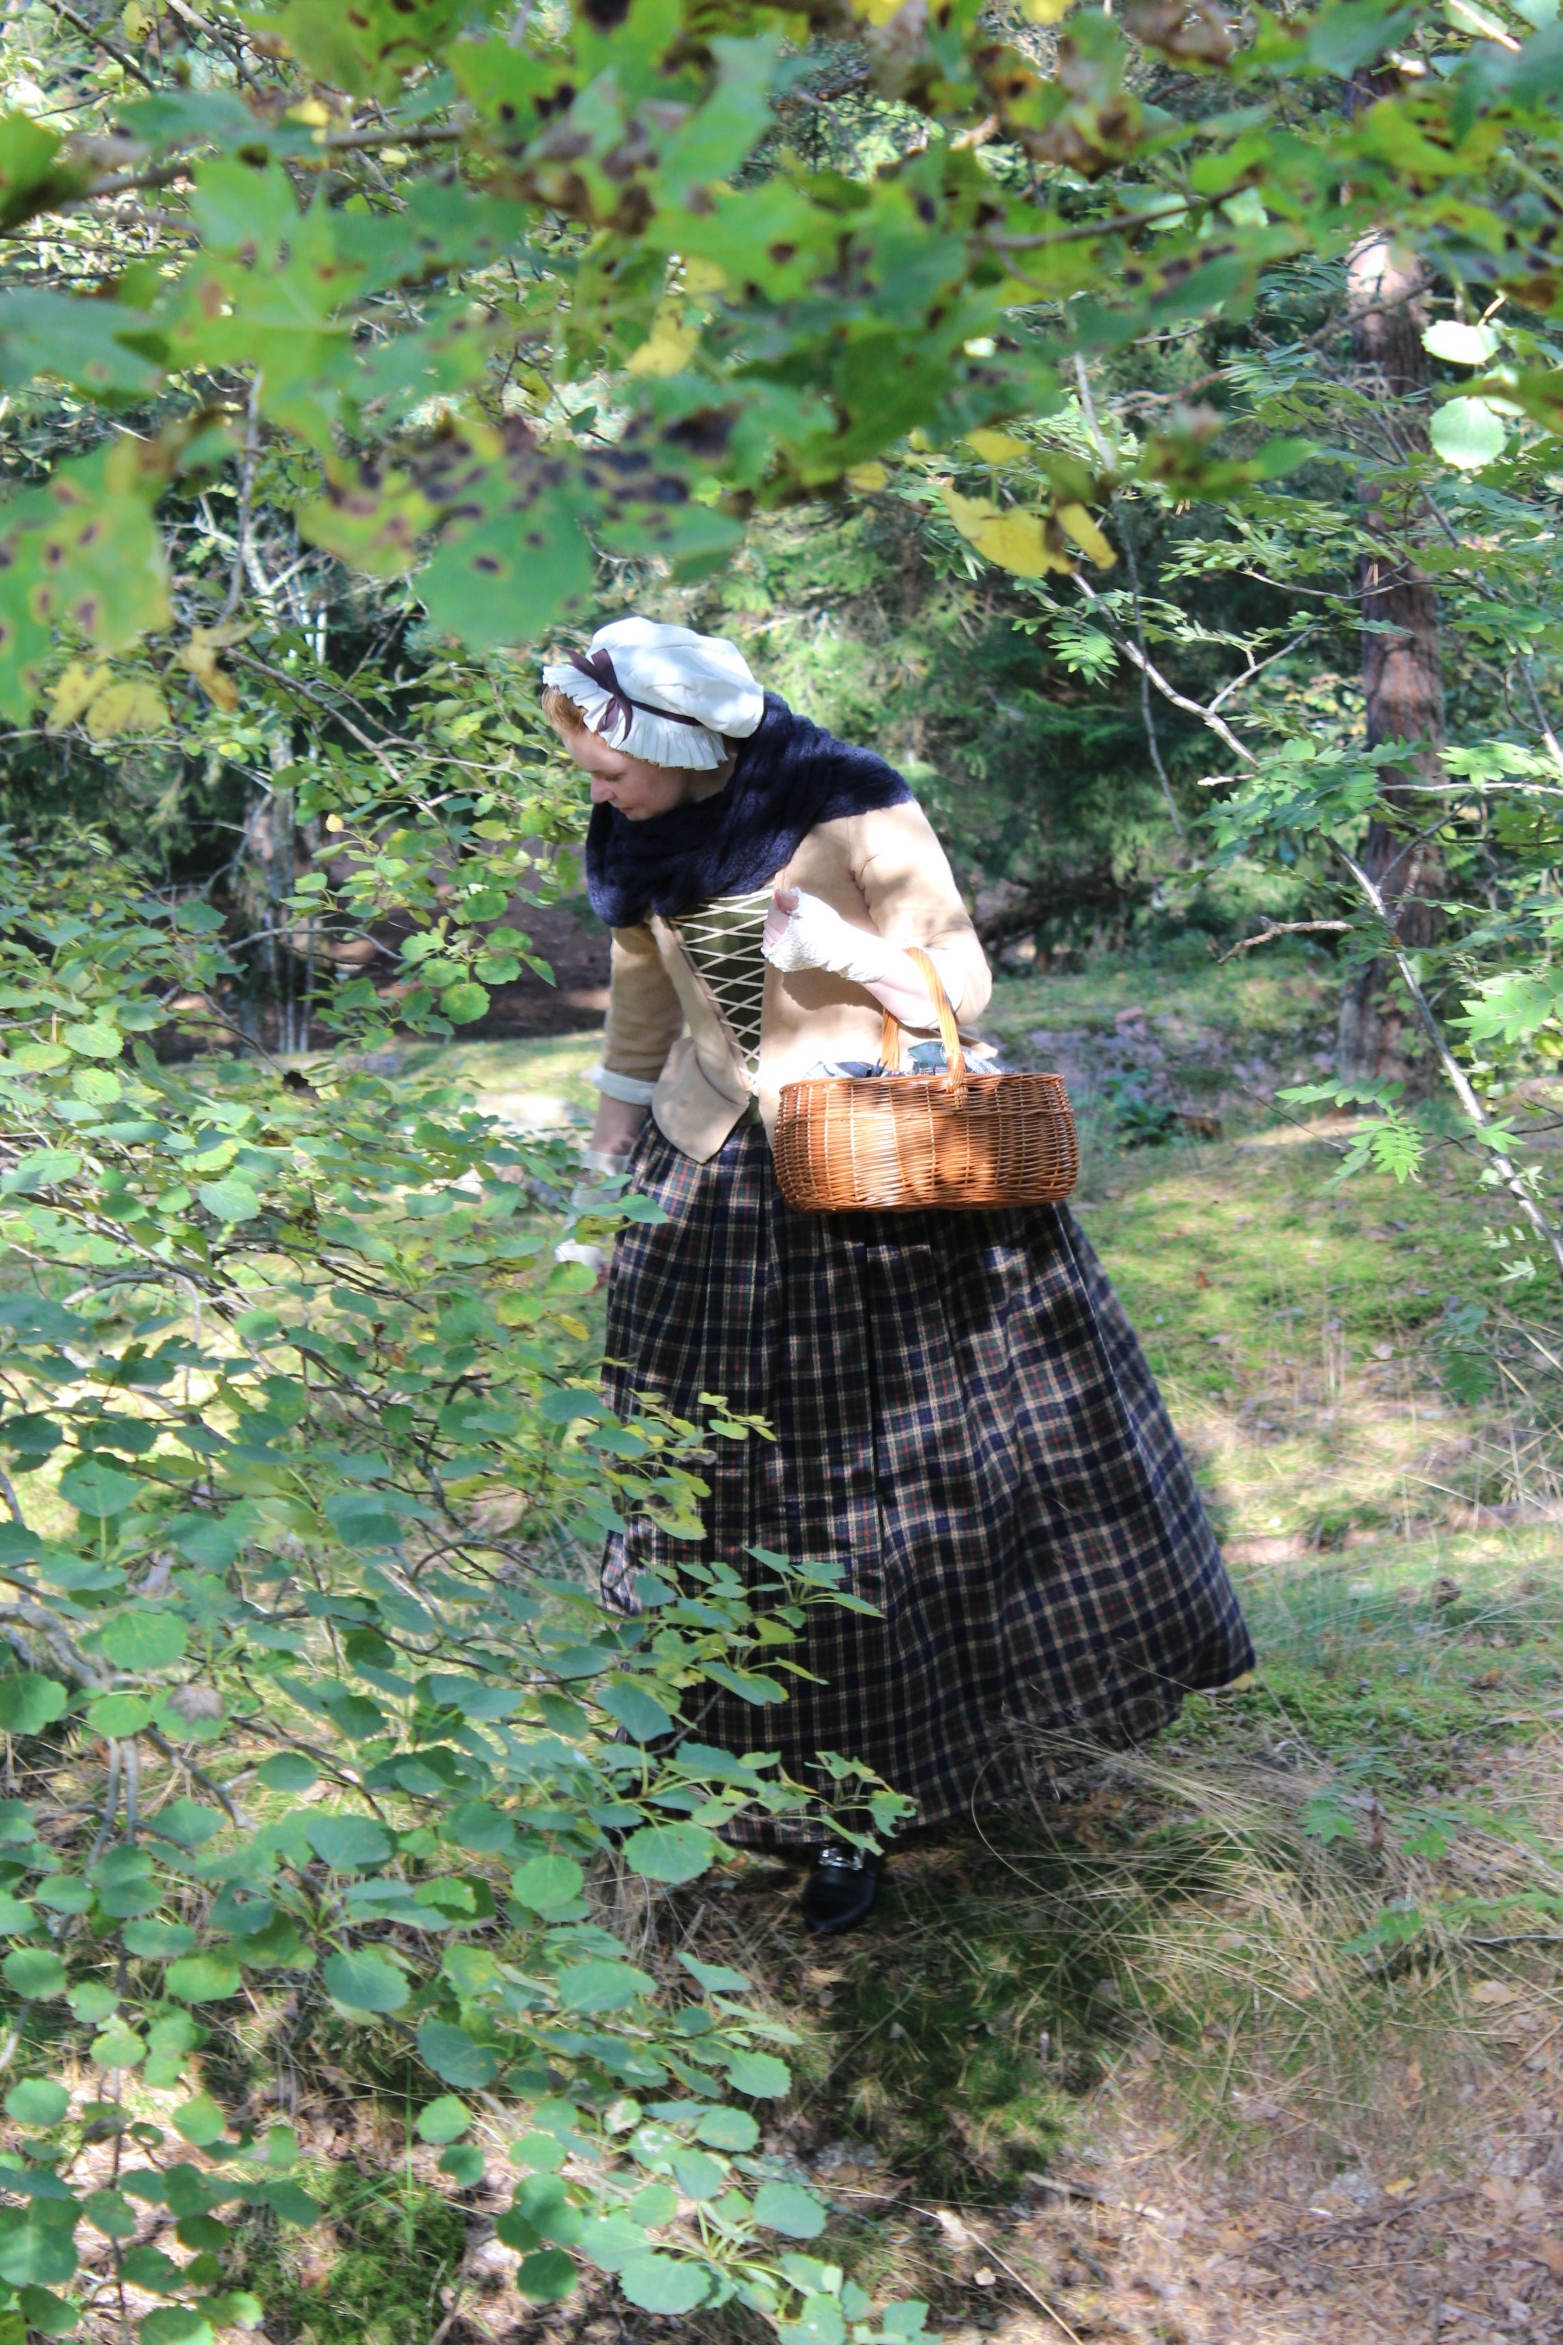
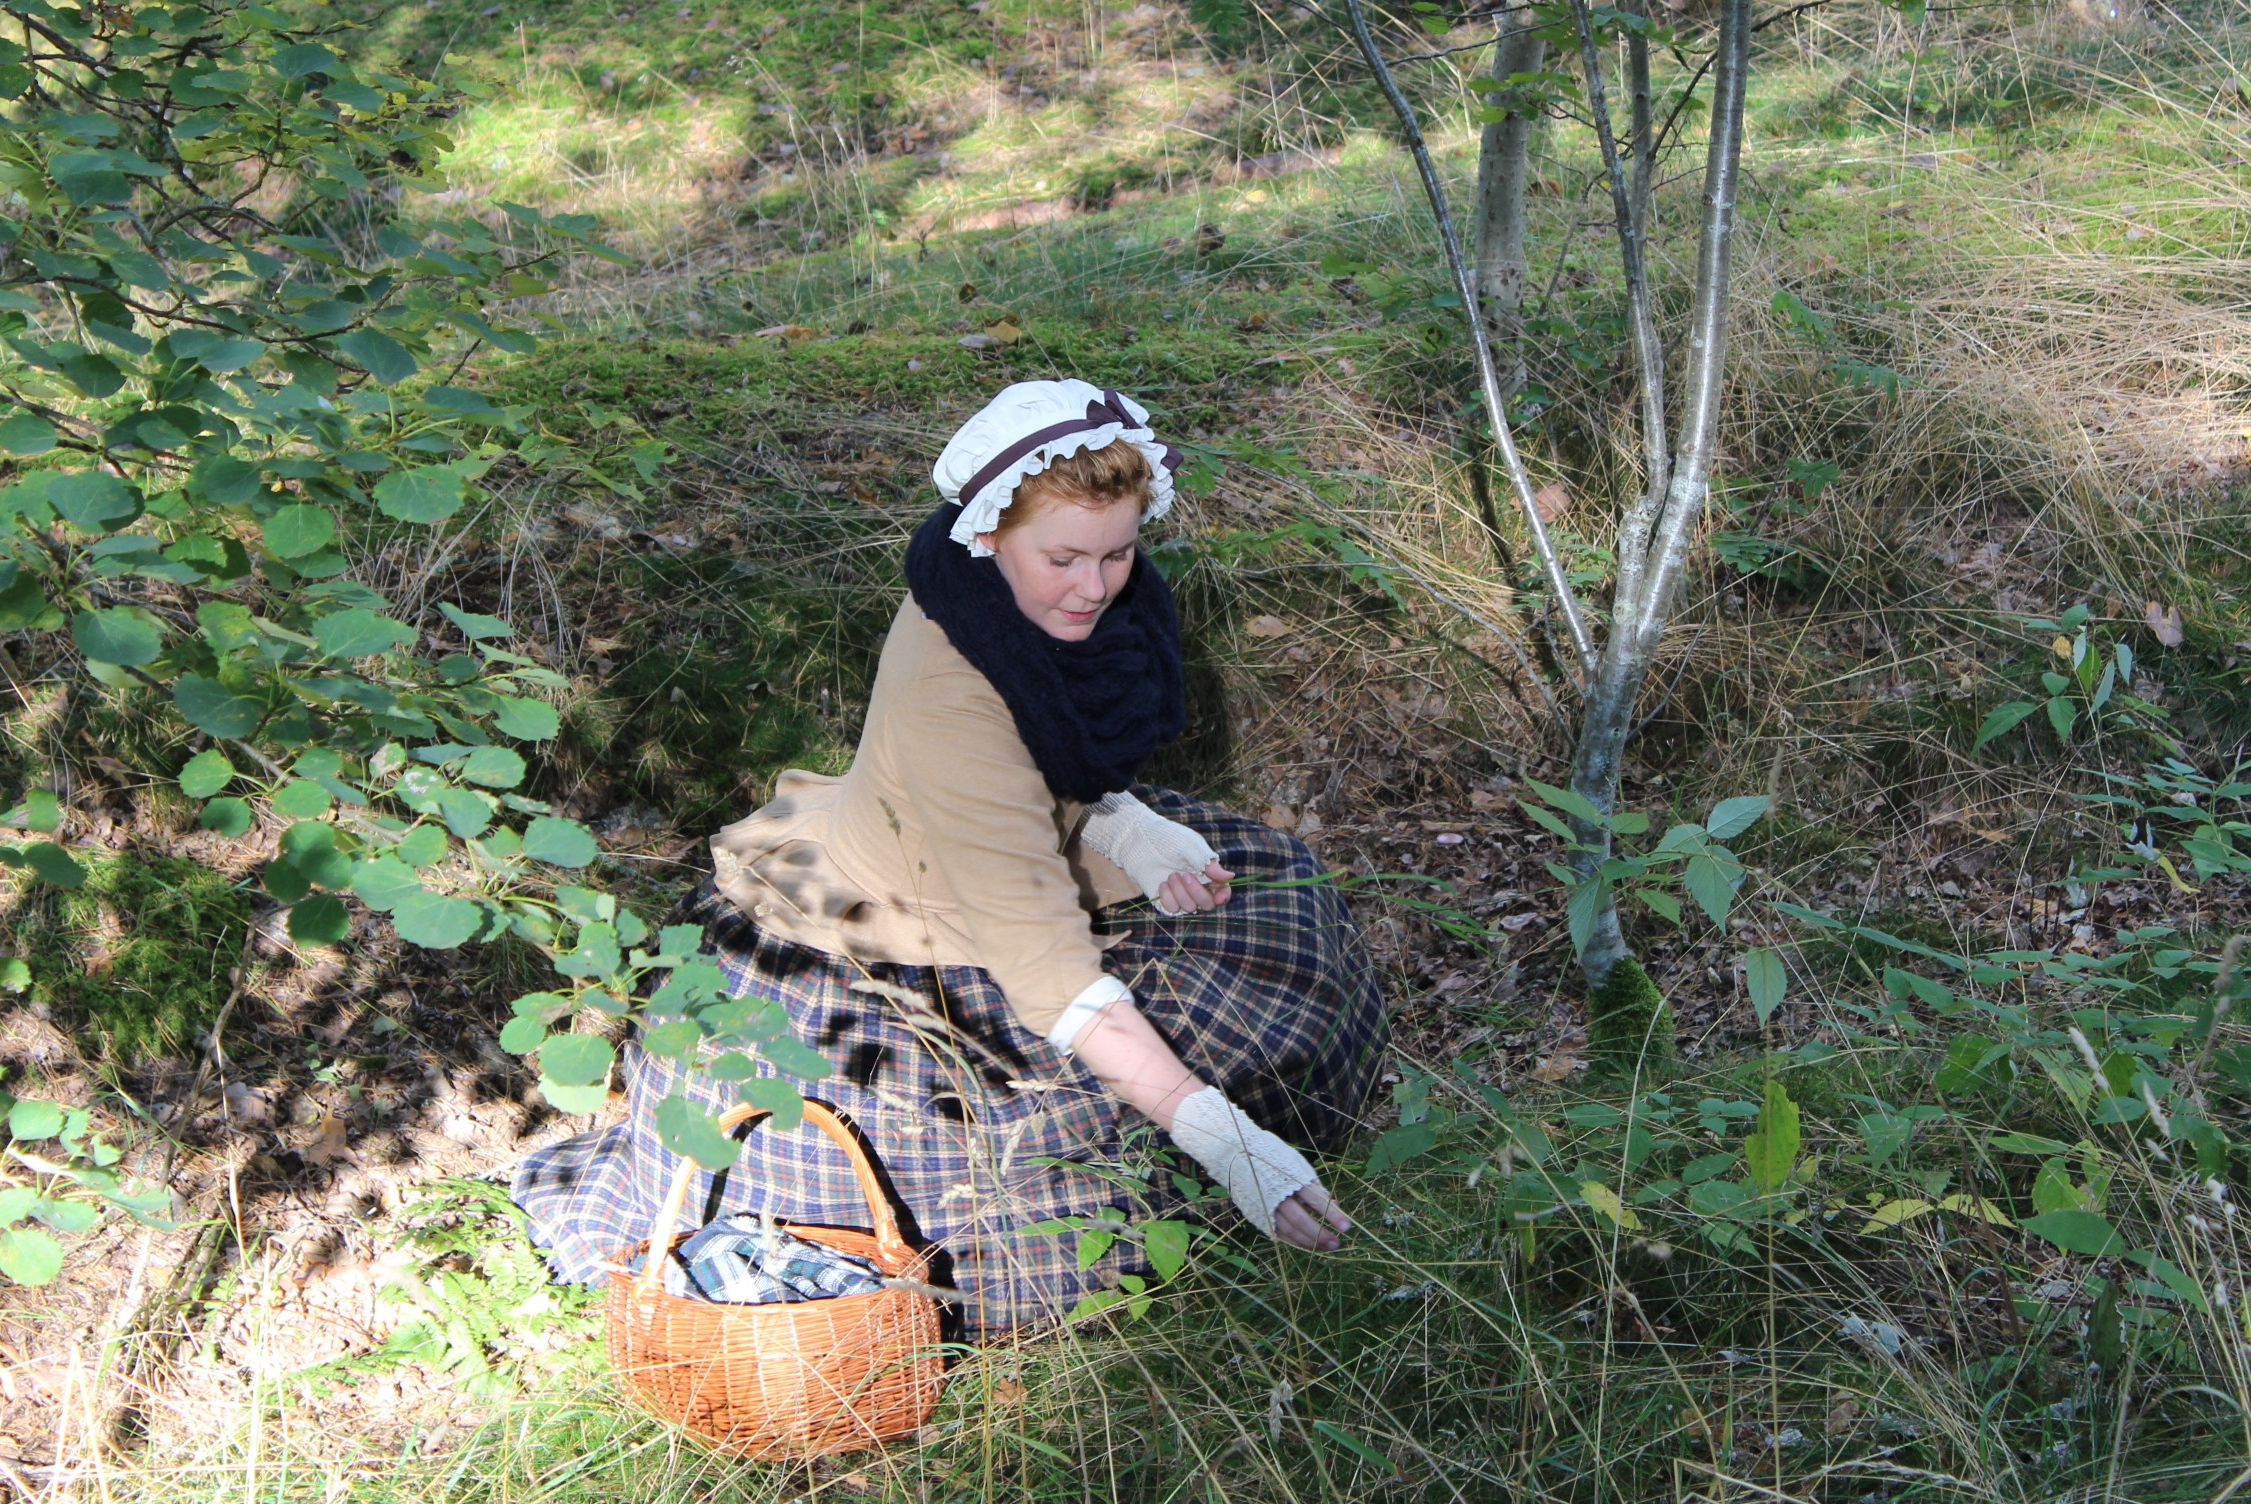
Final thoughts: I really like this outfit. It’s warm and cosy and I really enjoyed wearing it for the photoshoot.
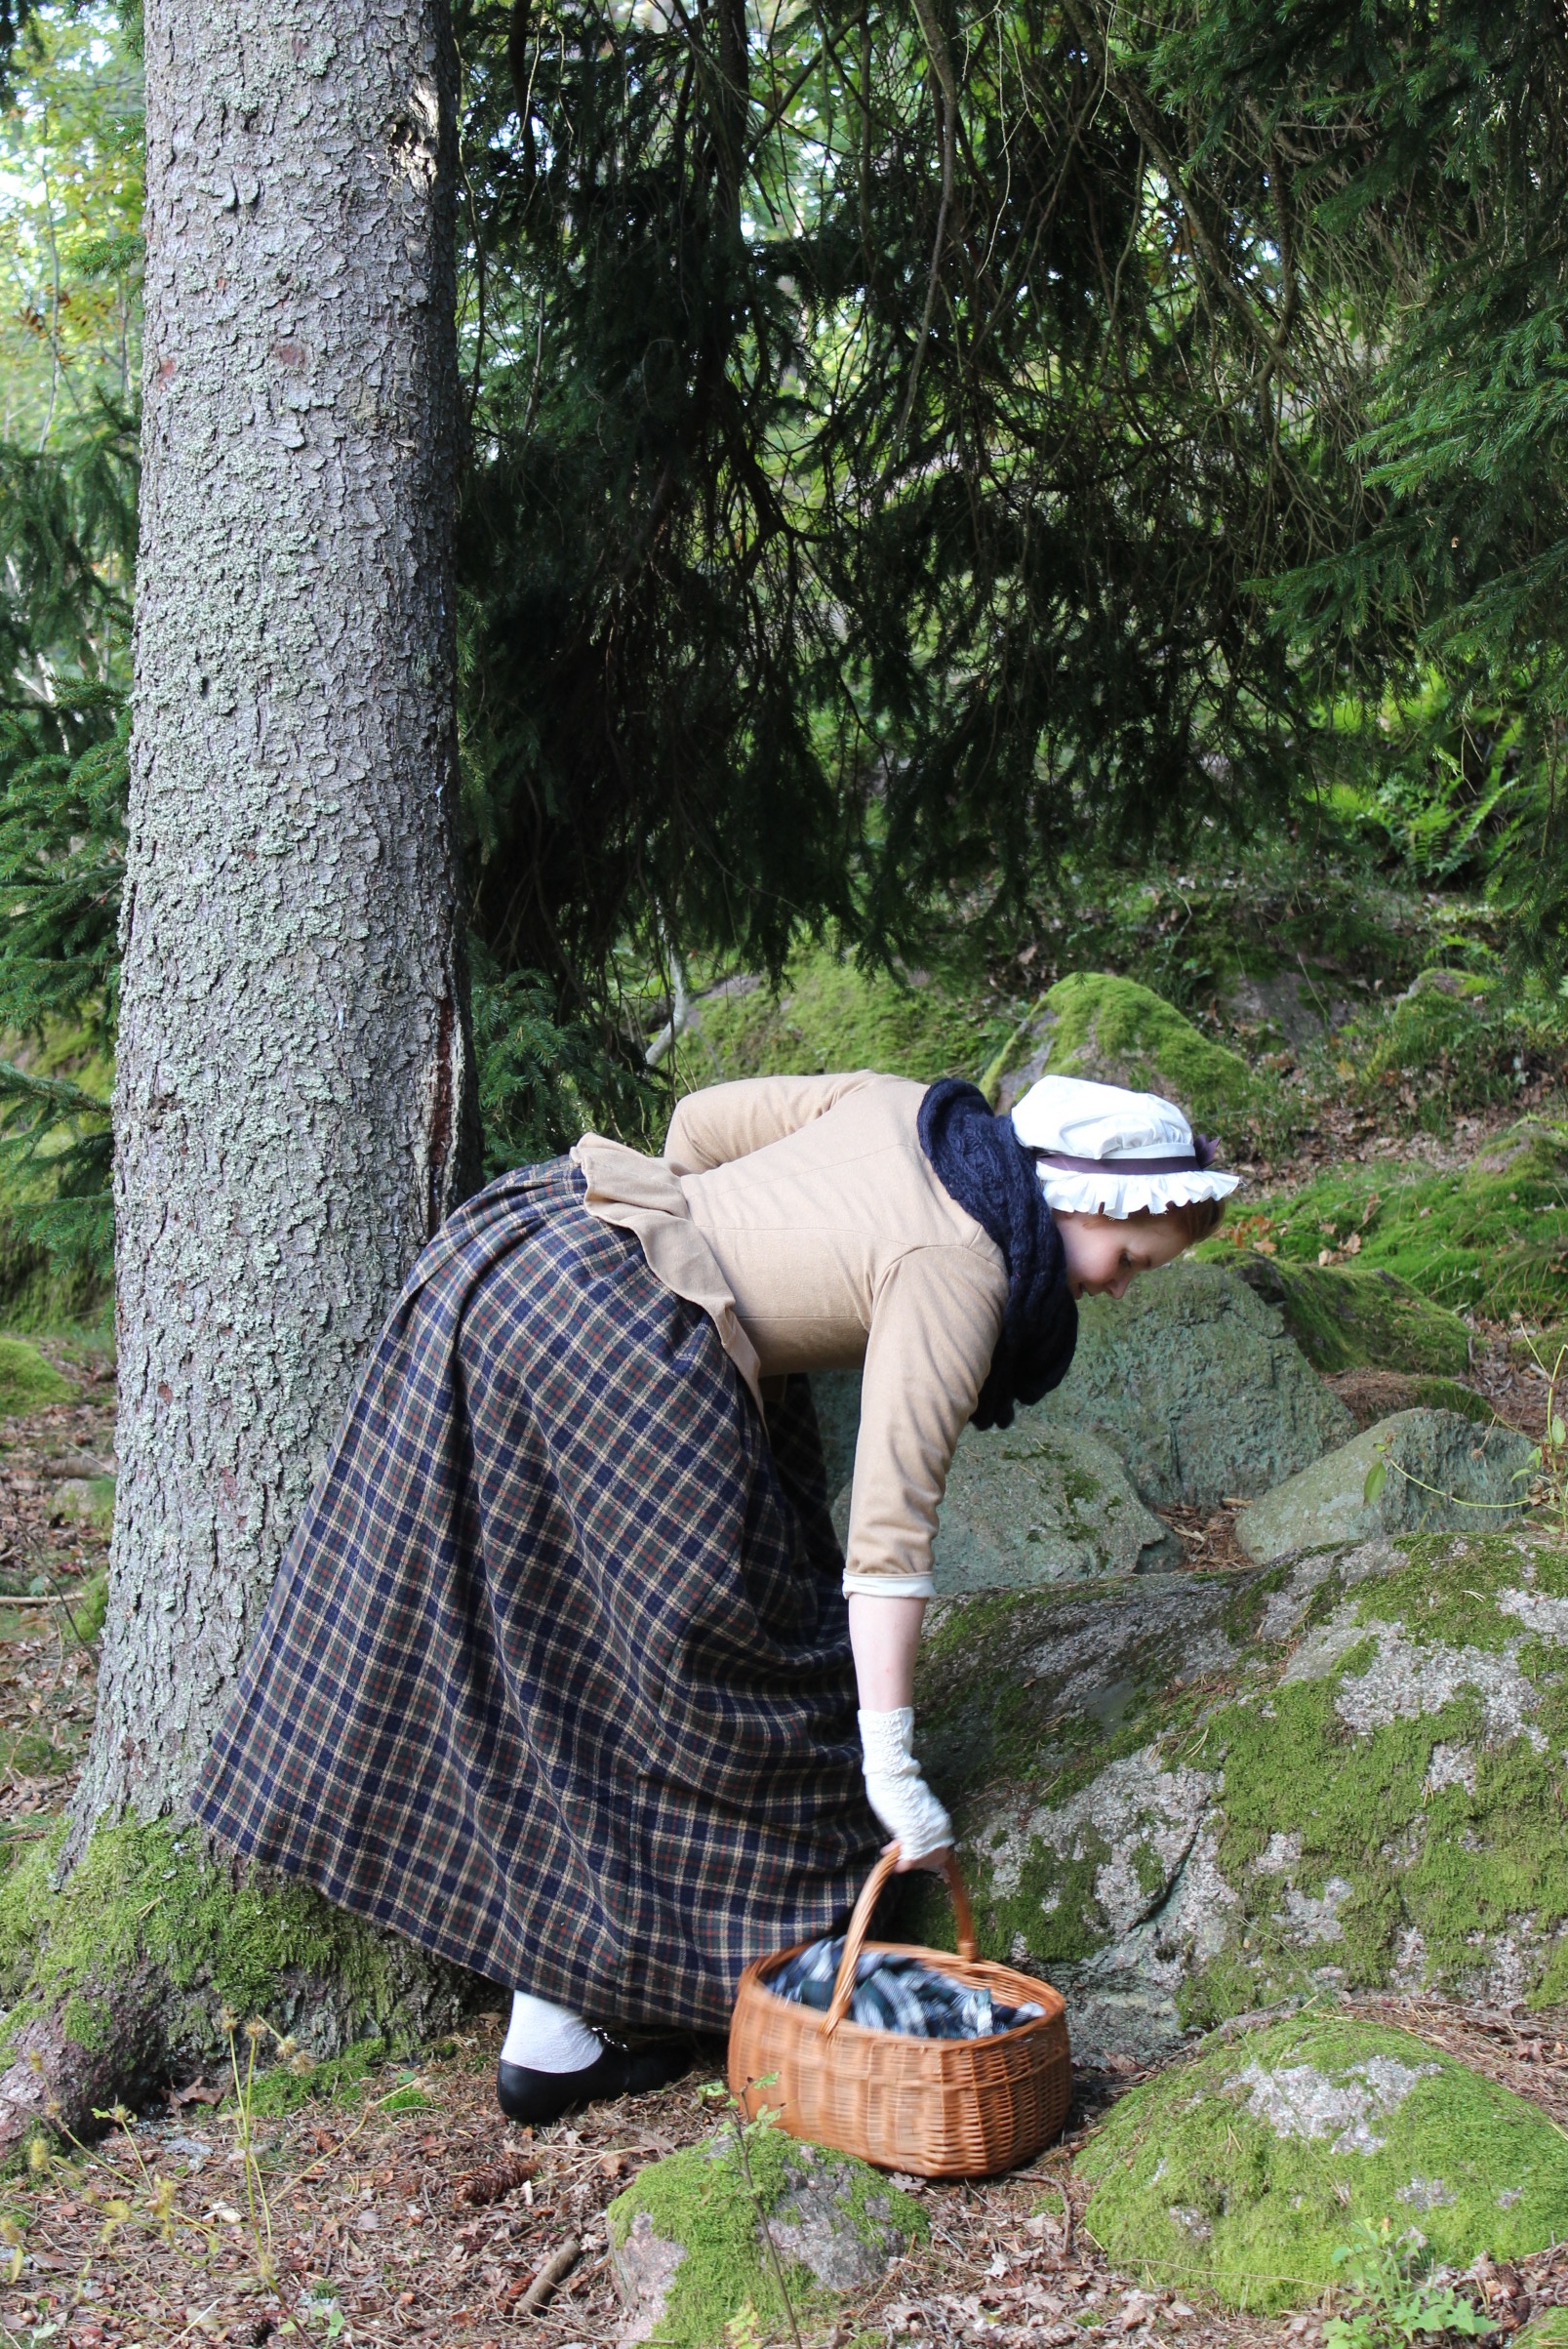
The “Outlander” outfit: