I finally did it, the one thing I’ve been talking (and thinking about) for about 4 years.
I made a Regency Spencer!
Yay!
I’ve been wanting one since I first got into this hobby.
Doing the occasional regency dance recital in our often les then agreeable Swedish climate (I’m thinking of you – dance recital oct 2013), I felt I really needed someting more then a shawl and mittens to keep the cold of my back between shows.
So in planing this years HSM I (as usual) added the wish to maybe this year would be the year when I finally made that jacket. Not getting any big hopes up, what with a baby, starting work again, and another big costume all wanting my attention.
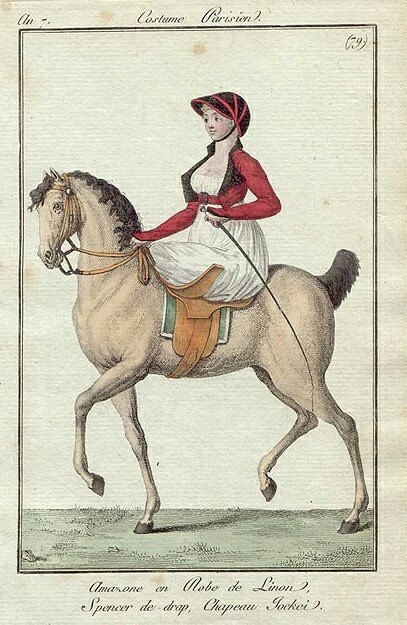
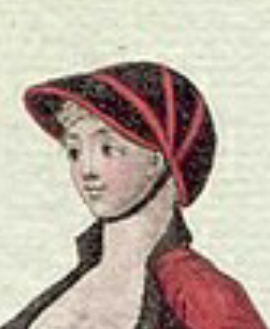
 inspiration
But somehow I managed to get inspired, and to whip it out in between baby’s naps and other projects costume fittings.
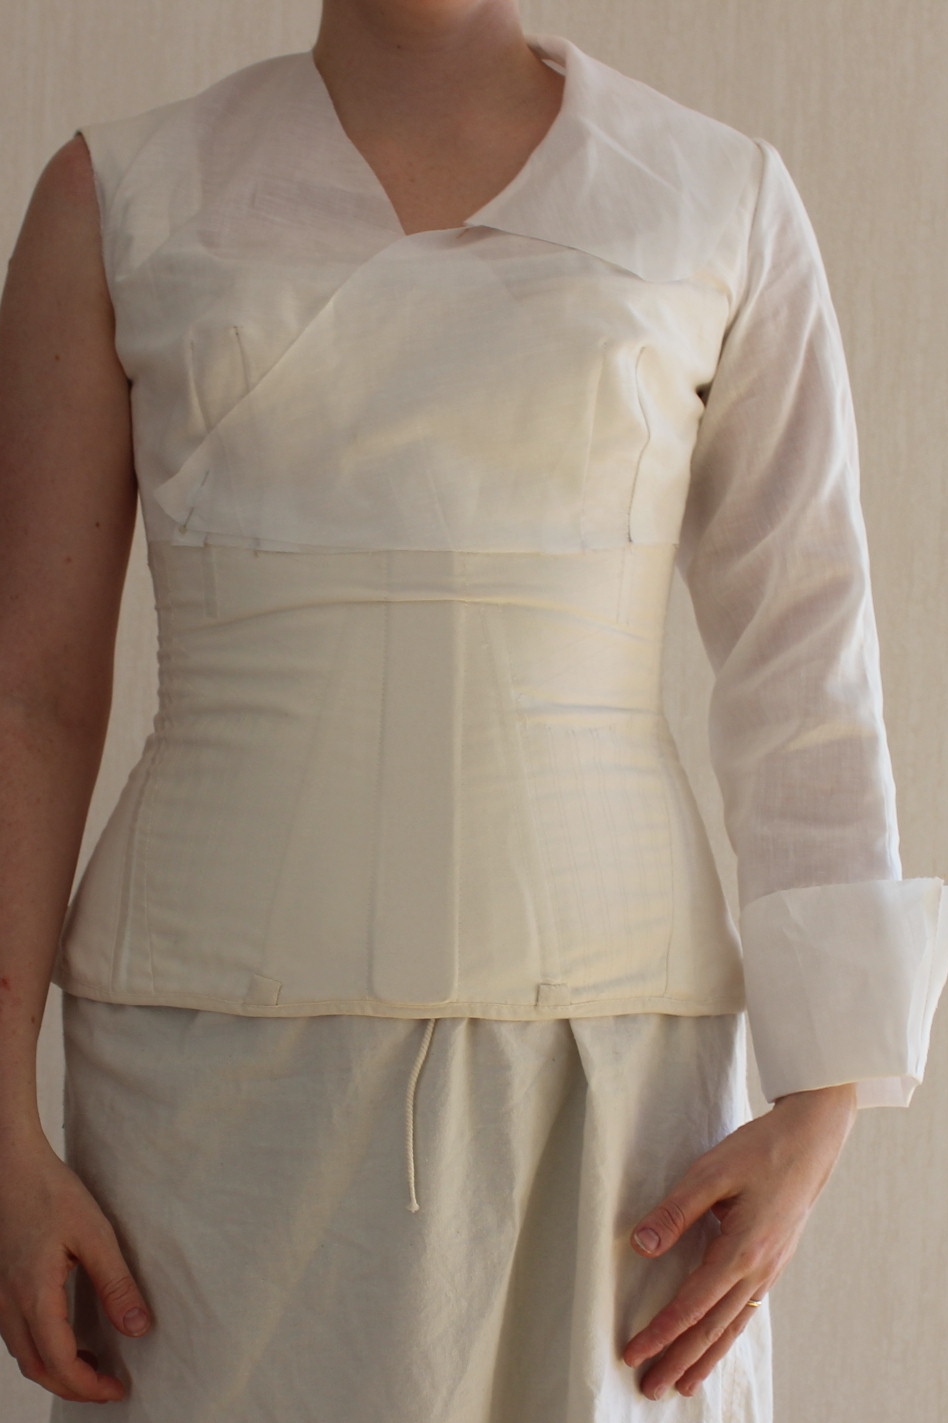
I started by trying to decide which of my two Spencer patterns to use. Full of indecision I actually patterned and made mock-ups of them both.
 Laughing Moon 129 “Wrap front Spencer”


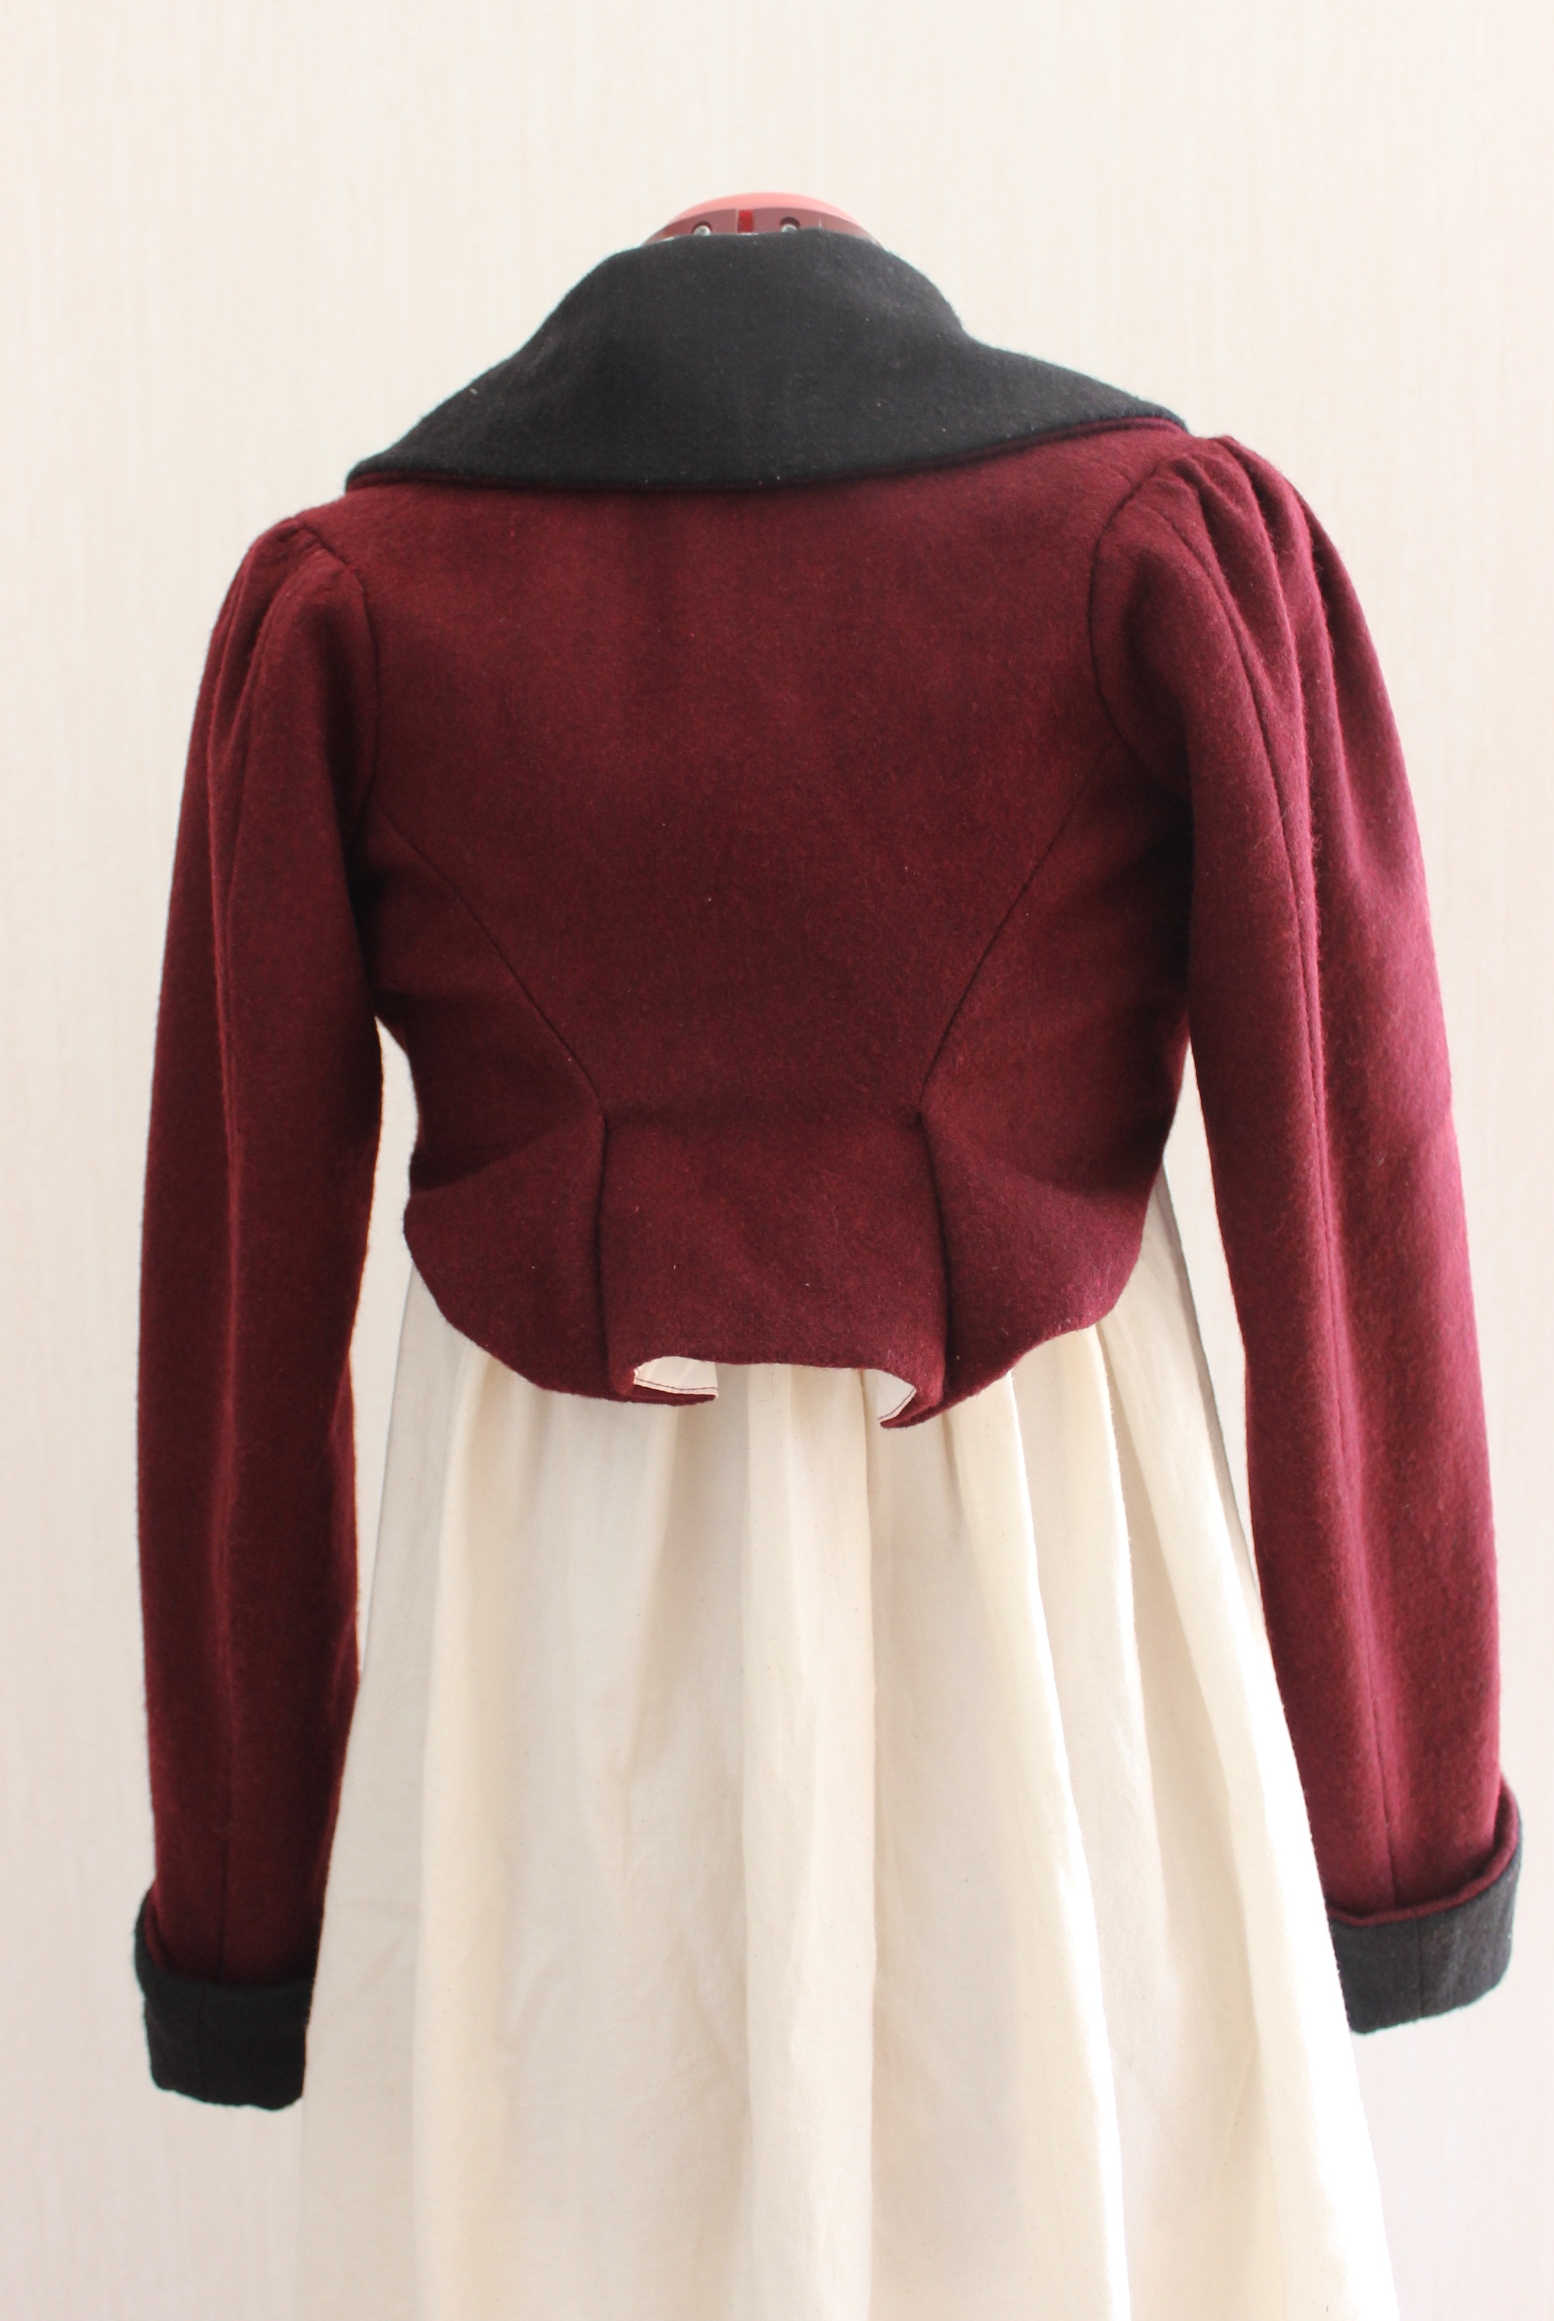
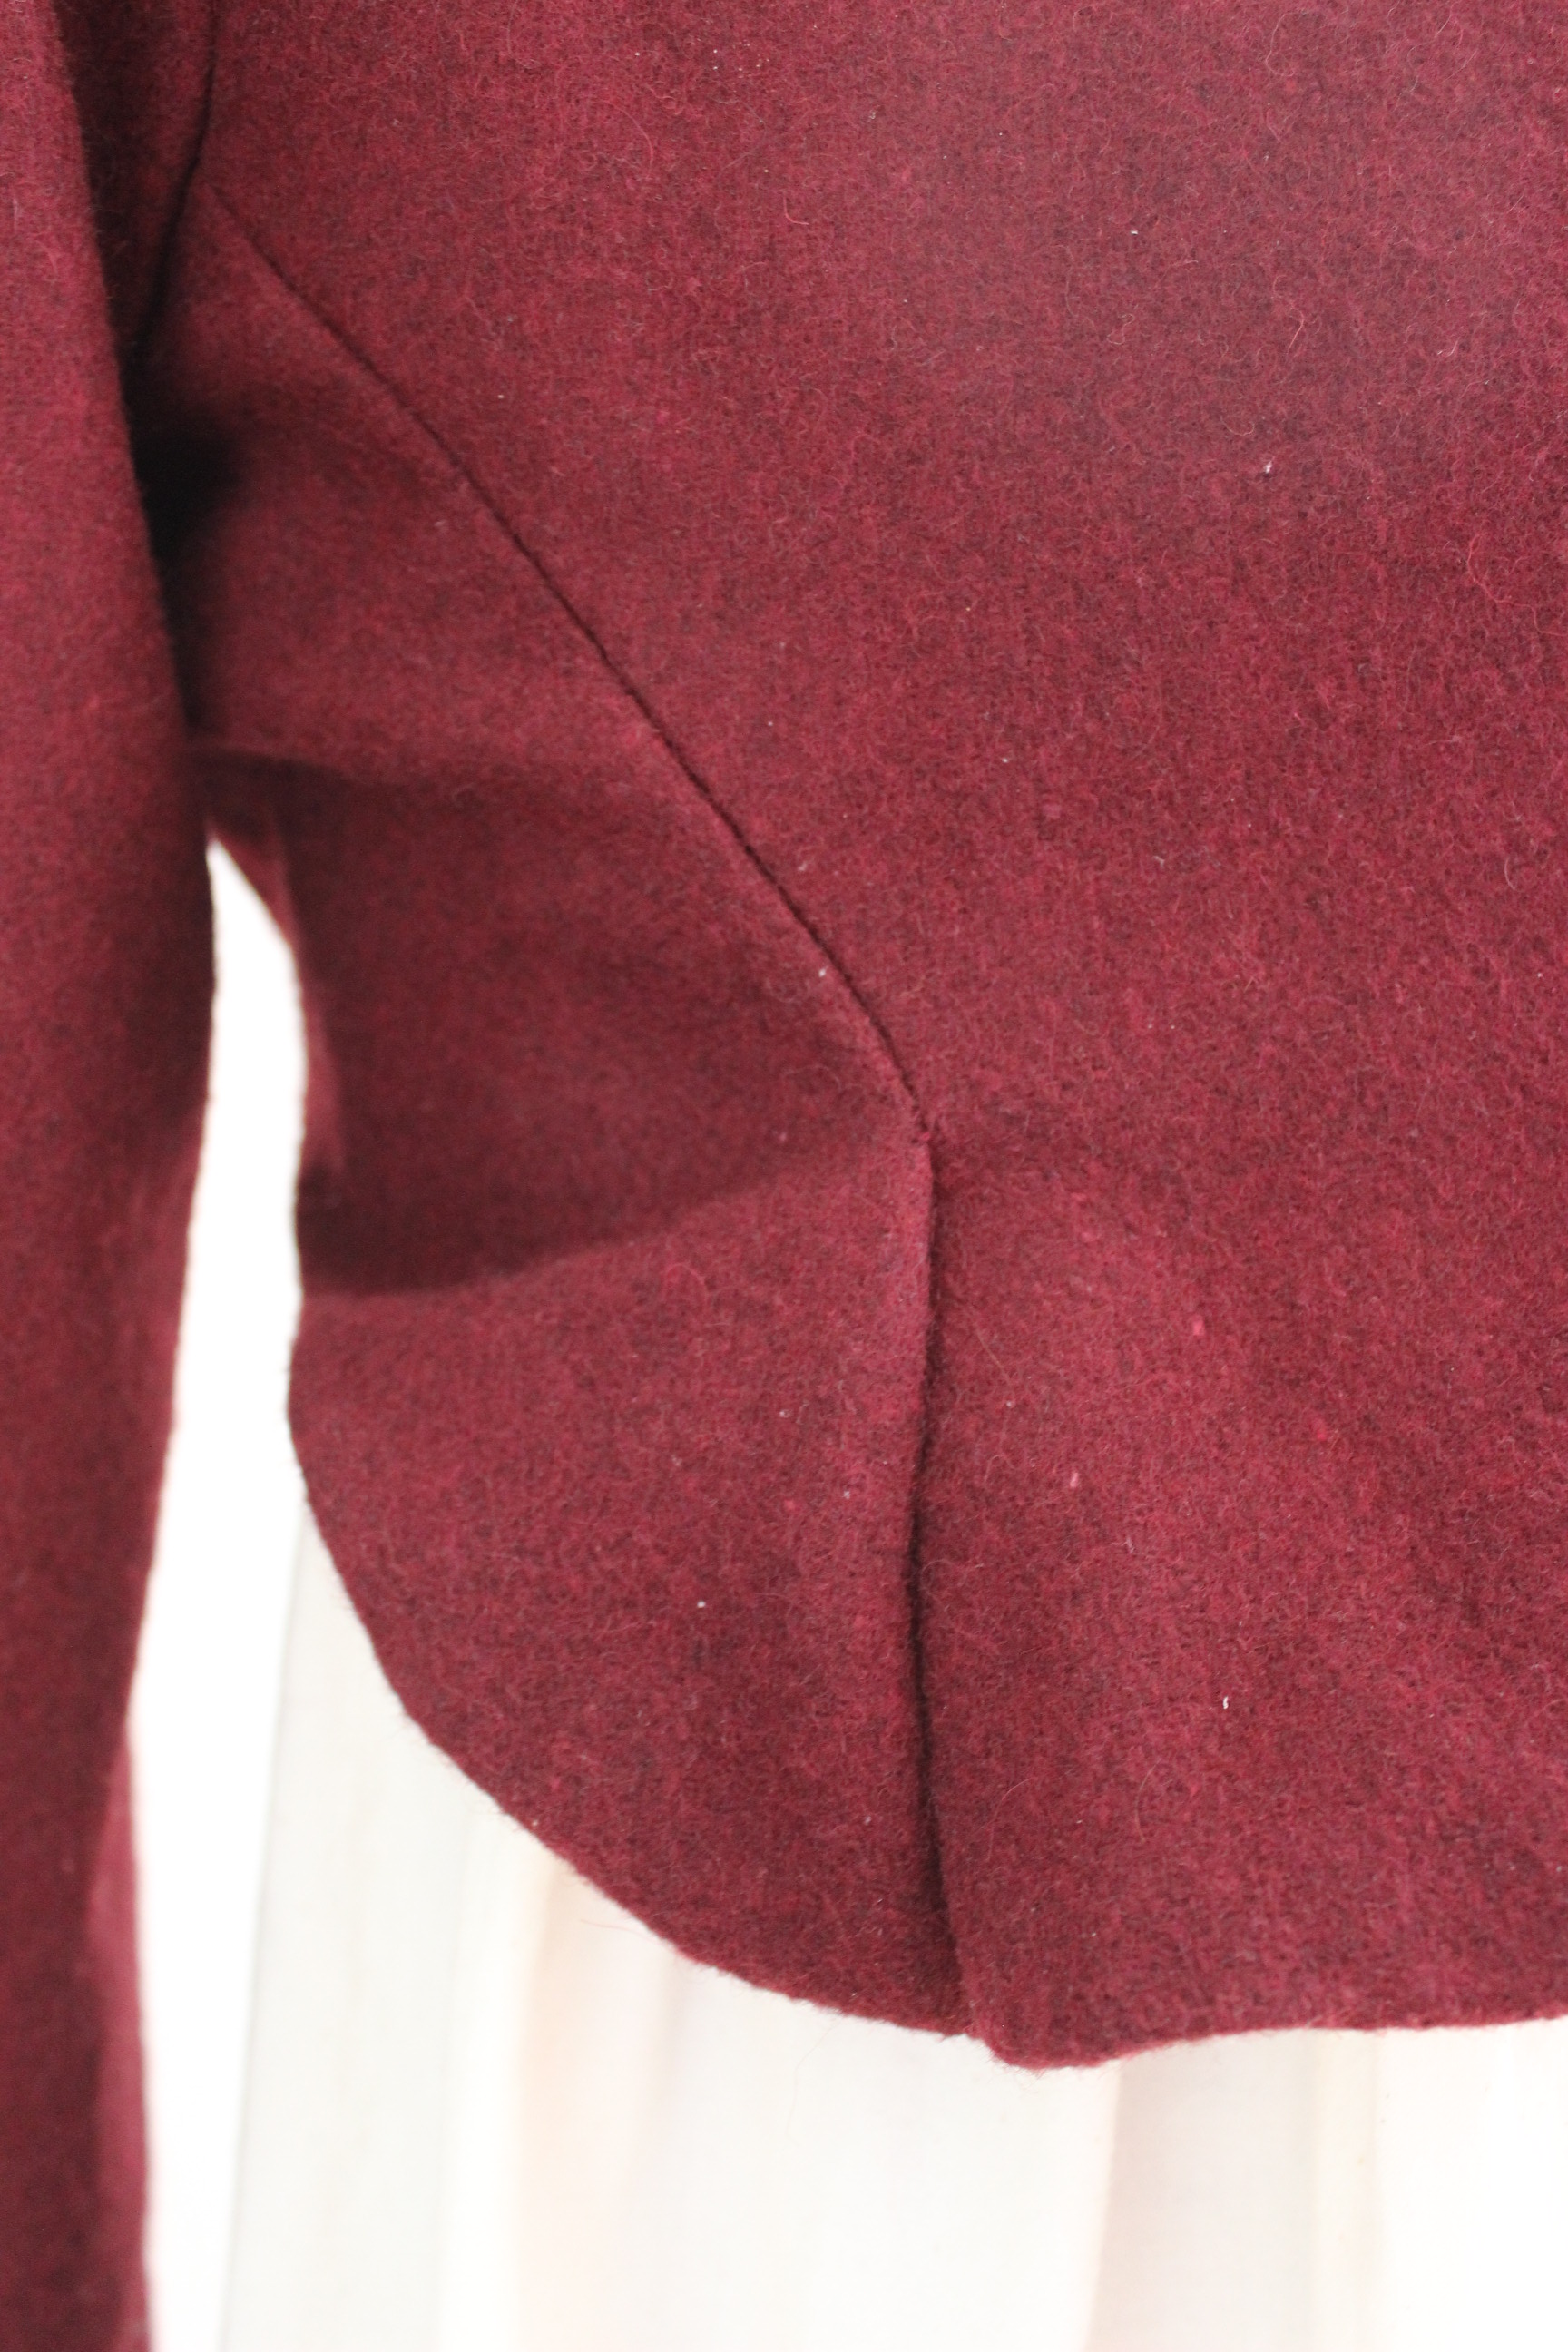
I like the fit, and I LOVE the back peplum, and it was fairly easy to get together.
 Period Impression 461 “1809 Spencer jacket”

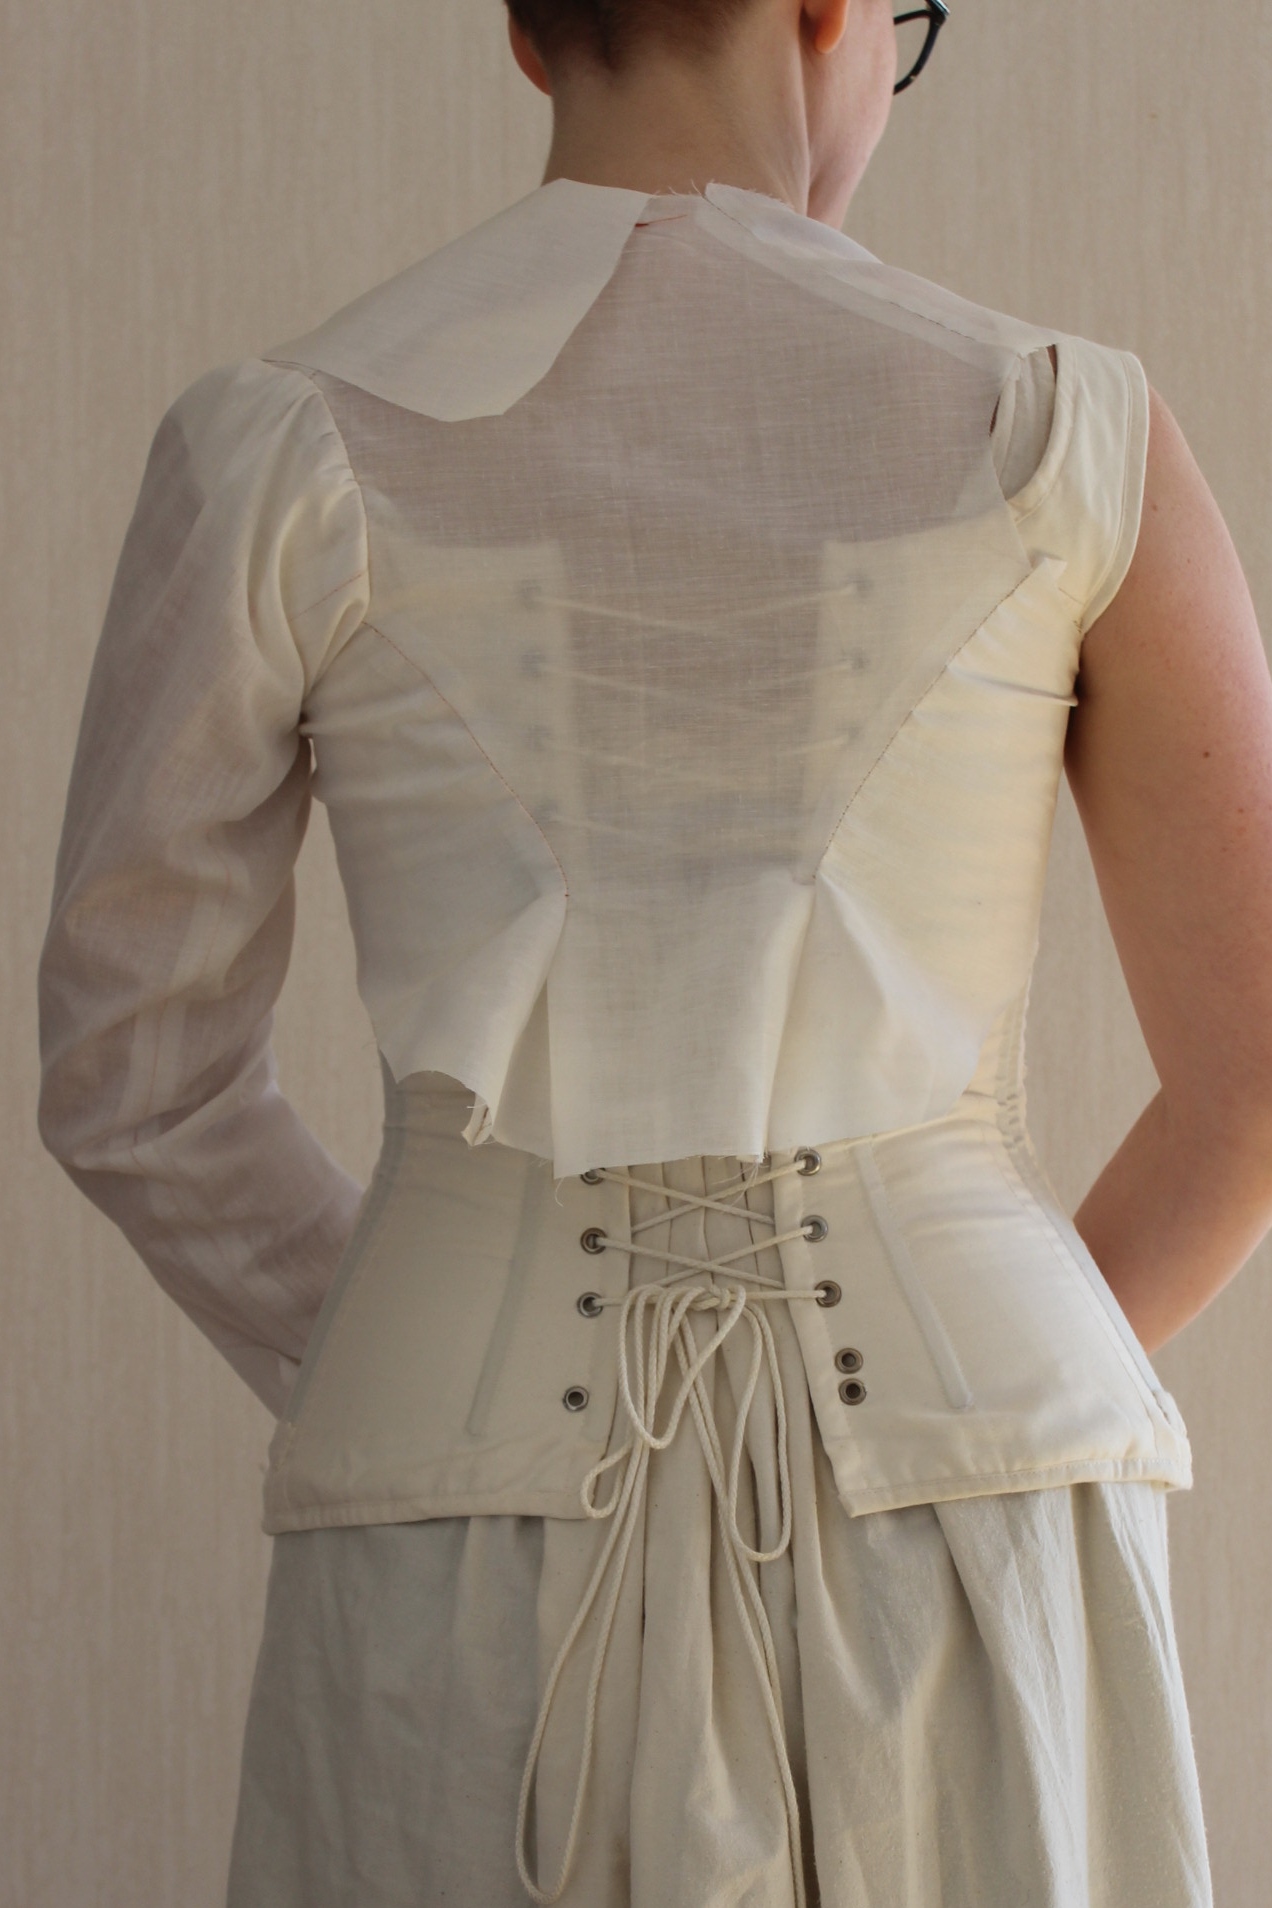
 I like the fit of the bodice, even though it felt a bit long and the peplum in the back was so wide it kind of got lost. Something that would be easily fixed, and I do love the way the waistband goes cross the sides and fasten on to the back piece.
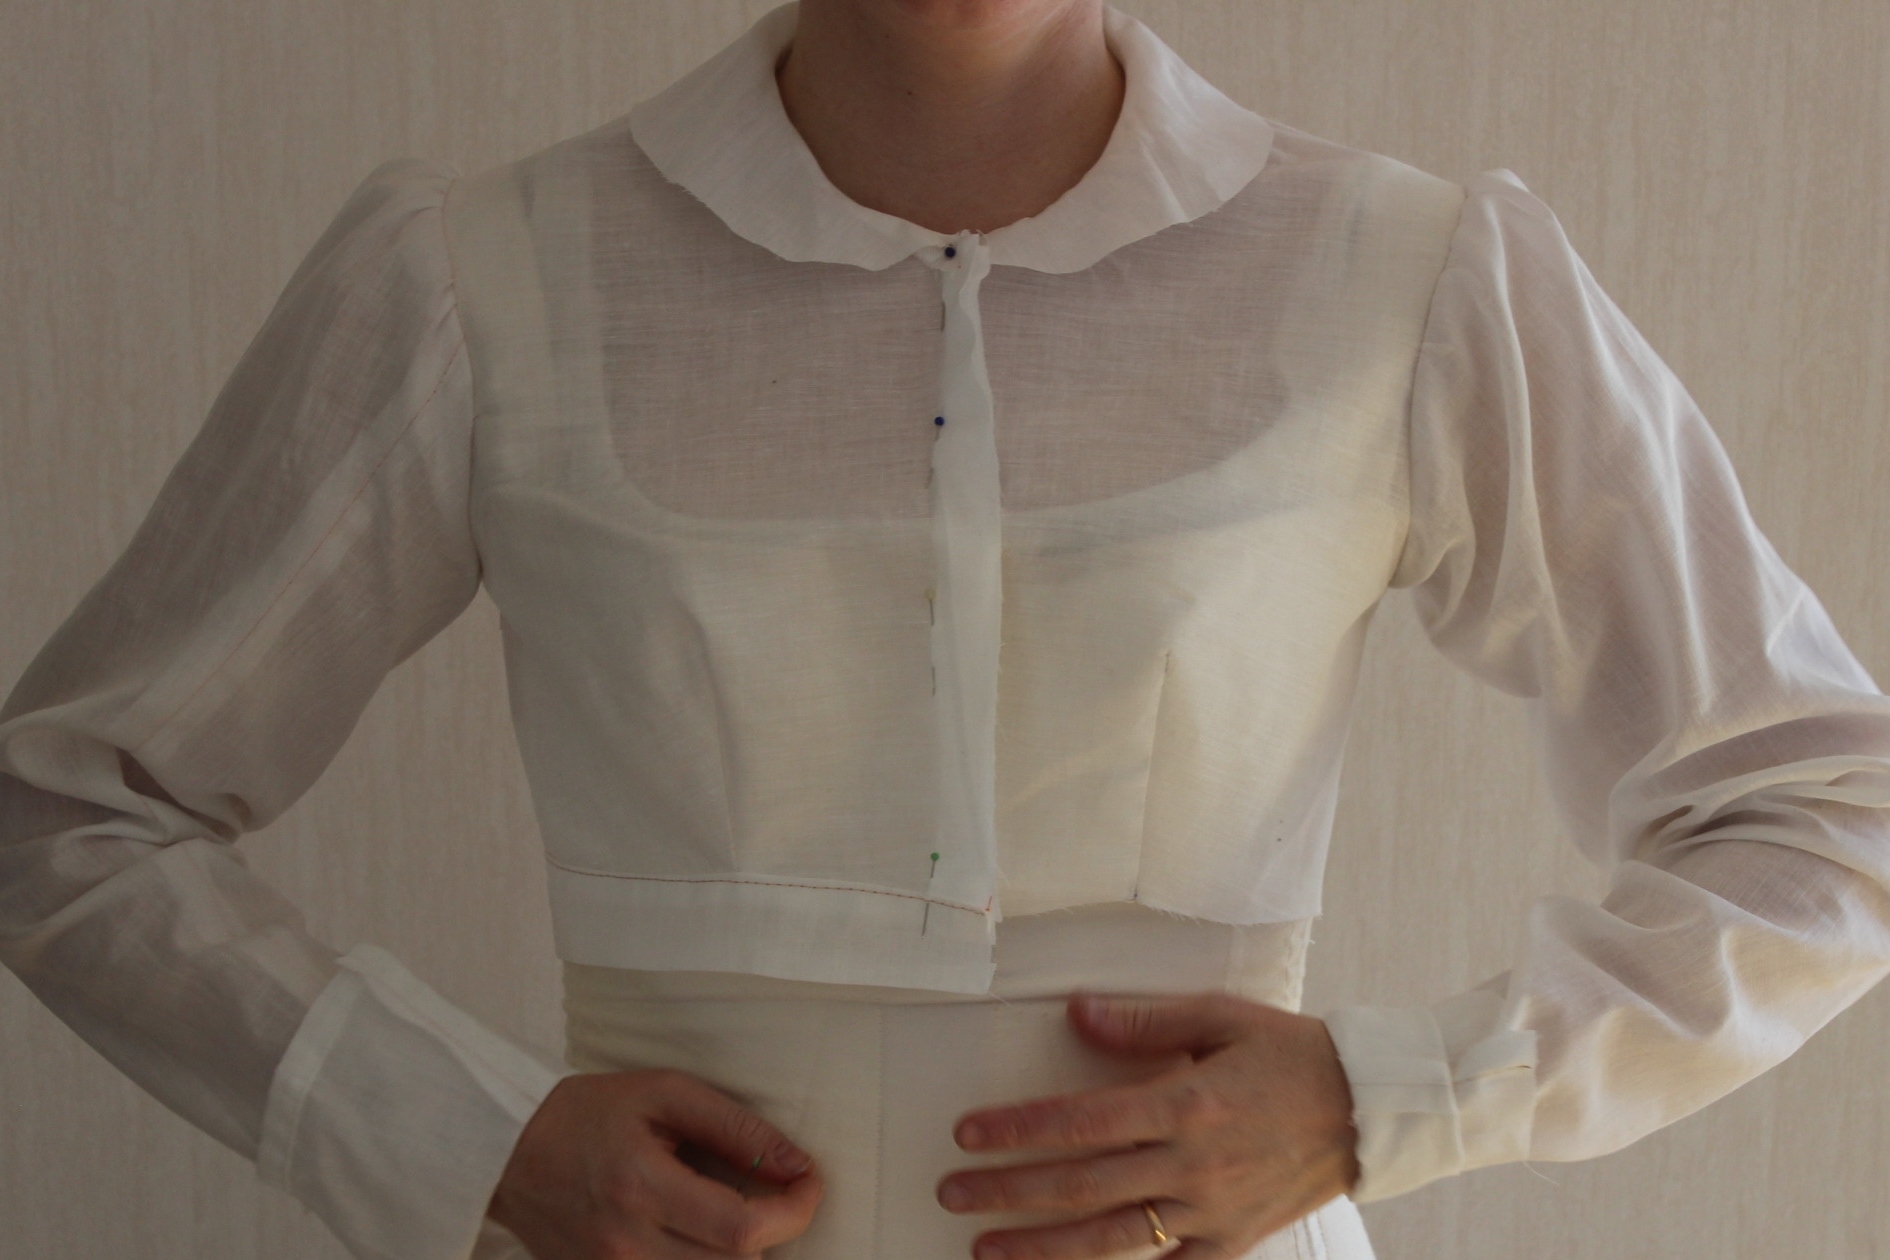
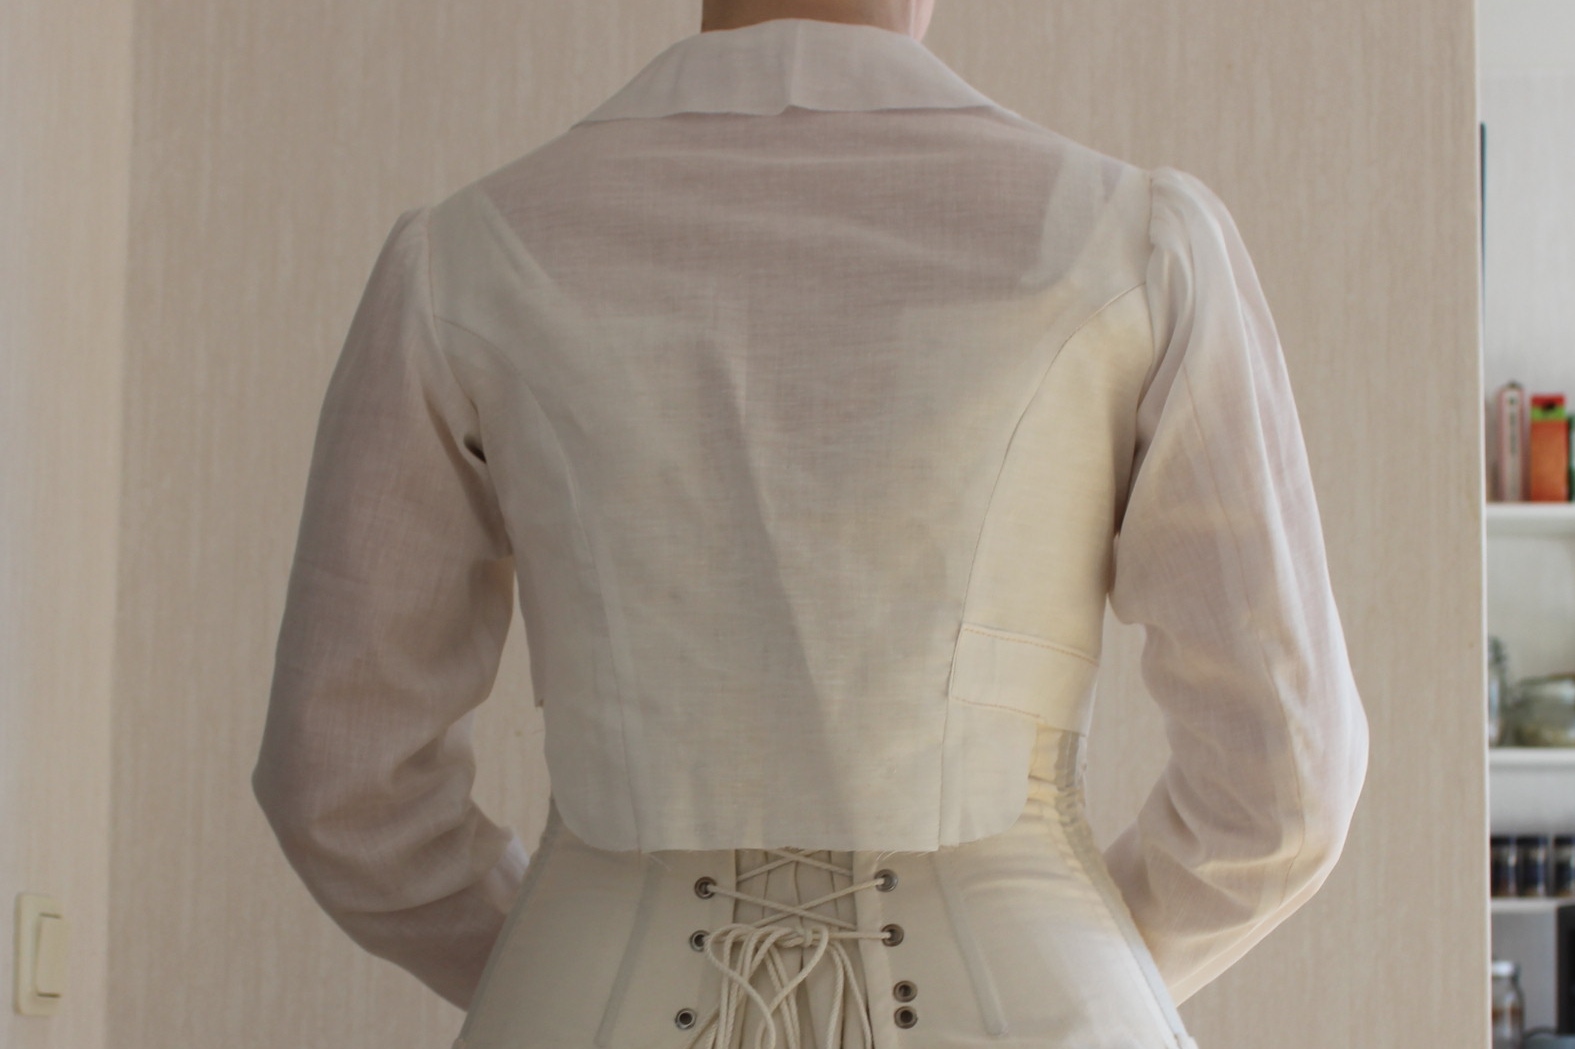
I’ve also heard a lot (and not the good stuff) about the sleeves on this pattern, so I decided to try 2 different styles. The left sleeve is the original, which was bulky at the top, narrow at the wrist and twisted along the arm. For the left sleeve on my mock-up I used the previous patterned “Laughing moon” sleeve, which surprisingly fitted both my arm and the sleeve-cap much better.
After some debating back and forth my boyfriend decided for me, and I went with the “Laughing moon” style, with the fold down collar and the nice sleeves.
Then I busted my stash and found a lovely burgundy colored wool I bought for a Regency gentlemen tailcoat a few years back. I figured I could always get more fabric if I ever felt the need to make that (like that’s ever going to happen…).
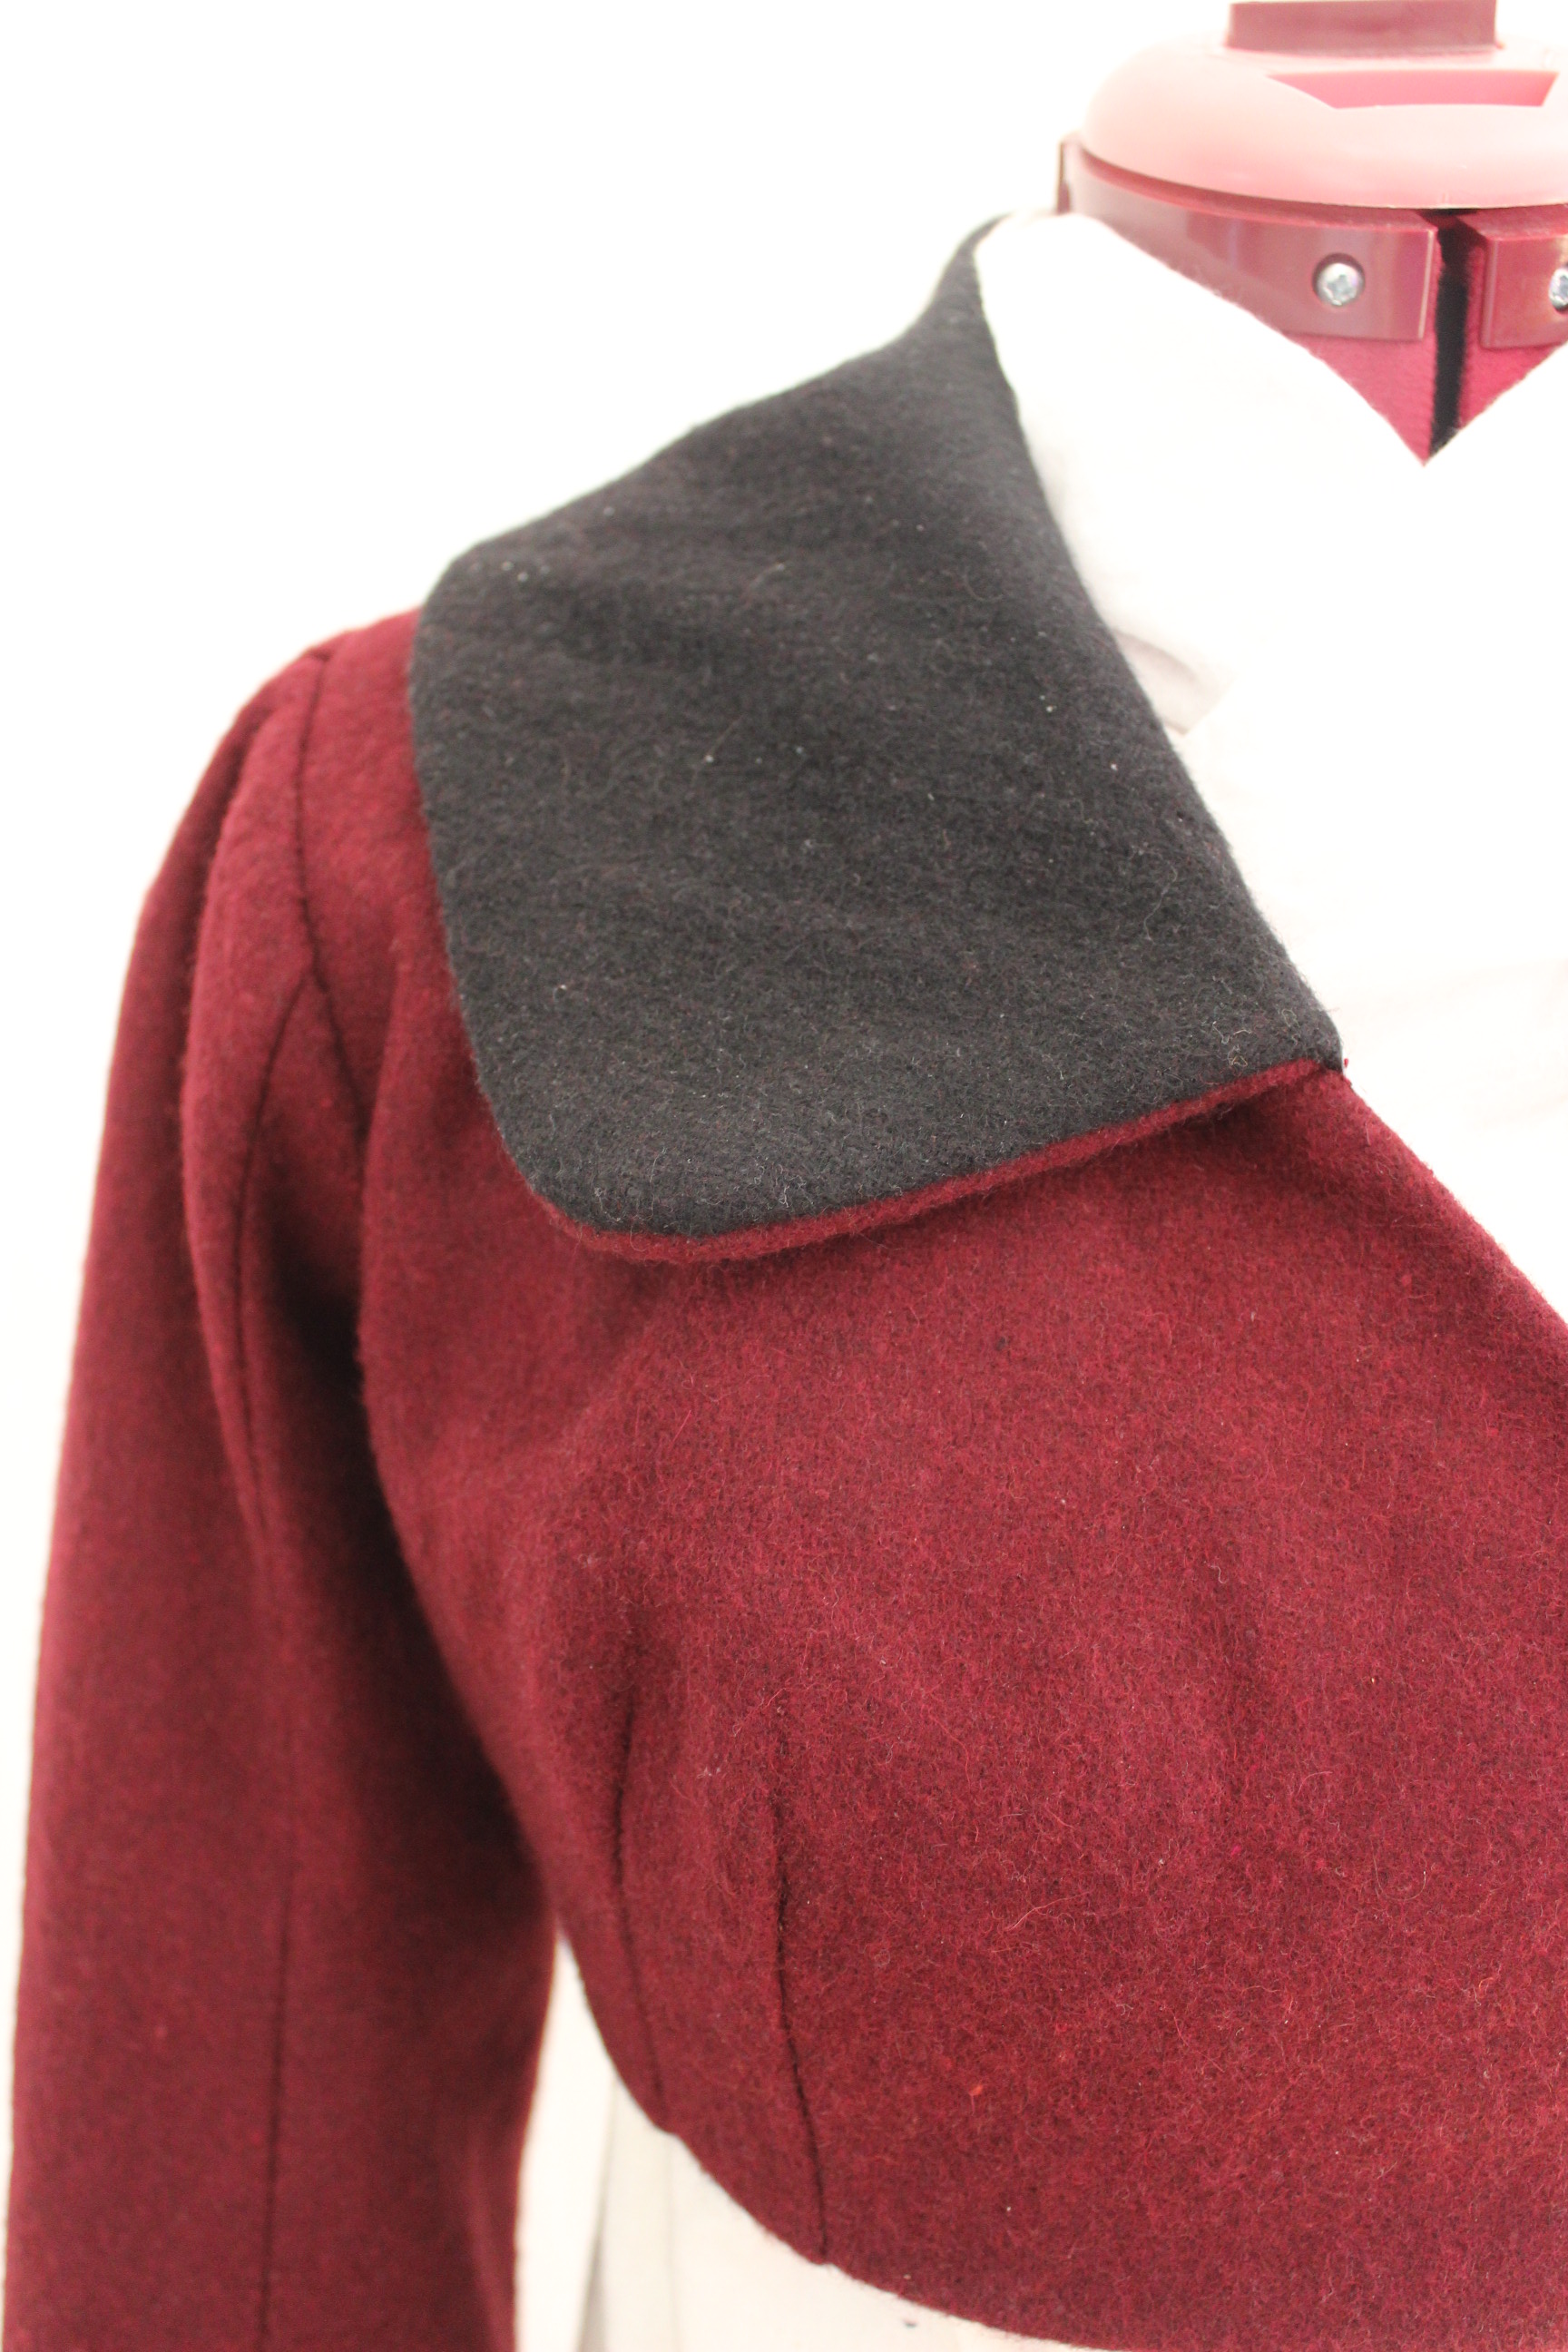
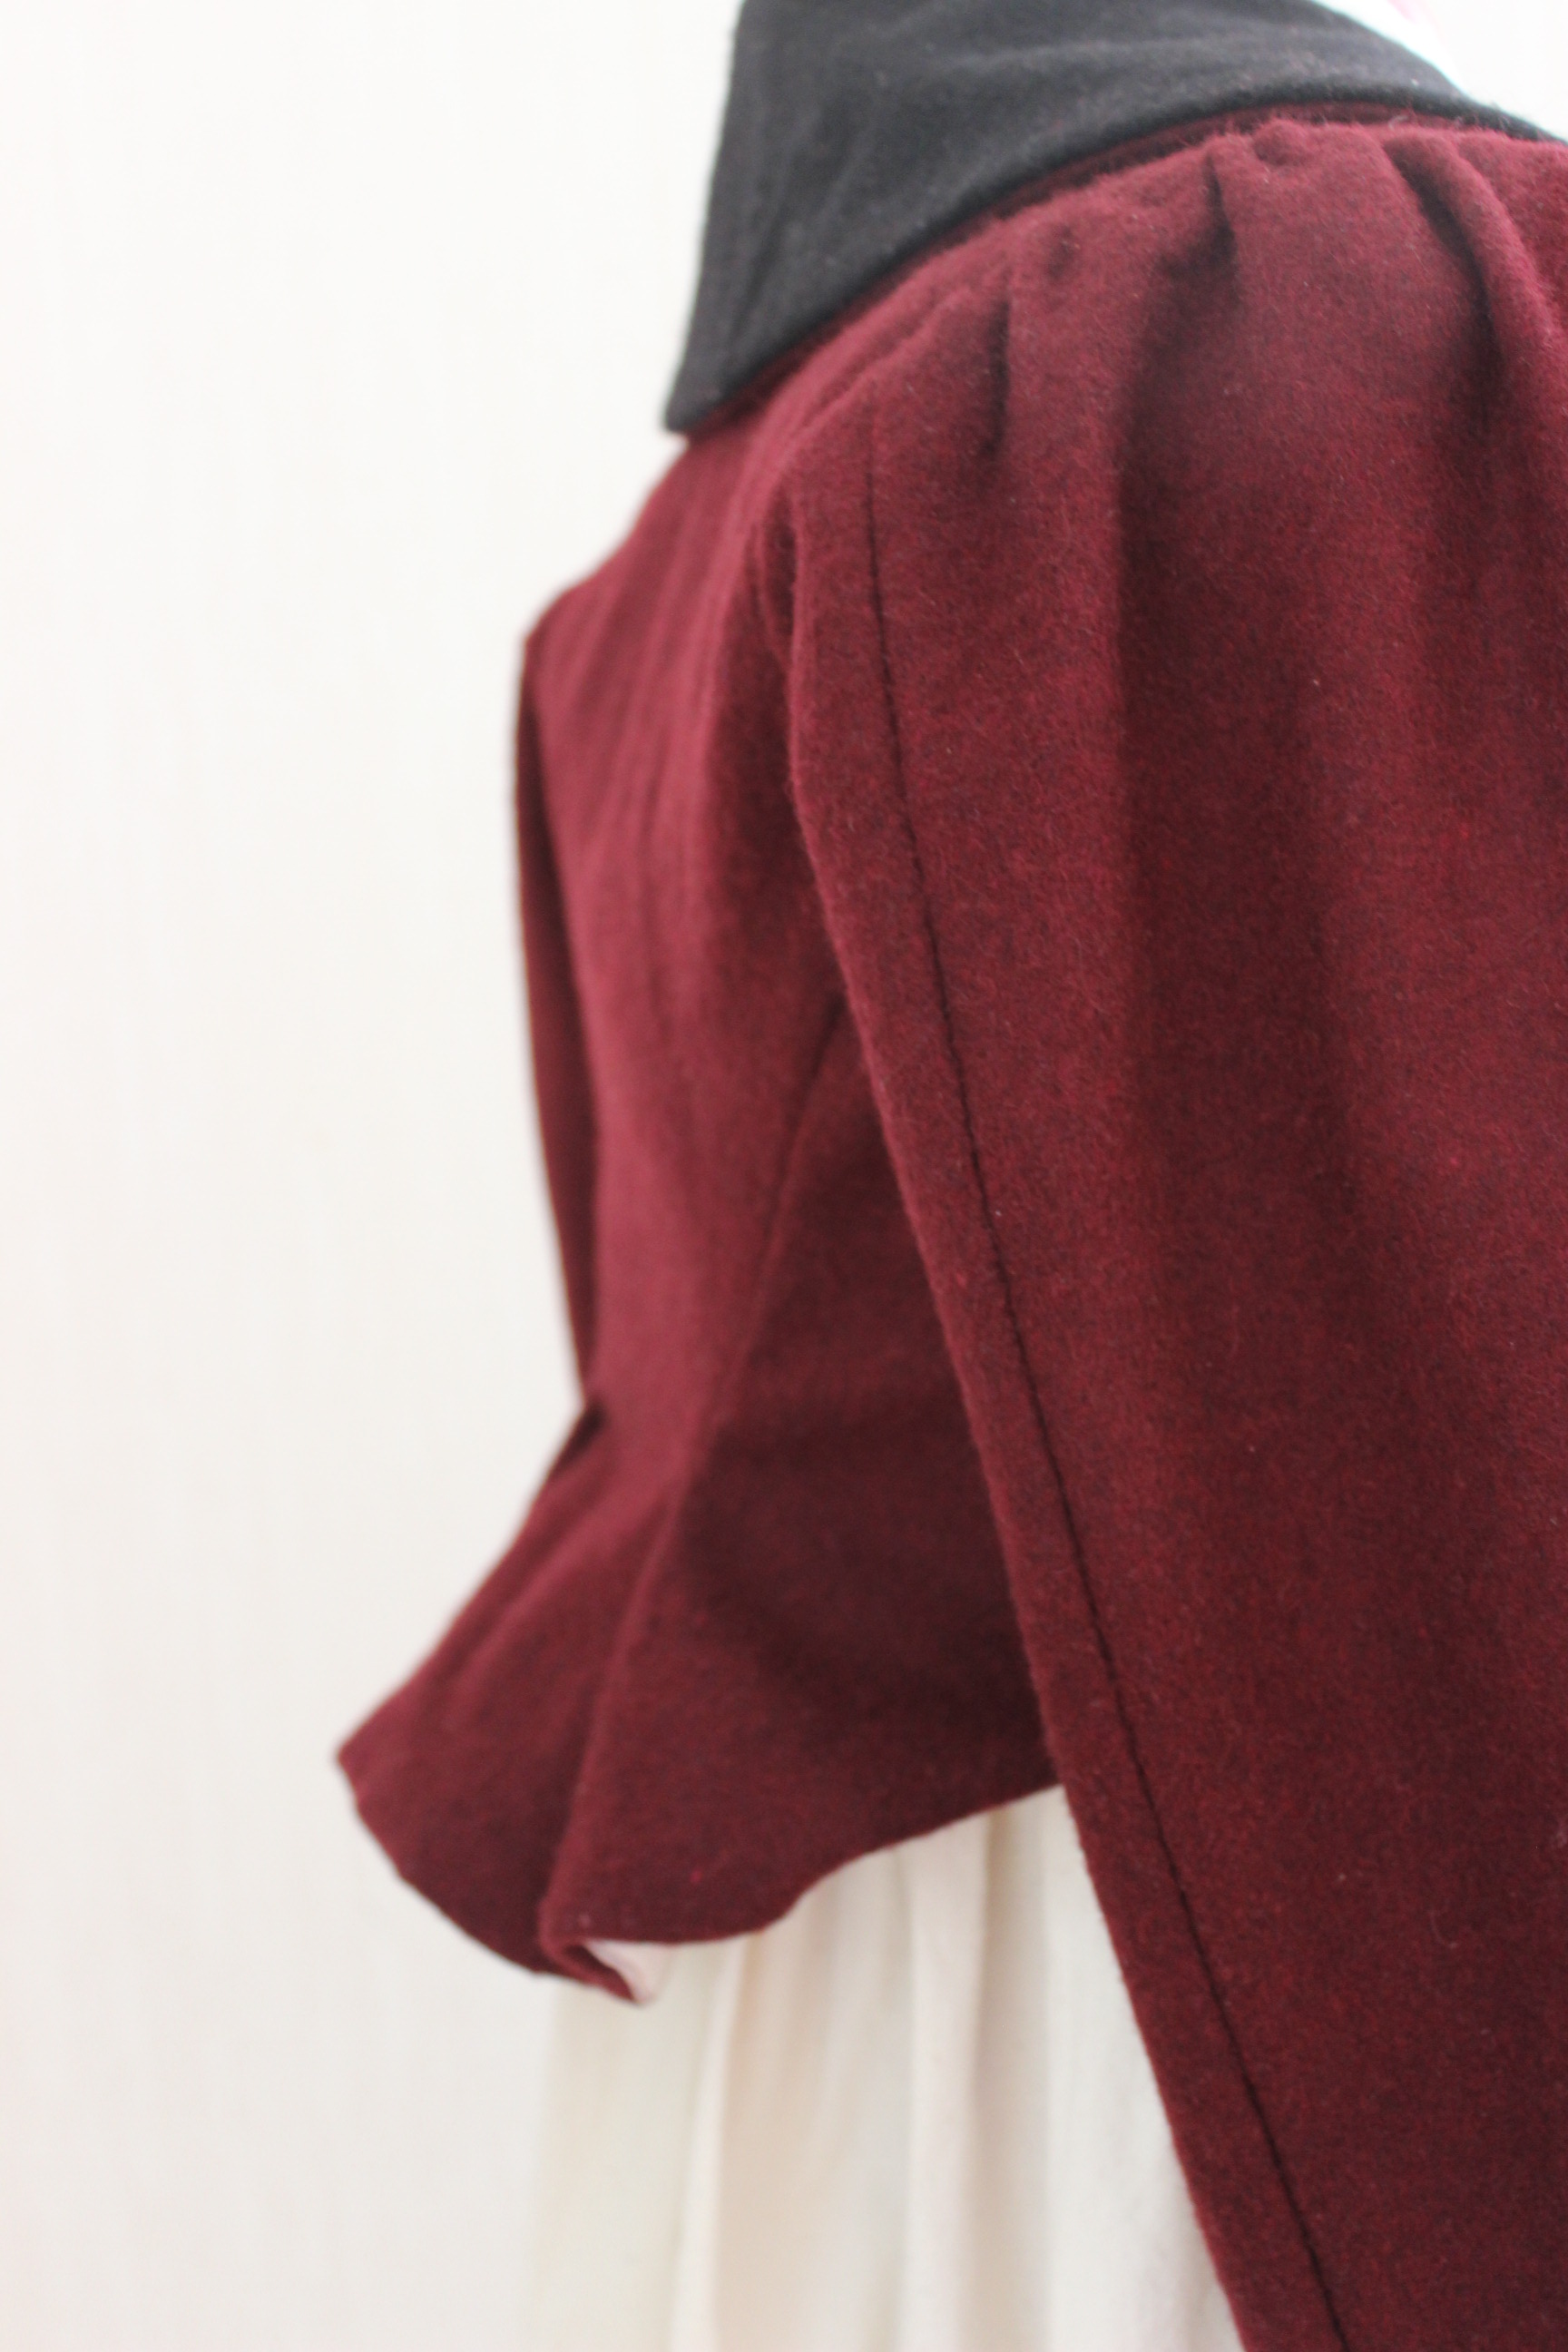
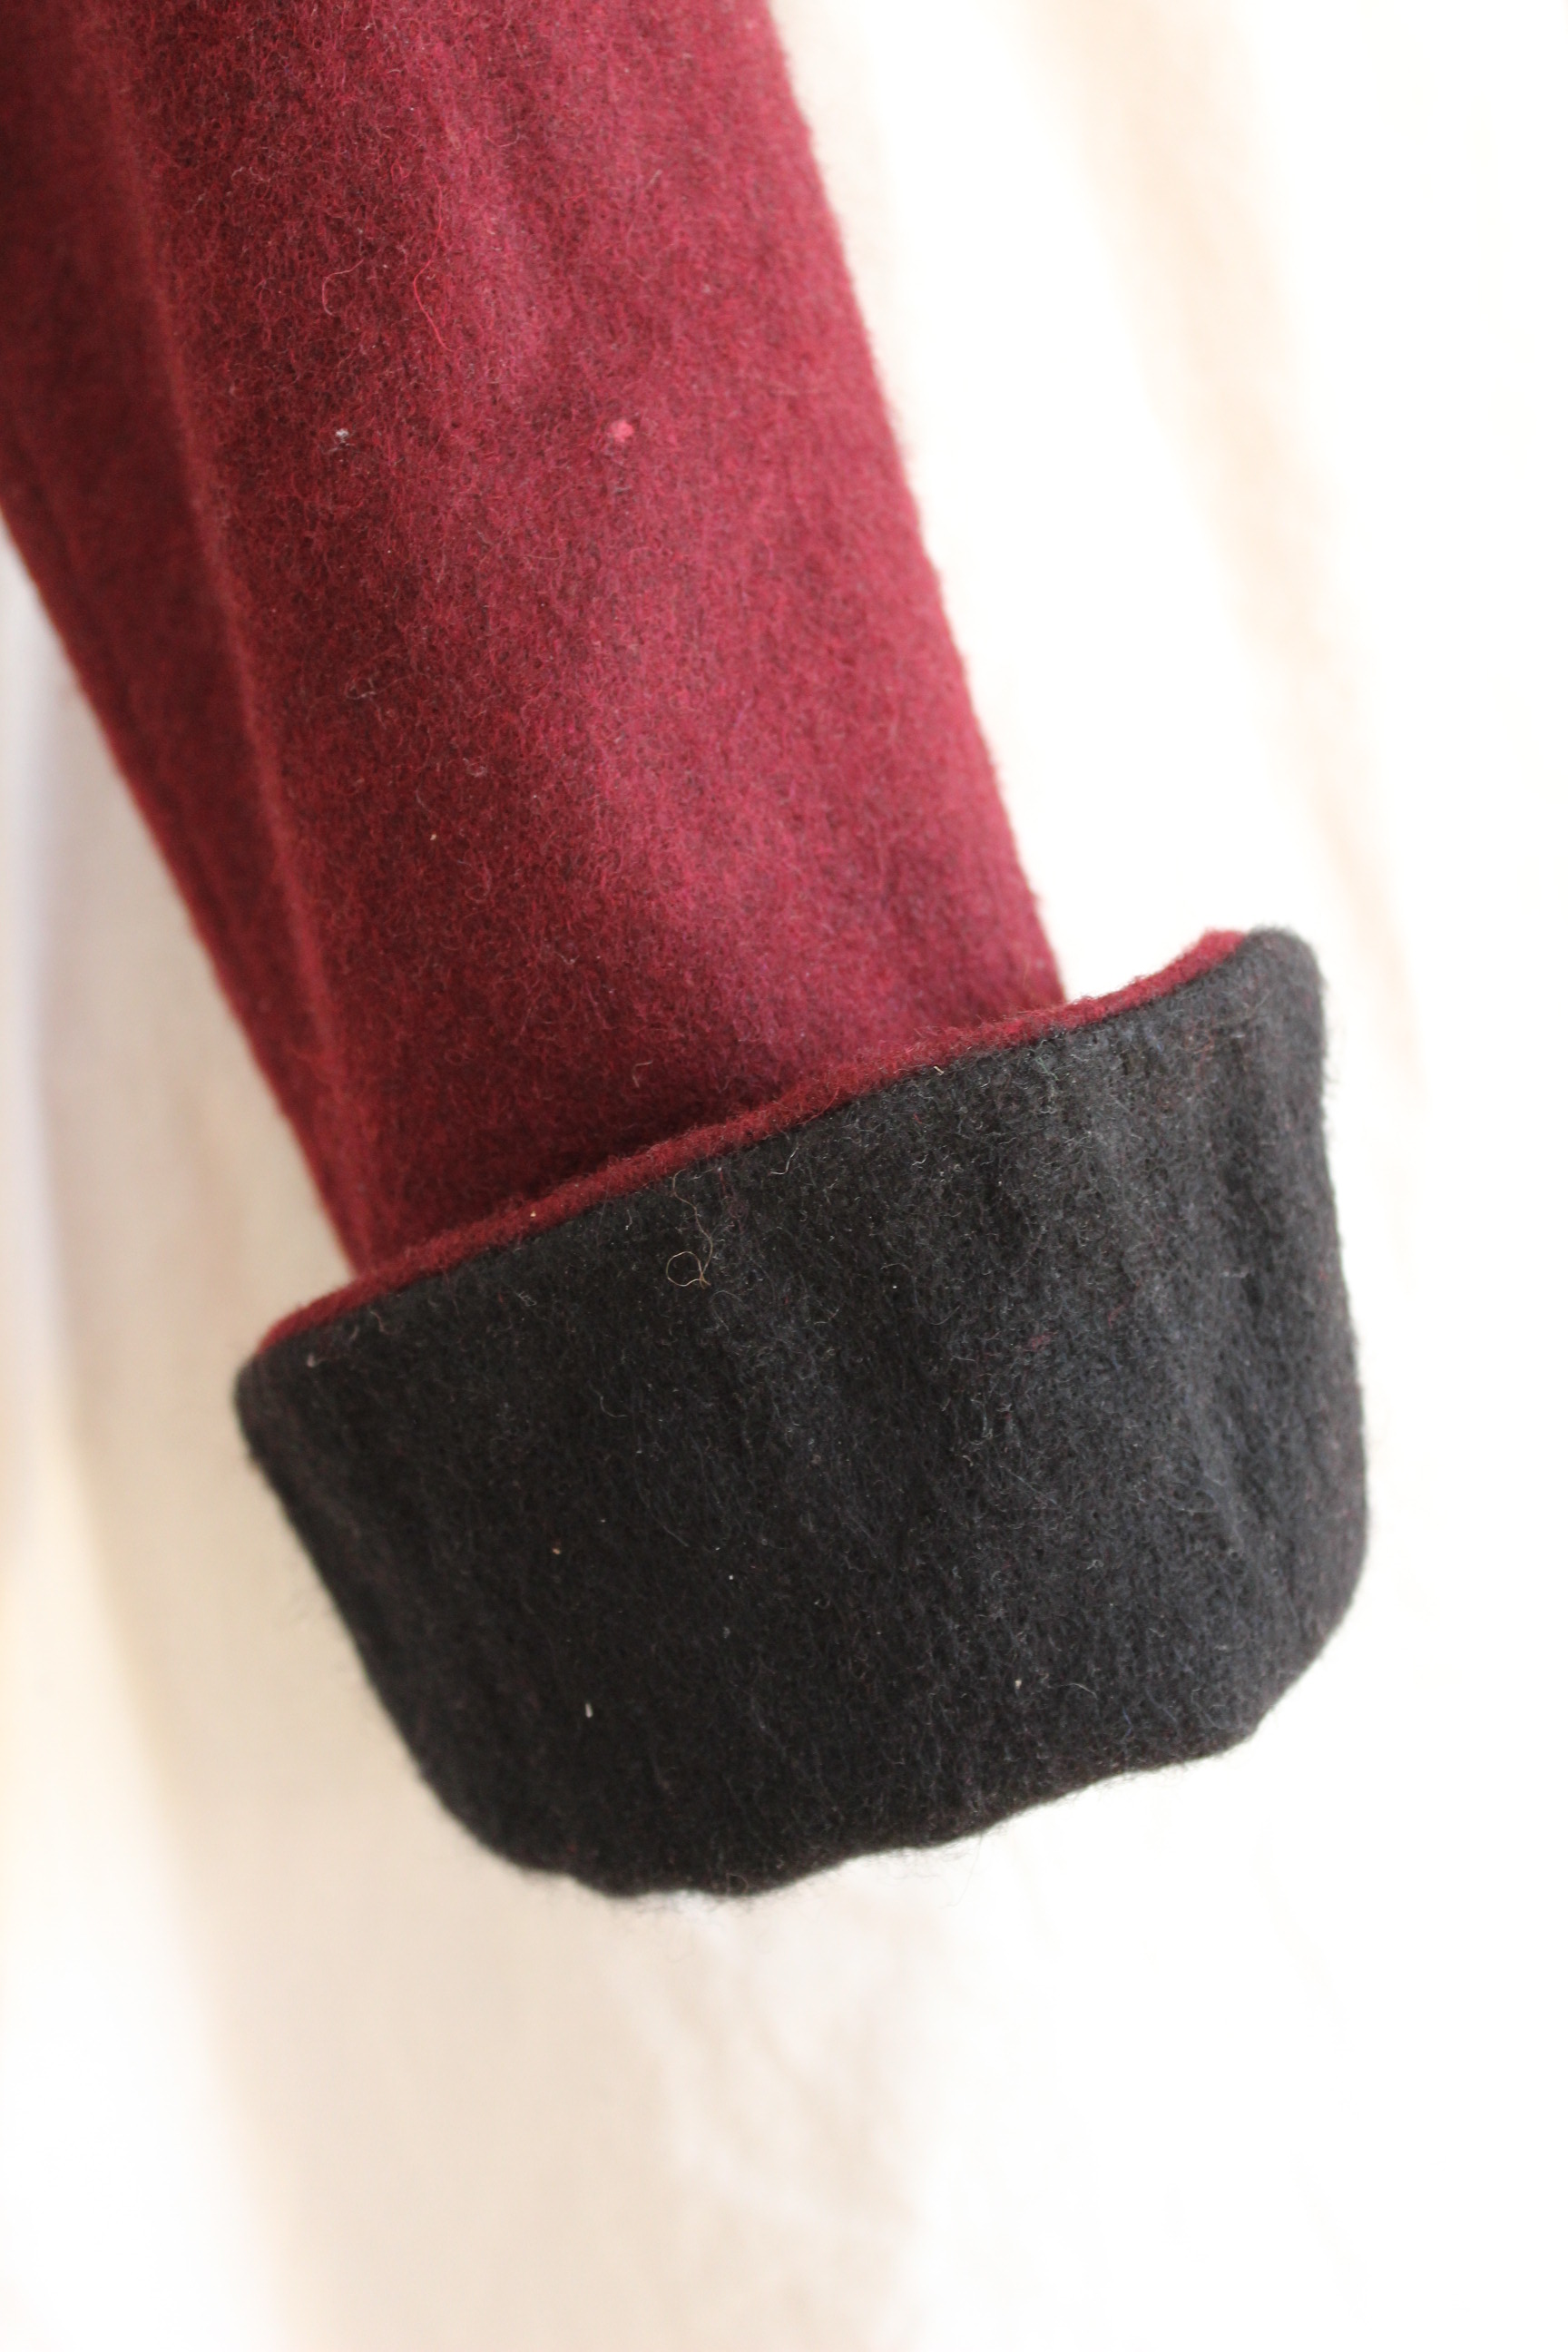
Not sure if it was the reference image that inspired me or not (probably), but I also decided to make the collar and cuffs out of some black wool I got a whole bolt of in my stash.
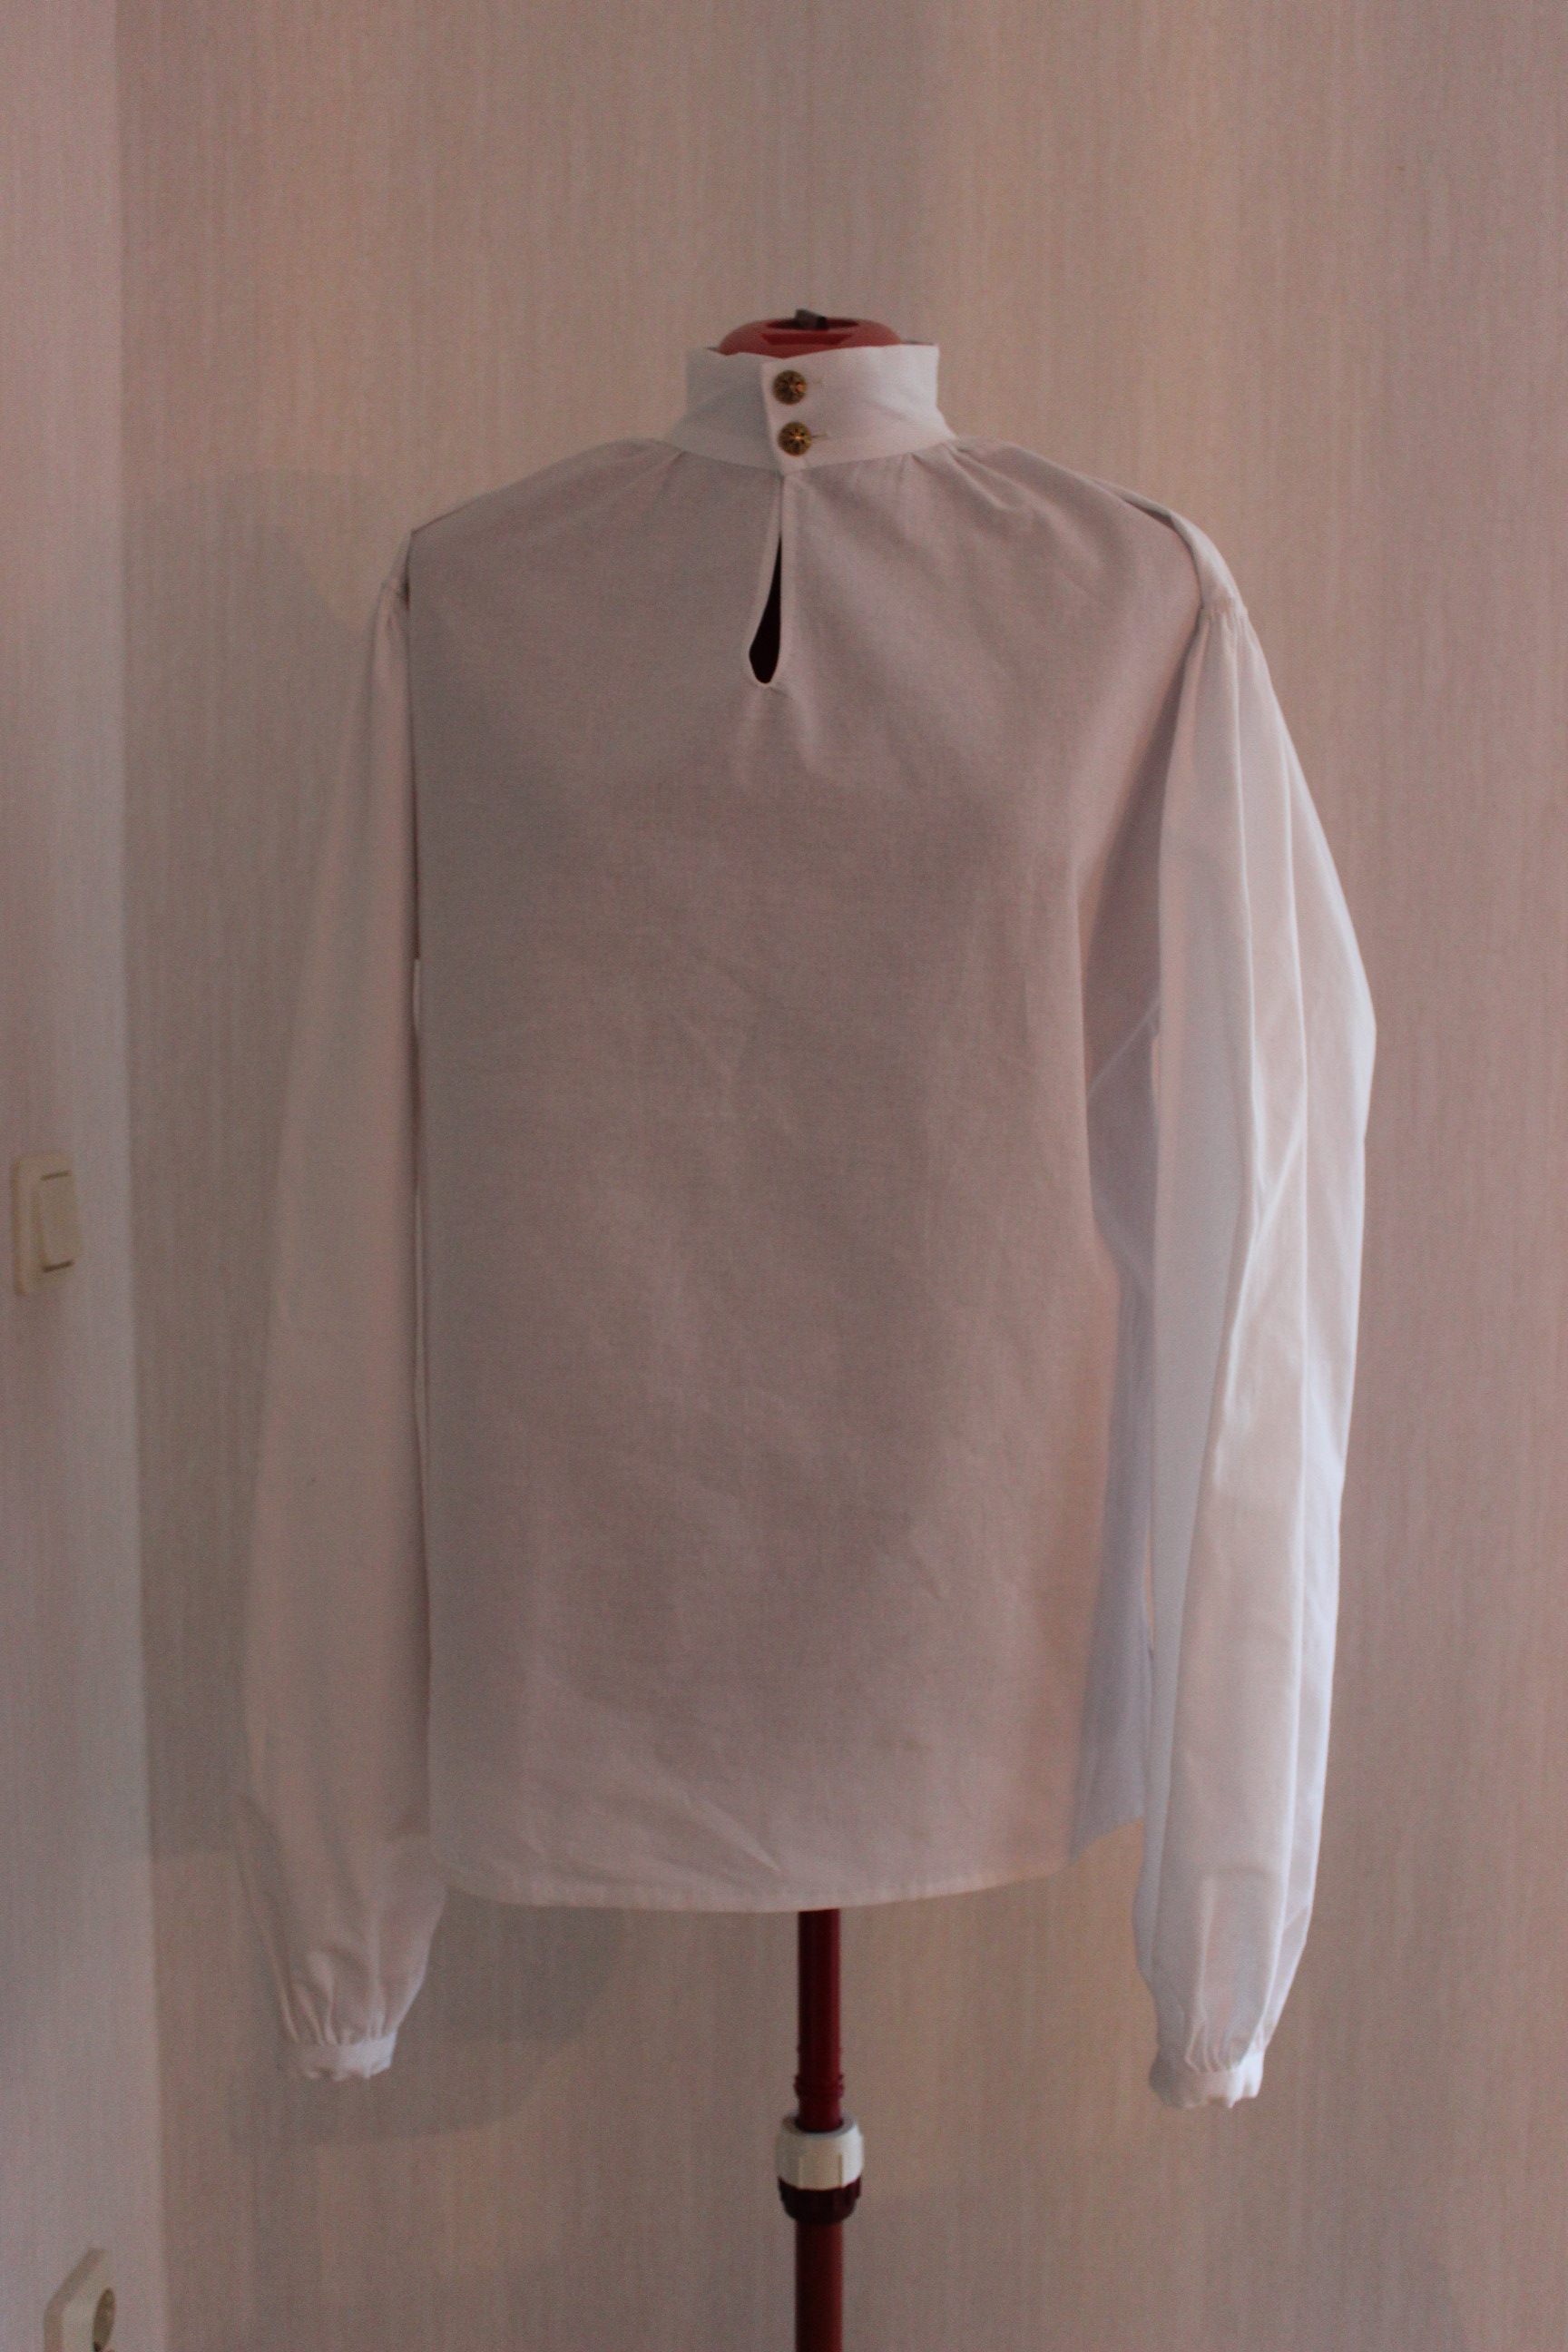
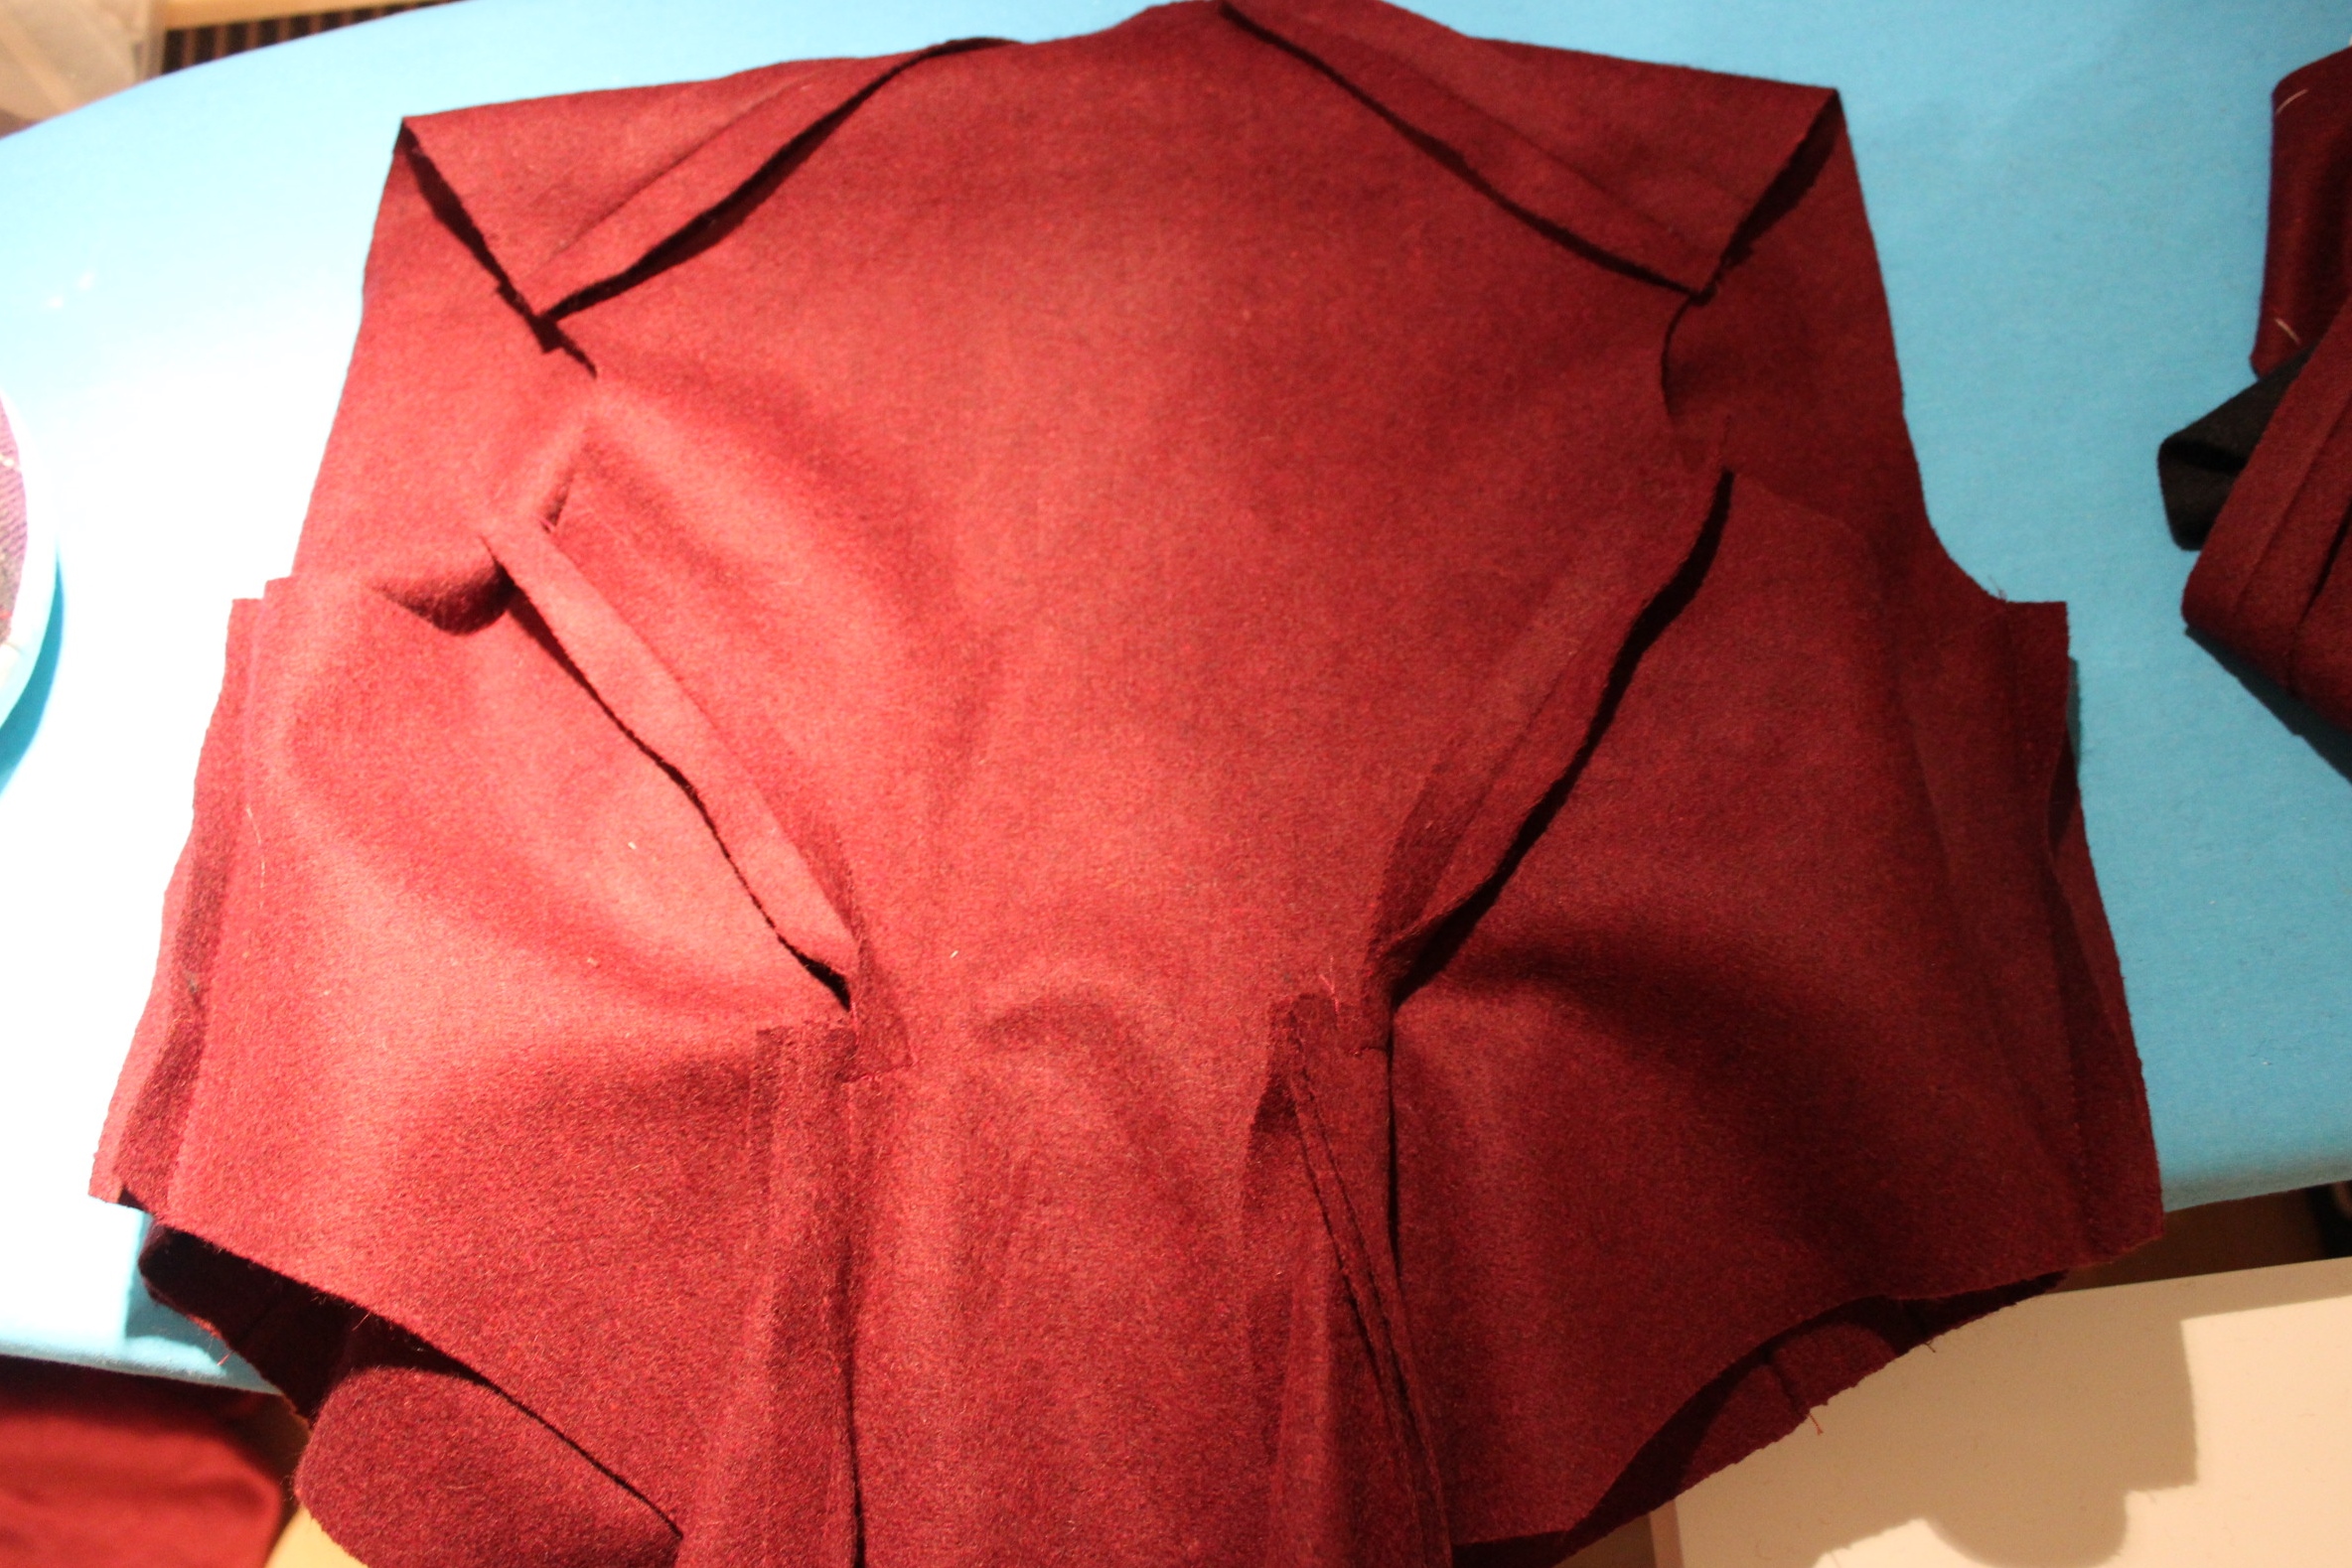
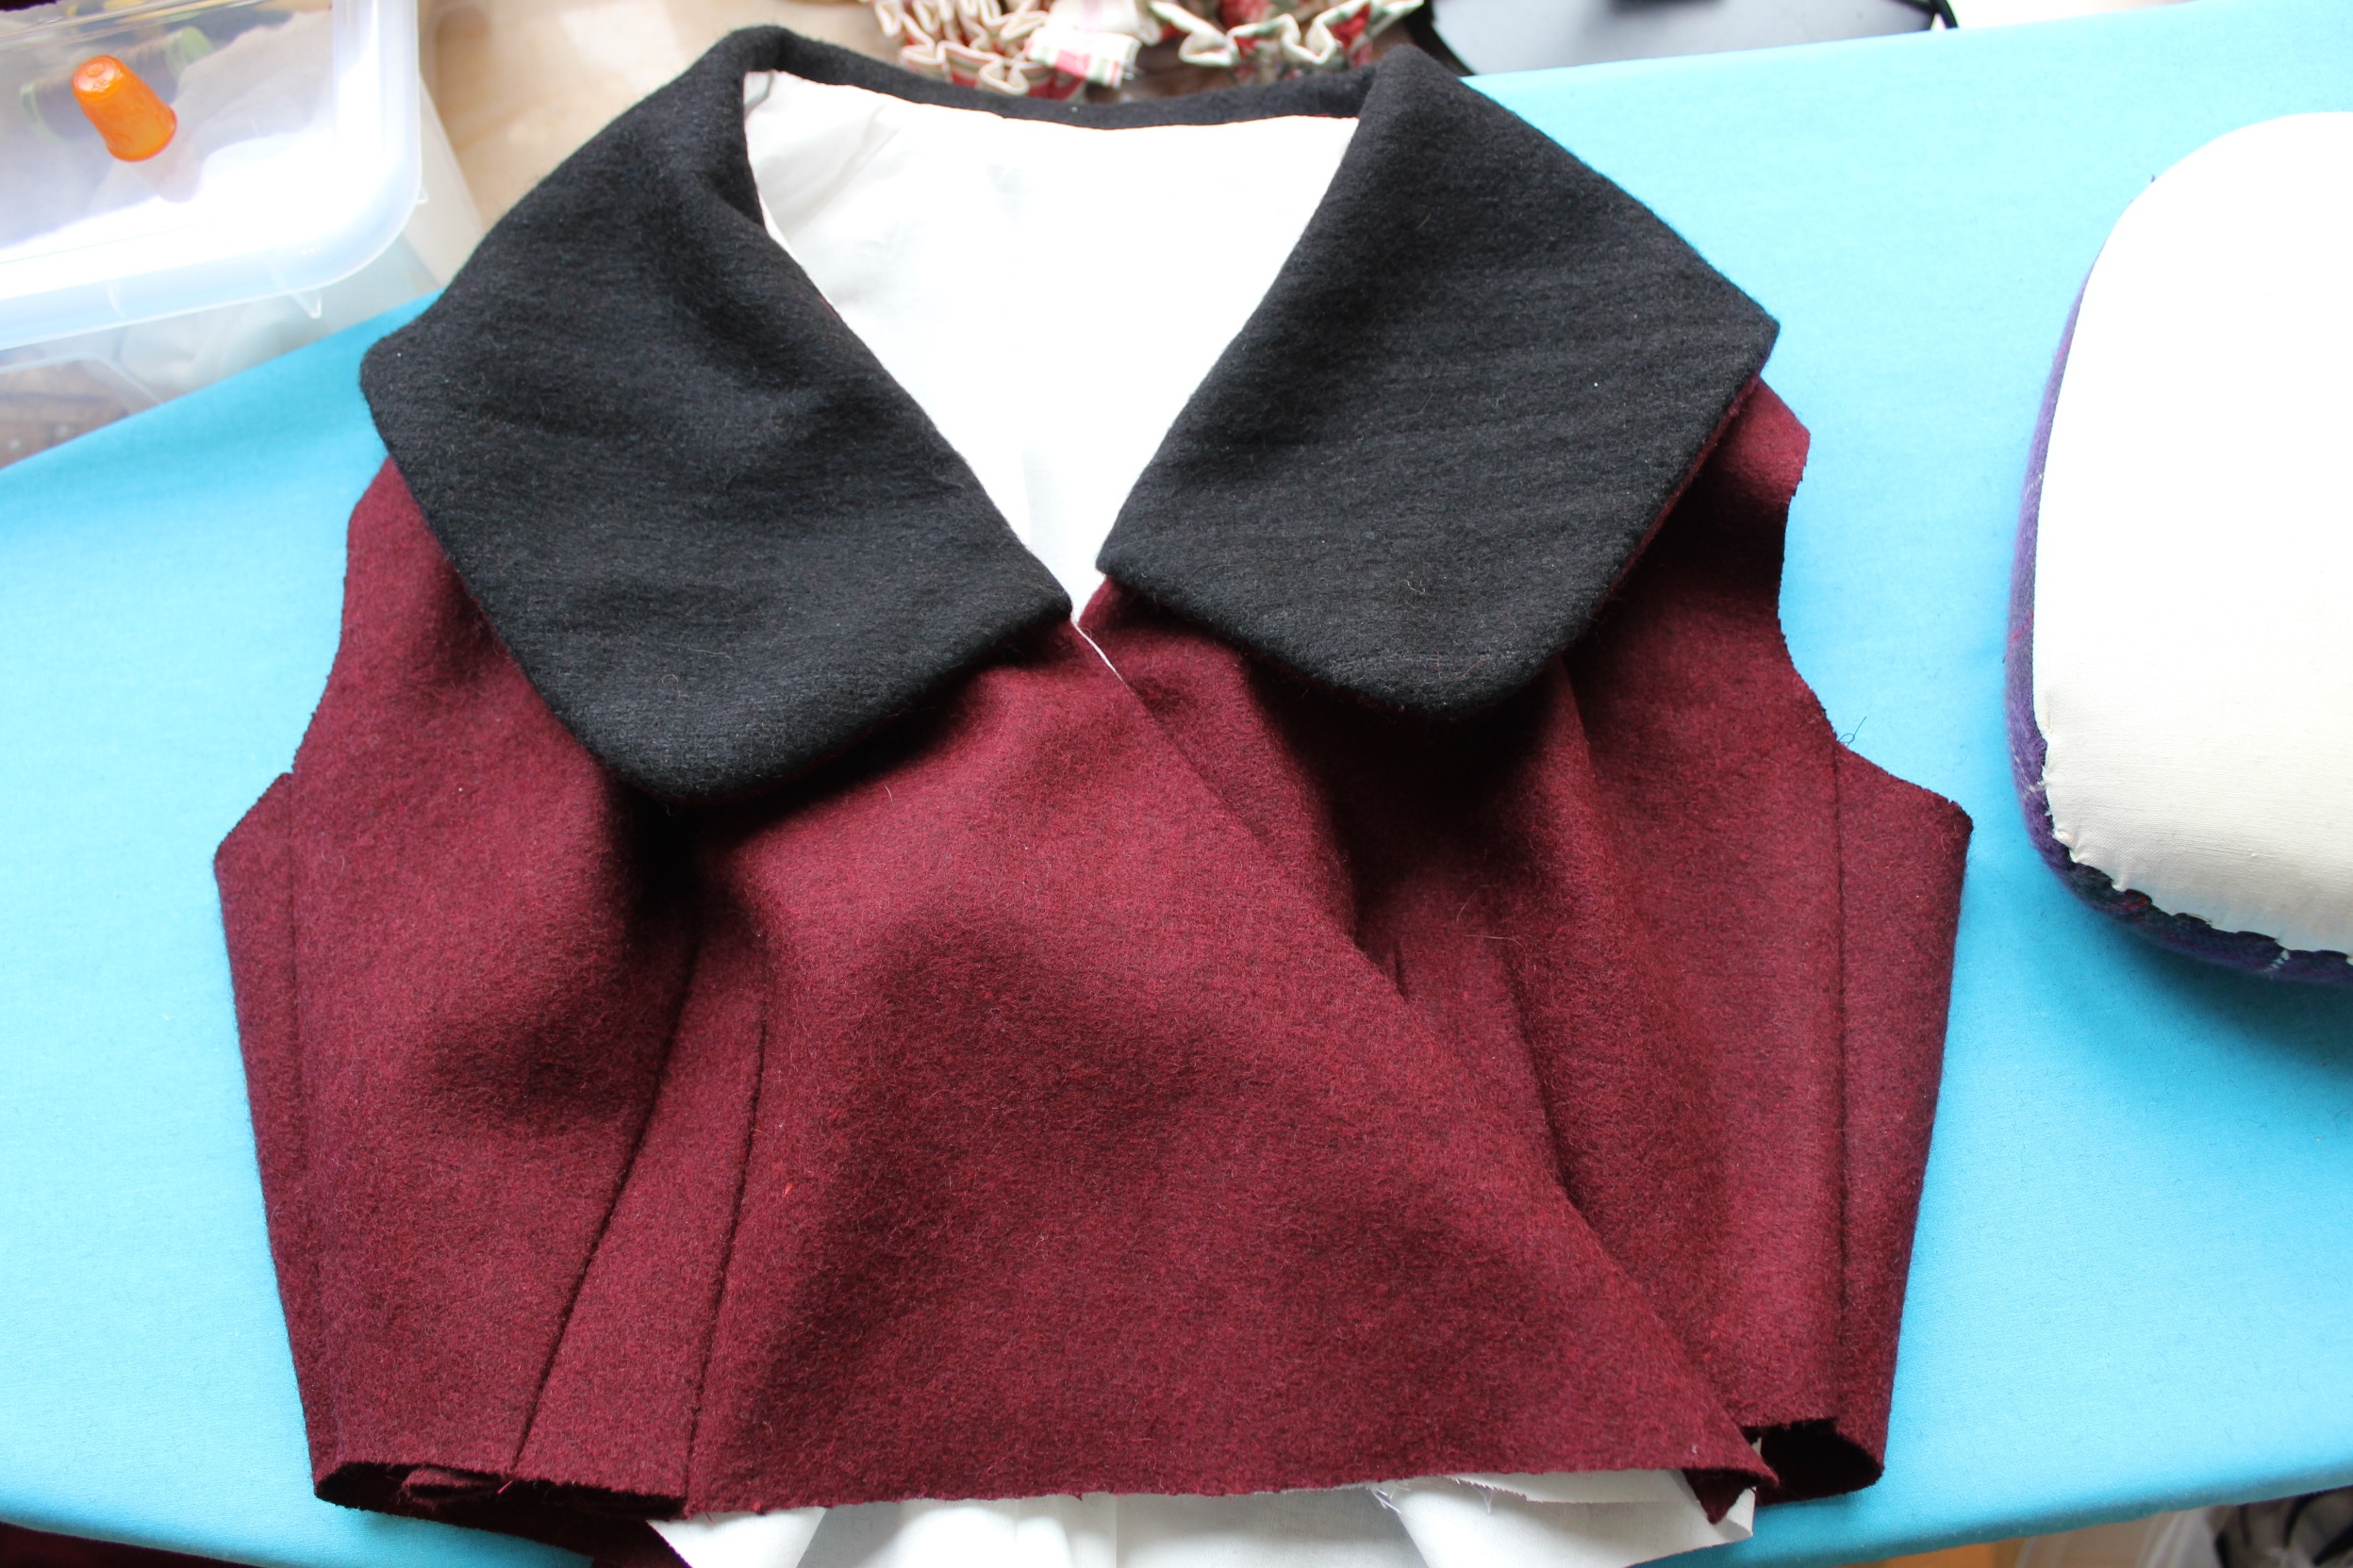
So as usual, I cut the fabric, pinned and stitched the main pieces together.  bodice stitched together.
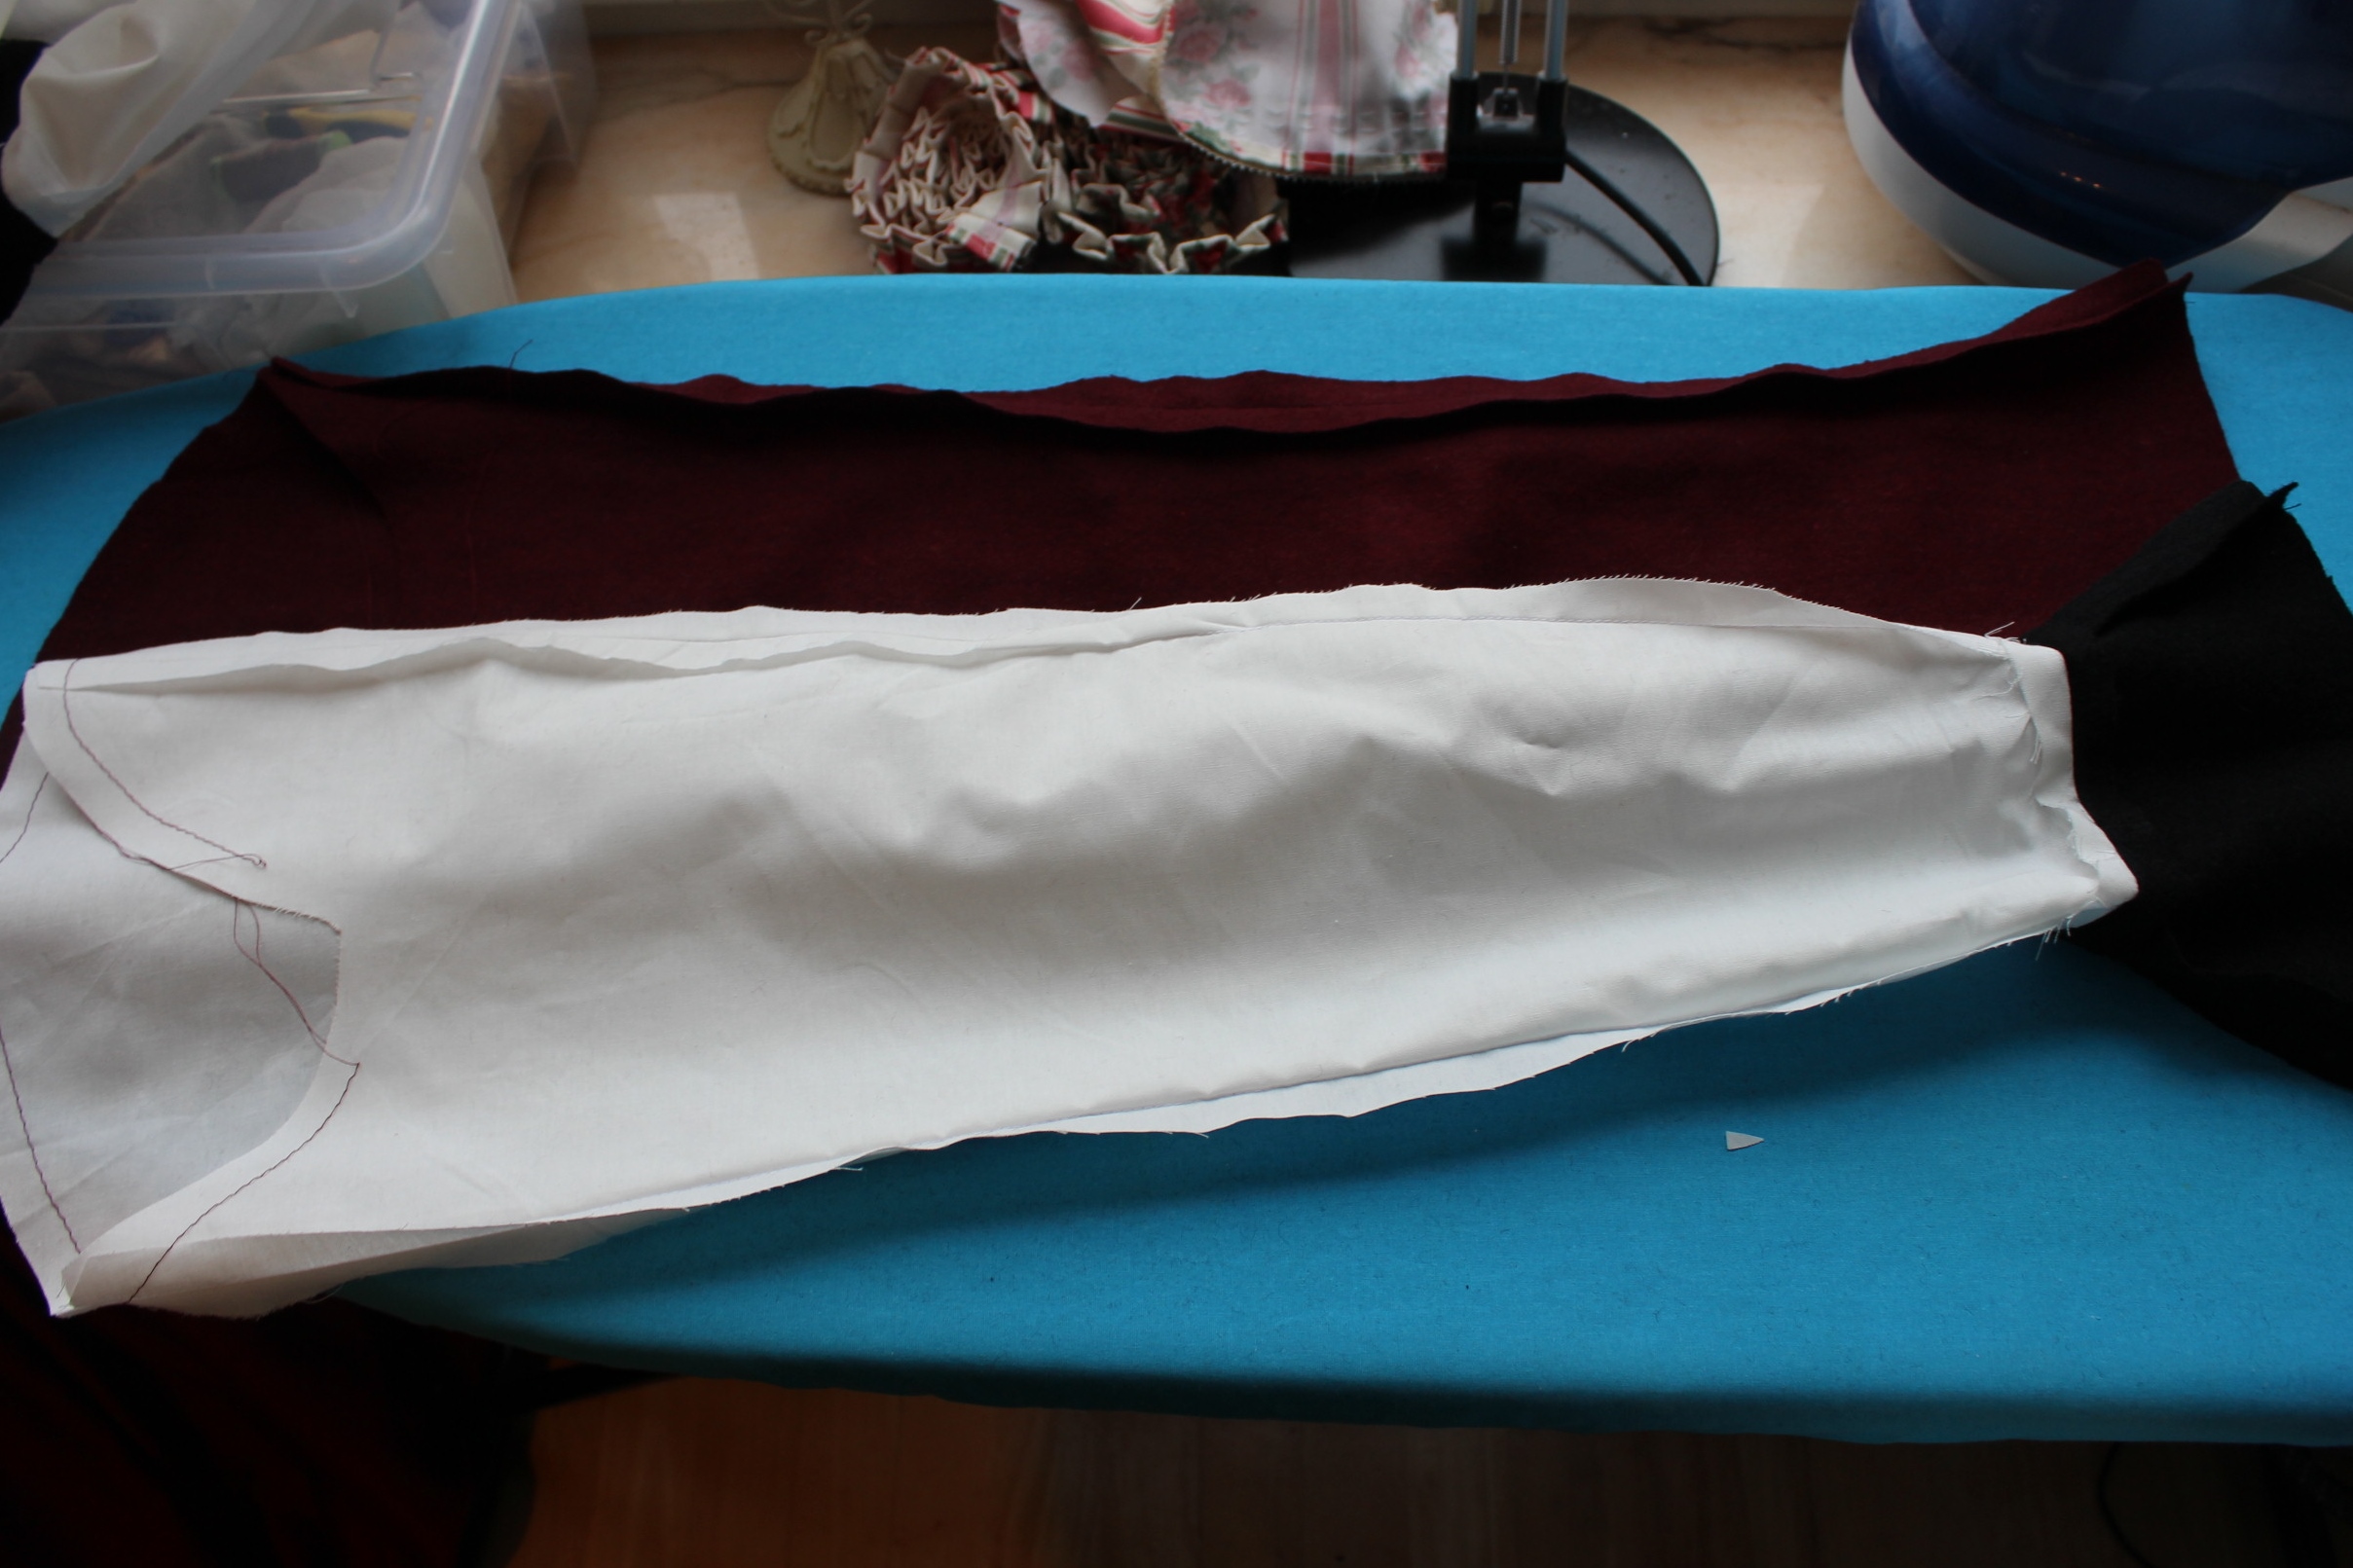
I made the sleeves 
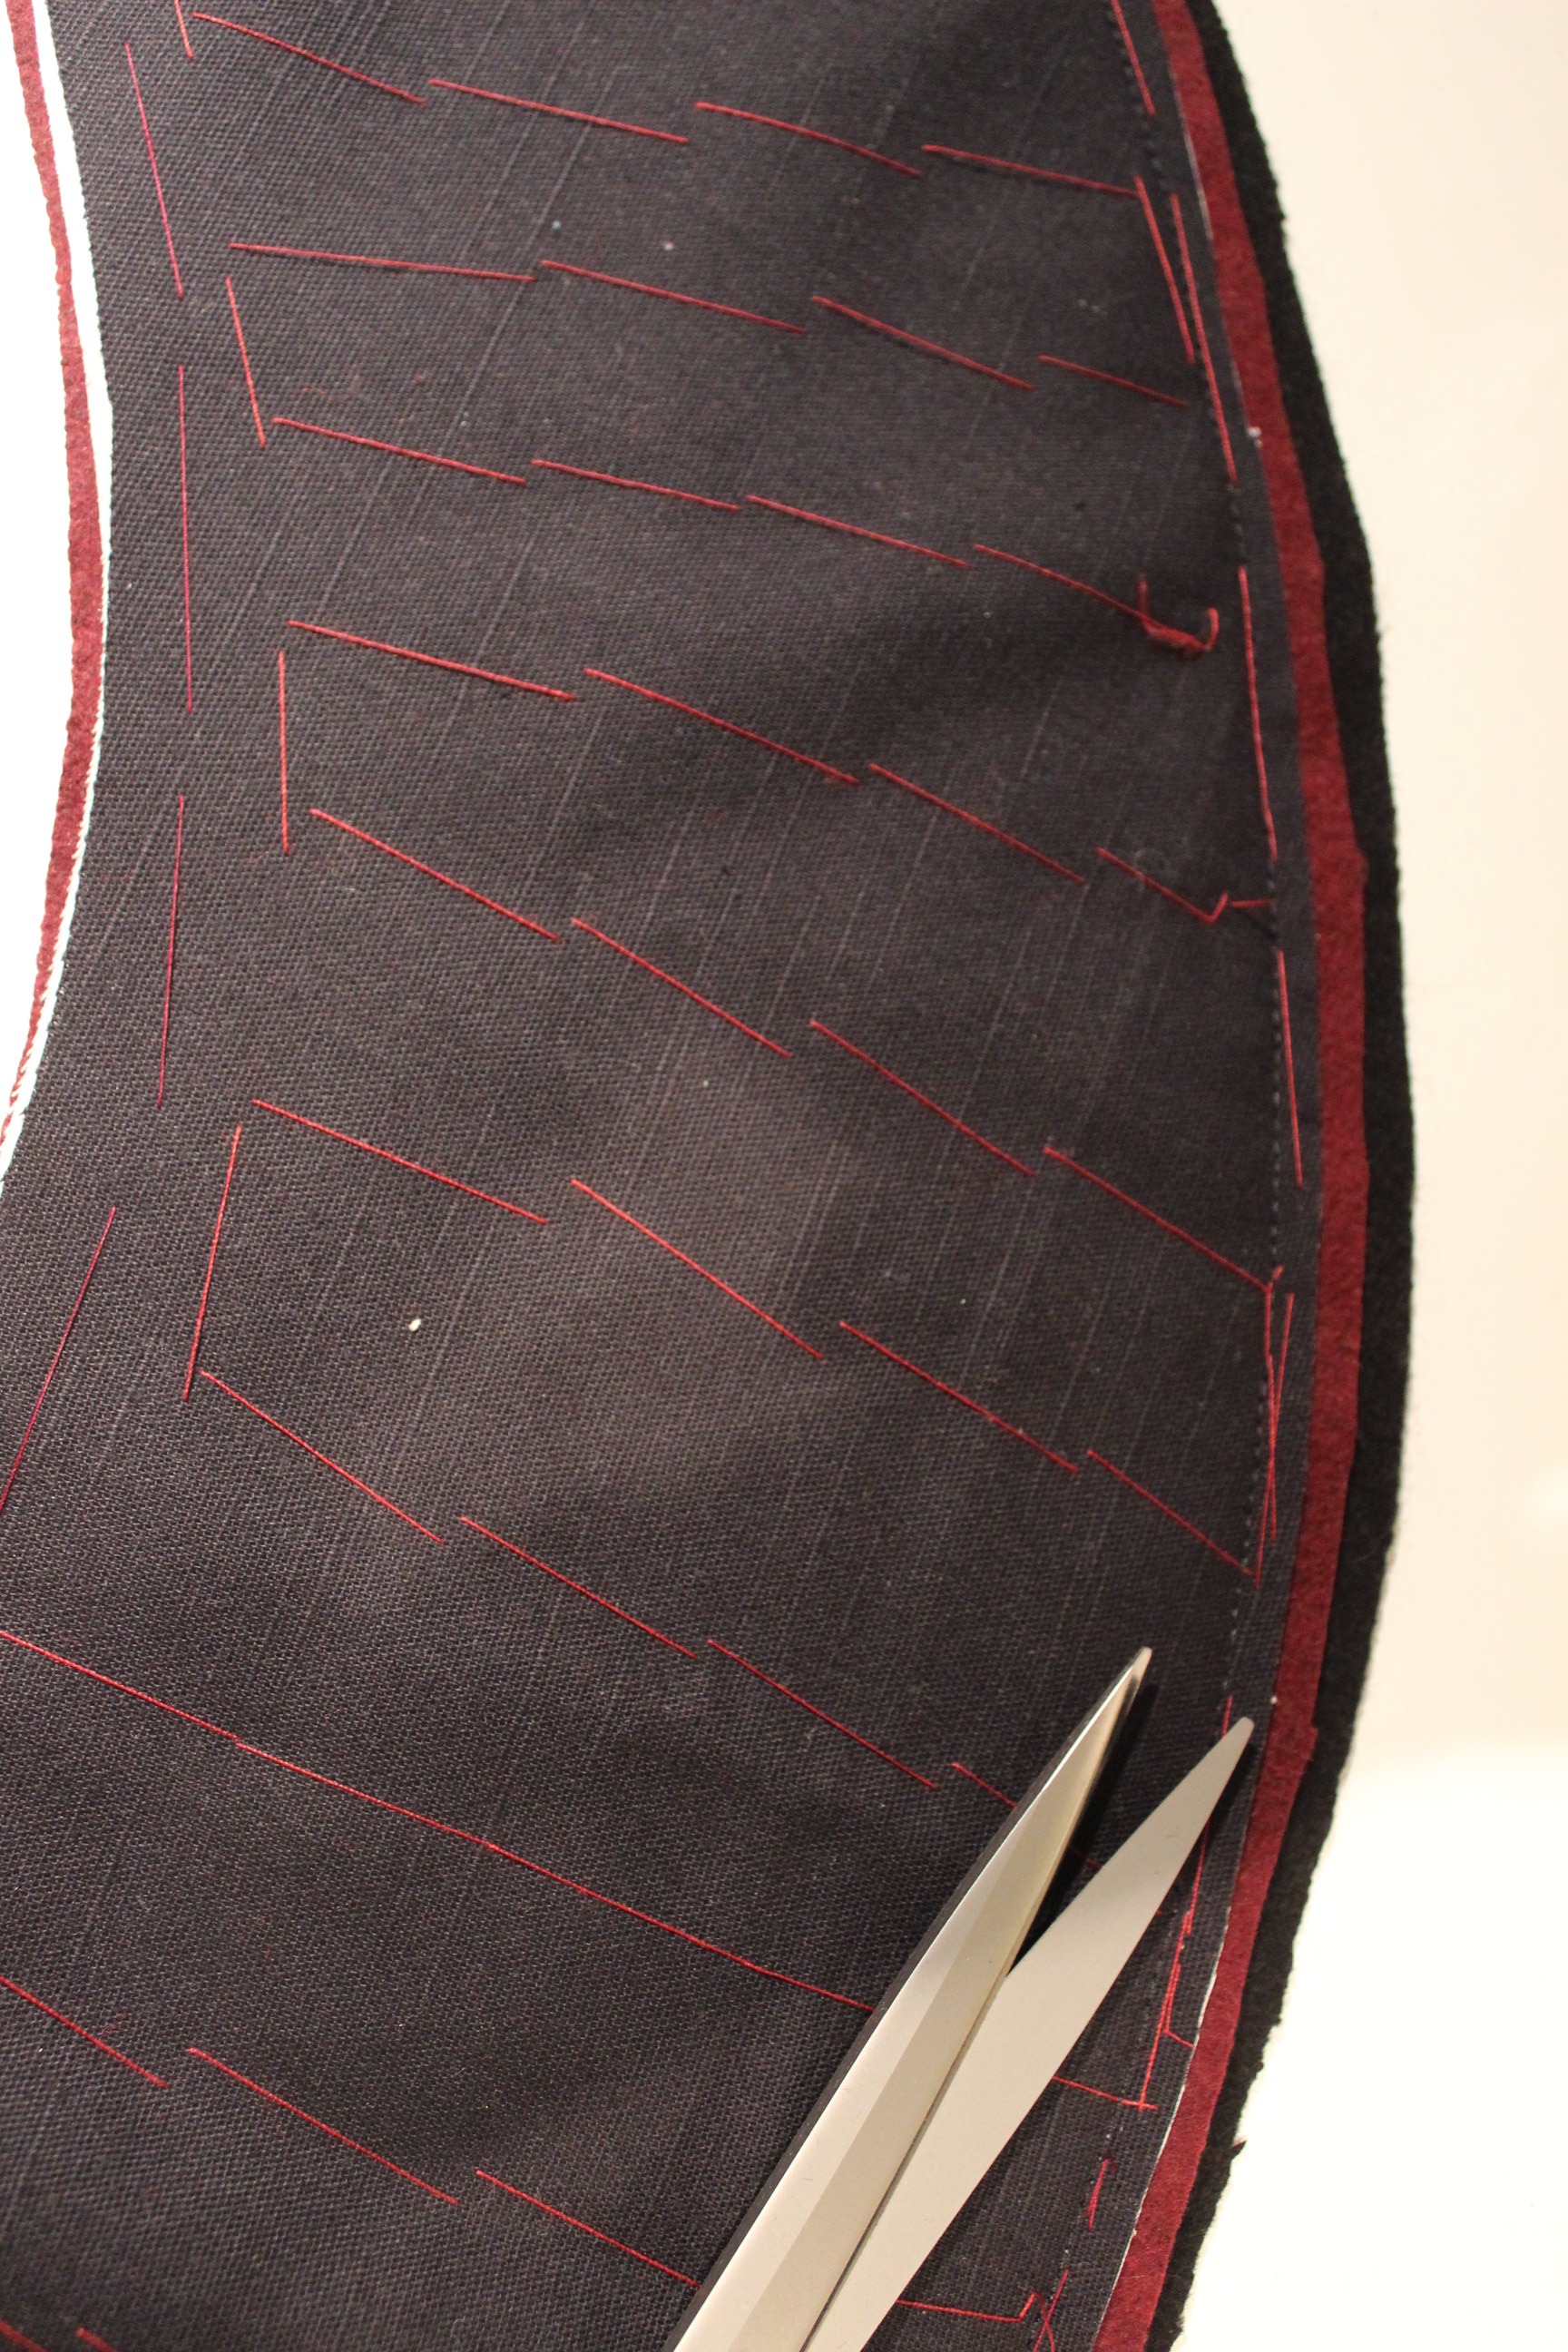
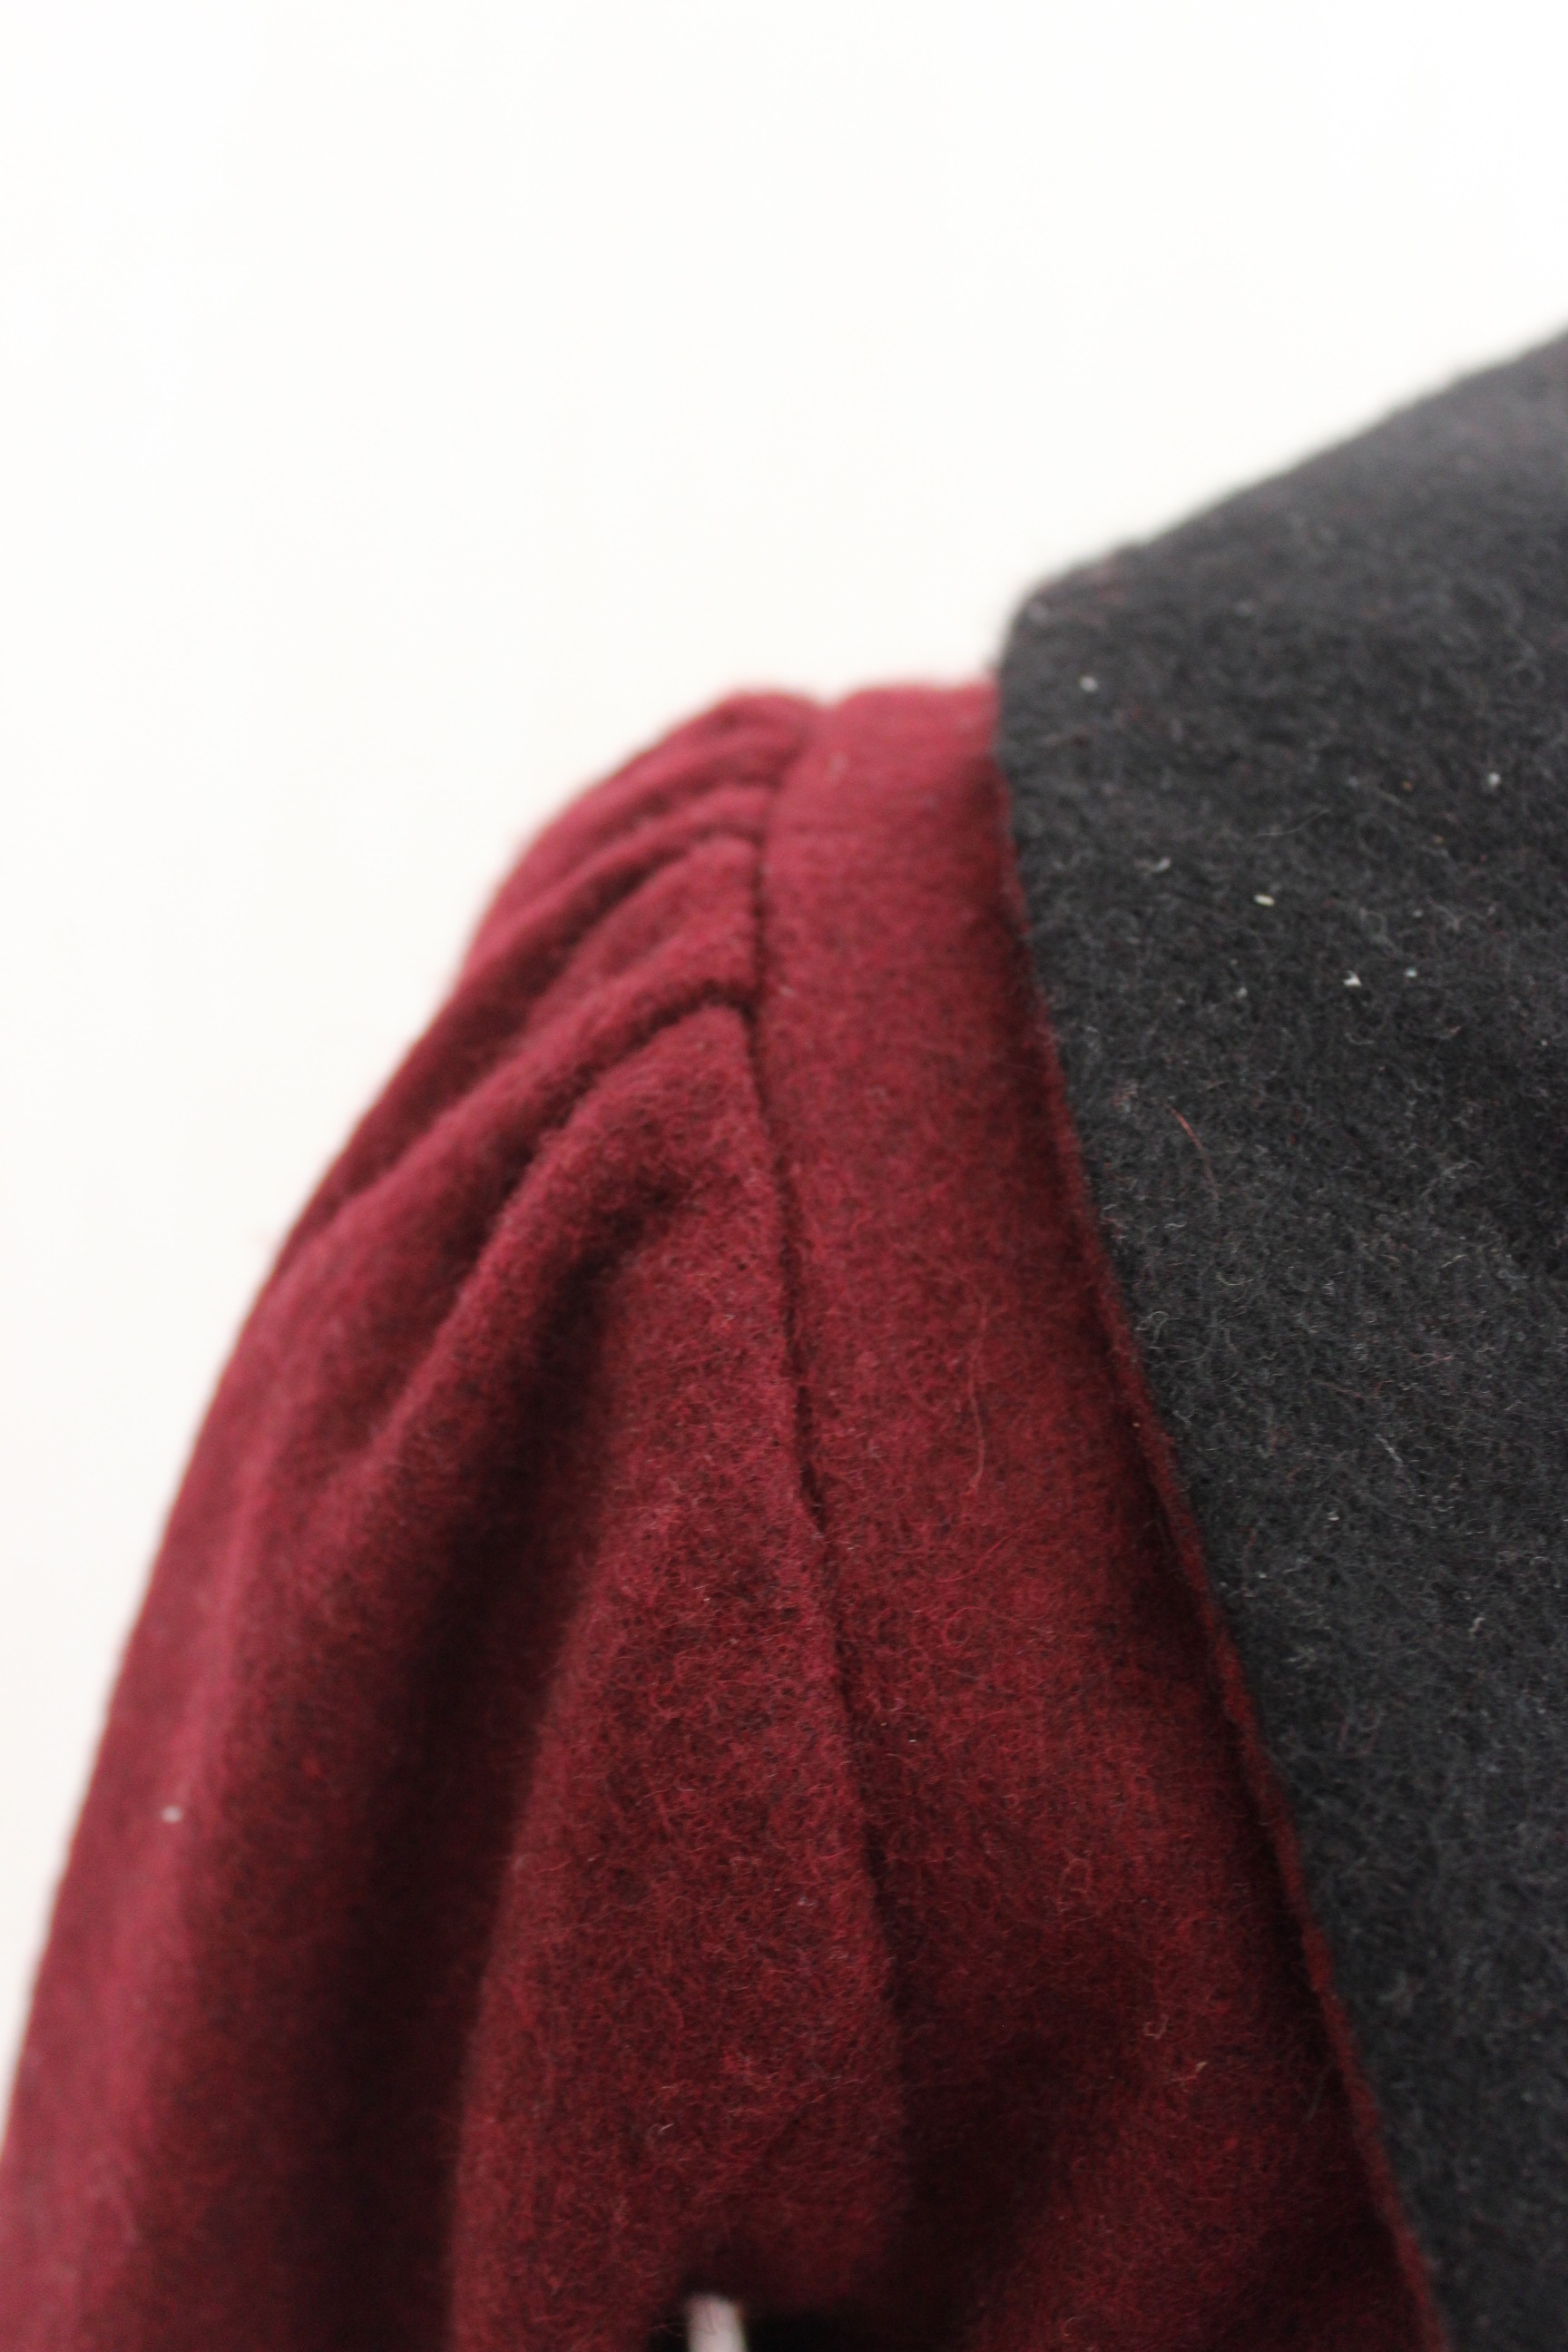
end stitched, cut, turned and attached the collar. I haven’t padstiched anything since fashion school, and it felt great doing it again.
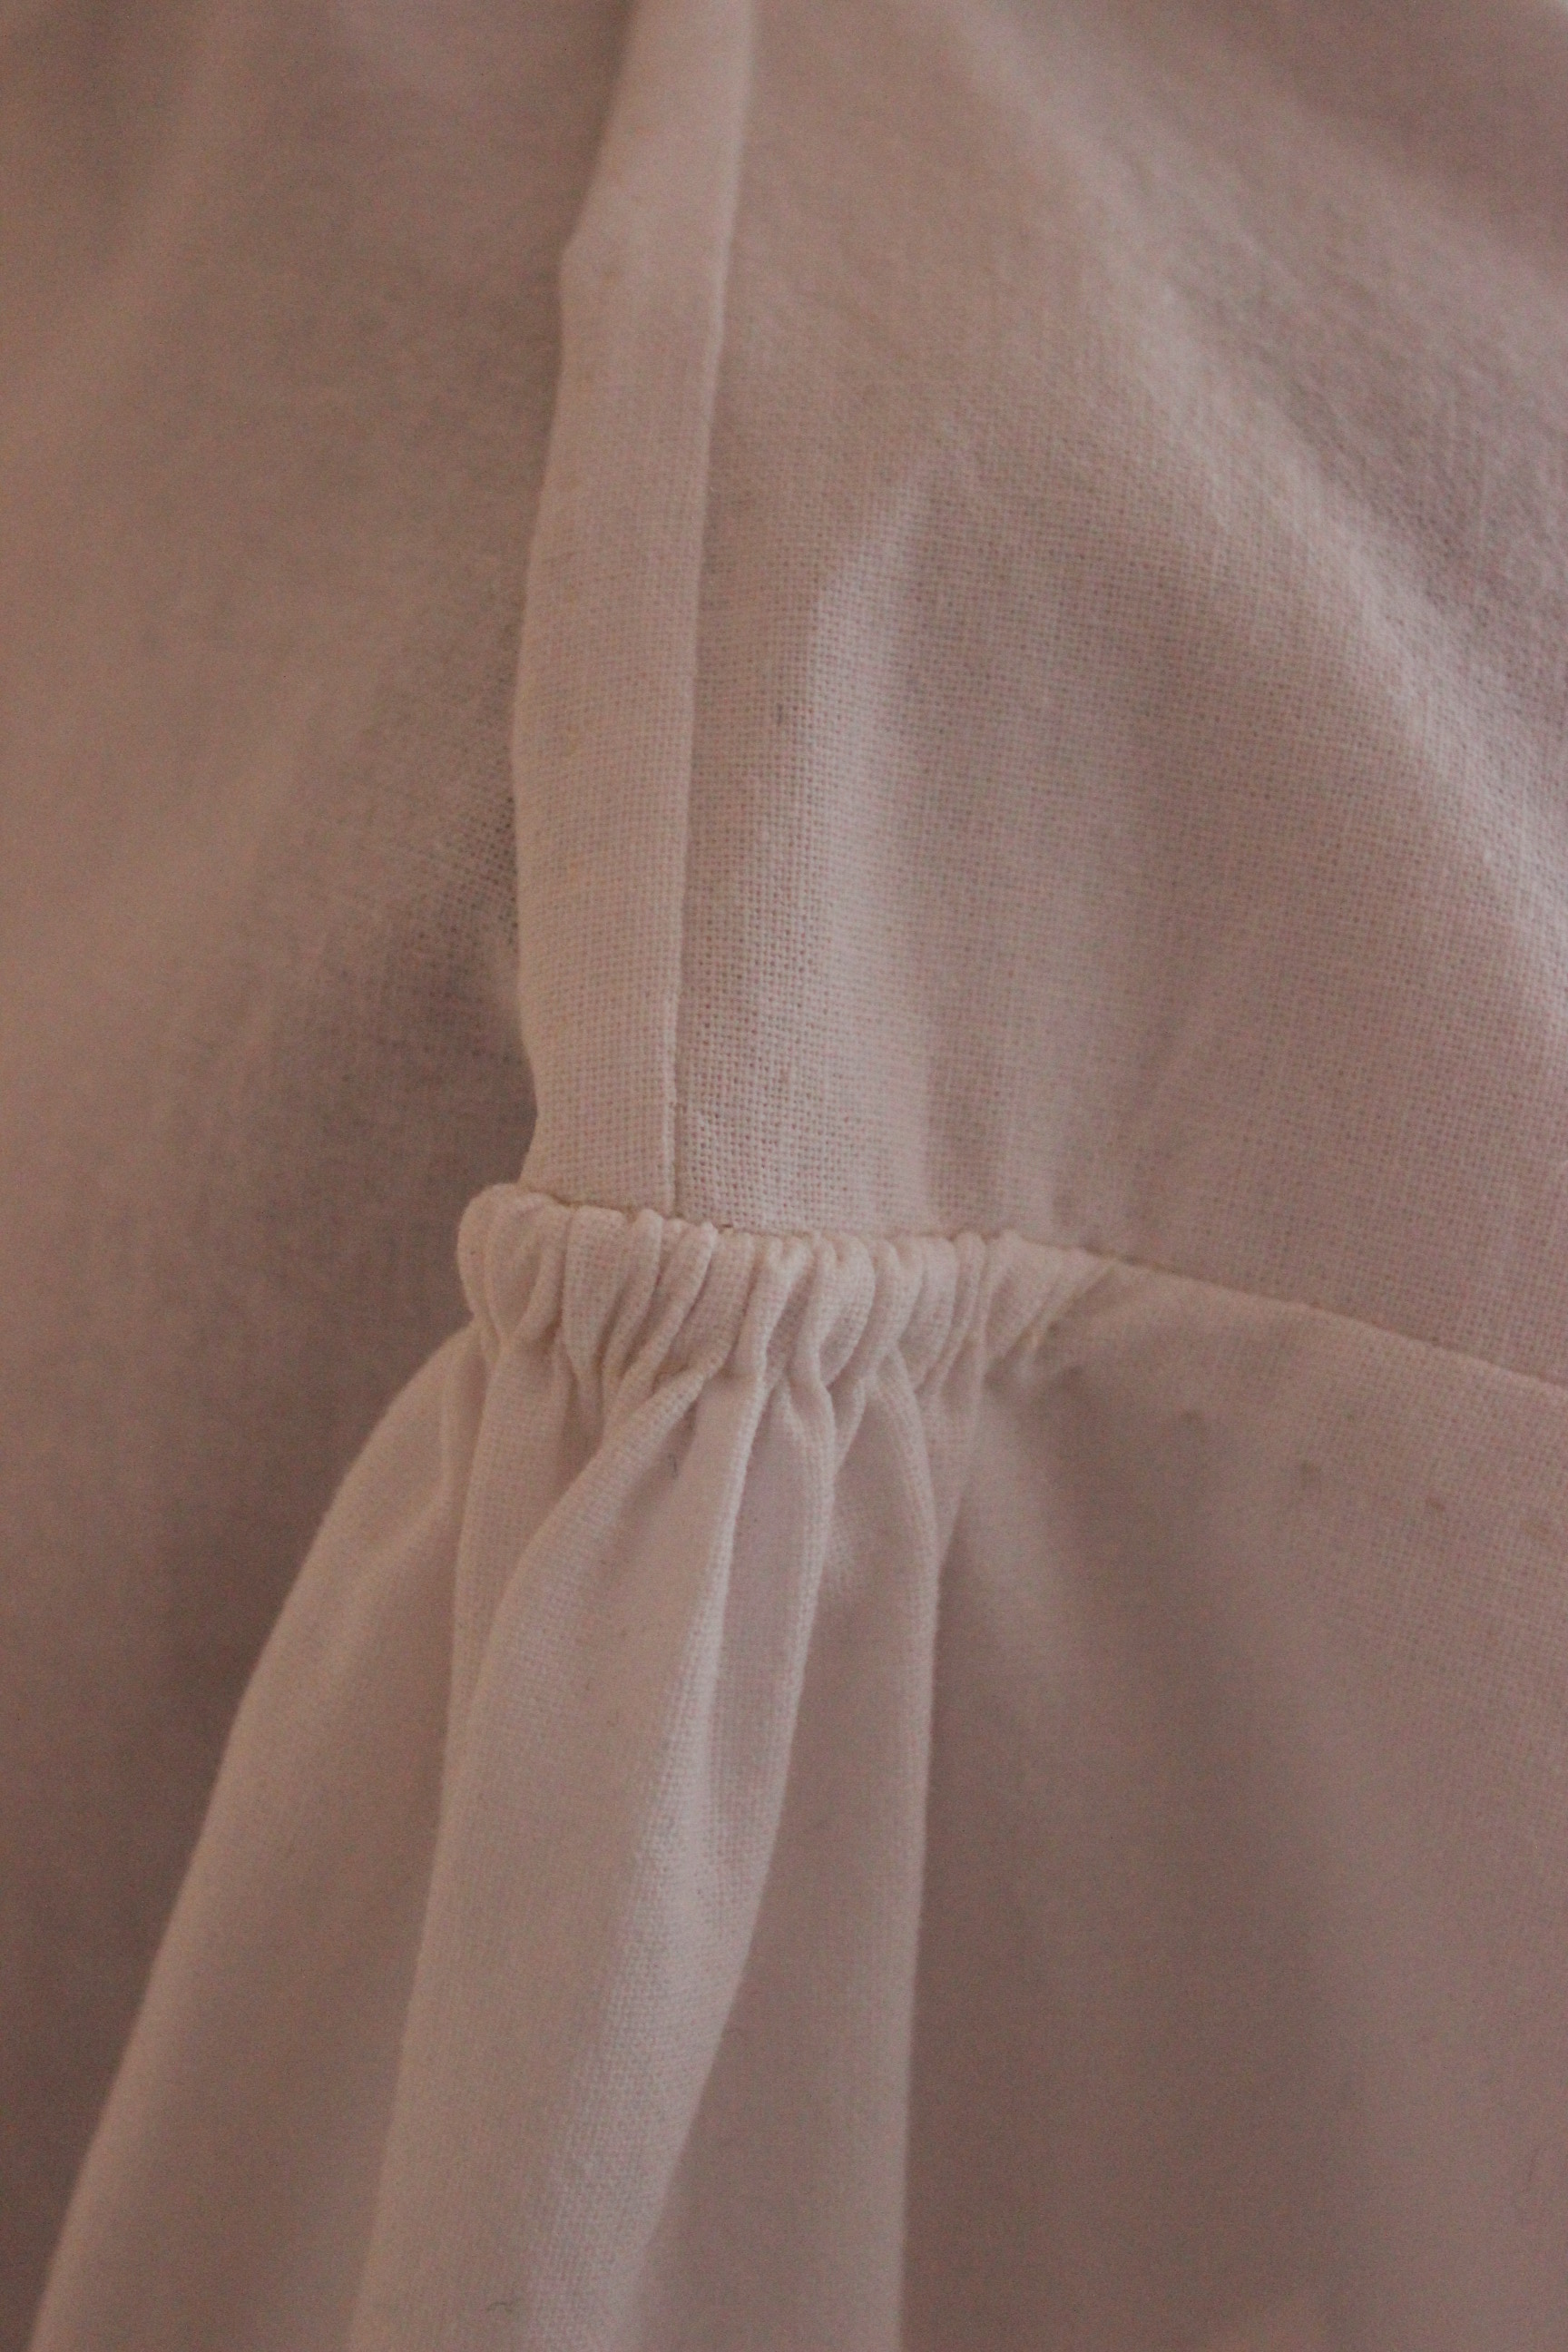
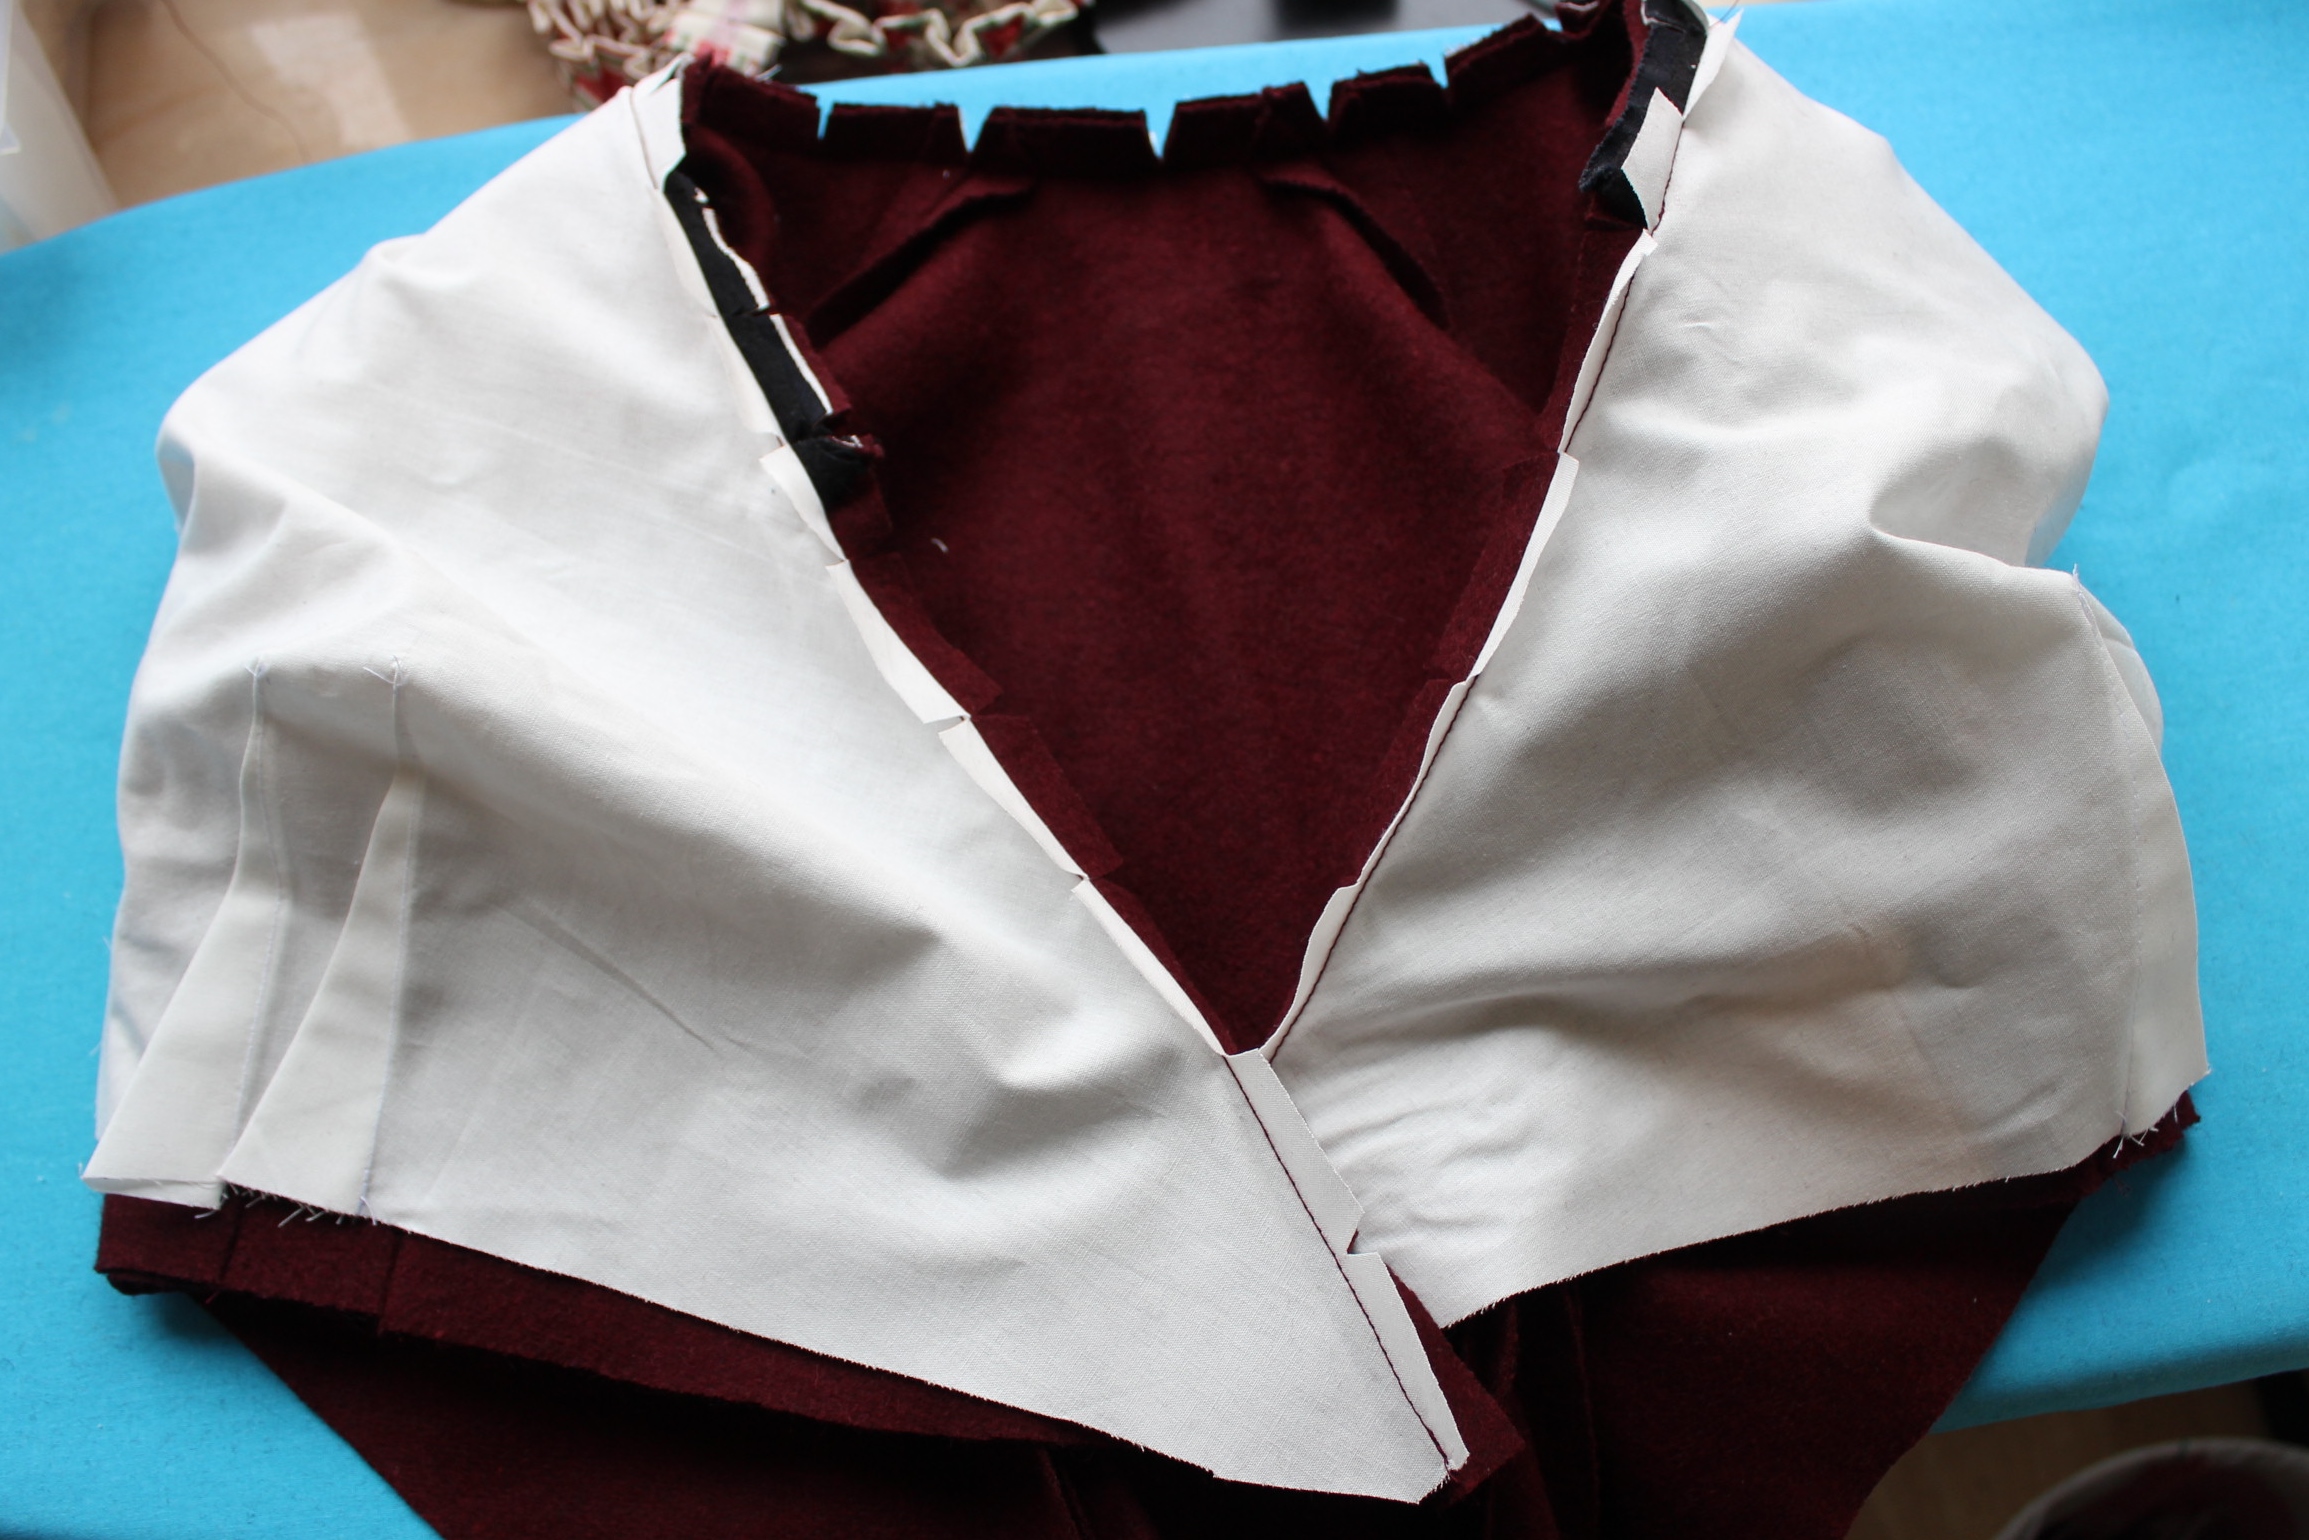
I inserted the lining, and clipped and turned the bodice.

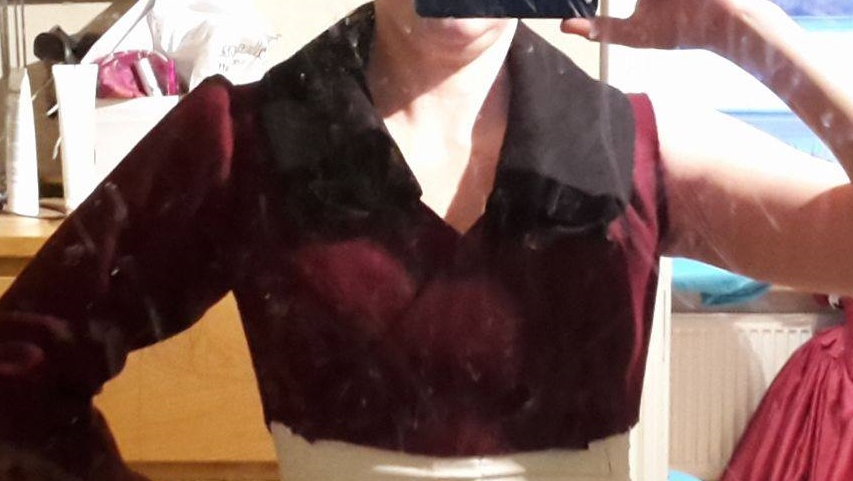
Then I tried it on. 
 Sorry for the pore quality mirror selfies
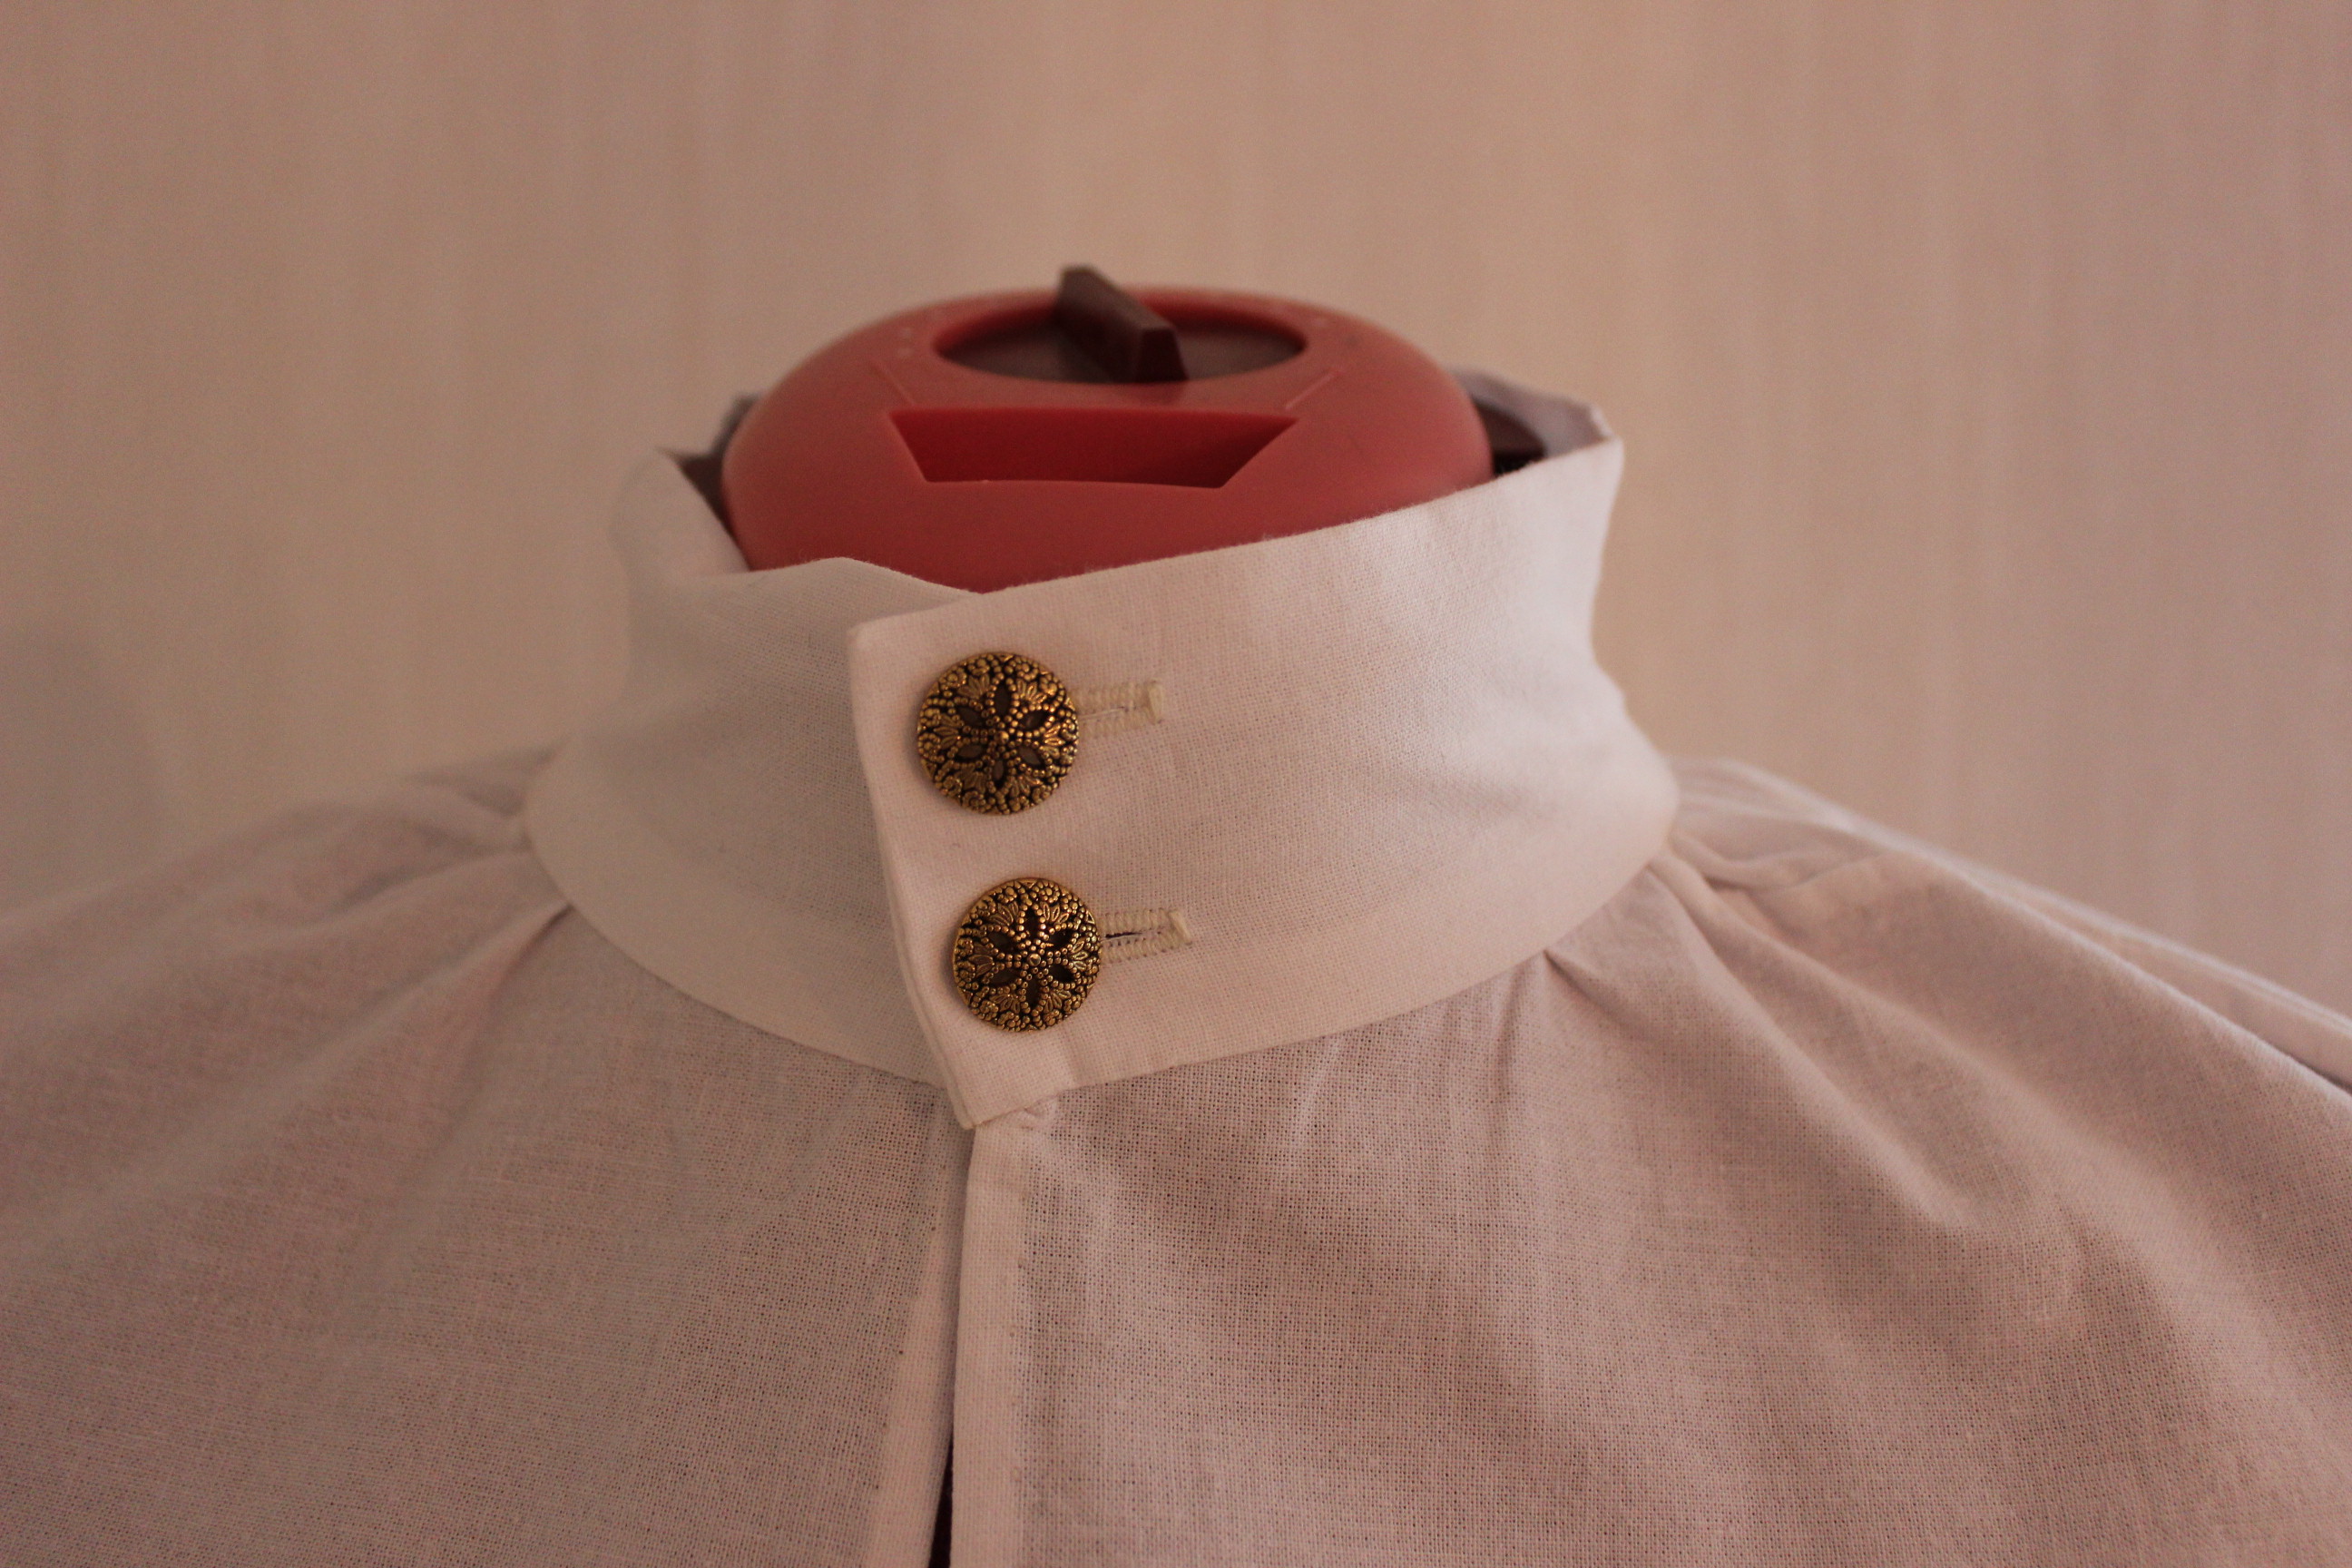
That’s when I realized something was of with the collar.
 Jupp, thats my boobs, and a VERY un-evenly attached collar
After some carefully re-measuring I discovered I’d stitched it on more then 1,5 cm uneven.
Crap!
After some hesitation, where I tried to figure out how to fix the problem in the easiest way possible, I un-picked the stitches a few cm around the “to long” edge, and turned in the amount of fabric/collar needed to make it even. Then I hand stitched it closed again. That’s what you call cheating, but there was no way I would un-pick the whole collar, with the seam-allowence already cut and jacked.
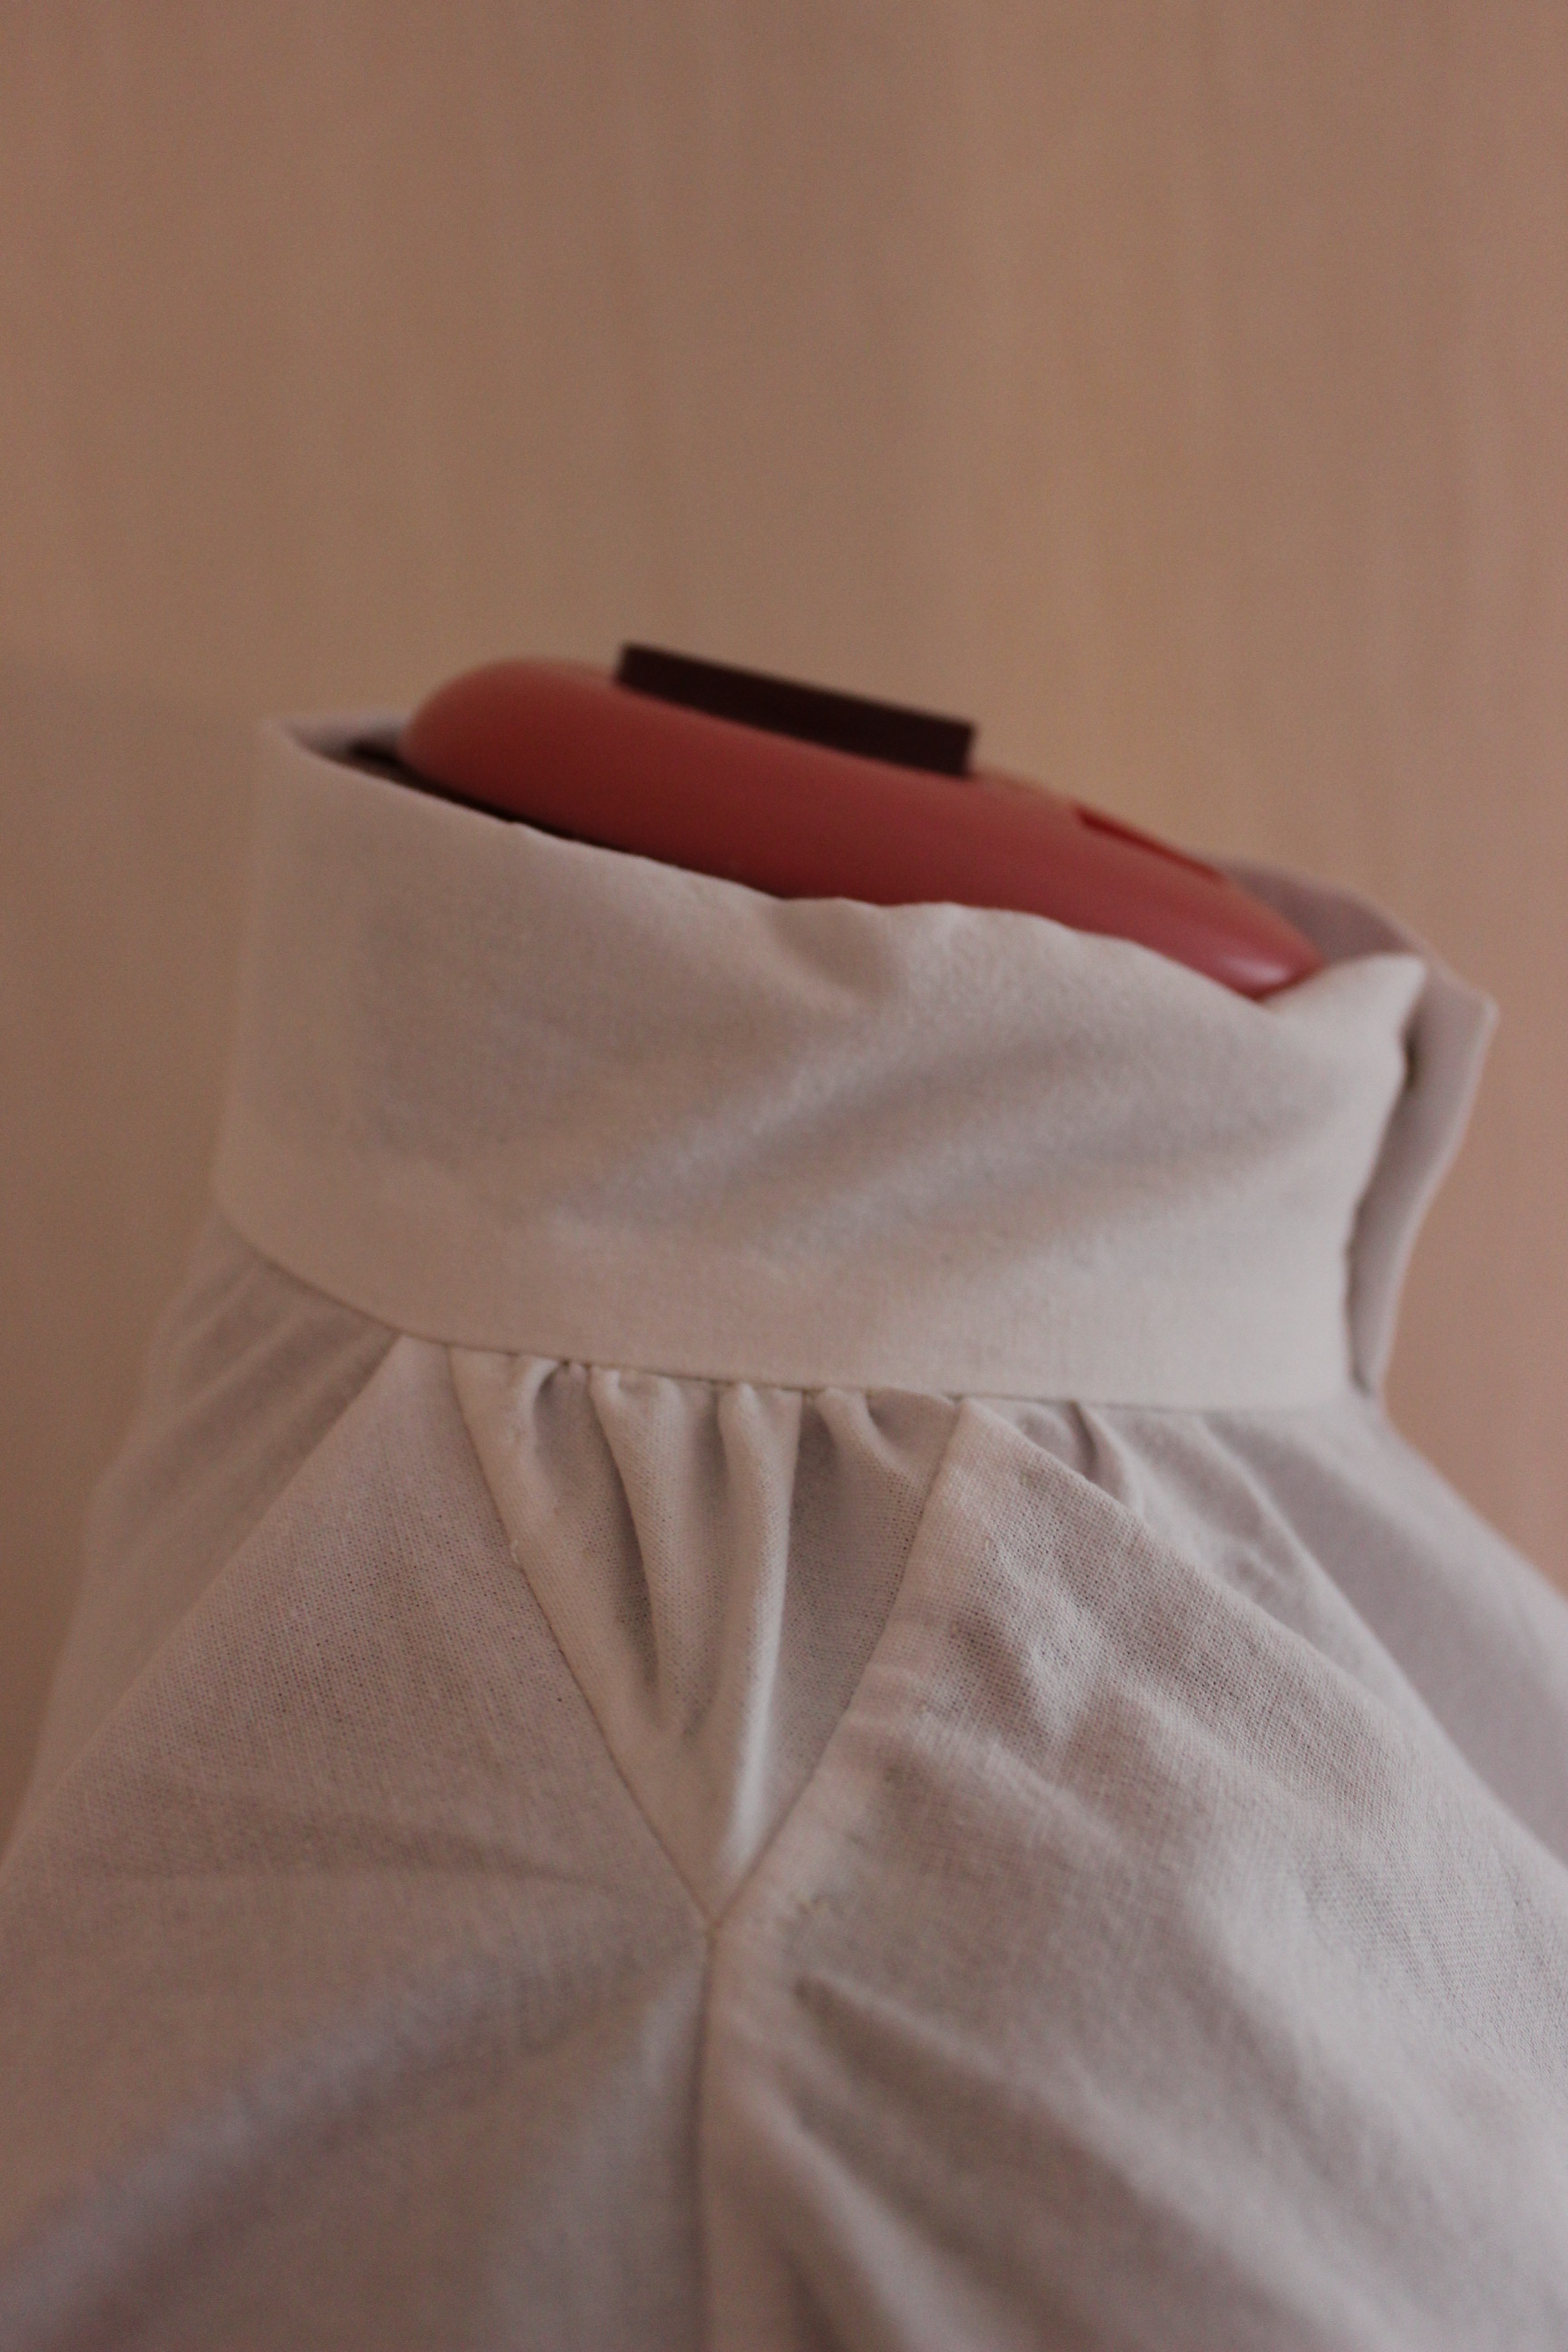
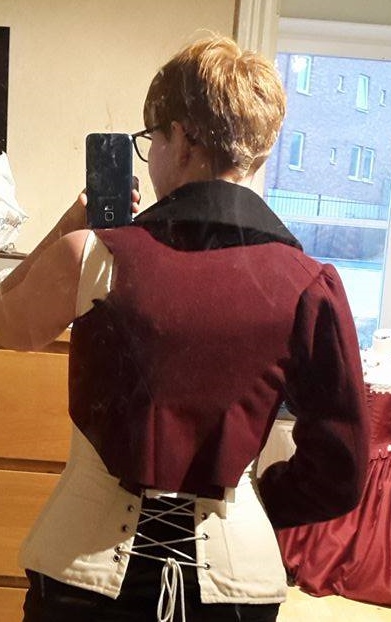
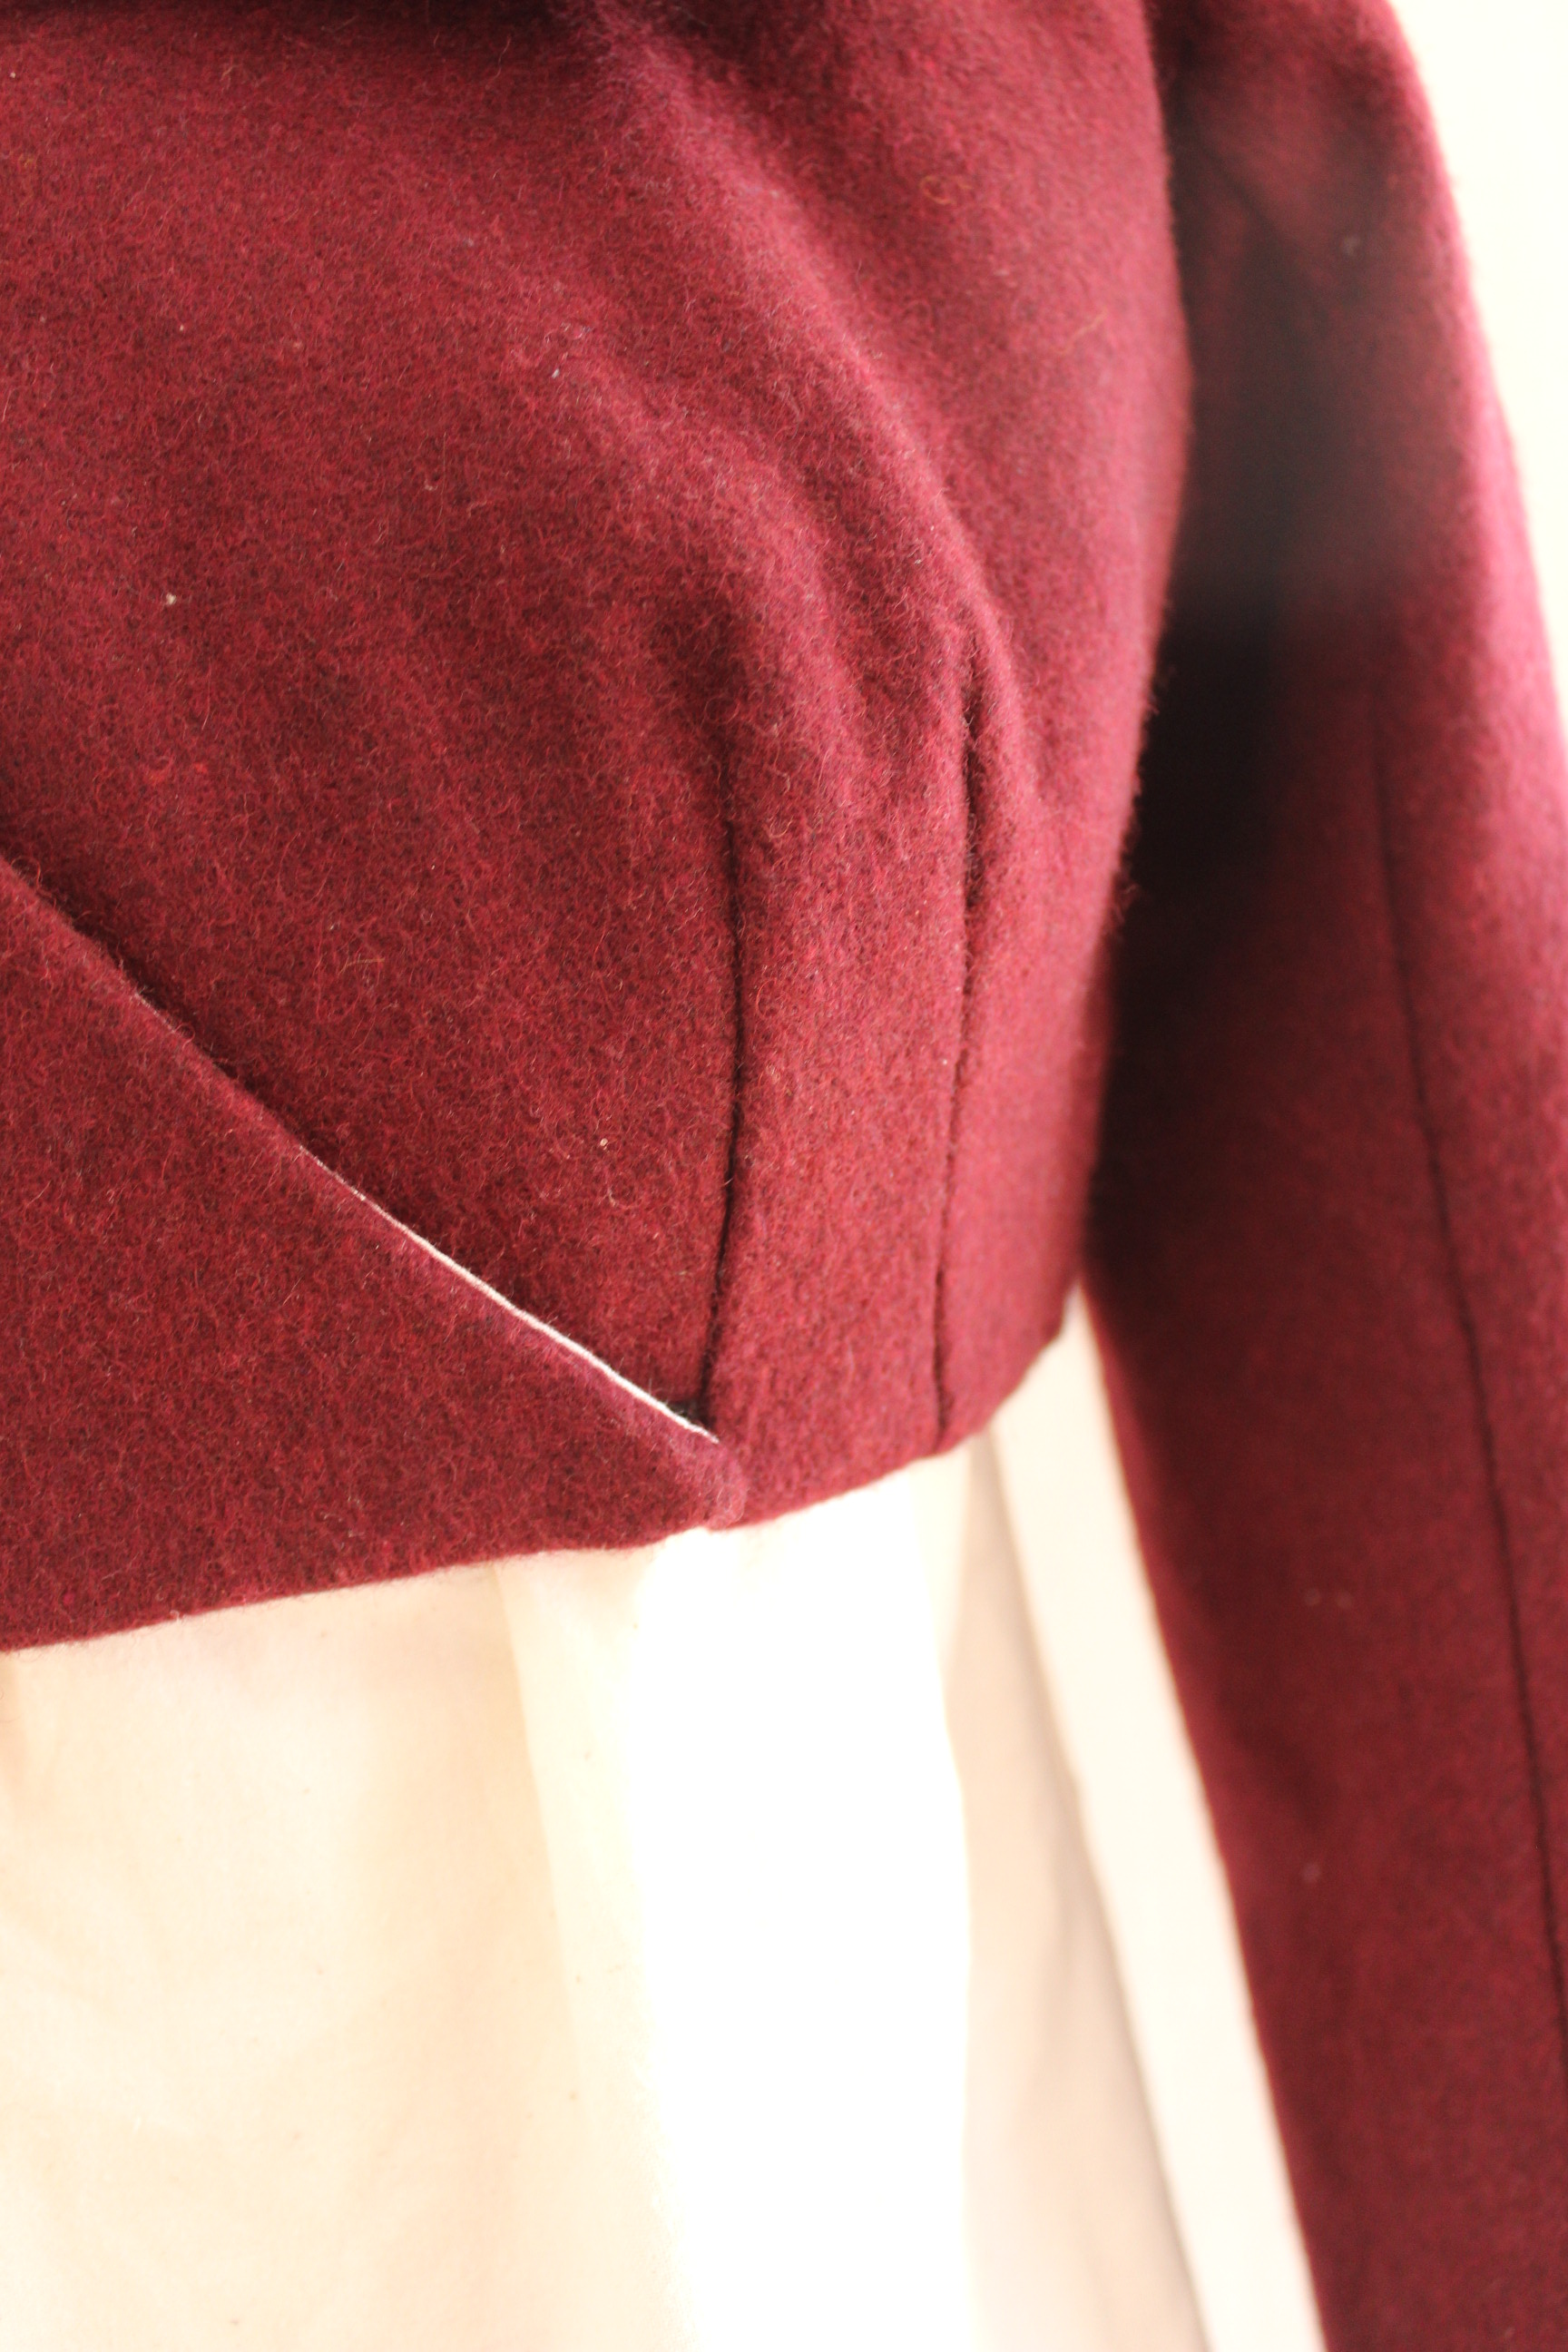
I also needed to re-stitch the points of the darts a tiny bit lower, to get it to sit nicely over my stays.
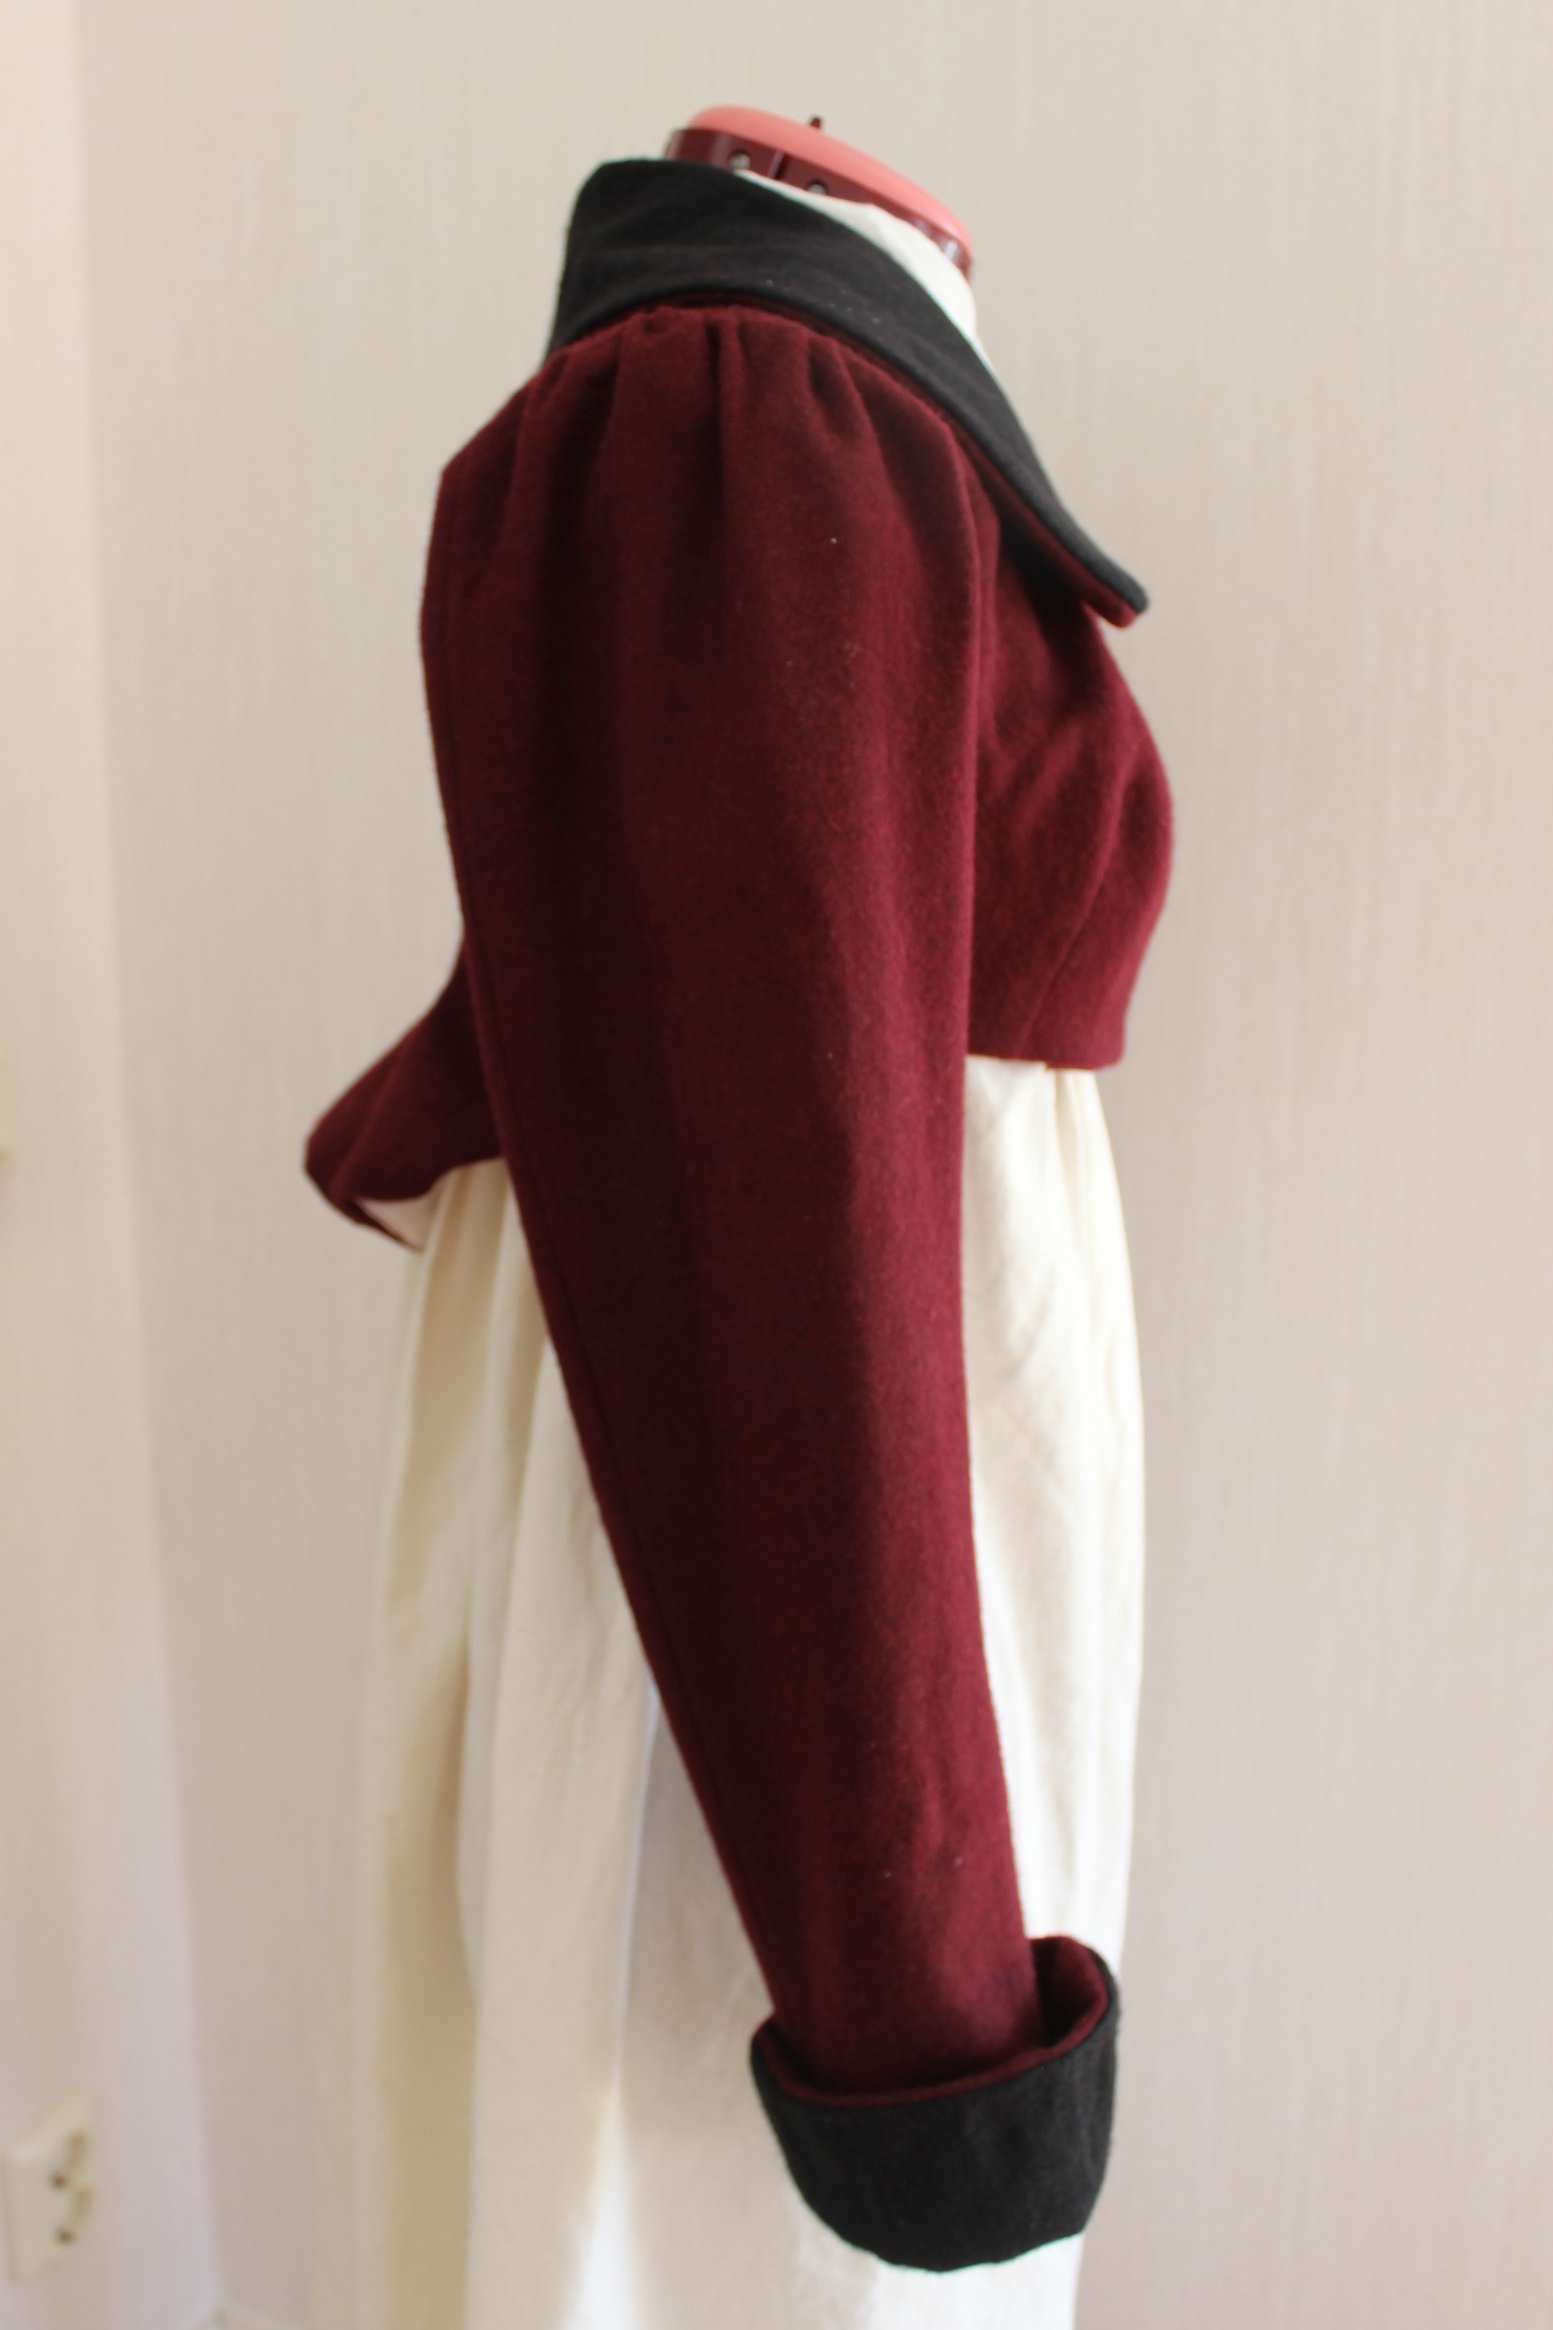
Then I finished it up, by attaching the sleeves and adding hook & eye for closure.
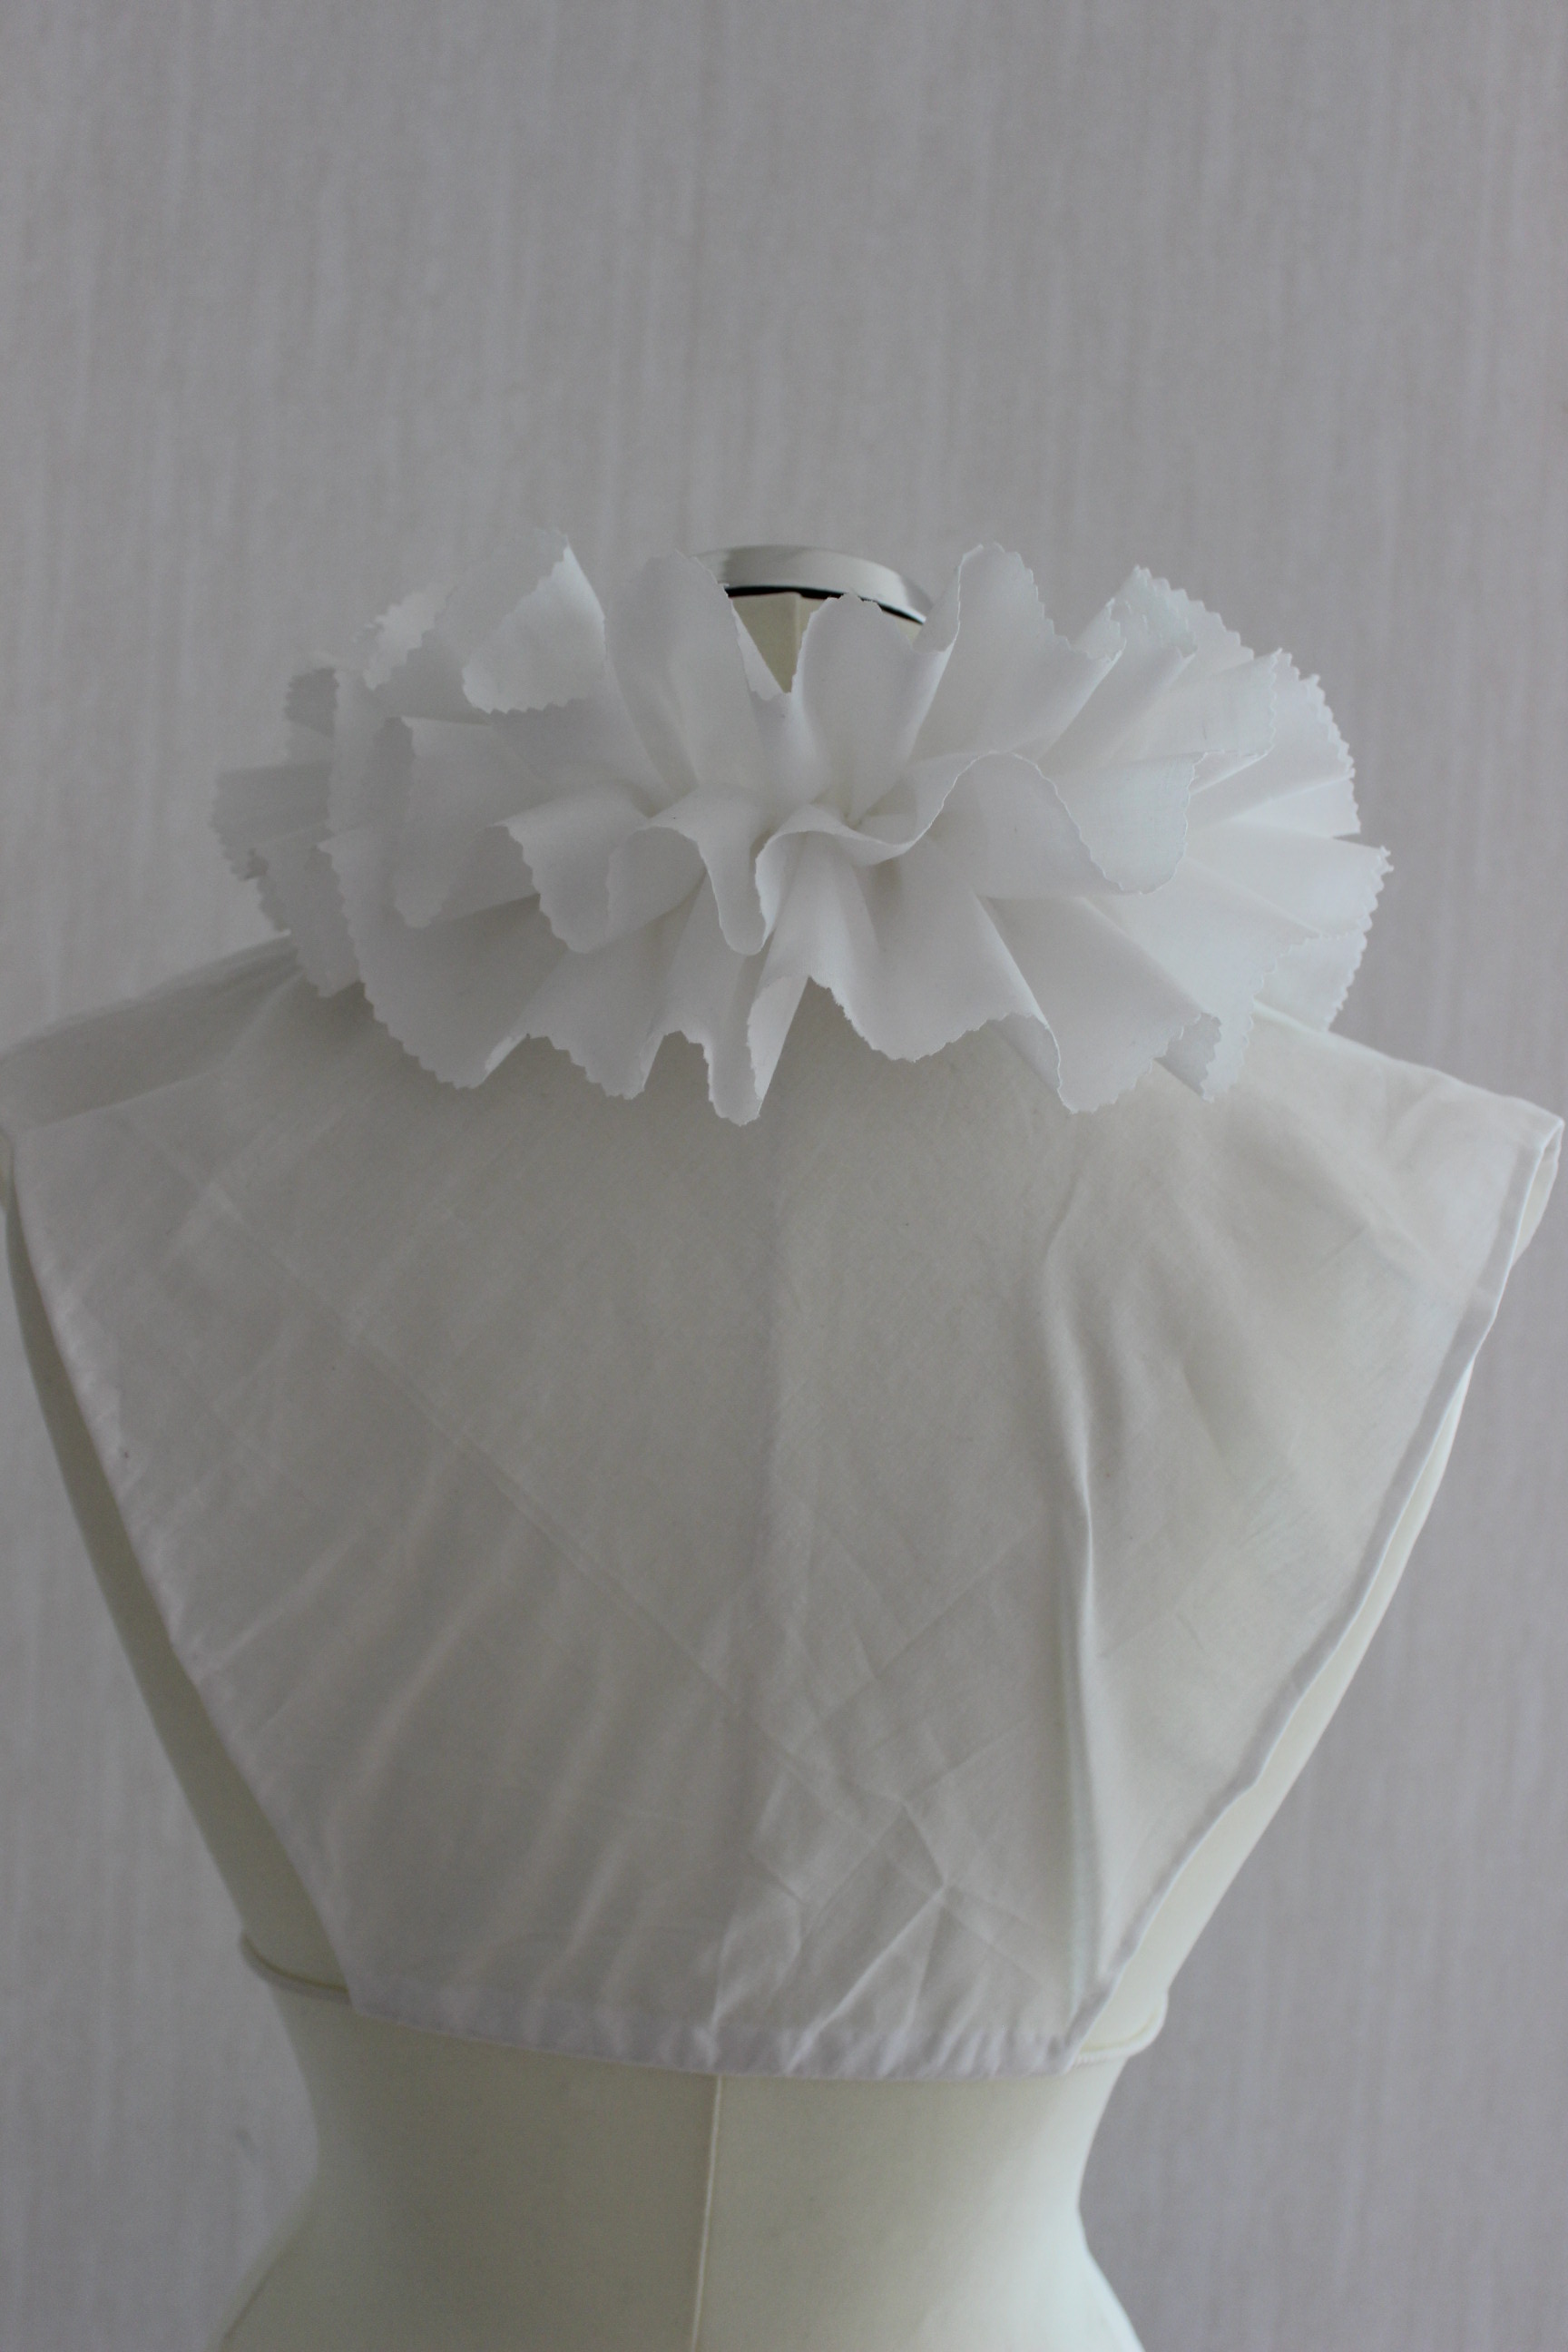
It was around this point, when trying to iron the collar to lie nicely, I realized I’d totally forgot to make the the inner facing on the front edge.
Doh… 😦
That would explain the white lining peaking out way to much.
Serves me right, for not wanting to waste time or tracing paper on linings and facings, but simply using the main pattern pieces for everything.
Well not much to do then to use force (which meant several rows of stitches and a whole loot of steam) to try to get it to lie nice.
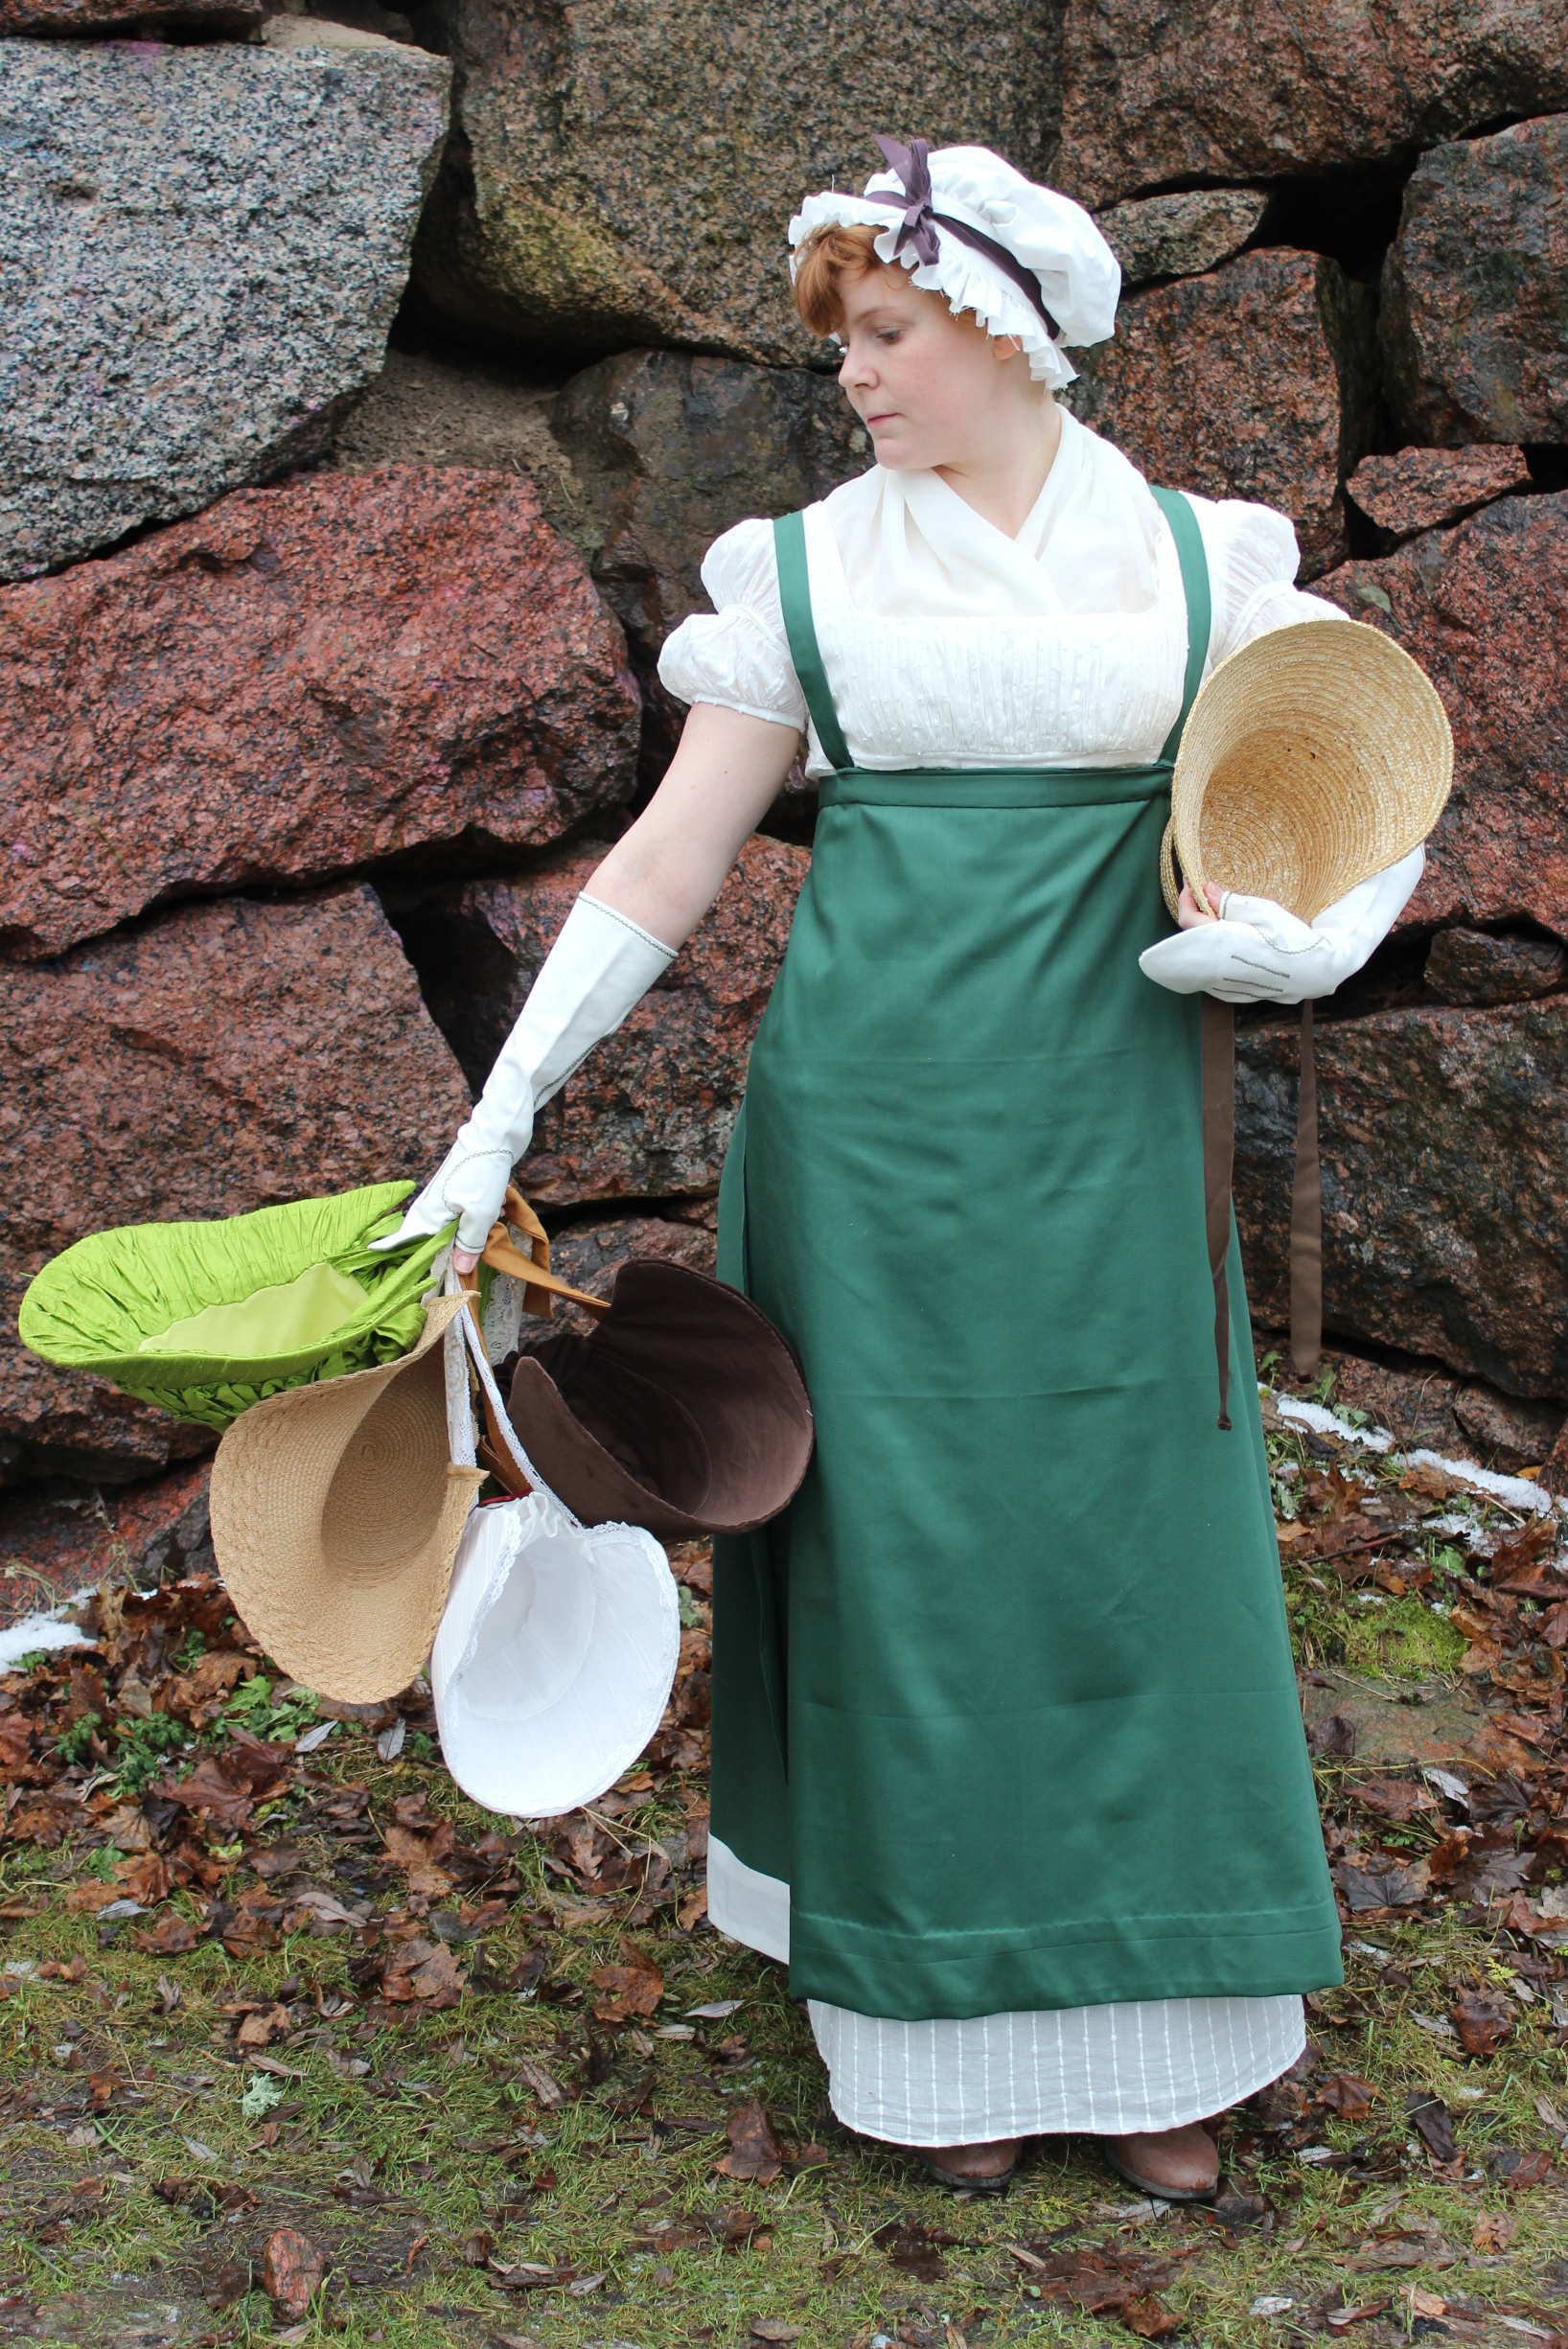
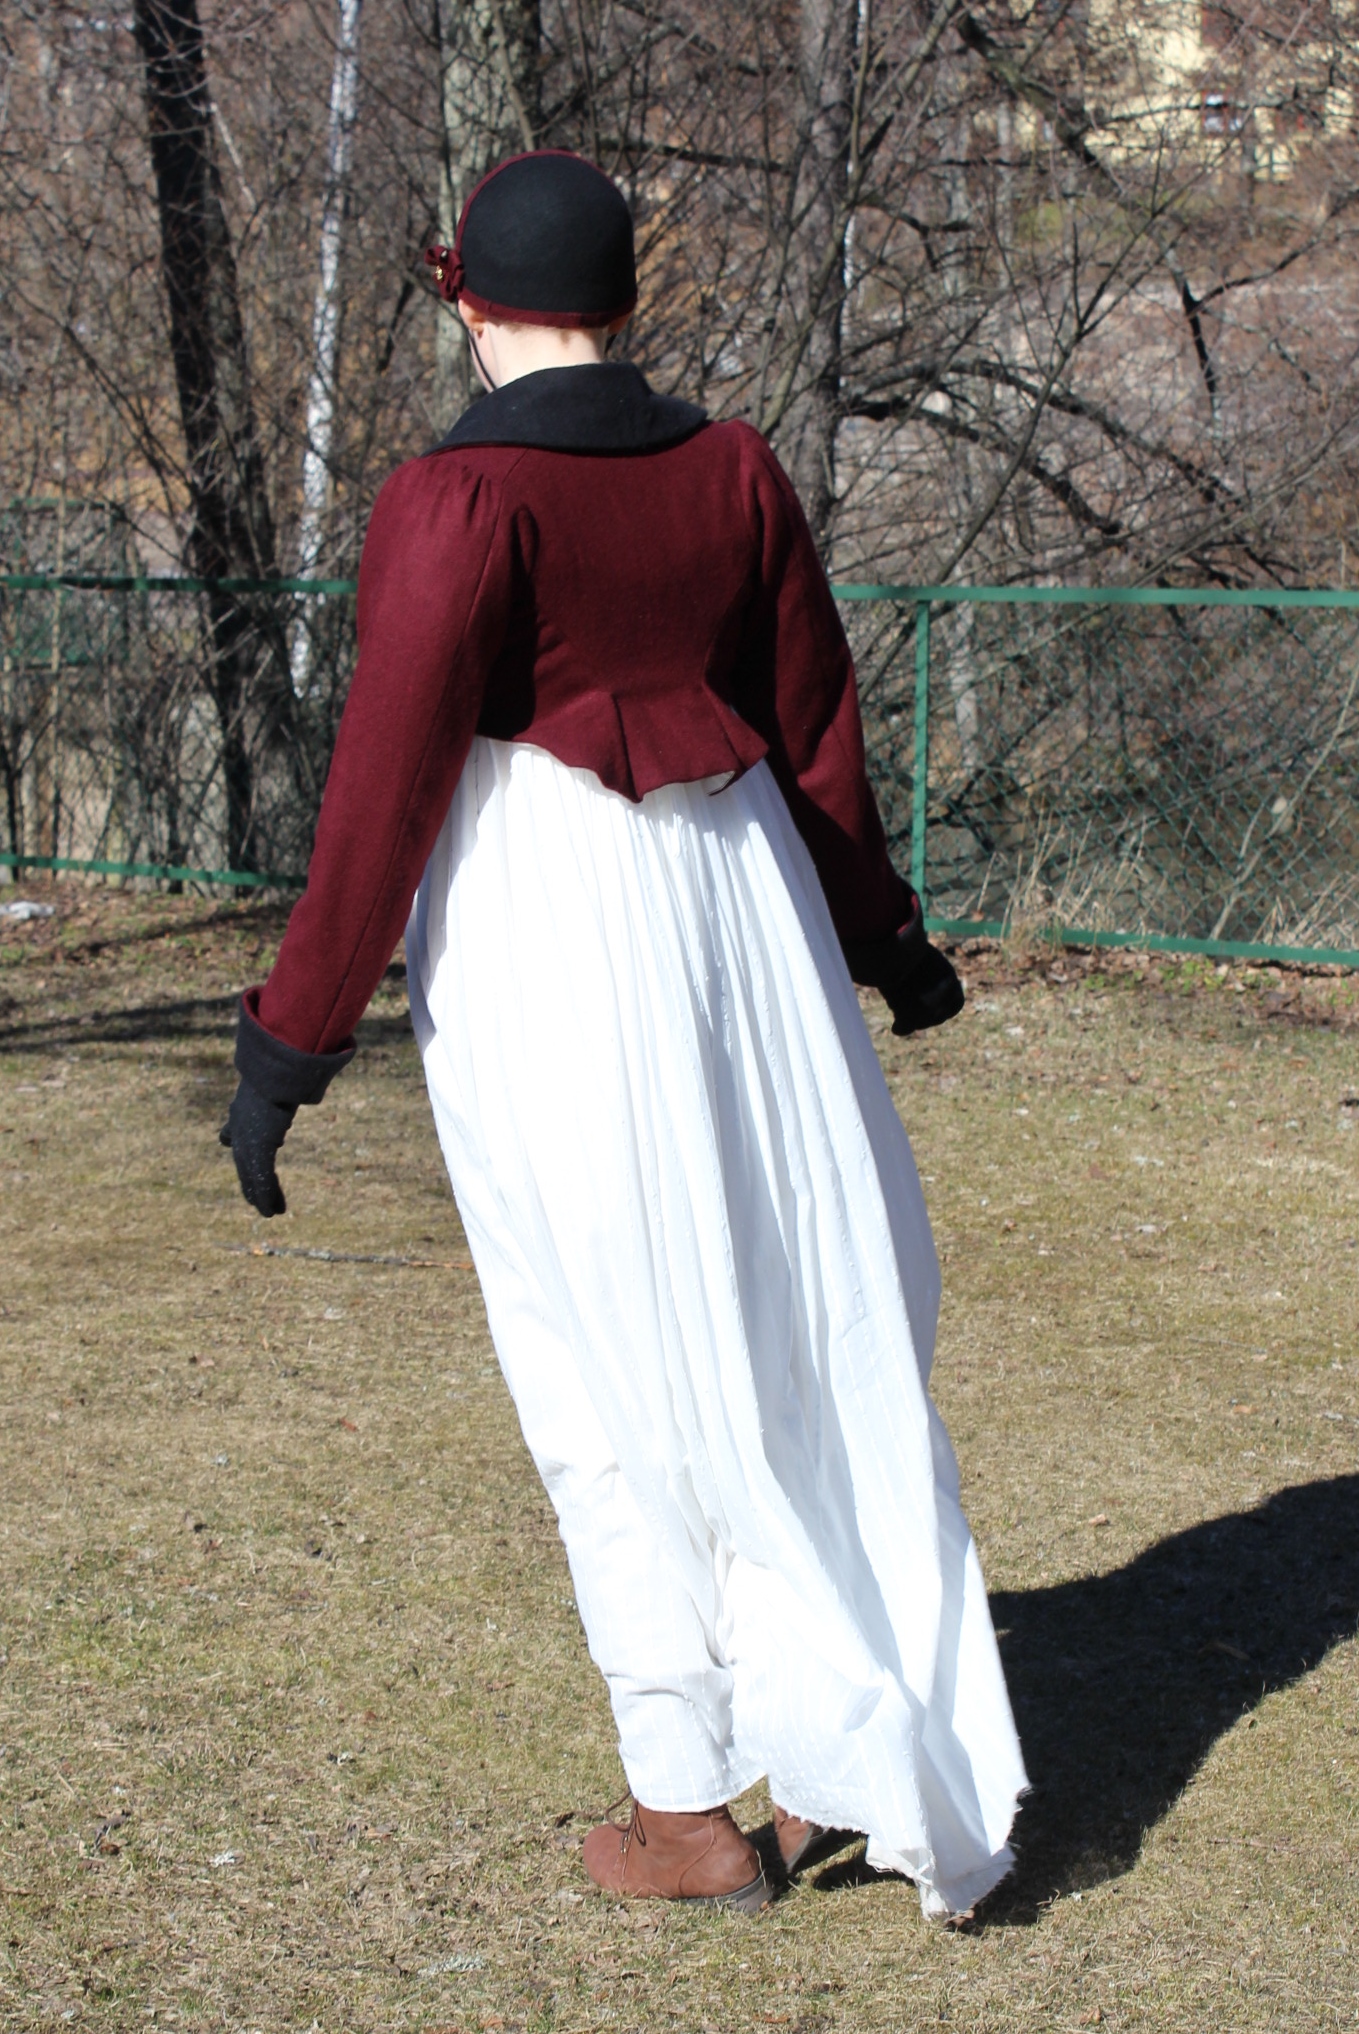
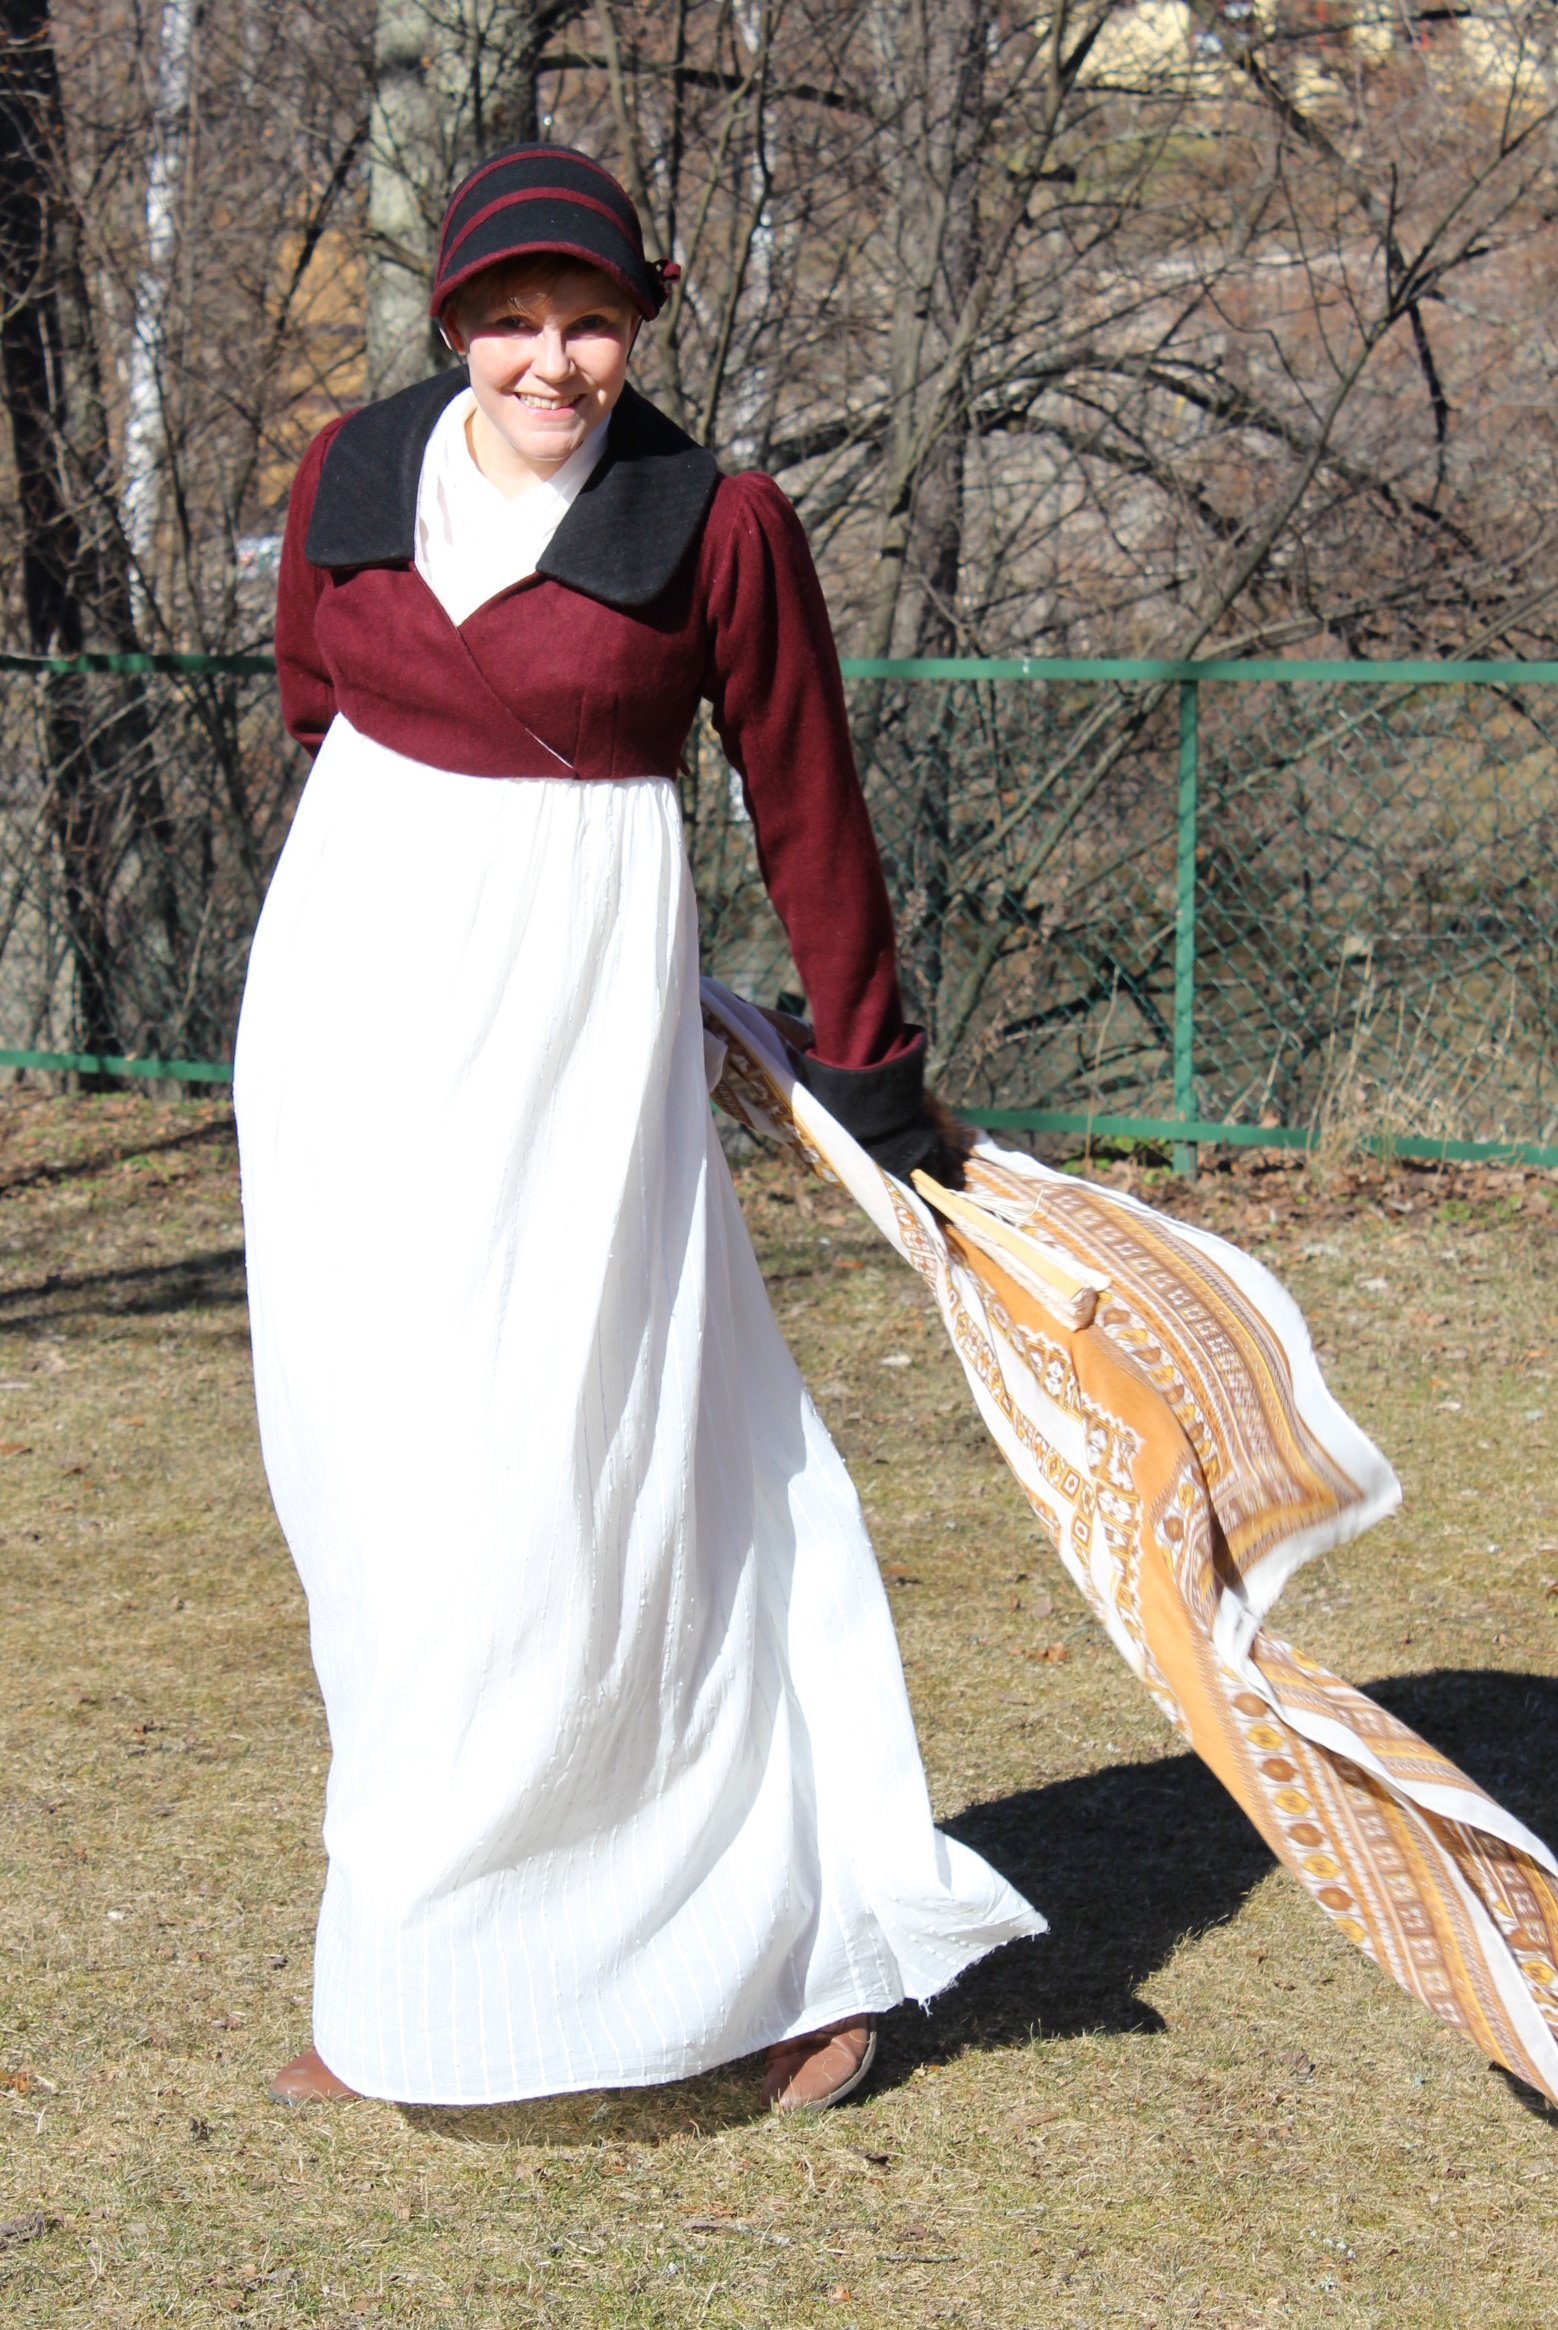
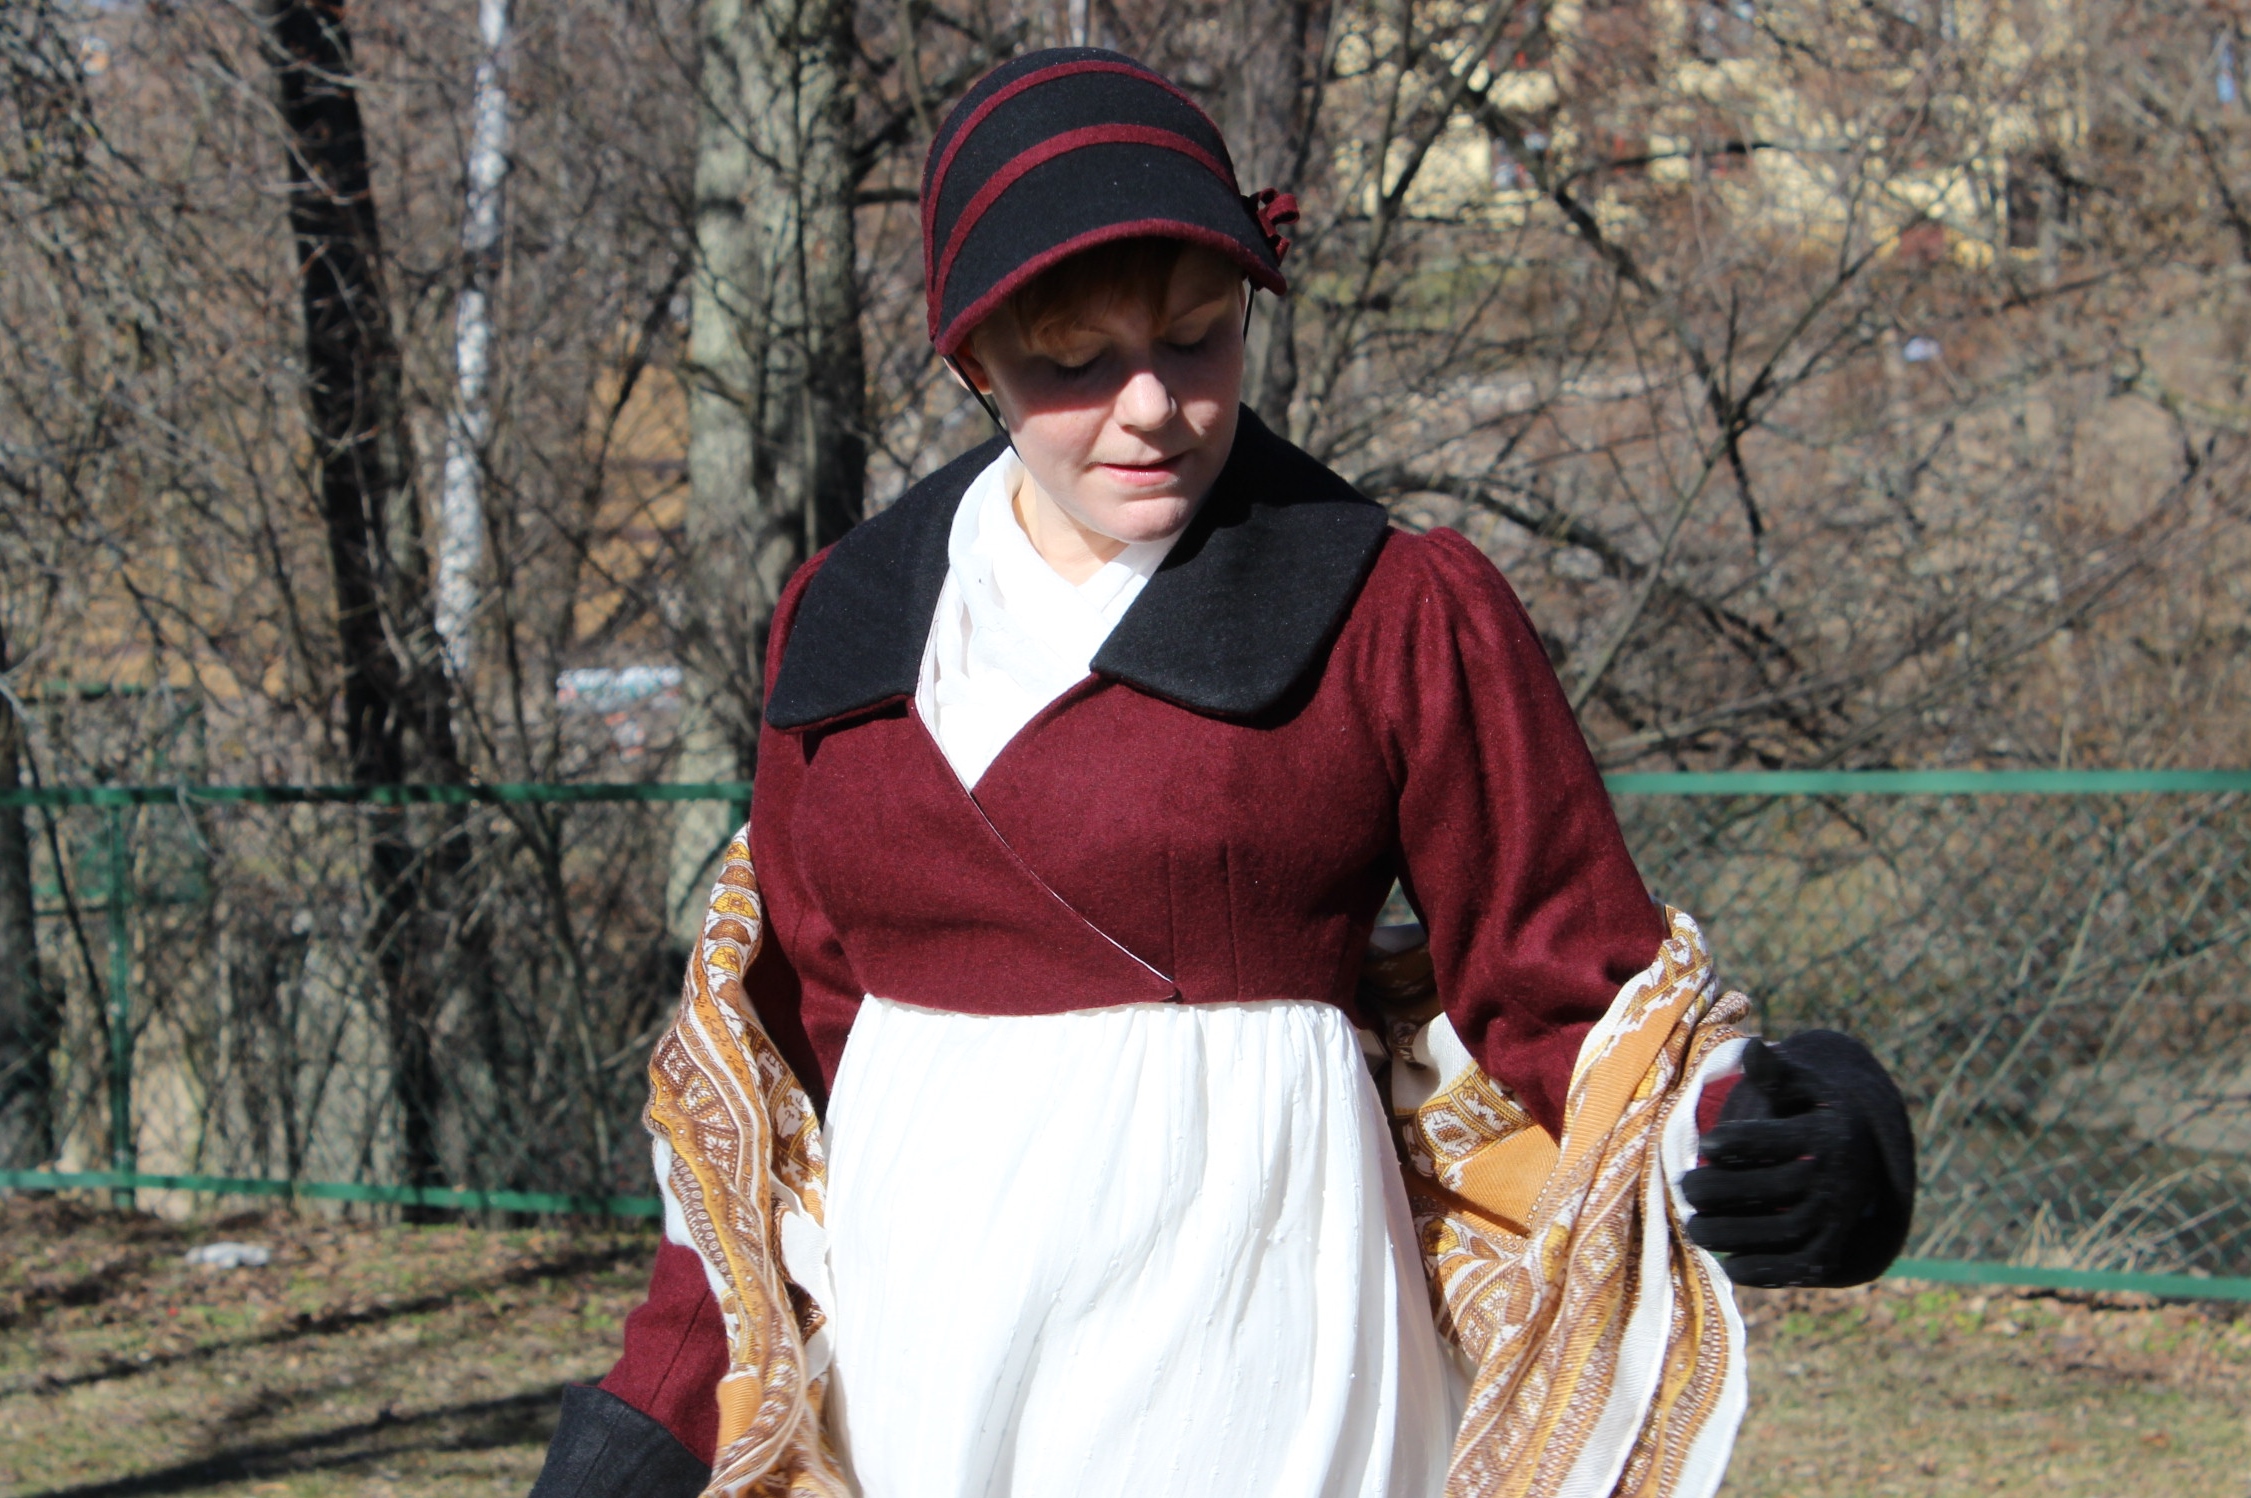
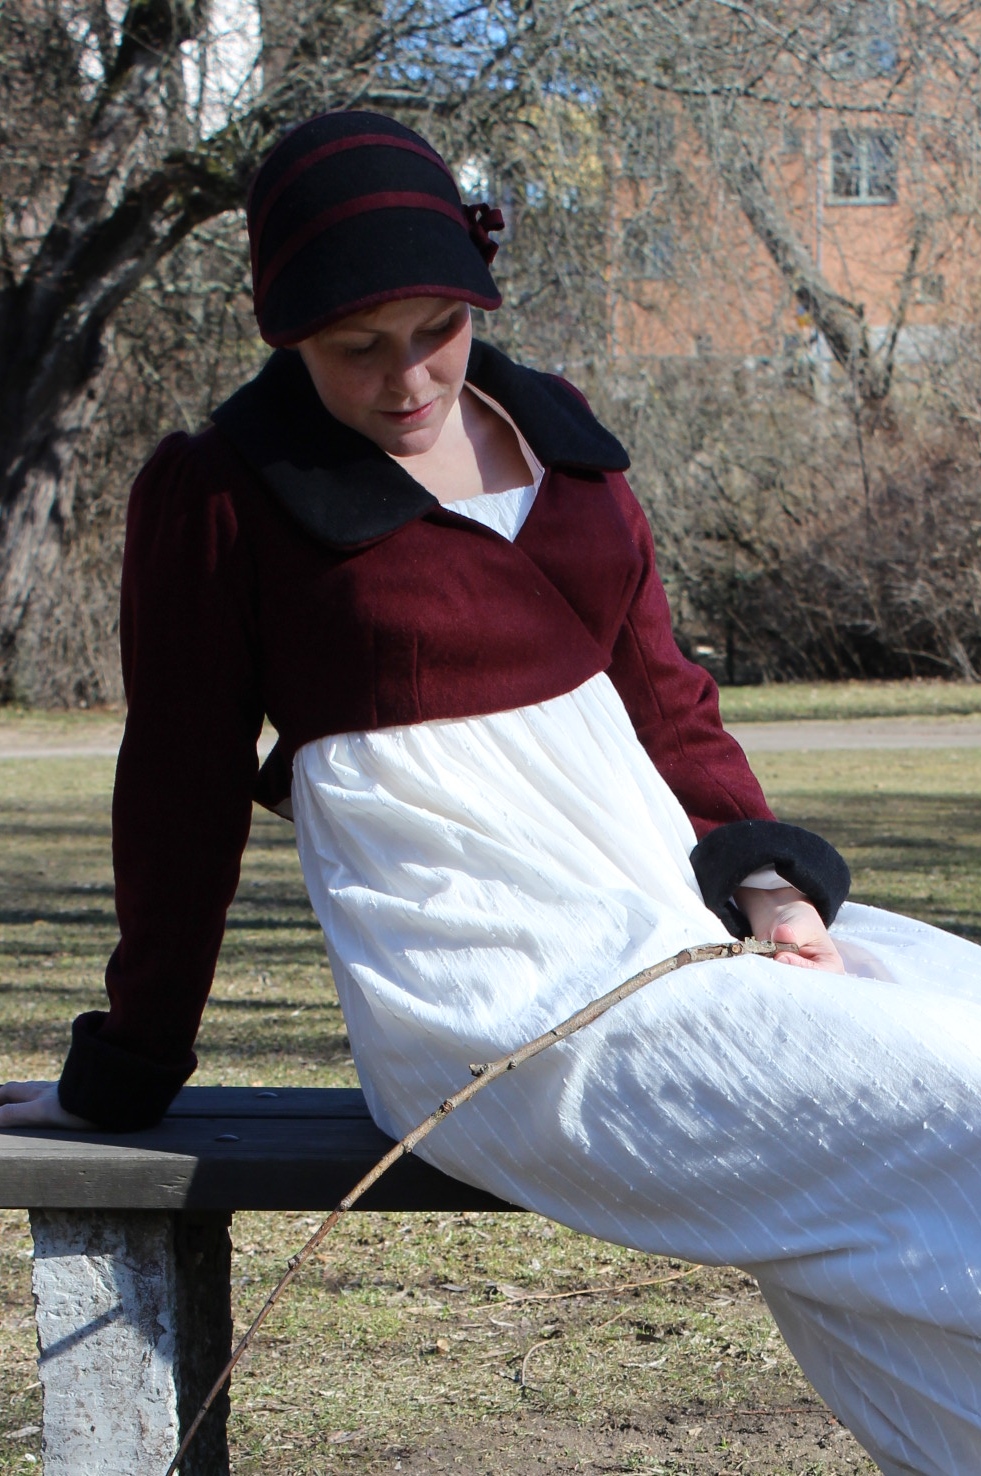
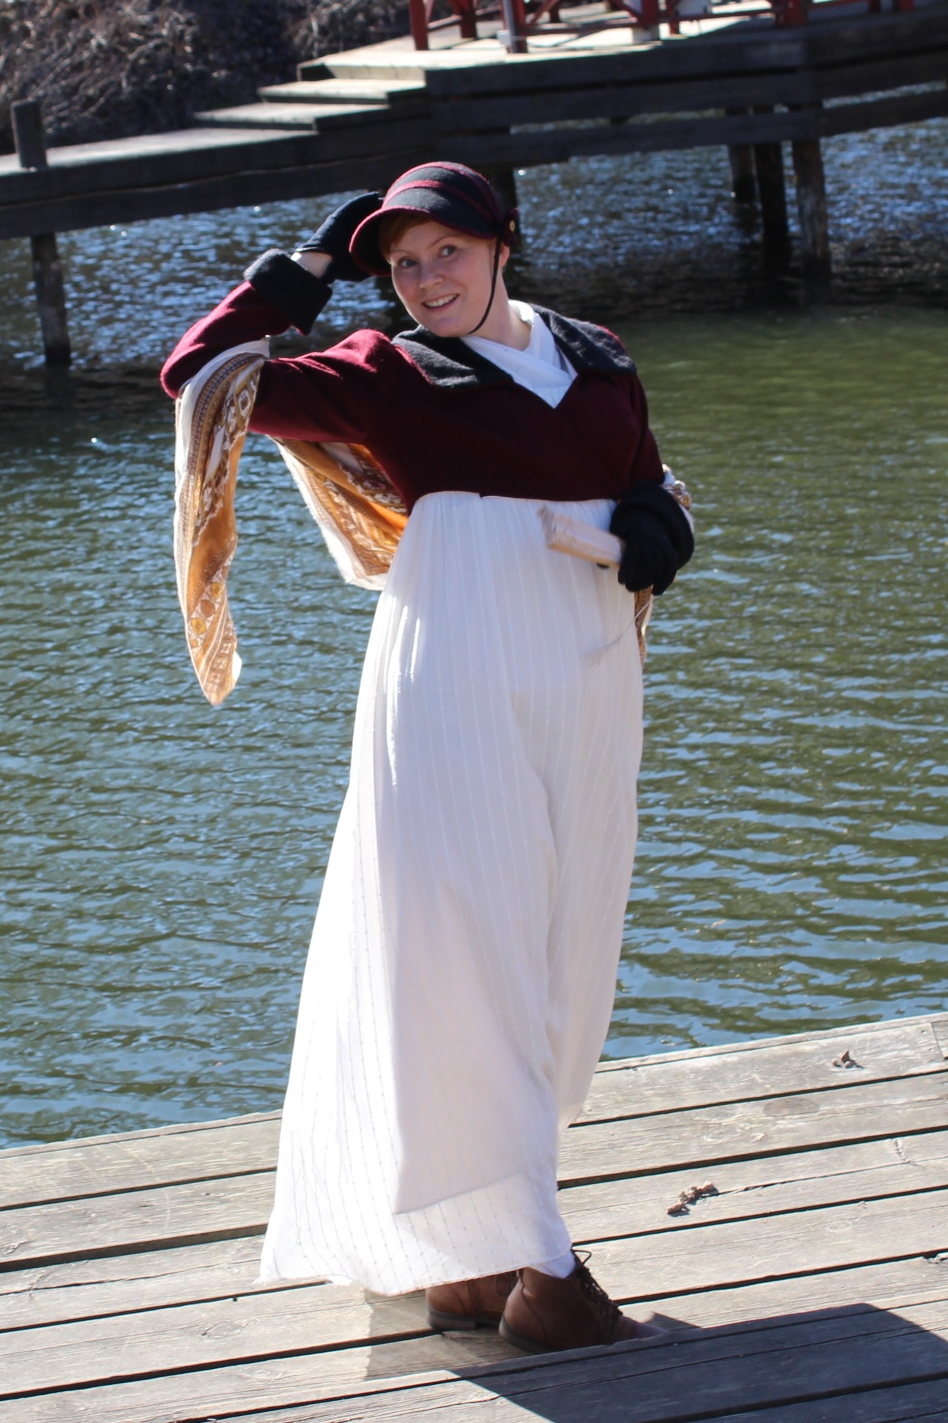
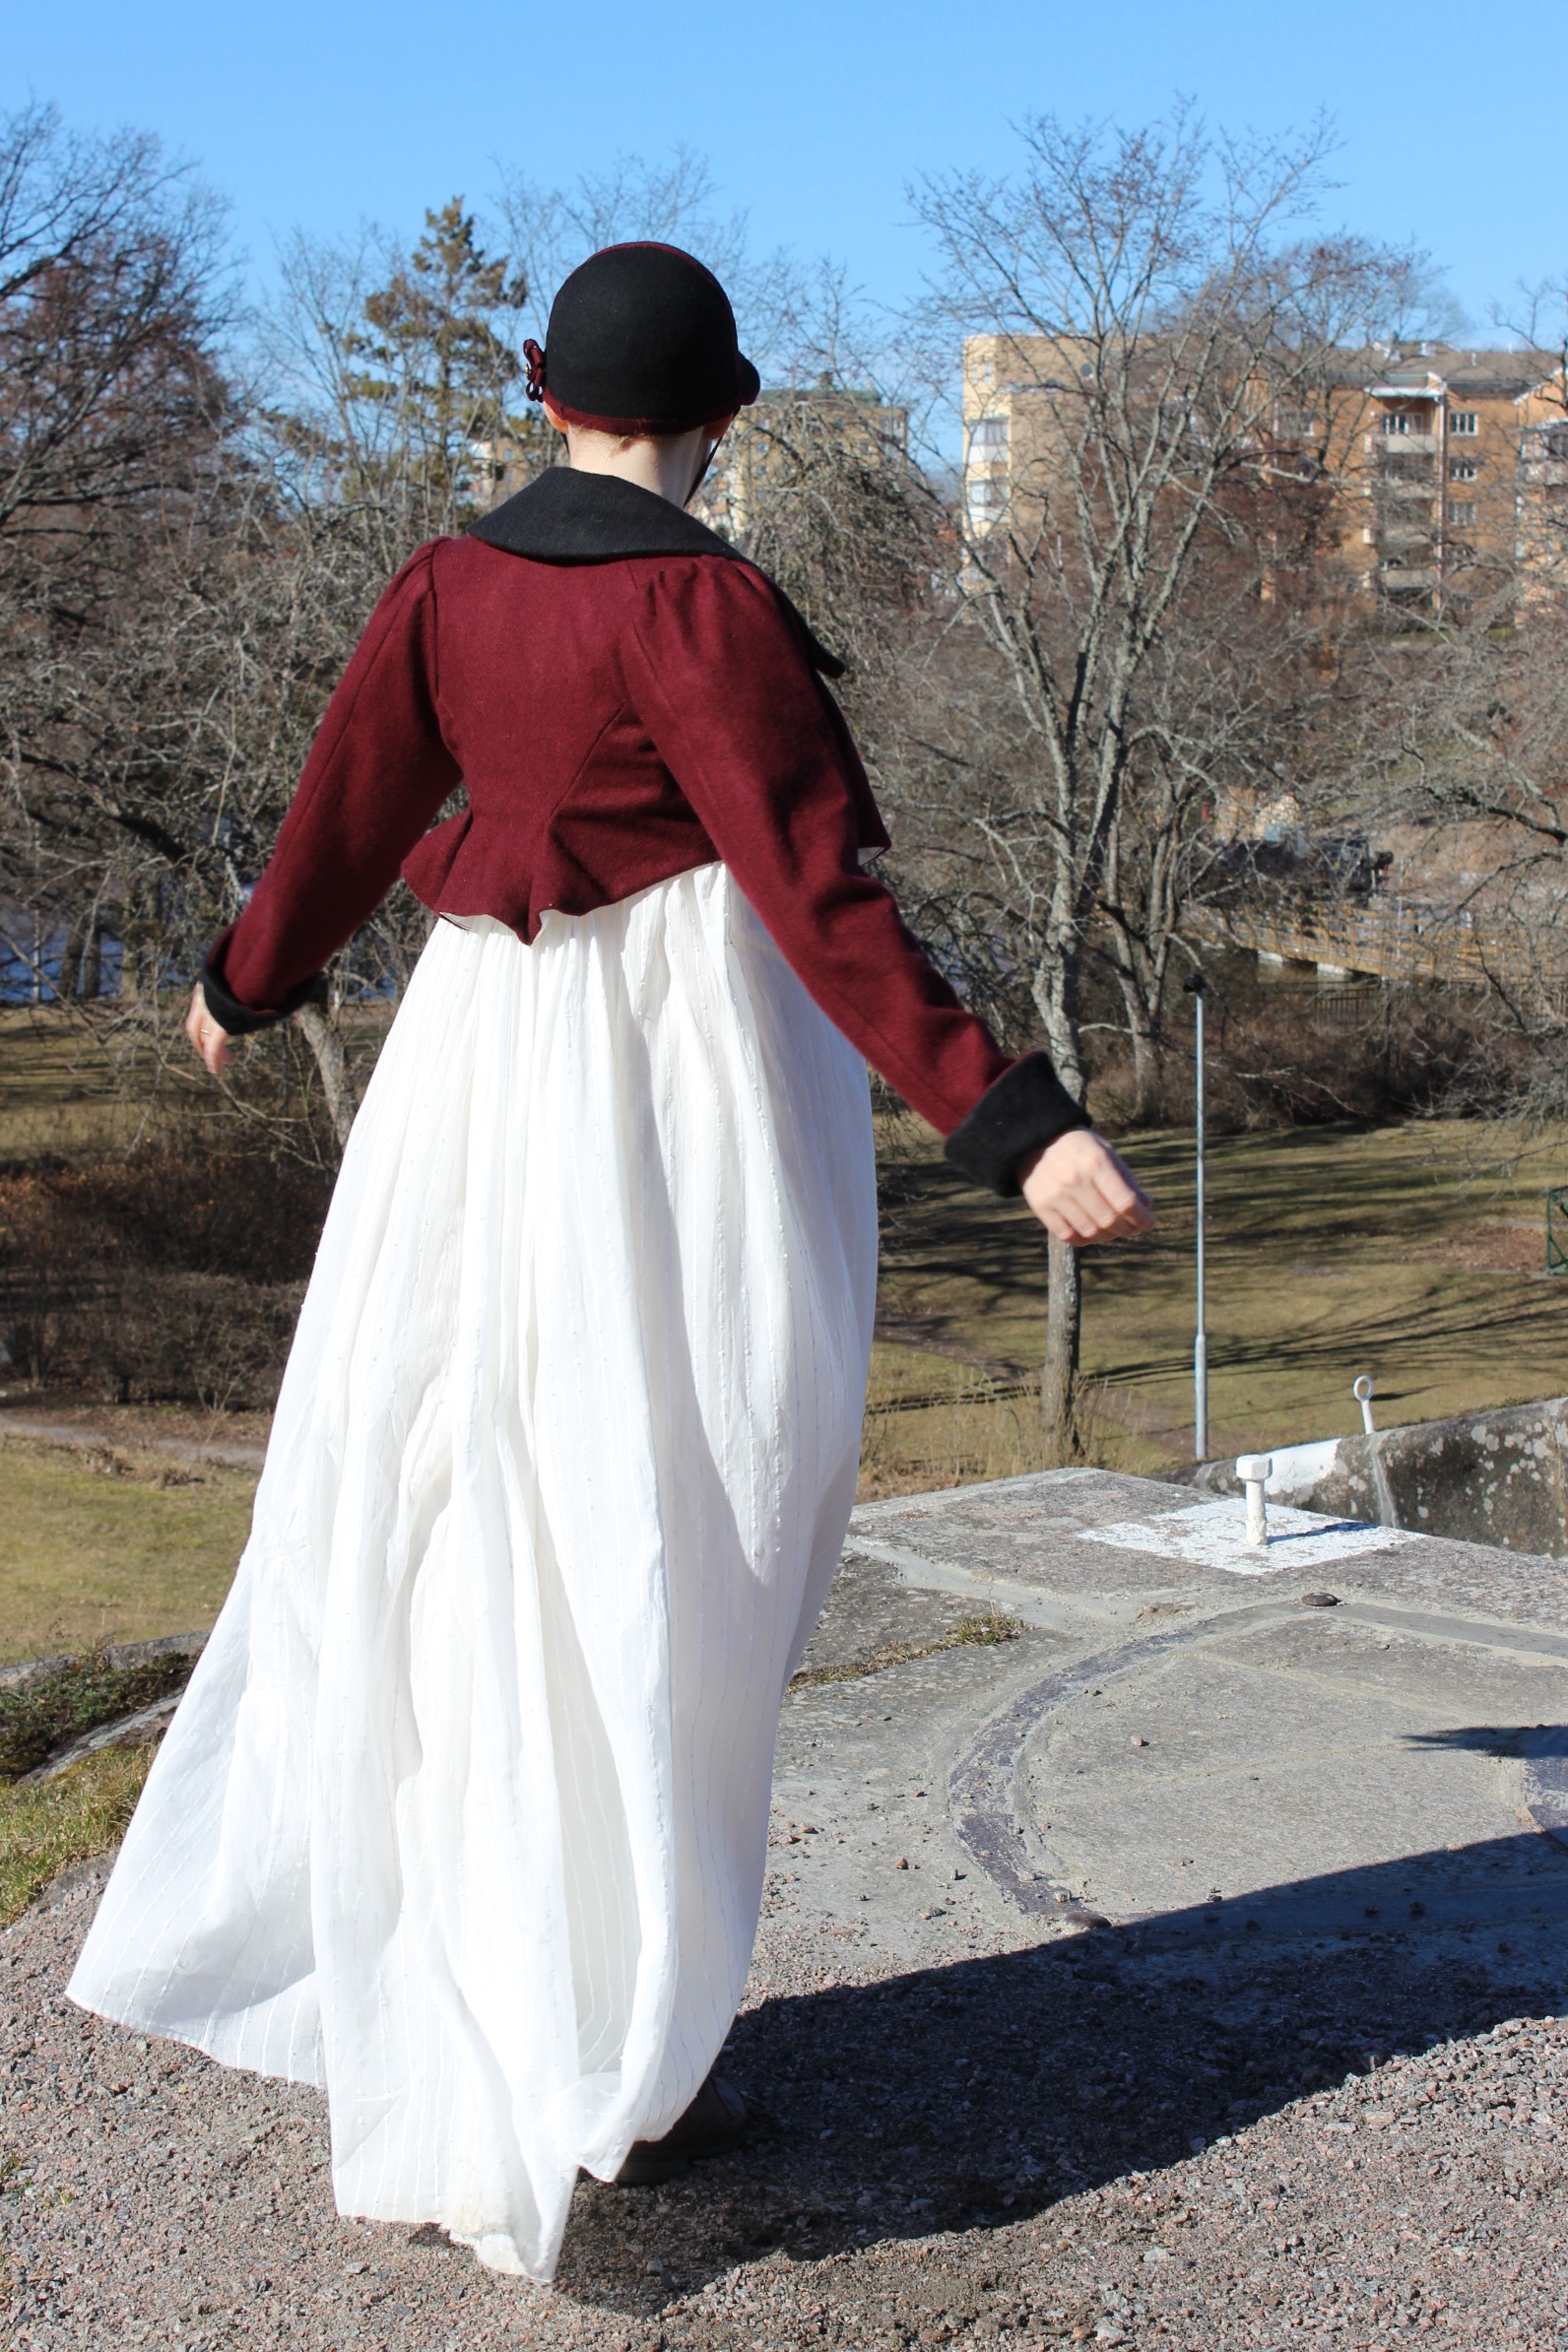
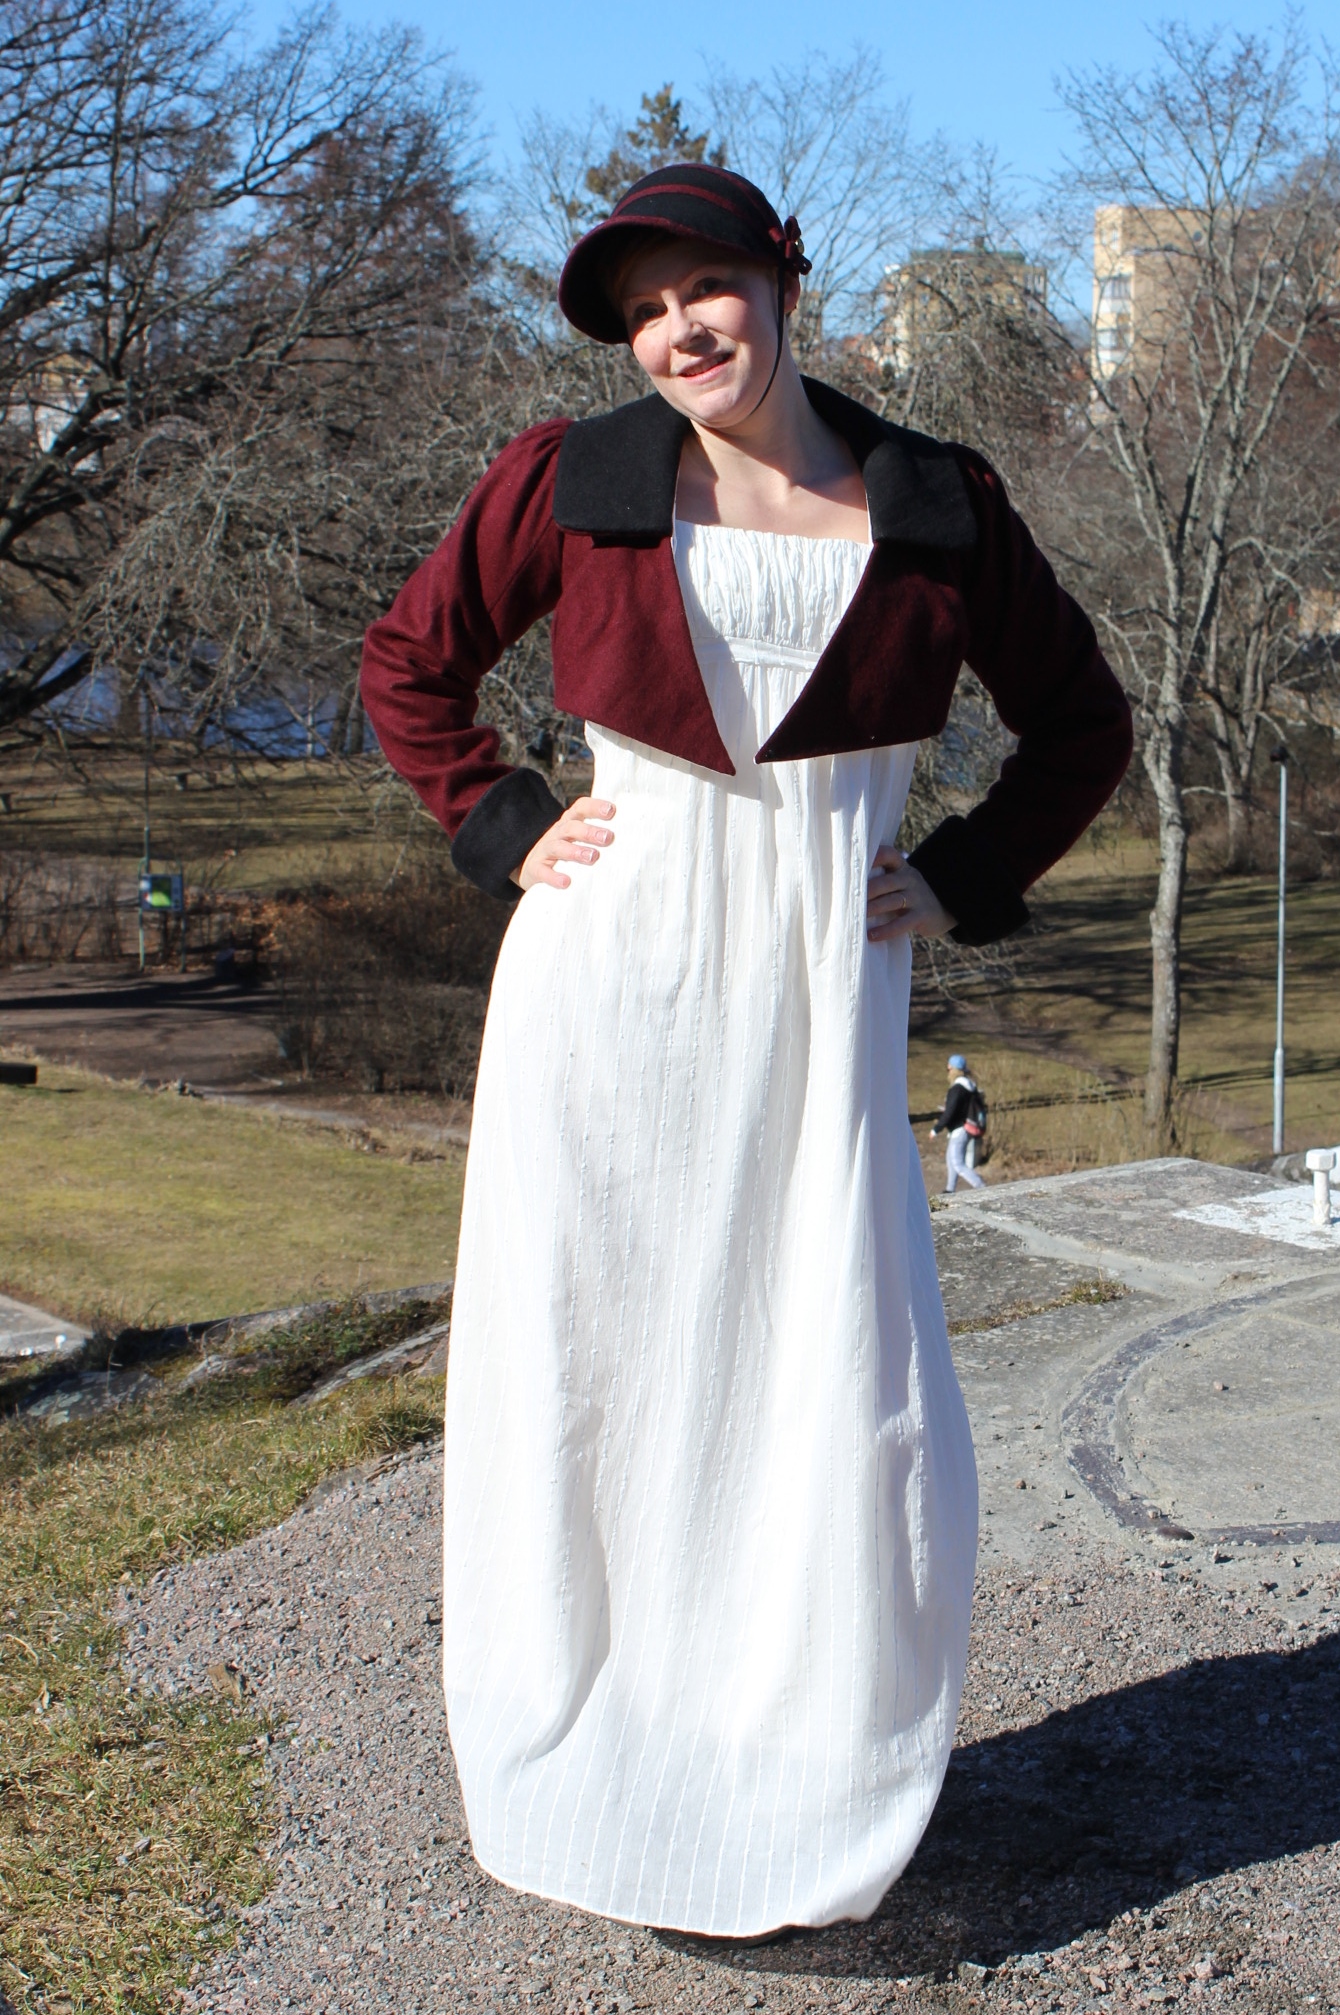
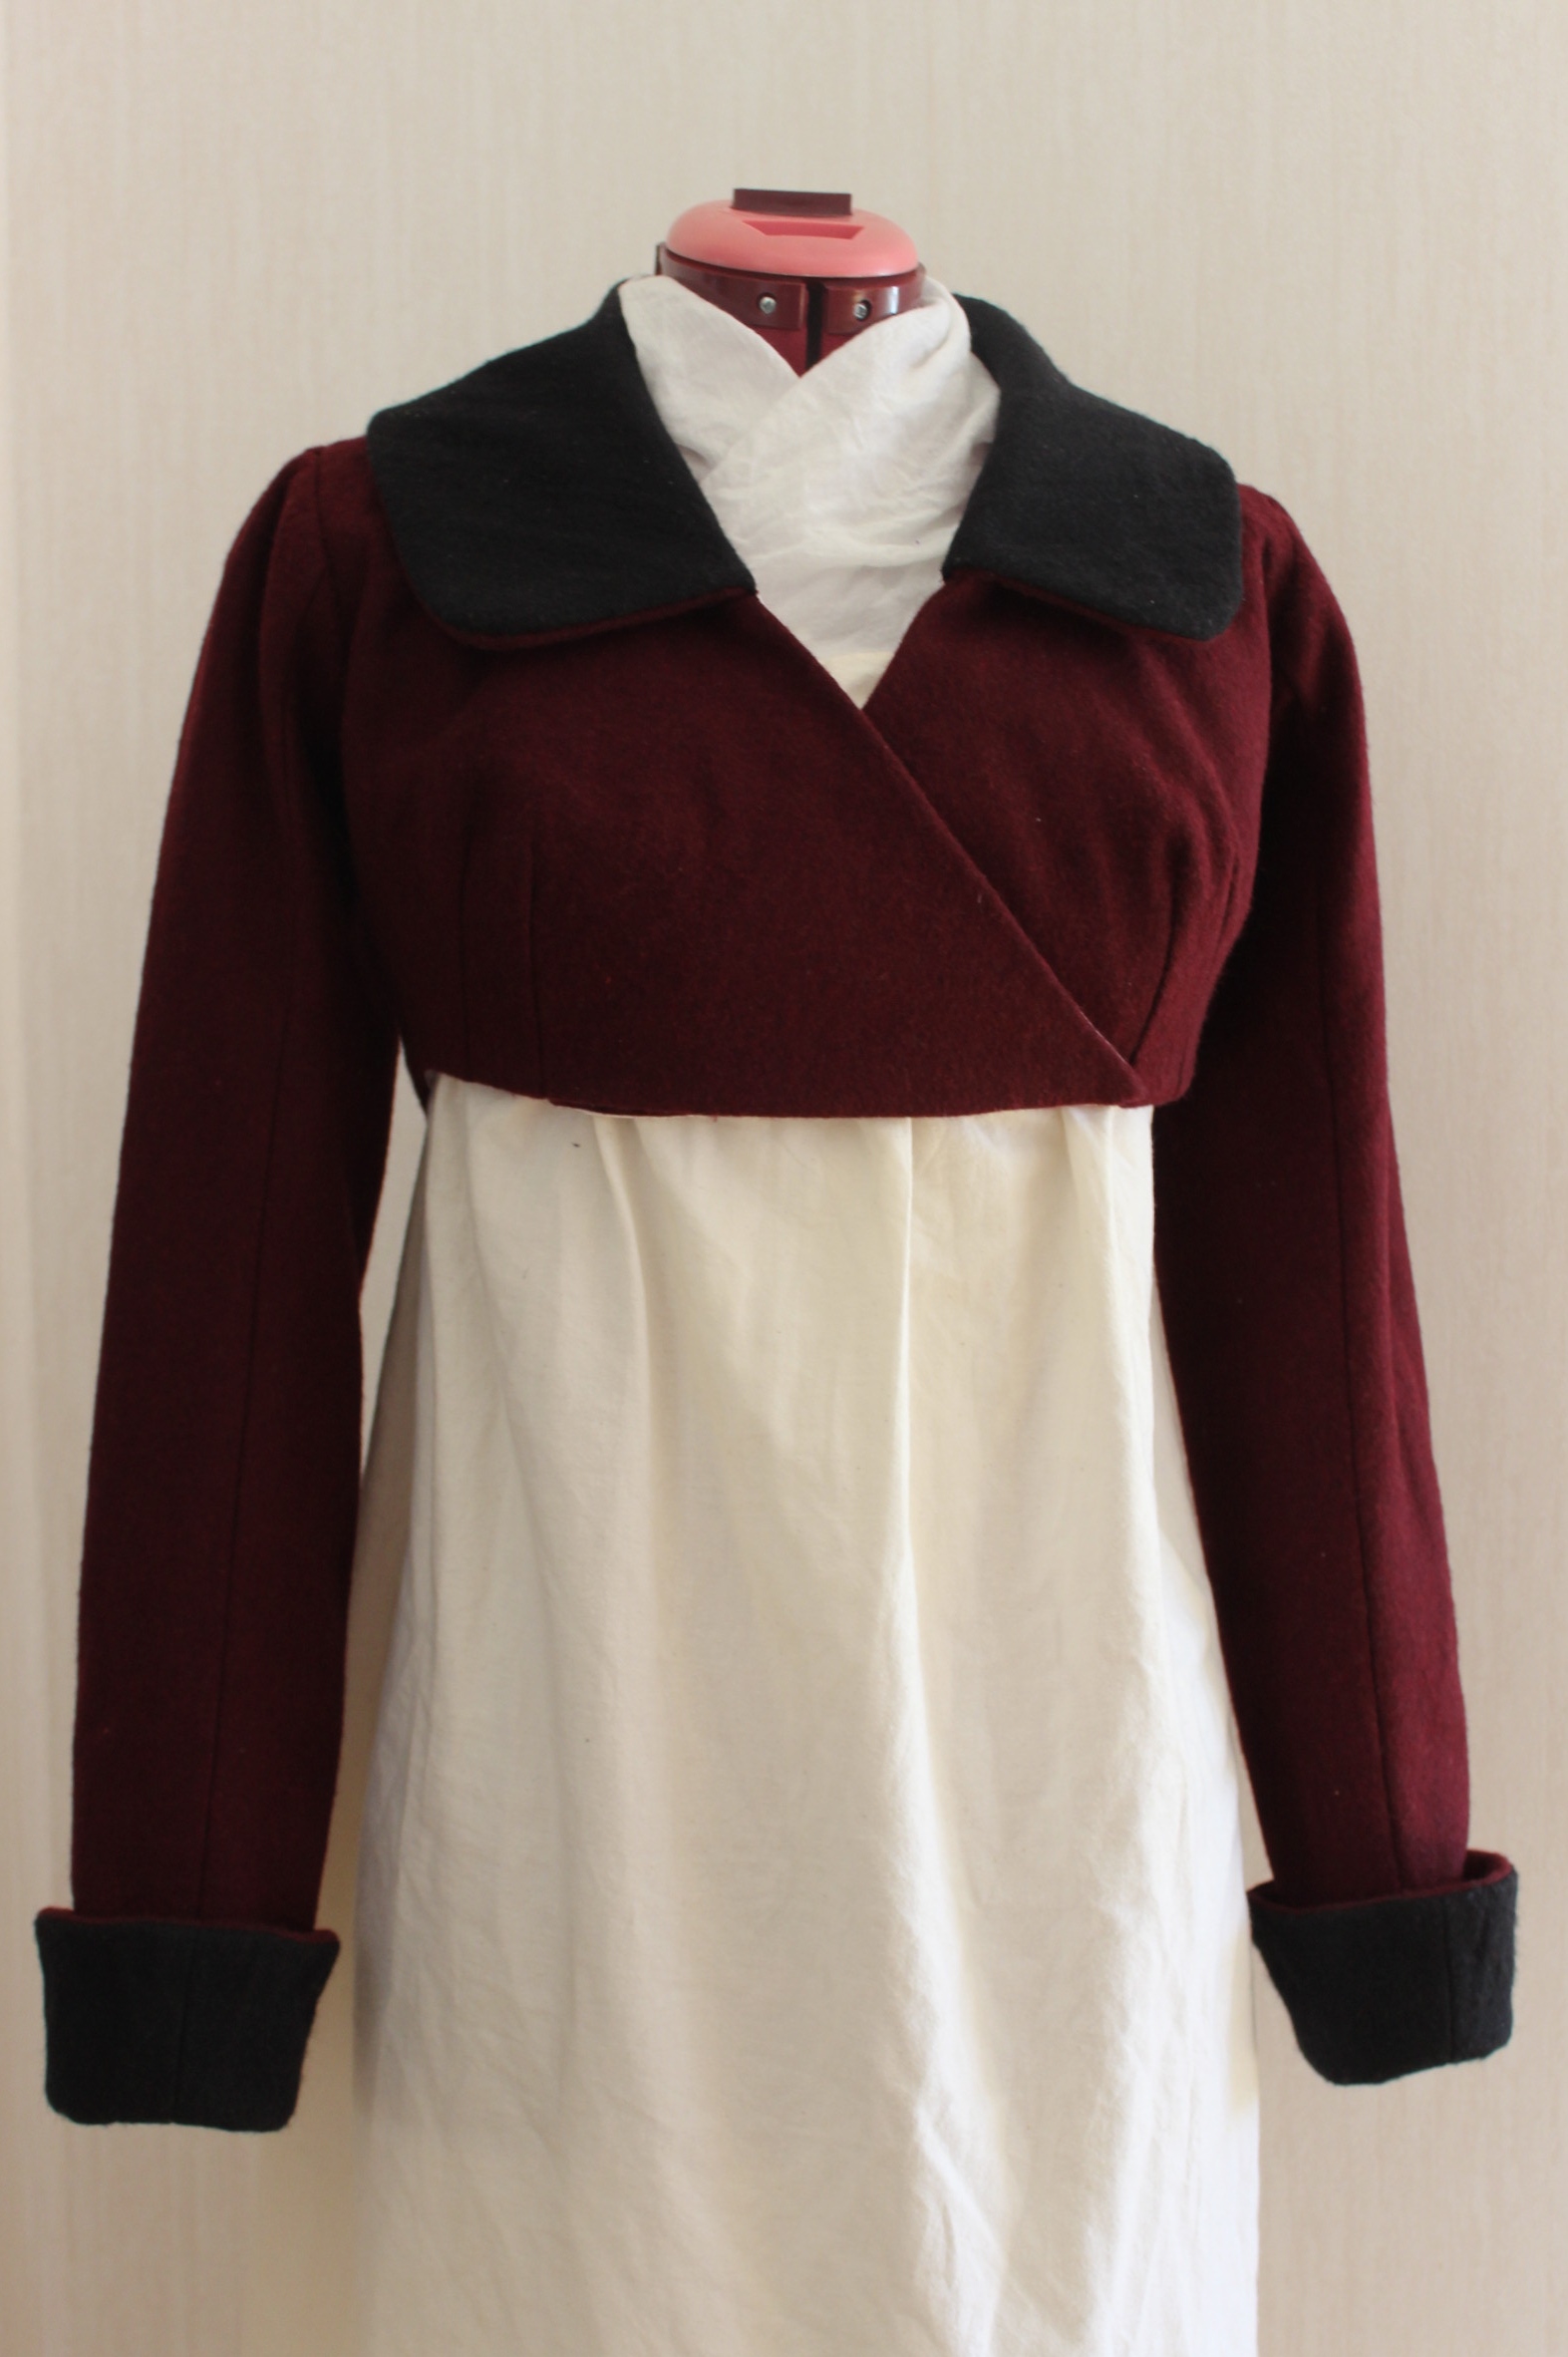
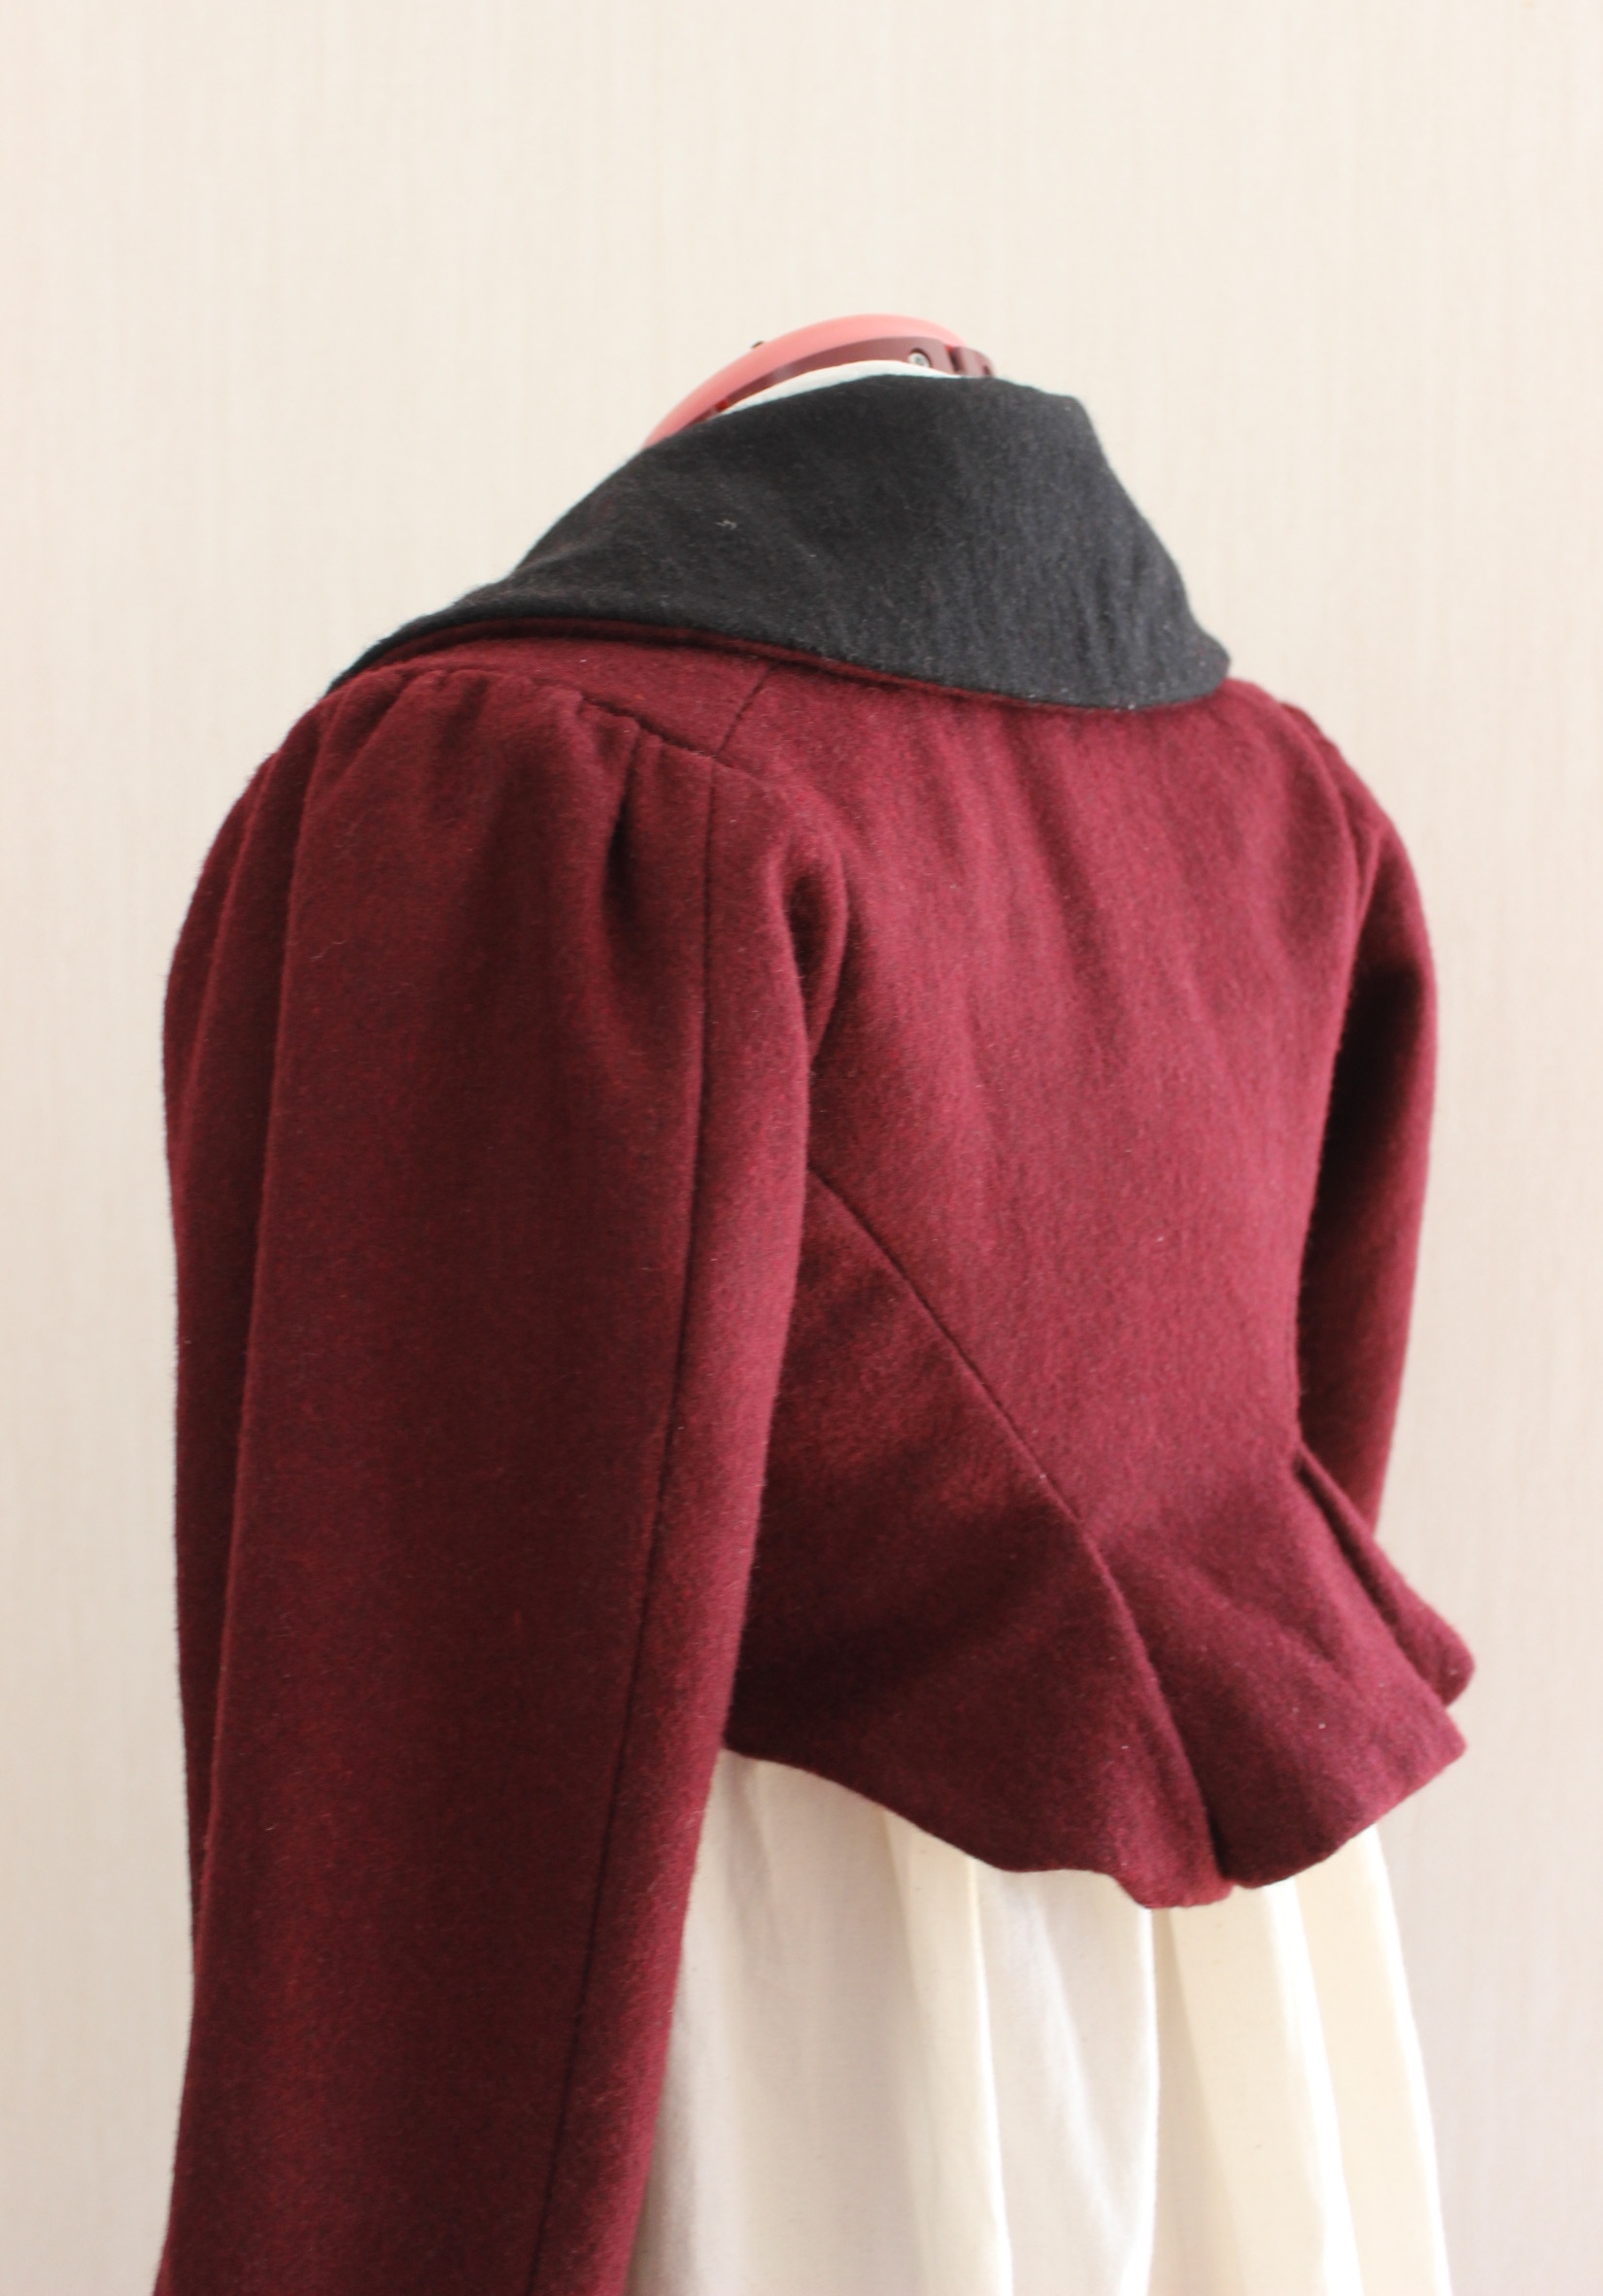
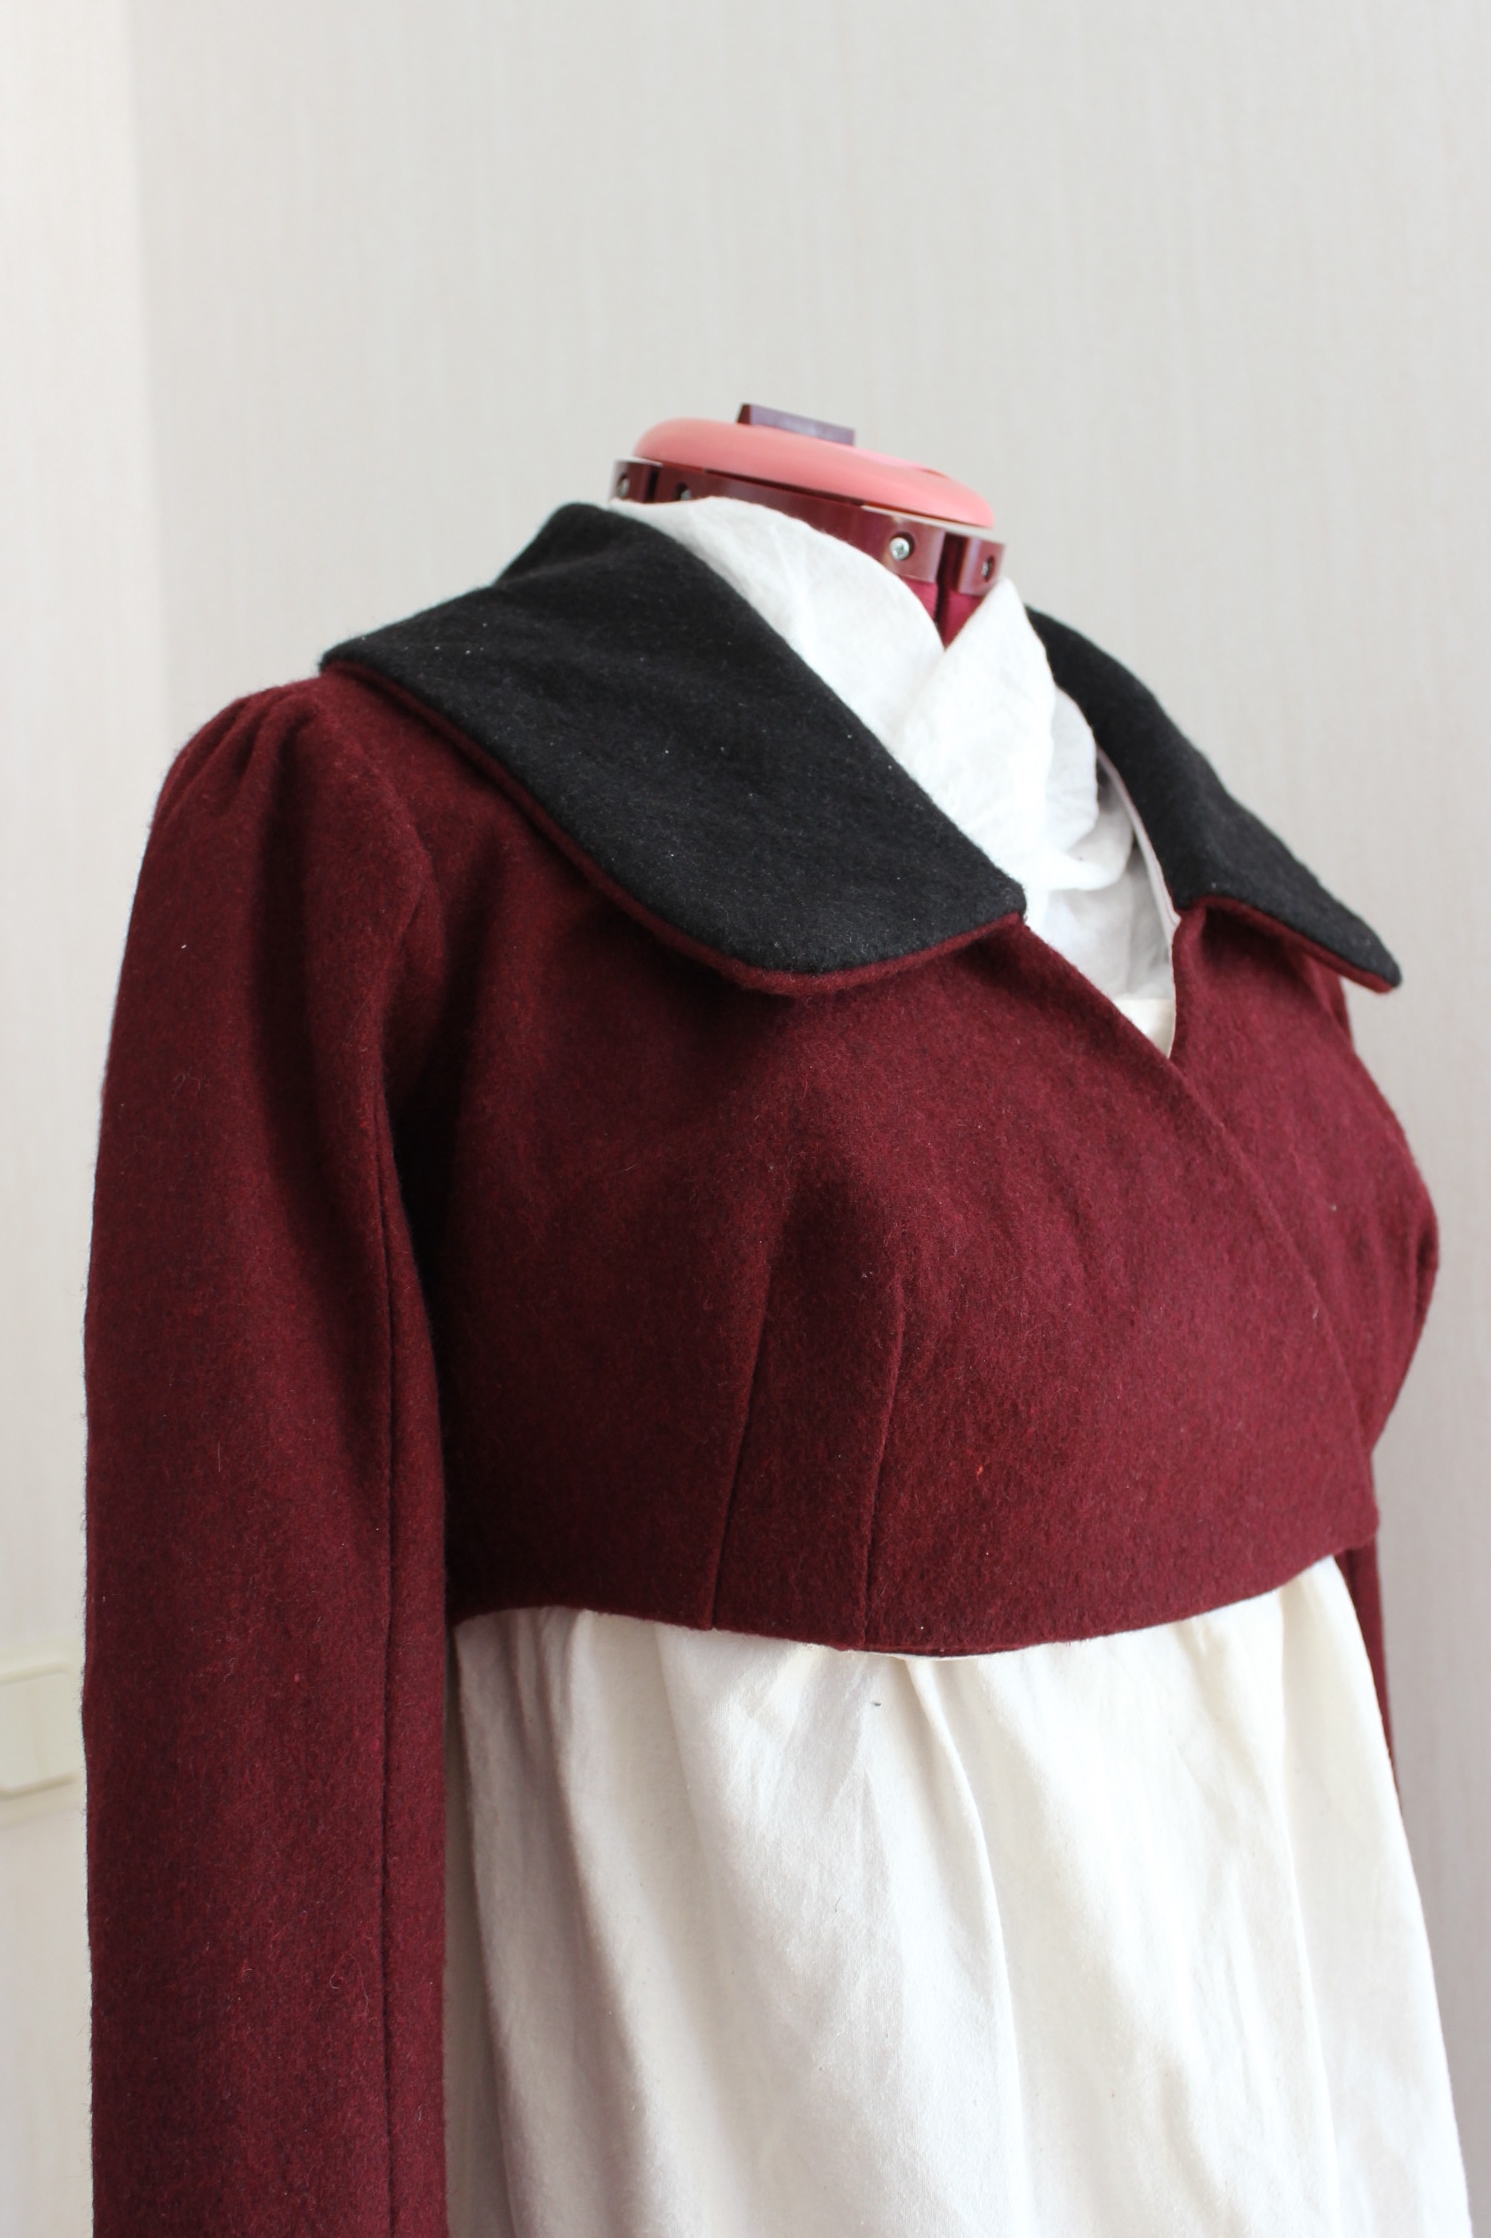
The finished Spencer:


All the facts:
Challenge: Nr 3/2017 “The great Outdoors”
What: a 1800-1830s Regency spencer.
How it fit the challenge: It’s a wool jacket meent to be worn outdoors. The color (and my accessories) also makes it perfect as a riding outfit.
Pattern: Laughing Moon 129 “Ladies wraping front Spencer”
Fabric and notions: 1,5 m burgundy colored wool, scraps of black wool, 1,5m white cotton for lining, thread, 2 pair of hooks and eyes.
How historical accurate: So so. The Pattern and material are all good, but it is made entirely by machine using modern construction techniques. Strictly speaking it would be a 5/10, but since people of the period wouldn’t notice the machine stitched seams unless they were rely close I say 8/10.
Time: About 6-7 hours. It took me a week to make du to needed to wait for baby to sleep, but I’m confident I could whip one up in less then a day if I could work without interruptions.
Cost: Everything came from stash, but bought anew it would have cost about 150-200sek (20Usd).
First worn: Late mars for photos.
Final thoughts: I love it! I felt so nice in it, and would love to wear it as a piece in my modern wardrobe (Hm, maybe it will work well with jeans and a t-shirt…). It was also very fun and fast to make, and I’m already thinking about making a few more.
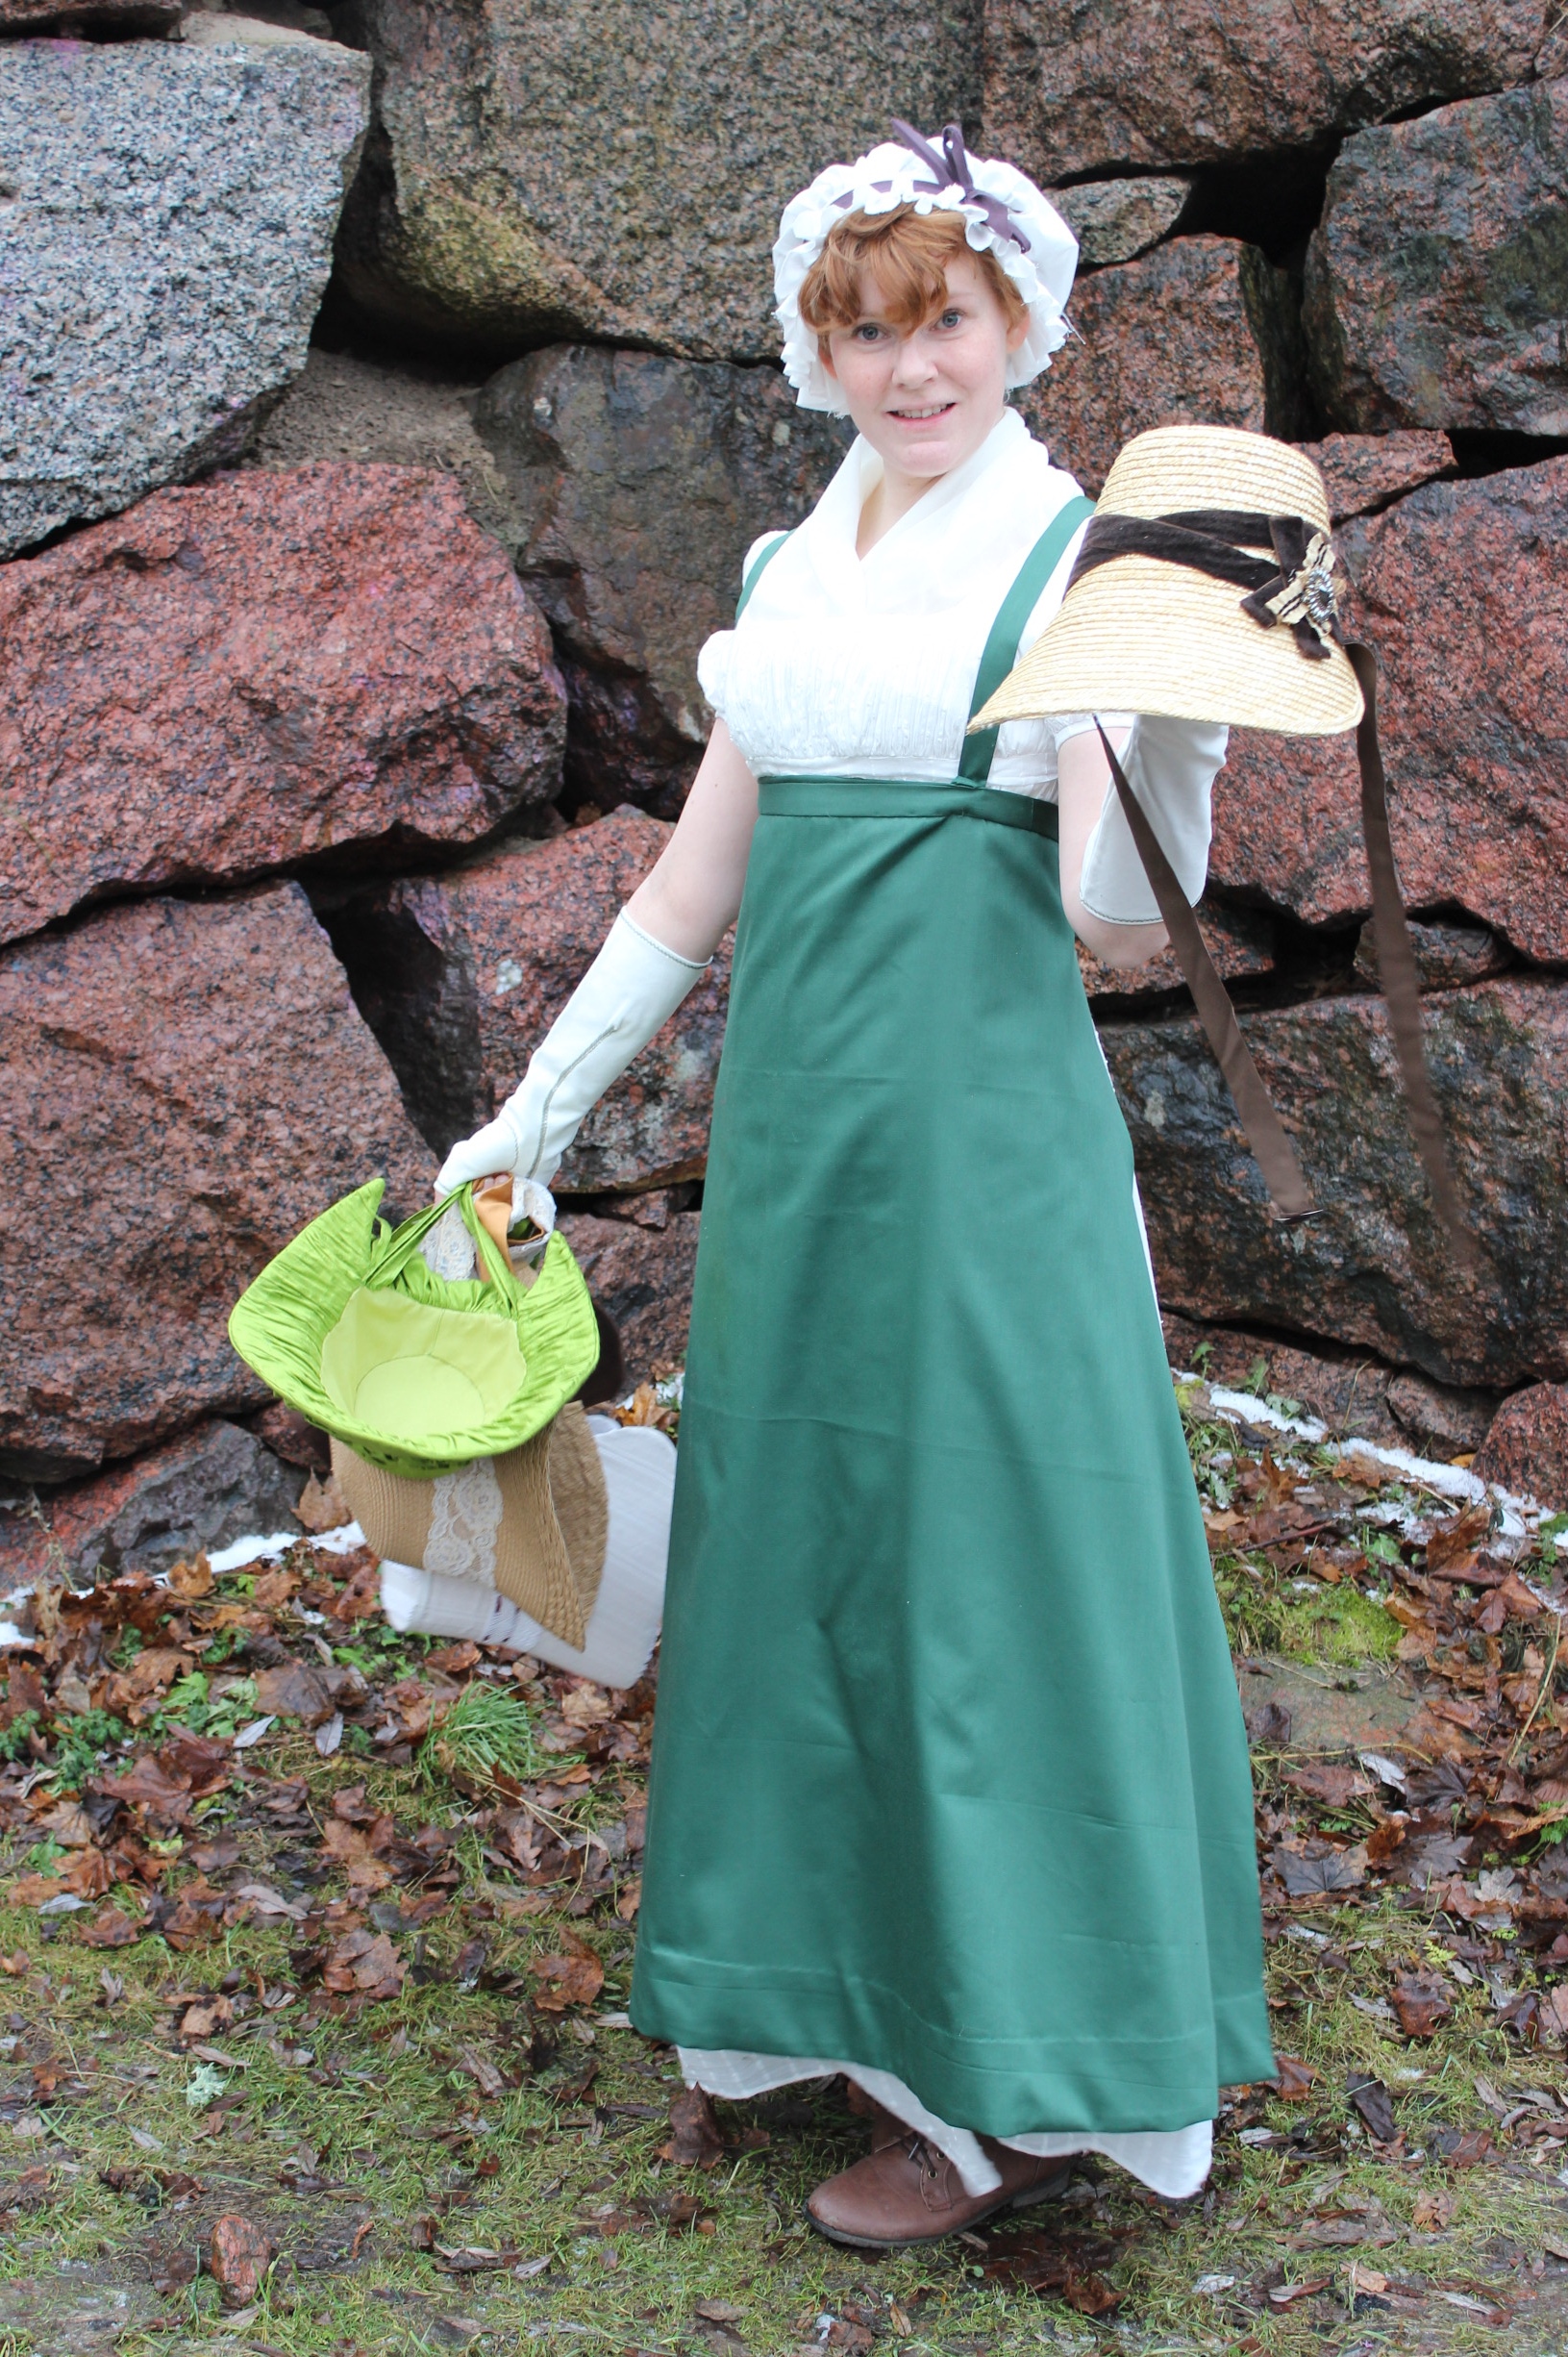
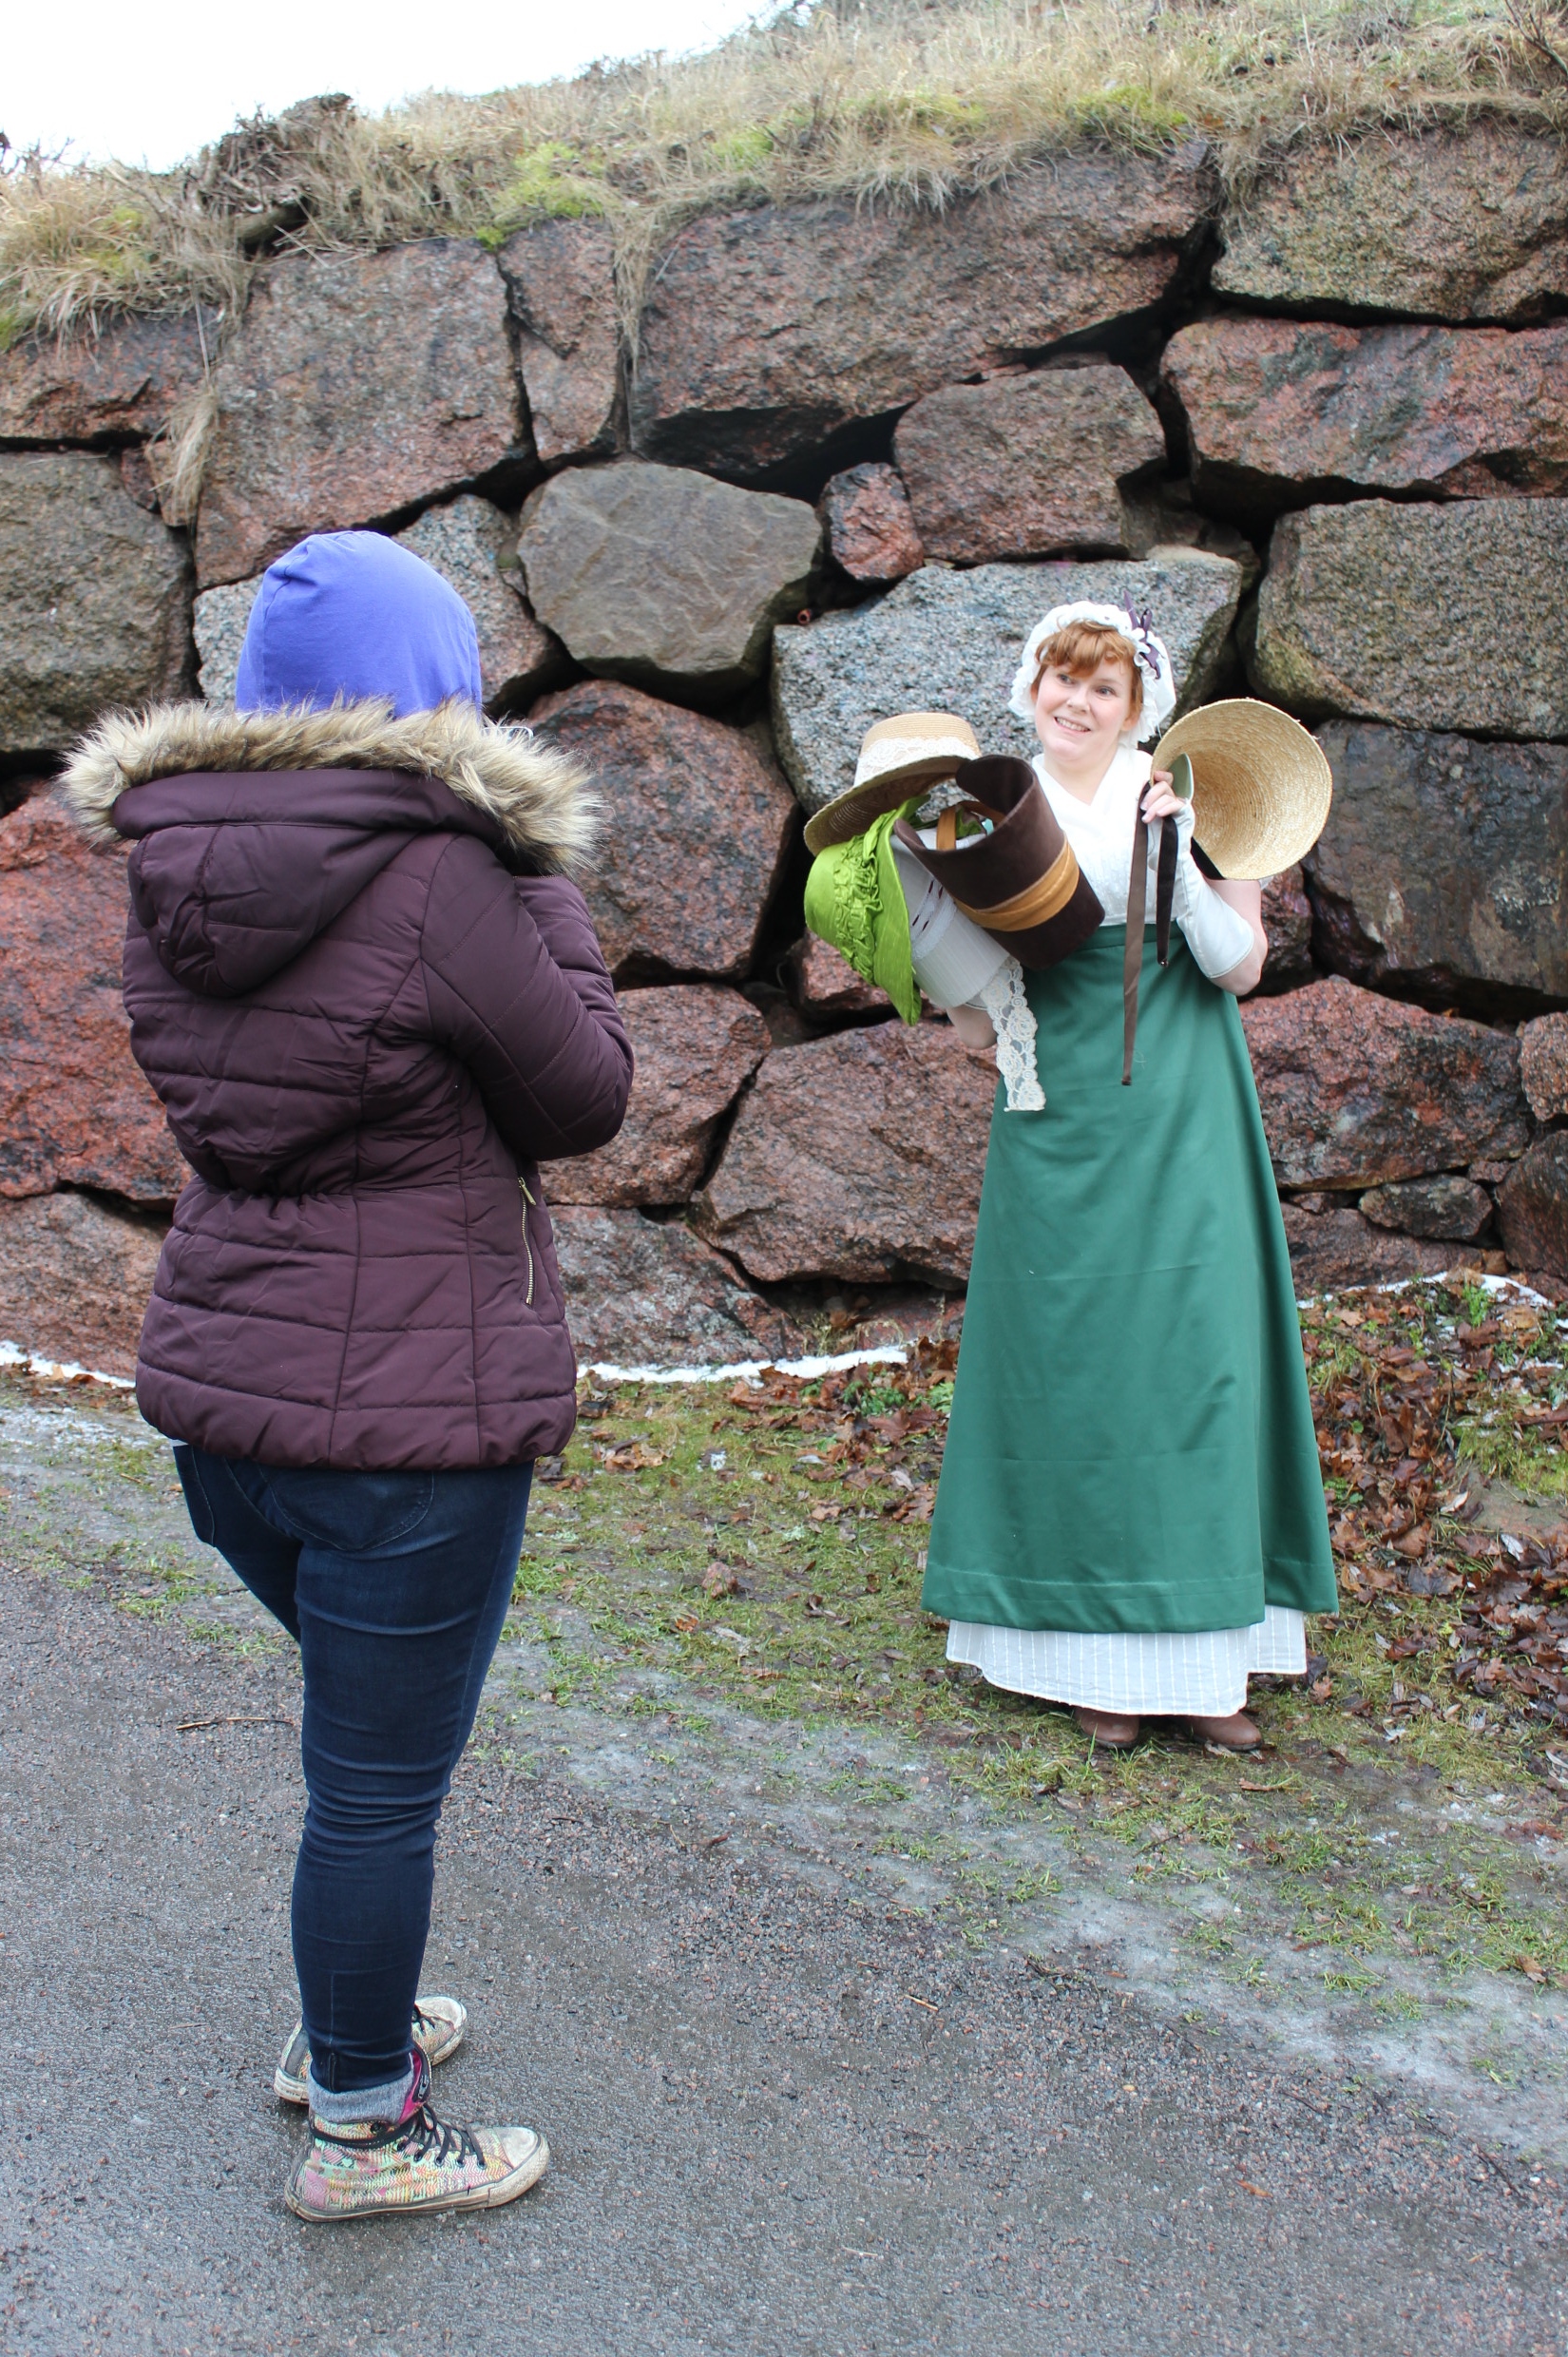
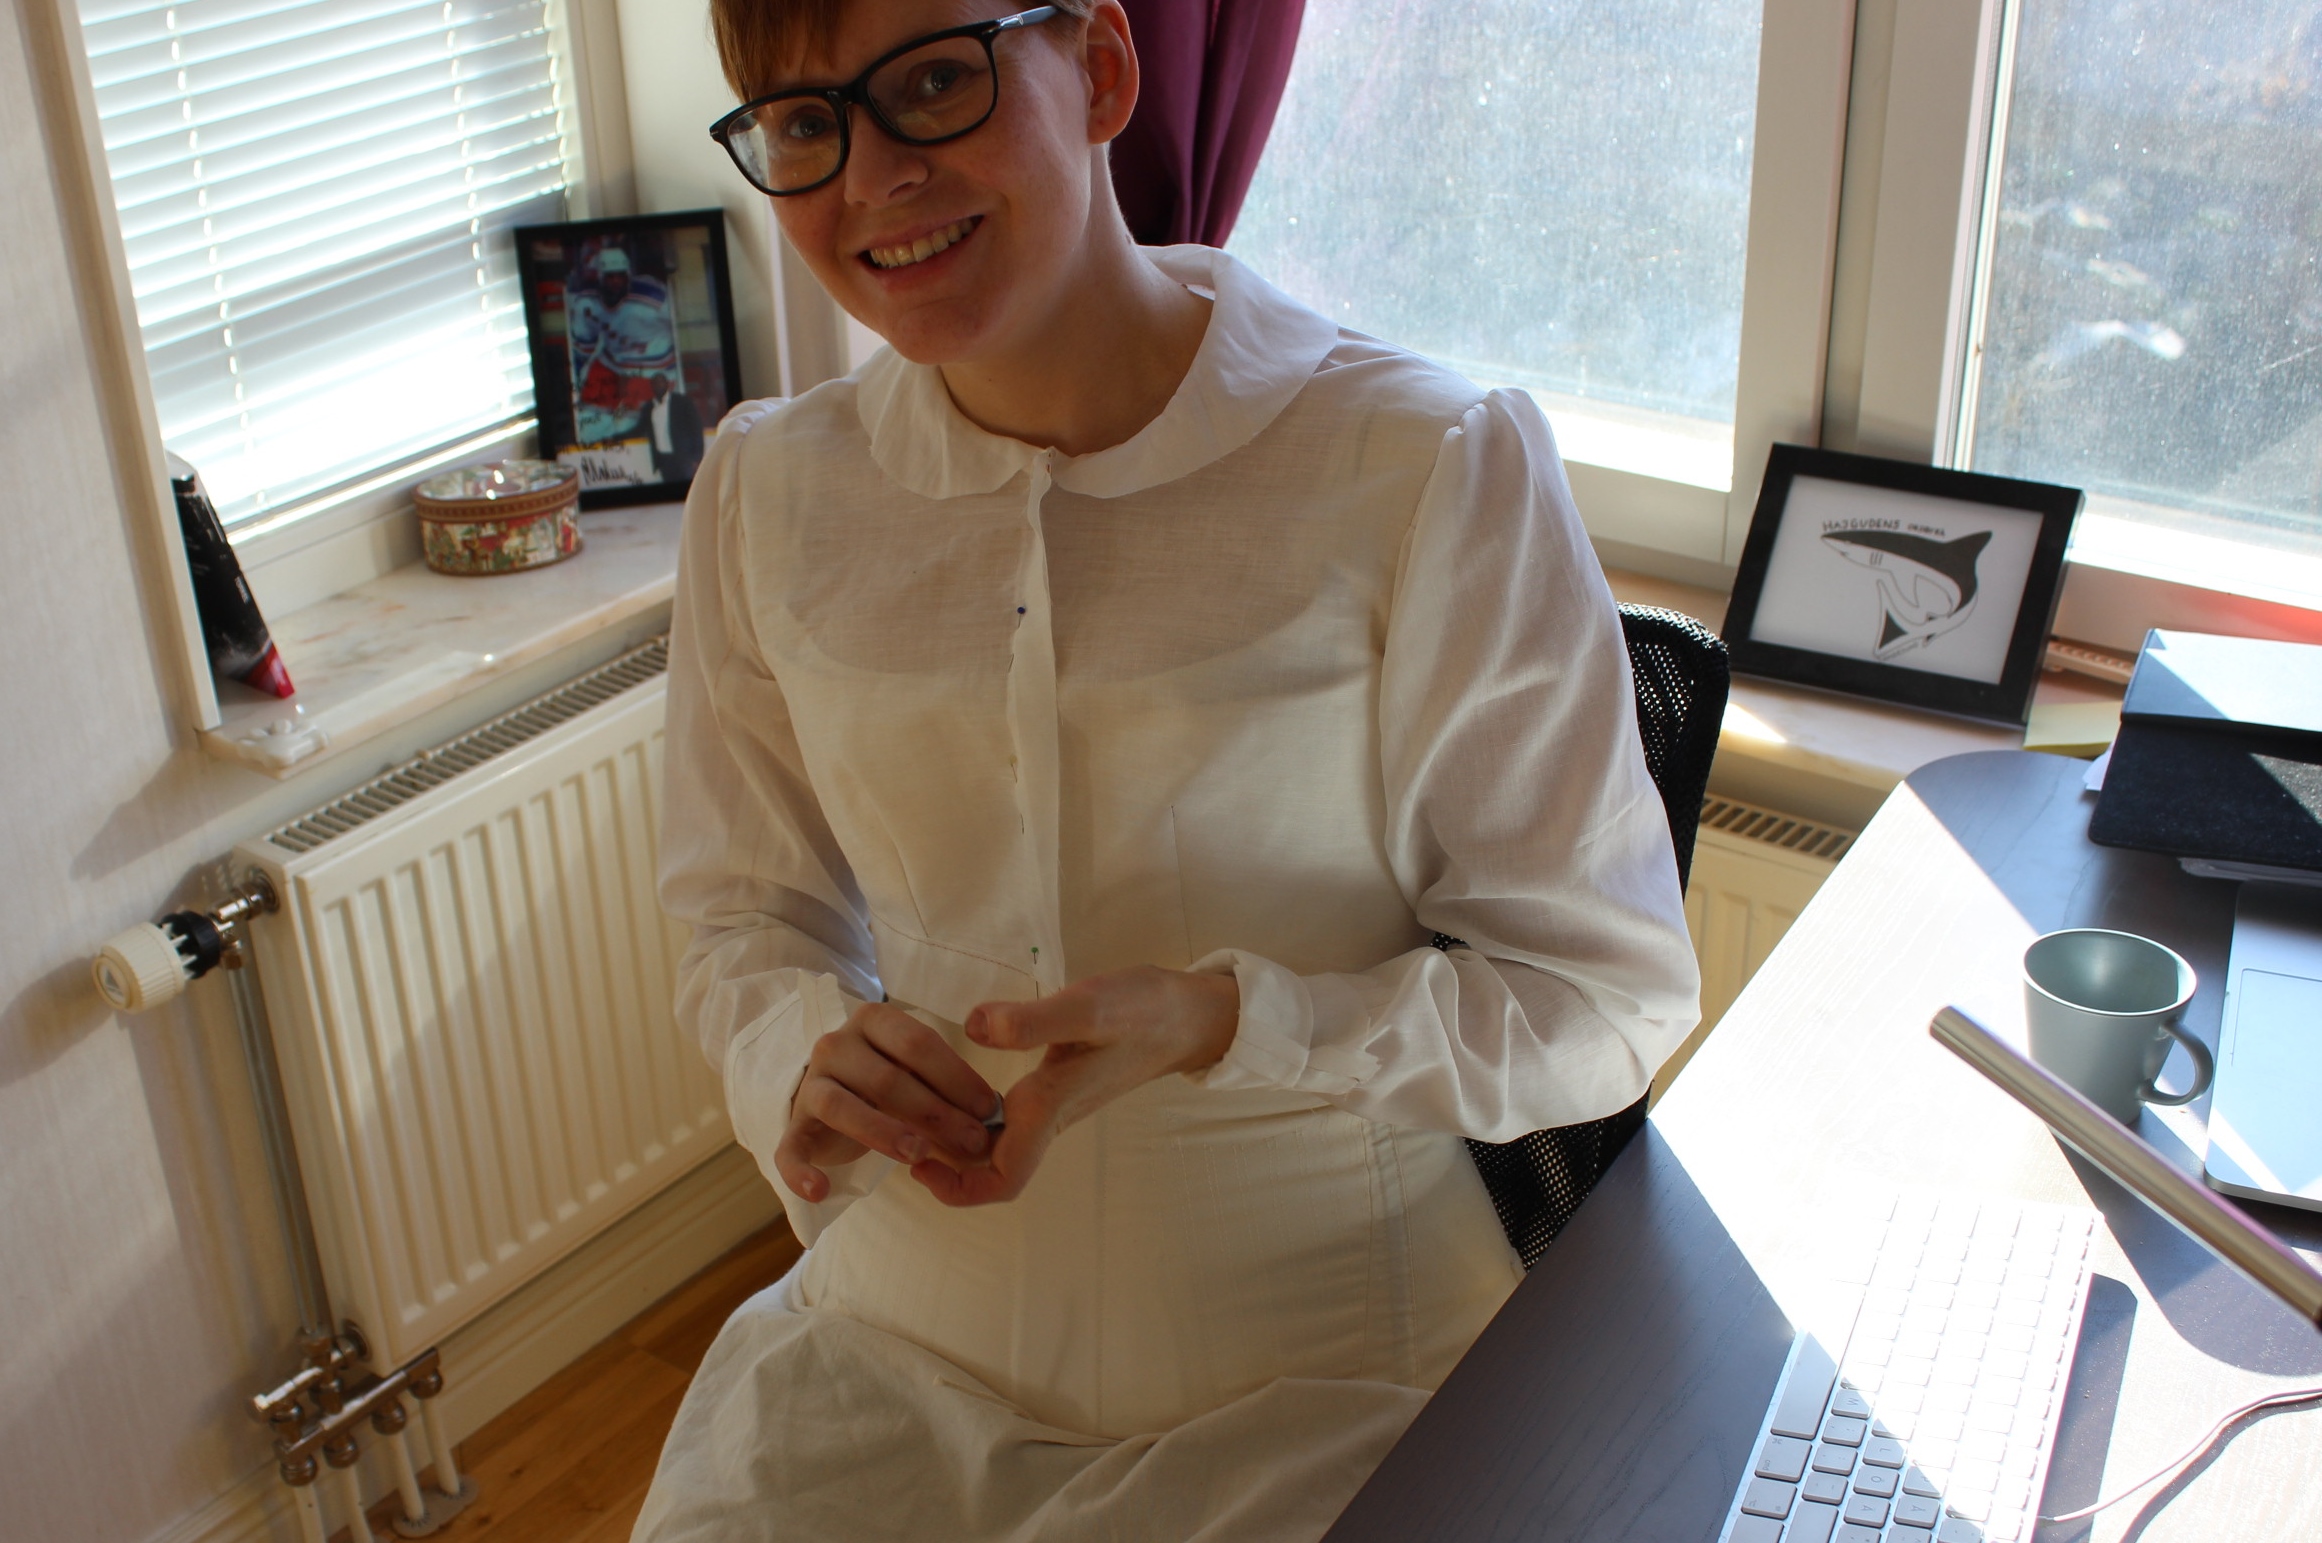
 Bonus pic of me (multitasking) trying to get some blogging done in between mock-up fittings.


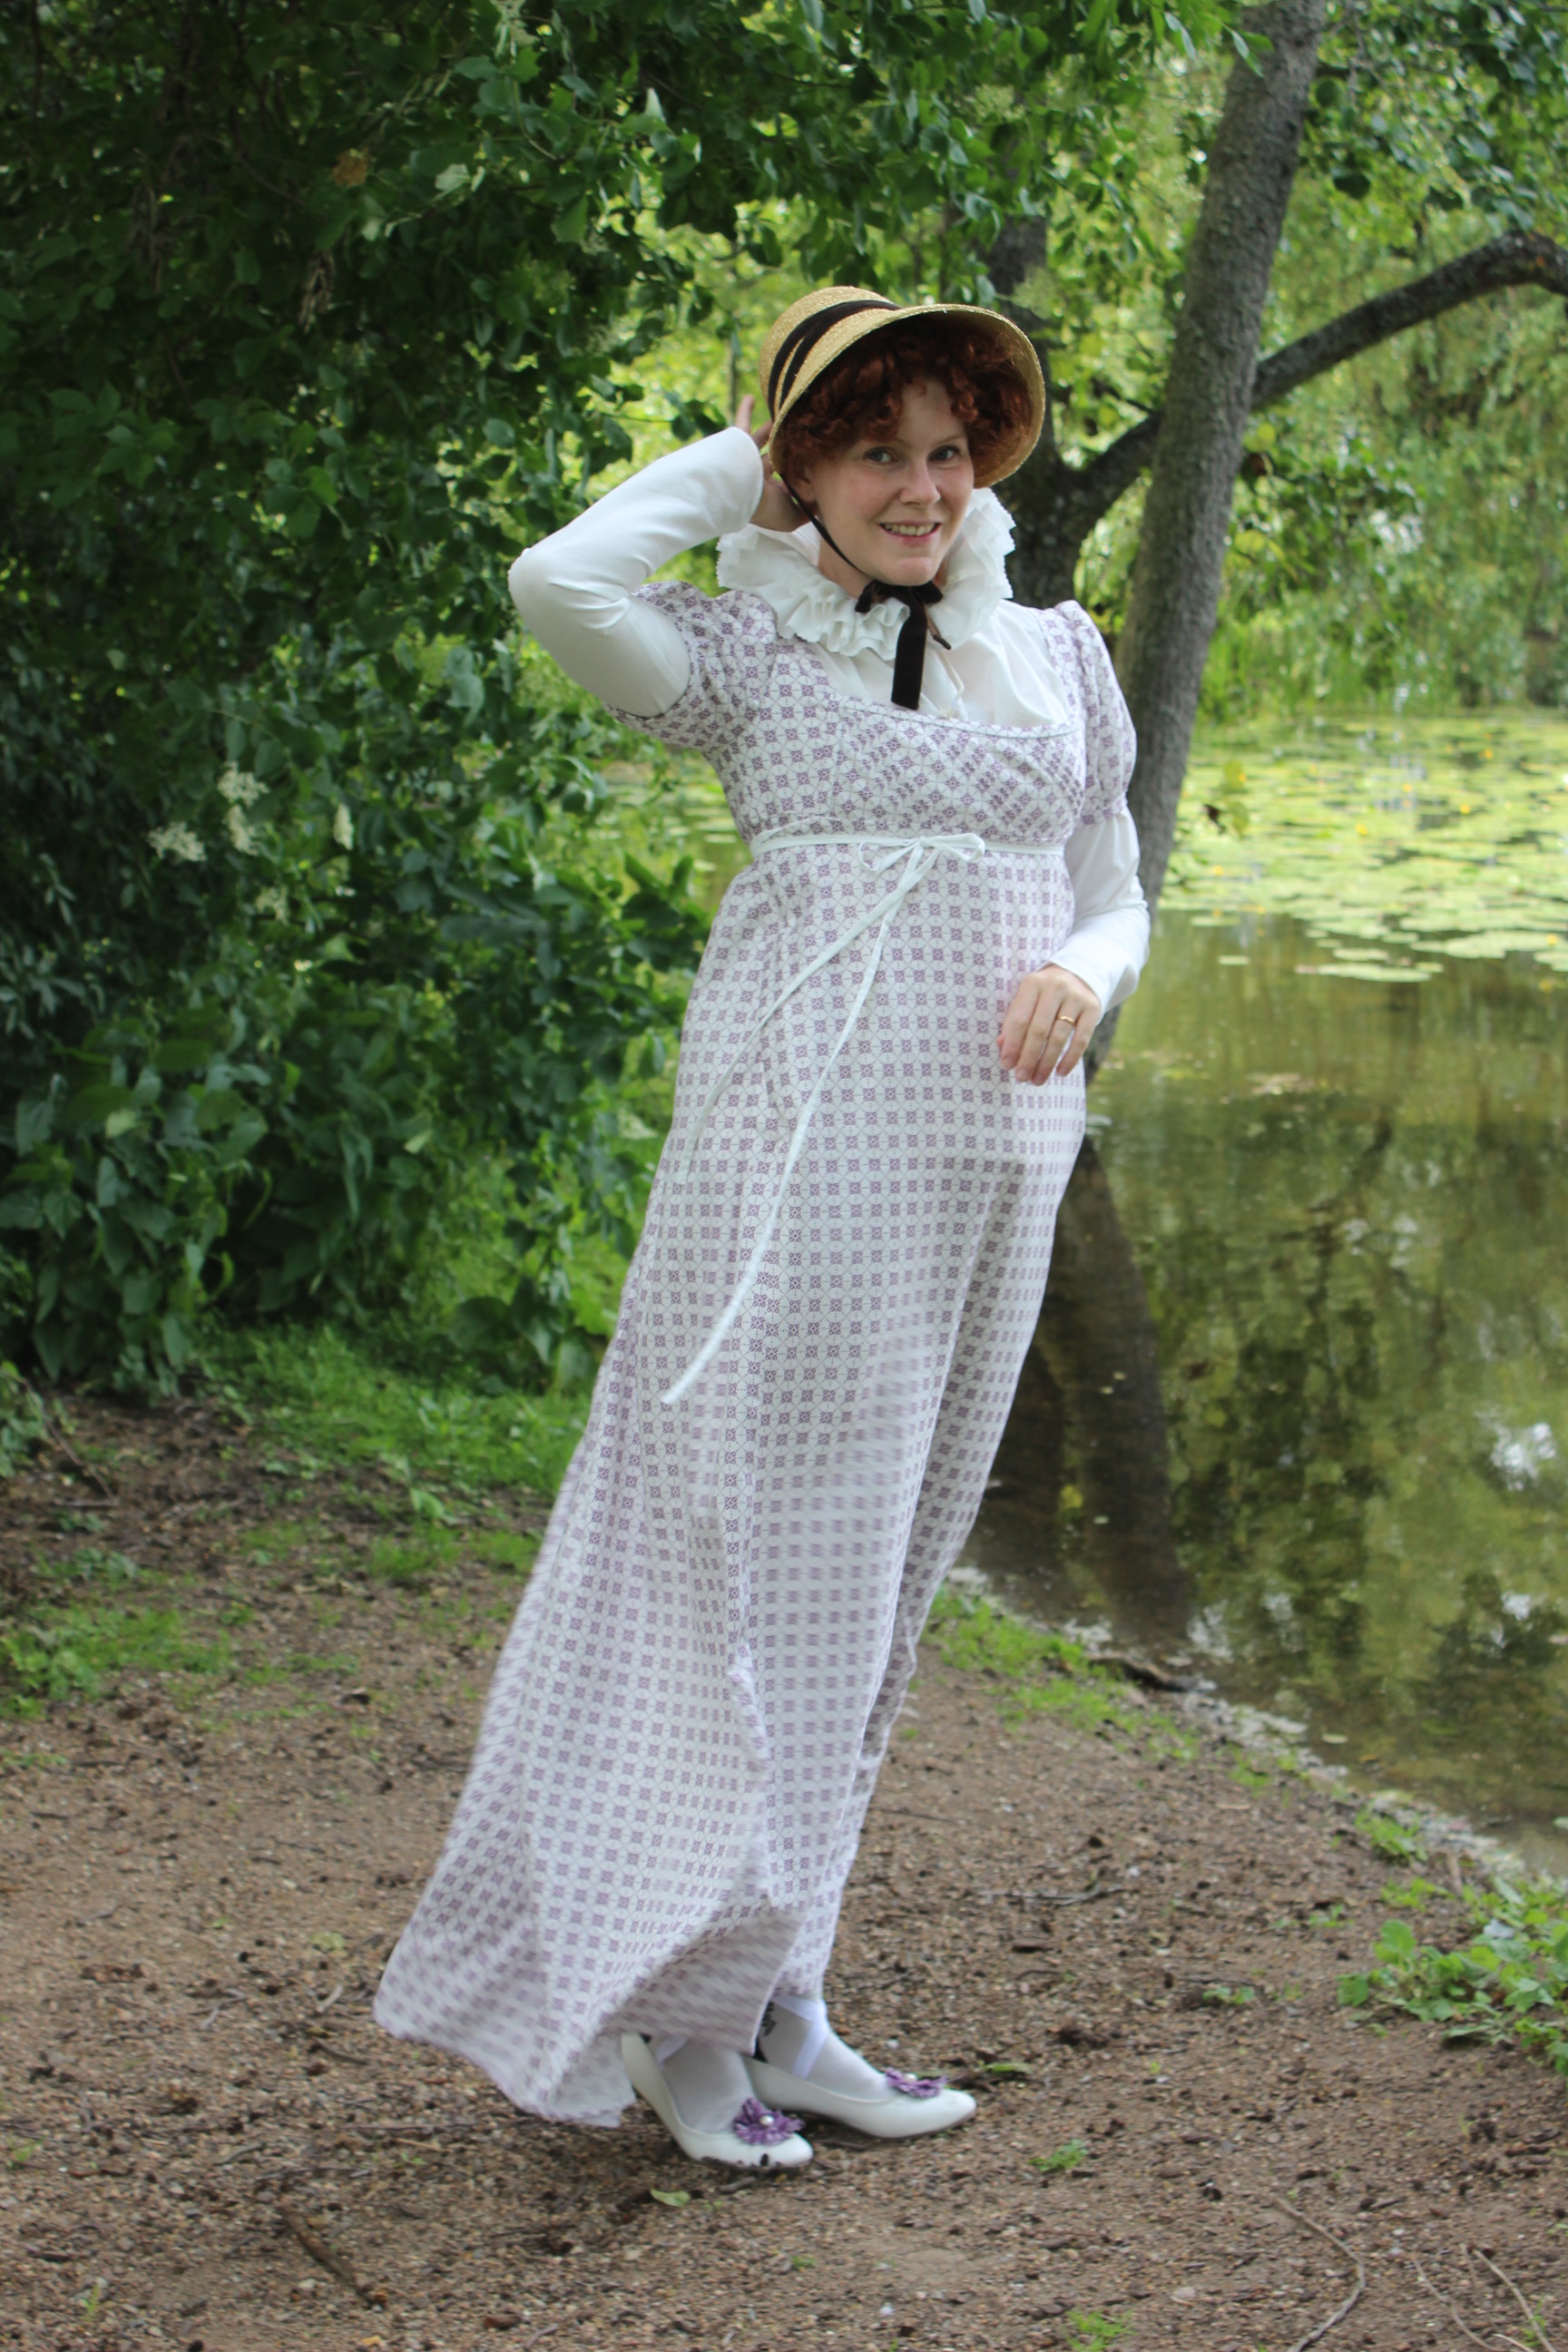
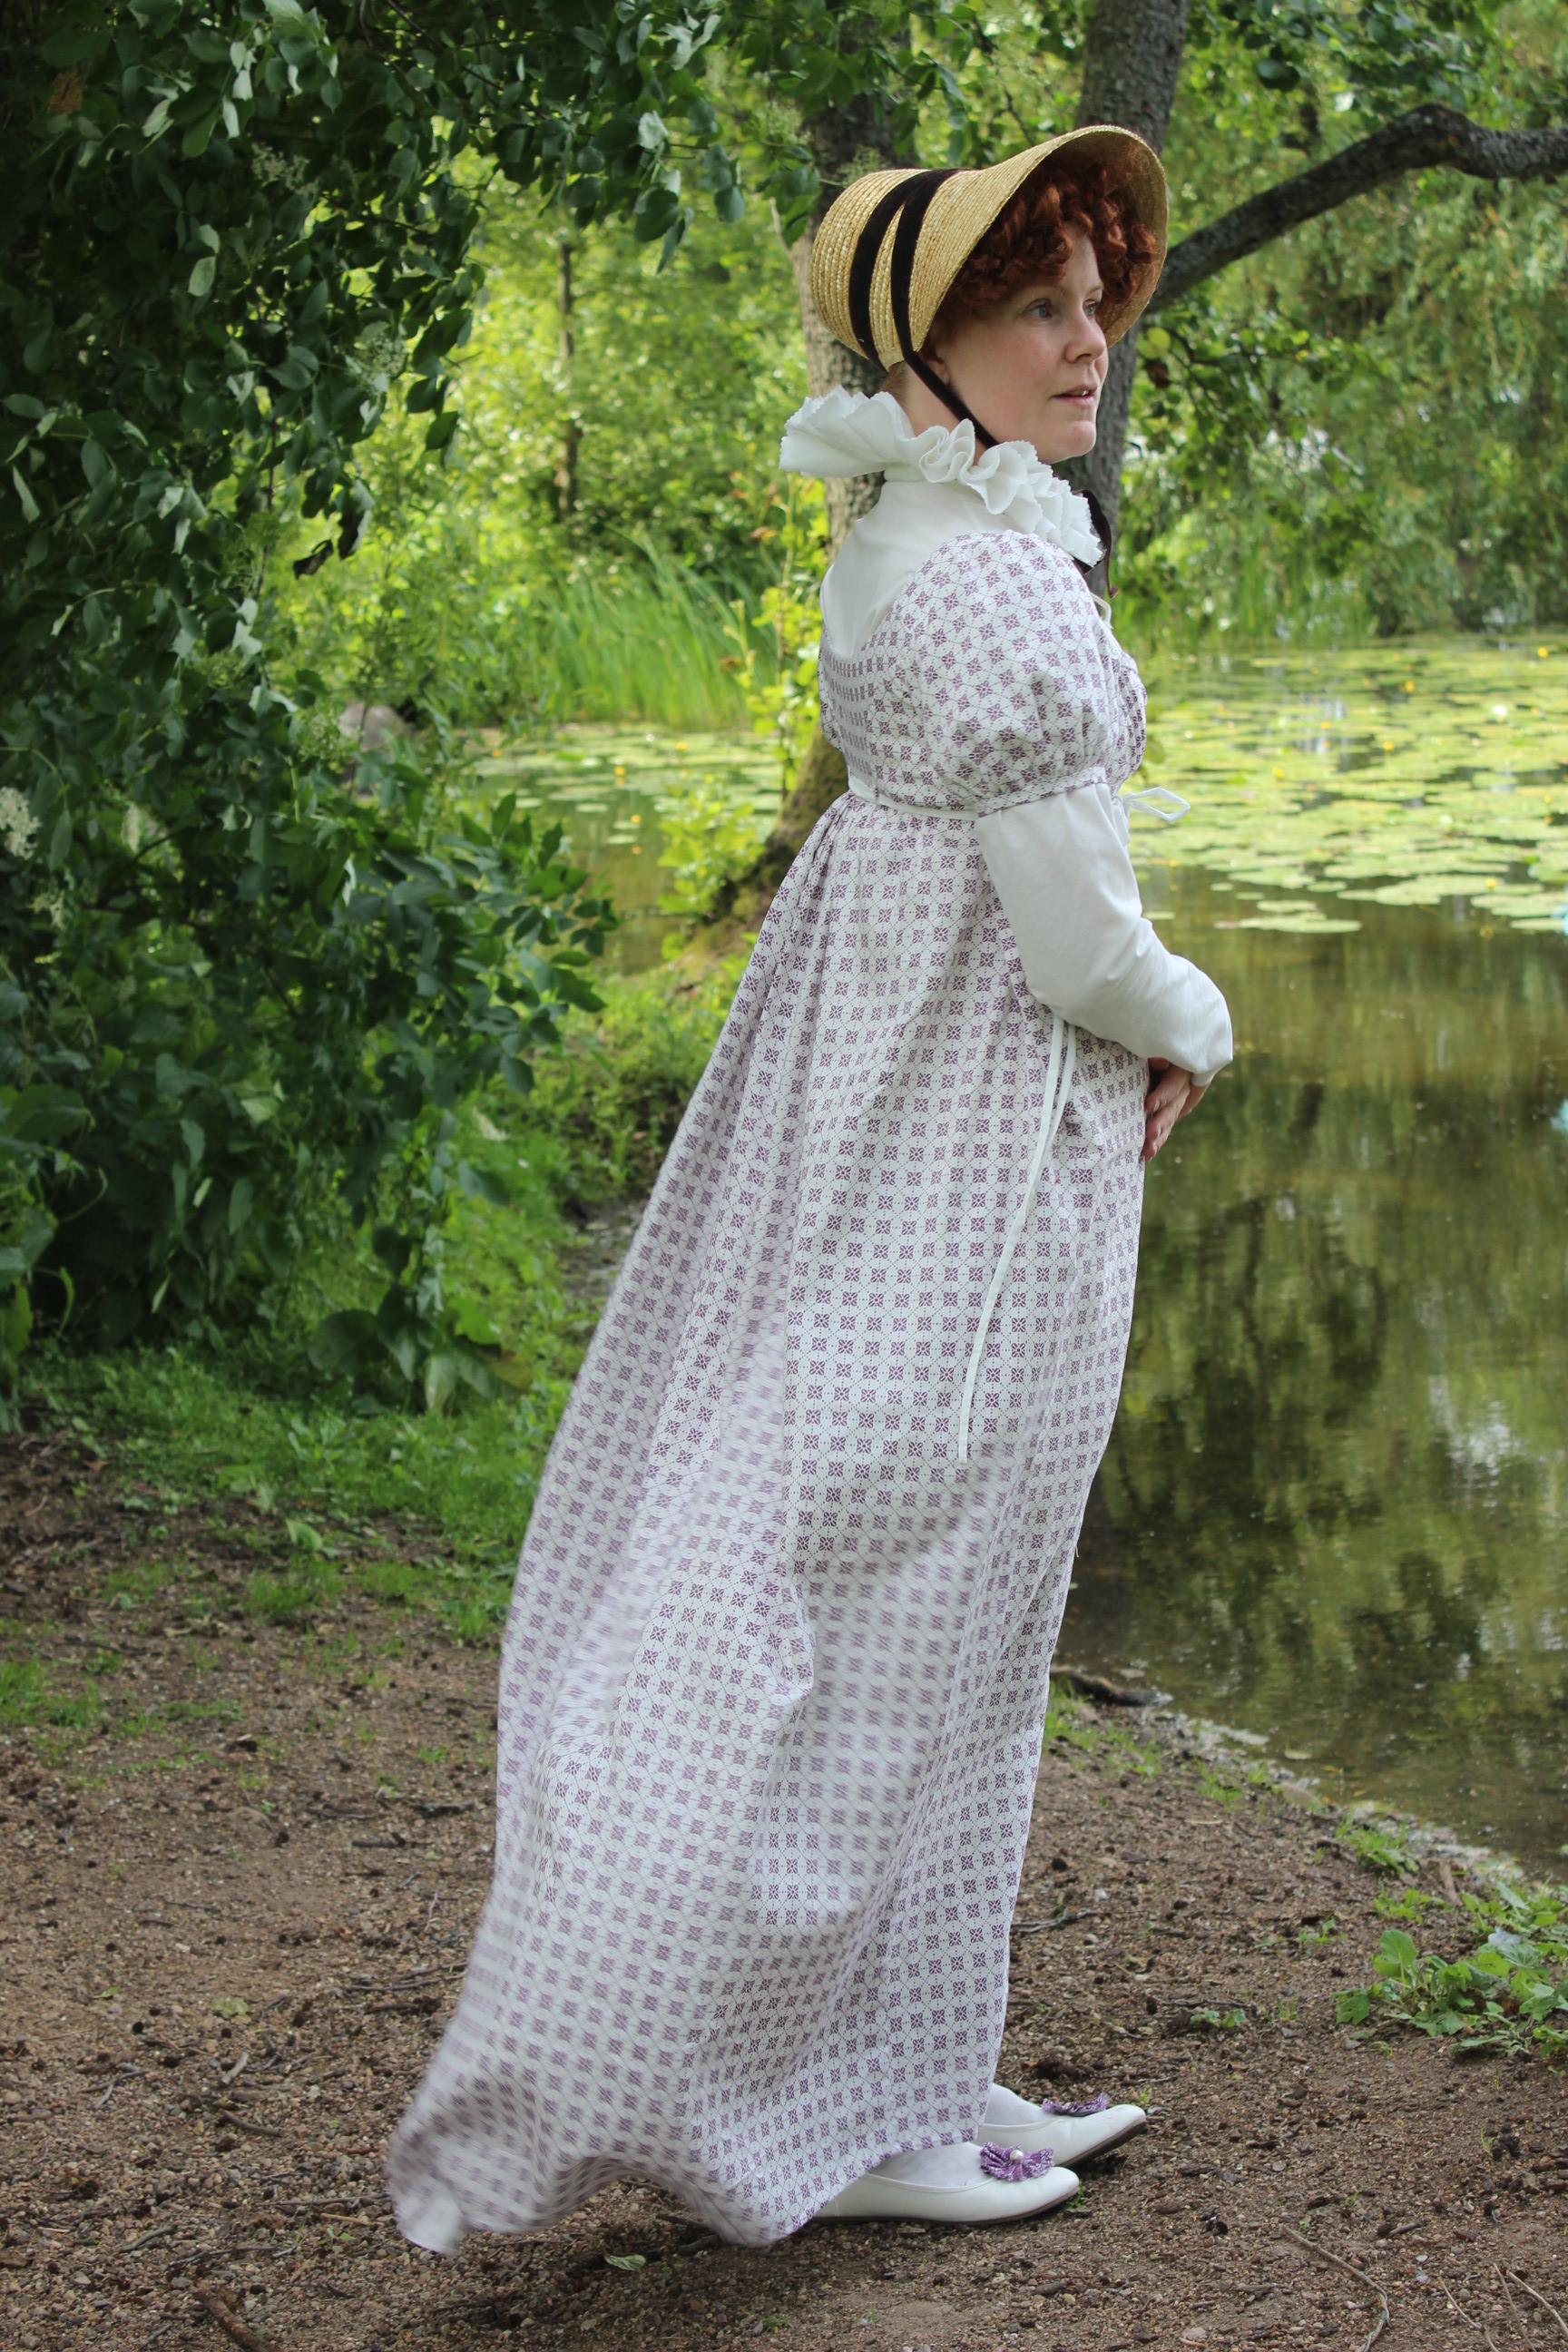
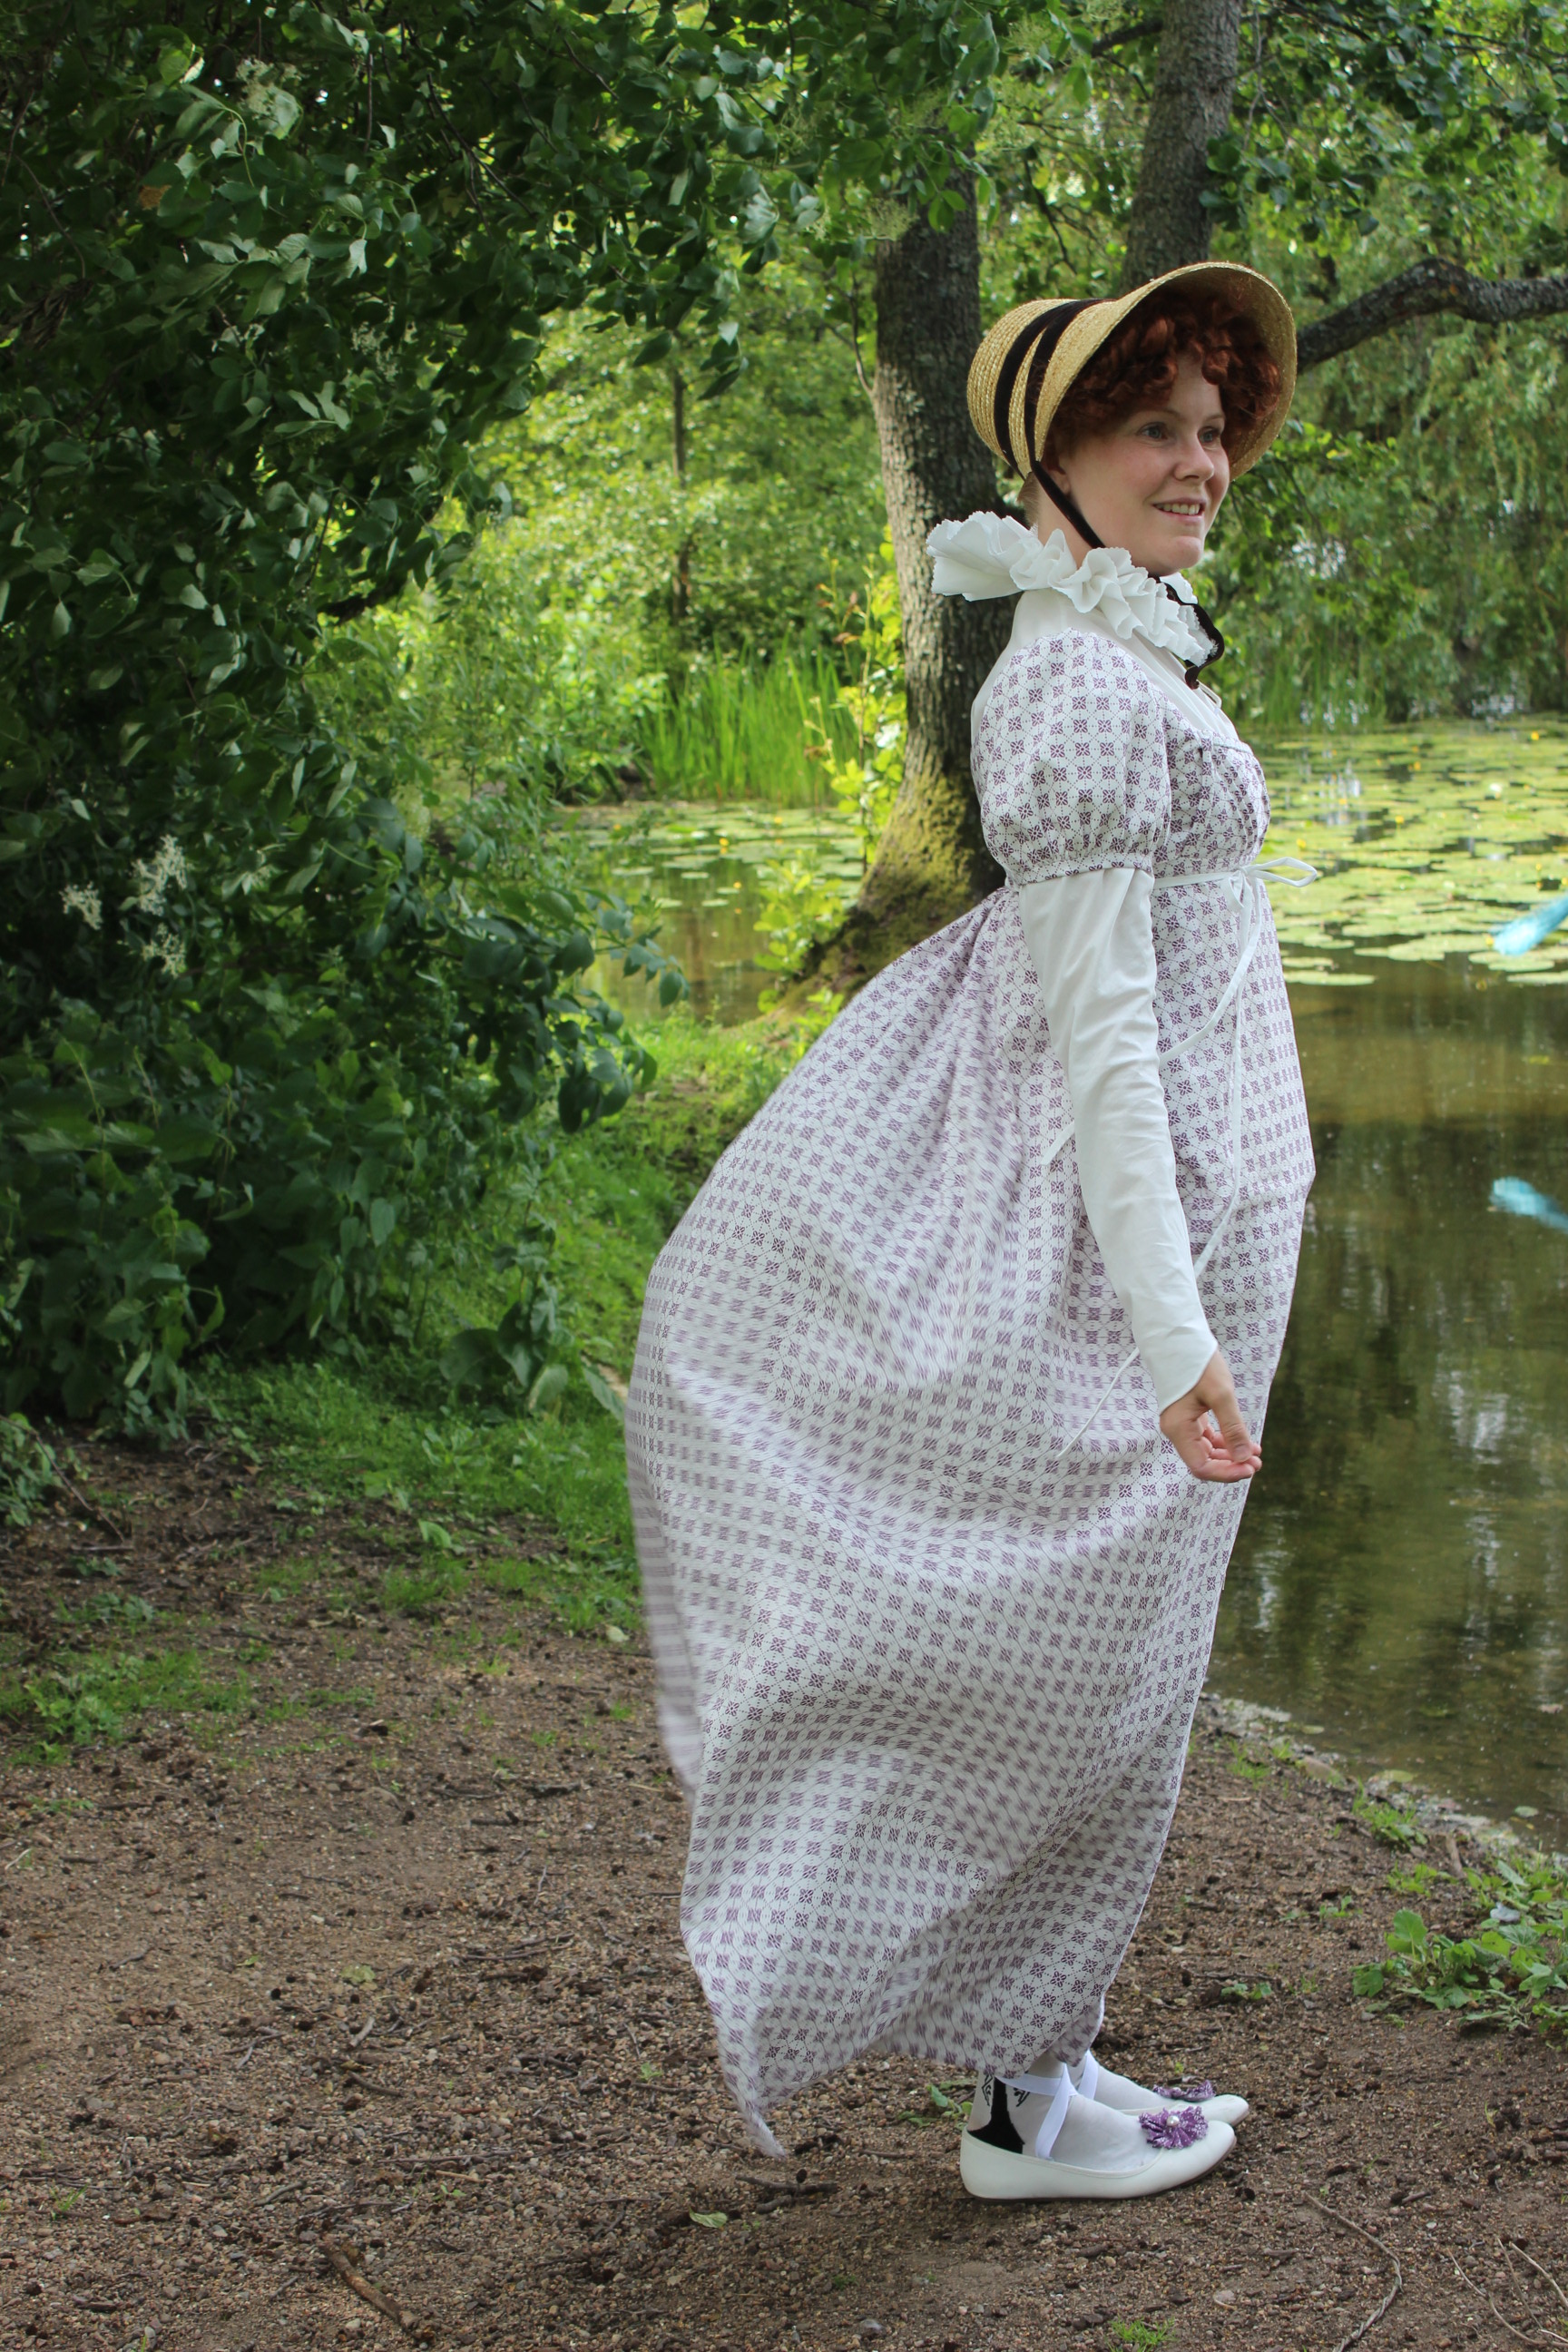
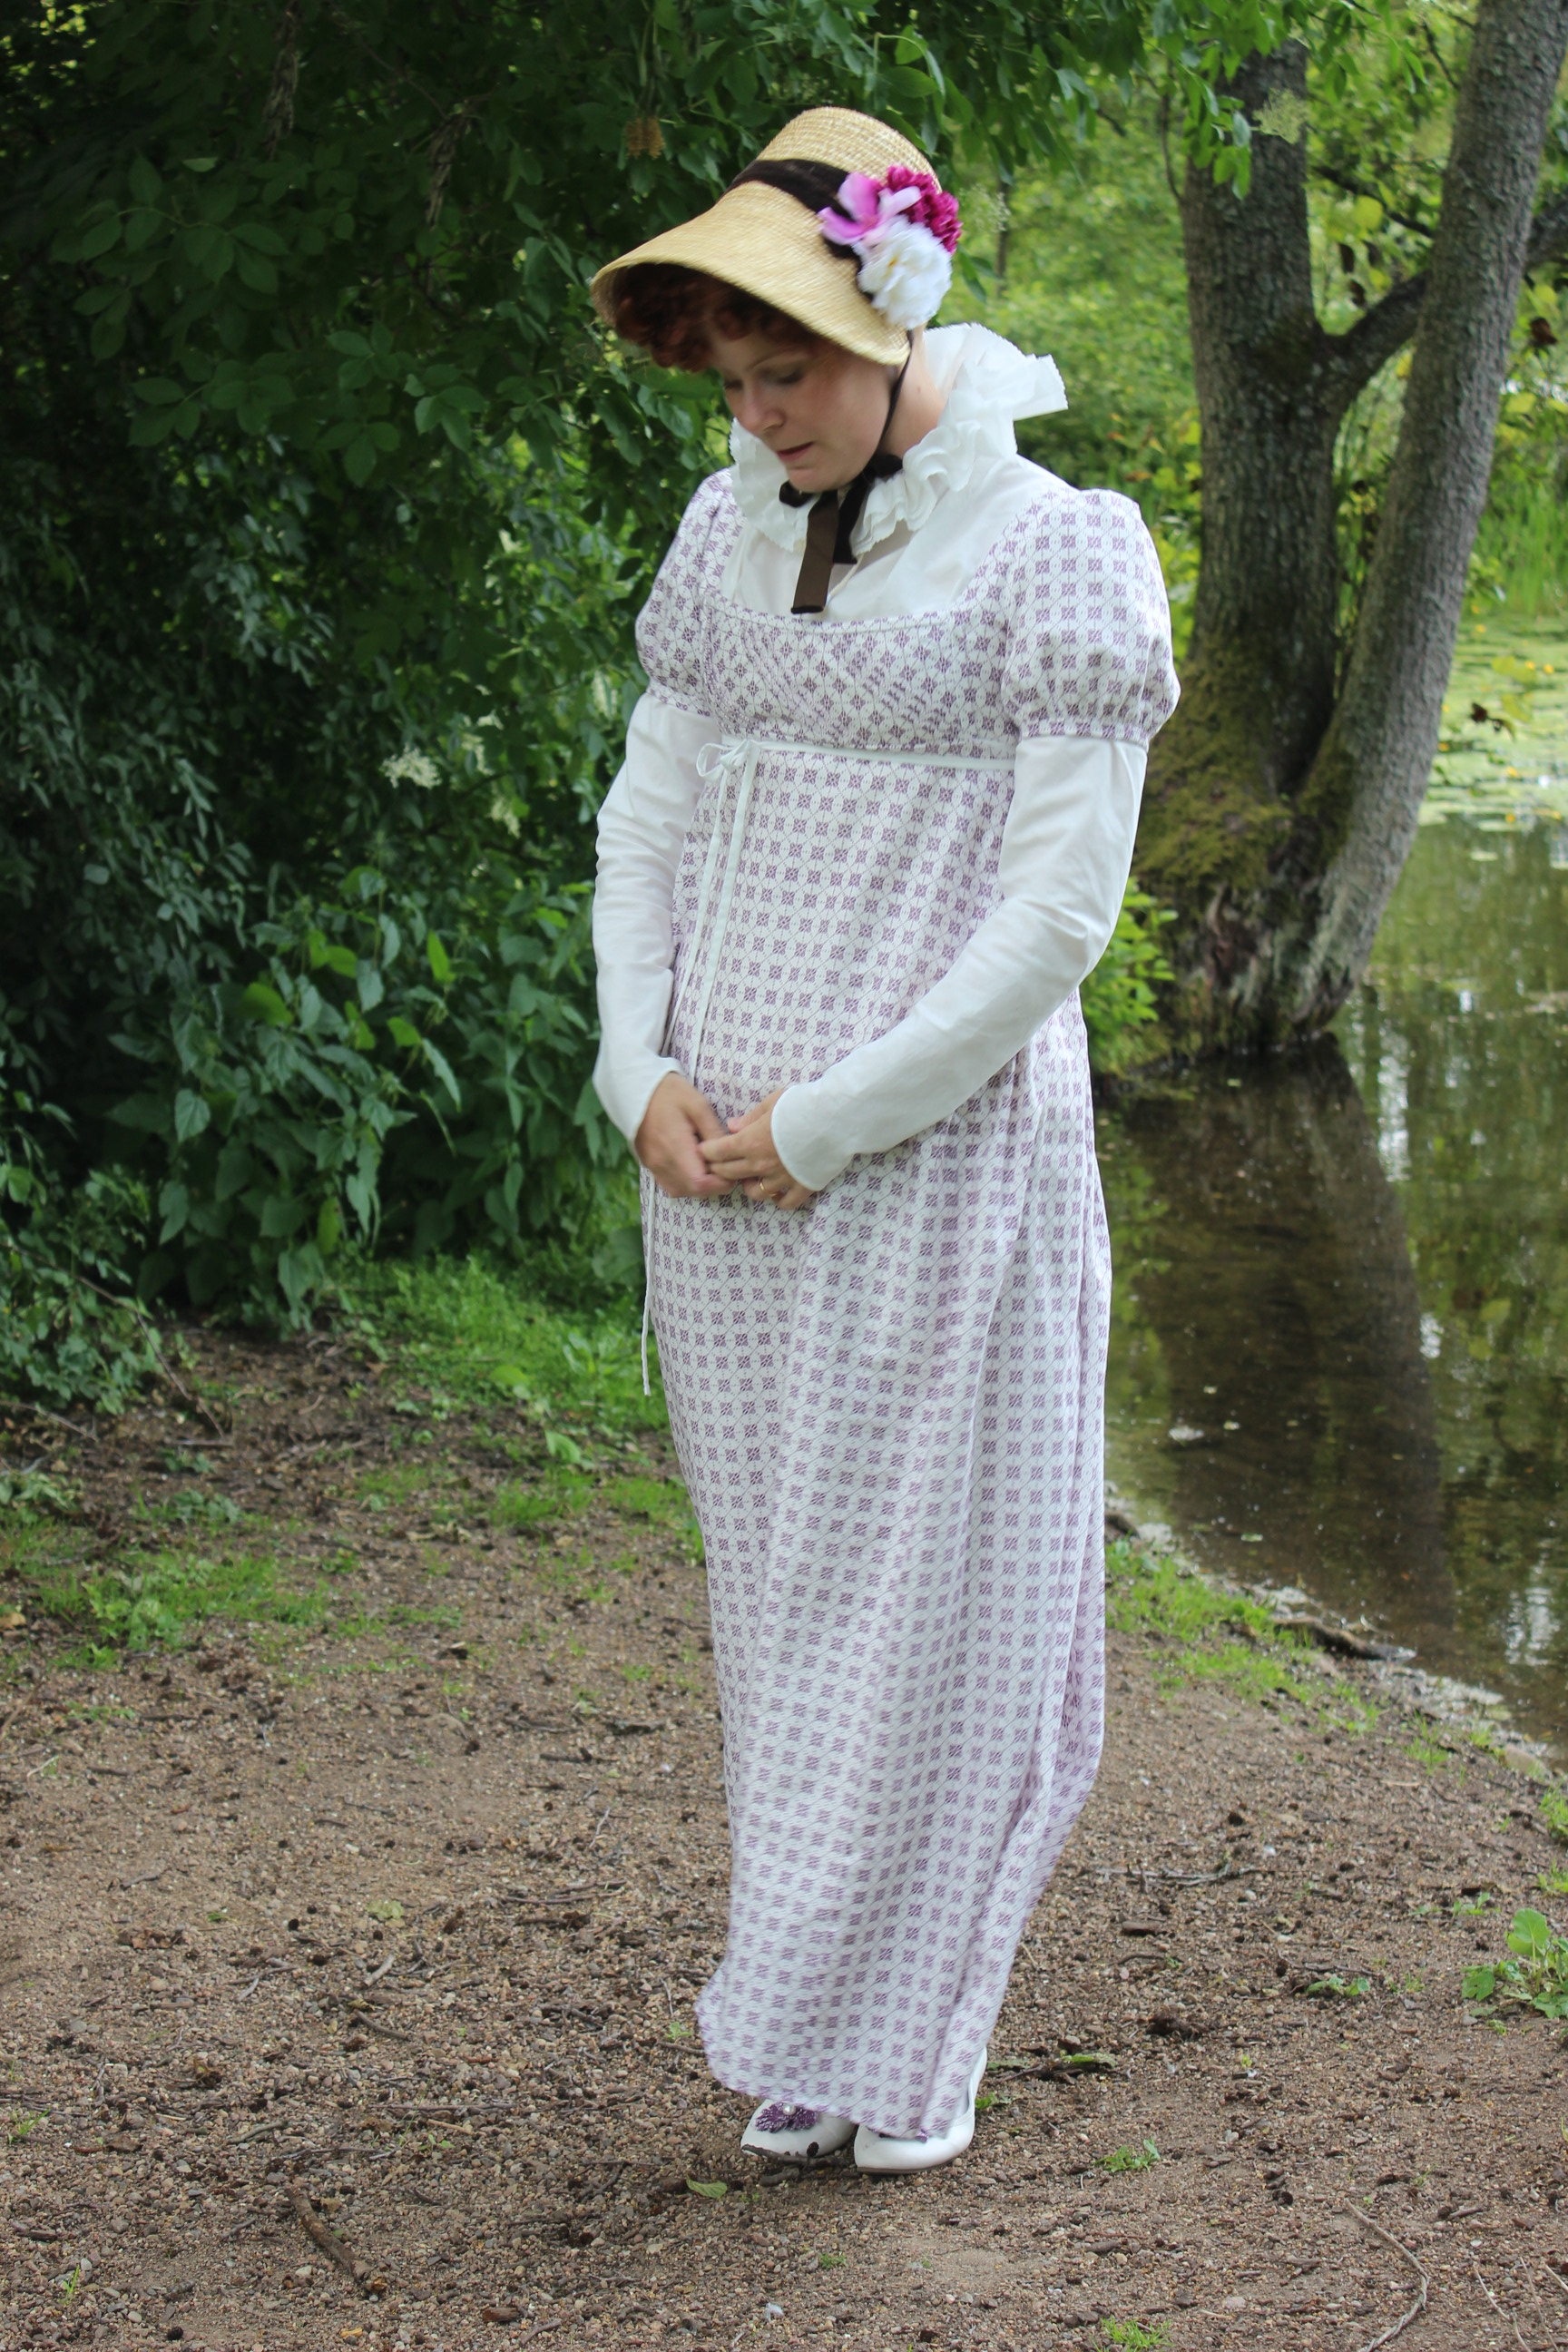
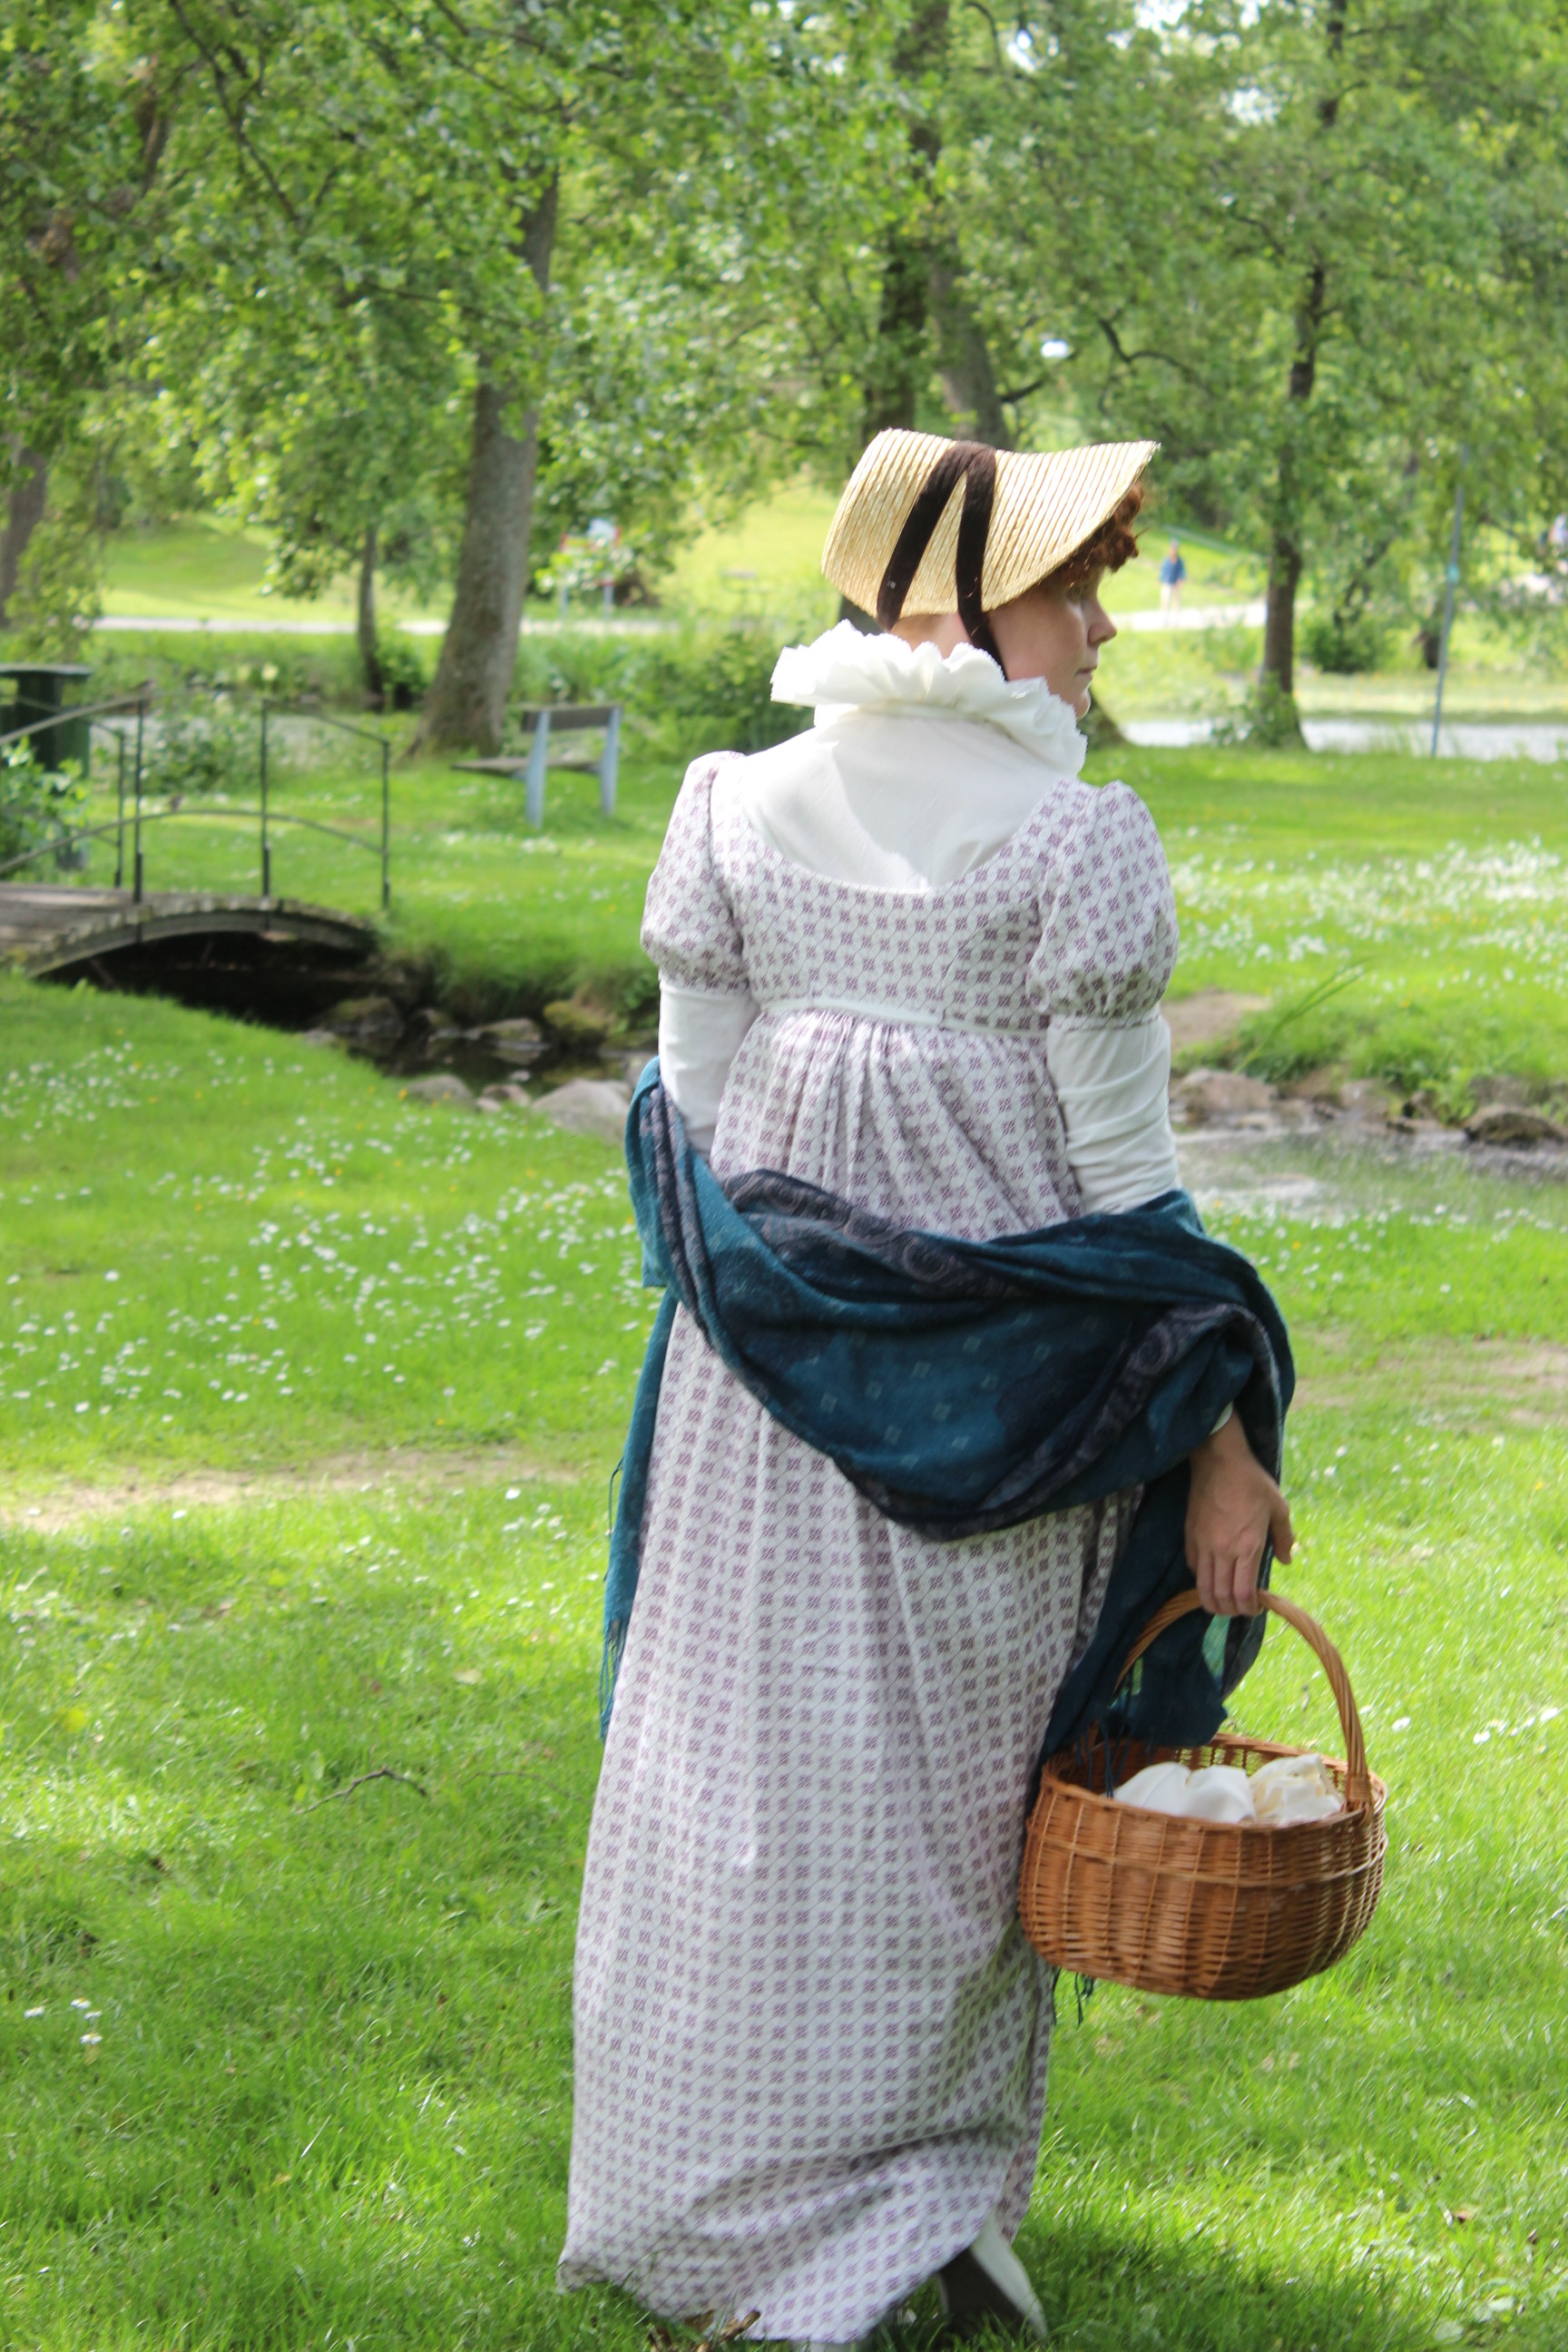
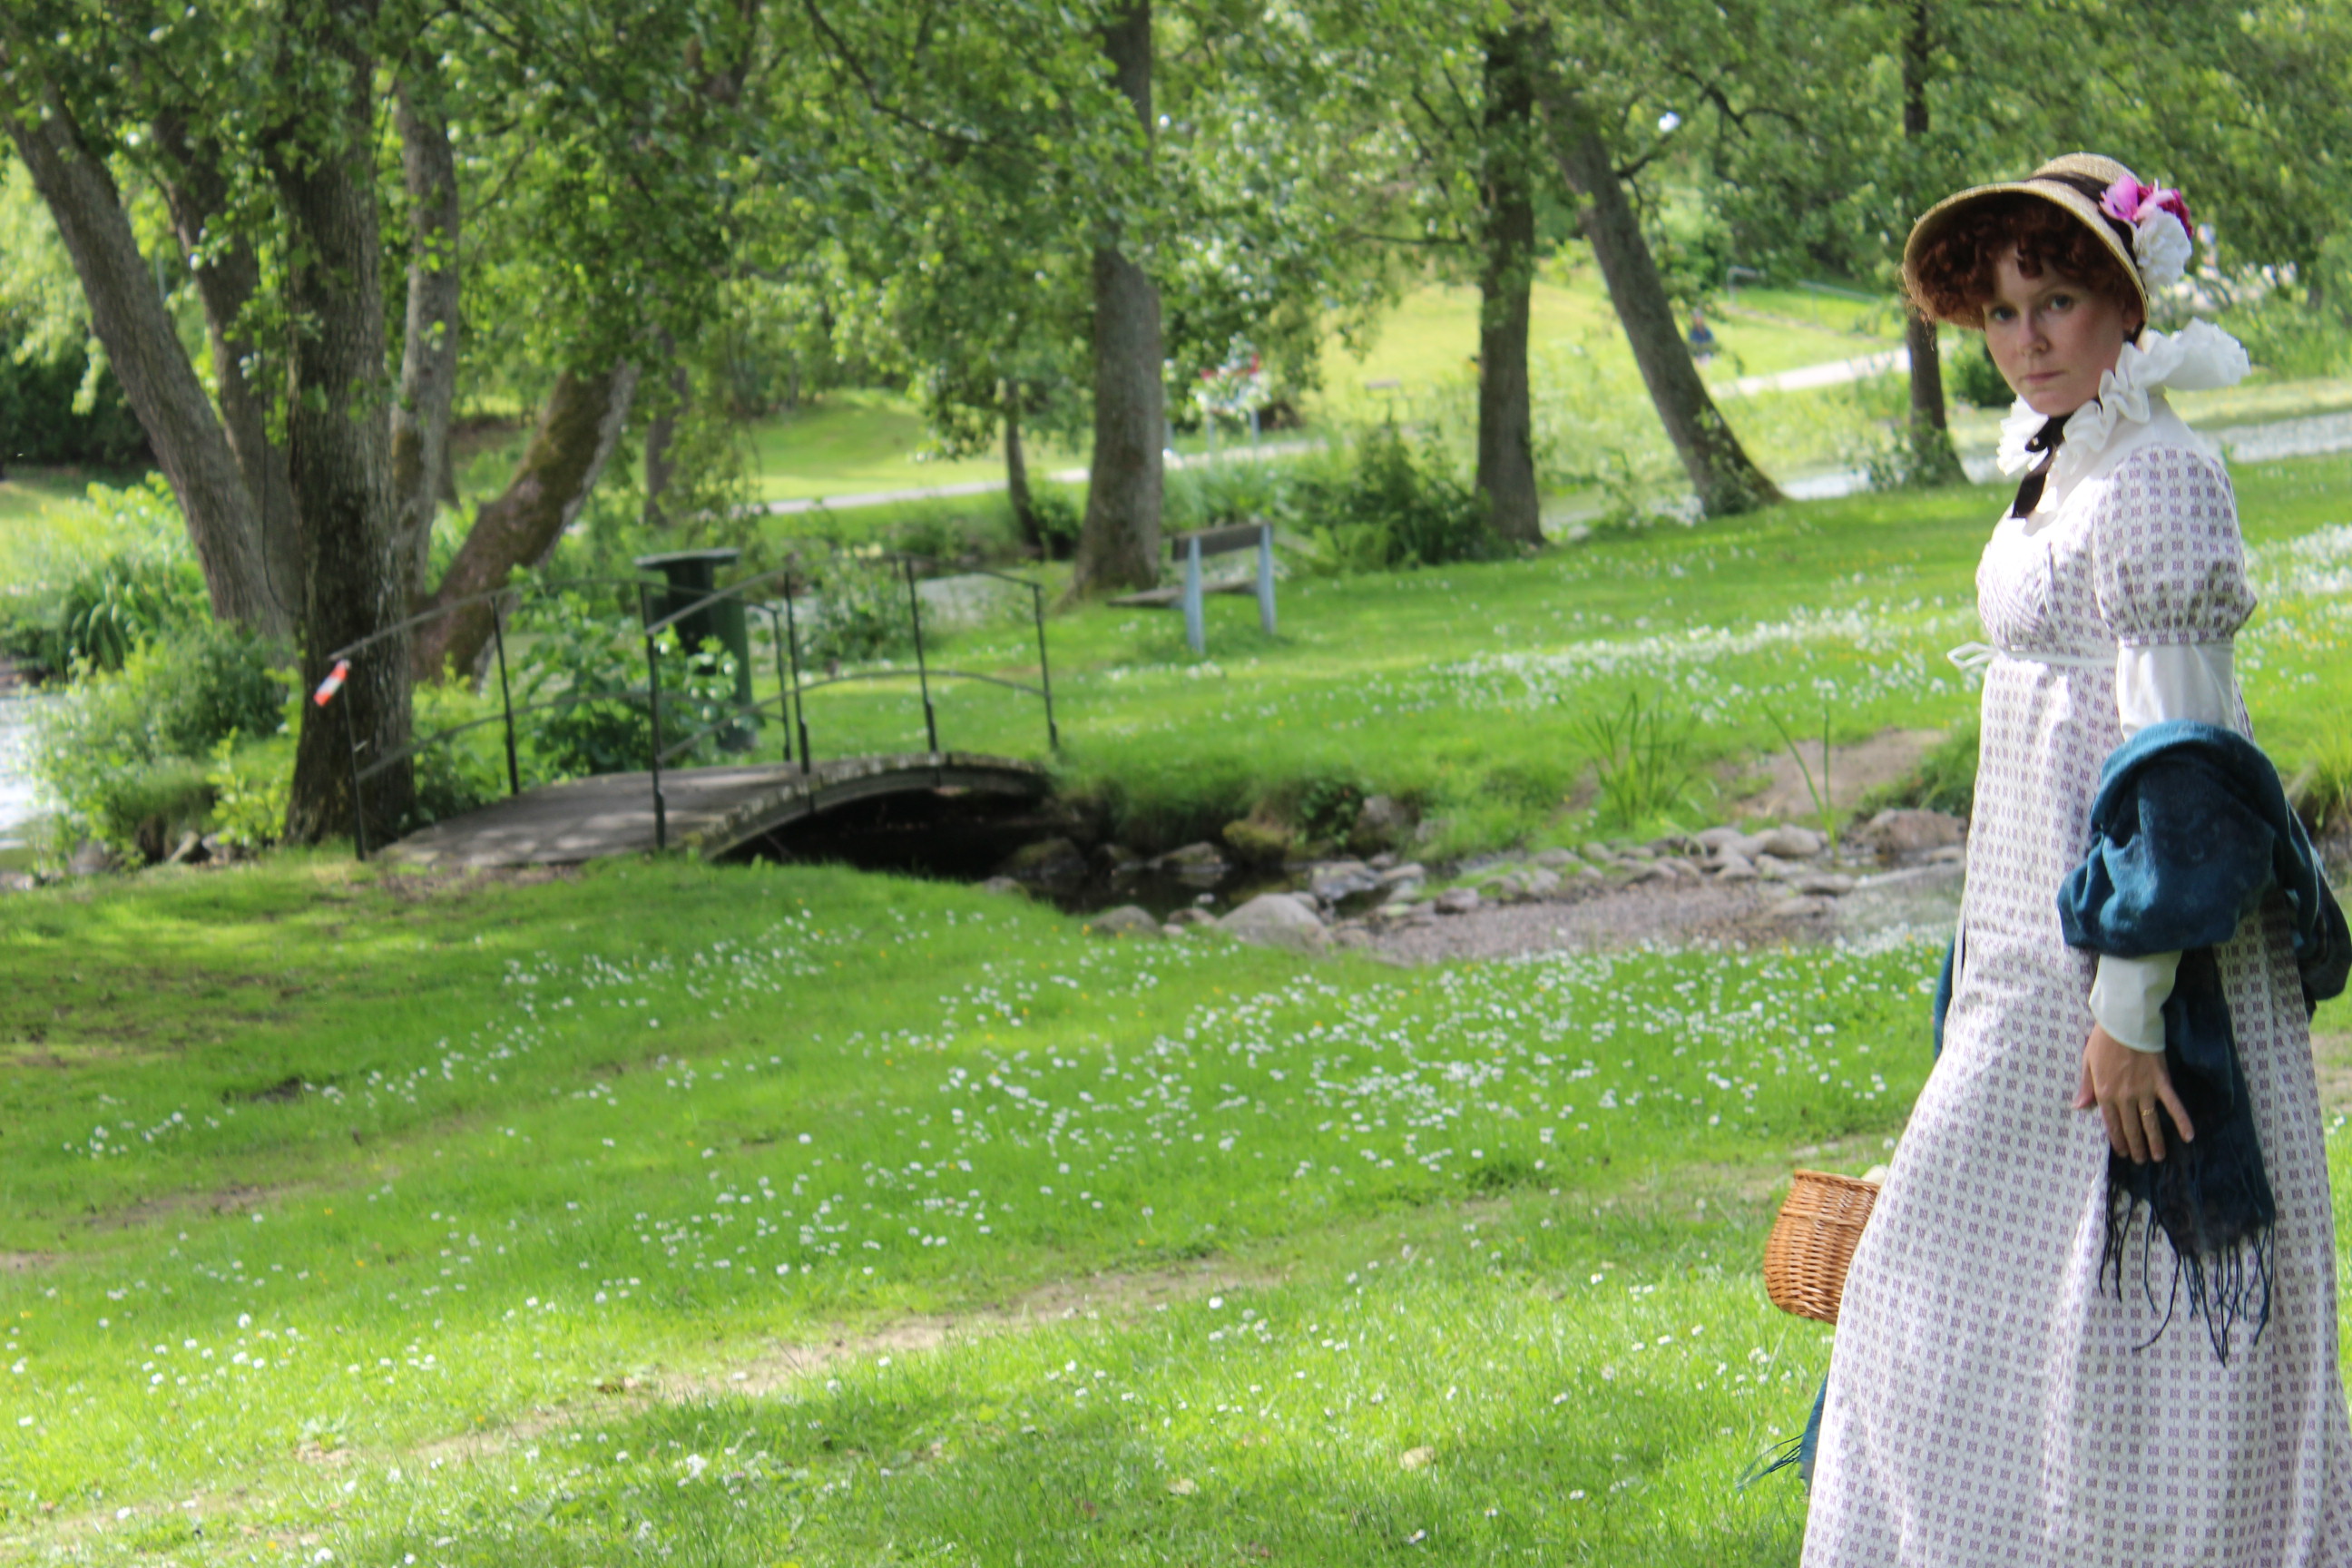
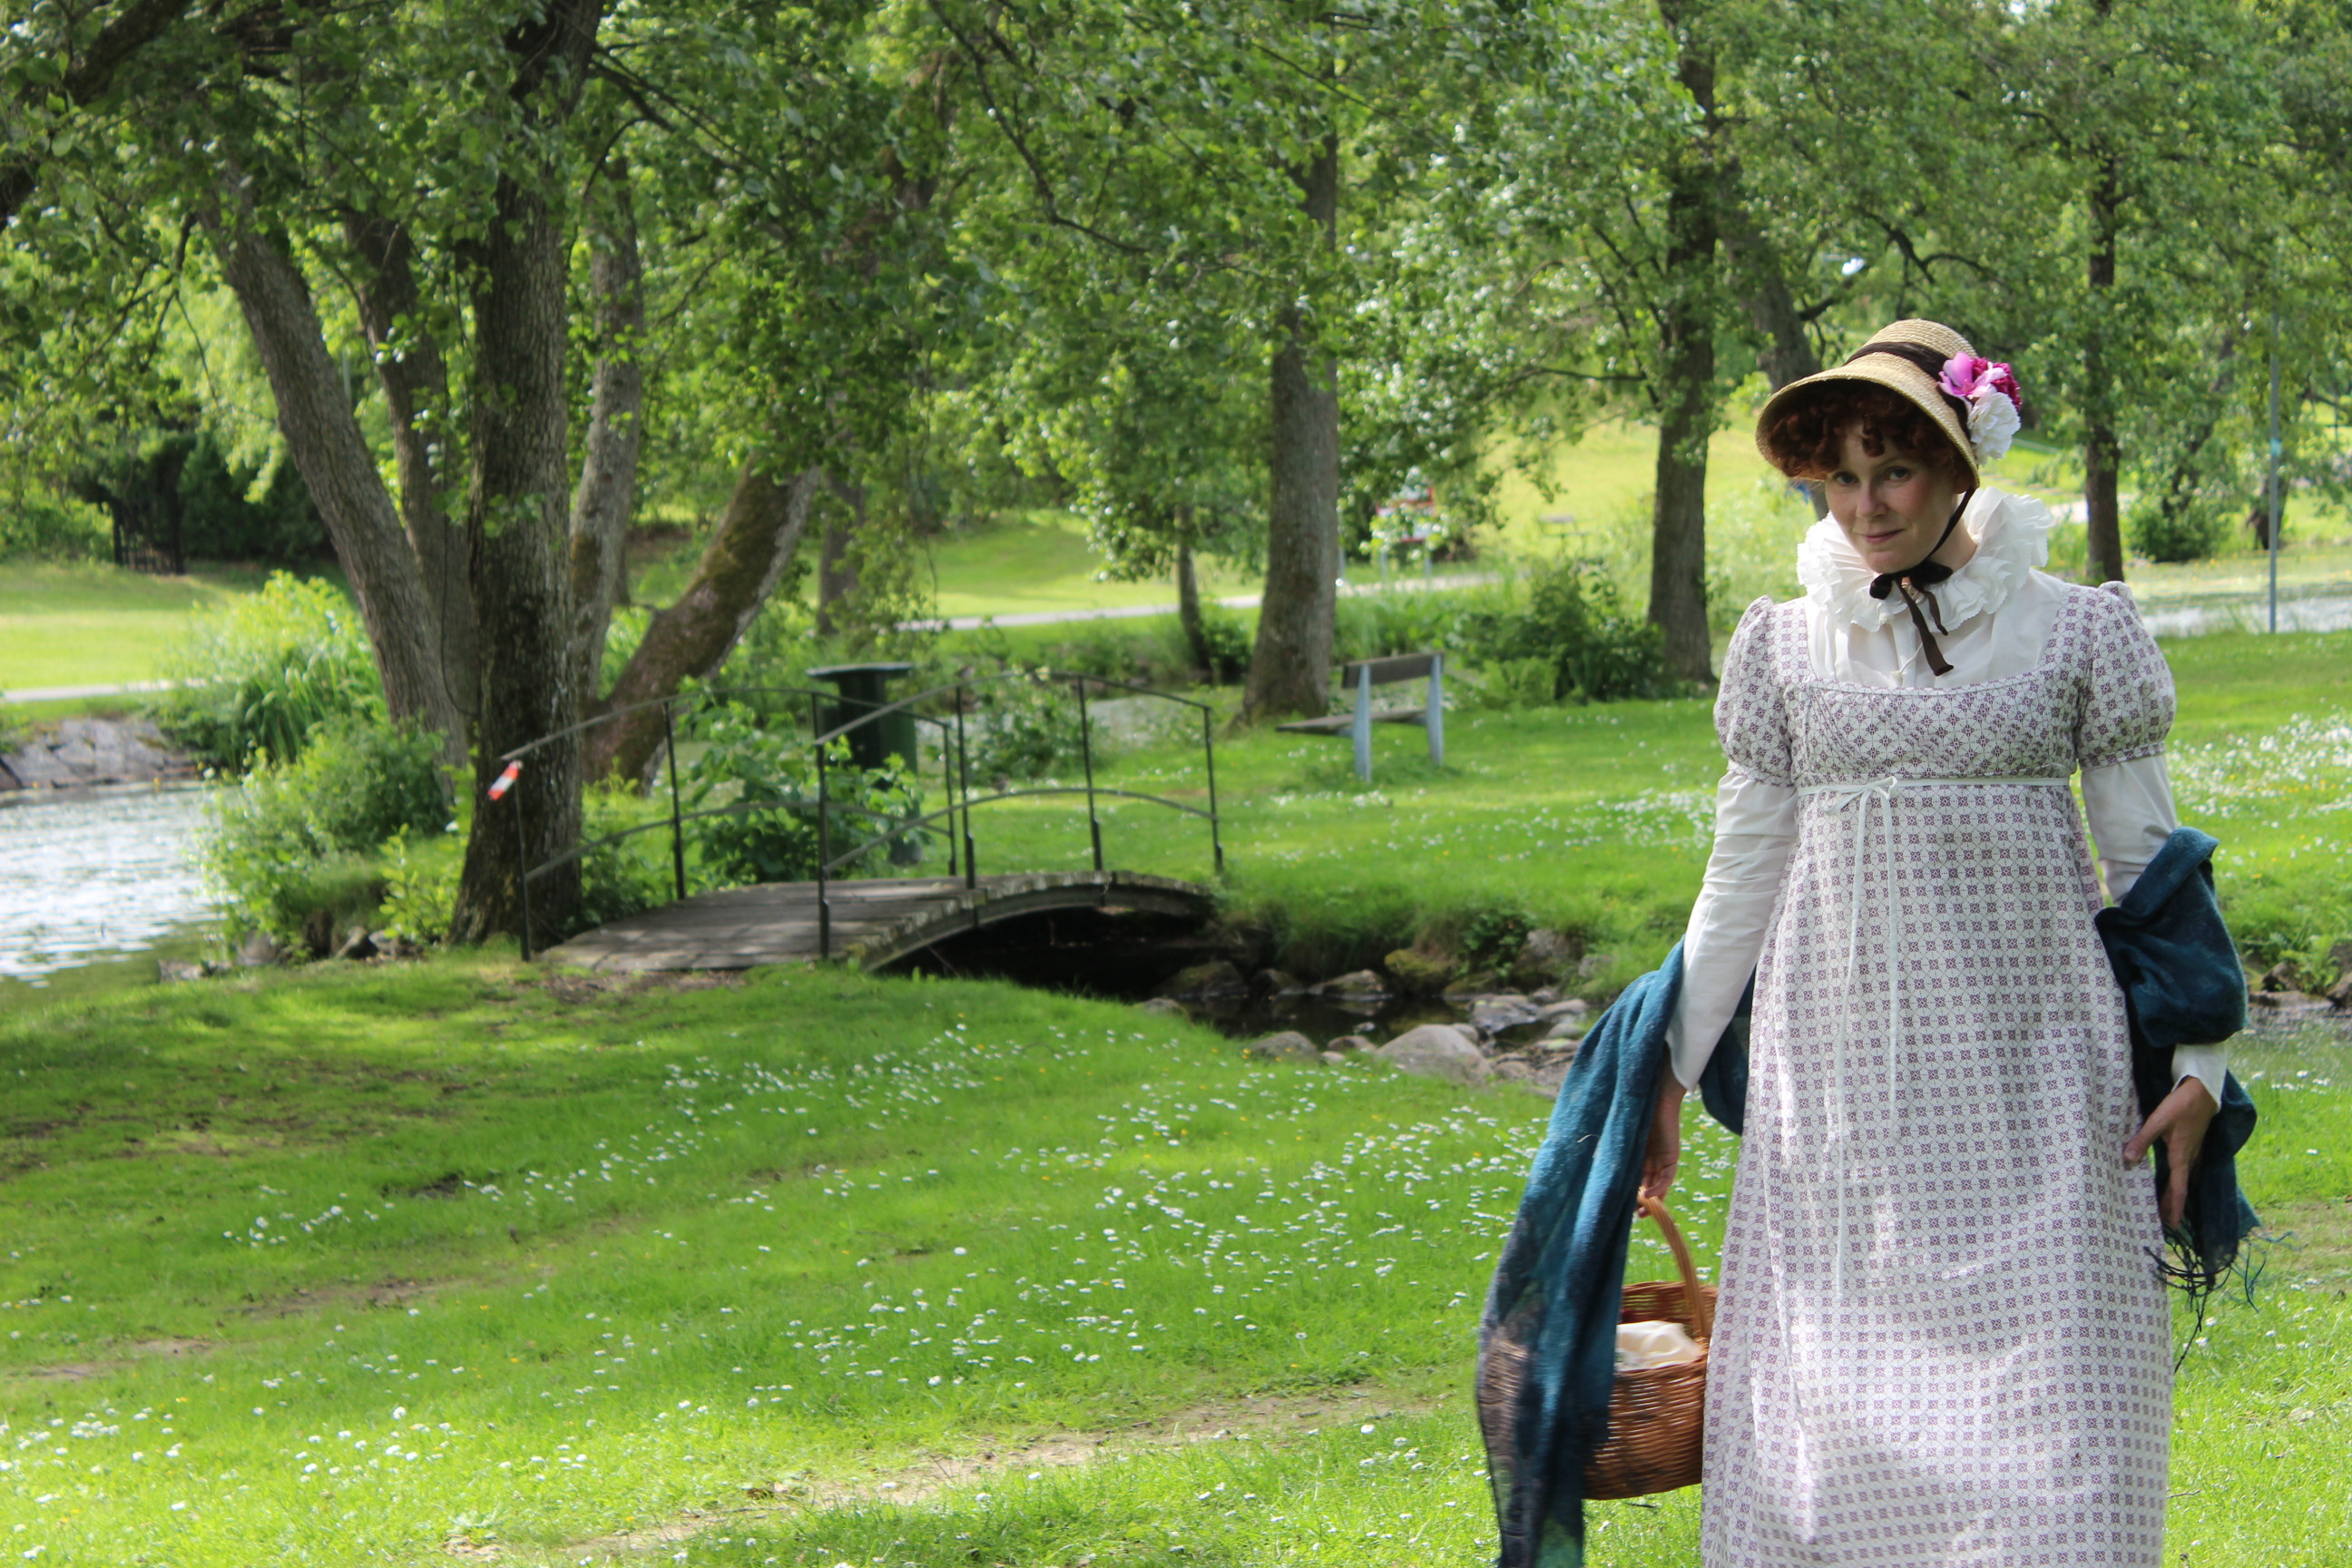
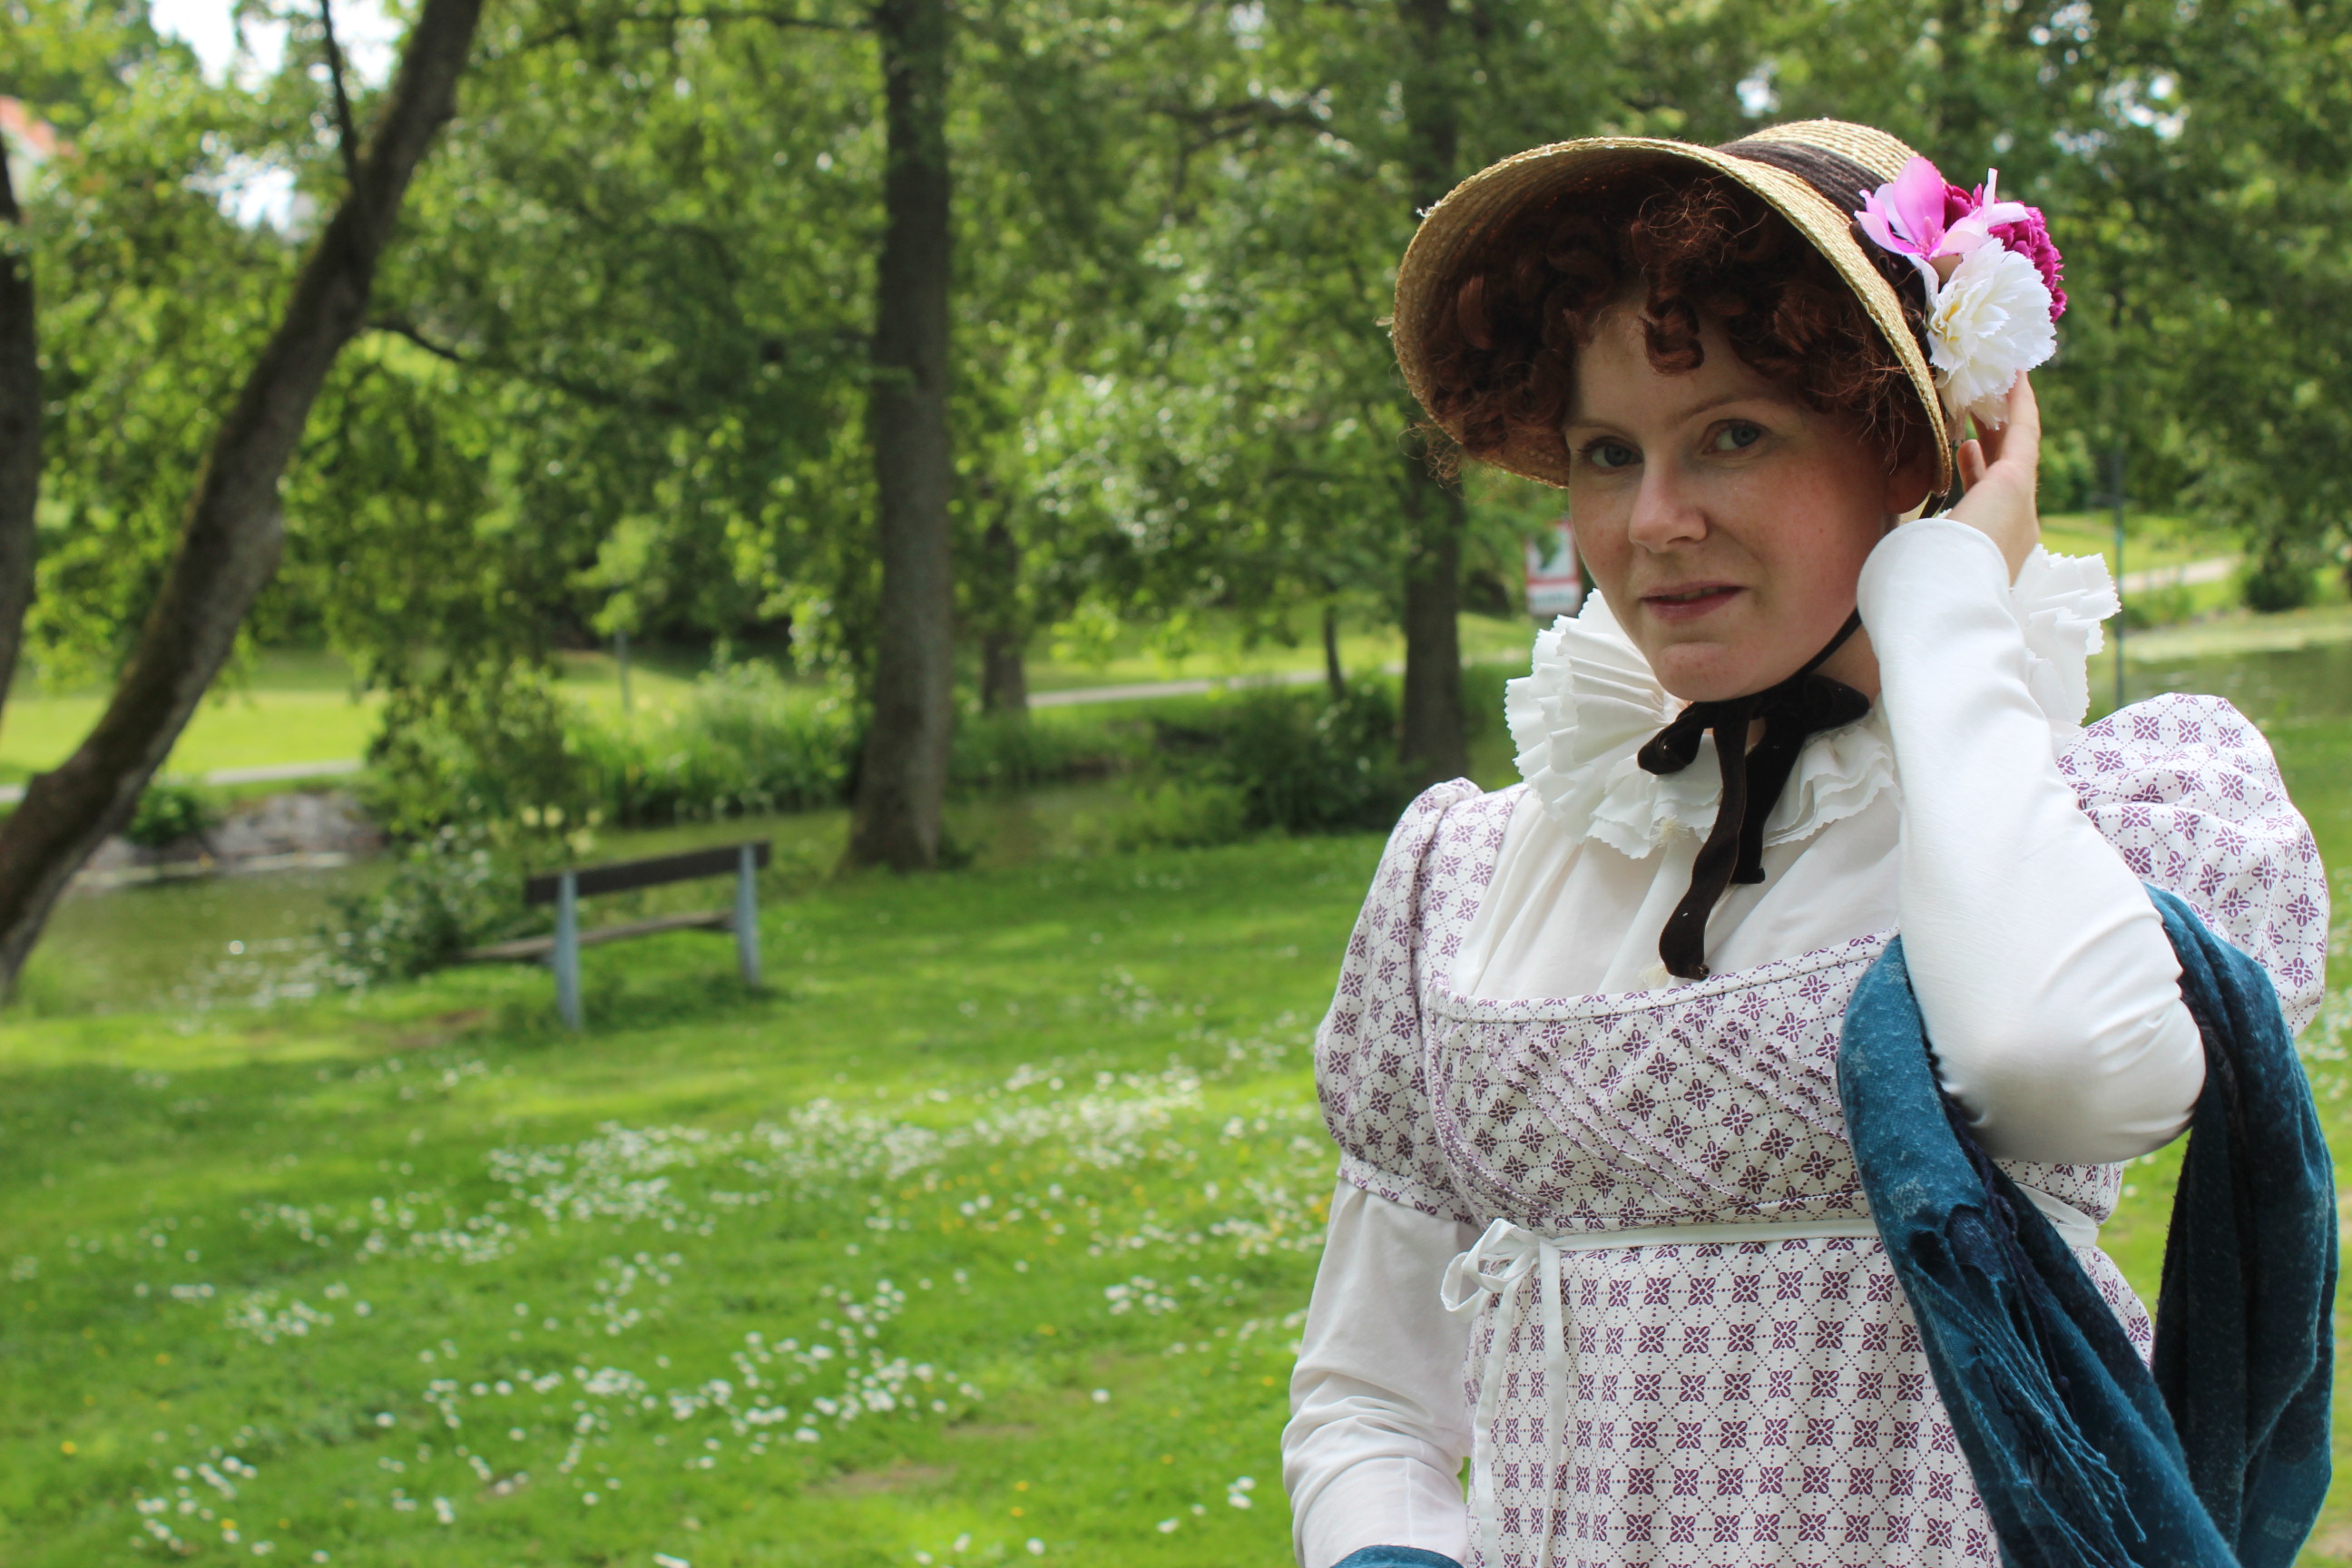
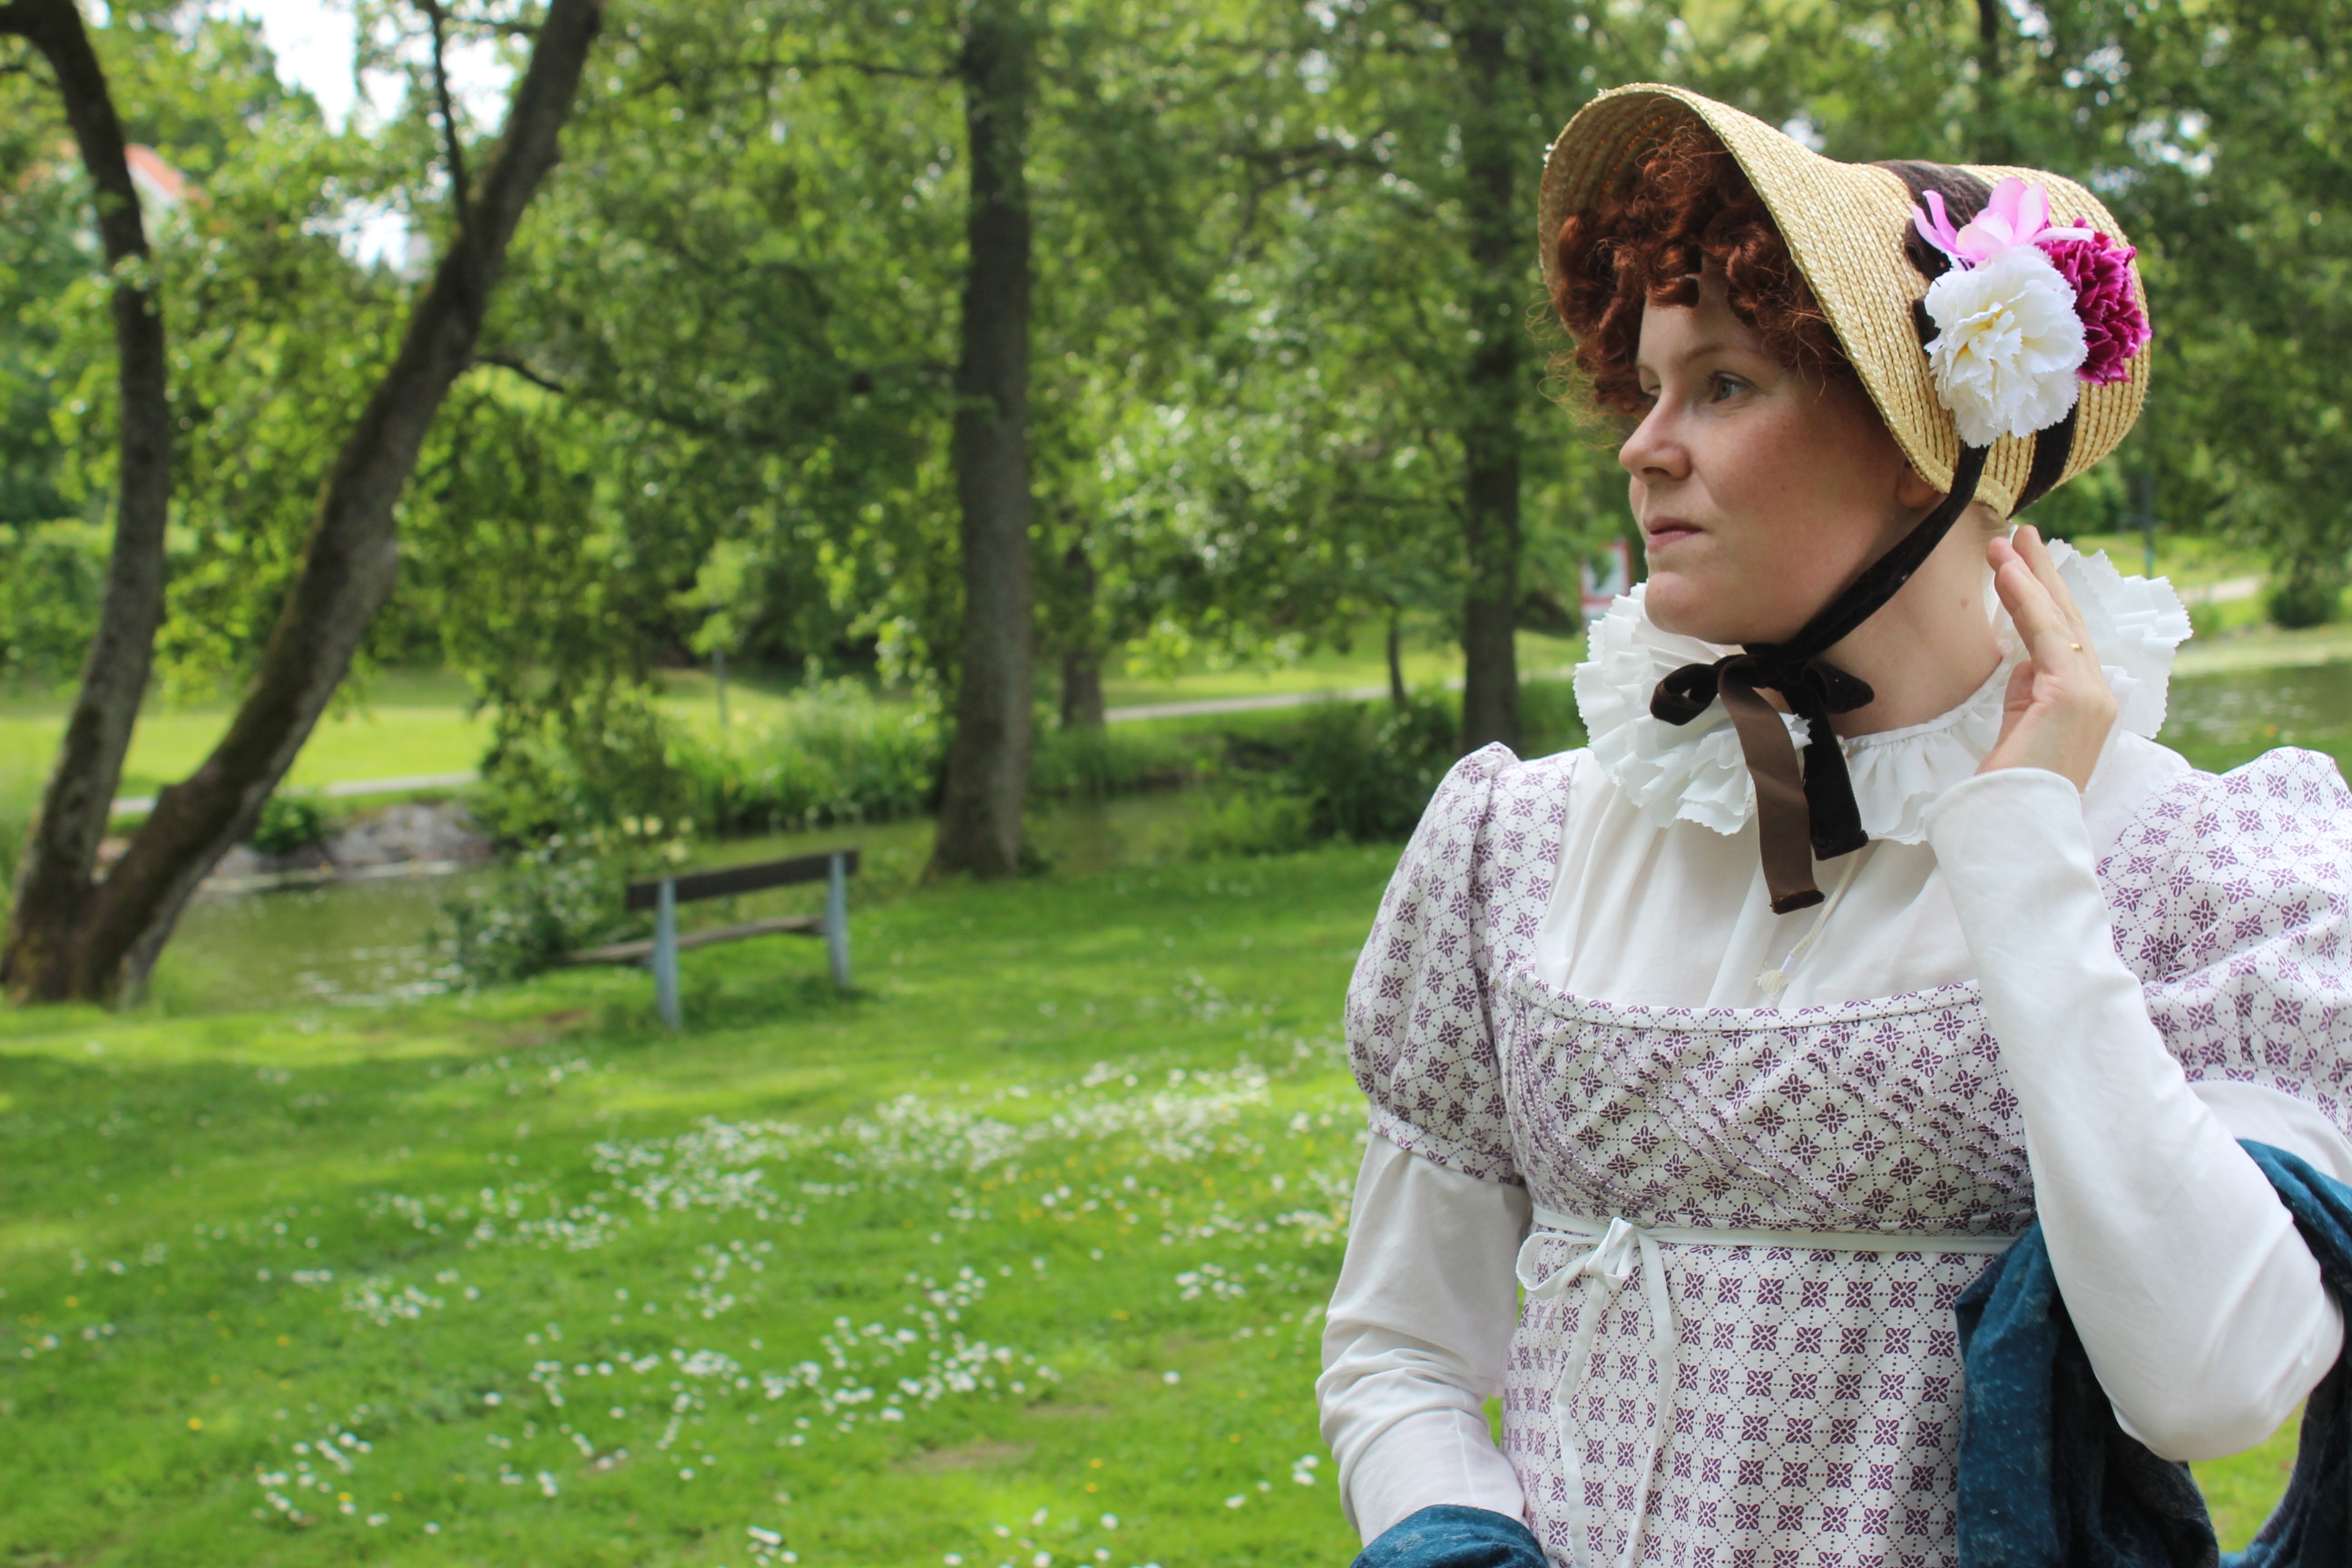
 photo by: Elin Evaldsdotter
 My inspiration
 My design sketch based on the drawing from the book.

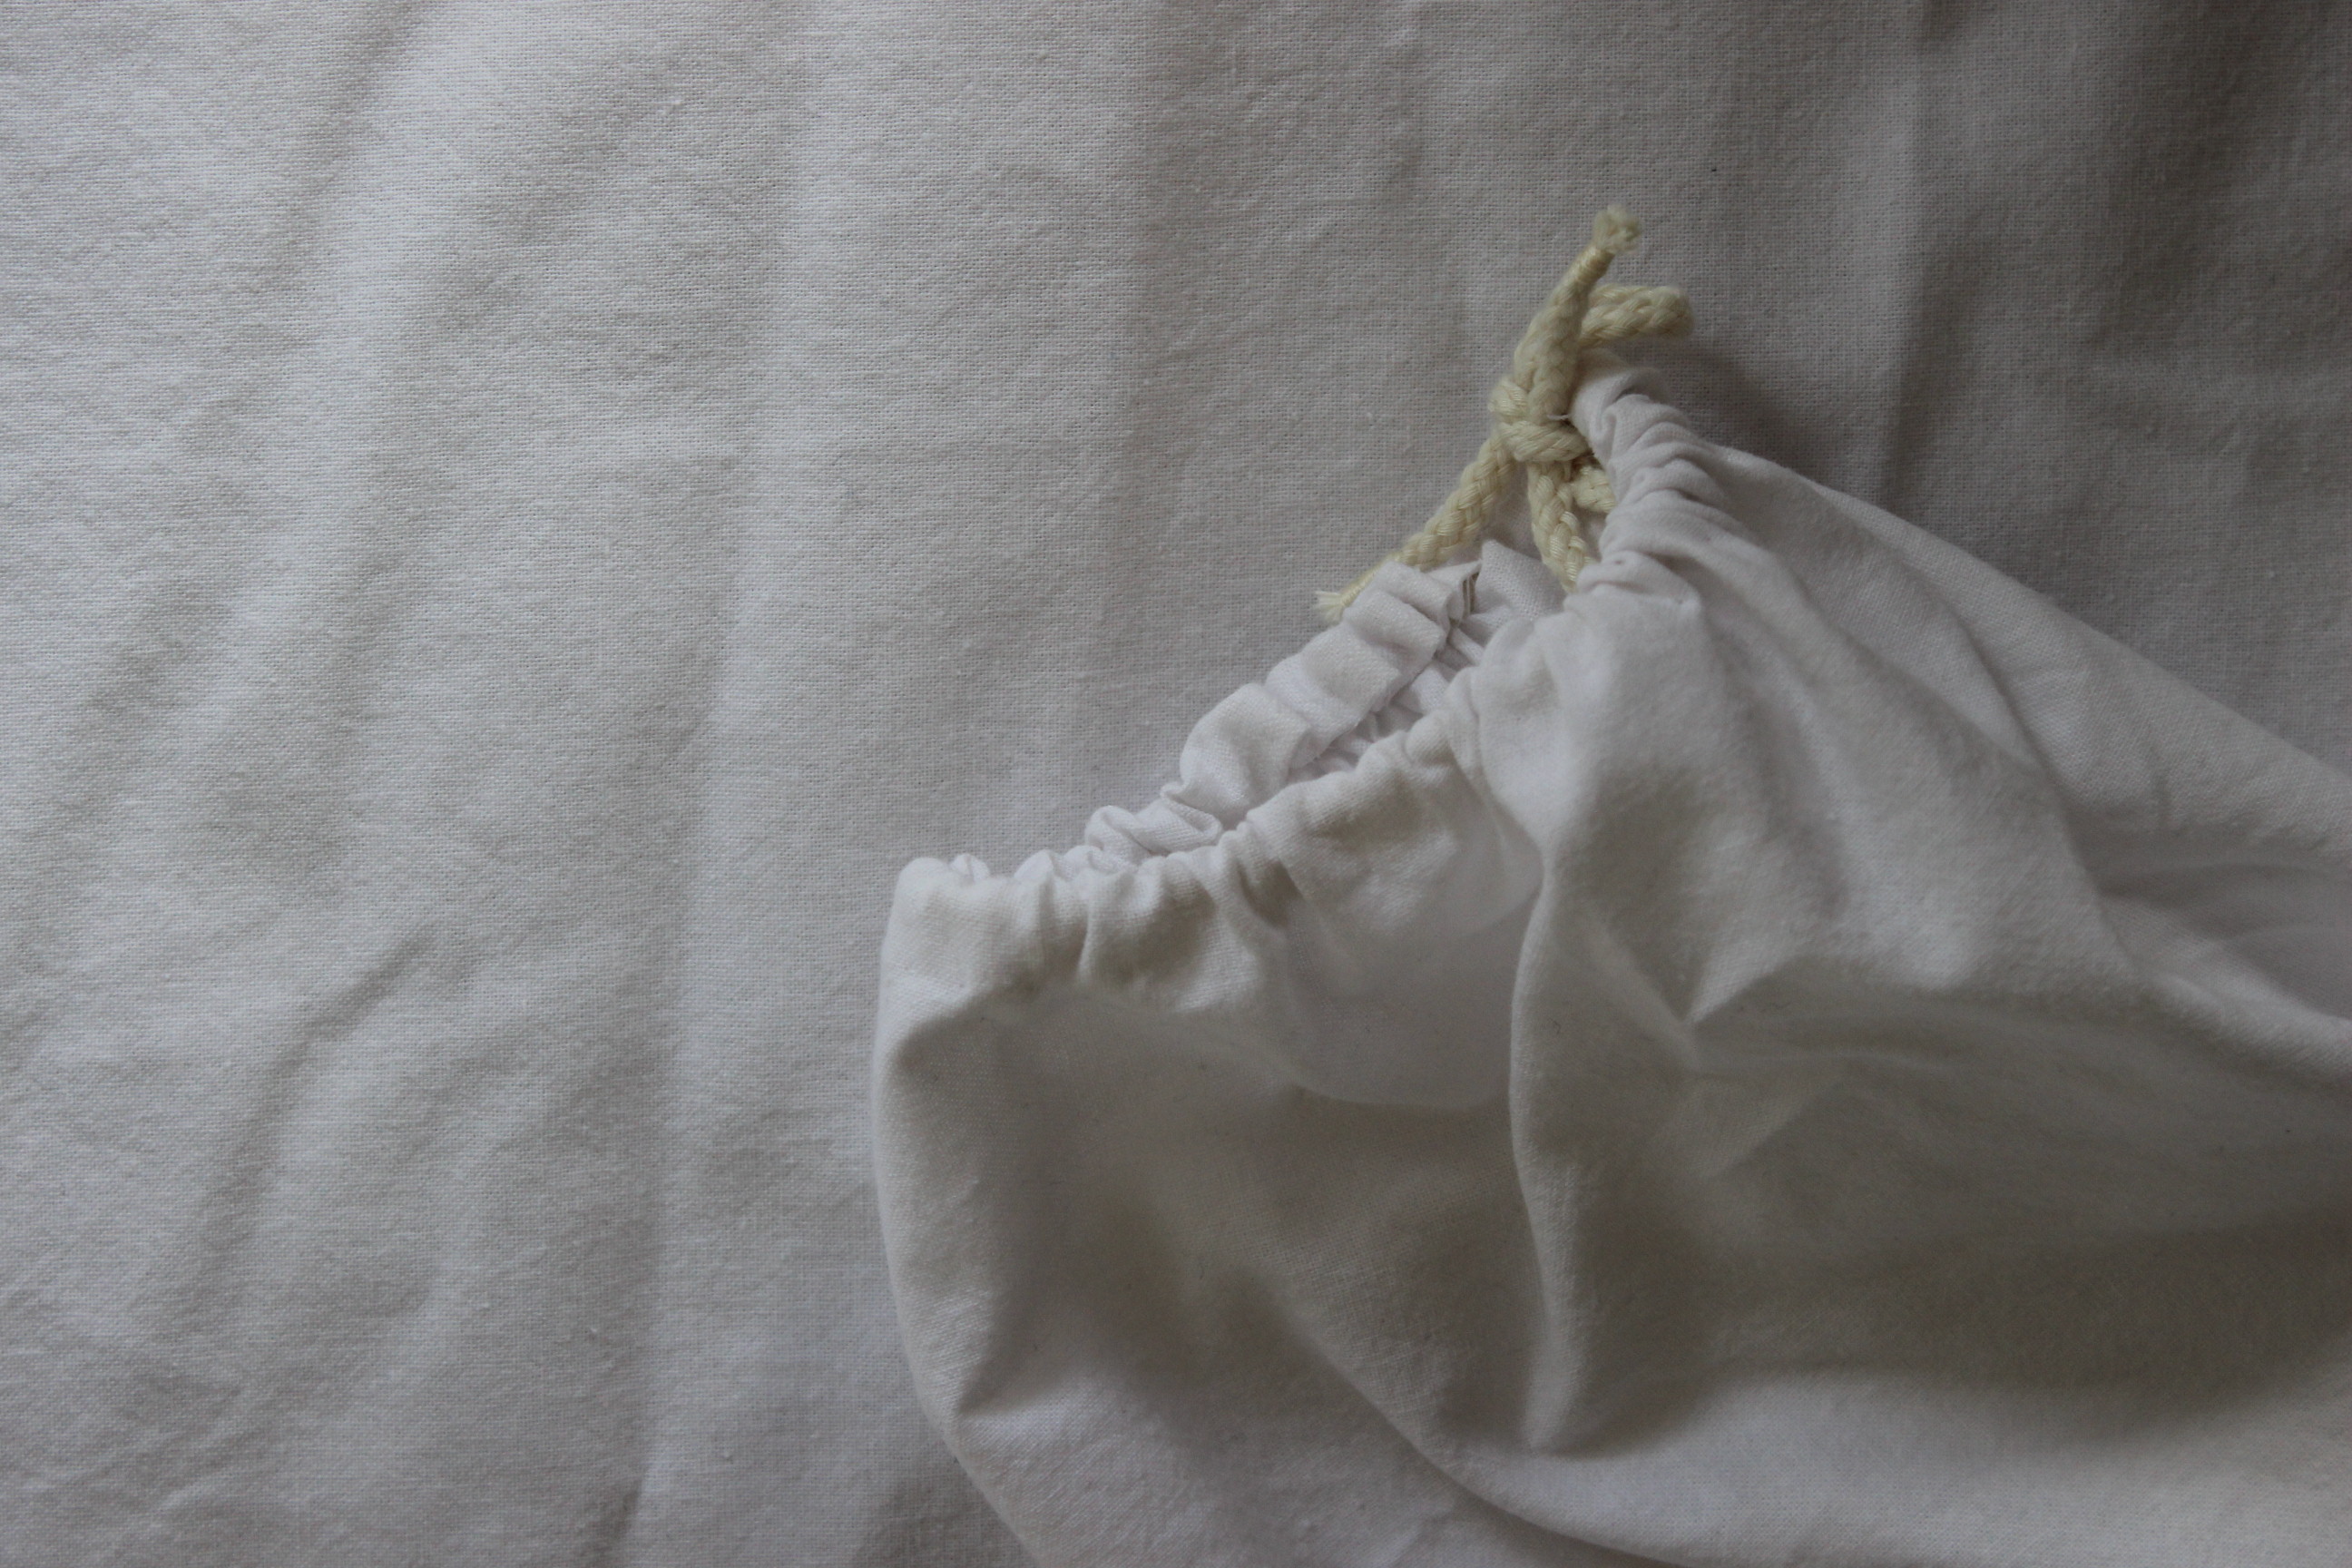
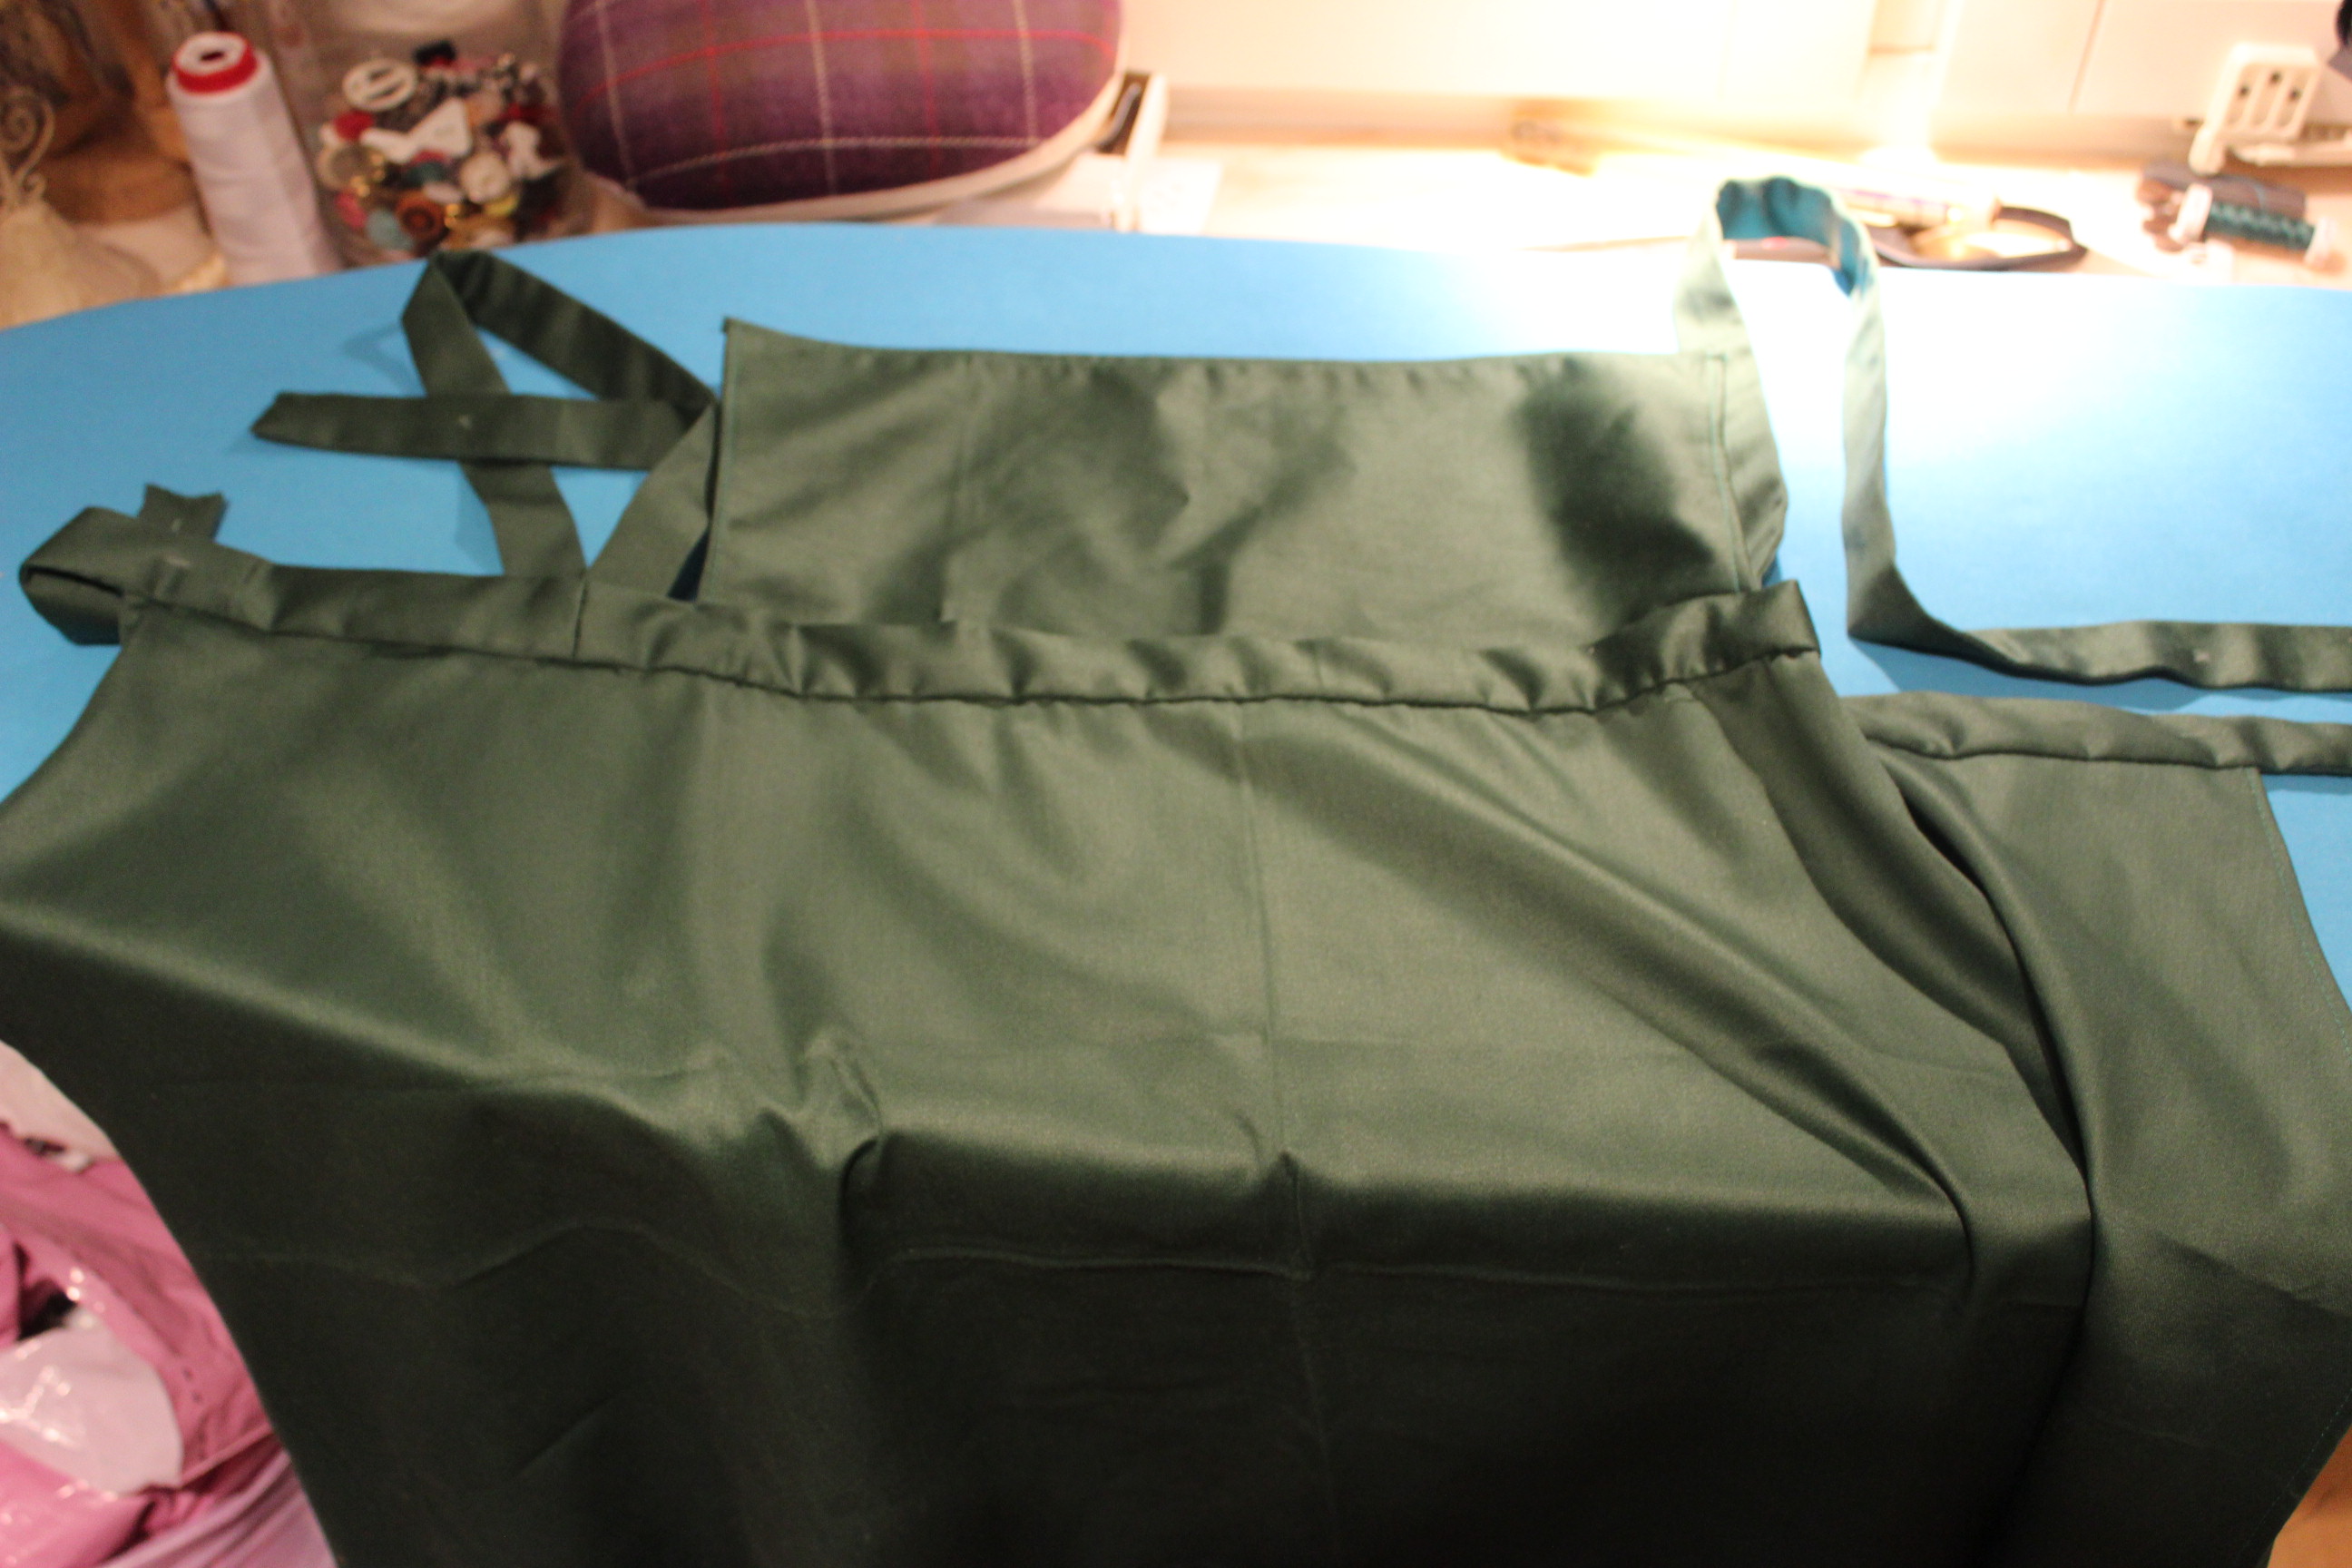
 Although the bag turned out nice, the proportions are all wrong, and it’s way to big. So after I took some pictures of it, I took it in quite a bit to make it better.
 This pic is from Bradfields “Costume close-up”
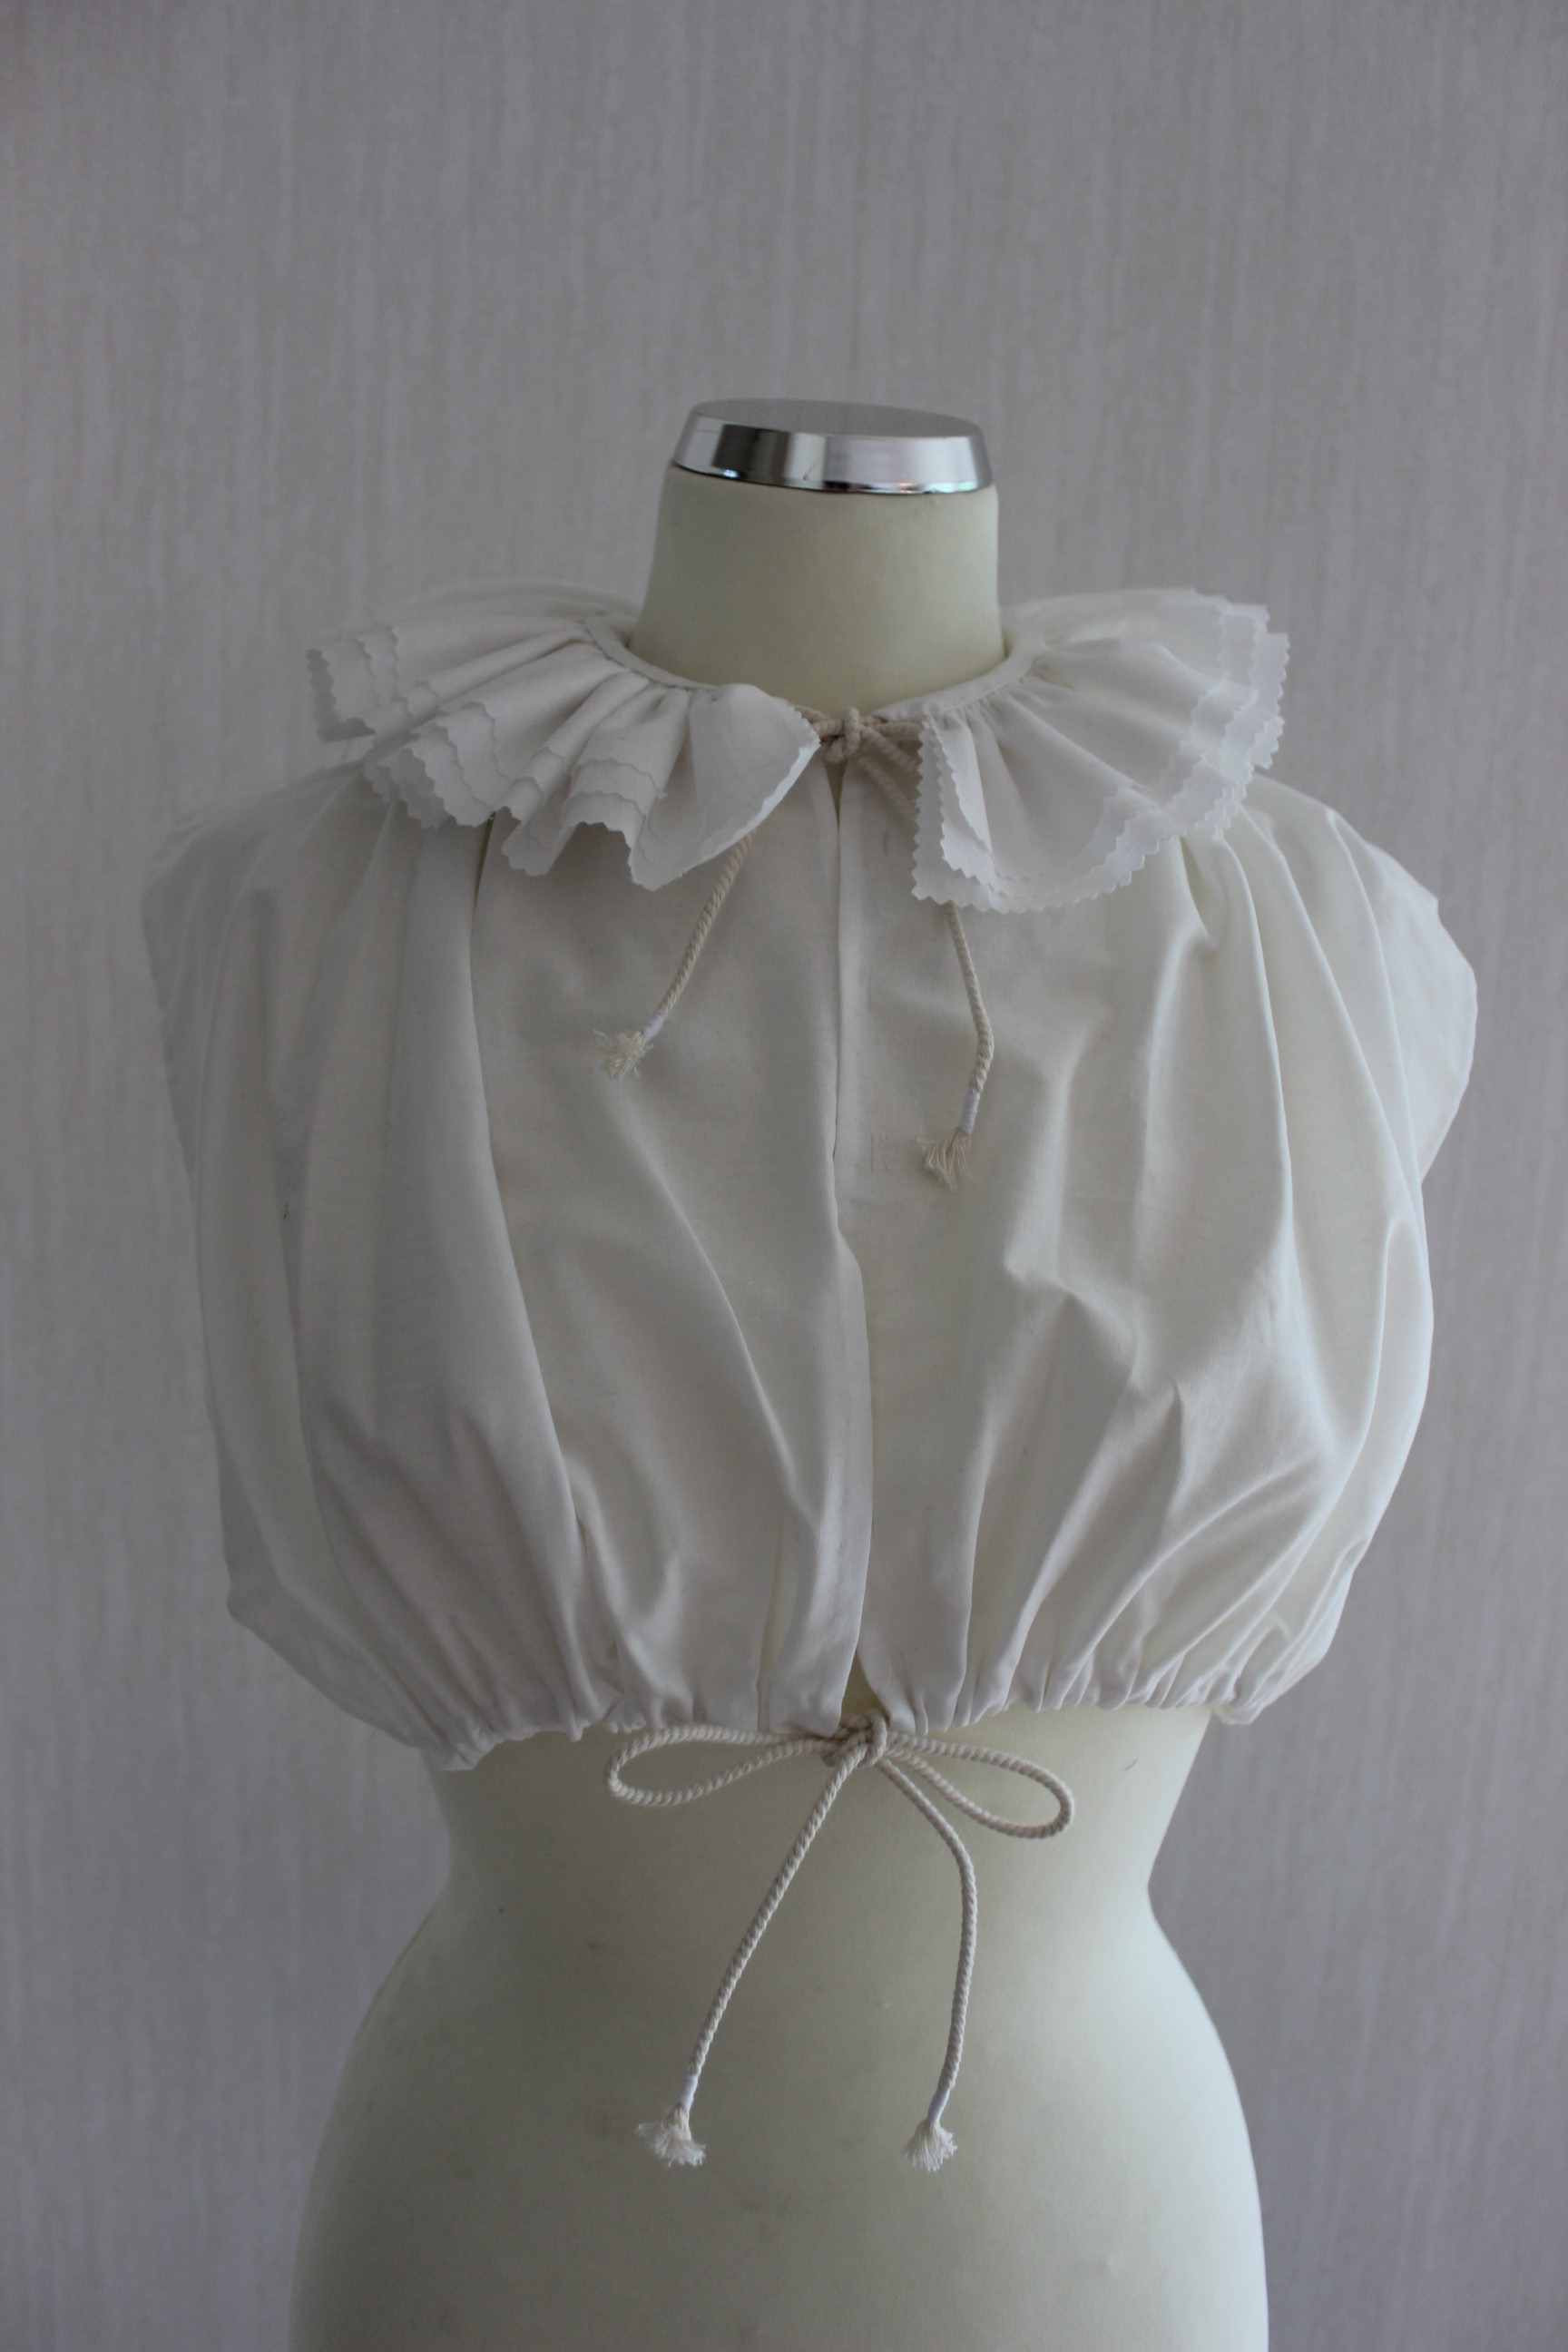

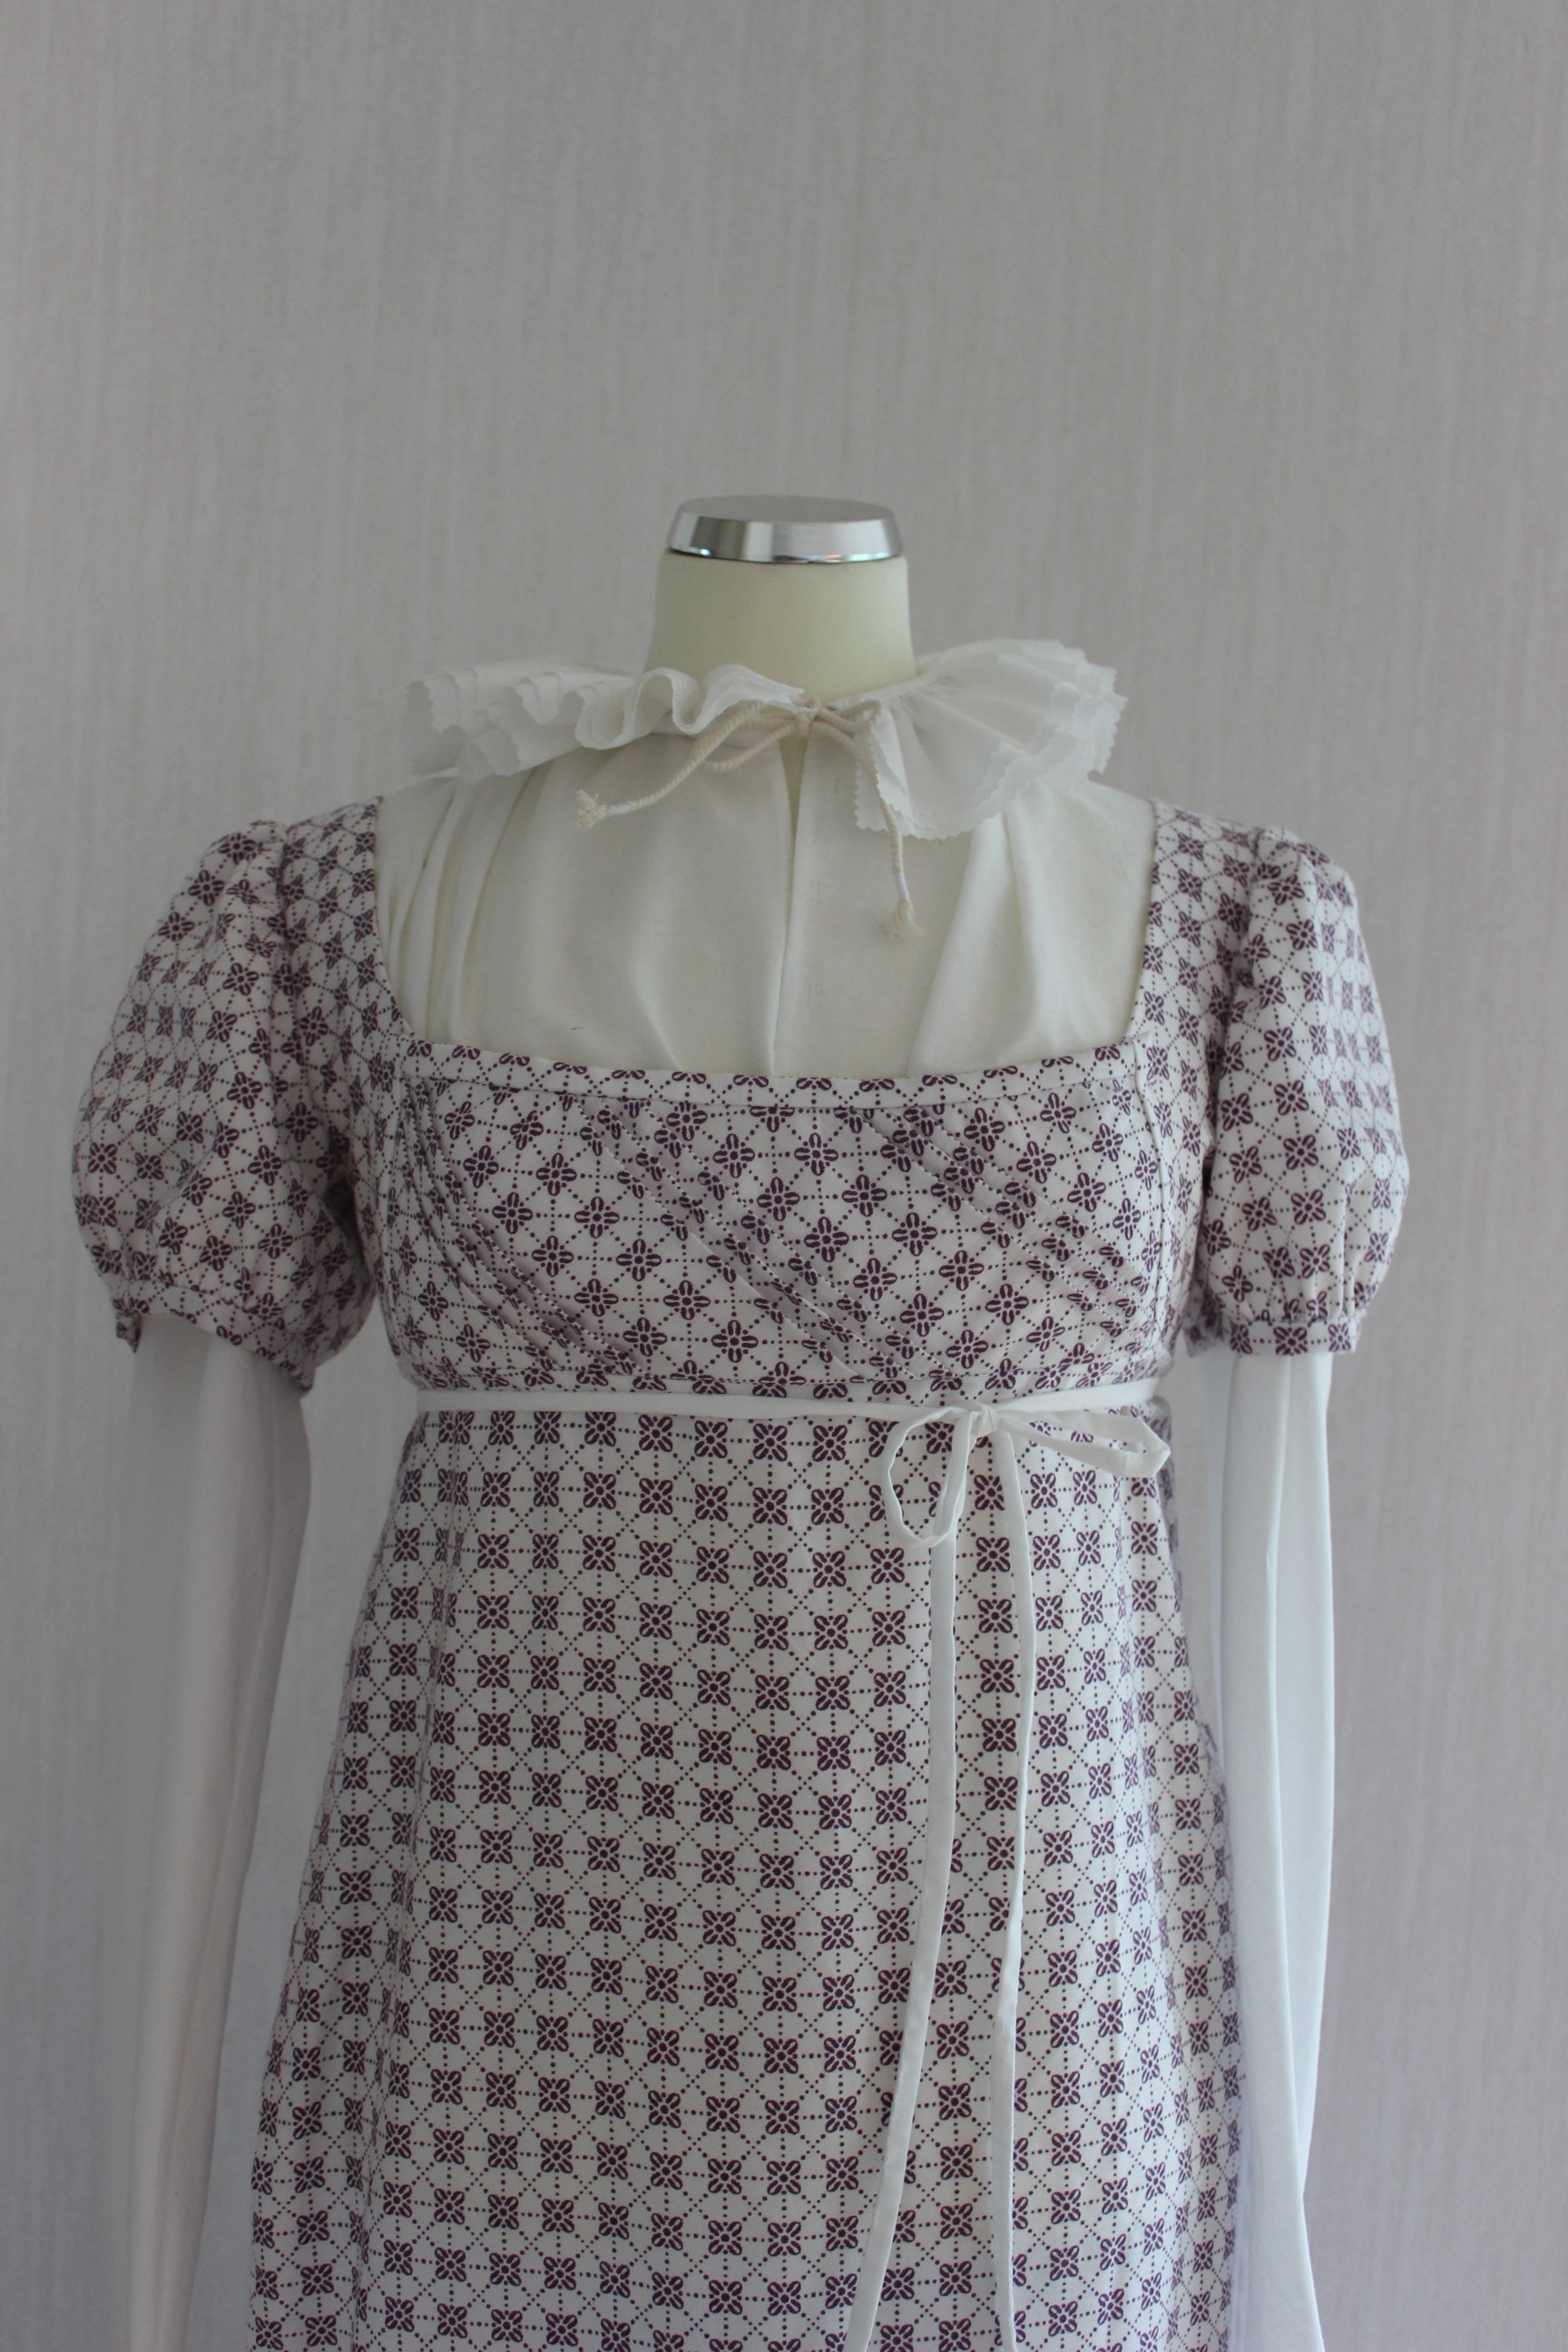


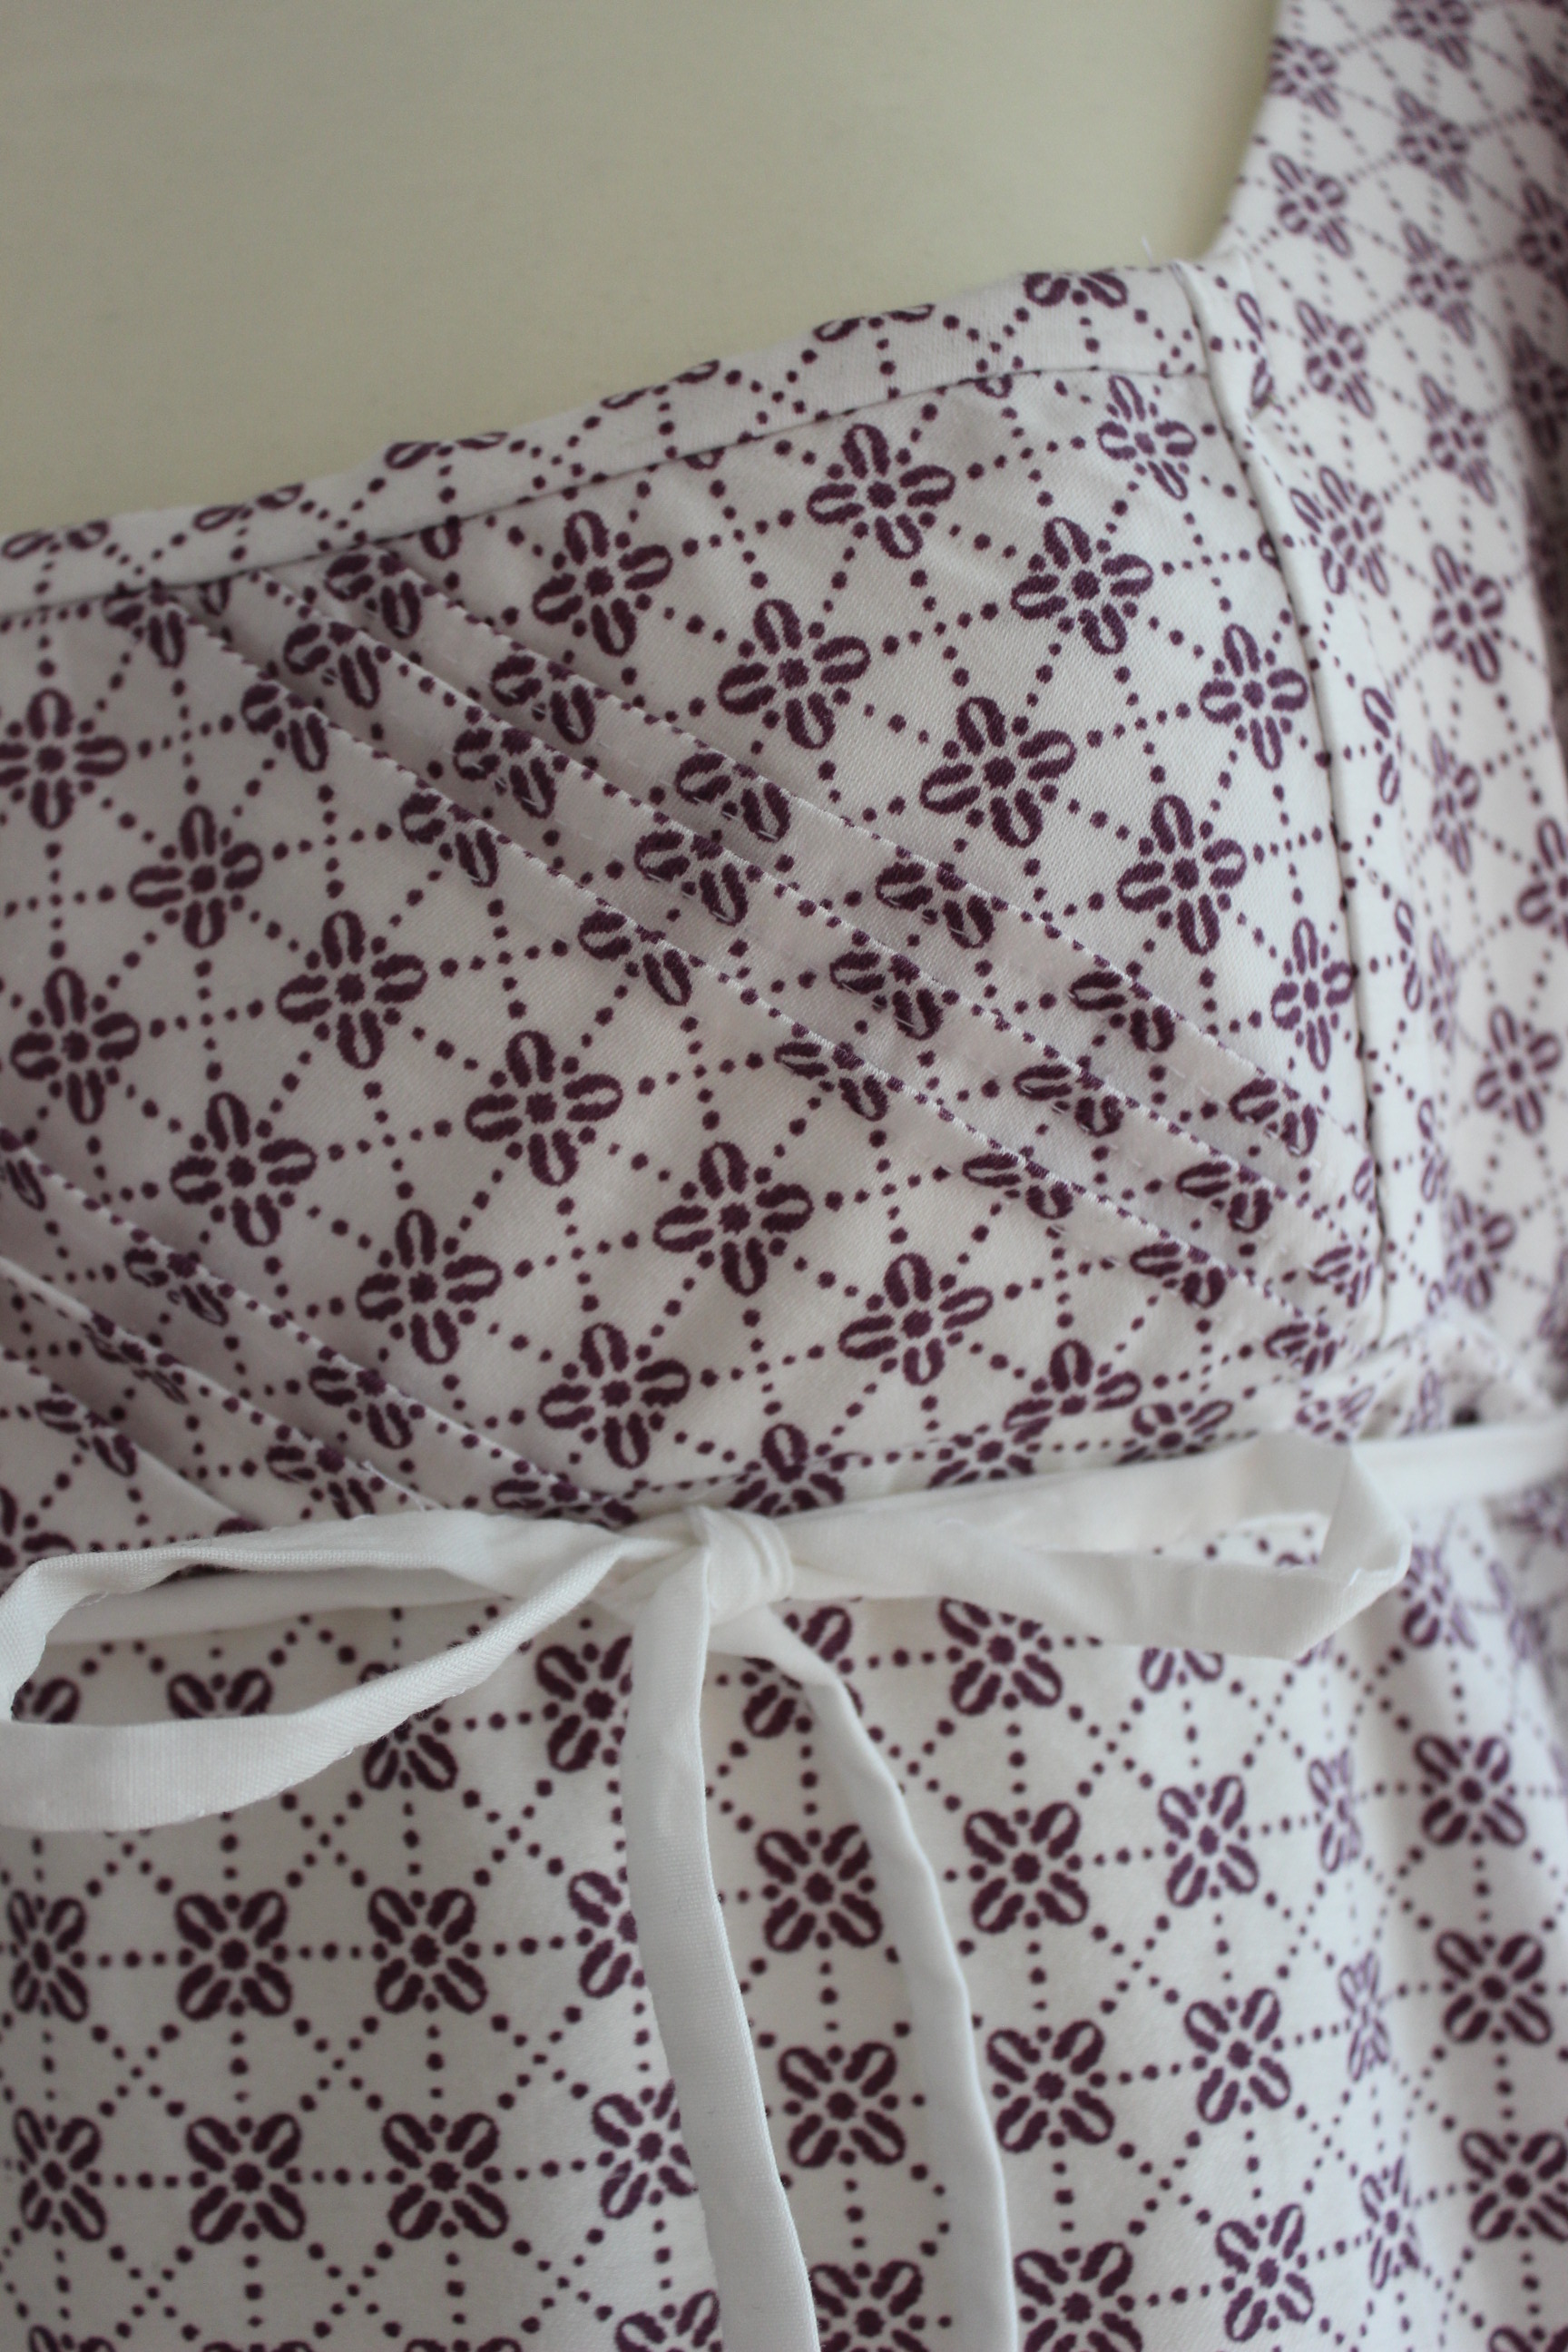
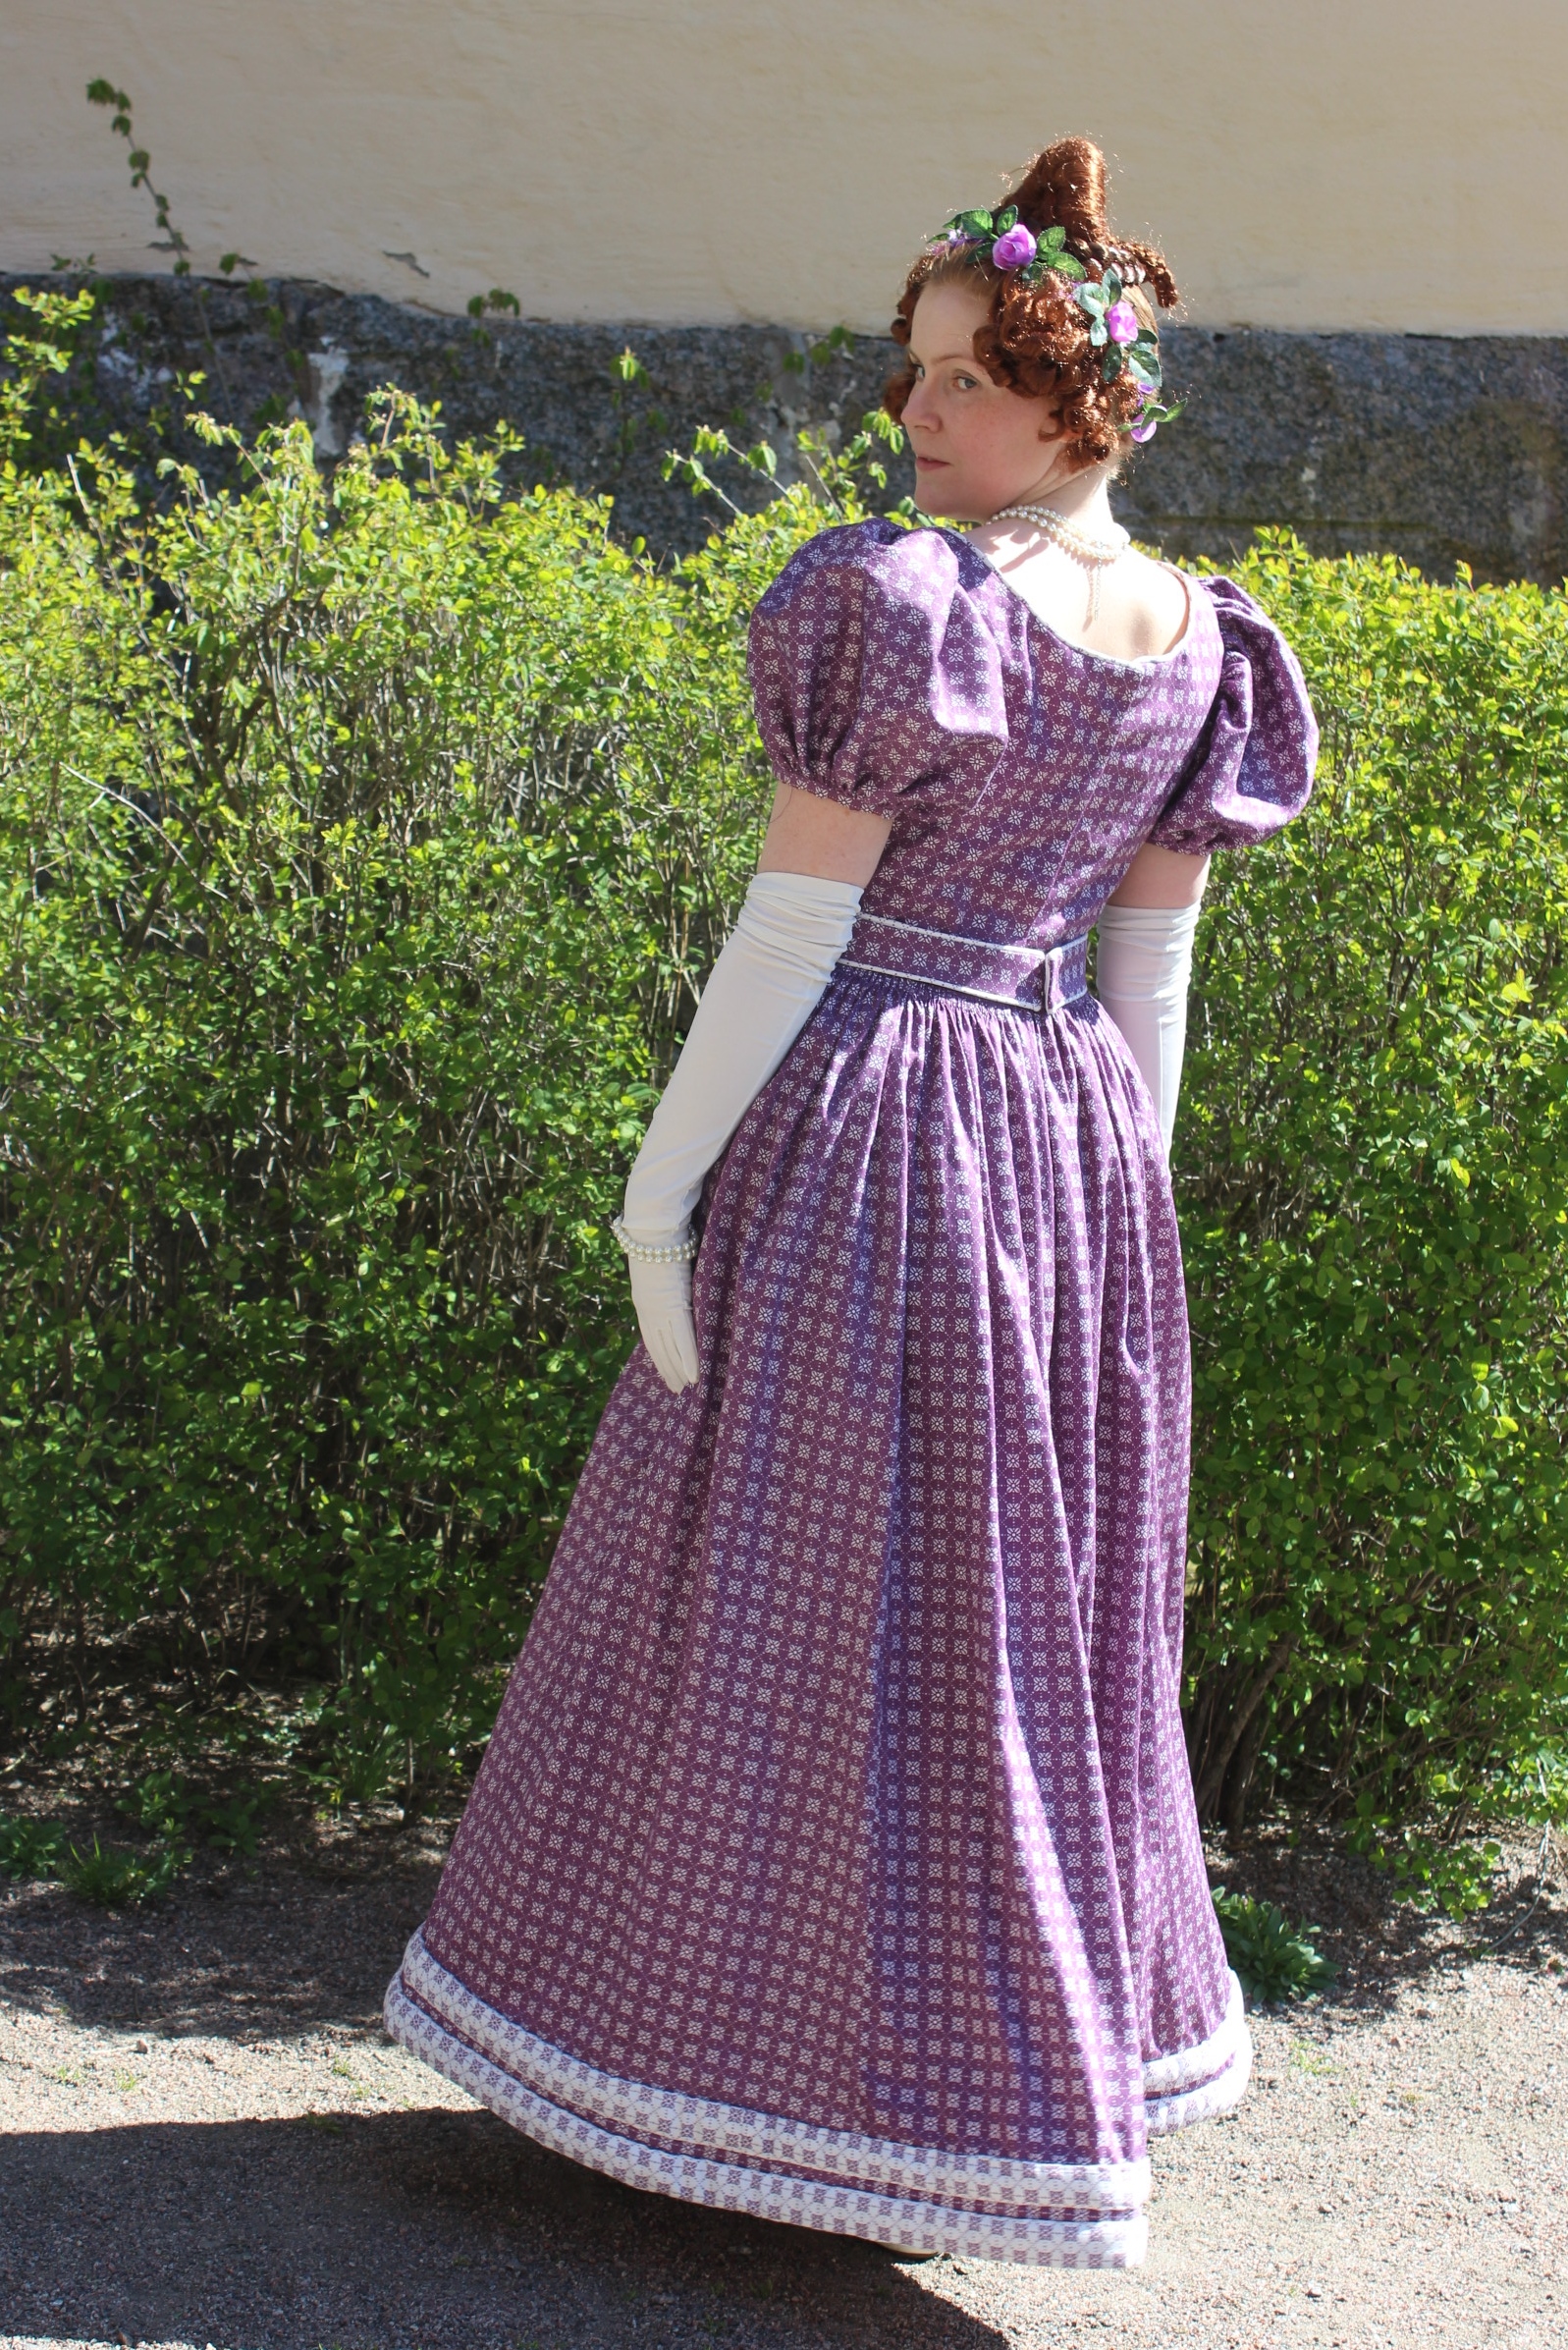
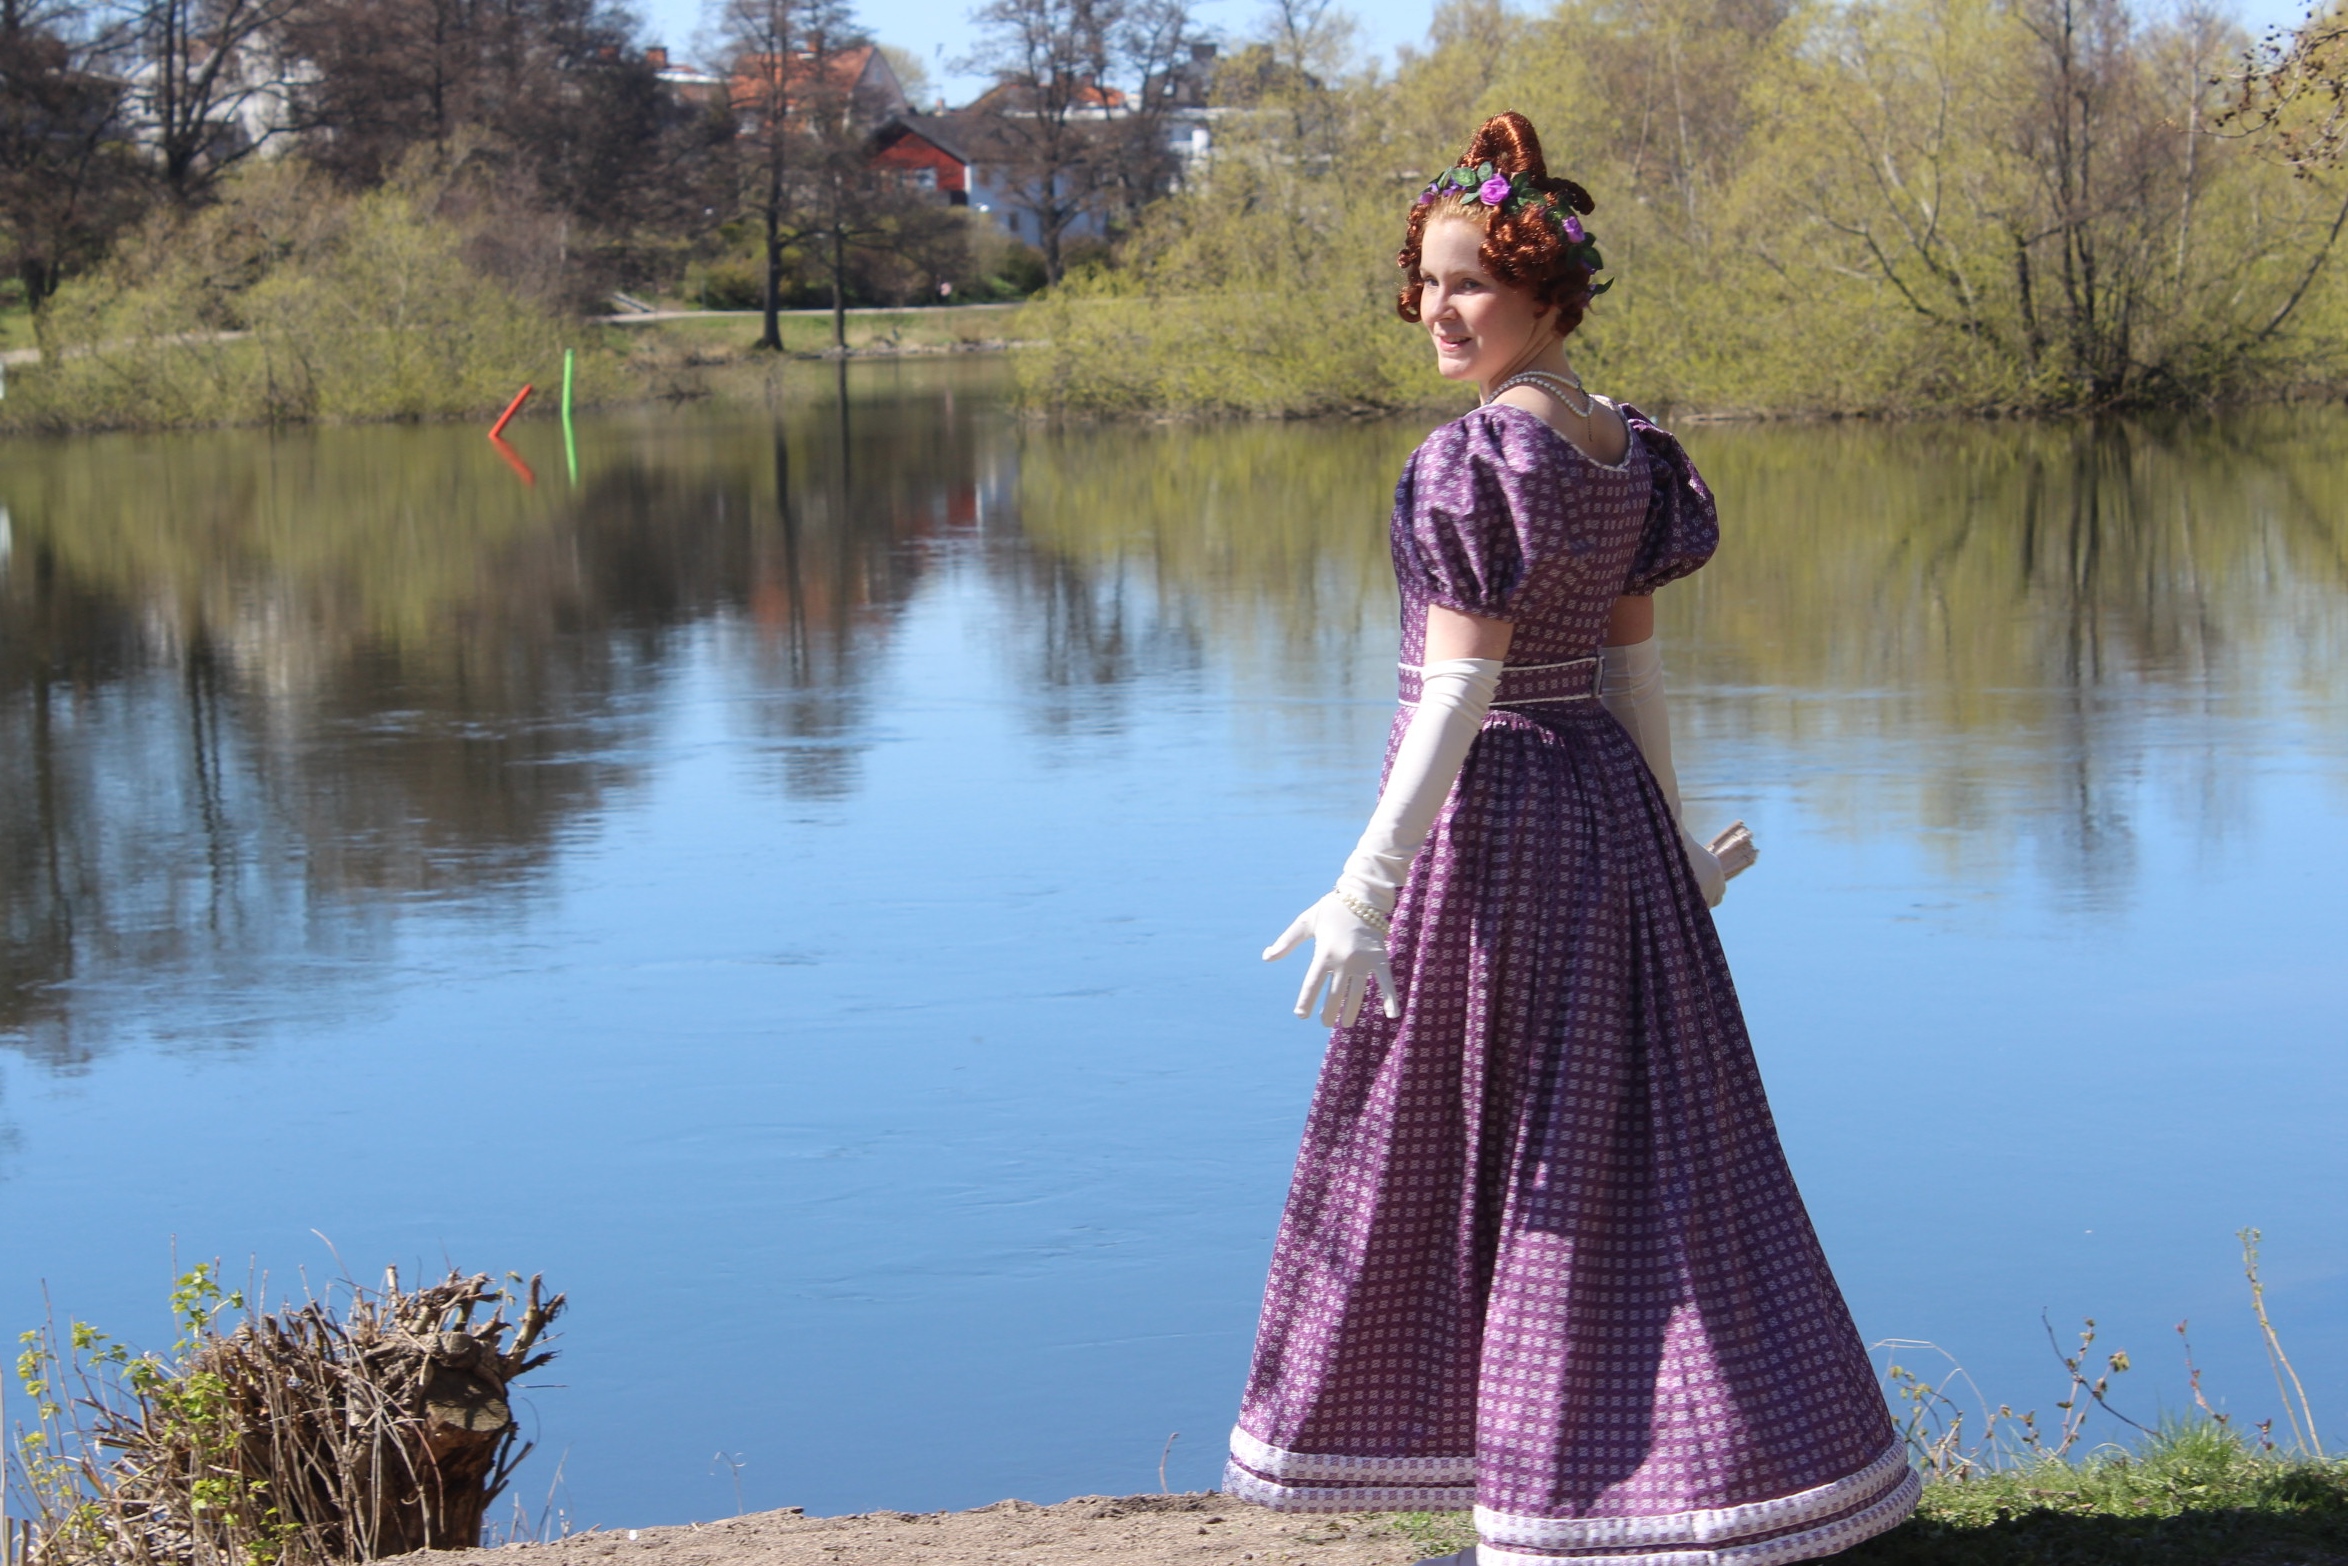
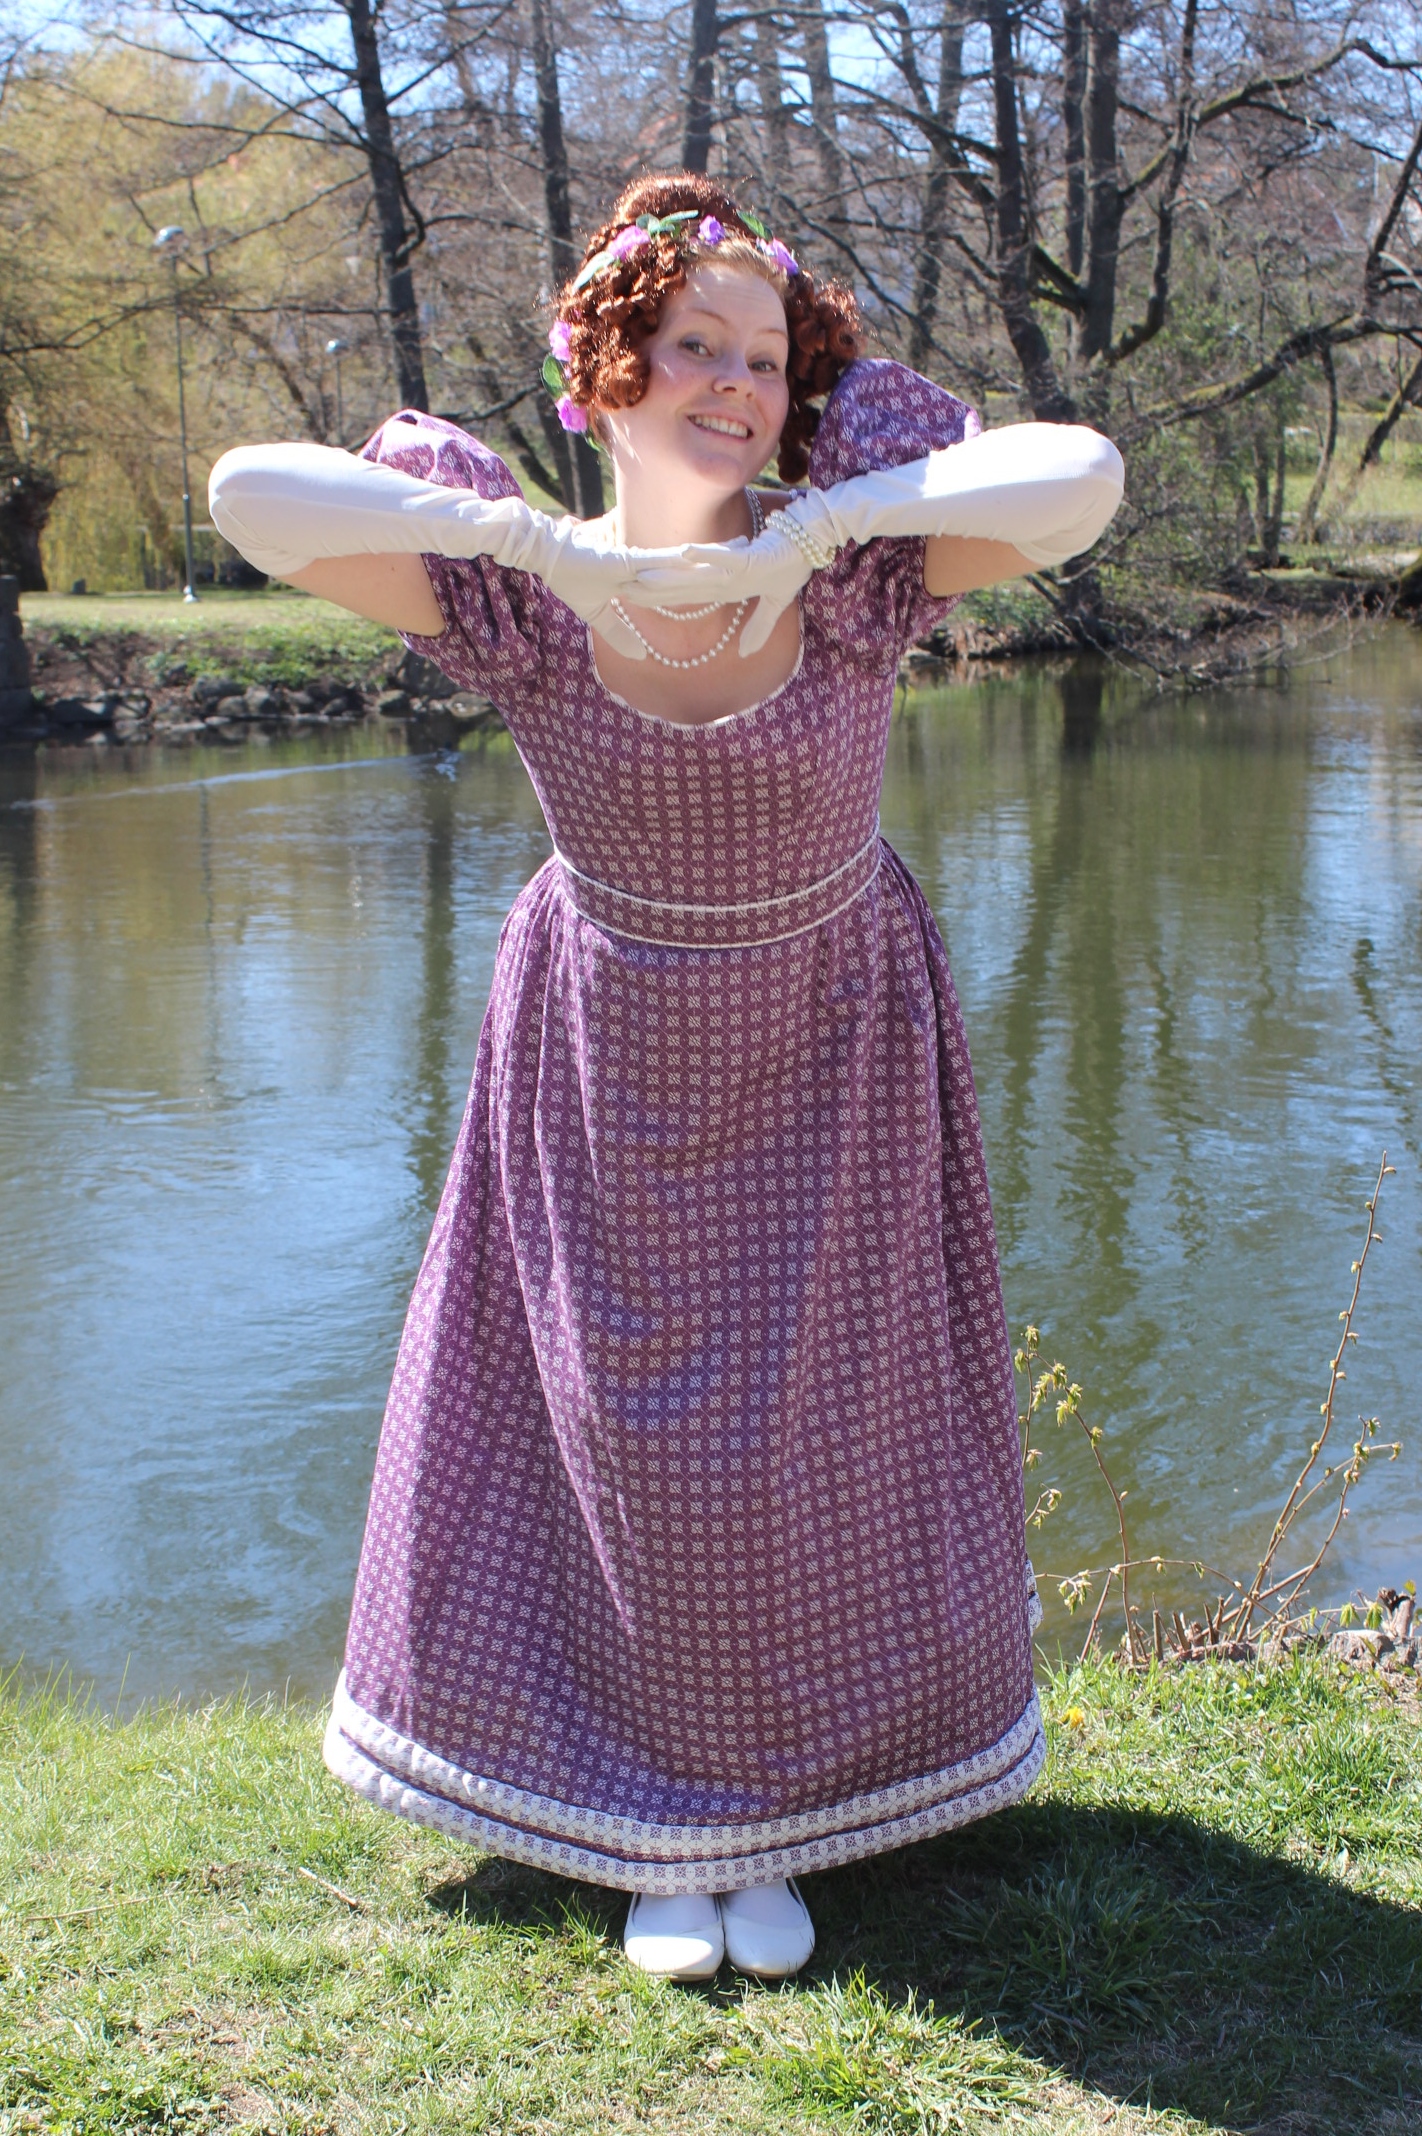
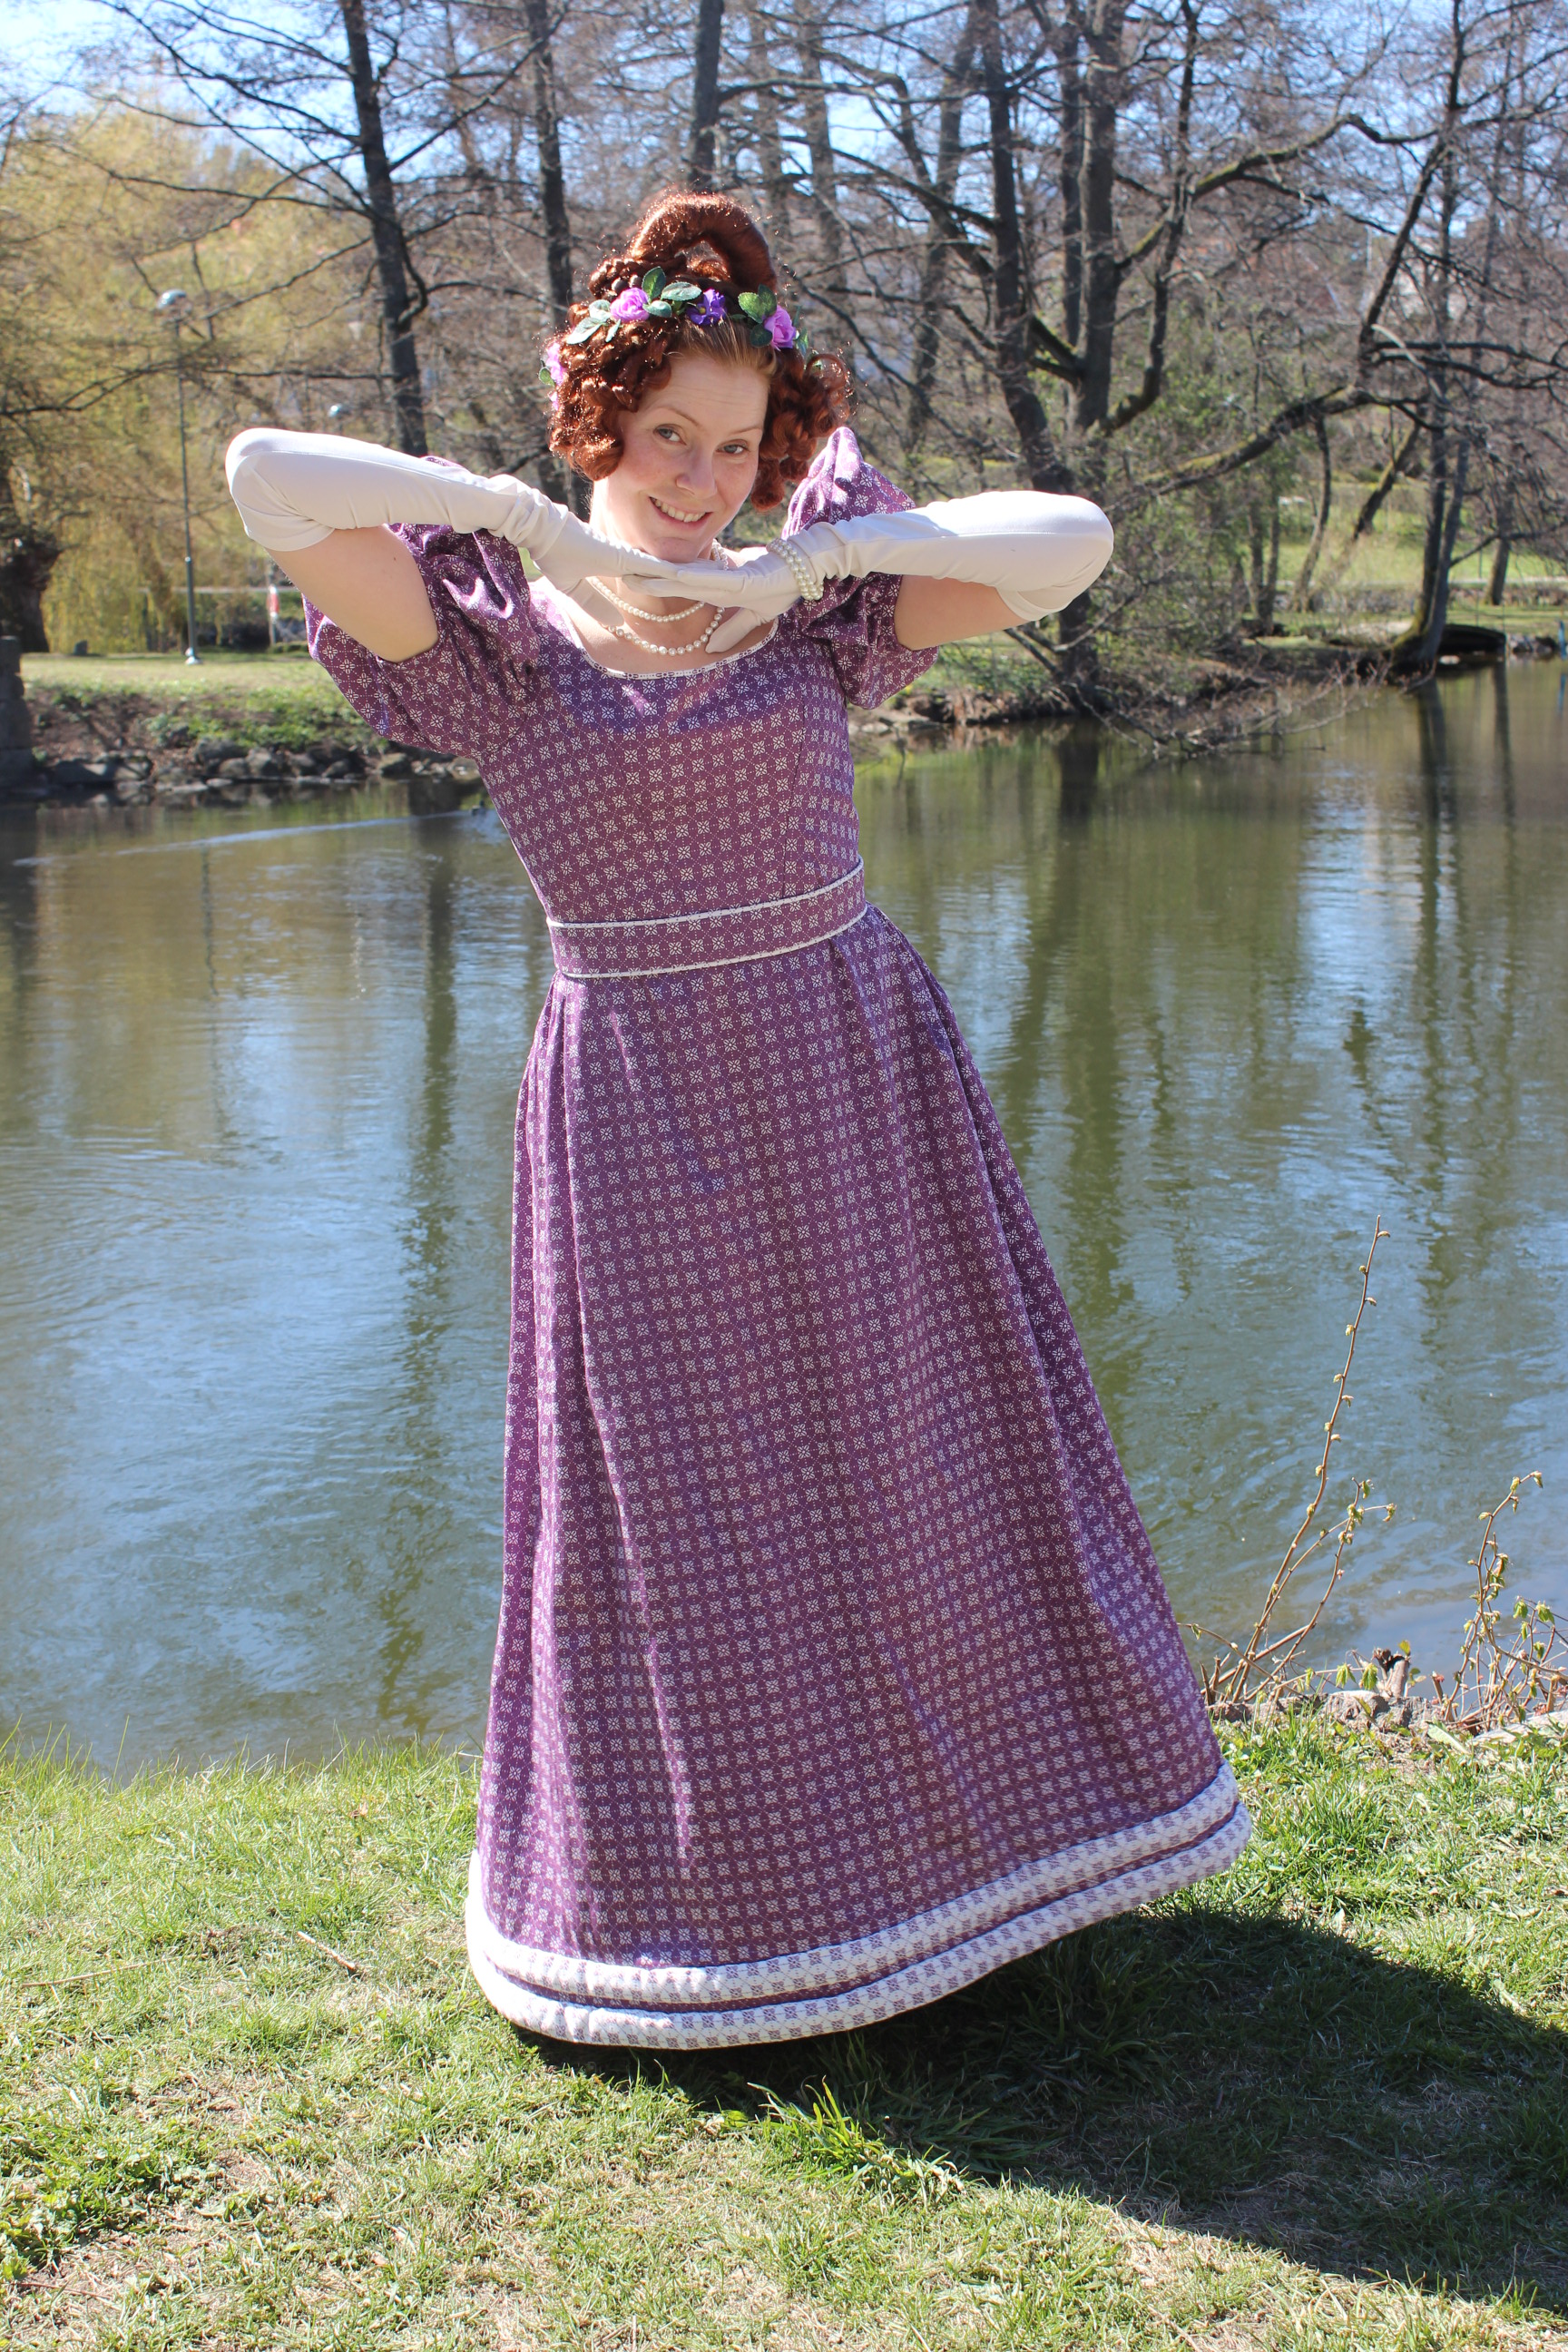
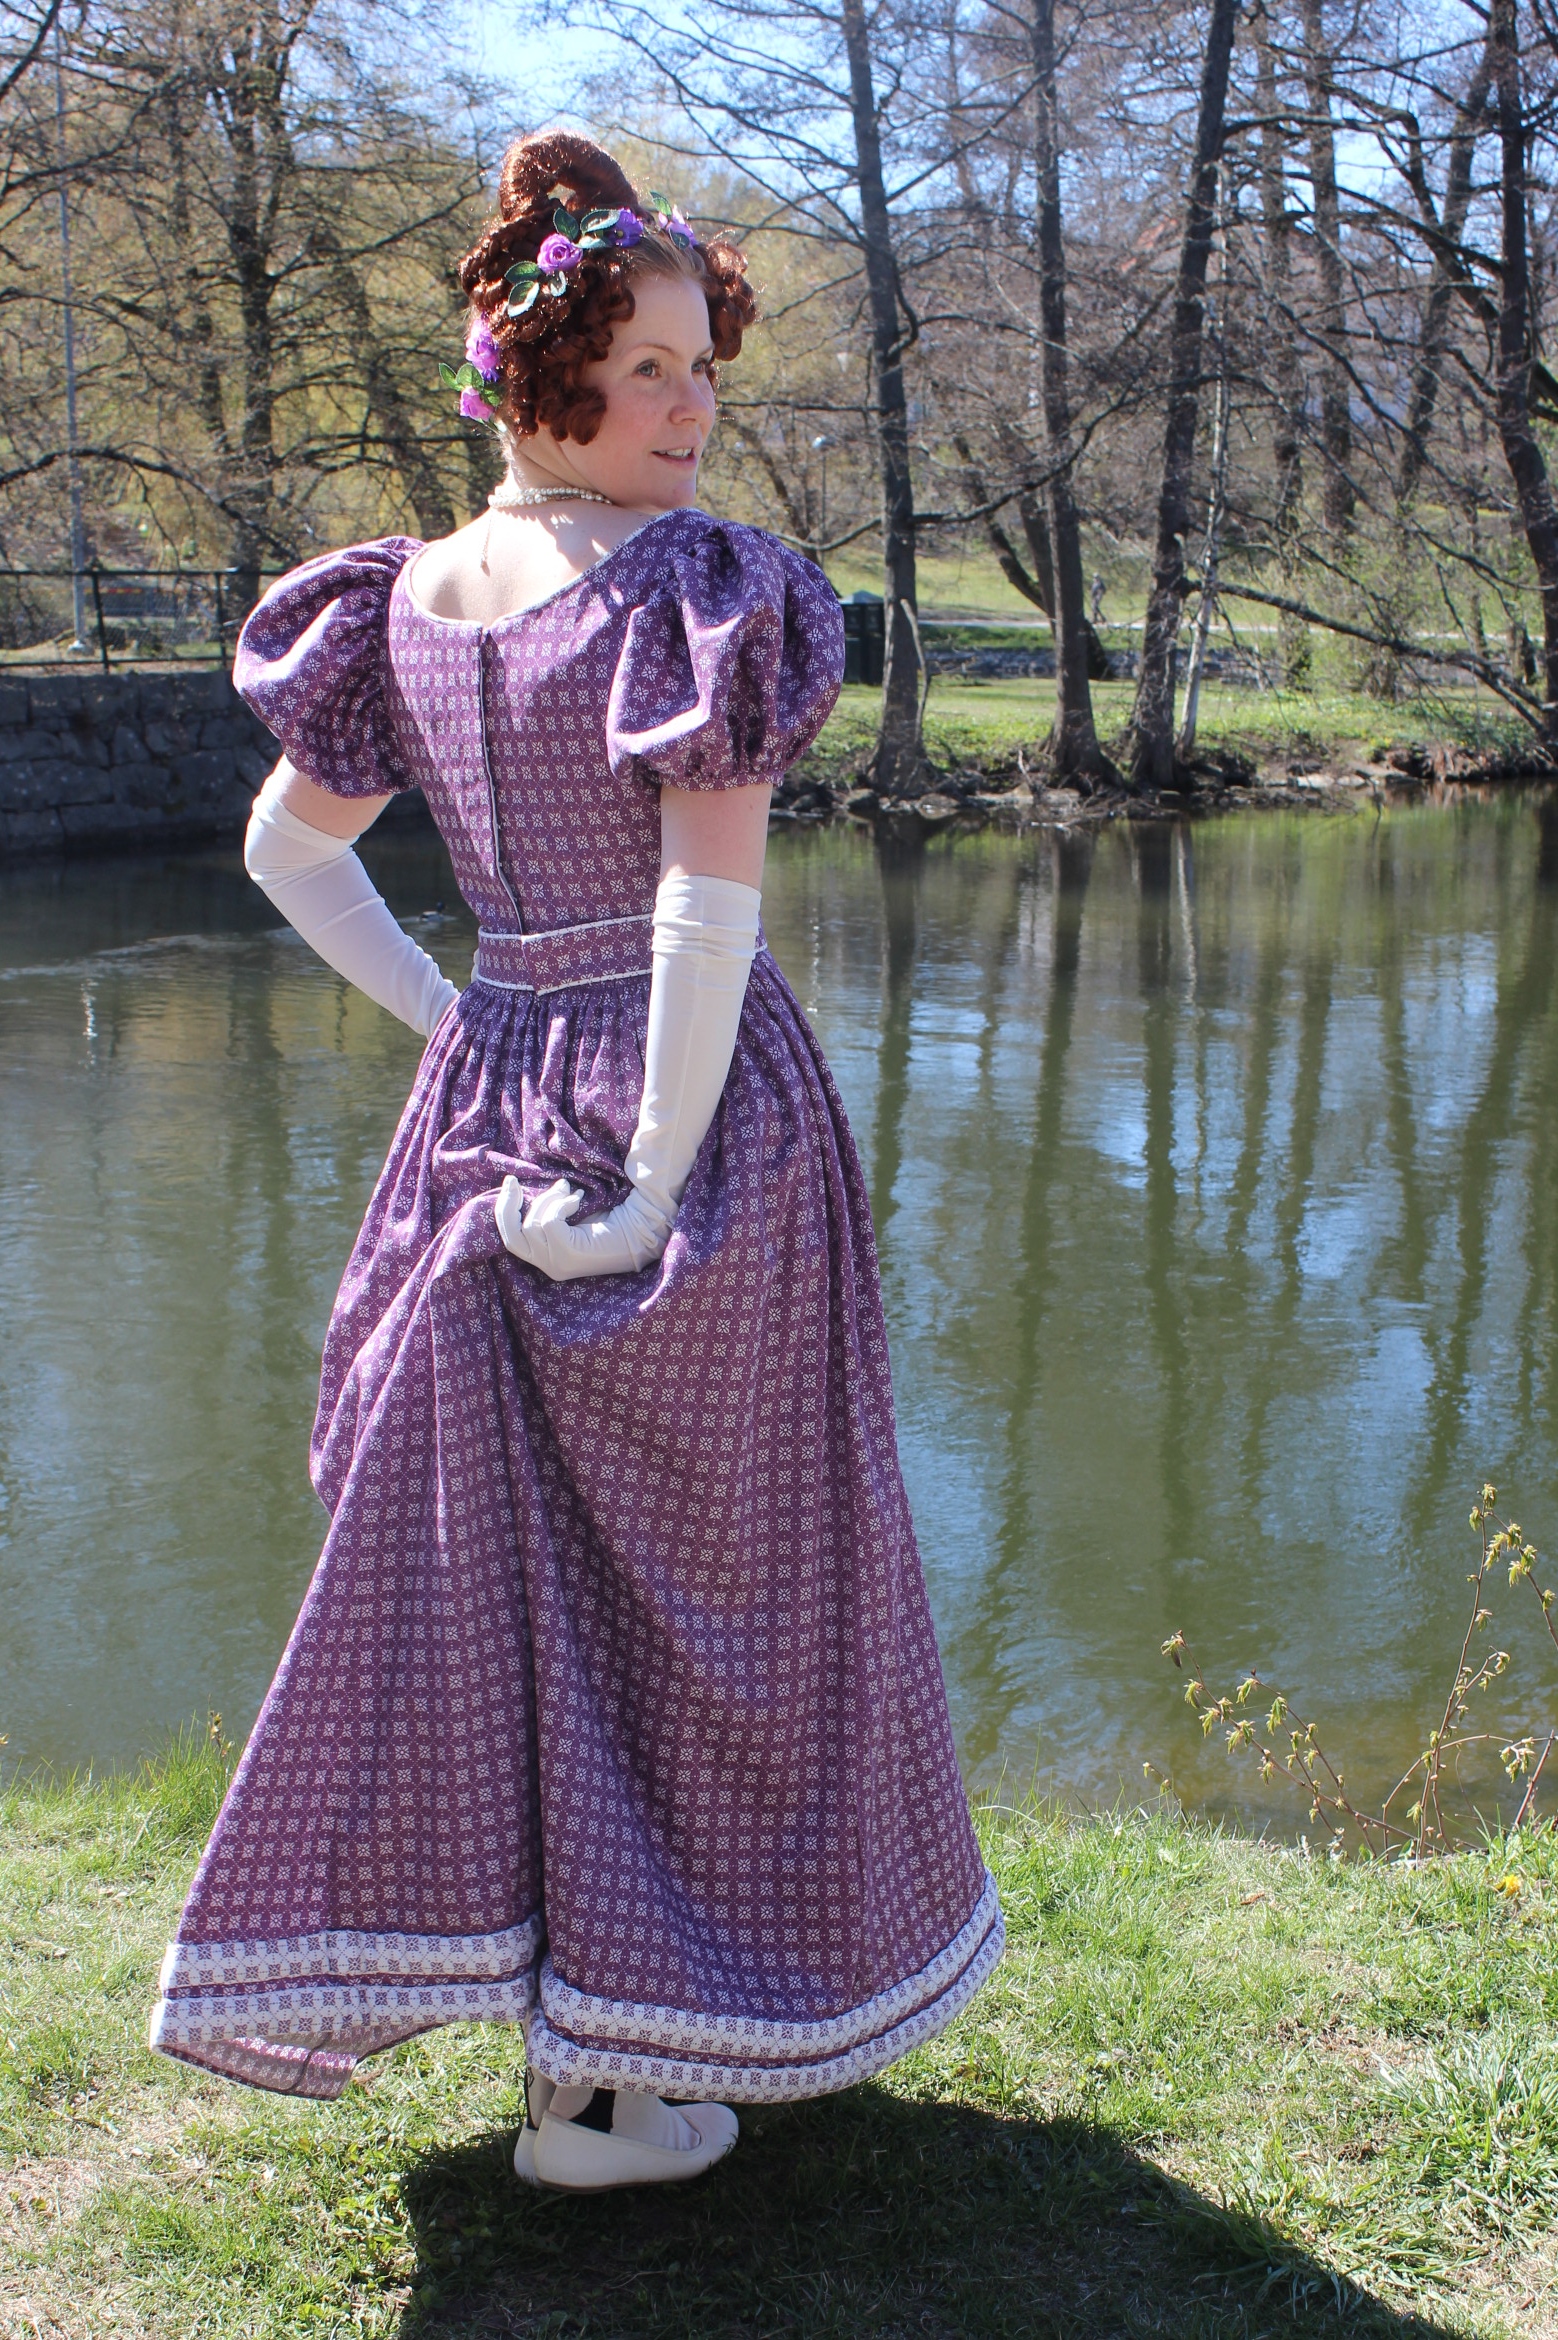
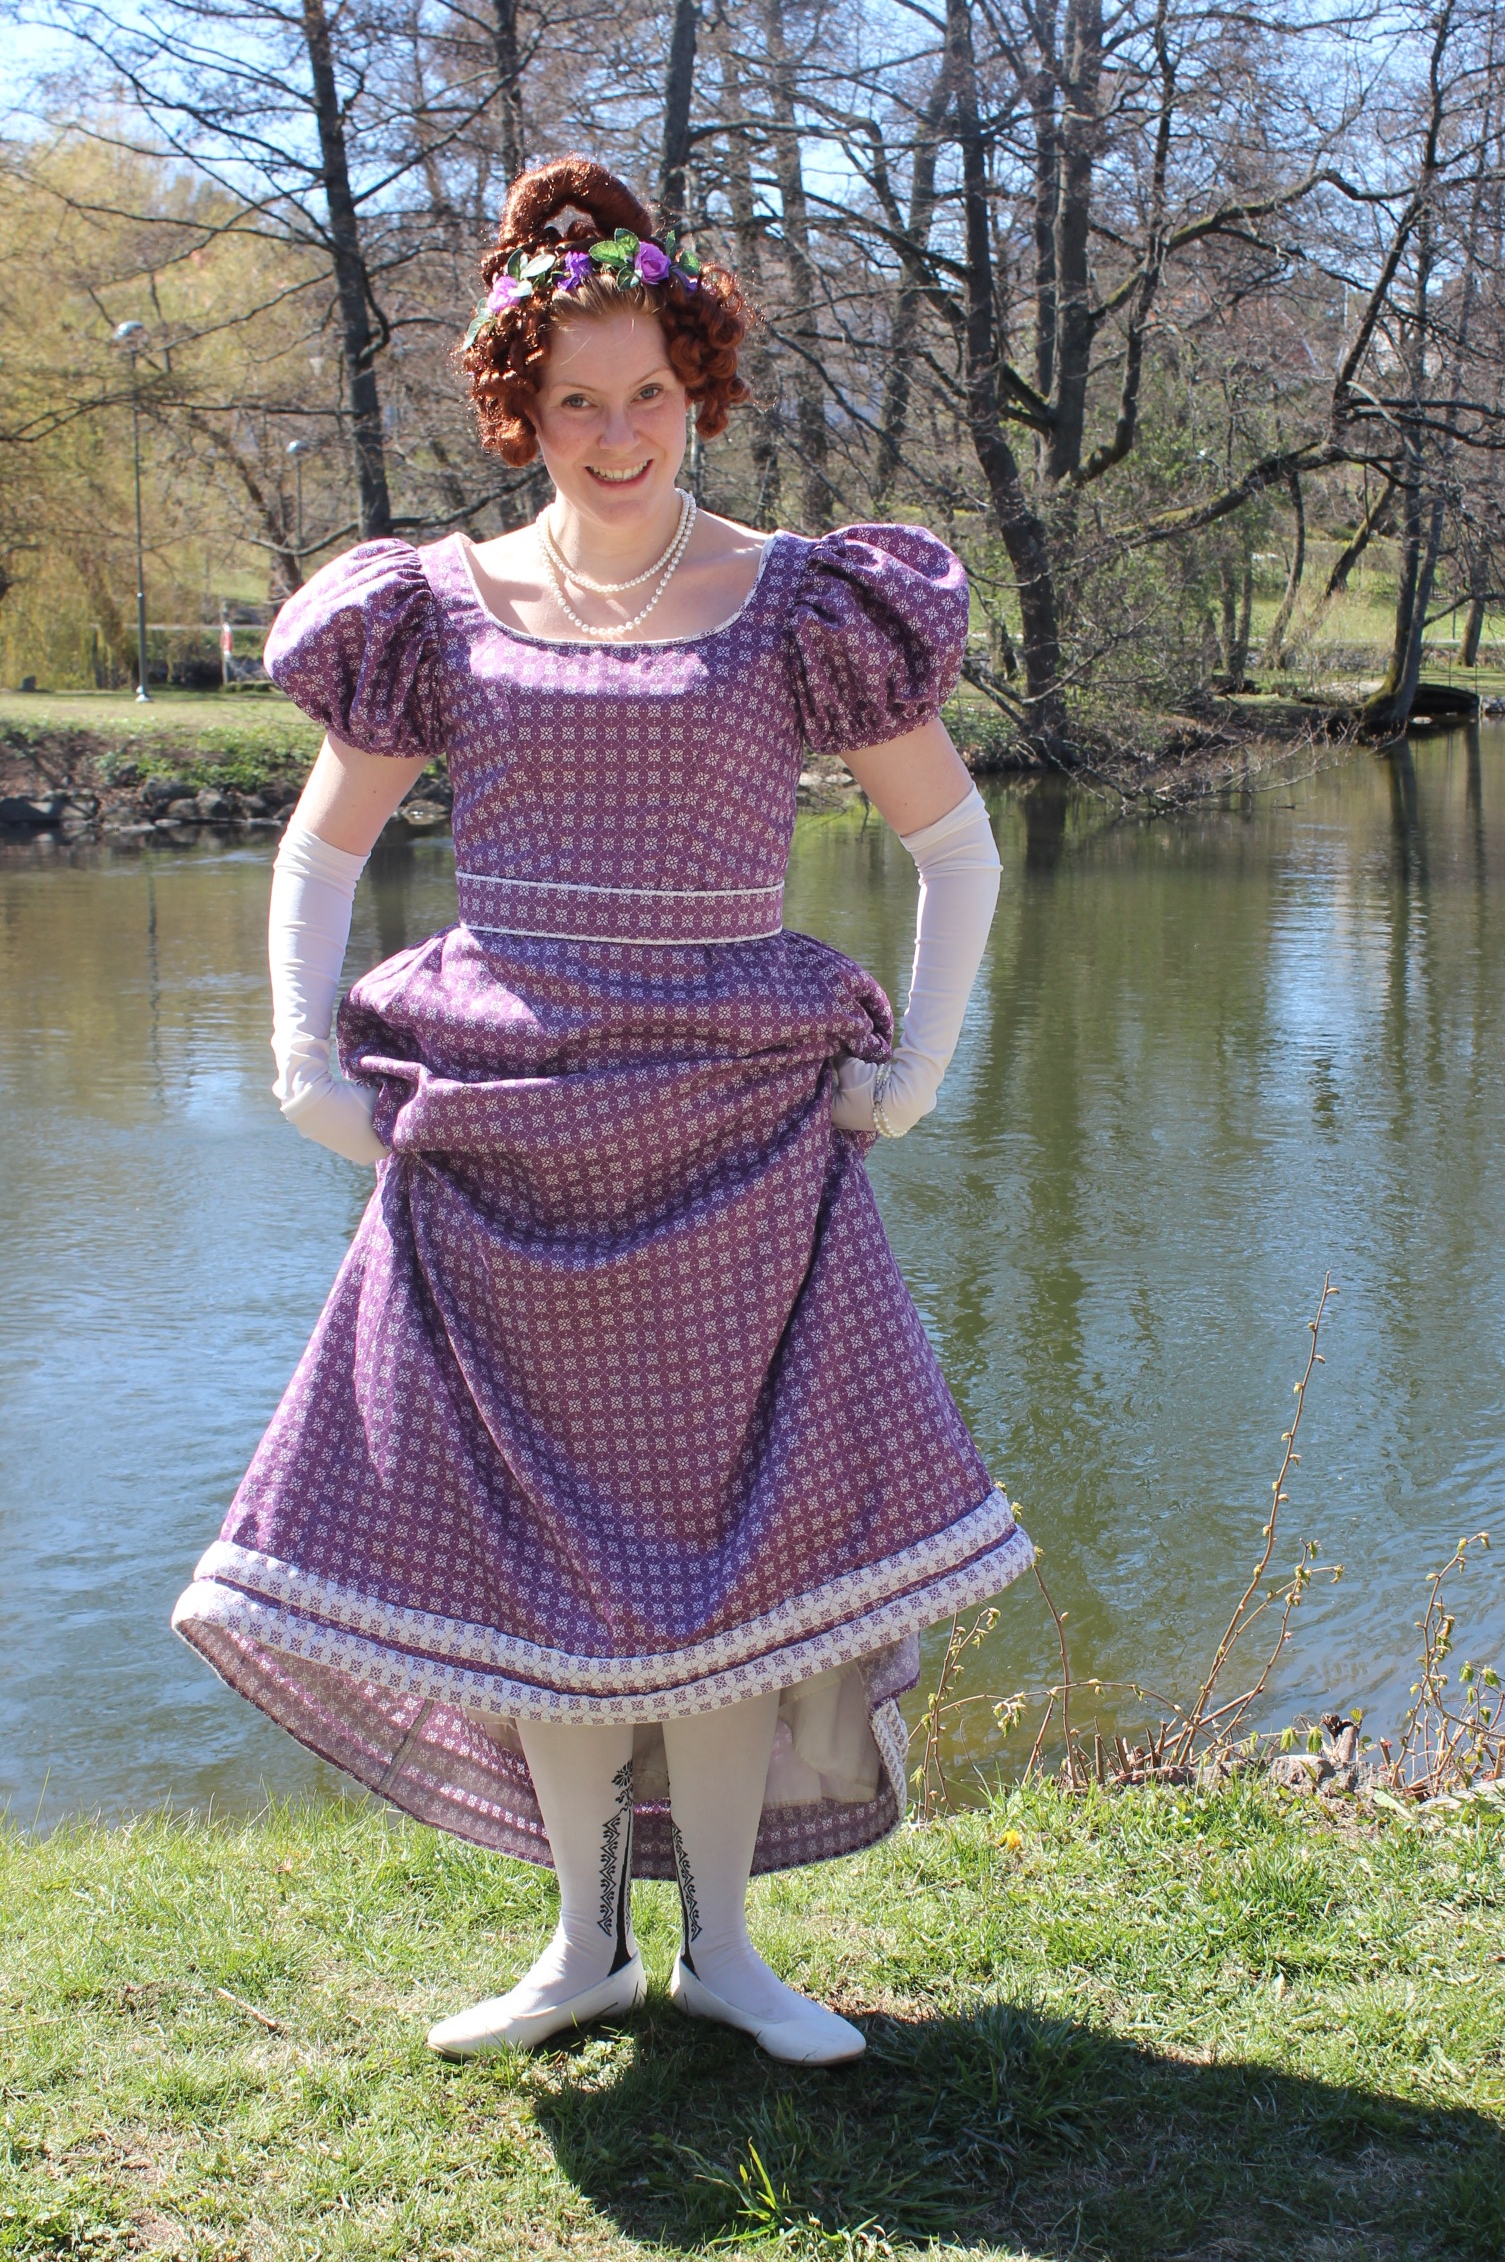
 Remember this fabric?
 I’ts what I used for my
  Something that turned out just perfect for this dress 😀


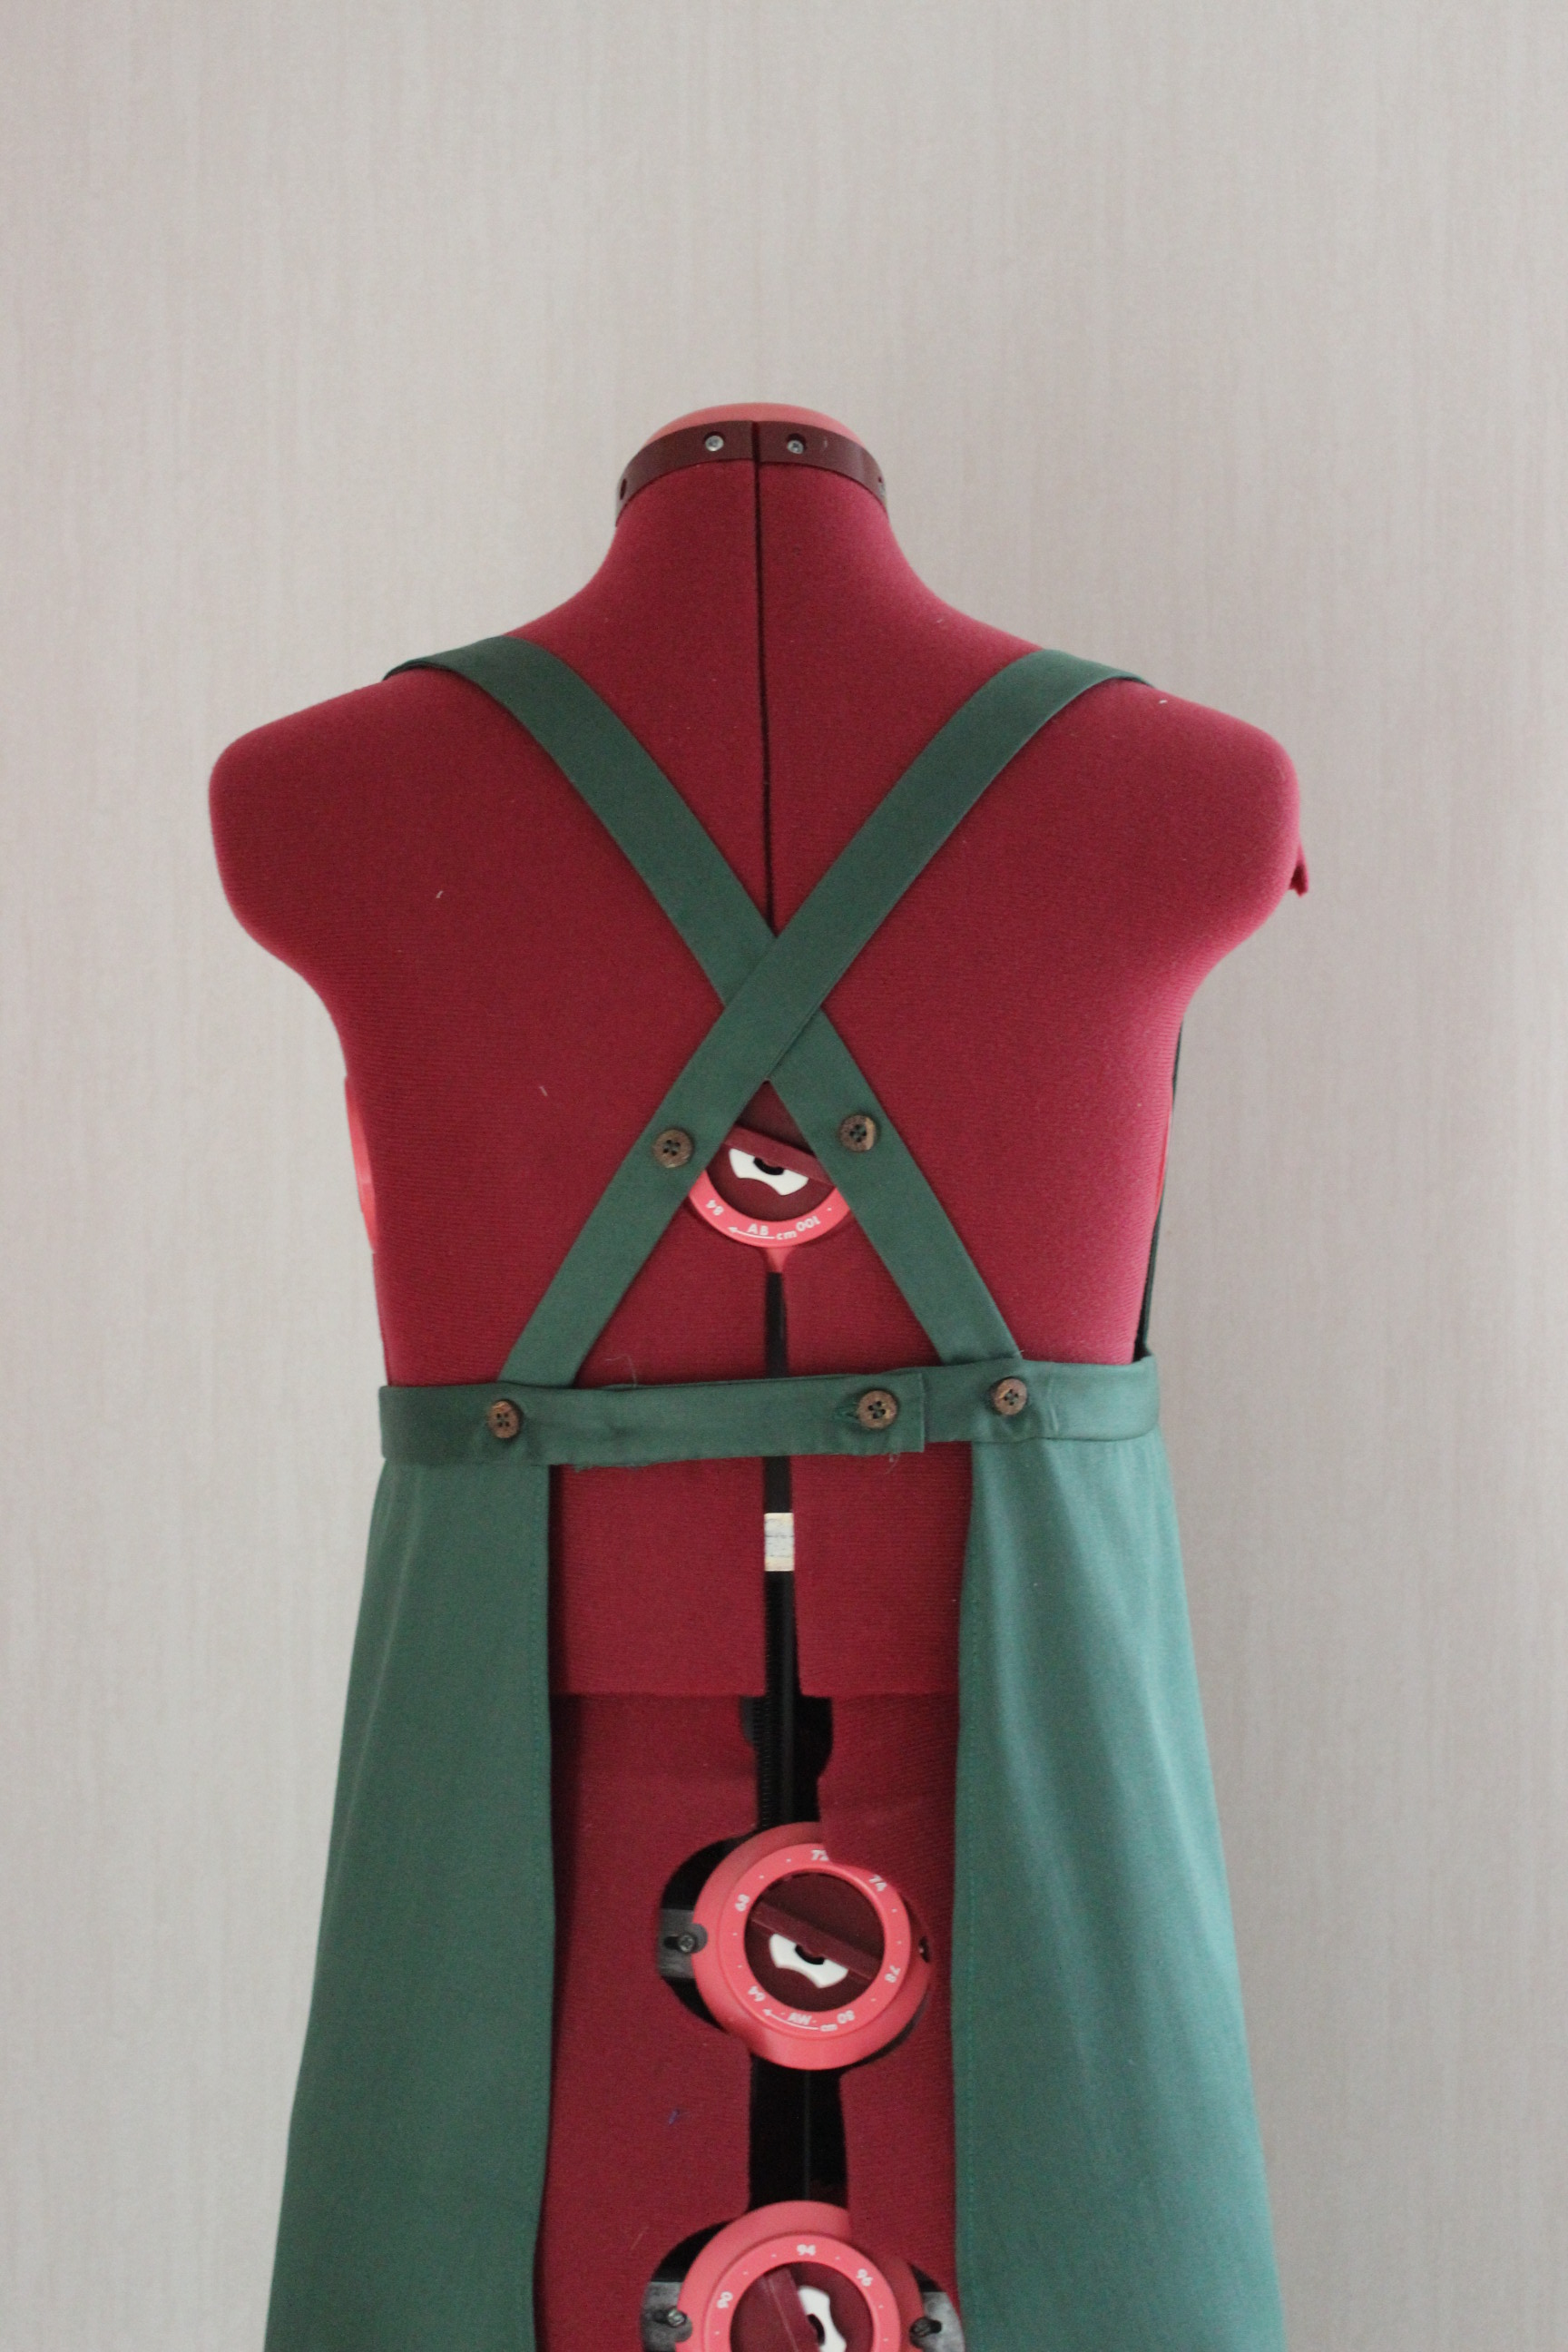
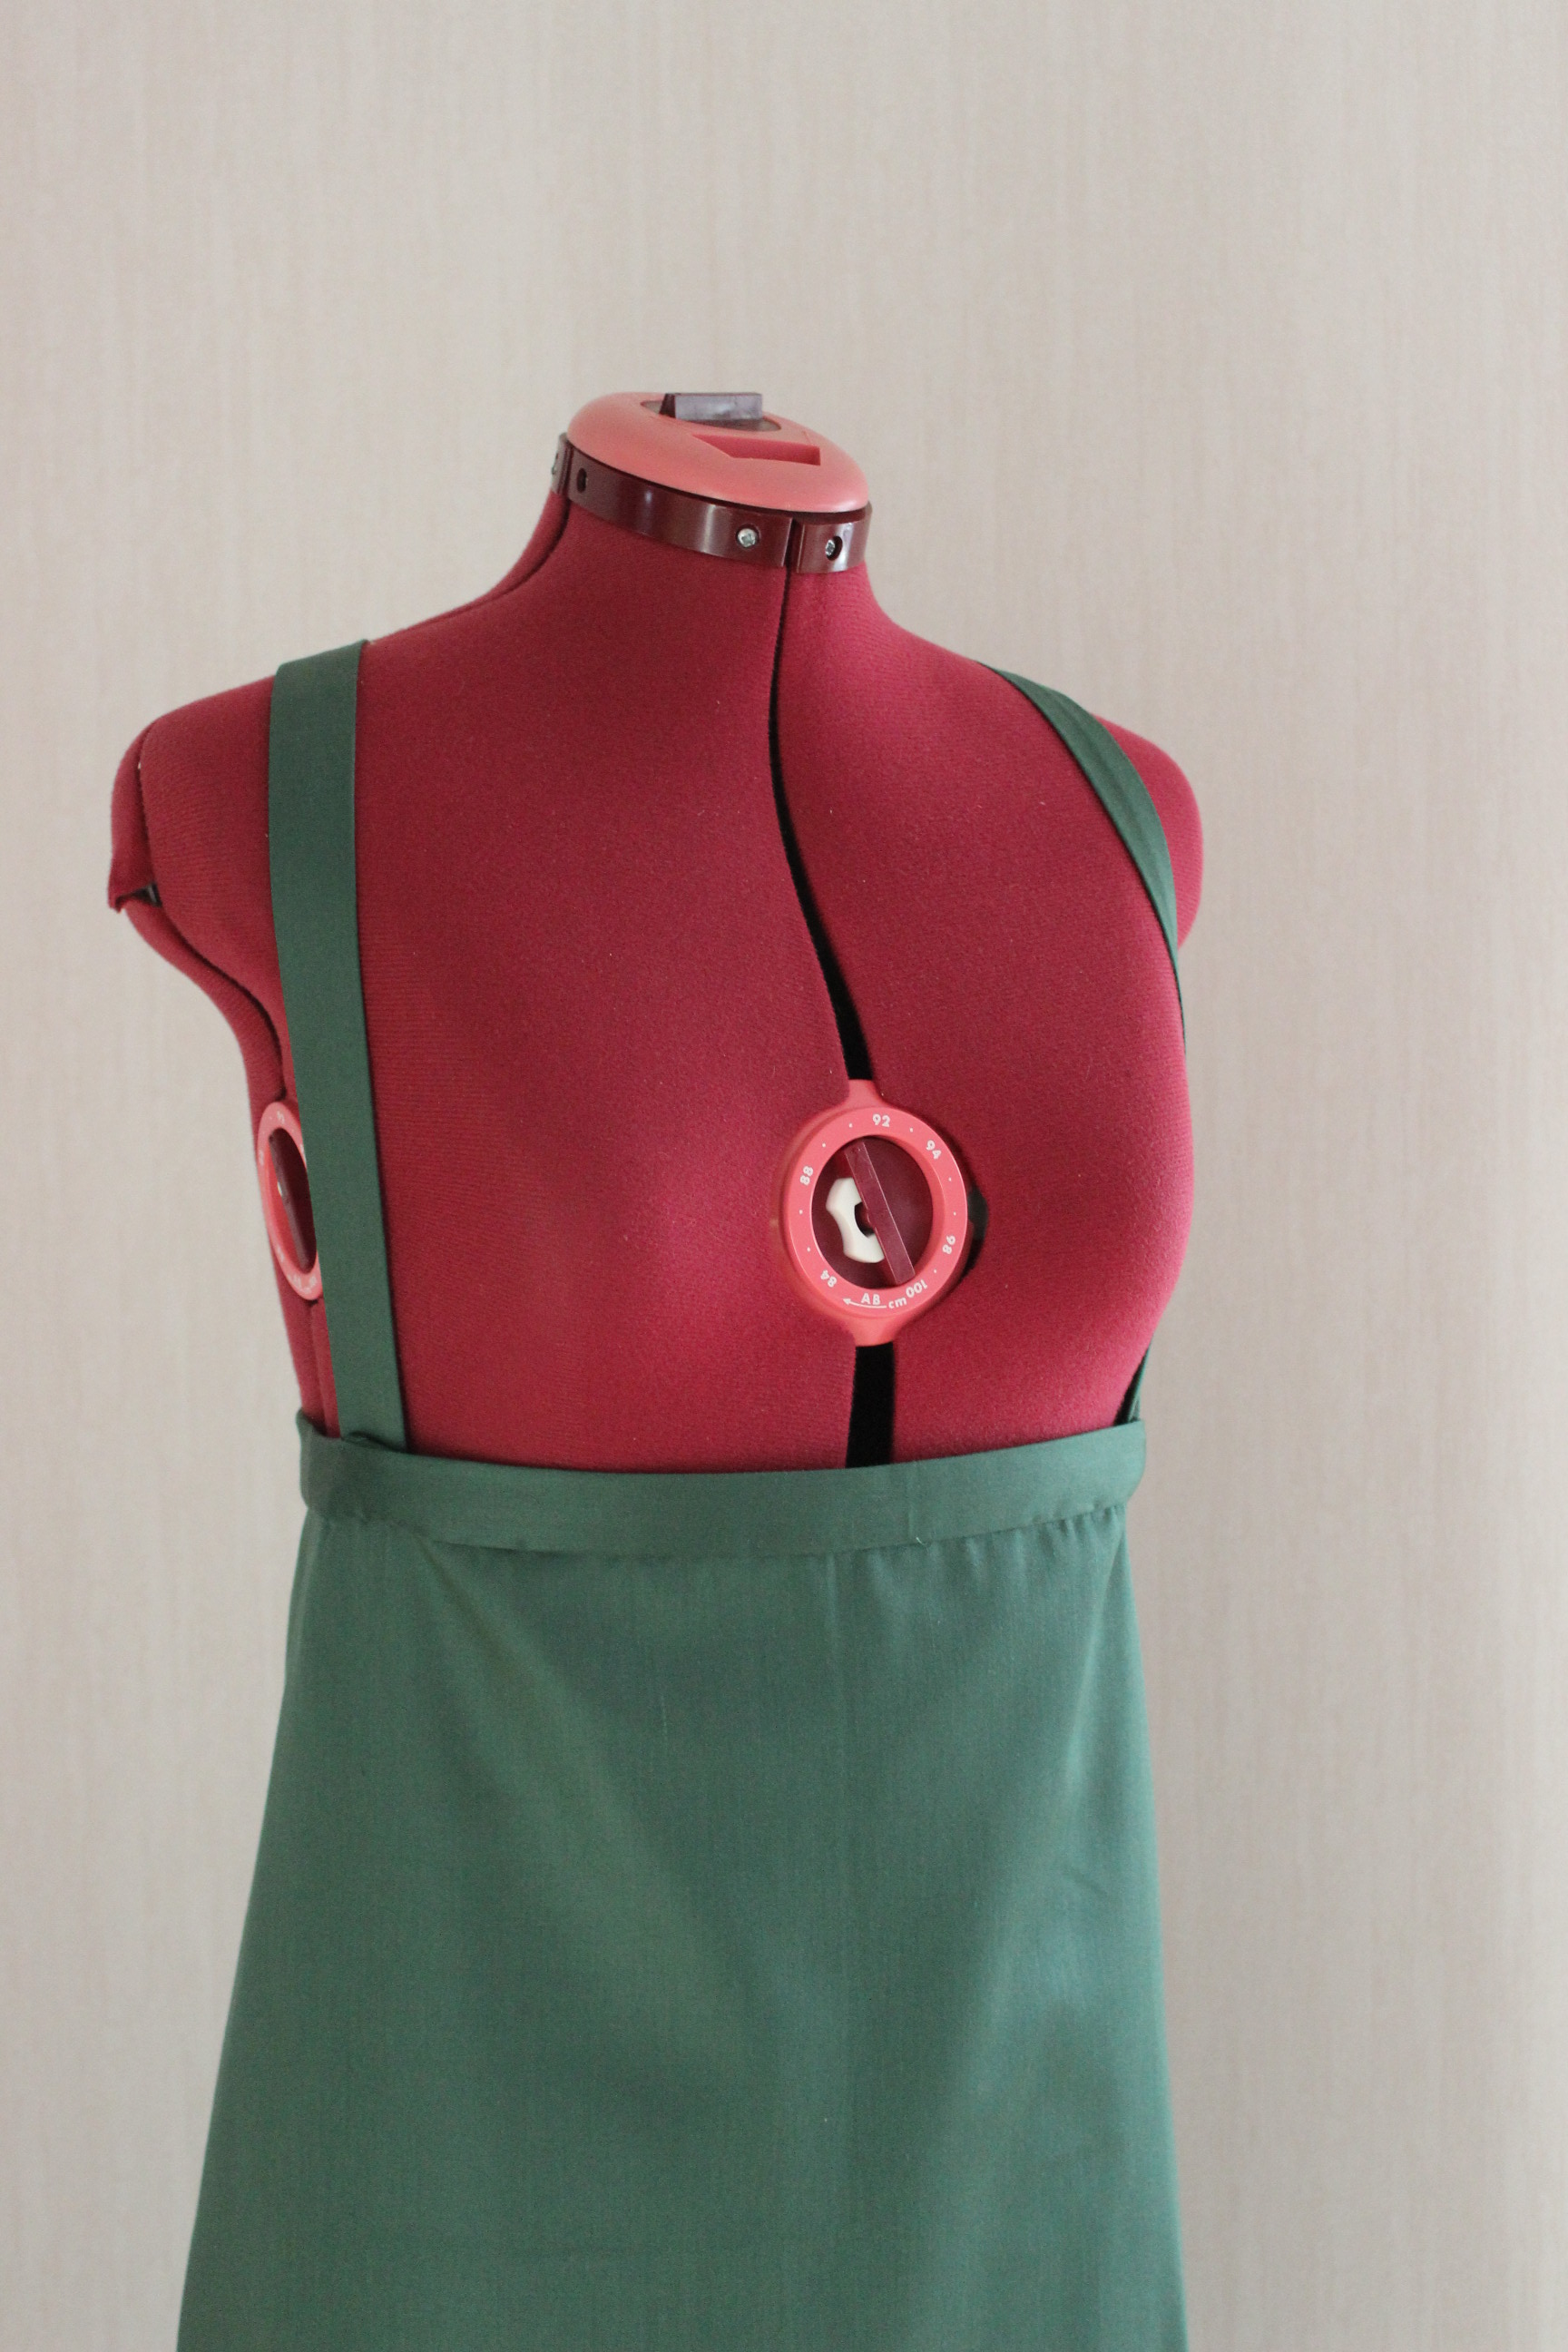
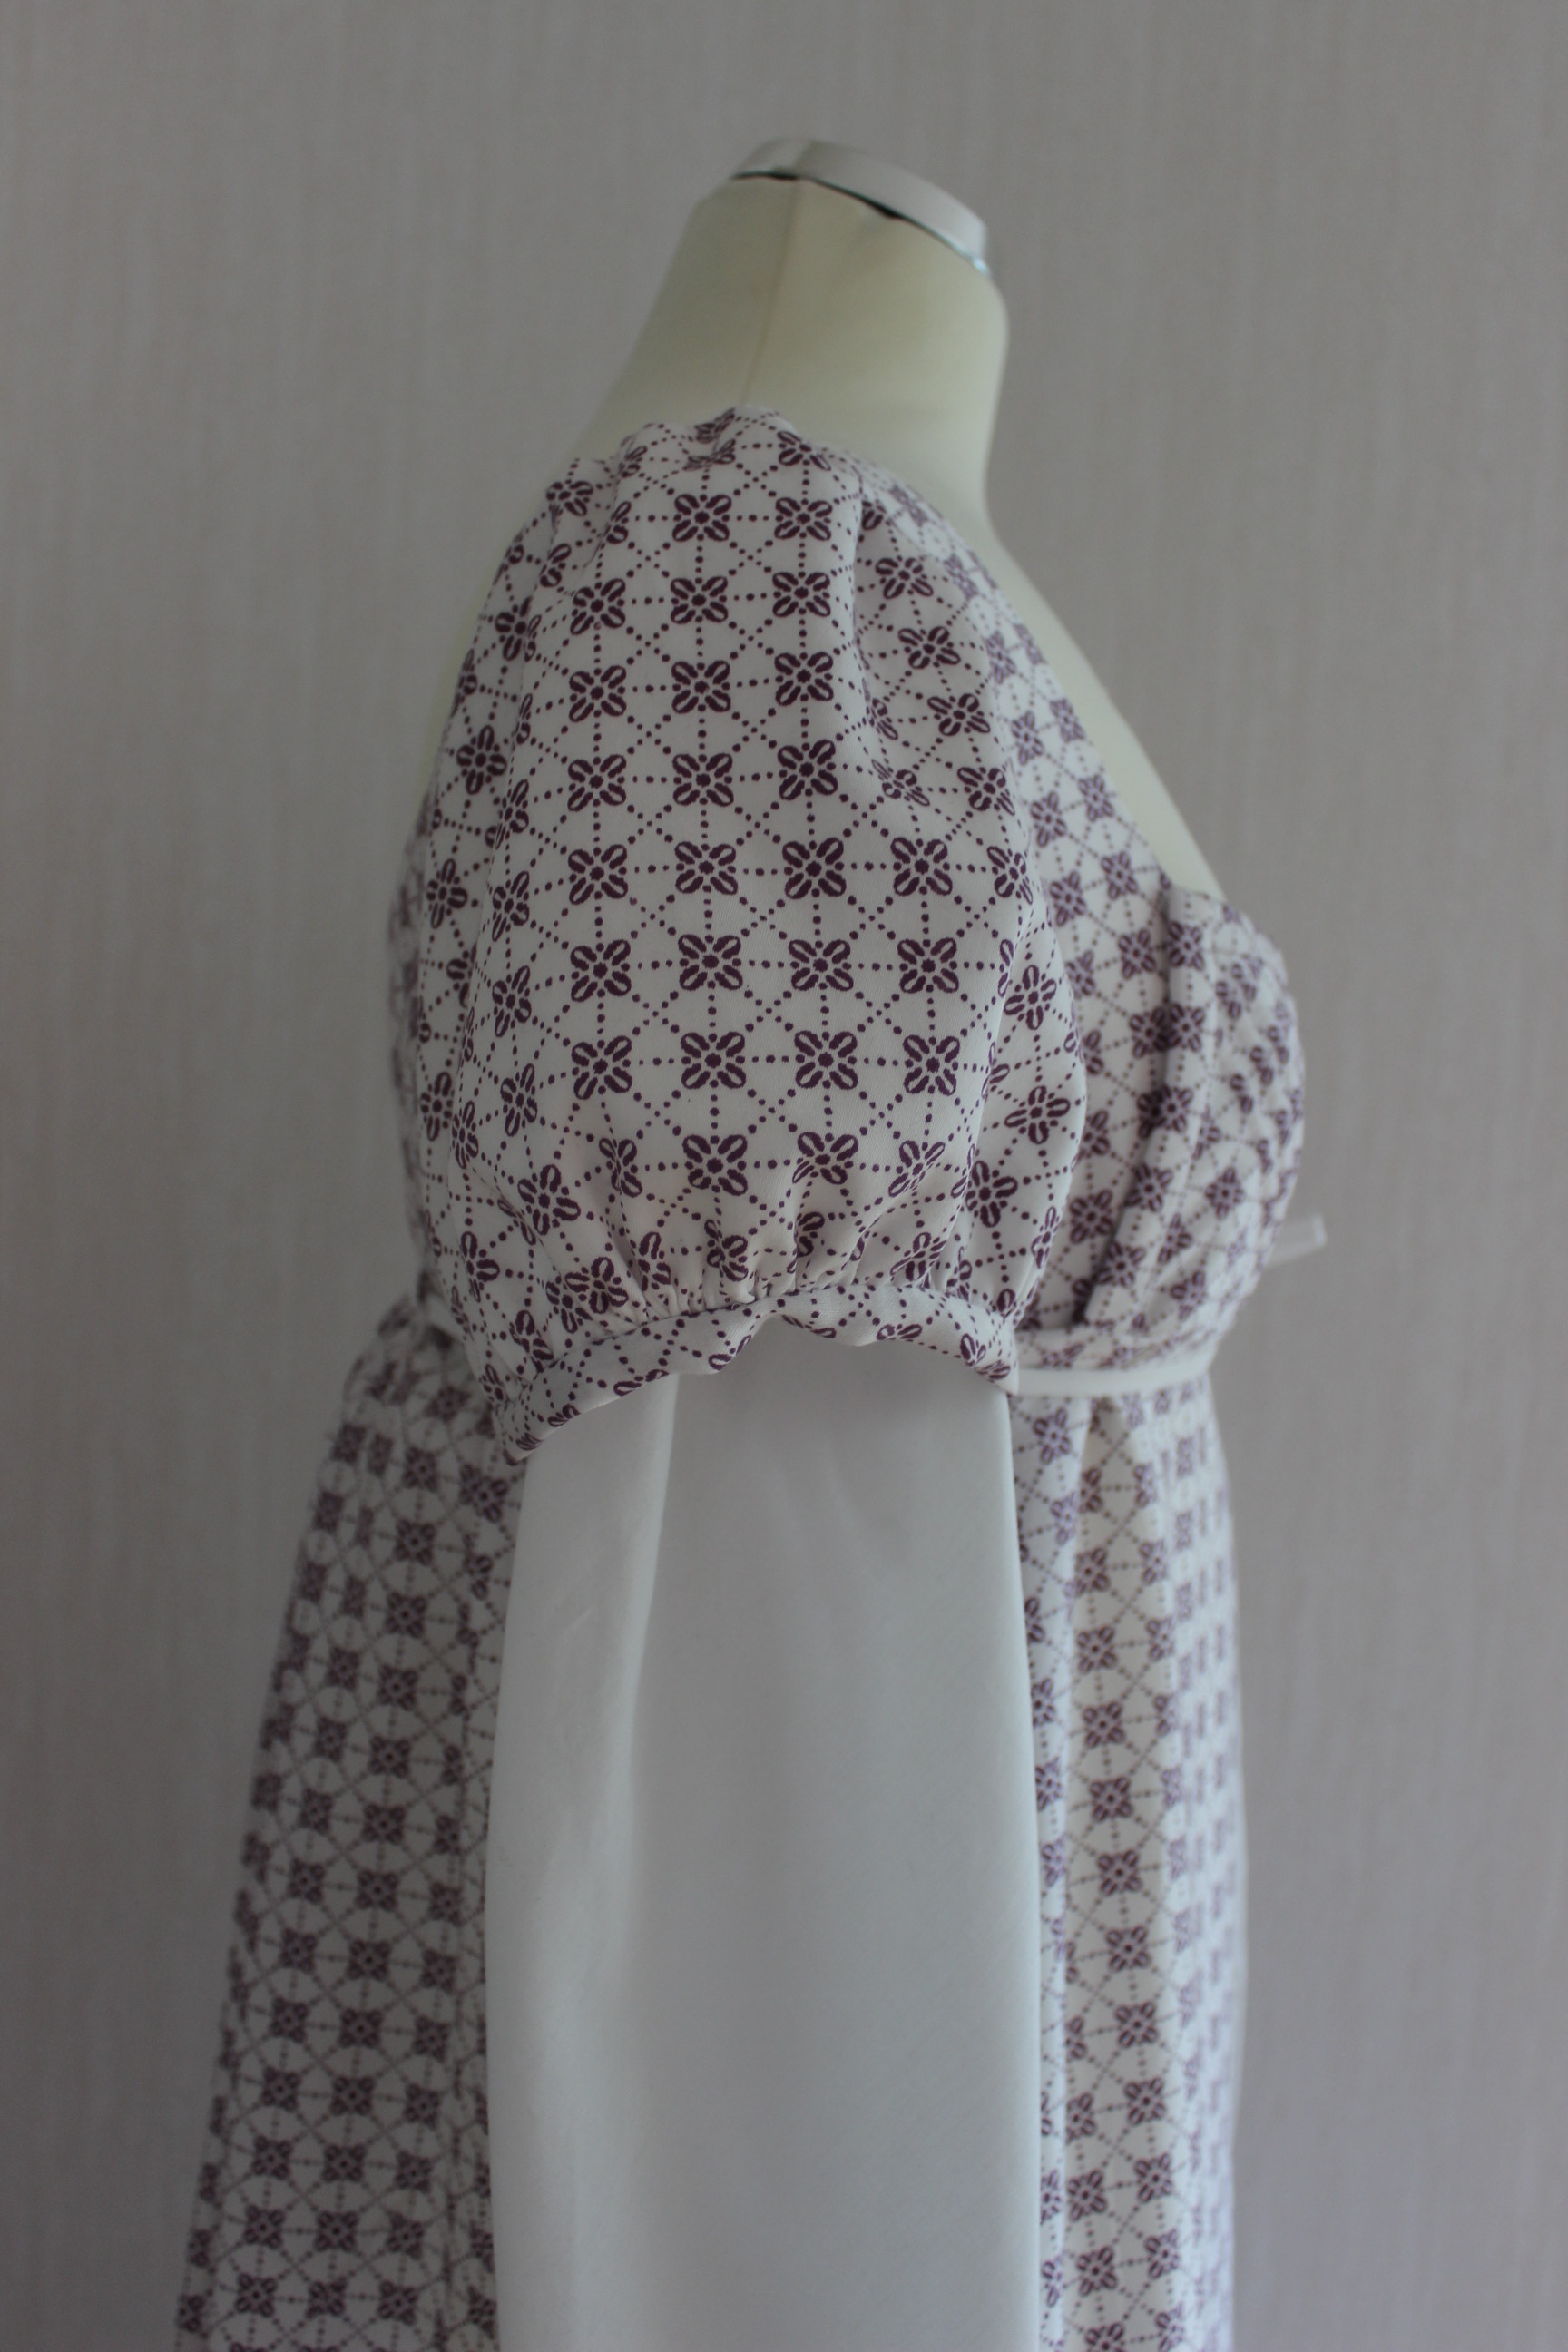
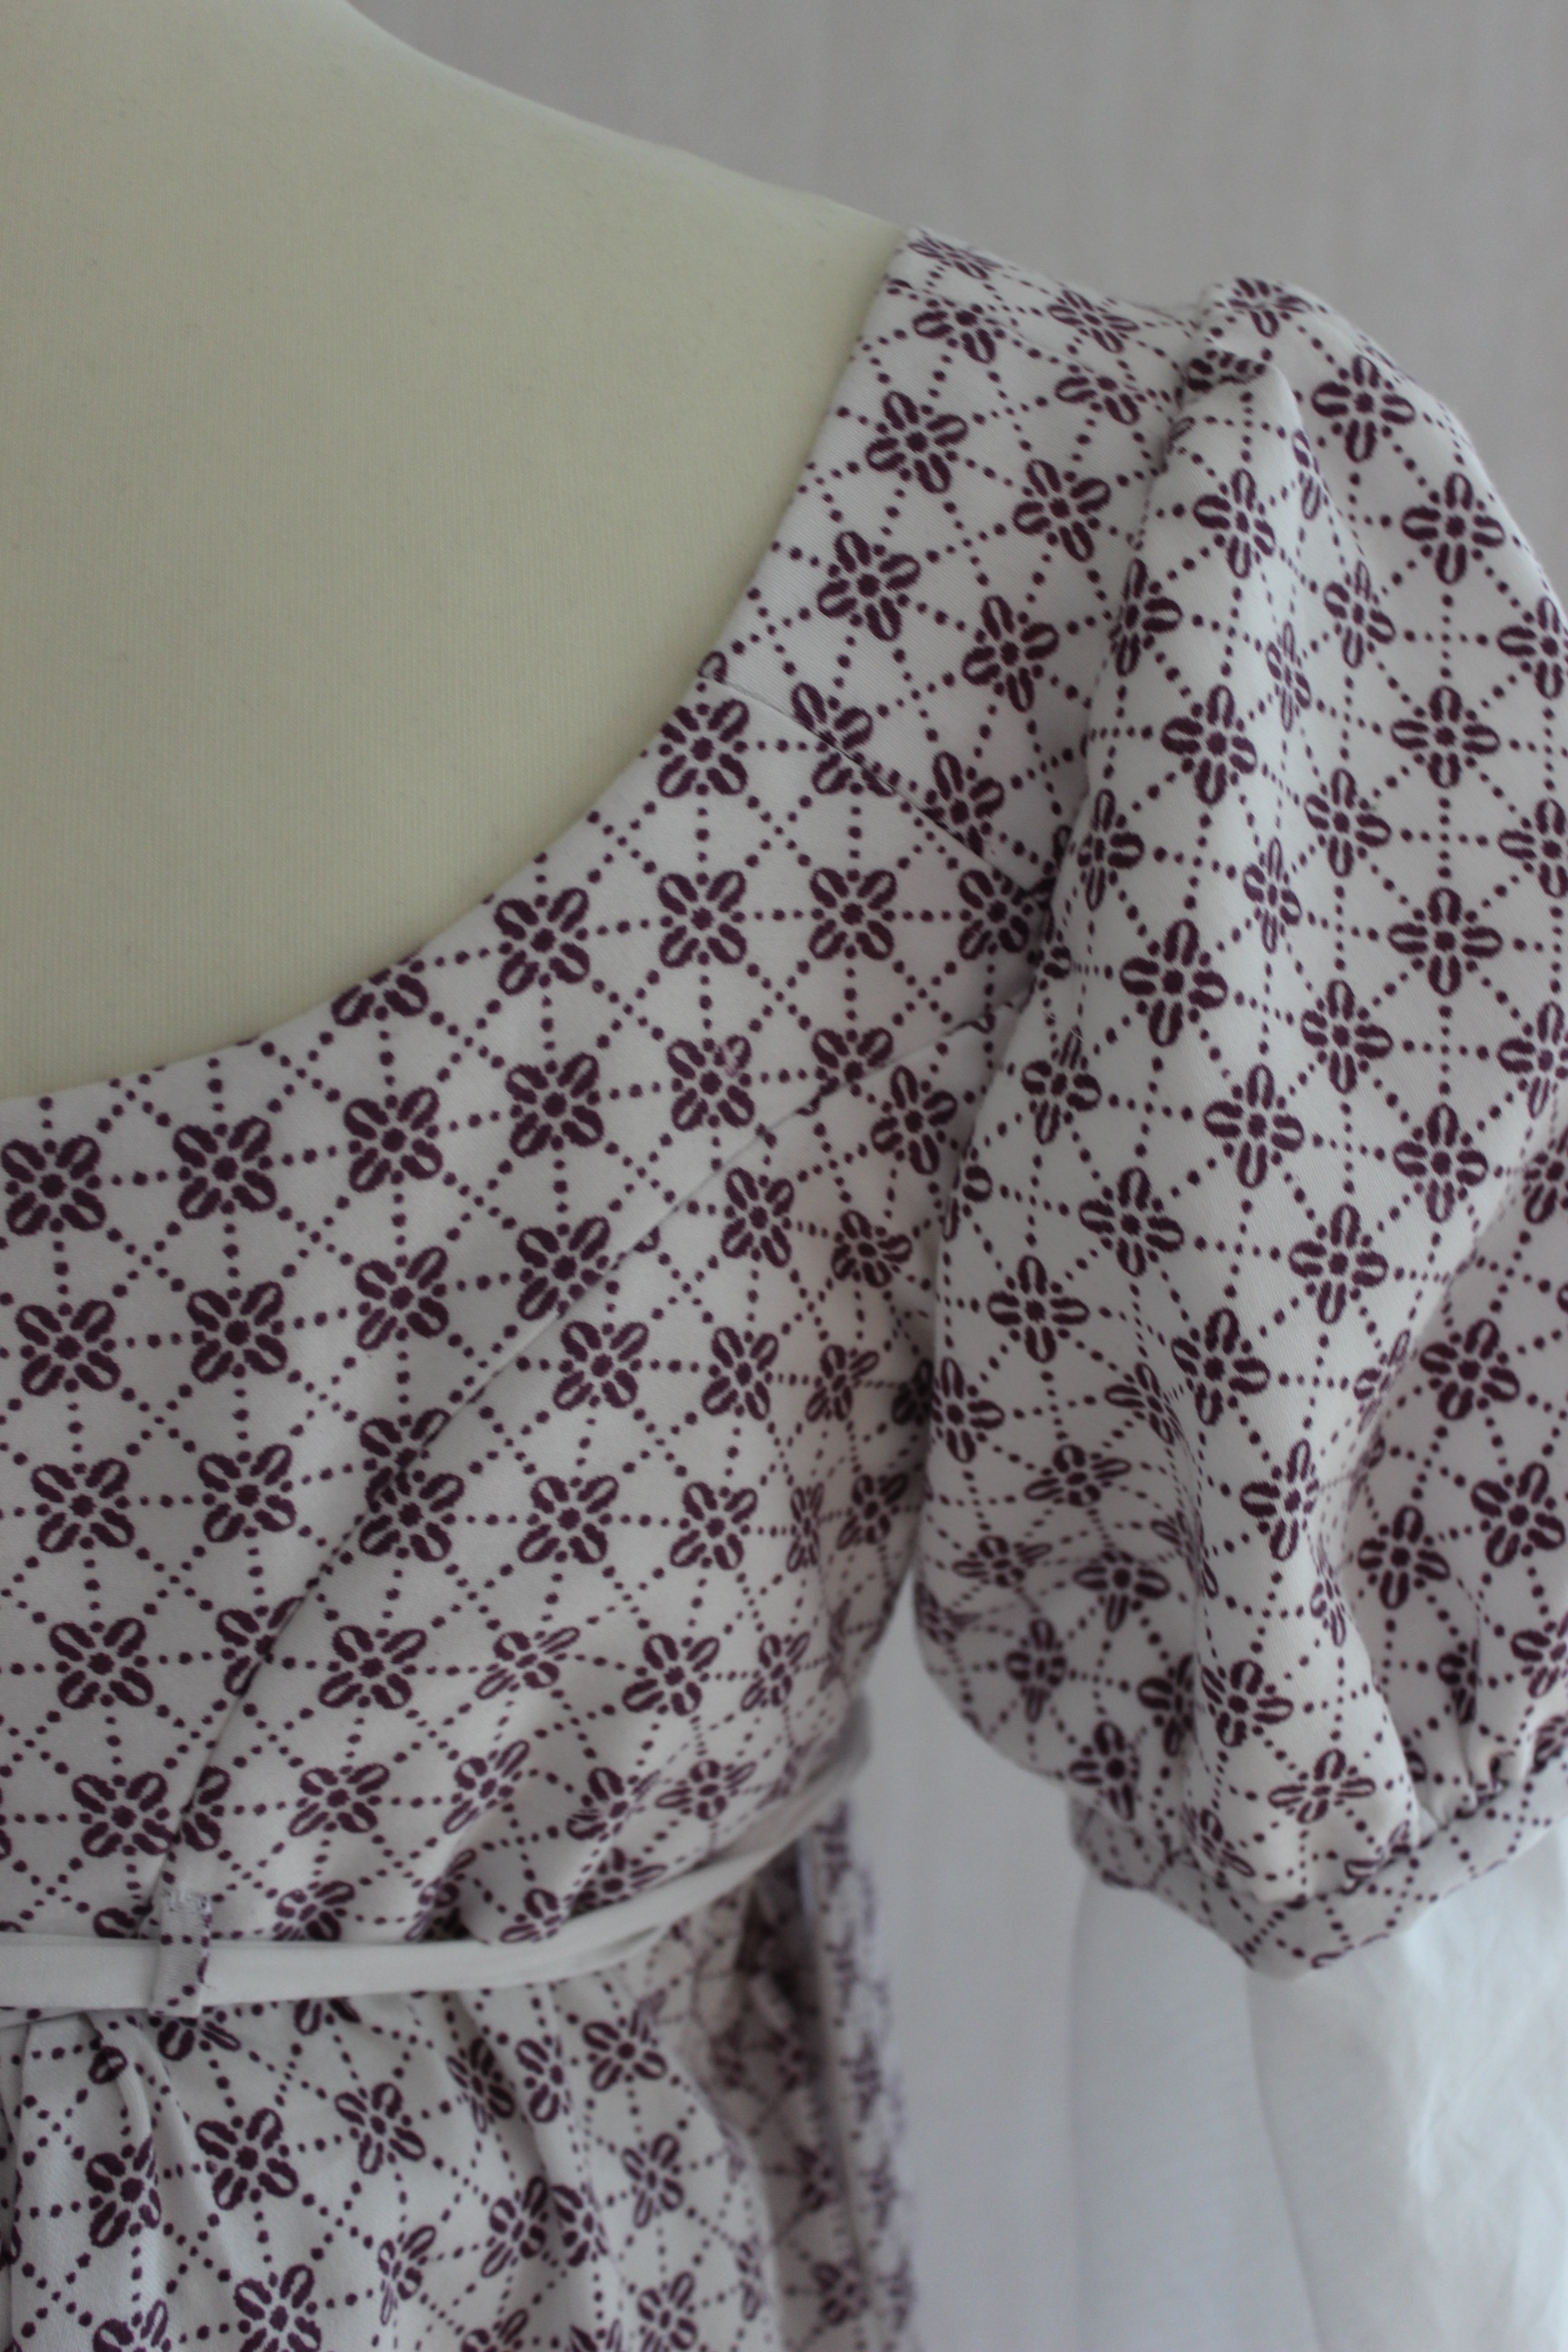
 With the front down.
 lastly I made and attached strips of fabric for tying and a small pad for the back to hold out the skirt
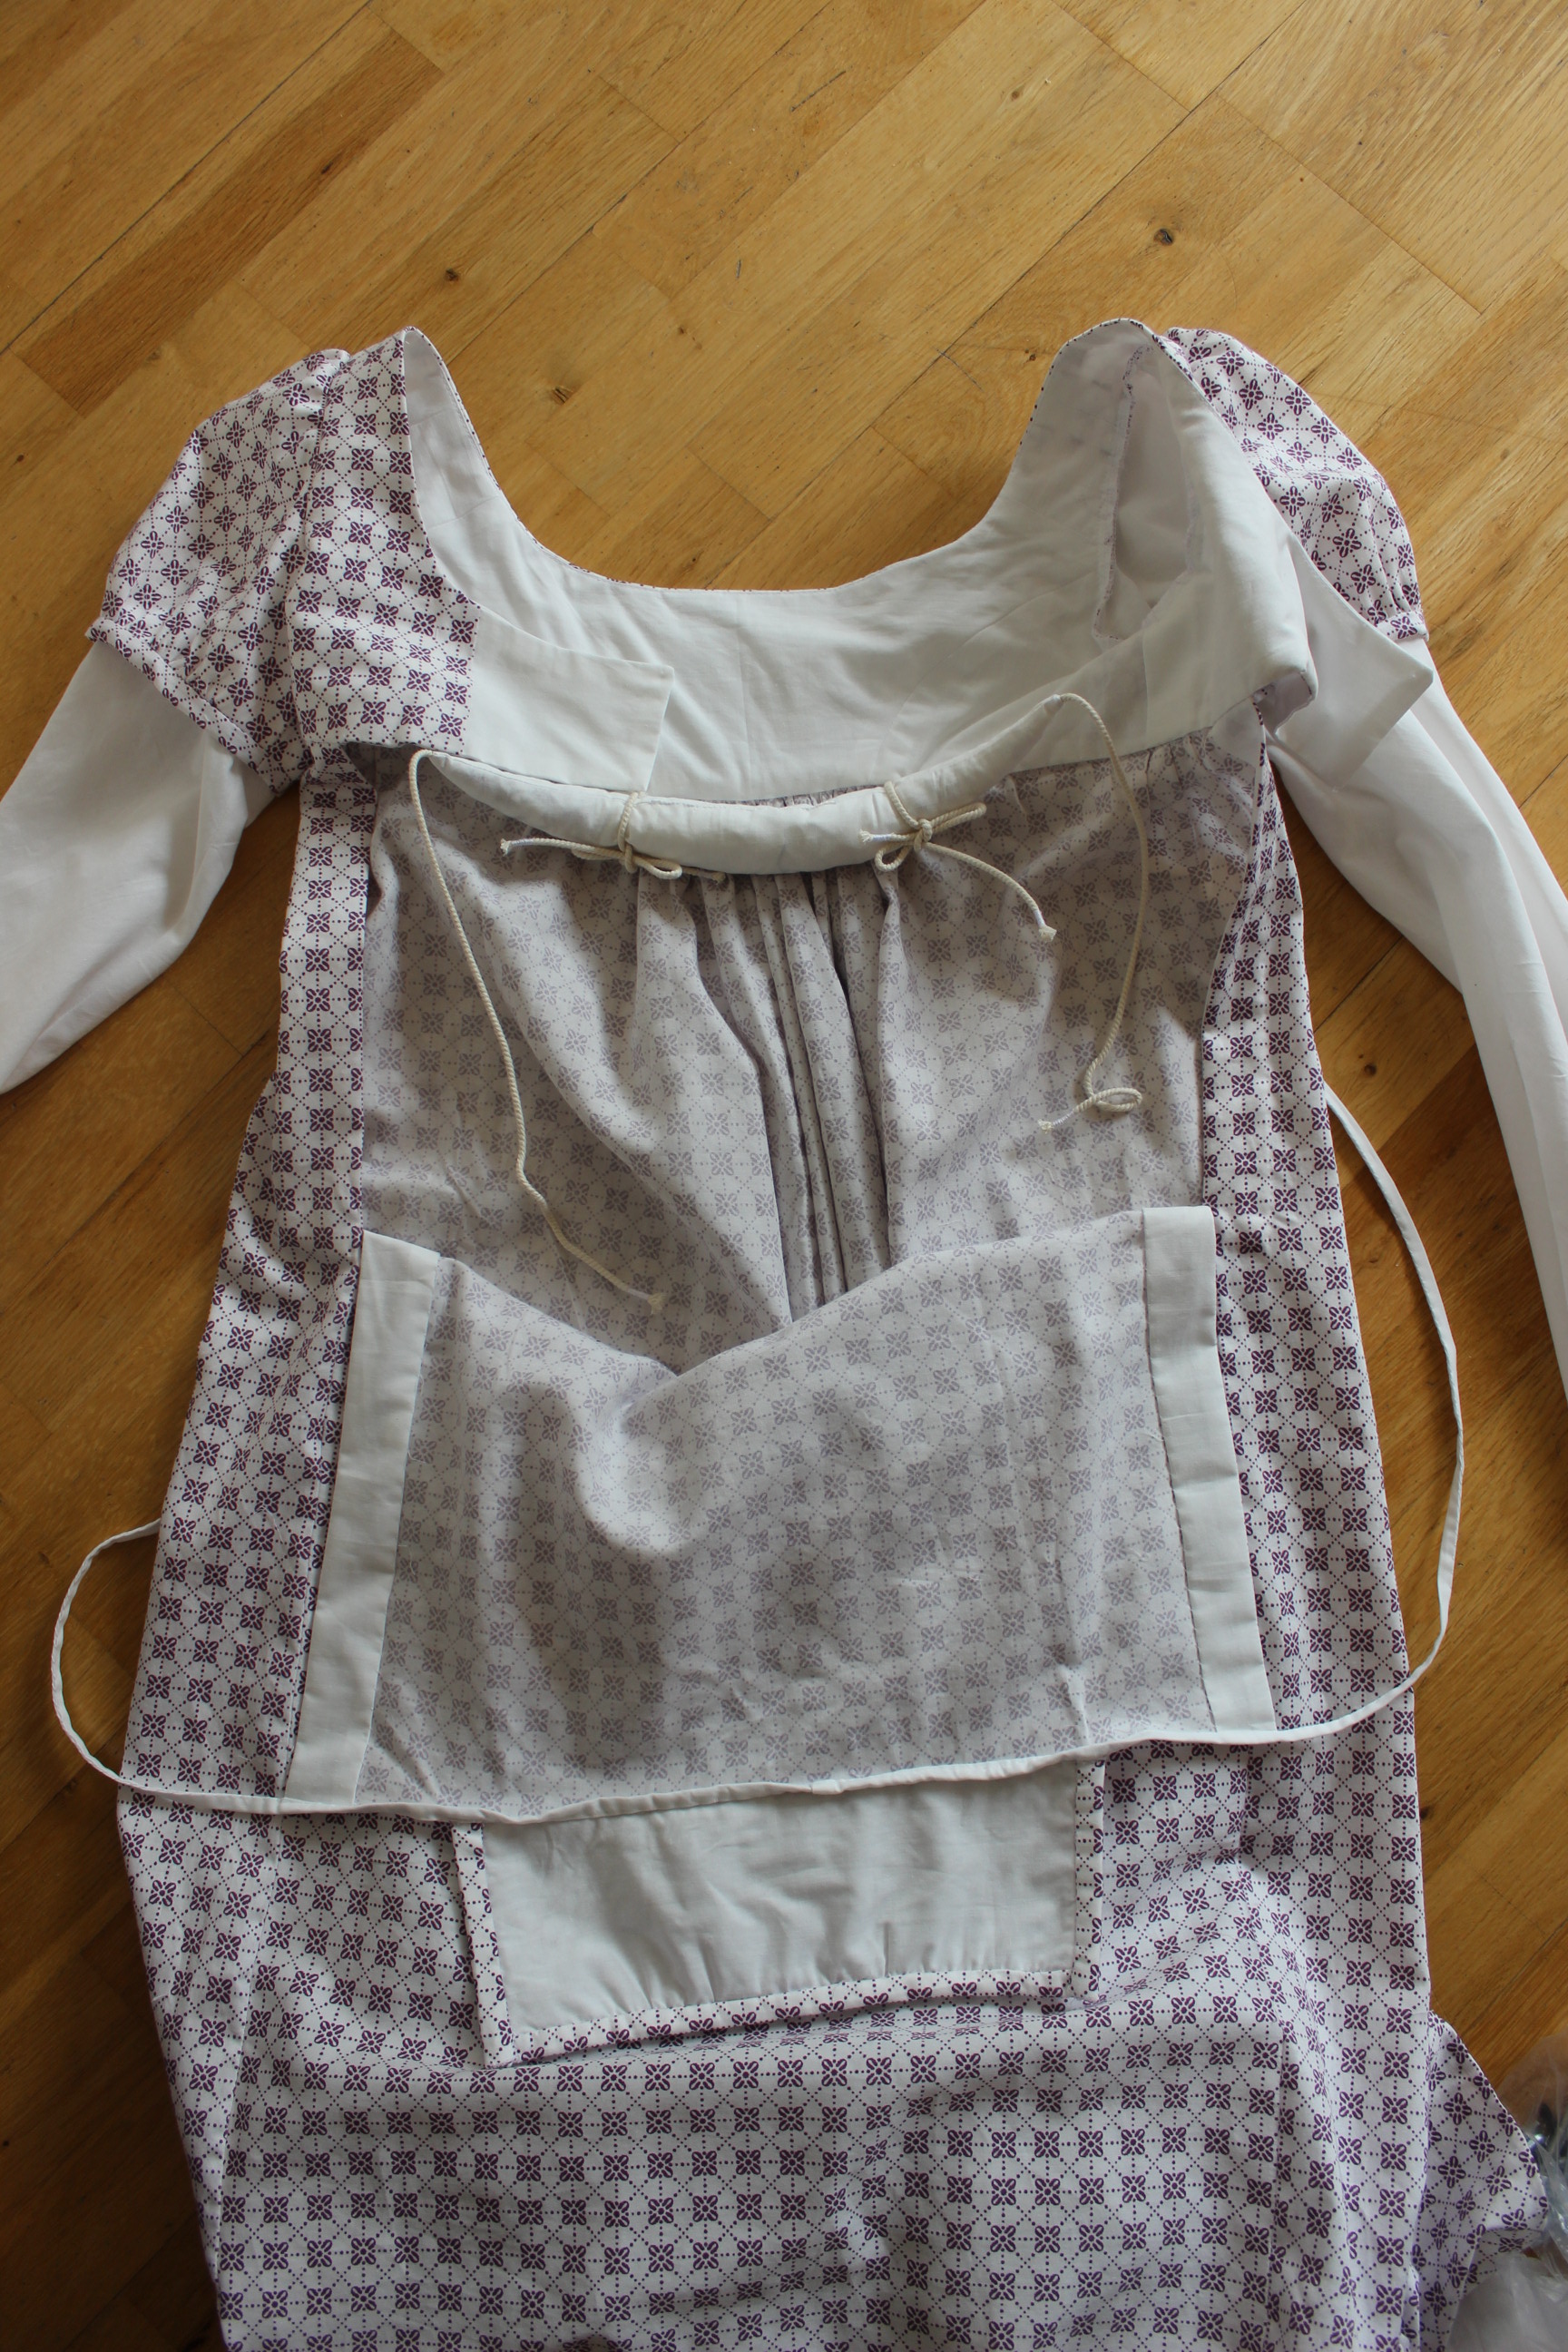


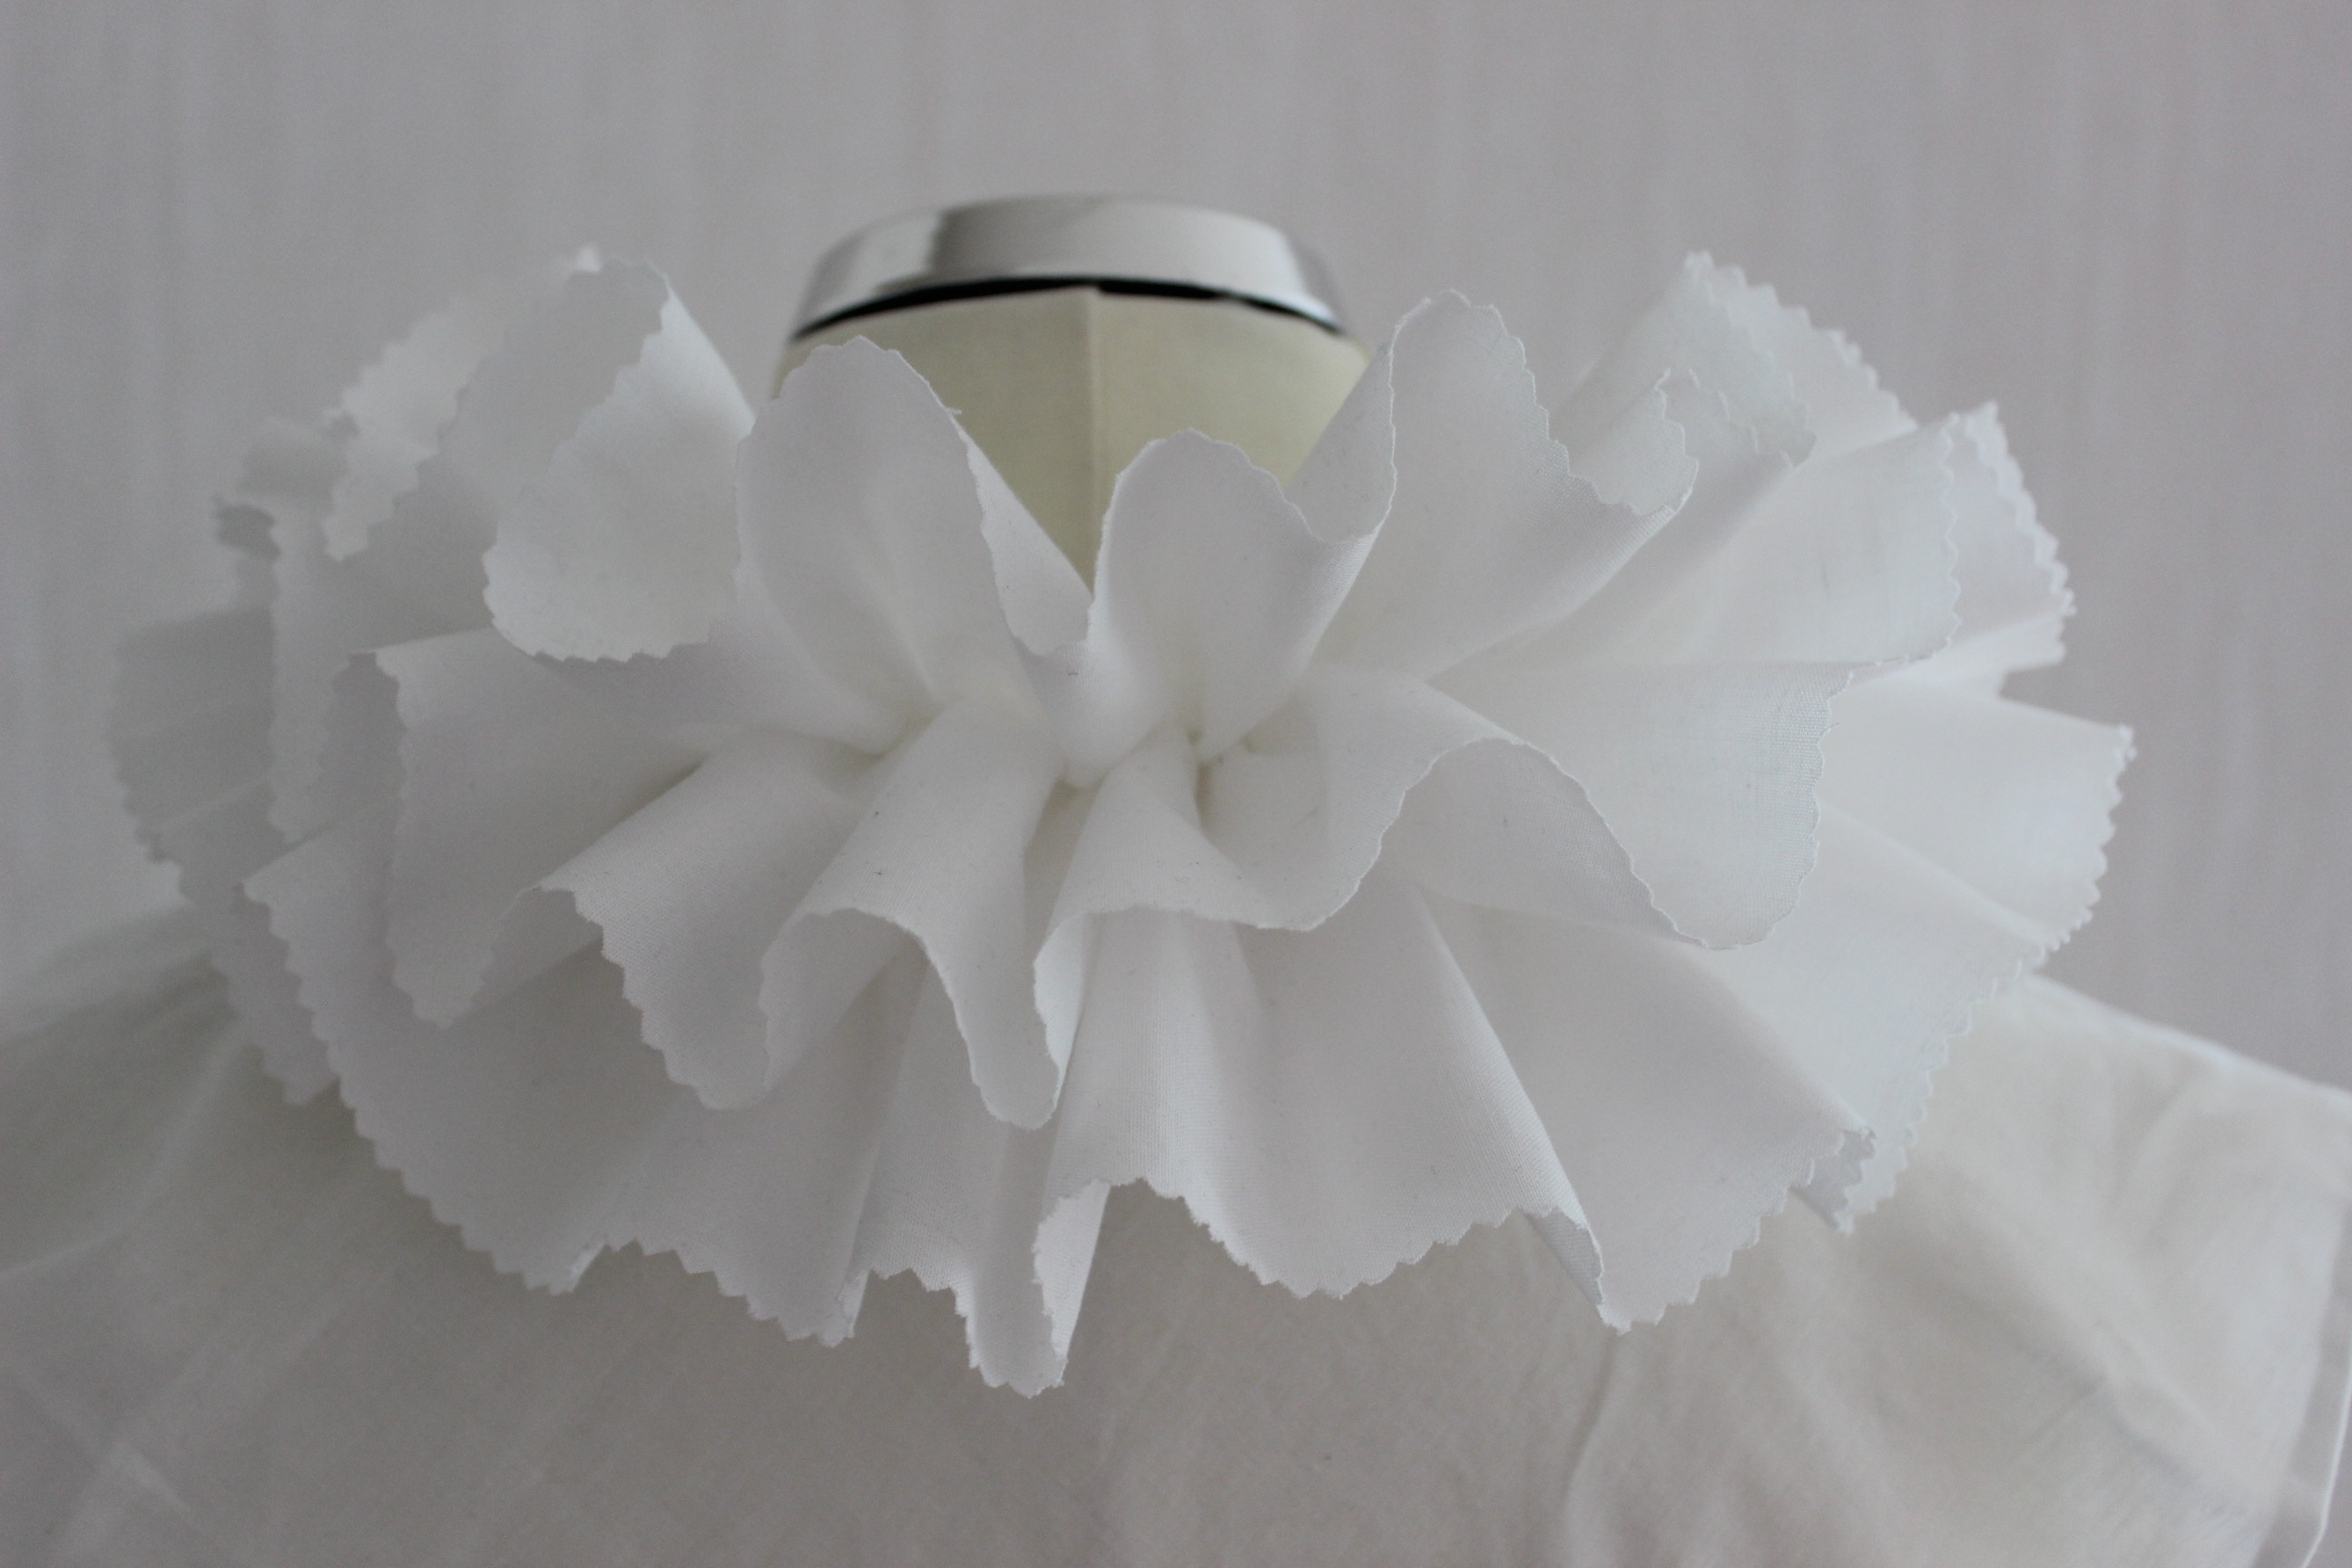
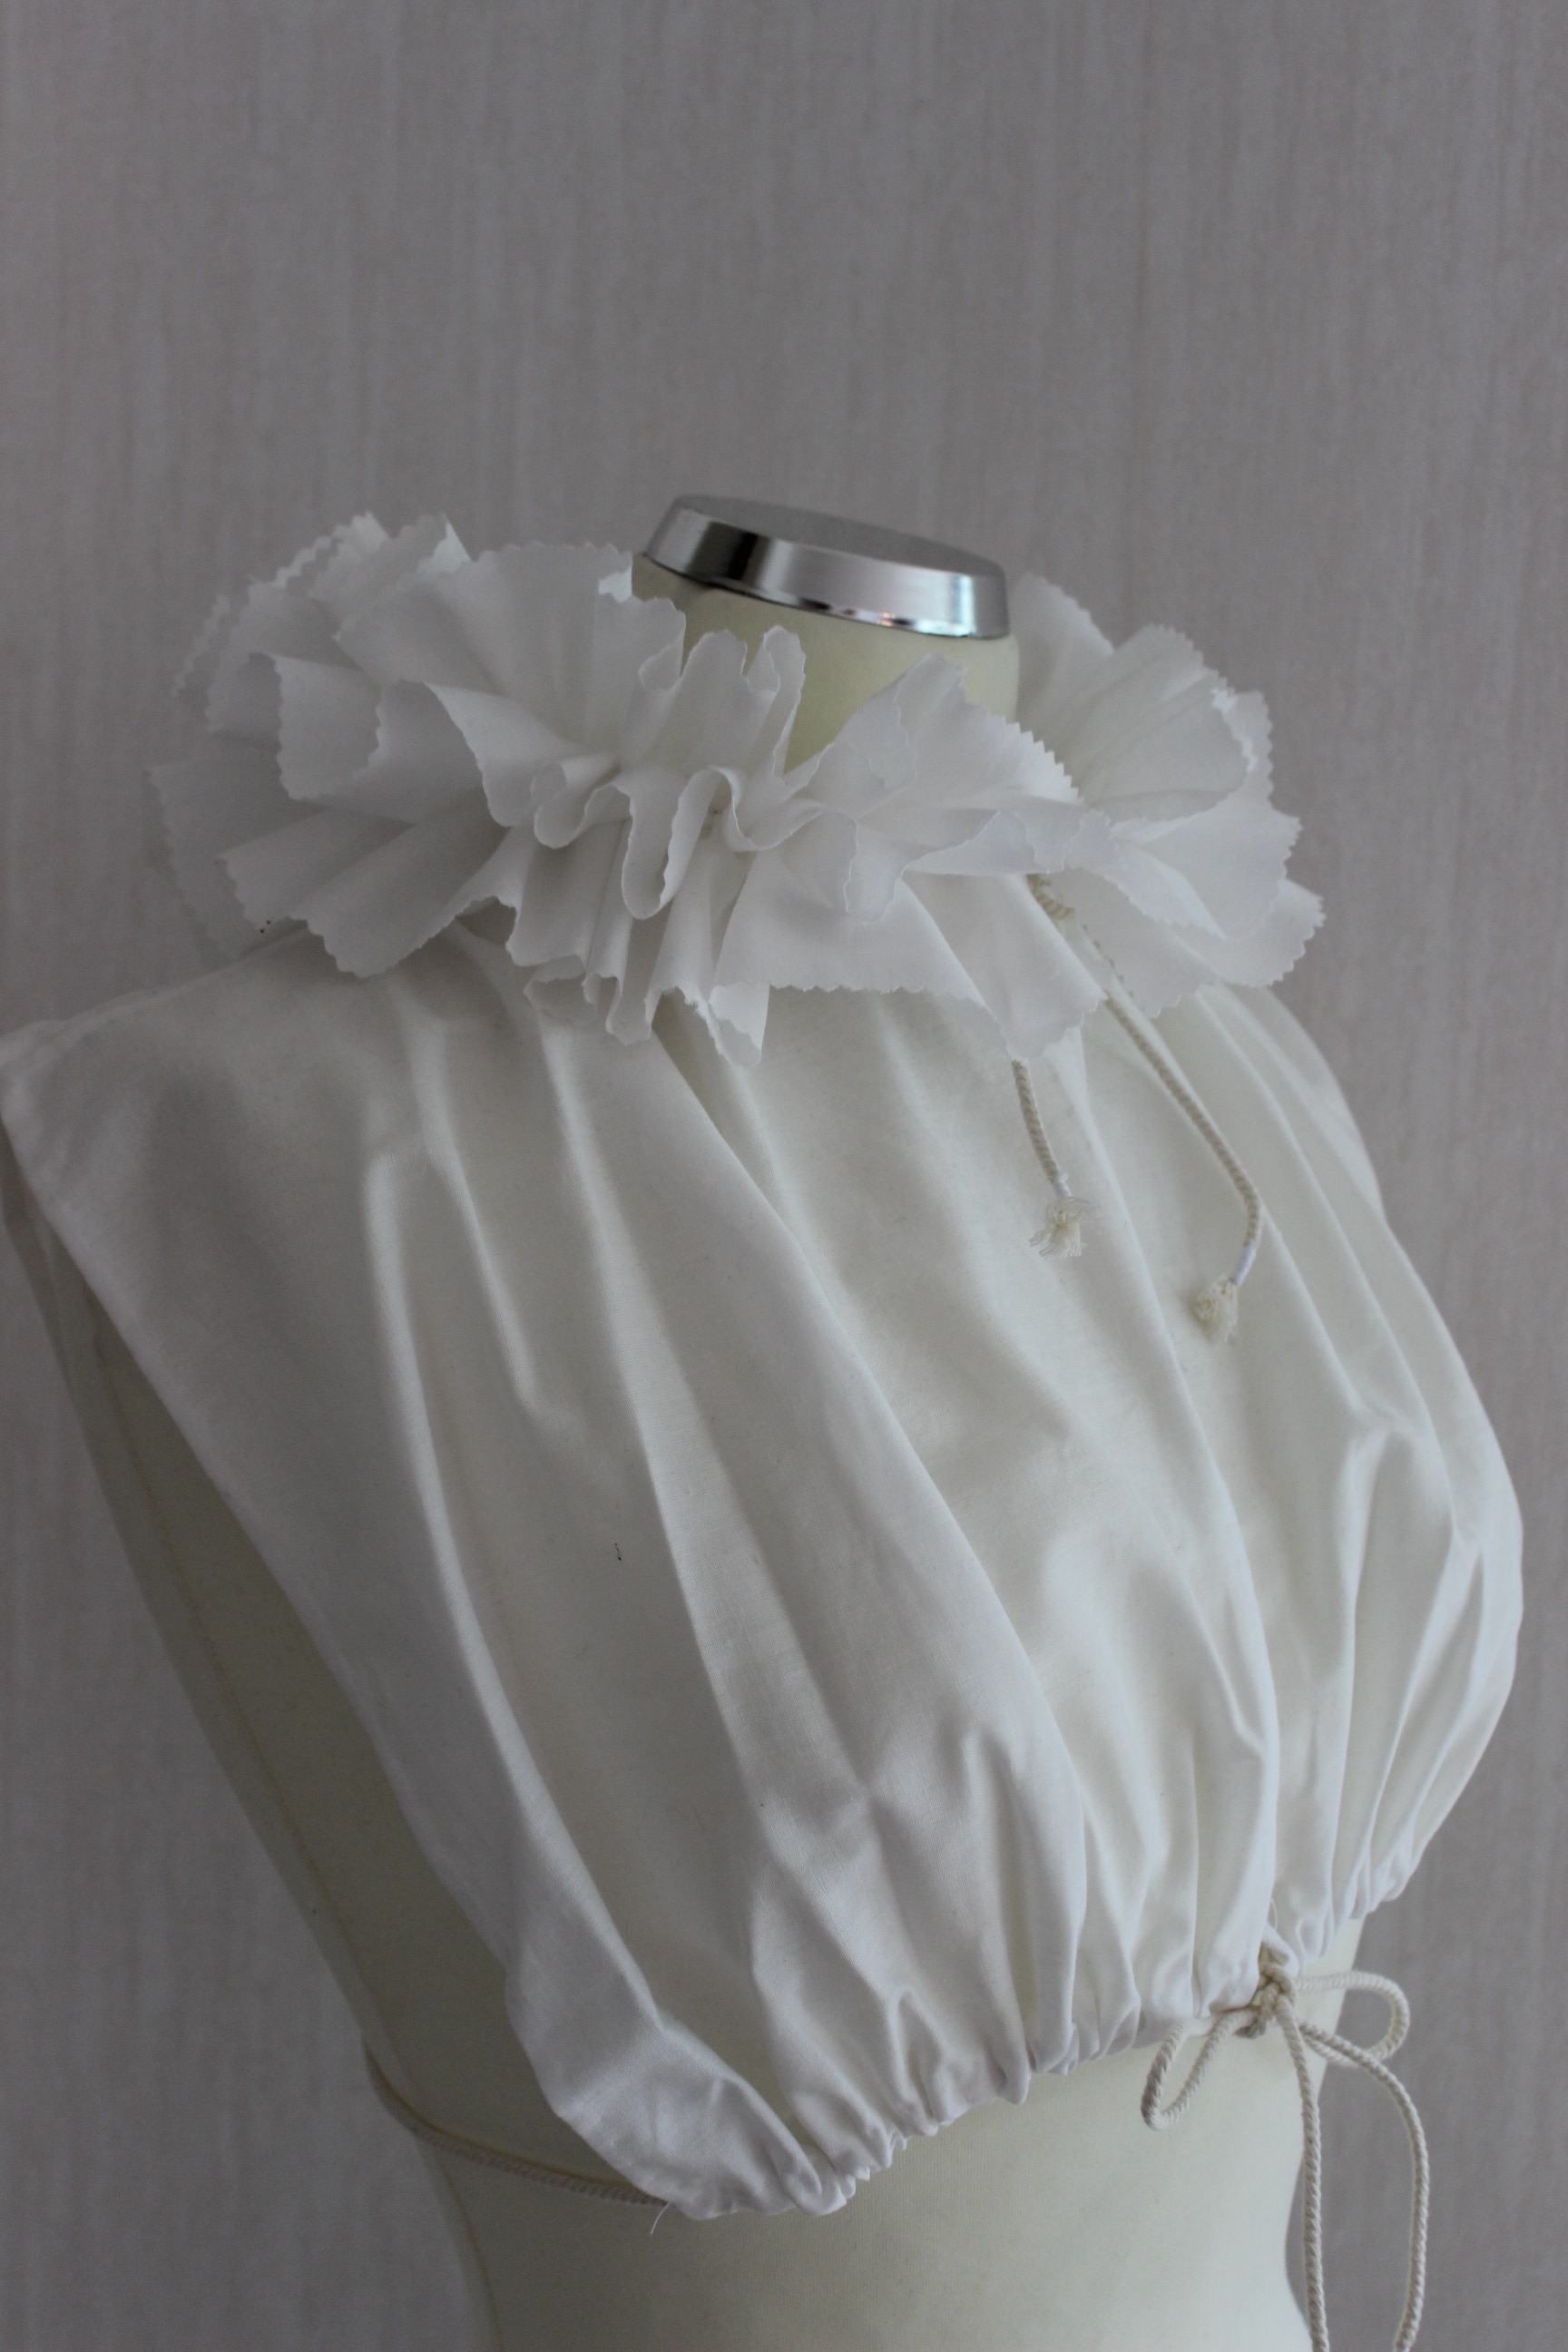
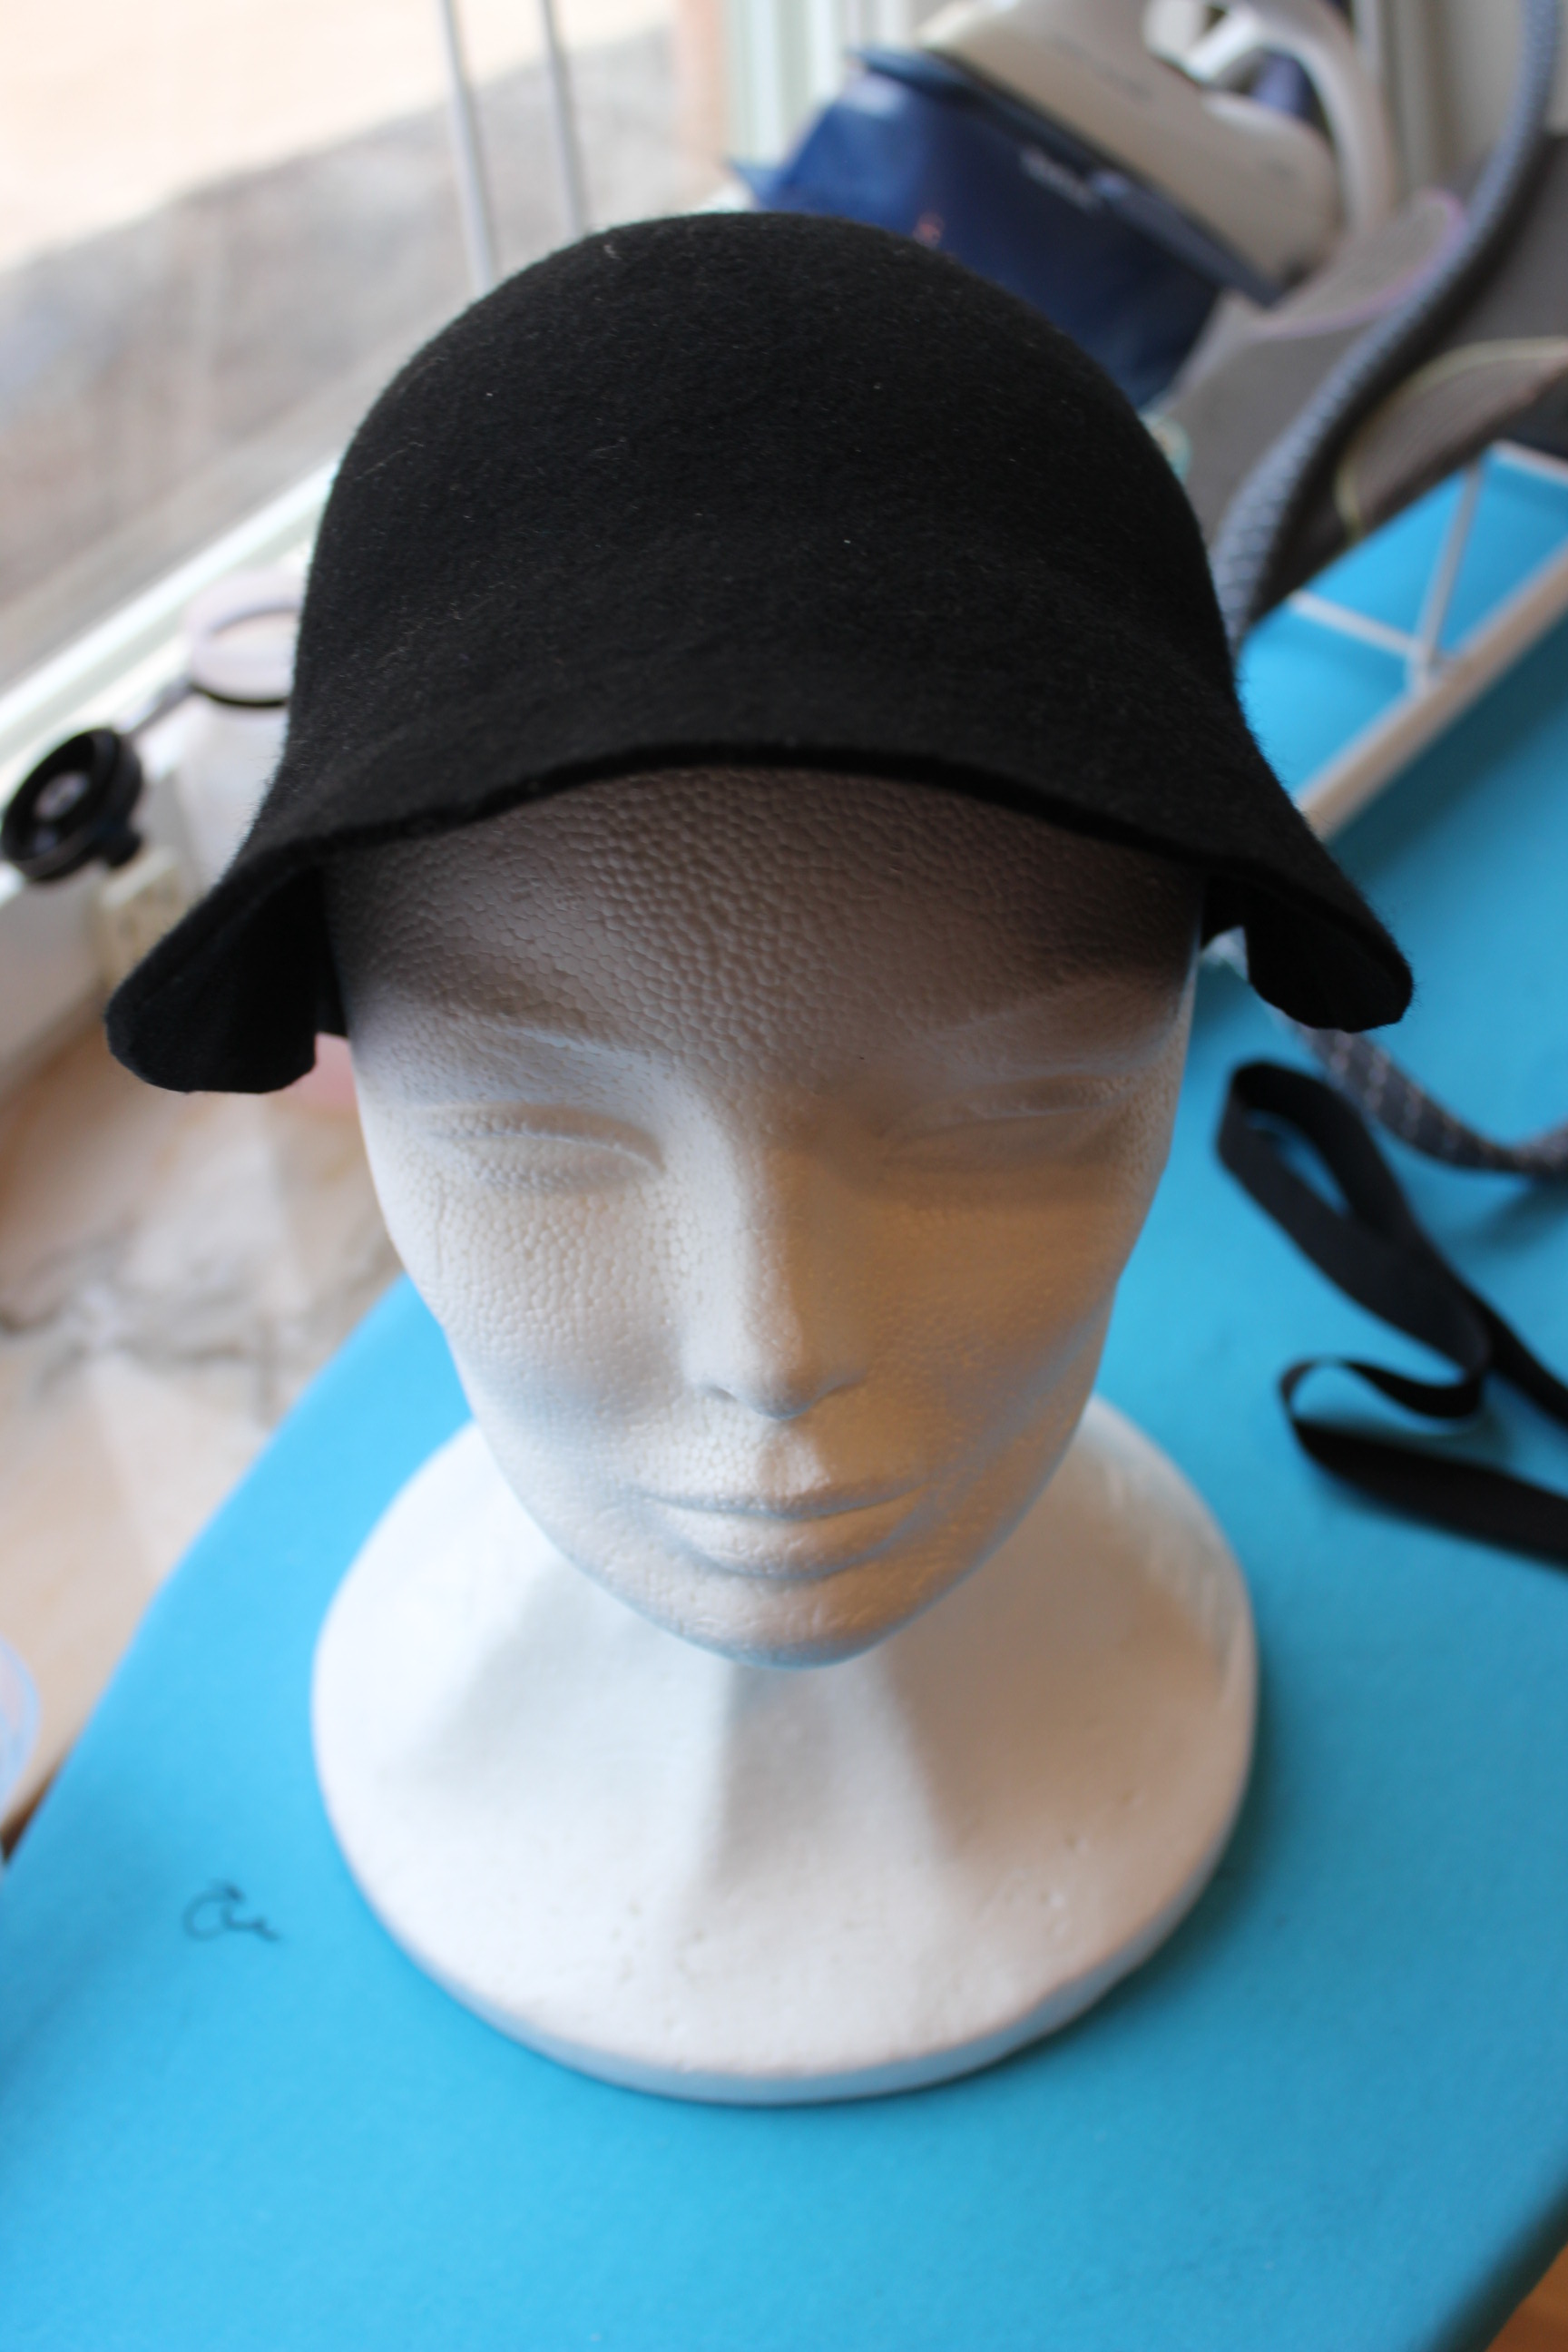
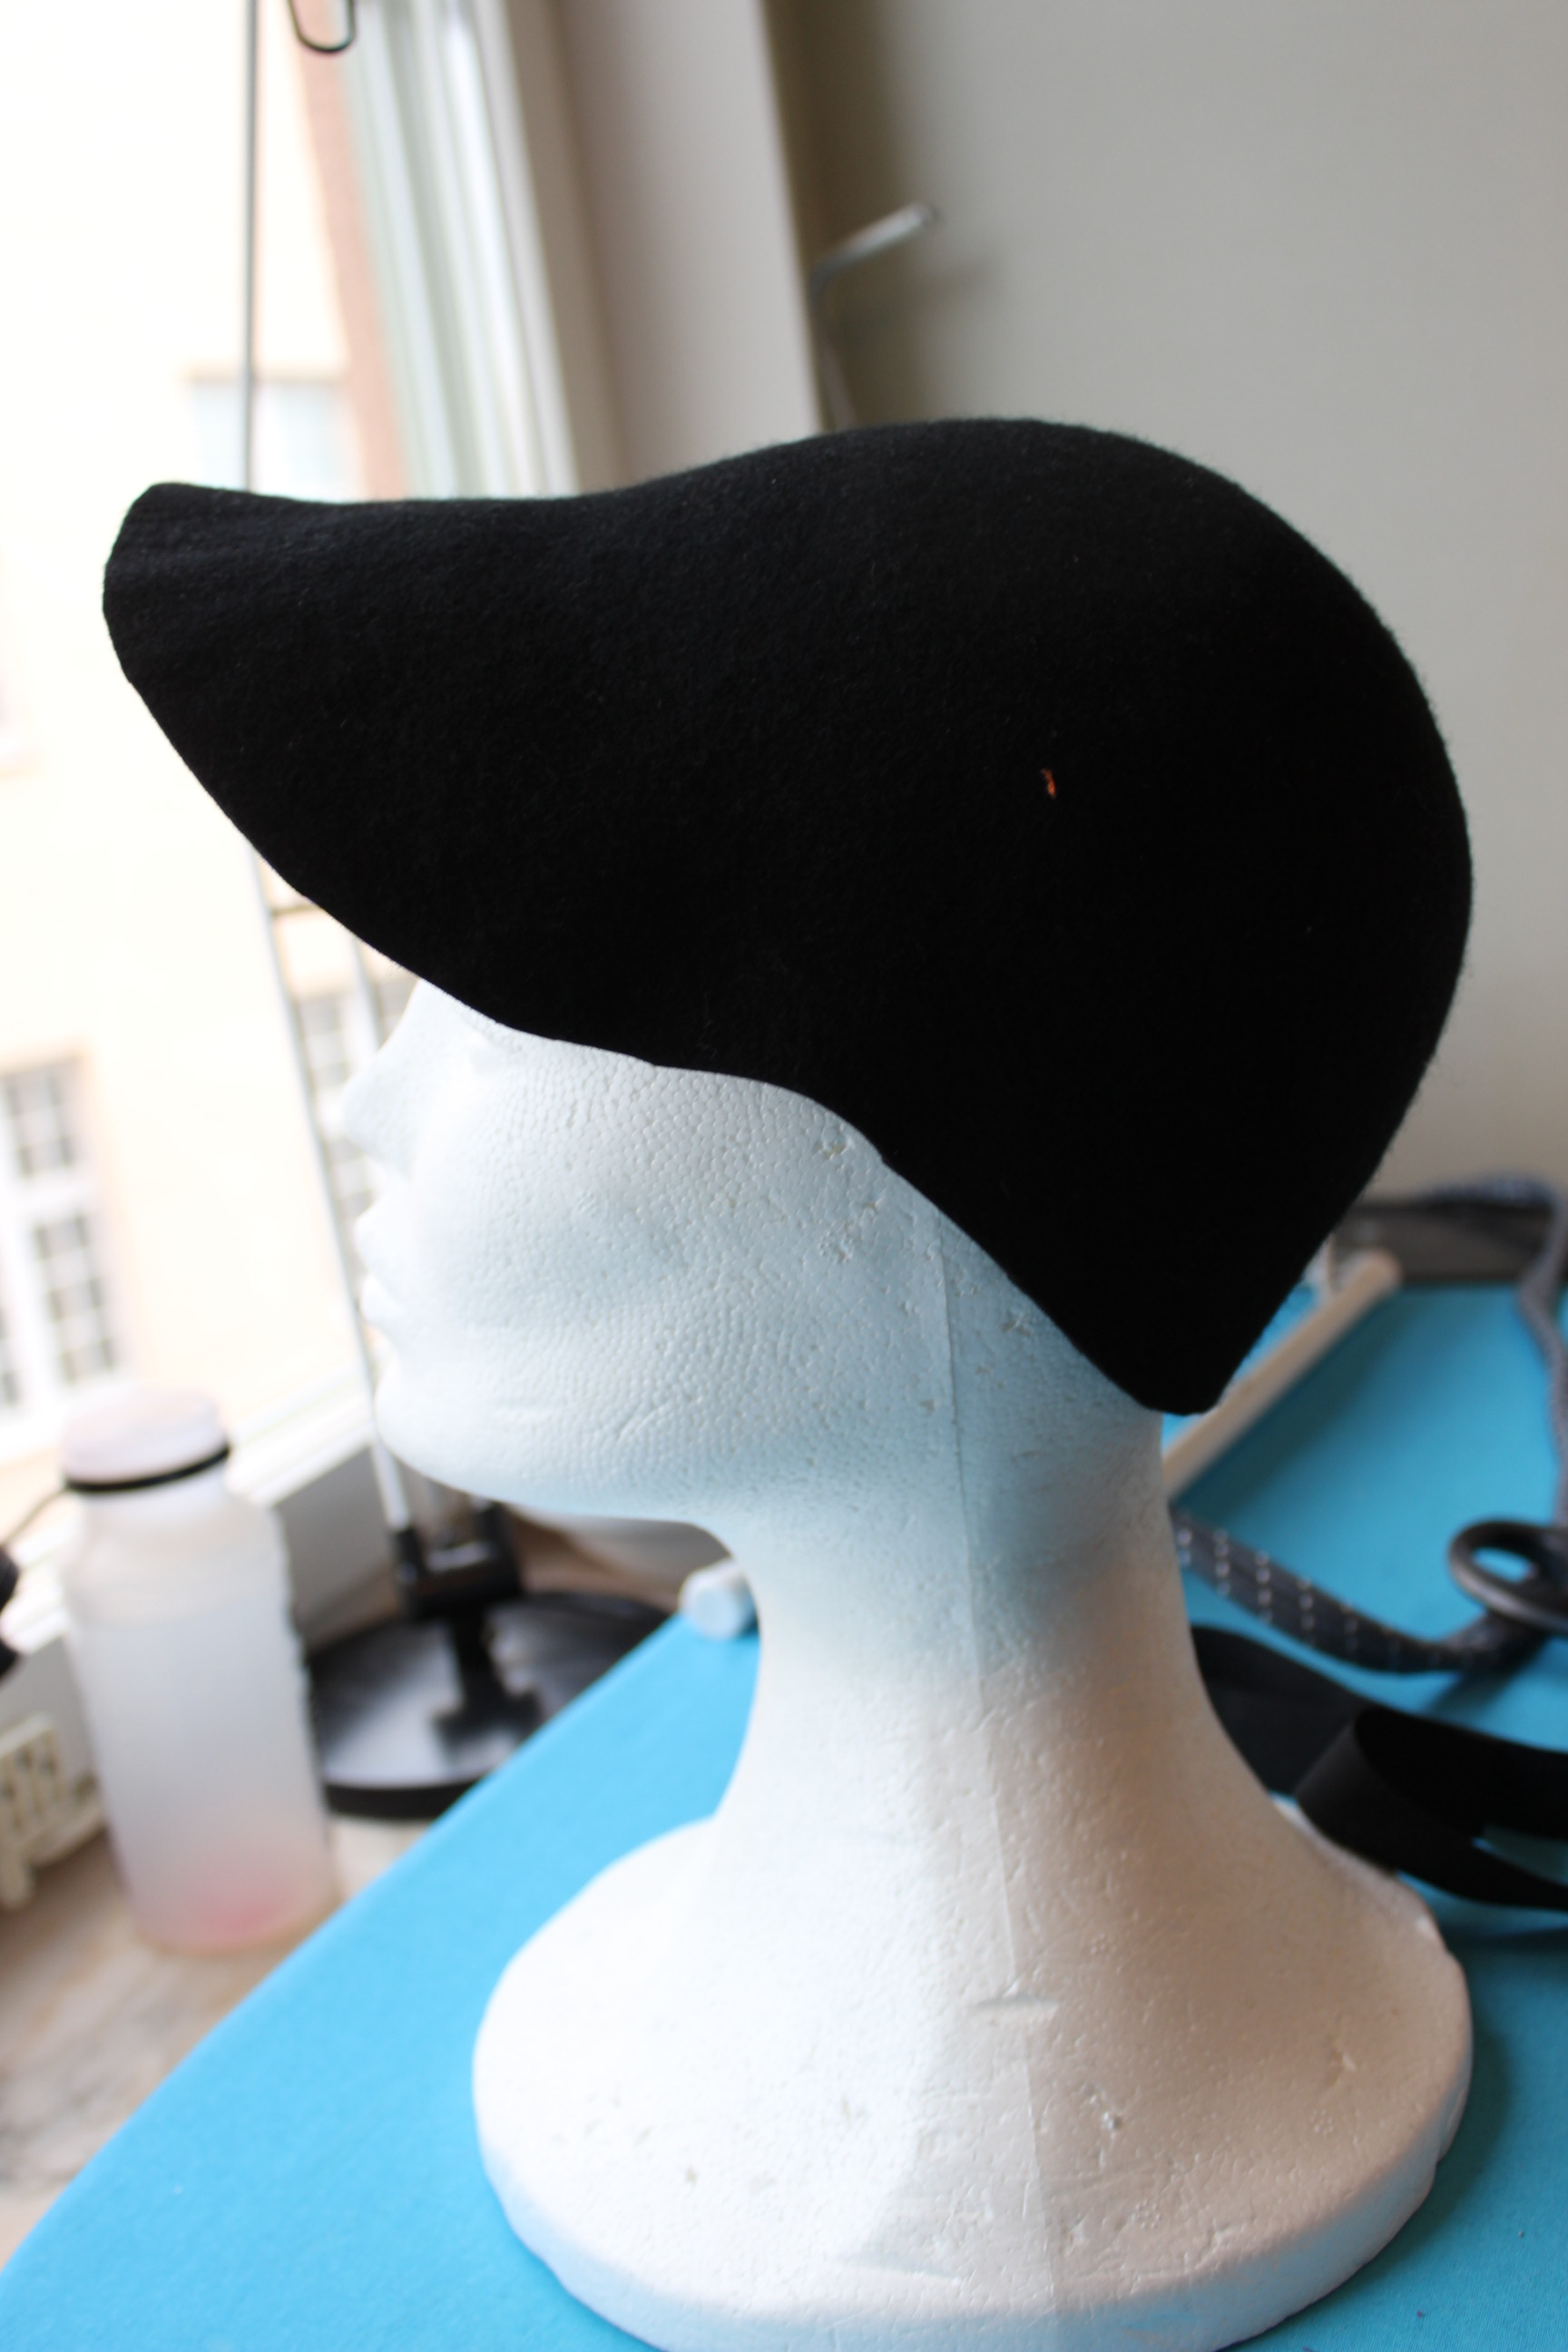
 In short supply of proper hat making equipment you got to use what you got…
 The brown ribbon is pinned on, to hold the brim in while the hat dried.


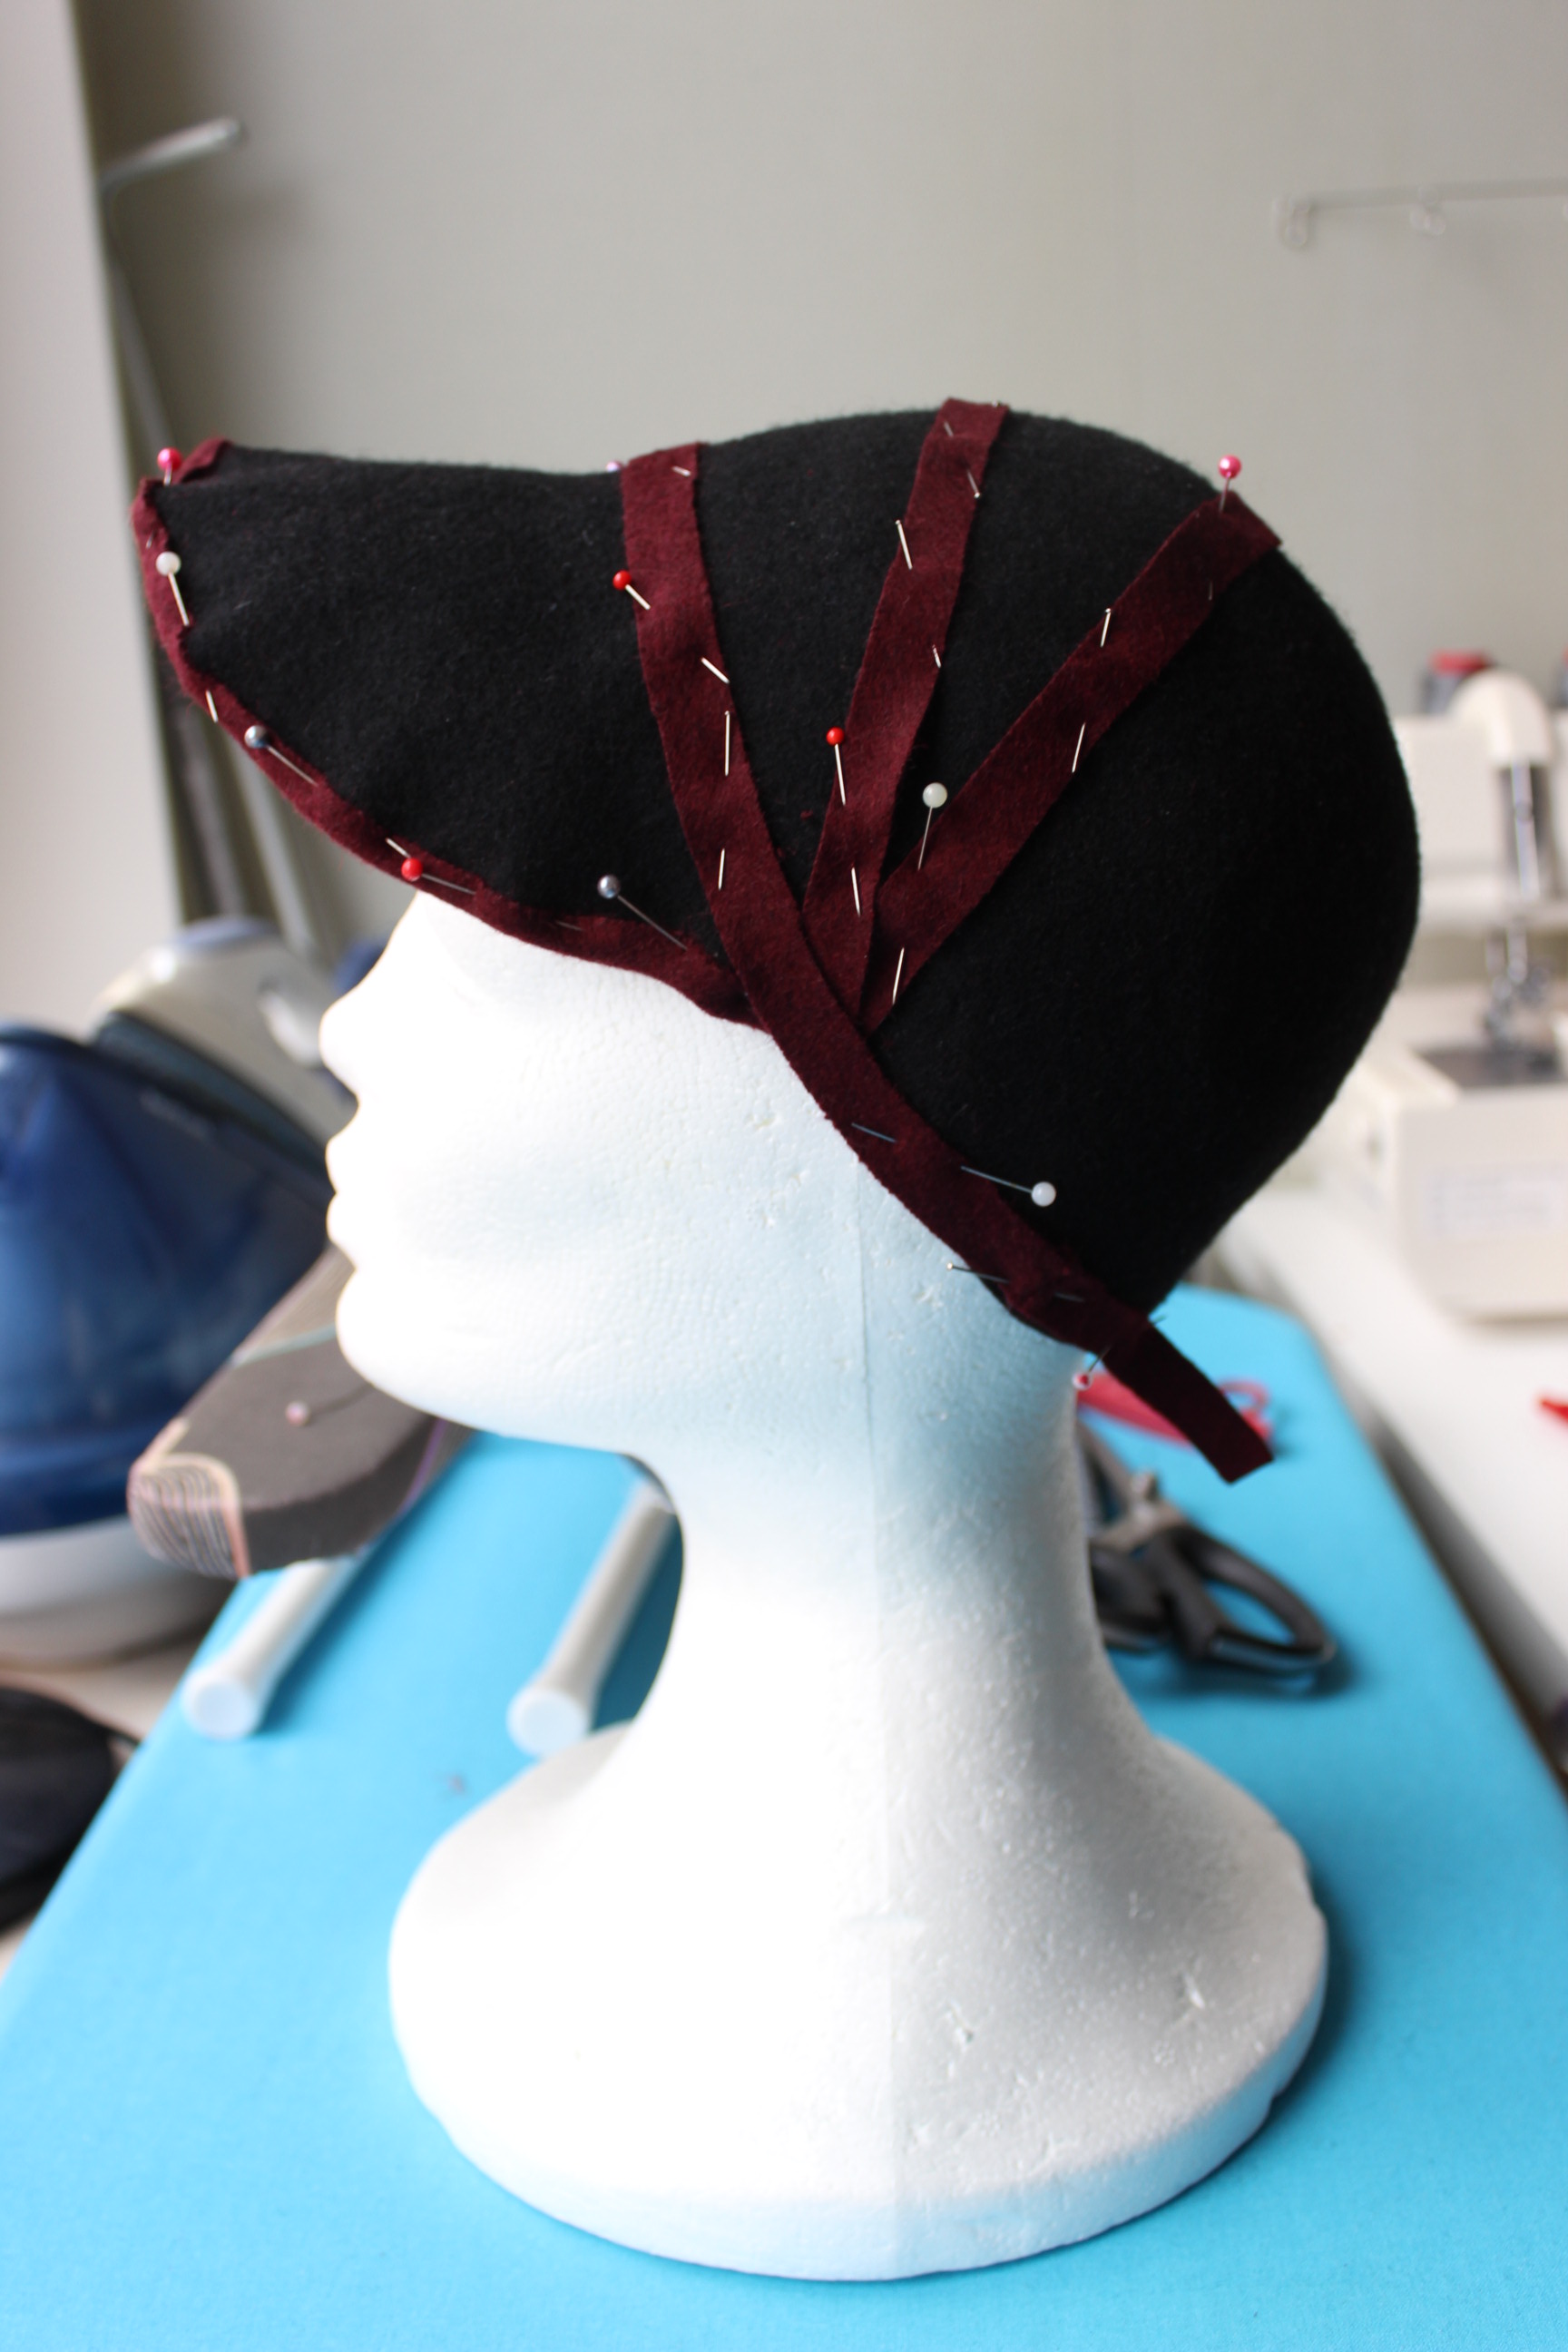
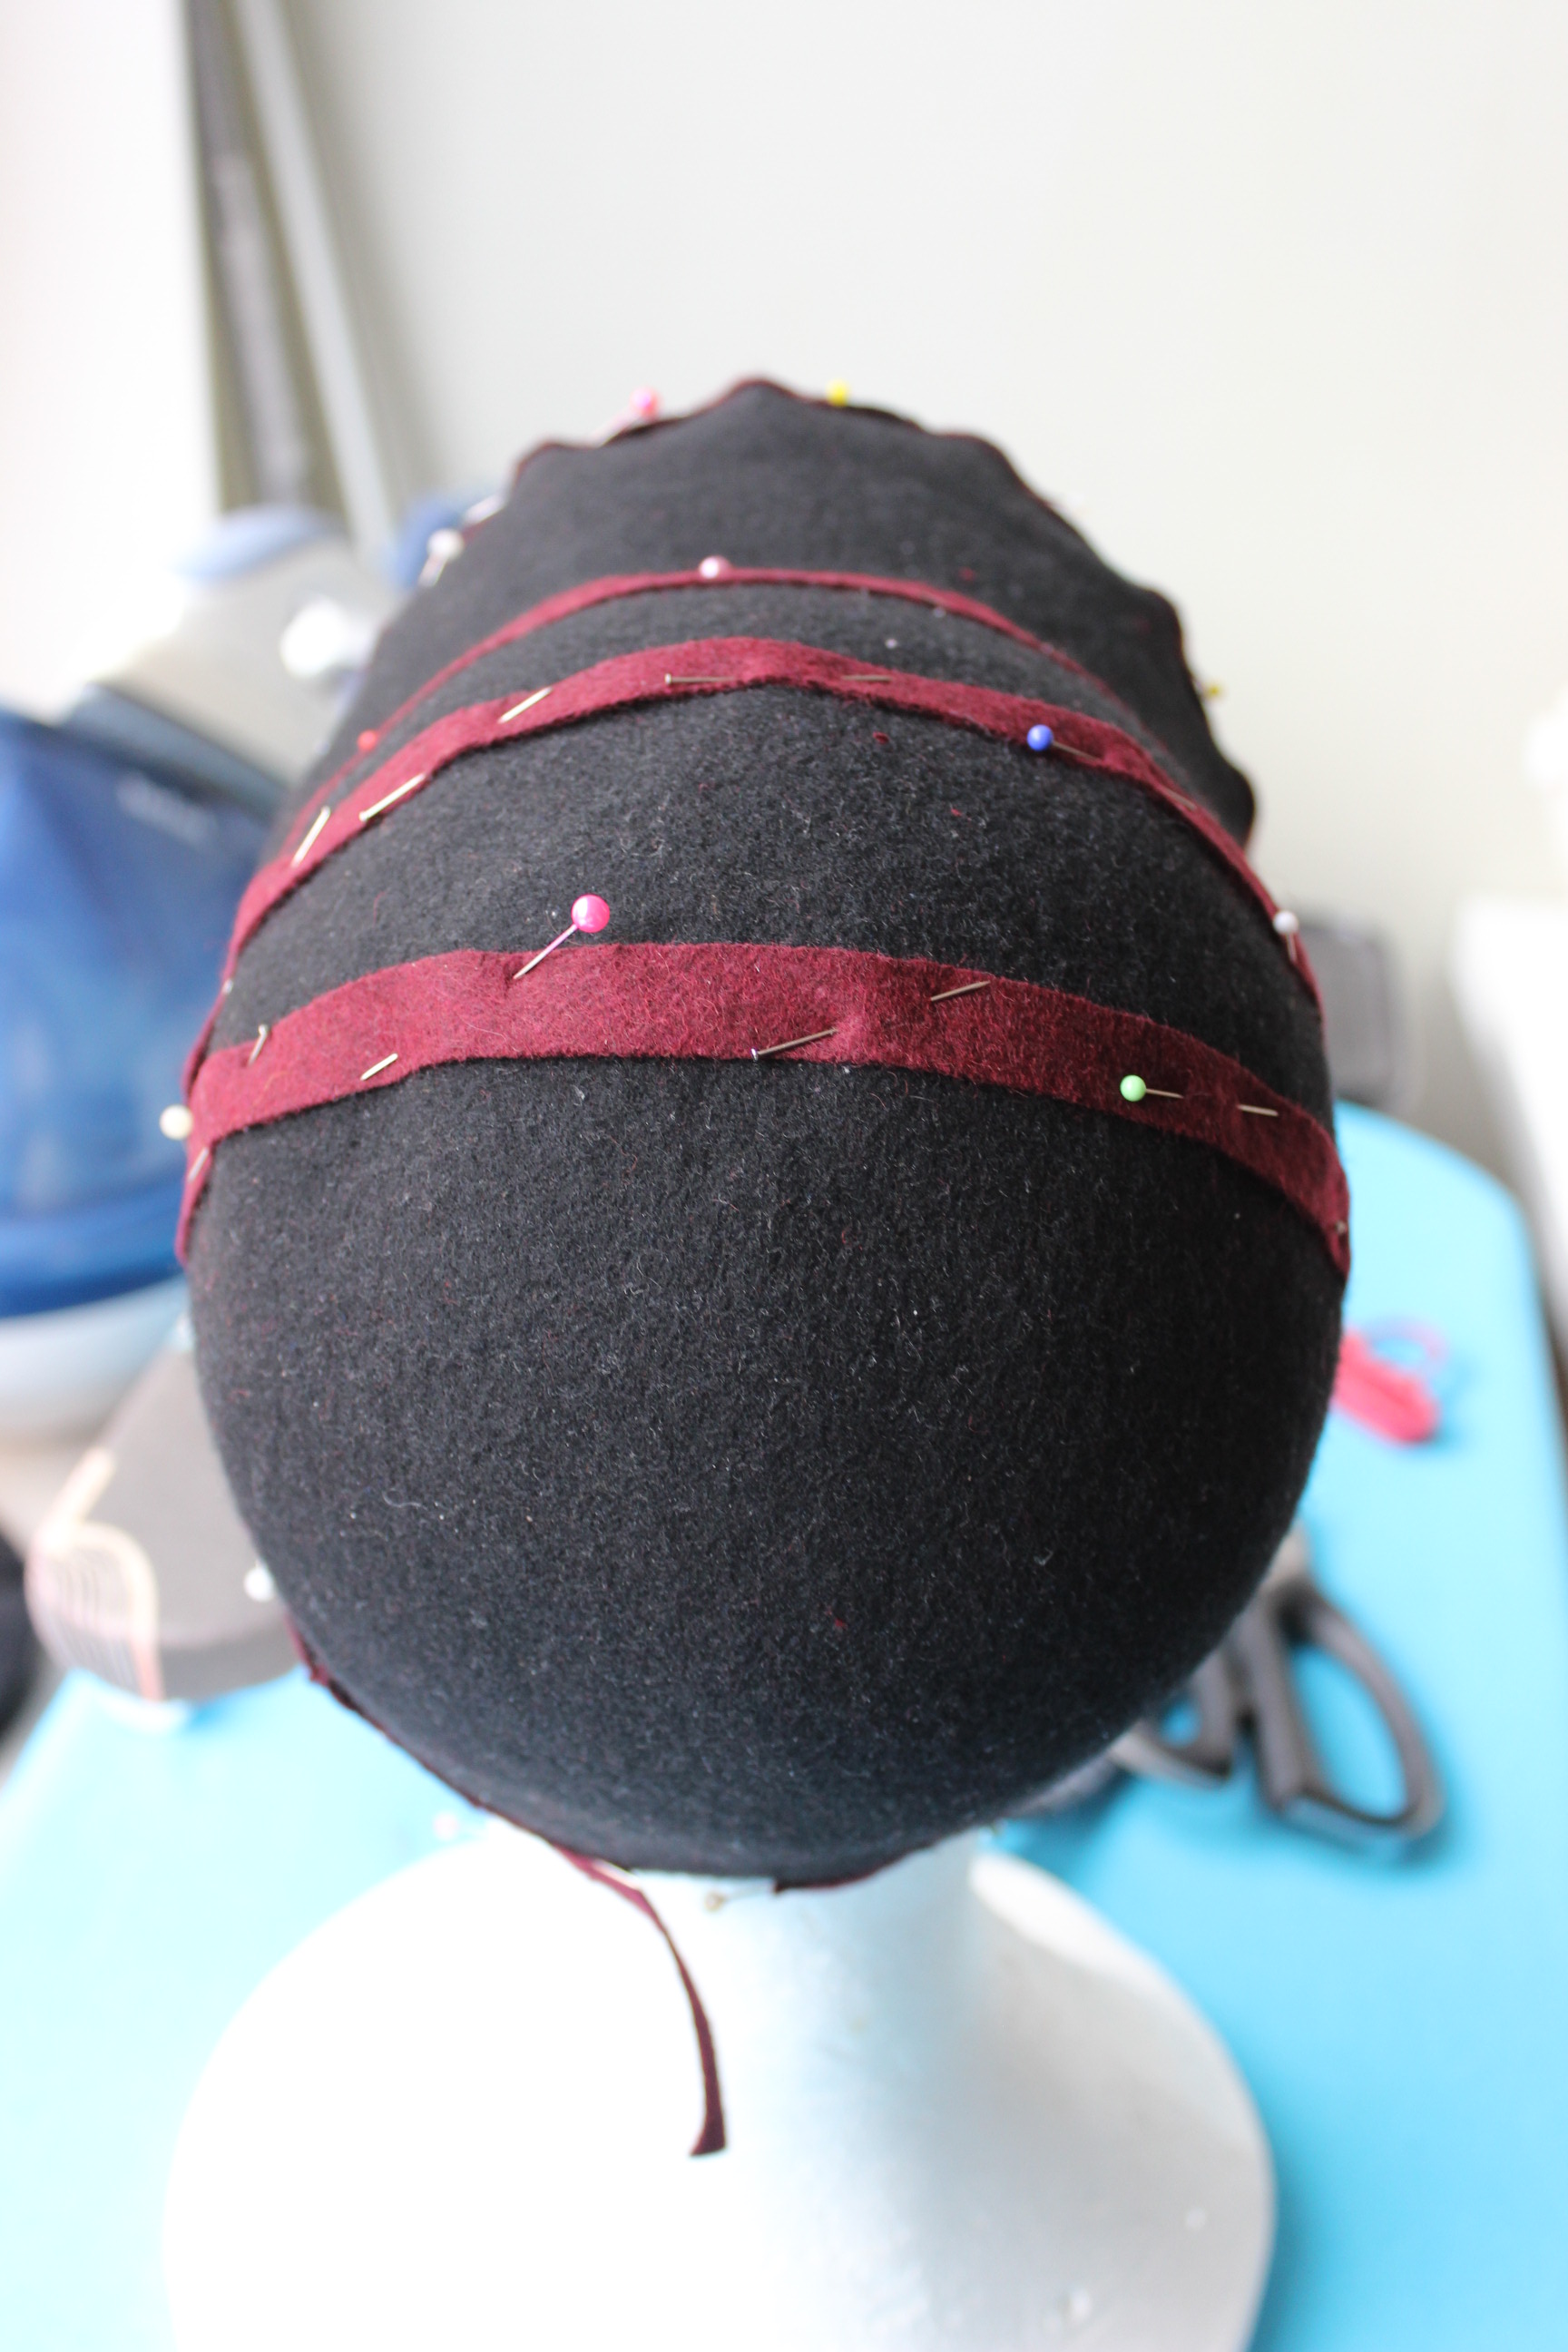


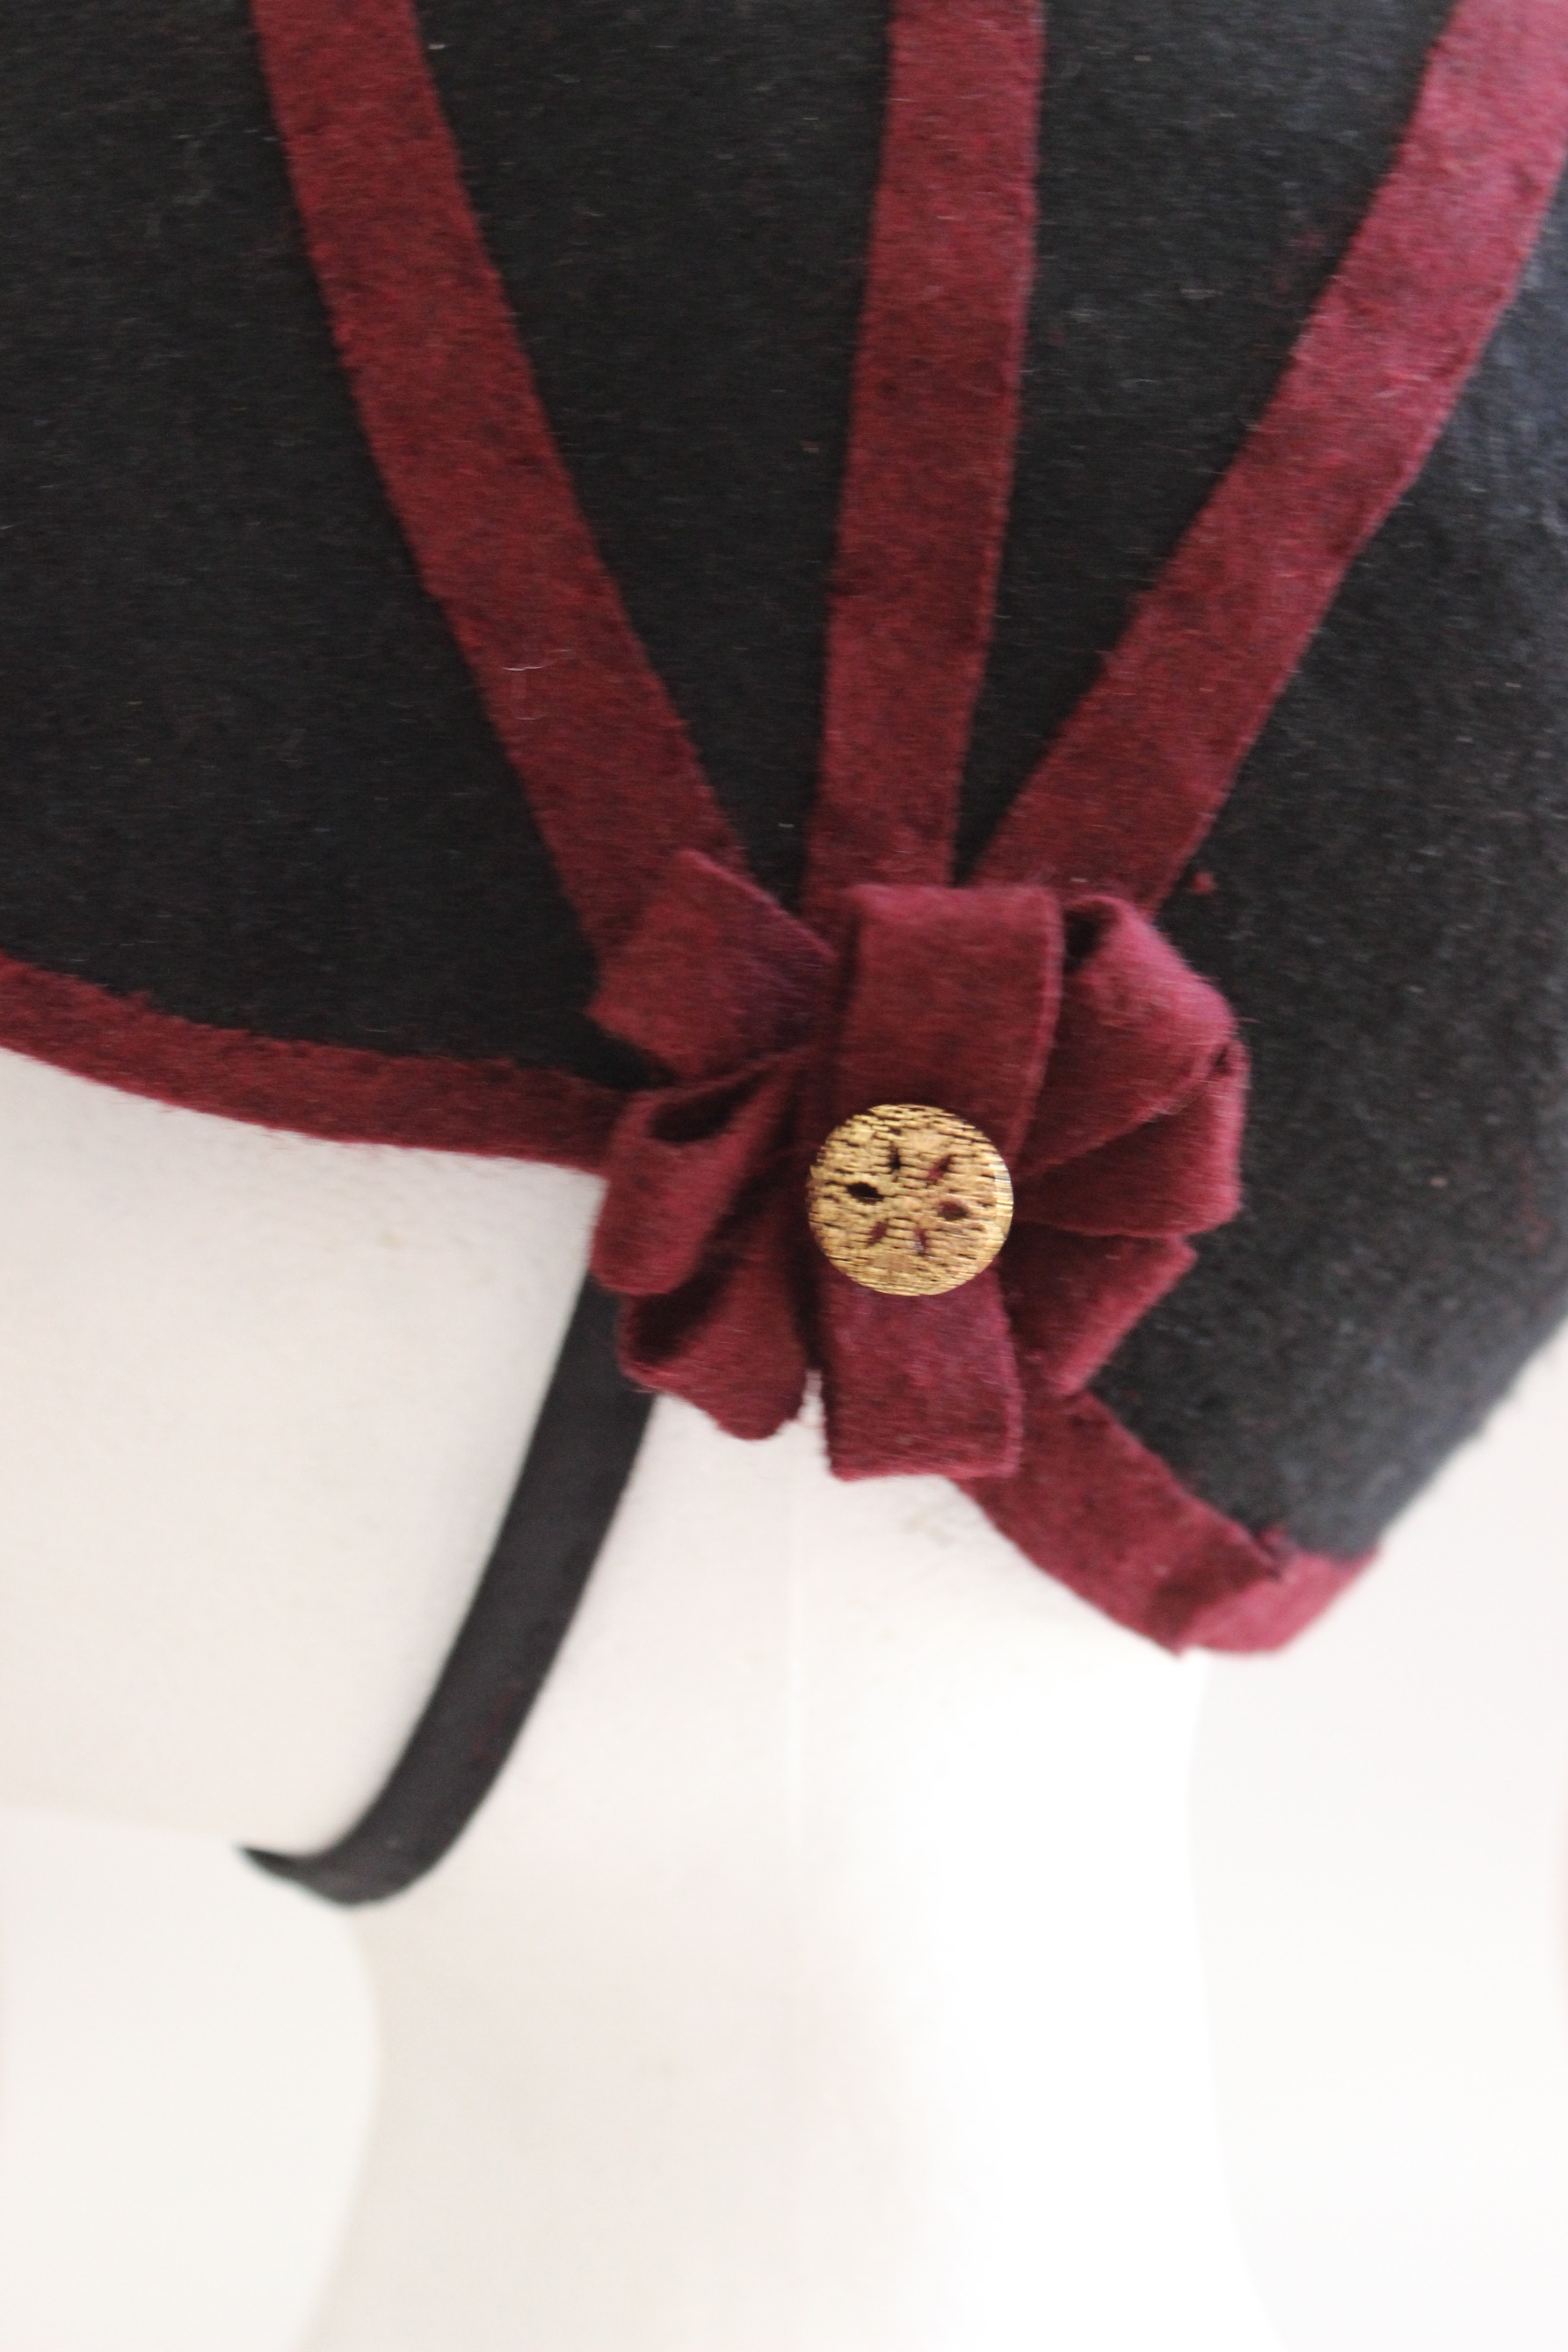


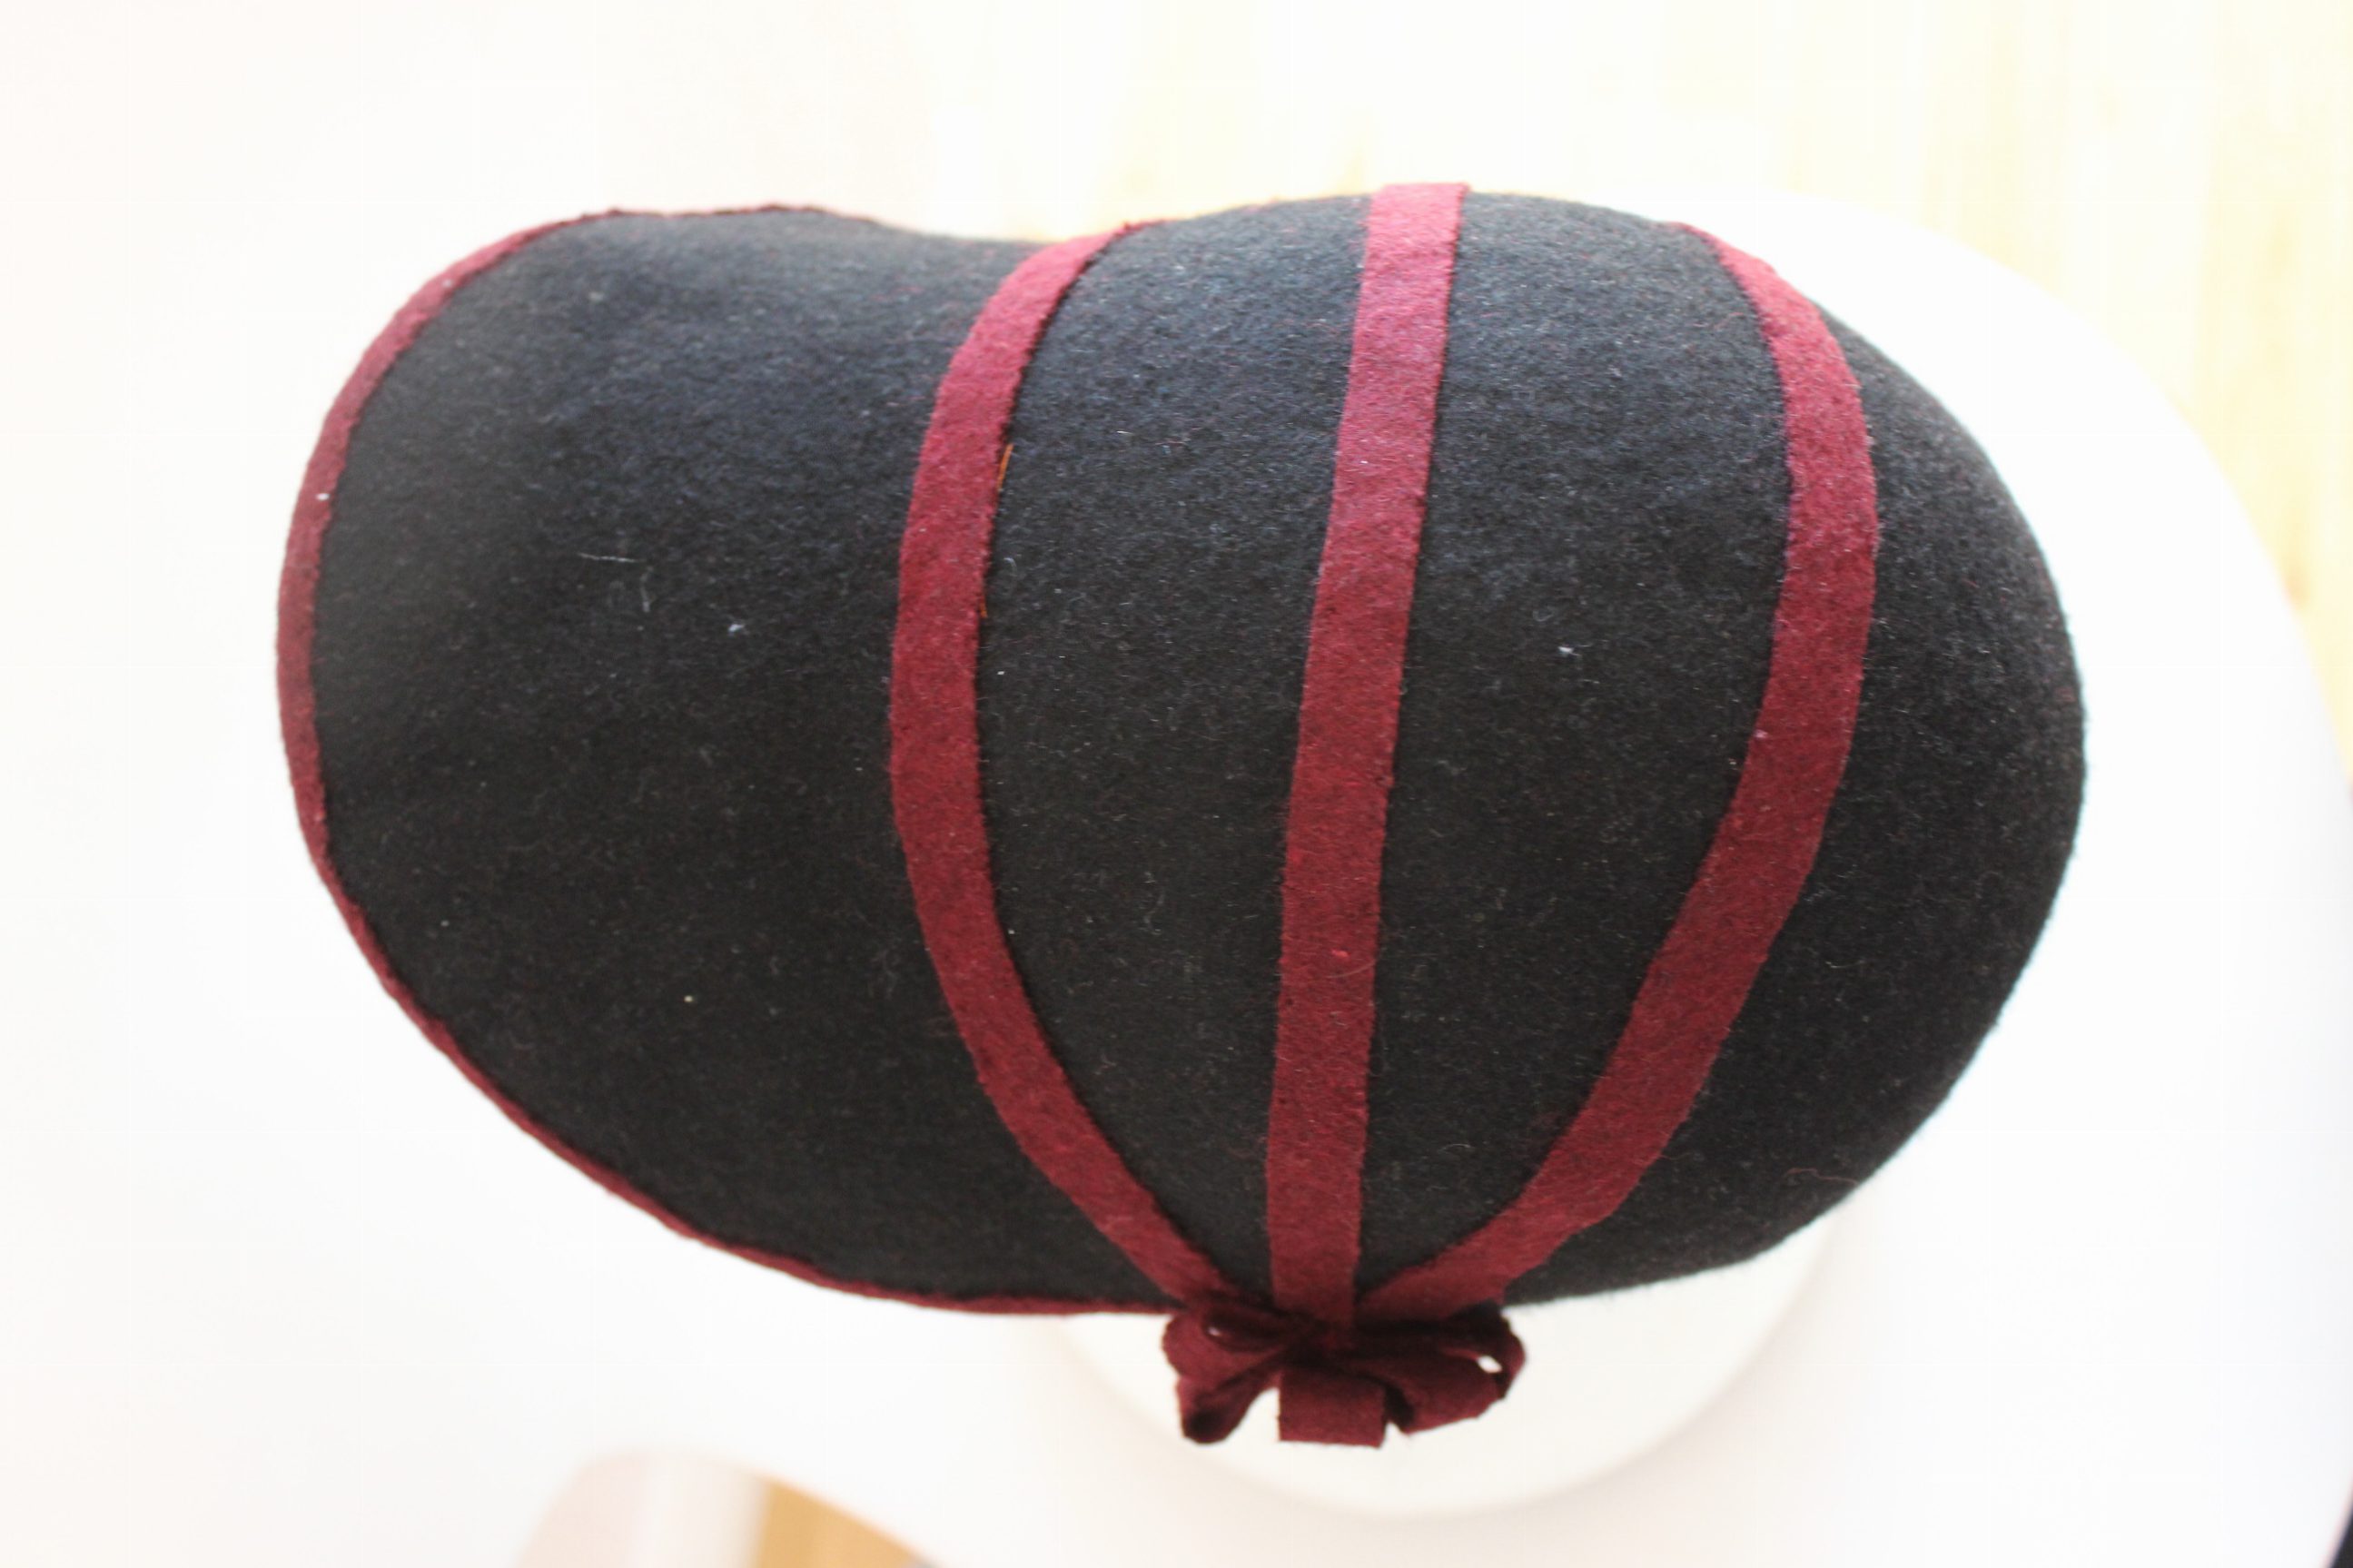
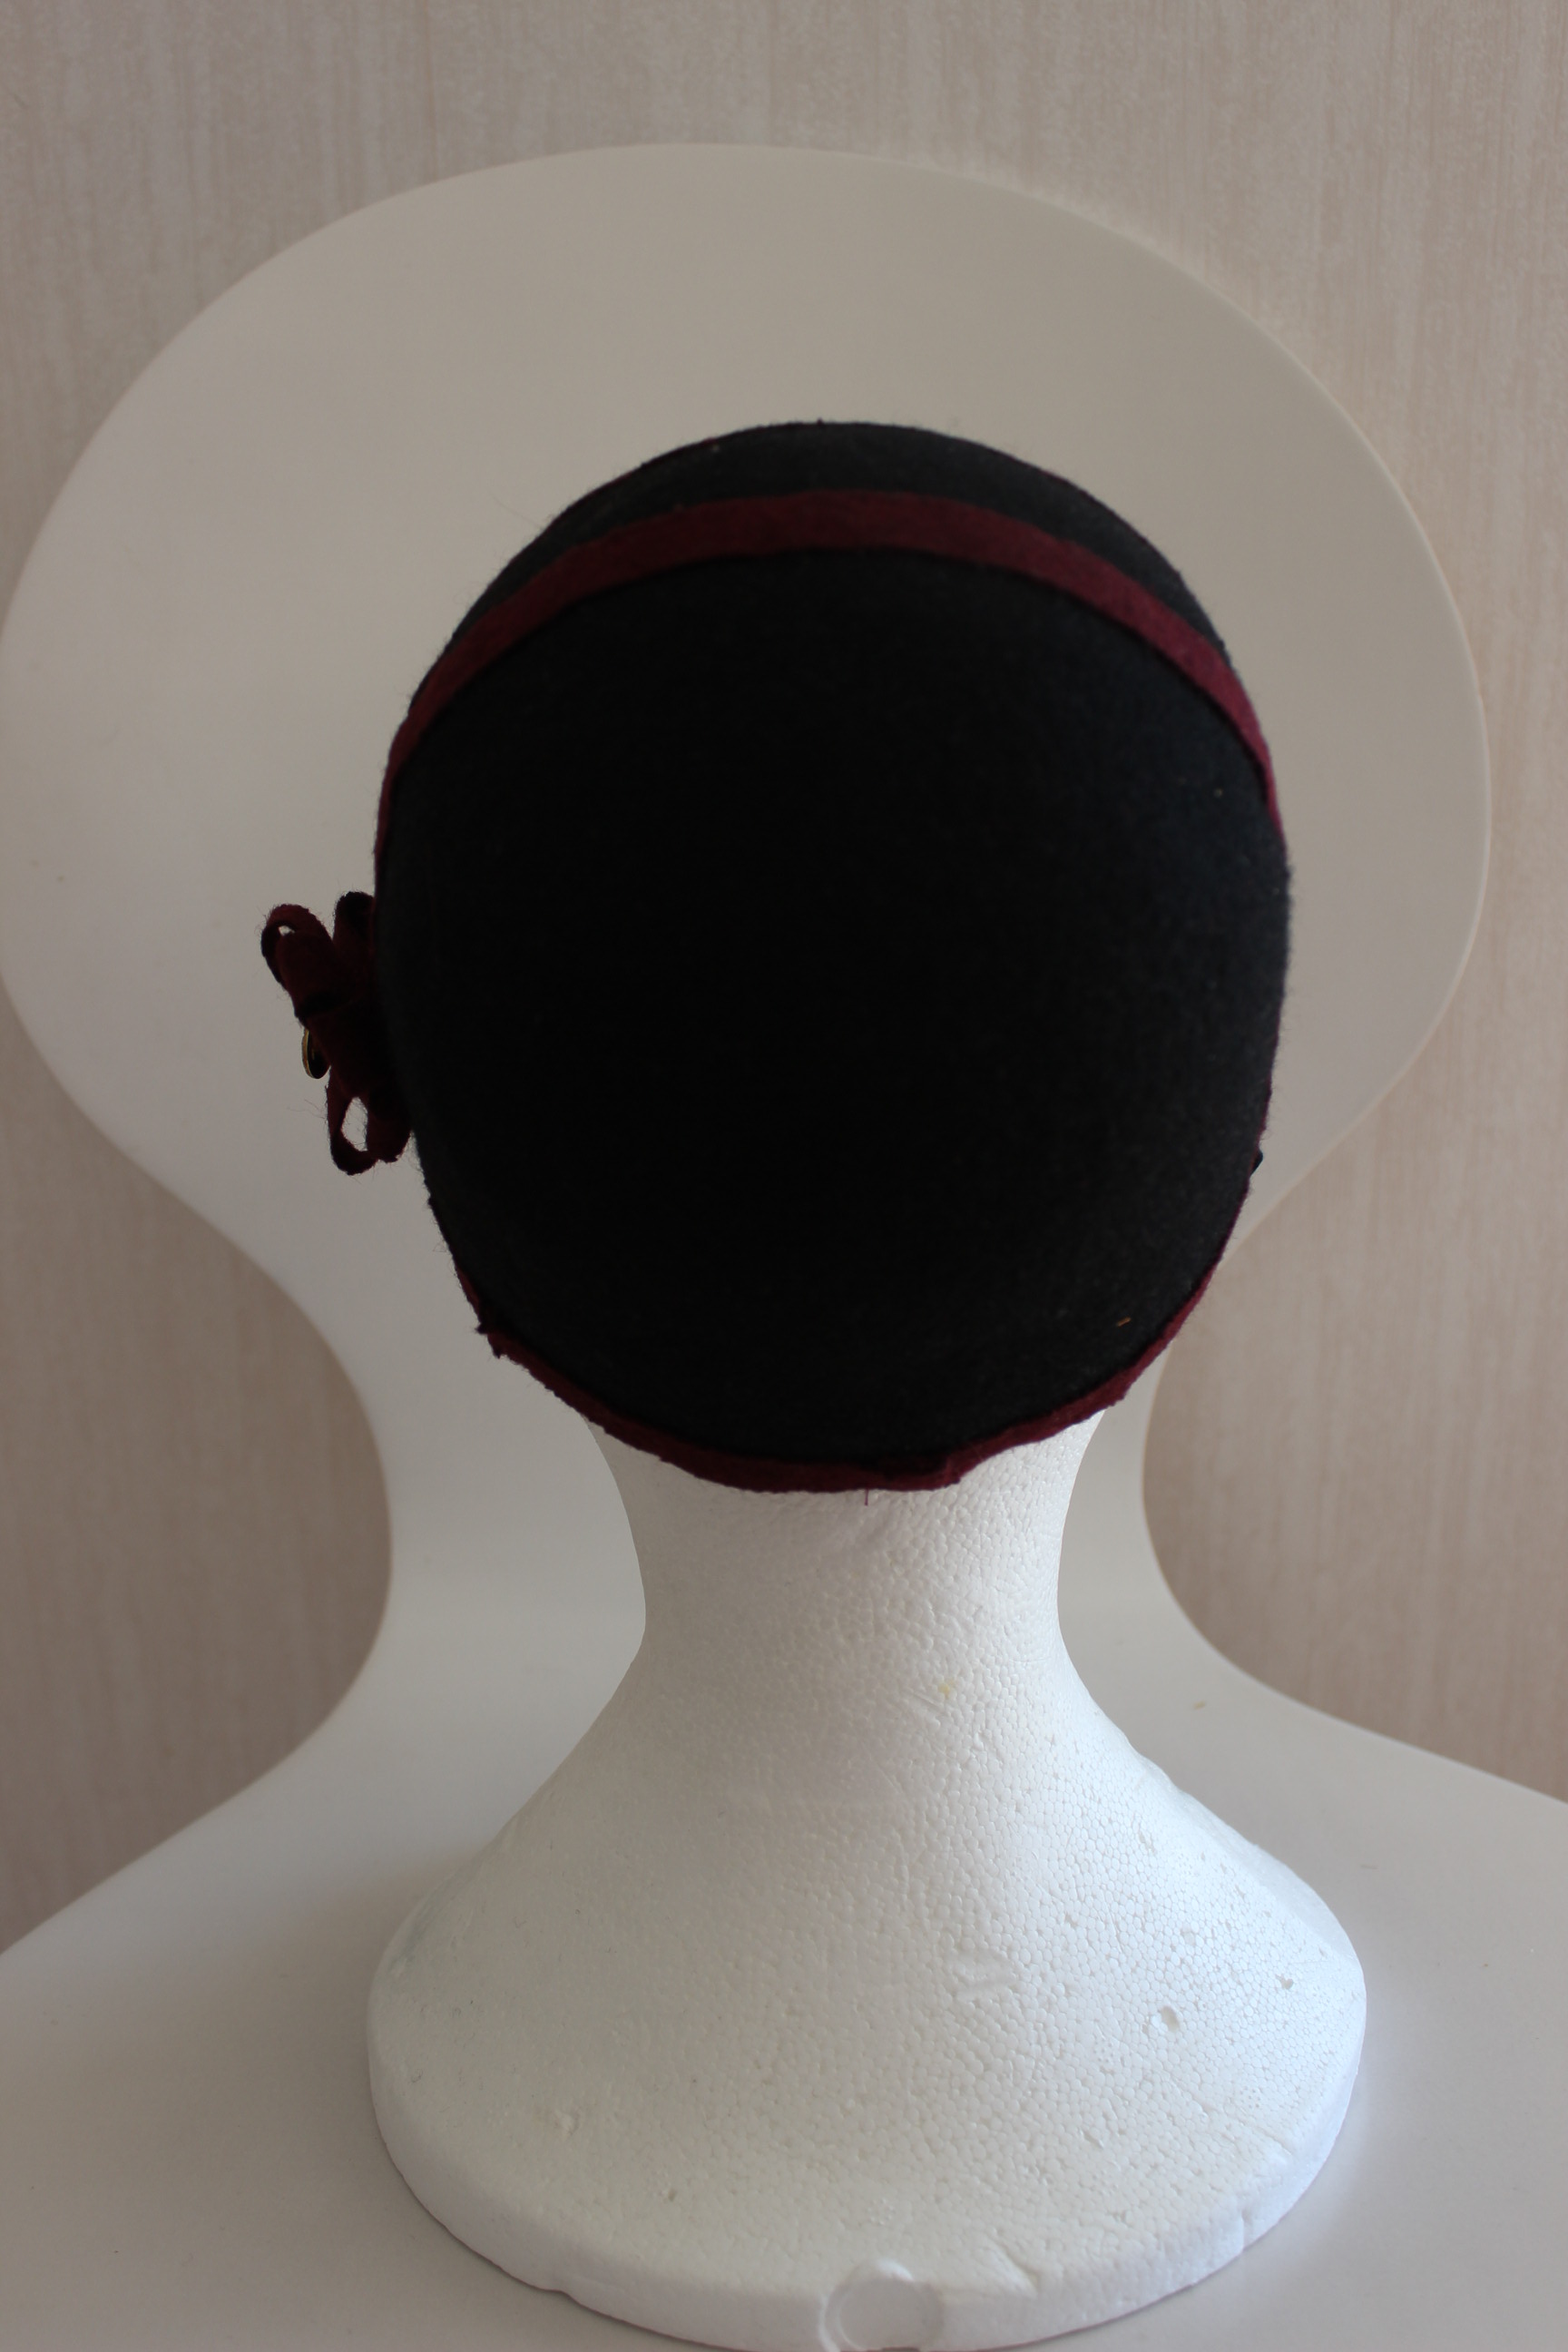
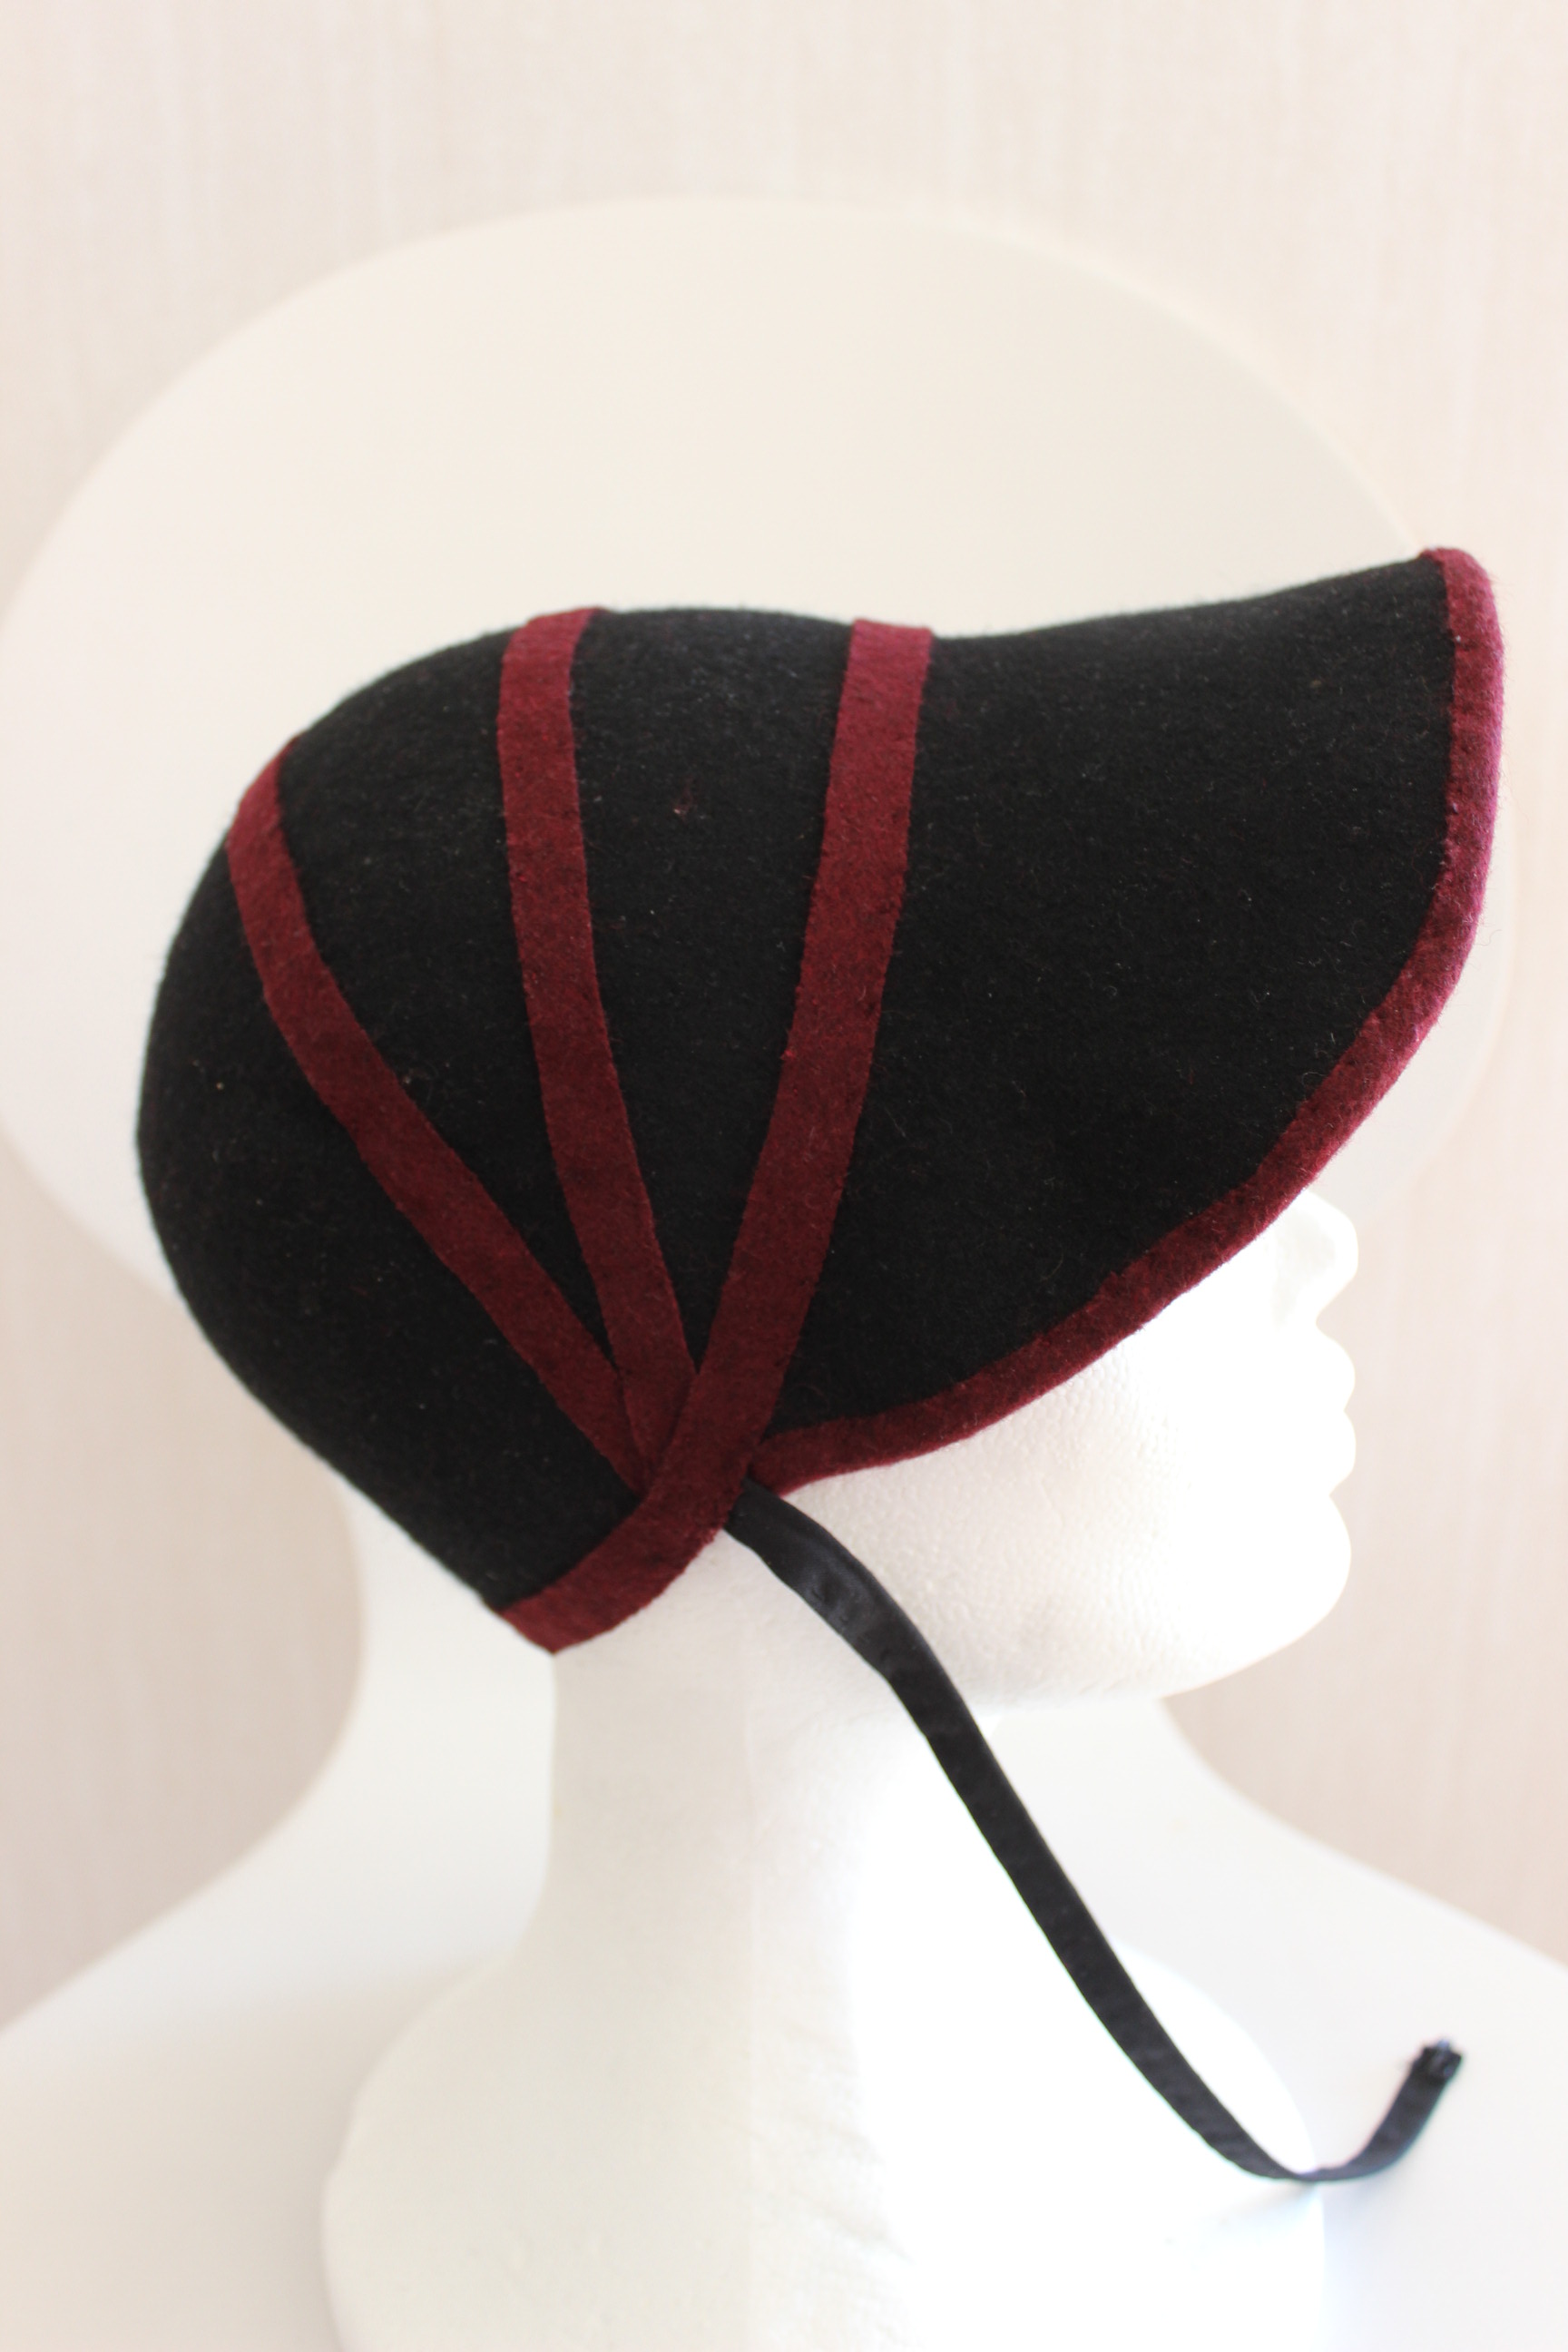


 The final result after all the re-stitching.