A dress does not make an outfit, and besides the skirt and jacket, my sister also needed some additional items
(part 1).
 inspiration
I’ve made her basic undergarments earlier this spring:
 Huge elliptical hoop crinoline
 mid 19th century corset
But one thing I hadn’t had the time for was a proper petticoat
(one that actually was wide enough to fit over the huge hoops).
So that’s where I begun.
Using 2,5 white cotton sheets from IKEA I cut and pleated a whole afternoon and evening, before I could call it a day and consider myself done. 

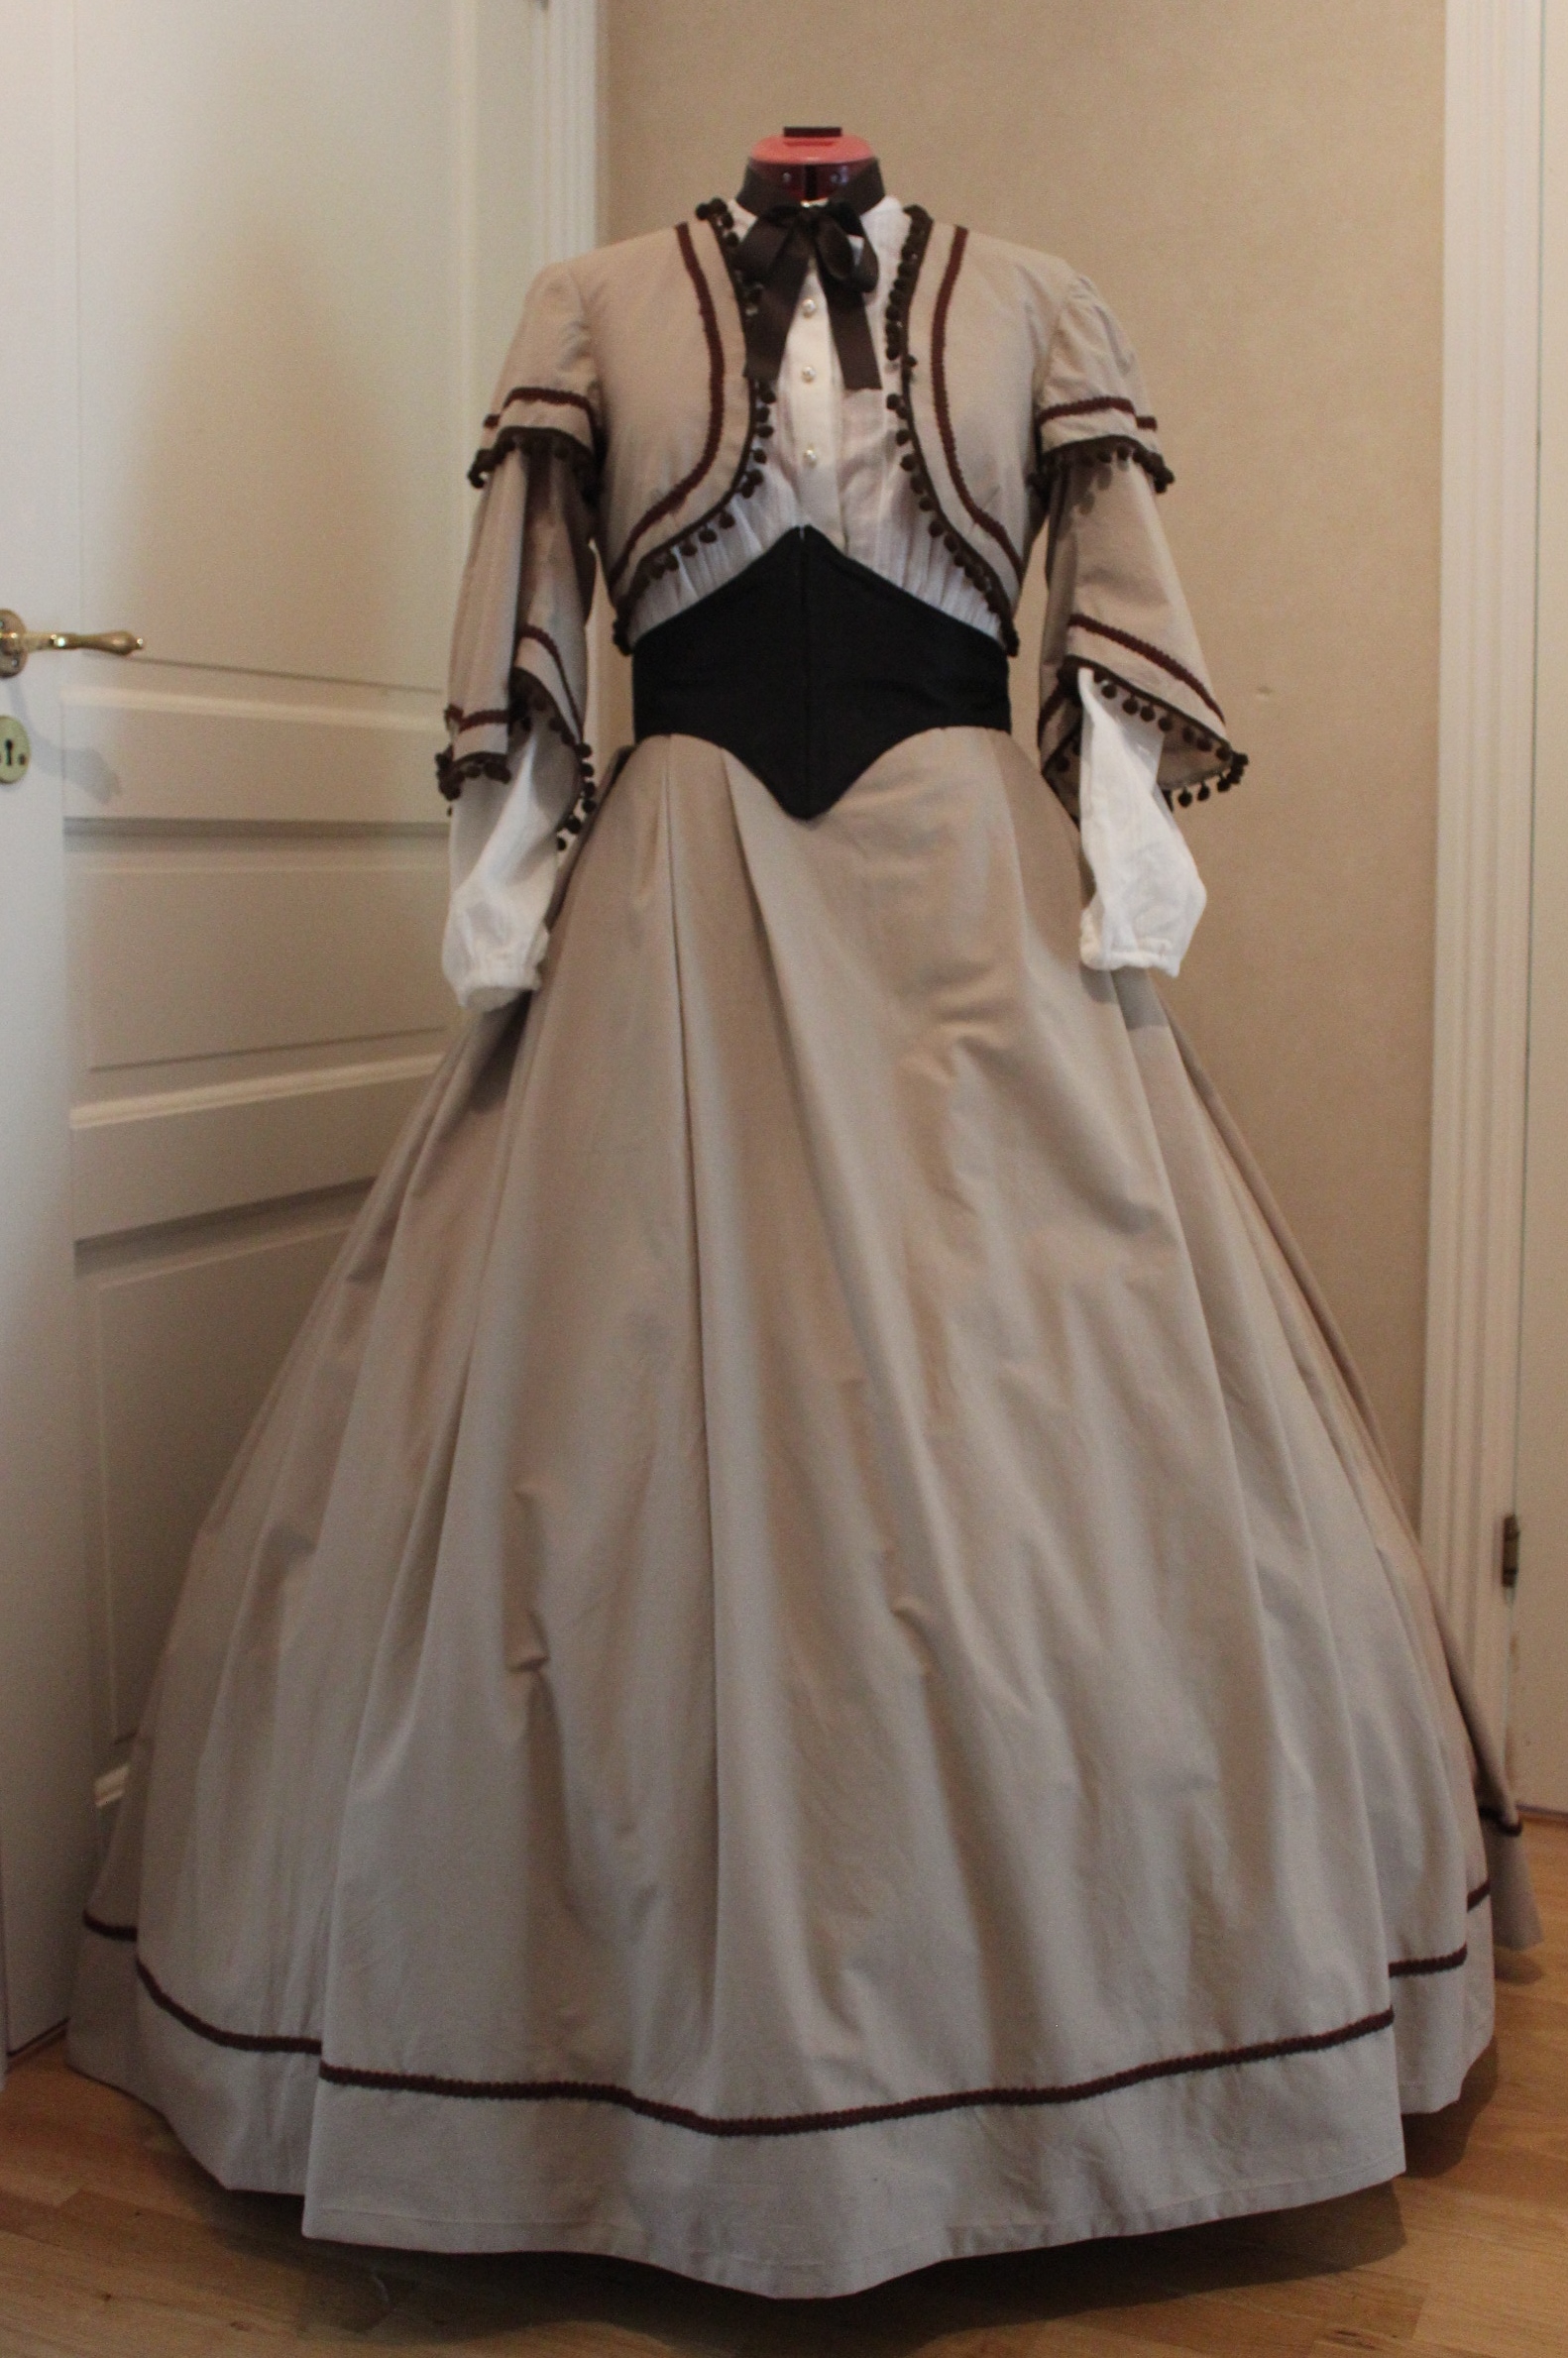
When the under-layers was done (I know, I know – She could easily have used her another petticoat, but this will have to do for now) it was time for the rest of the outfit.
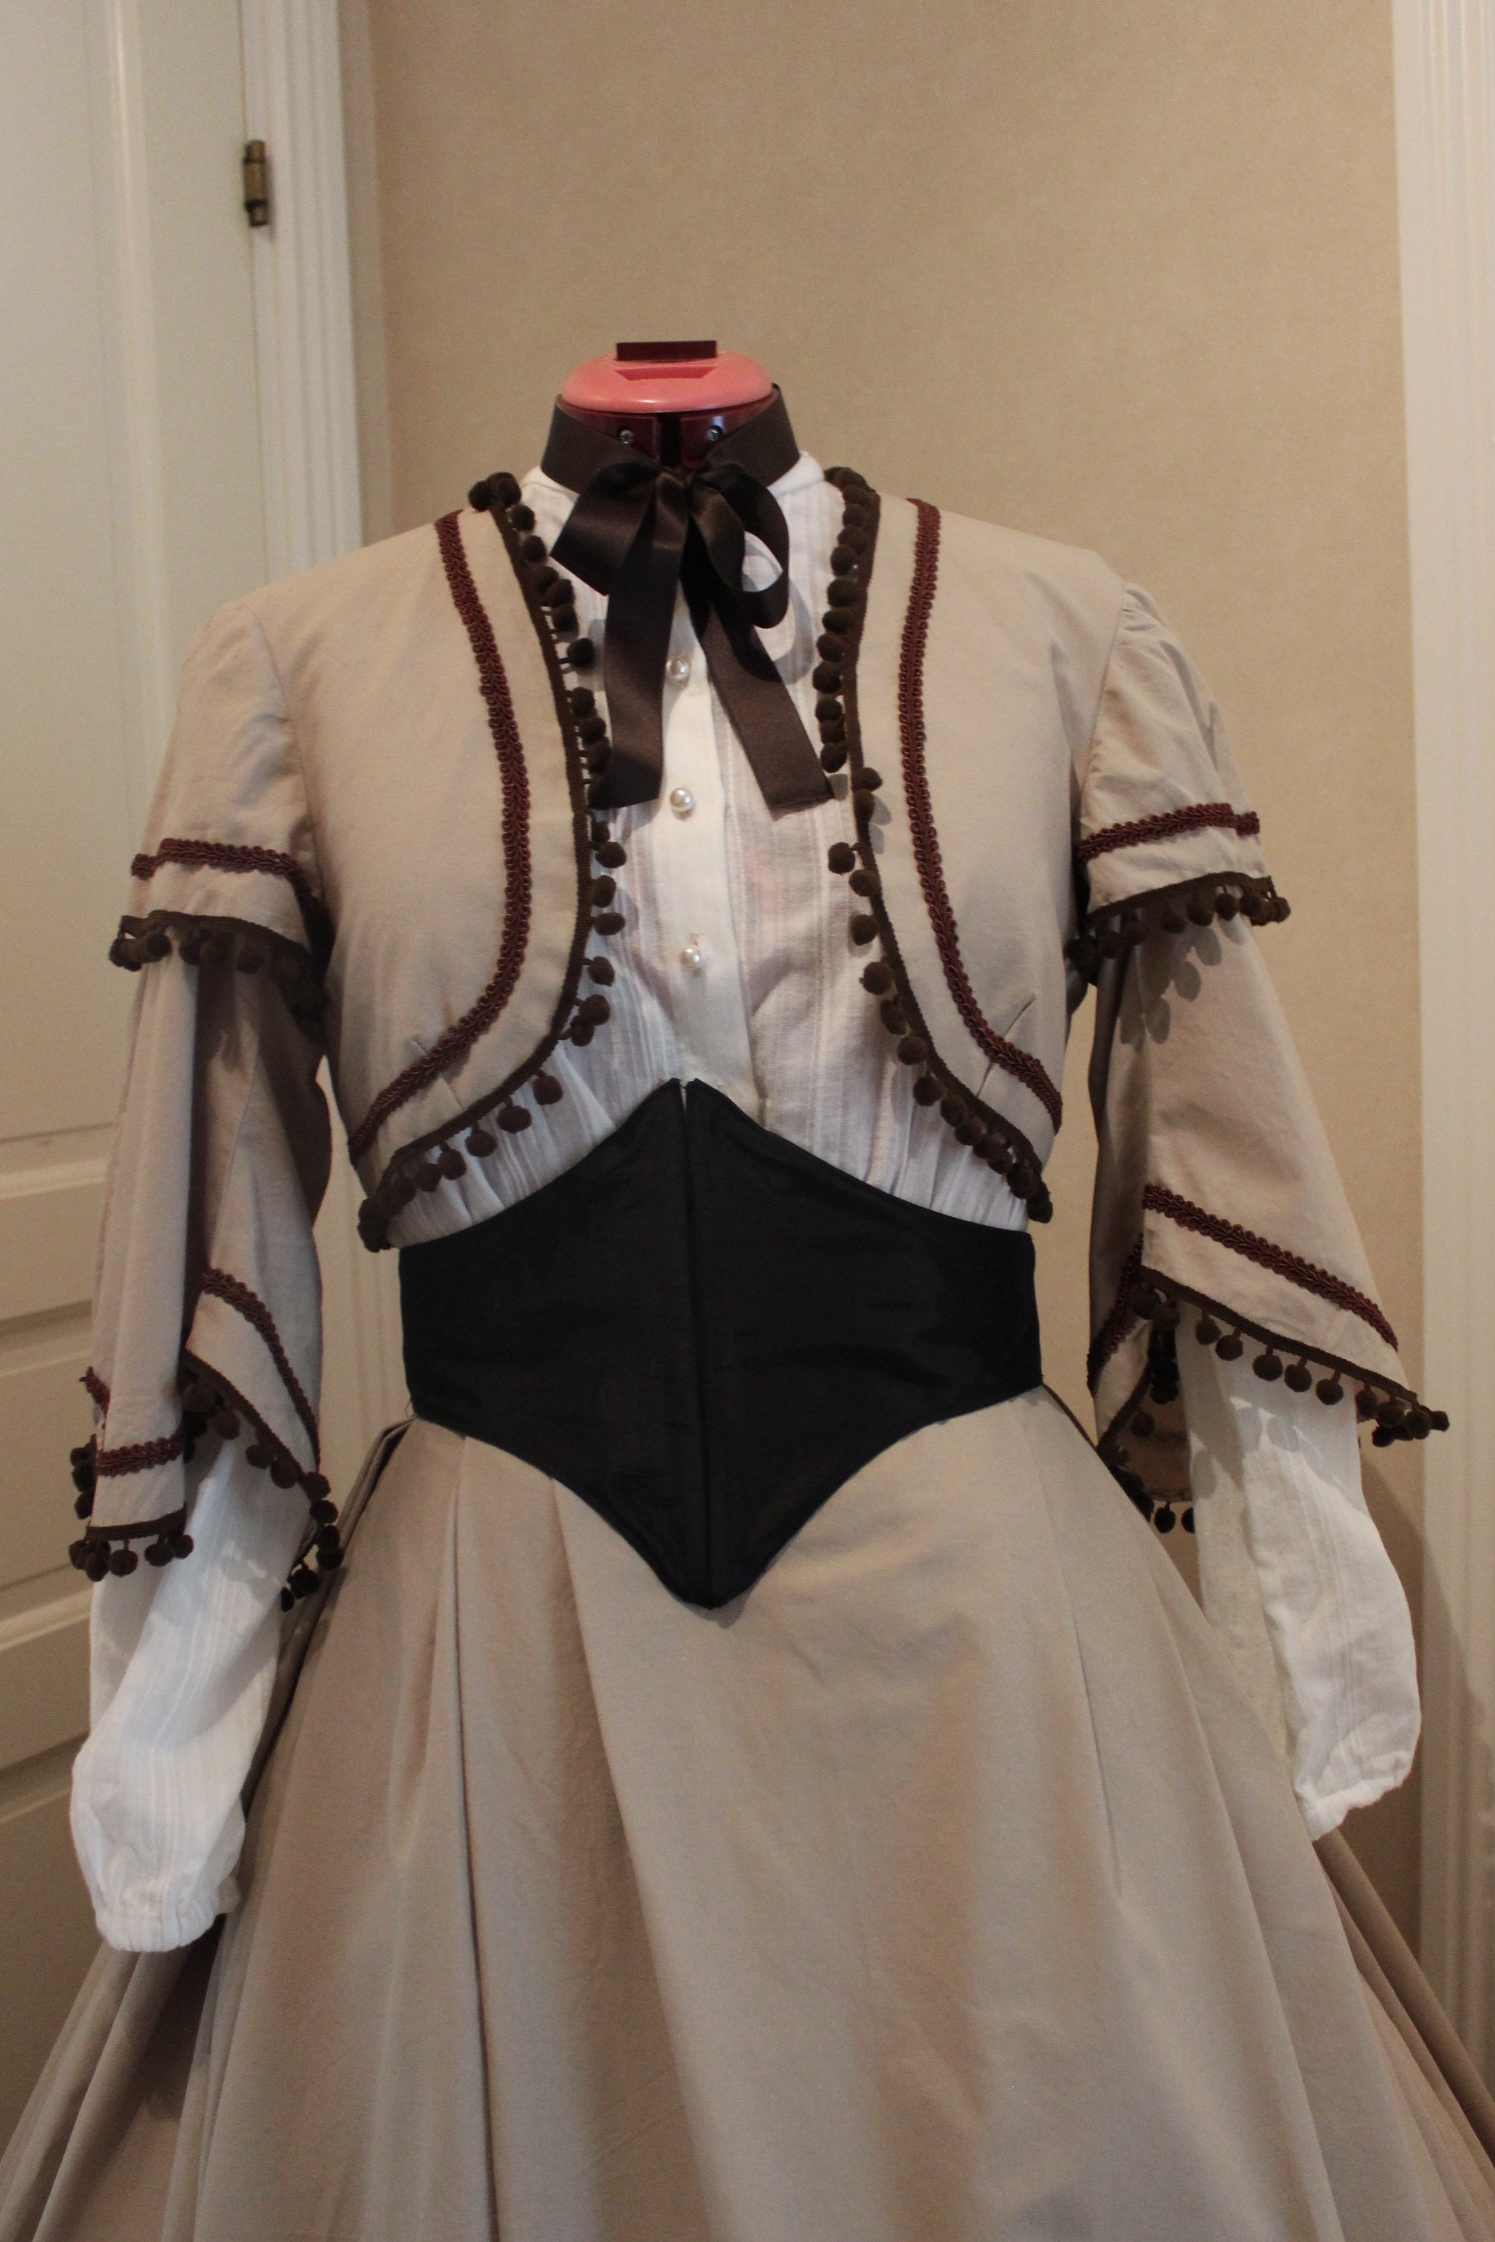
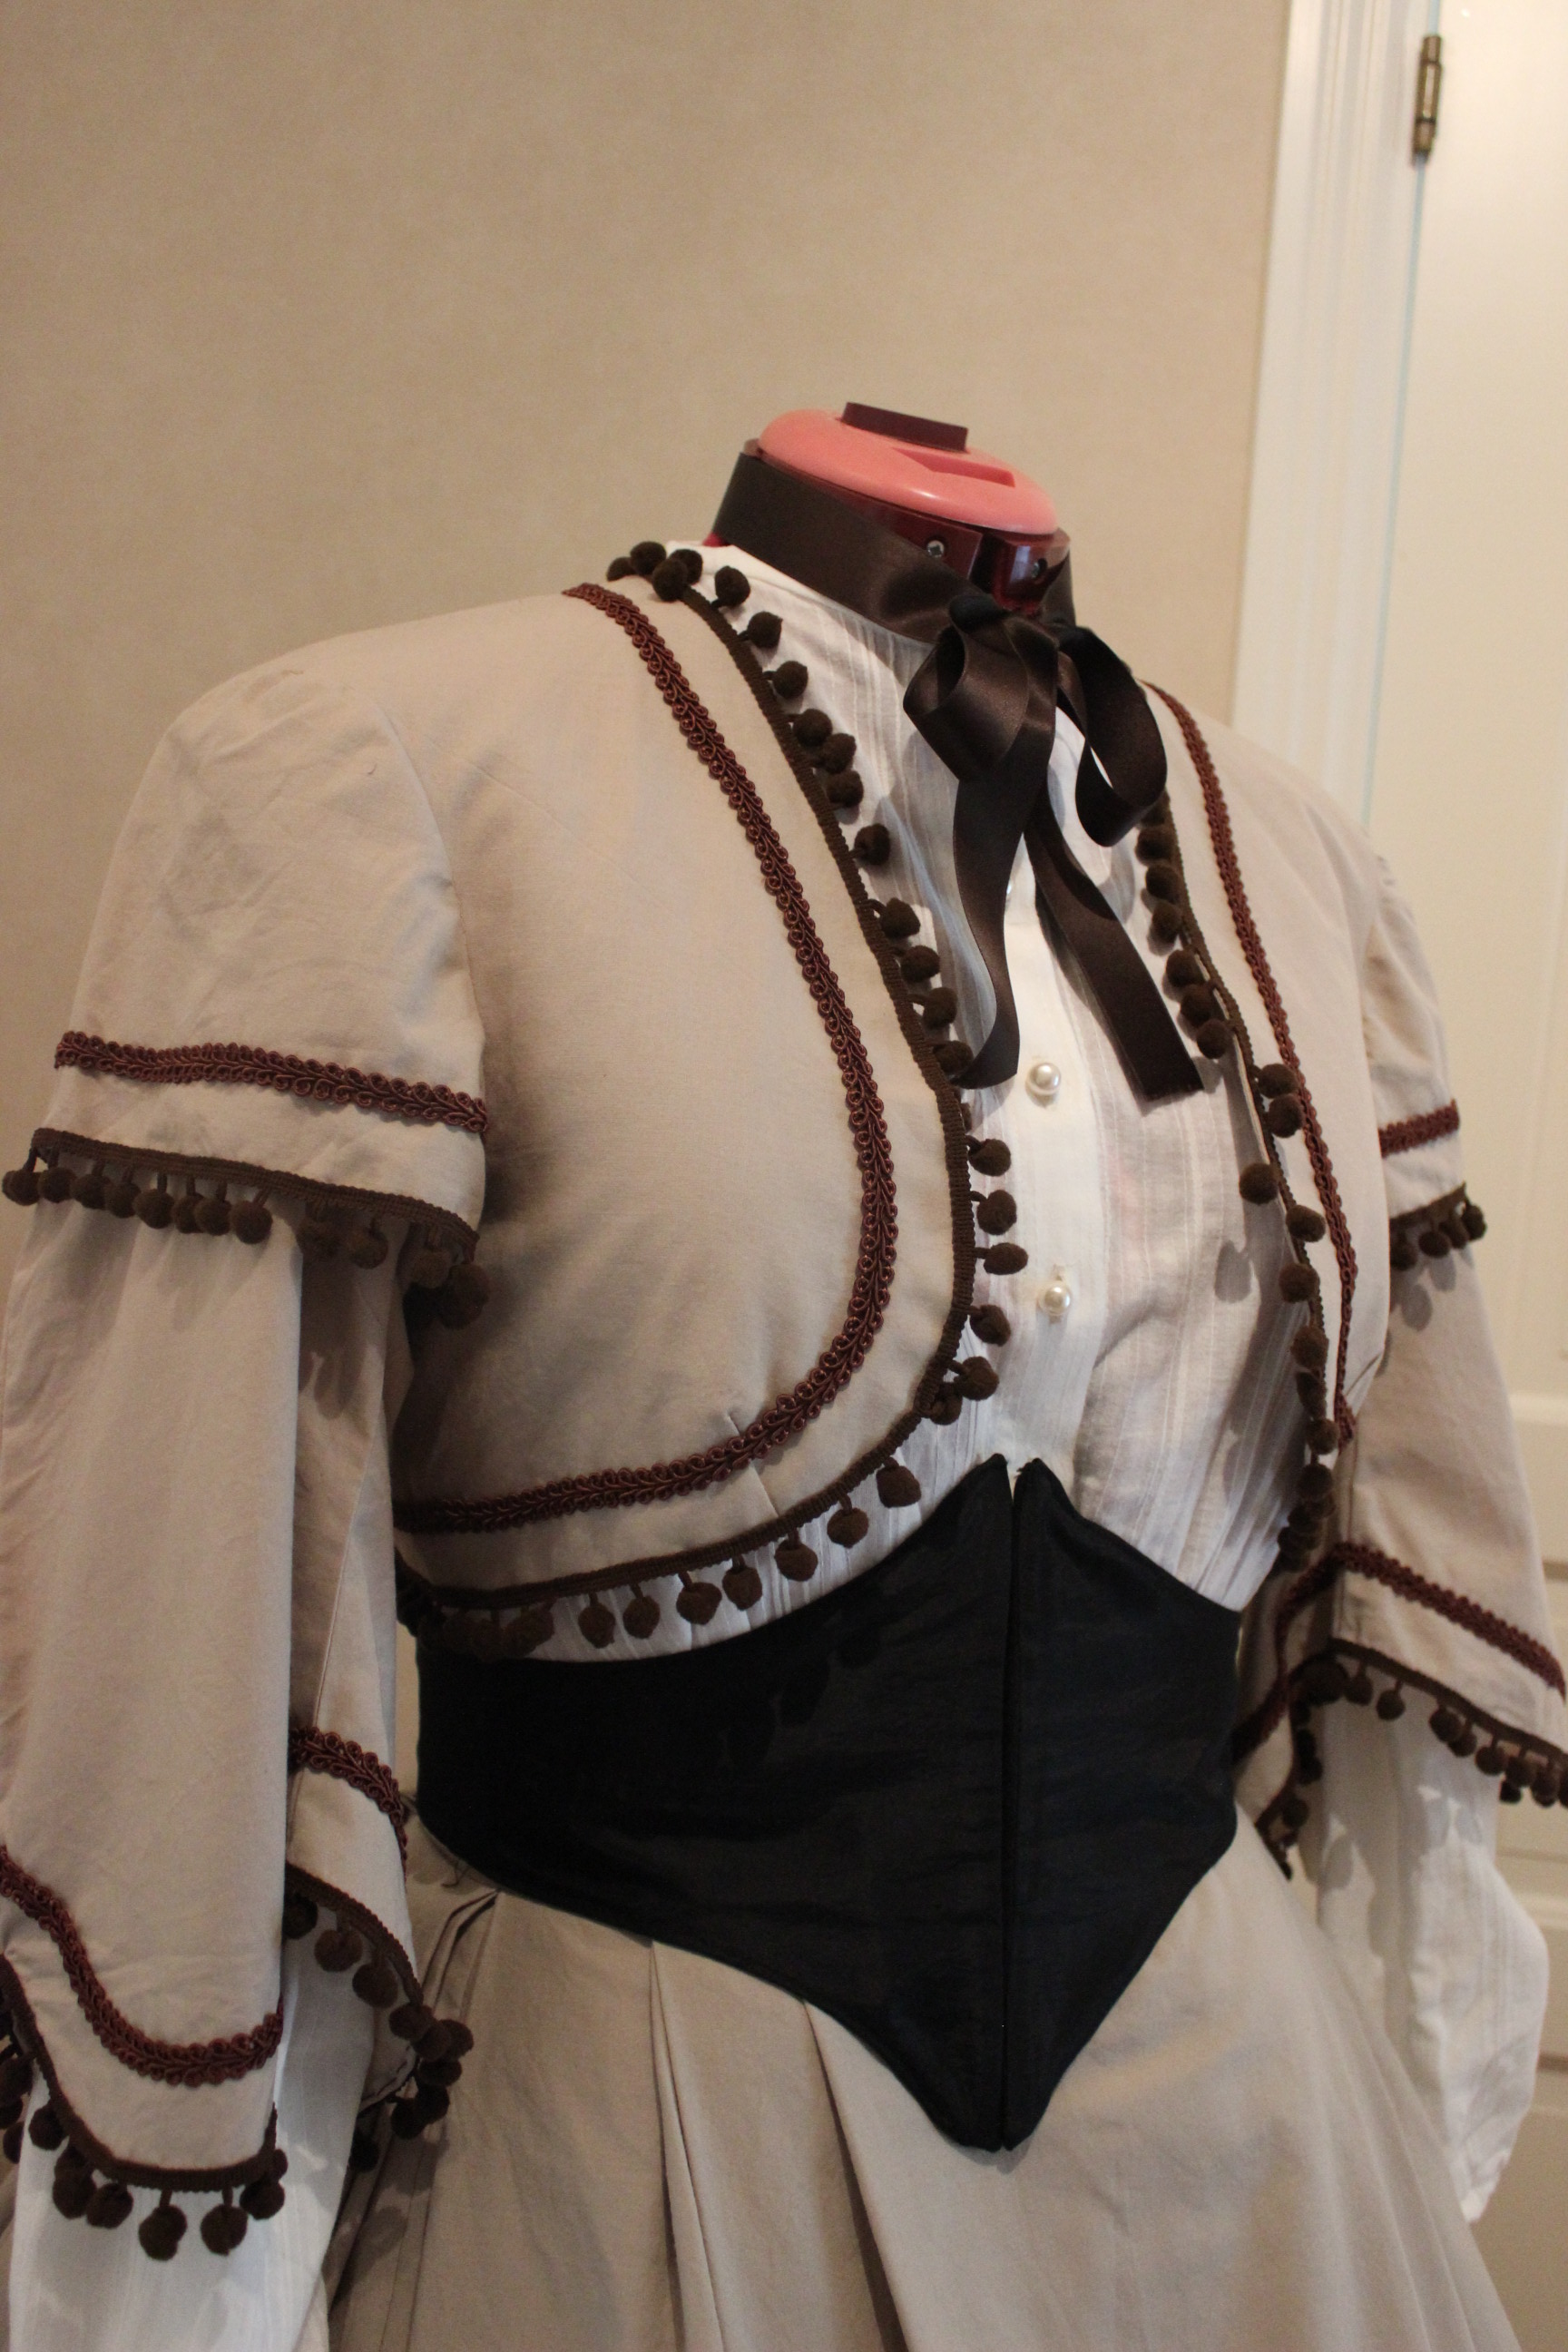
On the same event 2 years ago, I made my sister a more basic version of this years outfit, so some of the pieces she needed was already waiting in the closet.  We re-used the shirt and swiss-waist she’d worn last time.
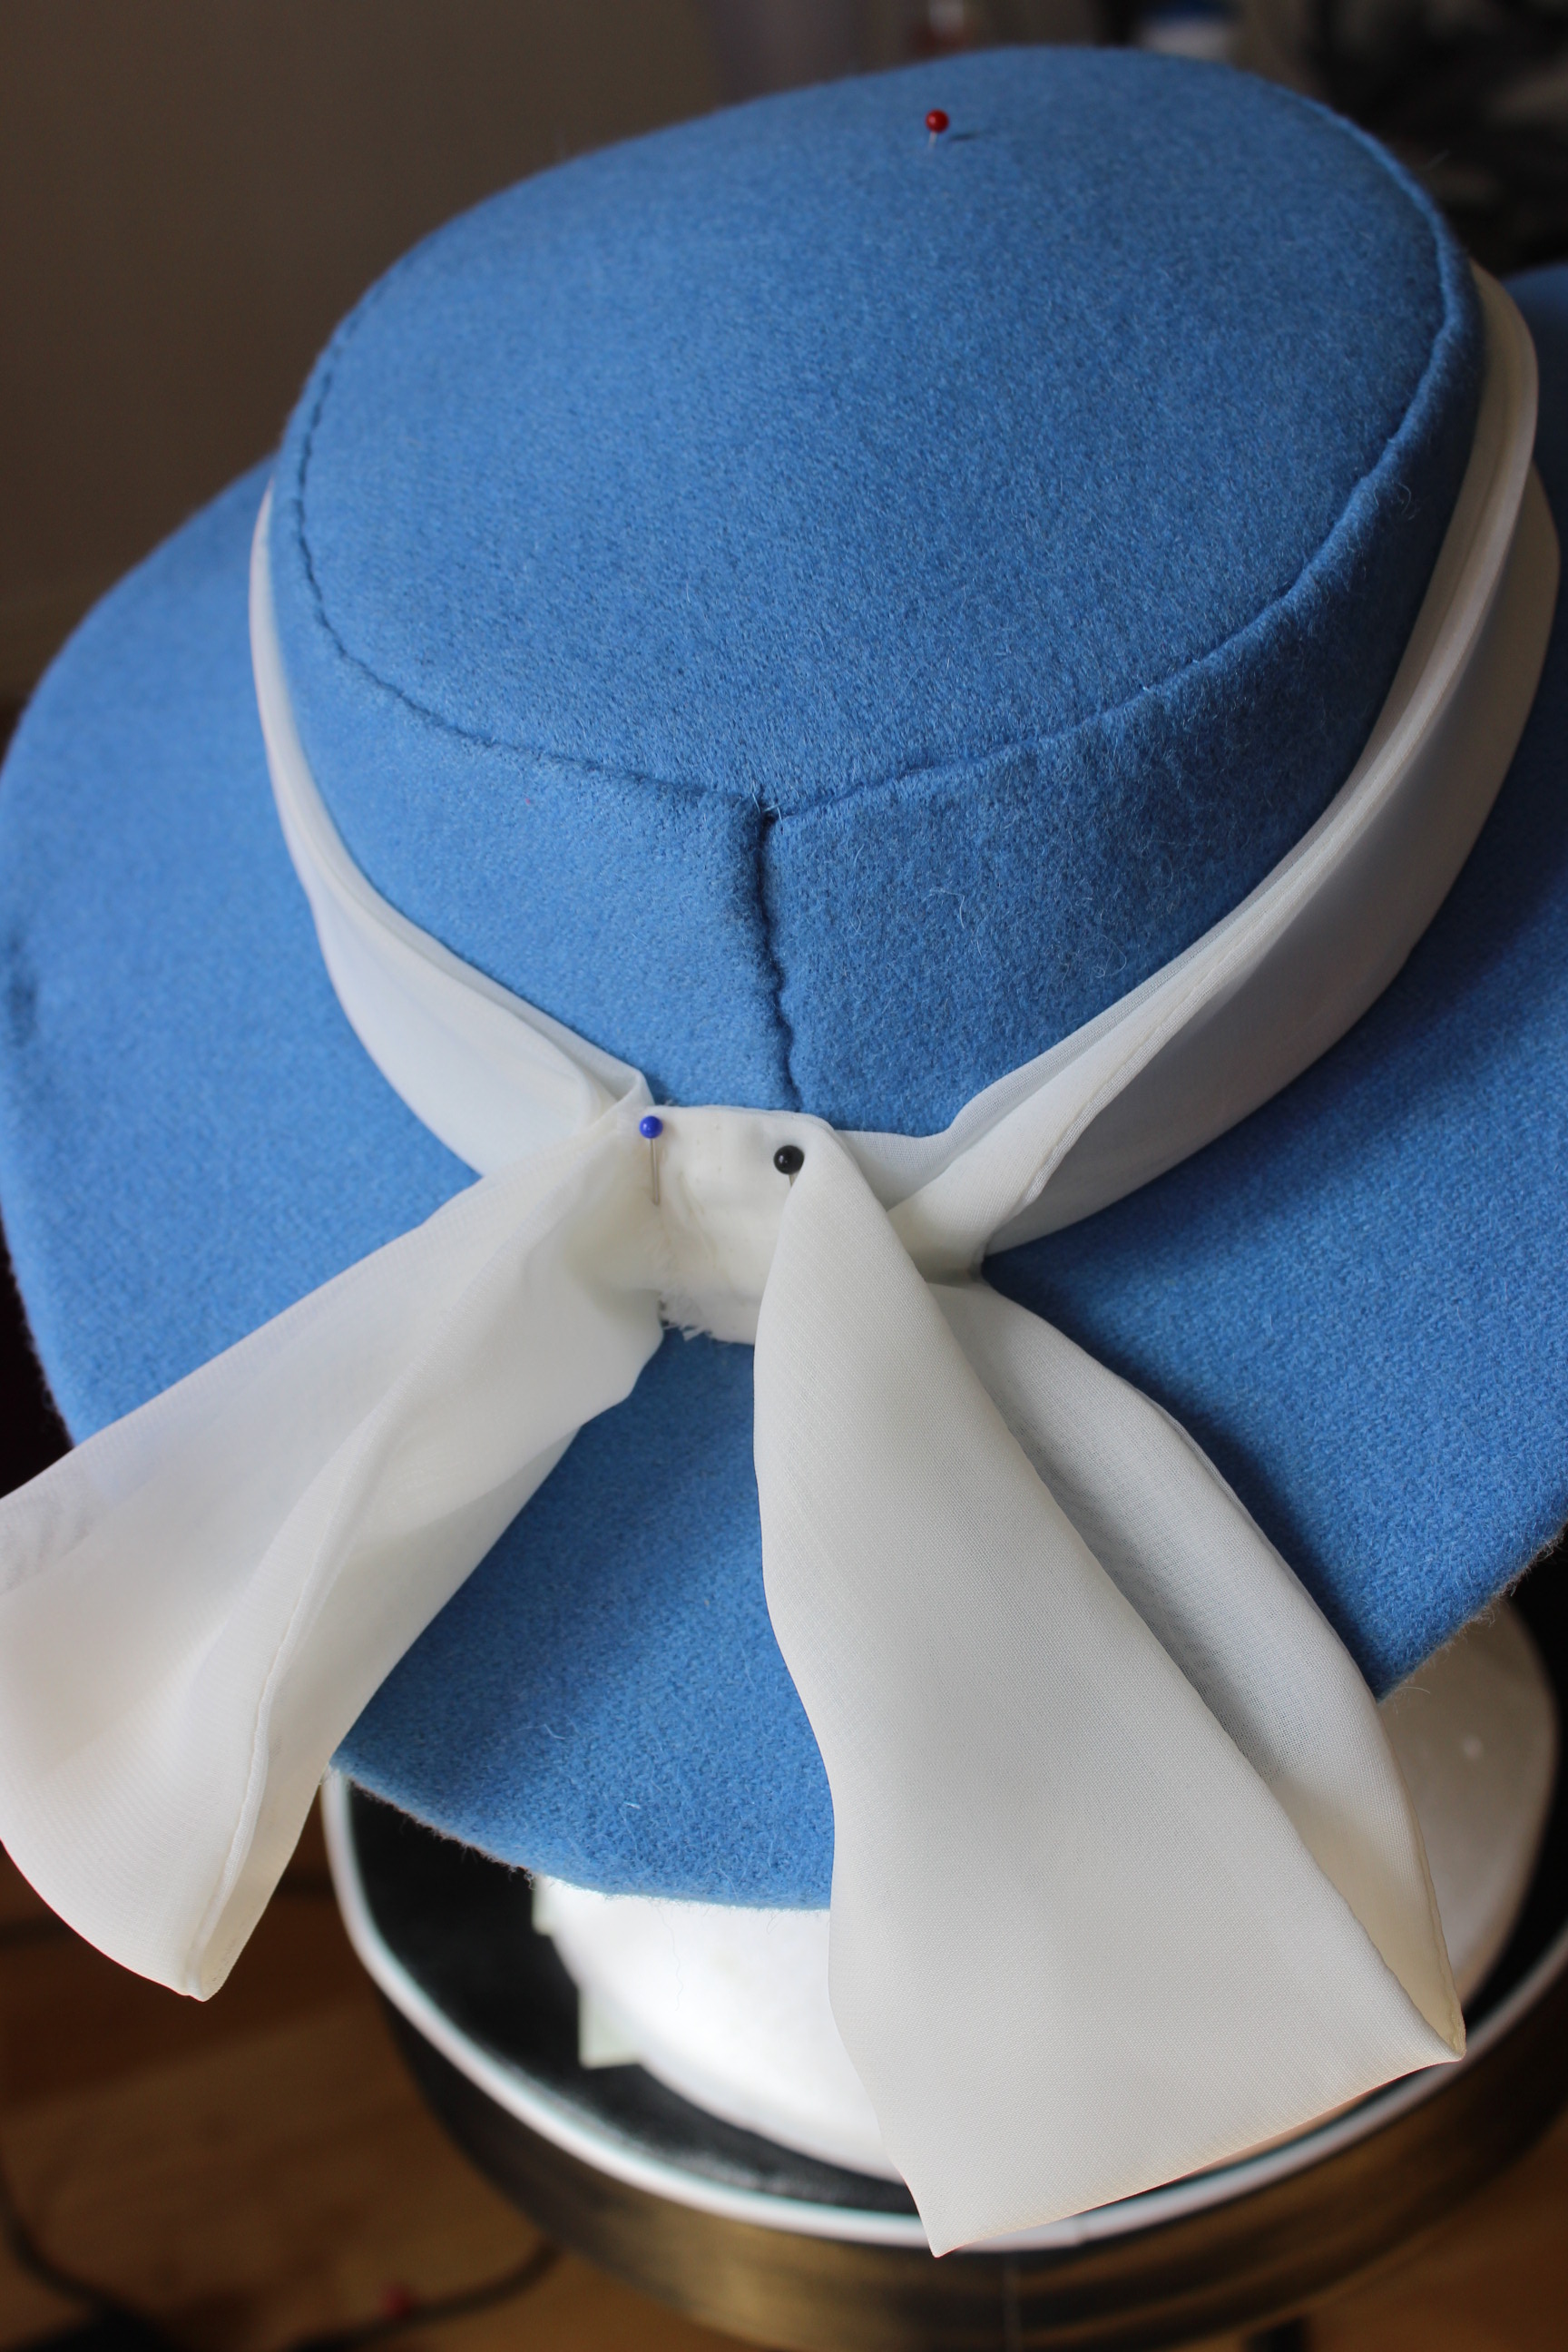
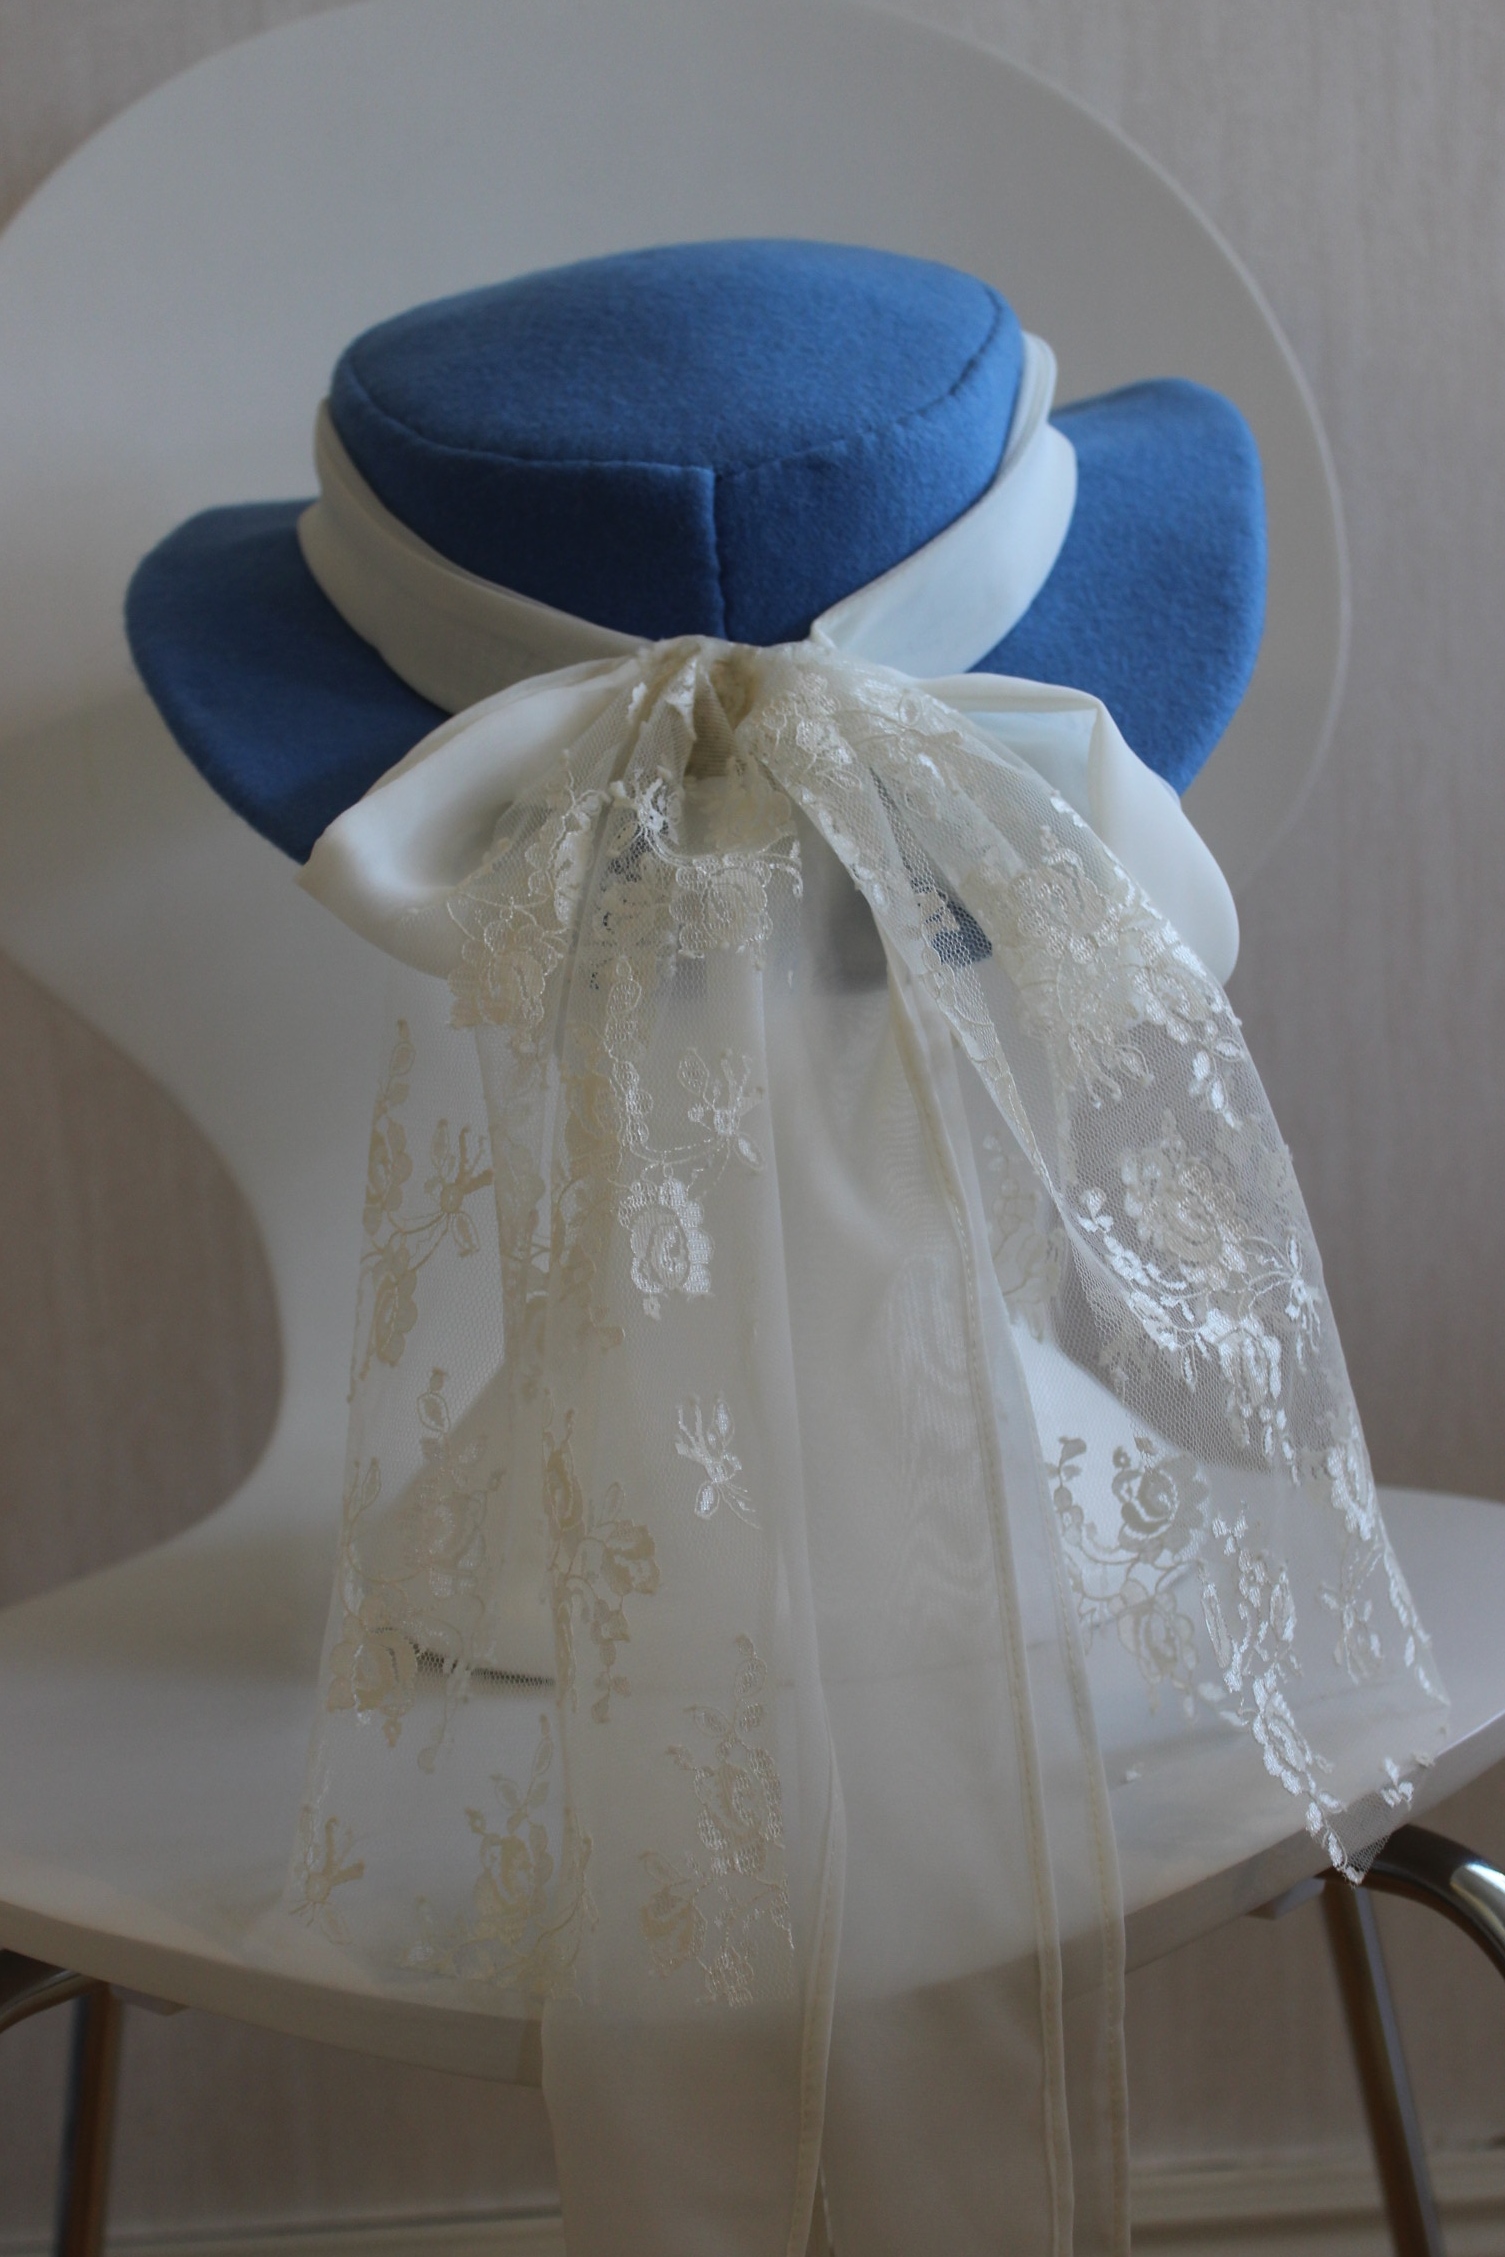
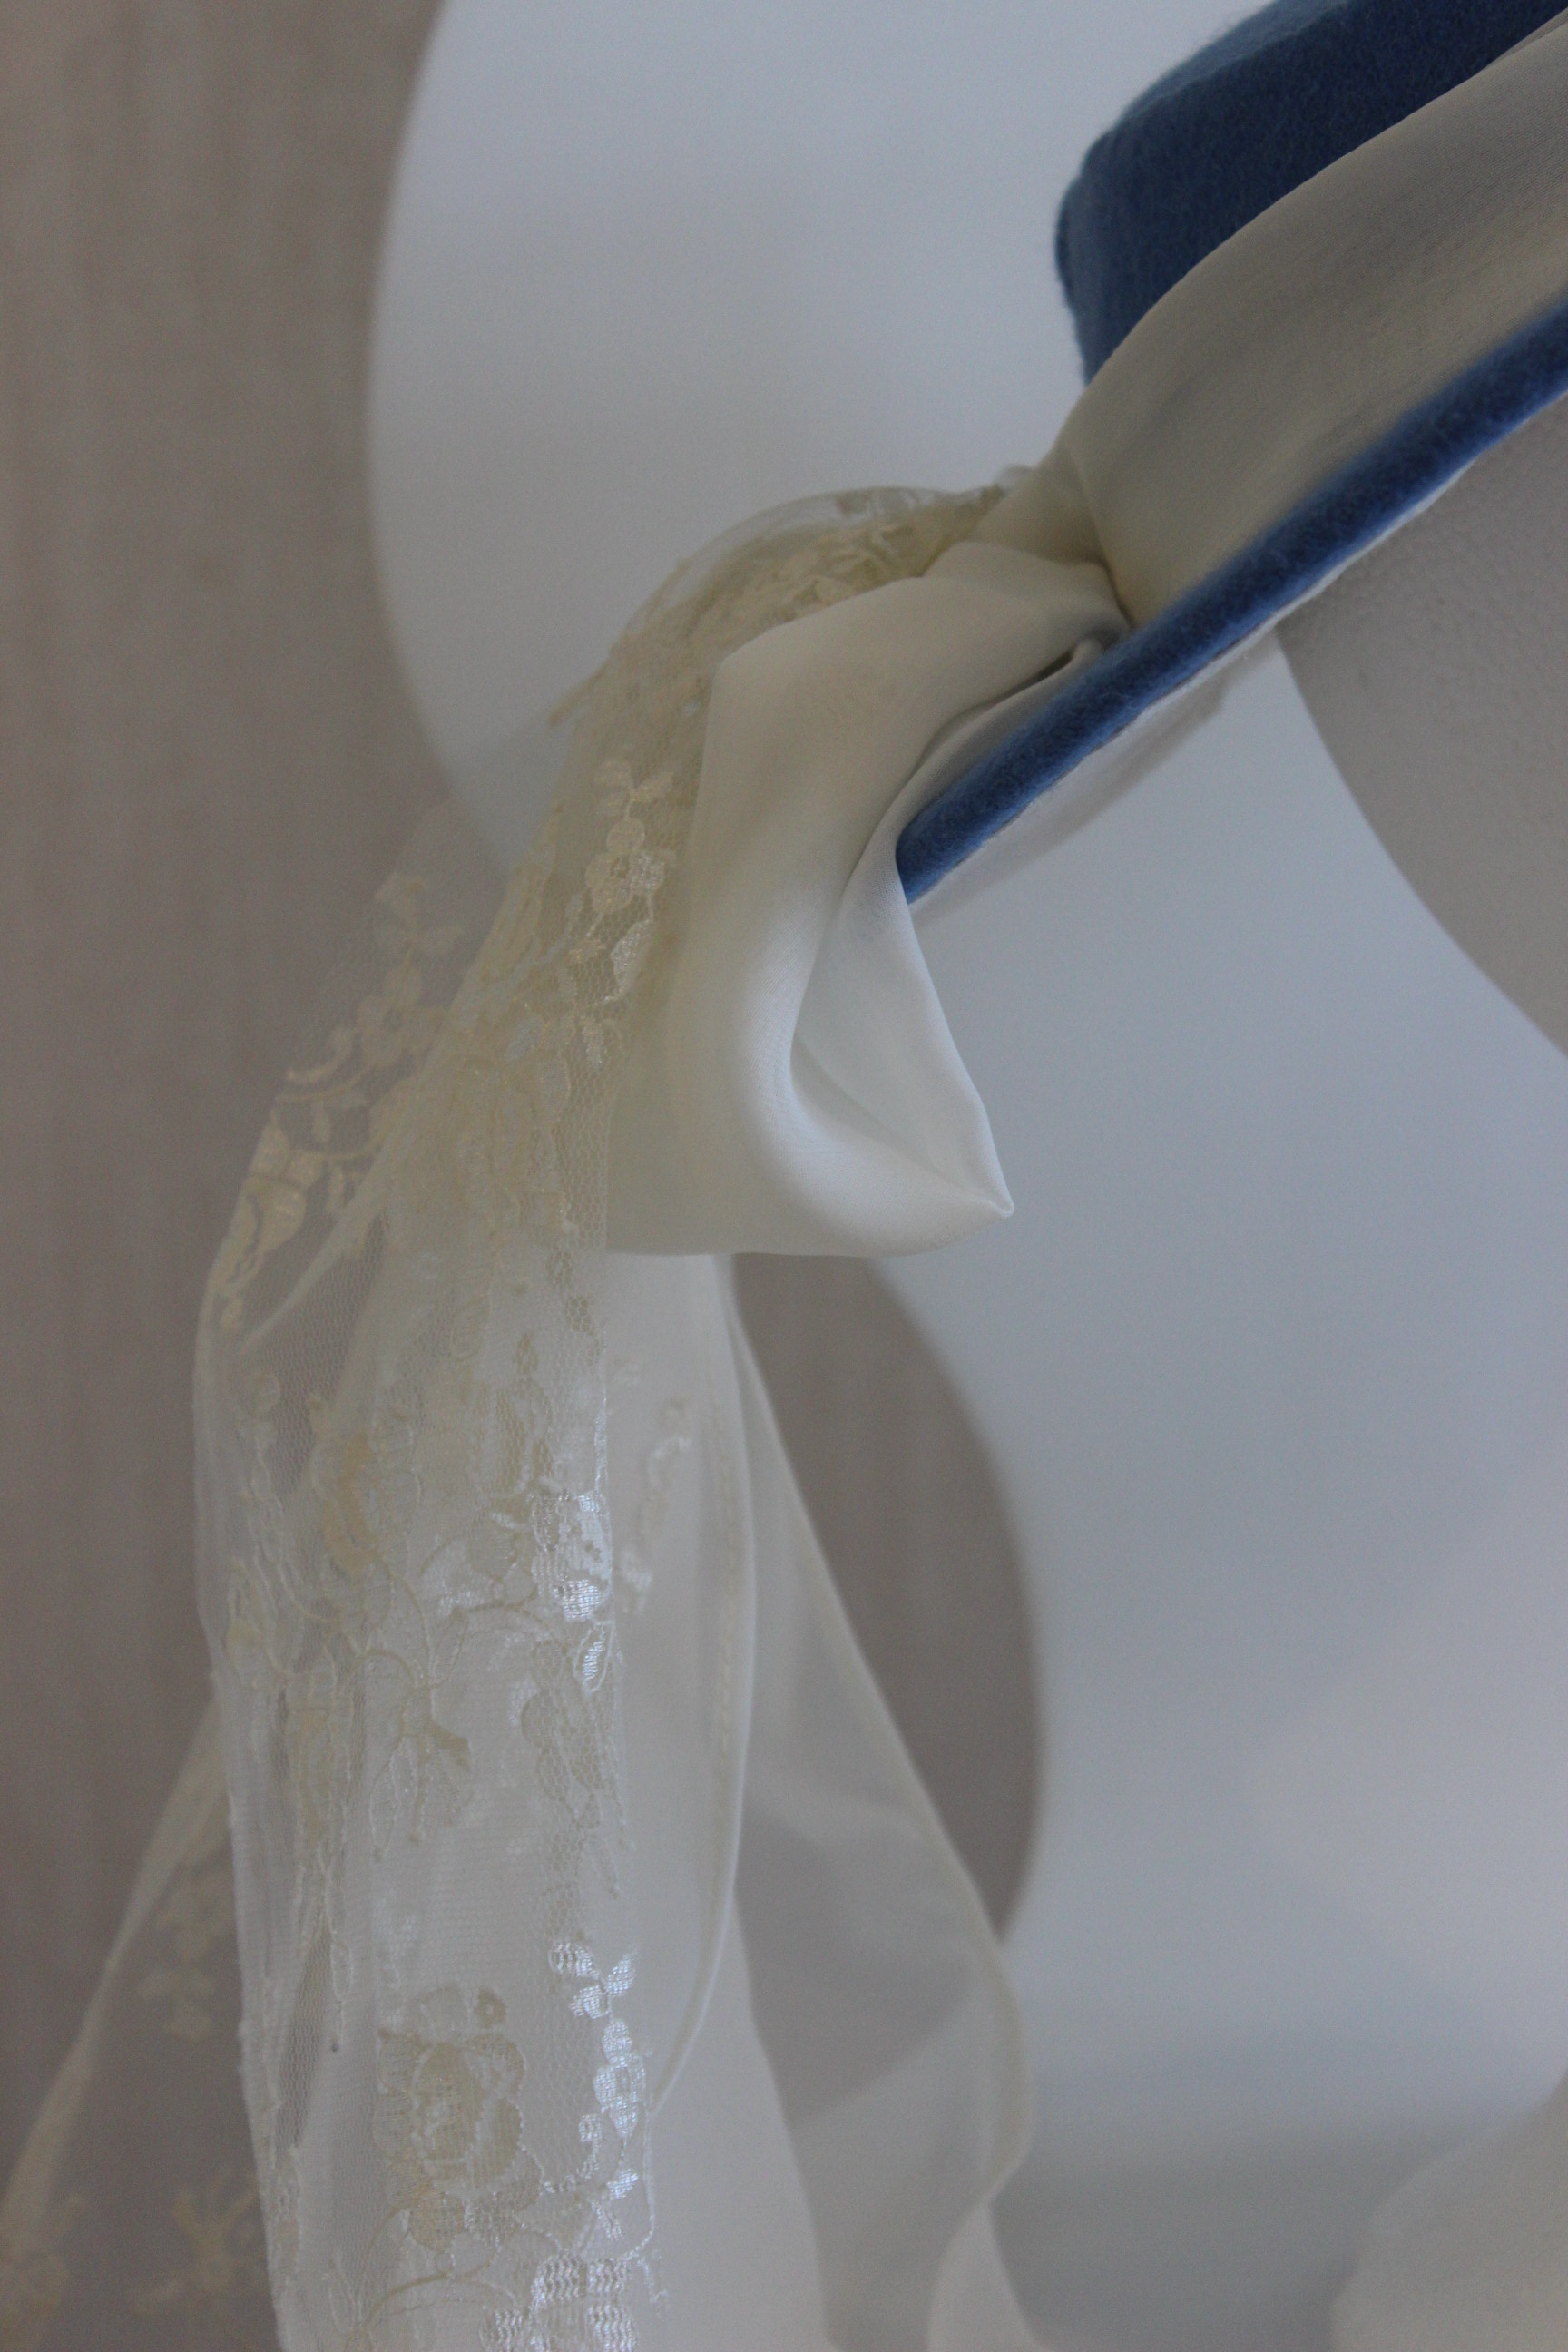
Added a longer silk-ribbon to the neck and that was that 🙂

Well, actually she still needed something on her head…
I’d warned her beforehand, that I might not have the time to come up with something new, but when I came upon this perfectly cheap straw-hat (IKEA, once again) a few days before the event, I knew I needed to give it a try.
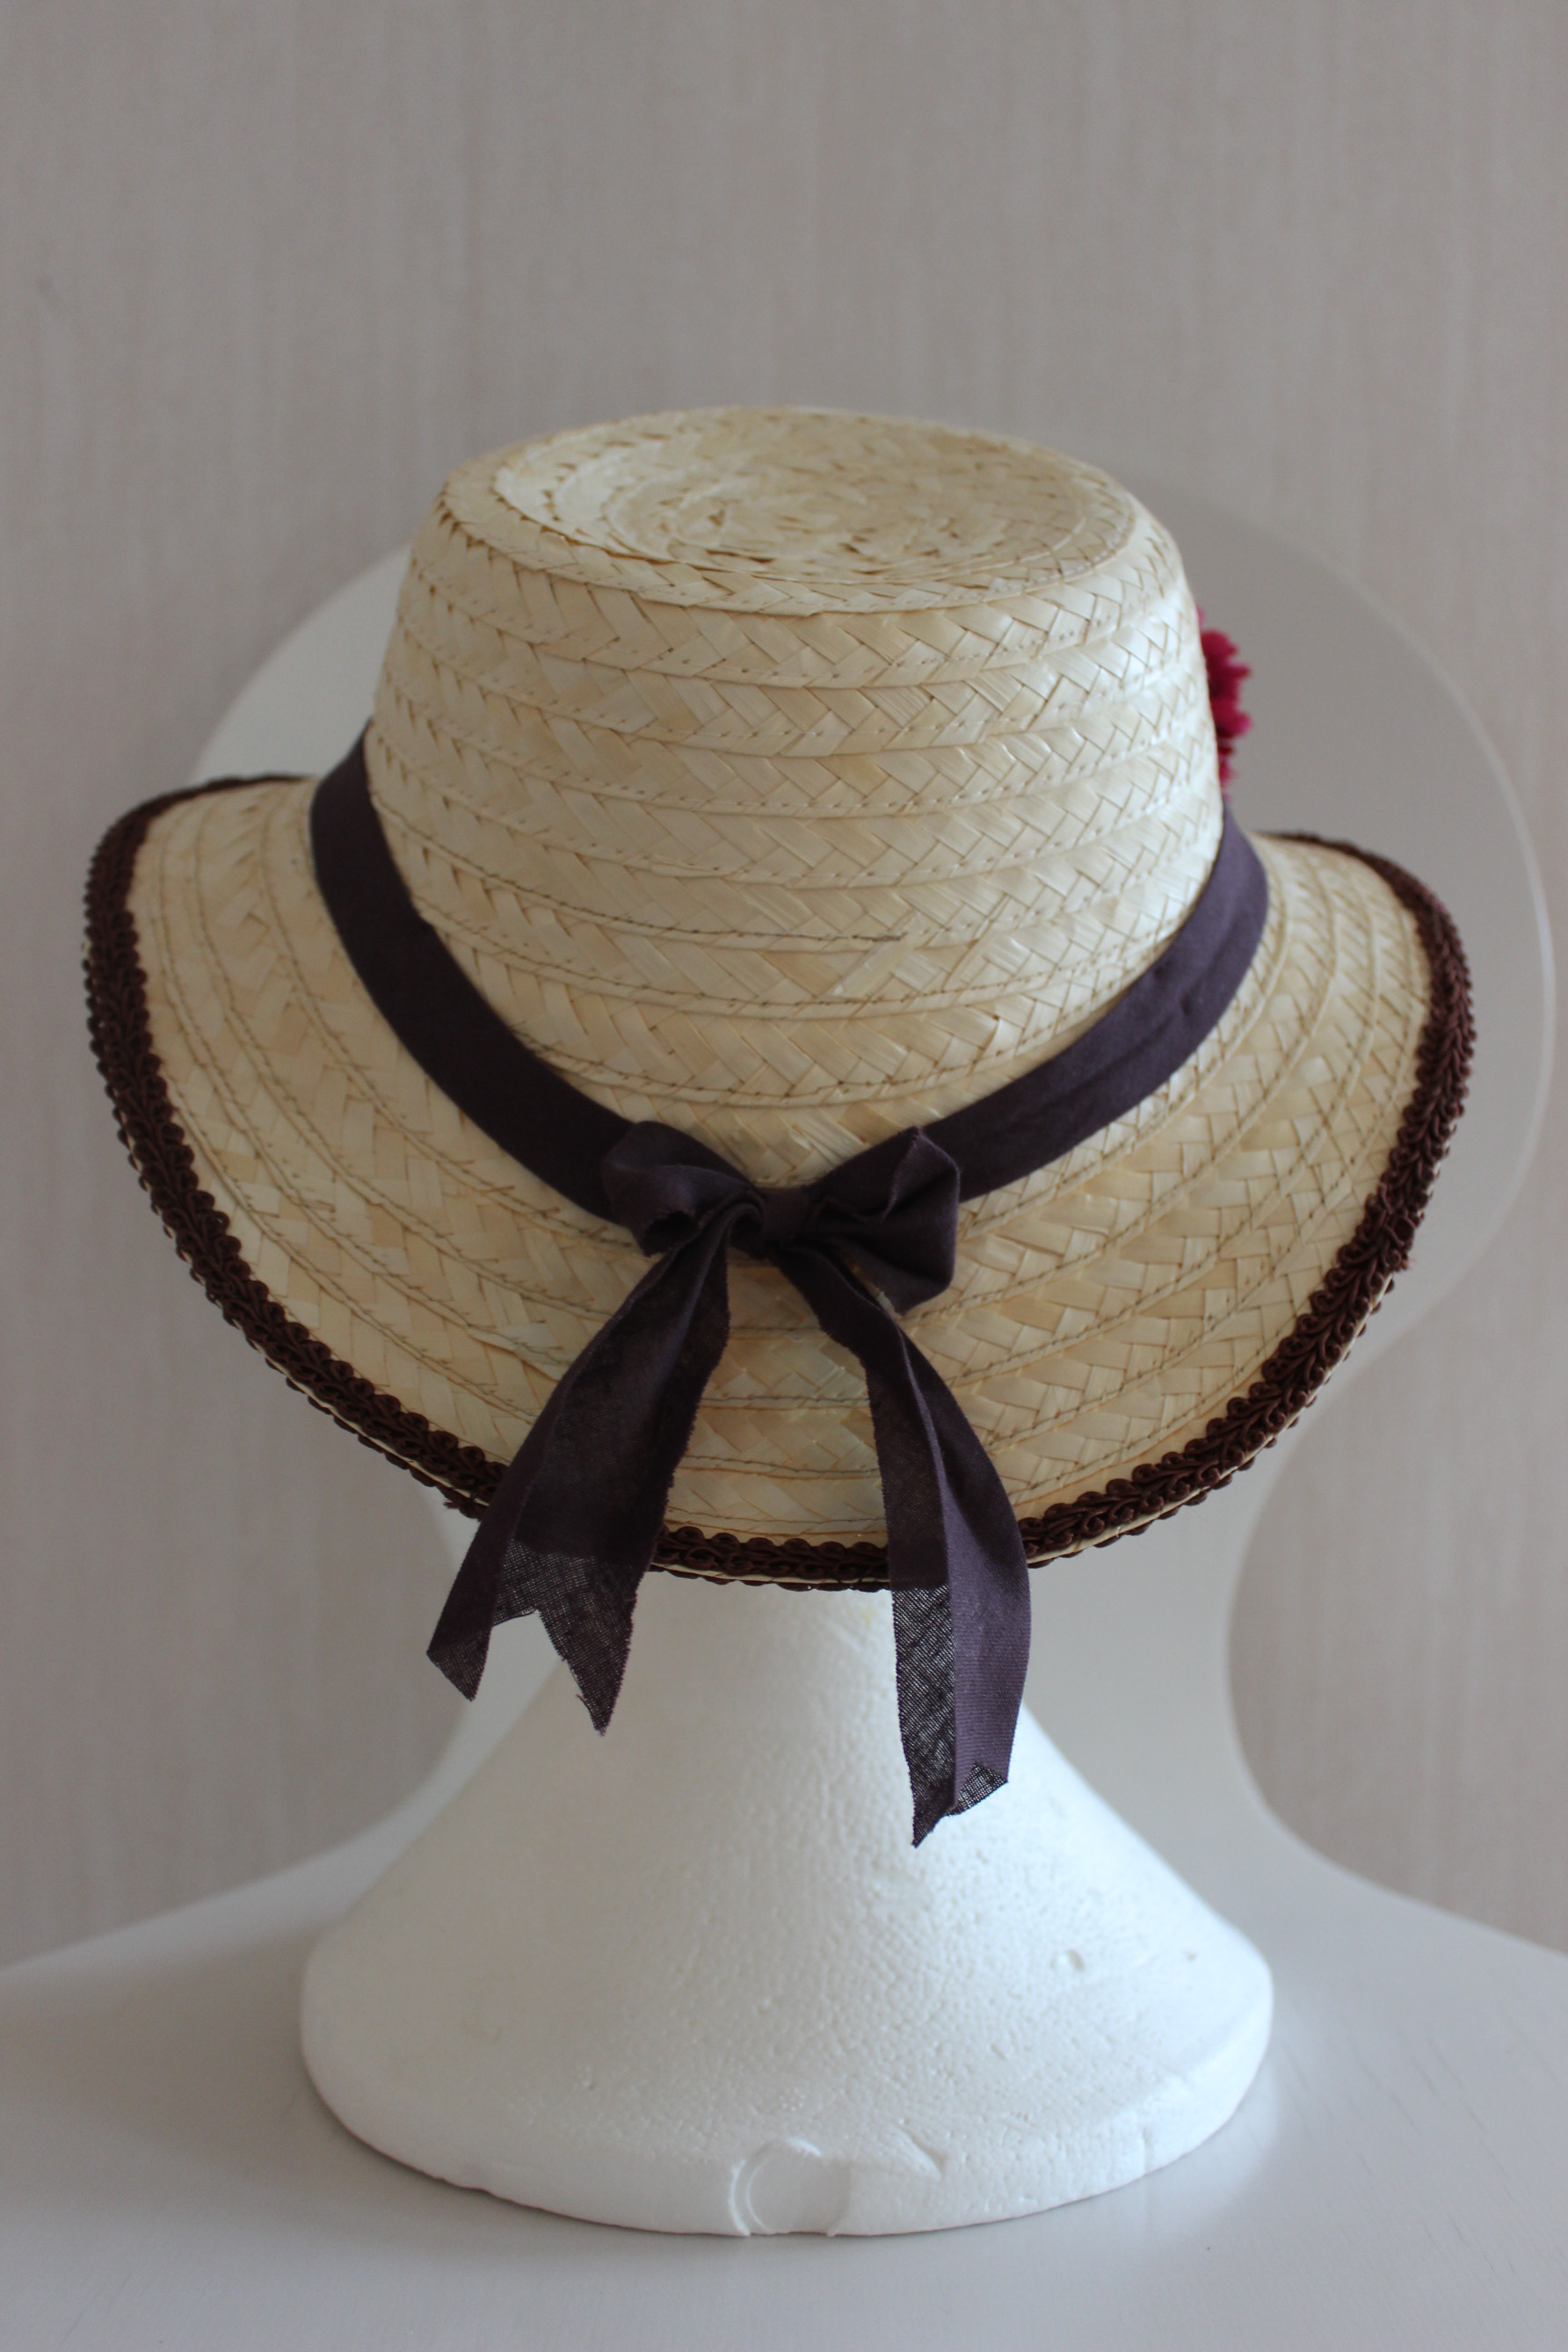
I Started by picking almost the whole hat apart.

I only left a few cm on the crown, before I (with the fashion plate as a guide)started to pin the braid back in a different shape.  It took me several hours and multitude of re-pinning and starting all over again before I finally had a shape that was good.
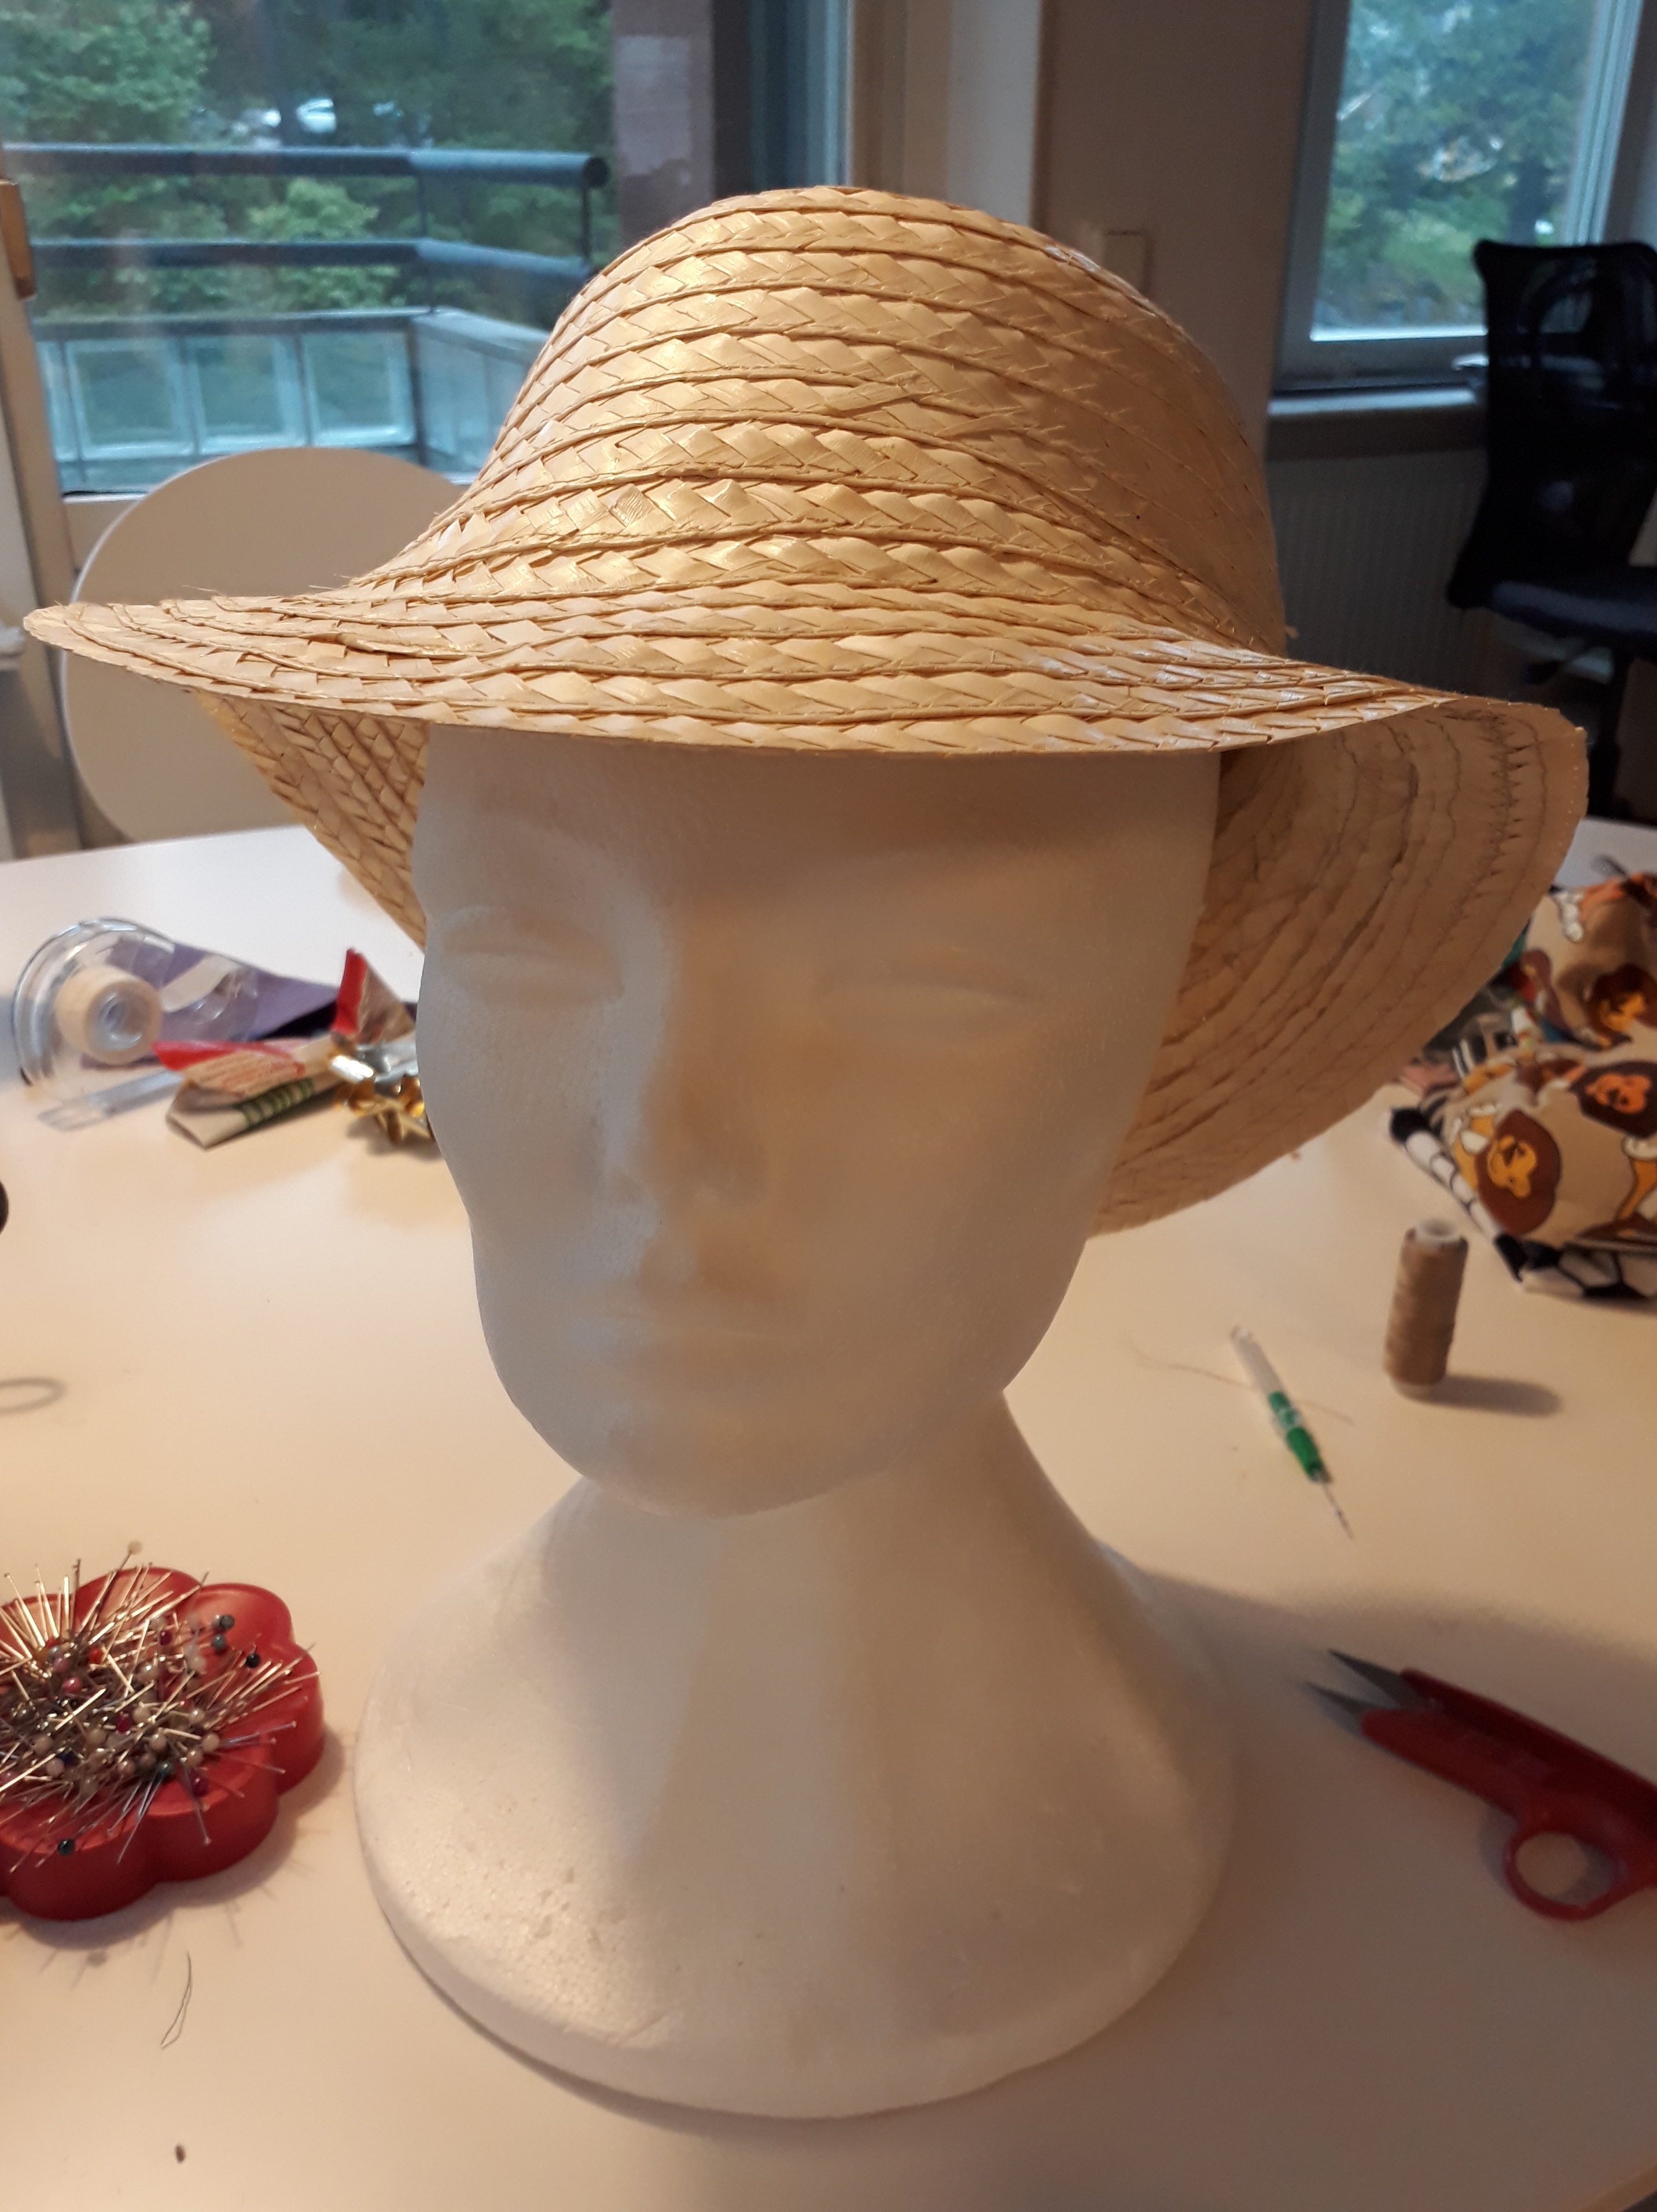
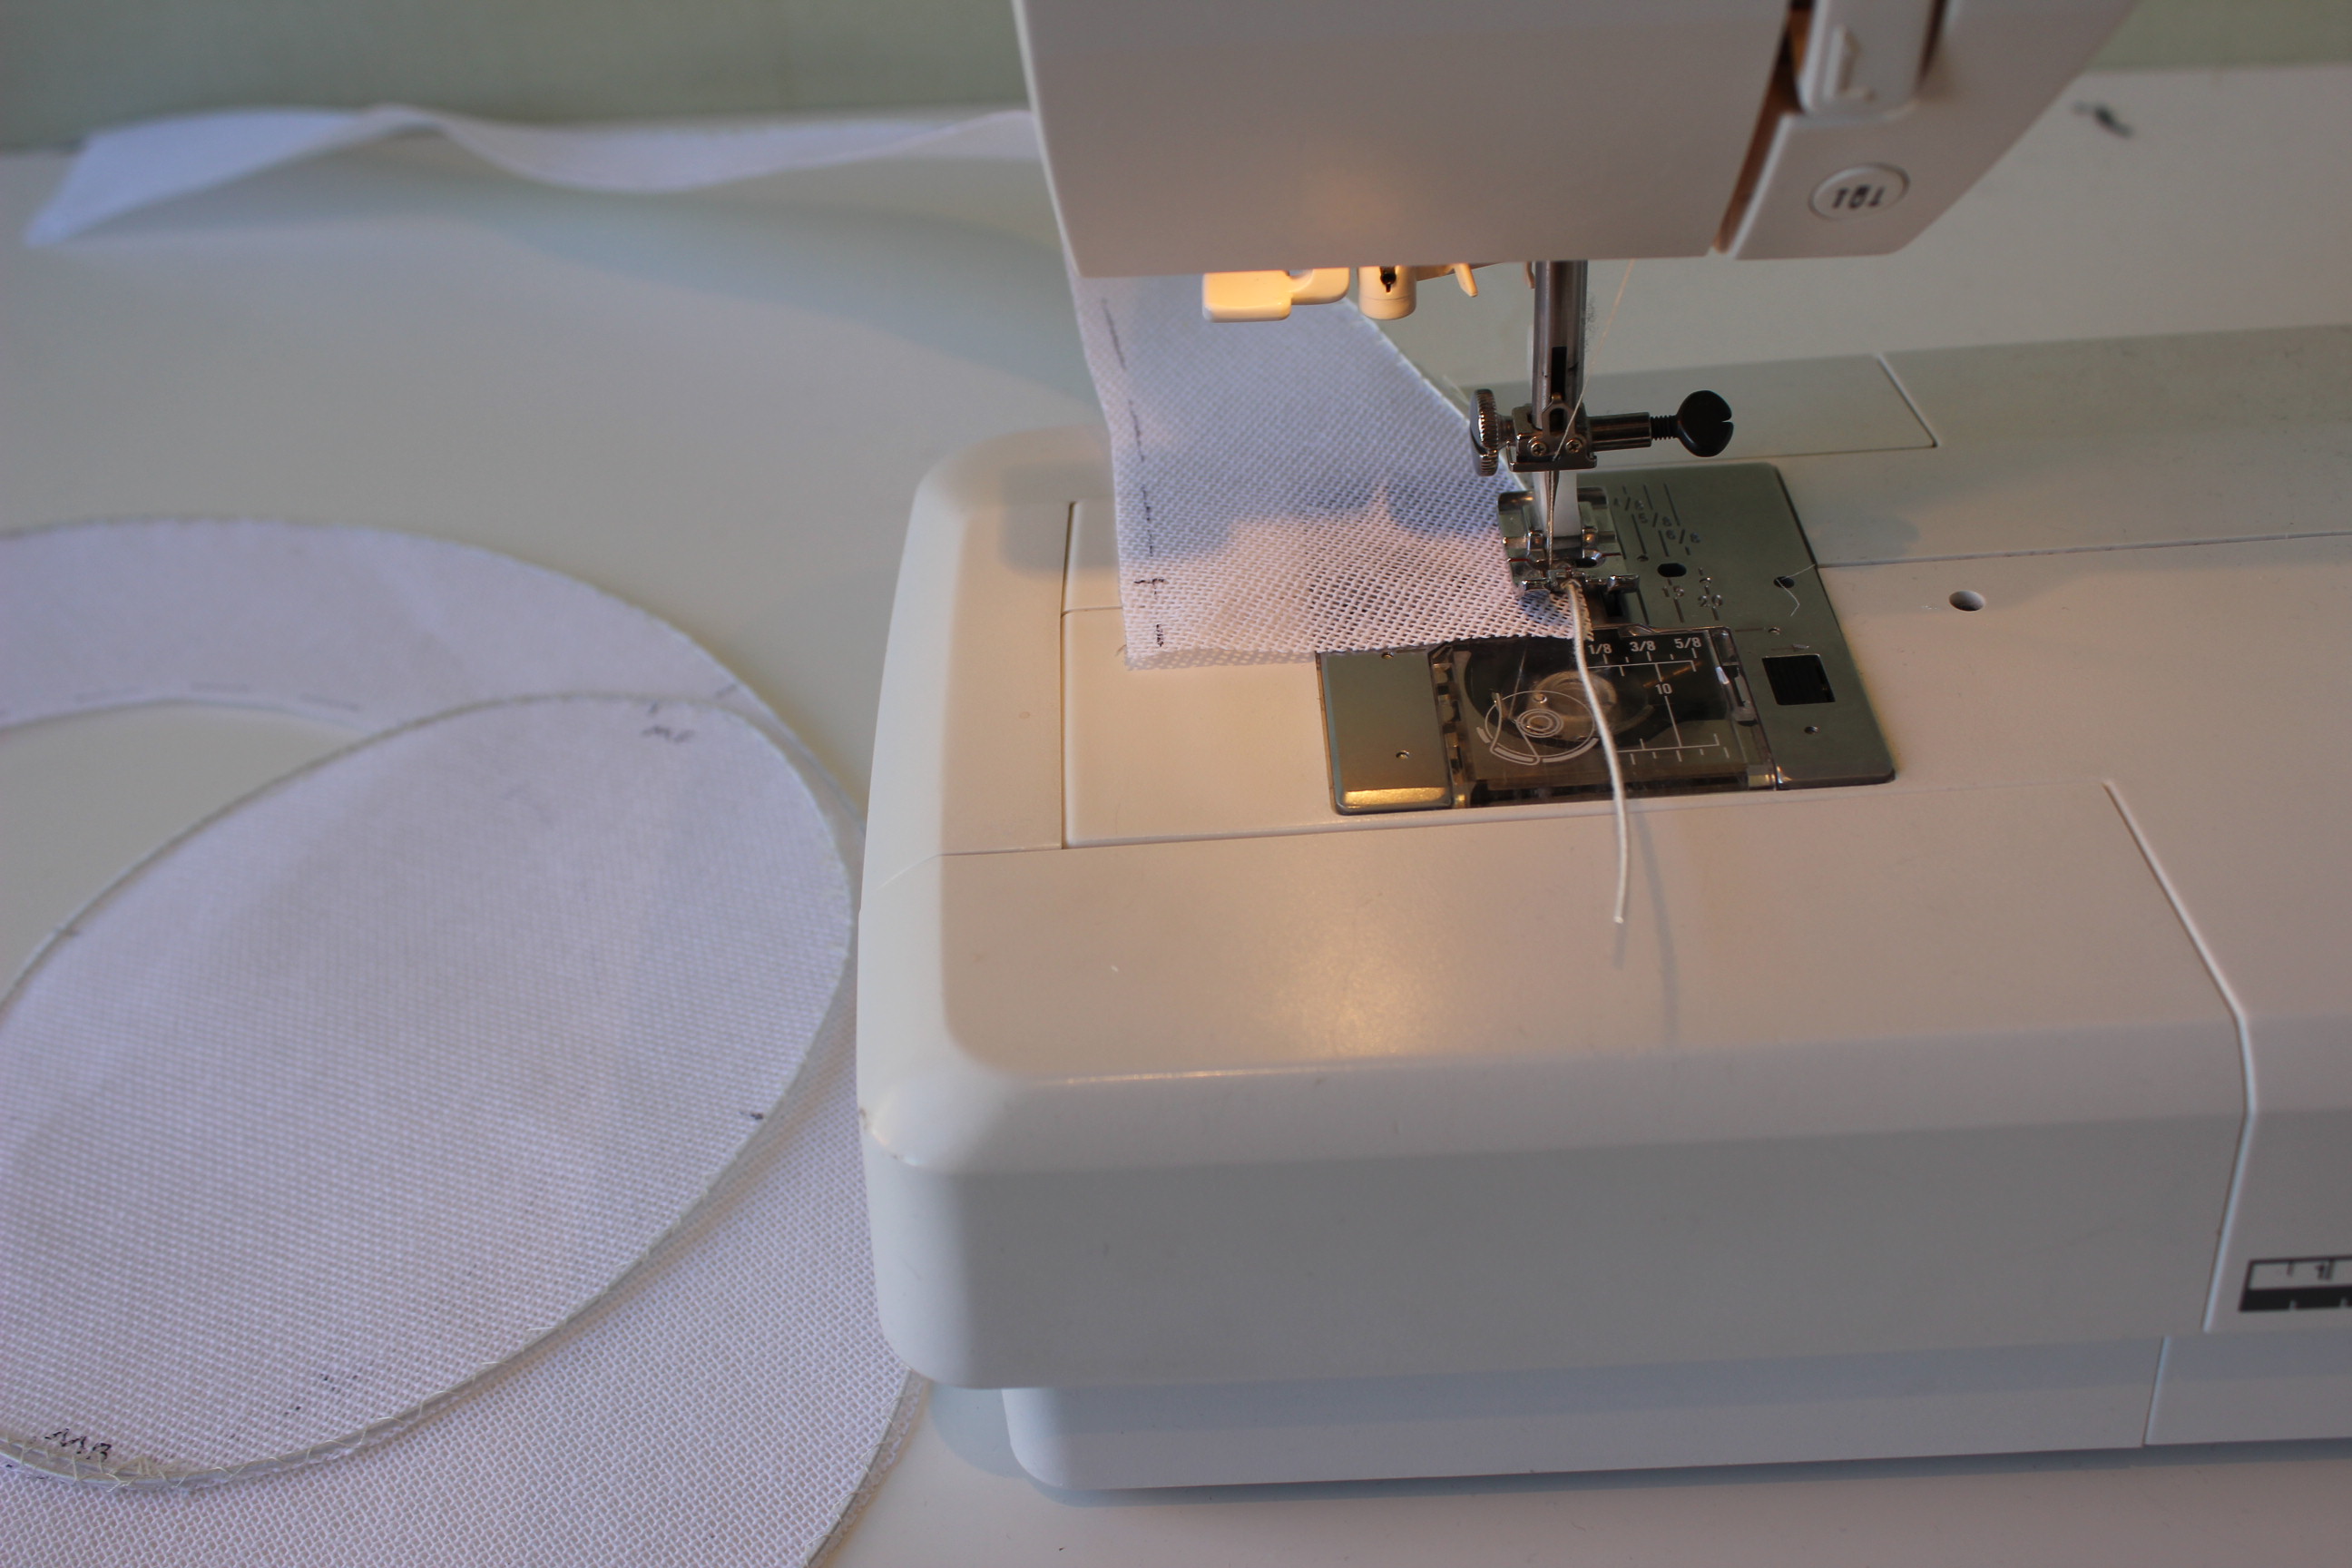
after a first try at hand-stitching, I decided that if it couldn’t be done by machine it was not meant to happen this time (since this was the night before the event).
Turns out, it worked like a charm.  It was a bit fiddly to turn the brim around inside my machine but with the right angle (and the use of free space ove r the table edge) the hat was stitched in no time.
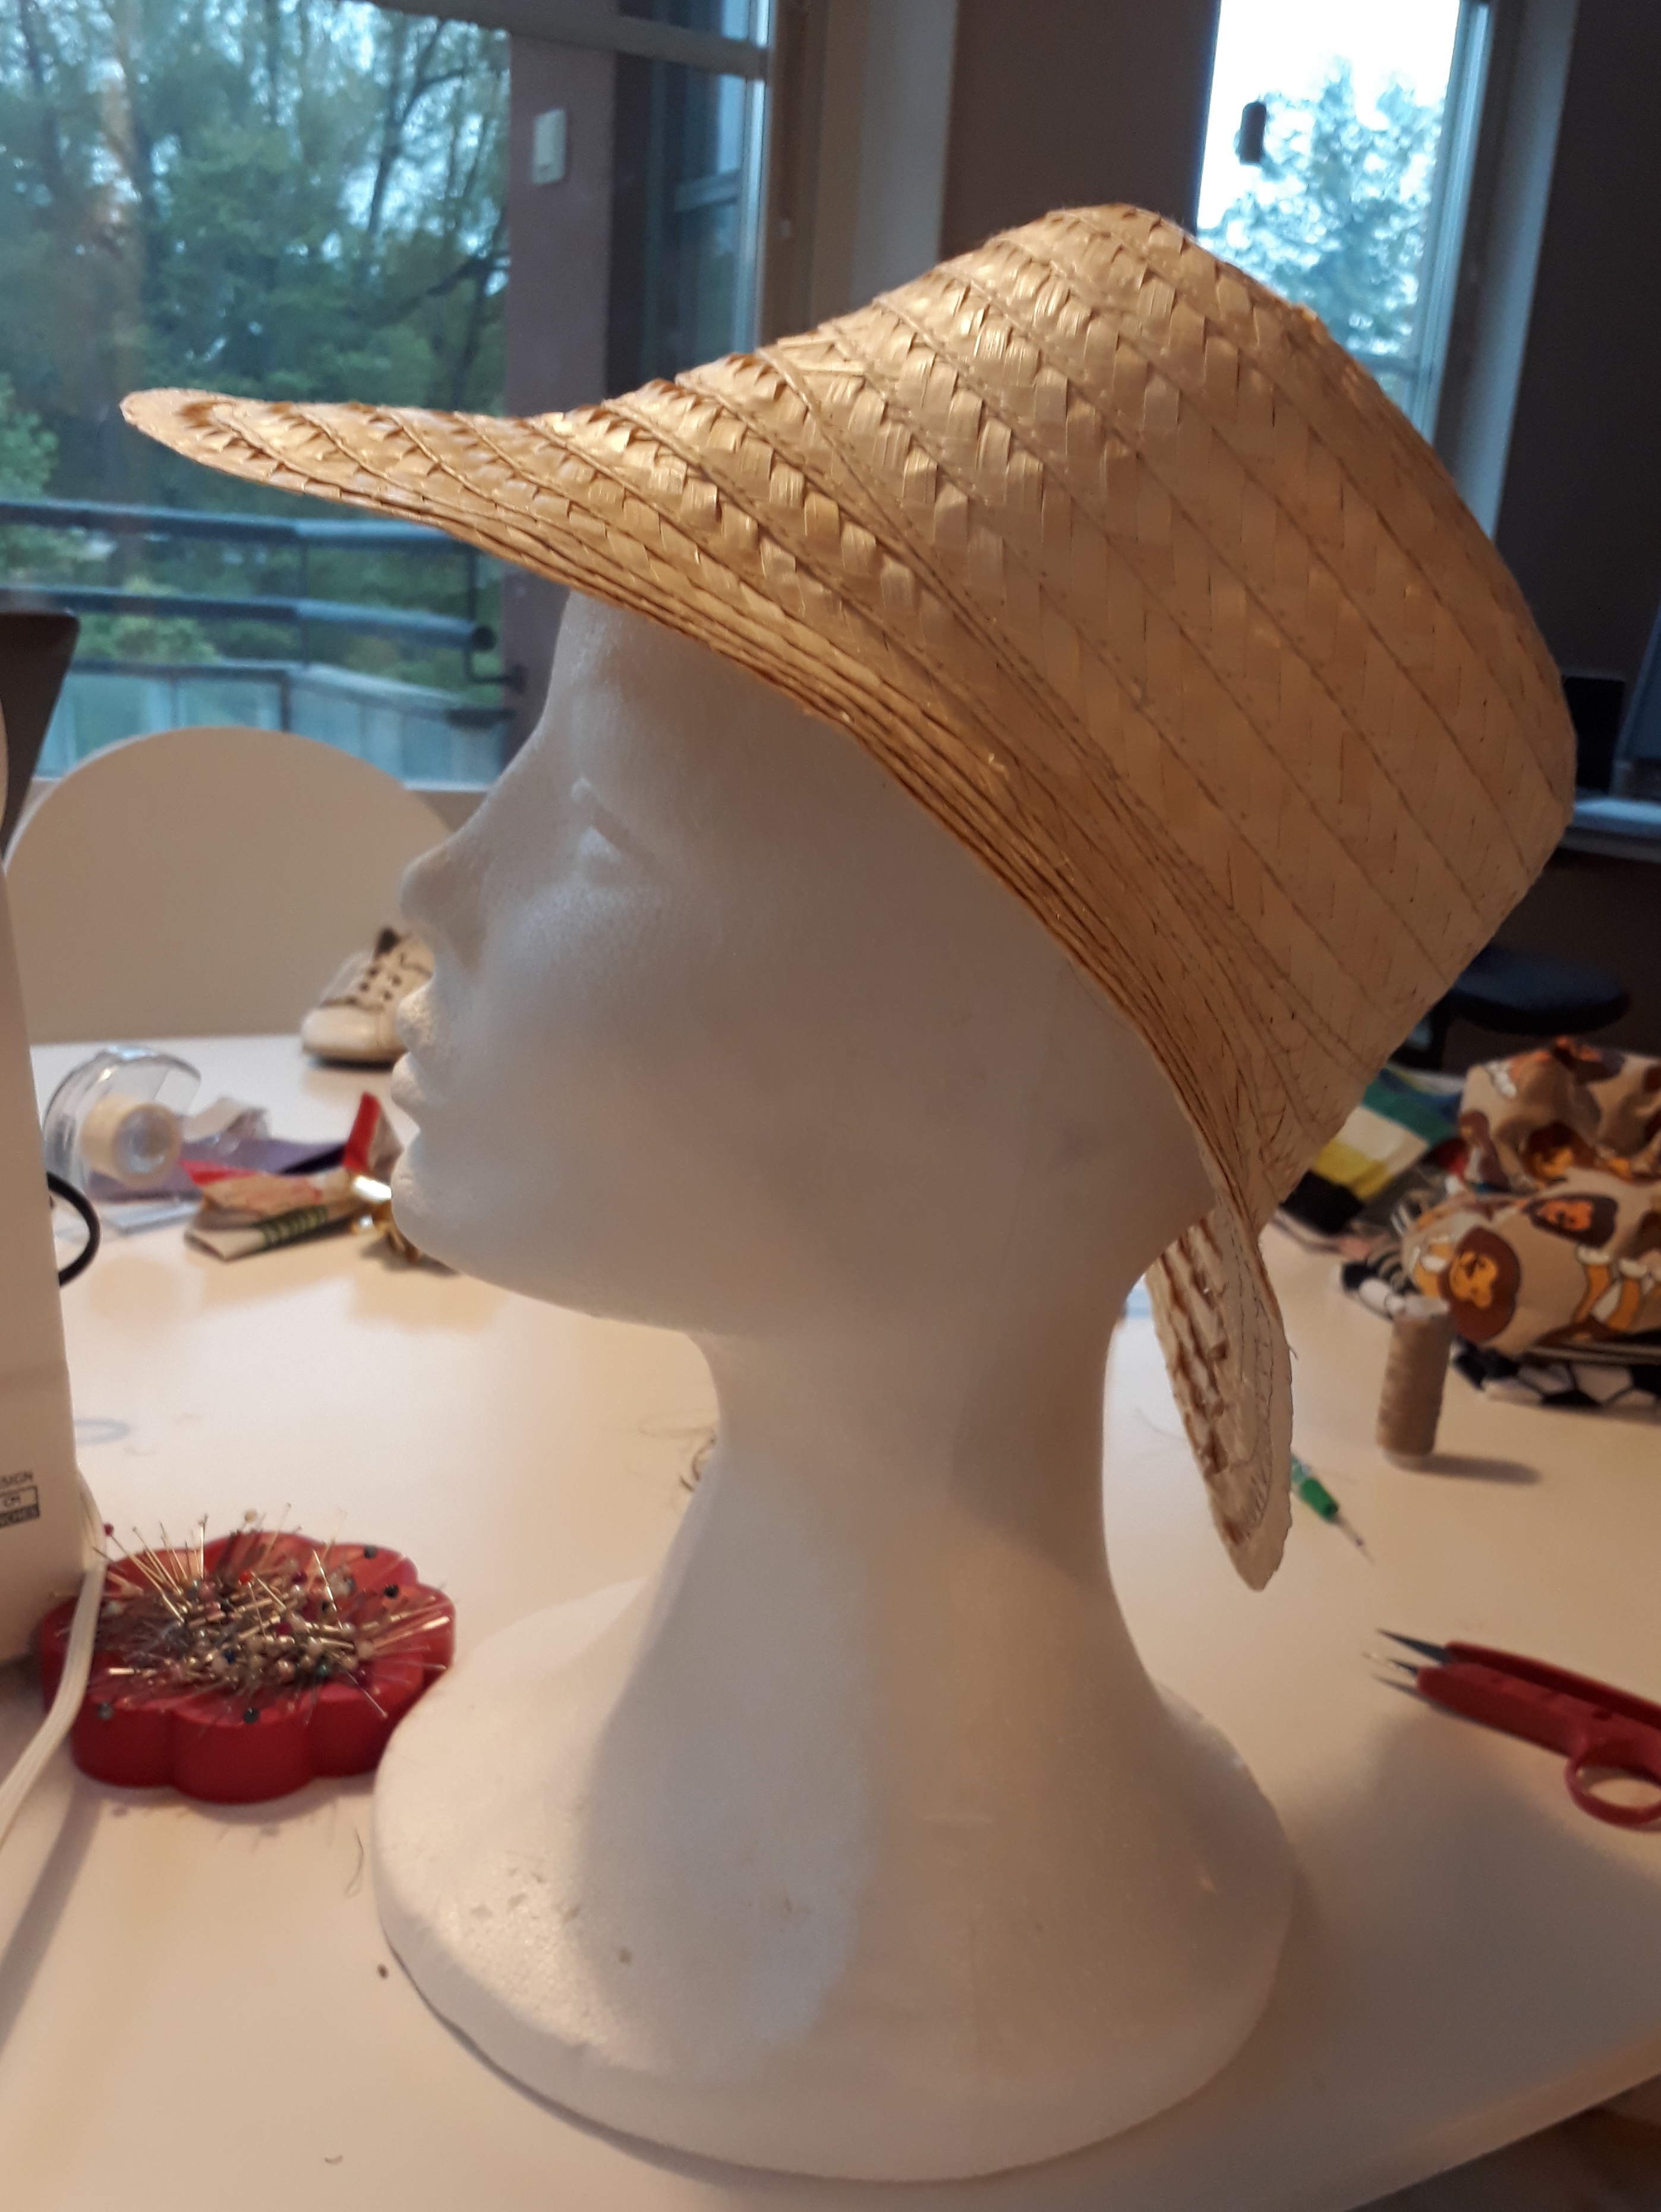
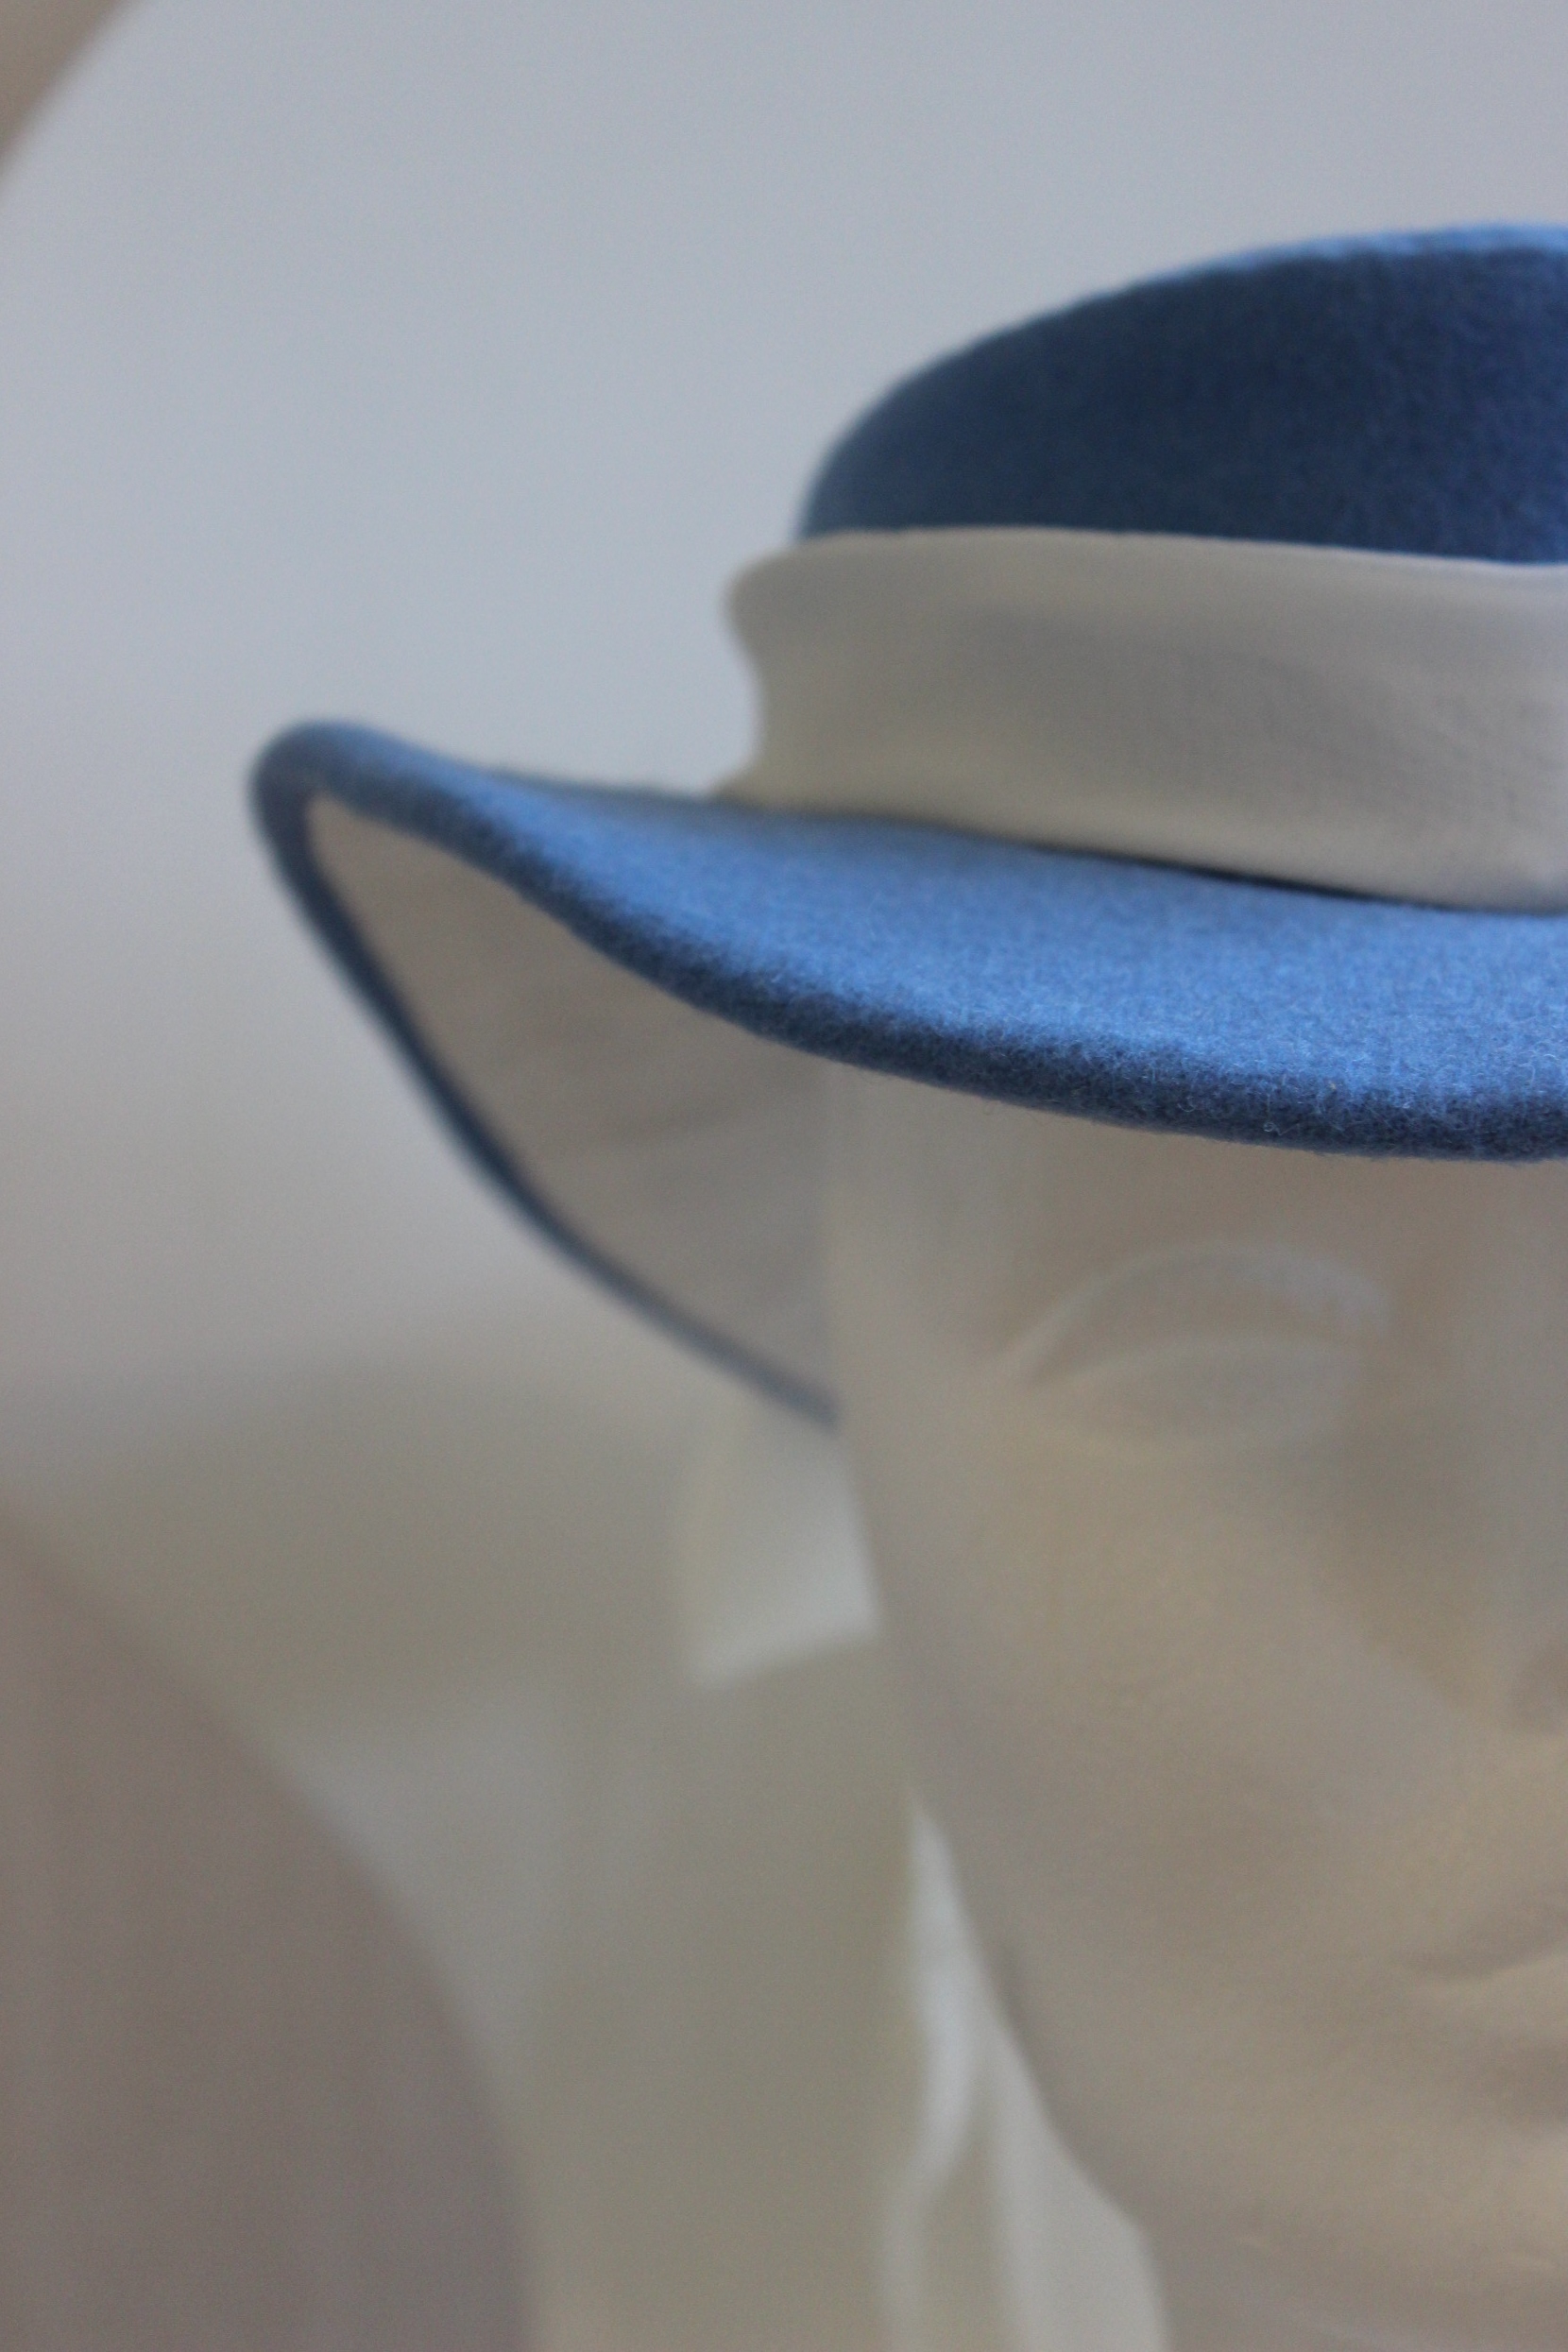
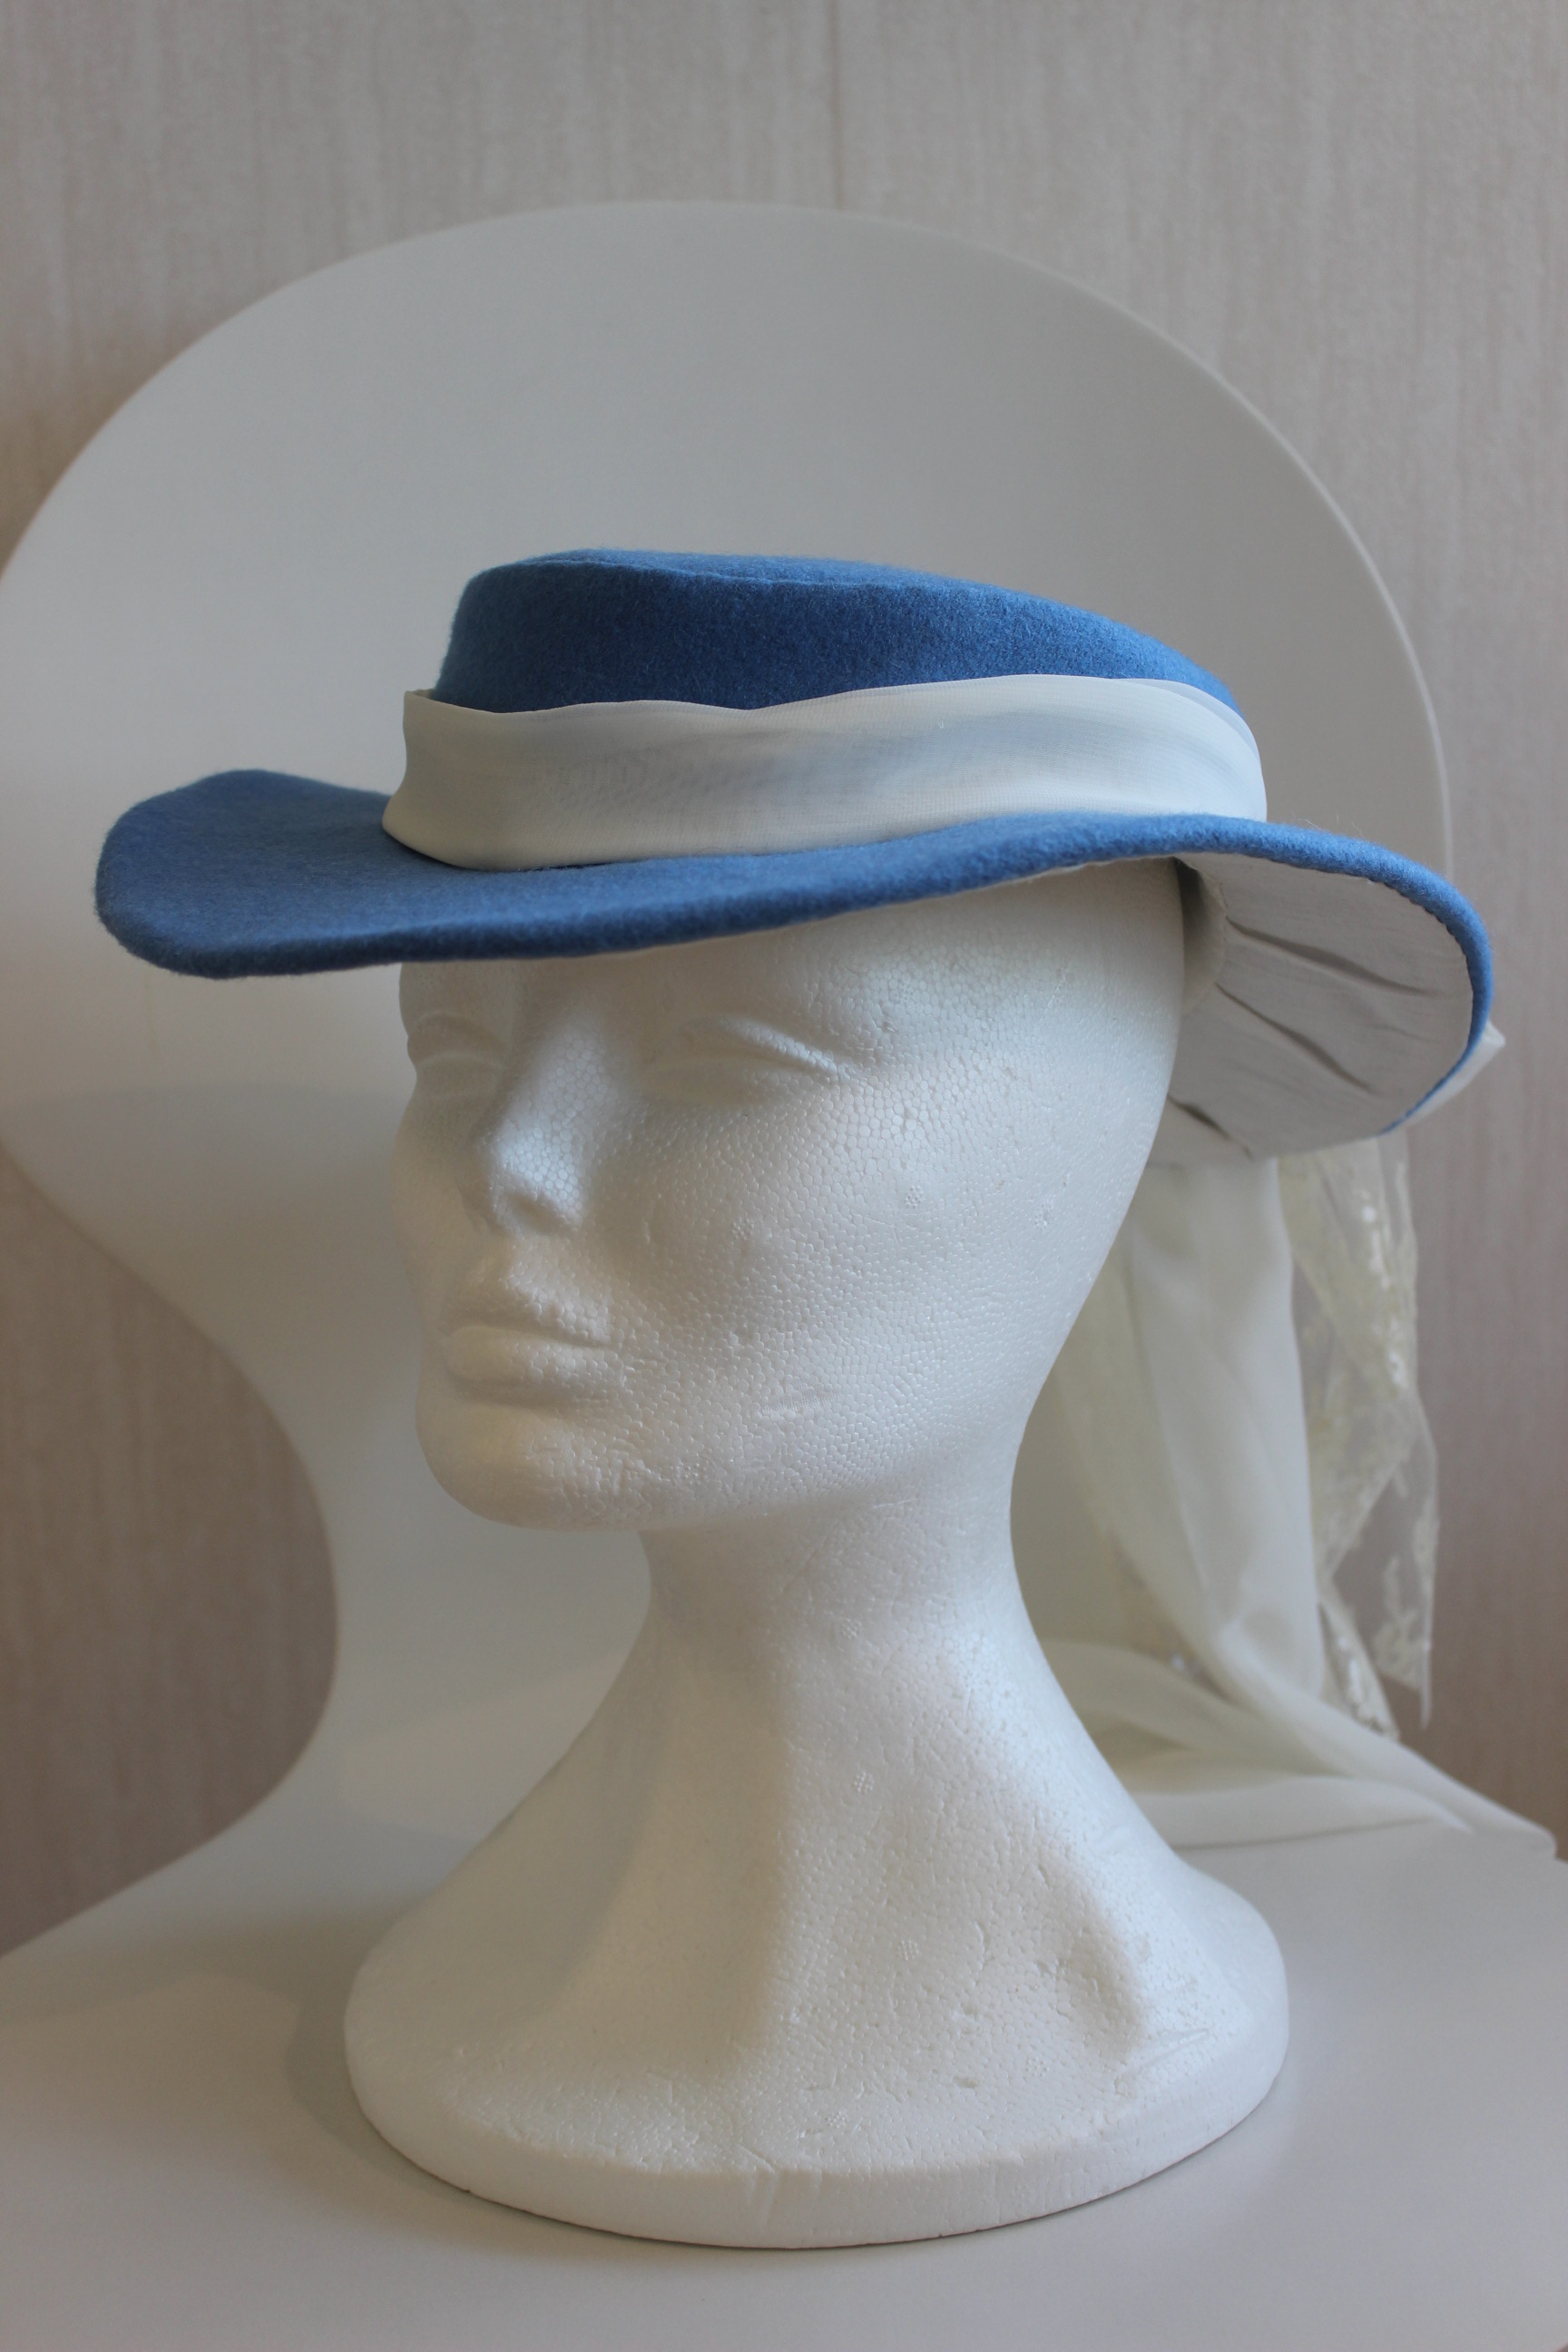
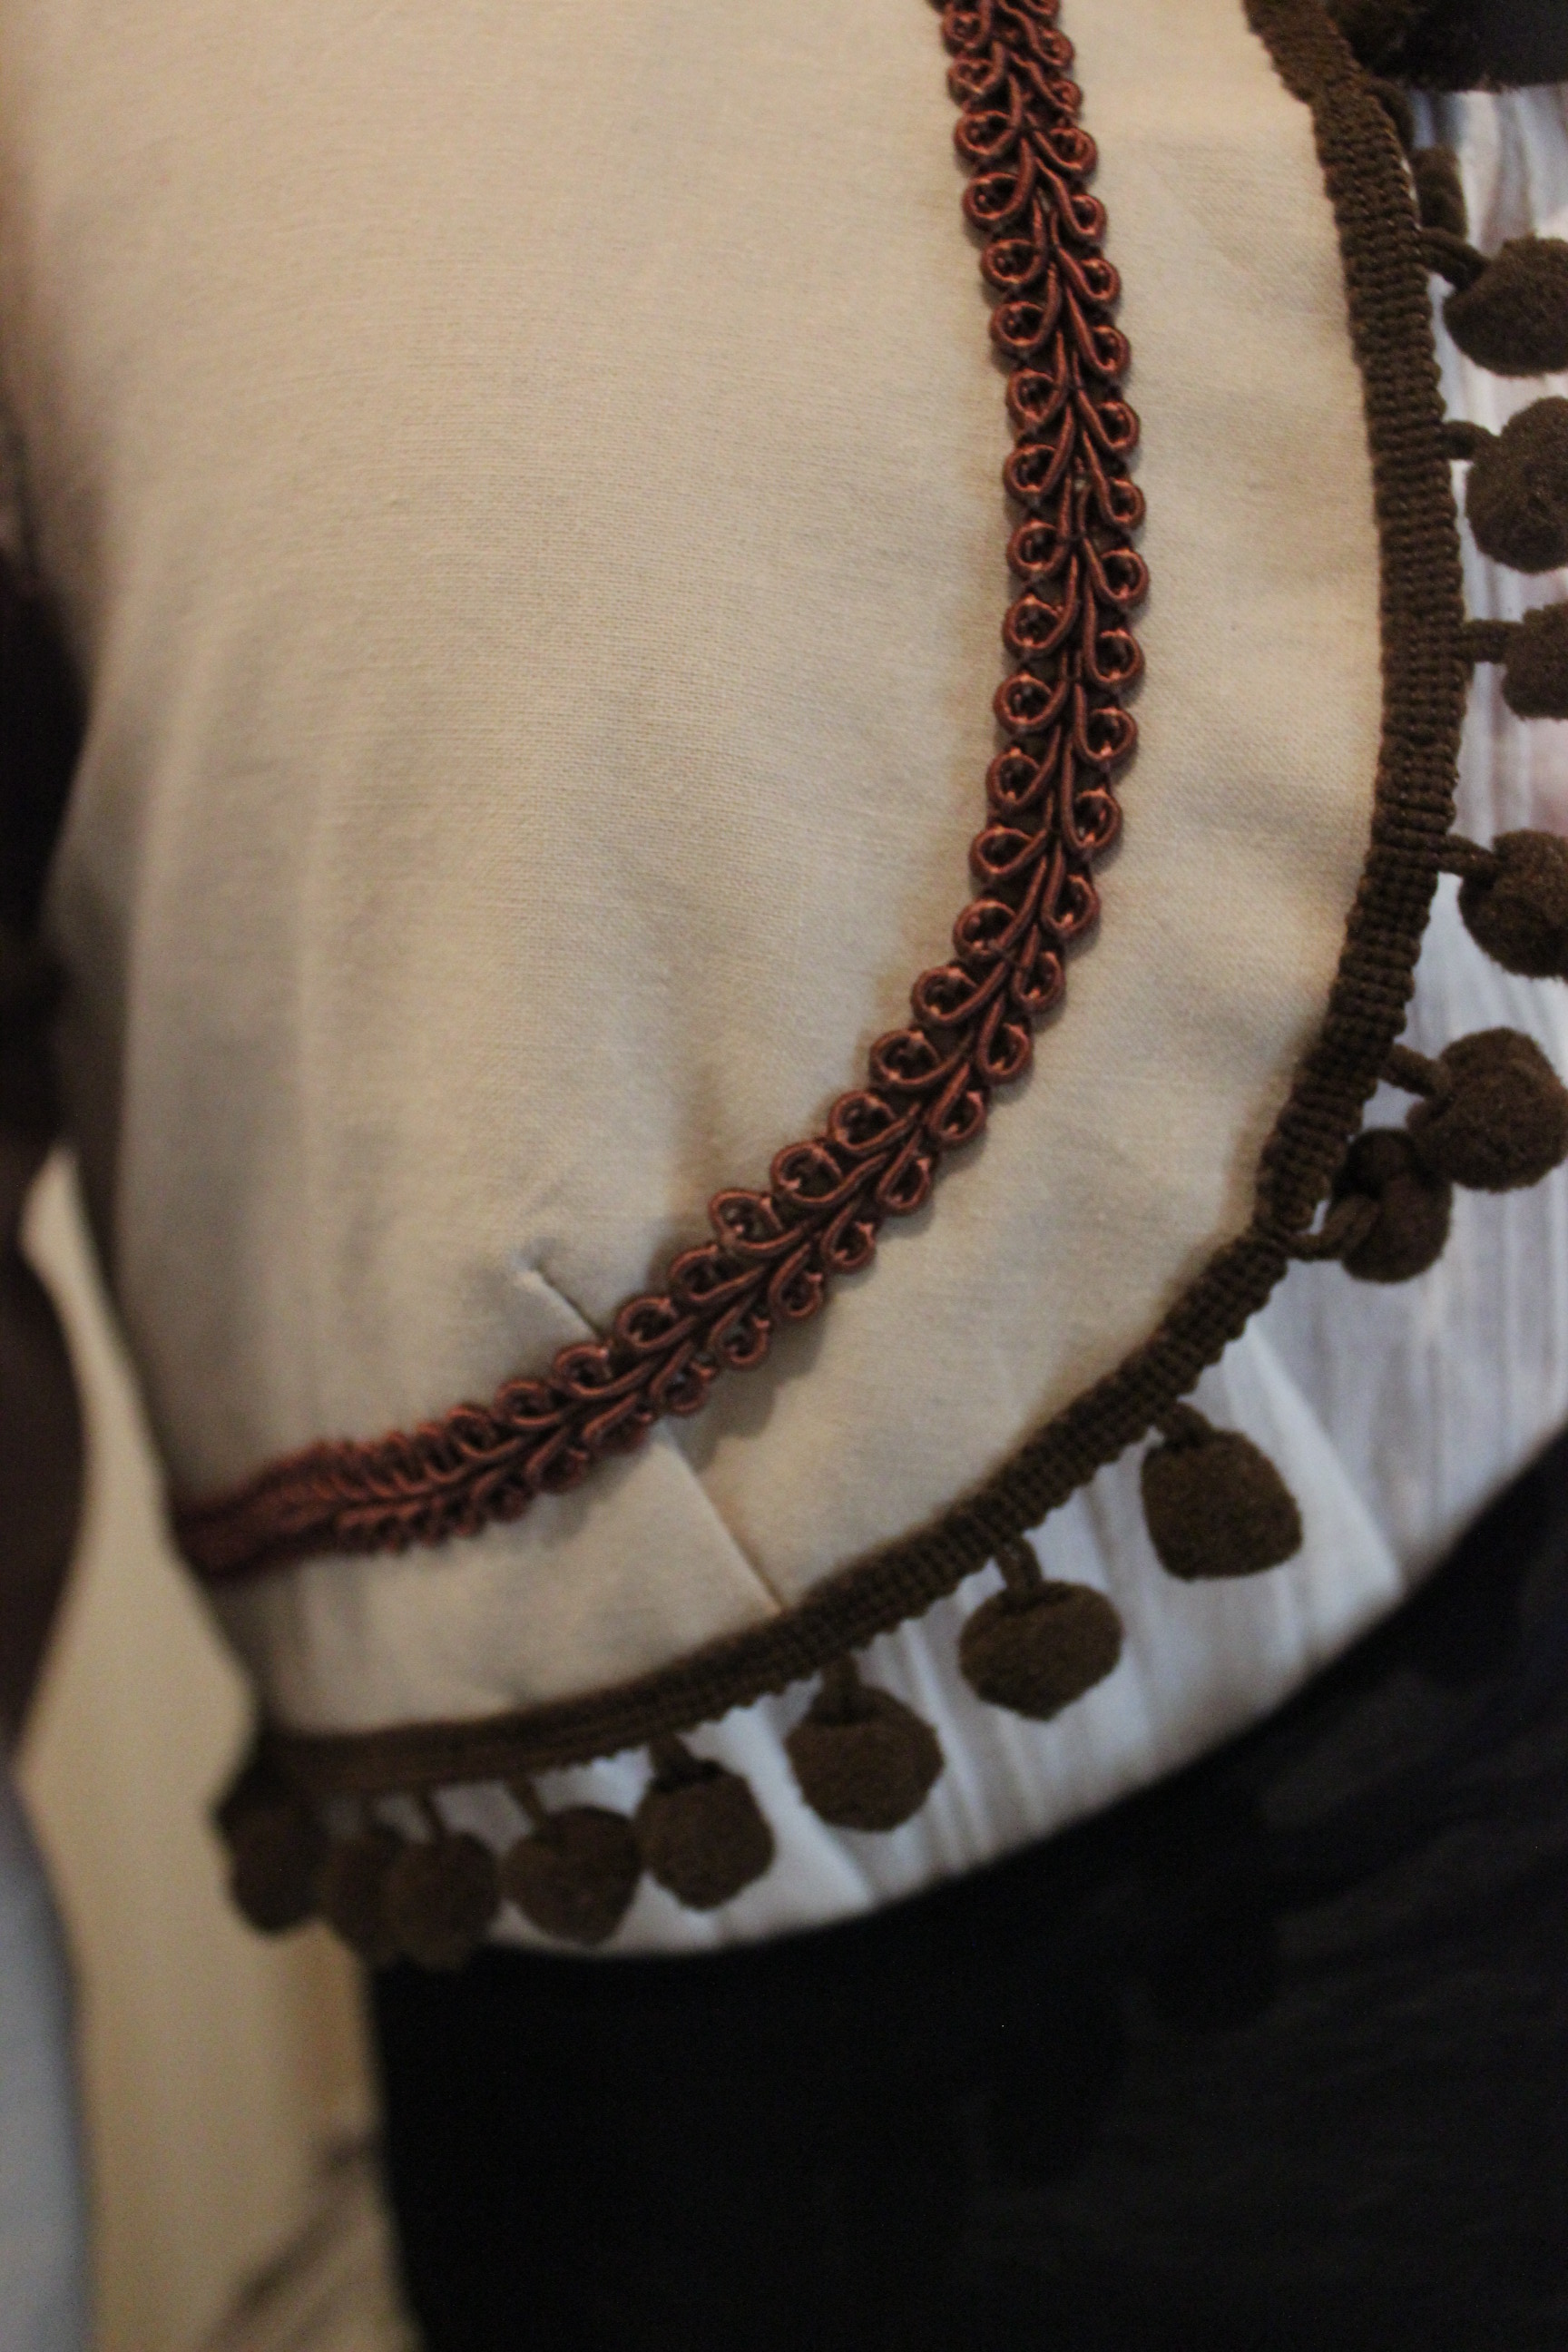
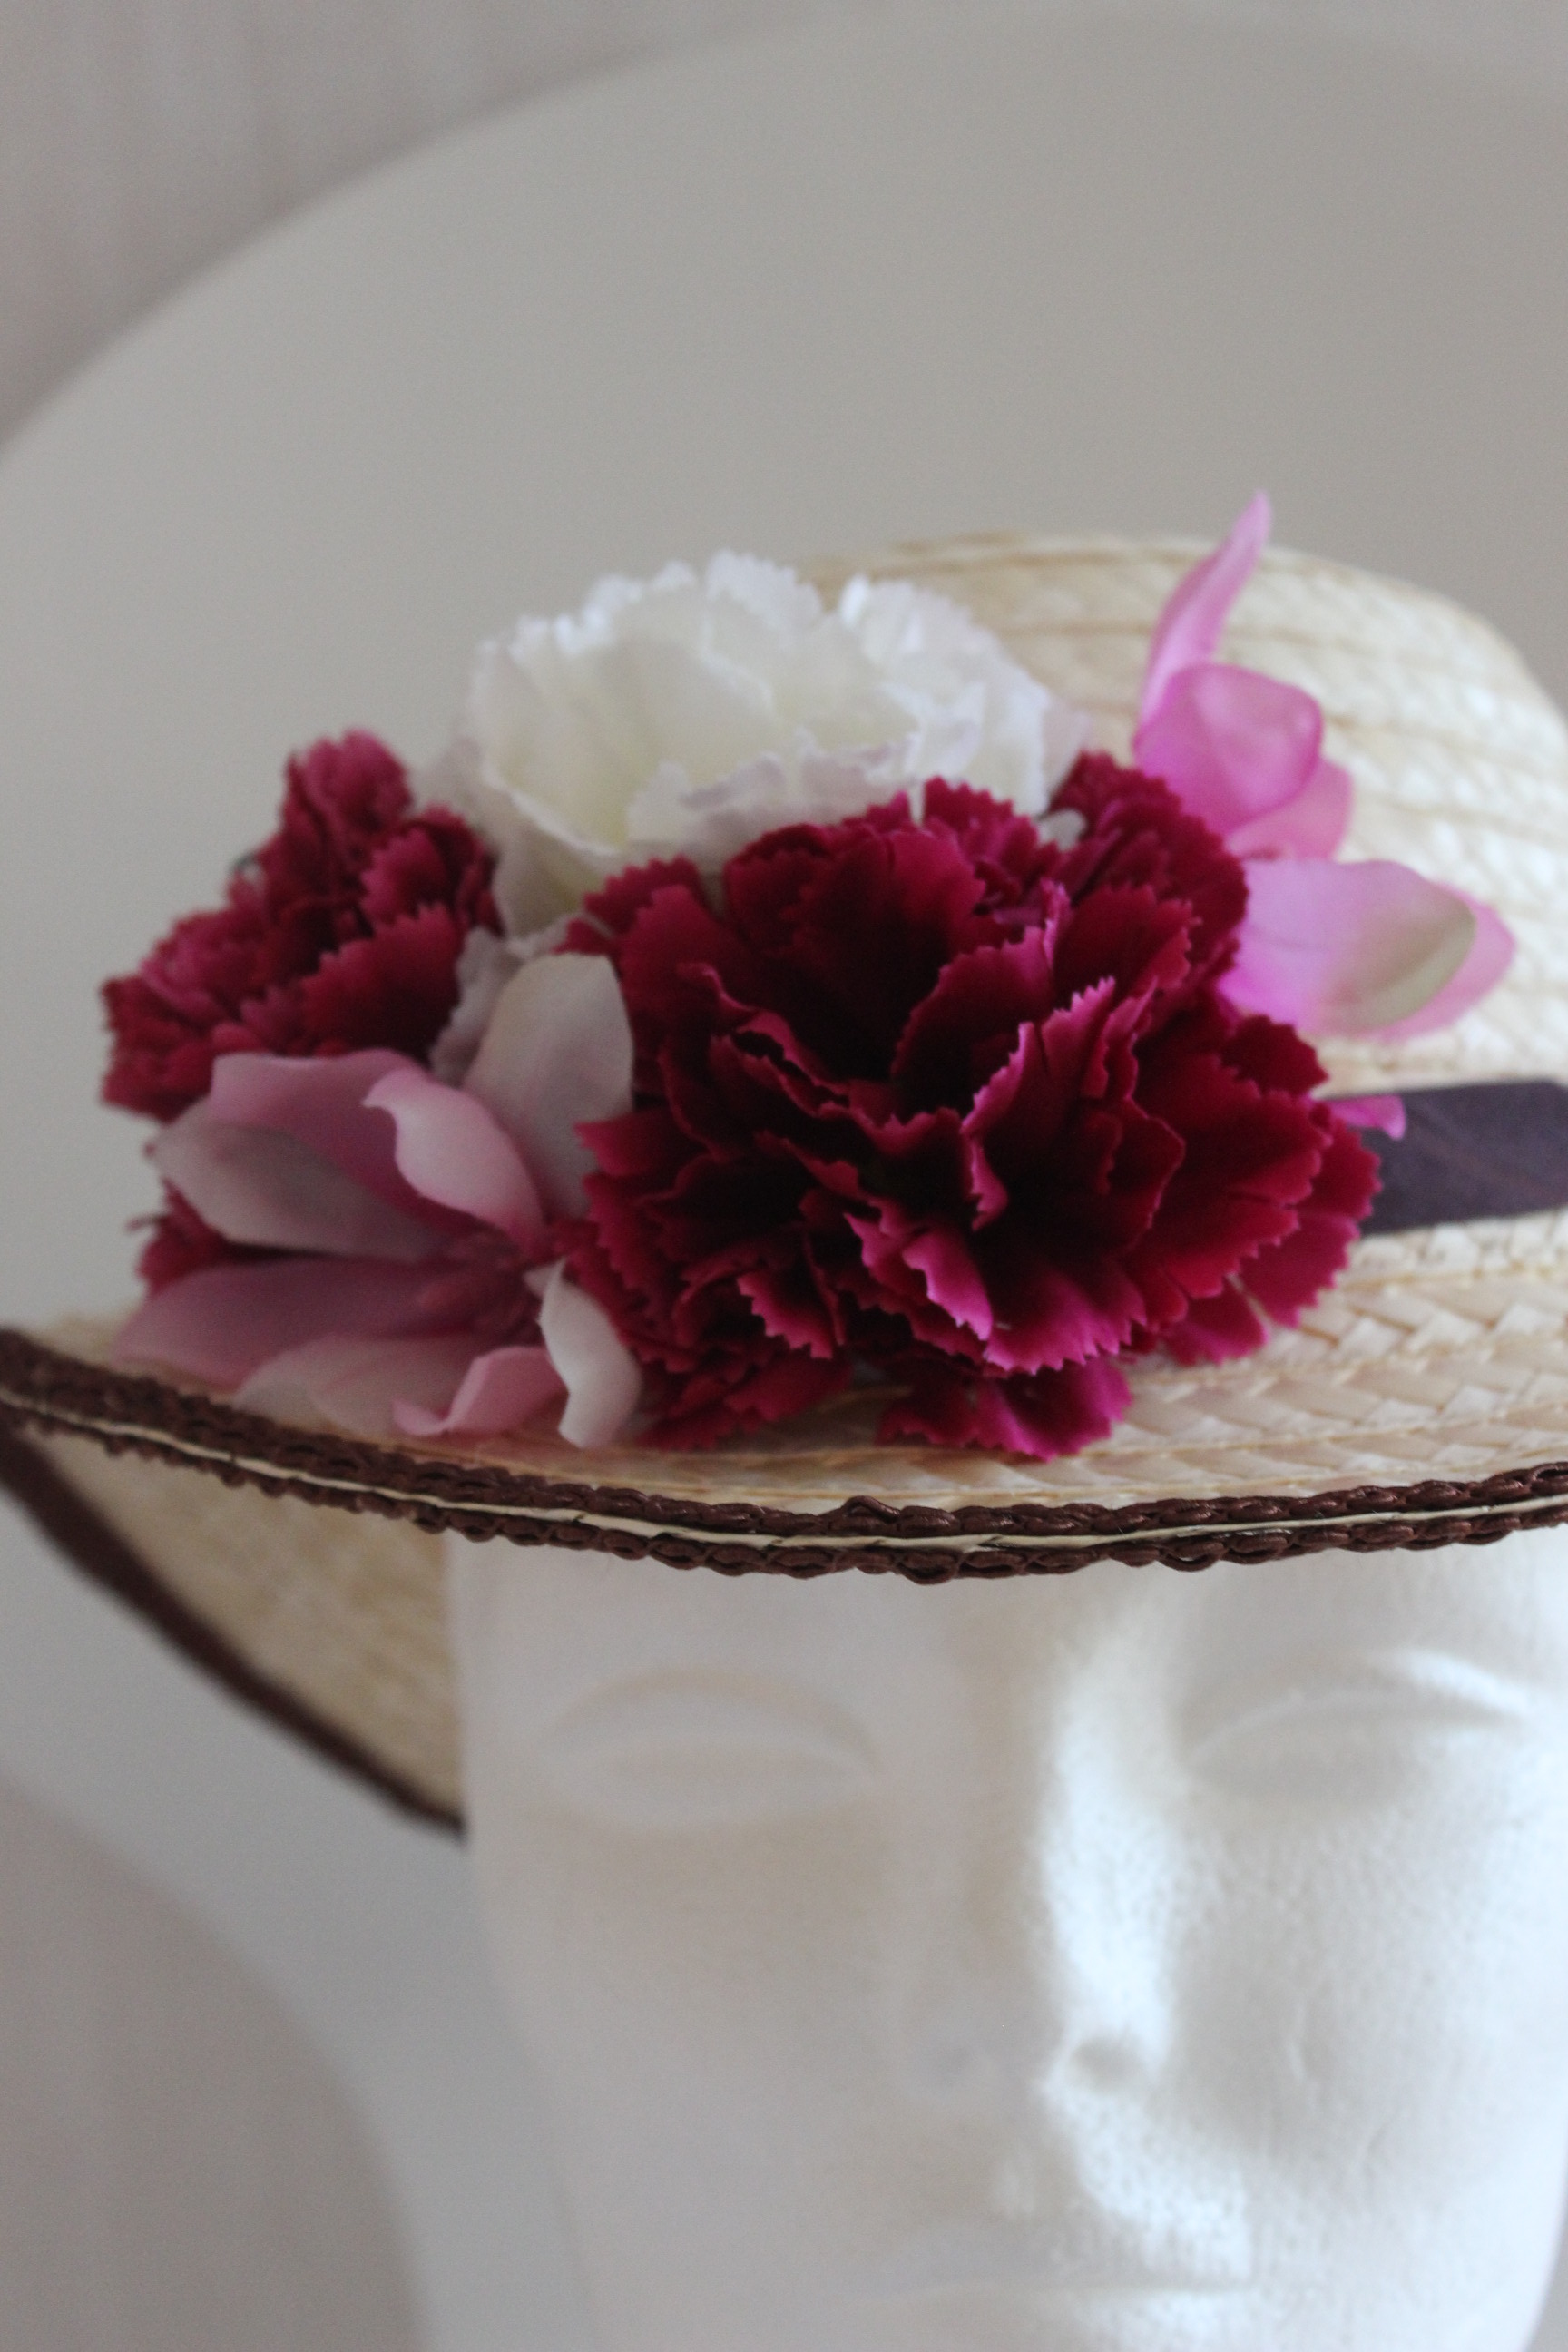
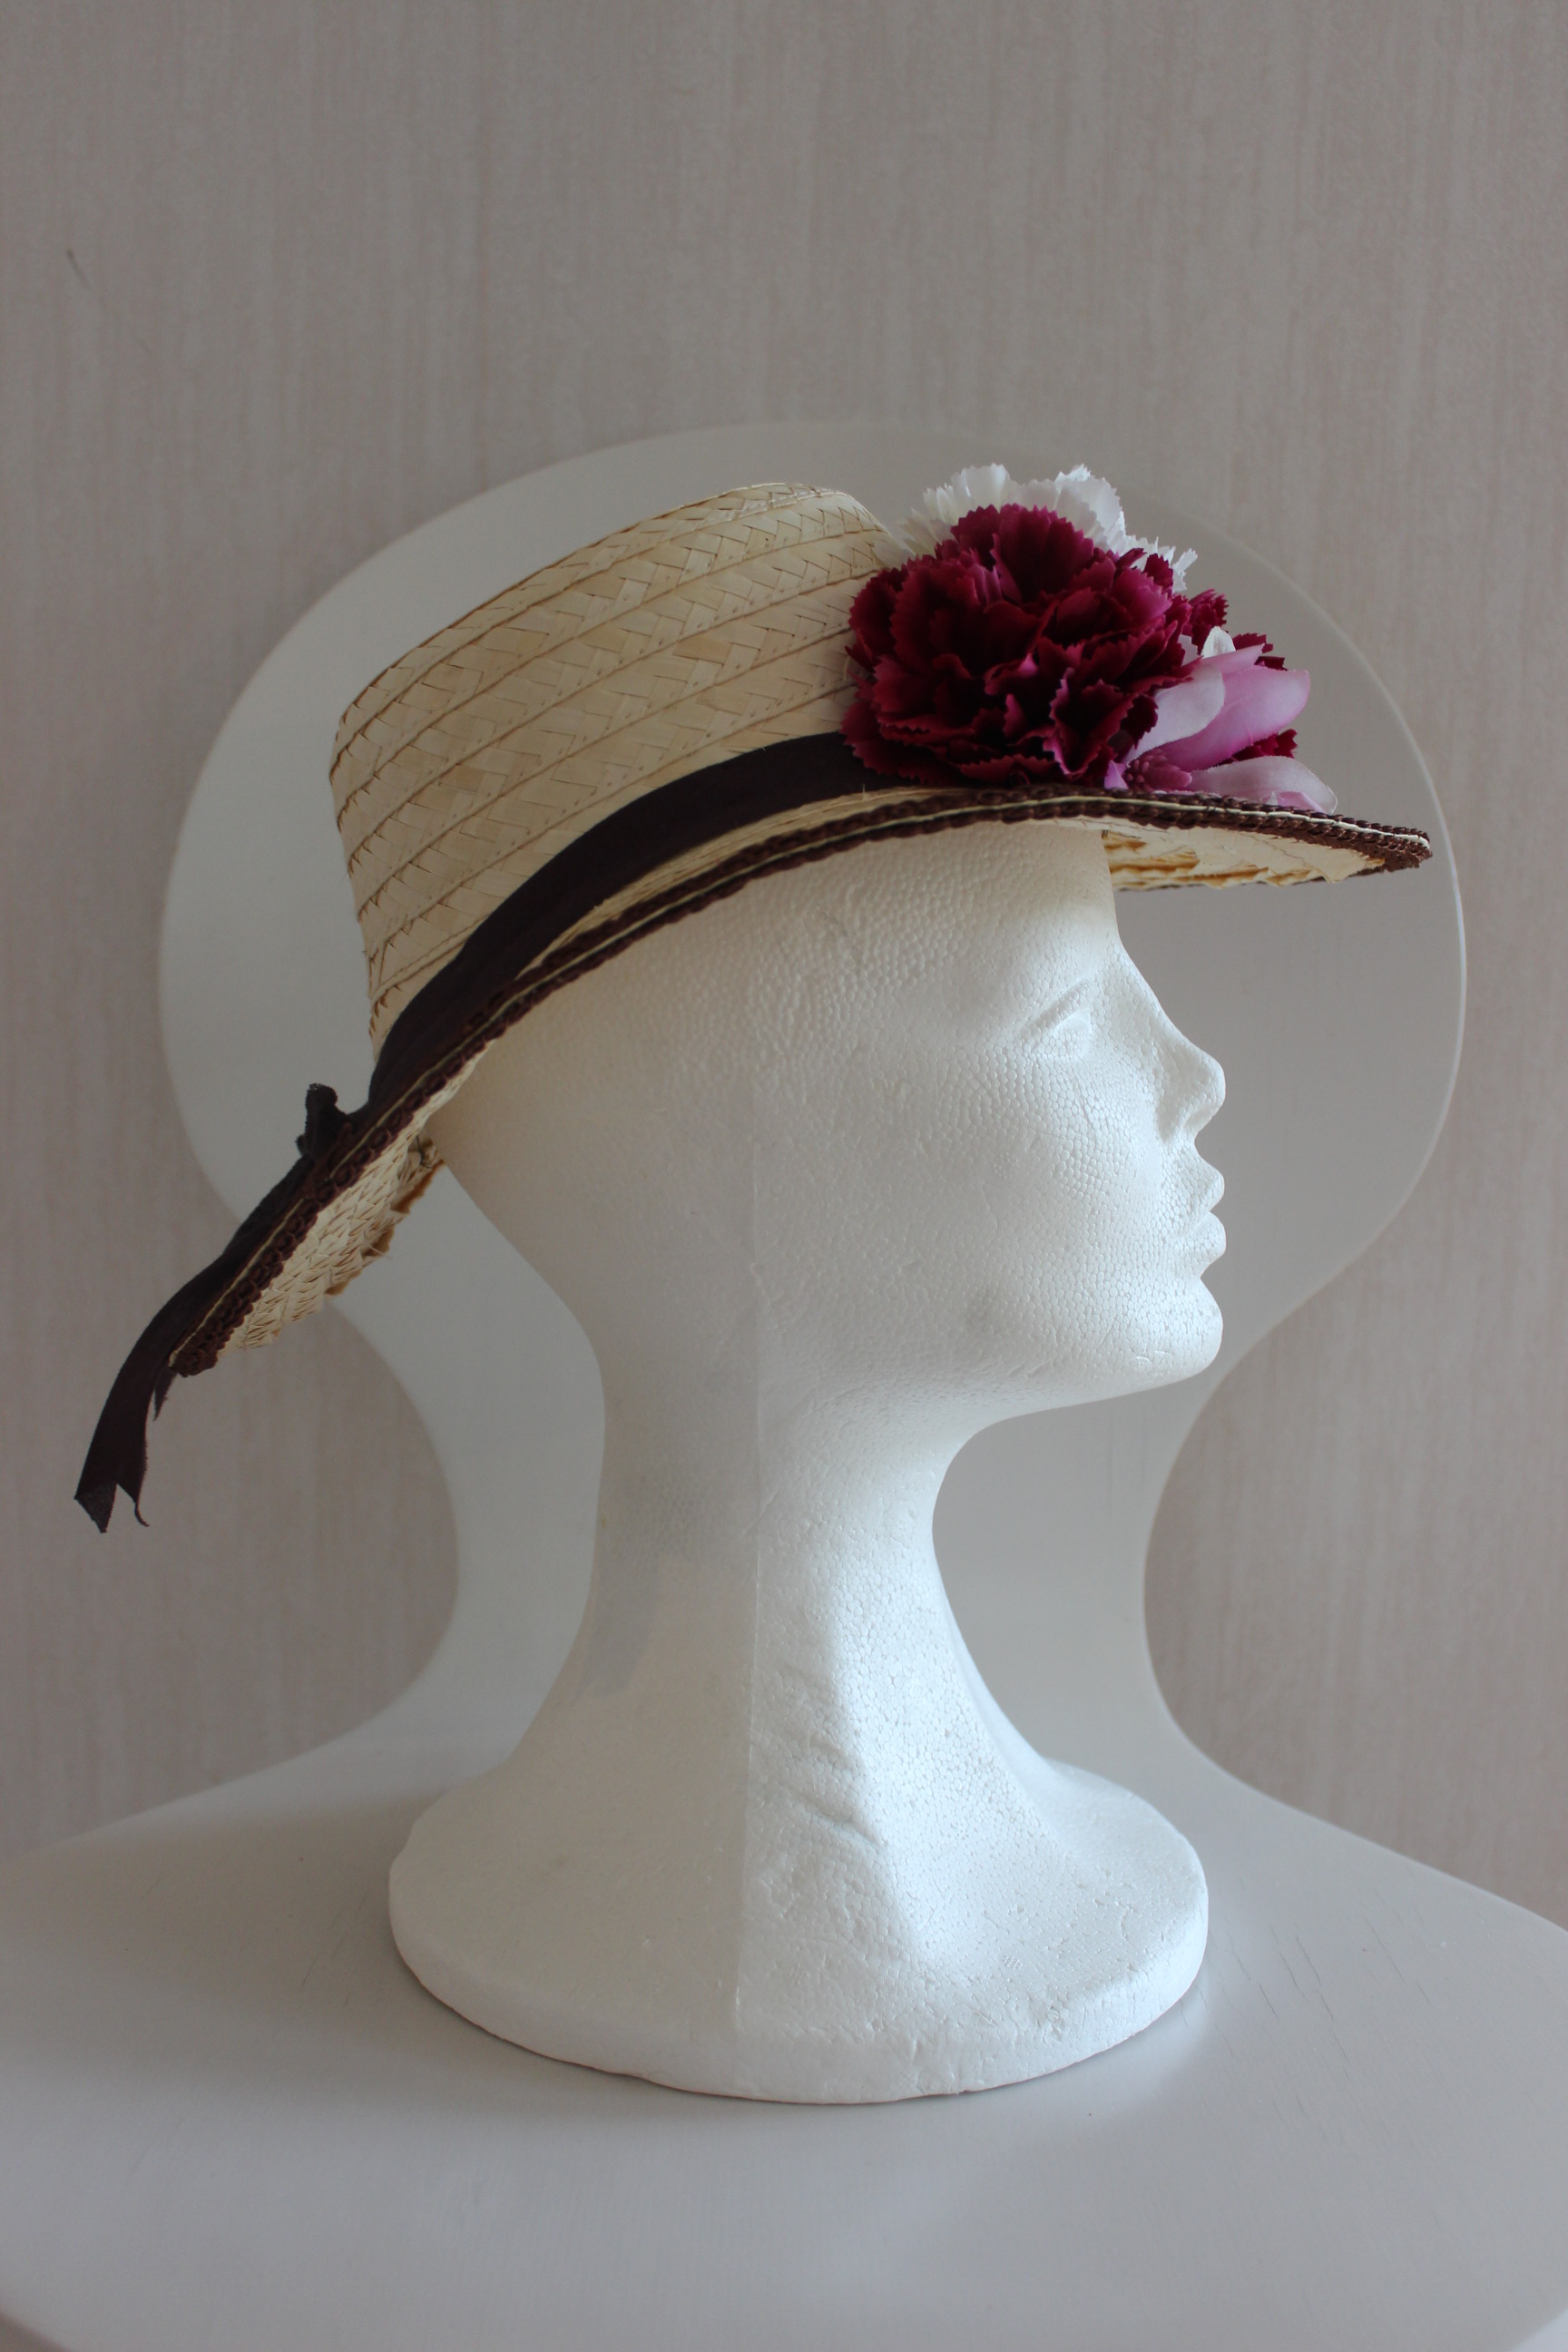
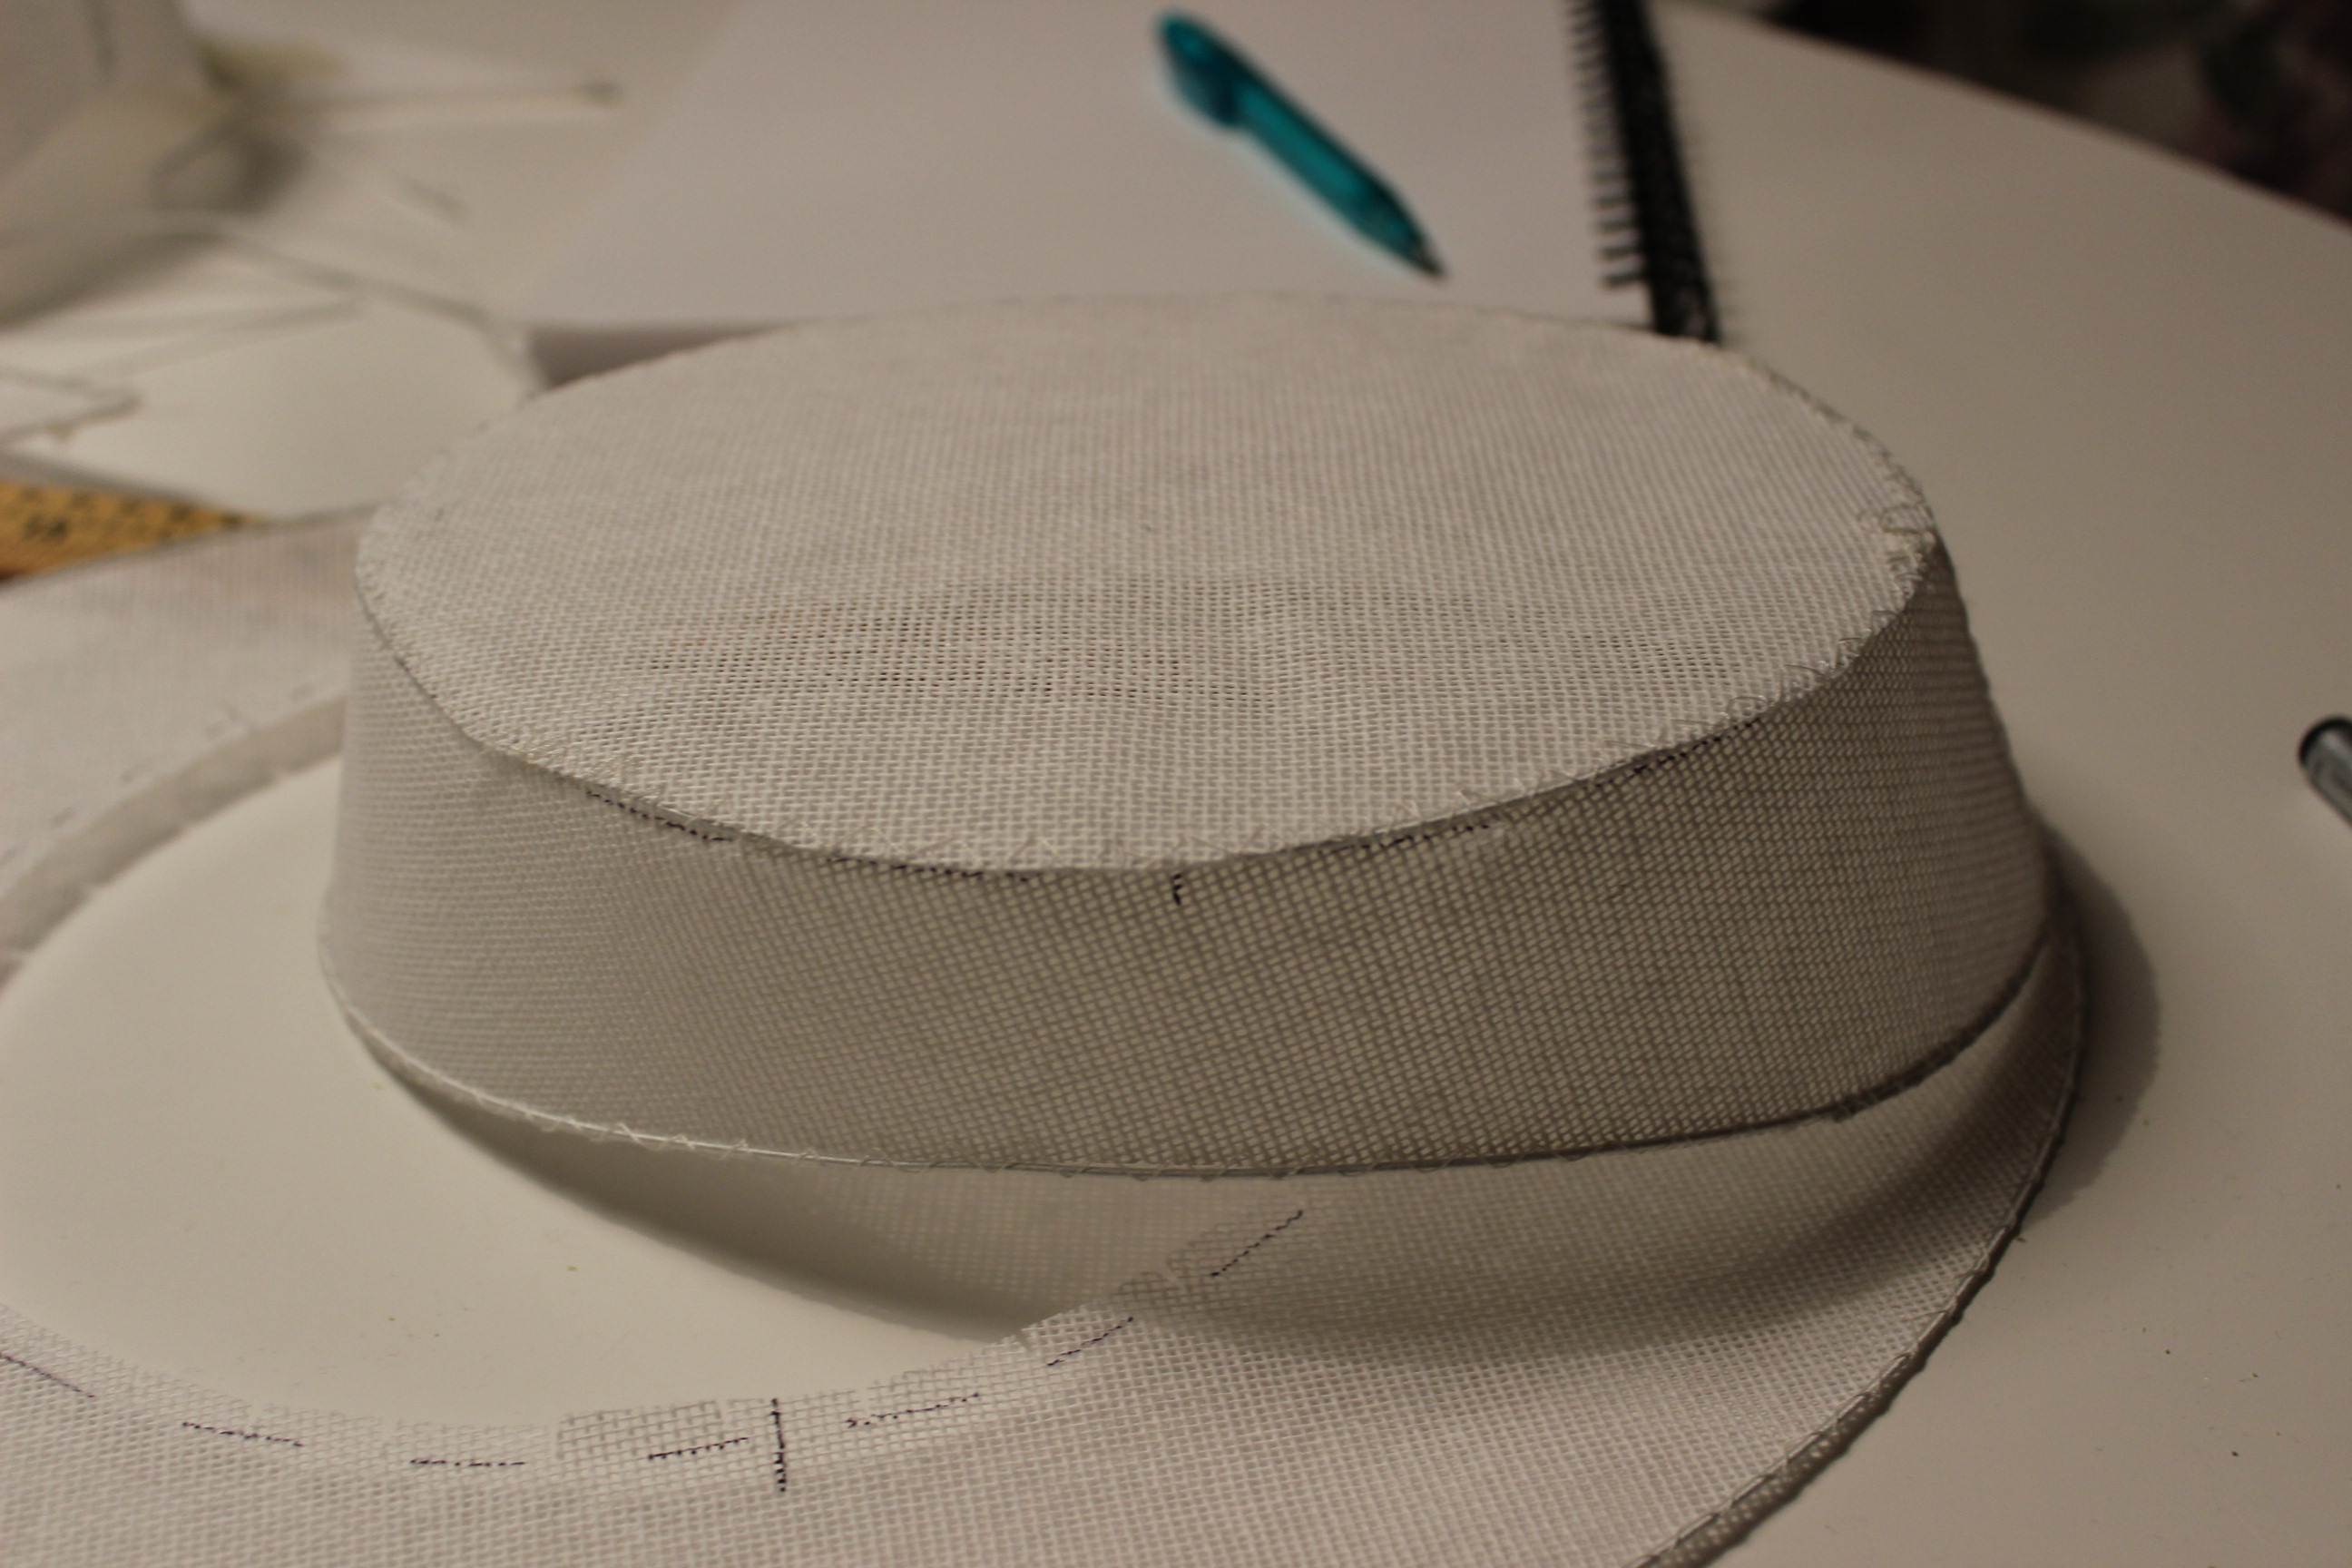
Once the base was done I started adding decoration, using the same braid as on the jacket & skirt.  Note the braid stitched both to the upper and under sides of the brim.
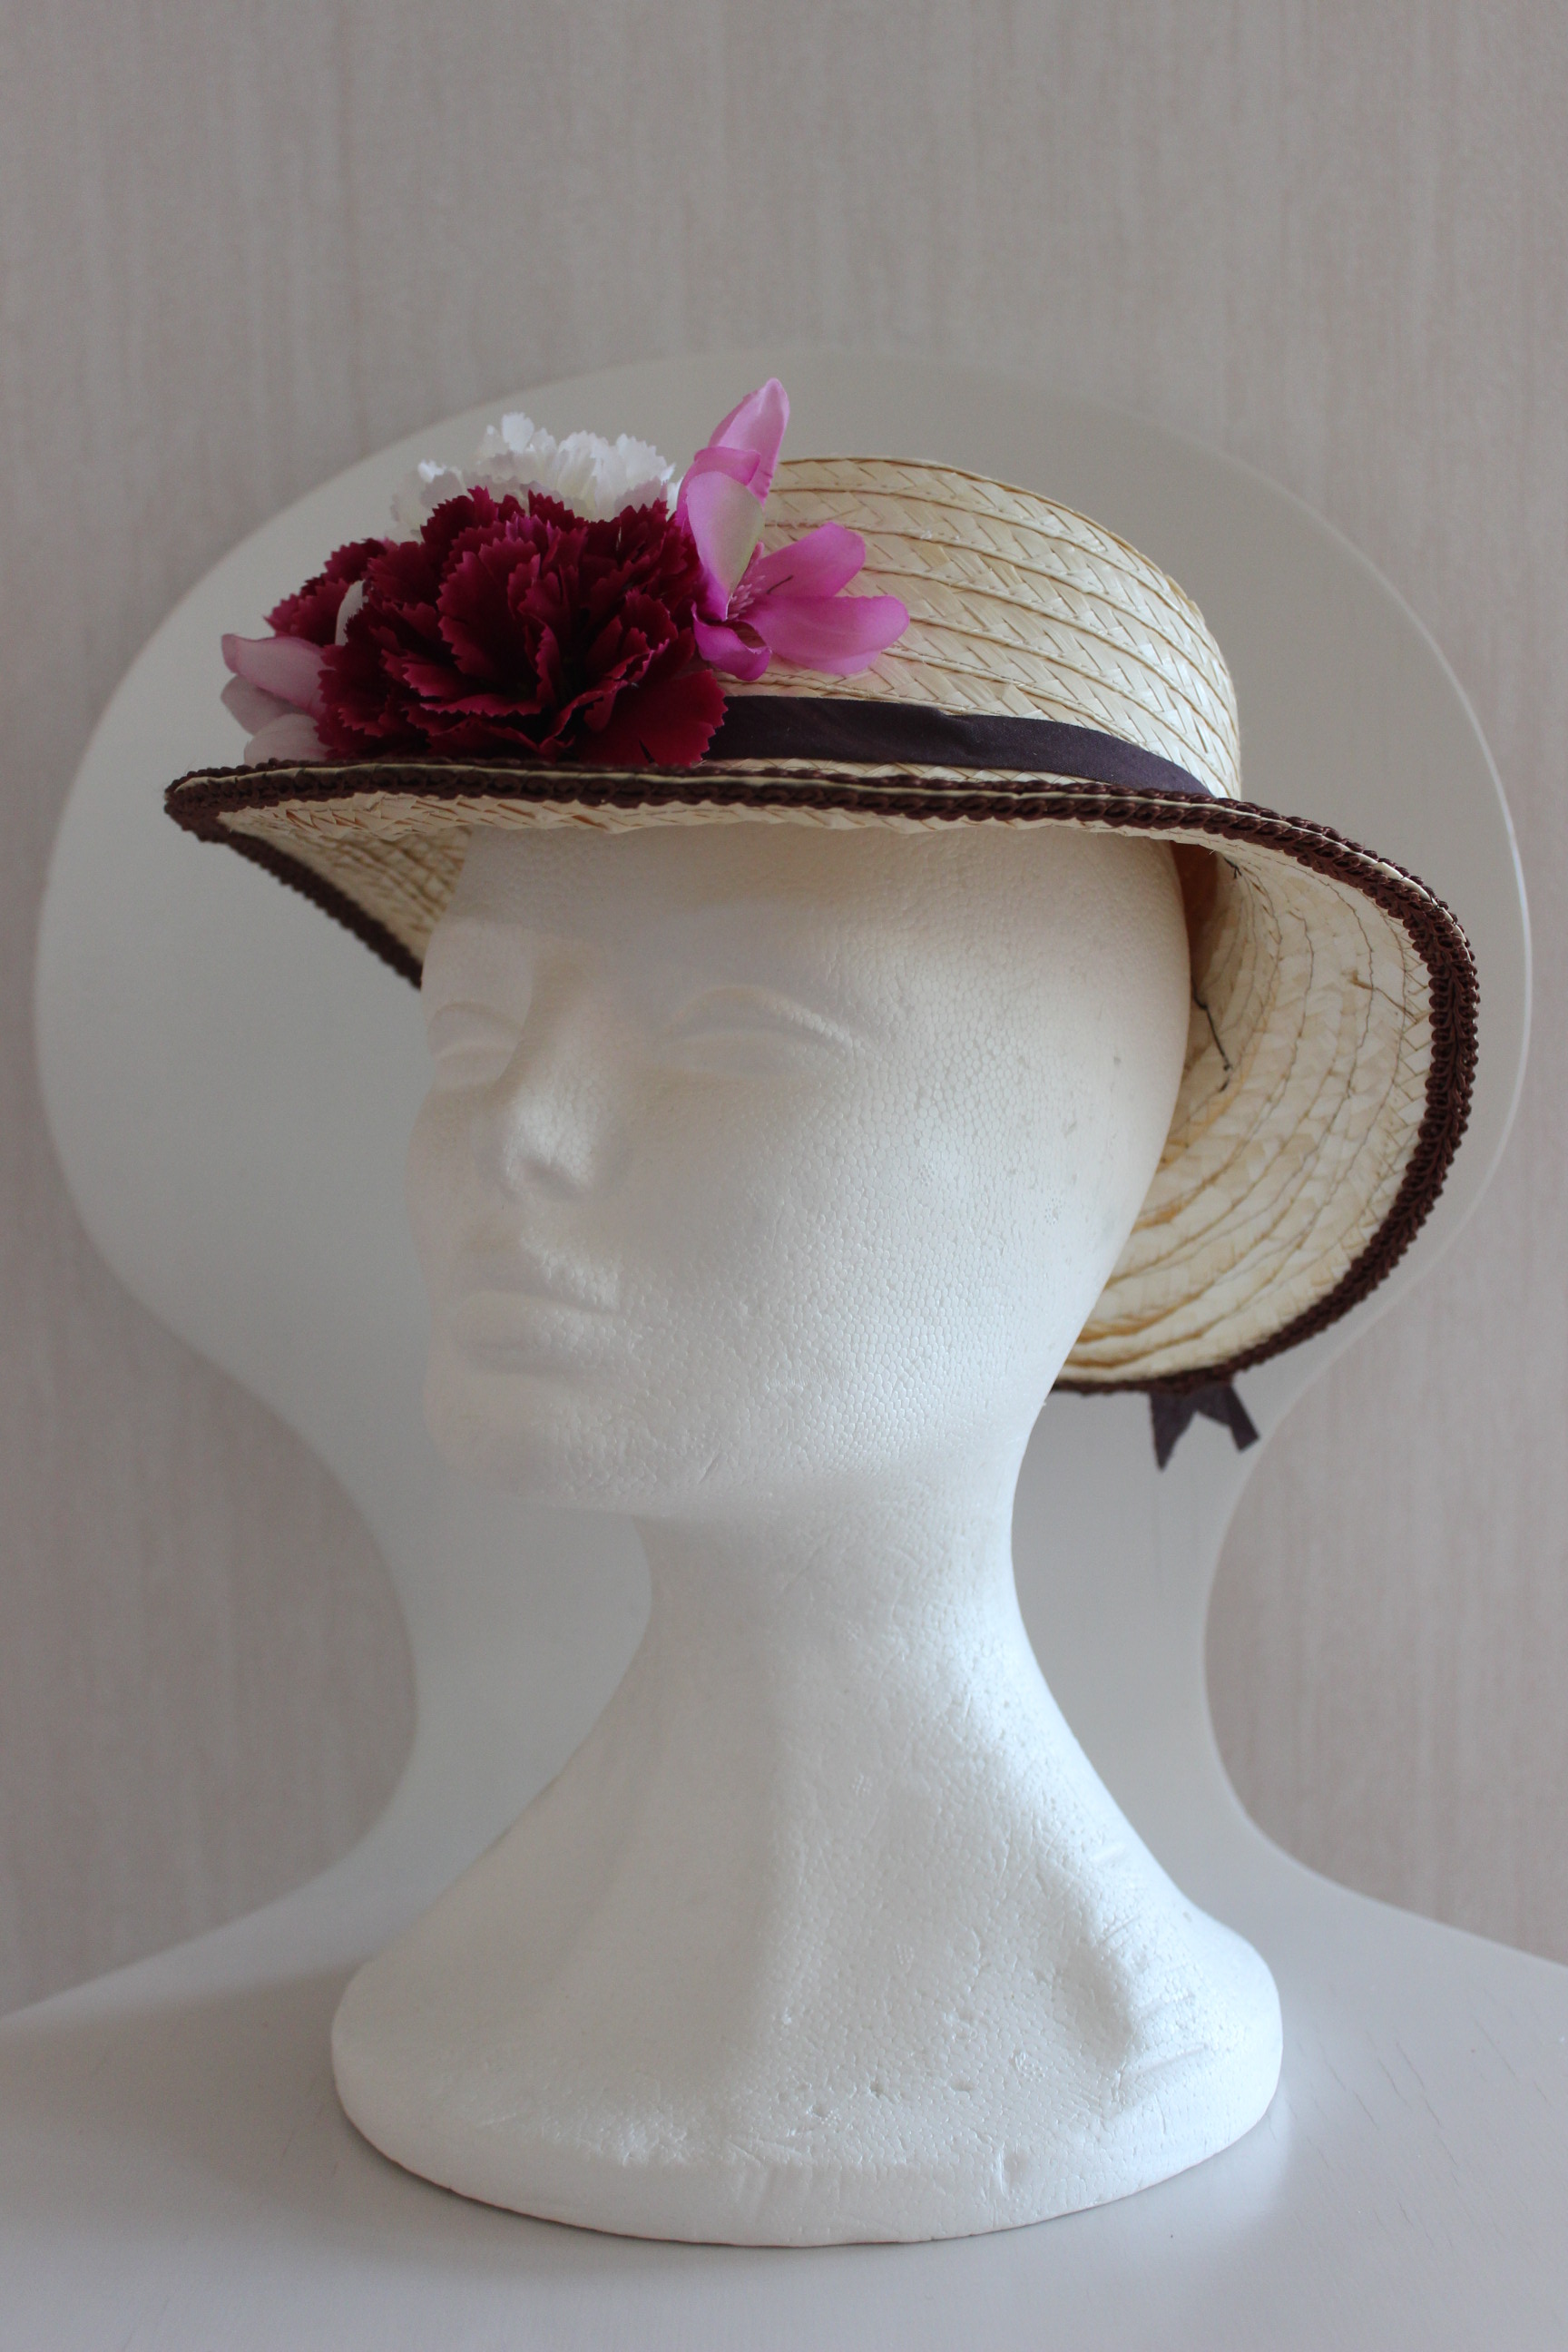
The final touch was to add some flowers and I opted for a nice pop of color with a few of these plastic flowers.

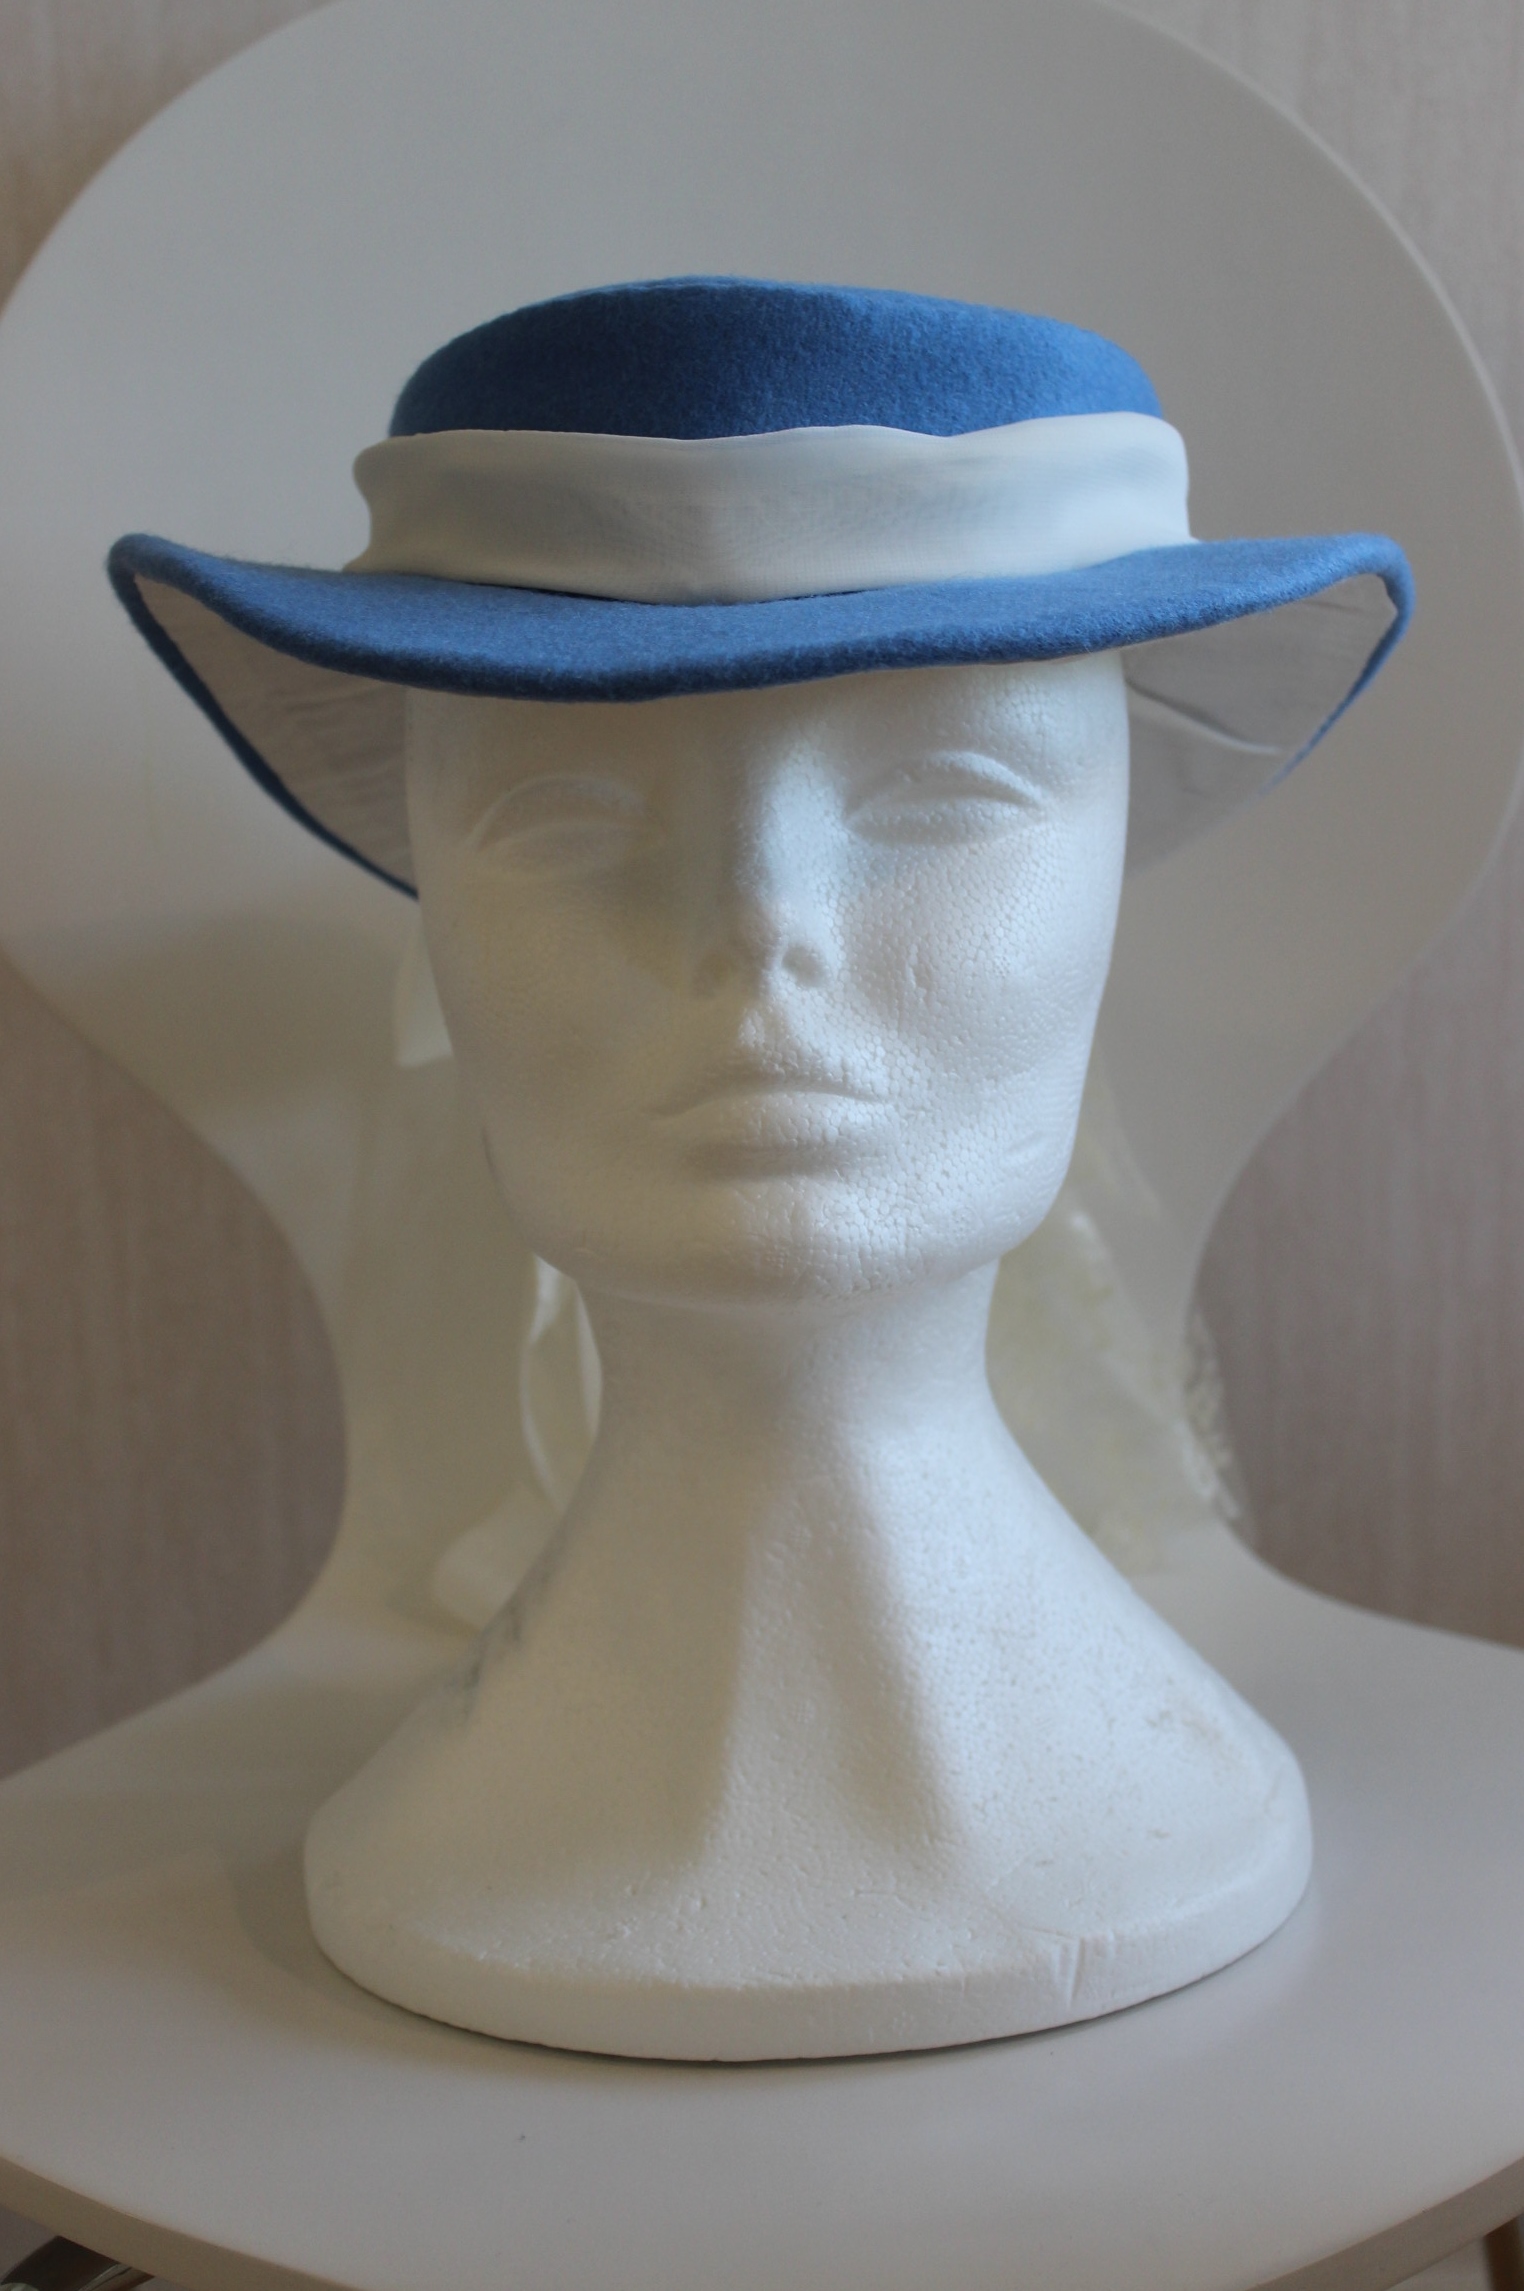
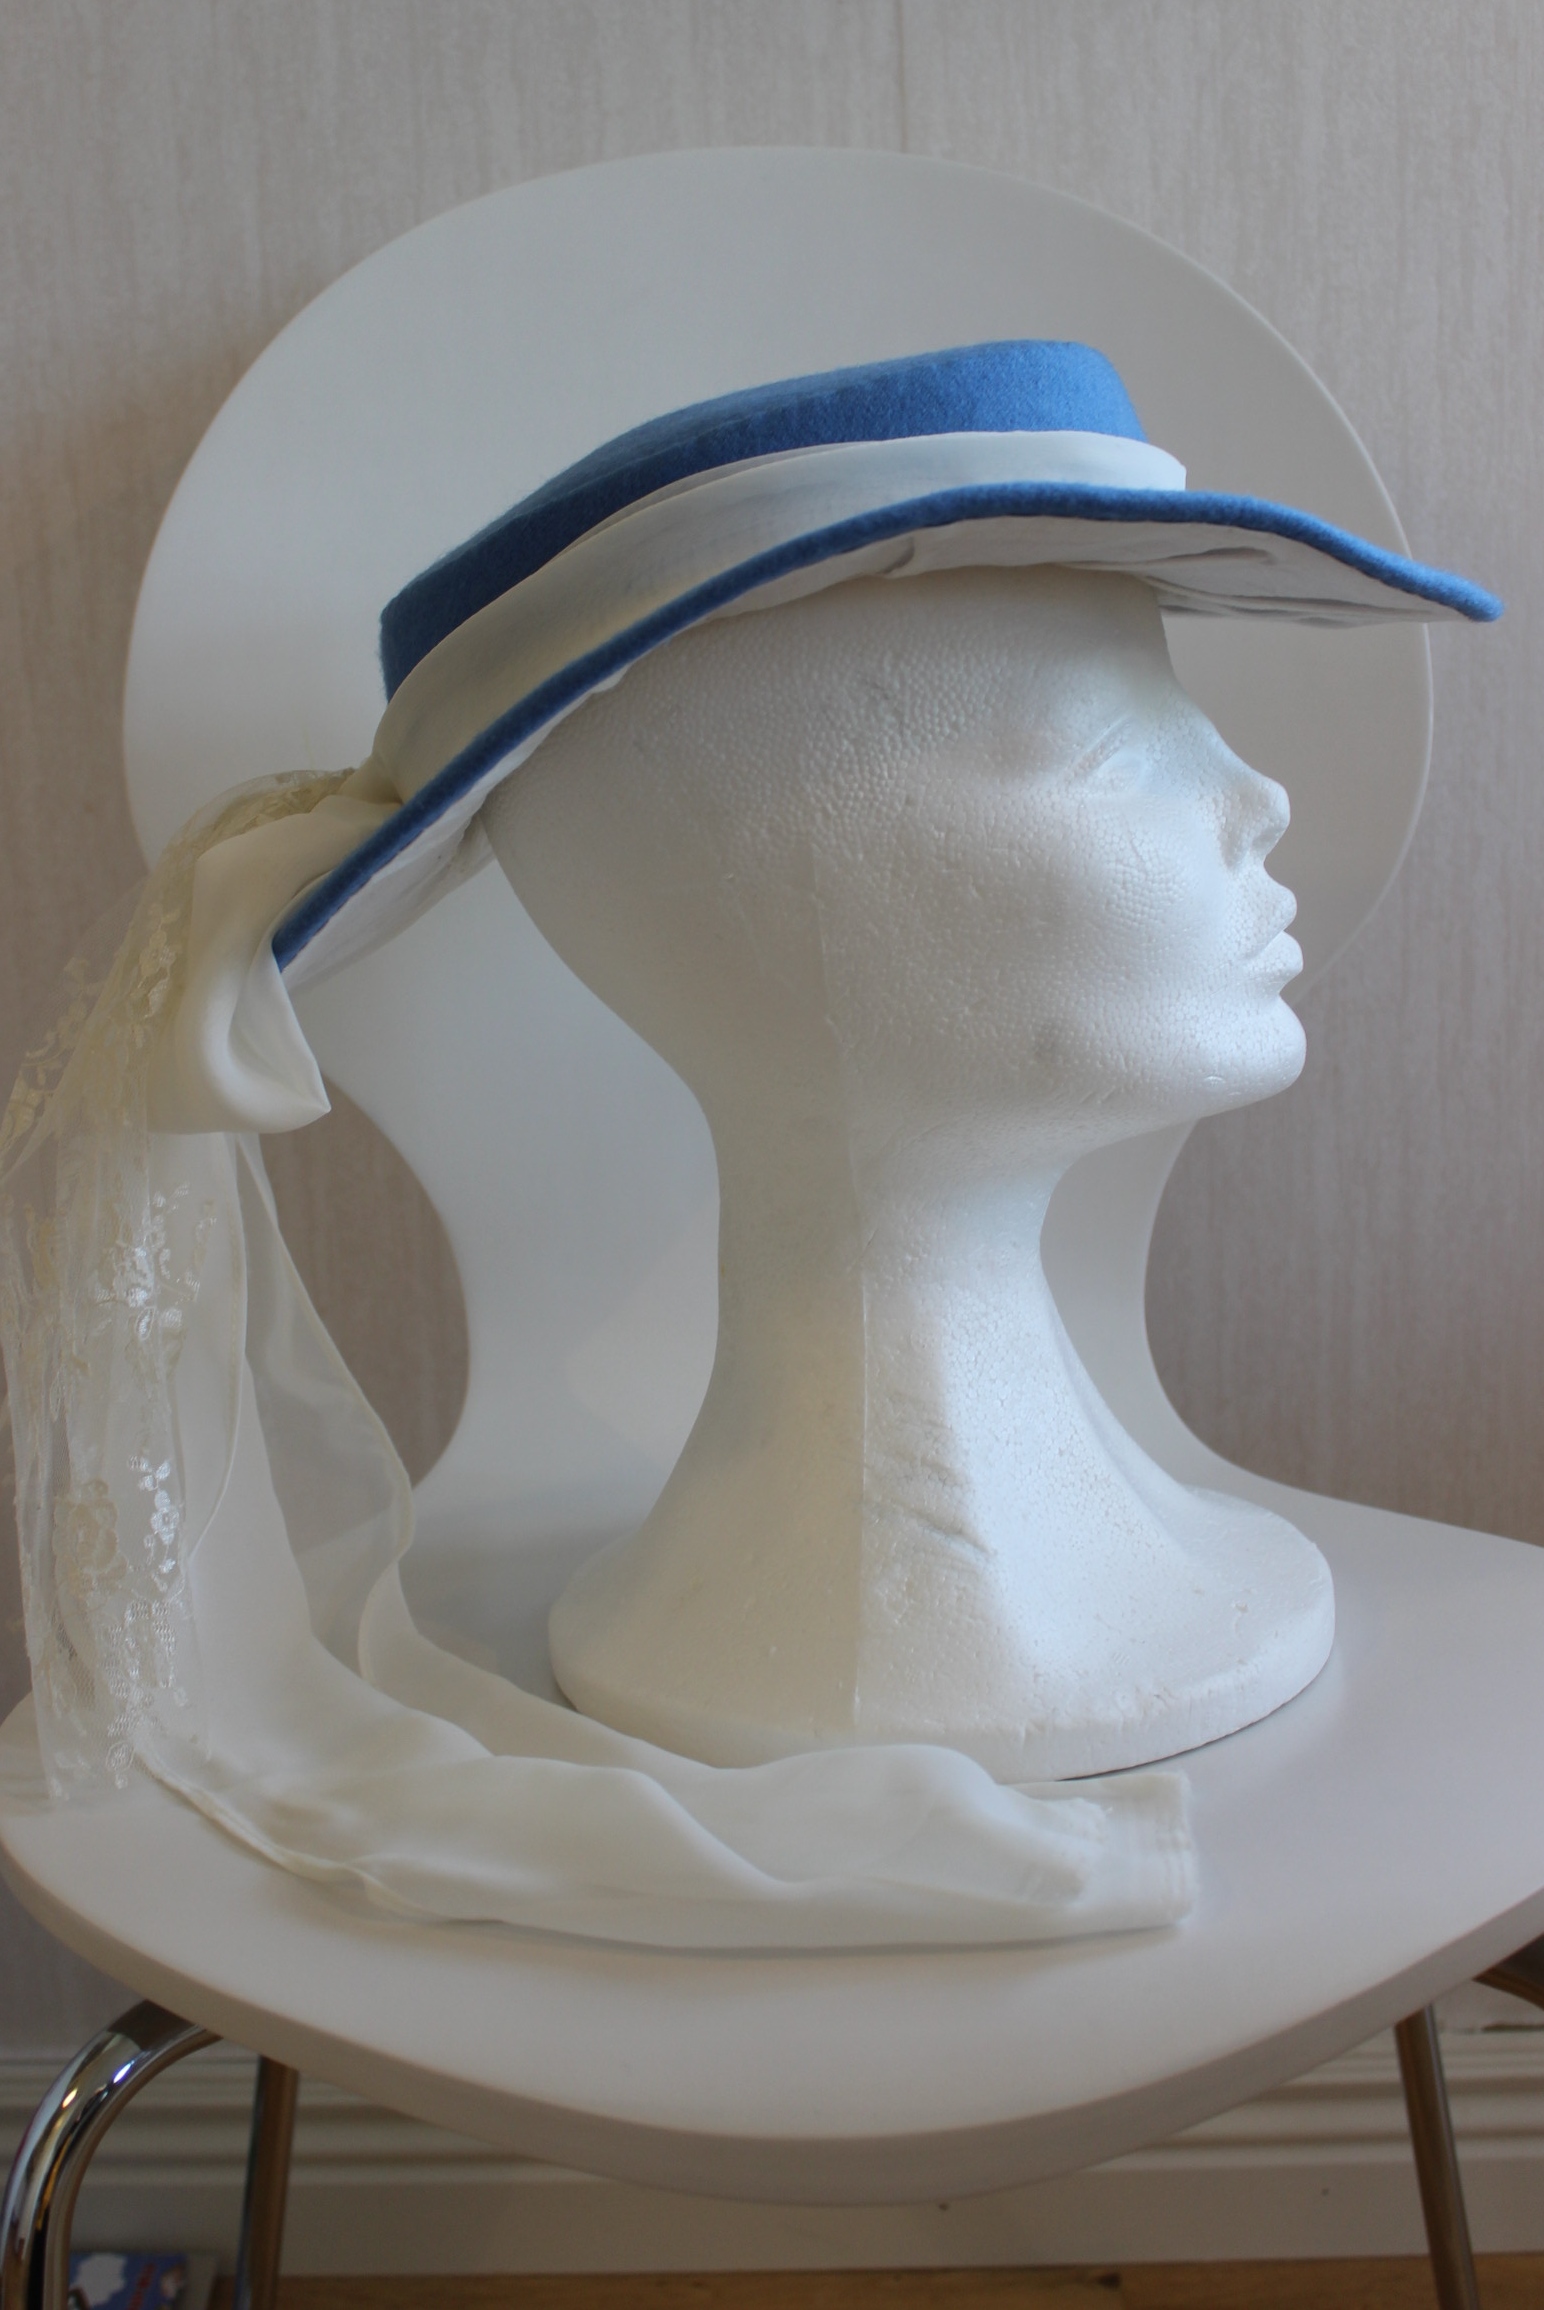
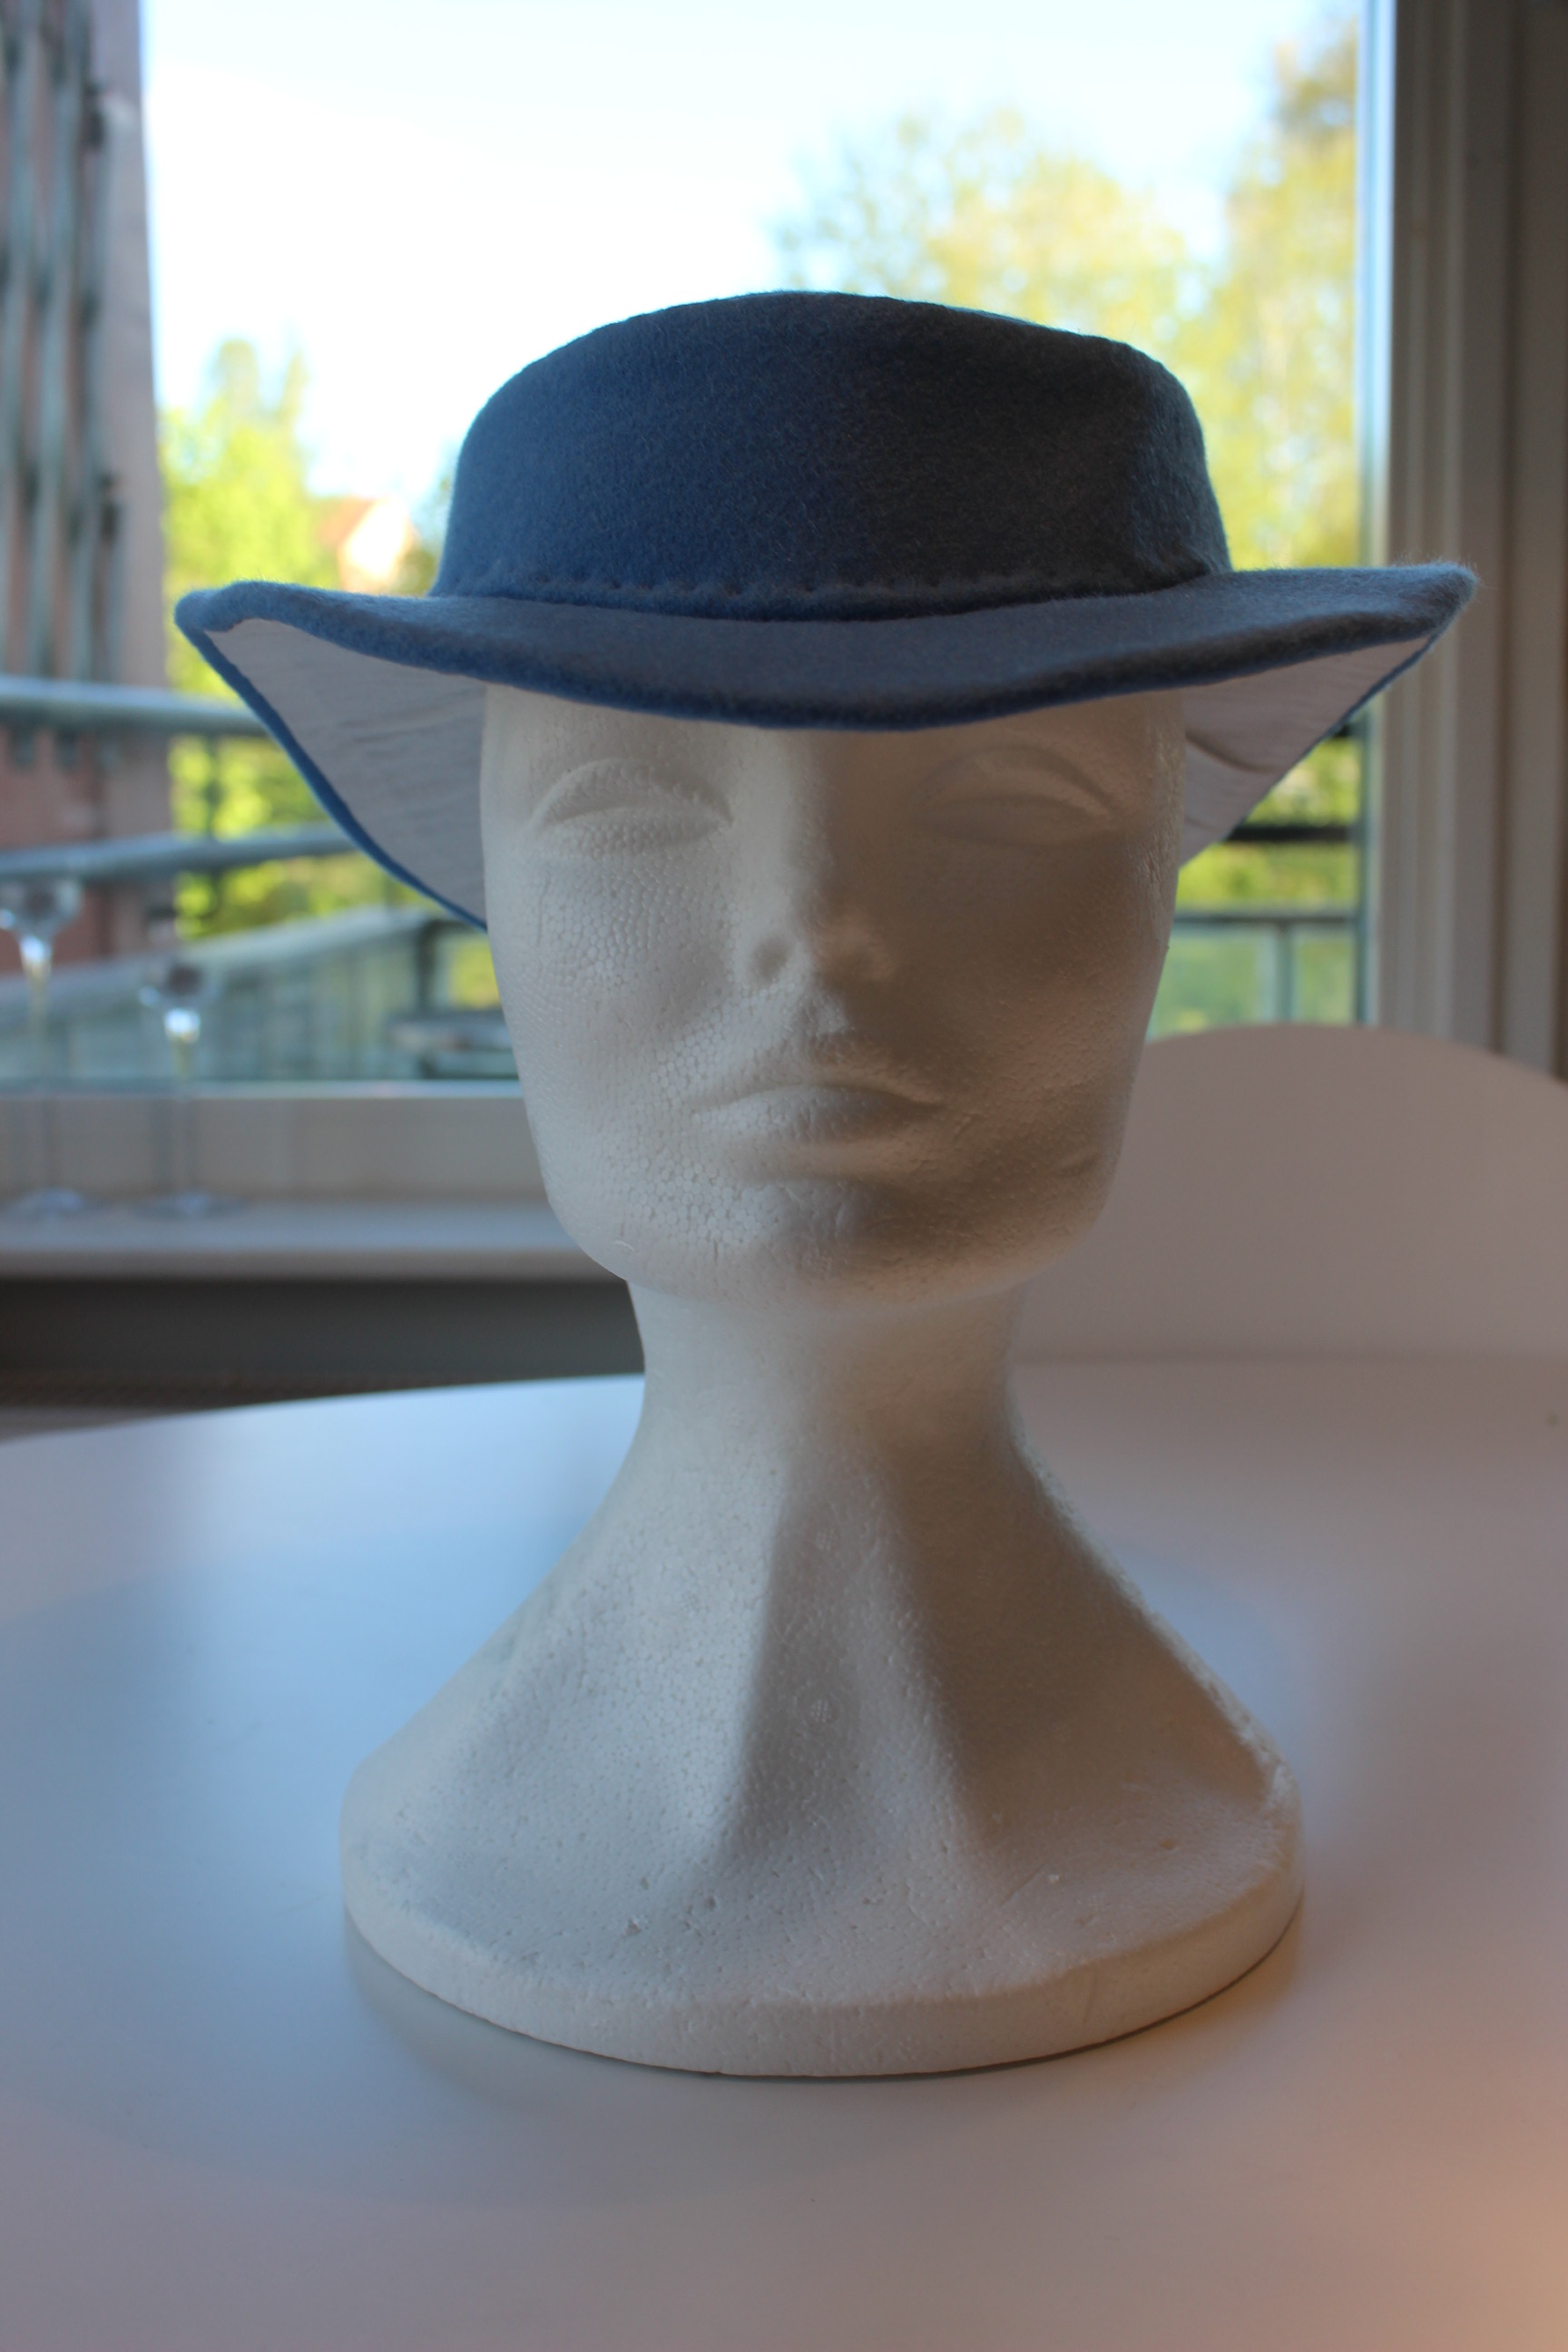
The finished hat: 

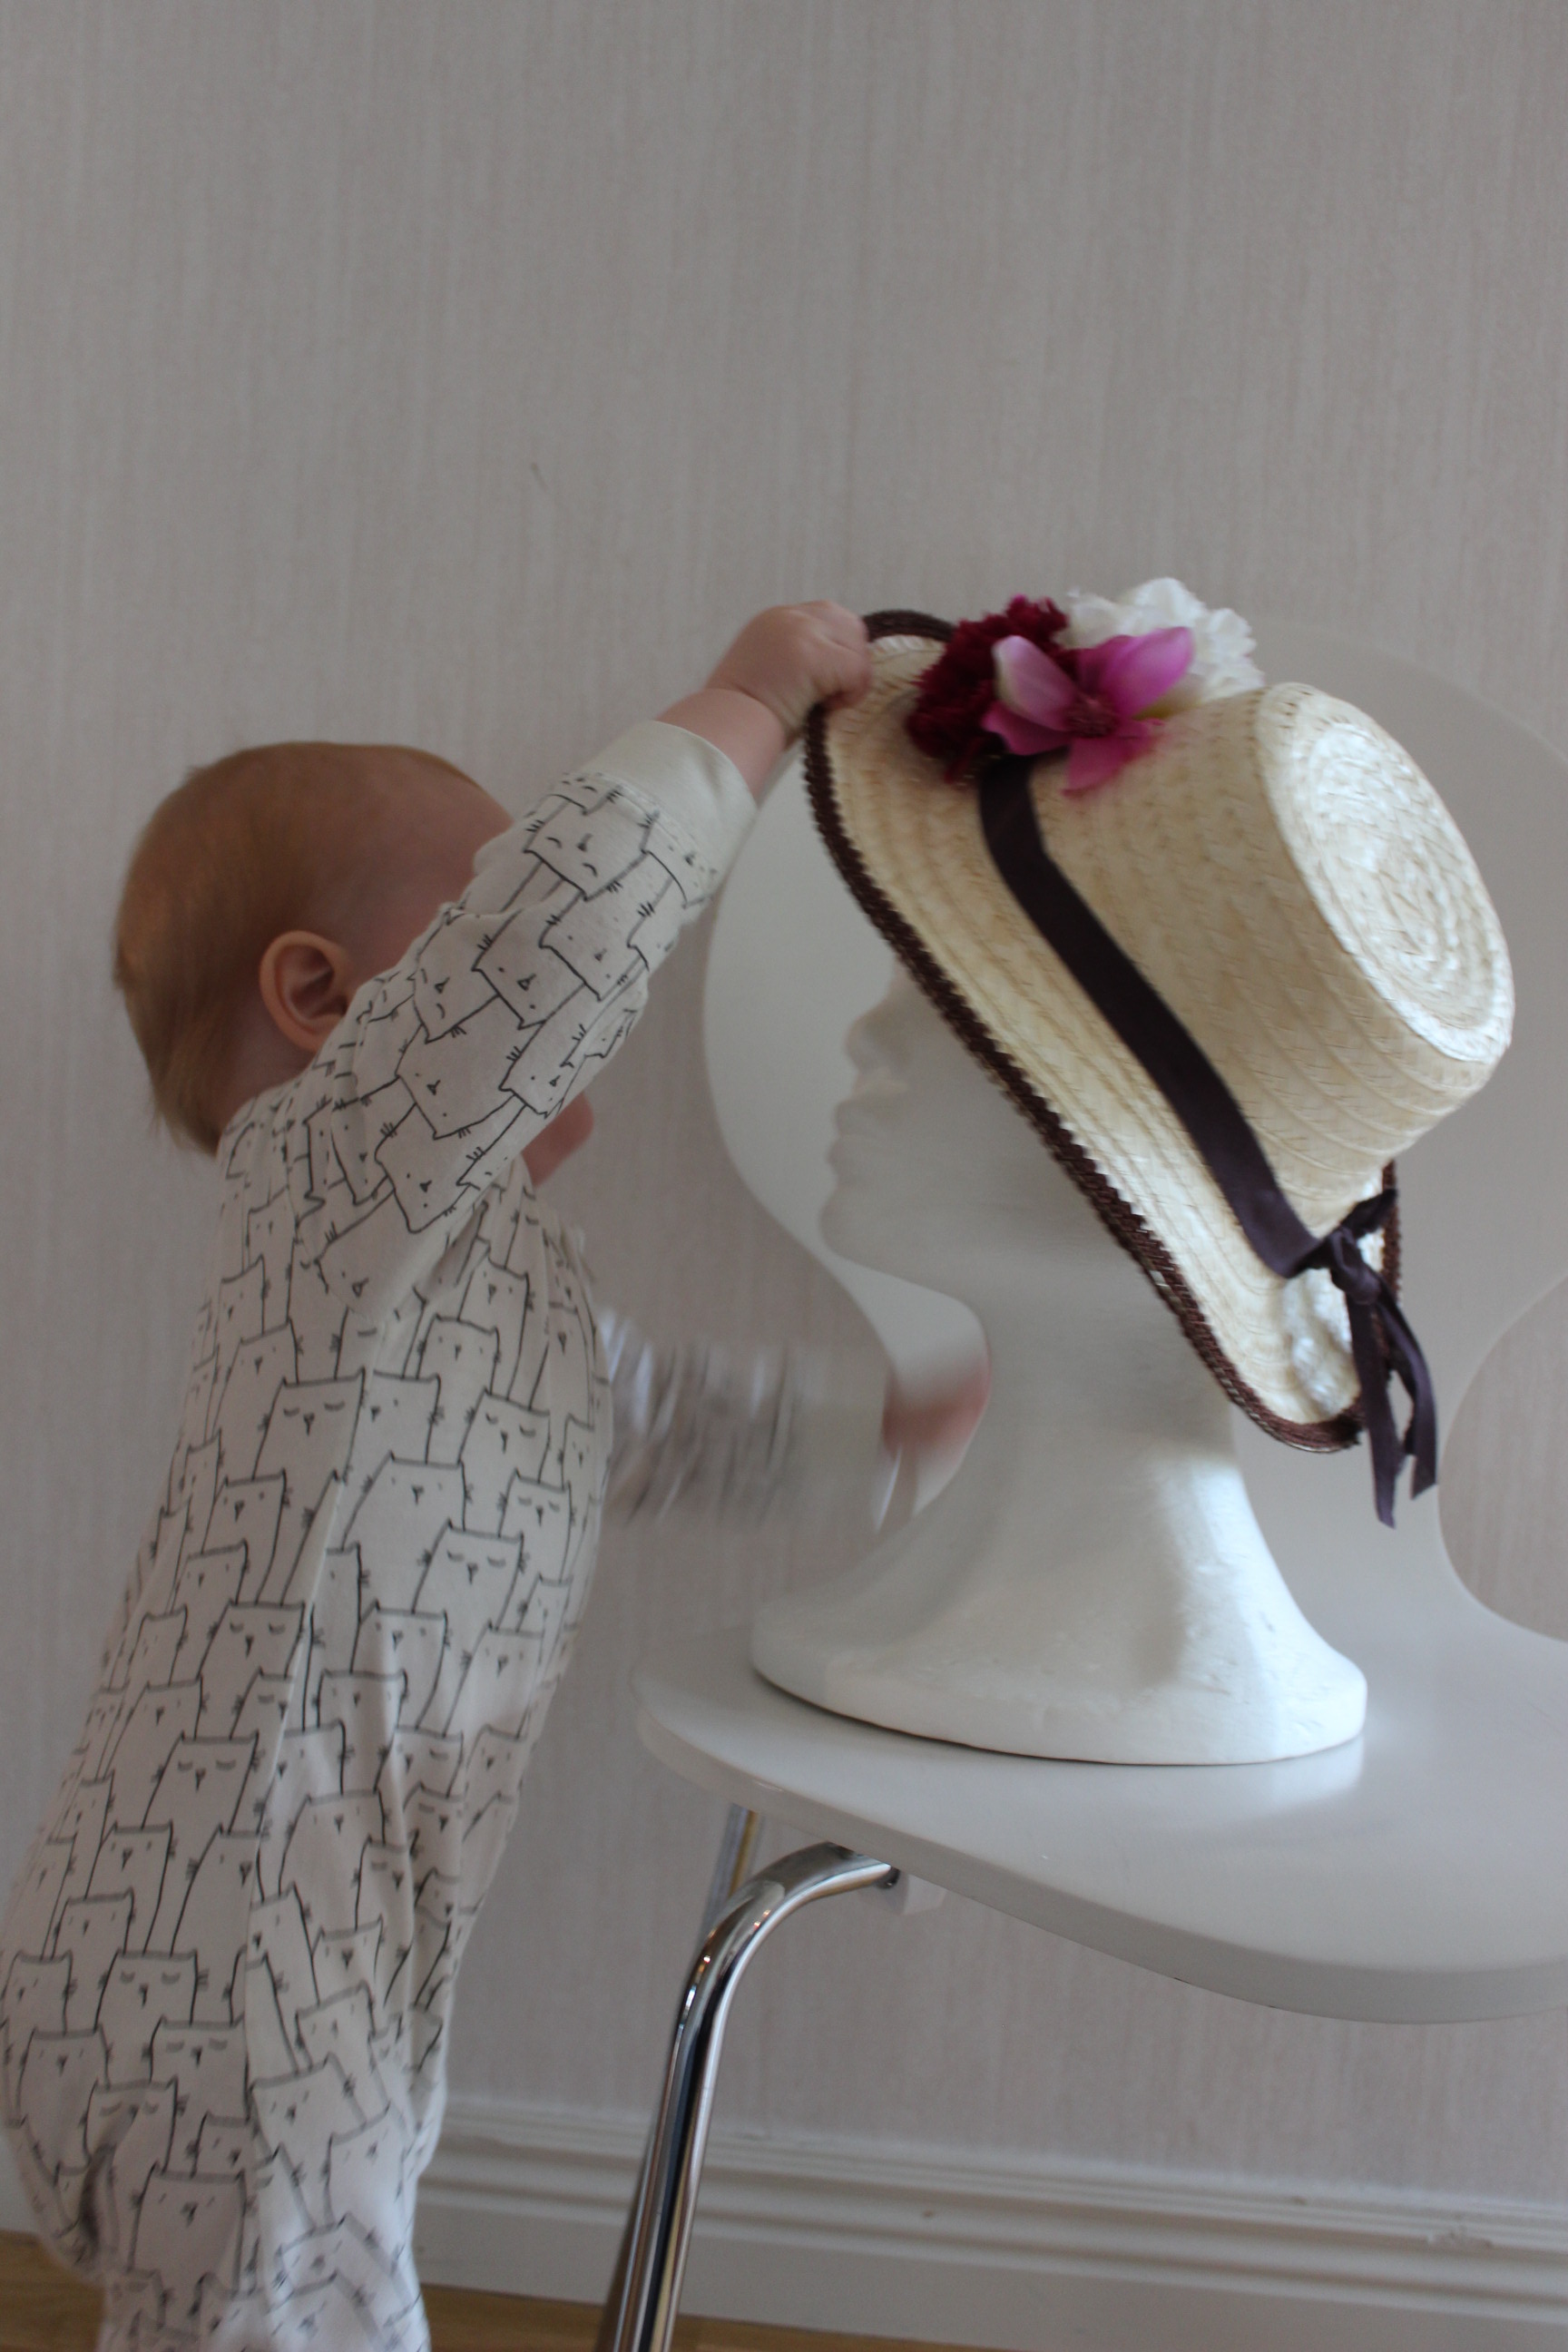
Bonus pictures of my little helper, getting the hat to sitt exactly “right” on my mannequin head.
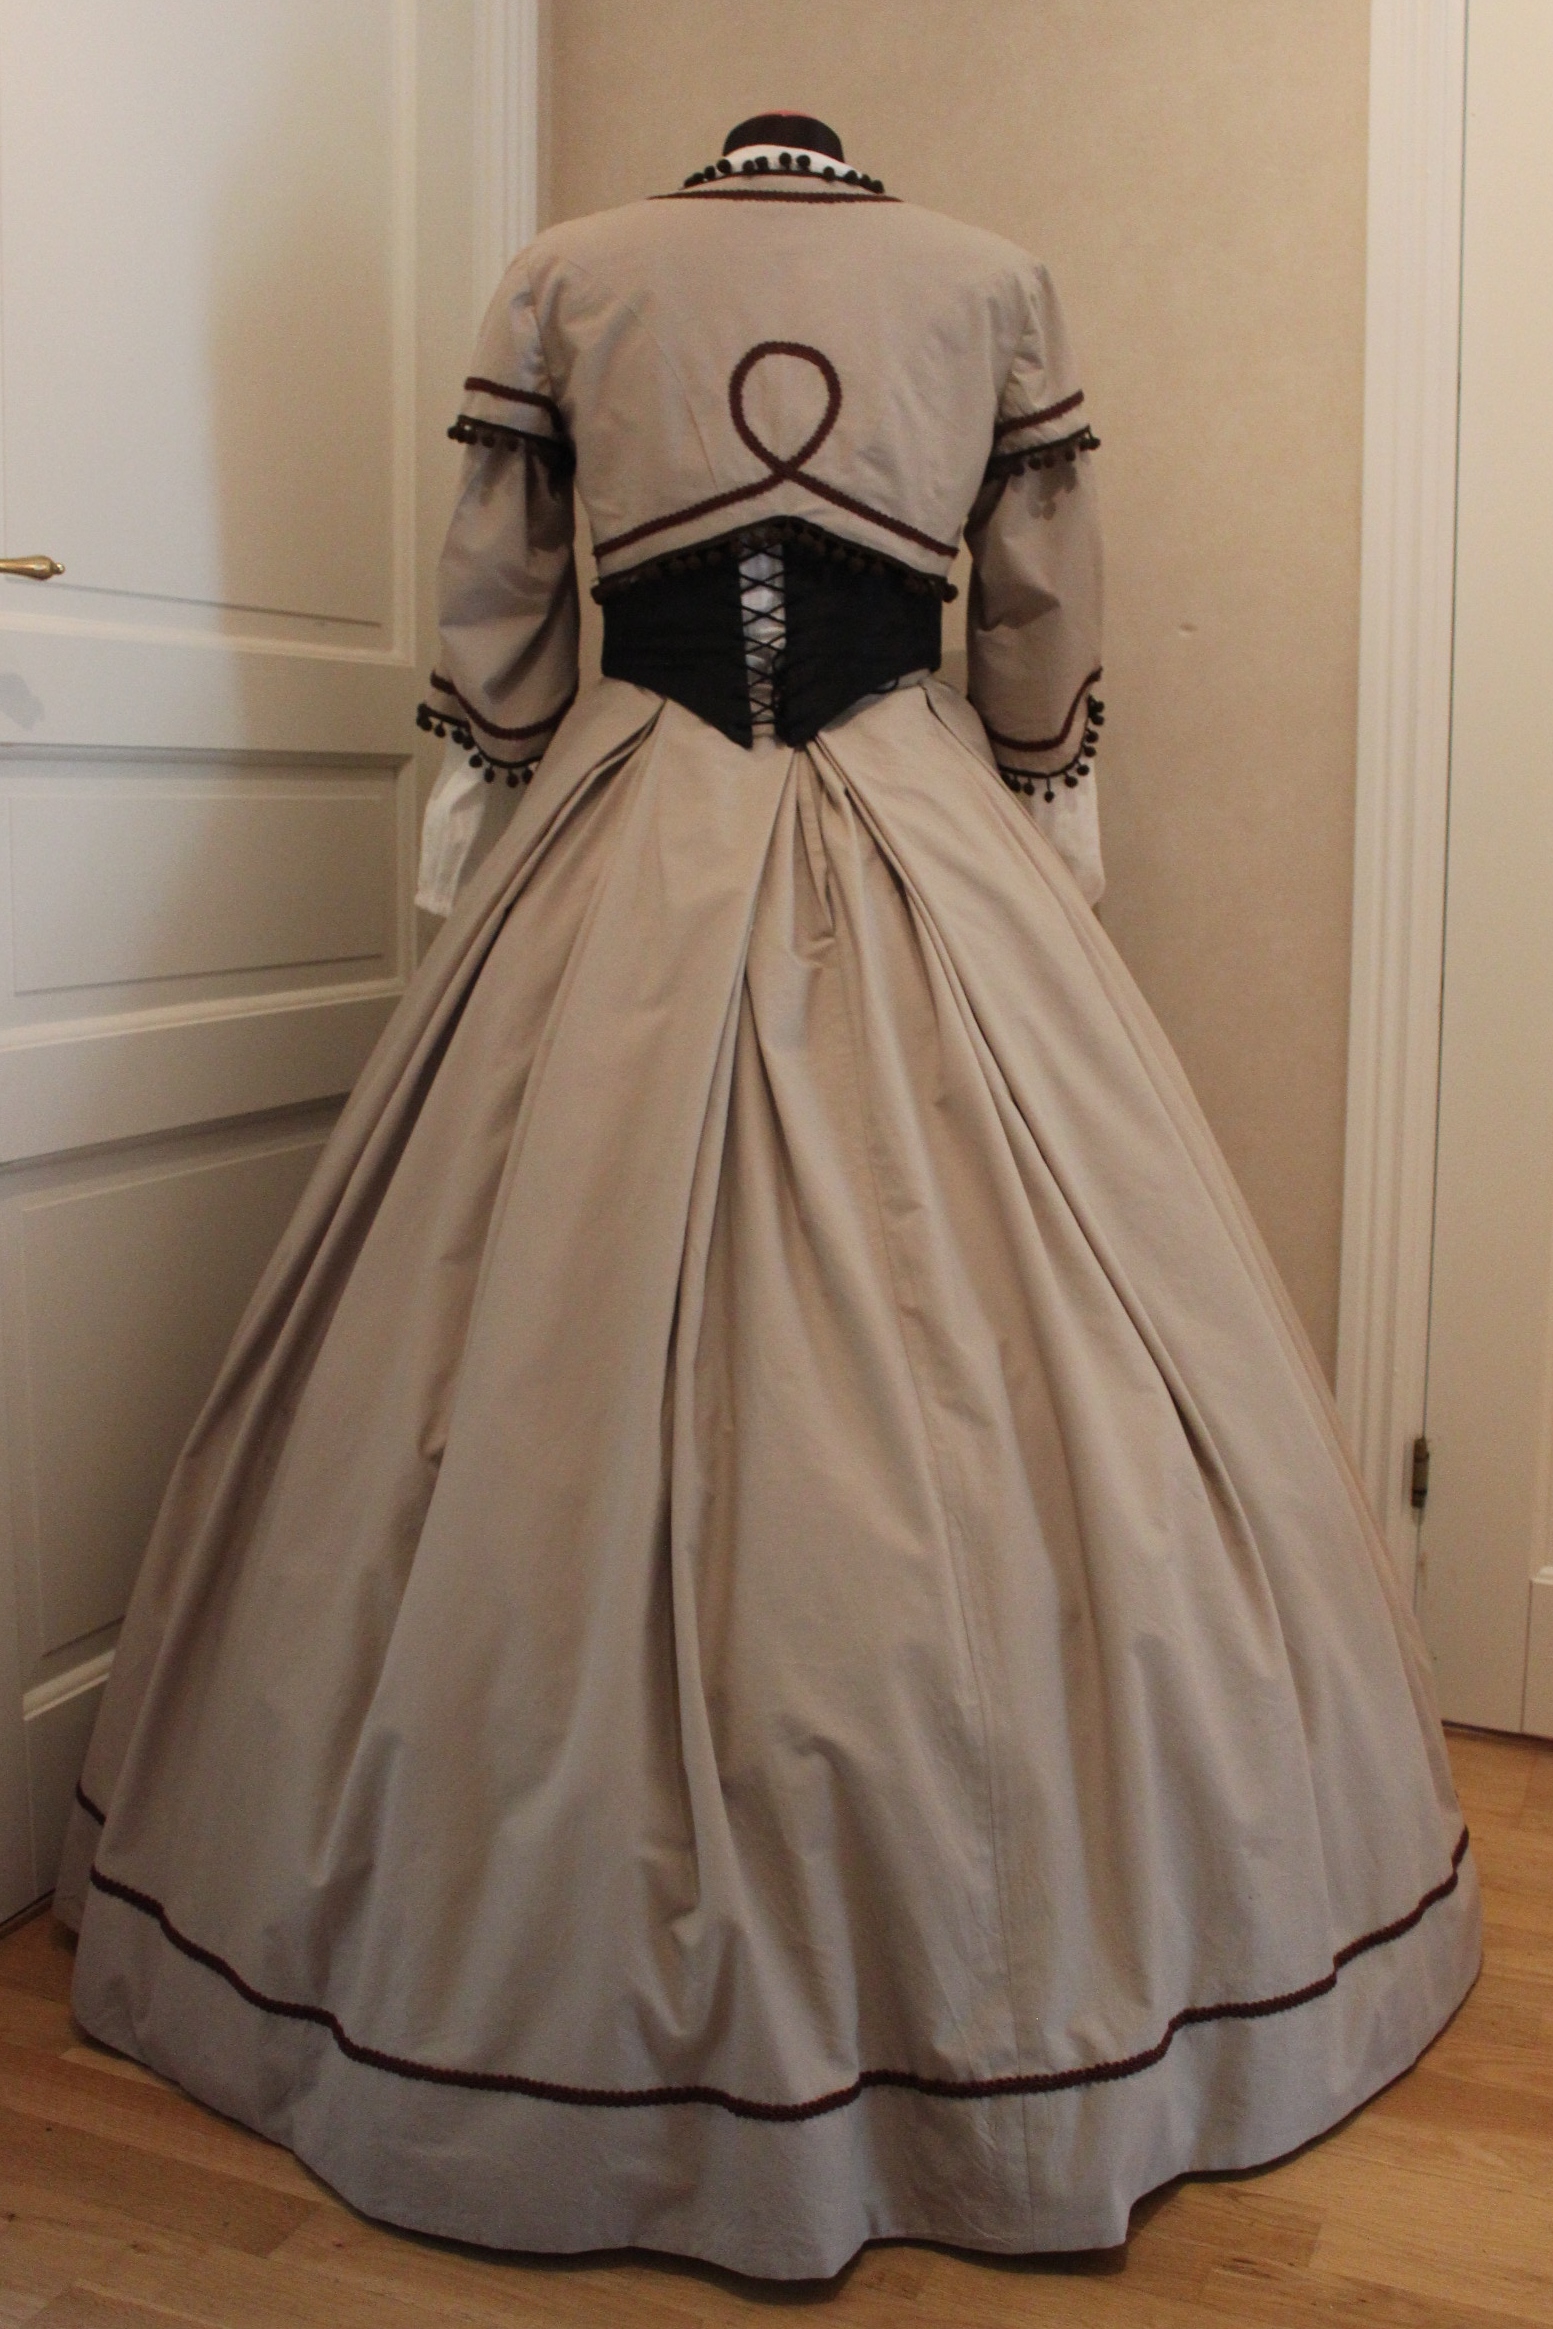
And the whole outfit completed


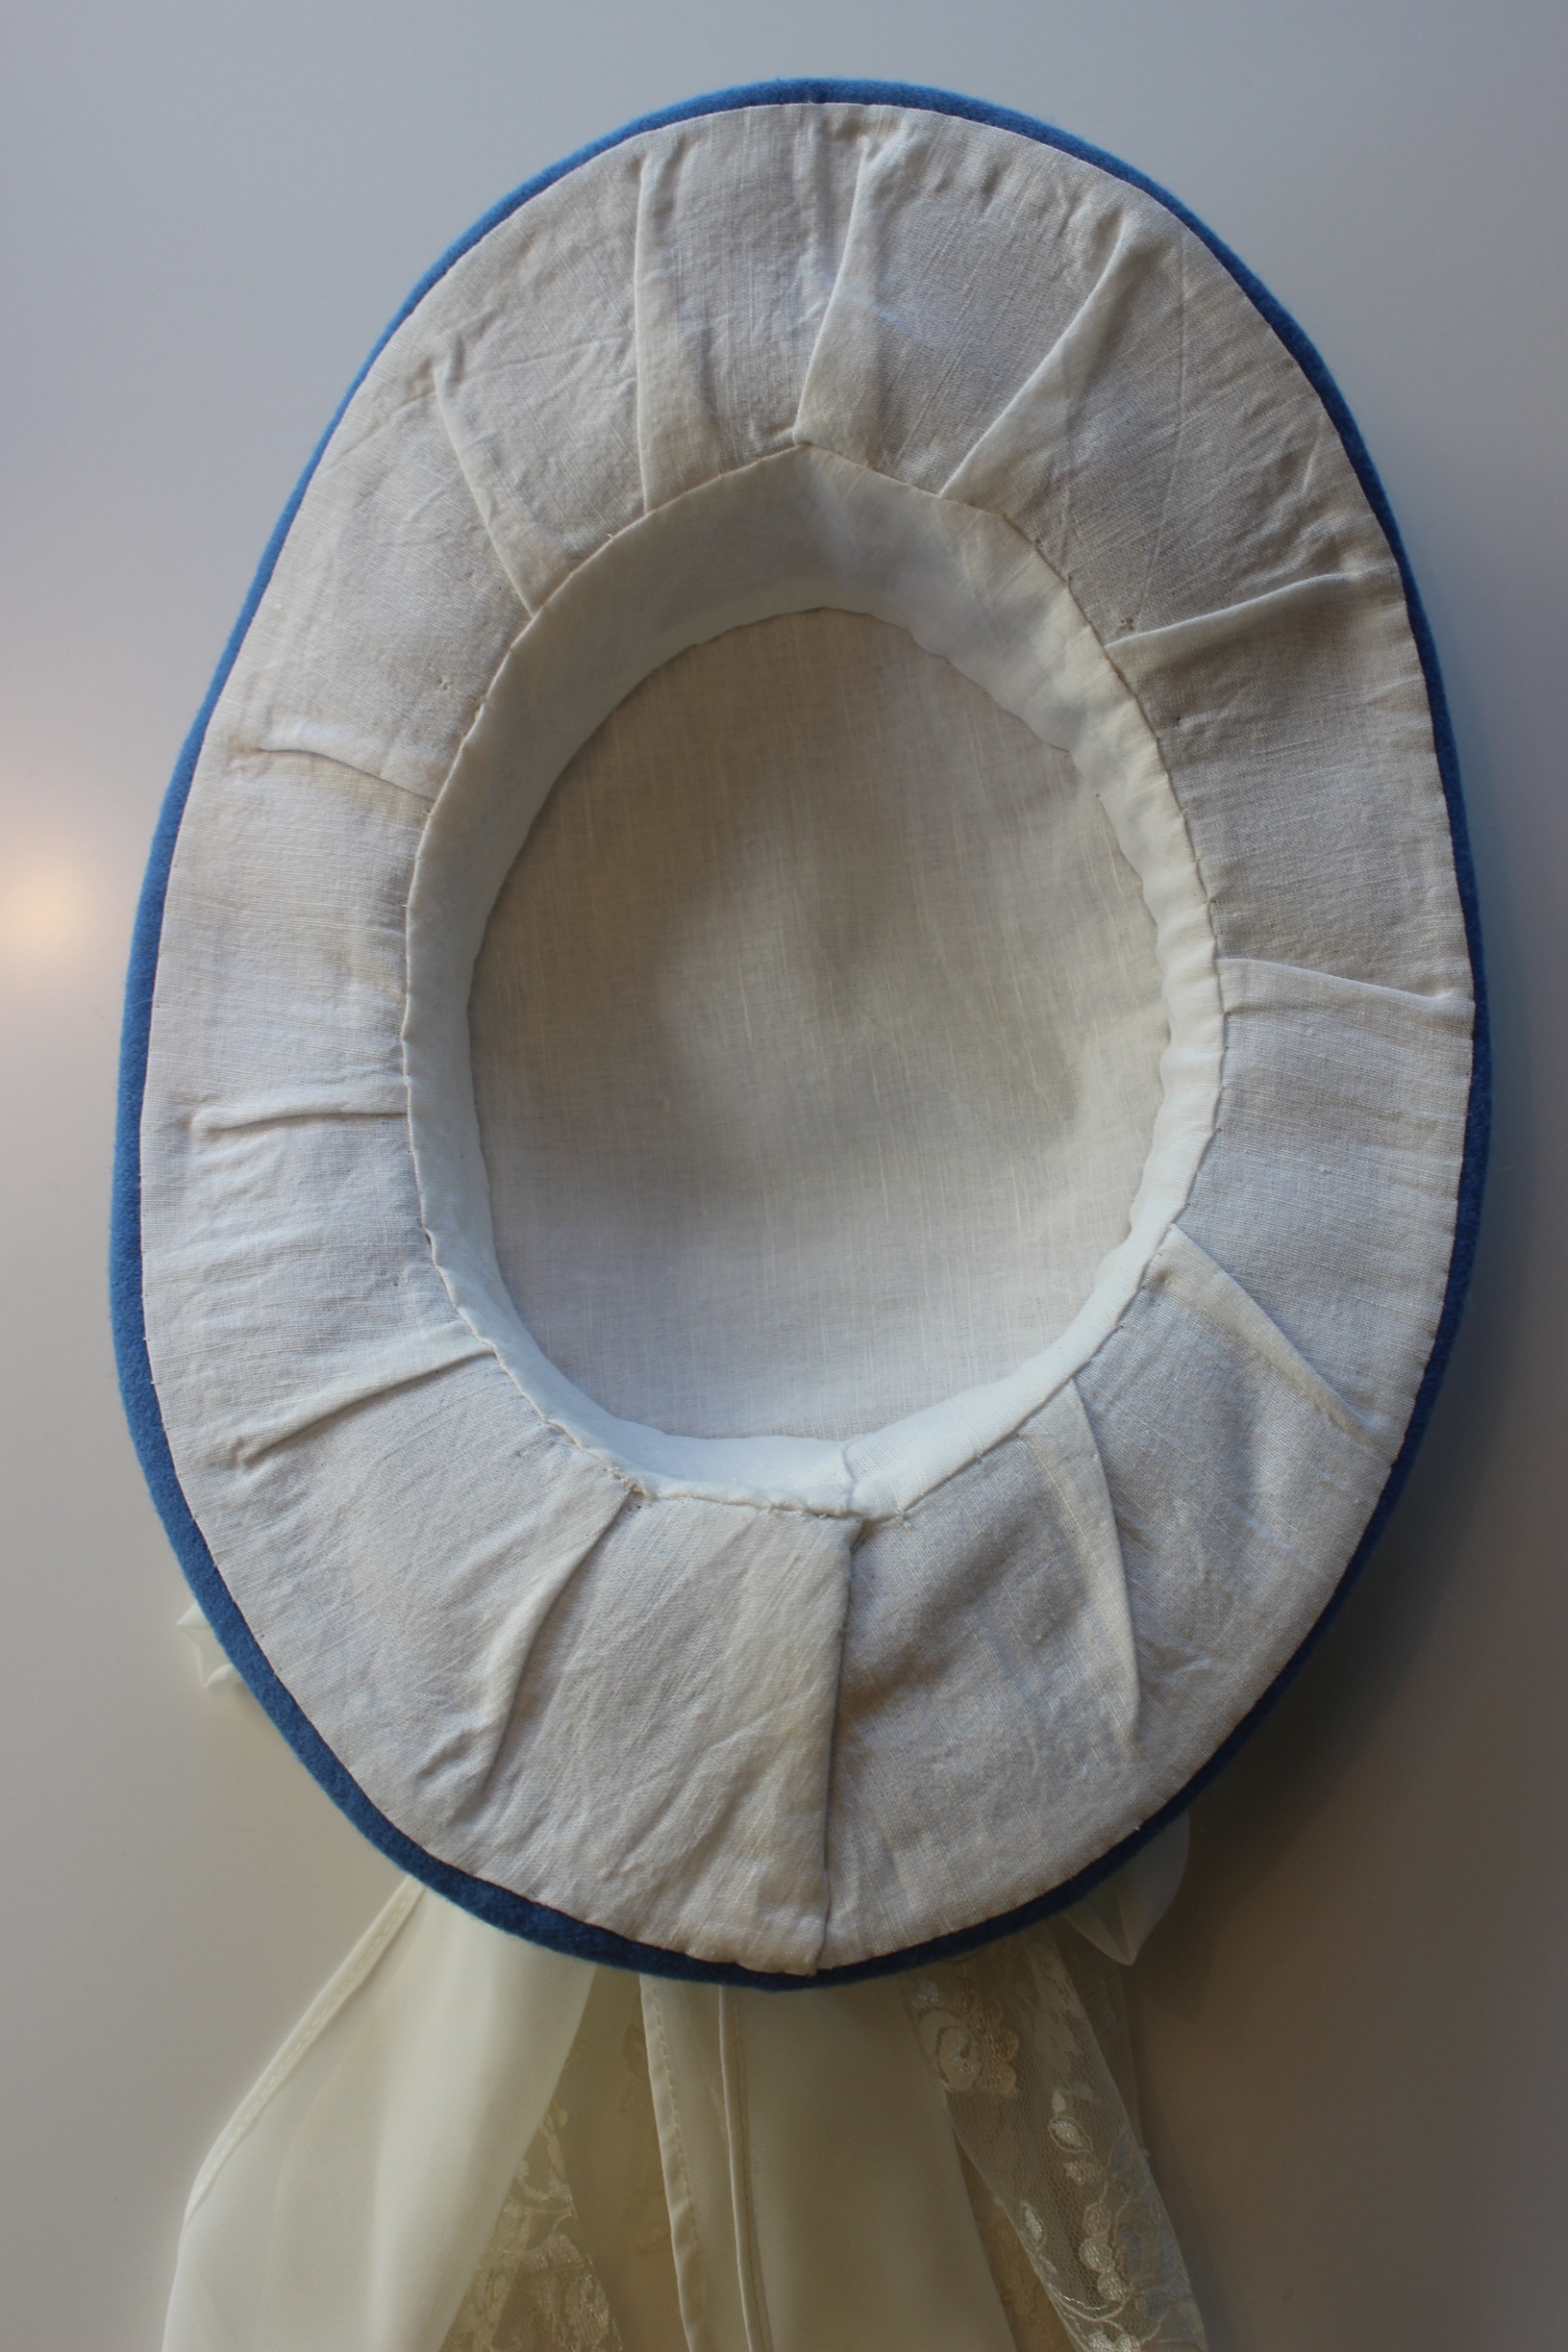
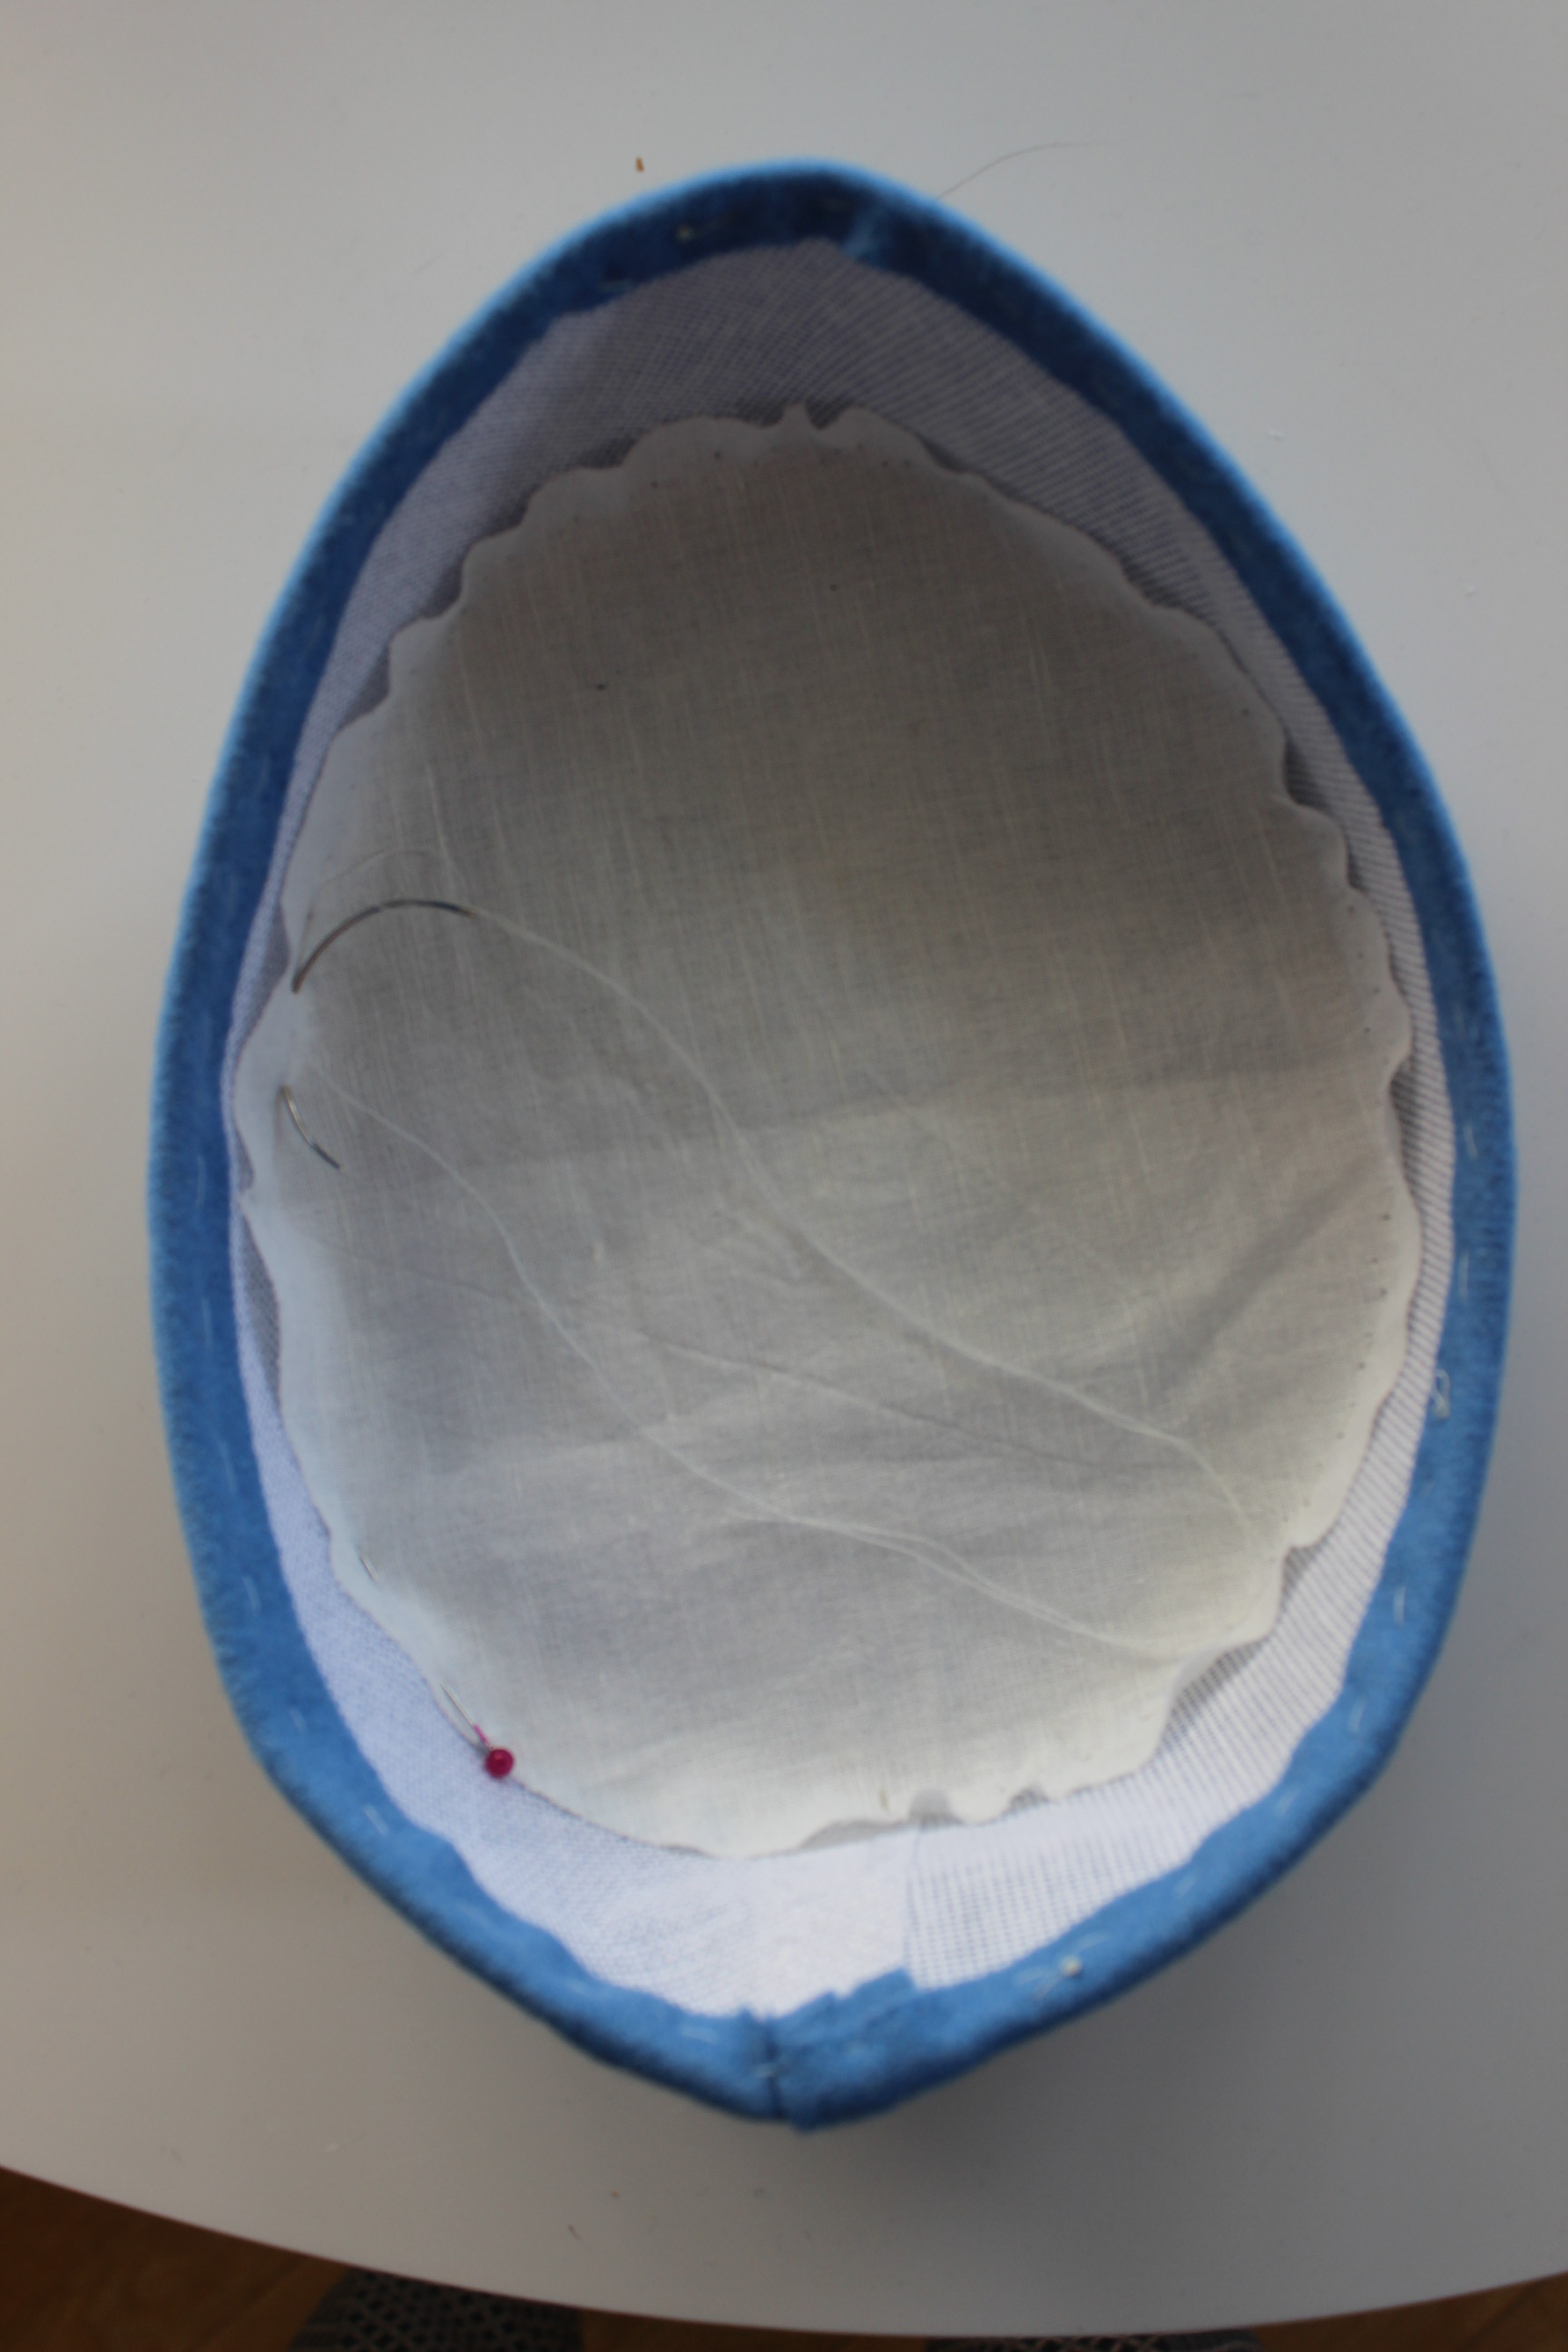
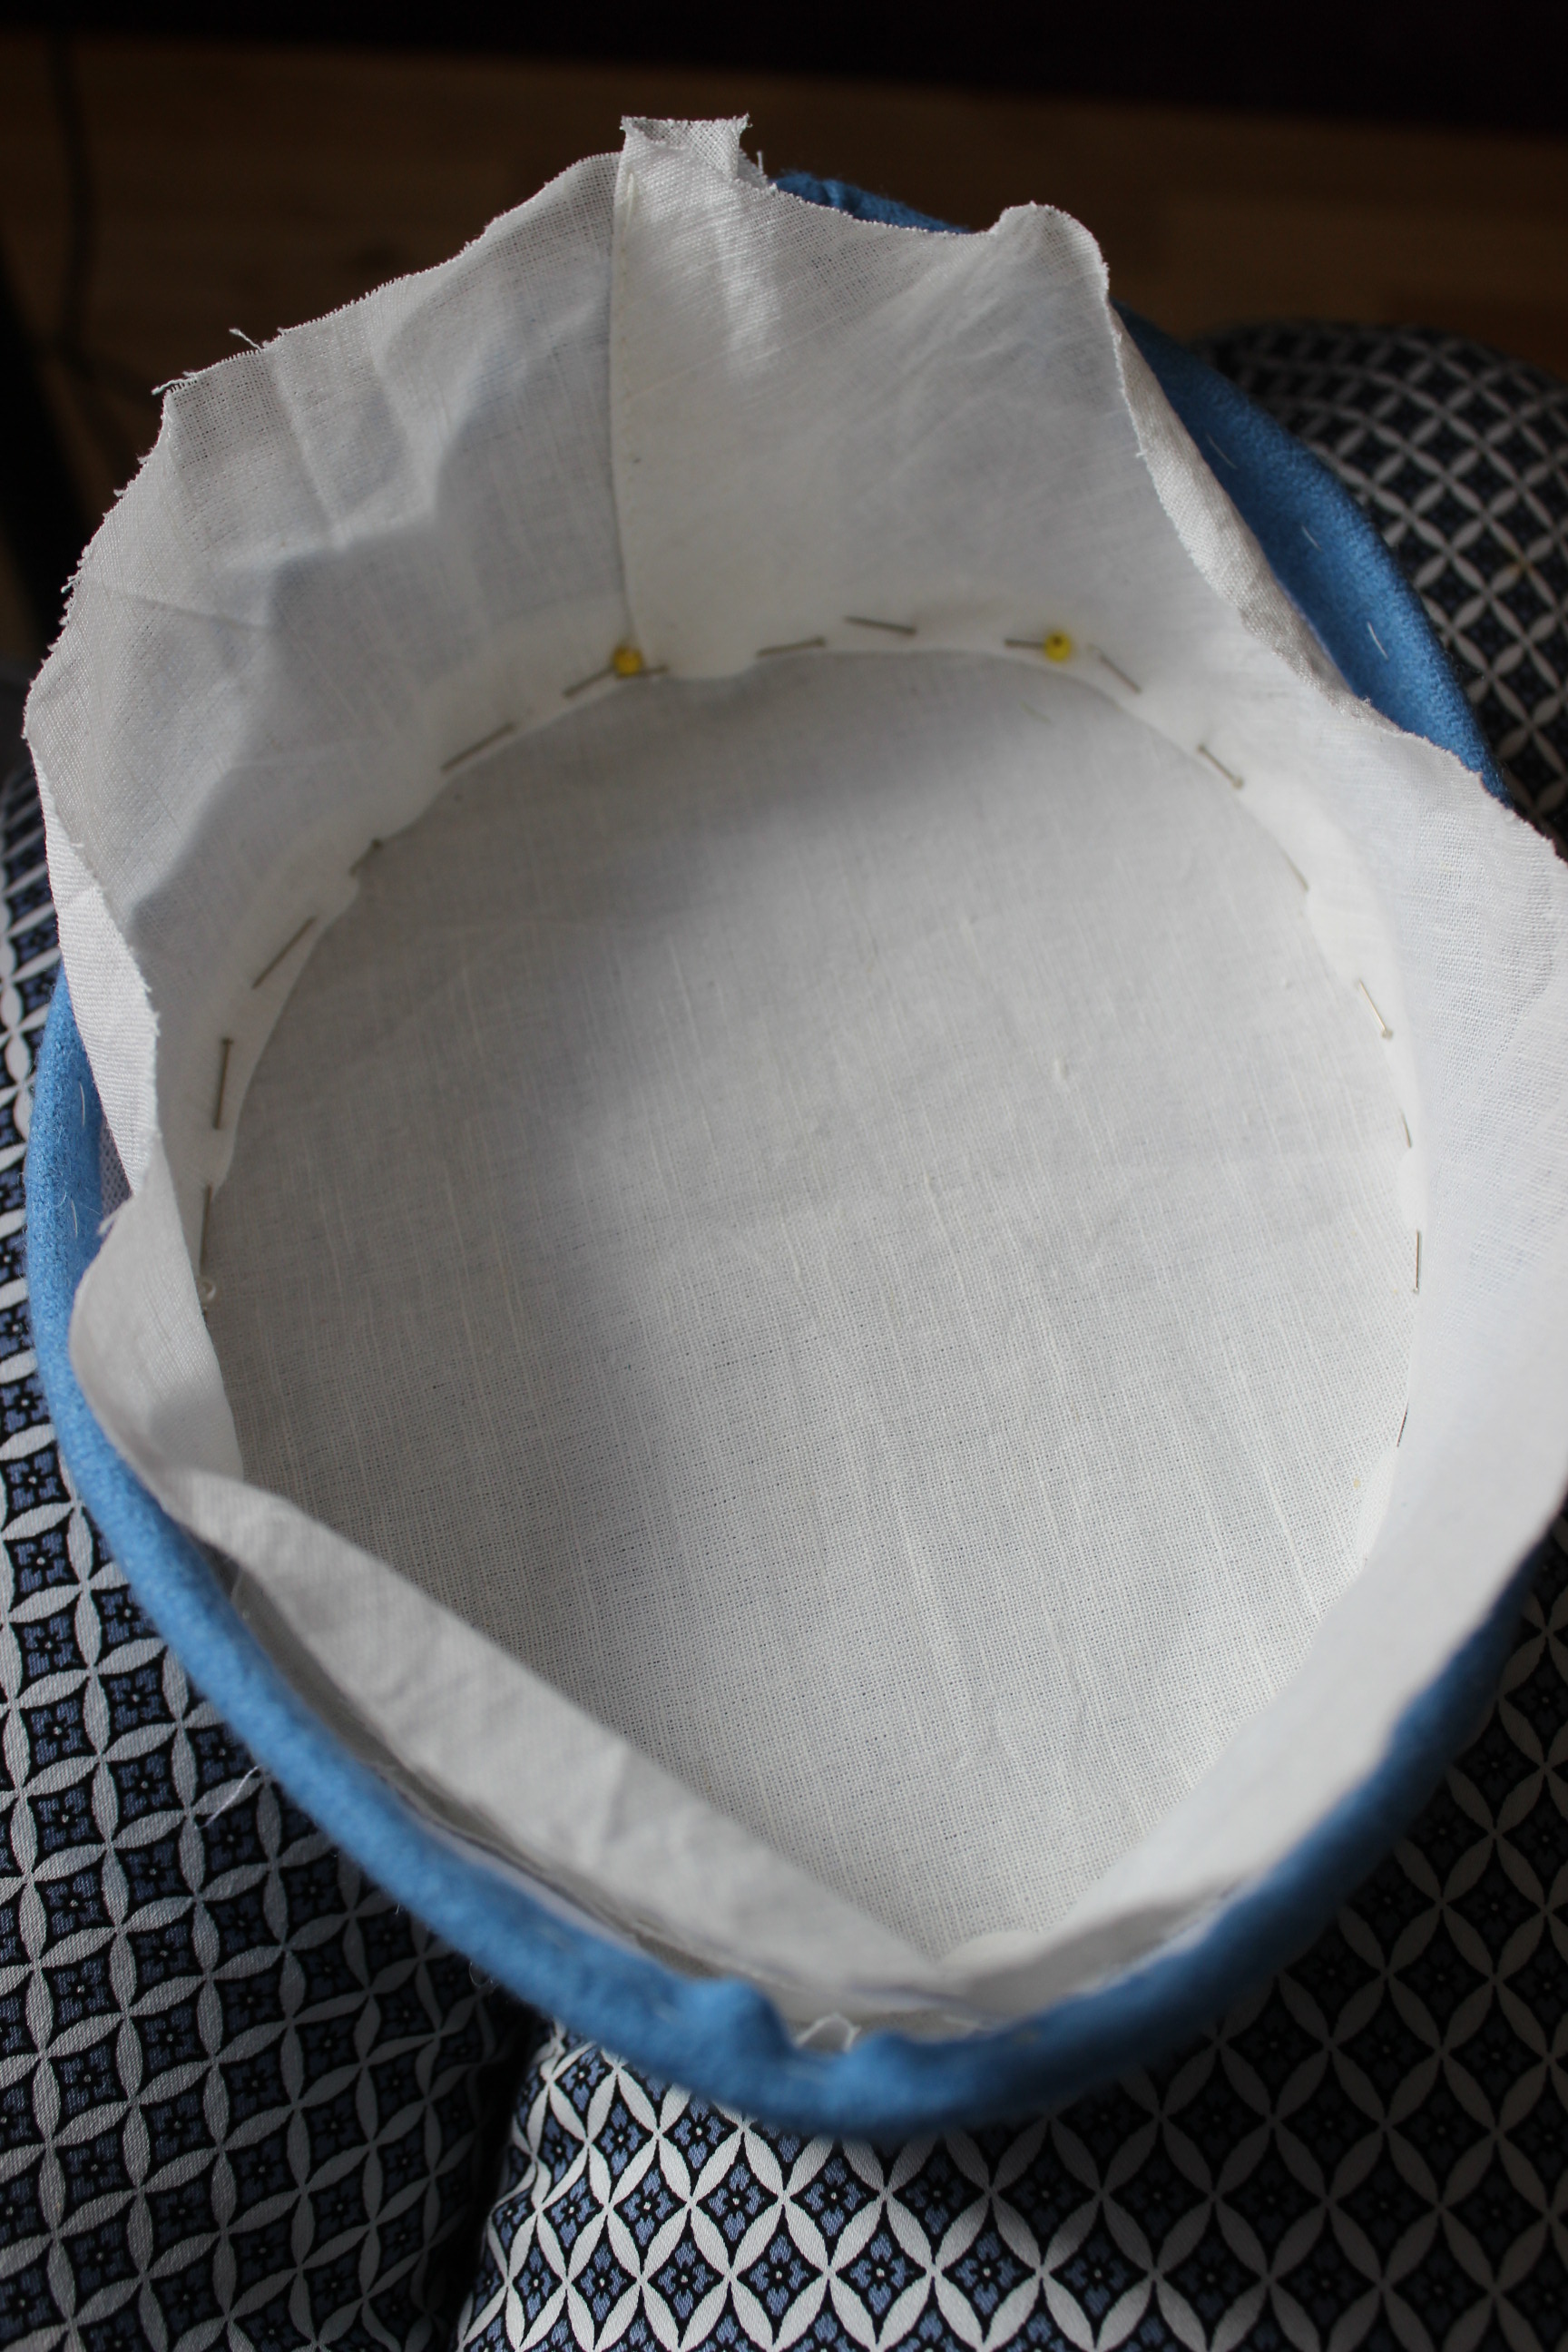
 Cutting the wool.
 left to right: Buckram, bathing, blue wool, pattern piece and linen lining.


 ..But decided not to since it looked so stupid, and I doubt my sister would want to wear it like that.