1850s Plaid Summer Dress – Photoshoot

Since I didn’t finish the dress until the night before the event, me and my sister took a few minutes away from the others to document my dress at the day itself.

I’m wearing: My new Plaid 1850s Summer dress (part 1, 2 & 3), green silk Bonnet (part 1 & 2), my cage Crinoline, 1880s corset together with chemise, petticoats, bloomers, stockings, lace up boots and a clock on a chain at the belt.

IMG_7059_zps7xuqzpts

IMG_7061_zpspsd9qqos

IMG_7063_zpsdbbnznr1

IMG_7065_zpsuo7lrzd2

IMG_7066_zpsmtps67jf

IMG_7067_zpsaxuvux0u

IMG_7069_zps67kl95h4

IMG_7086_zpsh3pbcy38Photo: Maria Petersson

1850s Summer dress (part 3 – Bodice/finished)

Before I could continue on my 1850s dress bodice, I needed to decide on weather or not to do the gathers (part 1 & 2).

To help decide I posted the question n my facebook wall, and in my historic sewing class, and the answer was unanimous – Do the gathers.

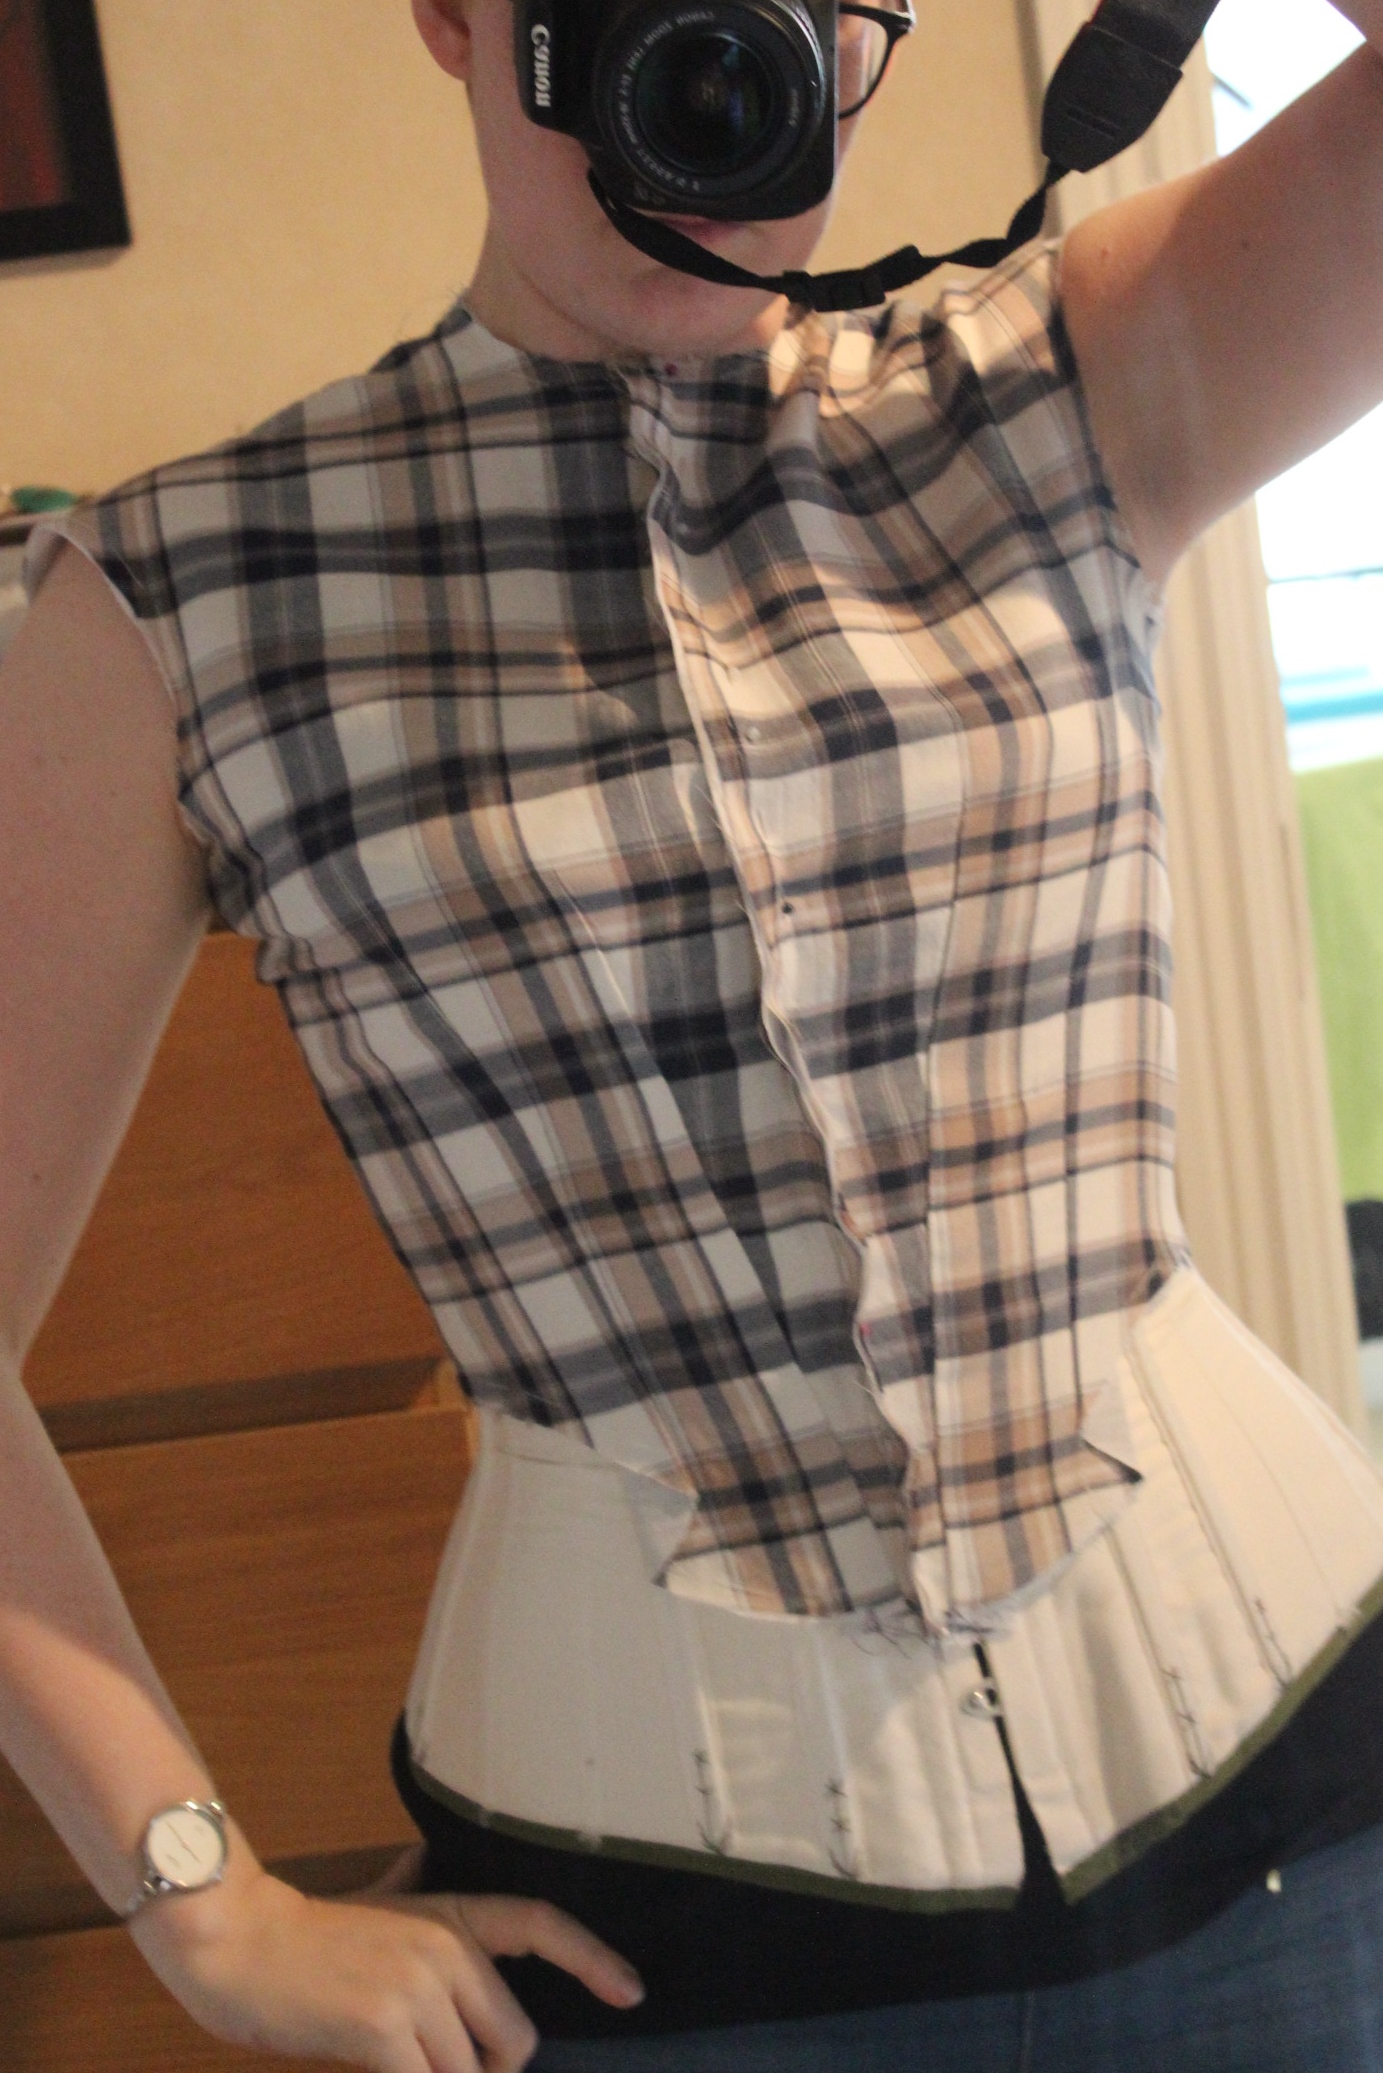
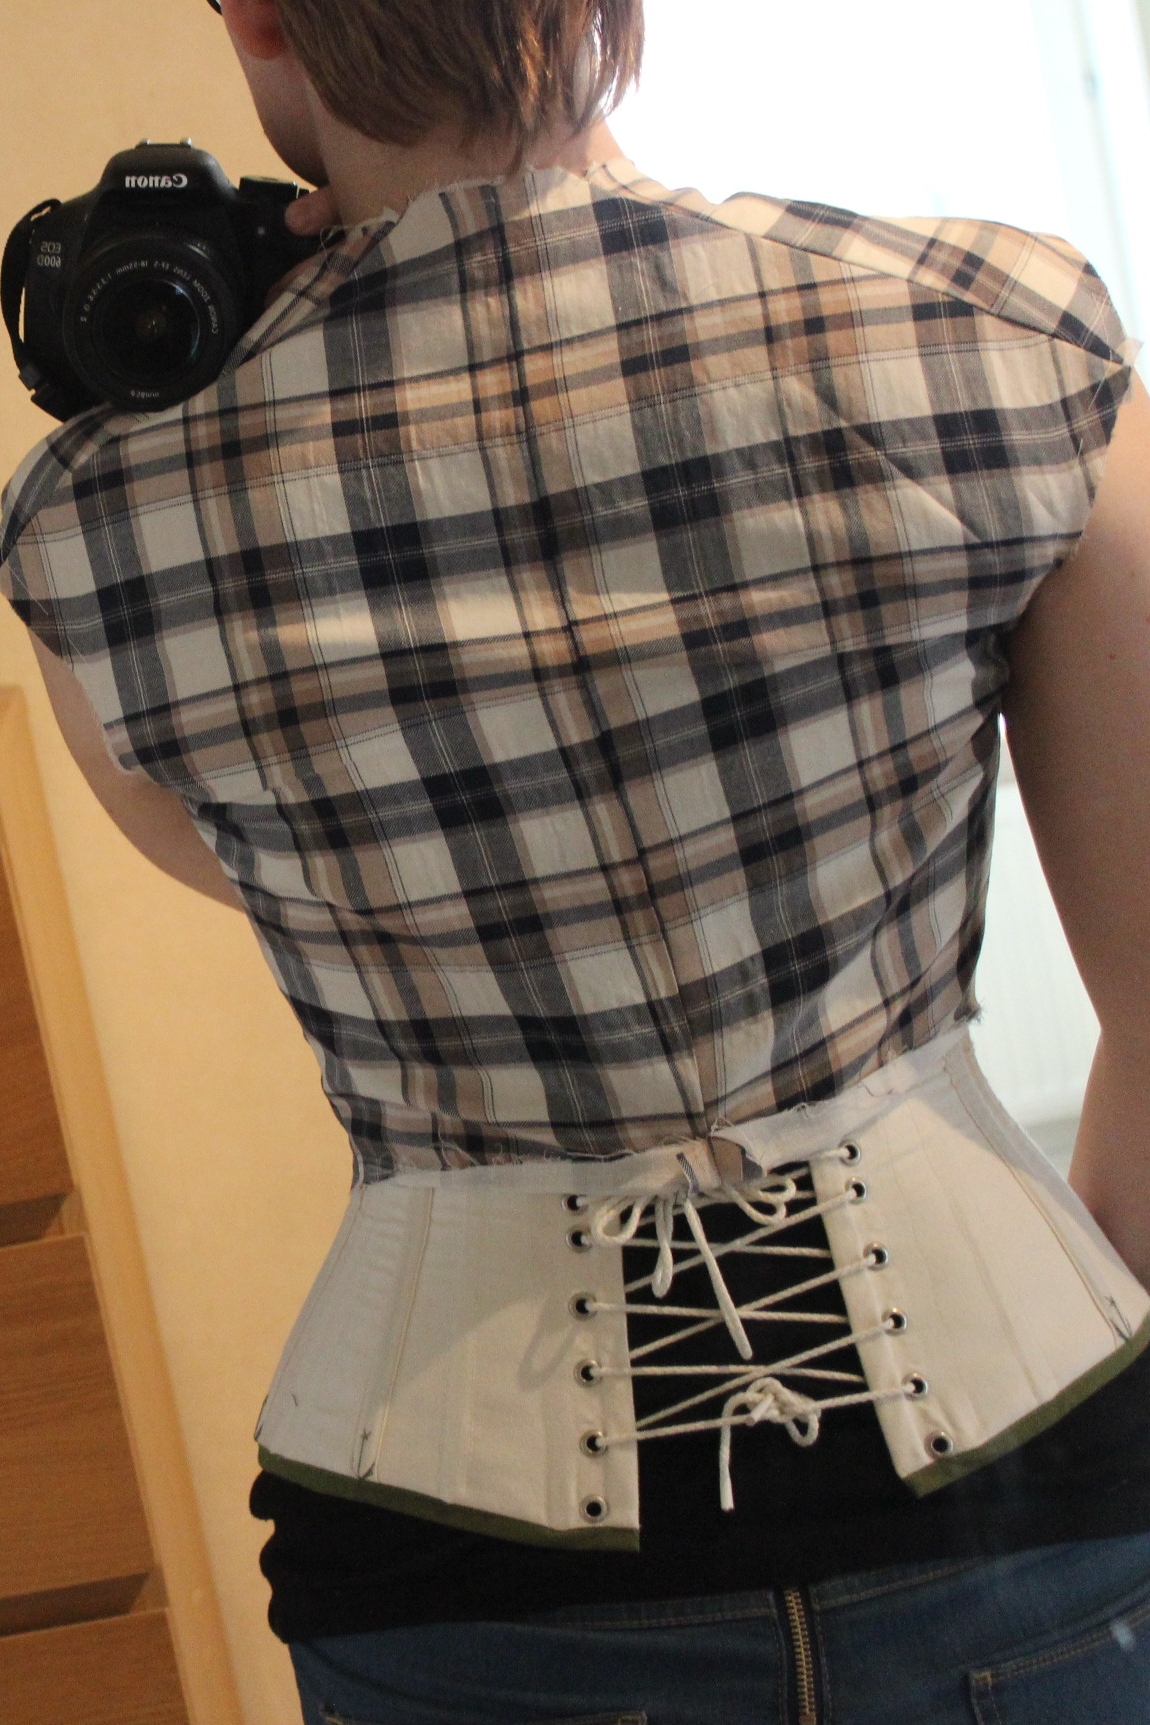
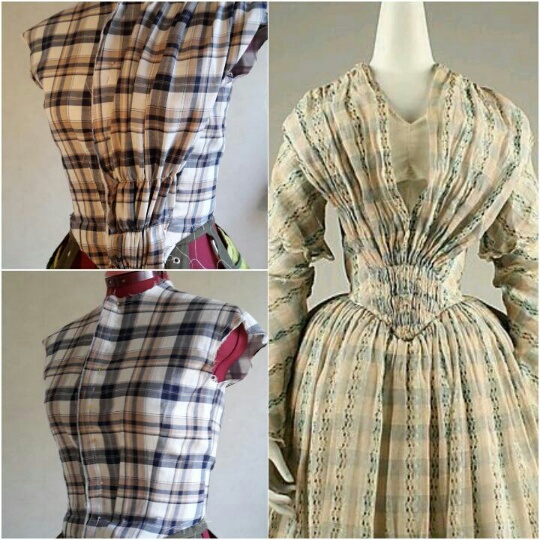
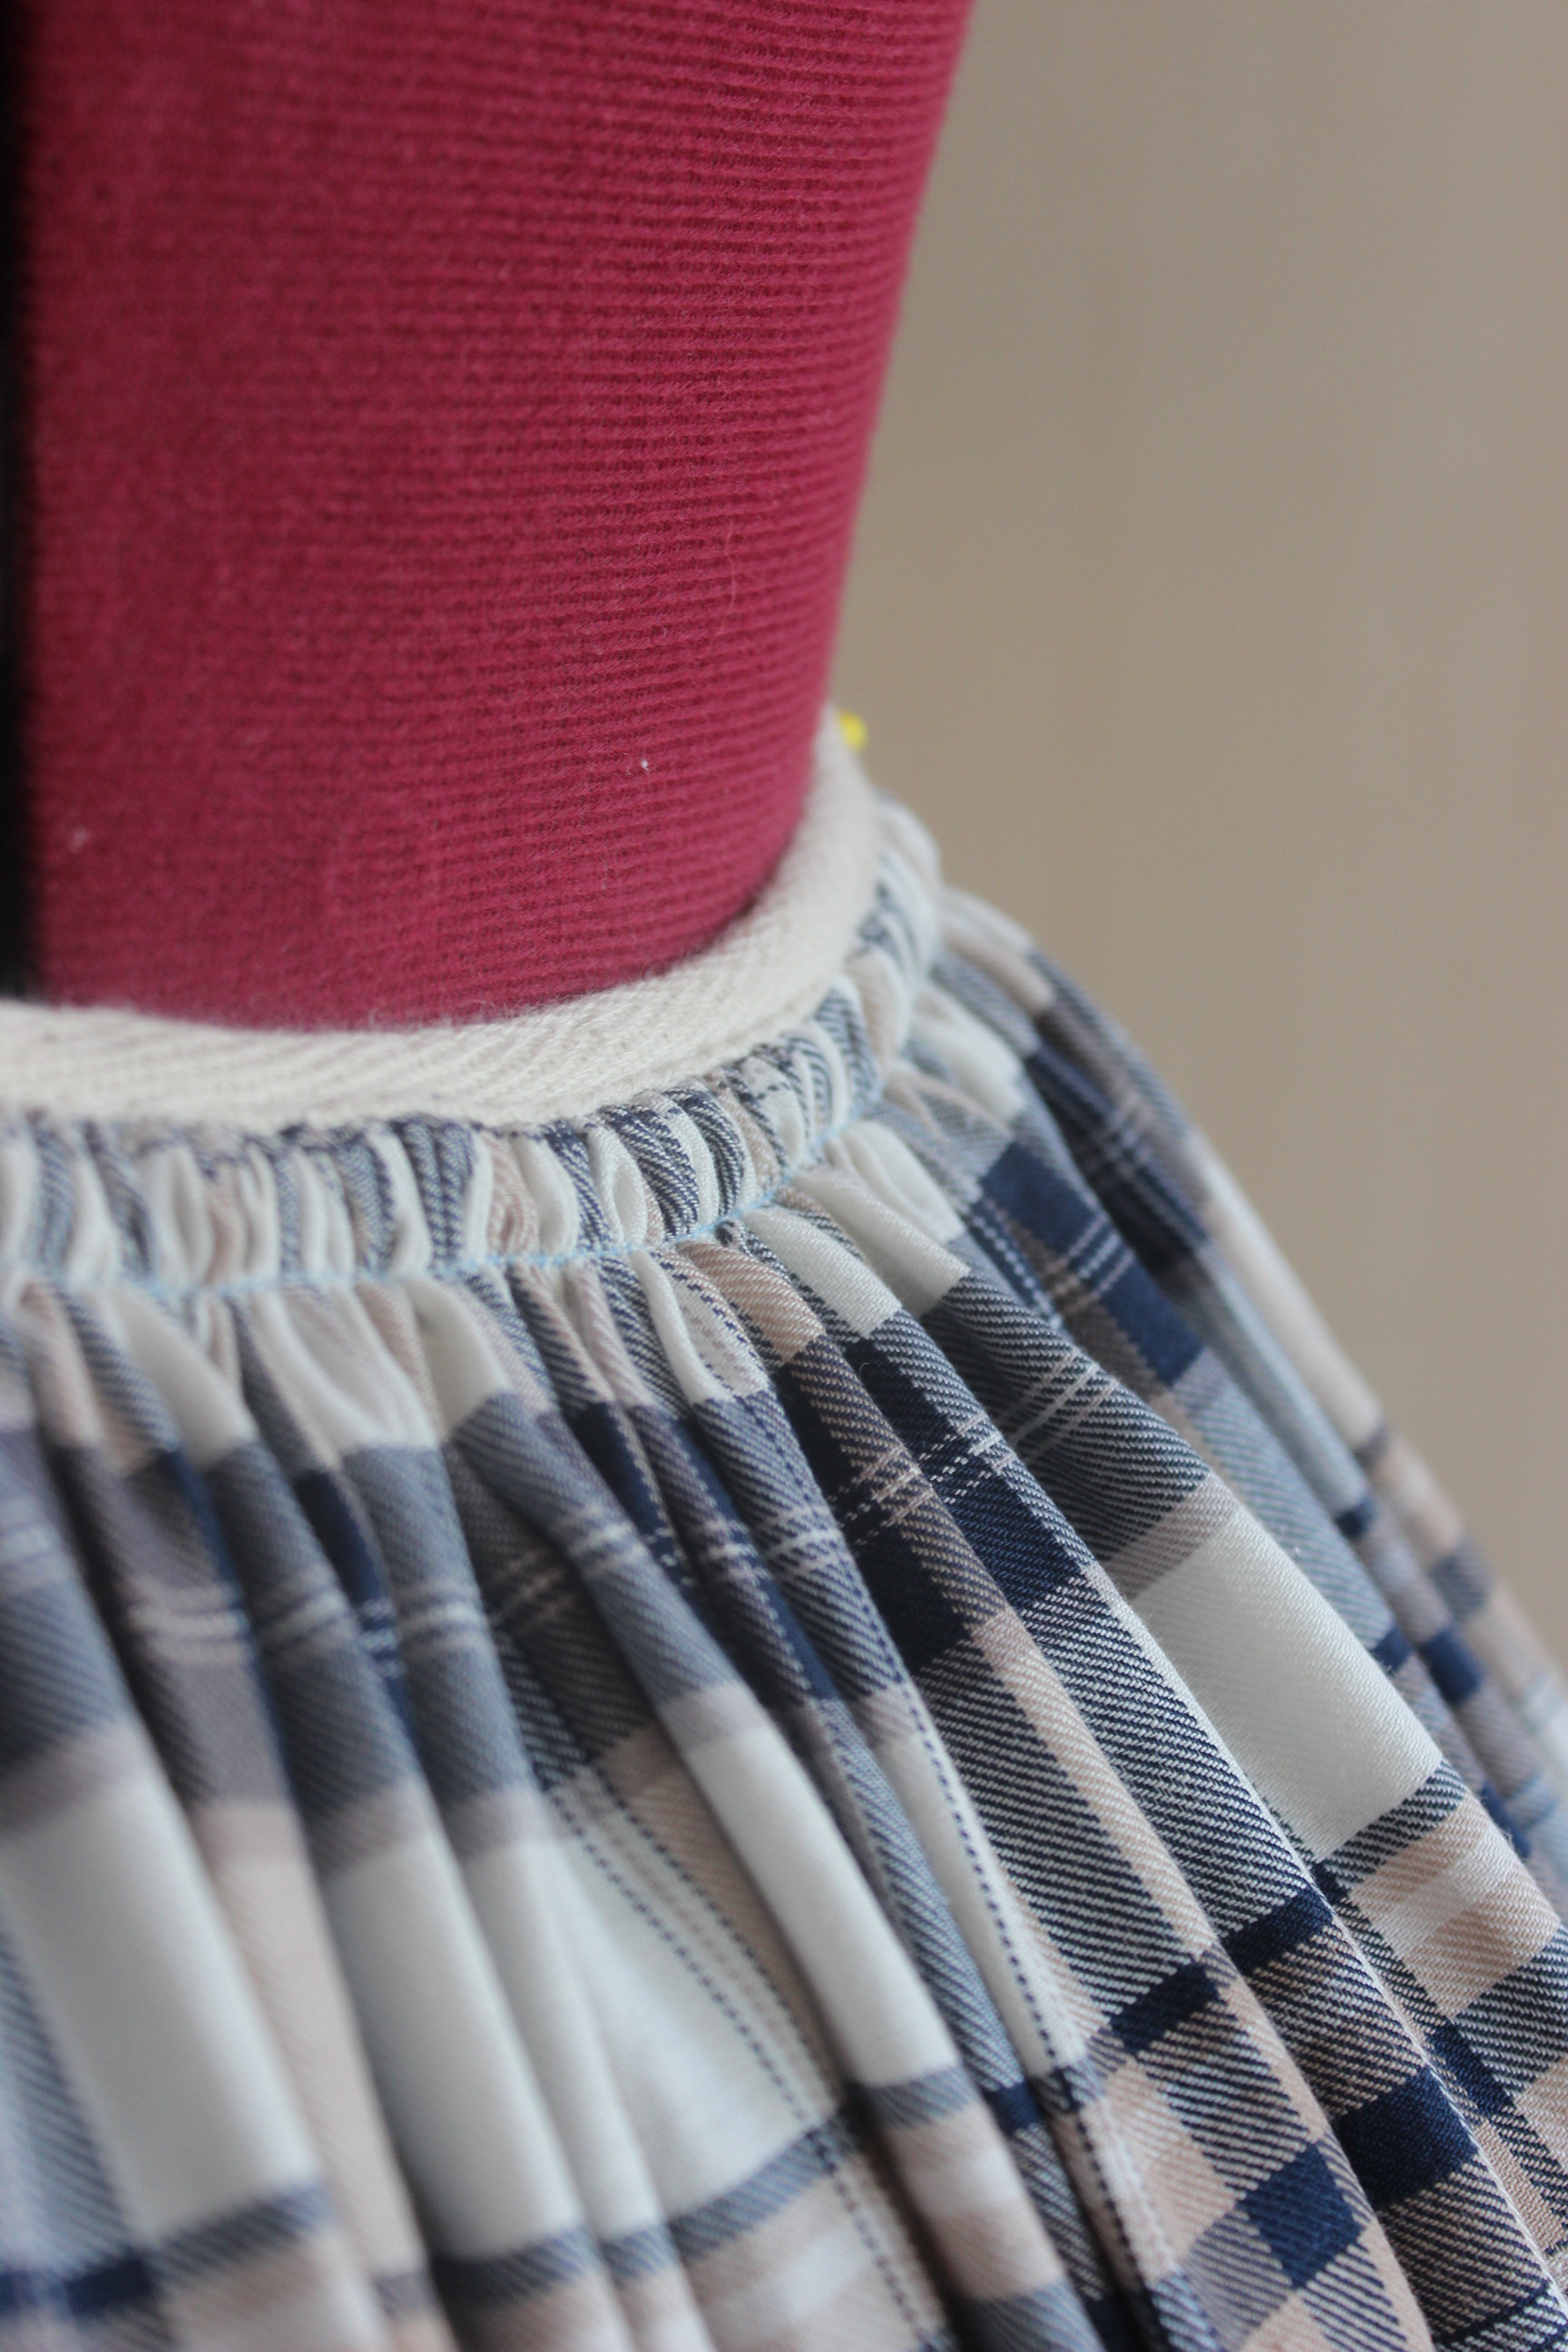
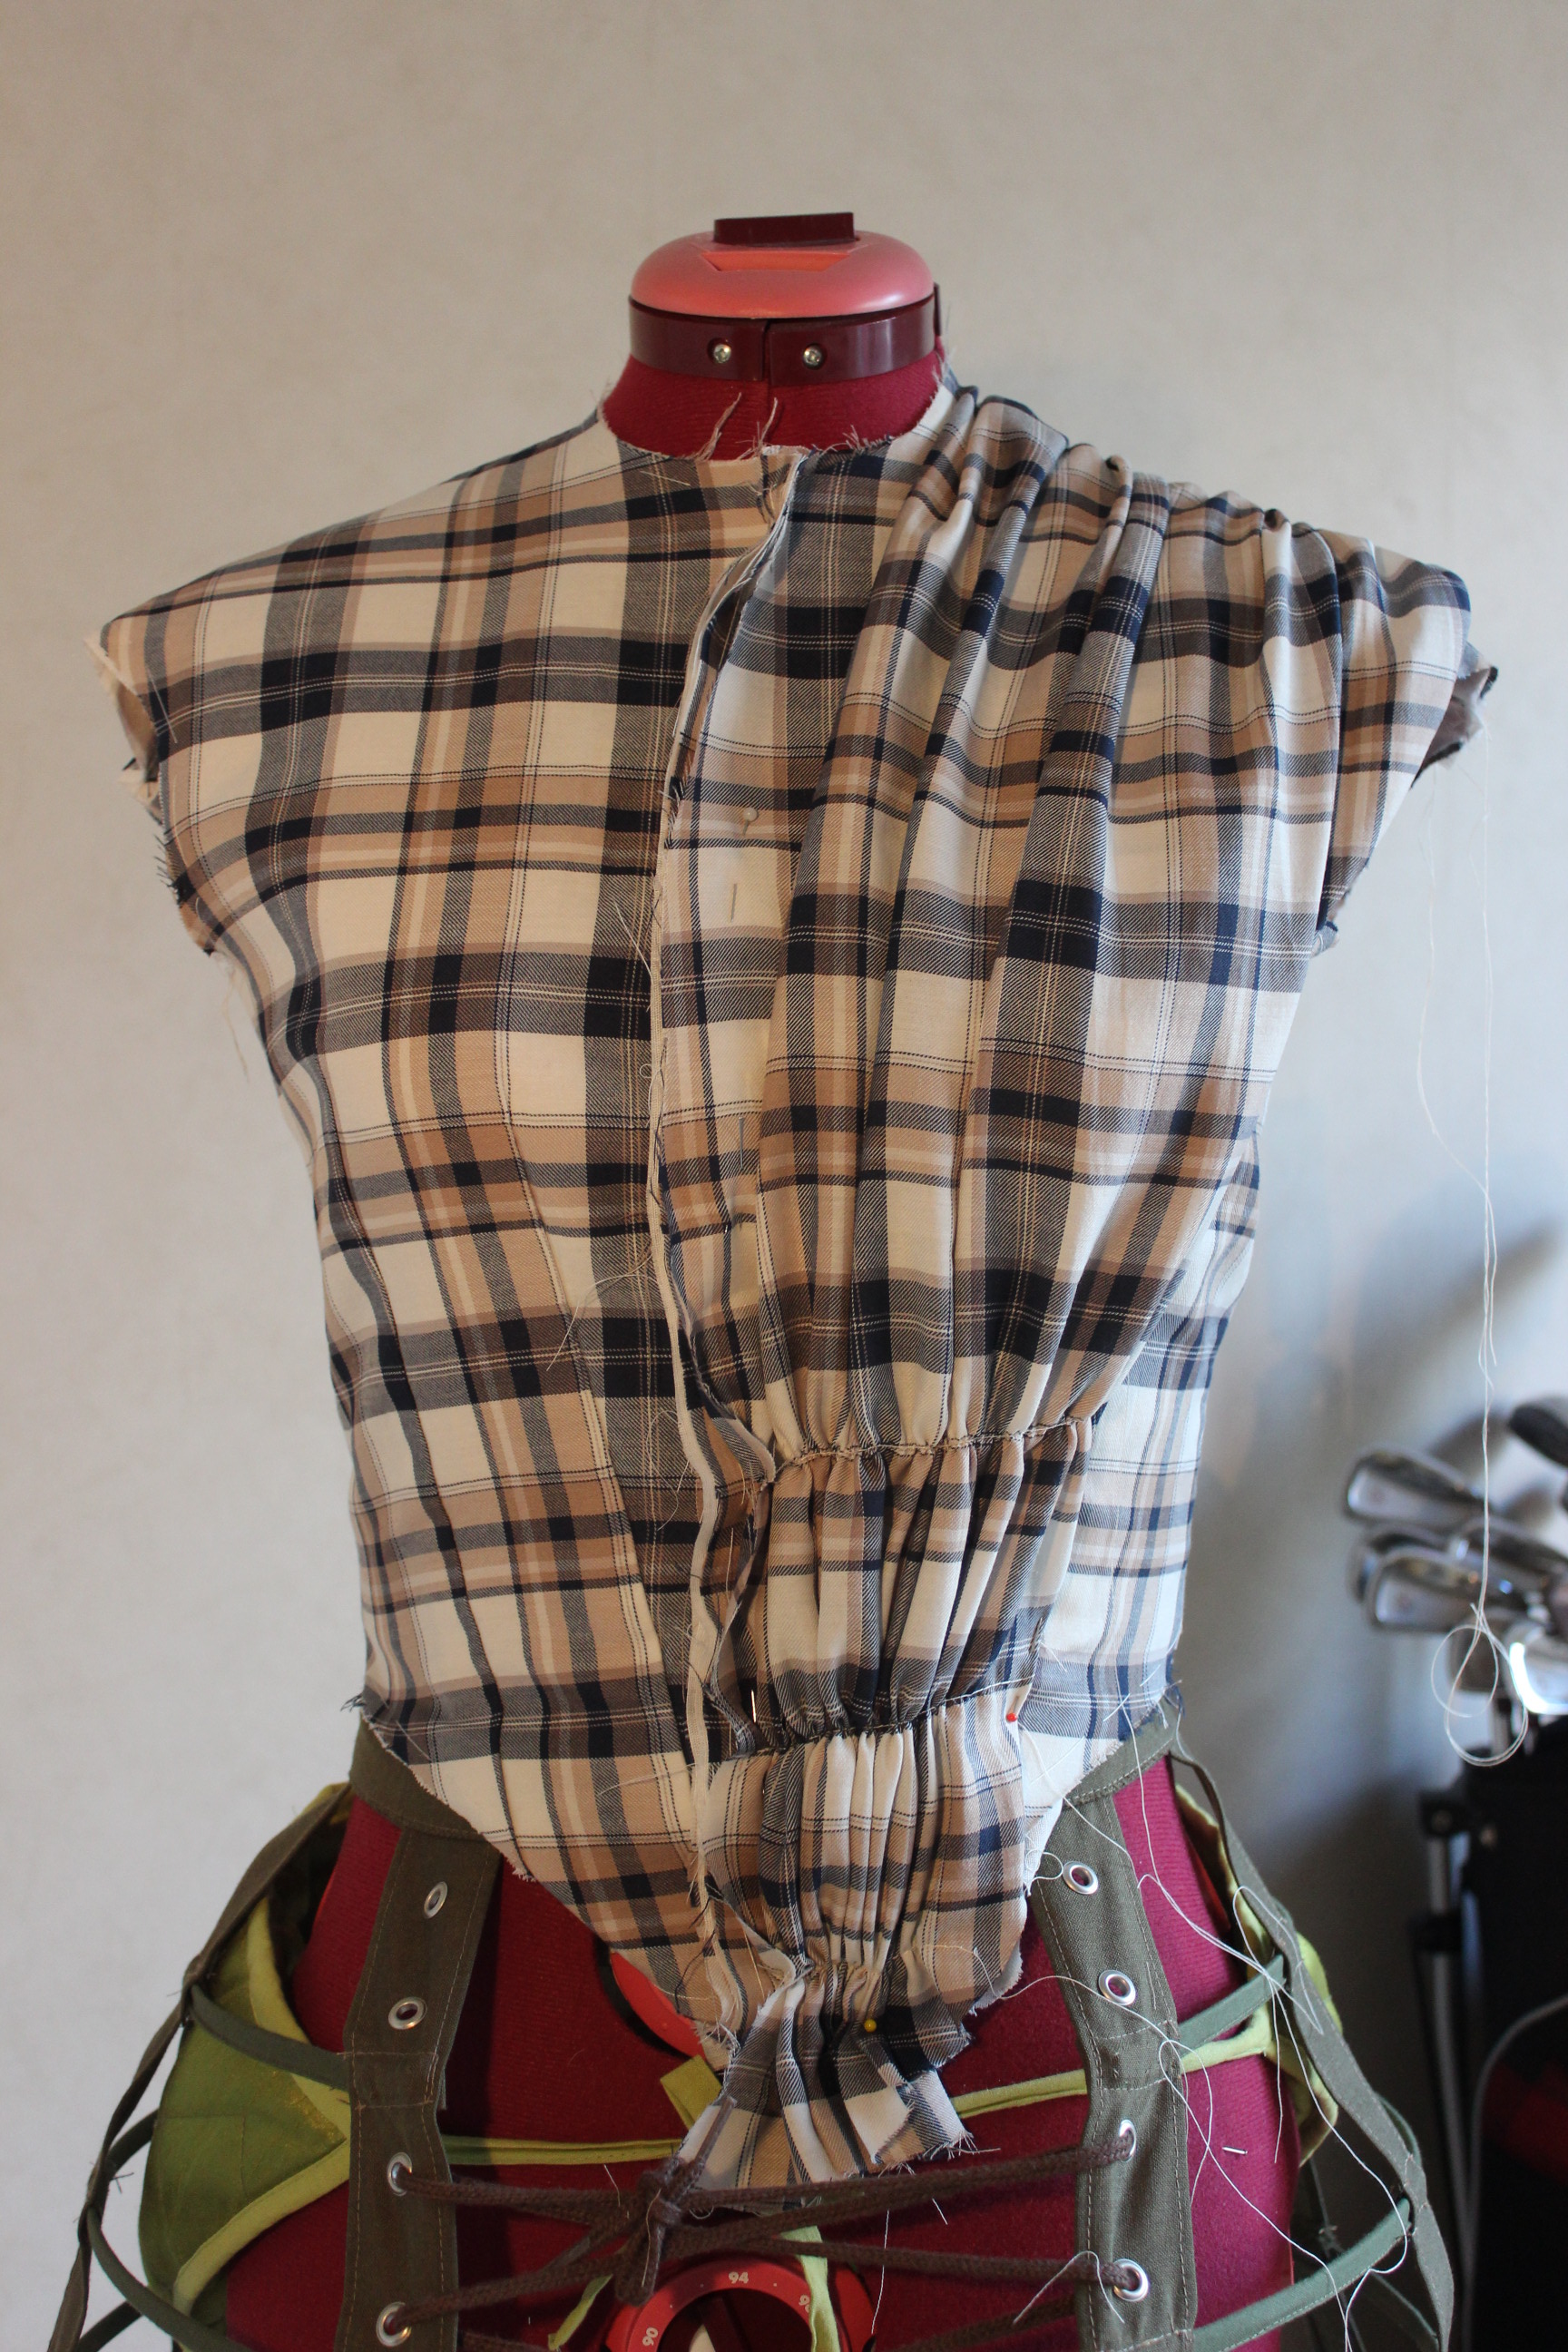
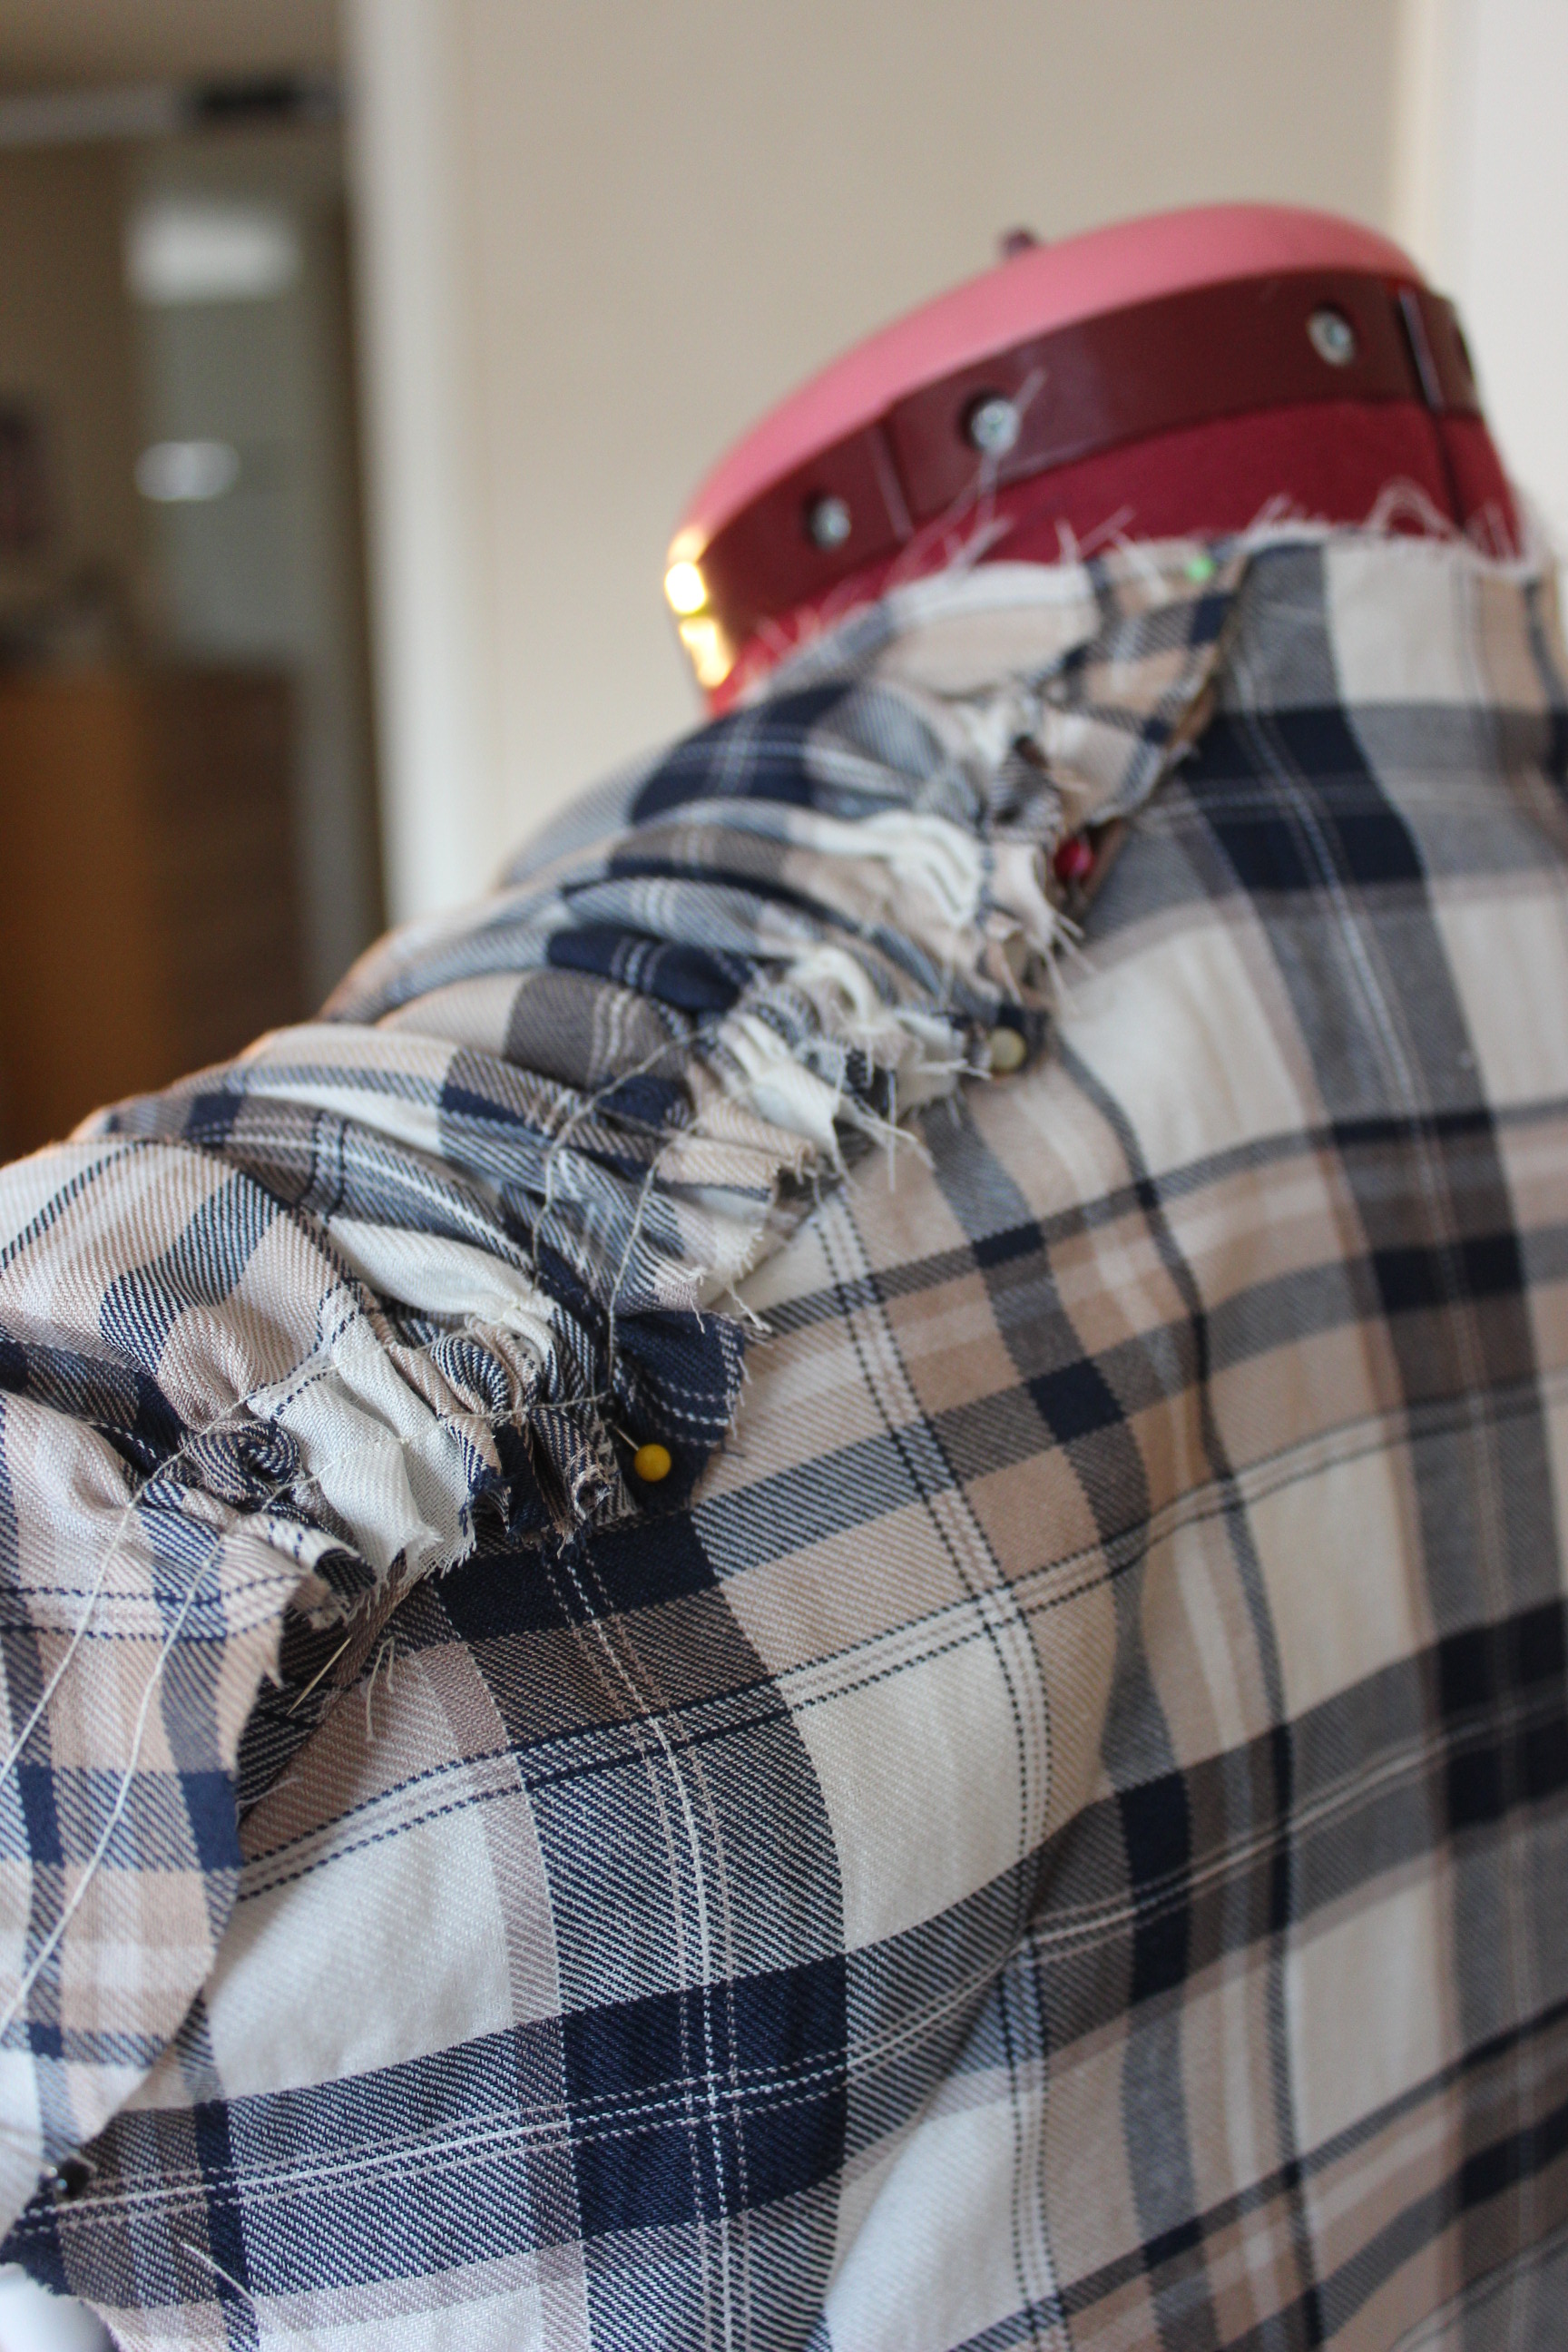
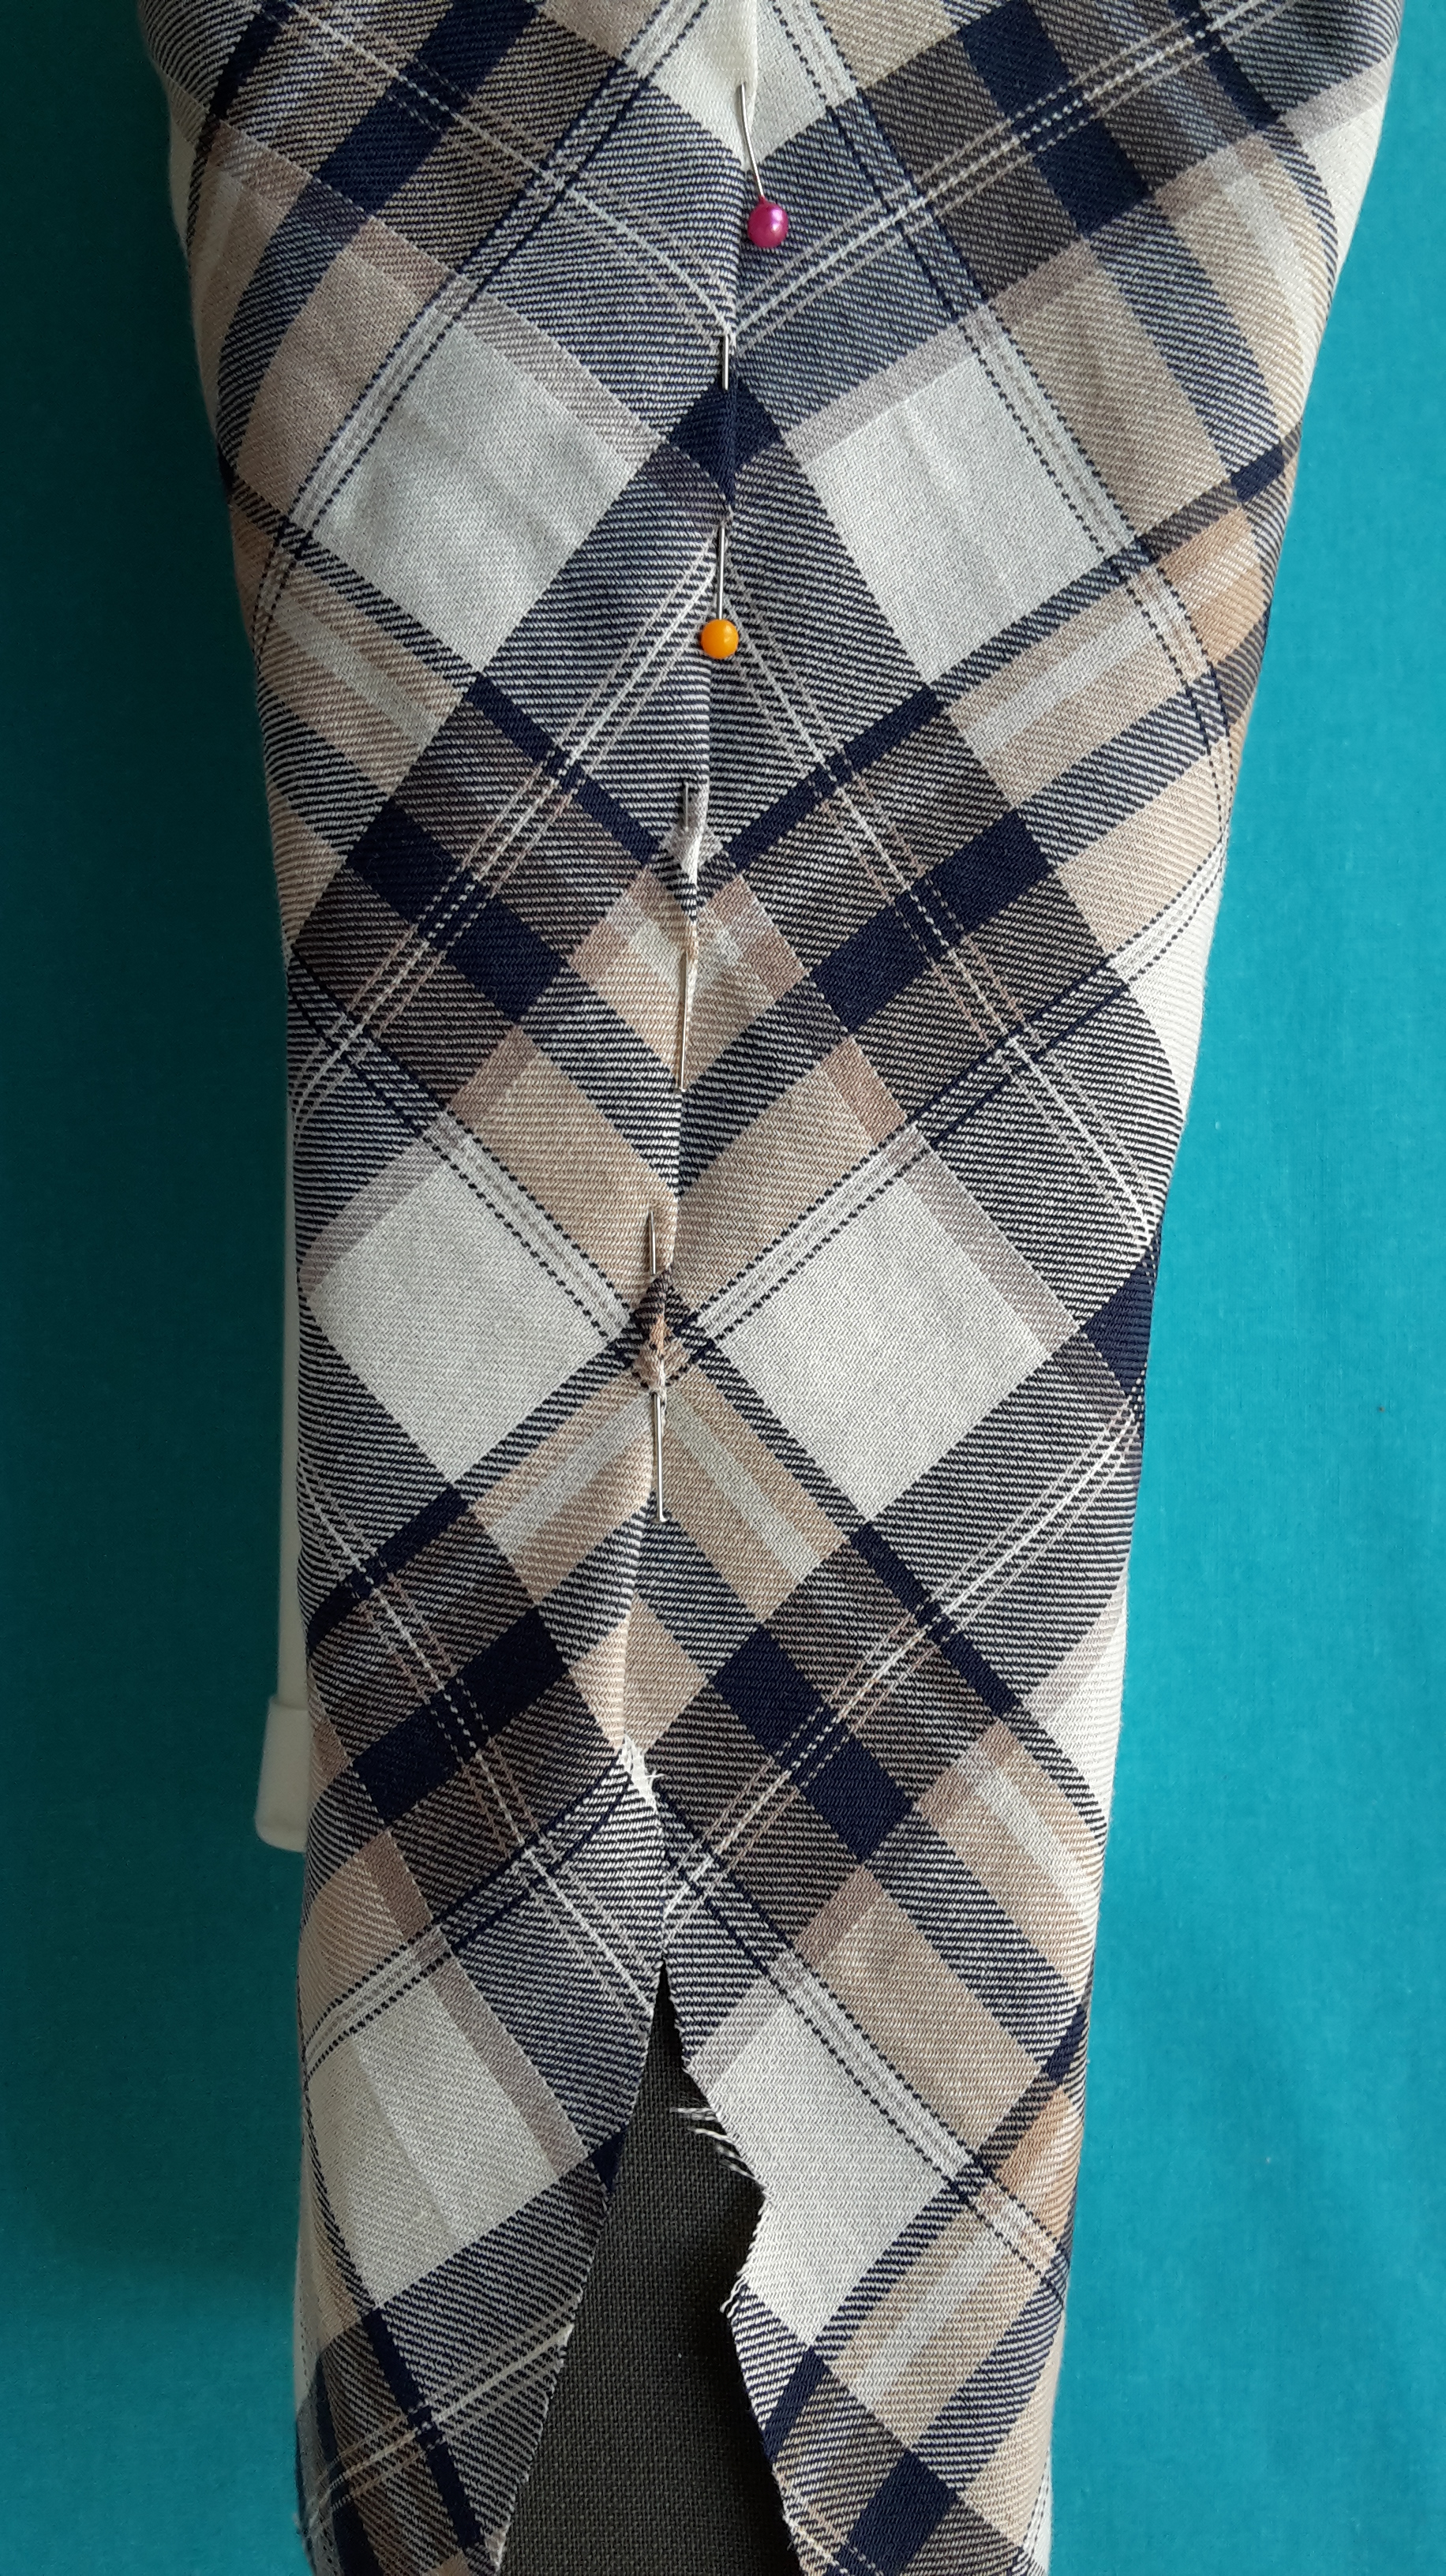
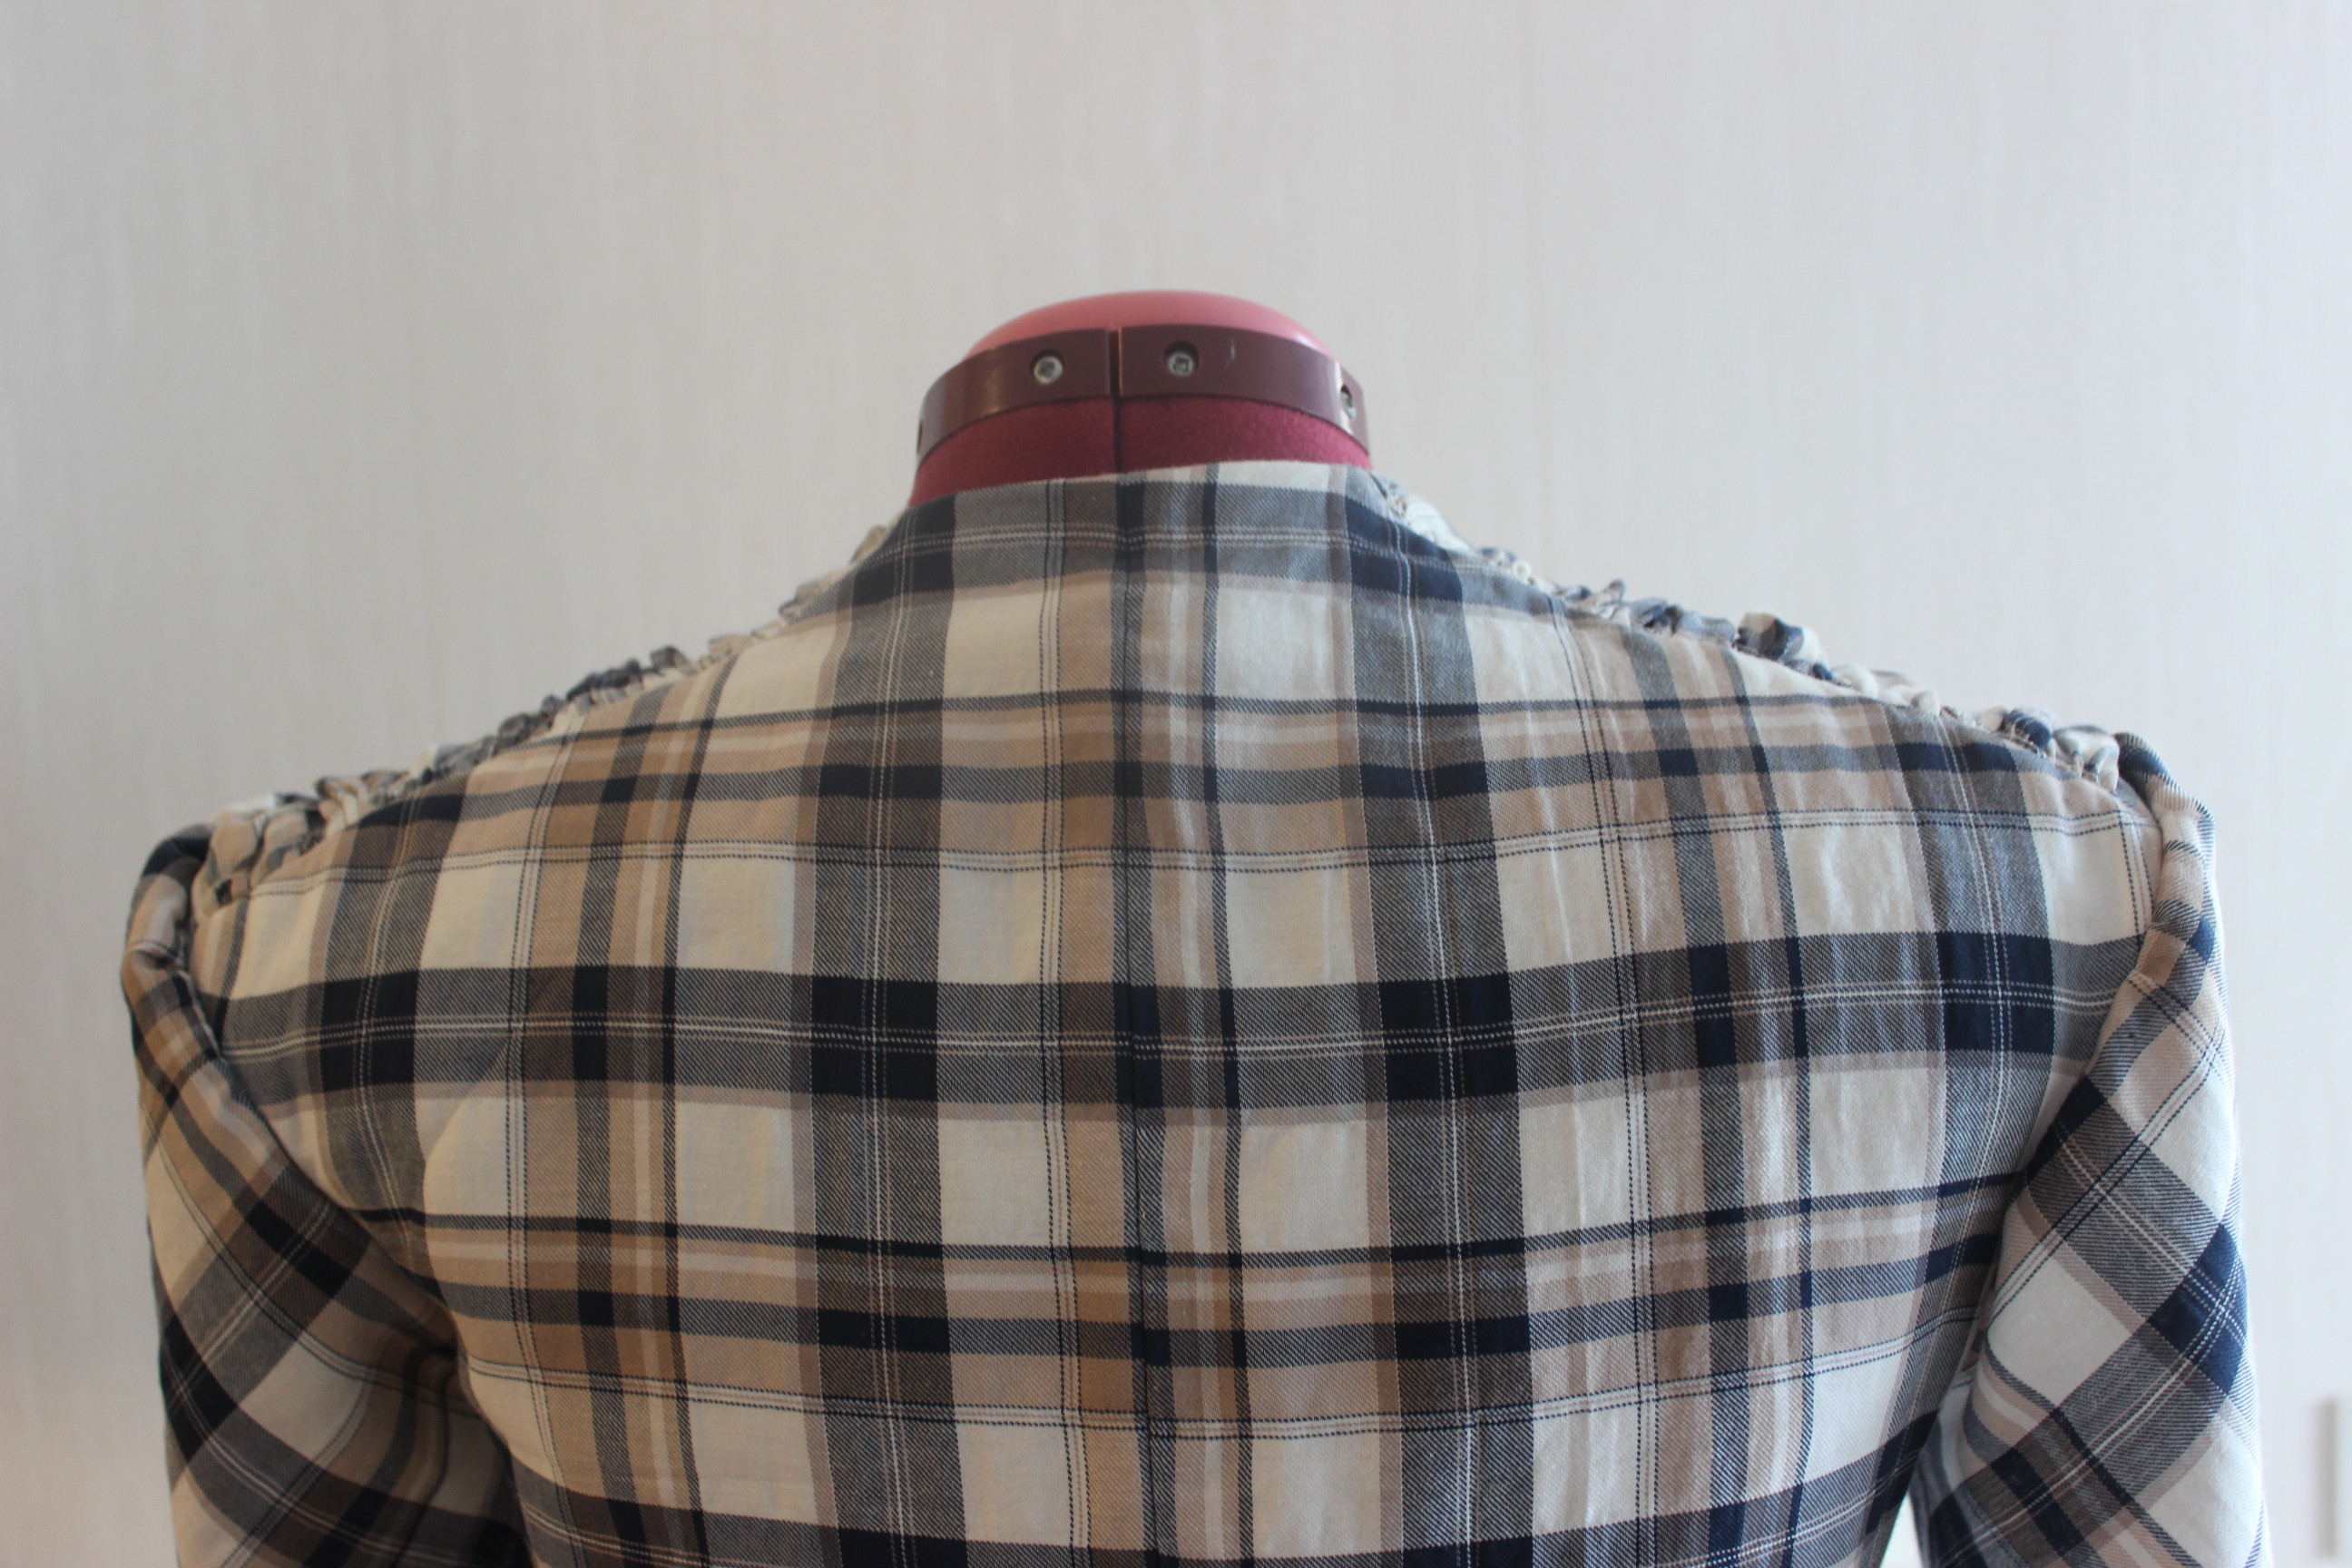
With no time to argue, I got to work, testing the draping on my dressform.
IMG_6686 IMG_6699
Using three gathering threads to test the draping on the dressform.

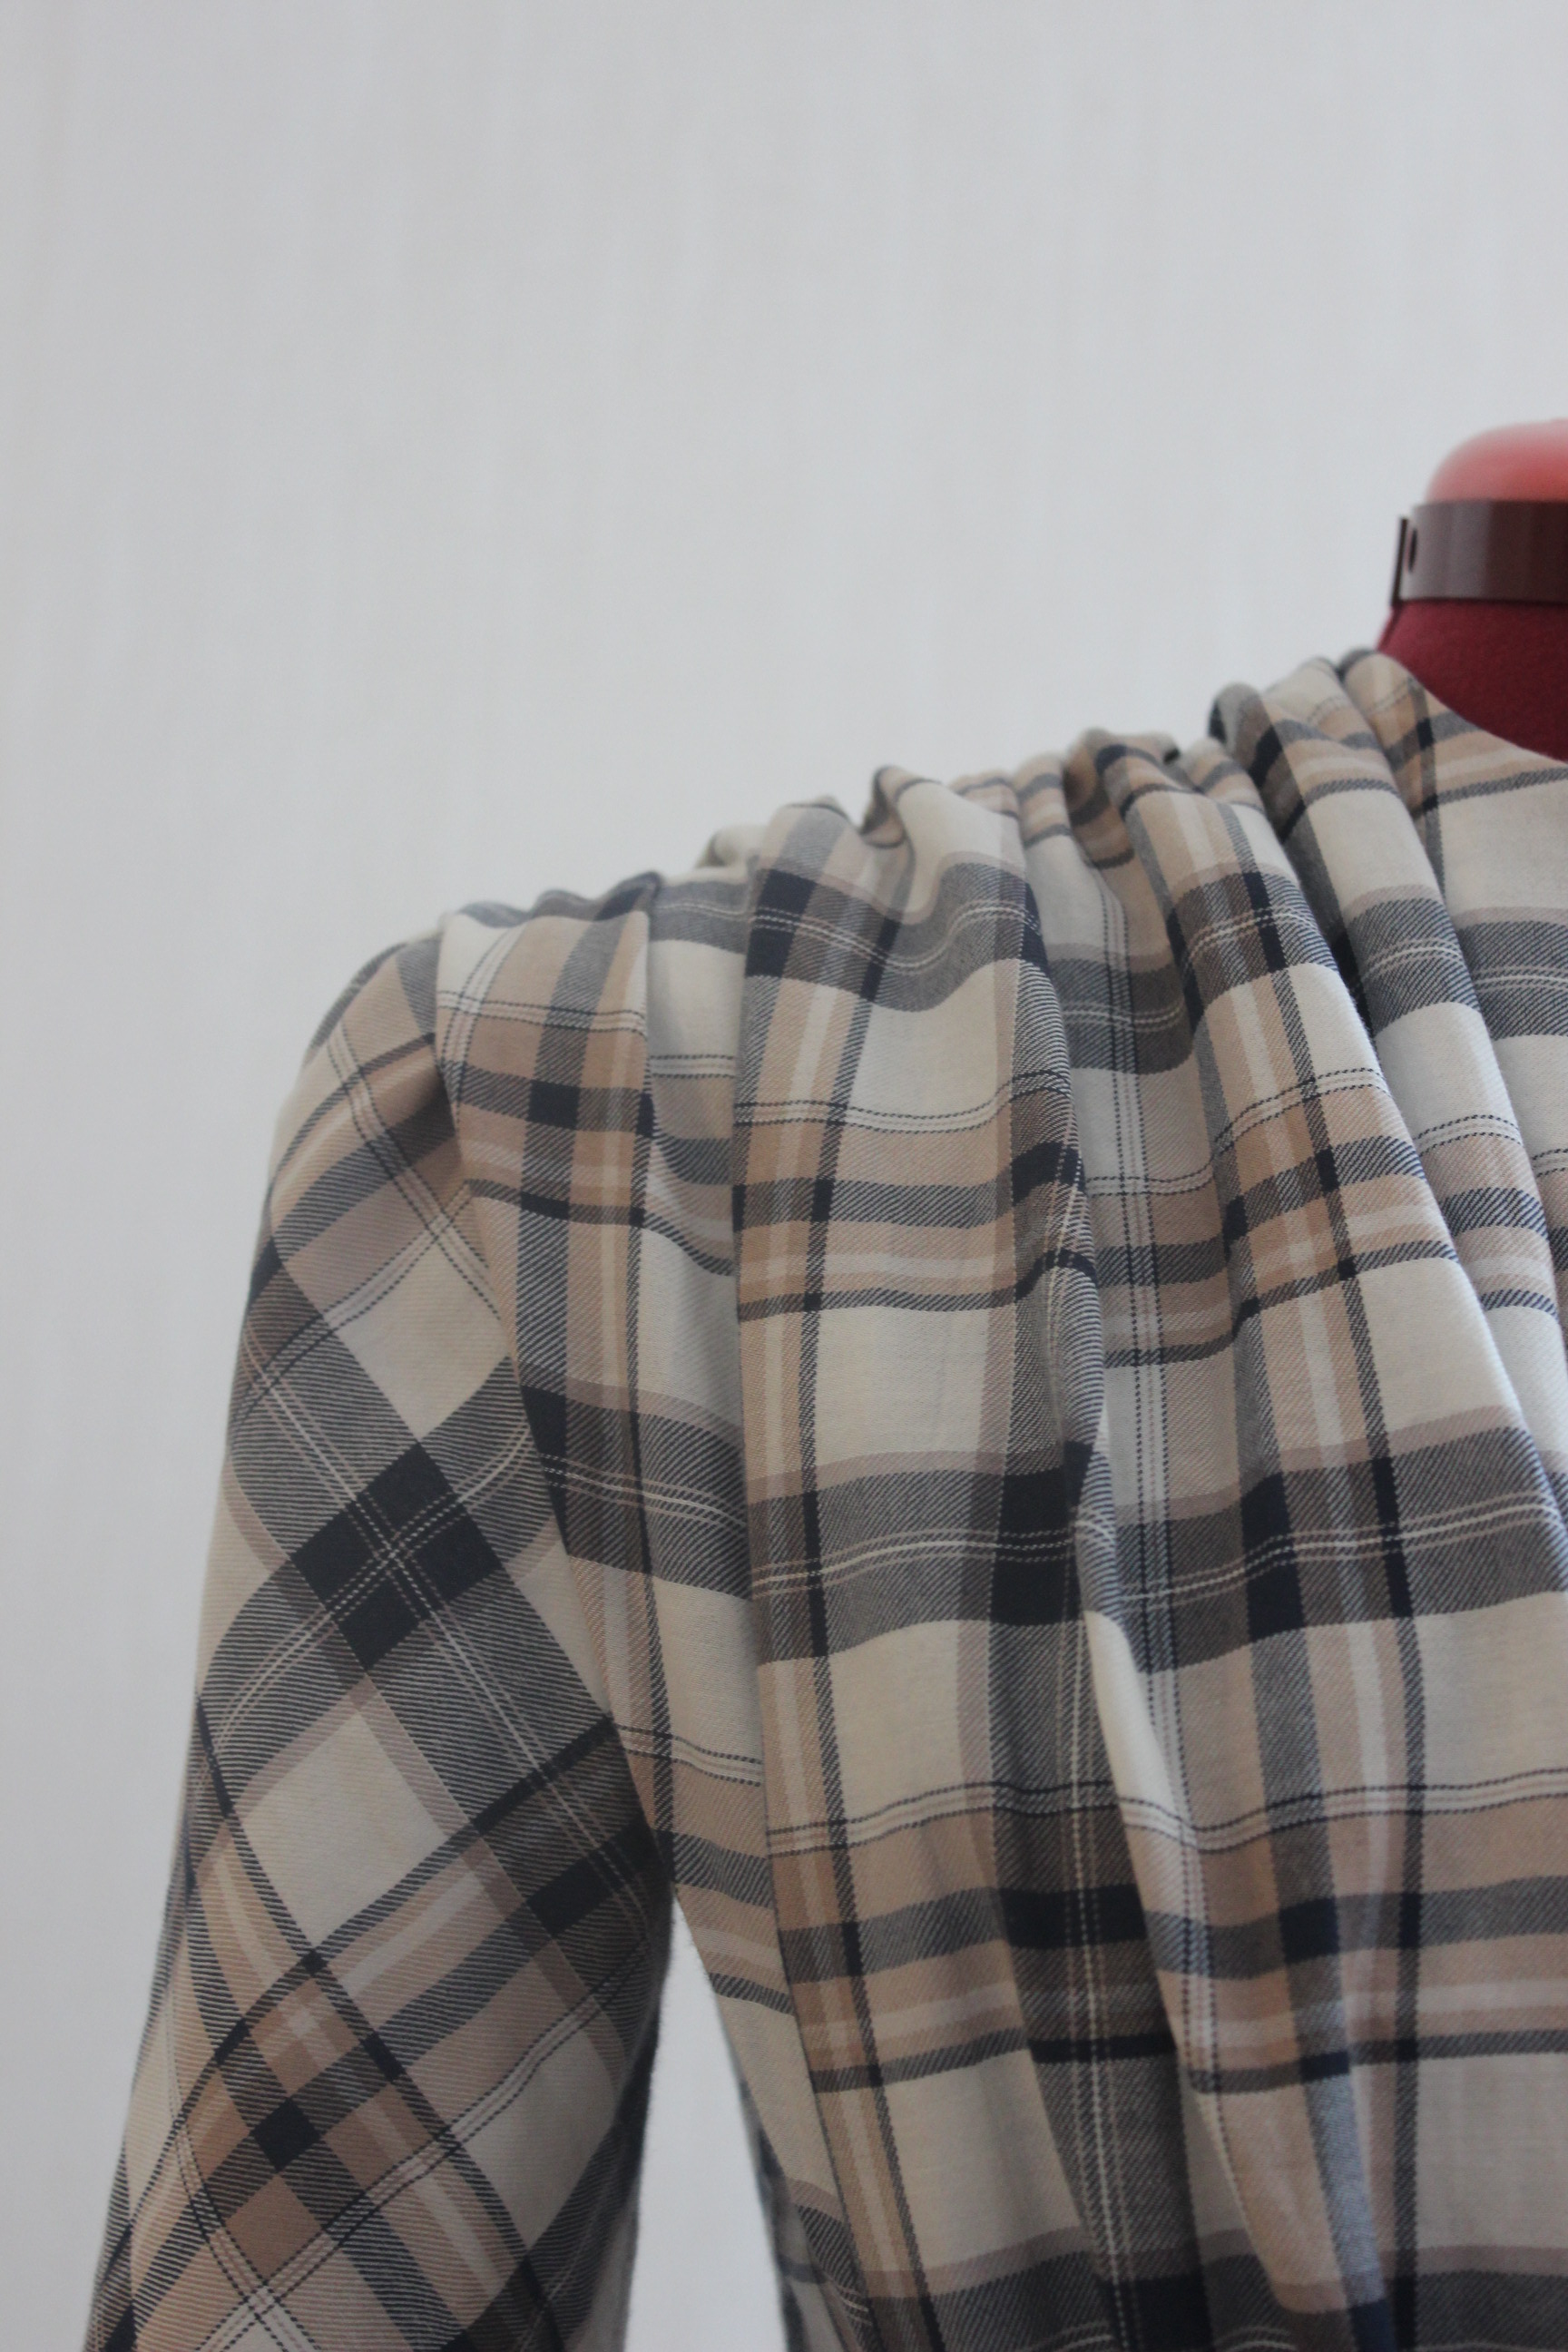
The shoulders being tamed and arranged by two treads of gathering stitches that later is to be hidden in the shoulder seam.
IMG_6693

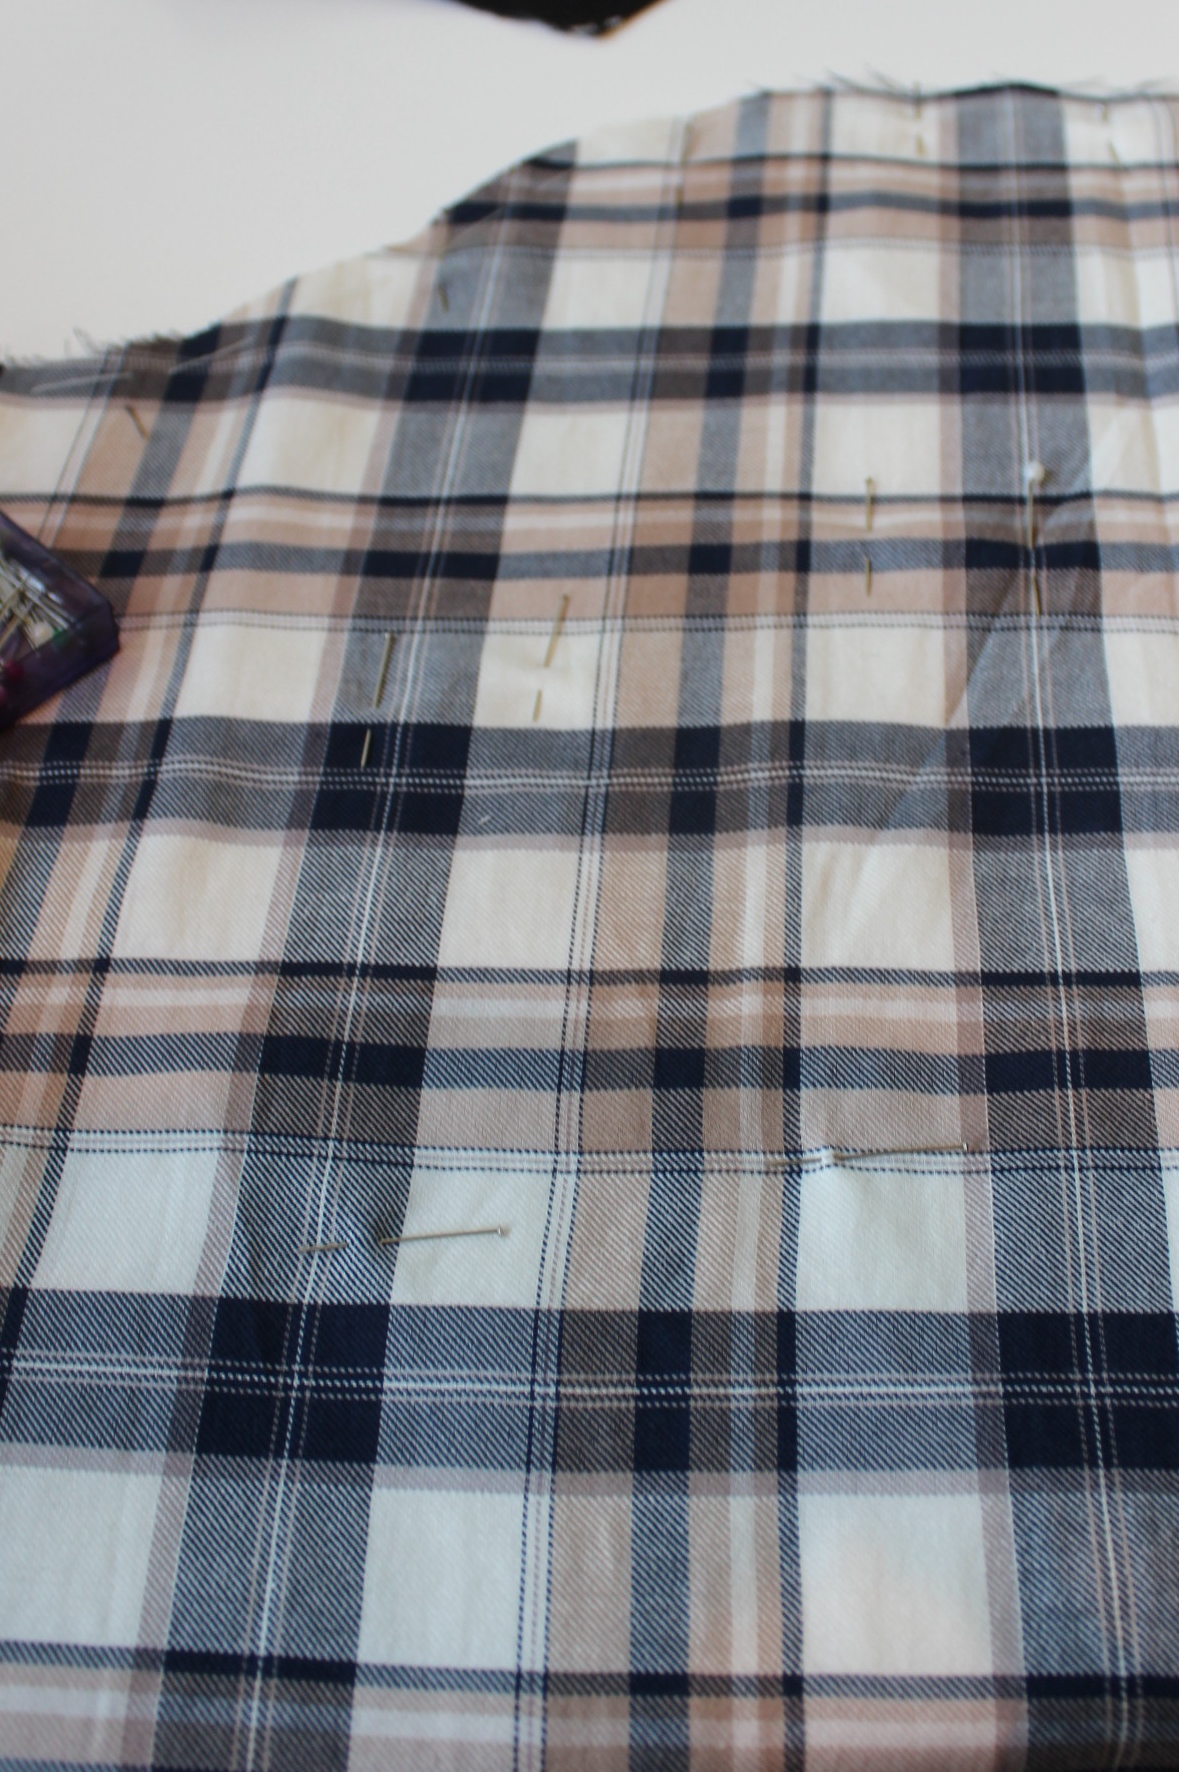
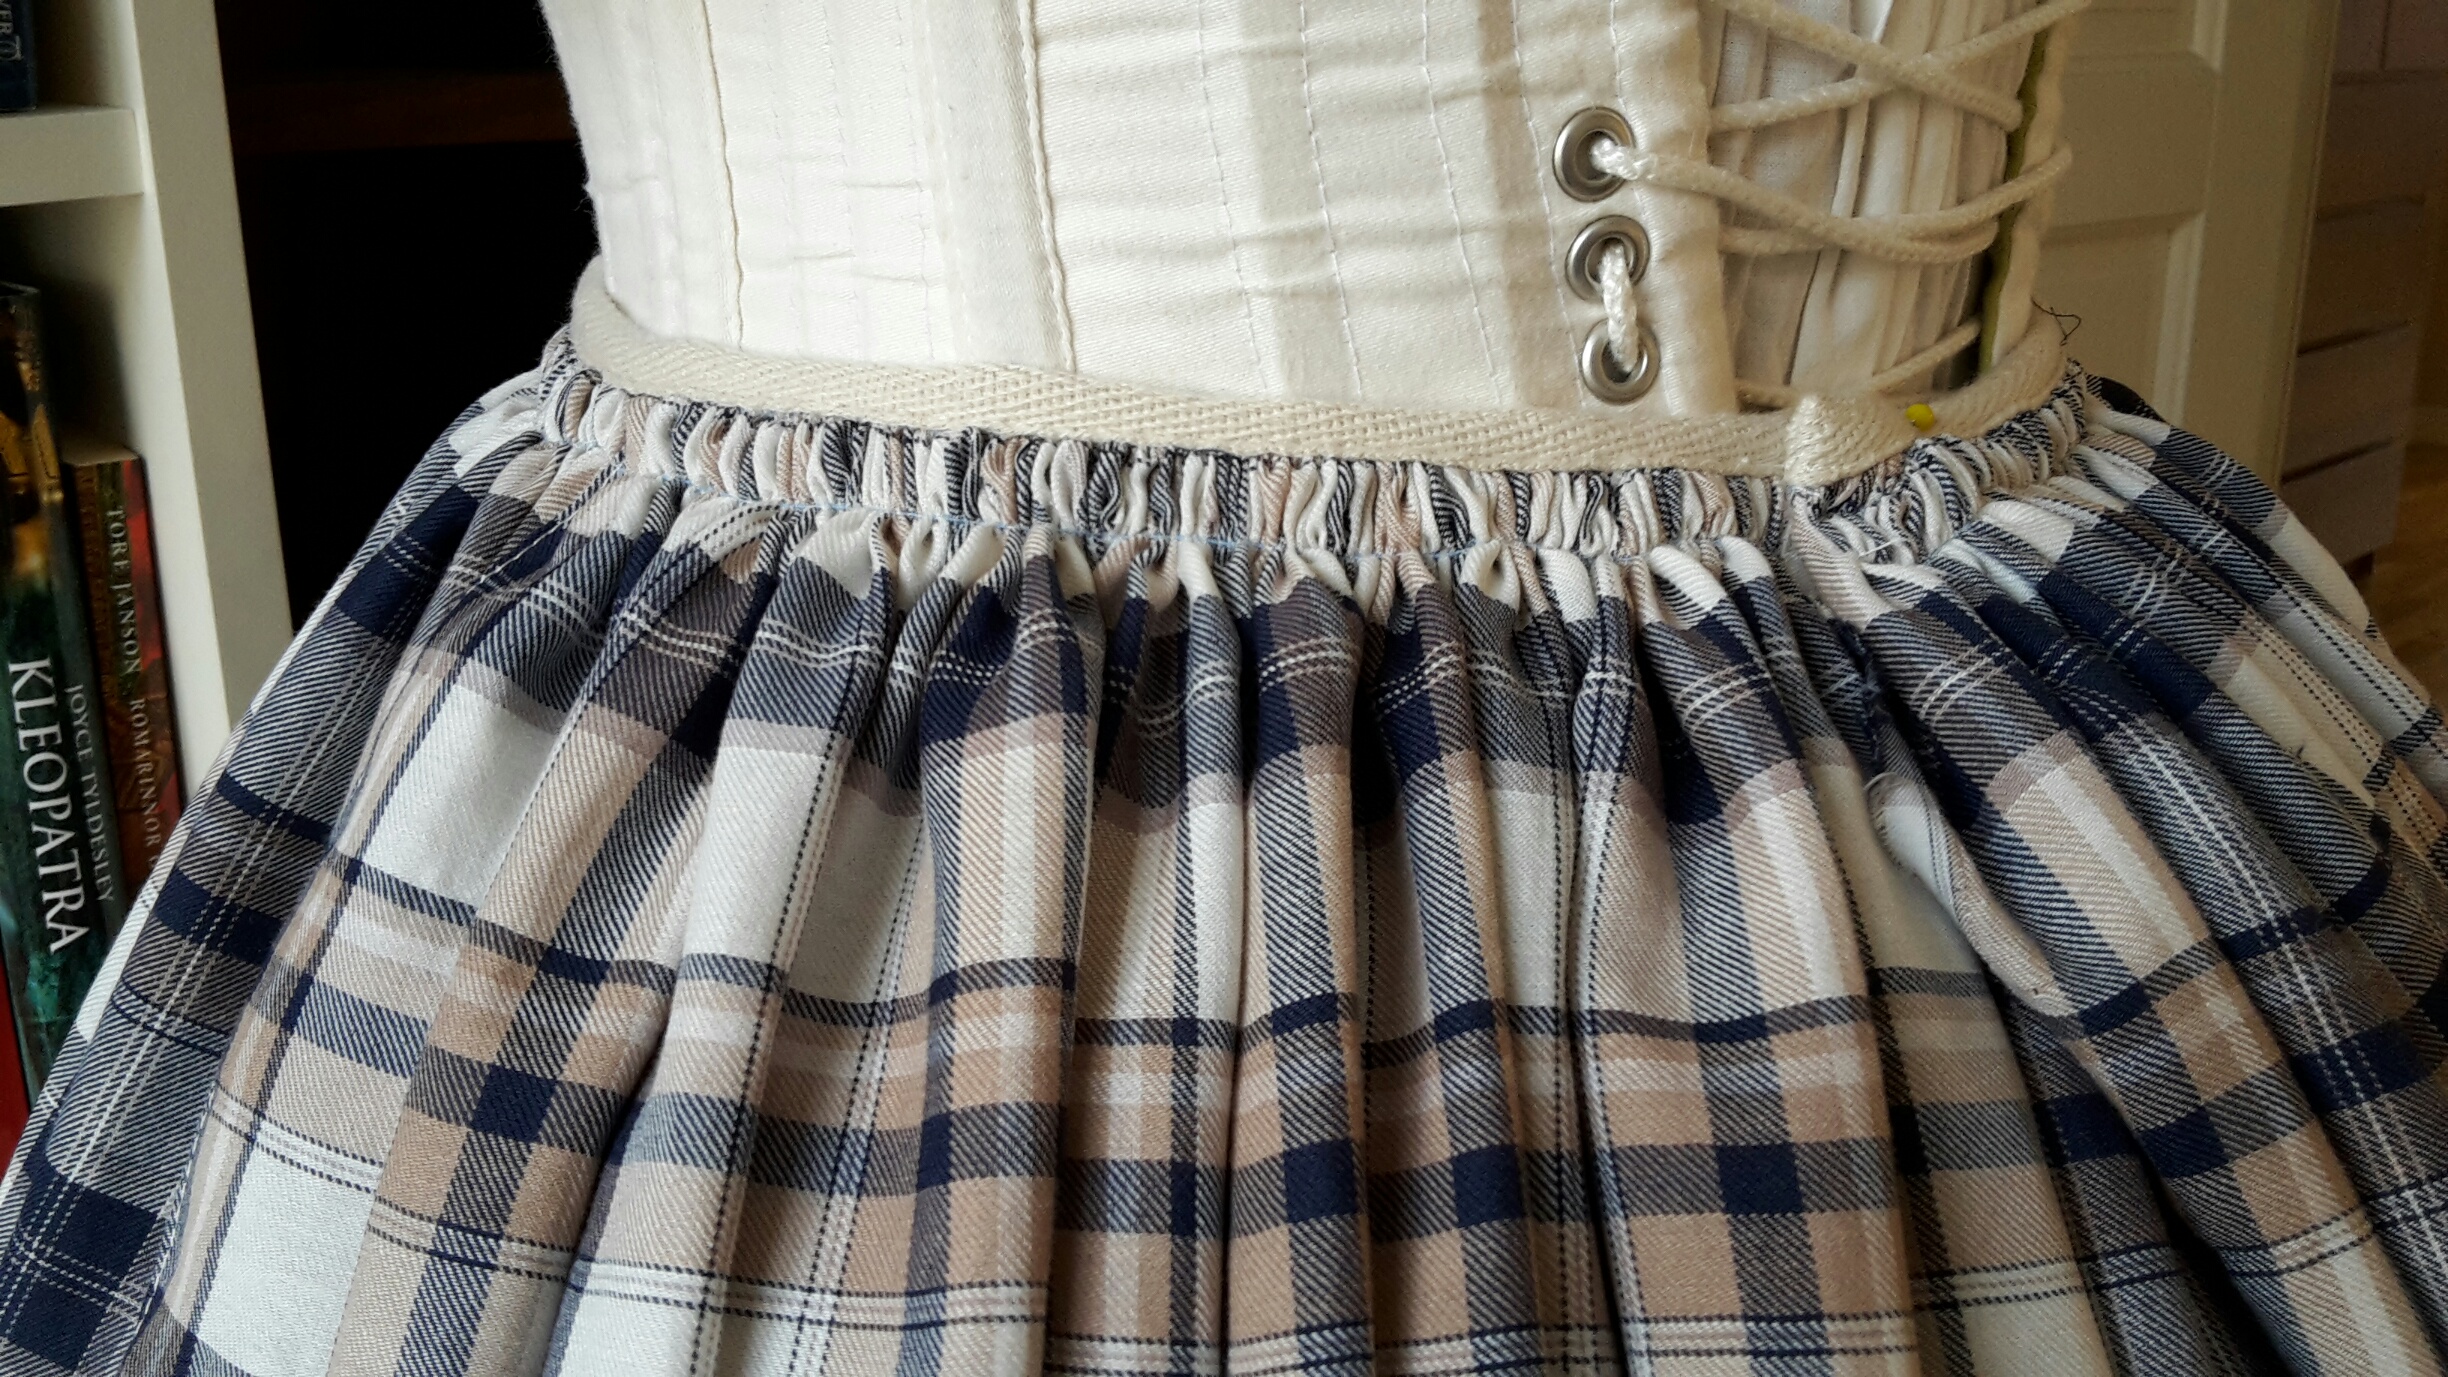
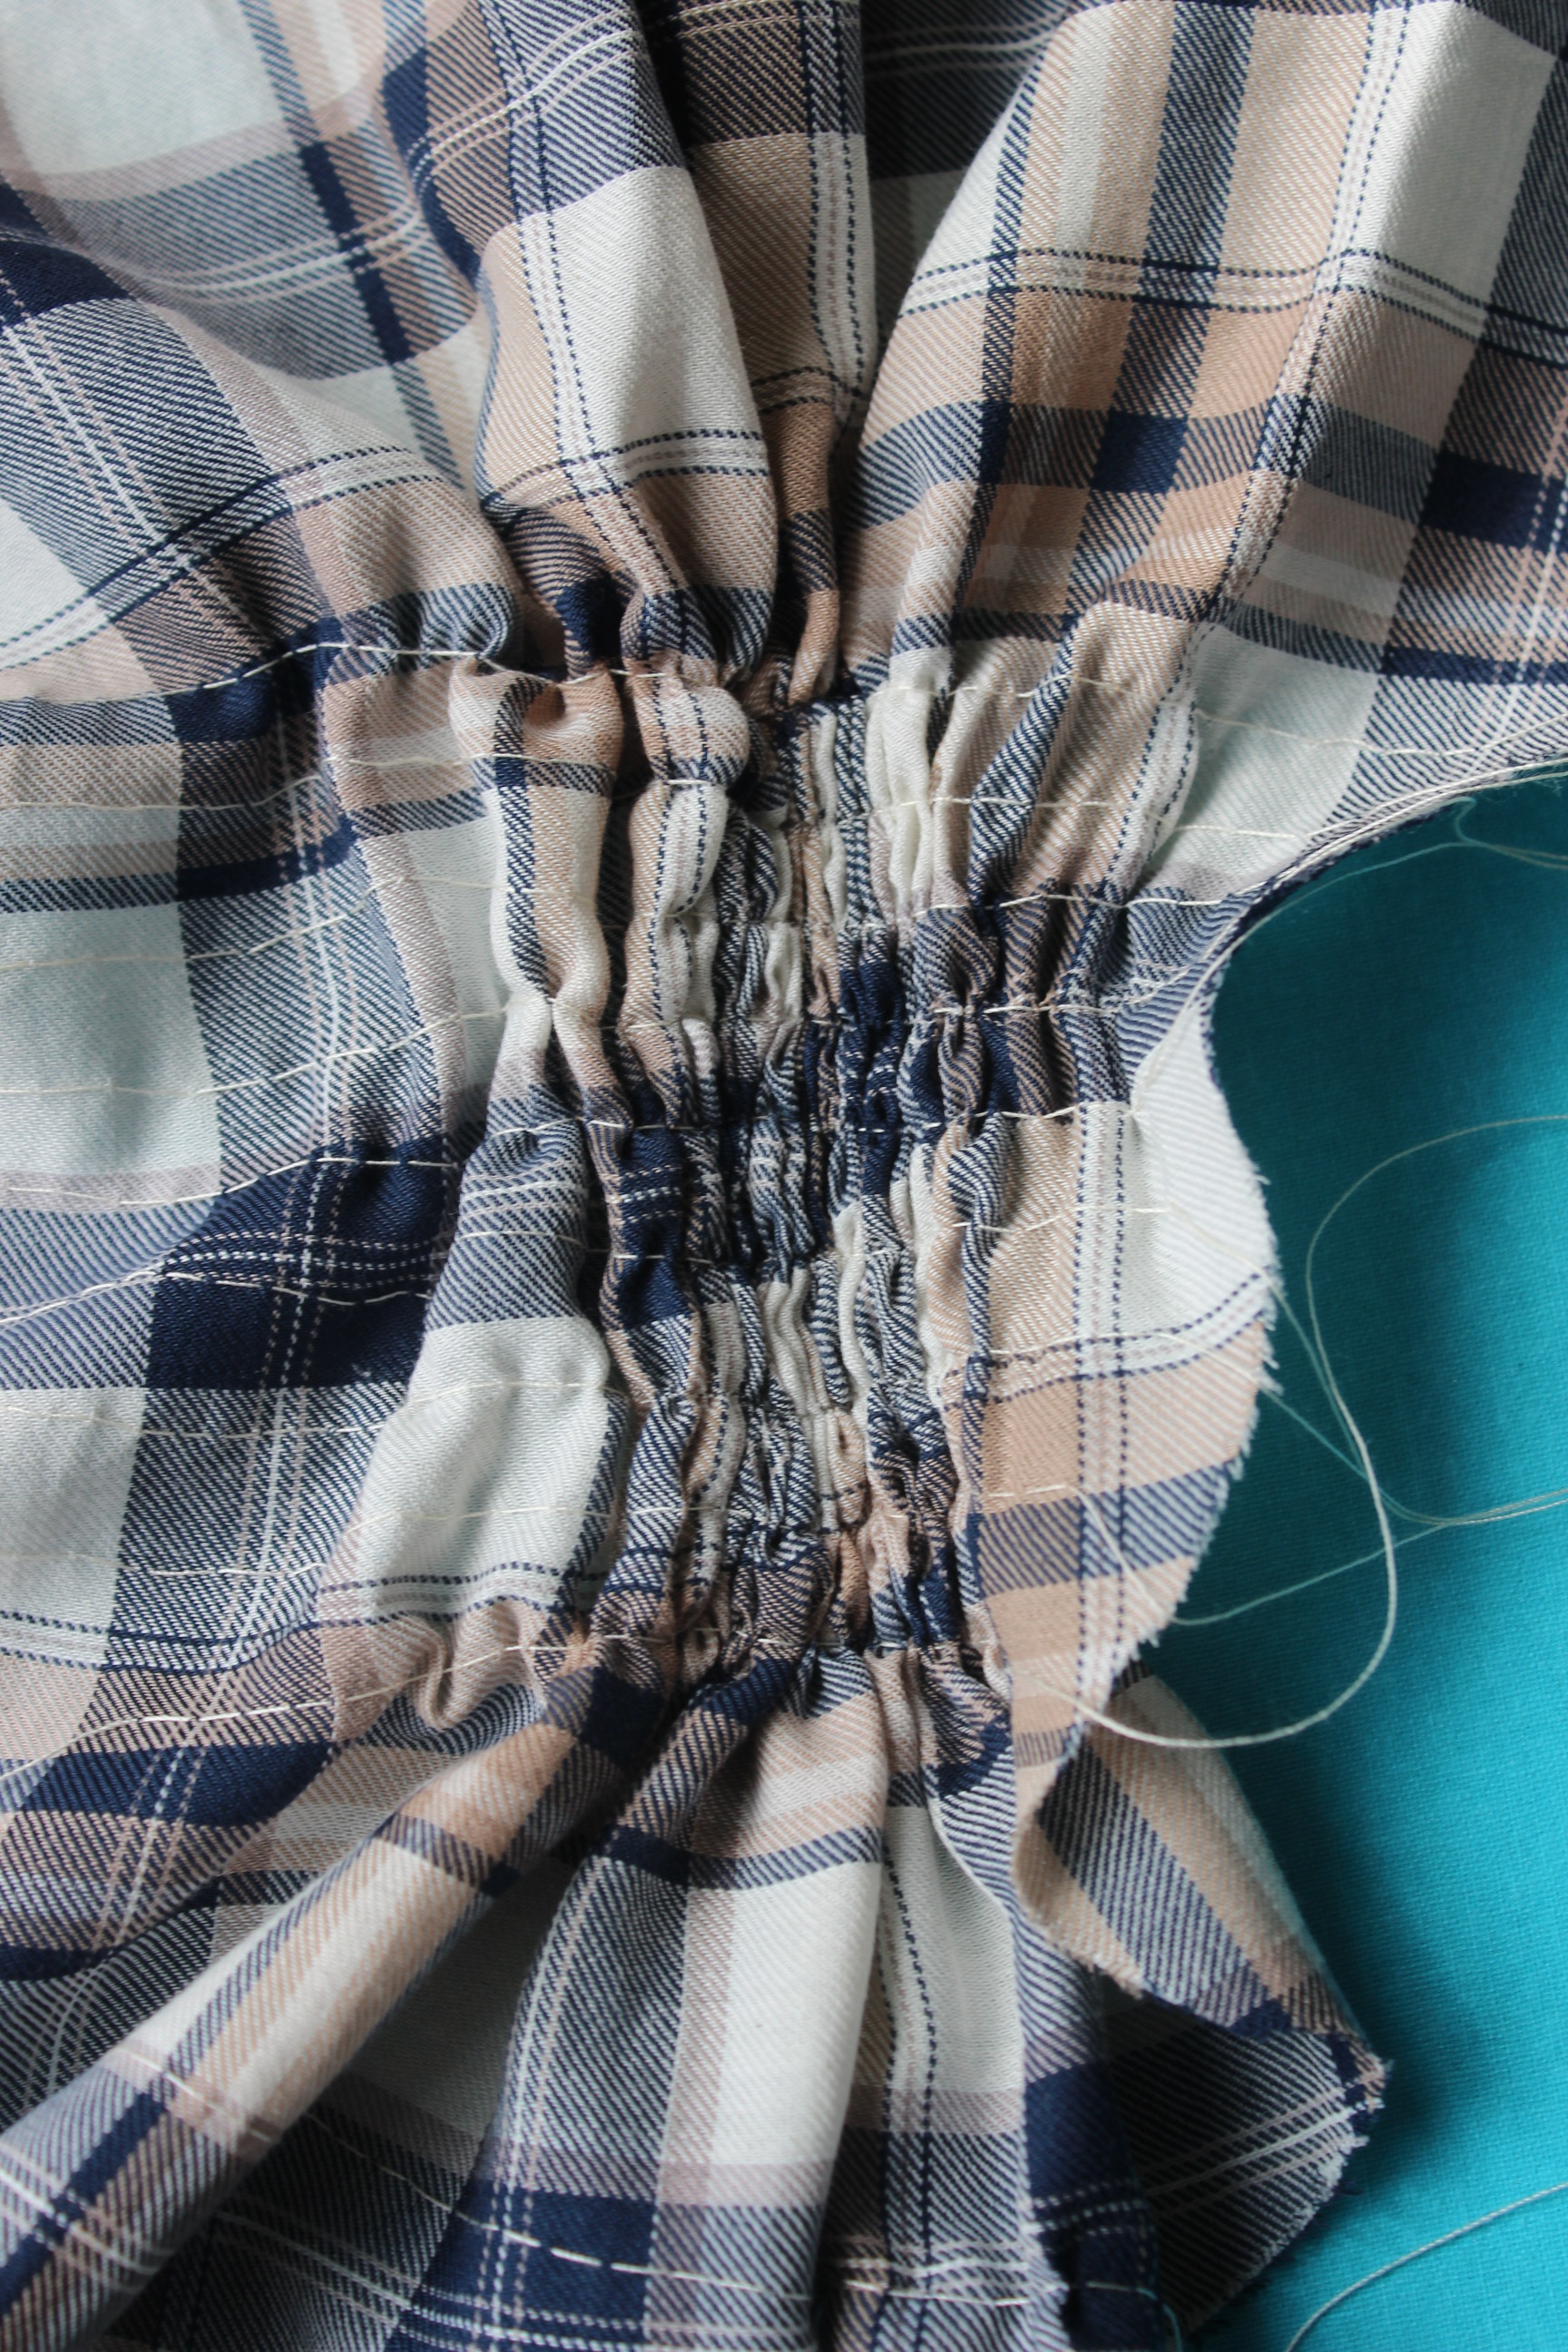
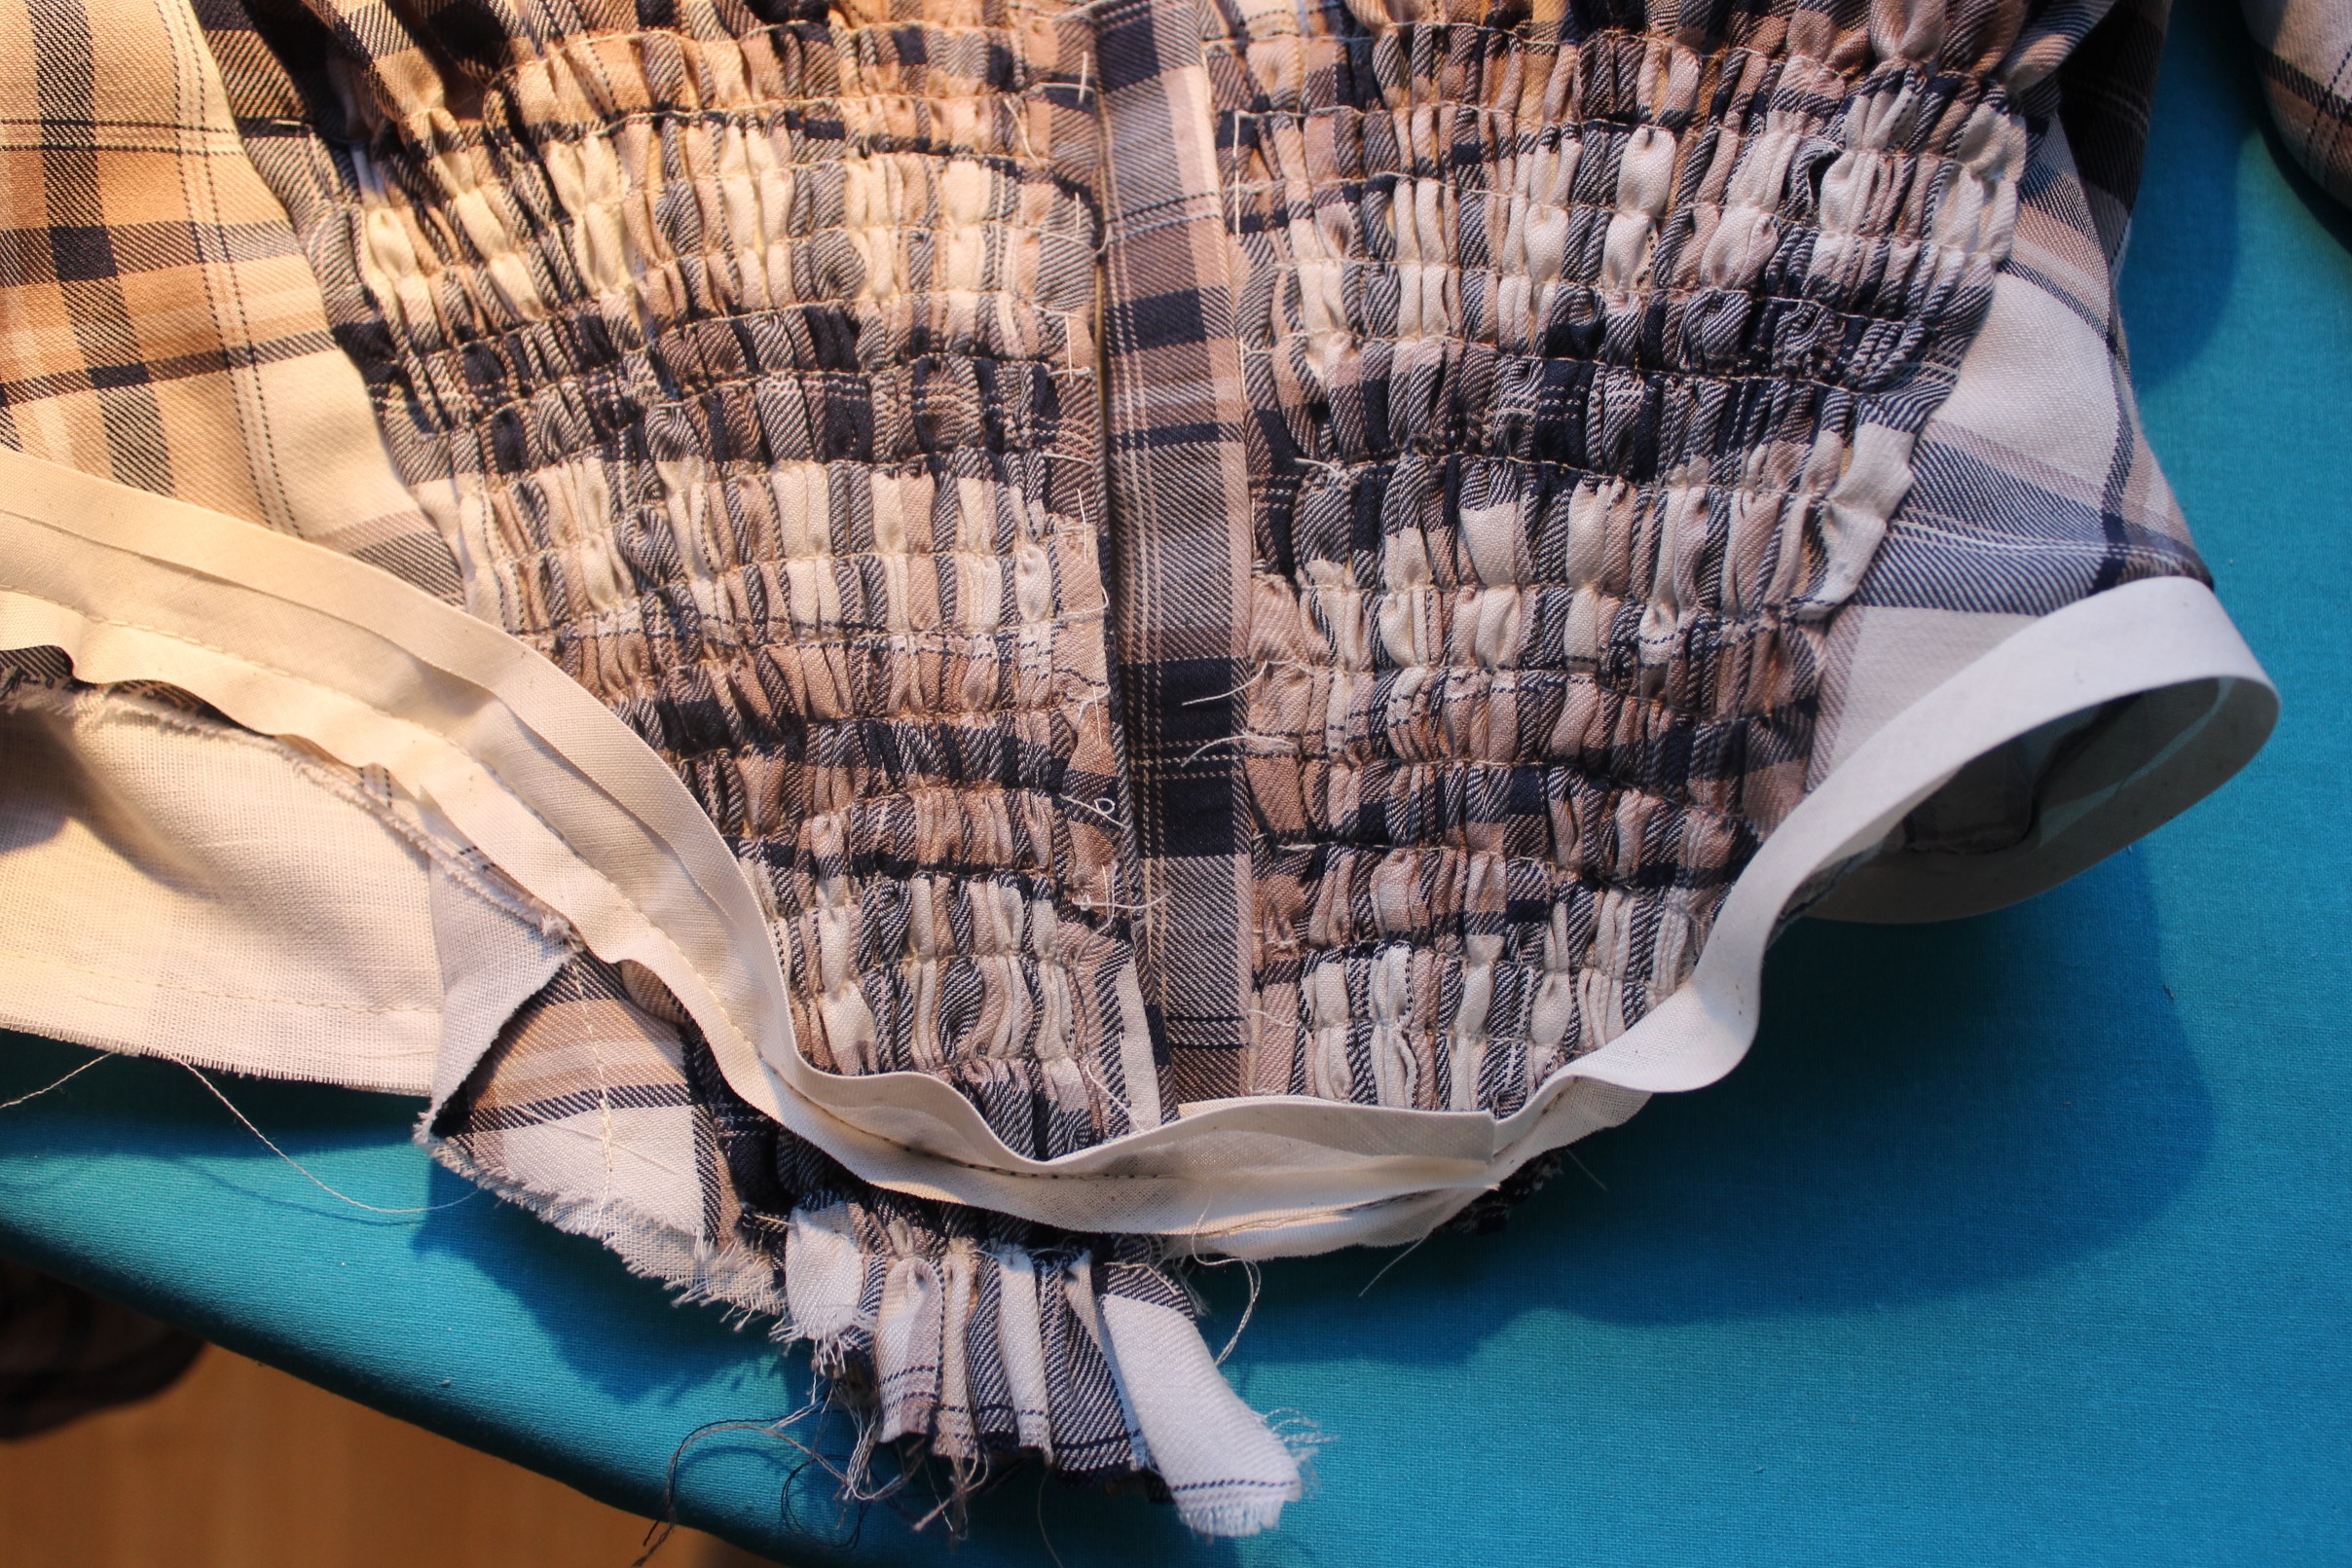
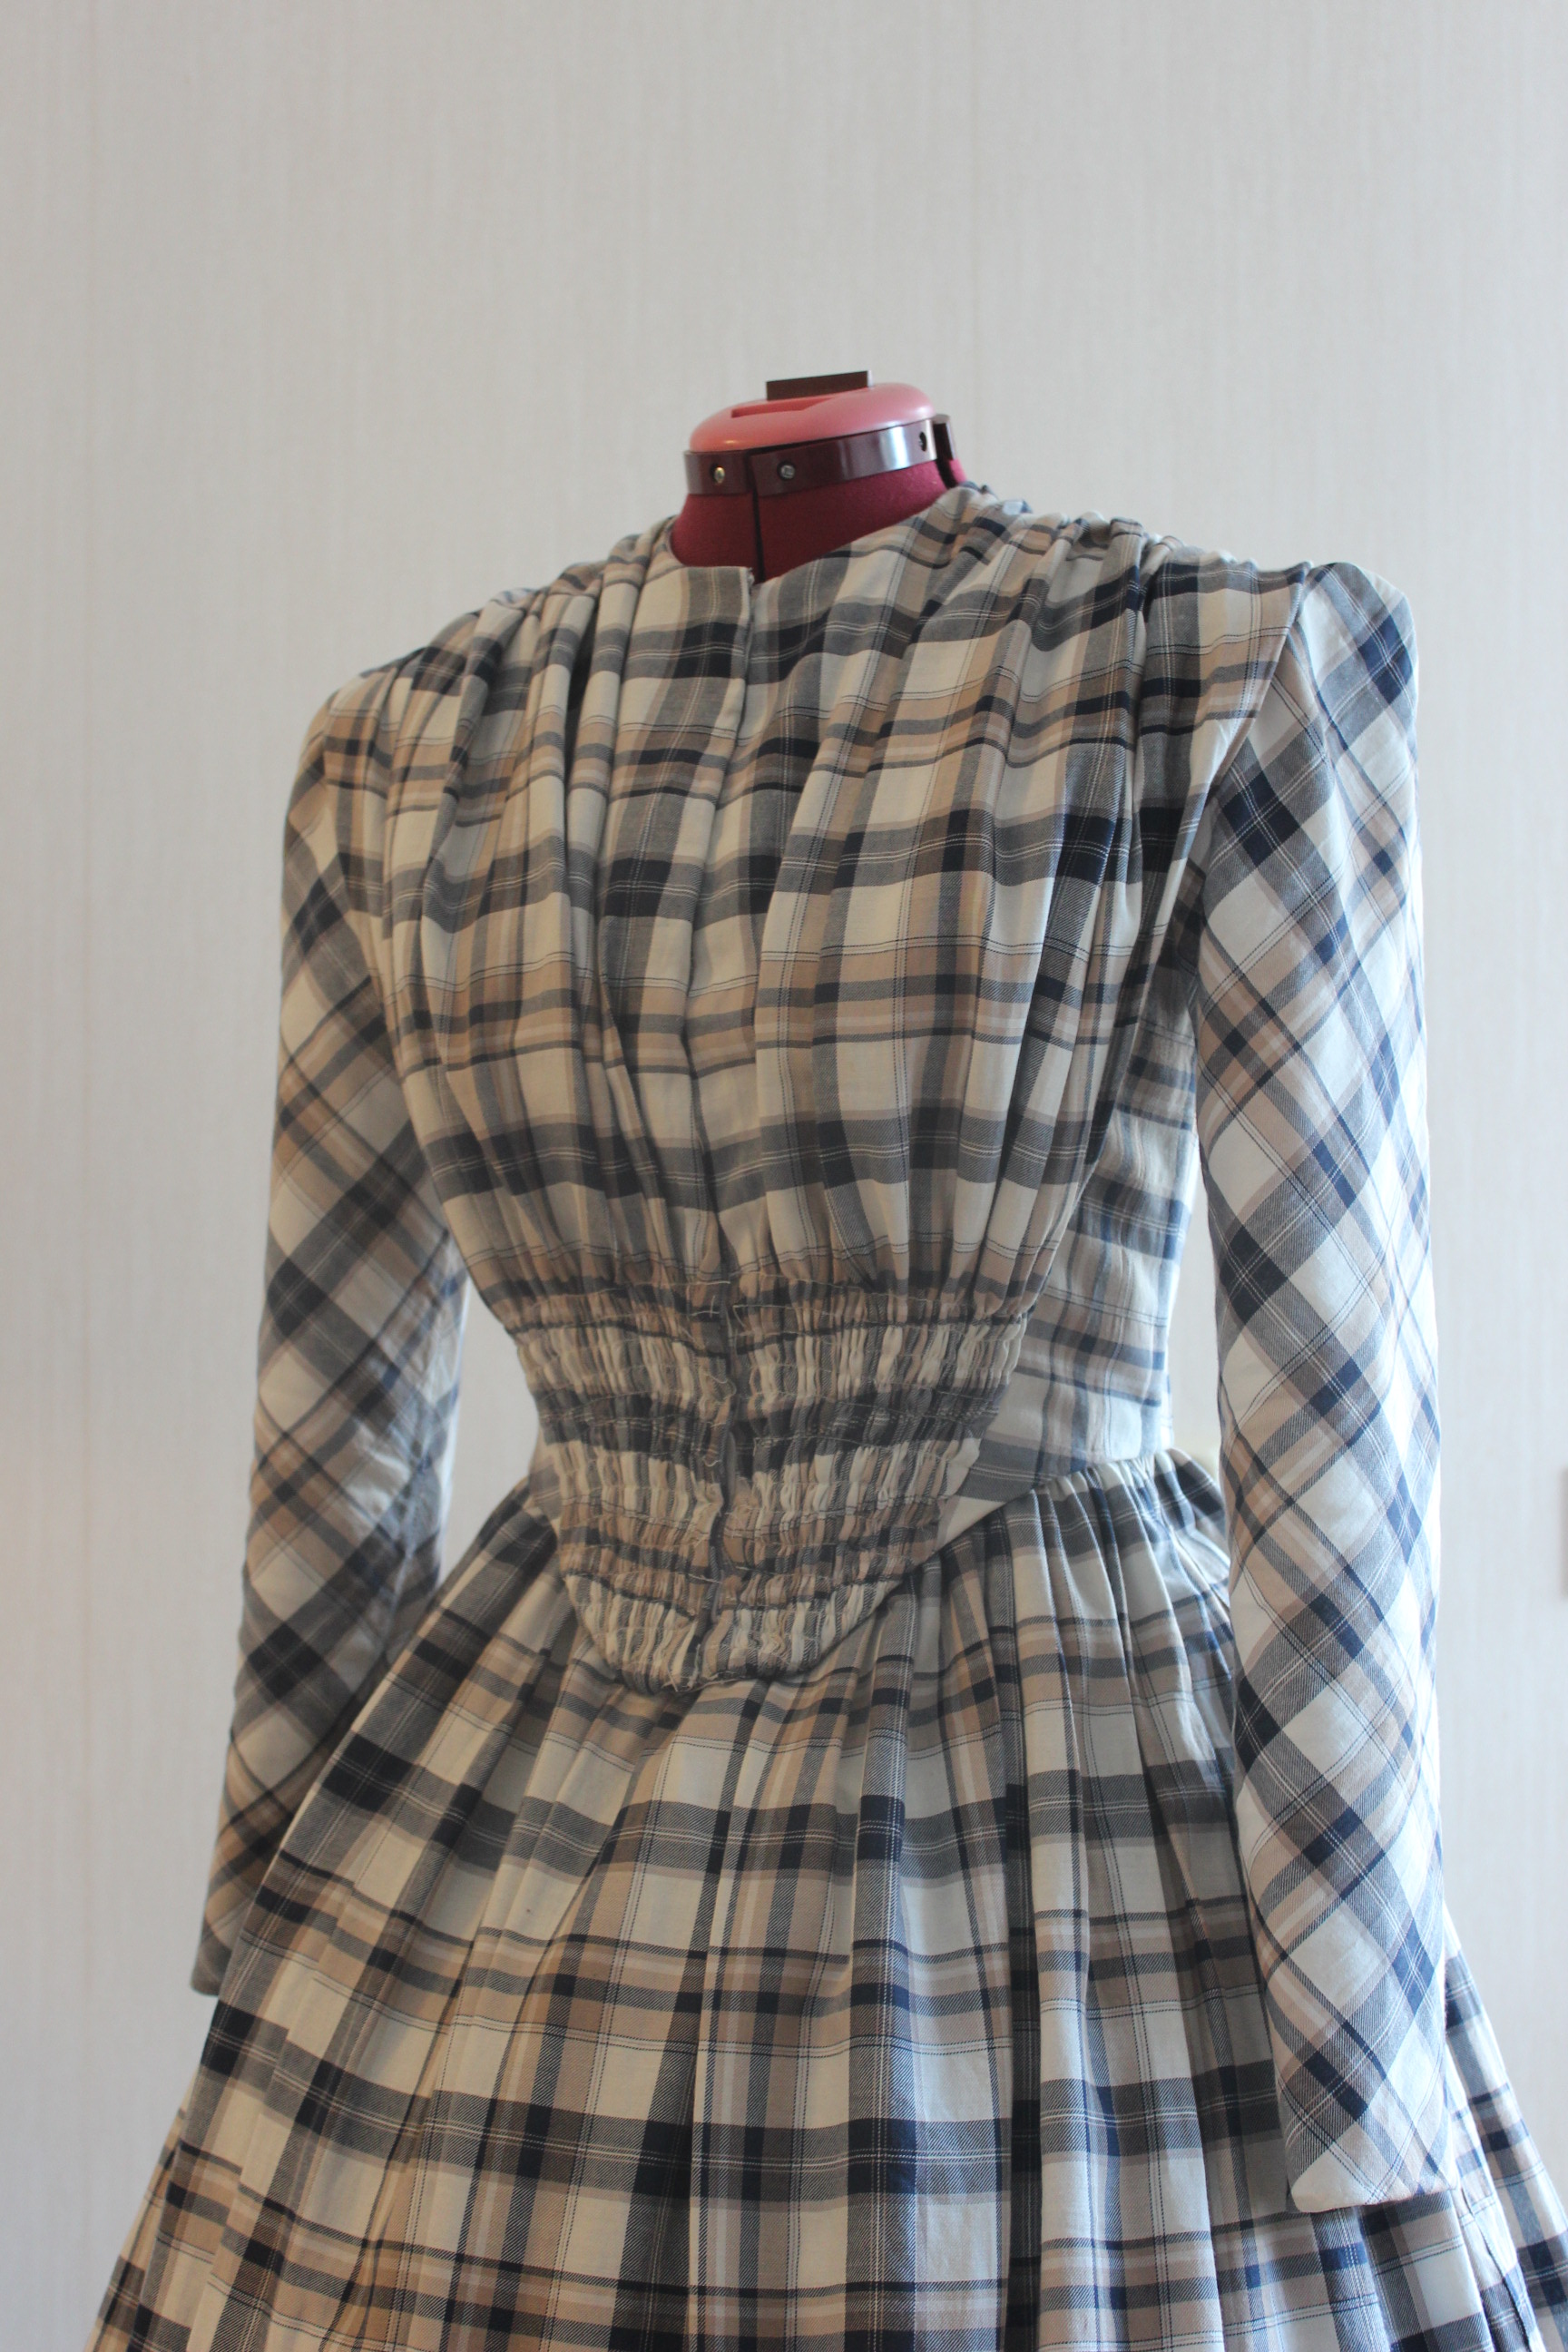
I was not totally happy with the first try at waist gathers (using three threads) so I decided to re-do it using threads every 1-1,5 cm or so.
IMG_6763Testing the gathers.

Once I was happy with the technique I pinned and basted the lose front piece to the bodice, carefully matching the  tightness of the gathers to hide the darts.IMG_6767

IMG_6766

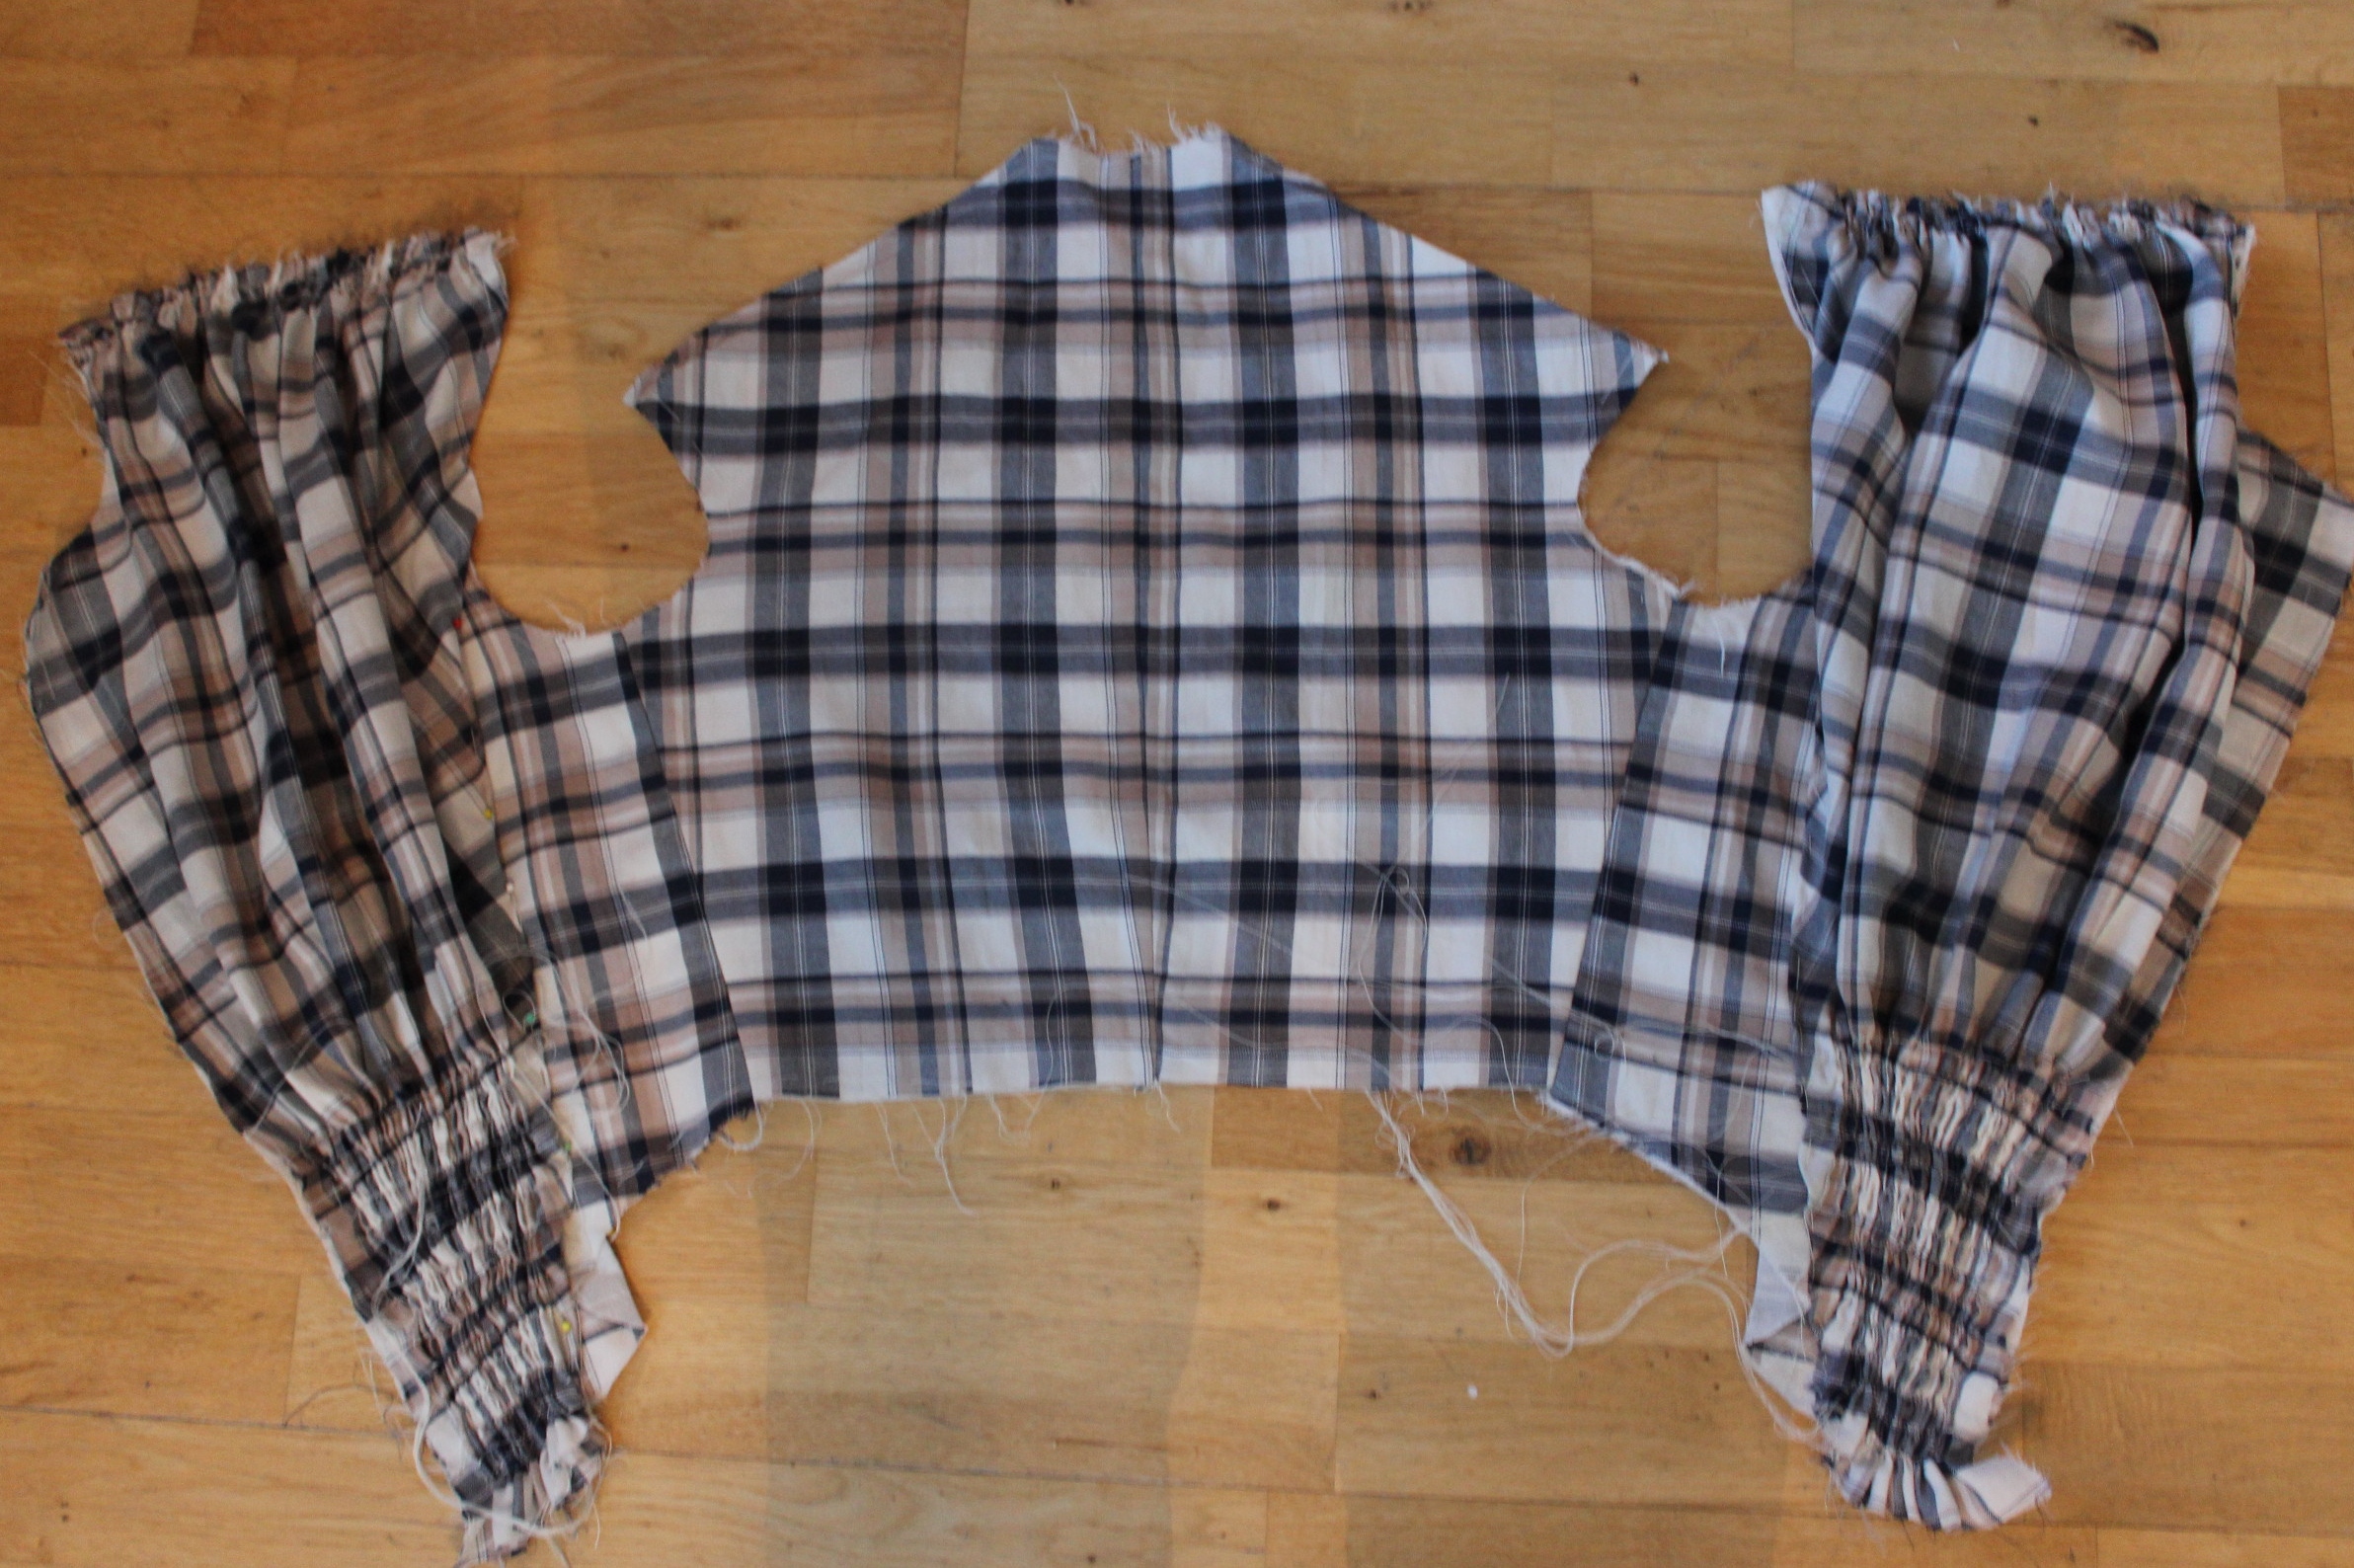
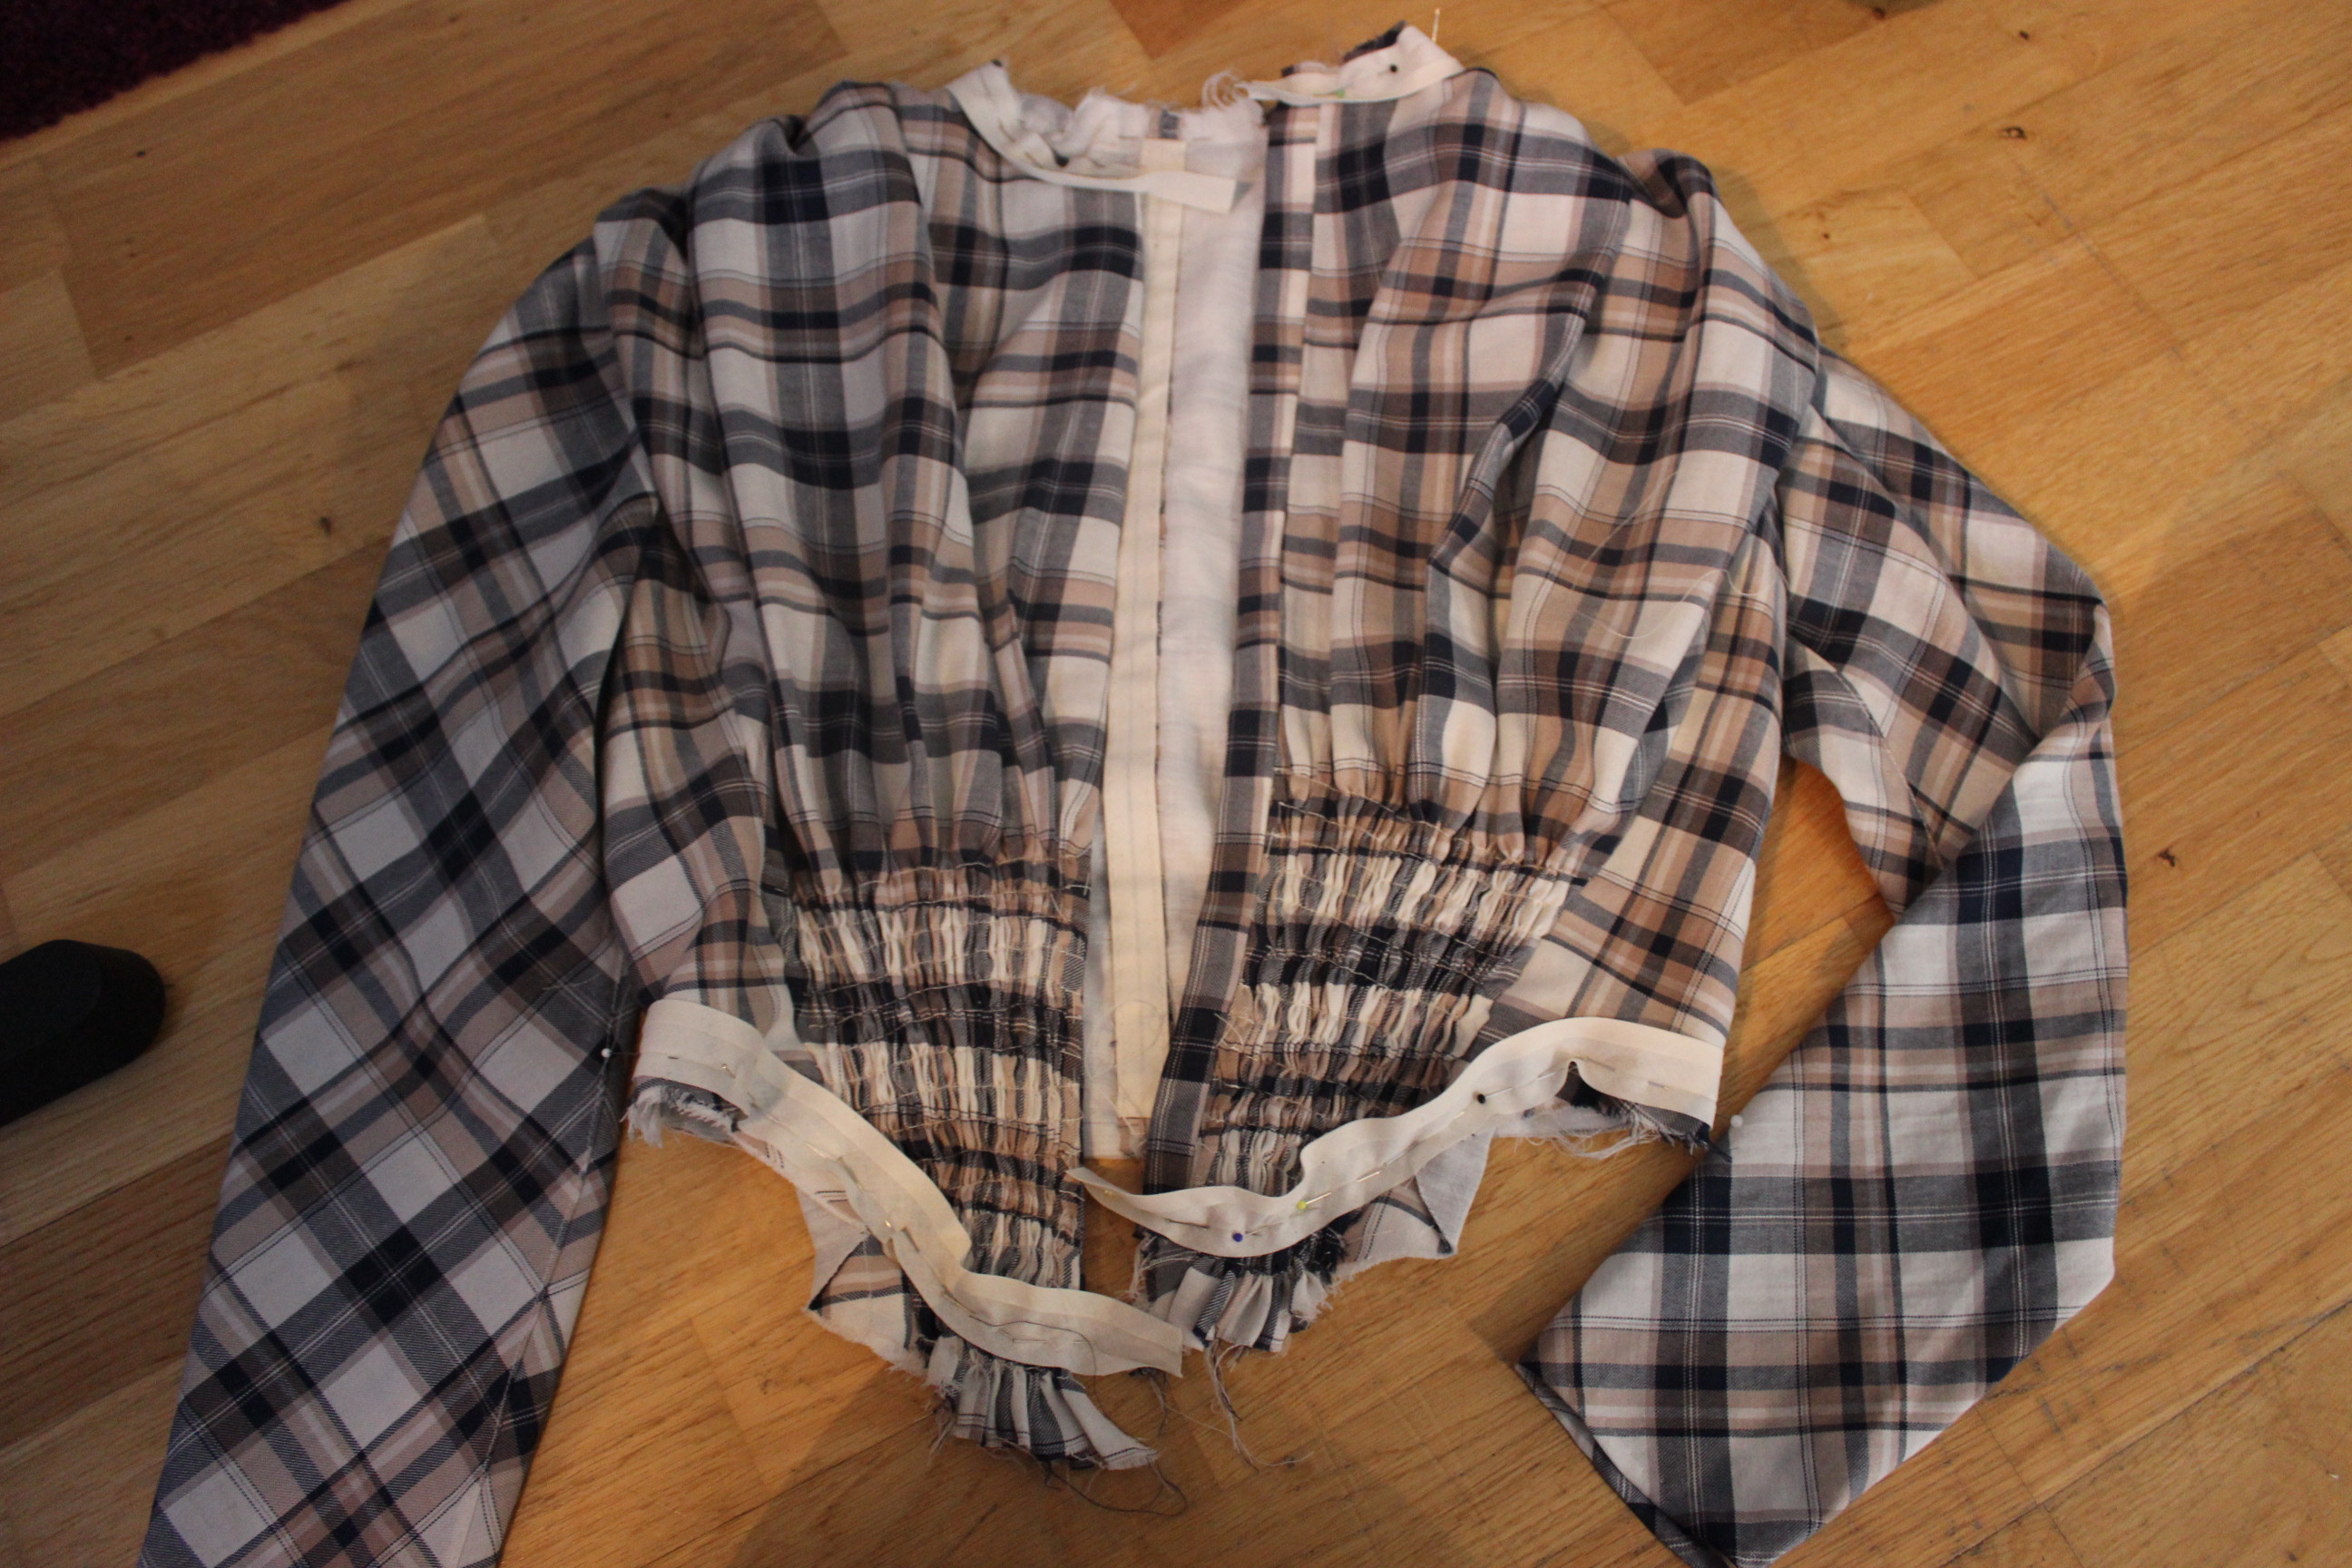
Then I pulled all the treads through and secured them on the back side, before I stitched the whole piece down using hidden slip stitches. IMG_6839You can see the right side being finished while the left still have all the threads hanging lose.

And then I left it for a few a few weeks, fully occupied by working on my sisters 1860s outfit, training for my big running competition and preparing for vacation on work.

Once I finished all the other things and finally gotten my (well deserved) vacation I once more took on the task of finishing the bodice.

With only one day left to work on the dress before it was to be used, I need to hurry.

20150612_105845_resized
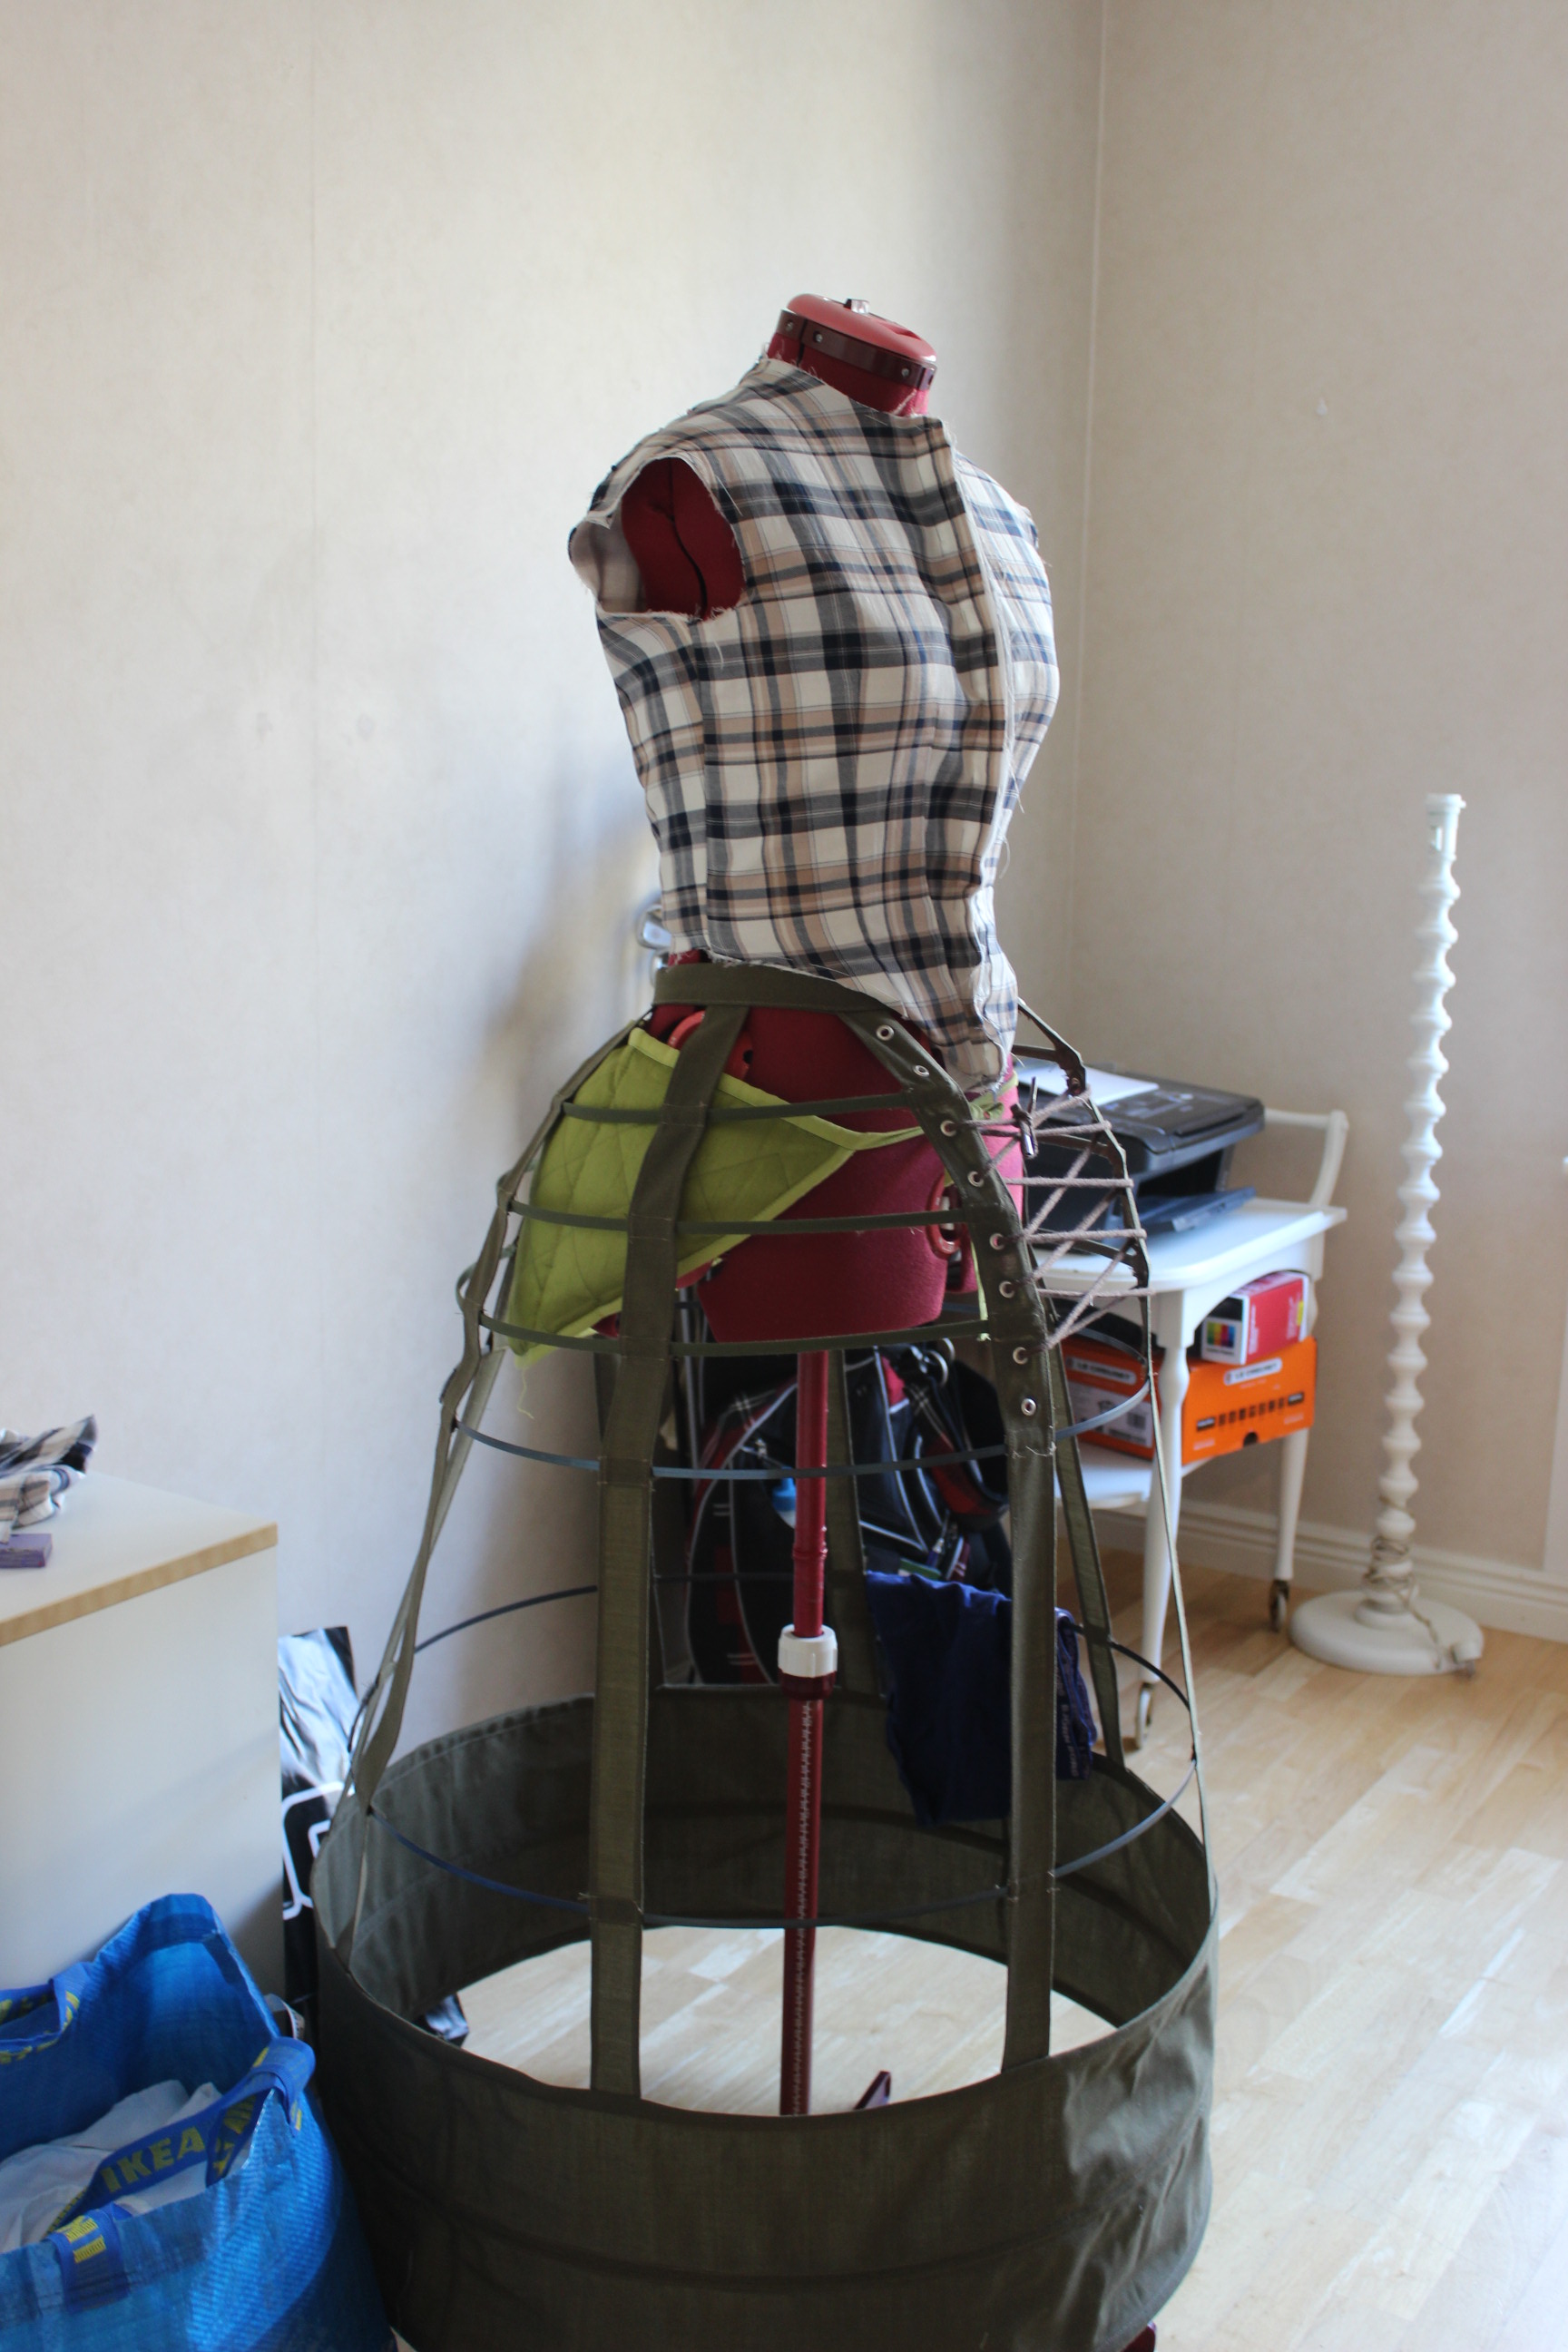
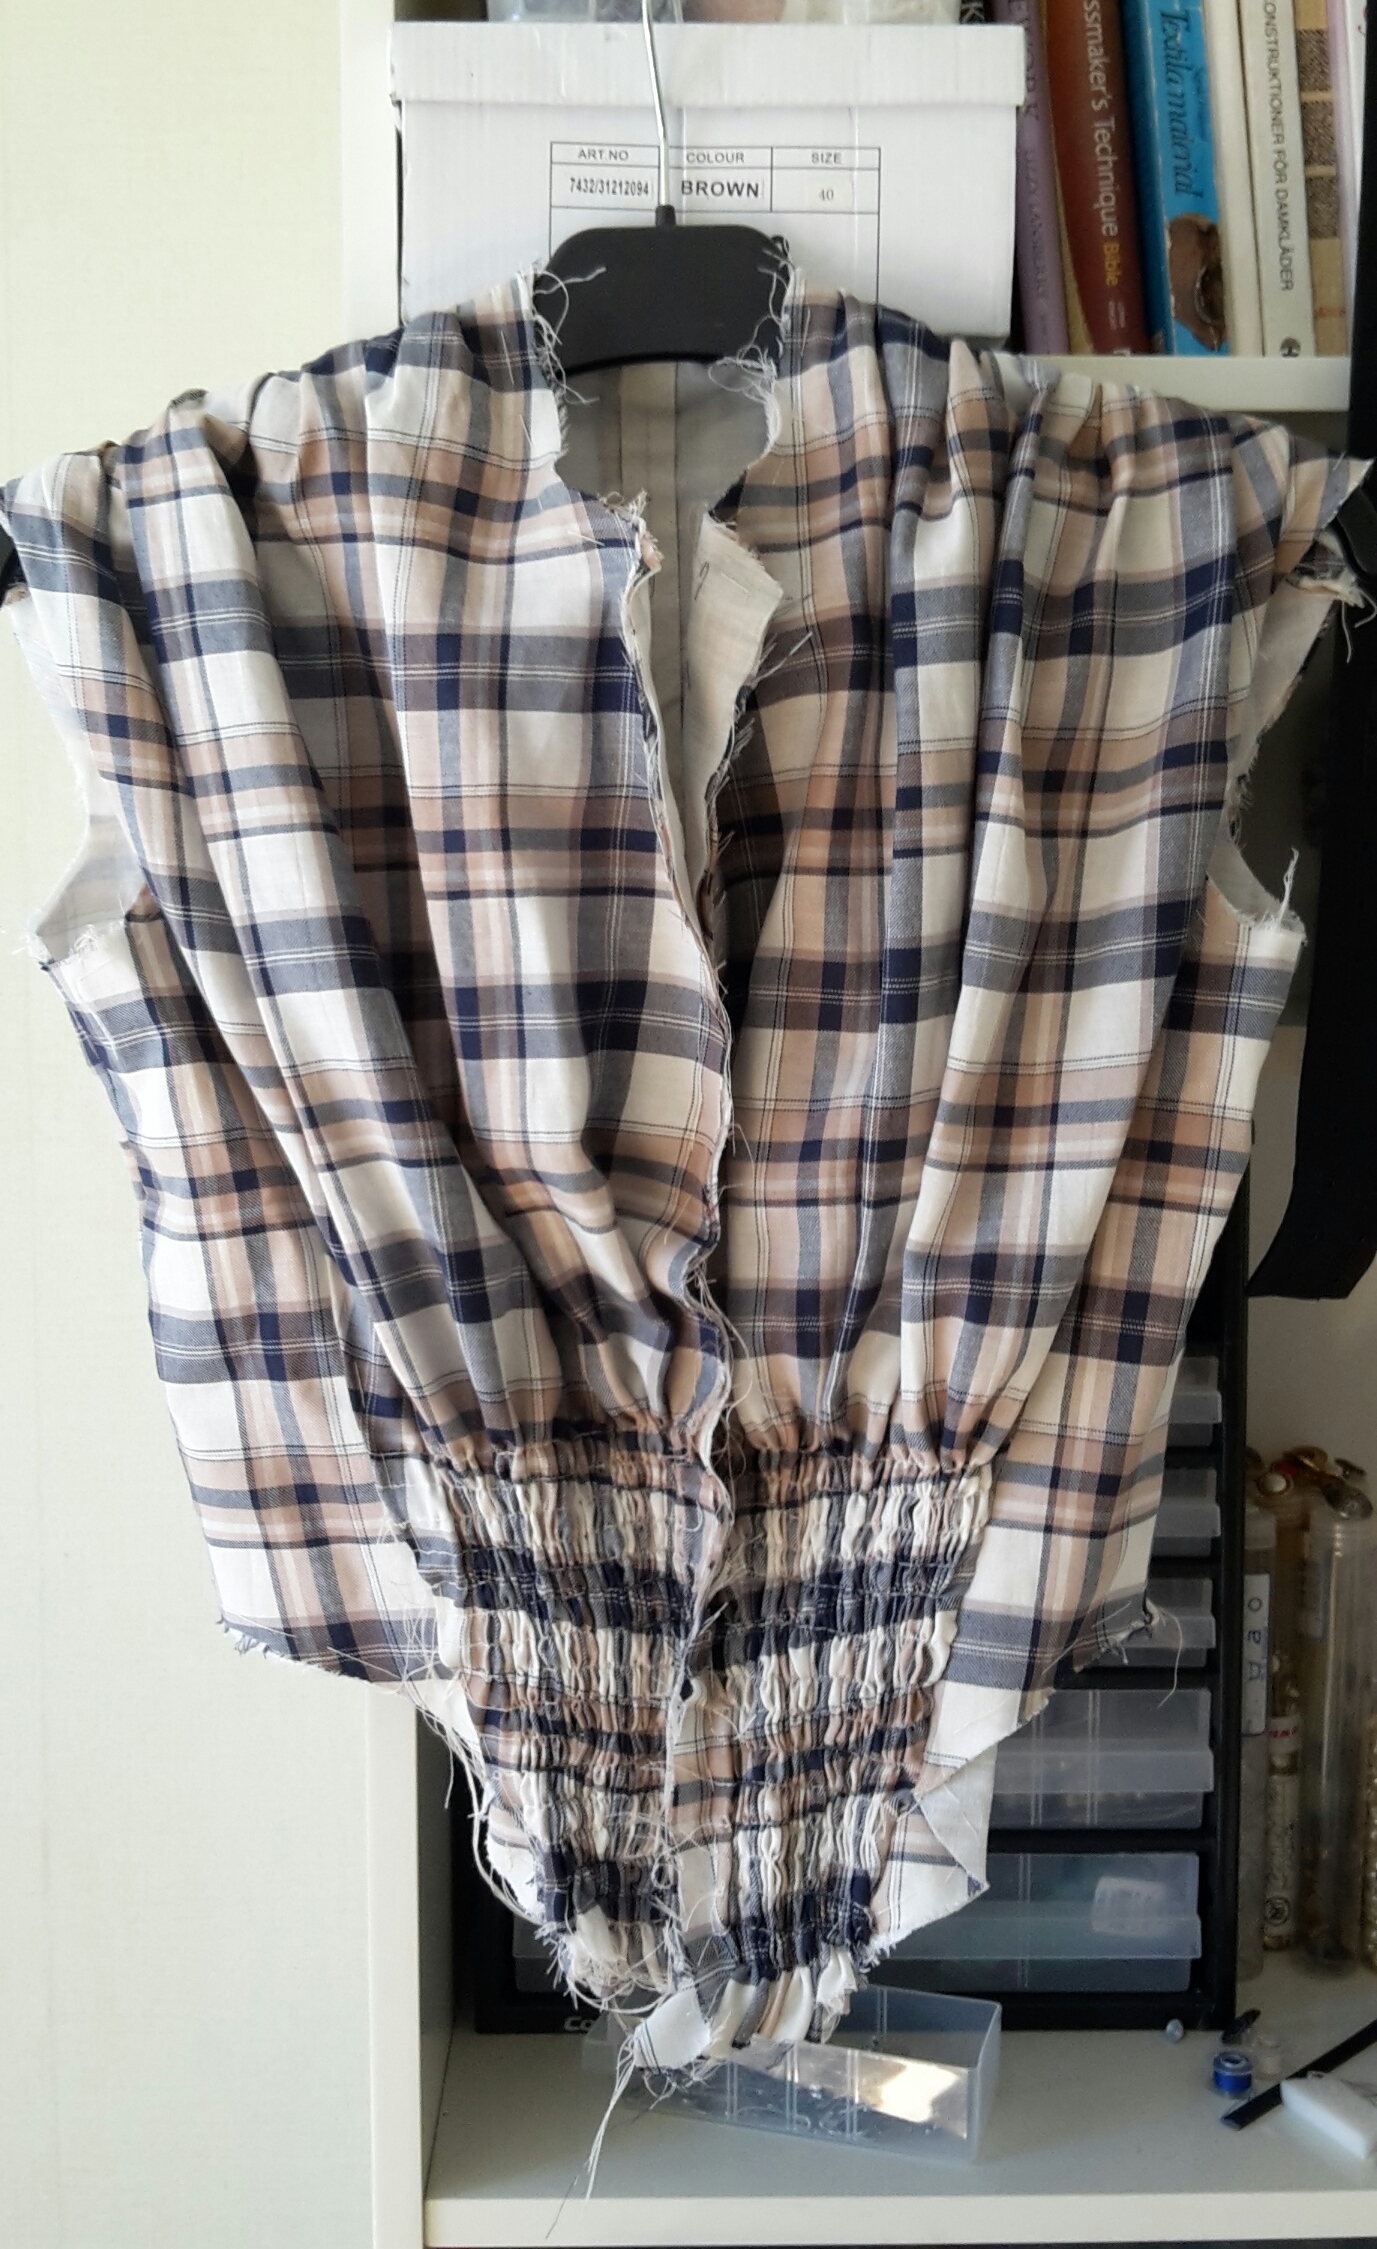
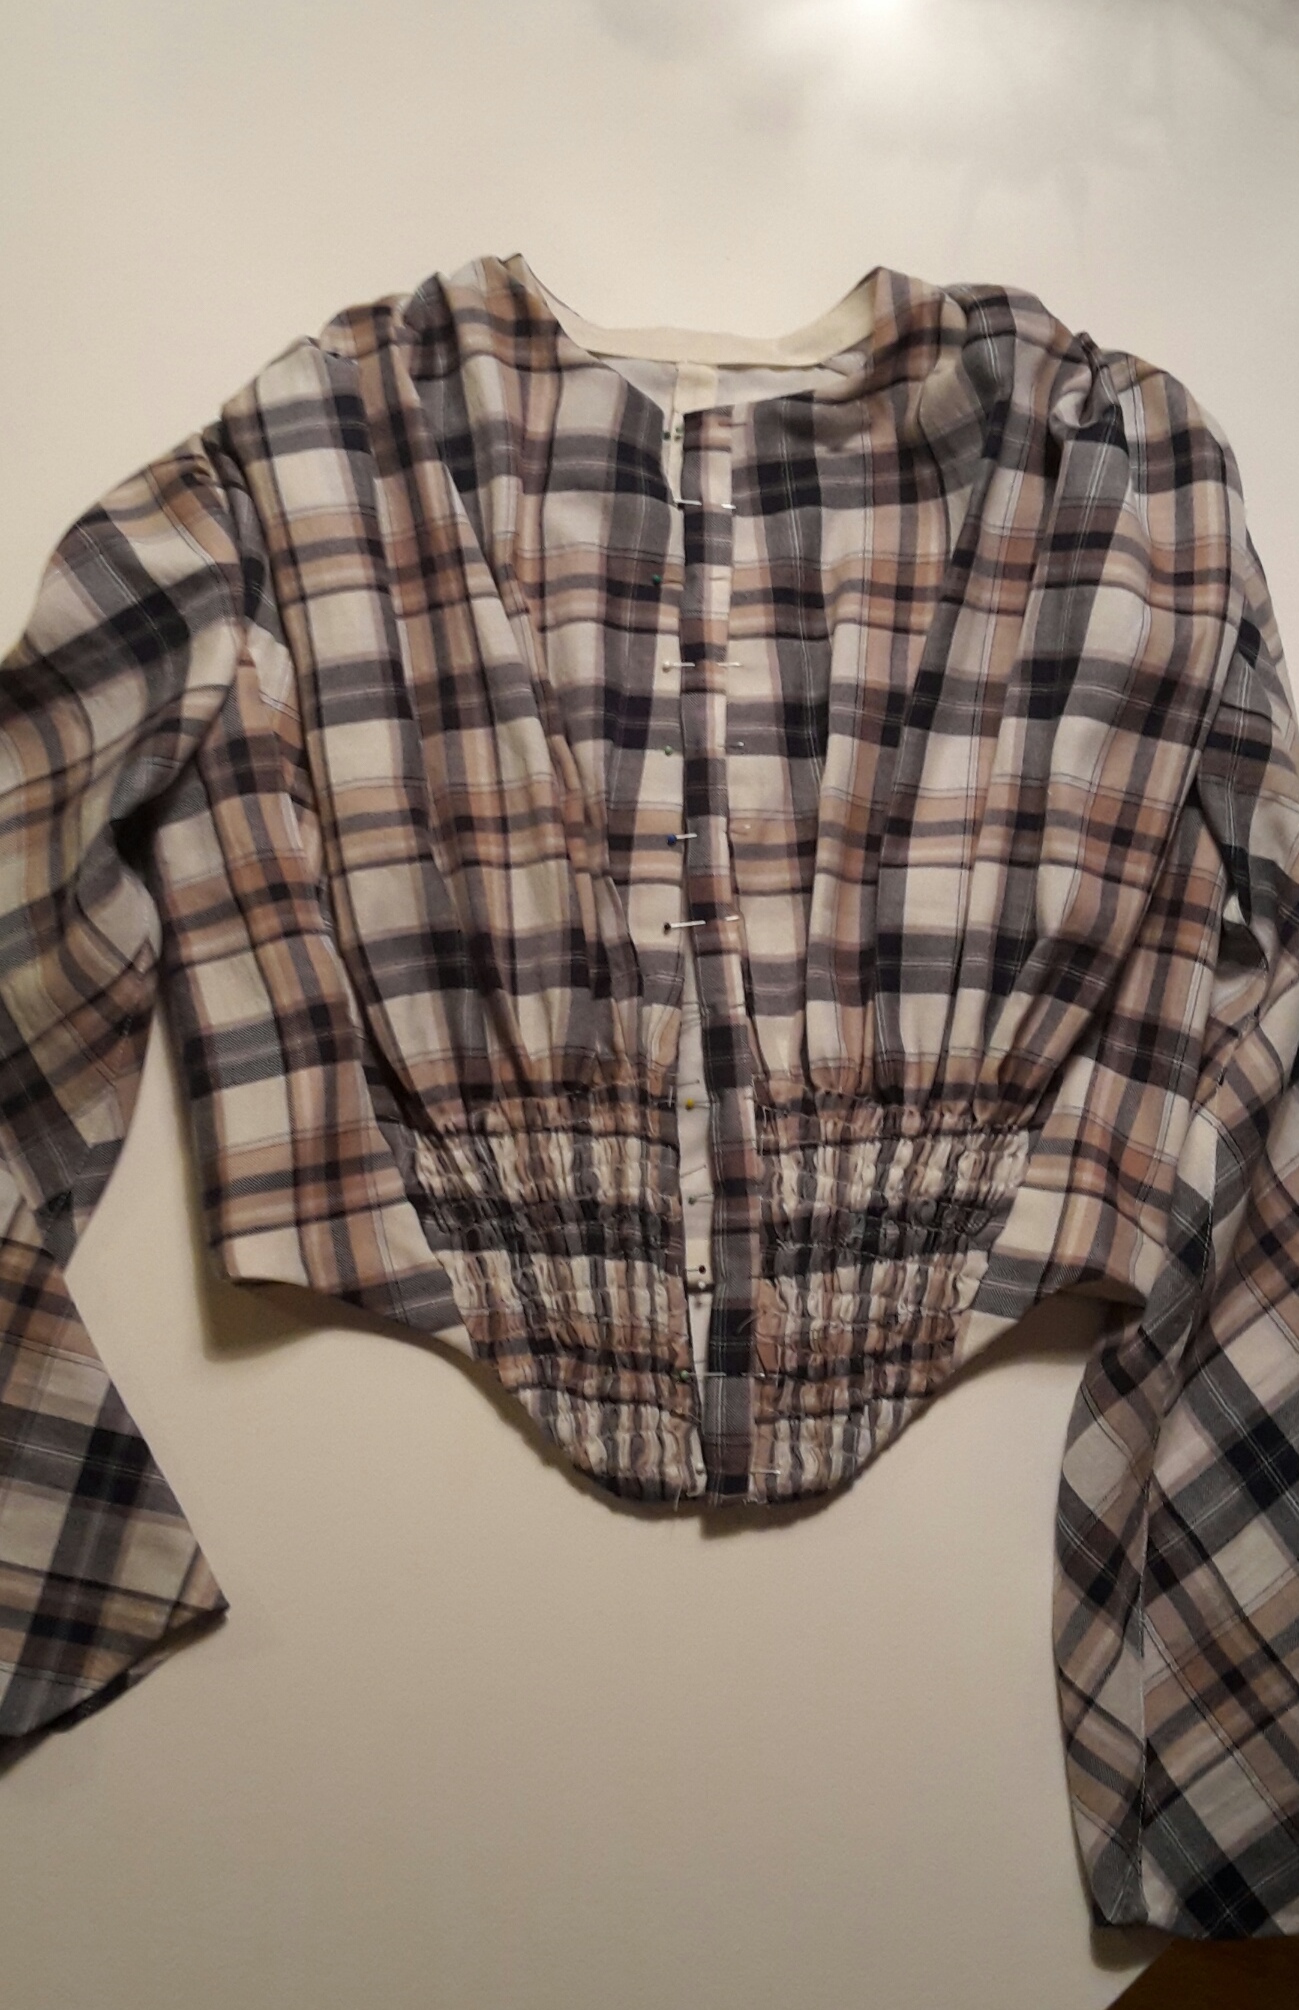
This is how I found the bodice once more the day before the event – When I decided to give it a try, and finish it.

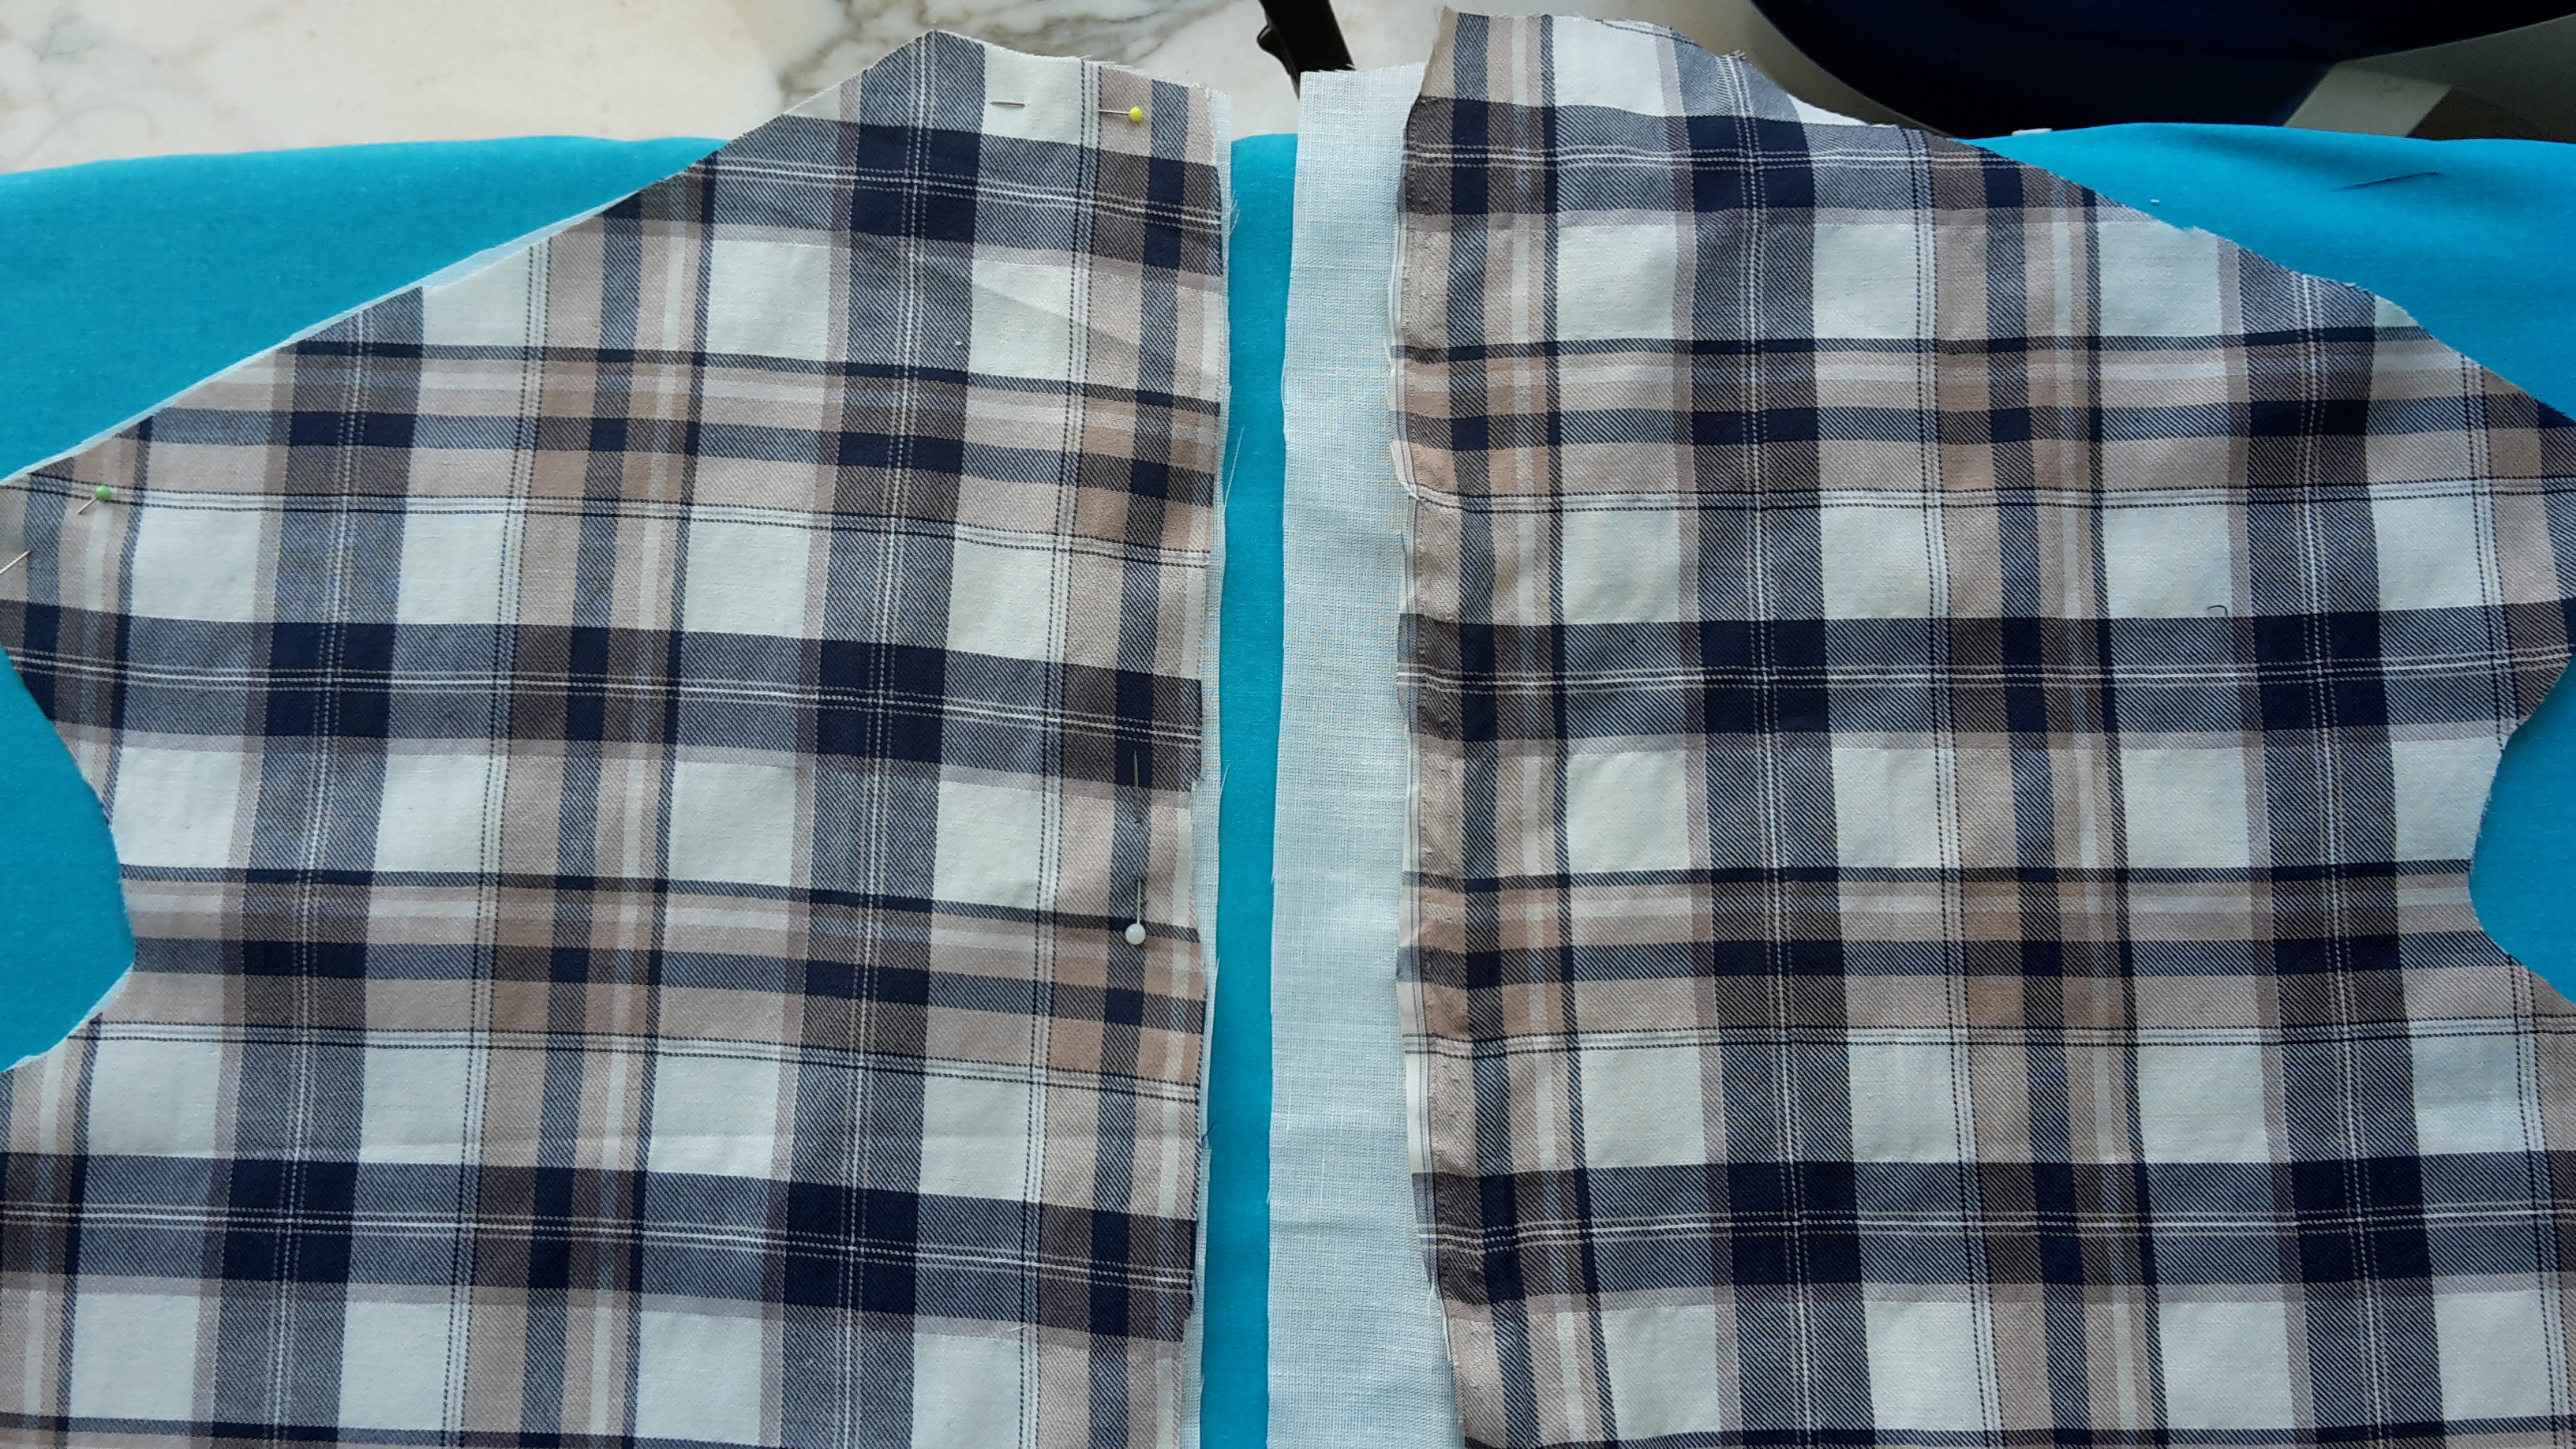
With no time to lose, I pinned and sewed the sleeves together and added them to the bodice using gathering threads at the sleeve head, before turning under 1 cm and hemming them at the wrist20150514_125842Pattern matching the sleeves

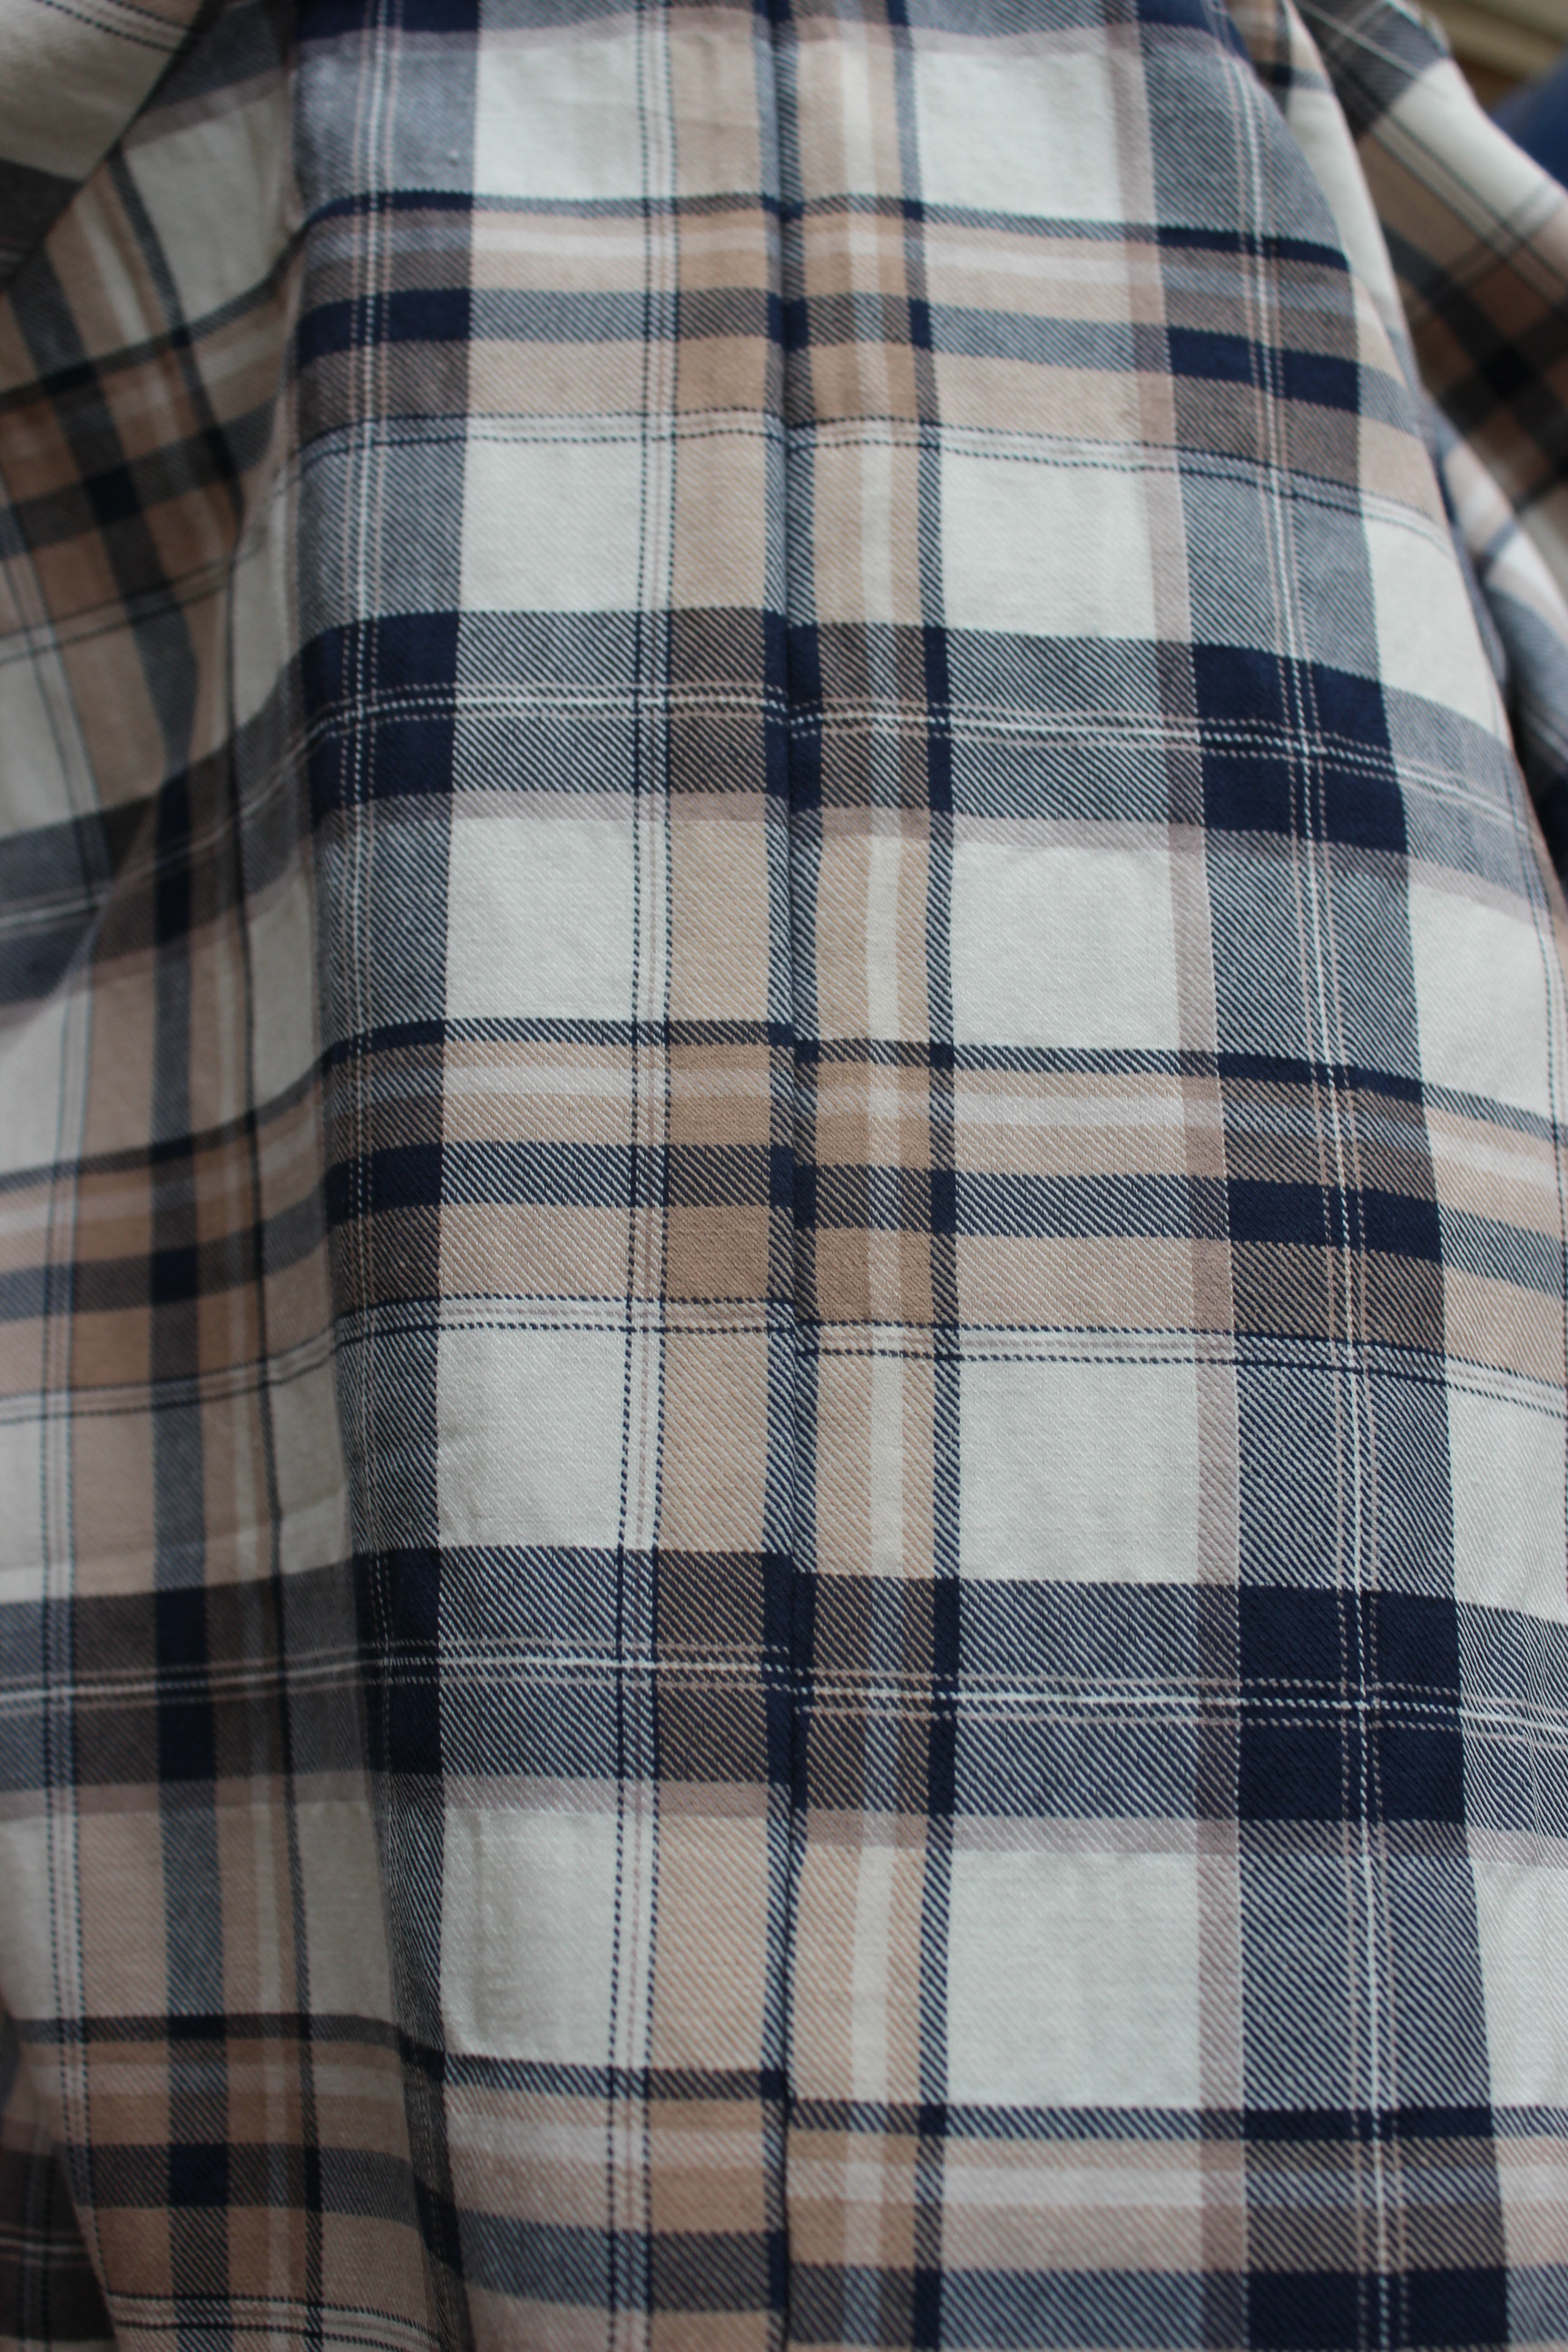
Then I hand stitched the boning channels to the sides, back and darts, and inserted cable tie bones cut to the right length.

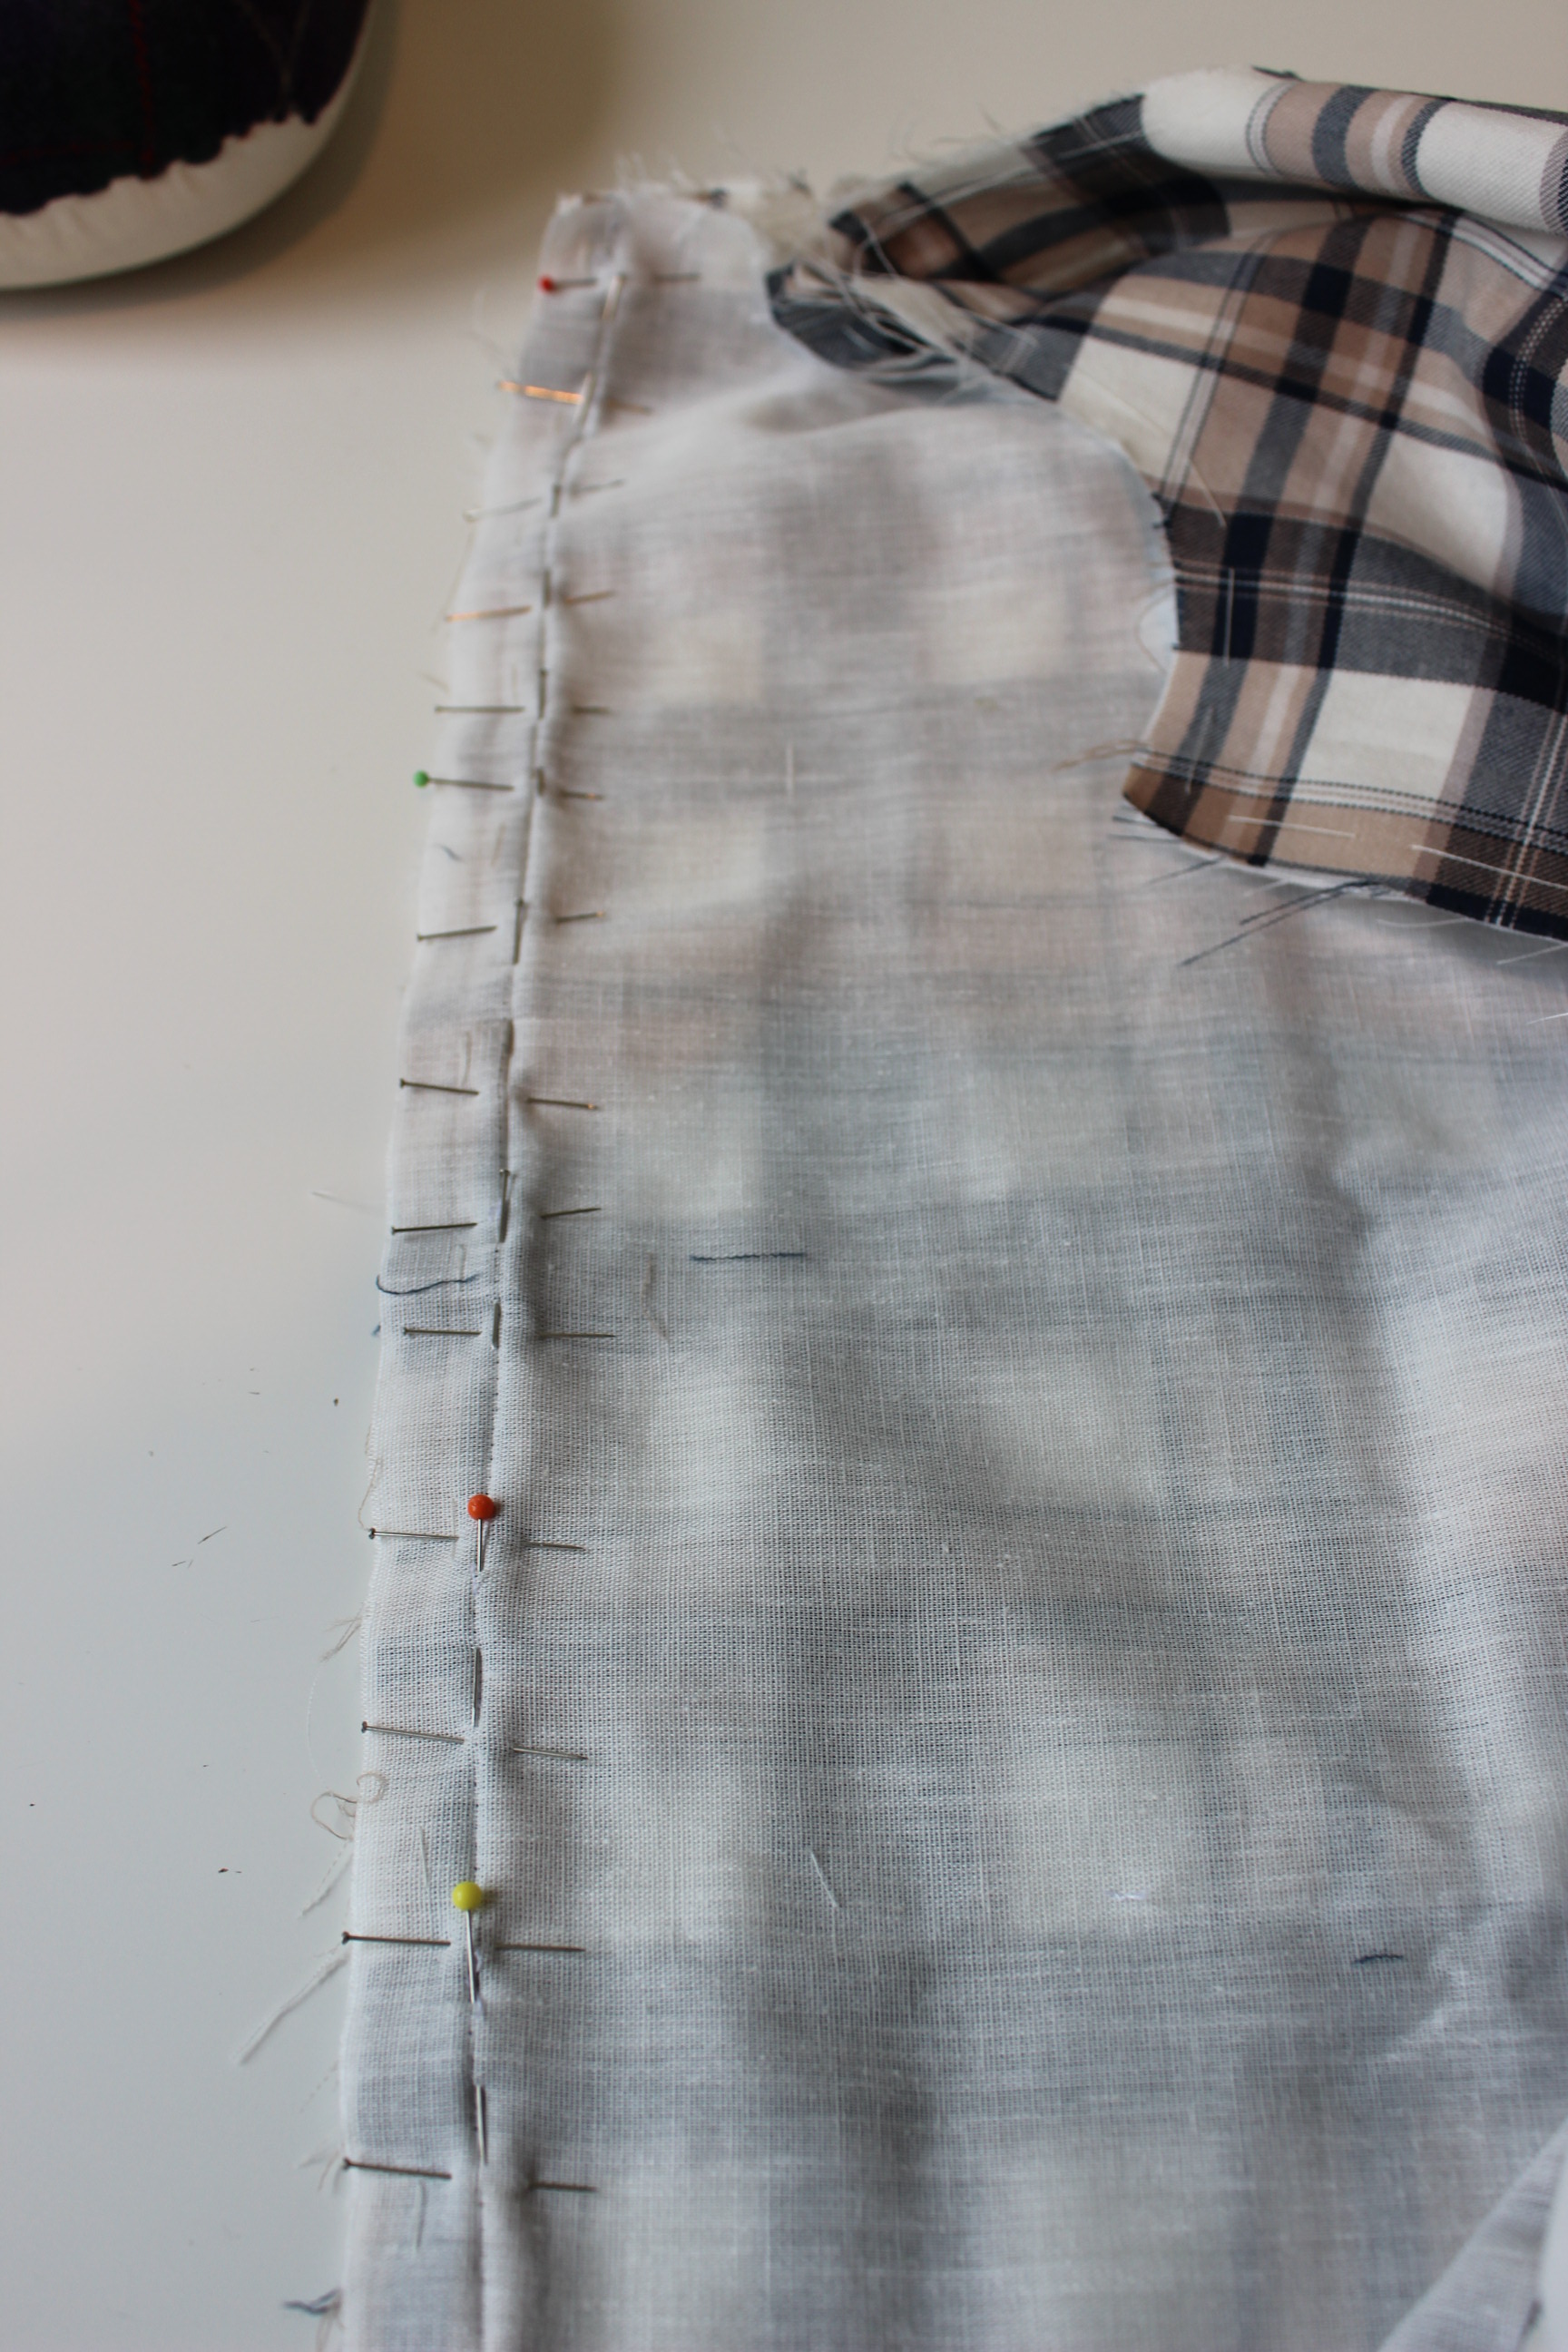
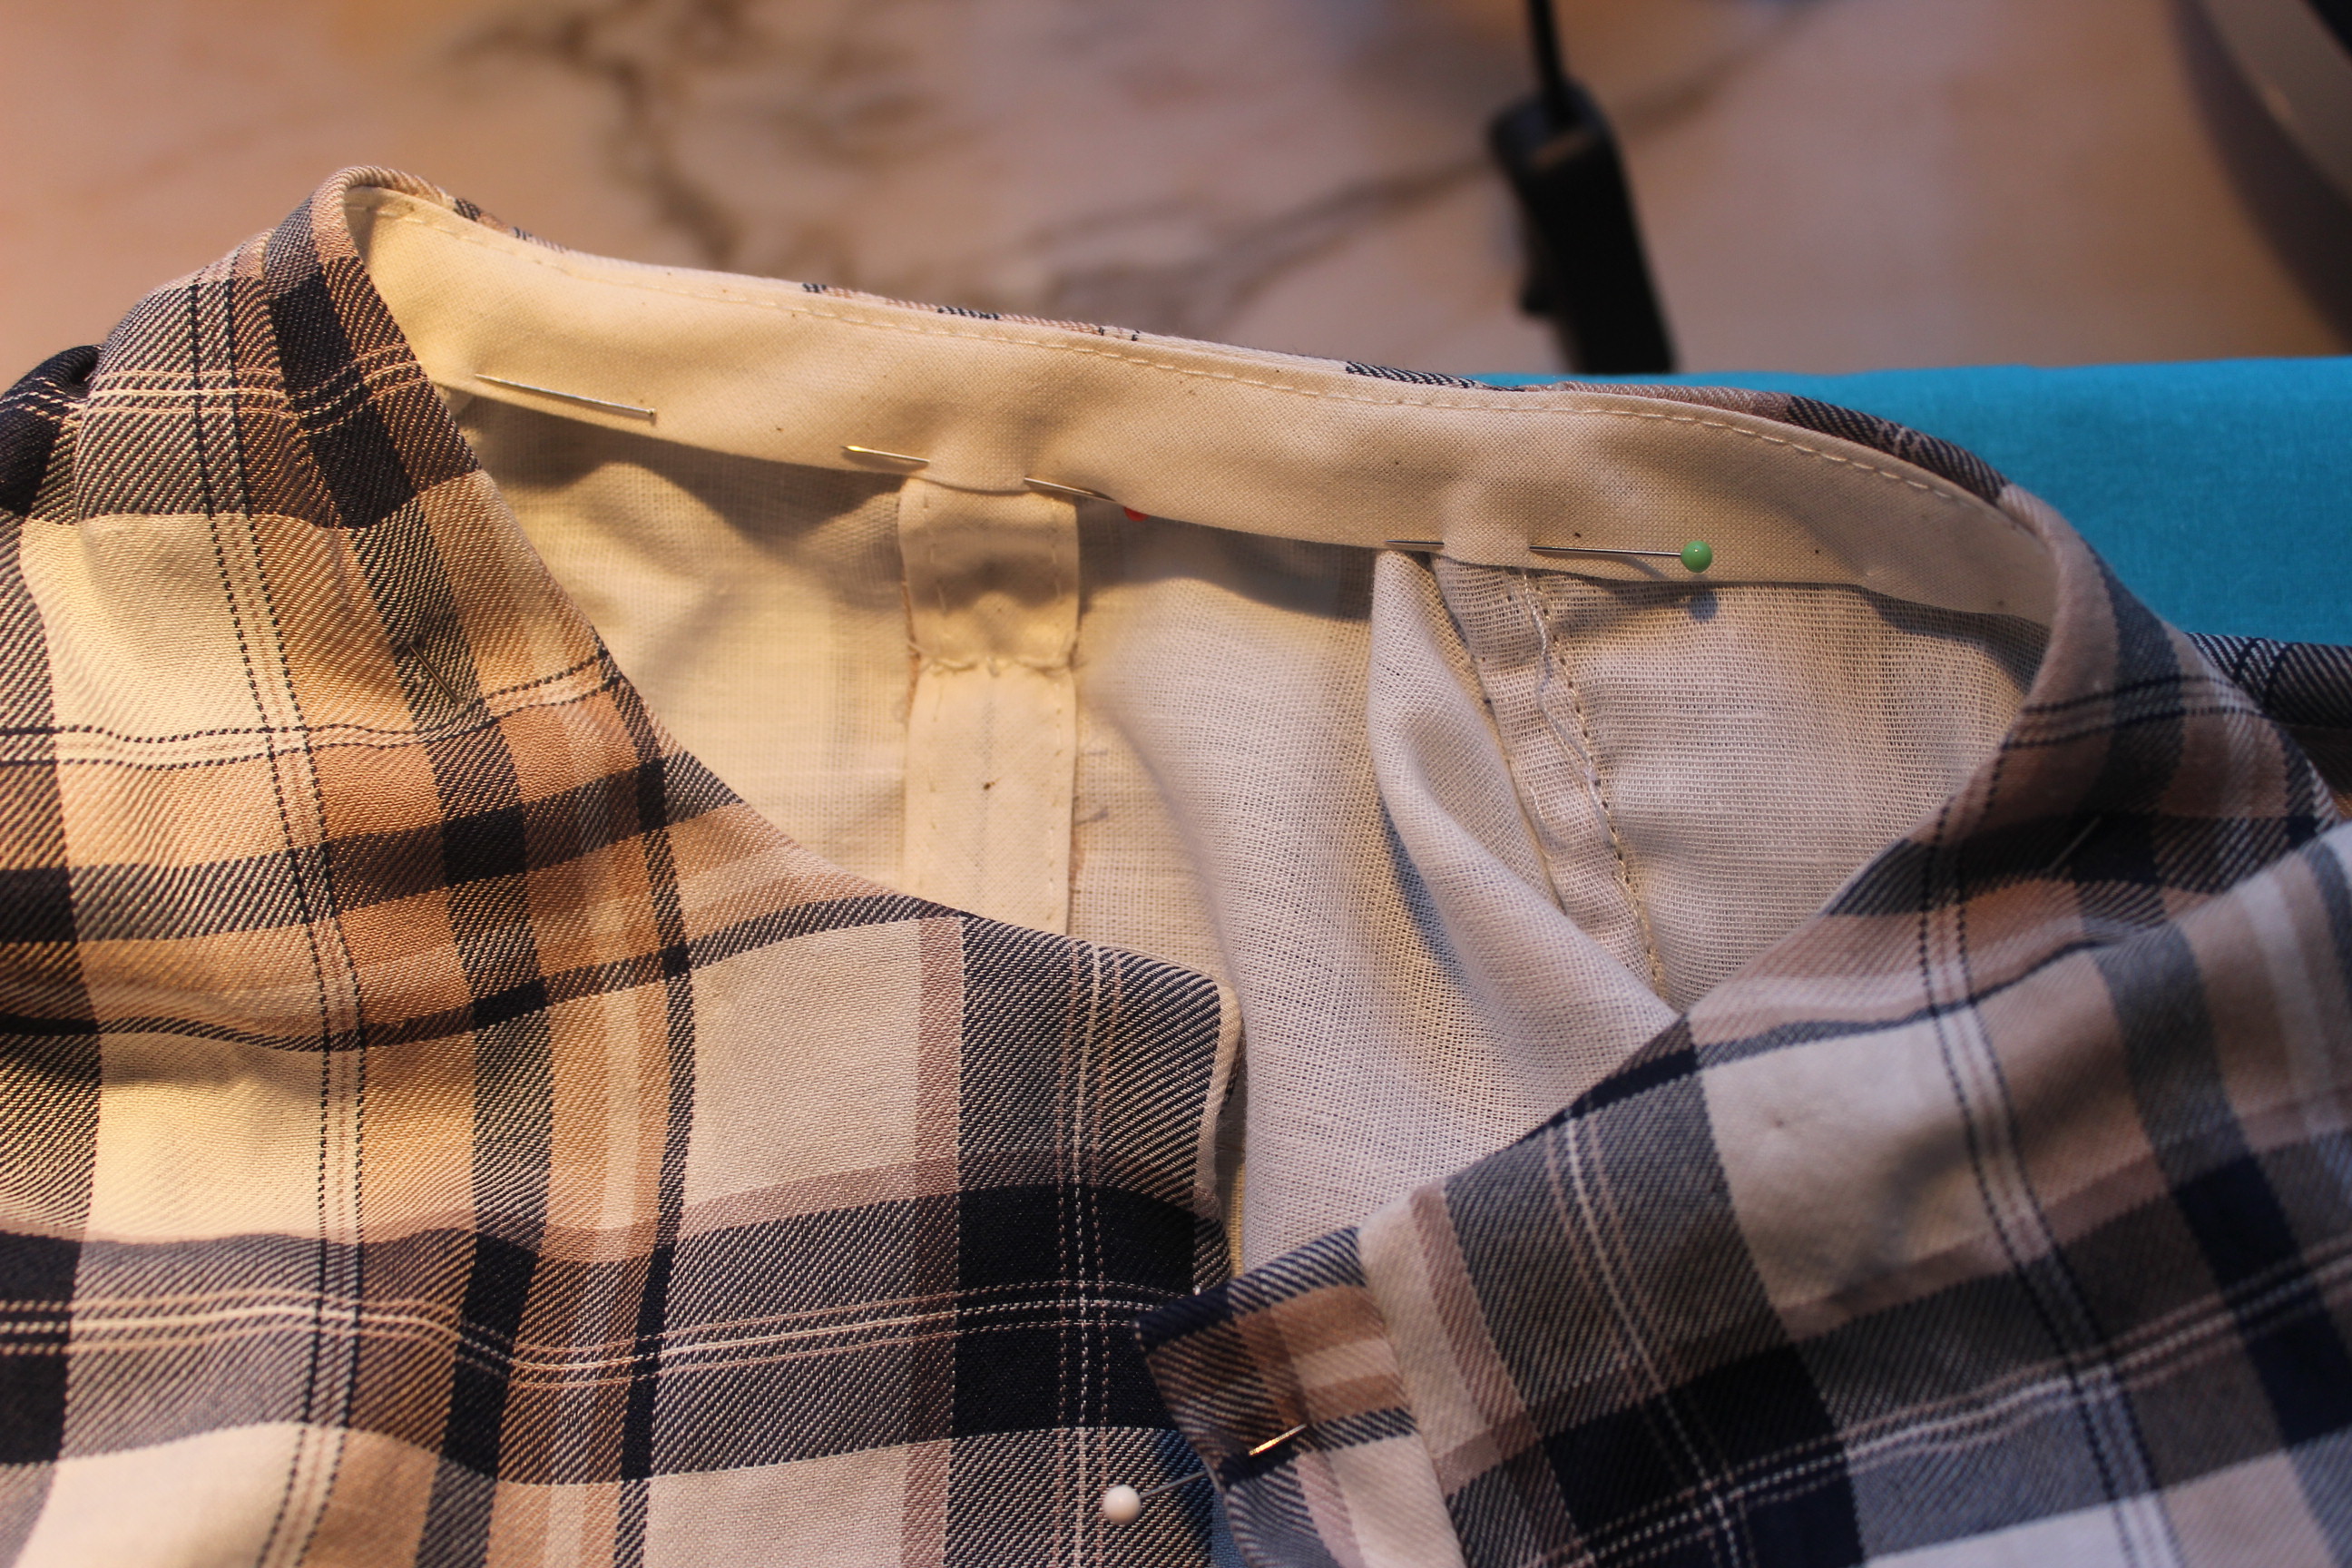
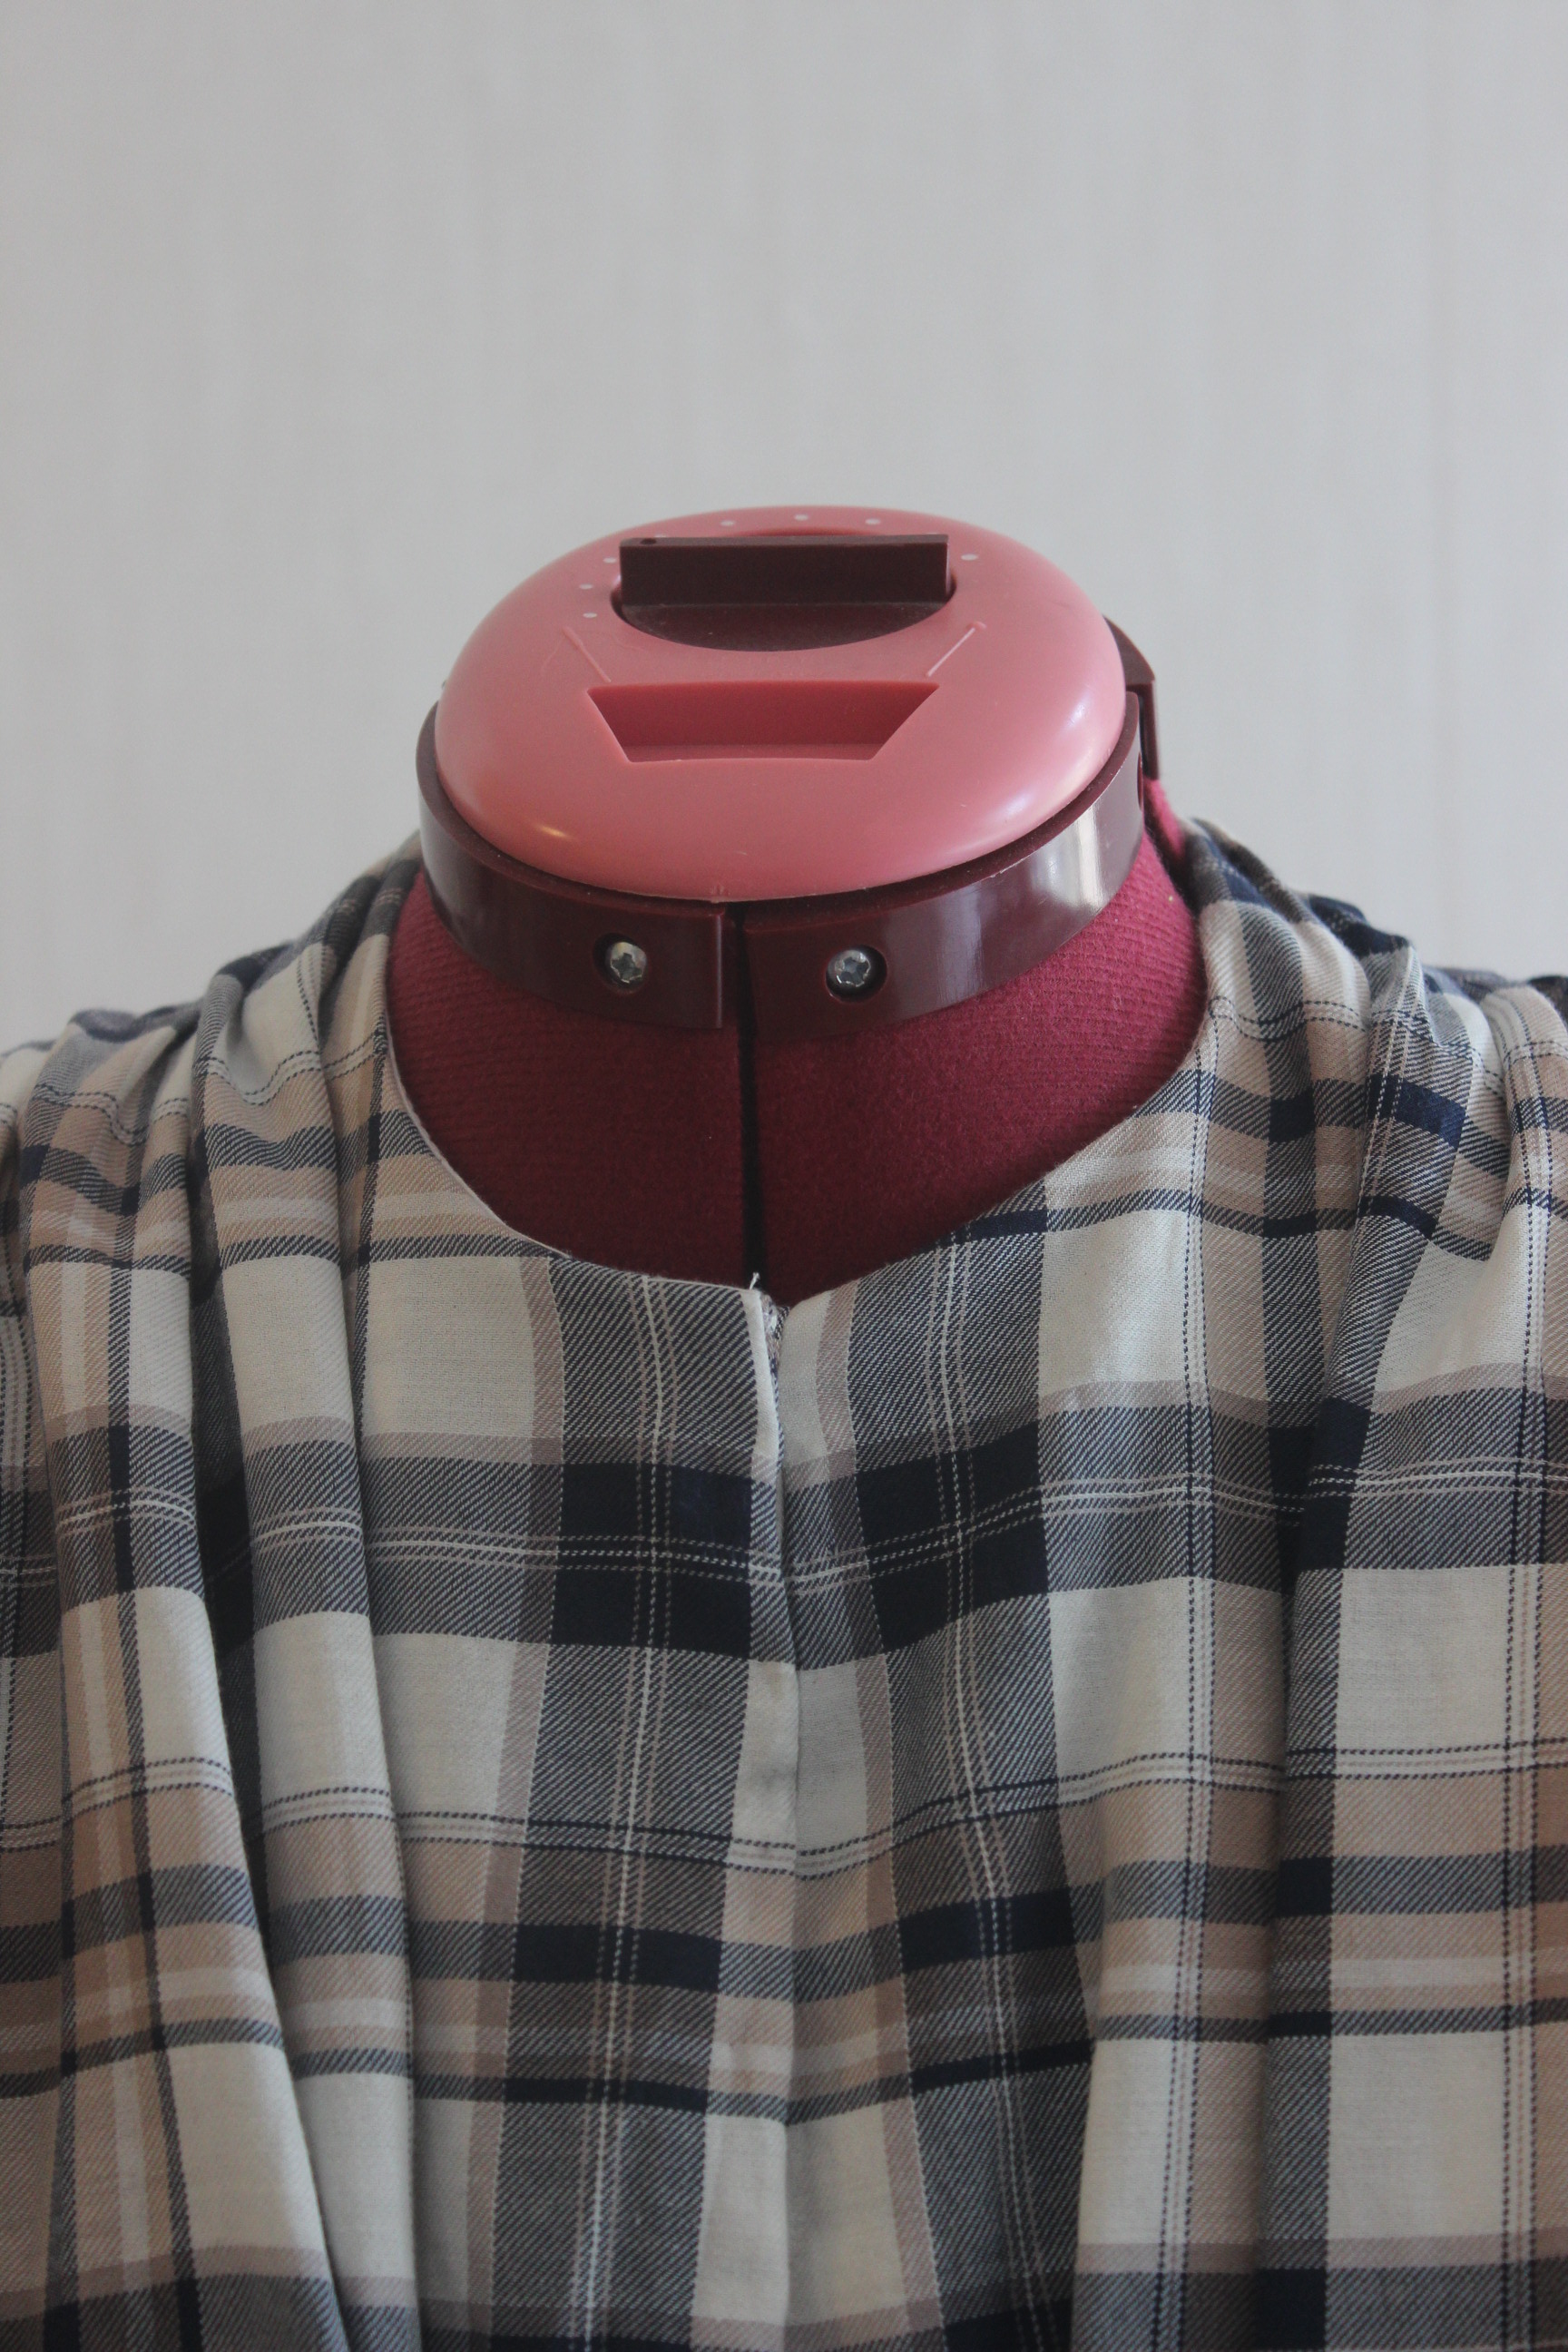
I added a placket to the front edge for the clouser, and pined bias-tape to the neck and bottom edge. IMG_6843

Turning the bias tape at the neck down and securing it at shoulder and back.IMG_6848

I stitched and turned over the bias-tape at the waist, and slip-stitched it to the inside lining to make a smooth and clean finish.IMG_6850 IMG_6852

late at night I marked the placement for the hooks and eyes, but I never had the time to finish them before I needed to hurry to catch the buss to the event.20150612_230034_resized(Instead I pinned it shut)

I also added bias binding to the sleeve edges

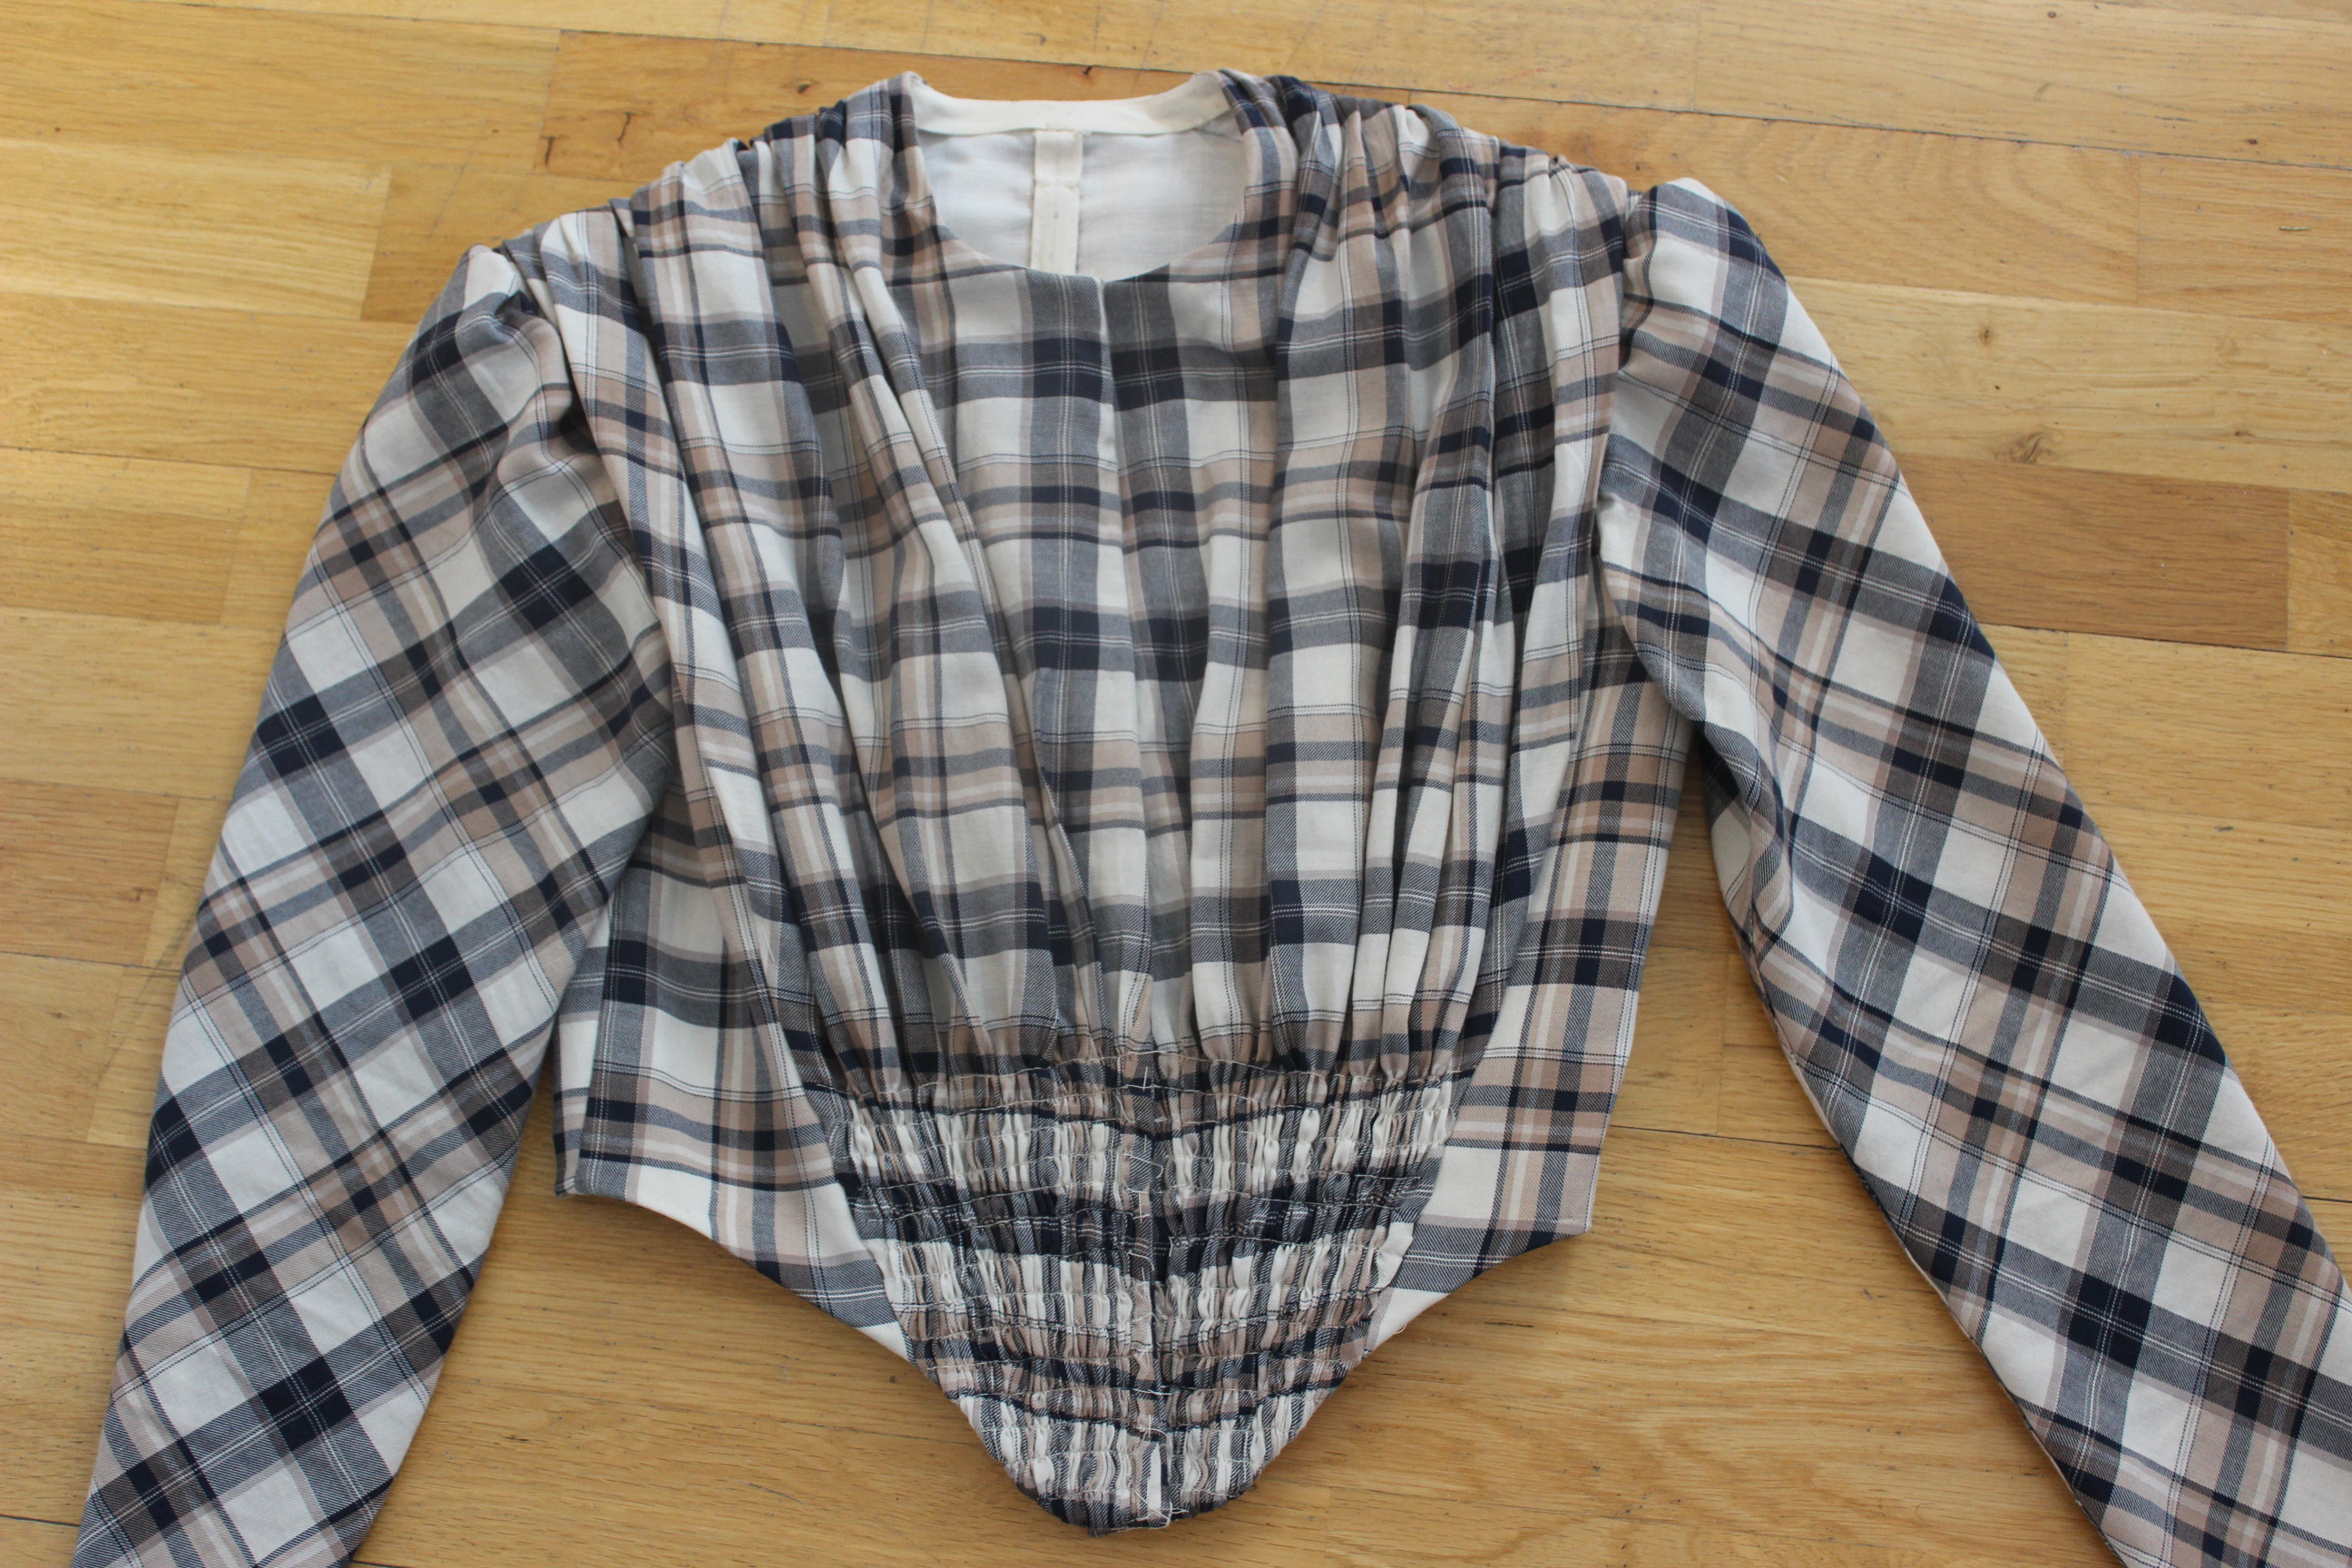
Outside and inside of the “finished” bodice:
IMG_7295IMG_7296

IMG_7294I didn’t had time to ad the clouser to the front (Edit: Now it’s done).
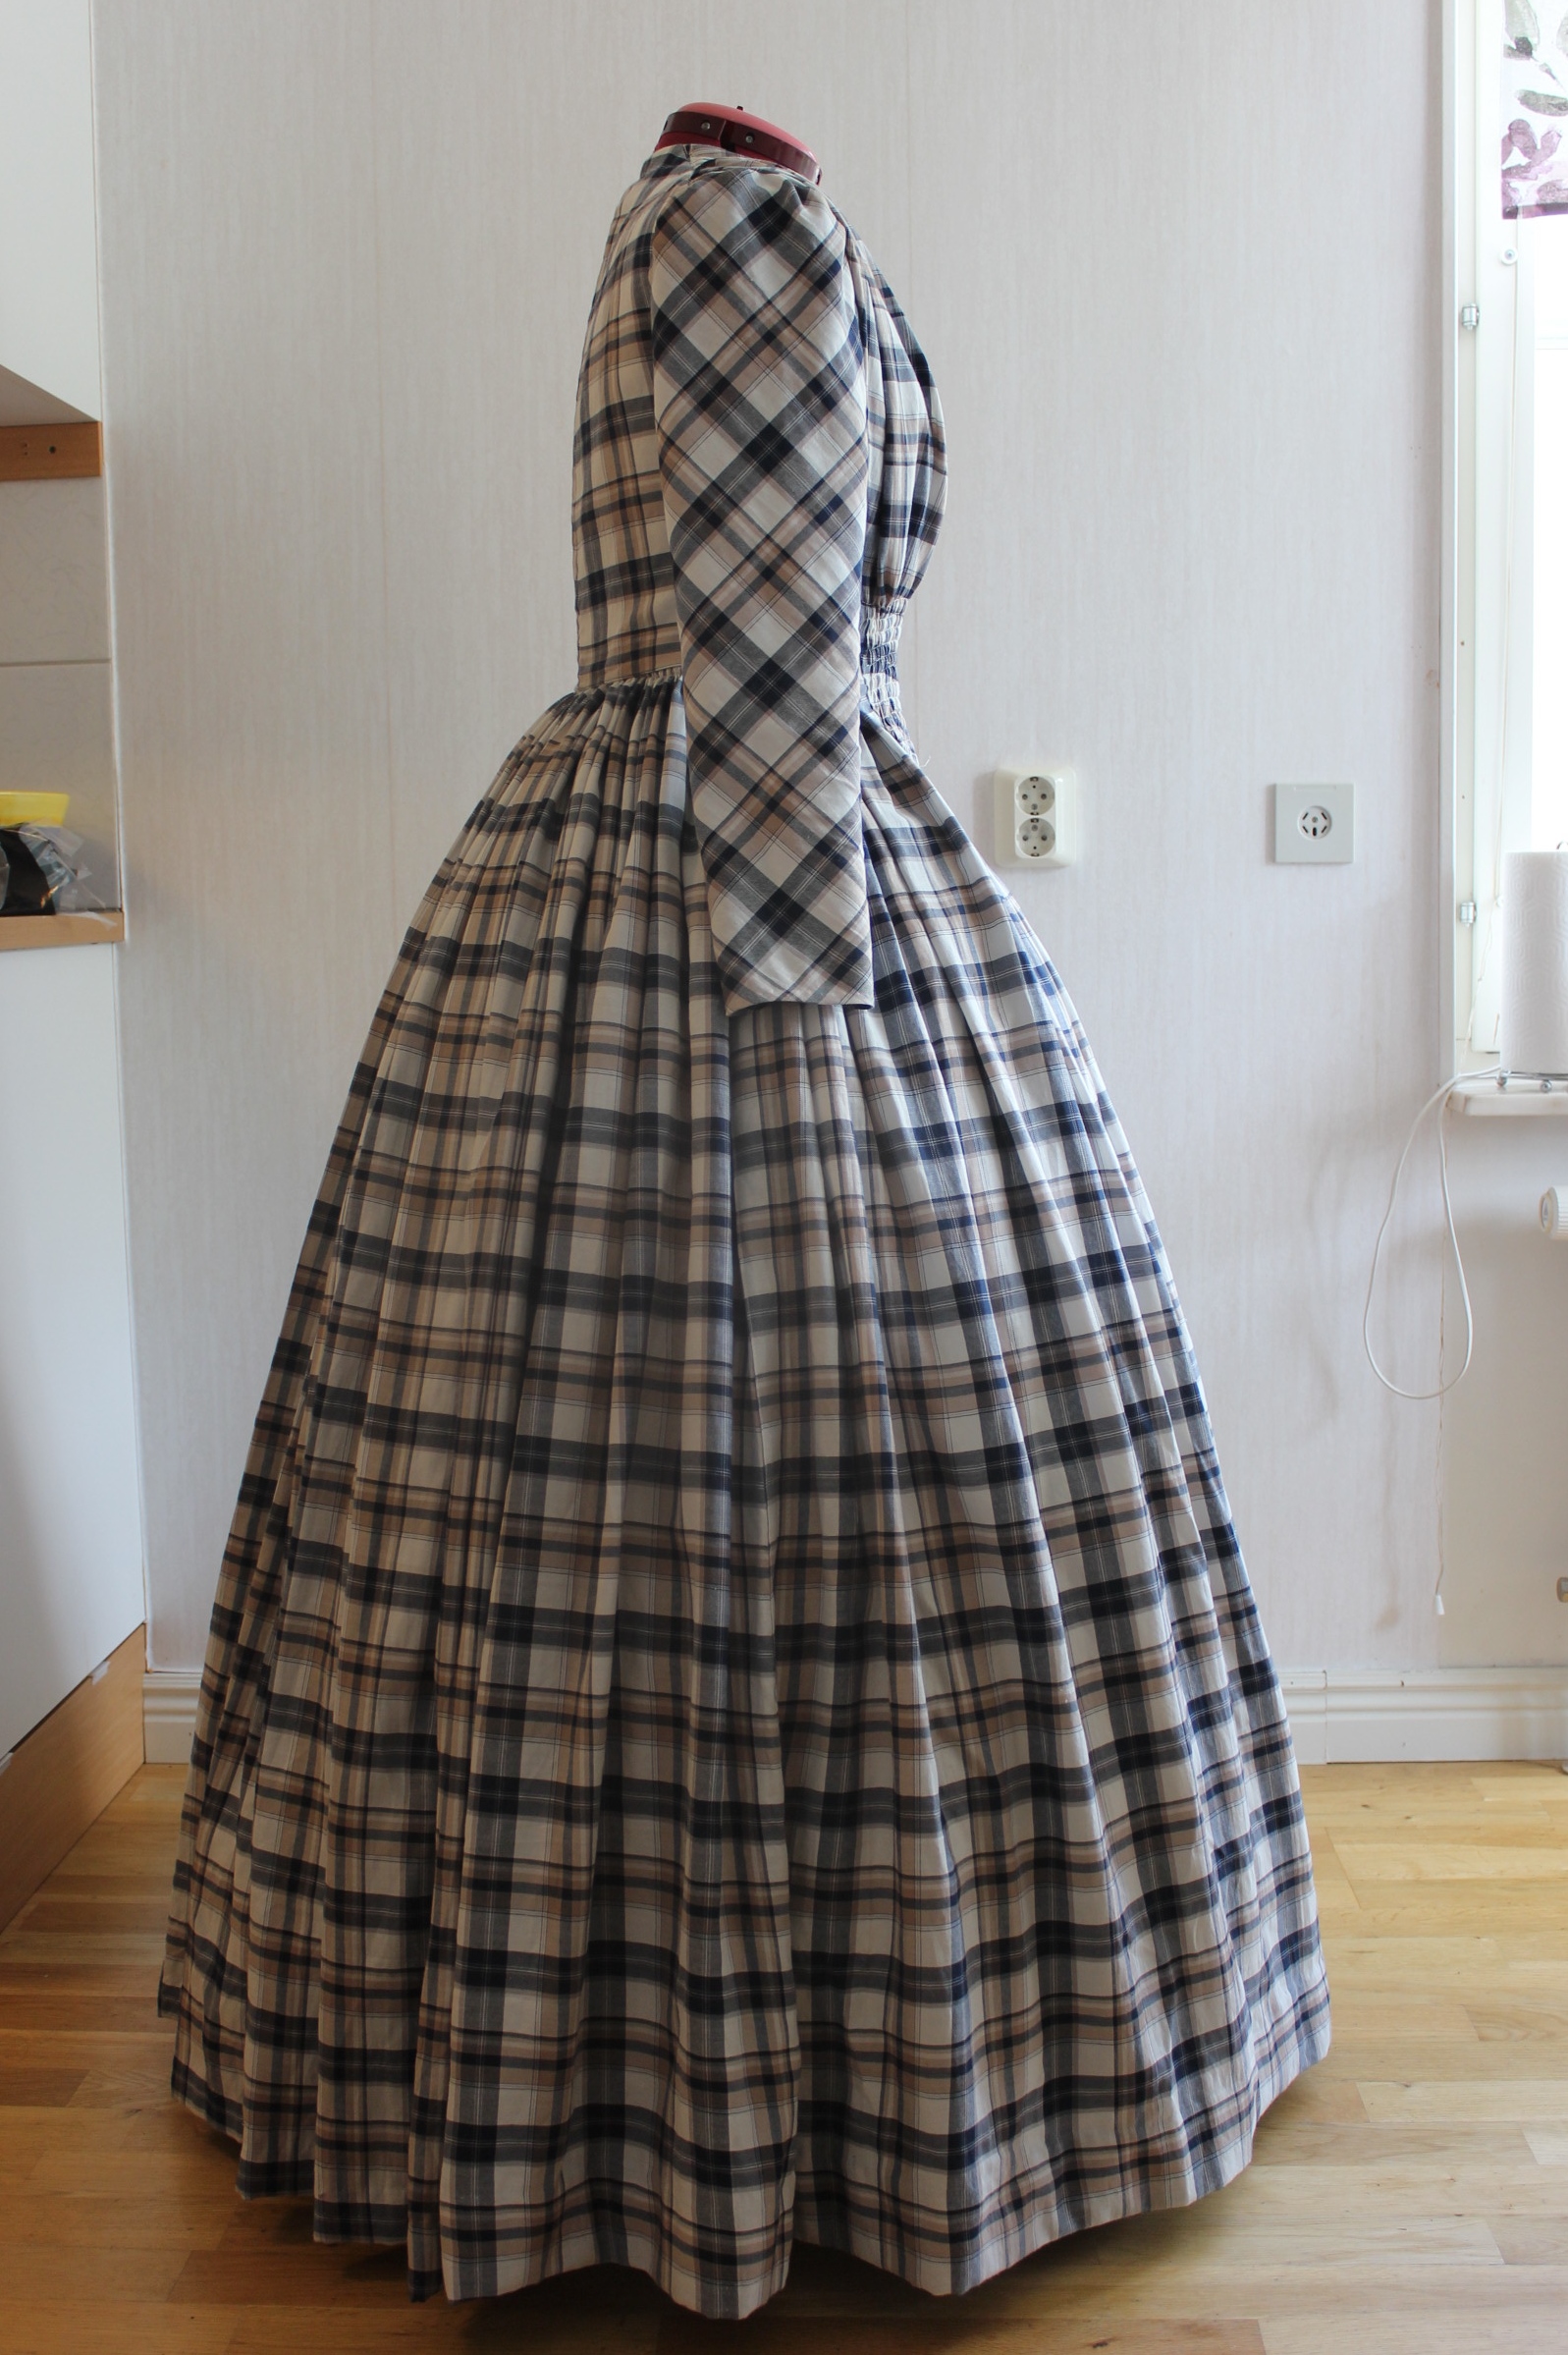
The finished dress:IMG_7261

IMG_7263

IMG_7274

IMG_7266

IMG_7265

IMG_7269

IMG_7271

IMG_7275

IMG_7277

IMG_7278

IMG_7283

IMG_7285

IMG_7287

IMG_7290

IMG_7292

The Facts – Bodice & skirt:

What: A 1850s summer daydress

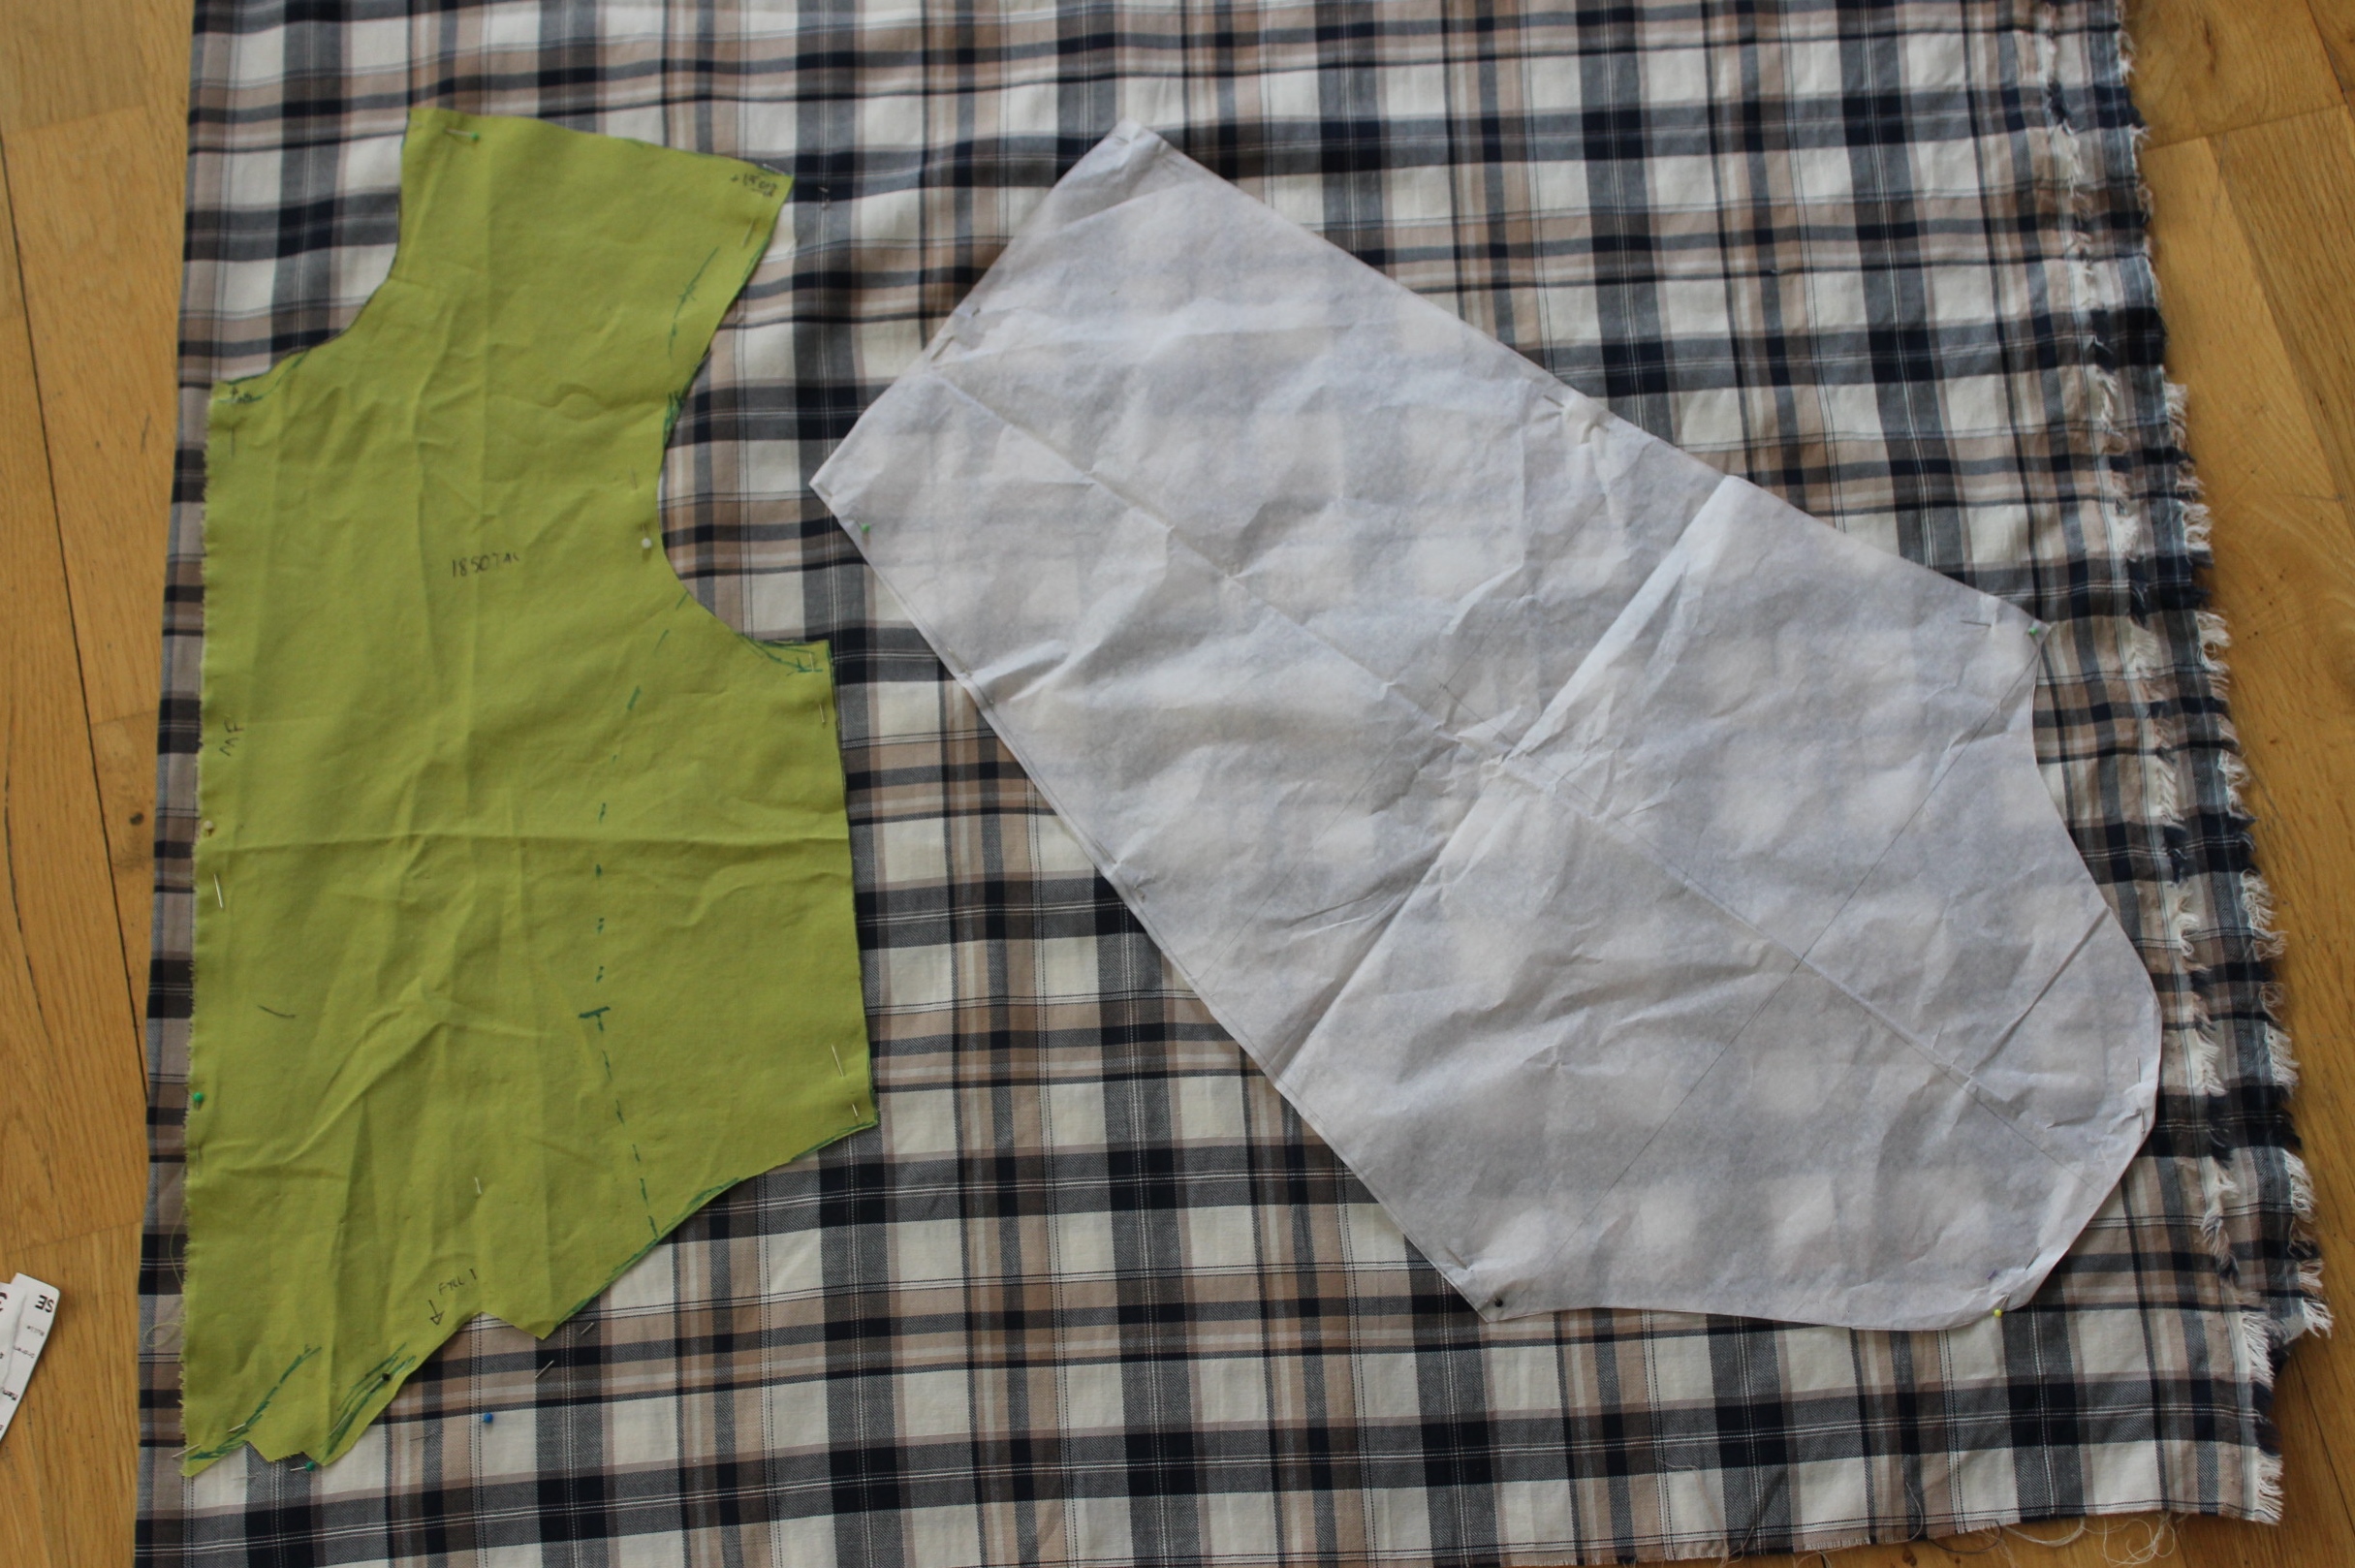
Pattern: I drafted my own using Janet Arnolds ” Pattern of Fashion” and Nora Waughs “Cut of Womens Clothes”.

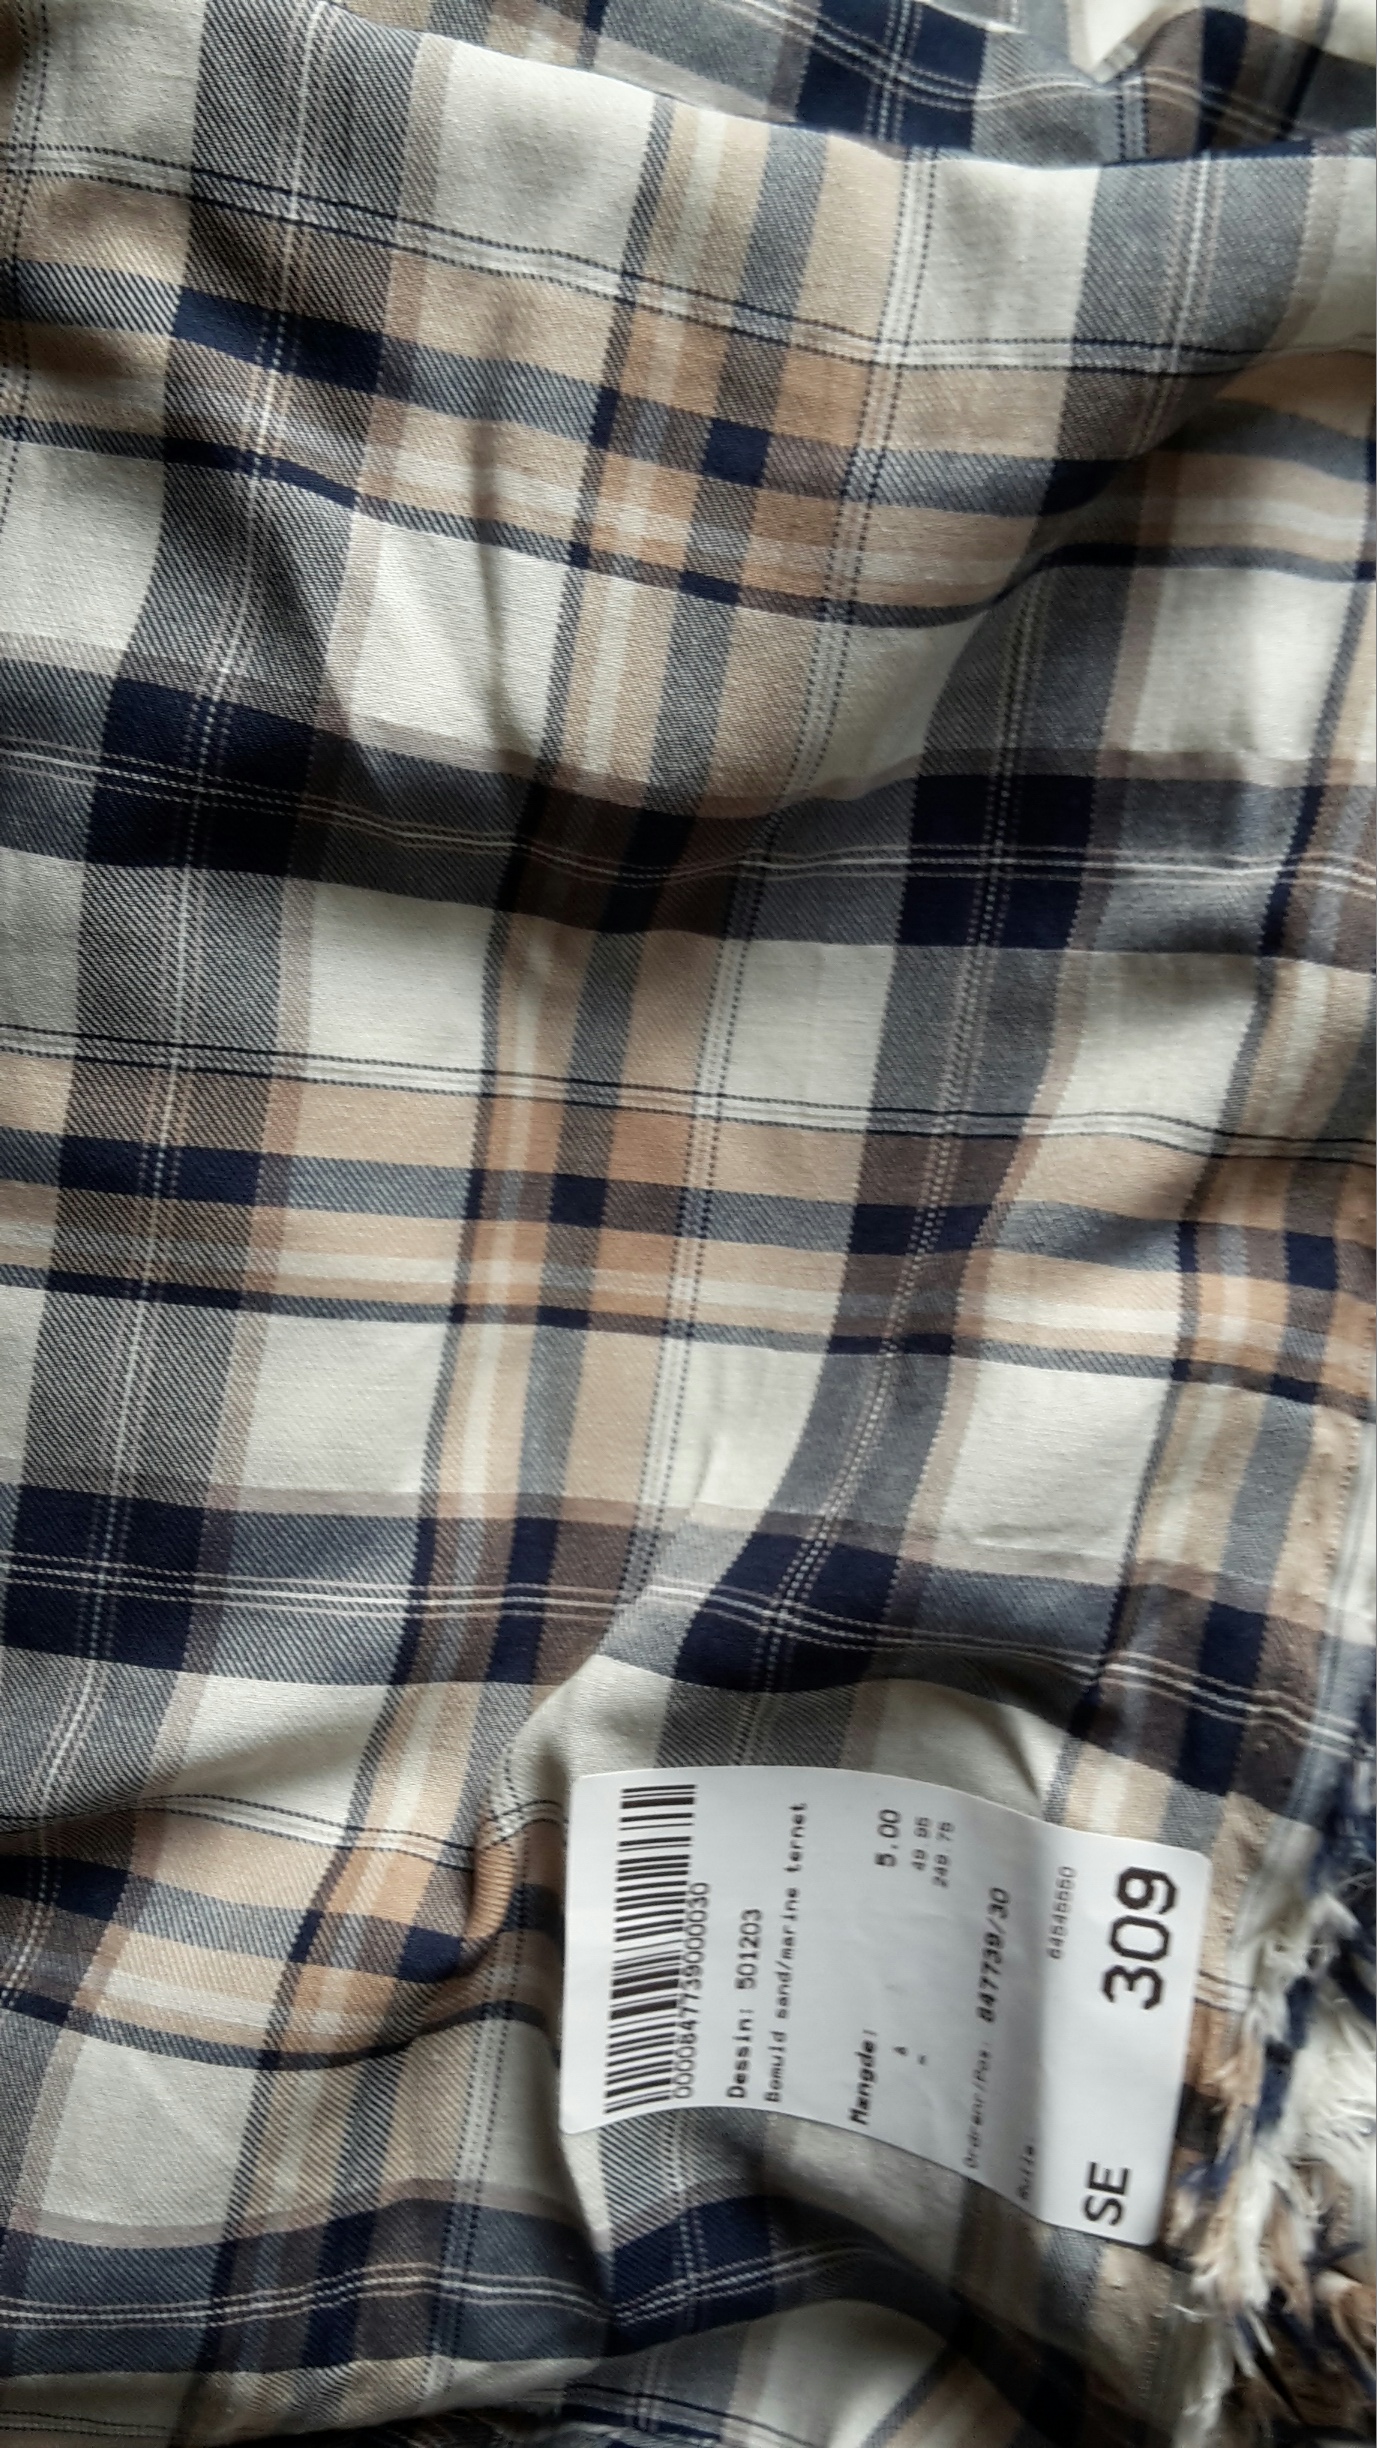
Fabric & Notions: Thread, 5 m of light weight plaid cotton, 0,5 of regular white cotton, 1 m cotton tape for waistband, bias tape for boning channels & neck/sleeves/bottom edge binding, Boning, hooks and eyes.

Time: About 10-15 hours – I made most of the dress by machine.

Cost: 300 Sek – the fabric was on Sale and everything else came from stash.

Final Thought: I really love this dress!
I feel so pretty yet comfortable in it. I can move, dance and breath on it and even though it’s long sleeved it’s not hot at all, just perfect for summer.
And I did get lots of compliments at its first outing :-).

All that’s need to be fixed for next time is, adding hooks and eyes for clouser and attachment bodice to skirt.
I also really need to re-set the sleeves. Well nothing is ever perfect 😉
(I’ve now re- set the sleeves, added the hooks and eyes needed at the front and made the bodice and skirt sit firmly together)
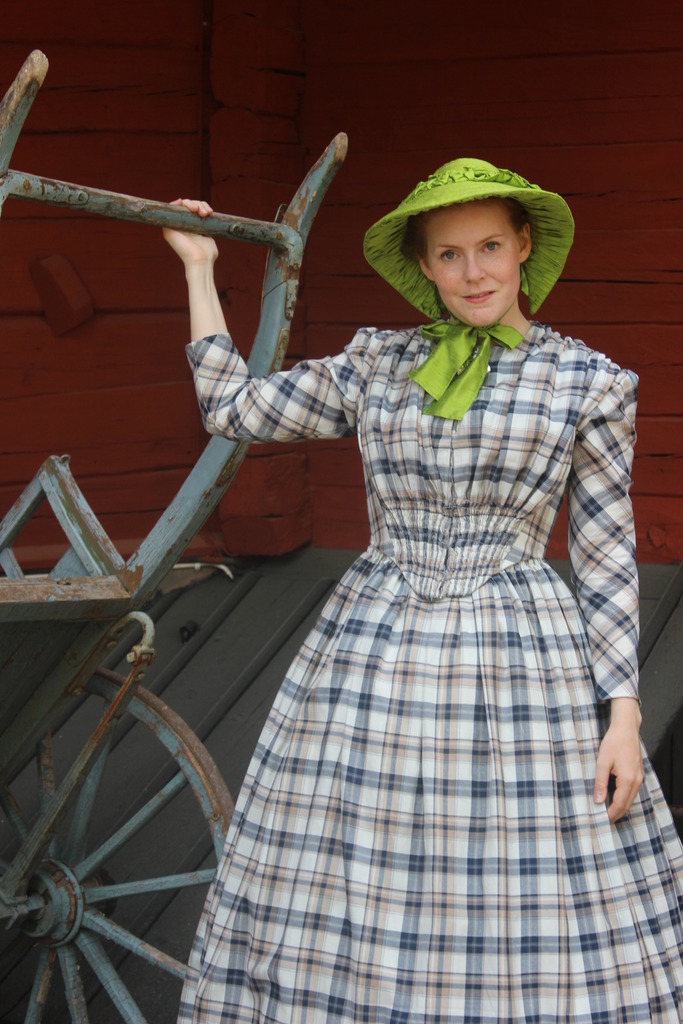
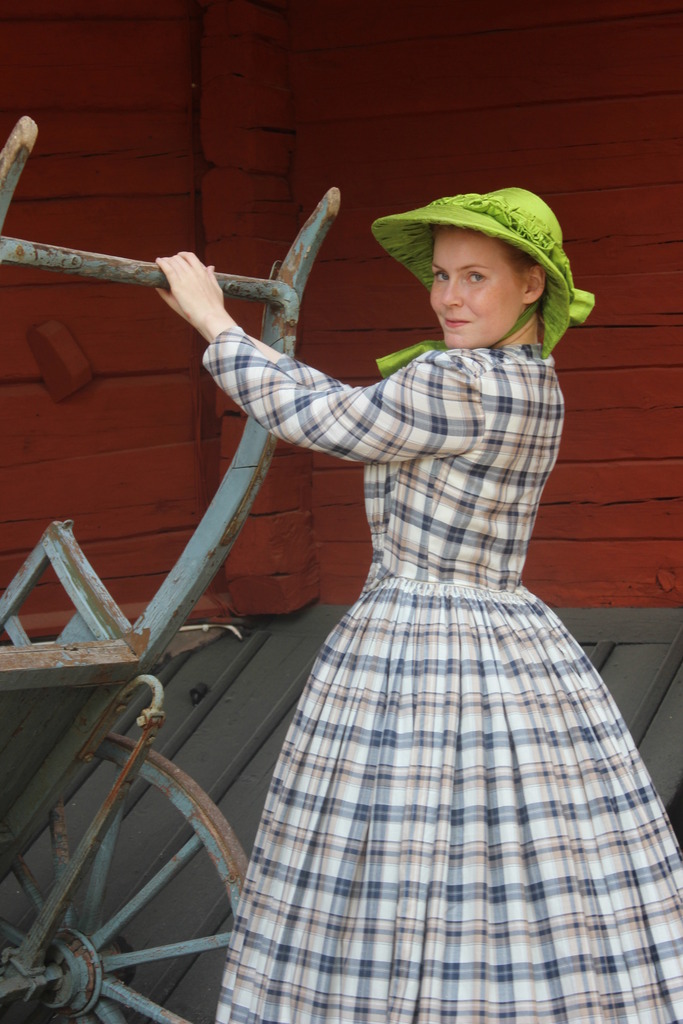
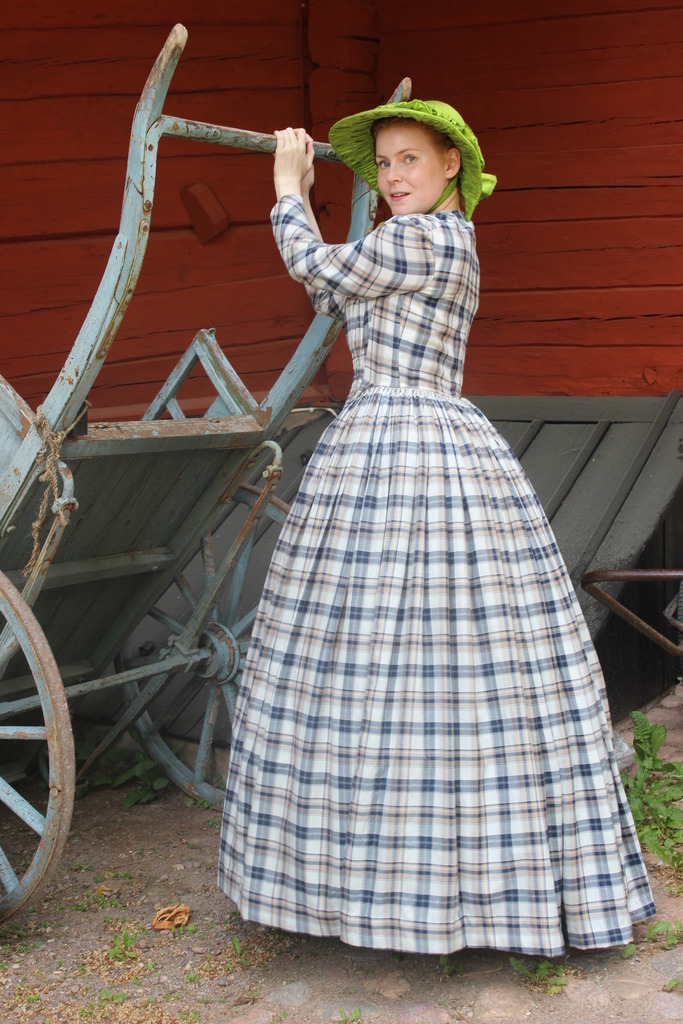
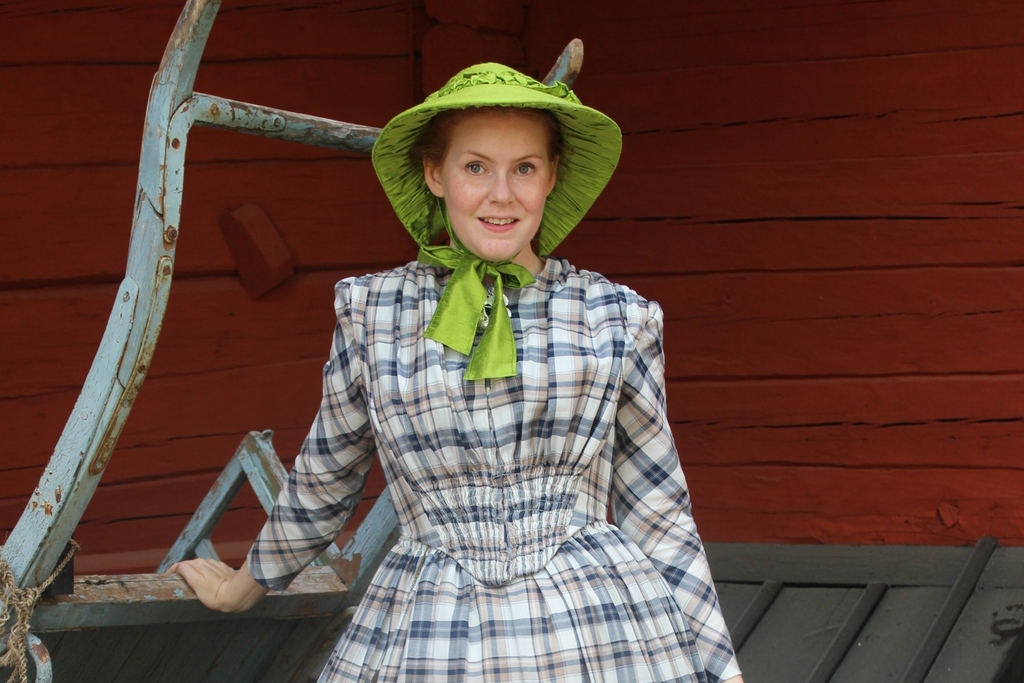
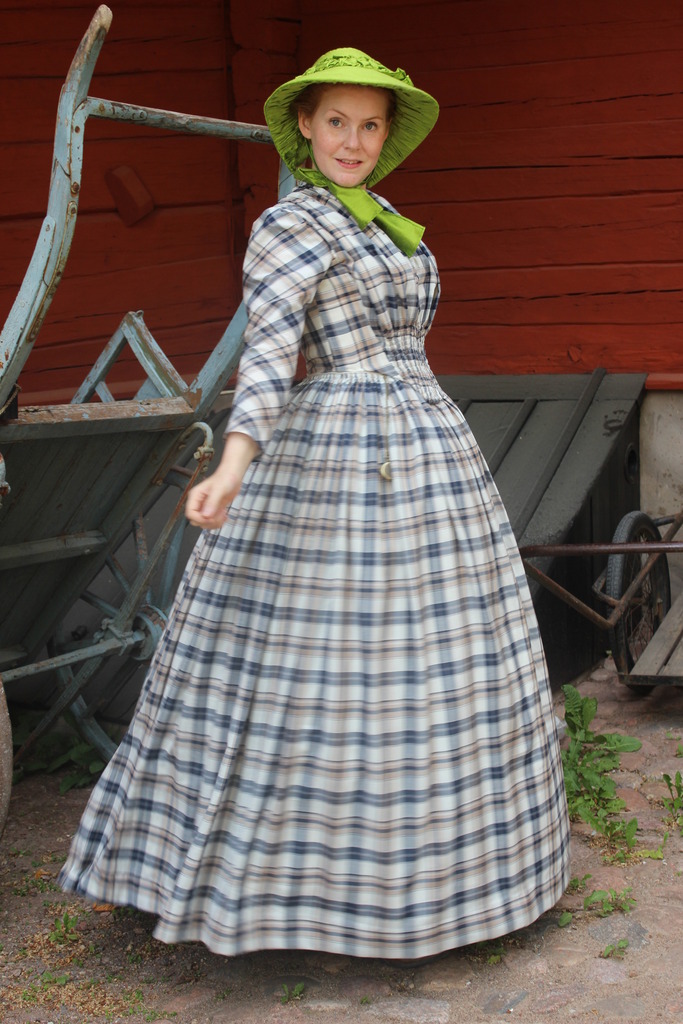
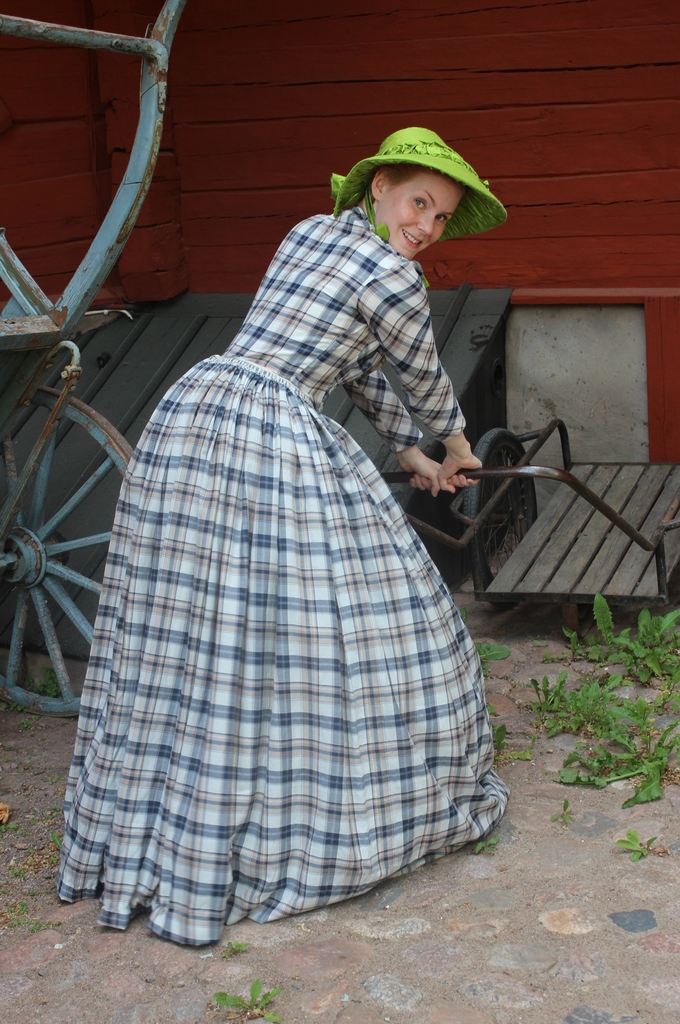
1850s Plaid Summer Dress (Part 2 – bodice)

After finishing the skirt (and the Lady Mary dress) I continued on to the bodice on my 1850s summer dress.

Using some green cotton from my stash I draped a pattern on my dress-form trying to get as close to the original shape as possible.2015-04-14_22.28.24

Then I cut it out, stitched it together and tried it on.
IMG_6396bodice with pinned darts on one side.

I pinned the darts while wearing the mock-up. Then I took it of, marked and stitched them shut.

And put it on again for one more try to see if i got it right.IMG_6419
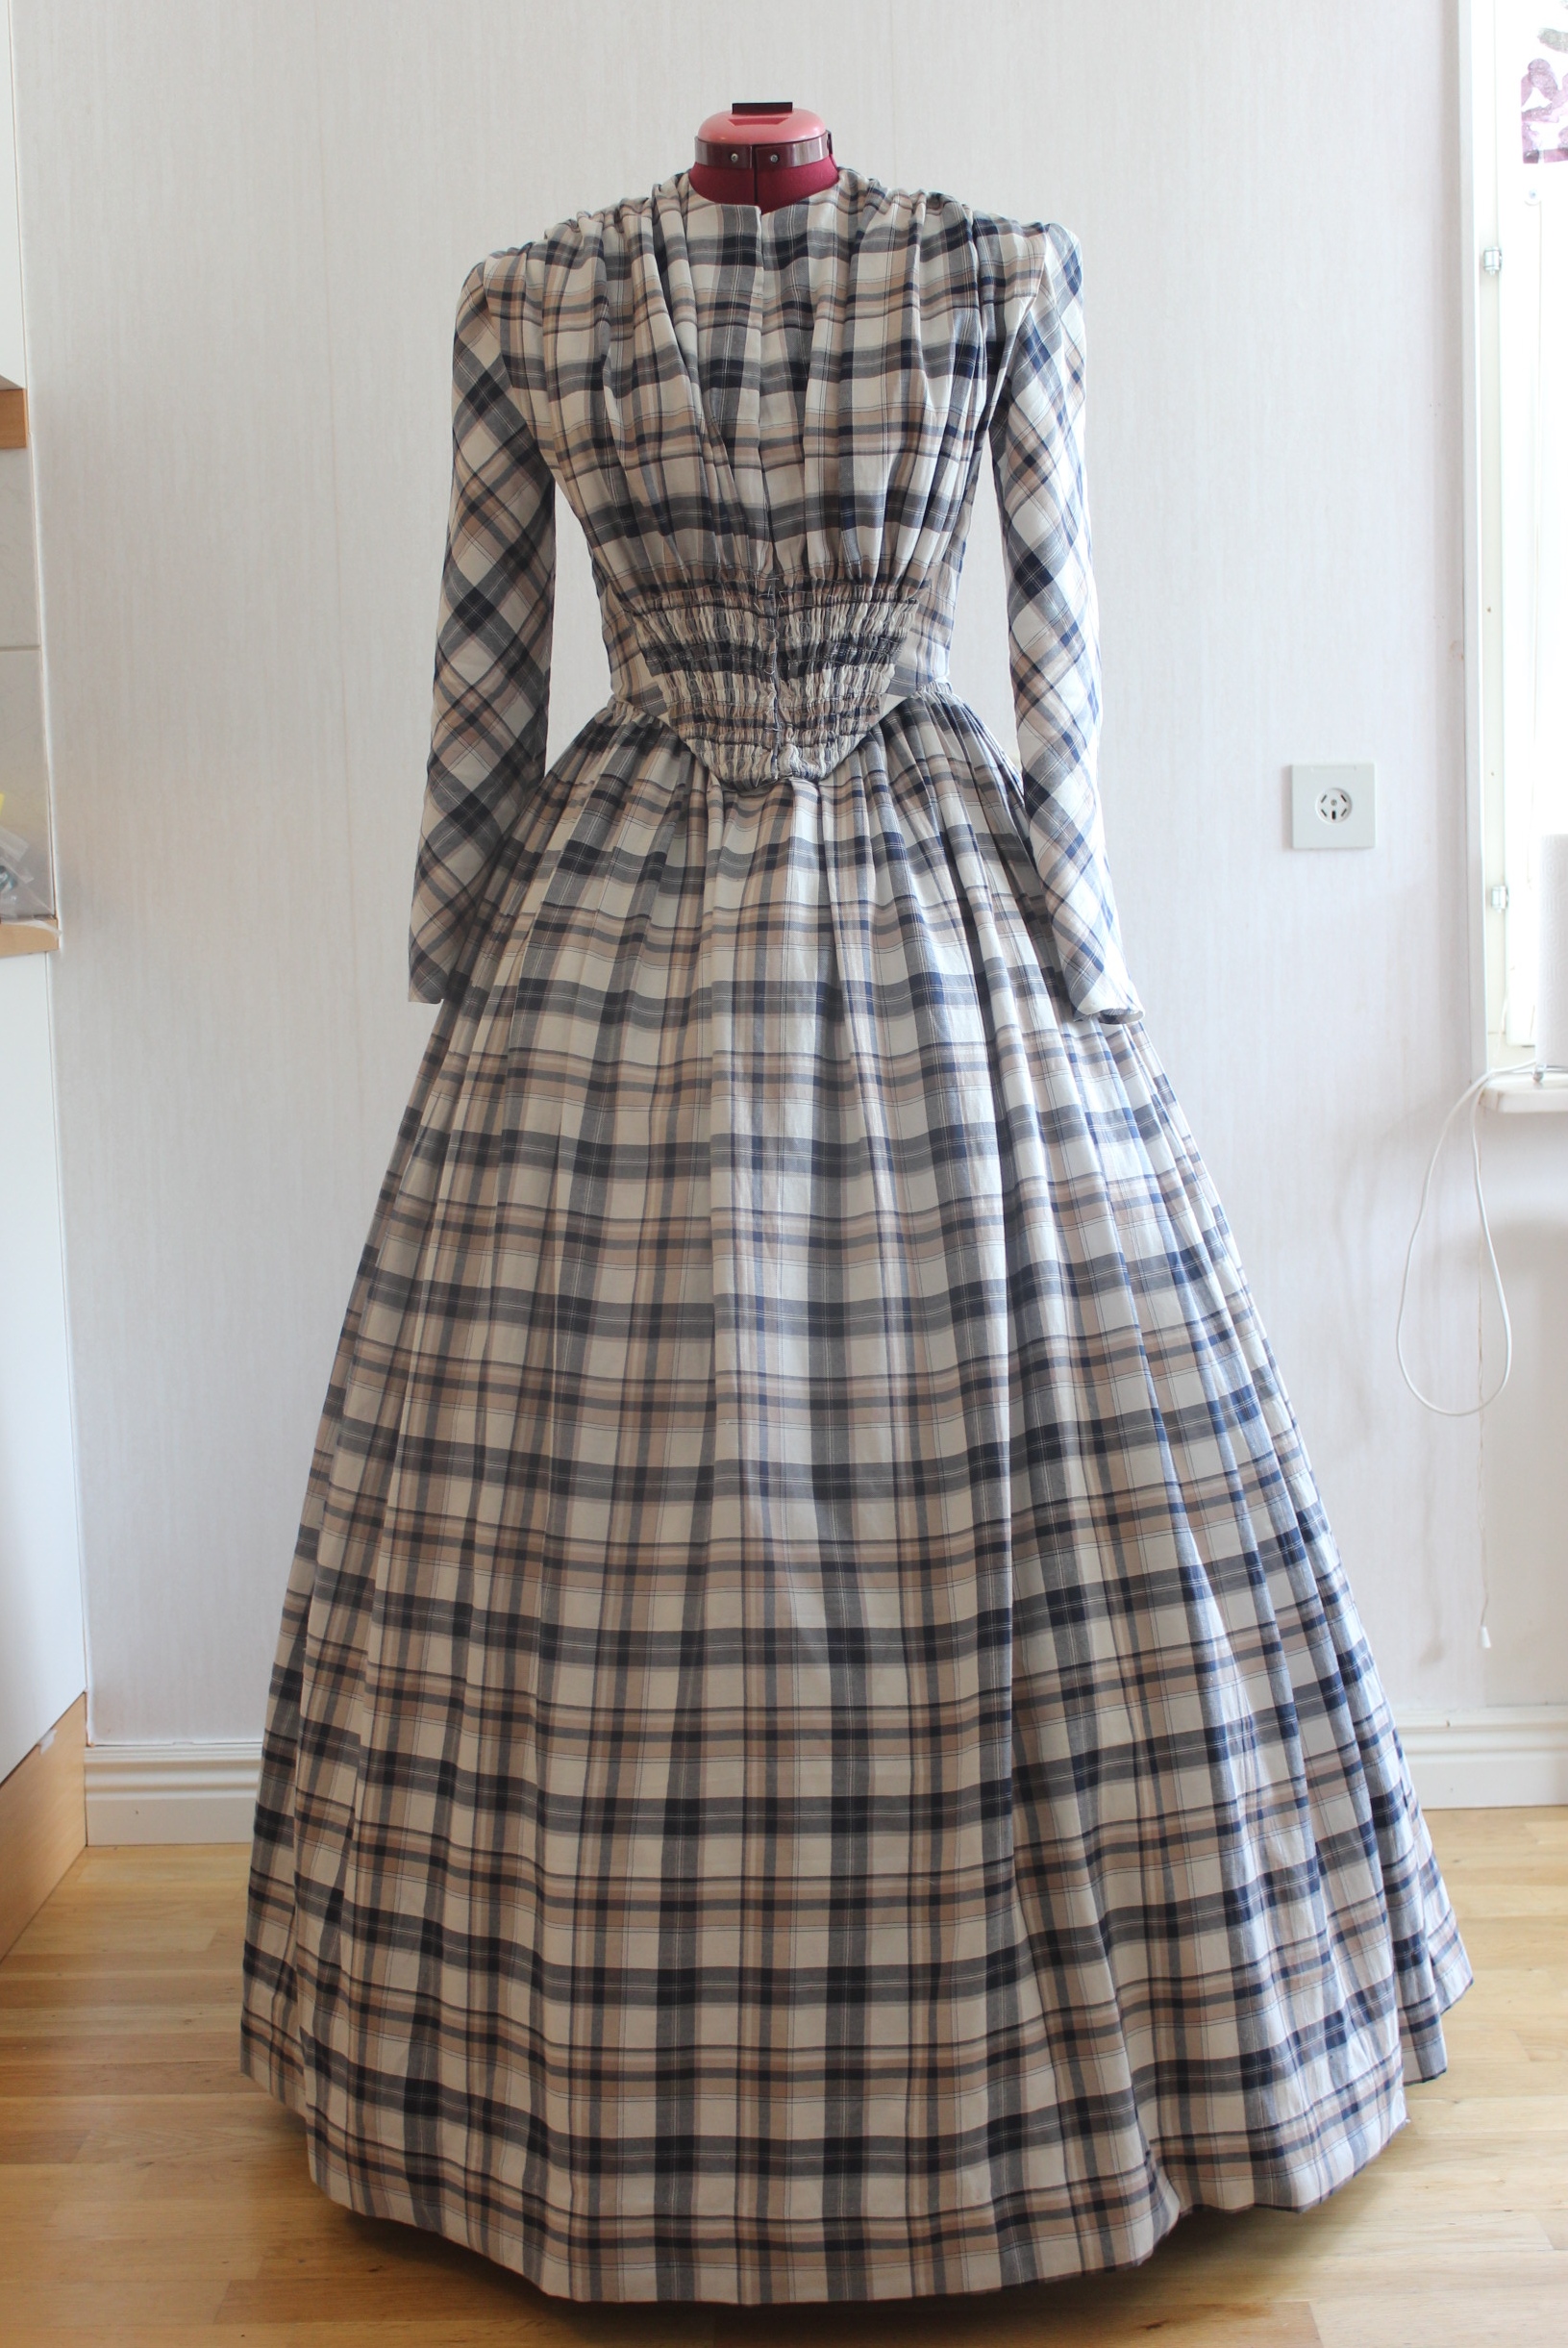
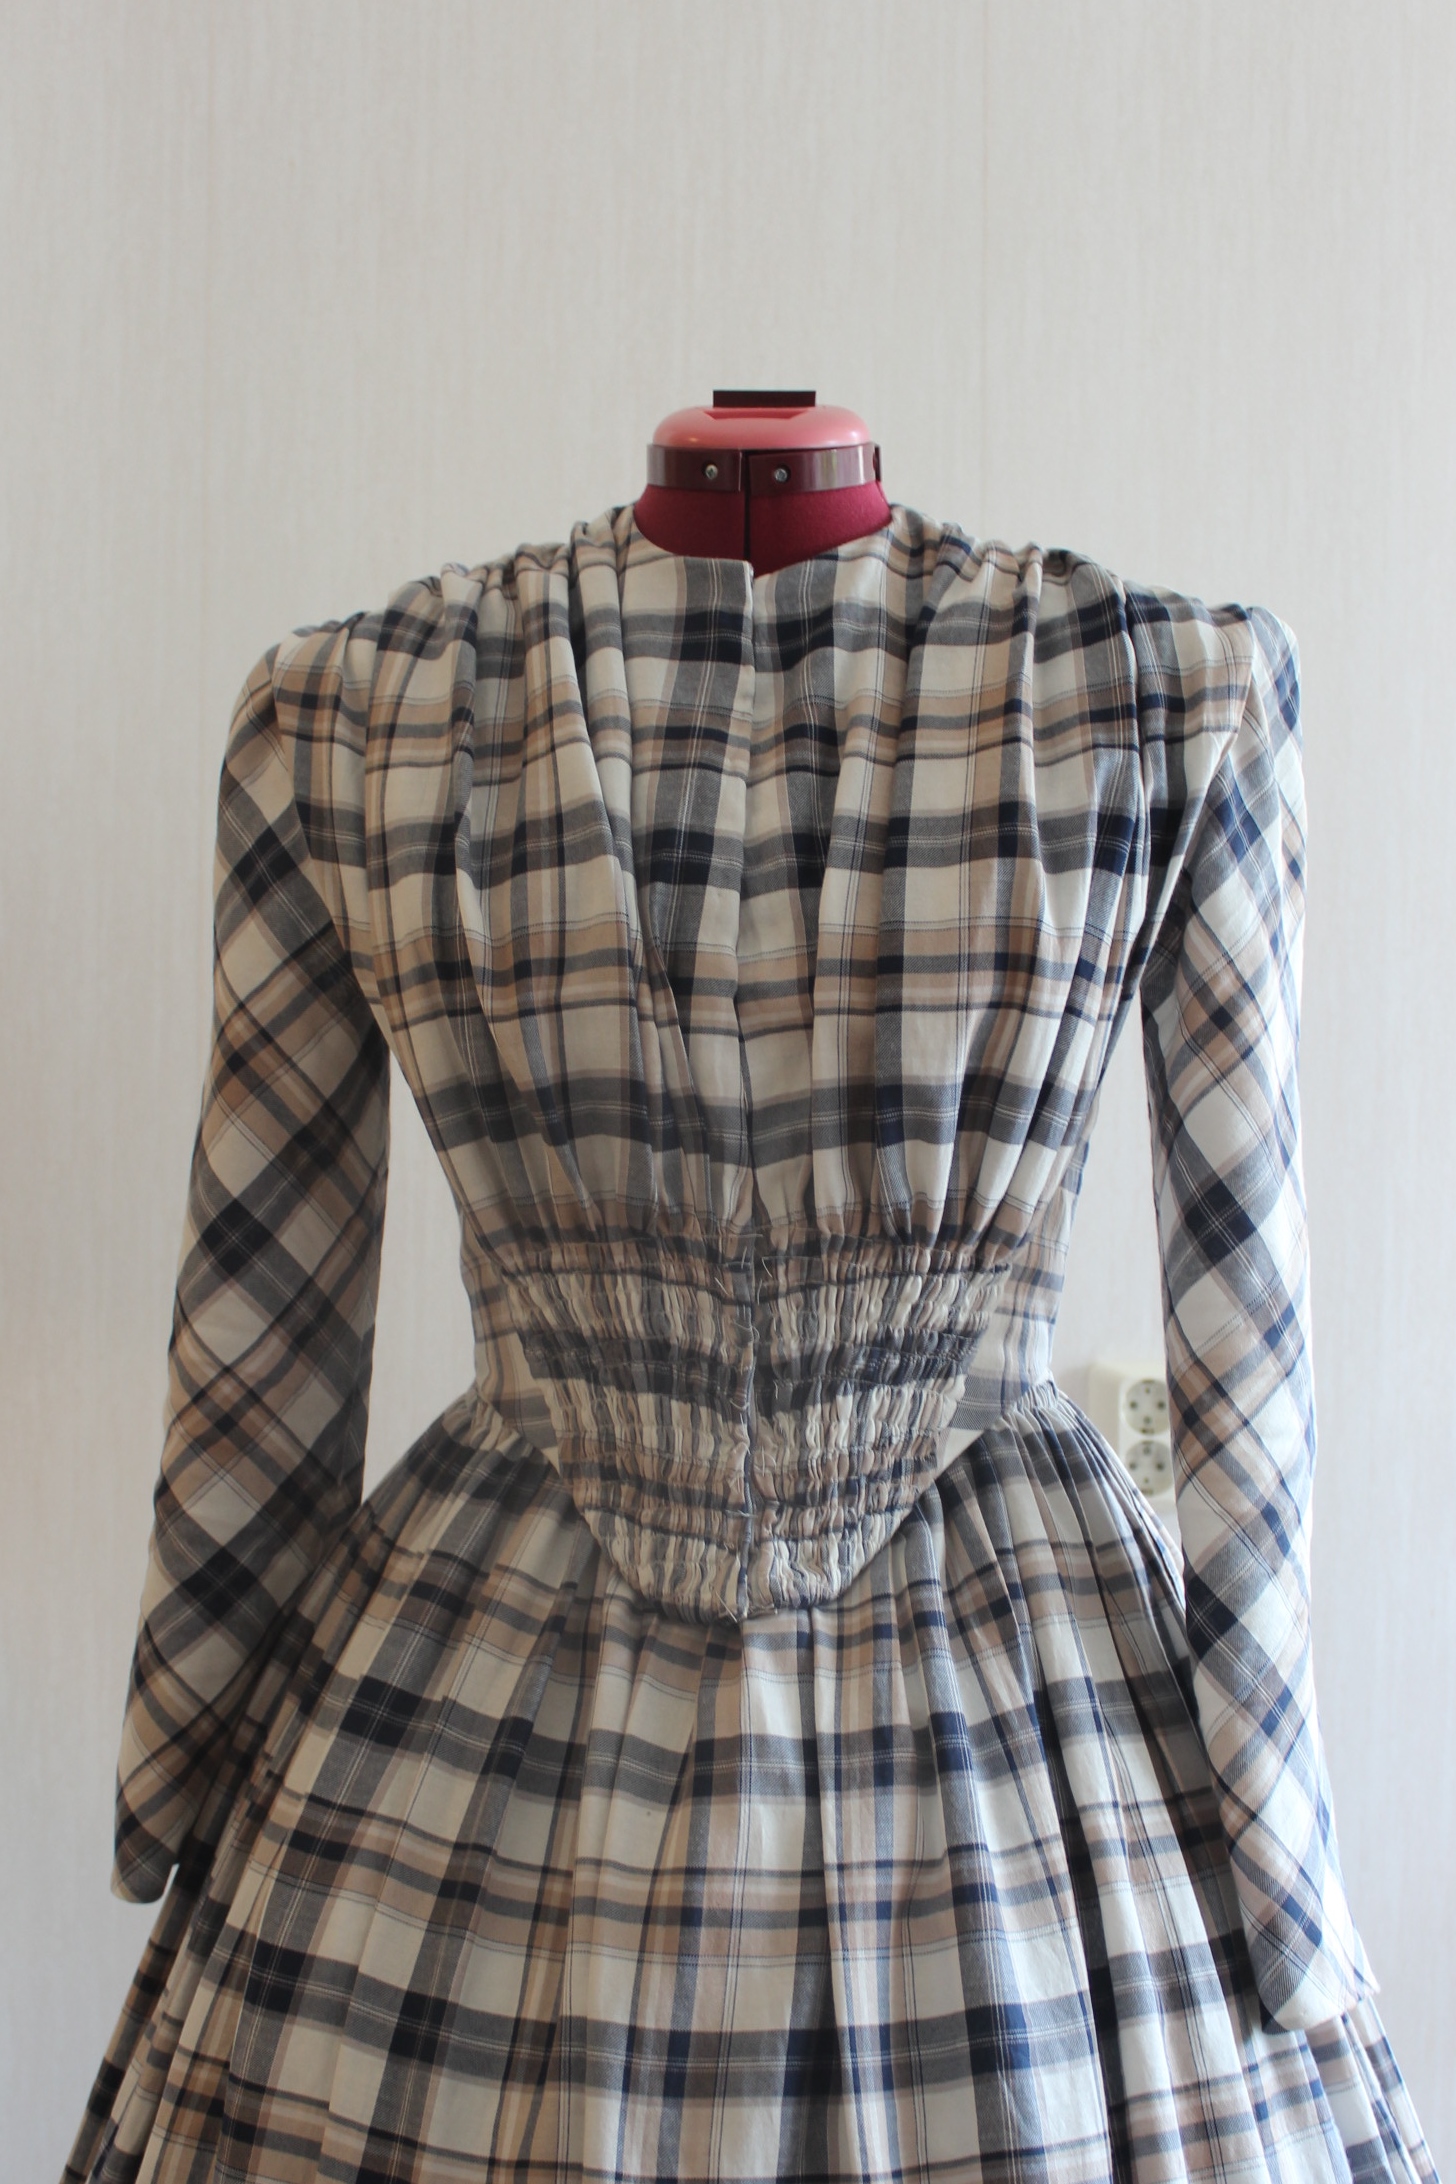
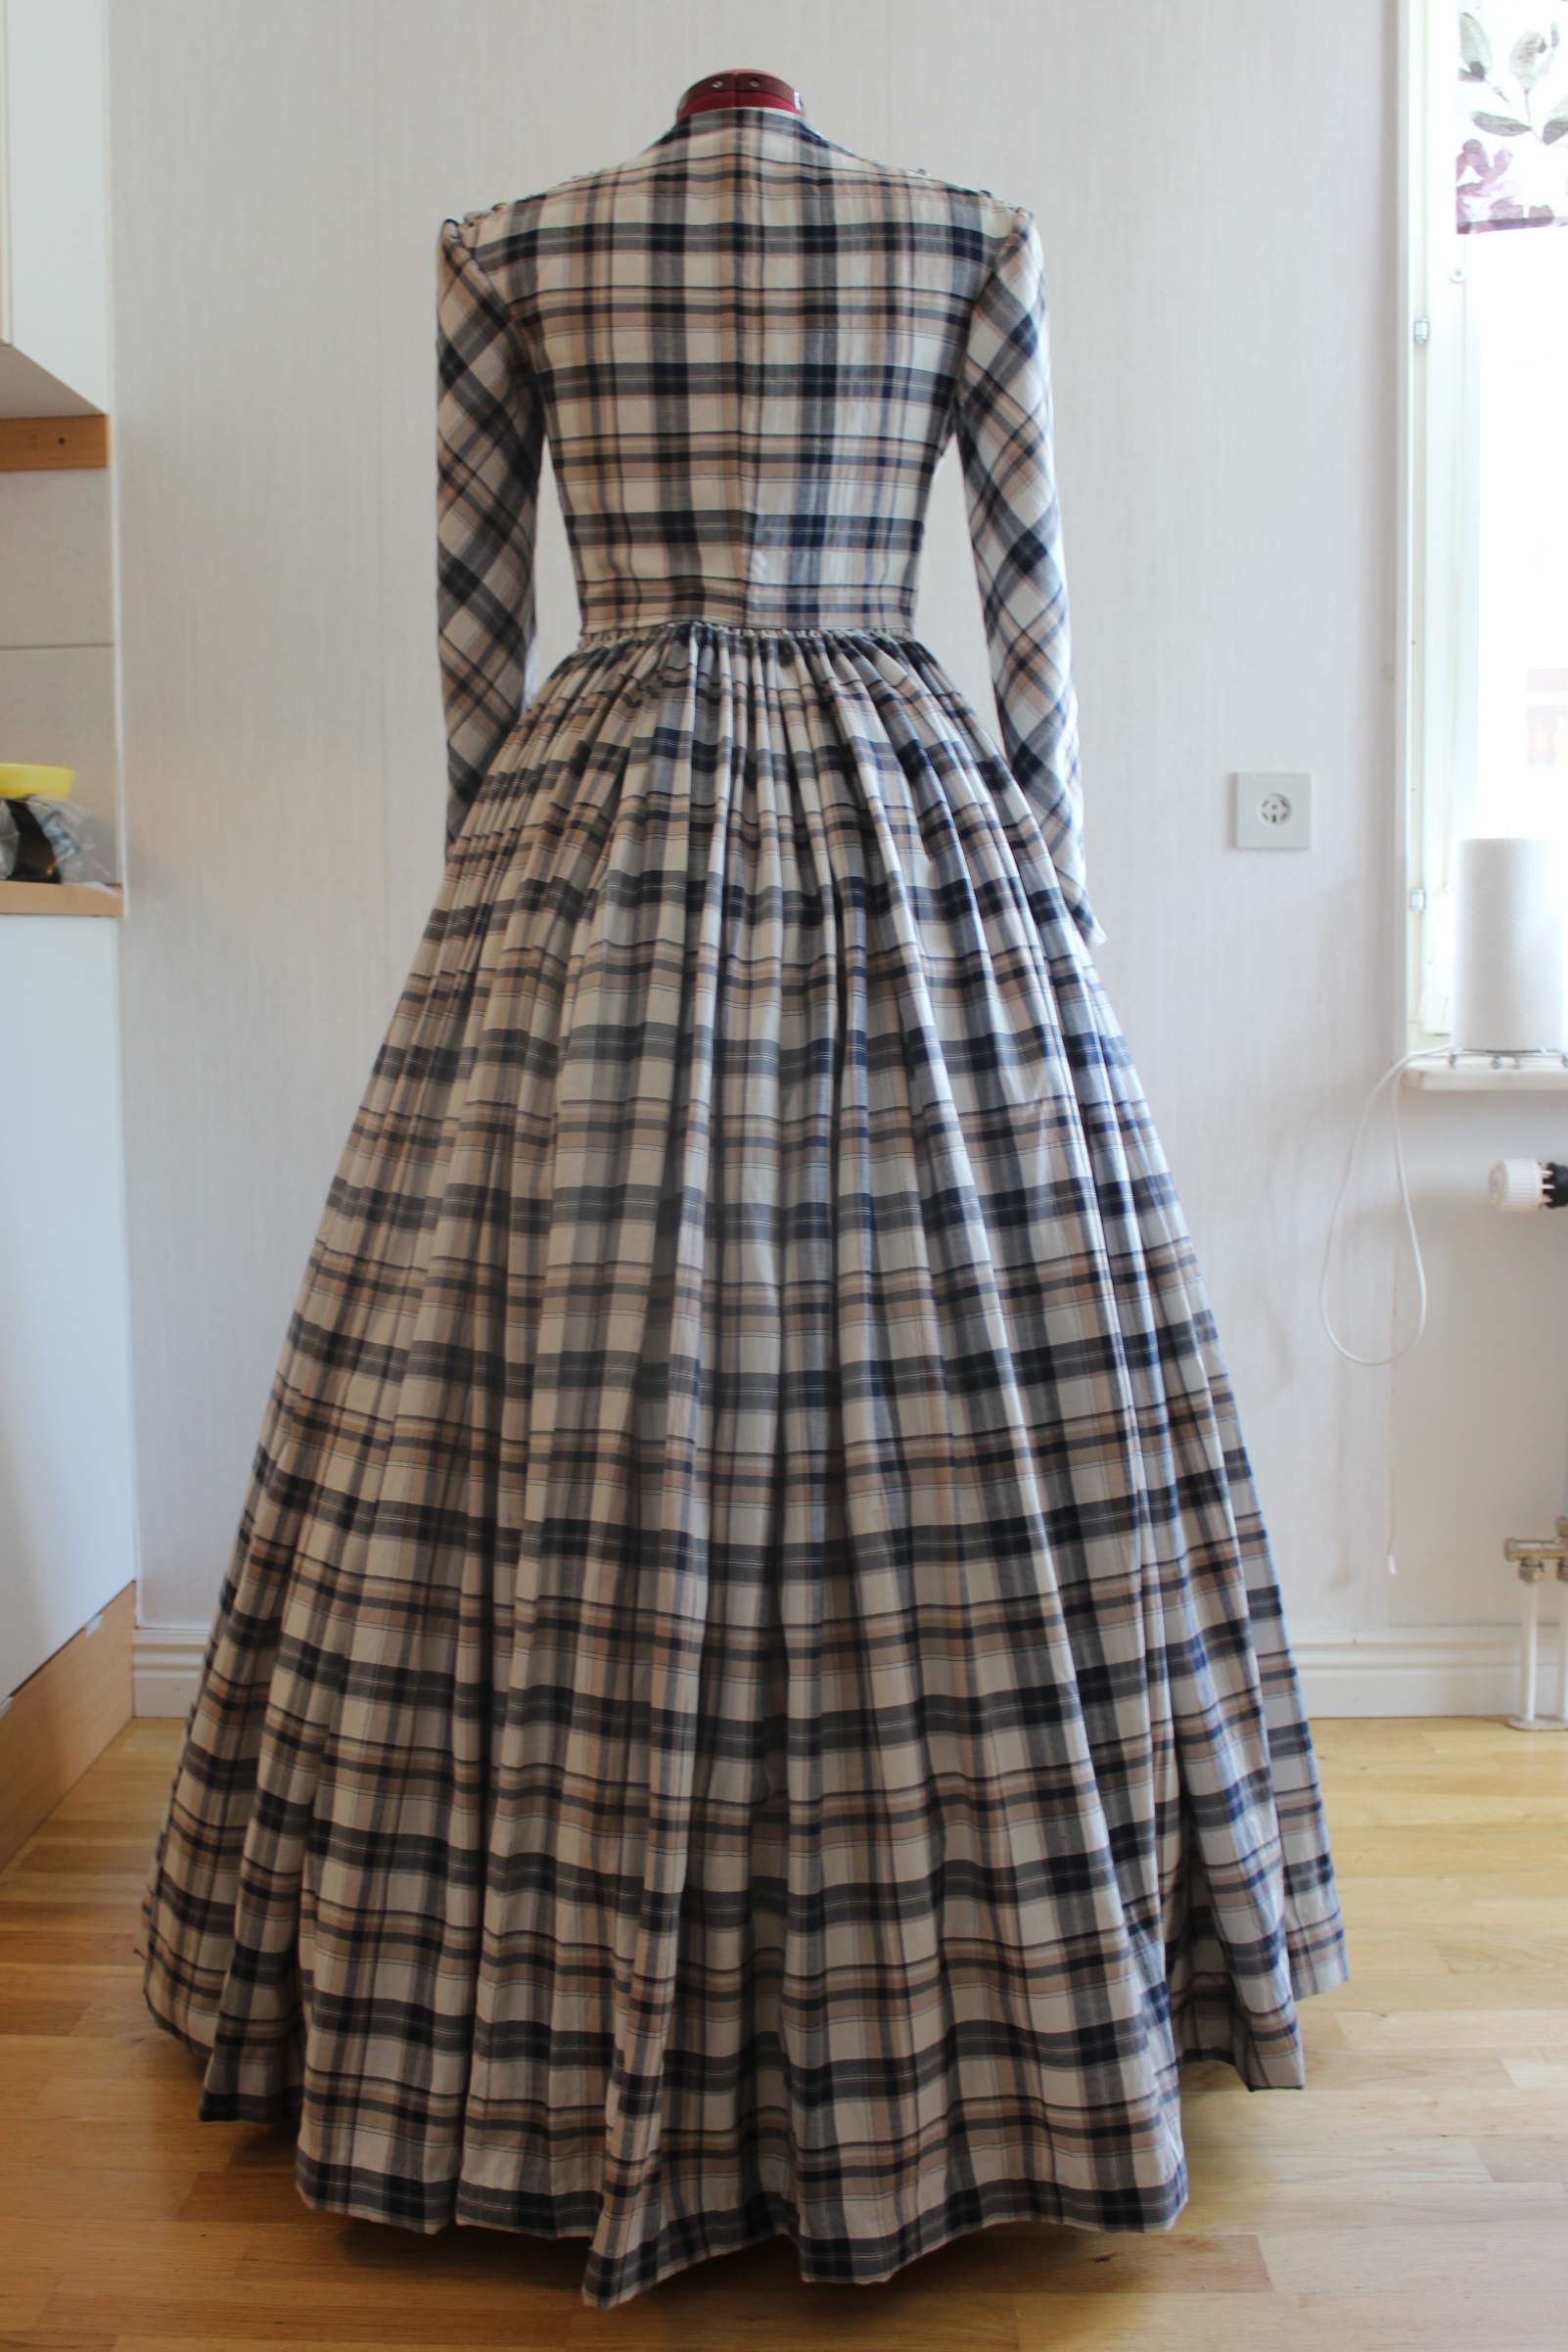
Looks pretty good I think.

Then I altered the pattern, taking out a few millimeters at every seam to make it a tad smaller, and shortened the back bodice about a cm to make it end at the waist.IMG_6397

And on to cutting out the pattern.IMG_6465The pattern matching took a while, but whit lots of patients and pinning, I did get it right in the end.

Then I basted the bodice pieces to the interlining (who also served as lining).20150514_125203center back being basted.

I stitched the center back seam,but was not happy with the bad matching of the pattern.
IMG_6681 So I ripped out the seam and used three times as many pins as usual to really get the fabric to lay still while sewing (I could just have basted, but was to lazy at that point).
IMG_6684IMG_6682
The result was much better, still not perfect, but I figured it wouldn’t show that much once worn.

Then I marked, pinned and stitched the darts on the bodice front piece copying the markings from the mock-up.IMG_6655IMG_6665

Then it was once more time to lace o the corset to check the fit.
IMG_6669 IMG_6679
Looks good. the only thing I needed to change was to shorten the back length some more. The vertical crease at the shoulder blades is a consequence of my corset, and will disappear as soon as I get the back boning in.

I really love the look of the bodice at this stage.
IMG_6686 IMG_6689

IMG_6687Trying it out with the right underwear…

Now it’s time for the front draping.

I used the pattern piece from my pattern draping, now cut in the plaid cotton, and pinned it to the dressform.2015-05-18_18.23.50_resizedMy only problem now was to decide if I really wanted the draping or not.

I loved the clean look of the un-draped bodice (and it would be so much easier and faster to finish), but my I think it was the draping who made me love the inspiration dress so much.

What to do?

To be continued….

1850s plaid summer dress (Part 1- Skirt)

For the upcoming 1850s “Crinoline day” I decided i needed a new dress (even though I teqnicly have two perfectly functional ones already – Green 1840s and Brown 1850s Paisley)

This time I wanted to focus on the light summer dresses I’ve seen so many examples of lately.

So I picked one of my favourites as my main inspiration and started looking for fabric.07176d121492c50c50ebd7441c72bcd5Main inspiration

And to my surprise I found the perfect one straight away, and it was on sale. Yay! 20150325_080825_resizedIt’s a sheer cotton with the light feel of voile, and a pretty, light plaid pattern with lots of white to make the dress fit for summer.

At the moment I was rushing to finish my “Downton Mary dress“, so I couldn’t comit to the new project straight away, so to get tings moving I decided to start working on the skirt.

I almost used the same simple tequnices as in my sisters 1860s skirt (which I made a month later) – Cuting three skirt lenght of whole fabric widhts, matching the pattern and stitching them togeter to a huge circle.

Then I stsitched two rows of gthering stistches at the top and pulled to get the right waist measurment. I purpusly used one fabic widht for the front and two for the back, to disturbute the poufiness to the back.

Then I stitched a cotton tape to the gathered waist IMG_6245and turn it under by hand to get a small but sturdy waistband.IMG_6258

I used my dressform to measure and pin the skirt lenght 20150411_142134Trying it out on my dressform

and make sure the back clouser looked good. 20150411_142206_resized

Then I folded, pinned and hemmed the skirt, using 1 cm long heming stitches.IMG_6837

All and all it took about 4 hours and was an evenings welcome break from “Lady Mary”

The finished skirt:IMG_7298

IMG_7299

A couple of photos with the skirt, (not) Gabardi blouse and green bonnet:IMG_4962

IMG_4946

As you can see I also discovered I needed to shorten the skirt about 5-10 cm – great!
Back to the ironing table…

Nexts up: Construction for the dress bodice…