A 18 century spring Photoshoot

This eastern me and my sister went outside in the beautiful weather to take some pictures of her new ensamble.

She is wearing a chemise, corset, 2 bum-pads, a fichu, a cap, the Pink jacket and the new Pastell UFO Skirt.

Do to some other circumstances we only had about 15 minutes to shoot, but manadged to get some great pictures non the les.

IMG_7724

IMG_7731

IMG_7736

IMG_7751

IMG_7773

IMG_7784

IMG_7791

IMG_7807

IMG_7814

IMG_7802

IMG_7826

IMG_7822

IMG_7825

IMG_7759

IMG_7766Model: Maria Petersson


A 18th Century Pastel UFO

Since I didn’t really had any historical UFOs worth finishing for the HSF challenge nr 8 – UFO (Un Finsihed Object), I decided to make a UFI (Un Finished Idea) instead.

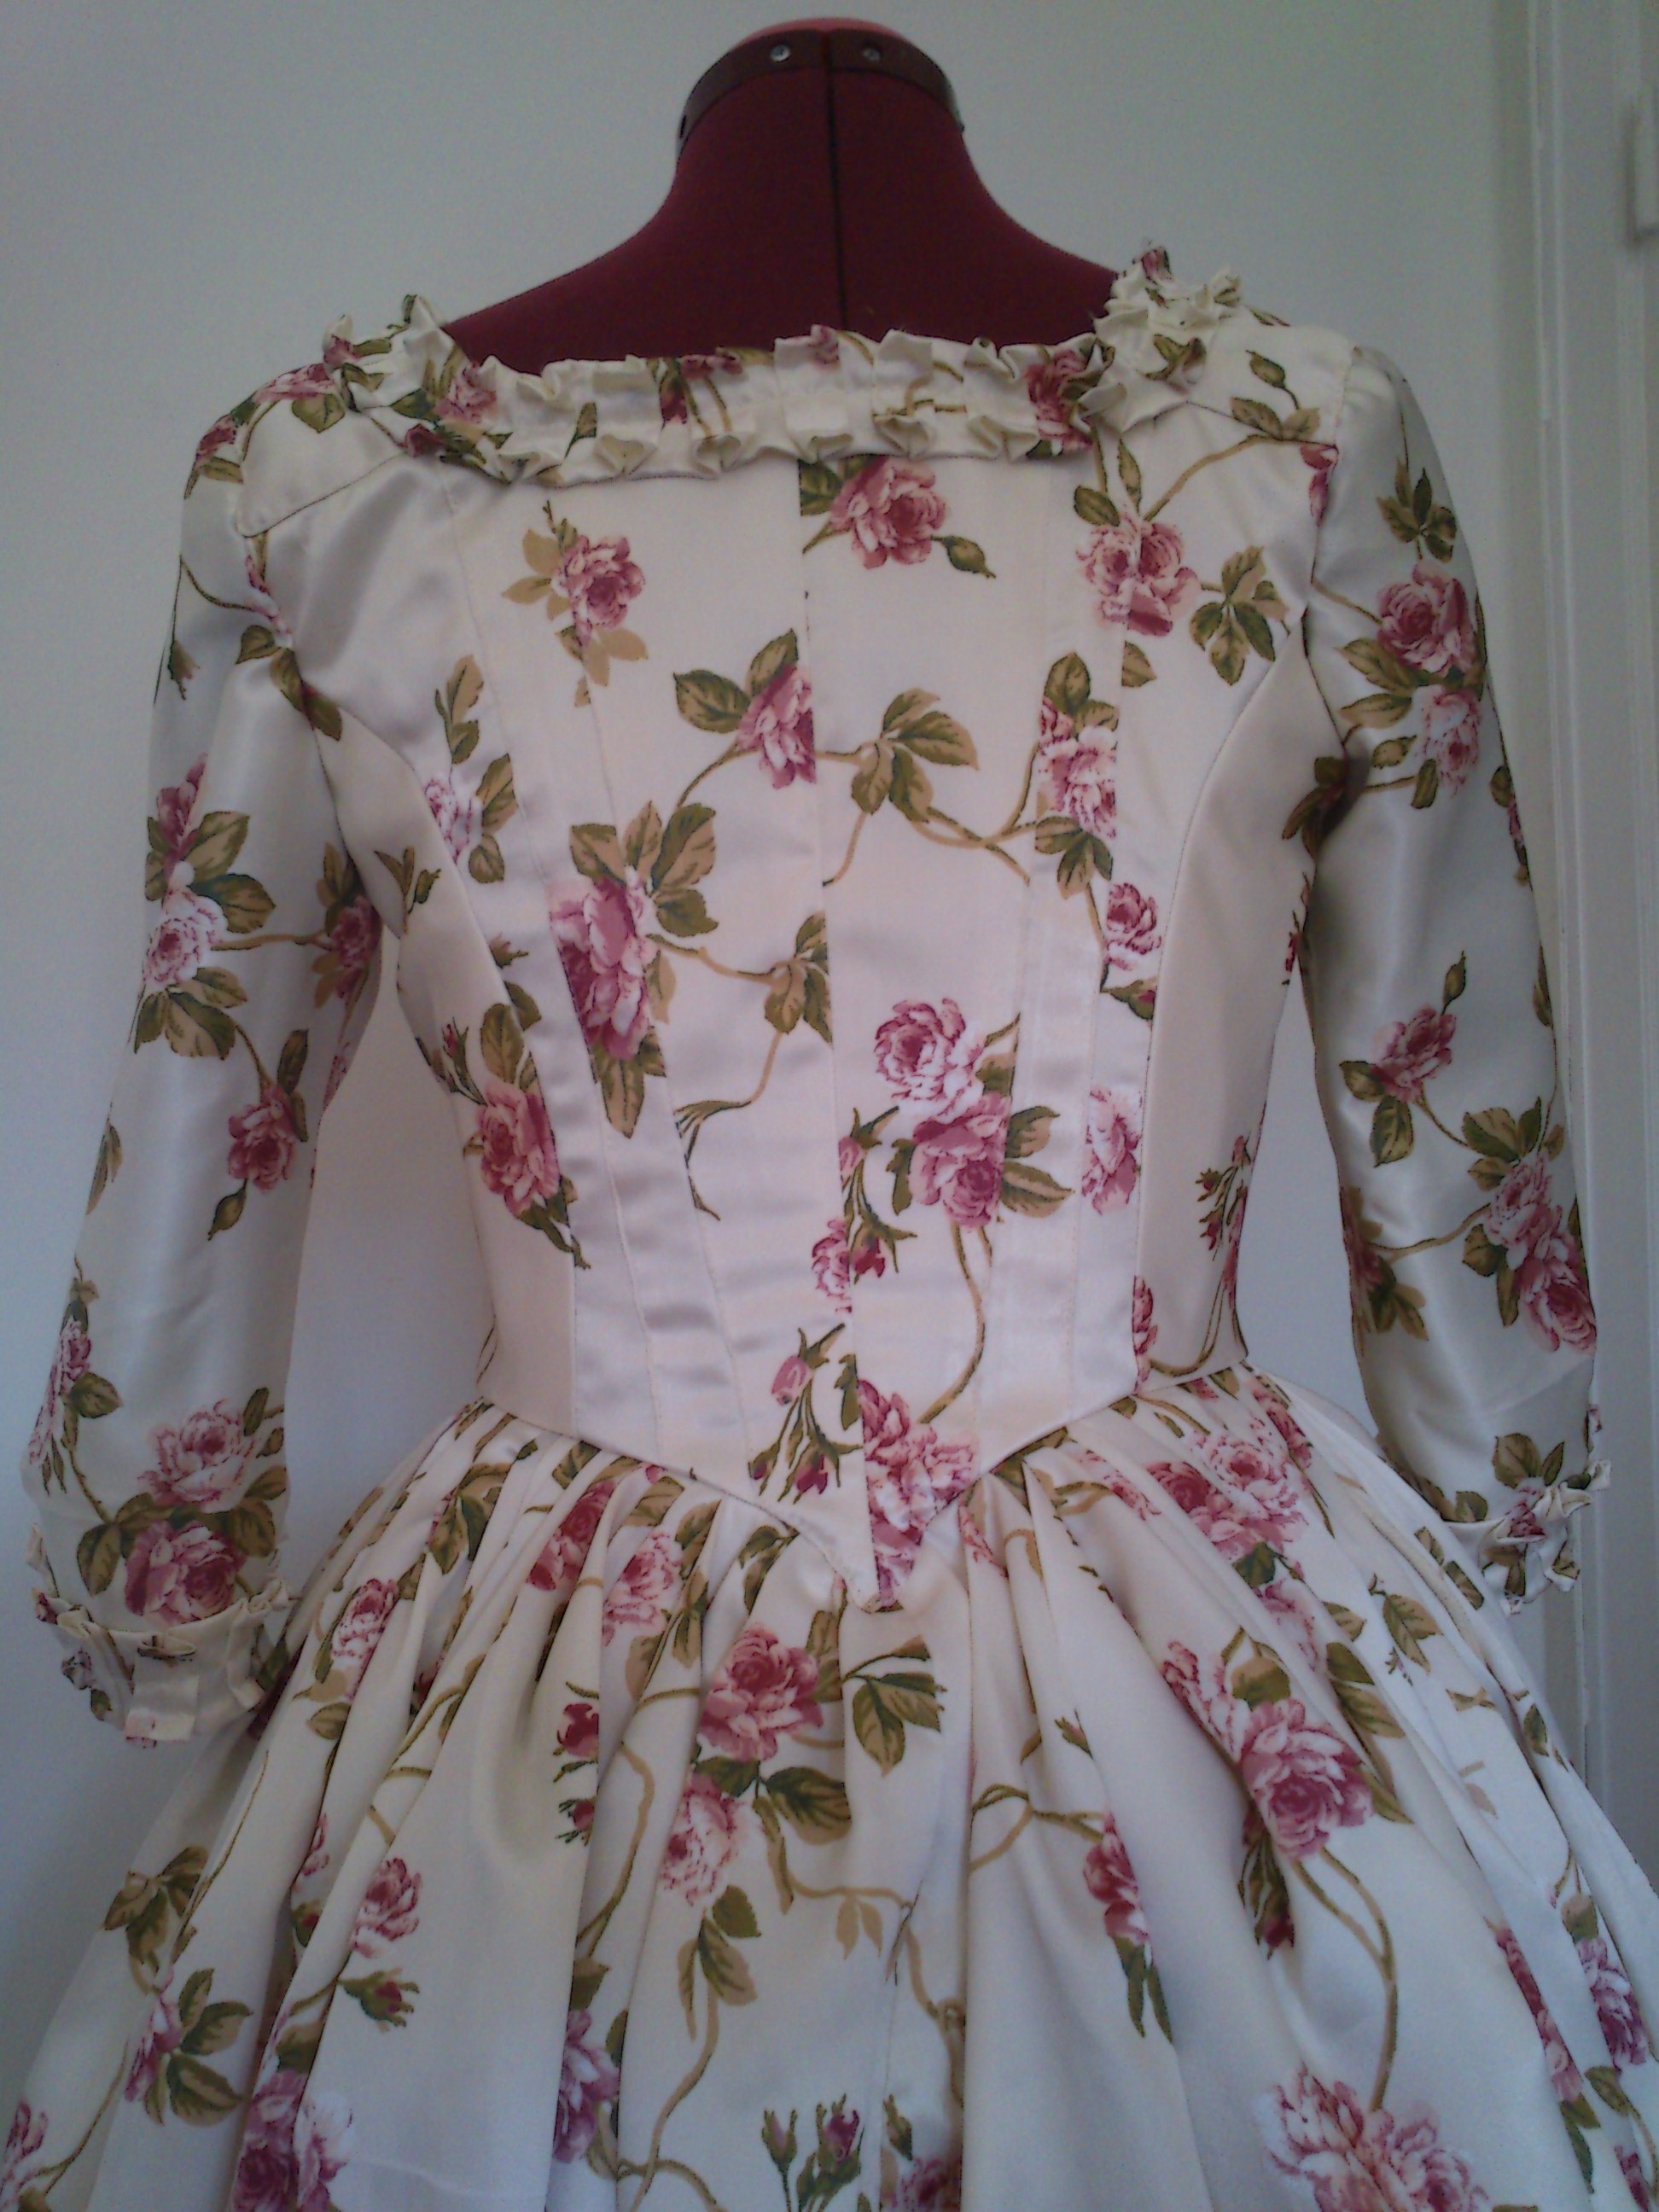
And something I’ve been thinking about, but not had had the time to make, was a matching skirt to my sisters “new” Pink Caraco jacket.

So I brought out the newly re-dicovered light pistage coloured cotton, leftover from my Regency striped gown.2013-07-21 21.24.43I’ve had quite a lot of fabric left (and still do after this project) and it looked so nice together with the soft pink colour of the jacket. So there was really no discussion on what to make of it.

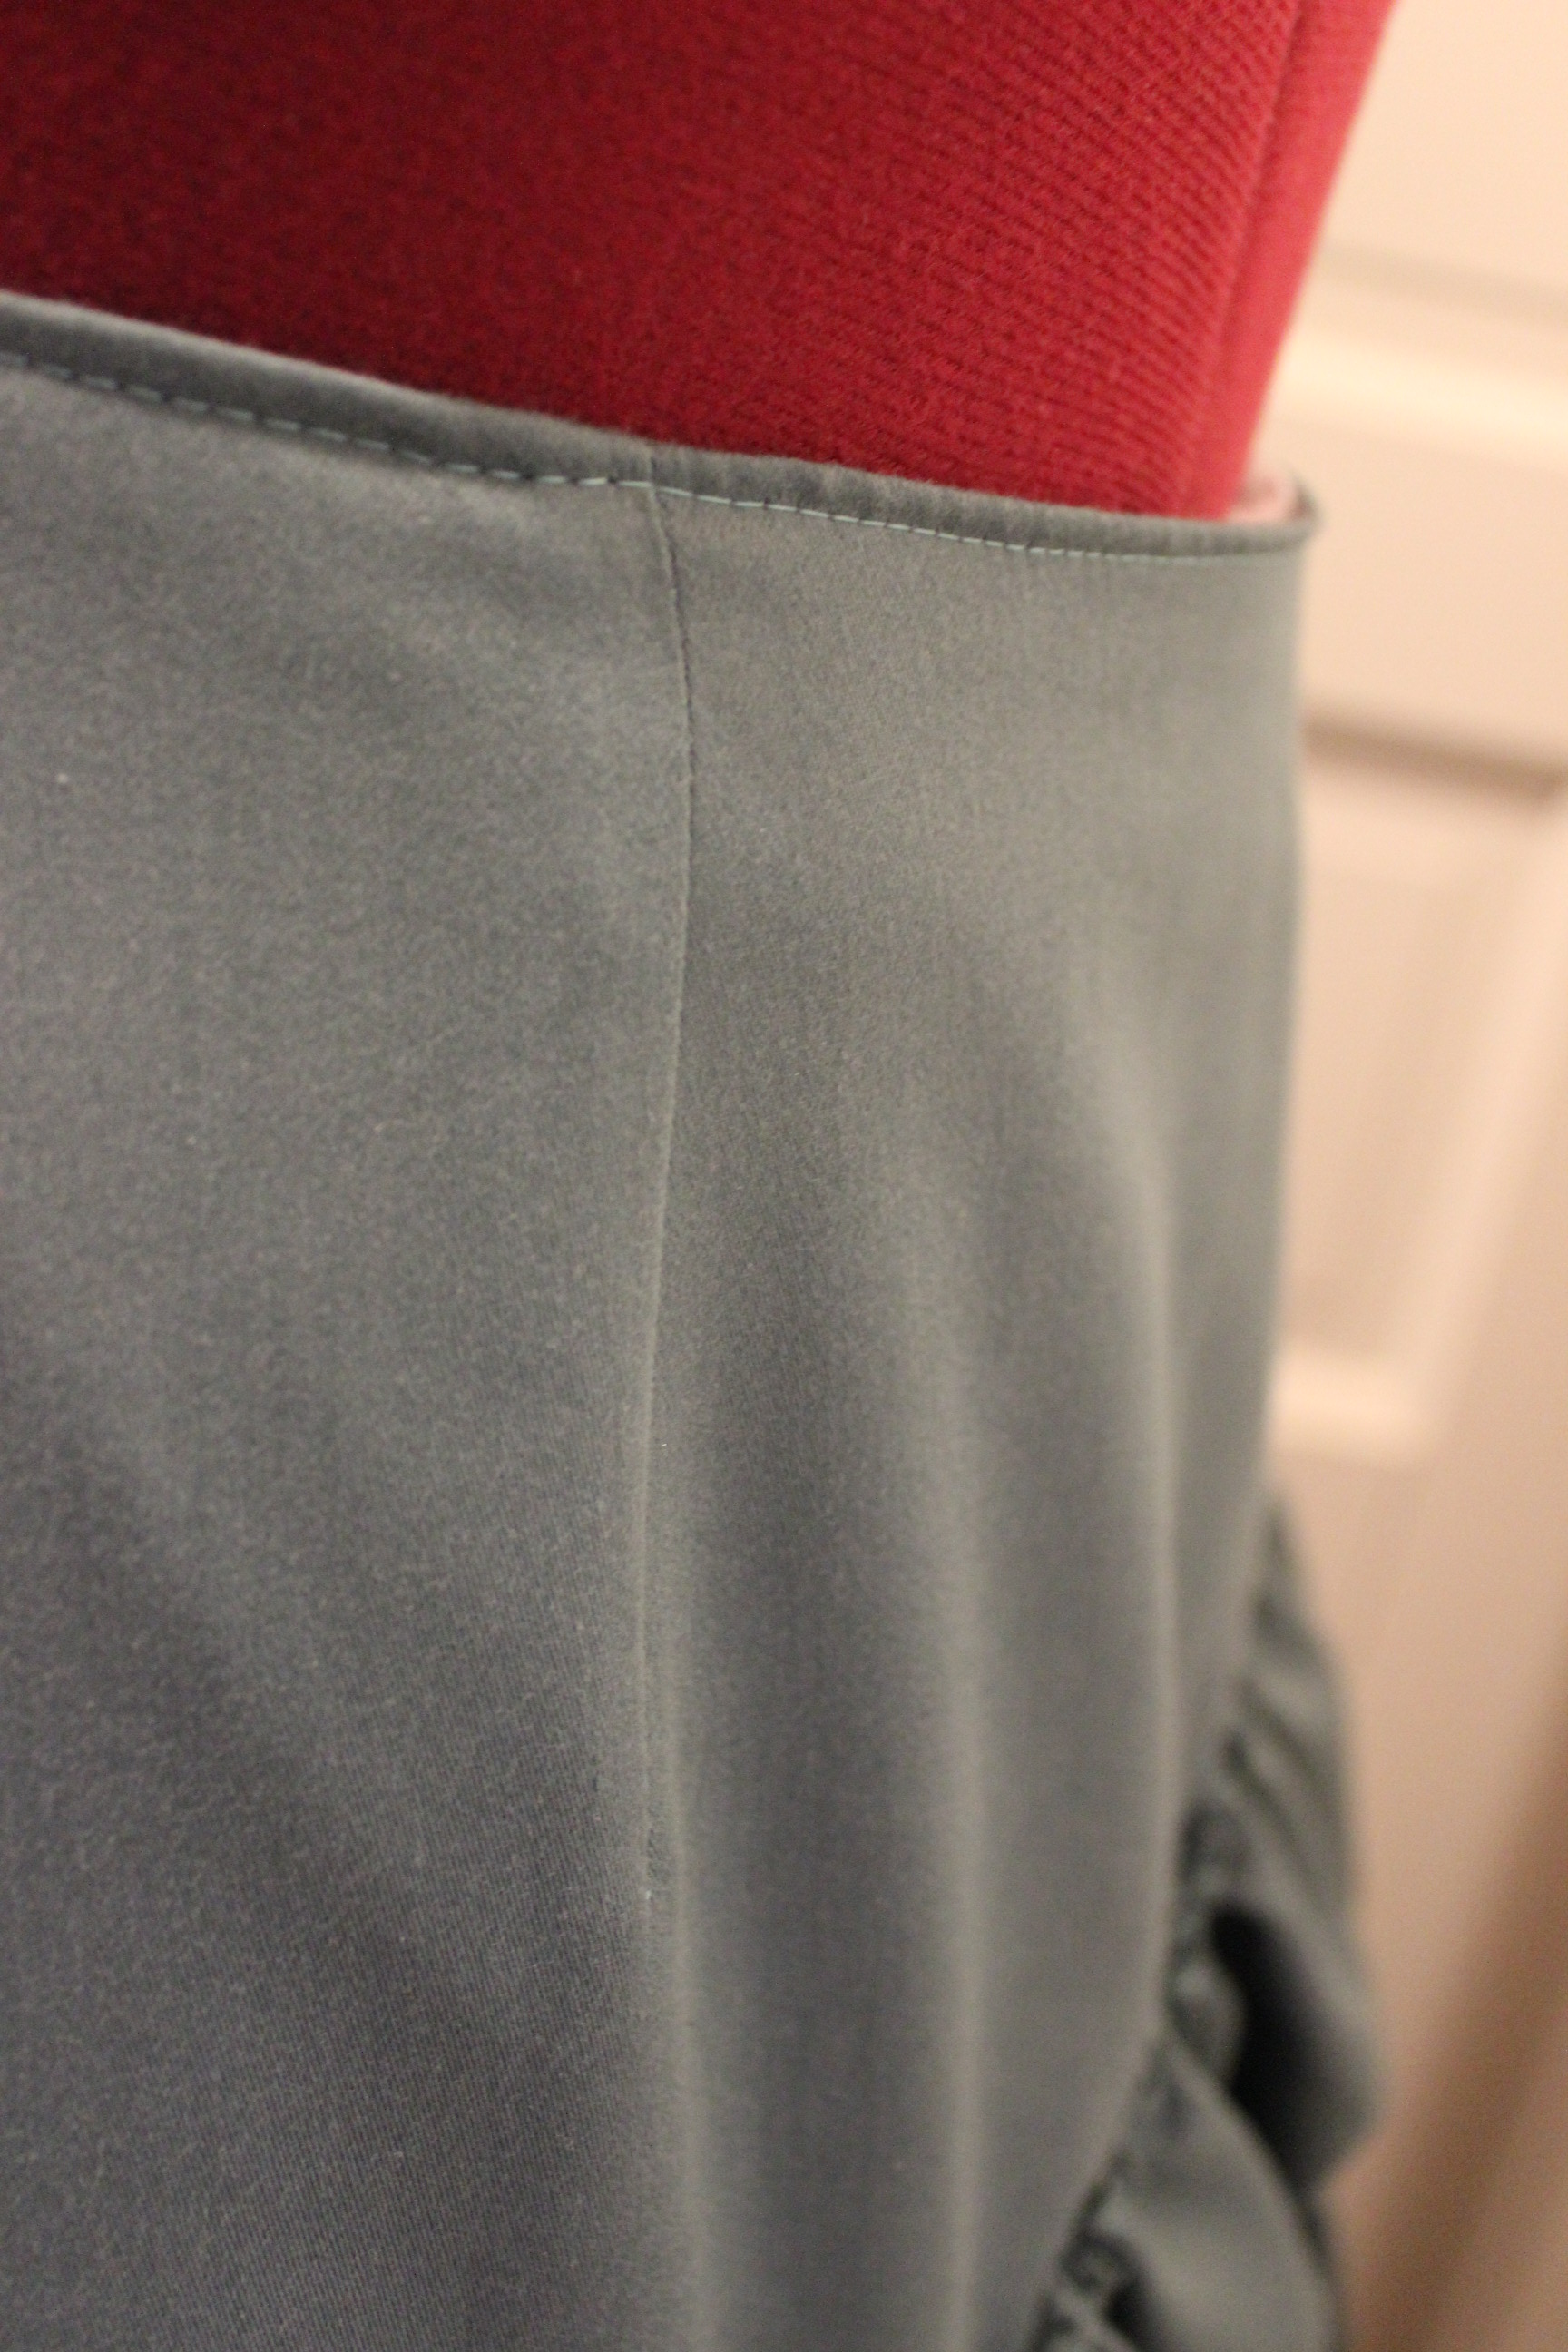
I started by cutting two lenghts of fabric (using the whole width), shaping the top a bit to fit over a bumpad. IMG_7701Then I sewed them together, leaving 20 cm at the top un-stitched, and cut and hemed it to the right lenght.

Then I used 6 withs of fabric, each 30cm broad, to make a ruffle.IMG_7705I sewed the together to a continious piece, and bede sure every piece was the same size.

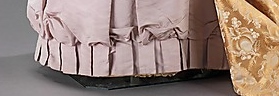
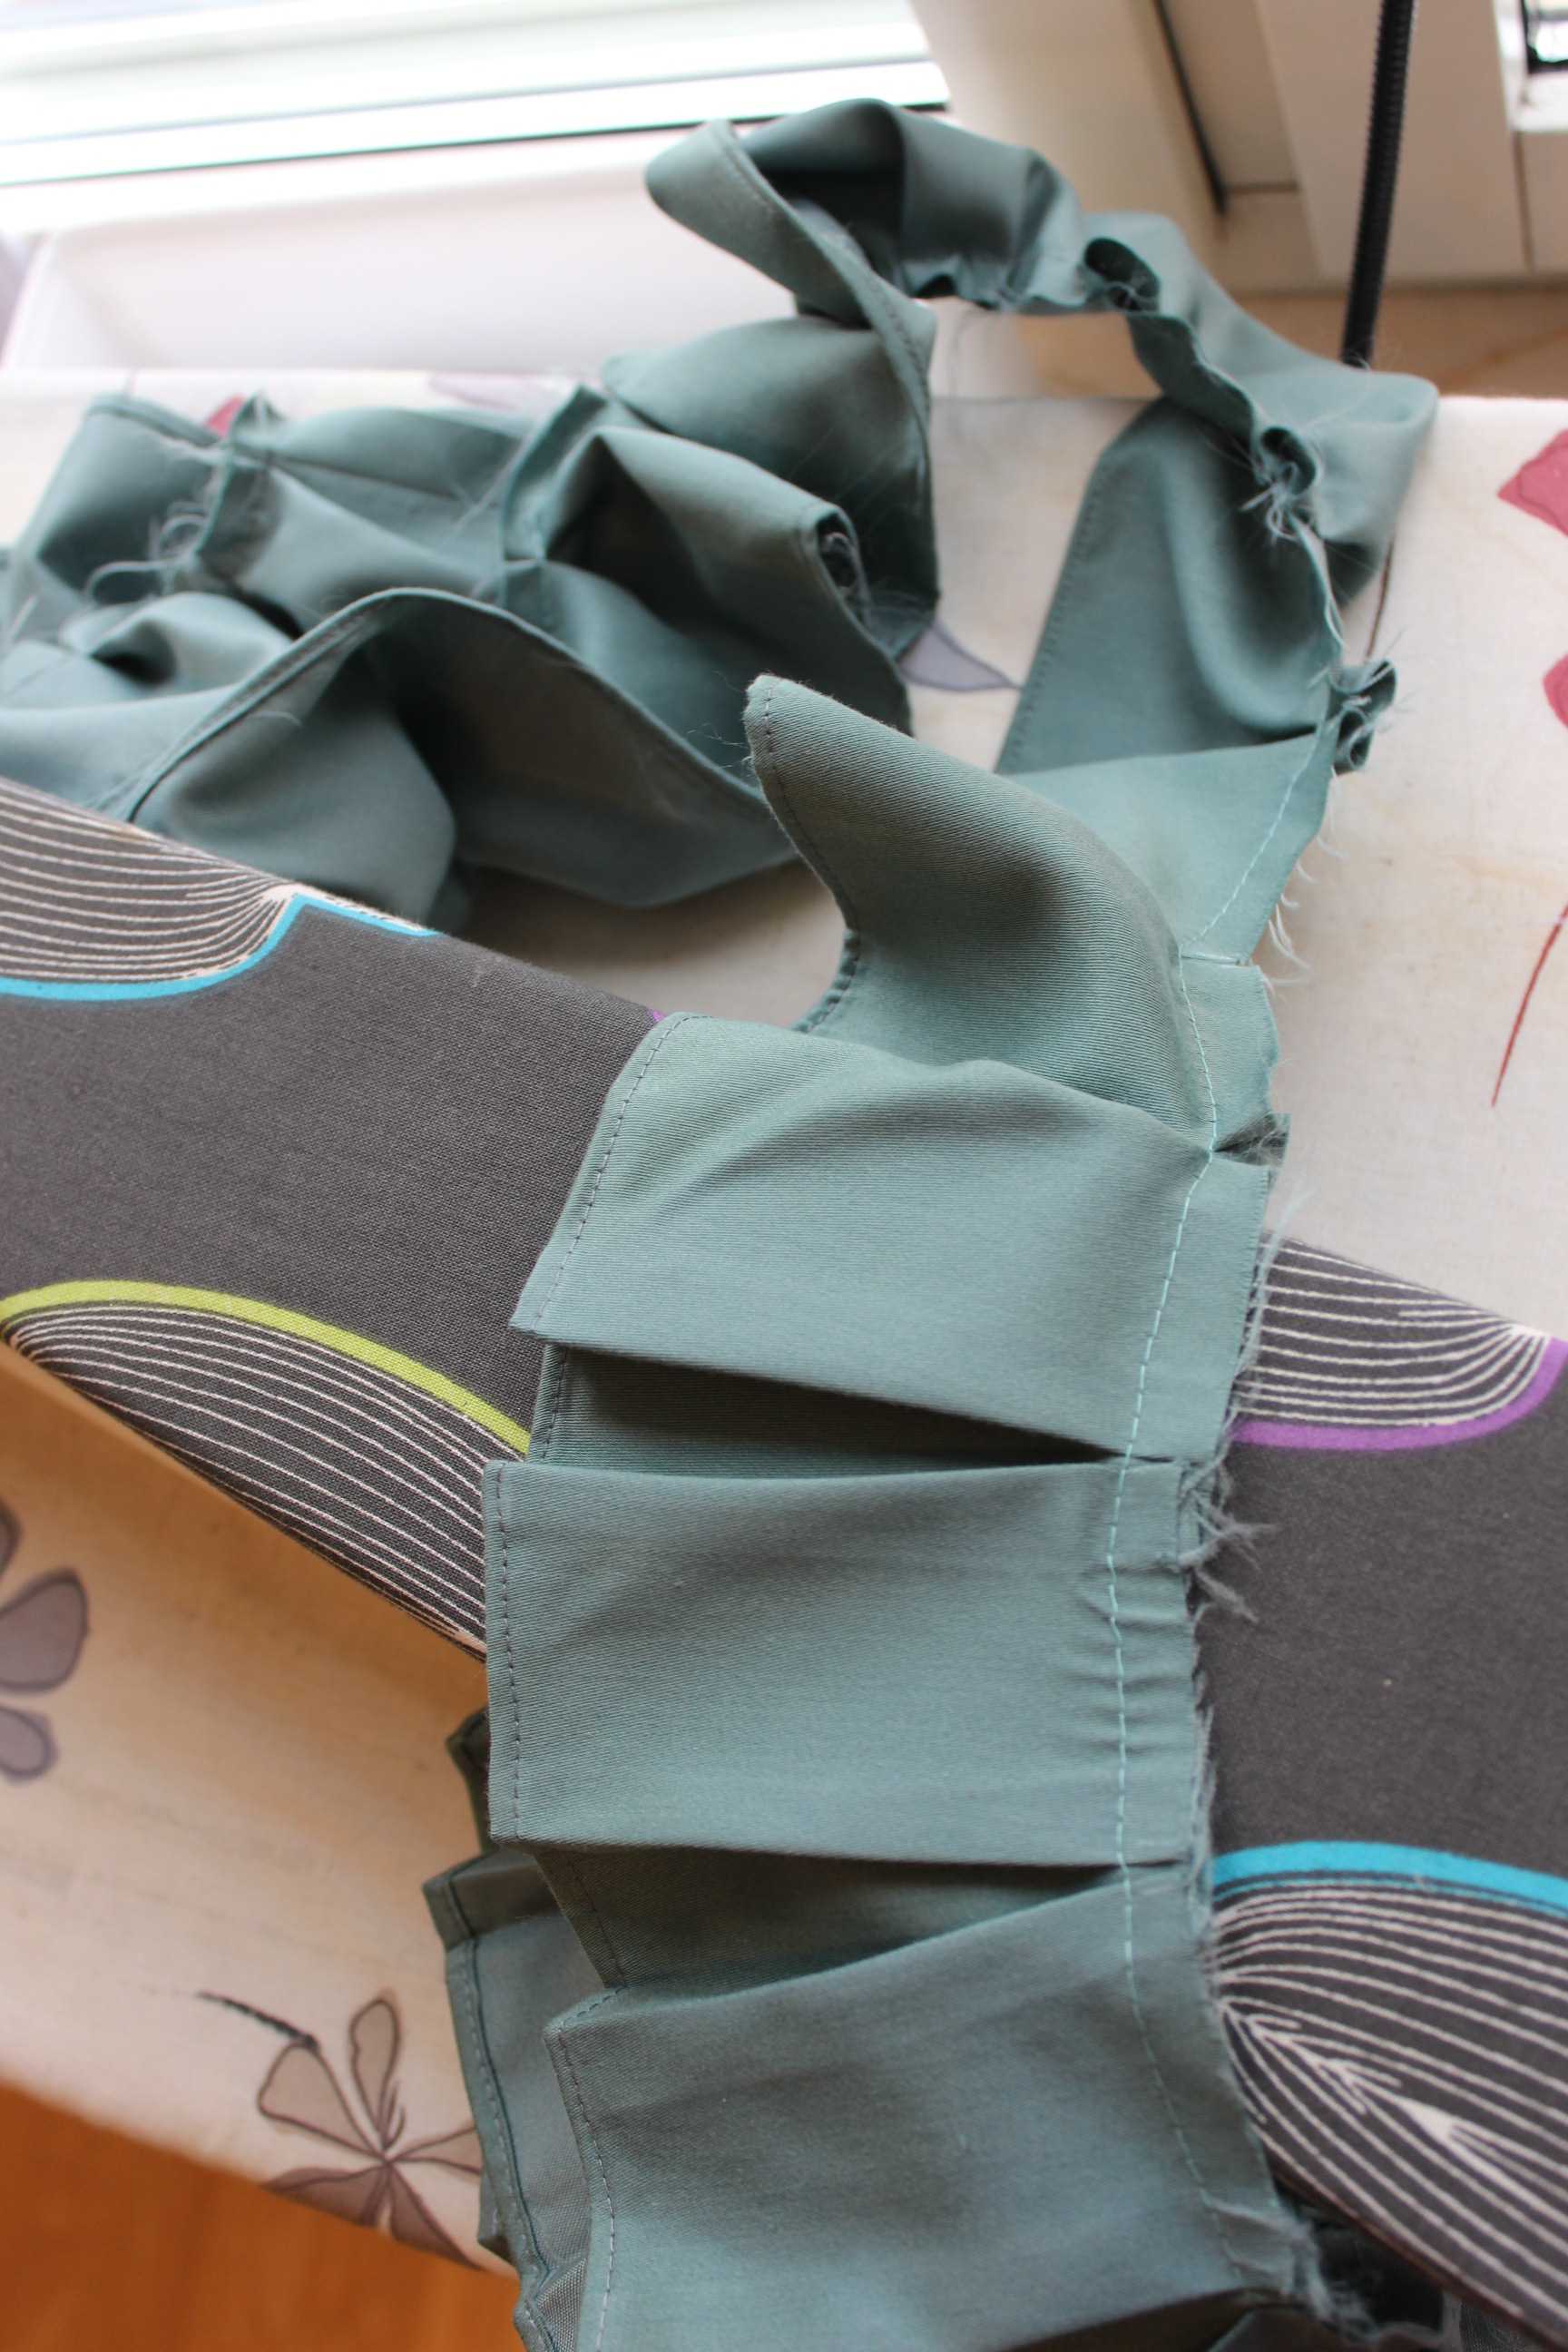
I wanted to try something new on this ruffle, and drew round shapes on some cardboard to use as stencils when cutting/hemming the ruffle.IMG_7706Smal one for the top, and larger one for the bottom line.

IMG_7707Making a test piece, using some scrap fabric and a rick-rack scissors.

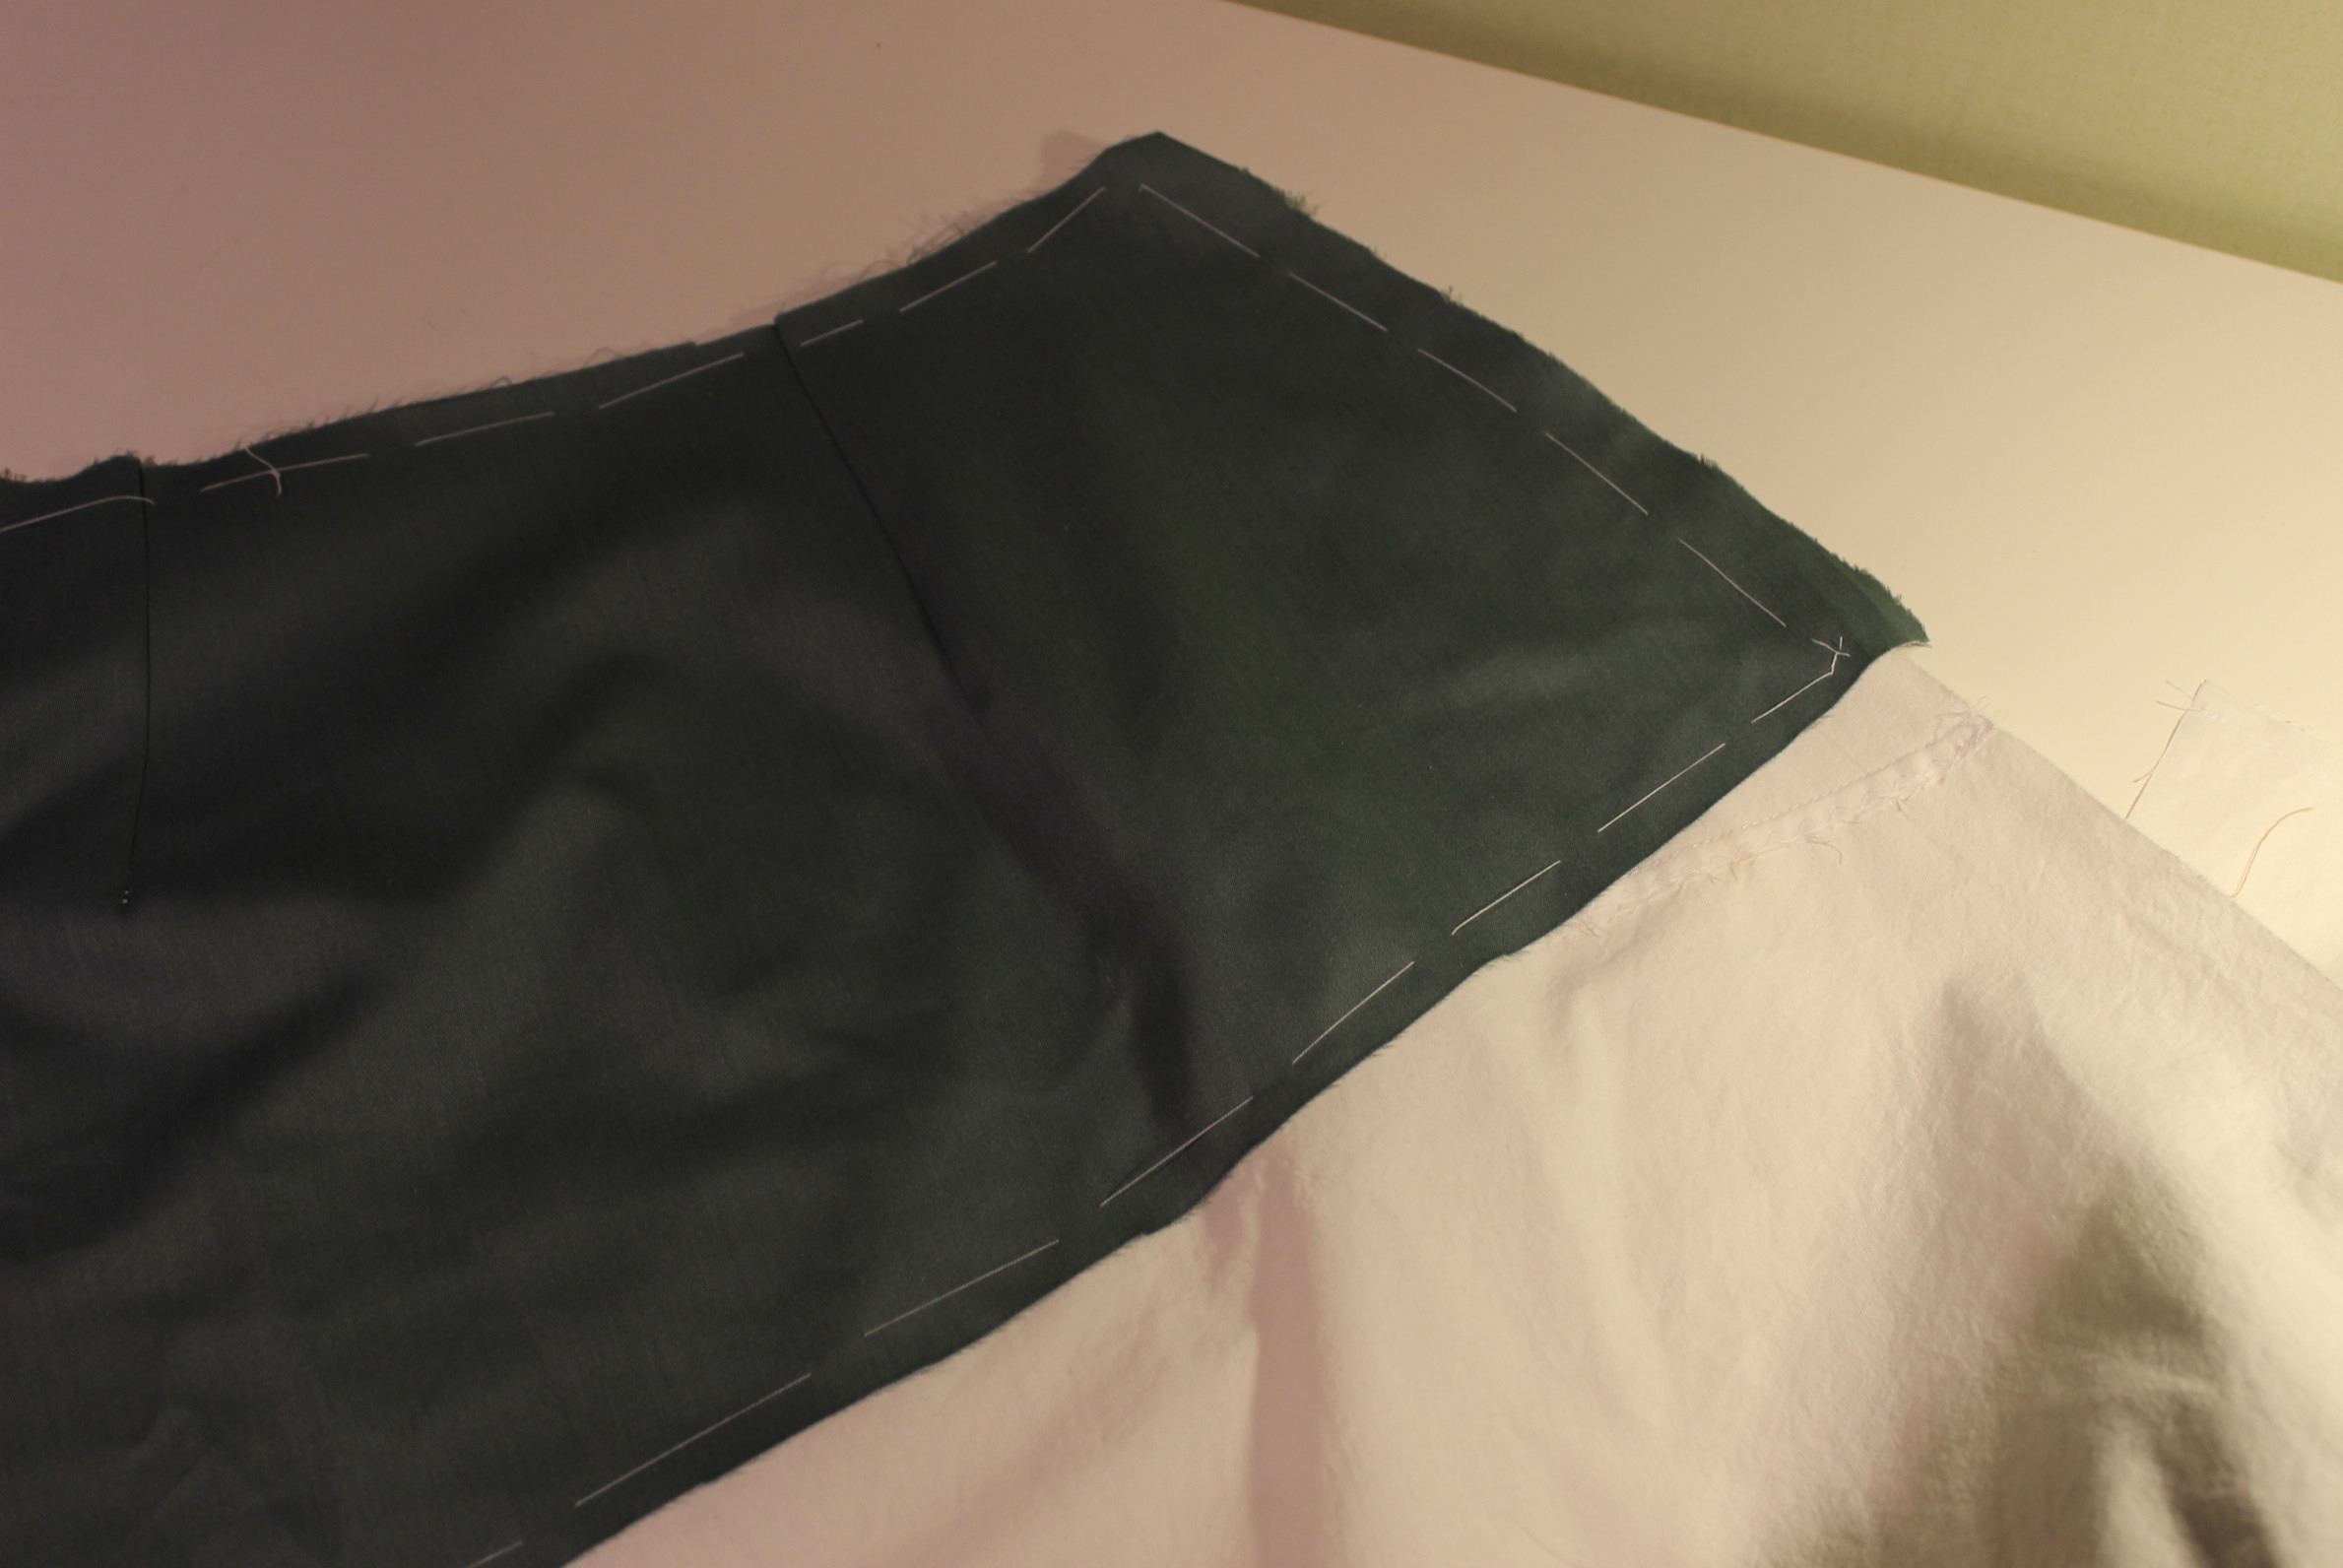
Once I’ve finished the stencils I started to cut the edges of the ruffle. IMG_7709It was a long and tedious work and I emedetly regretted the idea.

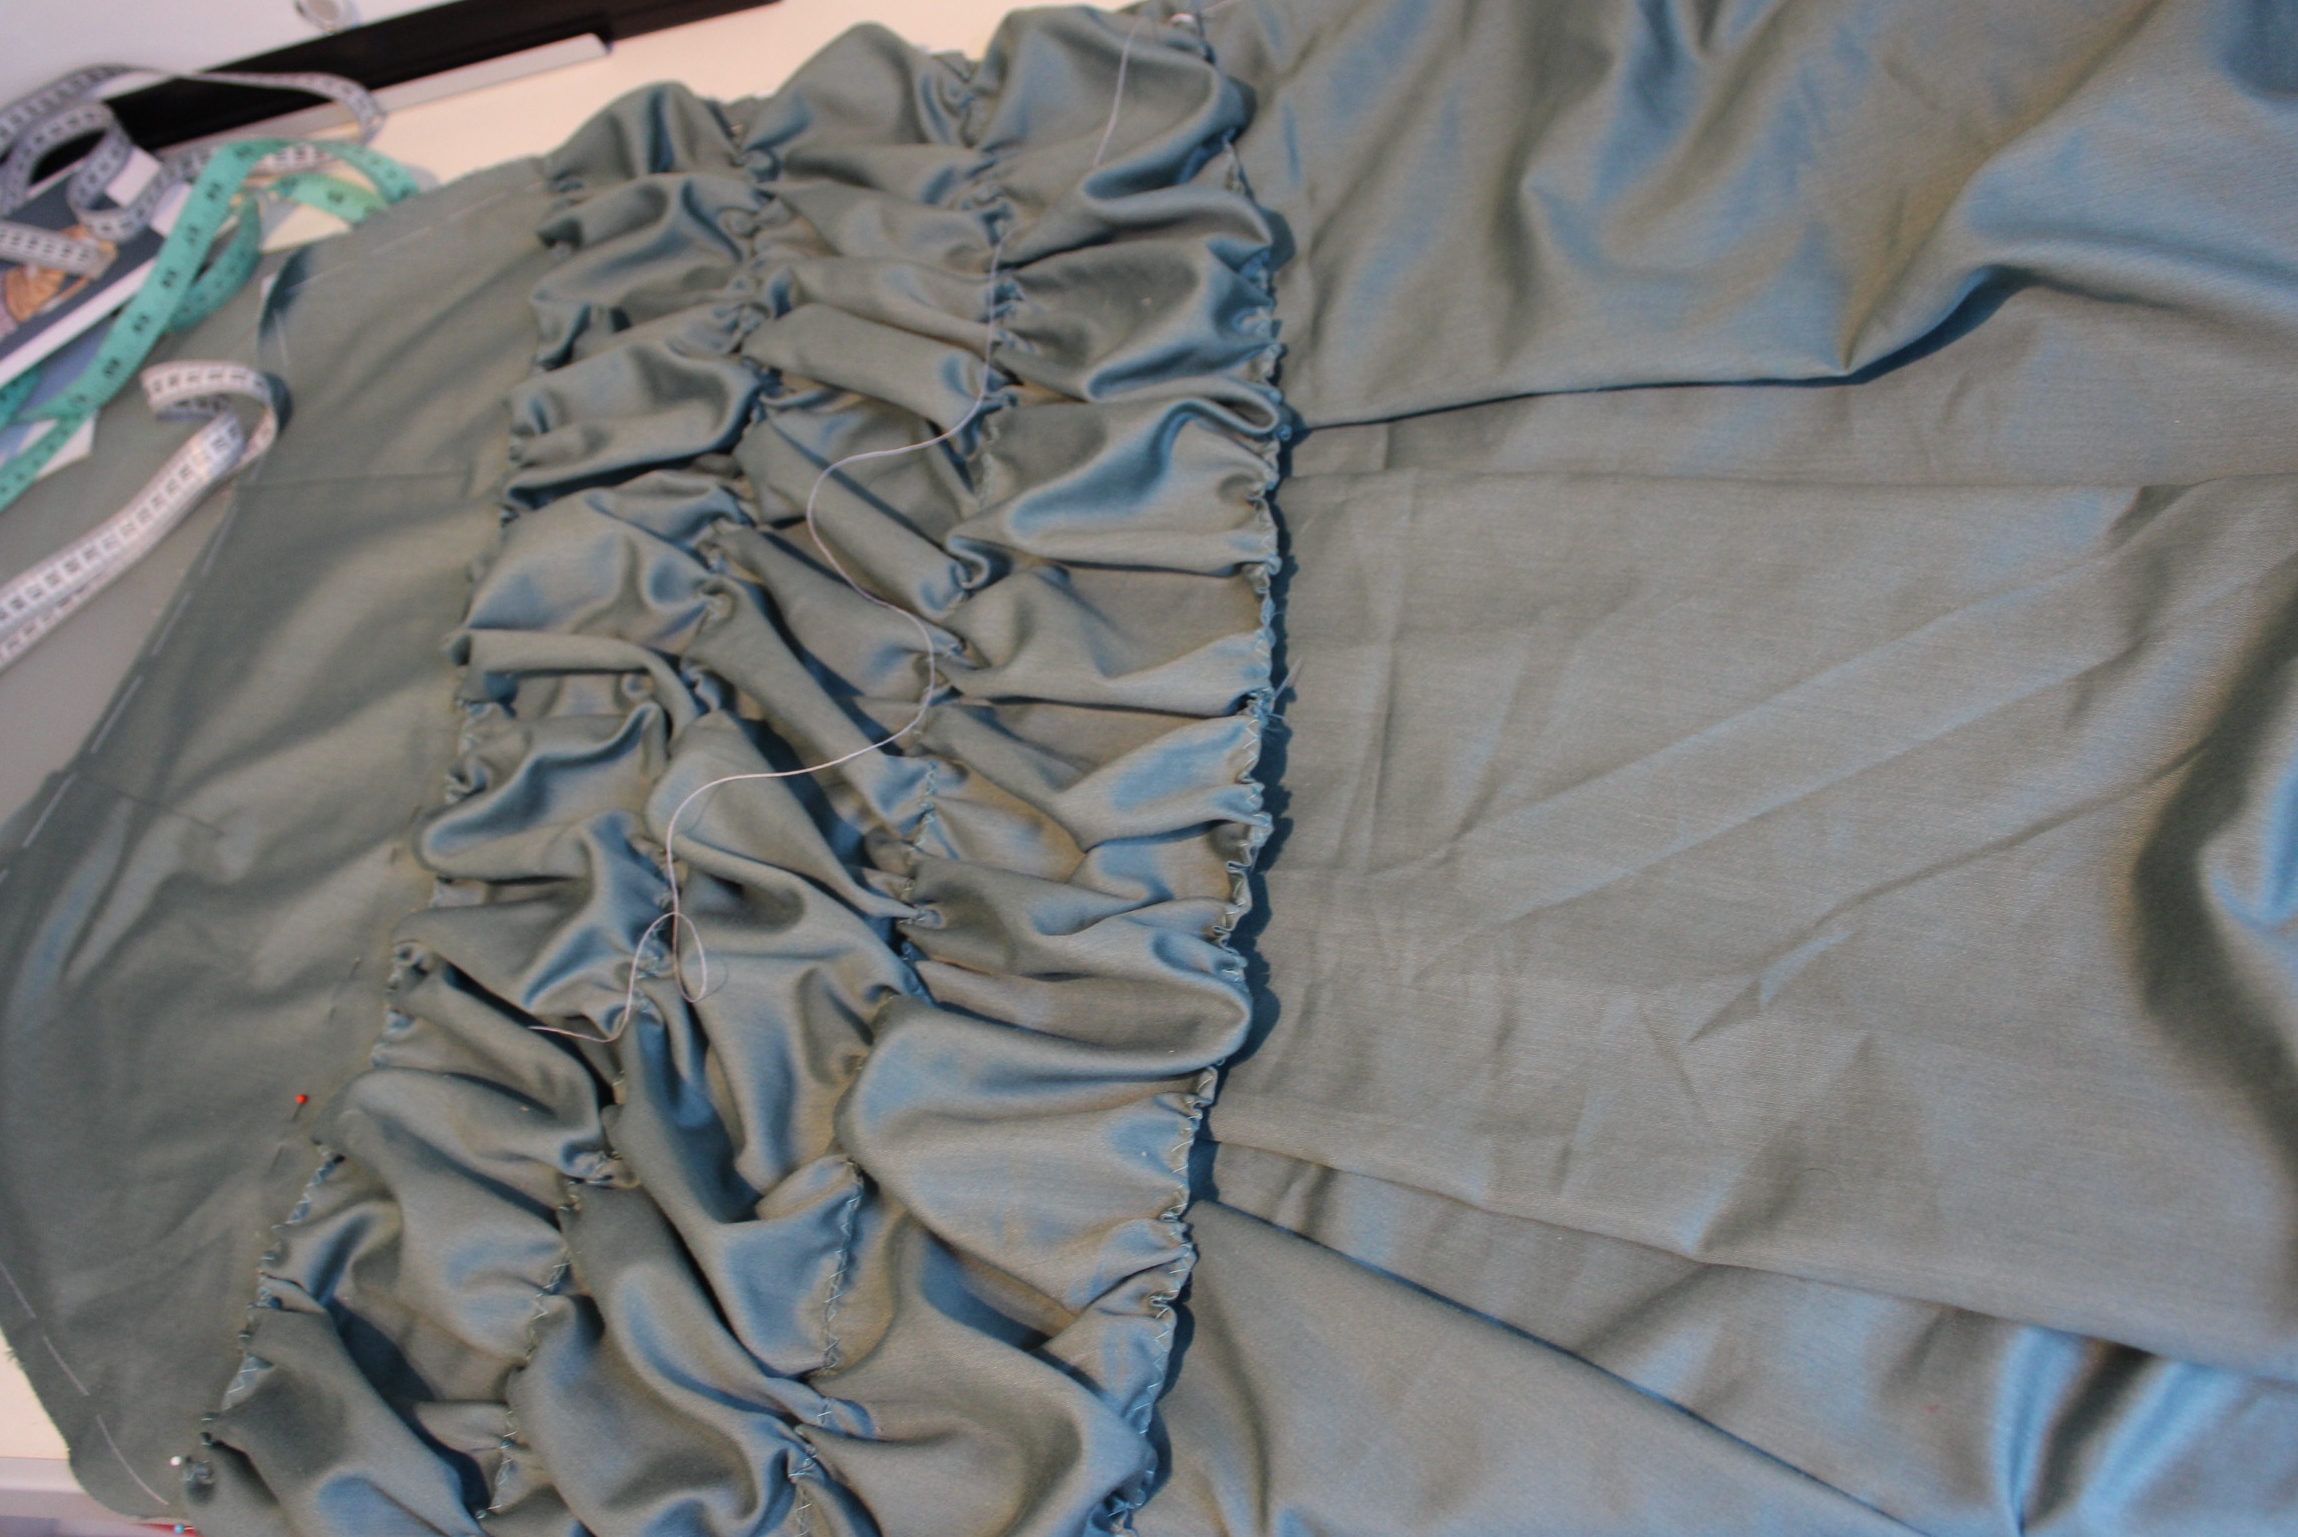
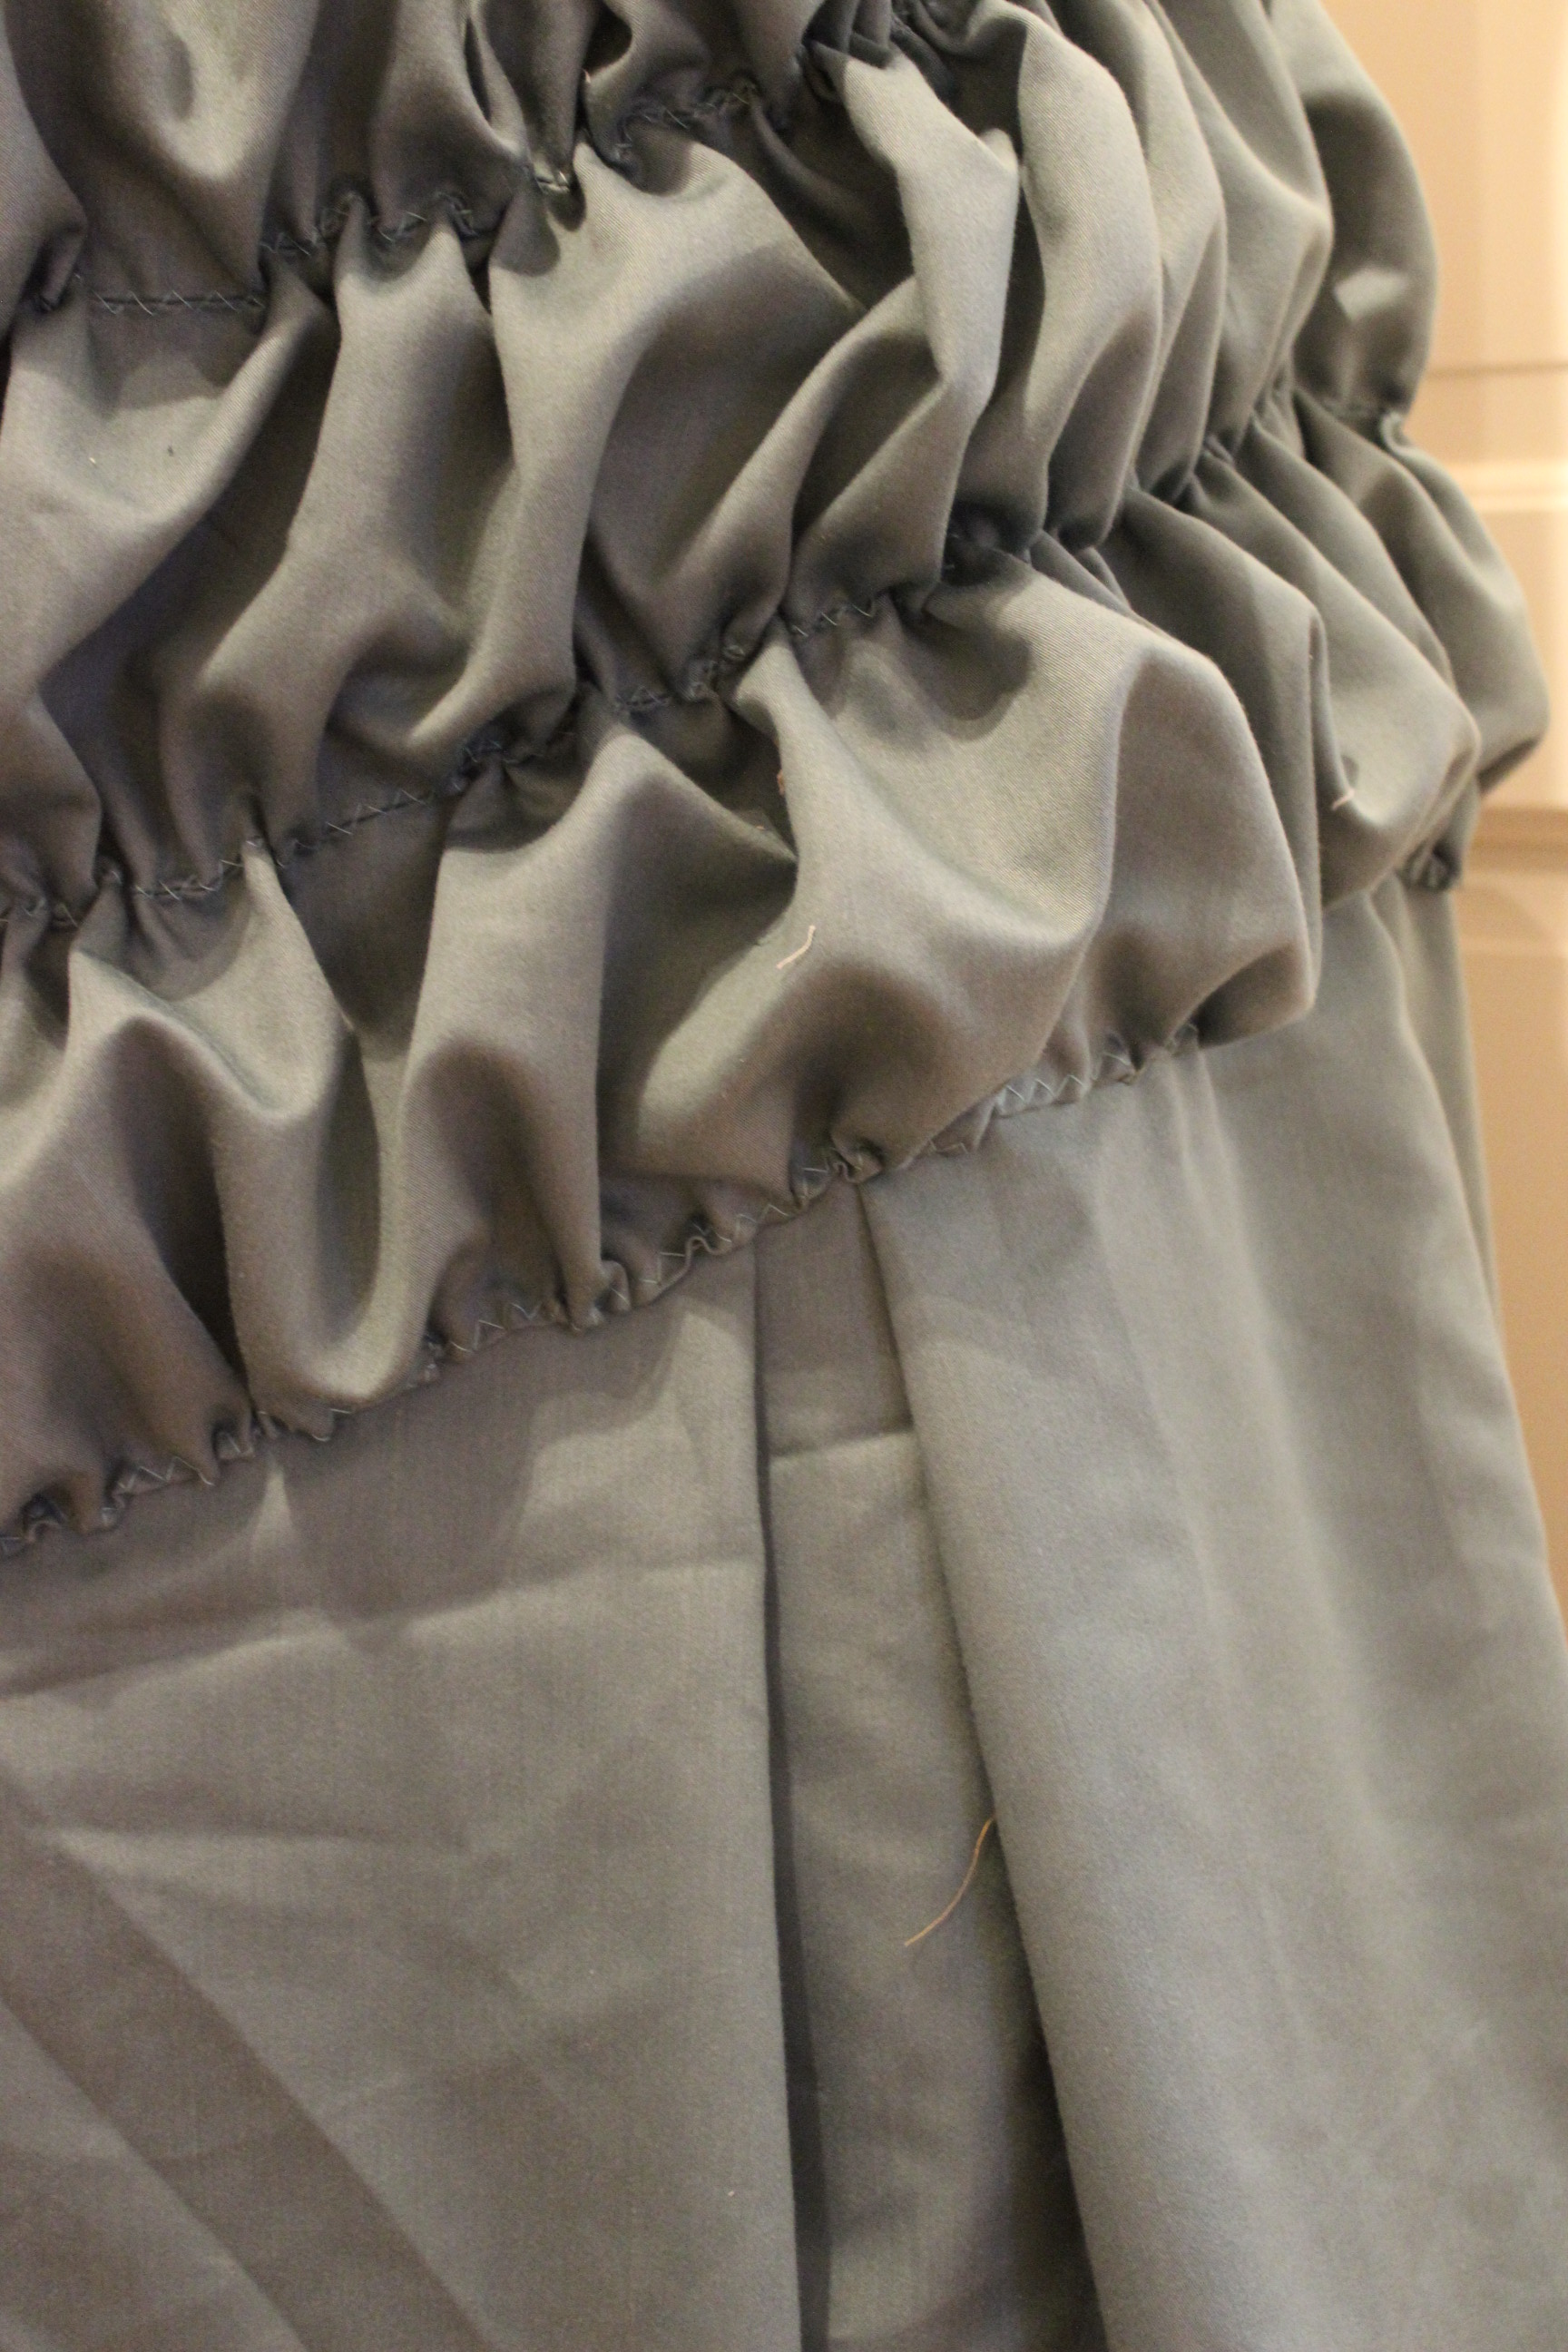
Then I stitched on a gathering thread, close to the smaler scalopes.IMG_7711

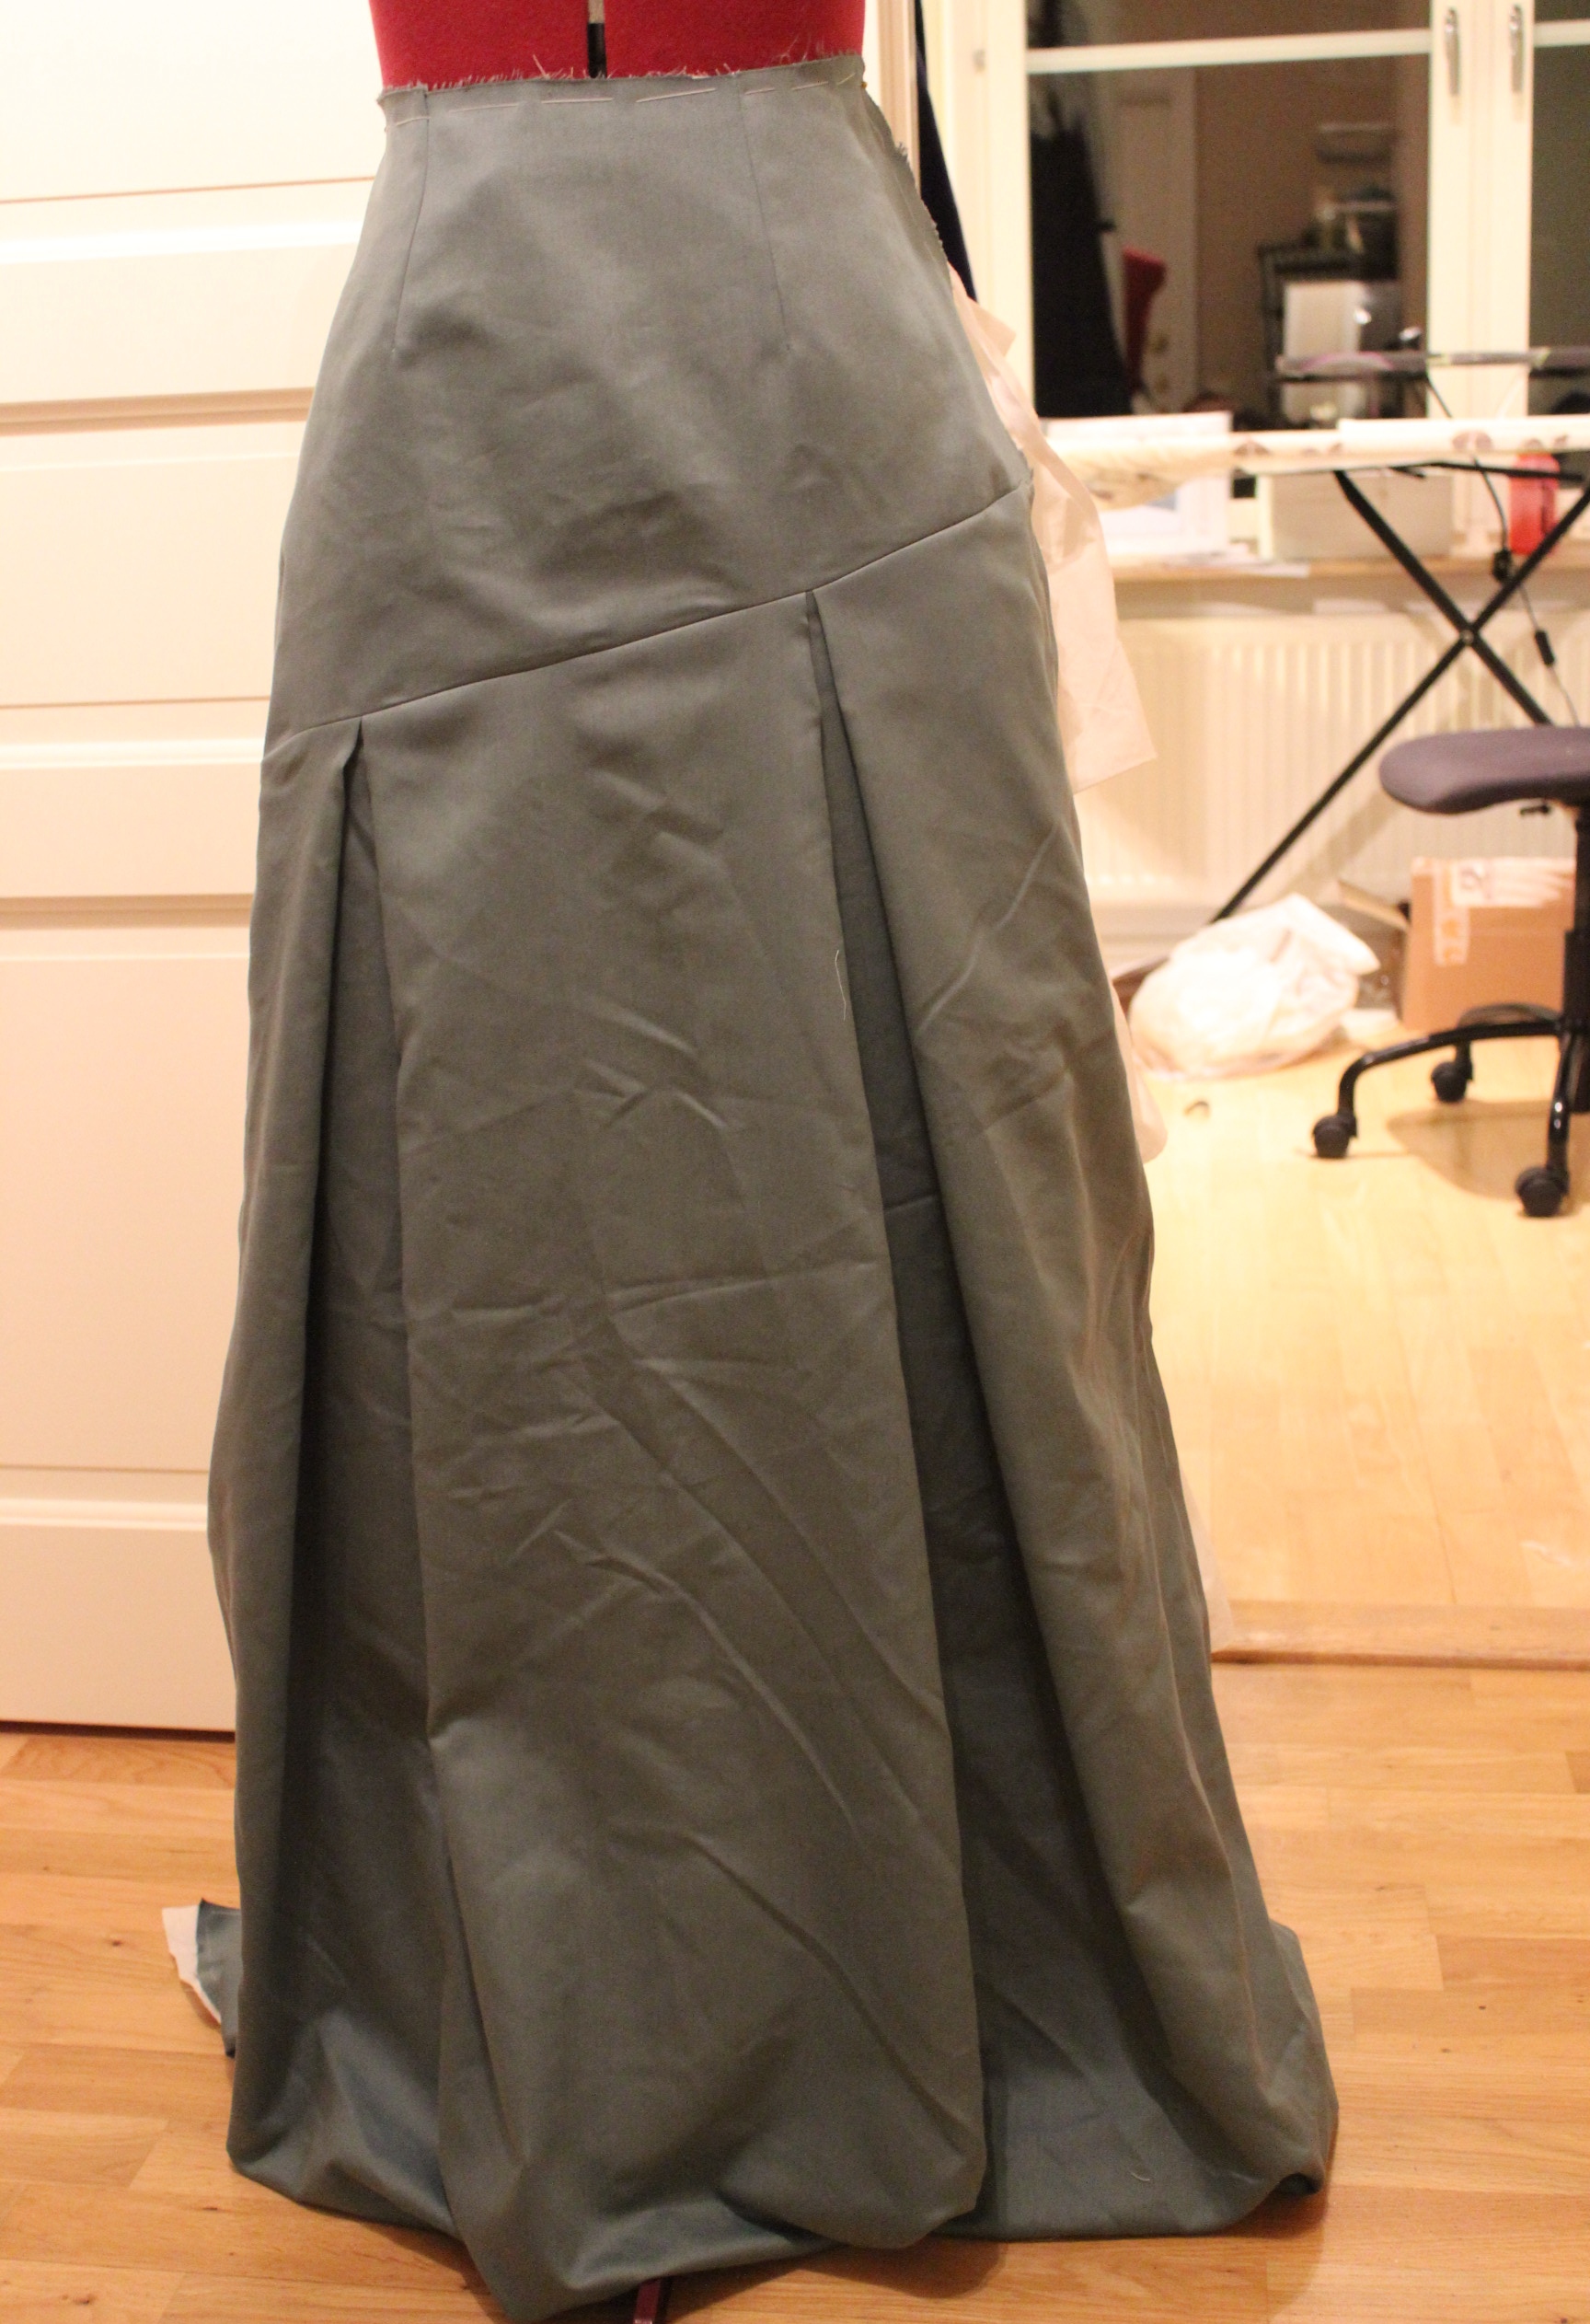
Gathered, pinned and sewed the ruffle to the skirt.IMG_7717

I placed the ruffle so to make the lower scaloped edge overlap the skirts hem by a few cm.
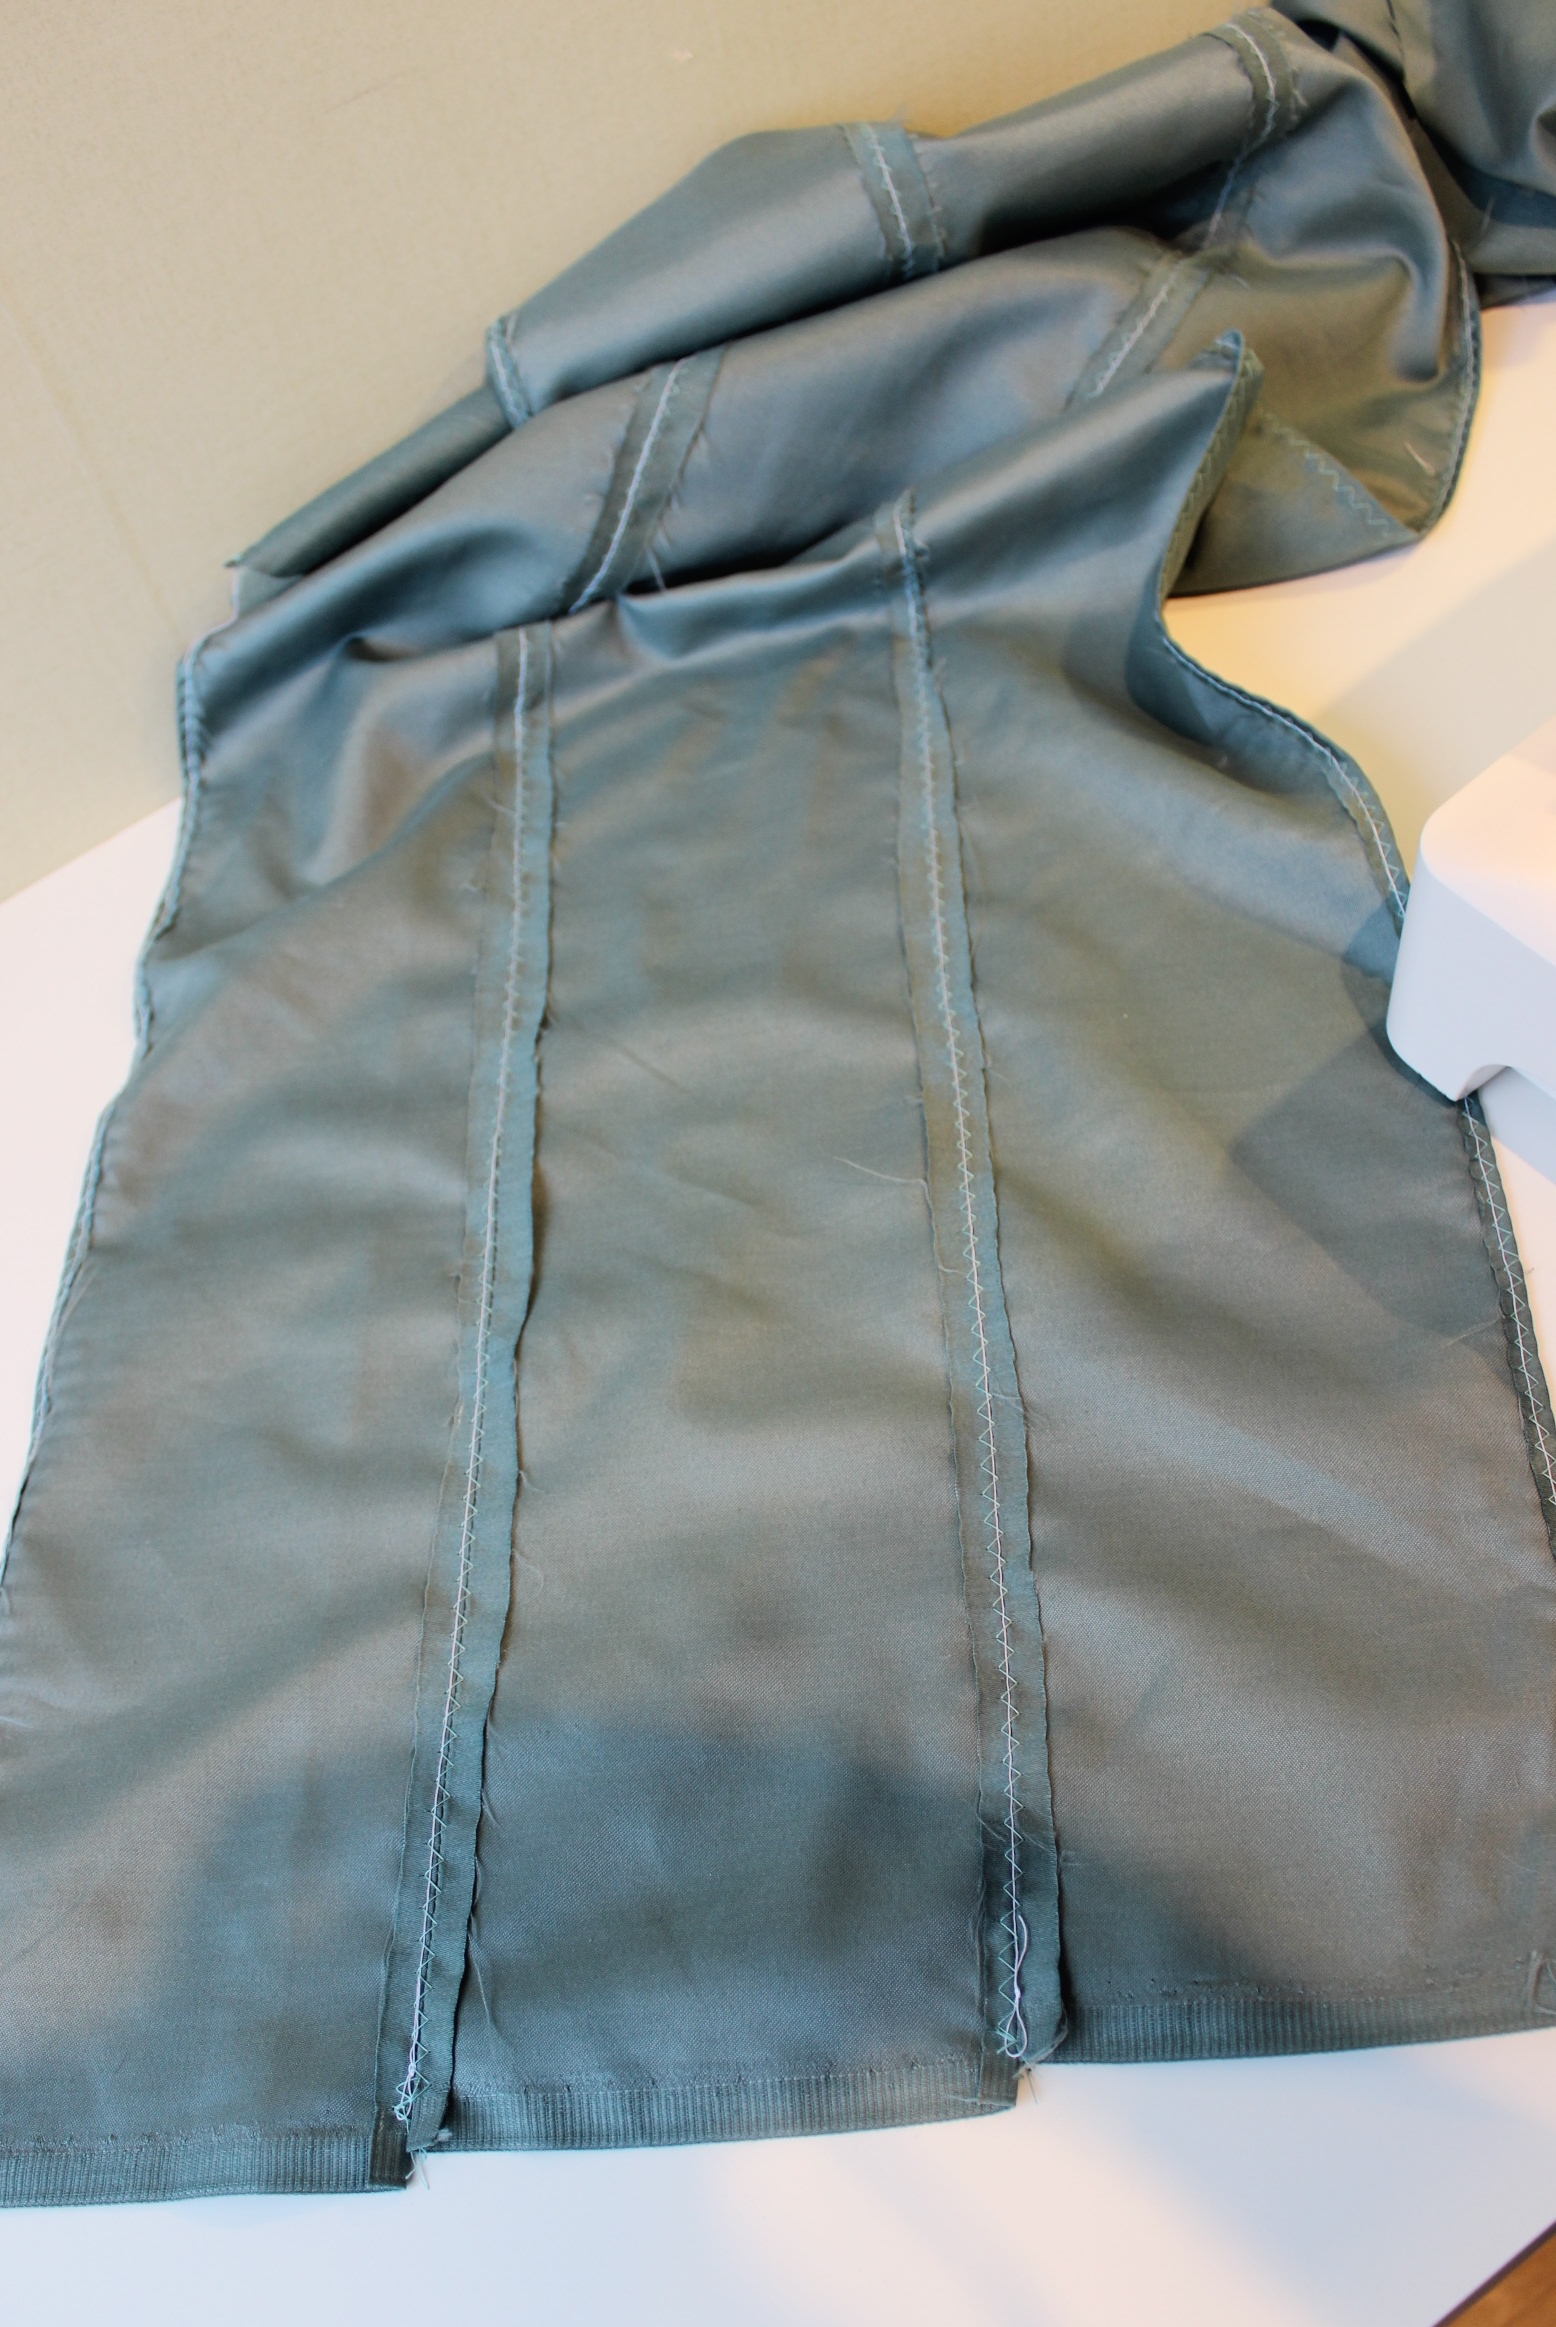
IMG_7719

Then it was time for the wasitband.IMG_7704I cut two pieces each half the wasit measurment, and basted on some interlining.

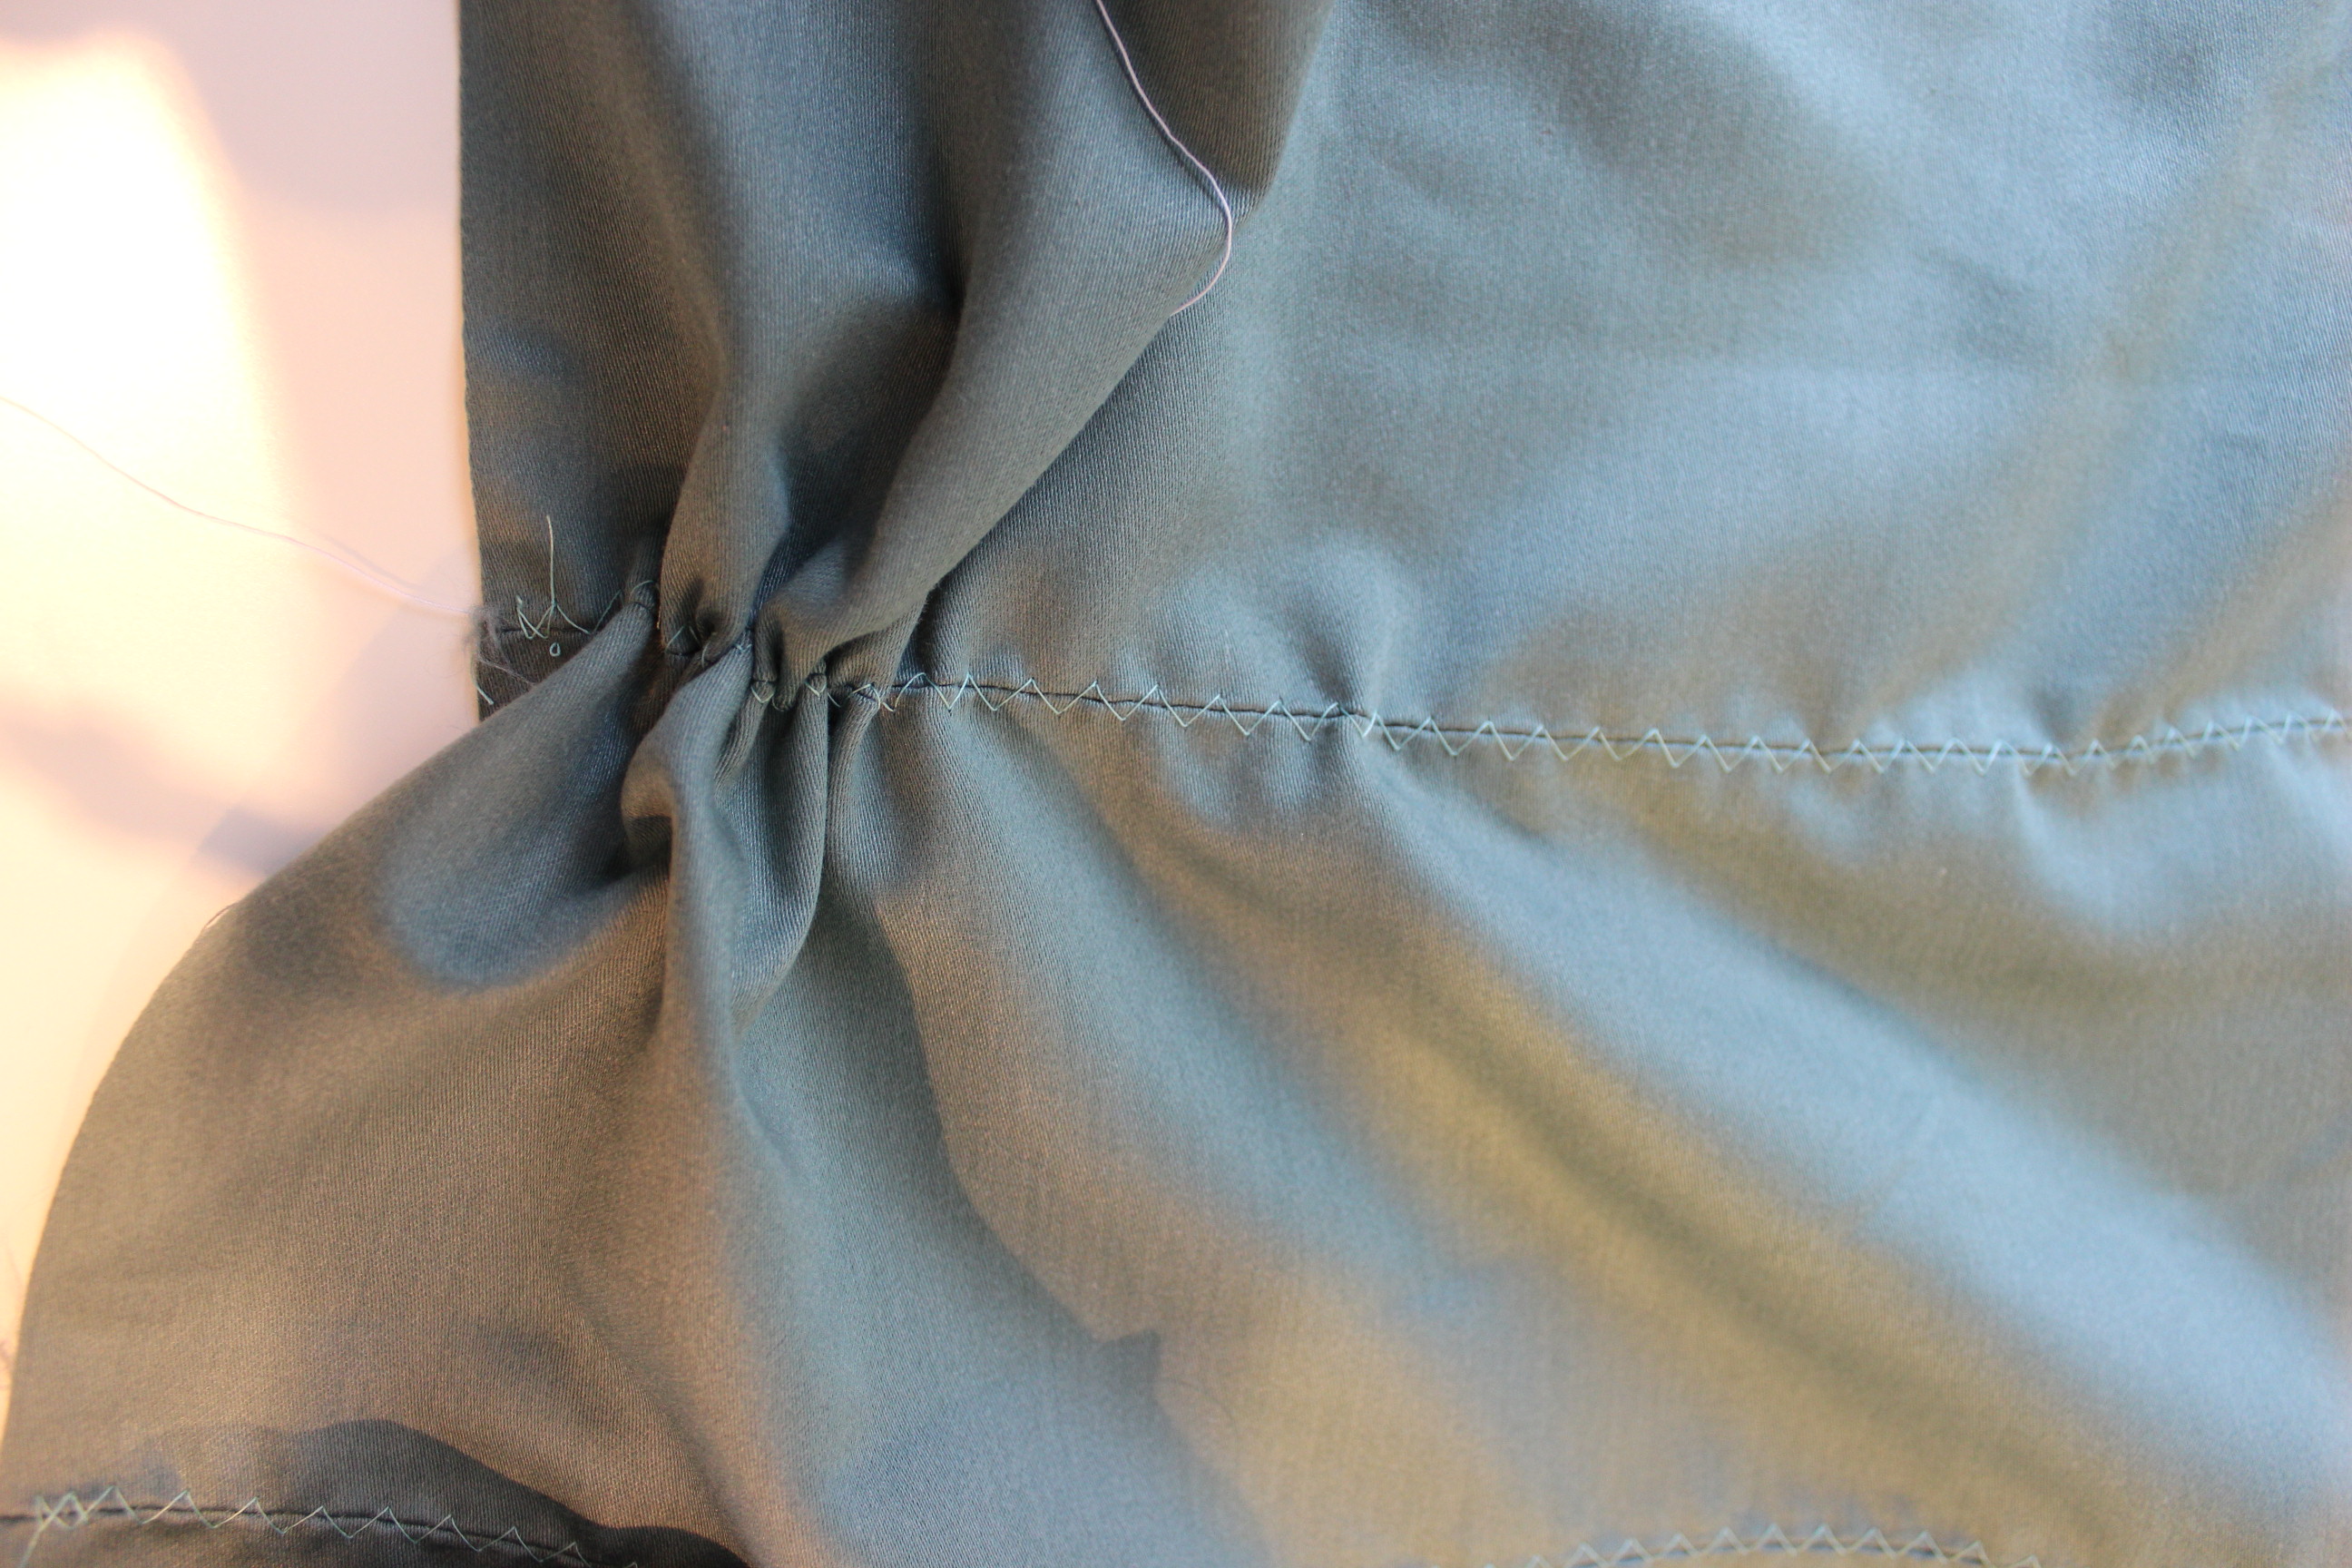
Then I folded the pieces, putt some cotton cords between, and stiched them together at the ends.IMG_7716Two halves makes a whole wasitband.

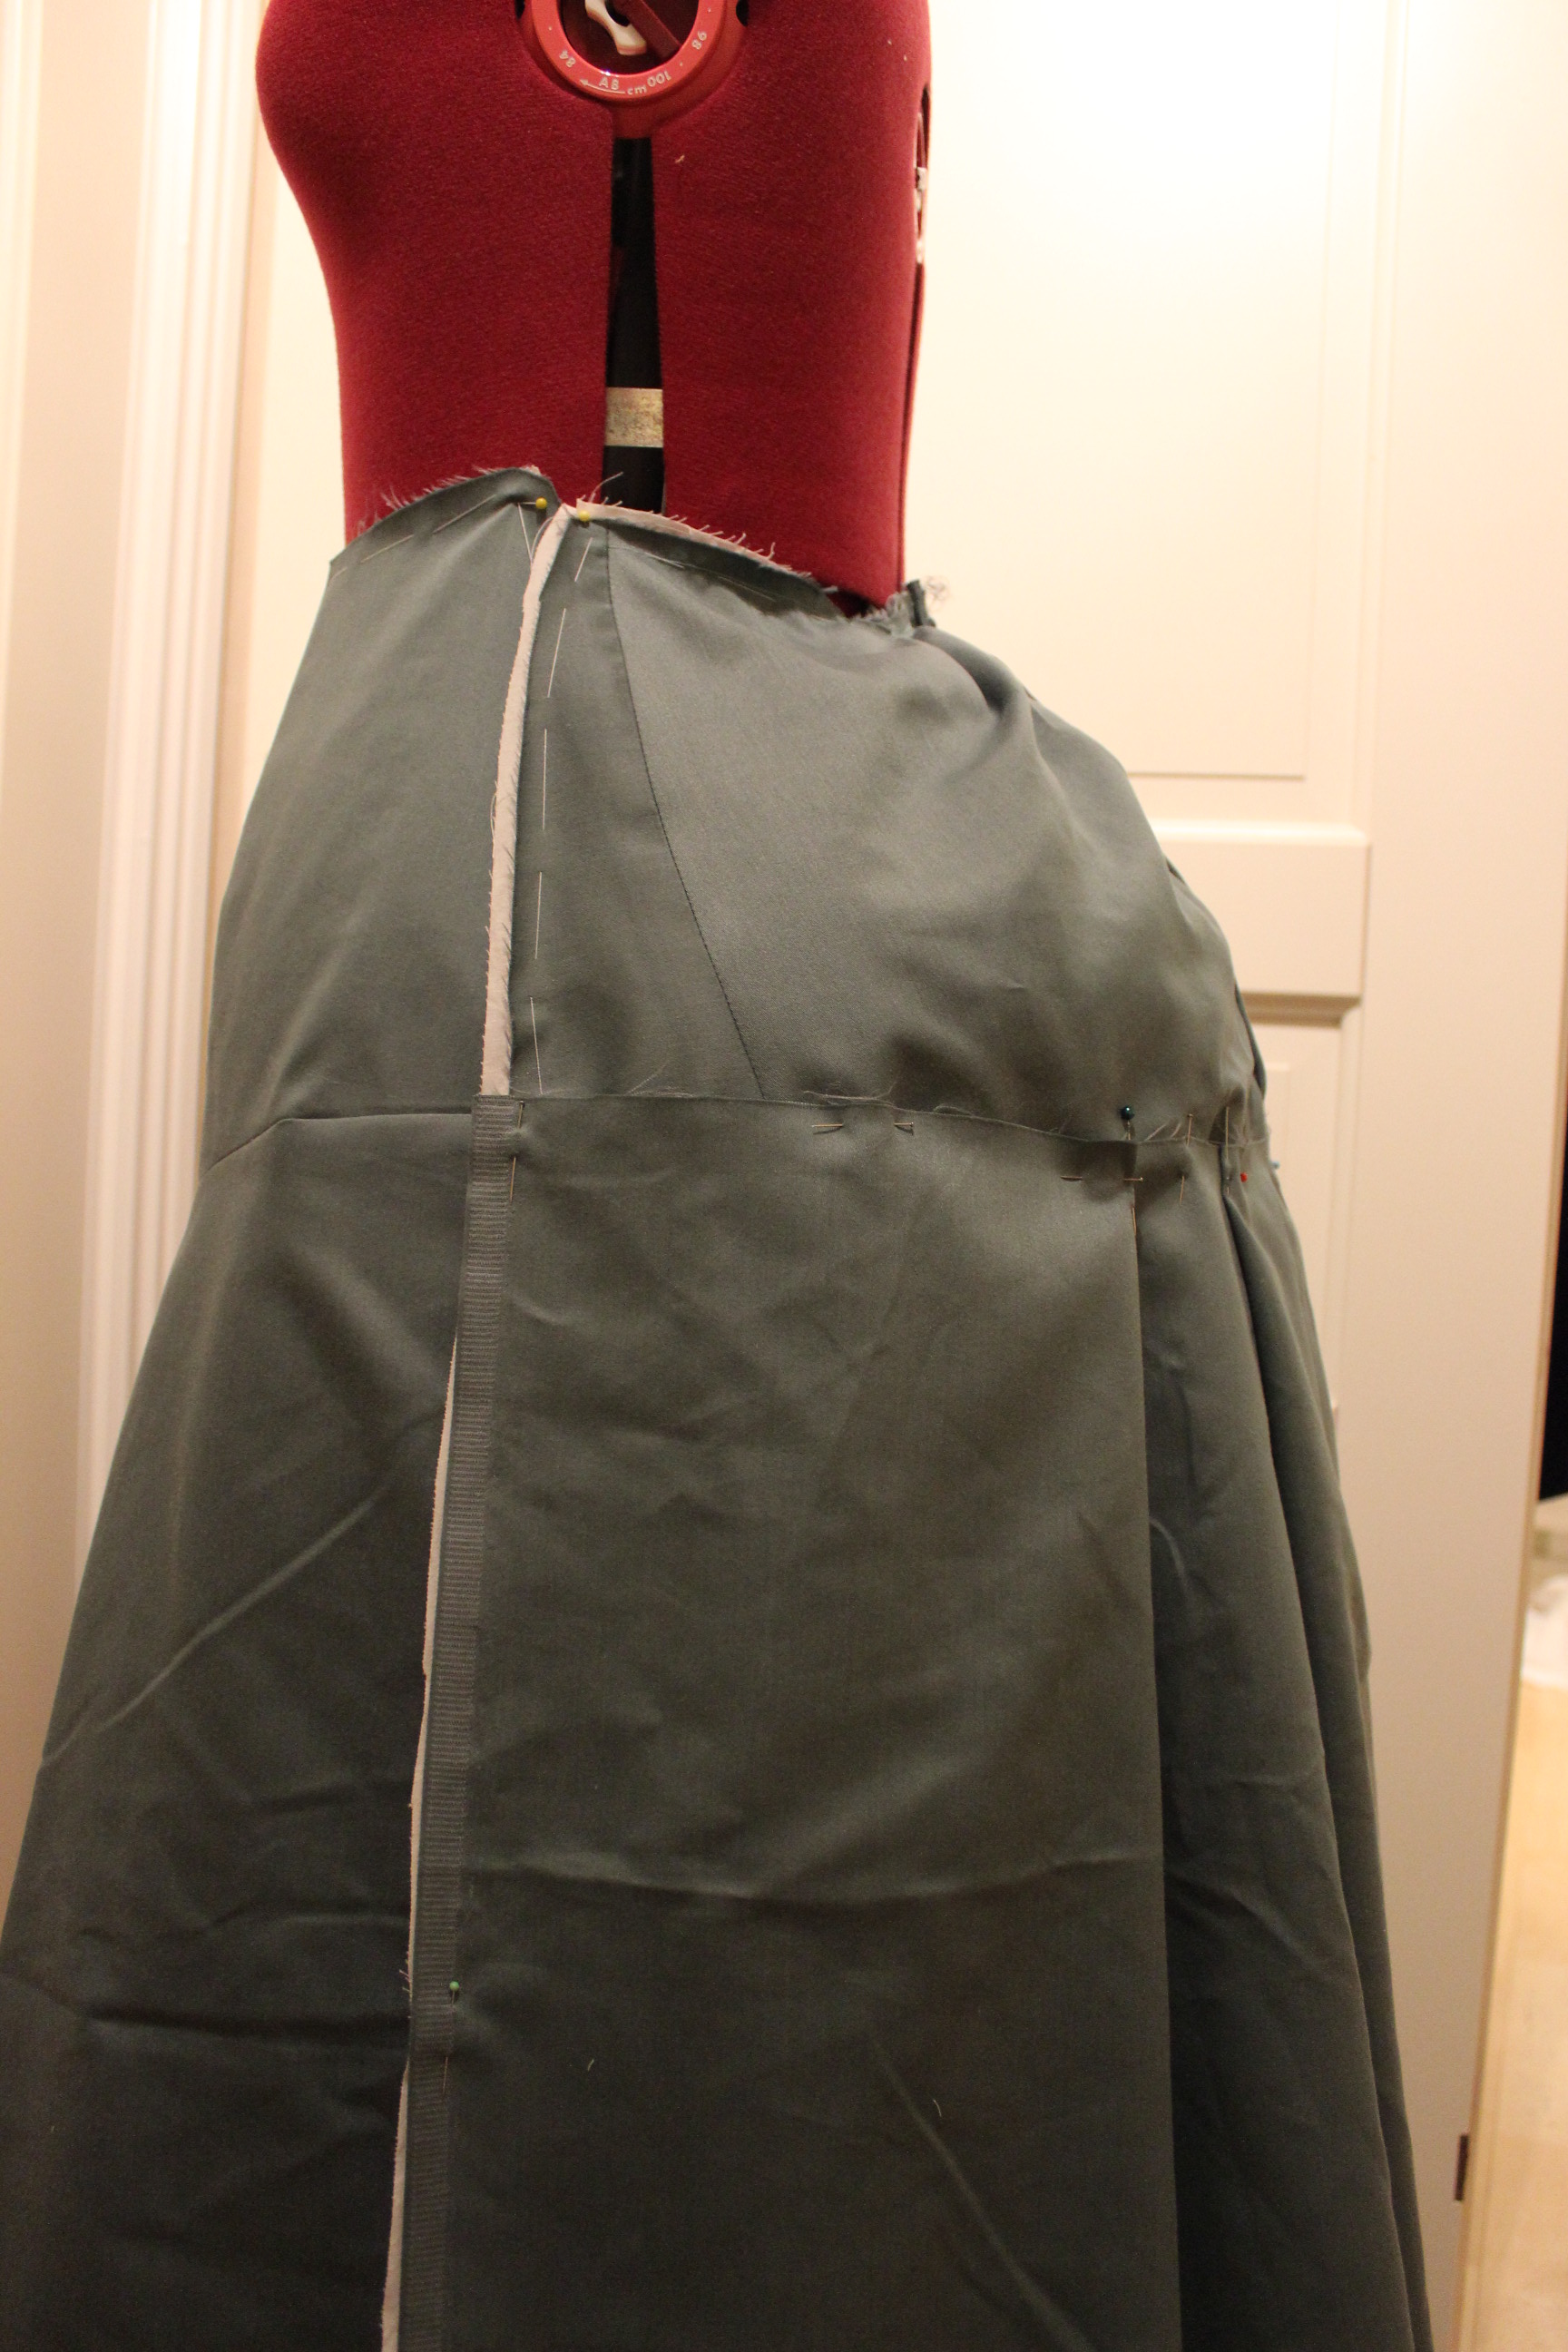
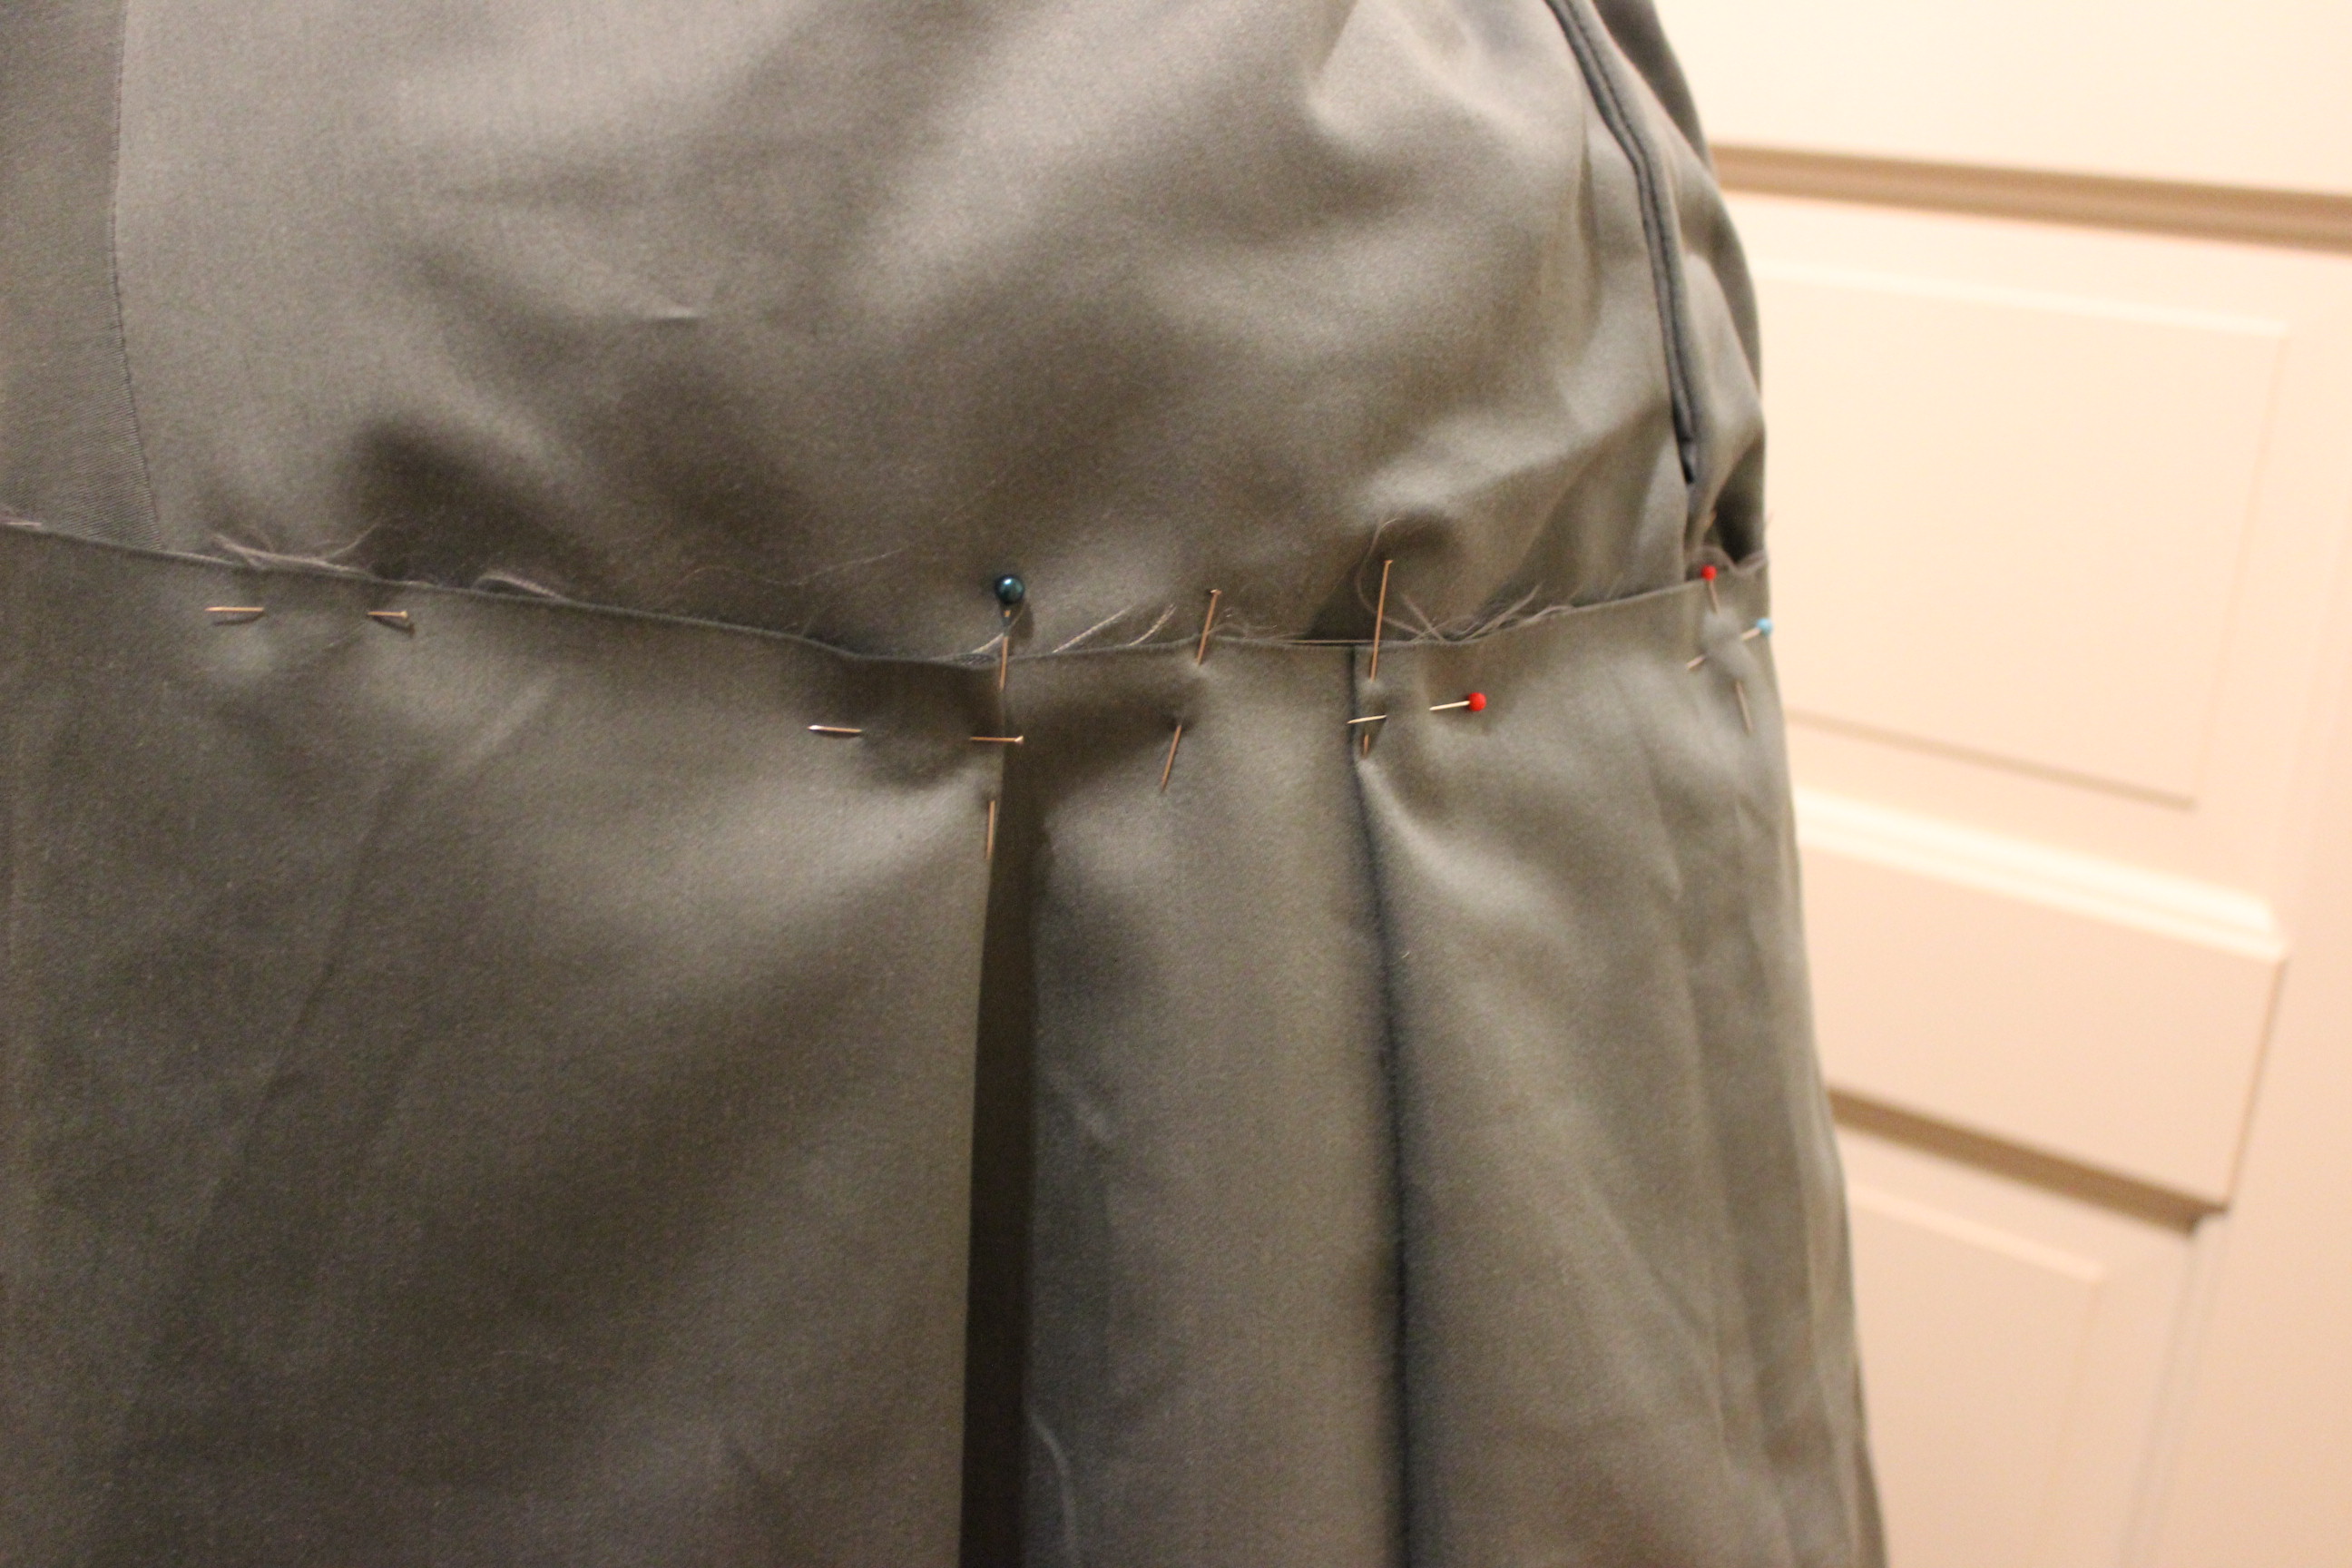
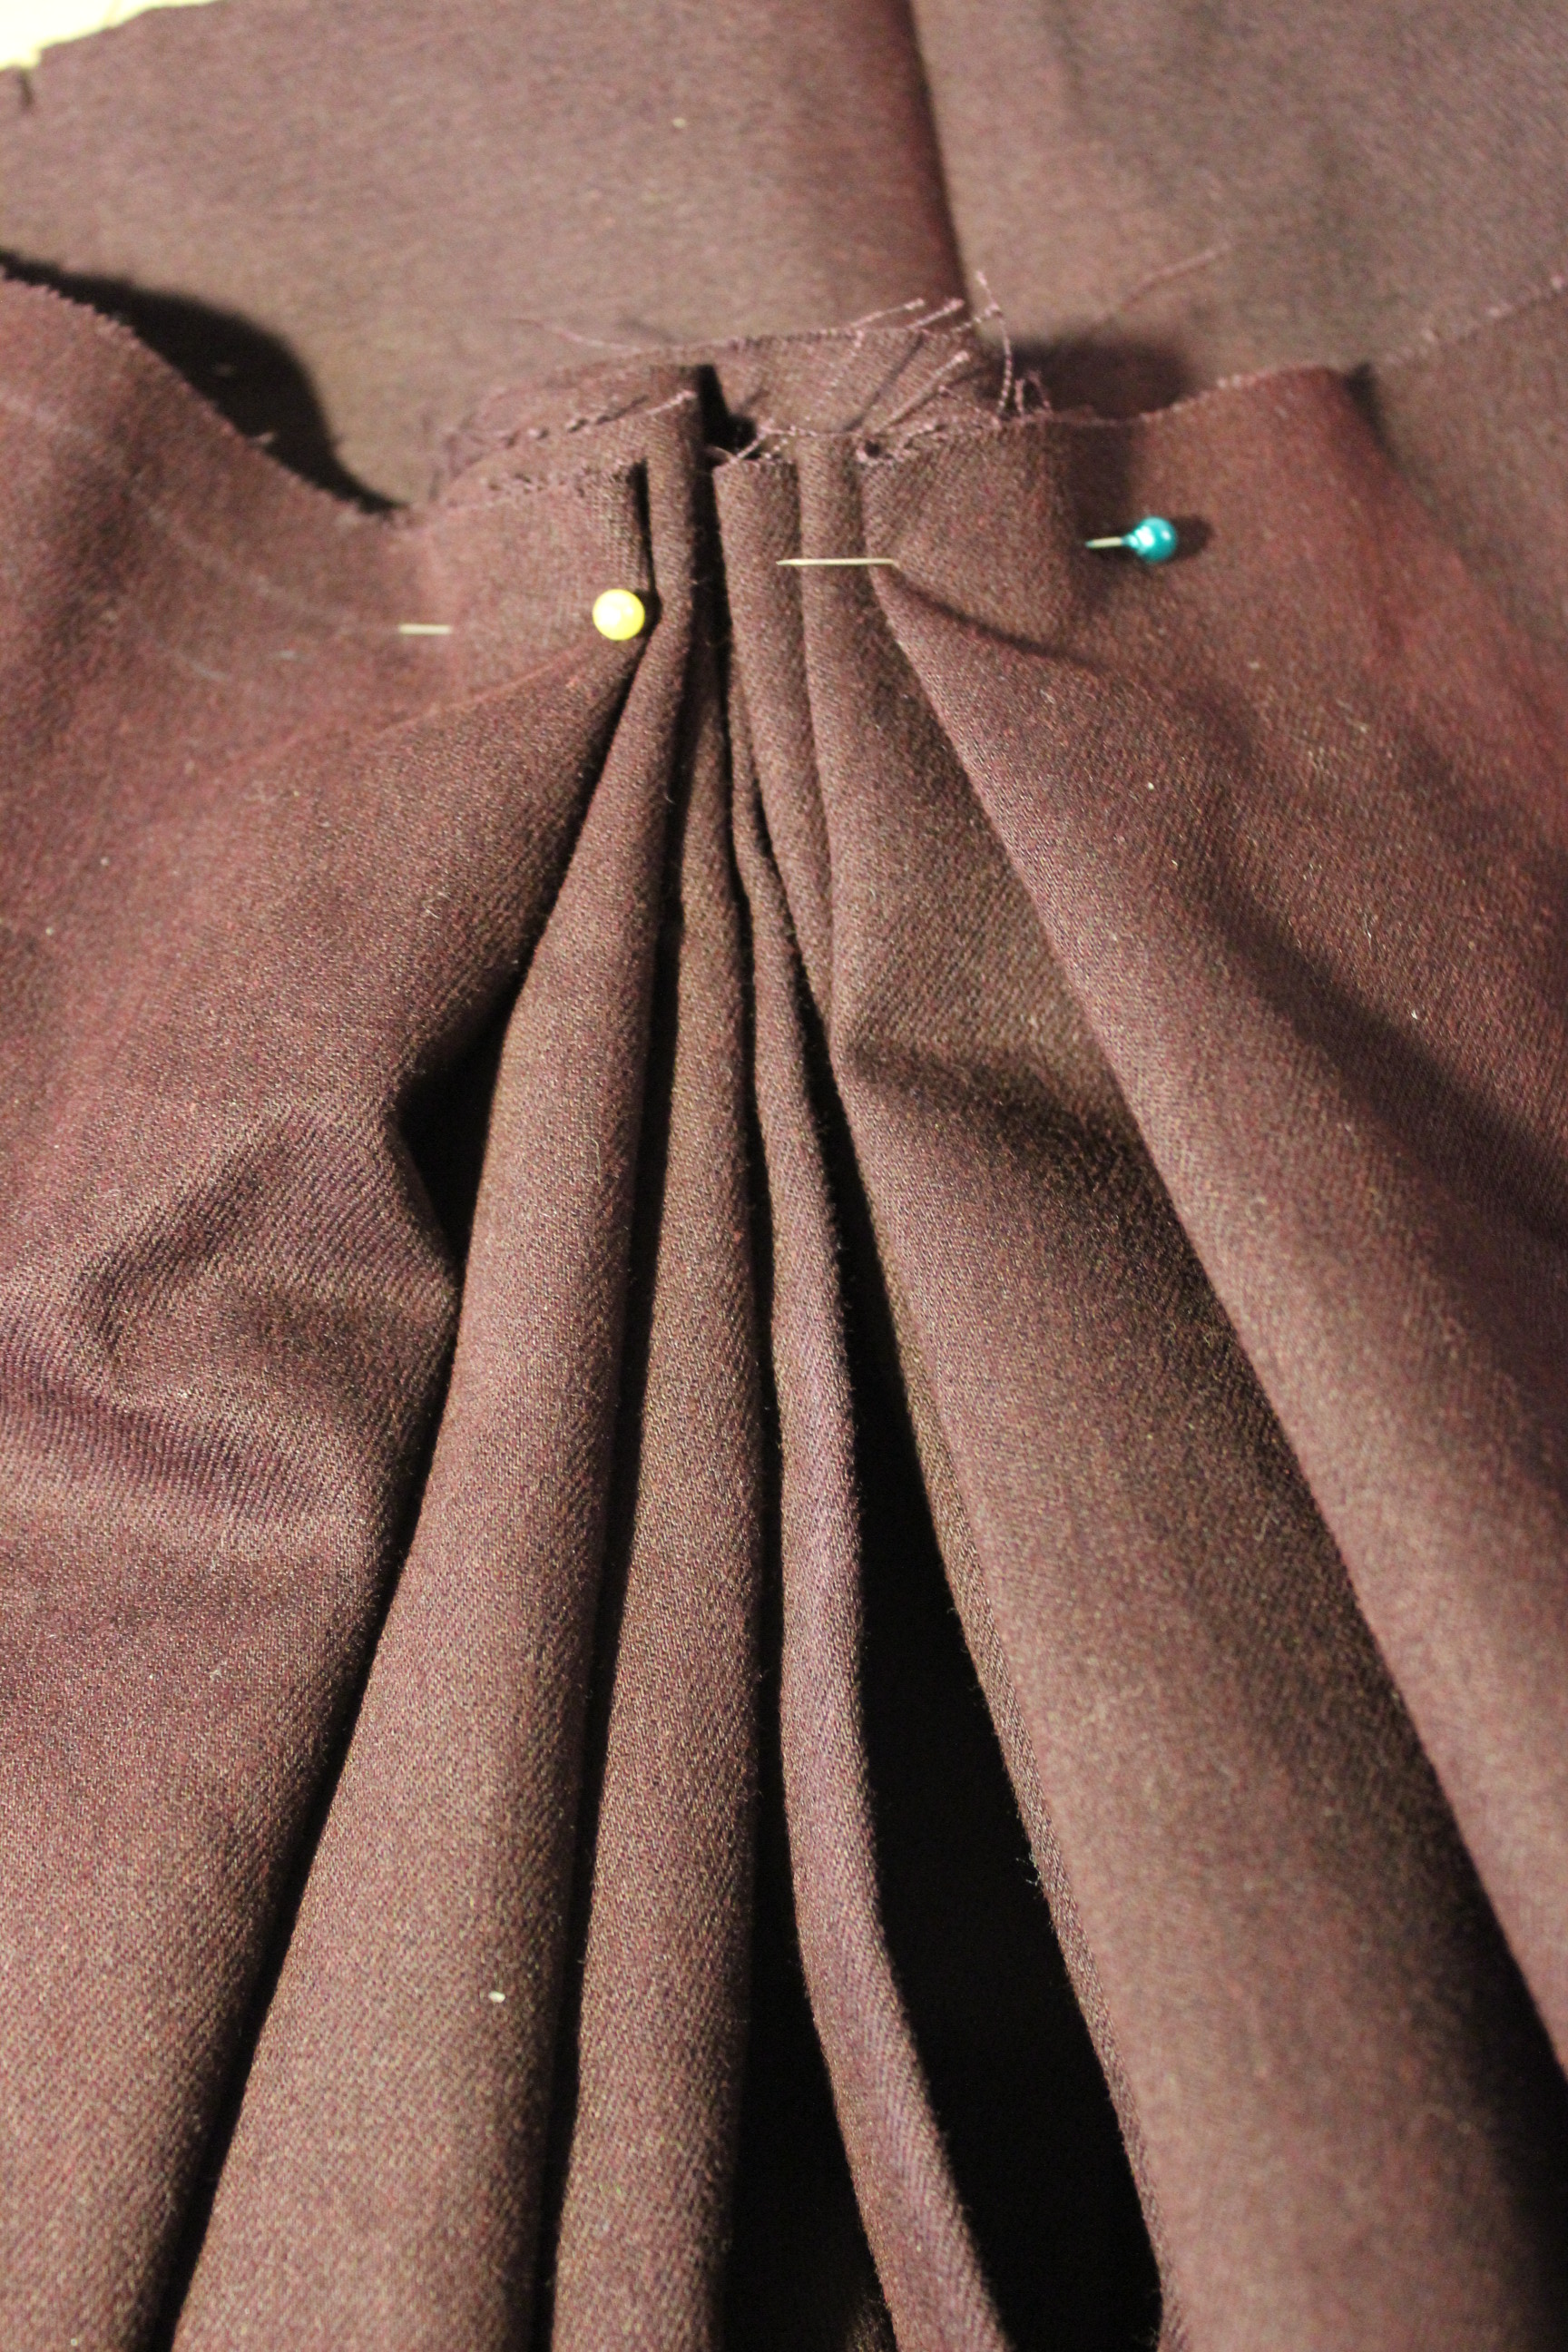
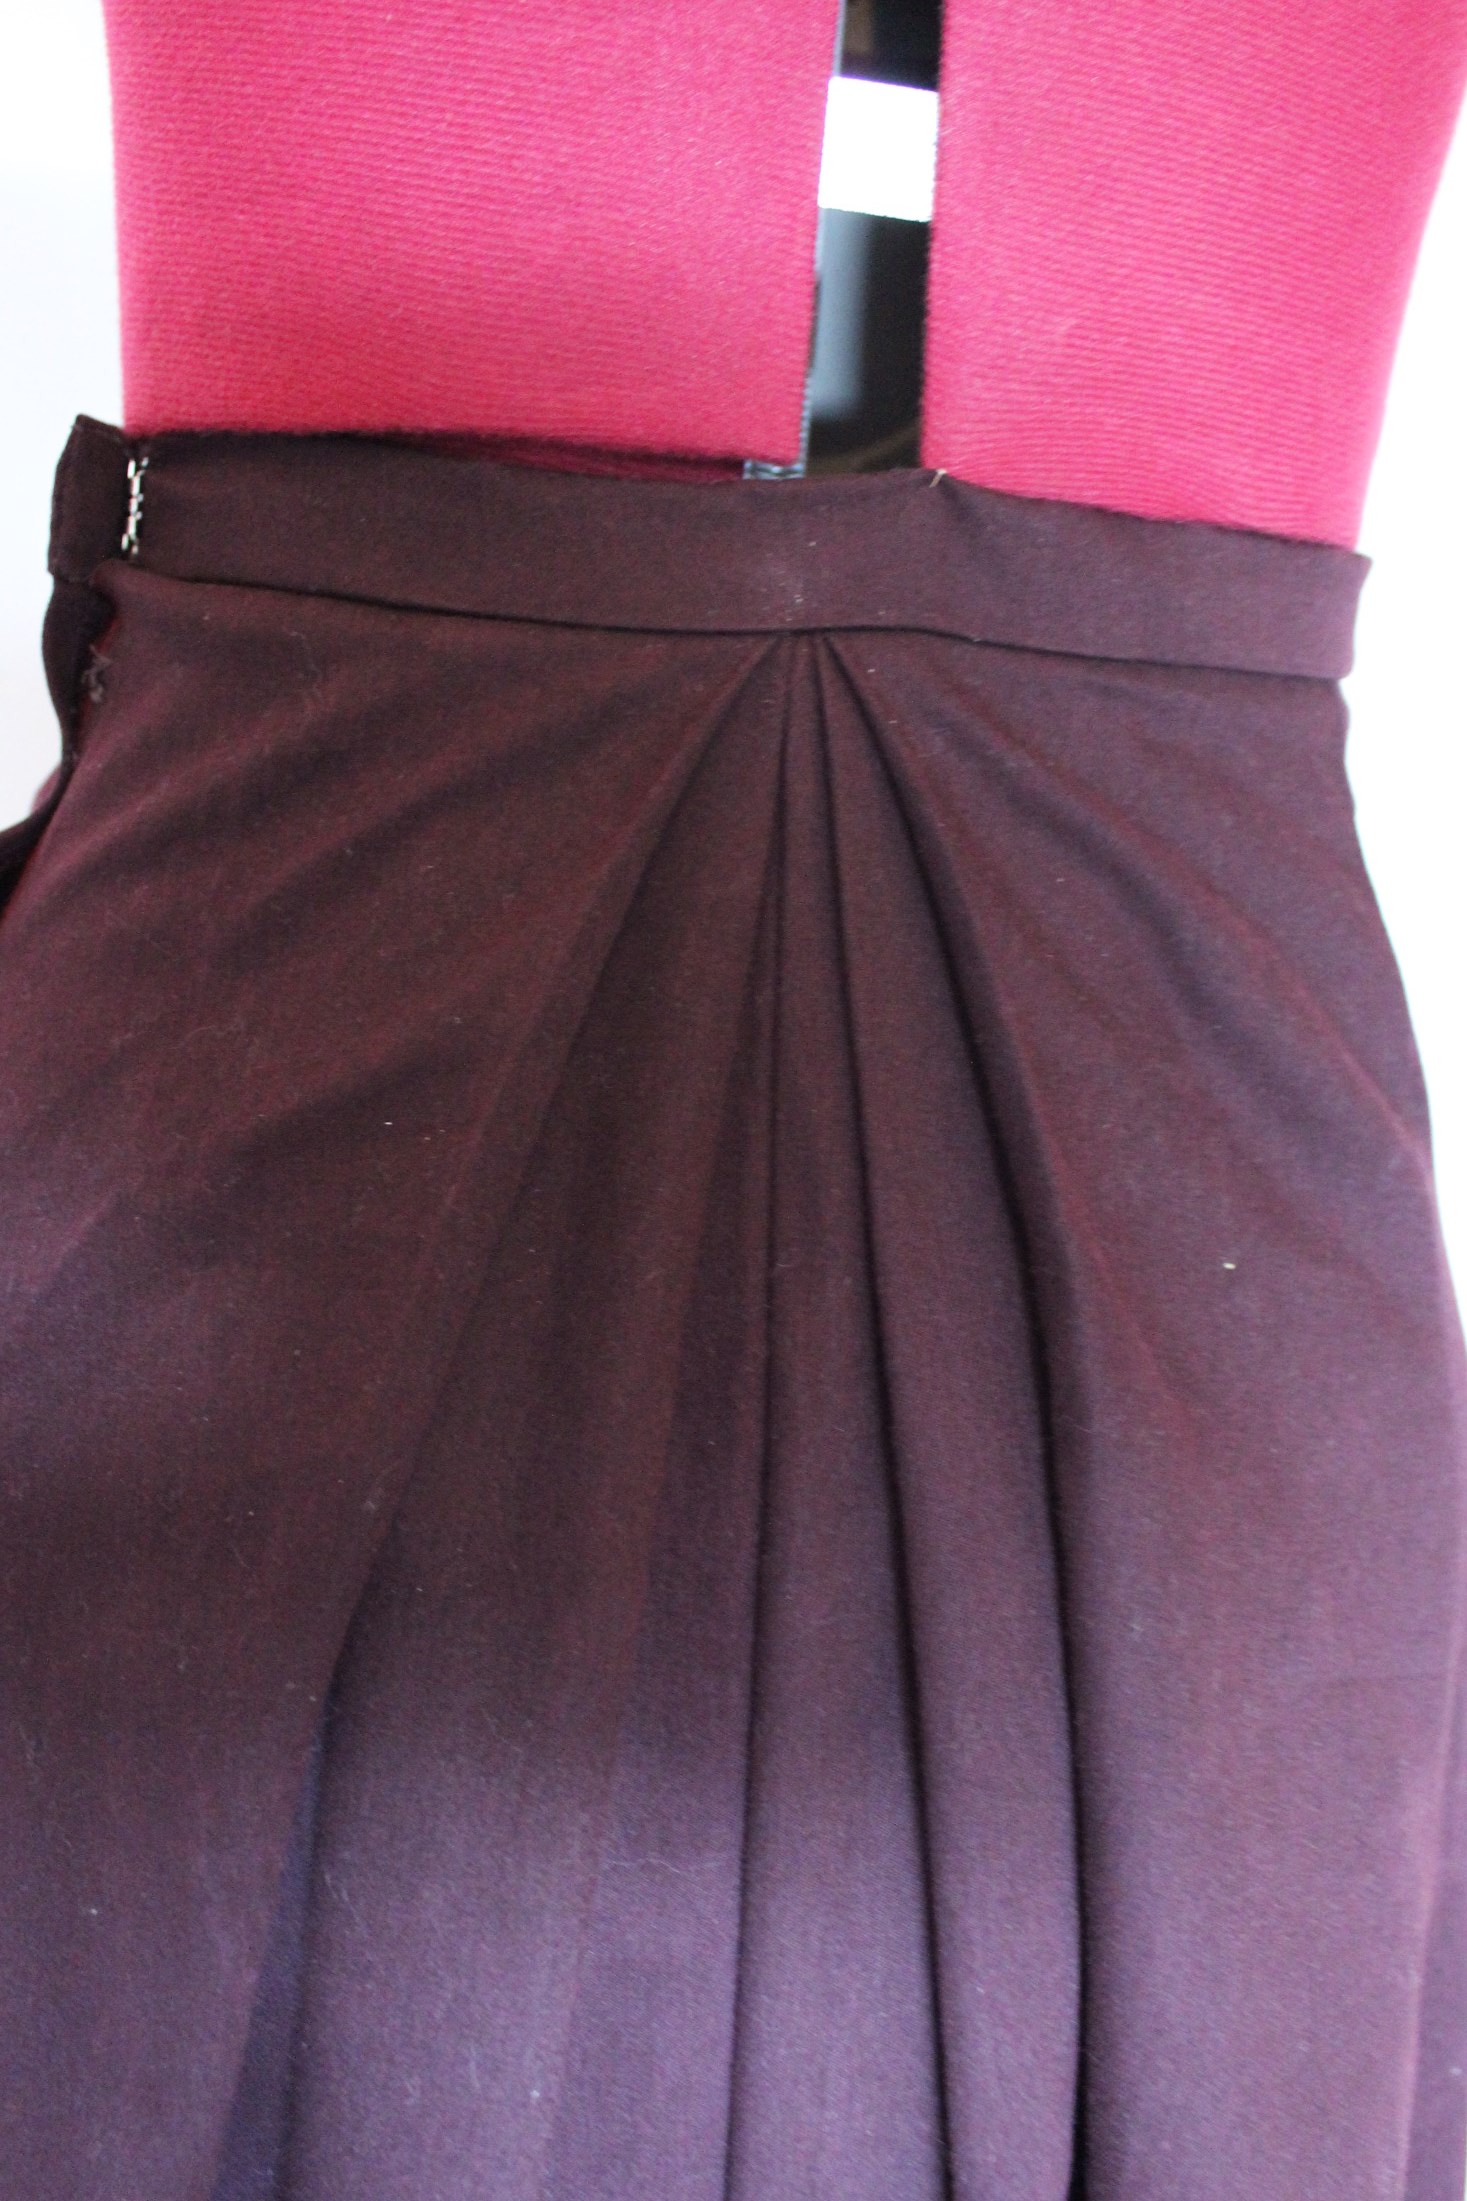
I then measured and pinned the pleats in the skirt to mach the front and back waistband. IMG_7721I basted the pleats in place.

And pined on the wasitband.IMG_7720Then I folded the back of the band under and hand tacked it in place.
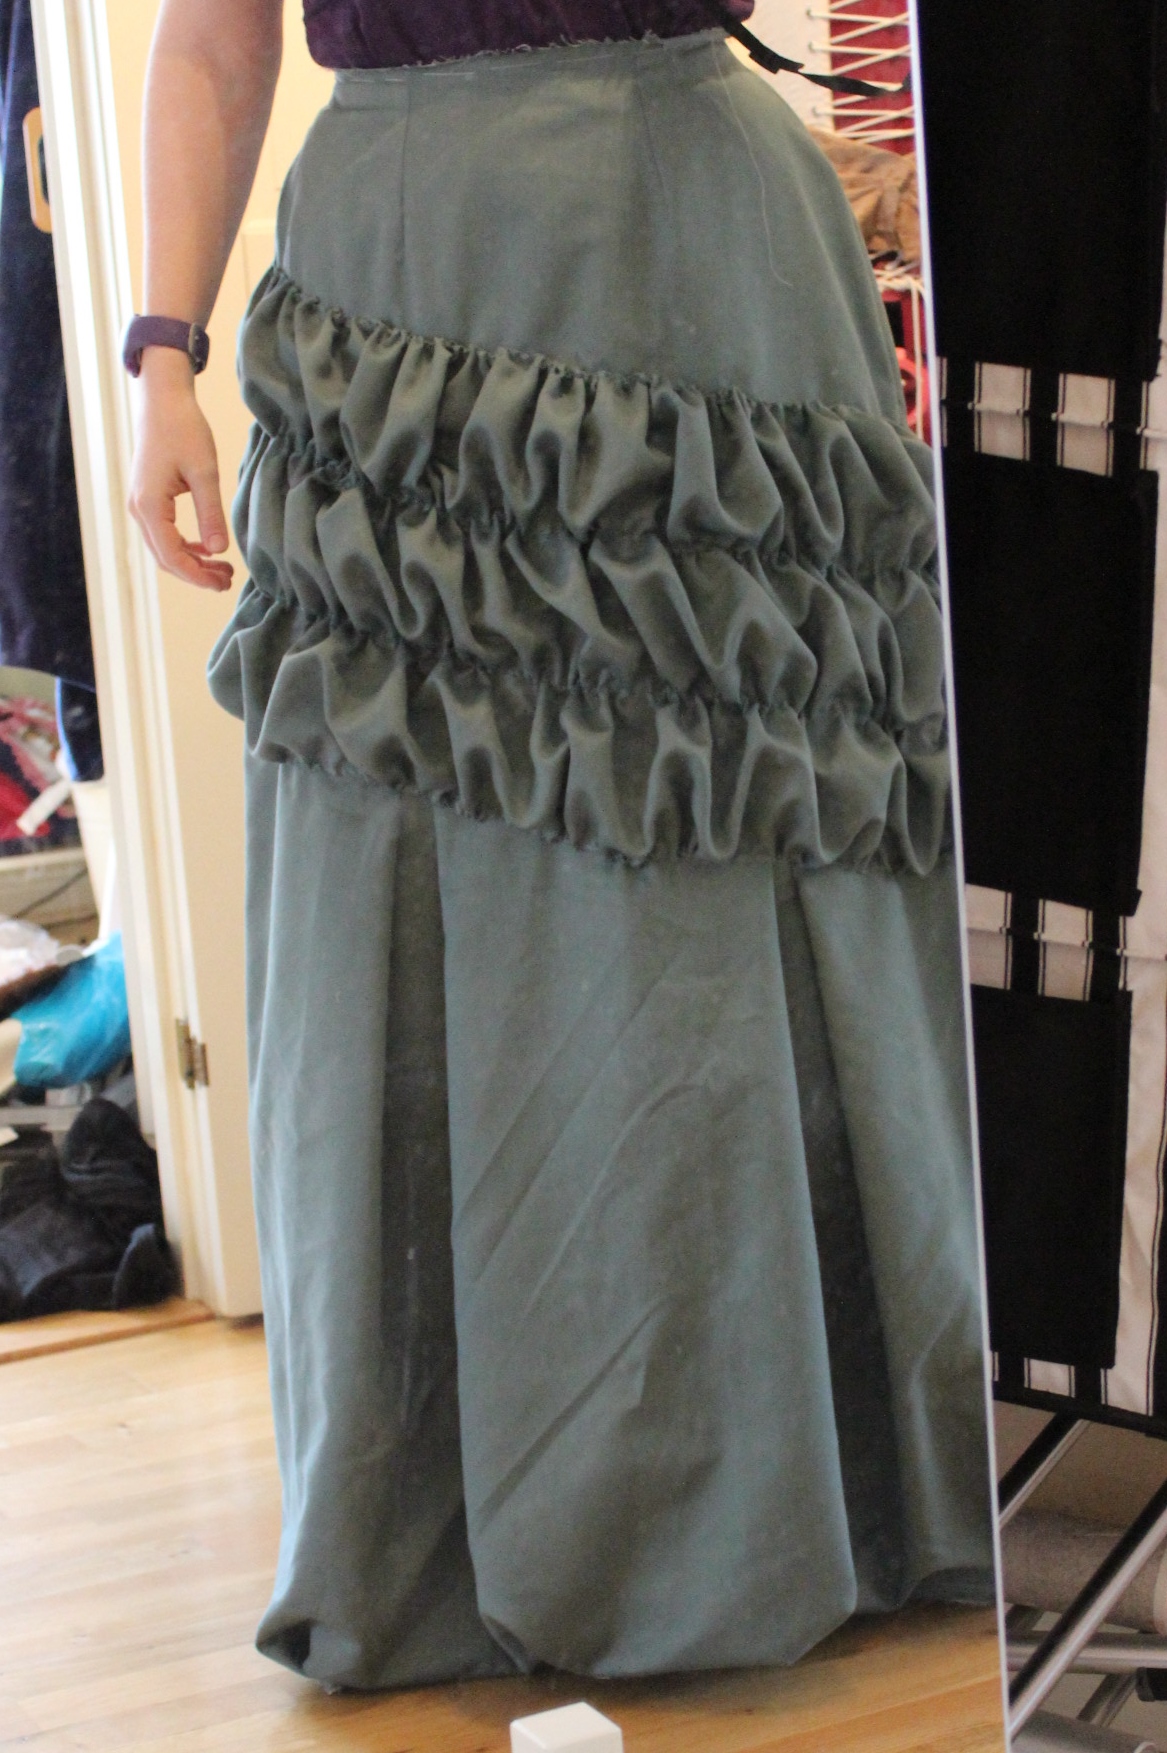
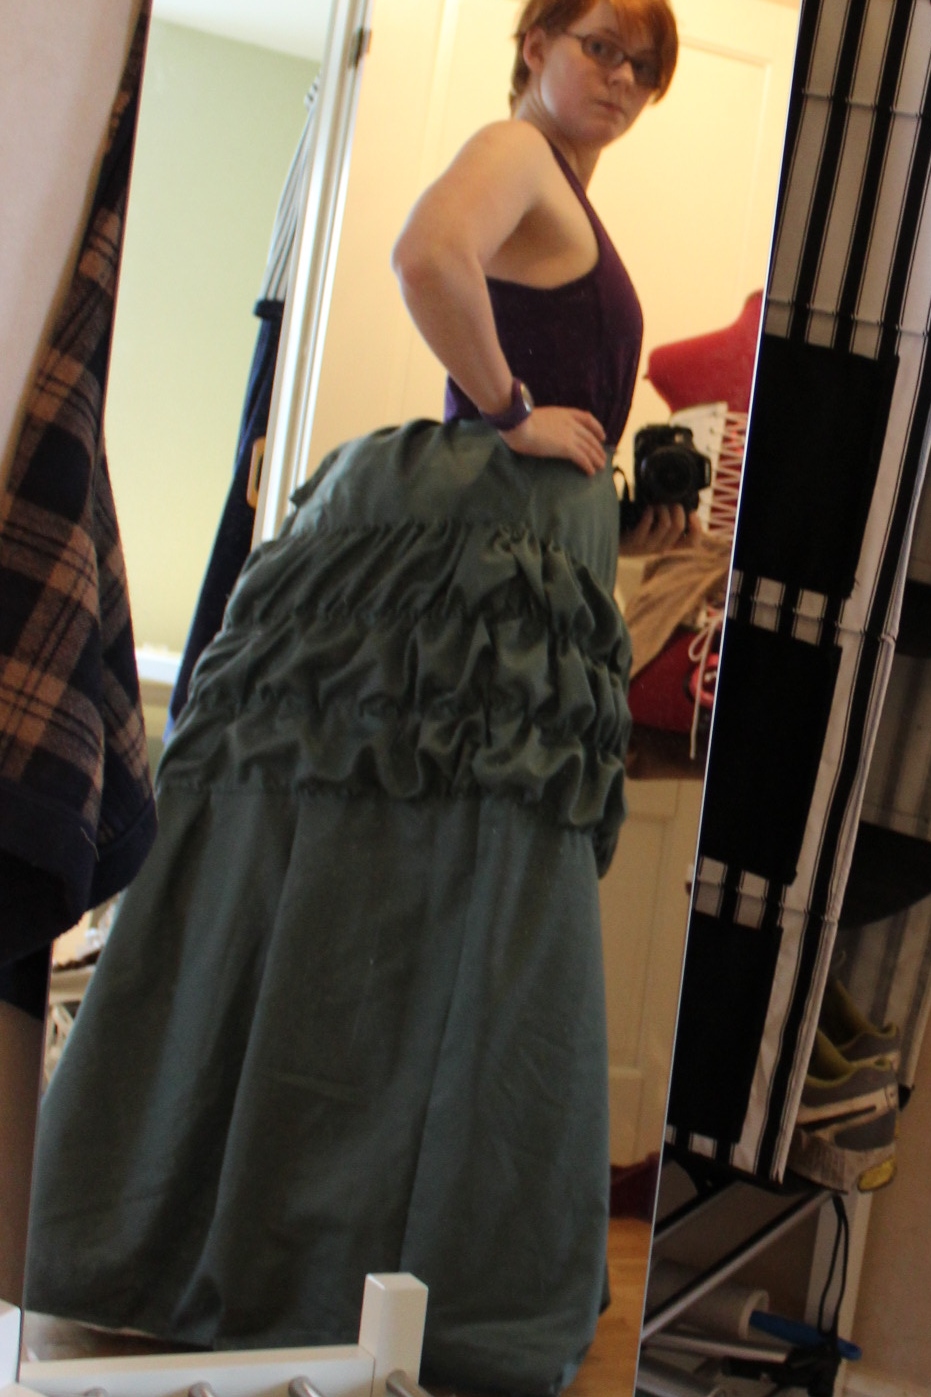
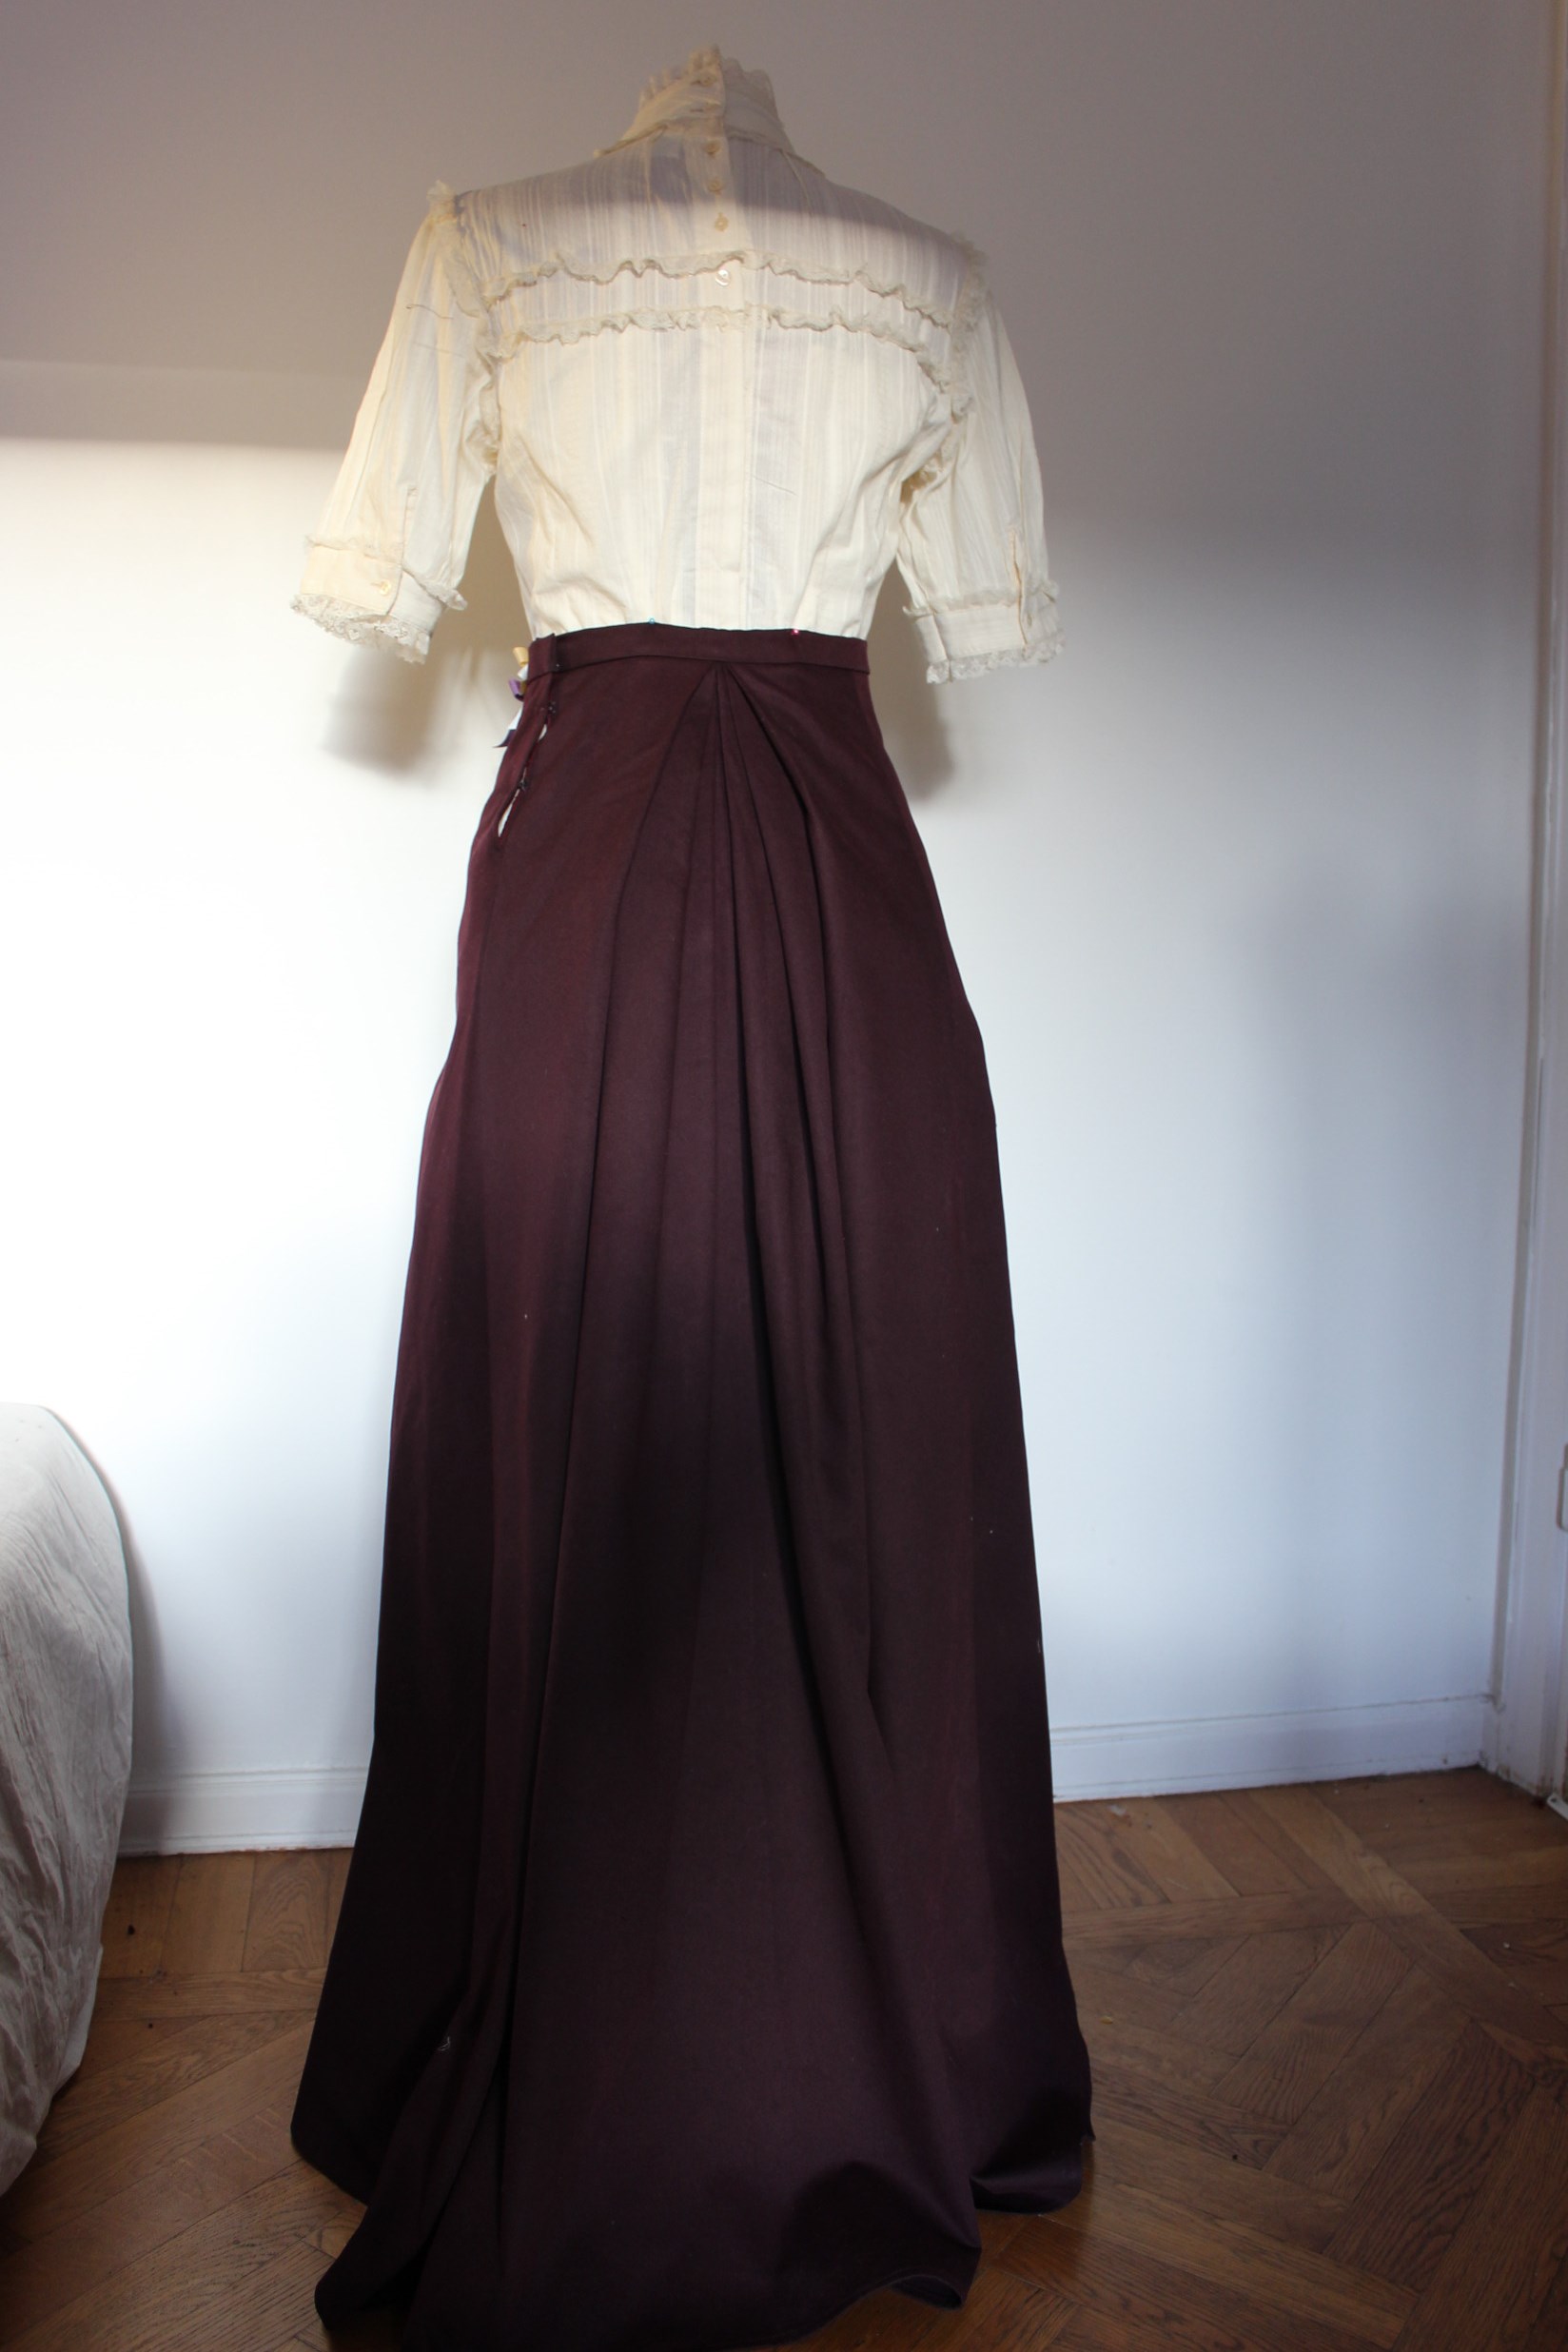
The finished skirt:IMG_7831

IMG_7832

IMG_7835

IMG_7836

IMG_7838

IMG_7843

IMG_7842

IMG_7846


Just the Facts:

Challenge: nr 8 – UFO (Un Finished Object)

What: A 1750-1780s skirt.

Pattern: None, just measured and cut.

Fabric: 3 m of soft pistage coloured cotton, and scraps of white cotton for interlining.

Notions: Thread, 2 m of cotton cord.

How historical accurate: So so. I think the shape and colour is good. But it is compleatly machine made, and cotton was not really used for this kind of skirts untill a bit later.

Time: Much more then I care to admit. If not for the scaloping on the ruffle, 3 hours, but all and all about 6 hours.

Cost: About 60 Sek (9 Usd)

First worn: On easten for photos (pictures from the shoot will be in my next post).

Final thoughts: Both me and my sister like it a lot. It is pretty, soft and moves nicely when she moves. I will have to make it shorter though – about 10 cm, to make it more of a walking skirt then the evening lenght it curently have. But once that finished I’m sure it will look really lovely and summery.
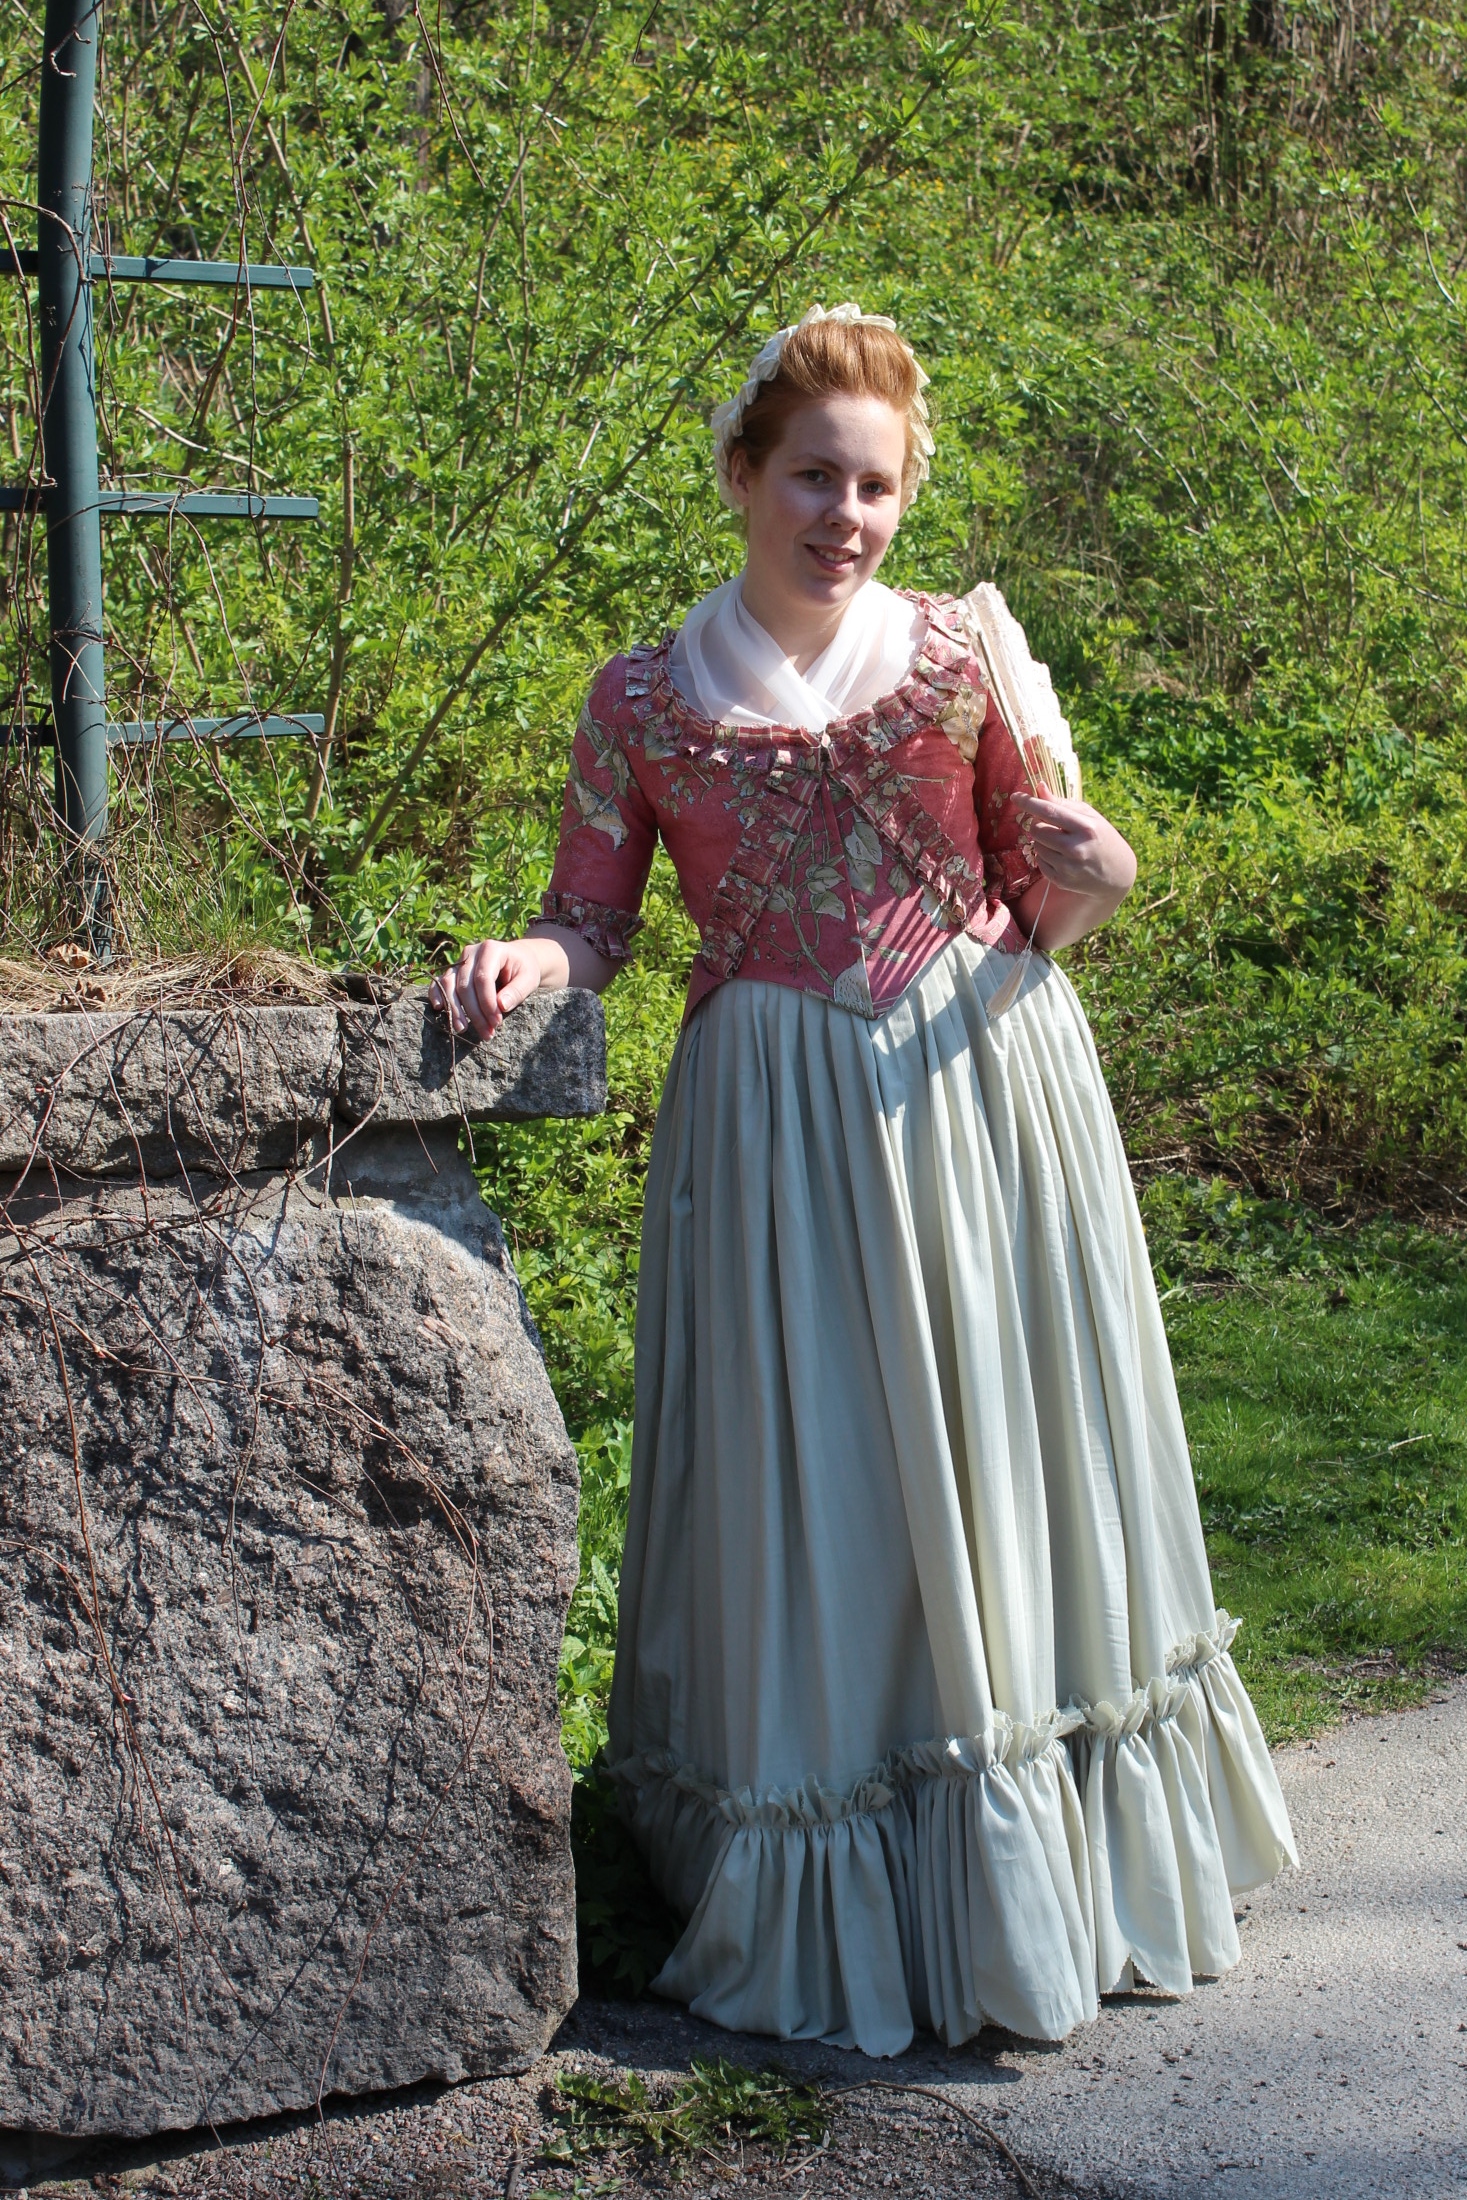
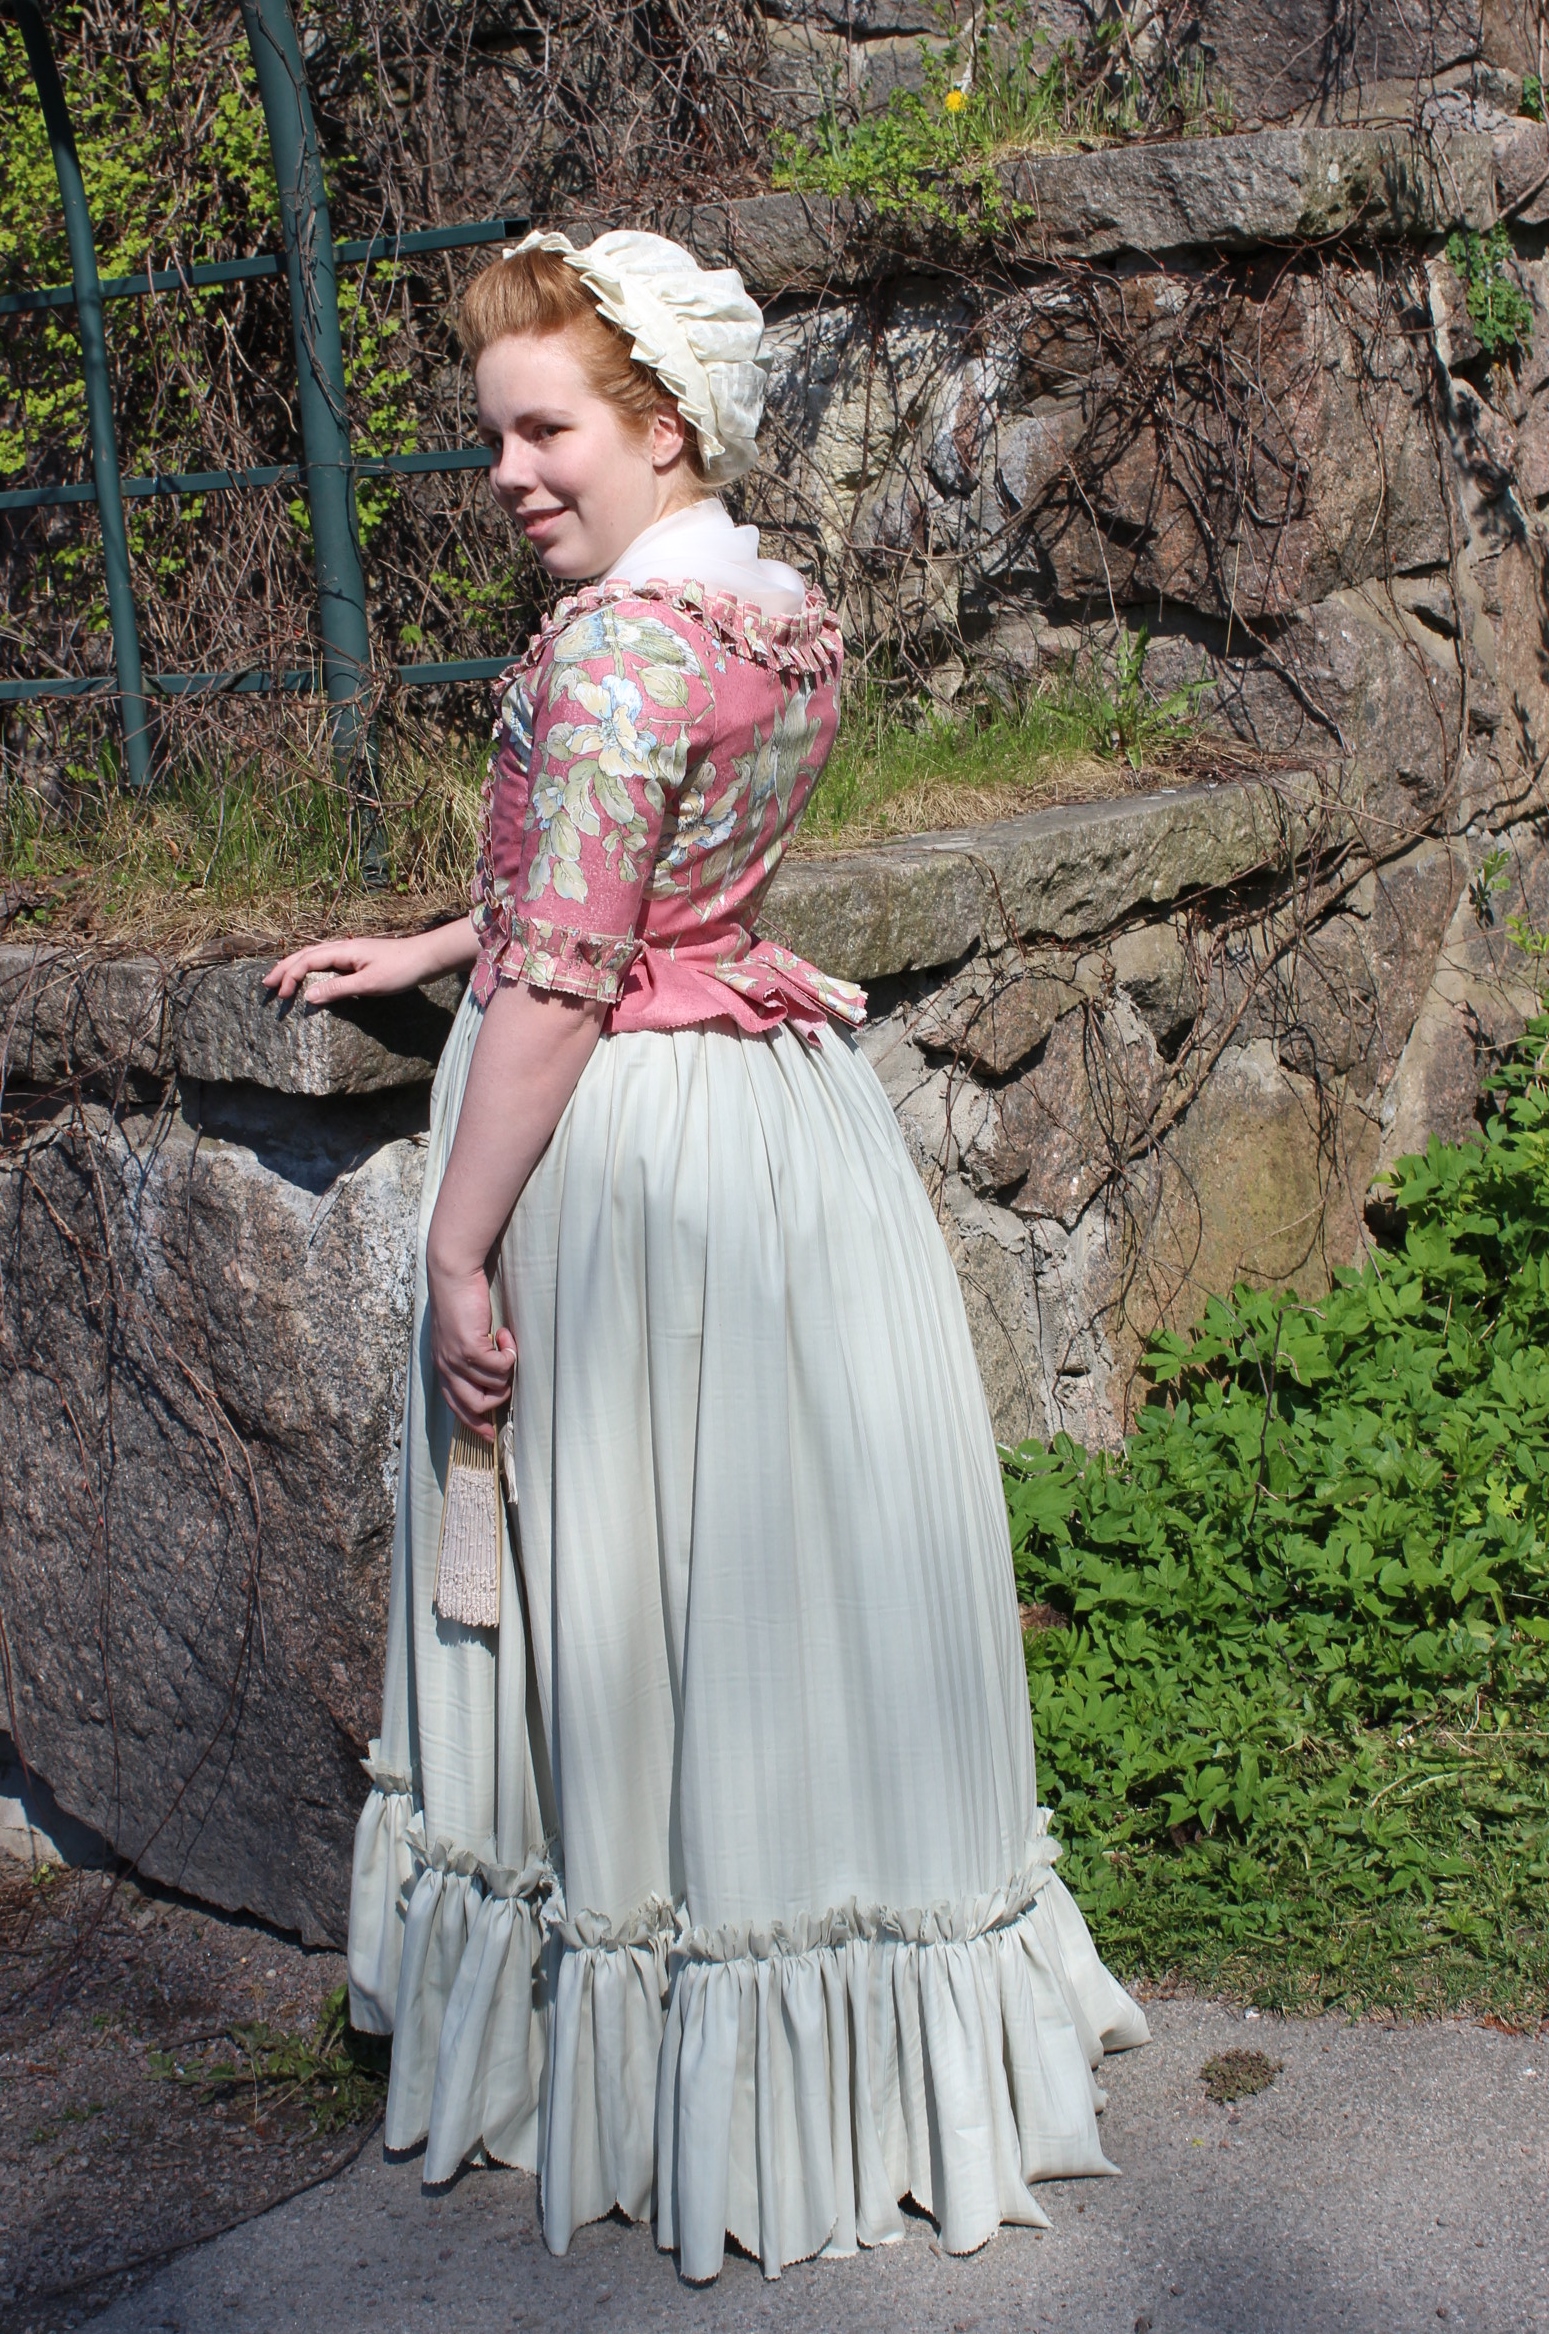
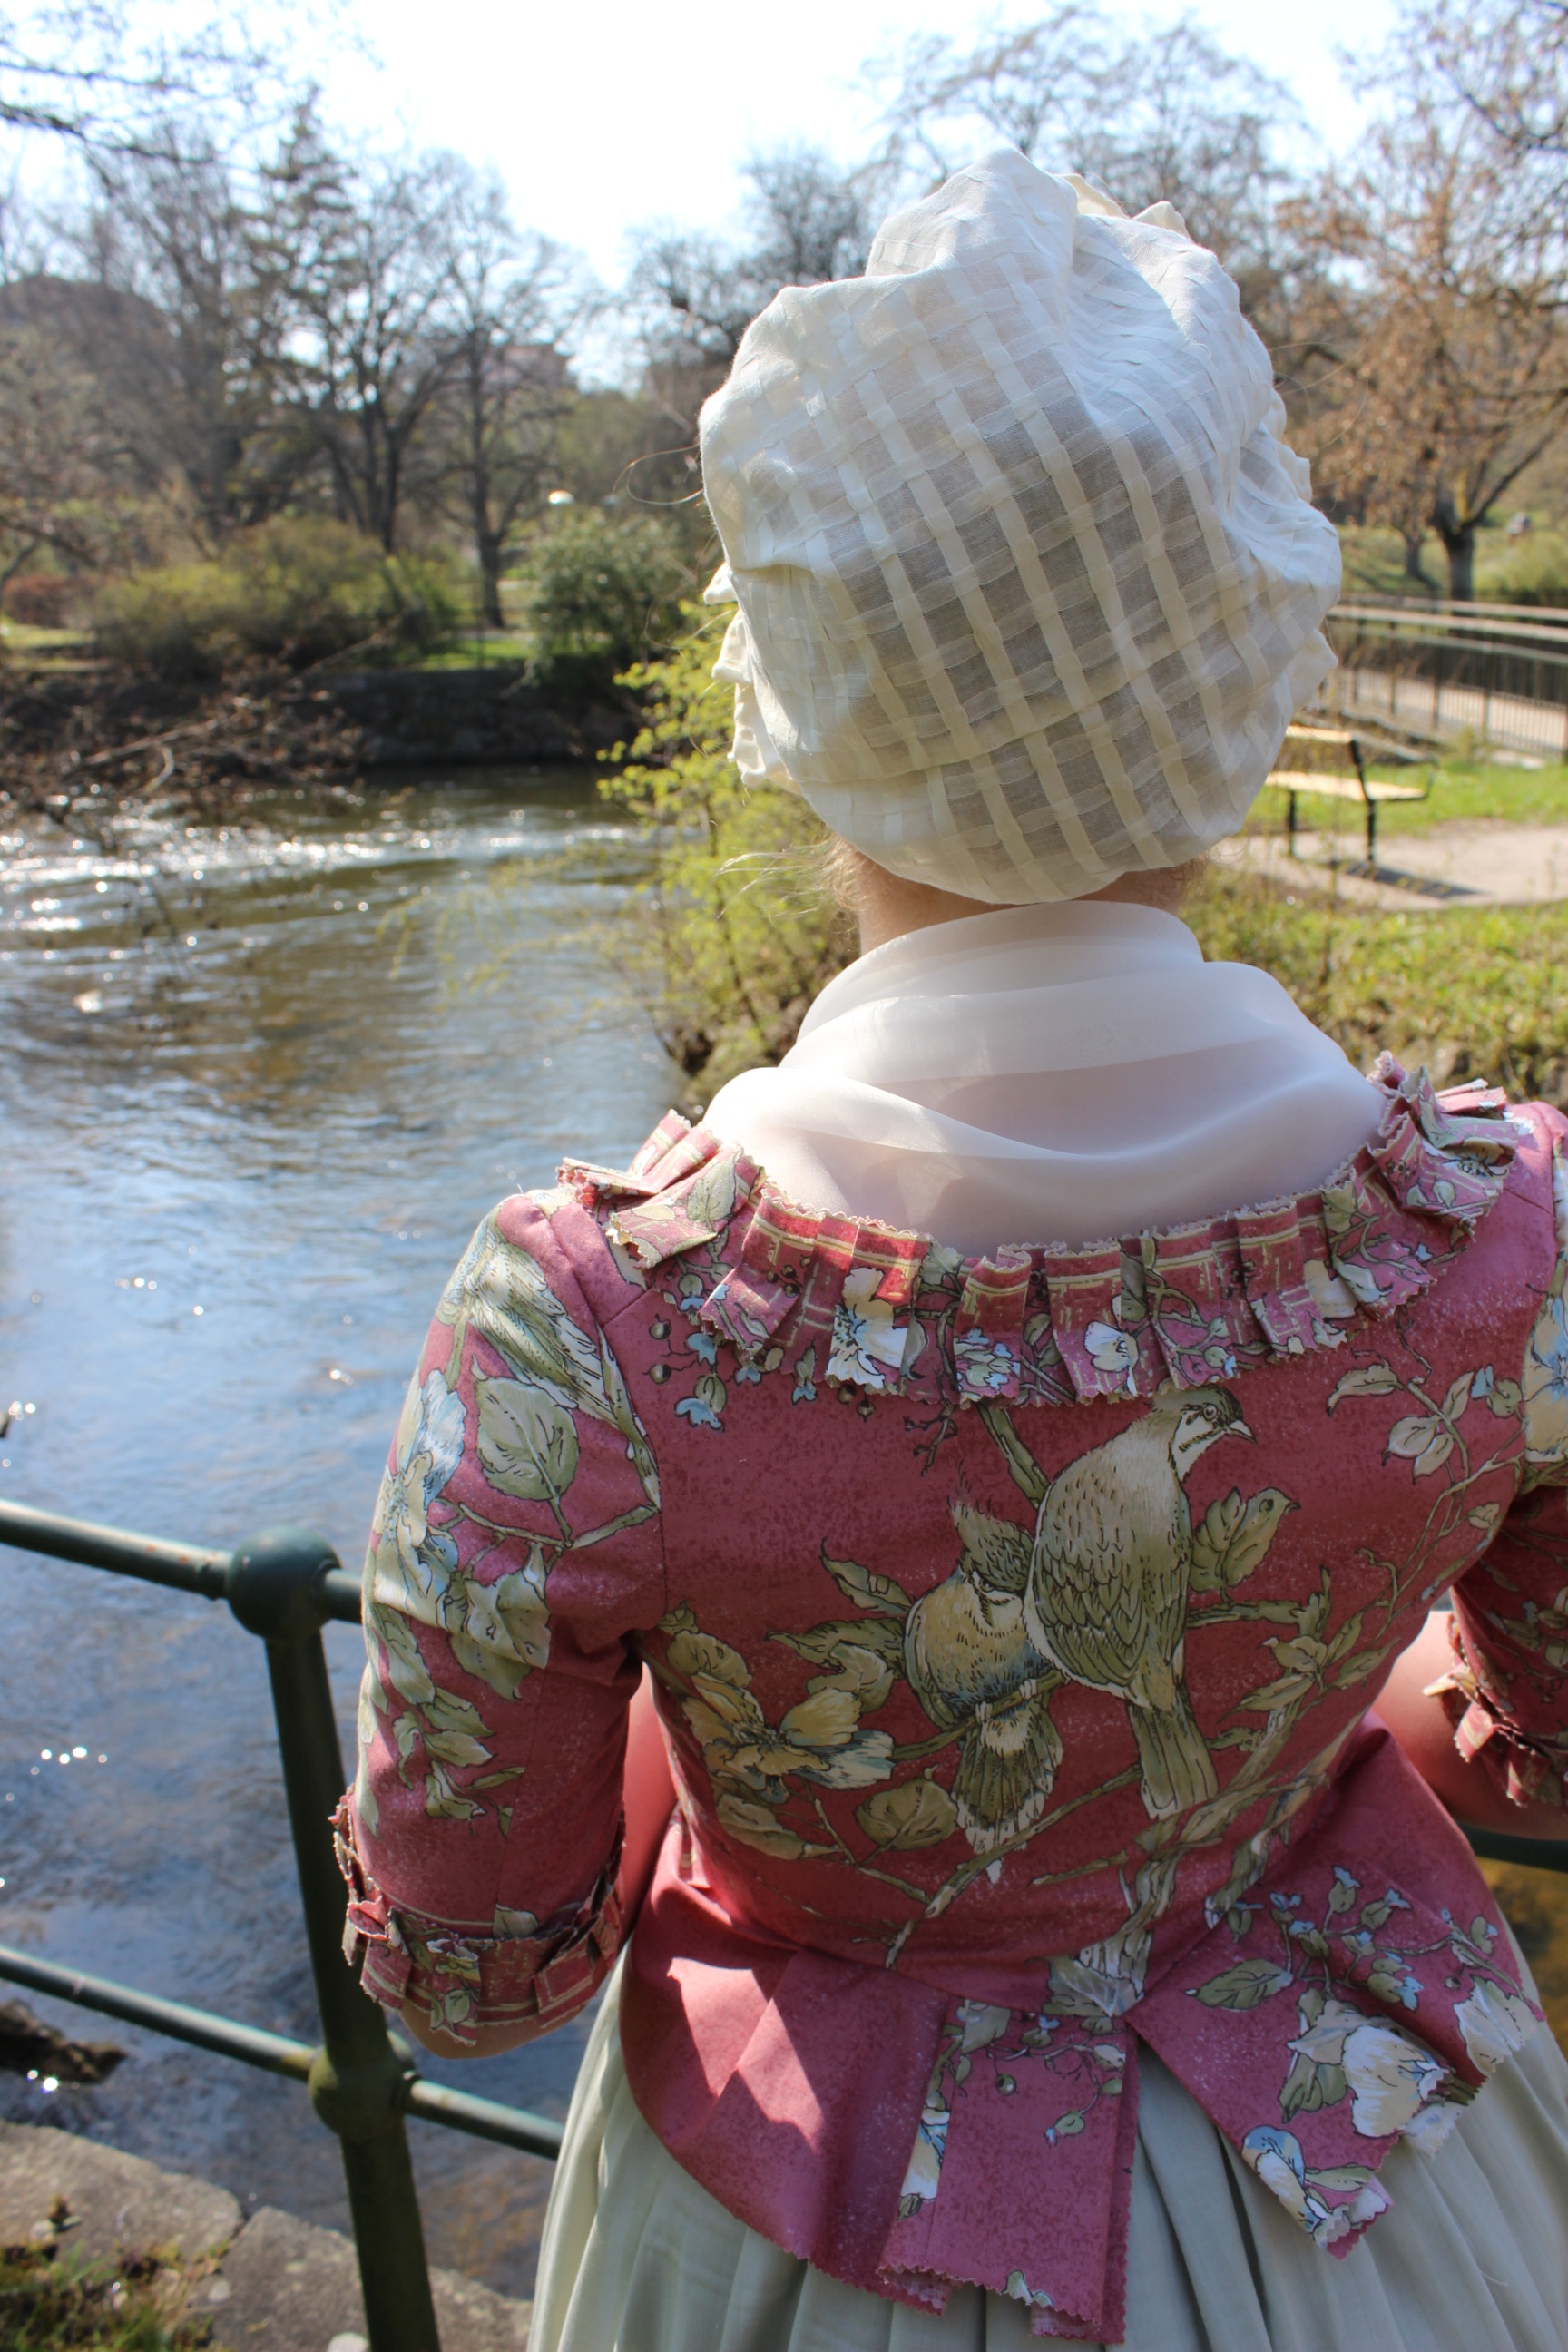
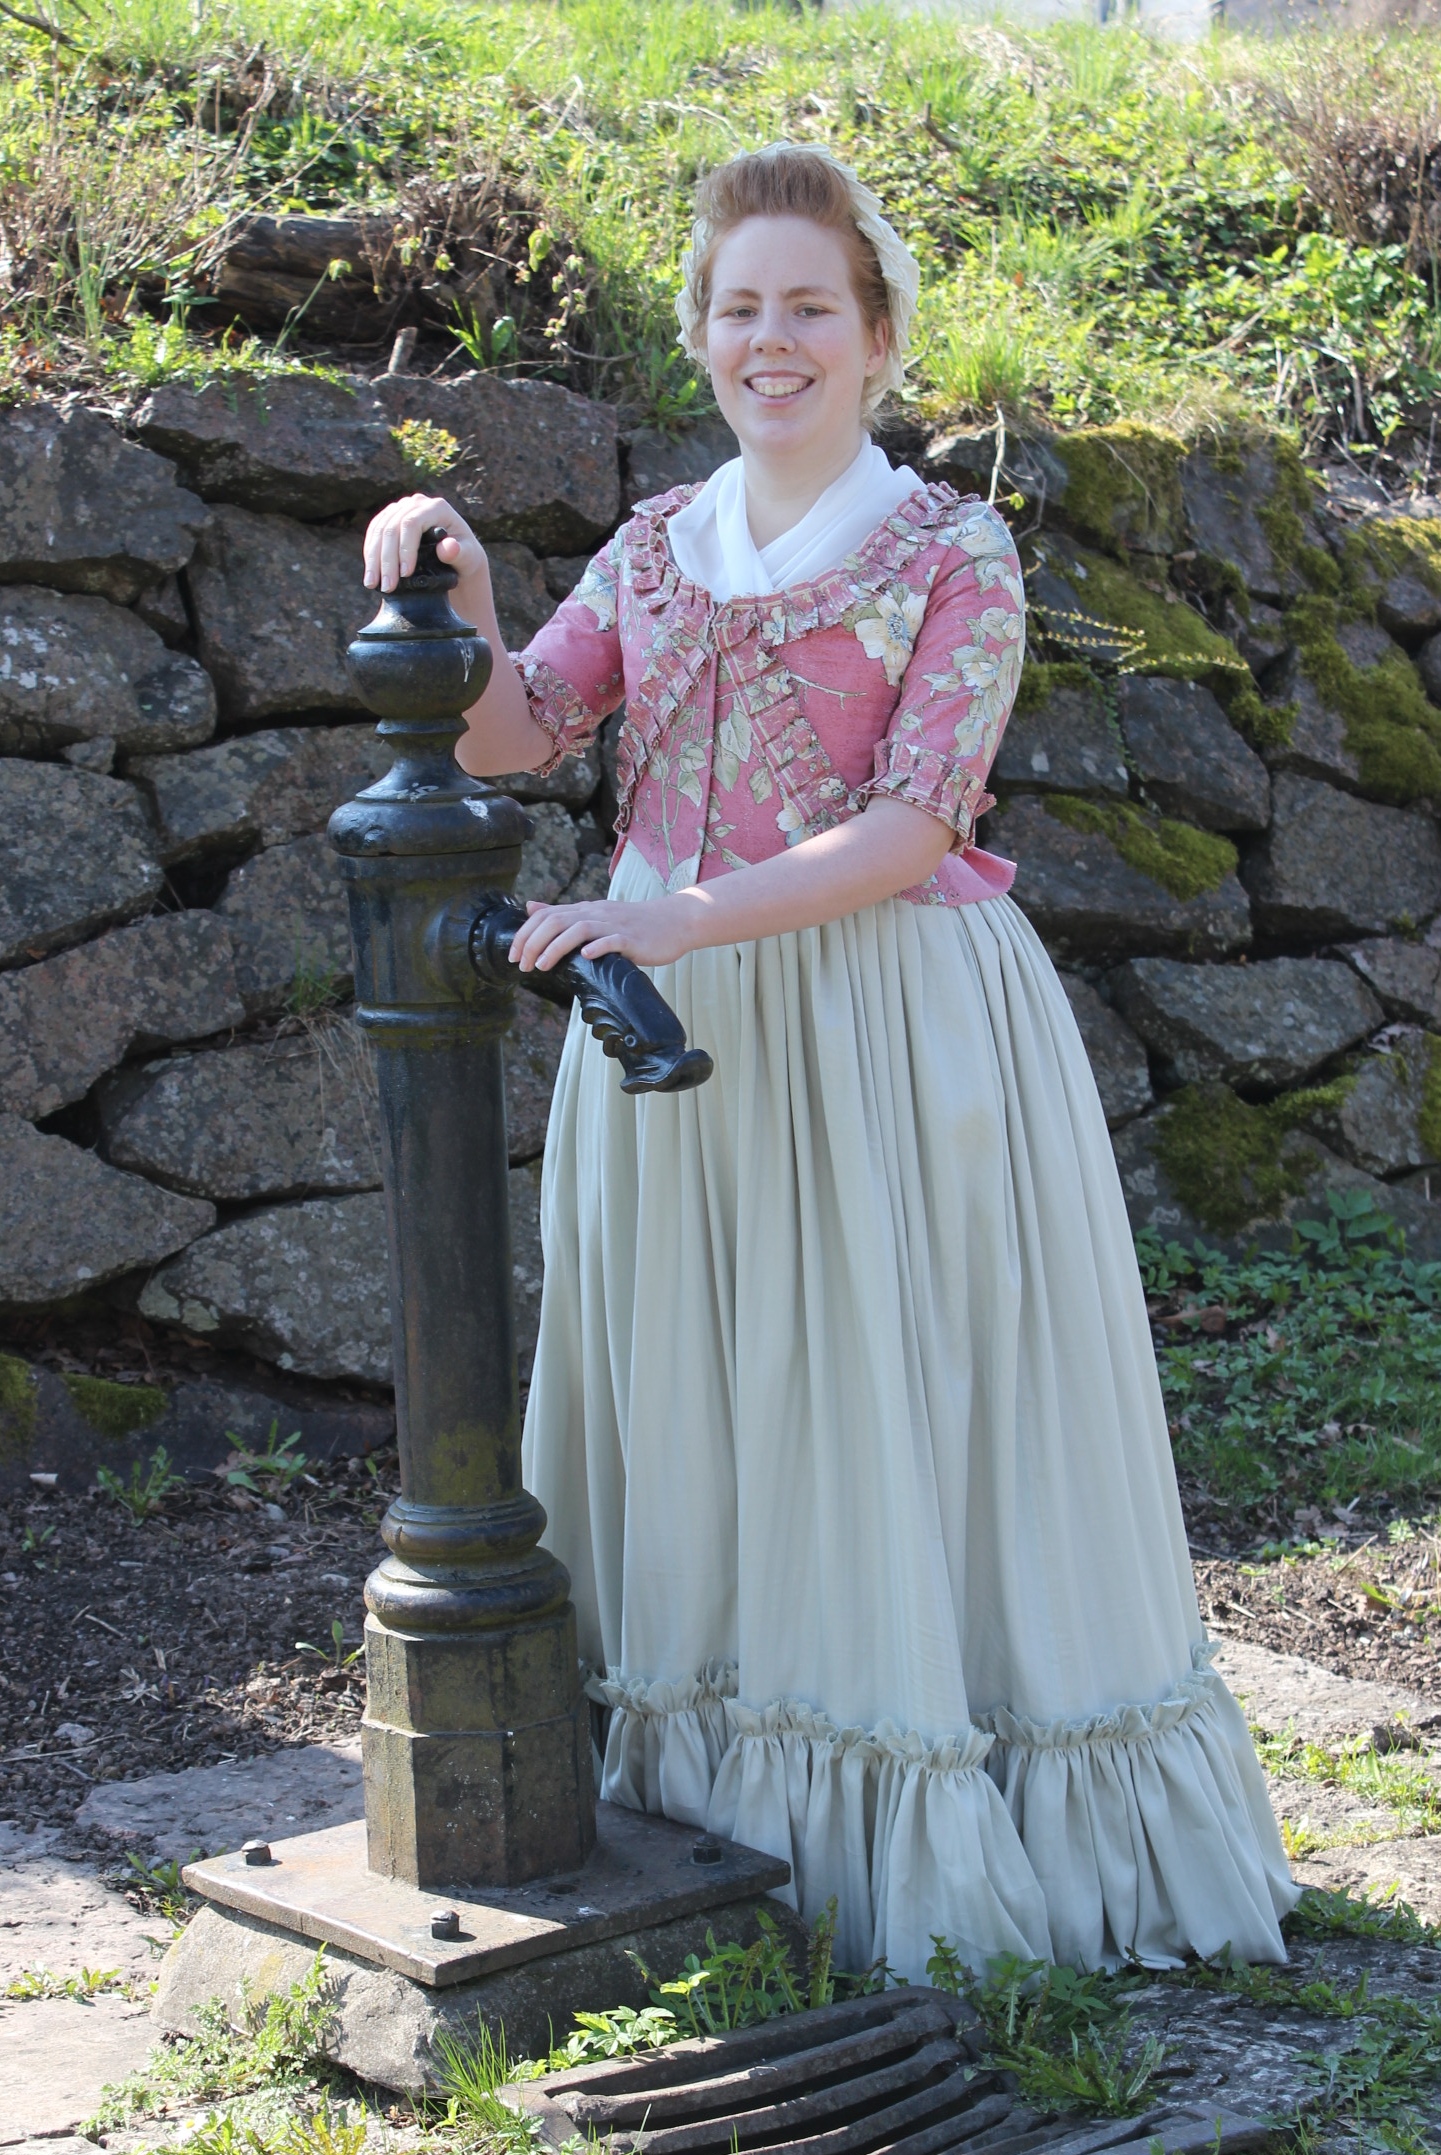
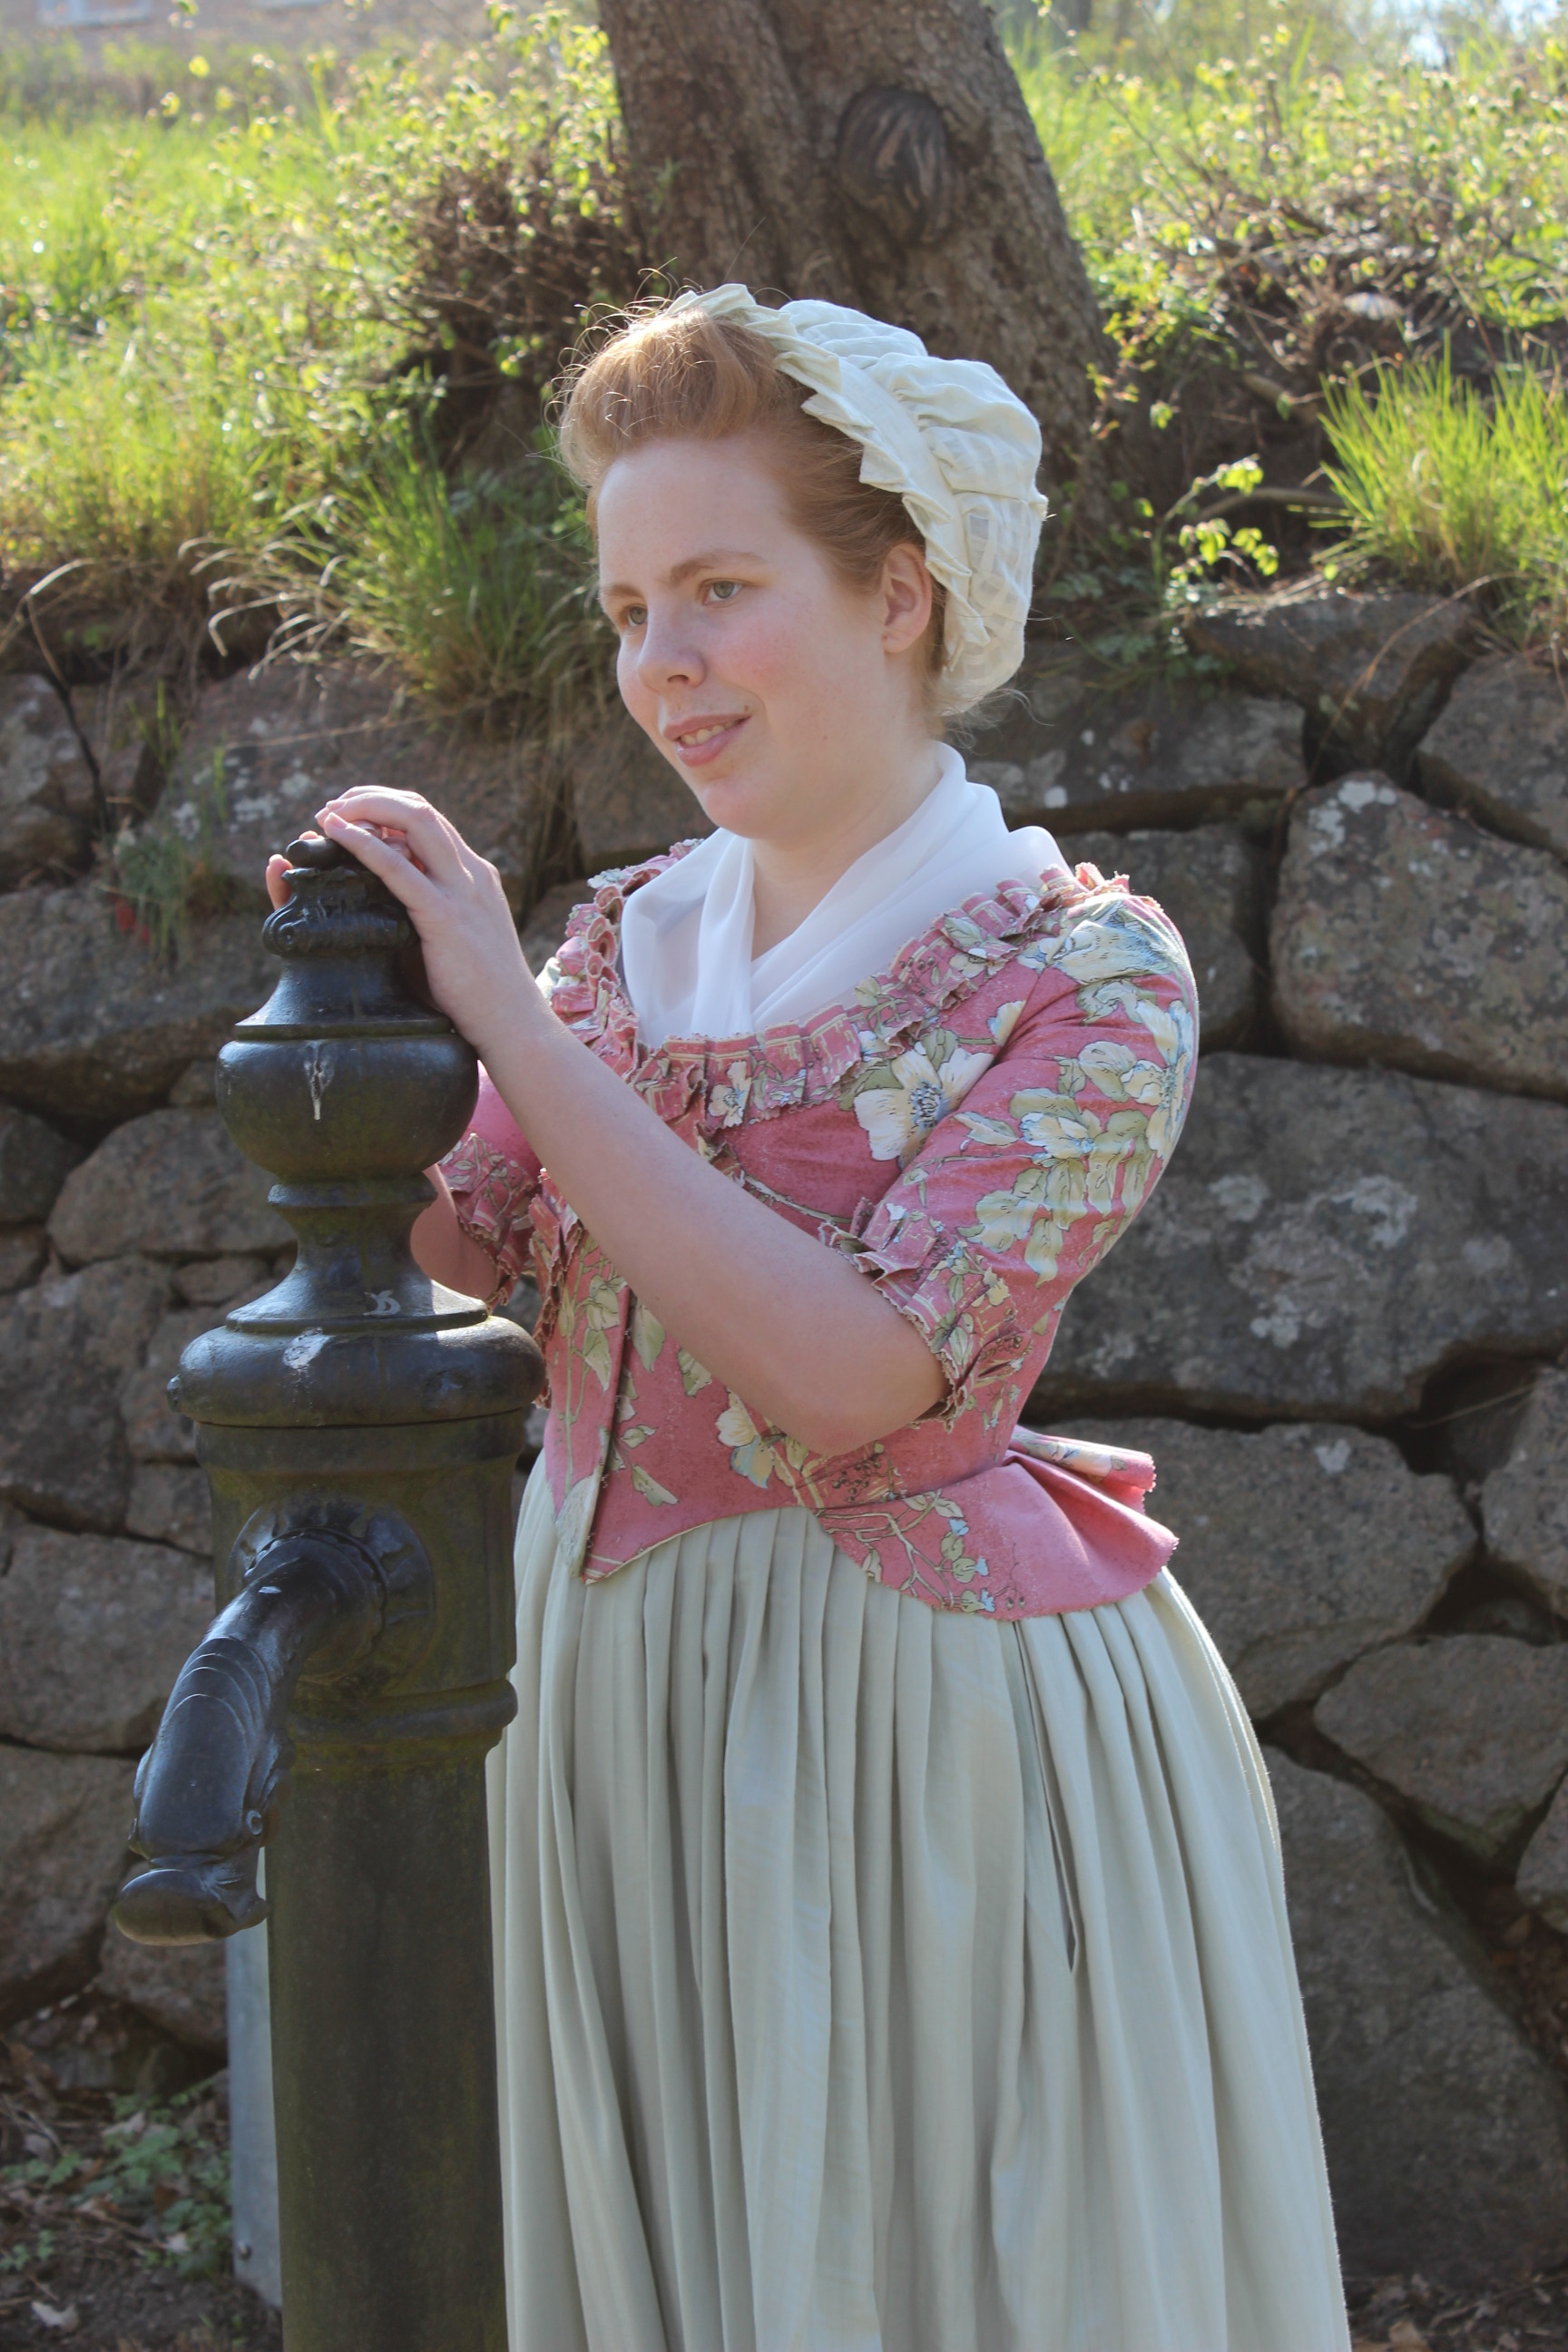
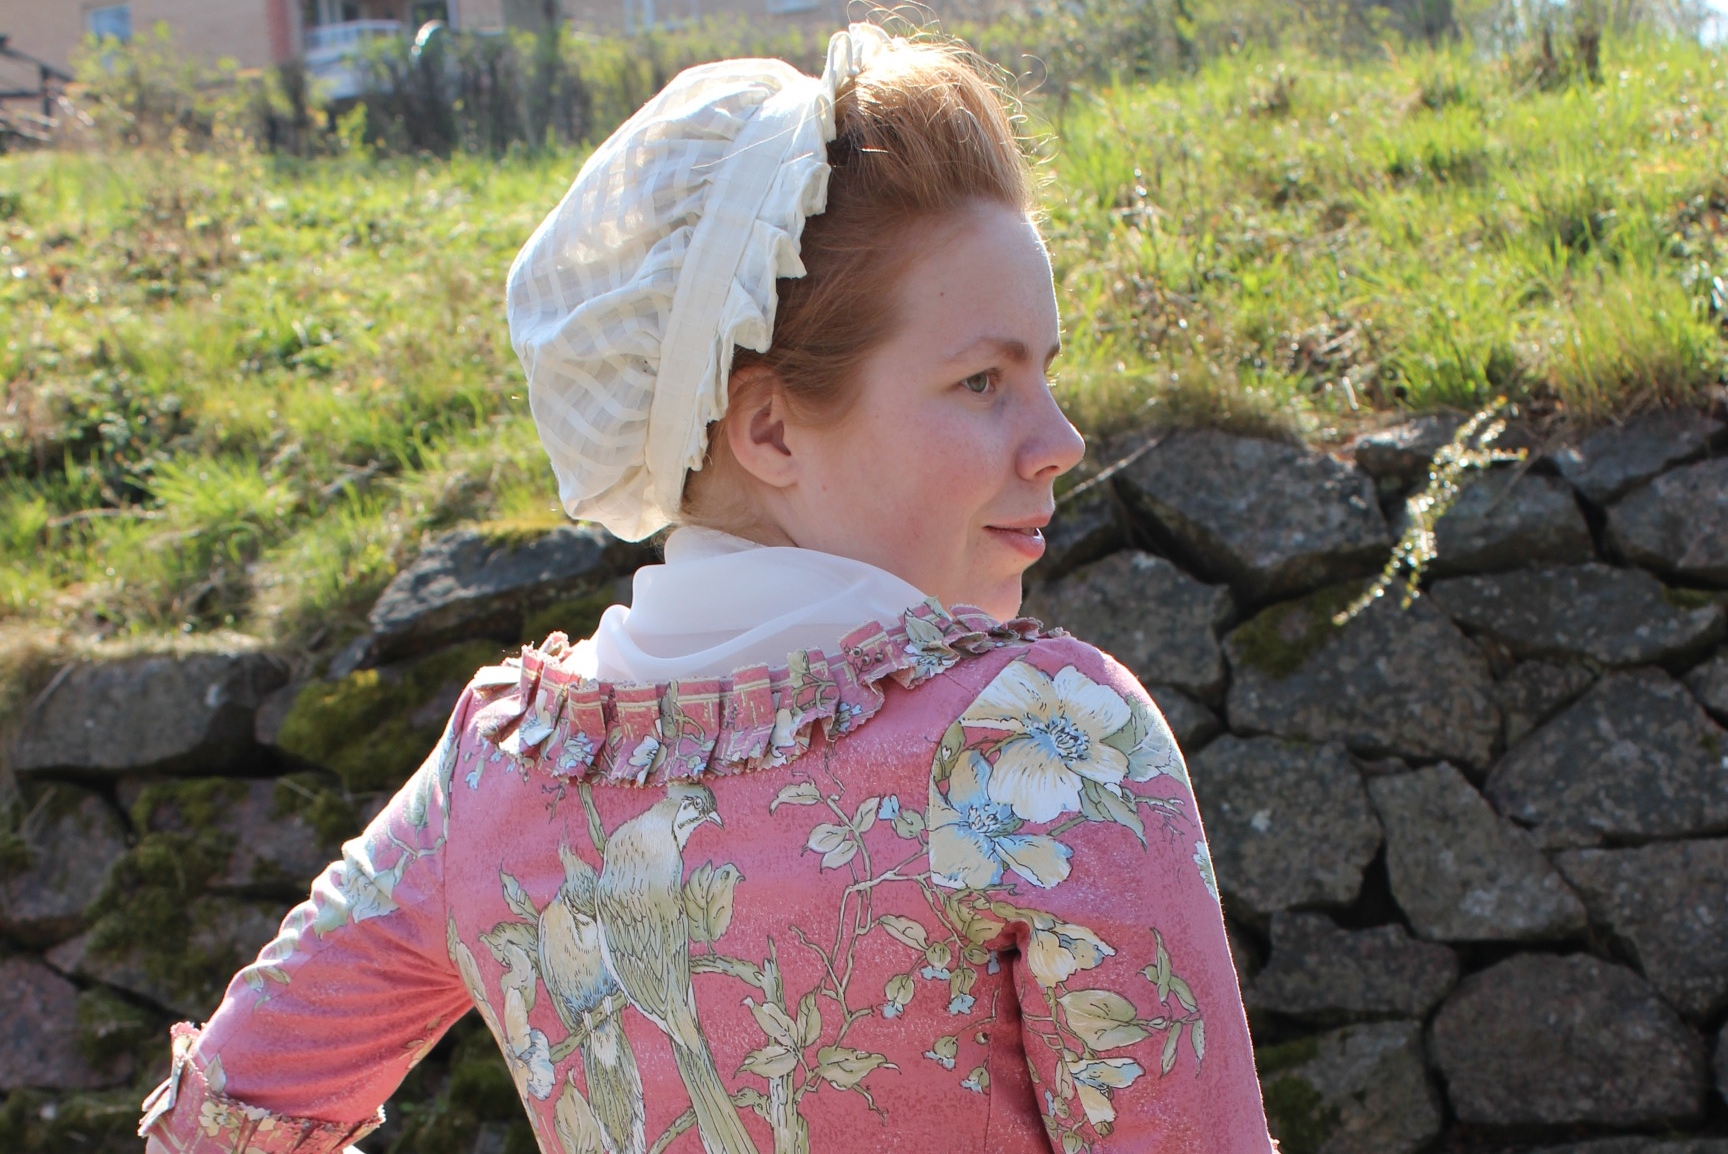
 

1880s Green Bustle Skirt

I’ve been working non stop on my opera gown for the 1880s bal (I know I said this many times before), and once the trained bodice was finished I could finaly start on the skirt.

39.384 0002After some thinking I decided I would need a good and strong foundation to hold all the fabric madnes on this skirt. So I decided to make a straight skirt out of a cotton sheet, which would serve as both lining and interlining for the tucks and pleats.

The next thing was to separate the different elements of the skirt into smaler sections.

39.384 0002The part in the middle seams like it have been boxpleated at the top and bottom and then left lose, giving it a bit of a over-hang. And since I would avoid any extra bulk at the waist, I decided to start the pleating a bit farther down the skirt.

39.384 0002This part looks like gatered stripes attached to a foundation. And this part would also have to start a bit from the waist, and be attached at a diagonal angel.

39.384_side_CP4The boxpleated hem are a no brainer. A decorative hem stiched on beneath the poufines of the middle section.

So I started by making the cotton foundation, using a cheap bed-sheet. Then I brought out my fabric – a dark pistage green cotton sateen with a beautiful sheen to it.IMG_5173

I draped the top of the skirt and basted it to the white cotton, using it as interlining.IMG_5179

Then I cut the skirt lenghts and used the whole widh of the fabric to get some nice looking pleats. I sewed it on to the white cotton in a straight line, and then cut it down to the diagonal drape.IMG_5185

I pinned it to the dressform to get a feel of how it would look.IMG_5186The pleats at the bottom, and the slightly to long fabric makes the skirt drape nicely over the hem.

Then I did the same with the back pieceIMG_5189

Pinning the upper pleats straight on the dressform.IMG_5190

Now it was time for the diagonal ruching. Cutting 15 cm whide stripes.IMG_5170

Then sewing them togheter and attaching a gathering thread at the seam.IMG_5298

IMG_5299

Then I pinned and gathered the ruched fabric to the skirt base.IMG_5303

And hand stiched them in place.IMG_5305

Then I sewed the front and back piece togheter and put it on for the first time.IMG_5309

It looks pretty decent.IMG_5315

I really like the look of the front ruching, but I think I should have used a bit more fabric on the back. IMG_5326

Then the last step was to finished the waist and to boxpleat the strip of fabric for the decoration on the hem.IMG_5328

And finished:IMG_5387

IMG_5394

IMG_5395

IMG_5397

IMG_5389

IMG_5391

IMG_5393

The Facts:

What: A 1880s bustle skirt (to be worn with the 1880s evening bodice).

Pattern: None – draped my own.

Fabric: 4m of dark pistage green cotton sateen, and 2m cotton bedsheet for interlining.

Notions: Thread, strong thread for gathering, hook and eye.

Time: 10 hours (the pleating and gathering took forever).

Cost: 300 Sek (45Usd).

Things I would Change: I would have liked the diagonal draping to have started a bit higher and been a bit wider, also for the back draping to be a bit fuller. This was not an option though, since I used up every sckrap of fabric as it was. Perhaps I also should have made the entire skirt a bit slimmer.

Final thoughts: I’m happy with it, but feel it would be difficult to wear combined with a train-les bodice, since the back of the skirt is a bit of a rushjob. But overall the skirt looks nice.

(And finaly (you have all been so patient): I will show you pics from the bal in my next post)

Celebrational 1900s Skirt

As the time ran away into the days between christmas and the new year, I needed to whip something up for the final HSF challenge this year, nr 26: Celebrate.

Between the christmas and a up-coming move there was really not much time, so I looked at a few of the others HSF participants prevous projects and decided to make a skirt maching the newly modeled 1900s shirtwaist.

It would be a fairly simple project and it would be celebrating my surviving of the entire HSF13.

I searched my stash for apropate fabric and found a burgundy cotton twill that I bought on sale a couple of years ago.

IMG_4545

It is not the ideal fabric for this type of garmnent, but both time and money was lacking at the moment so it would have to do.

I drafted a pattern using some diagrams from Waughs “Cut of Womens Clothes”.

IMG_4550

I cut and basted the skirt togheter. Then I tried it on and discoverewd the skirt was a bit on the short side, but since it meant to be a walking skirt it will do.

IMG_4546 IMG_4548

The sewed it togehter and made the tucks in the back and side fastening.

The finished skirt.

IMG_4687 IMG_4690

IMG_4693

IMG_4695

While dressing the form and thinking about the perfect way to style the skirt I realised the real celebration it symbilsed: The Suffragets struggel for womens rights.

The skirt togheter with the 1900s Shirtwaist and Suffragete brosh.

IMG_4556 IMG_4559

IMG_4558

And then I dressed up and took a couple of shots in the mirror.IMG_4634

Adding the golden chain to symbolise both the acctual chain the suffragets used during their struggle, and the figuraly chains who even today keeps women from real ecuallity to men.IMG_4641

I’m in love with the symbolism and style of this picture.IMG_4654

Then I manadged to talk my boyfriend into taking some better photos of me in the outfit.IMG_4567

IMG_4581

IMG_4586

IMG_4589

IMG_4600

IMG_4593

IMG_4632

IMG_4611

IMG_4618Lets break those chains!

Just the Facts:

Challenge: nr 26 – Celebrate.

What: A 1900s walking skirt.

Celebrate What: The womens rights movement.

Pattern: None, but I studied some pattern diagram from Whaugs “Cut of Womens Clothes”.

Fabric: 2,5 m of burgundy cotton twill

Notions: Thread, hook and eyes.

How Historical Accurate: So so, the shape and fabric of the skirt are acceptable, but the contruction are modern. So about 5/10

Time: 3 hours.

Cost: 100 Sek (11Usd) fabric from stash, but I did buy it one time.

First Worn: On photoshoot on new year.

Final Thougts: I loved wearing this outfit, and already plan on using it for a up-coming suffraget luncheon.

Floral anglaise of satin trouble – construction part 2

When I first realised I needed to cut away the beautiful part of the back, i refused to listen to that part of my brain. But after tedius atempts to fix the back of the bodice and to pleat and re-pleat the skirt in the right way, I grabbed the sissors.

Two cuts and it was done, and I was relieved to find that the pleating of the skirt went so much easier.

I pleated the skirt to the bodice and left two pocket slits at the sides when I sewed the skirt together. Once again things seemed to run on wheels, so I decided to cut out the petticoat after all. The sewing and pleating went so fast and easy that I finished it in no time.

Then it was time for another try-on.

I got help from my sister Elin to put the sleeves in the right position and to check the lenght of the skirt and petticoat.

2013-04-28 15.45.06

This time the back looked pretty good – I just needed to rise the waist a little more (I will have to live with the remaning wrinkles).

We decided that the skirt needed to be lengthen in the back – this meant I would have to piece the hem with stripes of fabric to get some extra length. And this was when the problem started again…

Of course I was out of fabric – all I had left was some small pieces for decoration and trimming.

2013-04-28 15.44.39

The only way to fix the 8 centimeters too short skirt was to take some fabric from the petticoat. I already had a 50 cm “patch” in the back, due to lack of fabric. So this time I had to cut away two 10 cm pieces on the horisontal of the skirt, and then re-pleat the petticoat to the waistband.

Then it was time to deal with the sleaves. To get the right 18th century look, and to save myself some trouble with getting the sleeve-cap in the sewing machine, I decided to handstitch the sleeves in place. When that was done all I needed to do was to put the shoulder piece over the sleeve-cap and hand stitch them down.

The only thing left to finish the dress was to put some trimming on it.

This proved more difficult and time consuming then I had anticipated. I cut stripes of the few pieces of fabric I had left and sewed them together in to one 4 m stripe. Then I had to hem the stripes both sides by hand (all 8 m), and then go on to pleat and baste it all down. Then at last I could attach the trim to the gown.

Well here it is – the finished dress. After all the trouble and setbacks I still really like this dress and feel pretty comfortable wearing it. I may even have to invent a reason to wear it.

2013-05-07 11.41.312013-05-07 11.42.01

2013-05-07 11.42.18