Long time no seen.
I´ve been living in my bubble for the past couple of months, but I have been creating some small tings while taking a break from blogging.
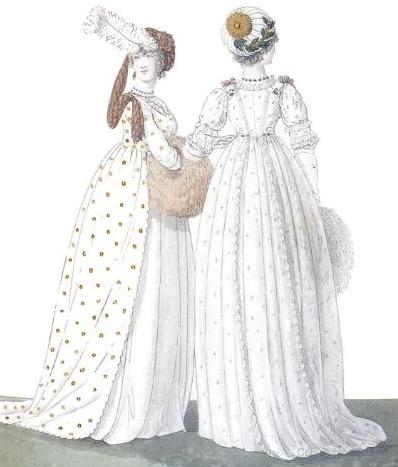
In the beginning of April, I got into my head that maybe I should join the dance team for one last performance before my time was due.
The recital was a 18th century/Regency themed one, set to April 24 (two weeks from then) – and I had nothing to wear.
You would think I’d be able to use one of my regency dresses (with lots of space for my growing belly), but unfortunately some other parts of me had grown as well (yes I´m talking to you, boobs), and there was no way I could close any of my old dresses.
So, a new one it is…
I’ve long been planing to make a regency/transitional round gown, and this was my chance.
Not only would it be perfect for accommodating my growing belly, but later it would also work as an “easy to access” nursing gown. Perfect!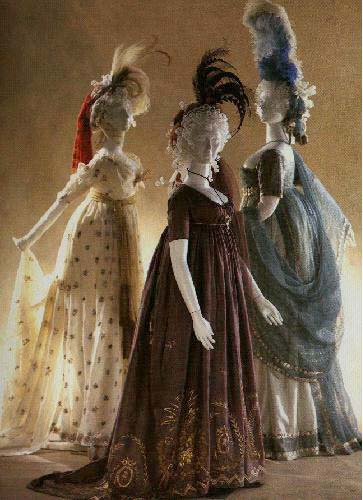
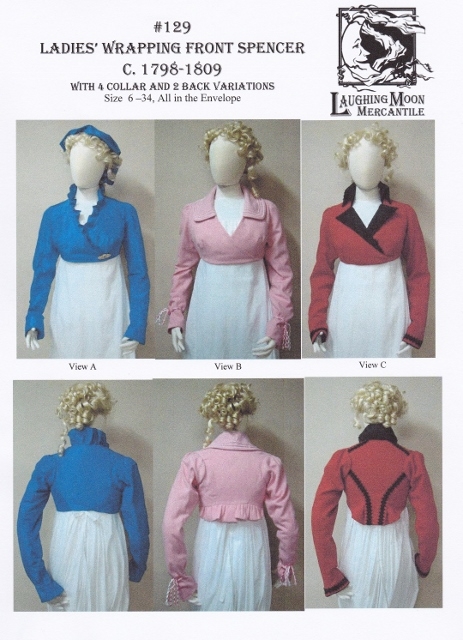
I used the pattern from “Cut of Womens clothes” as a guide for the draping and seam placement, and the “Laughing Moon” wrap front spencer pattern for the front bodice foundation.
.
As usual I drafted the pattern and made a mock-up.
Due to my growing belly, I could not use my regency stays, but trusted a modern sports bra to do the work – after all for this project comfort was a priority.
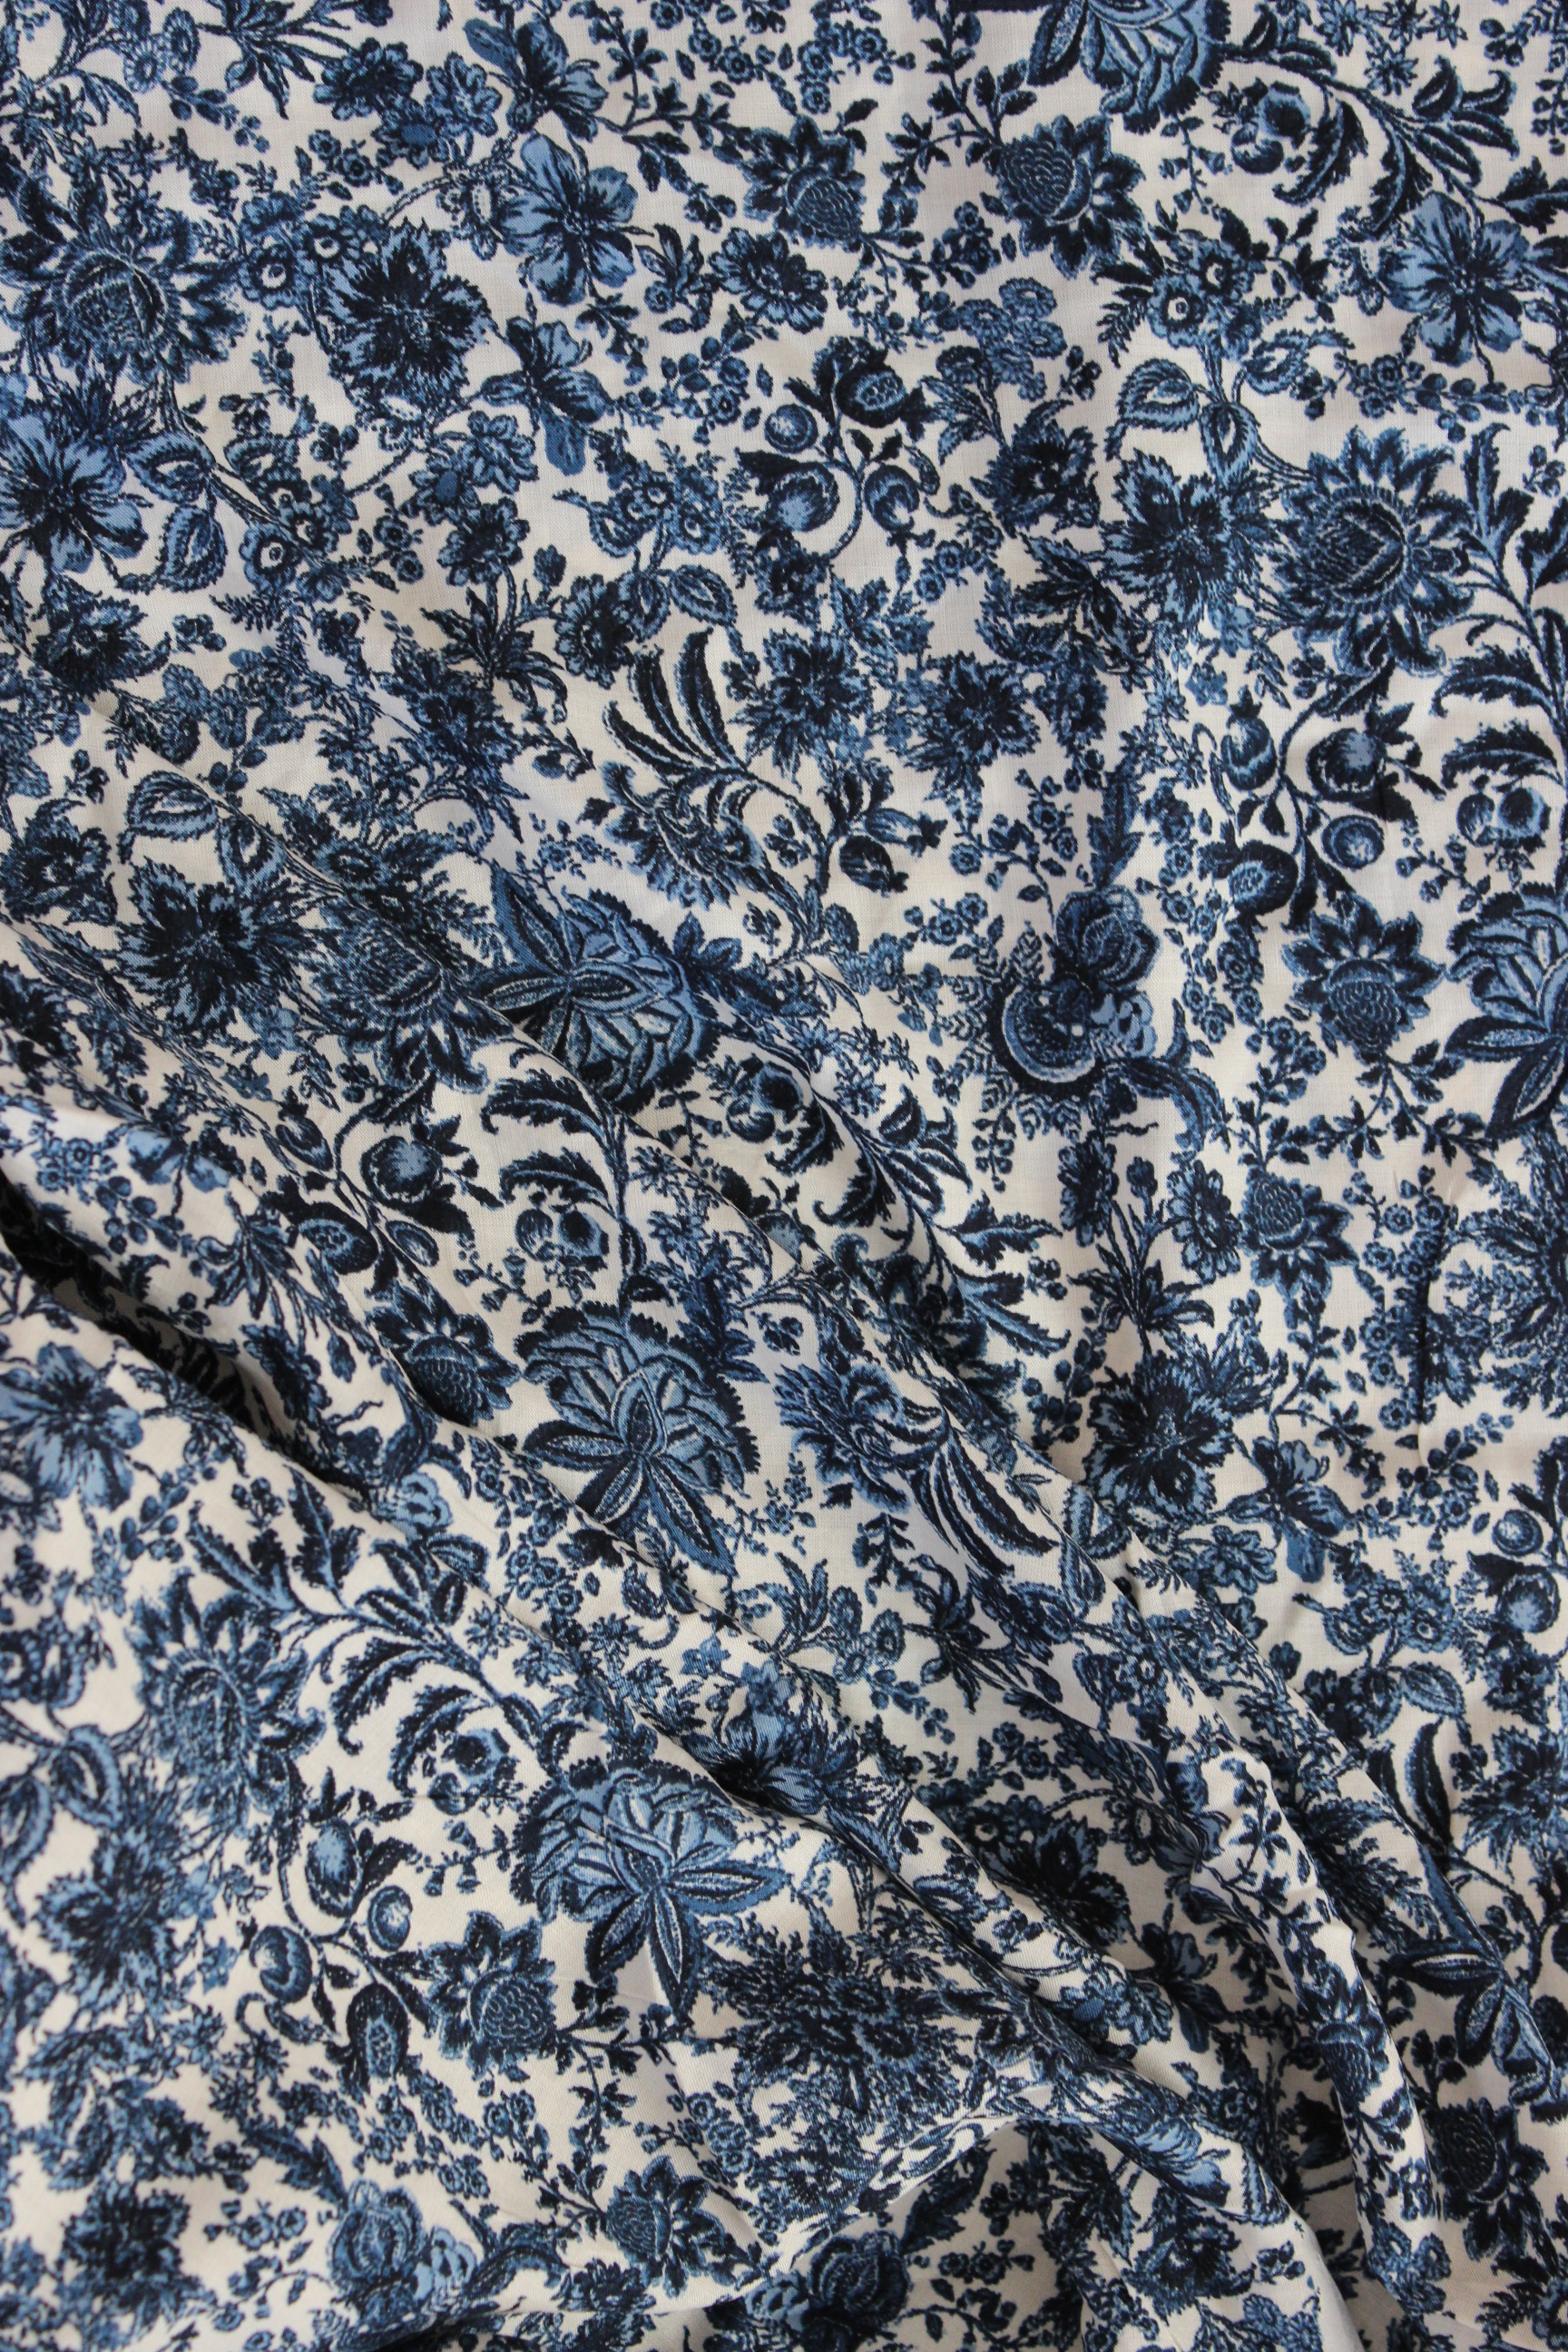
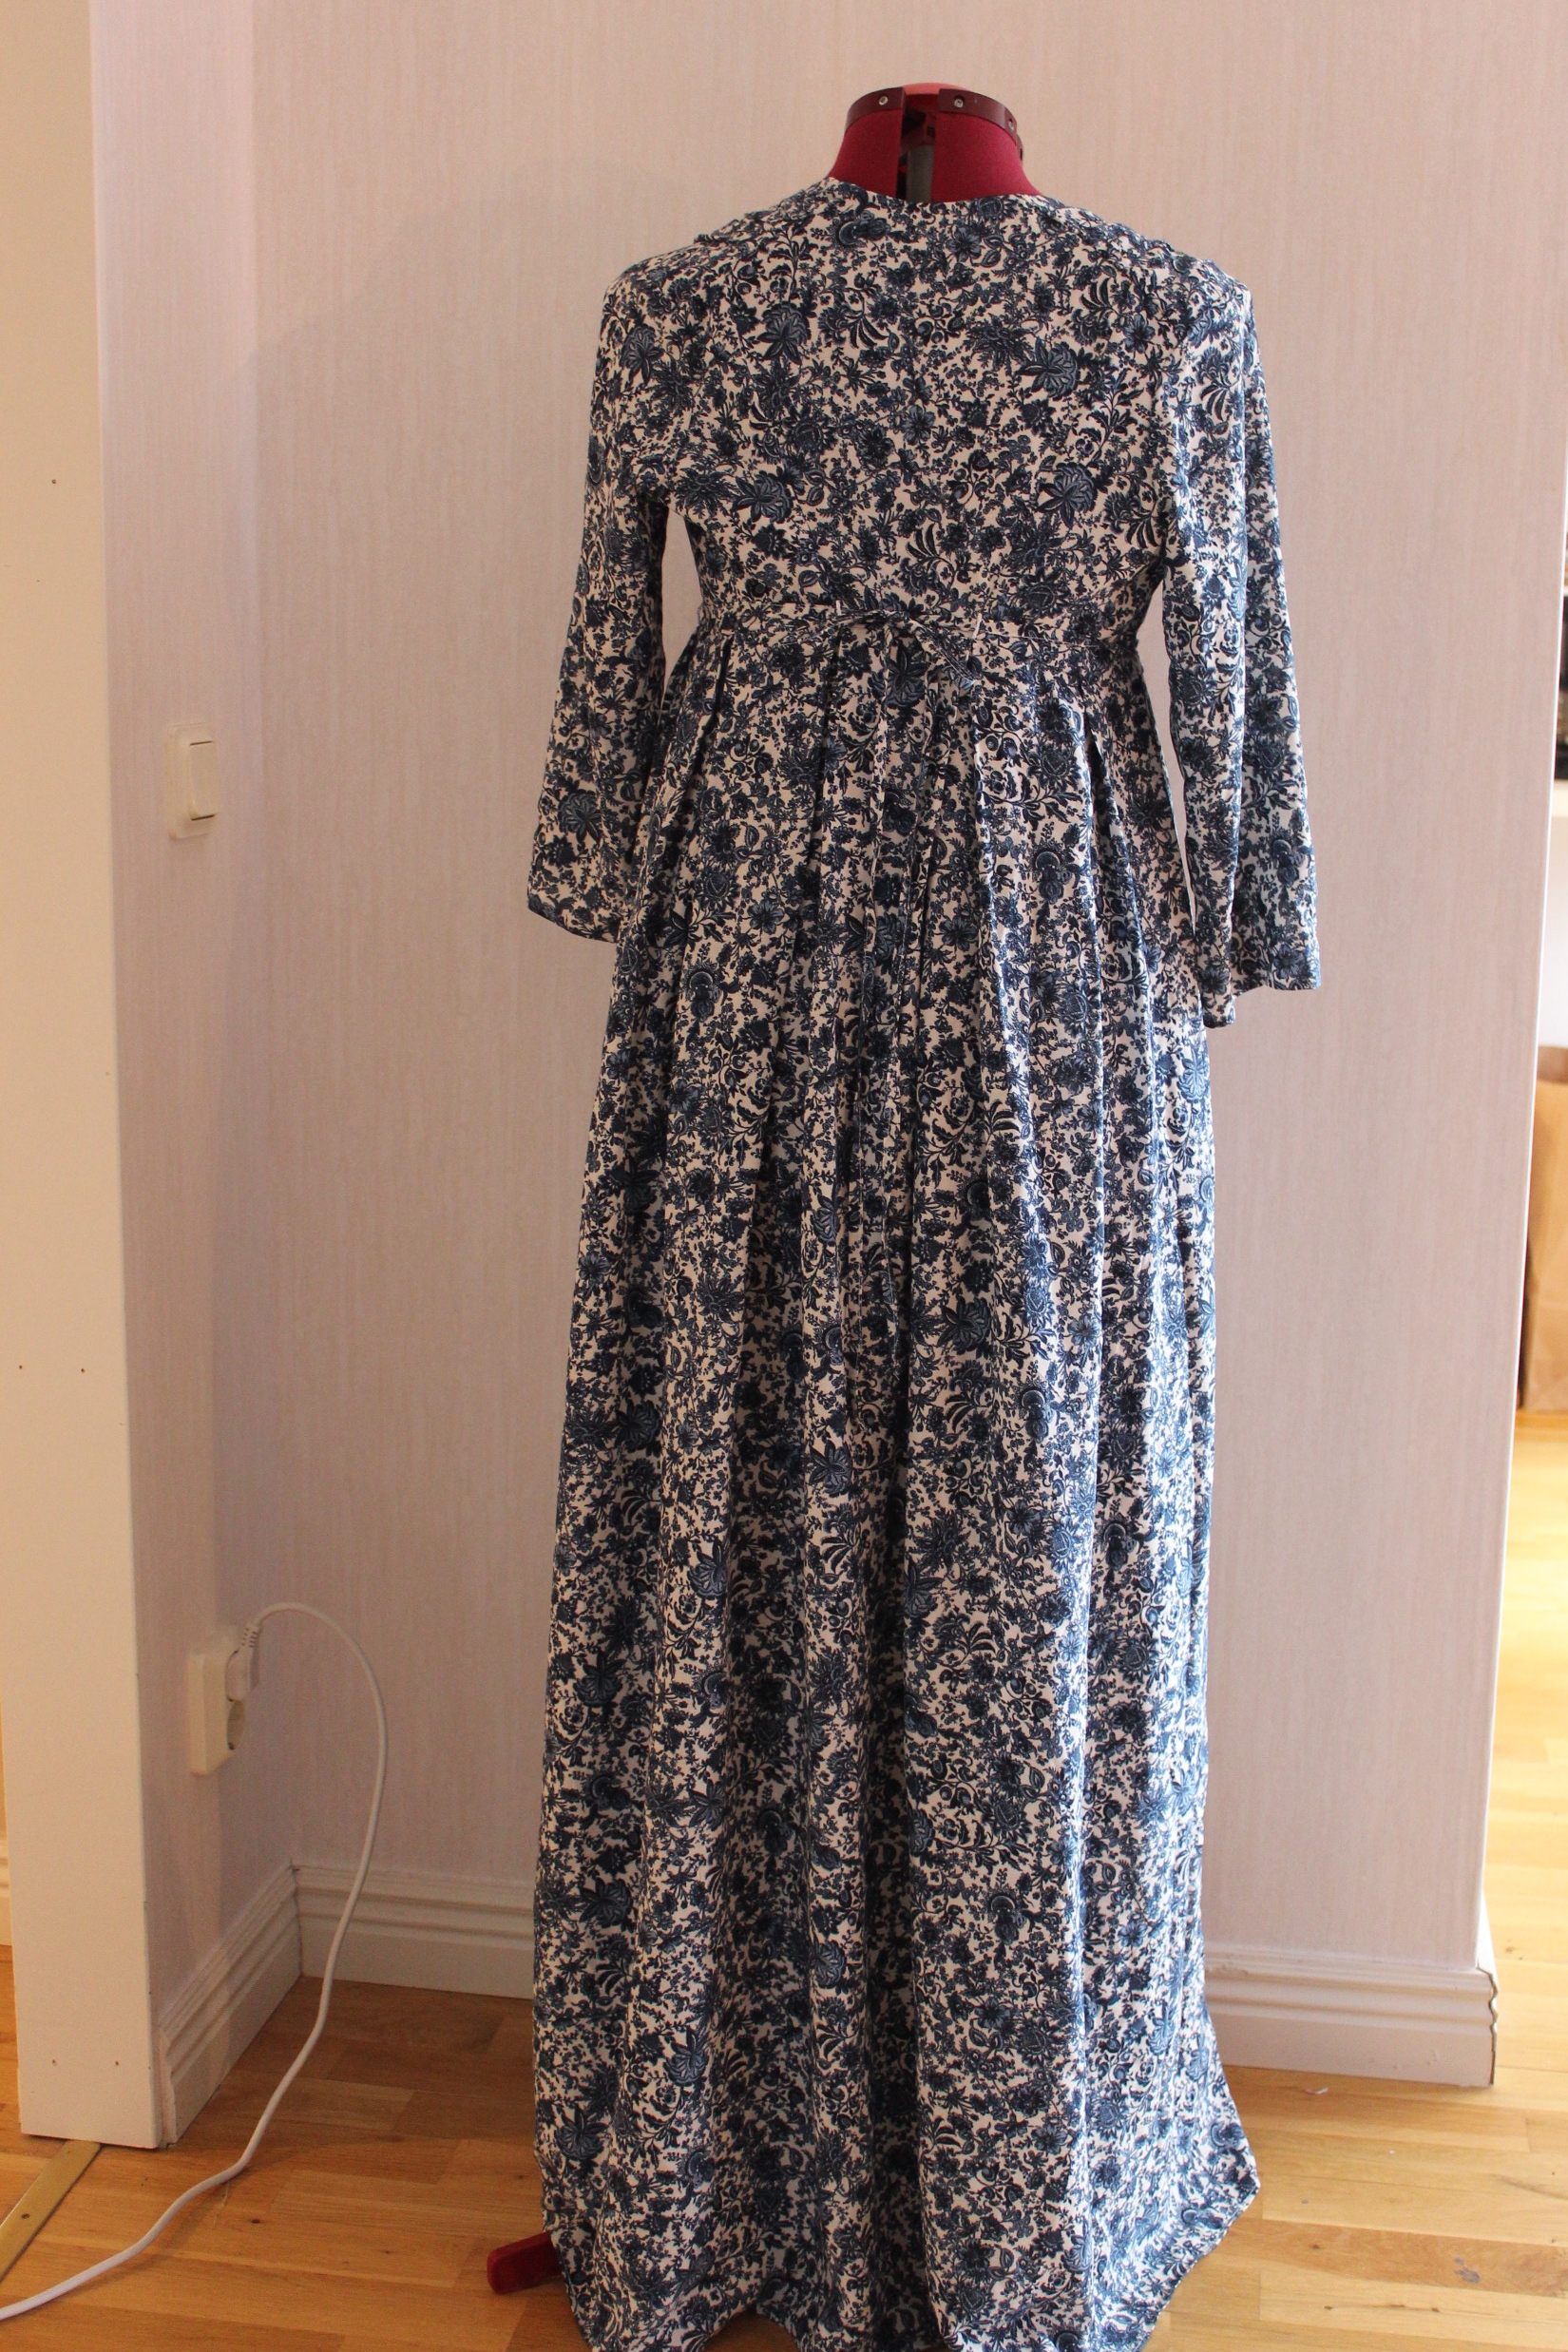
Once happy with the fit, I when’t through my stash and soon found exactly hat I was after – a beautiful flower viscose in different shades of blue. And the almost 2 m of it would be exactly enough to make the dress.
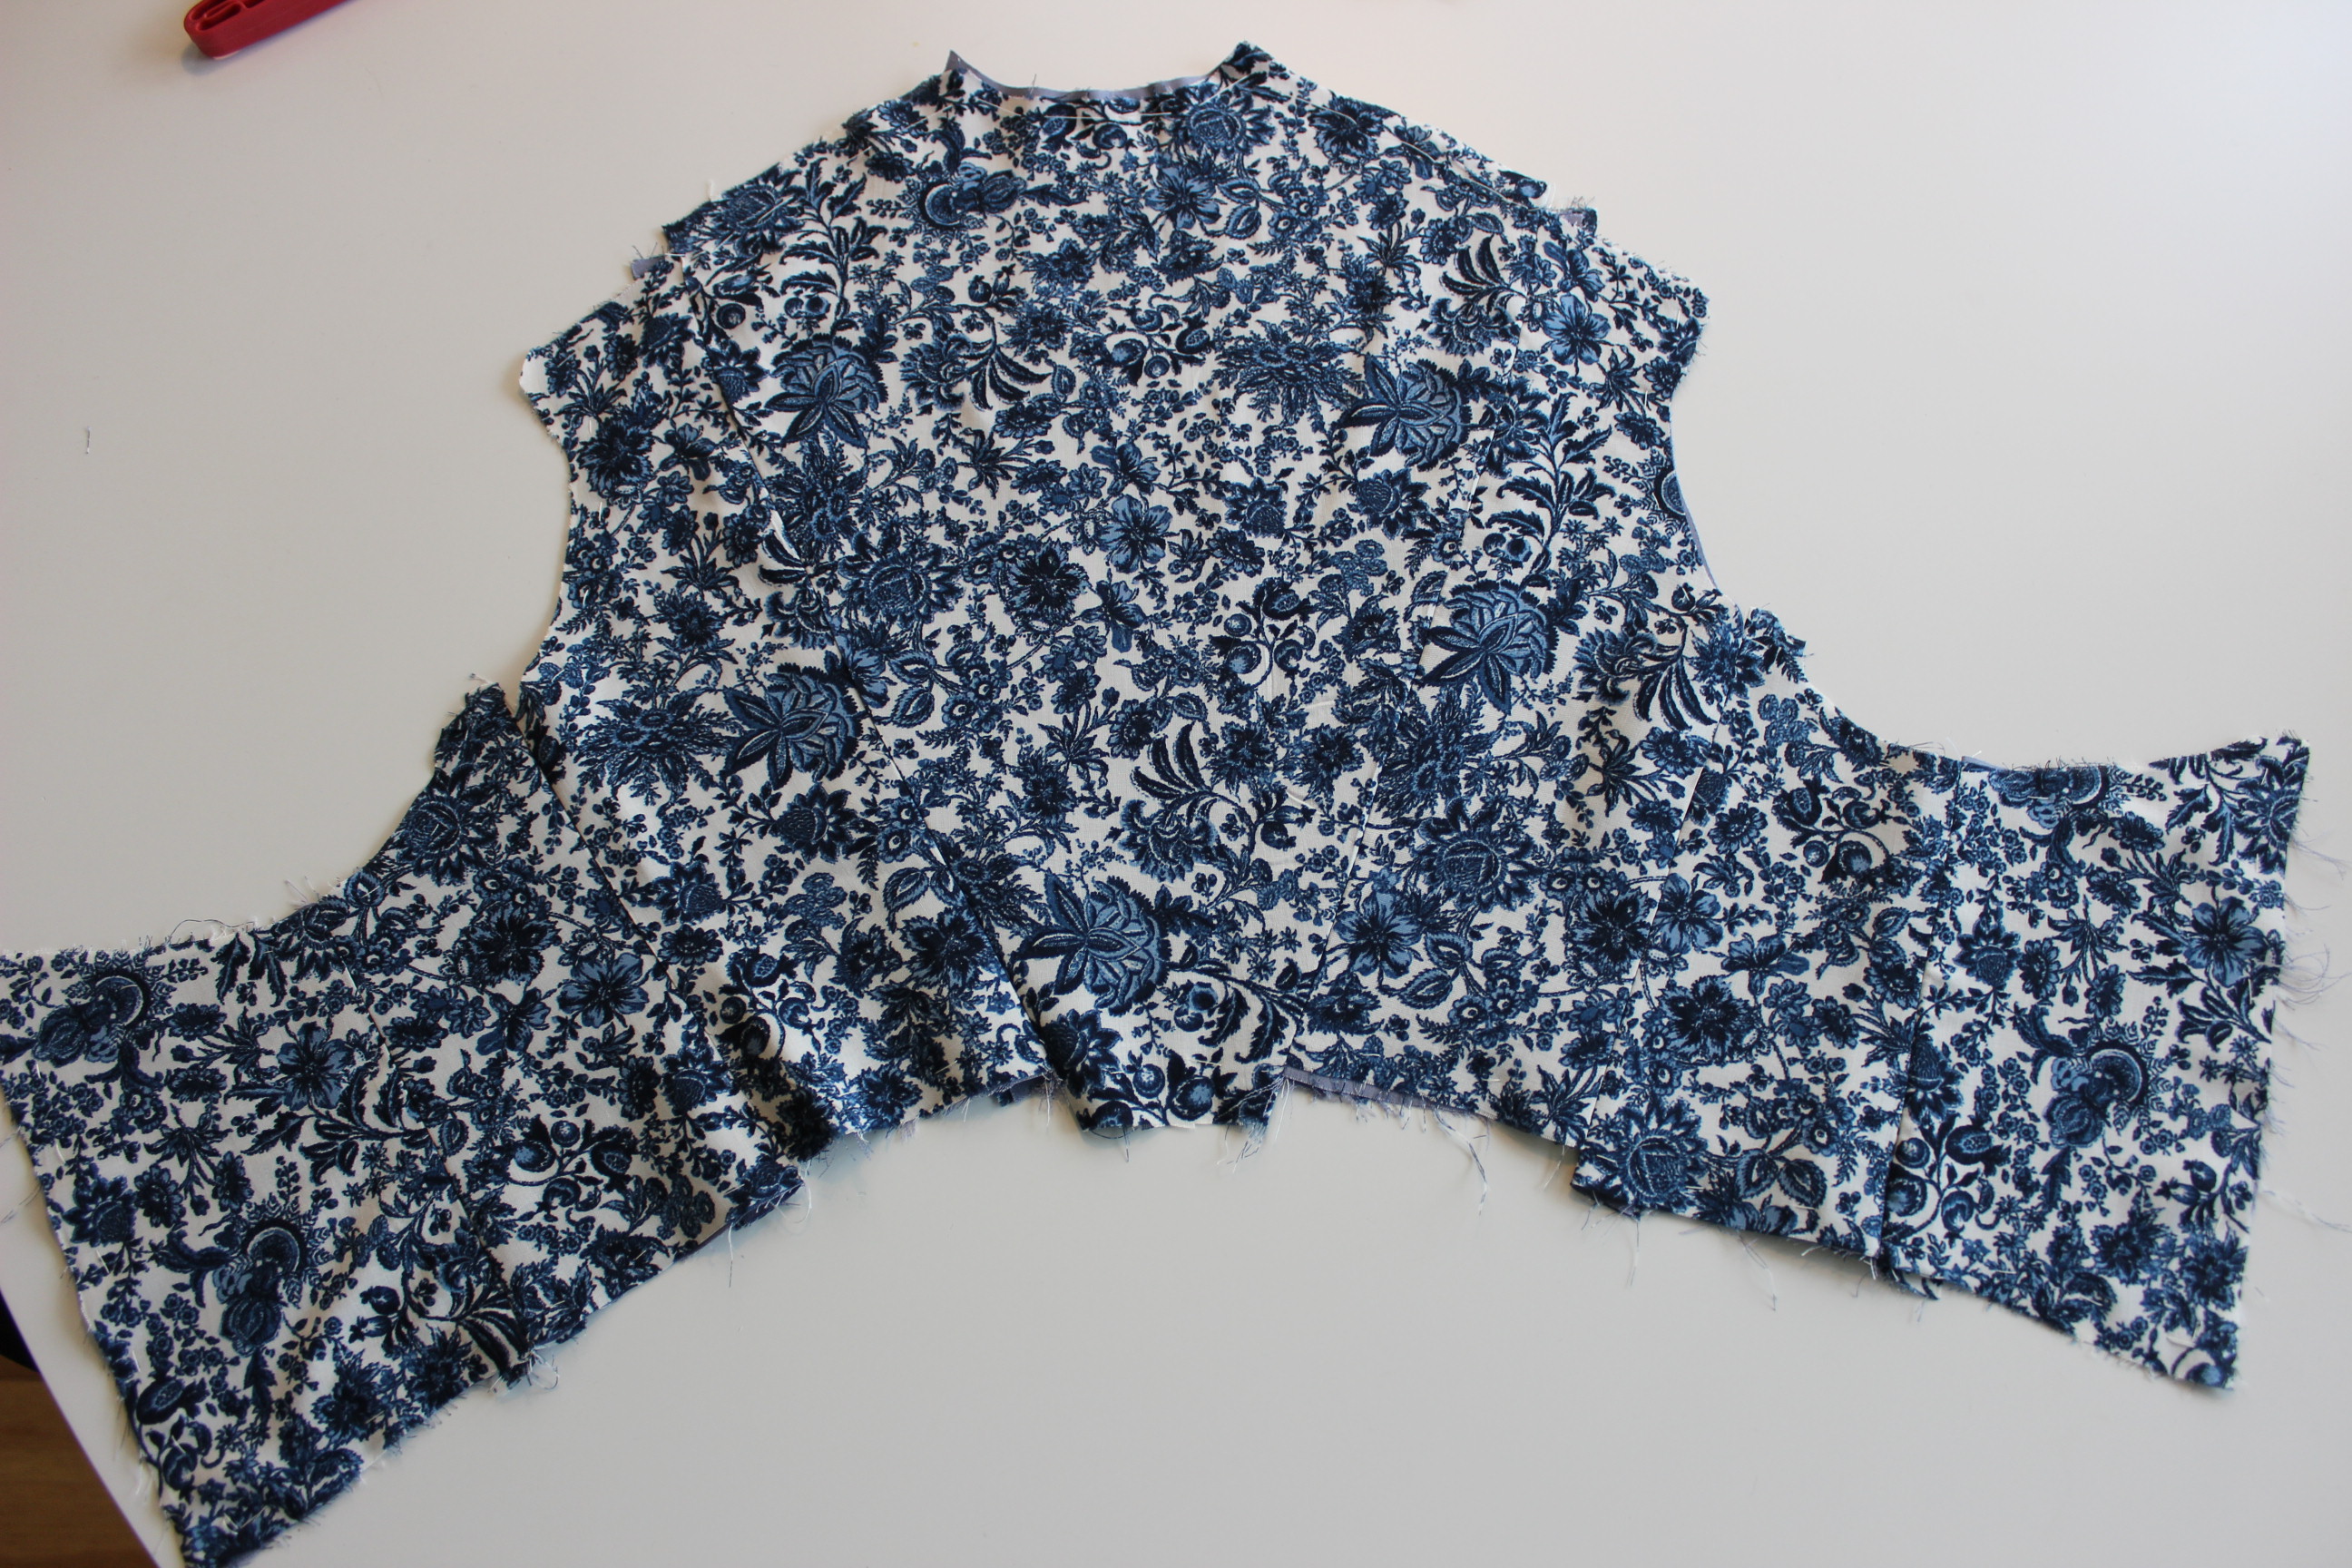
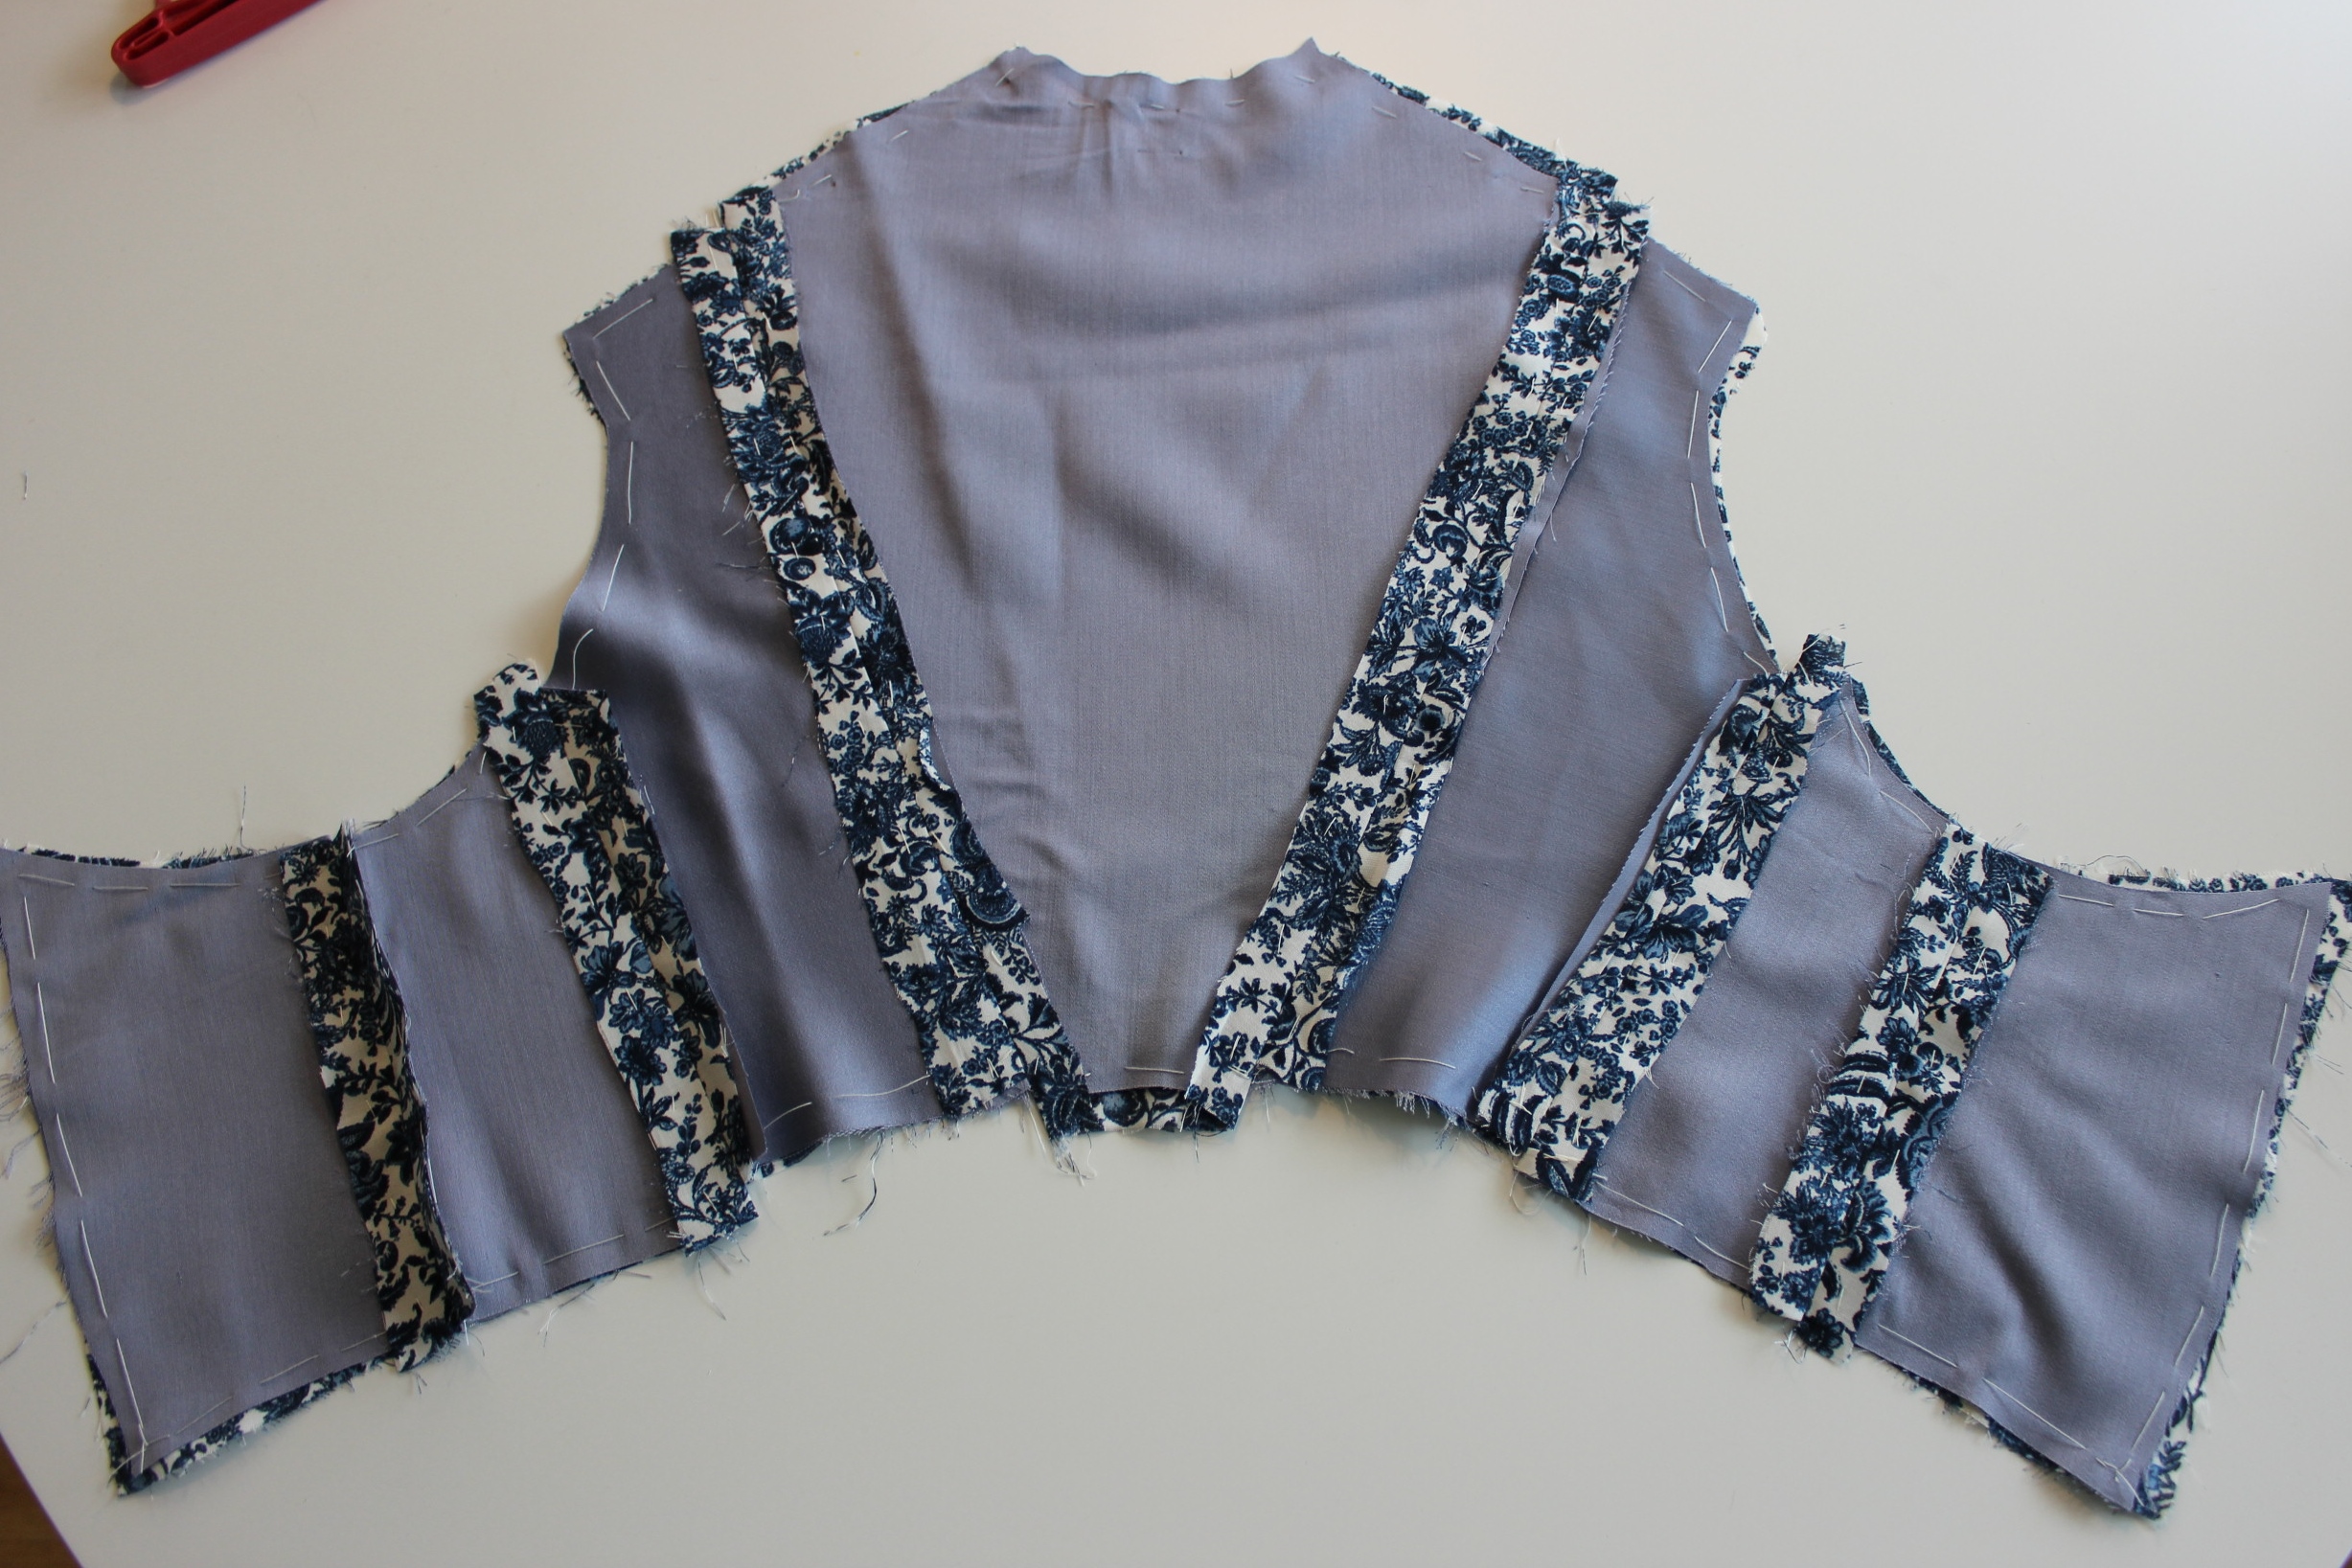
I cut the lining in a lavender blue satin (also from stash) and began the assembly.
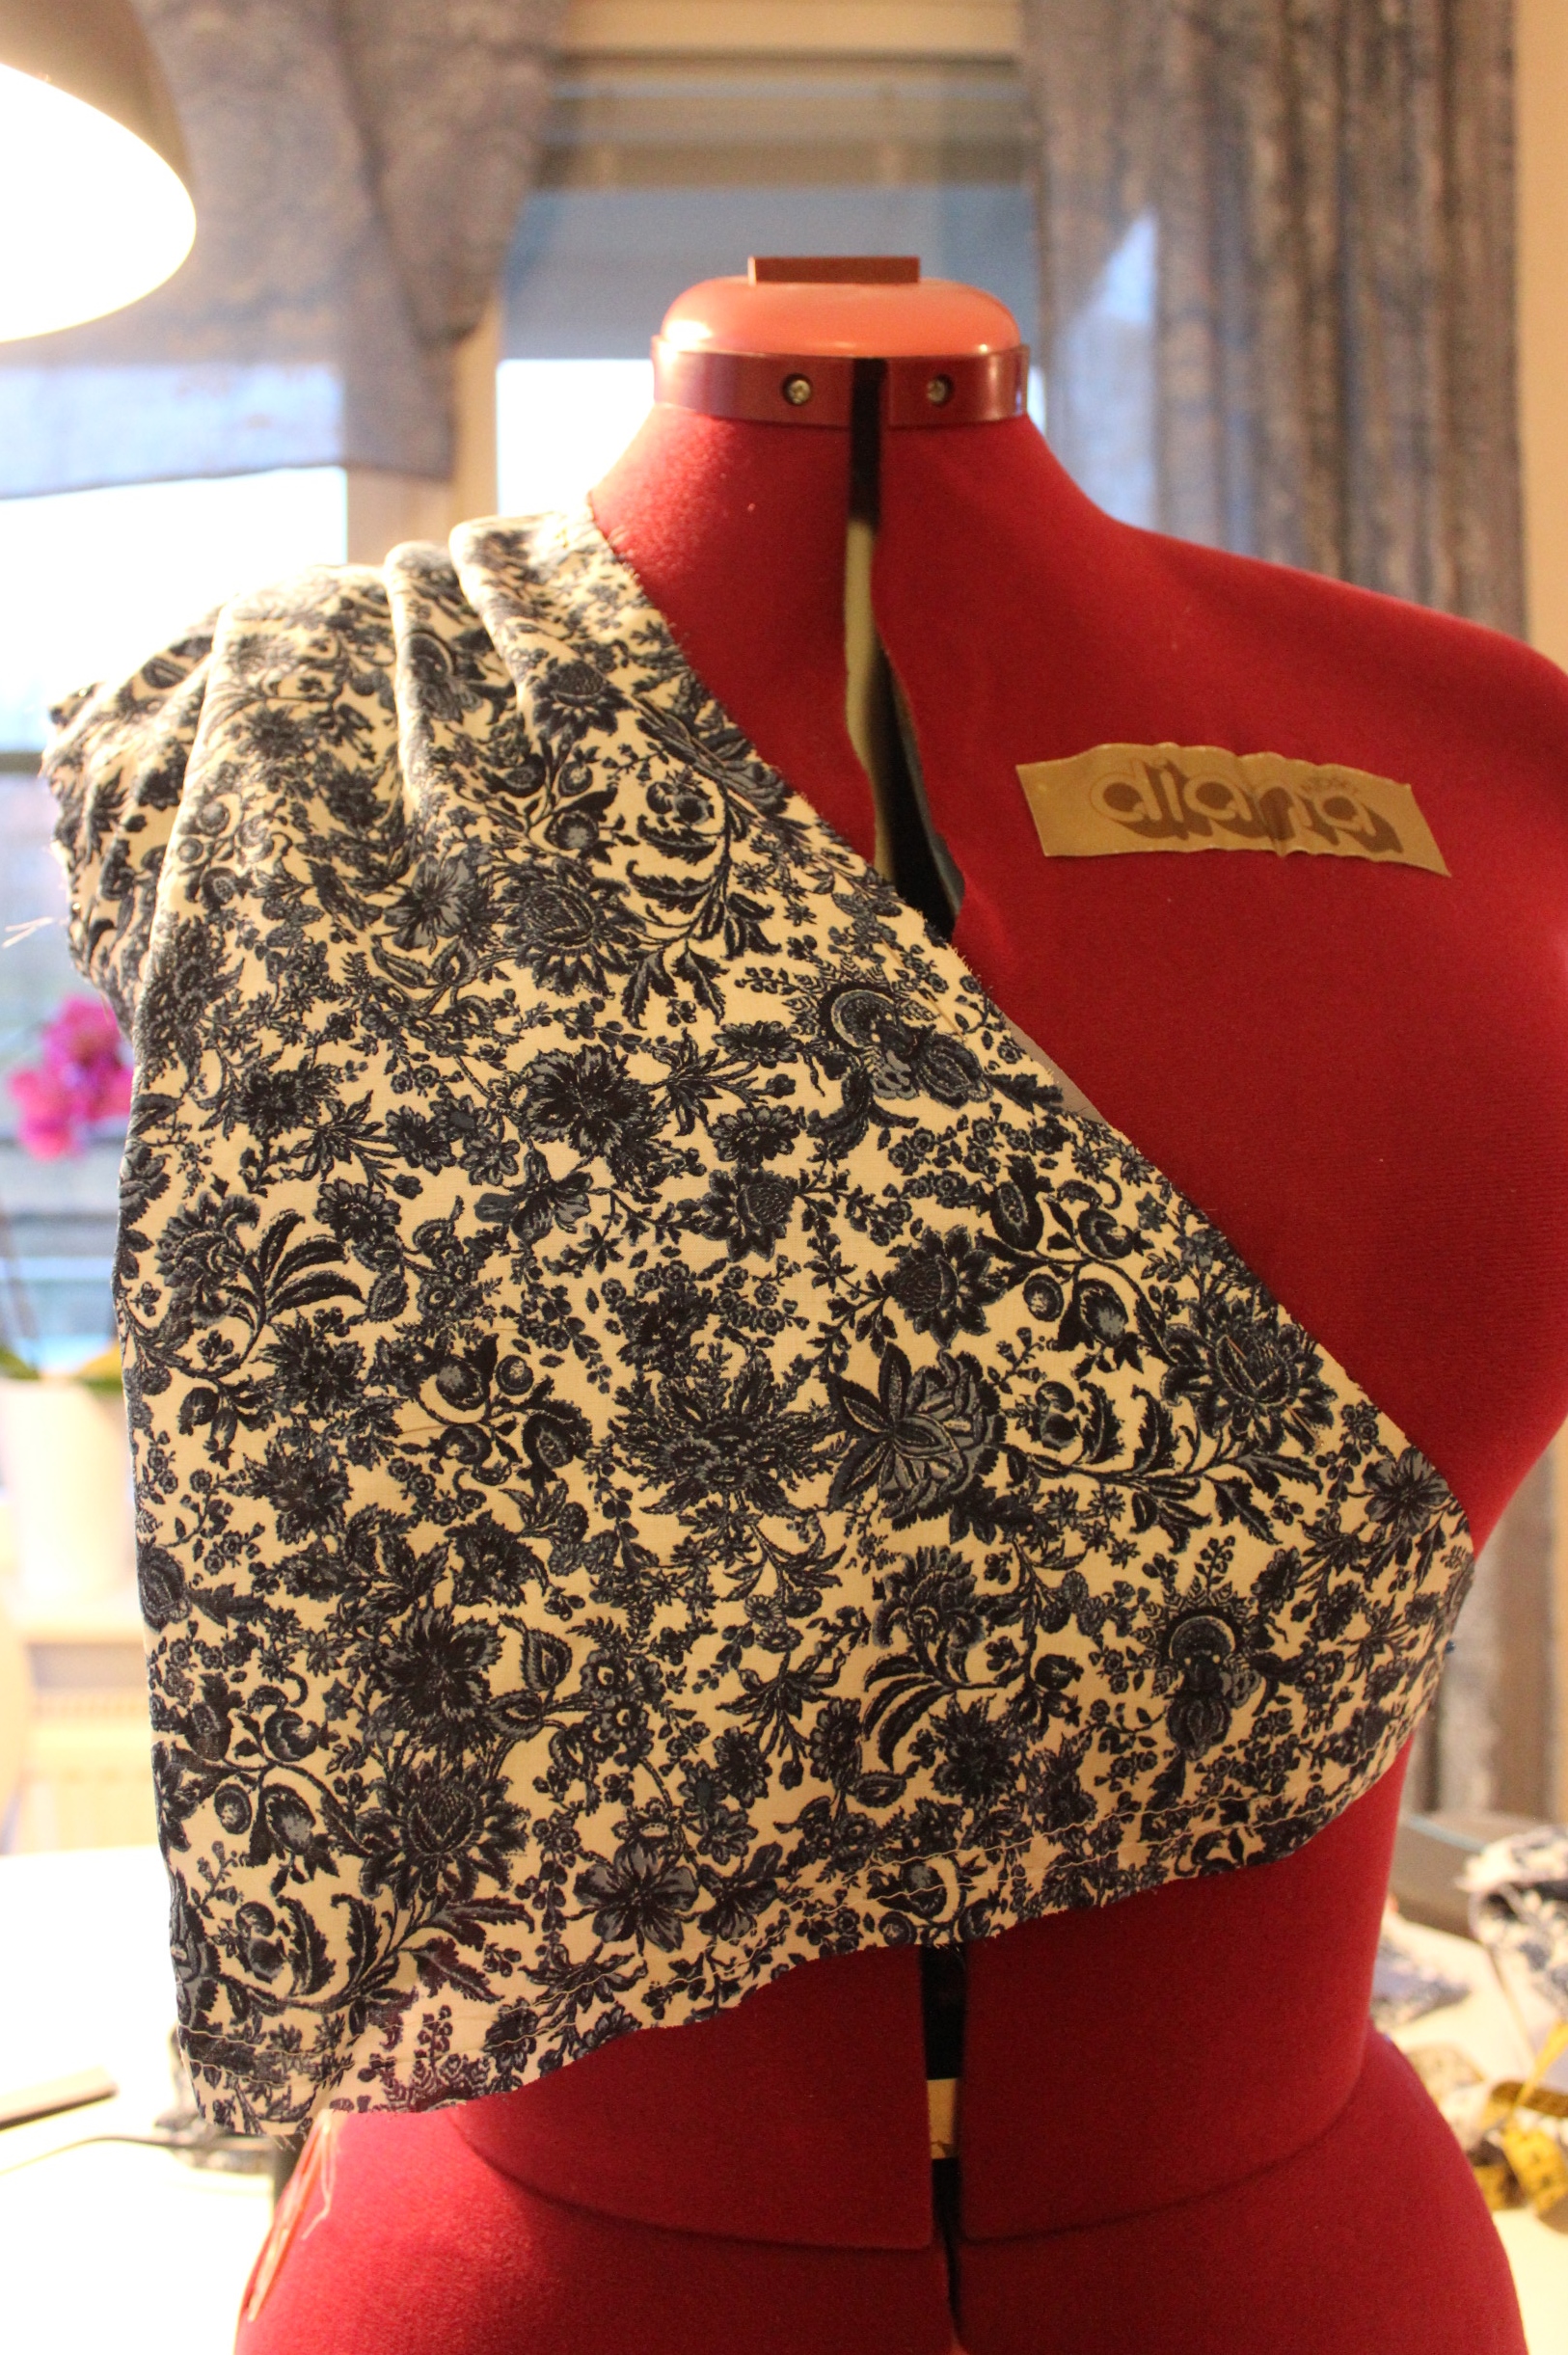
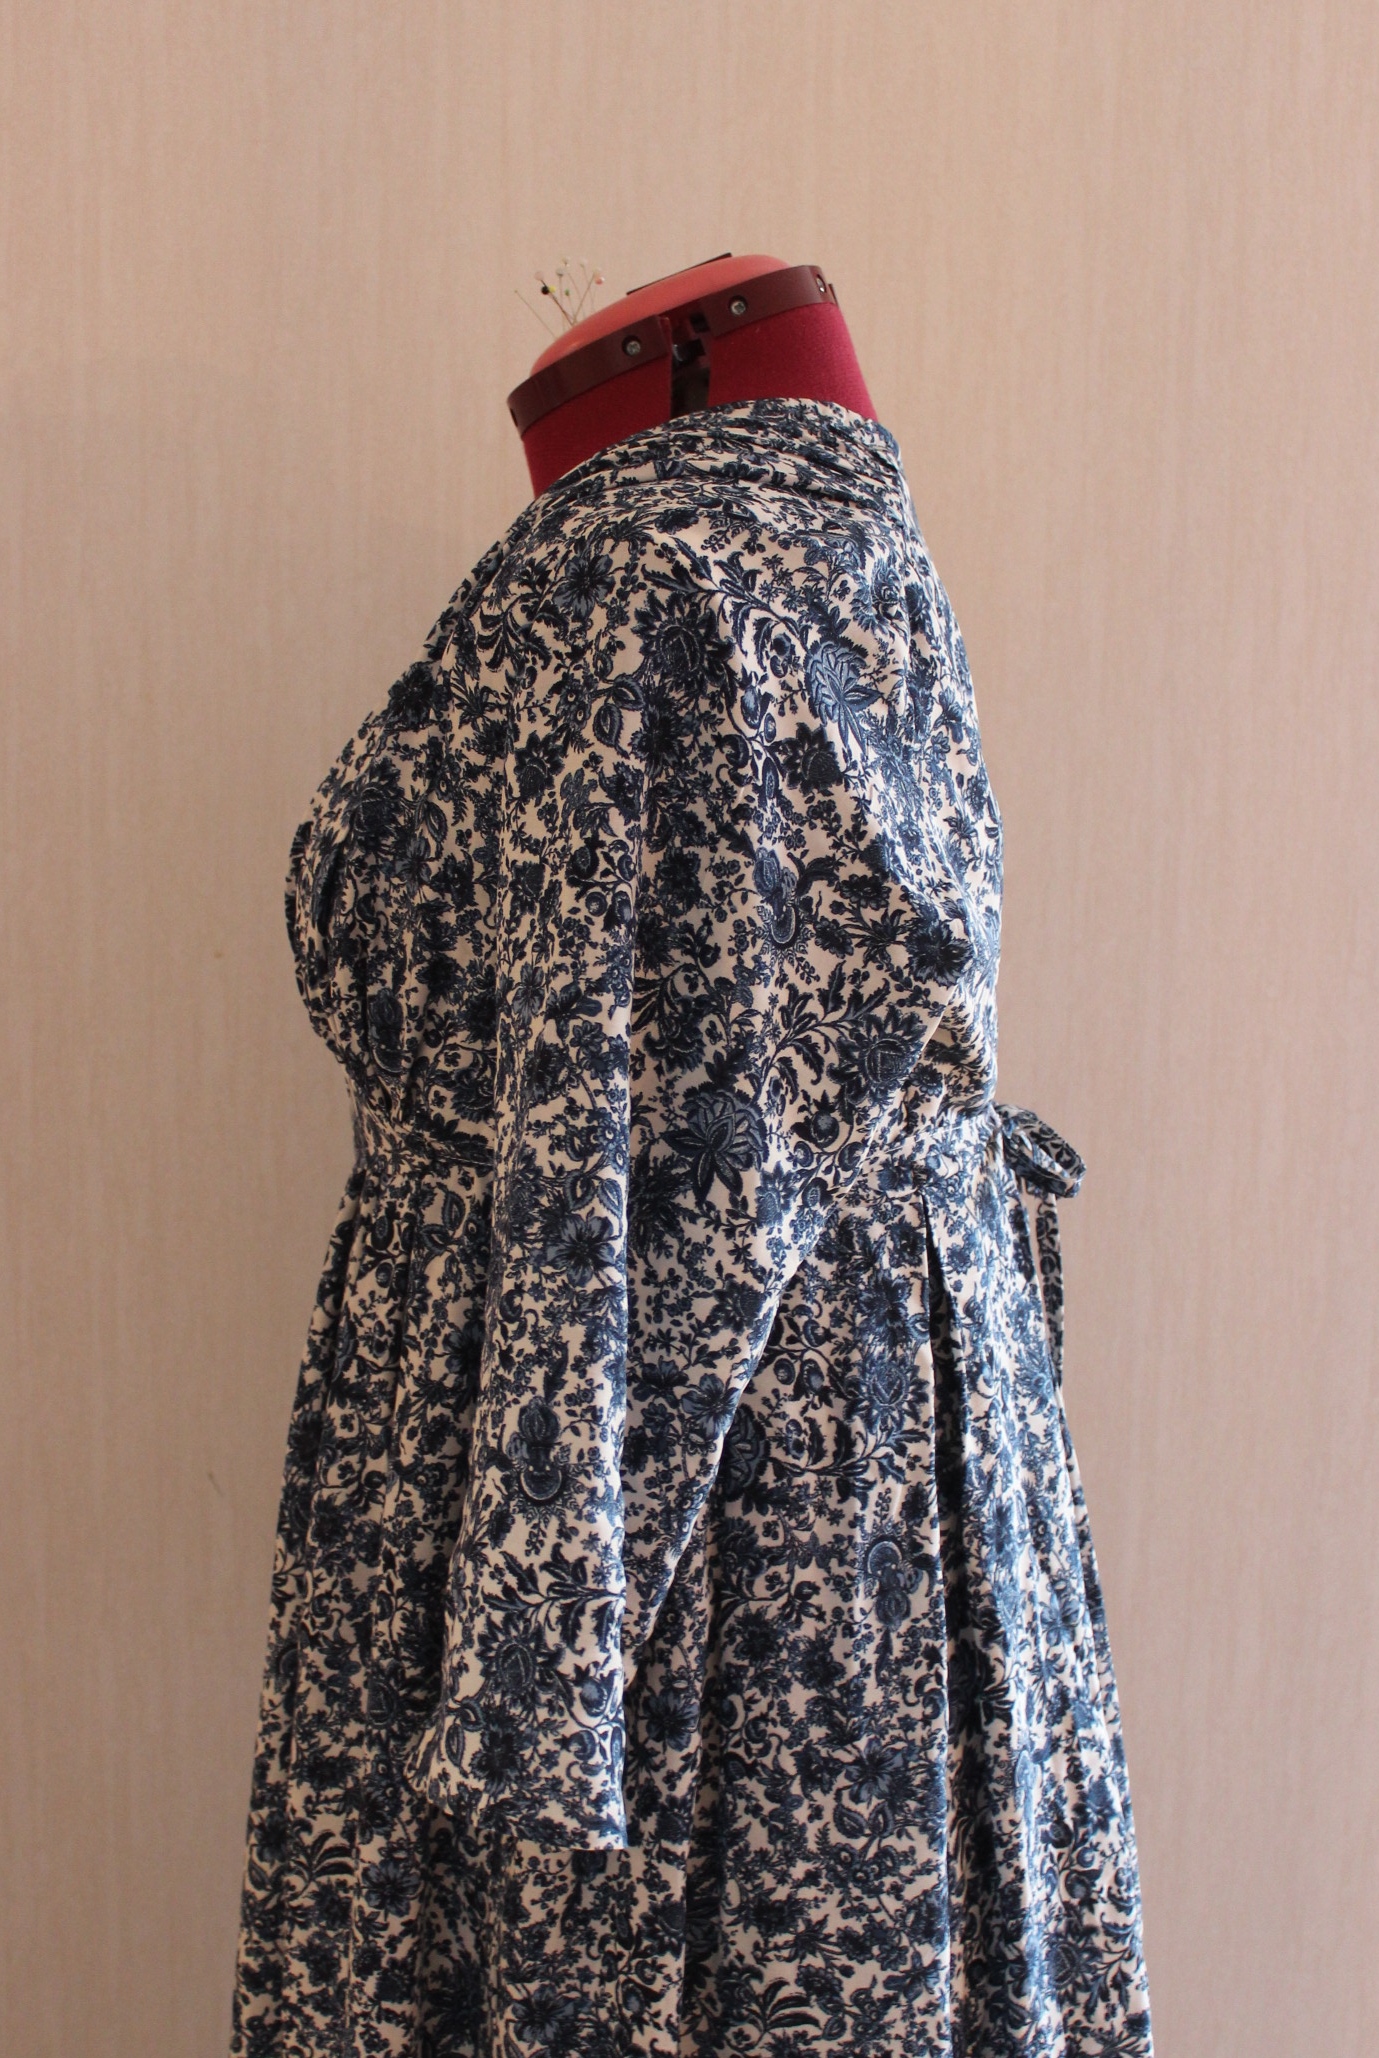
All the seams in the back melts together from the print, but I do like the structure it gives to the bodice non the les.
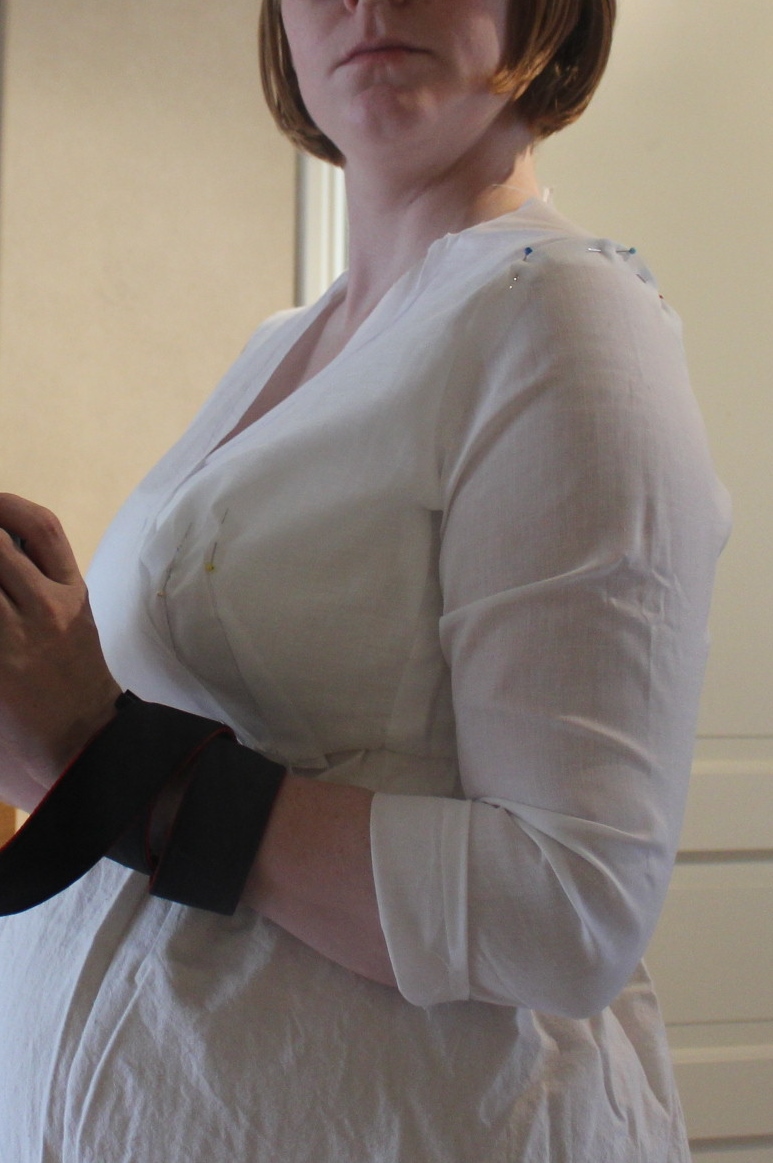
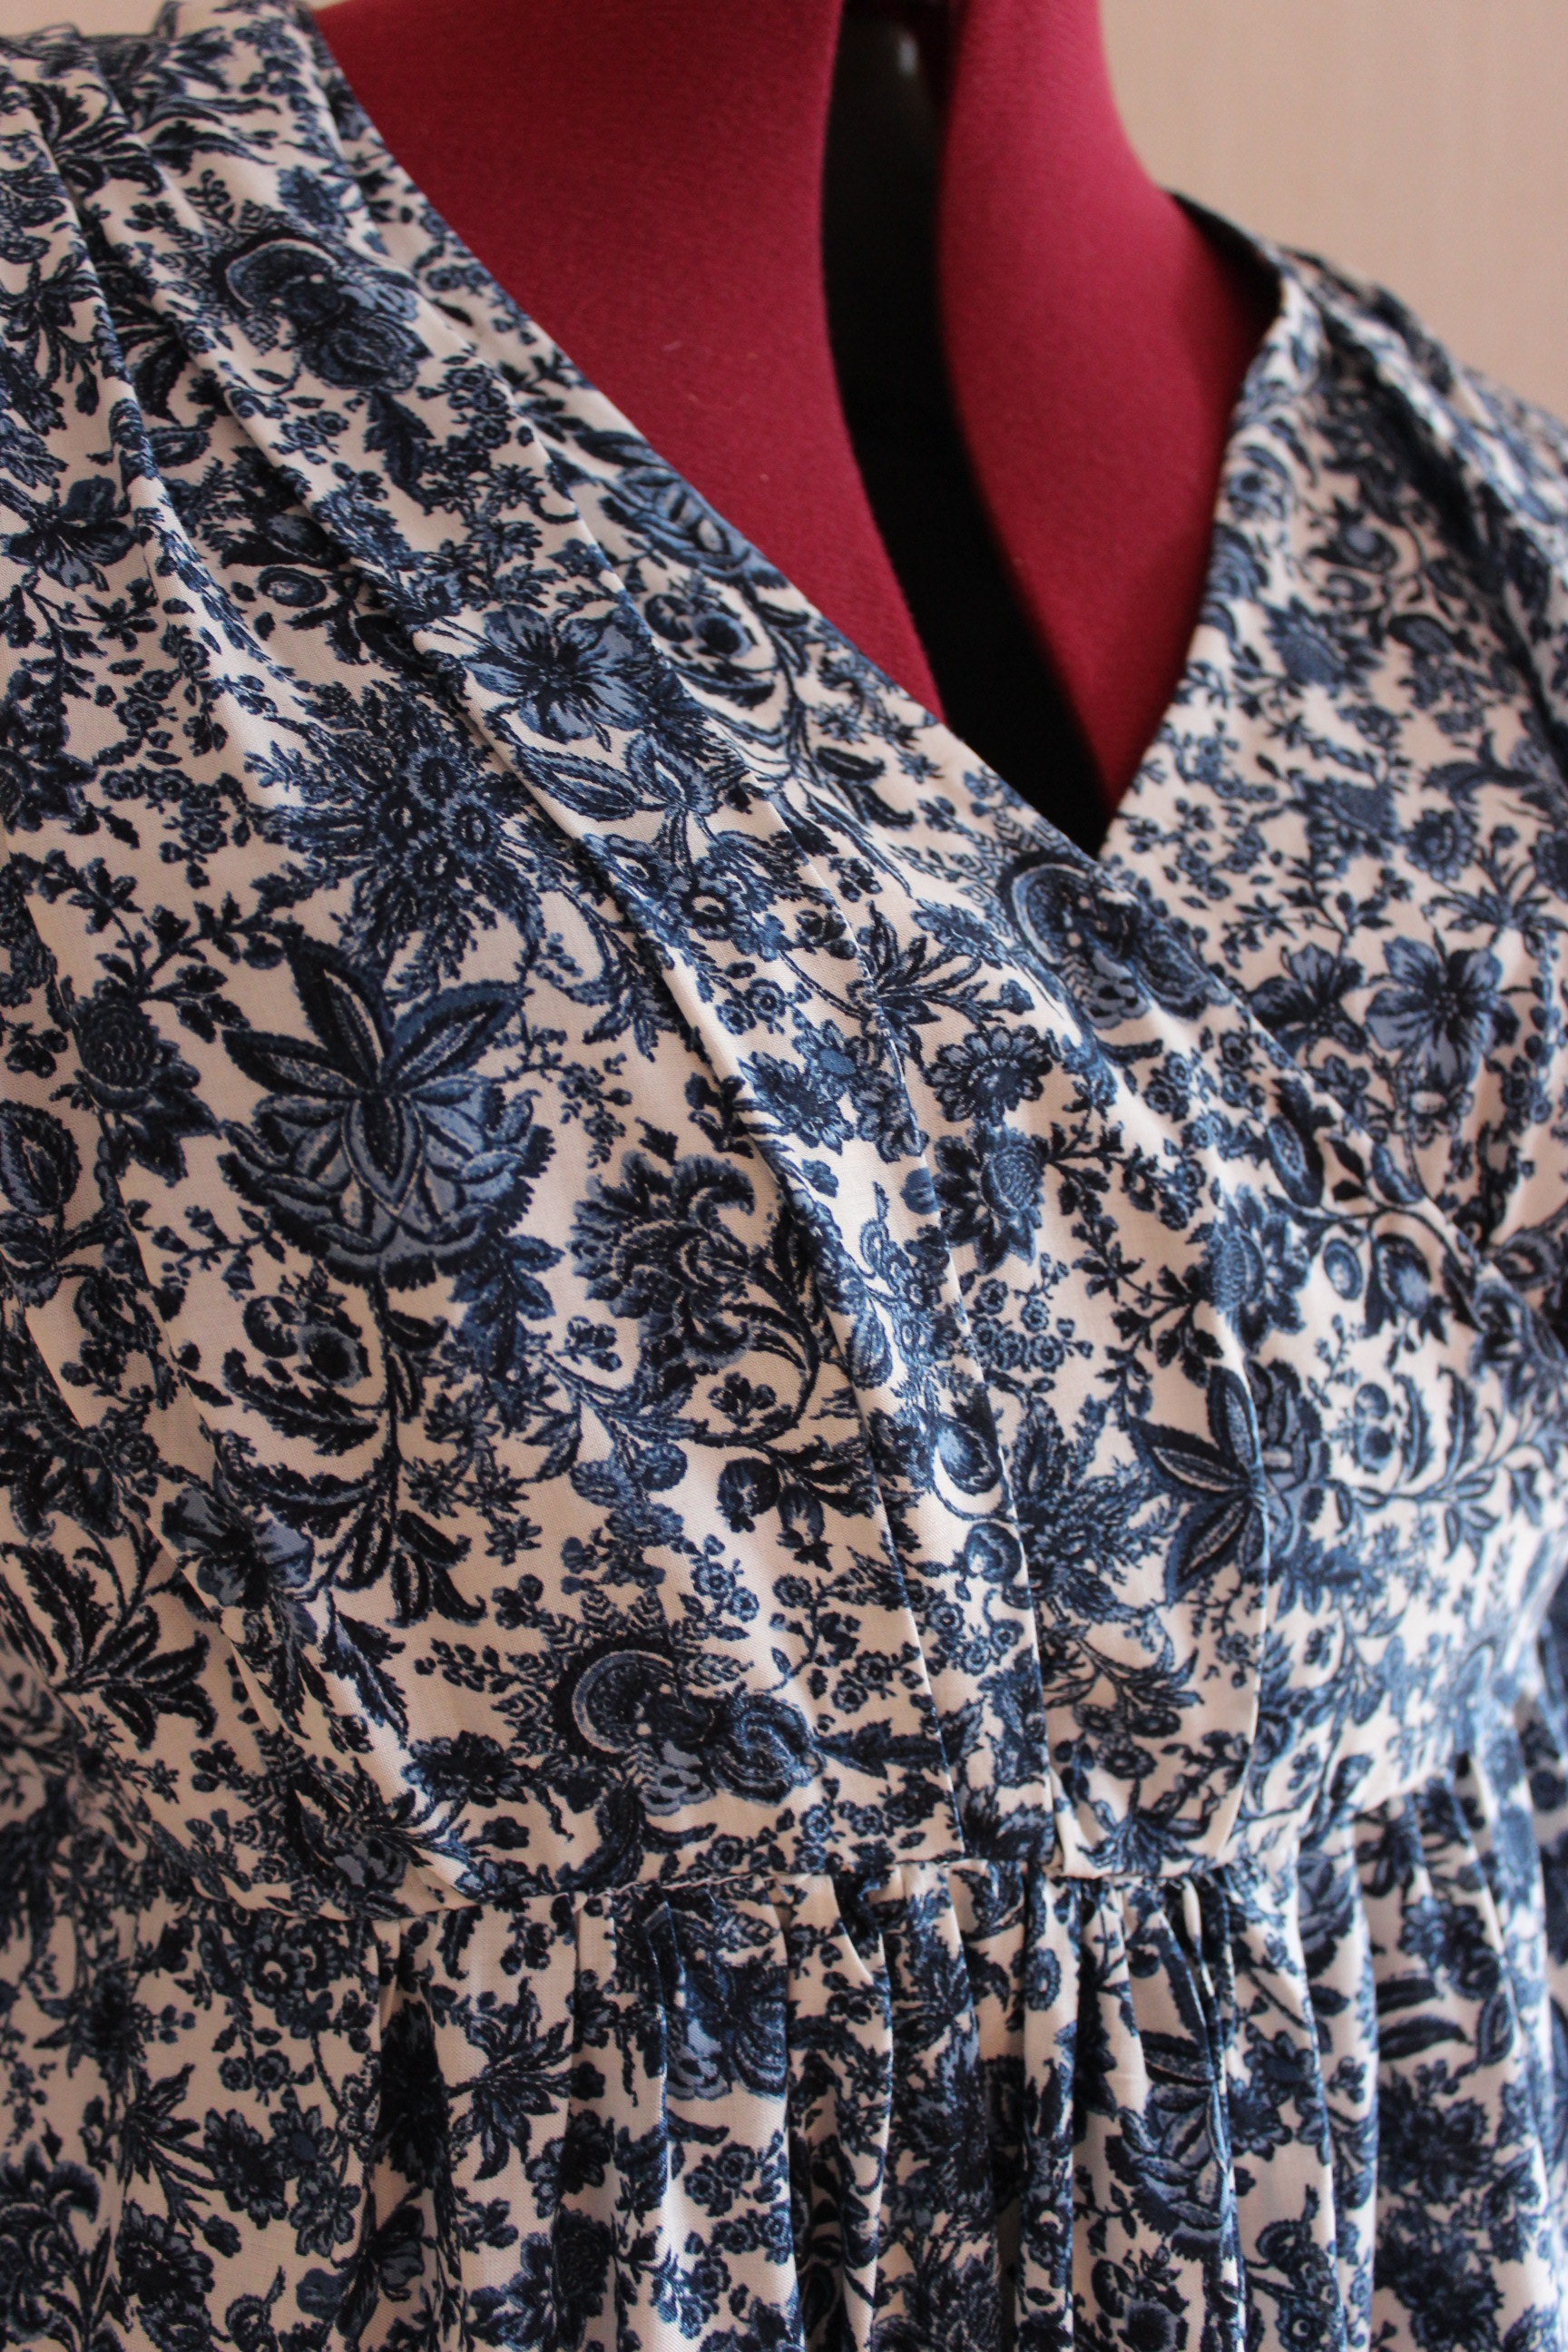
Once the back pieces was ready, it was time to get working on the front.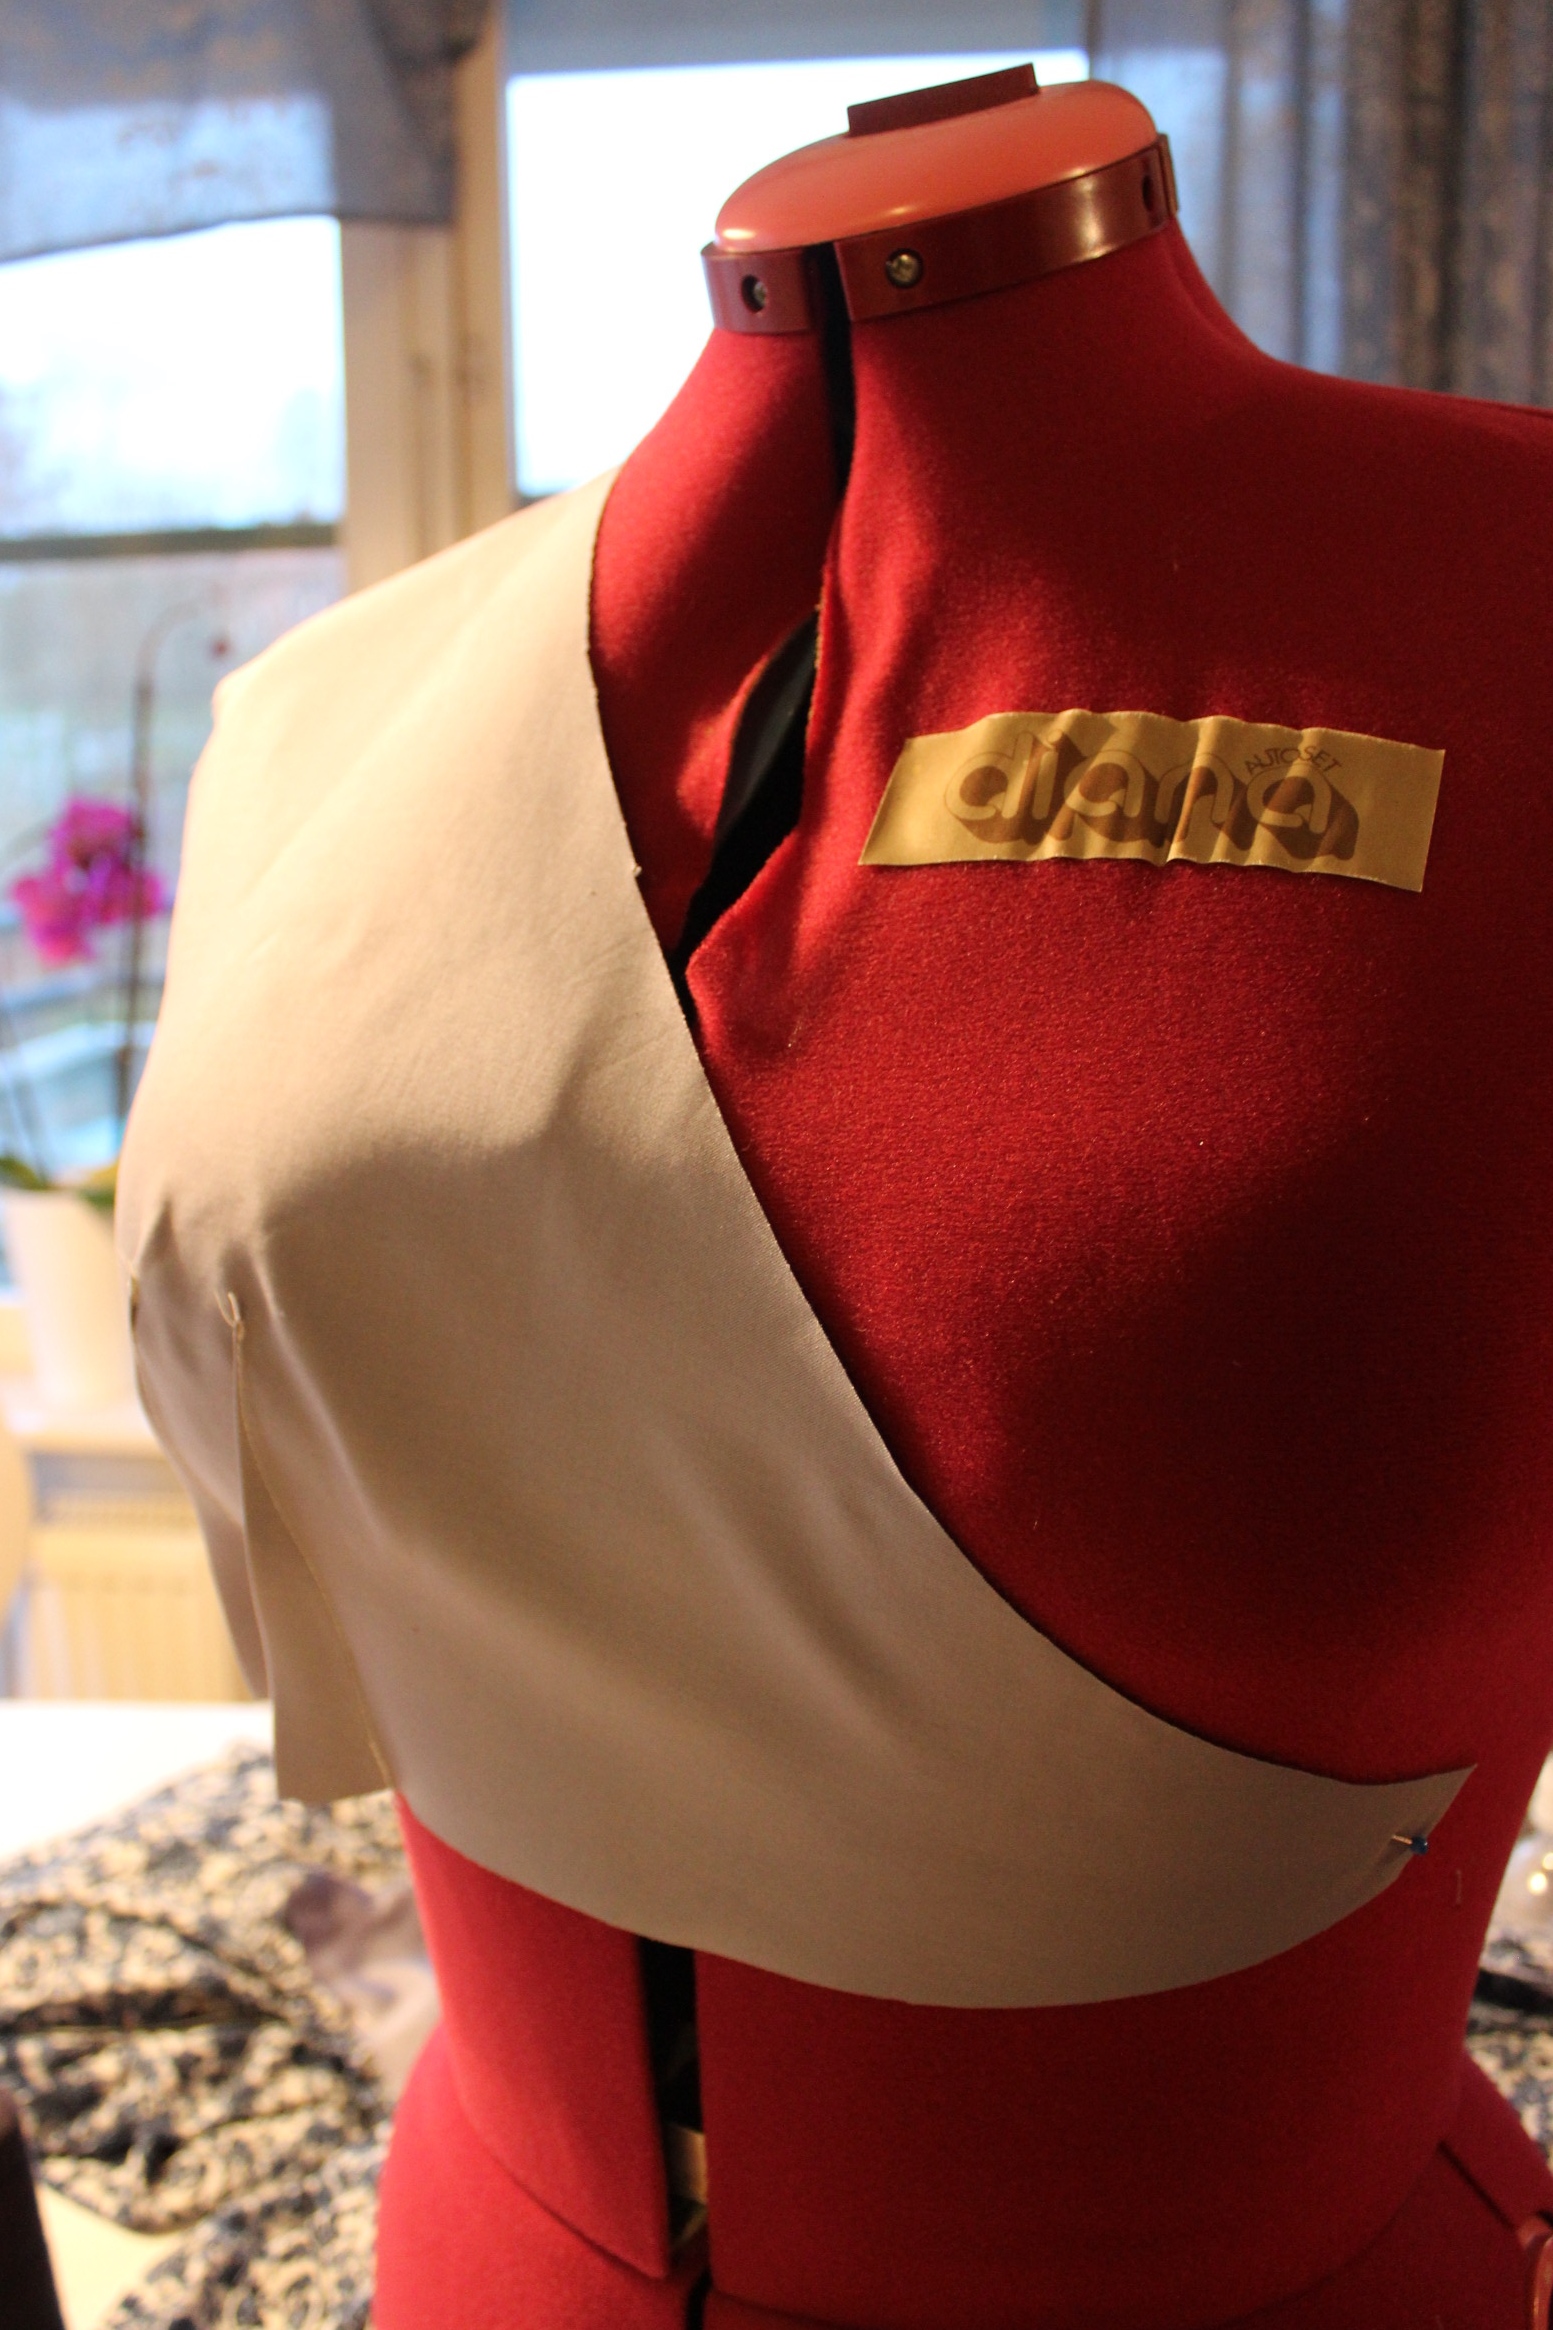 Draping the front pattern
Using two gathering treads, I collected and arranged the fabric at the shoulder and under bust seam
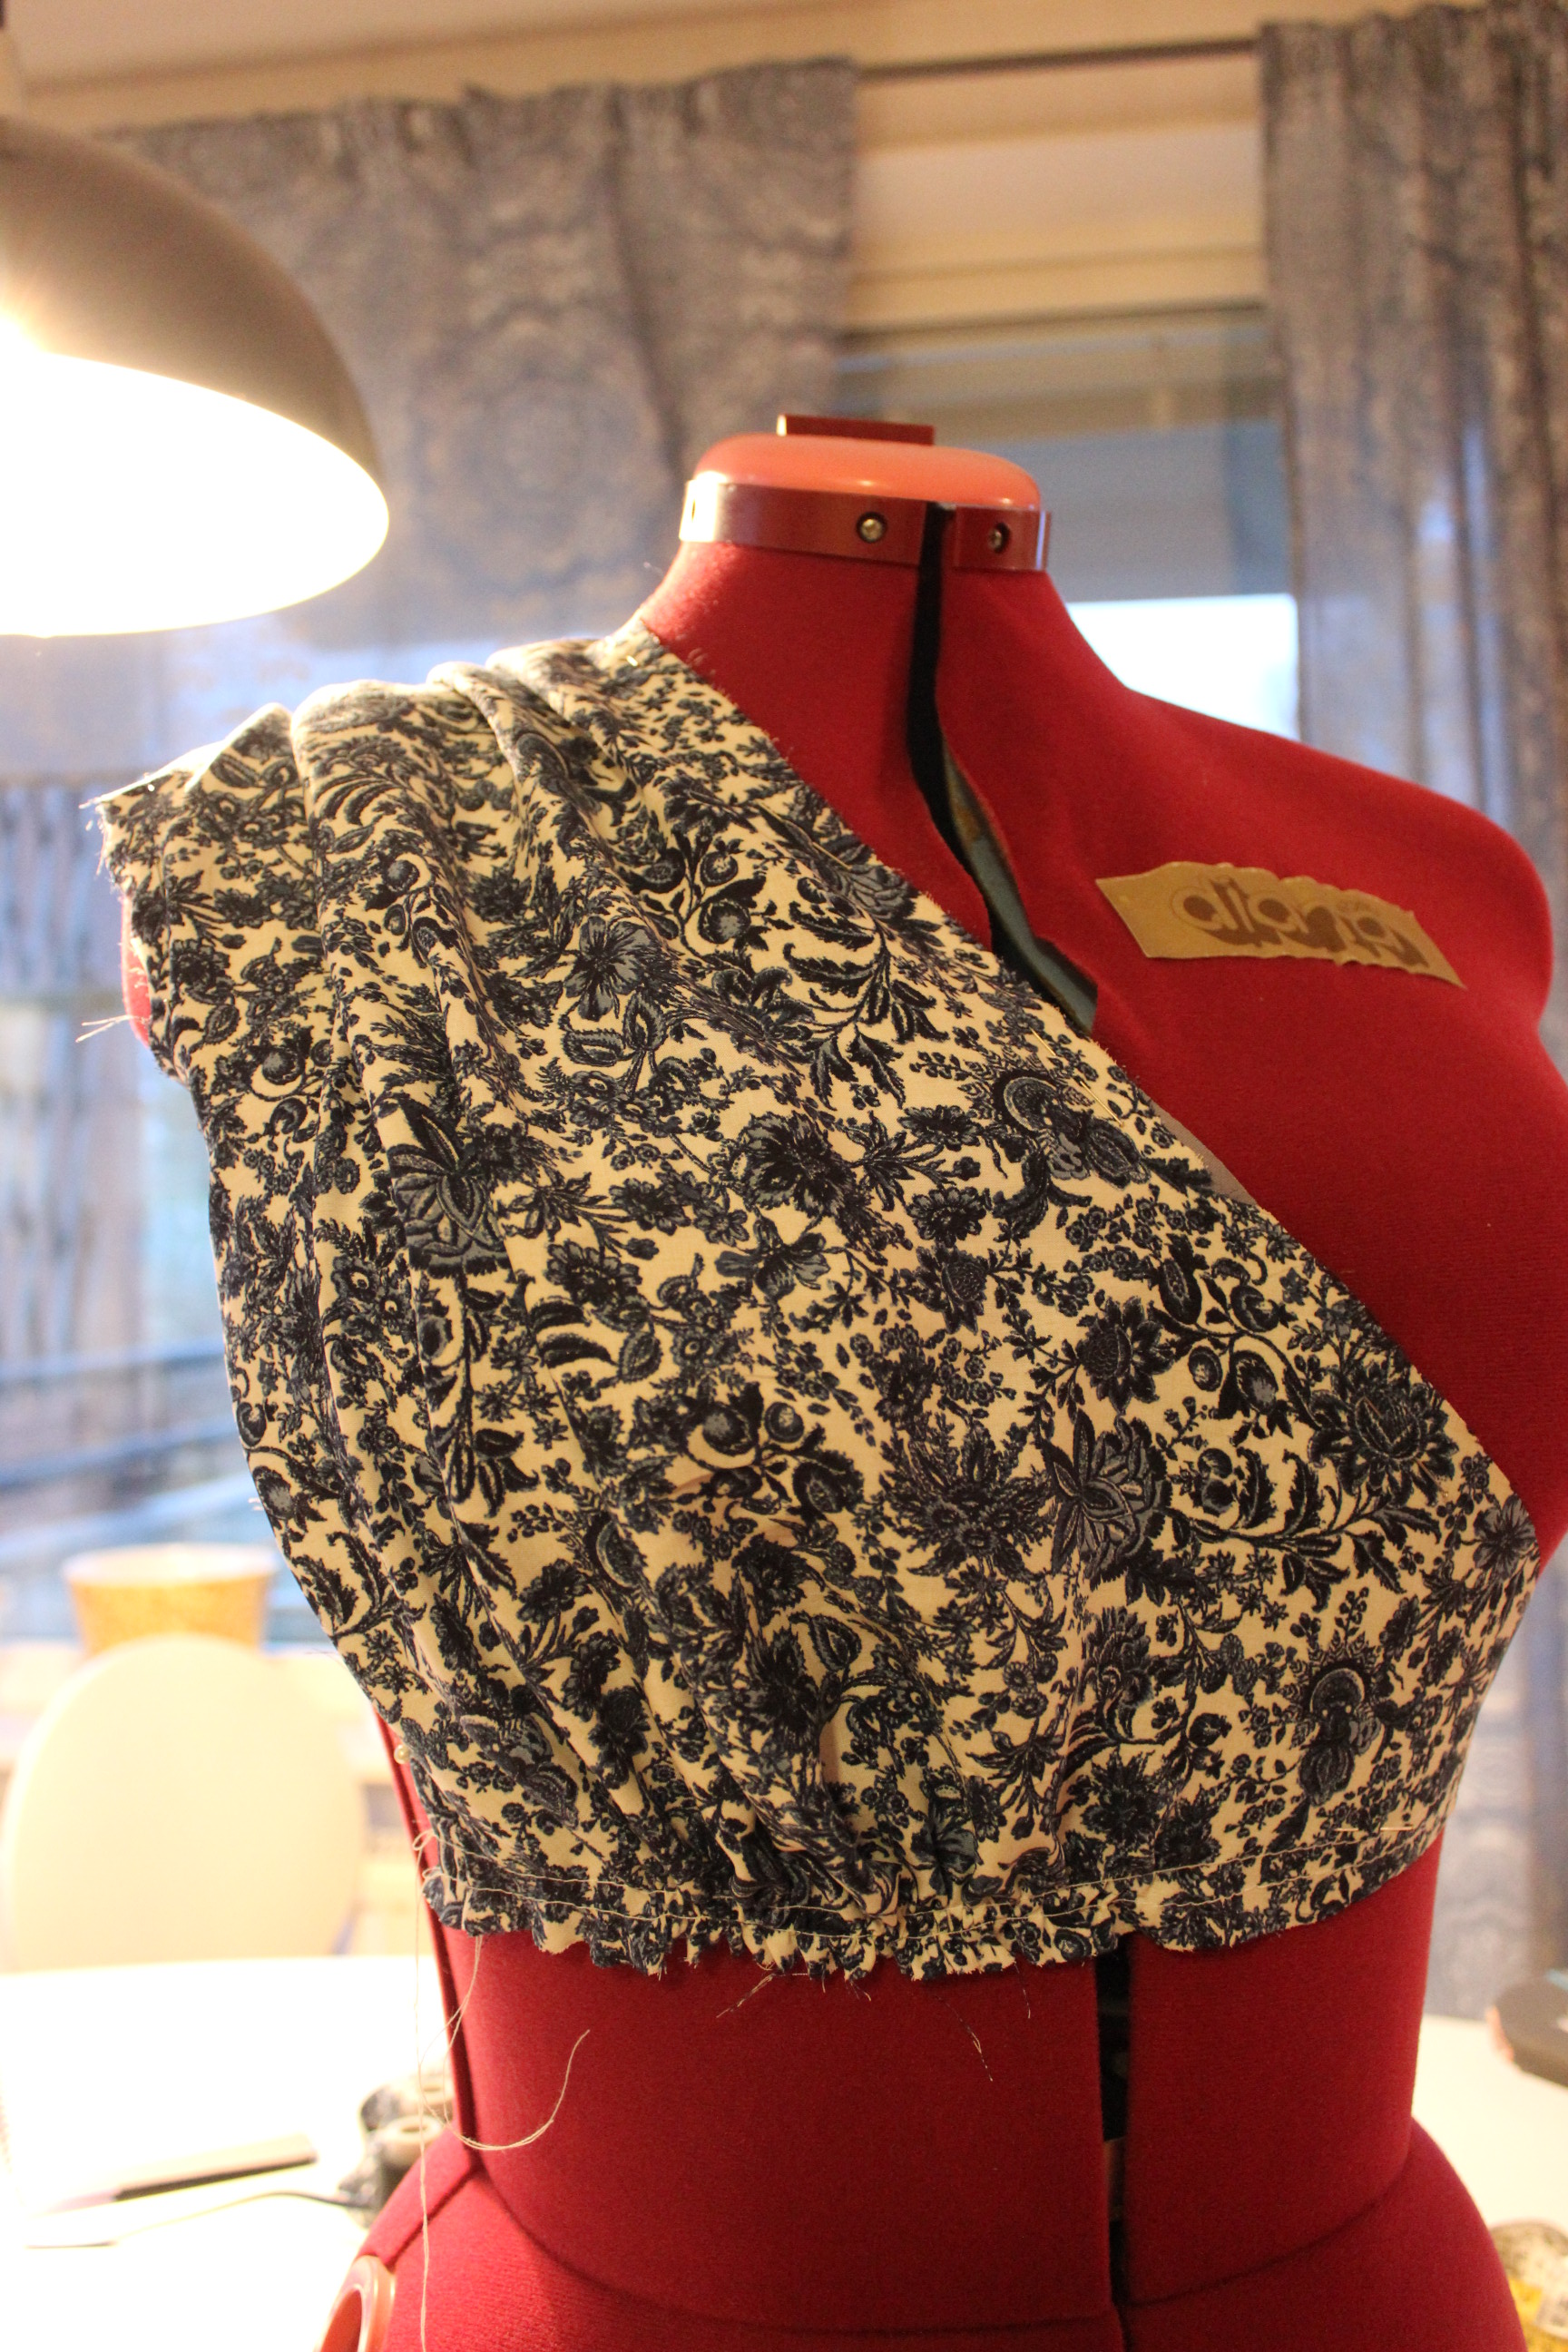
Before and after gathering the width.
Once the basic shape was done I tweaked it a bit by raising the under bust seam and removing a few cm from the neckline.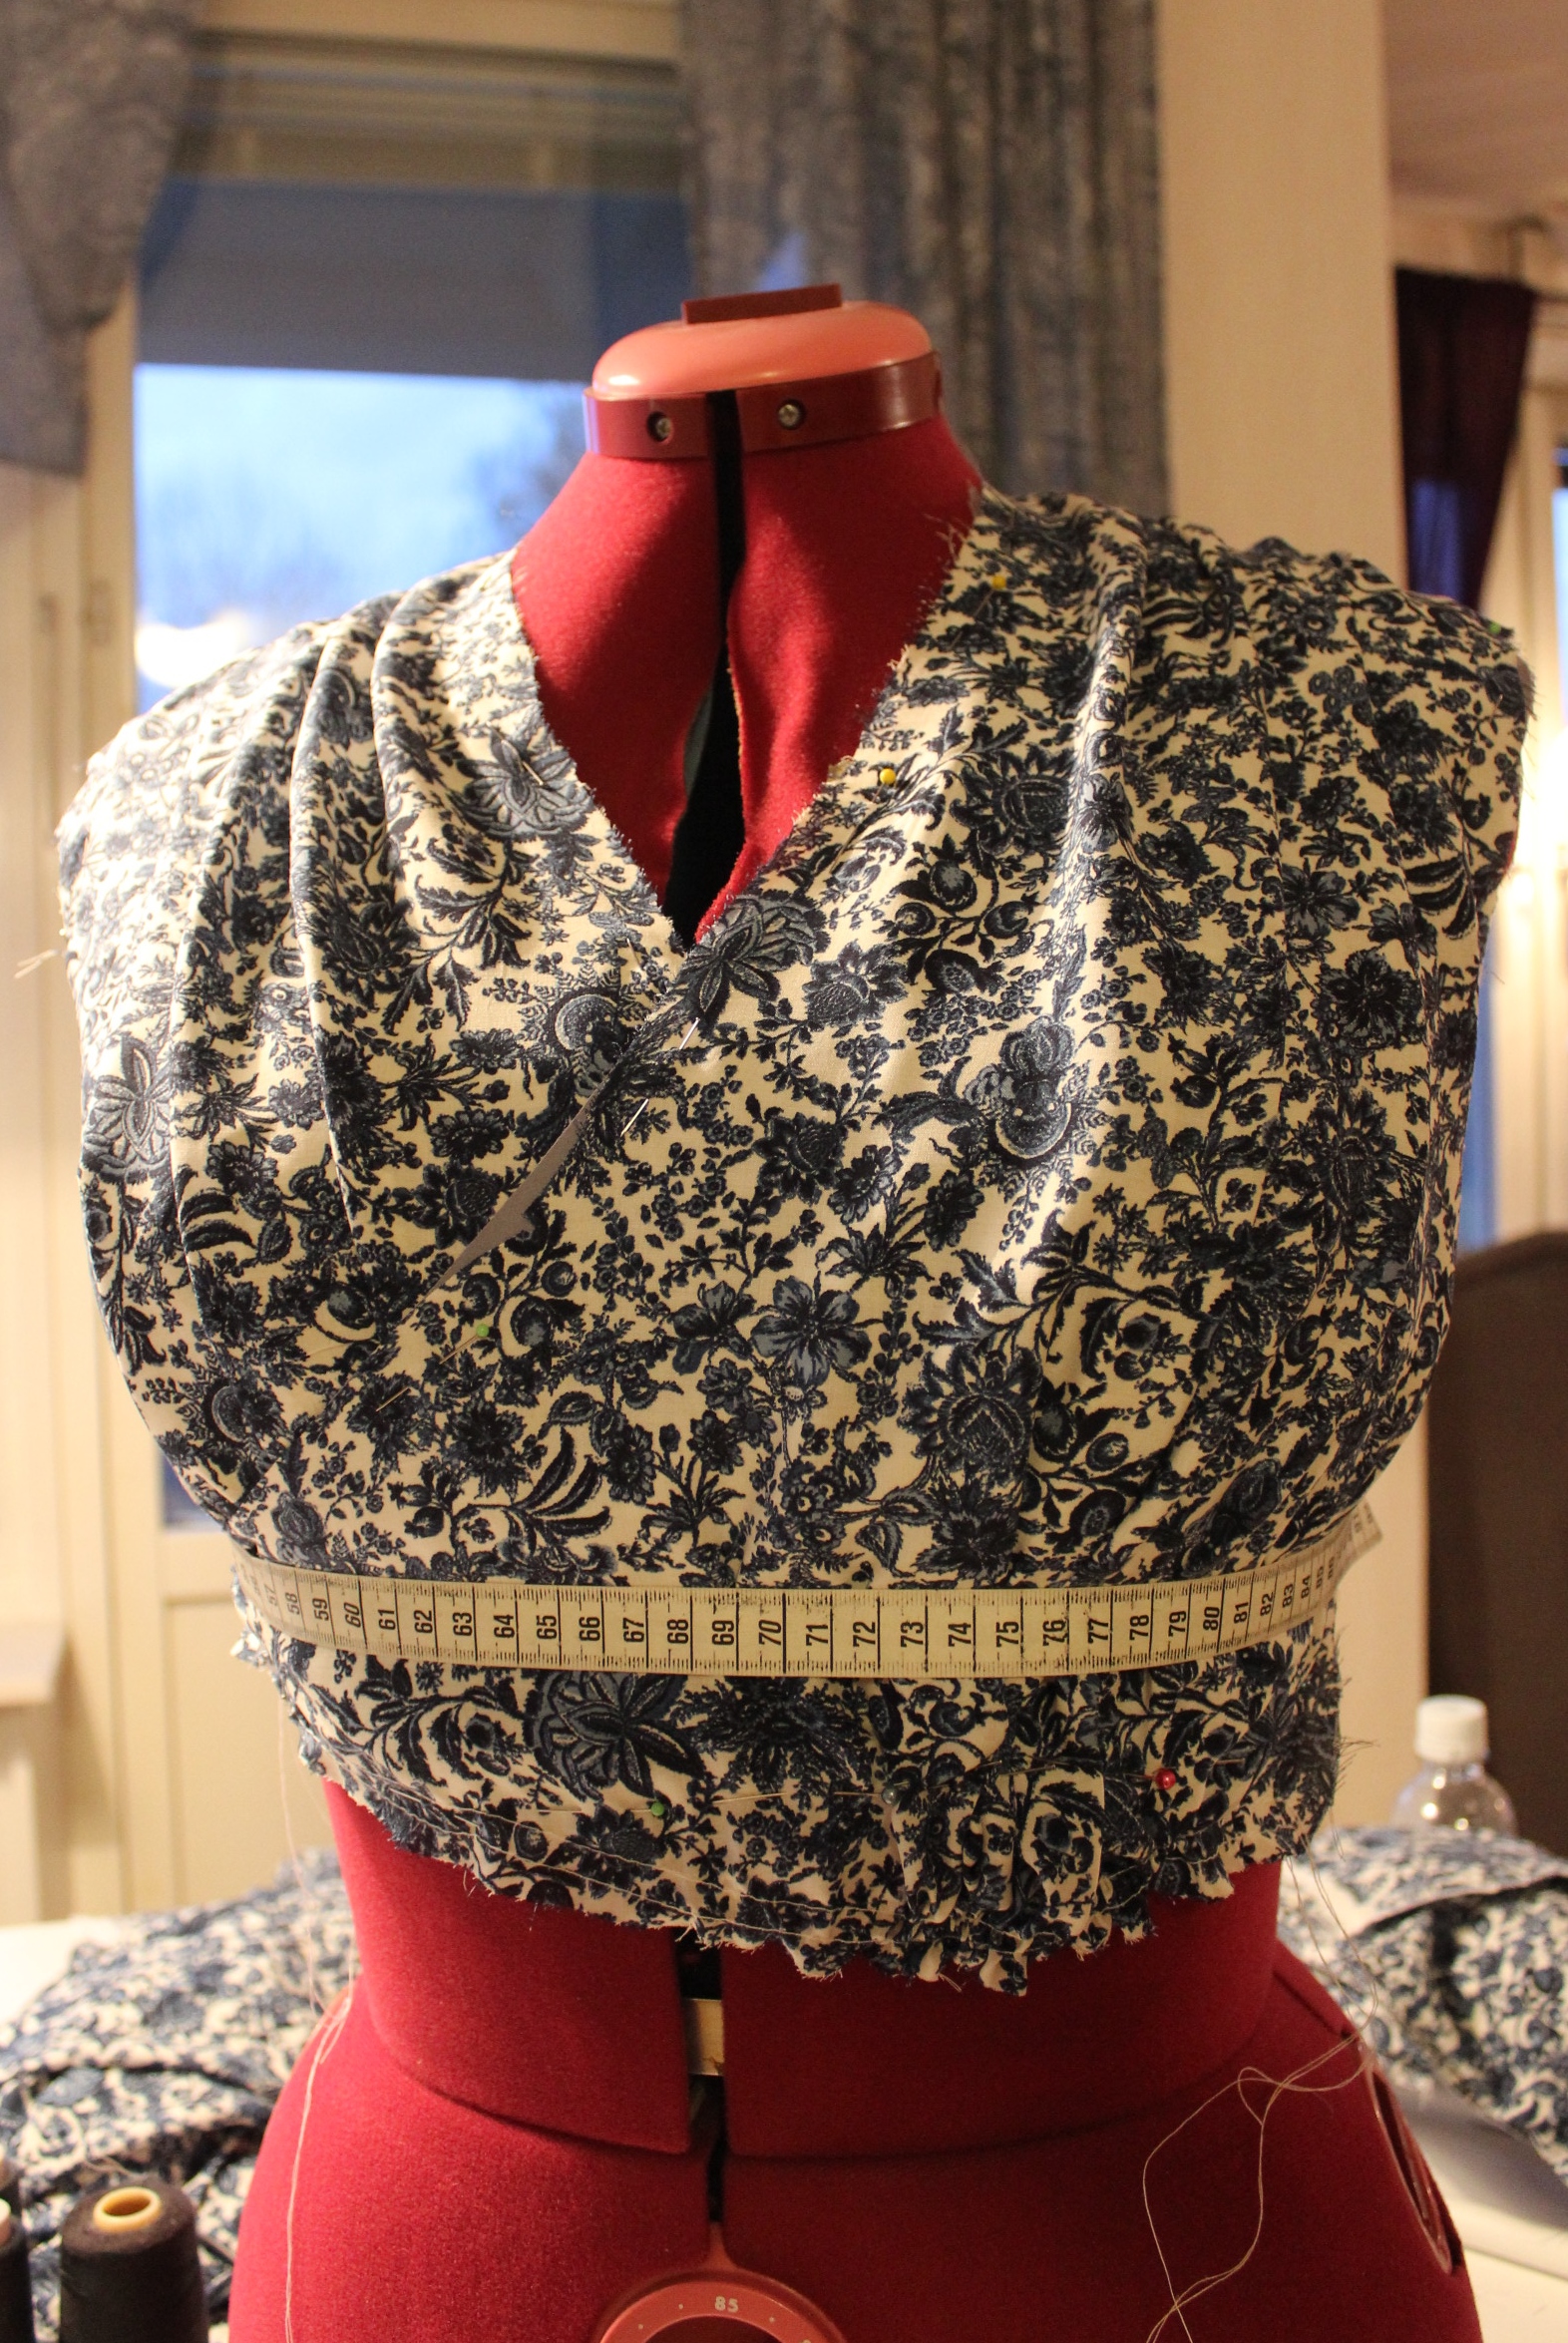
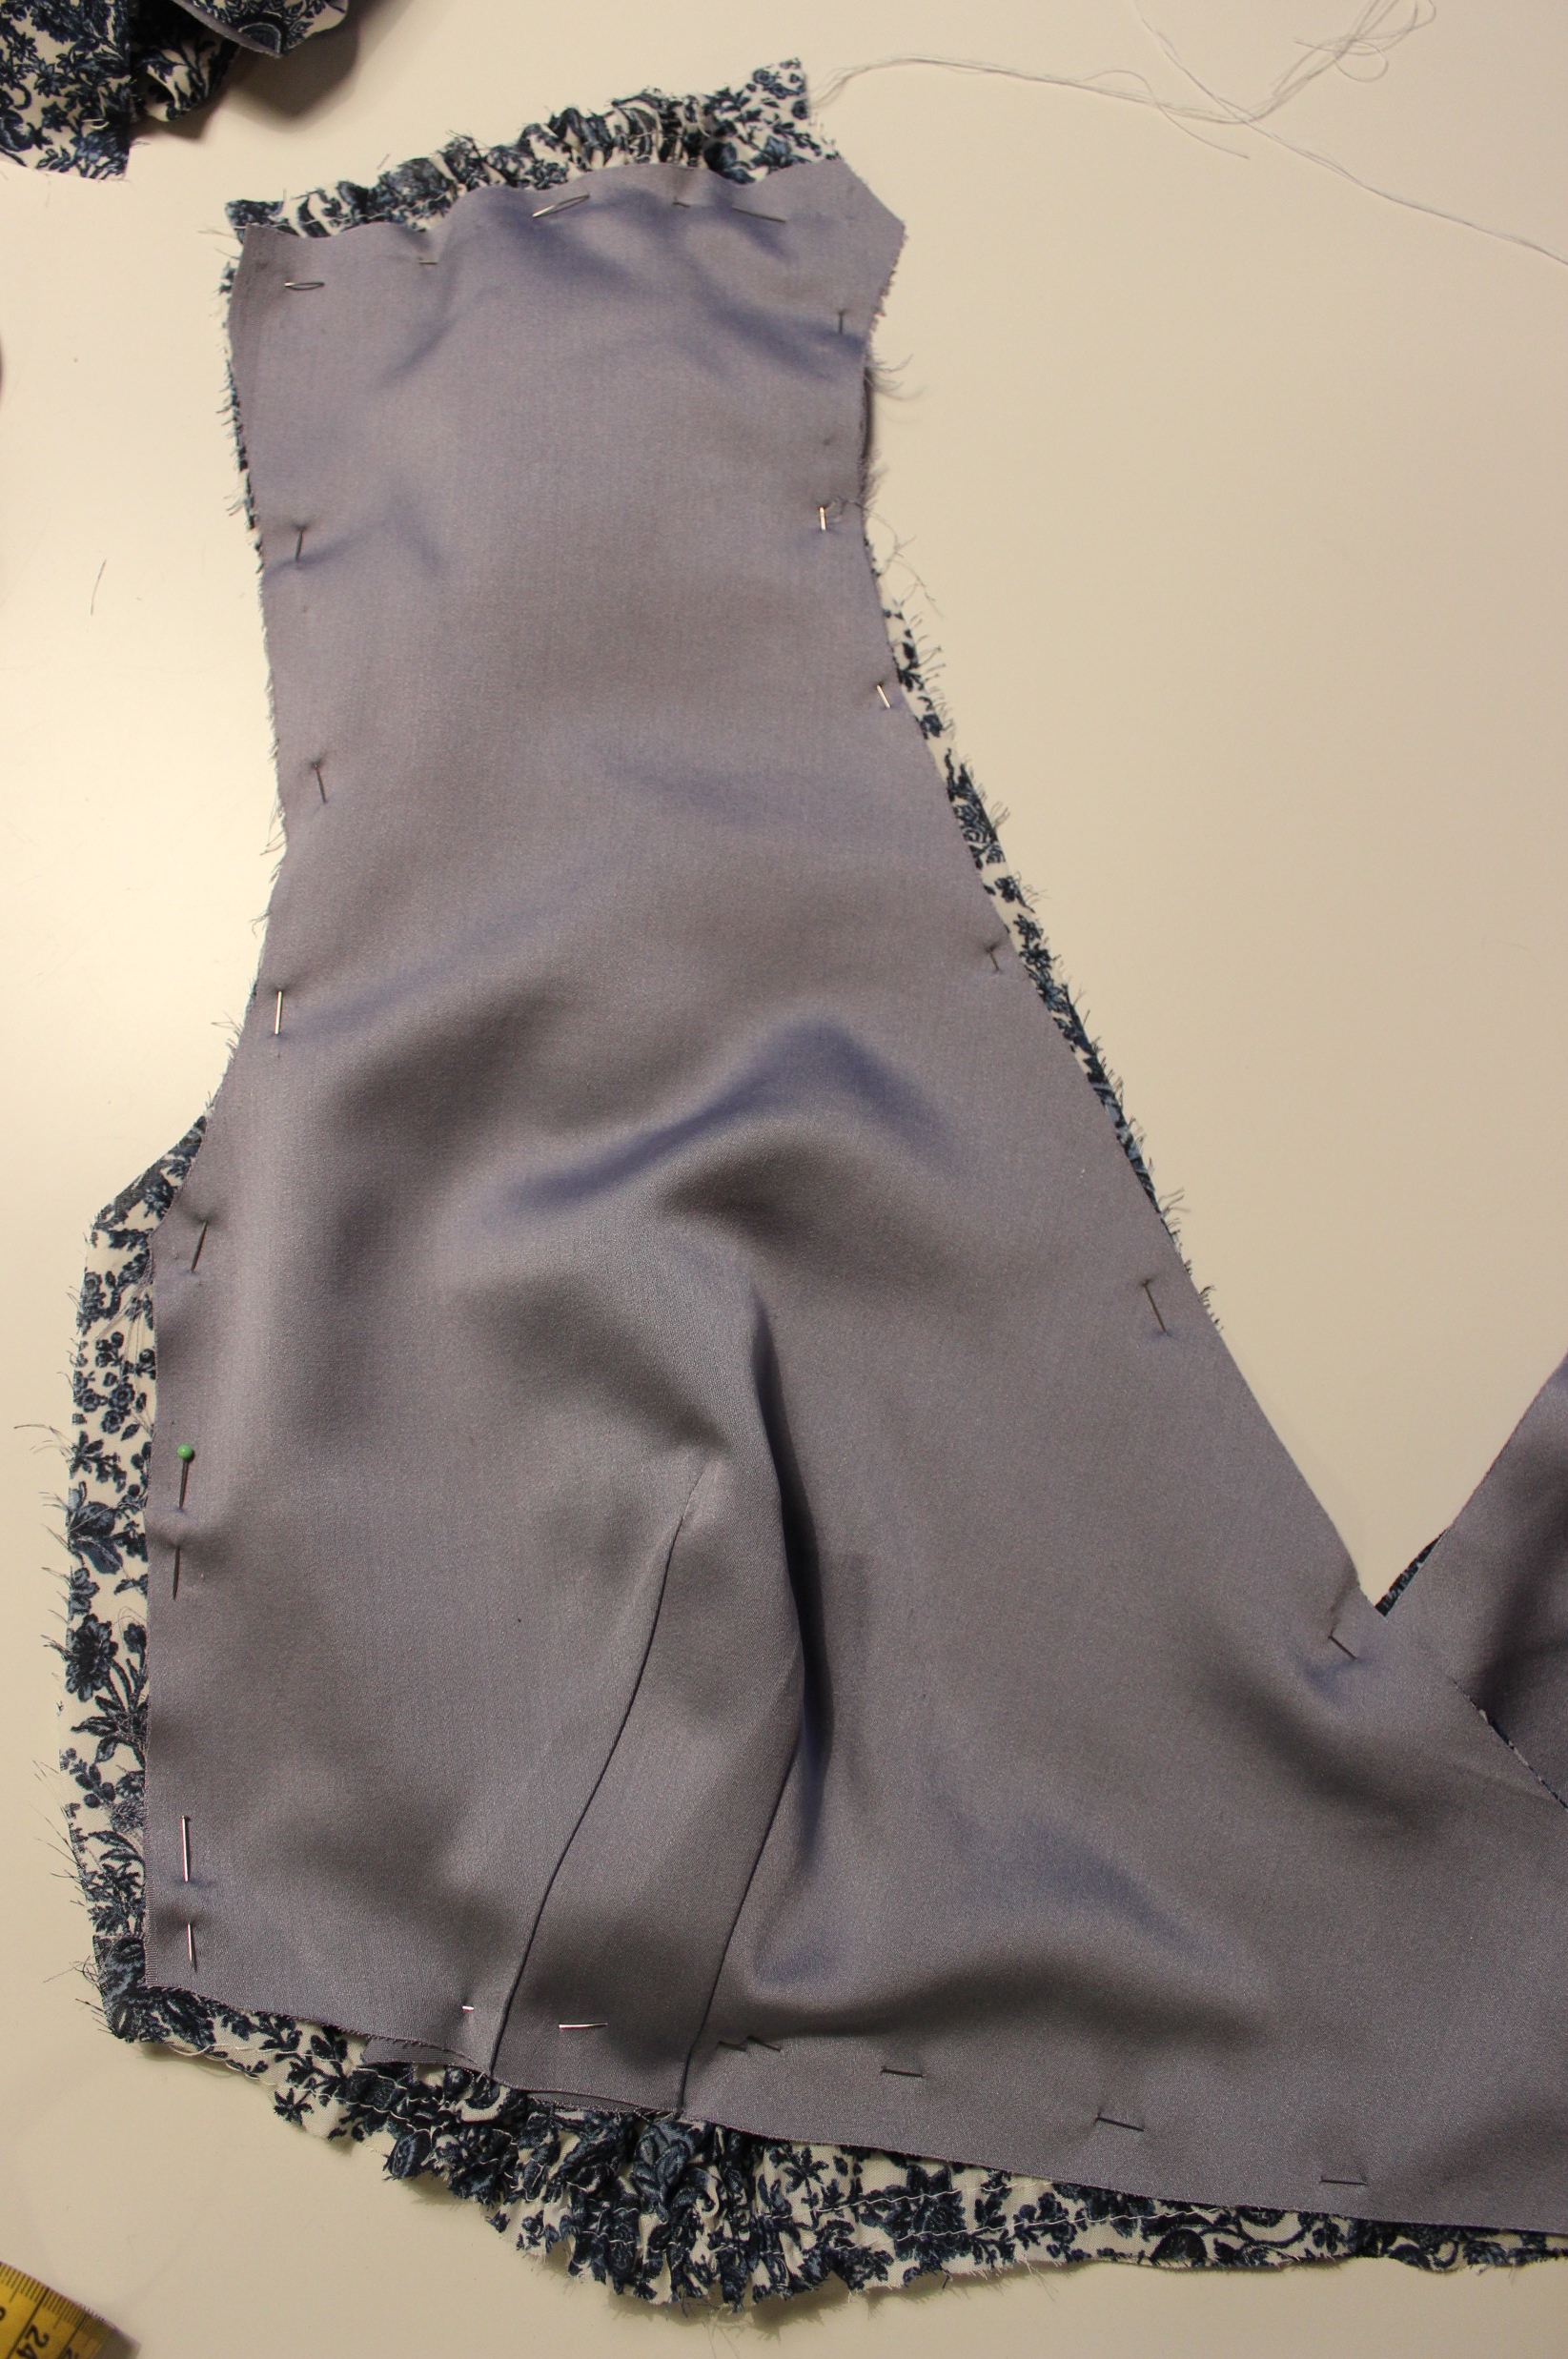
I stitched the lining using darts for bust shaping, 
and basted the lining to the outer fabric.
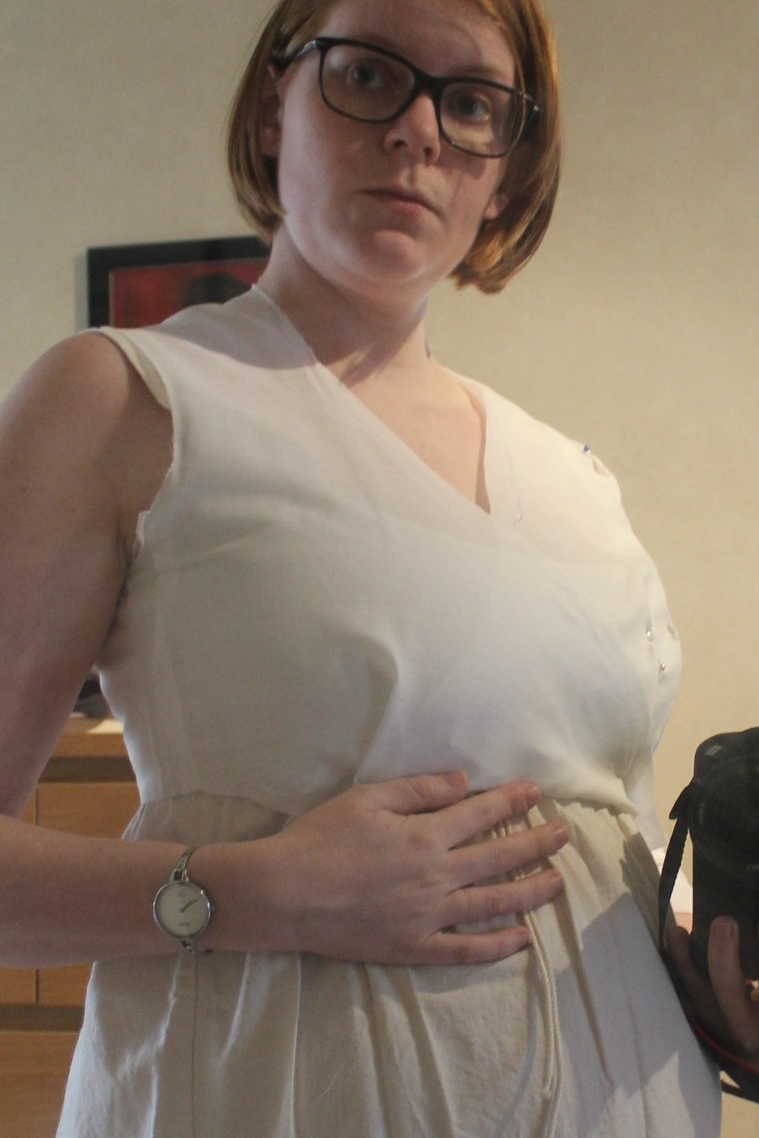
Then I added the sleeves and skirt.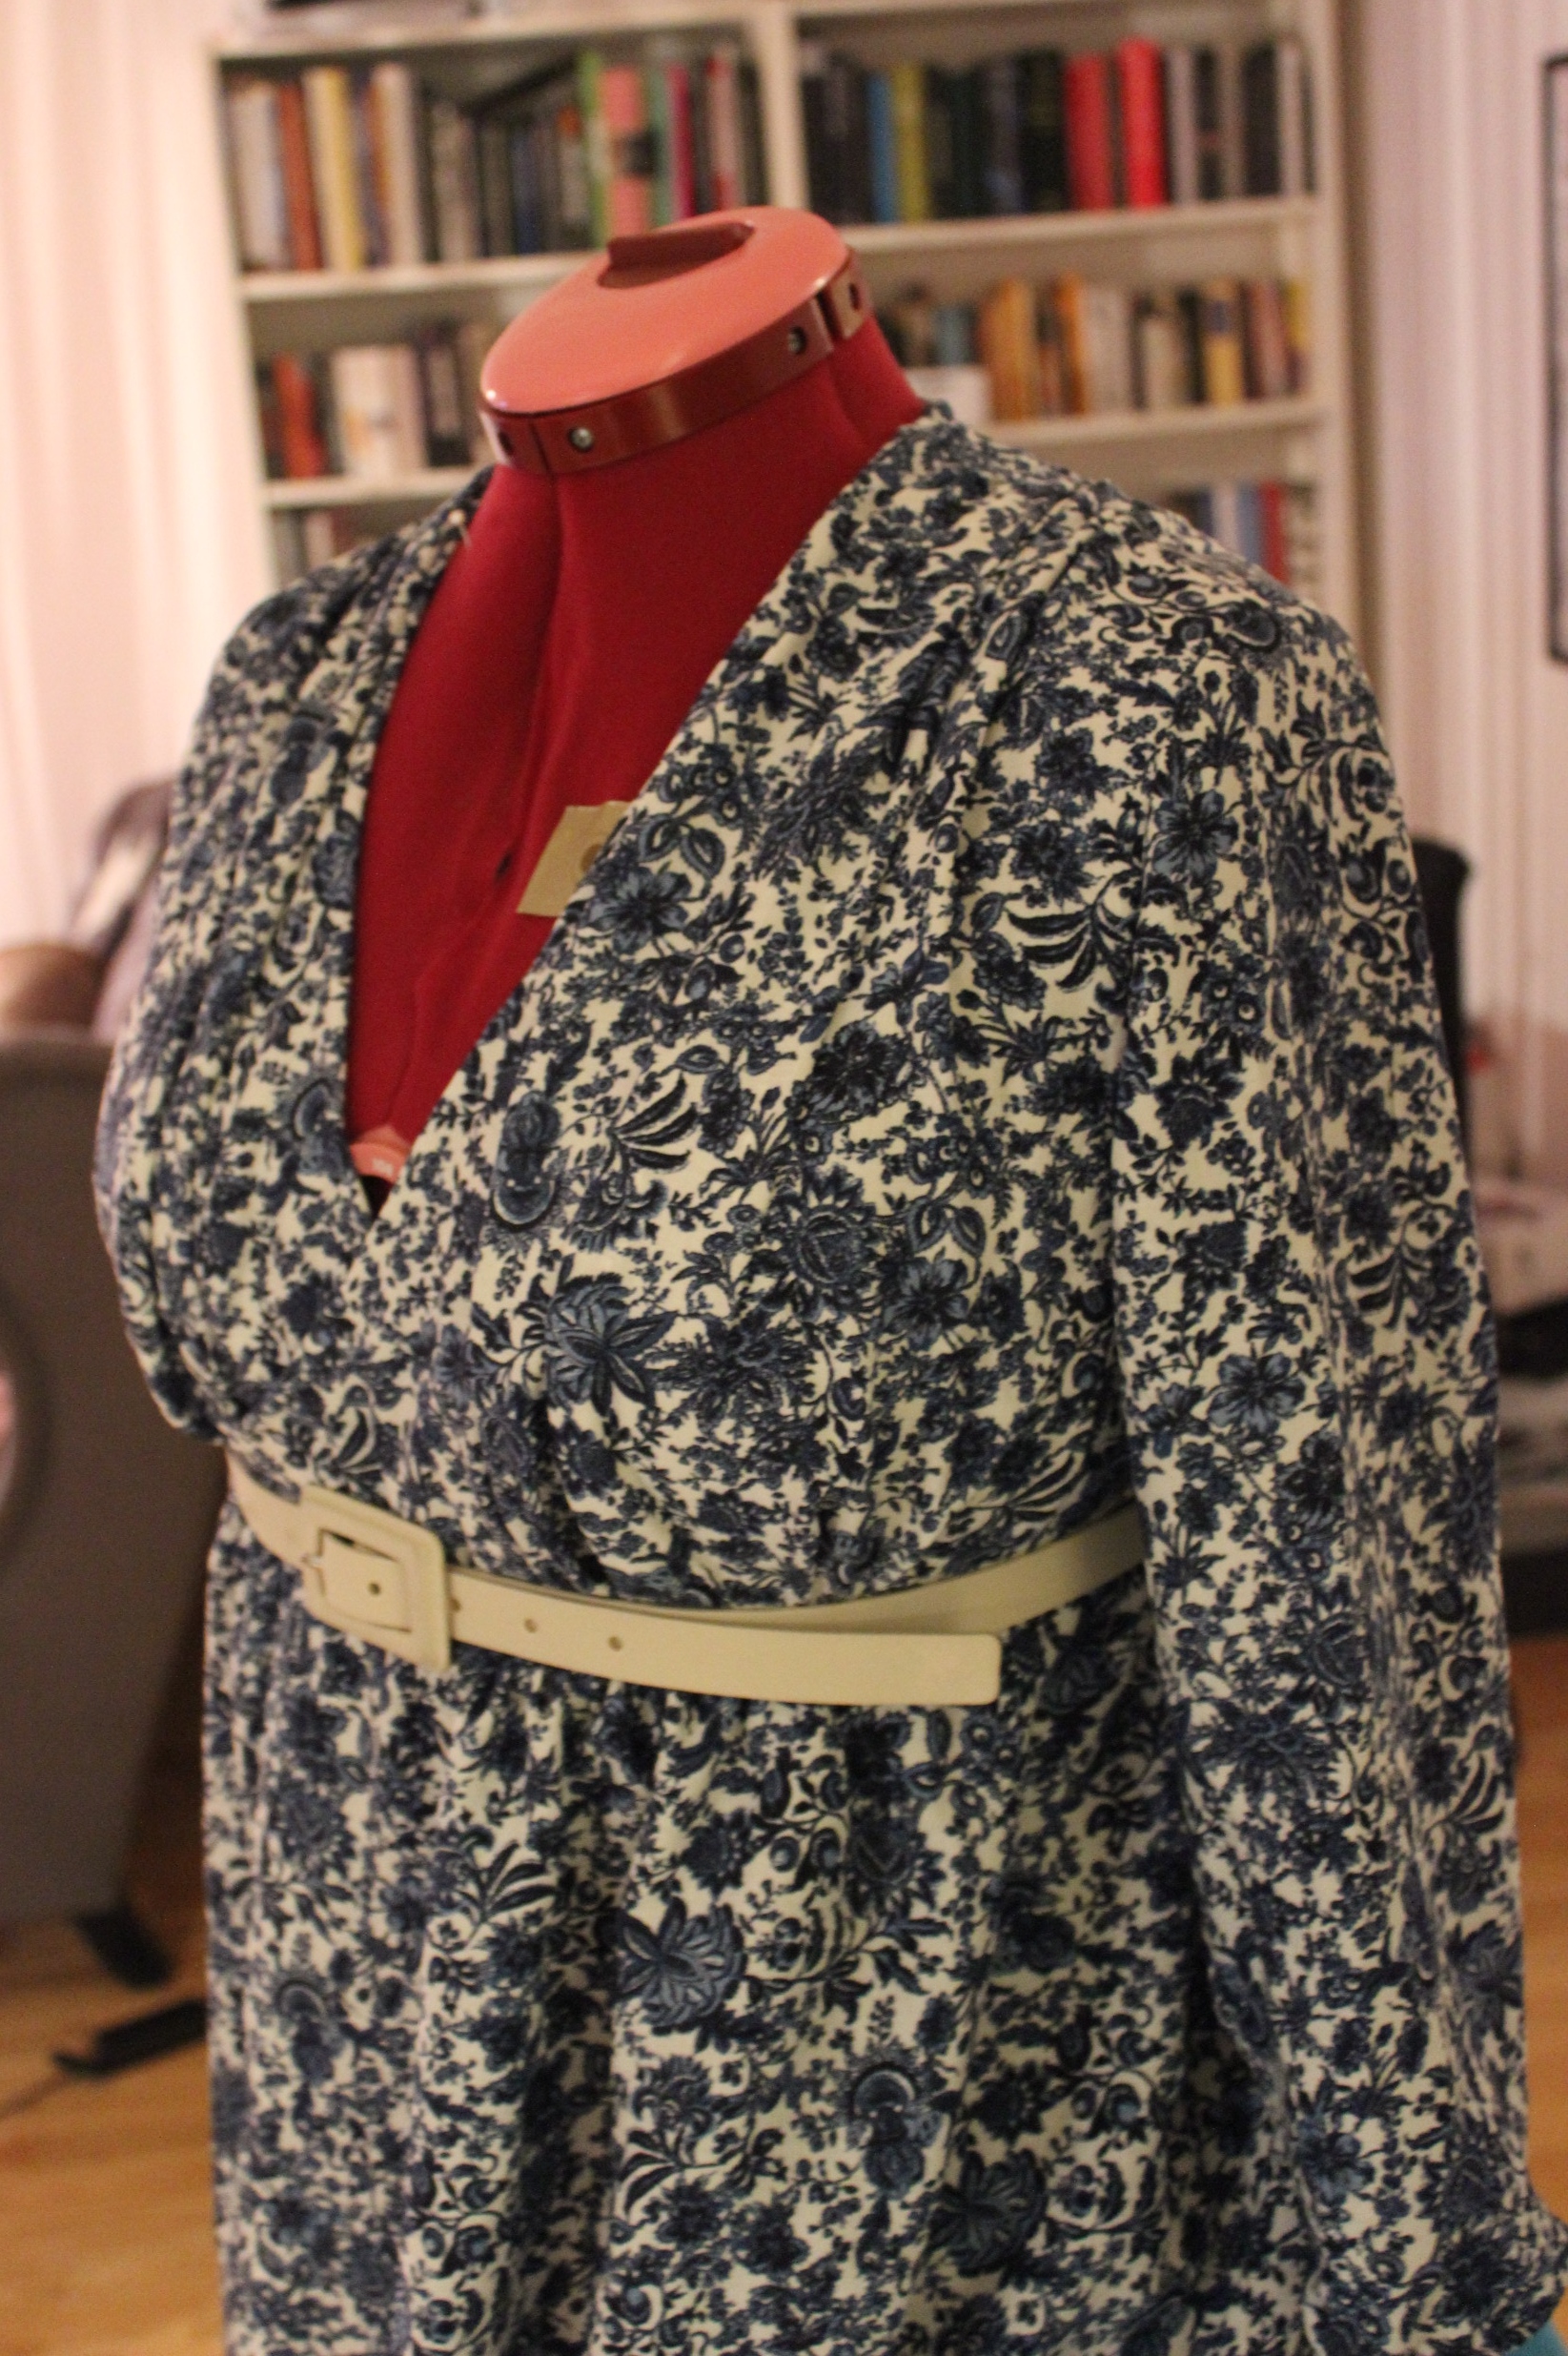 The first look at how it might look once done (skirt just basted at this point).
I tried the dress on, and it fitted like a (very soft and unbelievable comfortable) glove.
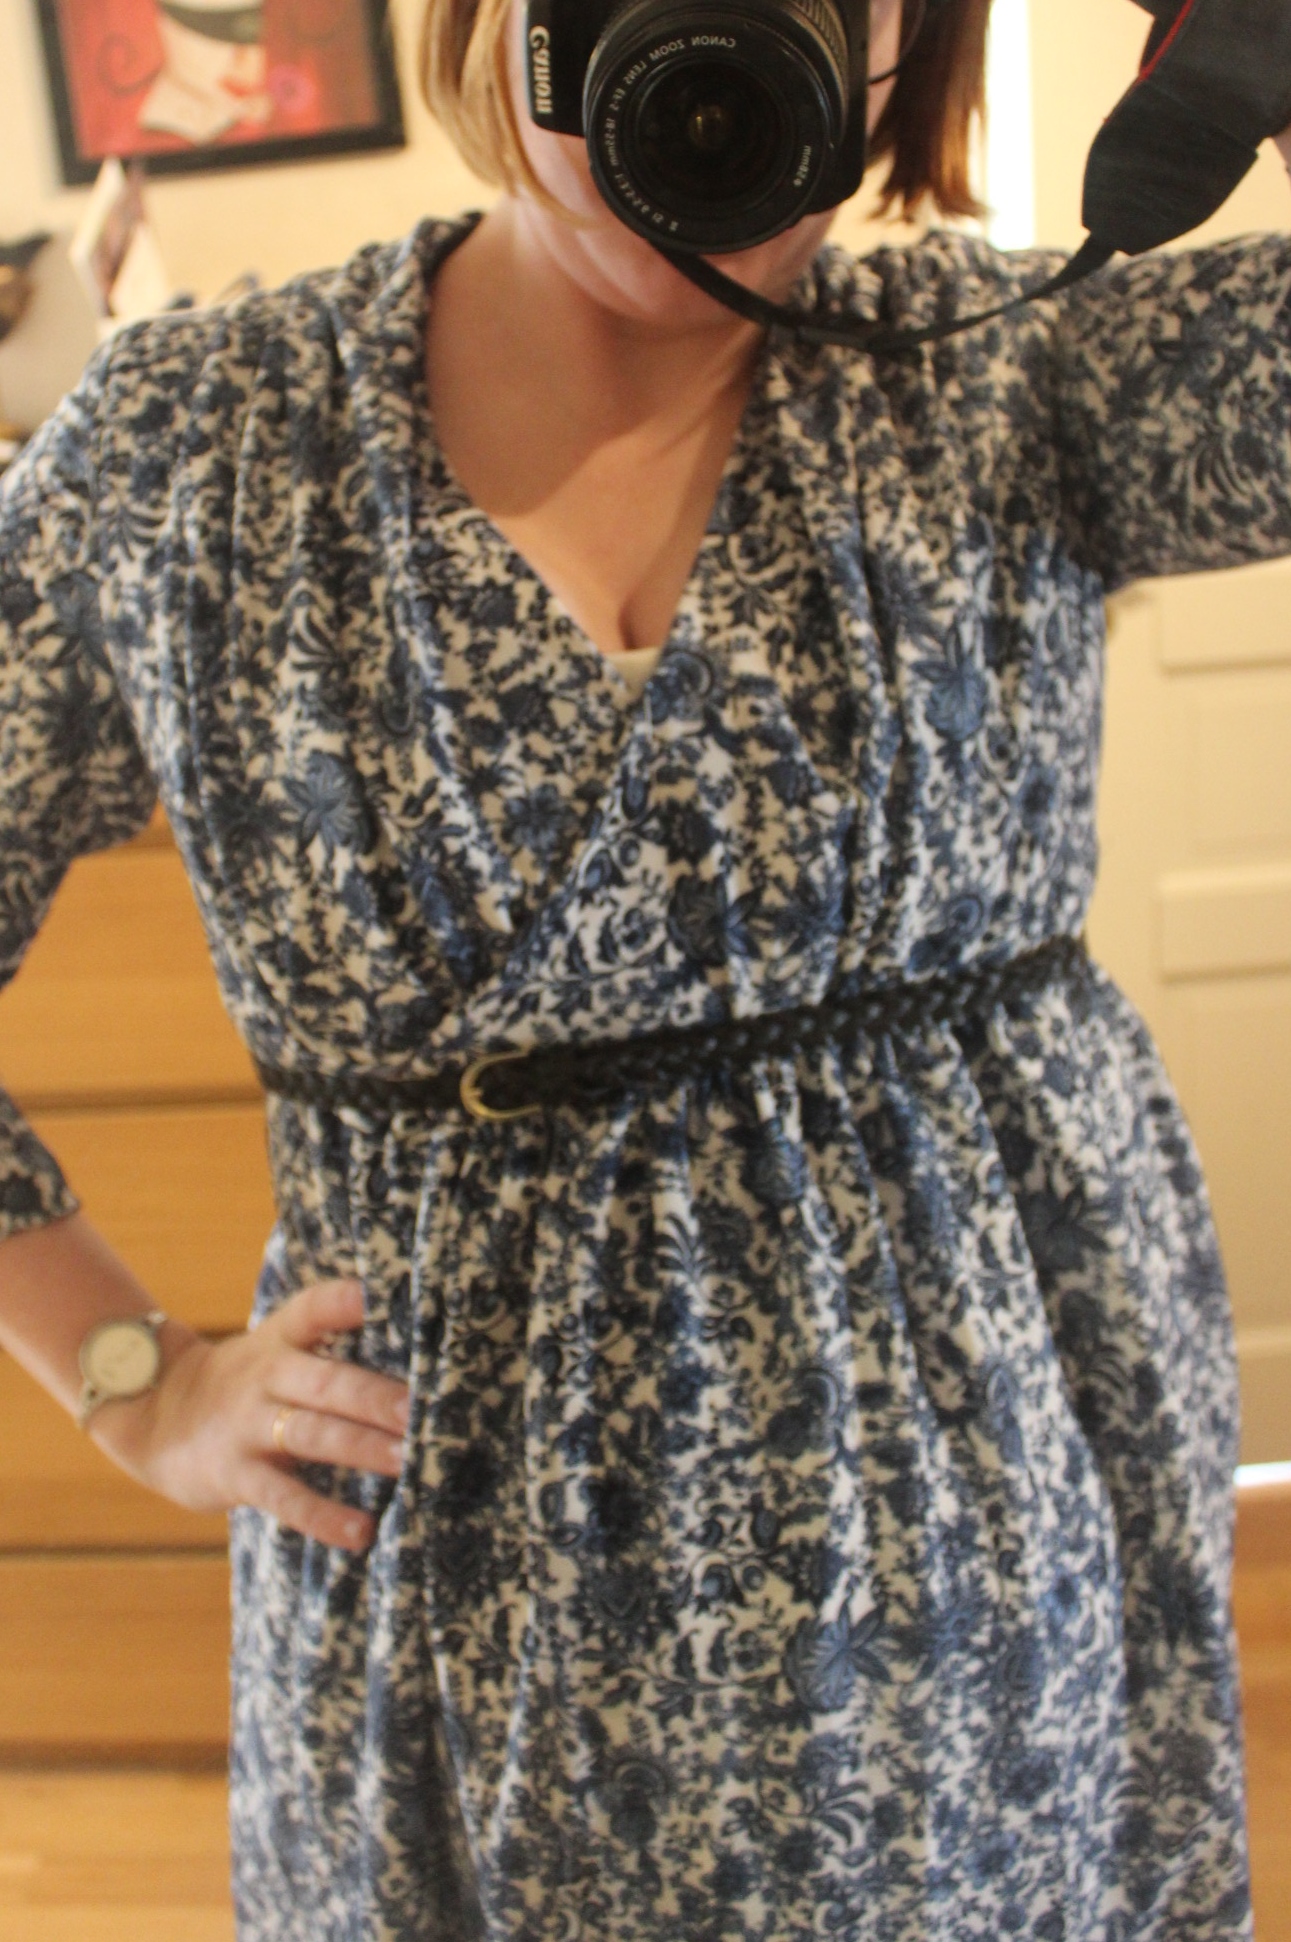
 Tiny belly showing…
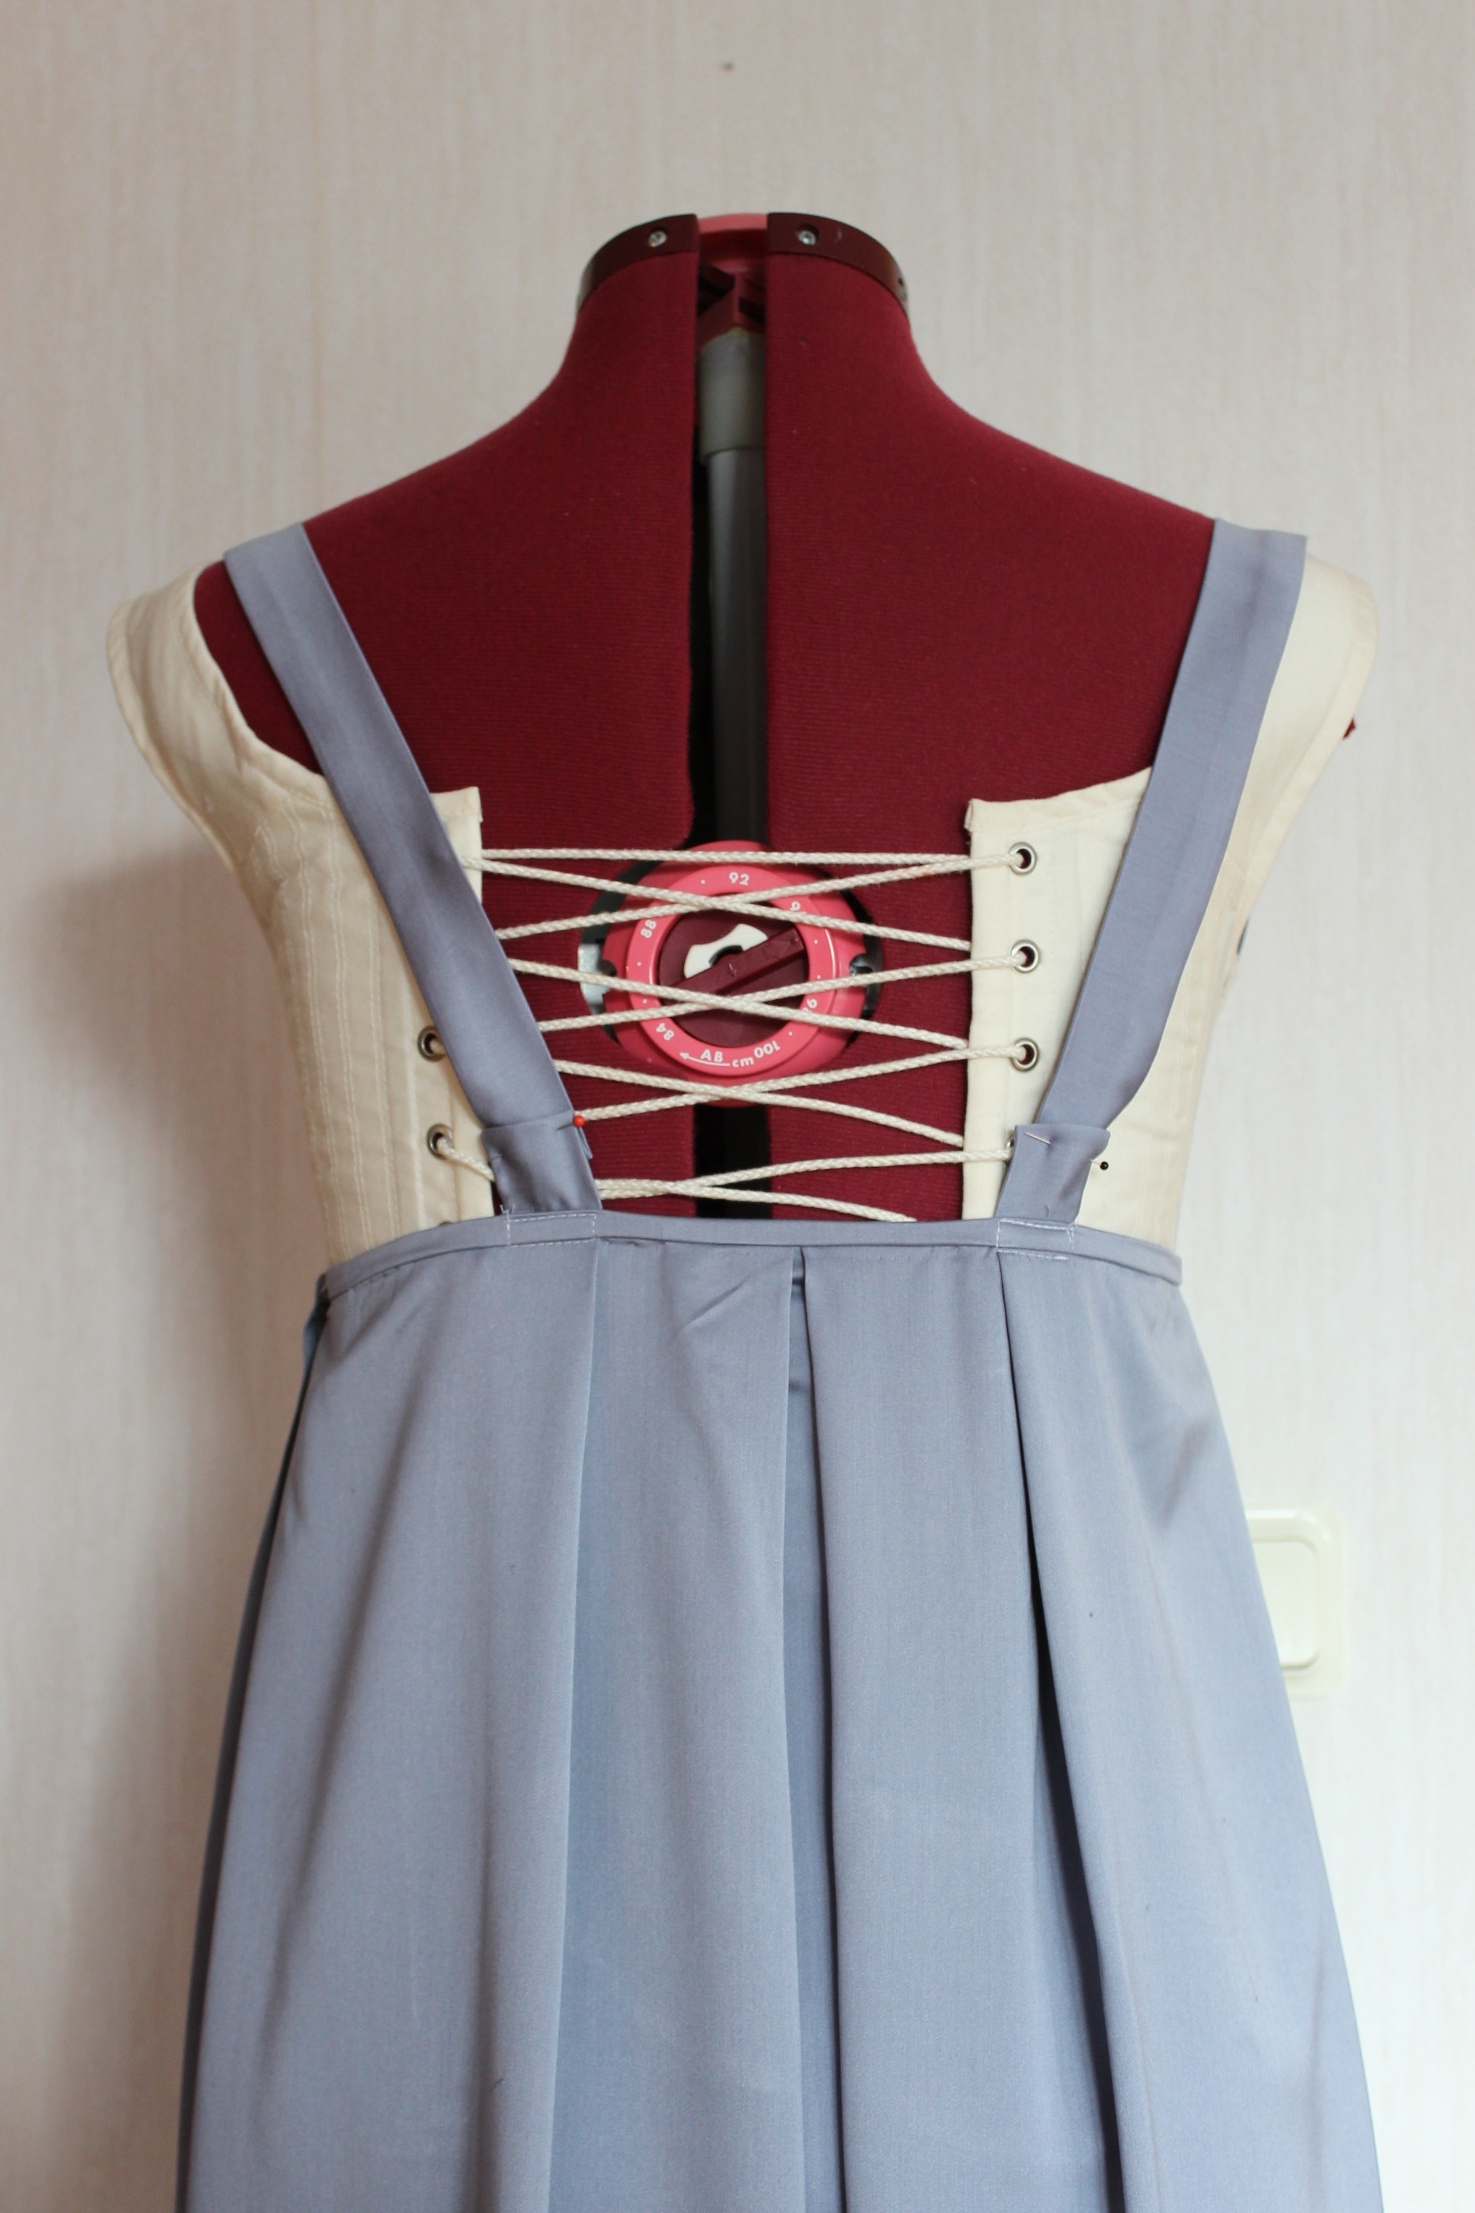
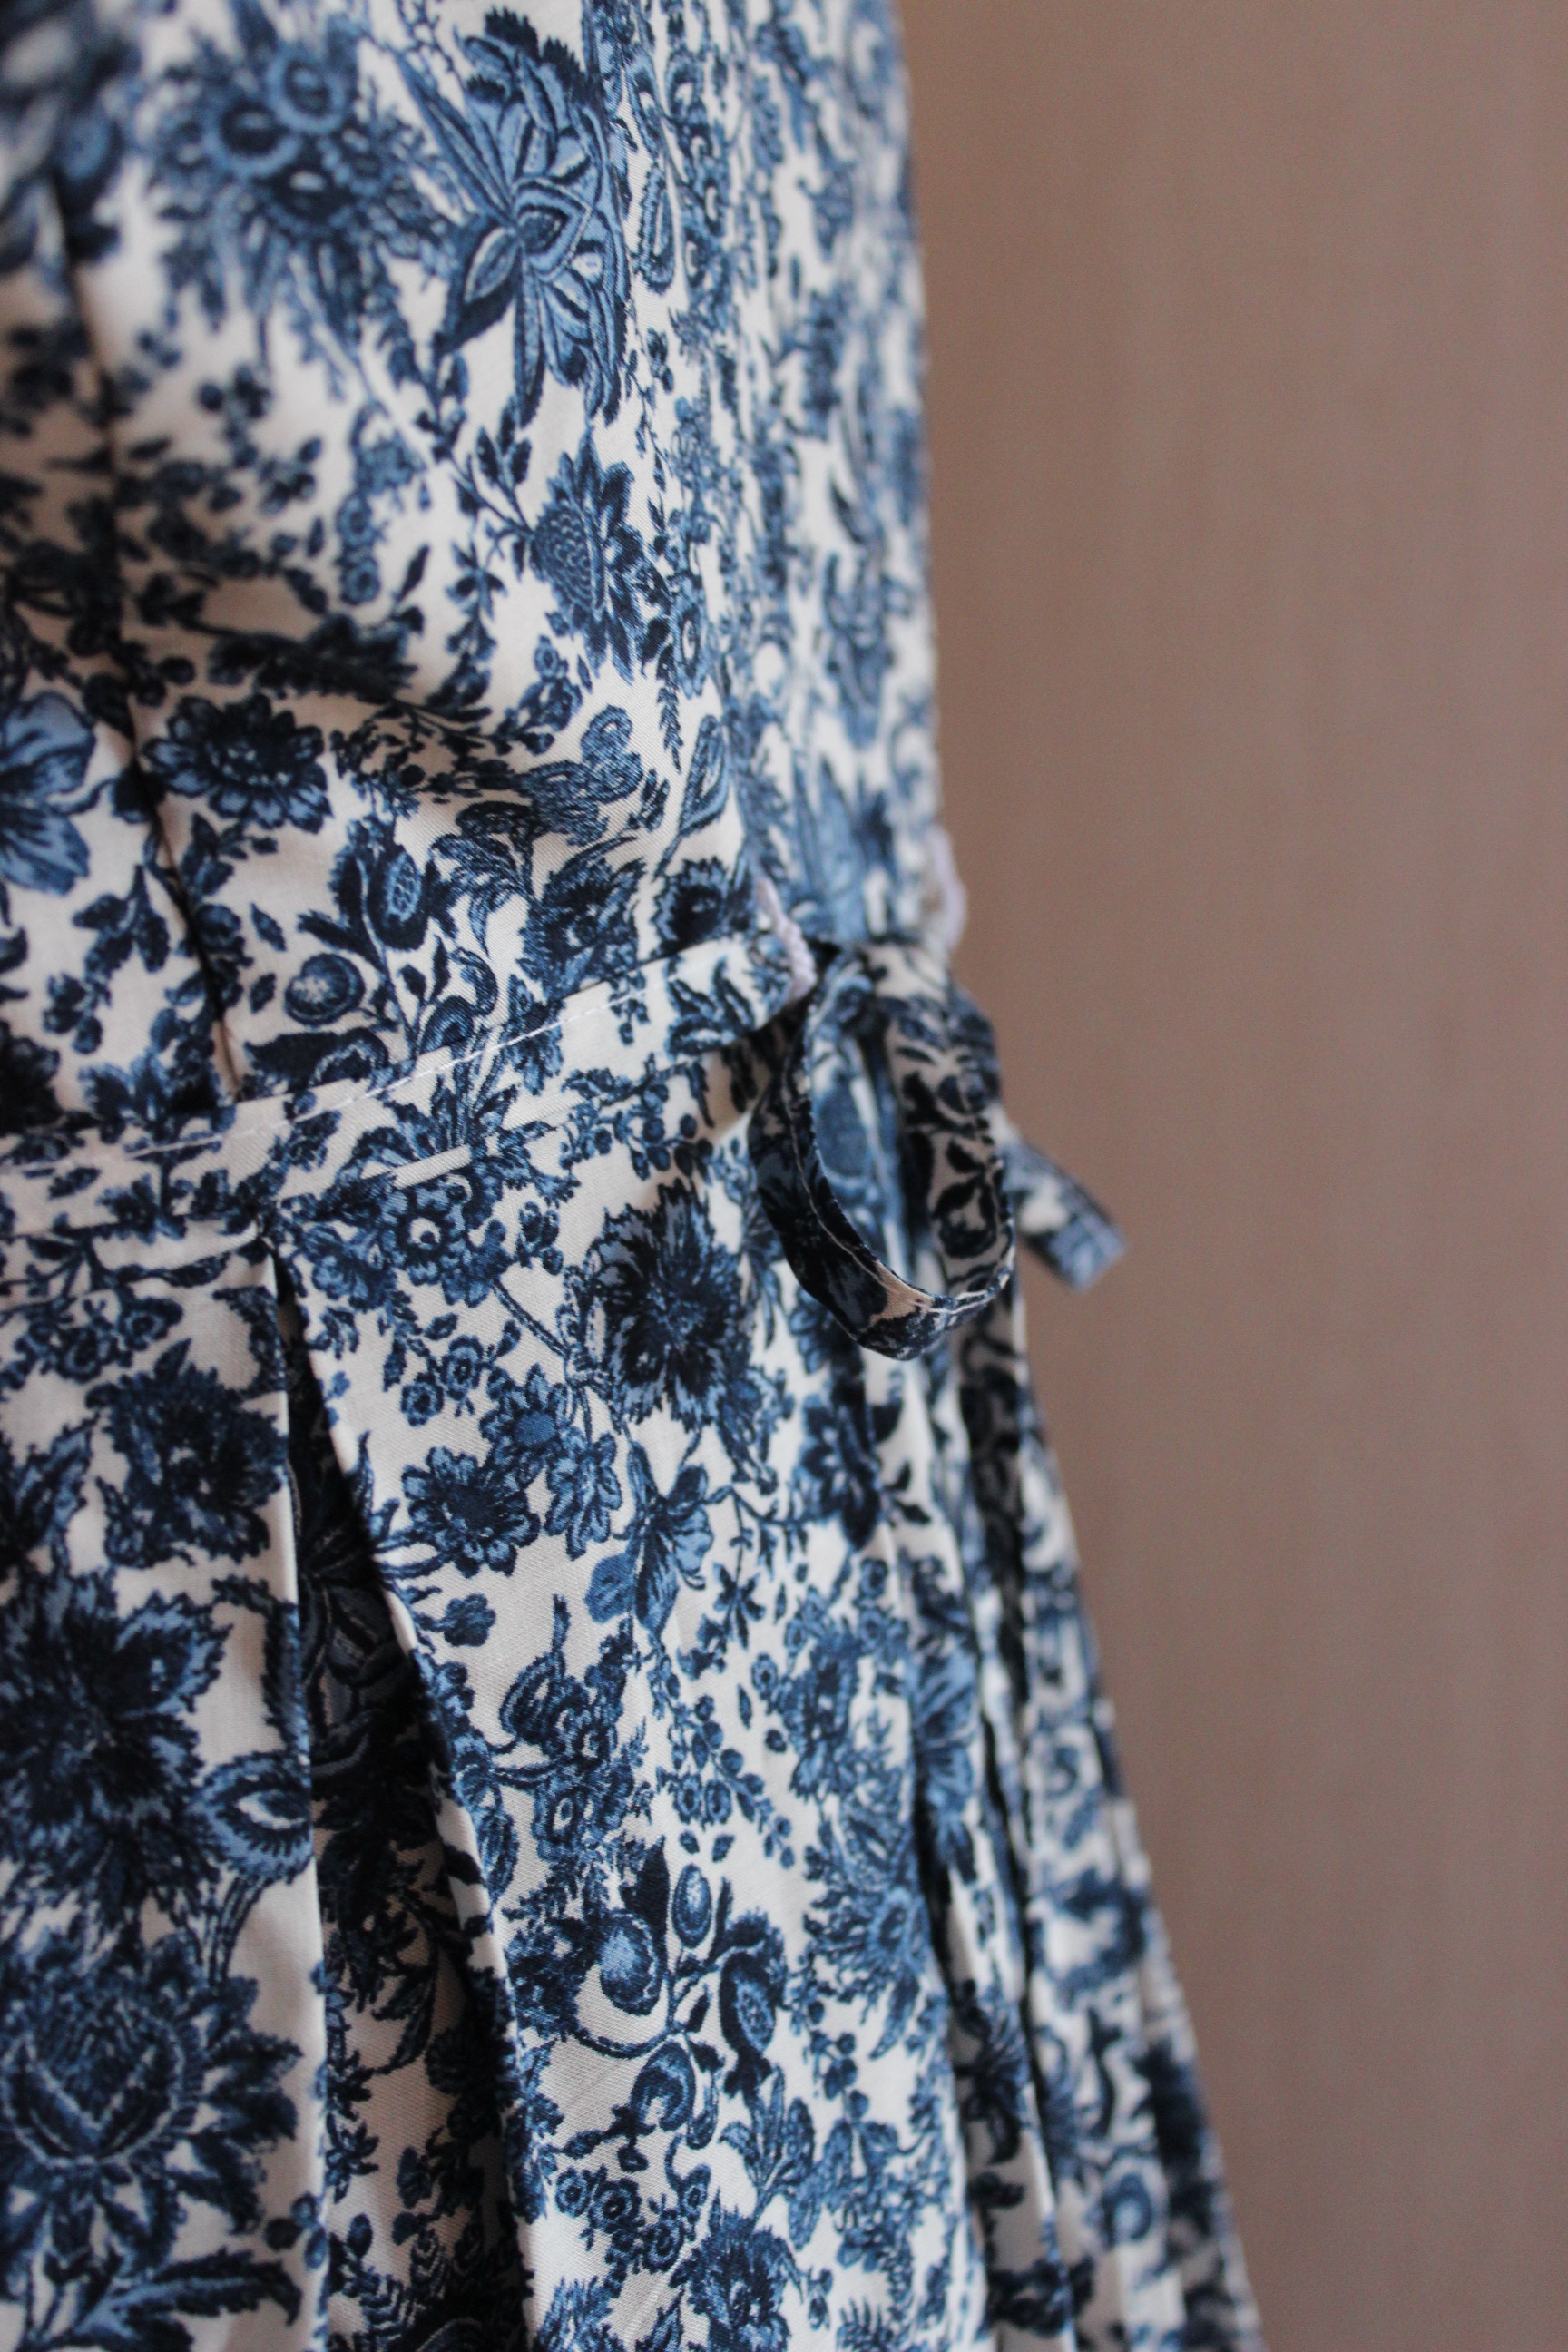
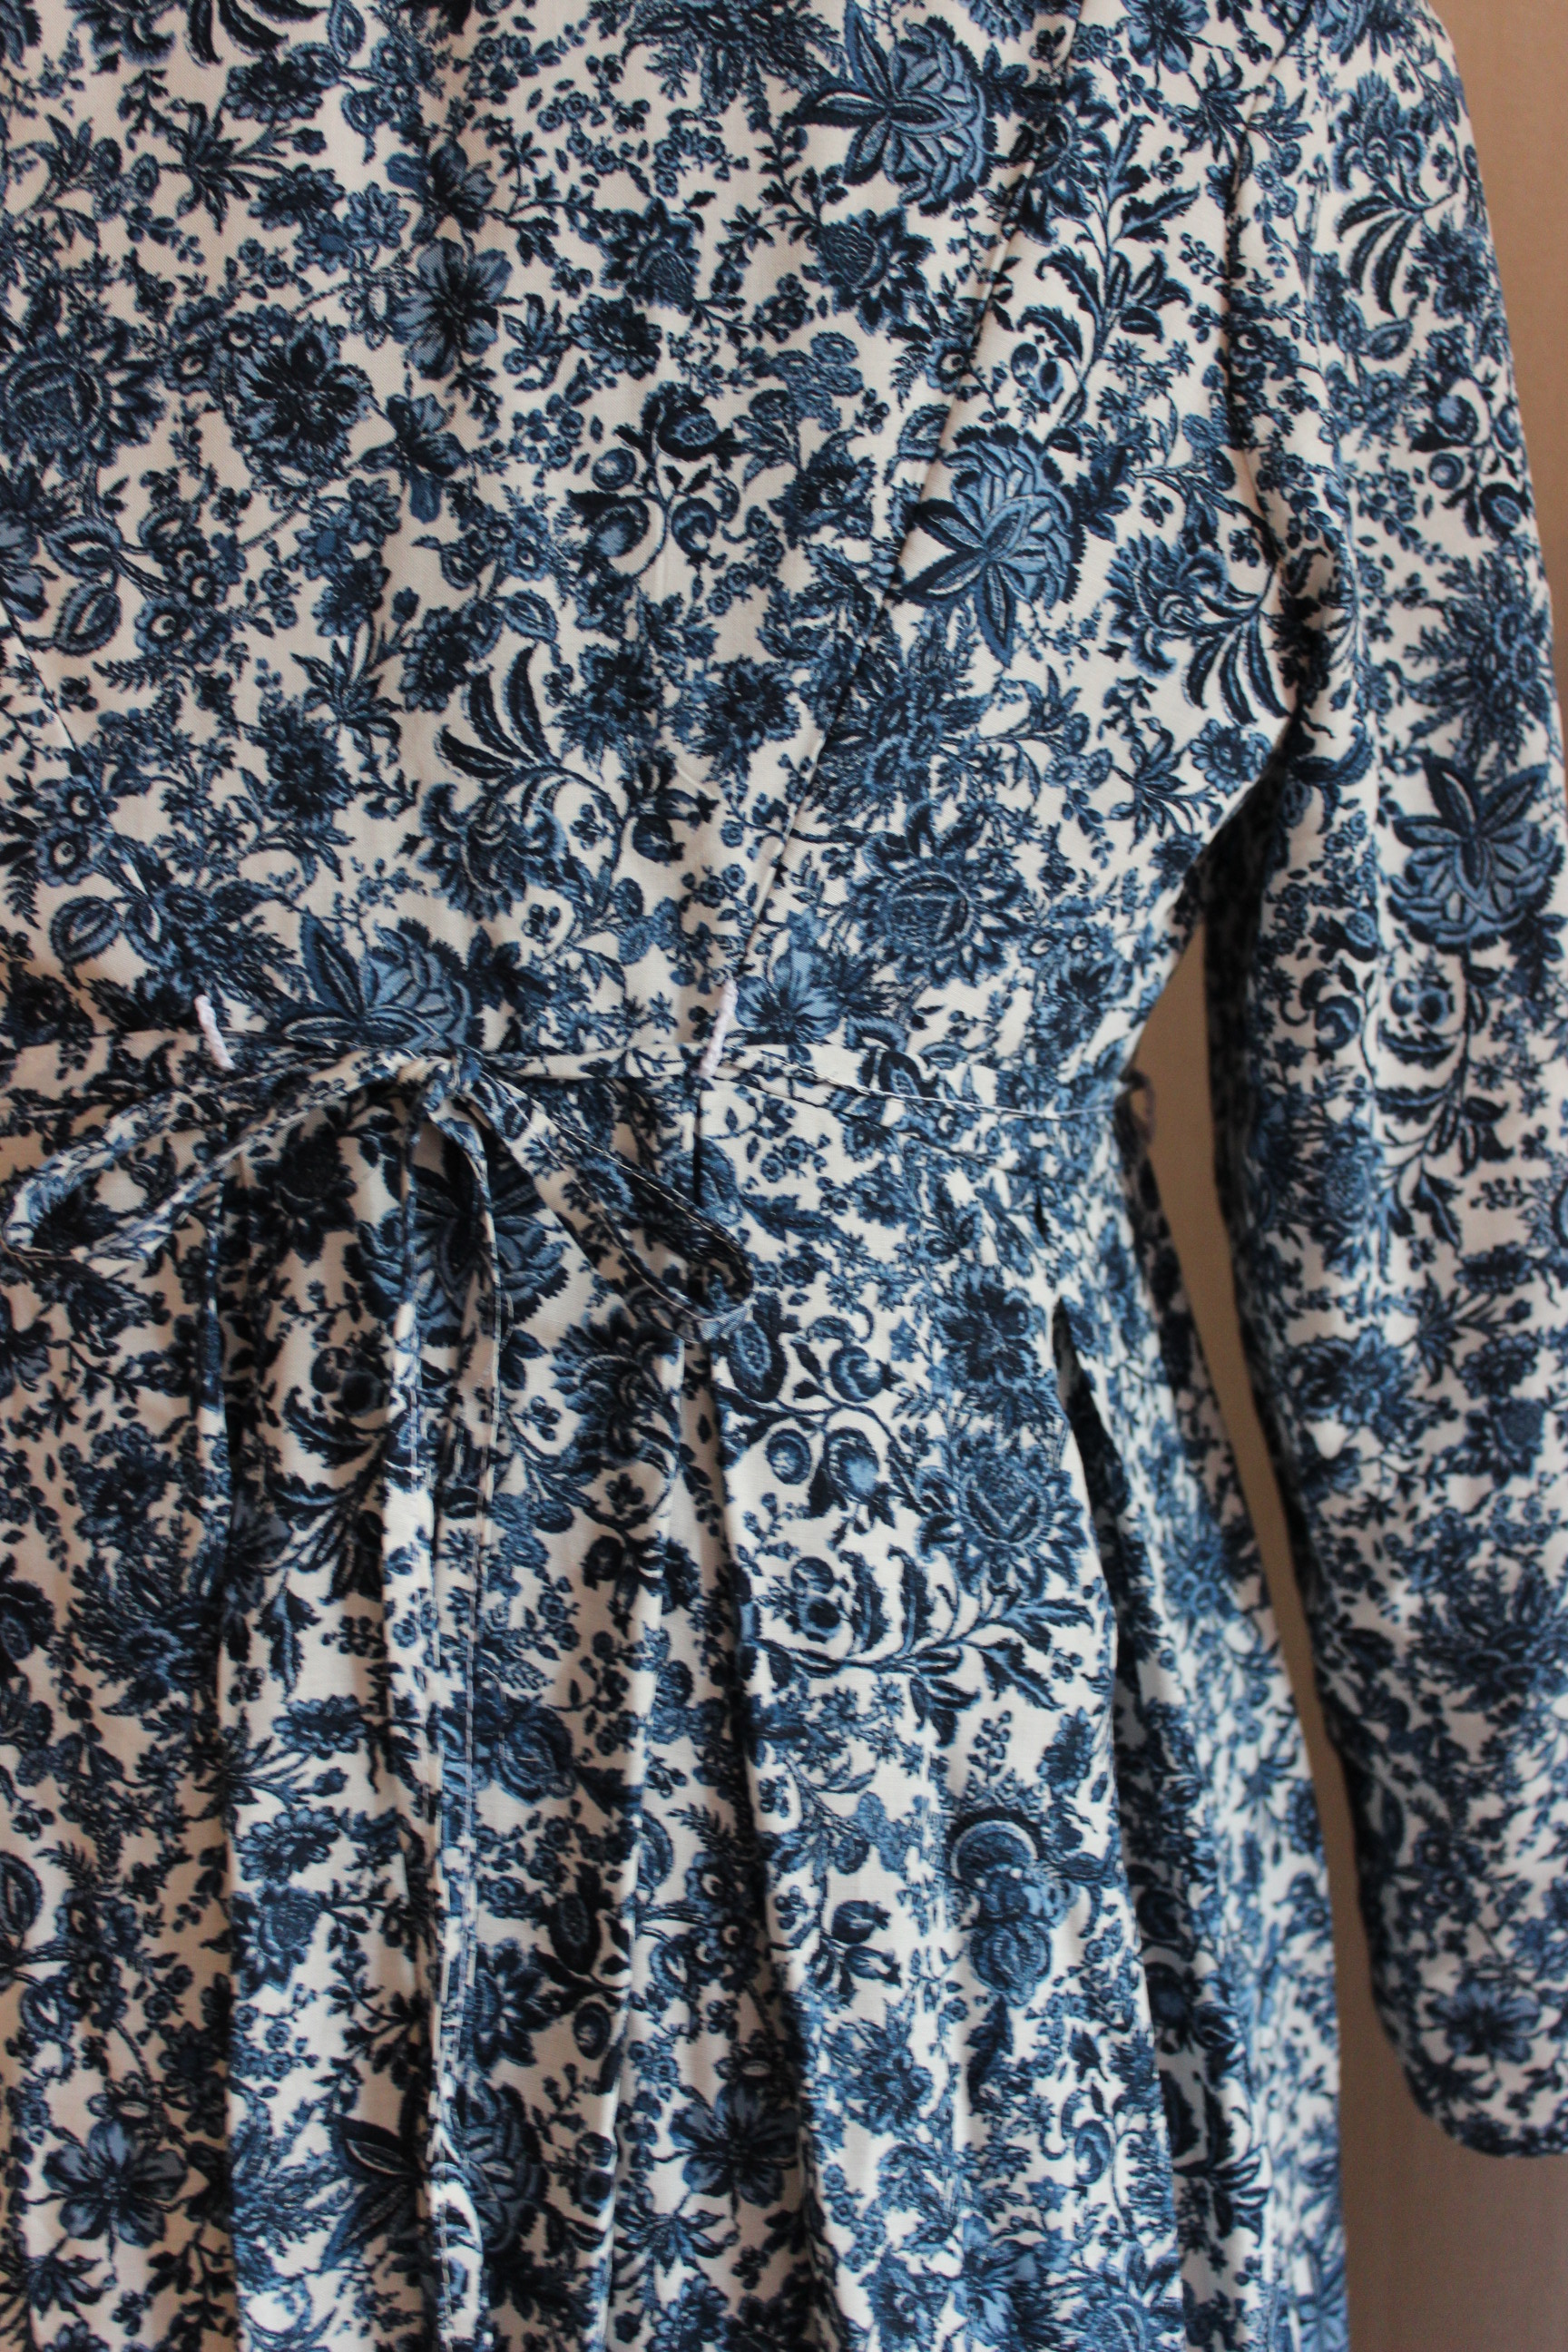
All that remained was to add ties and buttonhole for clouser and to hem the dress.
But before I could take the dress out for a spin (literally) I needed to make myself a skirt to match, to prevent any mishaps in the “underwear showing through the front opening” category.
Said and done.
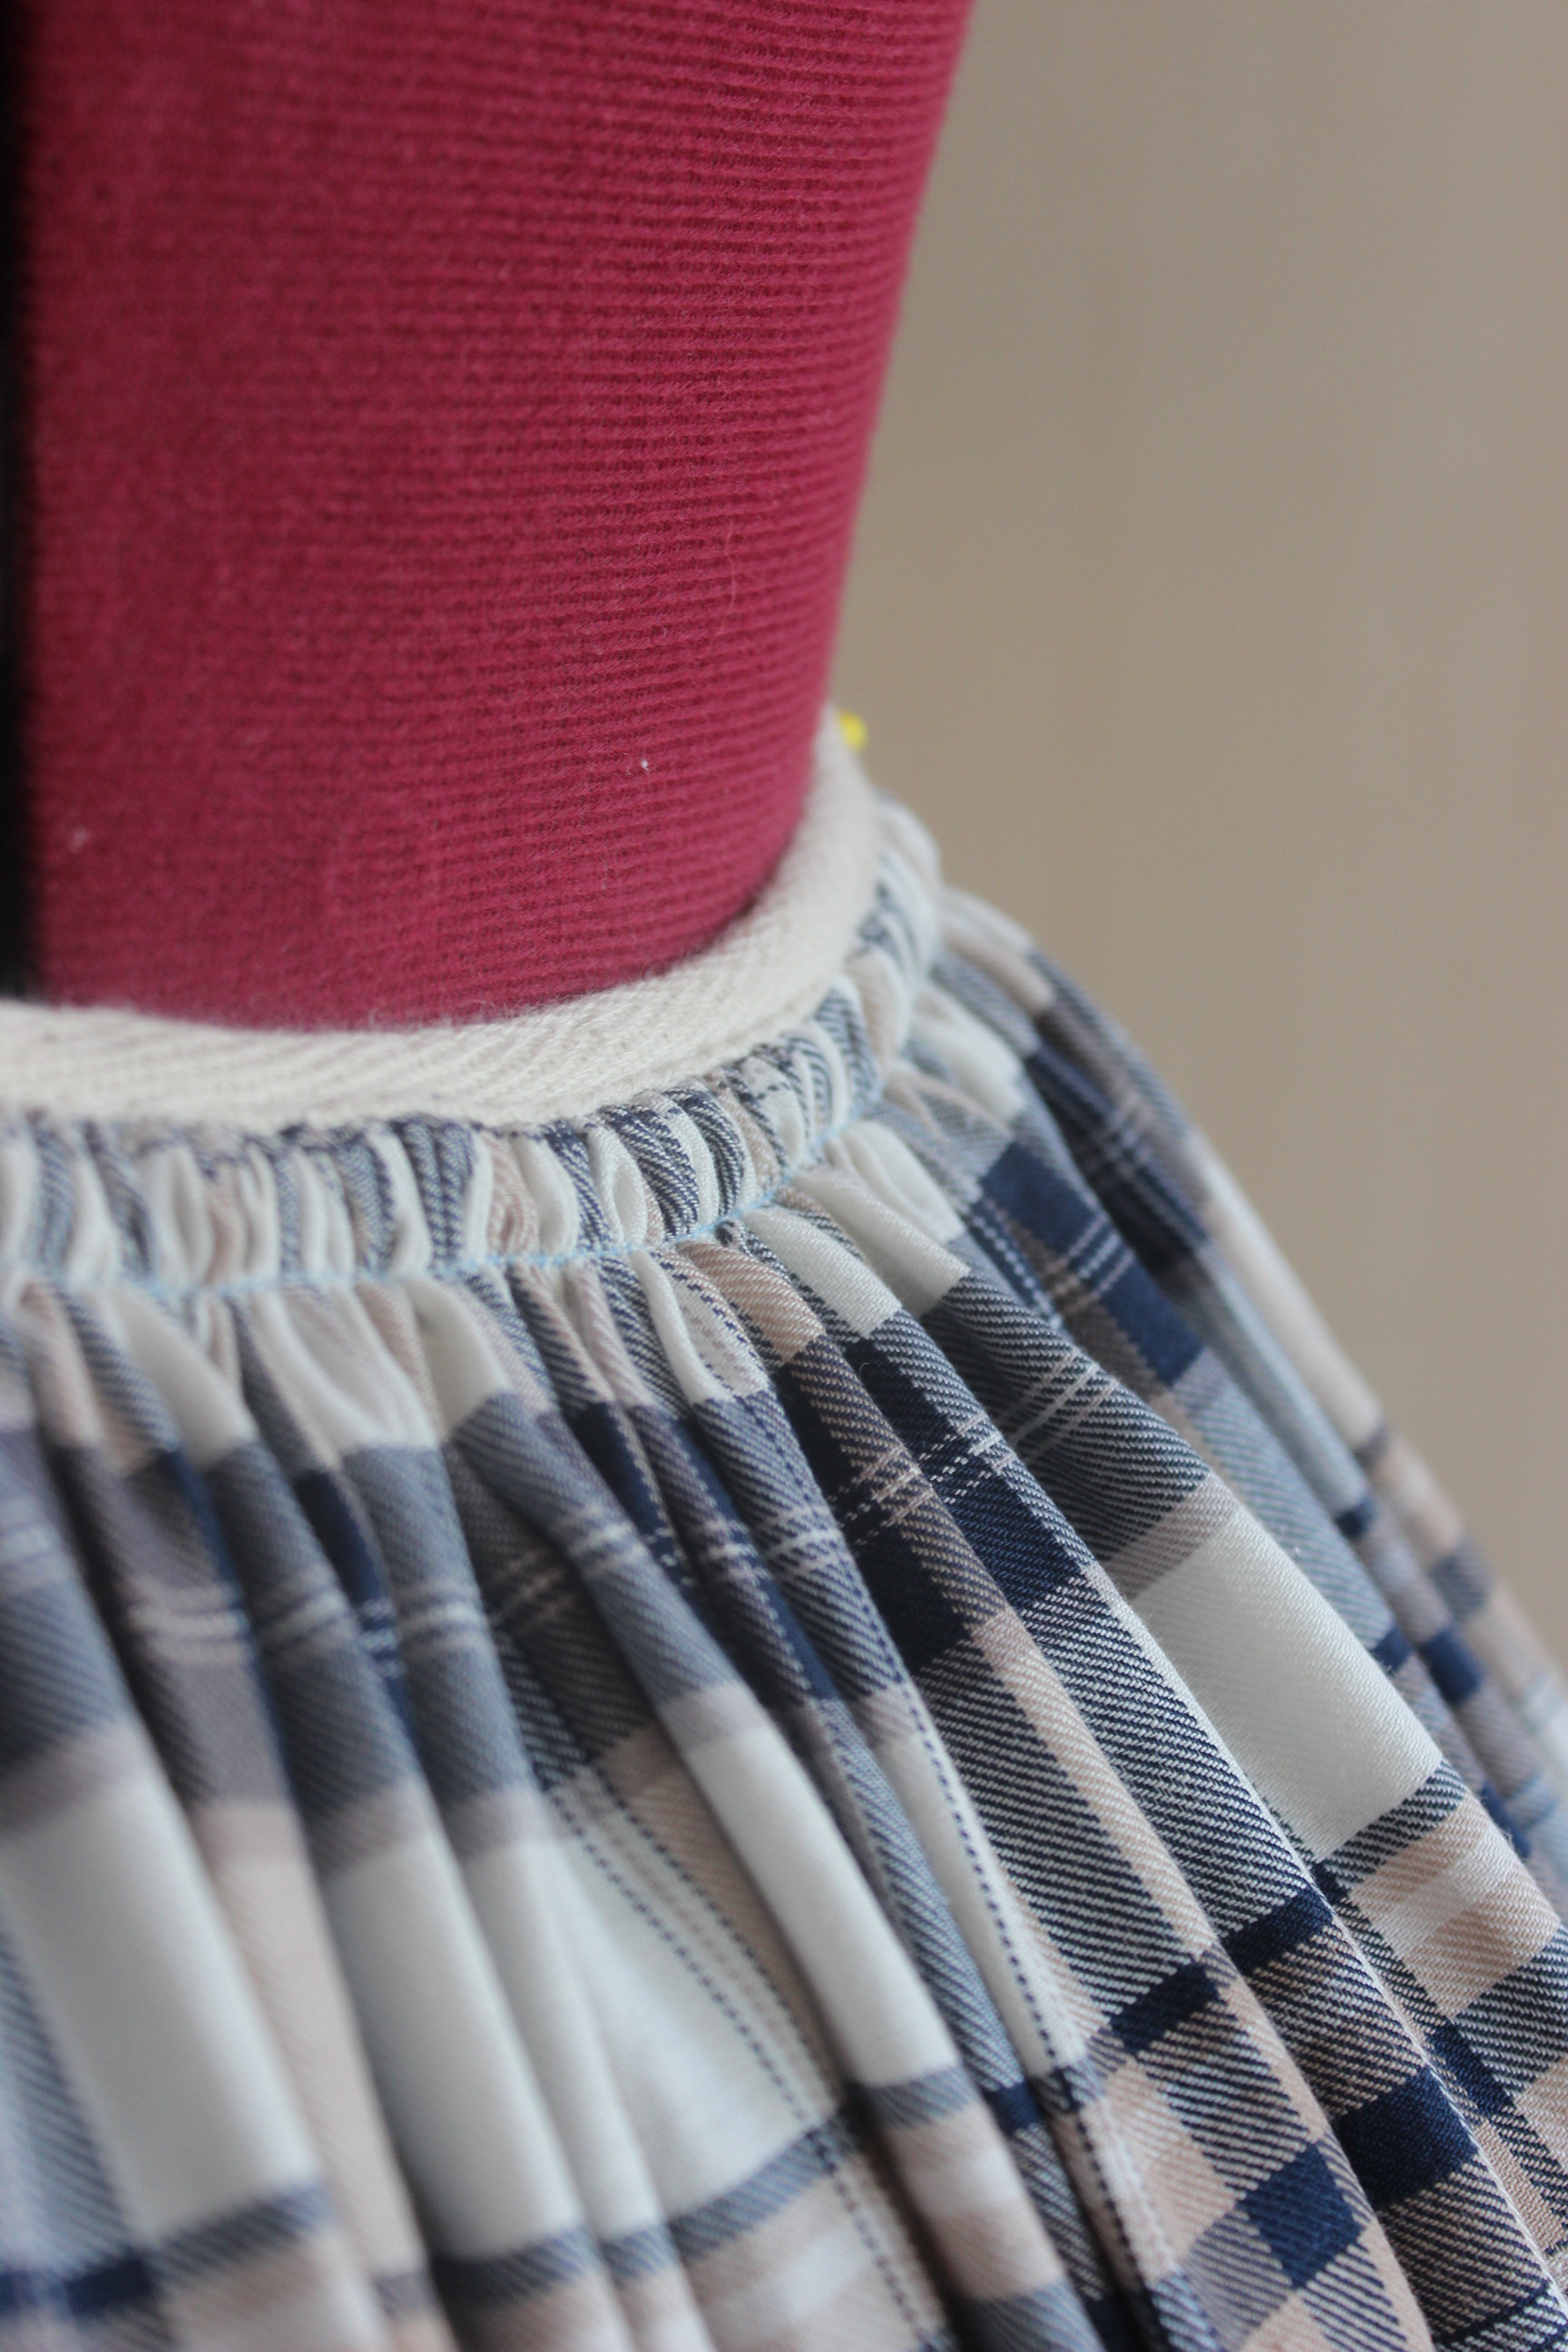
I cut two widths of the same lavender fabric and stitched them together.
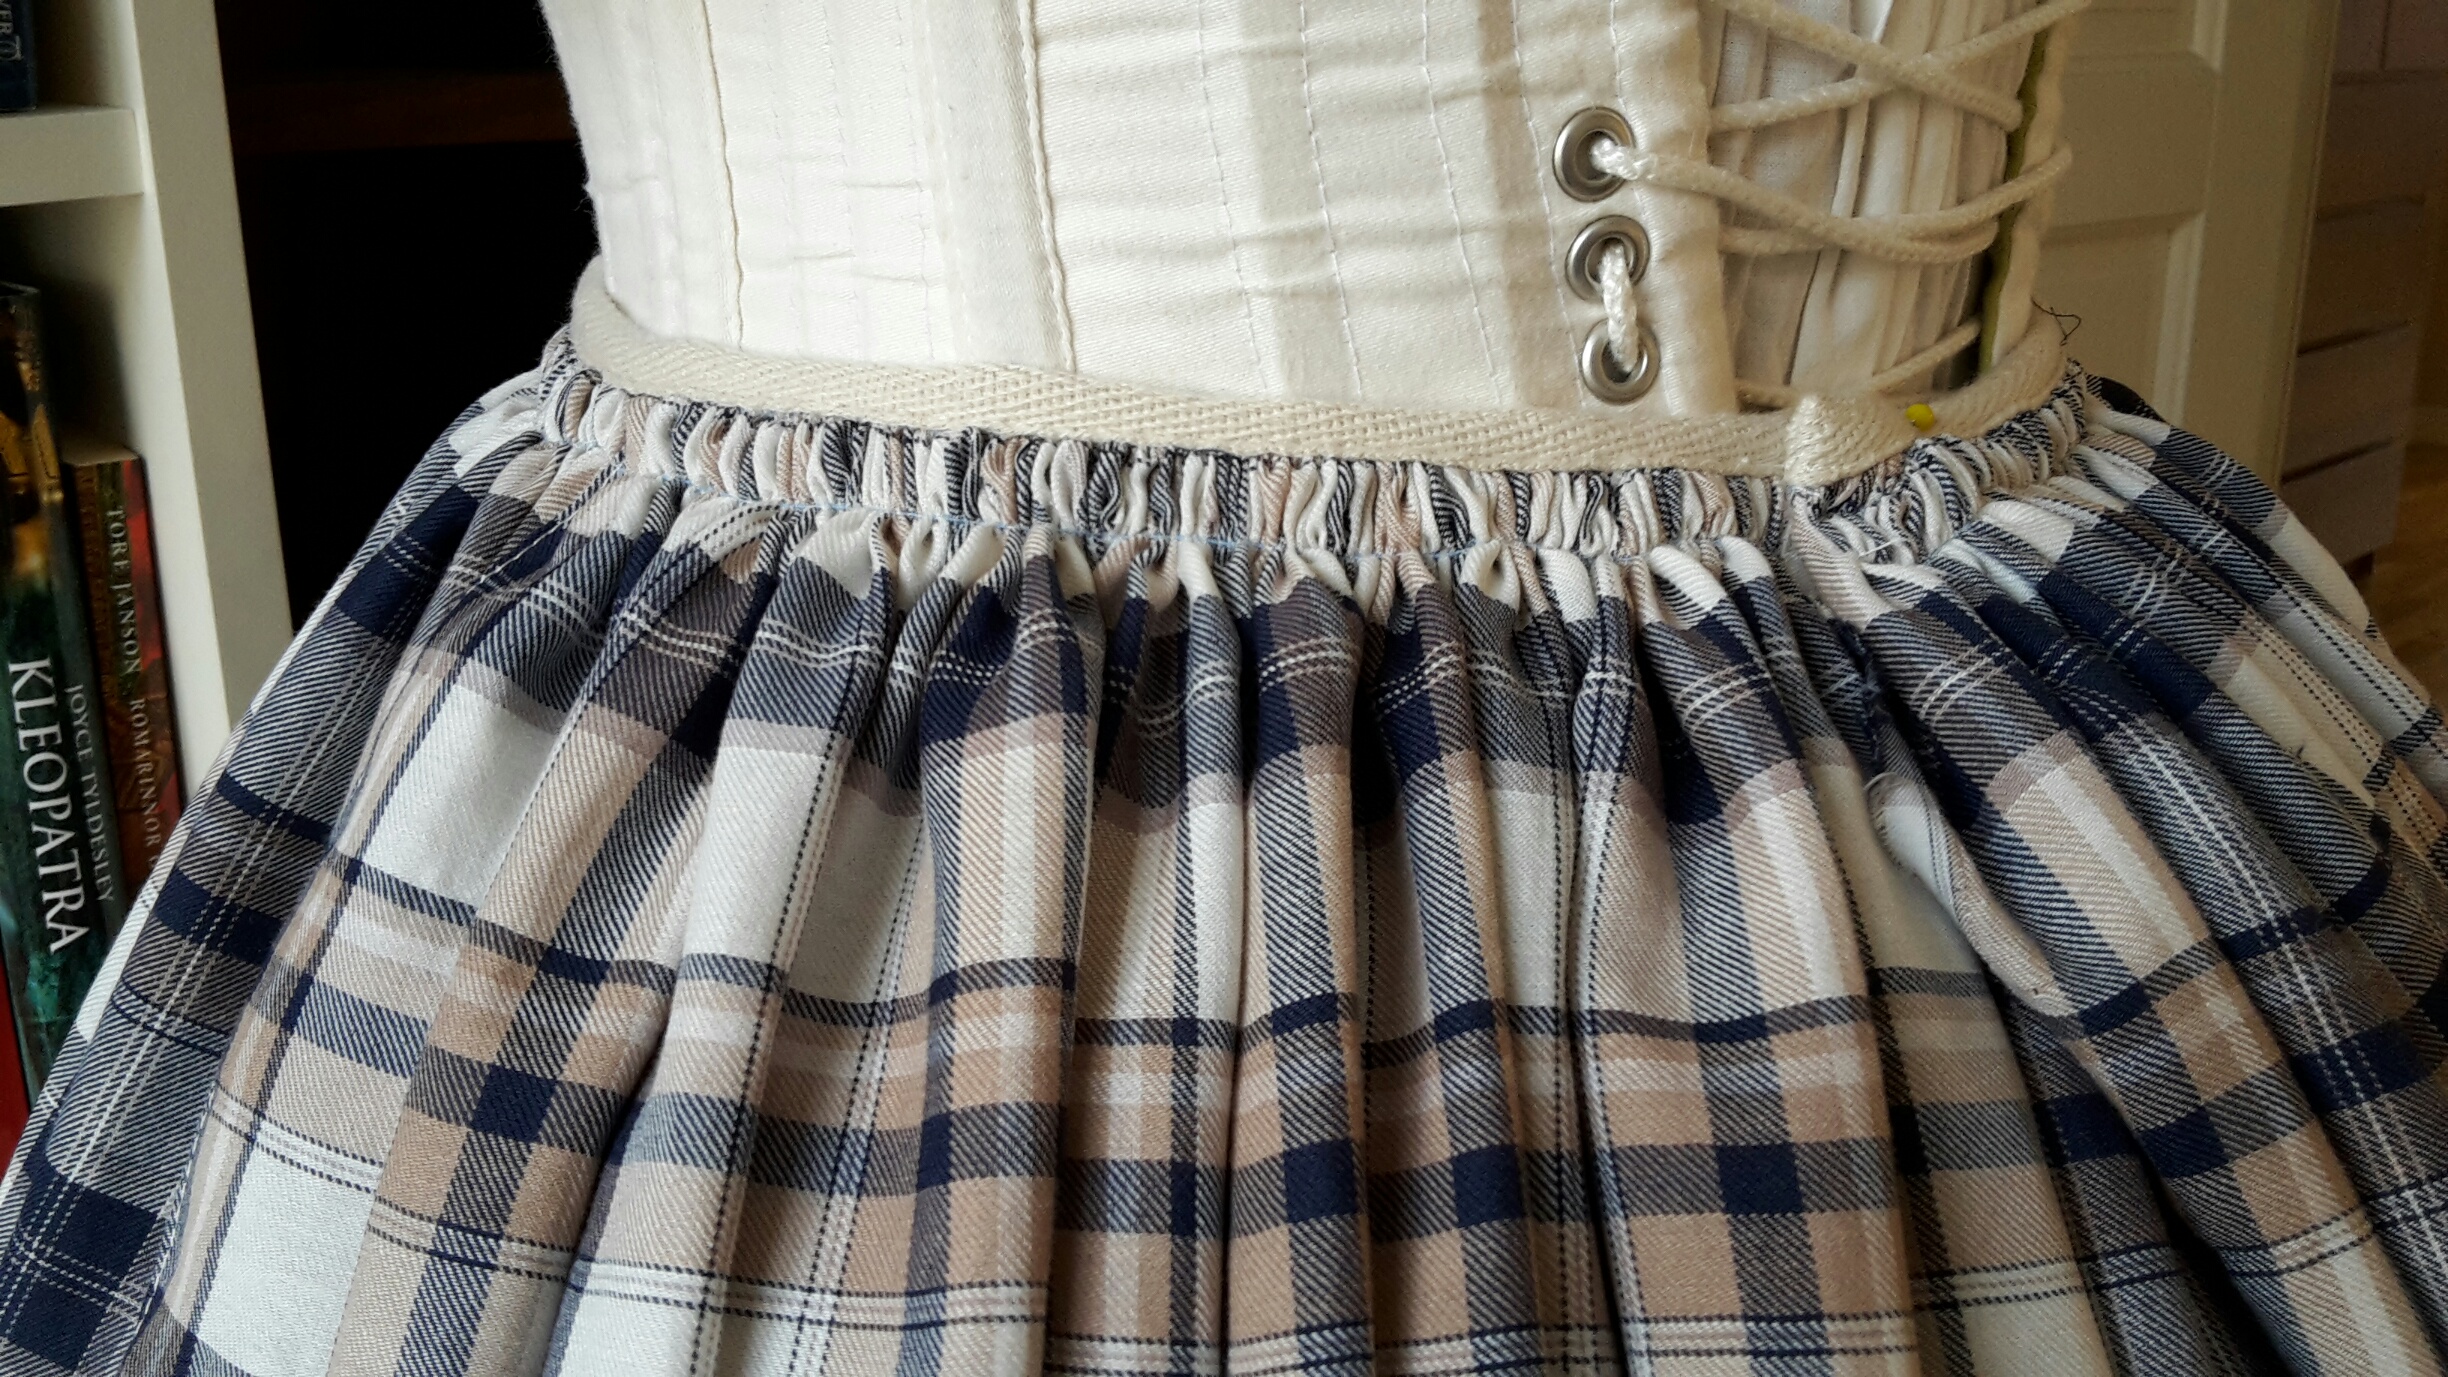
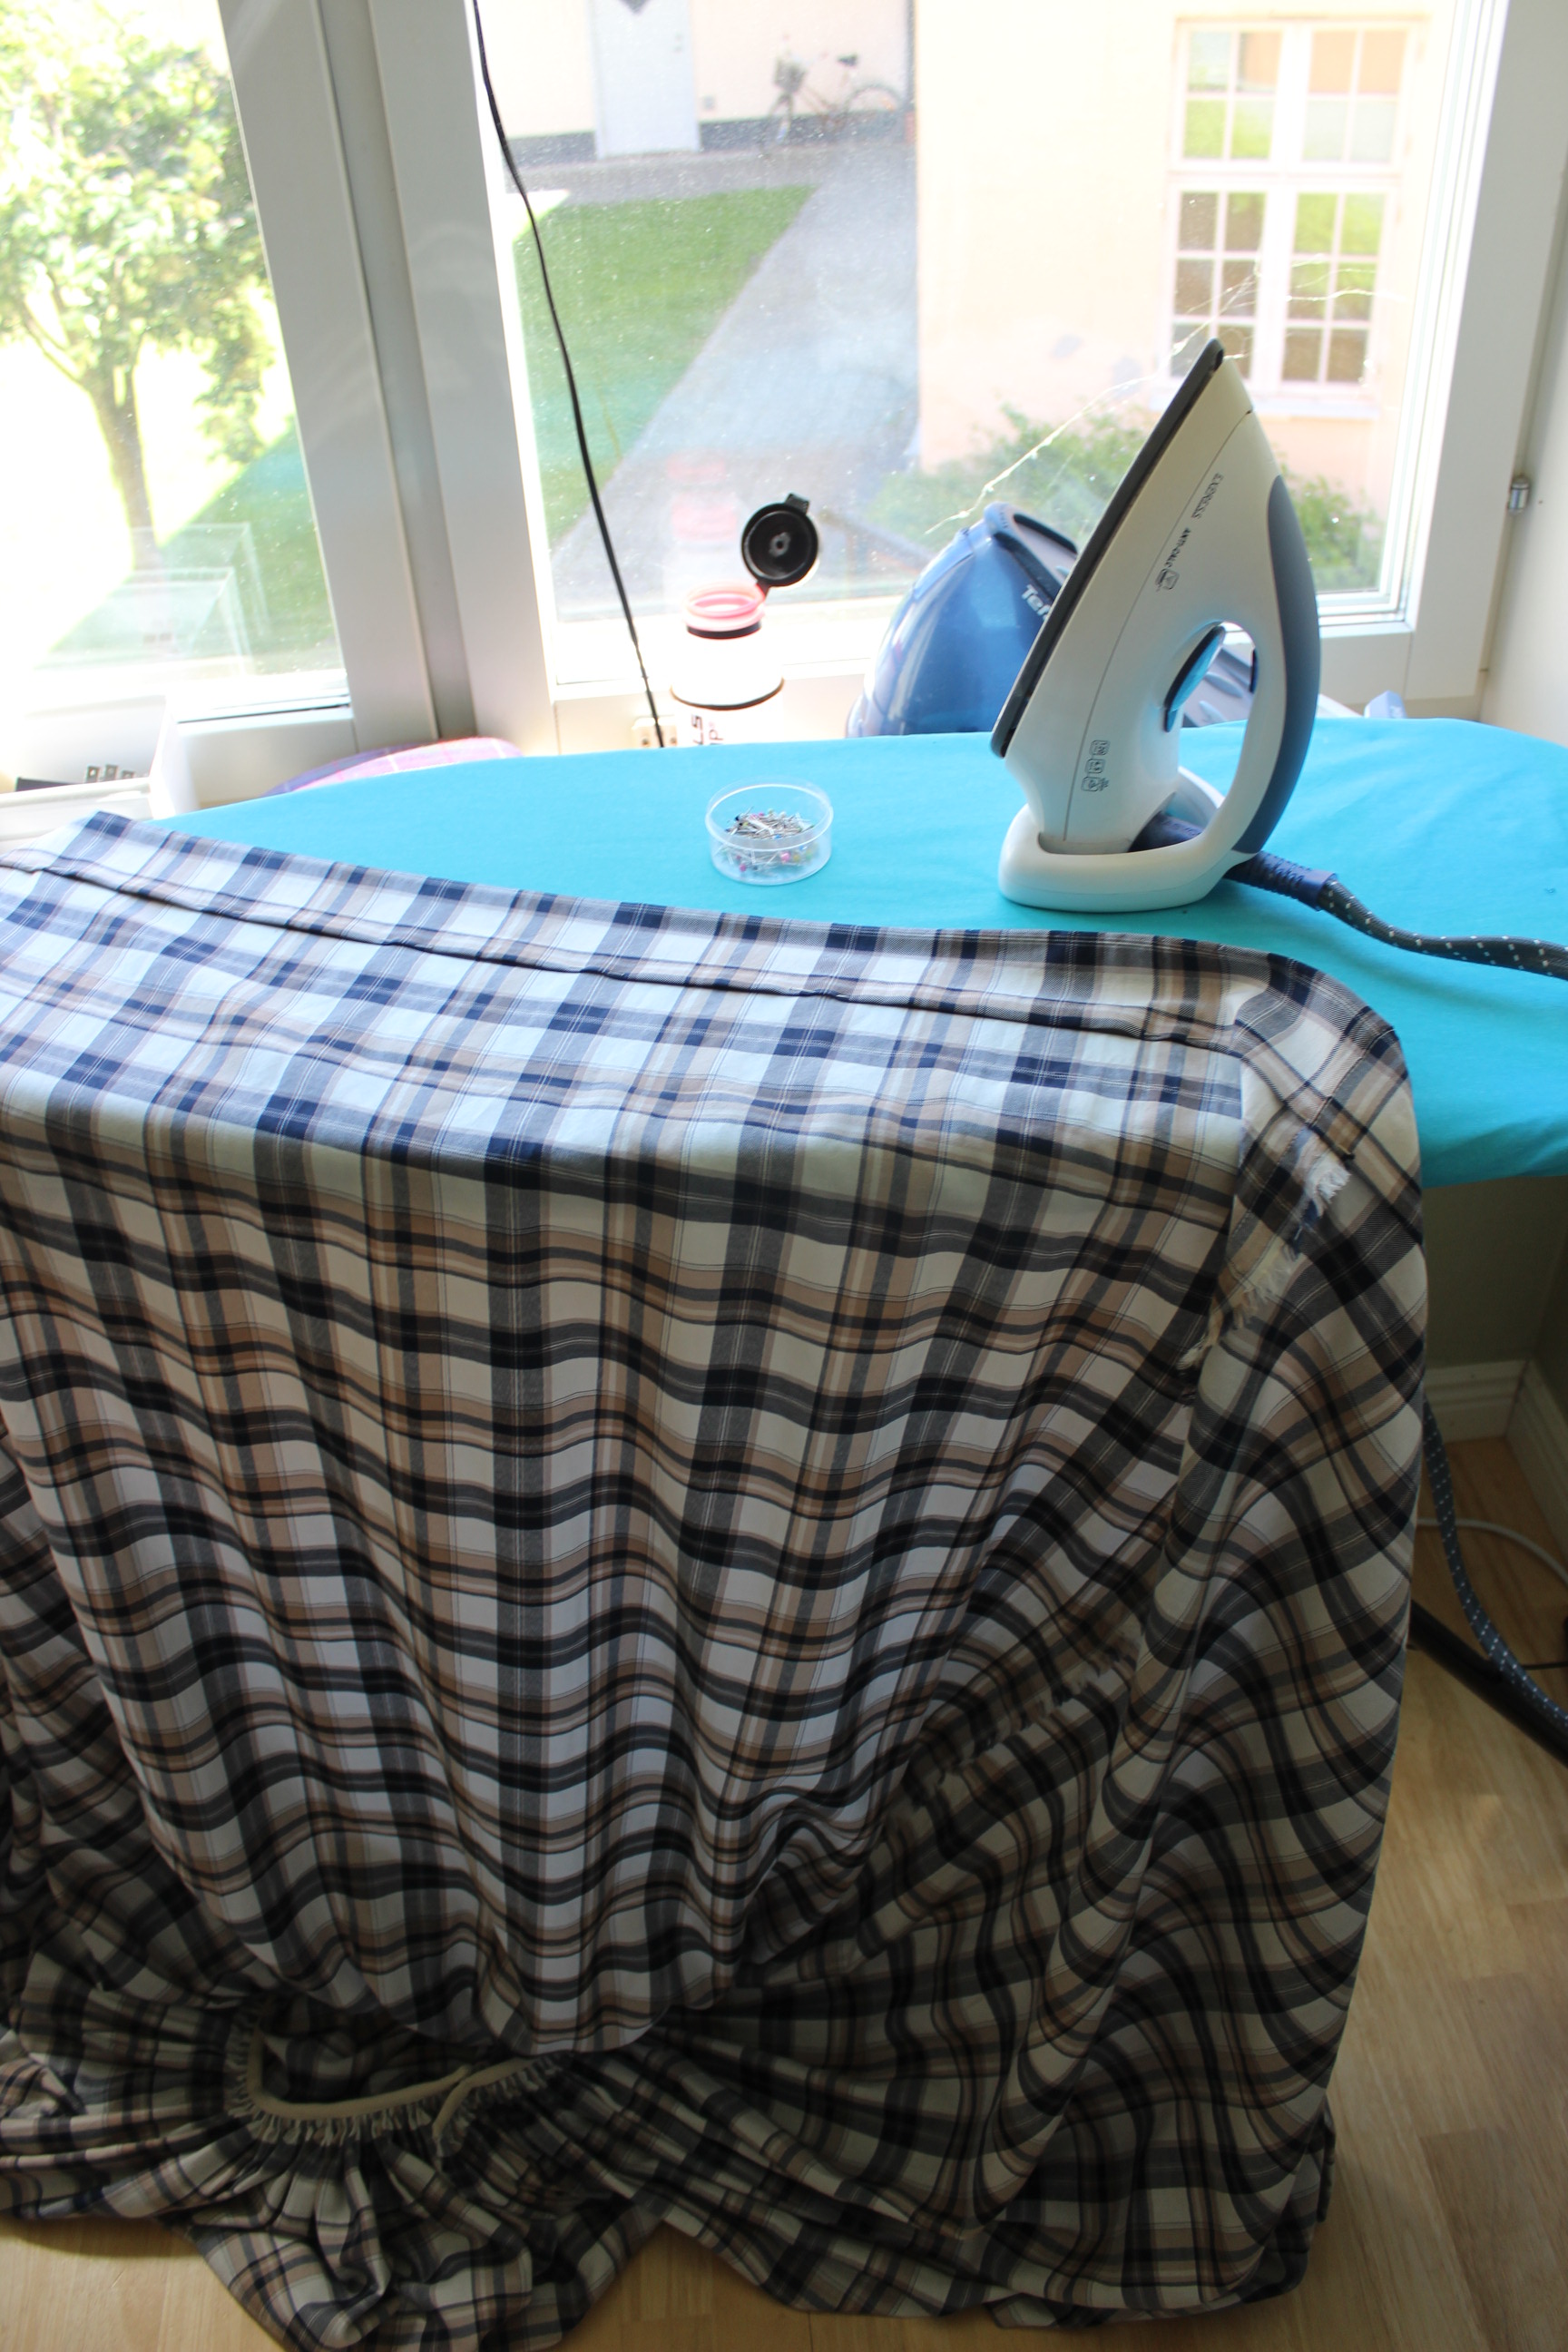
I pleated the top to a waistband, added shoulder straps, clouser and finished it by hemming.
The finished skirt/petticoat: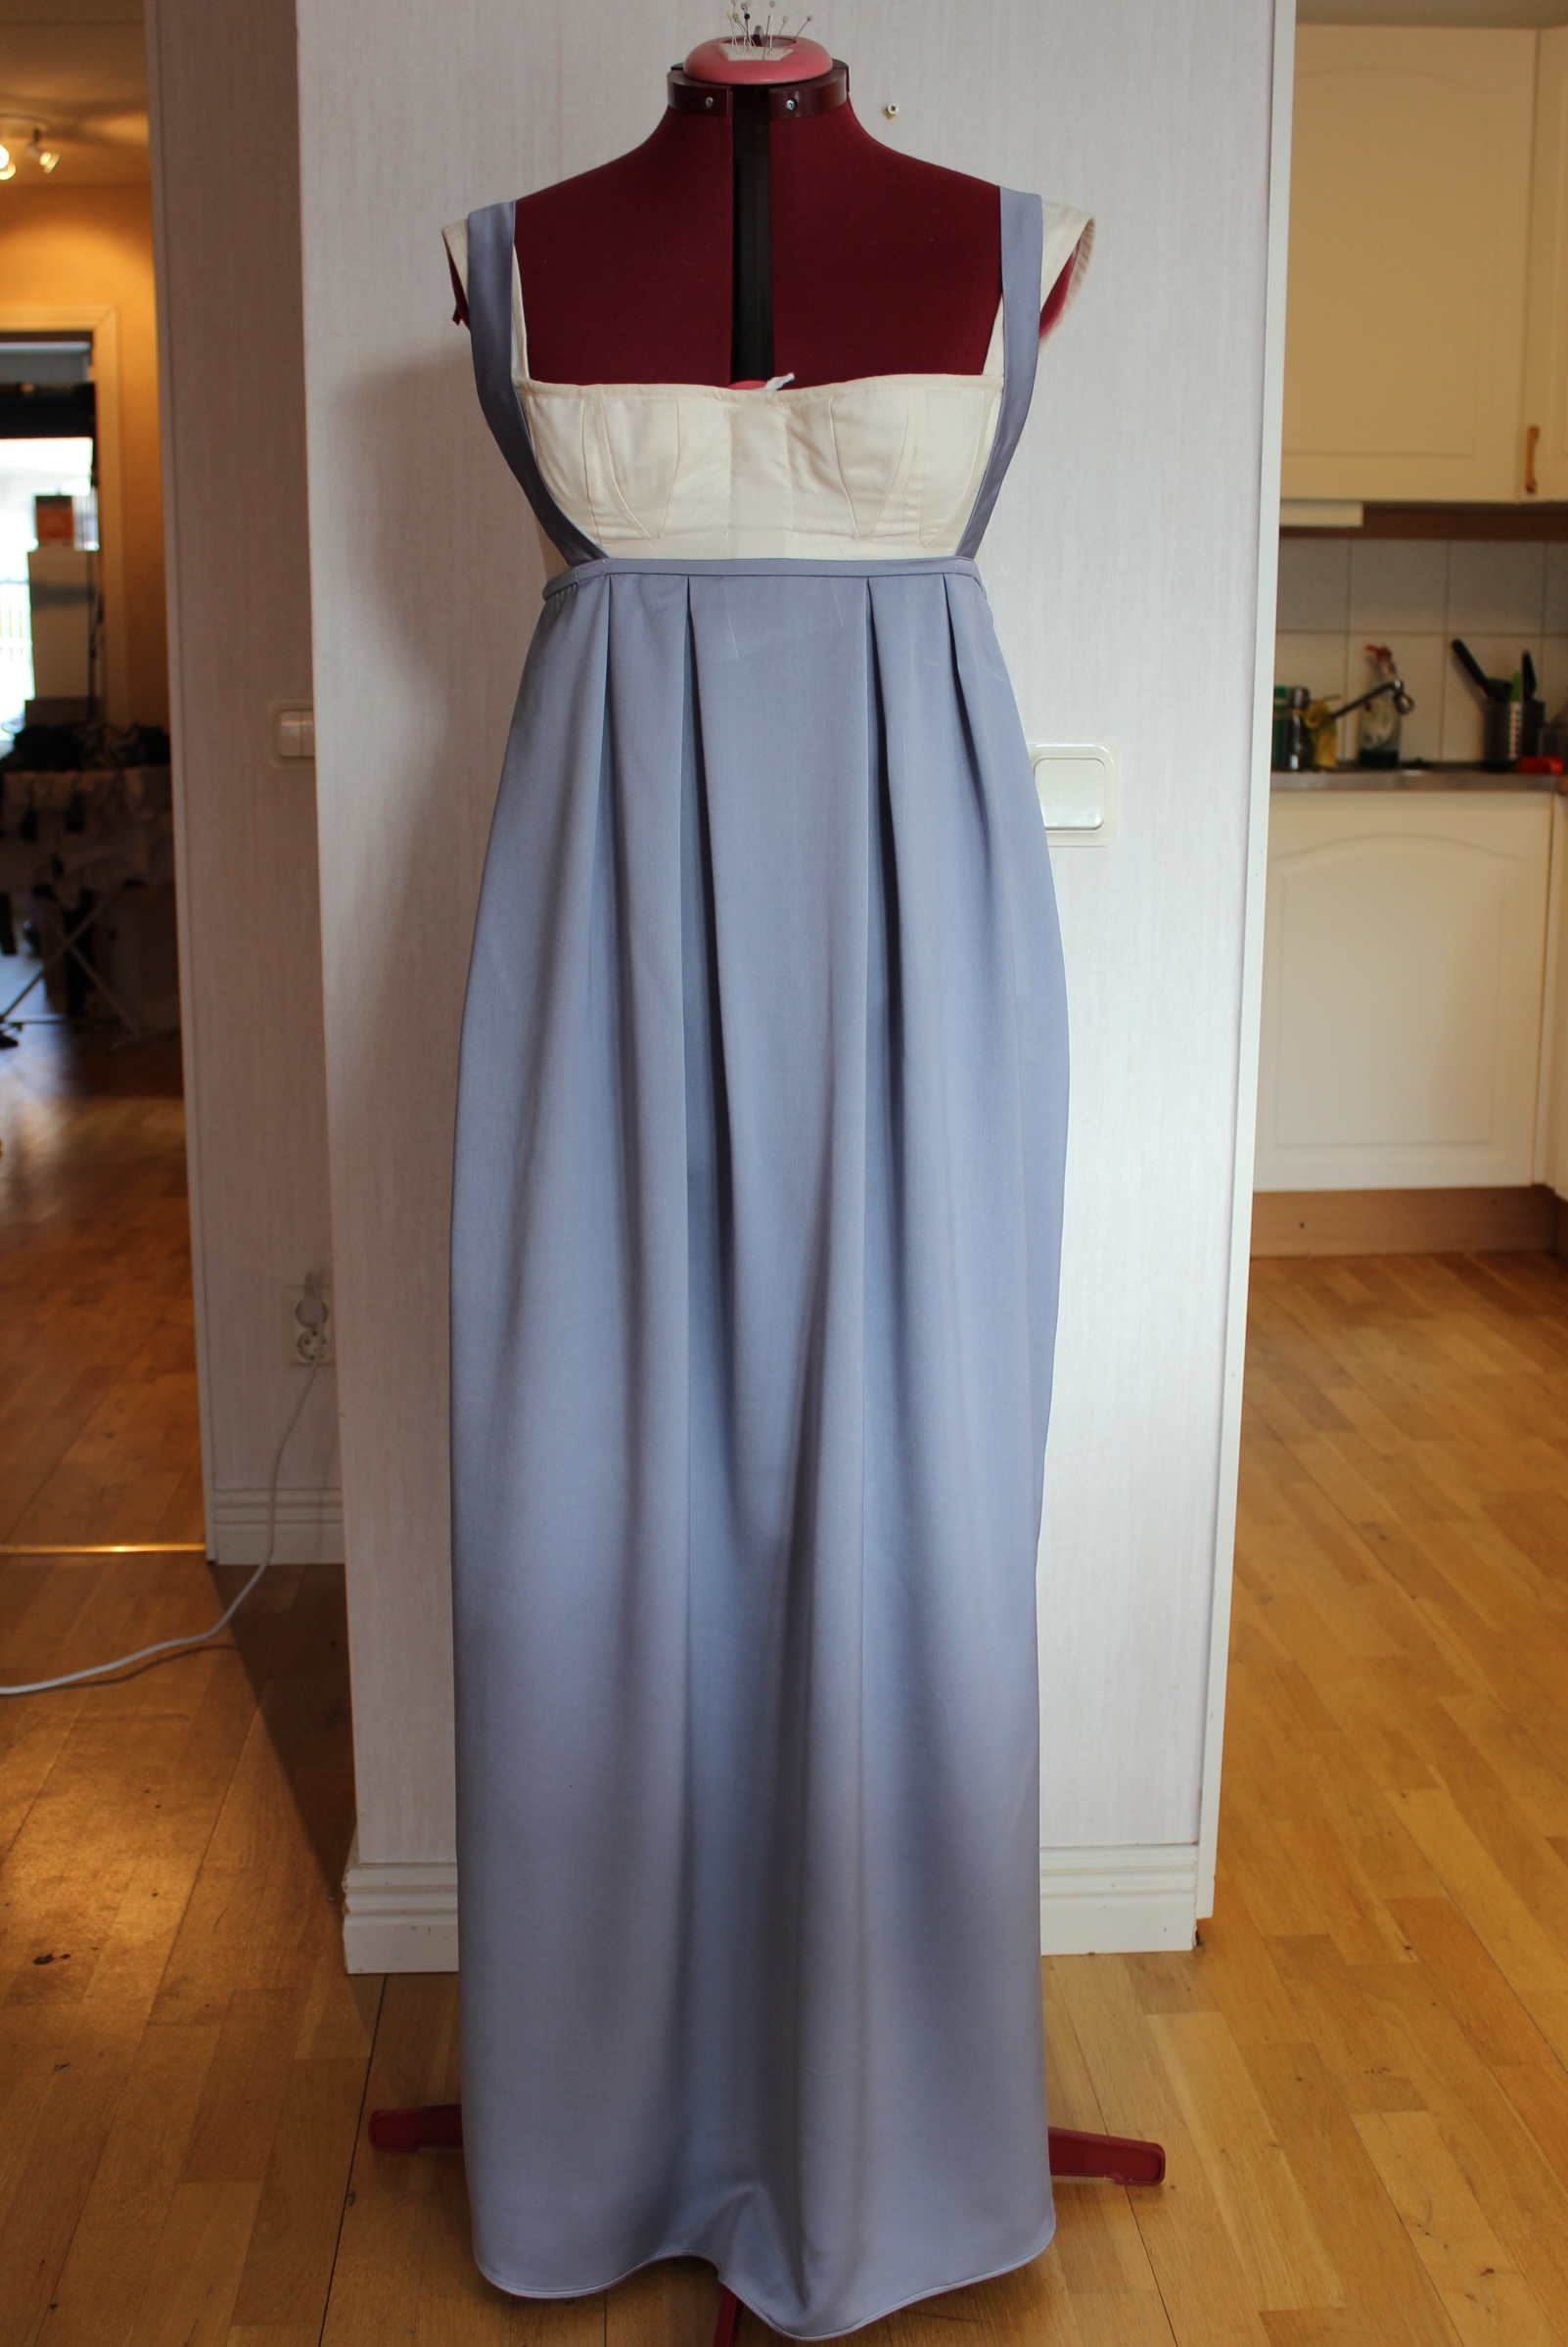
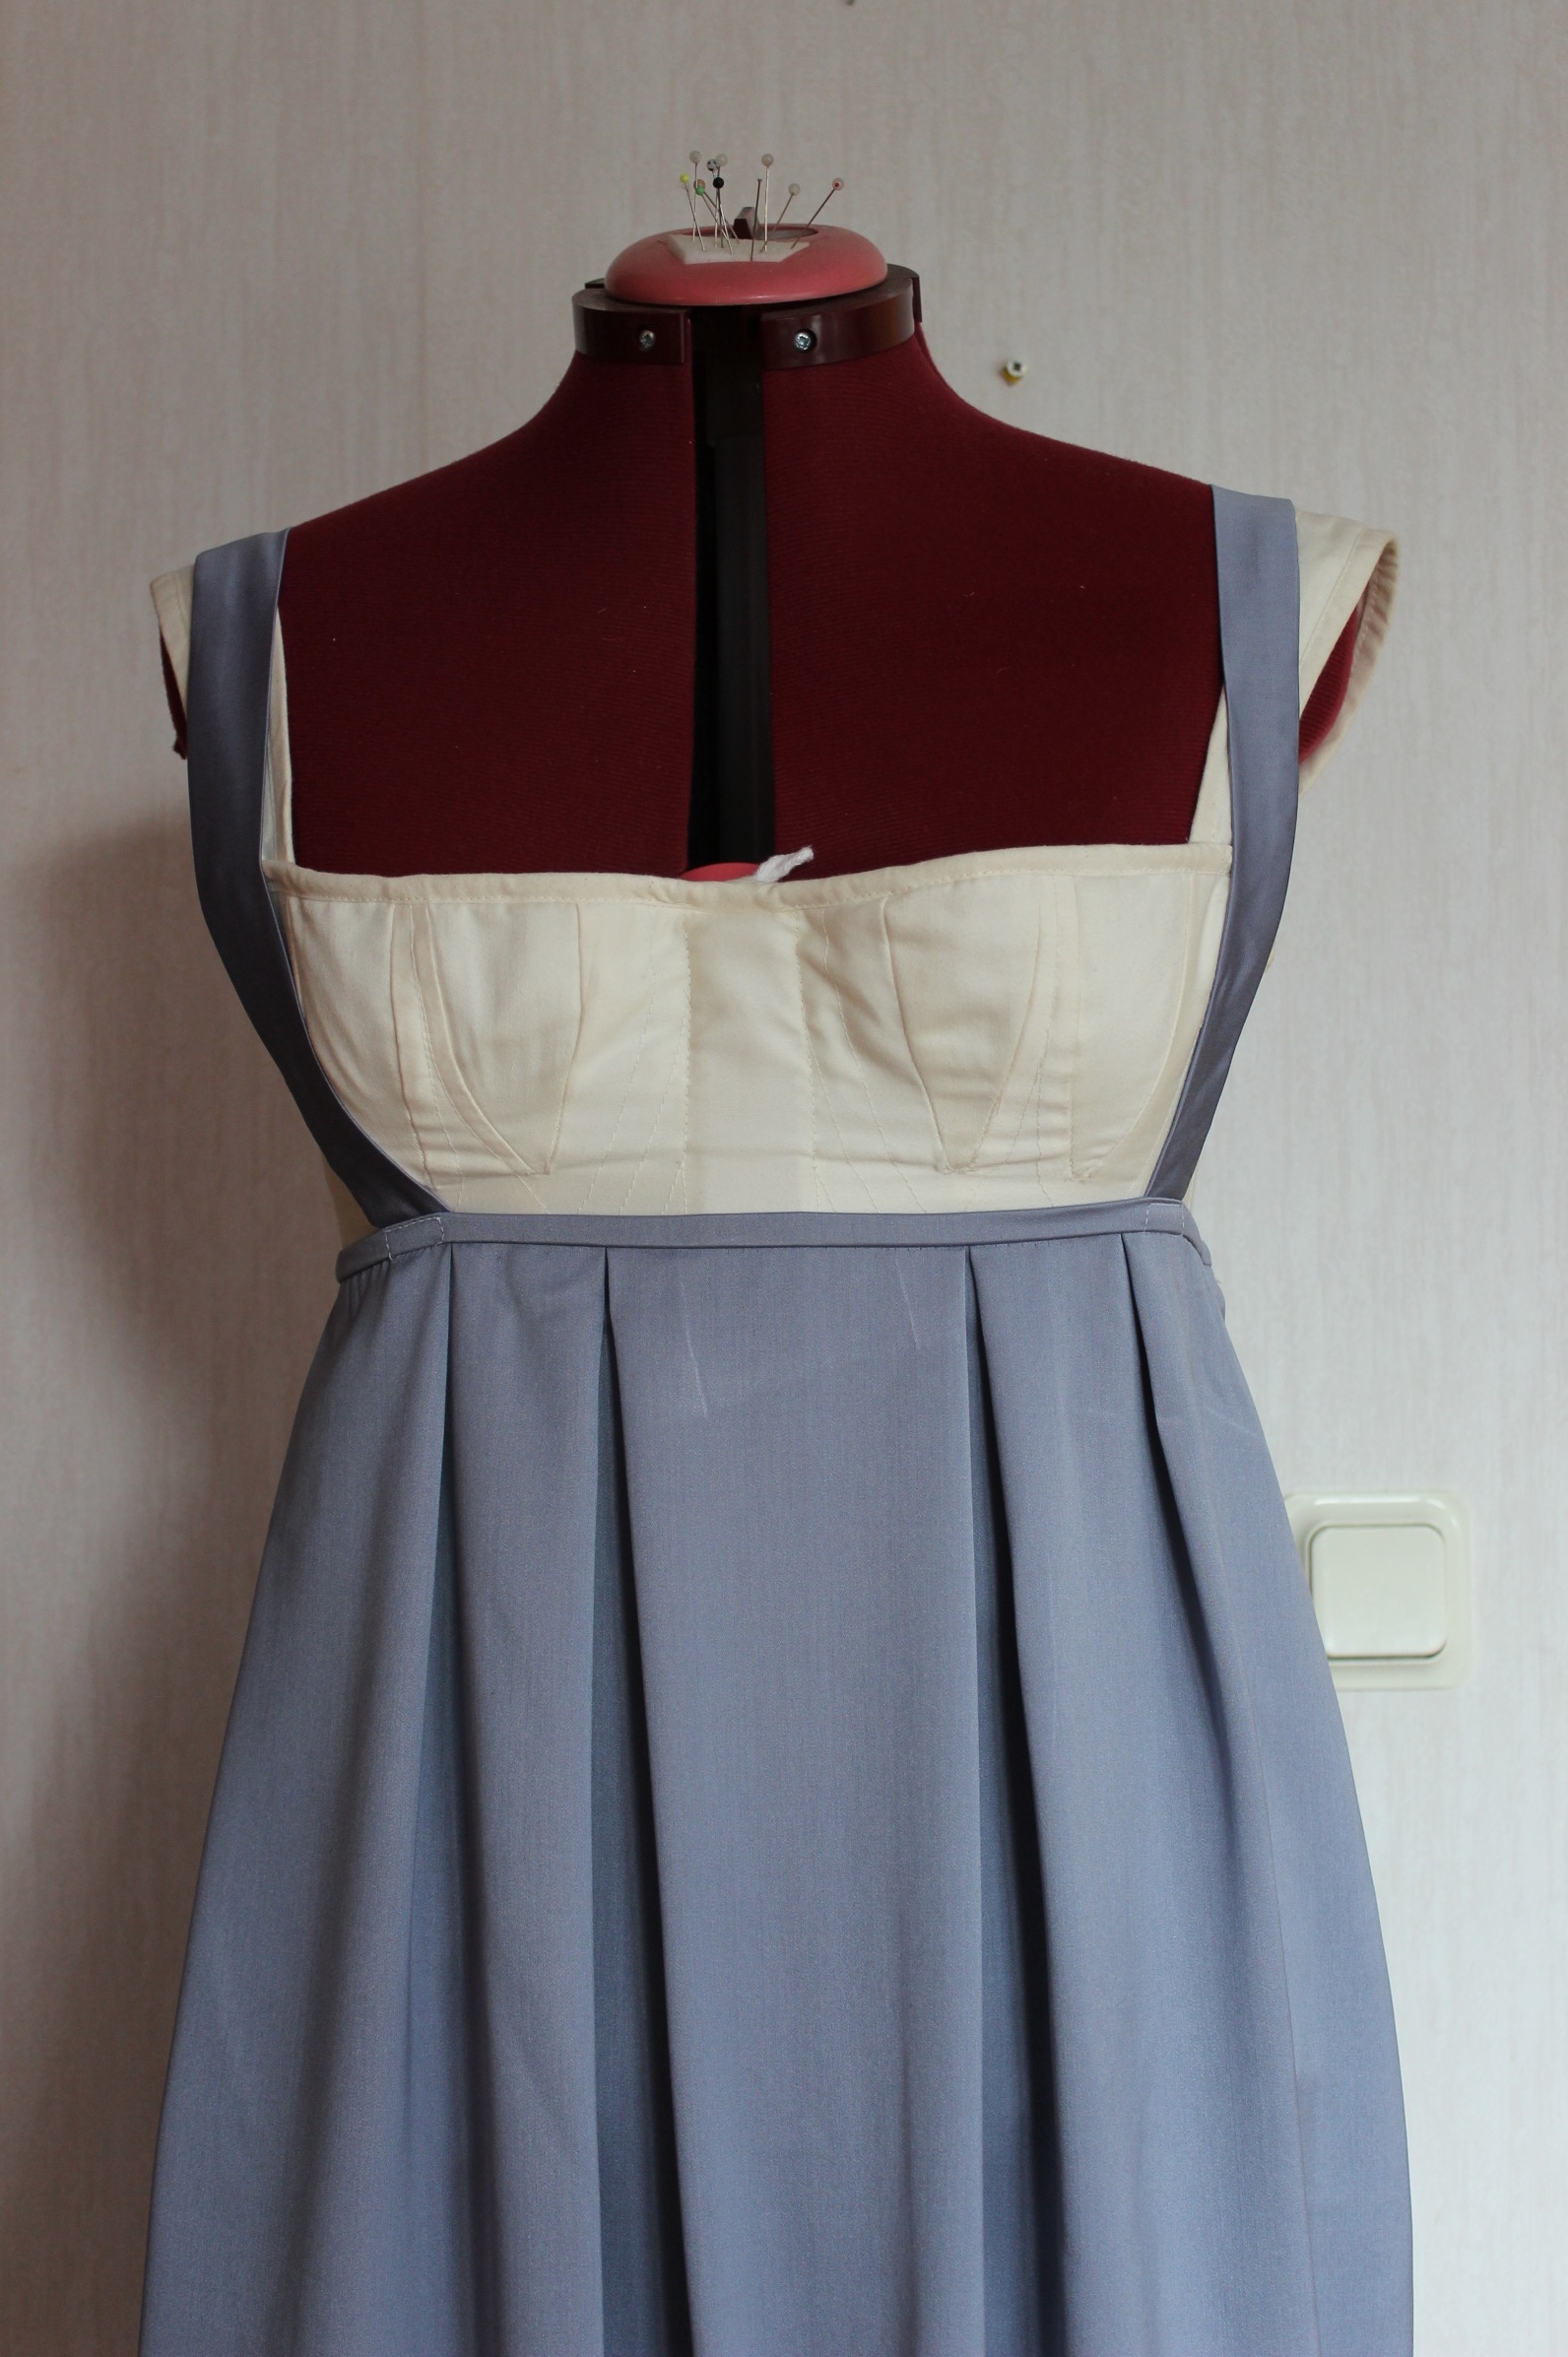
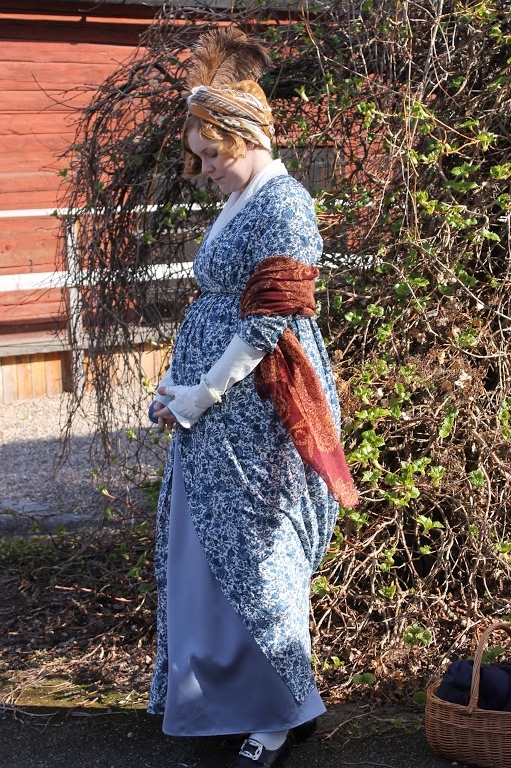
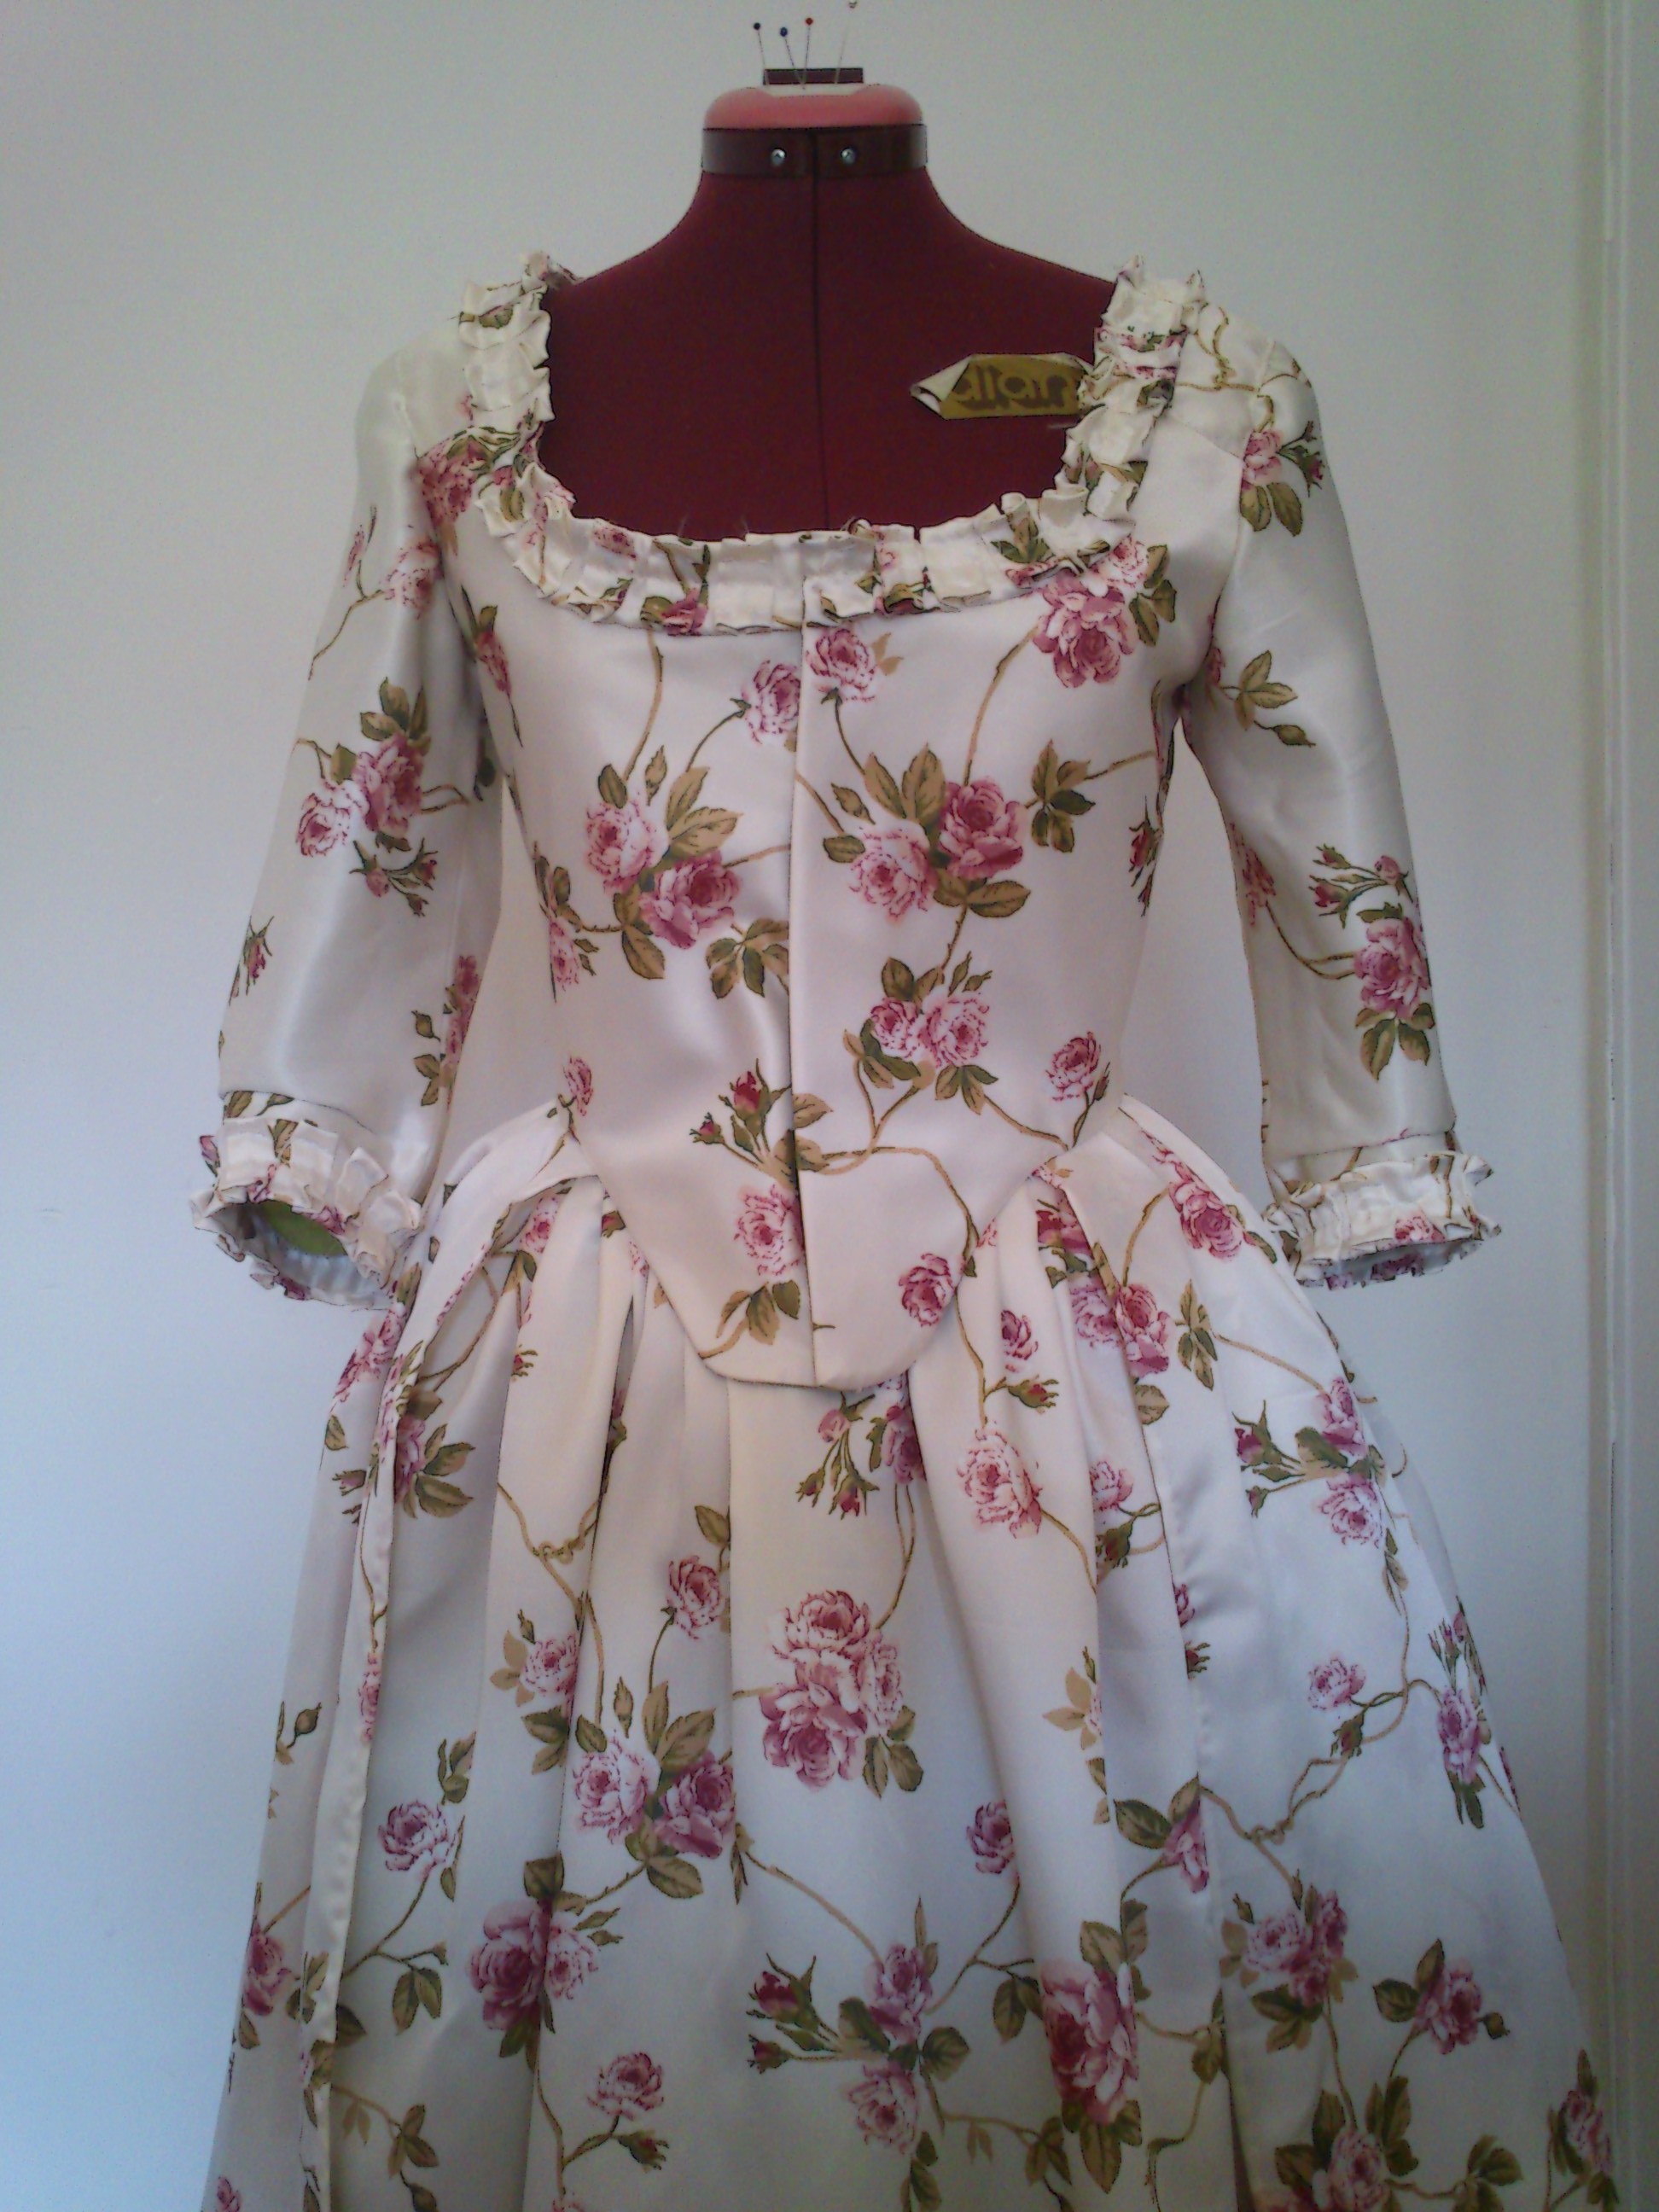
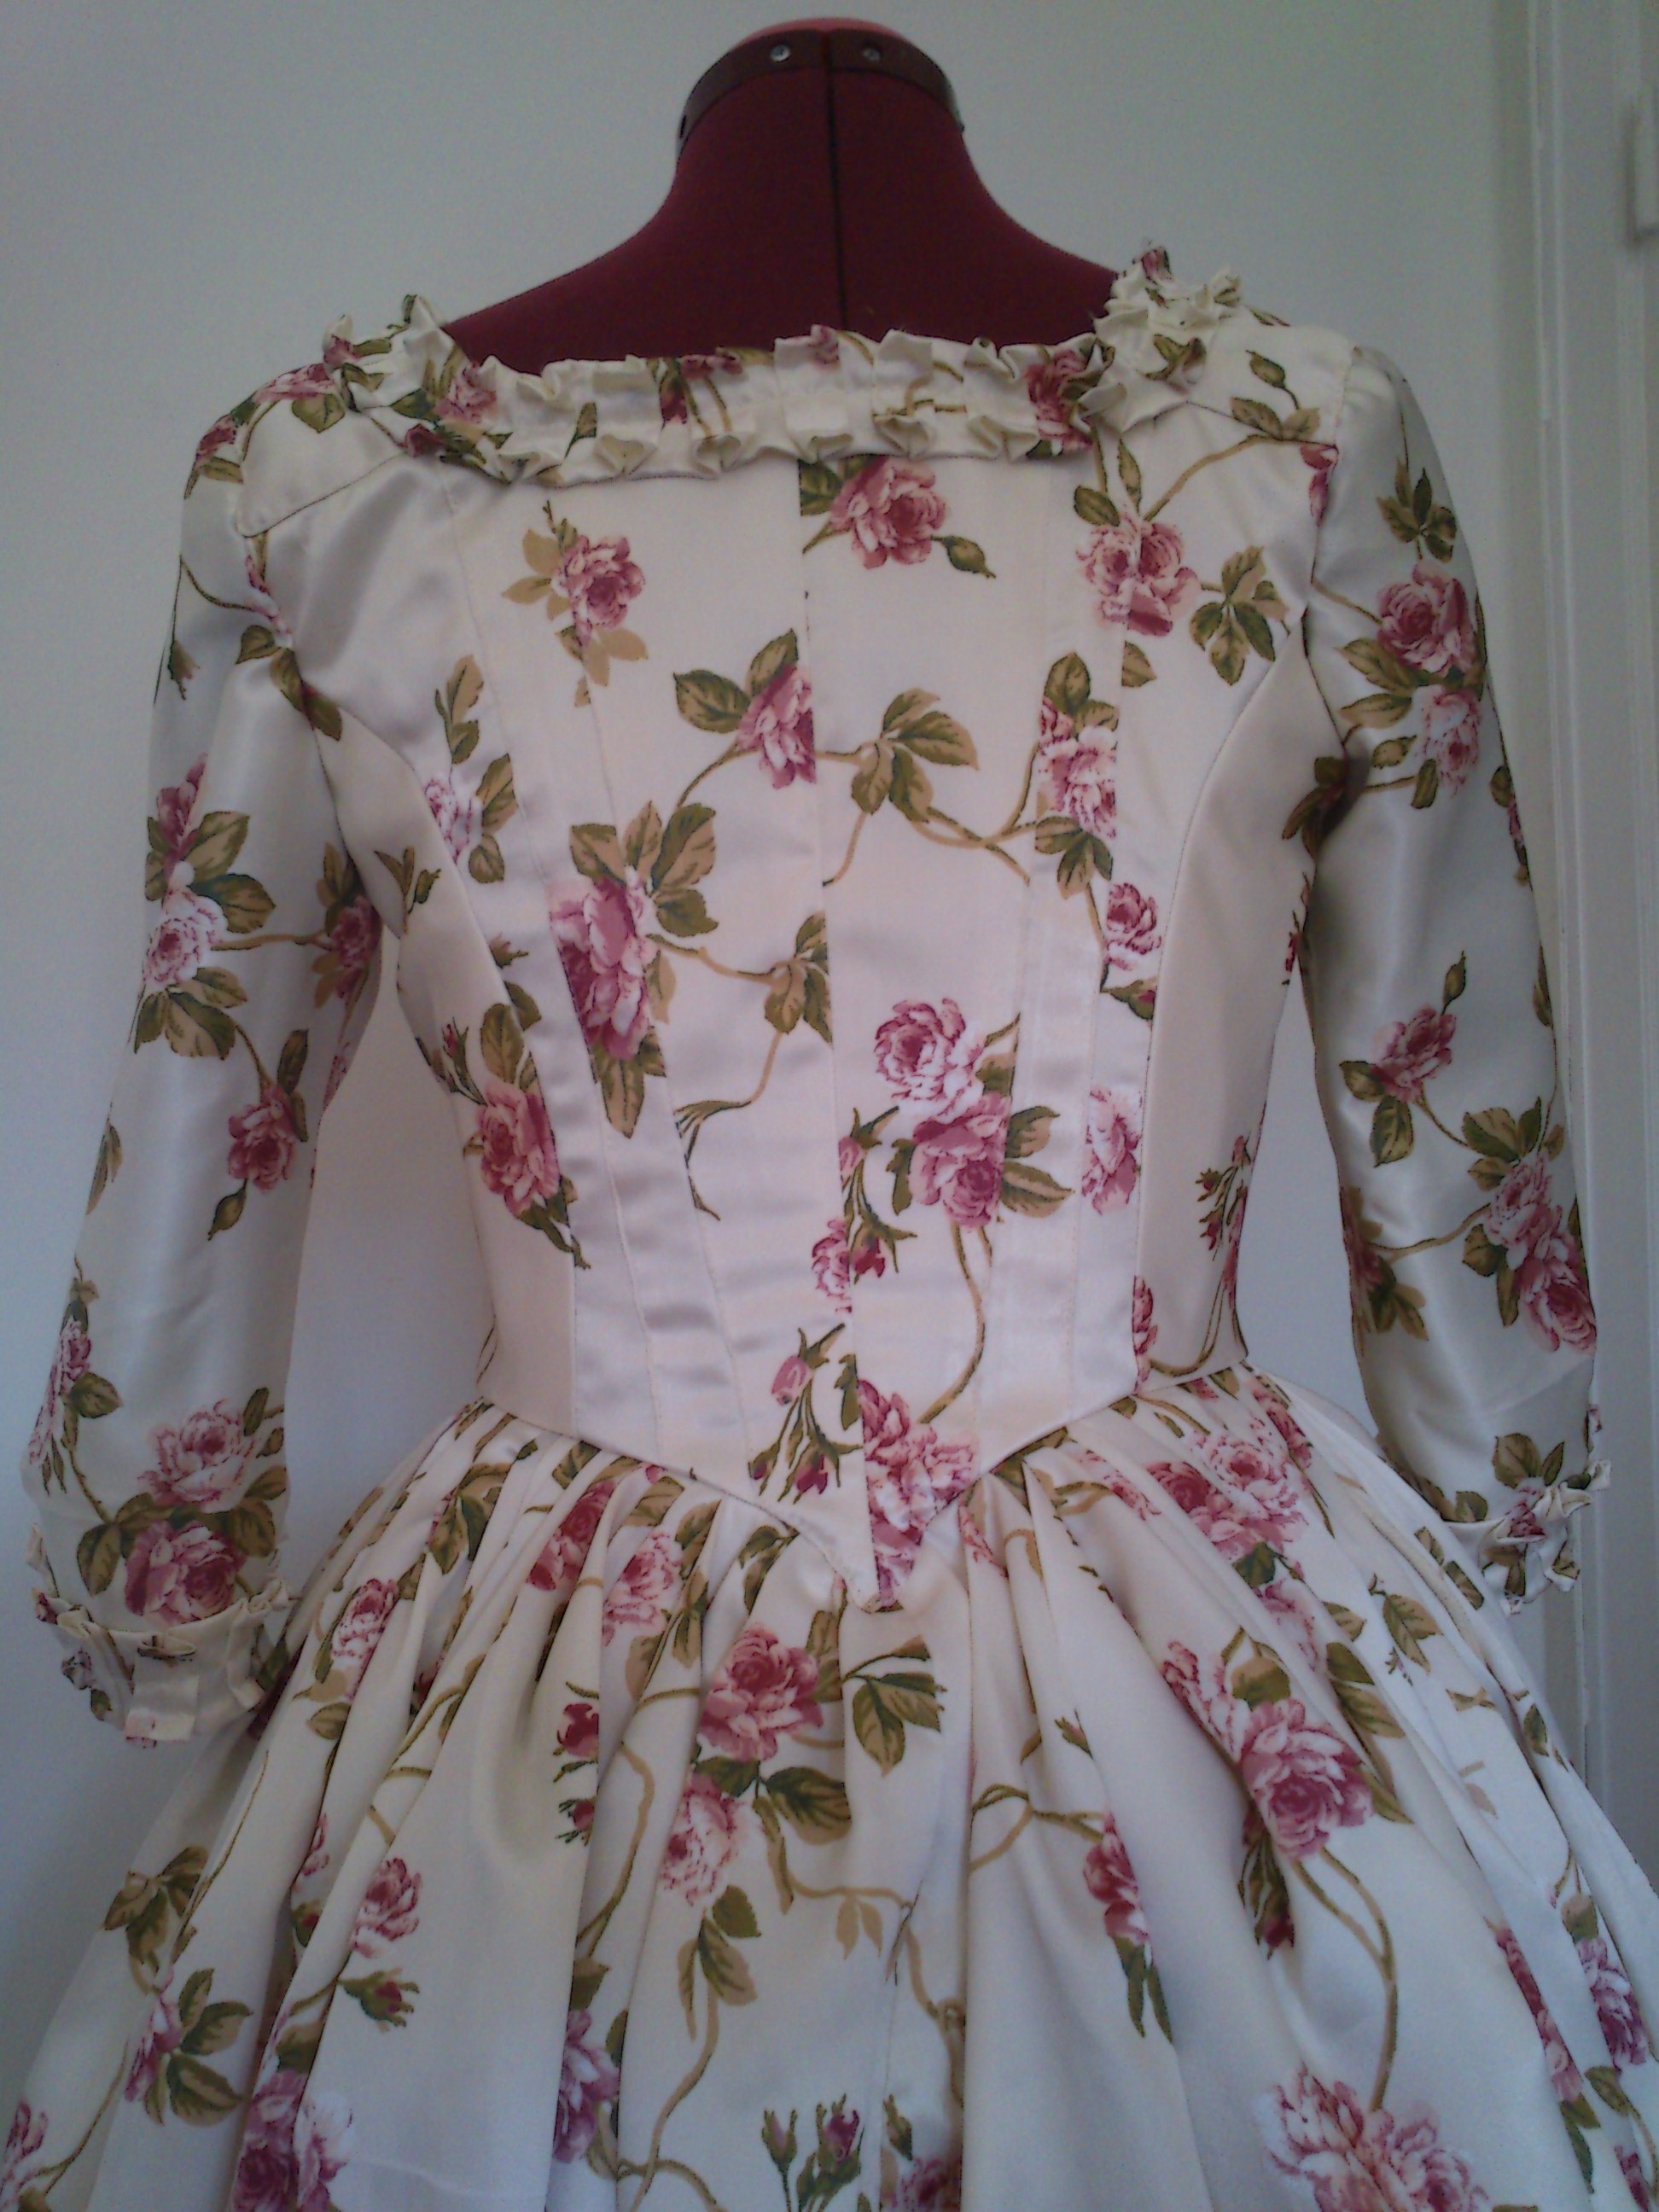
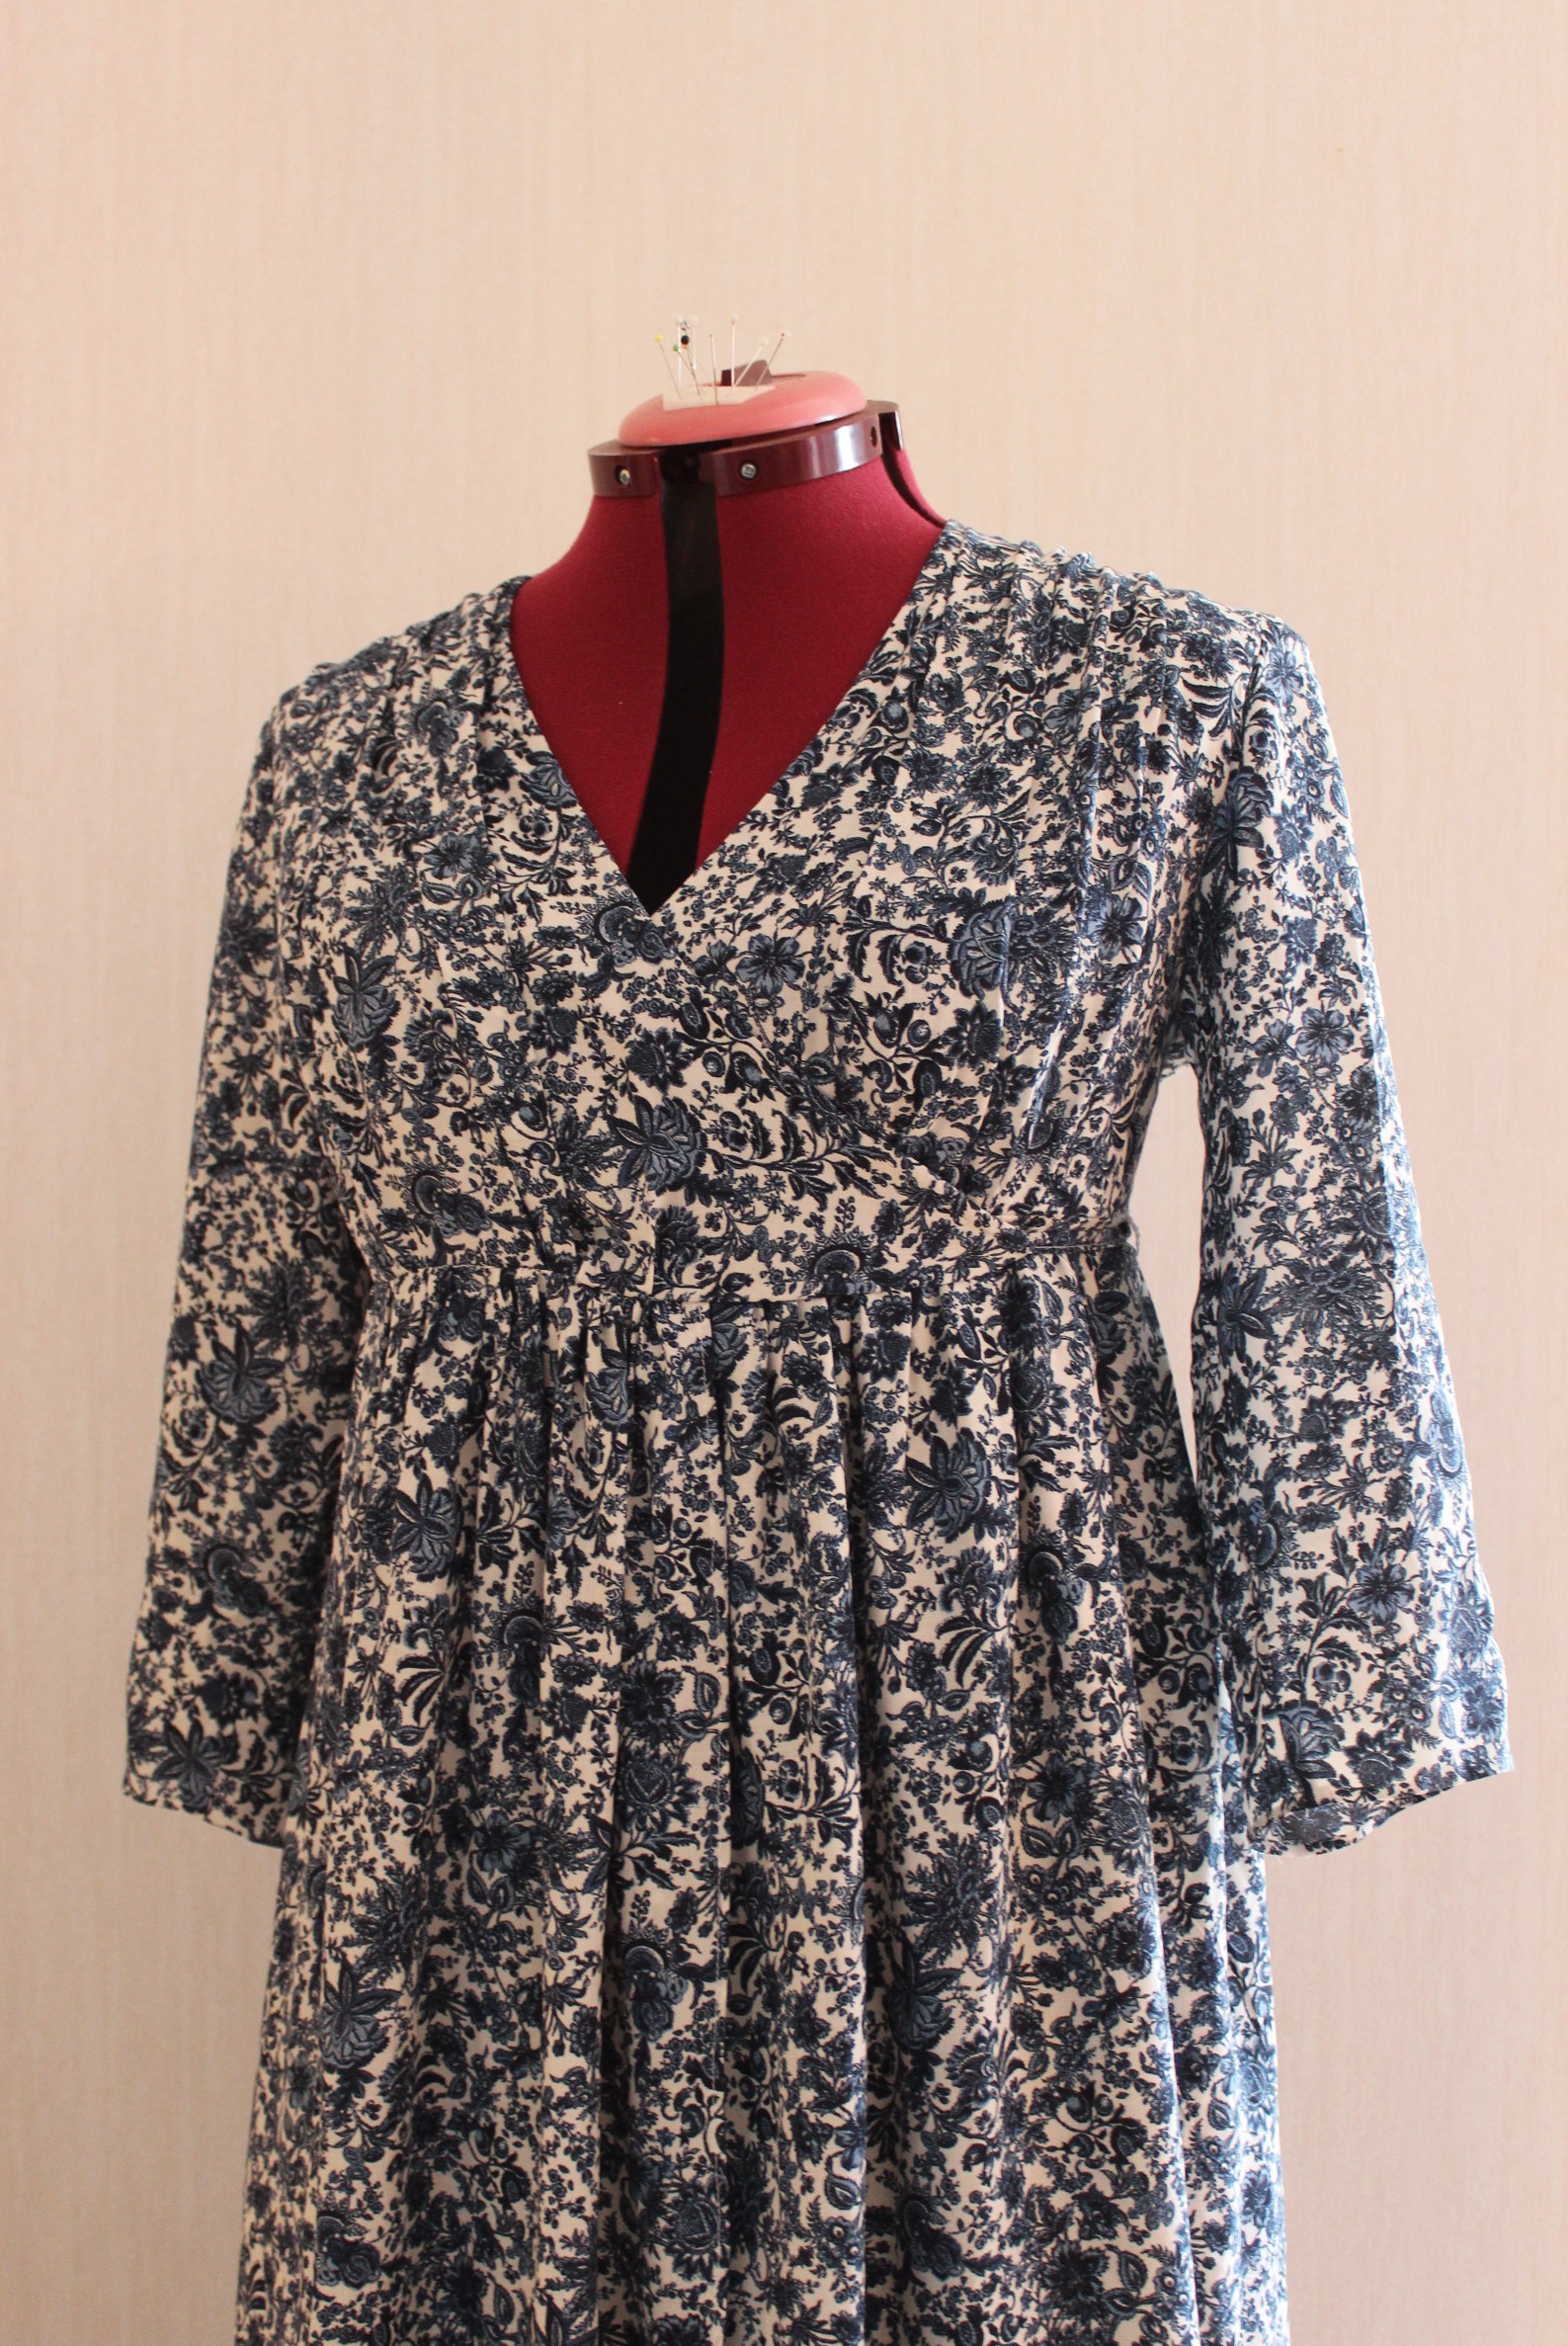
The finished dress: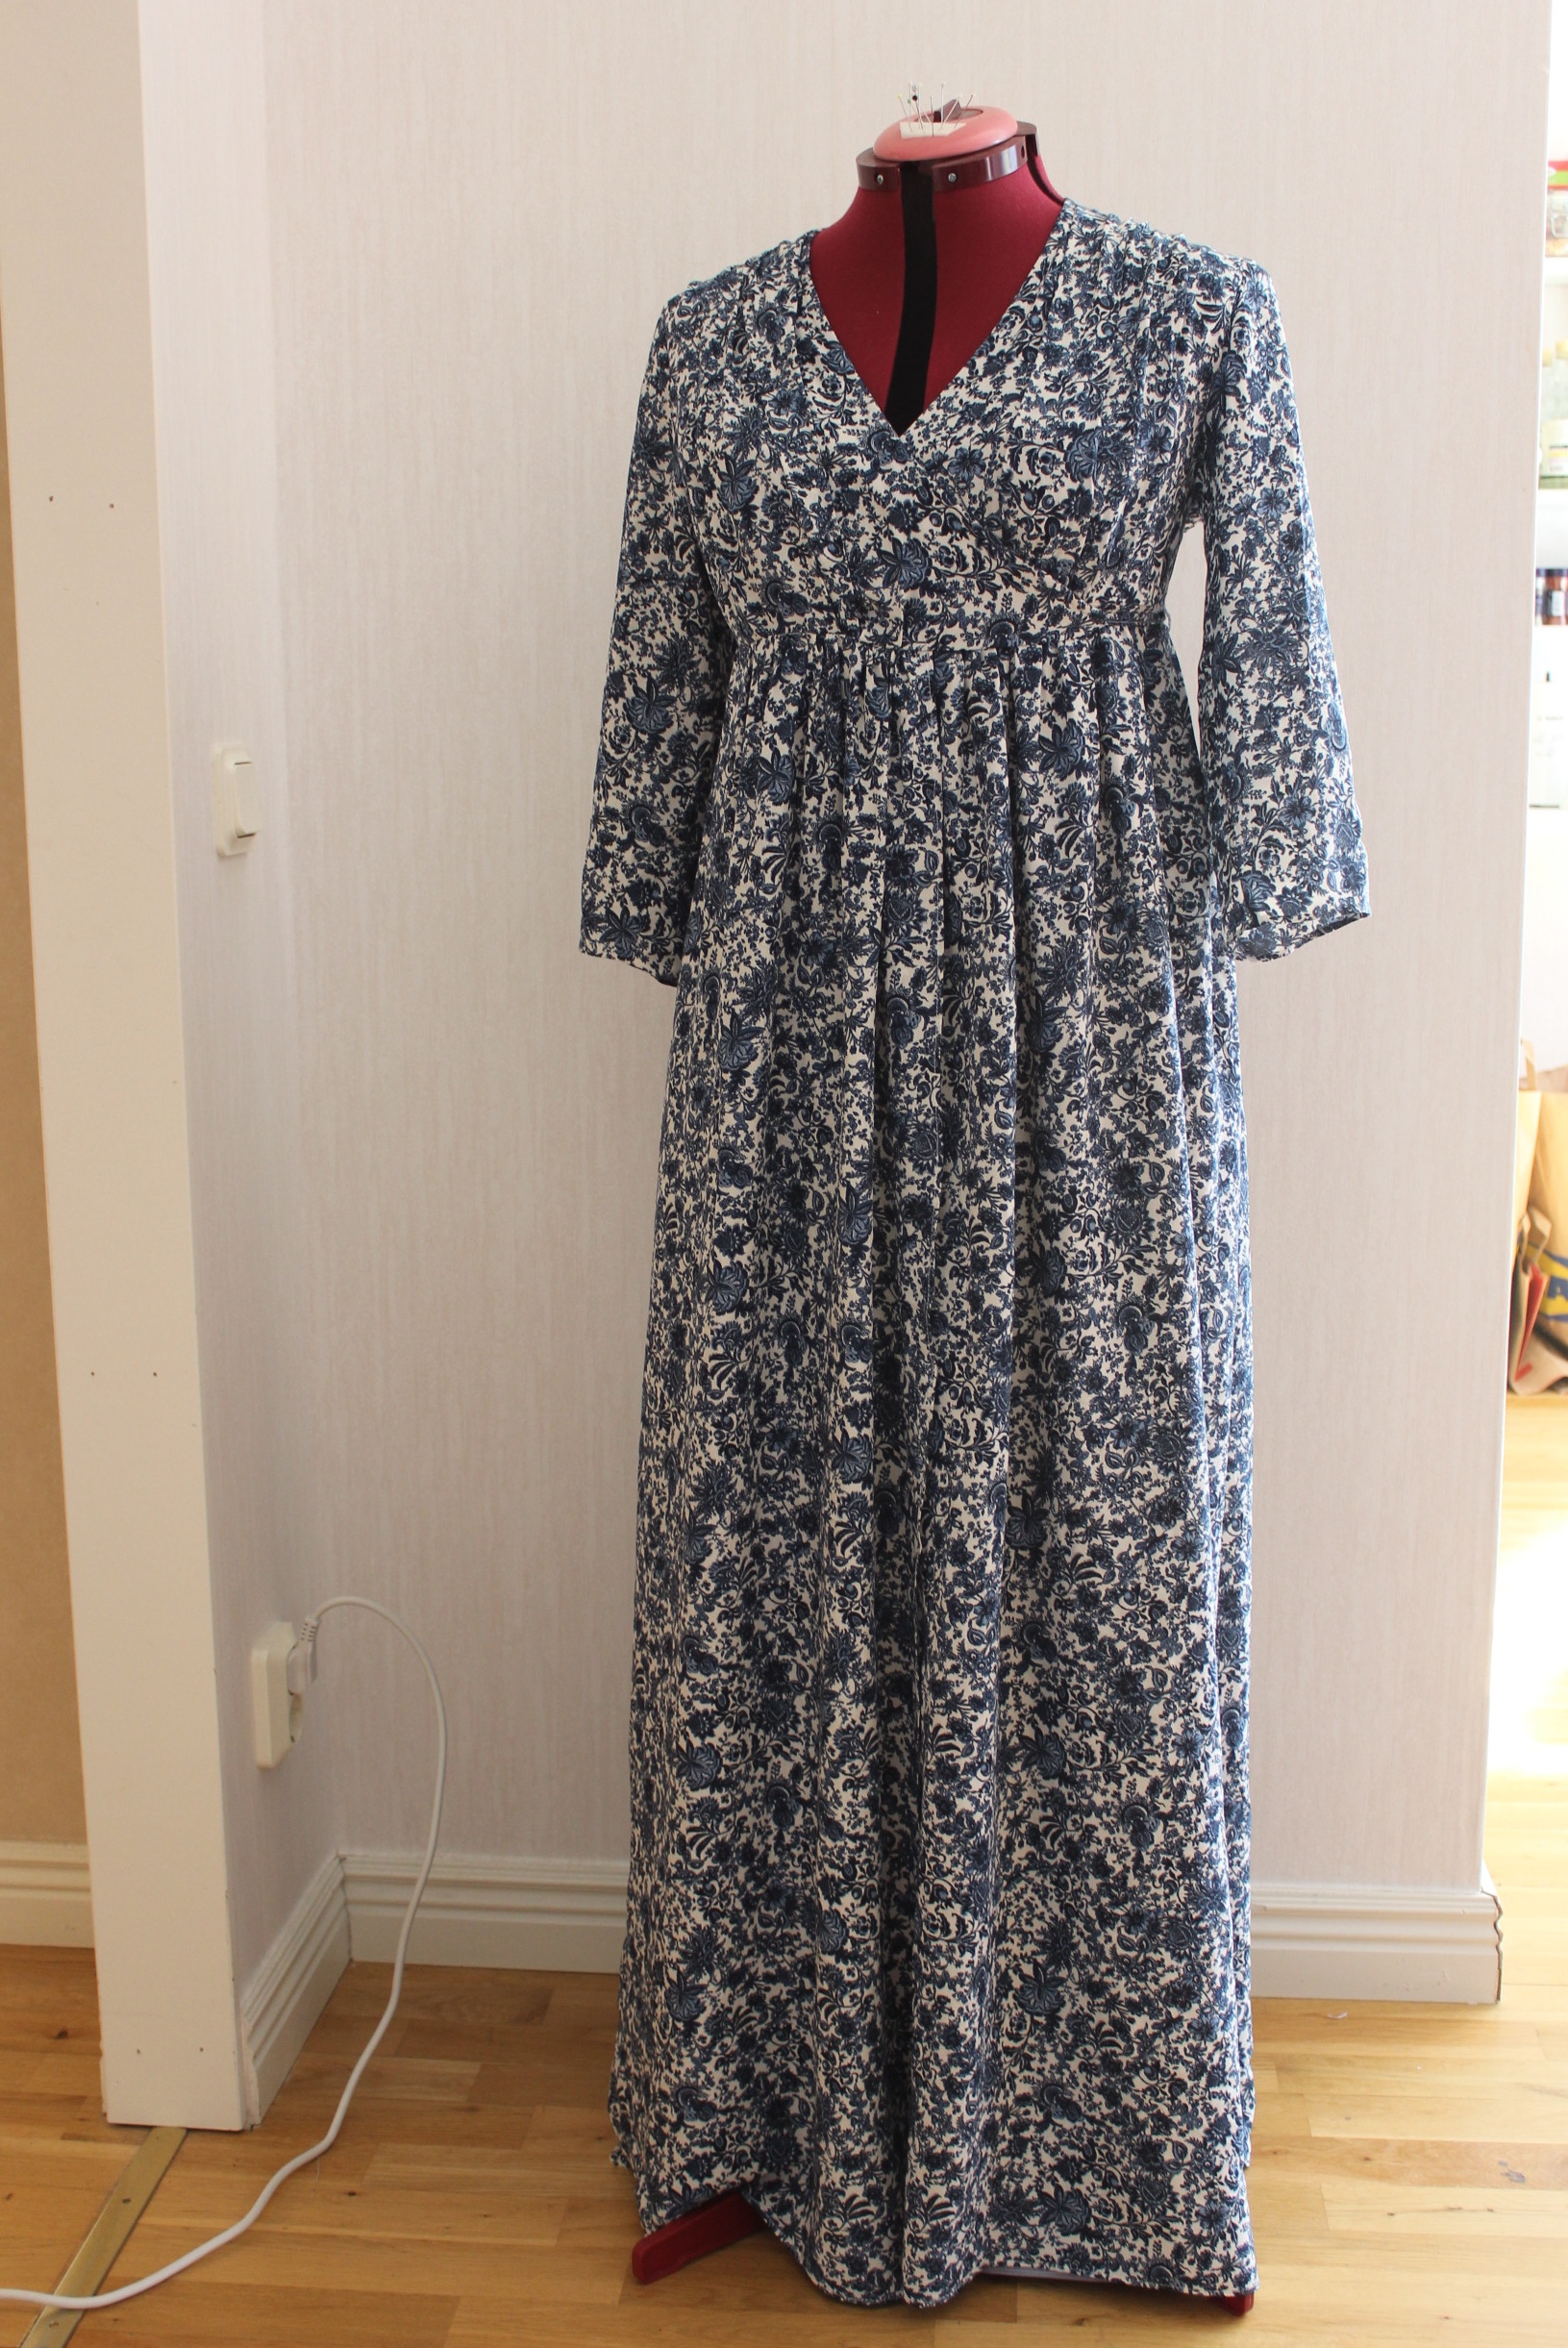
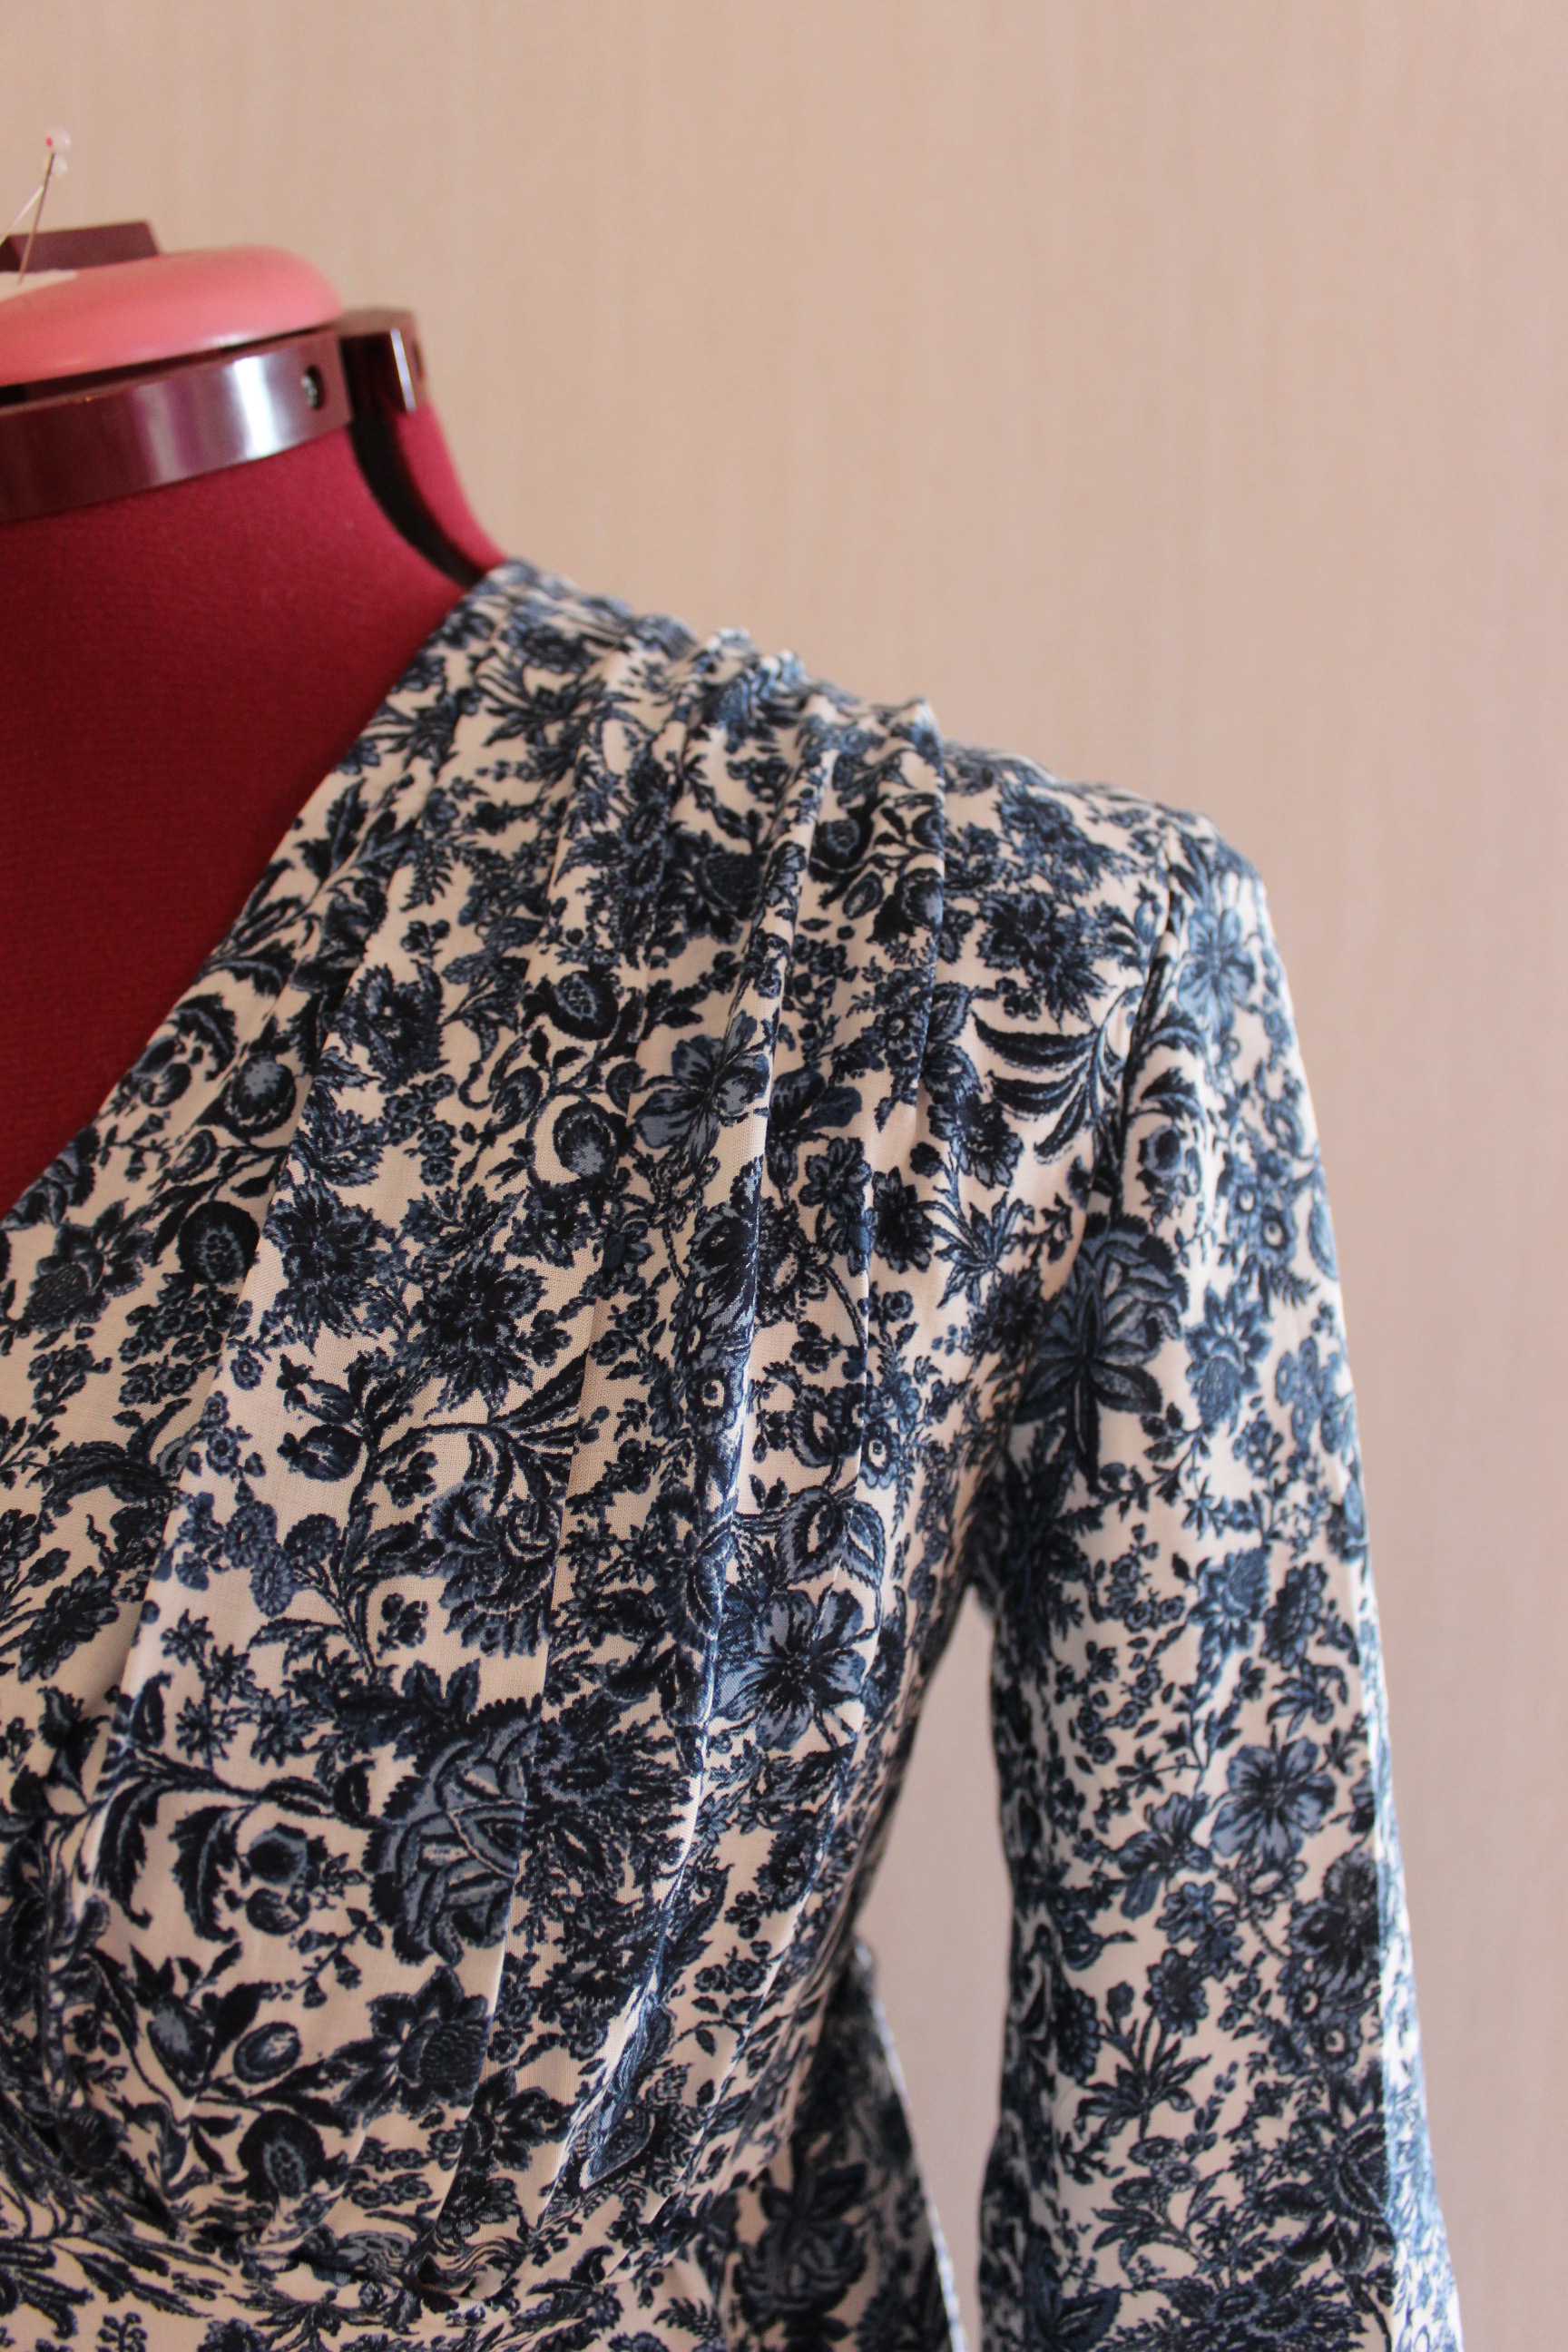
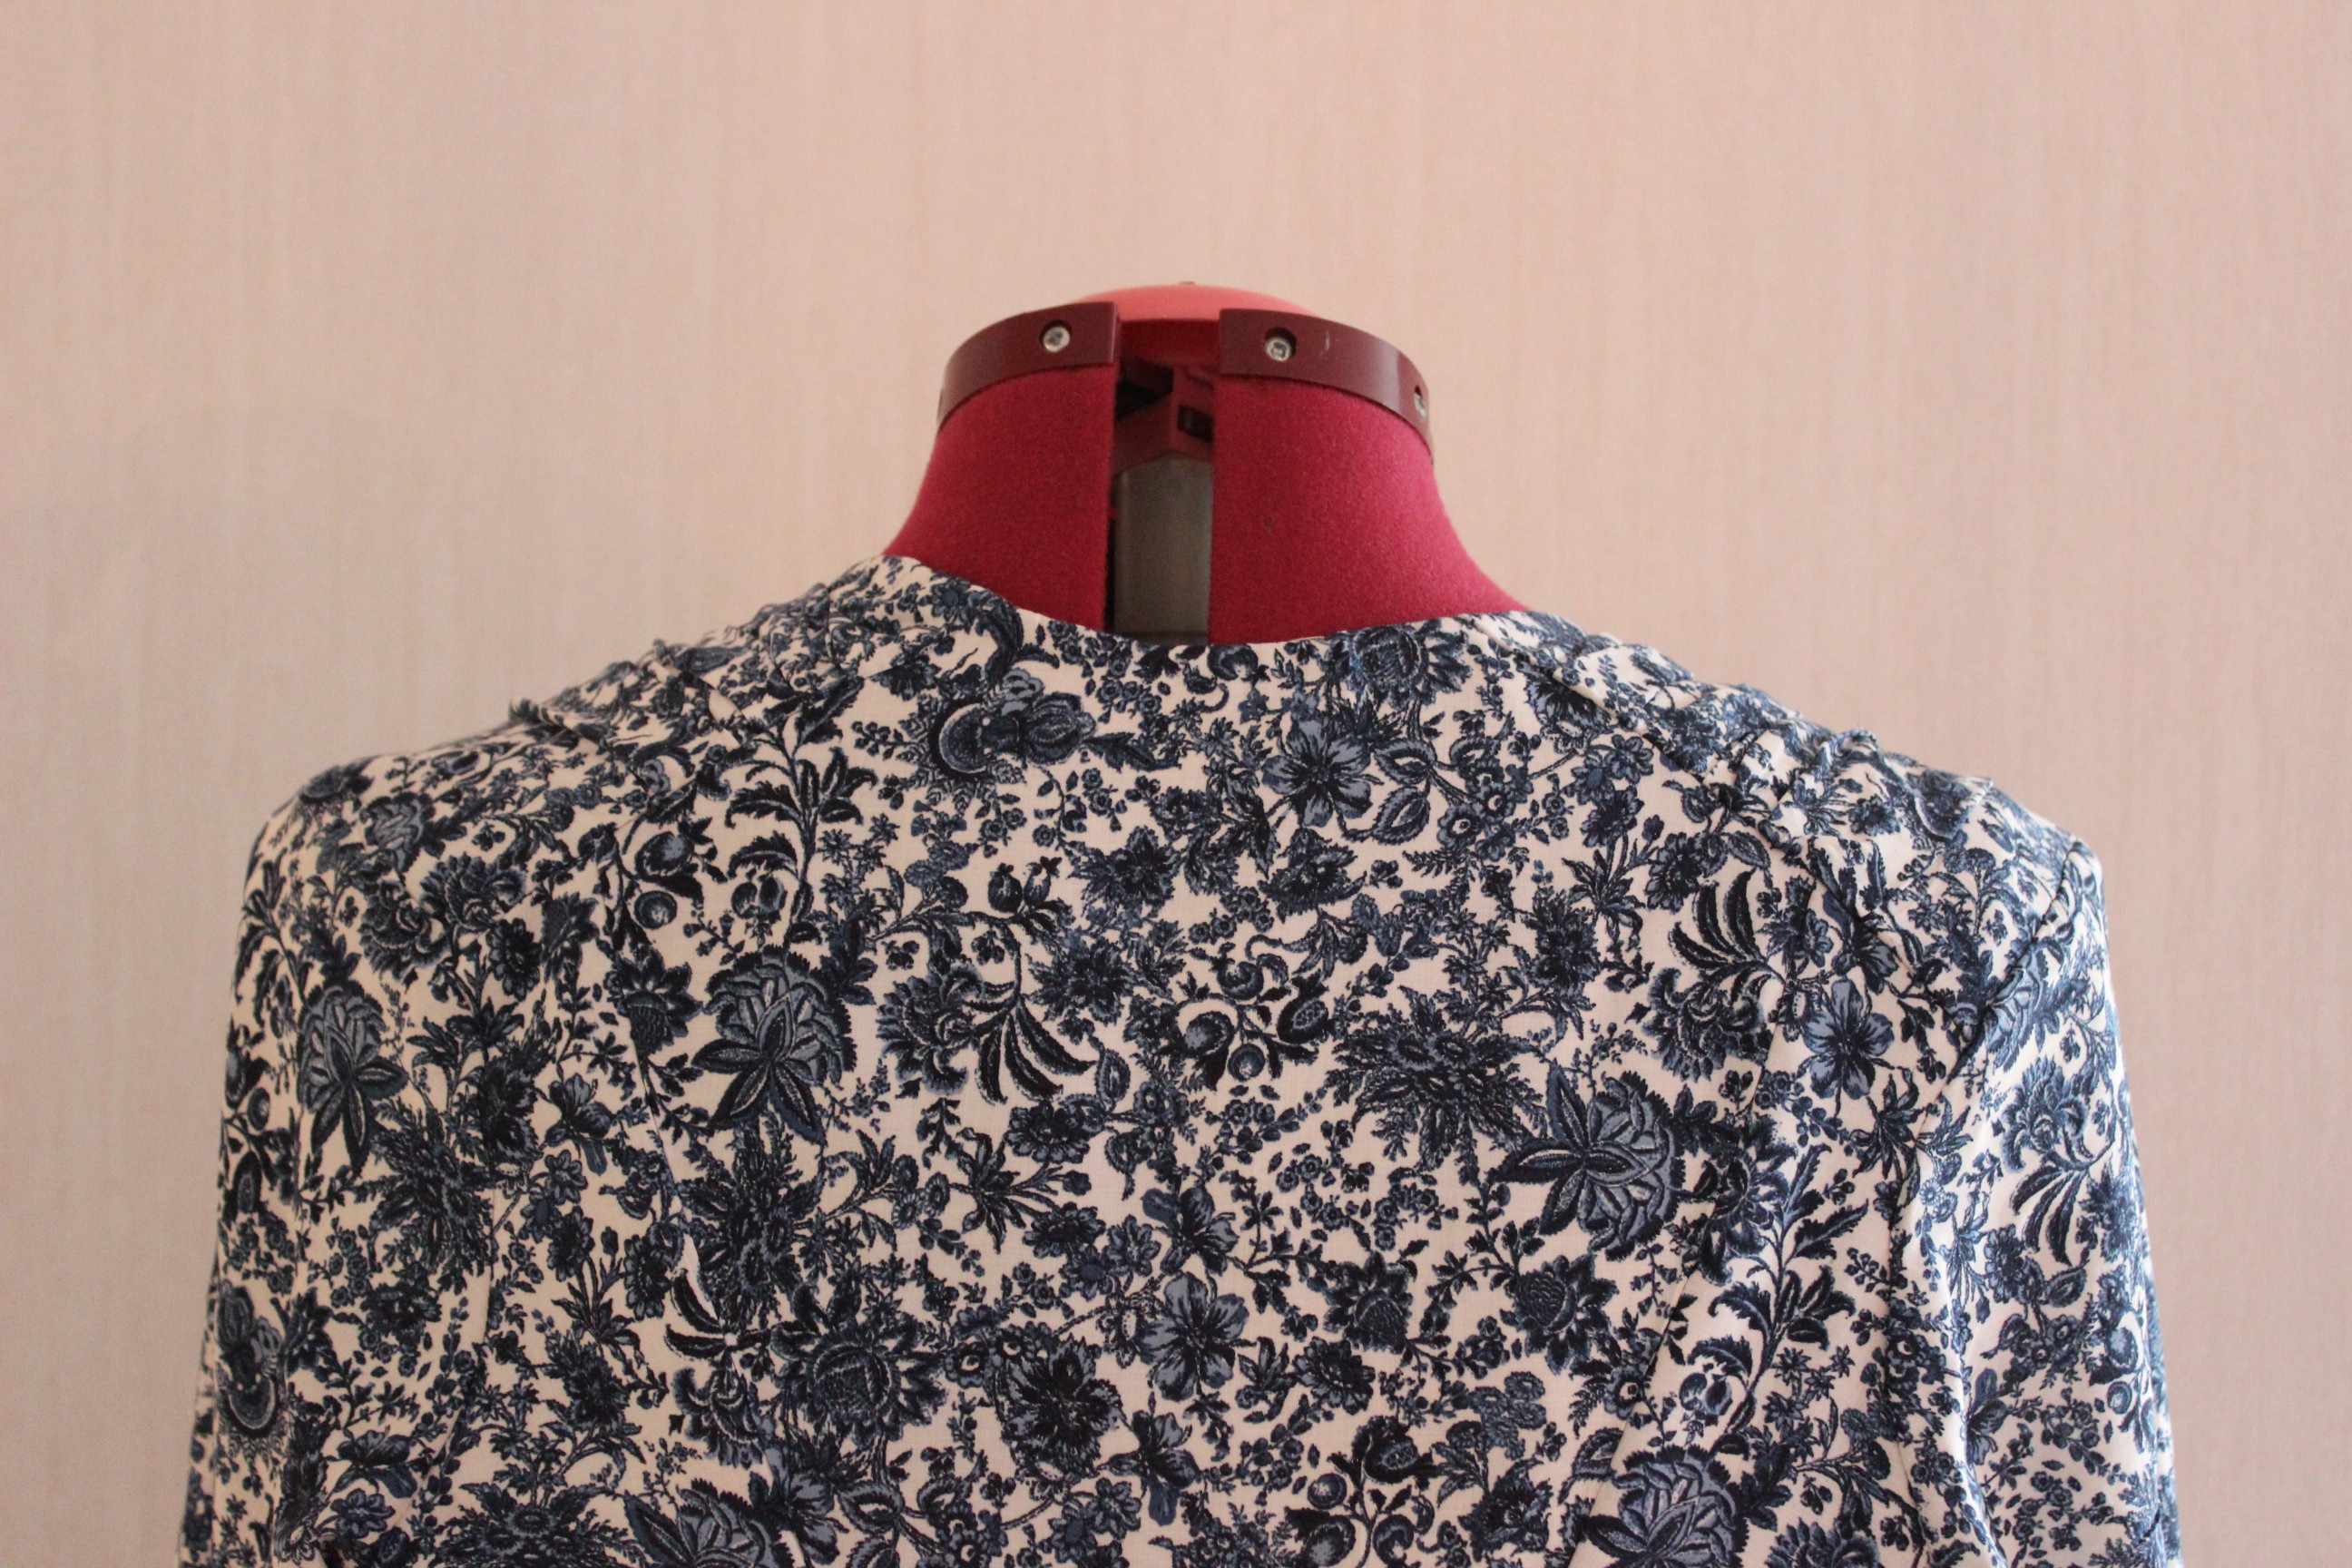
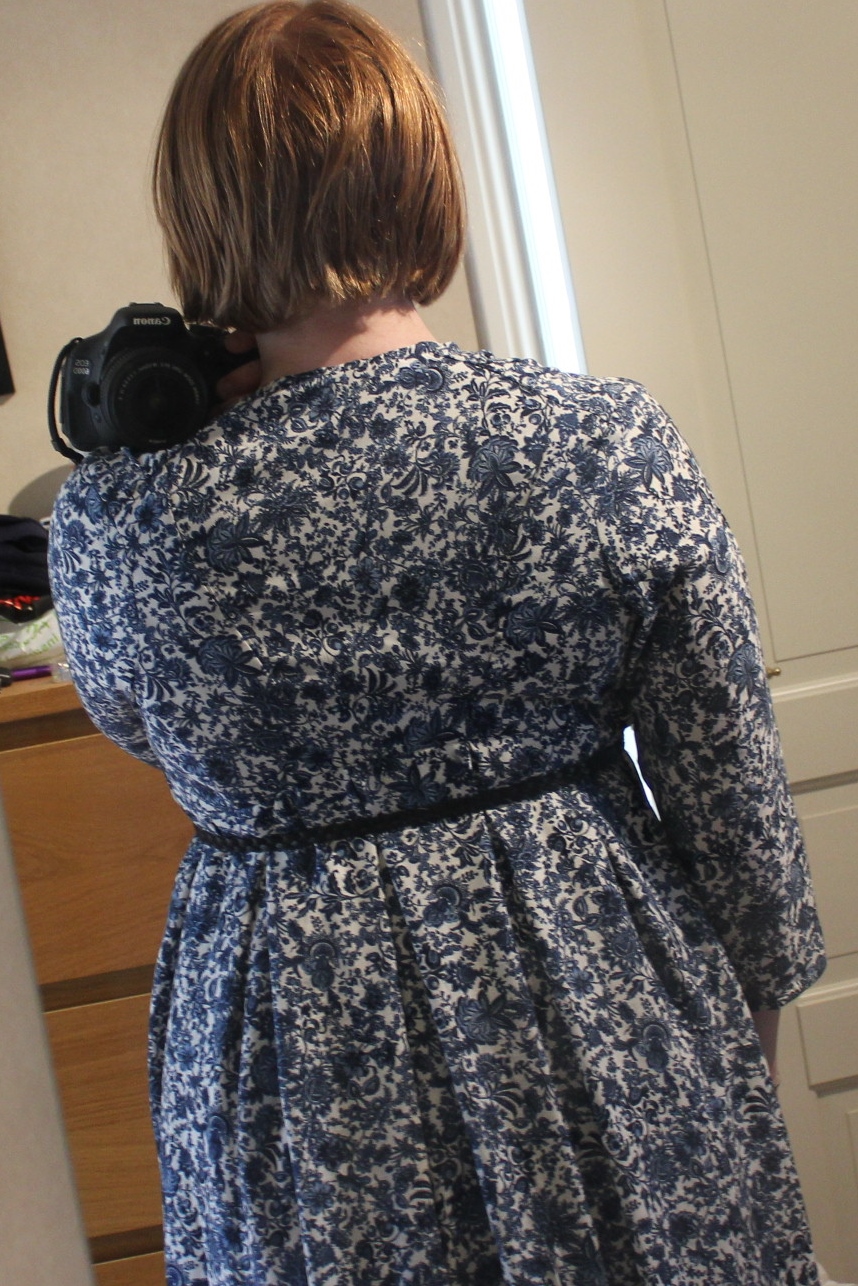
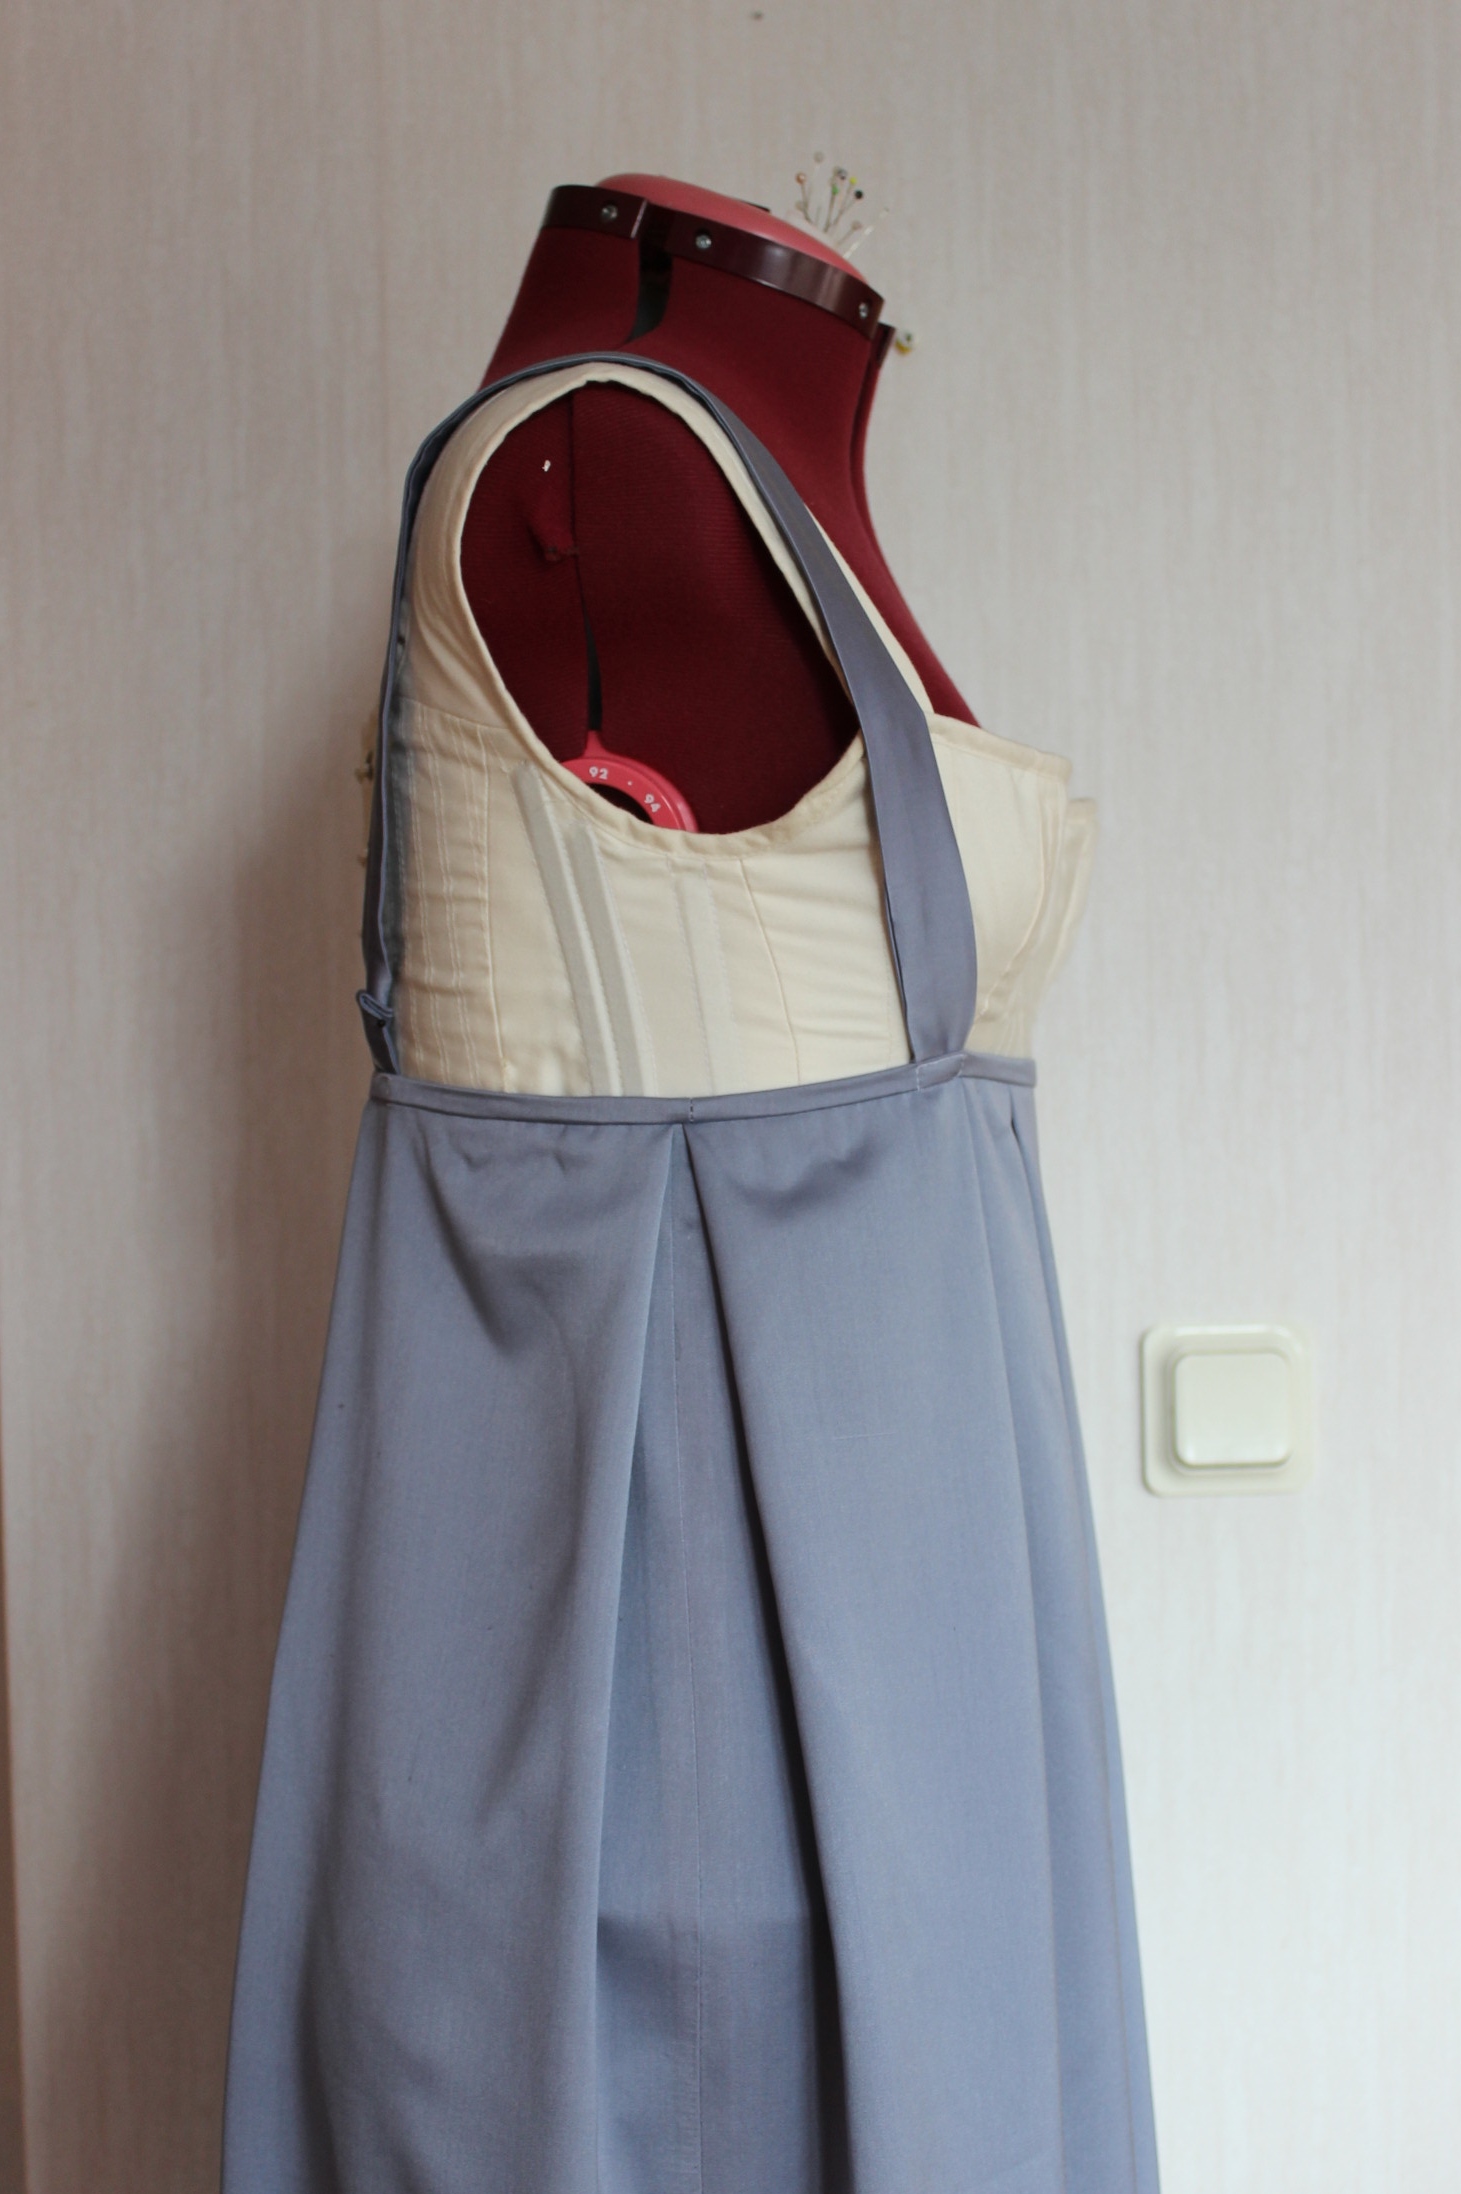
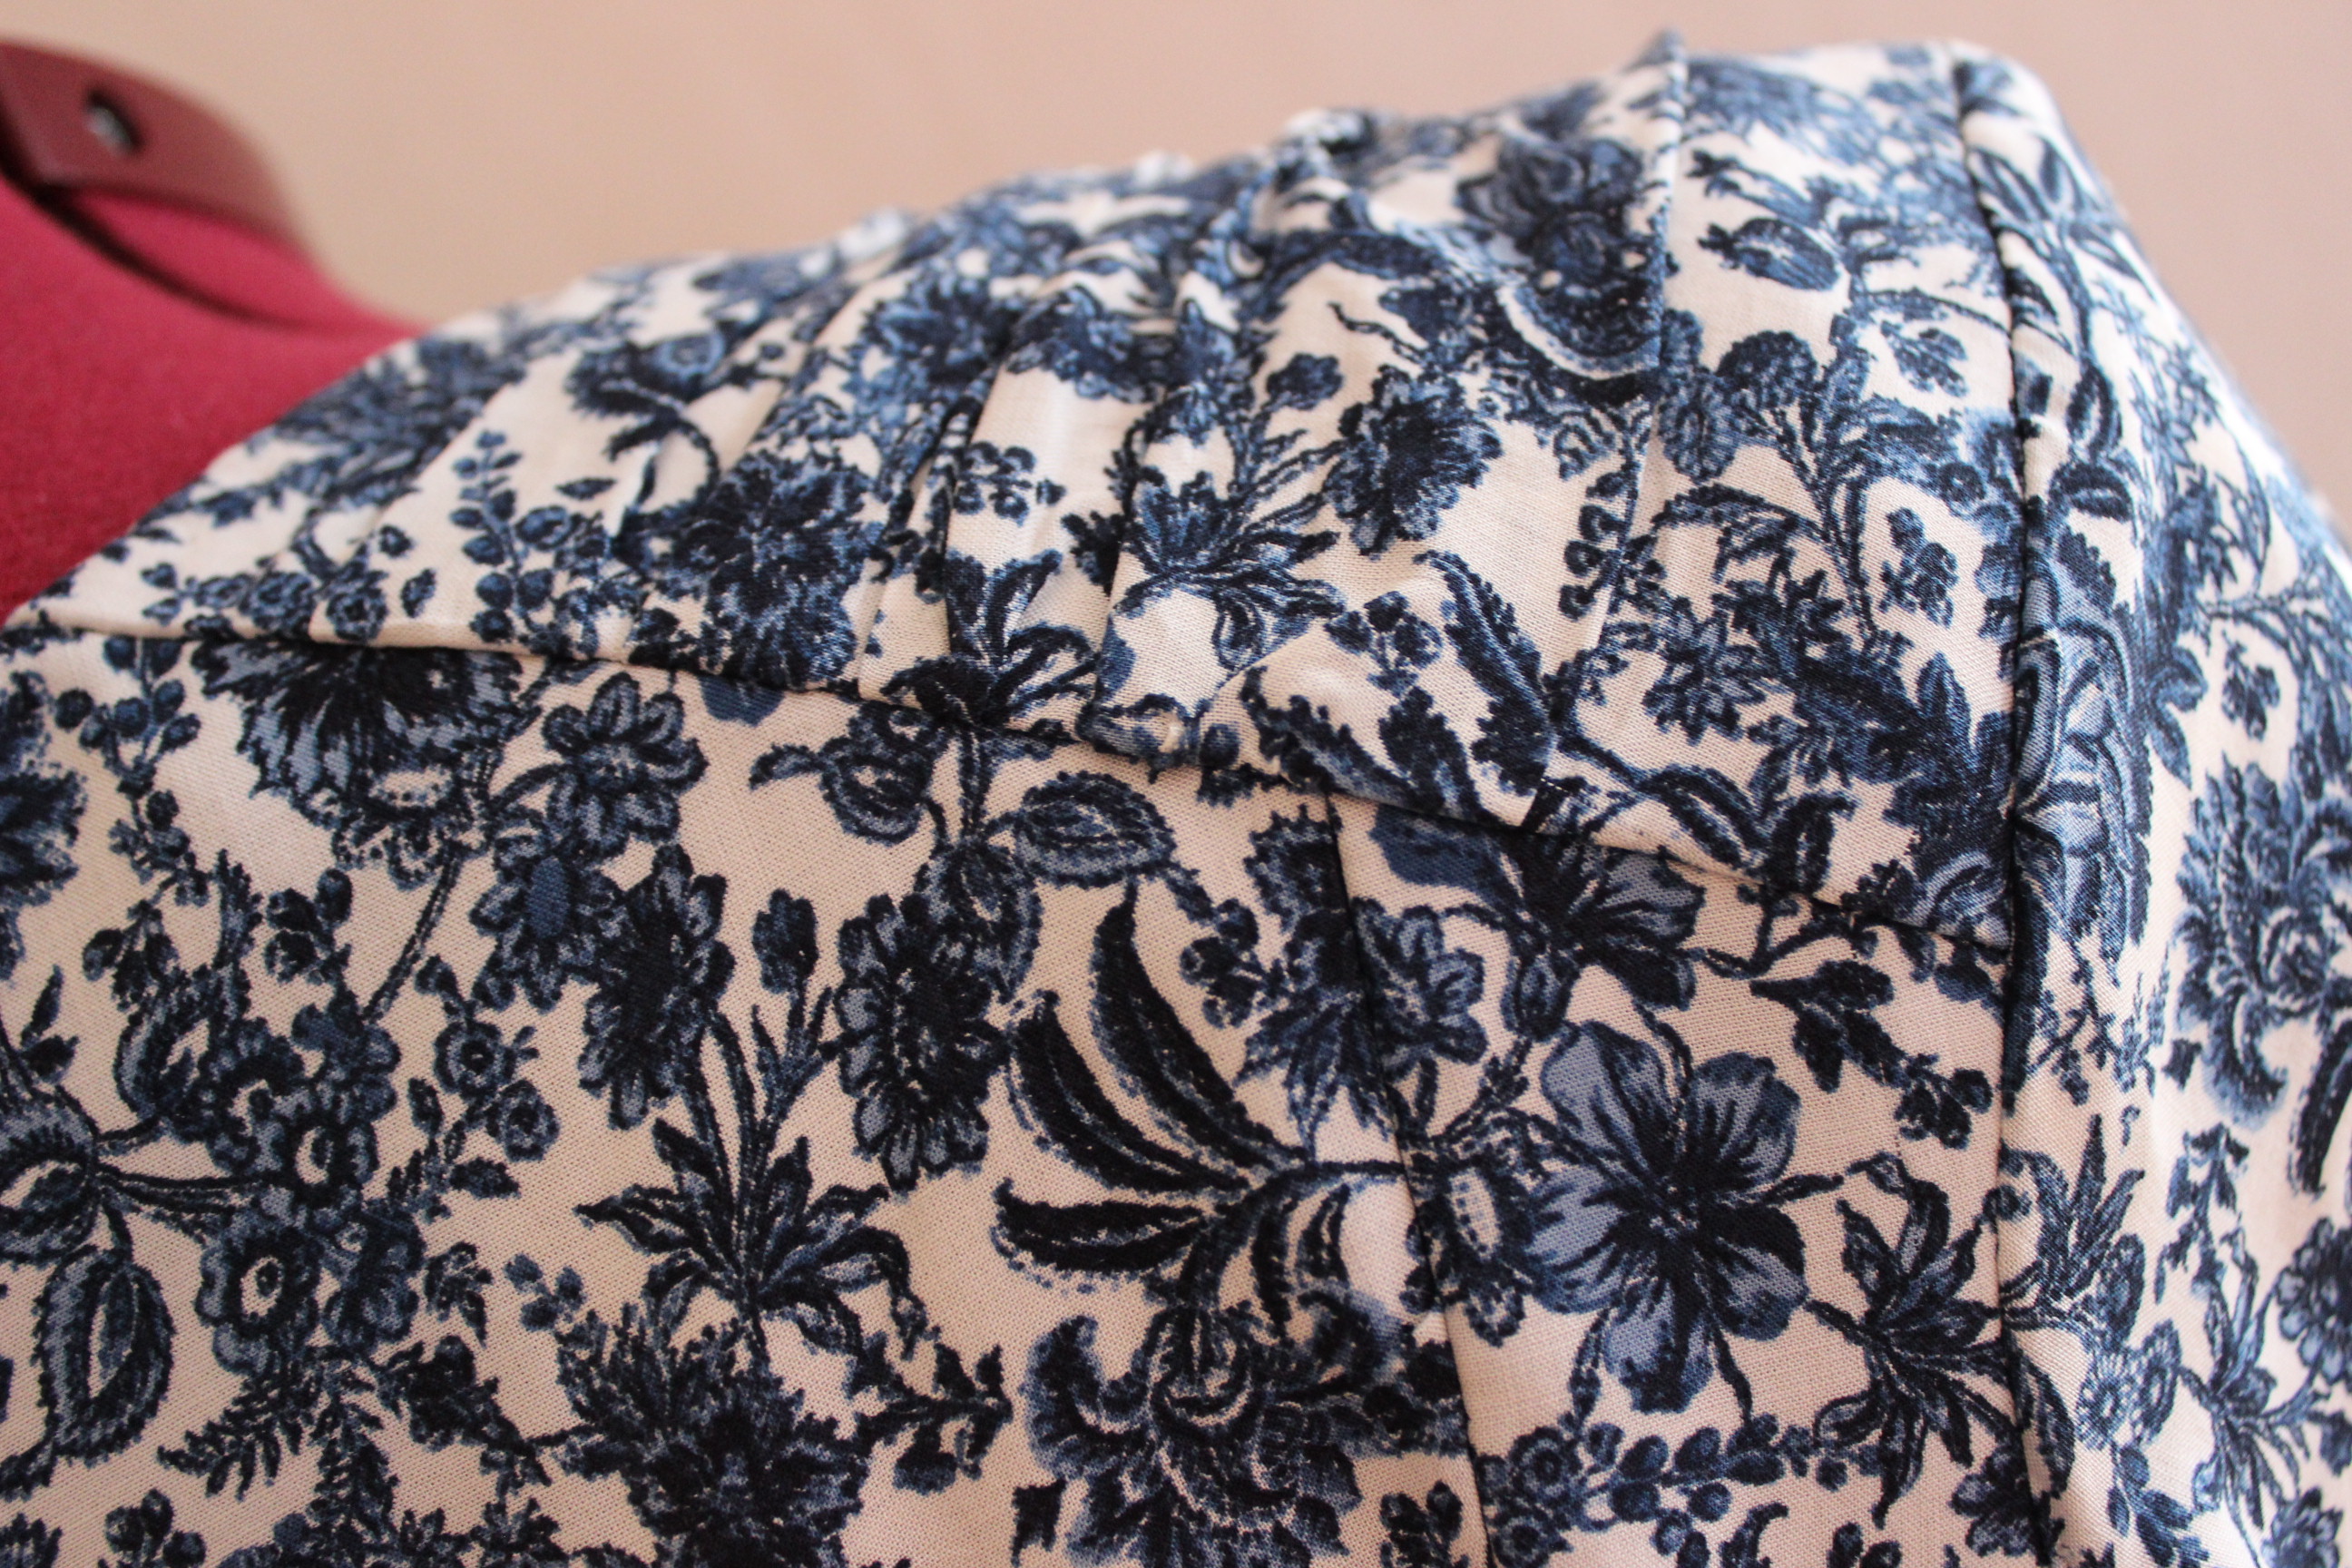 Back shoulder
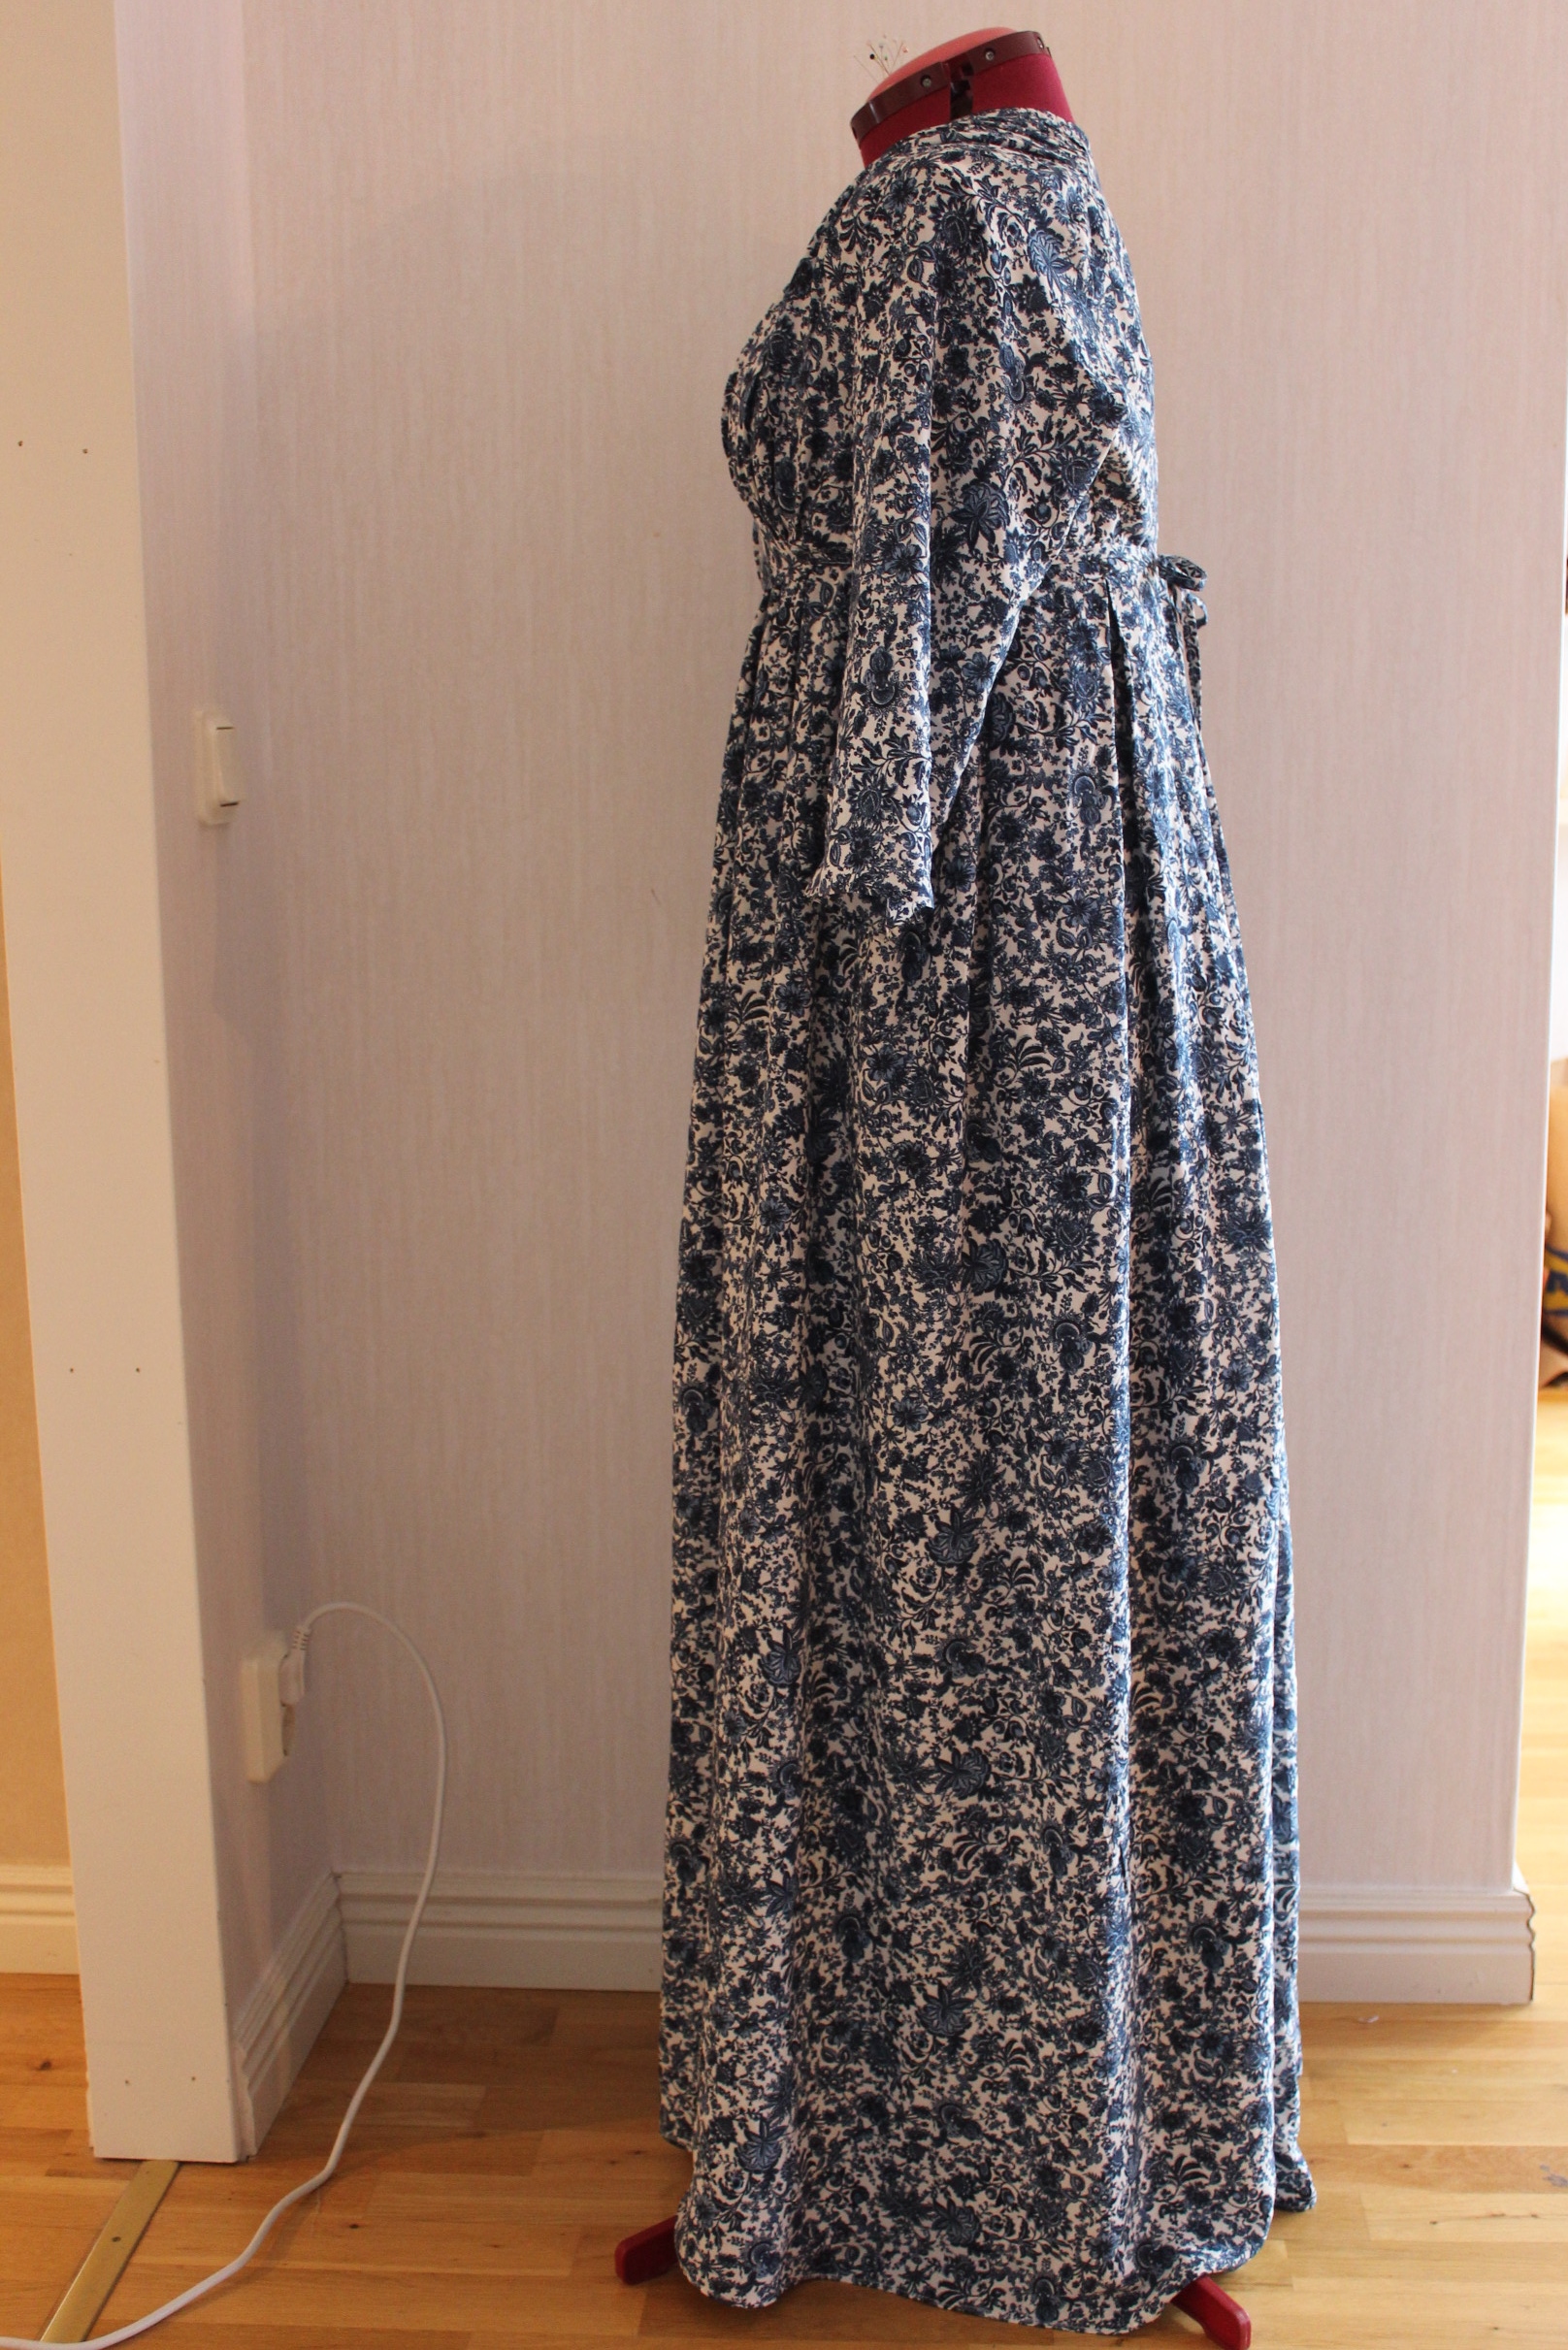
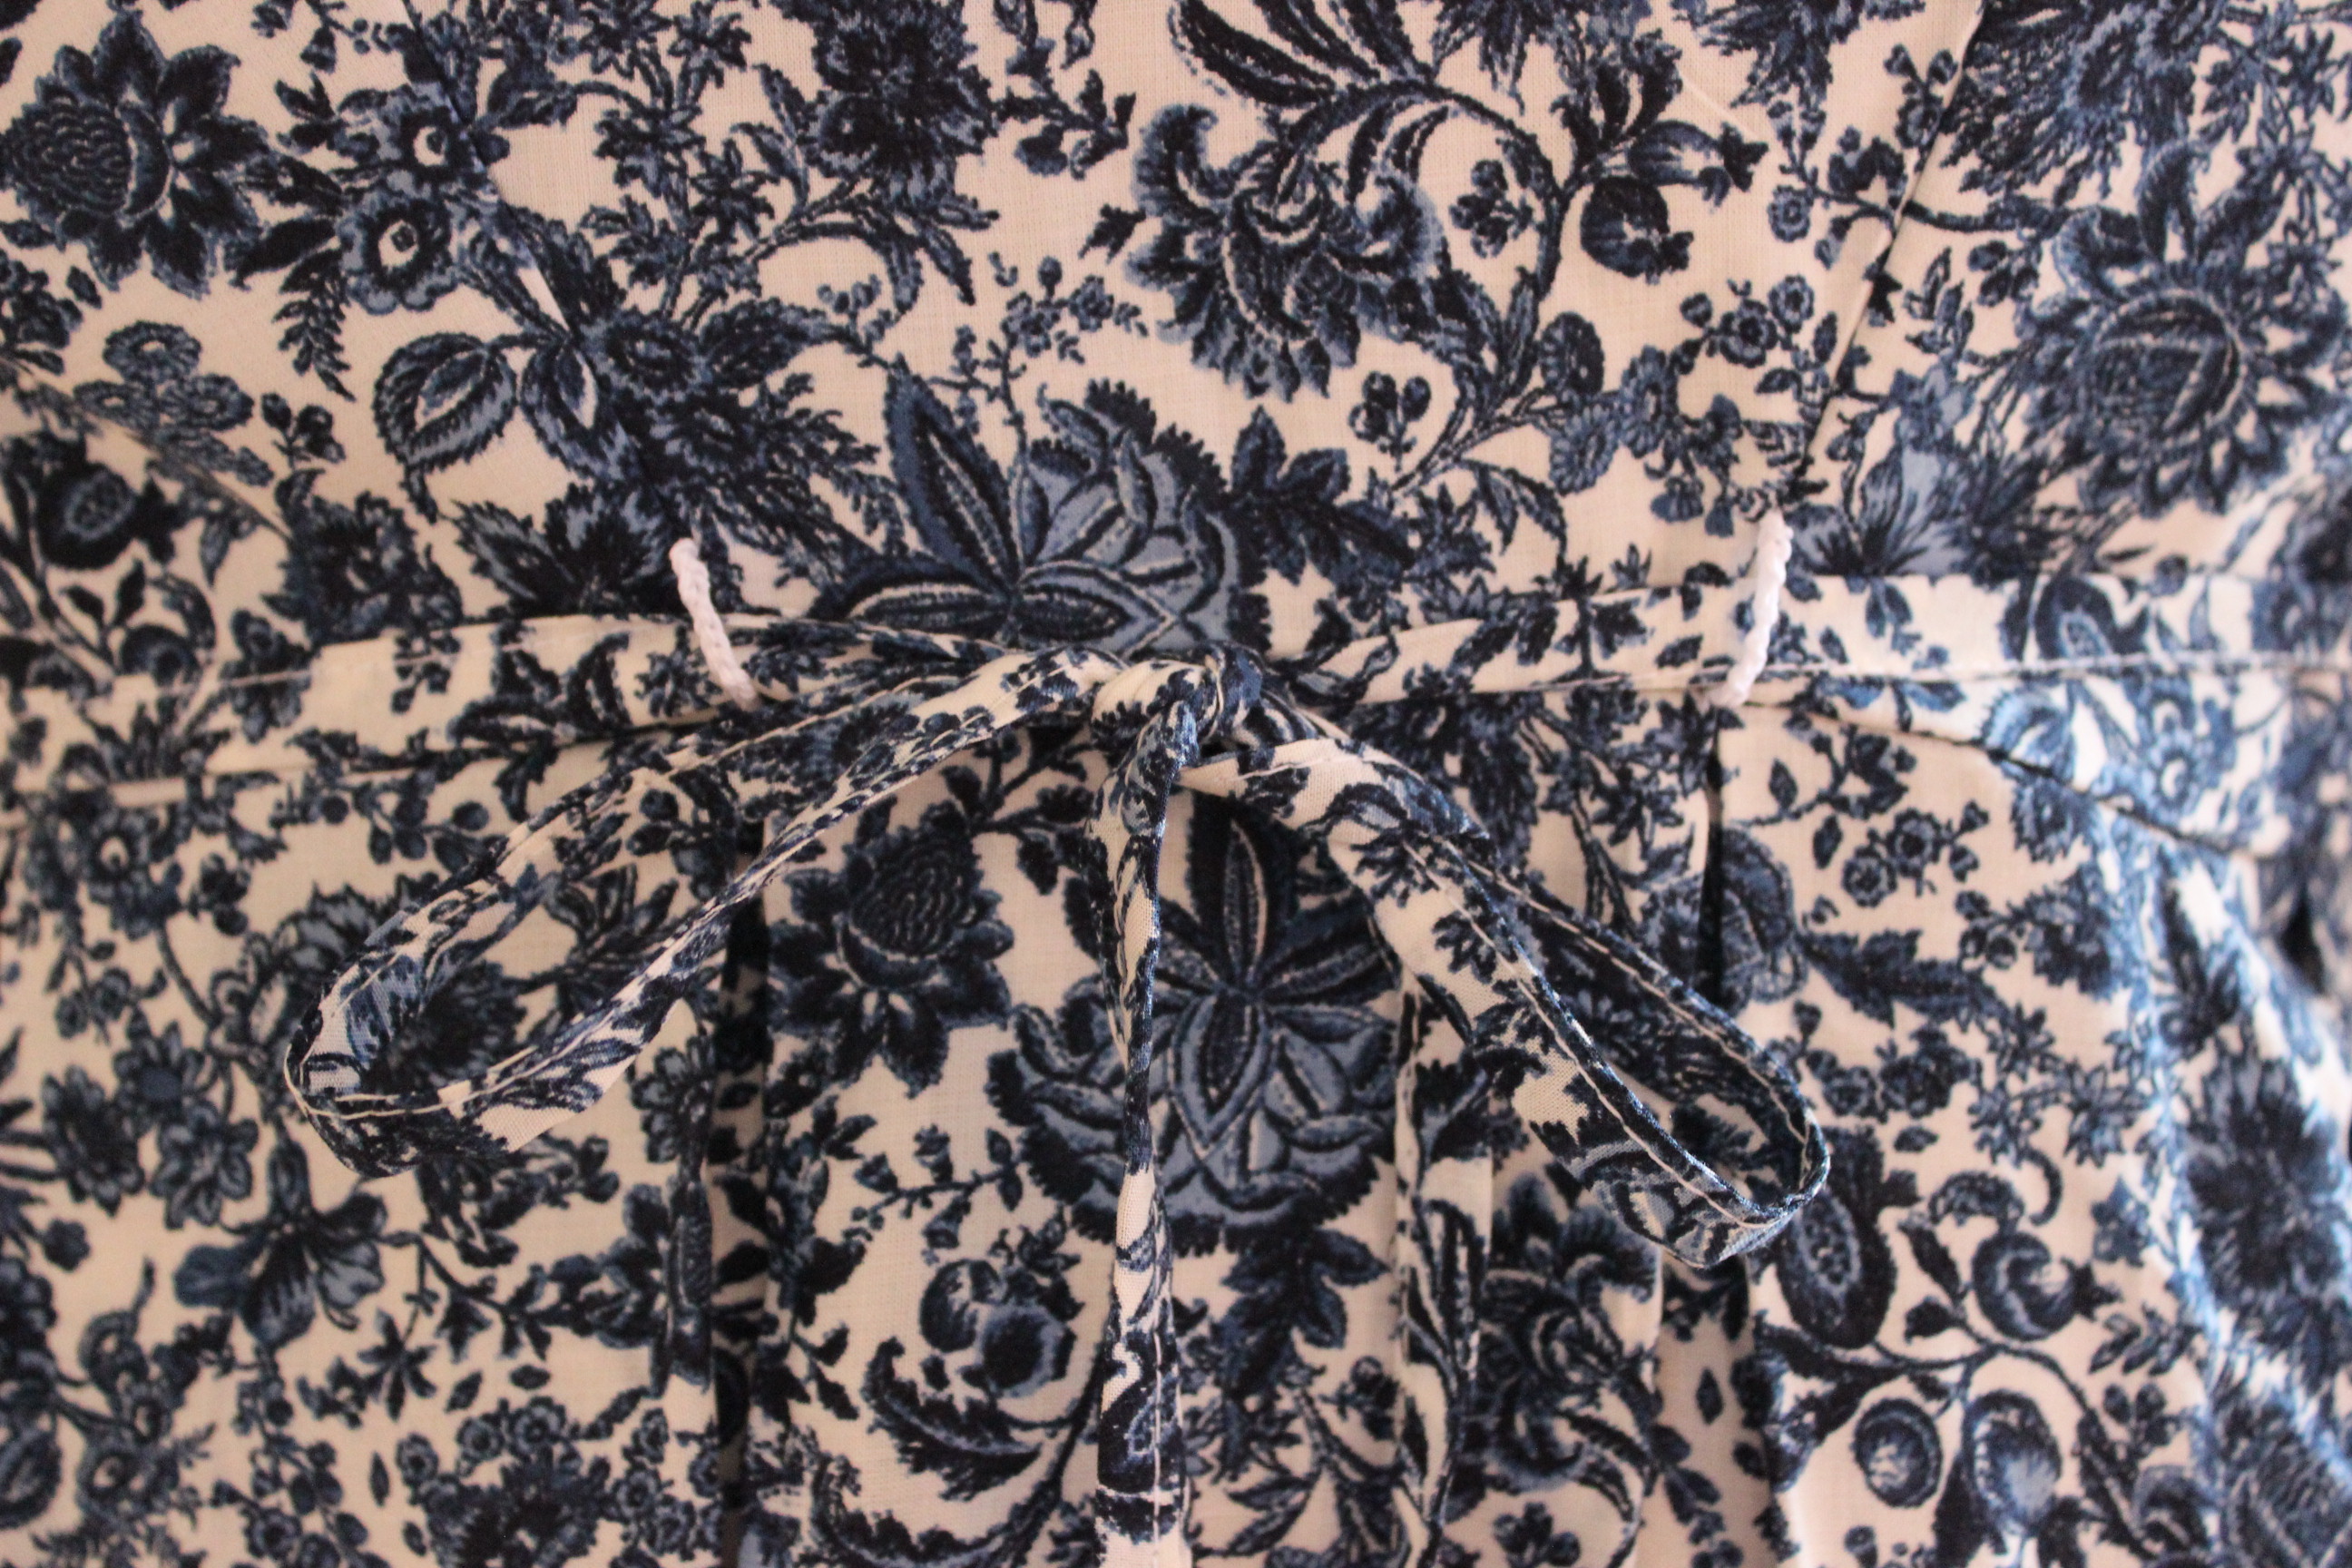 Ties in the back
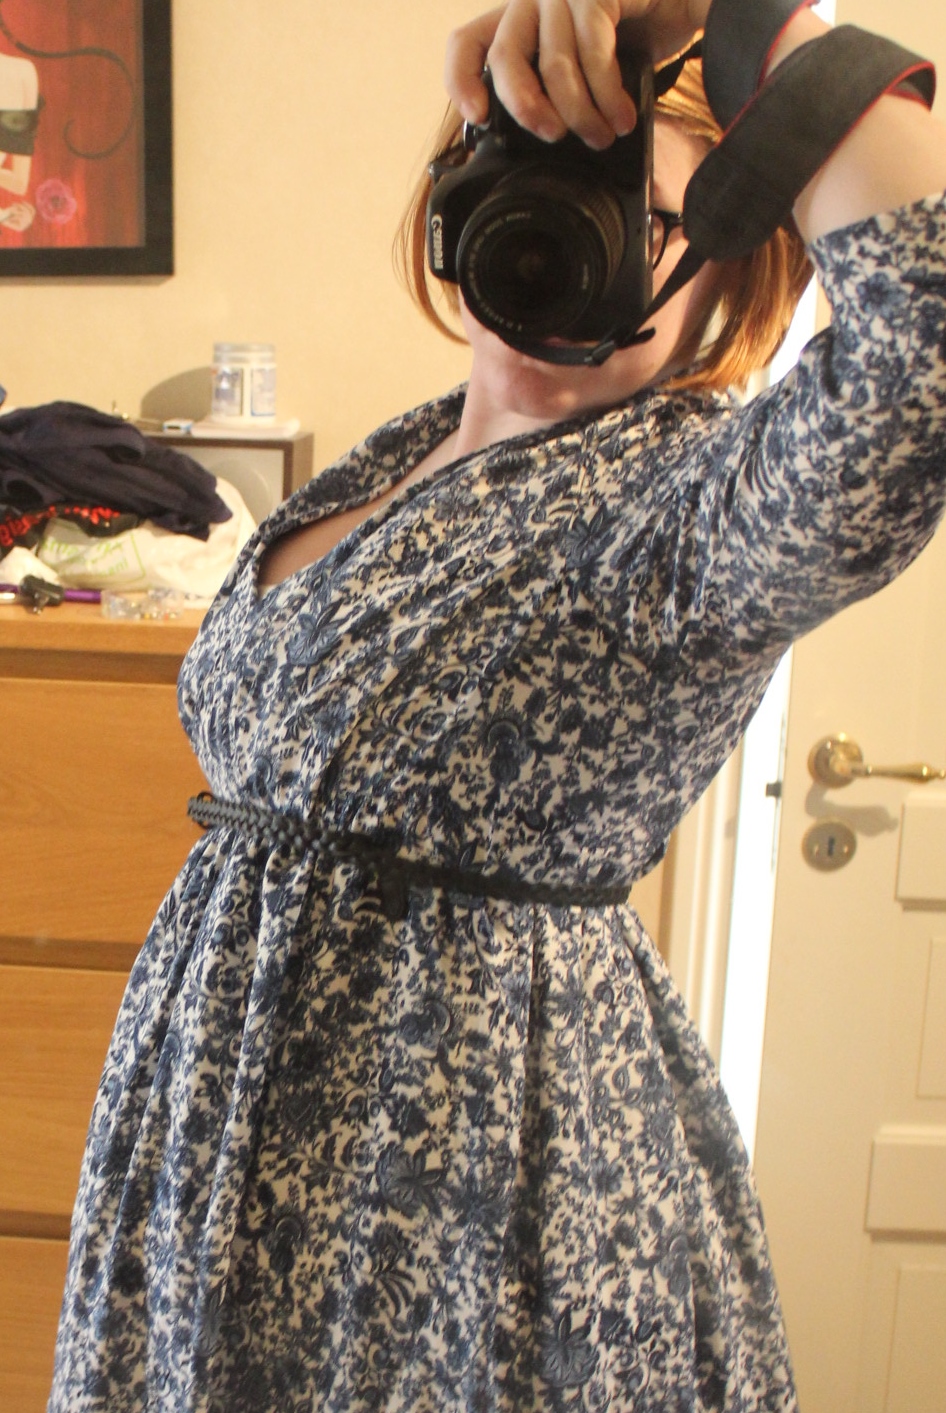
Sneak a peak from the photoshoot;