18th century Spring Anglaise En Fourreau

Here in Sweden November’s been darker then usual and it seems we just broke the record for less hours of sun, counting only 2 hours of sun during the whole past month.
No wounder we all feel and look like living dead by now. (and Winter is coming…)

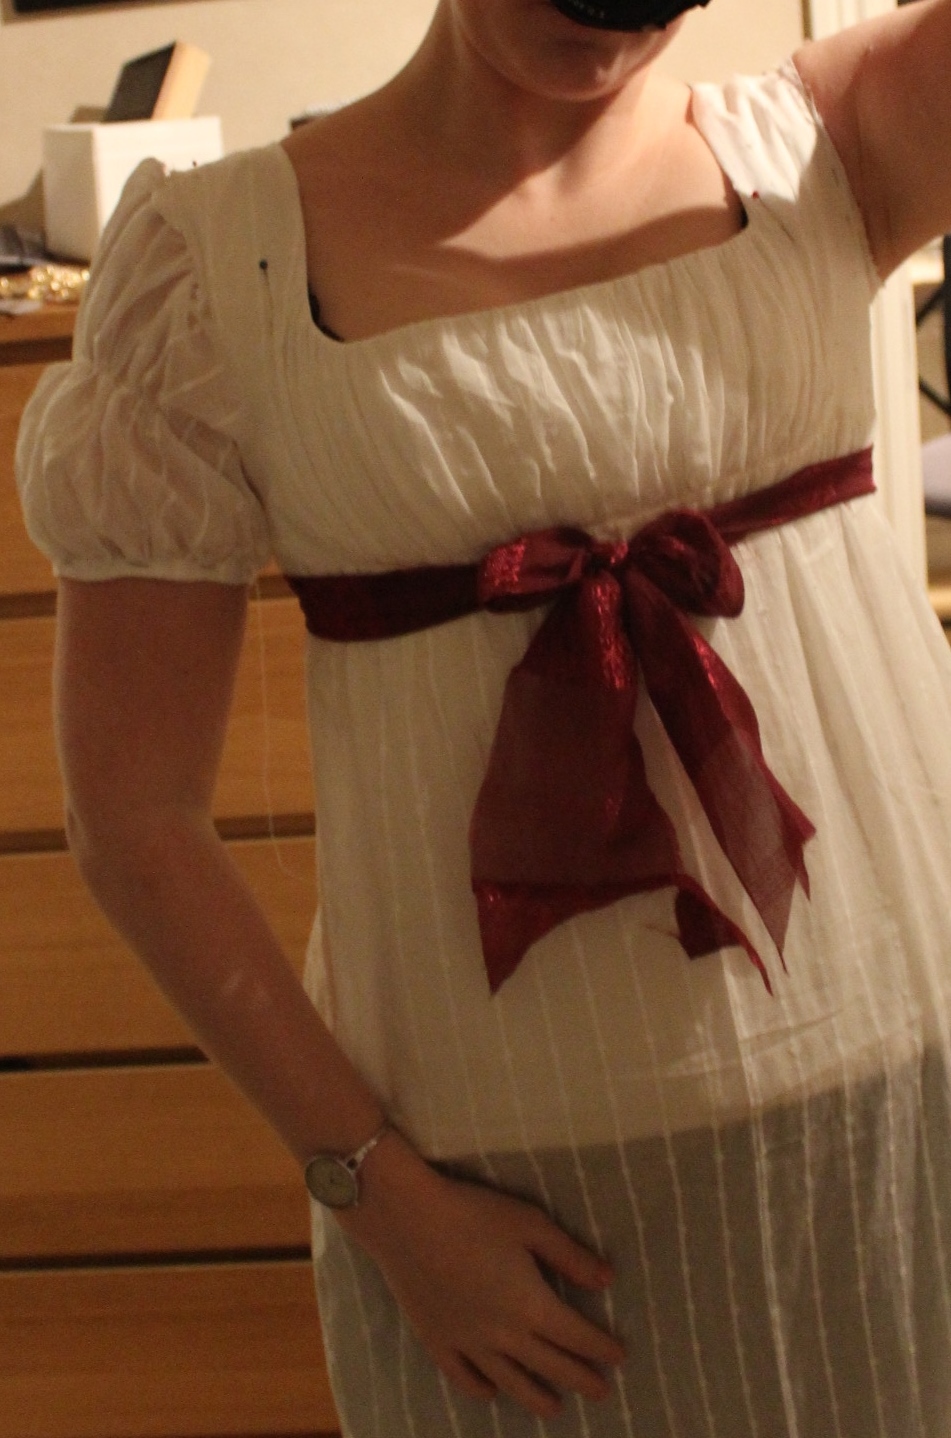
So today I decided it was time to get some costuming sun, by showing of my newest gown – inspired by fresh spring flowers…

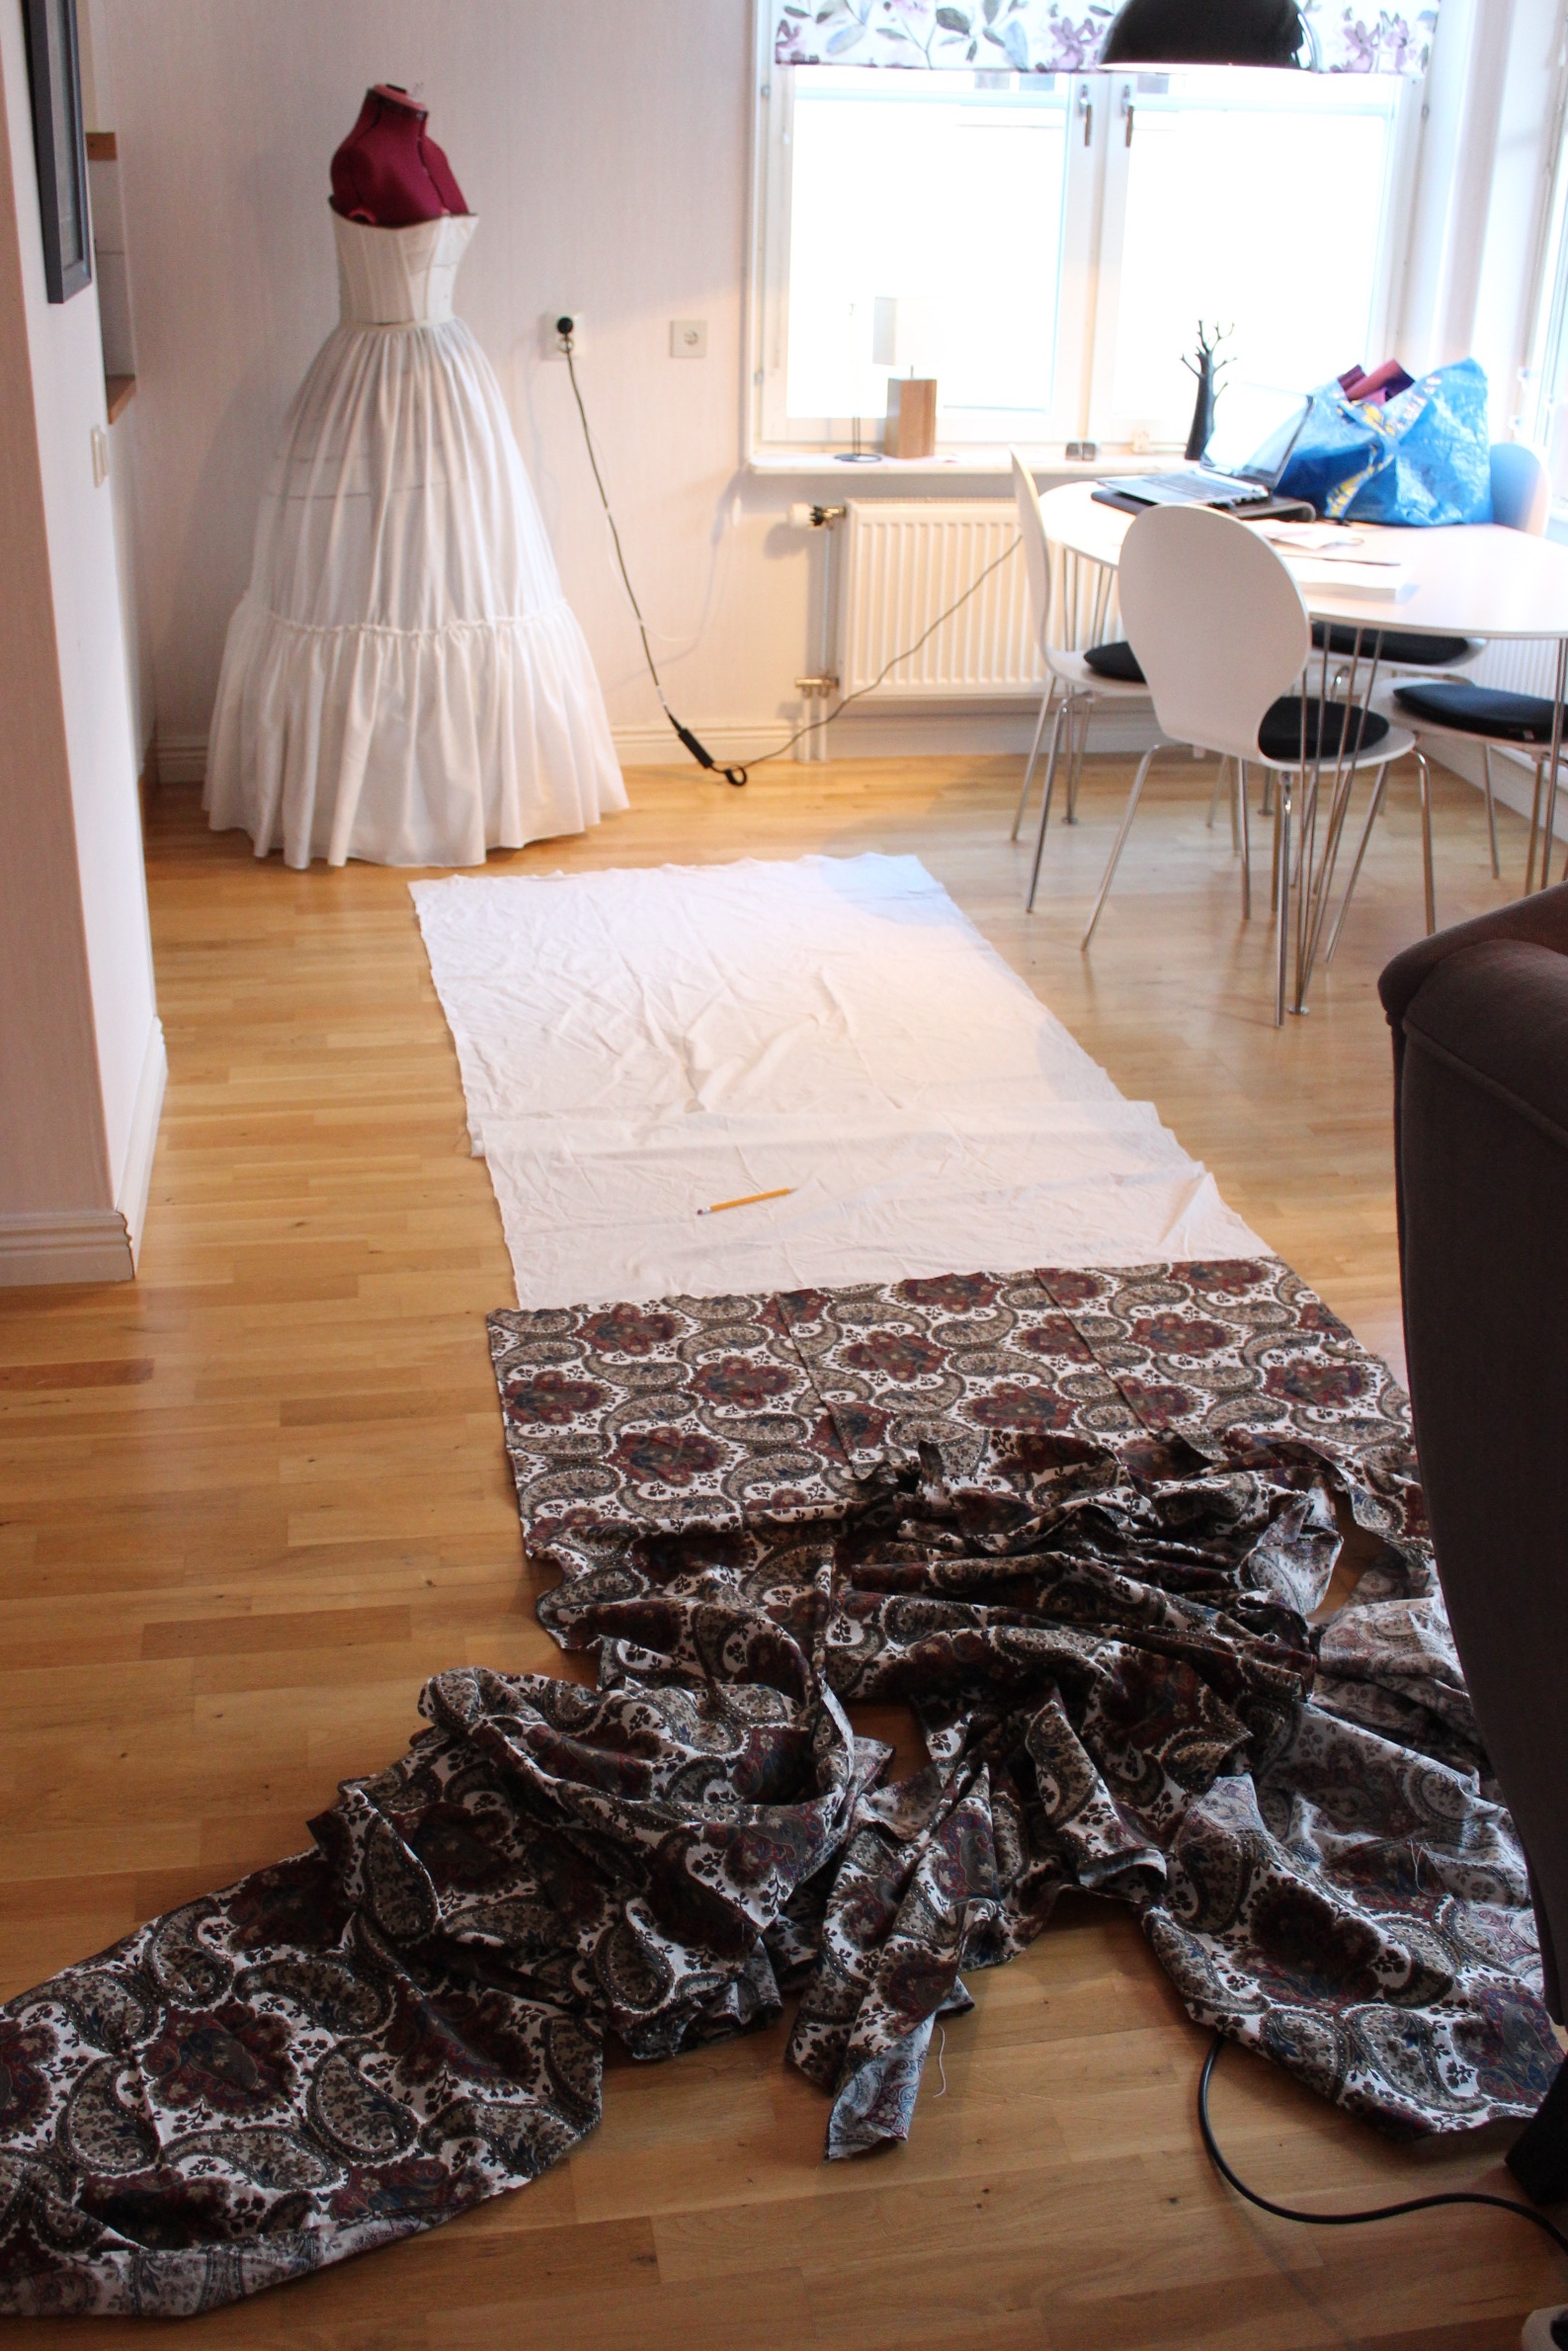
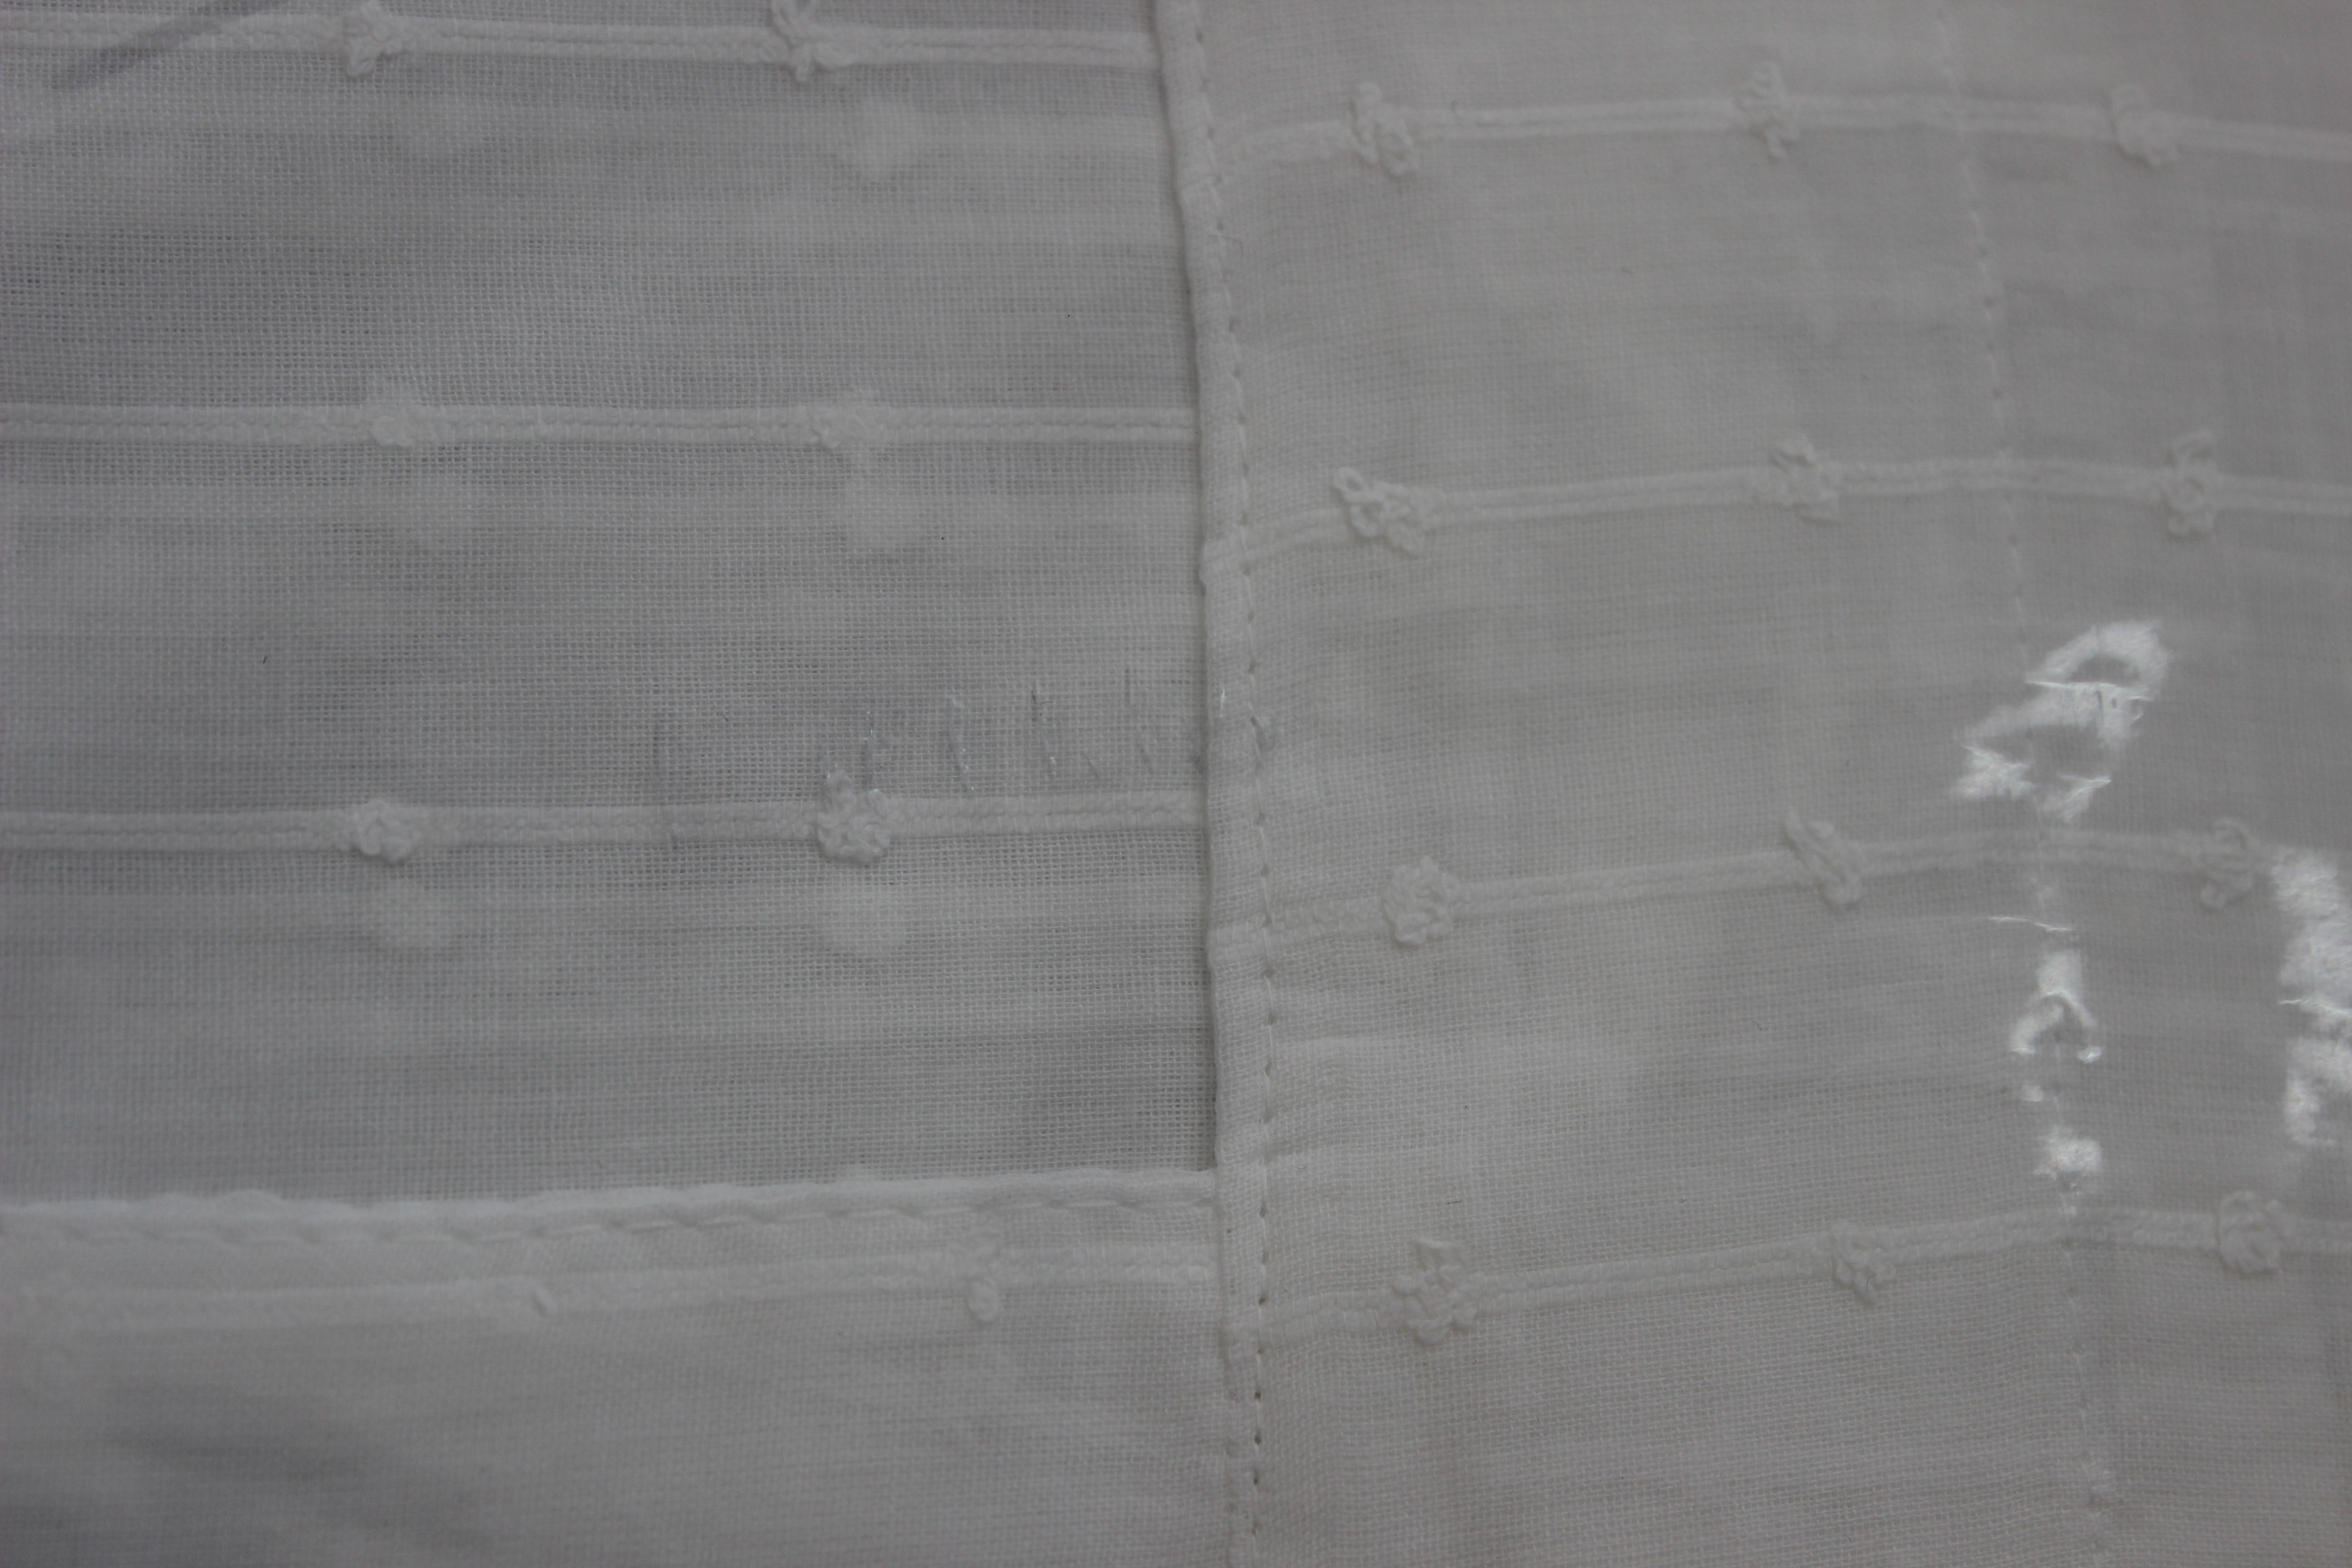
Last year I bought this fabric from IKEA (hm, must be my, 5th dress, or something made by fabric/curtains/bed-sheets from that store).IMG_0739
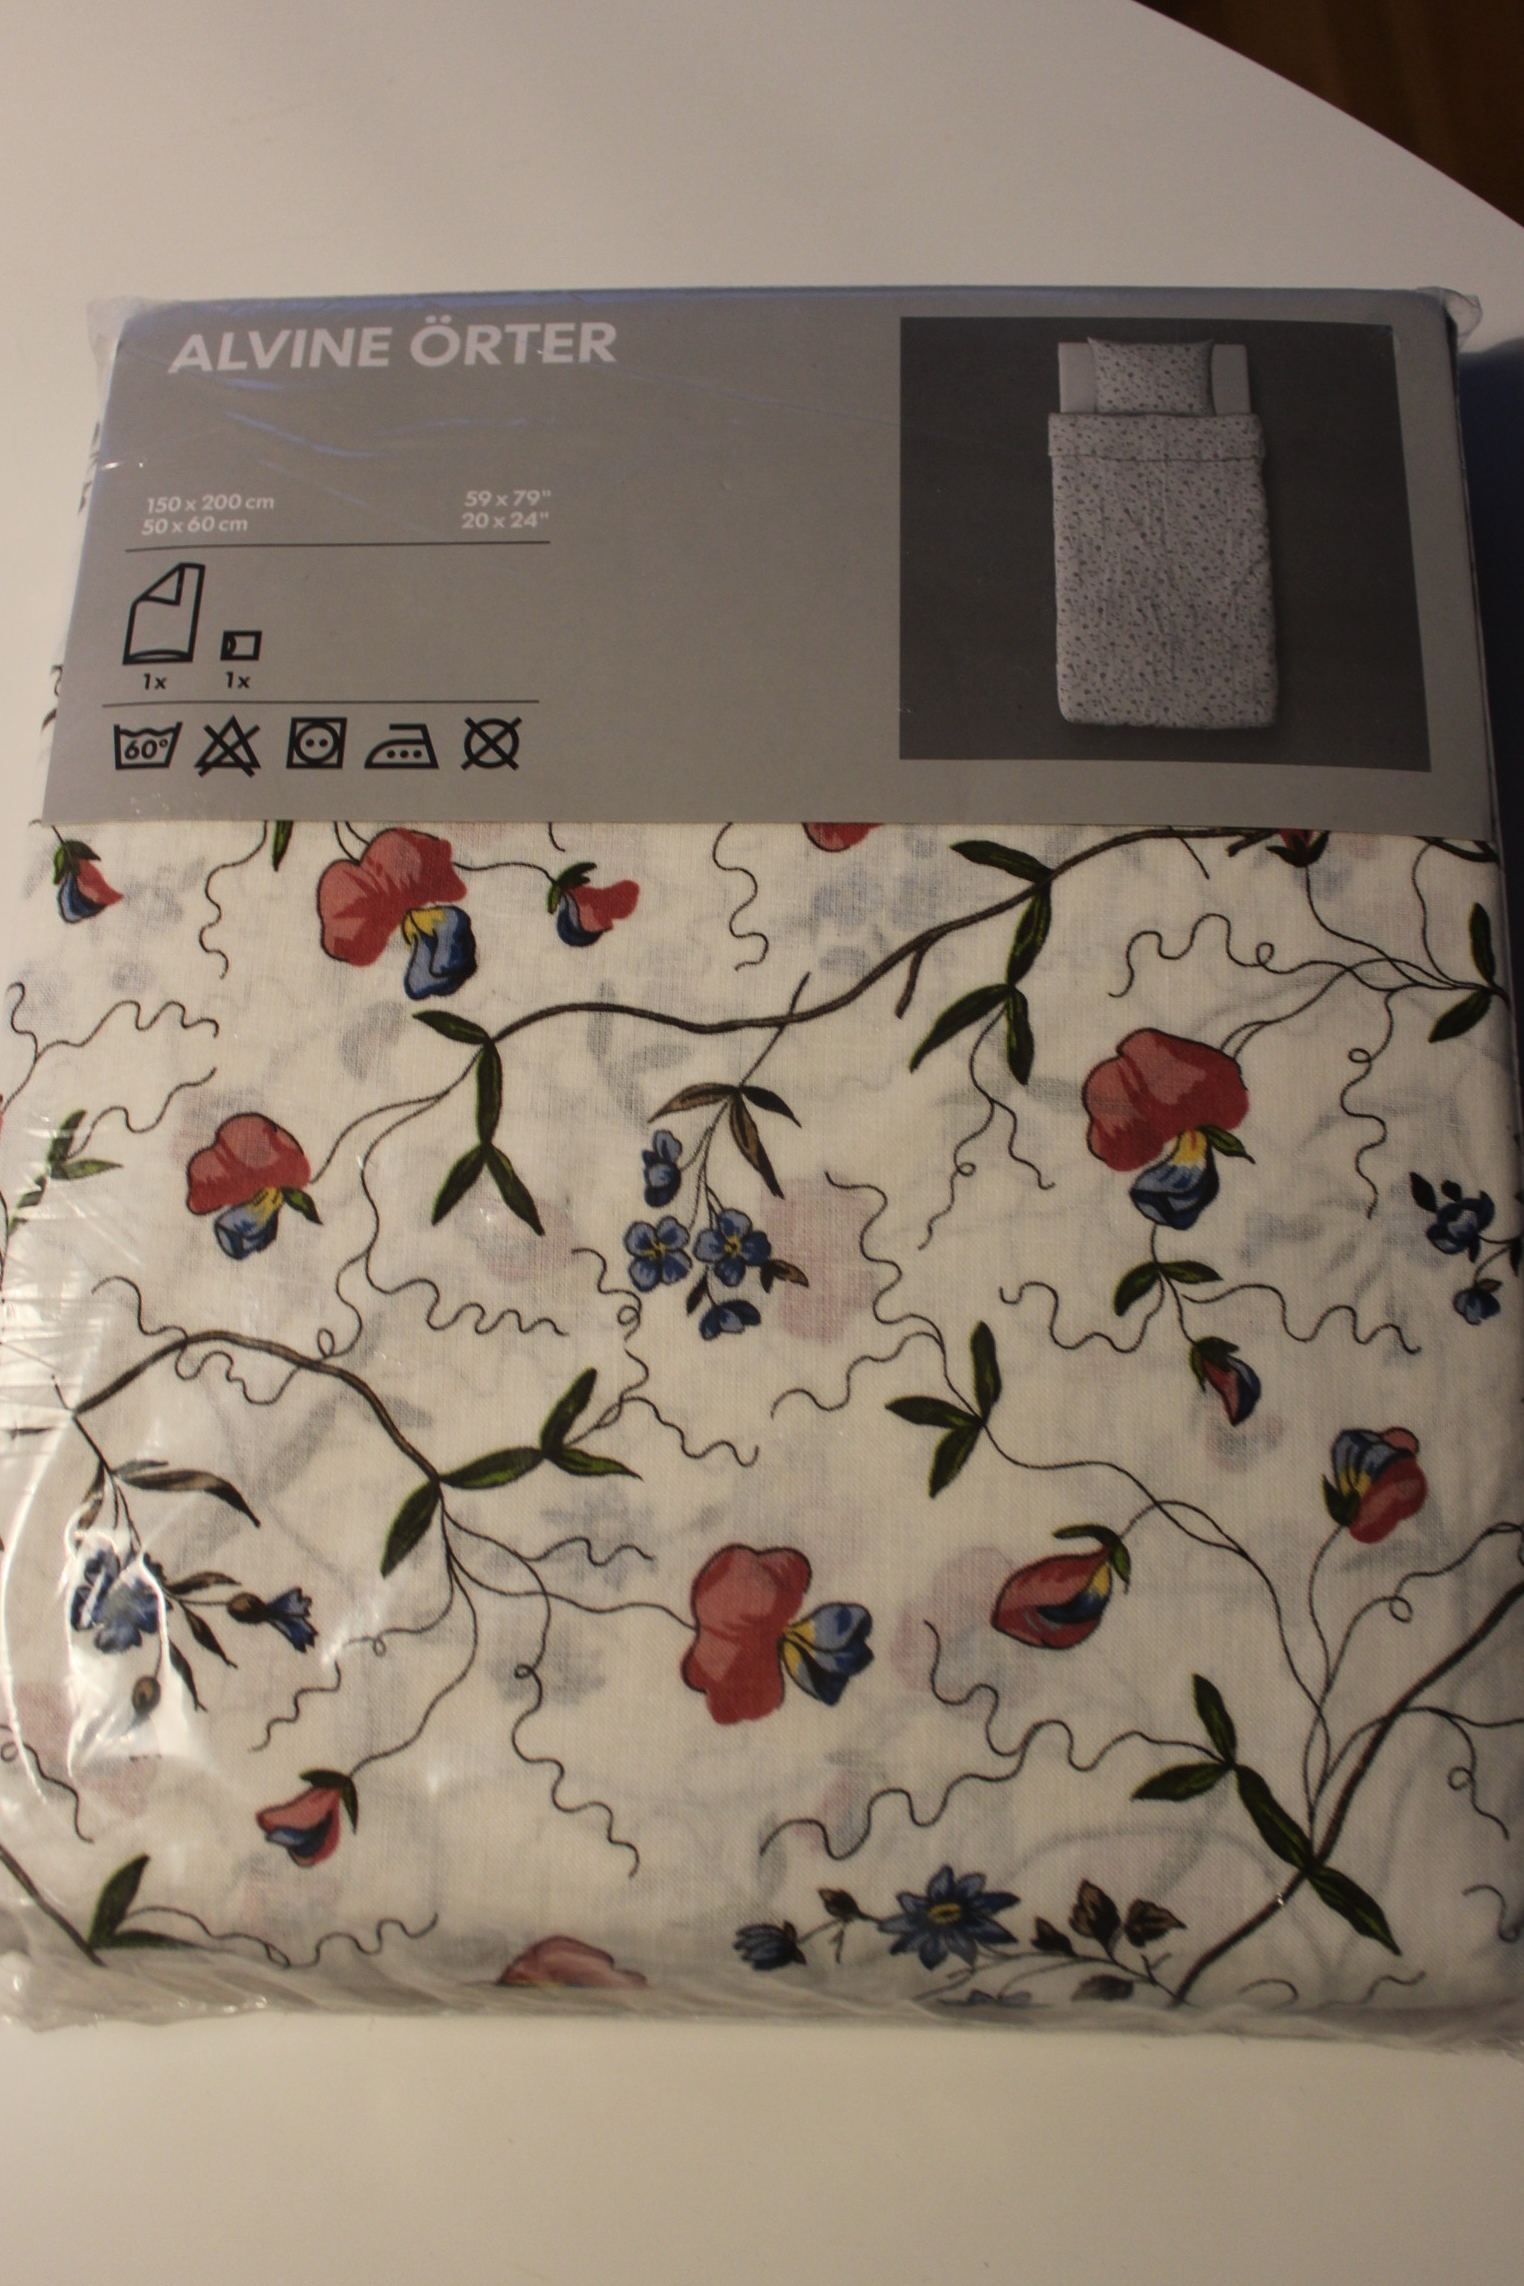
And a month ago I dug it out from my stash determent to make it into something 18th century.

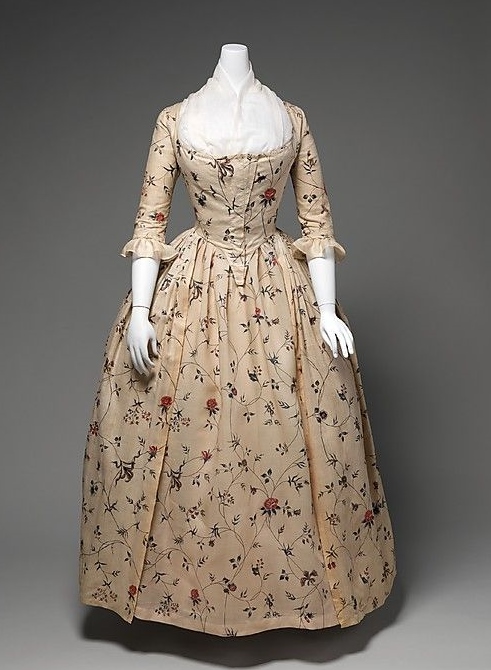
Inspiration came straight away.
a3cd1dbbf007f3e5ce37c143fe331de0 b41ea52644685efdfd24d0a21a308763

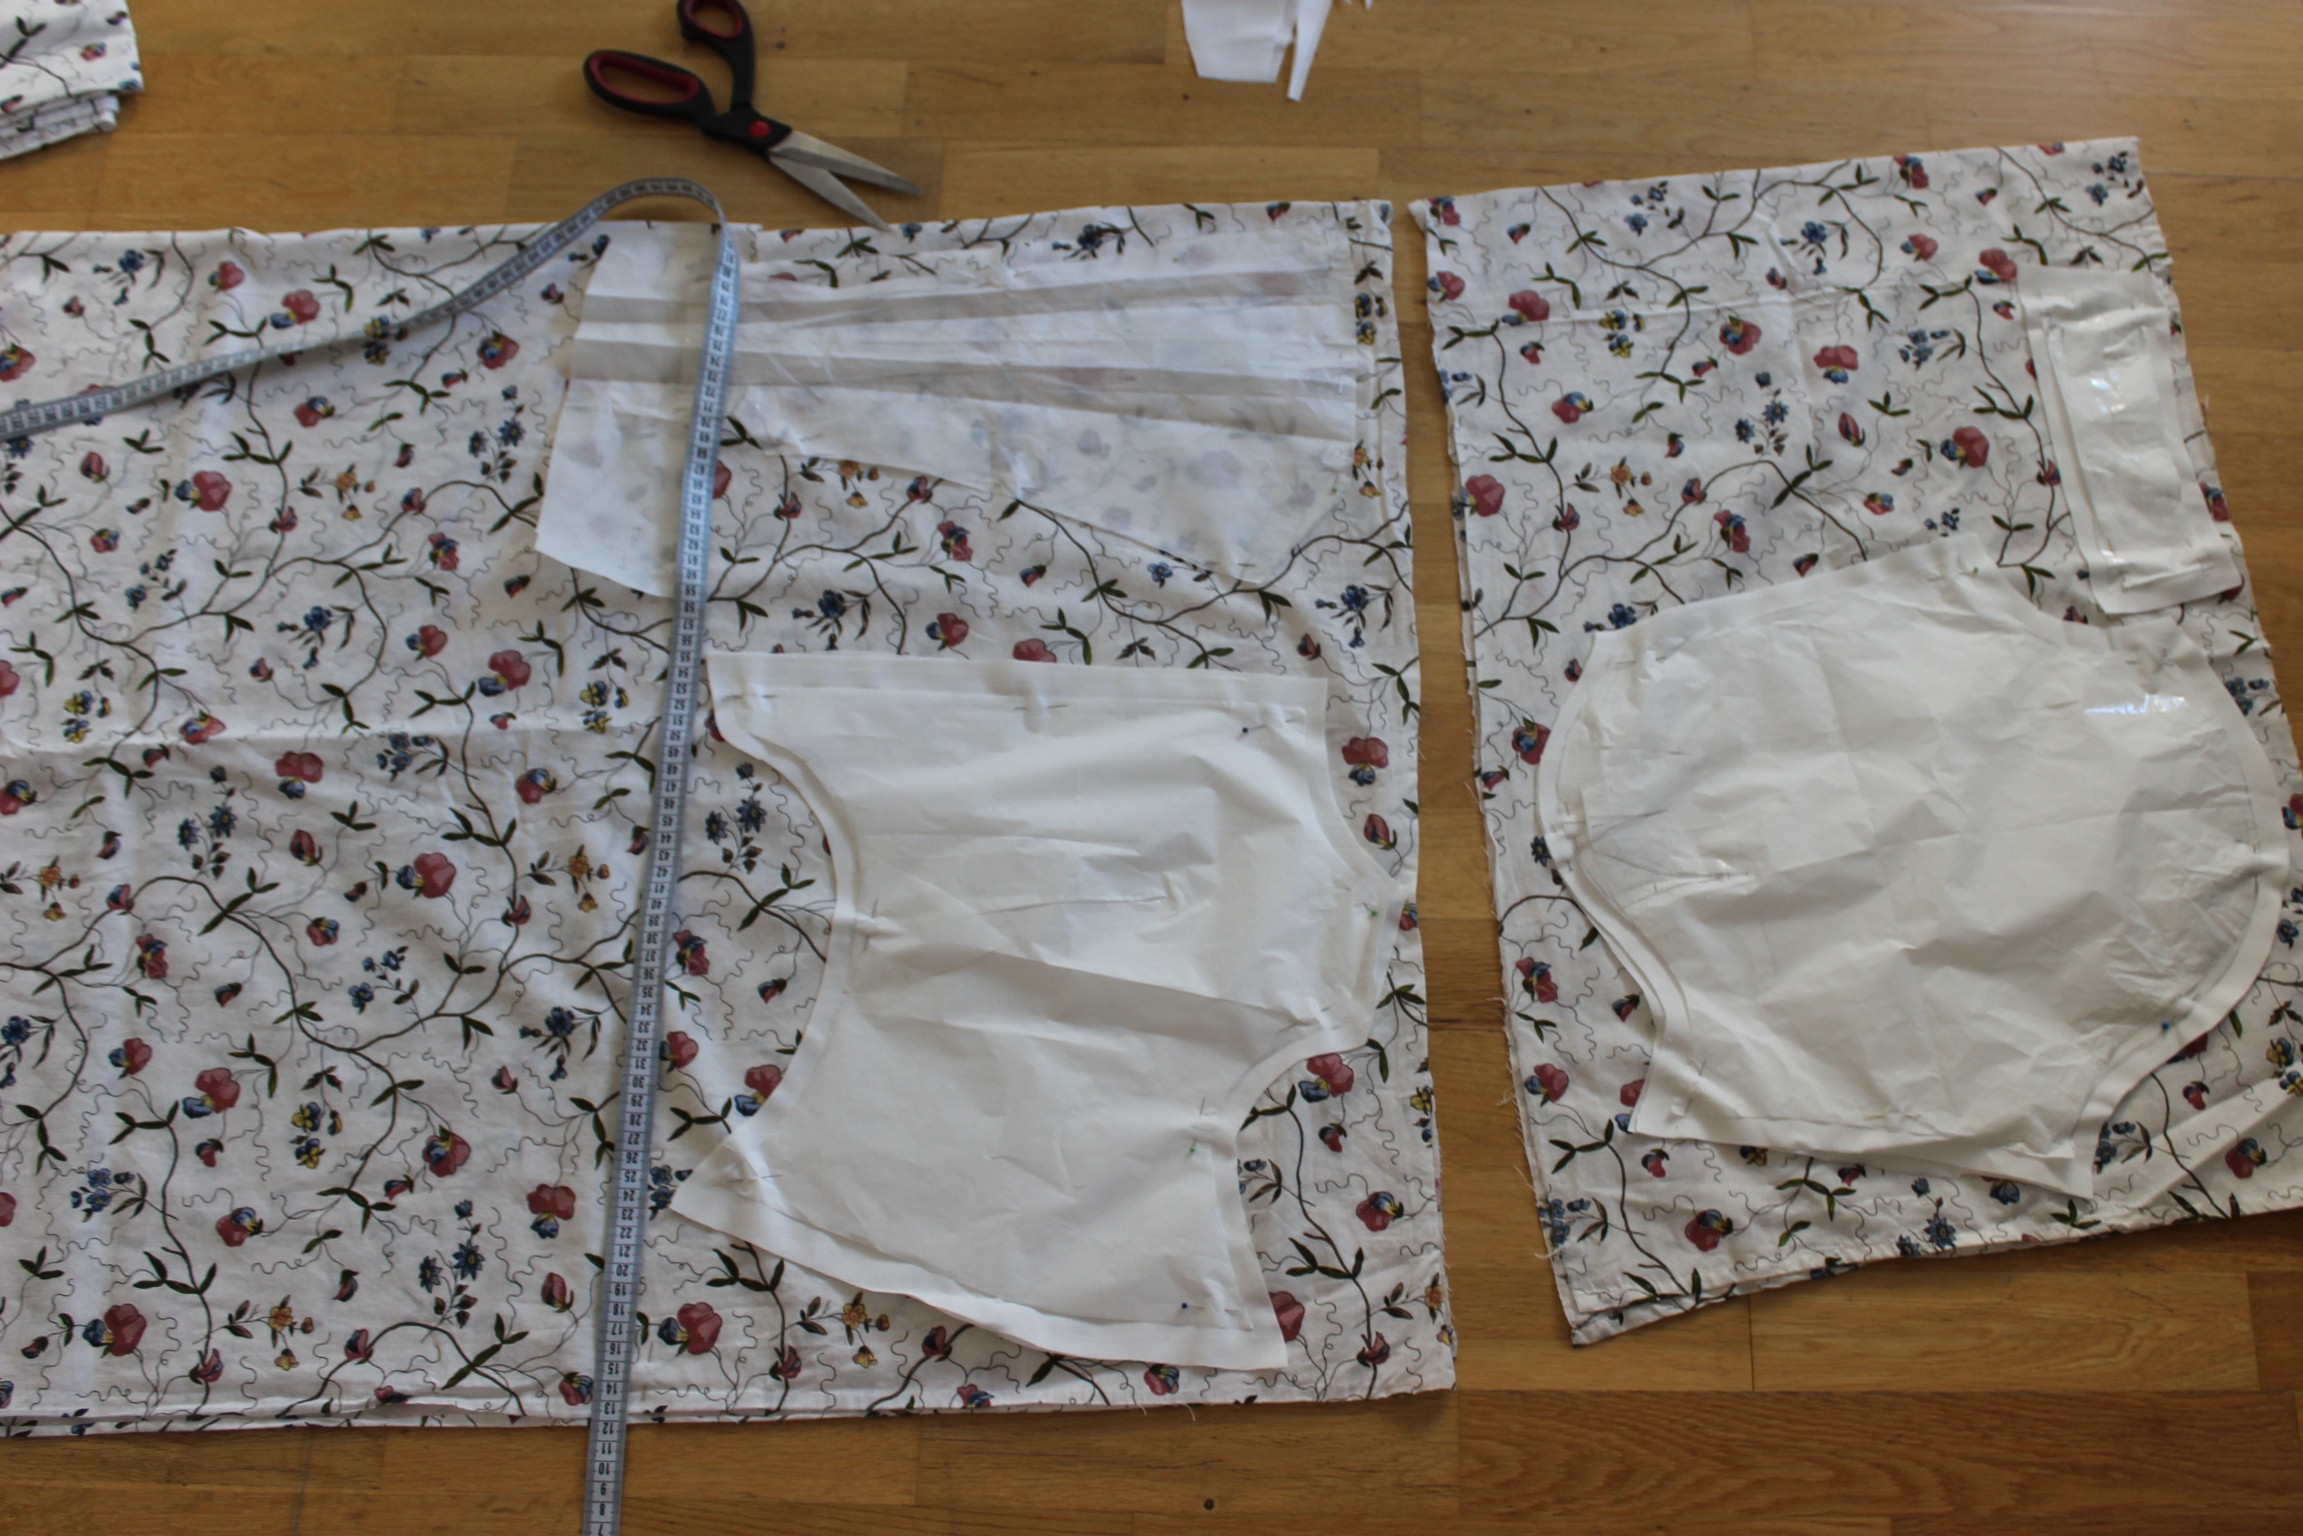
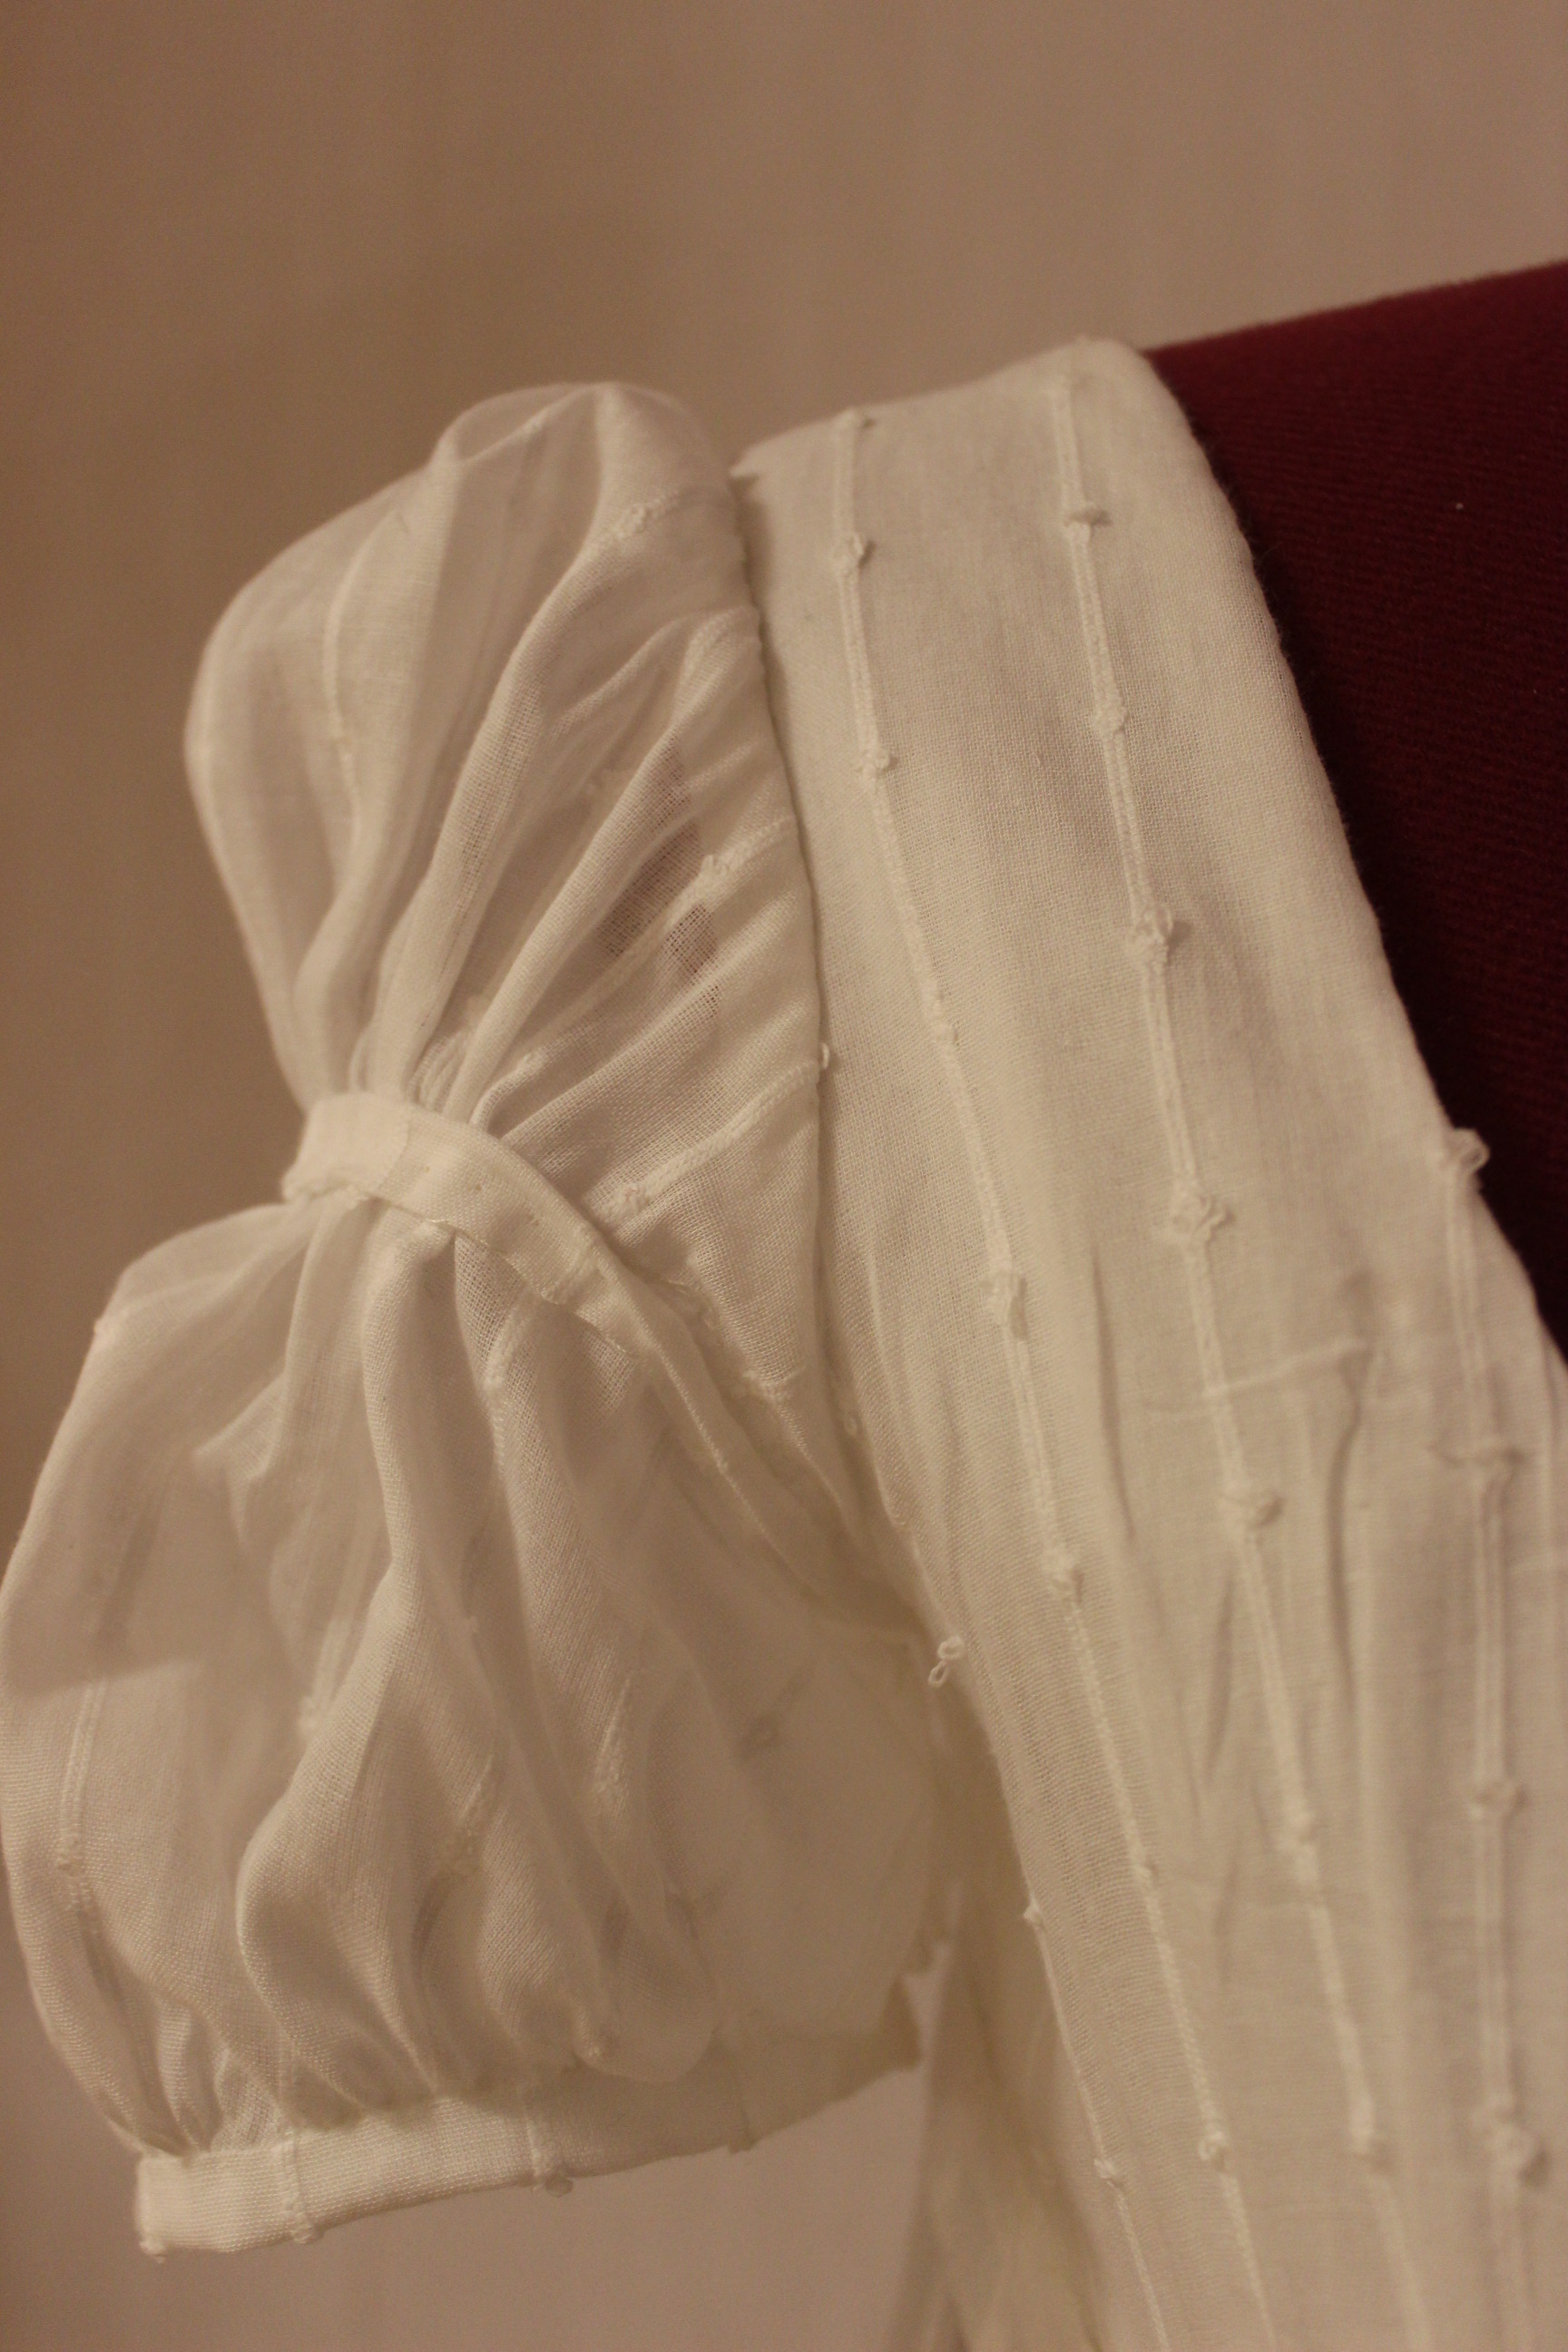
I used an old pattern and made some minor alterations like moving the shoulder seam, and remade the sleeve.

IMG_0742 IMG_0763

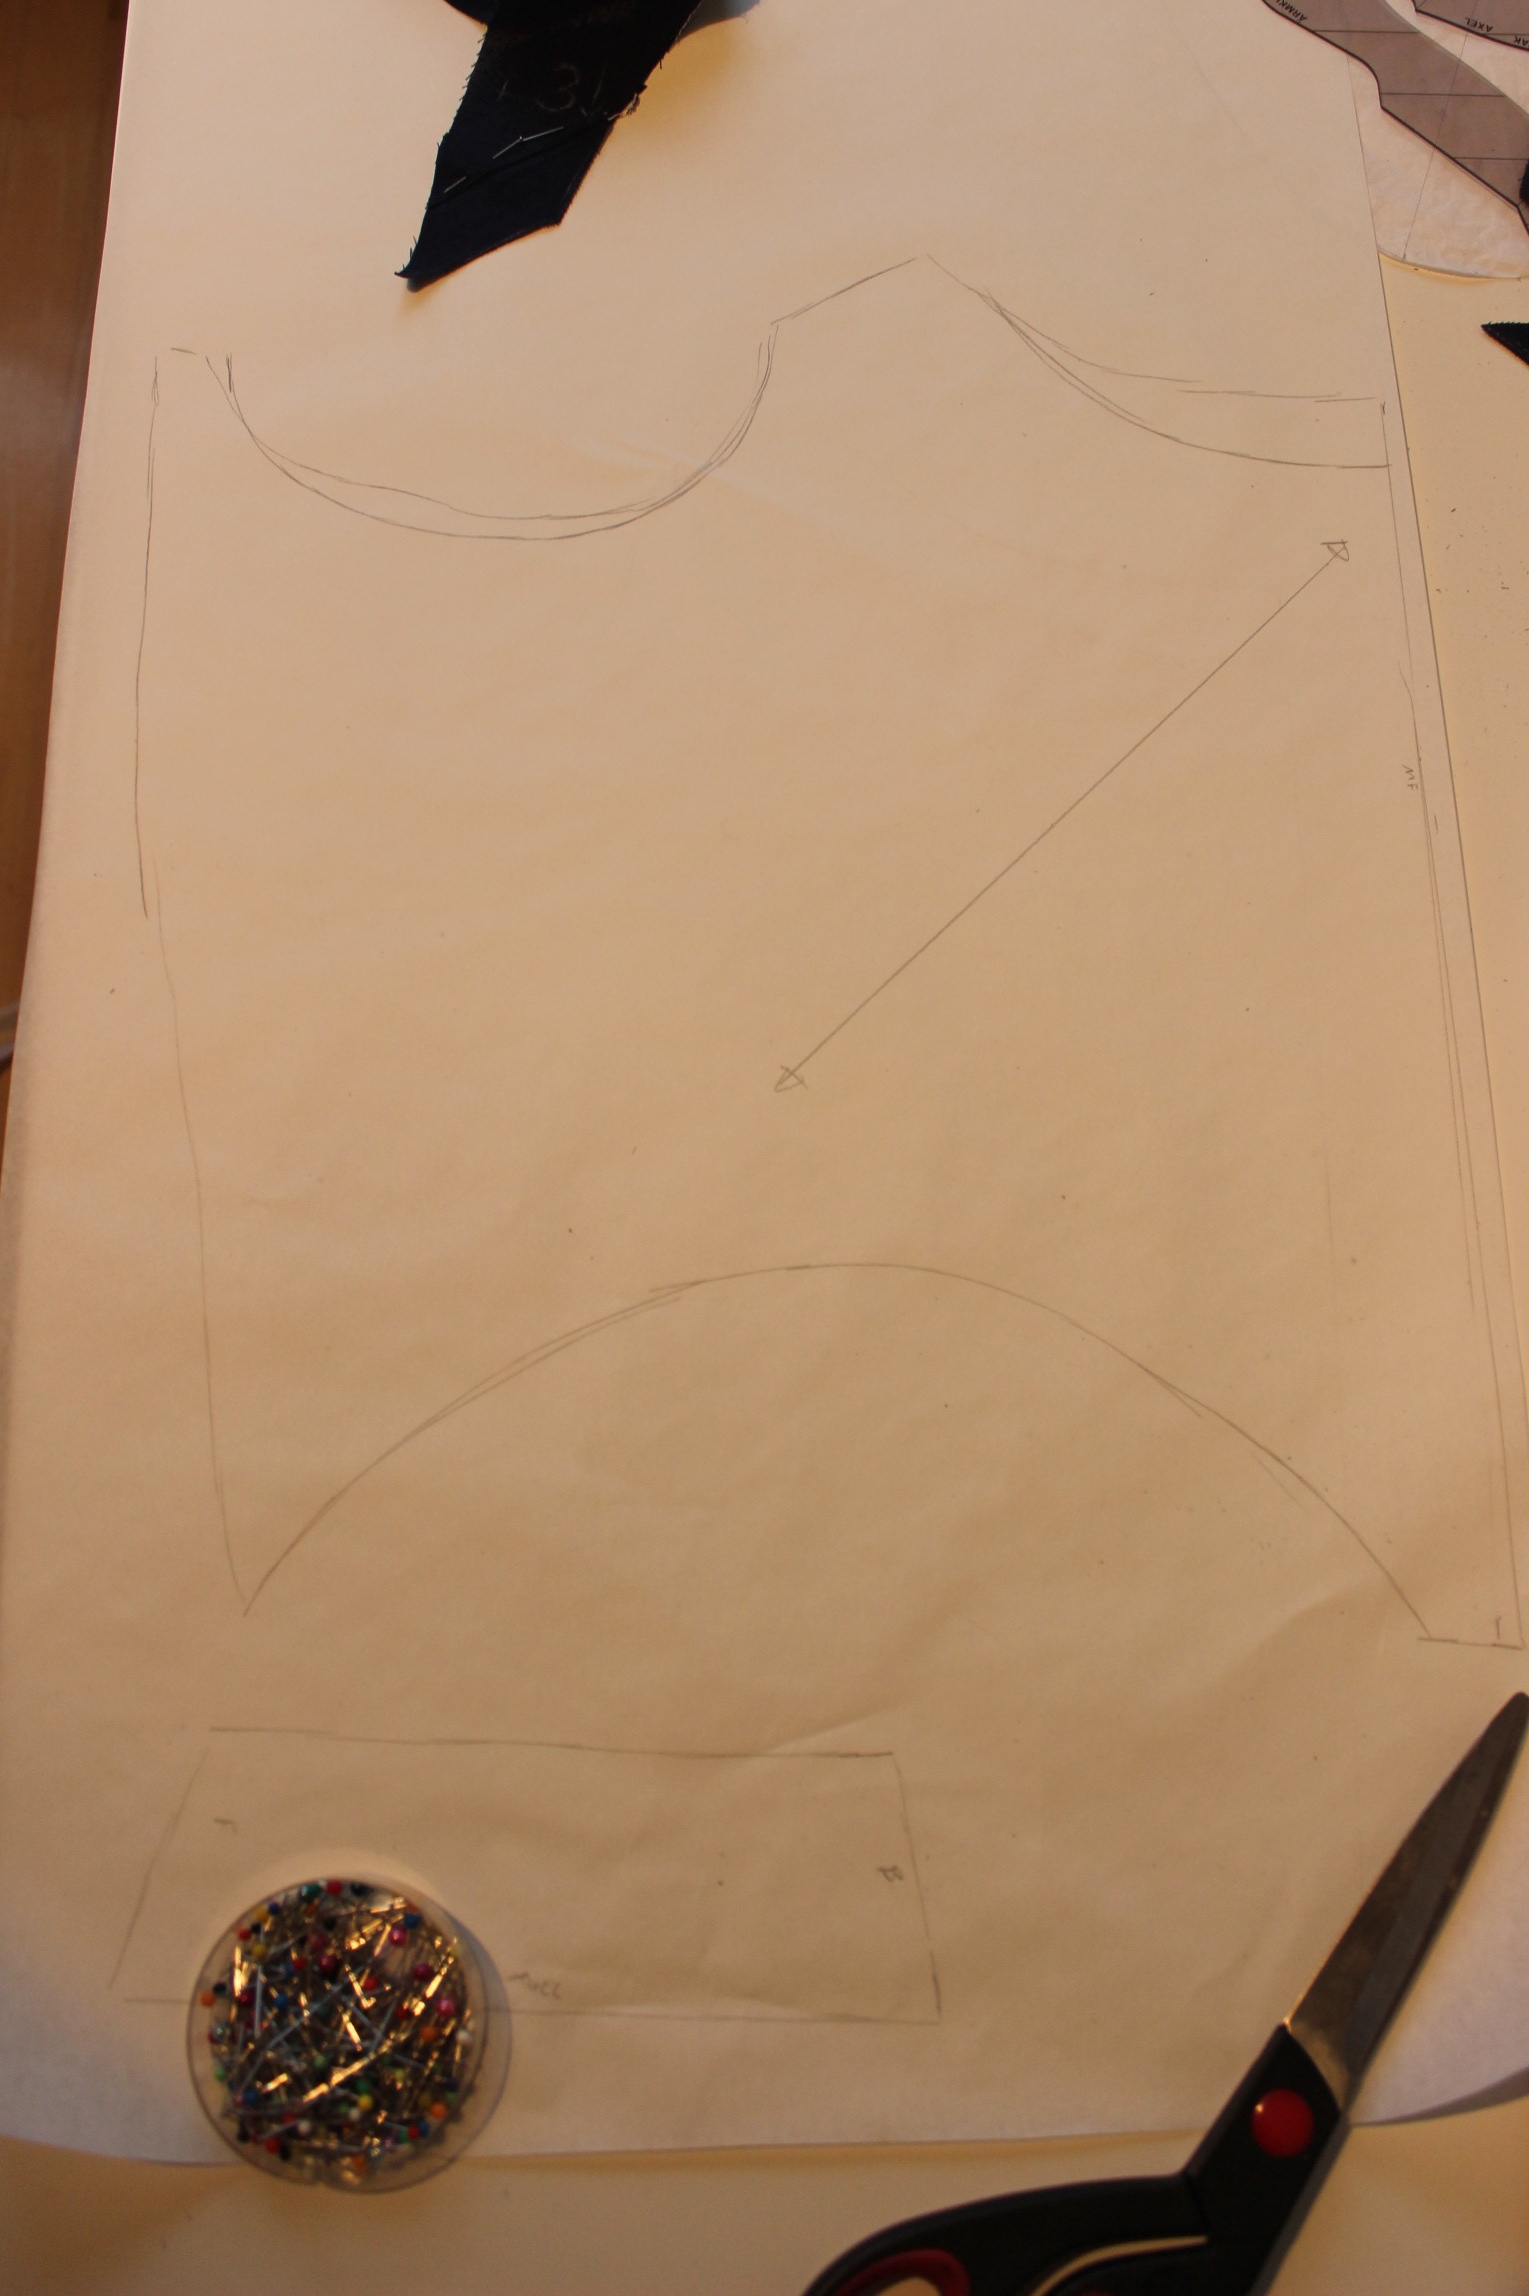
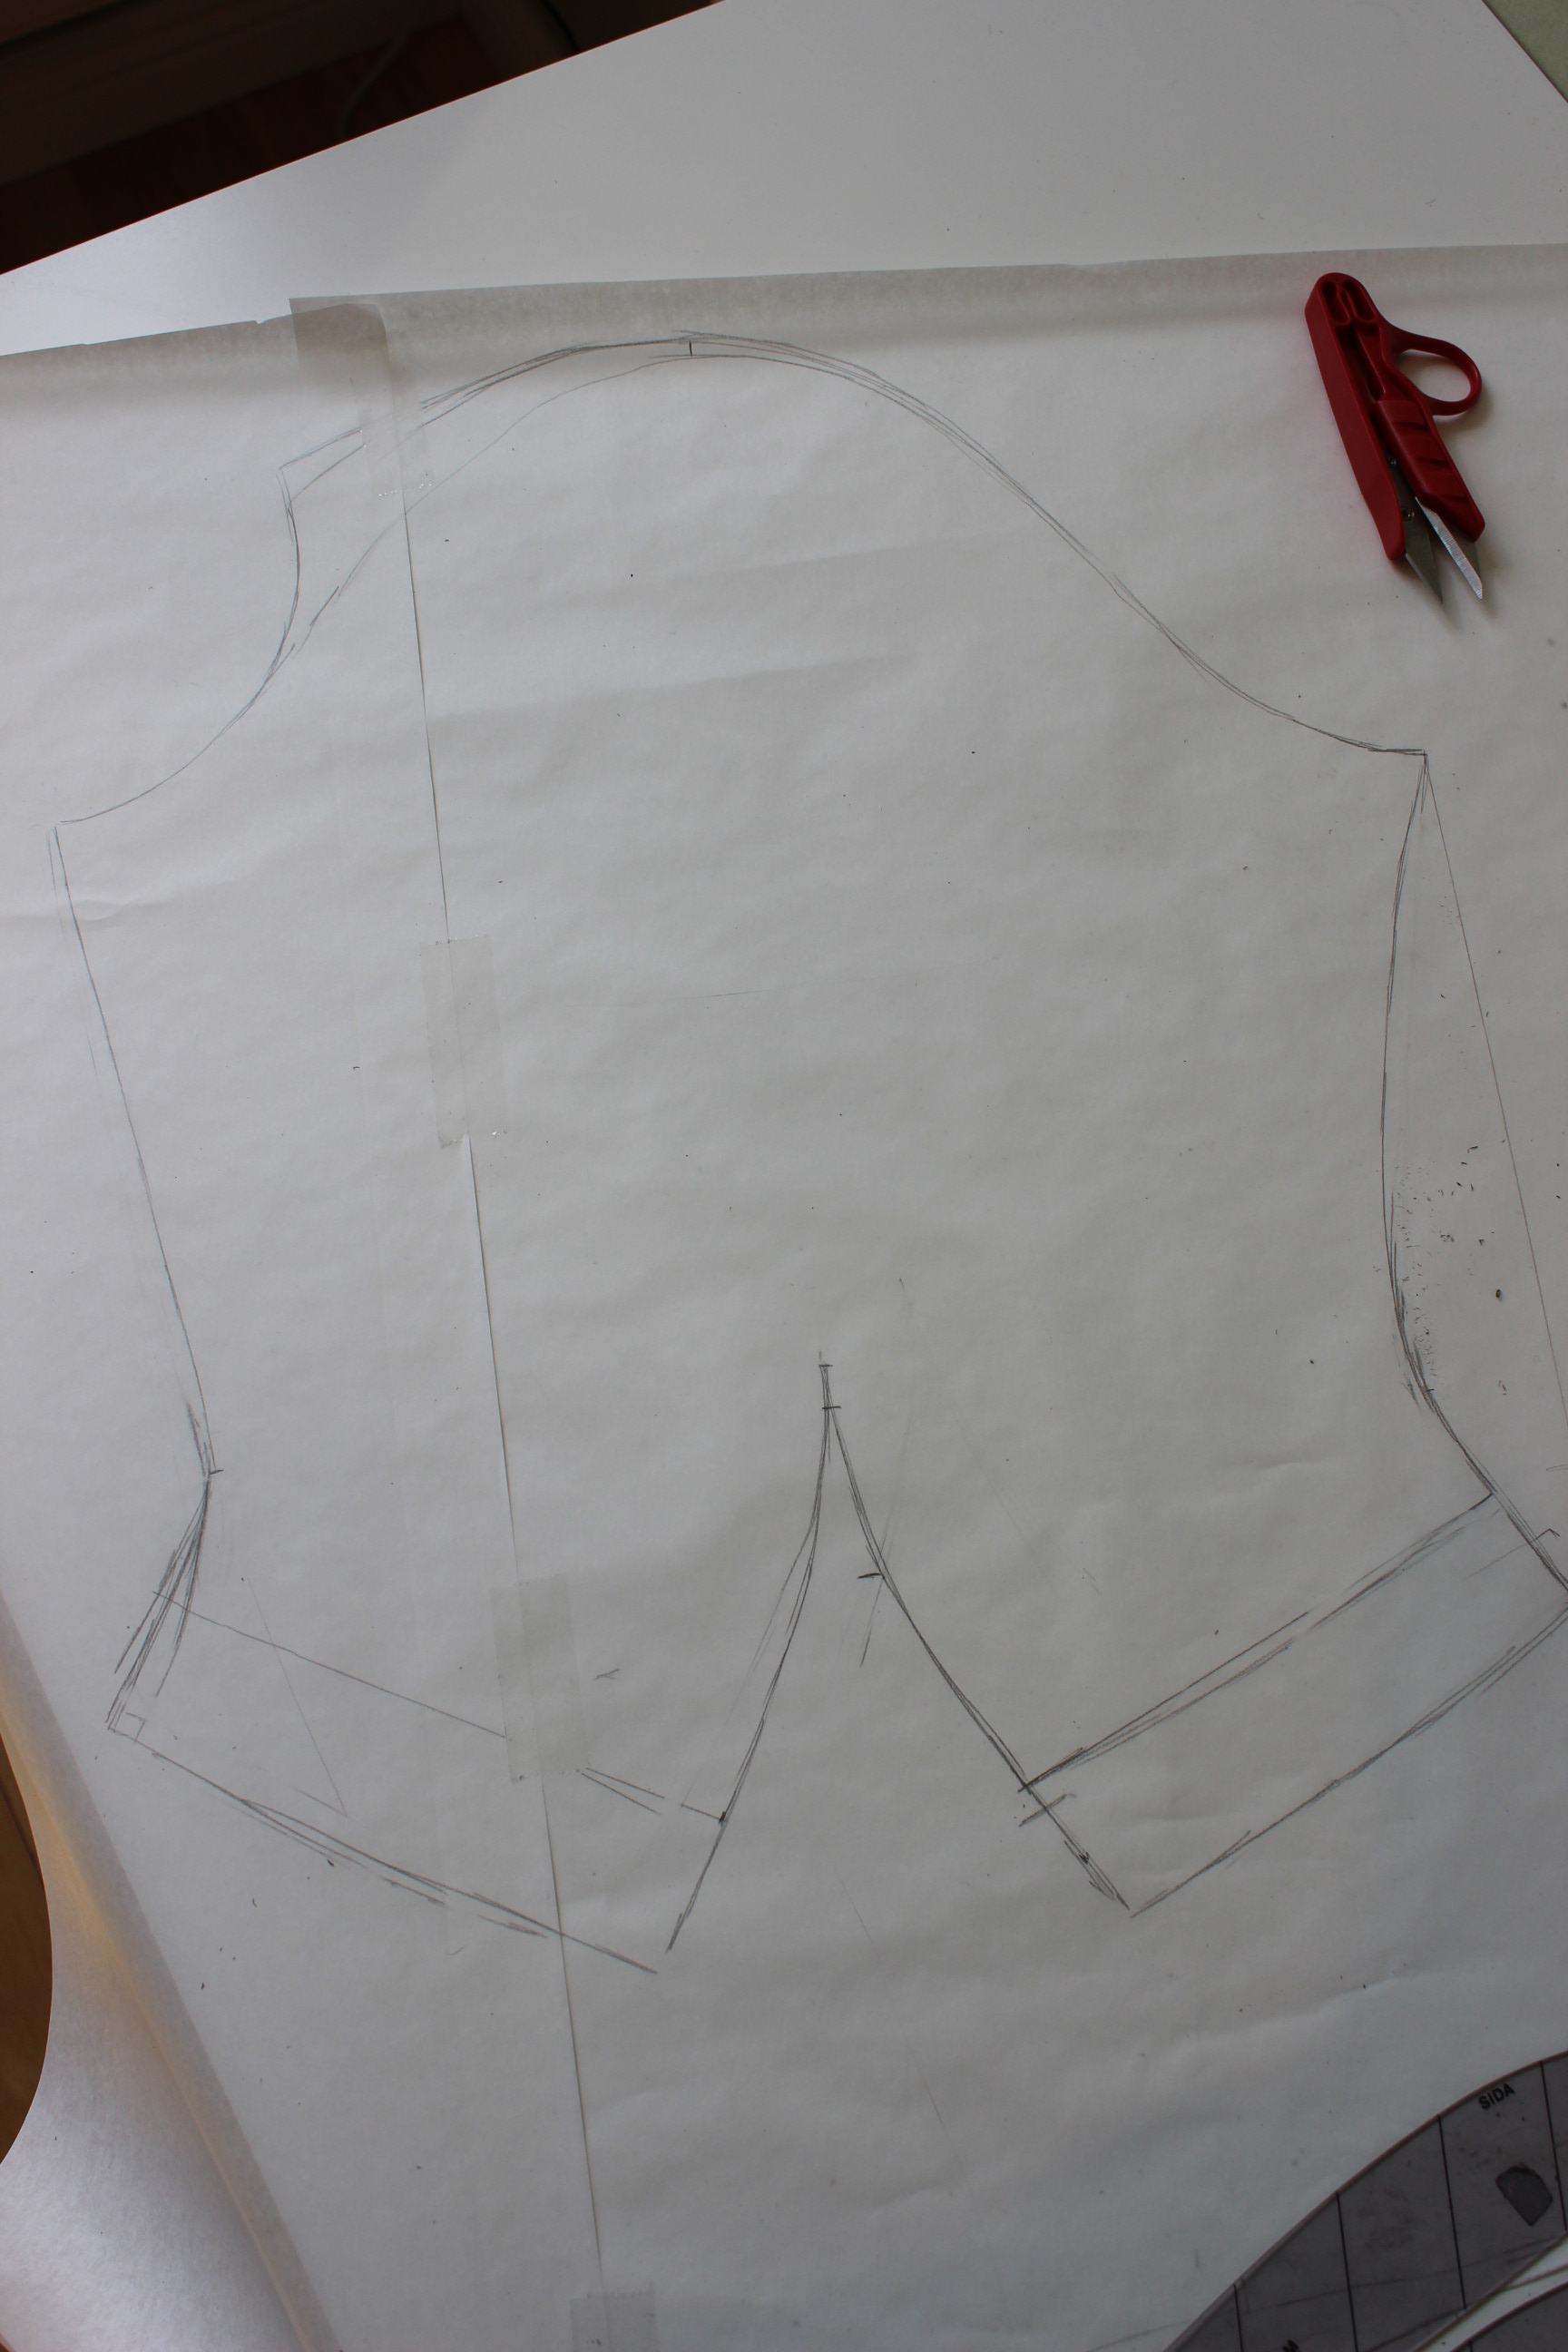
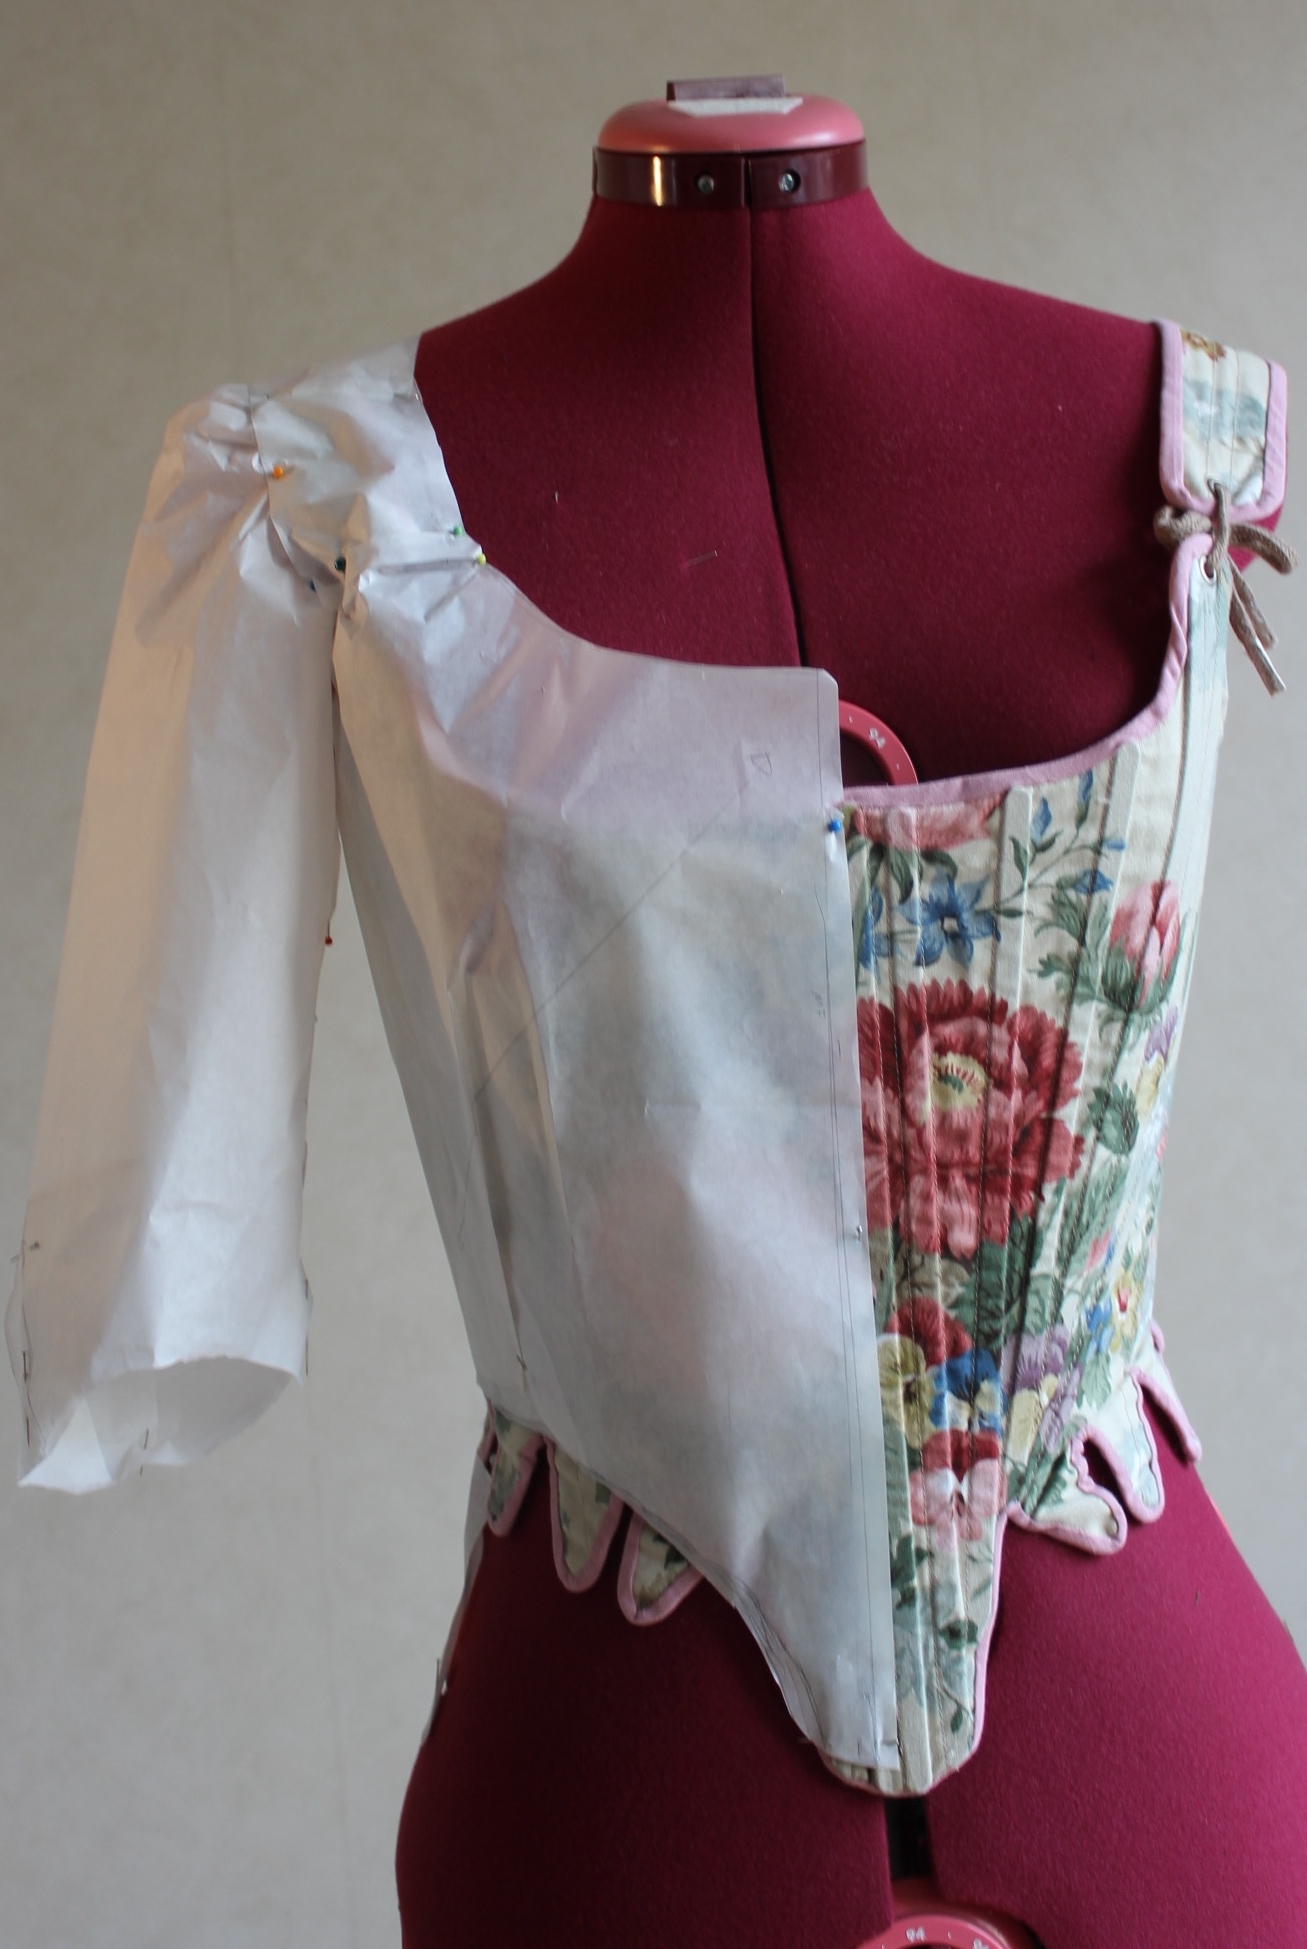
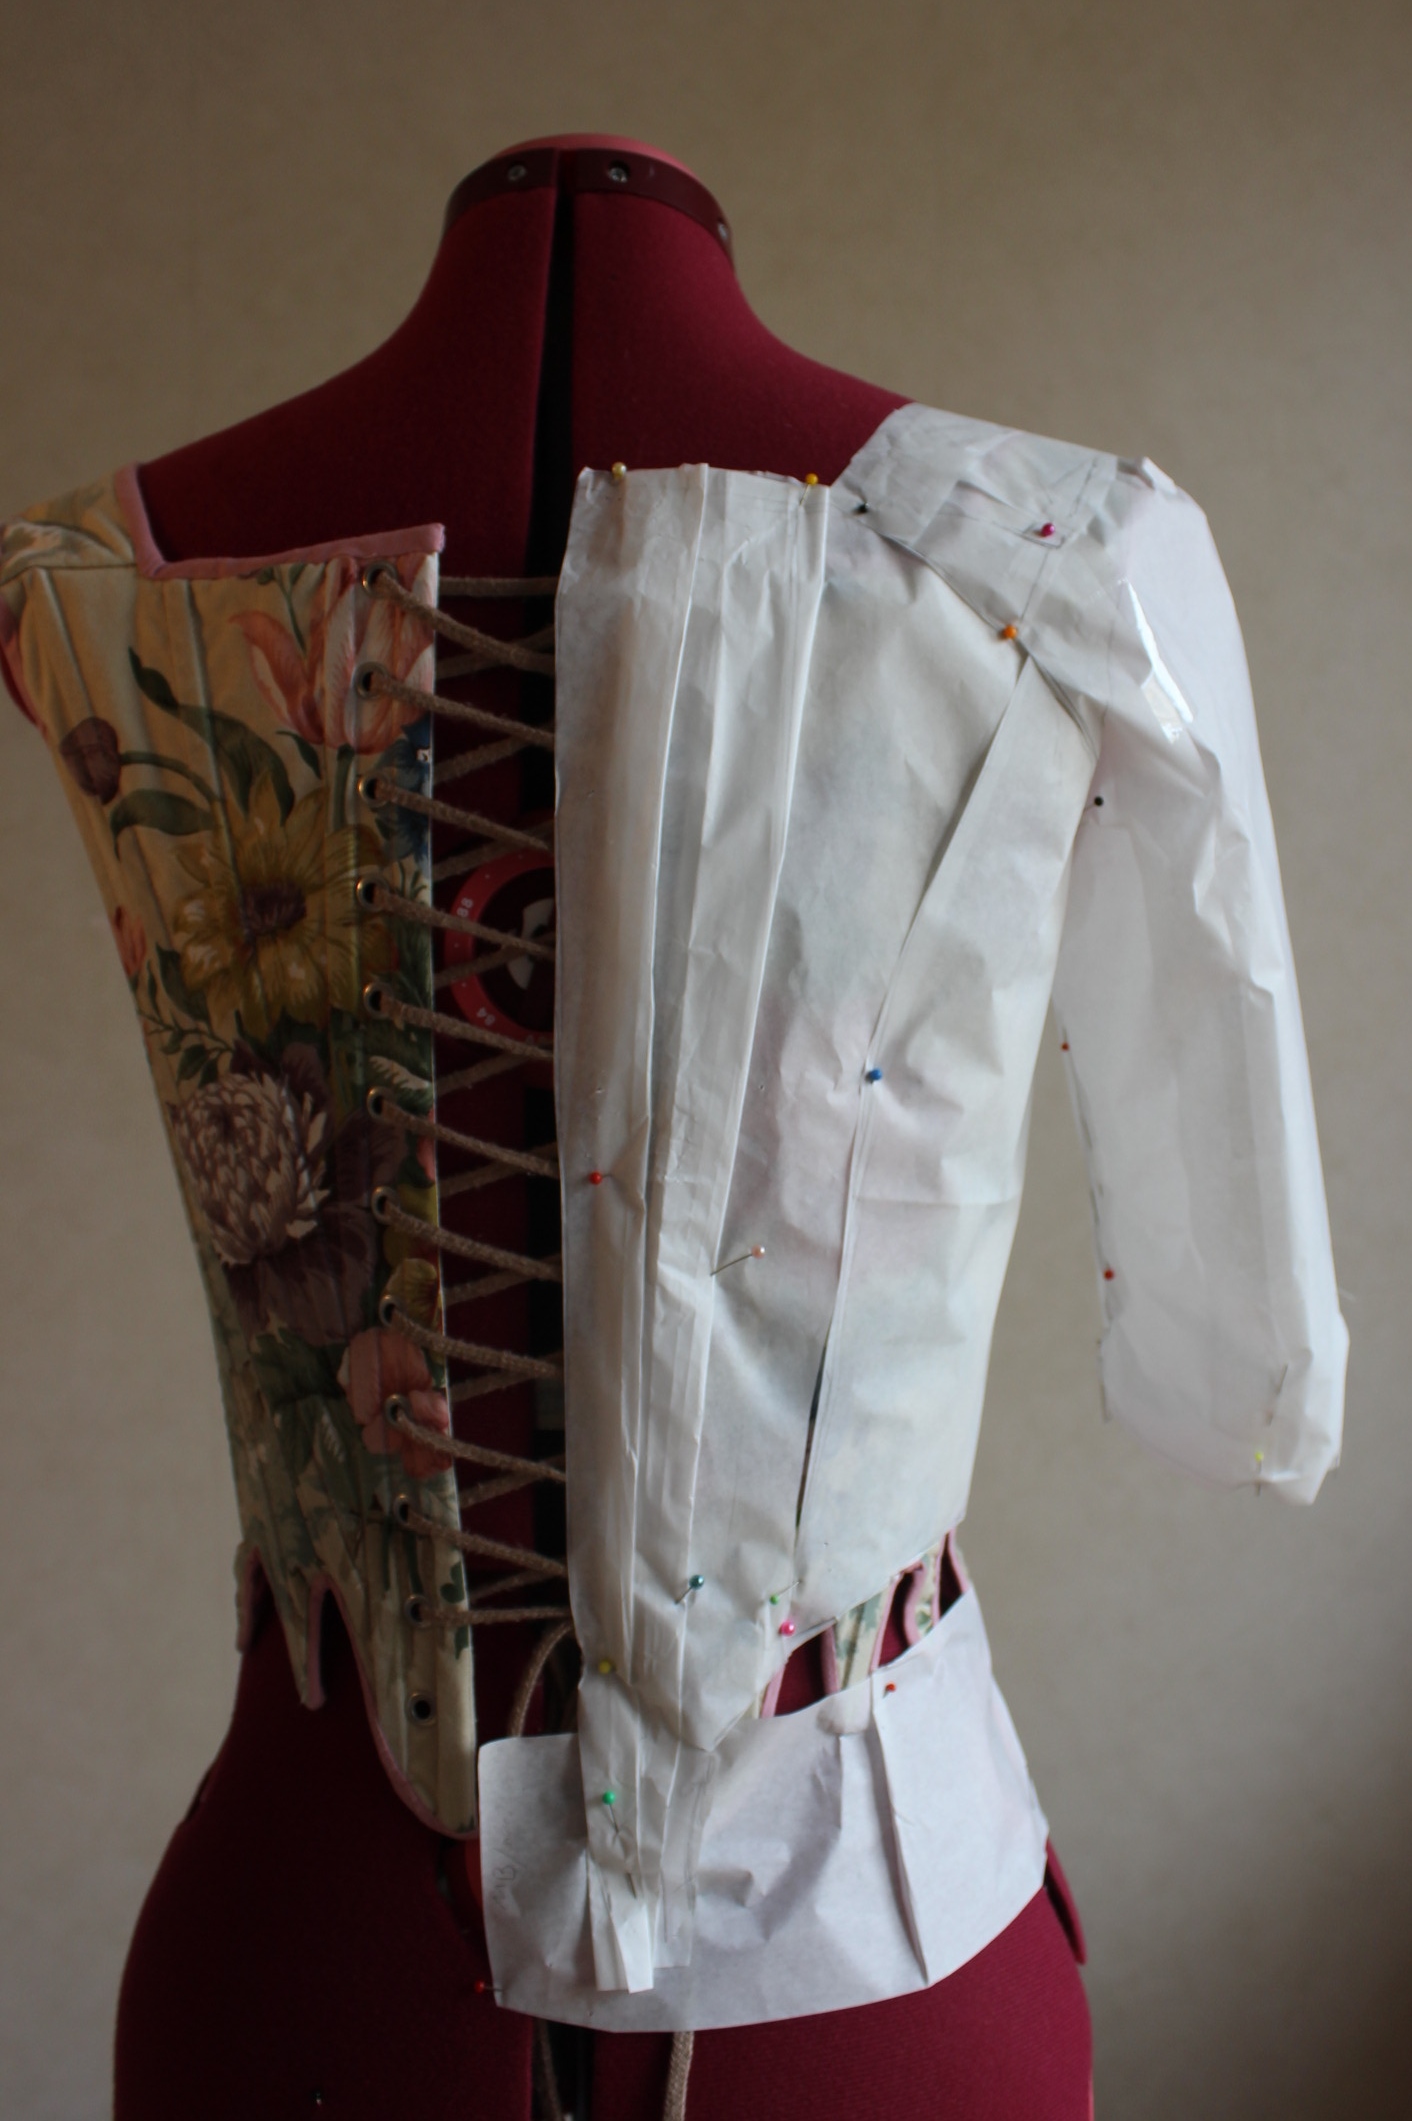
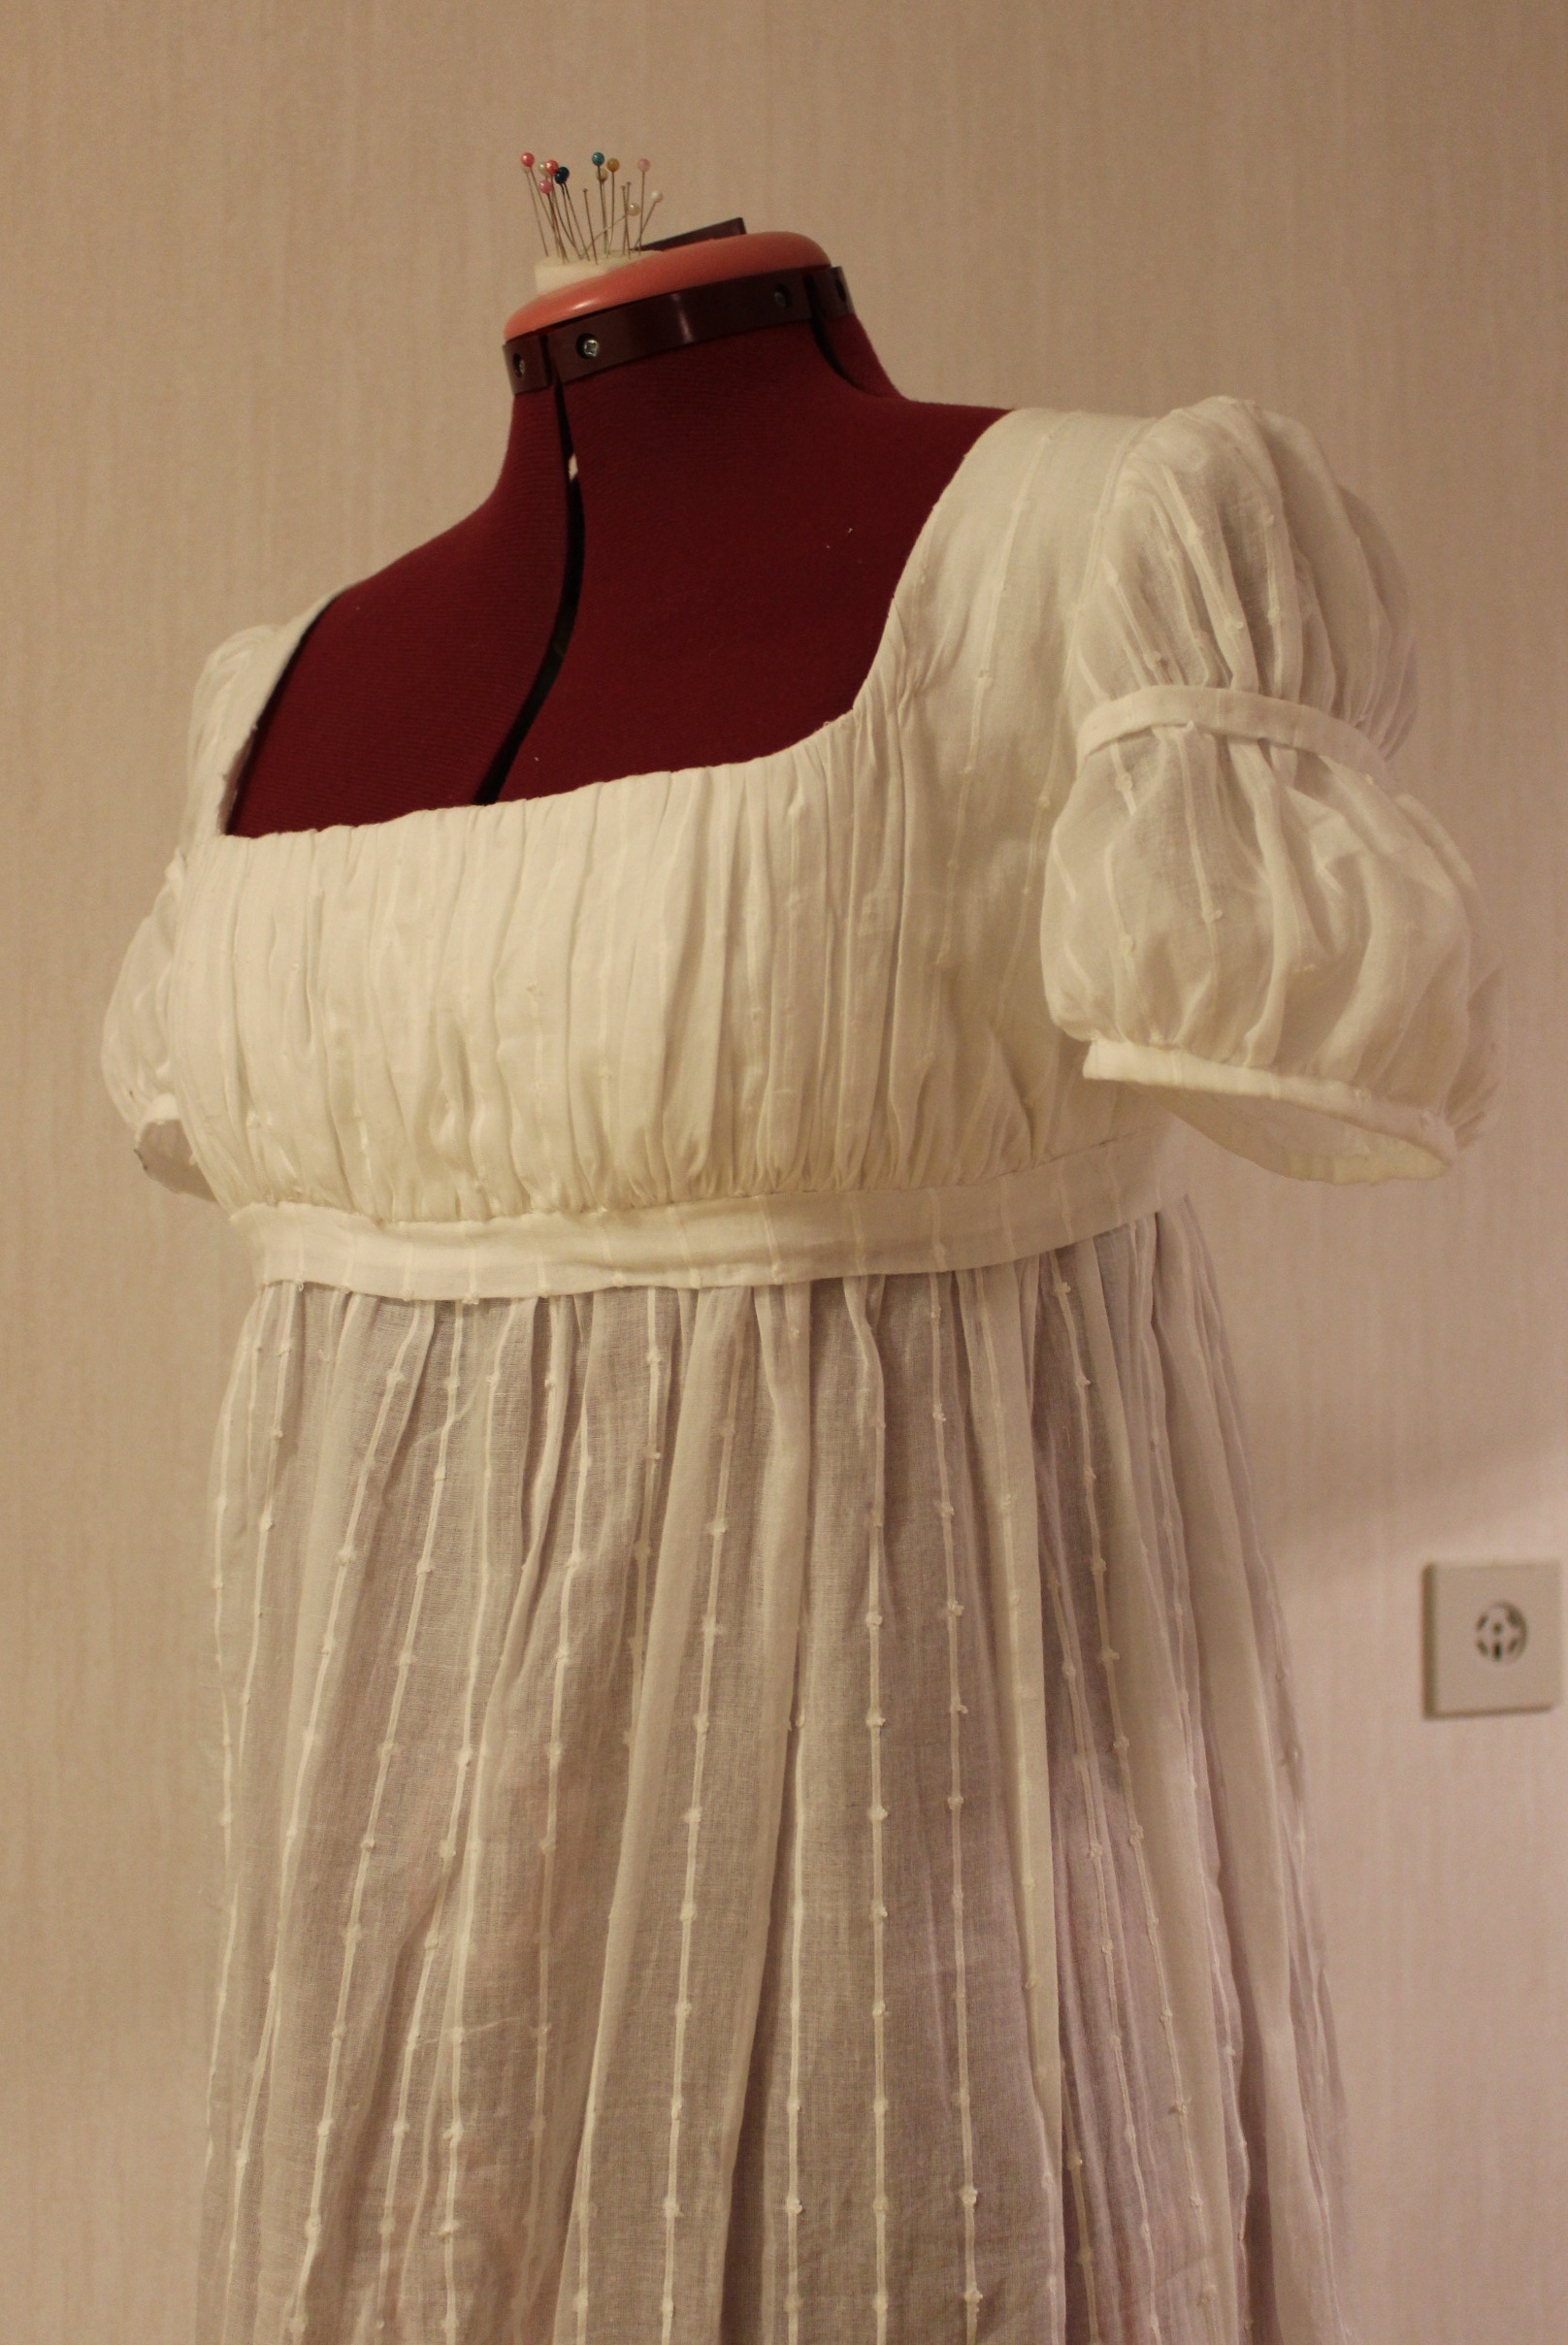
I tried the paper pattern on my dress-form to get a better look of how it would look.
IMG_0769 IMG_0771

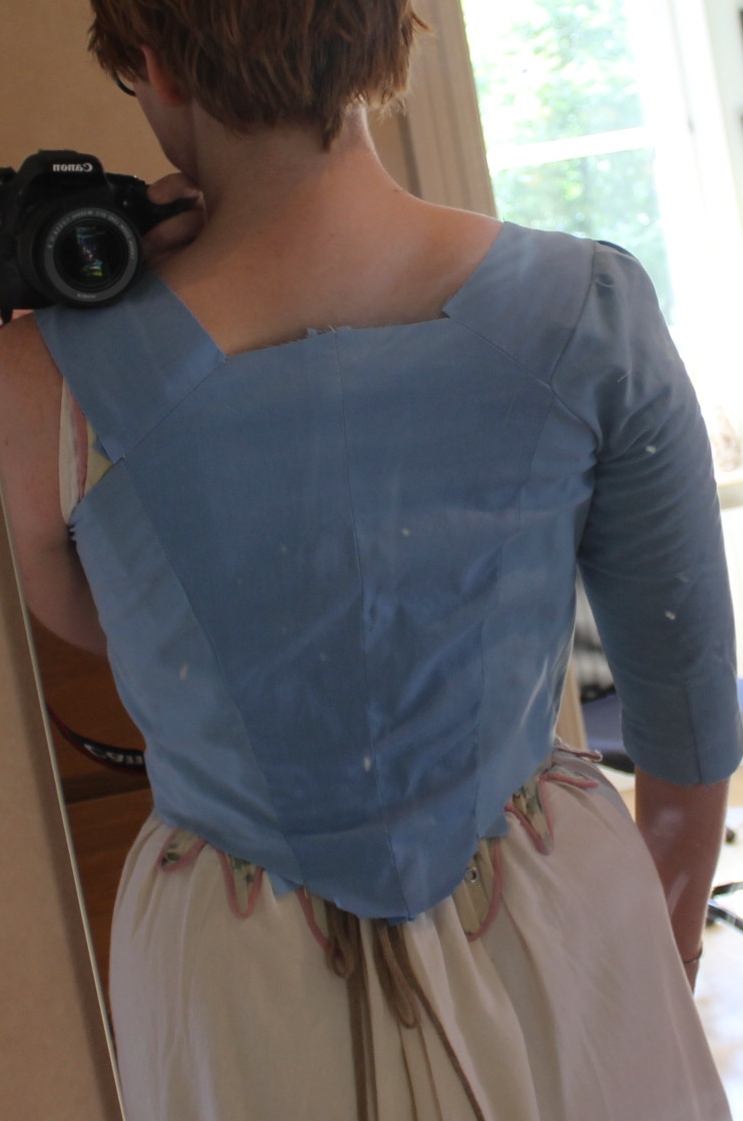
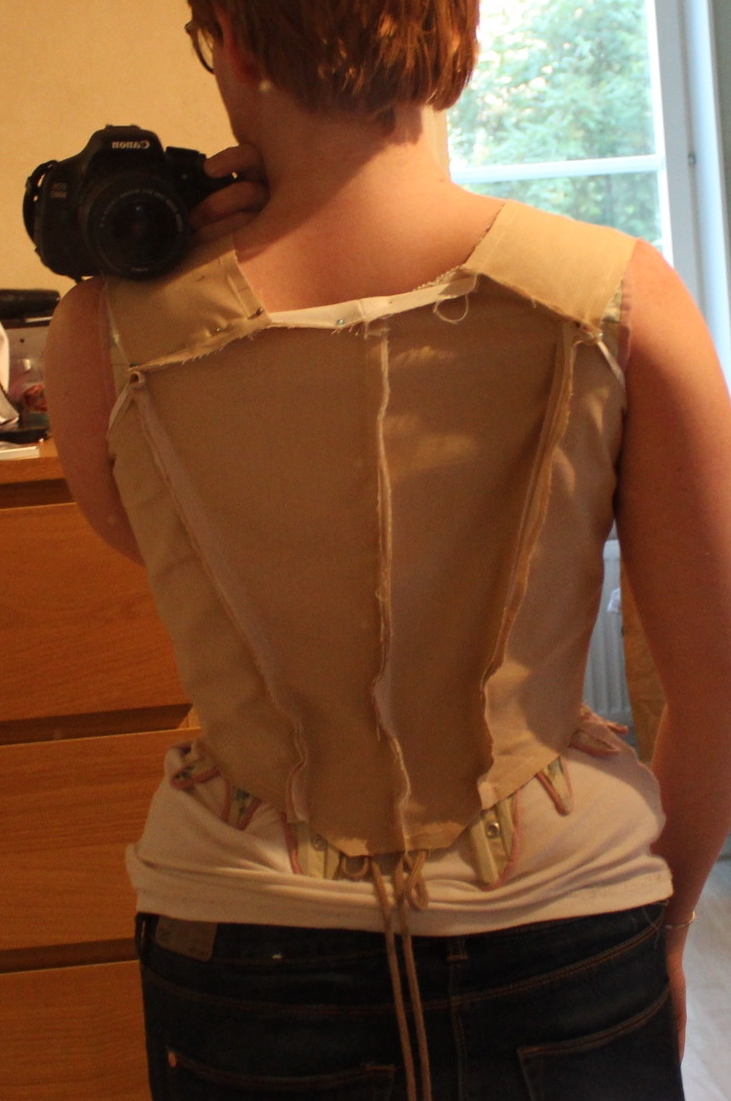
Then I made and tried on the mock-up.
IMG_0856IMG_0865
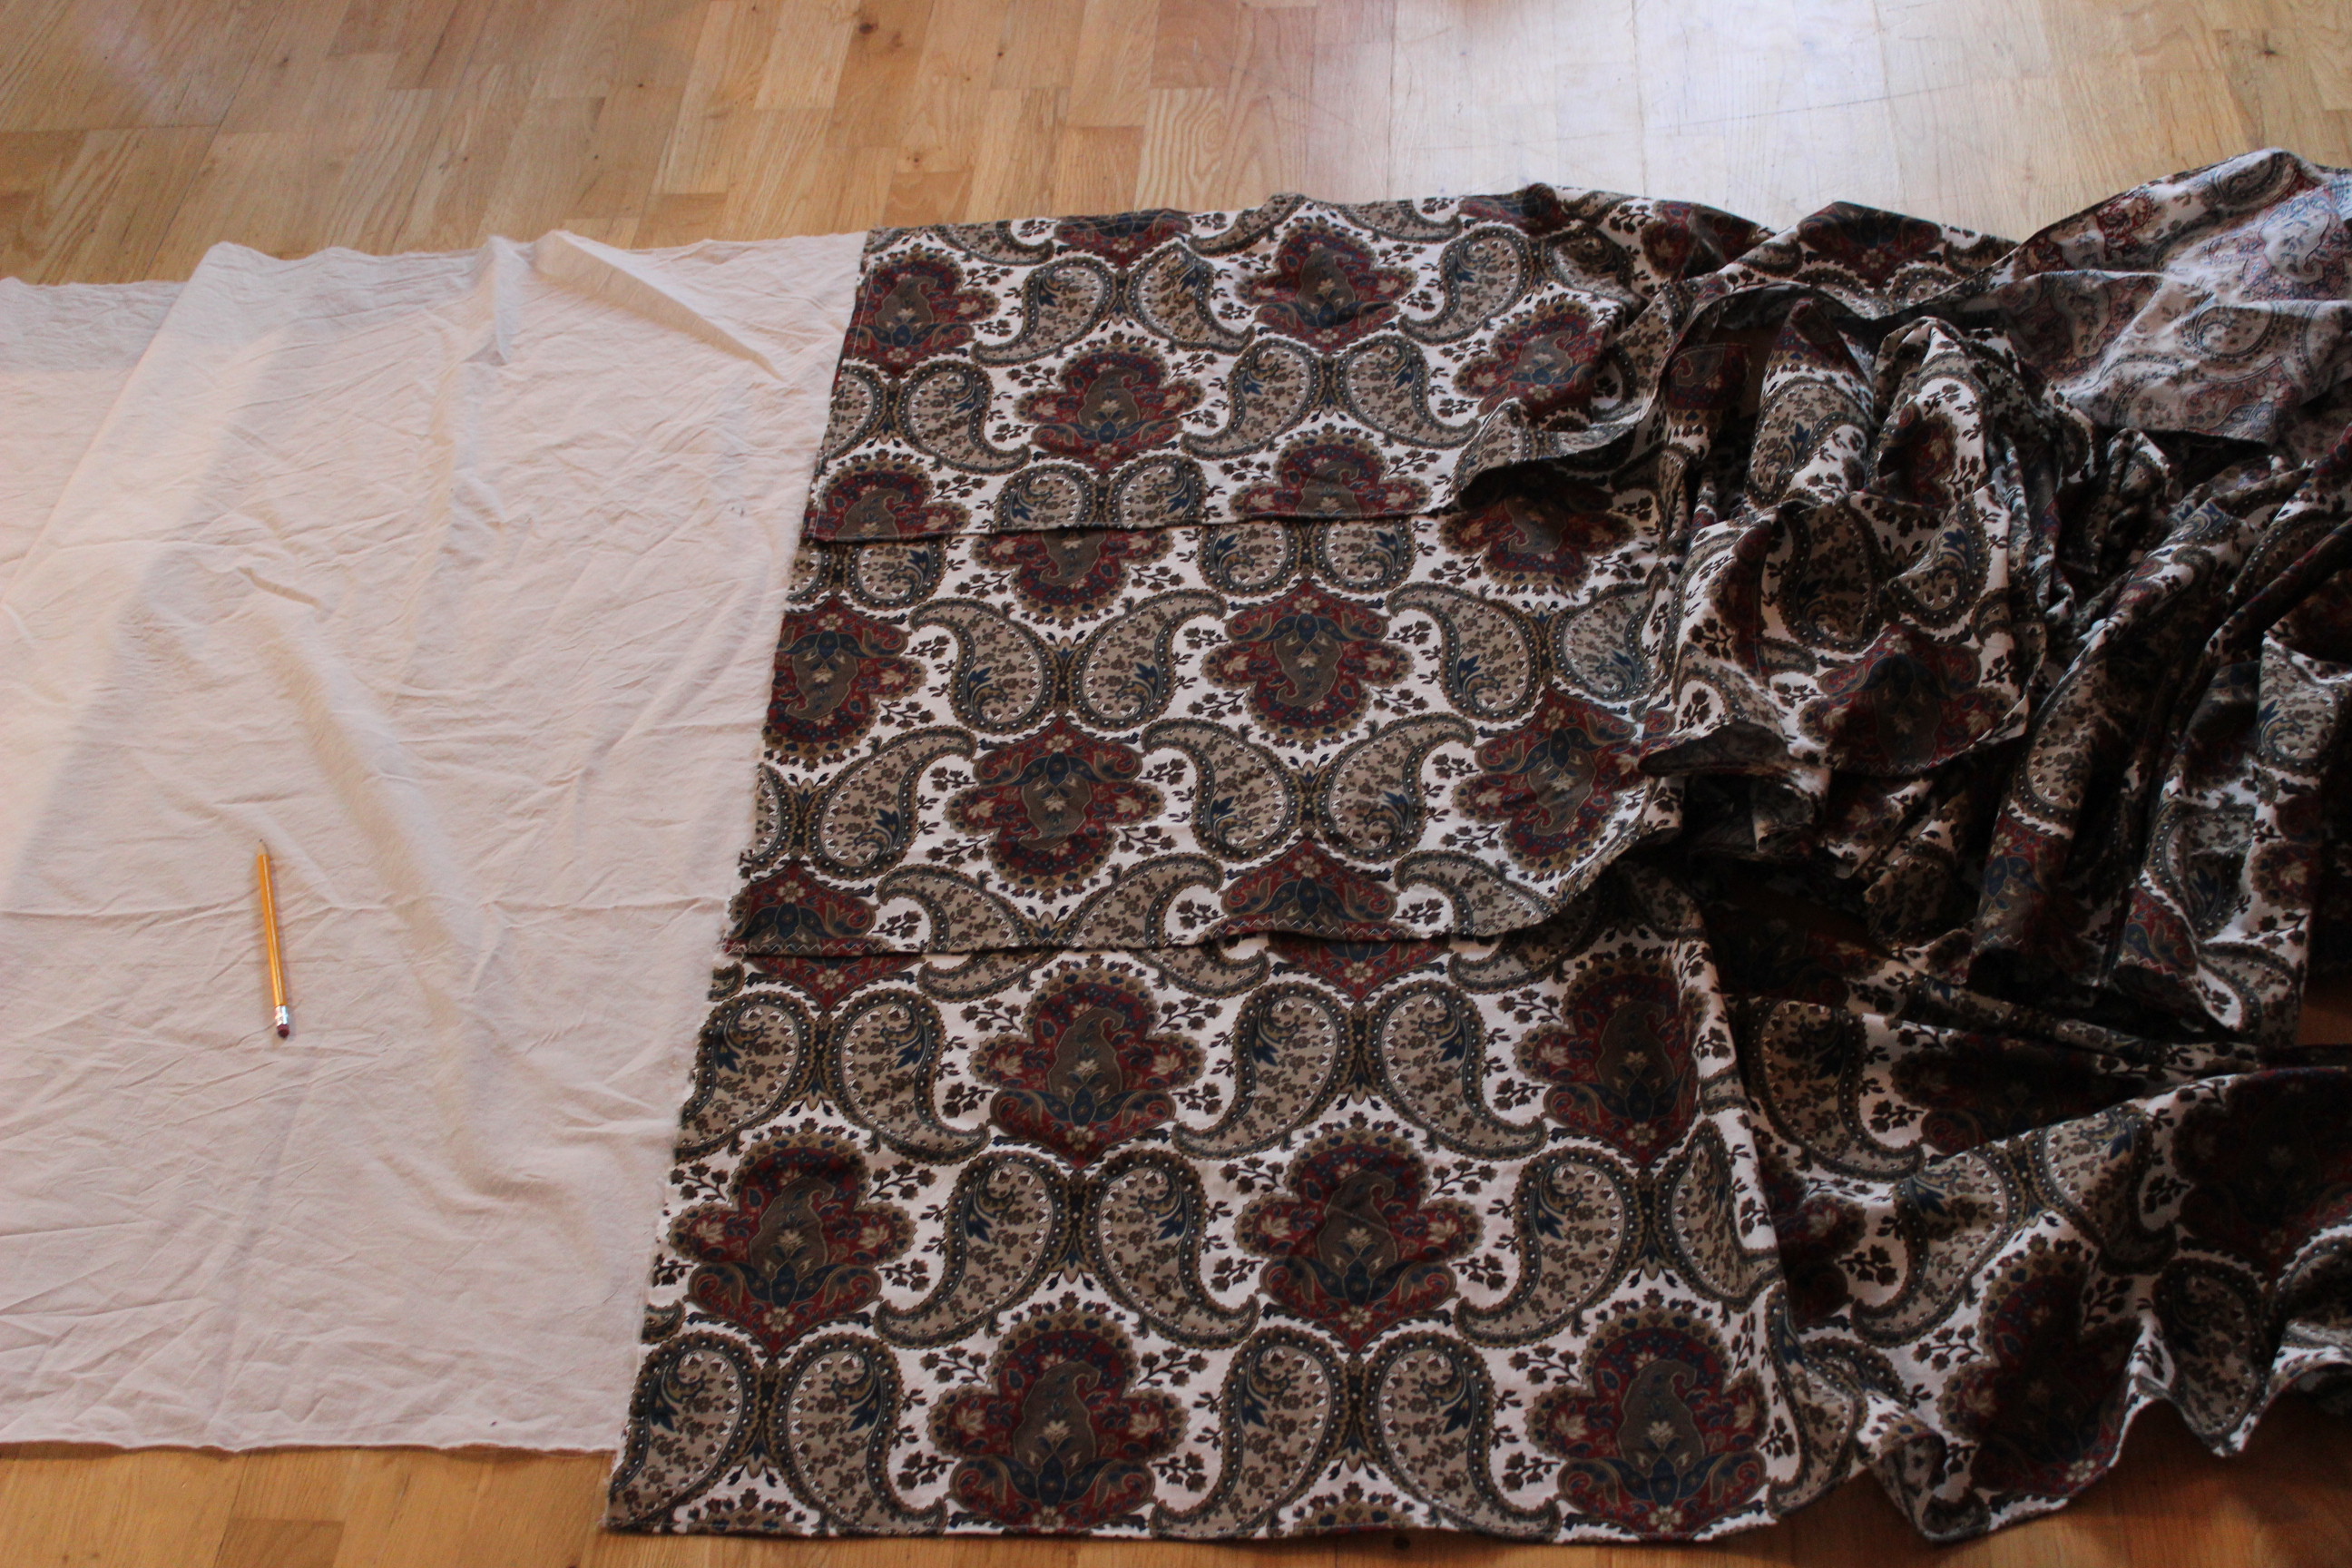
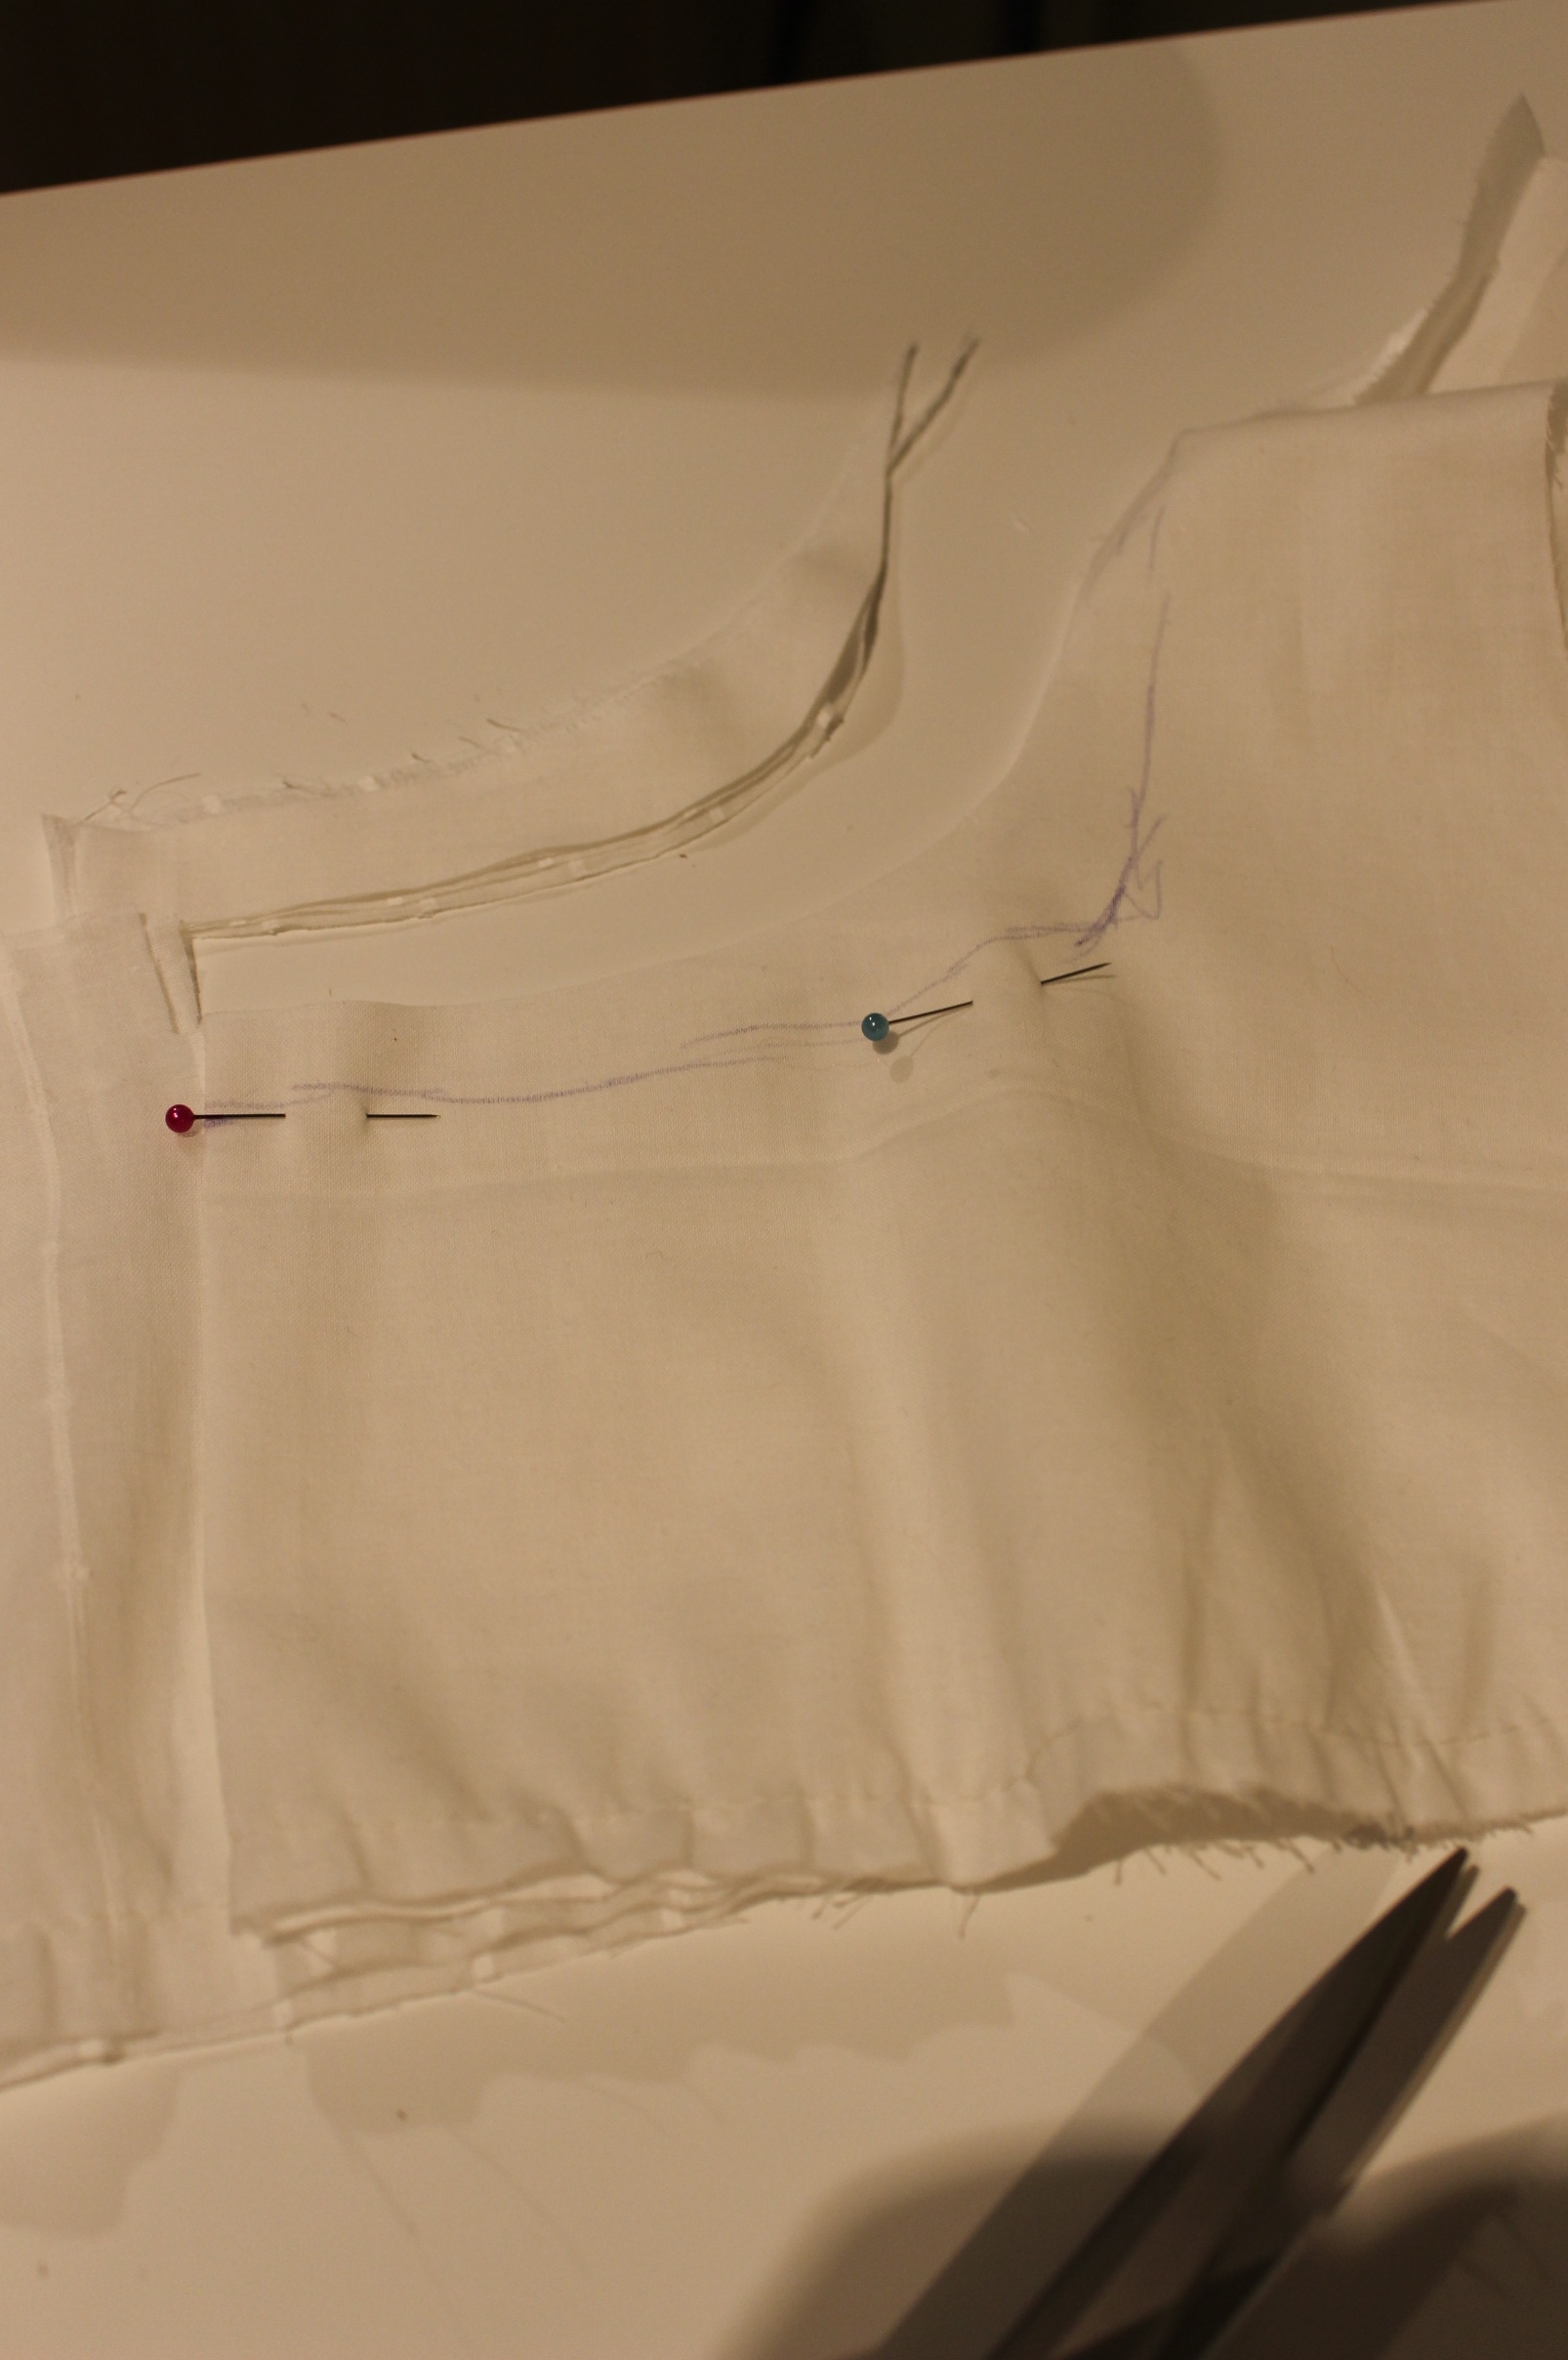
After some minor alteration I was ready to cut the fabric.

IMG_0897

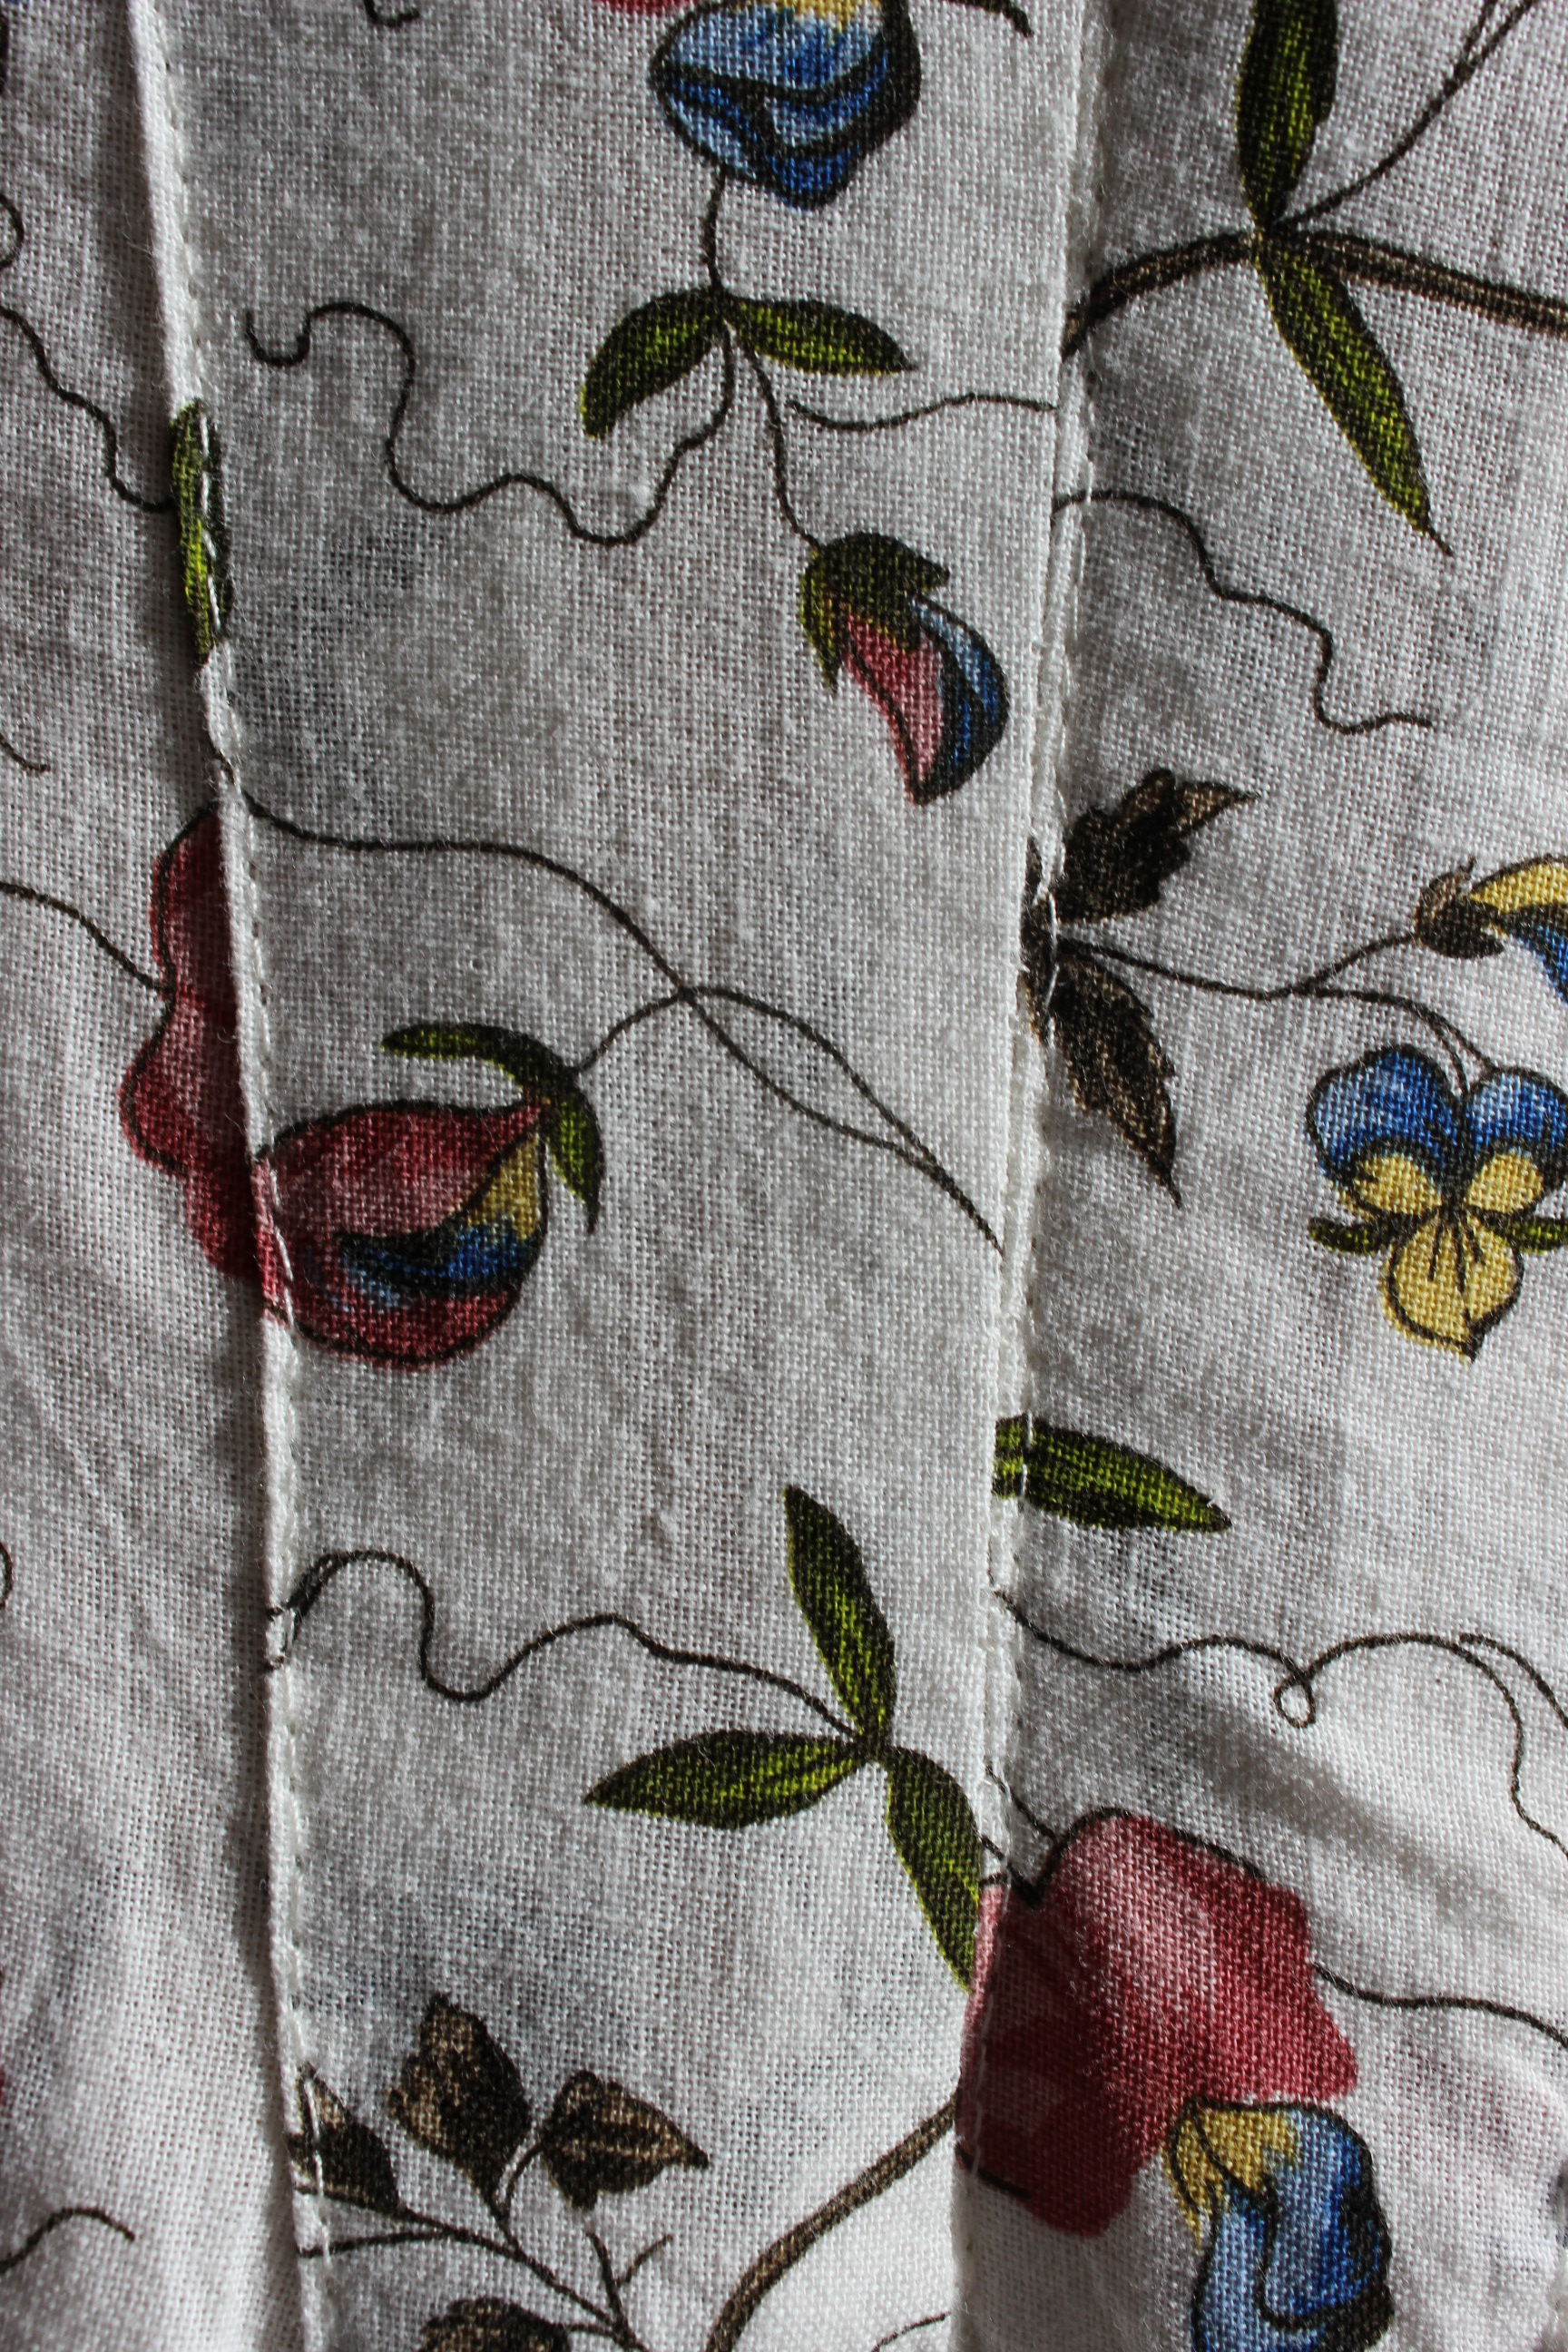
Since I didn’t had any deadline for this project, I decided to make the whole dress by hand.IMG_0916

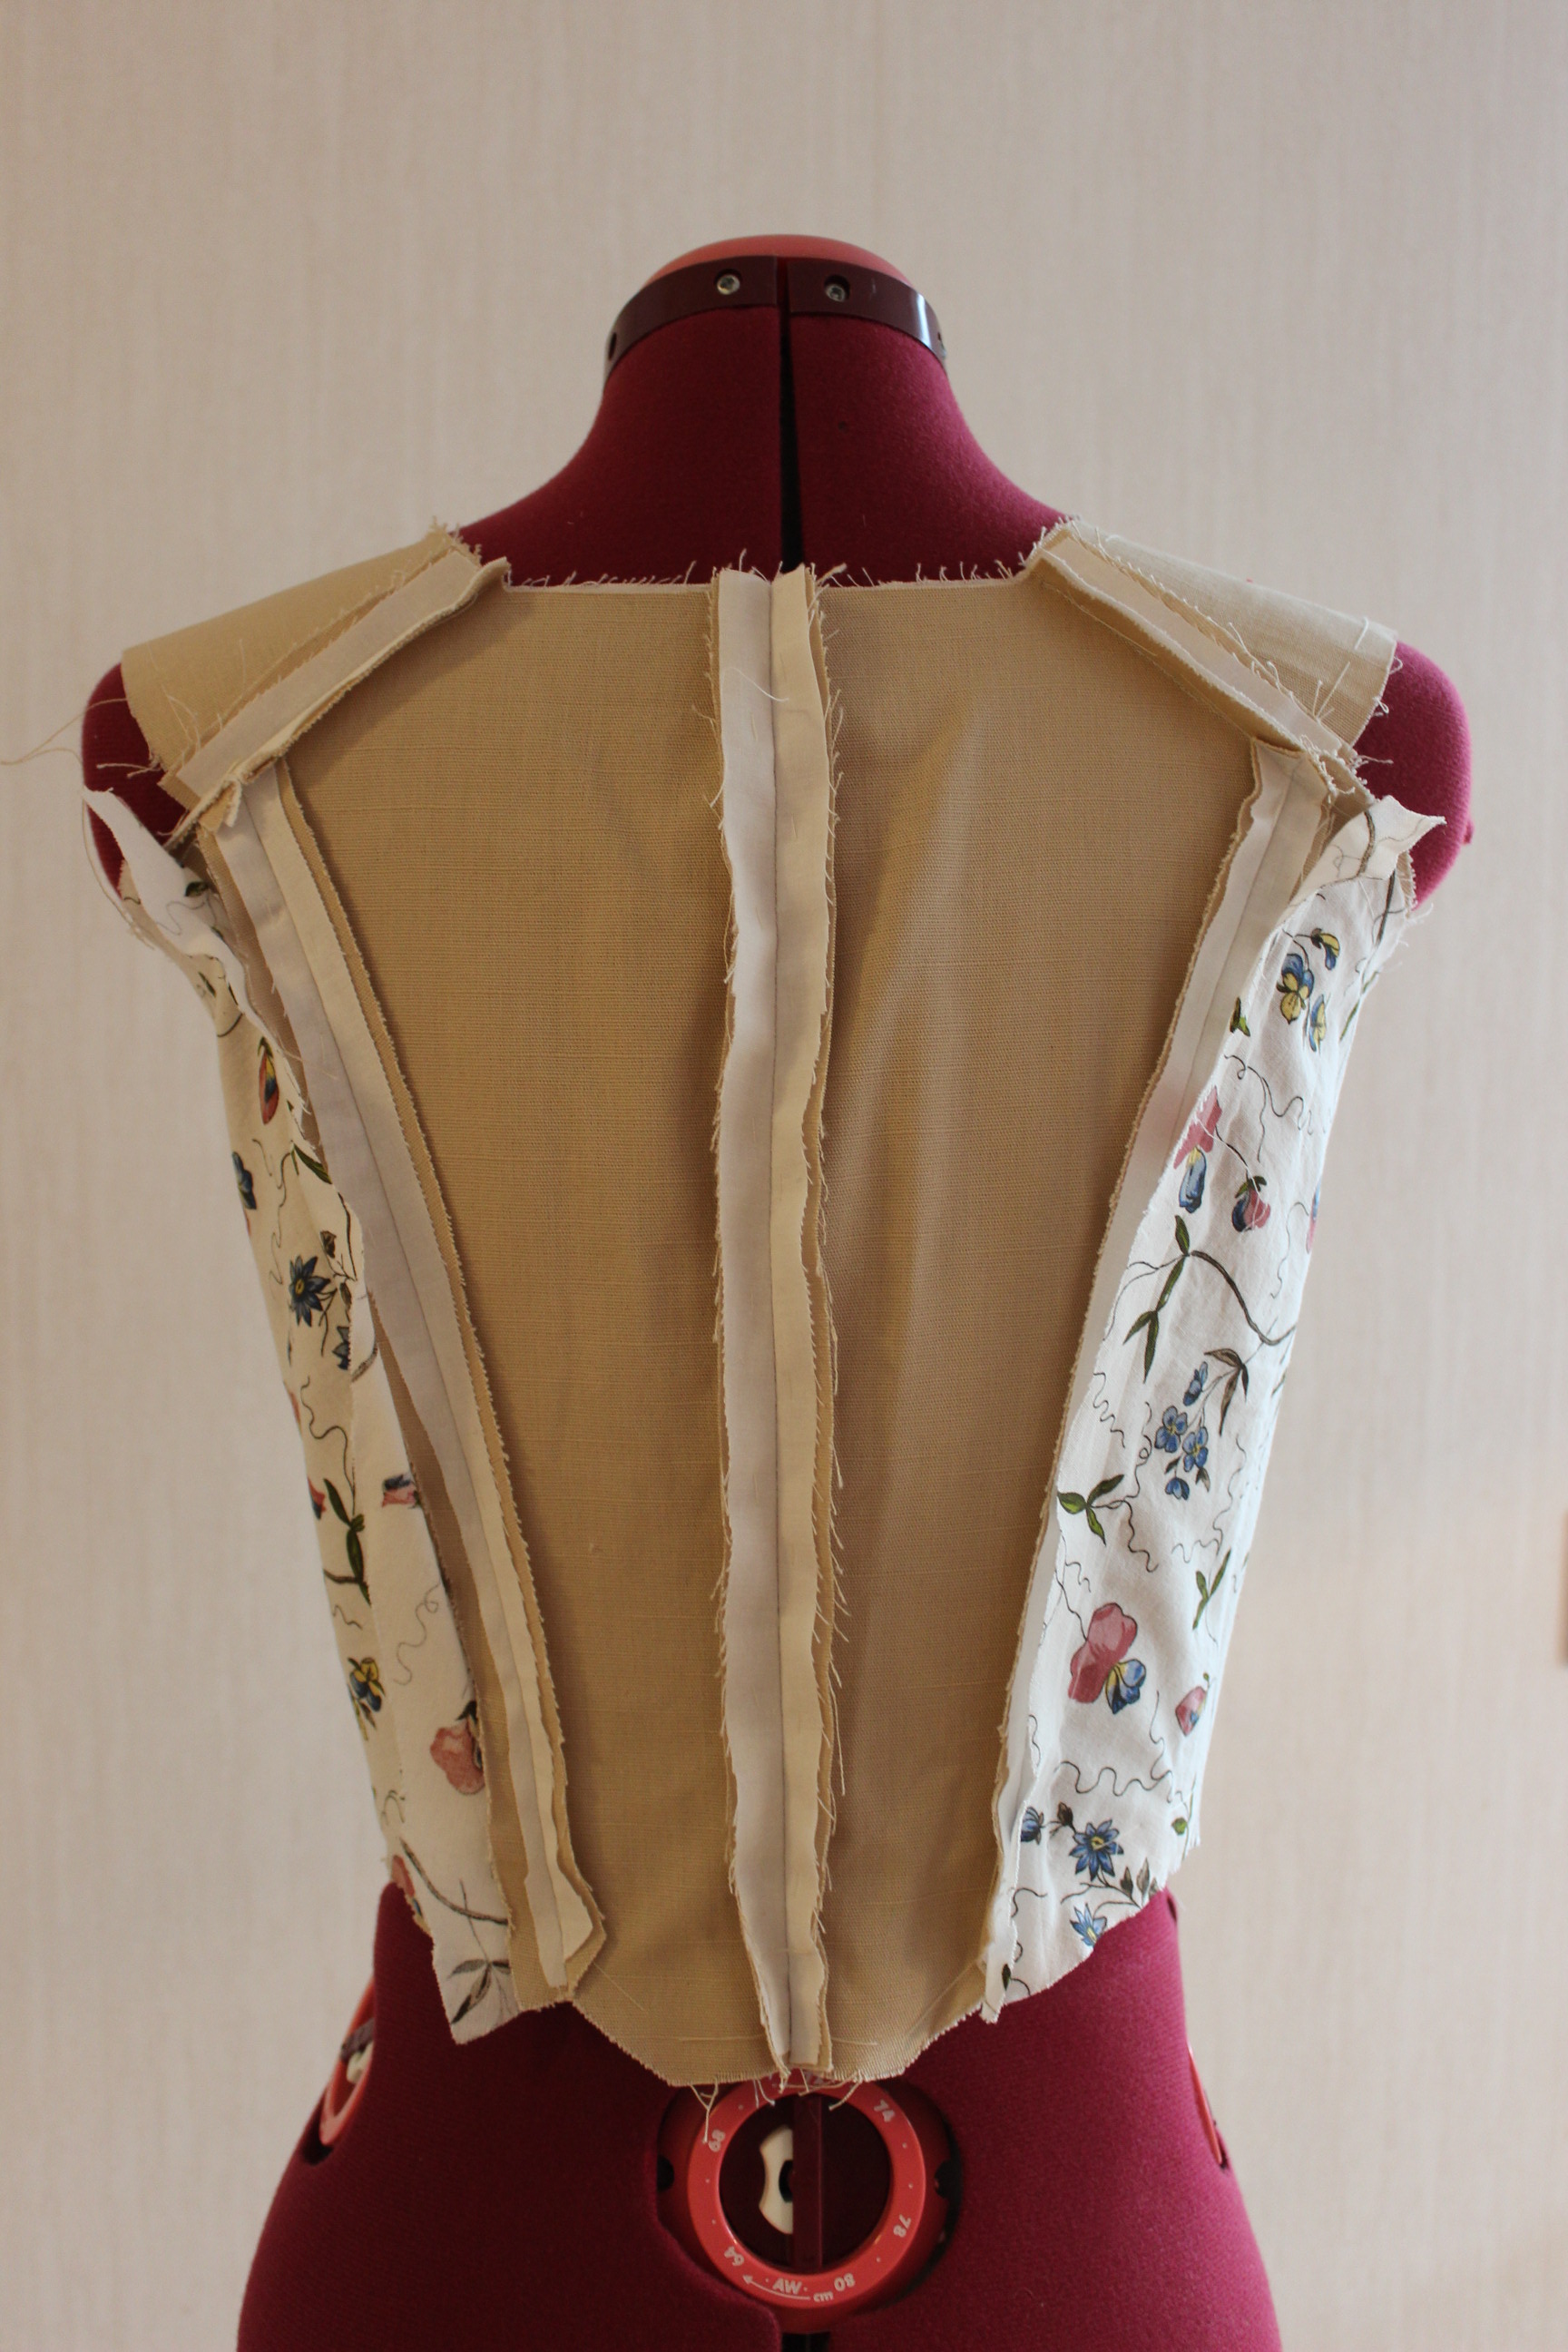
I basted the lining to the interlining and stitched the bodice together for a try on.
IMG_0952 IMG_0948
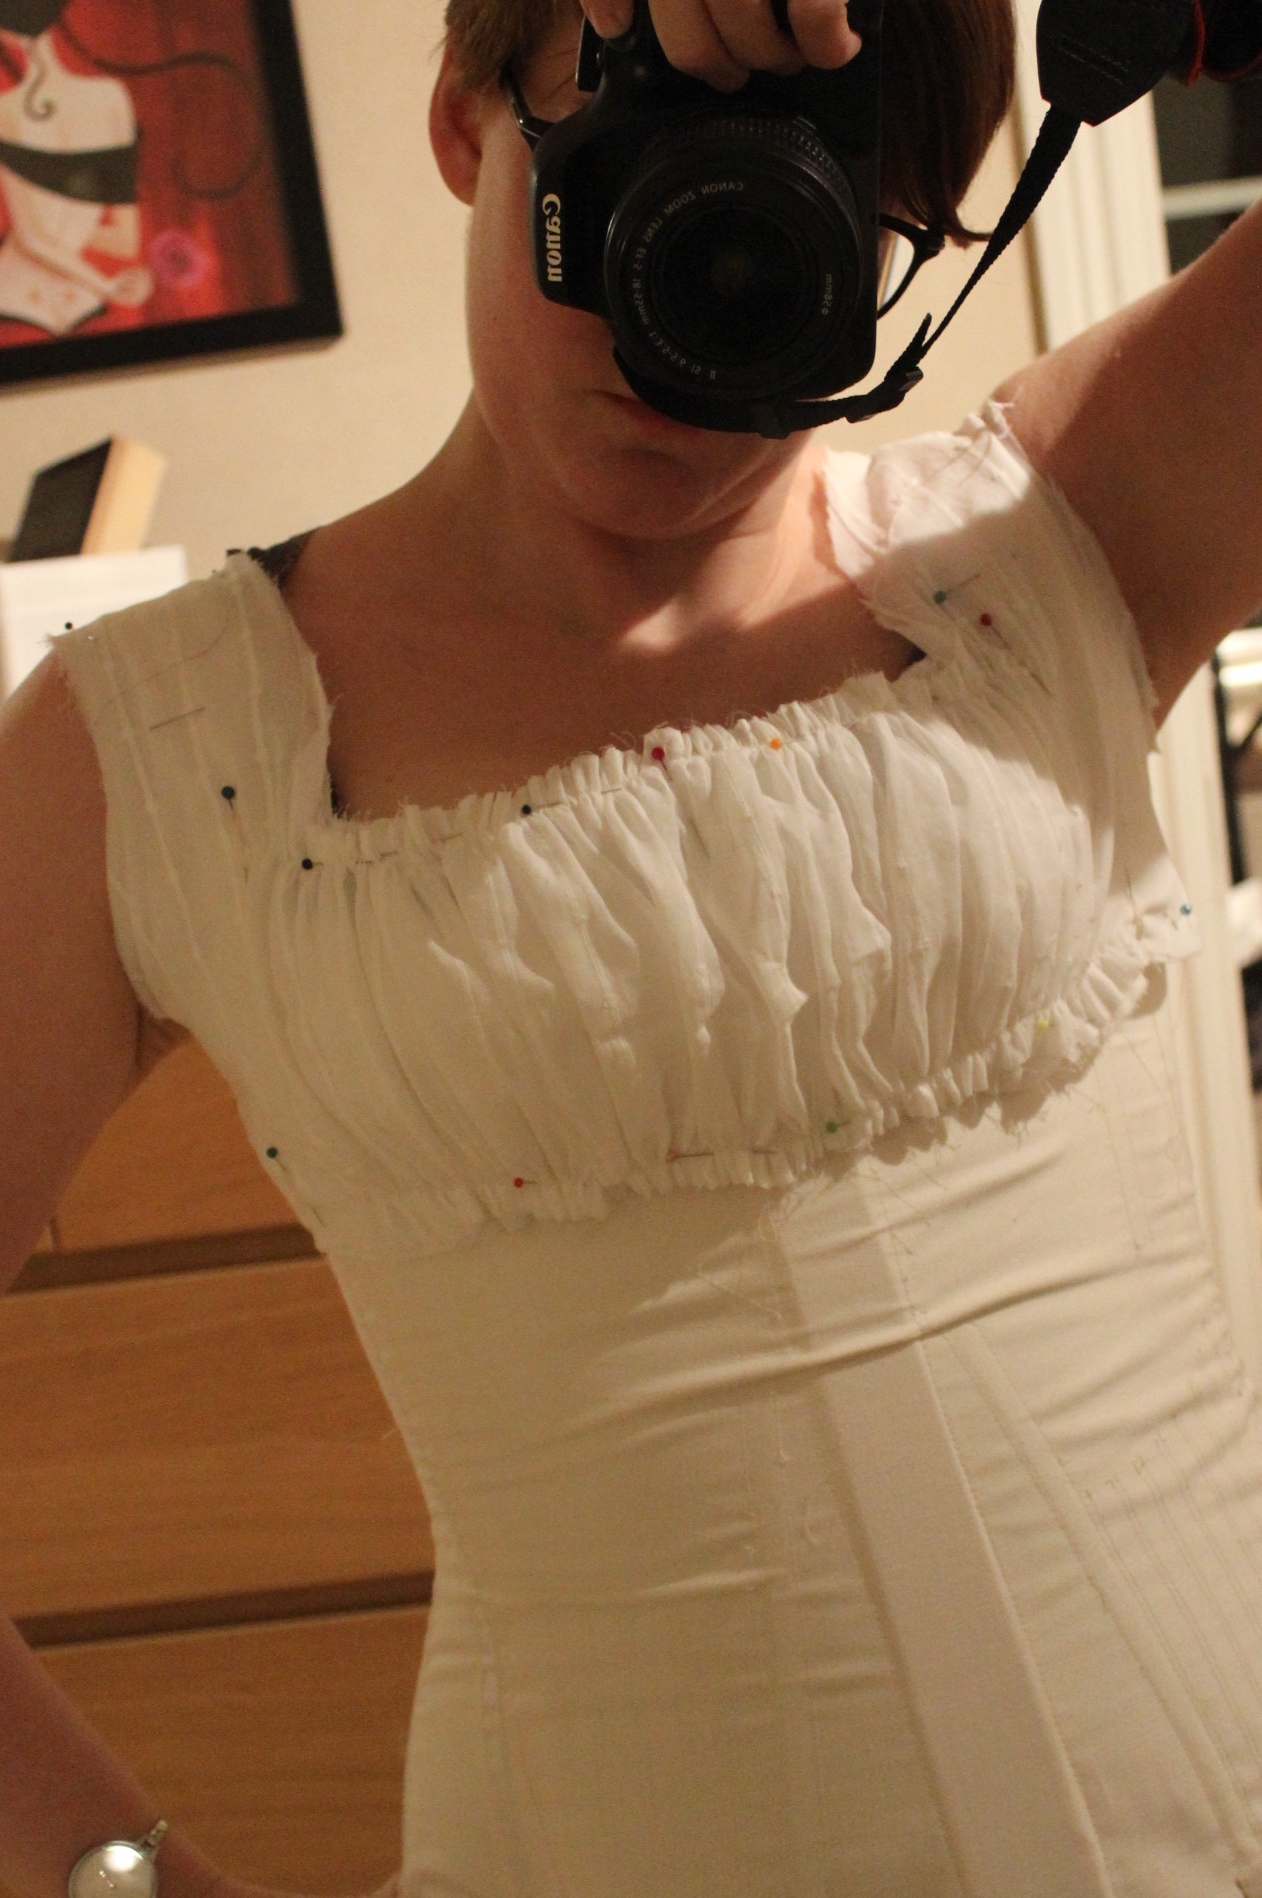
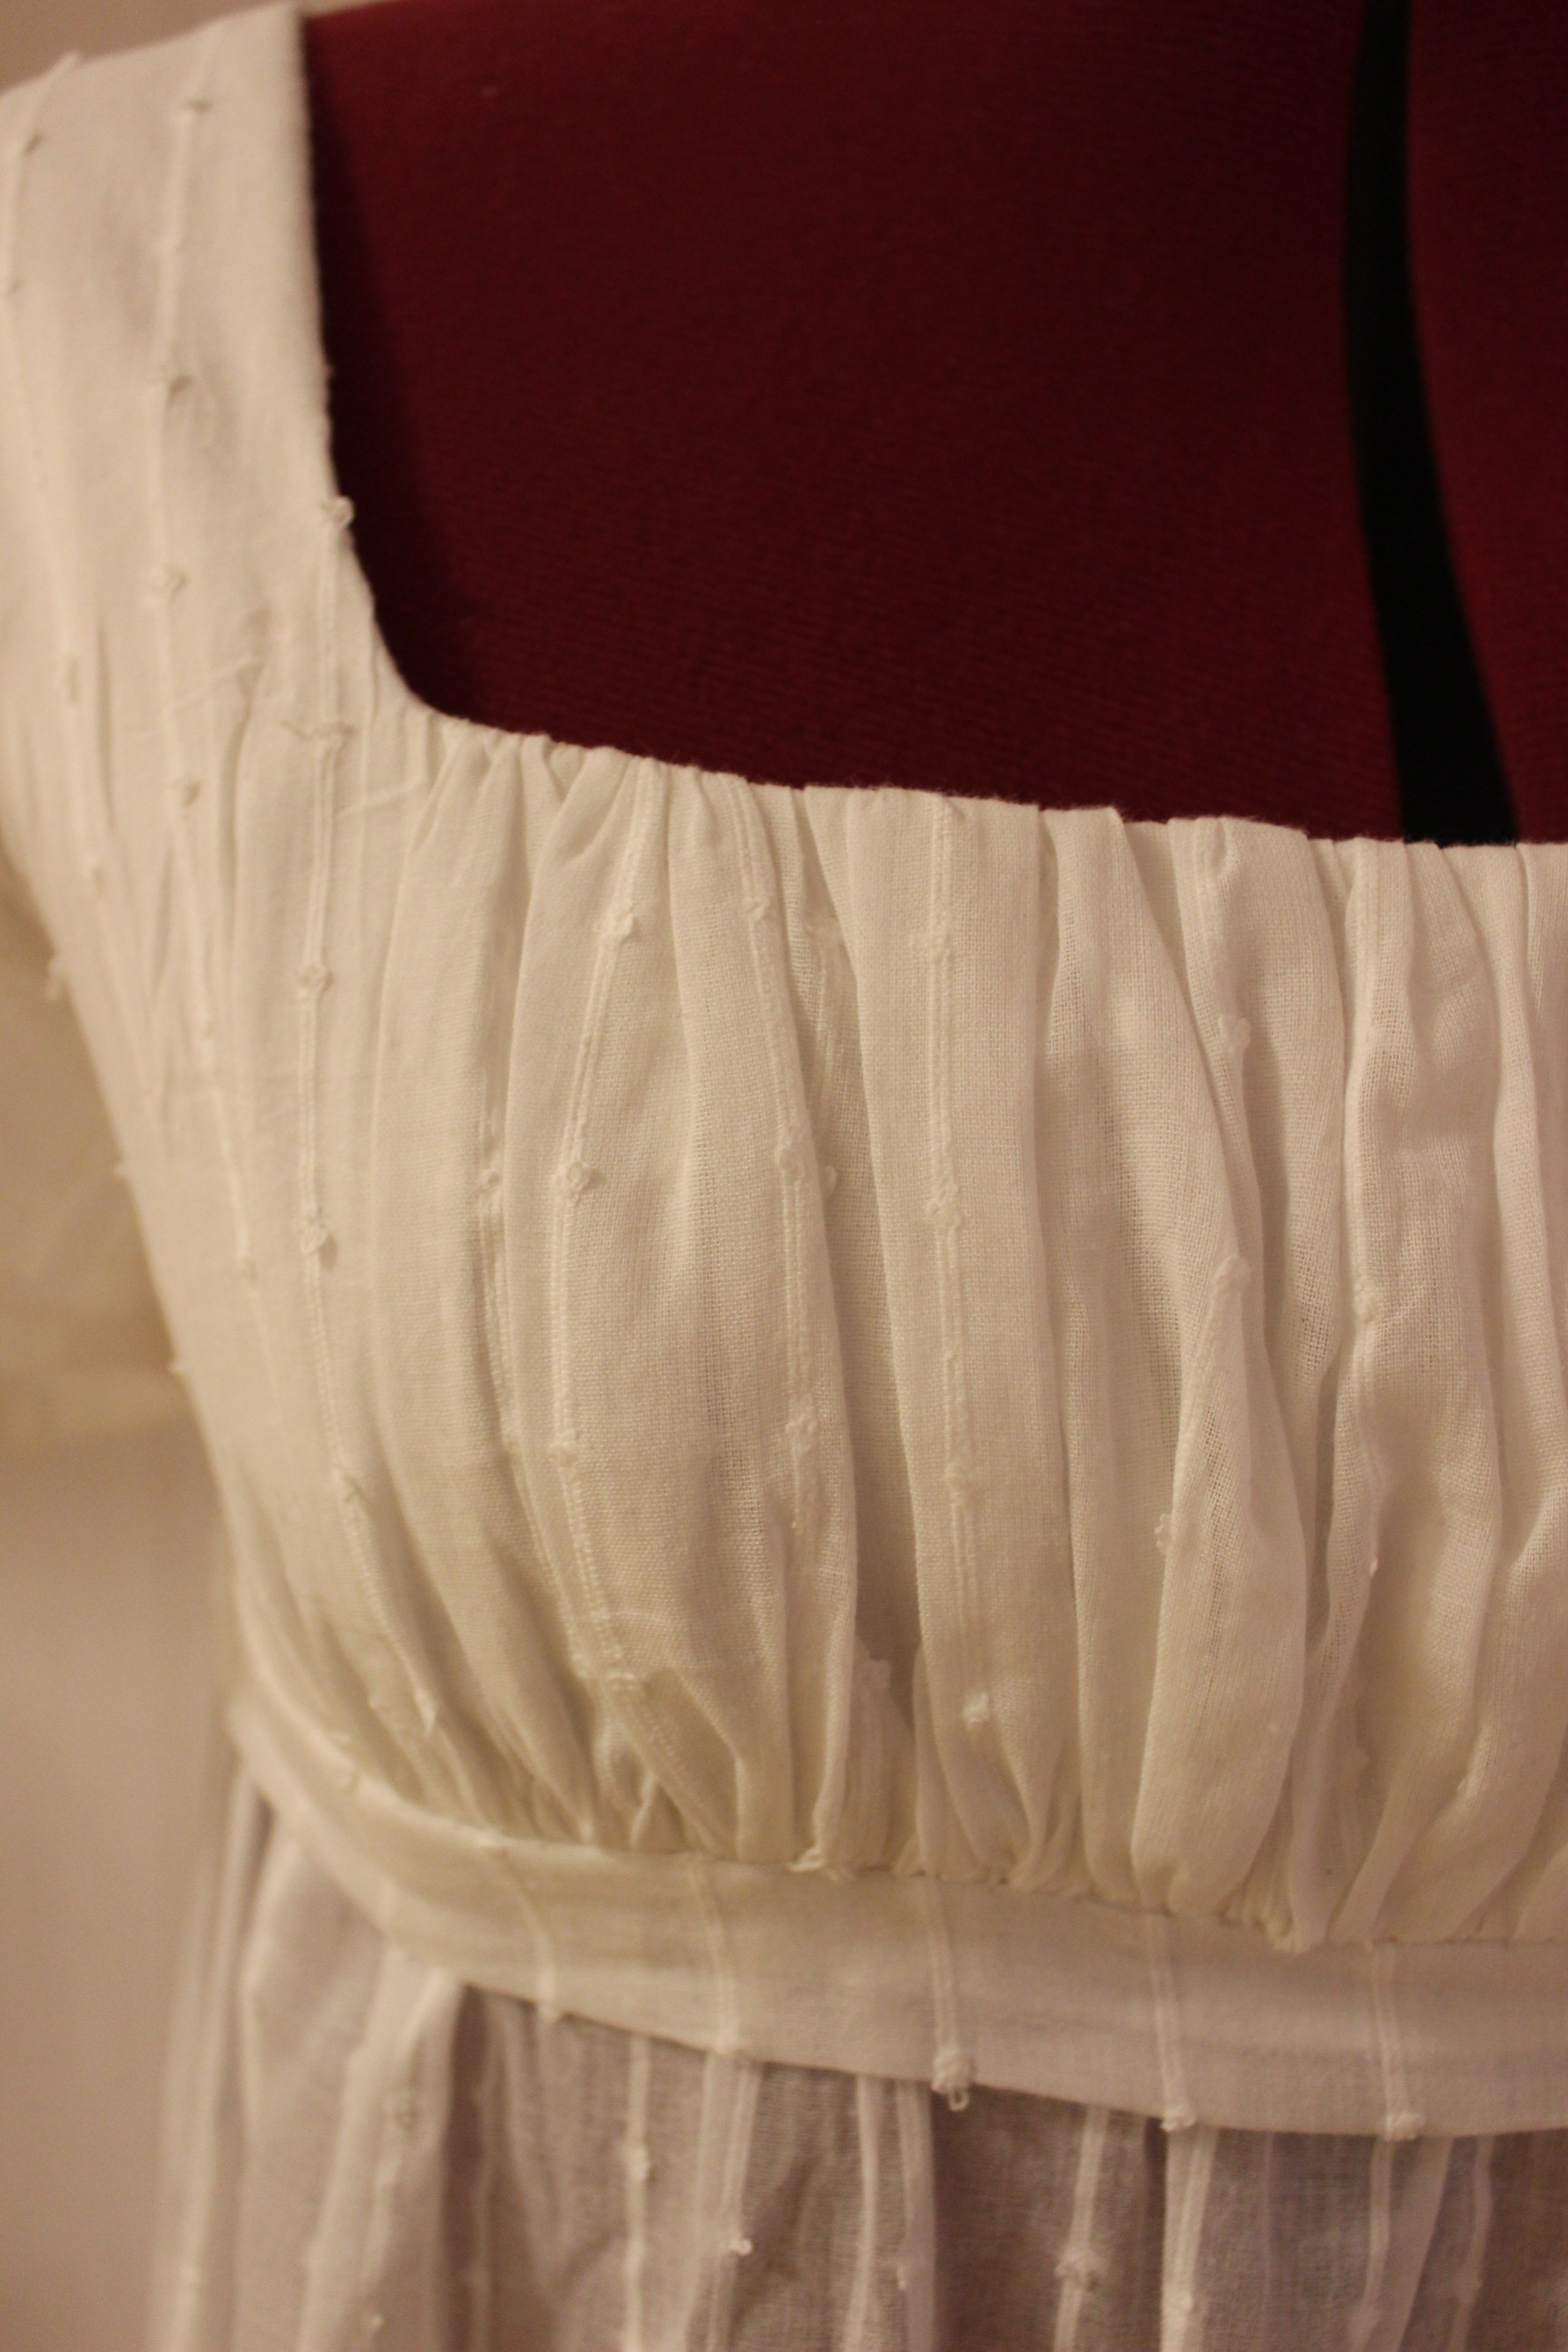
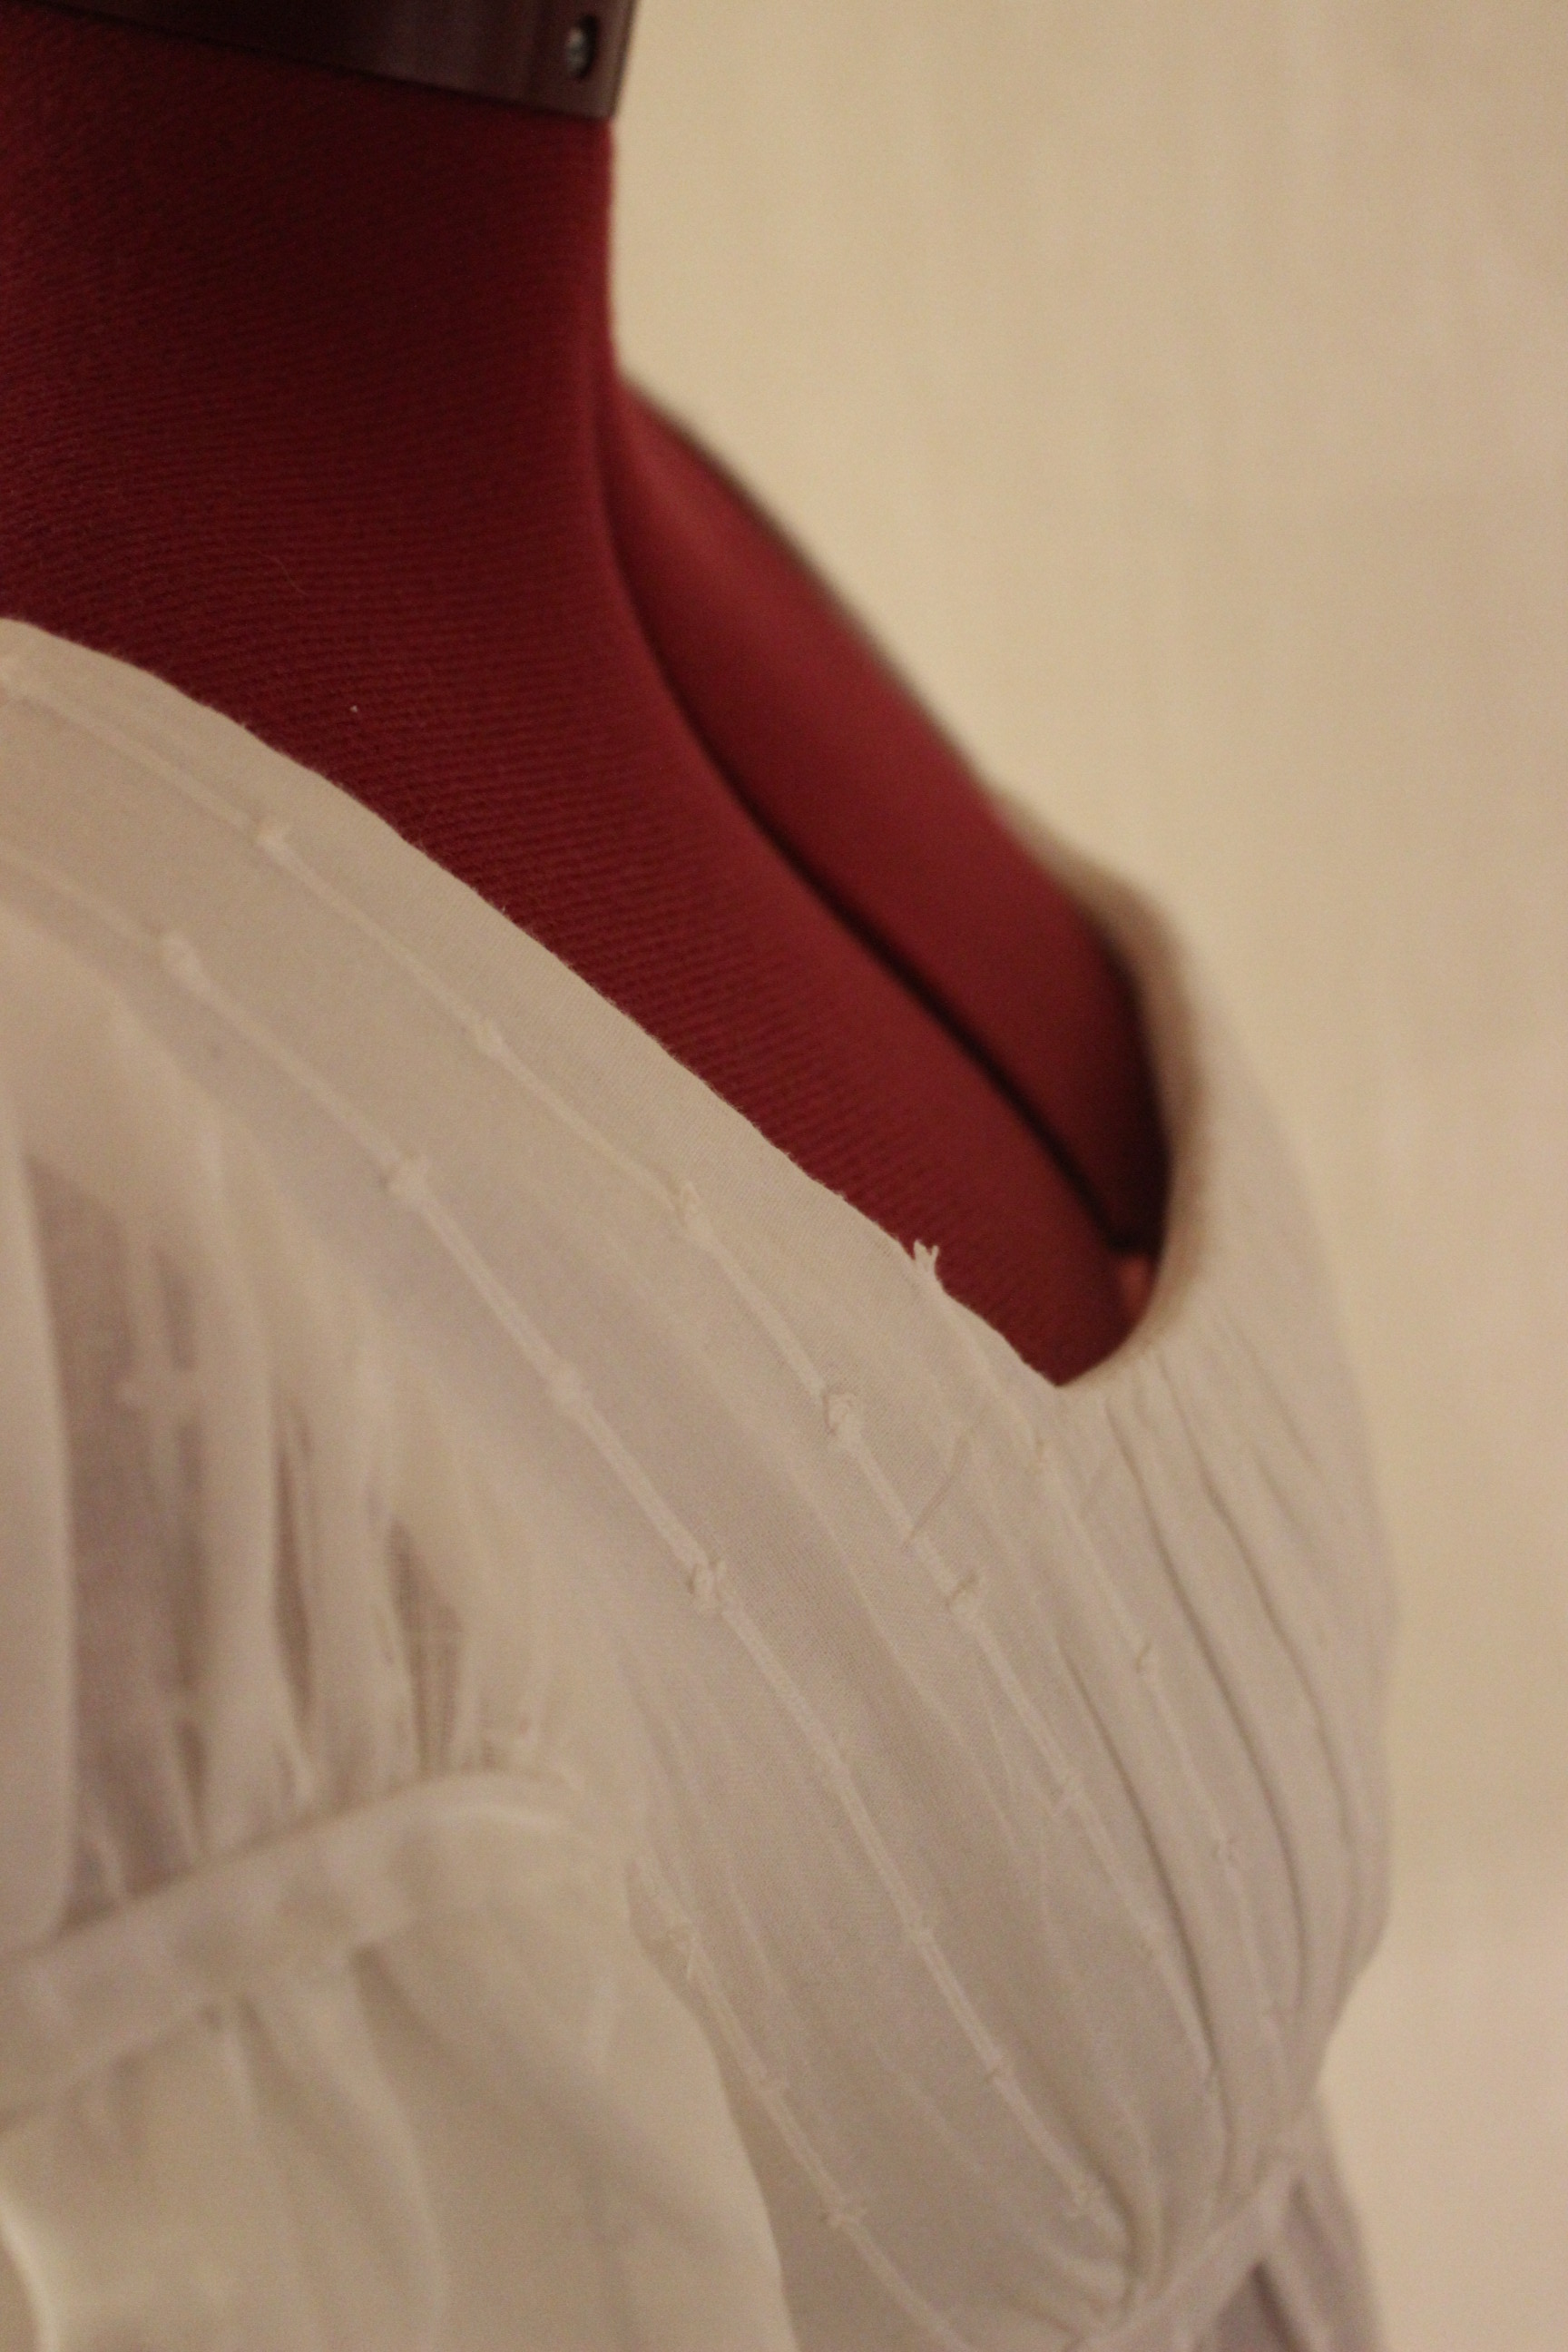
After lowering the neckline a few cm, I put the bodice on my dress-form and started covering it with the fashion fabric.
IMG_3156IMG_3157

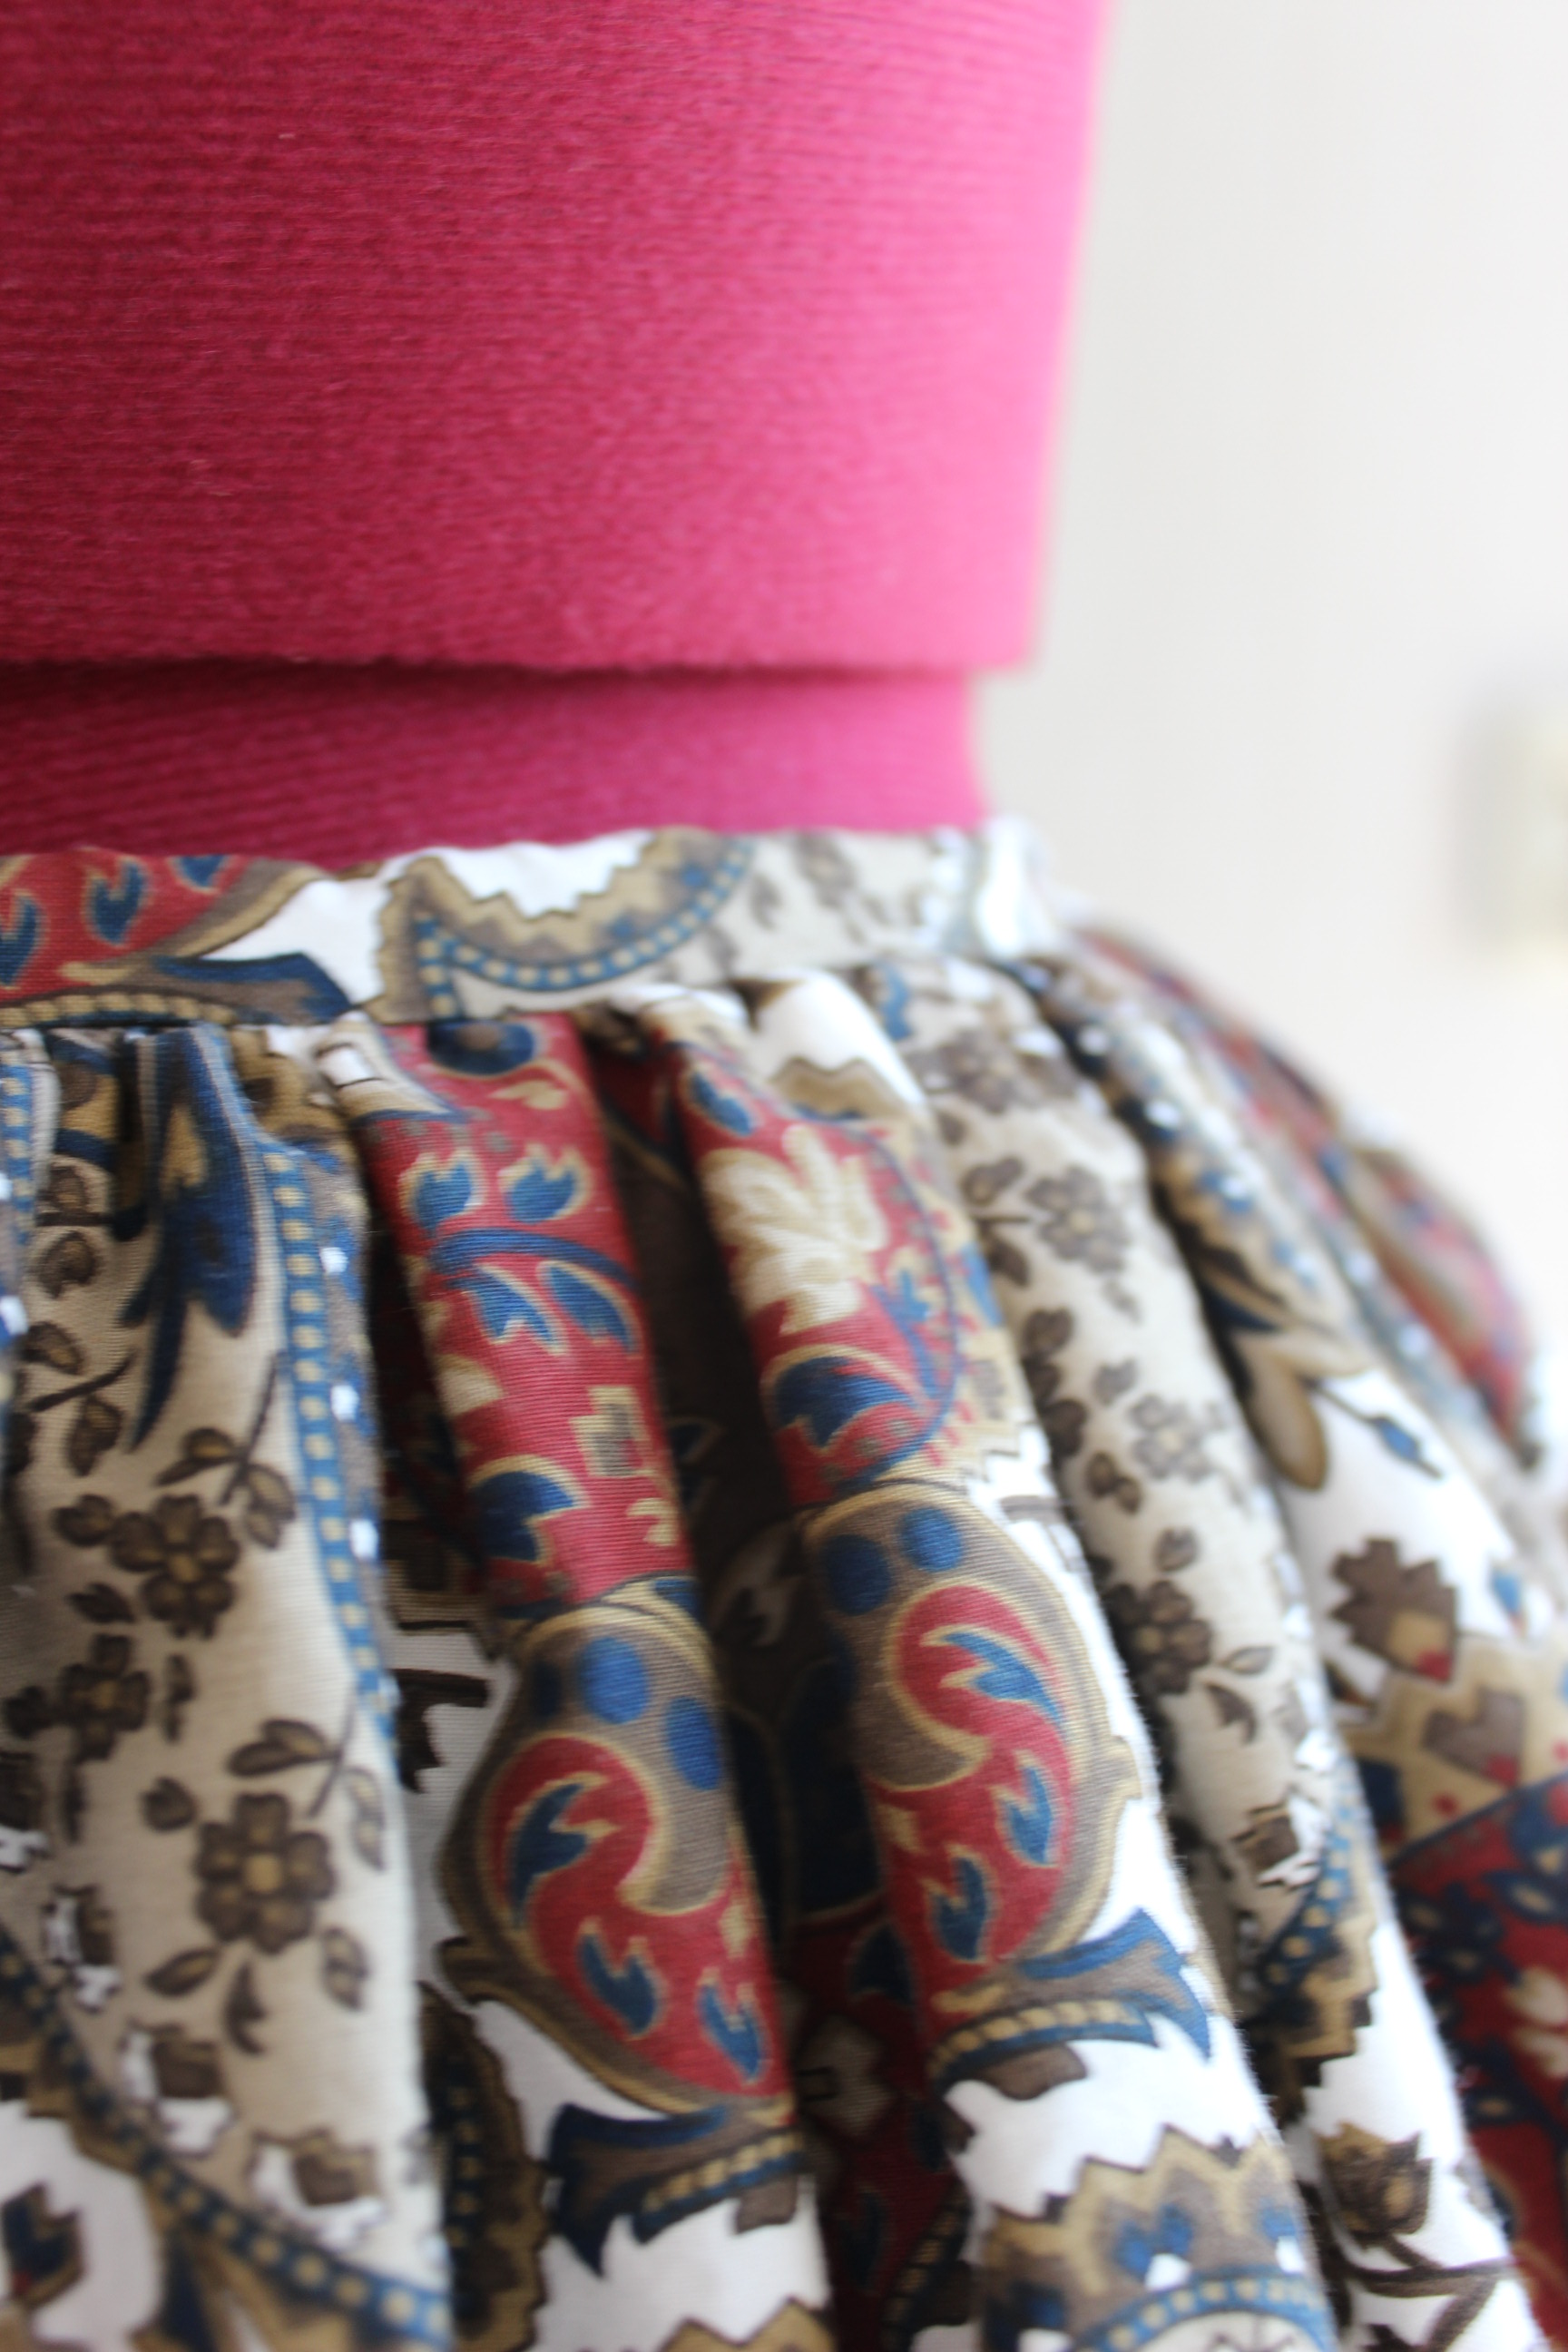
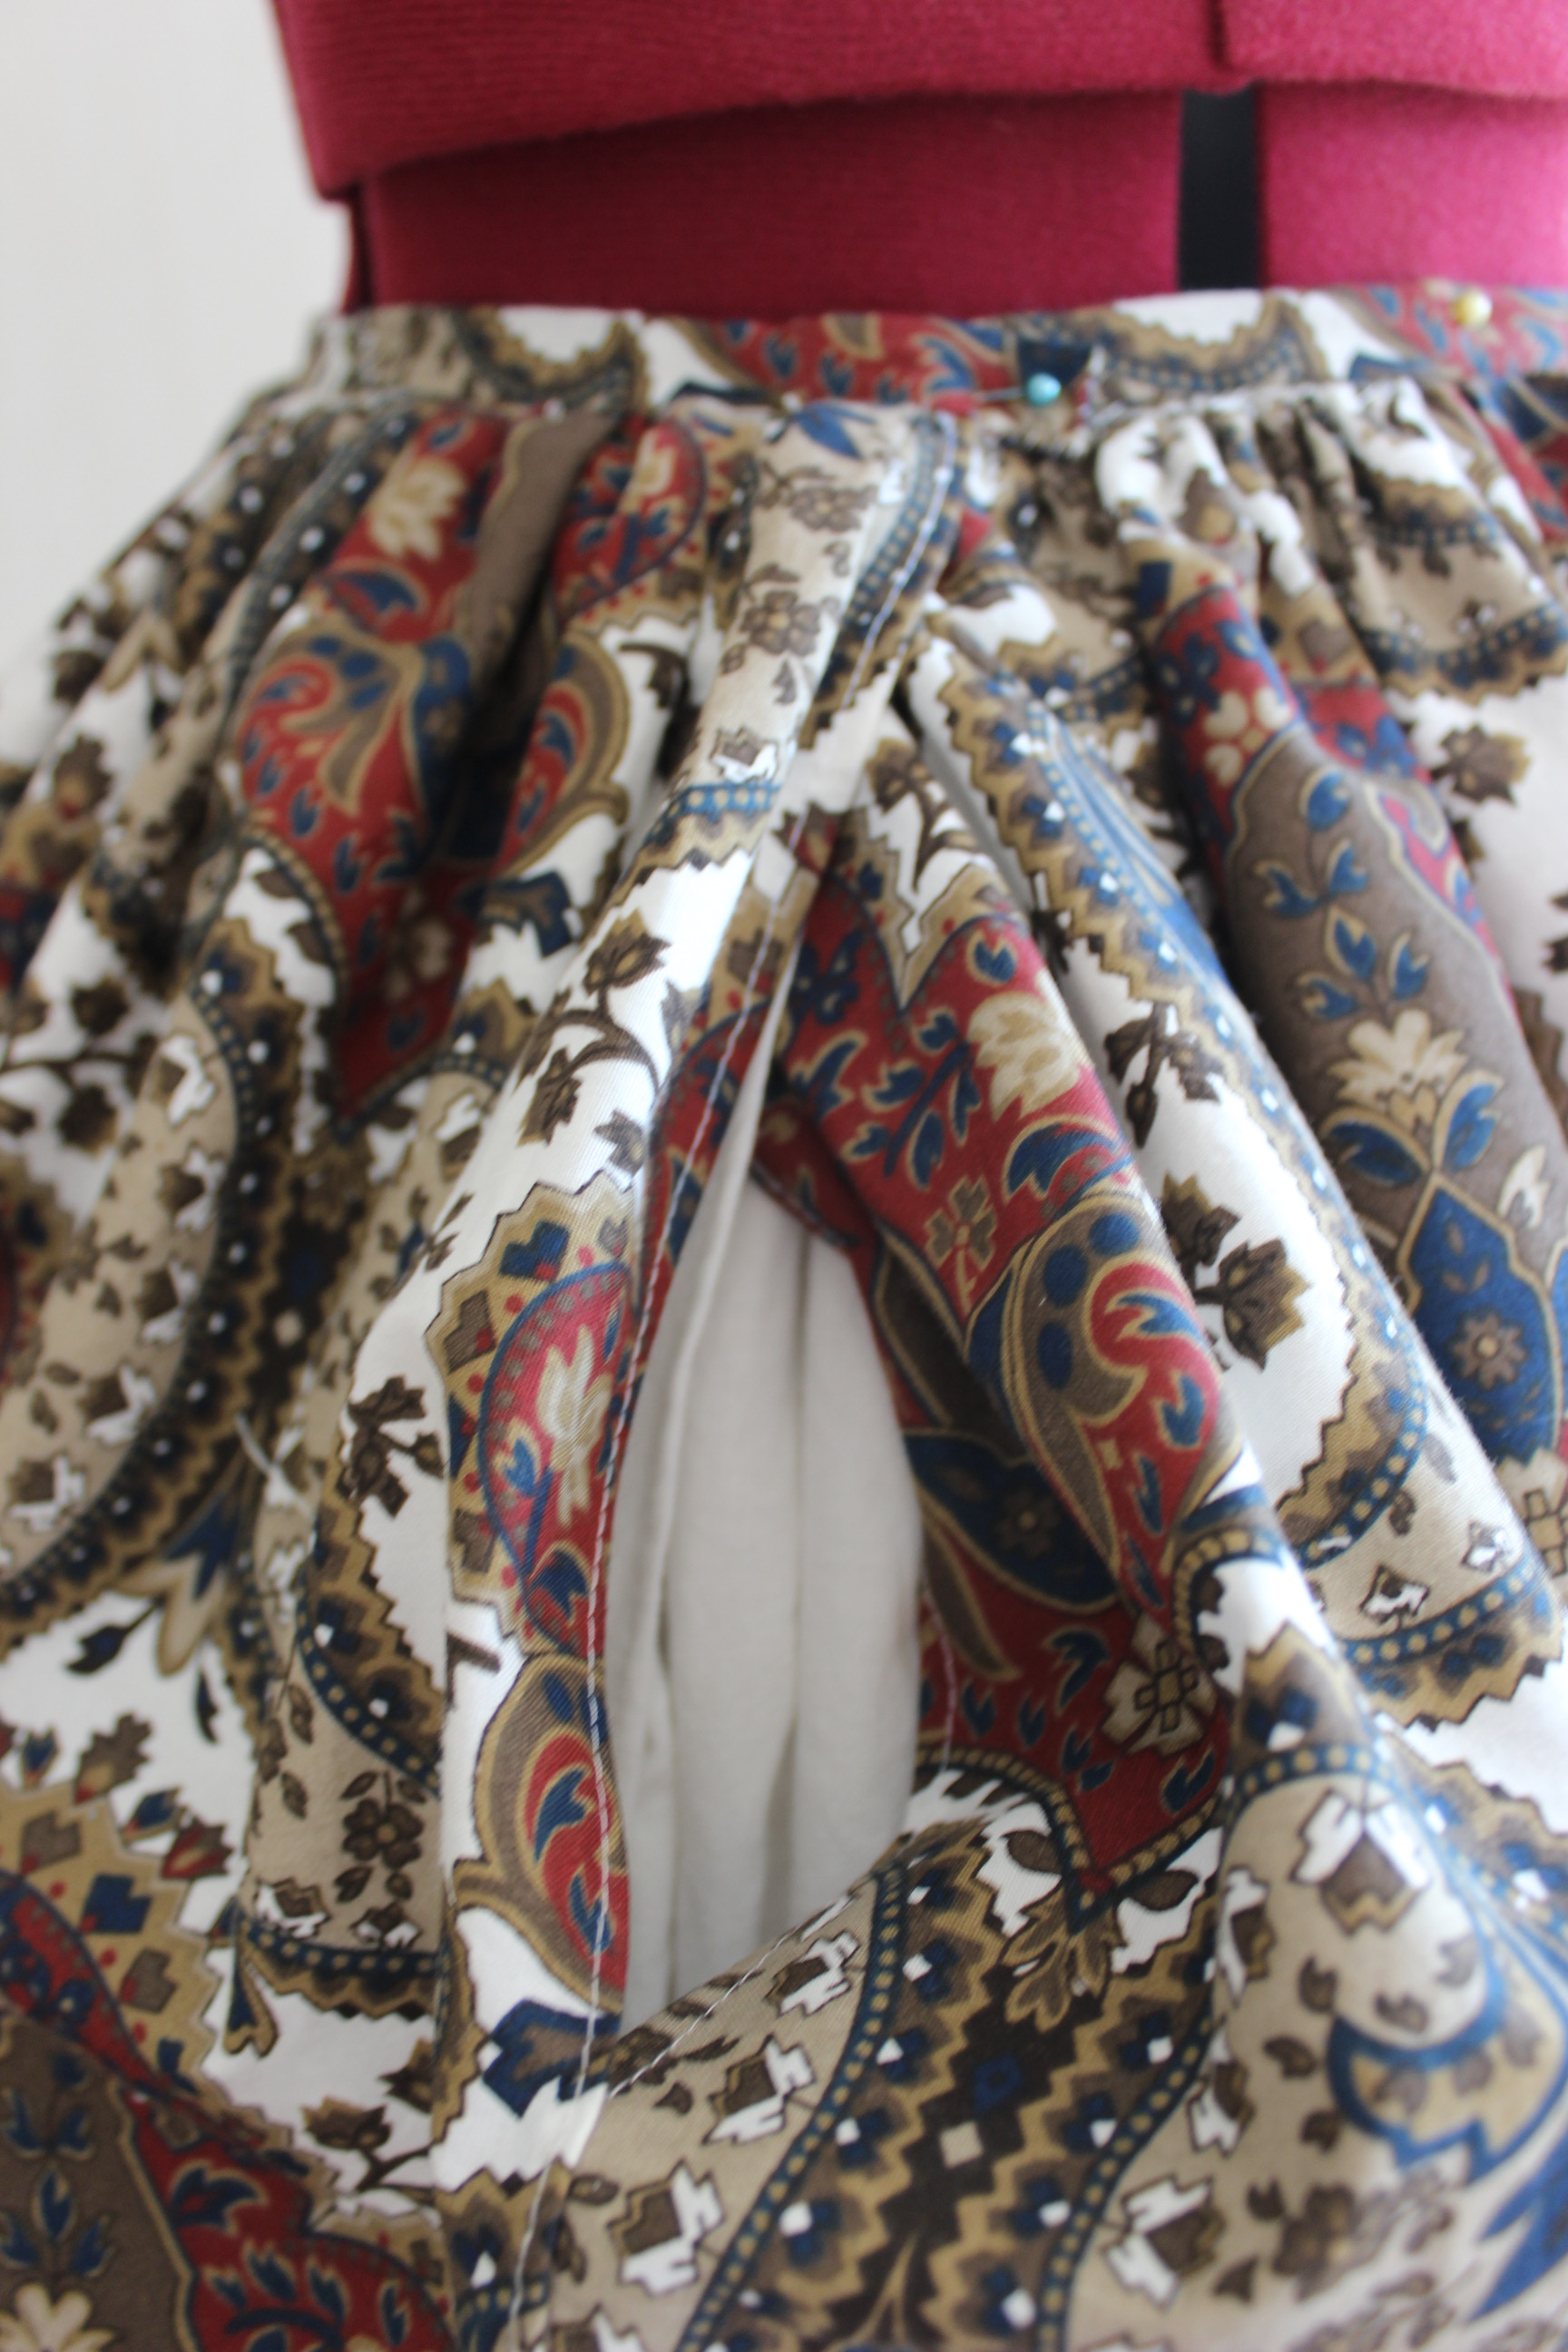
The En Fourreau pleats was a bit tricky to get to lie smooth, but after once re-pinning I stitched everything down from the outside using back-stitches.
IMG_3158 IMG_3163

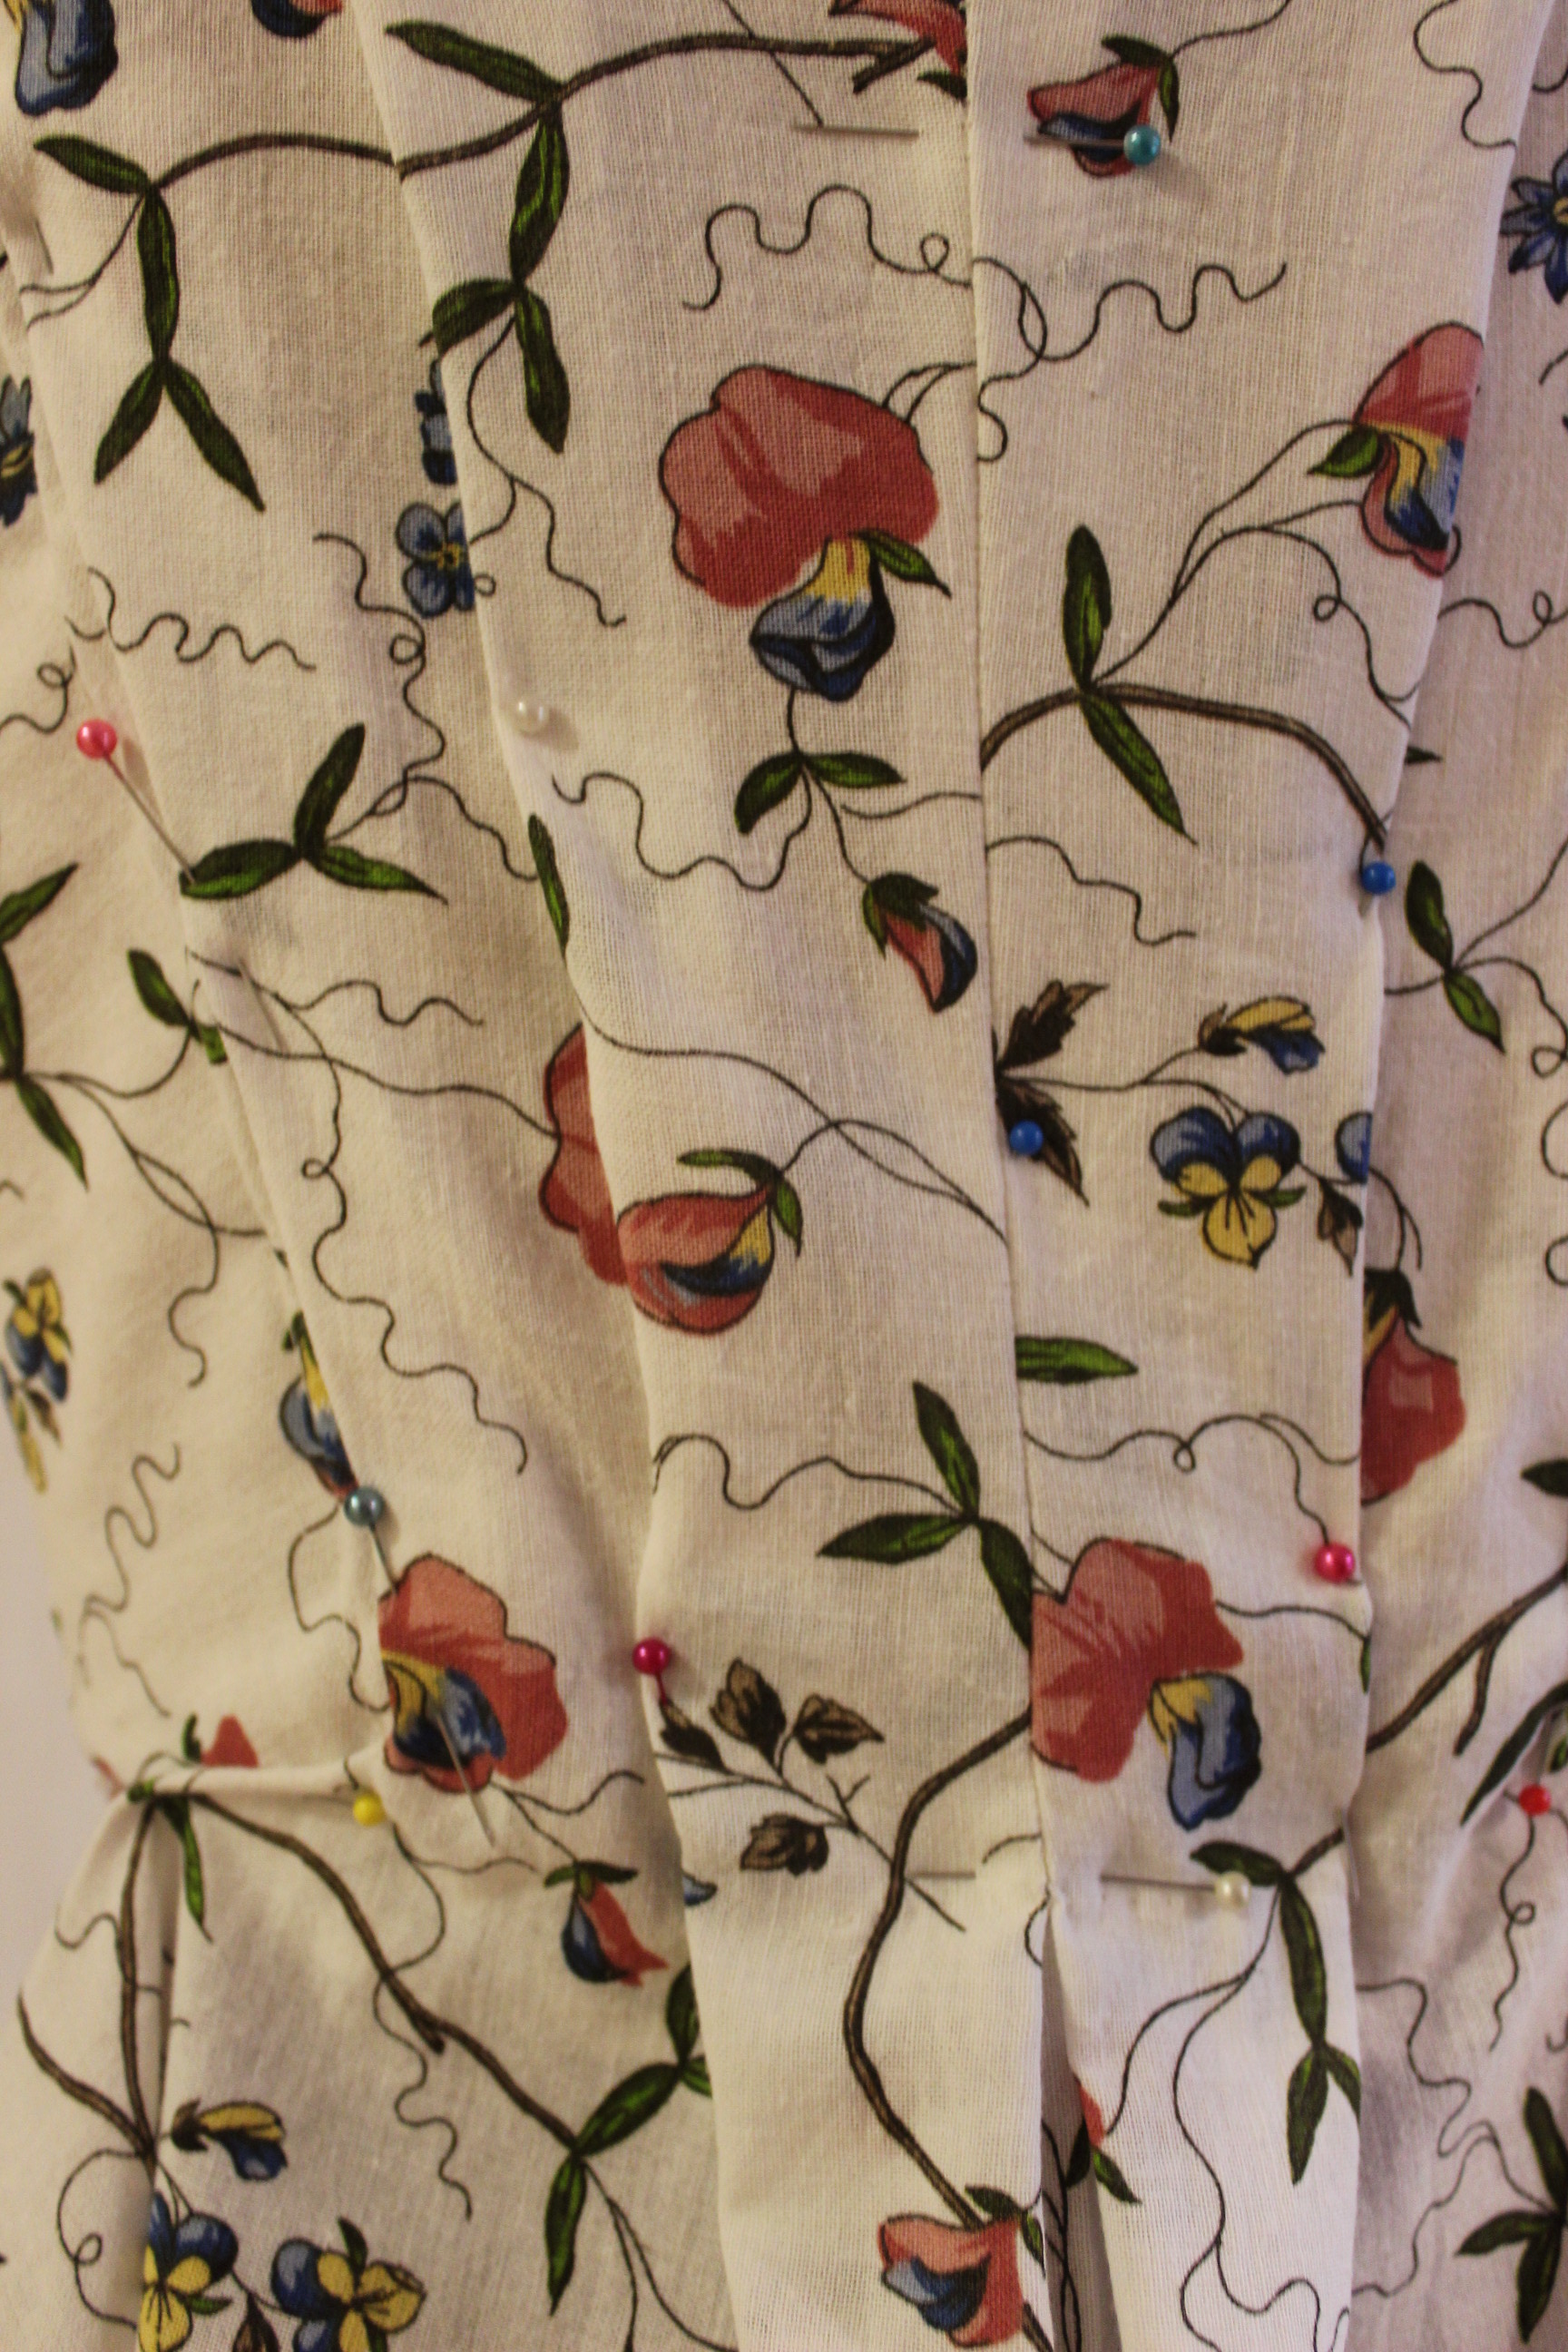
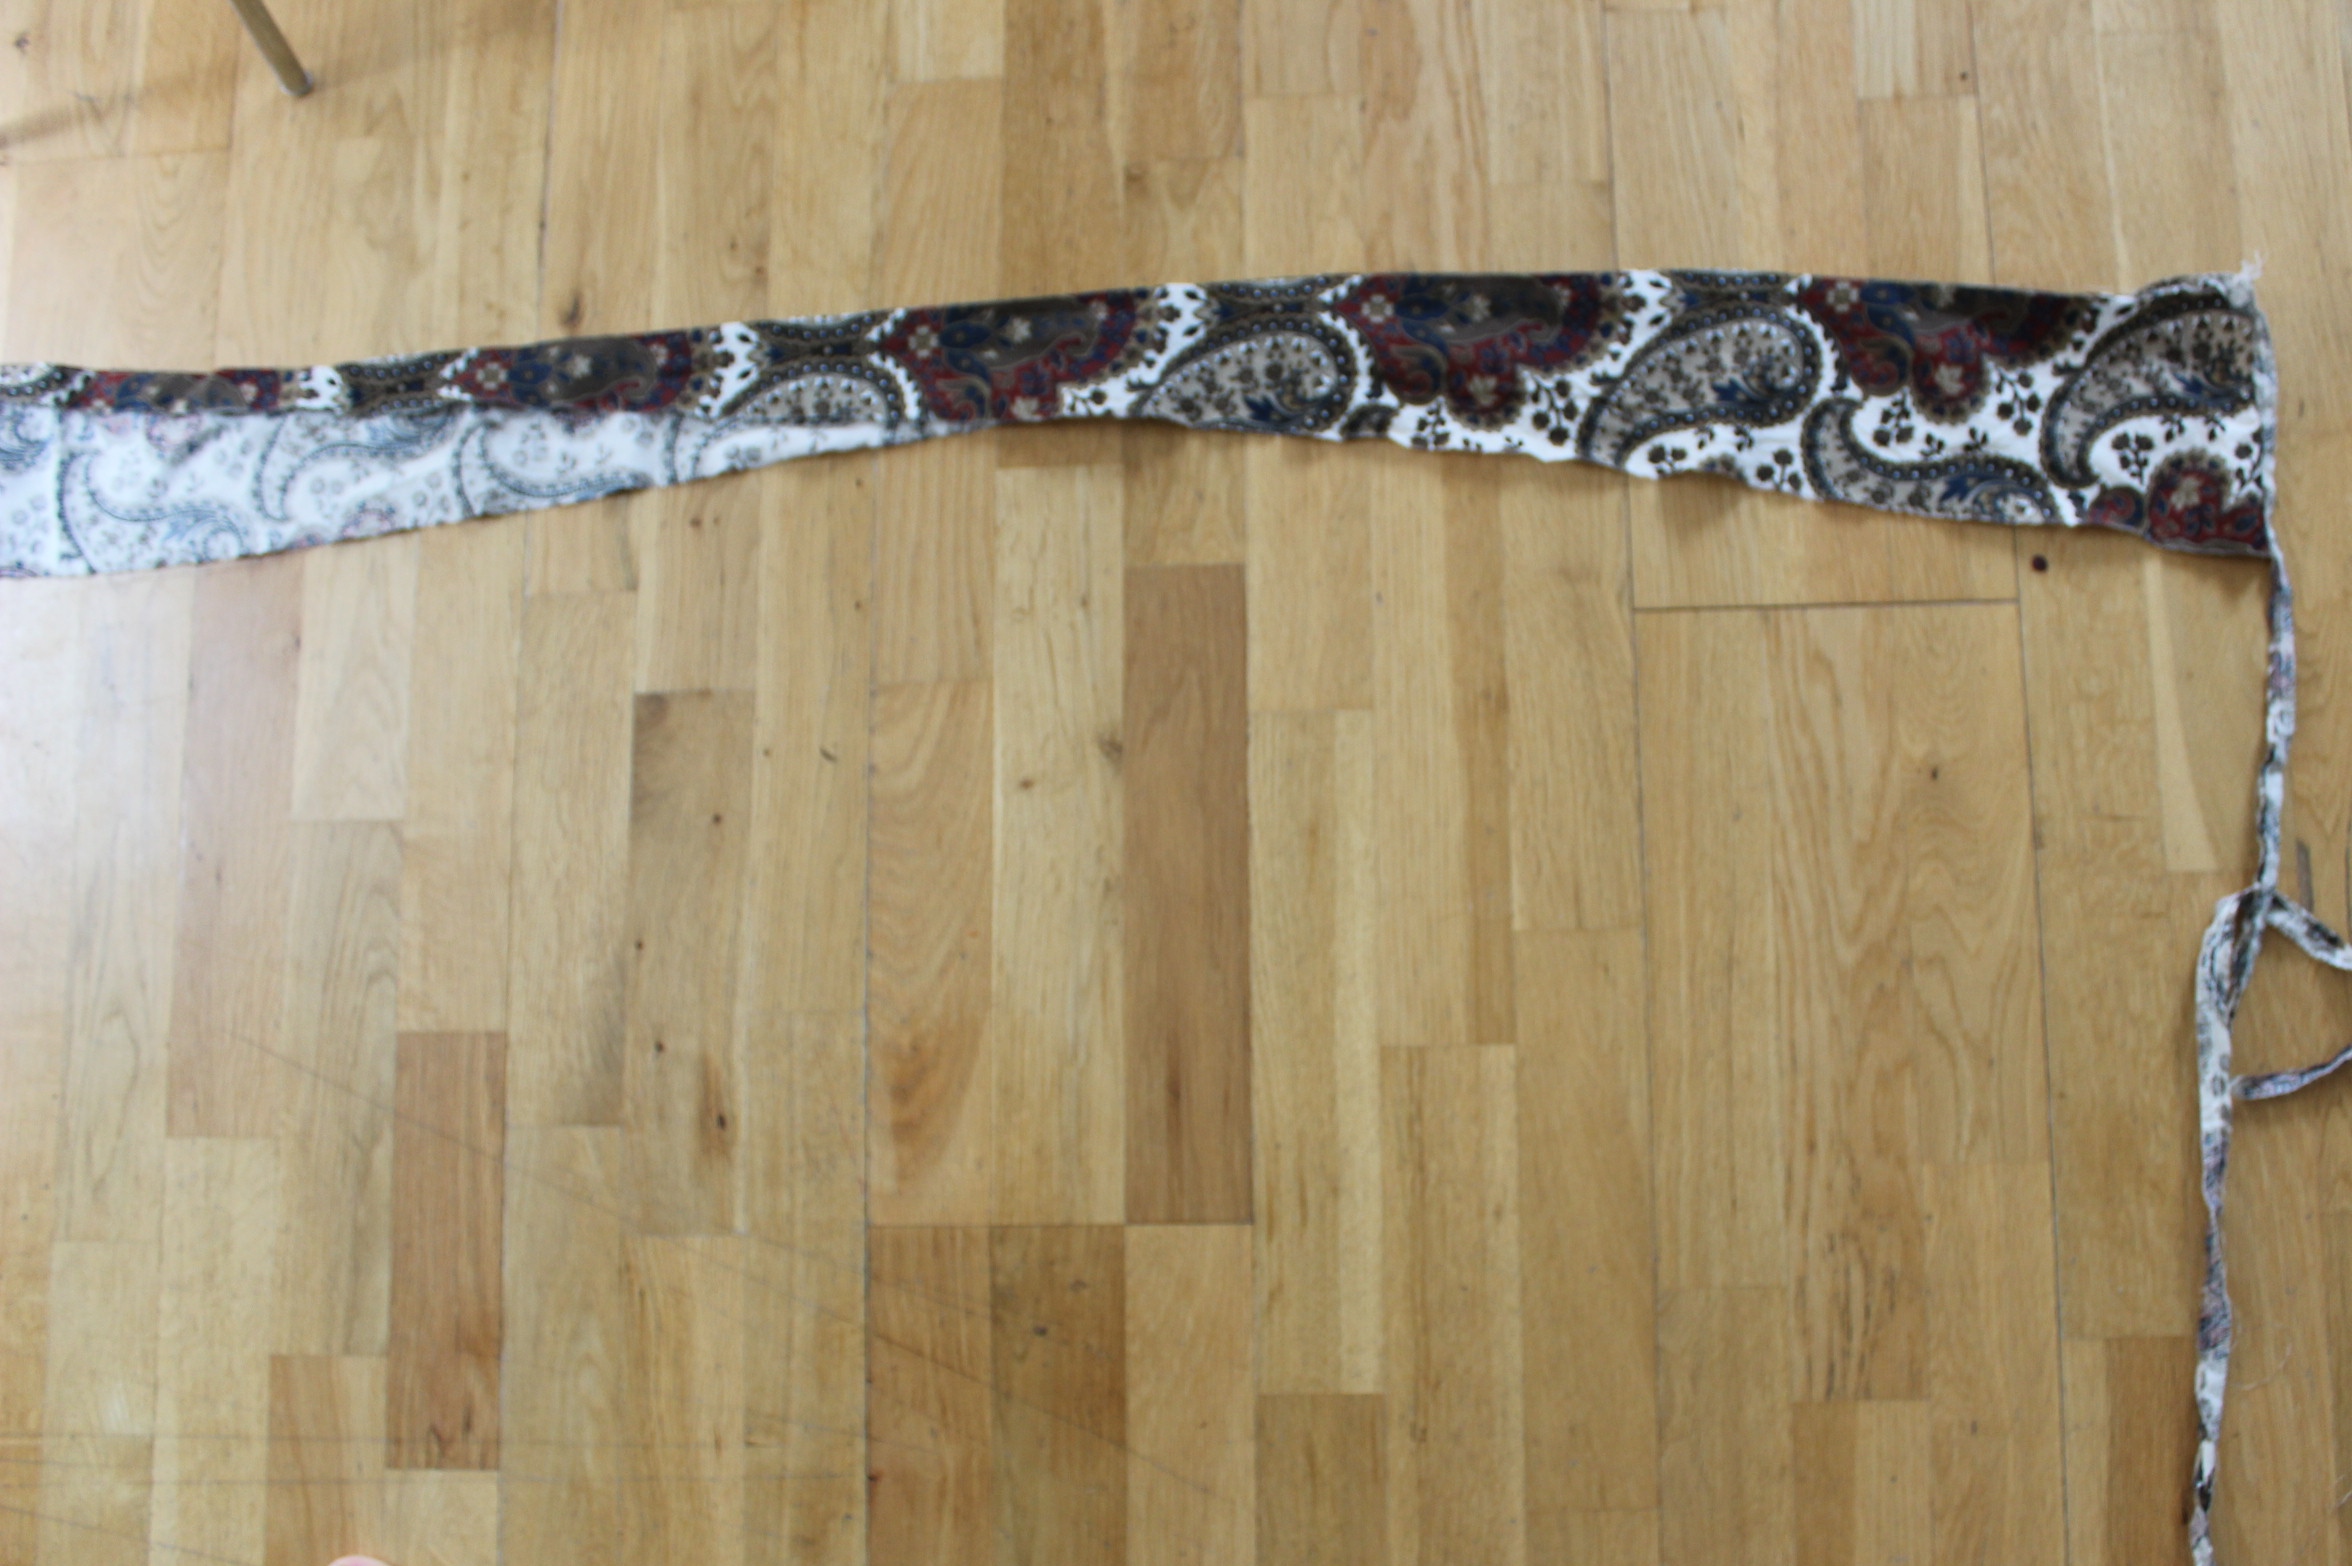
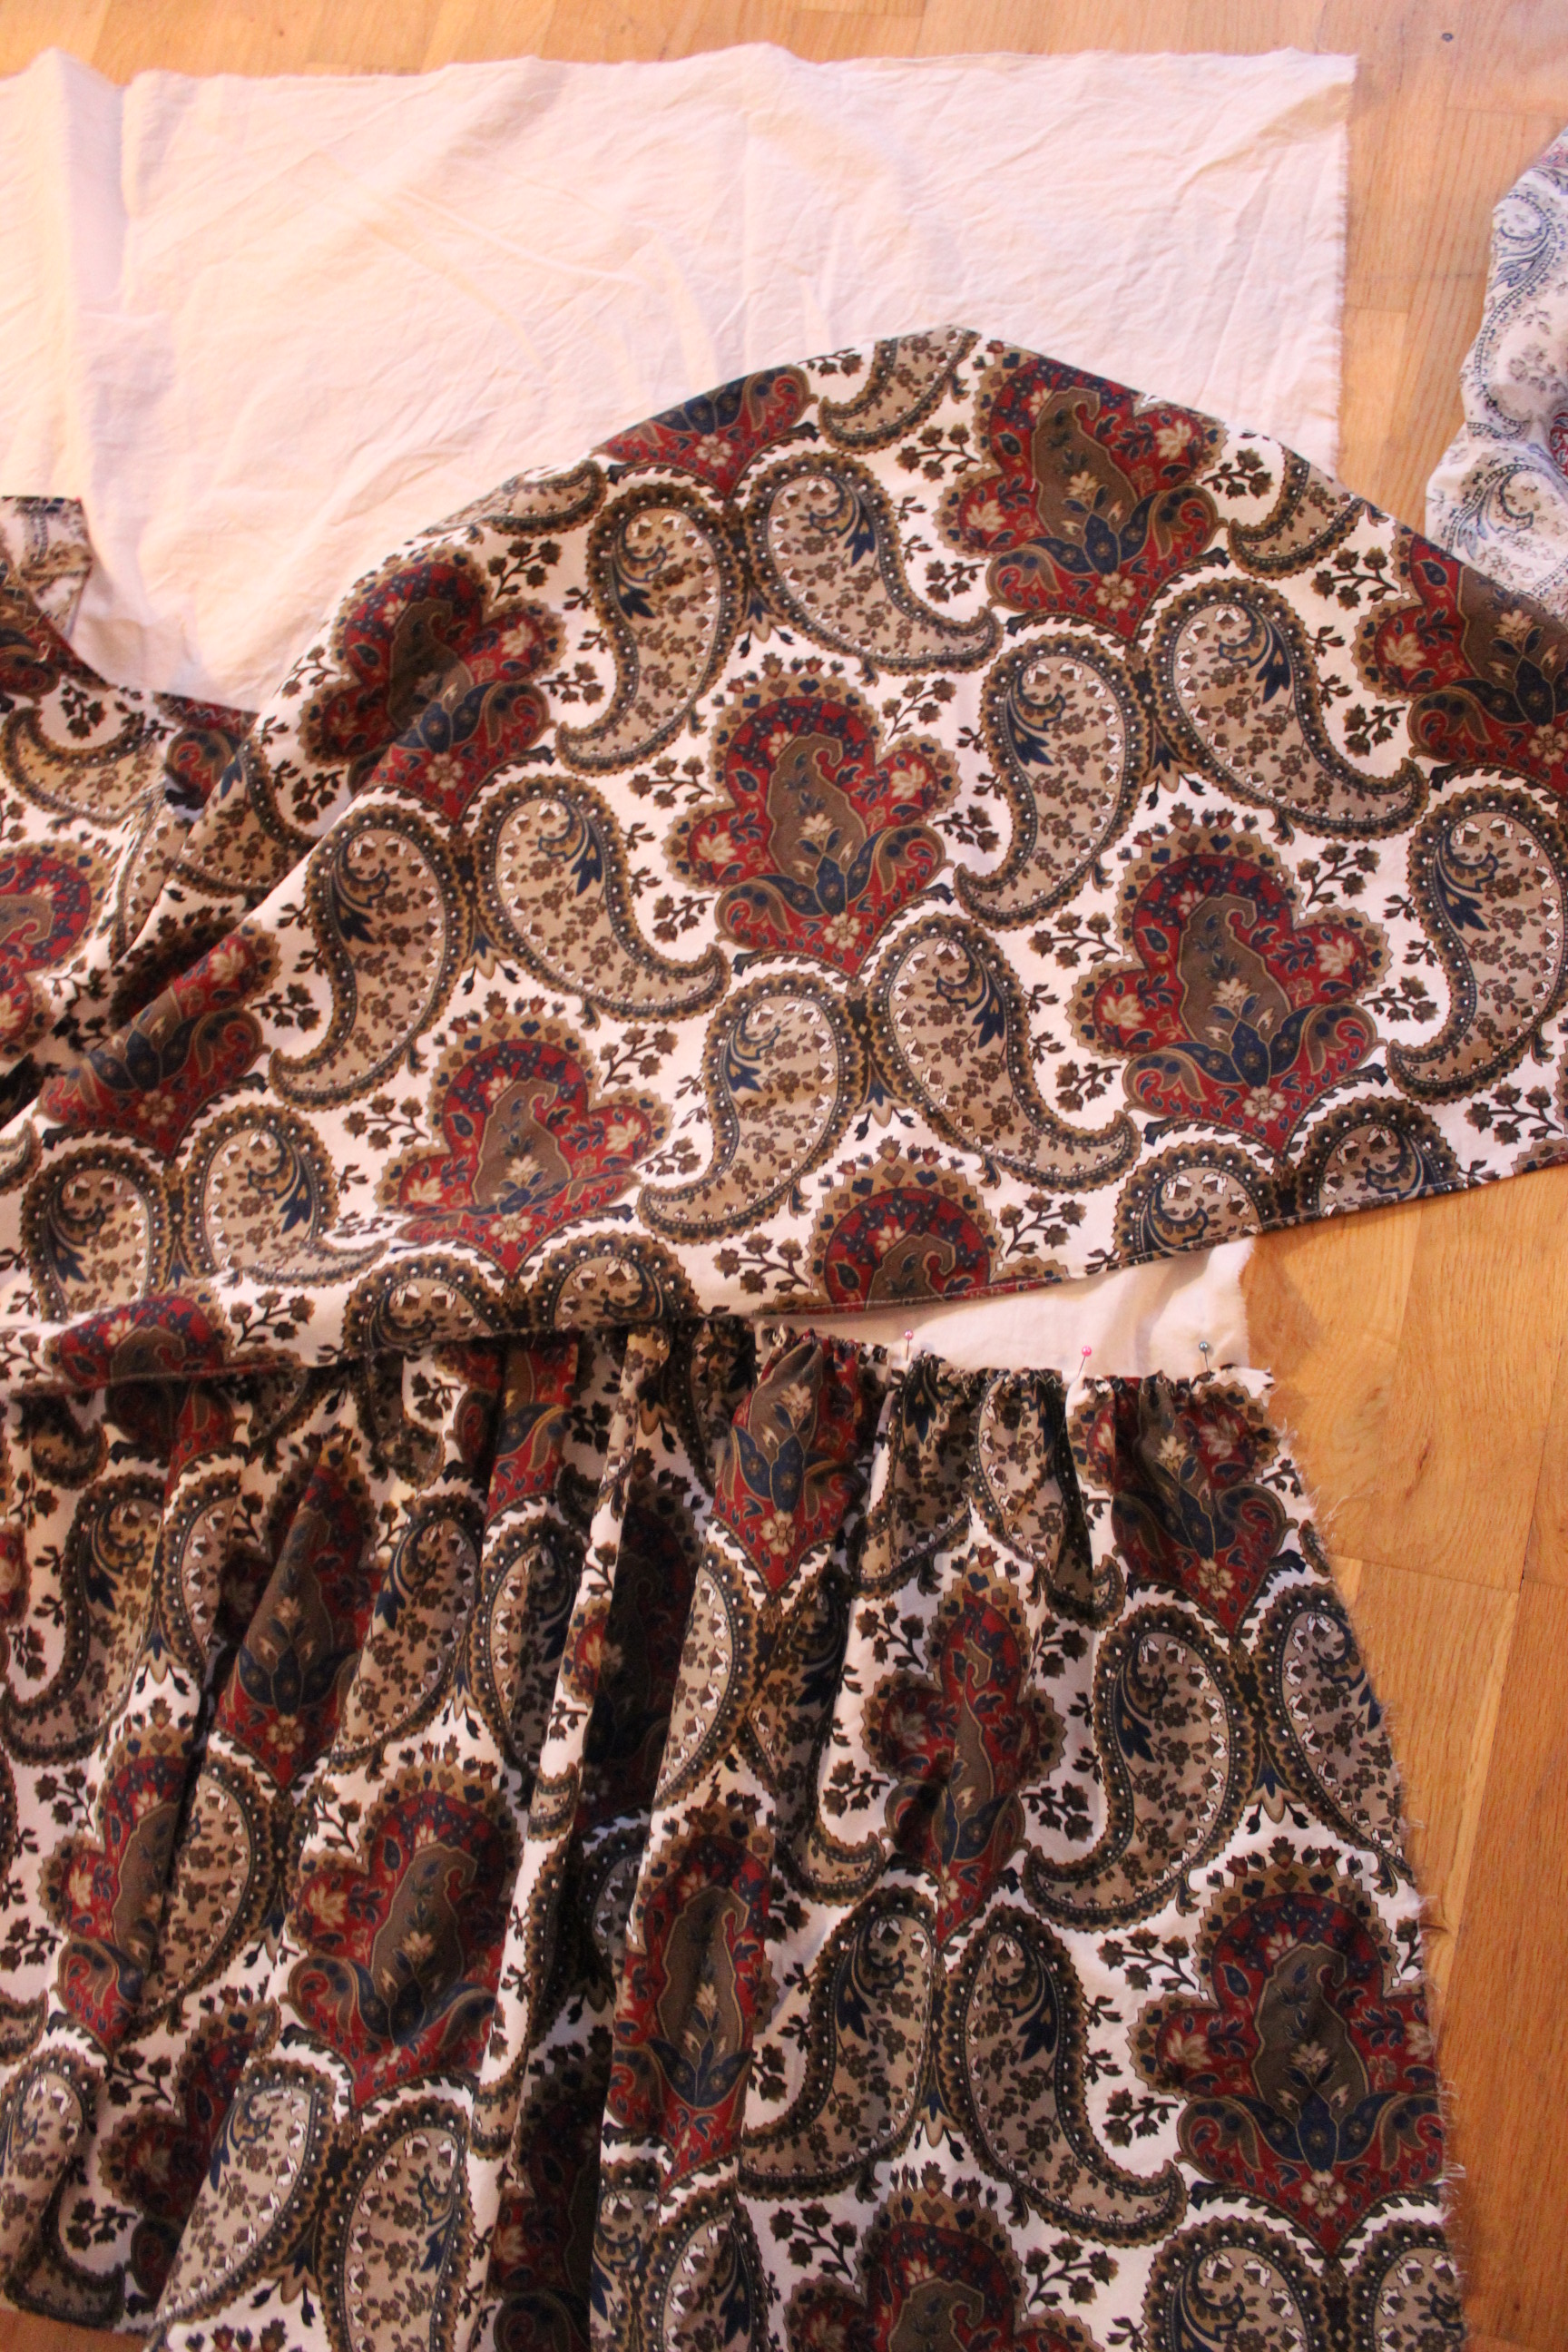
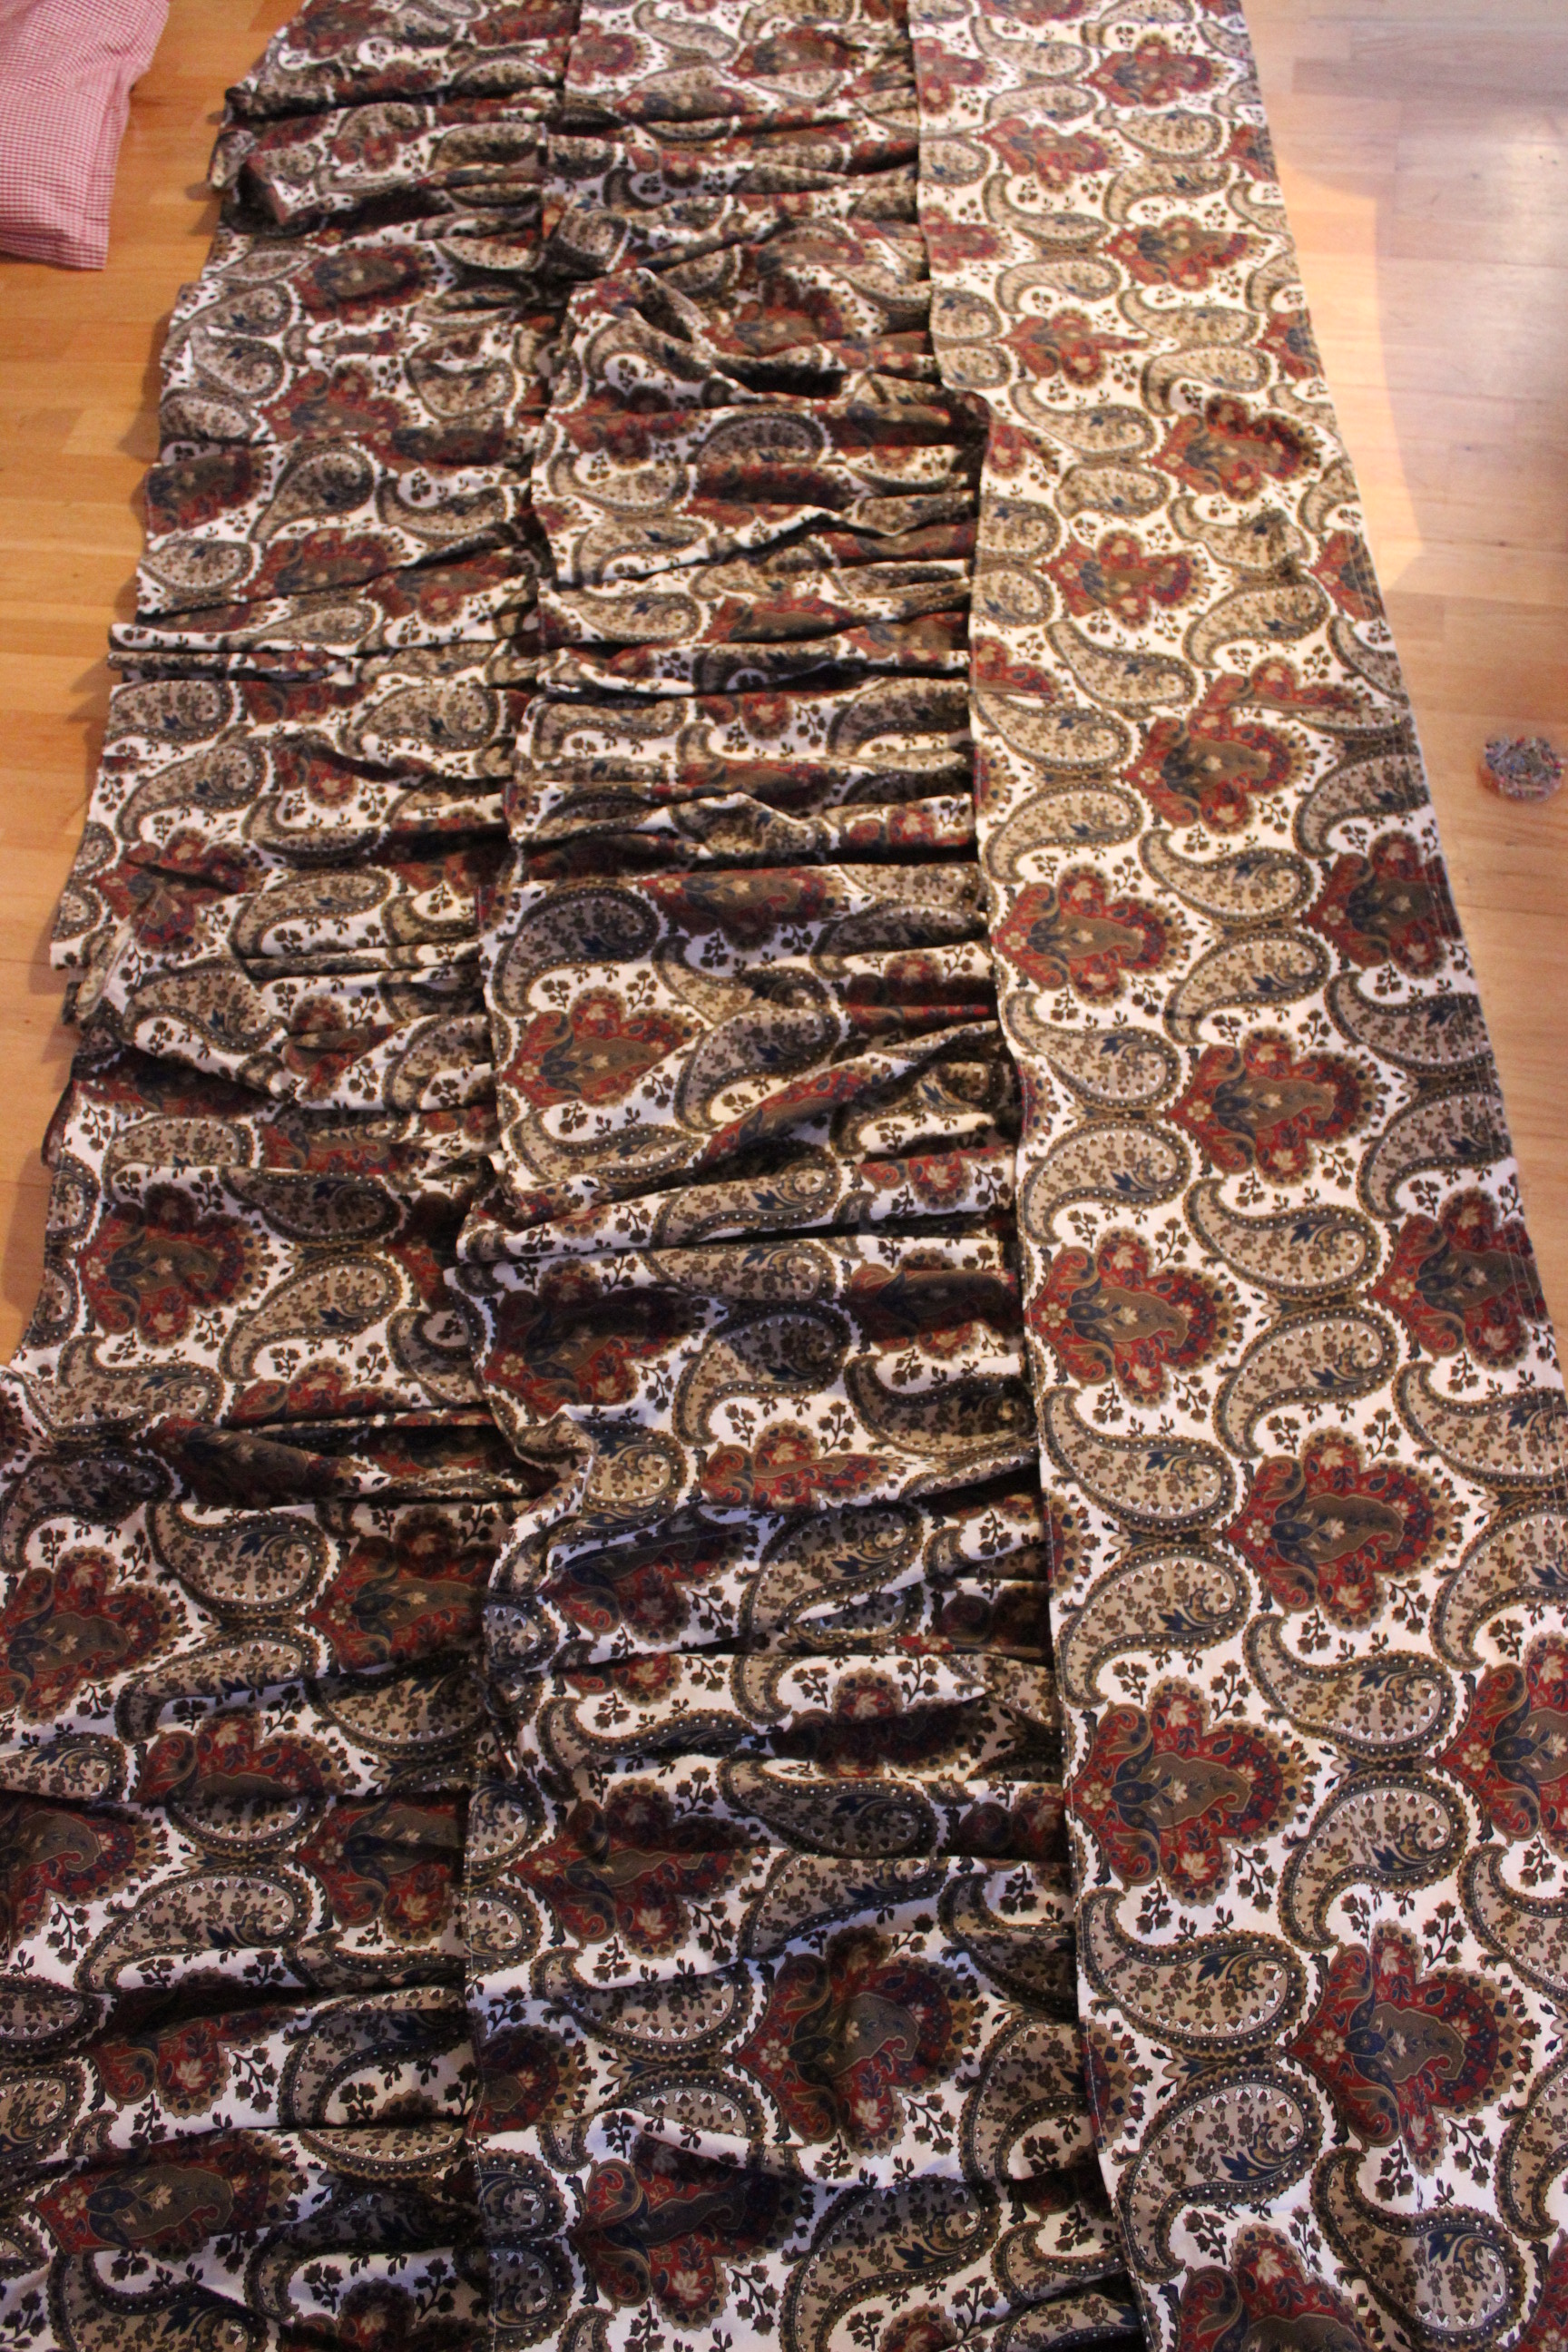
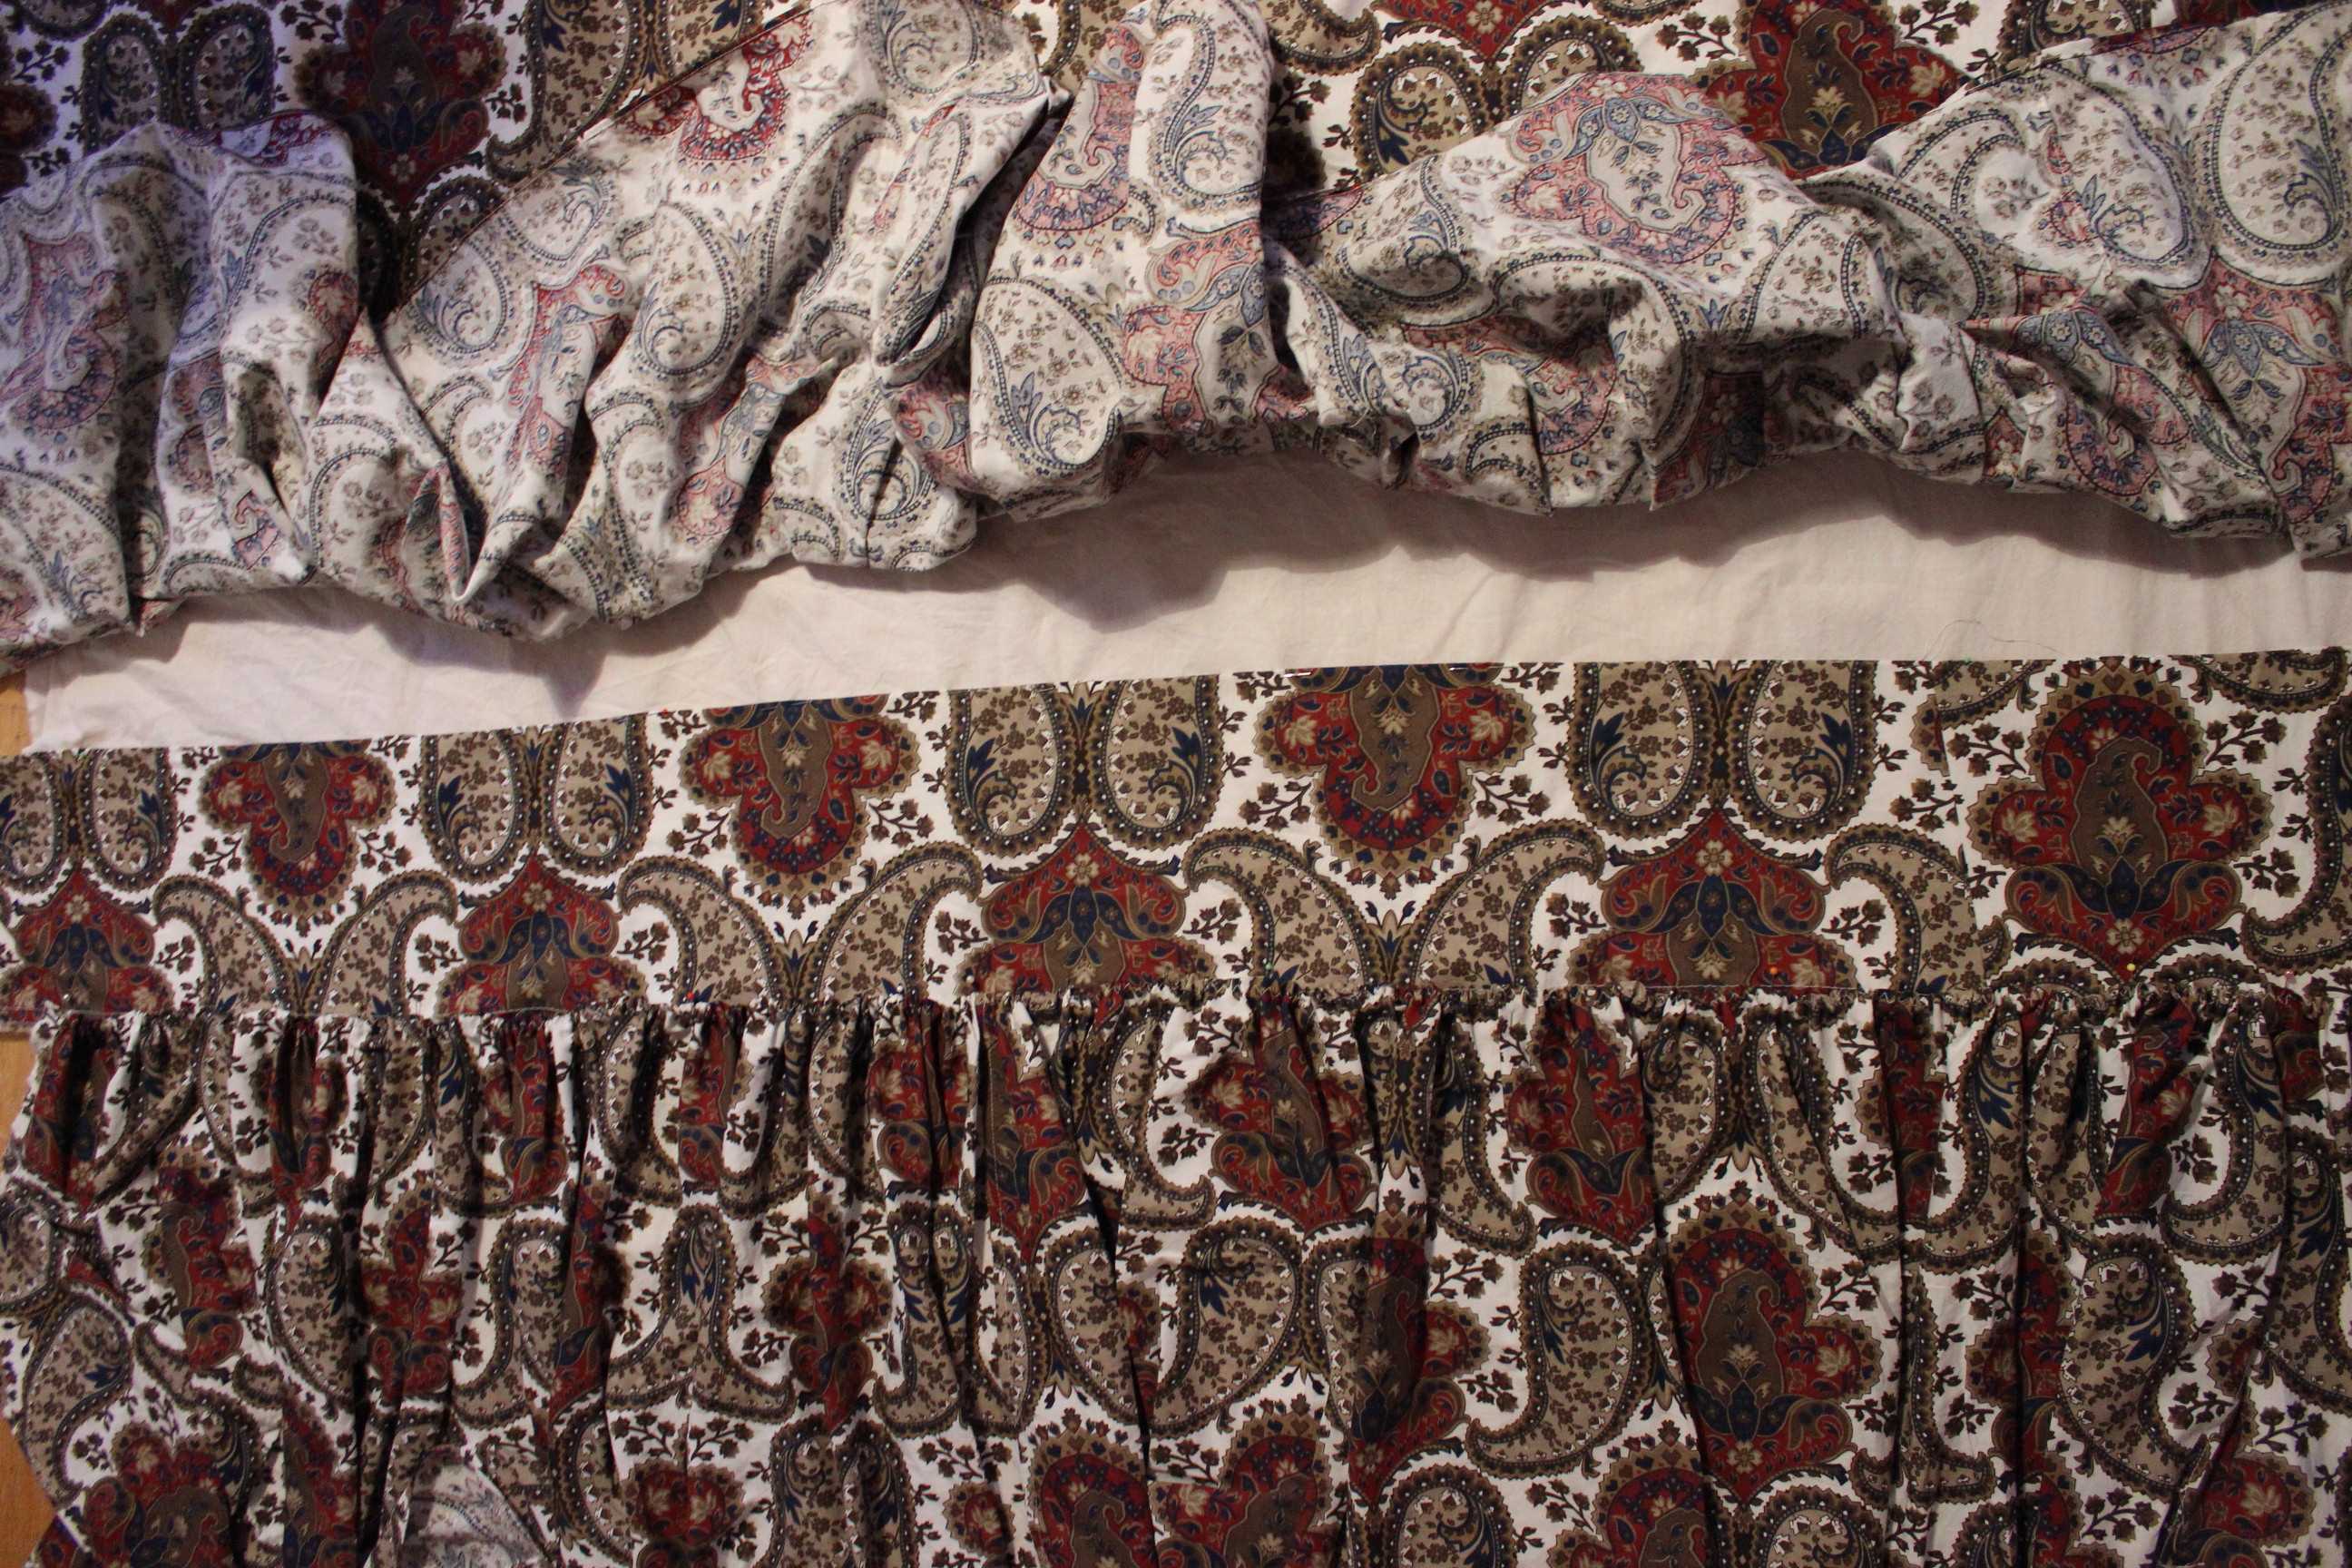
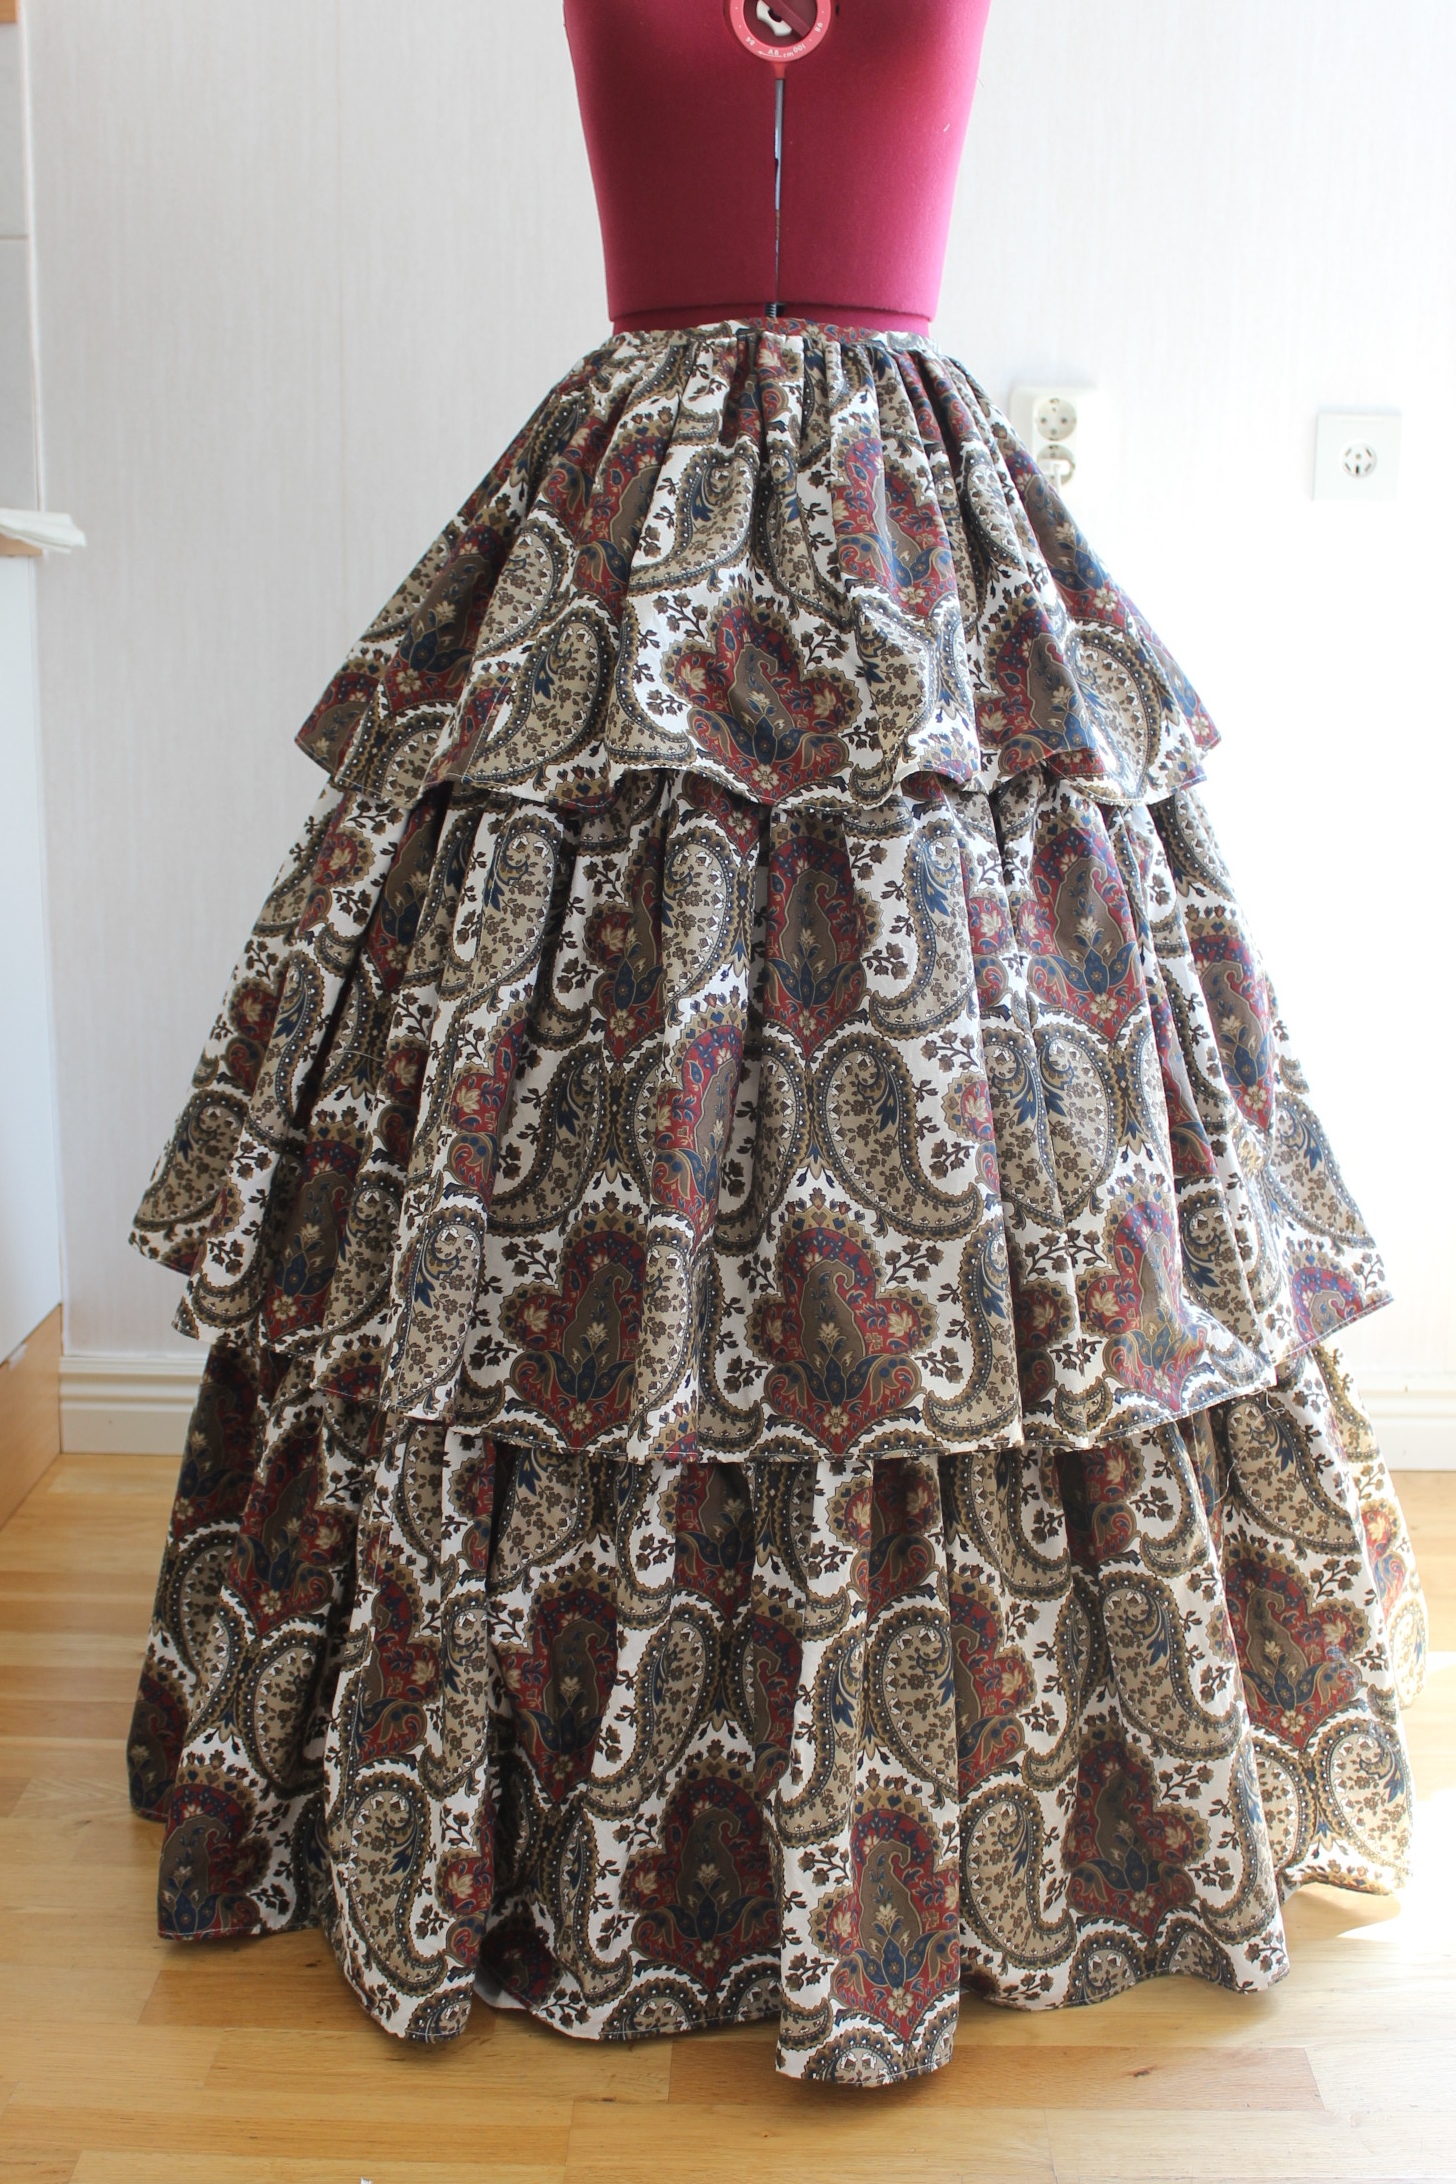
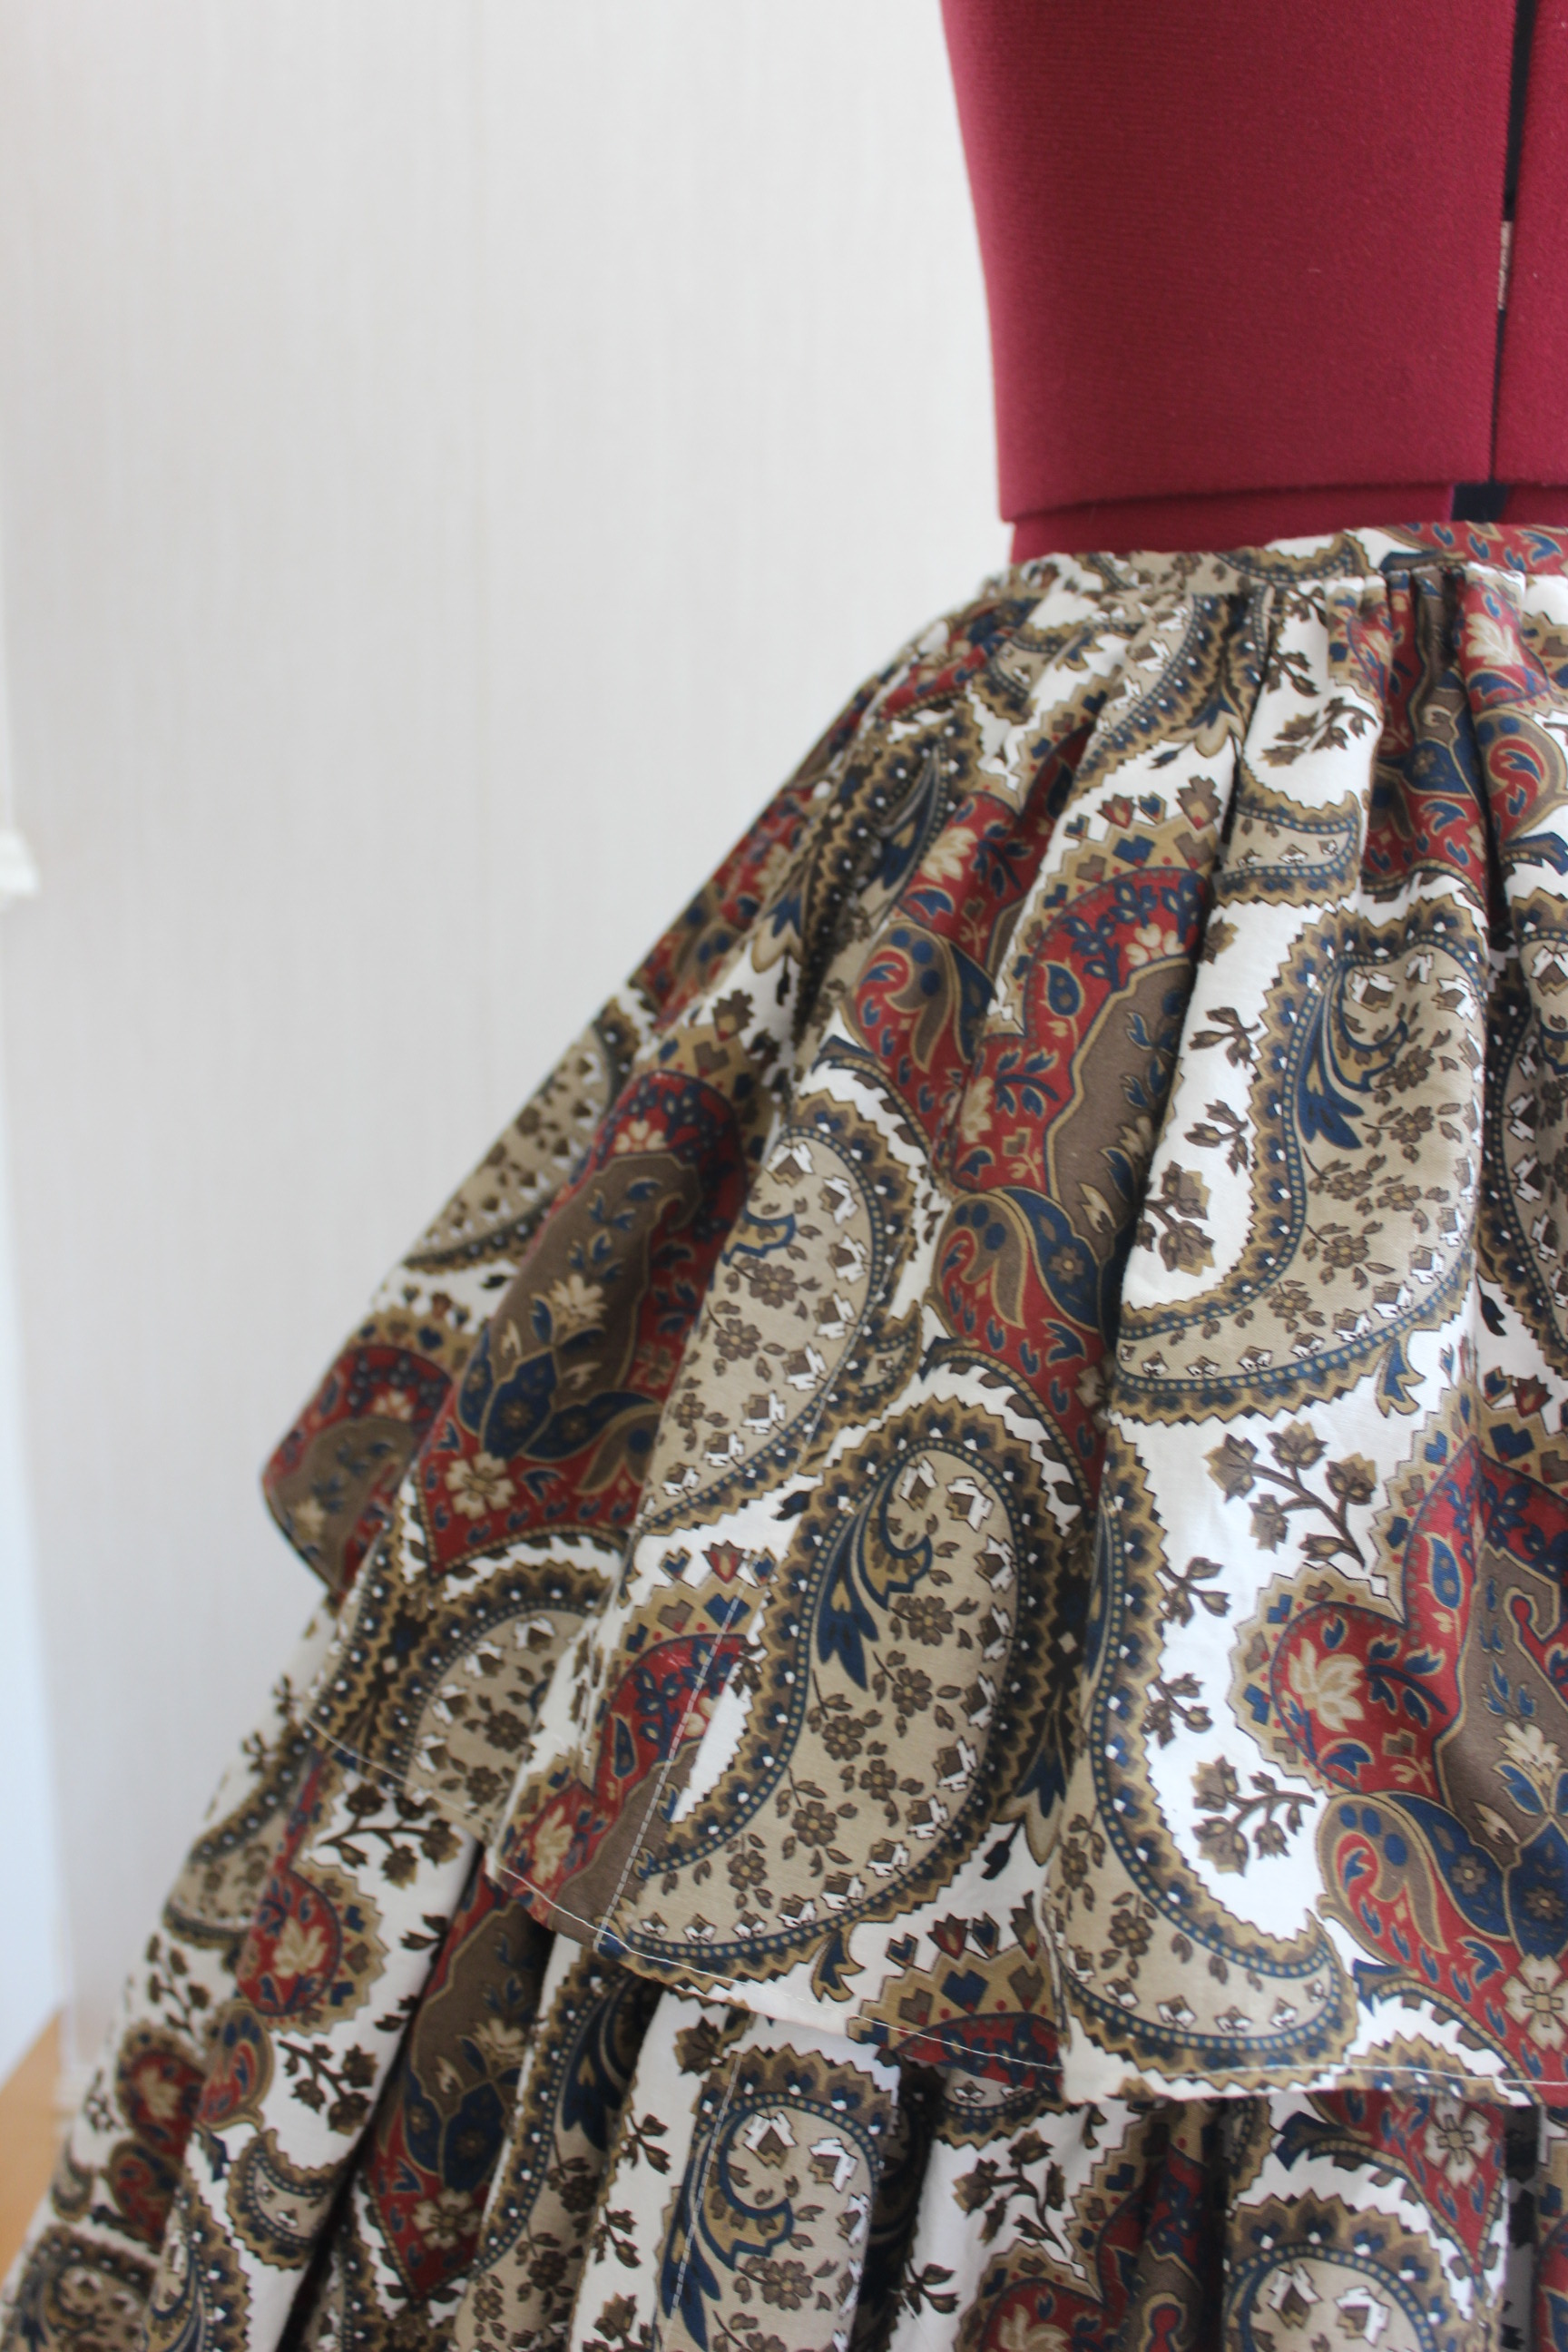
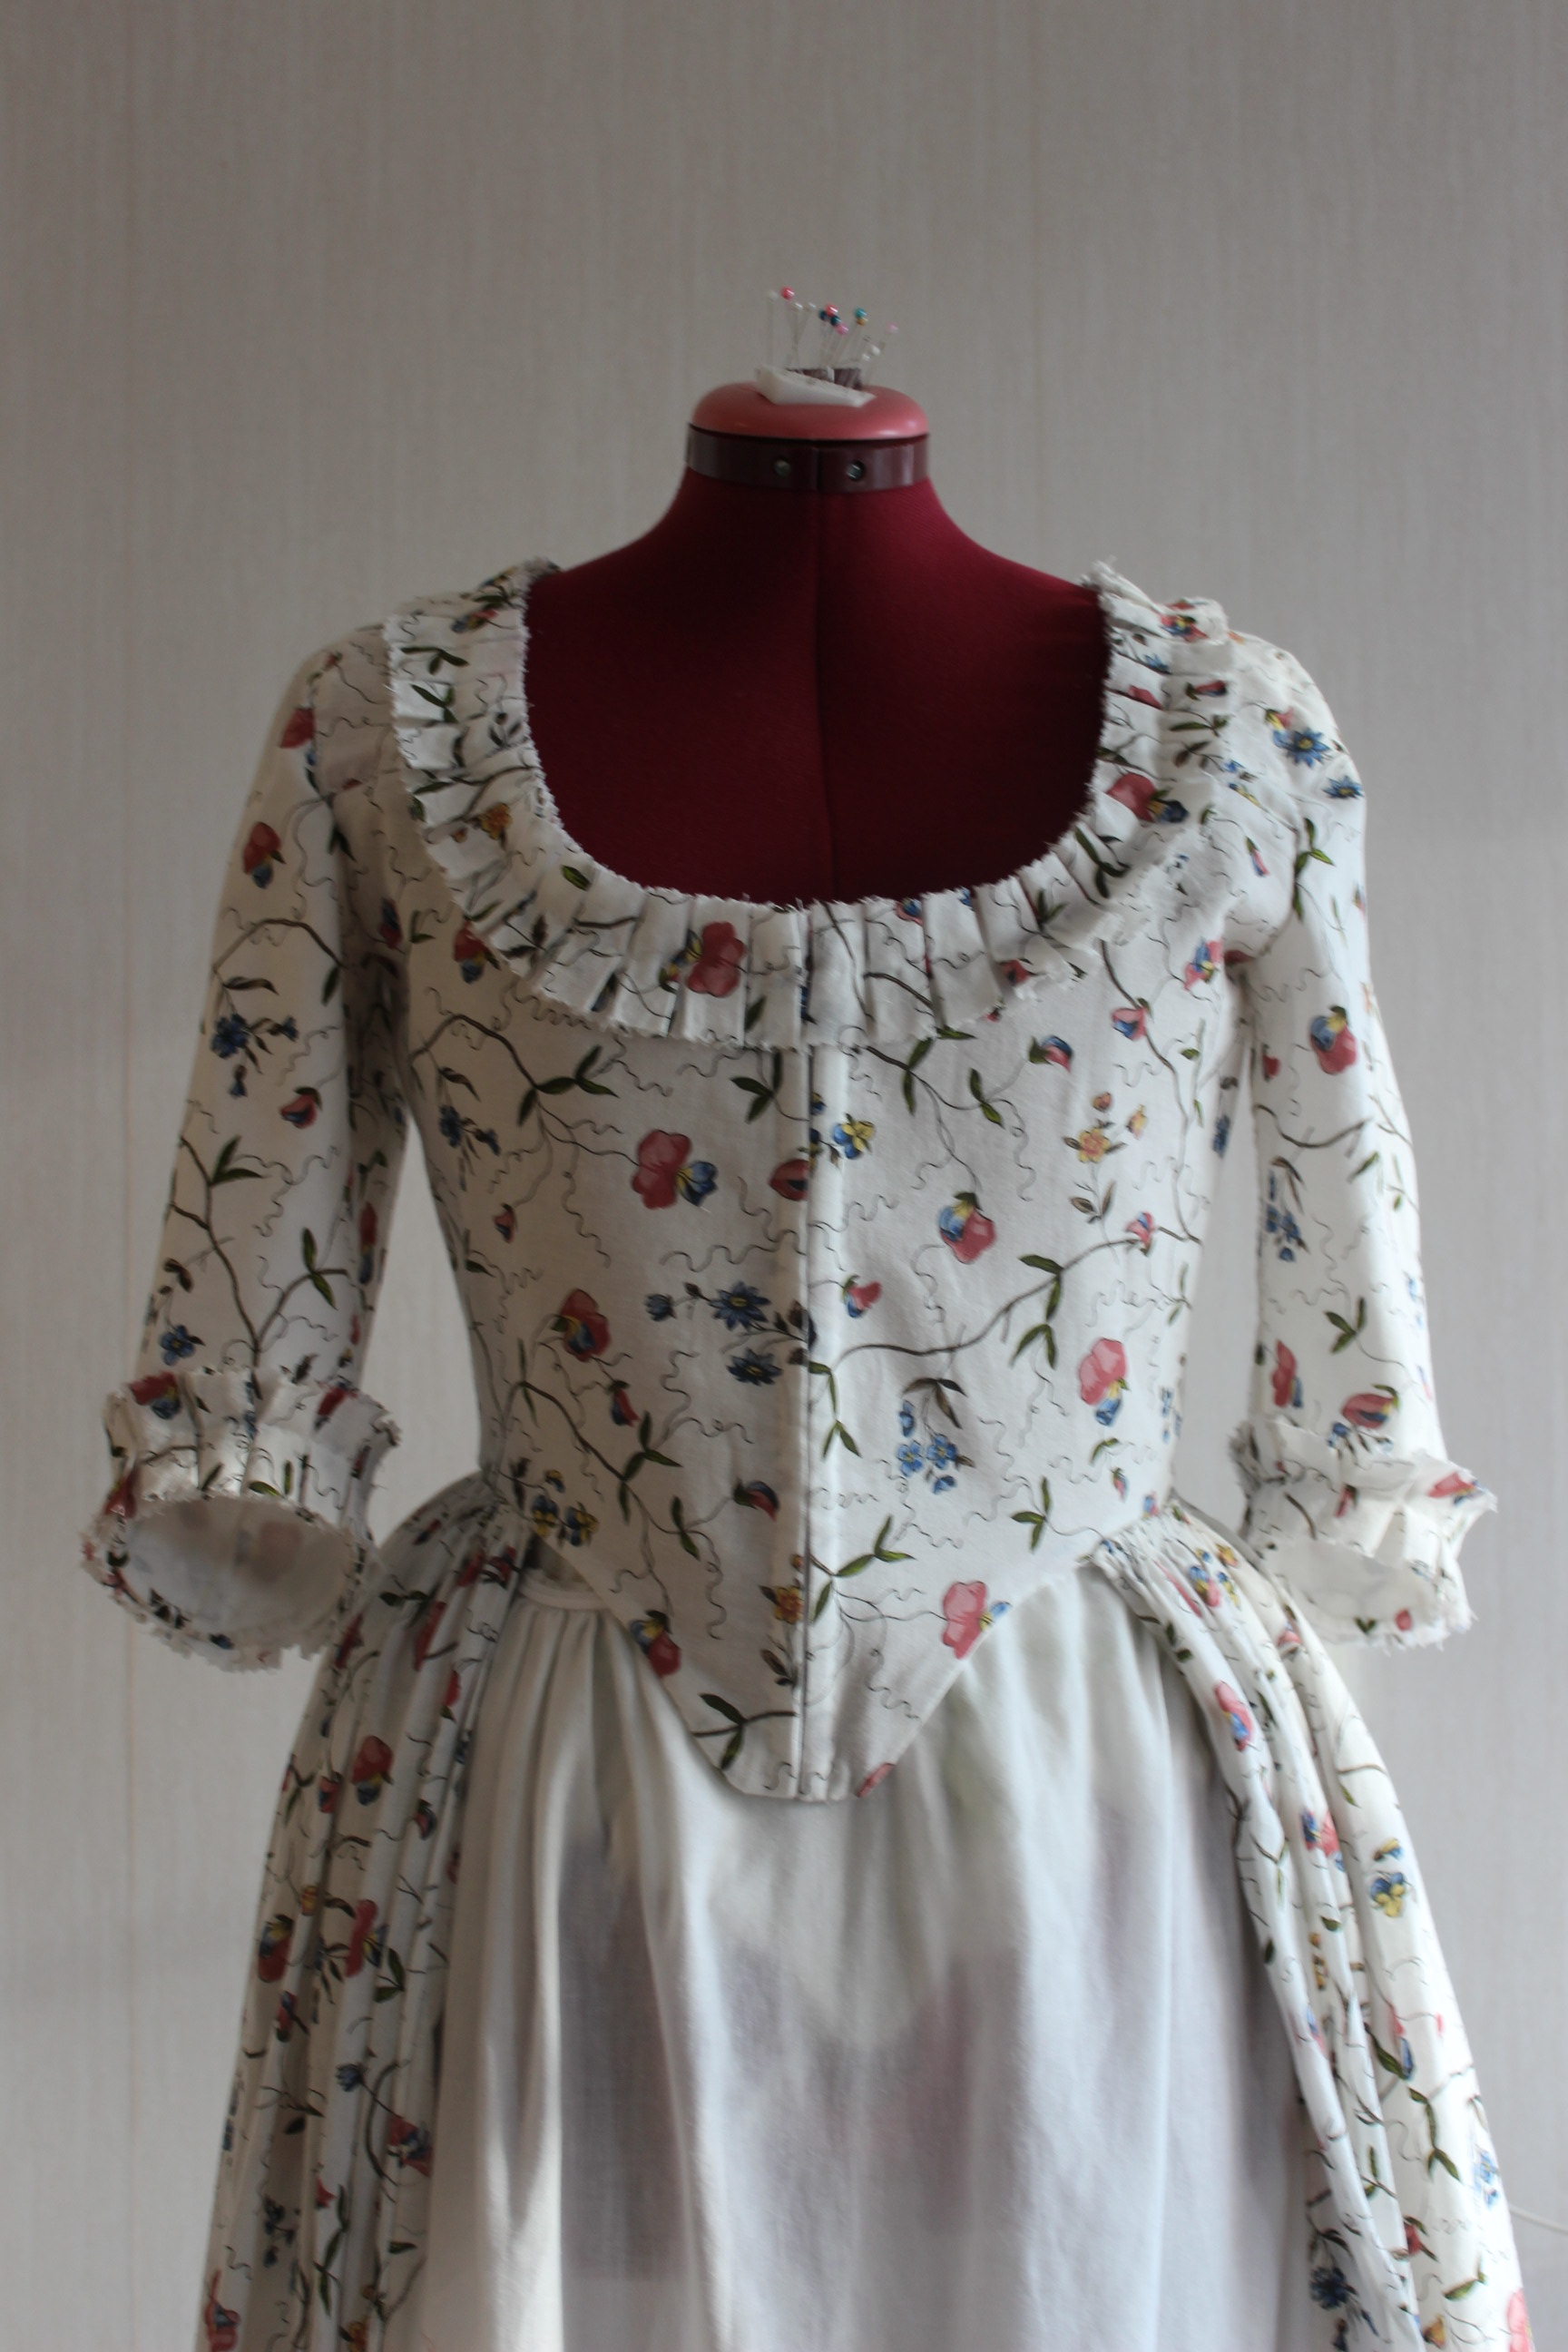
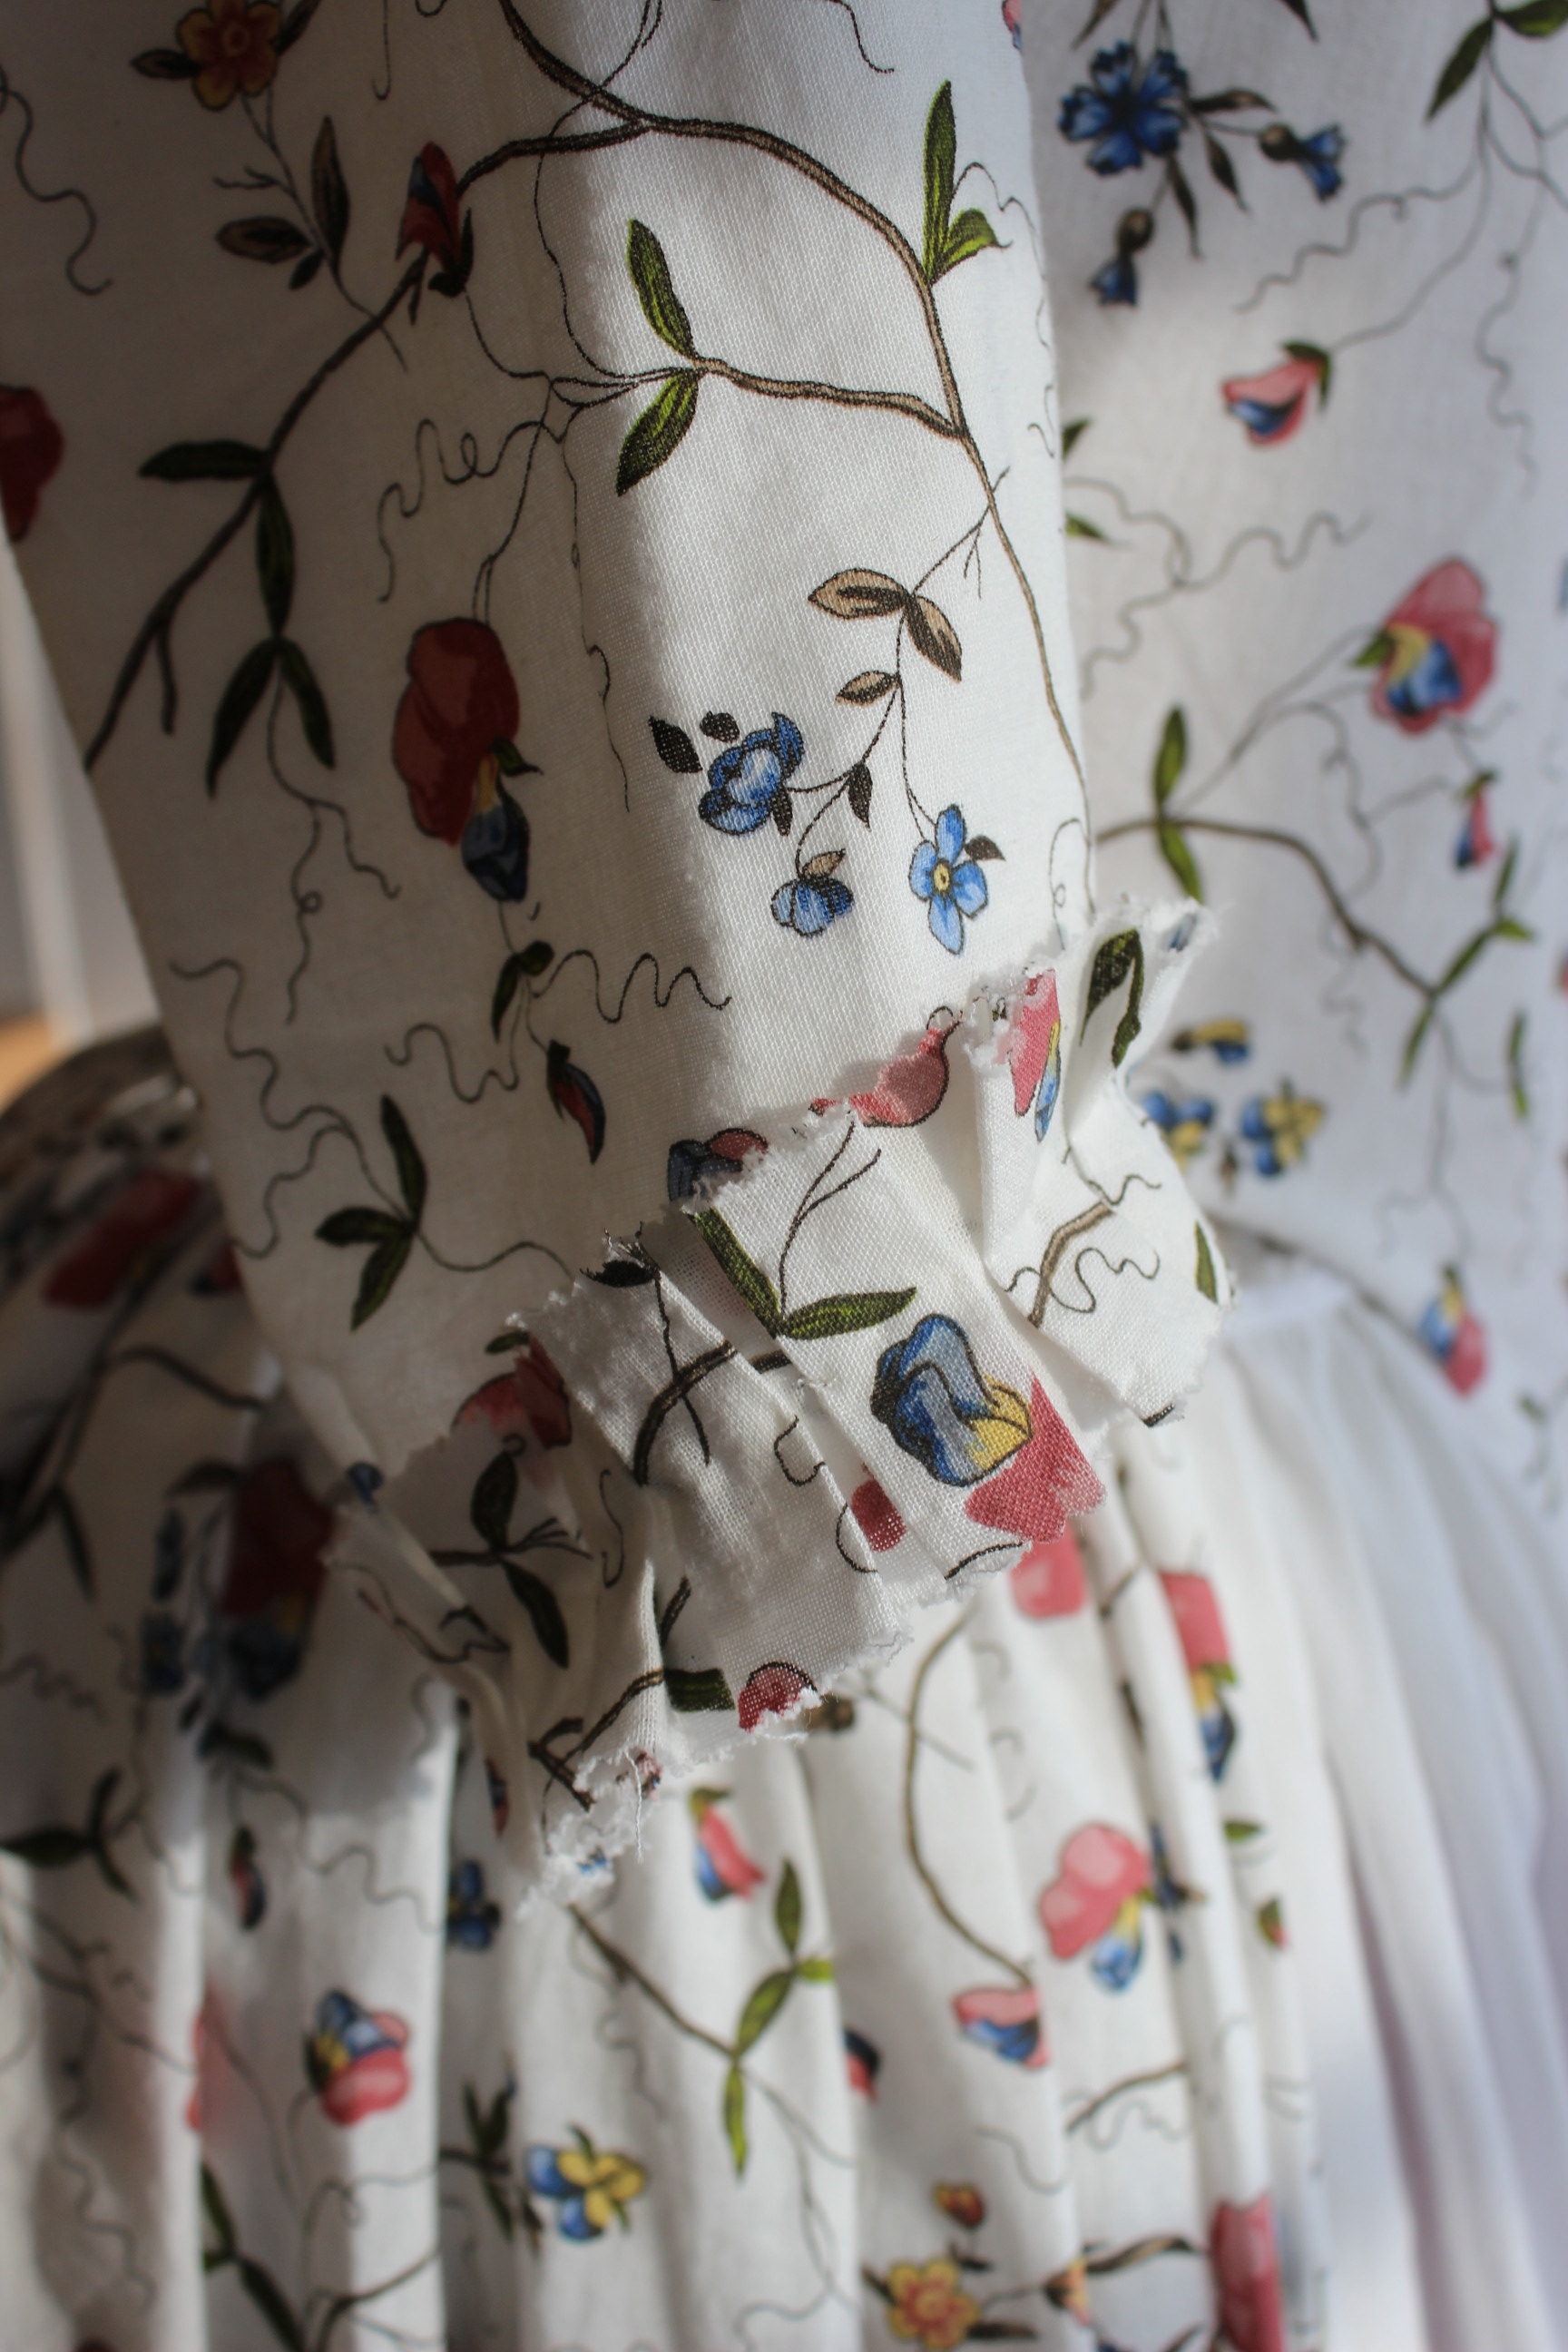
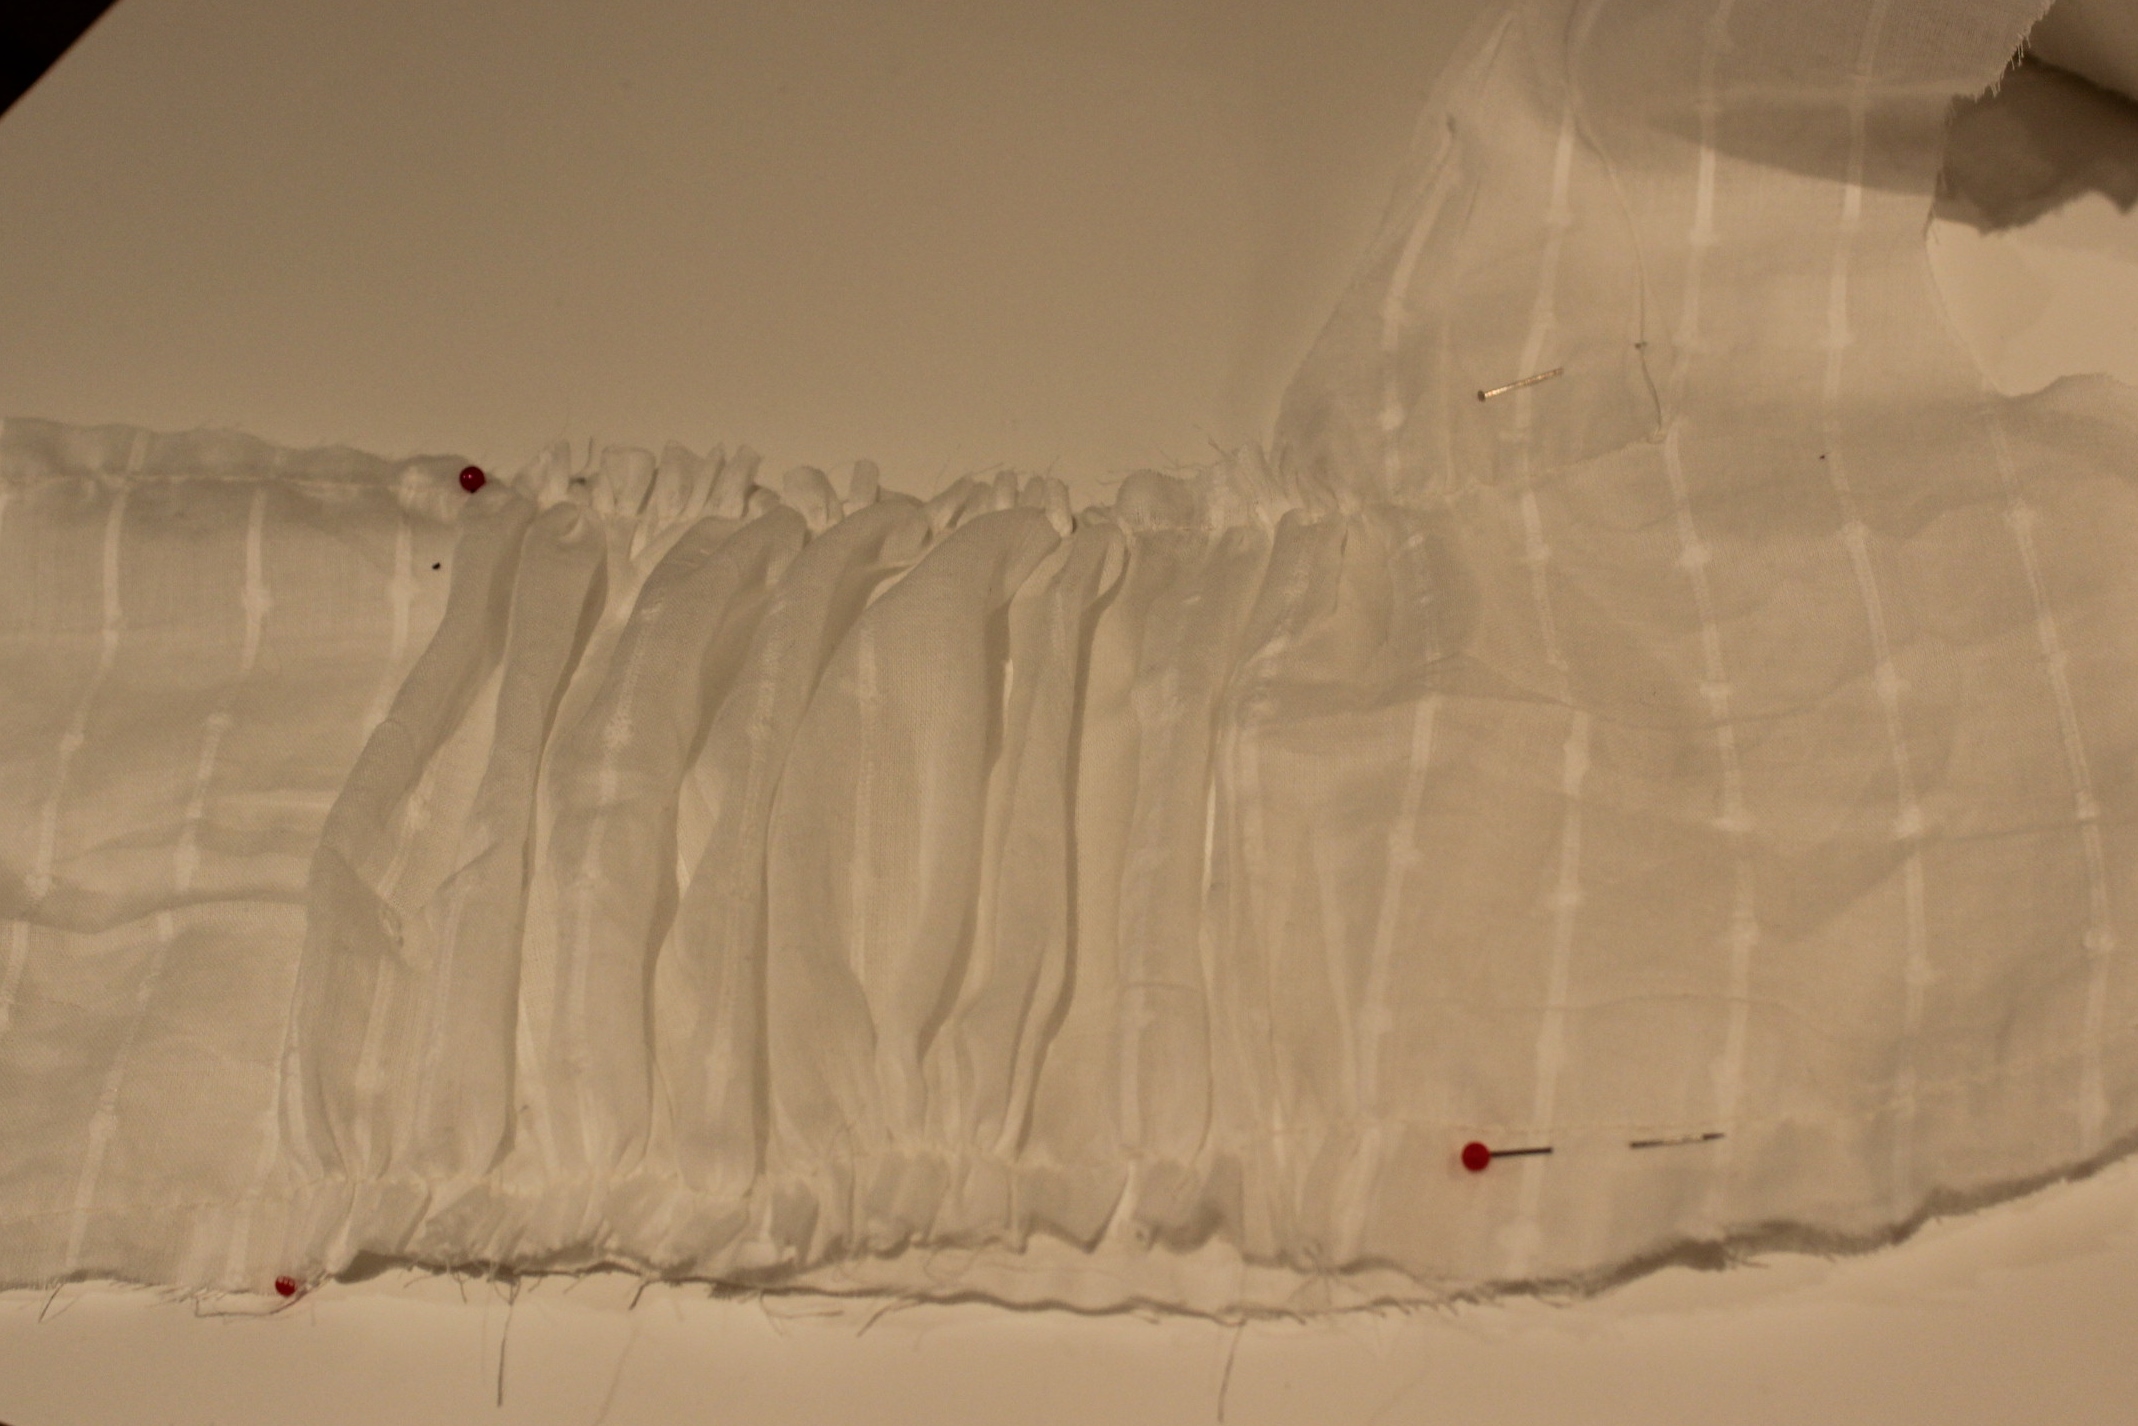
Then I set the sleeves, gathered and stitched on the skirt, cut the length and hemmed it. And finished of with some pleated trim and hook and eye for closure.
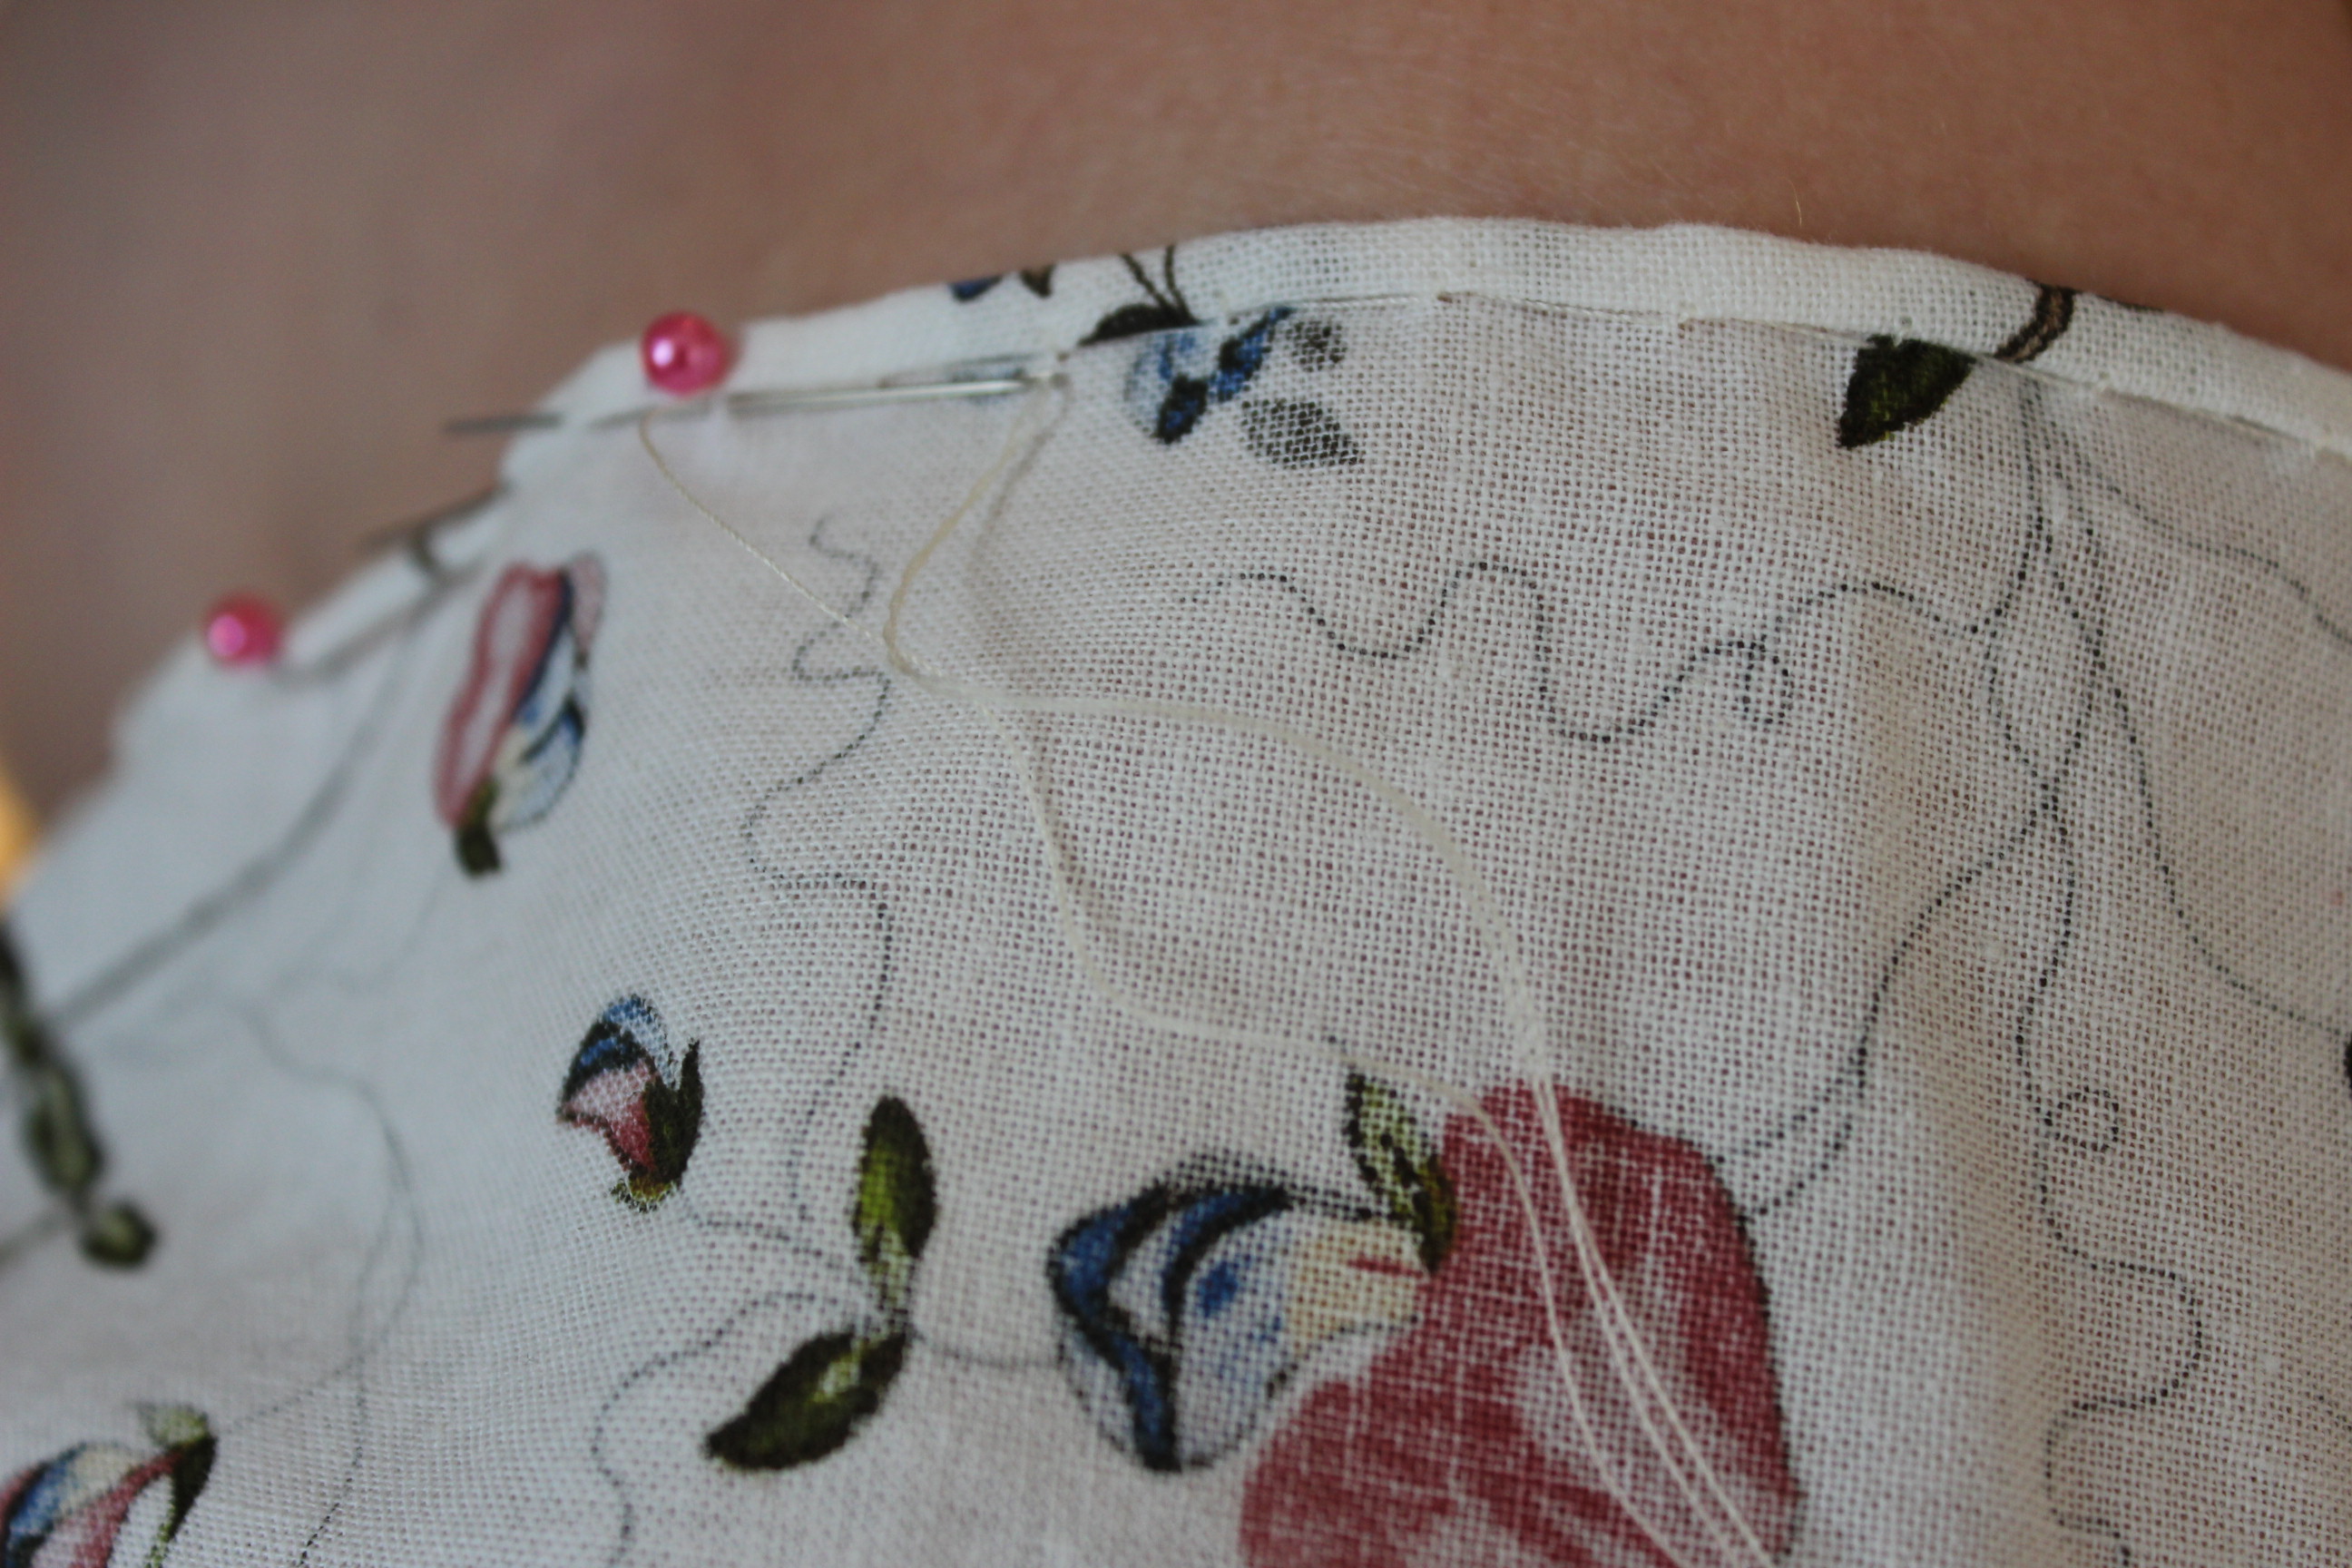
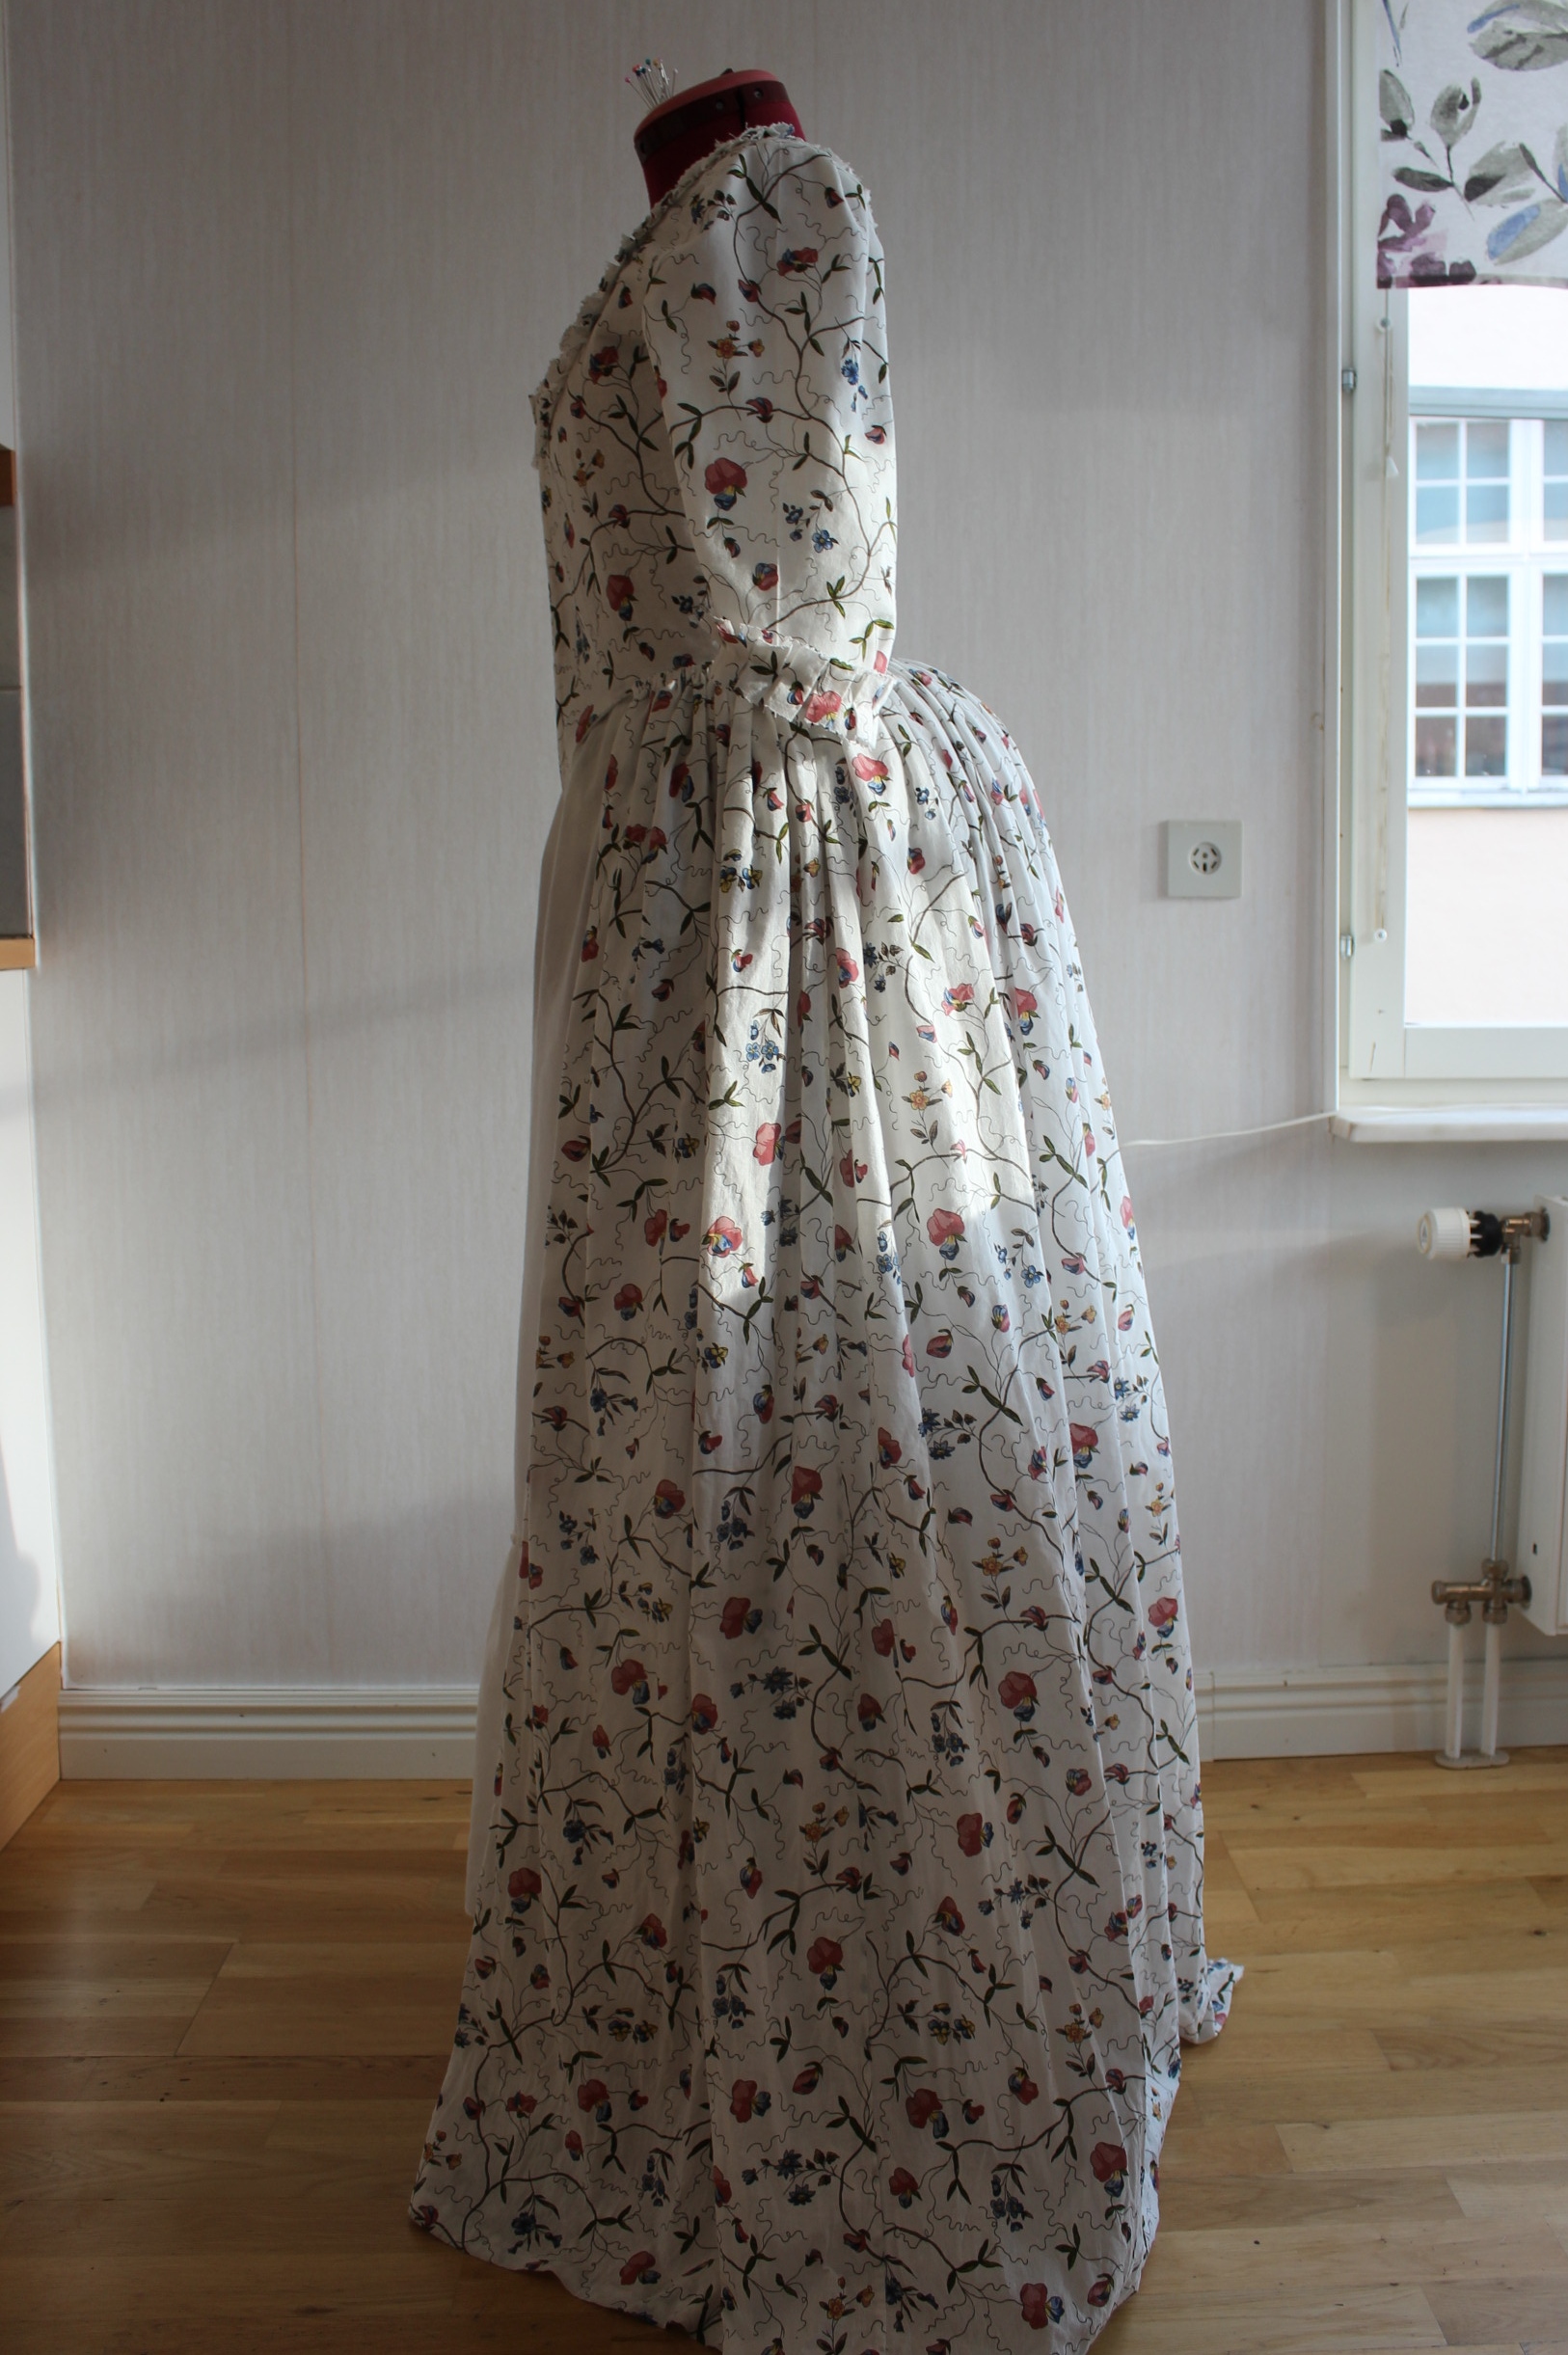
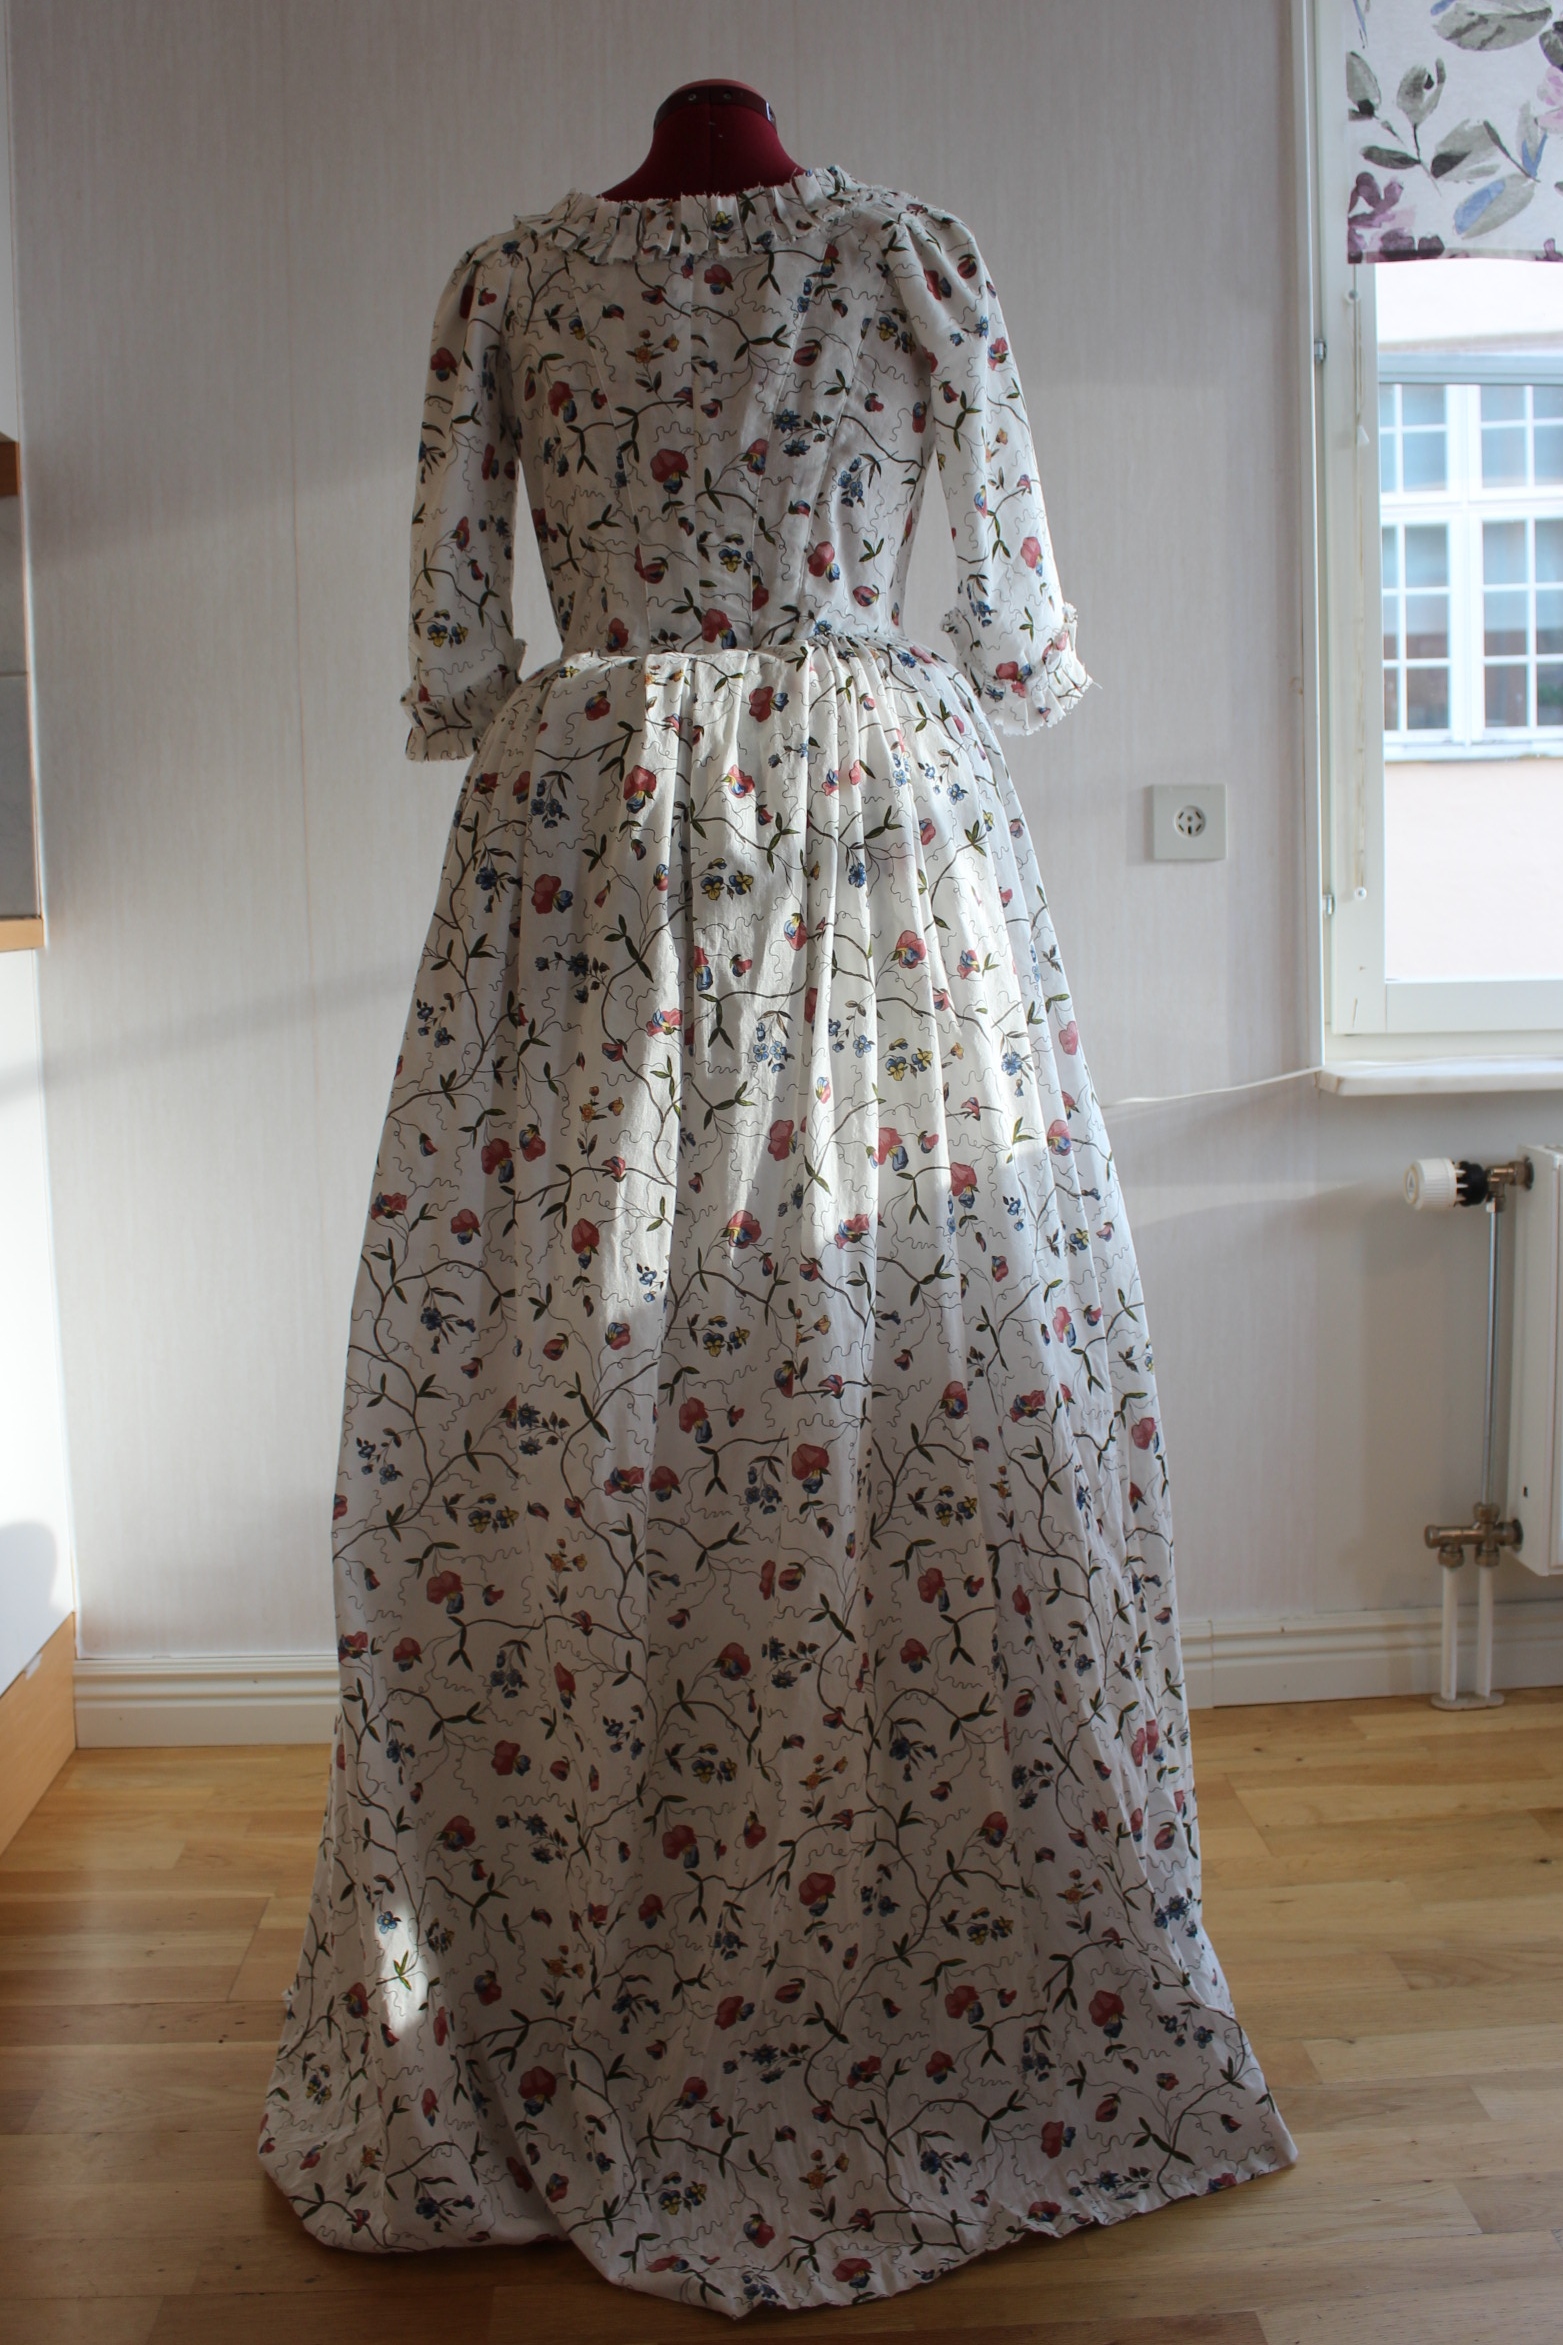
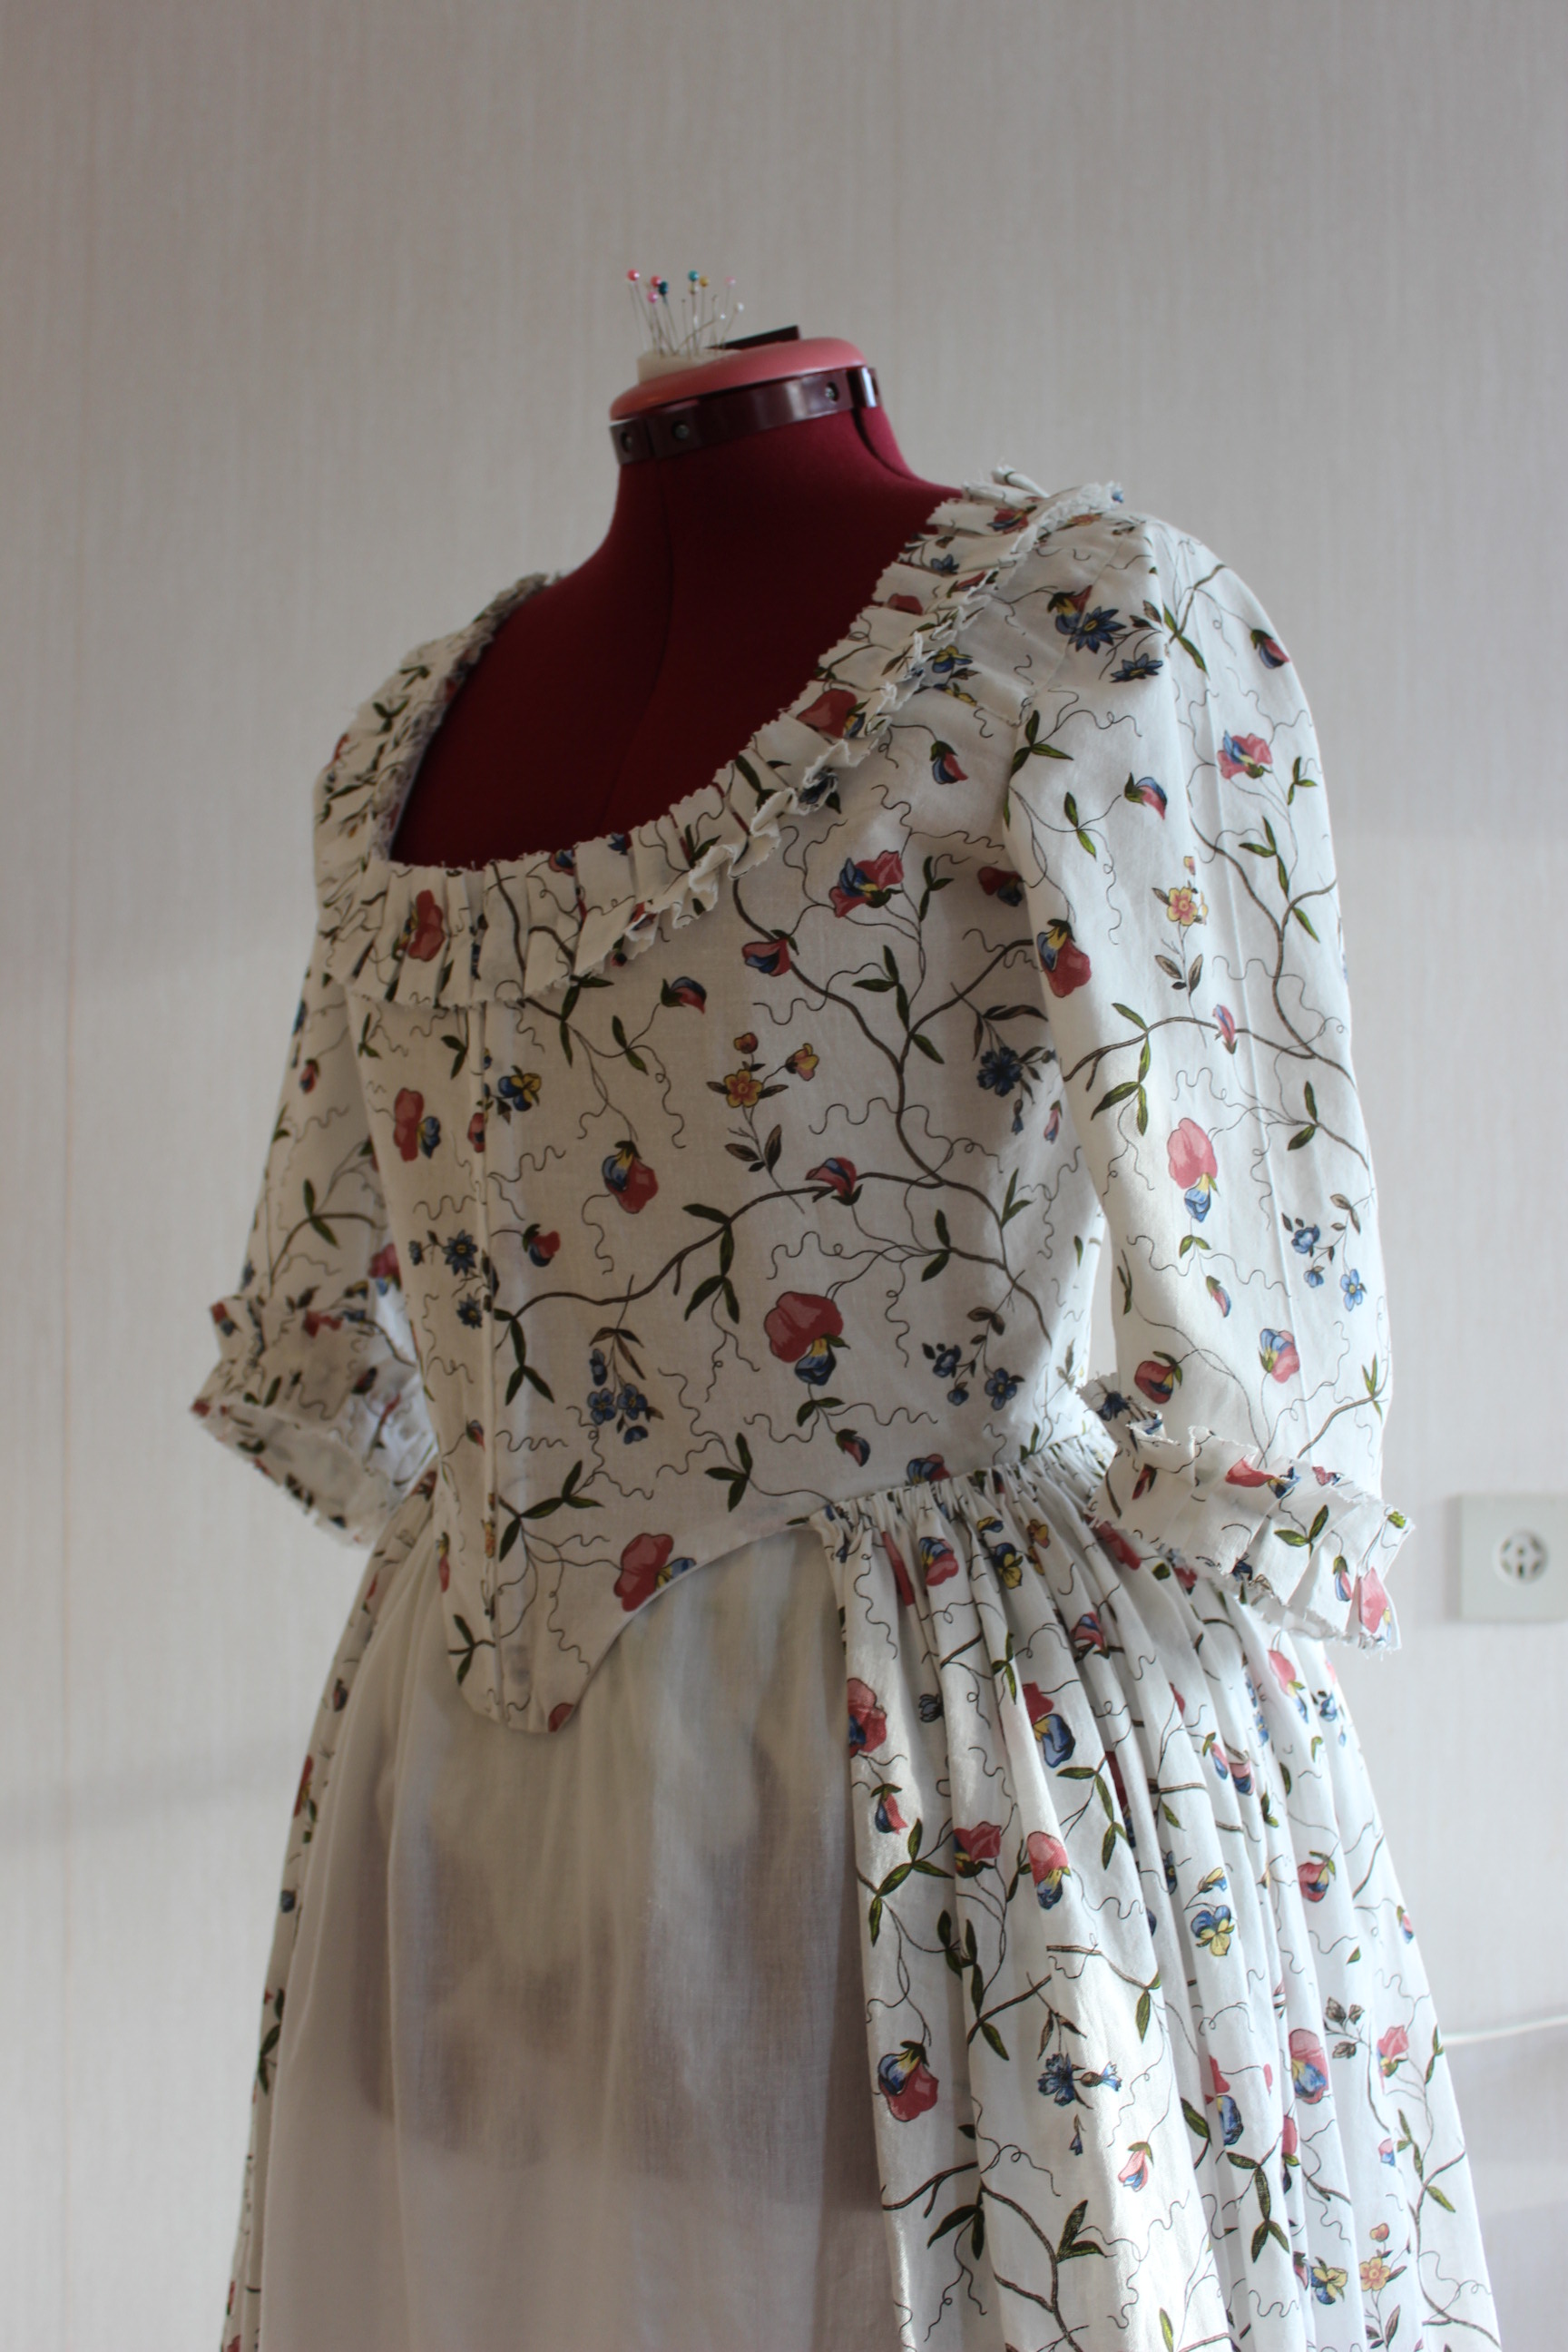
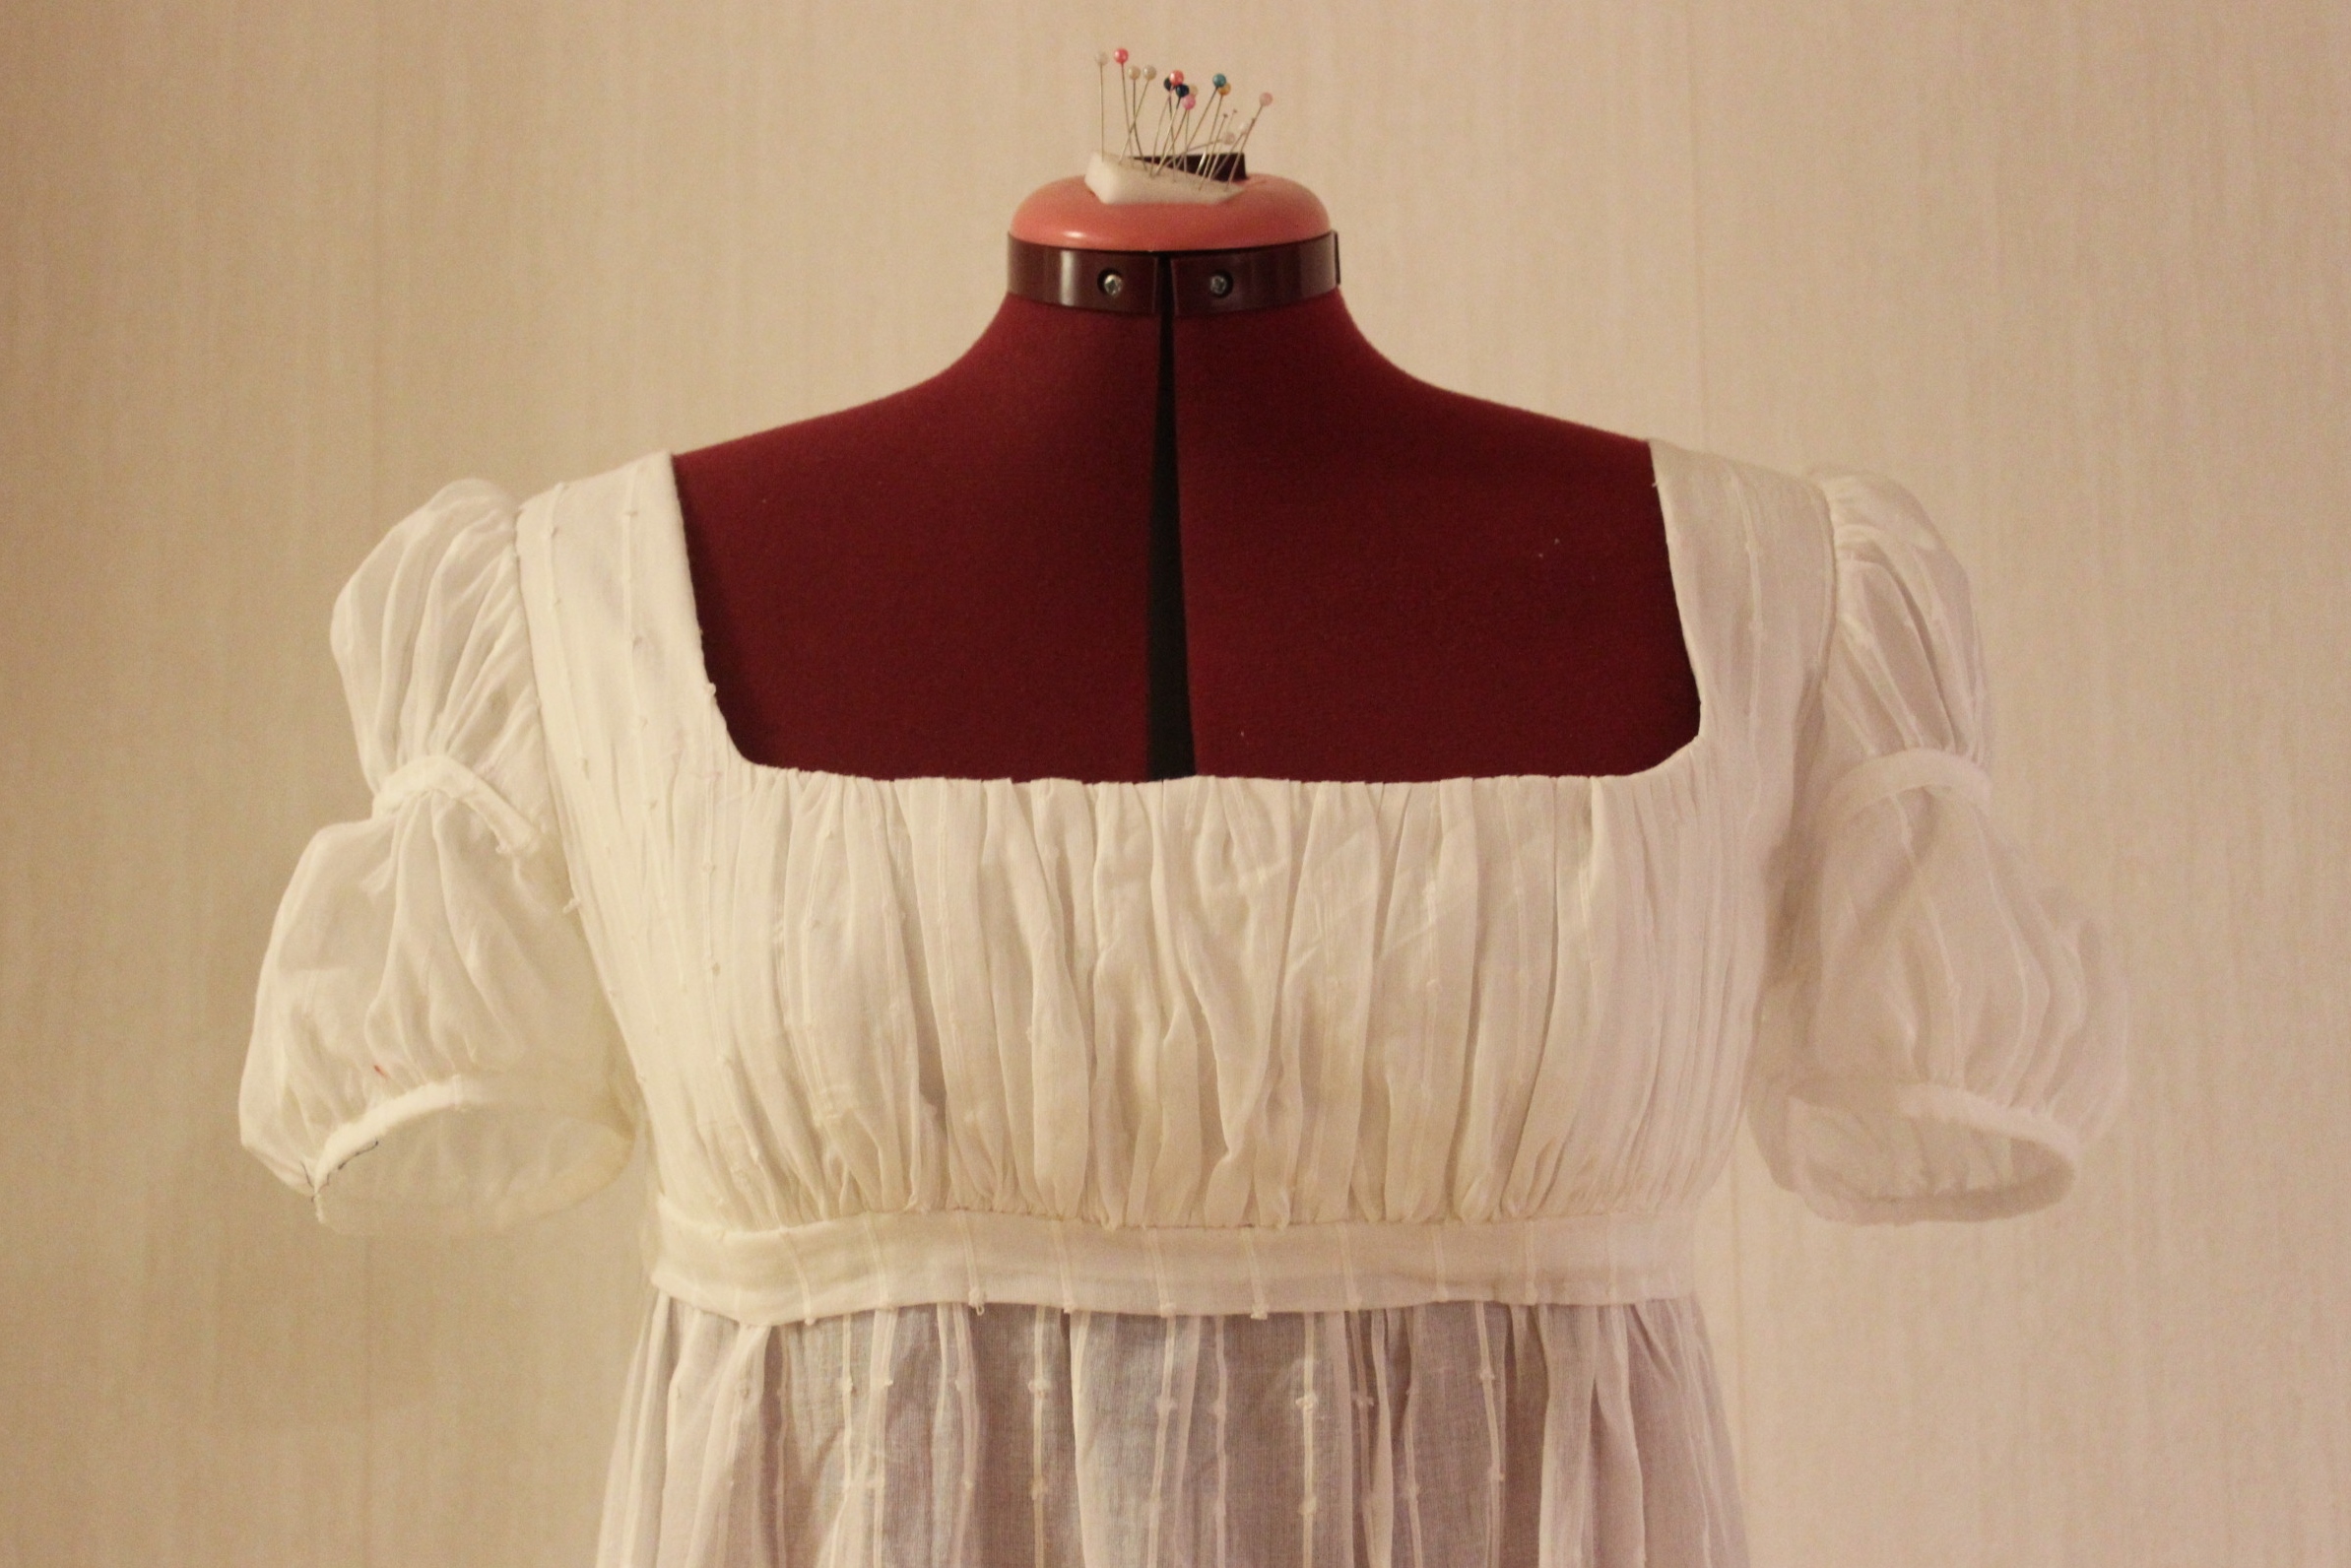
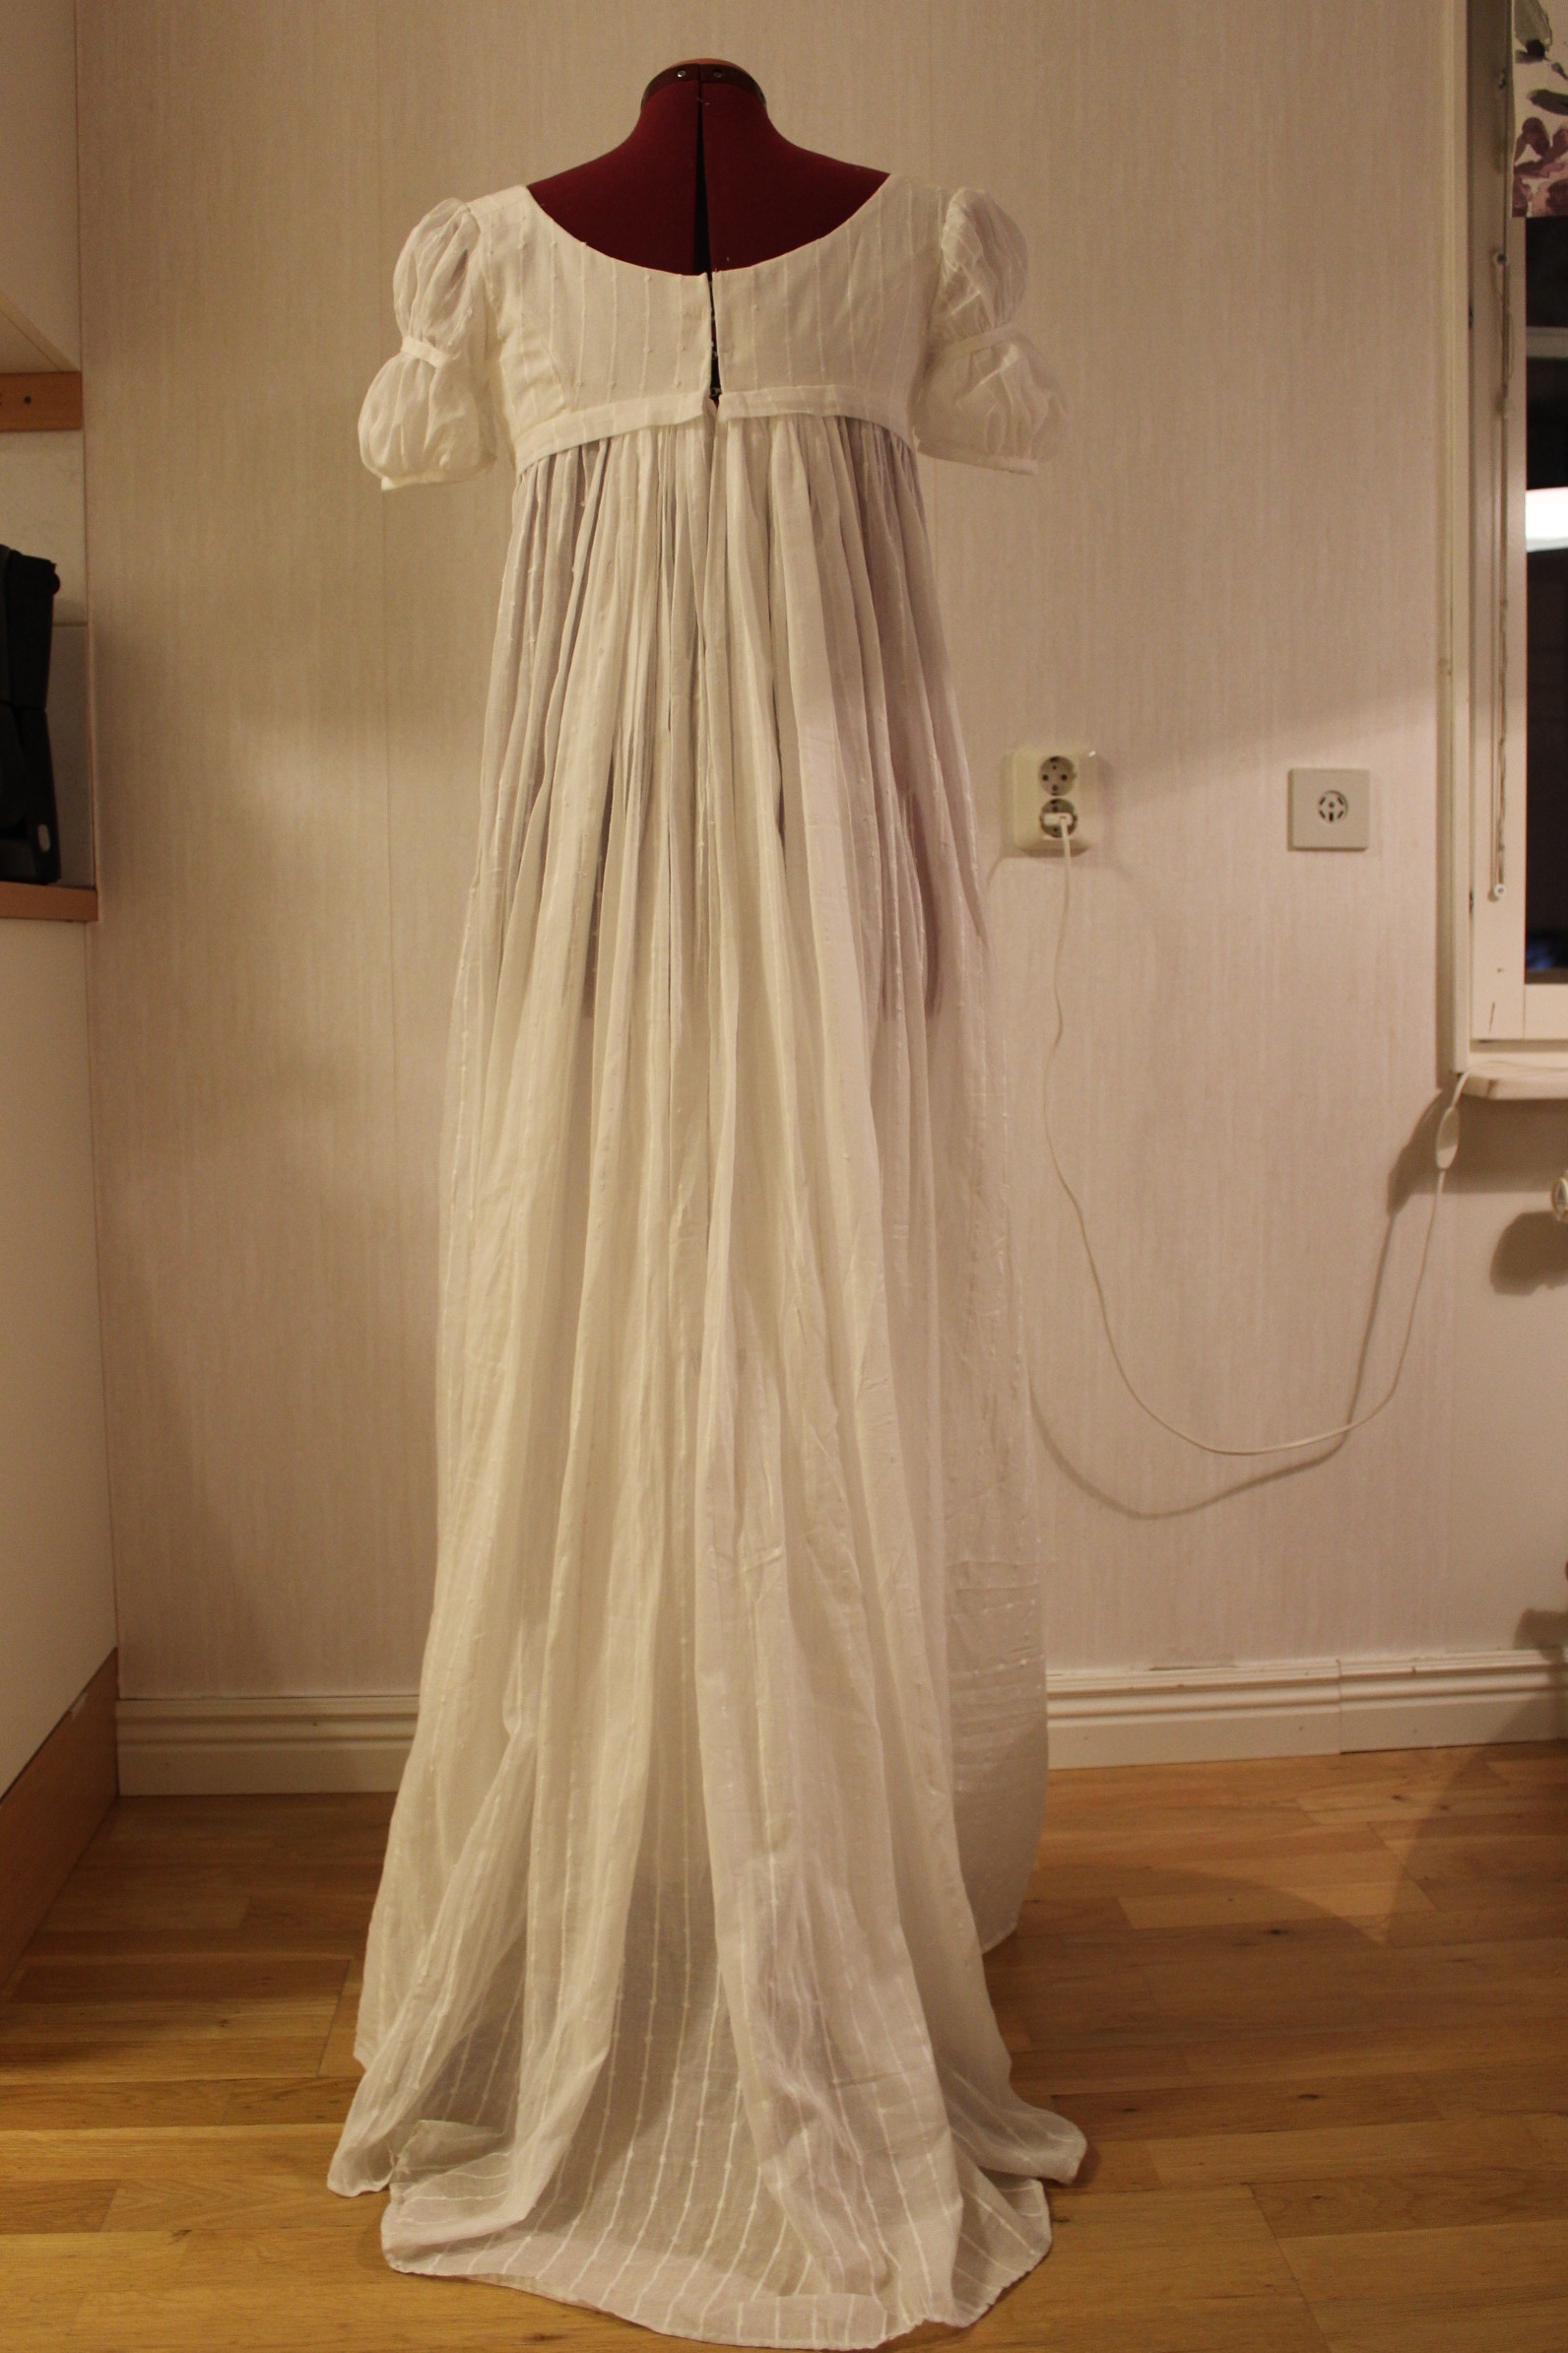
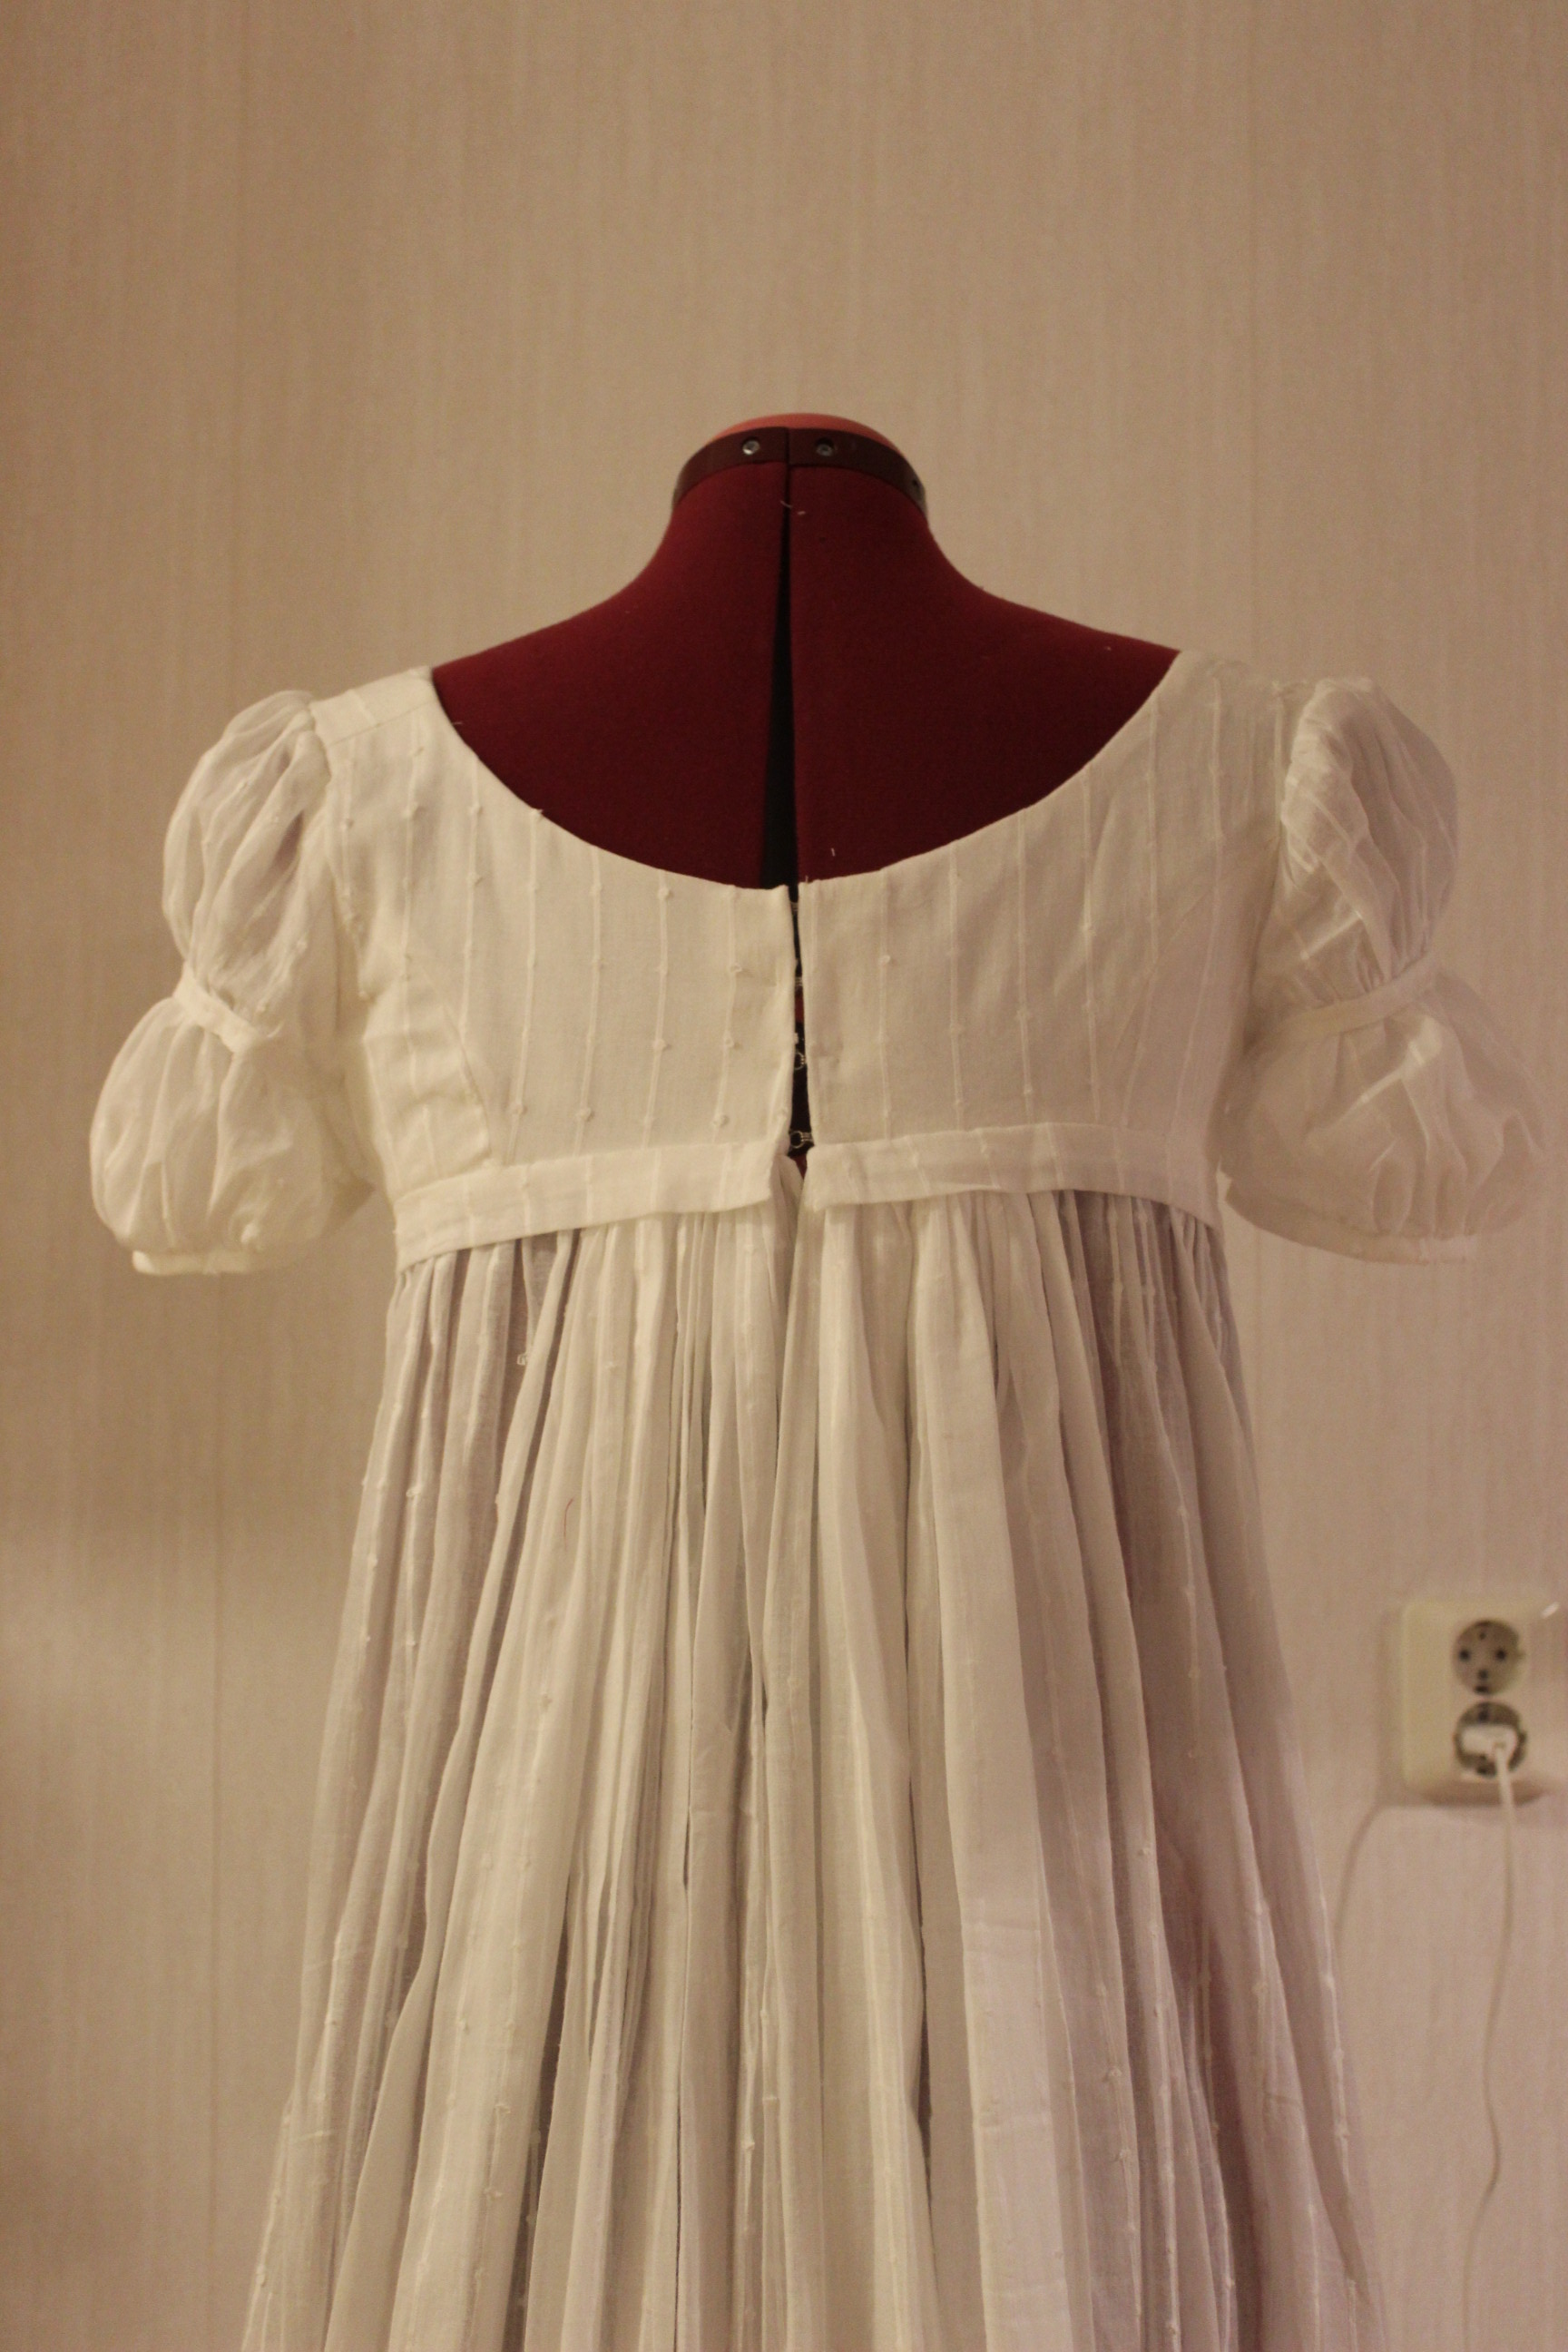
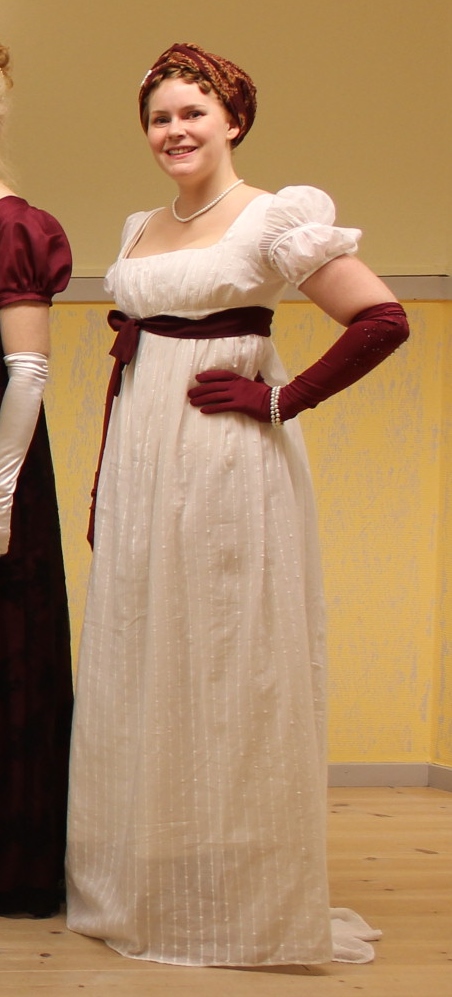
IMG_0912

The Finished dress:
IMG_3848

IMG_3849

IMG_3865

IMG_3869

IMG_3866

IMG_3850

IMG_3861

IMG_3862

IMG_3855

IMG_3856

IMG_3857

IMG_3858

IMG_3859

IMG_3851

IMG_3853

Facts:

What: a 1780s robe Anglaise

Pattern: I drafted my own using a old self made pattern as a starting point..

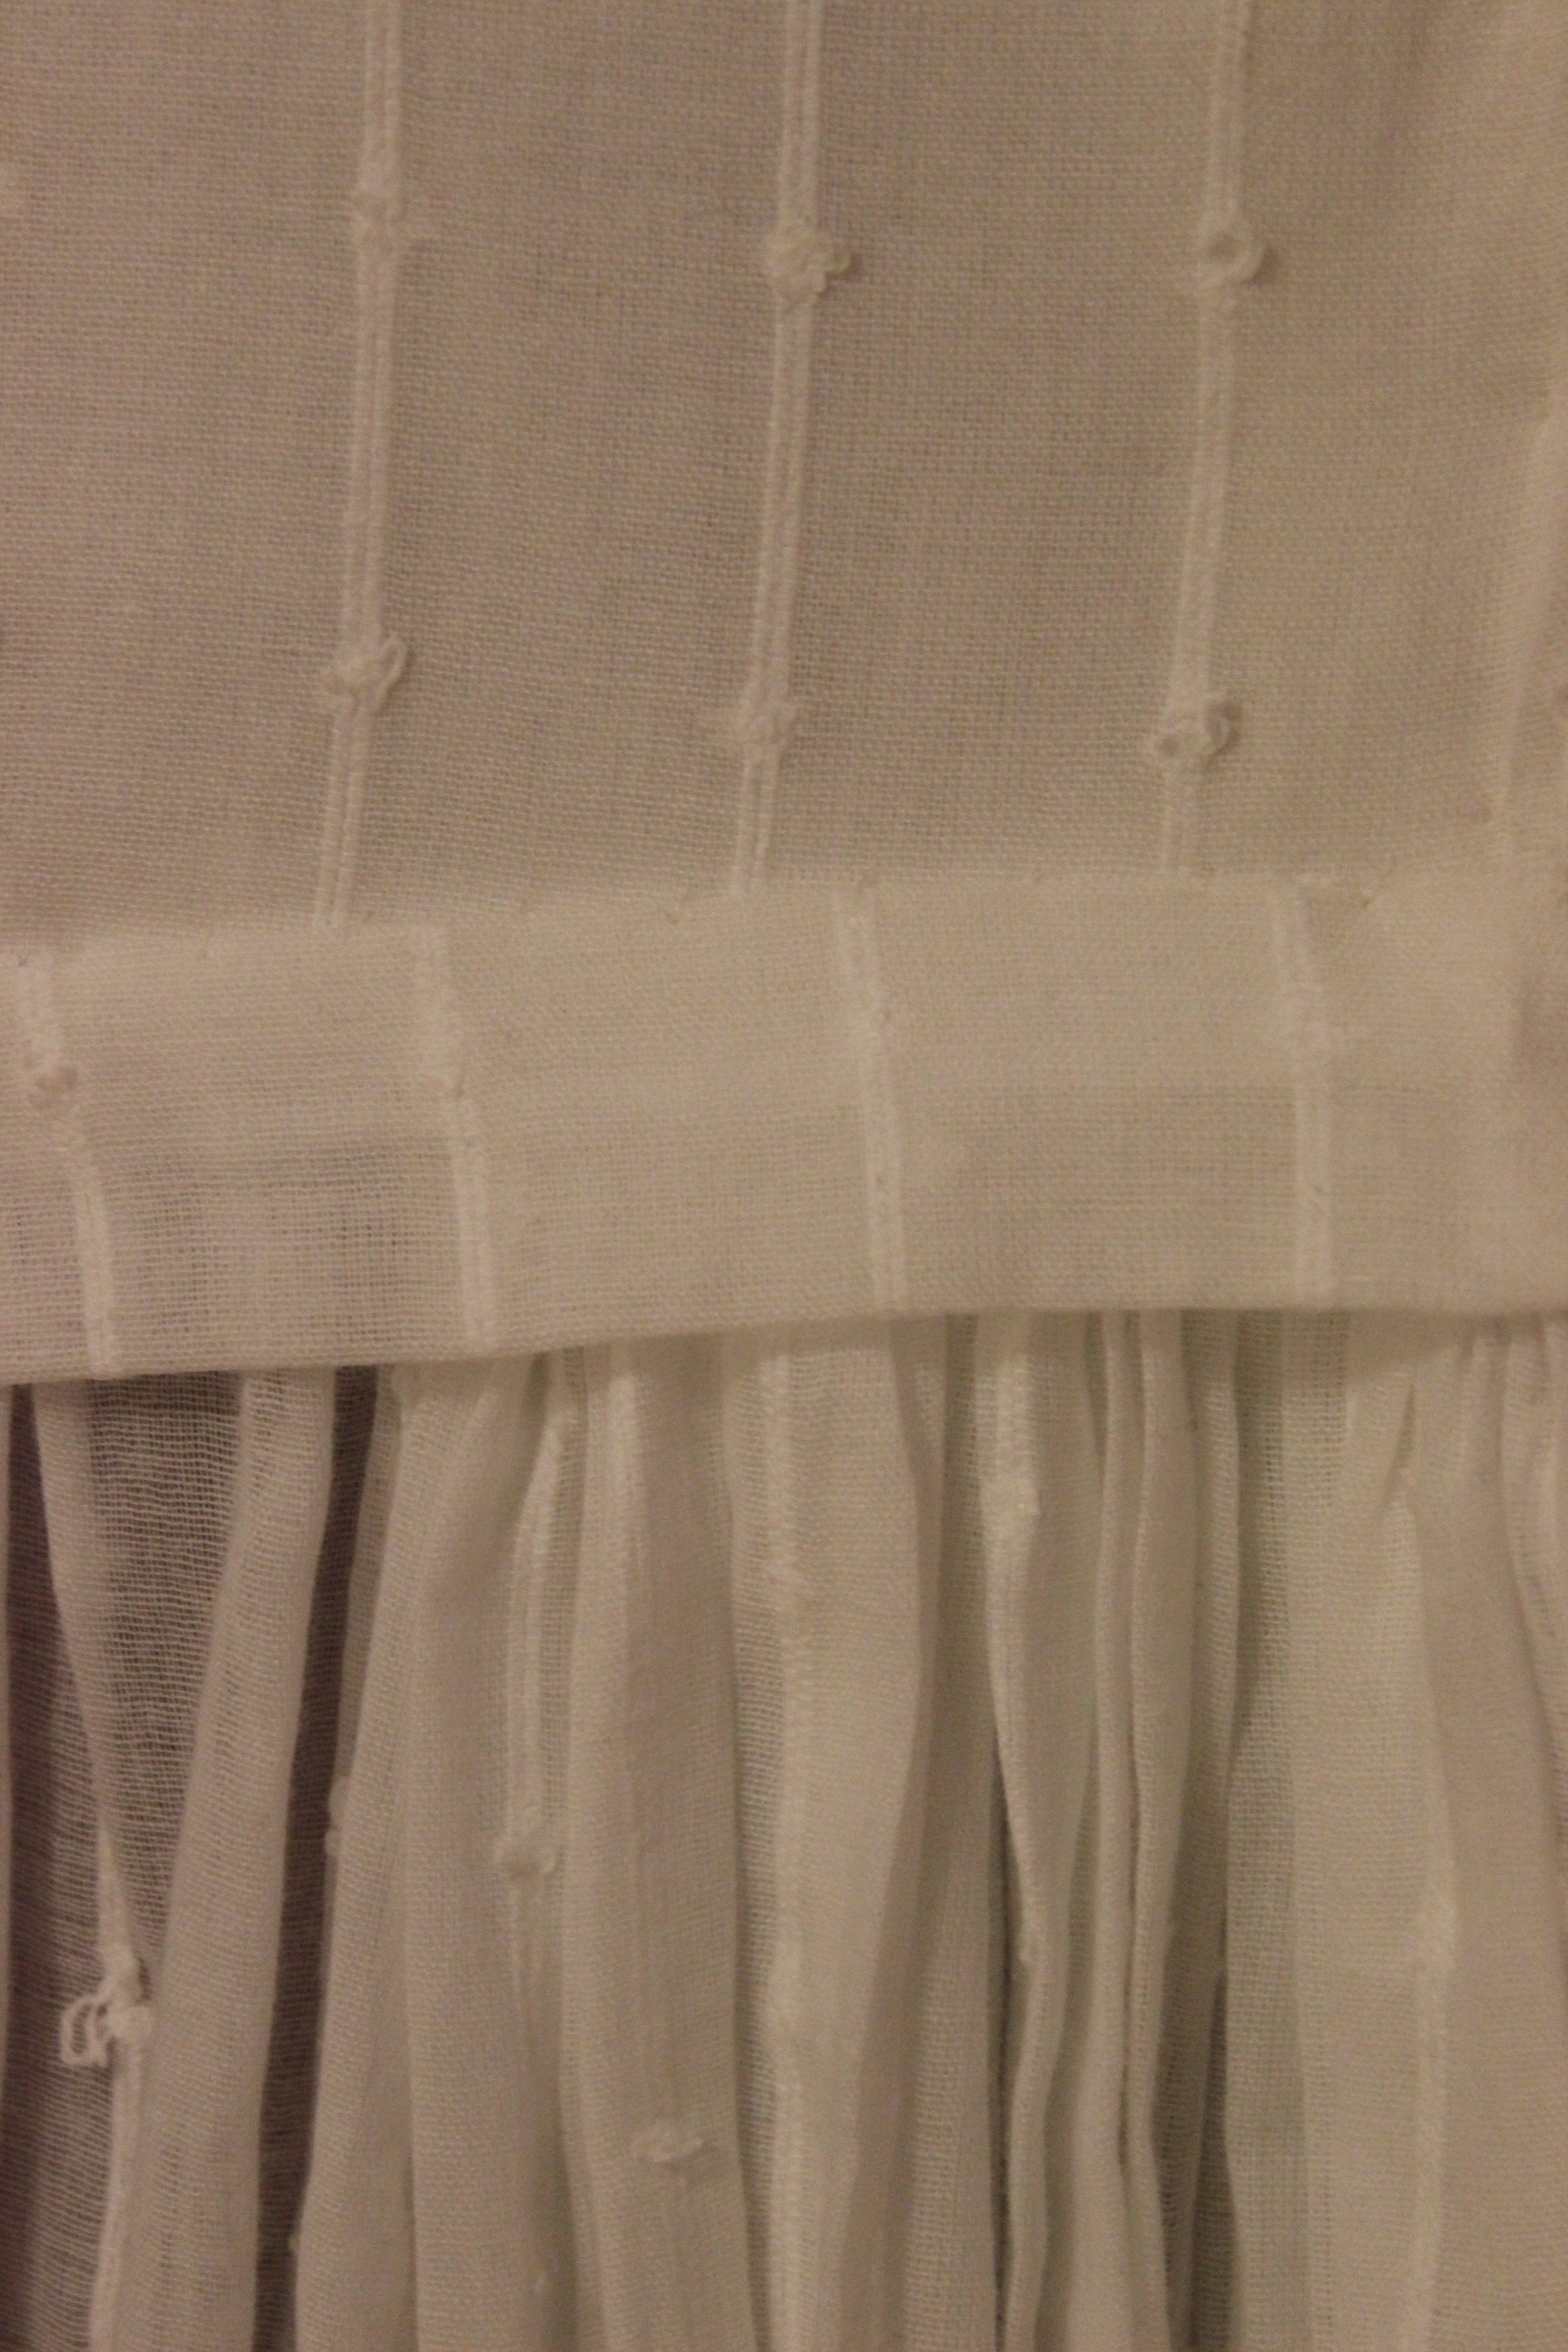
Fabric: 1 white flowery printed cotton bed sheet from IKEA (approximately 3,5 x 1,5 m), 0,5 m regular white cotton for lining and 0,5 m heavy upholster fabric for interlining.

Notions: Thread, 11 pair of hook and eyes and 1,5 m of plastic boning.

Time: Since it is completely hand stitched the amount of time is much higher then my usual projects. I will take a educated guess at 25 hours counting low.

Cost: About 200 Sek (32 Usd). Everything from stash.

Final Thoughts: I’m not thrilled about it.
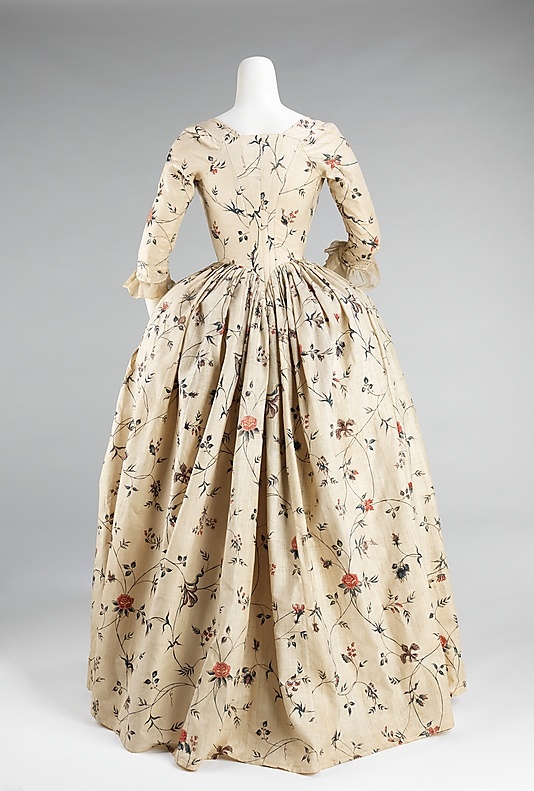
The back pleating looks a bit sad, and the en fourreau back is not one of my greatest accomplishments. I think I will have to re-make the entire back of the gown before wearing it for real.
I also think the front point should be longer and more pronounced, even if that’s something I can live with for now.
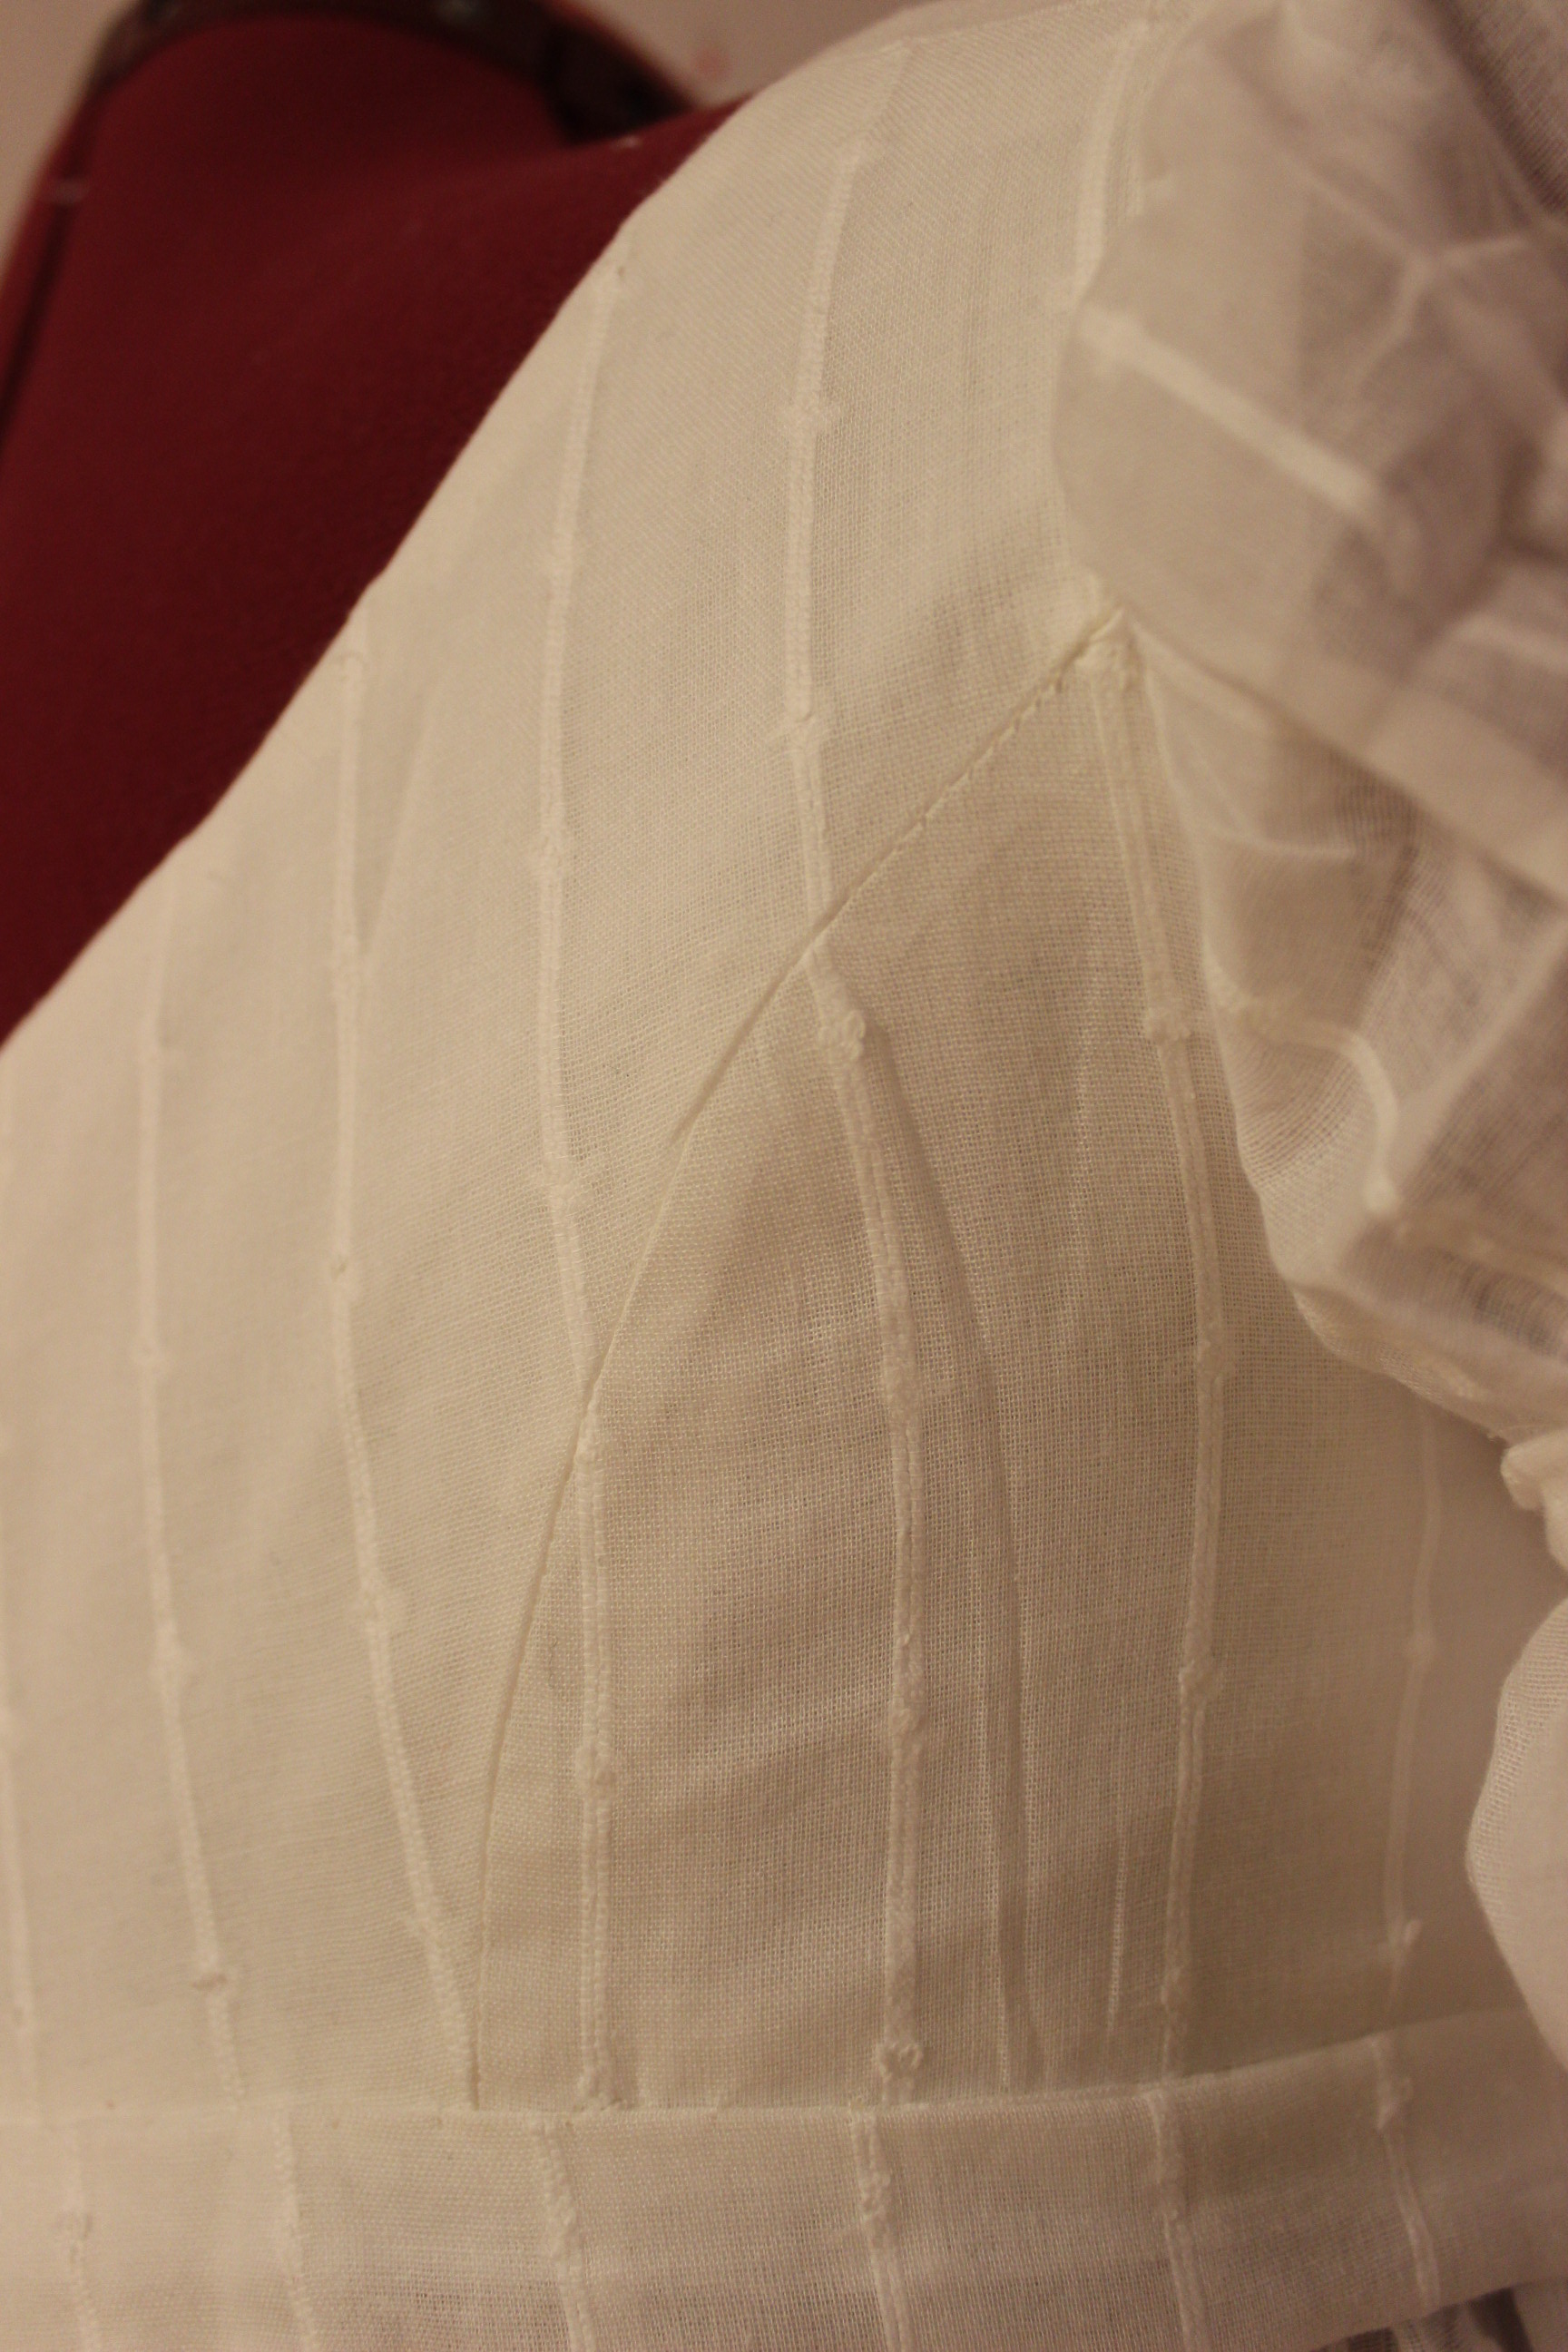
I do however like the shape and setting of the newly drafted sleeves. And the fabric of this gown just look so soft and beautiful.

White Regency Evening Gown

For the upcoming ball, hosted by my dancing company, I knew I wanted a new gown.
After several hours on Pinterest, looking through dossins of beautiful fashion plates, I finally decided on a style.

1799-1800-dressesI used the left dress in this fashion plate as my inspiration.

Since time was sparce, I decided to use Simplicity 4055 instead of draping my own pattern.simplicity4055This may now be the pattern I made most garments from (my yellow regency gown, brown spencer/west, my sisters greecian goodes dress, and now this white evening gown).

I also had the perfect fabric in my stash. IMG_7086A white striped cotton voile, that started life as a pair of IKEA curtains.

I started by mocking-up the lining to get a foundation to build the rest of the dress.IMG_3675The neckline needed to be lowered a bit. It is after all a ball, and if there is ever a time to show some cleavage a ball must most definitely be it. IMG_3683

Then I cut the fashion fabric, making sure to get enough fabric into the front piece to get some nice gathering. IMG_3684I stitched the bodice together and basted it into the interlining before I gathered the front.

Then it was time for the next try on.
IMG_3699 IMG_3694
The bodice fitted pretty good, and the wrinkles at the back comes from my boyfriends pinning me into it (sch, don’t tell him), and not from the back being to small as you would think.

After finishing up the bodice, I attached the skirt making sure to put most of the gathers at the center back.IMG_3702

The sleeves are regular pouf sleeves with a row of gathering stitches in the middle to create a double pouf.IMG_3703

And once again I needed to get help being pinned into the dress (see why I will never say anything about less then perfect pinning…)

IMG_3721 IMG_3713

Since I didn’t had time to get hold of a long enough red ribbon to tie around the neck, crossed in back and under bust as in the fashion plate, I experimented wit a shorter red ribbon tied under bust.

I finished by attaching the sleeves, hemming the skirt and attaching the hook and eyes at center back.
I also decided to stitch on a ribbon under bust made from the same fabric – something I did at the location of the ball, just before getting dressed.

The finished dress:IMG_3871

IMG_3872

IMG_3882

IMG_3881

IMG_3883

IMG_3893

IMG_3889

IMG_3876

IMG_3879

IMG_3878

IMG_3884

IMG_3888

IMG_3874

A pic from the ball of me wearing the dress, stylishly accessorized in burgundy and beads:IMG_3797

Just the Facts:

Challenge: nr 21 – Re-do. I choose to re-do challenge nr 9 – Black and White.

What: A white regency (year 1805) evening gown.

Pattern: I started with Simplicity 4055, but made quite a few changes to it.

Fabric: 3 m of white striped cotton voile from IKEA curtains. 0,5 m of white cotton for lining and interning.

Notions: Thread and 4 pair of hook and eyes.

How historical accurate: So so. The dress looks pretty good and the pattern are pretty authentic, but the construction are all modern with seing machine and bag lining. I would say about 6/10.

Time: I rushed the entire dress (starting only two nights before the ball) working the evenings after work, so I would say about 8 hours.

Cost: About 150 Sek (22 Usd)

First Worn: nov 8, to a Regency ball.

Final Thoughts: I really like it. The fit is good, and the dress looks both delicate and cool at the same time.
My only regret was not to have the time to make/buy the burgundy fabric/shawl that was to be draped across the shoulders and tied below the bust, as in the fashion plate.


1850s Paisley Skirt

Back in january when I did my sum-up on what to make for this years HSF challenges, I decided to make a 1850s daytime dress for the HSF 14. Paisley & Plaid. 2922460163_61fd26c808
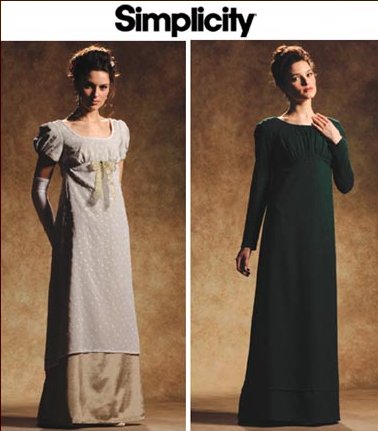
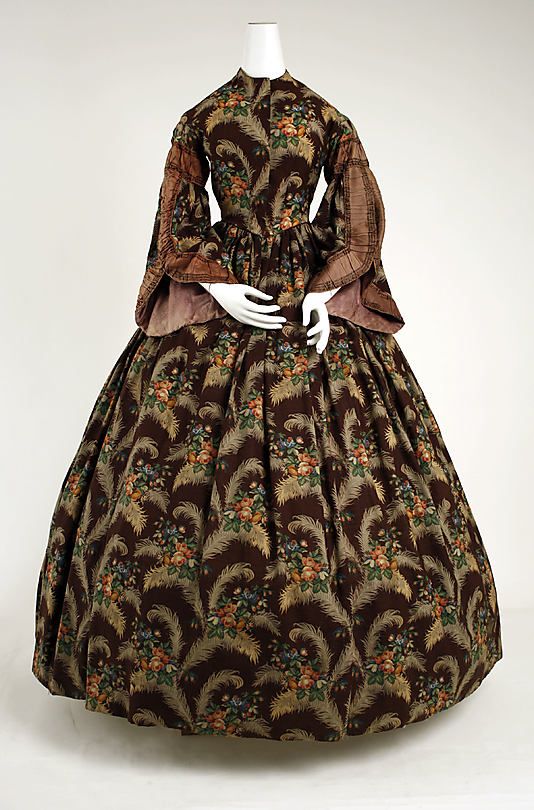
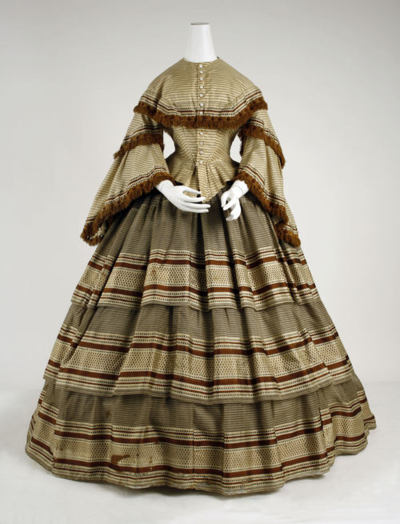
My original inspiration.

de01d5b580936f605fda22d833698d89

tumblr_lp4a0qjvHA1qf46efo1_400Love the skirt, and the fringes.

I had this great brown/white paisley bedsheet from IKEA that I was dying to use.

So when the challenge deadline approached, I got the fabric from my stash and started working.
This outfit took me a great while to compleat and I did take lots of photos while working on it, so I decided to choop the dress up into three different posts.

Starting with the skirt:

I ripped the selveges from the sheets to be sure to get straight edges. But I emedetly regreted that idea…IMG_9682This is how of the grain line the sheets were made. It differs about 15 cm from one edge to the other. And on top of that I discovered the print was made to match the crocket grain line, leaving me with lots of un- centered paisley prints. Bummer.

Well, that was too late to do anything about, so I just continued working. Ripping rows of fabric to make into gattered flounces.

I decided to make the skirt in three sections, attached to one big piece of underlayer, using 4 times the width of the base for each of the ruffels. I made sure they were all wide enough to overlap each other, and stiched them togeter, hemmed and sewed a gattering thread along the top.

Then I marked the placement on the white cotton under layer. IMG_9711

IMG_9712Using all of the apartment for this.

Then I gattered one row at a time, and pinned it in place at the markings to get them perfectly straight.IMG_9714

IMG_9715Starting on row two.

When all the rows where in place it looked like some huge ugly curtain. IMG_9716

As you can see, I almost didn’t gattered the top row at all. Because it will be gattered anyway when I attach the whole thing to the waistband.IMG_9718

Even though the ruffels overlap each other, I decided to put some exess fabric in between the rows to make sure no white will be visible once worn.IMG_9719

I did the same at the bottom, using the strip of pasisley to make a nice  whide hem.IMG_9724

Then I stiched the whole thing togeter, gathered the wasit and stiched it to the wasiband, and attached a hook and eye for clouser.

The finished skirt (worn over a crinoline):IMG_0167

IMG_0169

IMG_0170

IMG_0171

IMG_0168

The HSF facts will be included in the next post (where I’ll show the bodice), but I will give you some skirt facts right now just to make myself remember.

What: A 1850s skirt.

Fabric: 1 white cotton sheet (IKEA) and 1, 5 paisley cotton bedsheet (IKEA).

Notions: Thread, hook and eye.

Time: about 8 hours.