
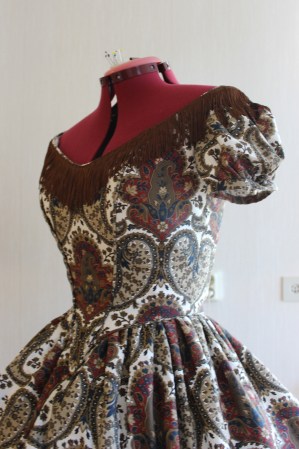
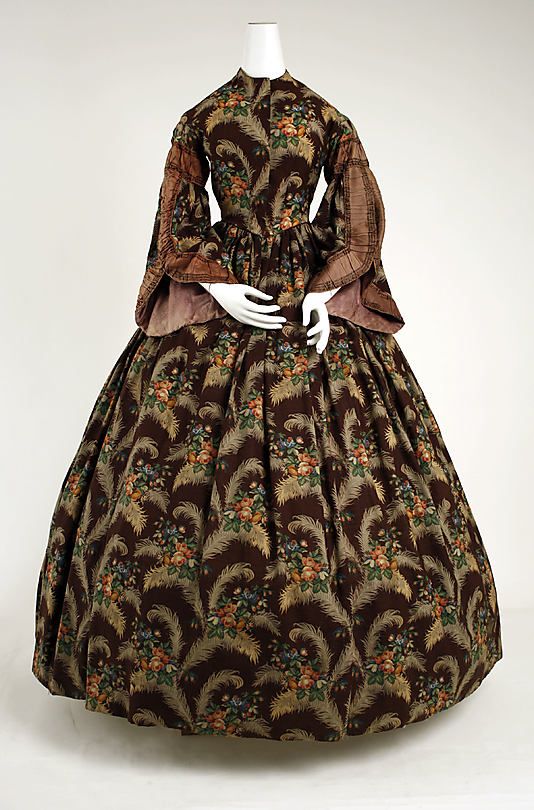
And of course I needed to get some photos of the evening bodice too.


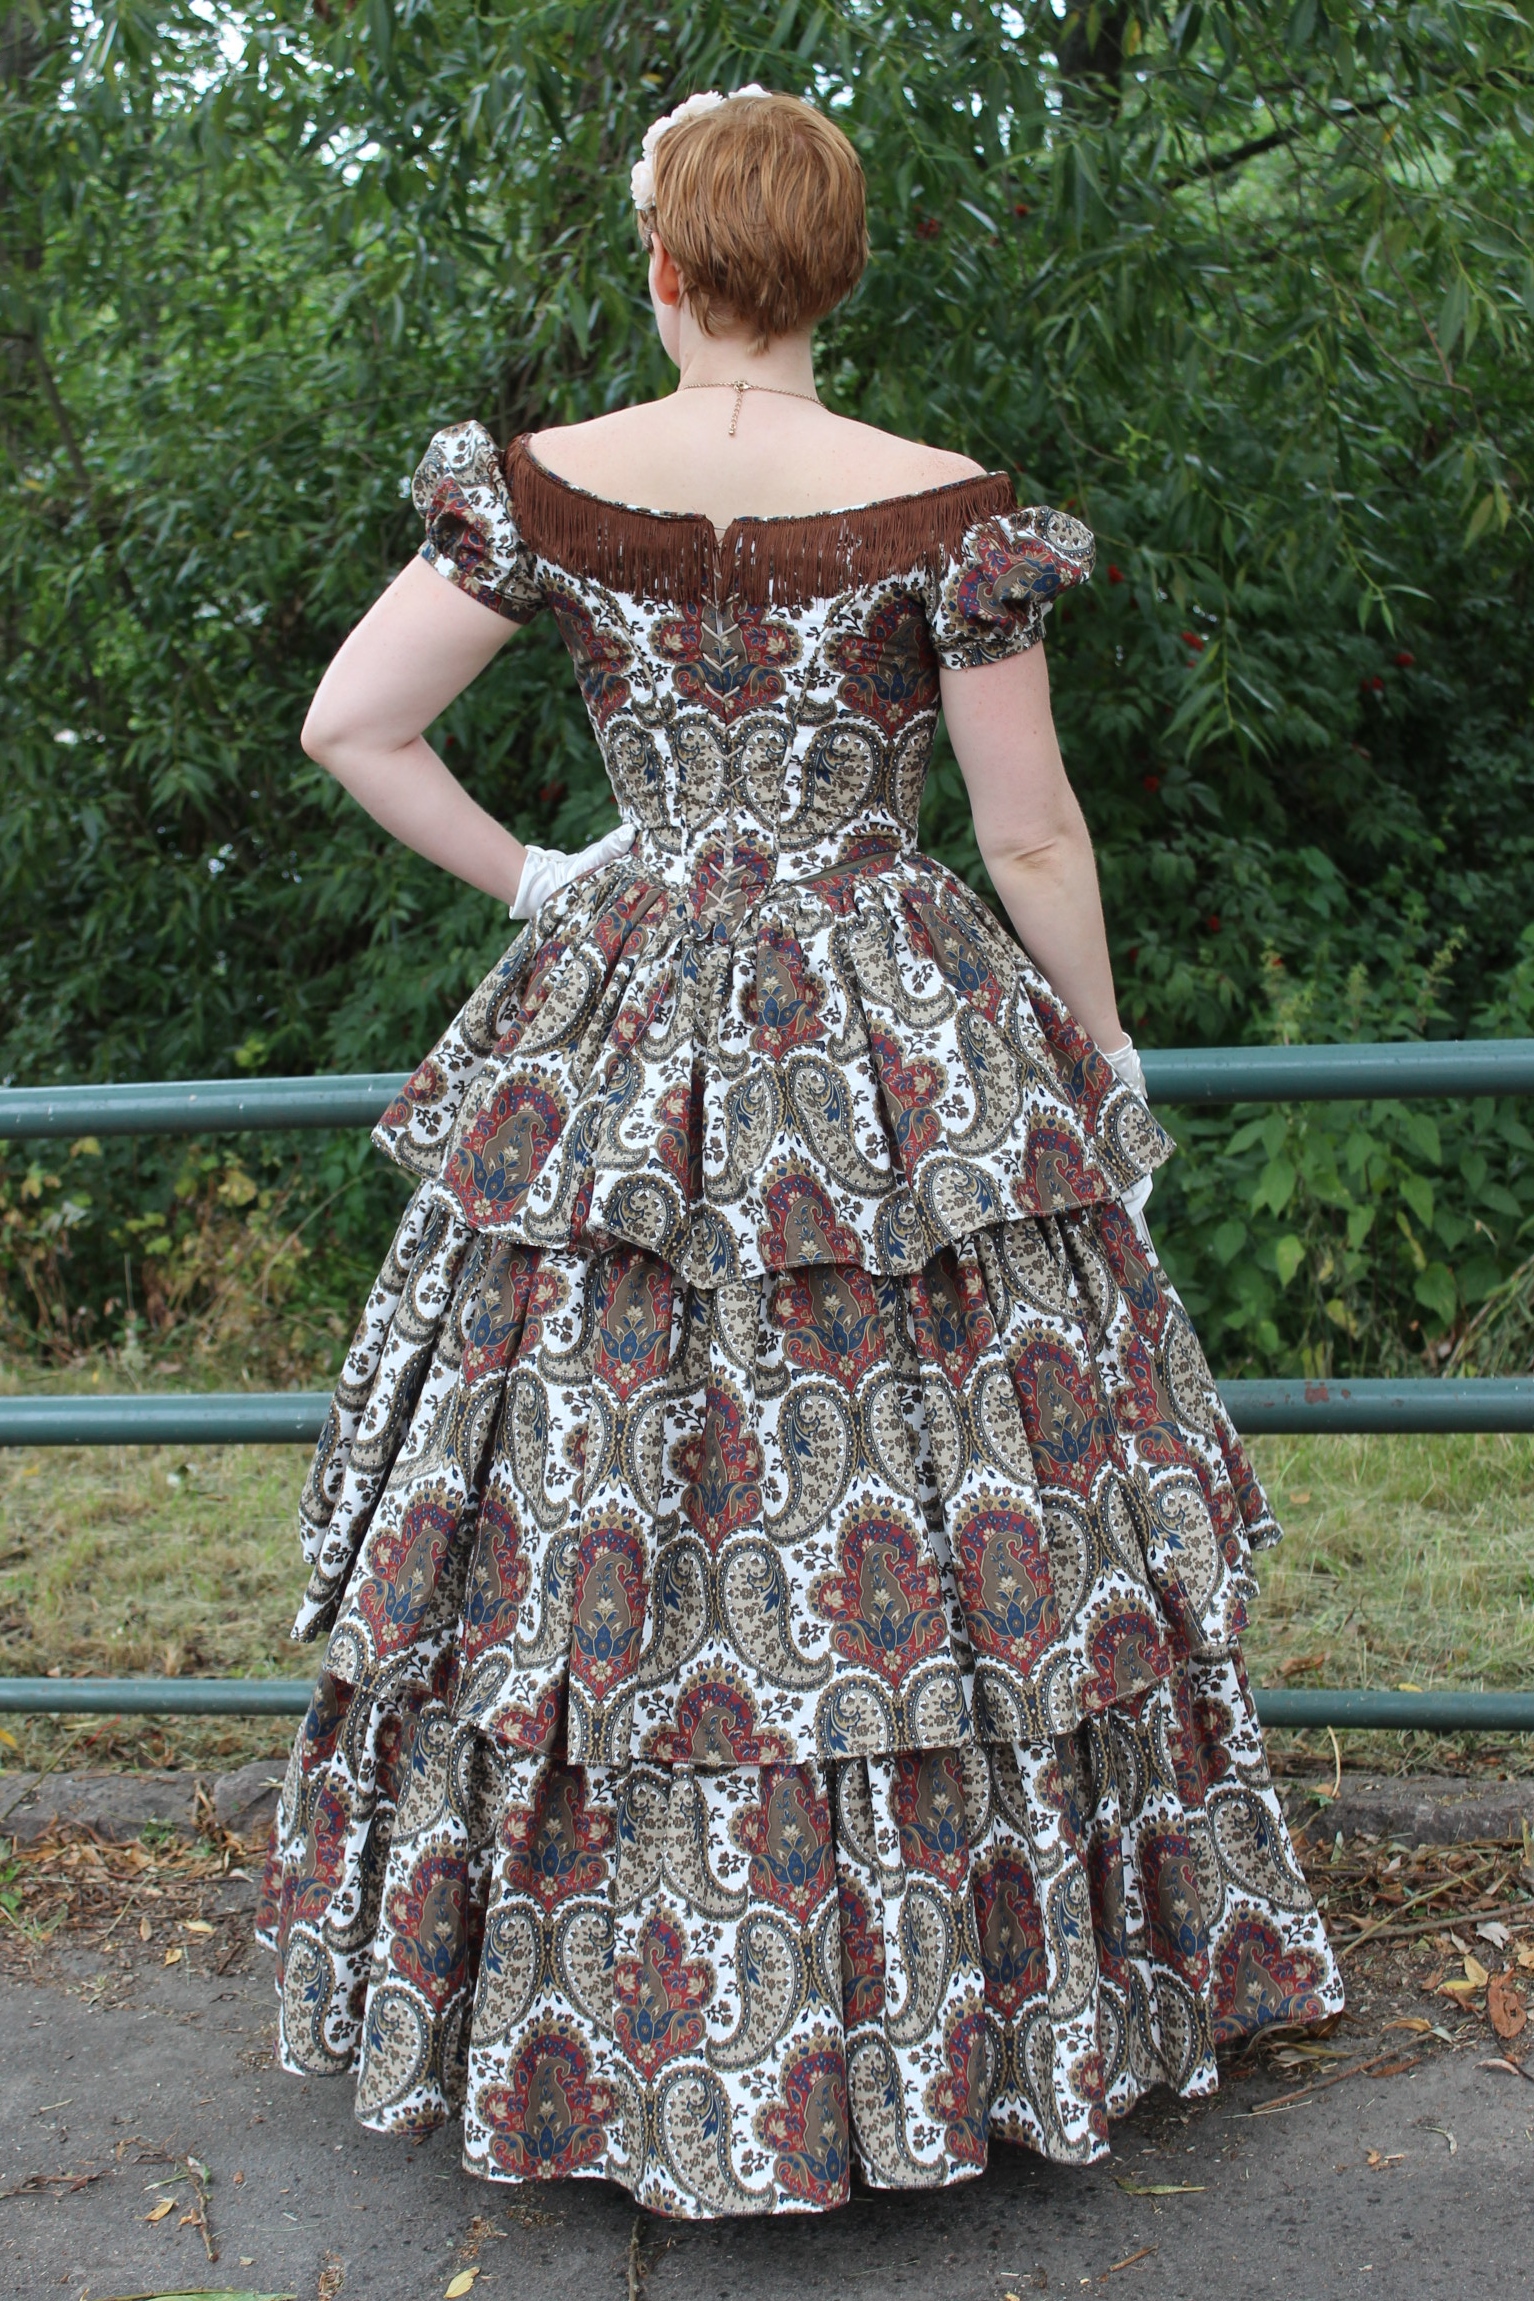


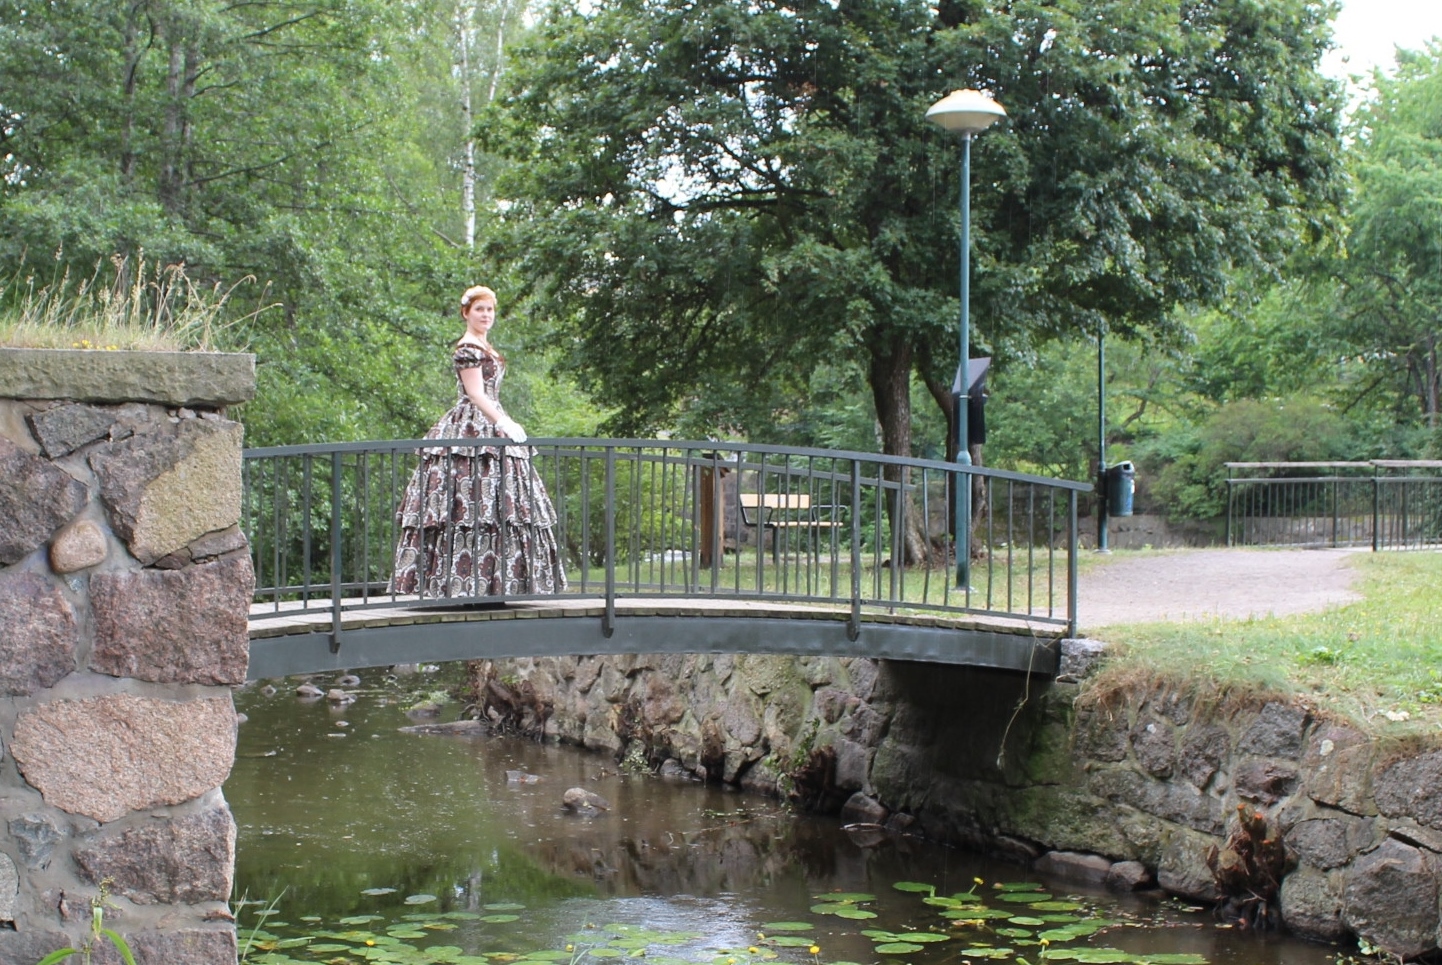
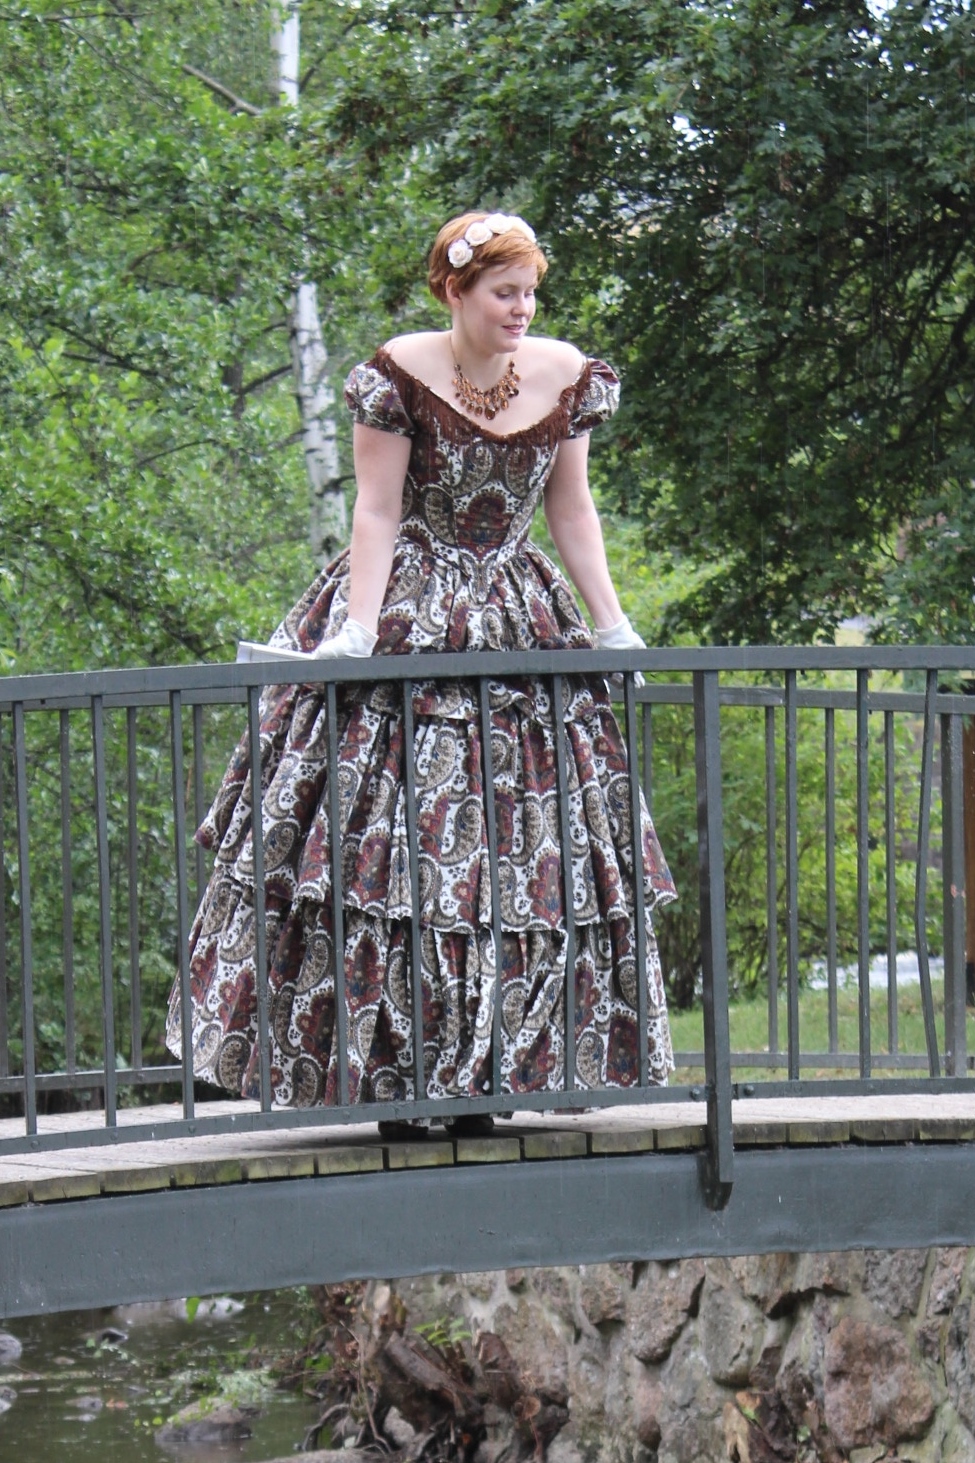
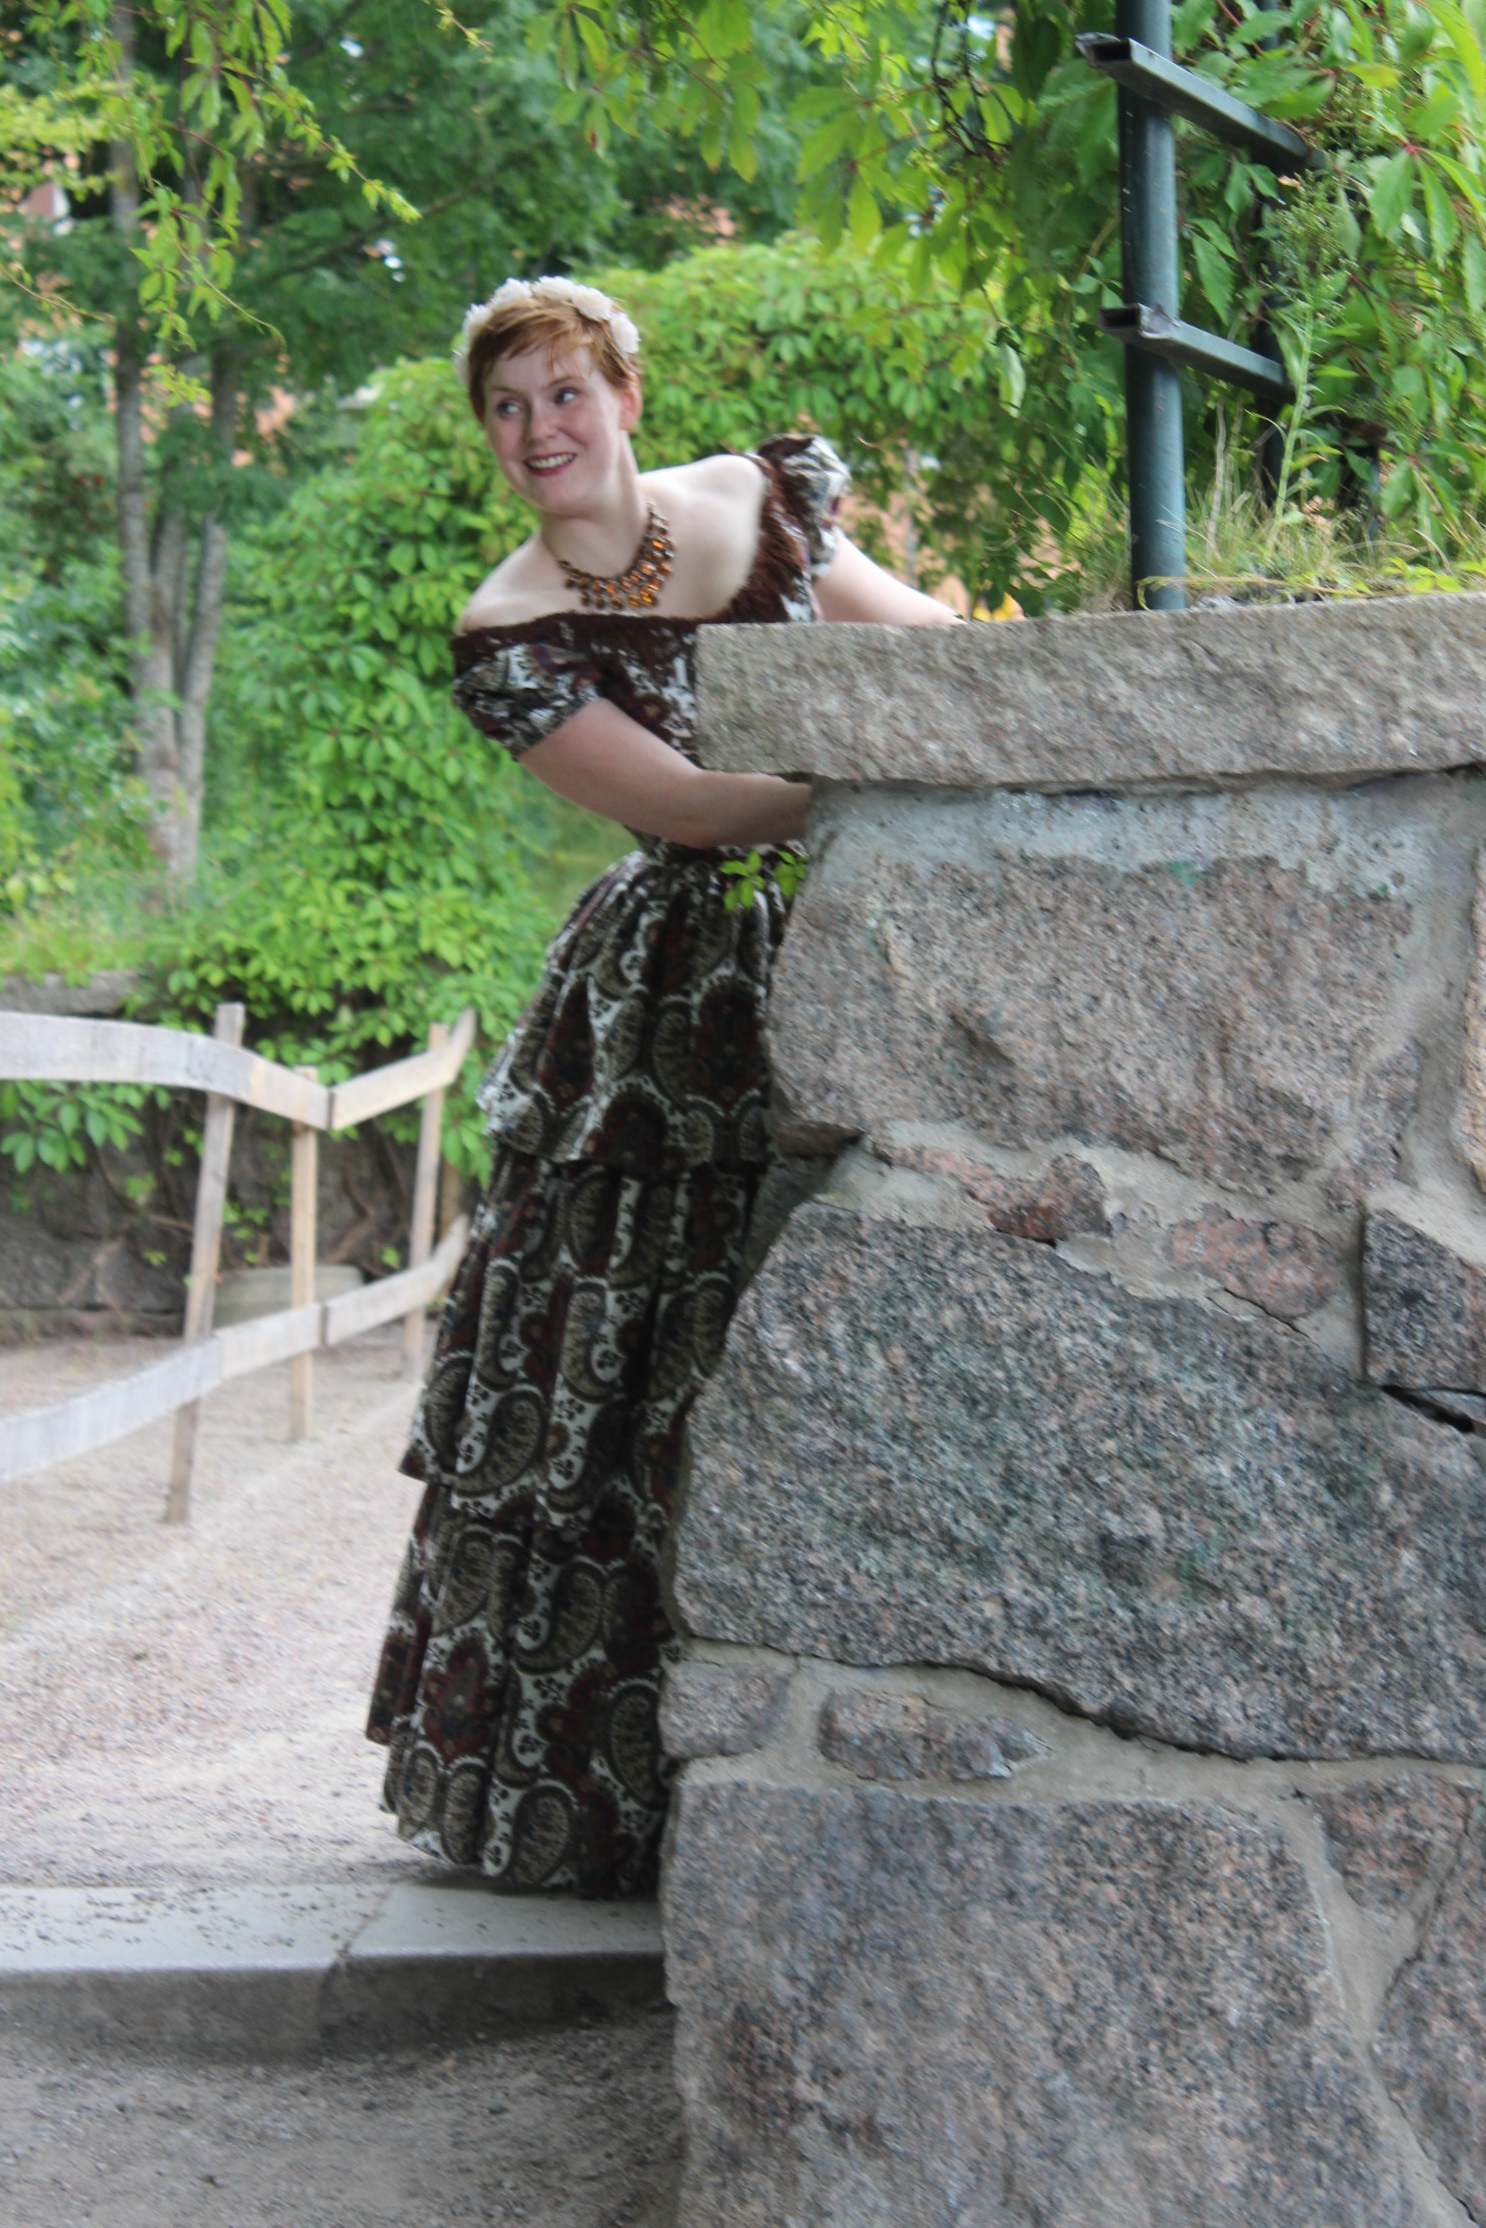

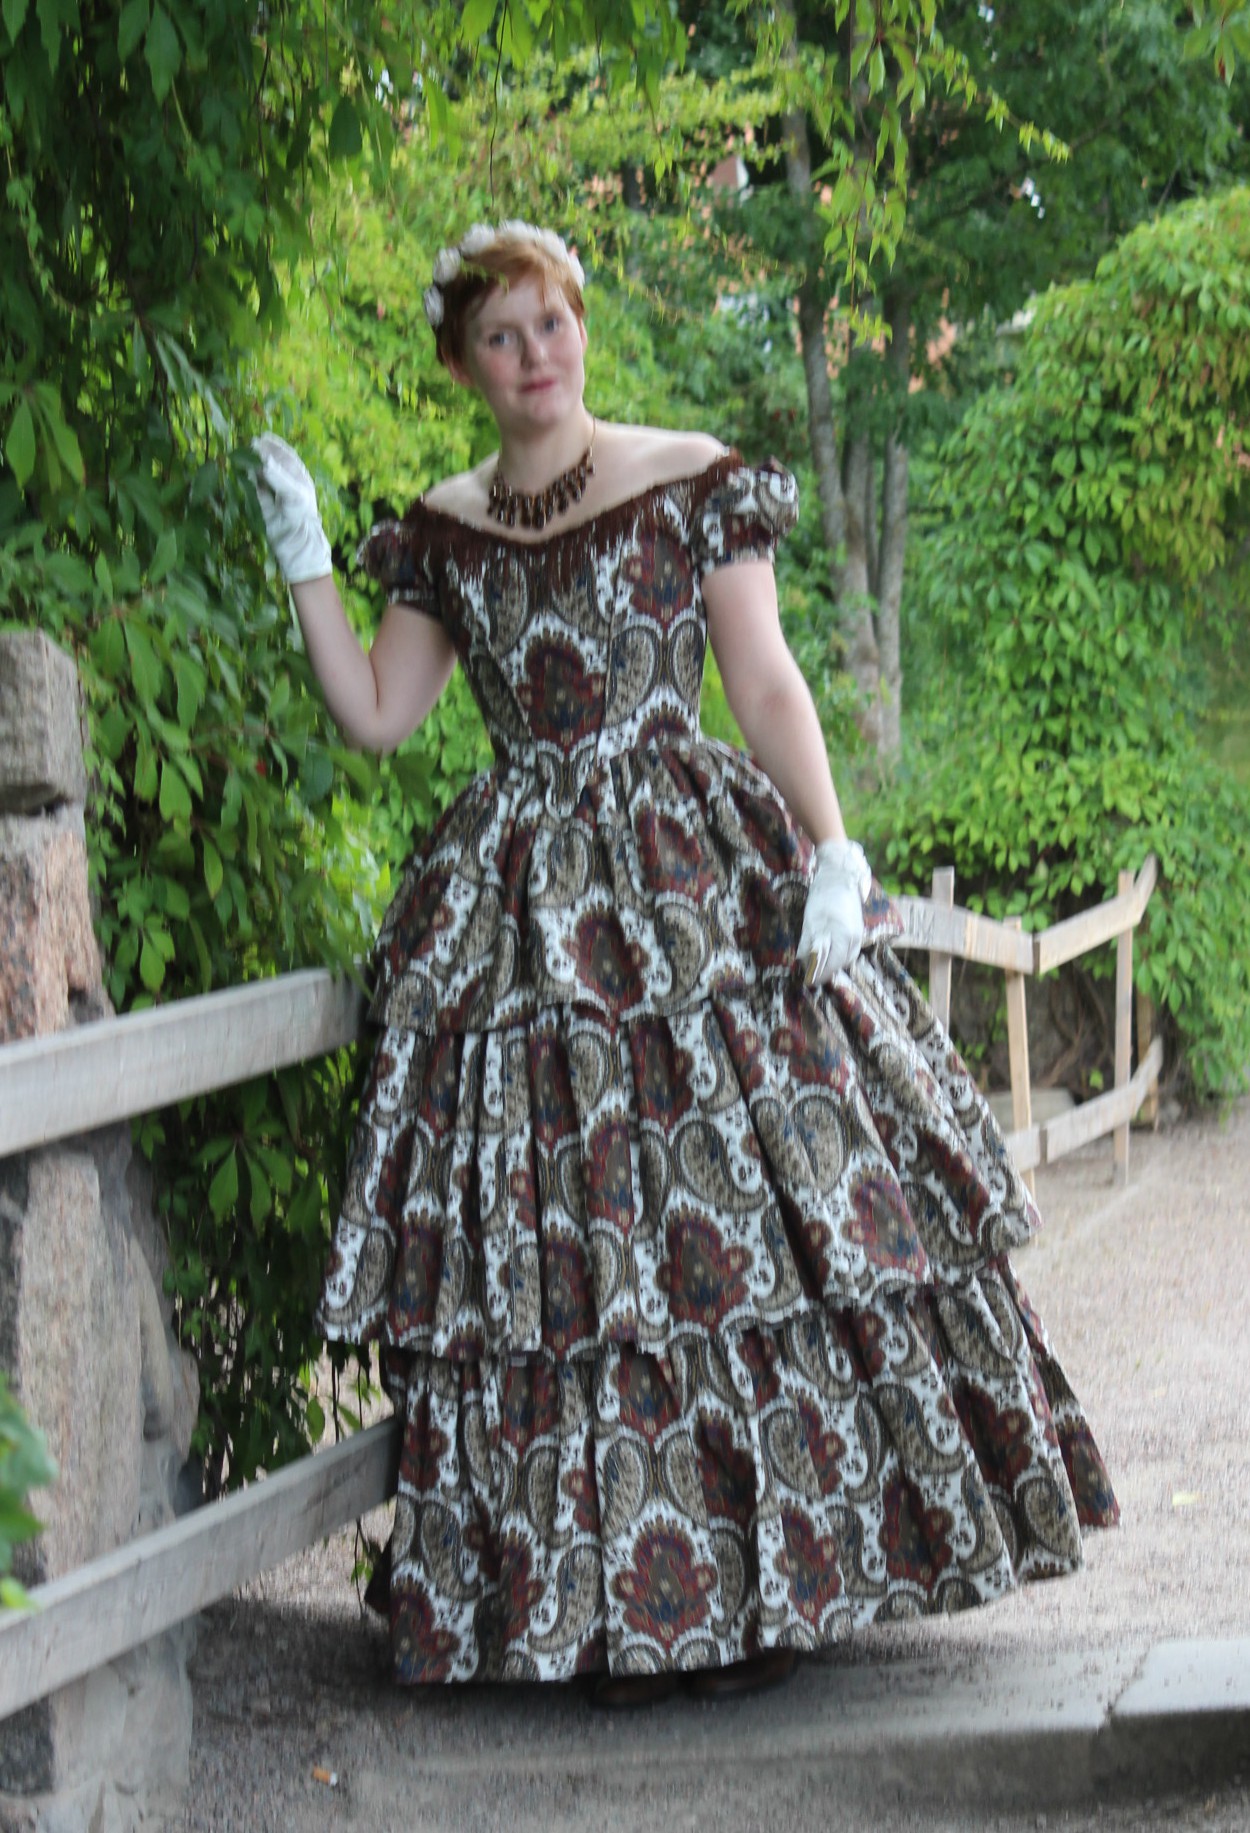
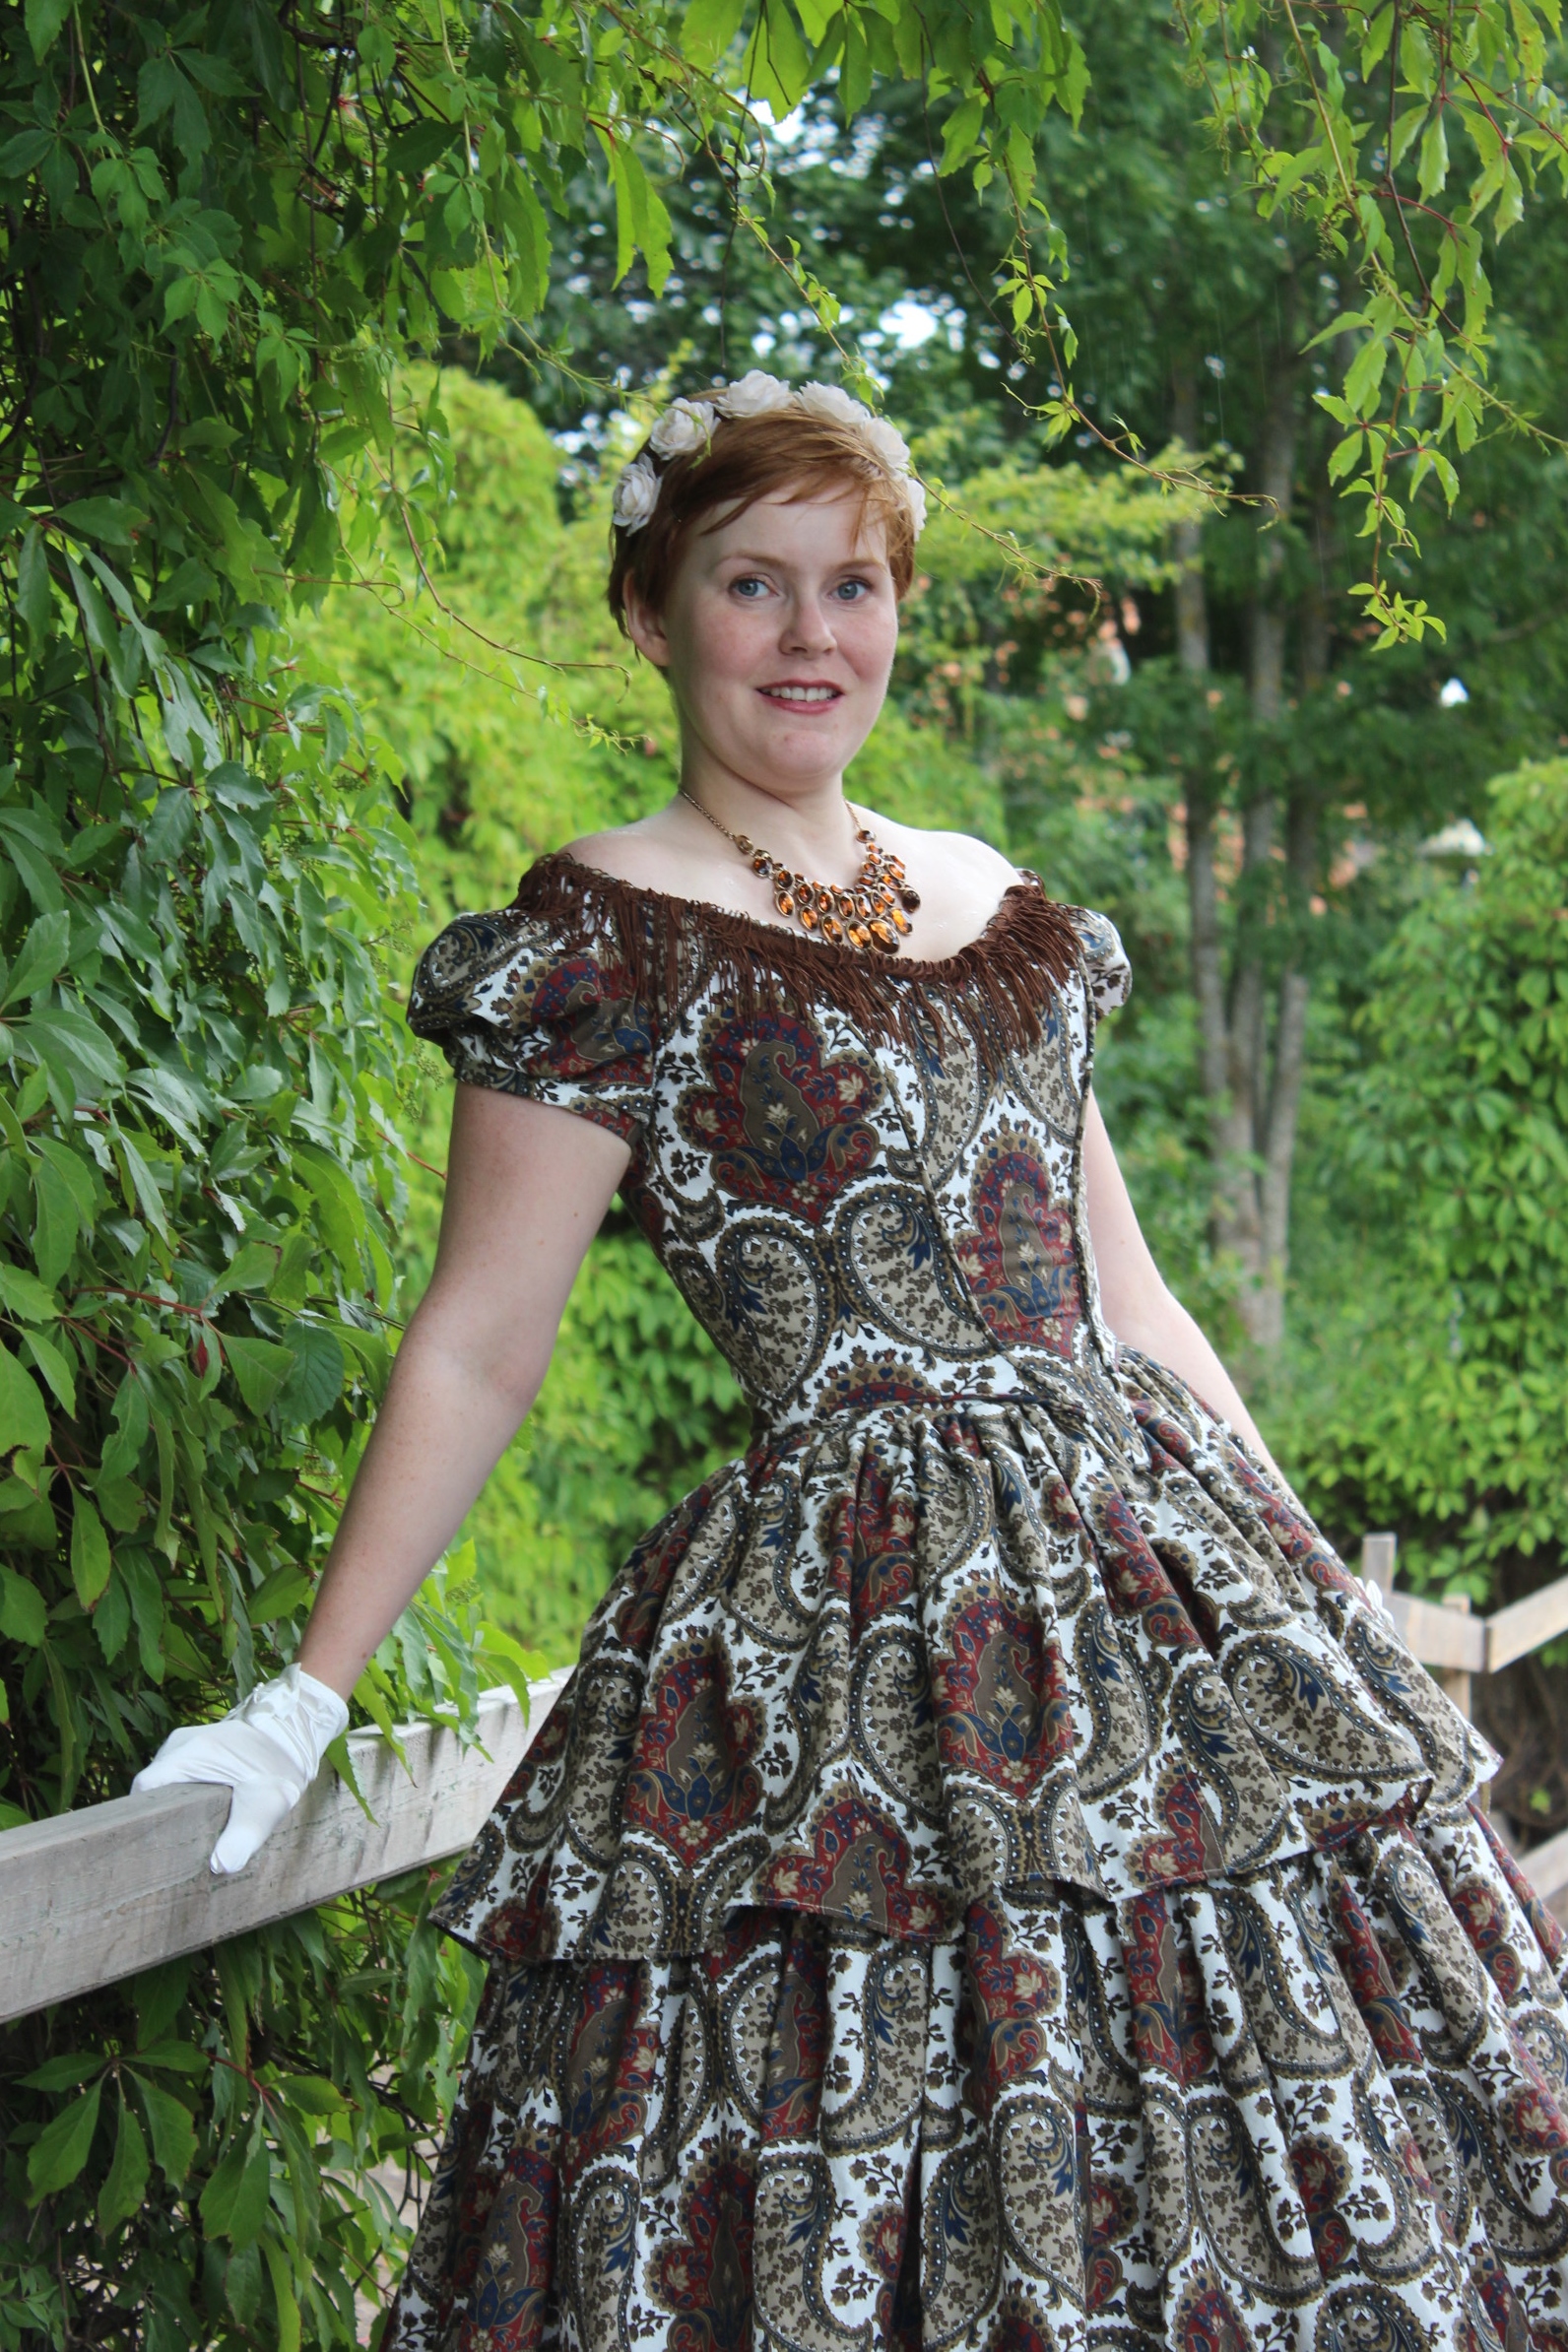
 Photo: Maria Petersson
And of course I needed to get some photos of the evening bodice too.
Photo: Maria Petersson
While working on the Paisley skirt I had trouble deciding what kind of bodice I would make to go with it, a daytime or a evening bodice. And with a long vacation from work ahead of me, I thought “why not make both?” And so I did.
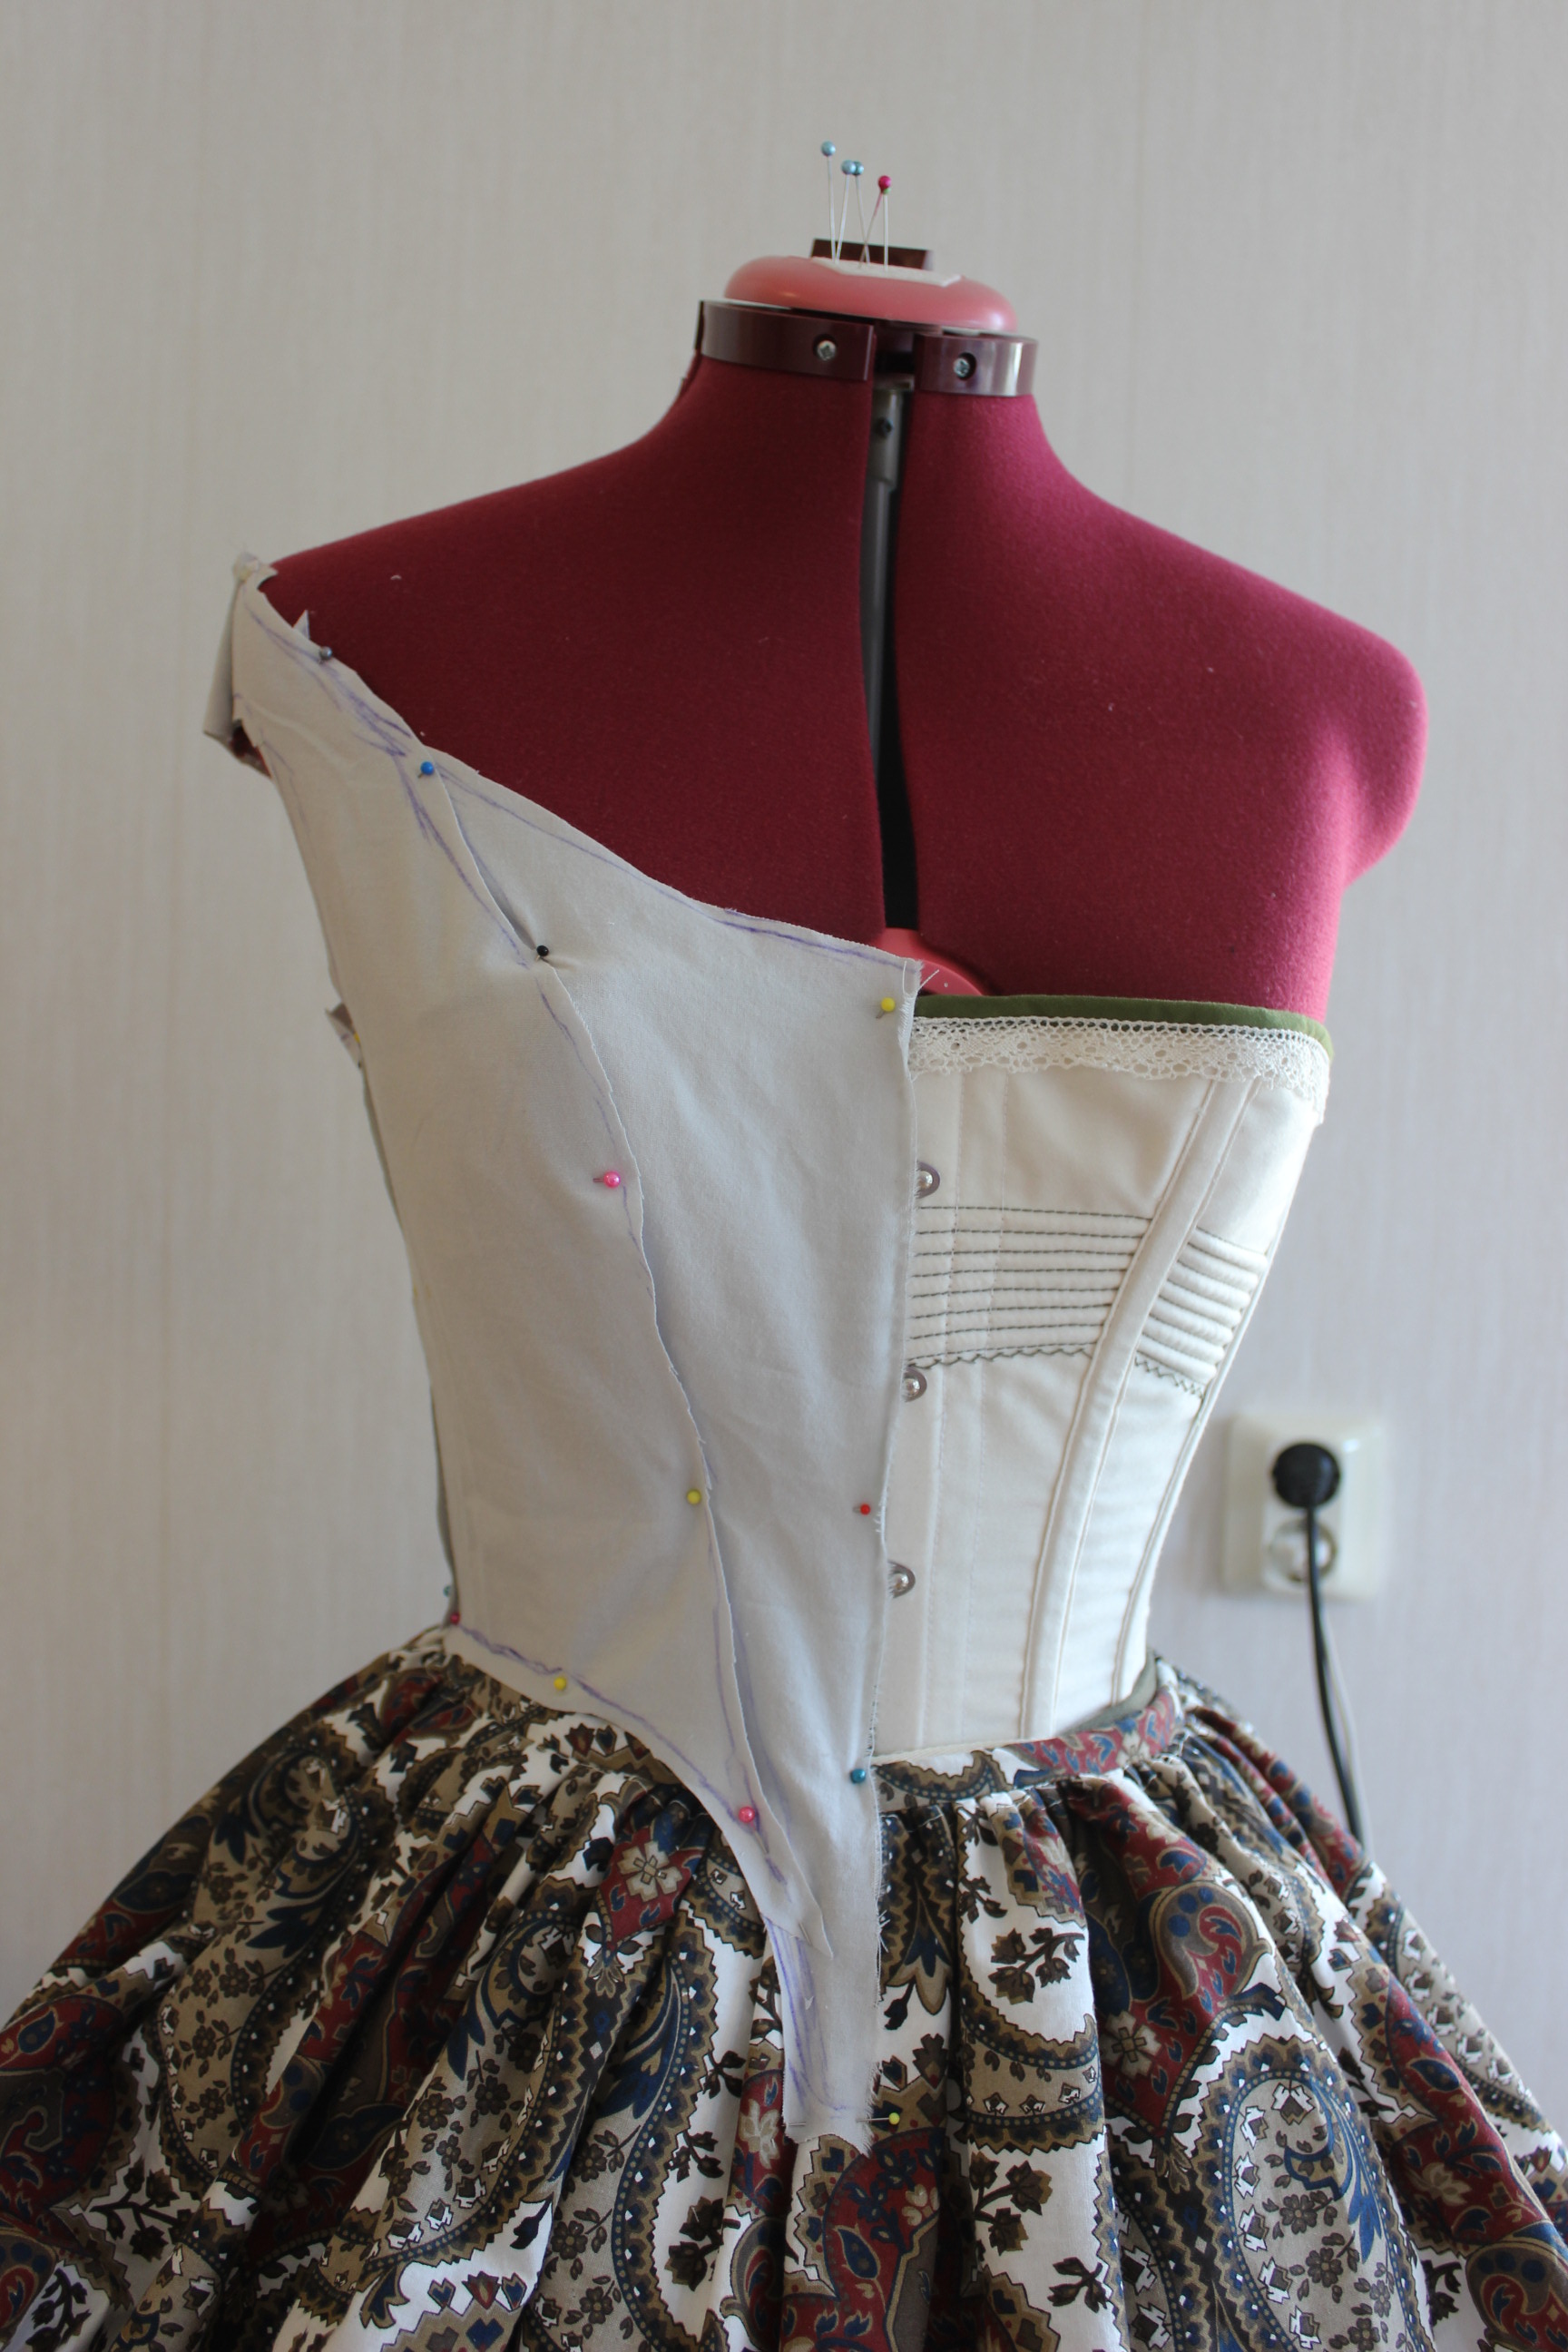
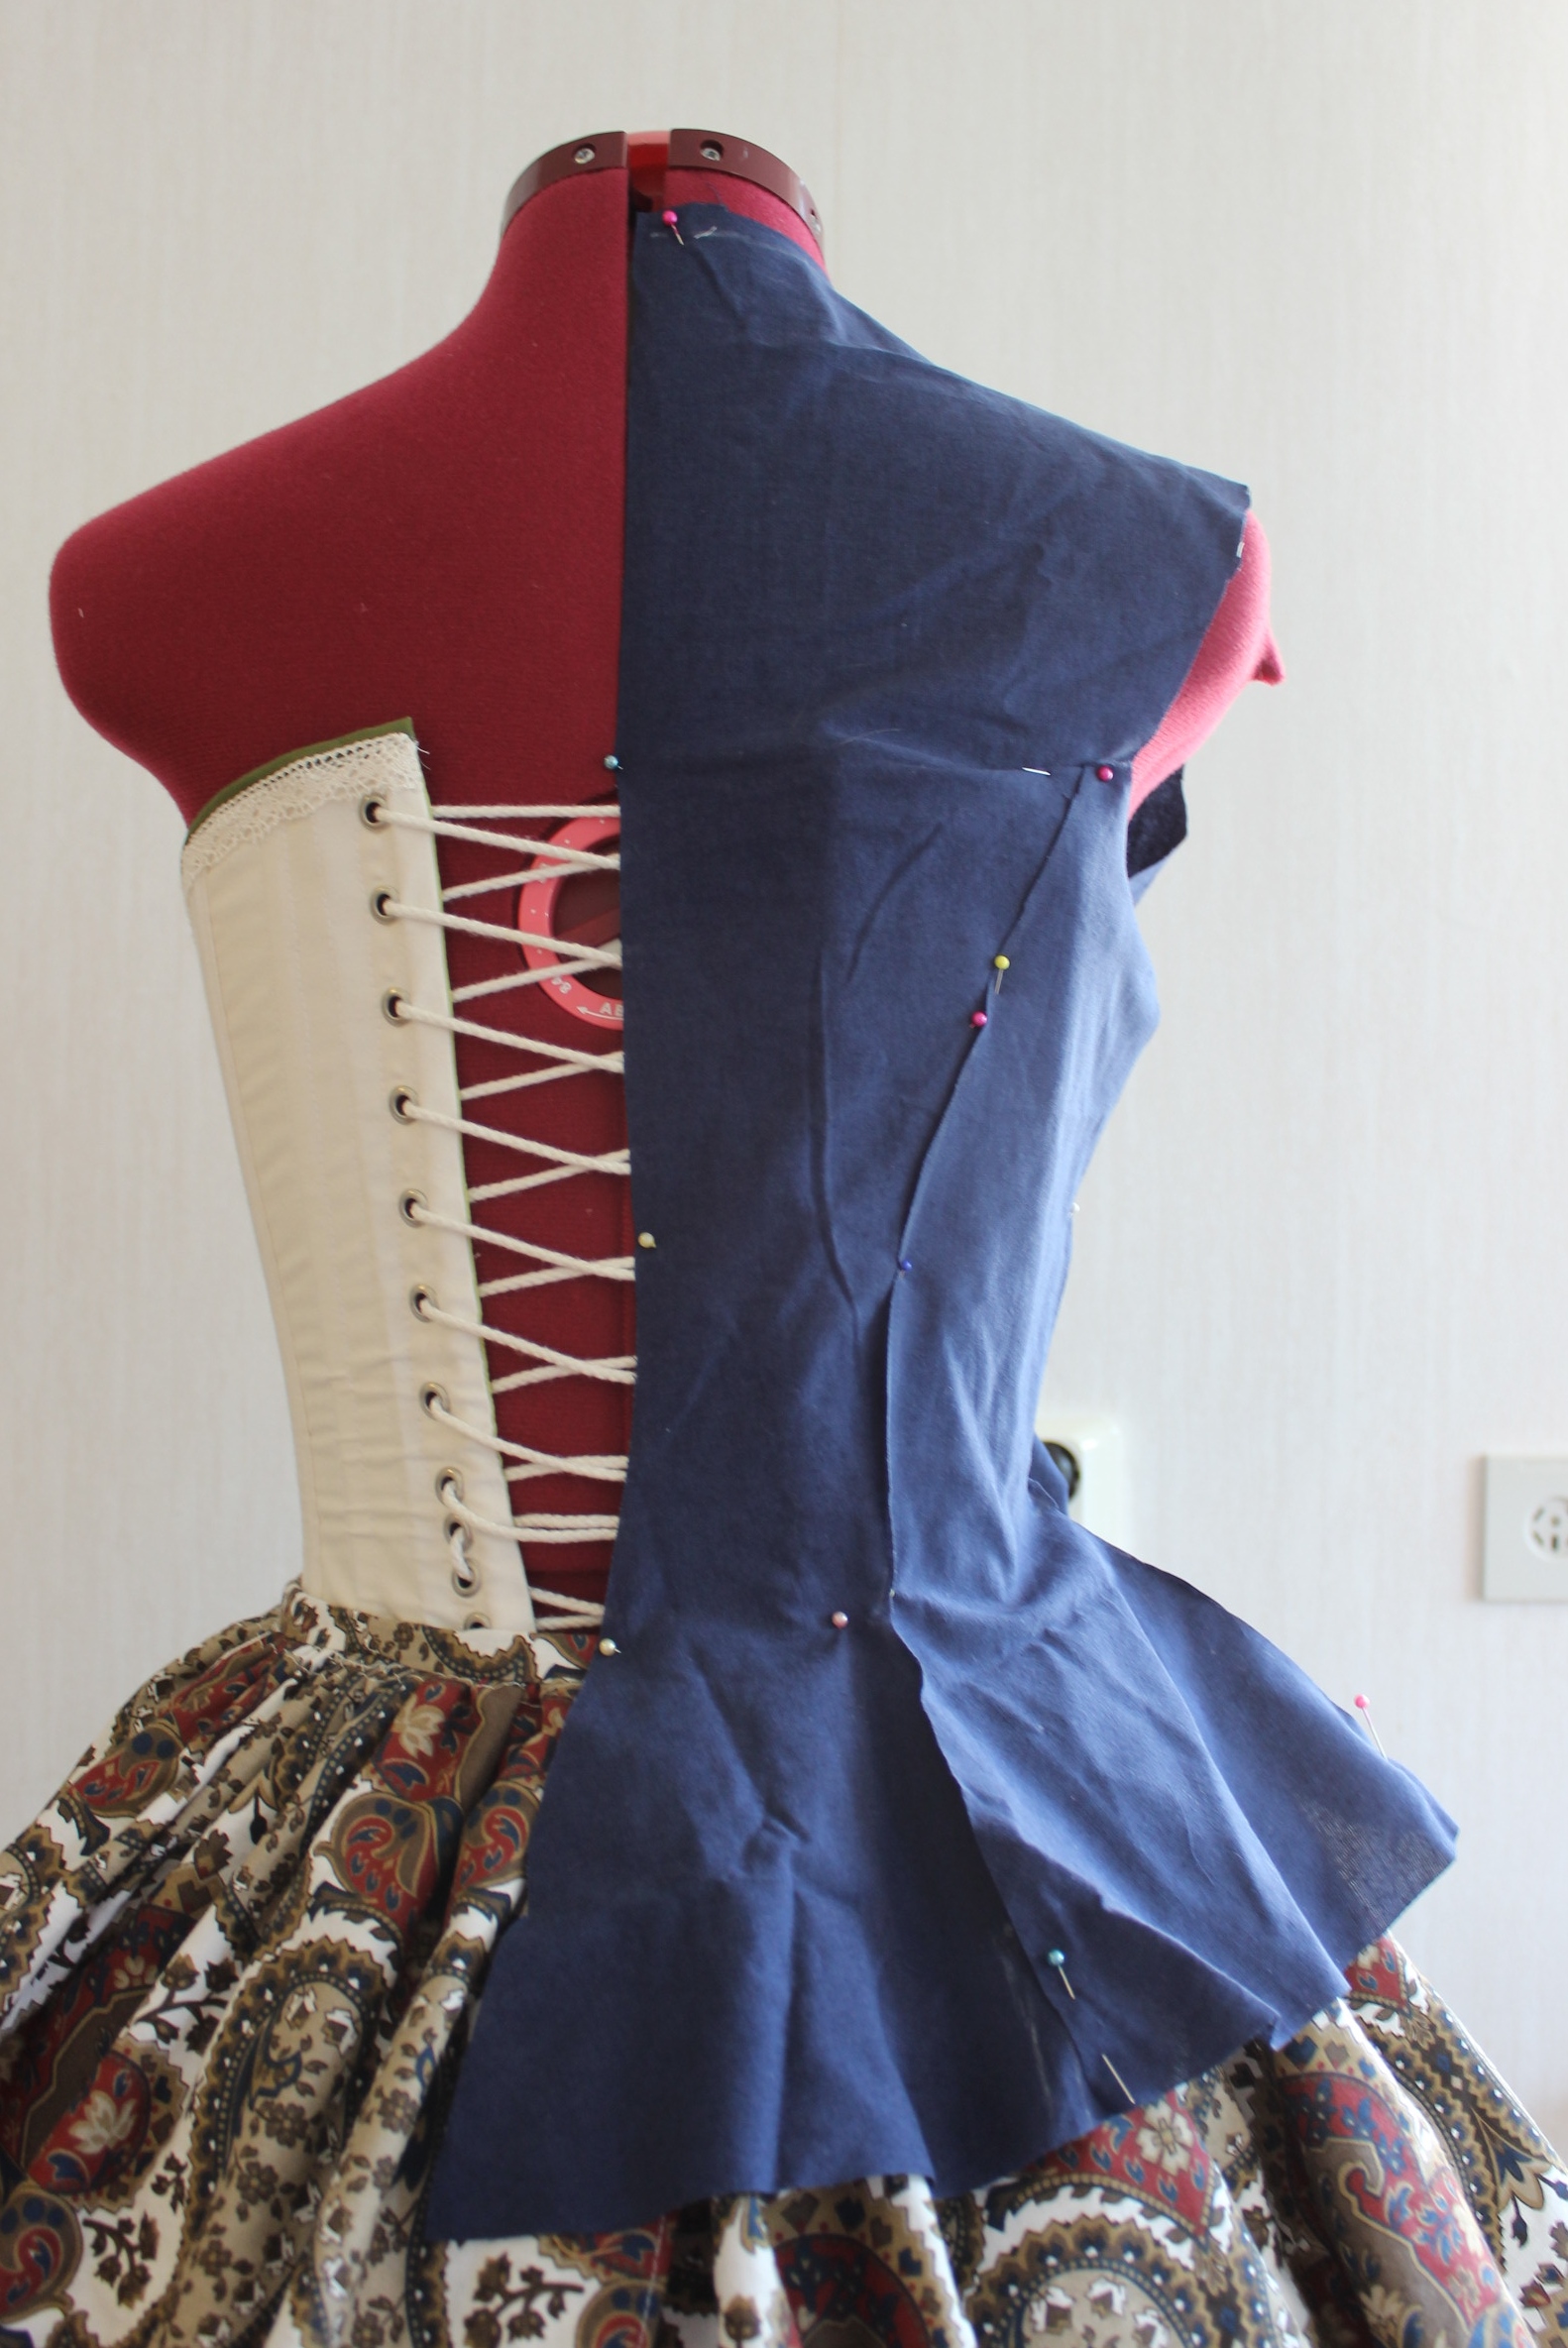
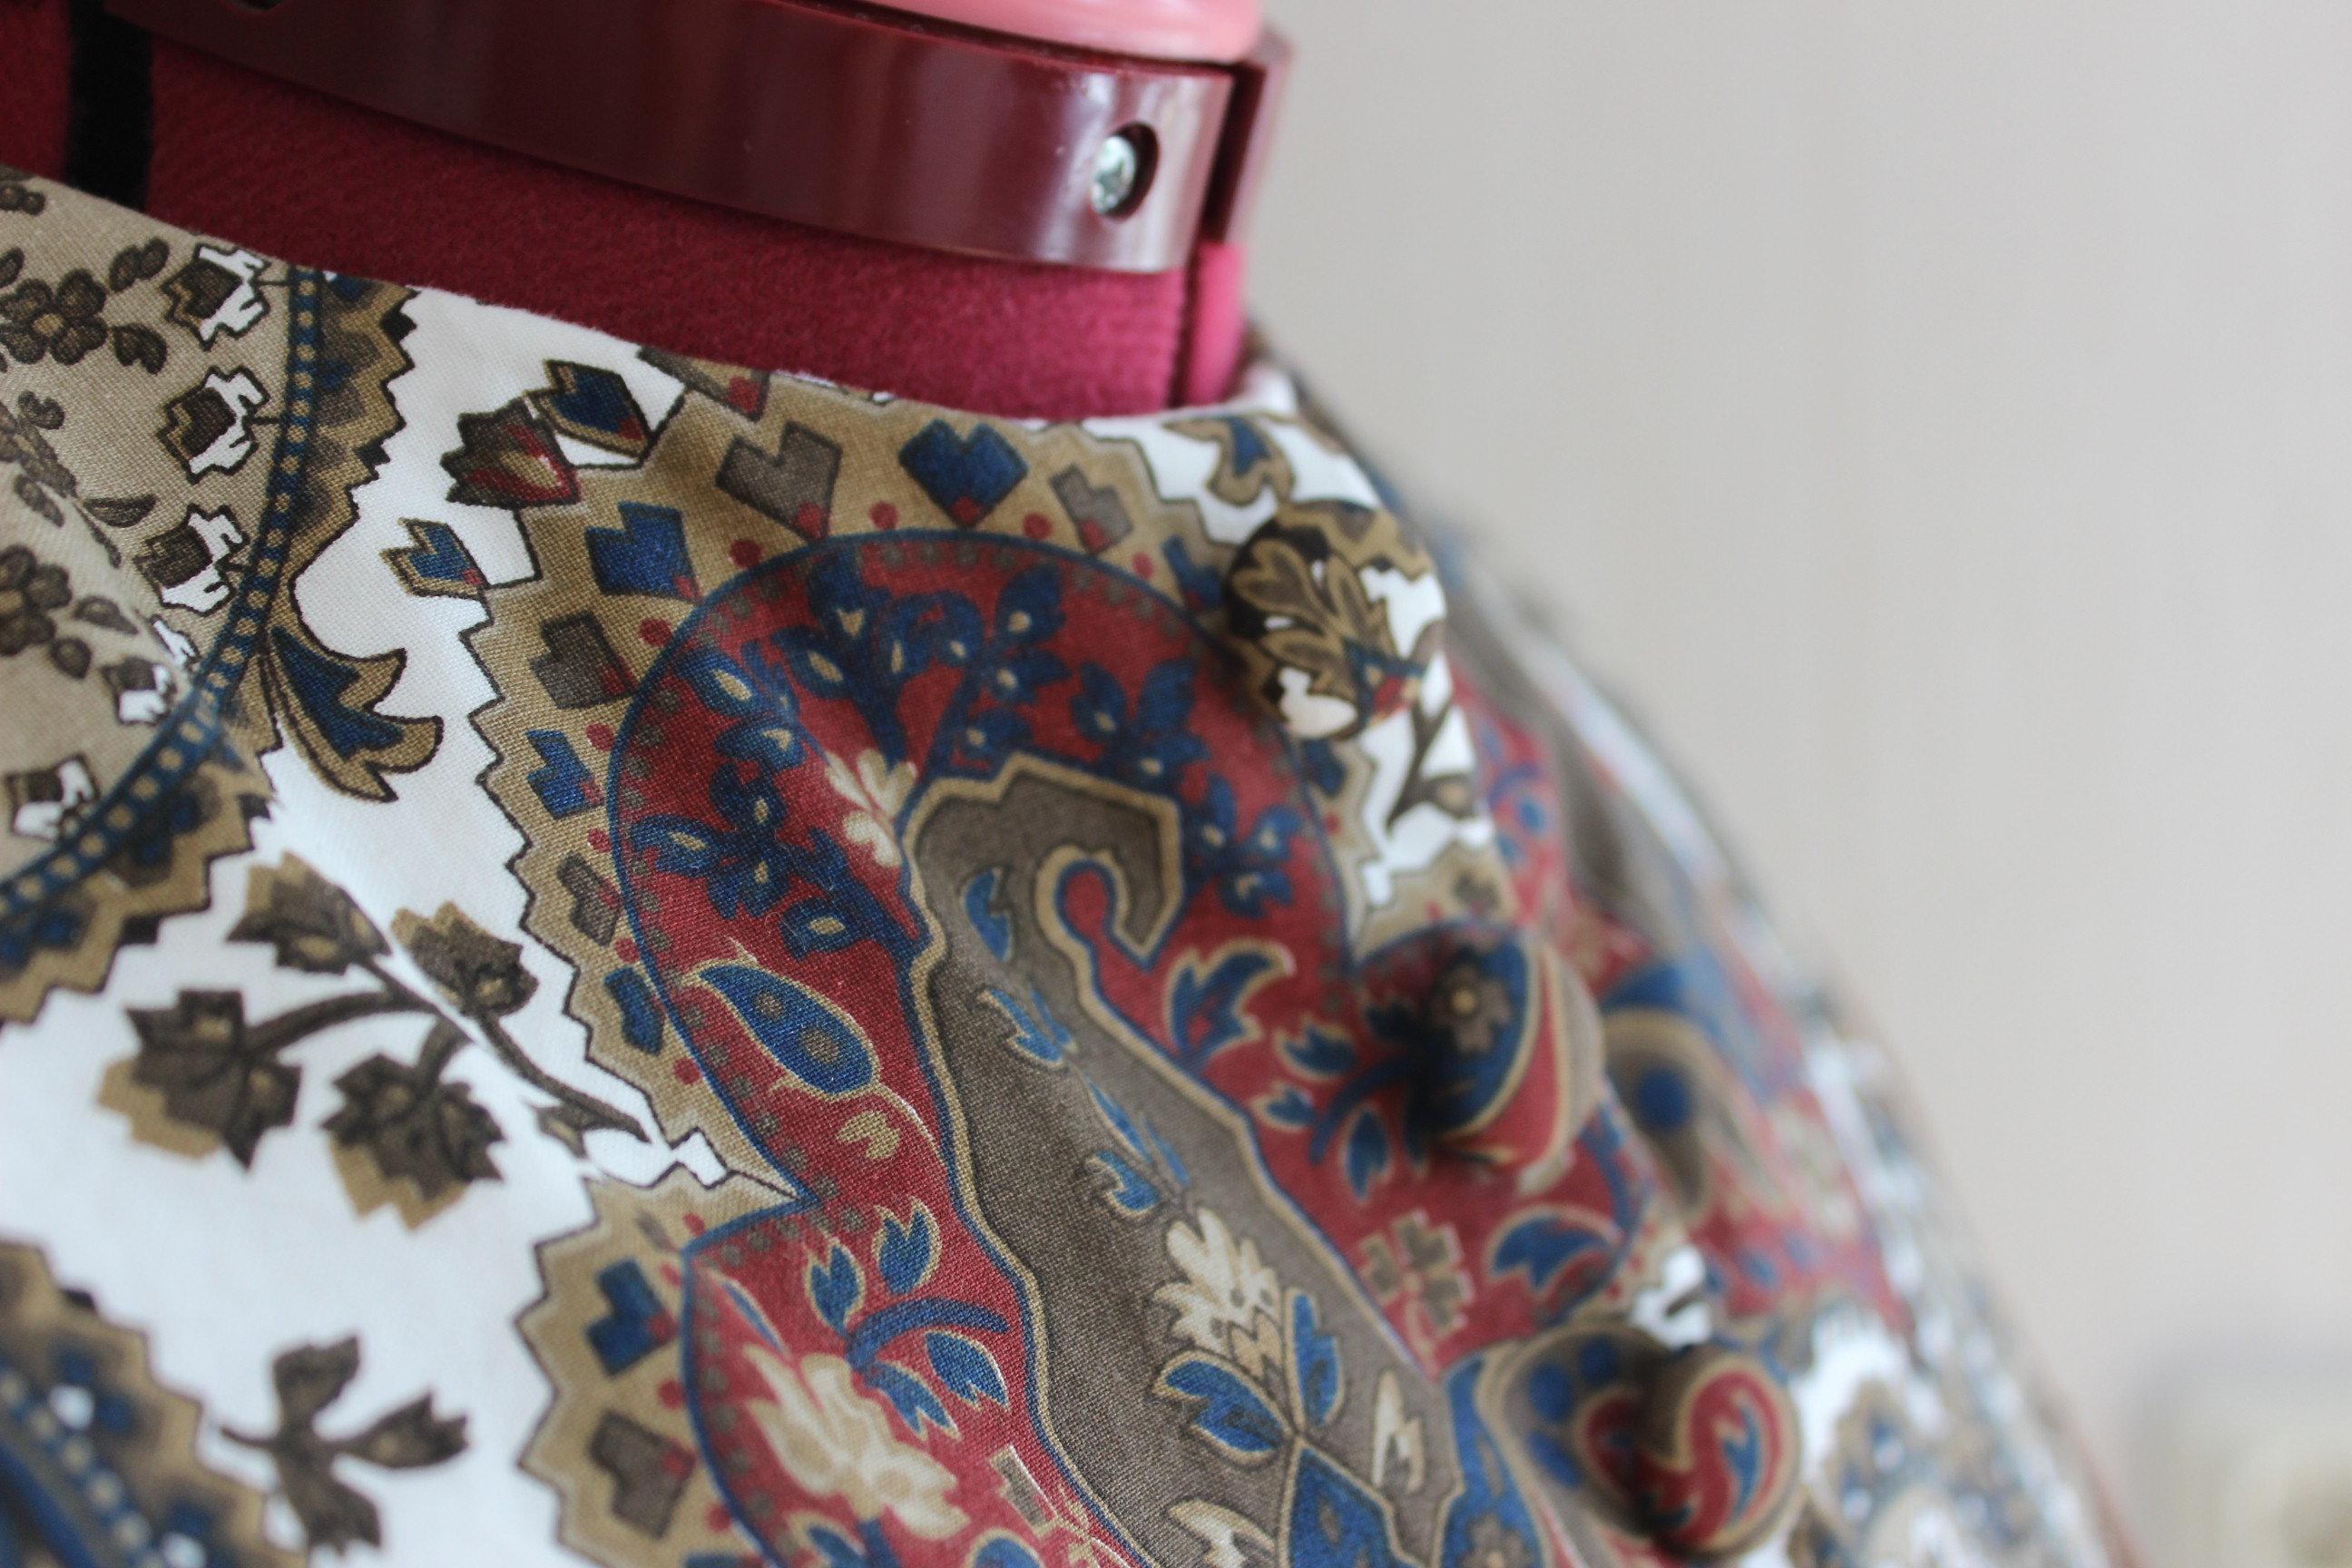
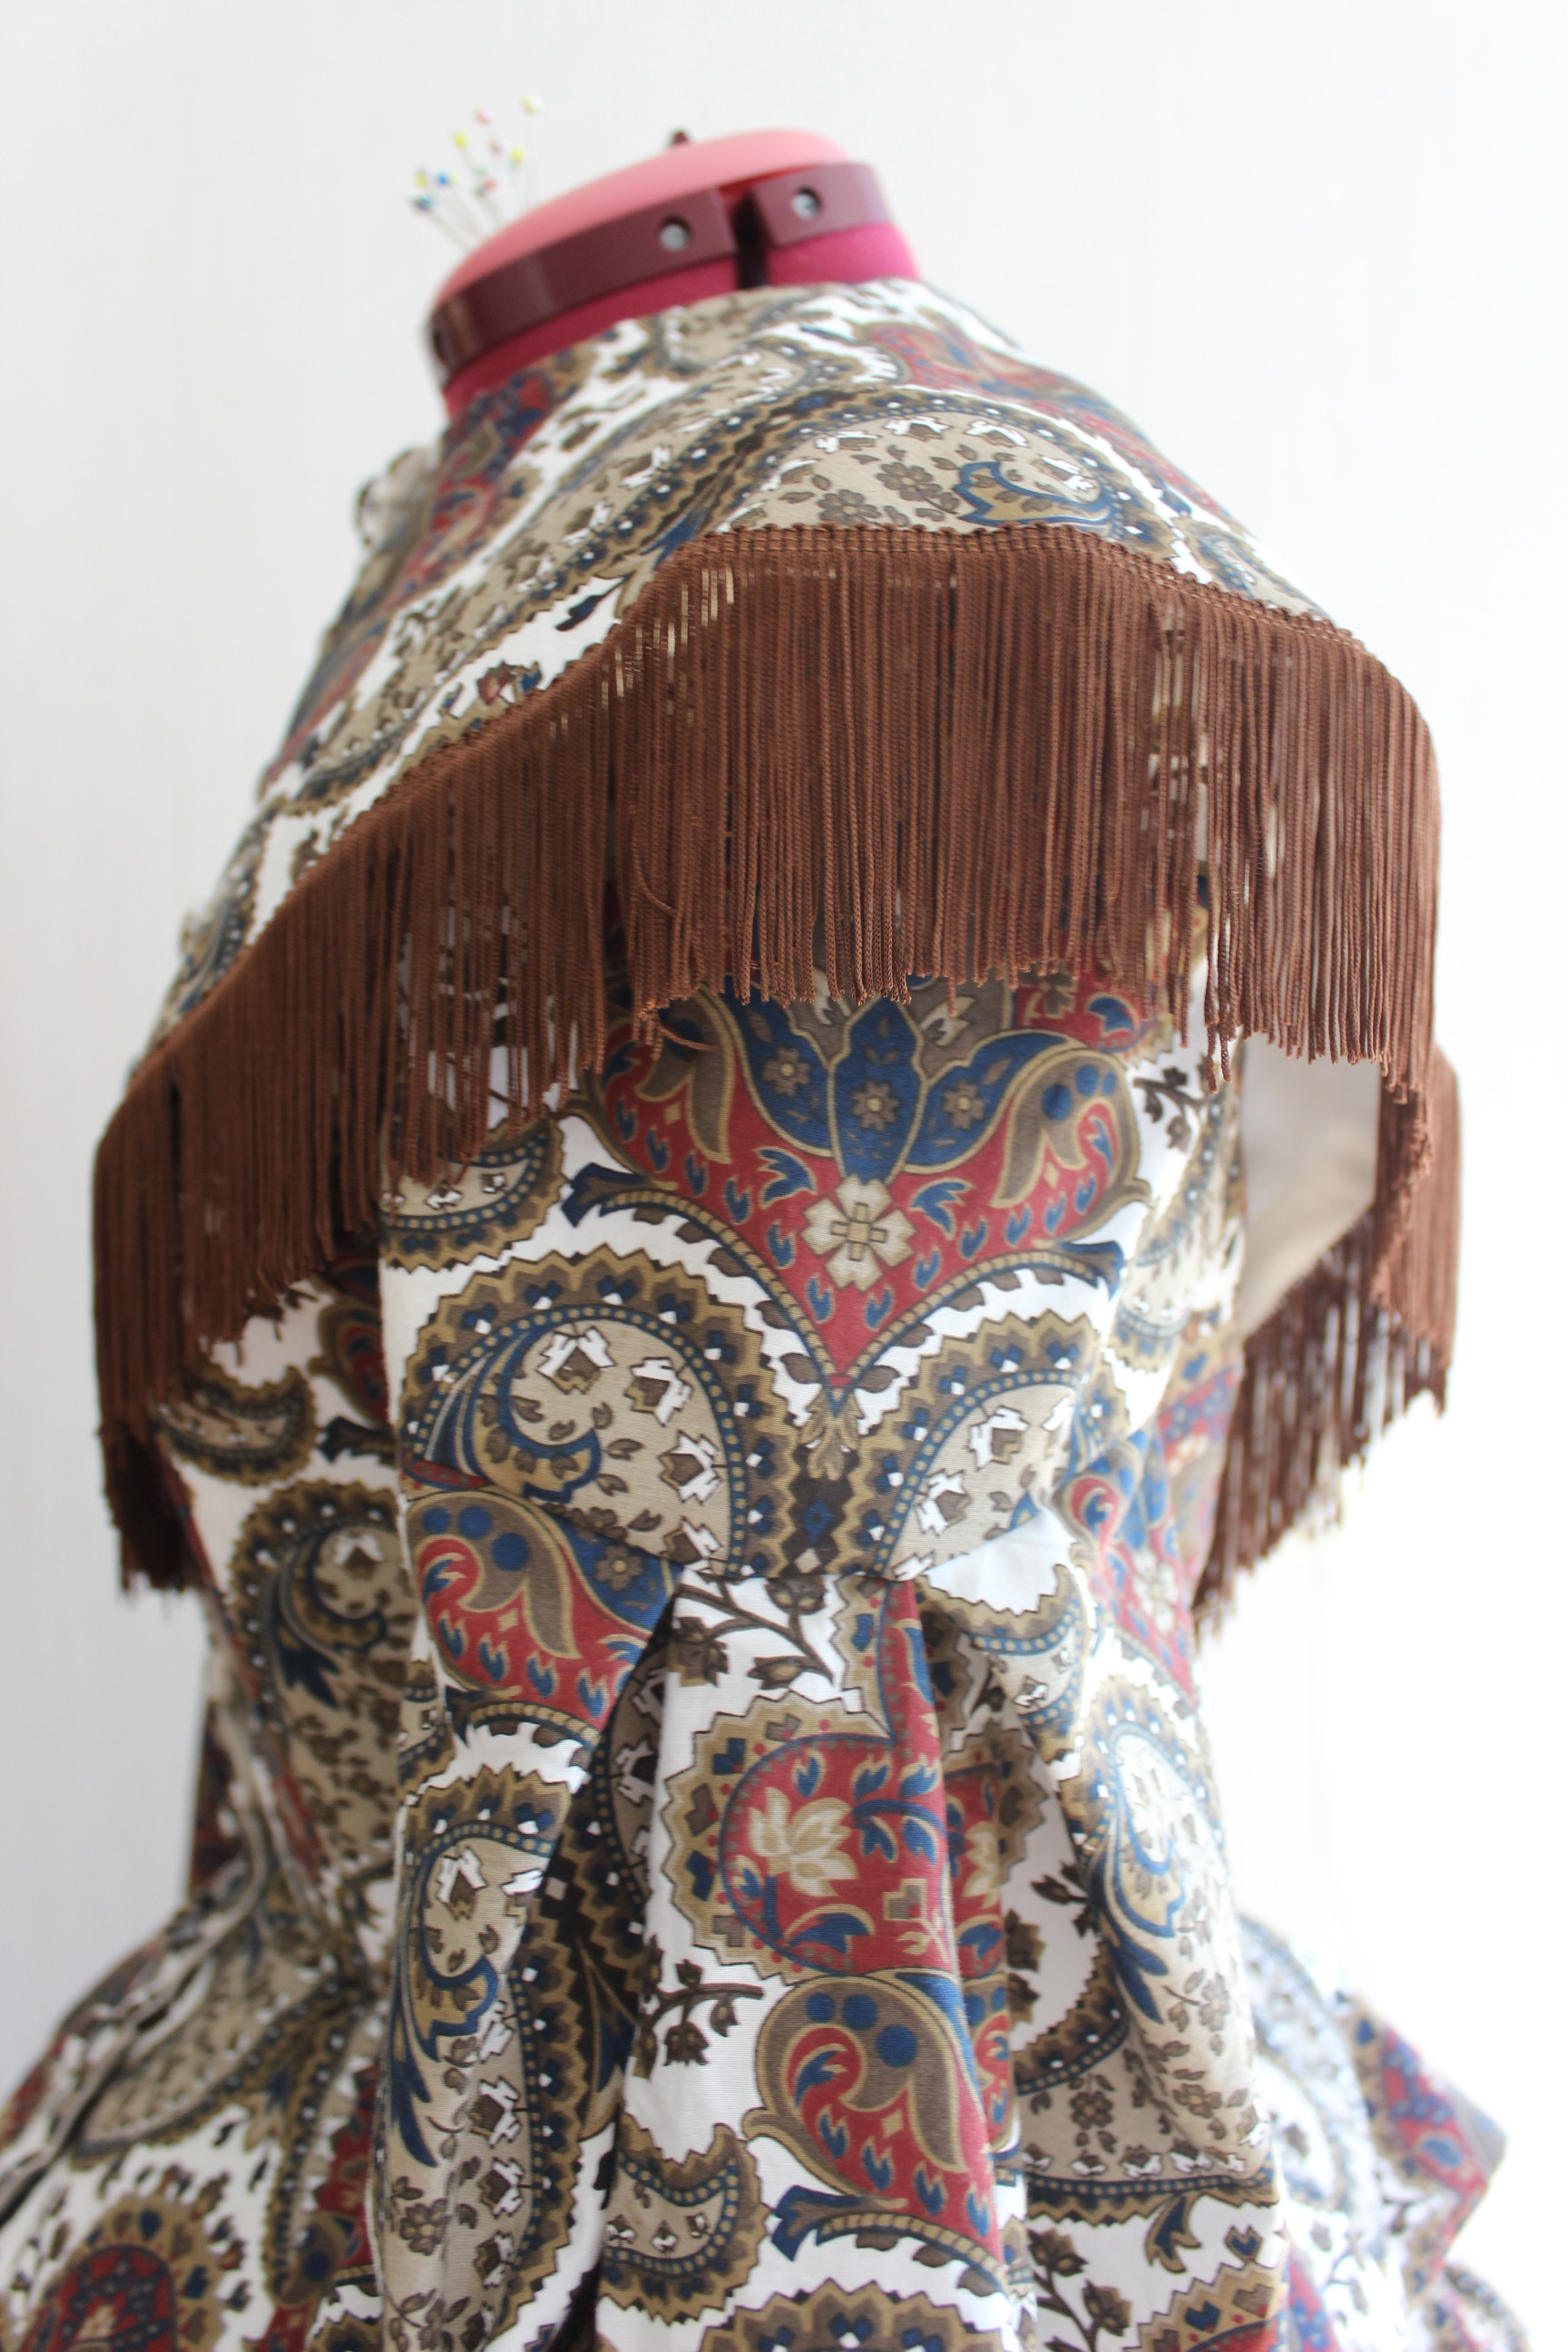
Starting by drapeing the low-cut, of the shoulder, evening bodice.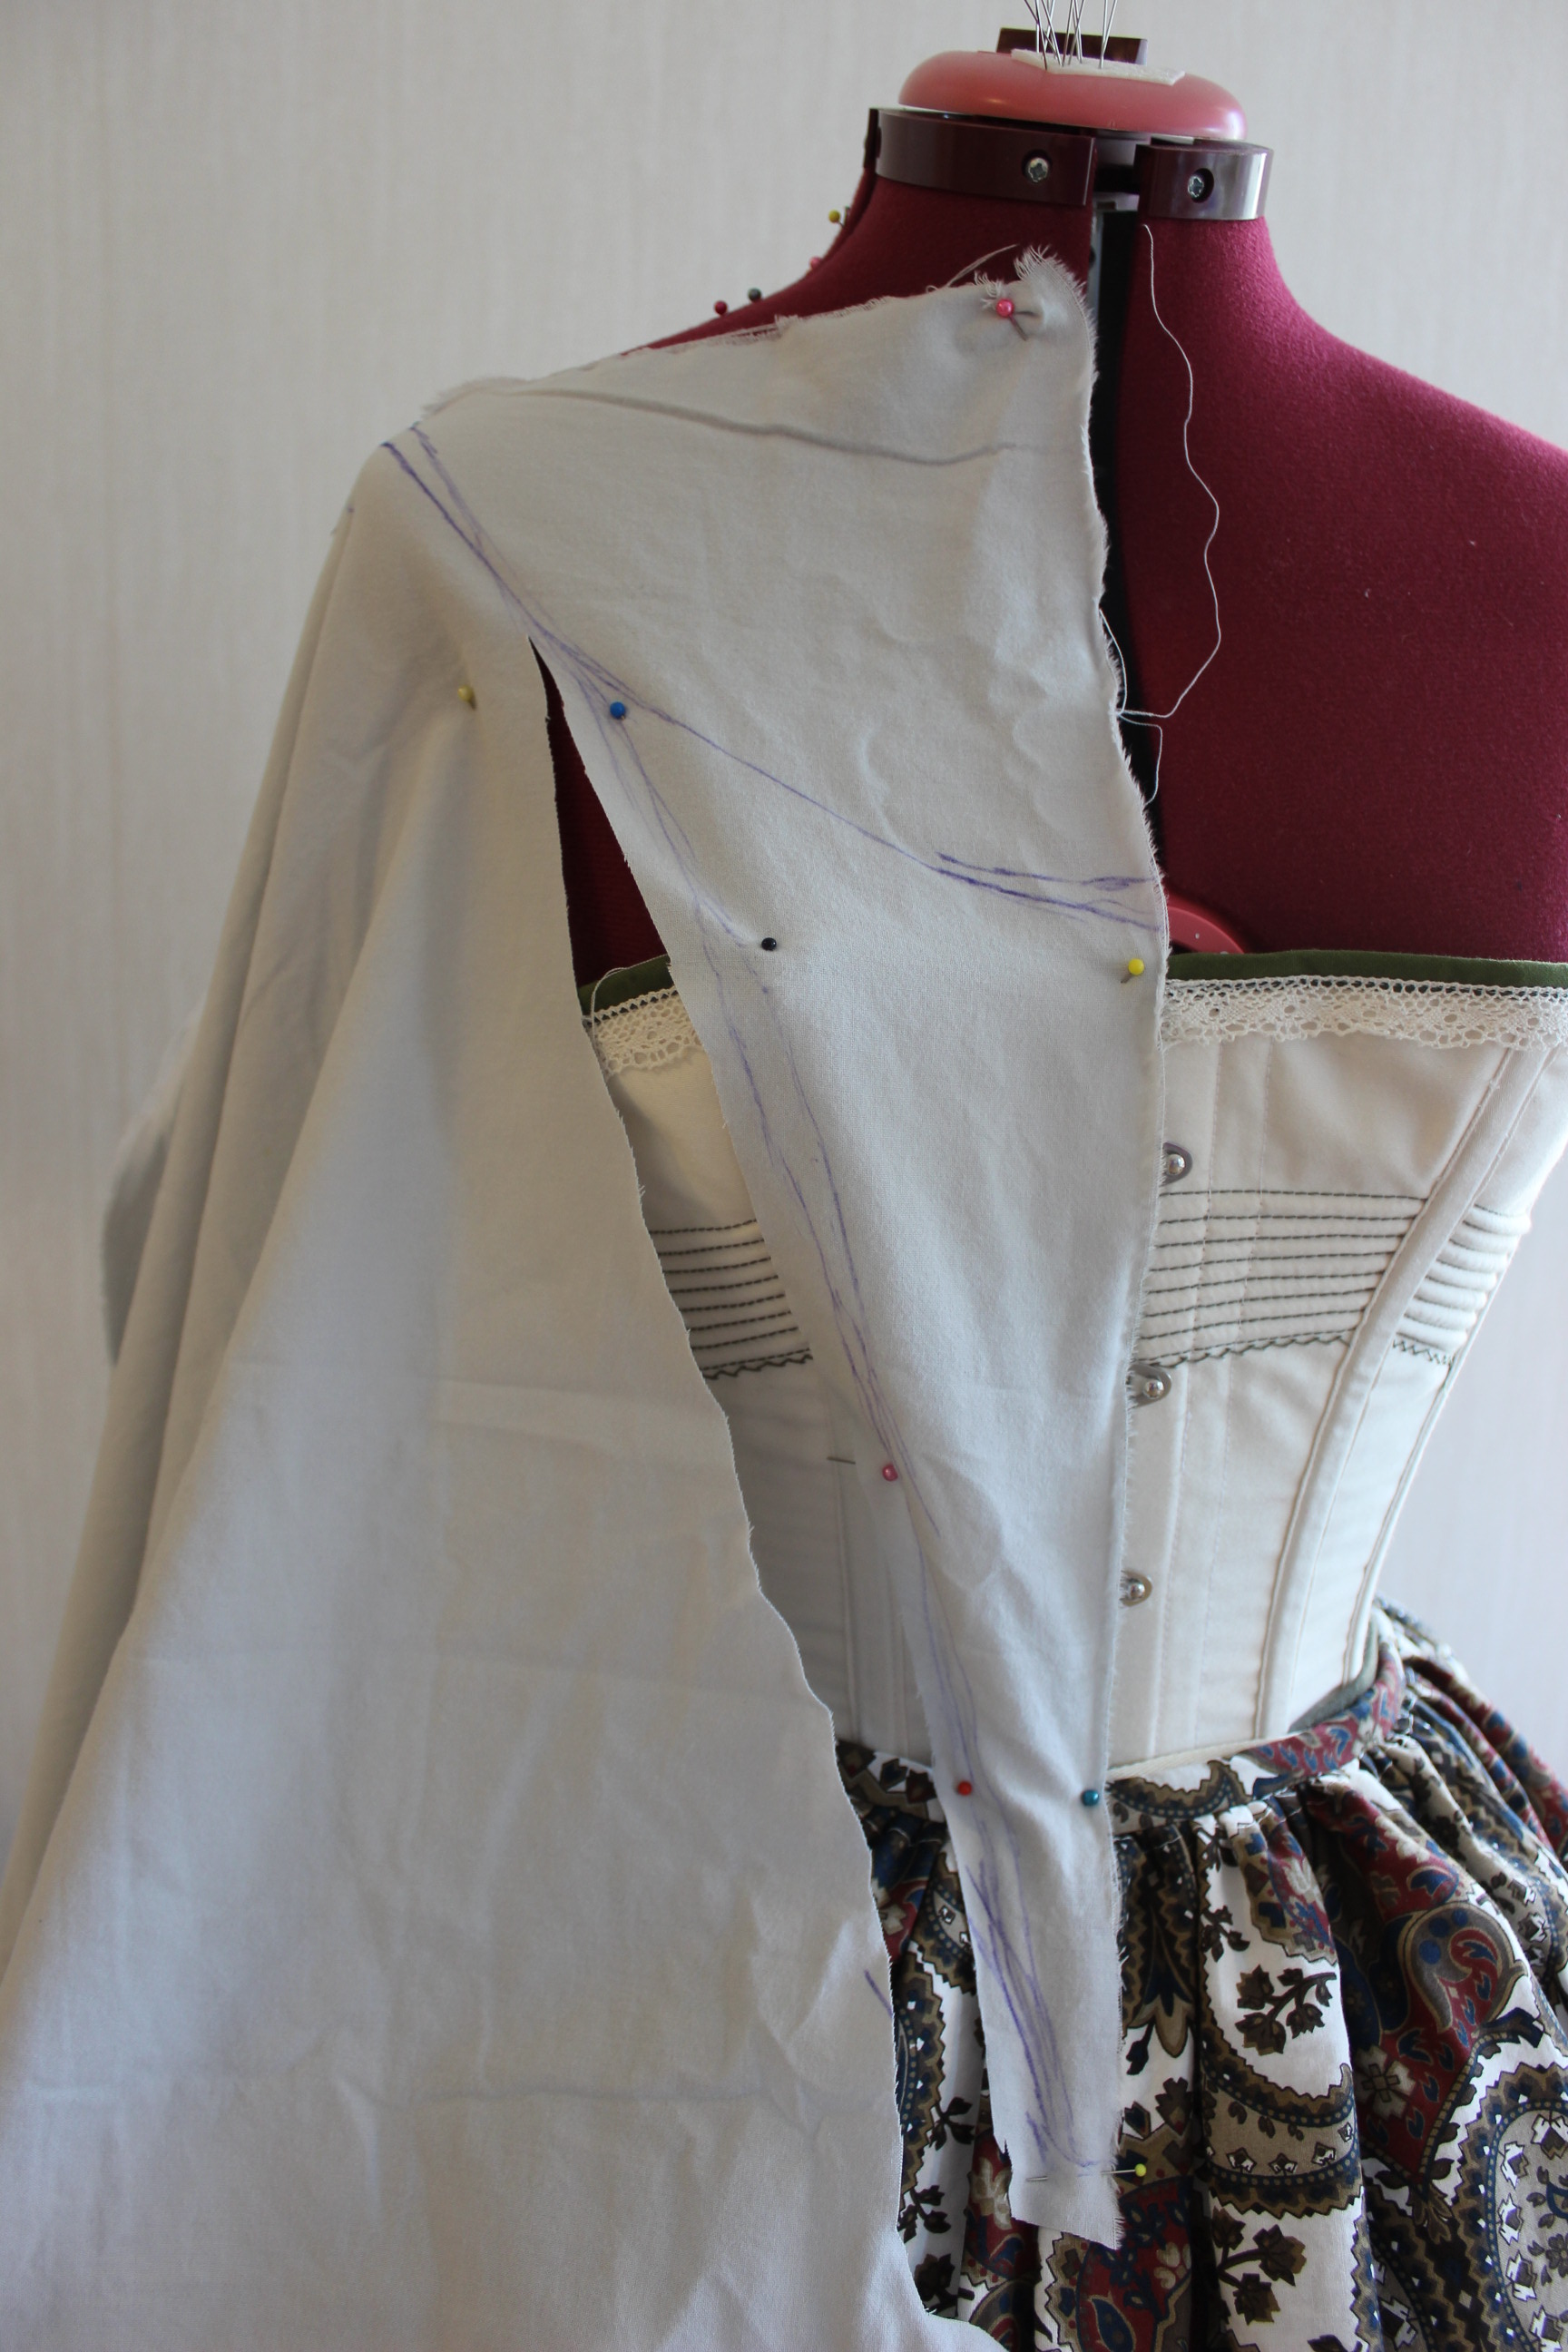
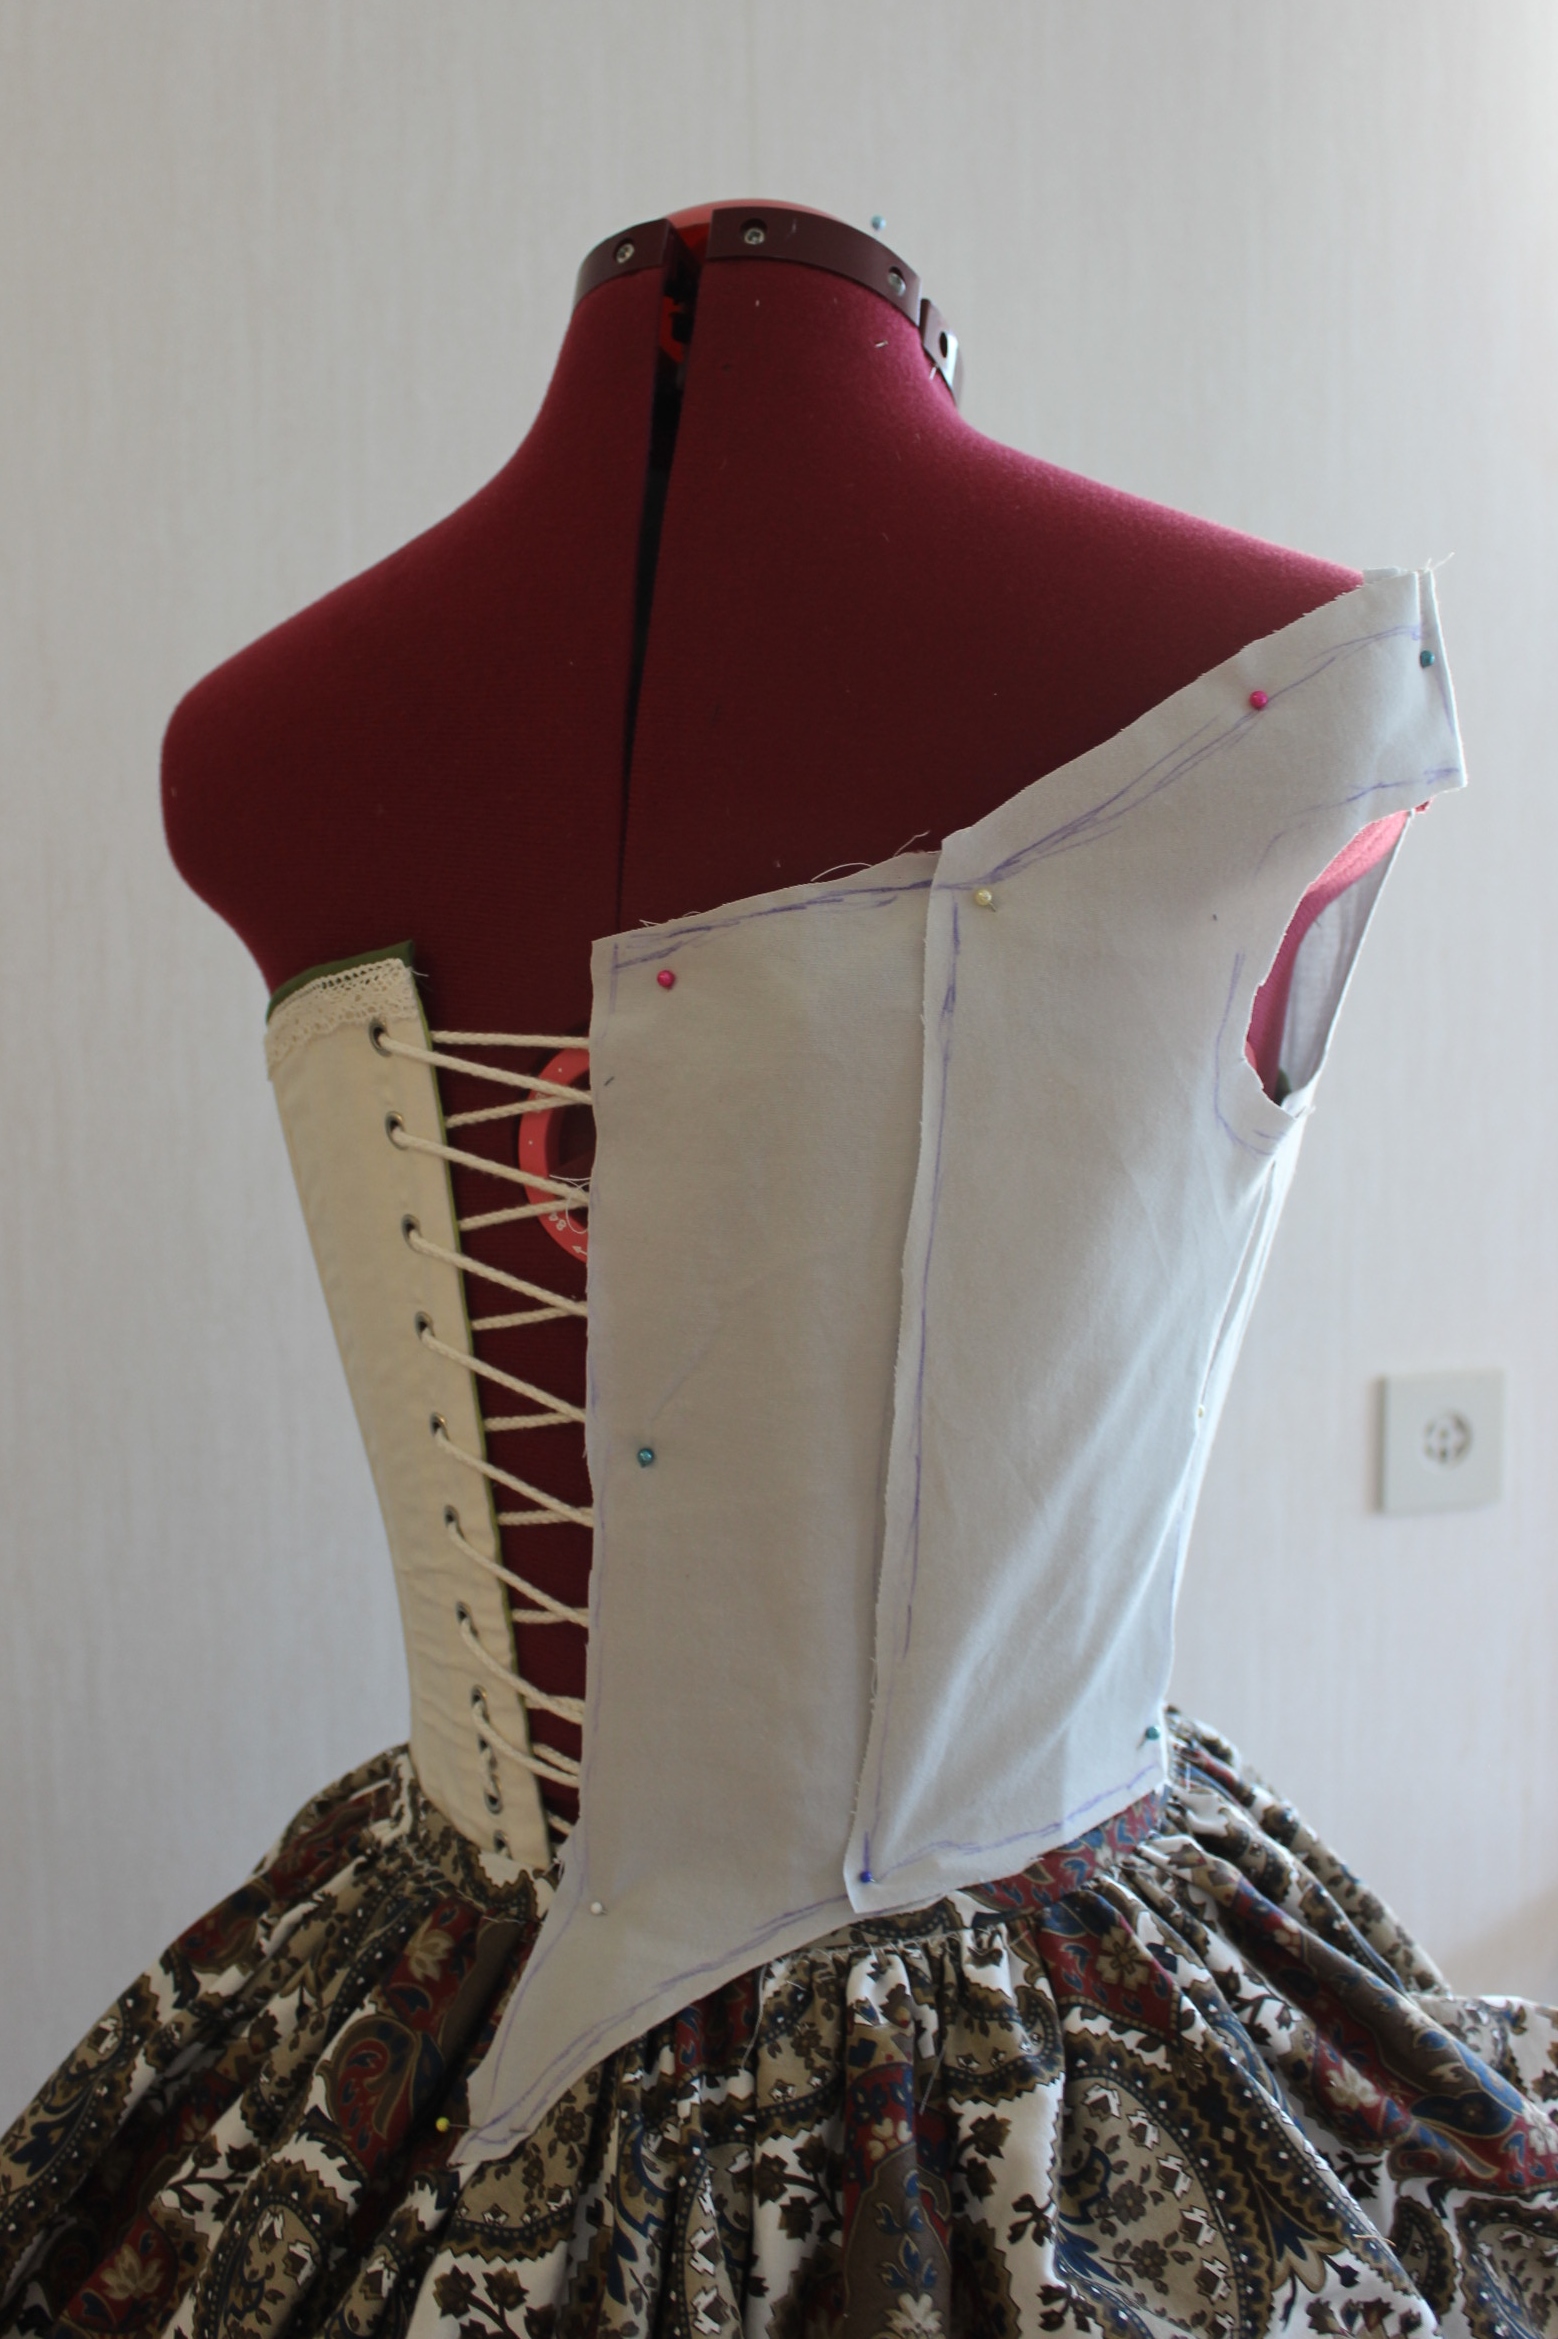
Working on the daybodice and evening bodice at the same time, I made pretty good speed, cutting and sewing the mock-ups. I also minimized the amount of times I needed to put on the corset by trying on both of the mock-ups at the same time.

The fit was a bit underwhelming, and I ended up lenghten the bodice at the waist by 3 cm, re-shaping the shoulder, changing tha bust seam and adding another 5 cm to the front tab.
A pic to get a sence of how it would look.
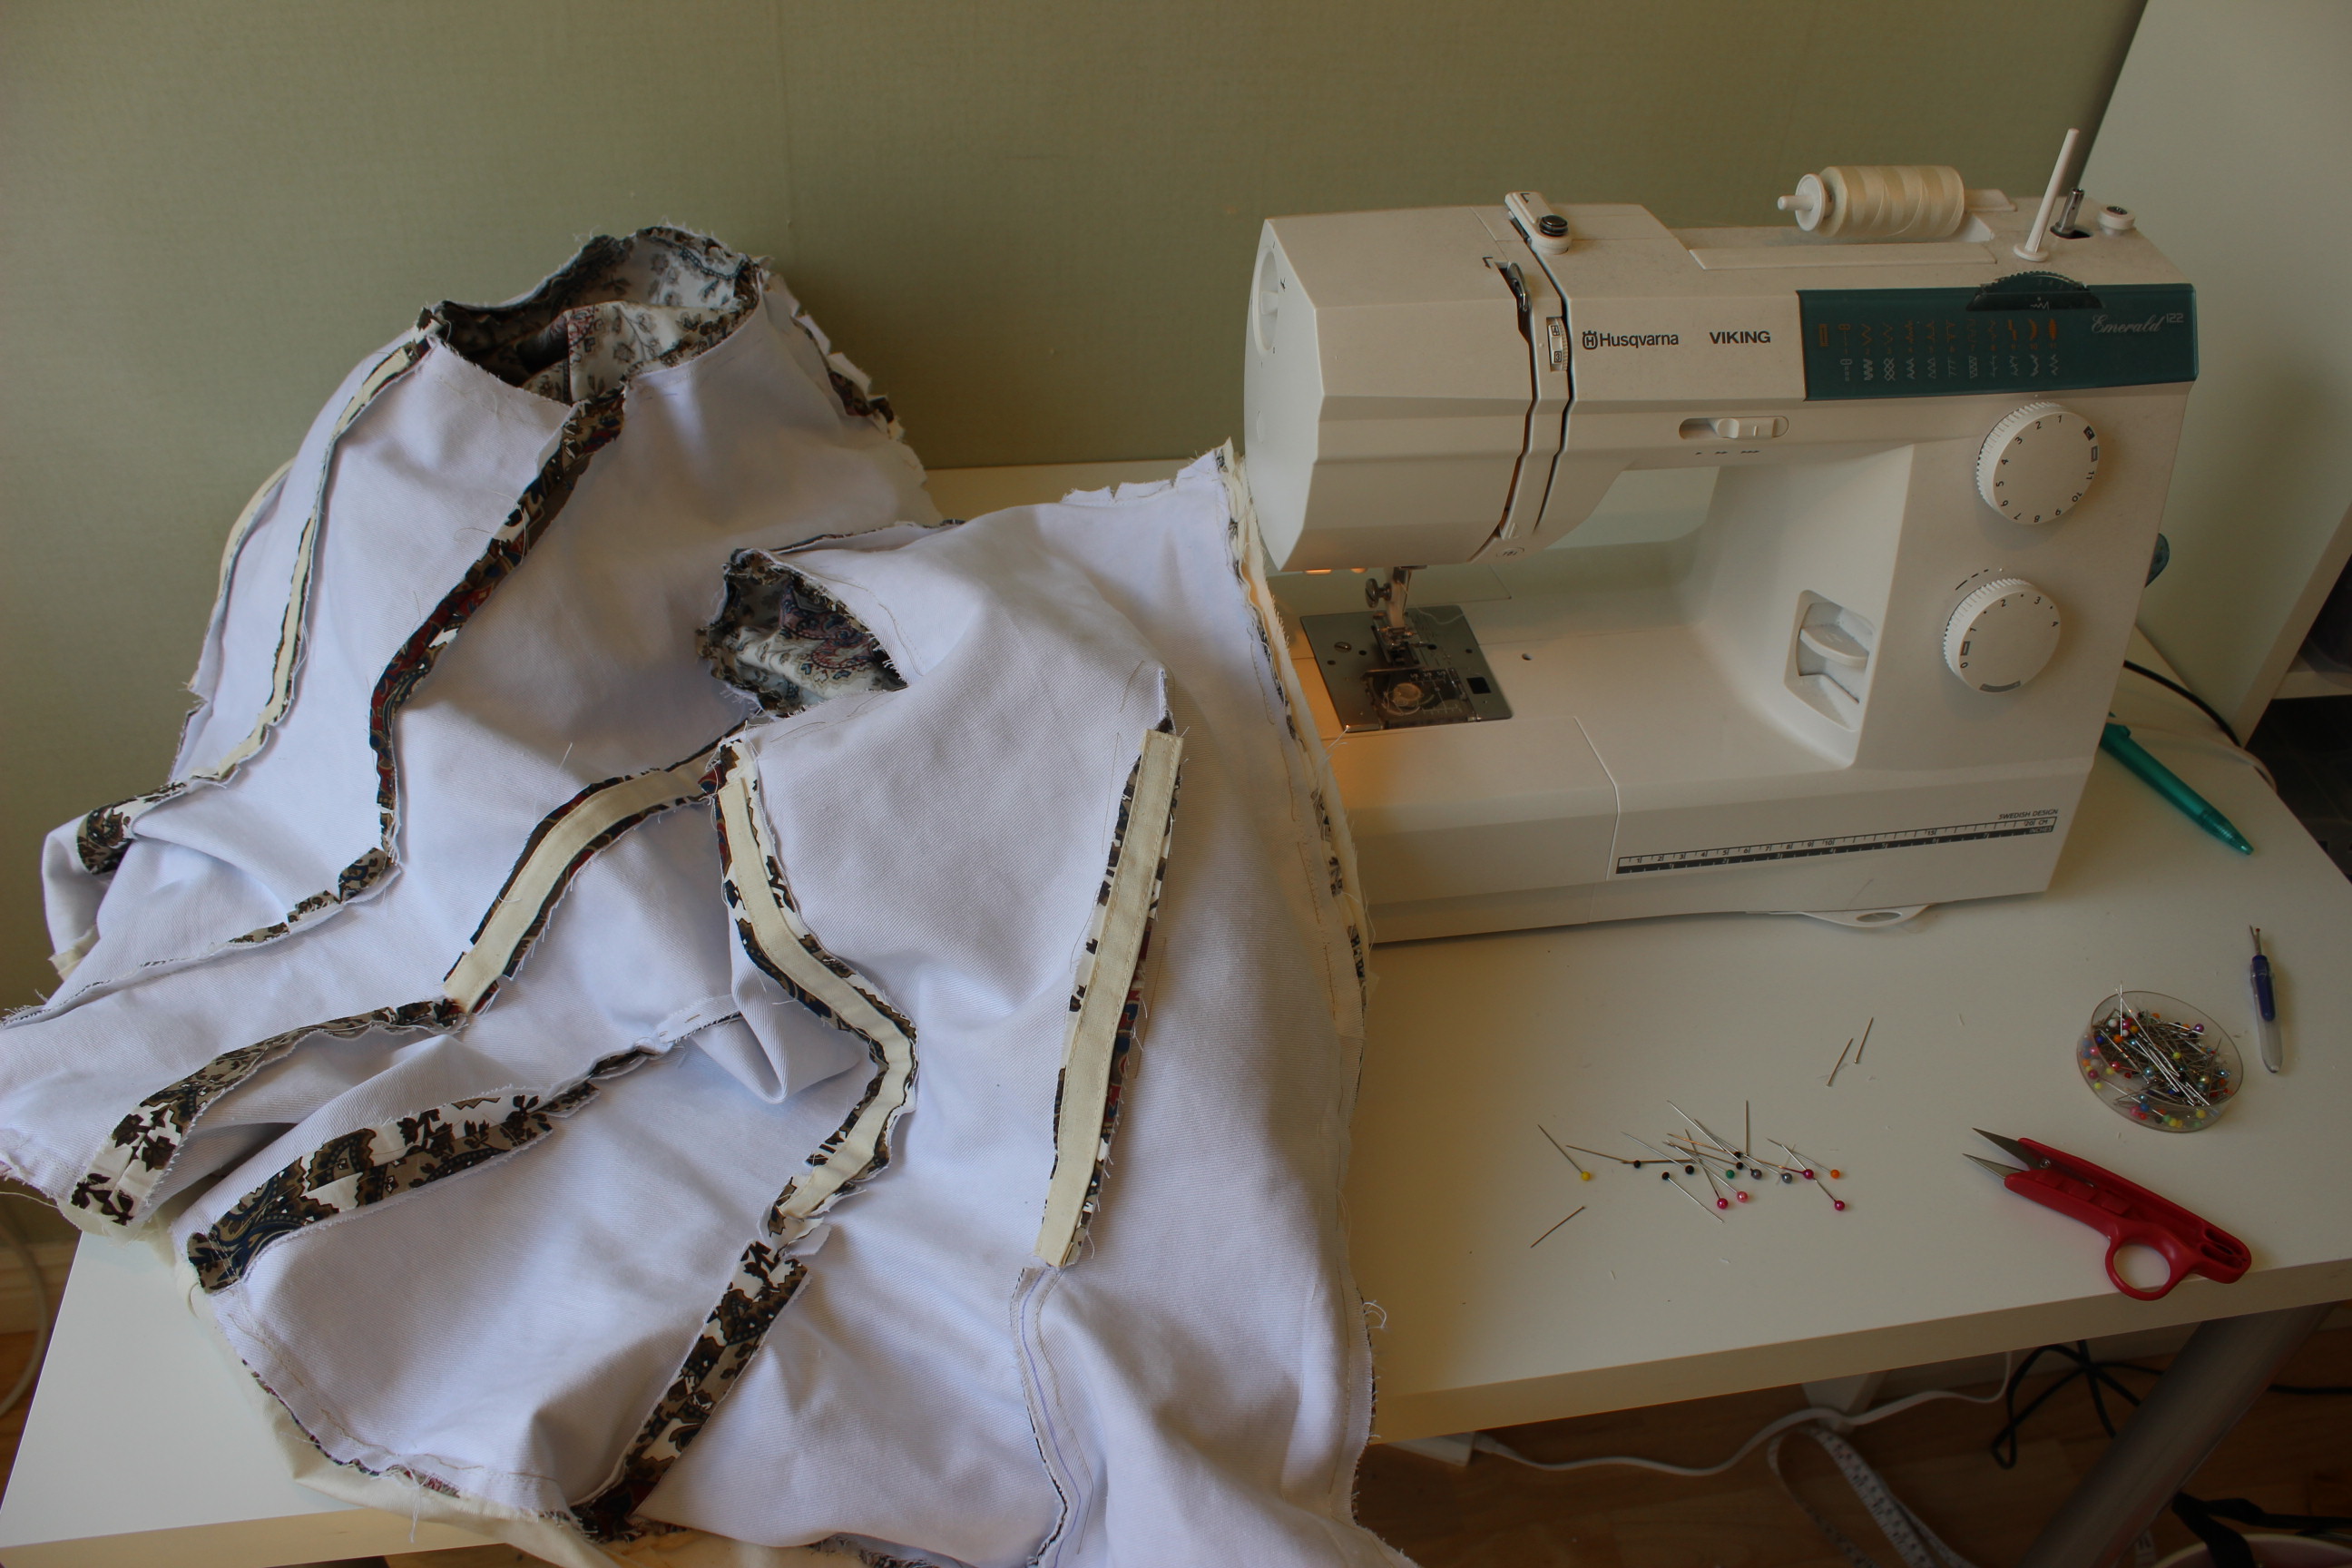
After cutting all the layers out, I basted the twill to the paisley, and started to sew the pieces togeter.
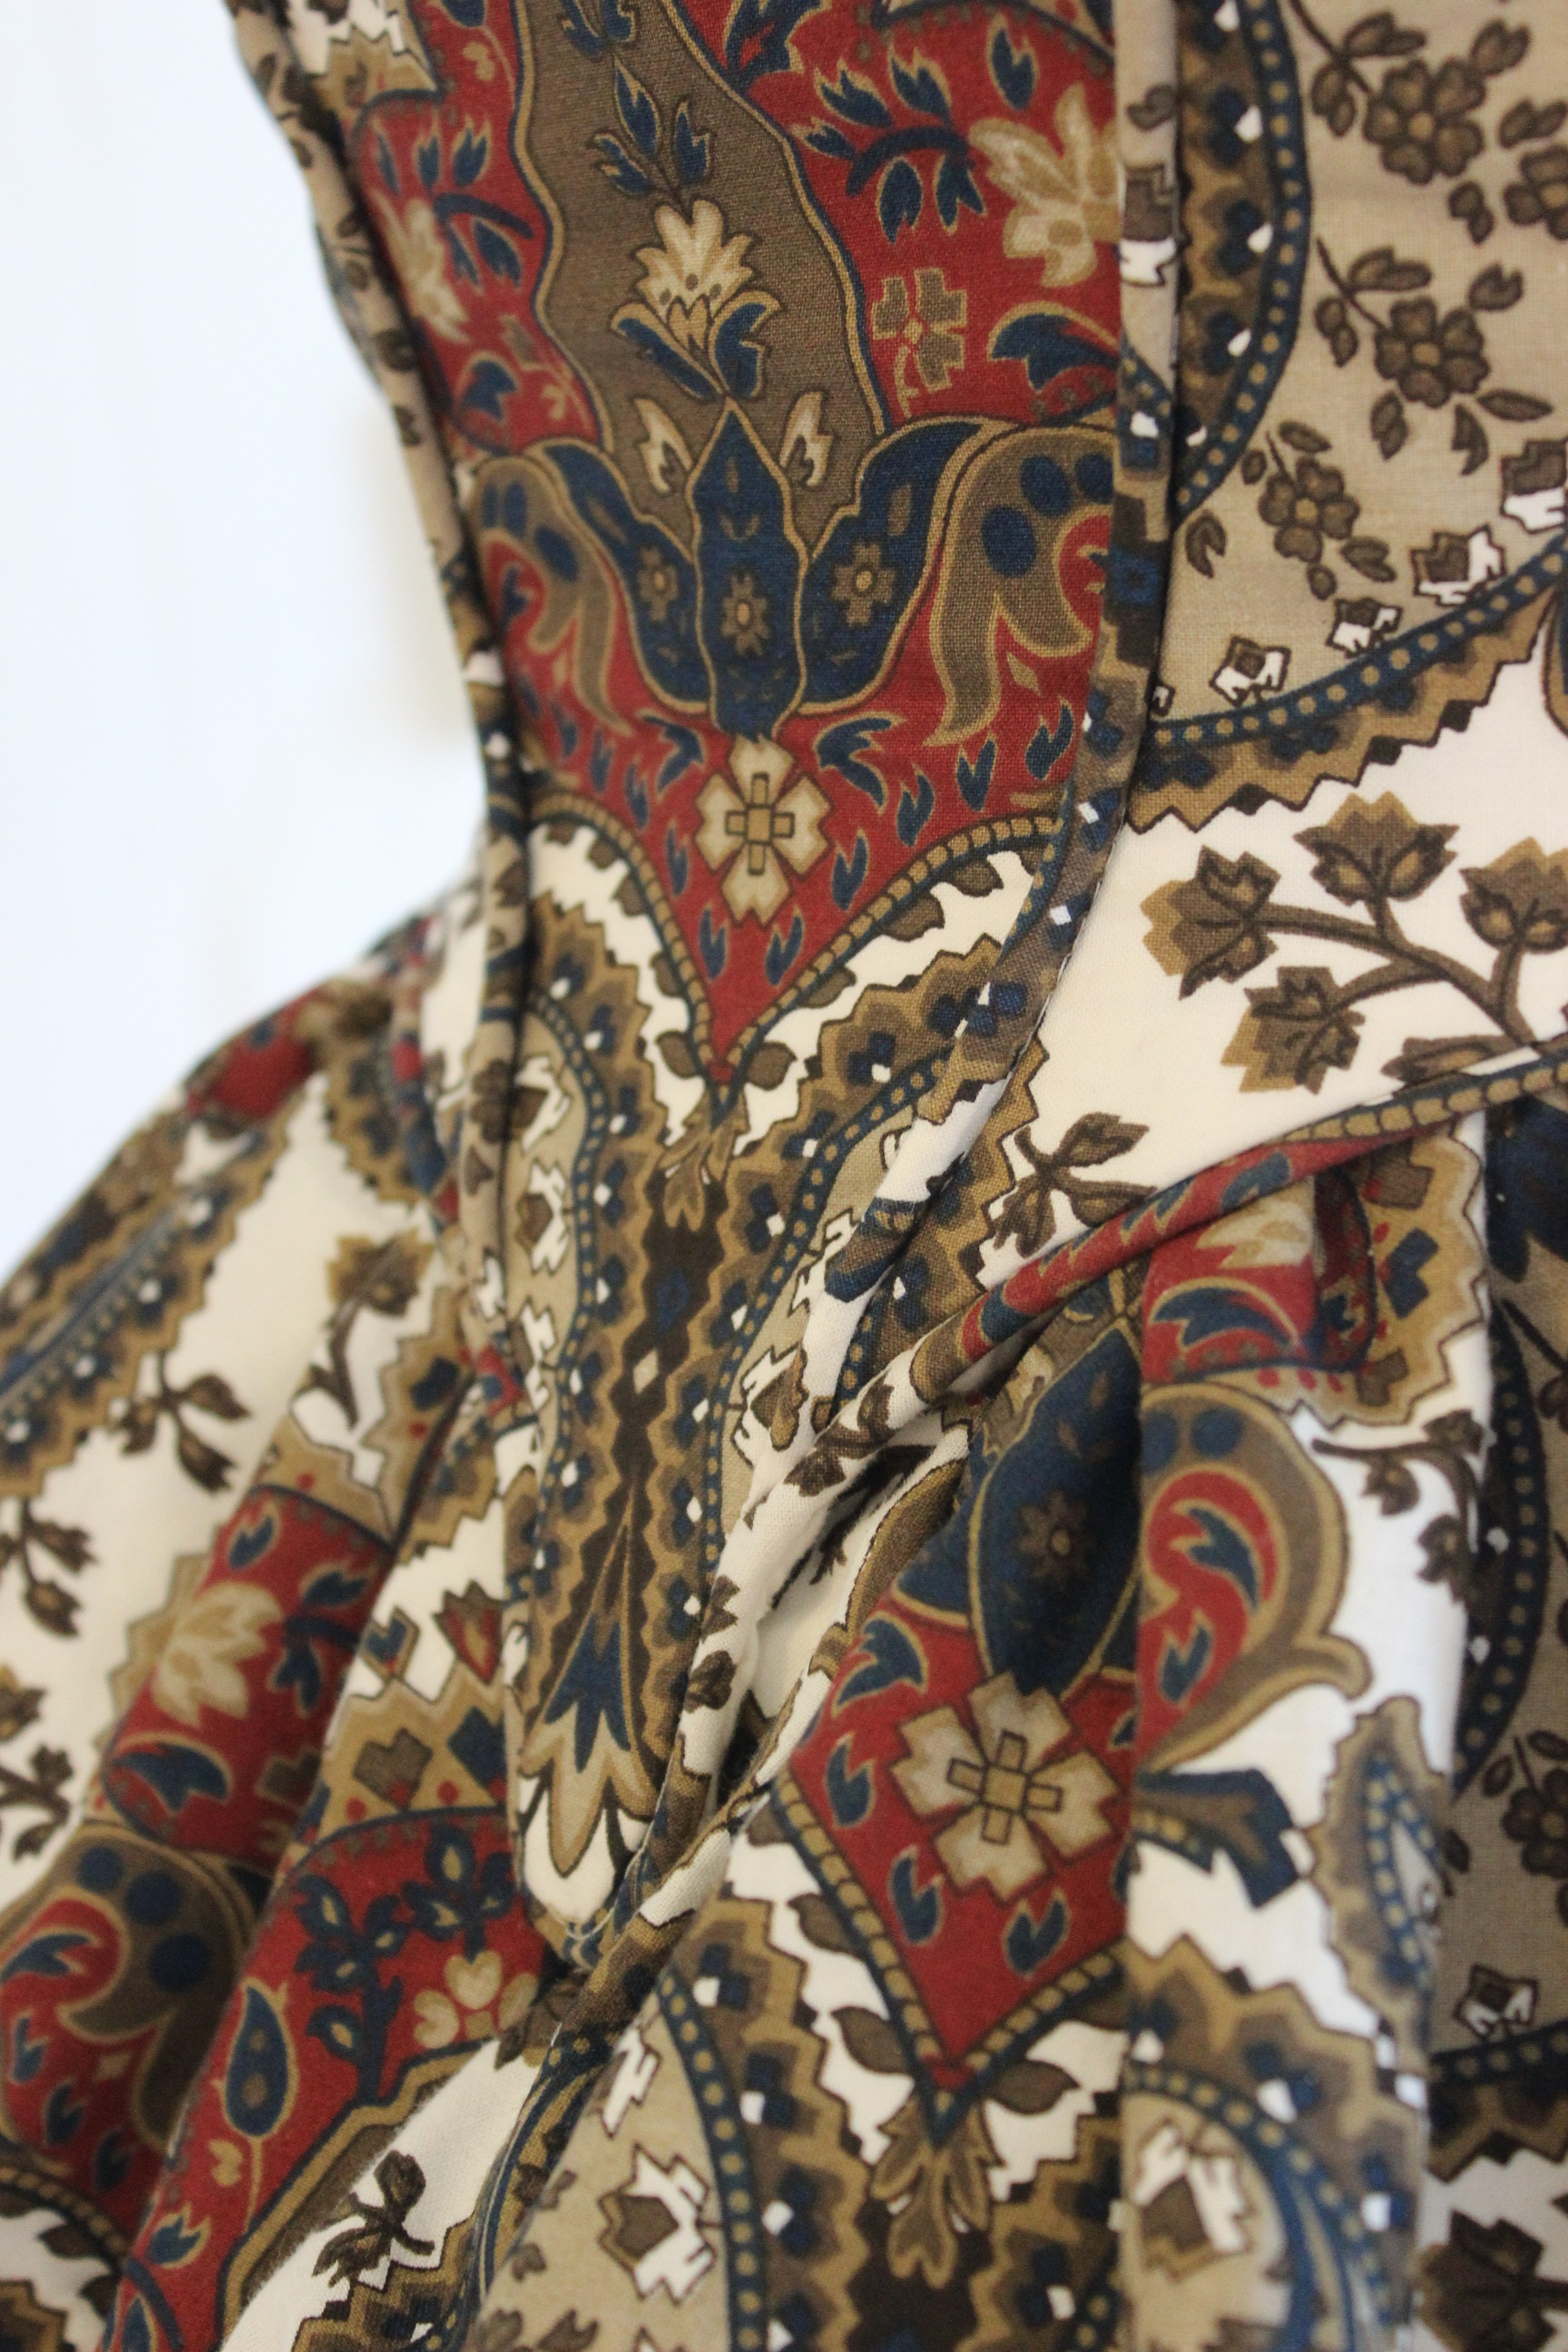
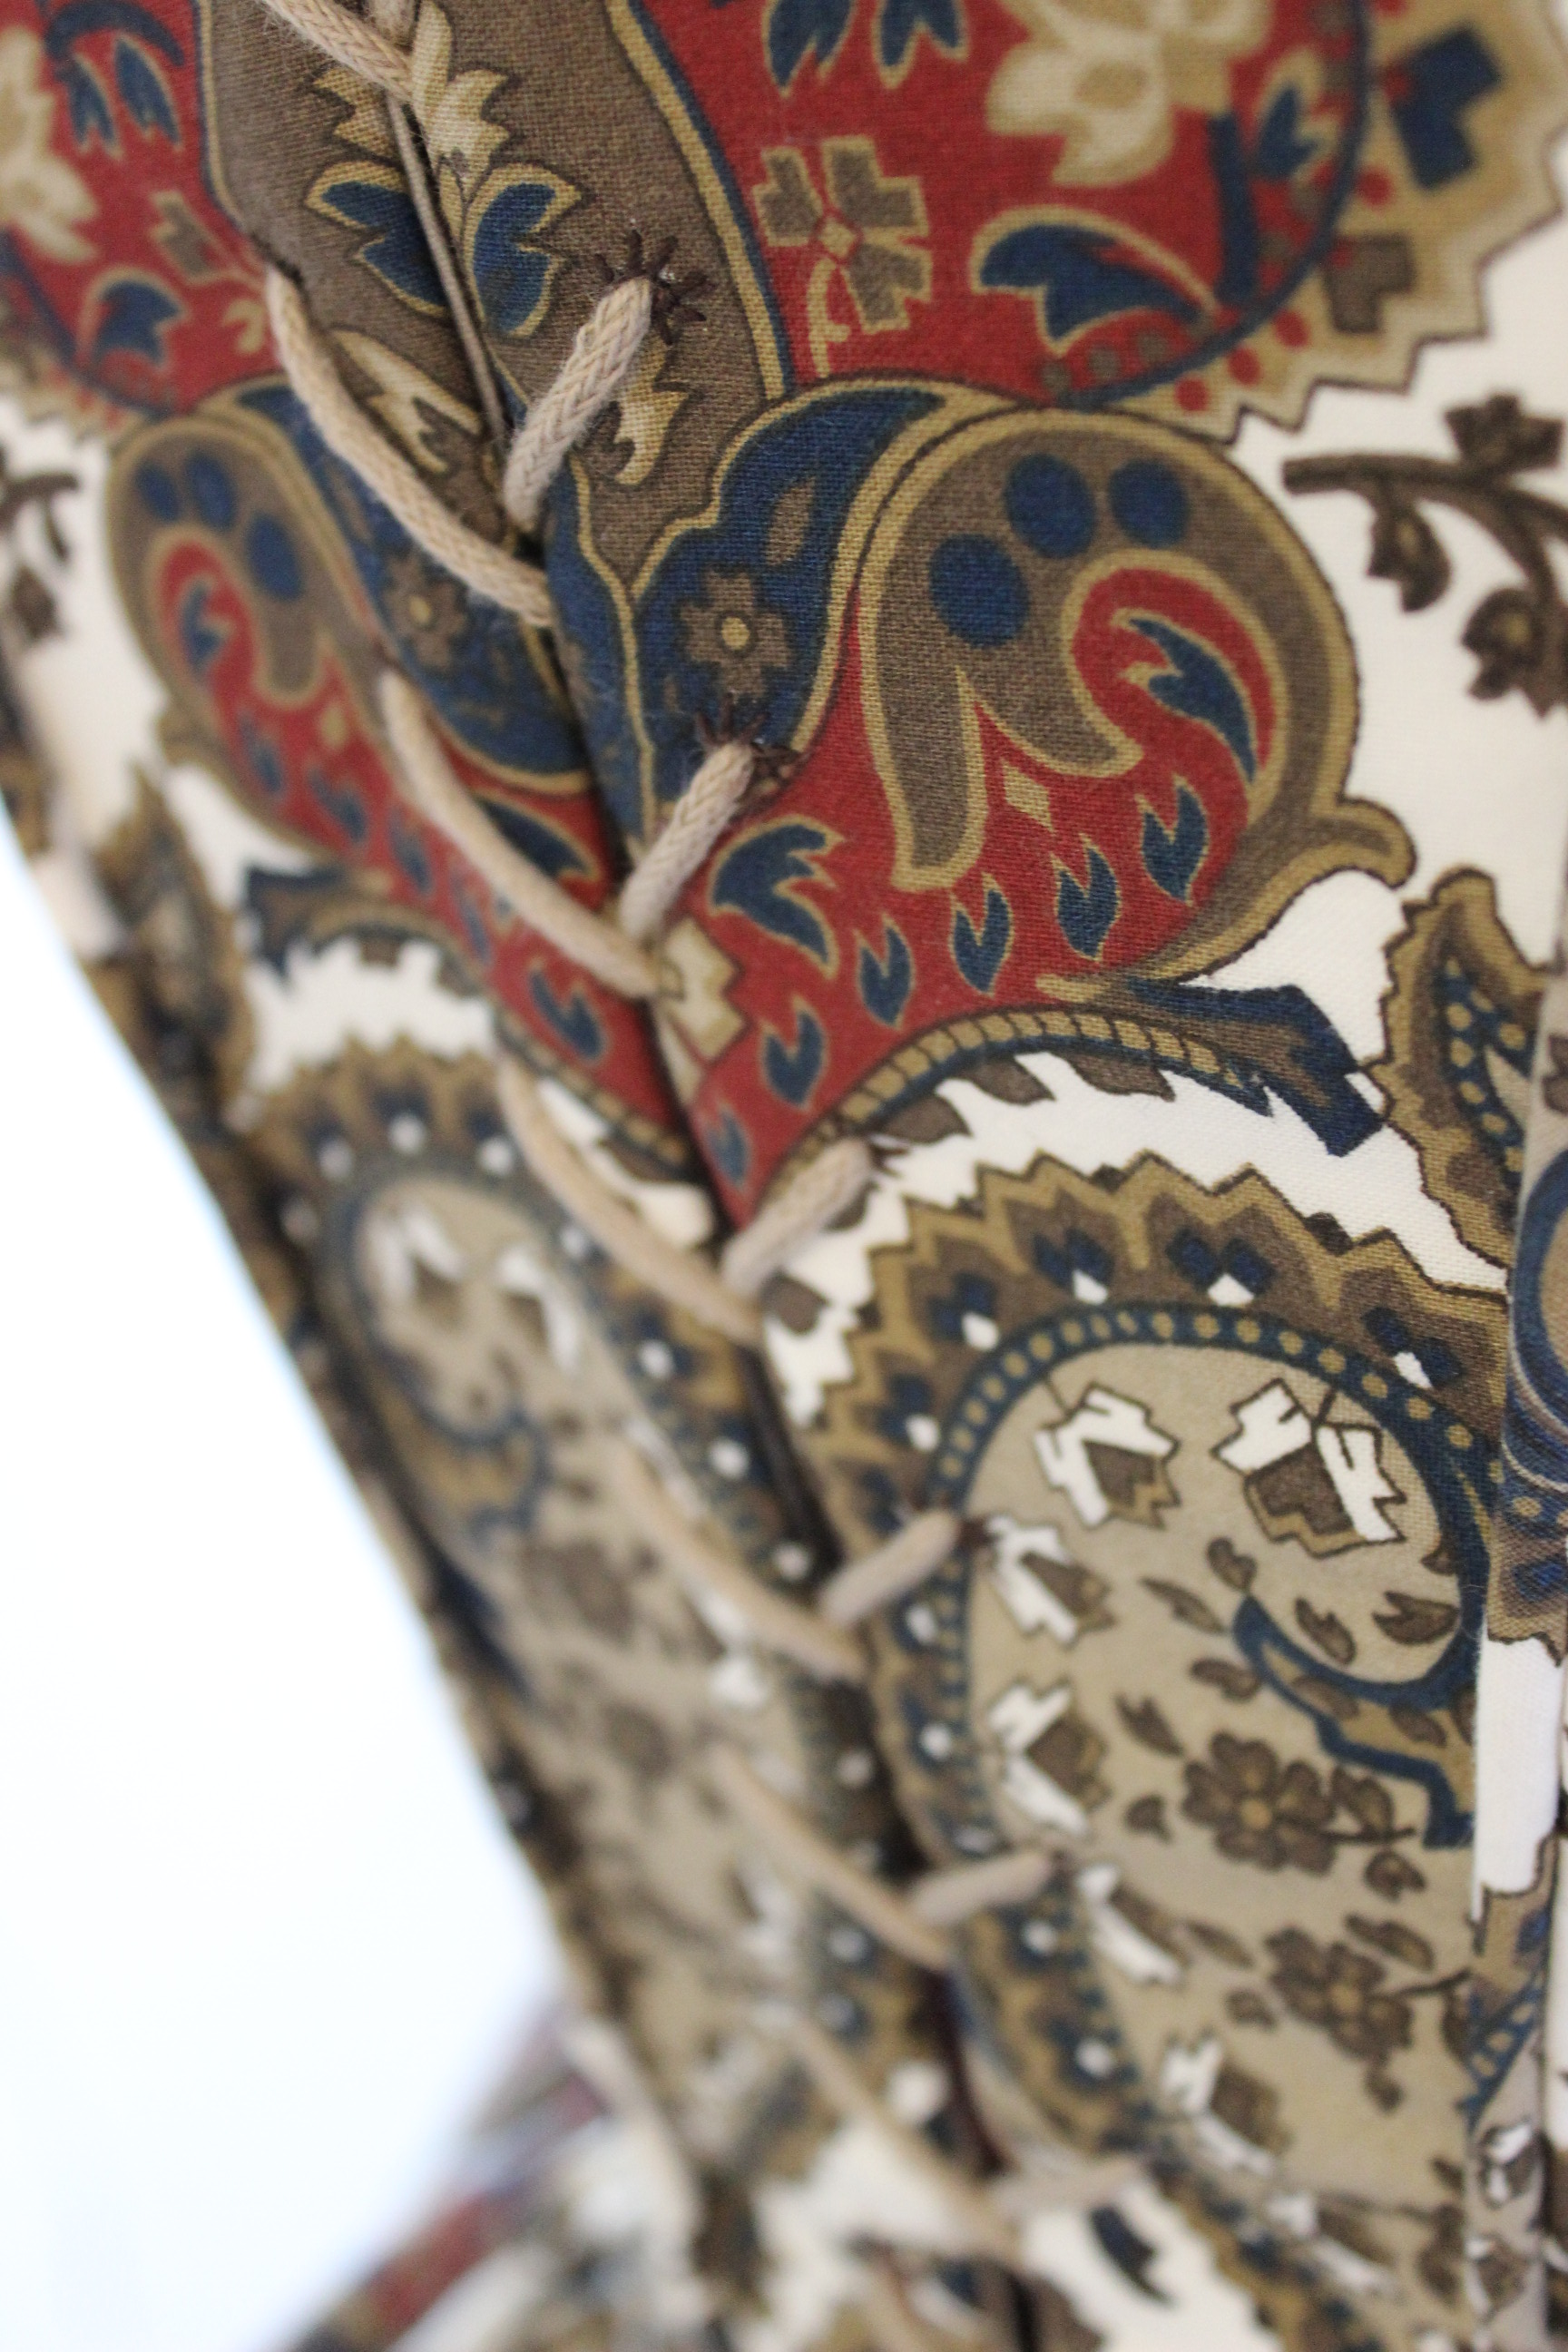
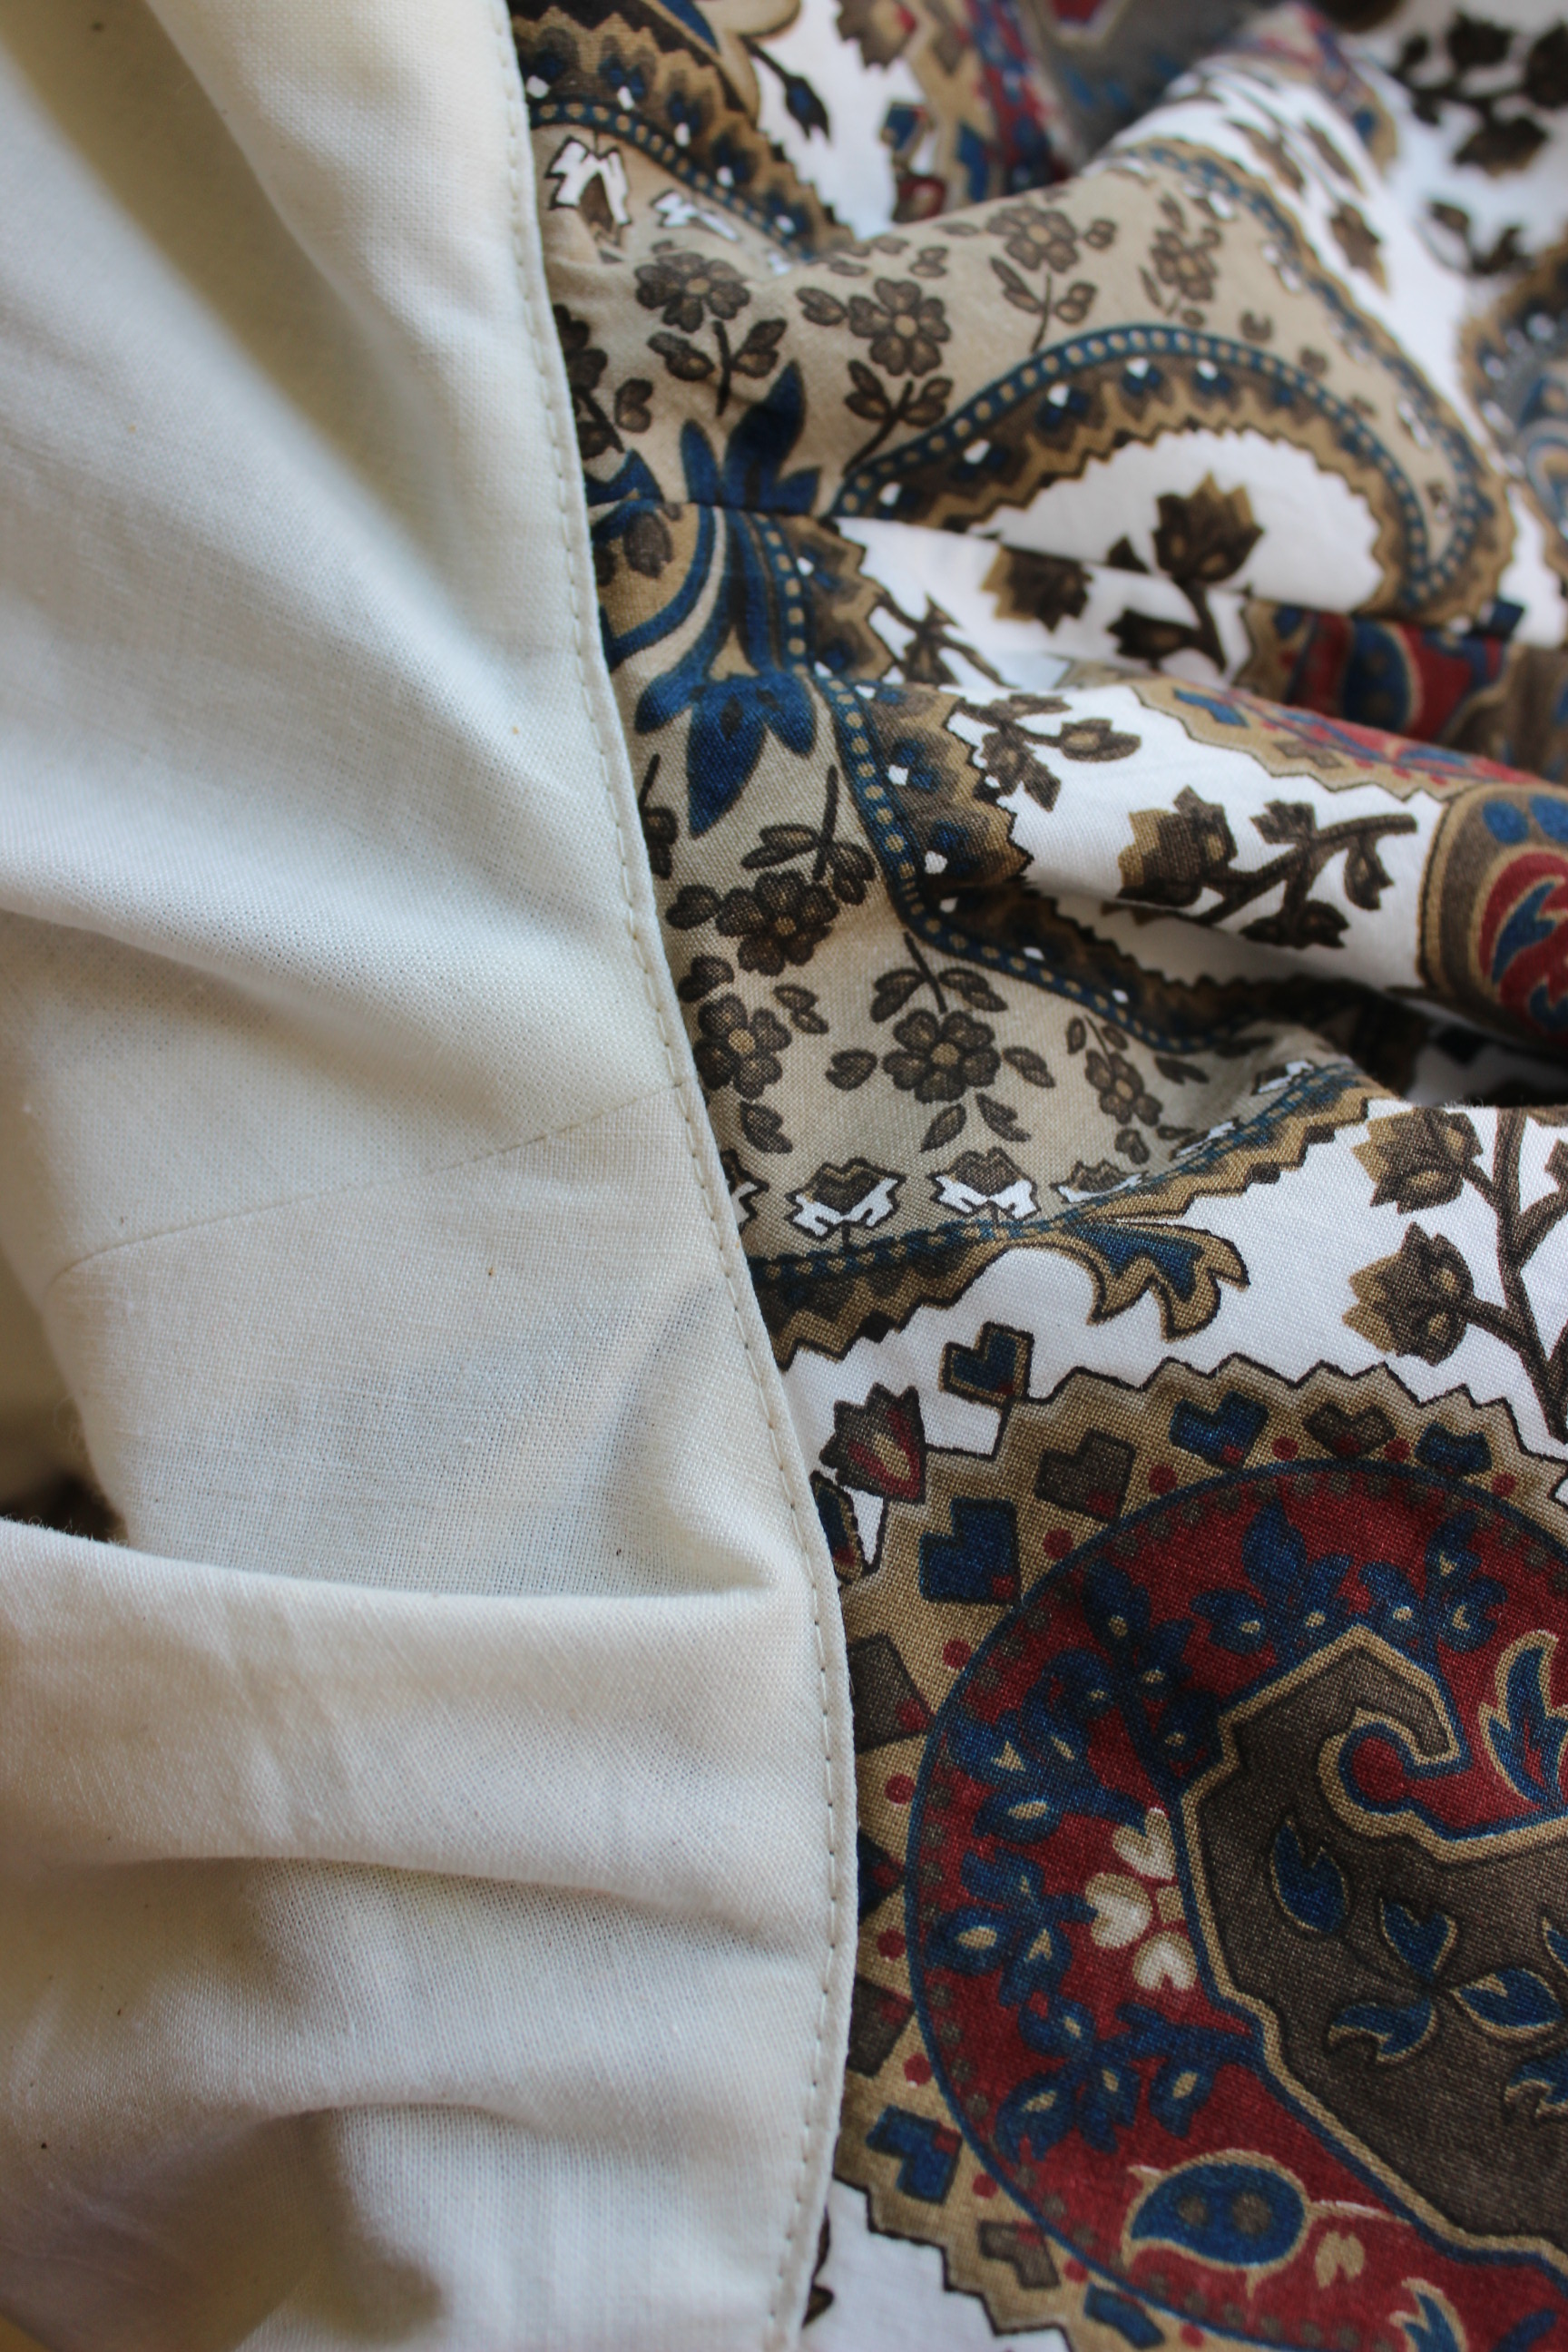
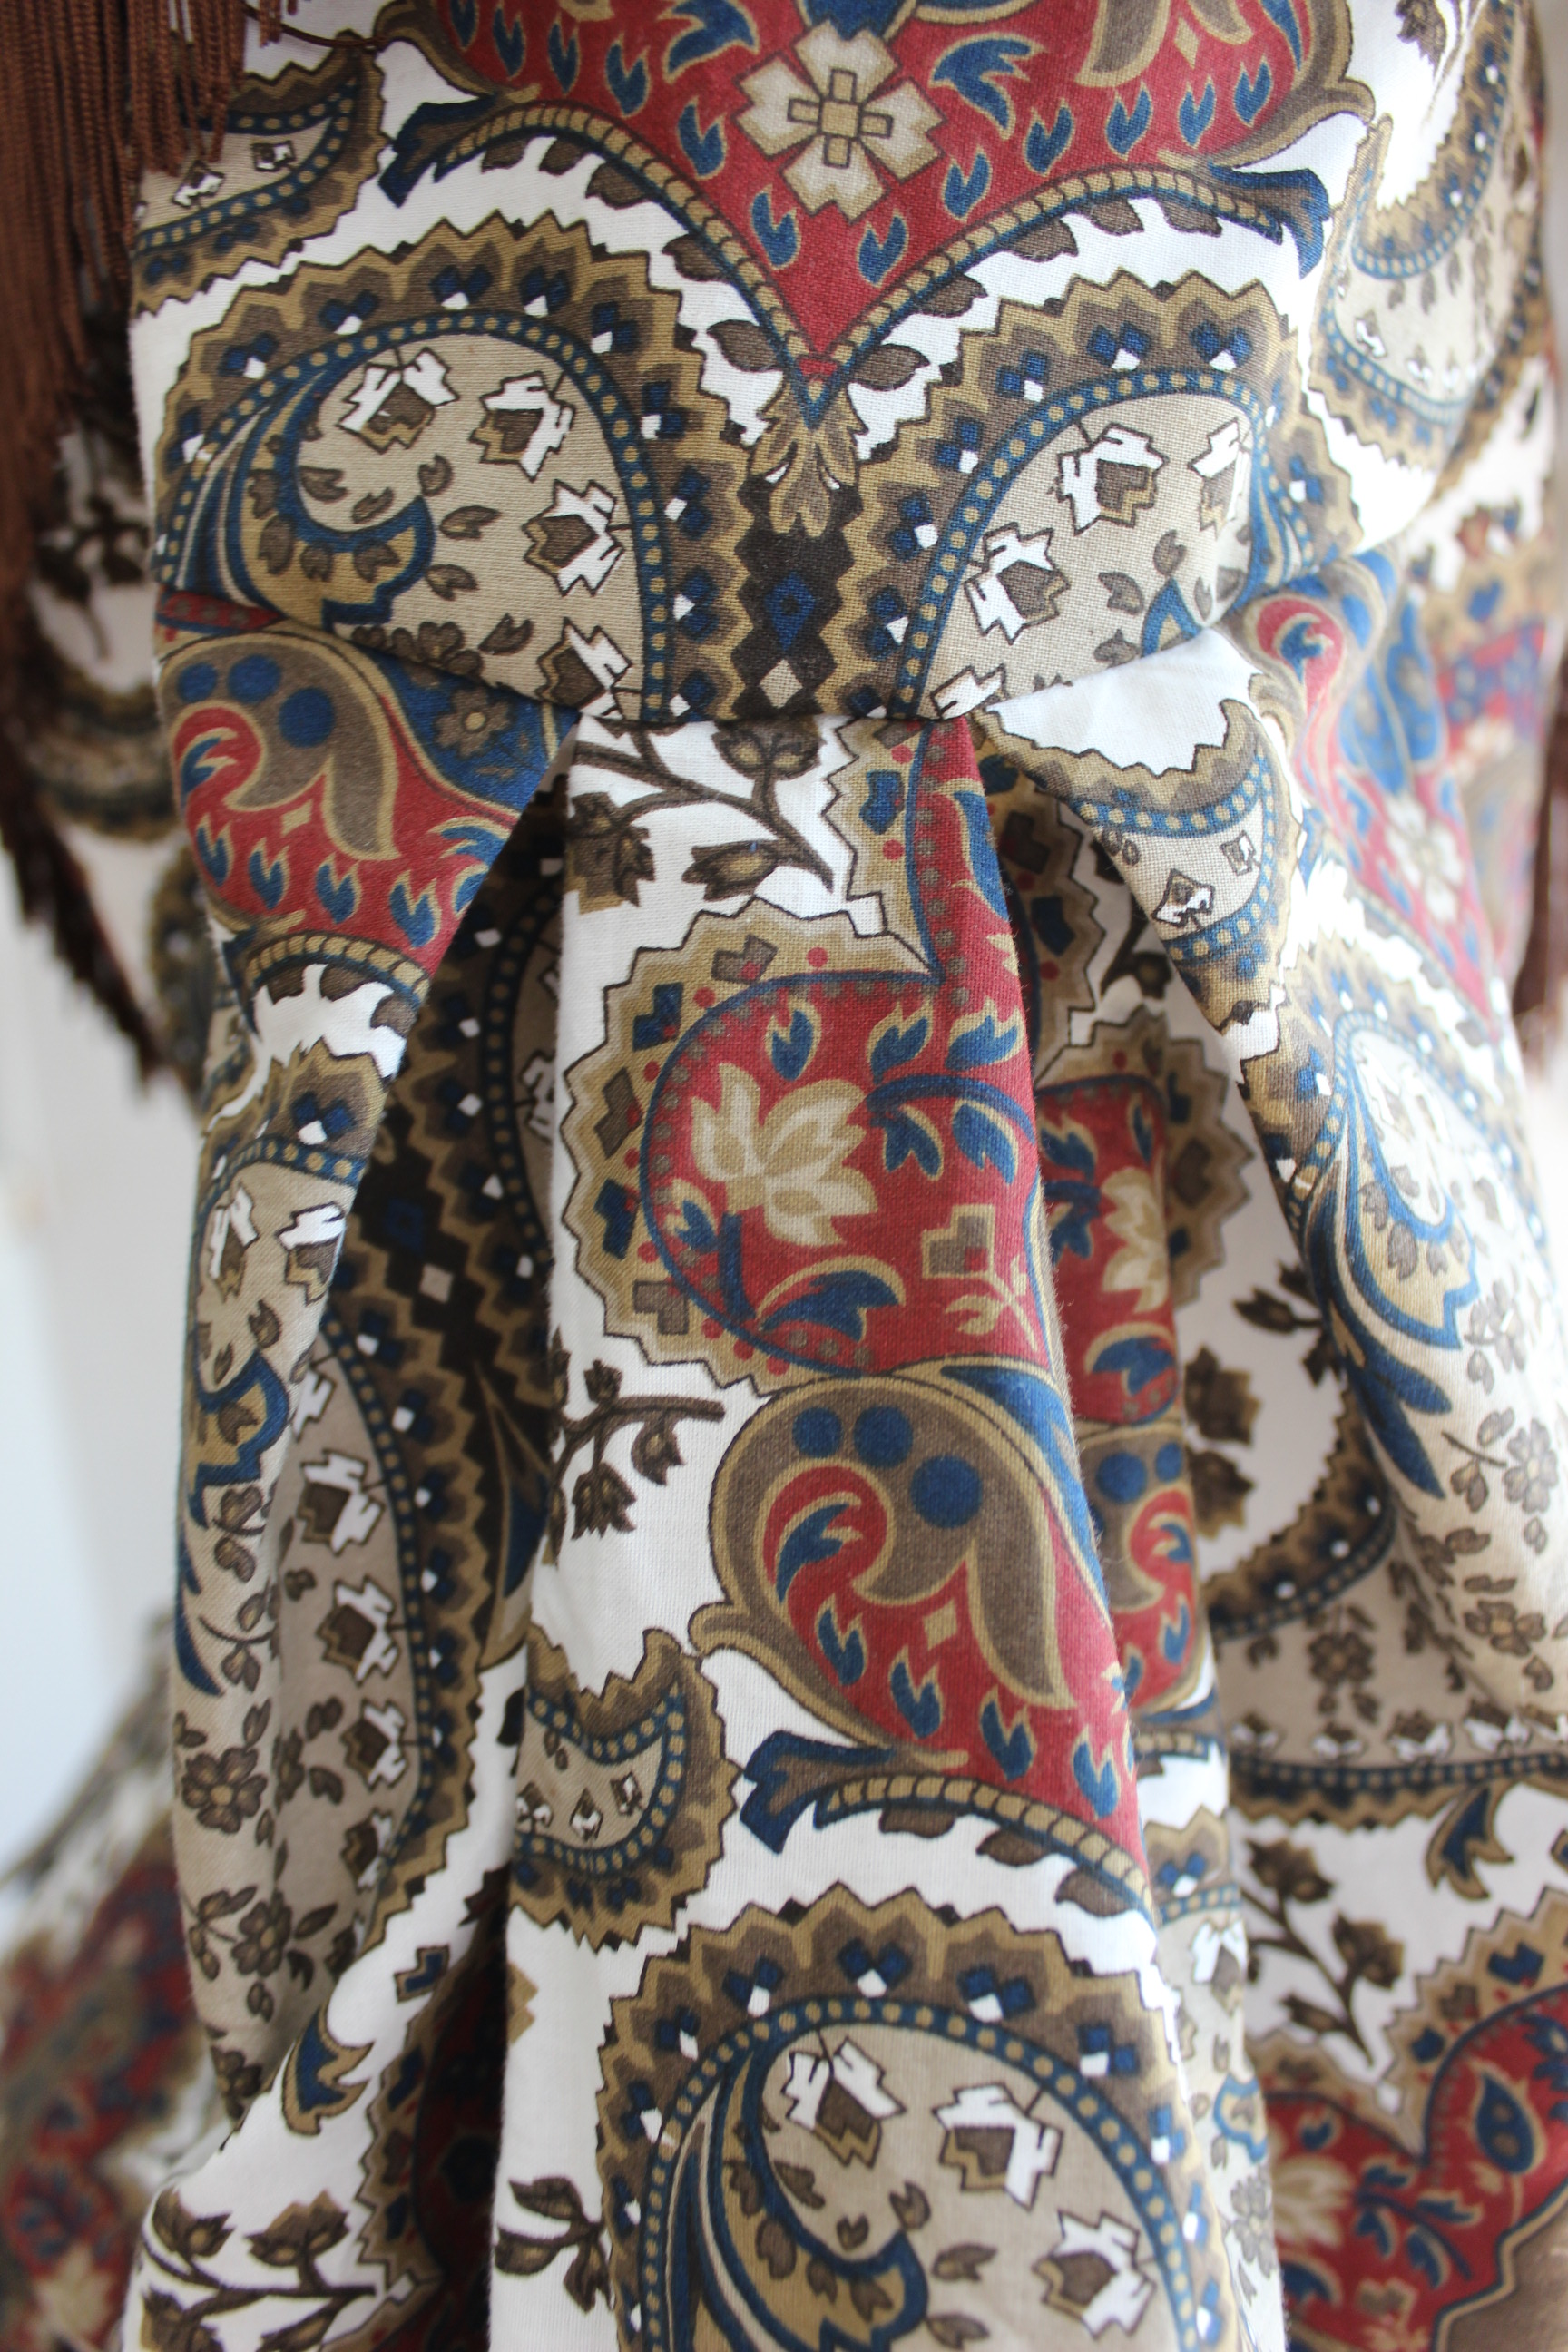
For the evening bodice I decided to use piping in the seams. I made my own using cut bias-strips and cotton cord. The piping serves to give the garmnent a more finished and historical look, and at the same time makes the eye accept the breaks in the print better. So apart from the extra work making and putting them in, it’s a win win situation.
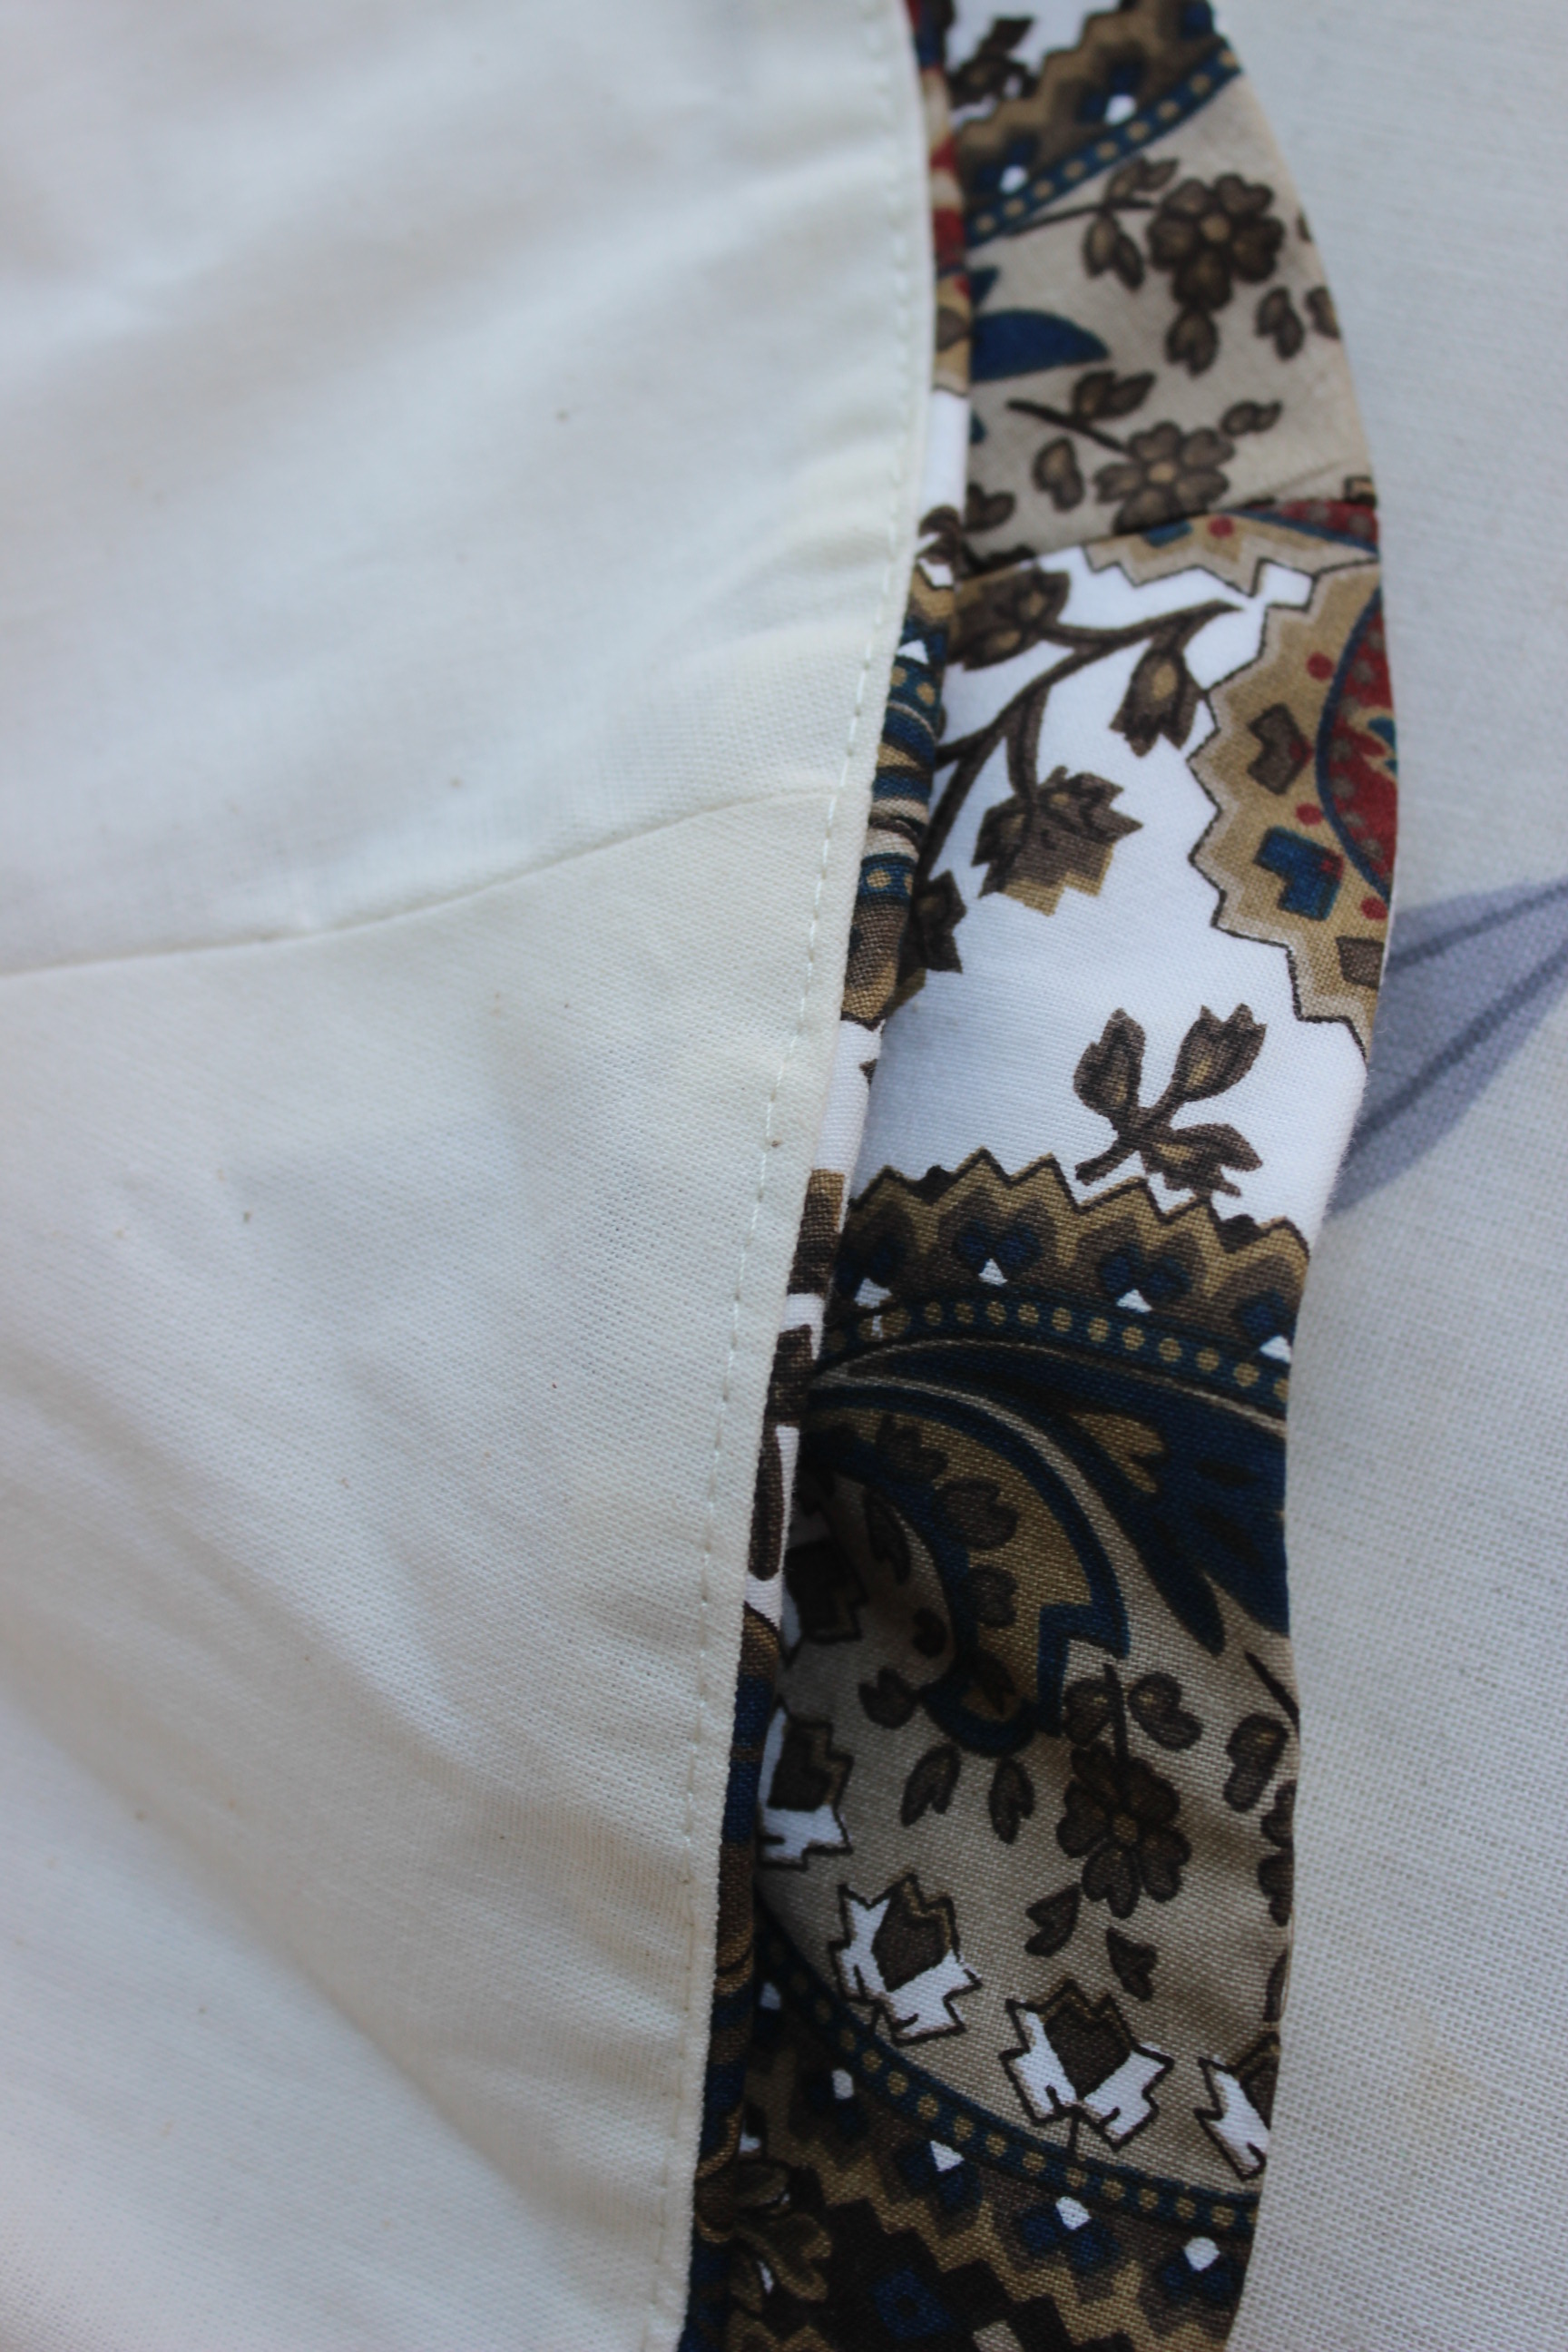
 Piping basted to the seam-allowence.
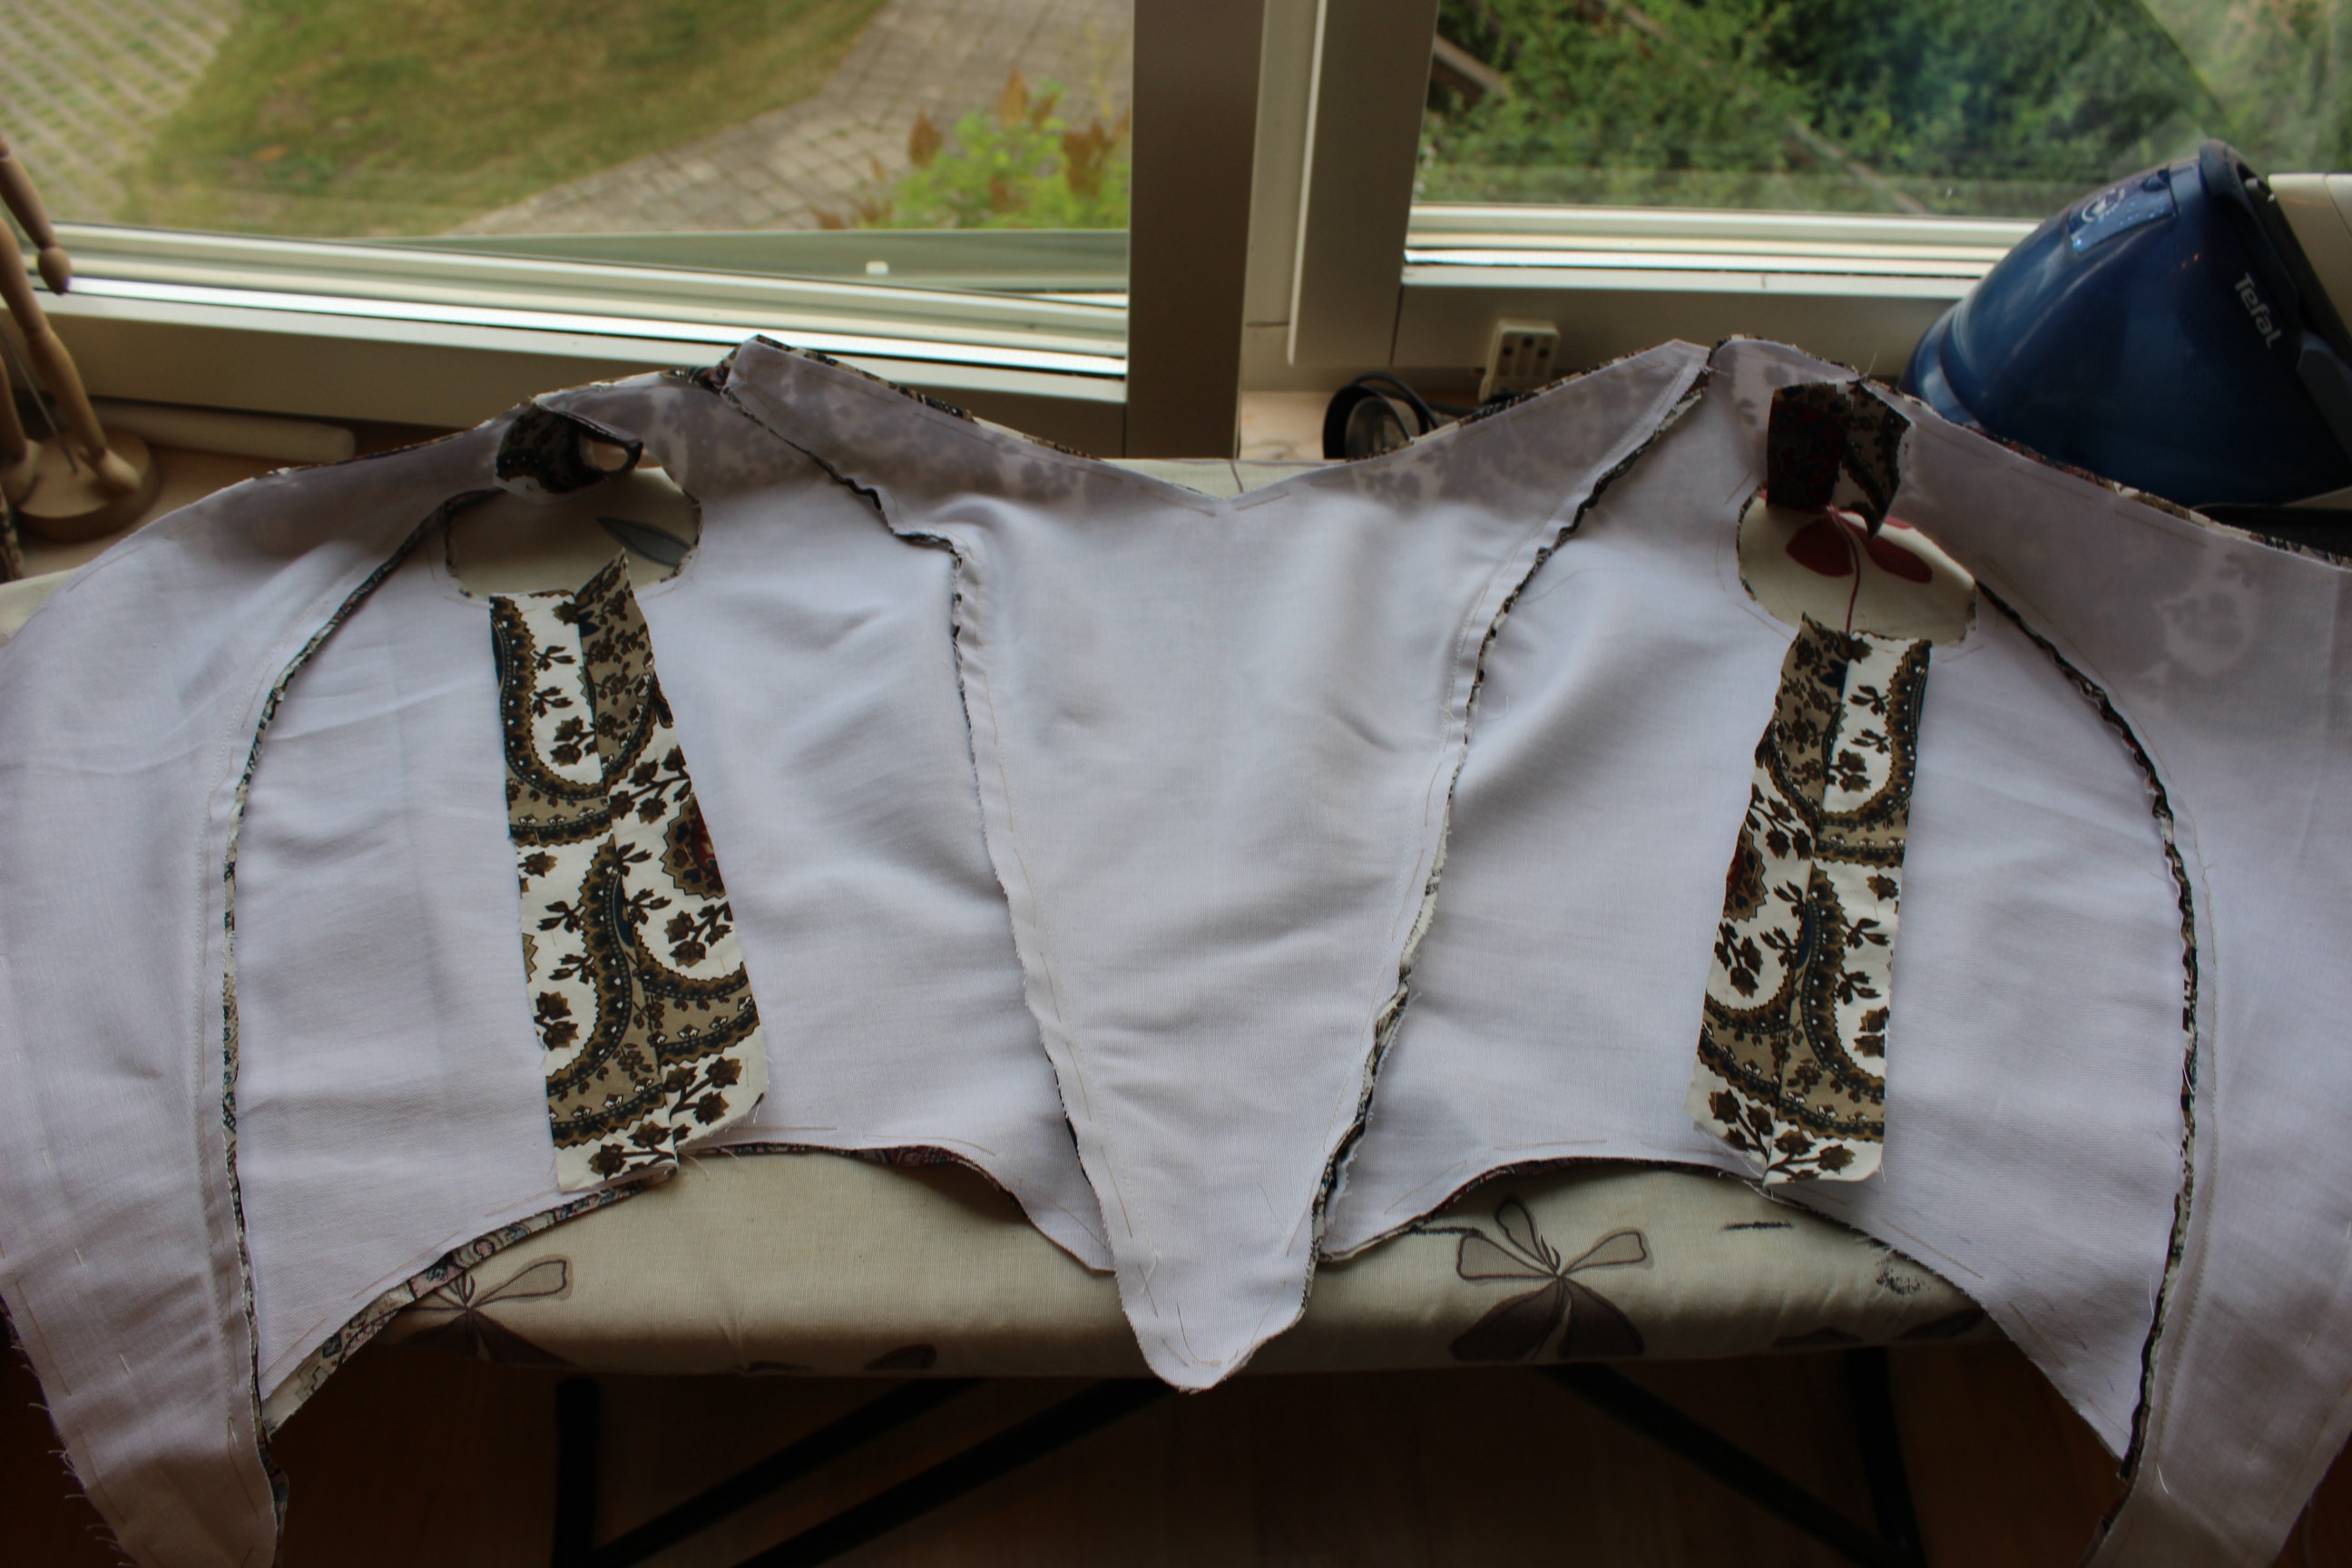 Bodice from the inside with piping in all but the side seams.
Then I tried it on, to test the fit.


As you can se it dosen’t really close in the back. That was fixed by letting the bodice out a bit at the sides, and re-arranging the back edges.
I then started on the lining, sewing boning chanels in the seam allowence.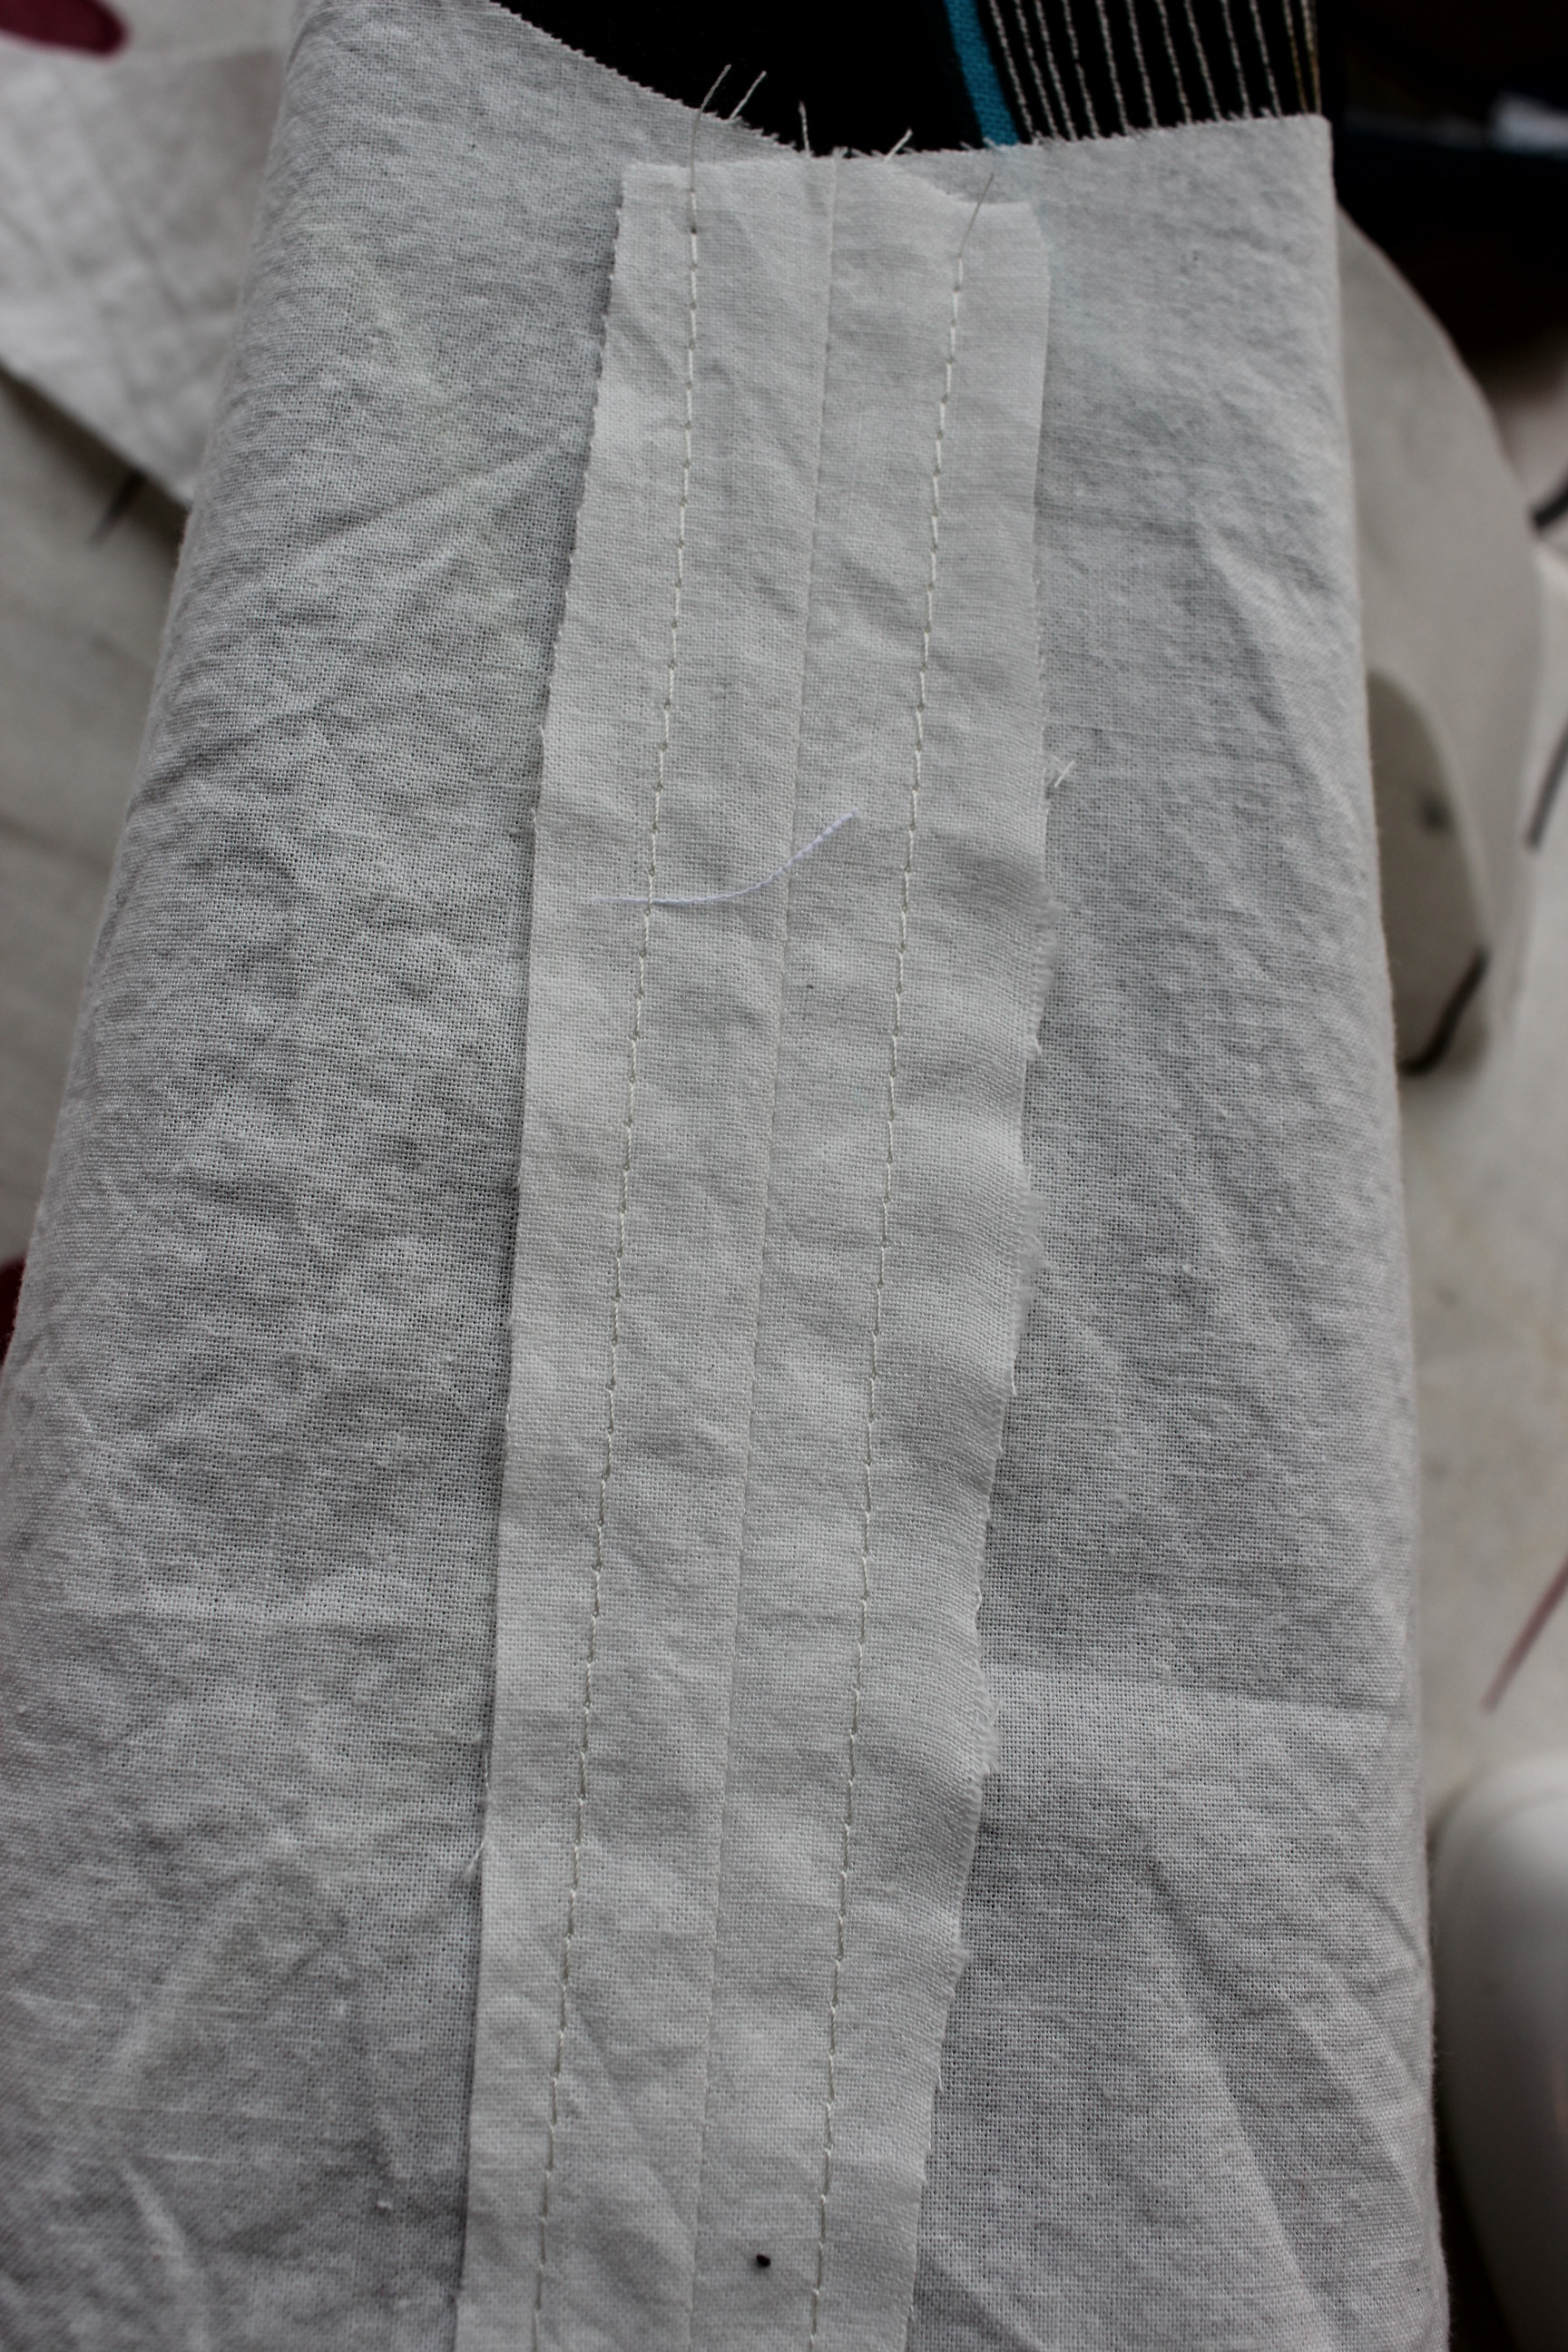
And then I sewed the lining to the bodice, turning the whole thing inside out. 
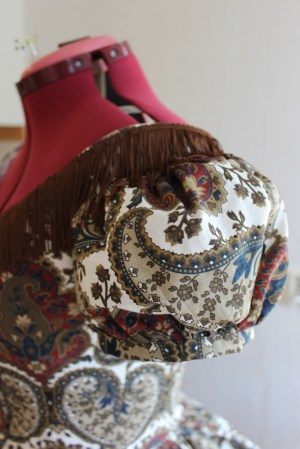
Then it was time for the sleeves.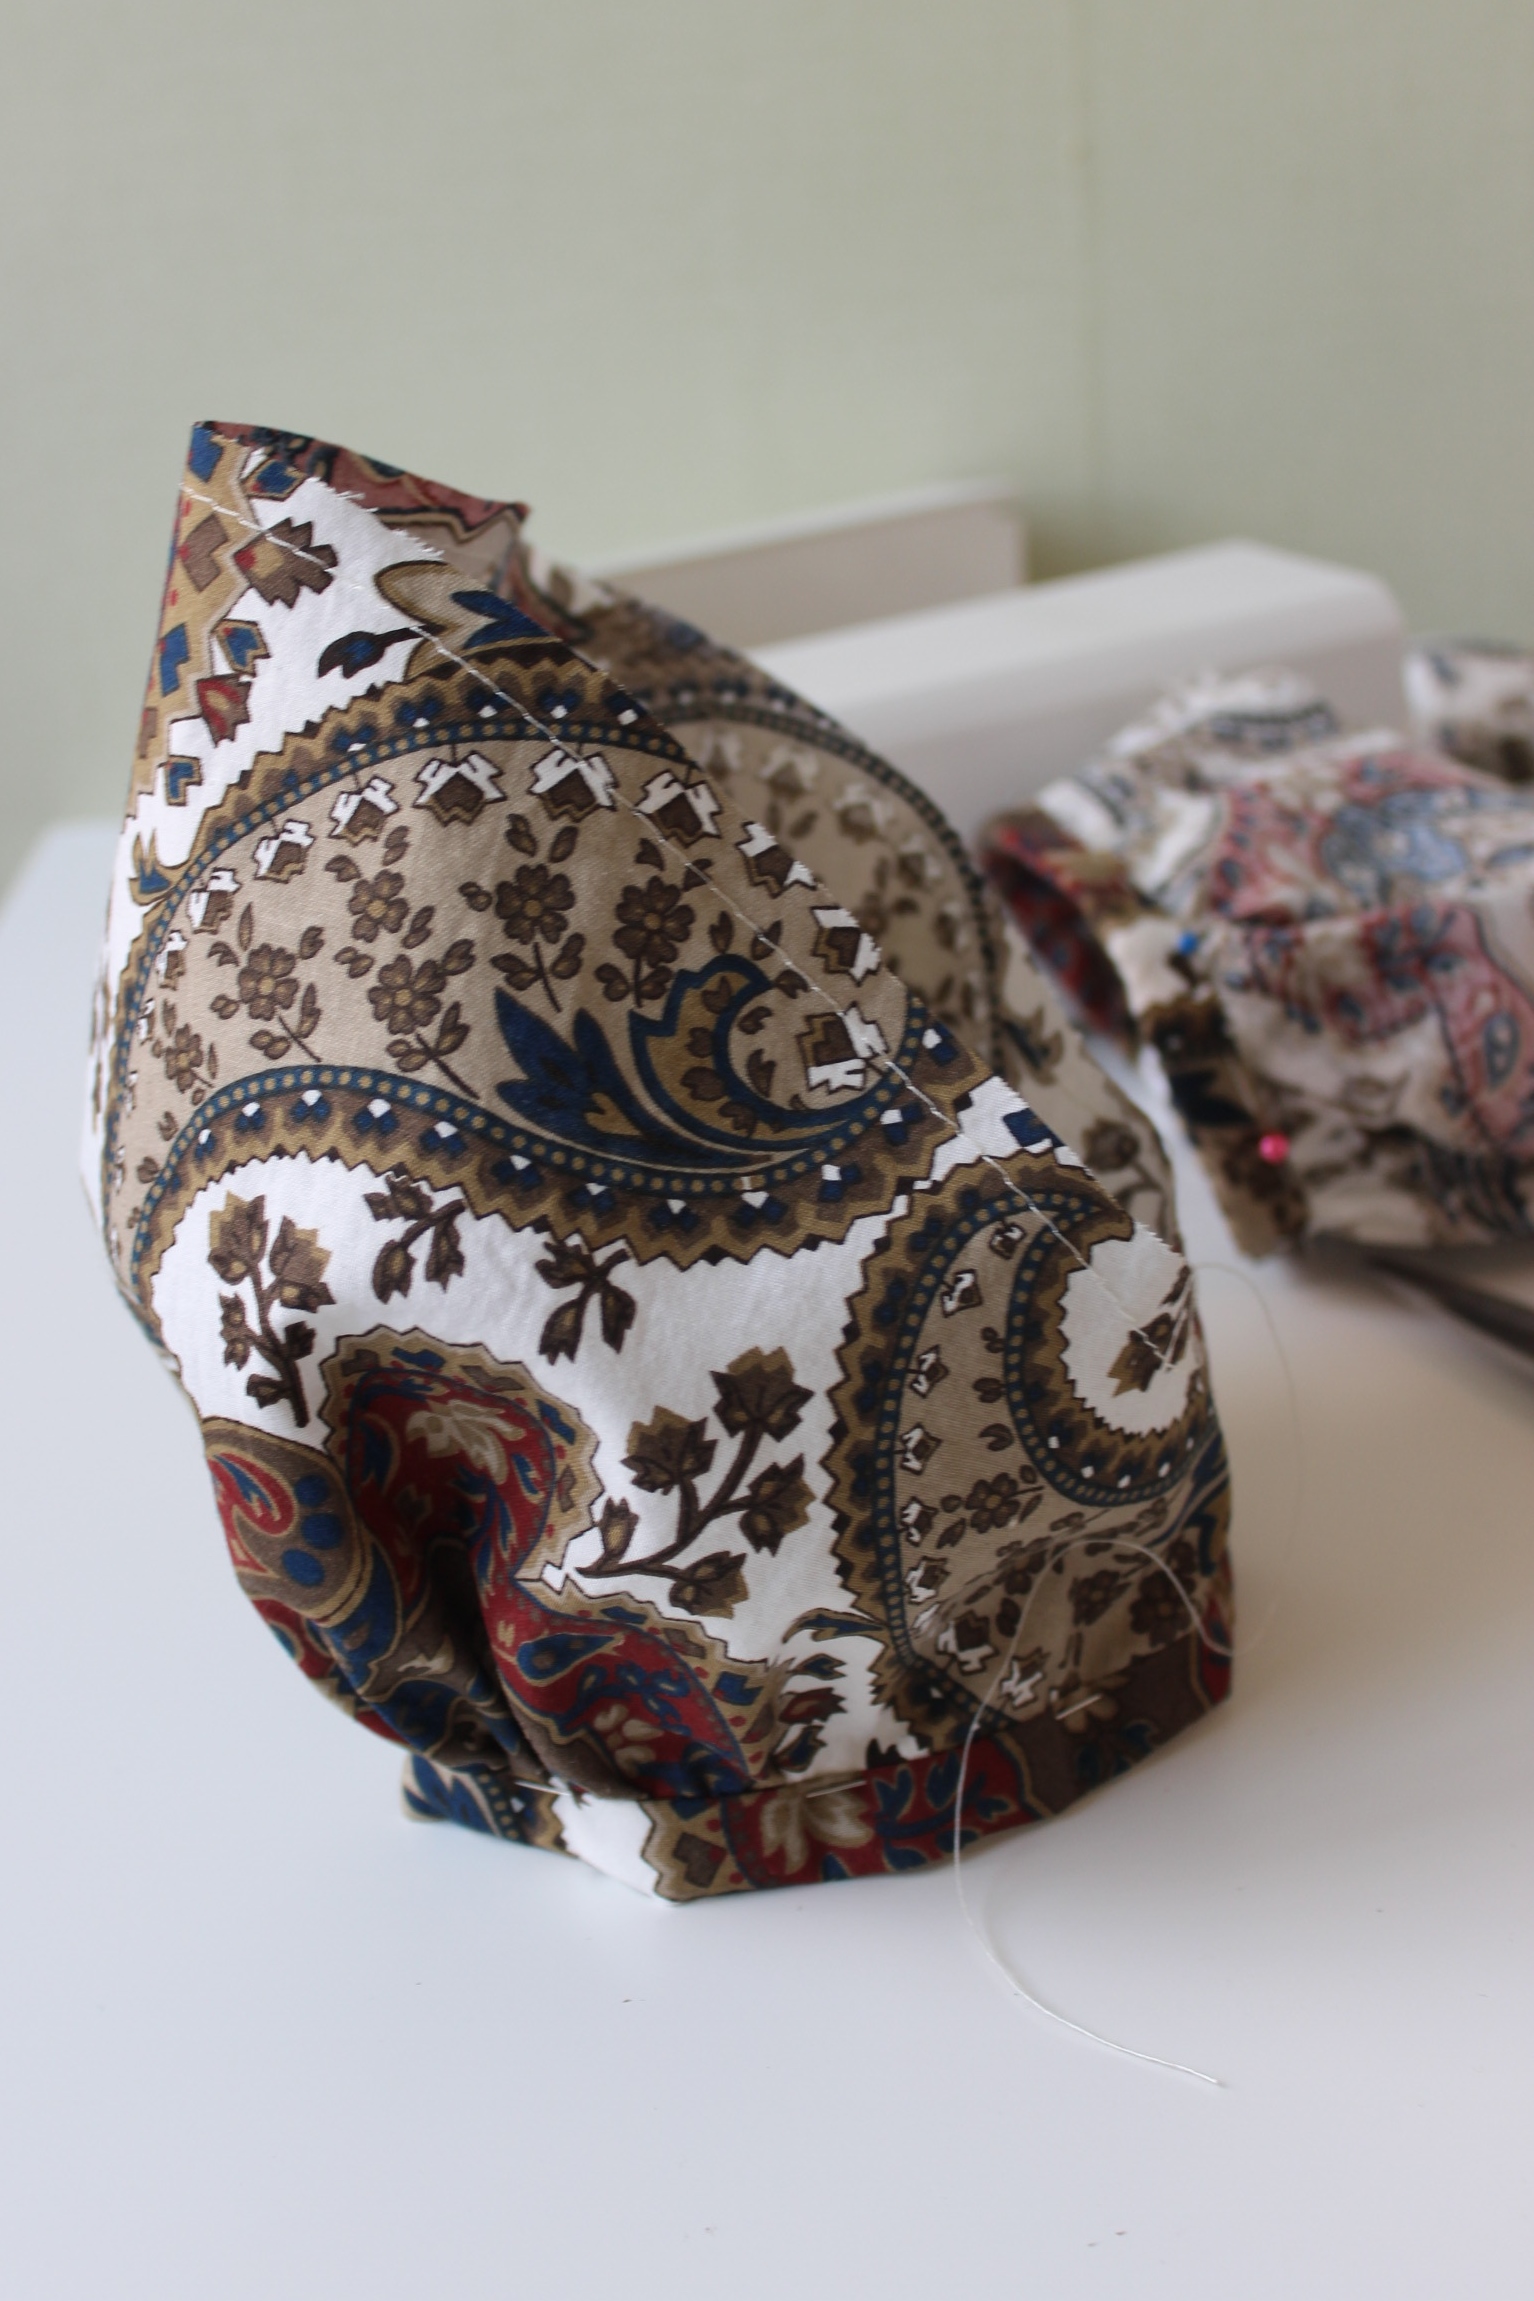 I gathered the bottom into smal cuffs, and stitched a gatering thread at the top, to make it easy to insert into the arm hole.
Then I cut the seam allowences down and covered the edges with a bias-strip.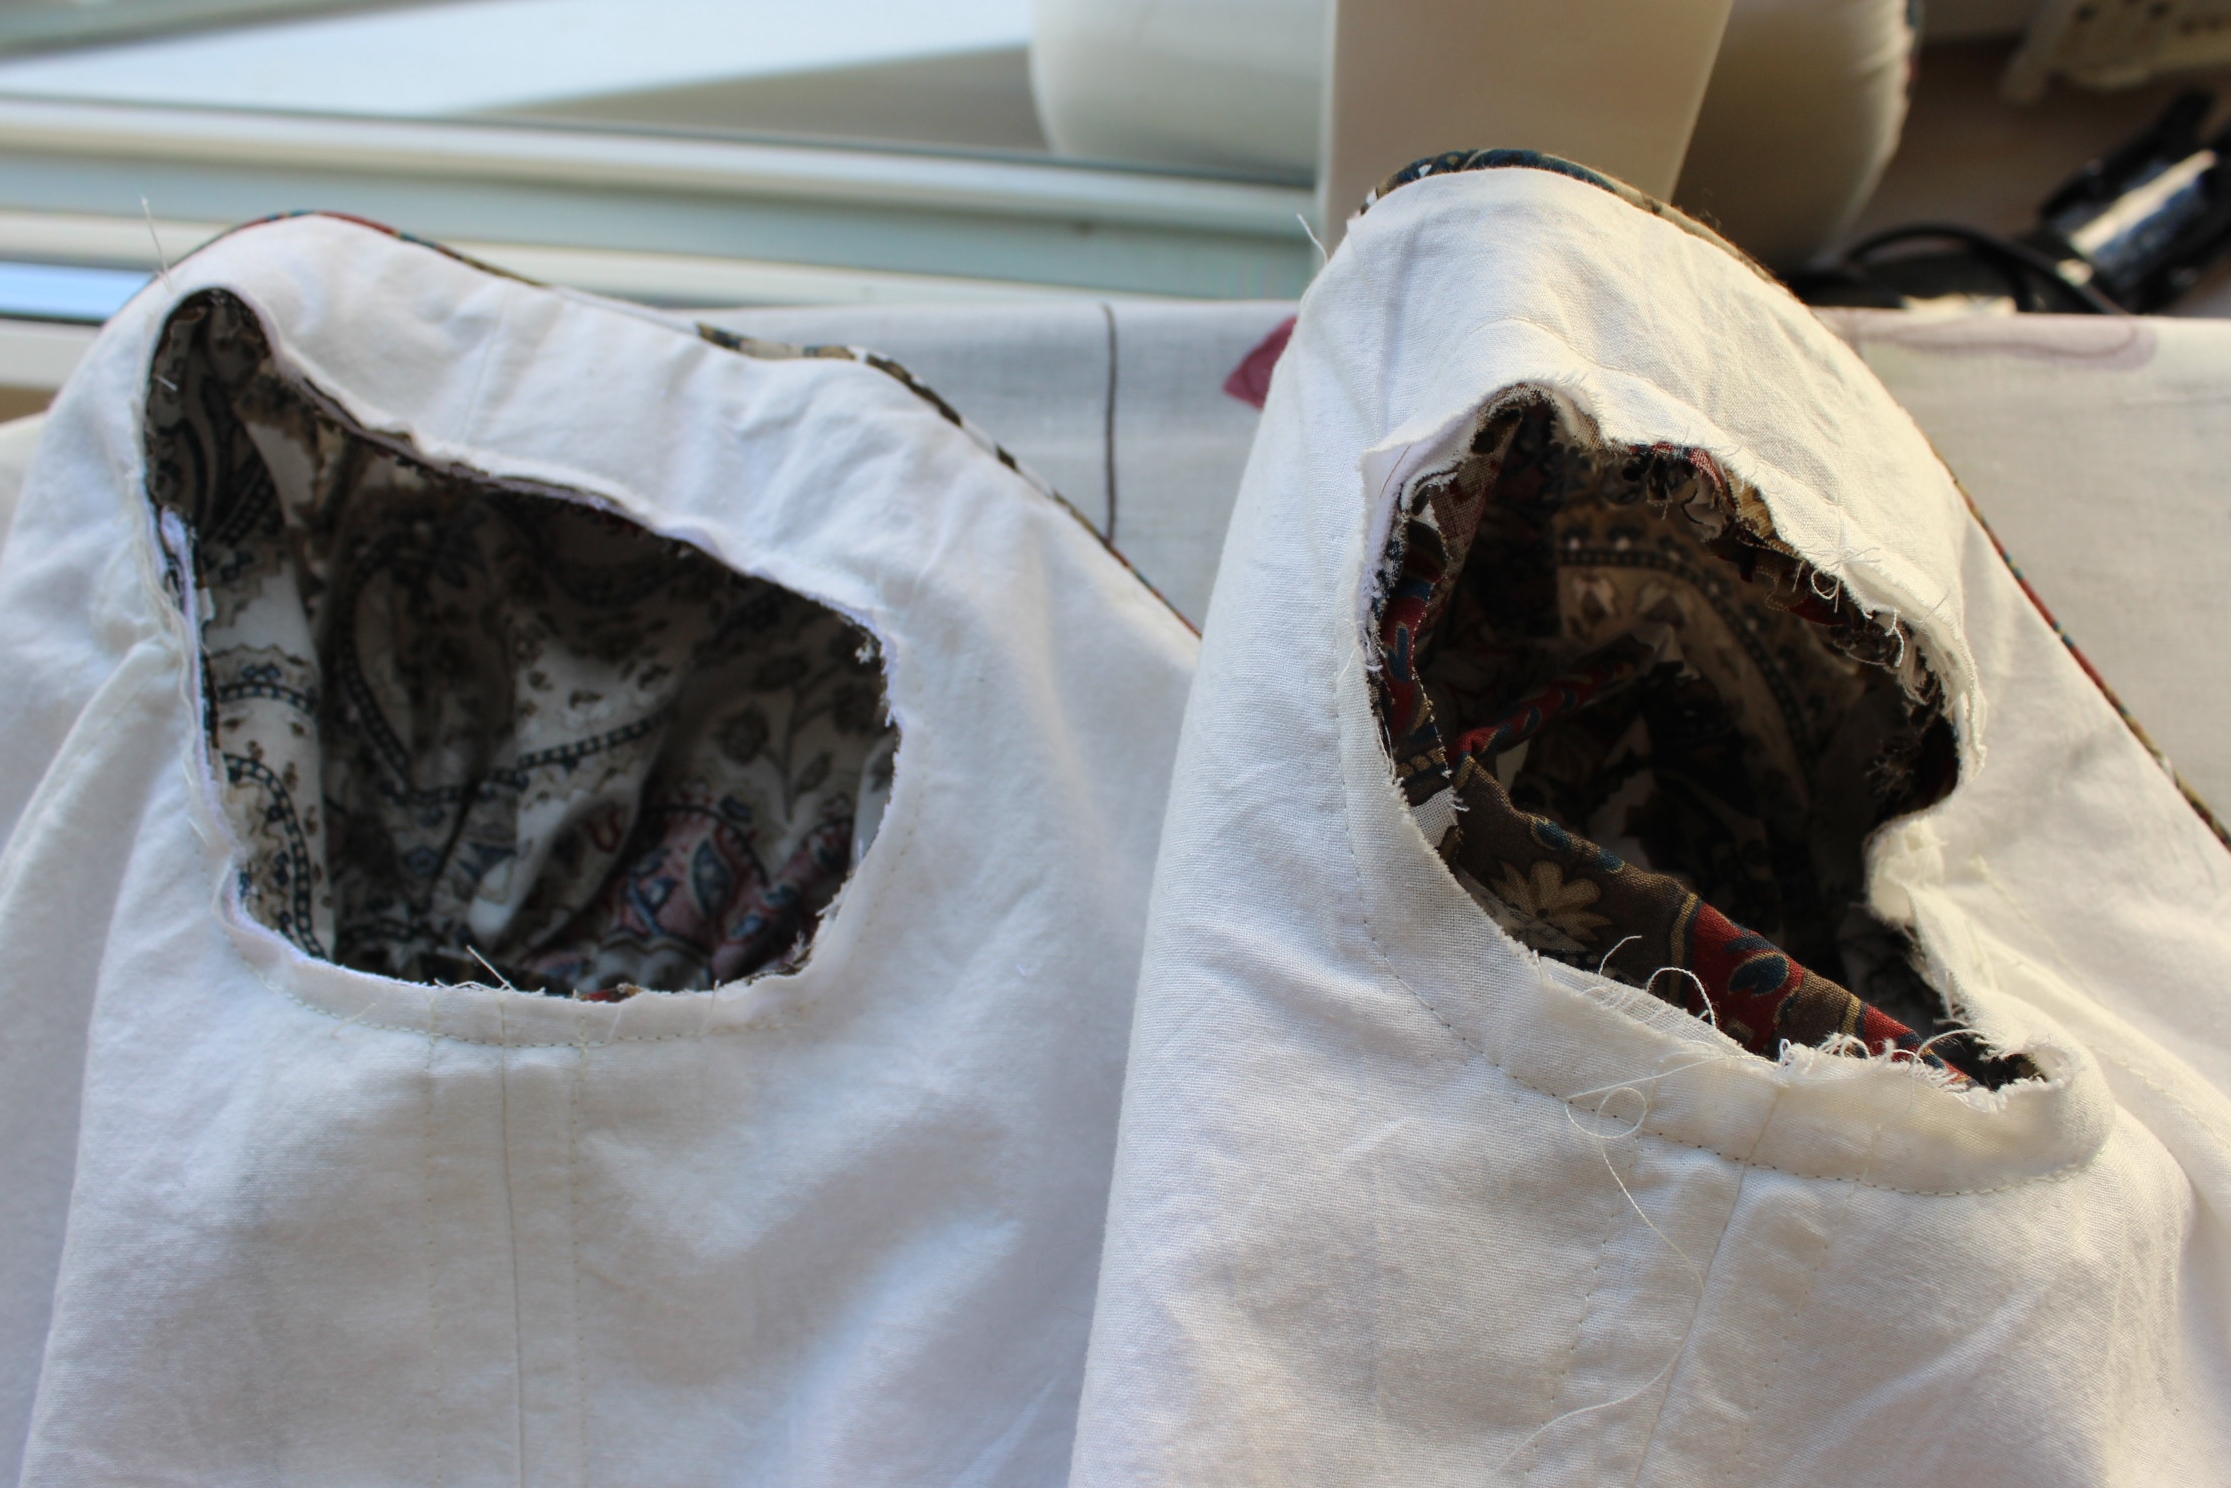
And as you all know, if you don’t have enough to do already, you make sure to give youself some more work…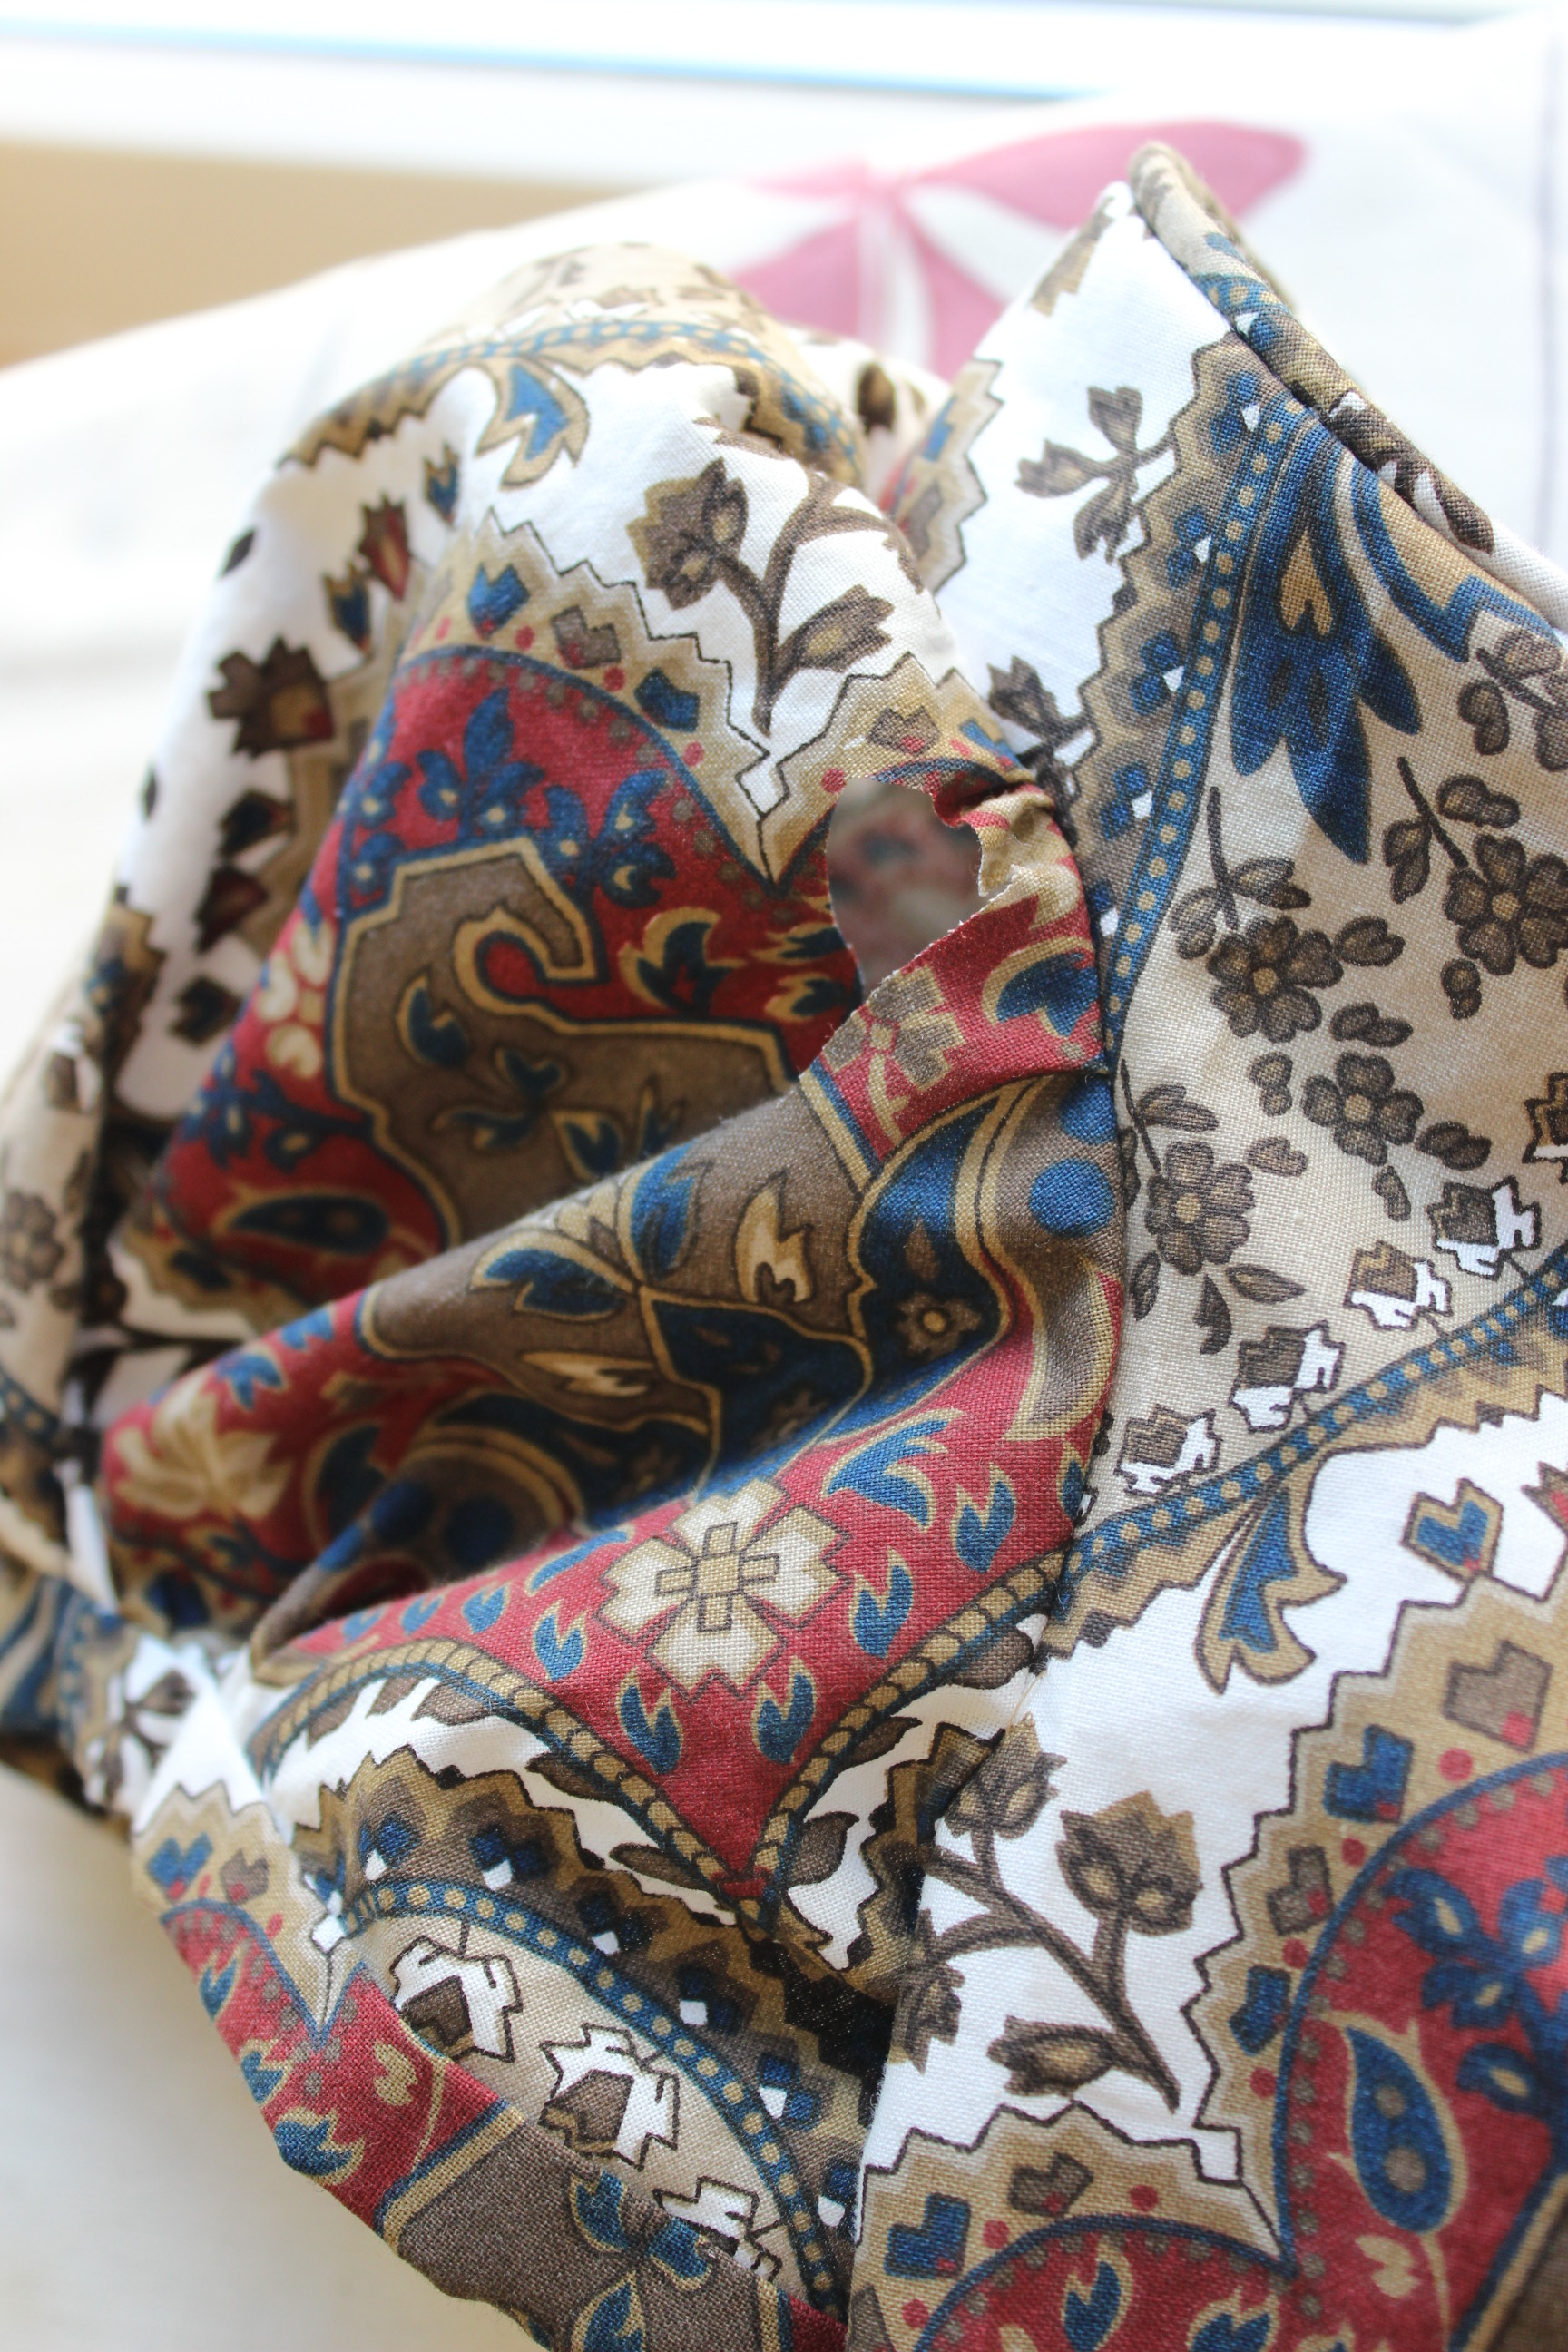 While cutting the sleeve allownece I accidently manadged to cut a piece of the sleeve away. (if you look closely you can se the hole (big as a thumb) right by the seam about half way up the sleeve.
Crap!
I had not enough fabric to cut another sleeve, and I was almost finished with it anyway, so I decided to mend it.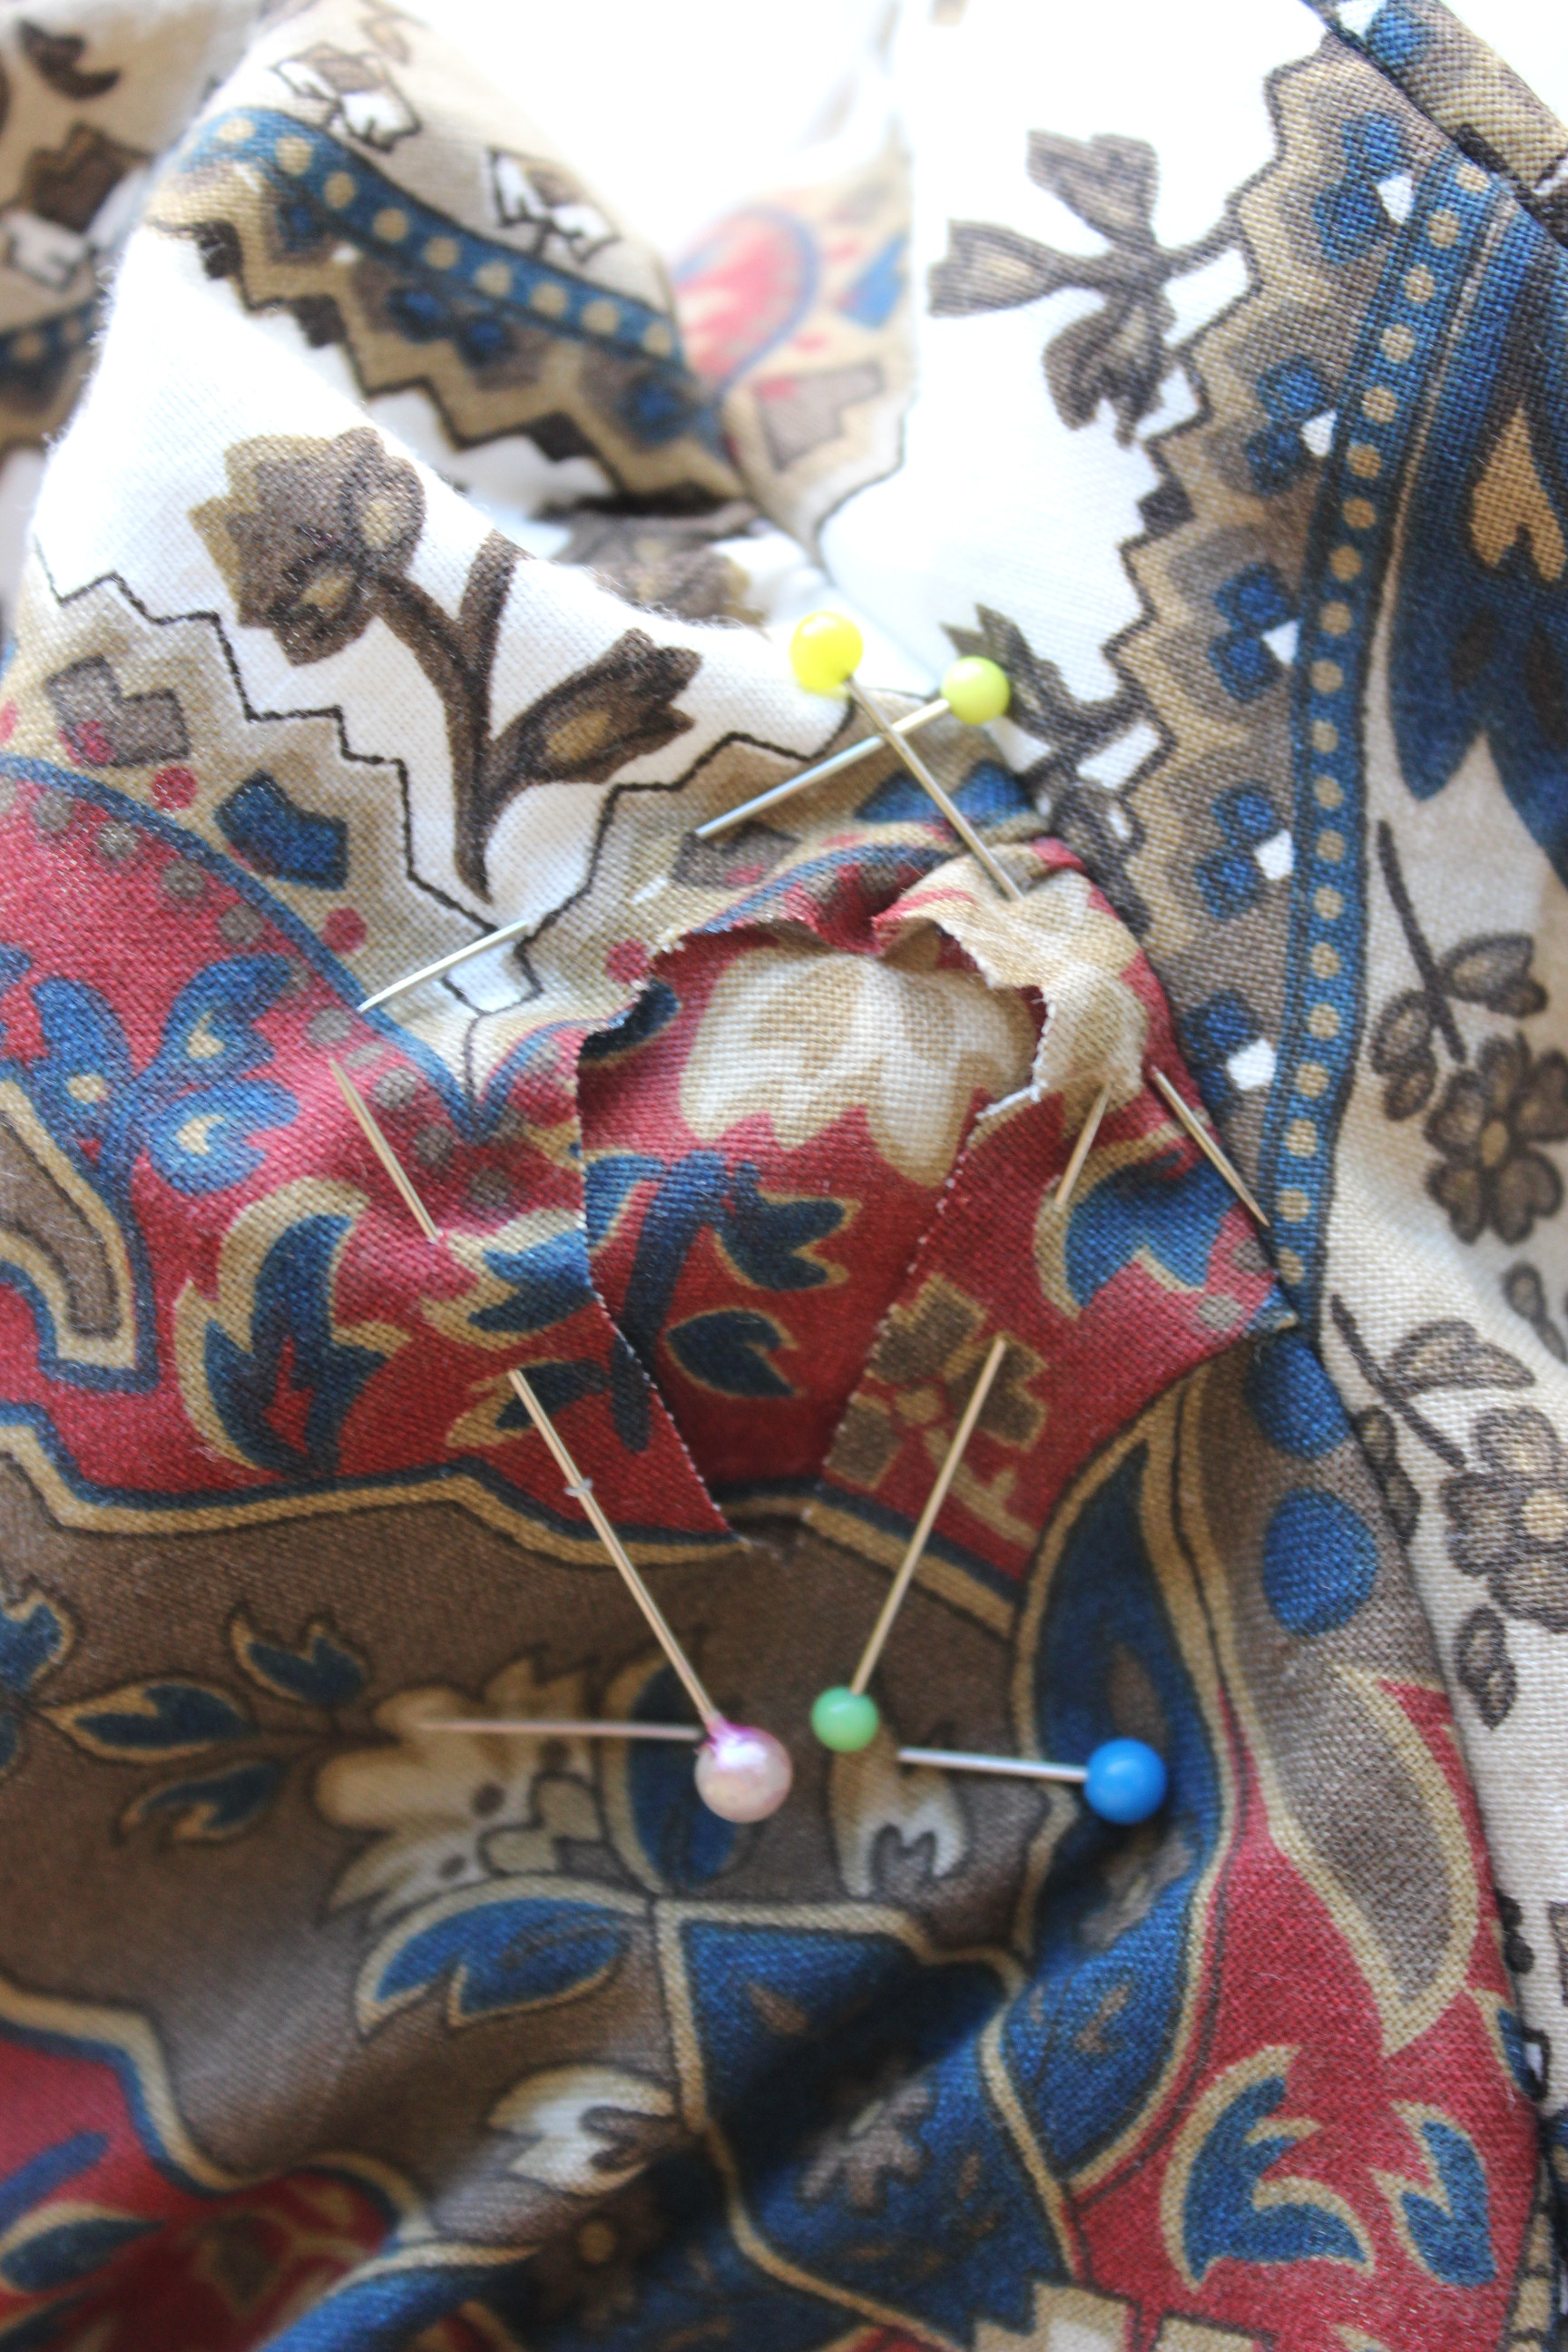 Using a smal scrap of fabric, matching the print, I stiched the hole up. Turning the edges over both on the outside and the inside. And now it hardly shows at all.
Phew.
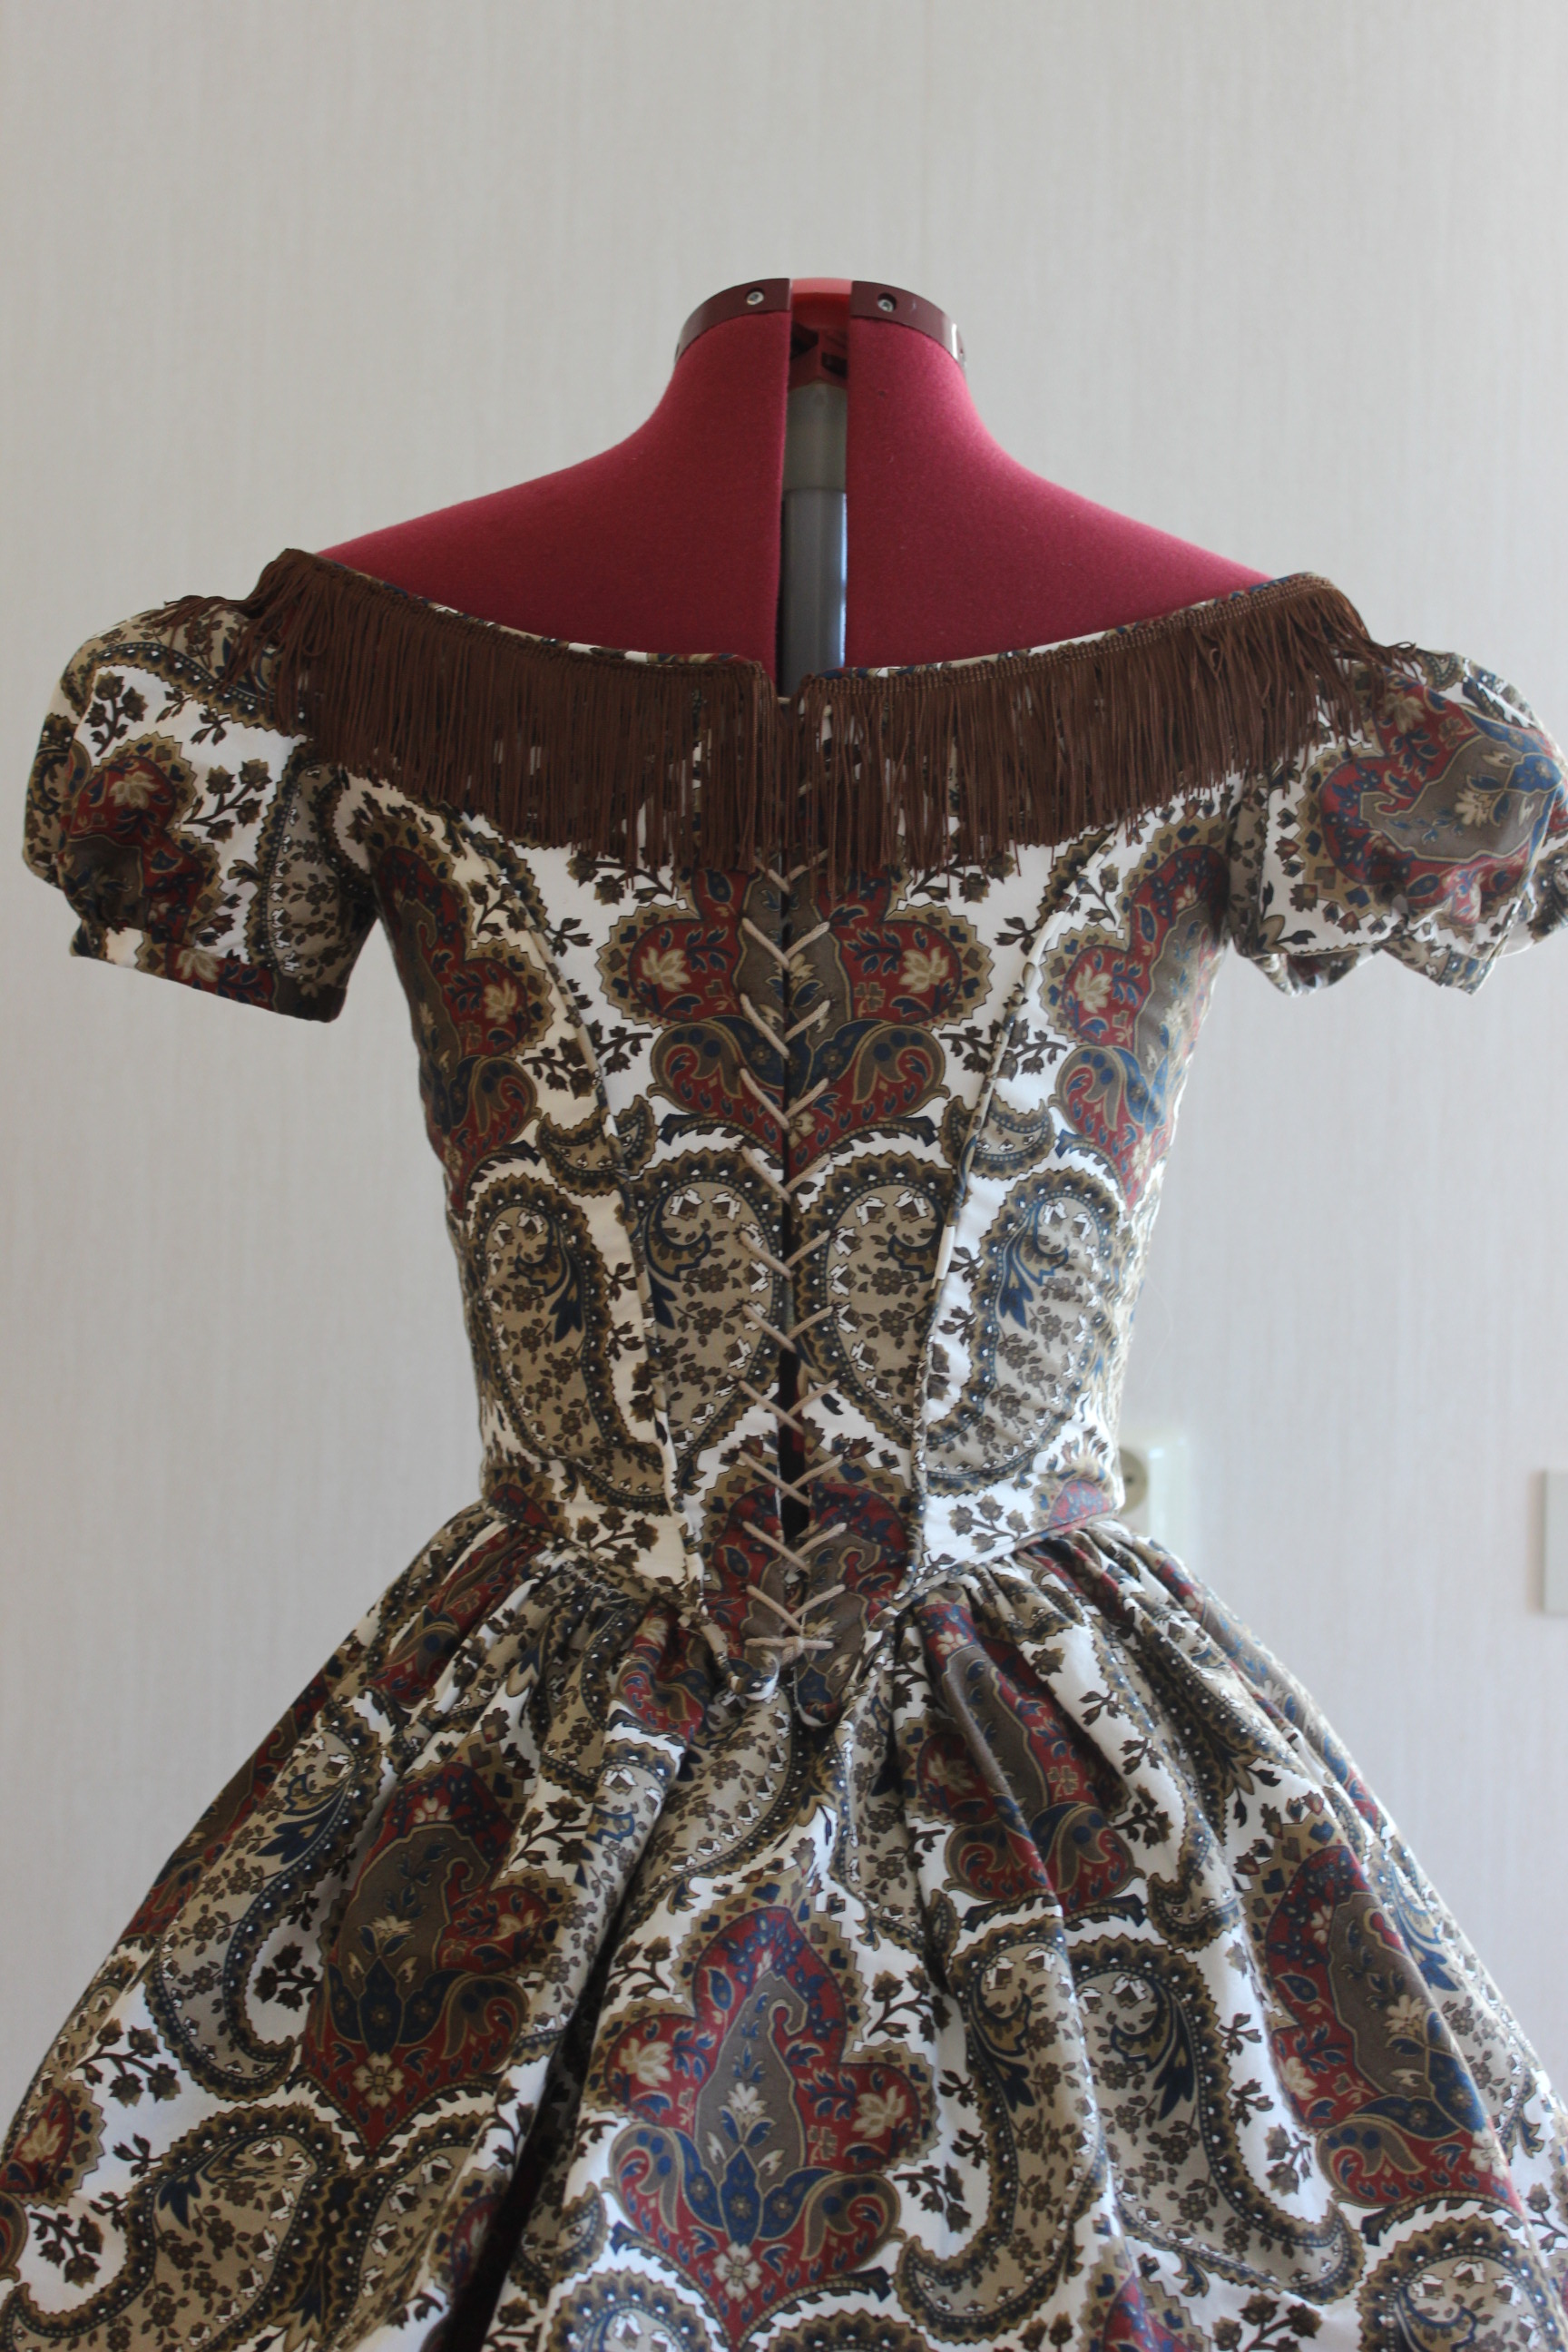
Then I continued on with the eyelets. Lots of maked eyelets to sew…
I worked on them, one at the time, while waching series on tv. I must be getting better at this, since several of the holes actually look pretty decent.
I then put in the bones, and stitched the lining shut.
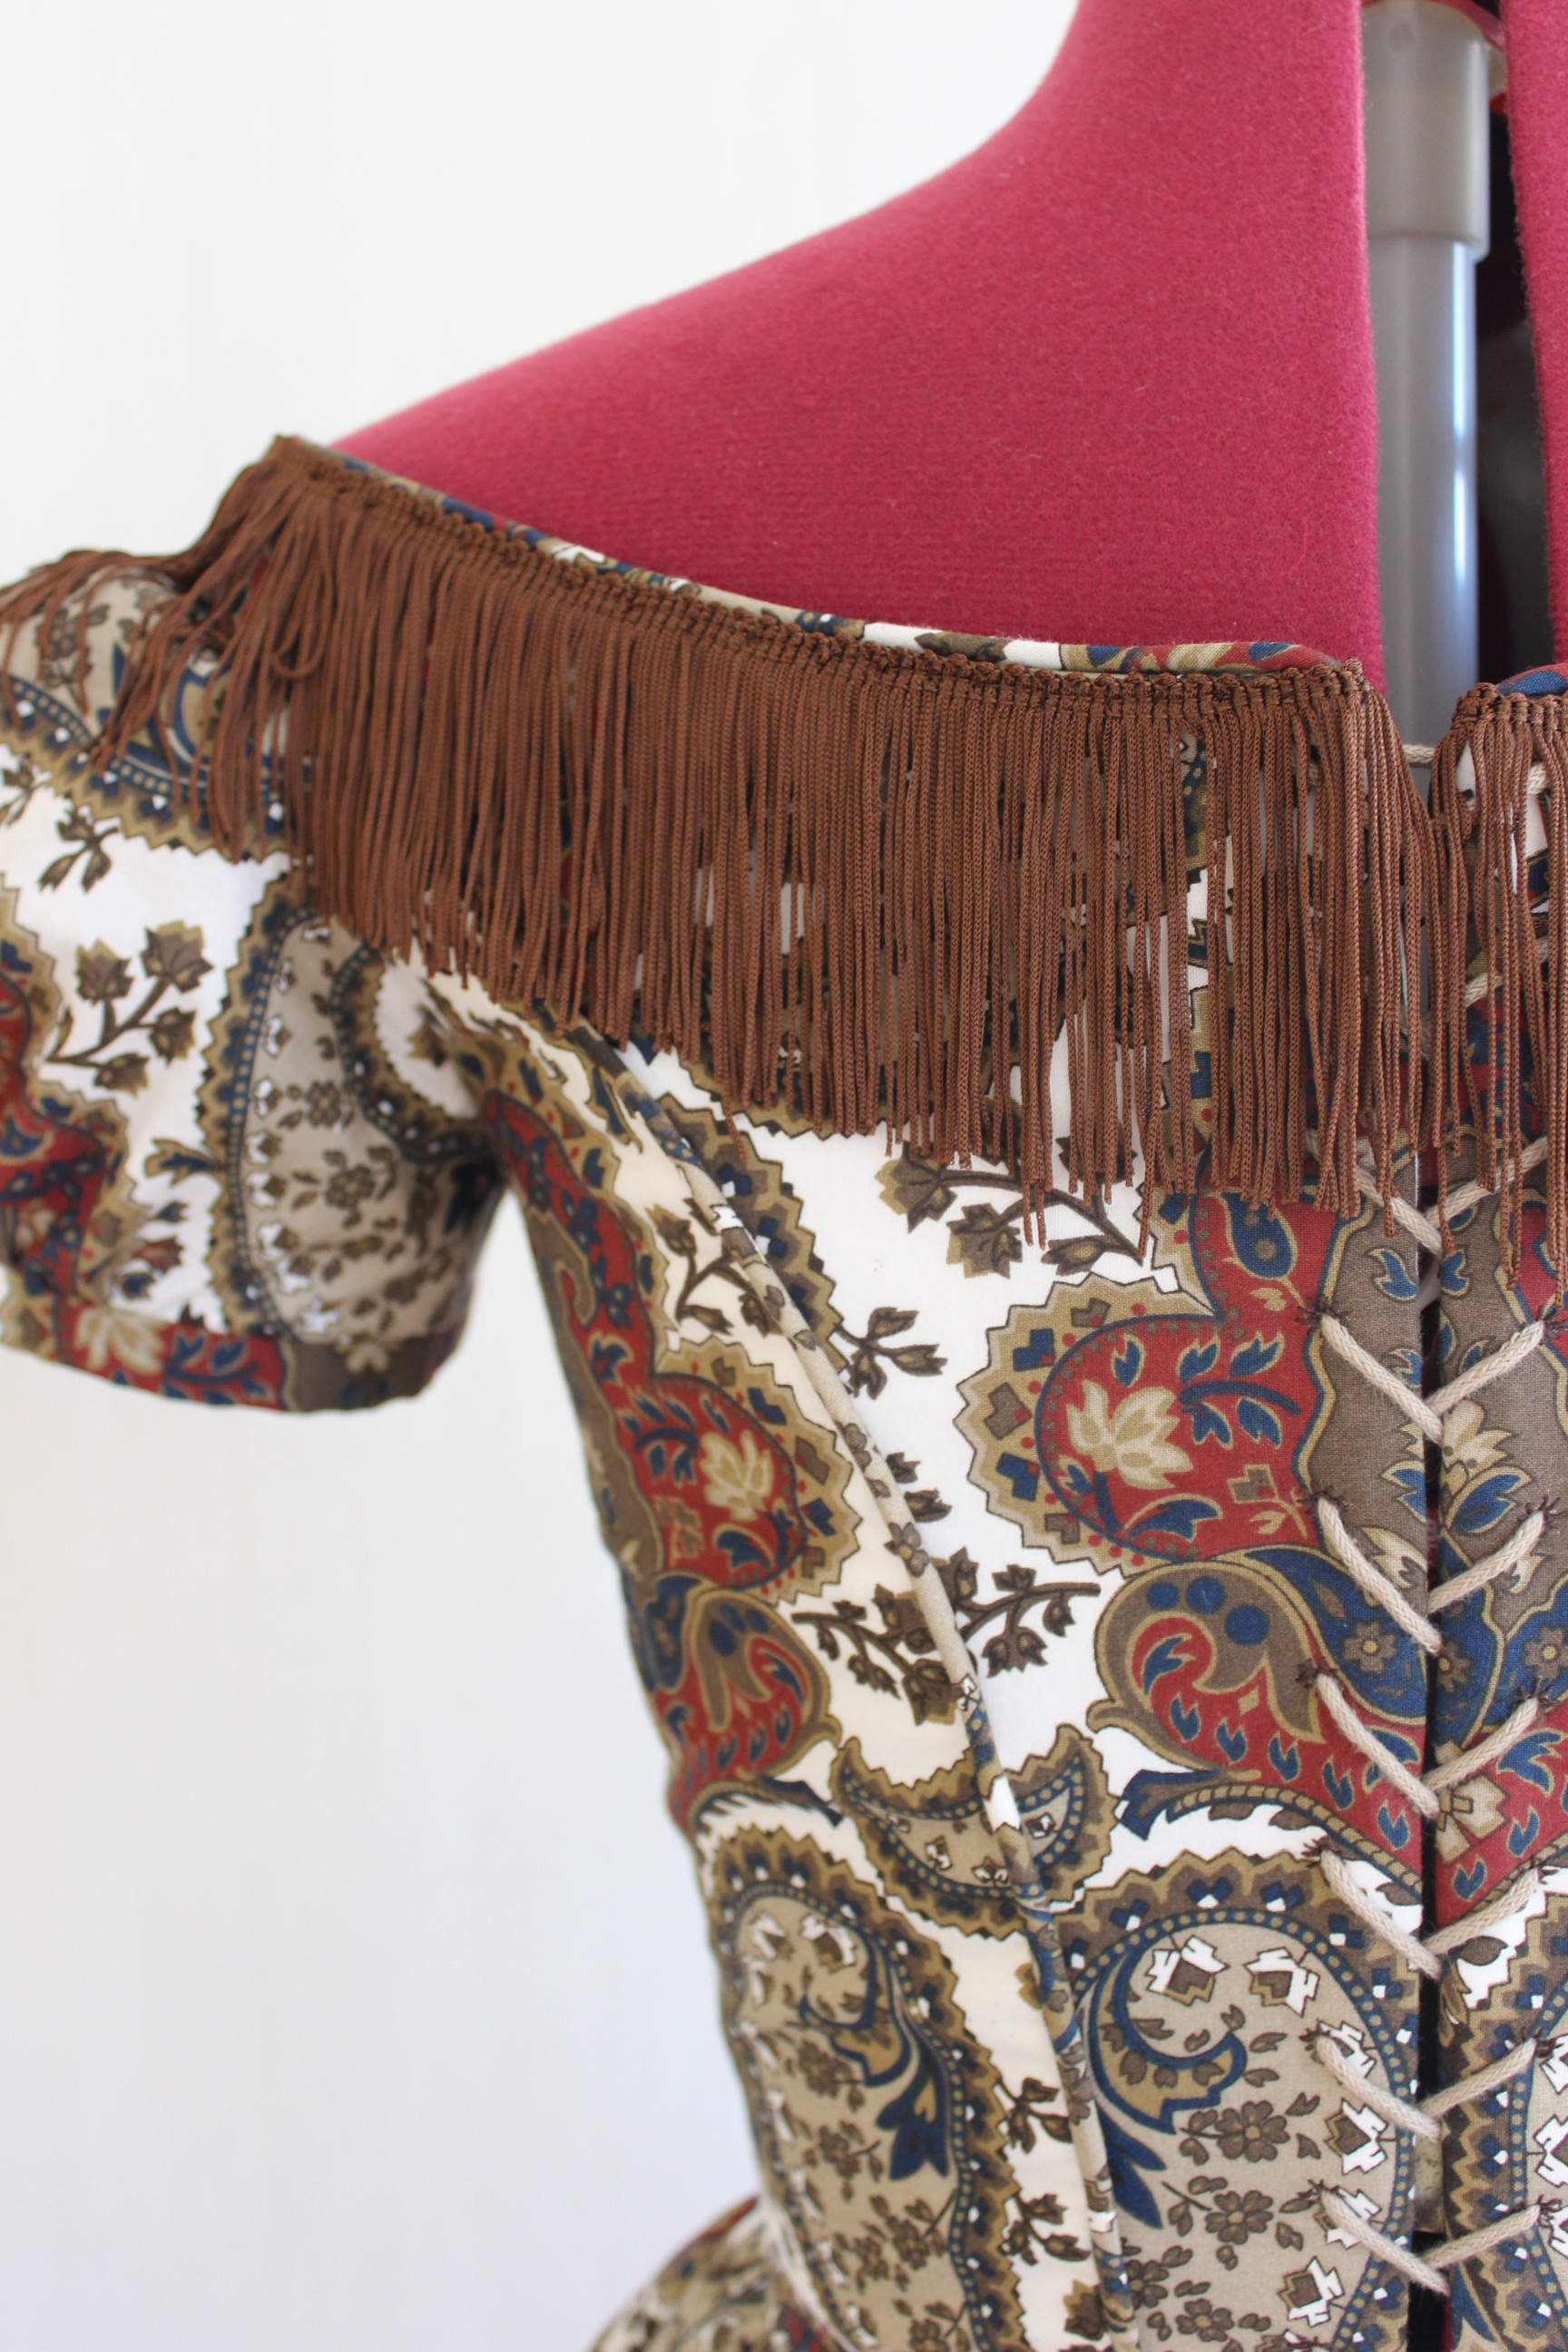
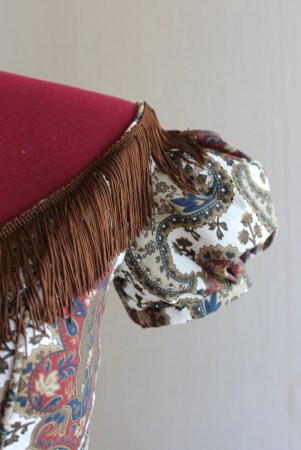
The final thing I had to decide was which trim to use. I had several metres of a golden fringe, and a smal piece of the brown fringe left. I like the brown the best – which ment I could’t make another row of fringe on the jacket :-(.
Well I can always buy more later, if I decide I whant some more.
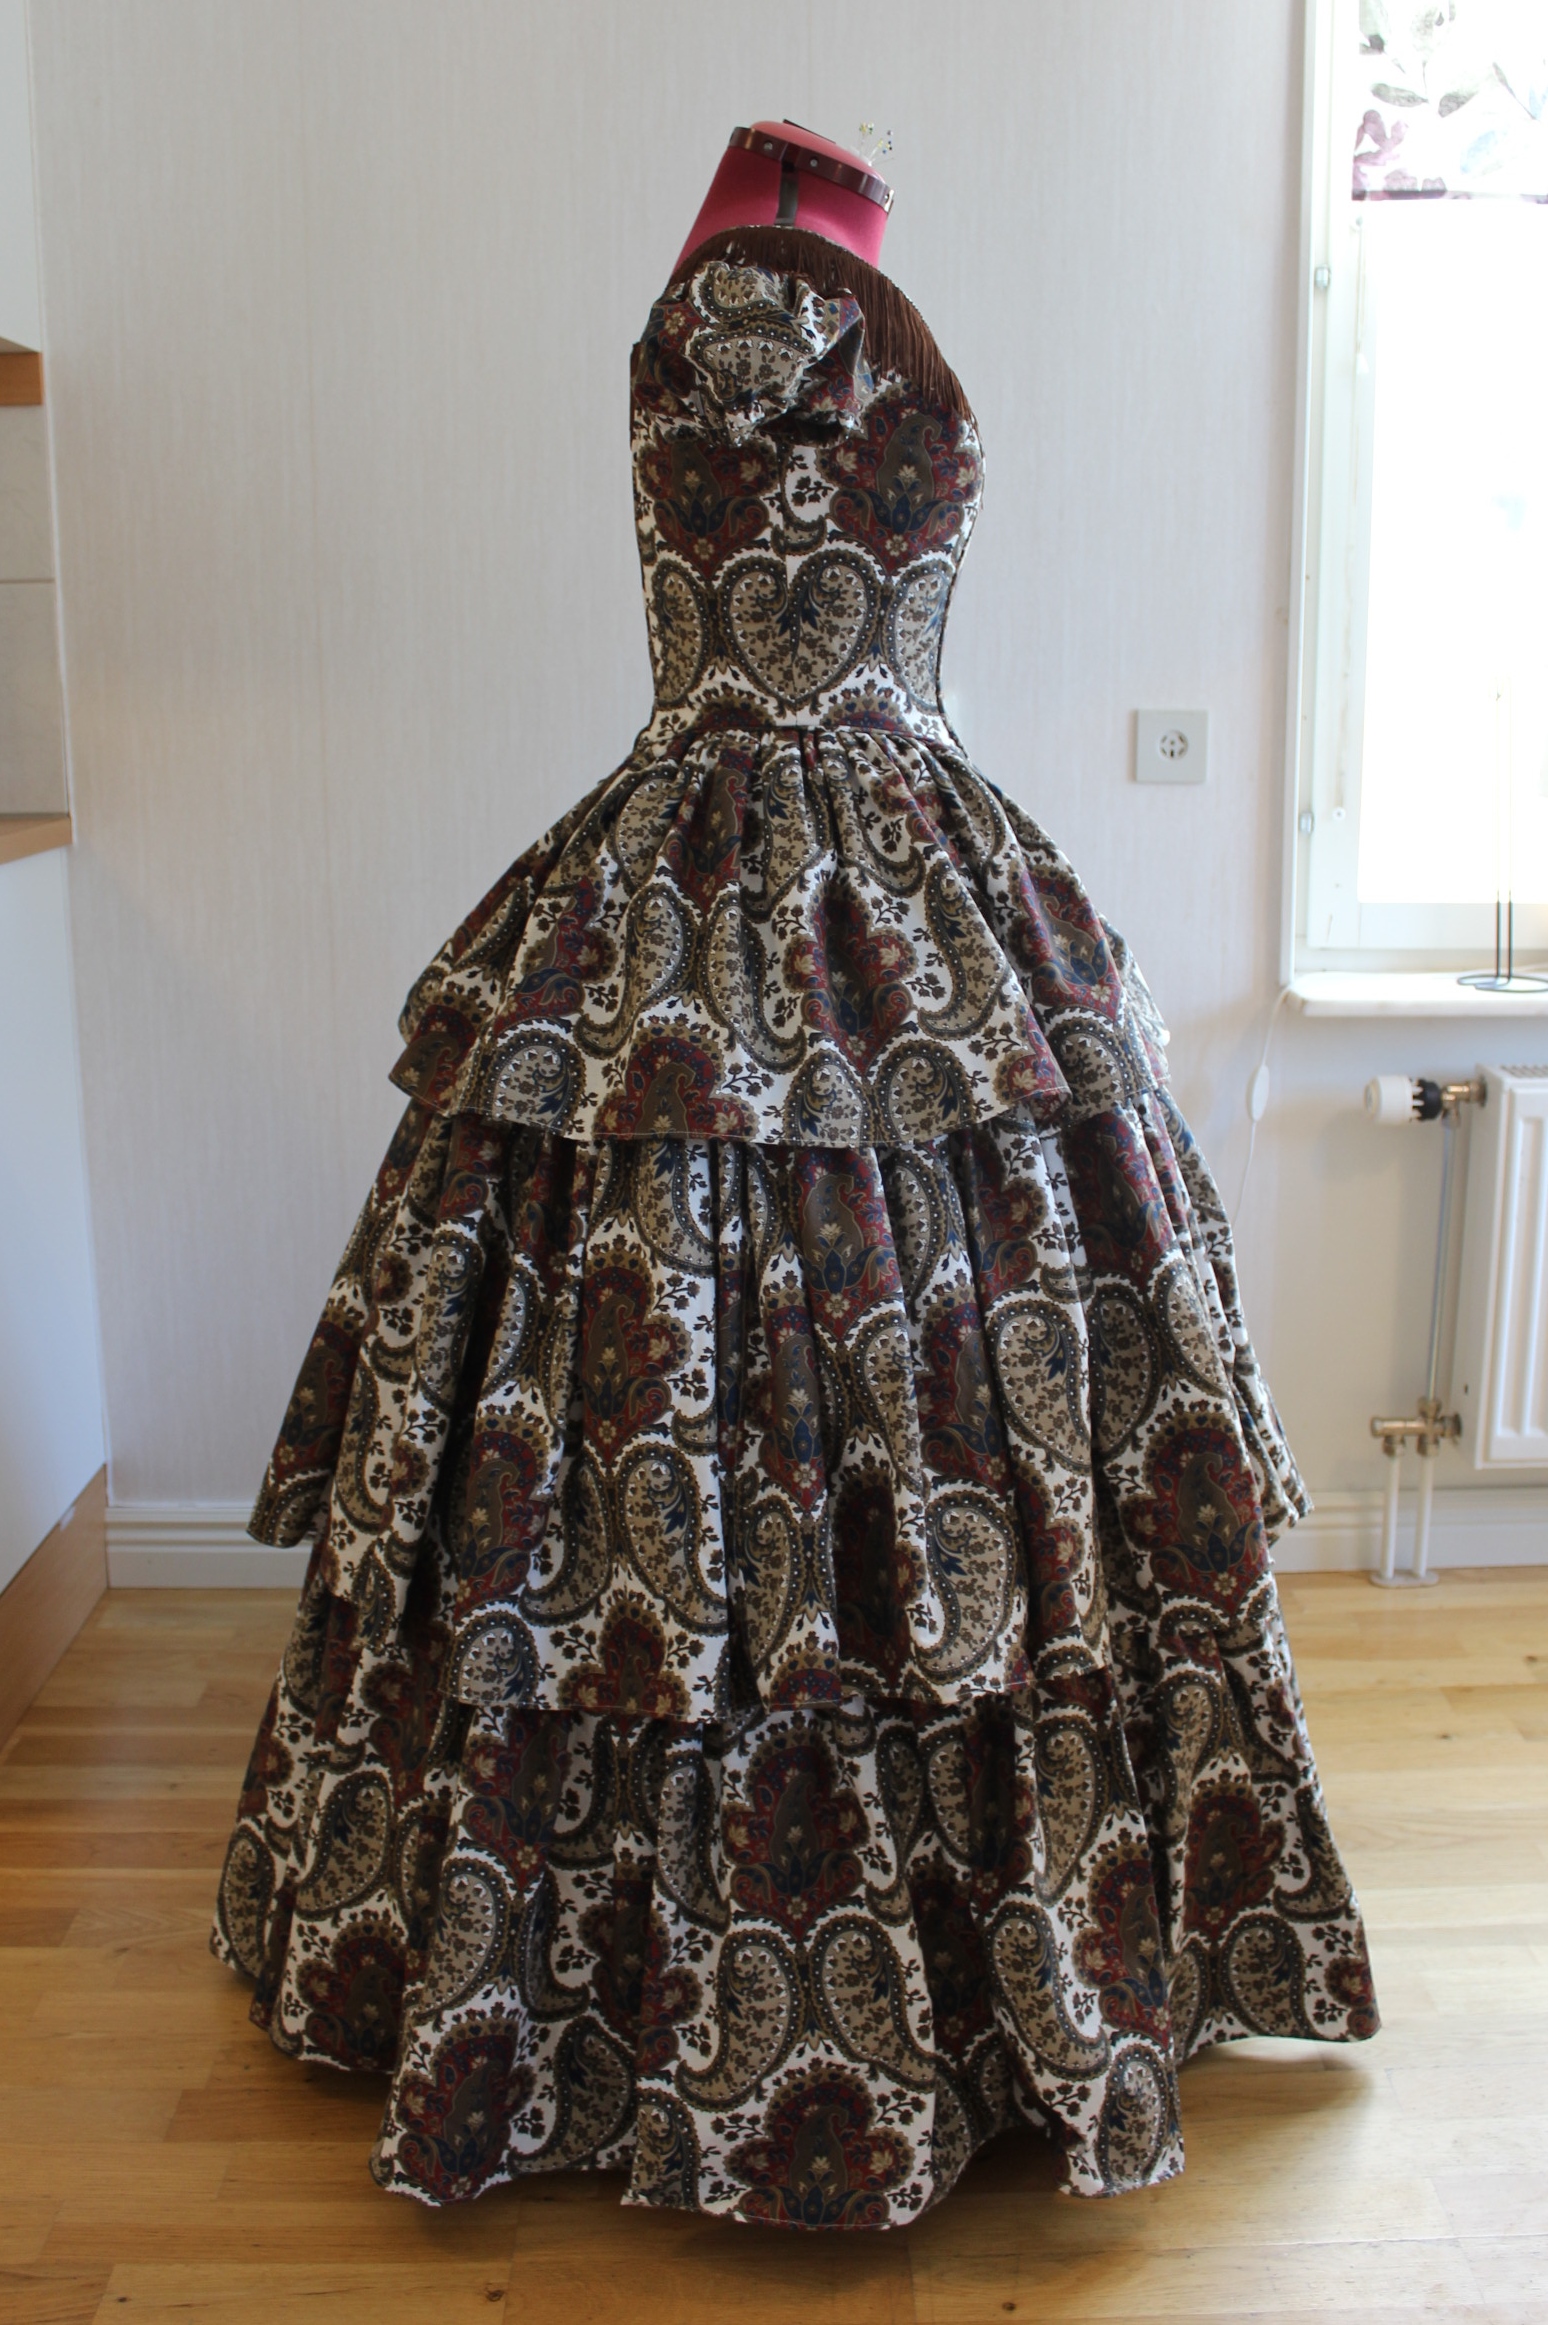
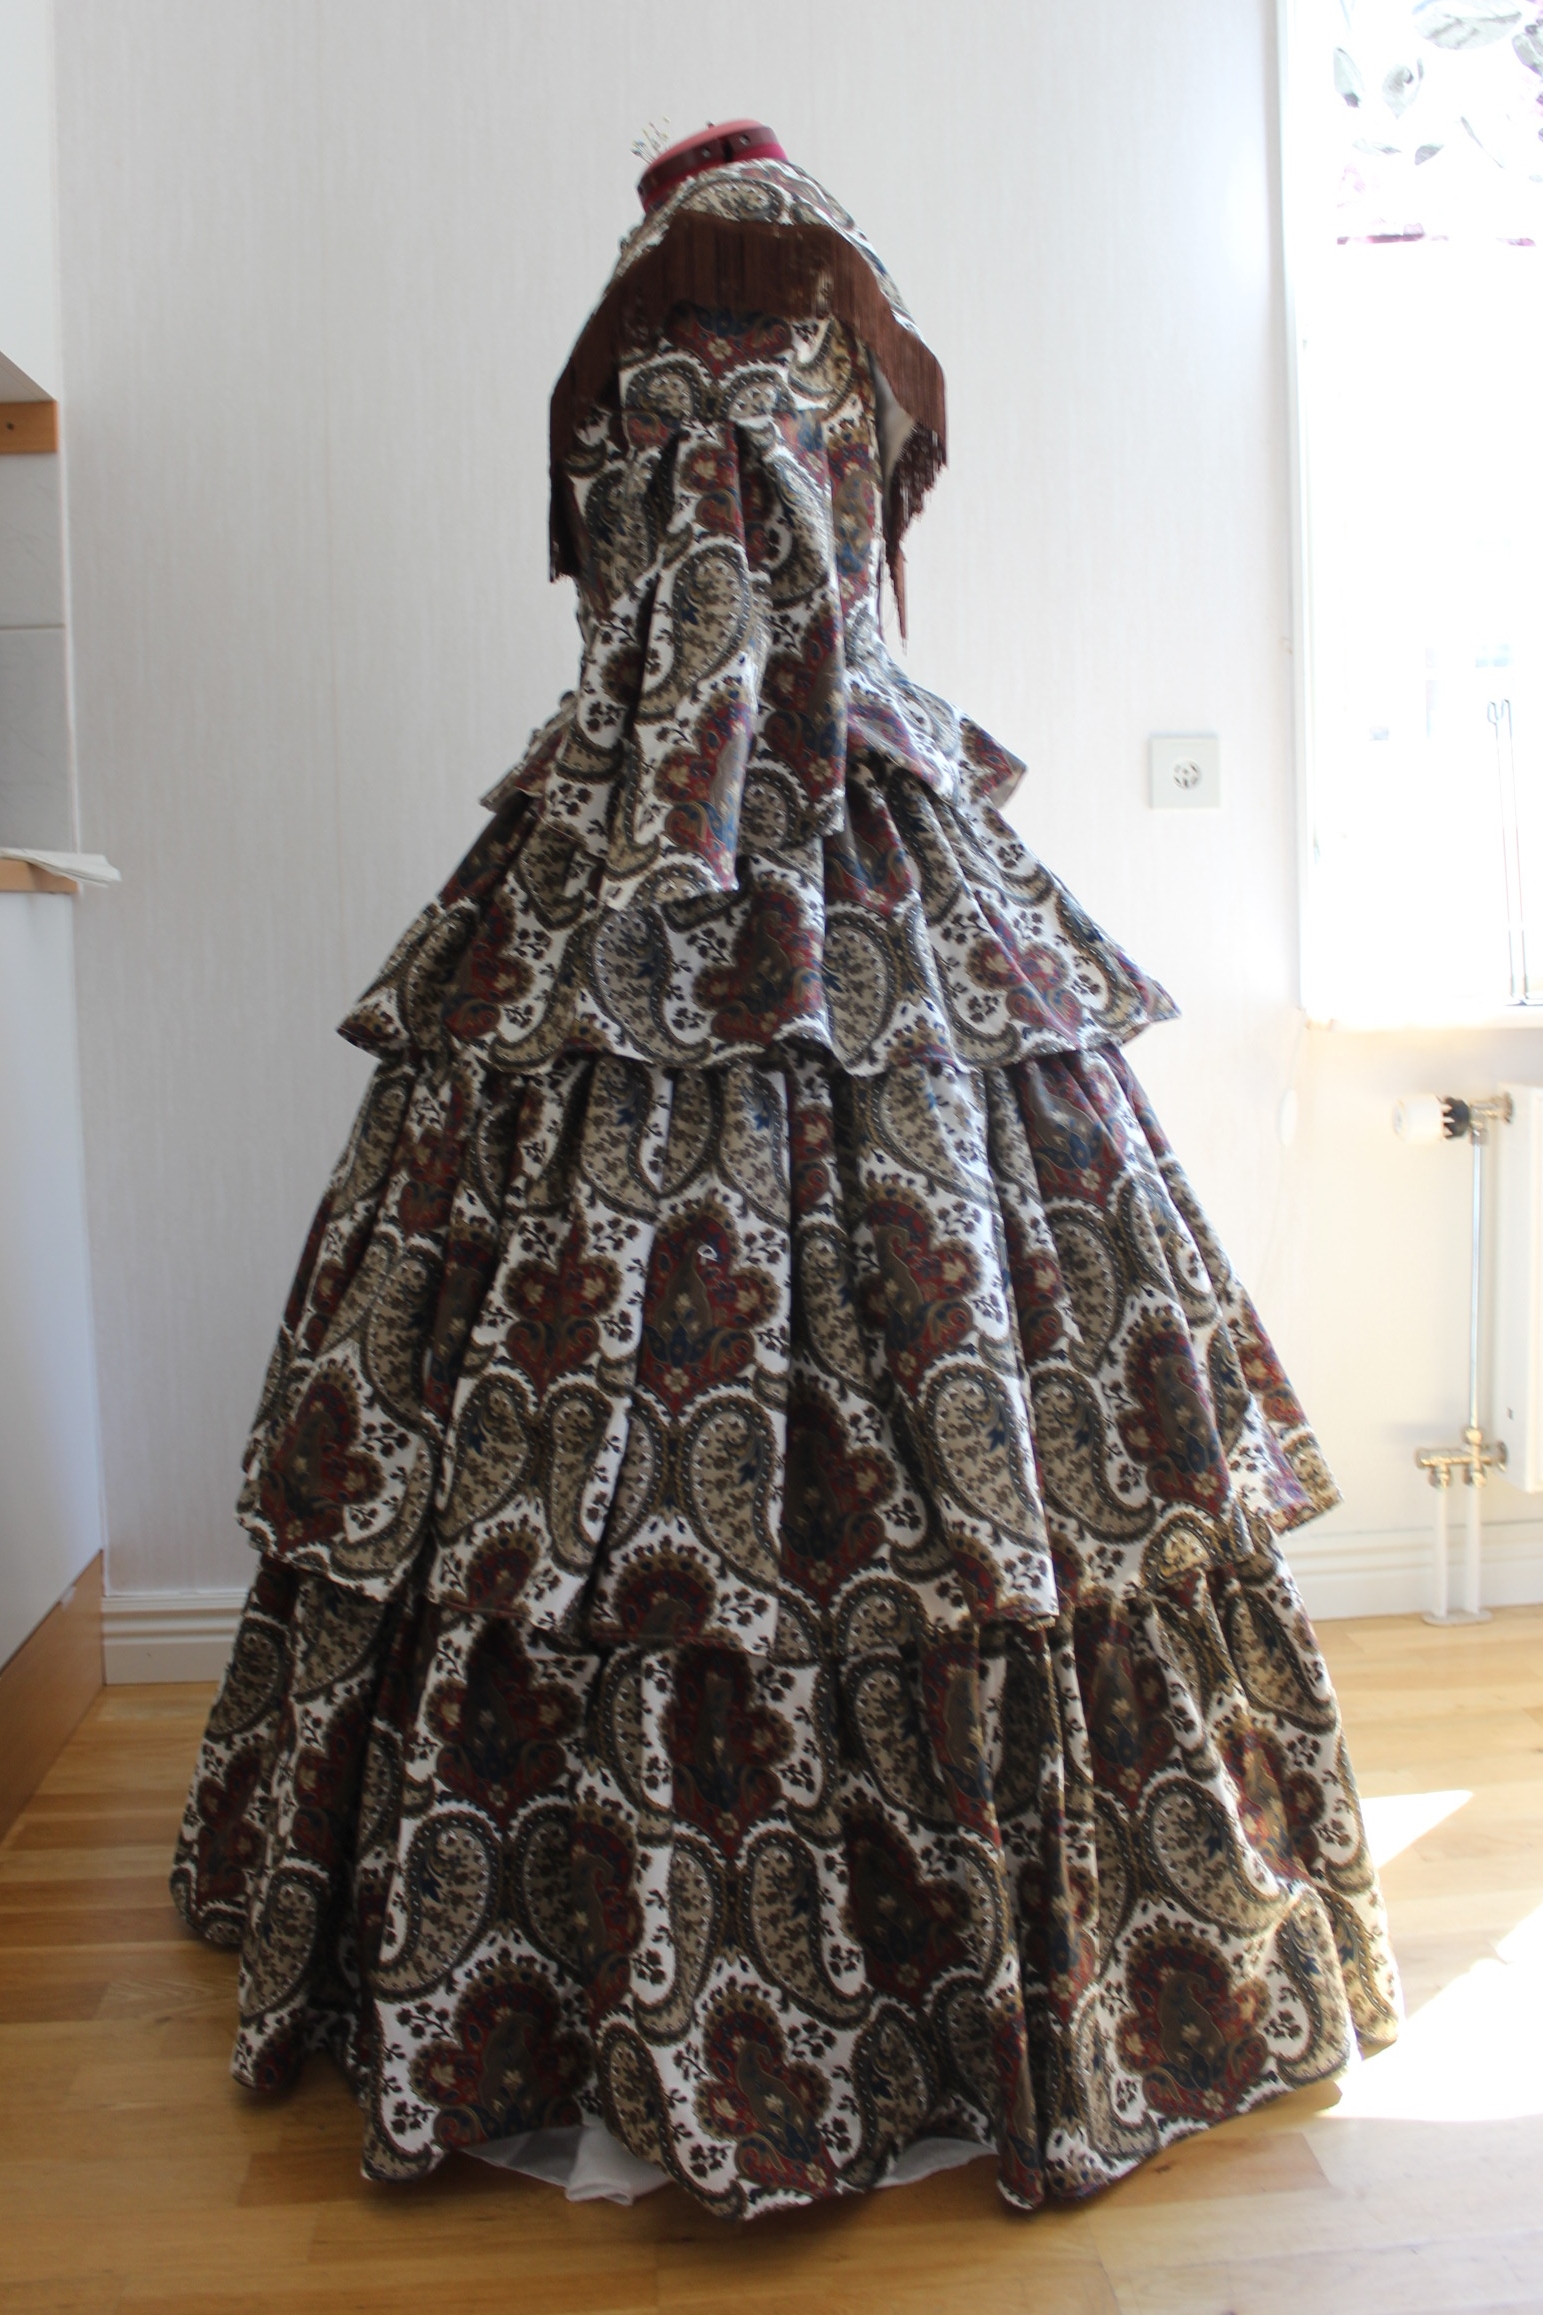
The finished dress:
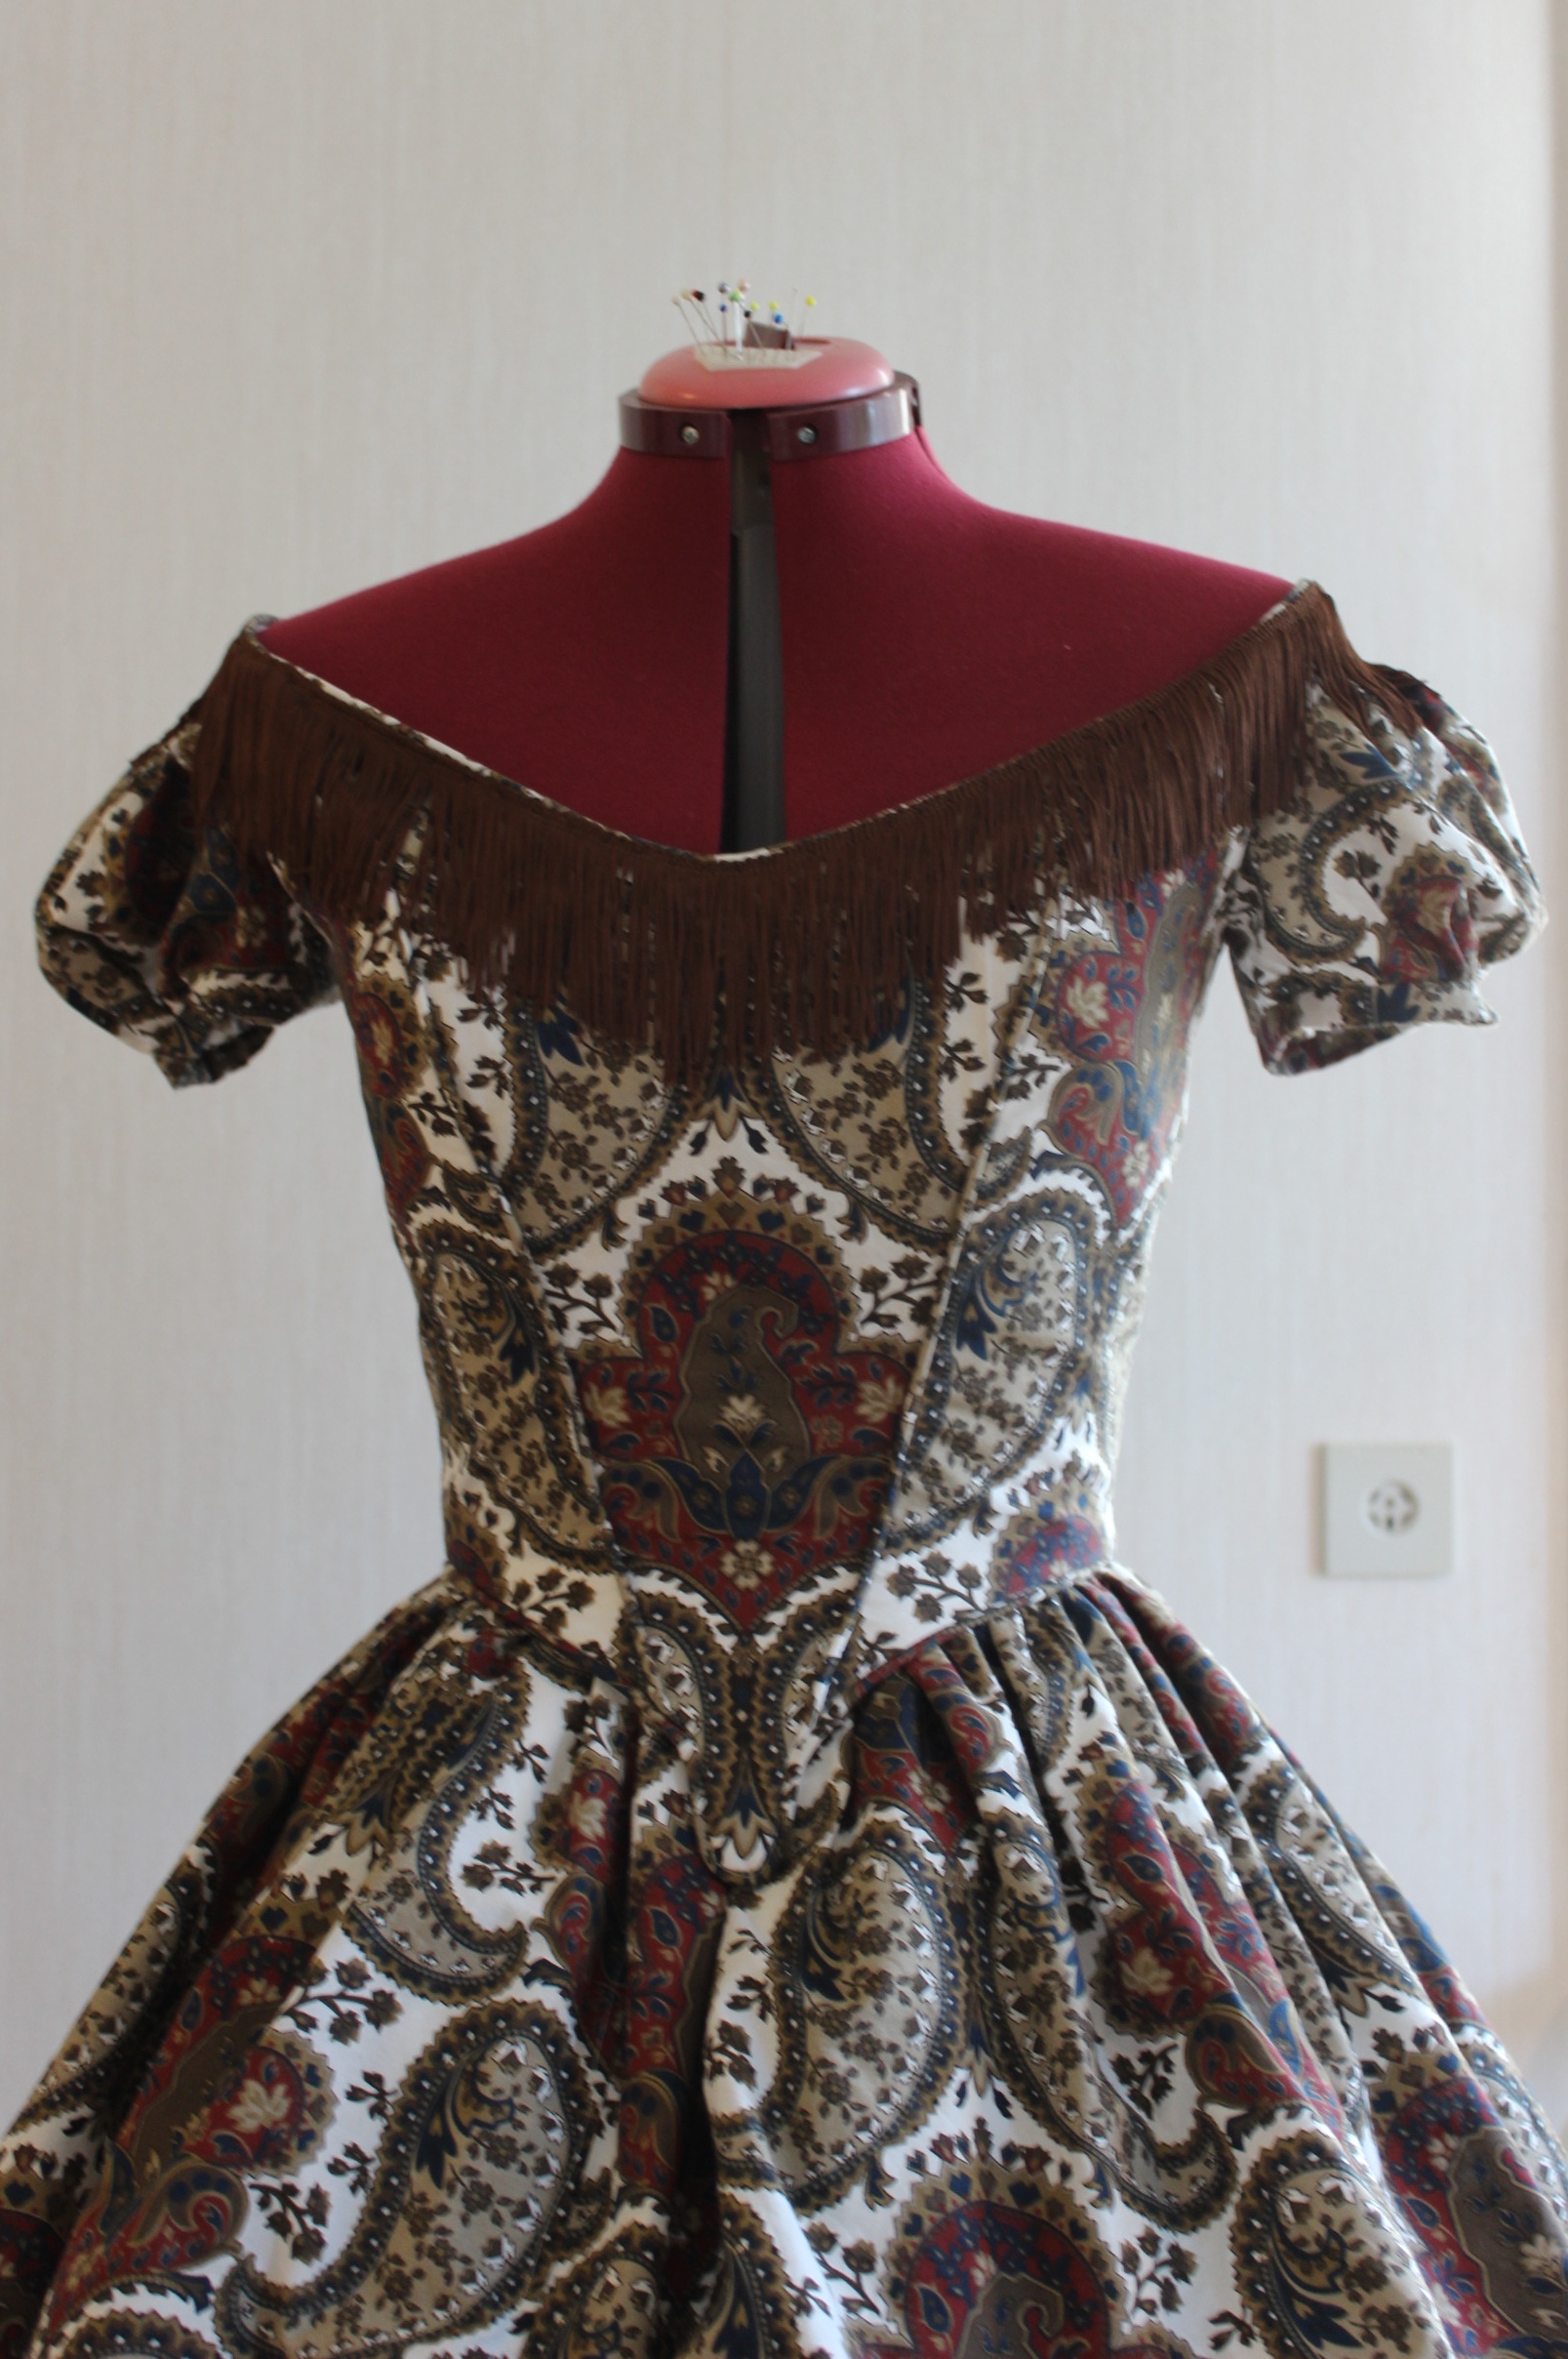

Just the facts:
Challenge: 14 – Paisley & Plaids
What: A 1850s cotton evening bodice.
Pattern: None, draped my own.
Fabric: Hard to tell, since I cut the skirt and daybodice from the same fabric at the same time. But if I had to guess I’d say 0,5 m of paisley, twill and lining.
Notions: Thread, buttonhole- thread, 5 m cotton cord for lacing, 5 m cotton cord for piping, 4 m syntetic whalebone, and 1 m of brown syntetic fringe.
How historical accurate: I don’t know – I made it to look the part. But it is made using modern techniques and material. Even though a cotton evening bodice was probably what the les whealty women wore, I’m not sure she would have chosen such a loud print.
Time: Same as above – not sure, but my best guess is about 10 hours (the eyelets took a great deal of time).
Cost: I estimate the cost to about 100 Sek since everything was from stash.
First worn: Only for photos. But I do hope I get the chance to attend a Dickens teamed bal of some sort…
Final thougts: I like the bodice and it fits quite well, even though the eylets are a bit smal and needs an awl for lacing.
And I could not wear my new chemise with it since it bulked and showed to much. Did they use special evening chemises in the 1850s?
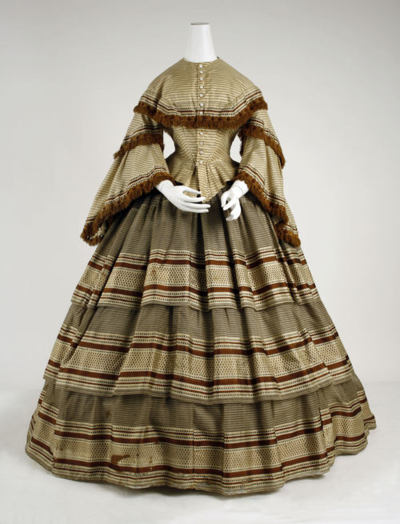
The day after I finished the Paisley gown, my sister helped me dress up to take some nice photos of it.
I’m wearing the skirt and day bodice, paired with my new white bonnet and chemise, crinoline and petticoat.
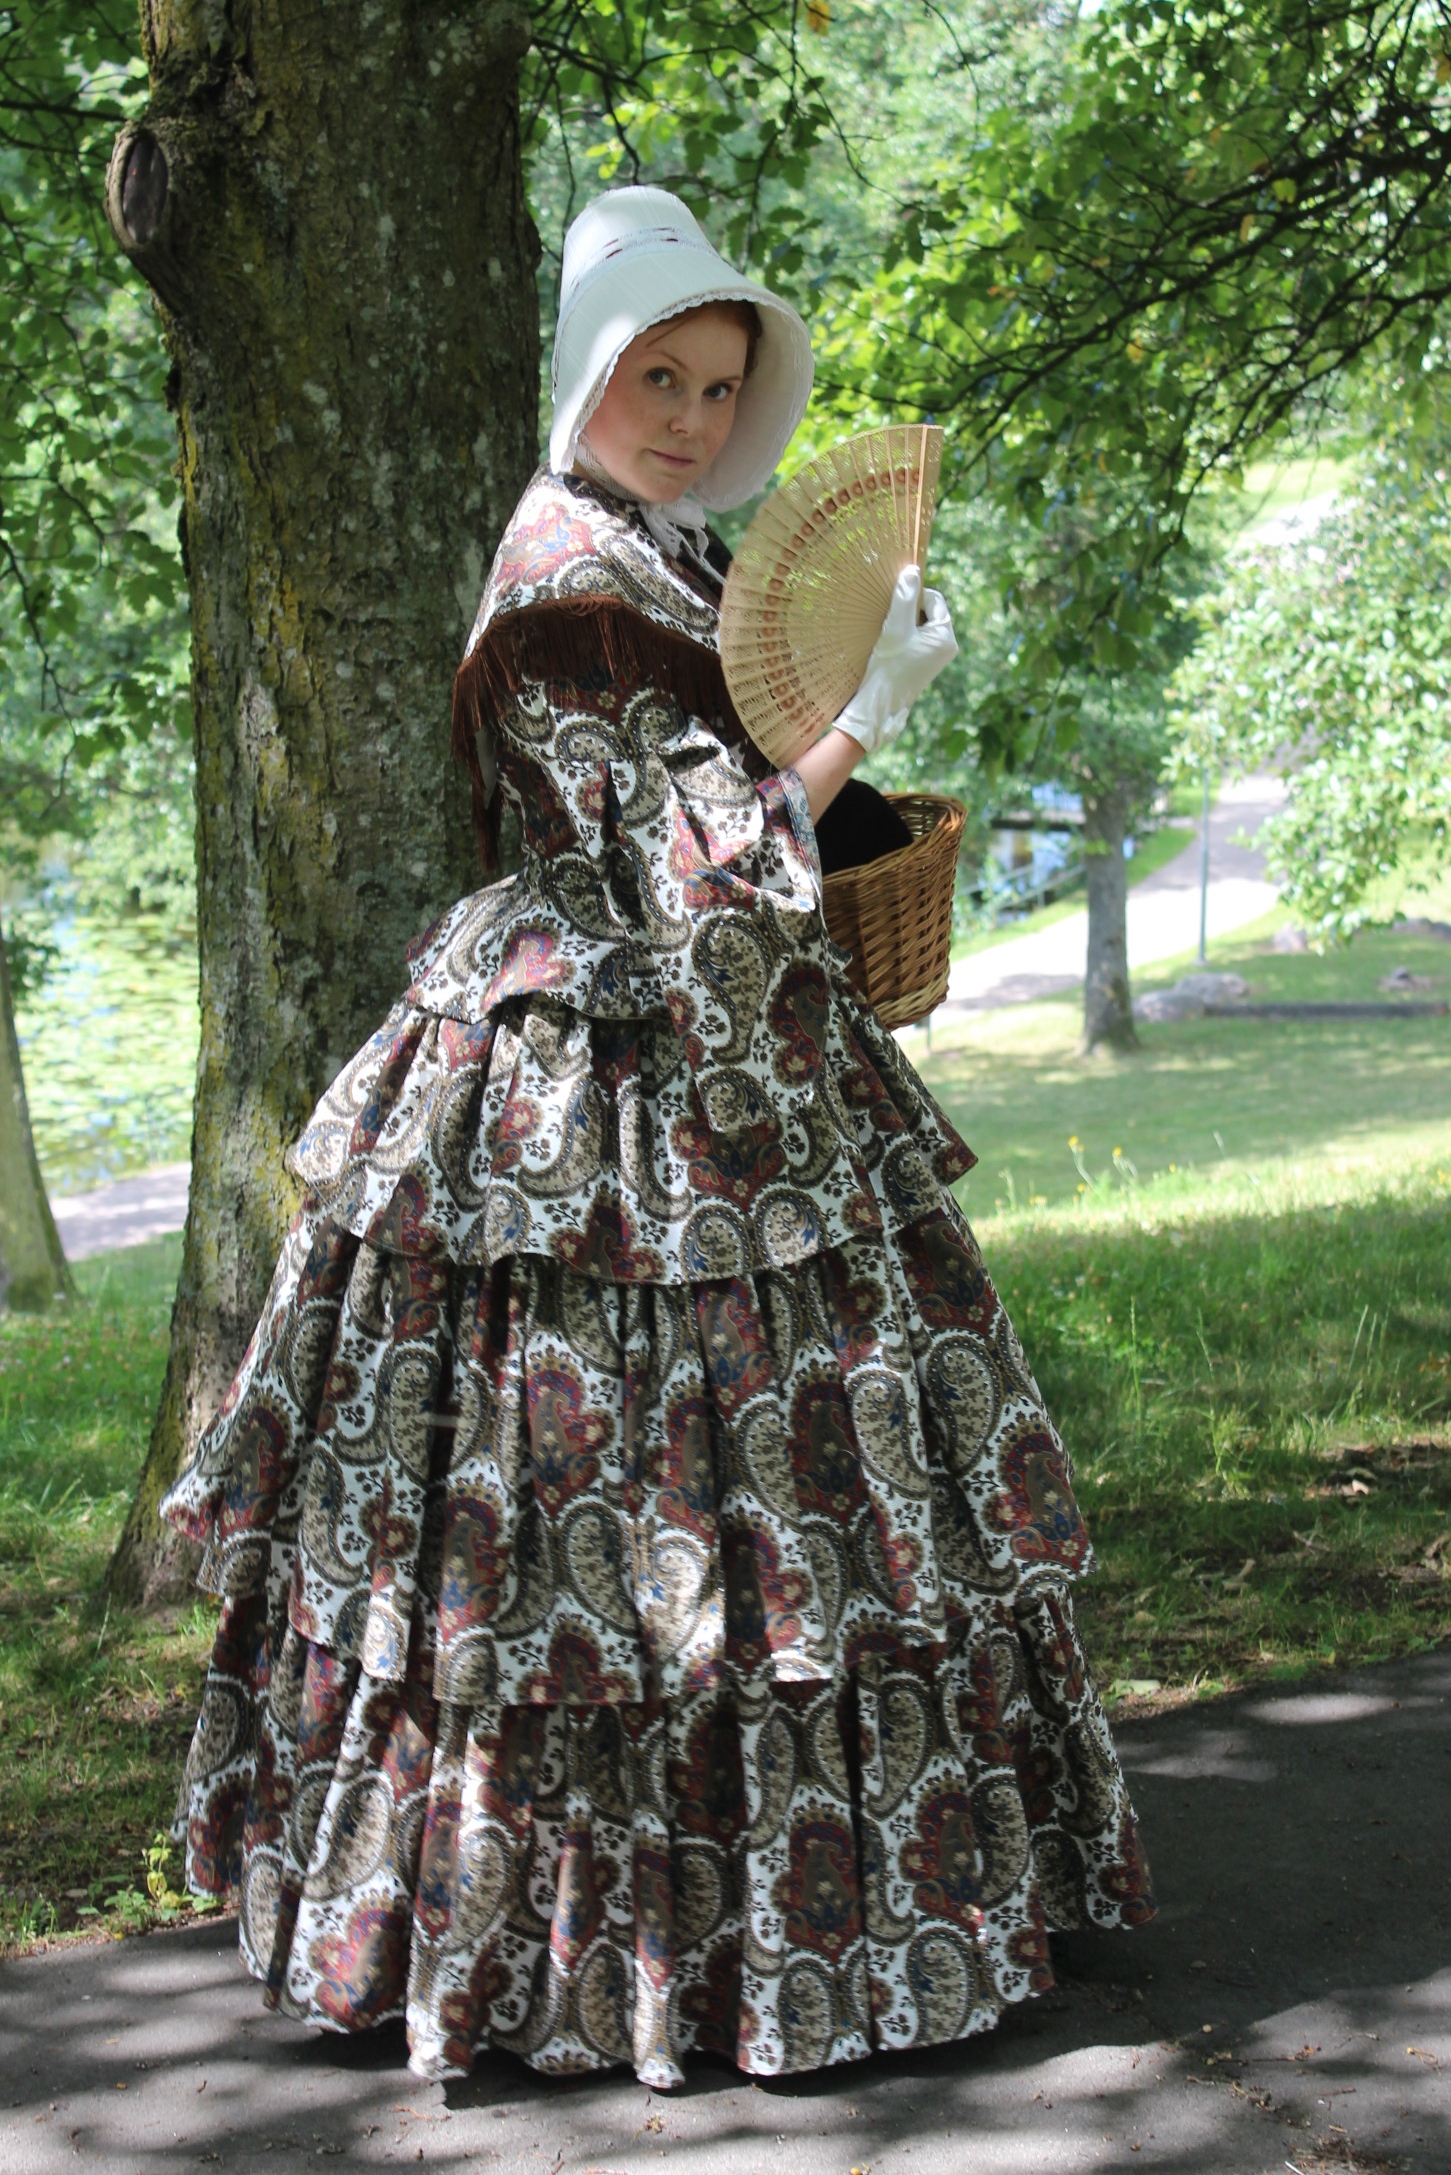
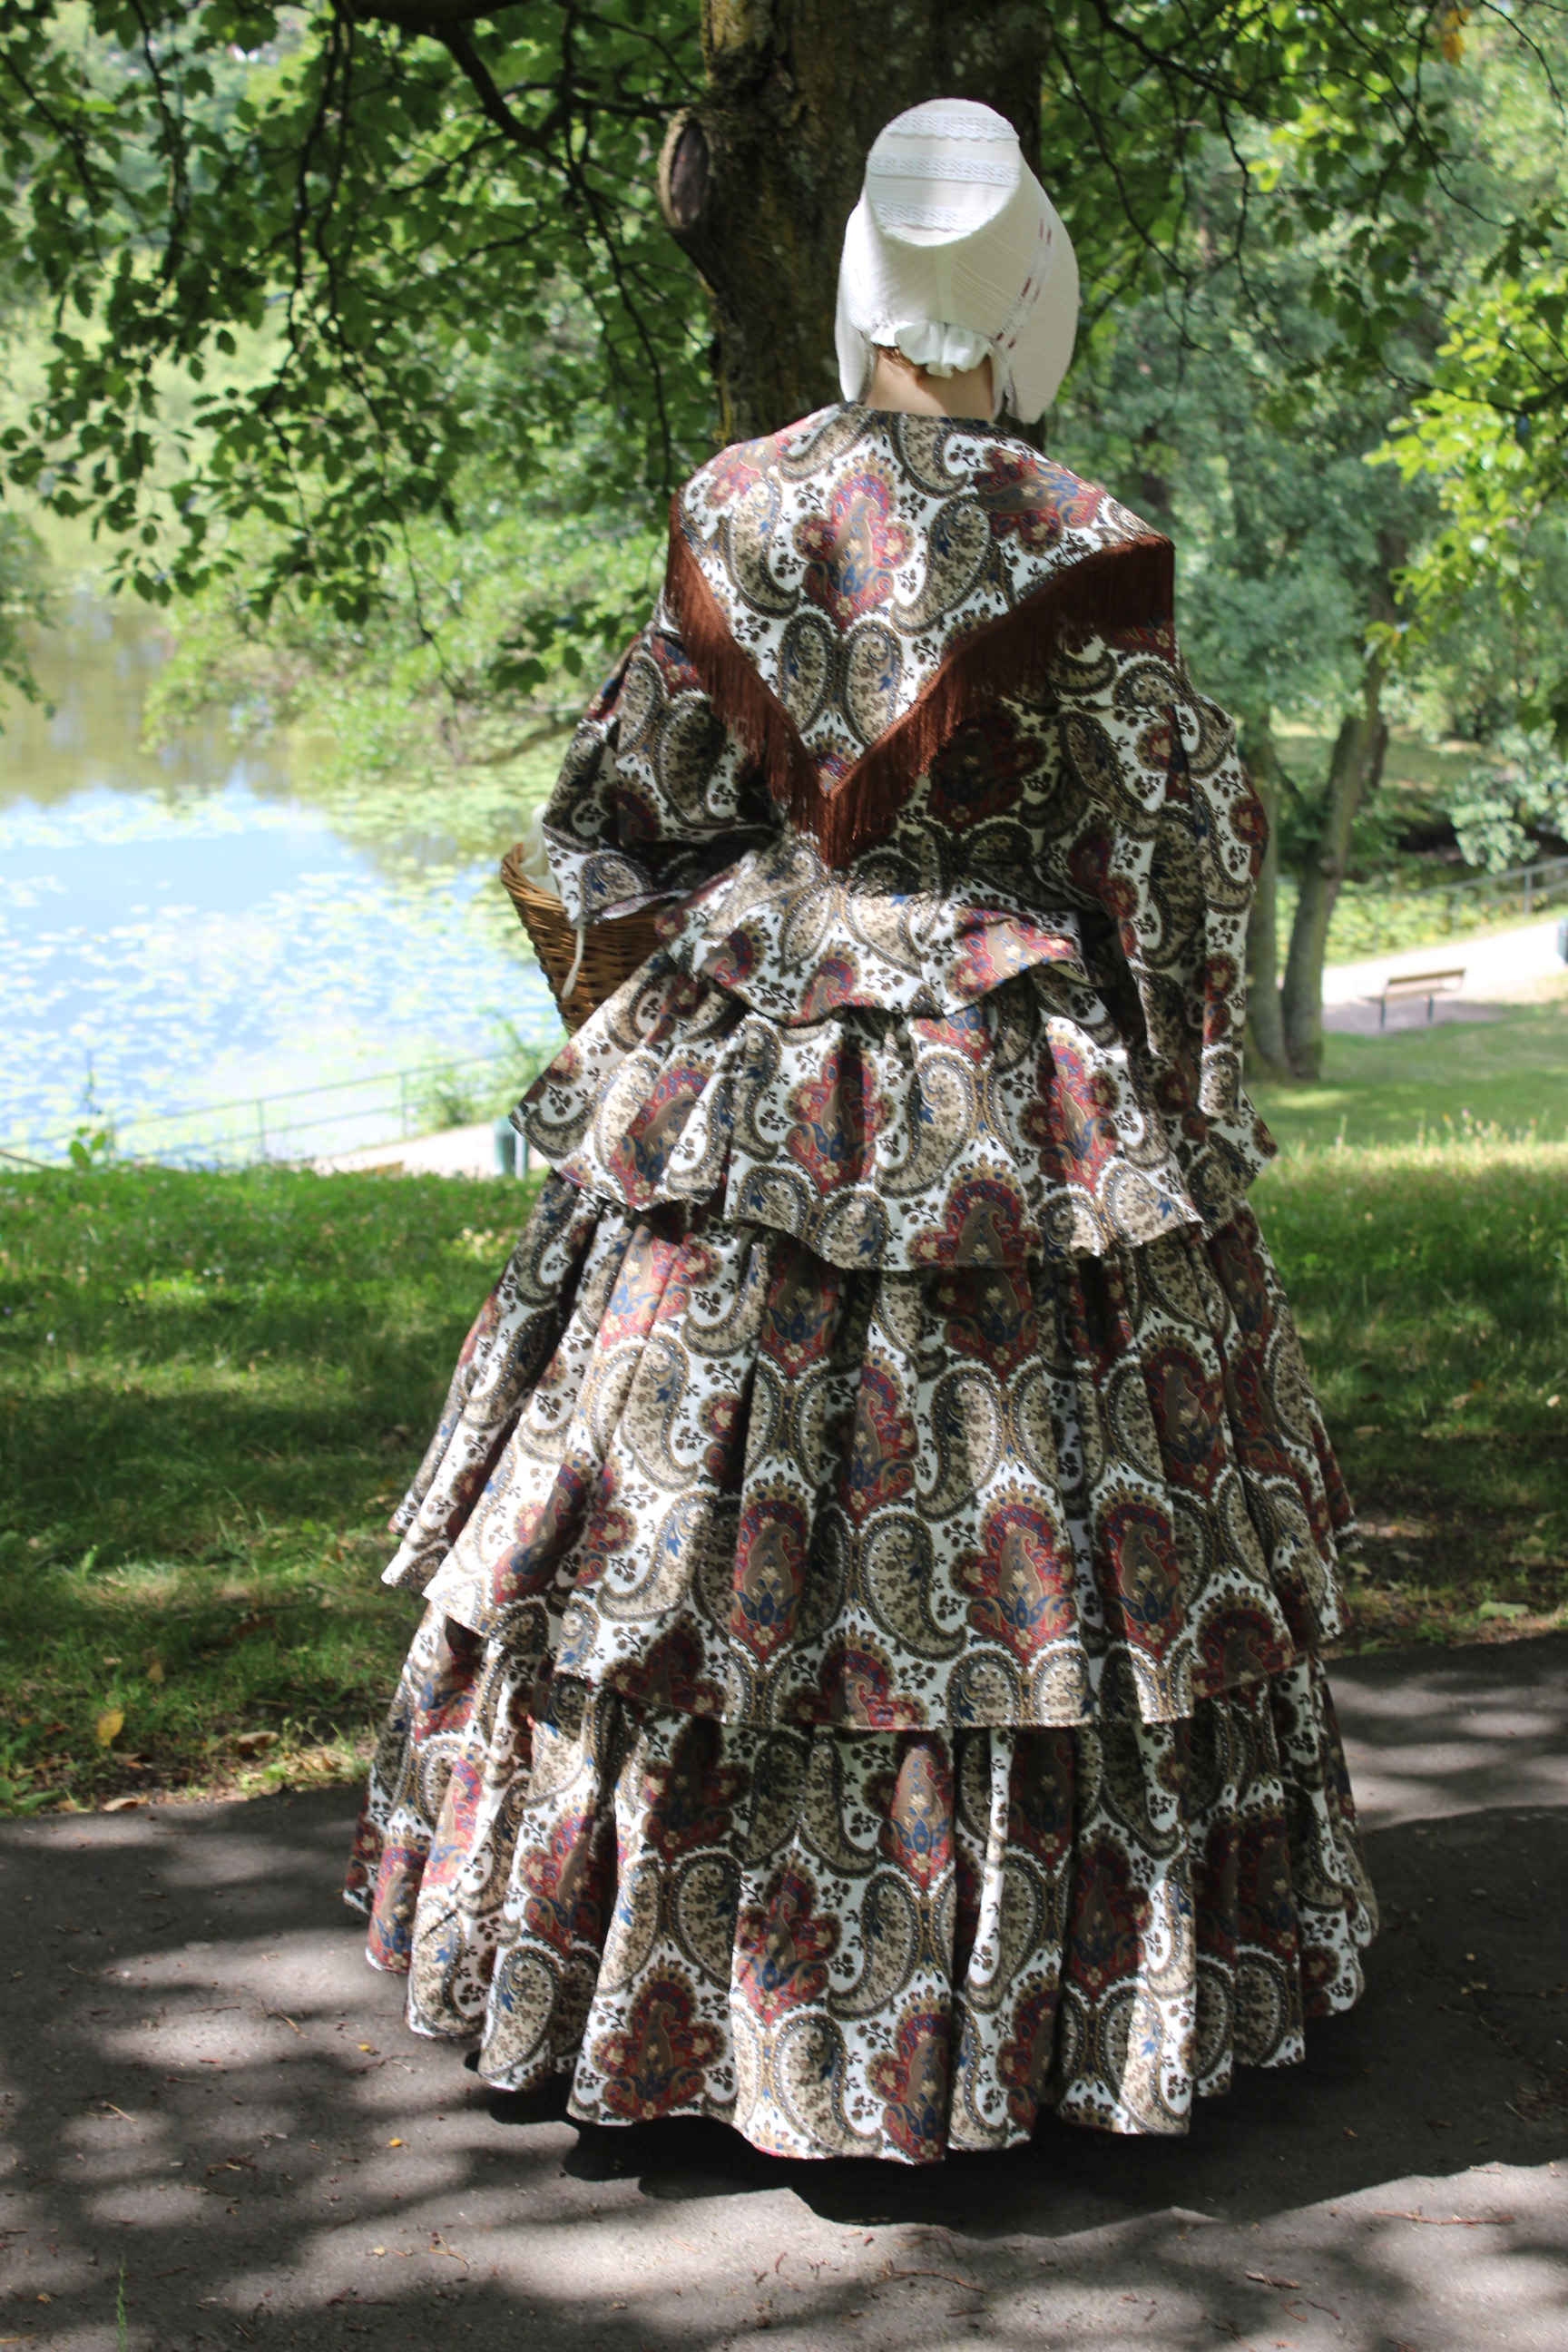
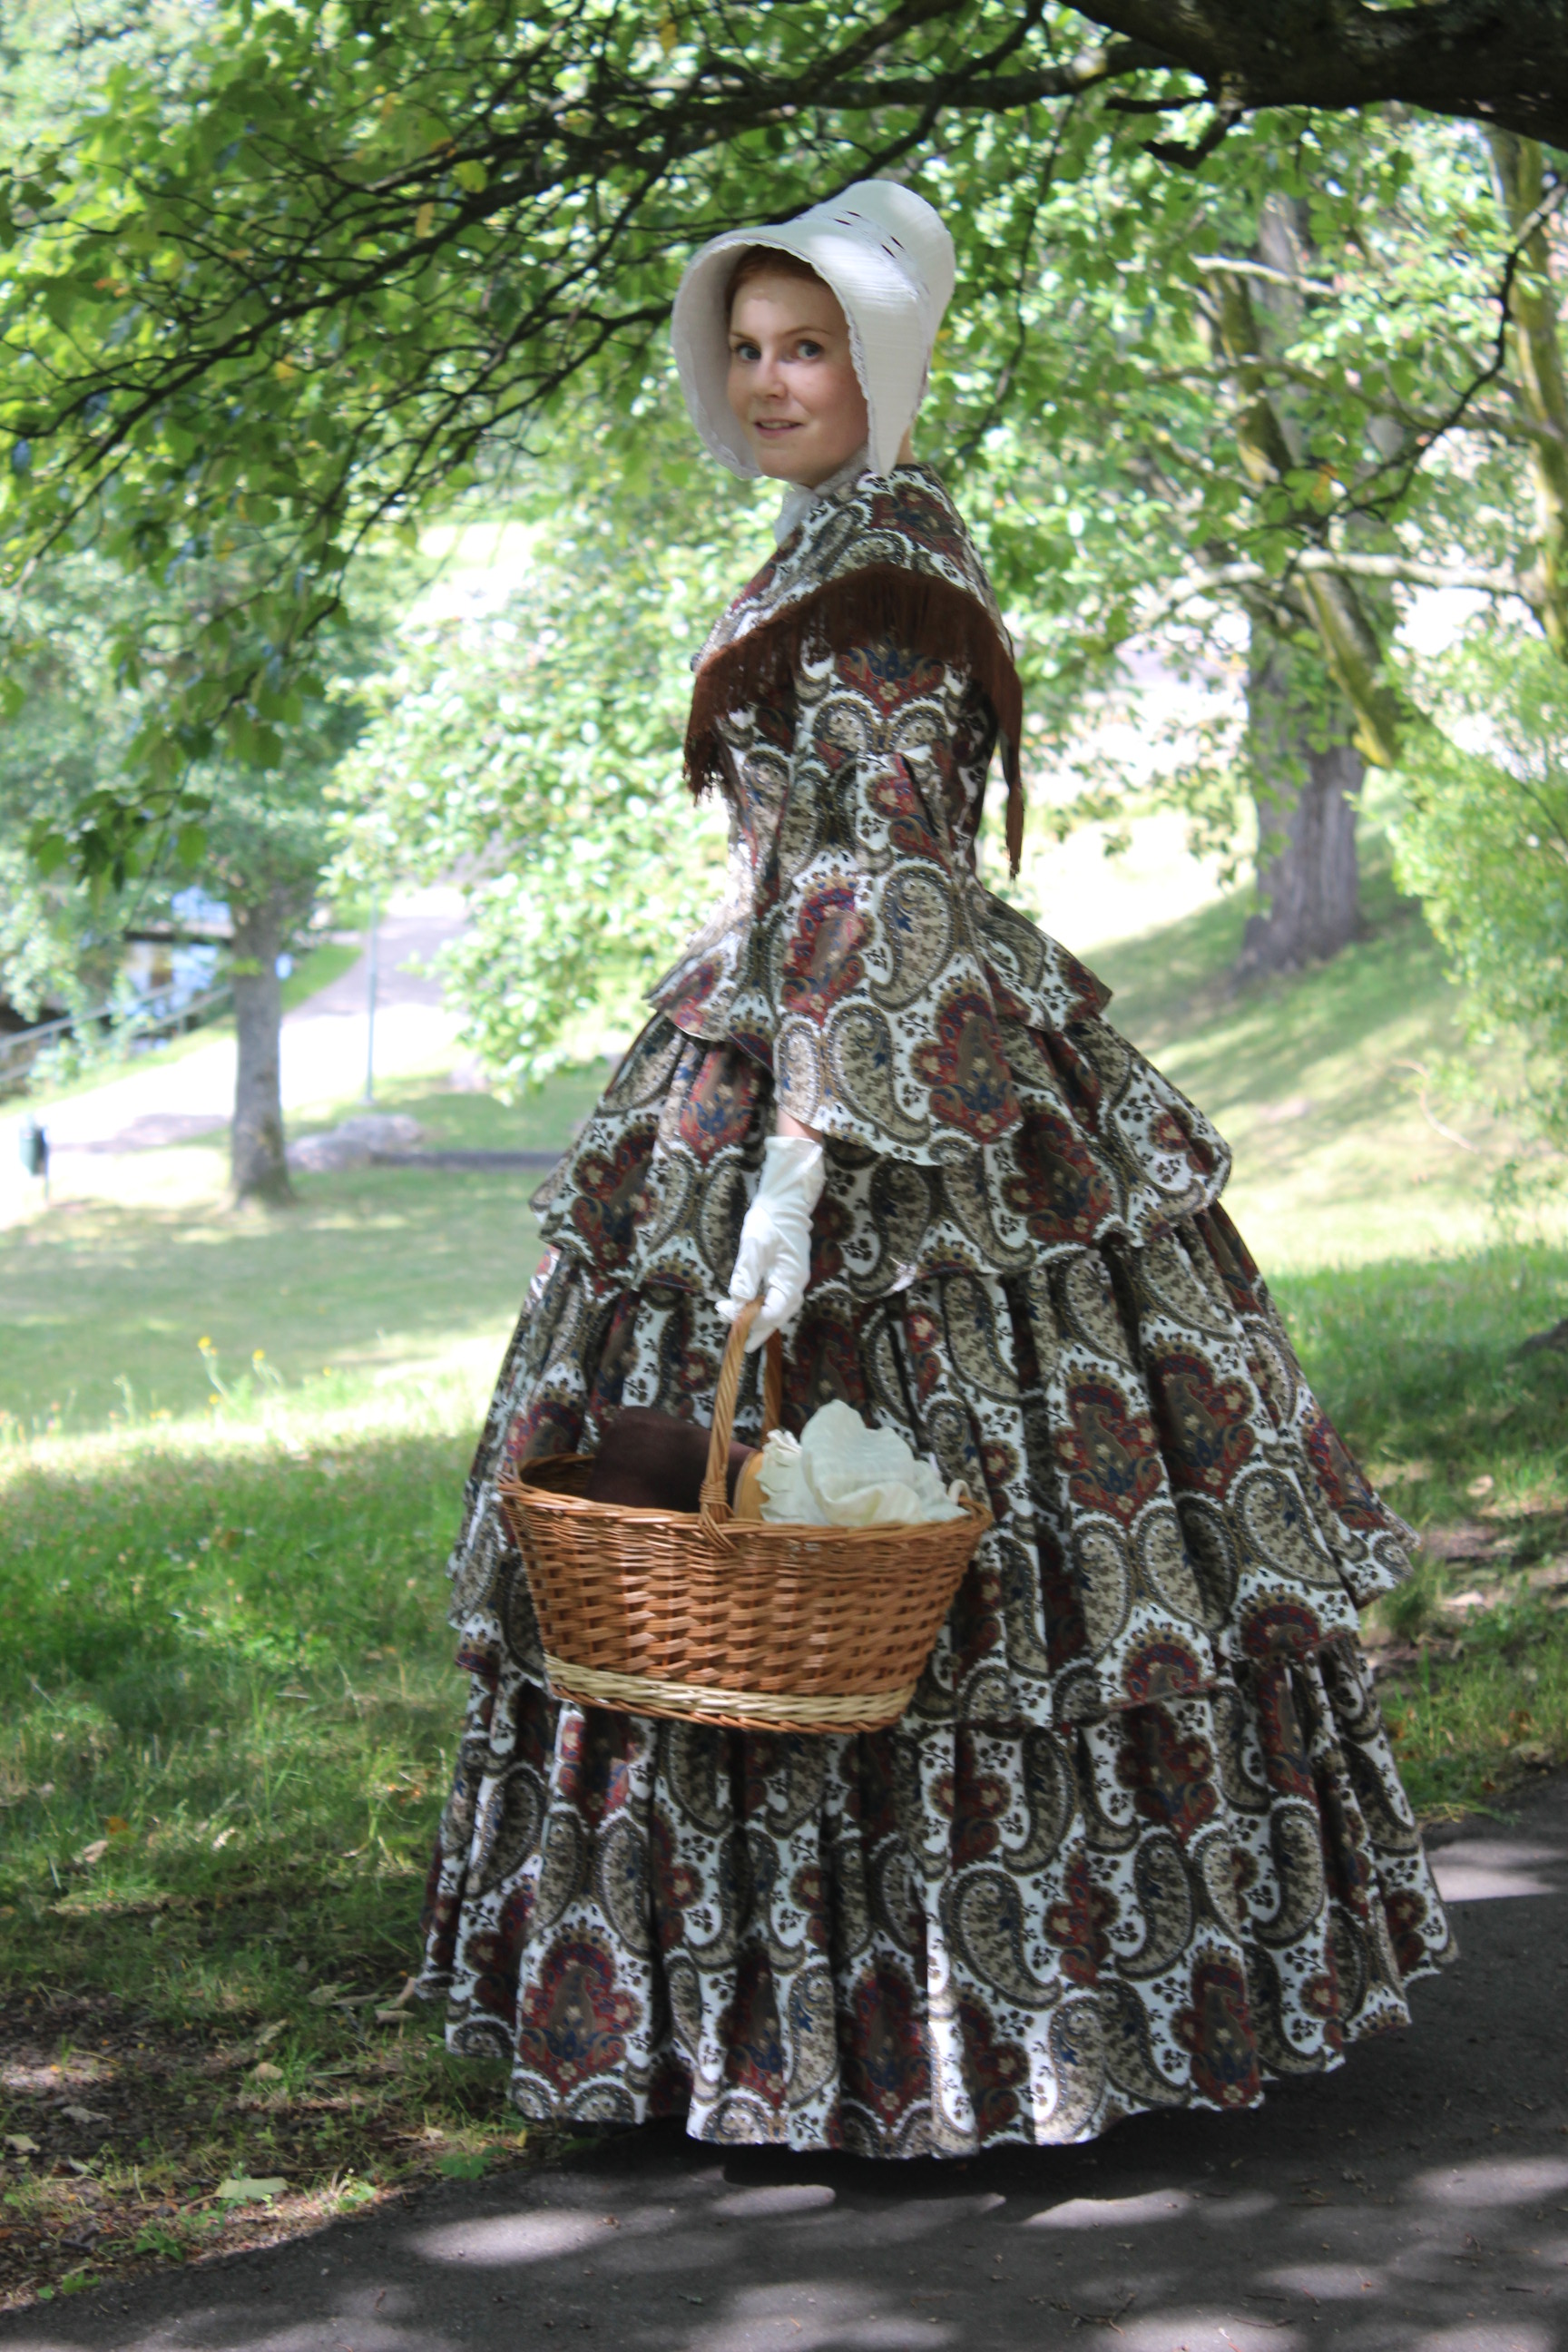
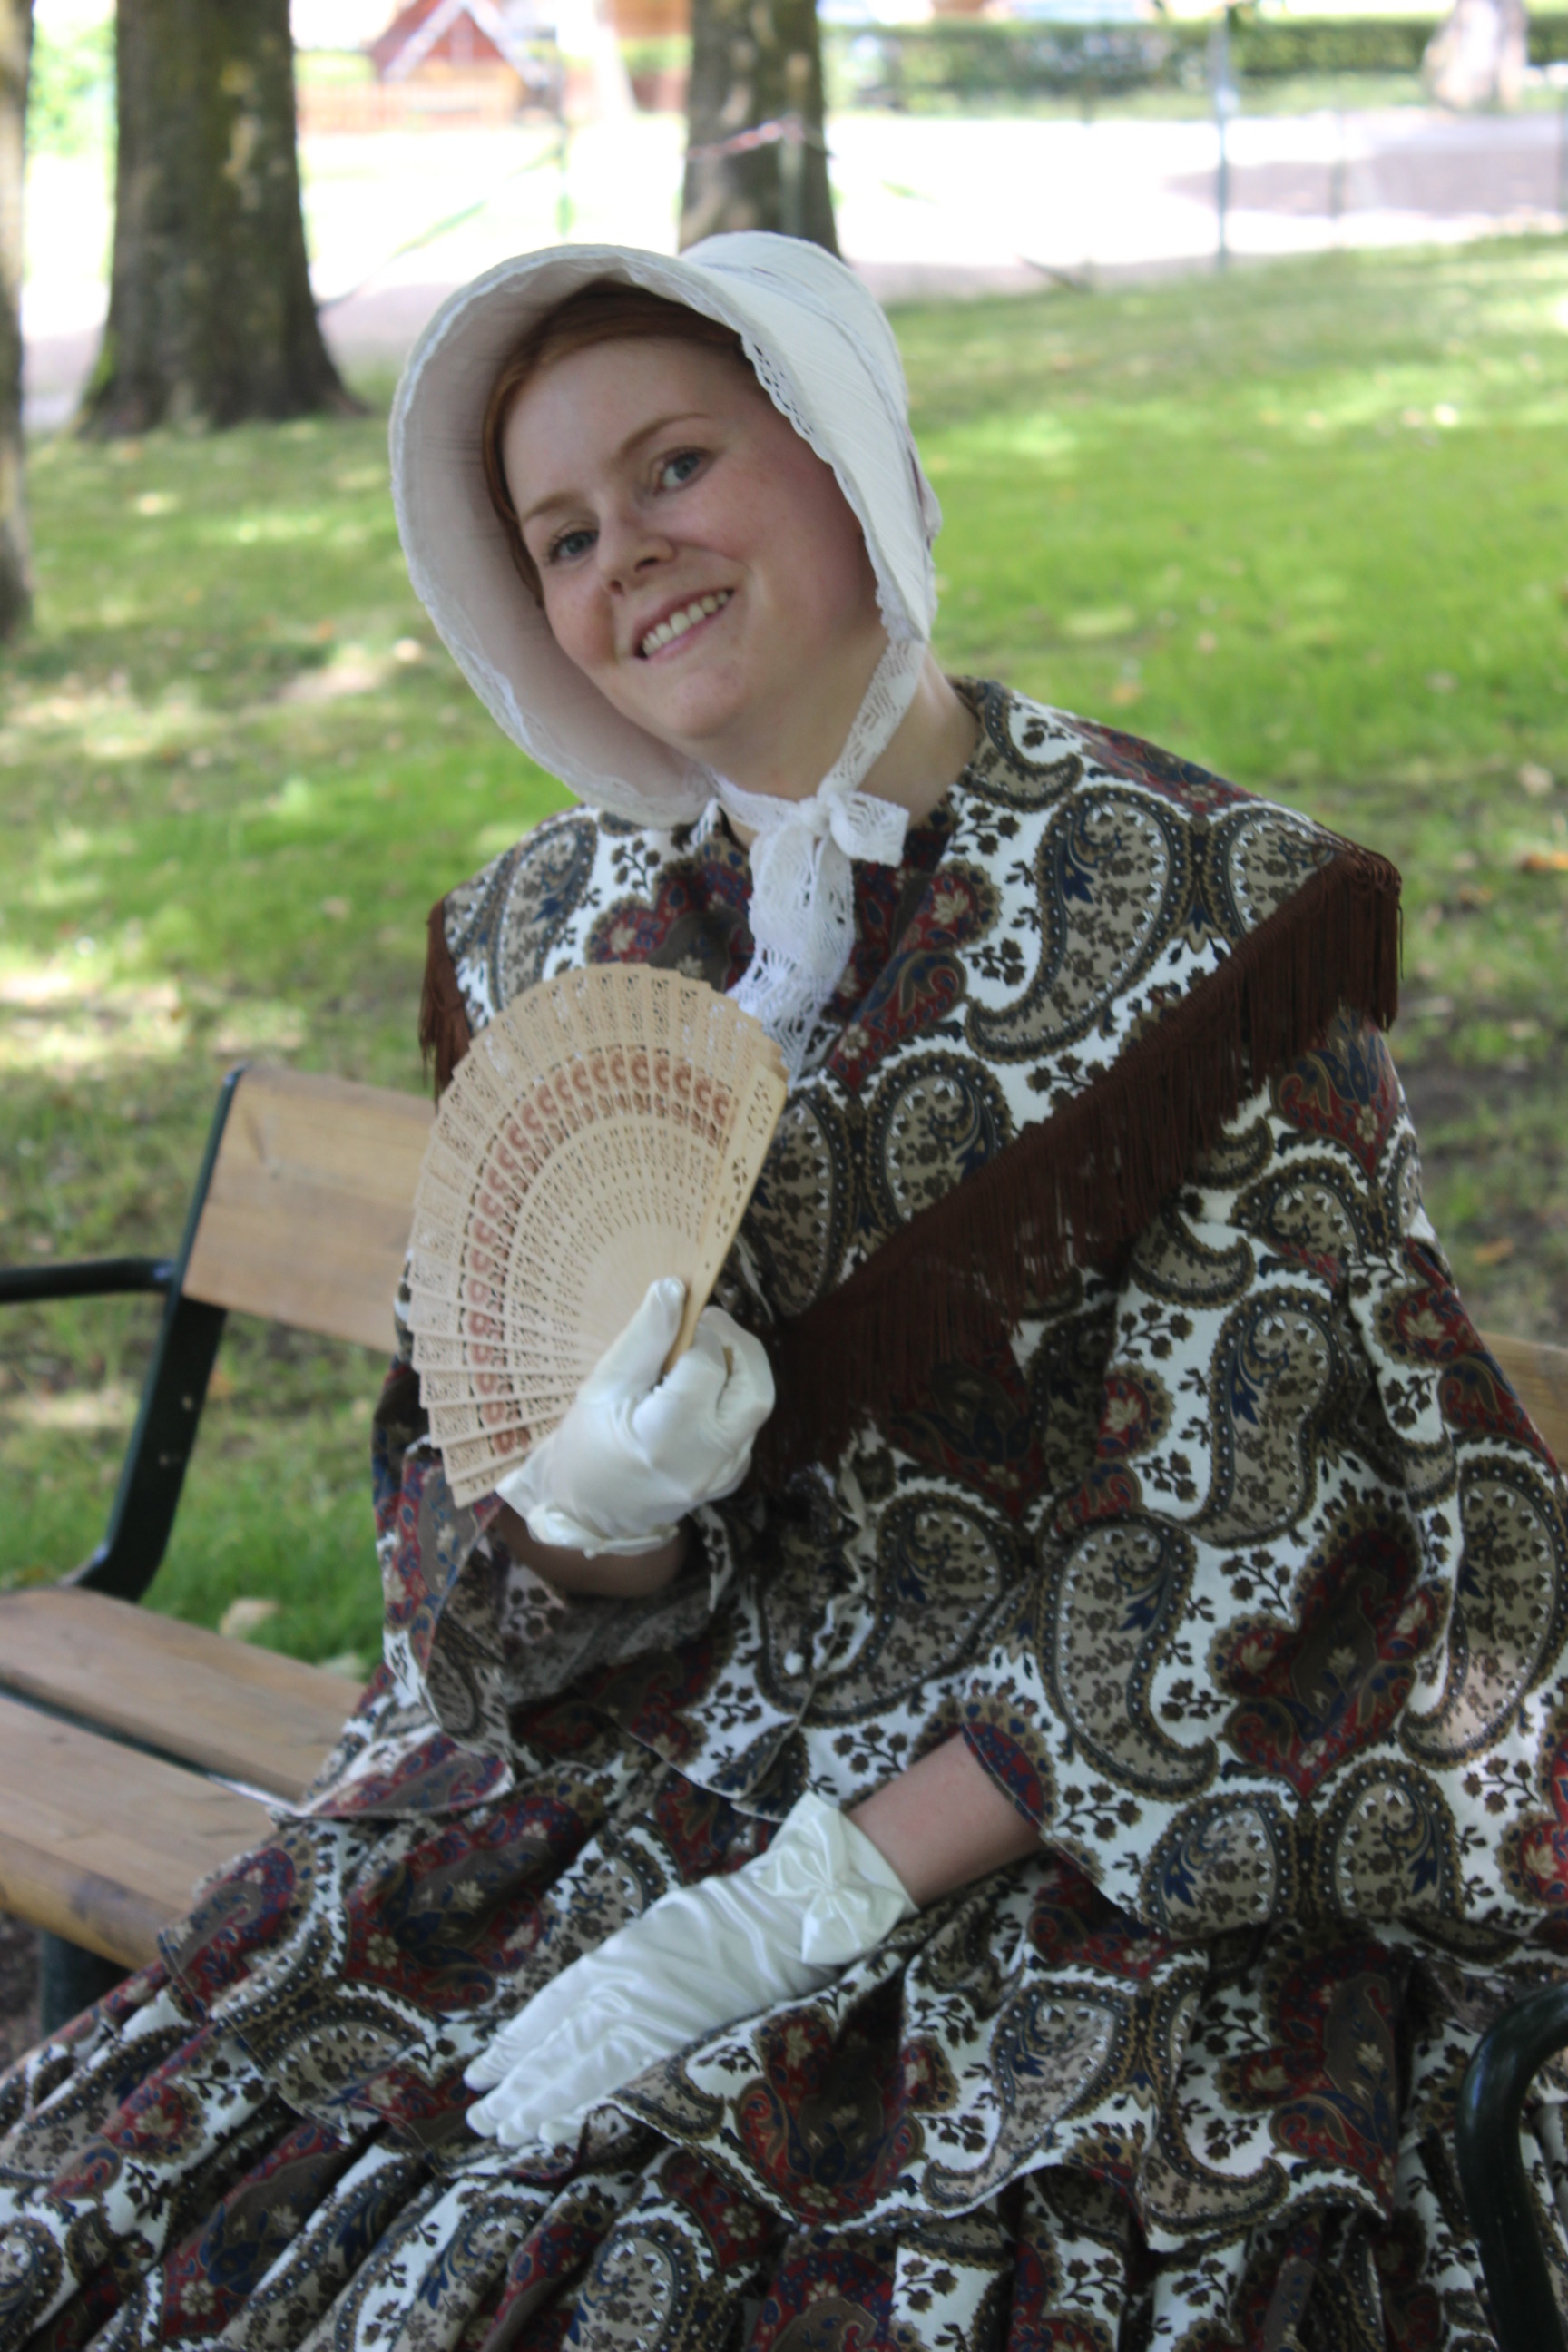
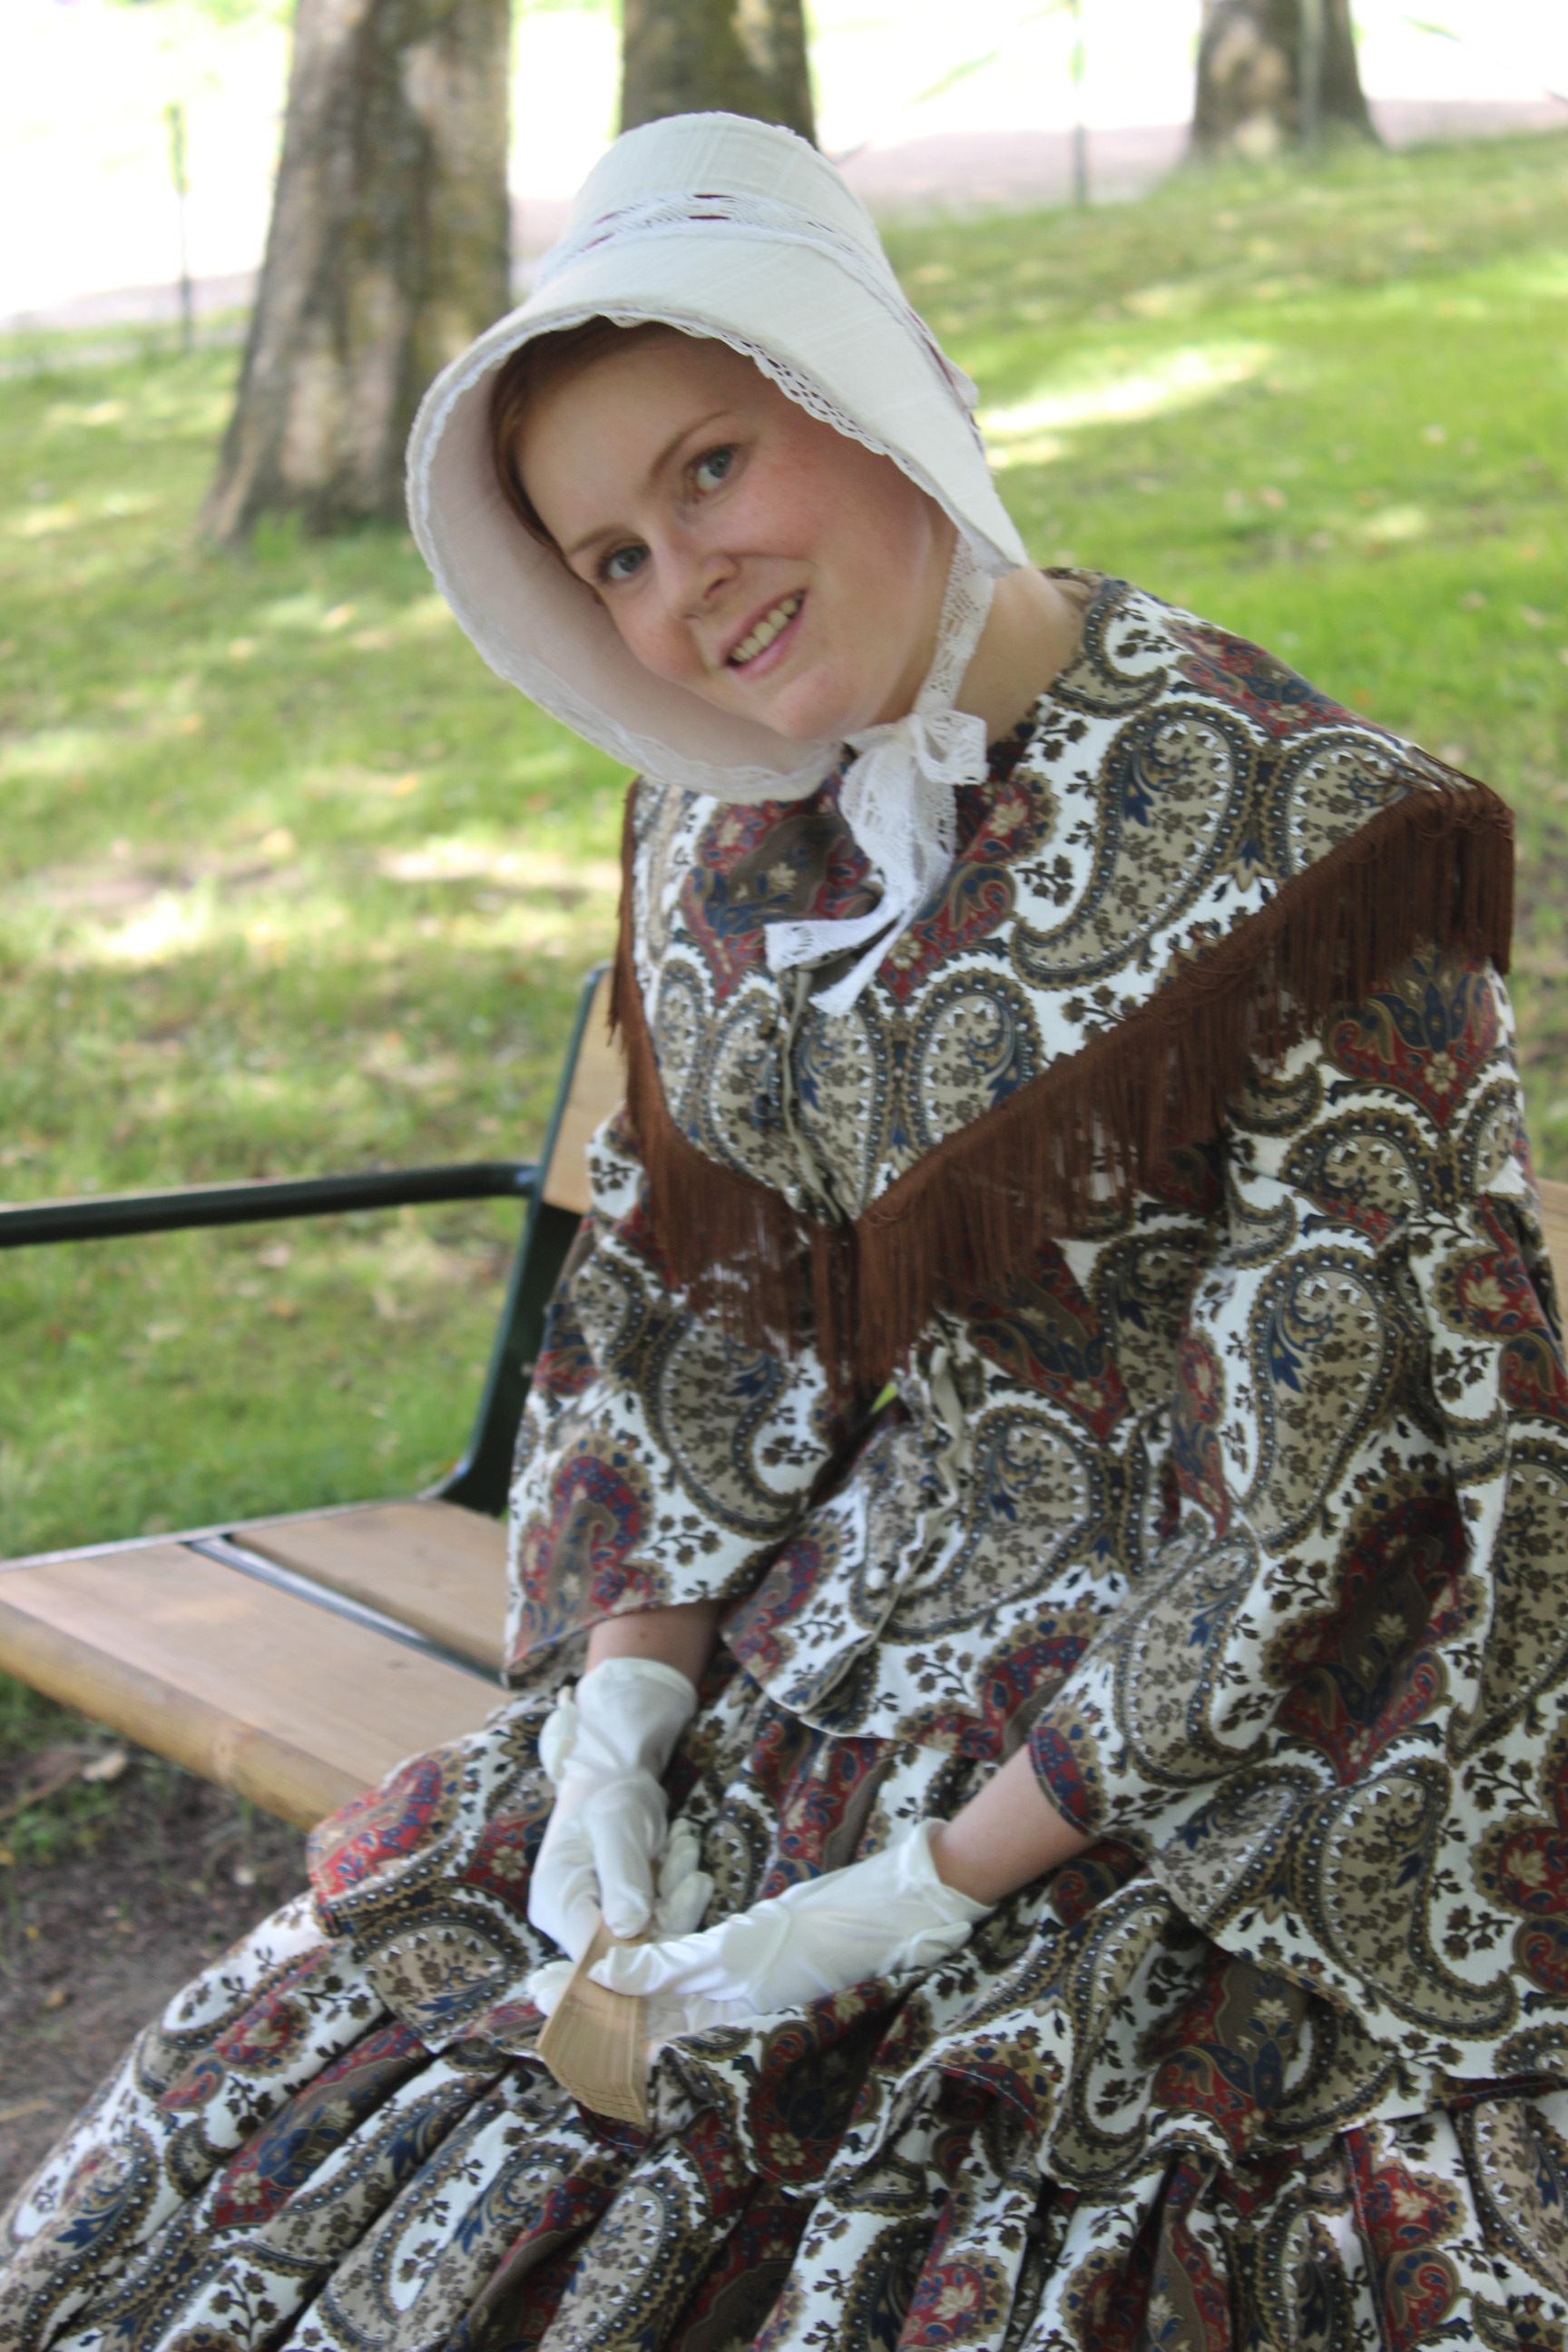
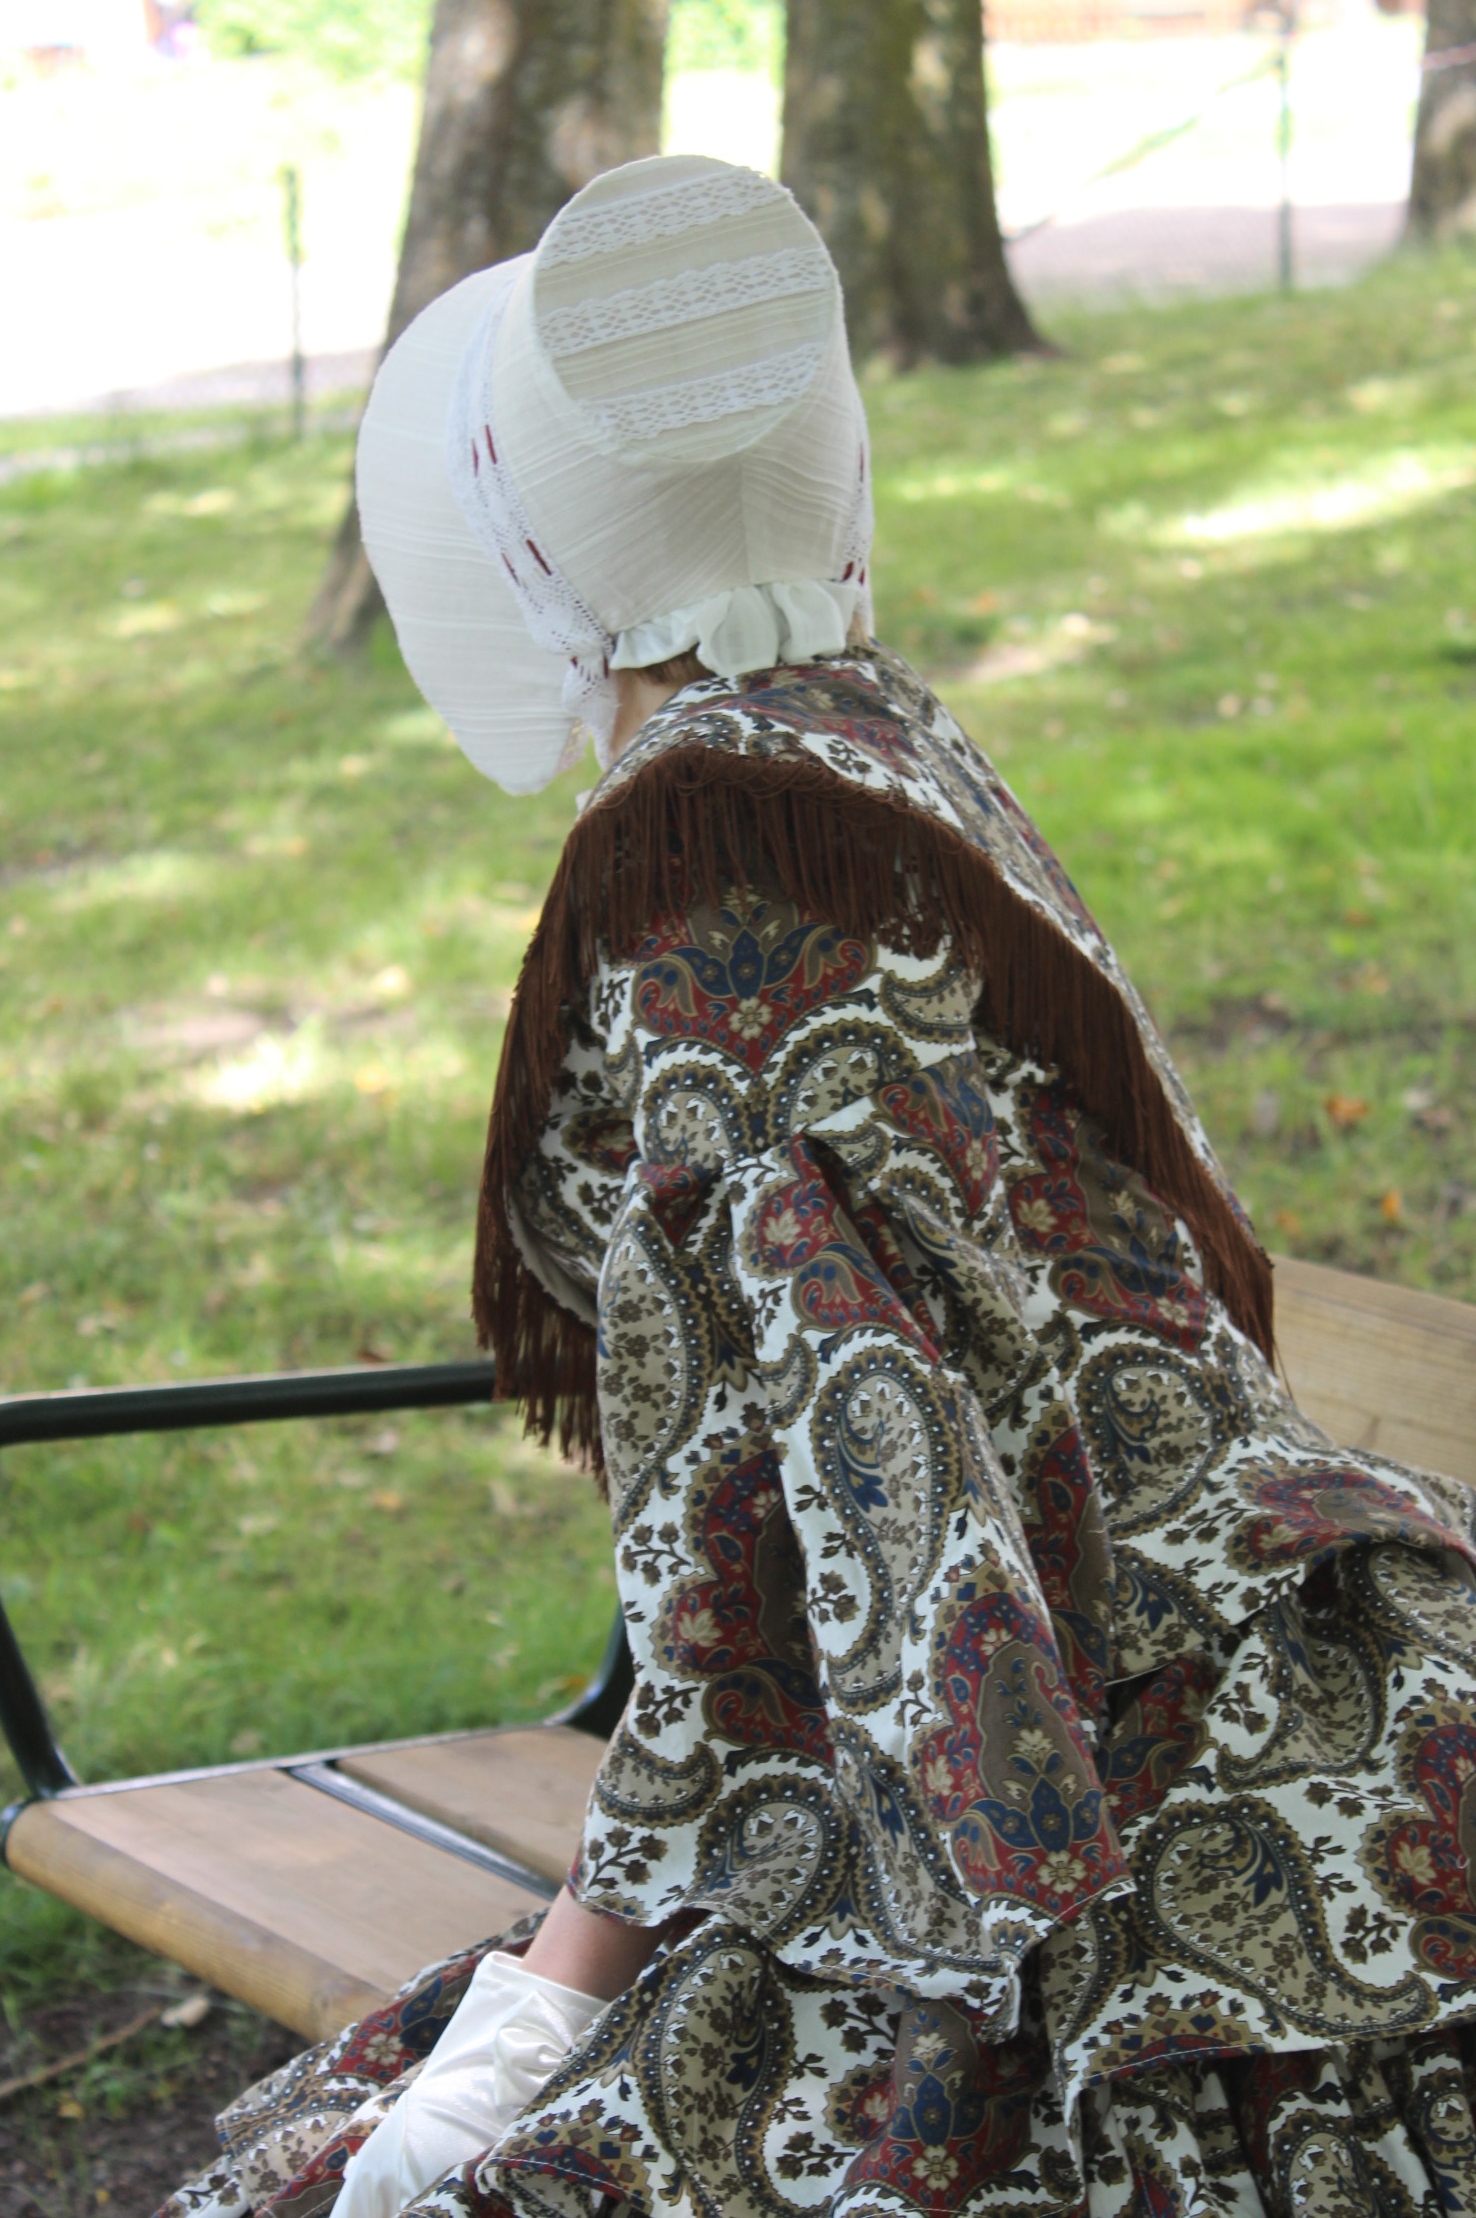
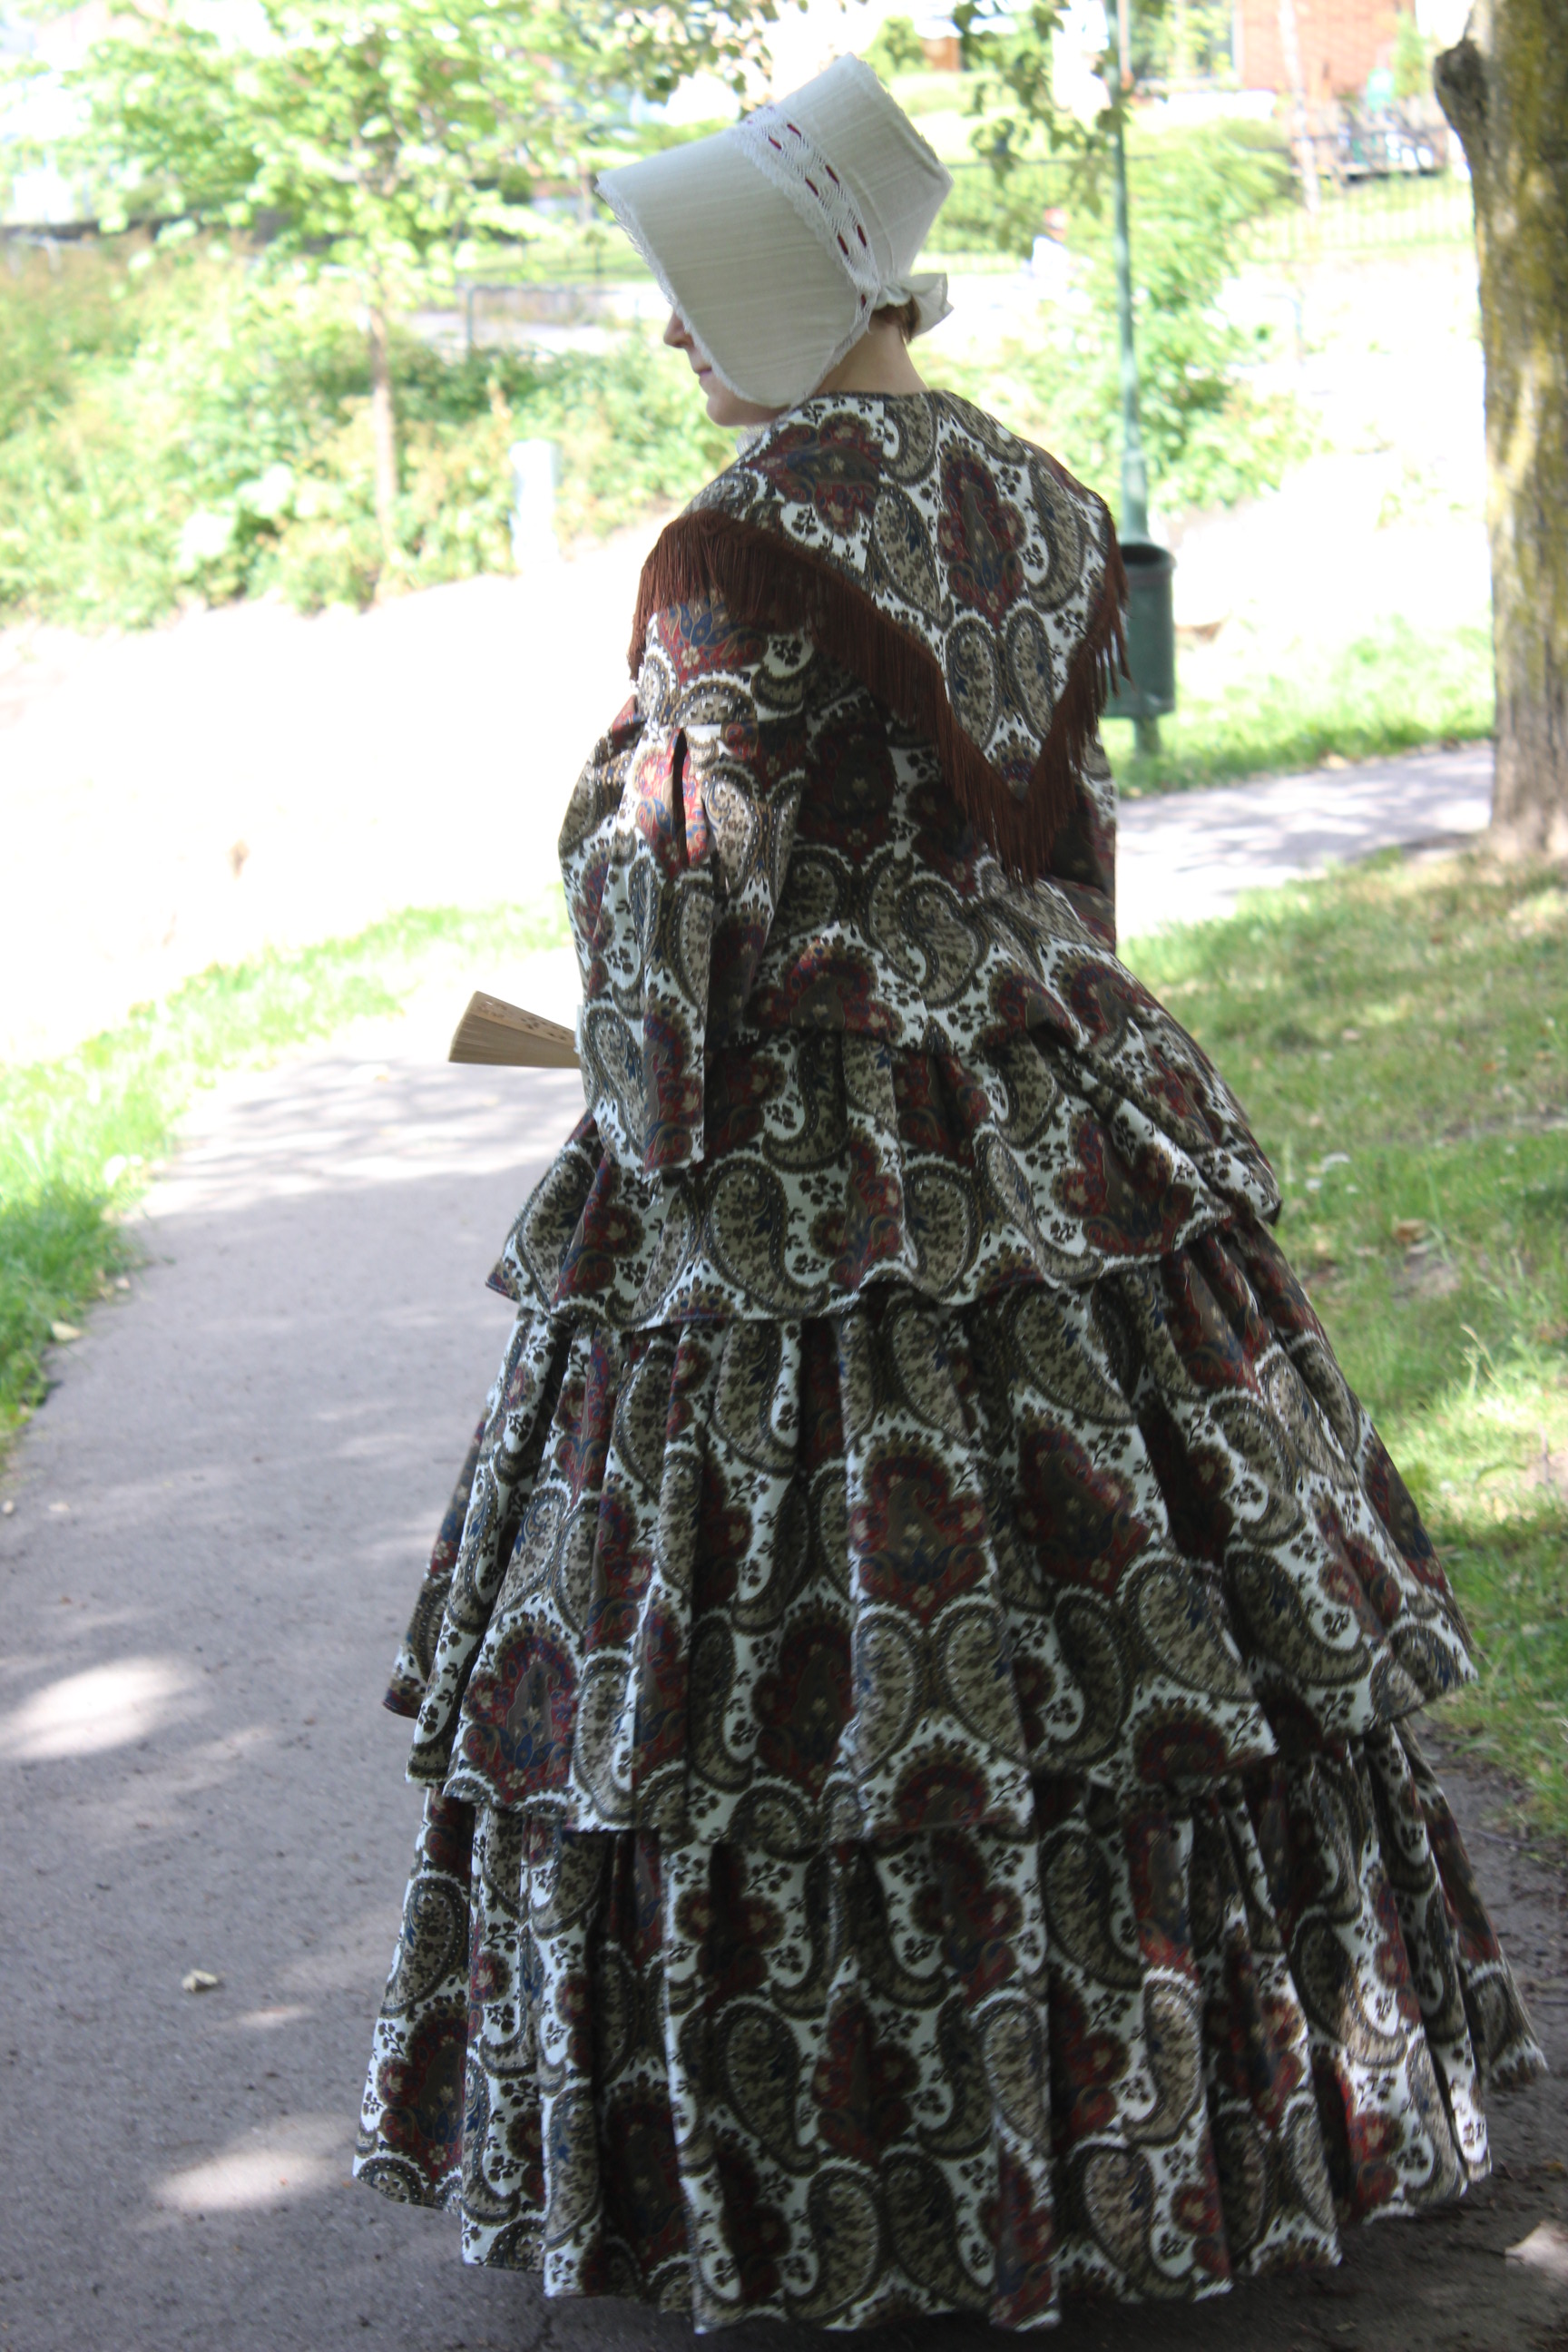
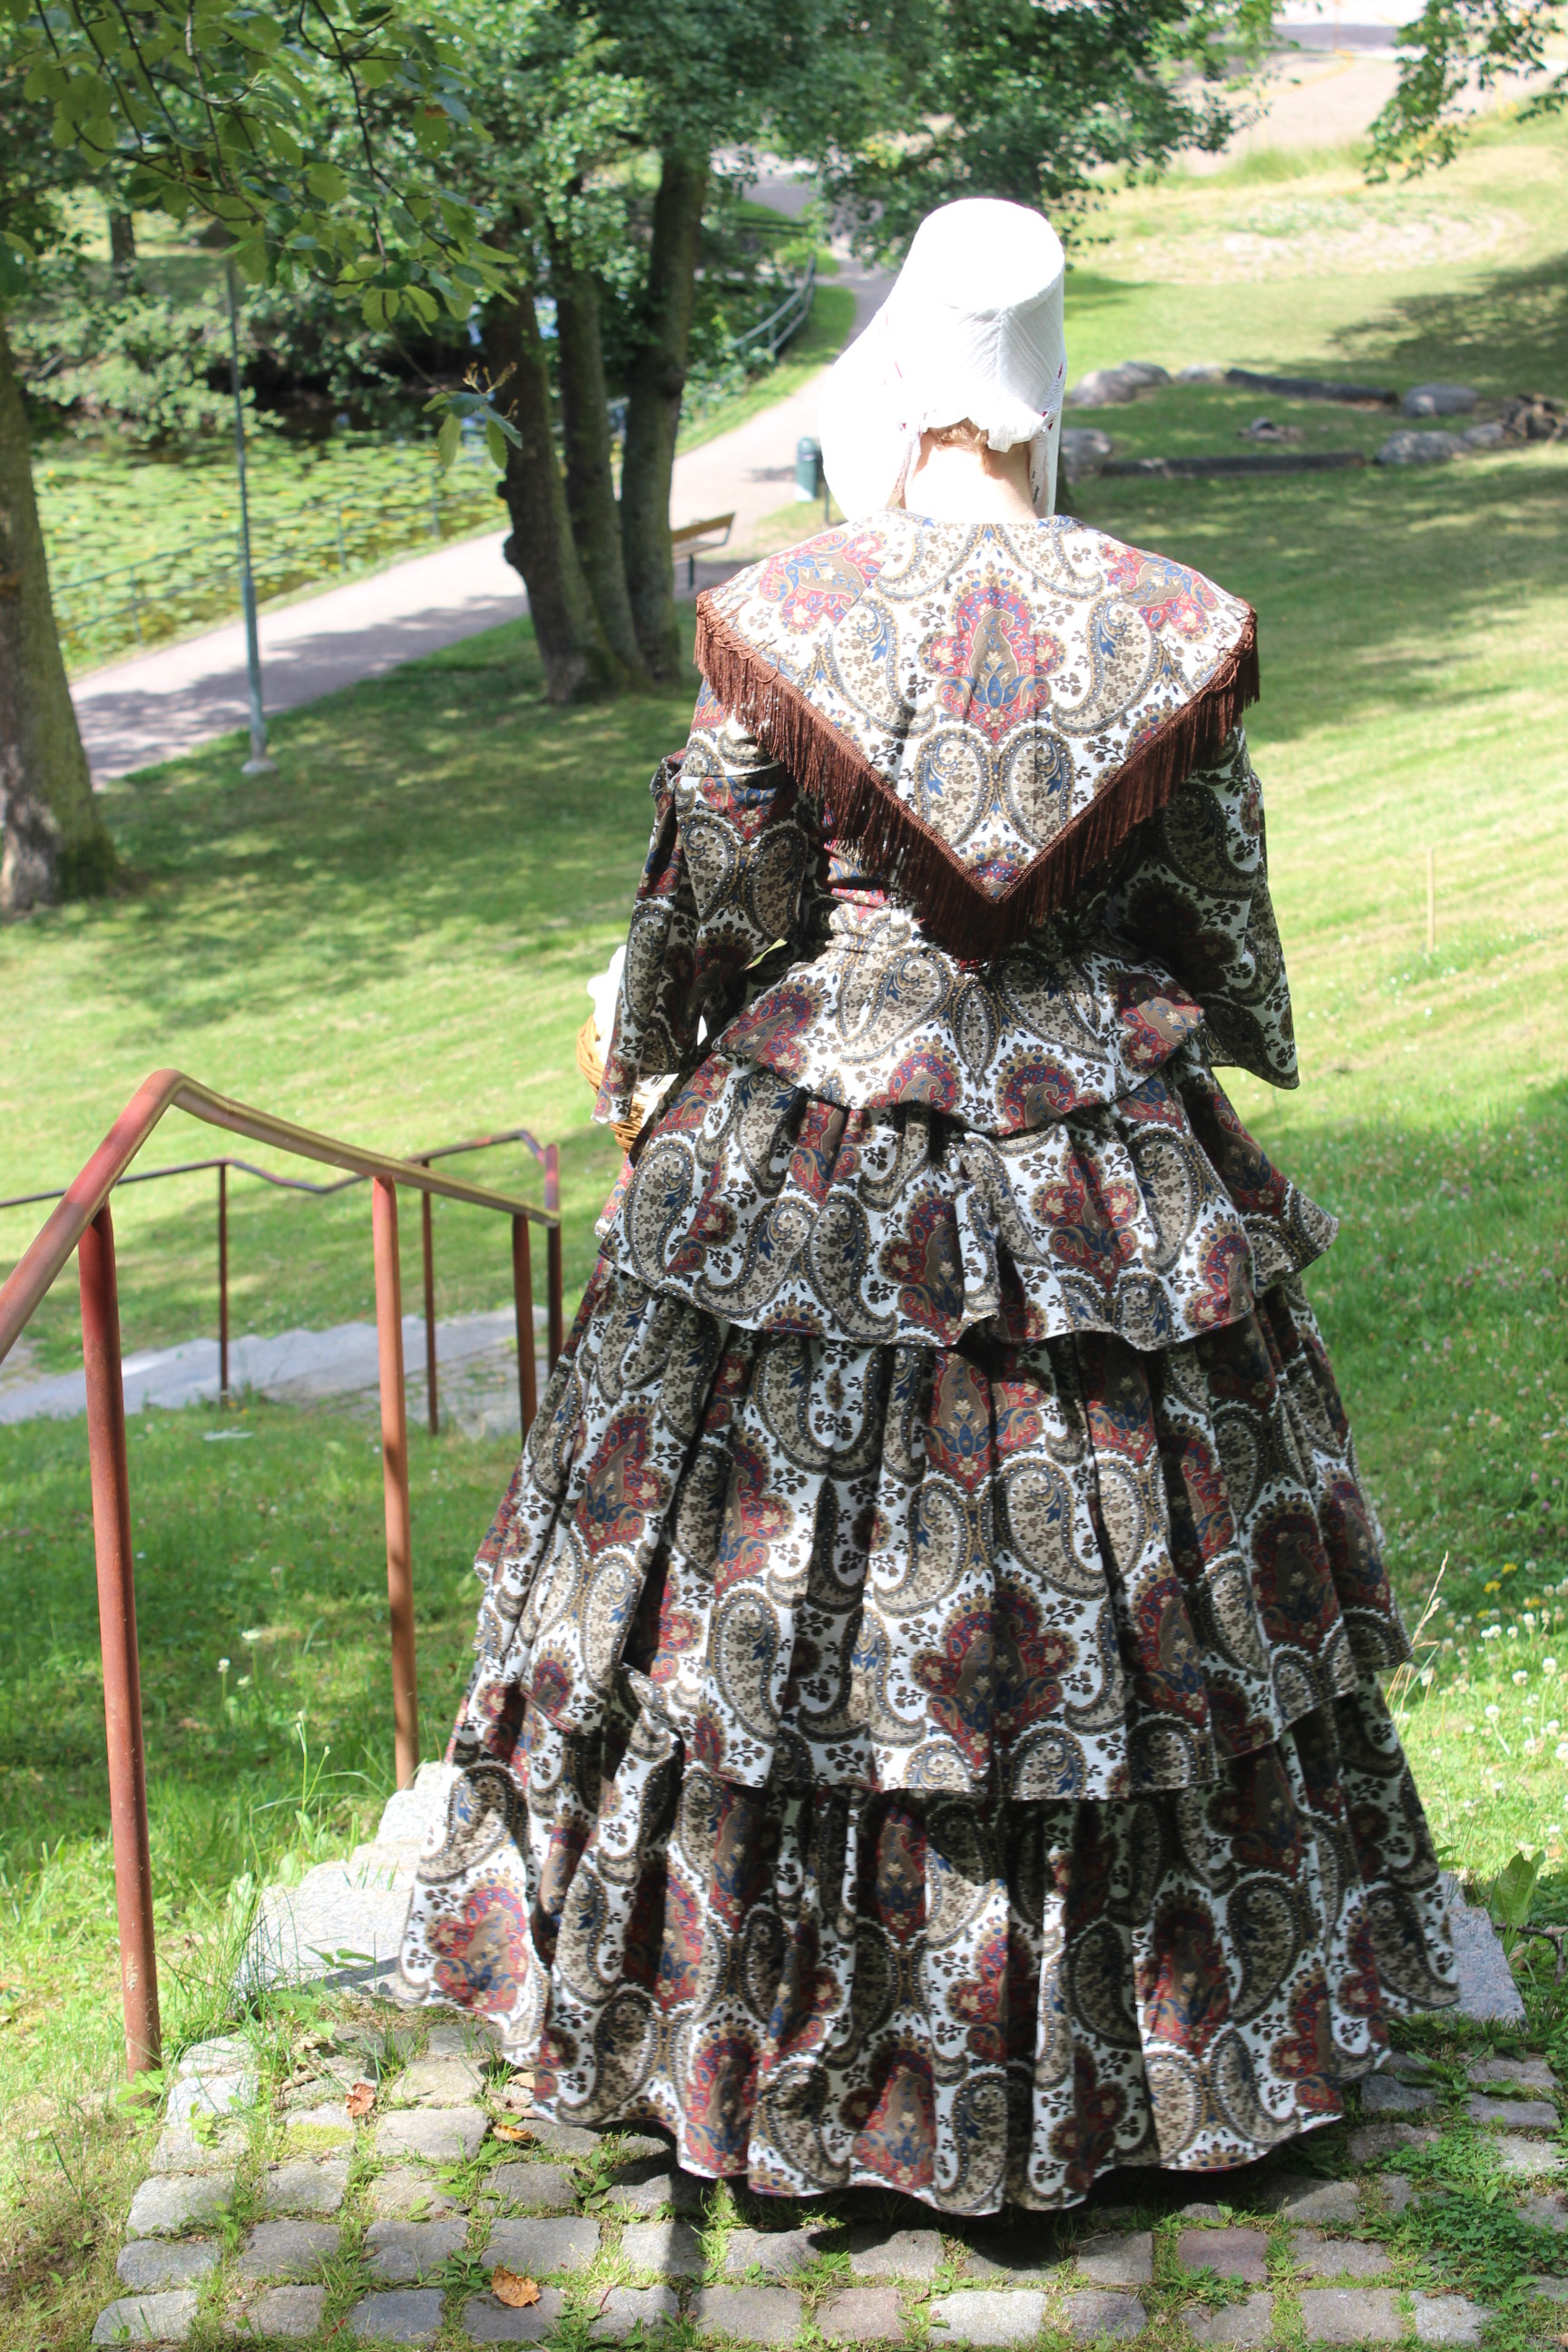
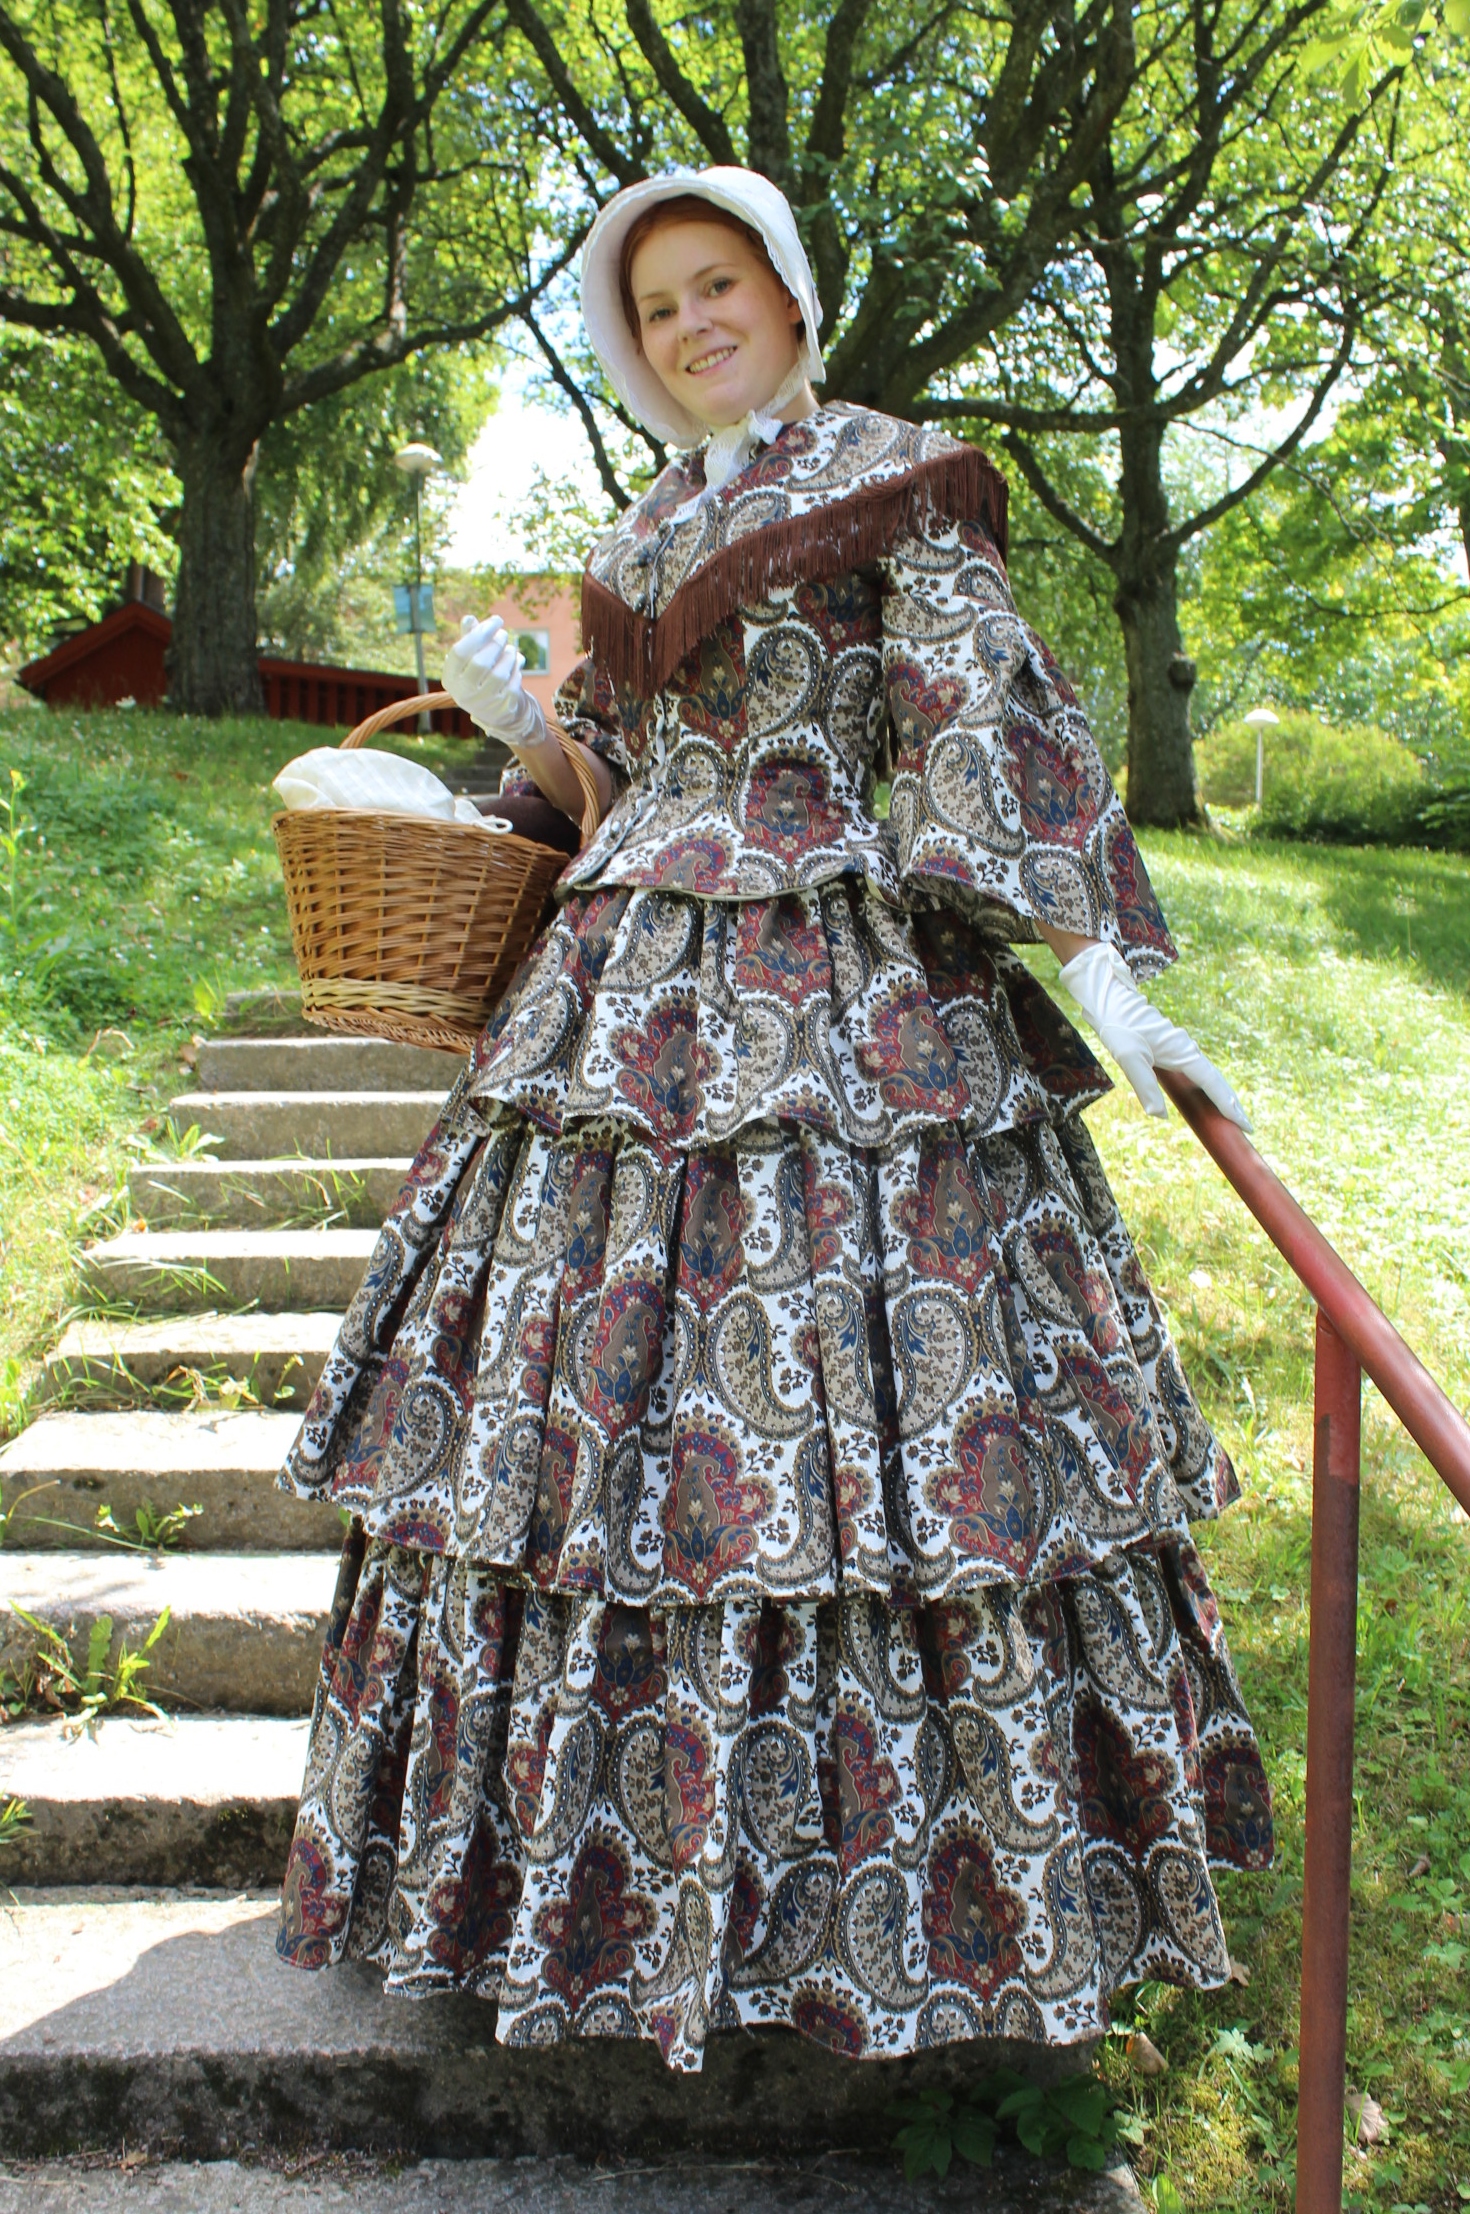
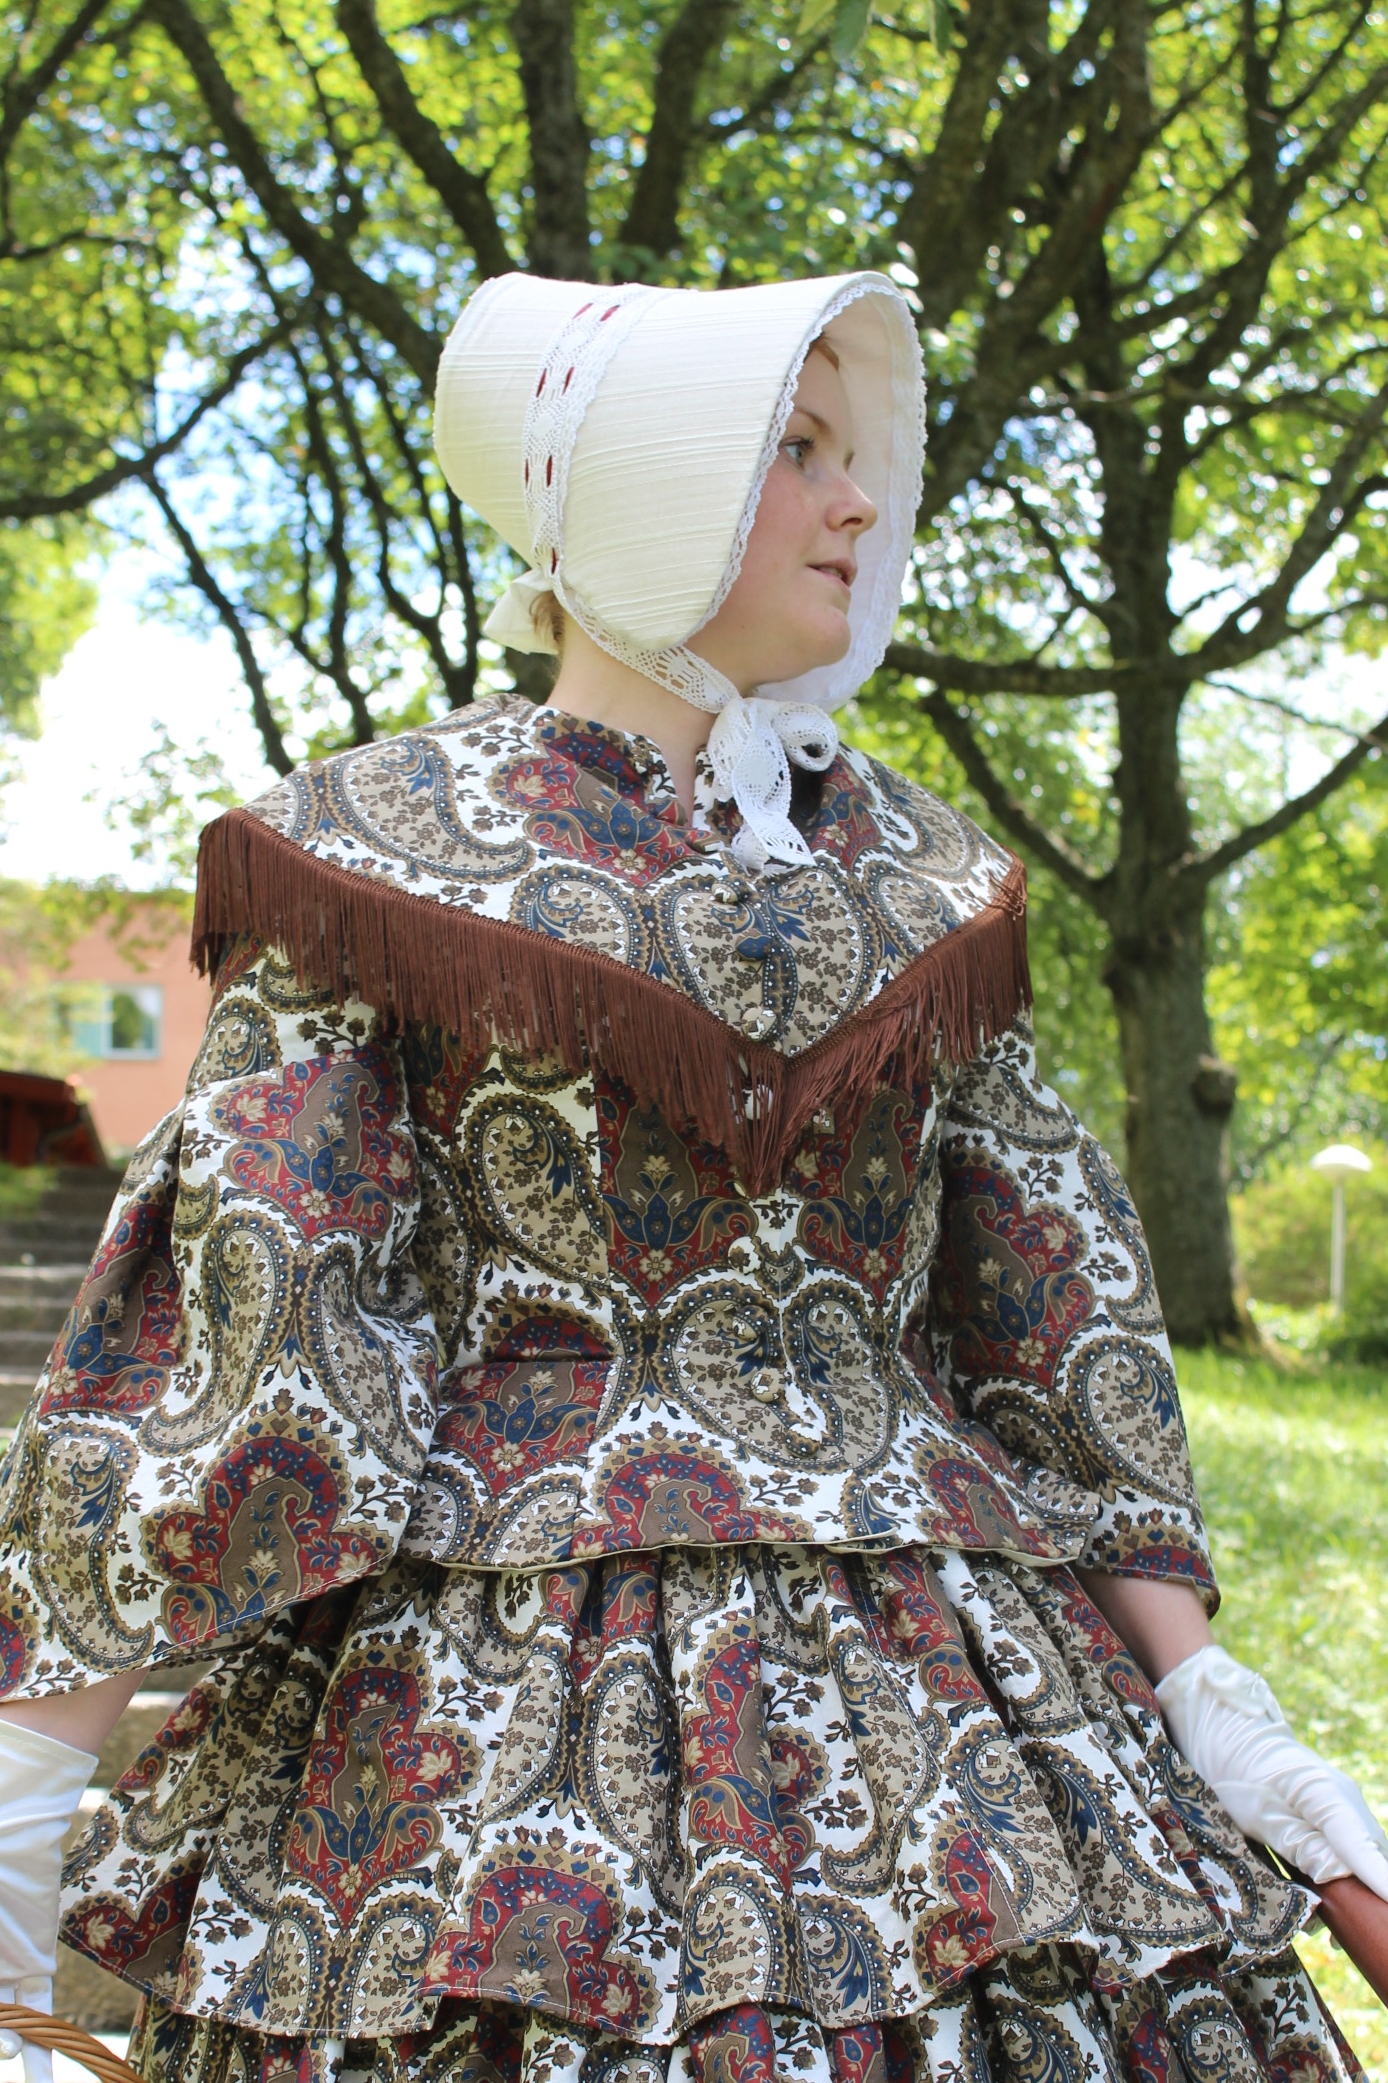
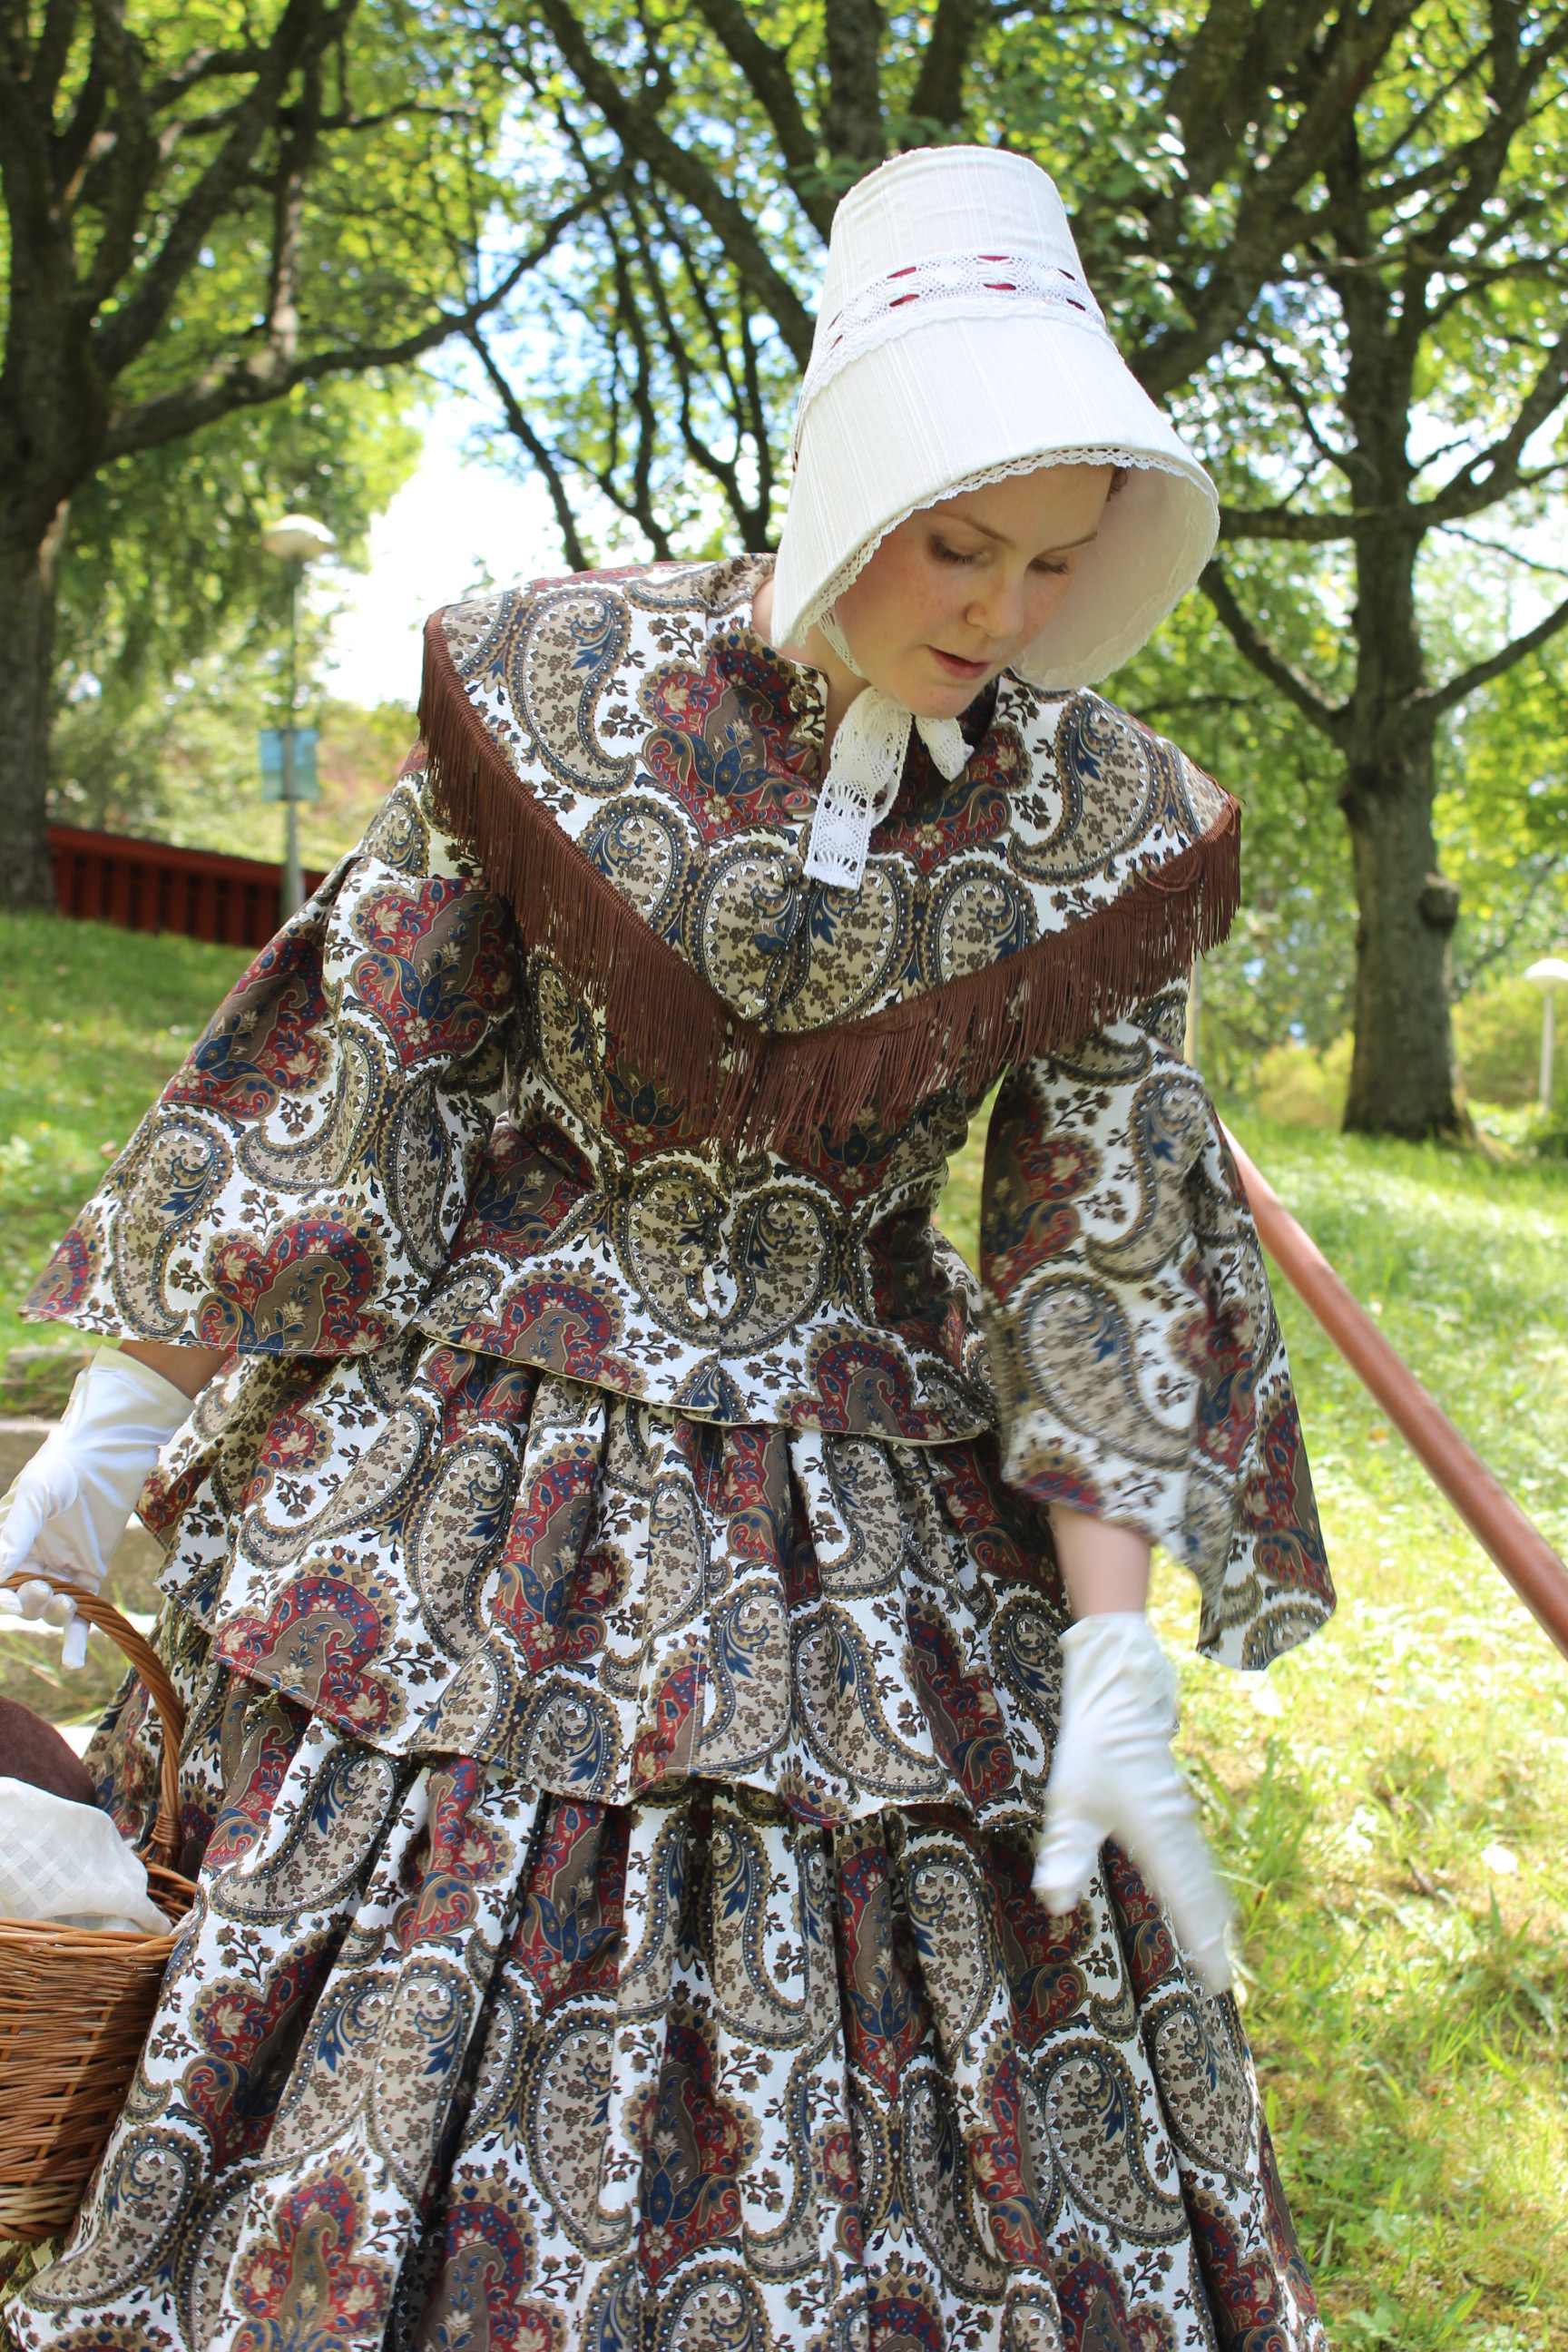
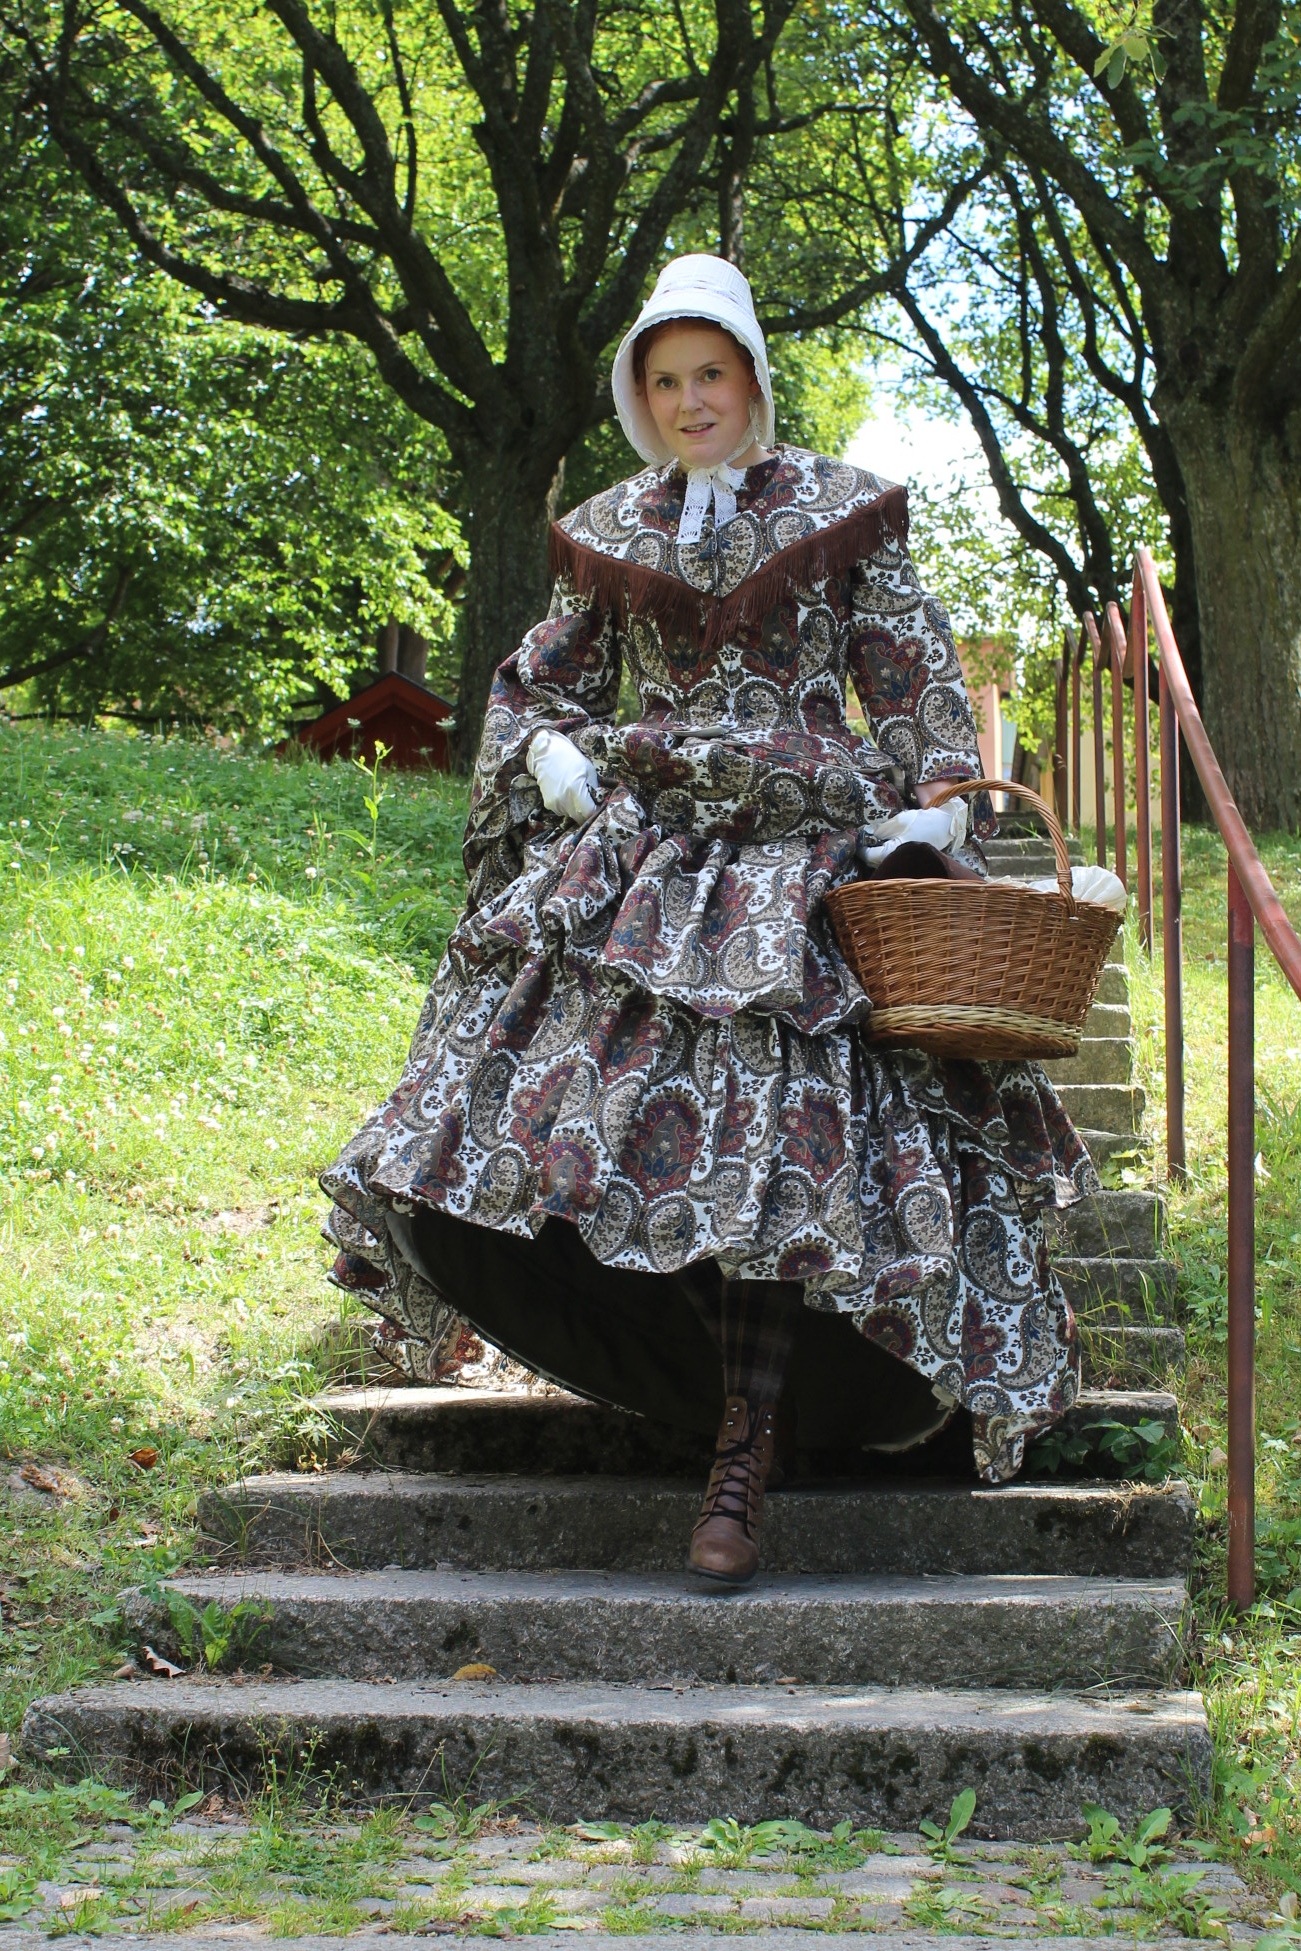
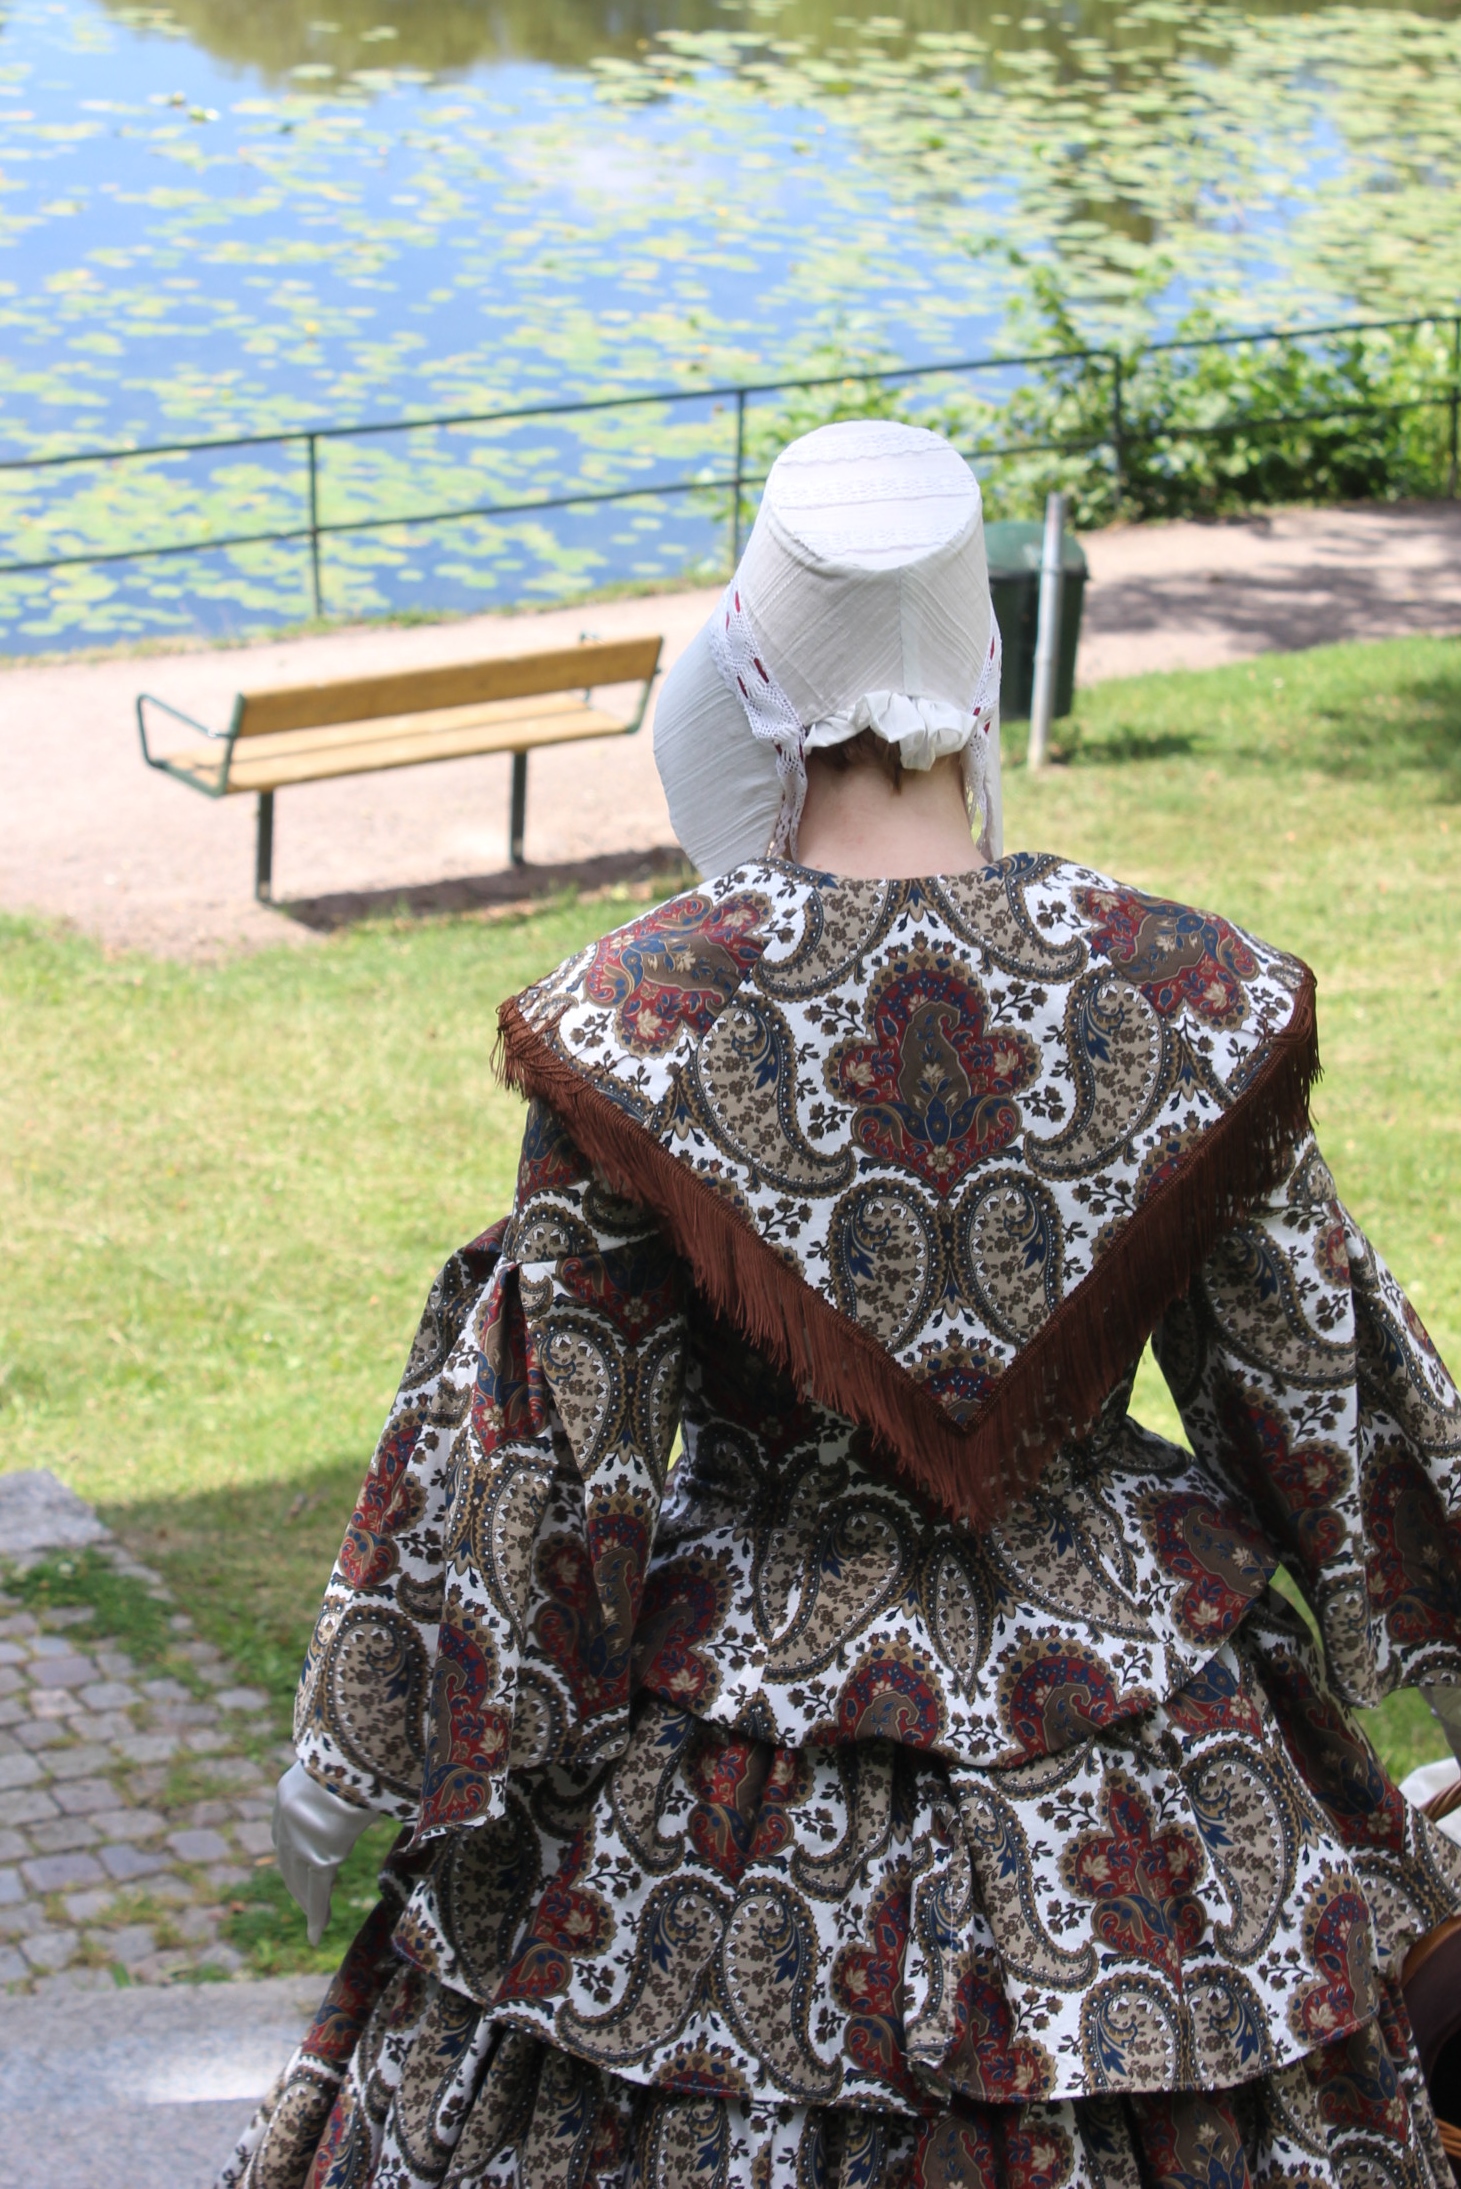
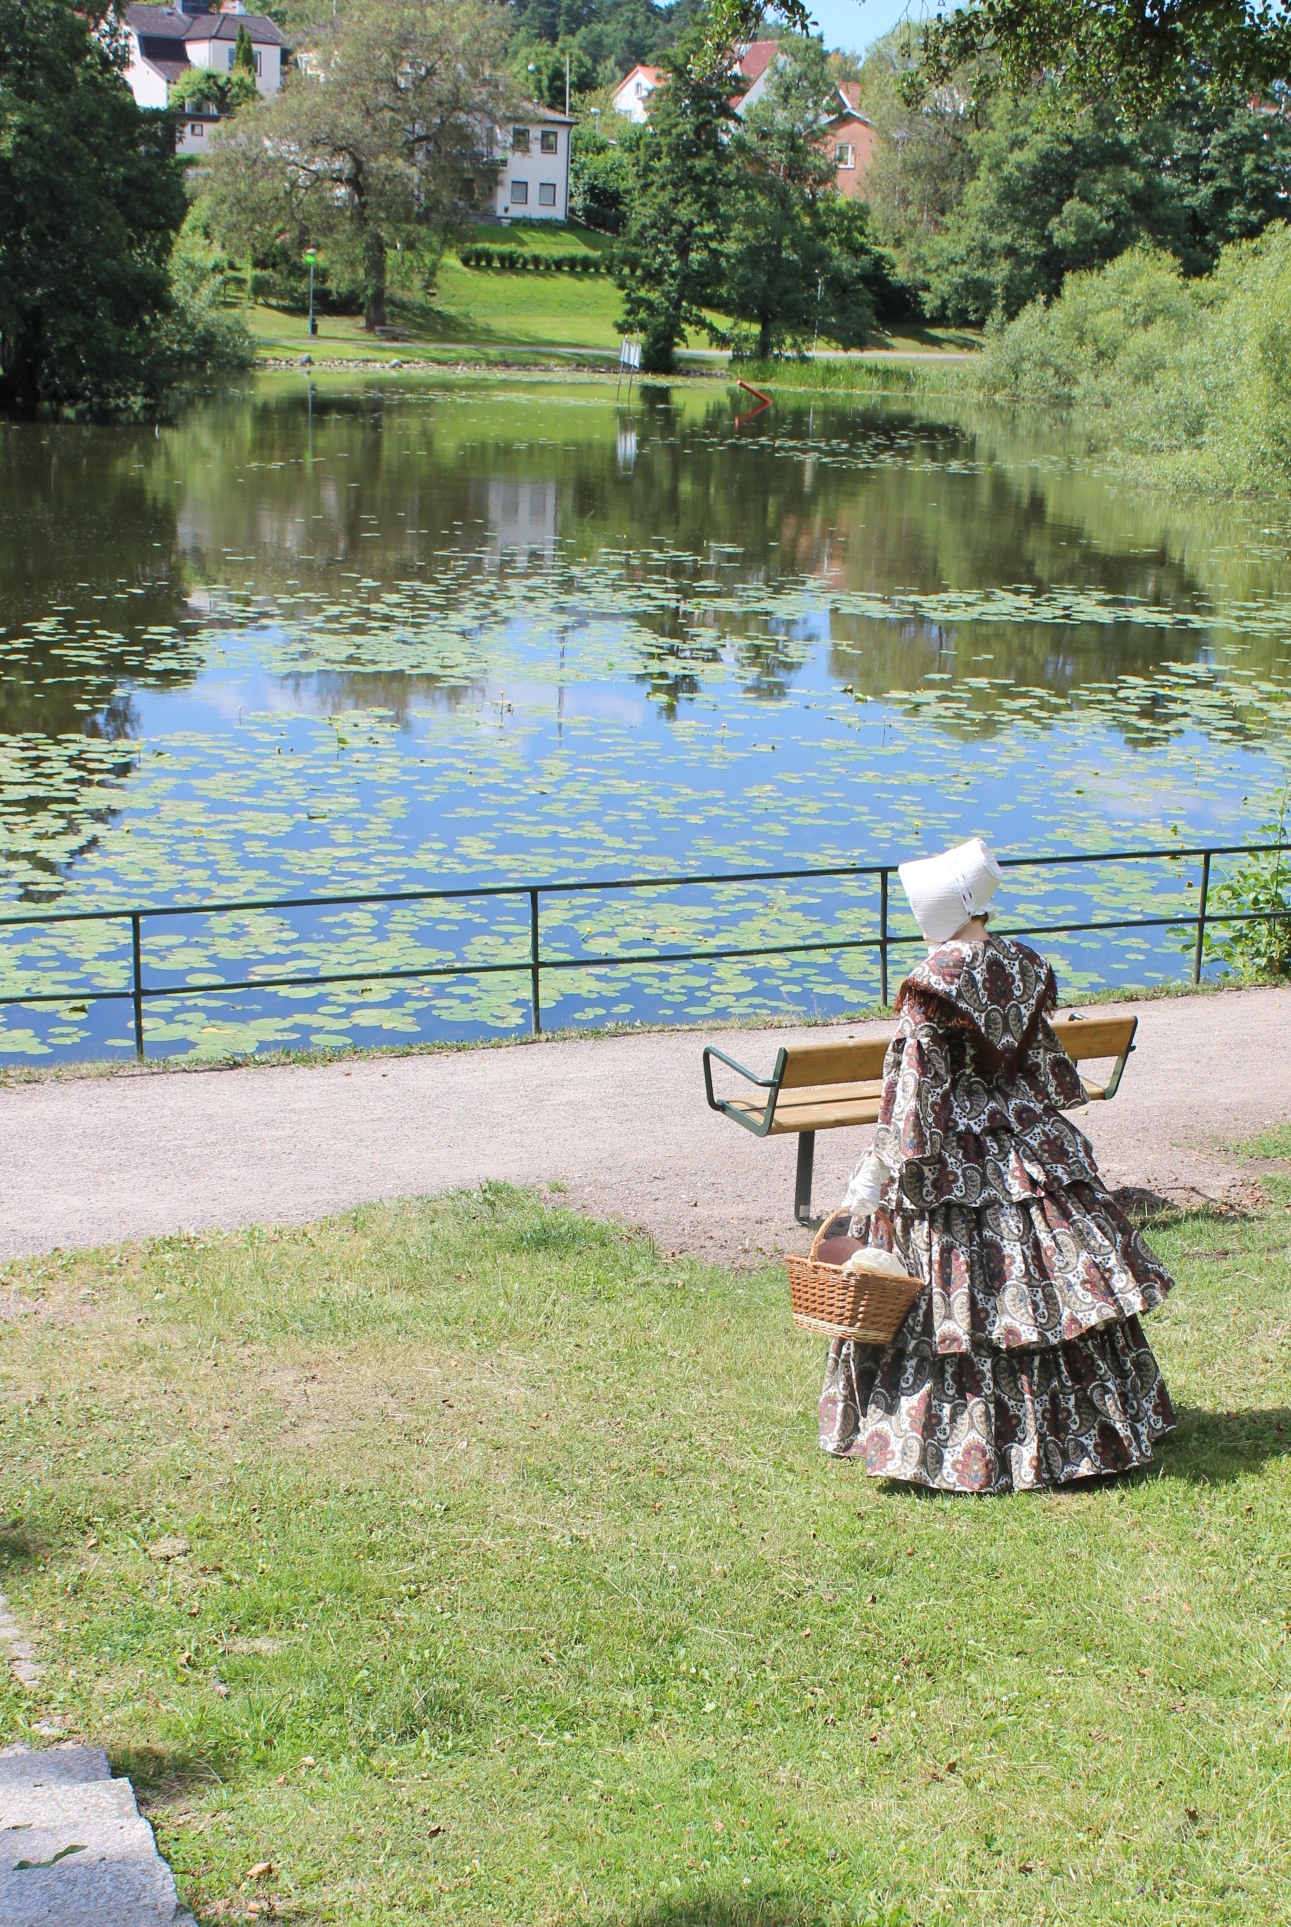
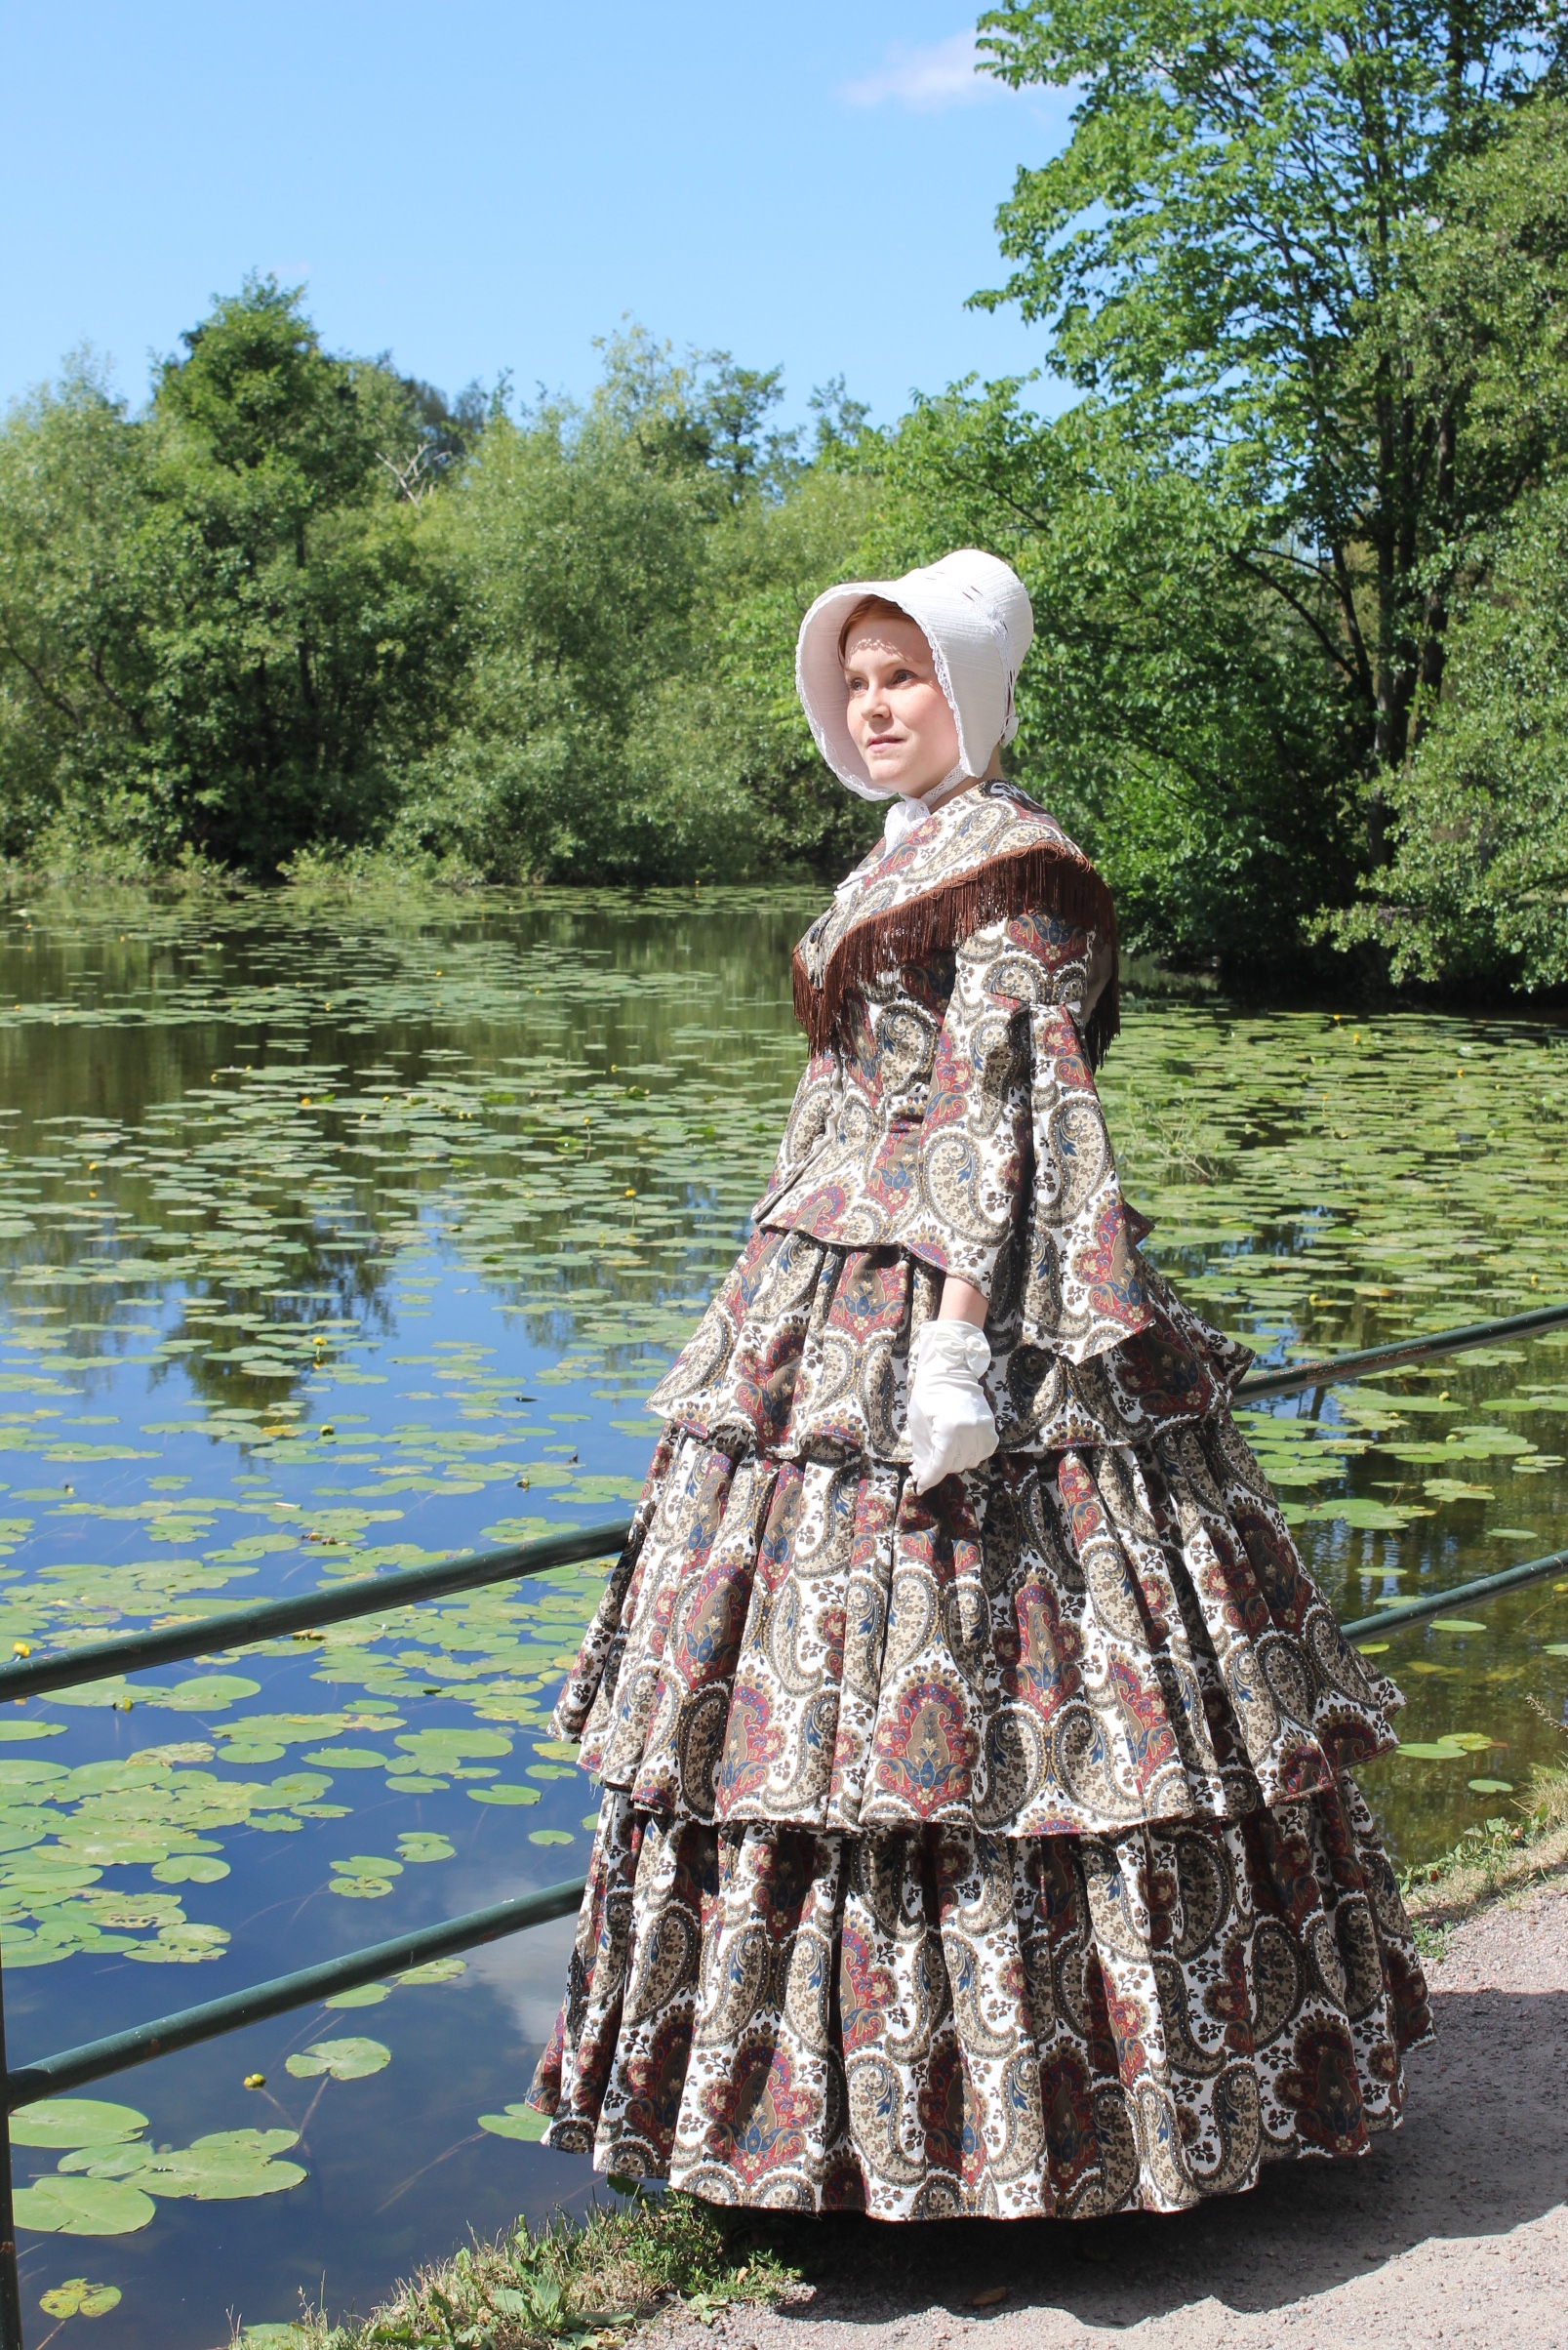
 Photo: Maria Petersson
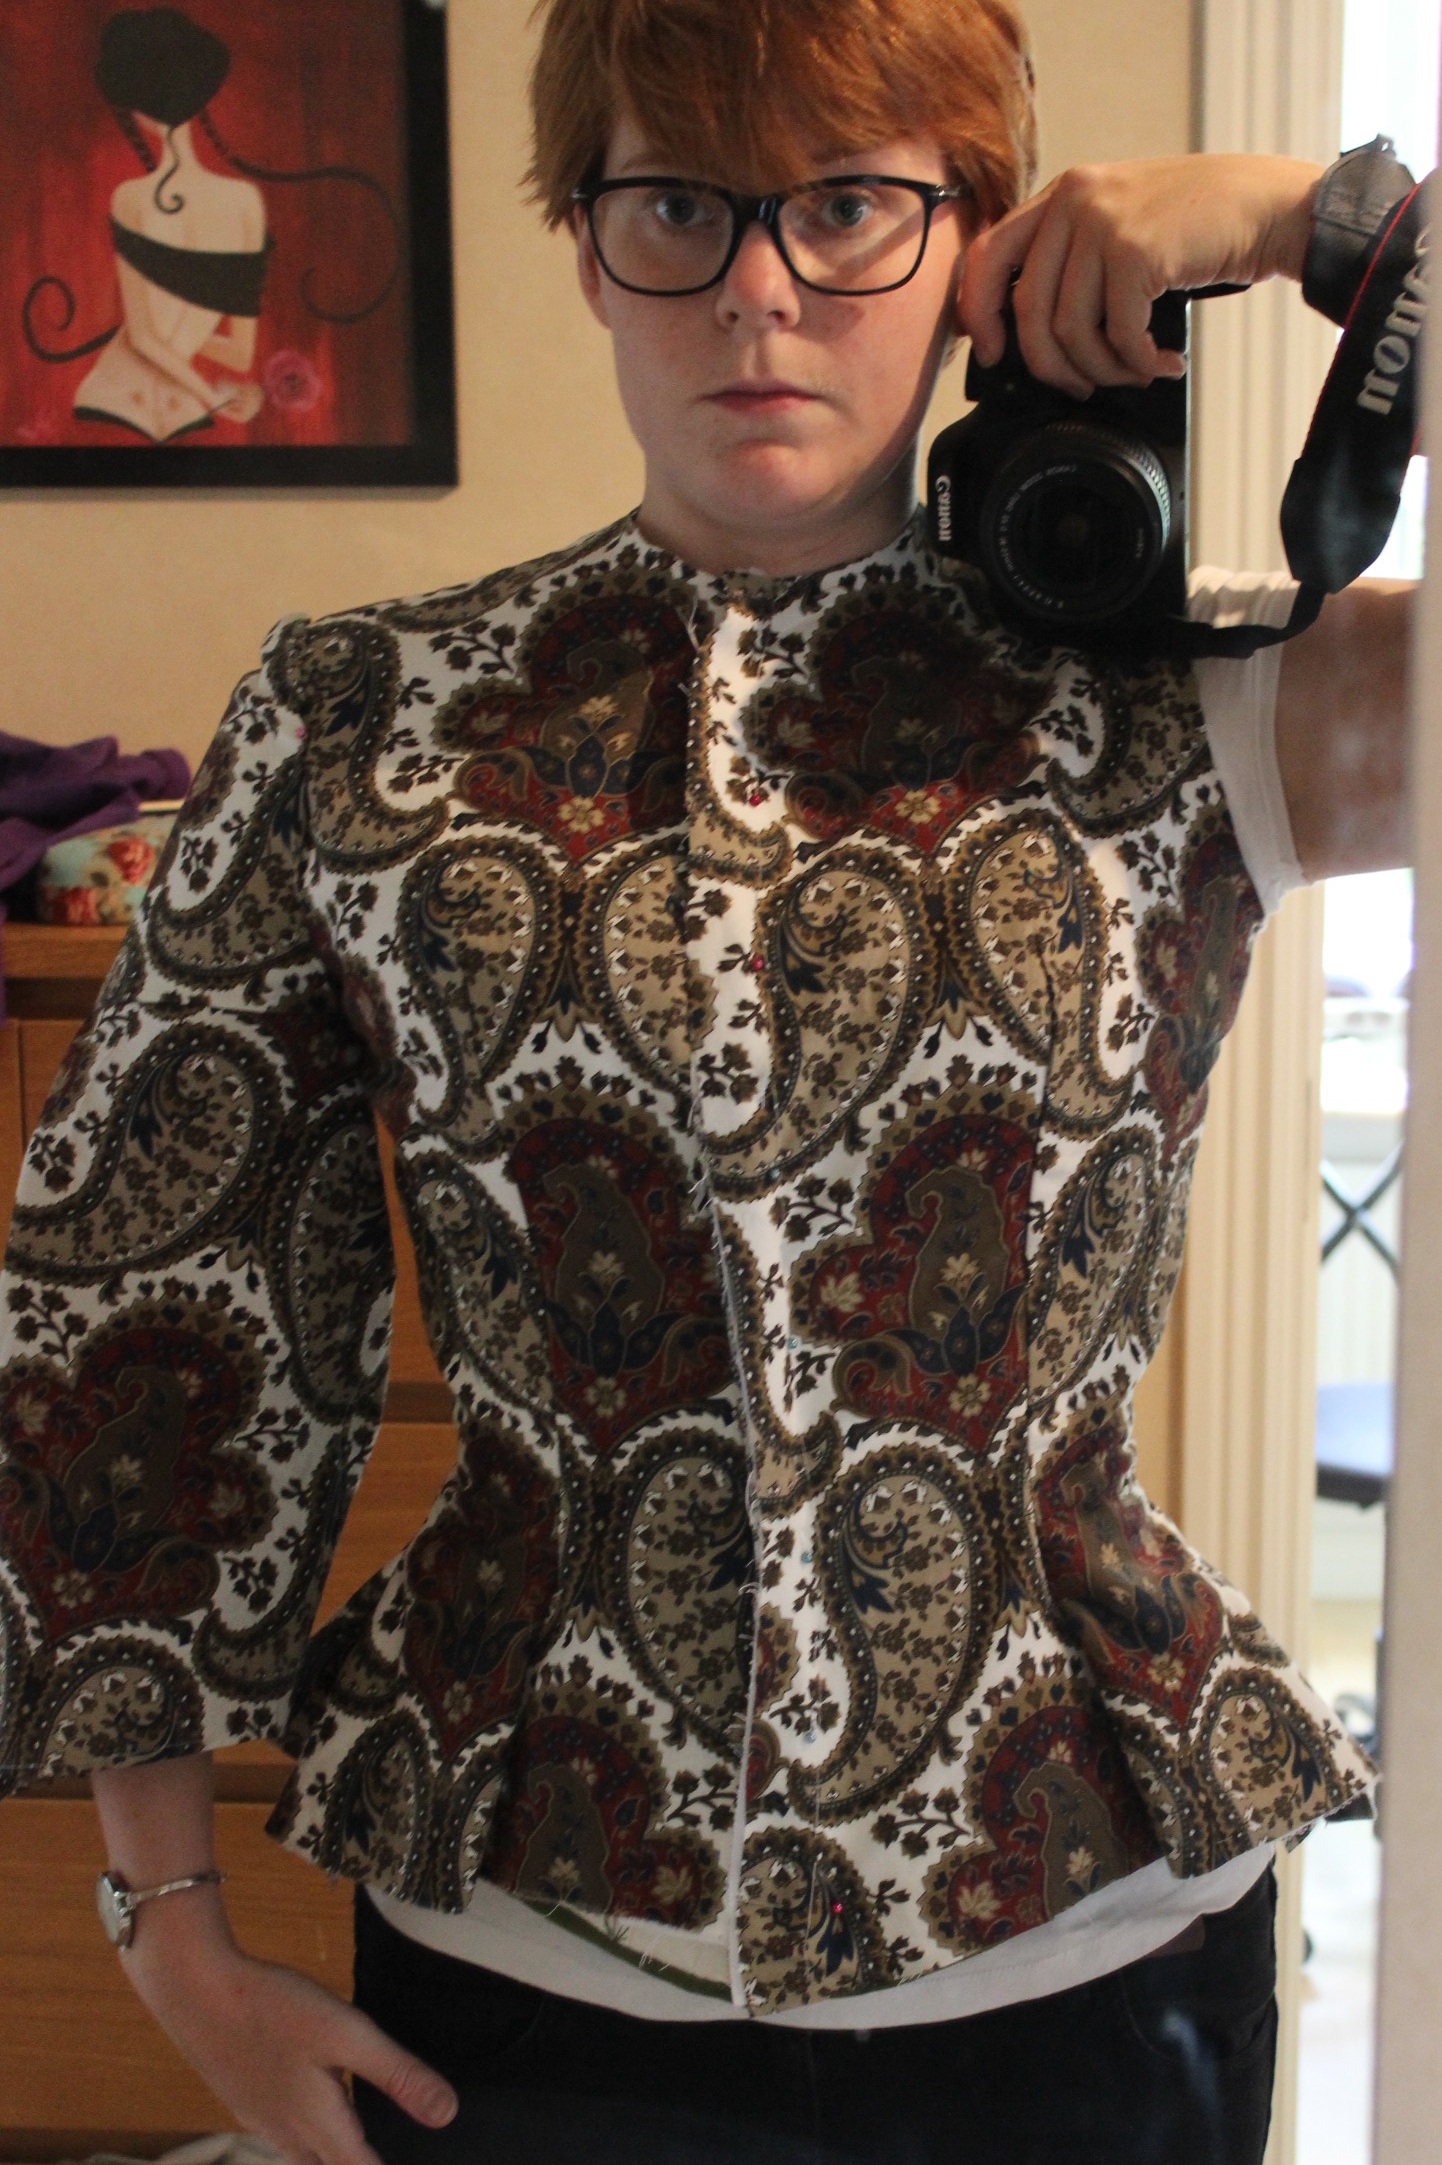
After finishing the 1850s skirt for the 14th HSF challenge I started on the jacket.
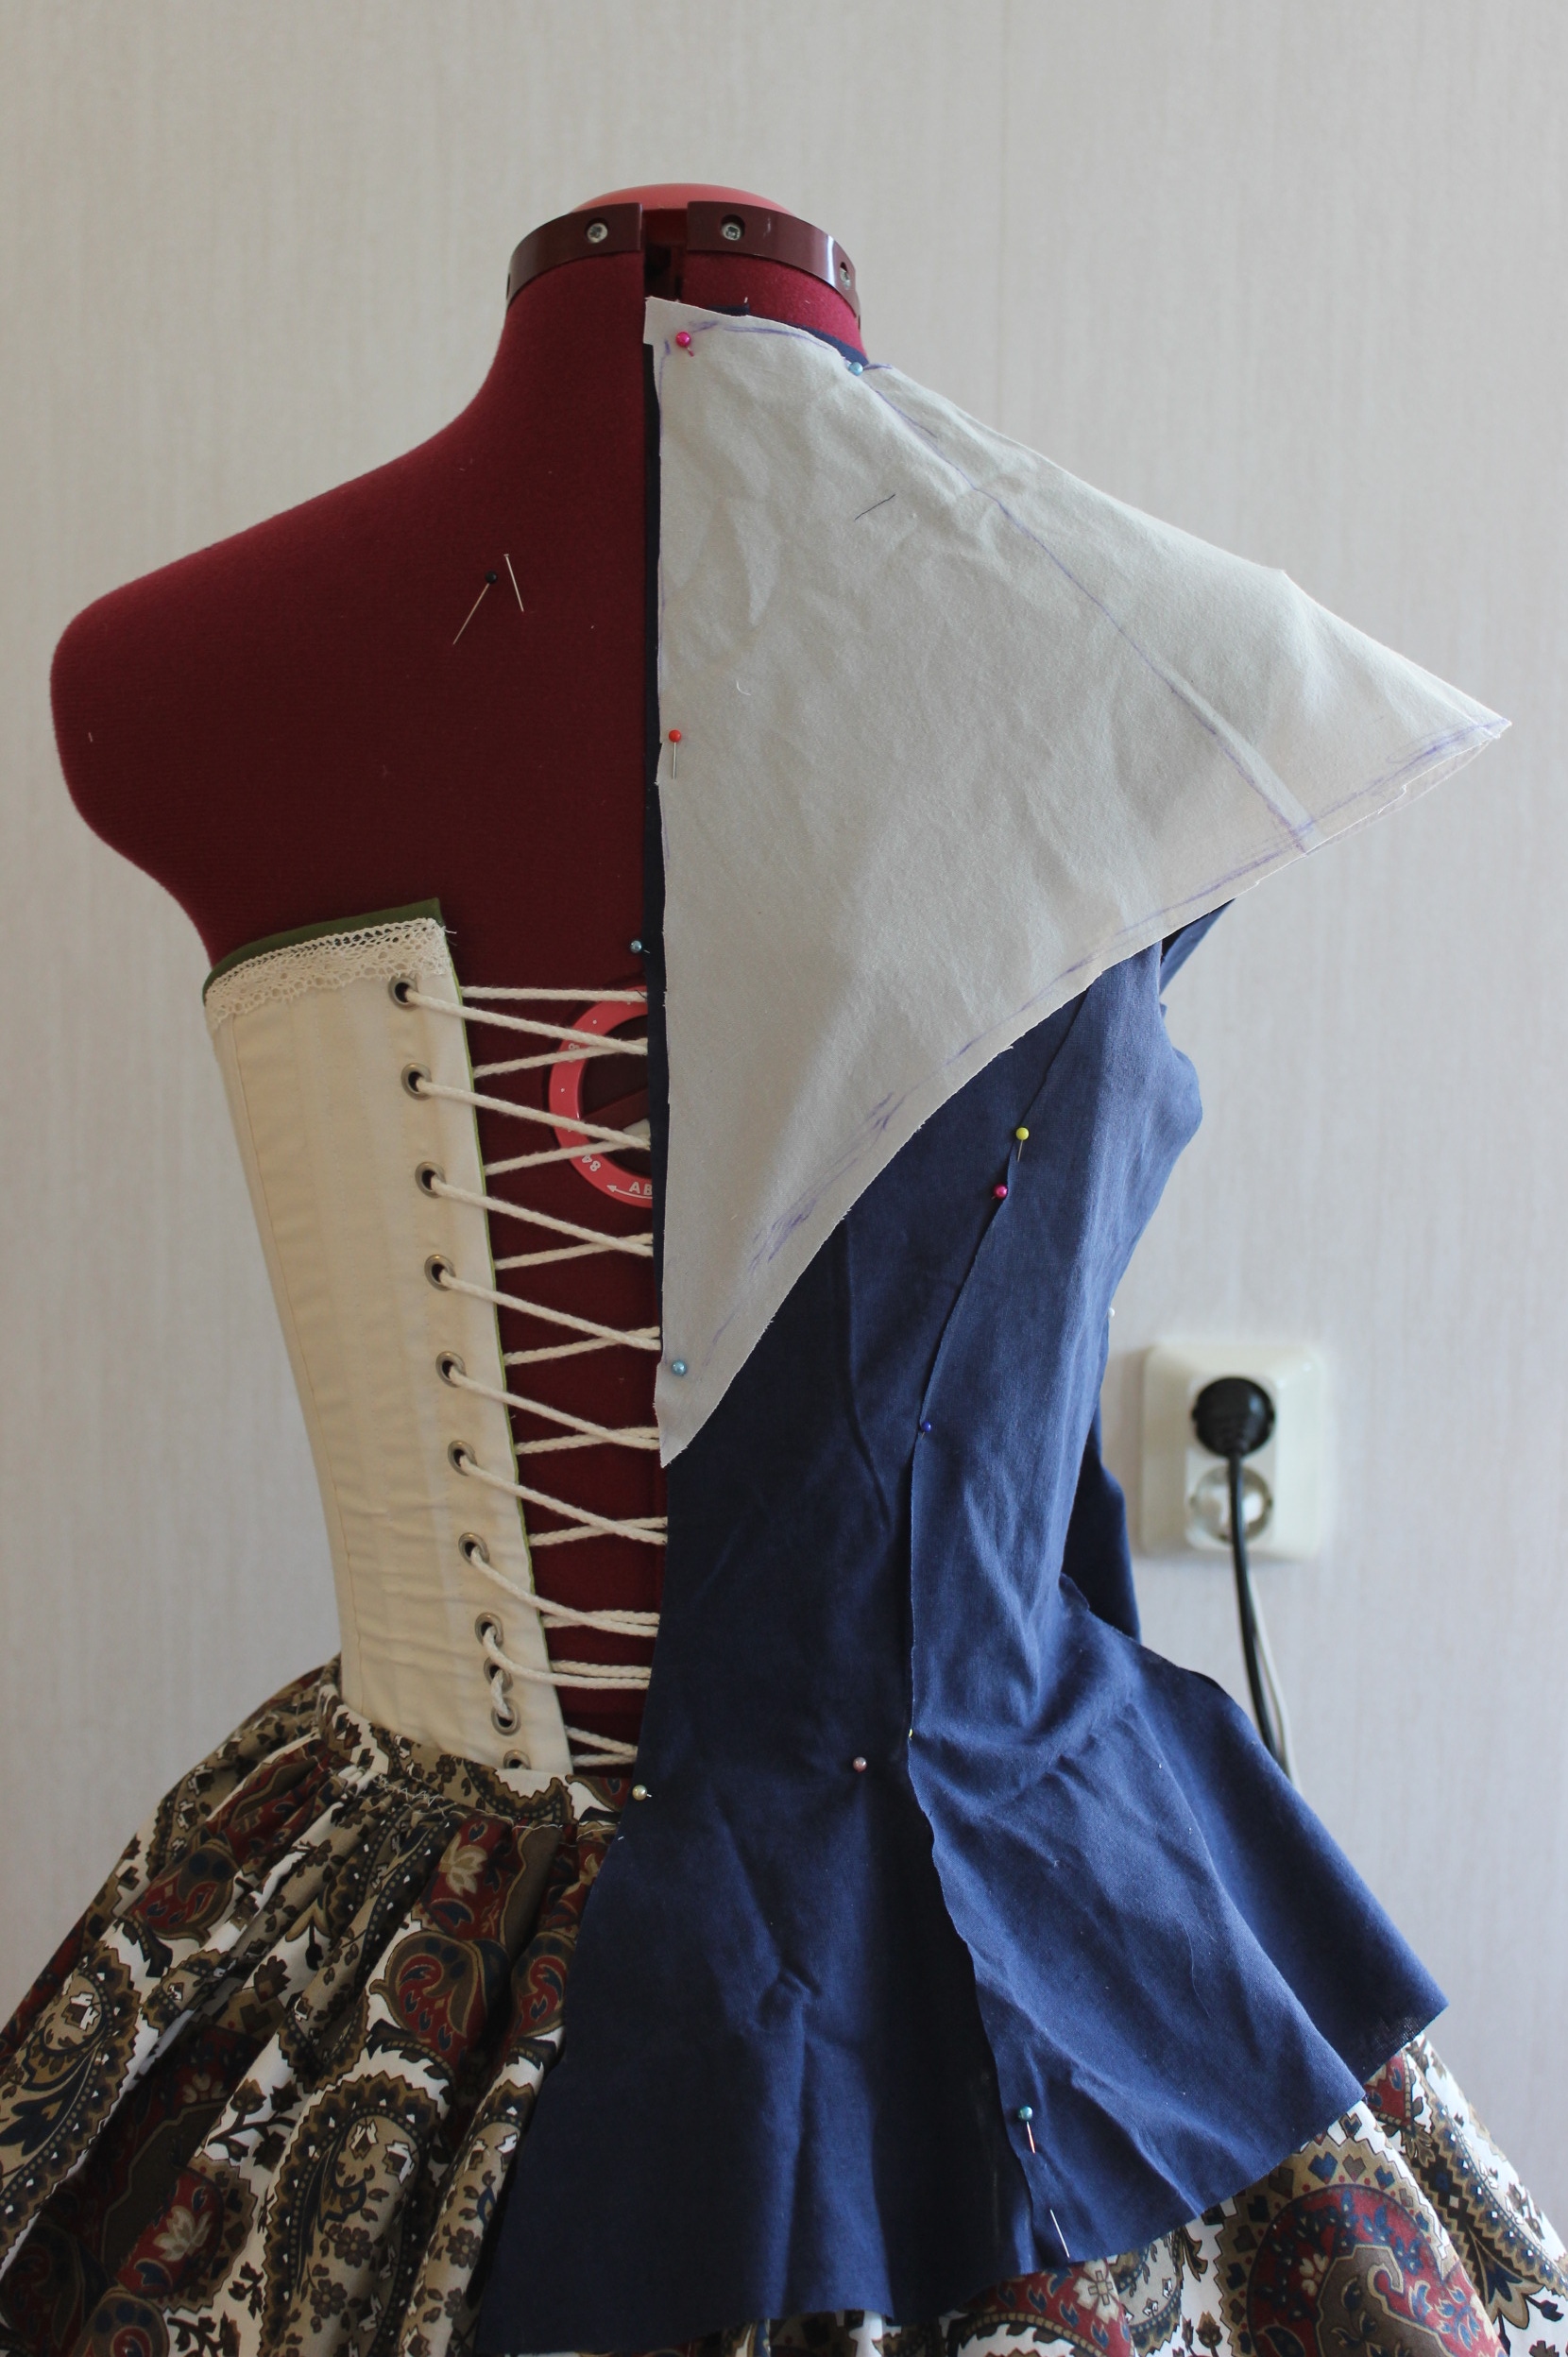
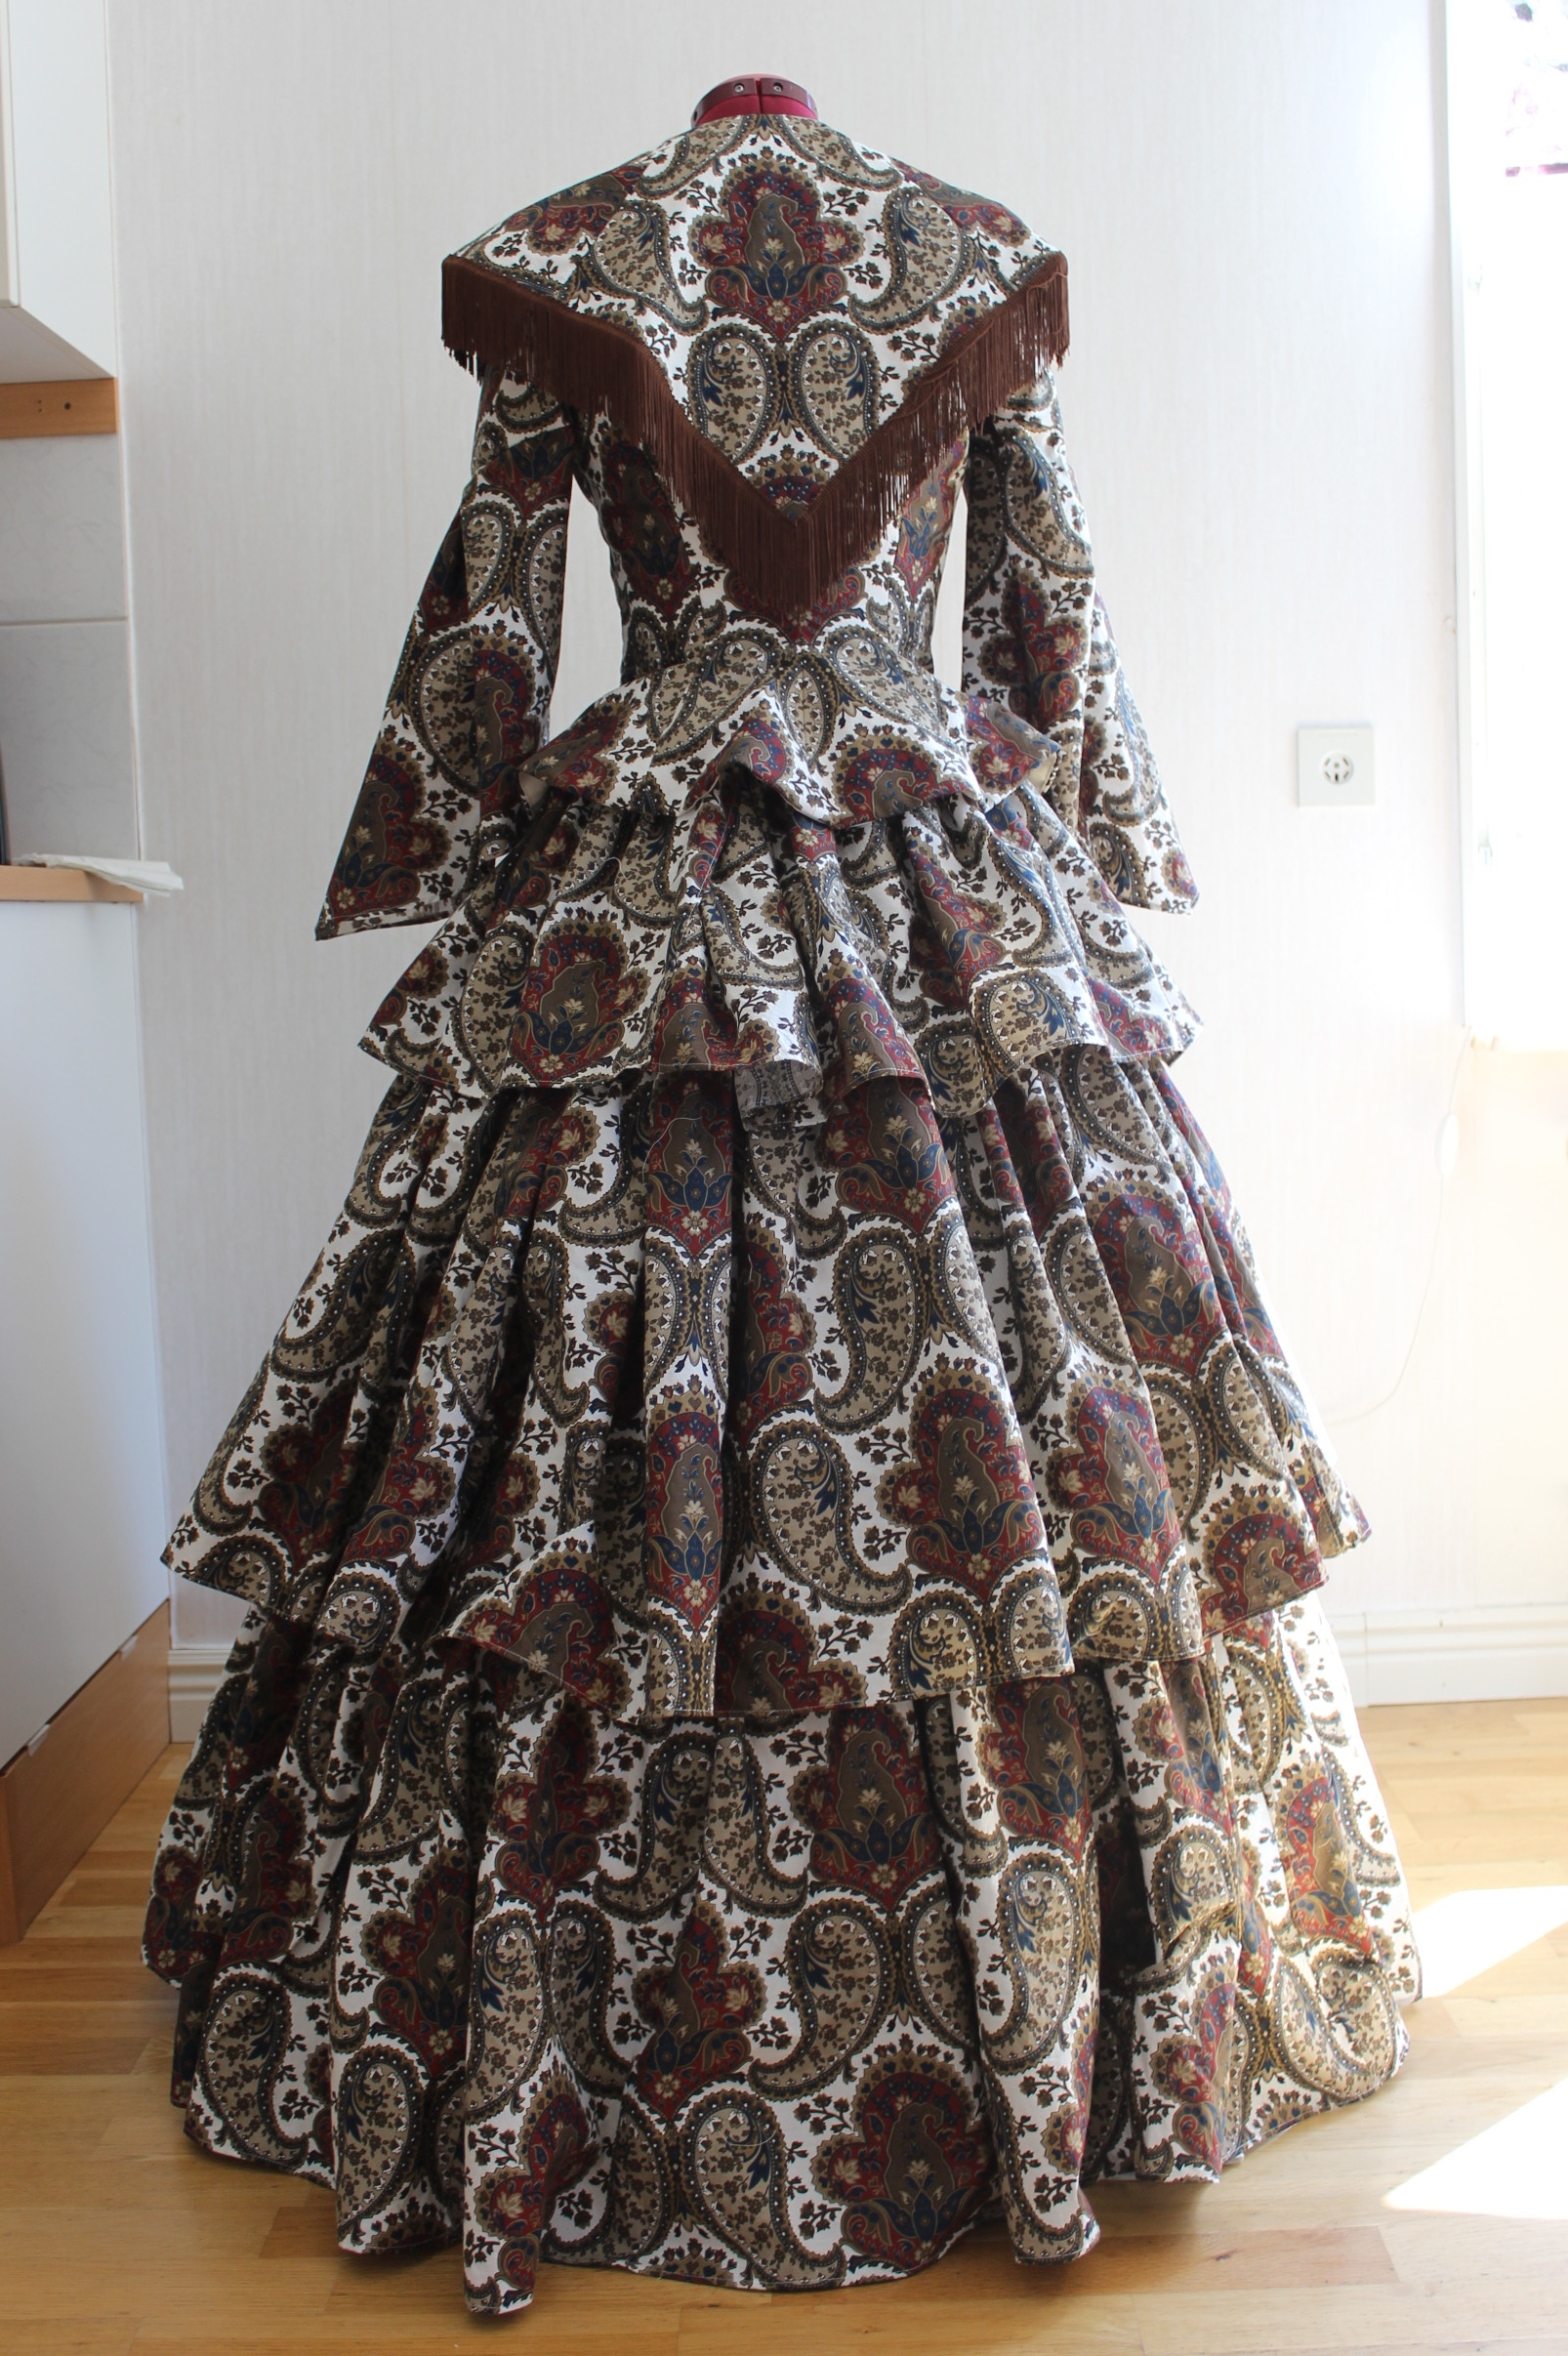
I knew I wanted a fitted jacket with a bit of a peplum and a sculpted neckpiece on top, like the ones in Nancy Bradfeilds “Costume in Detail” 
Draping the pieces on my dressform.

And the neckpiece.

I then cut and made a mock-up, and let it rest upon my dressform for a week when we were abroad on vaccation.
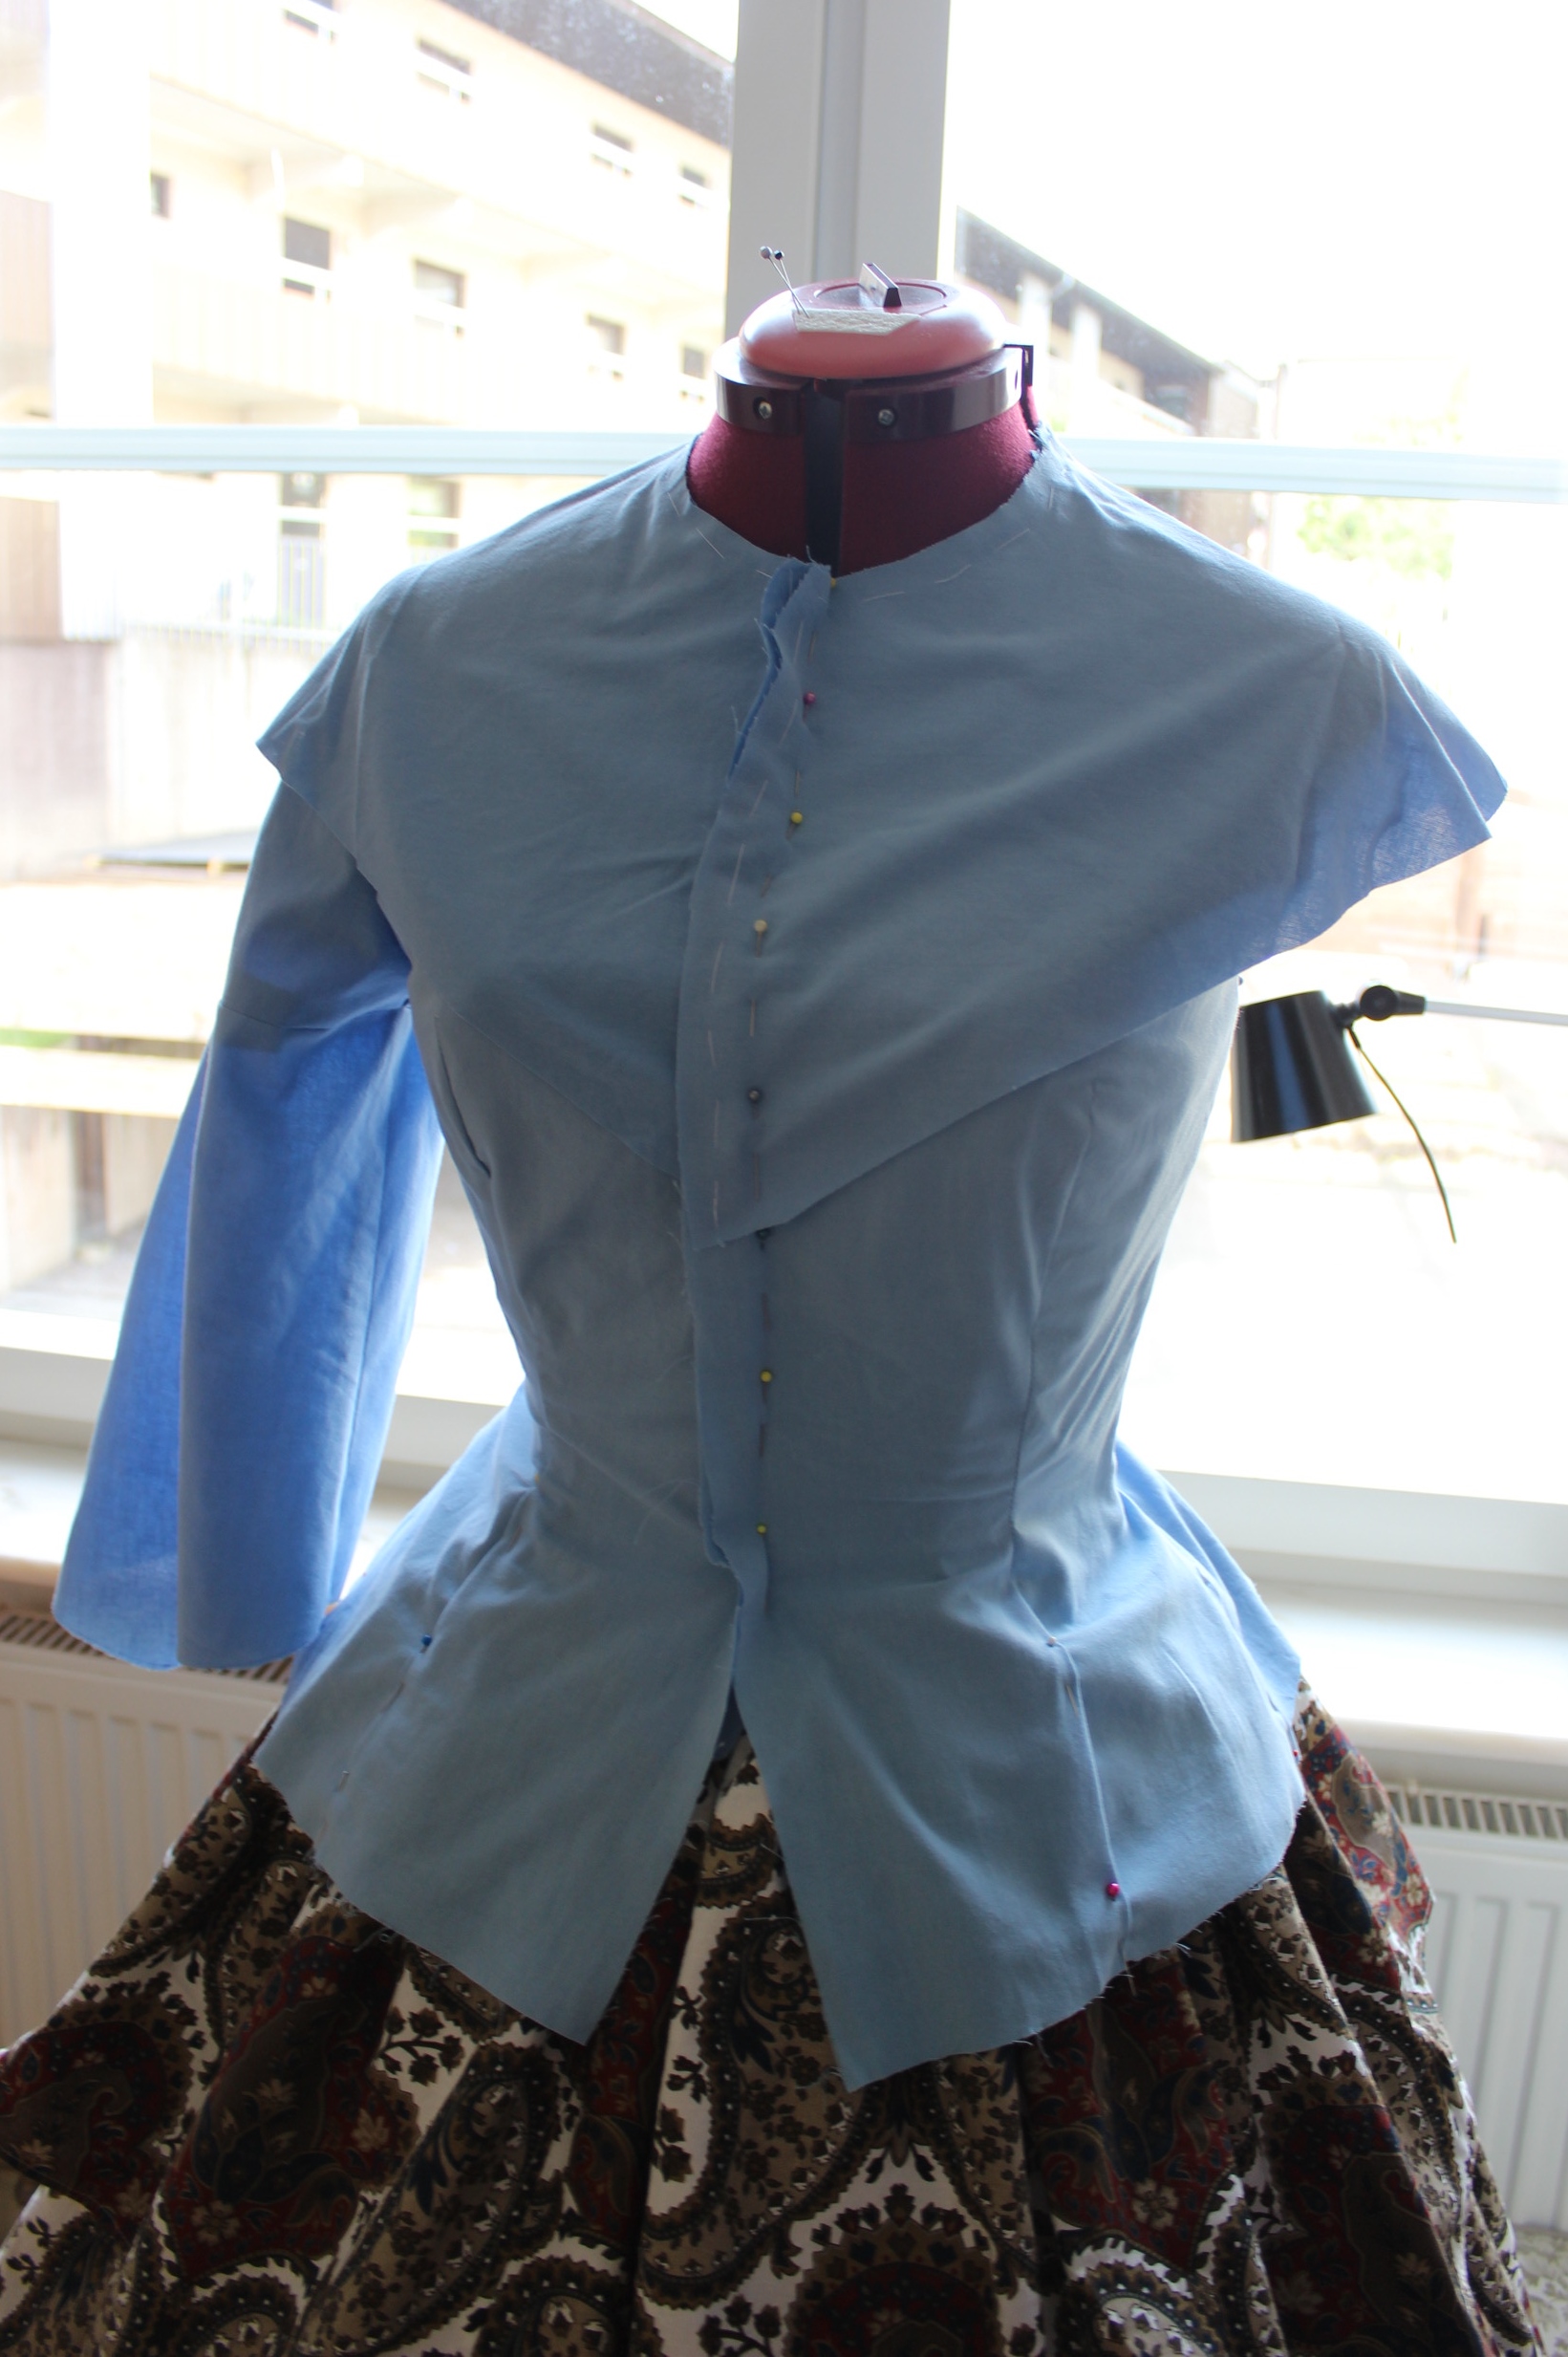
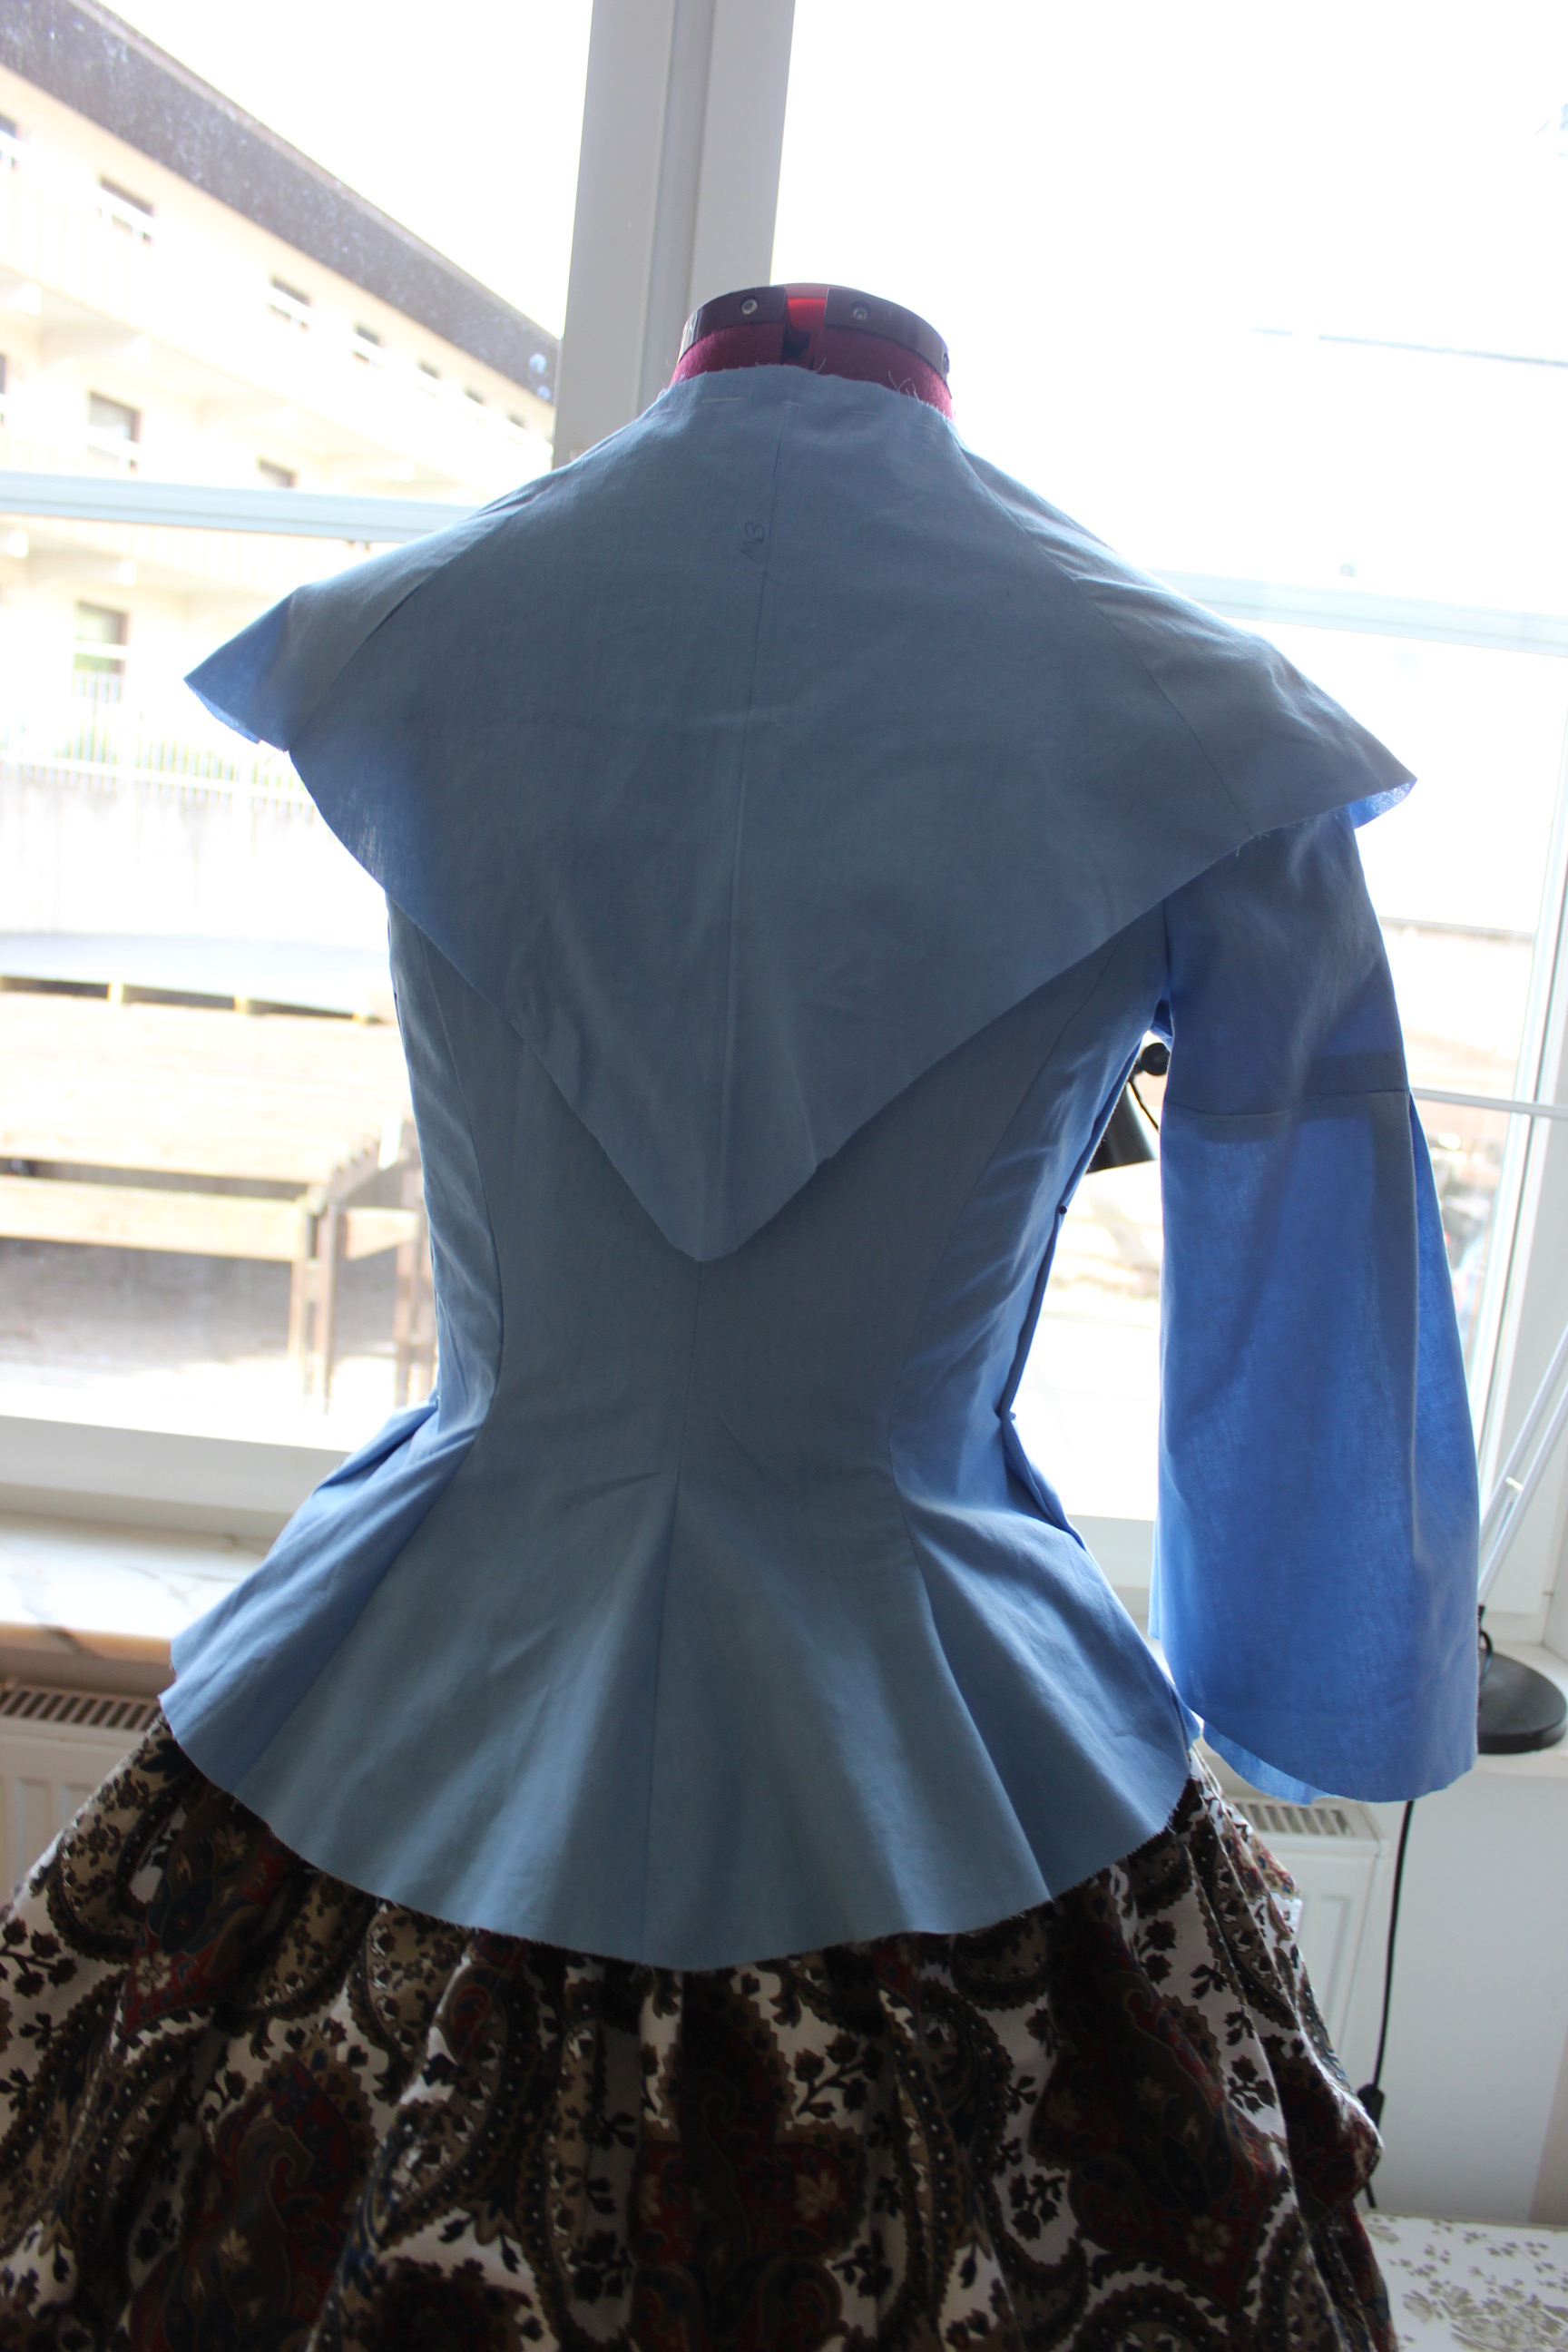
Coming home again, I put it on to check the fit.
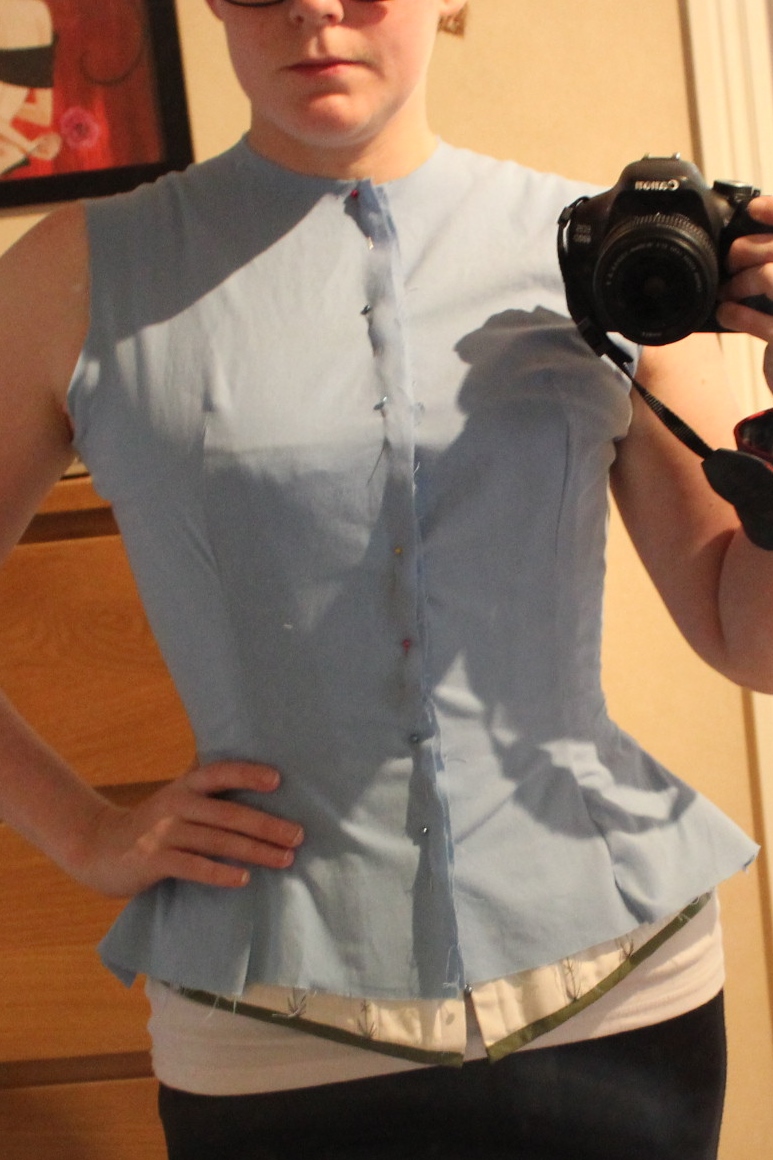
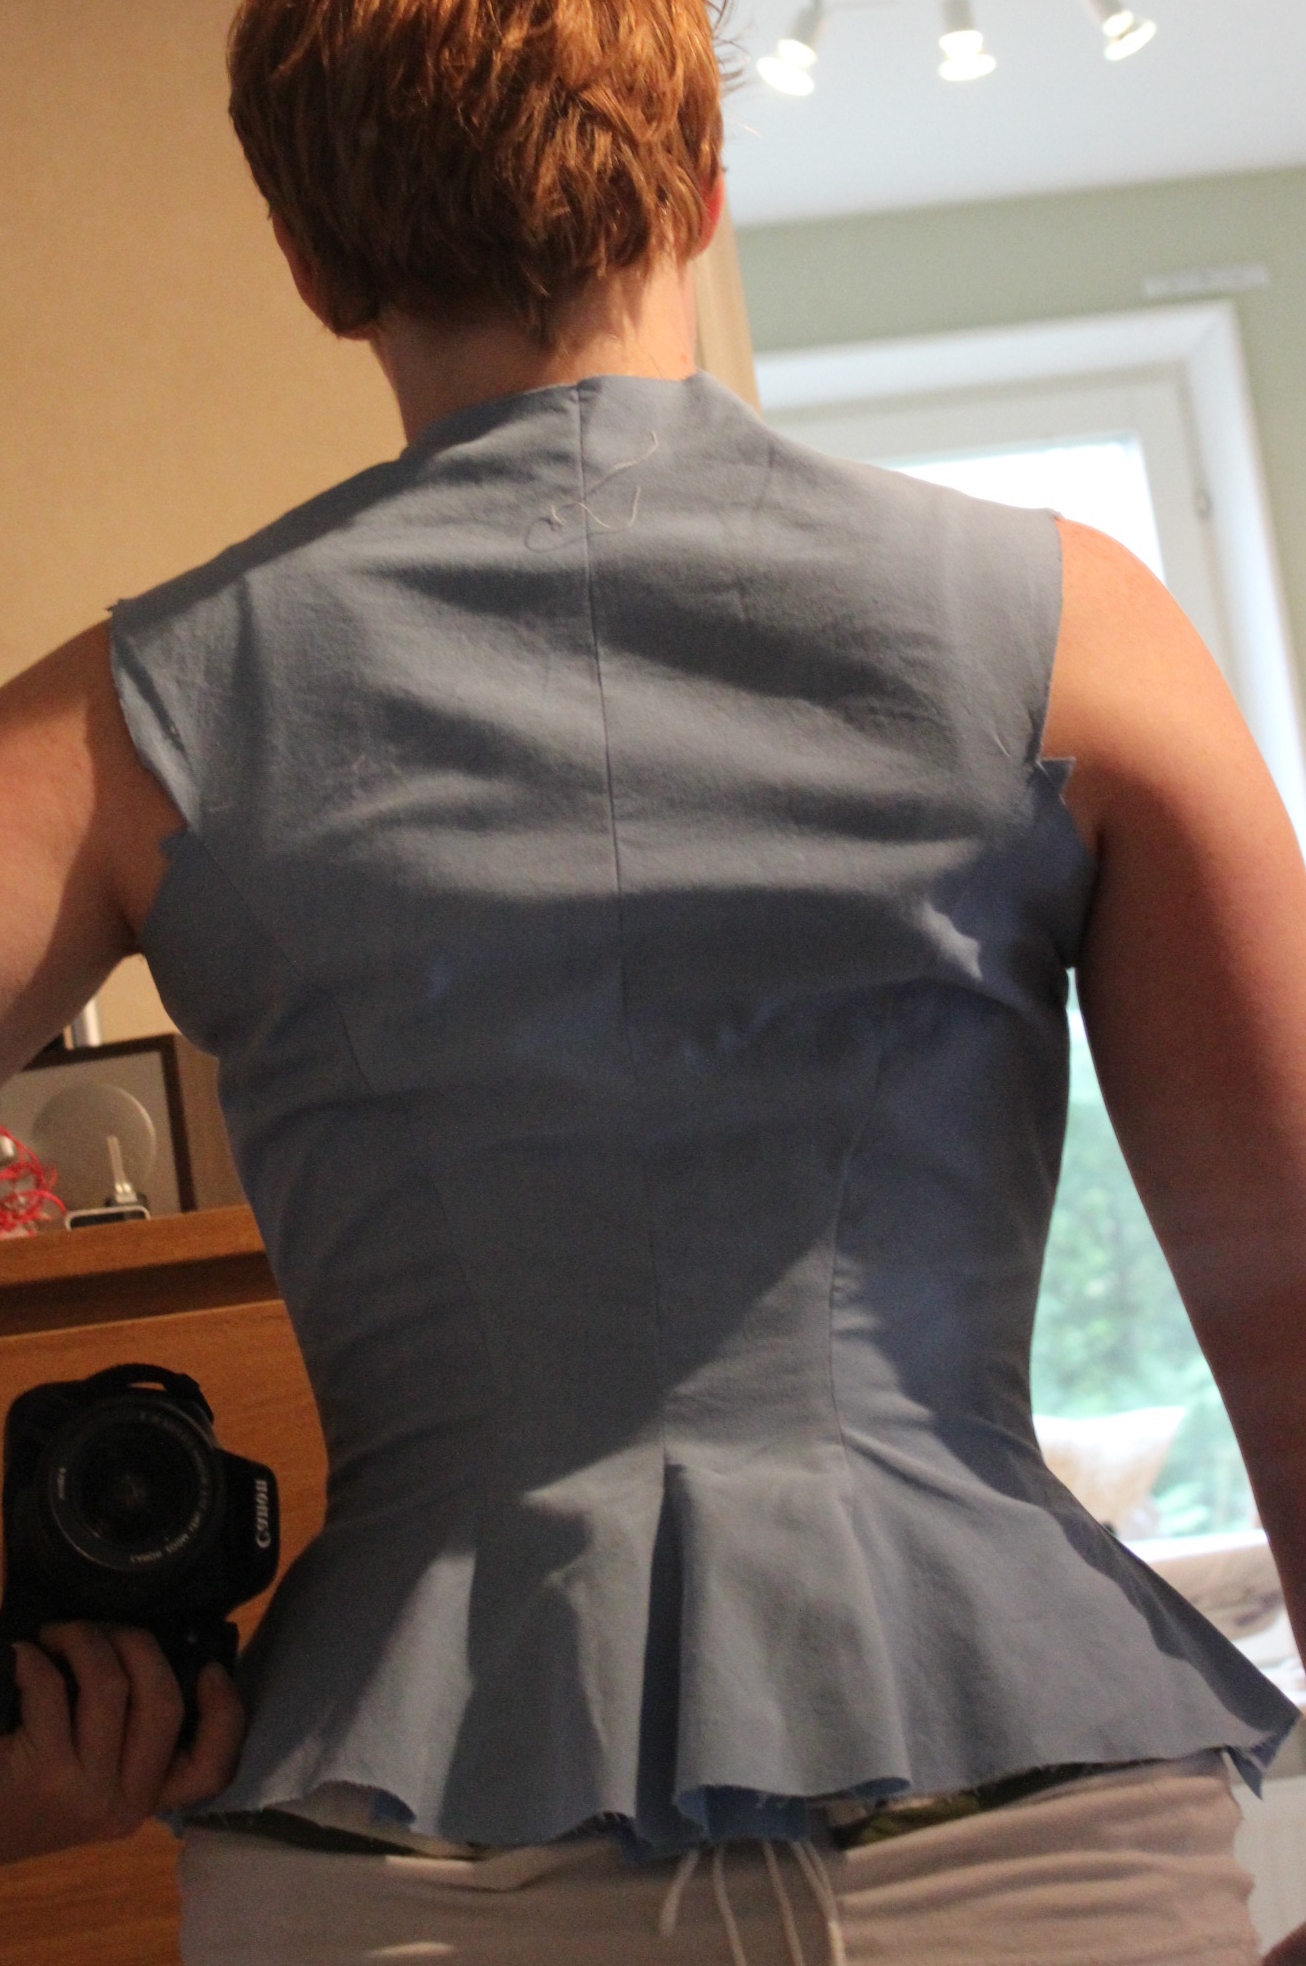
It did needed some changes (hard to se in this pick due to the pining I’ve made on the inside), but for the most part it worked pretty good.
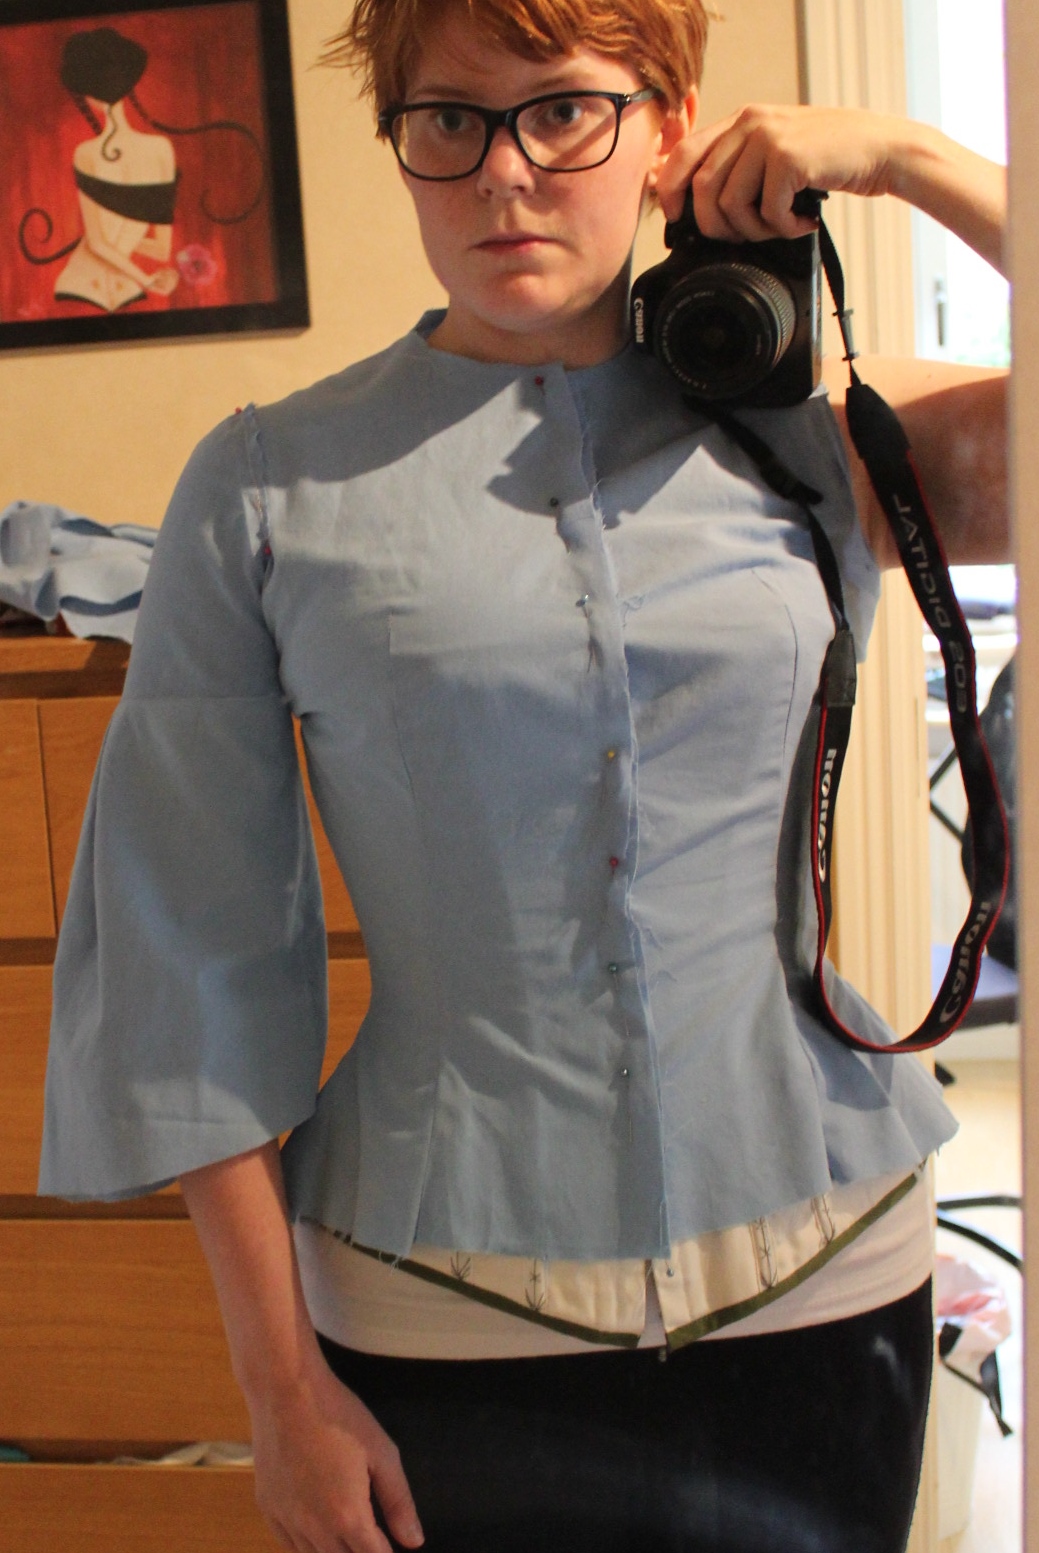 Trying out the sleeve pattern.
 The biggest change I neede to make was to lover the wasit and to take it in a bit more.
Here you can see the new lower, and the old un-picked waist placement, and the amount needed to be taken in at each seam. 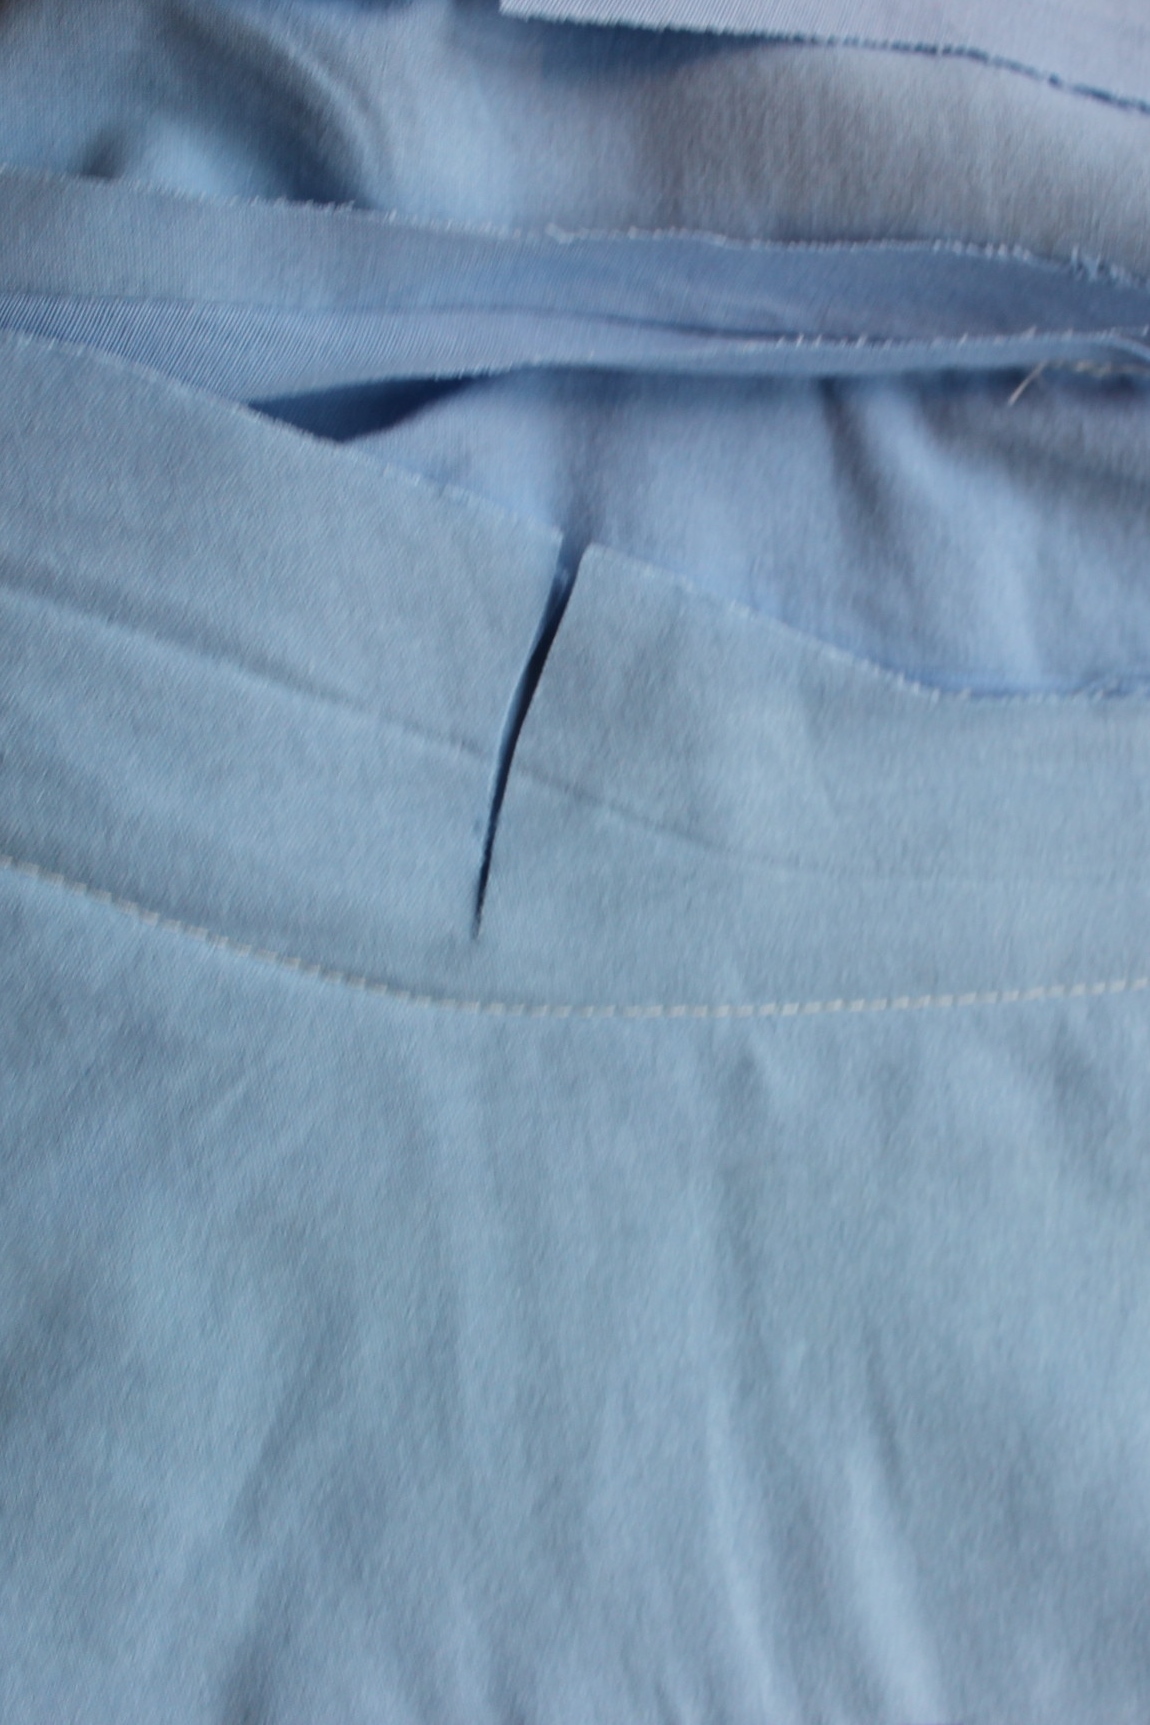
Then it was time to cut the pieces. I needed to ration the fabric very carefuly to make sure I had enough to get the print matched on each piece. It was a bit tricky but I manadged to fit all the pieces pretty much the way I wanted.
I’m particulary proud of the center back (which unfortanly won’t even show beeneth the neck piece).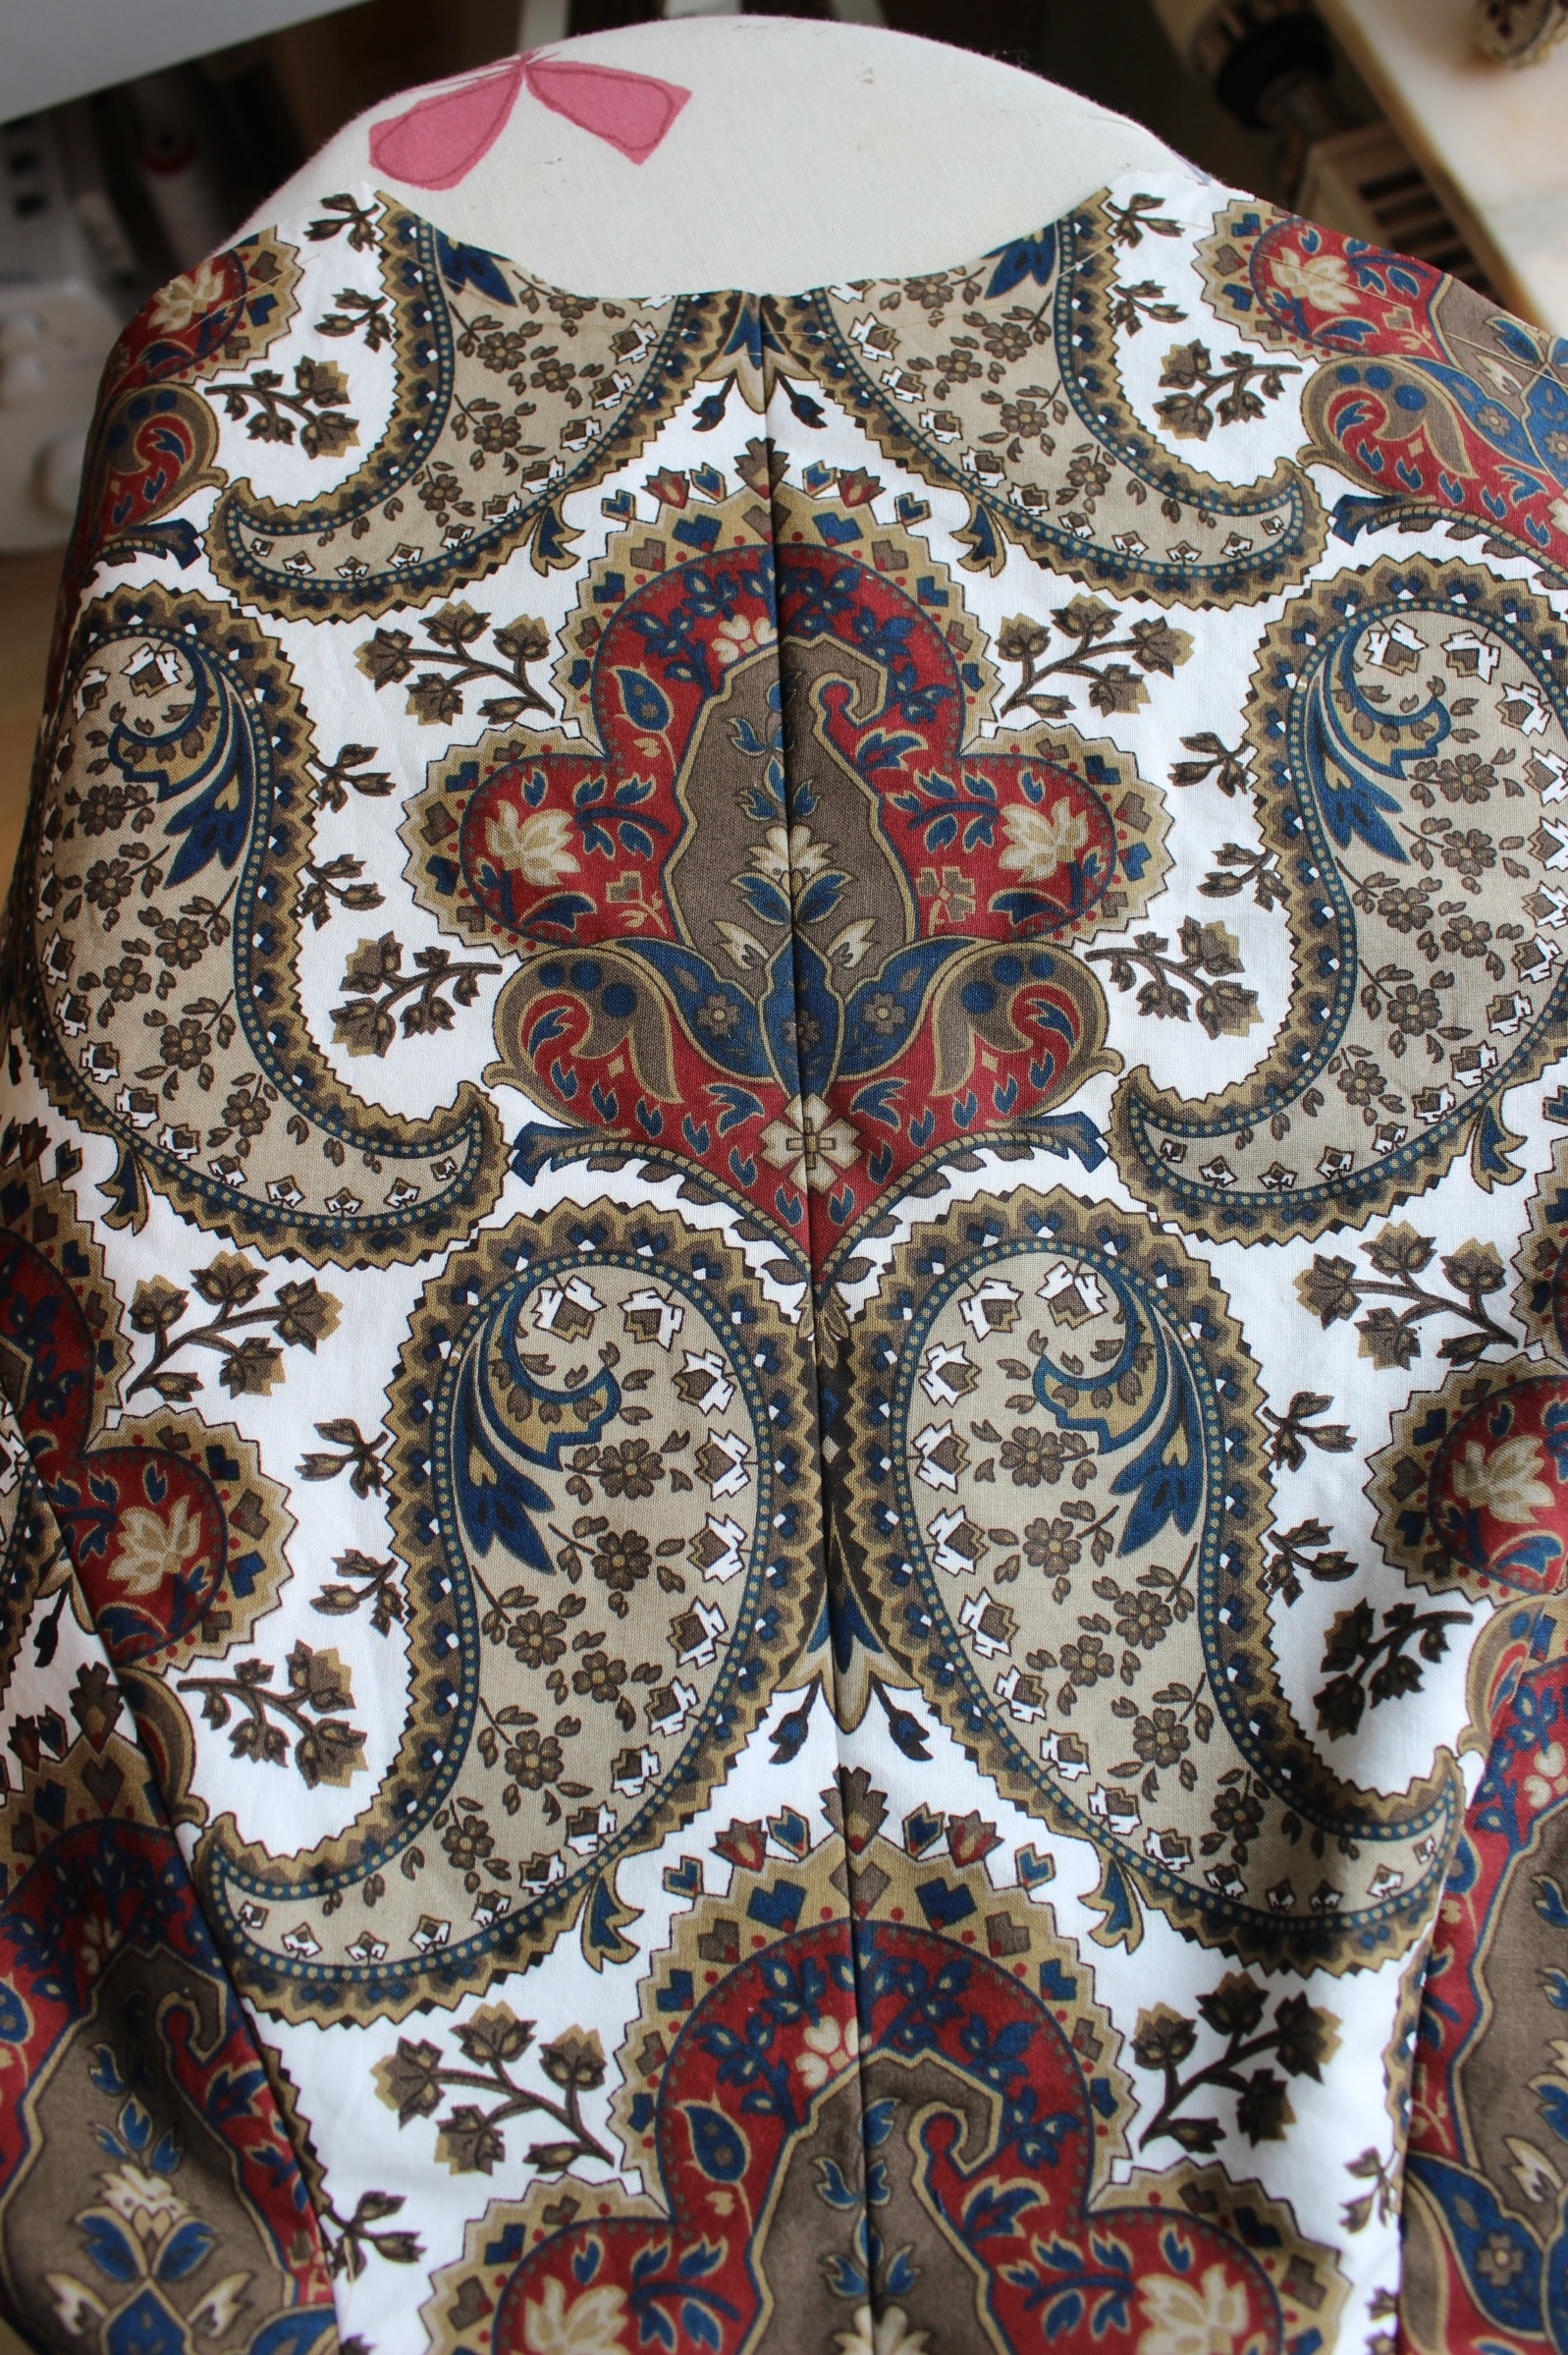 After basting the interlinig to the paisley, I sewed the pieces together and tried it on.
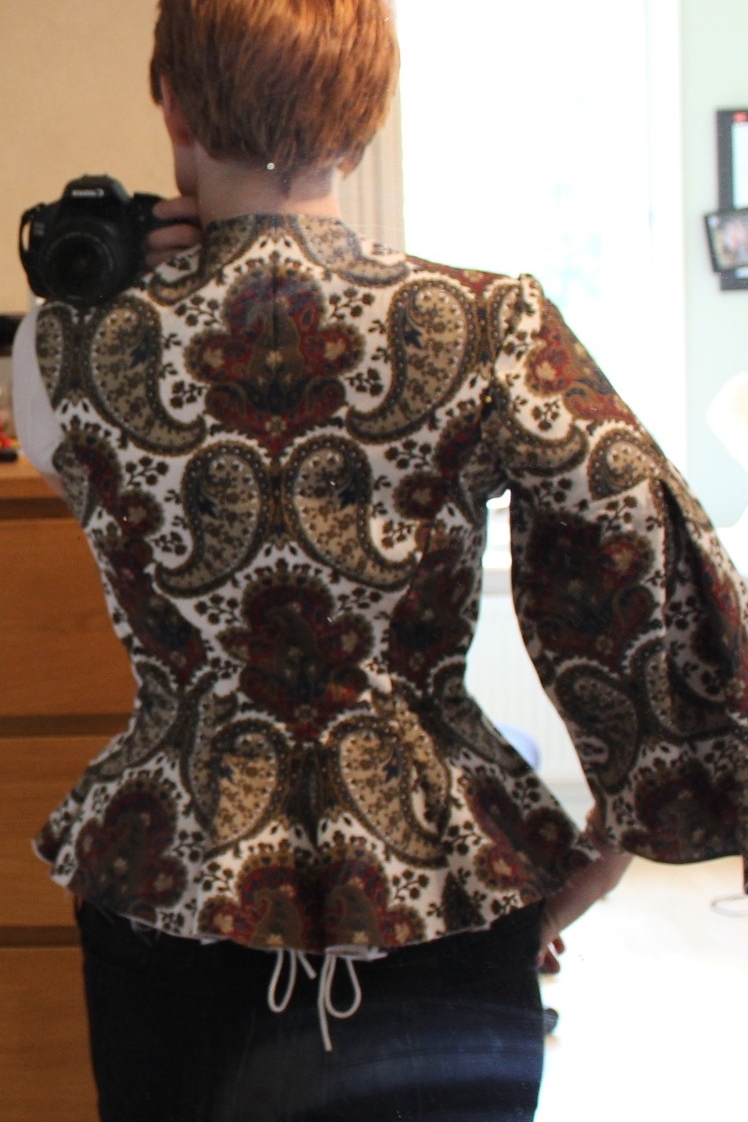
This time it looked rater good.
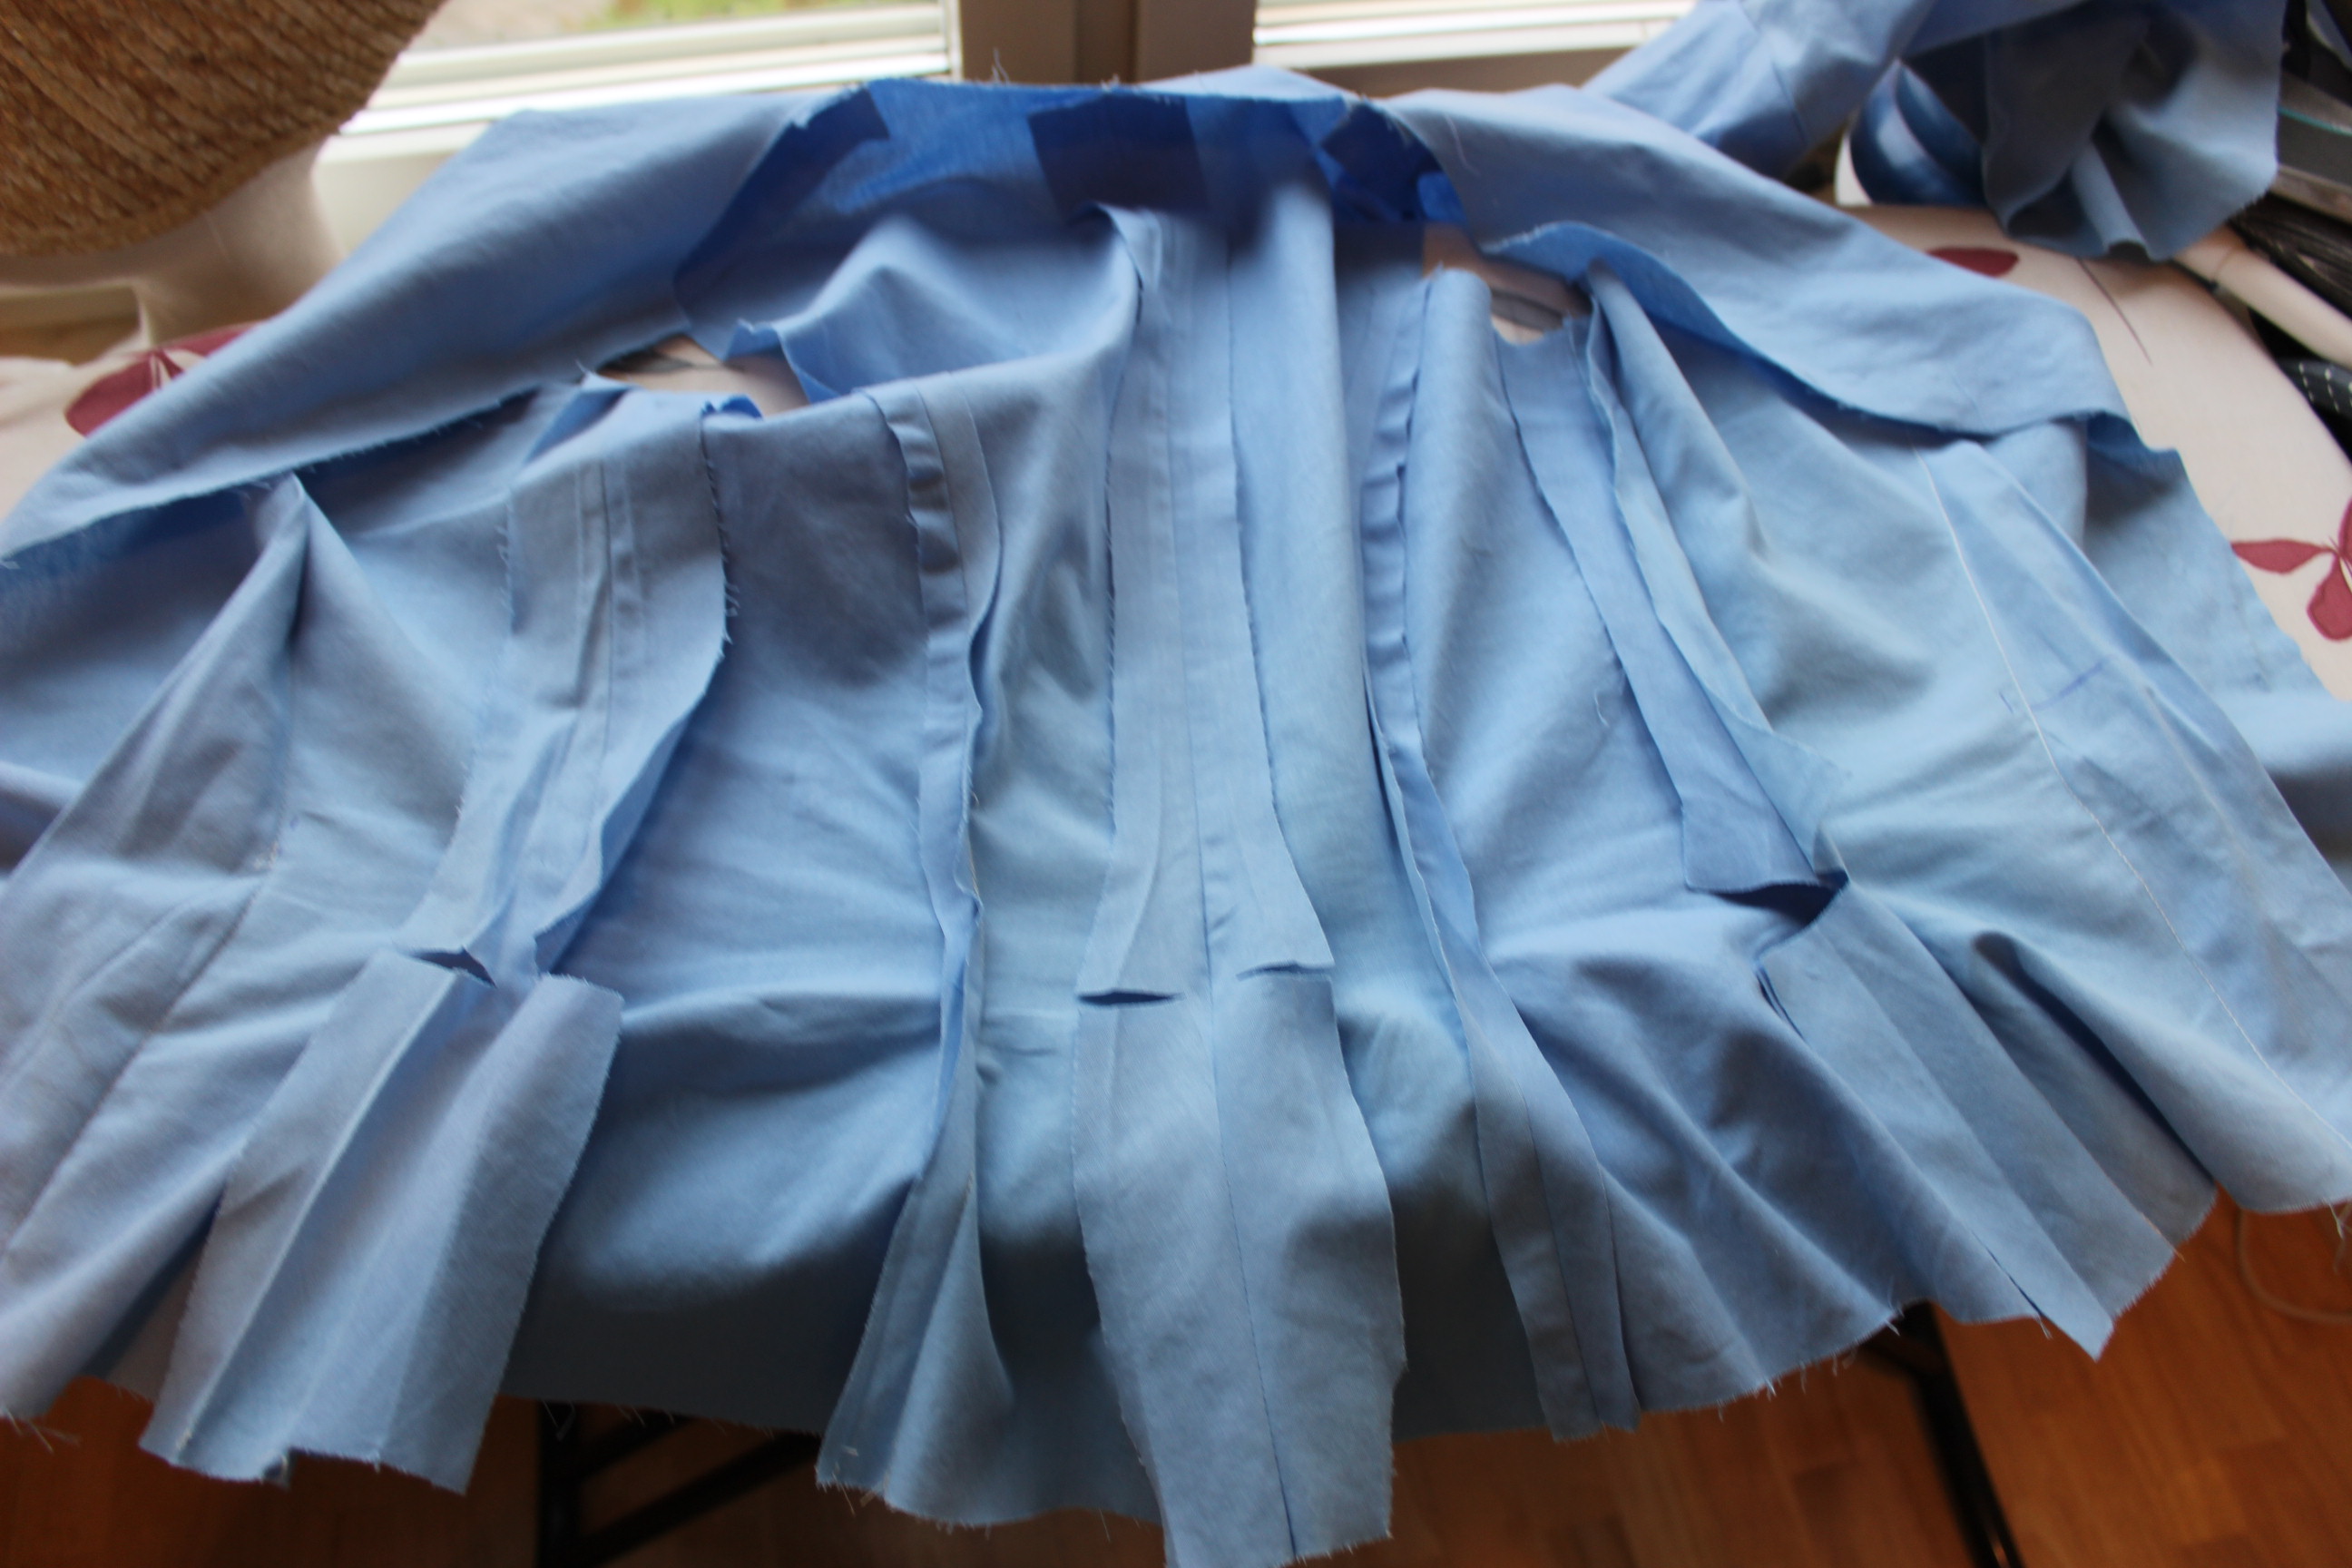
When I was sure about the fit, I cut all the wide seam allowence down, and trimmed away all the exess fabric at the darts.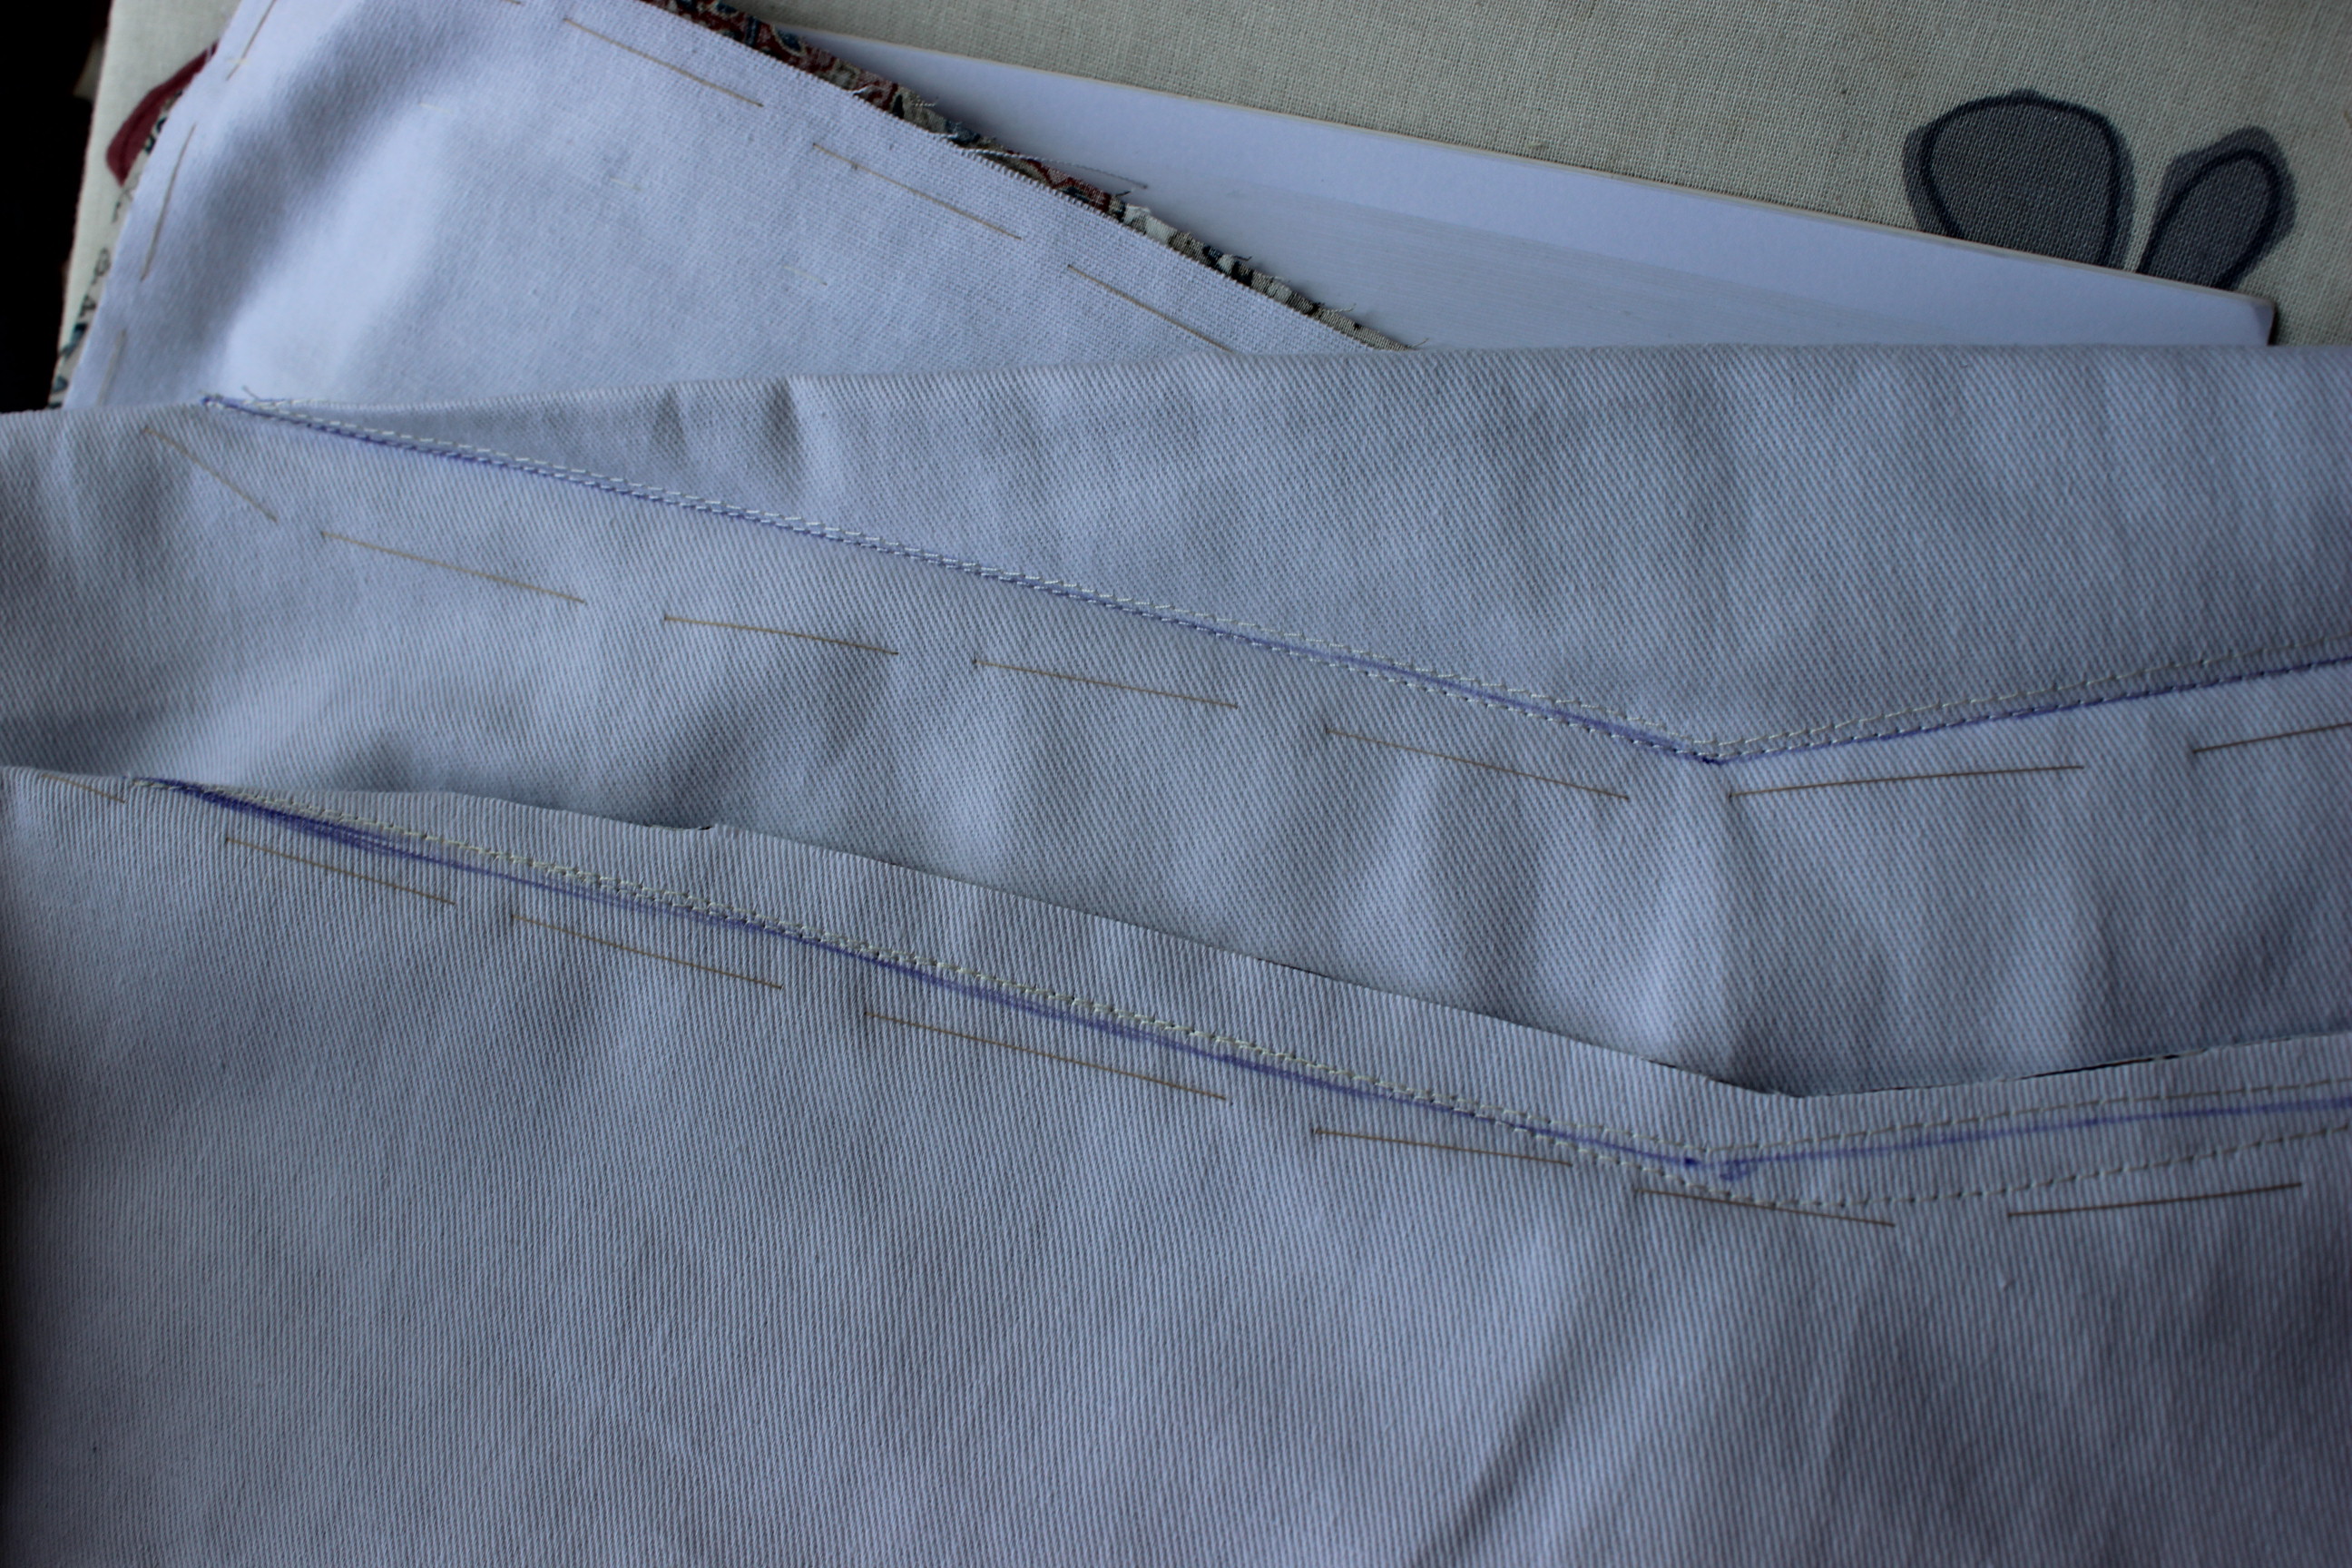 Huge un-cut and cut dart.
Then it was time for the linnig, which I putt in using the “bag method”. and to make sure all the edges would turn nicely I made notches in the allowence of all the curved seams. Notches on the neck-seam.
All this trimming and notching left my sewing room a mess. 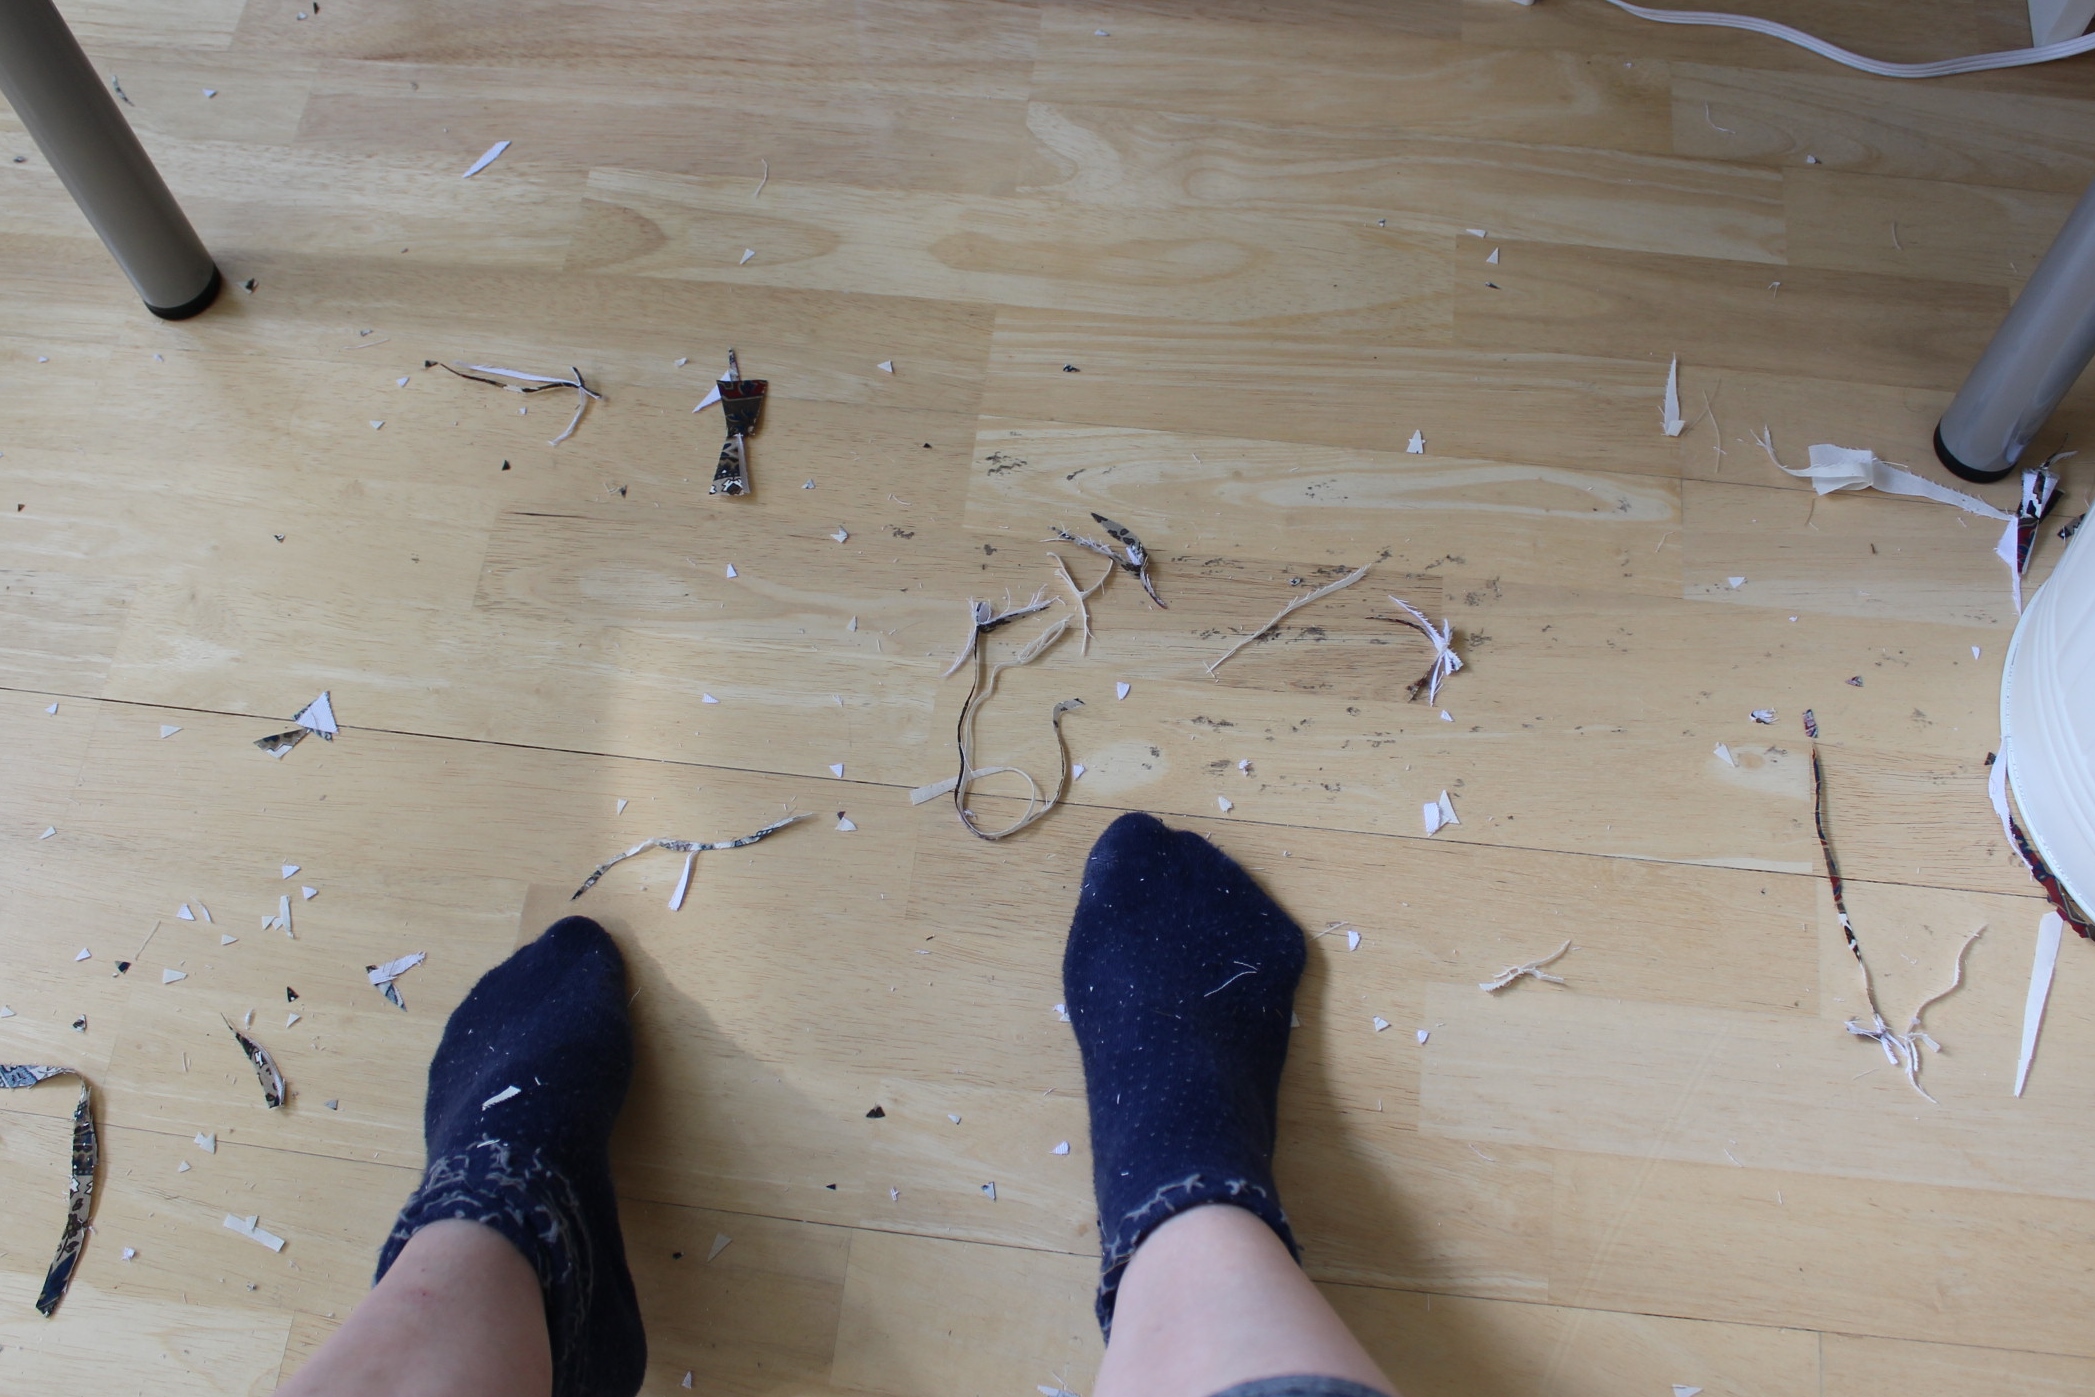 Lots of thread and fabric scraps.
I also took the time to under- stich the neck and hem to make sure the edges was nice and crisp, and would not be able to peek out.
Then it was time for the boning. Well actually I should have done this before putting in the lining, but forgot and thous needed to do it the harder way, trying to avoid getting the lining intangeled with the chanels.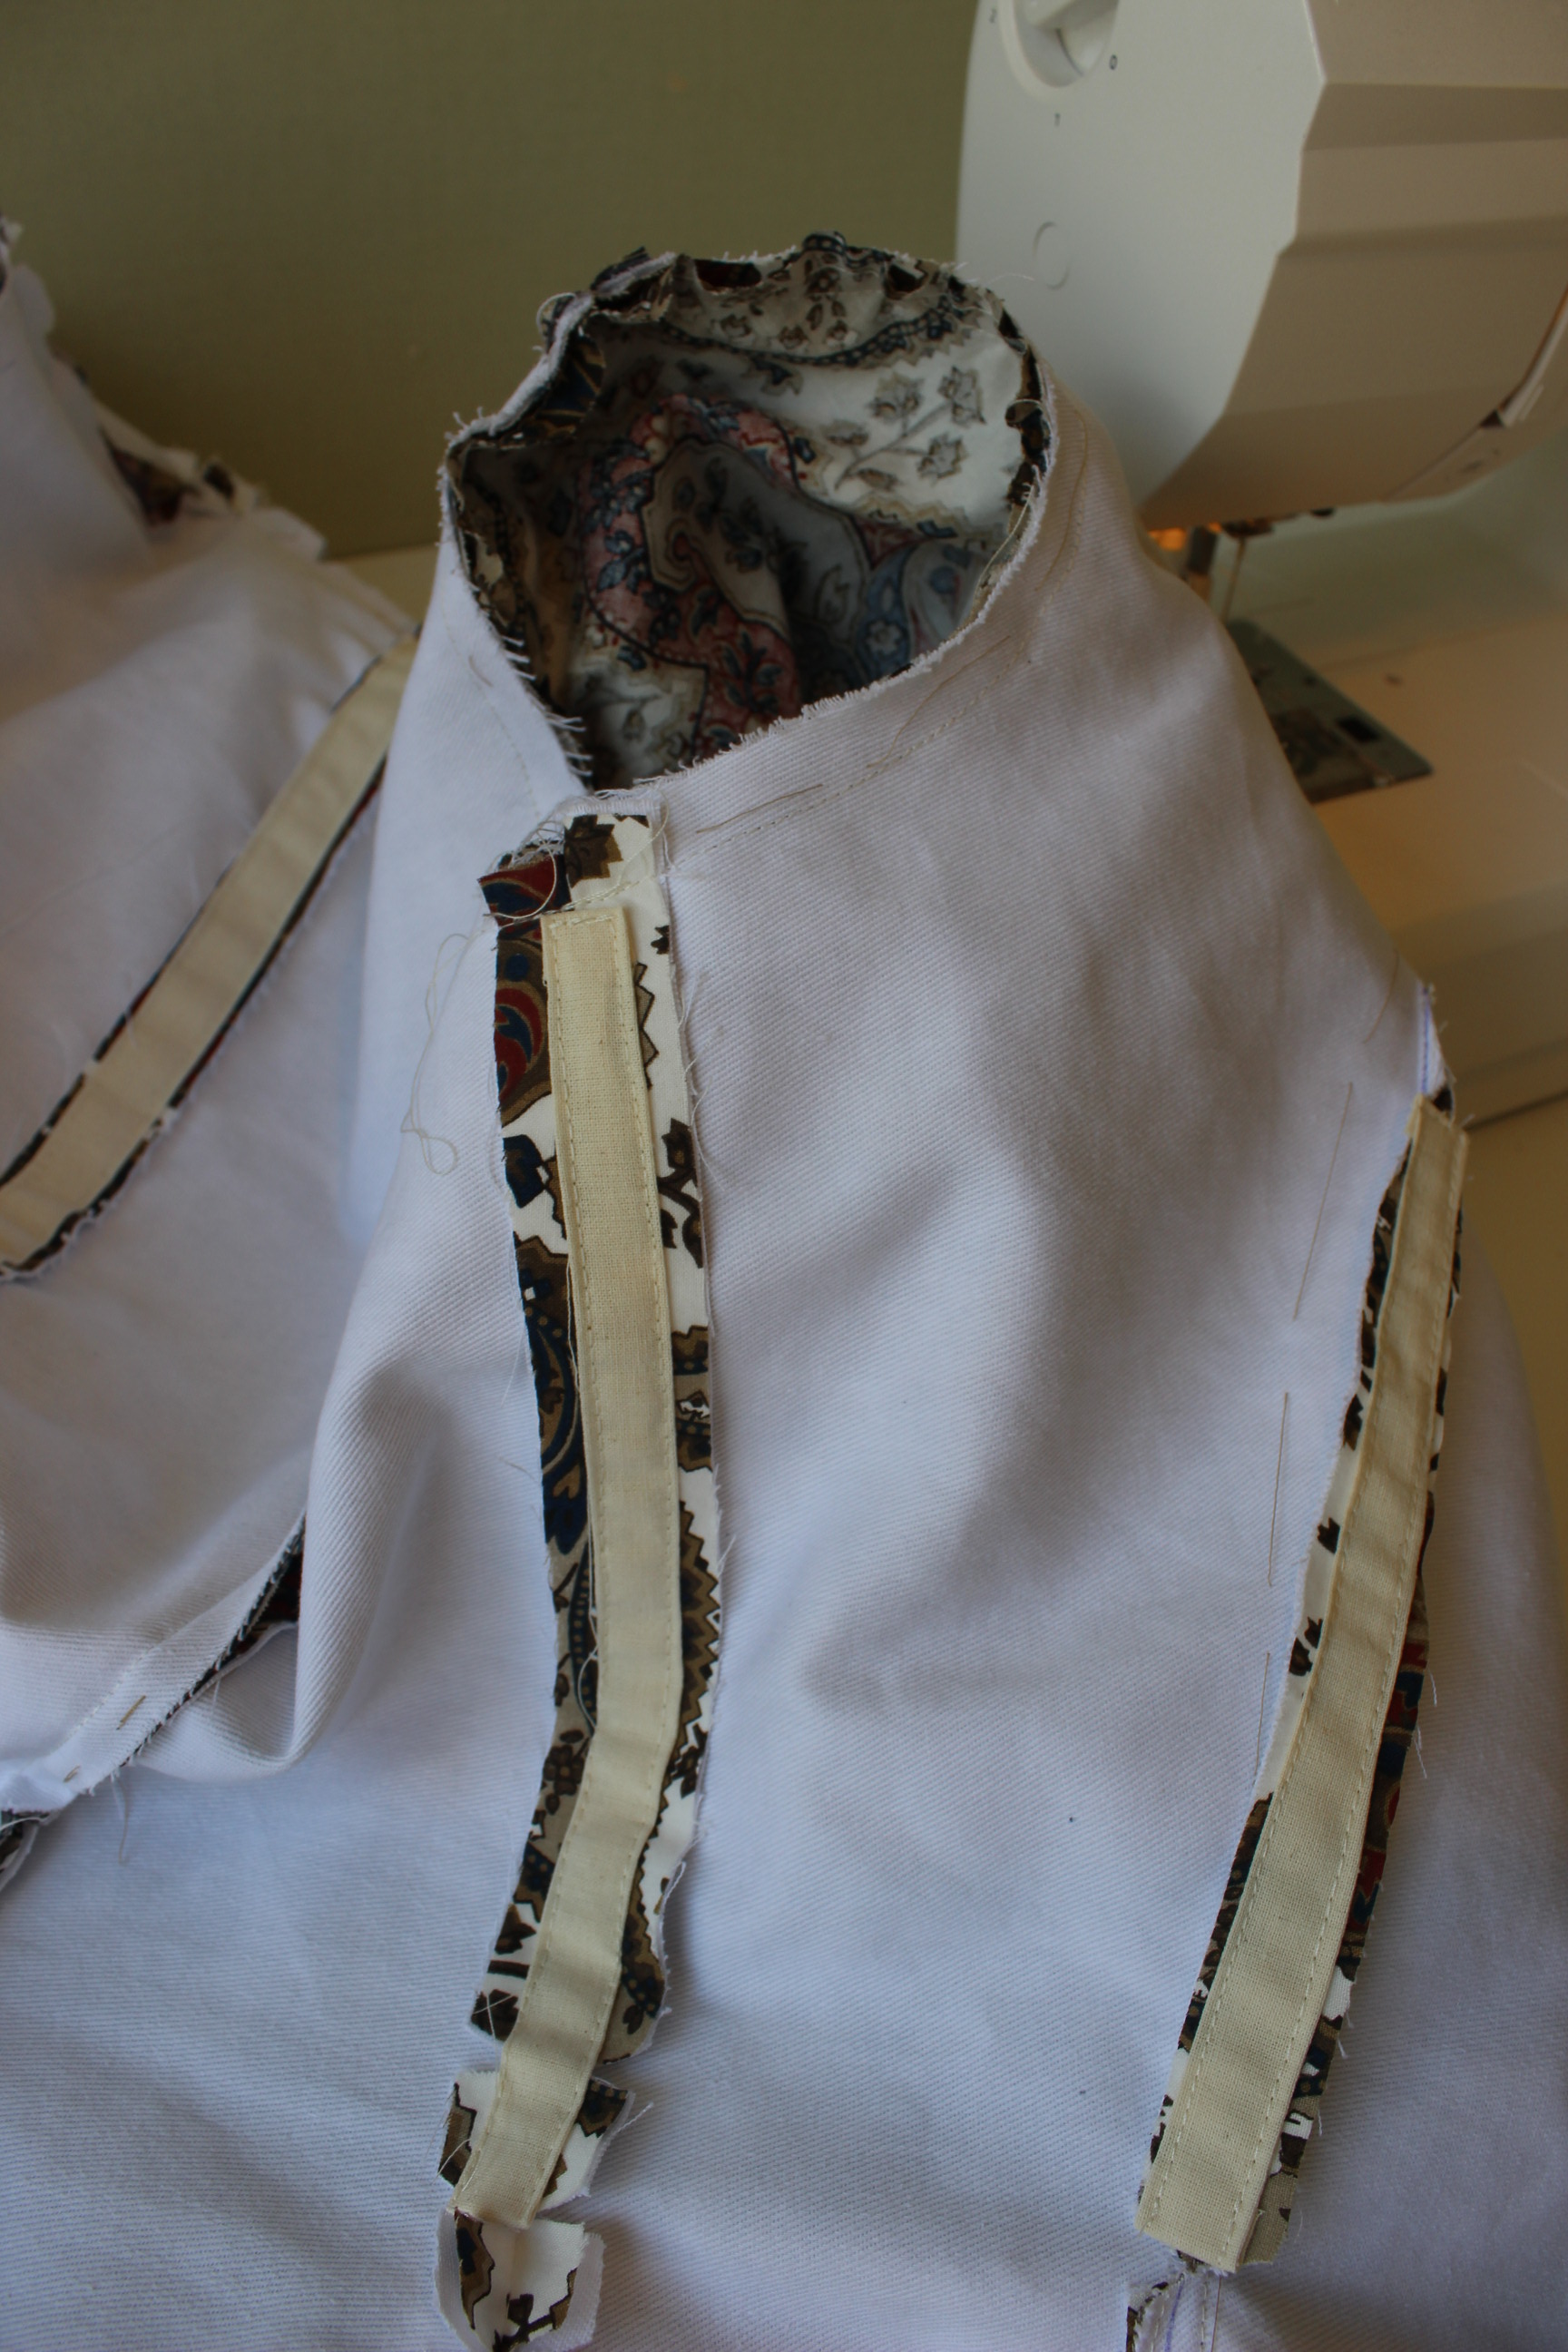 anyhow, I sewed the boning chanals to the seam allowences using self made bias-strips. Then I cut, shaped and put in the plastic whalebone, starting on the sleeves.
 The jacket almost done, inside-out, on my sewing table.
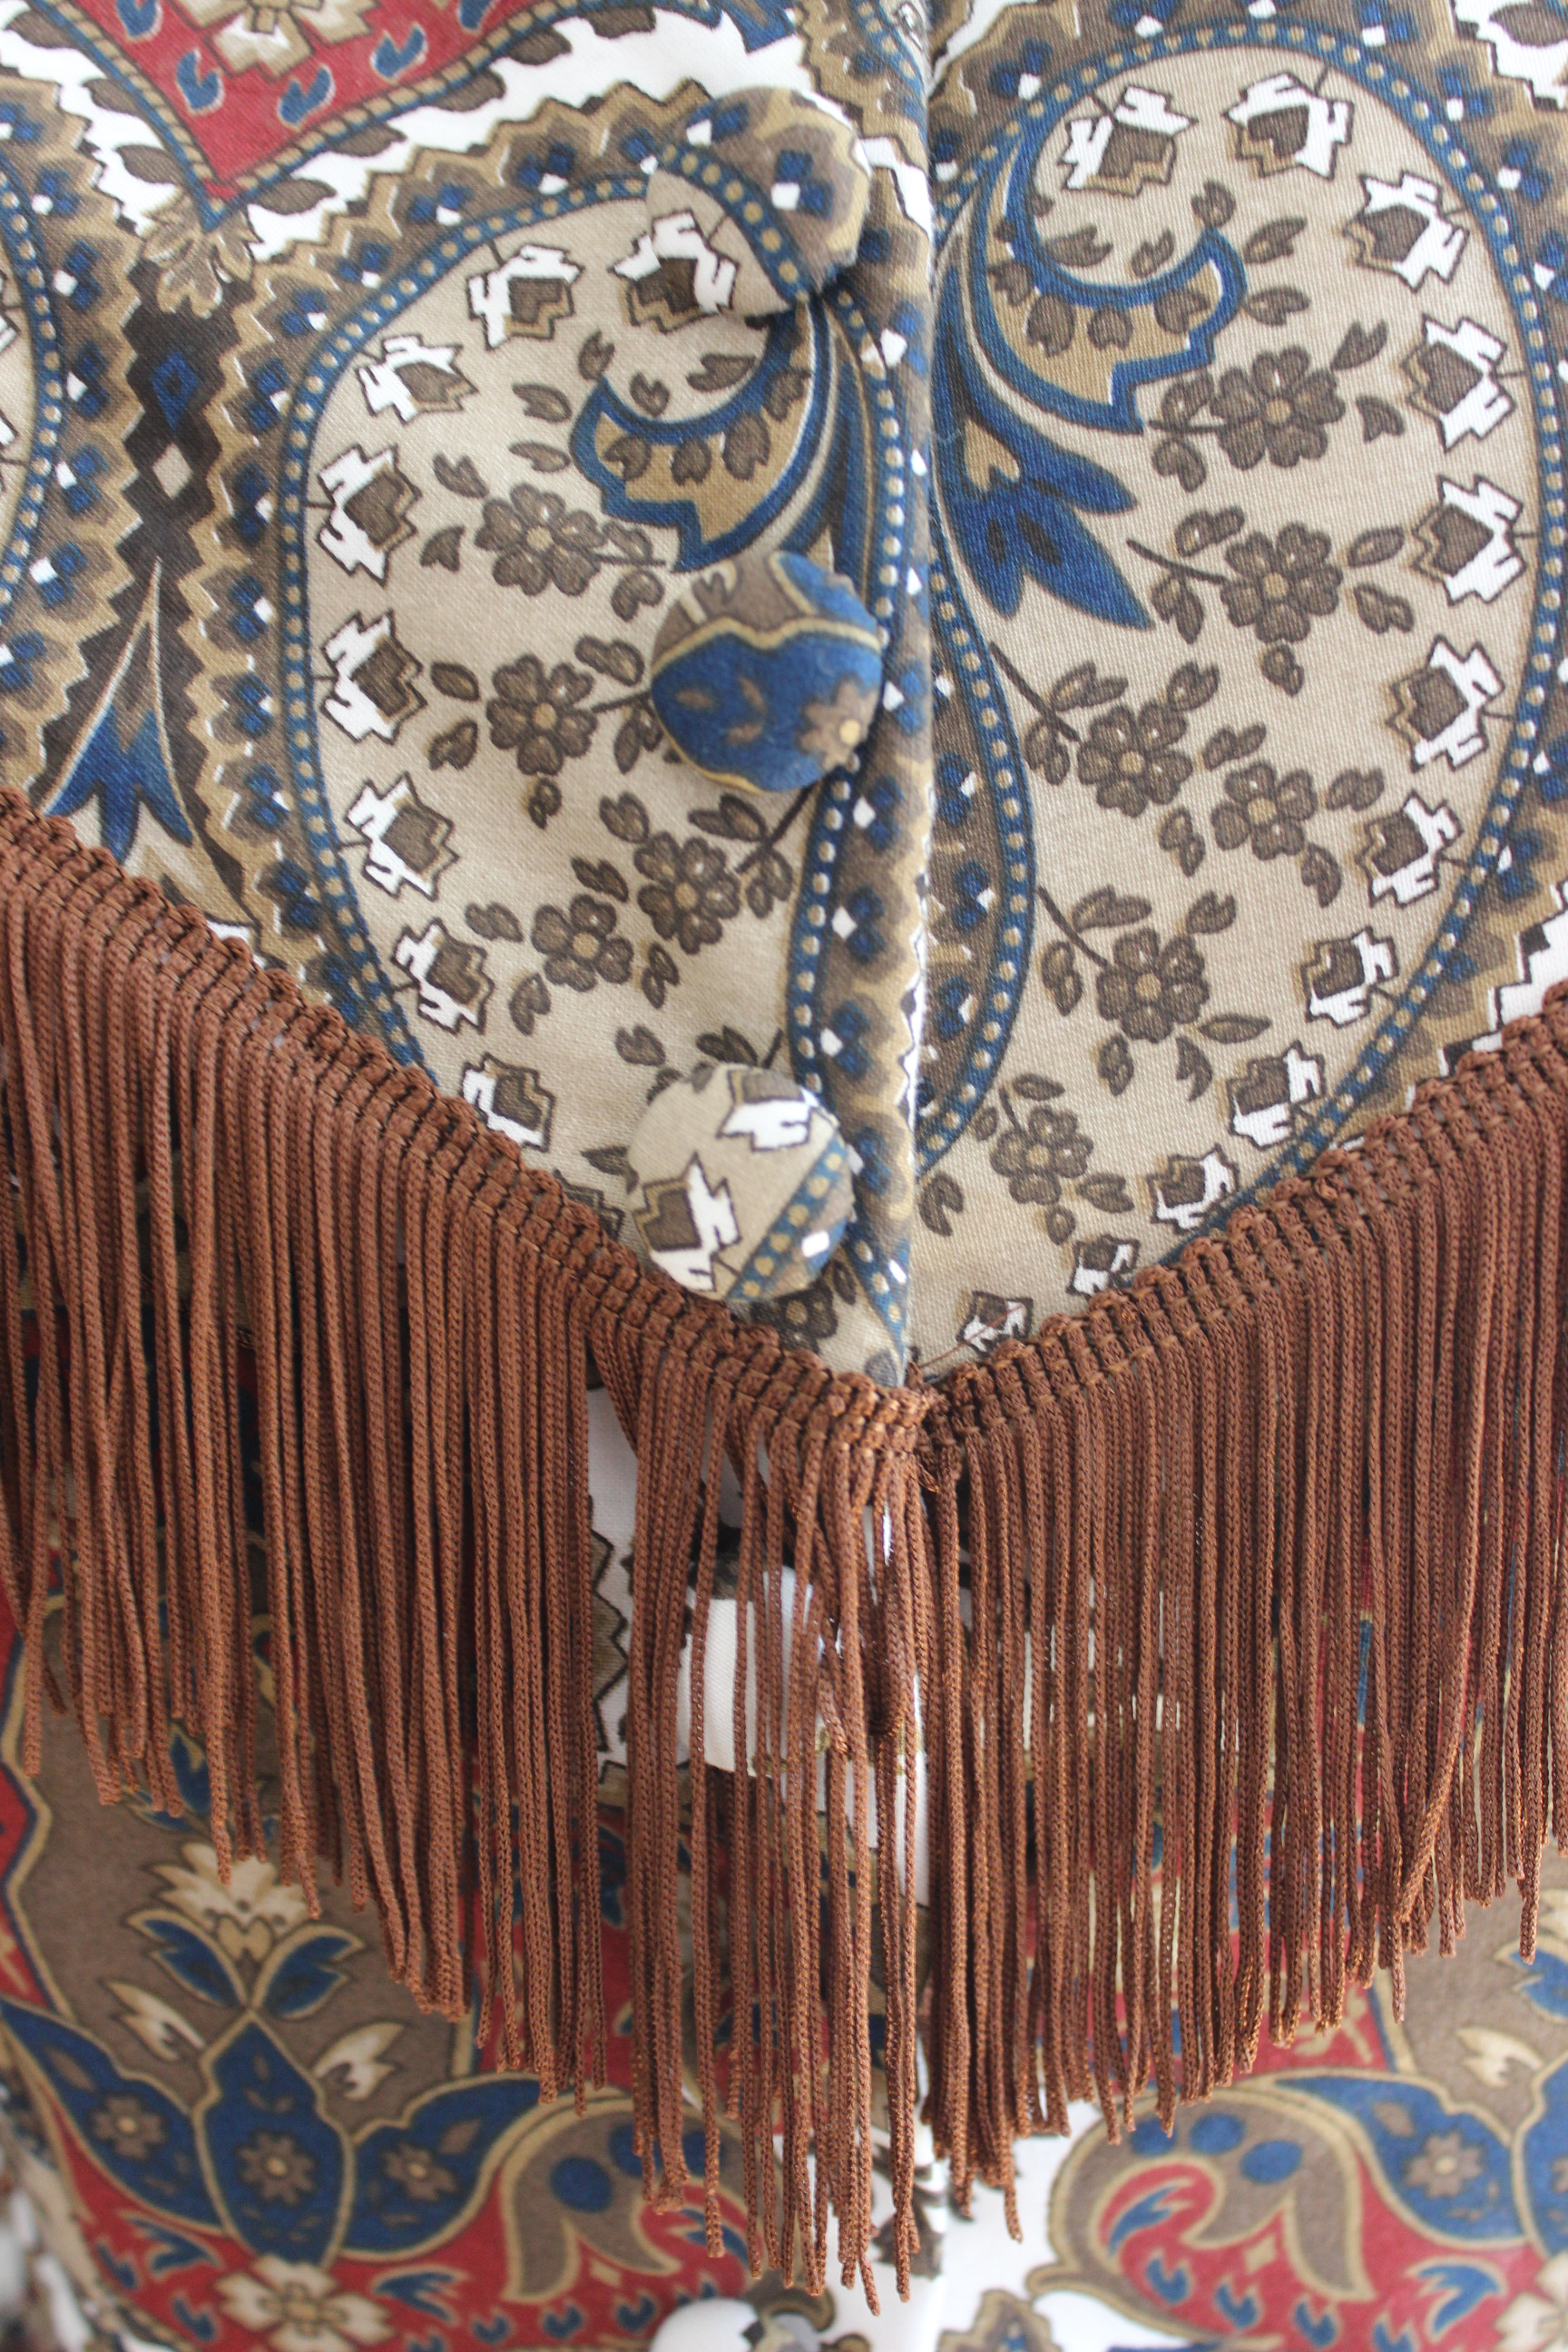
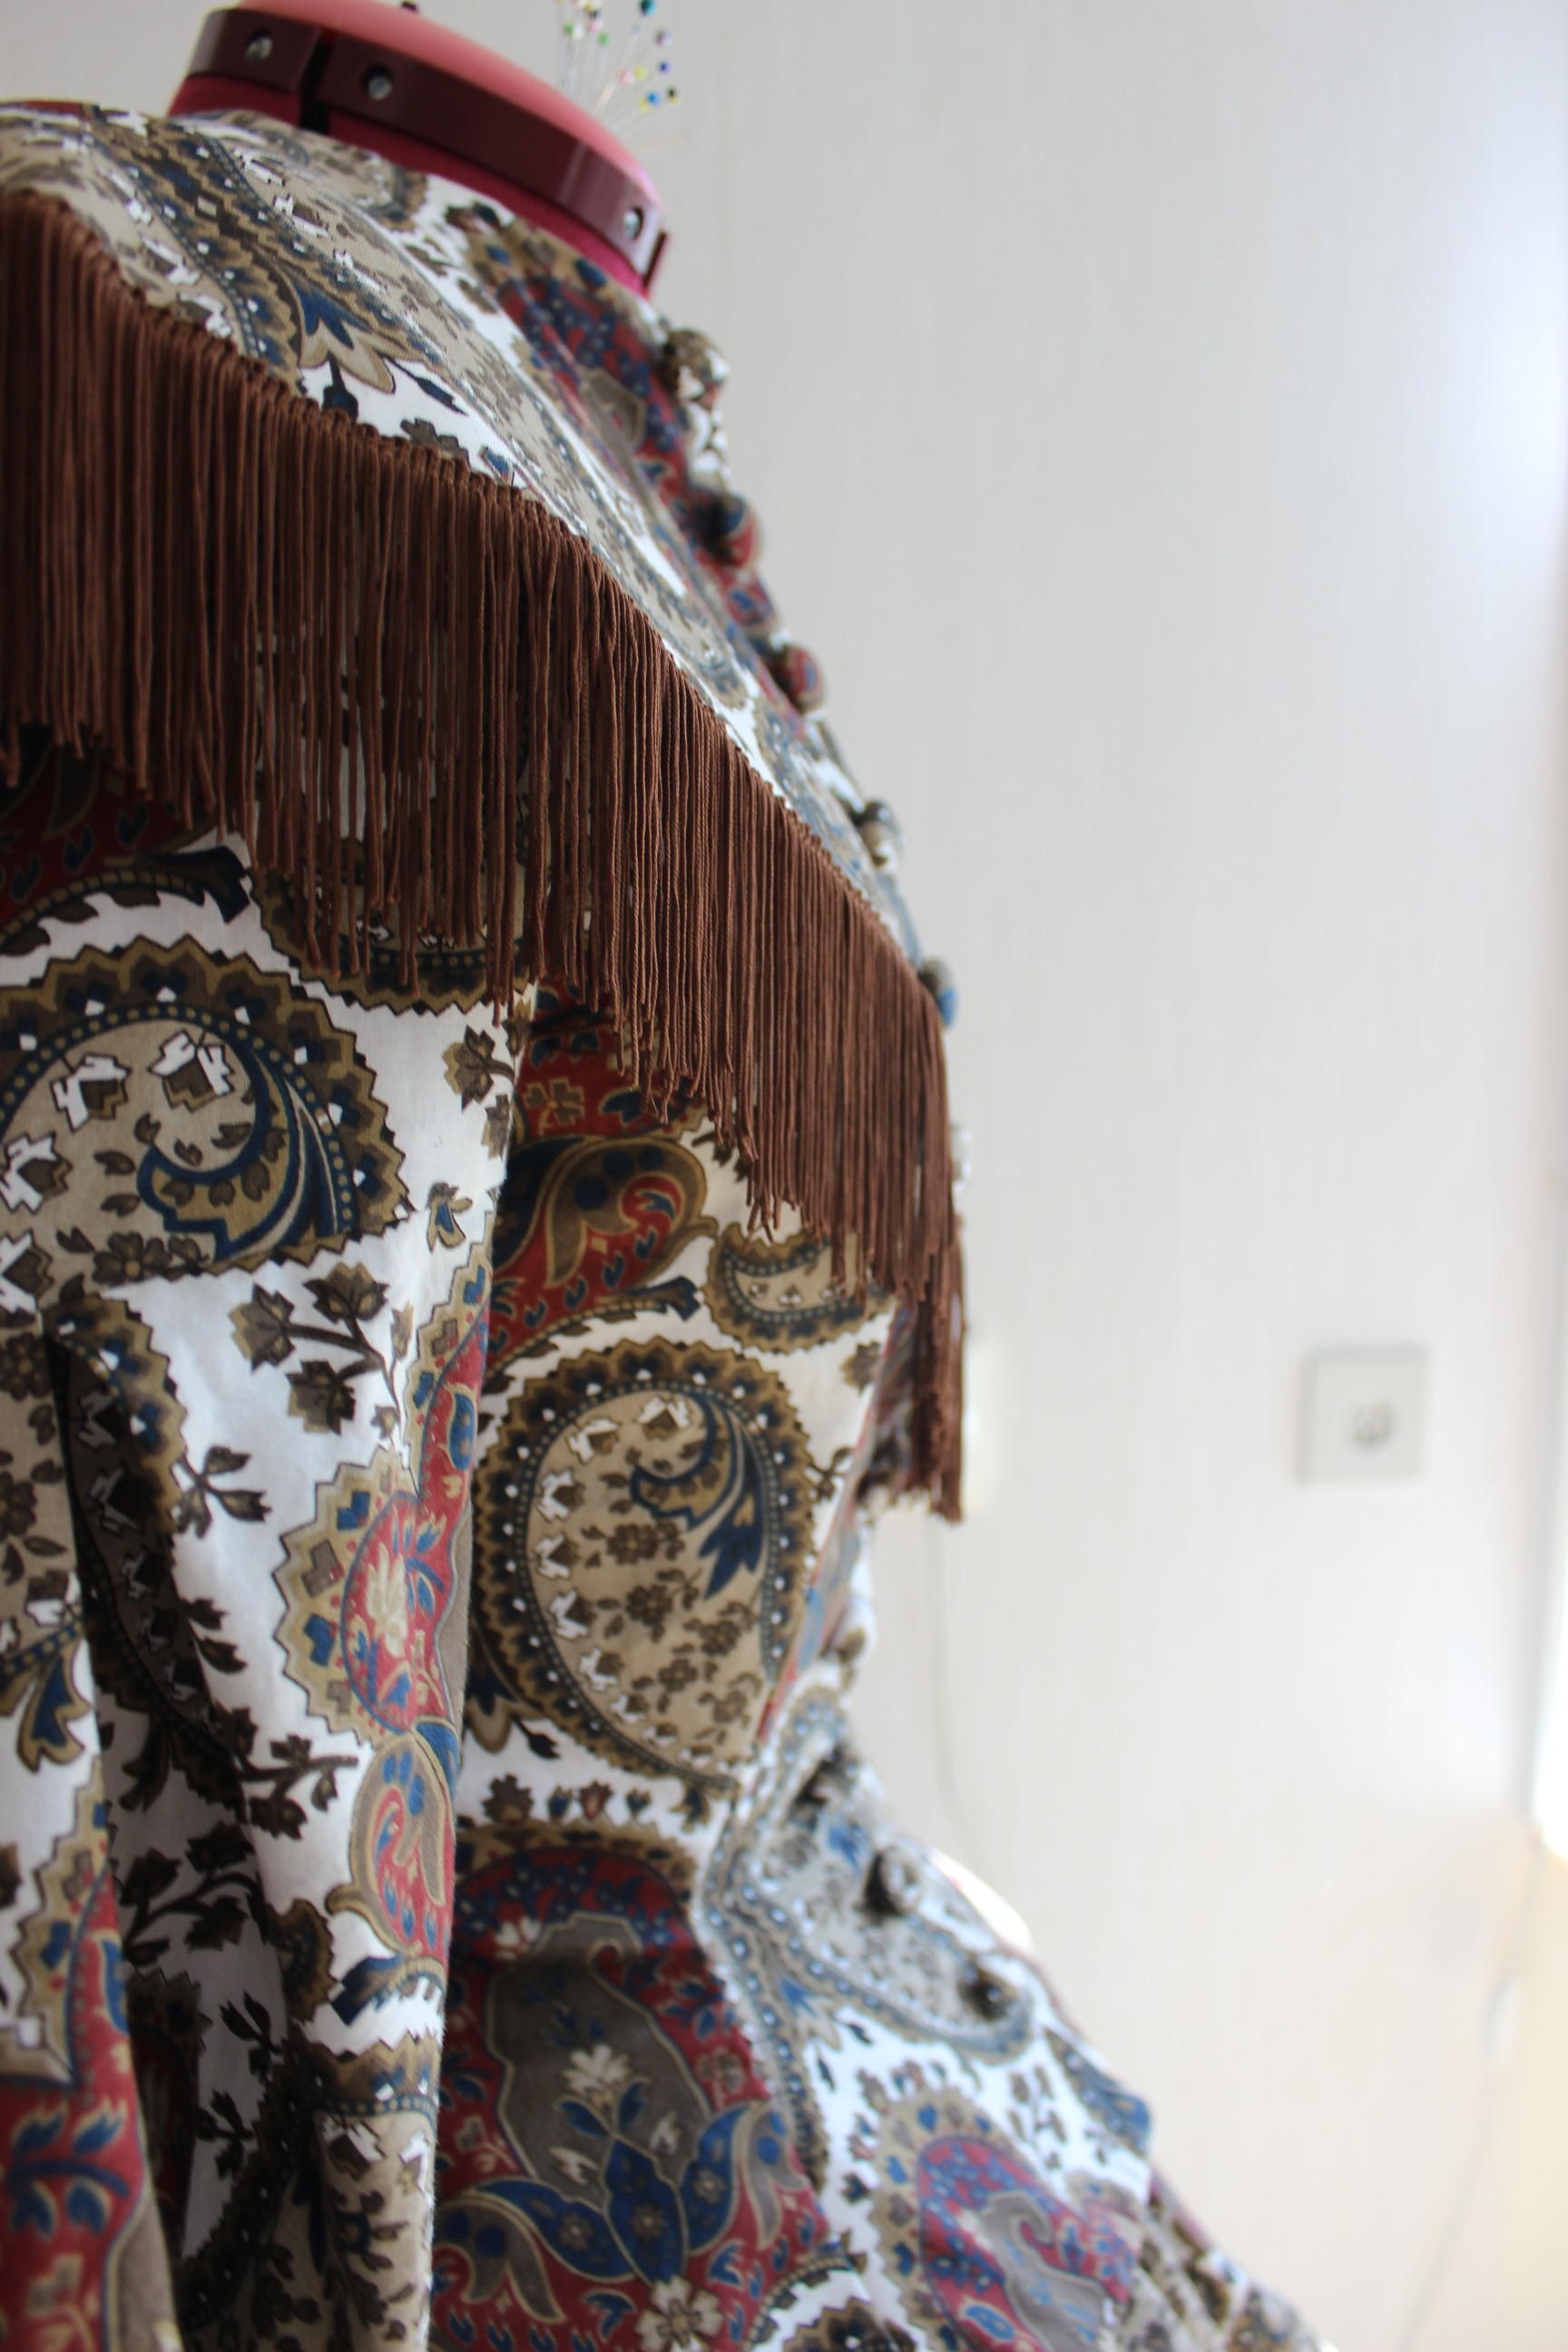
When the bones and the sleeves were inserted and the lining was sewed down nicely it was time to deal with the clouer of the garmnent. I used several self covered buttons and stiched them to the front. 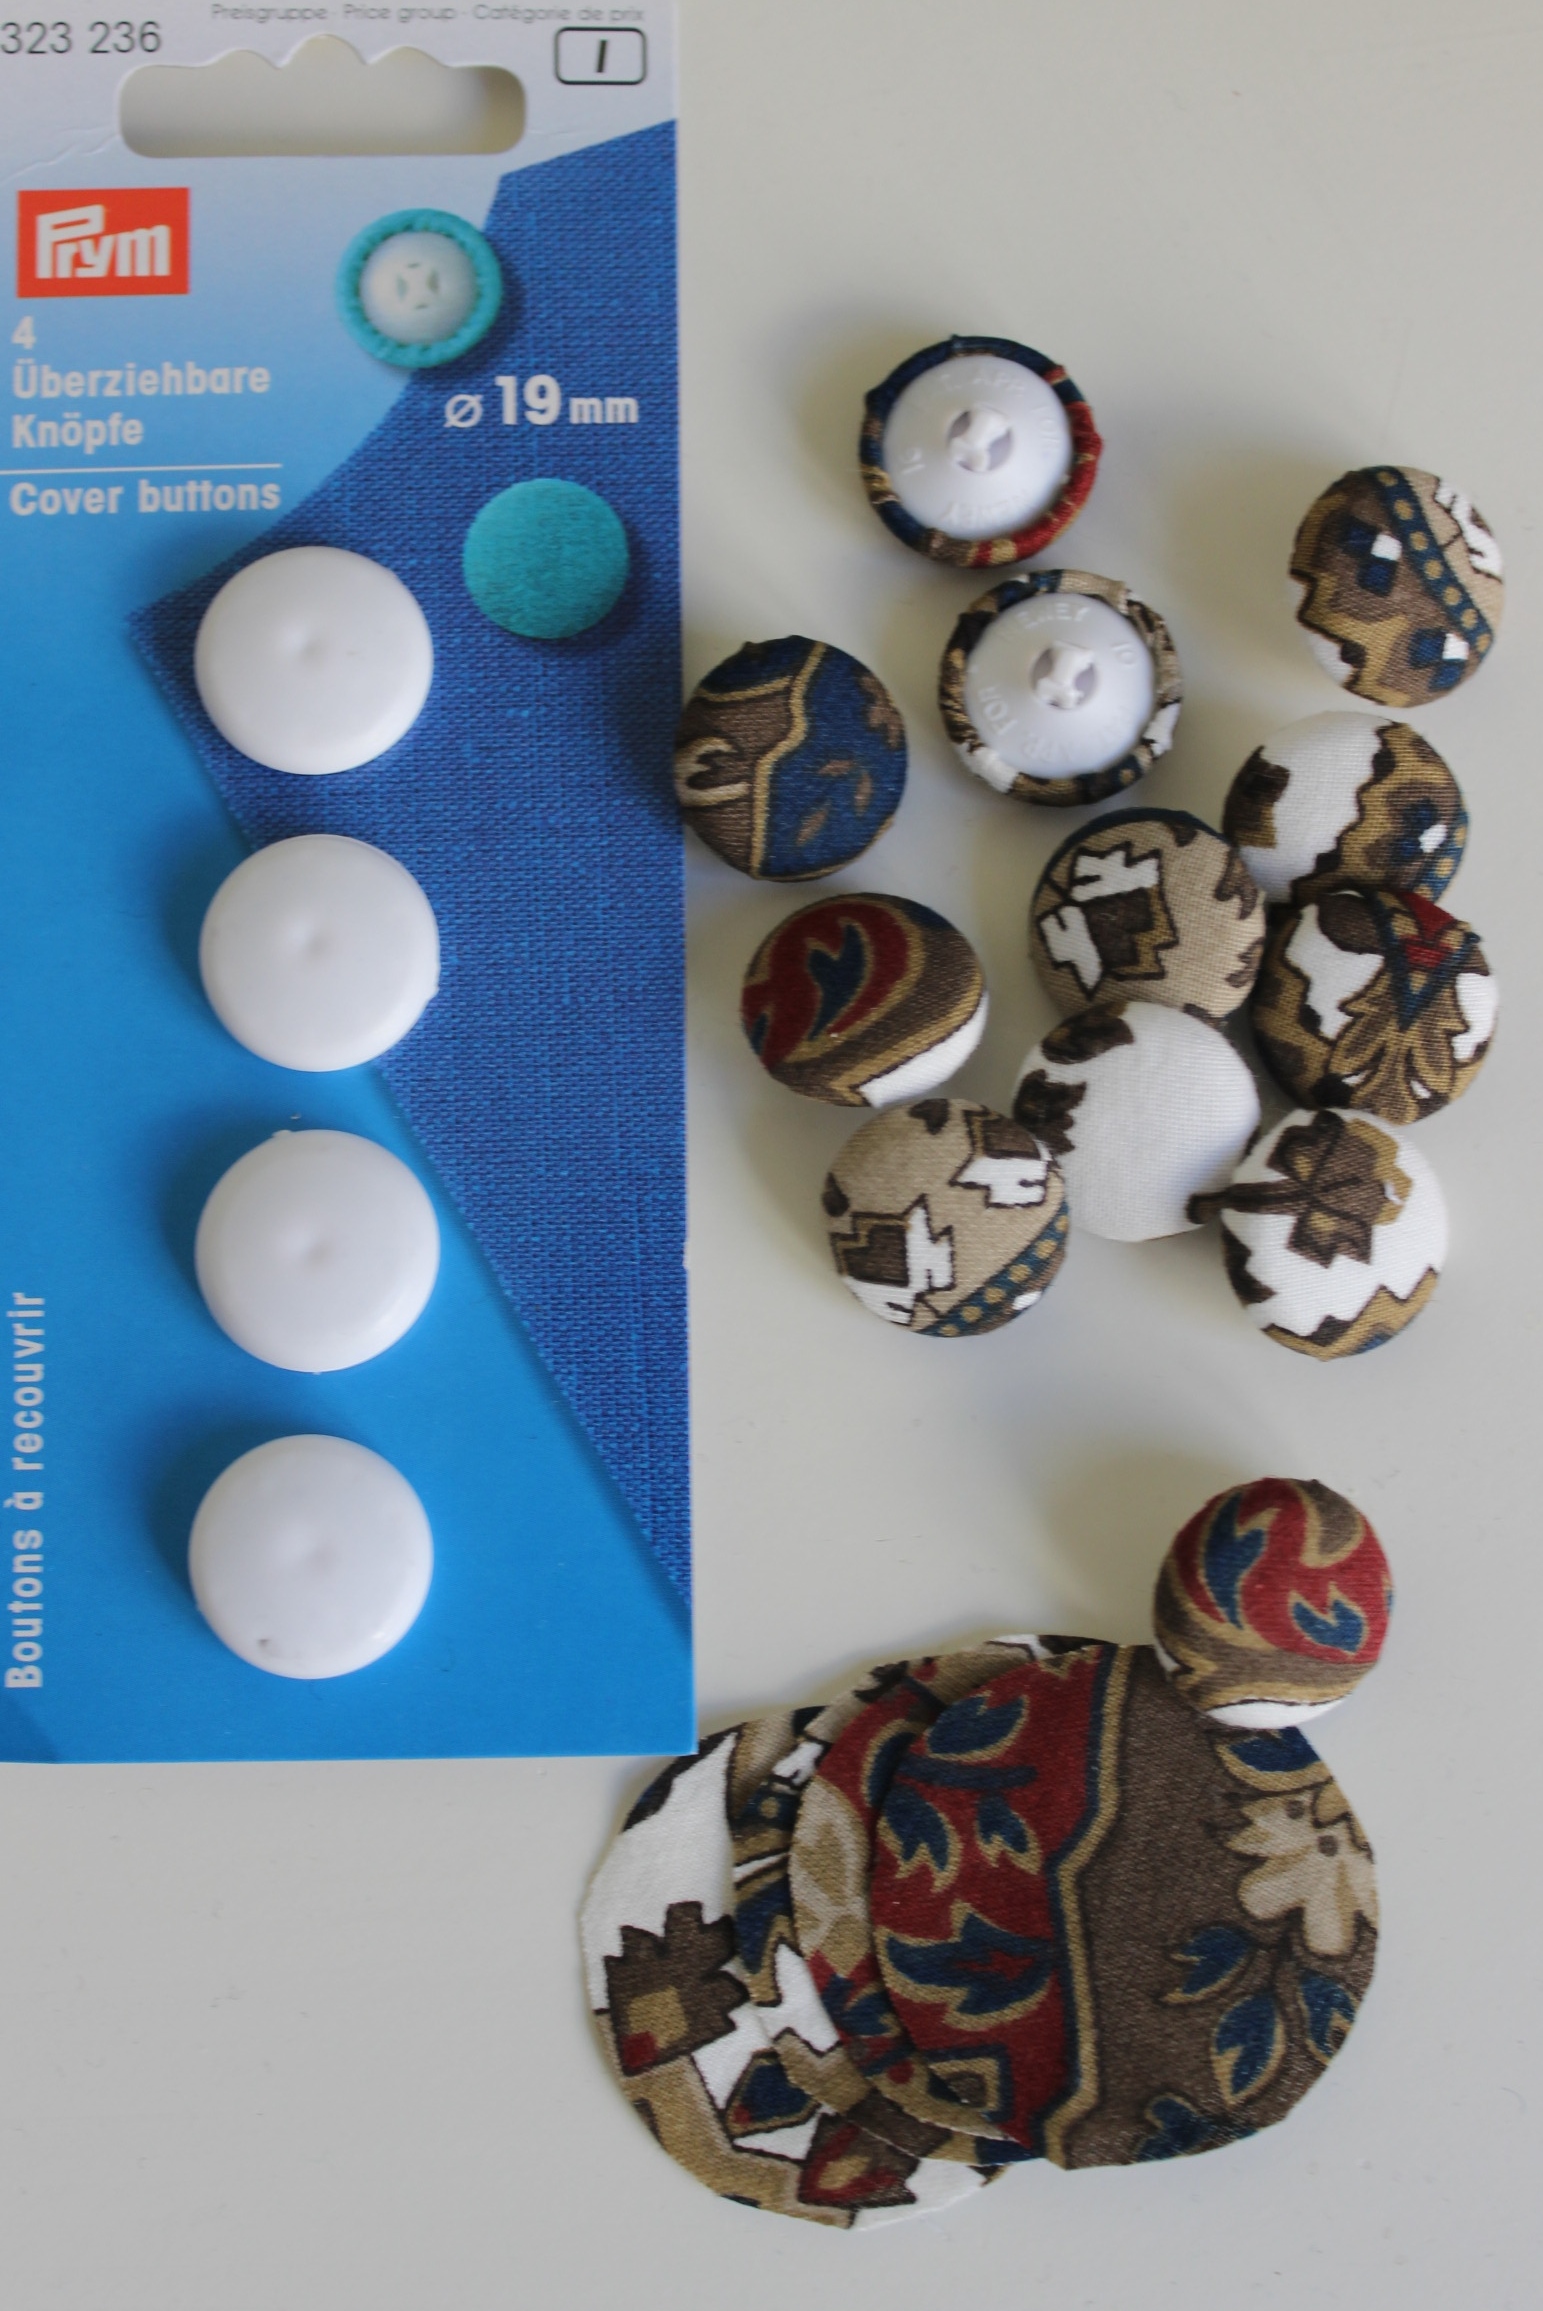 But since I didn’t had the energy (nor time) to make buttonholes I put the buttons on the outside, and stitched hooks and bars underneat to use as clouser.
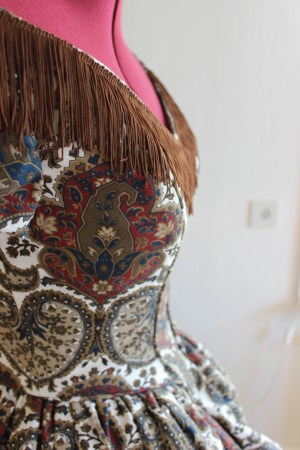
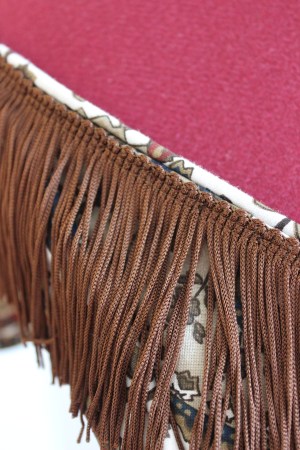
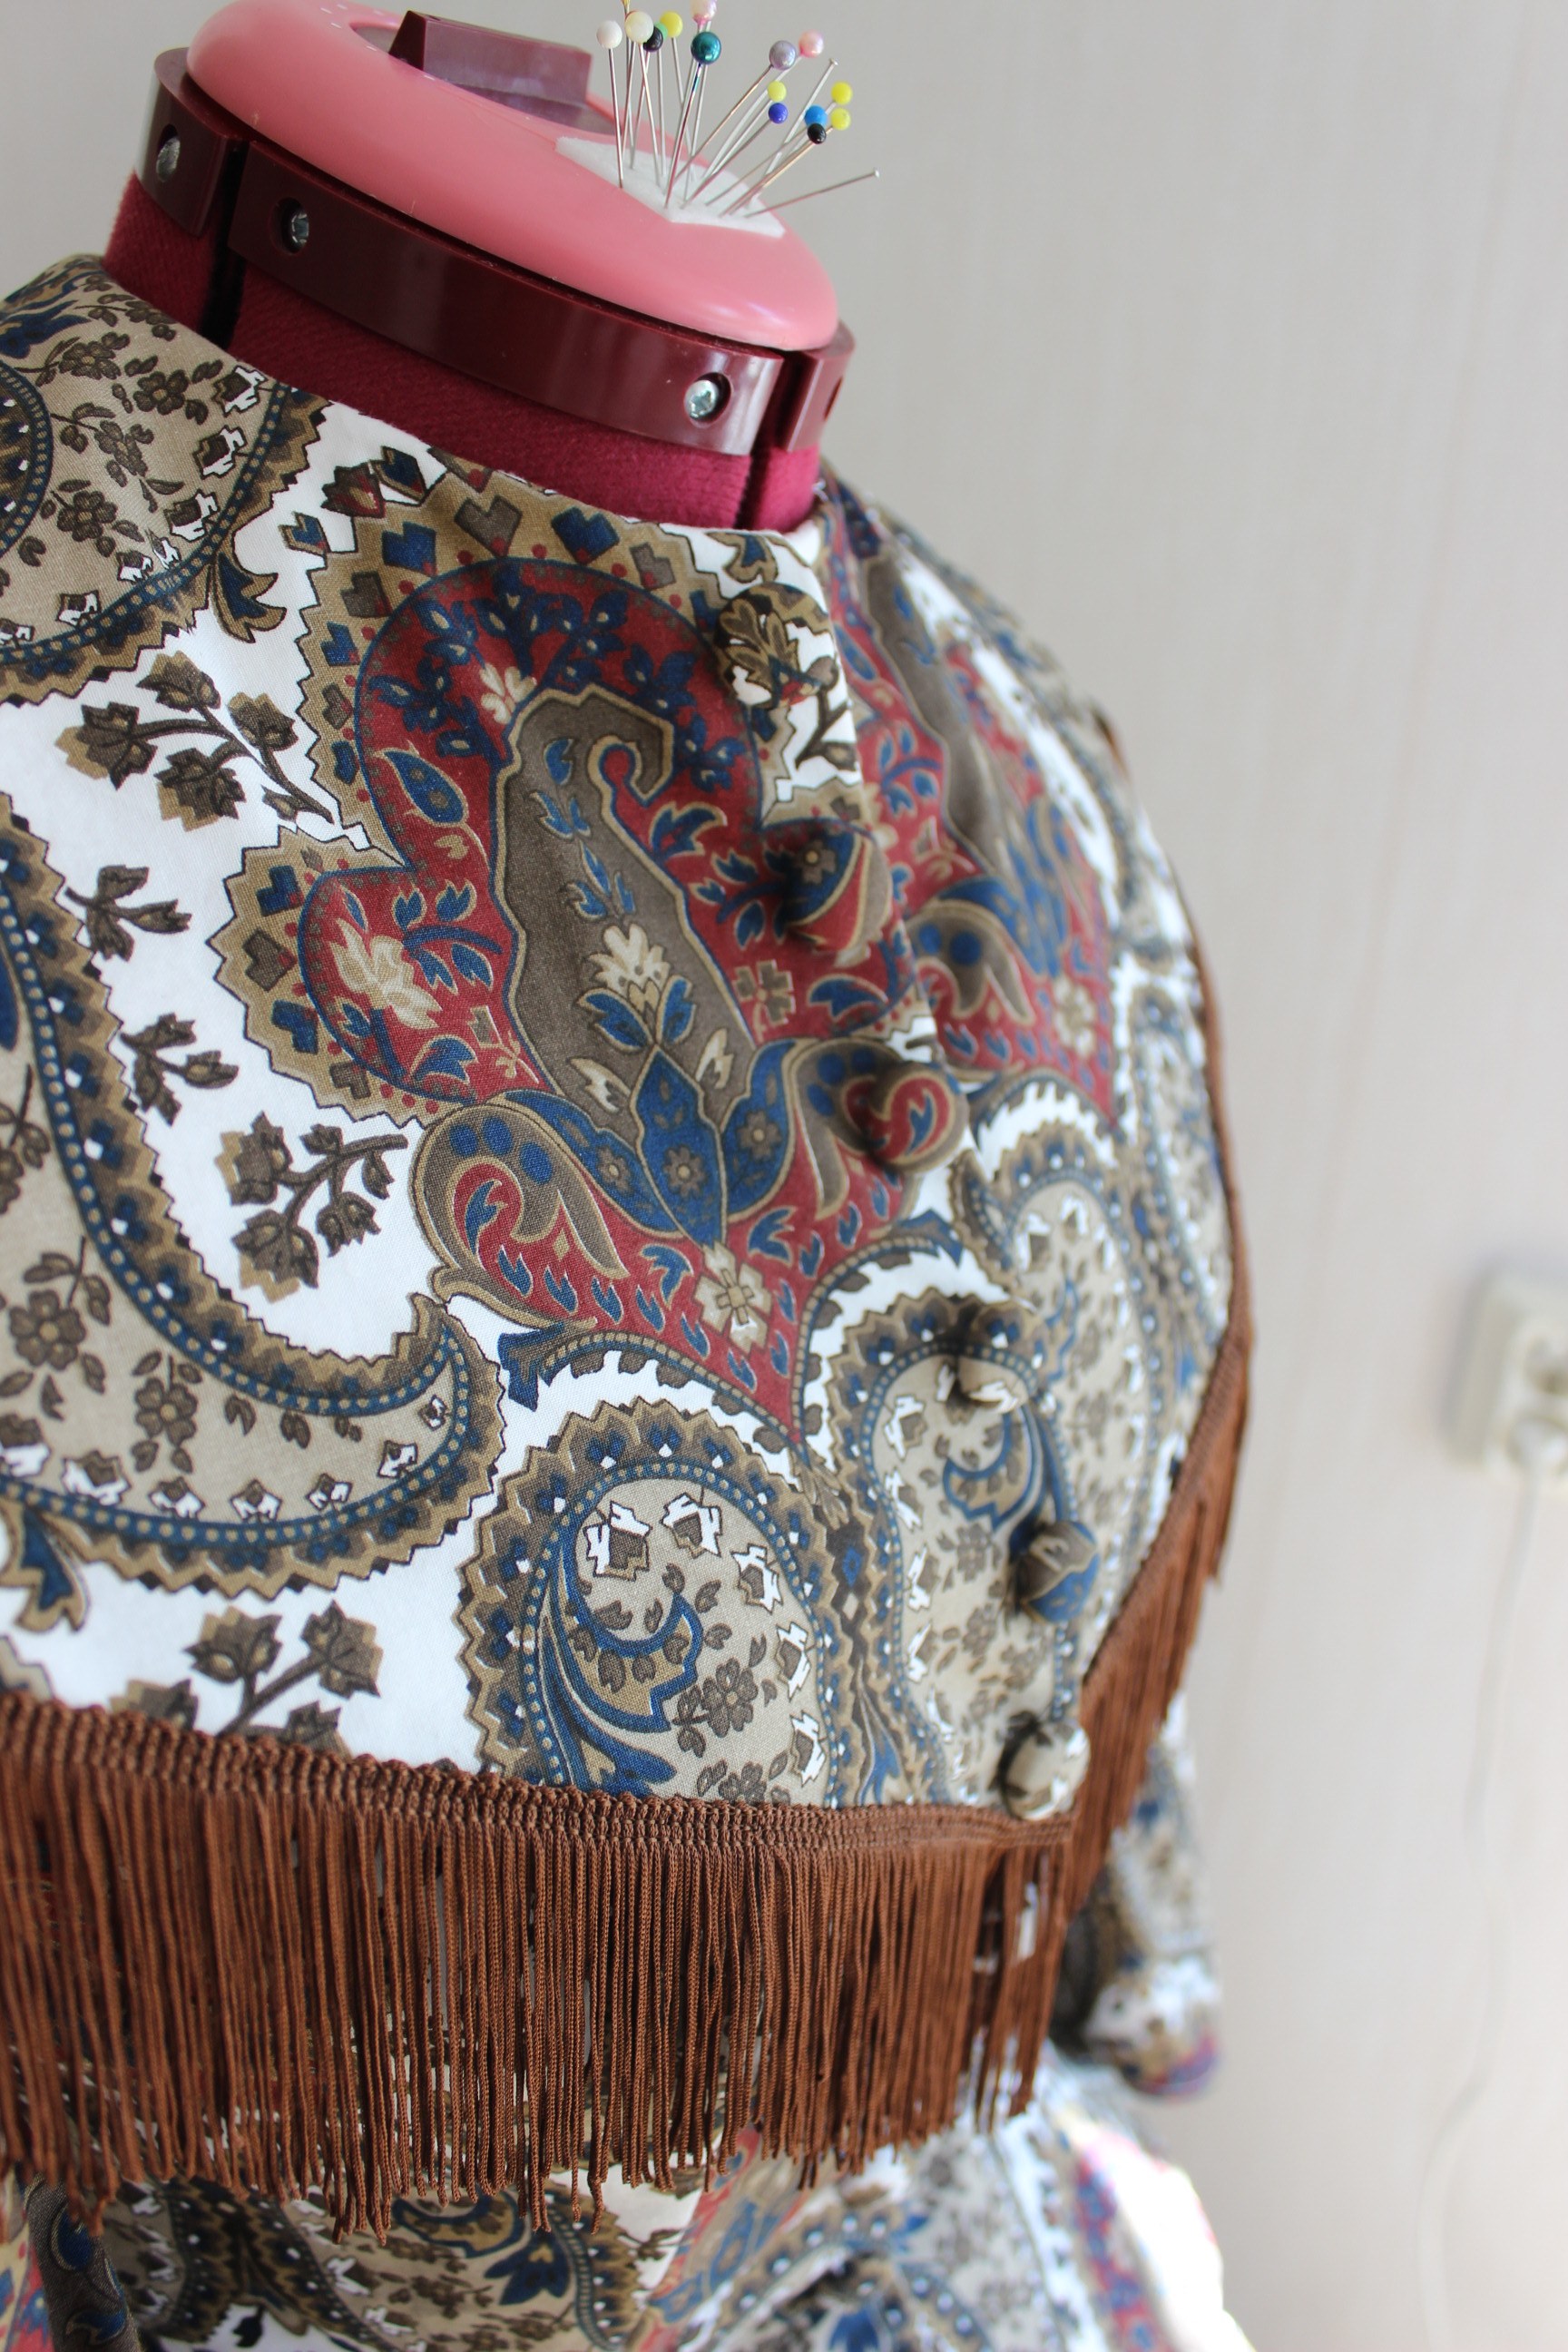
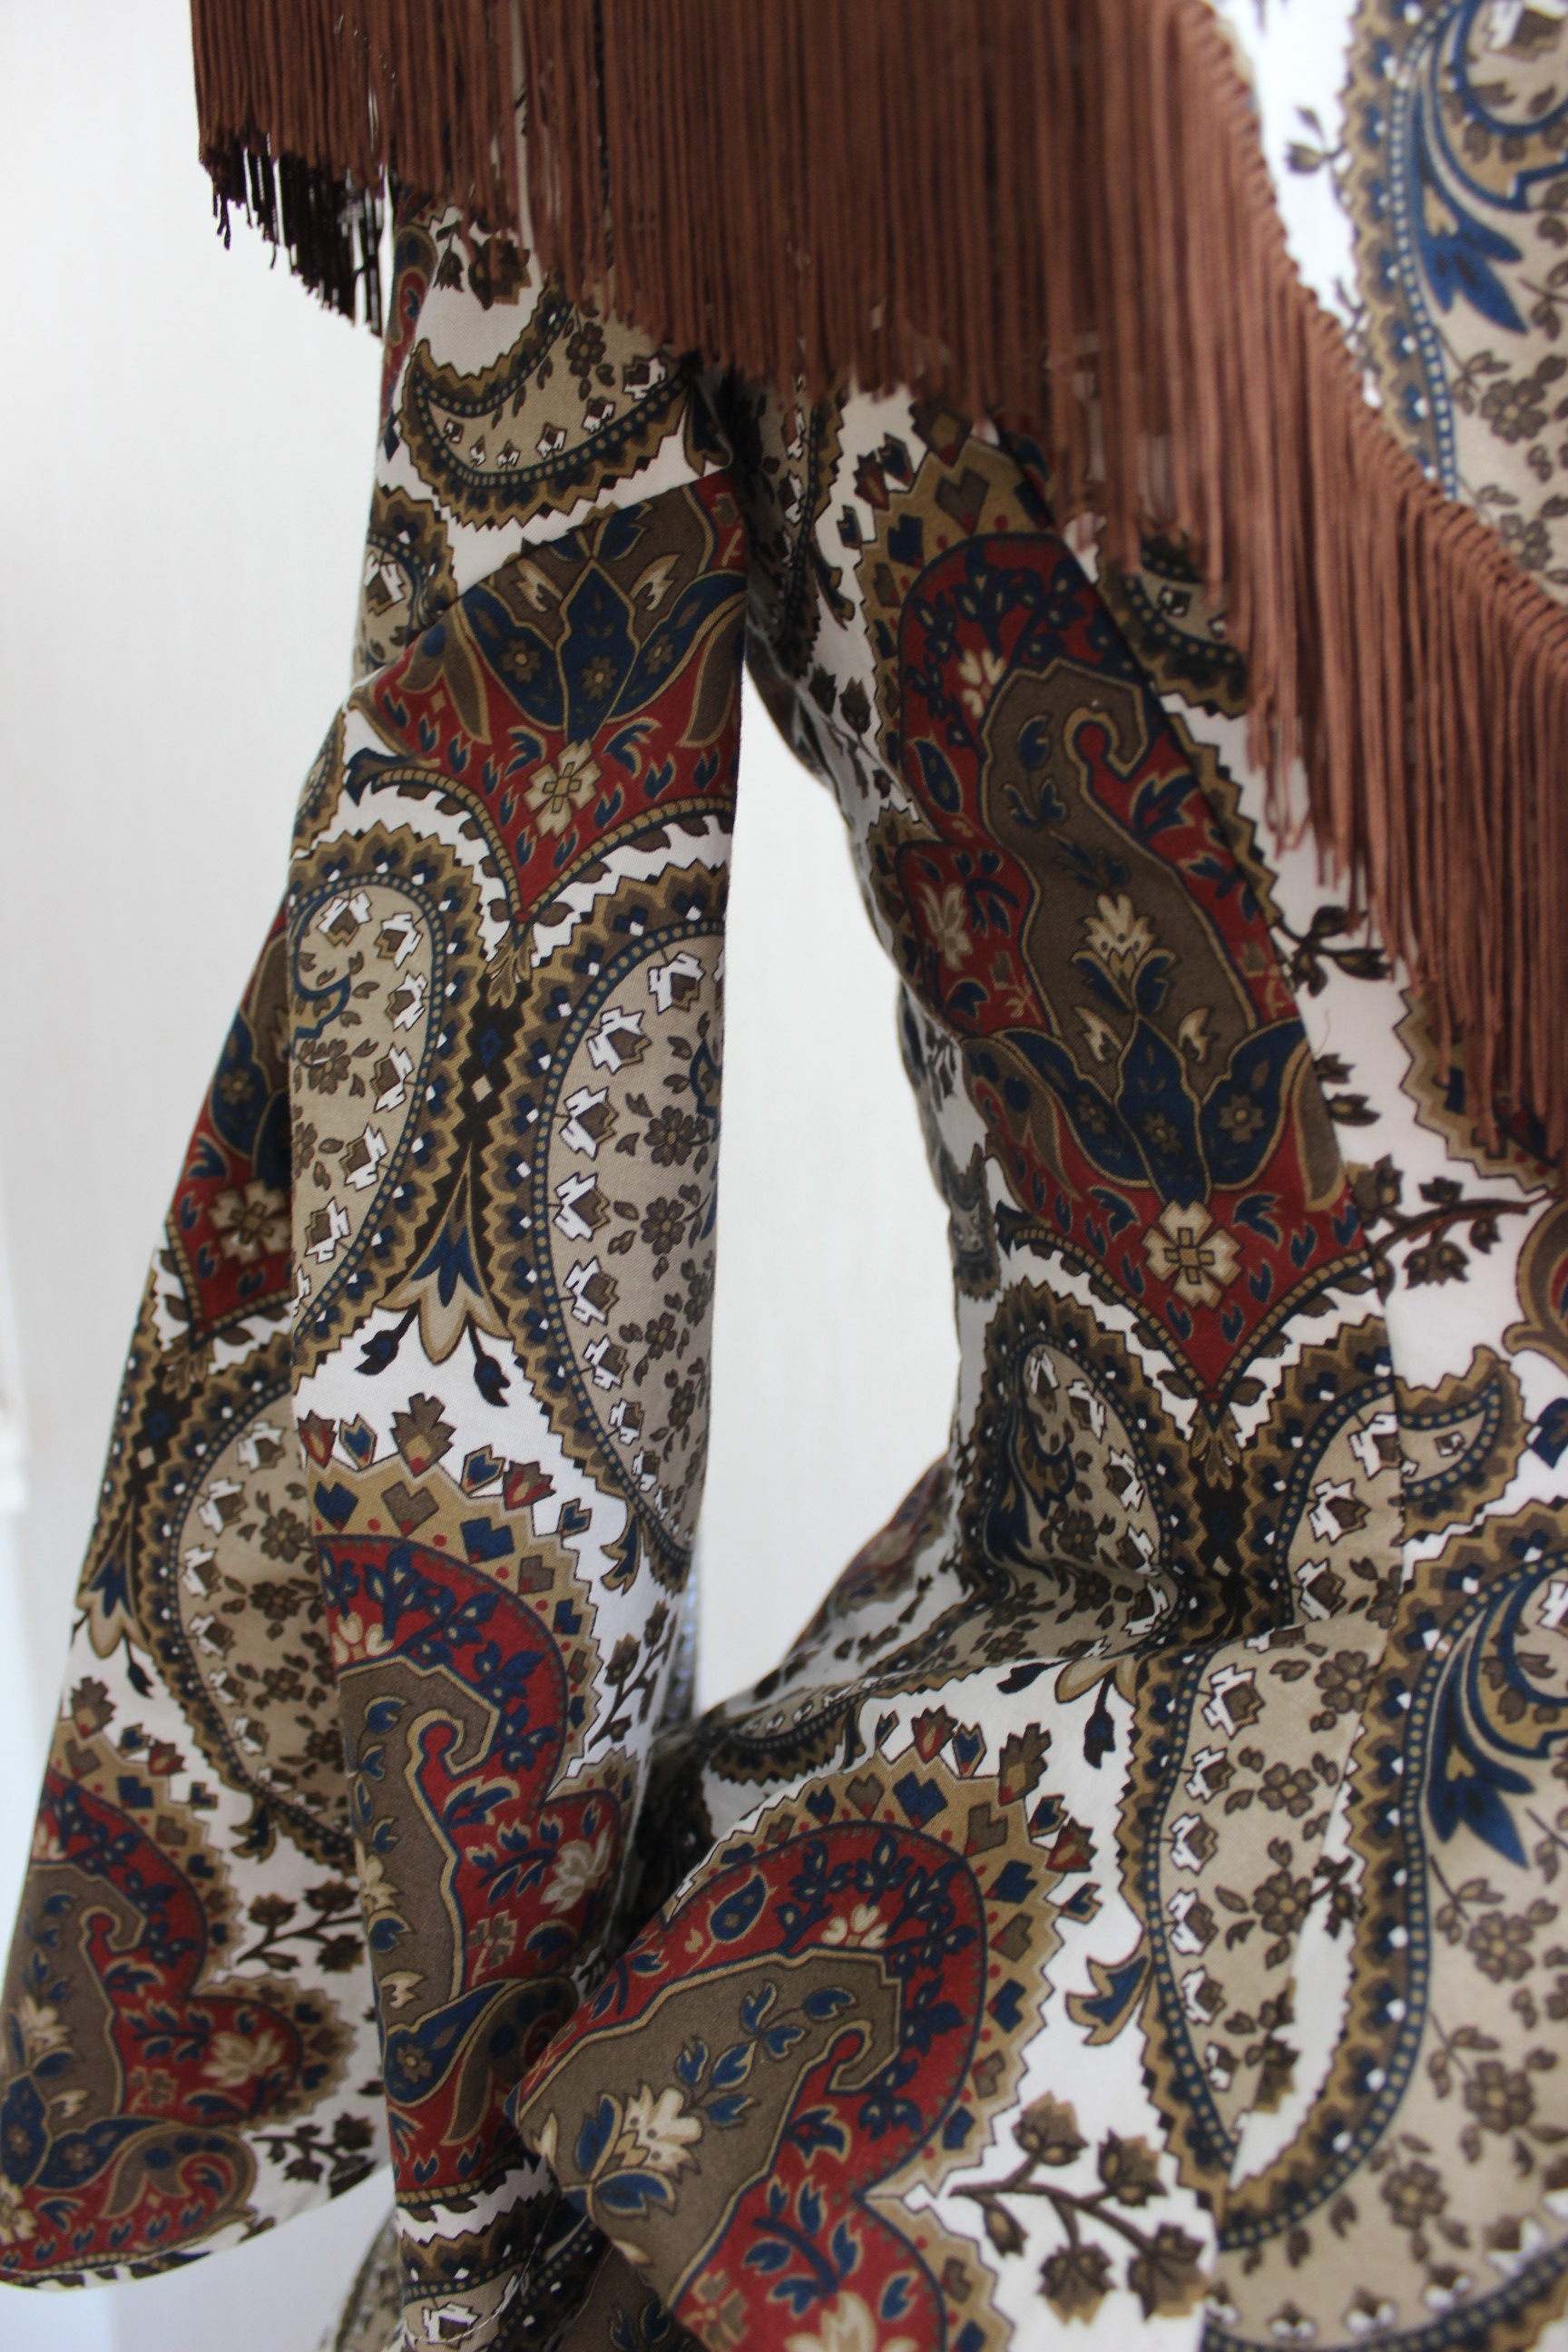
And lastly I pinned and sewed on the brown fringe to the edge of the neckpiece.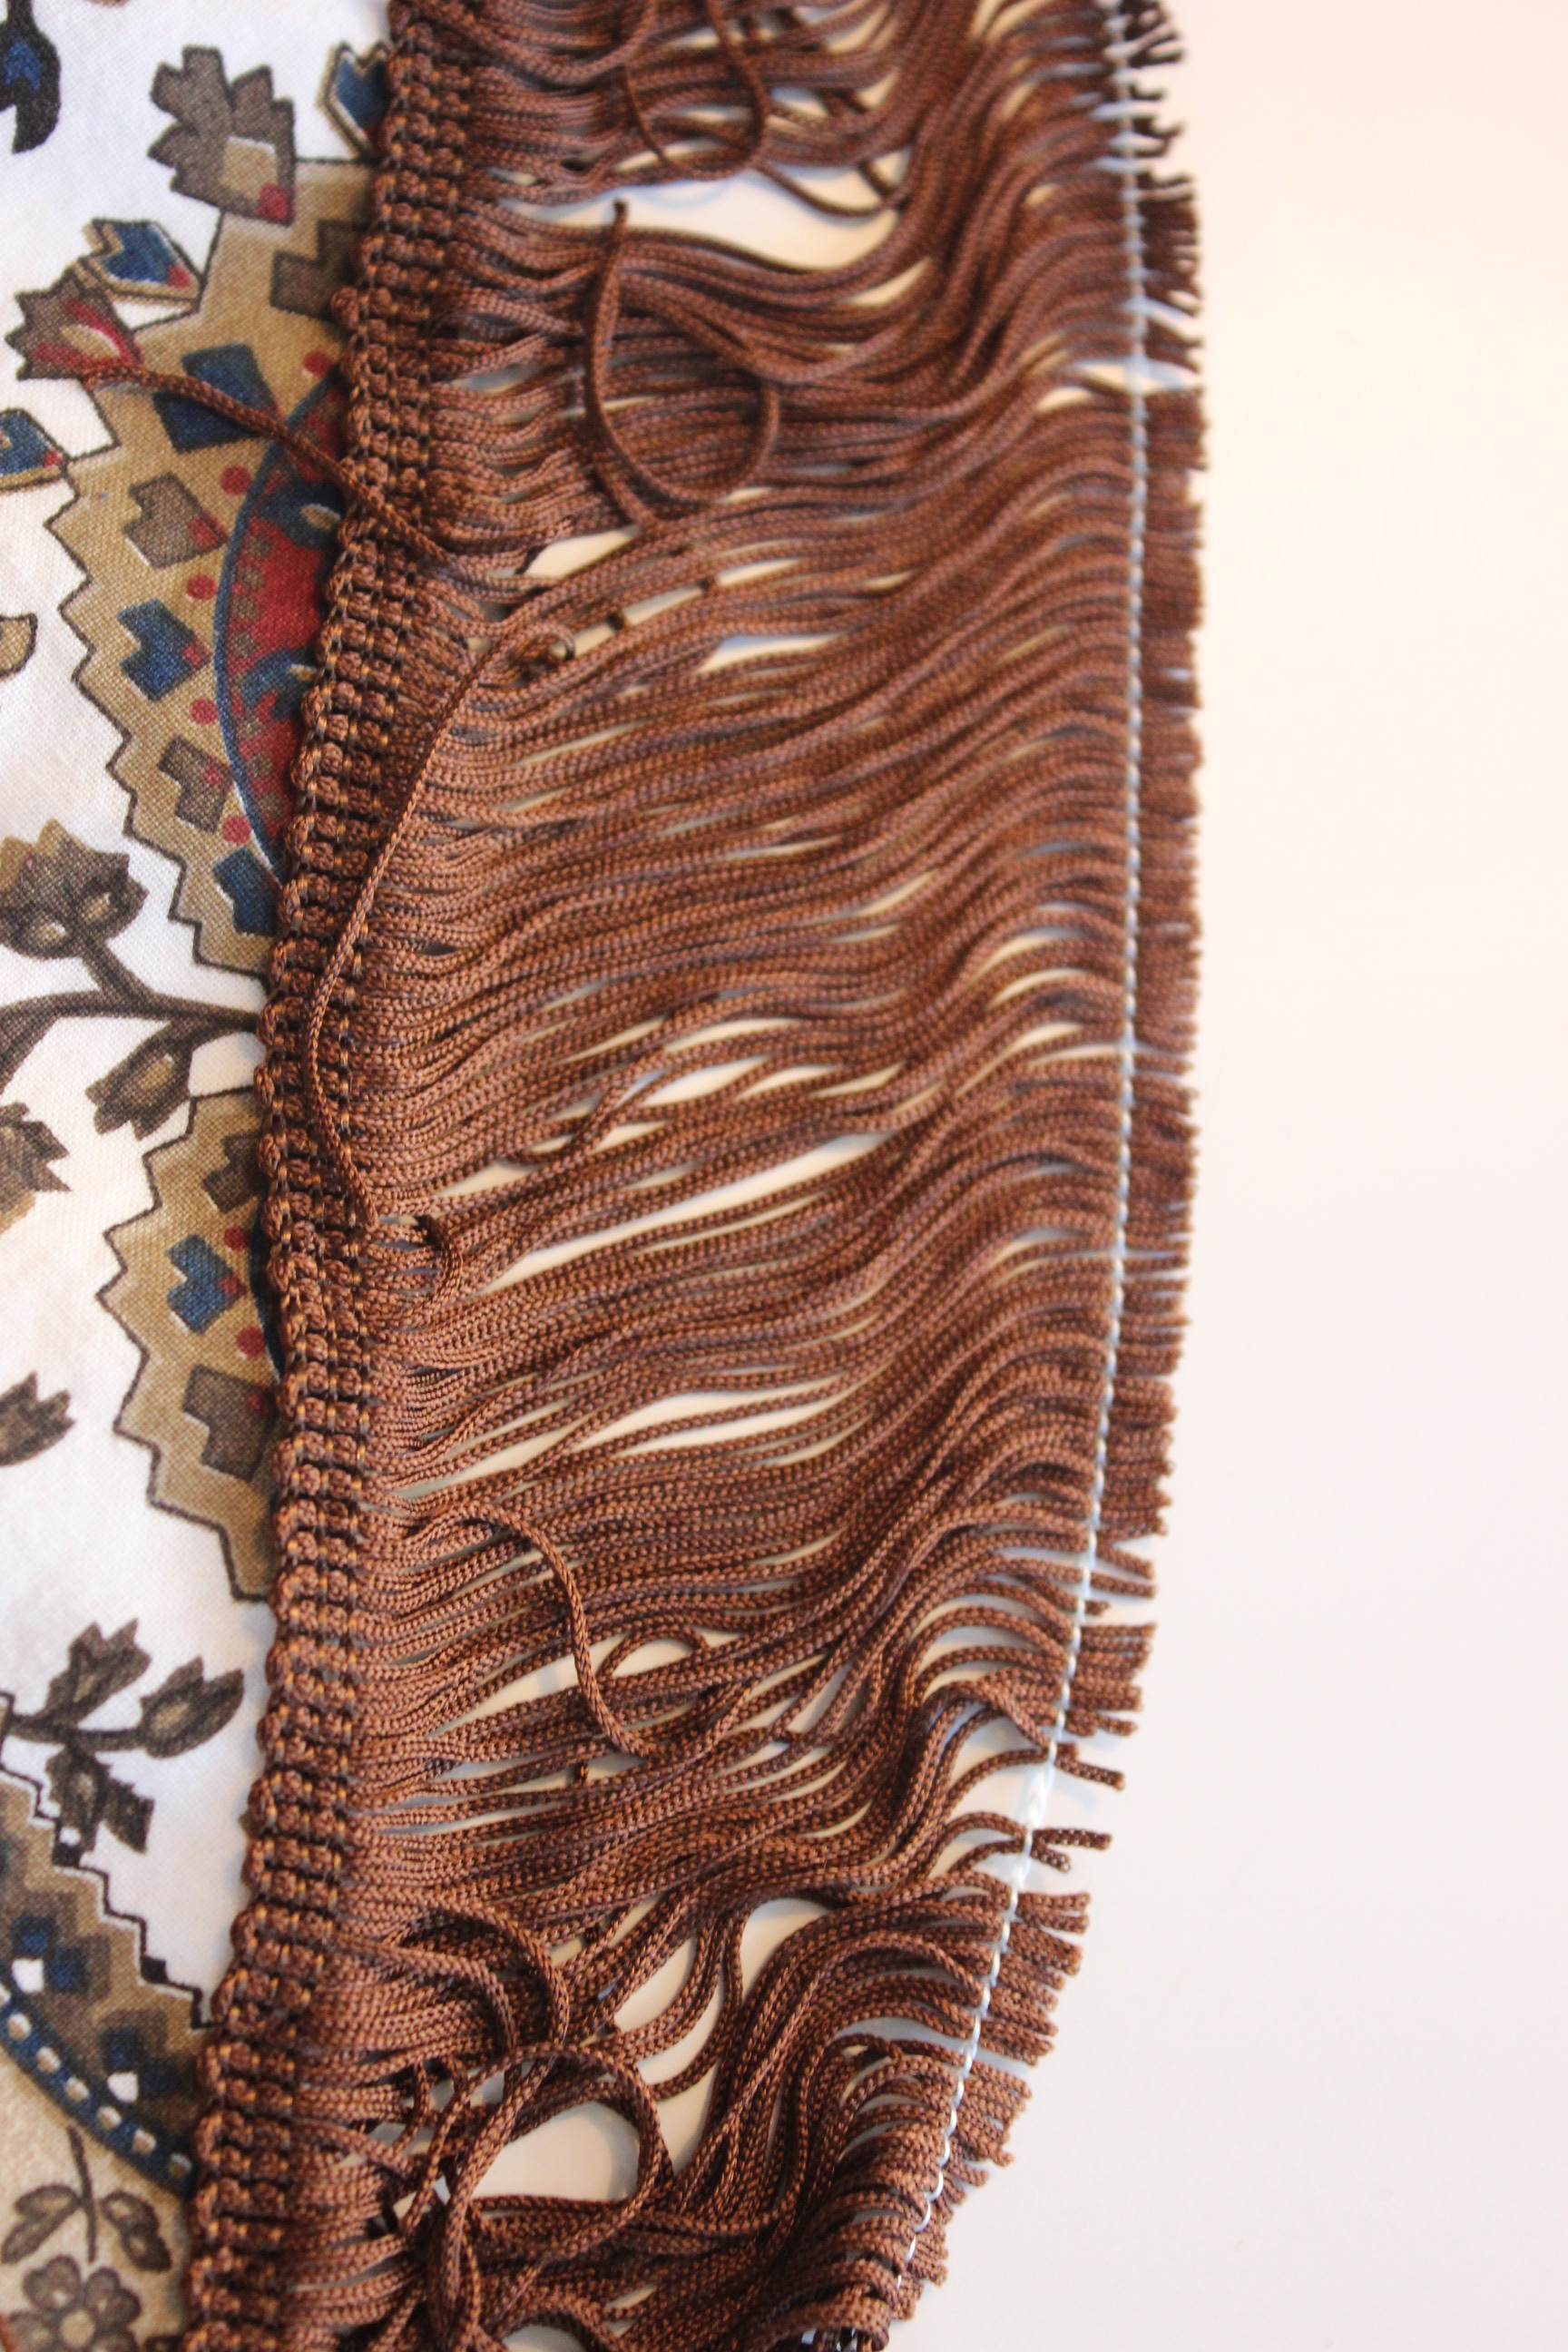 This is the only fringe I’ve ver used, and I love how it’s sewed at the end to prevent the fringes from getting caught in your stiches. When finished sewing you just cut the stich away, and you have a nice straight fringe. It’s great.
The finished dress (Jacket and Skirt)


Just the facts:
Challenge: nr 14: Paisley & Plaid.
What: a 1850 daydress (bodice and skirt).
Pattern: None, draped my own using “Costume in detail” as a general guide.
Fabric: Two bedsheets with duvet covets from IKEA, 1,5 white cotton sheets for lining and 1 m cotton twill for interlining.
Notions: Jacket – Thread, 3 m of plastic boning, 3 m of self mde bisatape, 12 buttons, 14 pair of hooks adn eyes, 1,5 m of brown fringe. and only thread and hook and eye for the skirt.
How Historical accurate: So so. I think it does look the part but I’m not sure about the messy pattern. Cotton is legit and paisley was a popular pattern during this time, but I doubt that the dressmaker using cotton in her daydress would have had a sewingmachine.
Time: About 15-20 hours total.
Cost: 300 Sek (48 Usd) for the whole dress.
First worn: Ony for photos so far. I meent to wear it at a victorian picknic in july but the weater was way to hot for all the layers, so ended up using another costume instead.
Final thoughts: I’m not totaly happy about how messy the print looks made up in this dress. And I could have spent some more time getting the pattern to mach up and also making the neckpiece fit better.
All in all I think it was a funny project and I hope I get to wear it sometime.
Back in january when I did my sum-up on what to make for this years HSF challenges, I decided to make a 1850s daytime dress for the HSF 14. Paisley & Plaid.  My original inspiration.
 Love the skirt, and the fringes.
I had this great brown/white paisley bedsheet from IKEA that I was dying to use.
So when the challenge deadline approached, I got the fabric from my stash and started working.
This outfit took me a great while to compleat and I did take lots of photos while working on it, so I decided to choop the dress up into three different posts.
Starting with the skirt:
I ripped the selveges from the sheets to be sure to get straight edges. But I emedetly regreted that idea…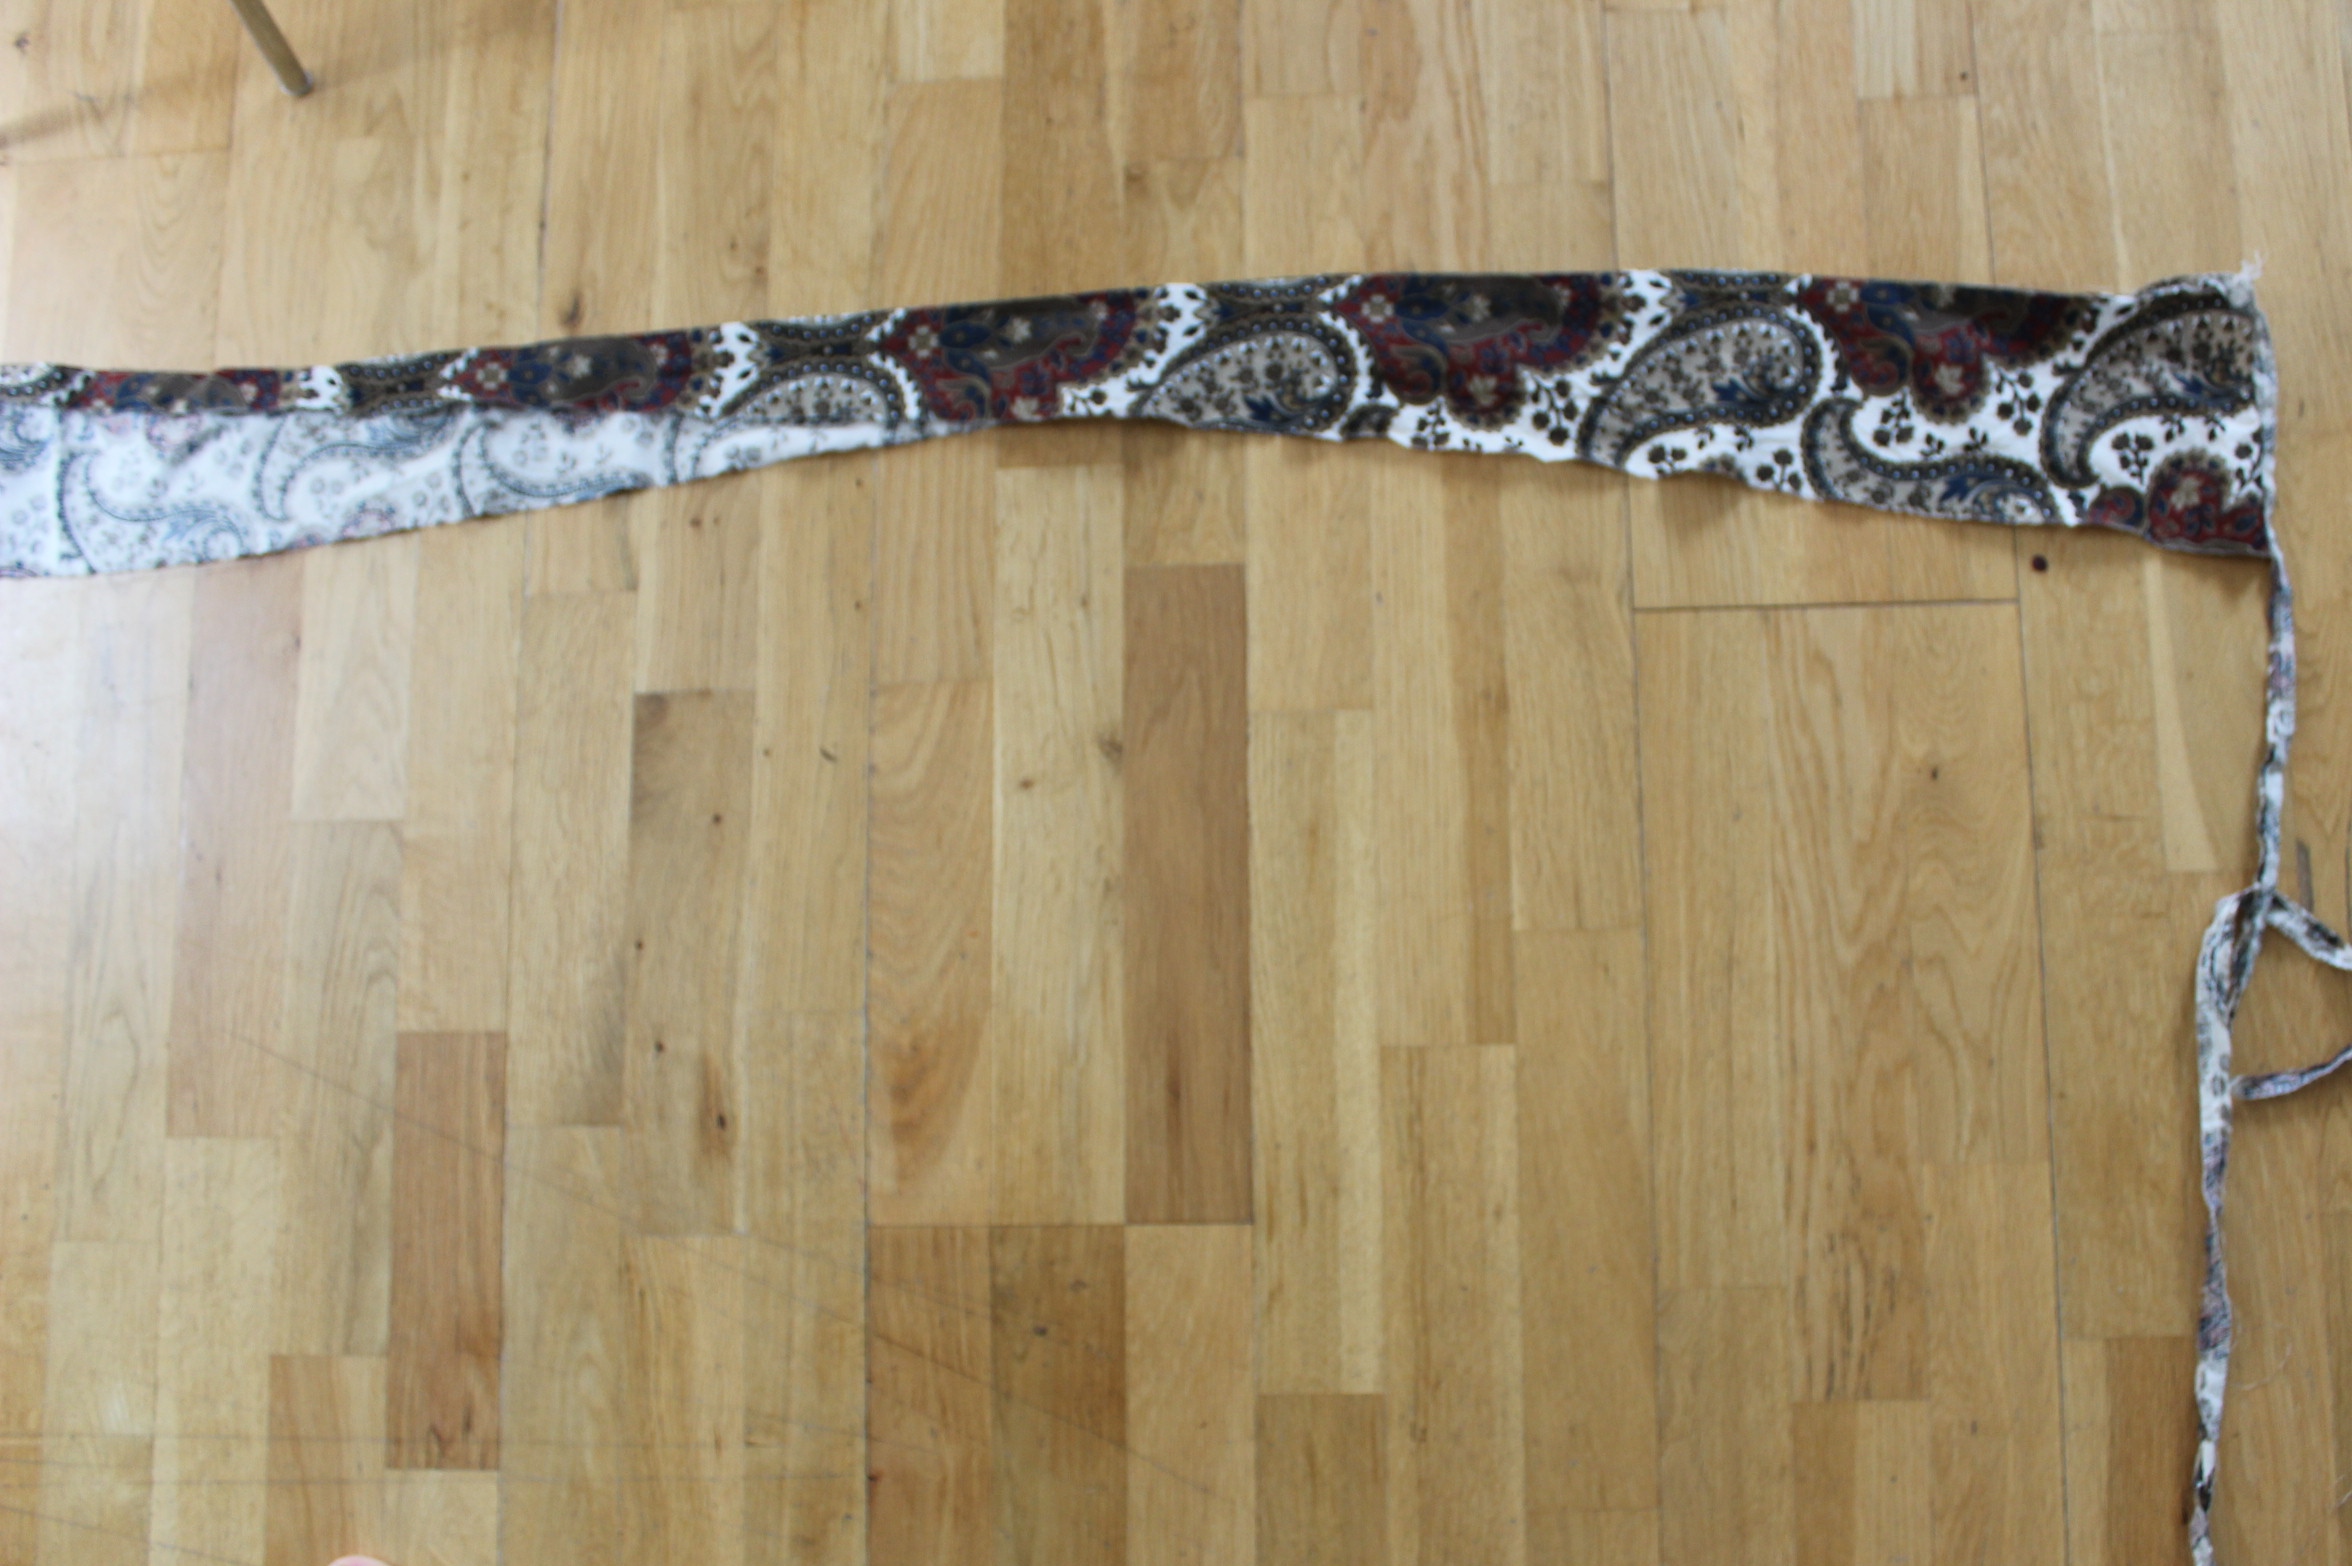 This is how of the grain line the sheets were made. It differs about 15 cm from one edge to the other. And on top of that I discovered the print was made to match the crocket grain line, leaving me with lots of un- centered paisley prints. Bummer.
Well, that was too late to do anything about, so I just continued working. Ripping rows of fabric to make into gattered flounces.
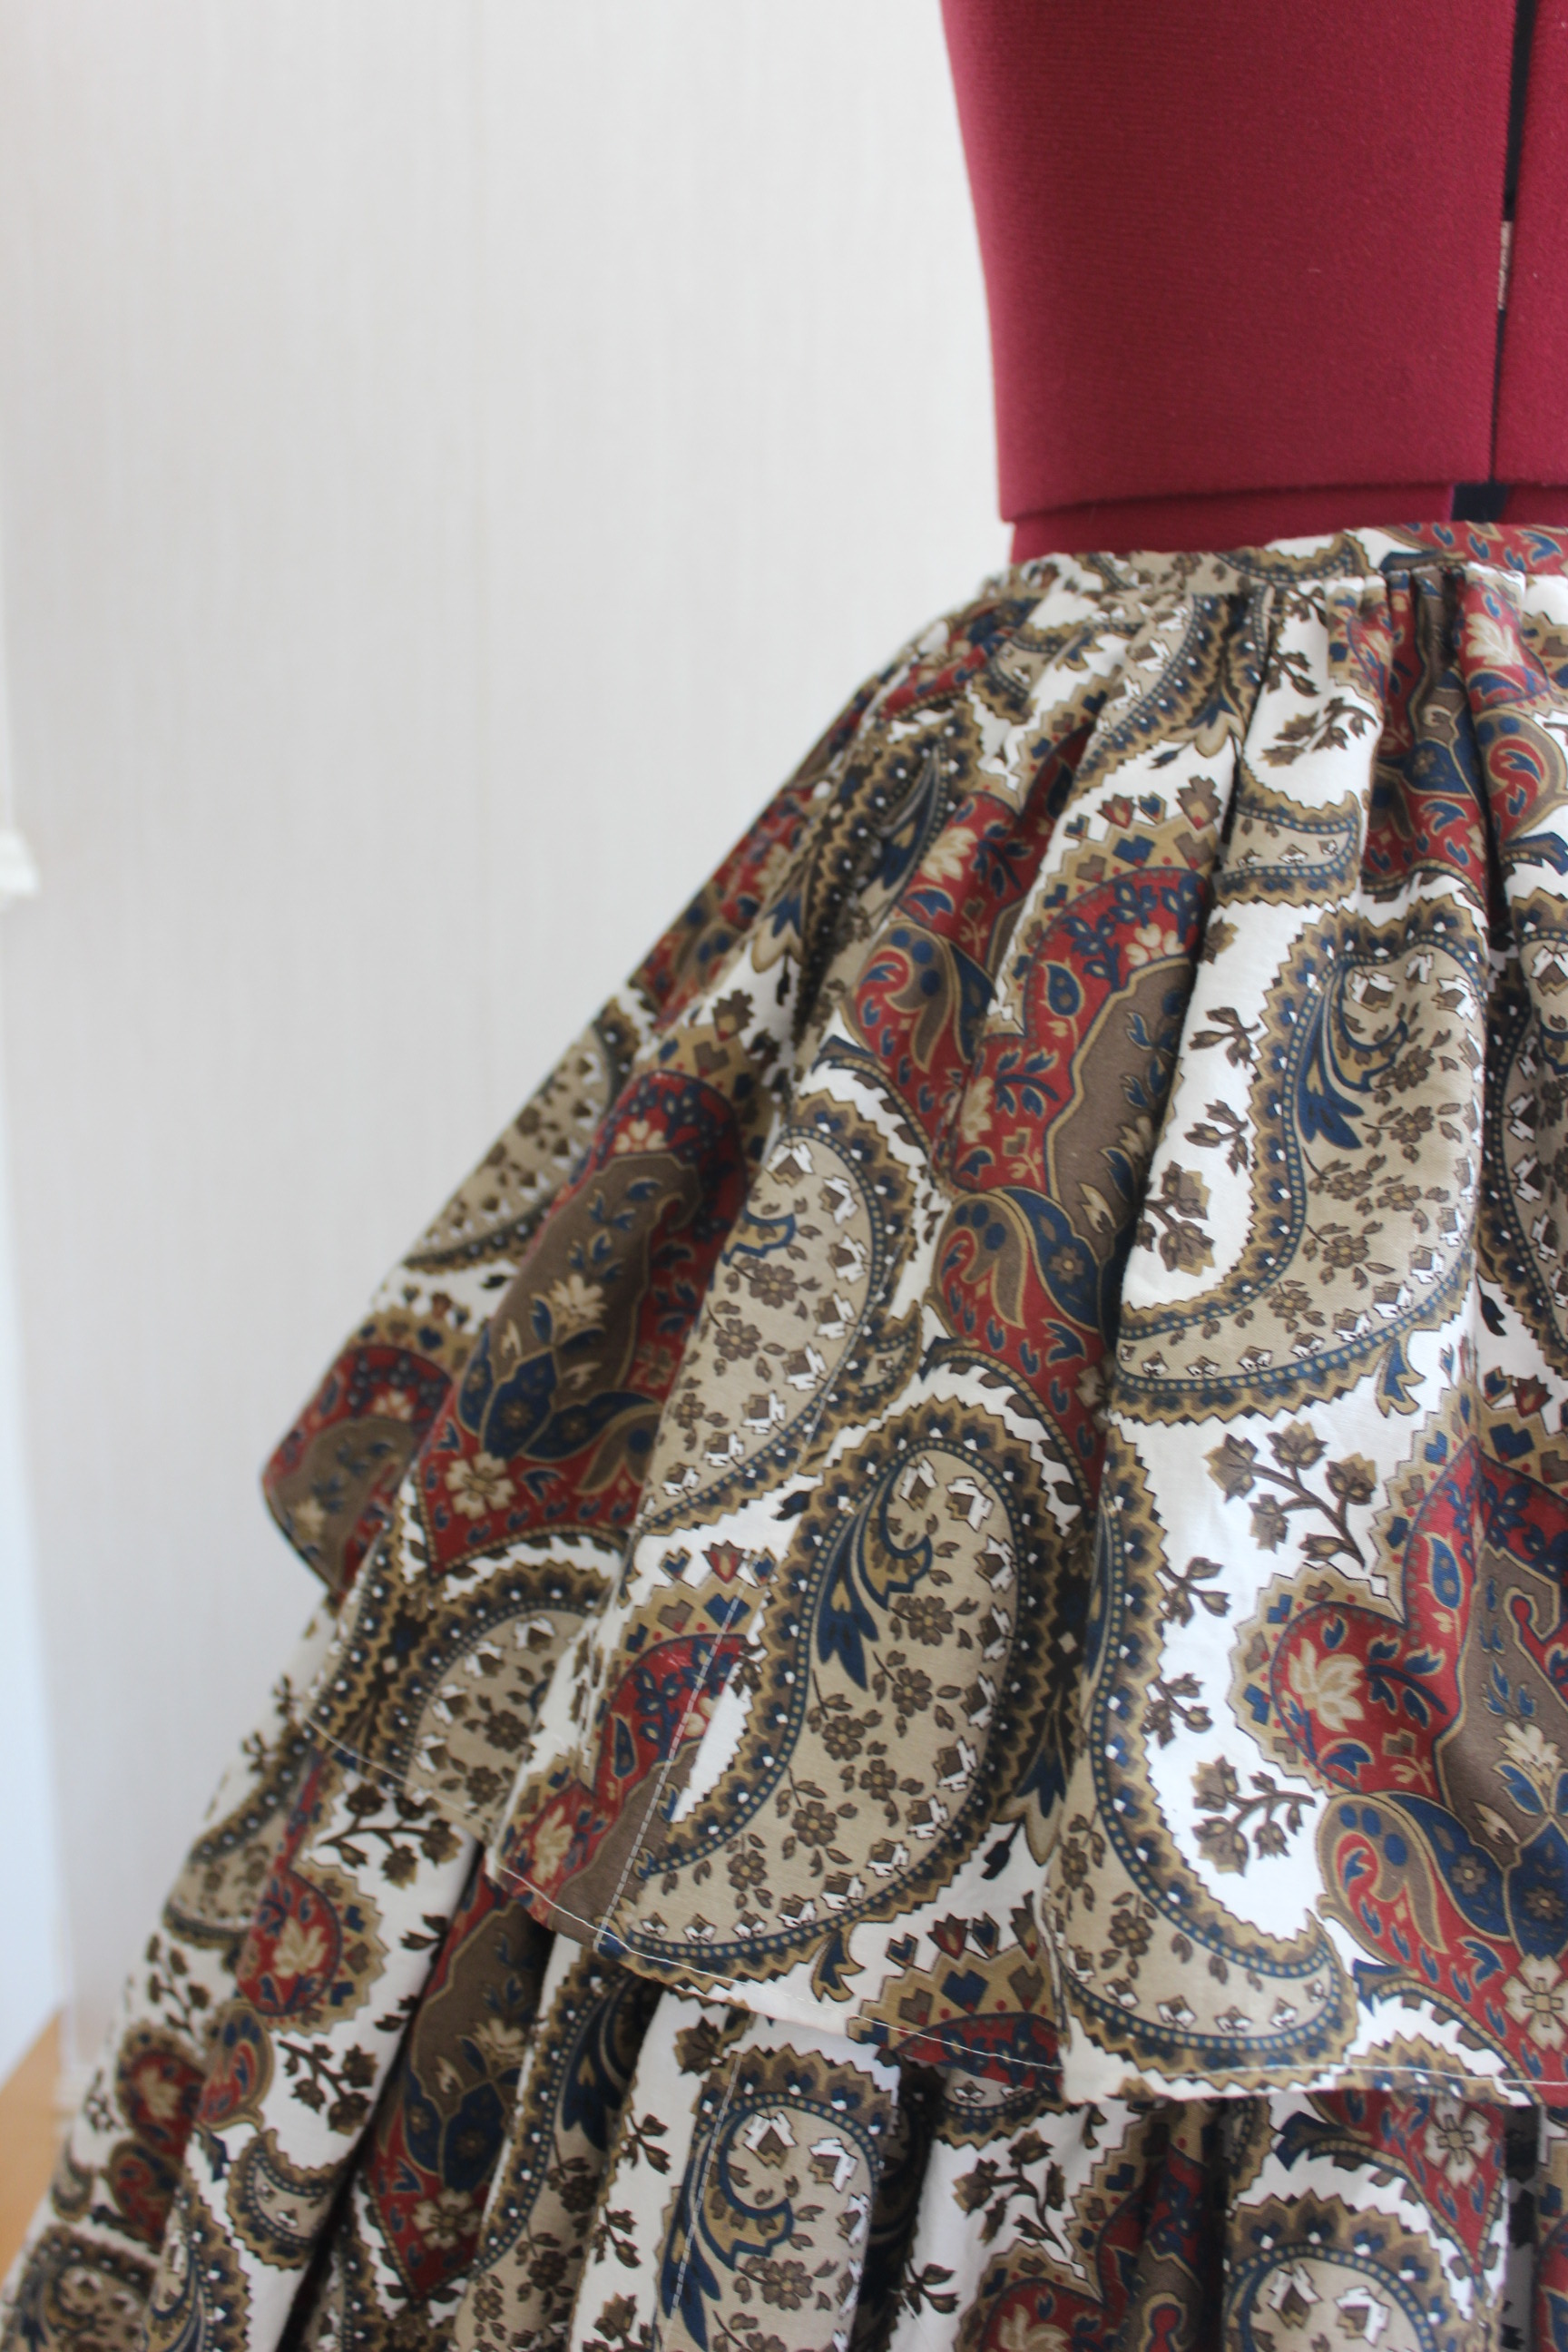
I decided to make the skirt in three sections, attached to one big piece of underlayer, using 4 times the width of the base for each of the ruffels. I made sure they were all wide enough to overlap each other, and stiched them togeter, hemmed and sewed a gattering thread along the top.
Then I marked the placement on the white cotton under layer. 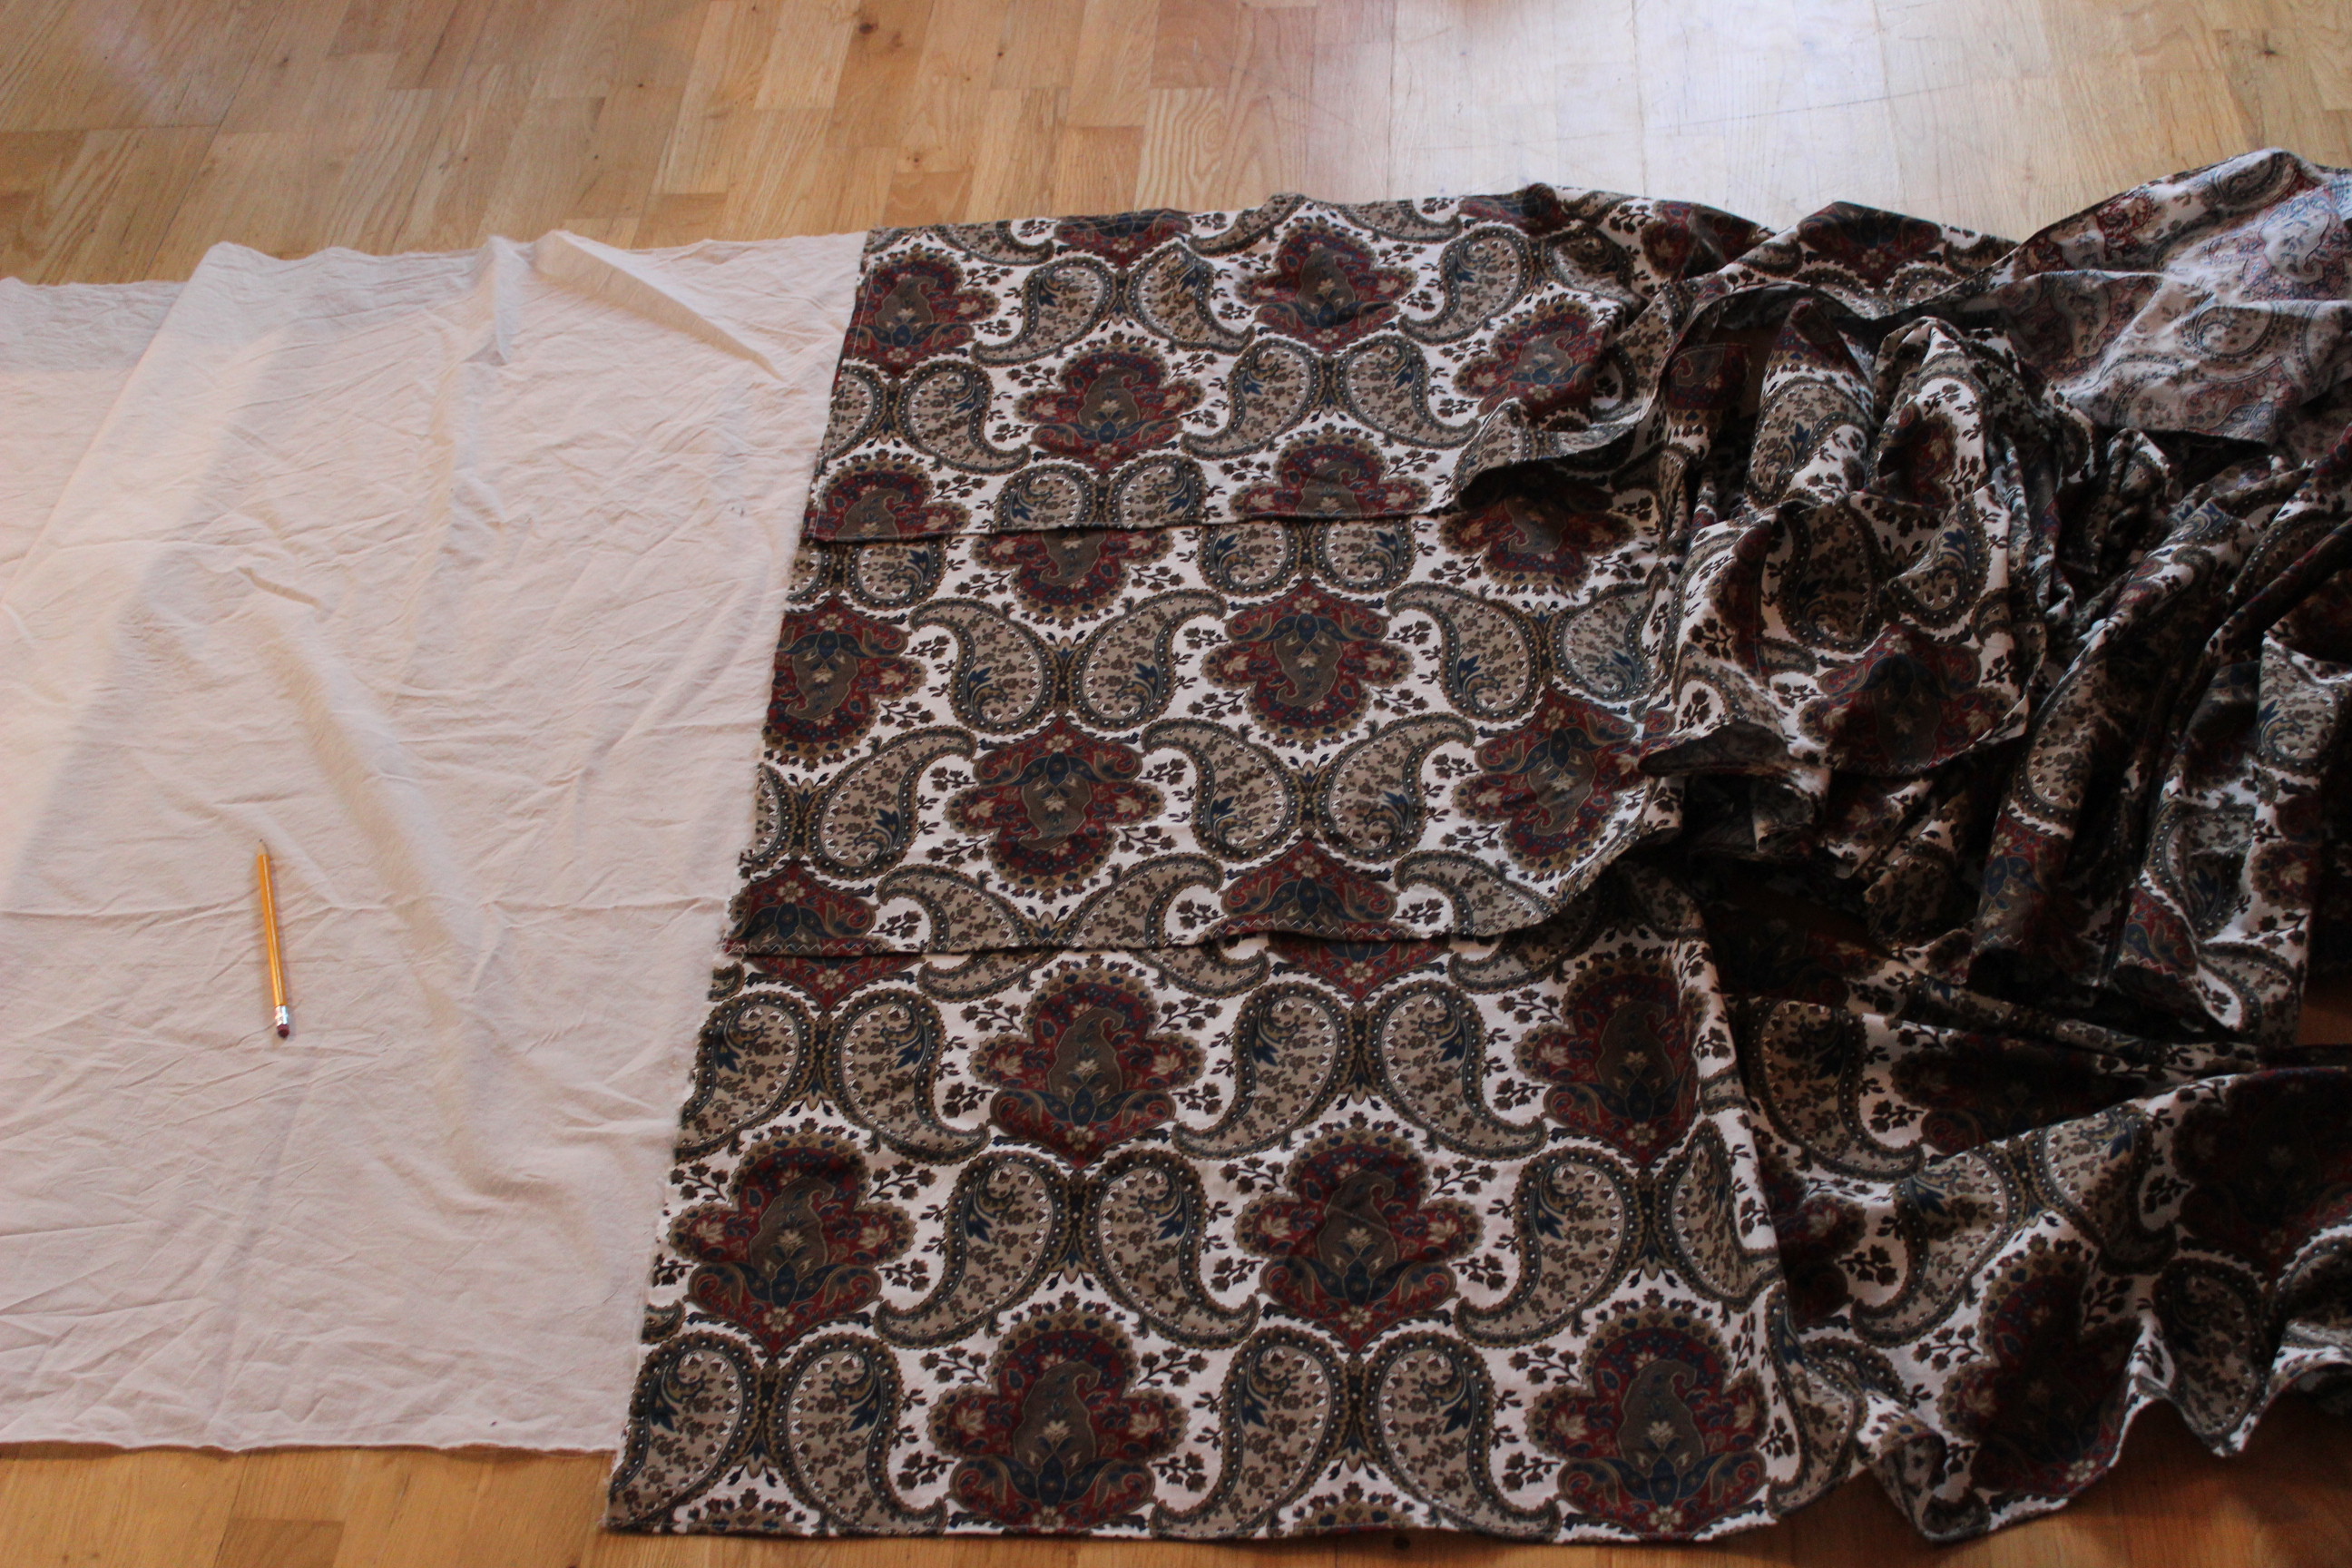
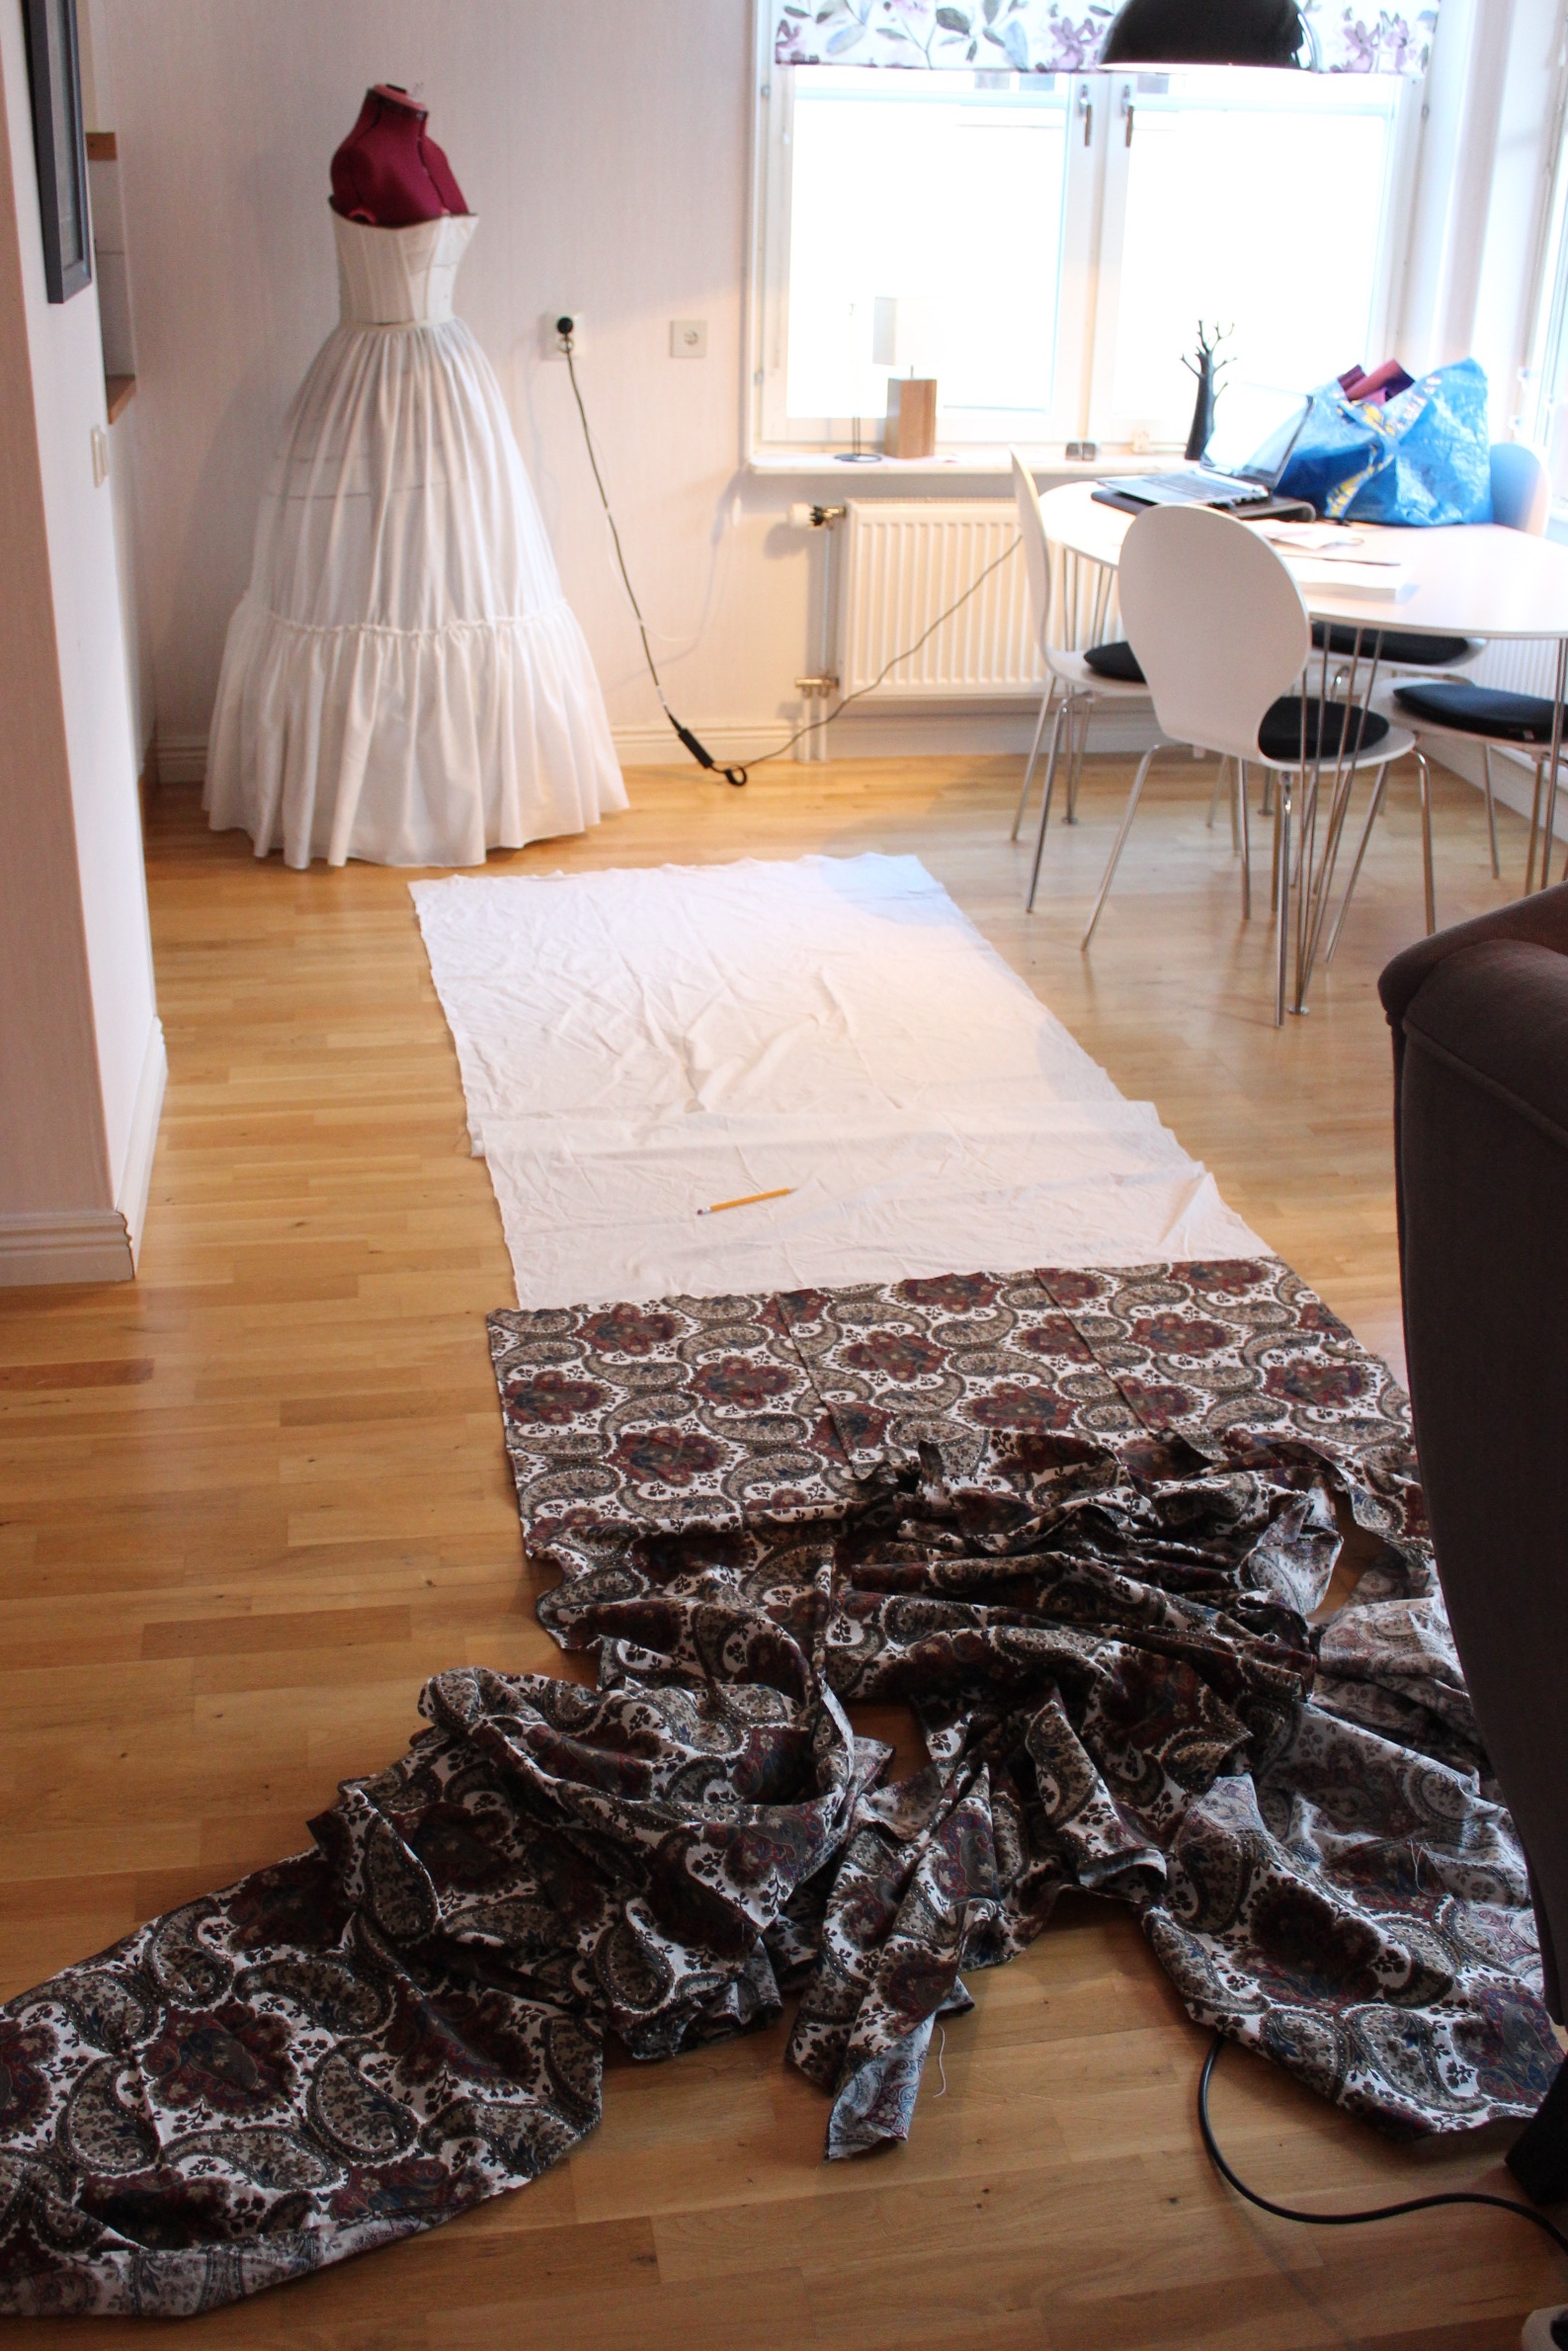 Using all of the apartment for this.
Then I gattered one row at a time, and pinned it in place at the markings to get them perfectly straight.
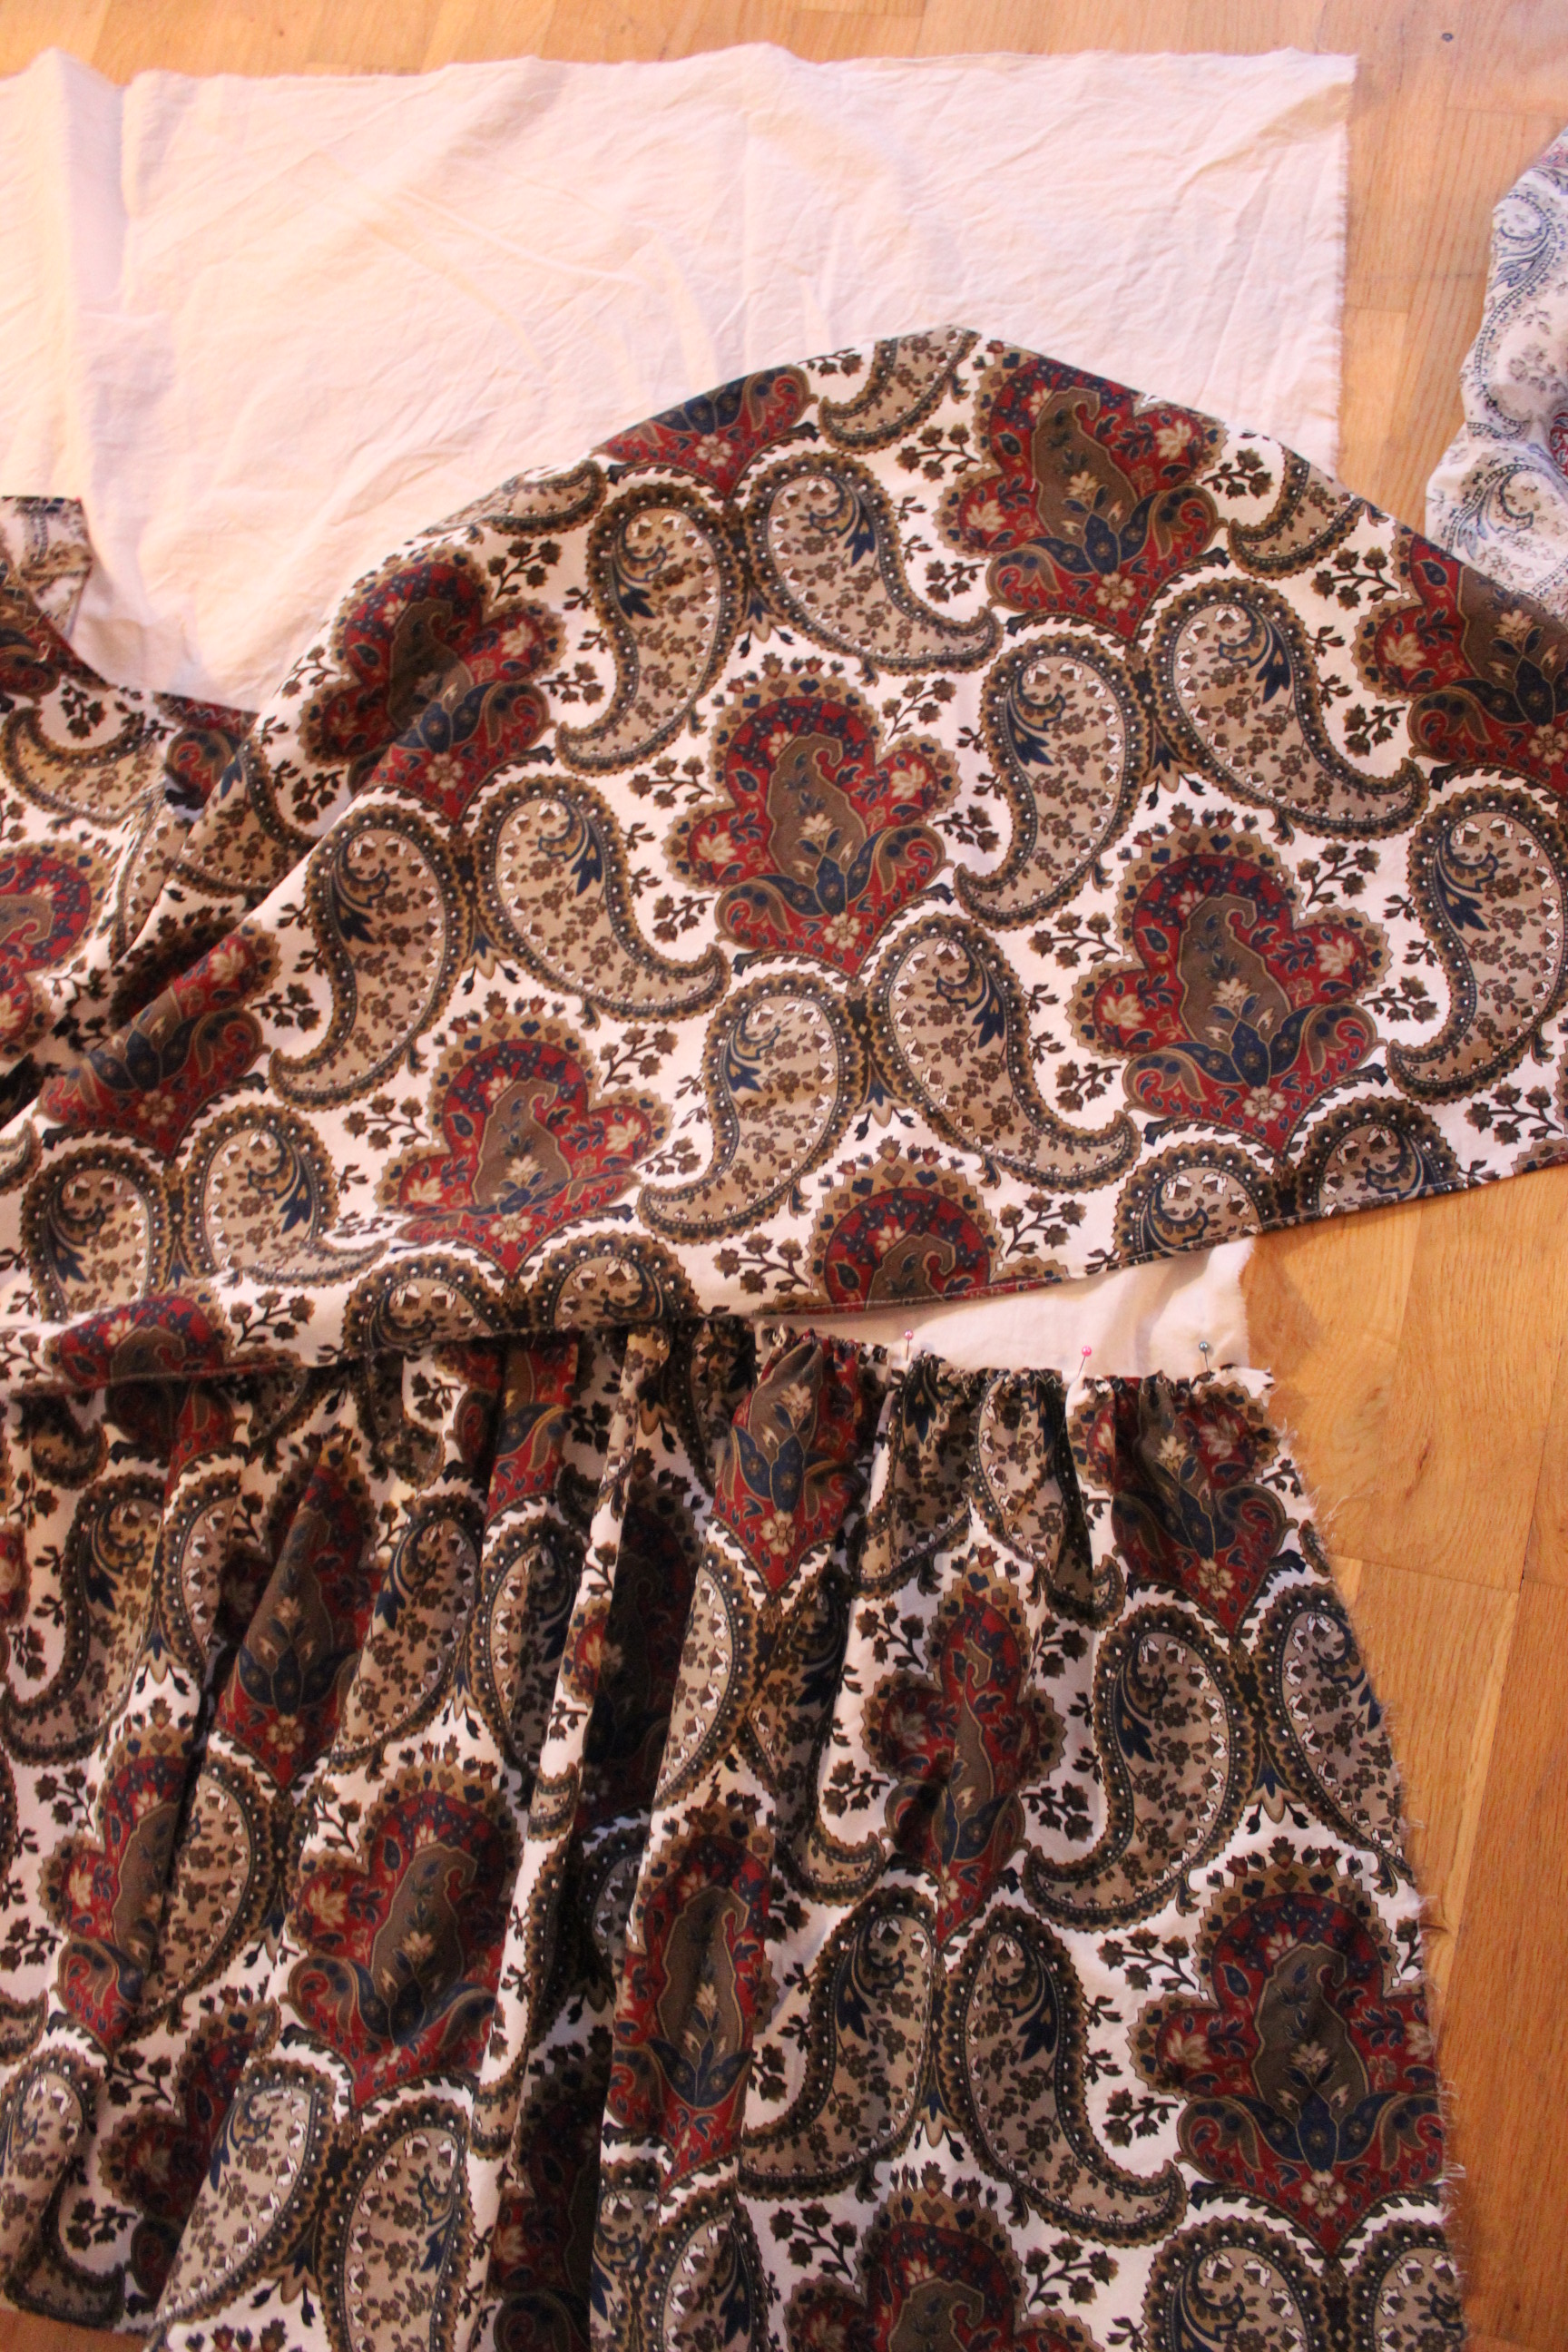 Starting on row two.
When all the rows where in place it looked like some huge ugly curtain. 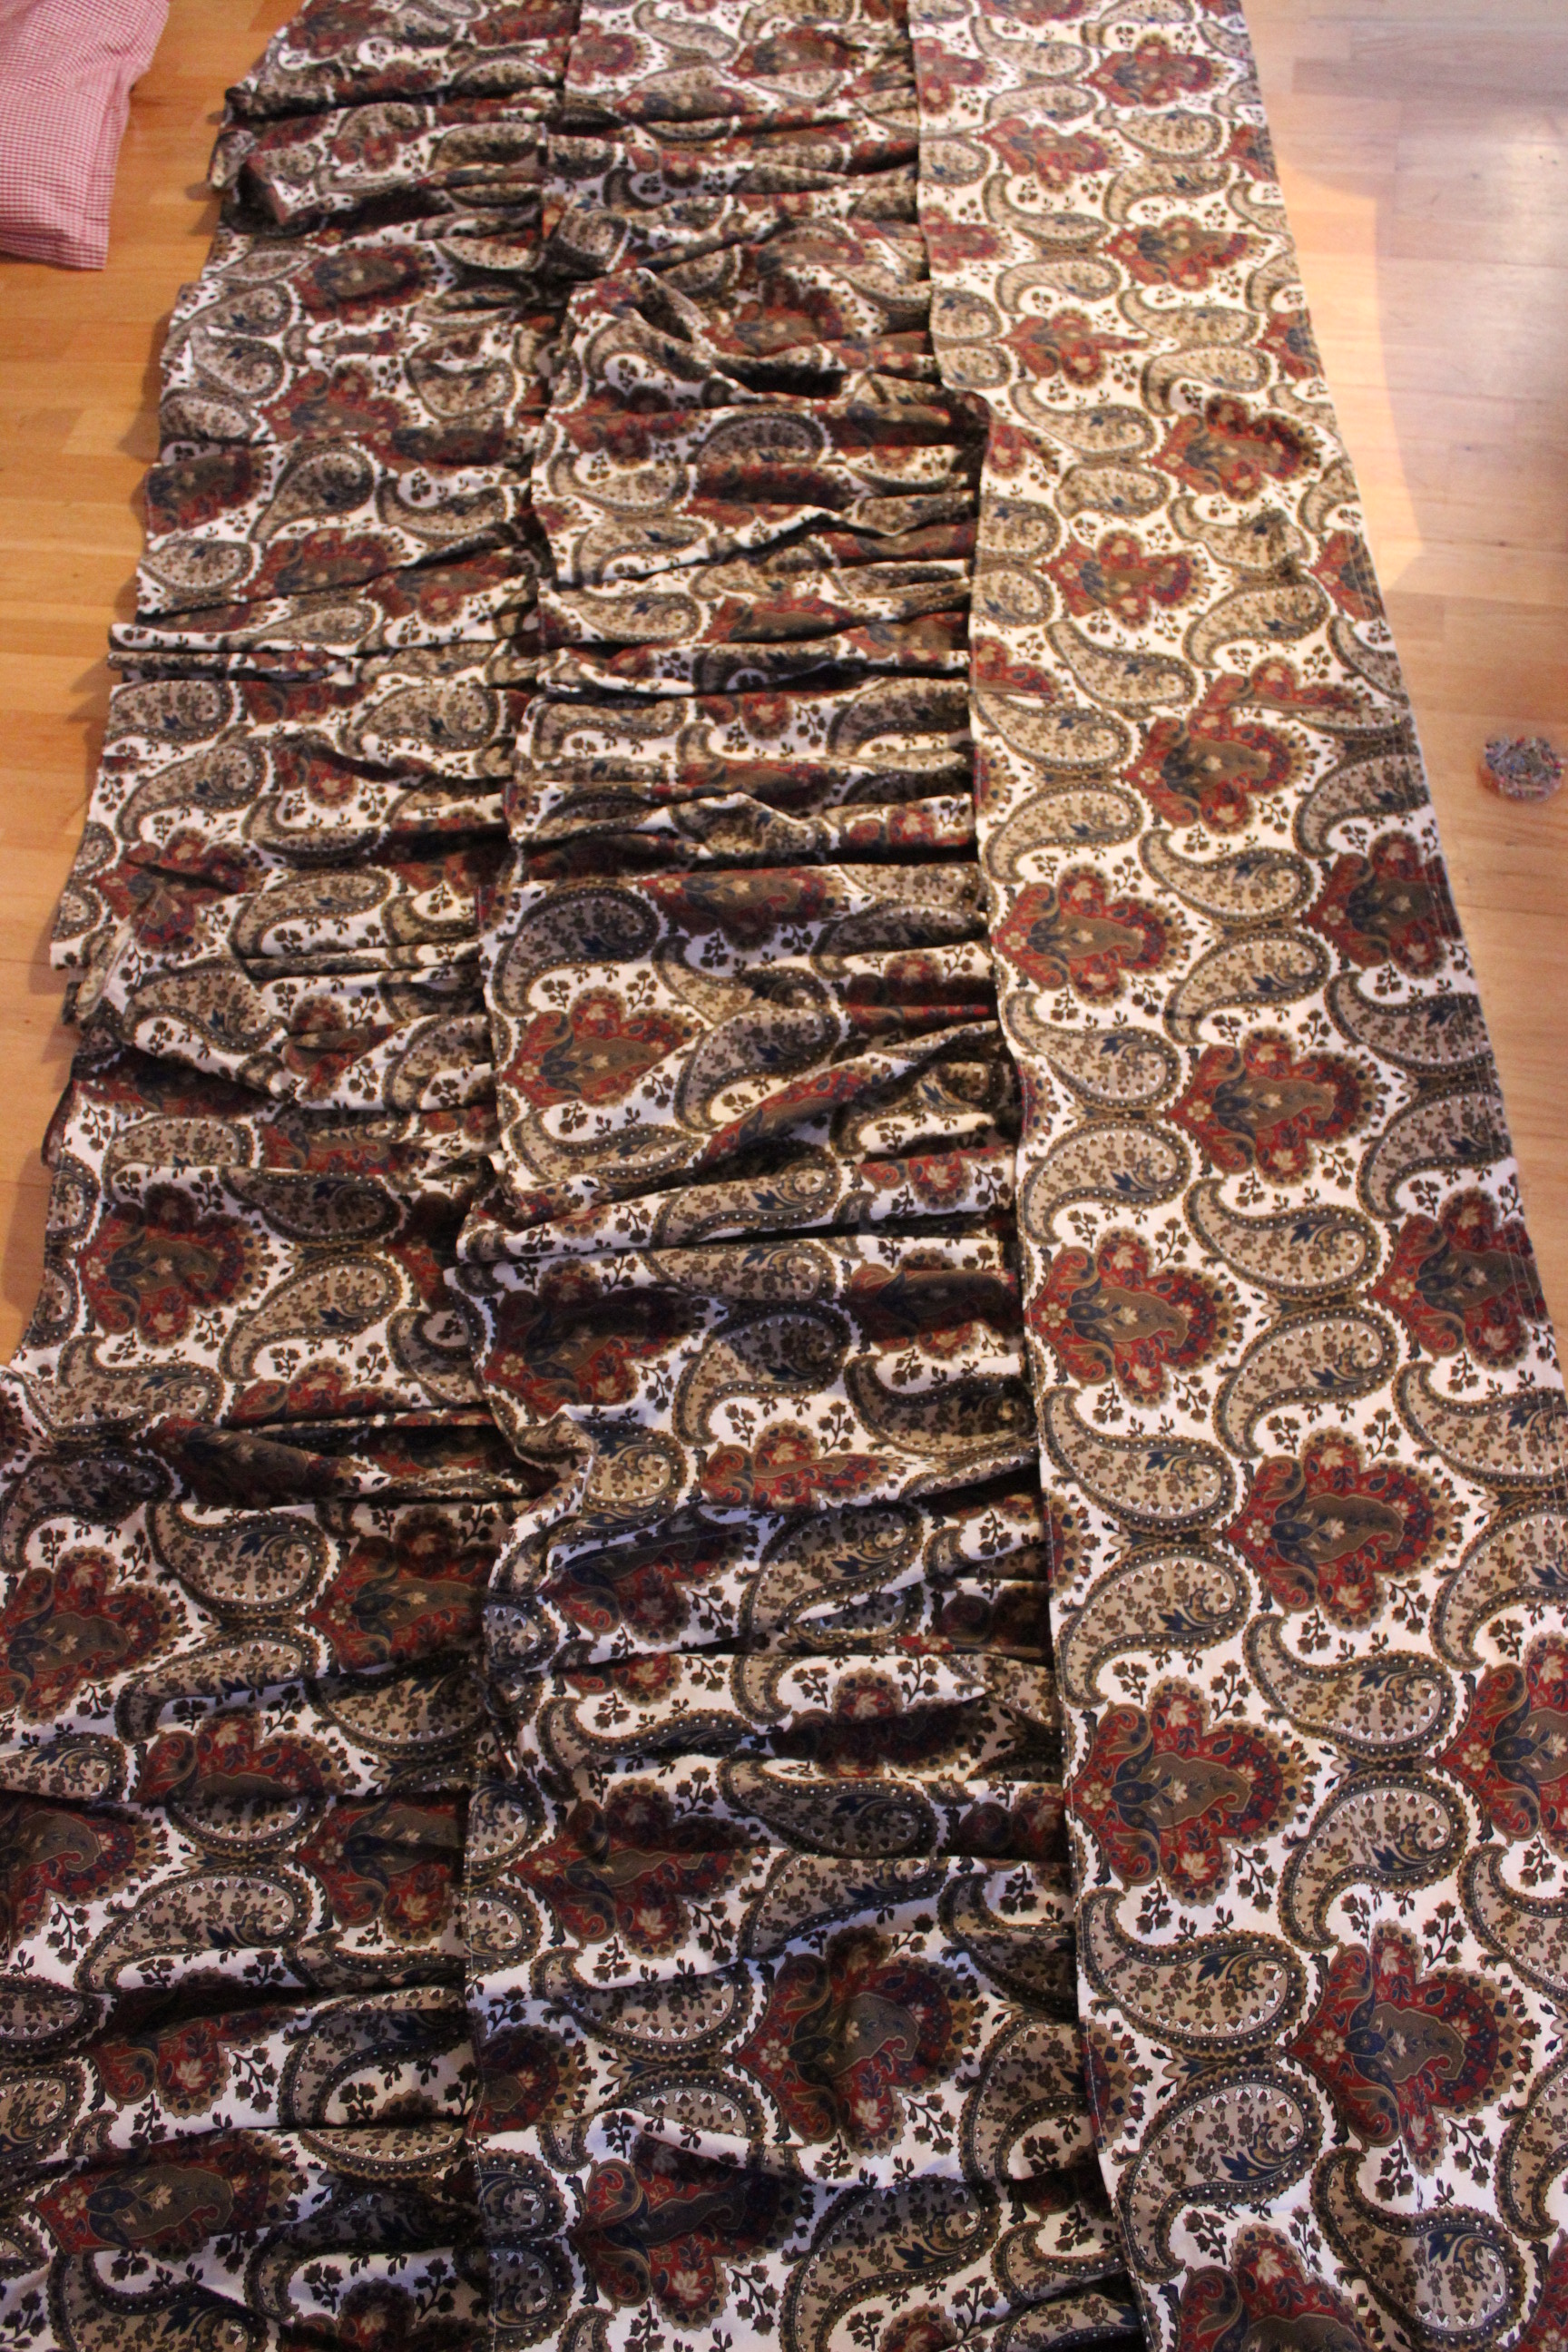
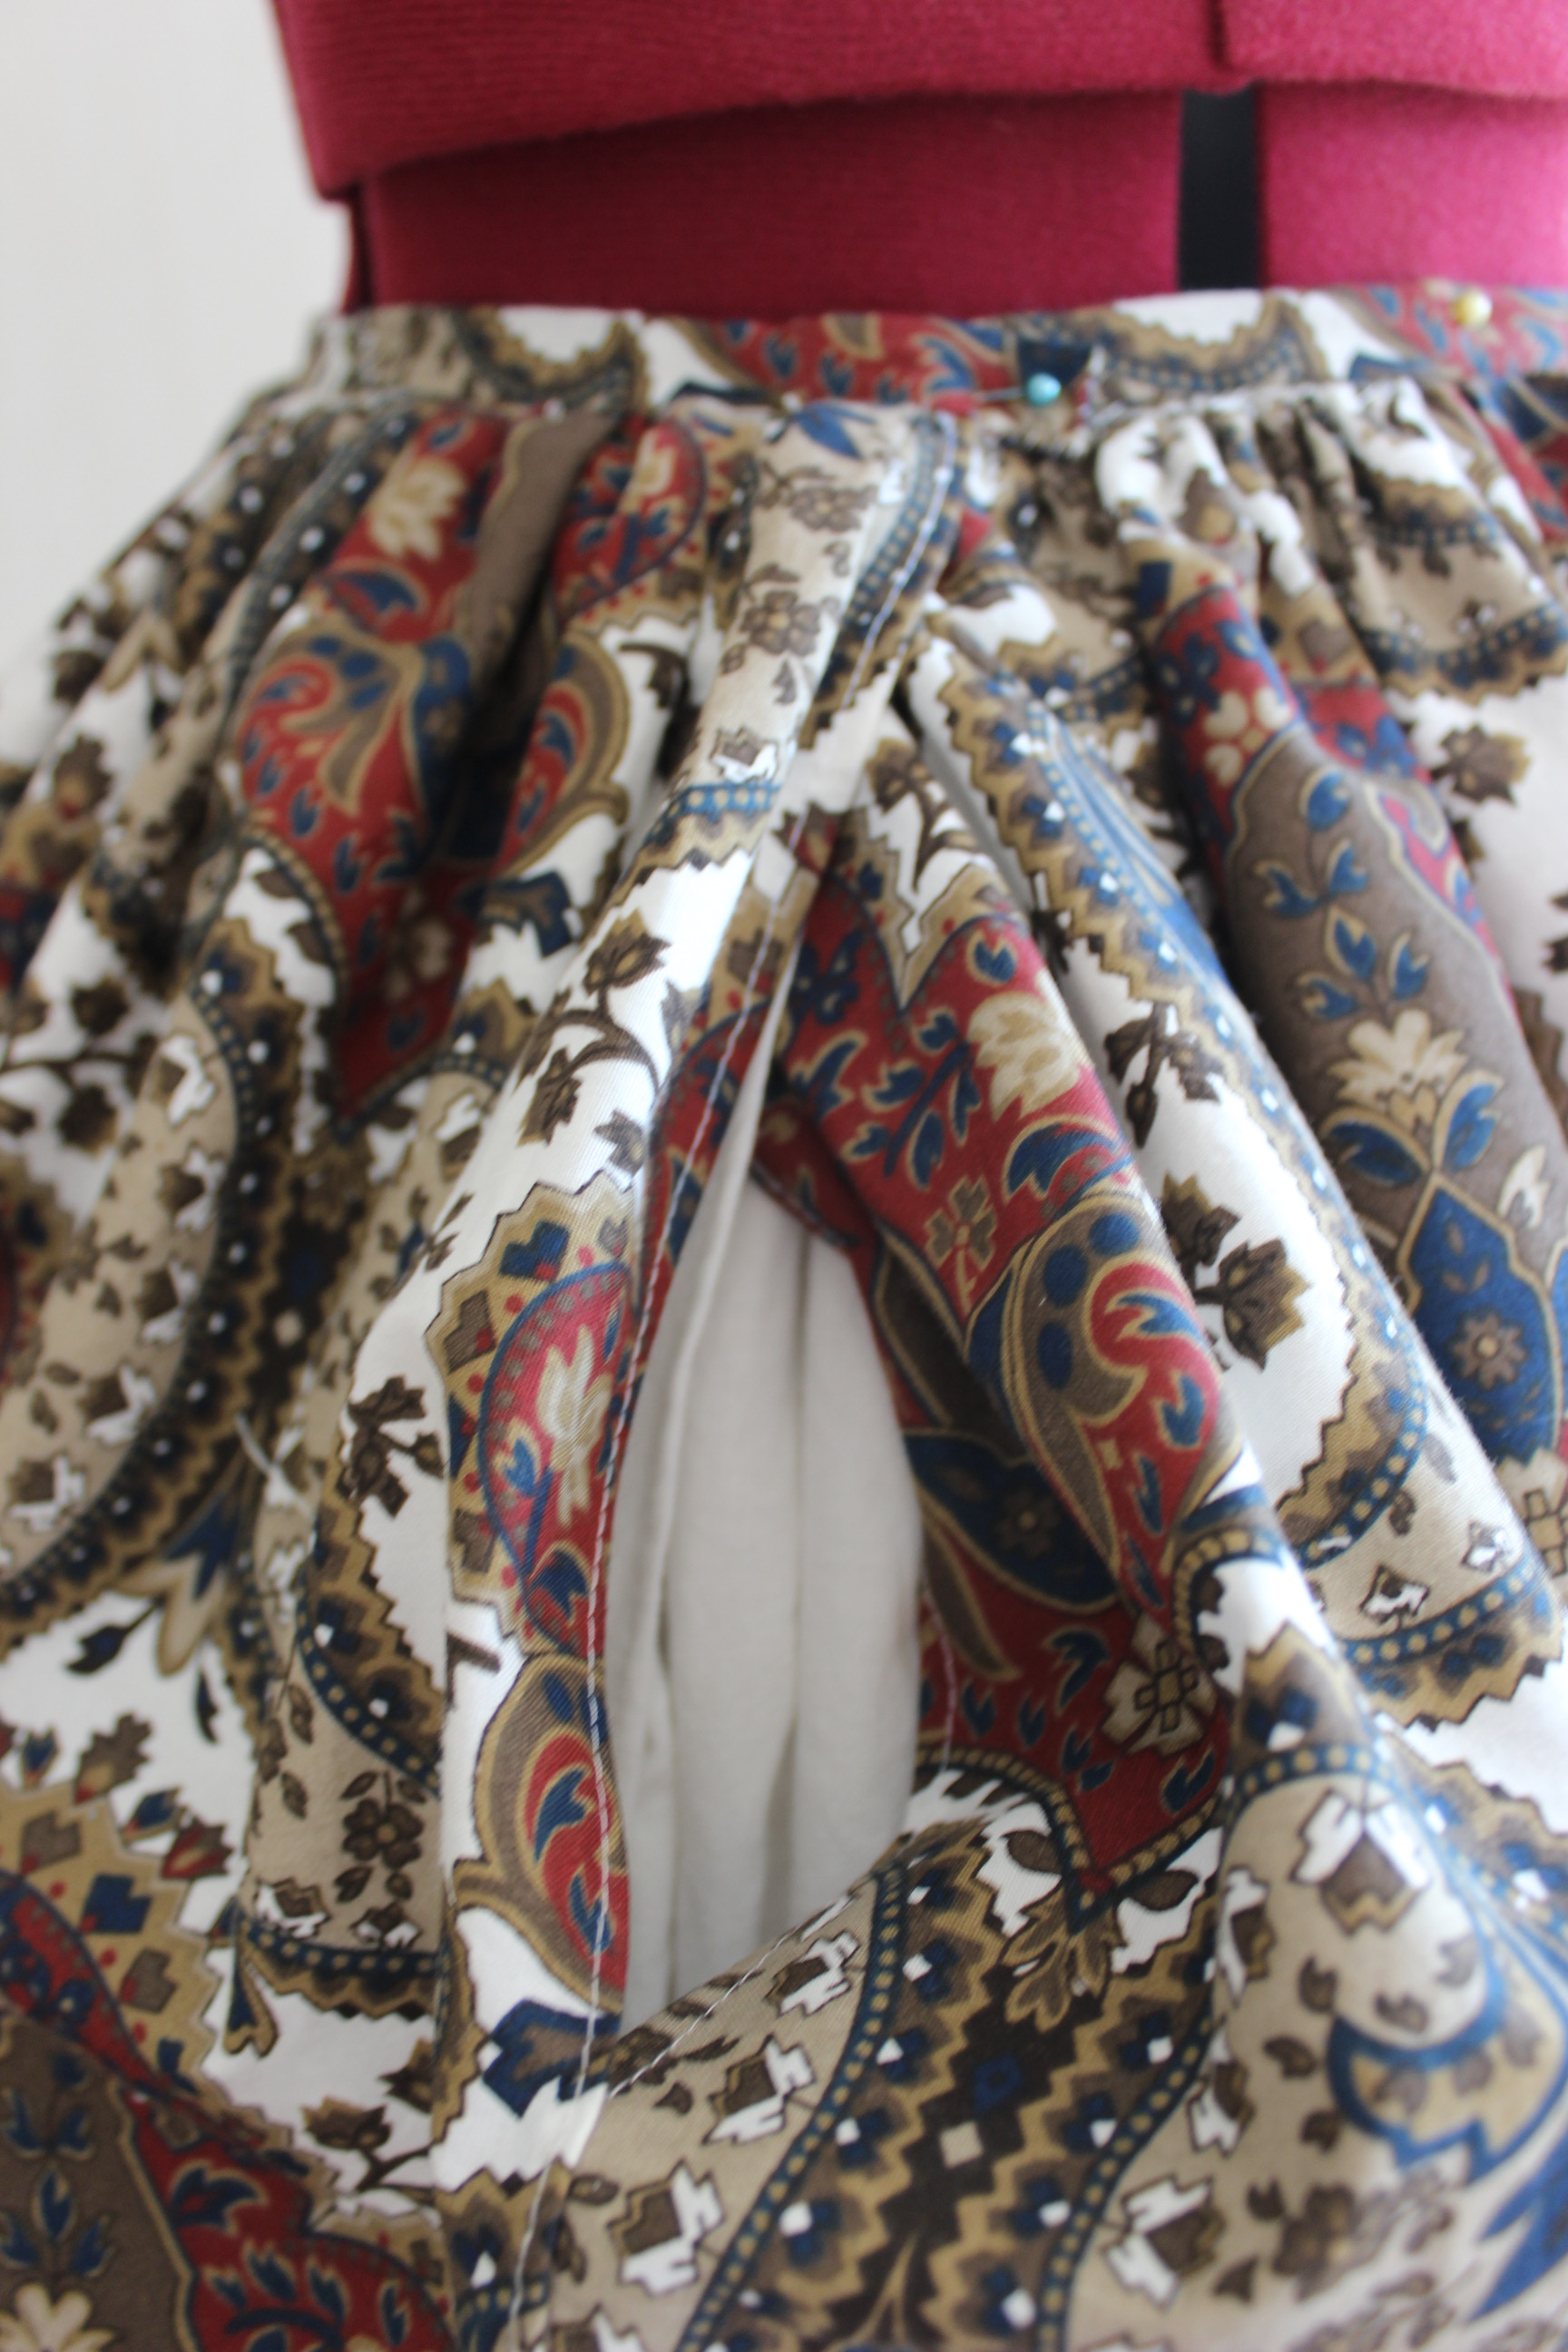
As you can see, I almost didn’t gattered the top row at all. Because it will be gattered anyway when I attach the whole thing to the waistband.
Even though the ruffels overlap each other, I decided to put some exess fabric in between the rows to make sure no white will be visible once worn.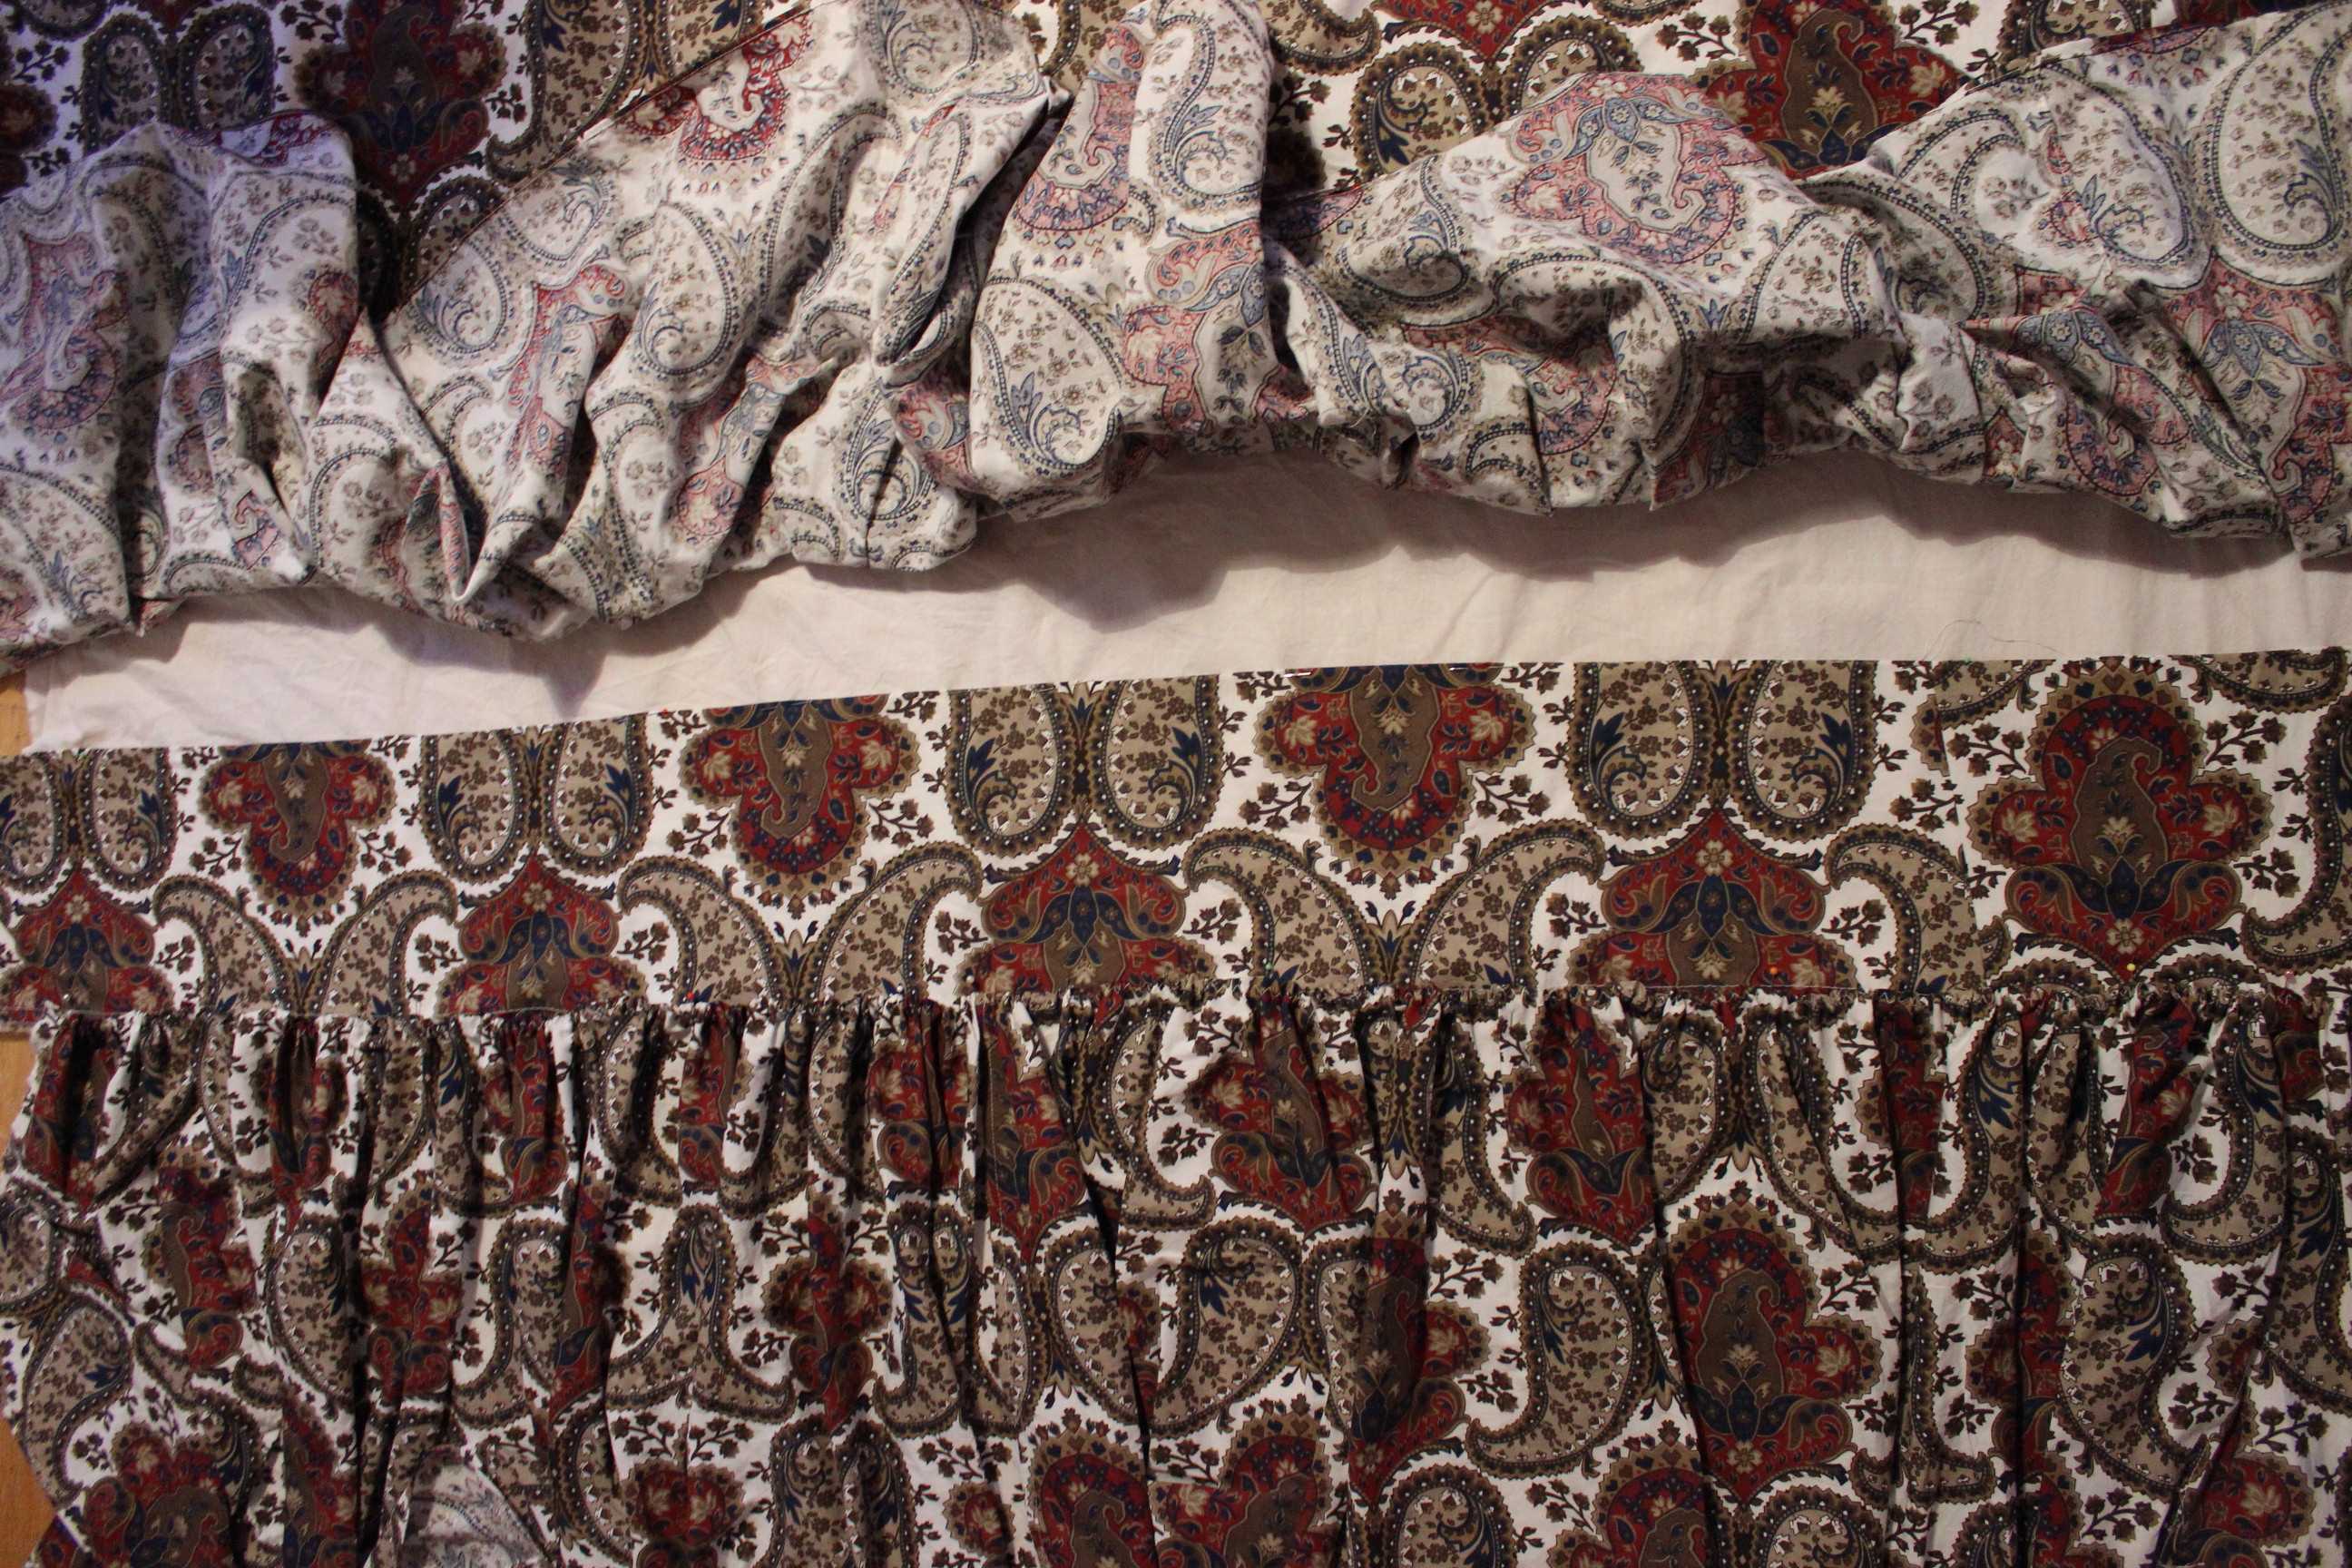
I did the same at the bottom, using the strip of pasisley to make a nice whide hem.
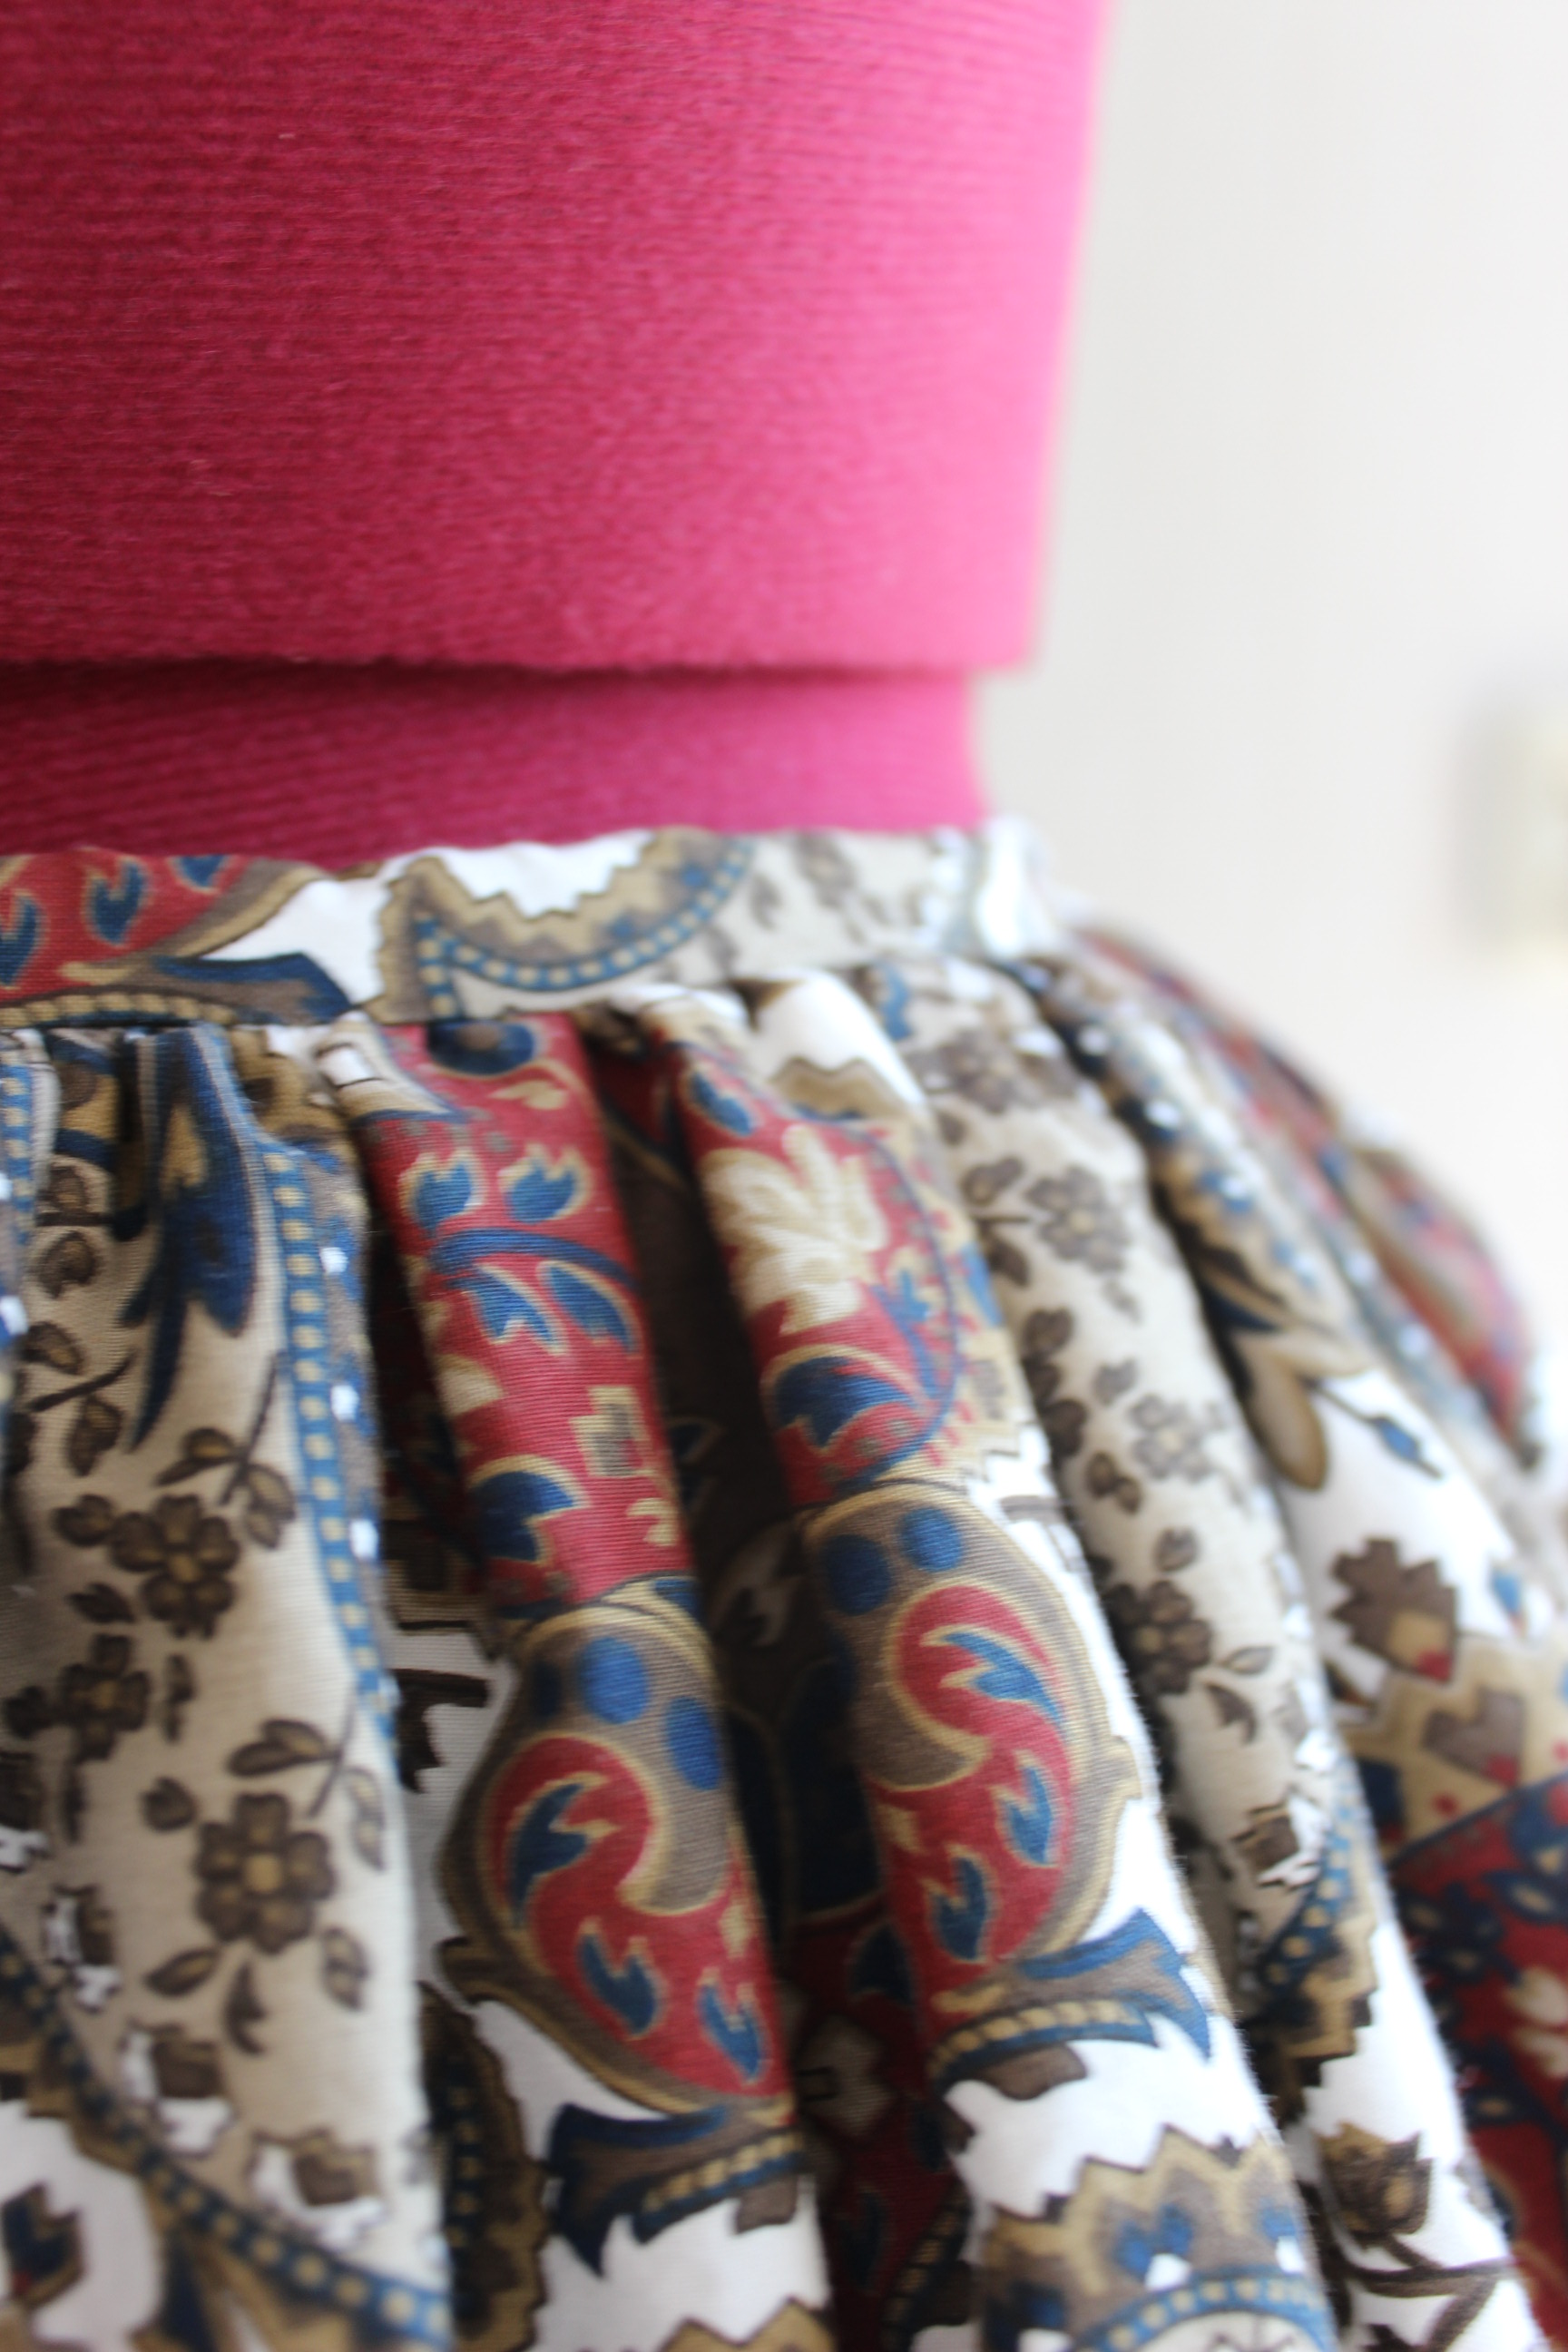
Then I stiched the whole thing togeter, gathered the wasit and stiched it to the wasiband, and attached a hook and eye for clouser.
The finished skirt (worn over a crinoline):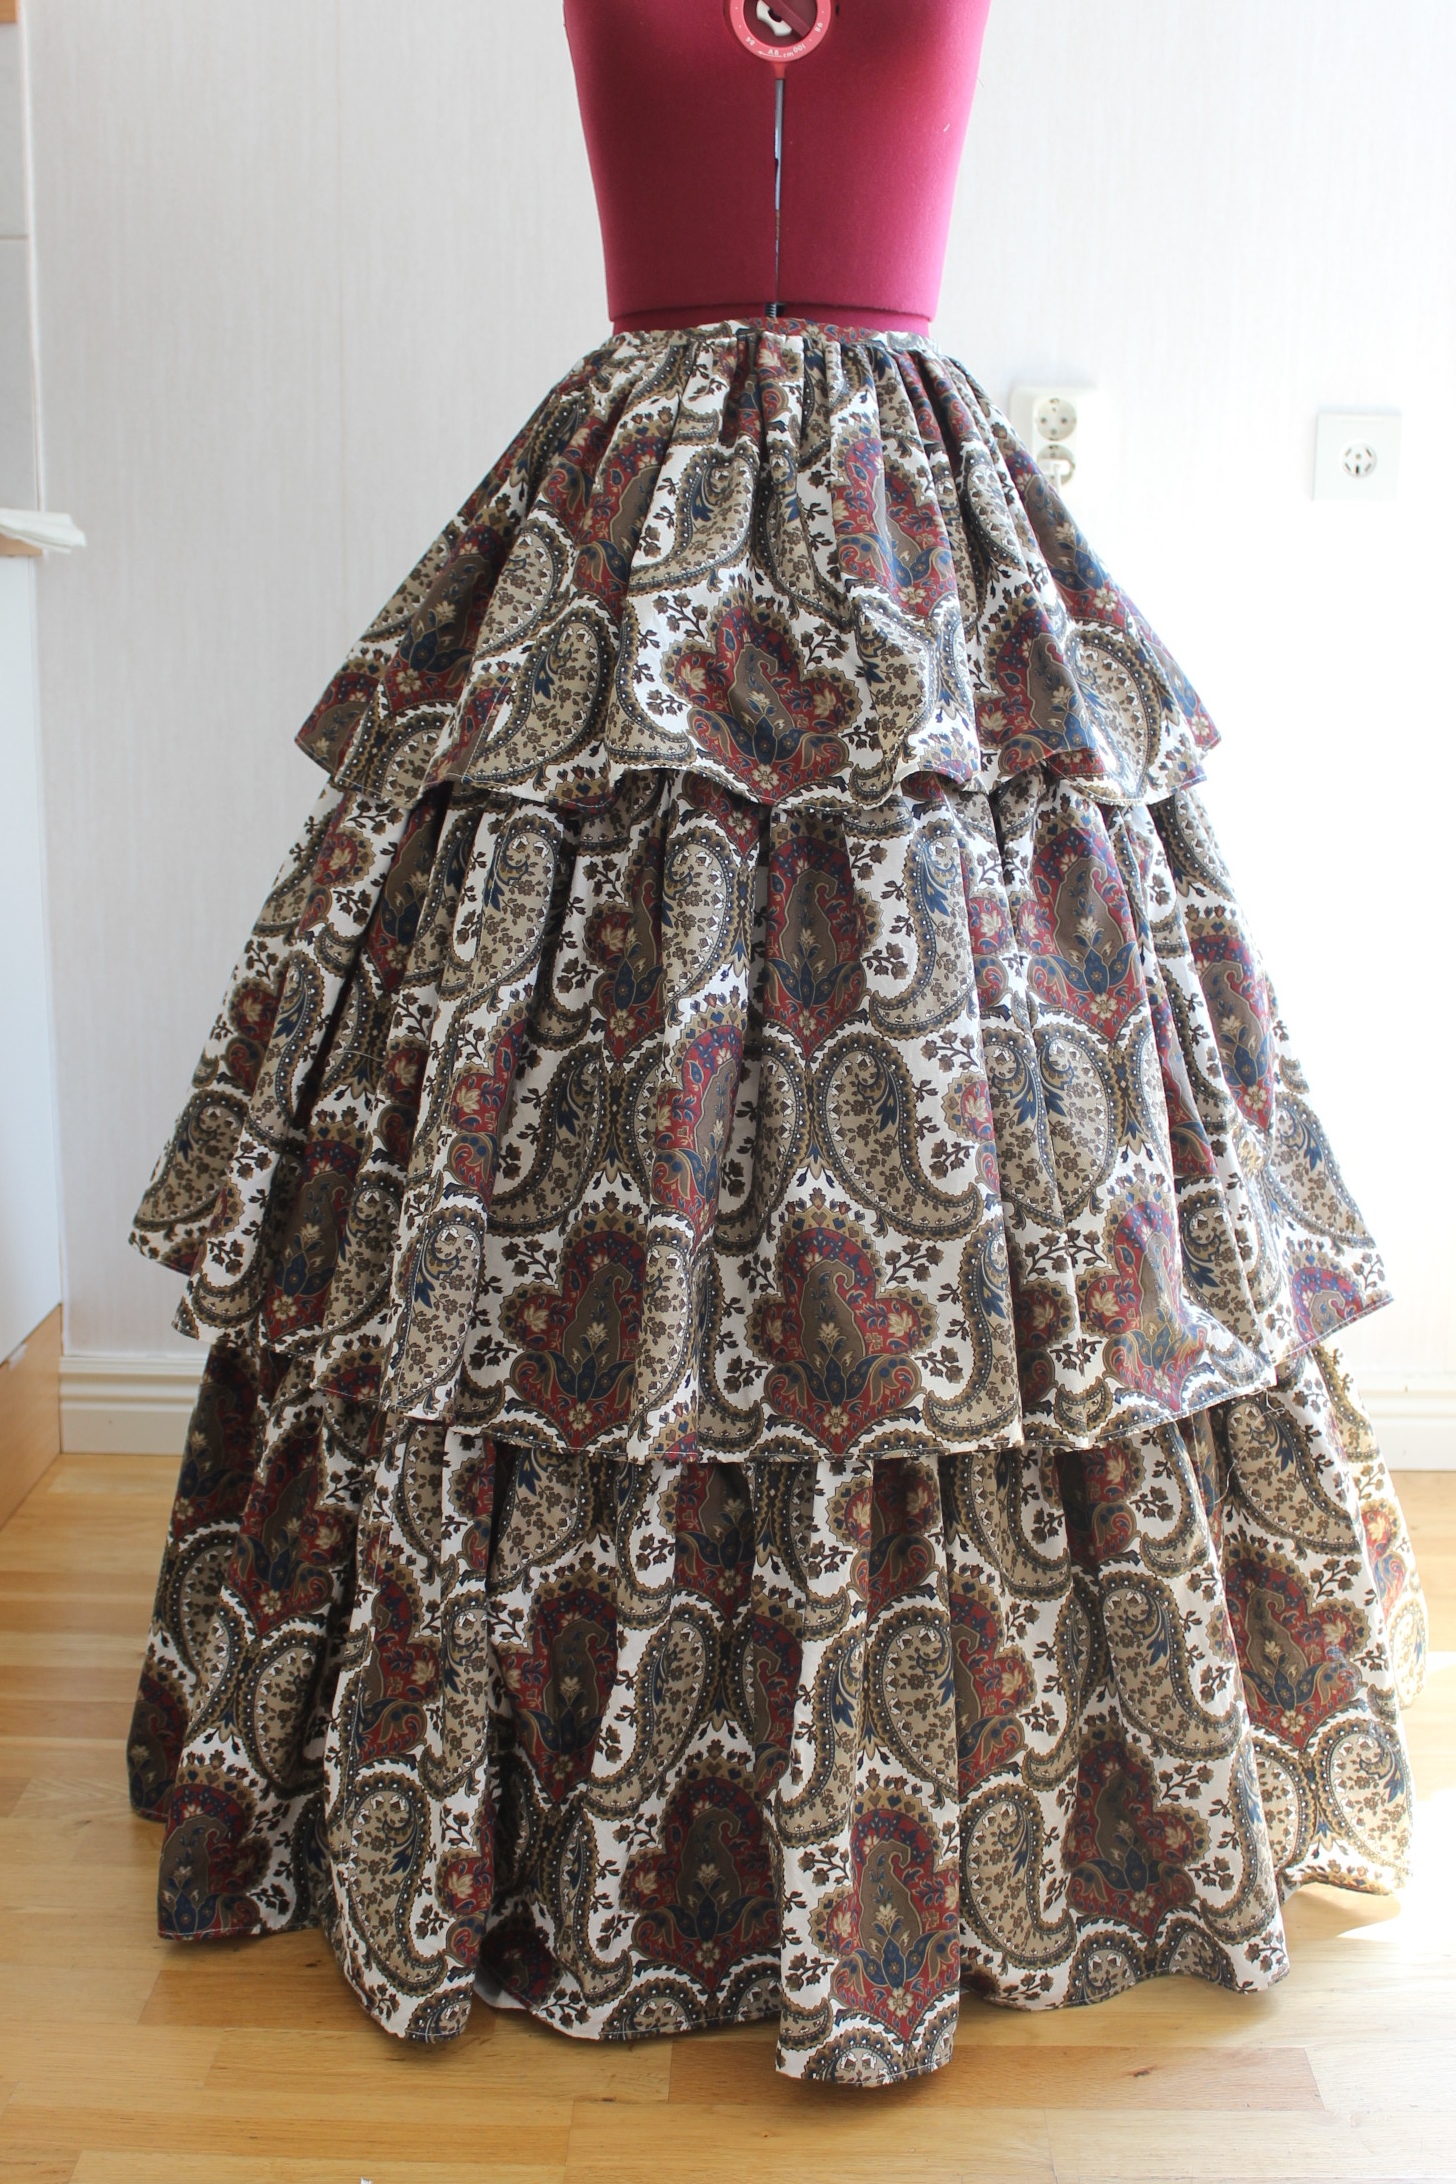

The HSF facts will be included in the next post (where I’ll show the bodice), but I will give you some skirt facts right now just to make myself remember.
What: A 1850s skirt.
Fabric: 1 white cotton sheet (IKEA) and 1, 5 paisley cotton bedsheet (IKEA).
Notions: Thread, hook and eye.
Time: about 8 hours.
