In my last post I counted down everything I made through out the year, and now I will do the same for the challenges of the HSF14, to see if I managed to stick to the plan.
(sorry for the repeats)
In the beginning of 2014 I wrote down all the challenges to come and everything I wanted to make during the year. Then I puzzled and pieced it together, leaving some challenges empty to make room for changed costuming needs and different inspiration.
Lets take a look on what I sad I would do, and what I actually did.
So, did I make it?
1. Make do/mend:
 1880s petticoat from two sheets.
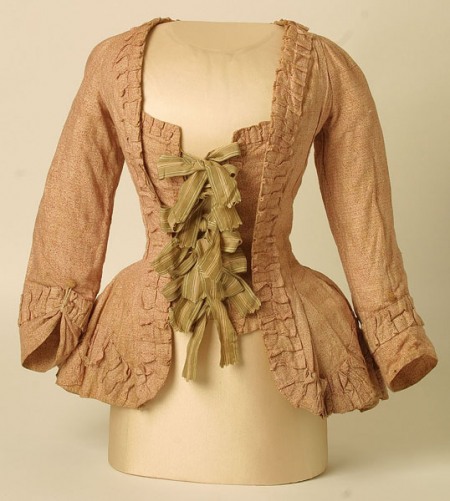
 Alterations on a 18th century jacket.
Complete: Yes
The first challenge had already ended when I did my list/plan, so it’s not quite fair, but I think I did pretty good.
2. Innovations
 A 1880s corset made with busk, spiral steel and grommet.
Complete: So so
The corset was all but finished when the challenges was announced, and I did stretch the challenge dead line a bit to make it work.
3. Pink & 8. Ufo/Pdf
 Pink: A 18th century calico jacket (this one depends on how I feel when I get the fabric (which is still in my inlaws basement)).
Ufo/Pdf: I’m not sure about this one, will have to wait and see. Hopefully I can use some of my stash, and perhaps do something for one of my sisters.
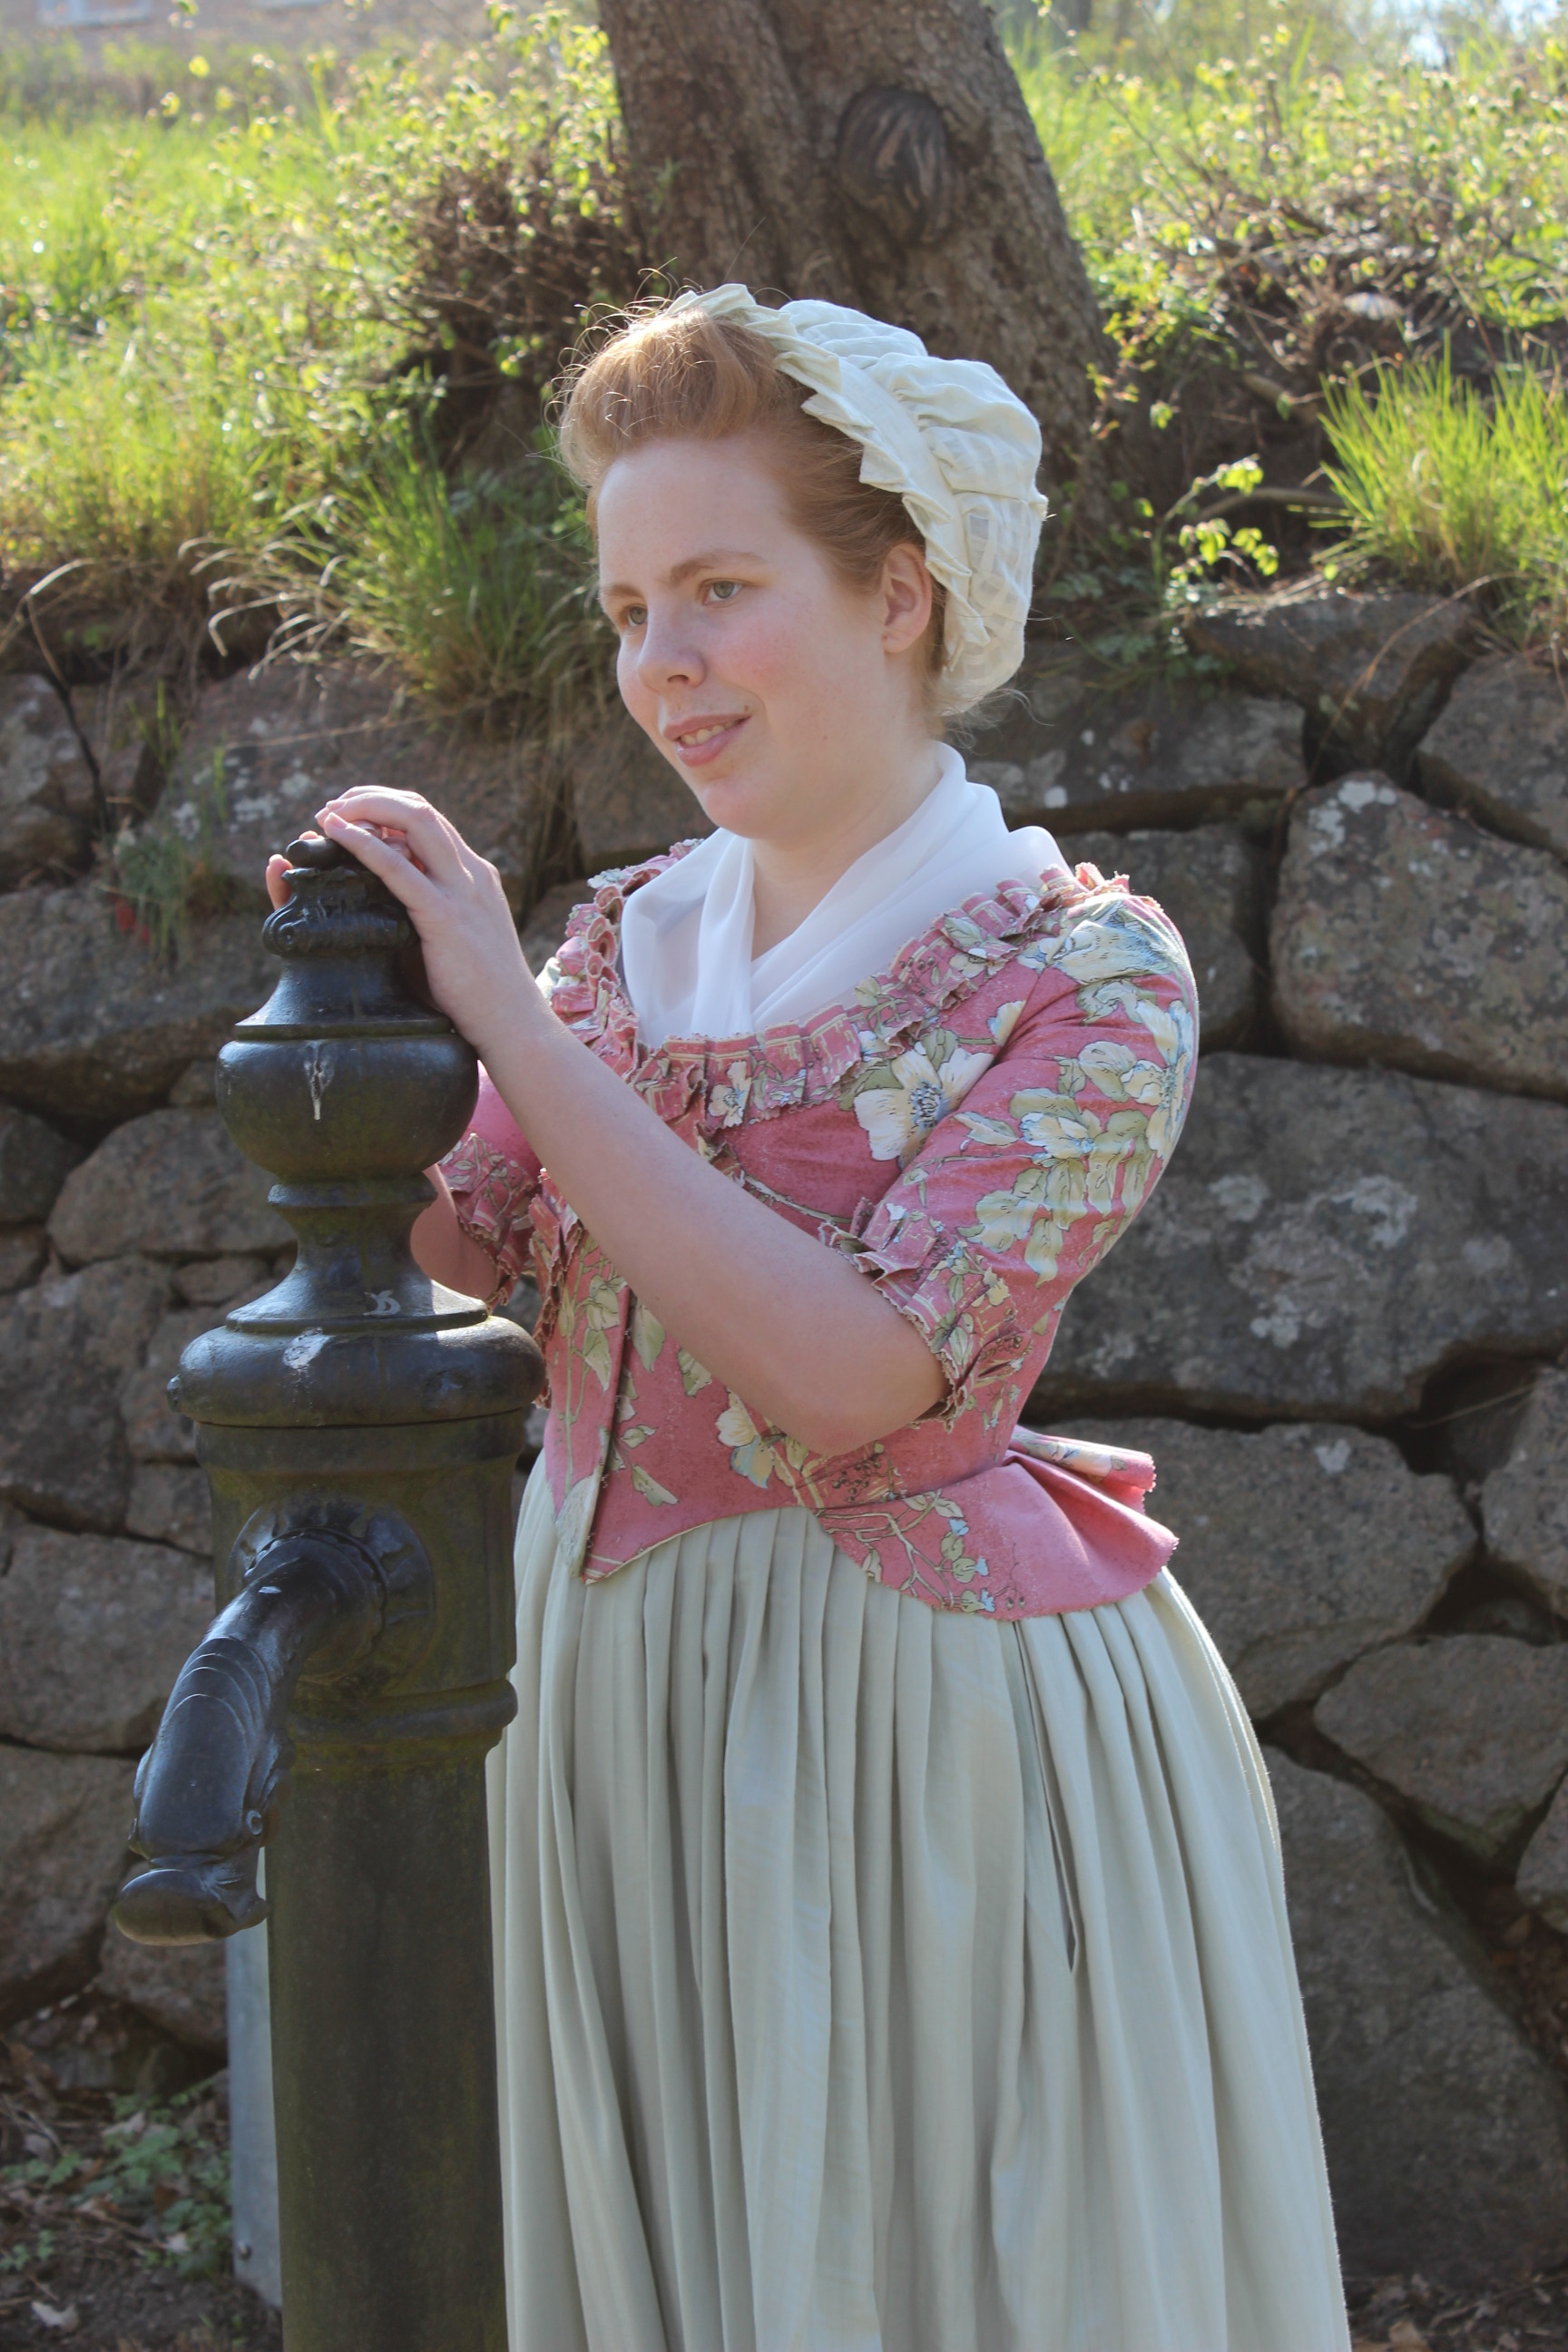 A pink 18th century Caraco jacket and pistage skirt.
Complete: Yes & Yes
I did managed to make a complete outfit for my sister on these two challenges.
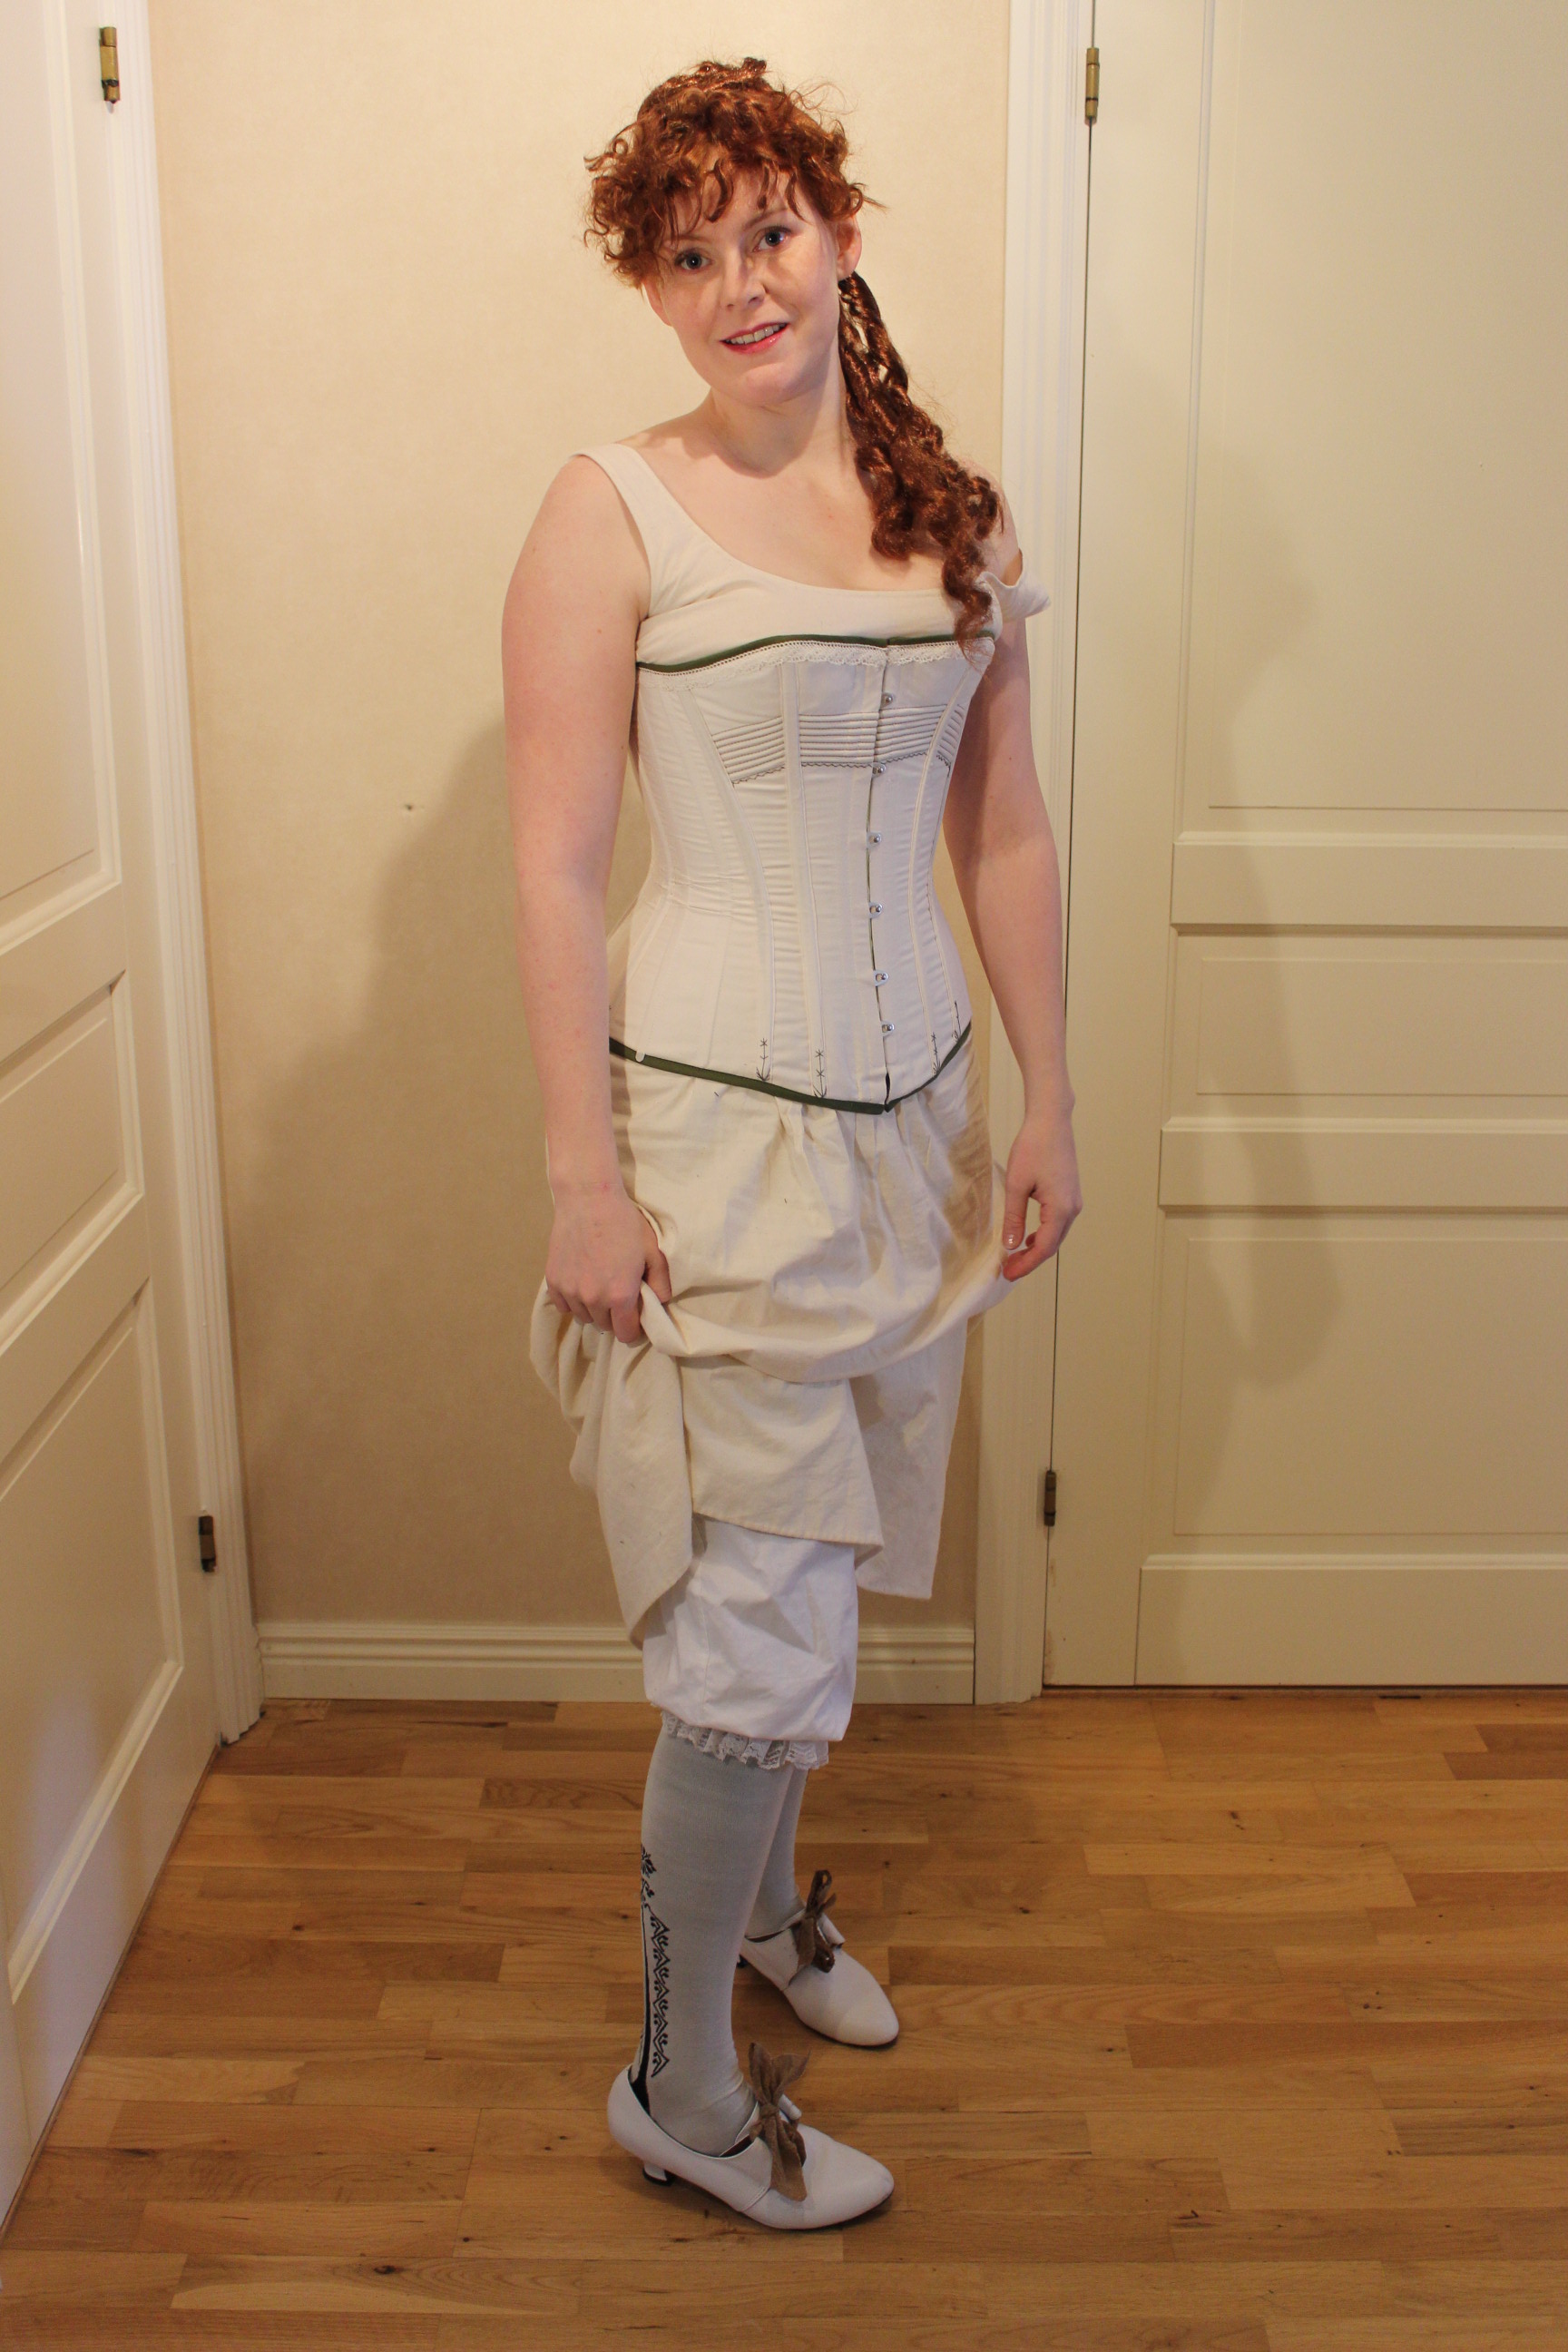
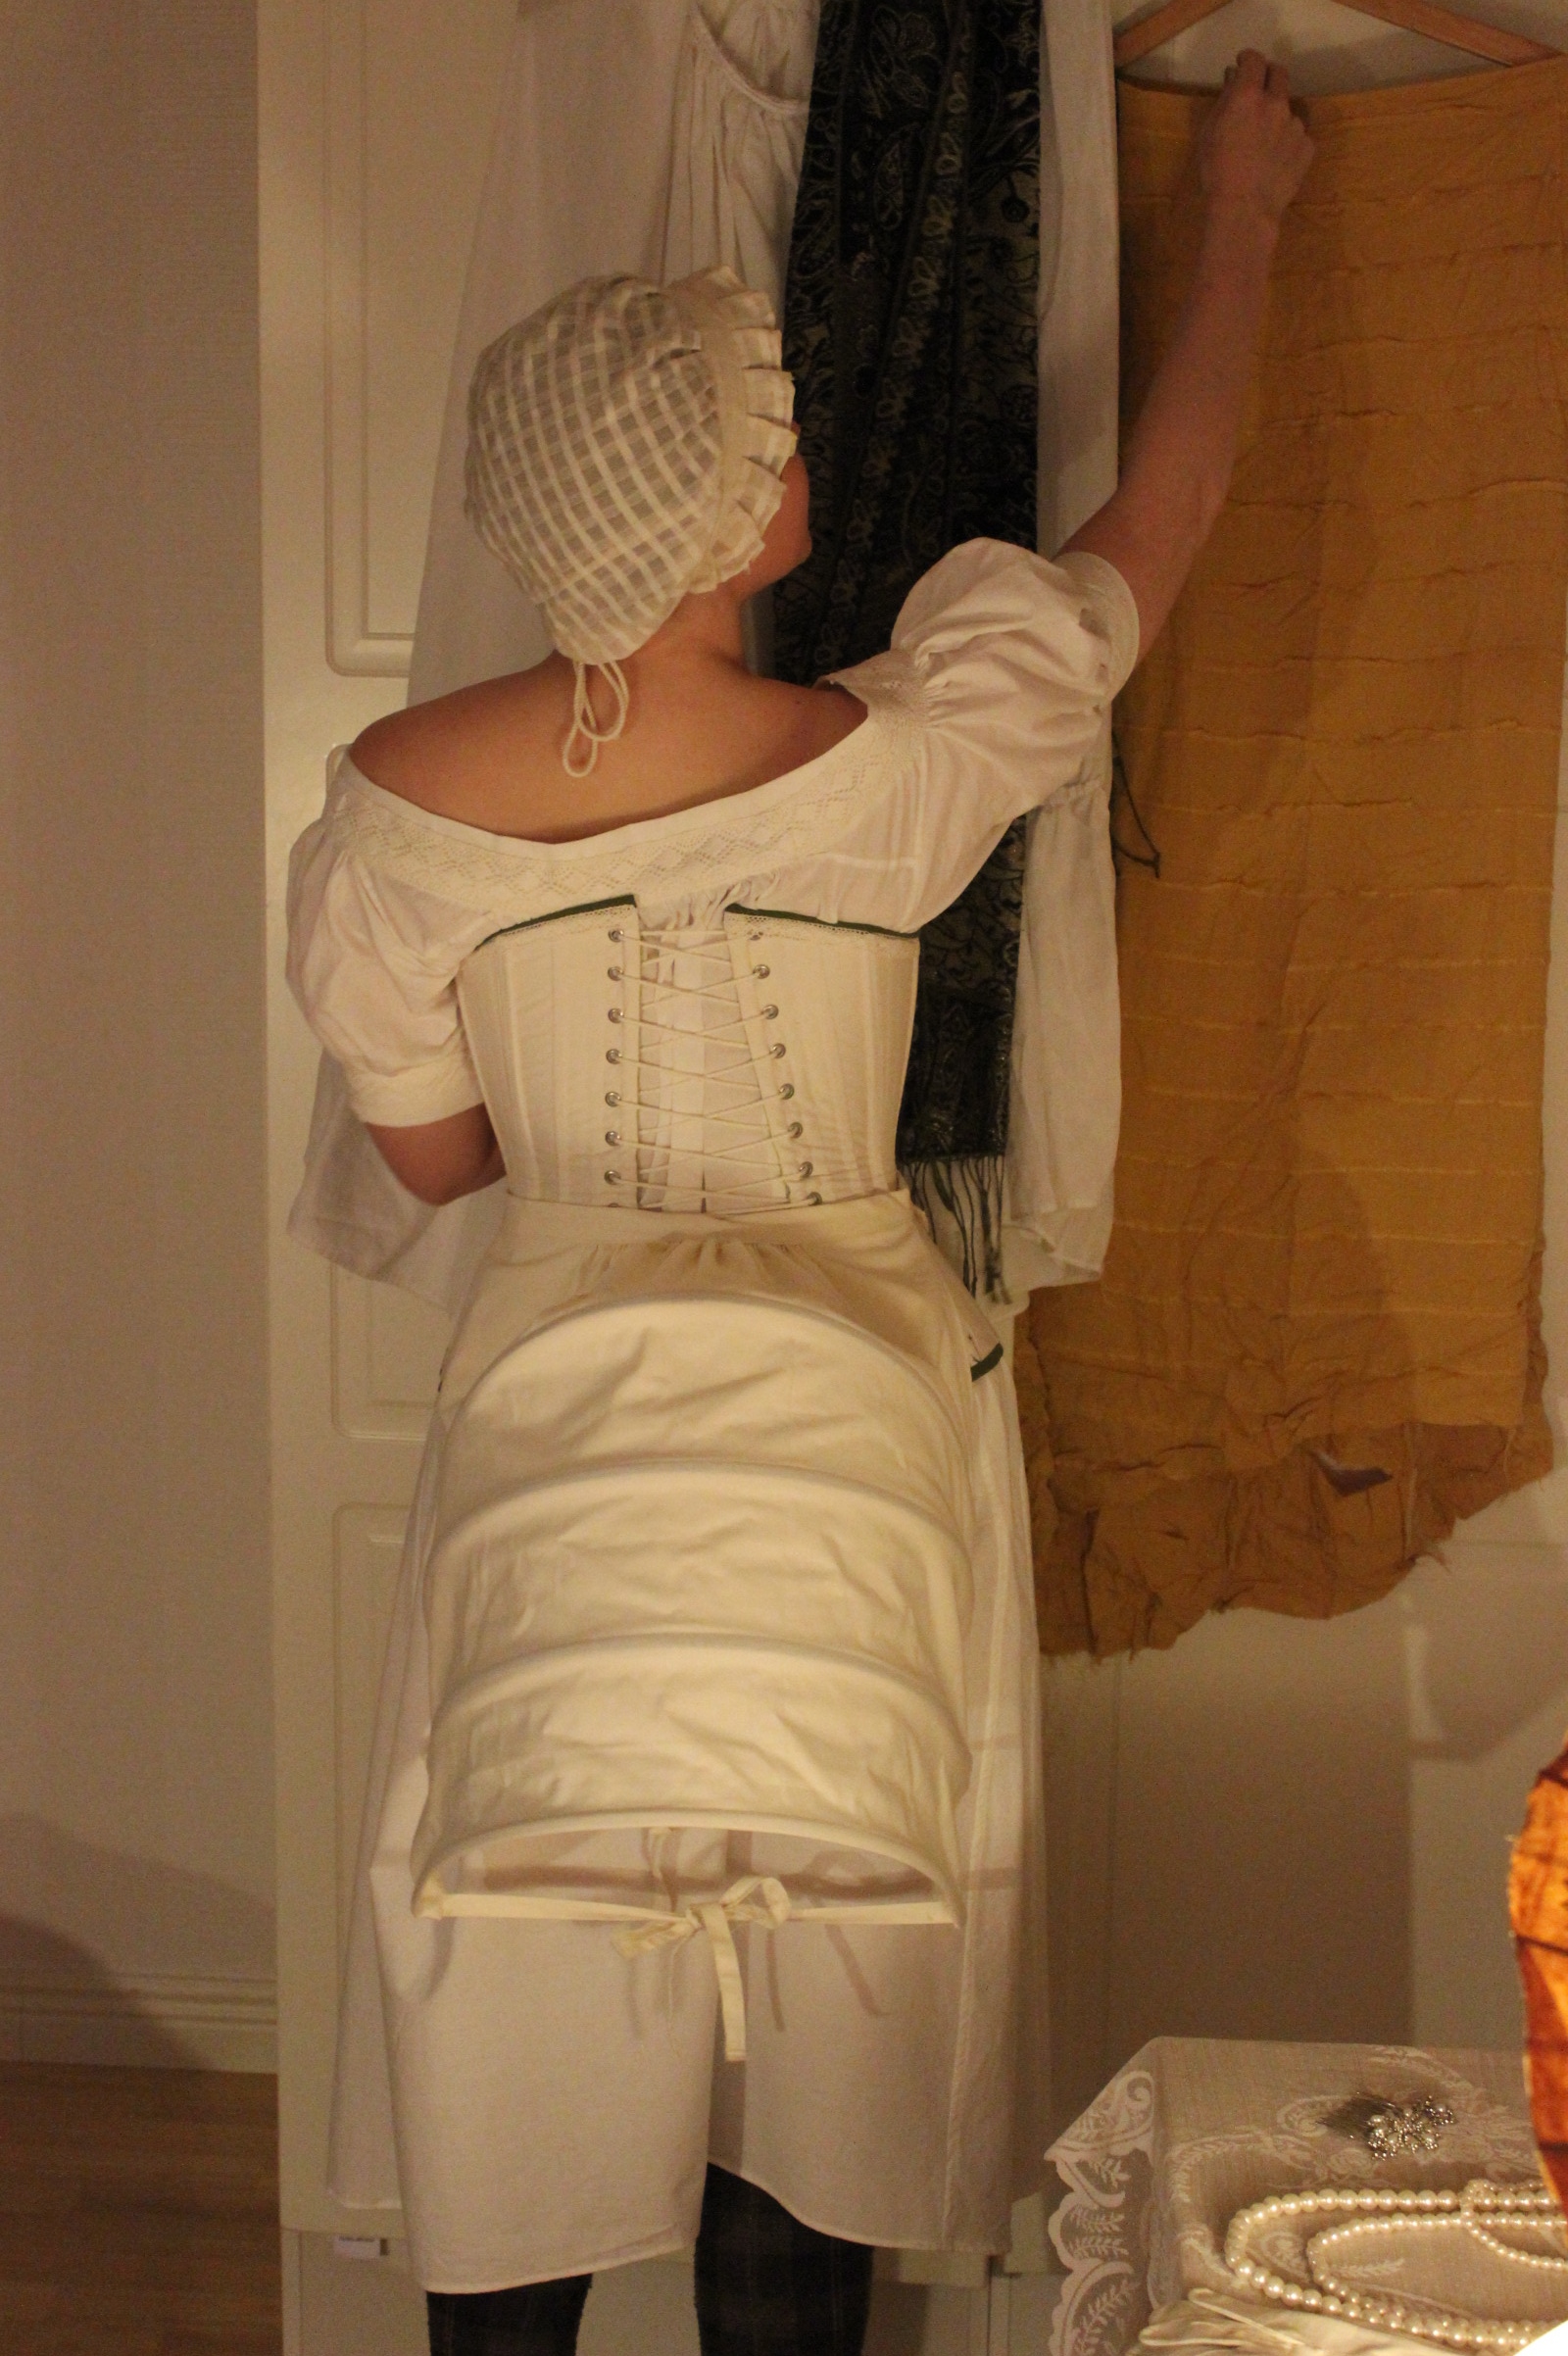
4. Under it all
A 1900s S-shape corset.
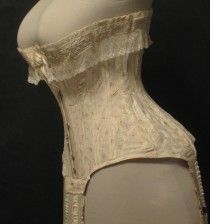

Complete: Yes
Dead on!
5. Bodice
I’m not sure about this one, will have to wait and see.
Complete: Yes
Unfair since I didn’t had any ideas before hand.
6. Fairytale & 7. Tops/Toes
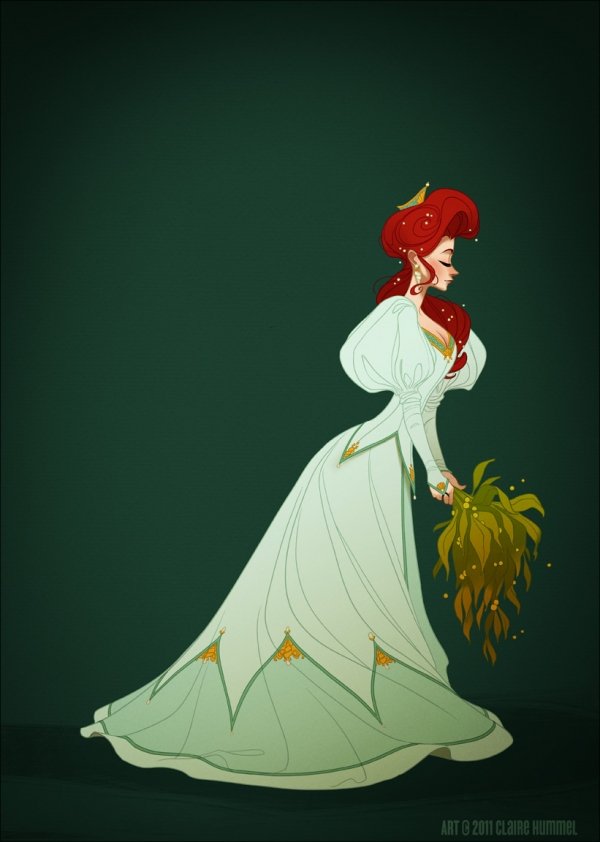

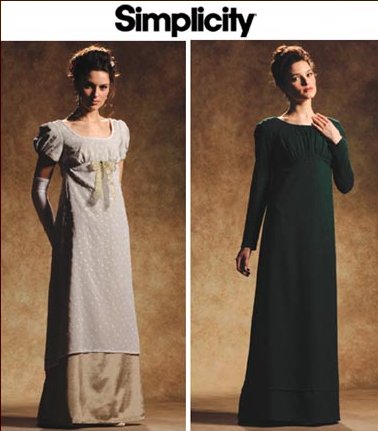
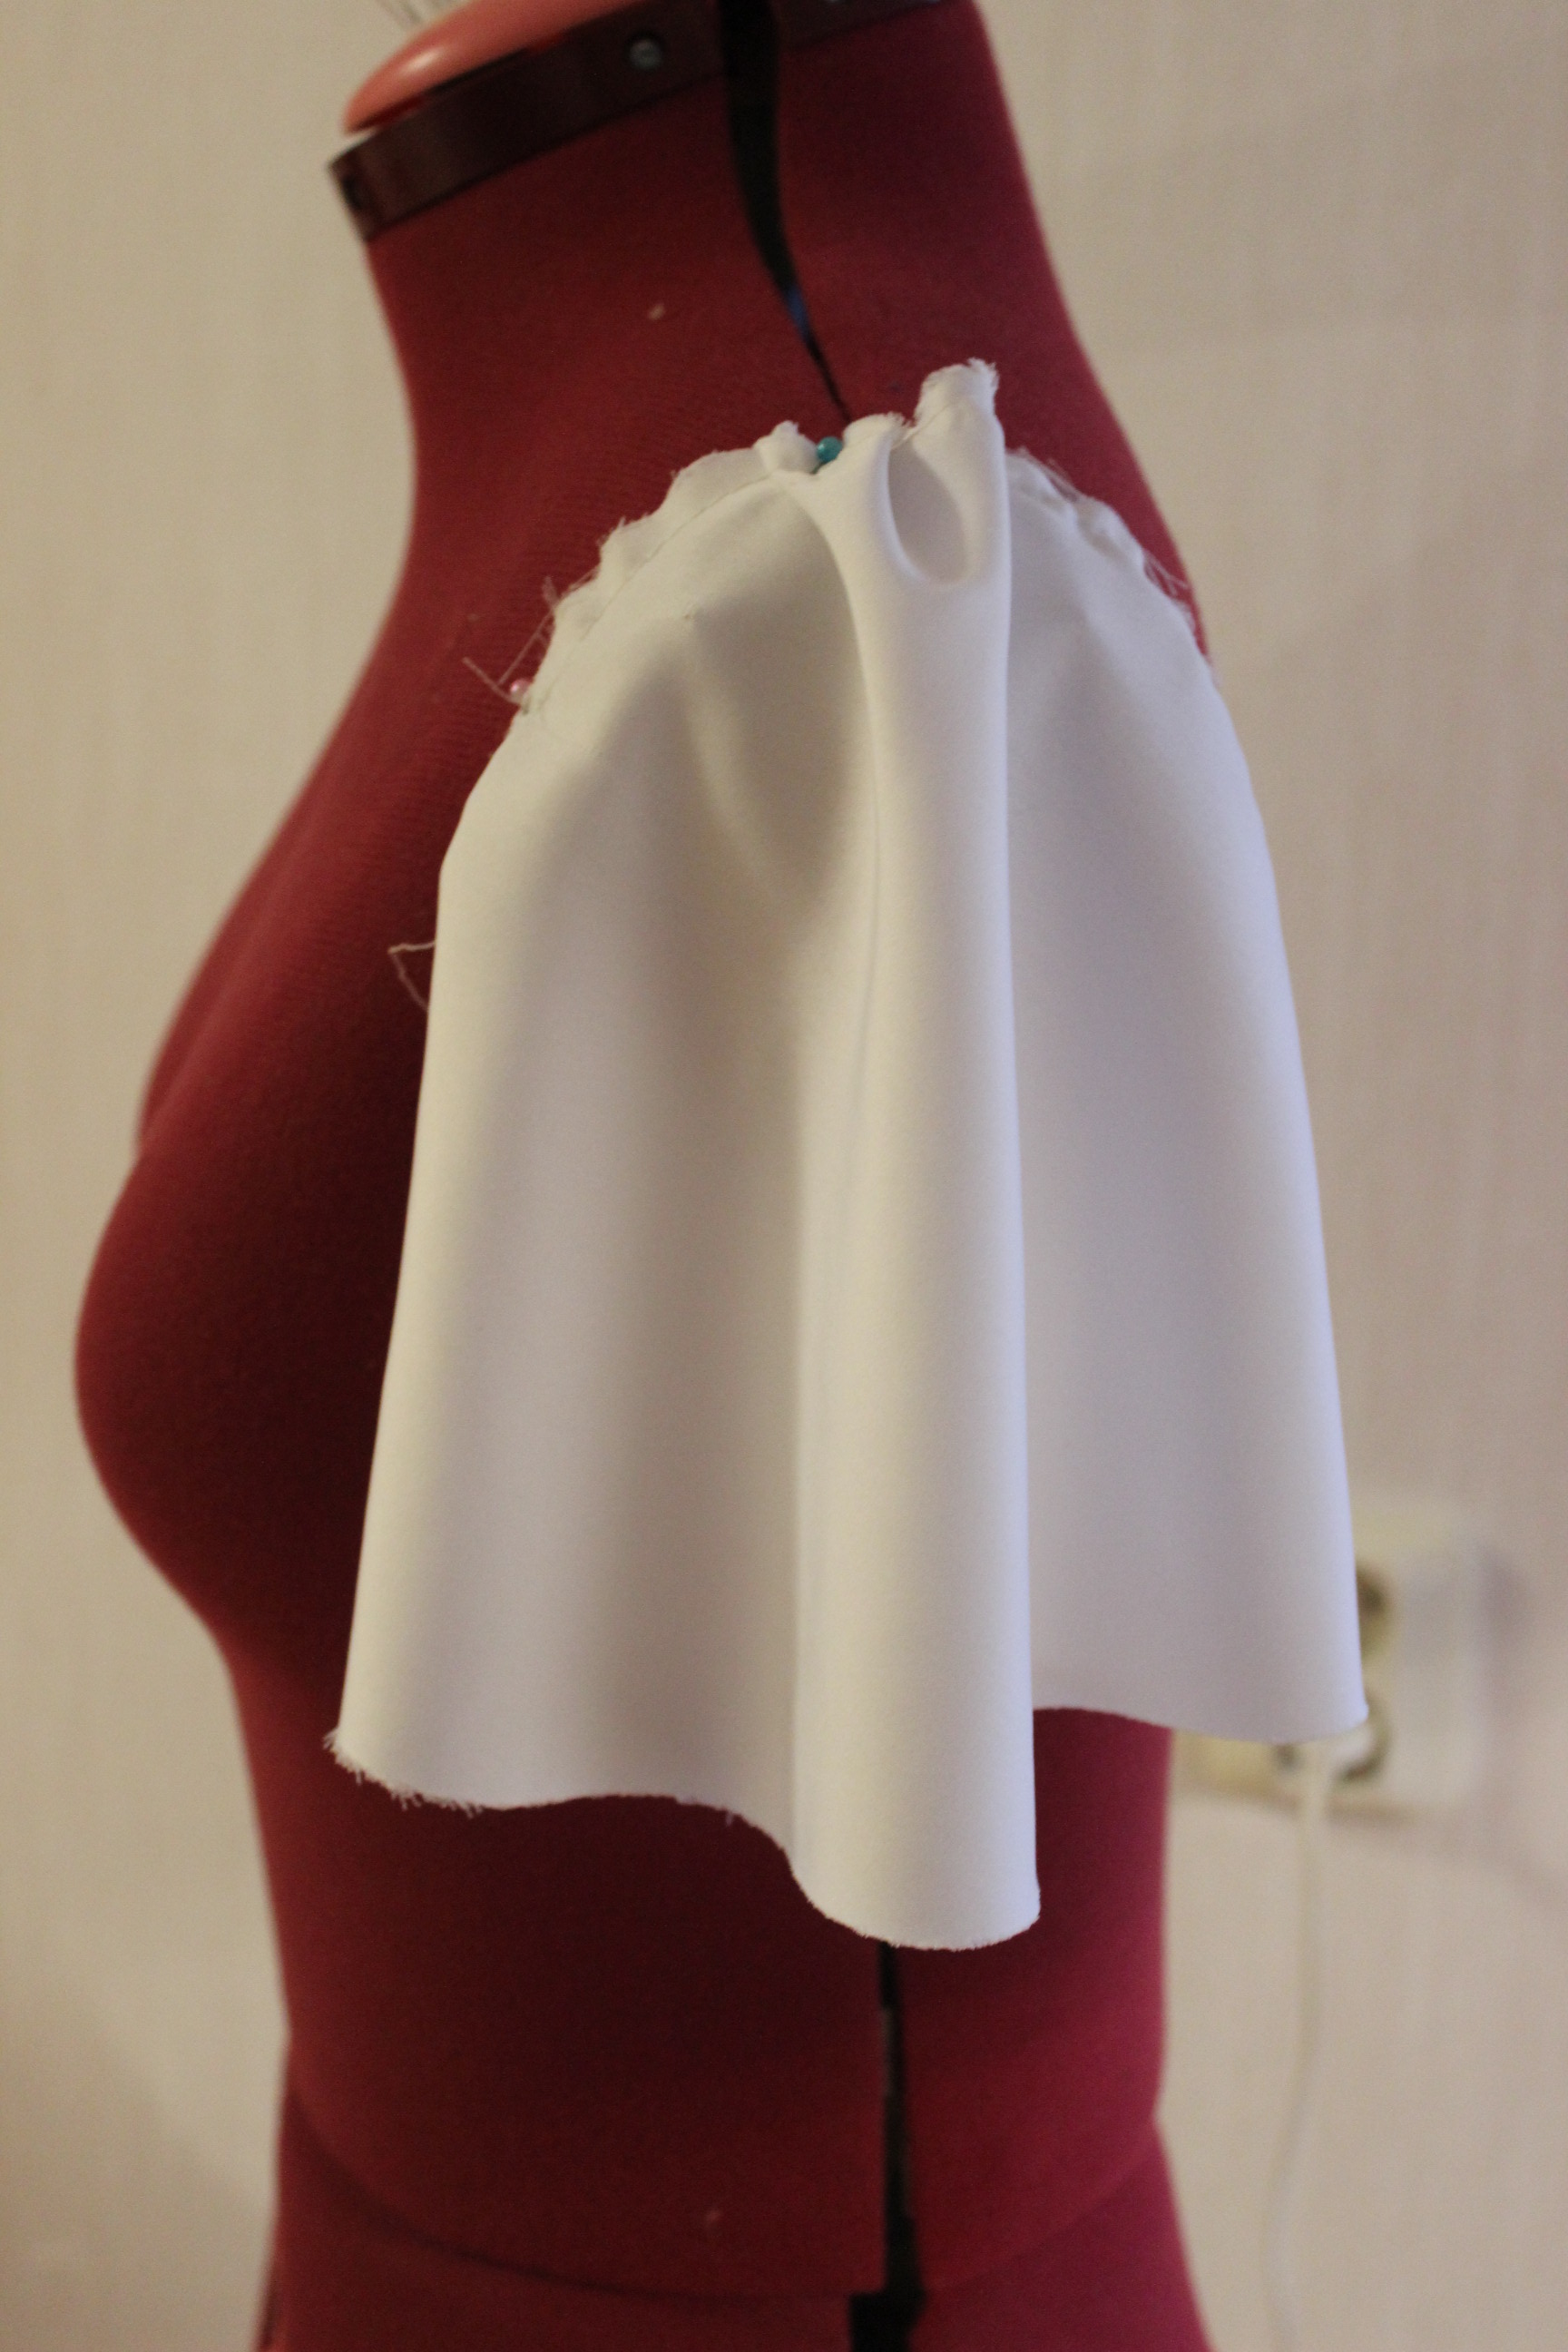
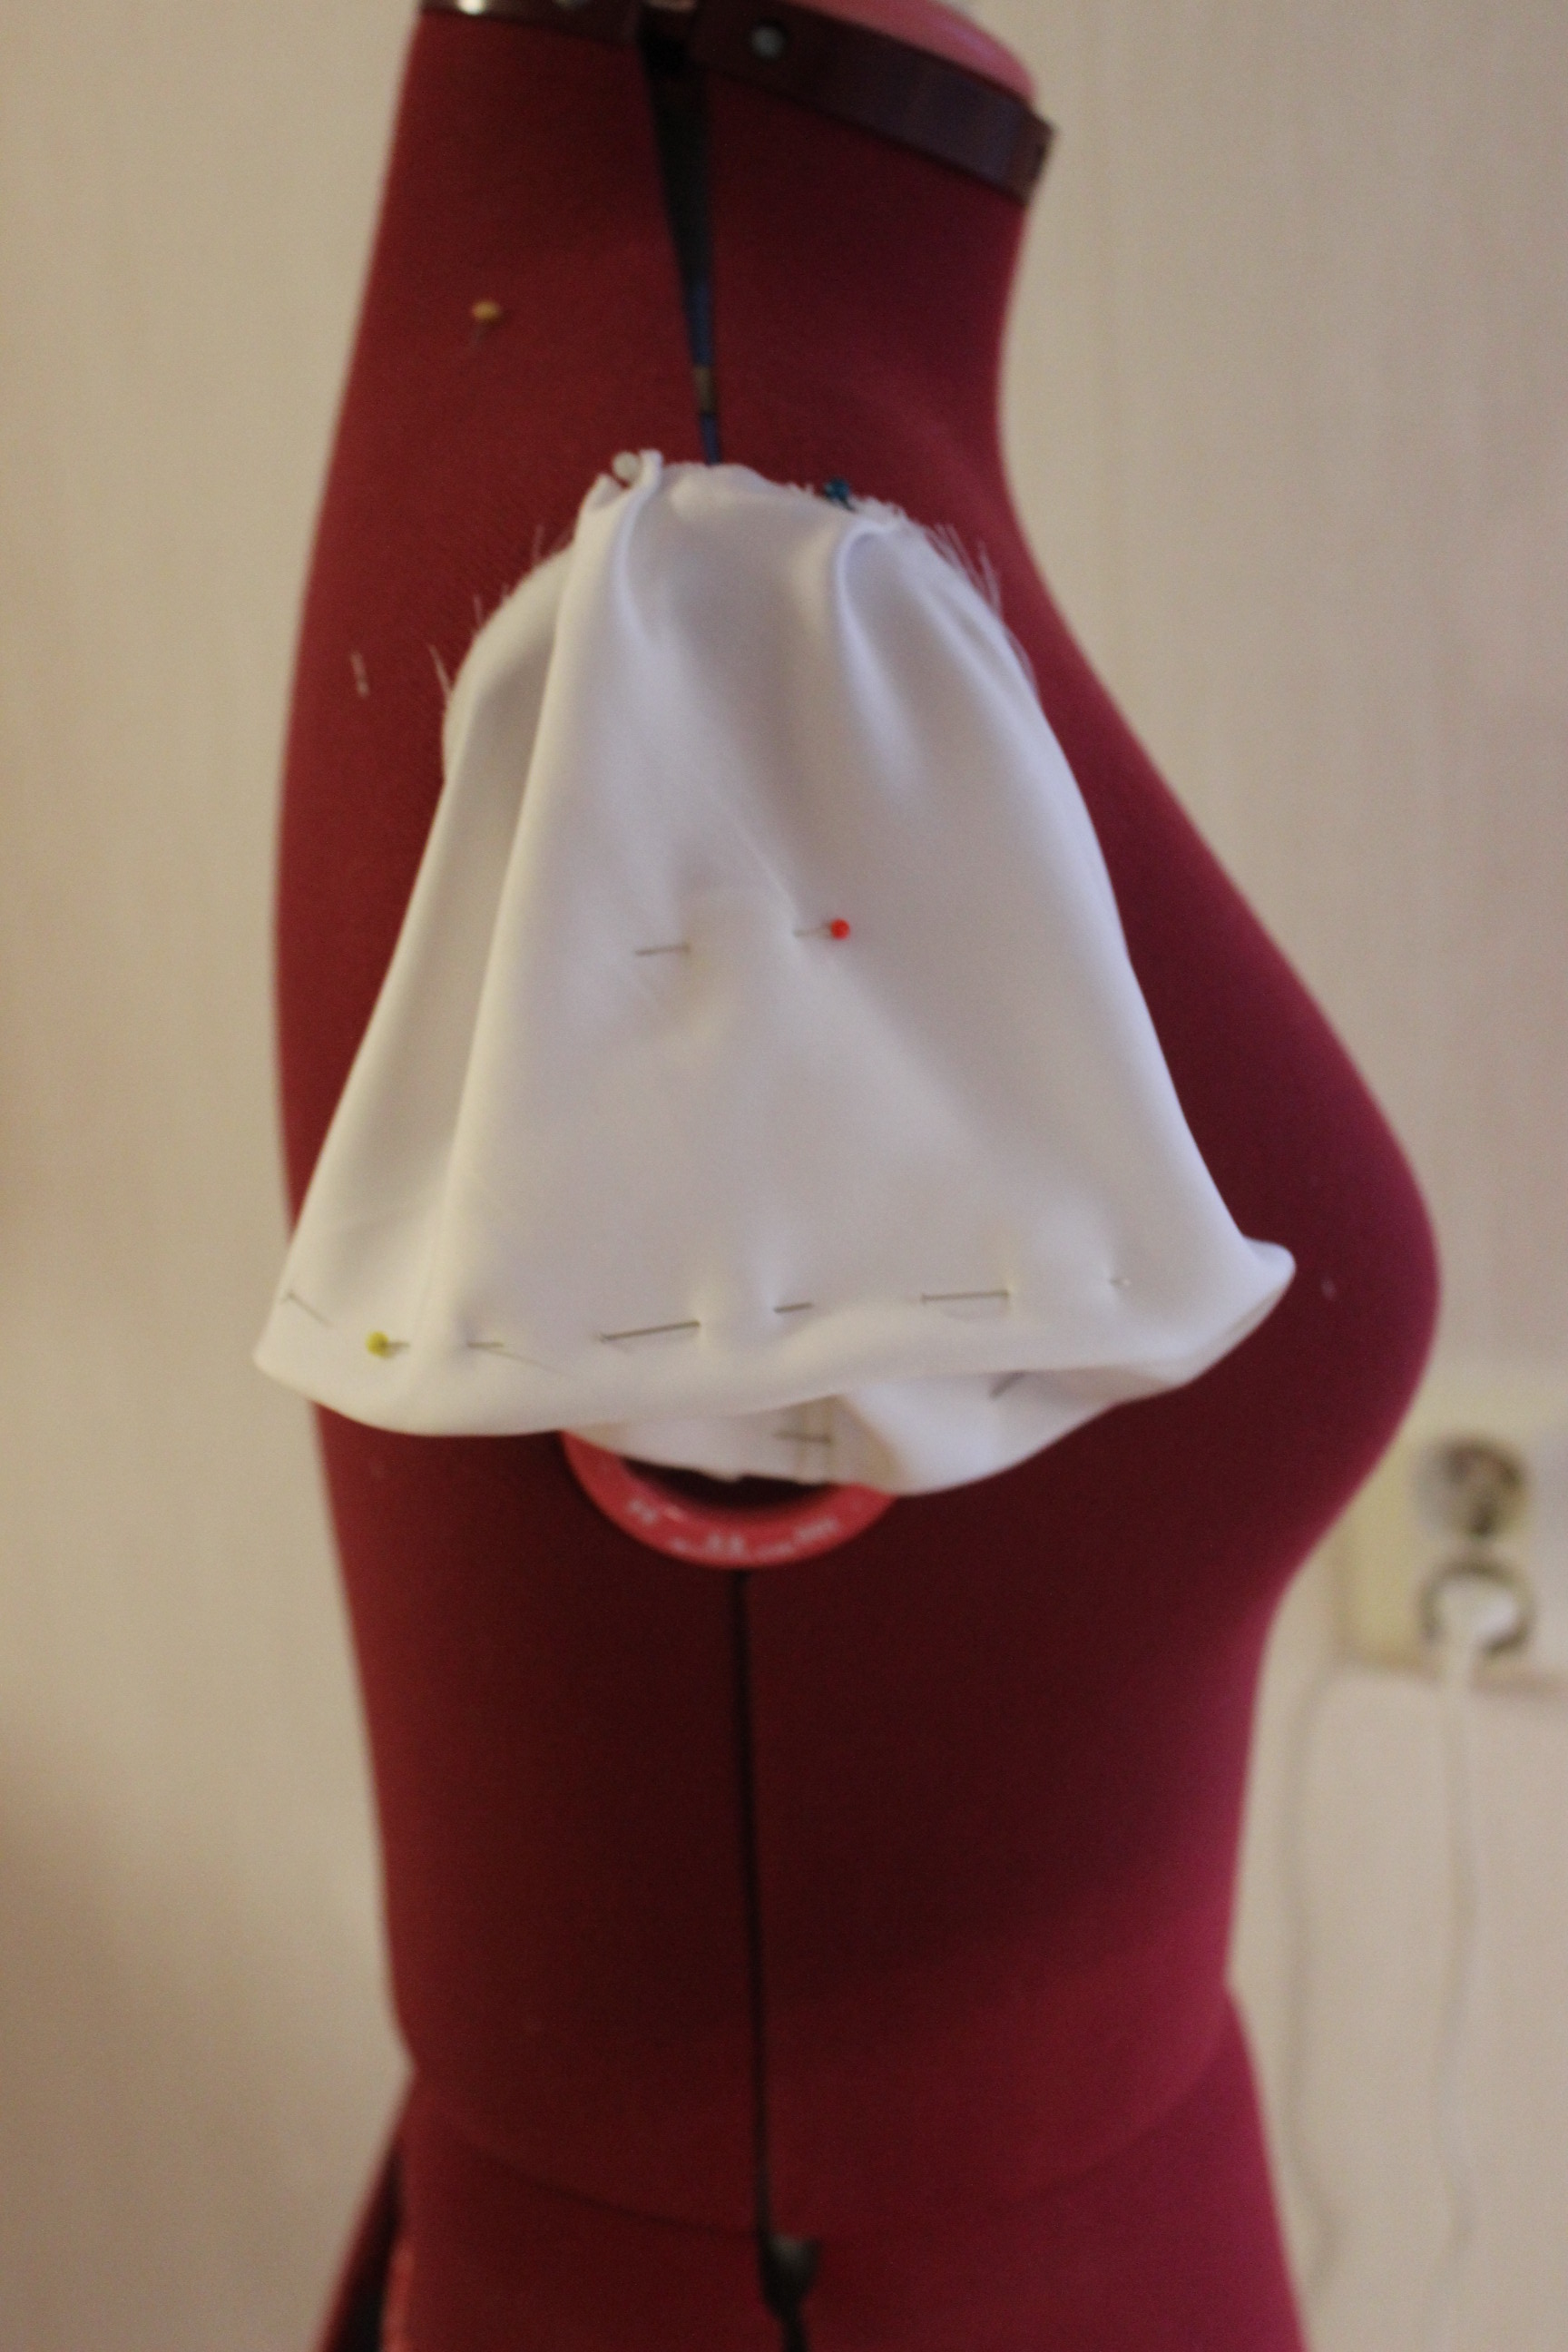
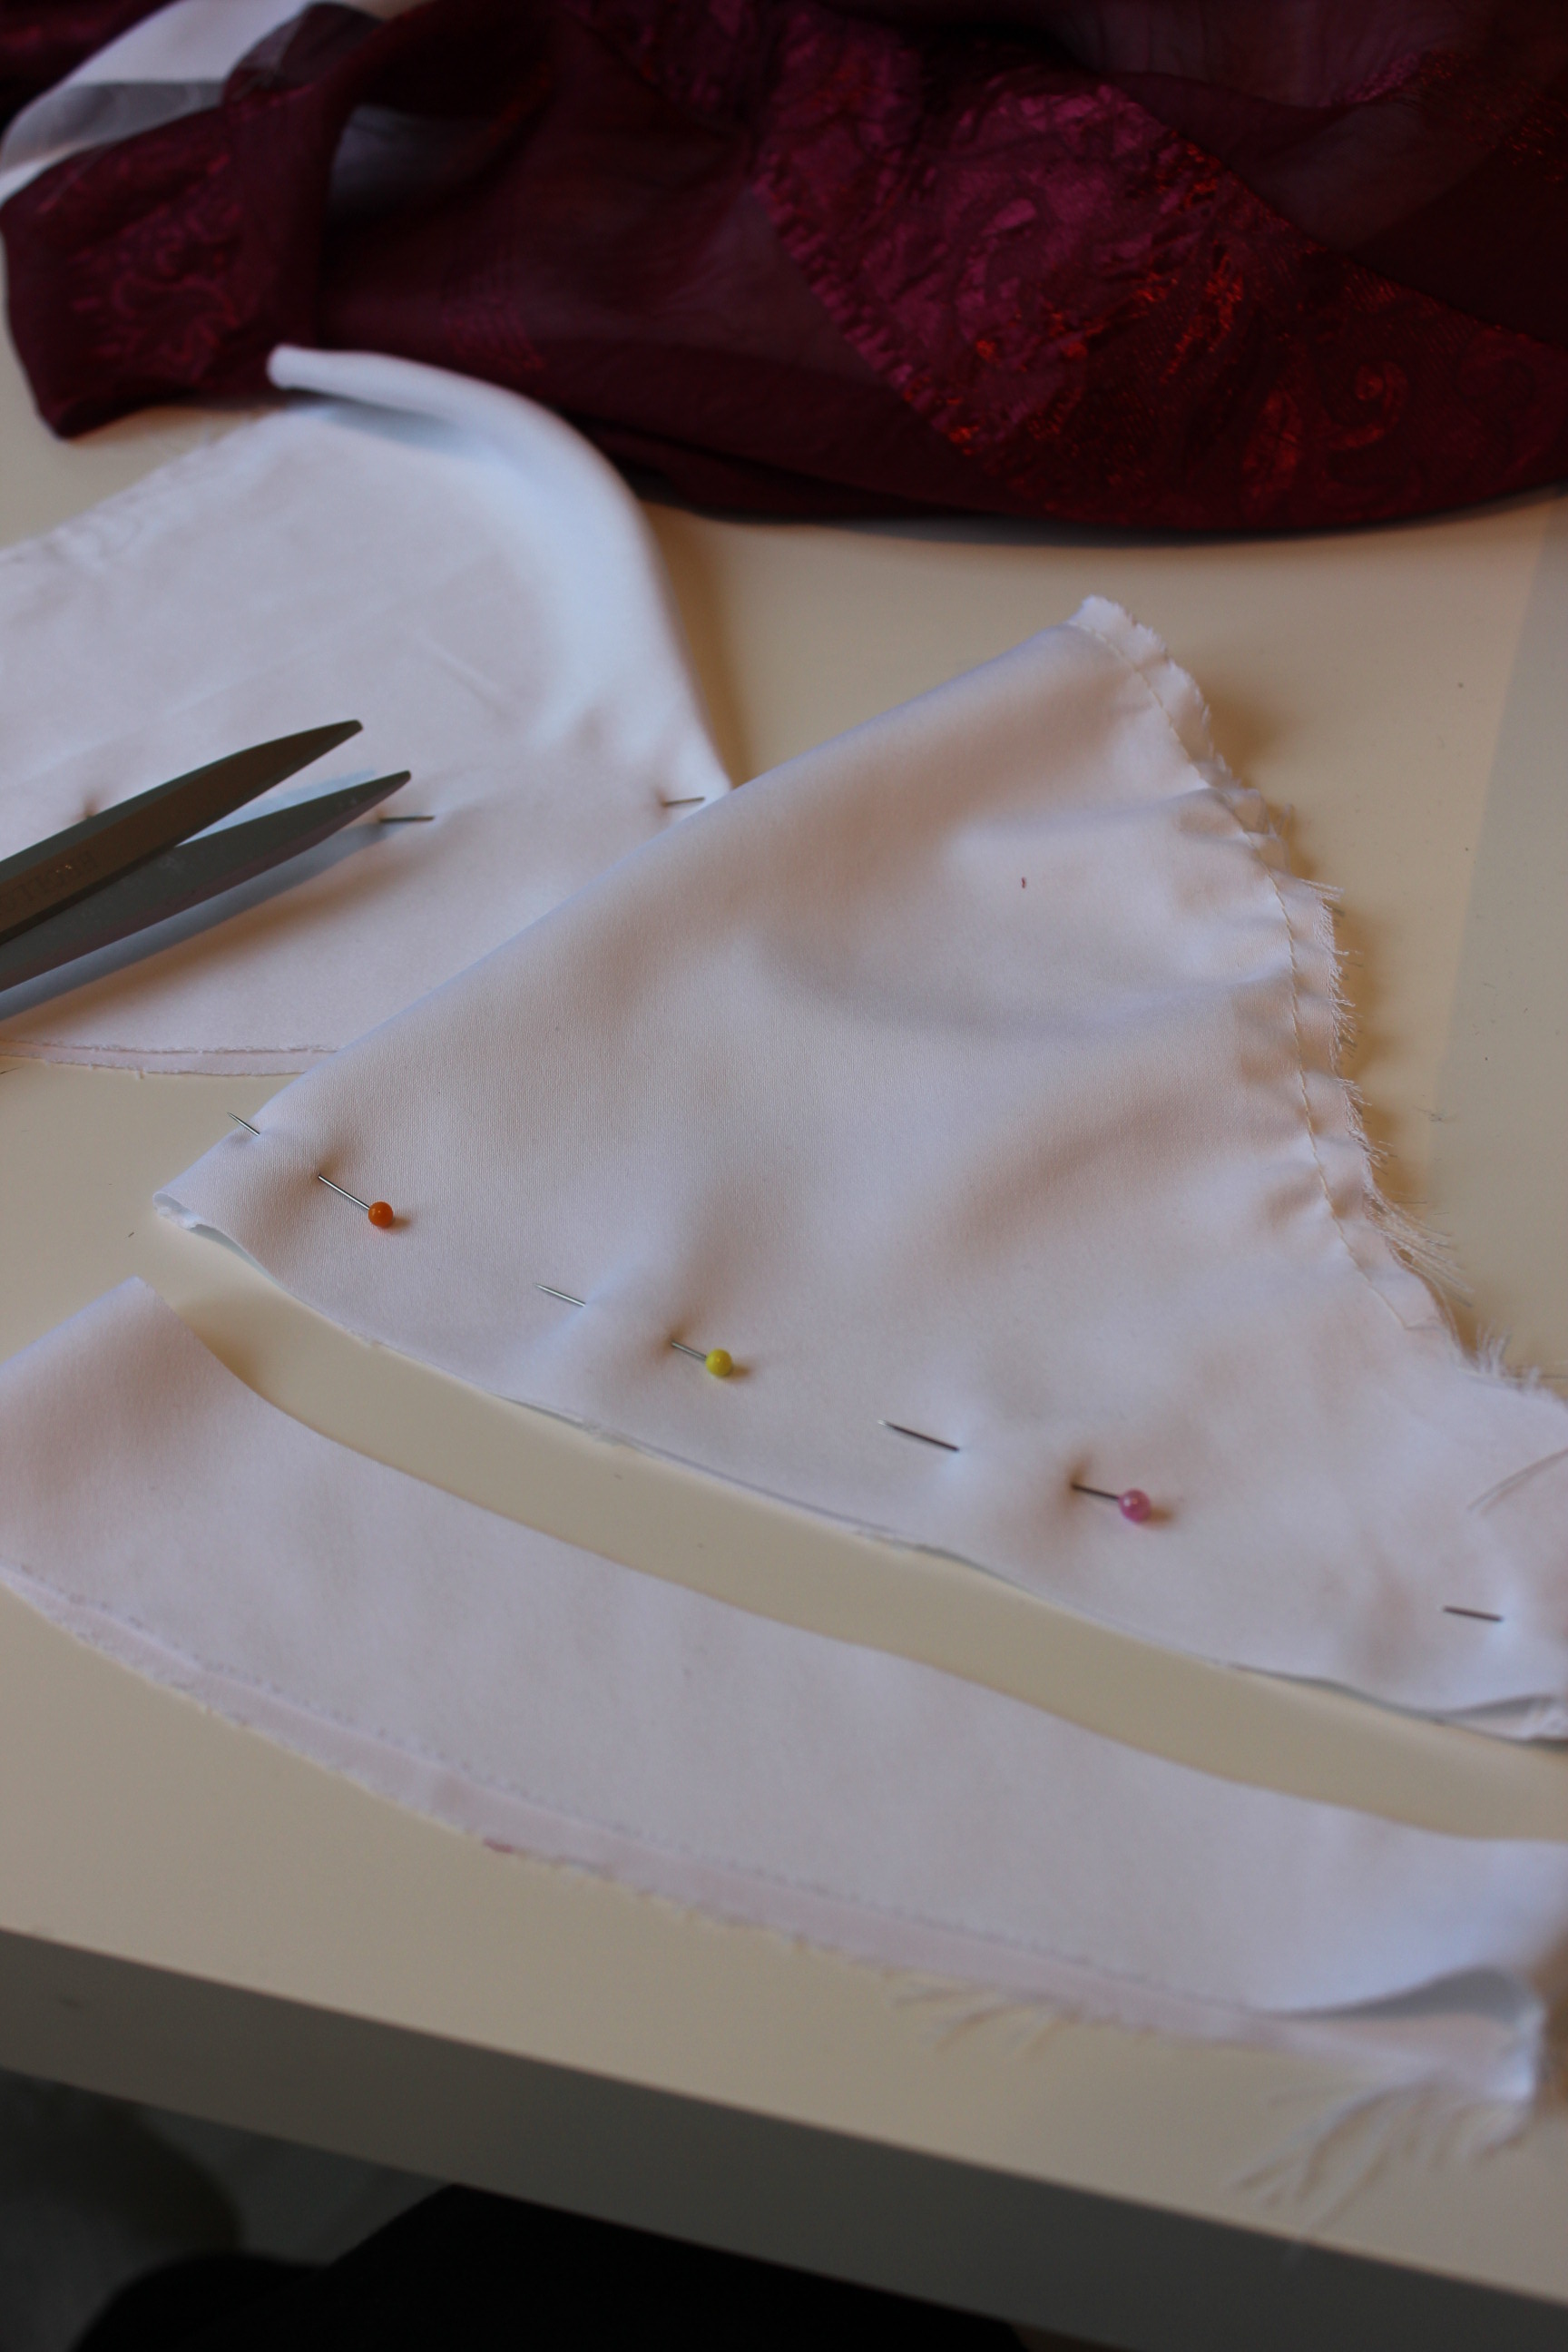
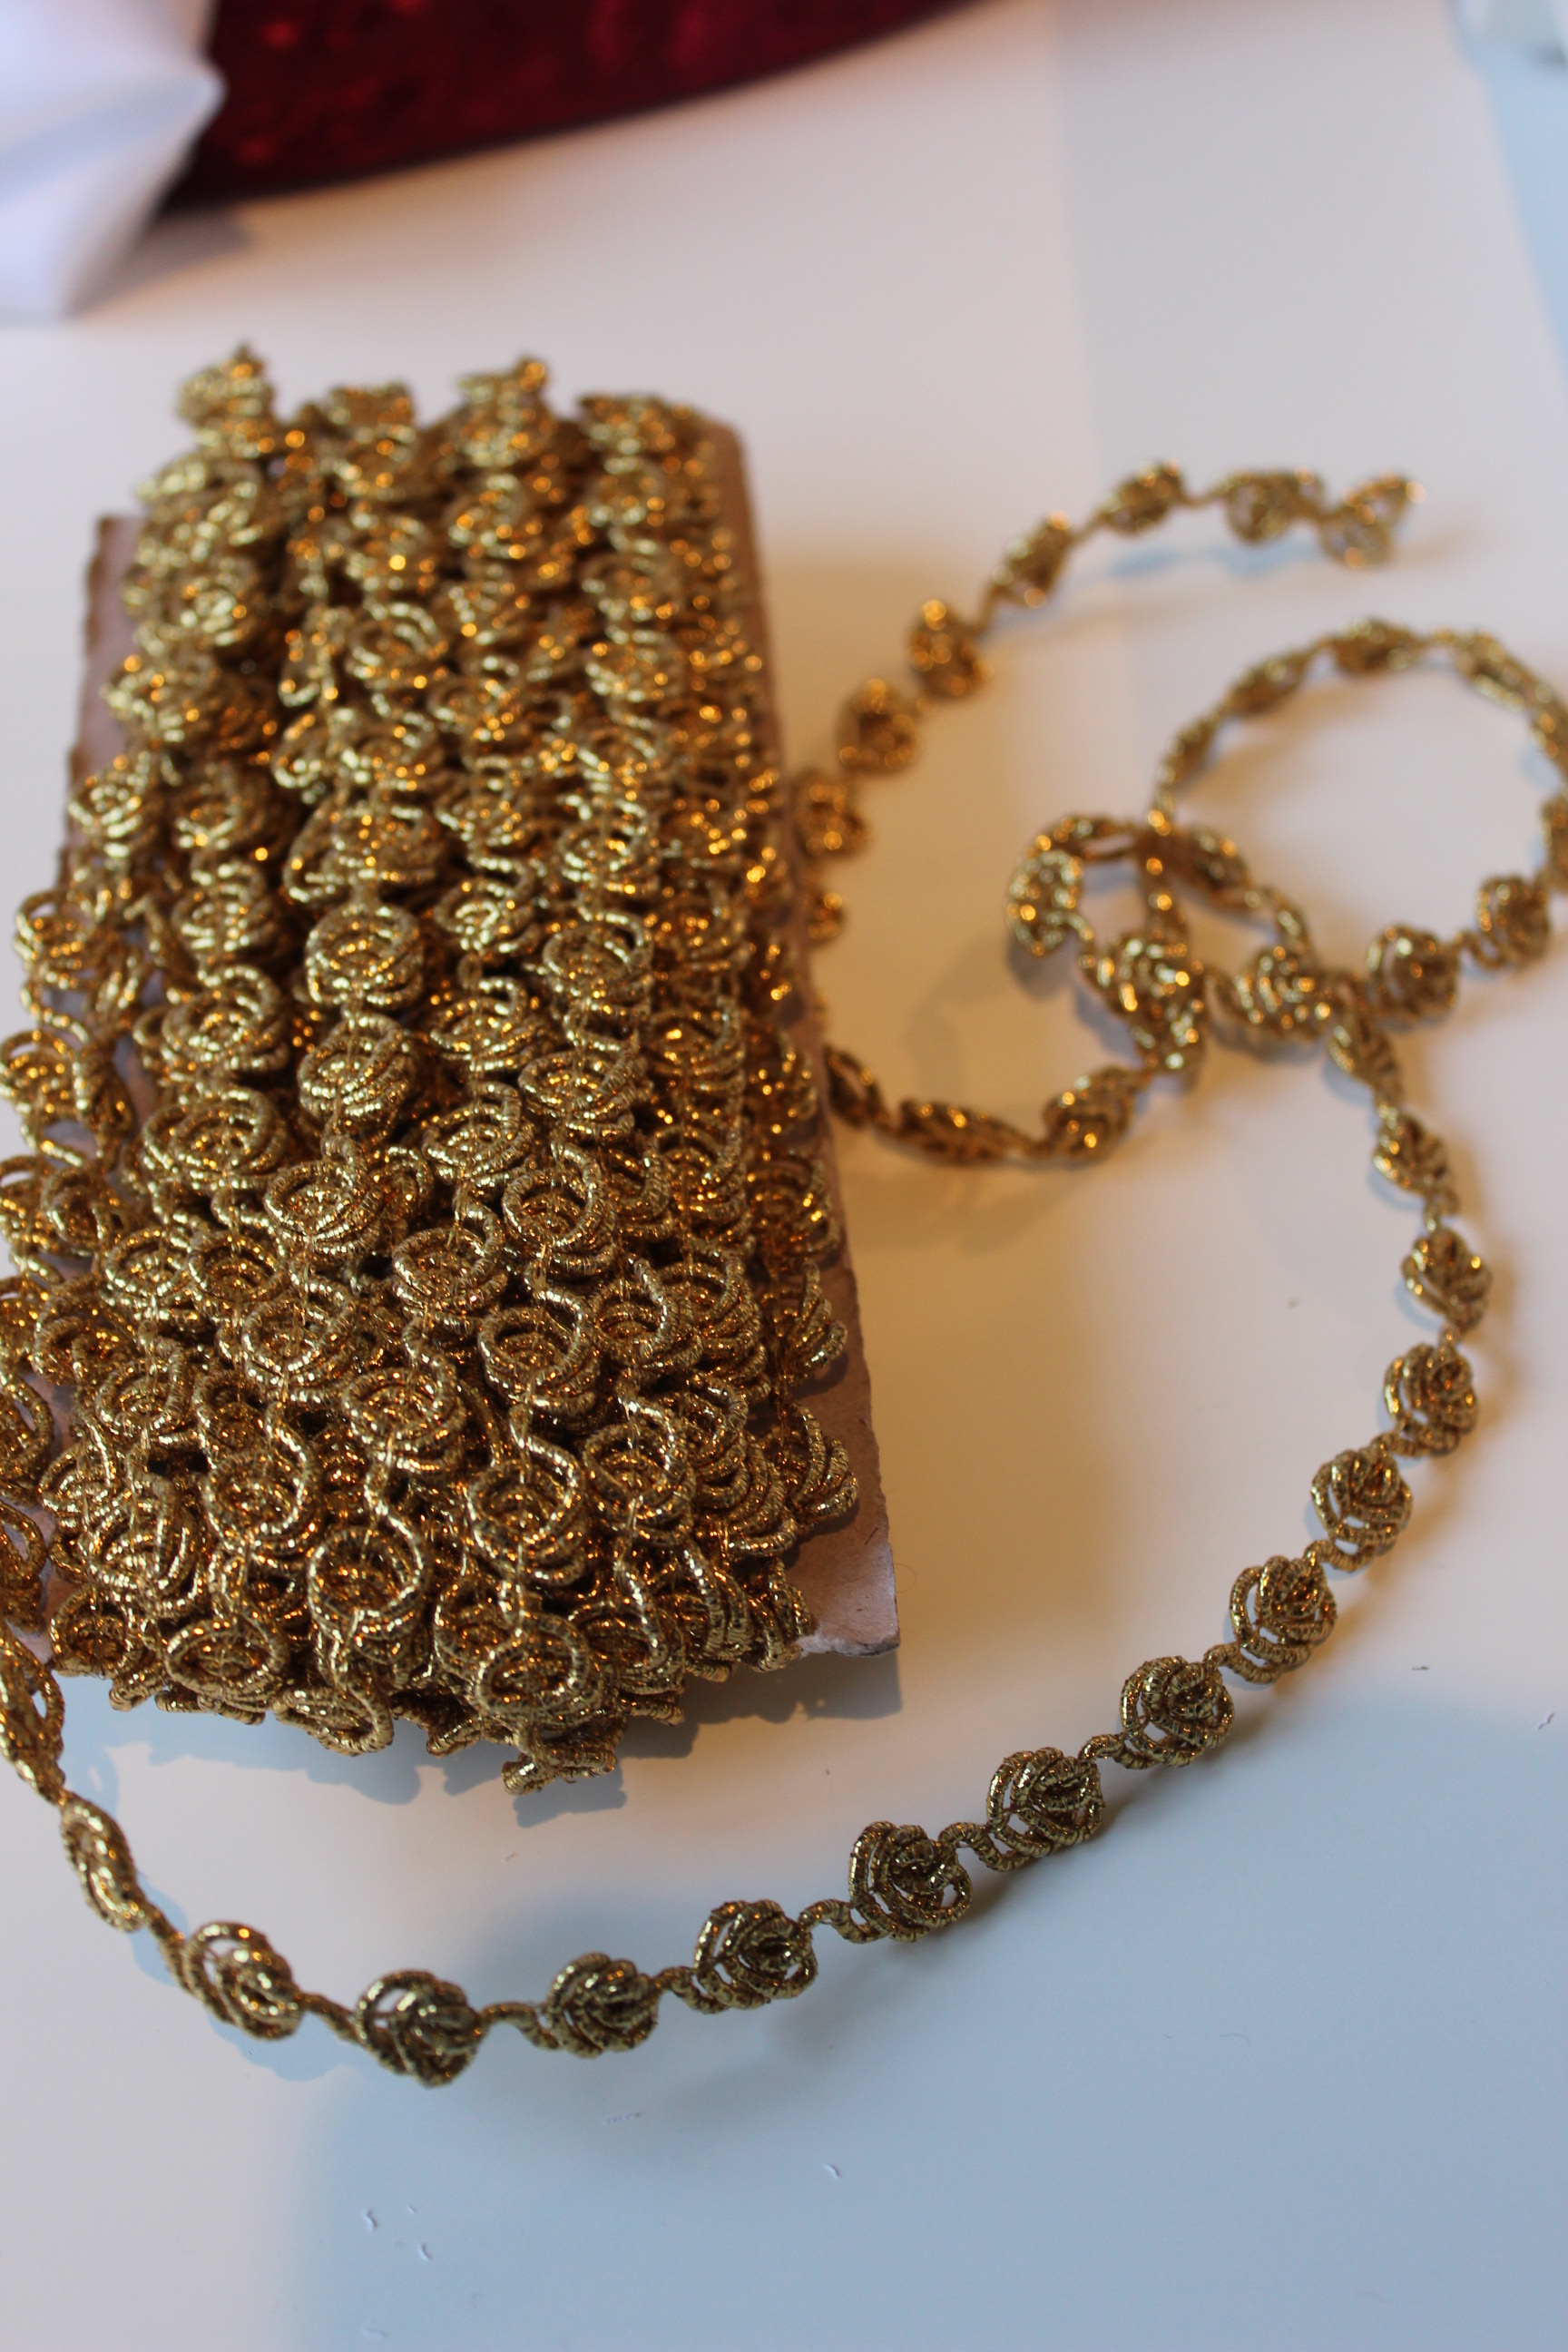
A 1900s white gown, inspired from the “Ariel” design together with some real pictures, and a big lovely hat to match. I think I got the right fabric for this gown, and now that I got lots of lace as well, I should just go for it.
 A white 1900s gown inspired by “Ariel“
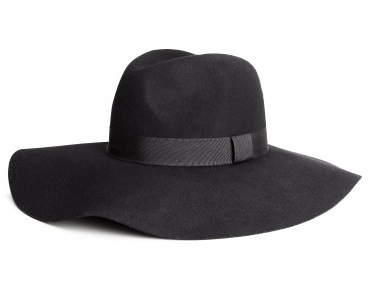
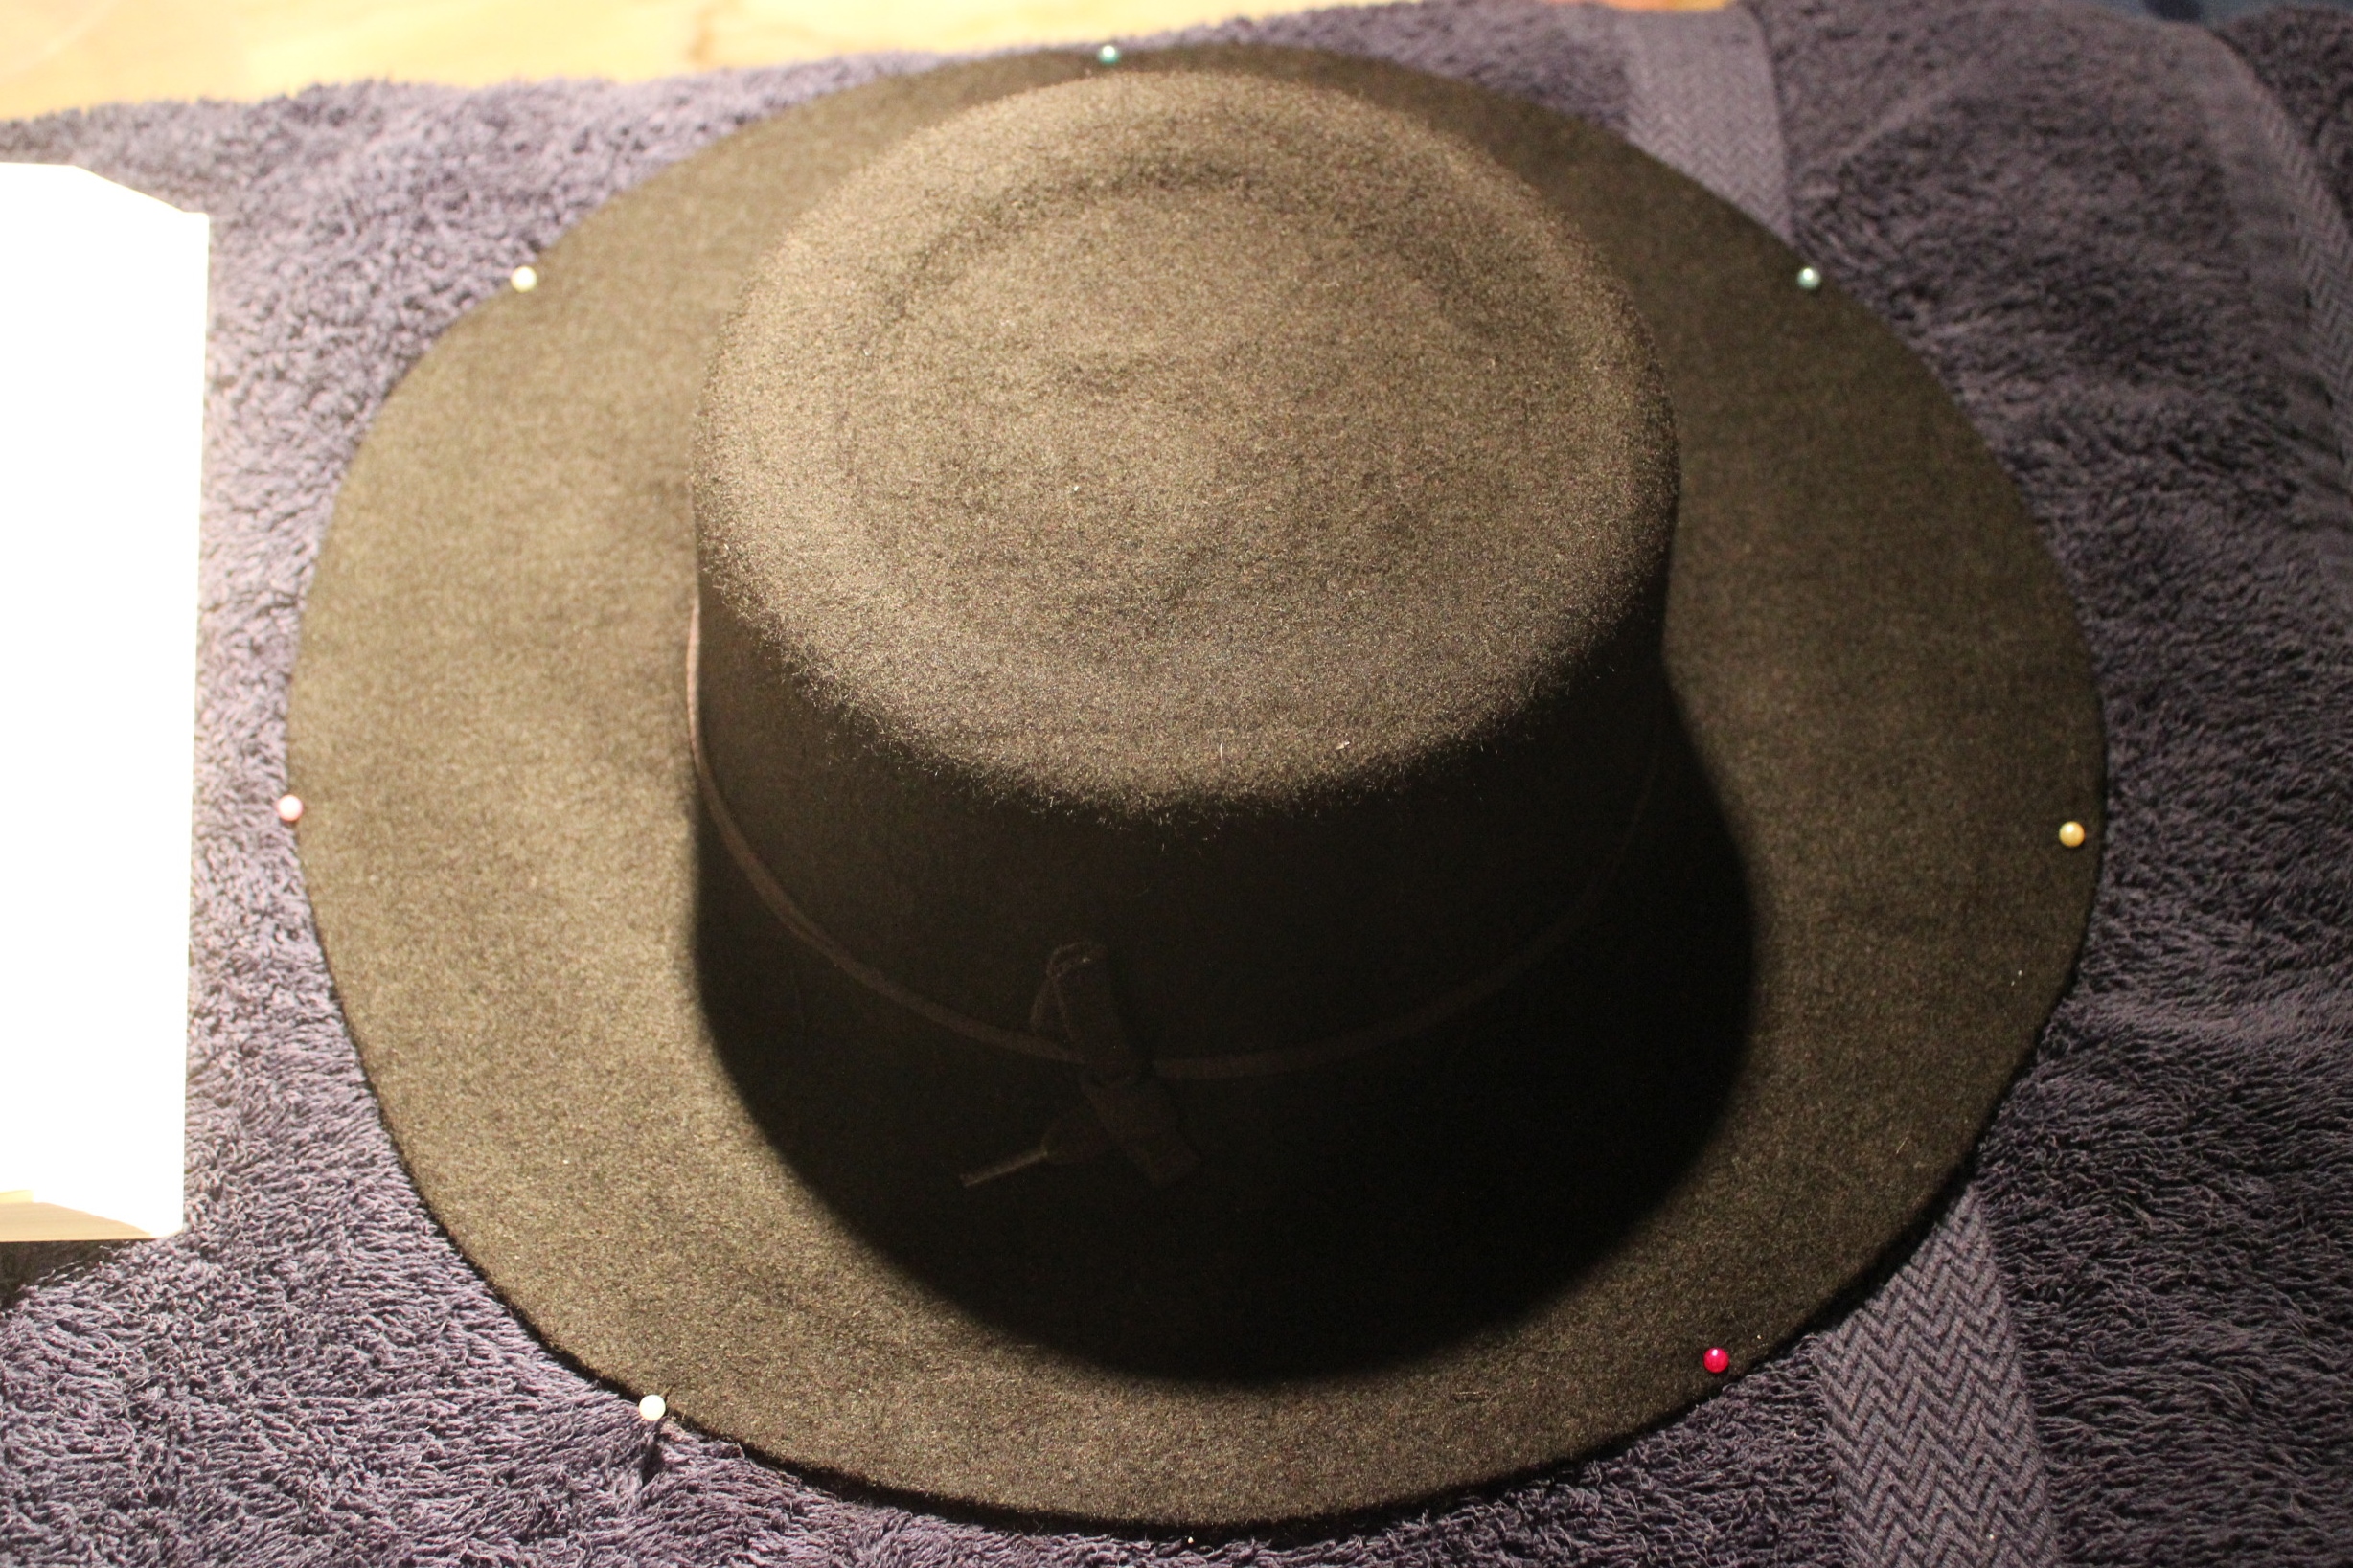
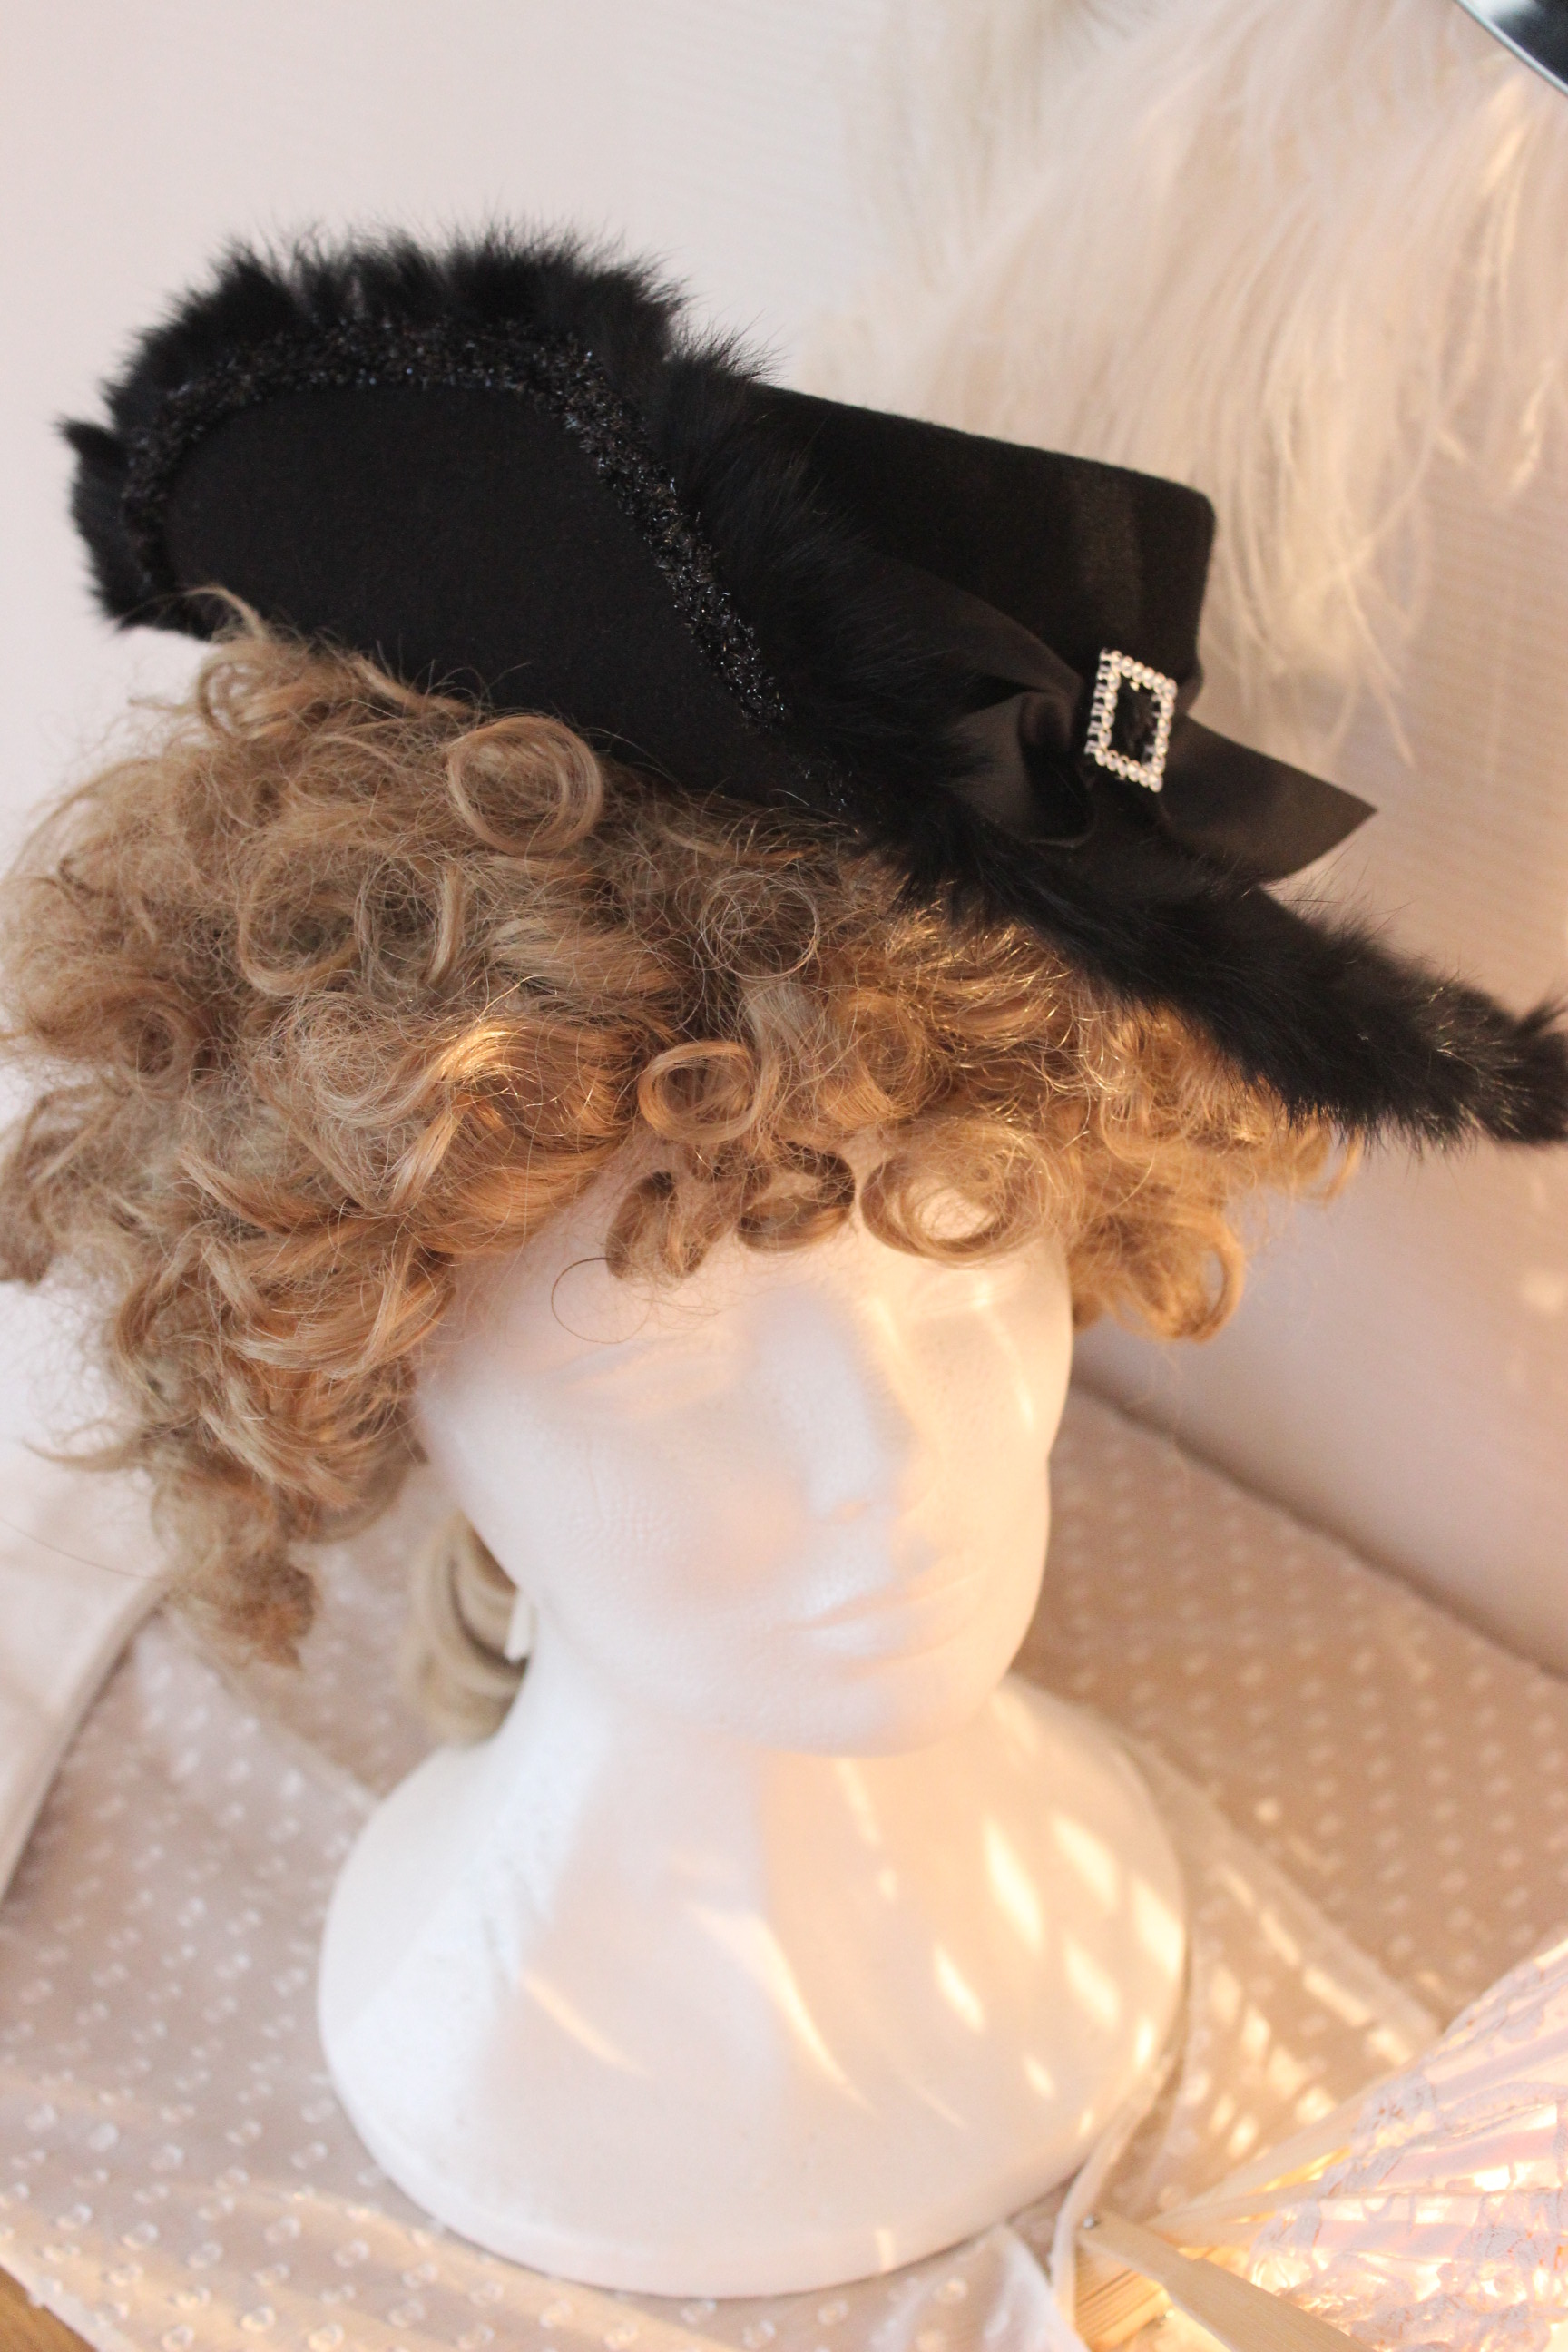
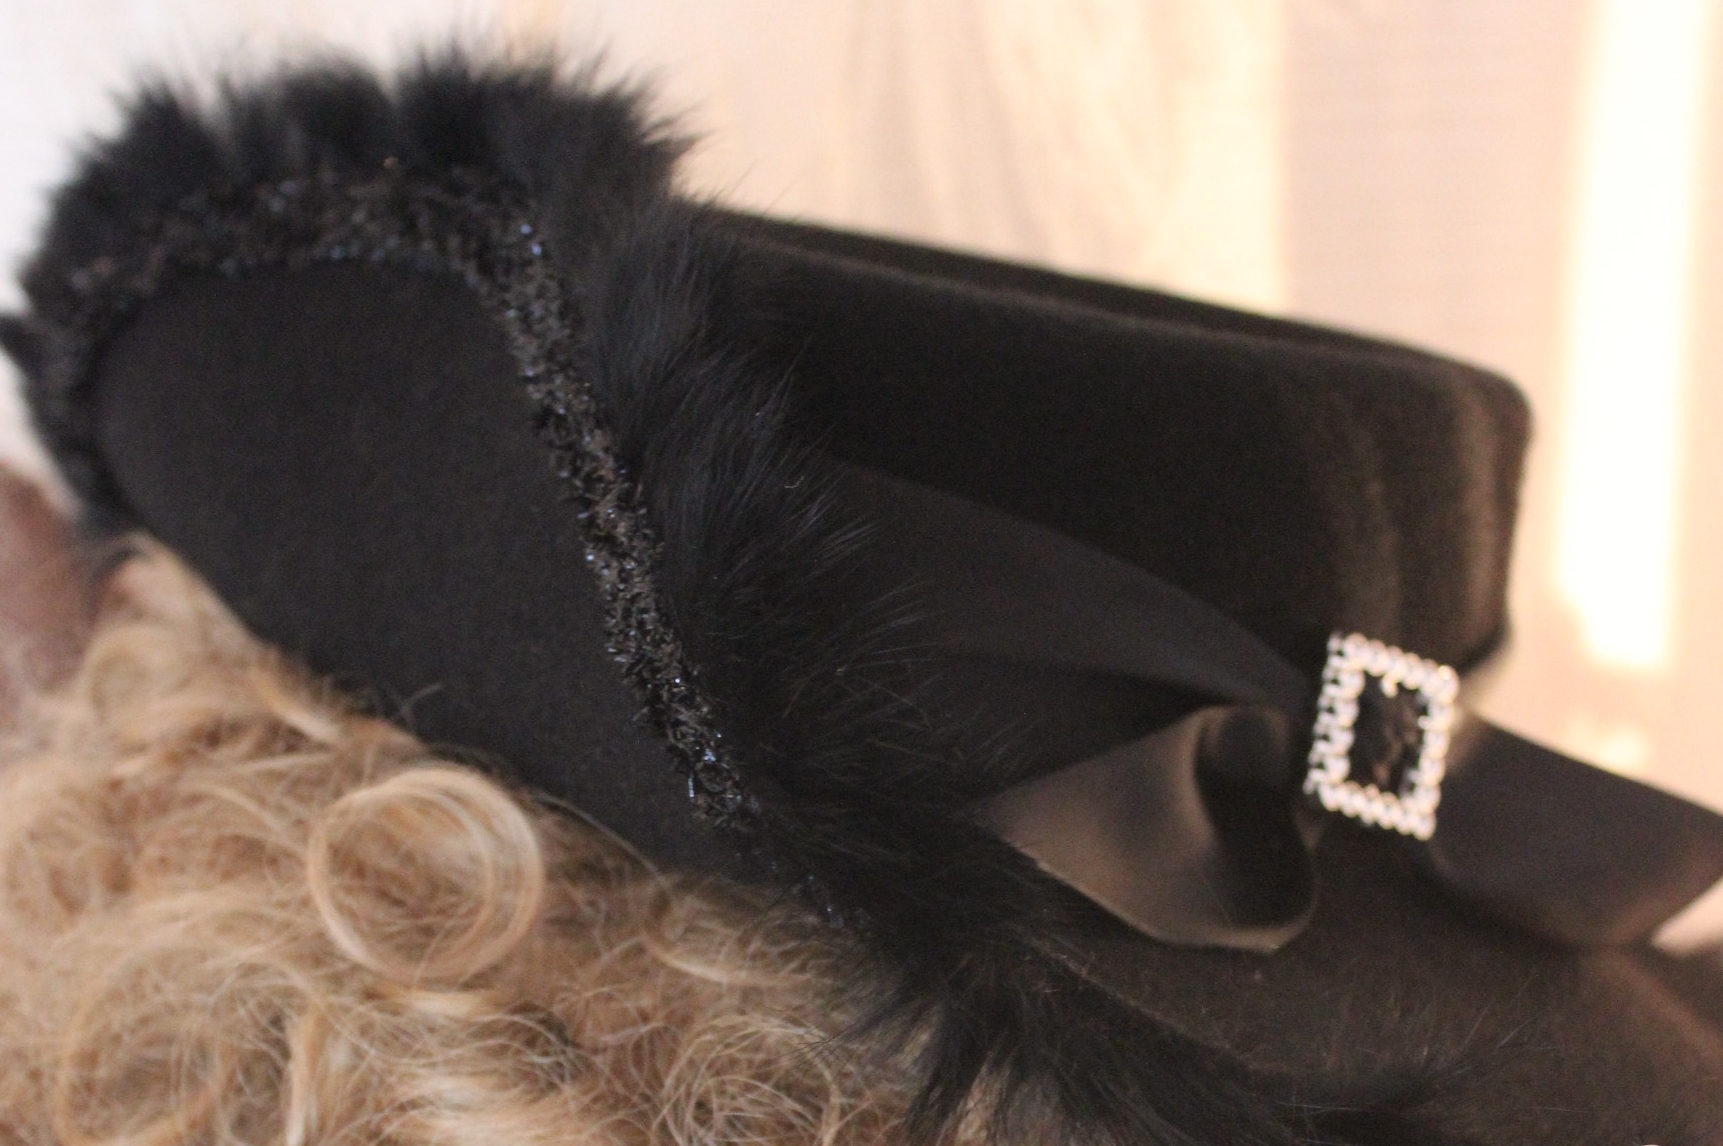
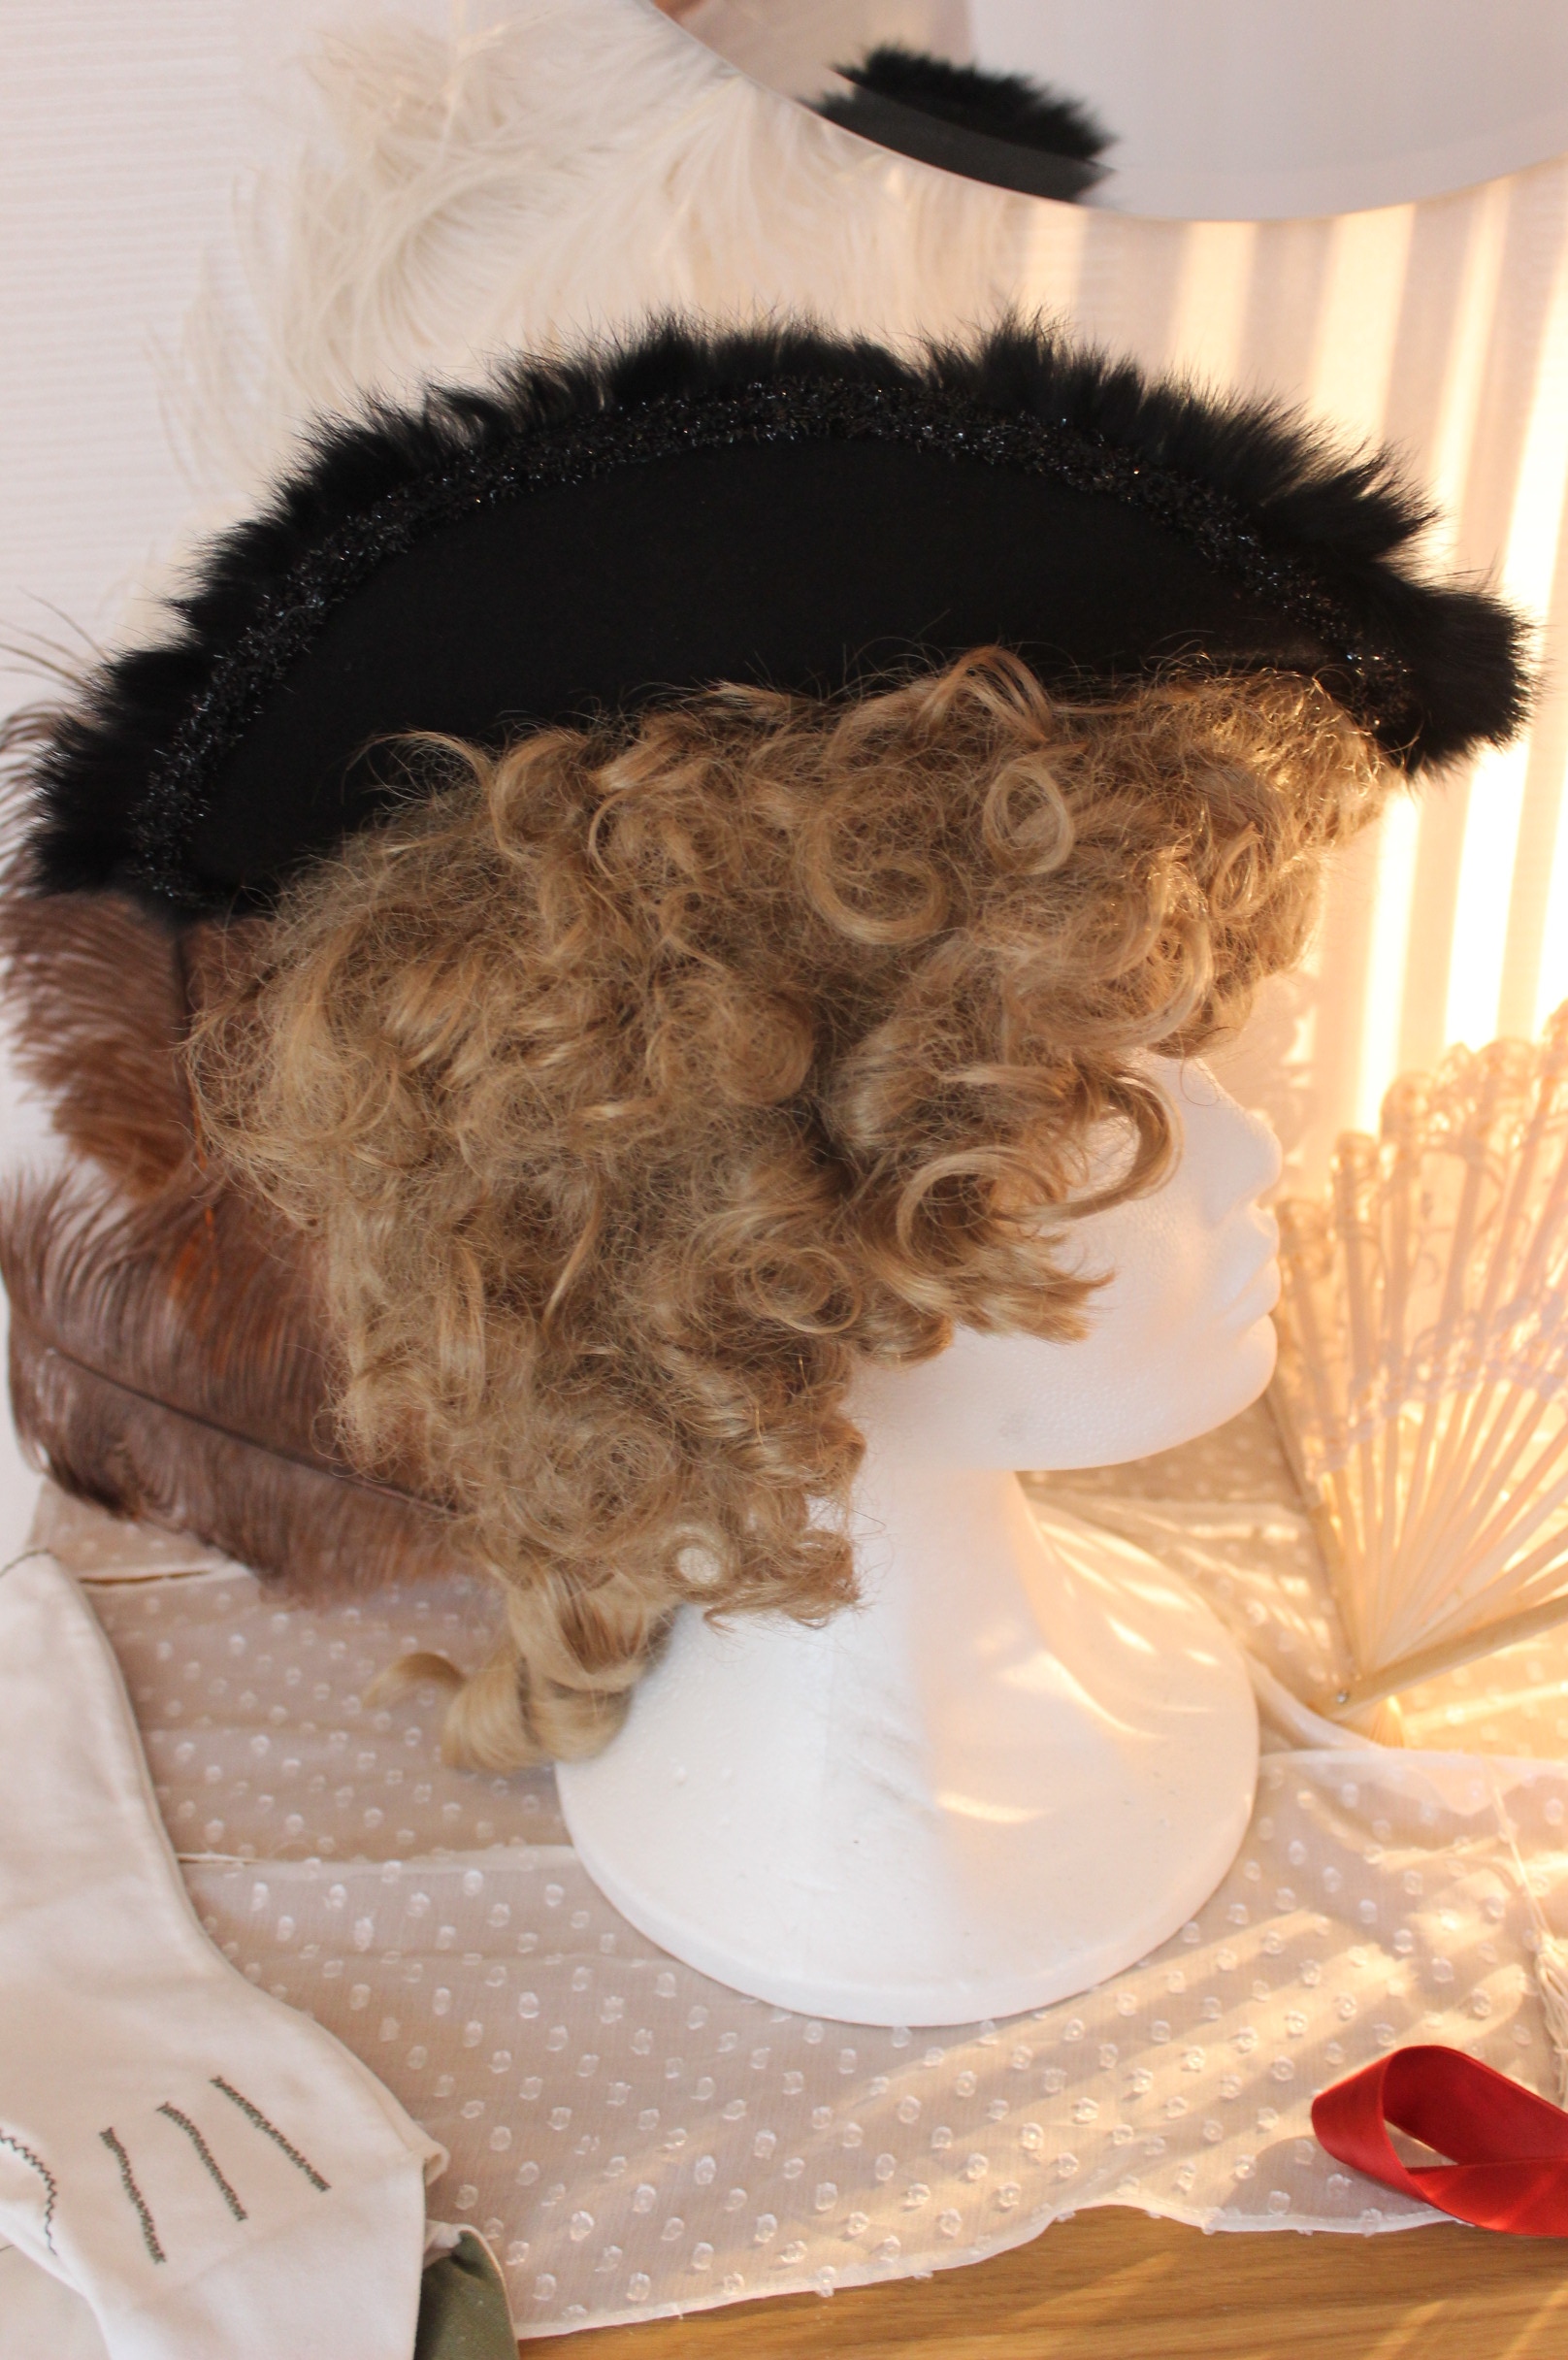
 A 1900s picture hat, to be worn with the Ariel (later Camille) gown.
Compleat: Yes & Yes
9. Black/White & 10. Art
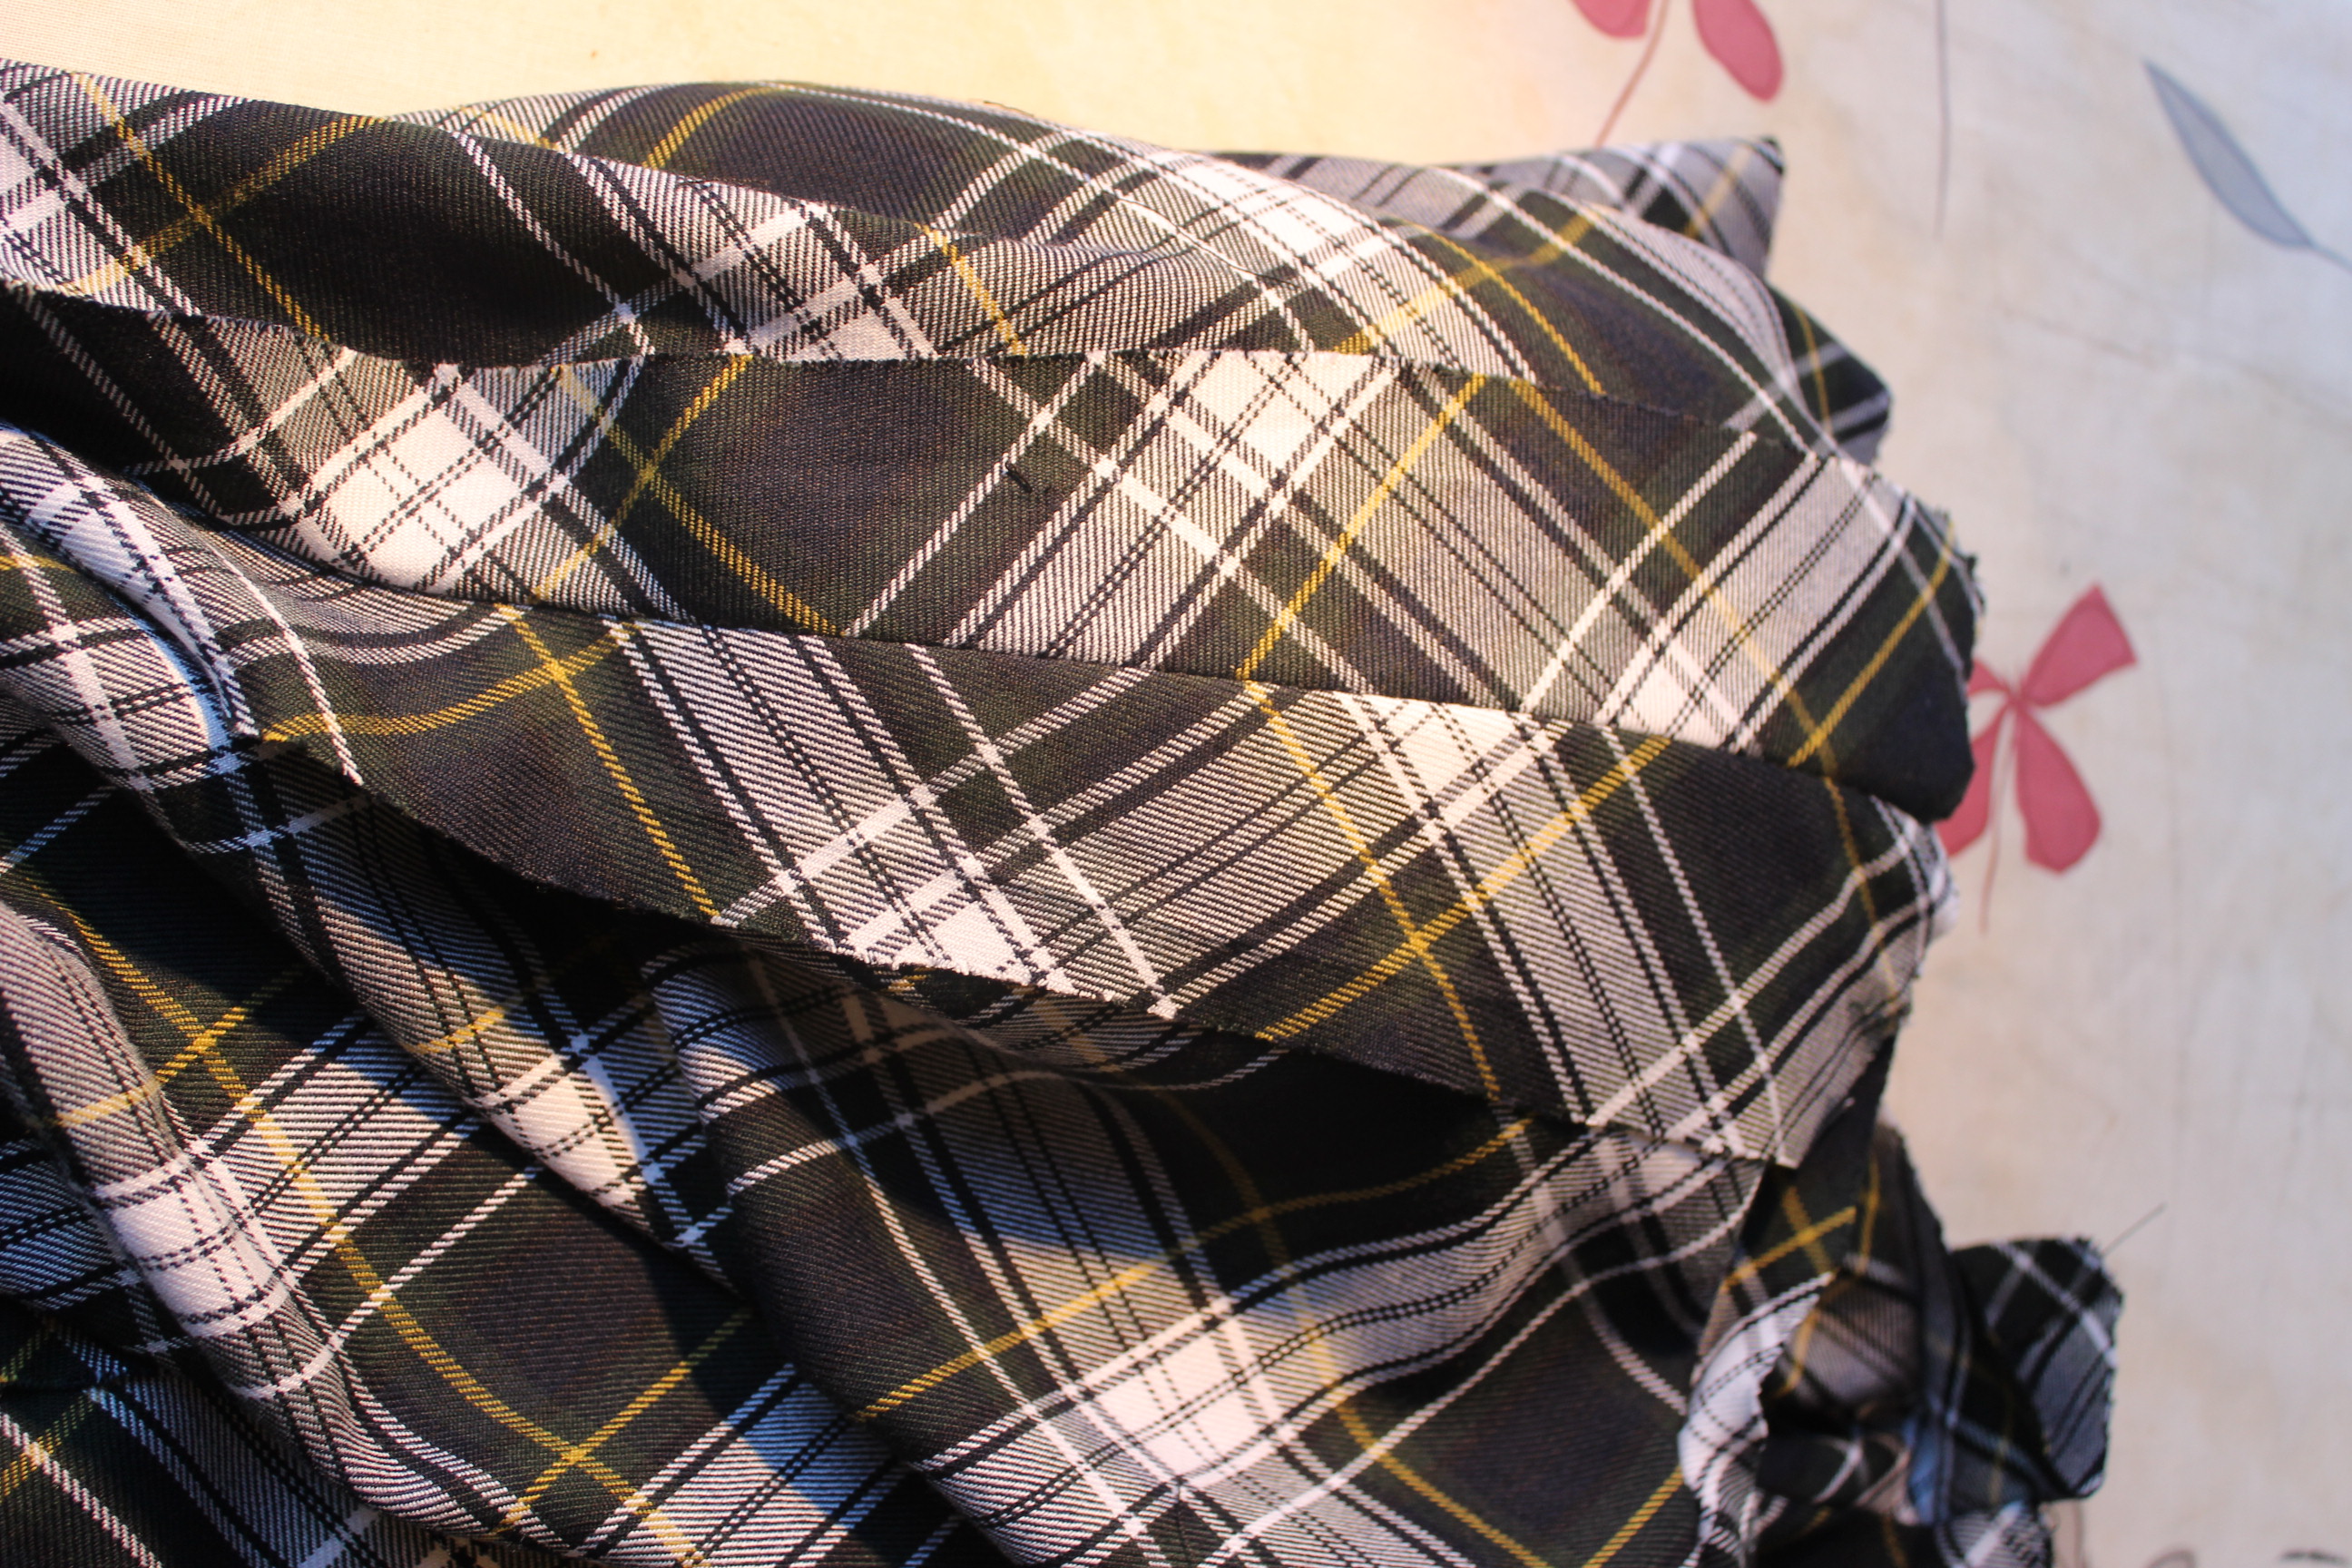
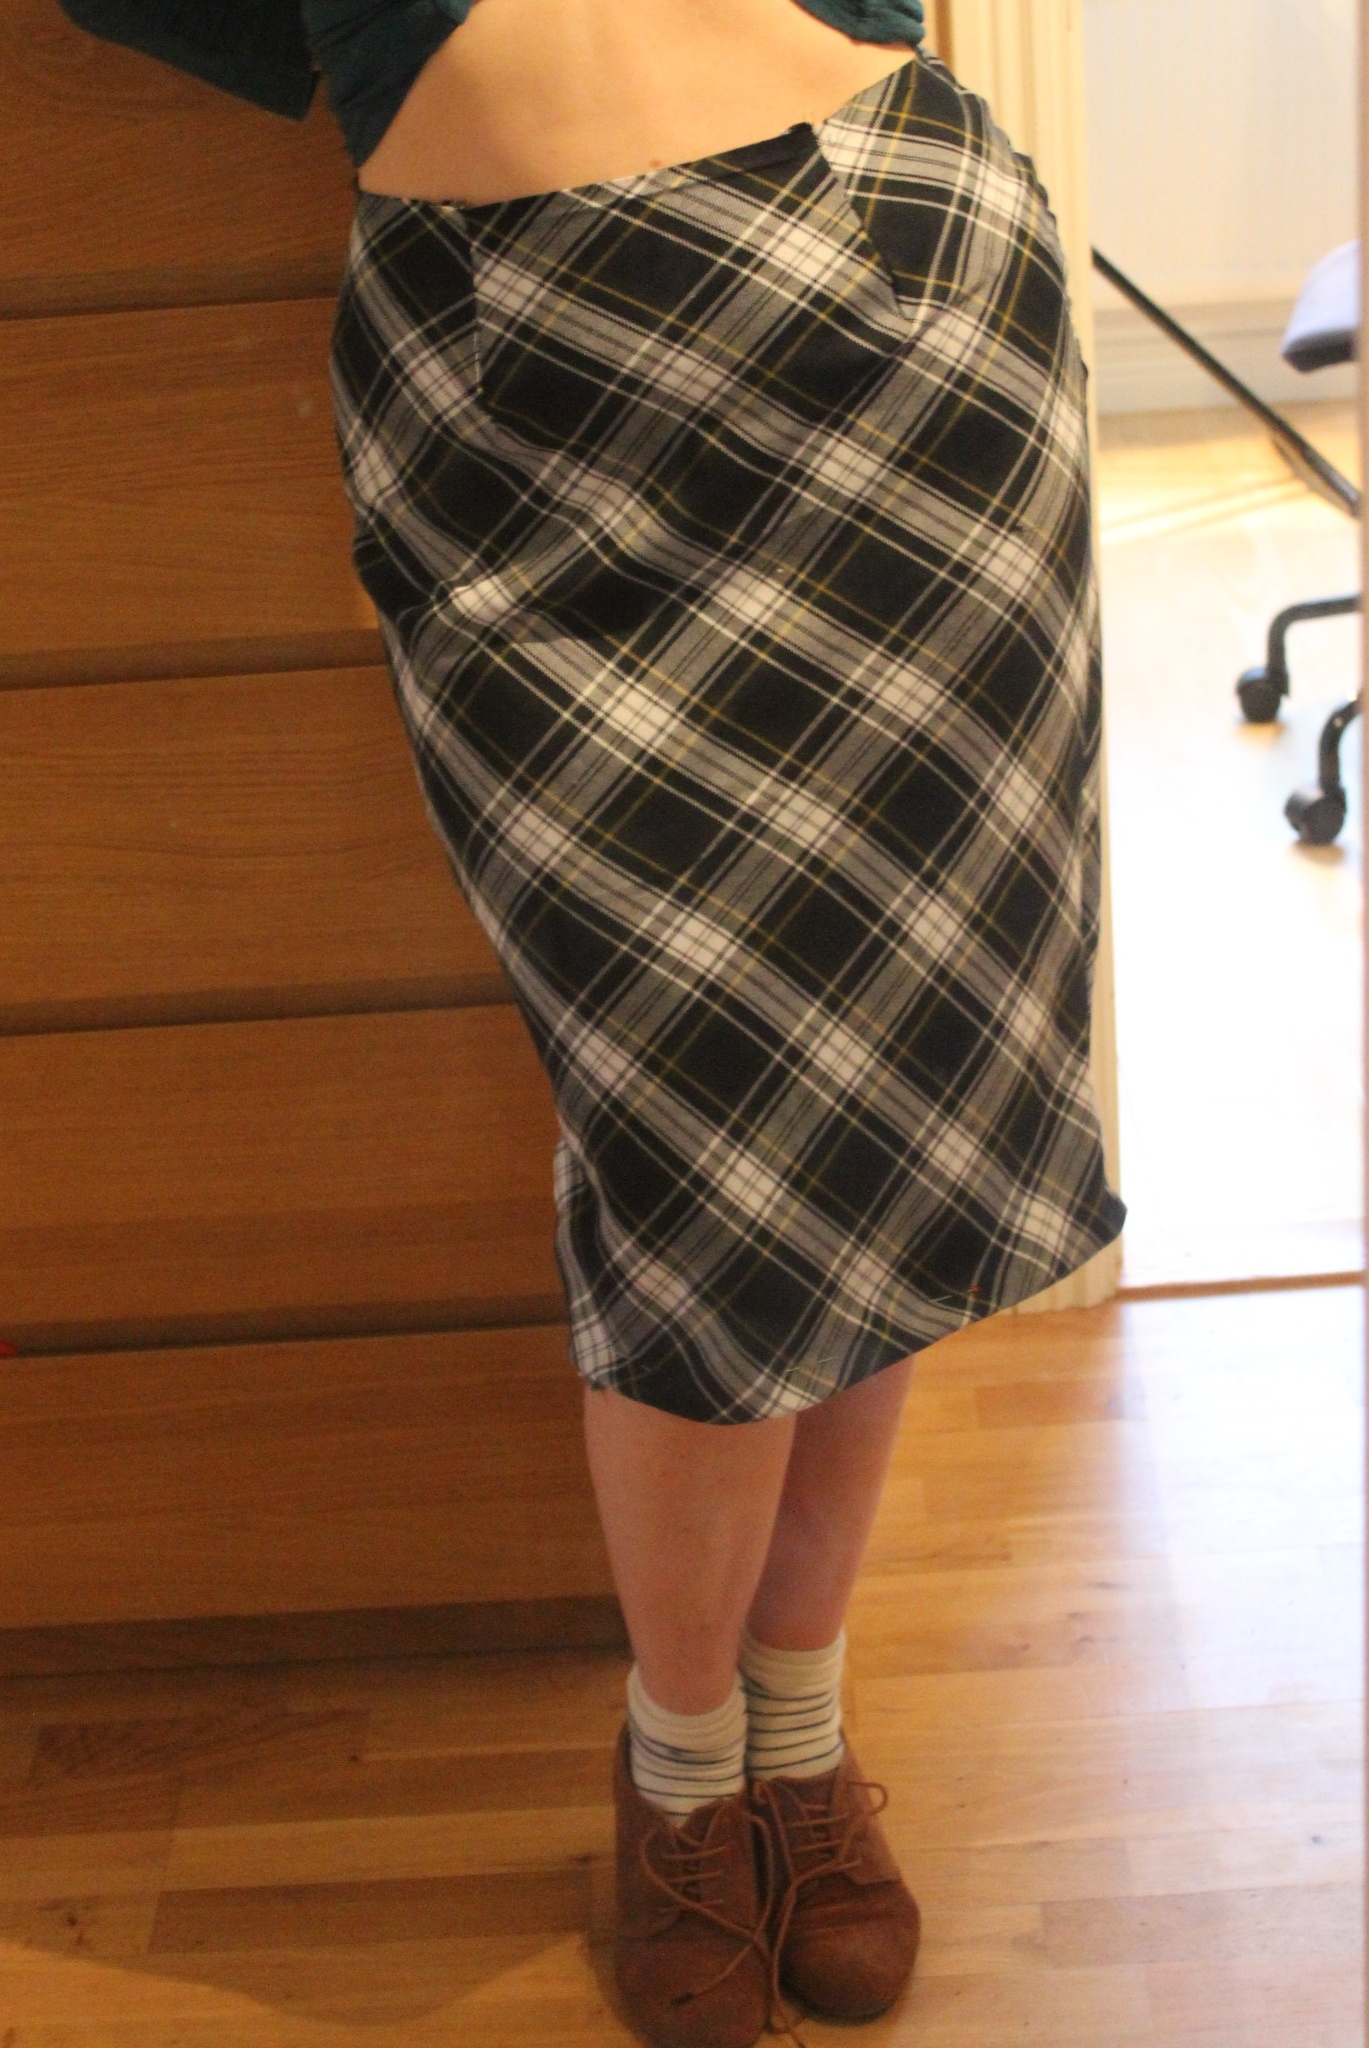
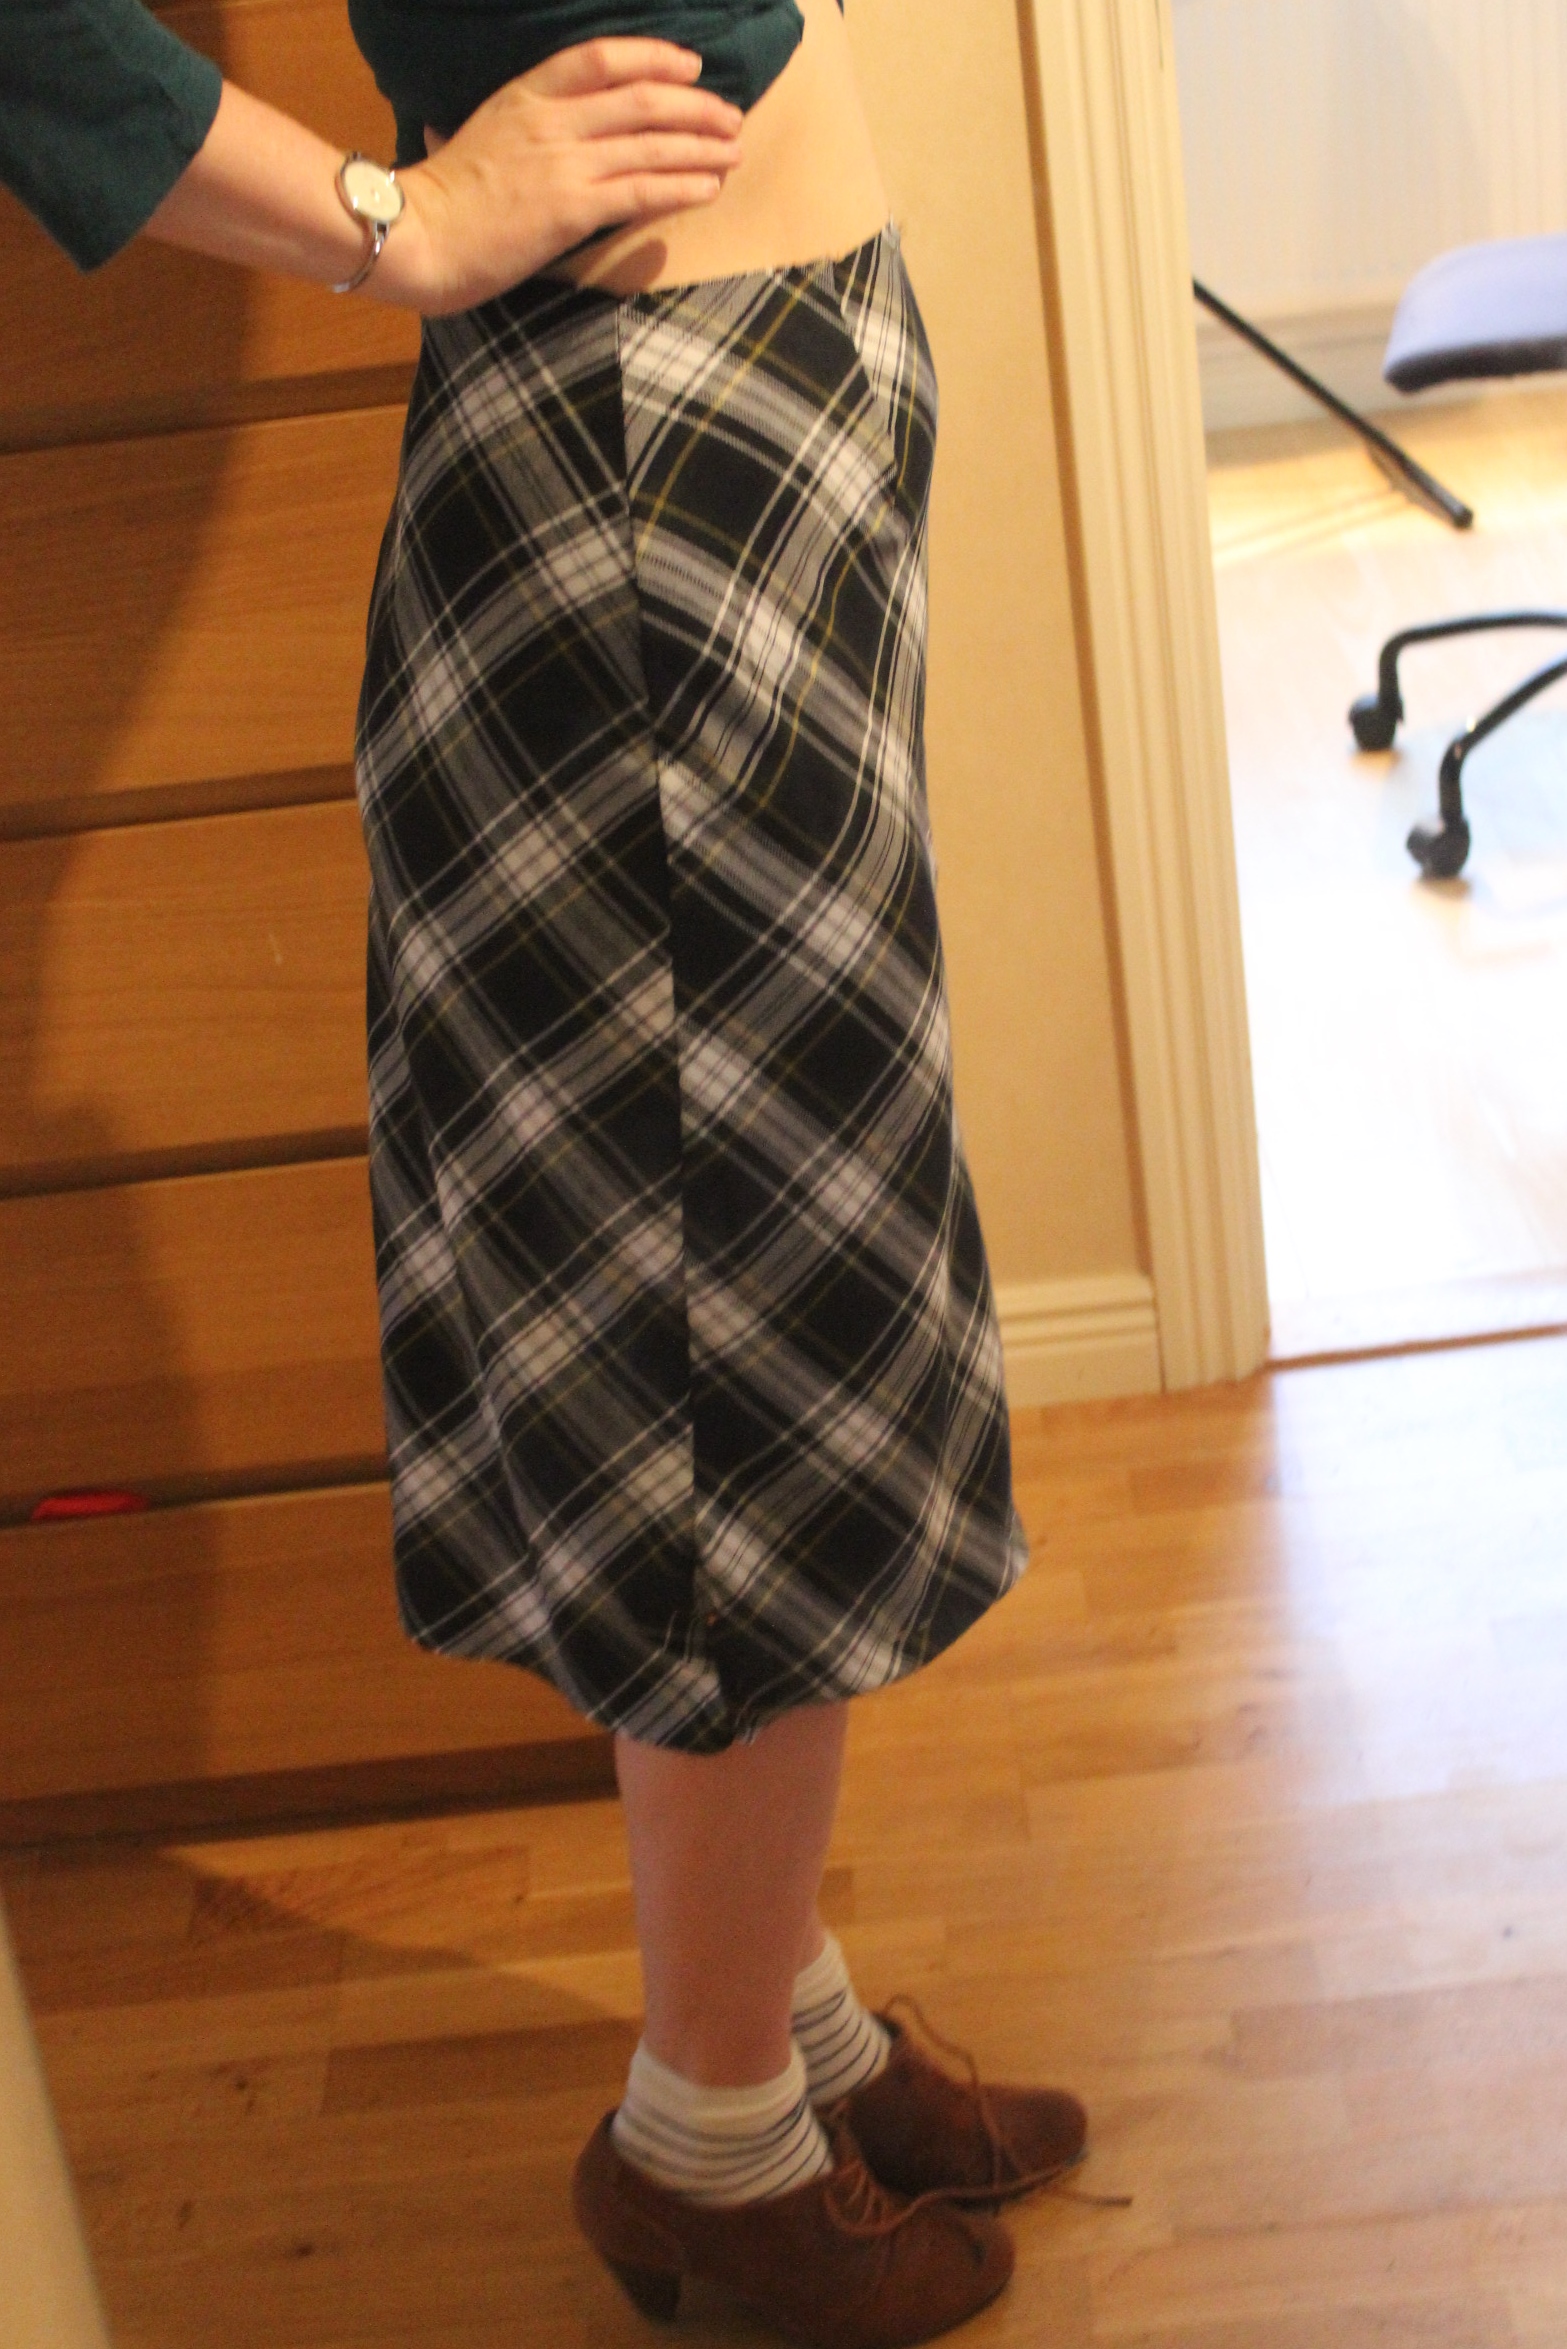
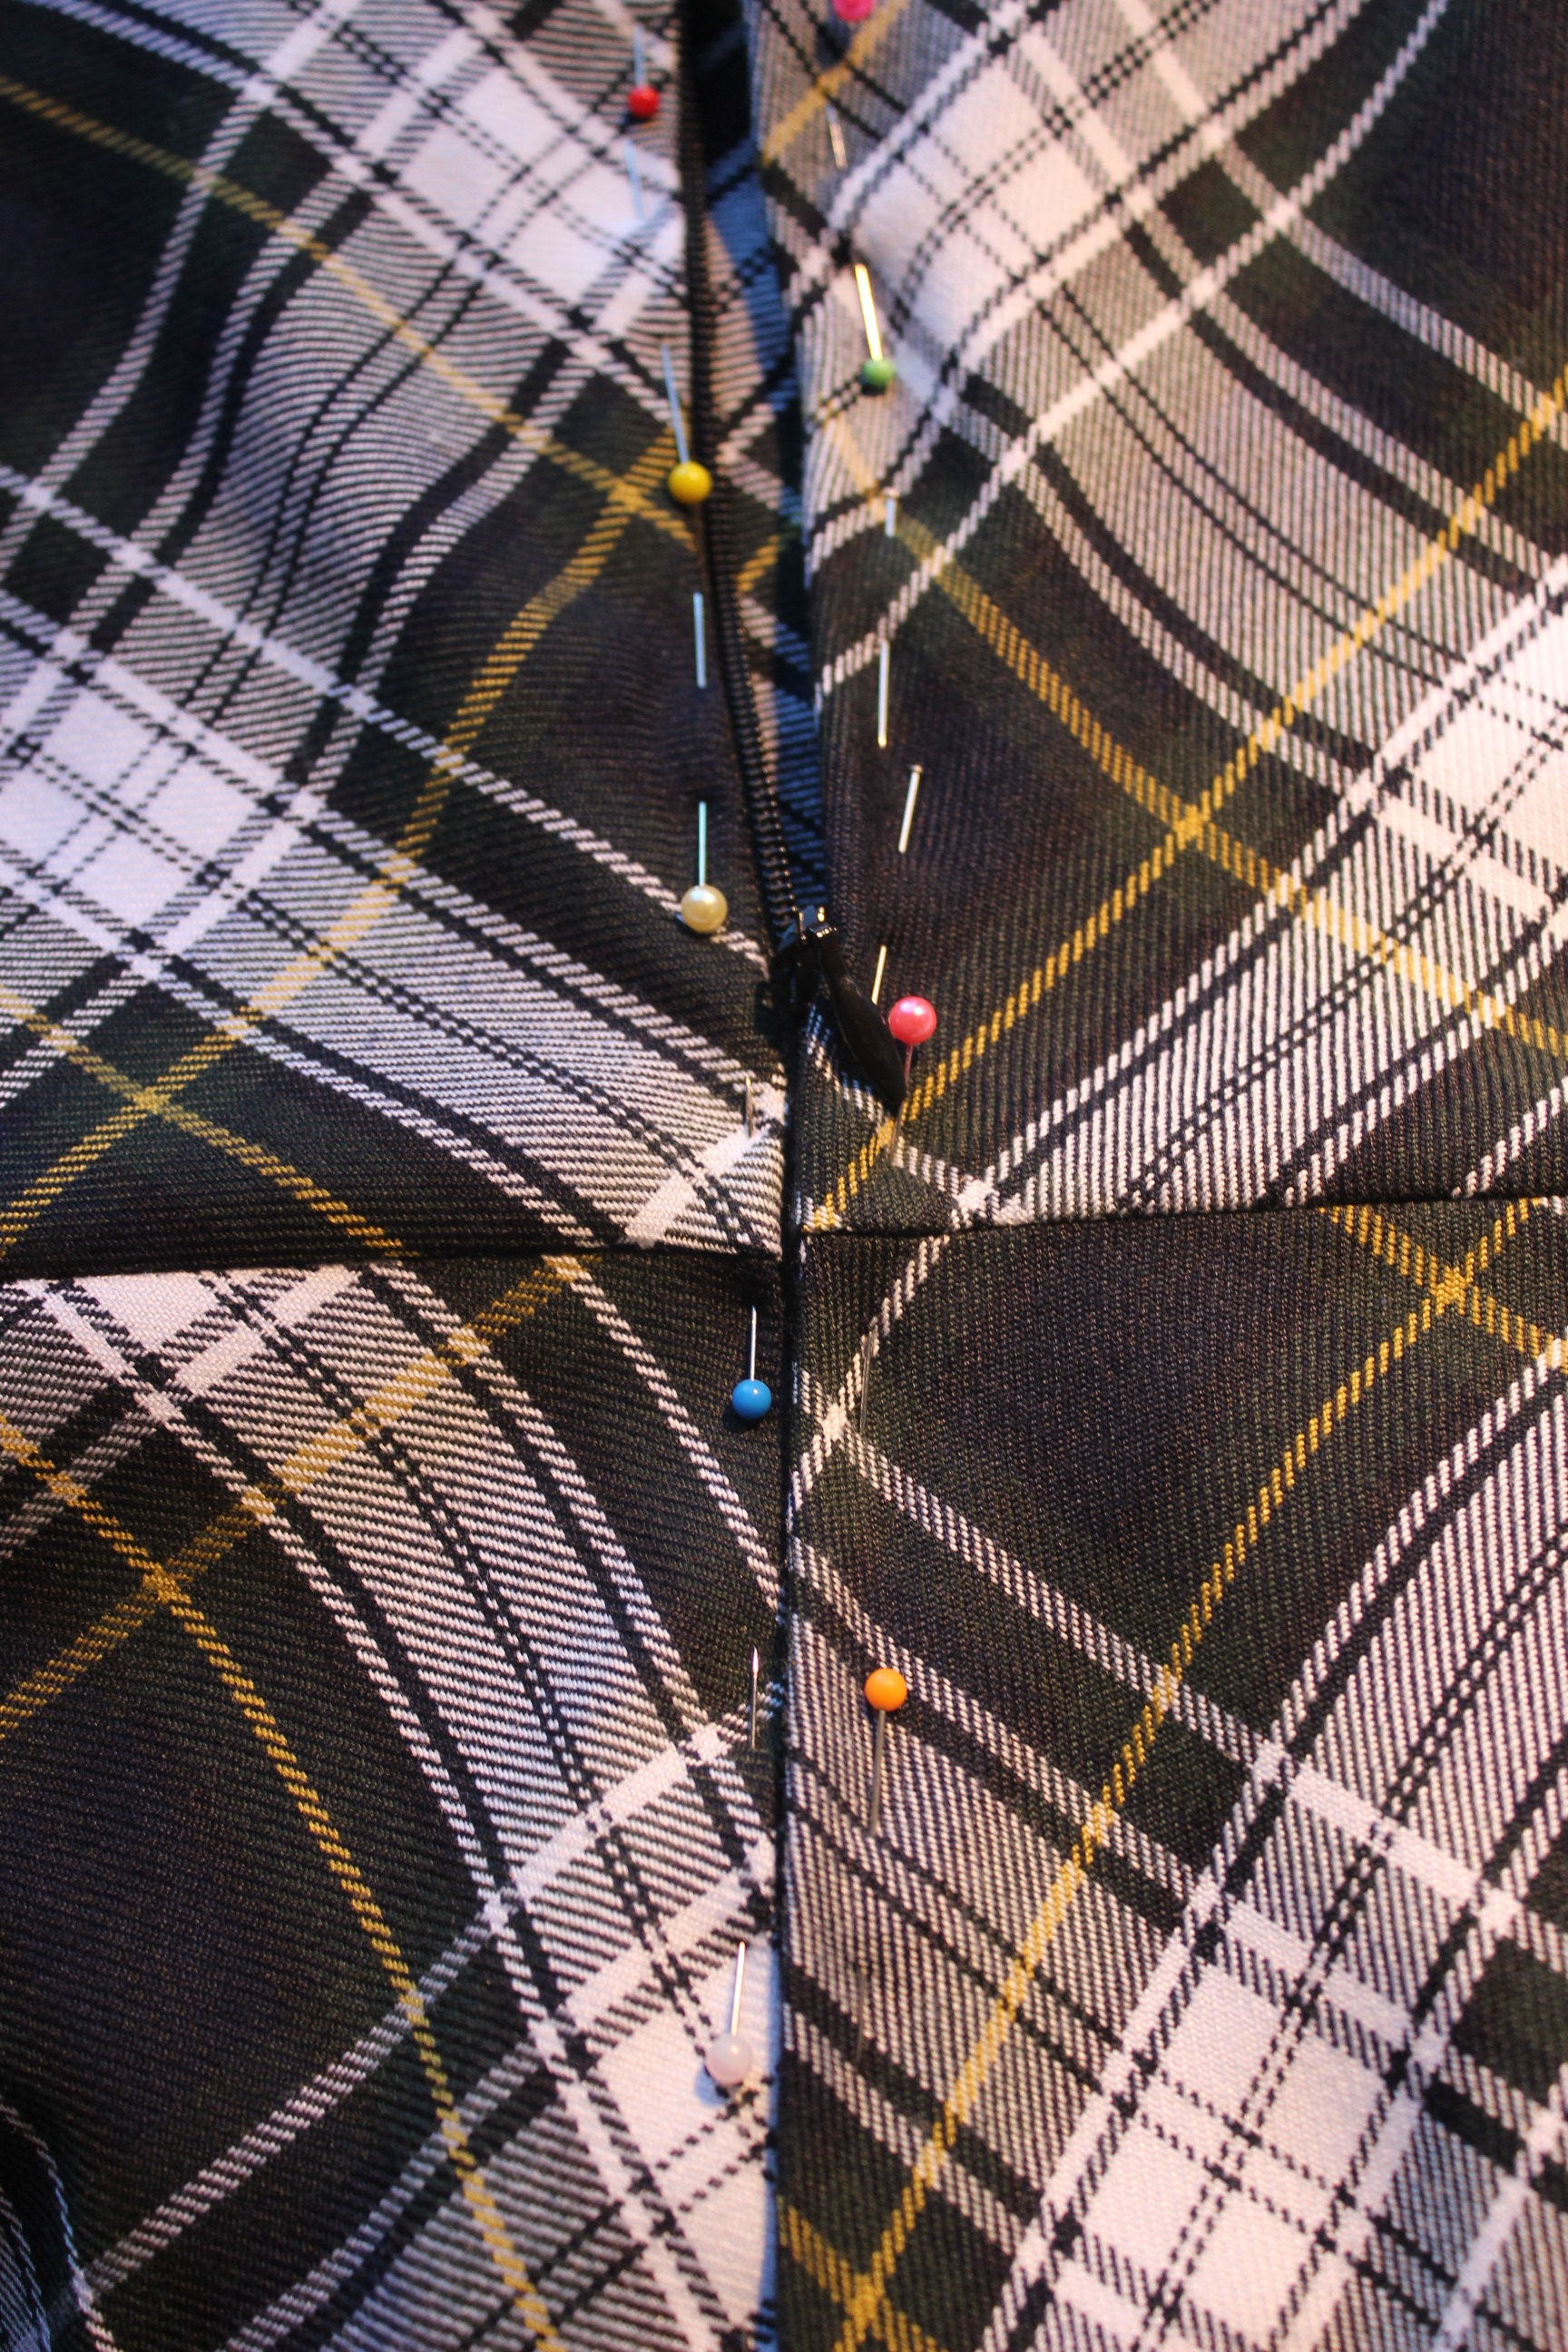
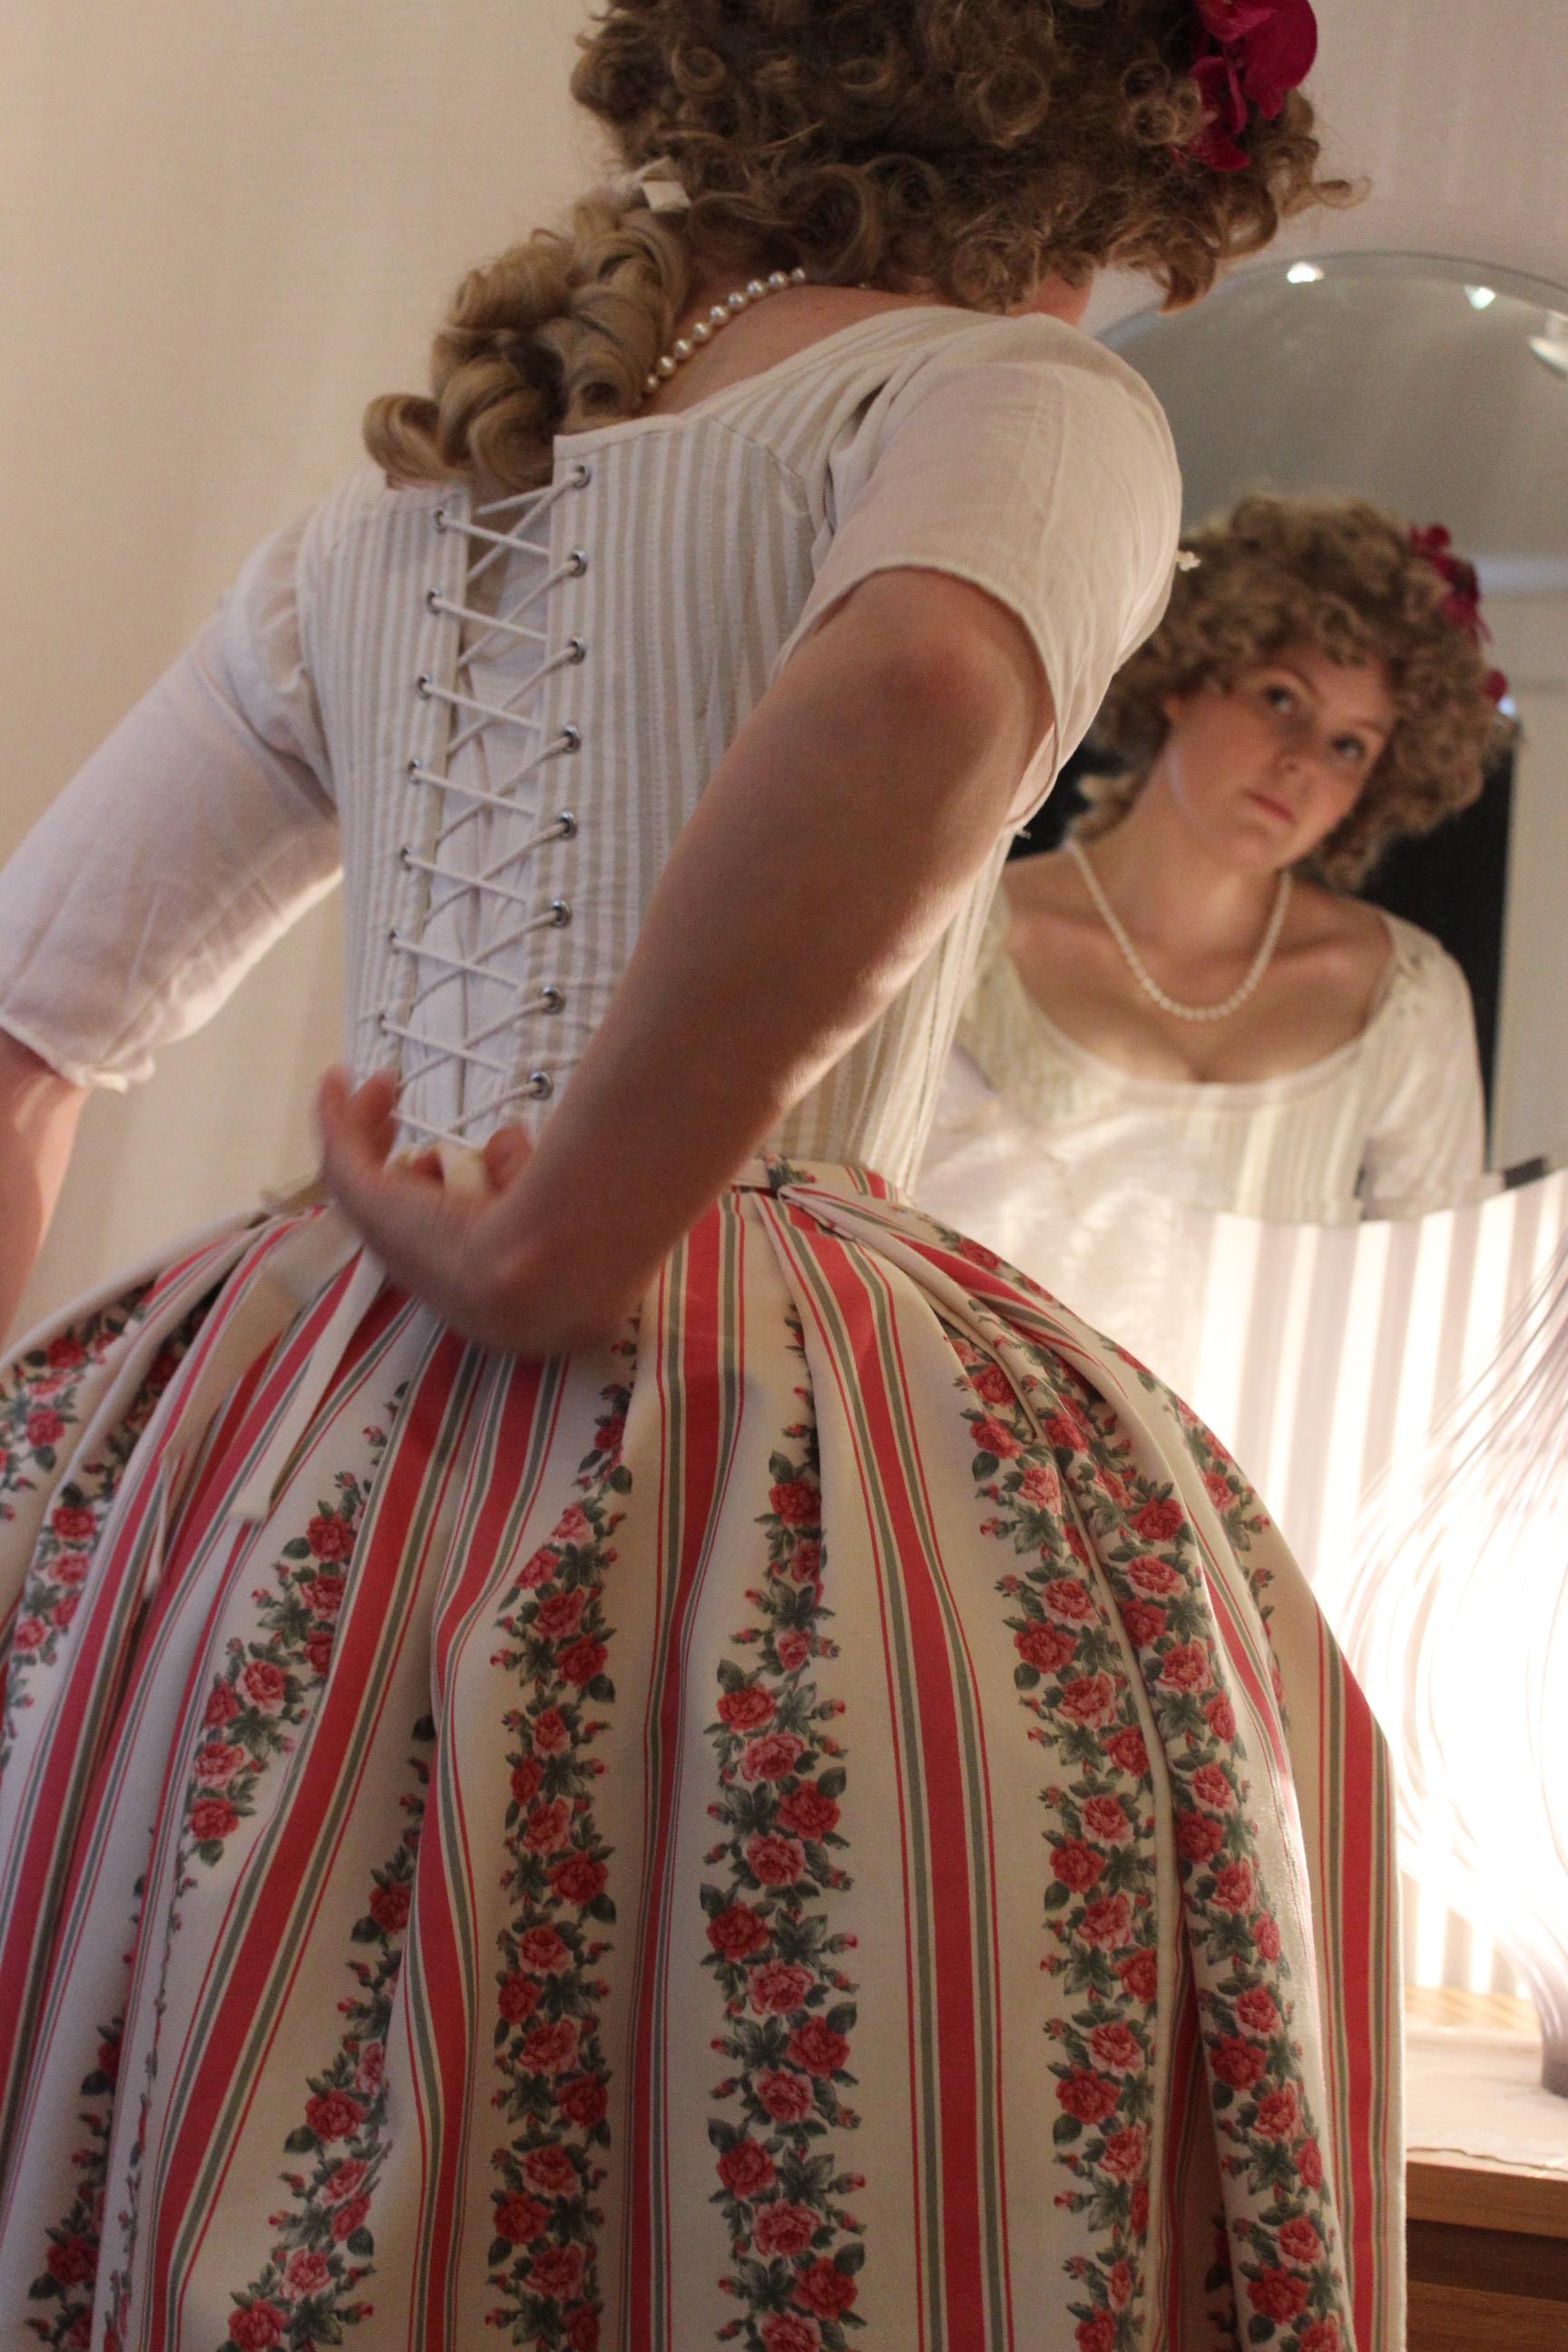
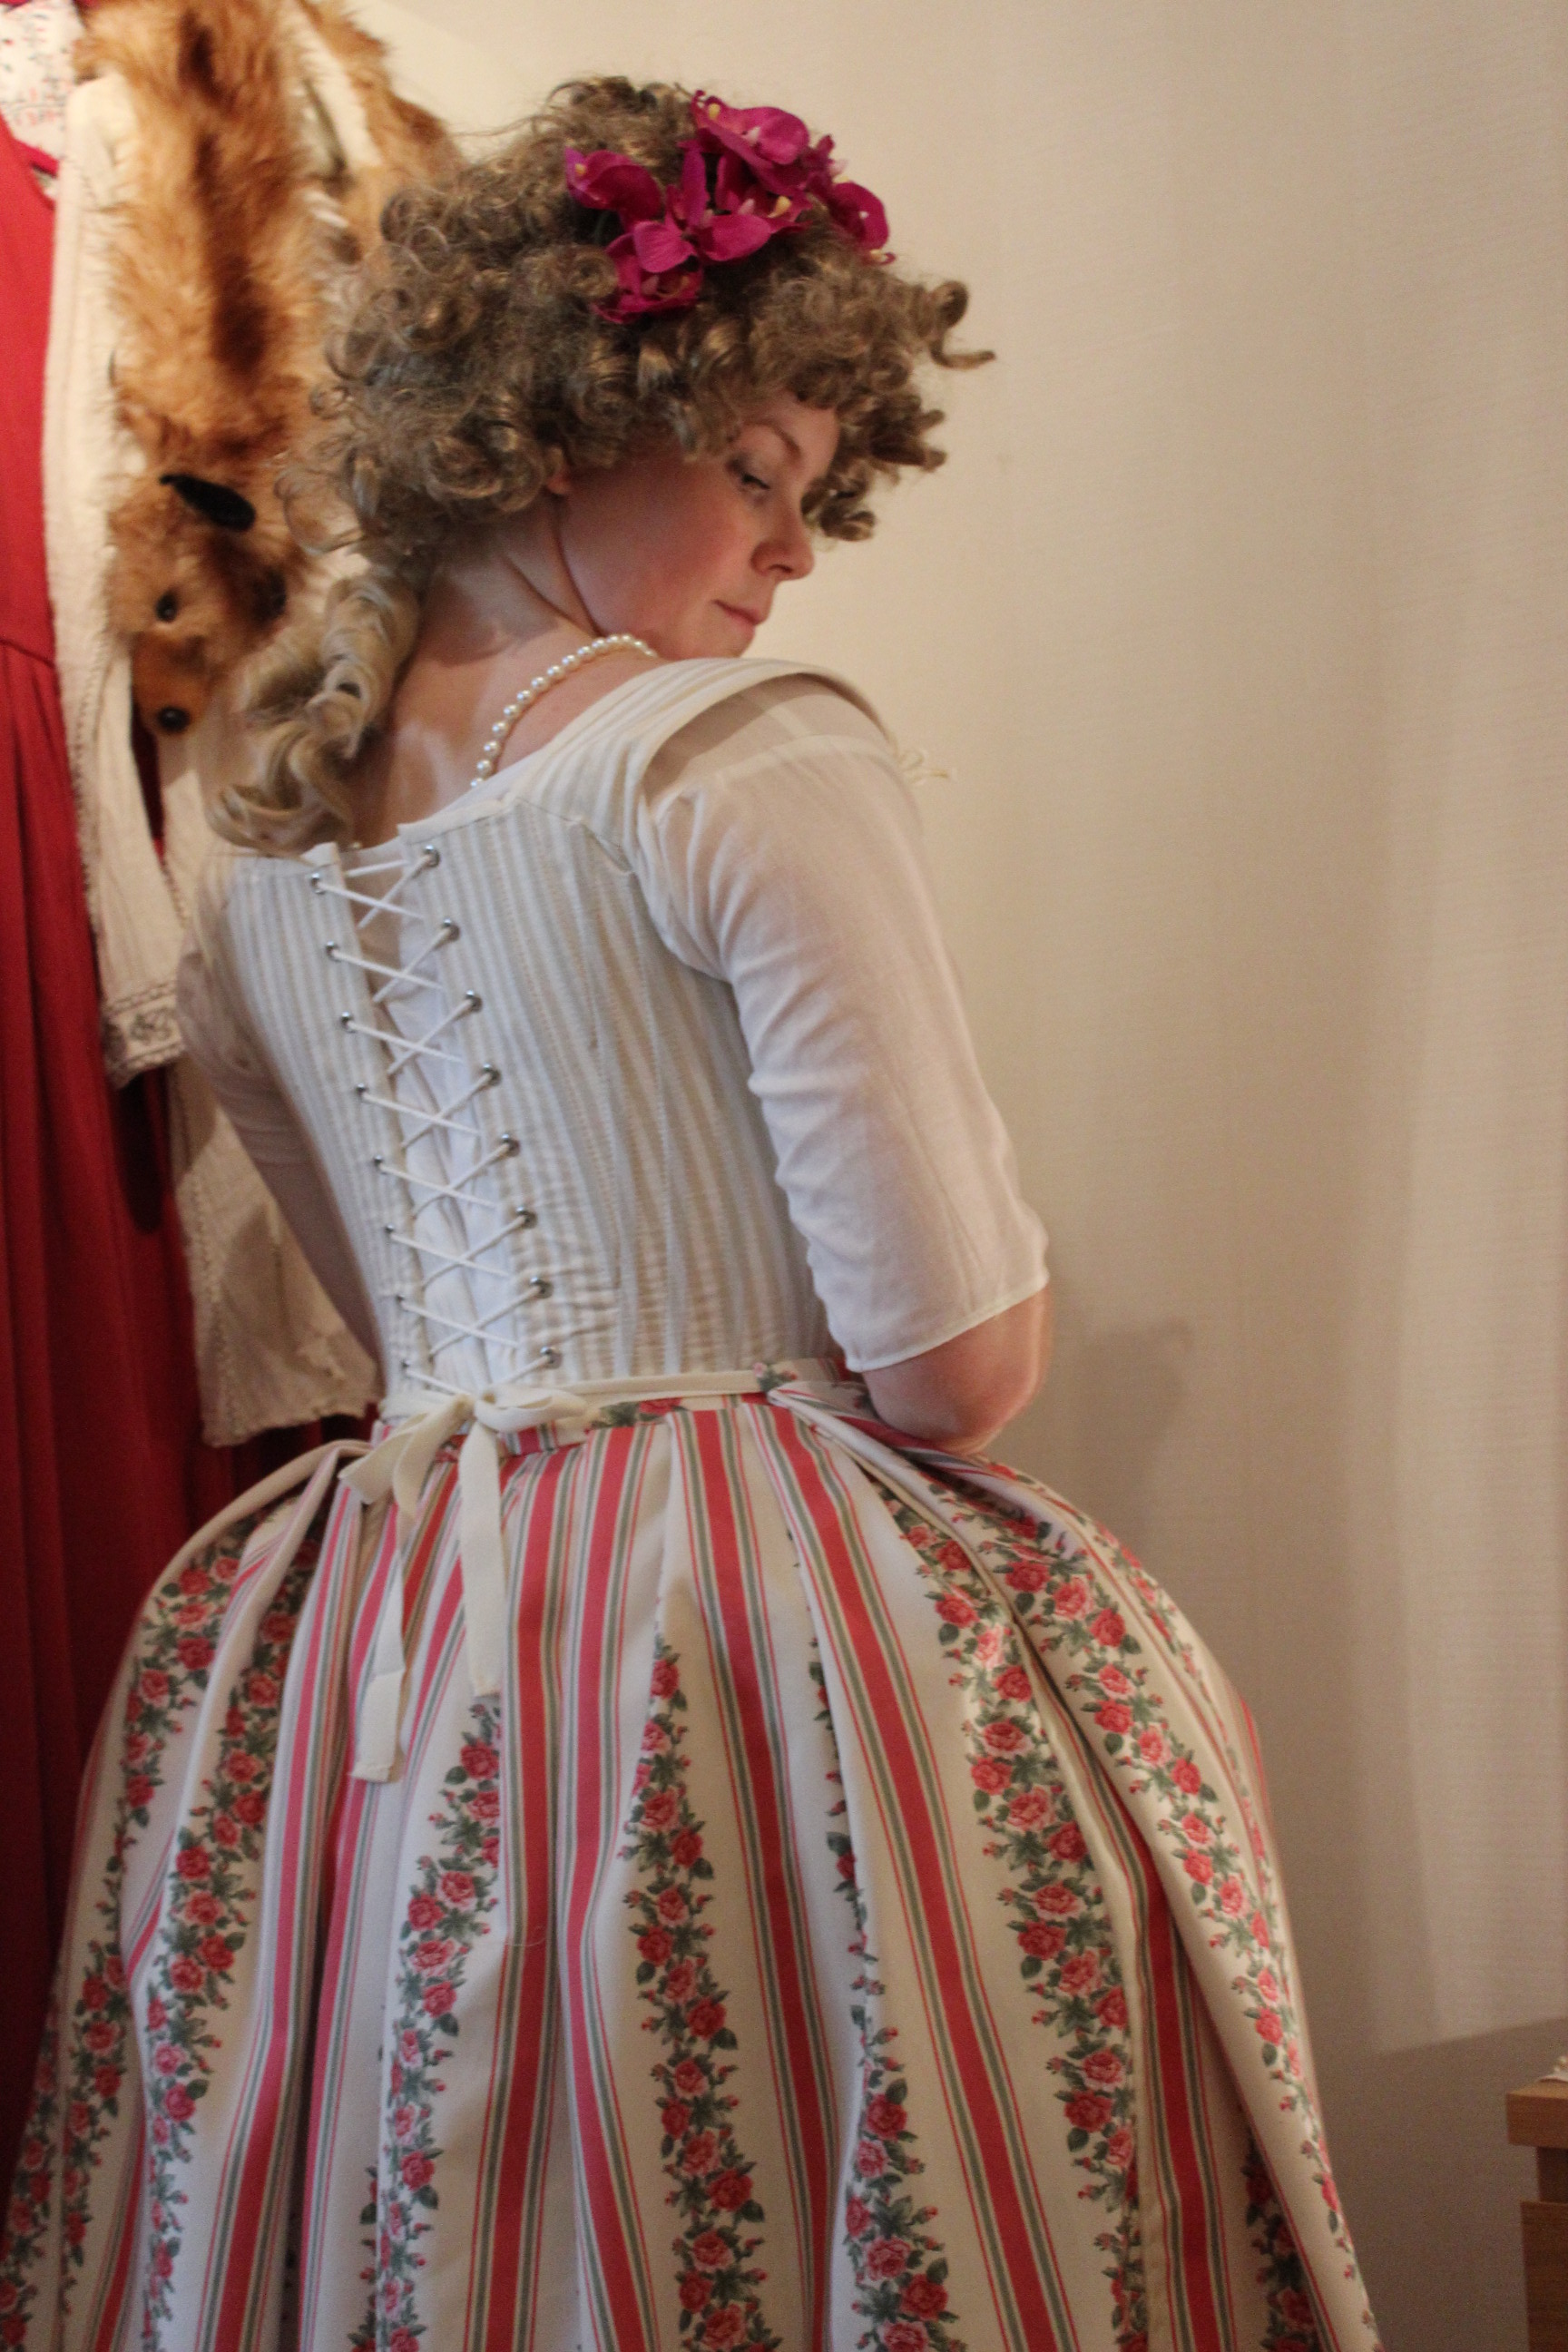
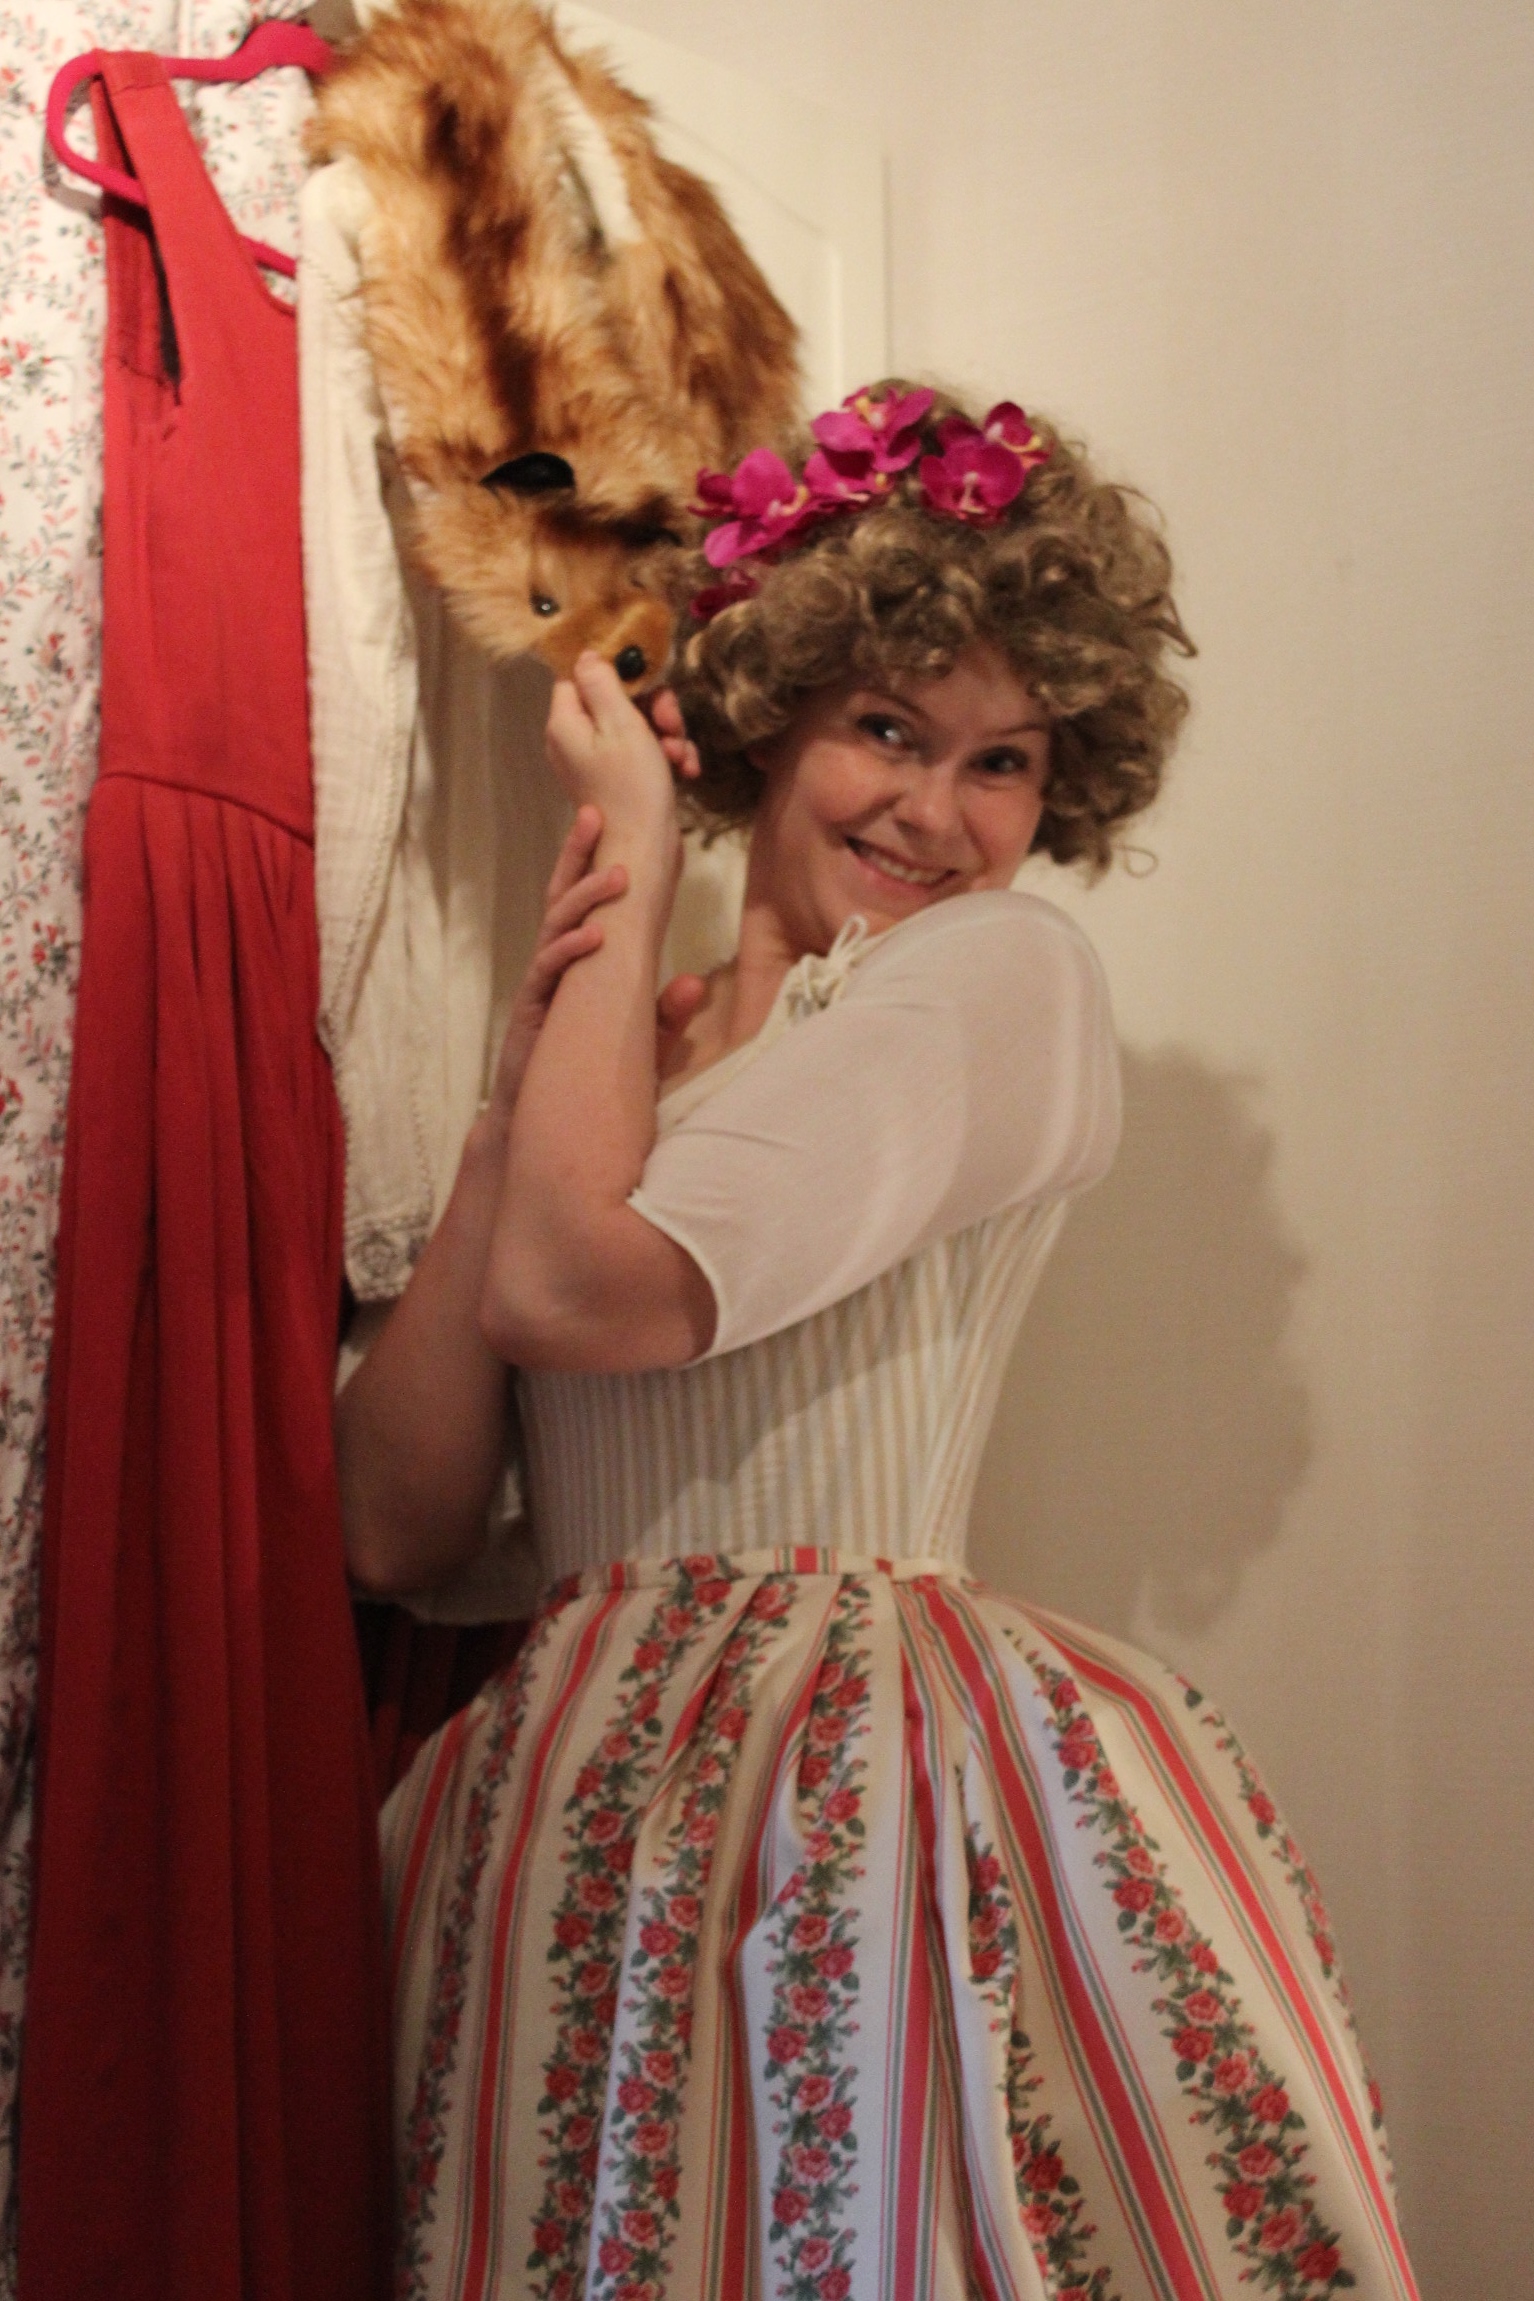
A 1780s white sateen skirt and the green striped gown in the painting. I already own the striped fabric, just need to find a nice white one for the skirt.
 Inspiration Painting
 A white skirt and a striped Angalise in the same fashion as the painting.
Complete: Yes & Yes
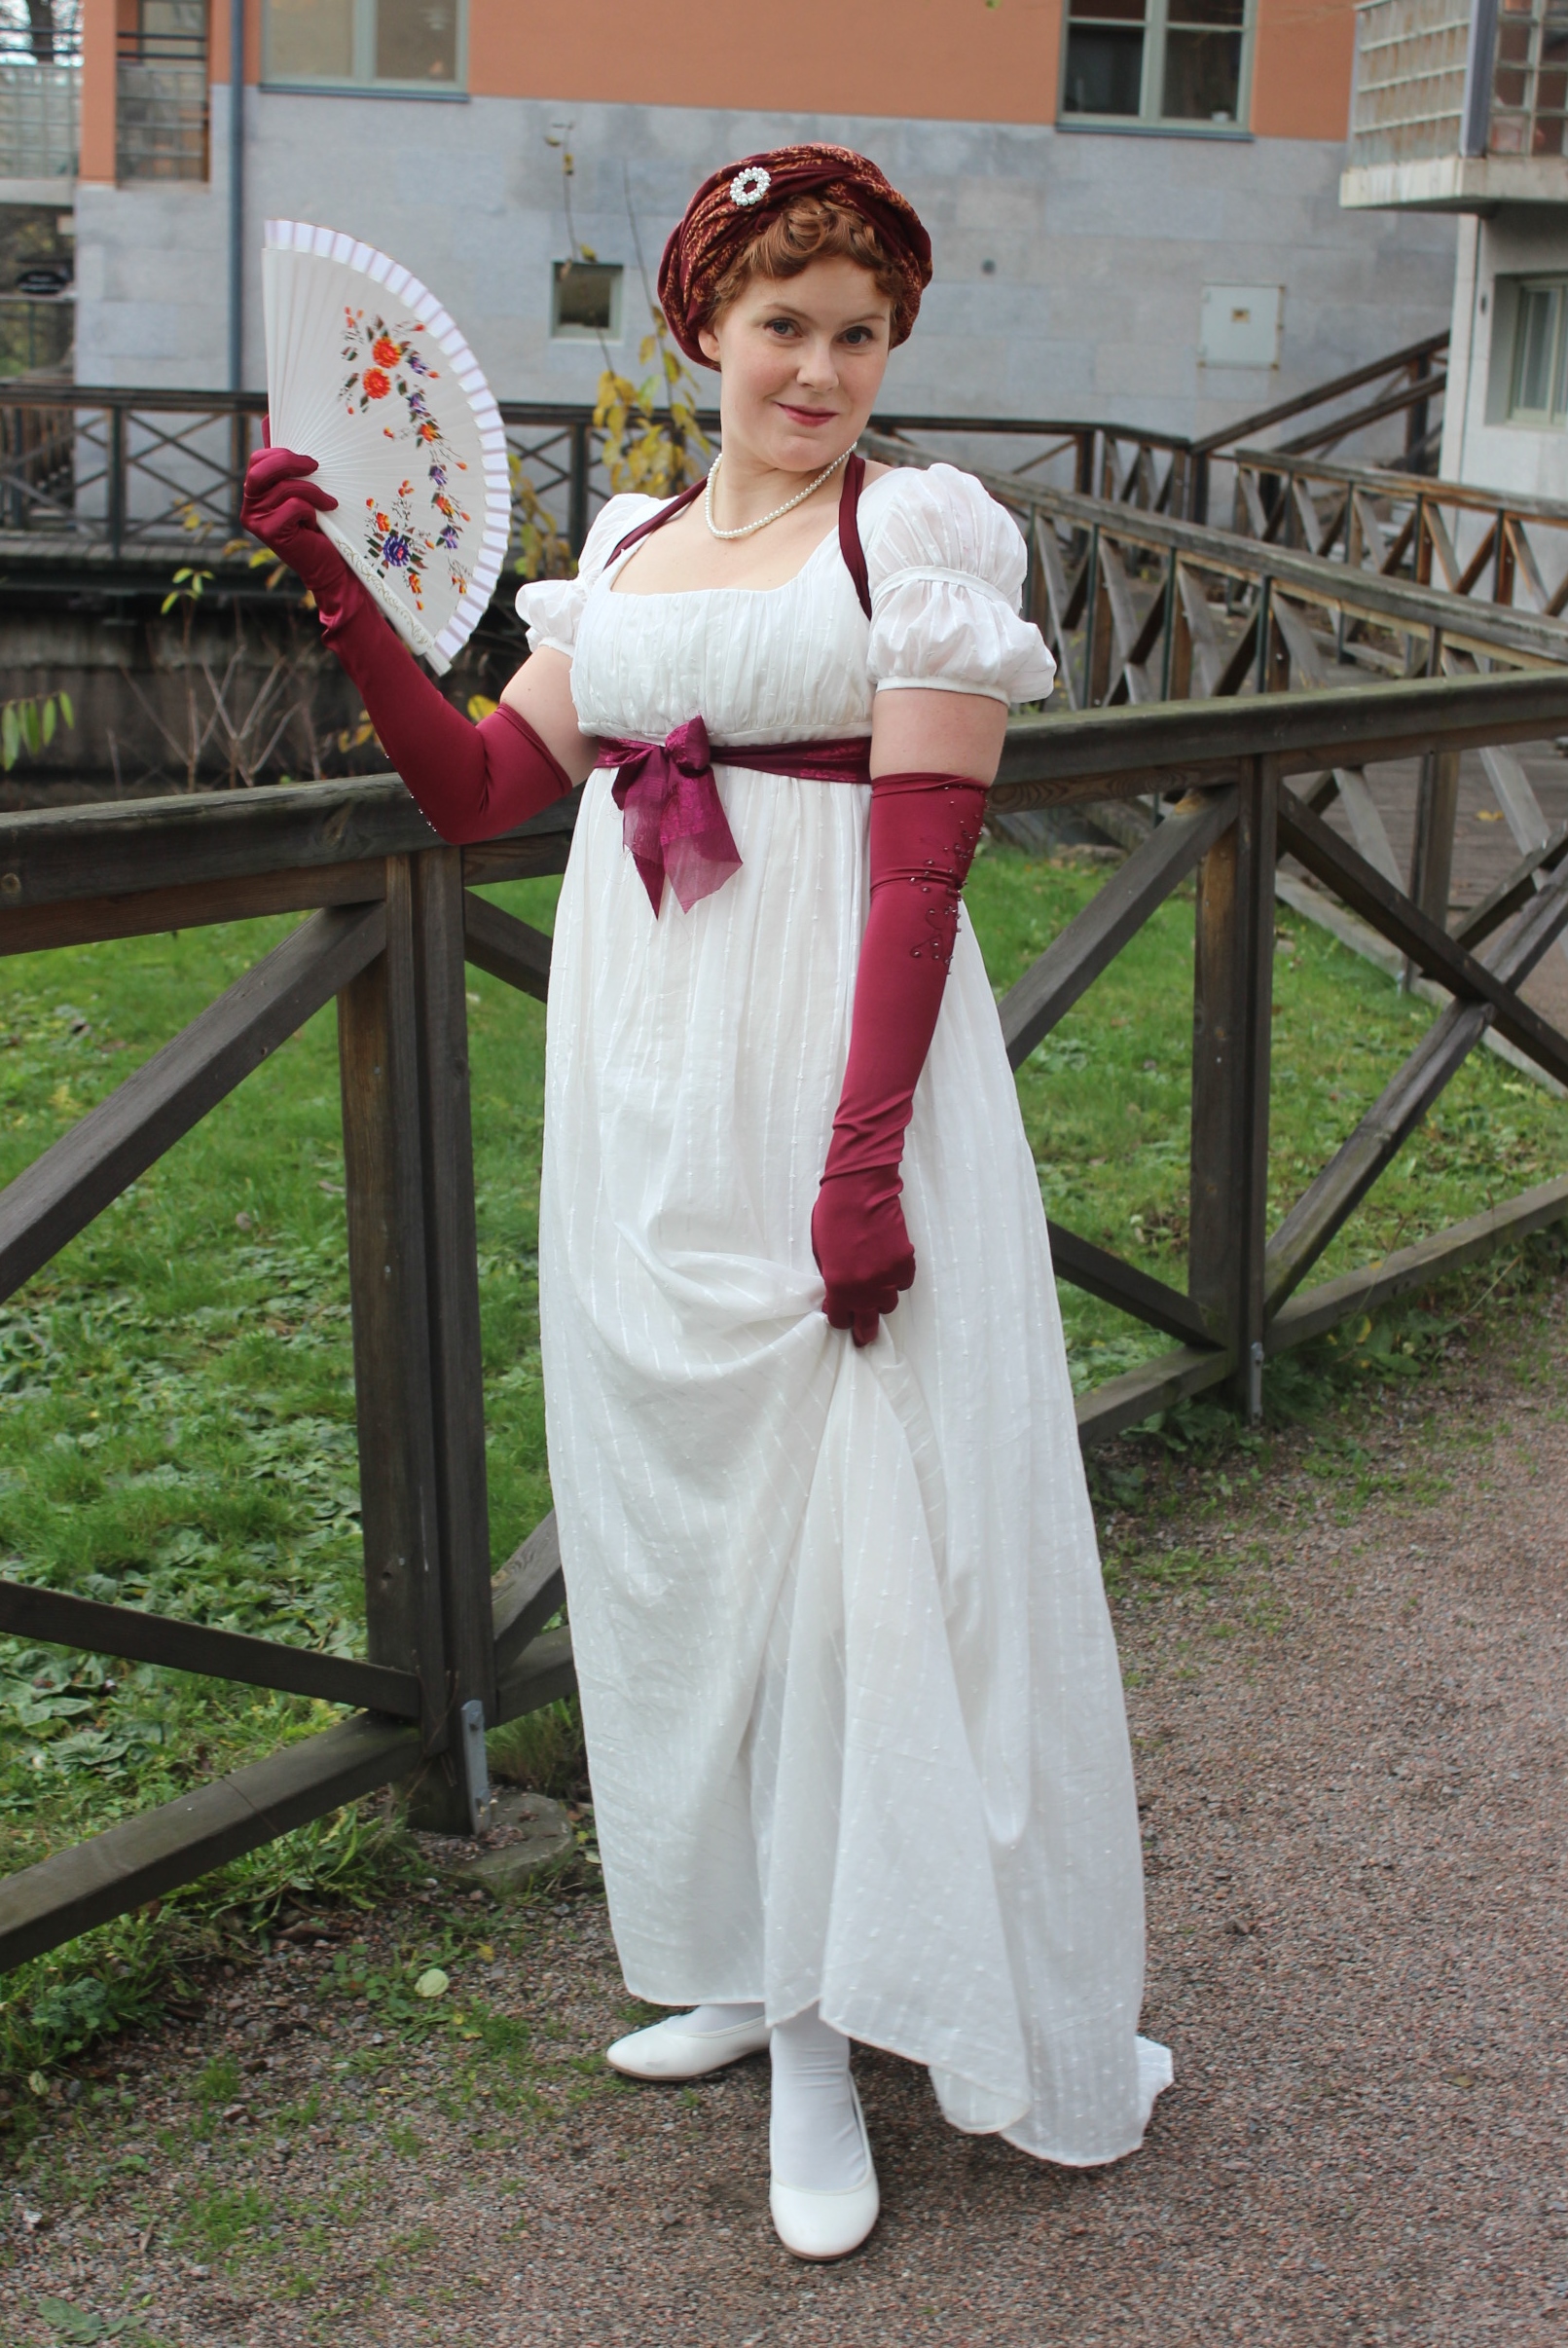
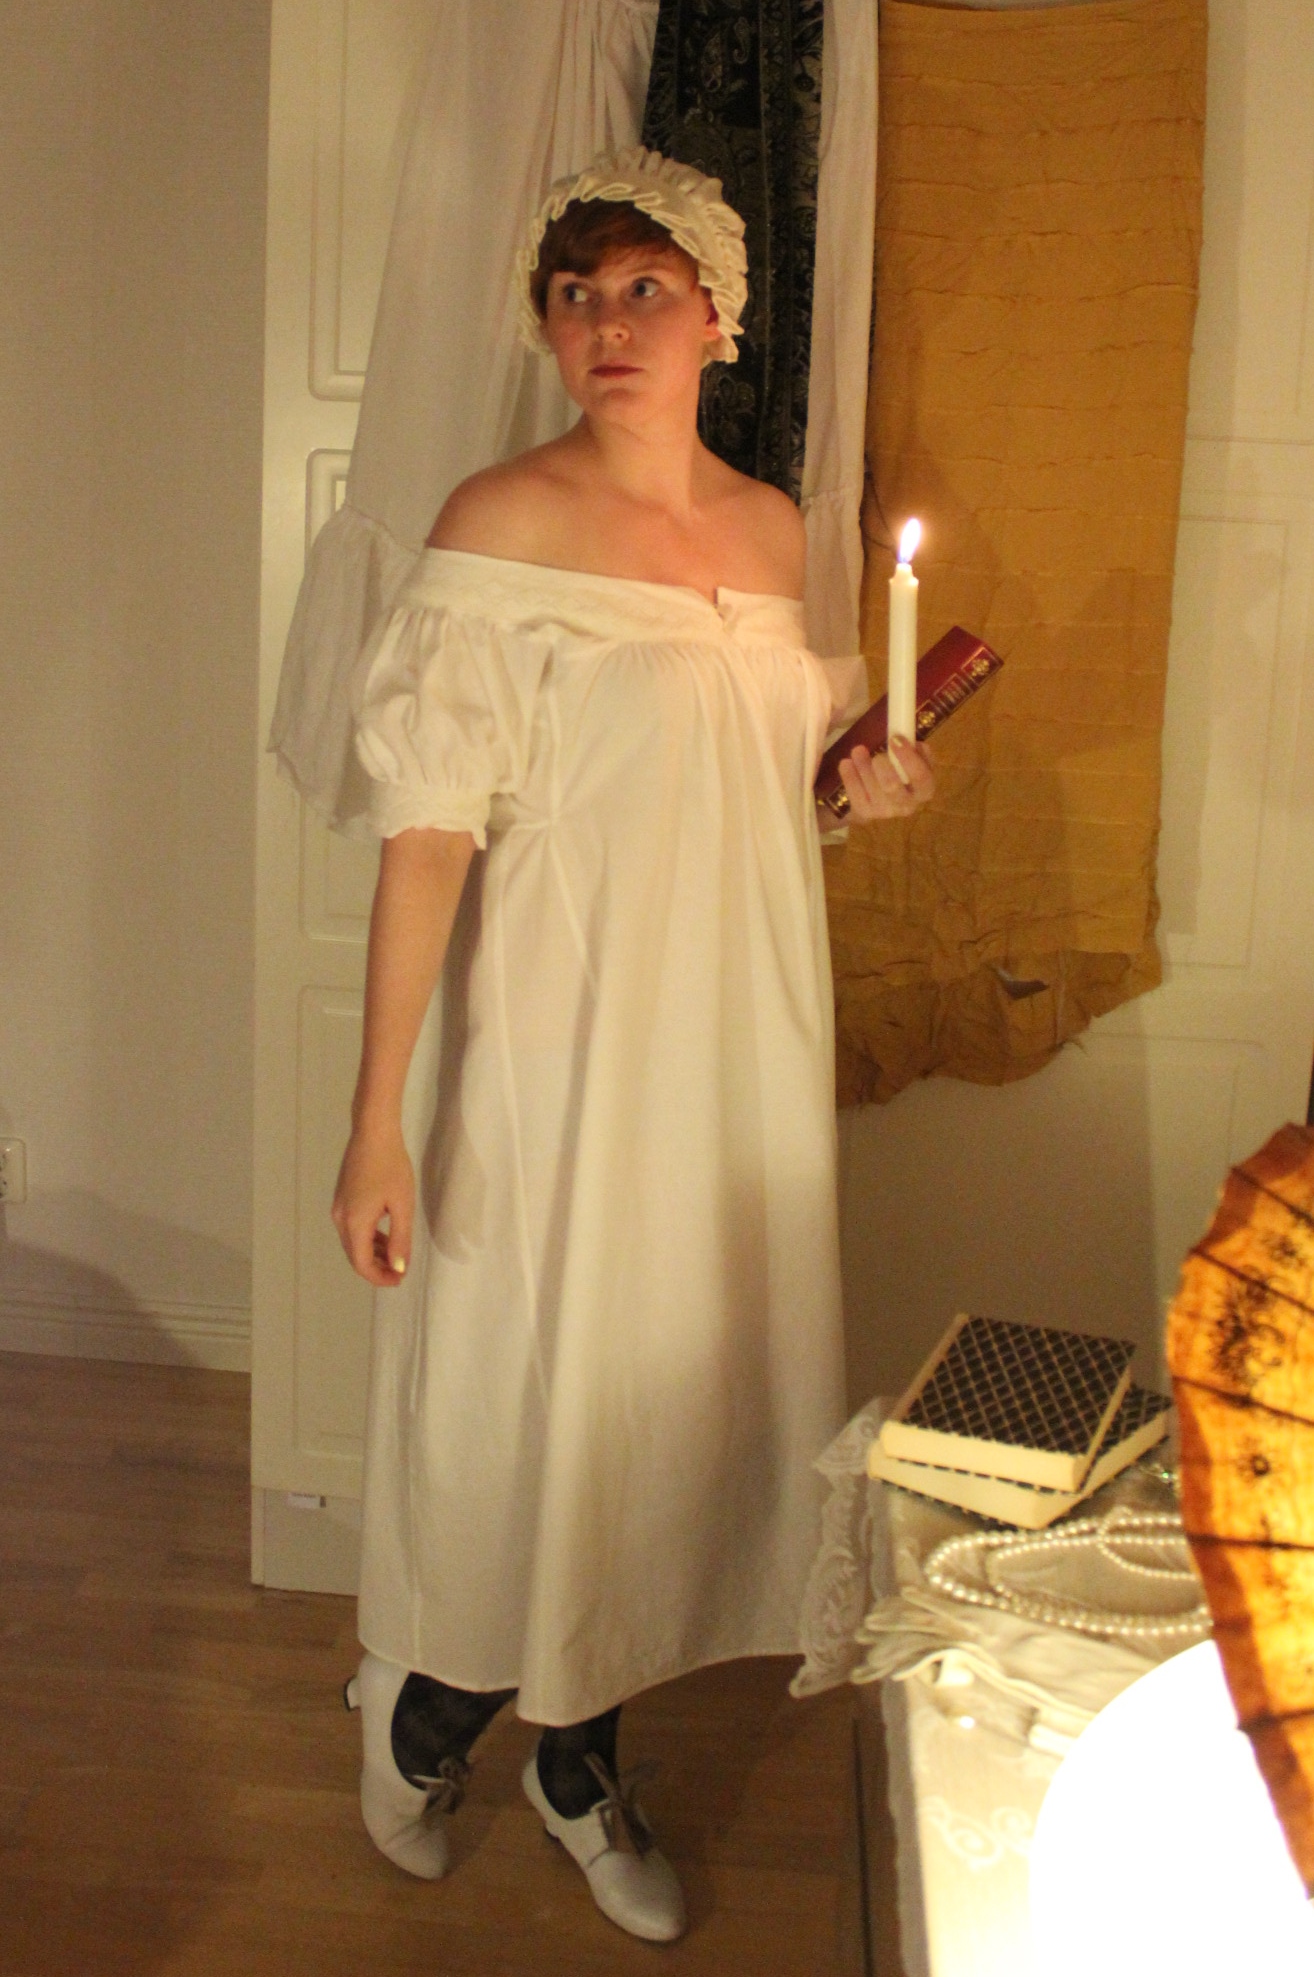
11. Politic
A regency roundgown. It don’t get more political then that…

Complete: Yes – although technically I didn’t make a roundgown…
12. Shape/Support
A 1850s cage crinoline to be worn under the 1850s paisley gown

Complete: Yes, plus a bonus entry.
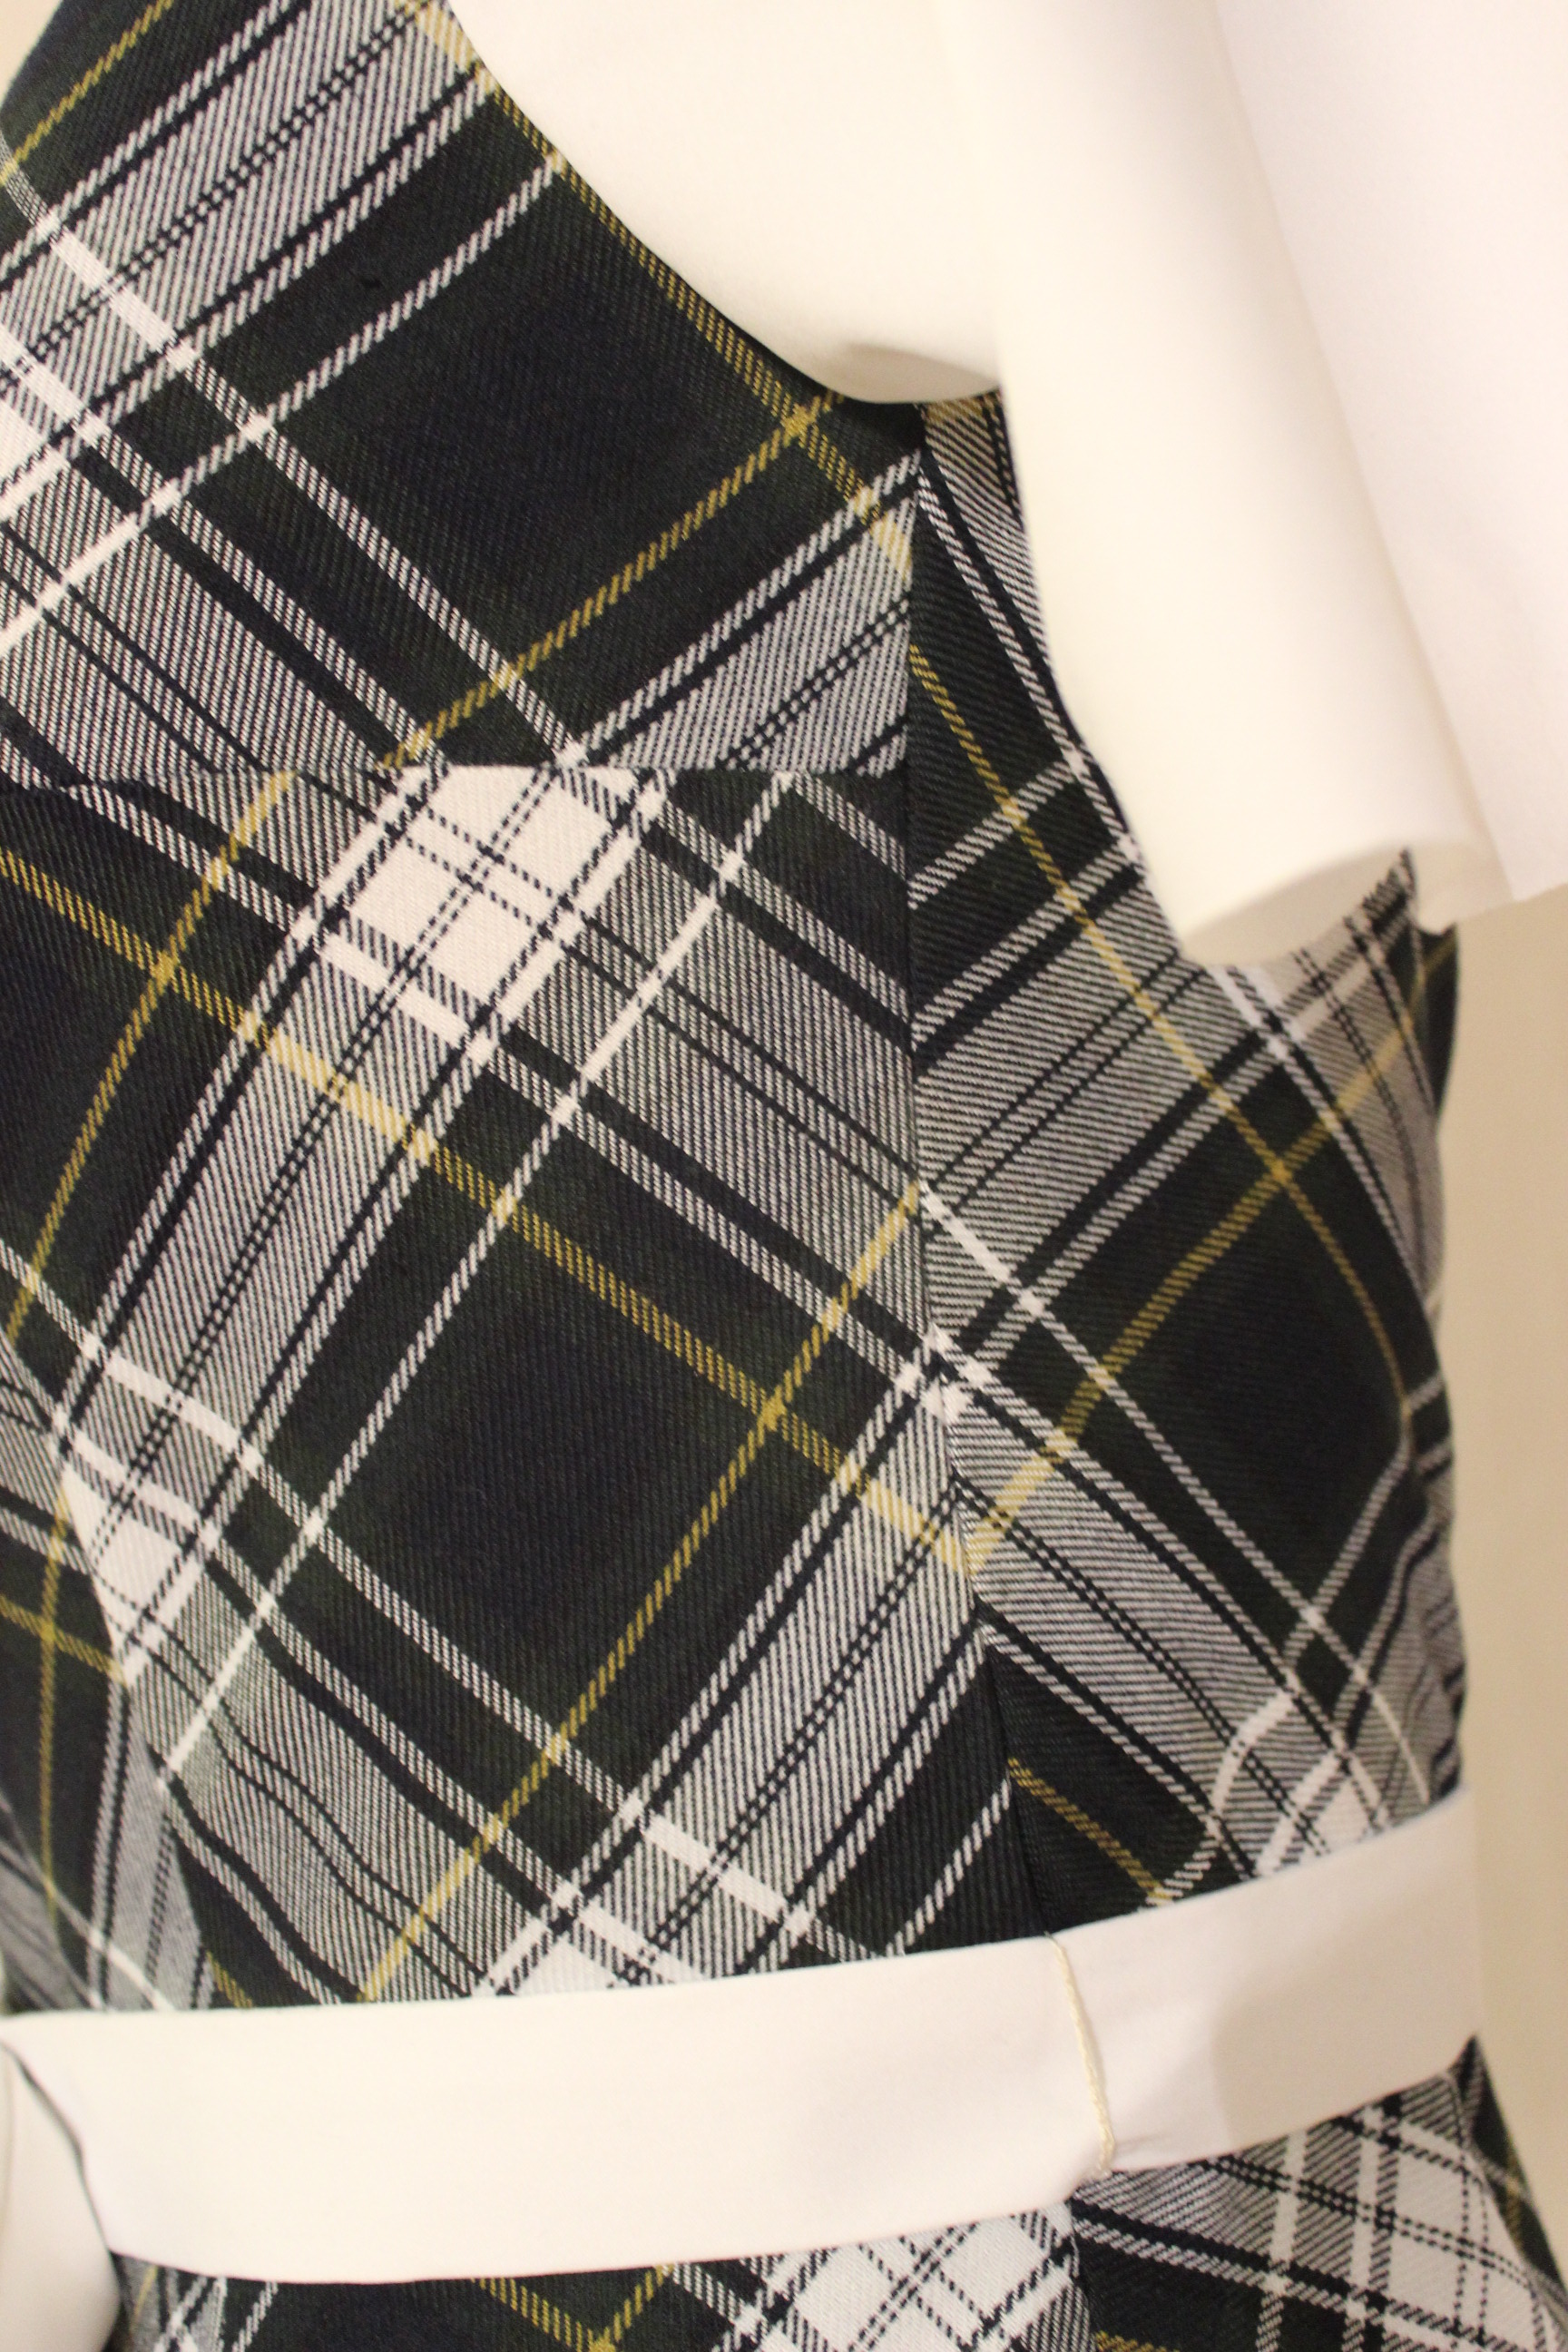
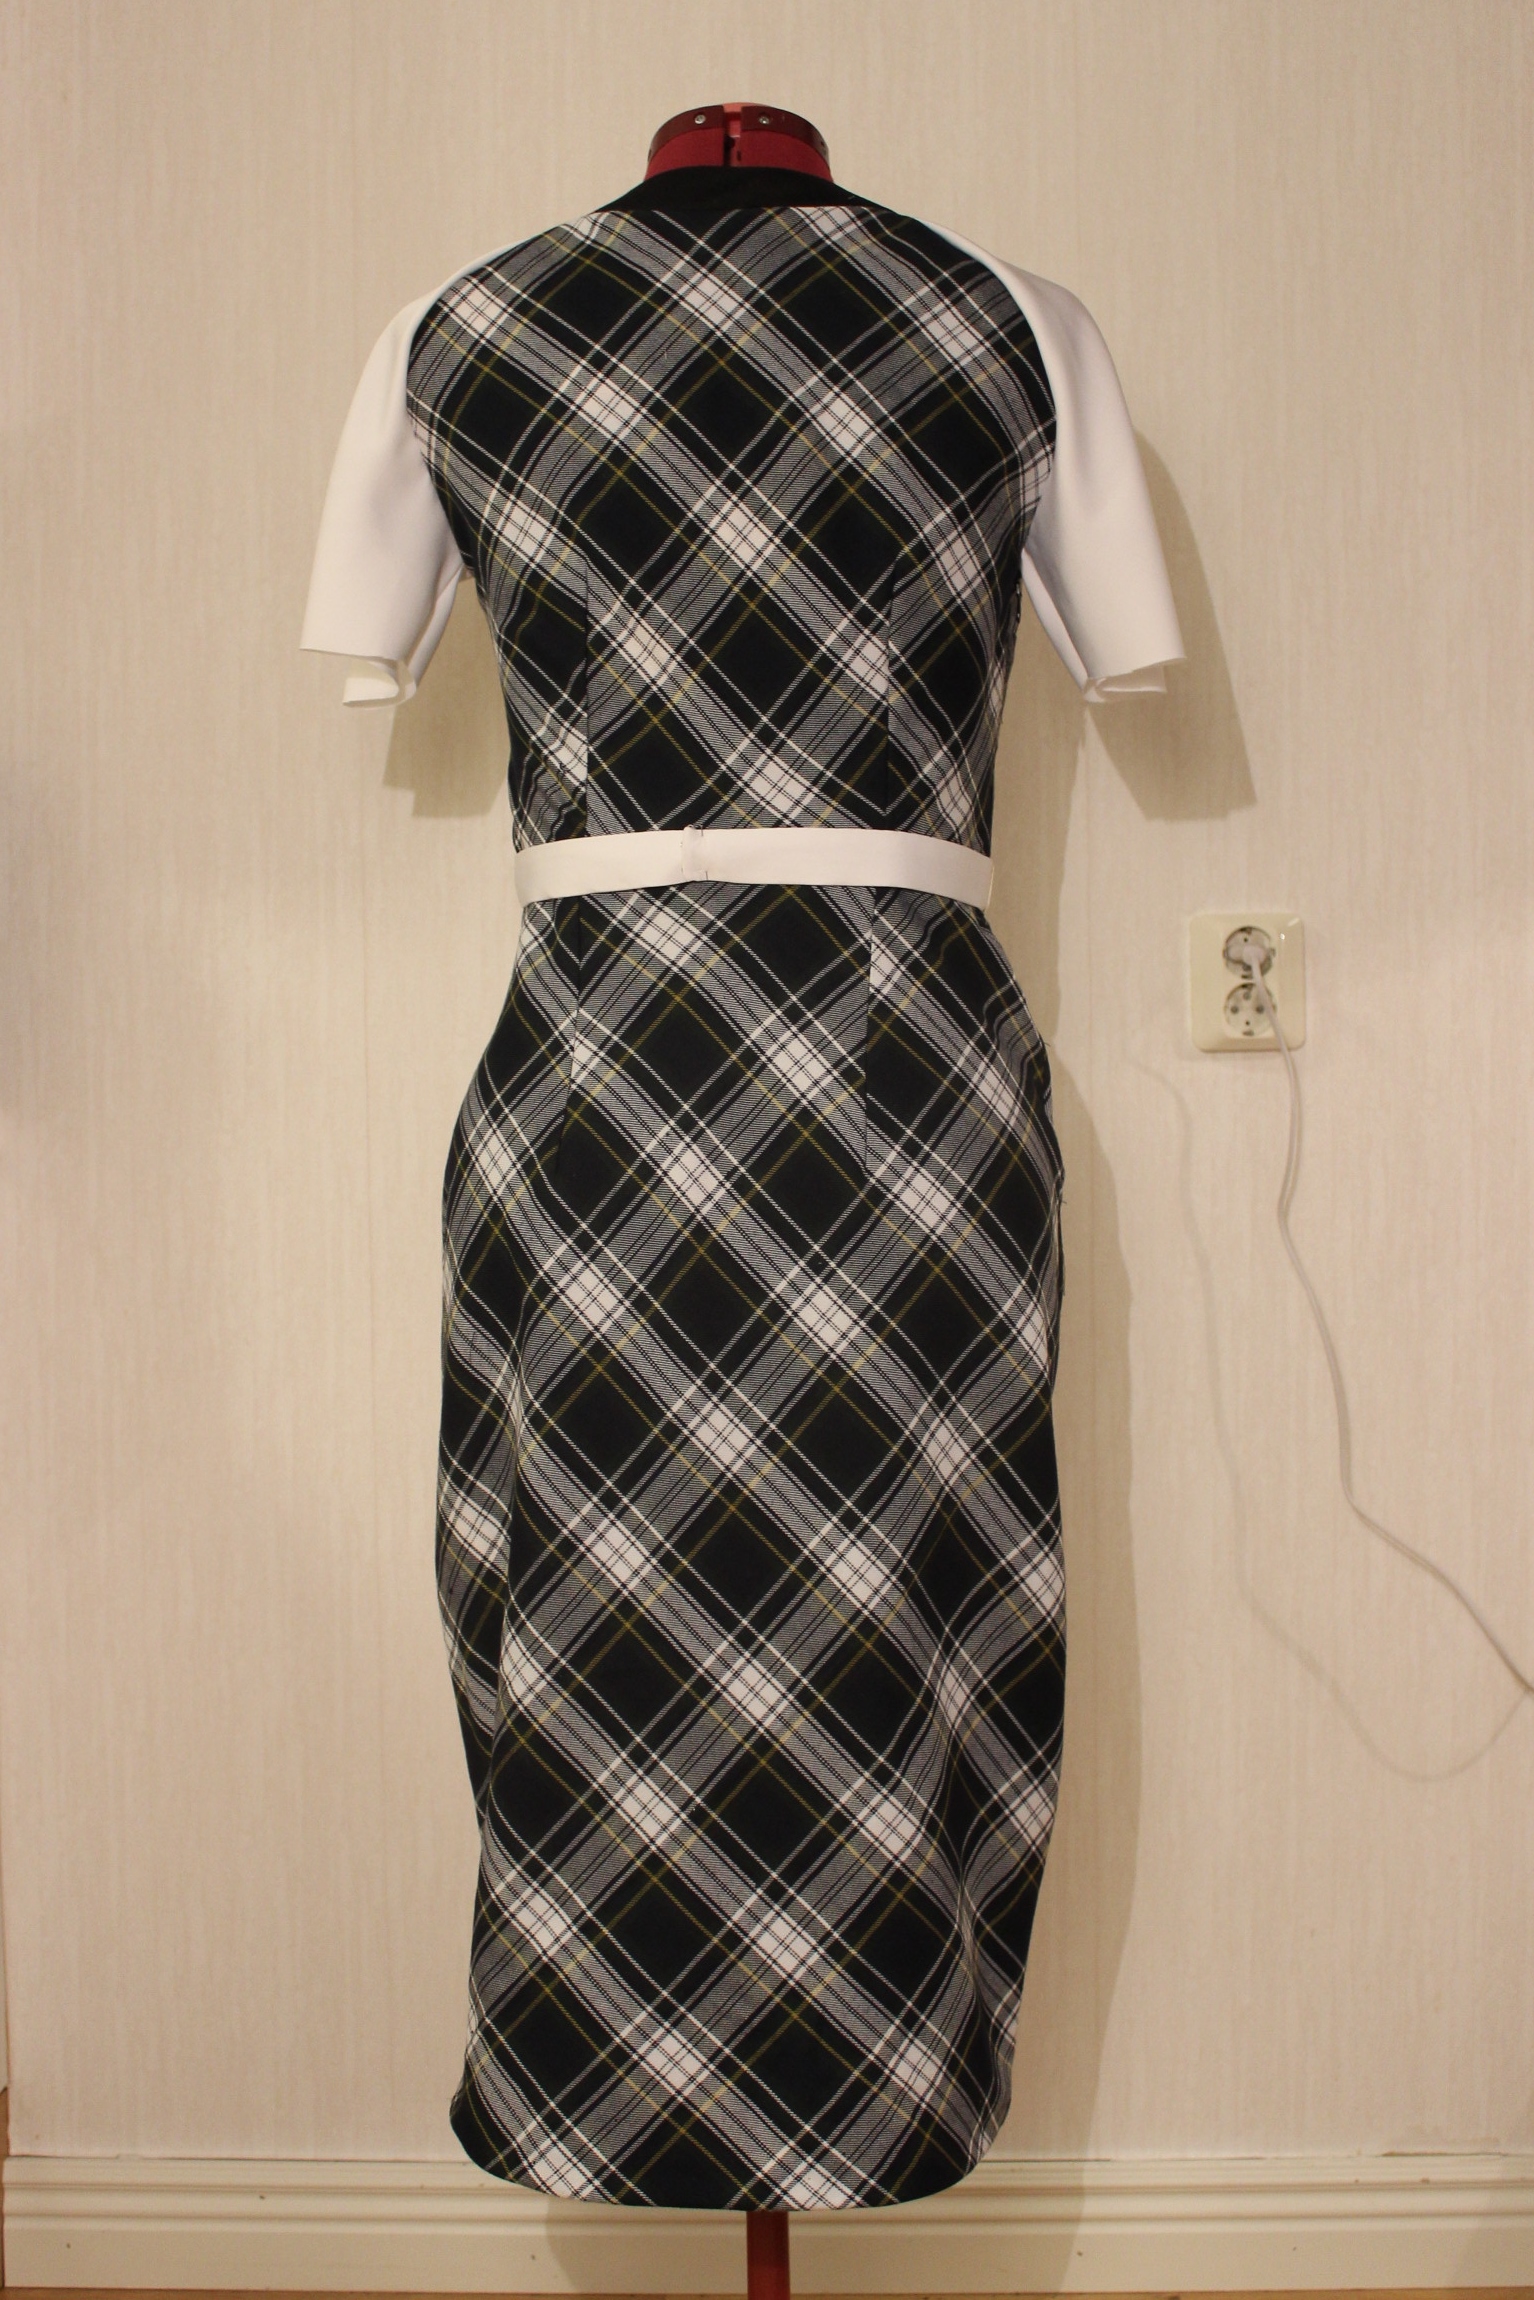
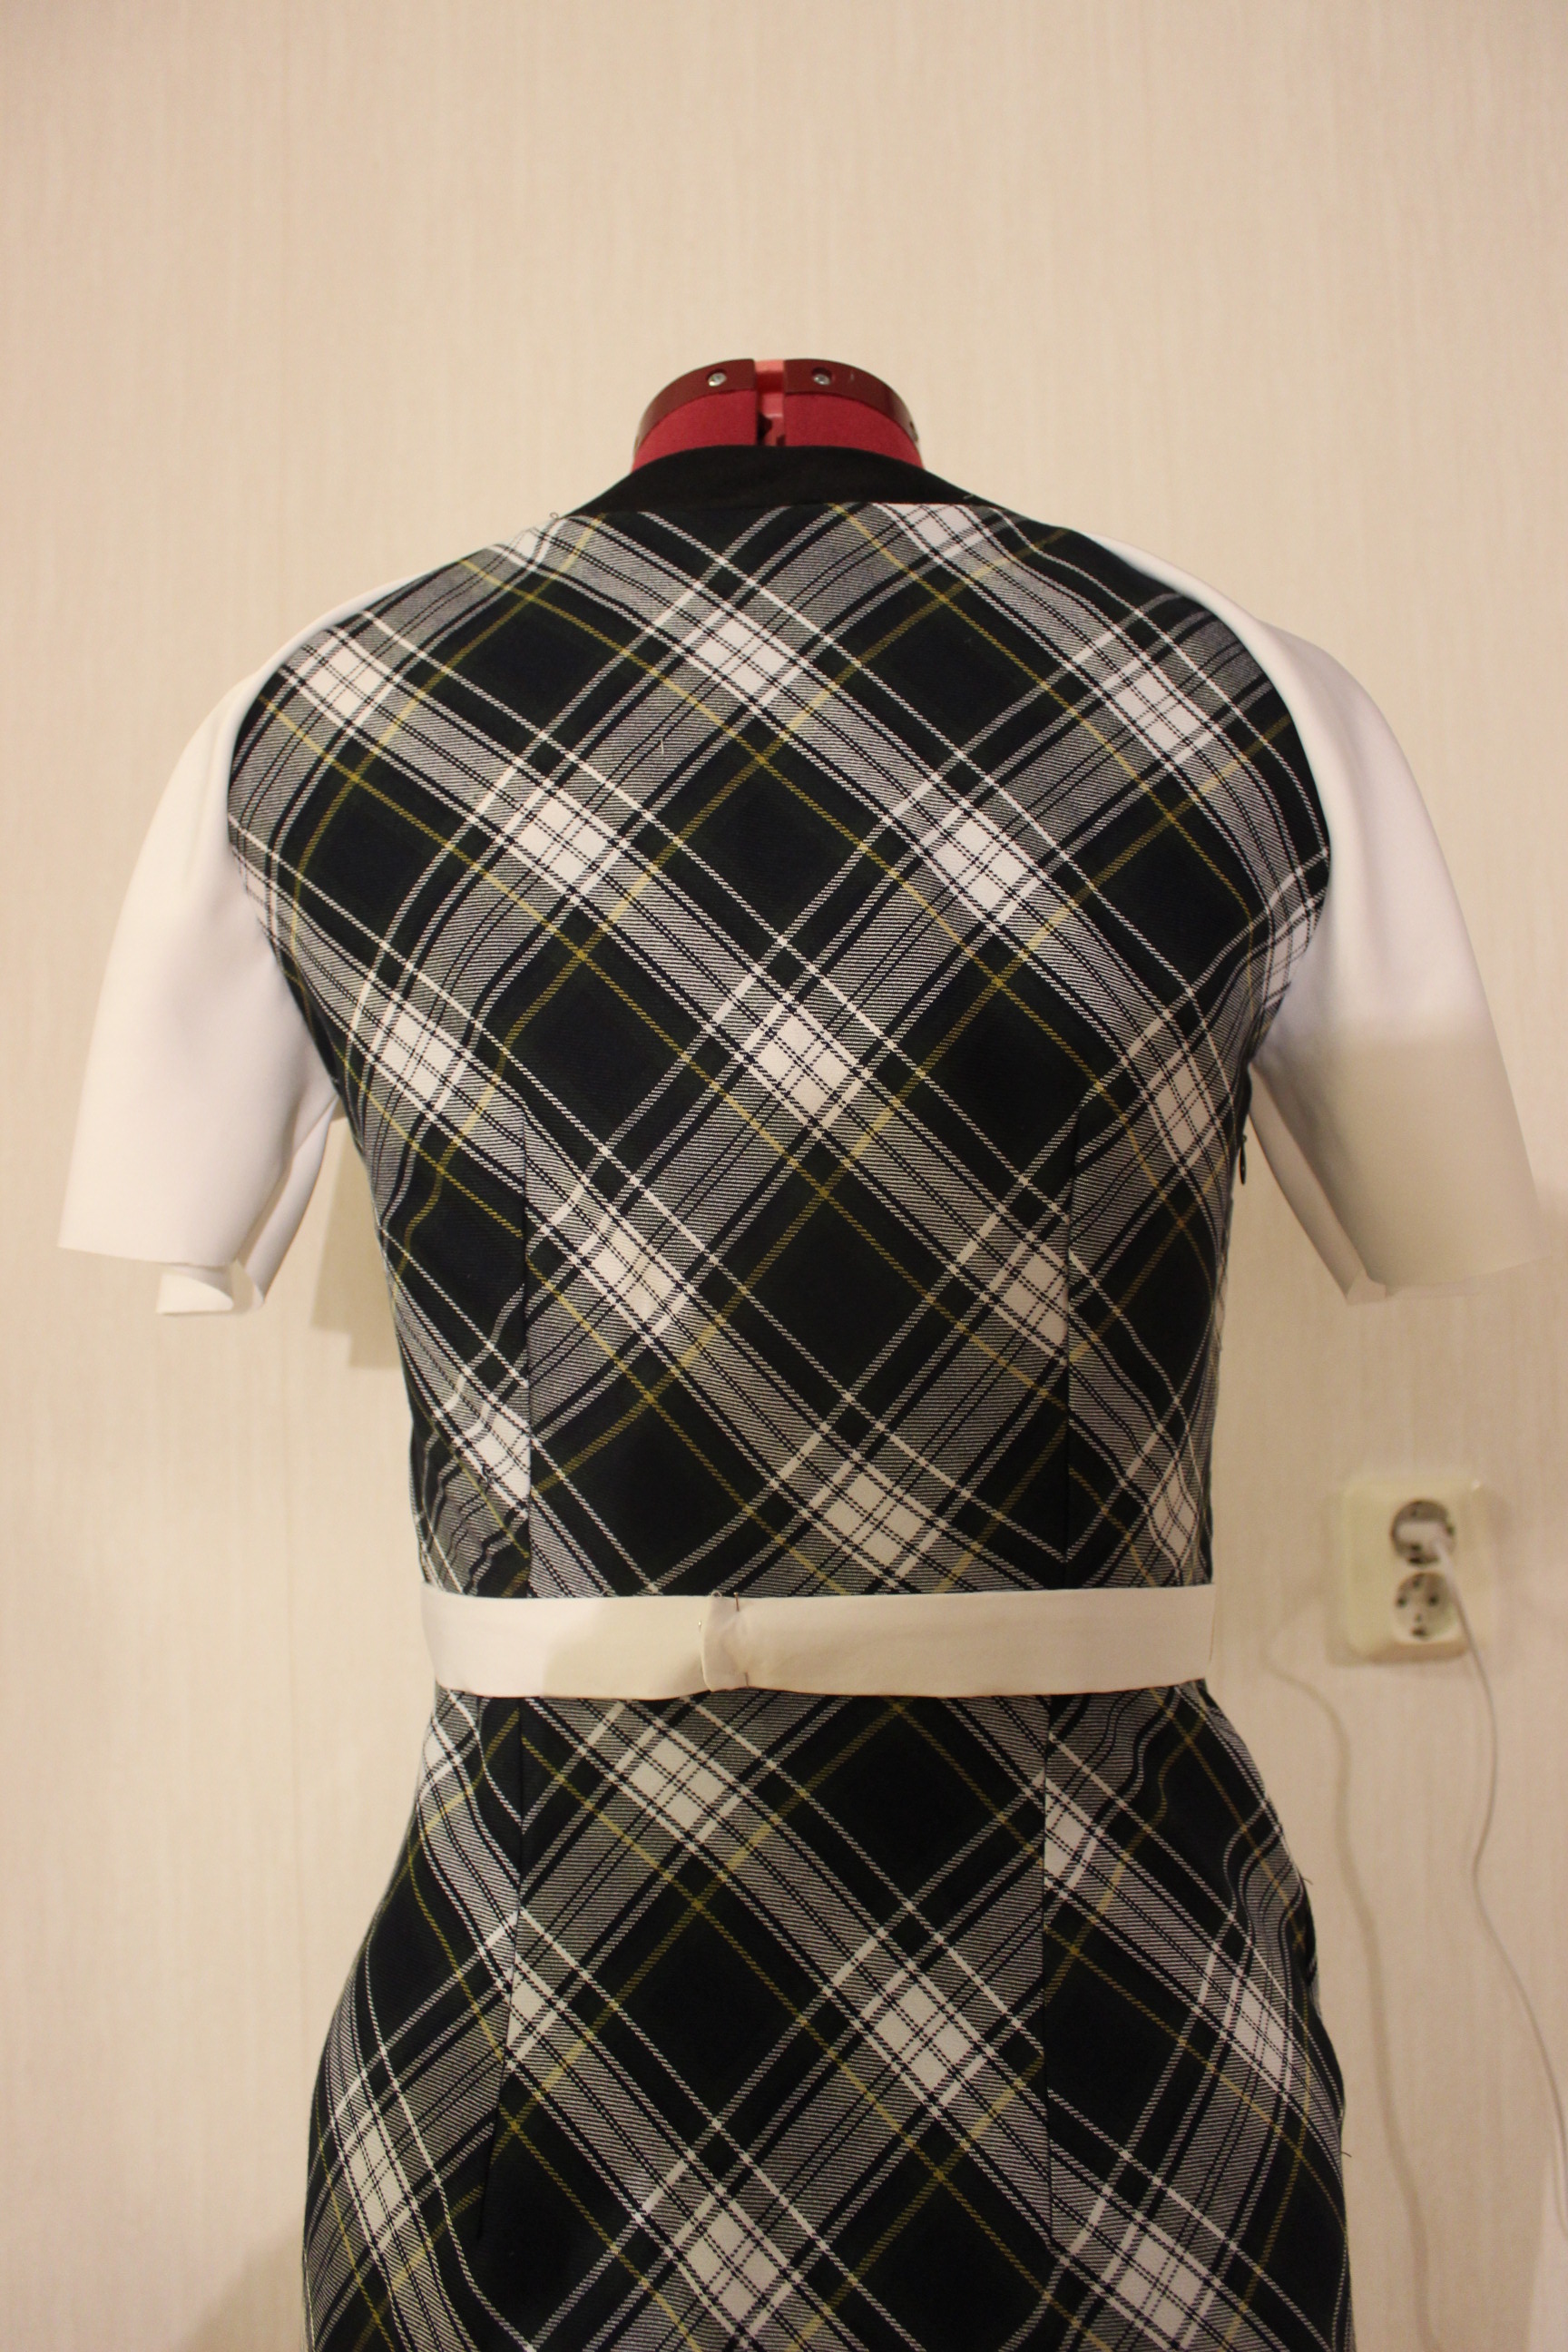
14. Paisley/Plaids.
I have two bedsheets in brown/paisley which I bought with a dress like this in mind.

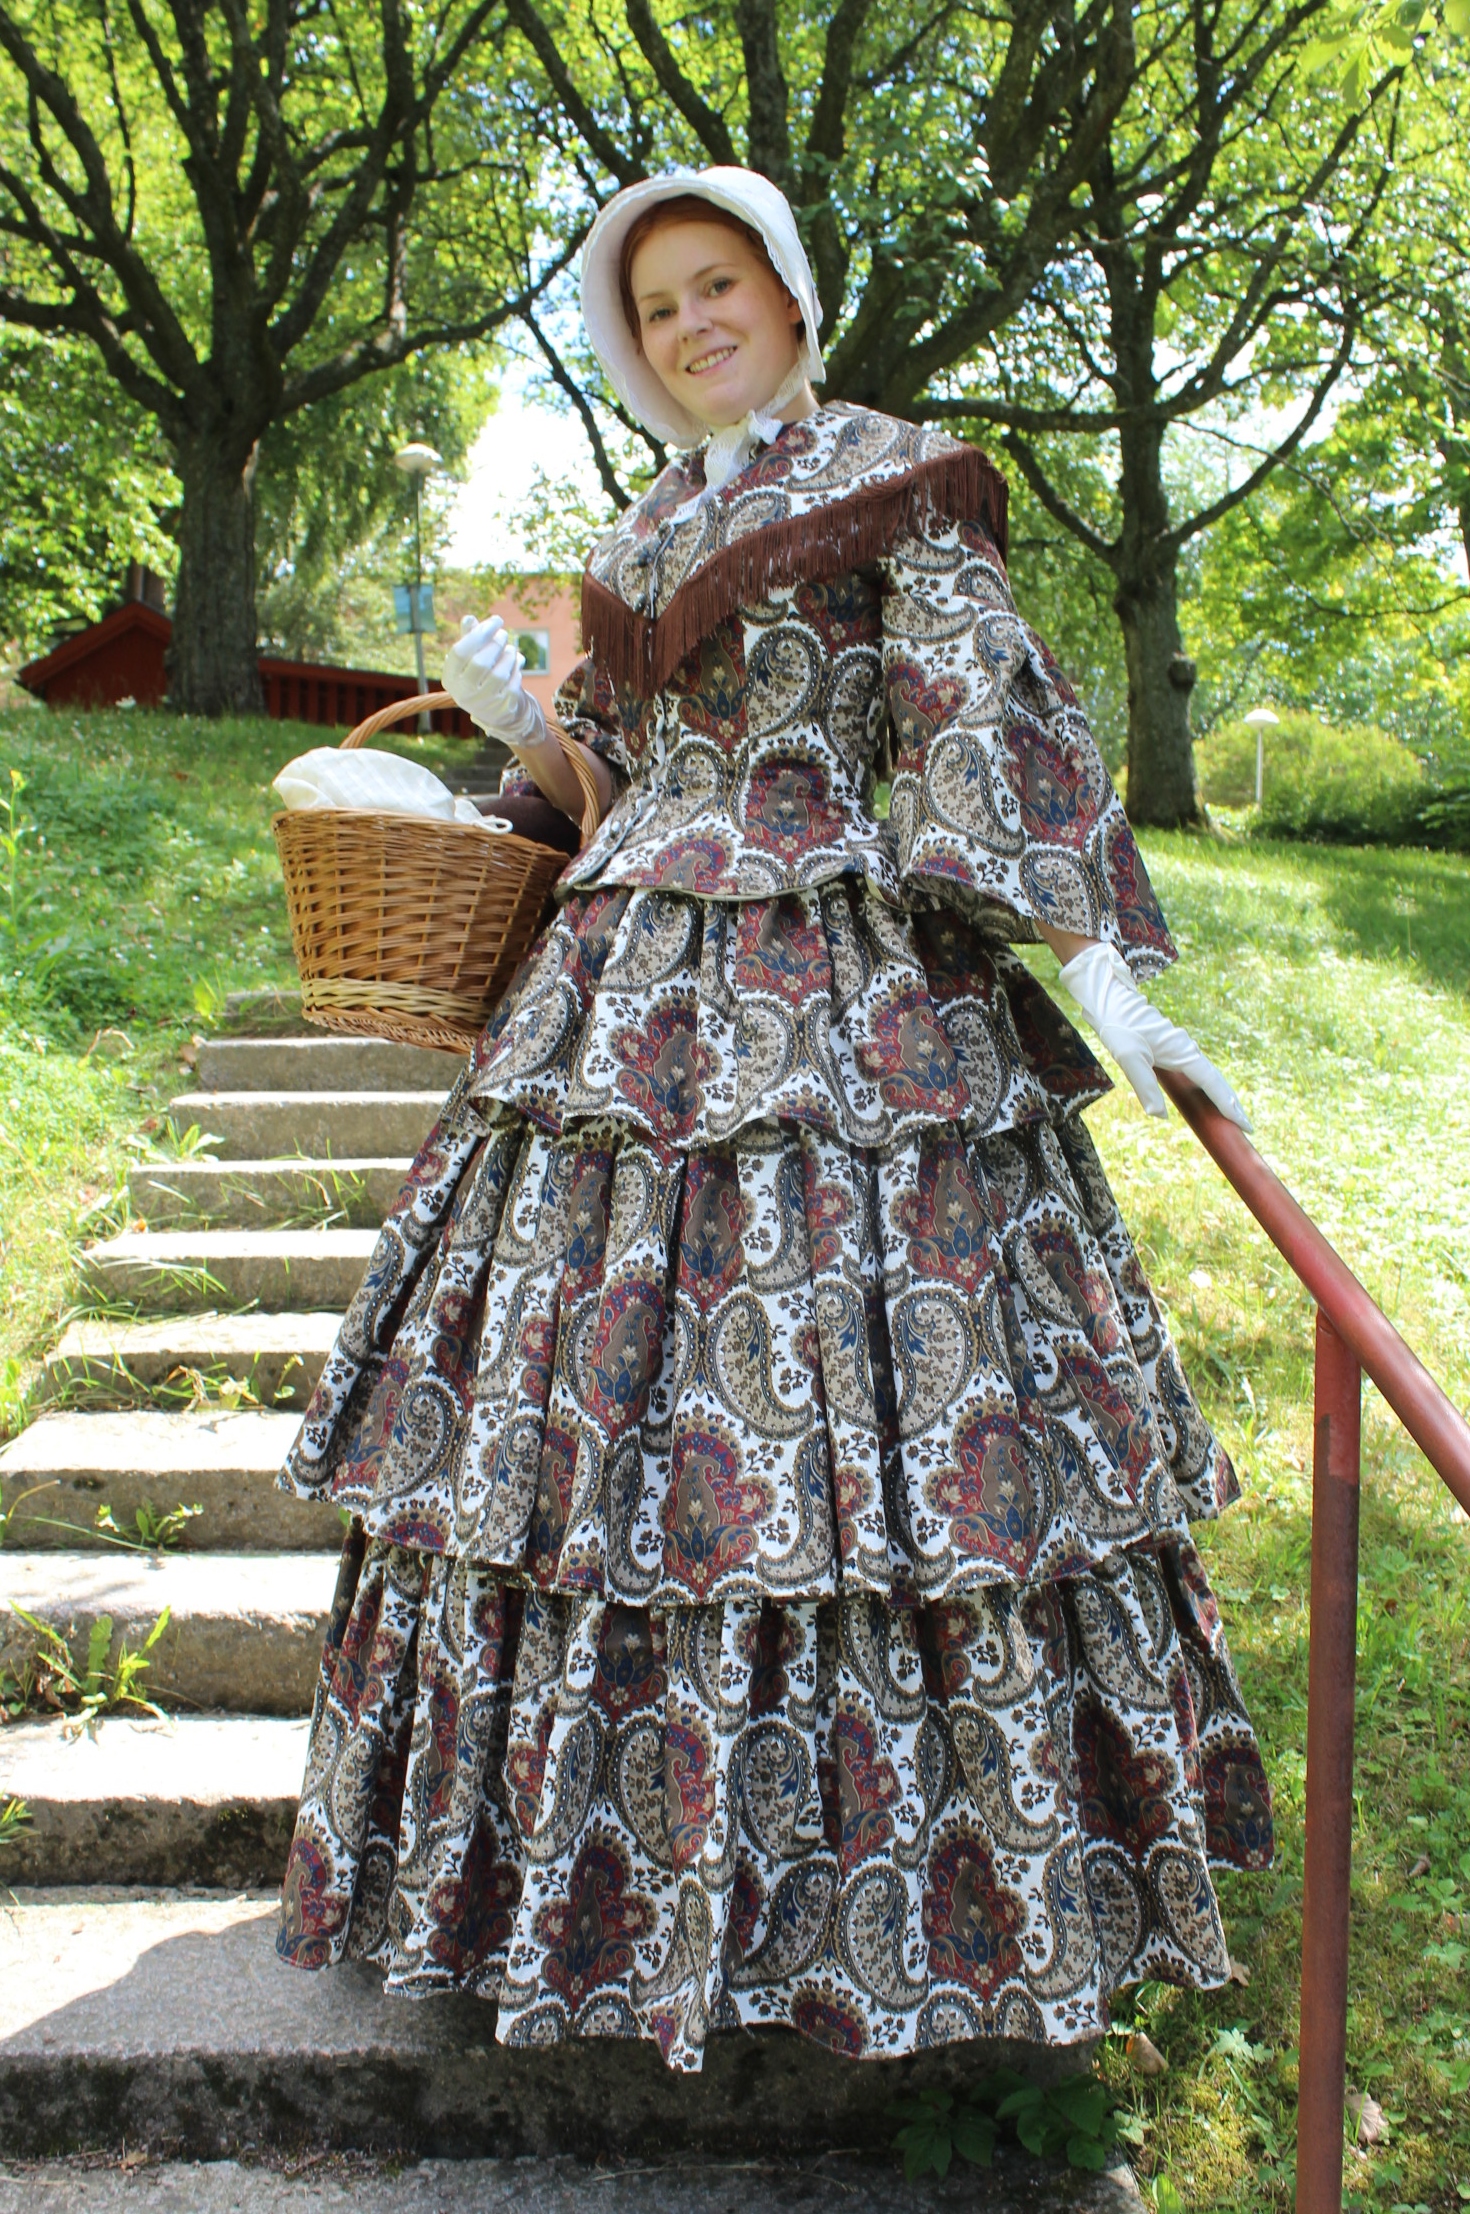
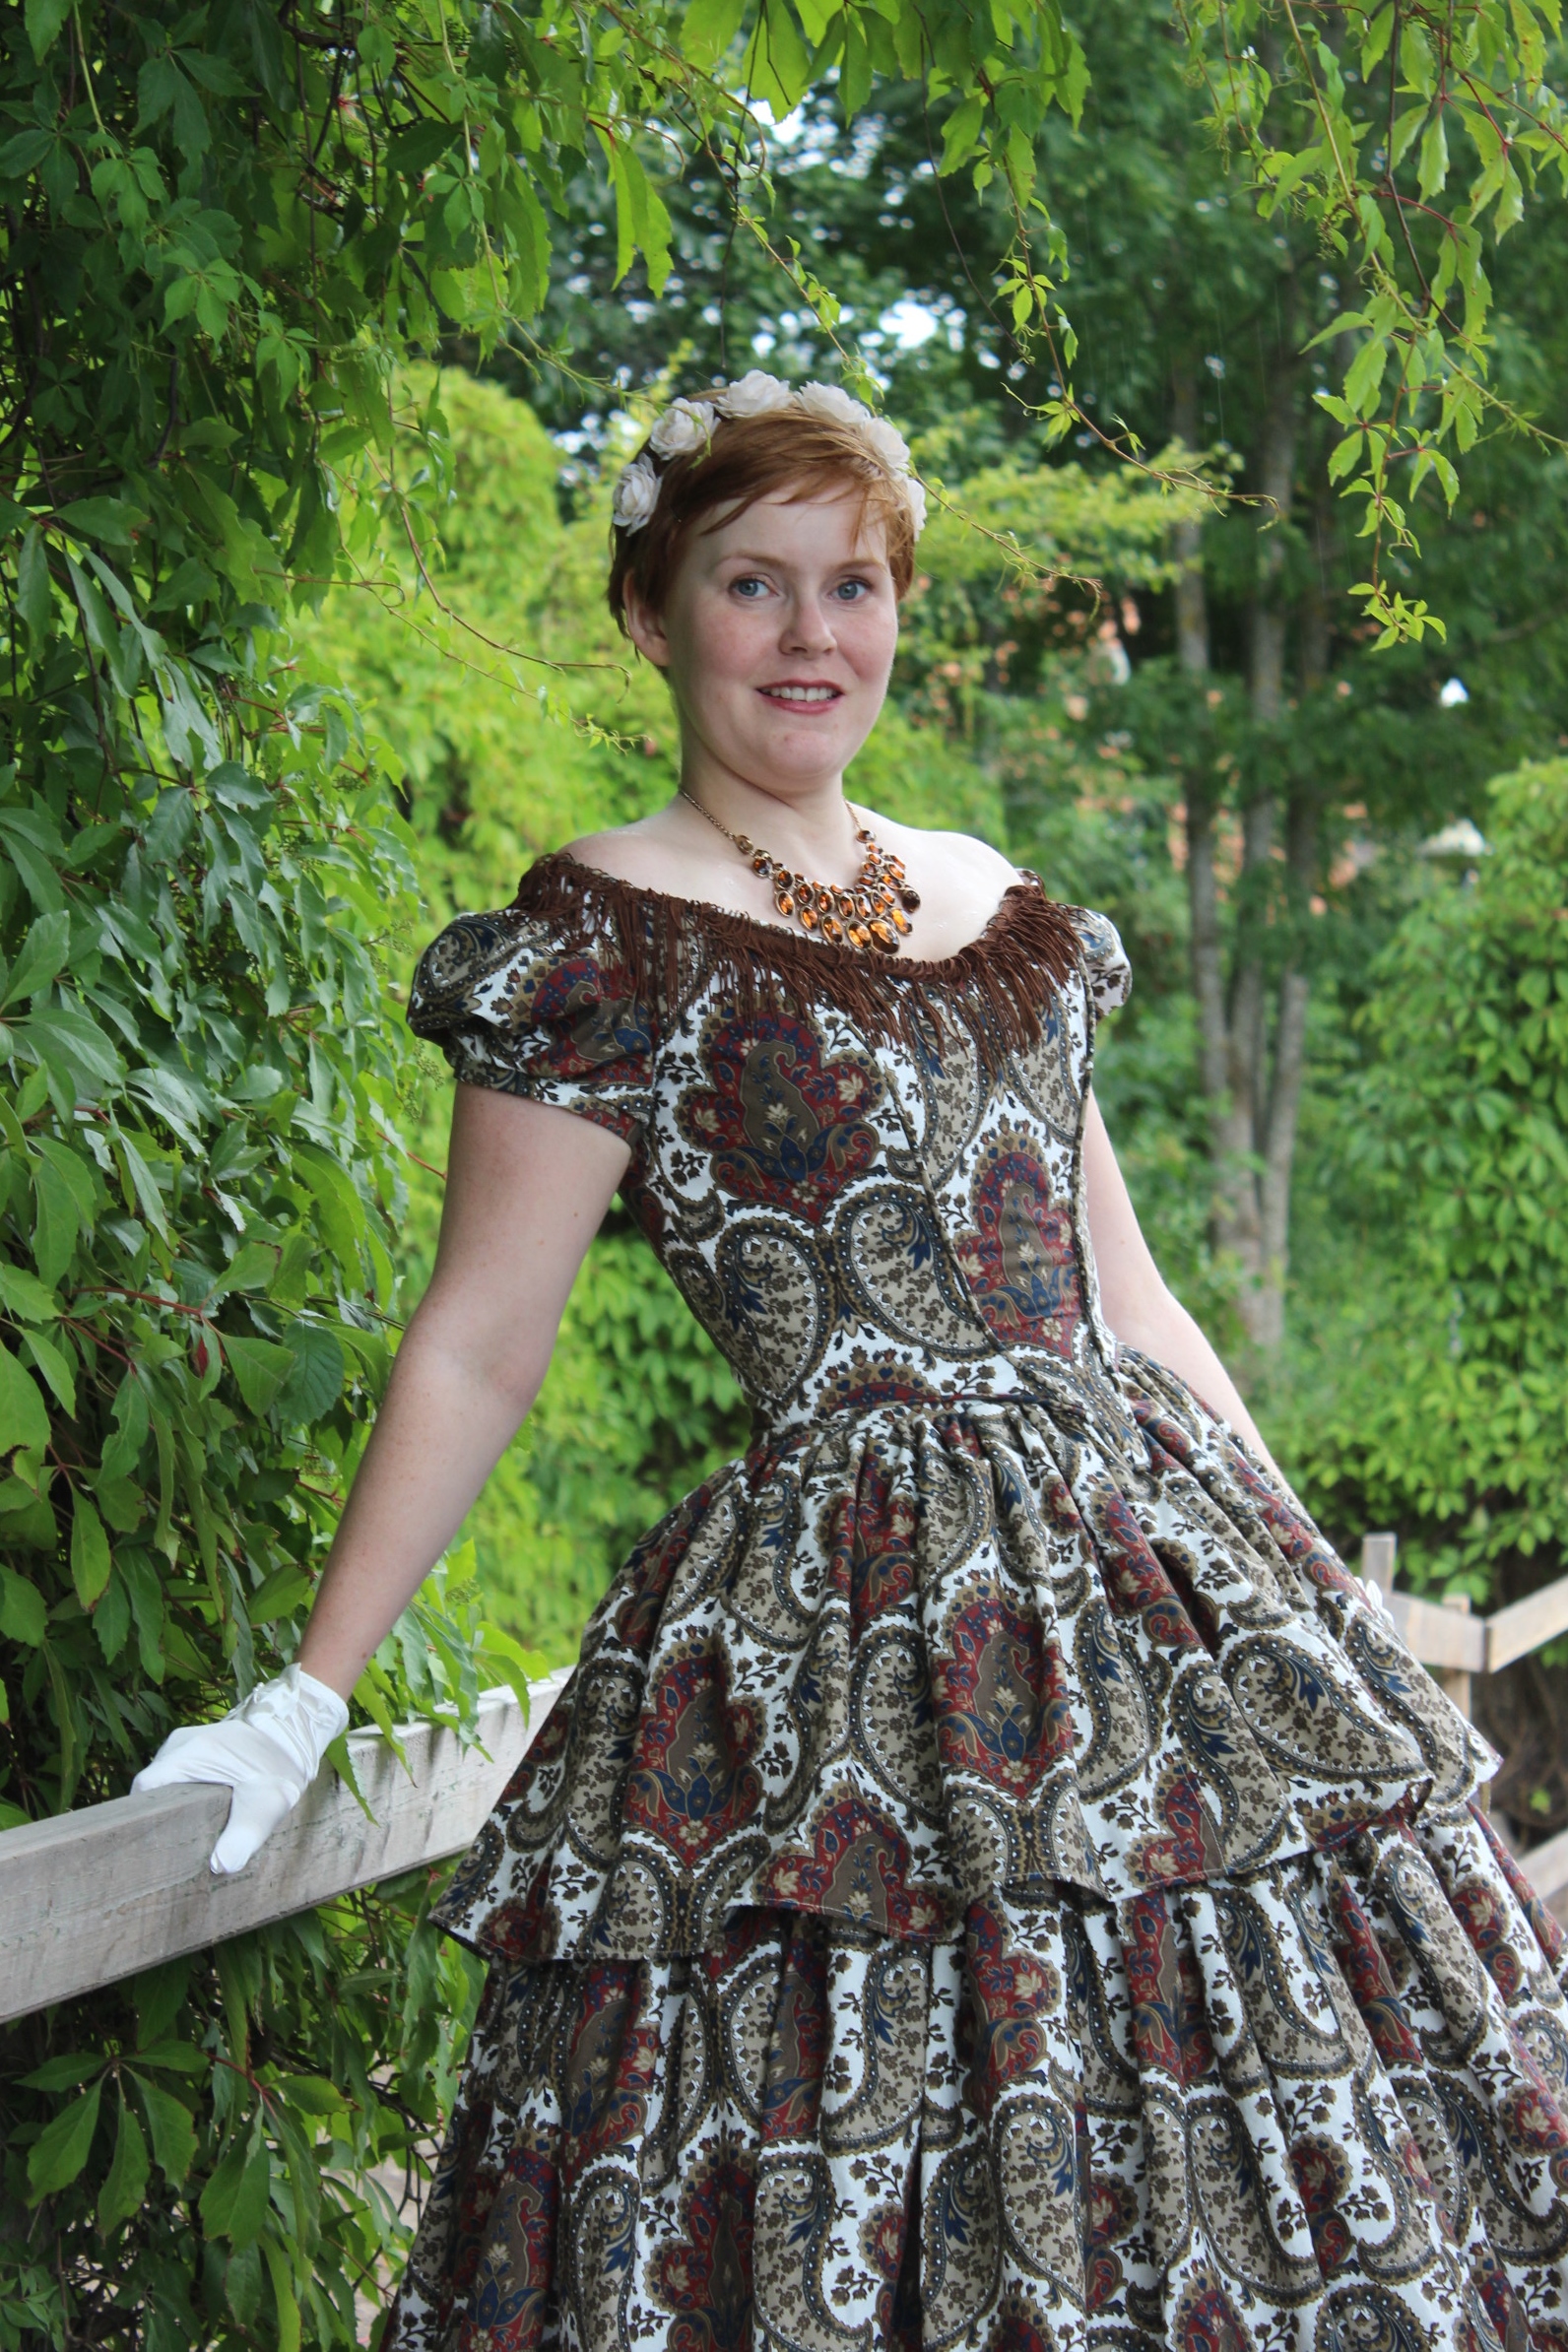 a 1880s paisley evening bodice
Complete: Yes
13. under 10 Usd
I think this challenge can be lot of things, like a chemise, a fichu, a hat or some other accessories. I will wait and see what I will need at the time. But I think it will have to be pretty quick and simple, since the next one will take some extra time.
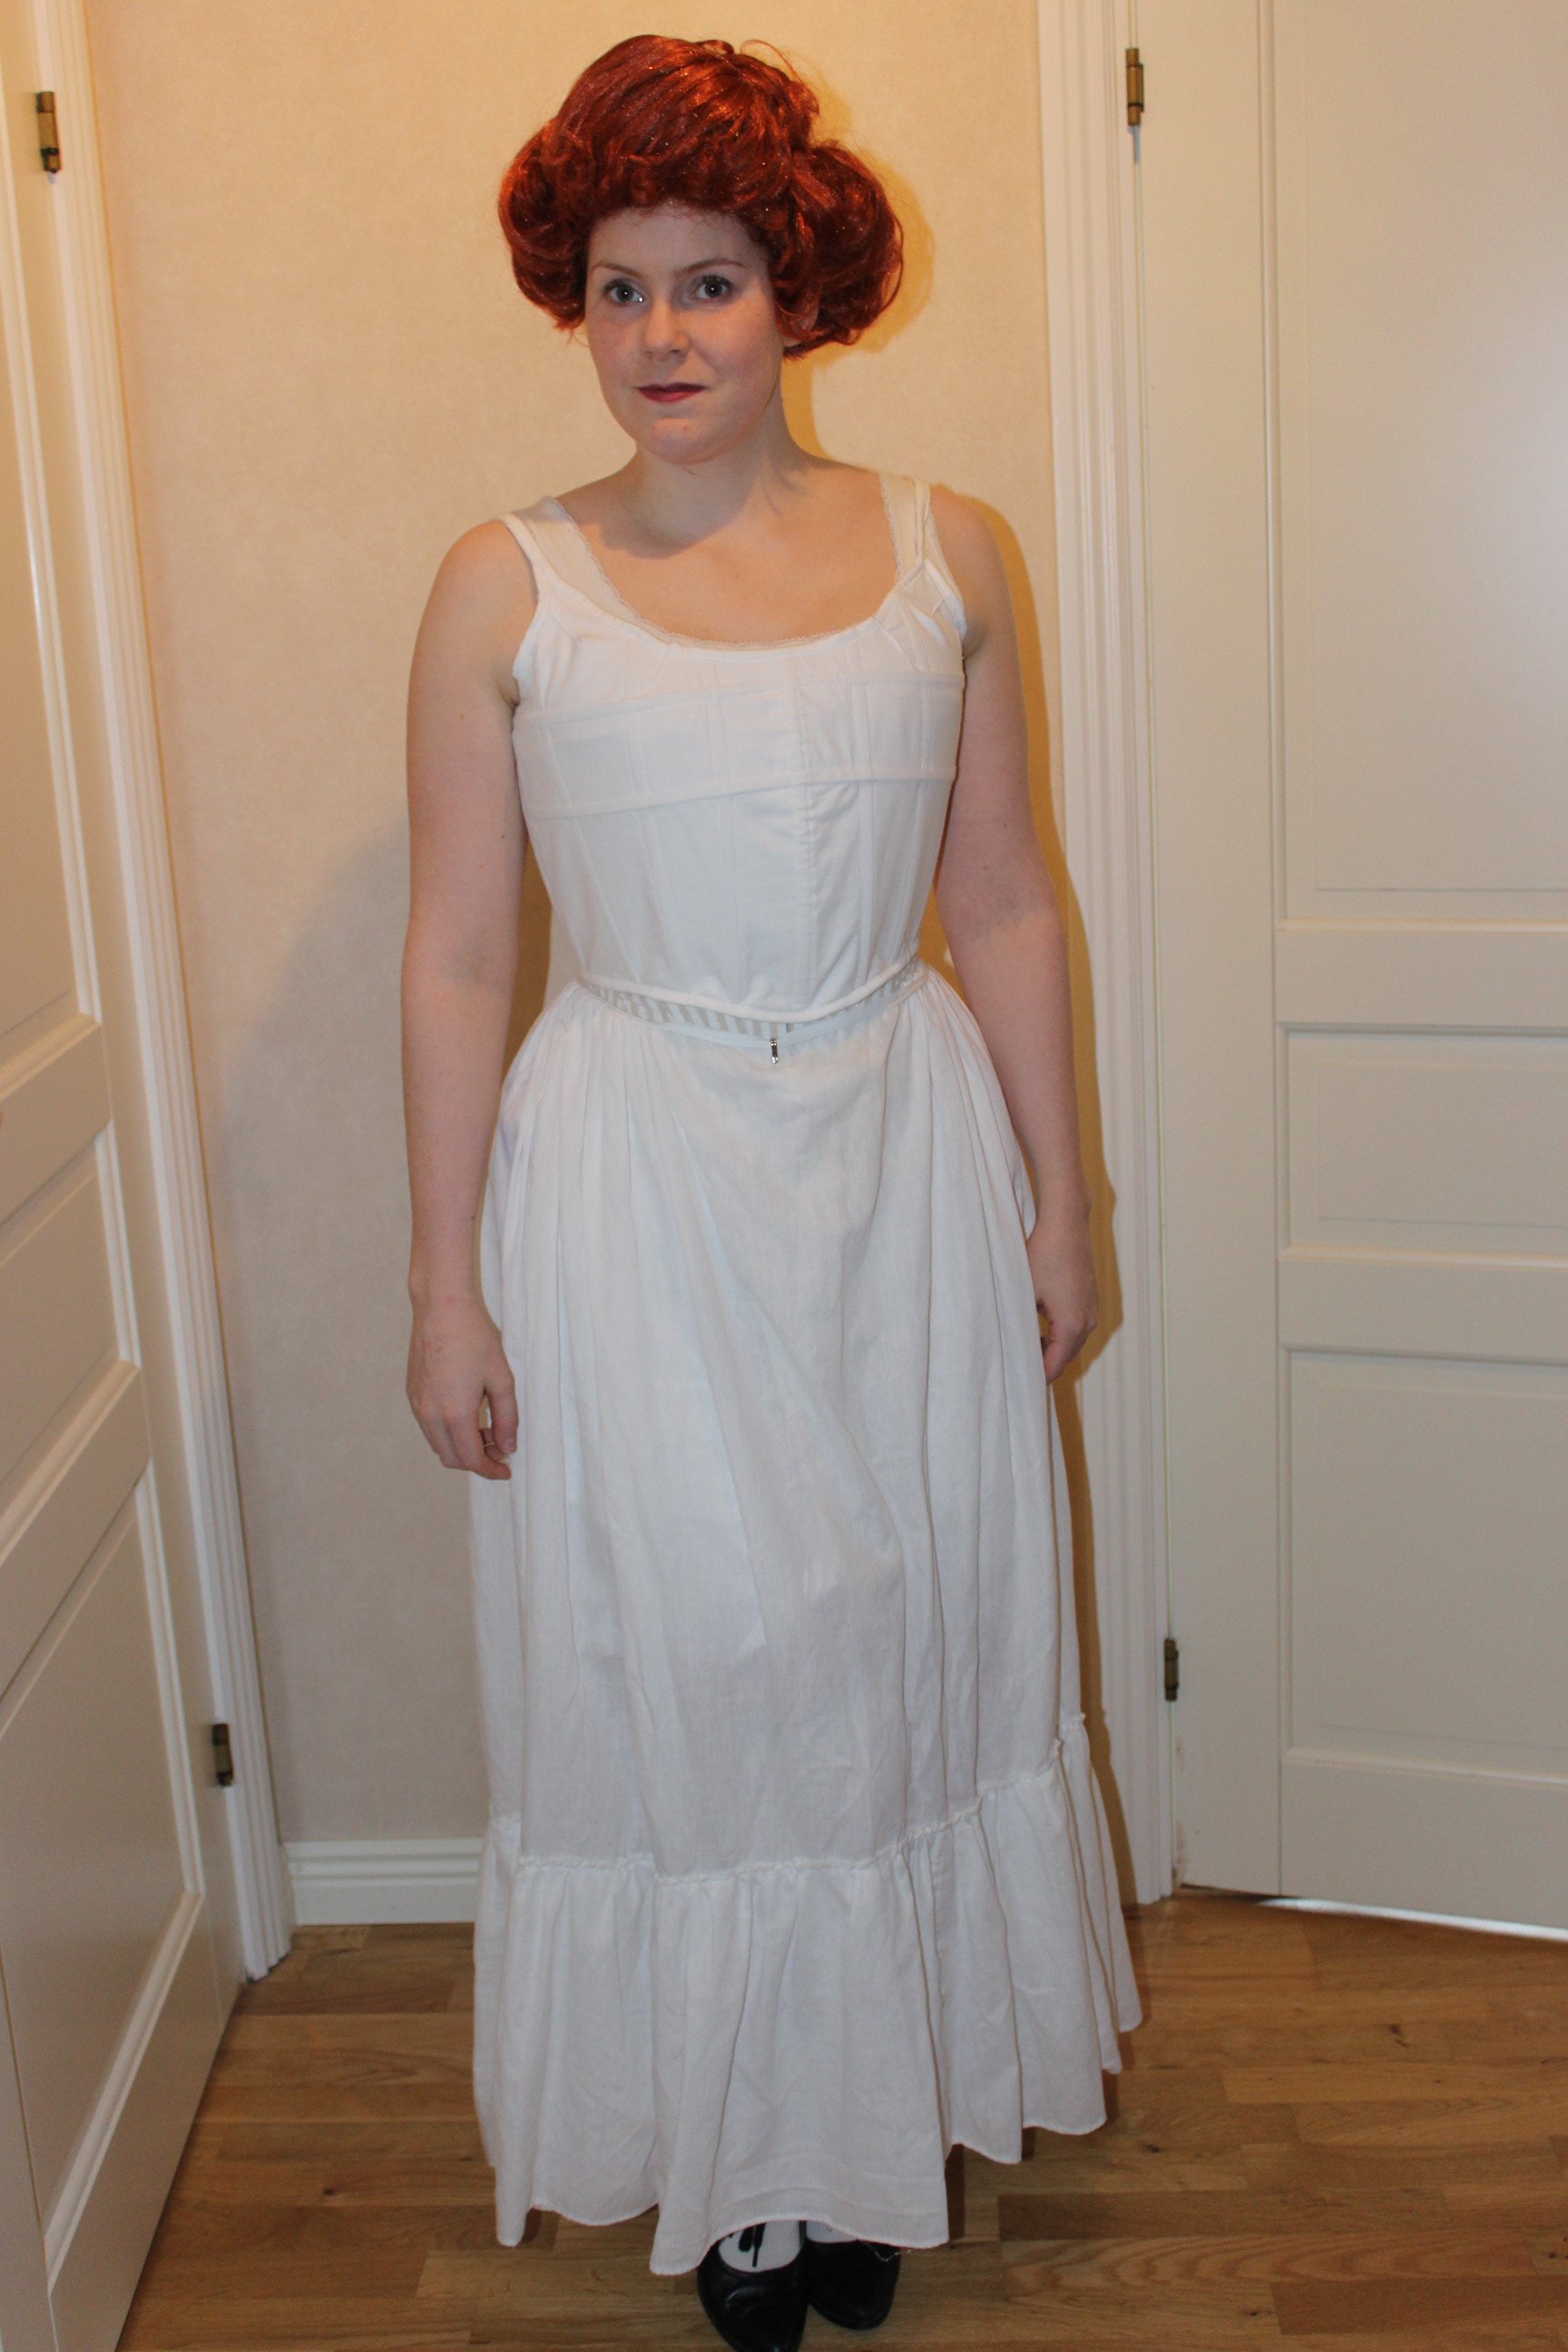
 a 1850s chemise from a bedsheet
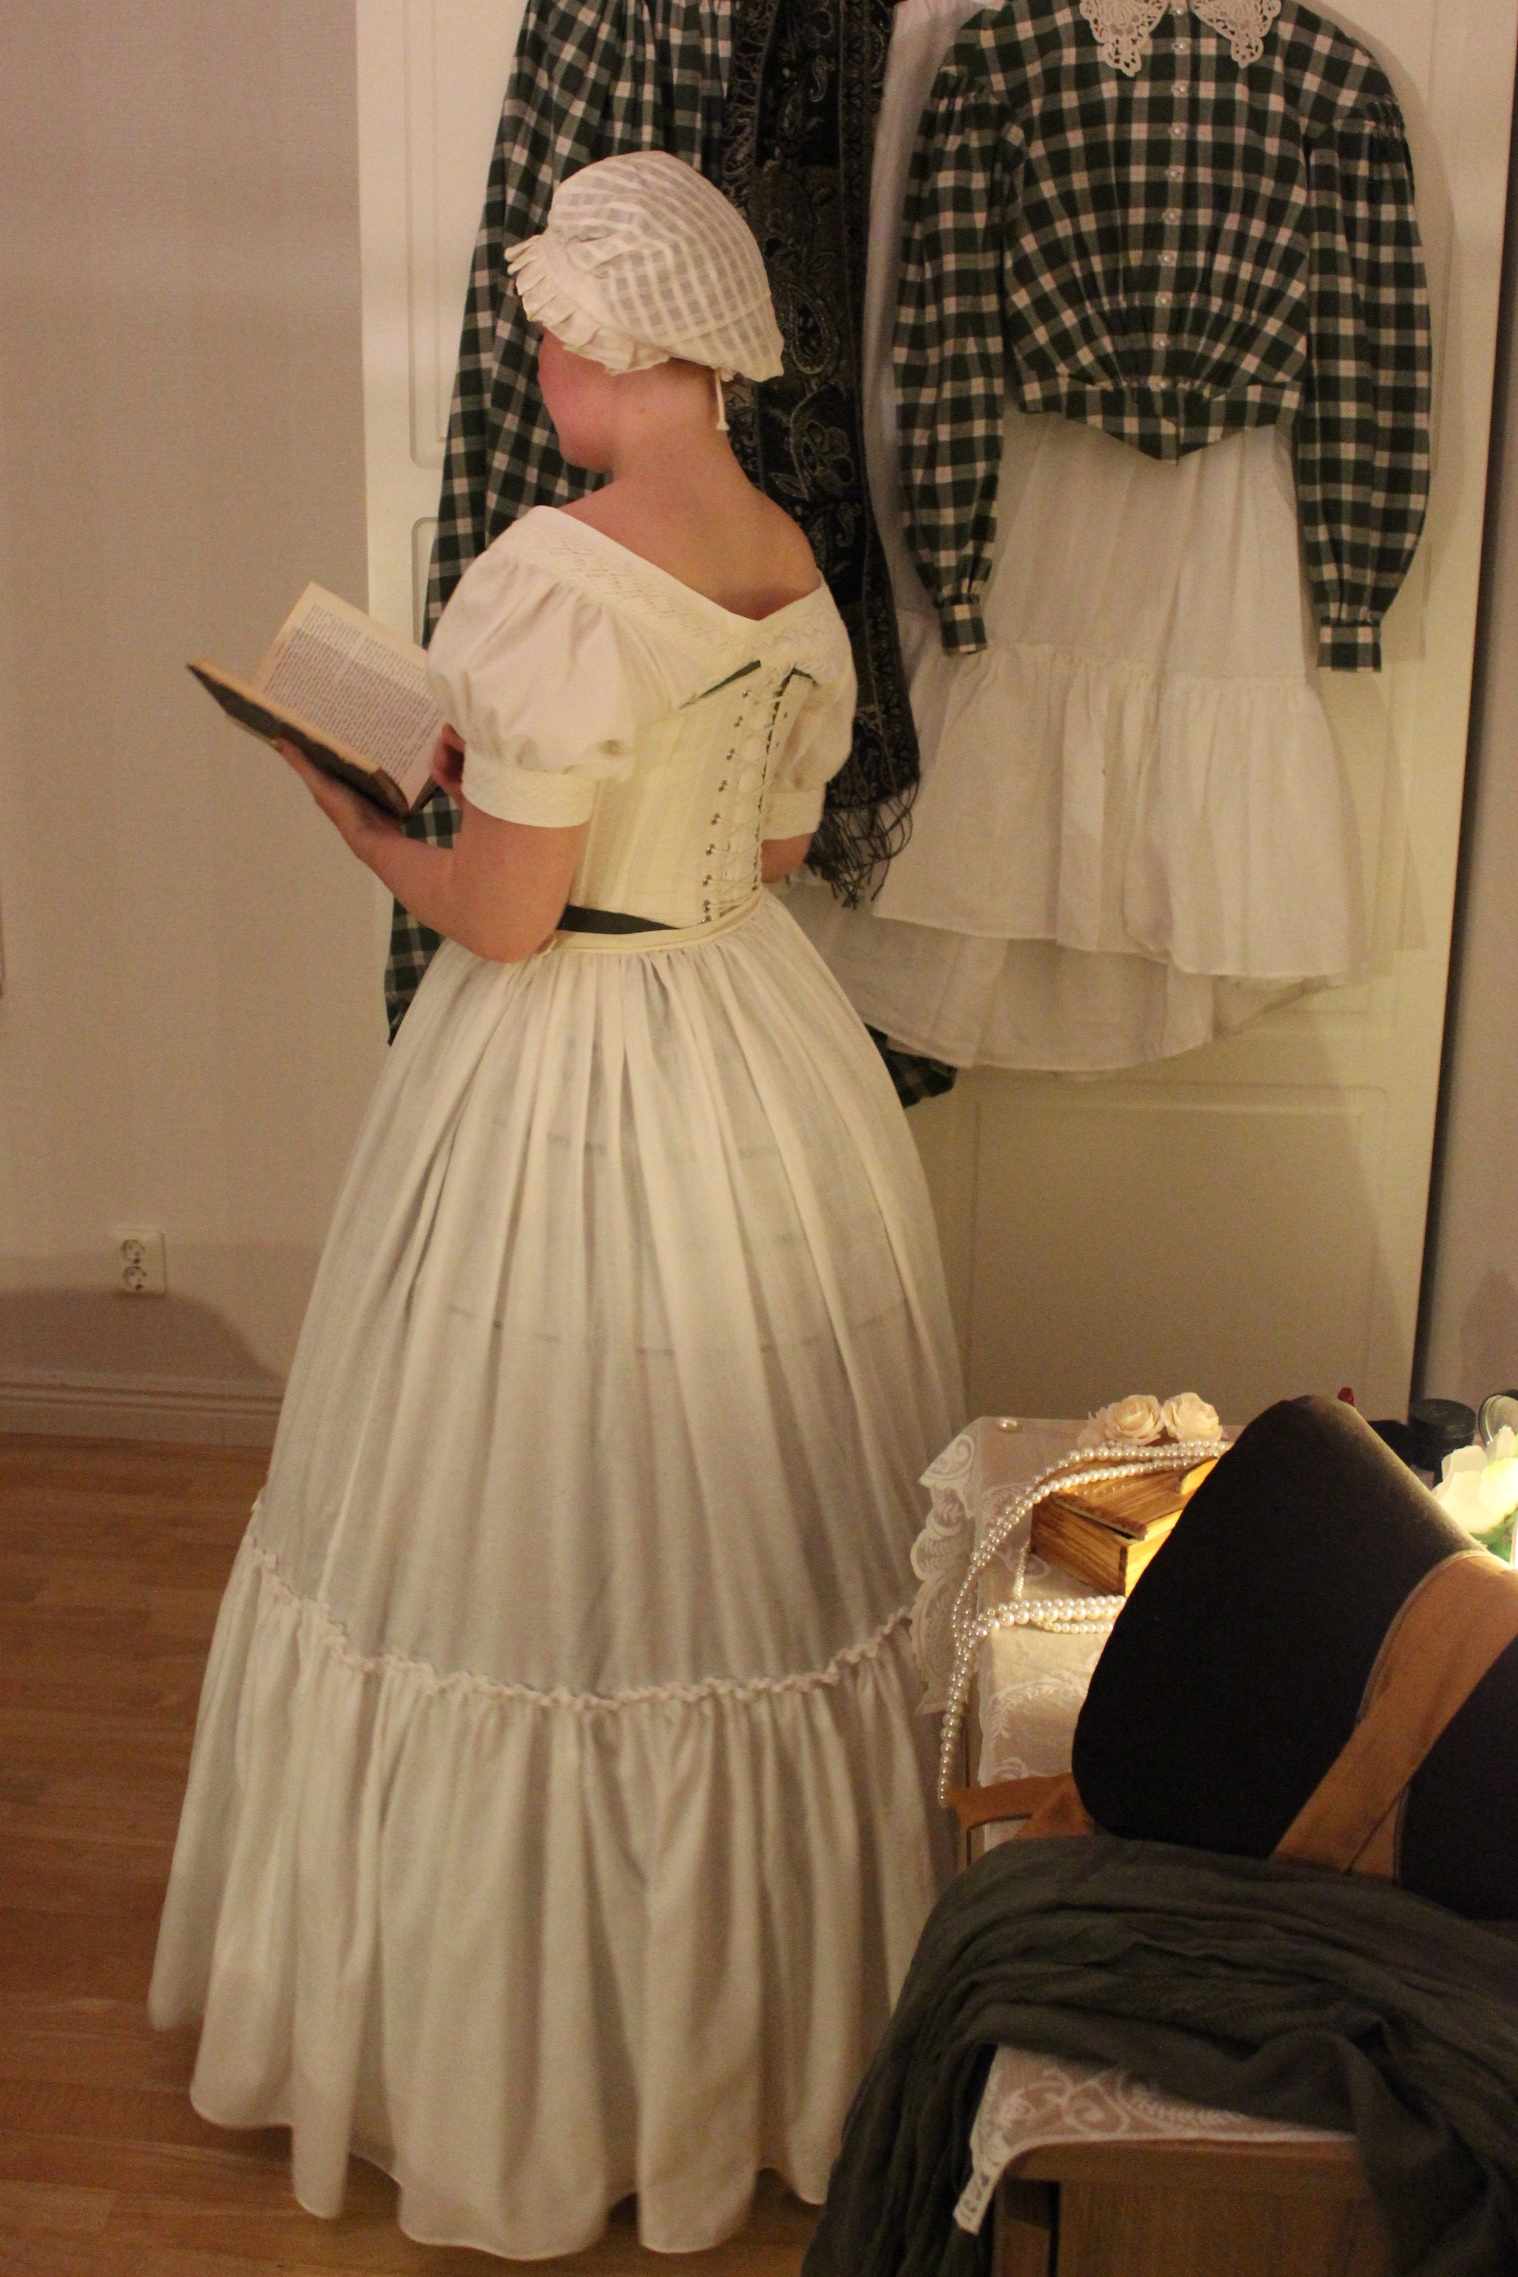 a 1850s petticoat from two bedsheets
Complete: Yes, and a bonus entry.
15. Outdoors
A light blue 18th century redingoat. Love this one from “Festive Attyre“, and I do have a pale blue, soft wool that would be perfect.

 a regency west.
Complete: No, not even close.
(I did started the redingote for a later challenge, but sadly never finished)
16. Termologi
This one can also be a lot of things, but I think I will do something easy since the “Outerwear” one will be big.
 a pair of 18th century stays.
Complete: Yes – also not fair since I didn’t specify in advance, and I’m not sure you can call 18th century stays easy…
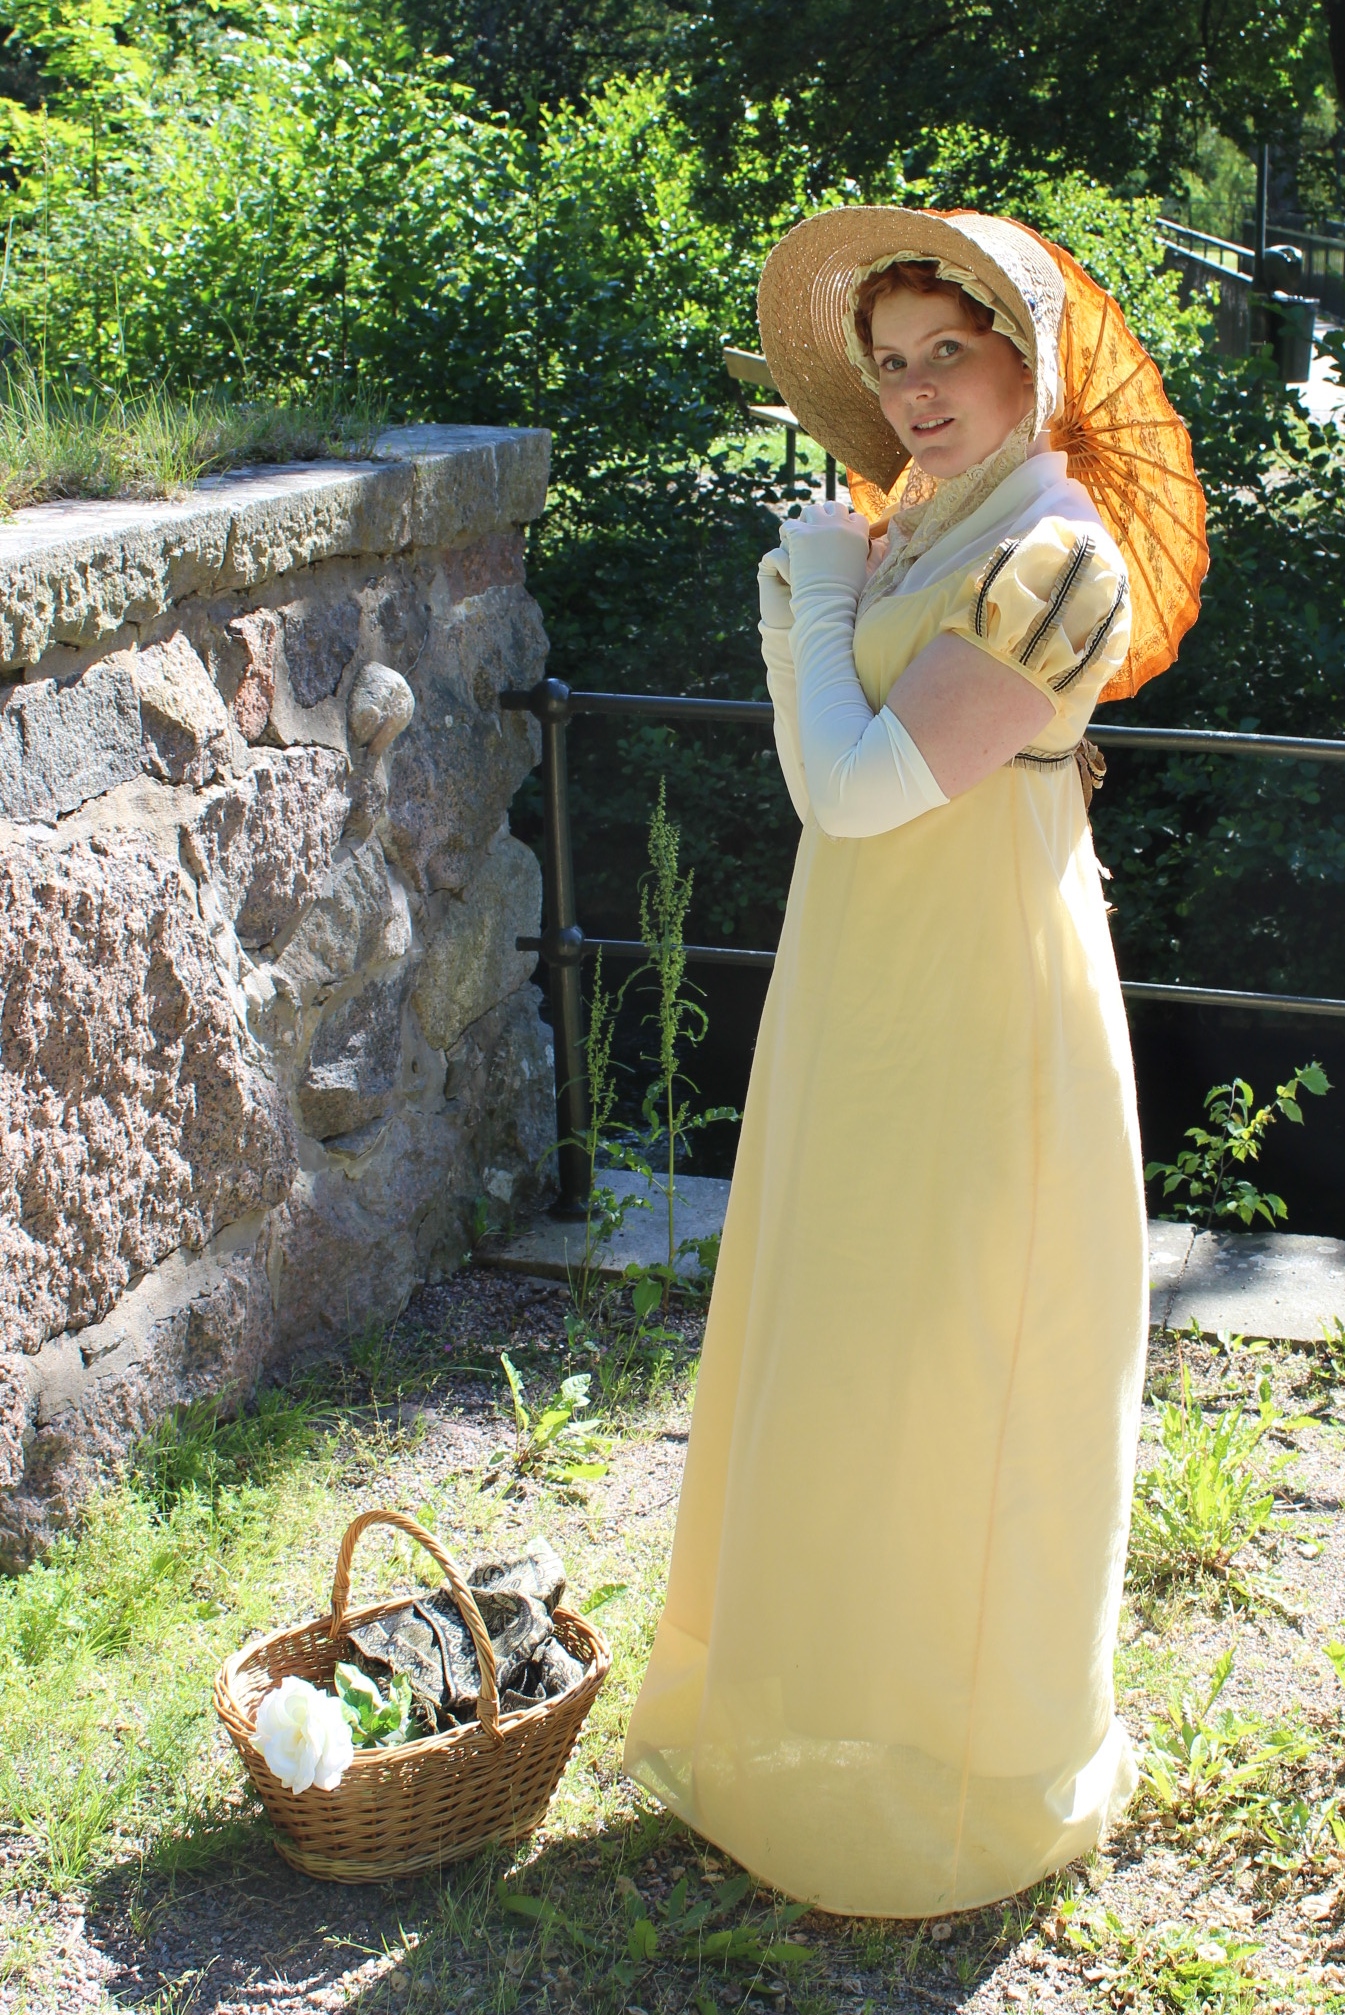
17. Yellow
Maybe a regency open robe like the one worn on the round gown for challenge 11. This depends on what kind of fabric I find.
 a 1550s doublet in yellow wool.
Complete: No, even though I meant to do the open robe up until the last second. Then I found yellow wool and quickly changed my mind, and I did state that the outcome of this challenge would be based on what fabric I would get.
18. Poetry
Not sure yet, but thinkig of making a 18th century robe out of some flowery fabric I got. There will always be poems about flowers, right.

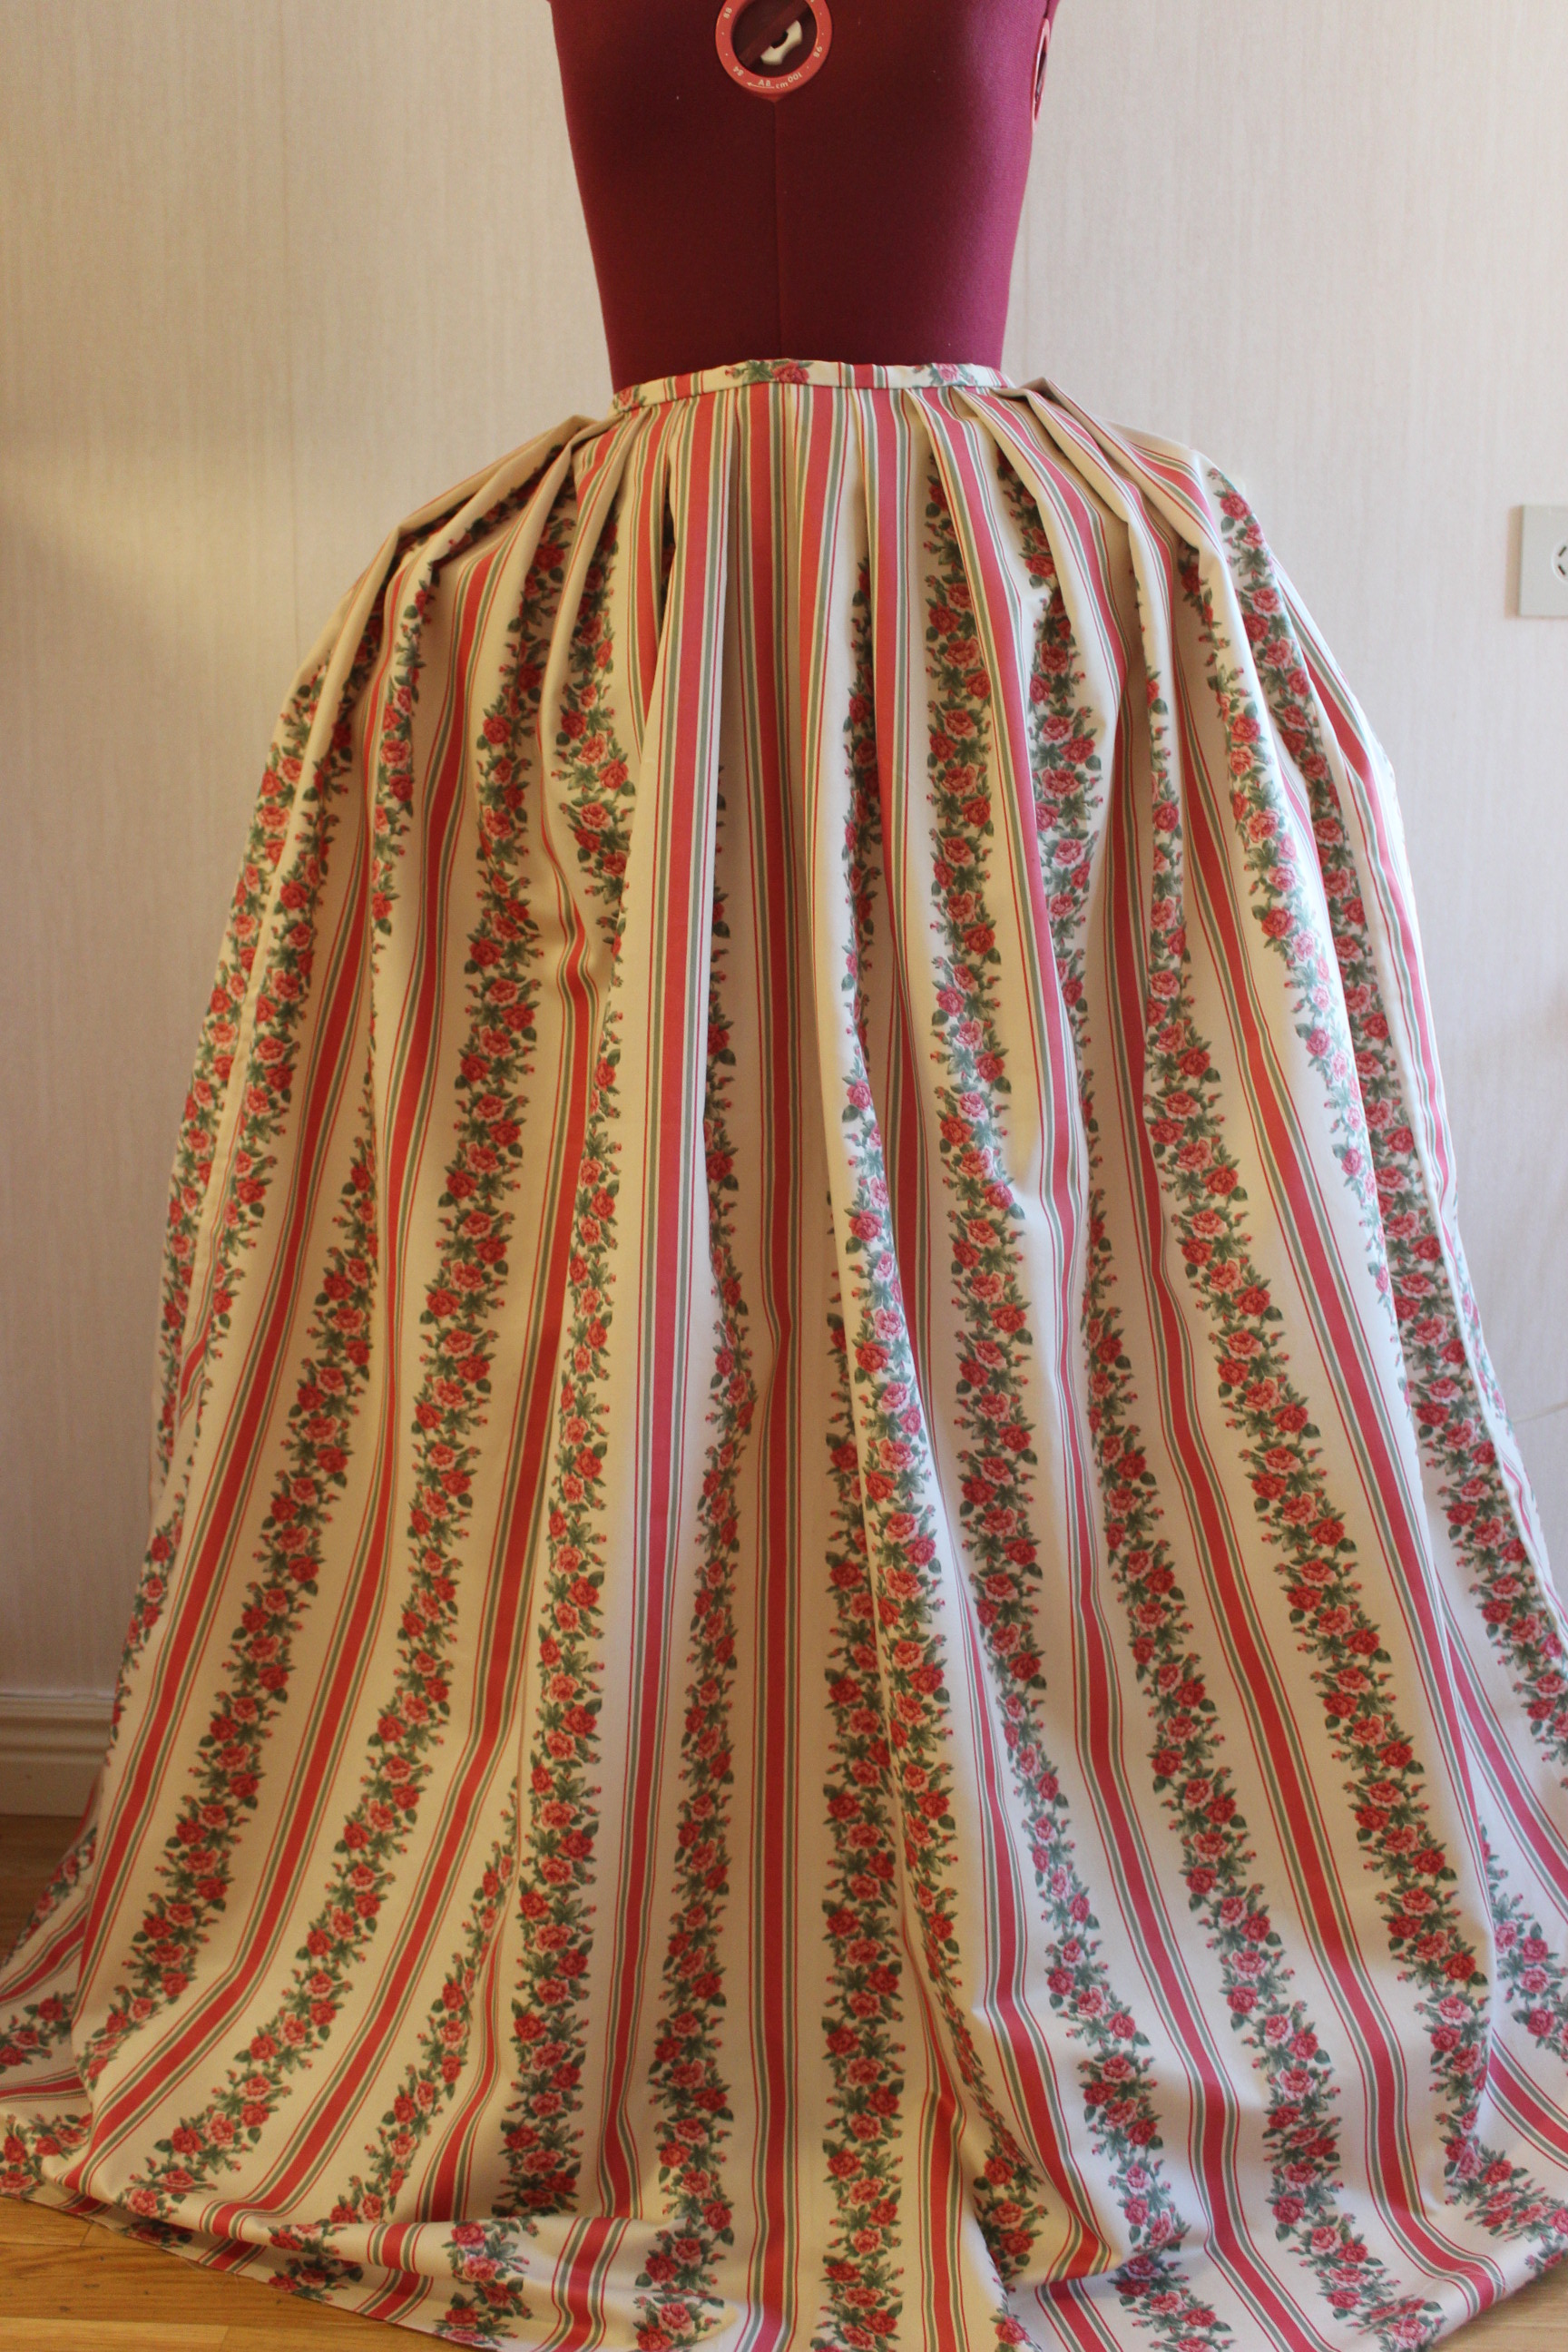
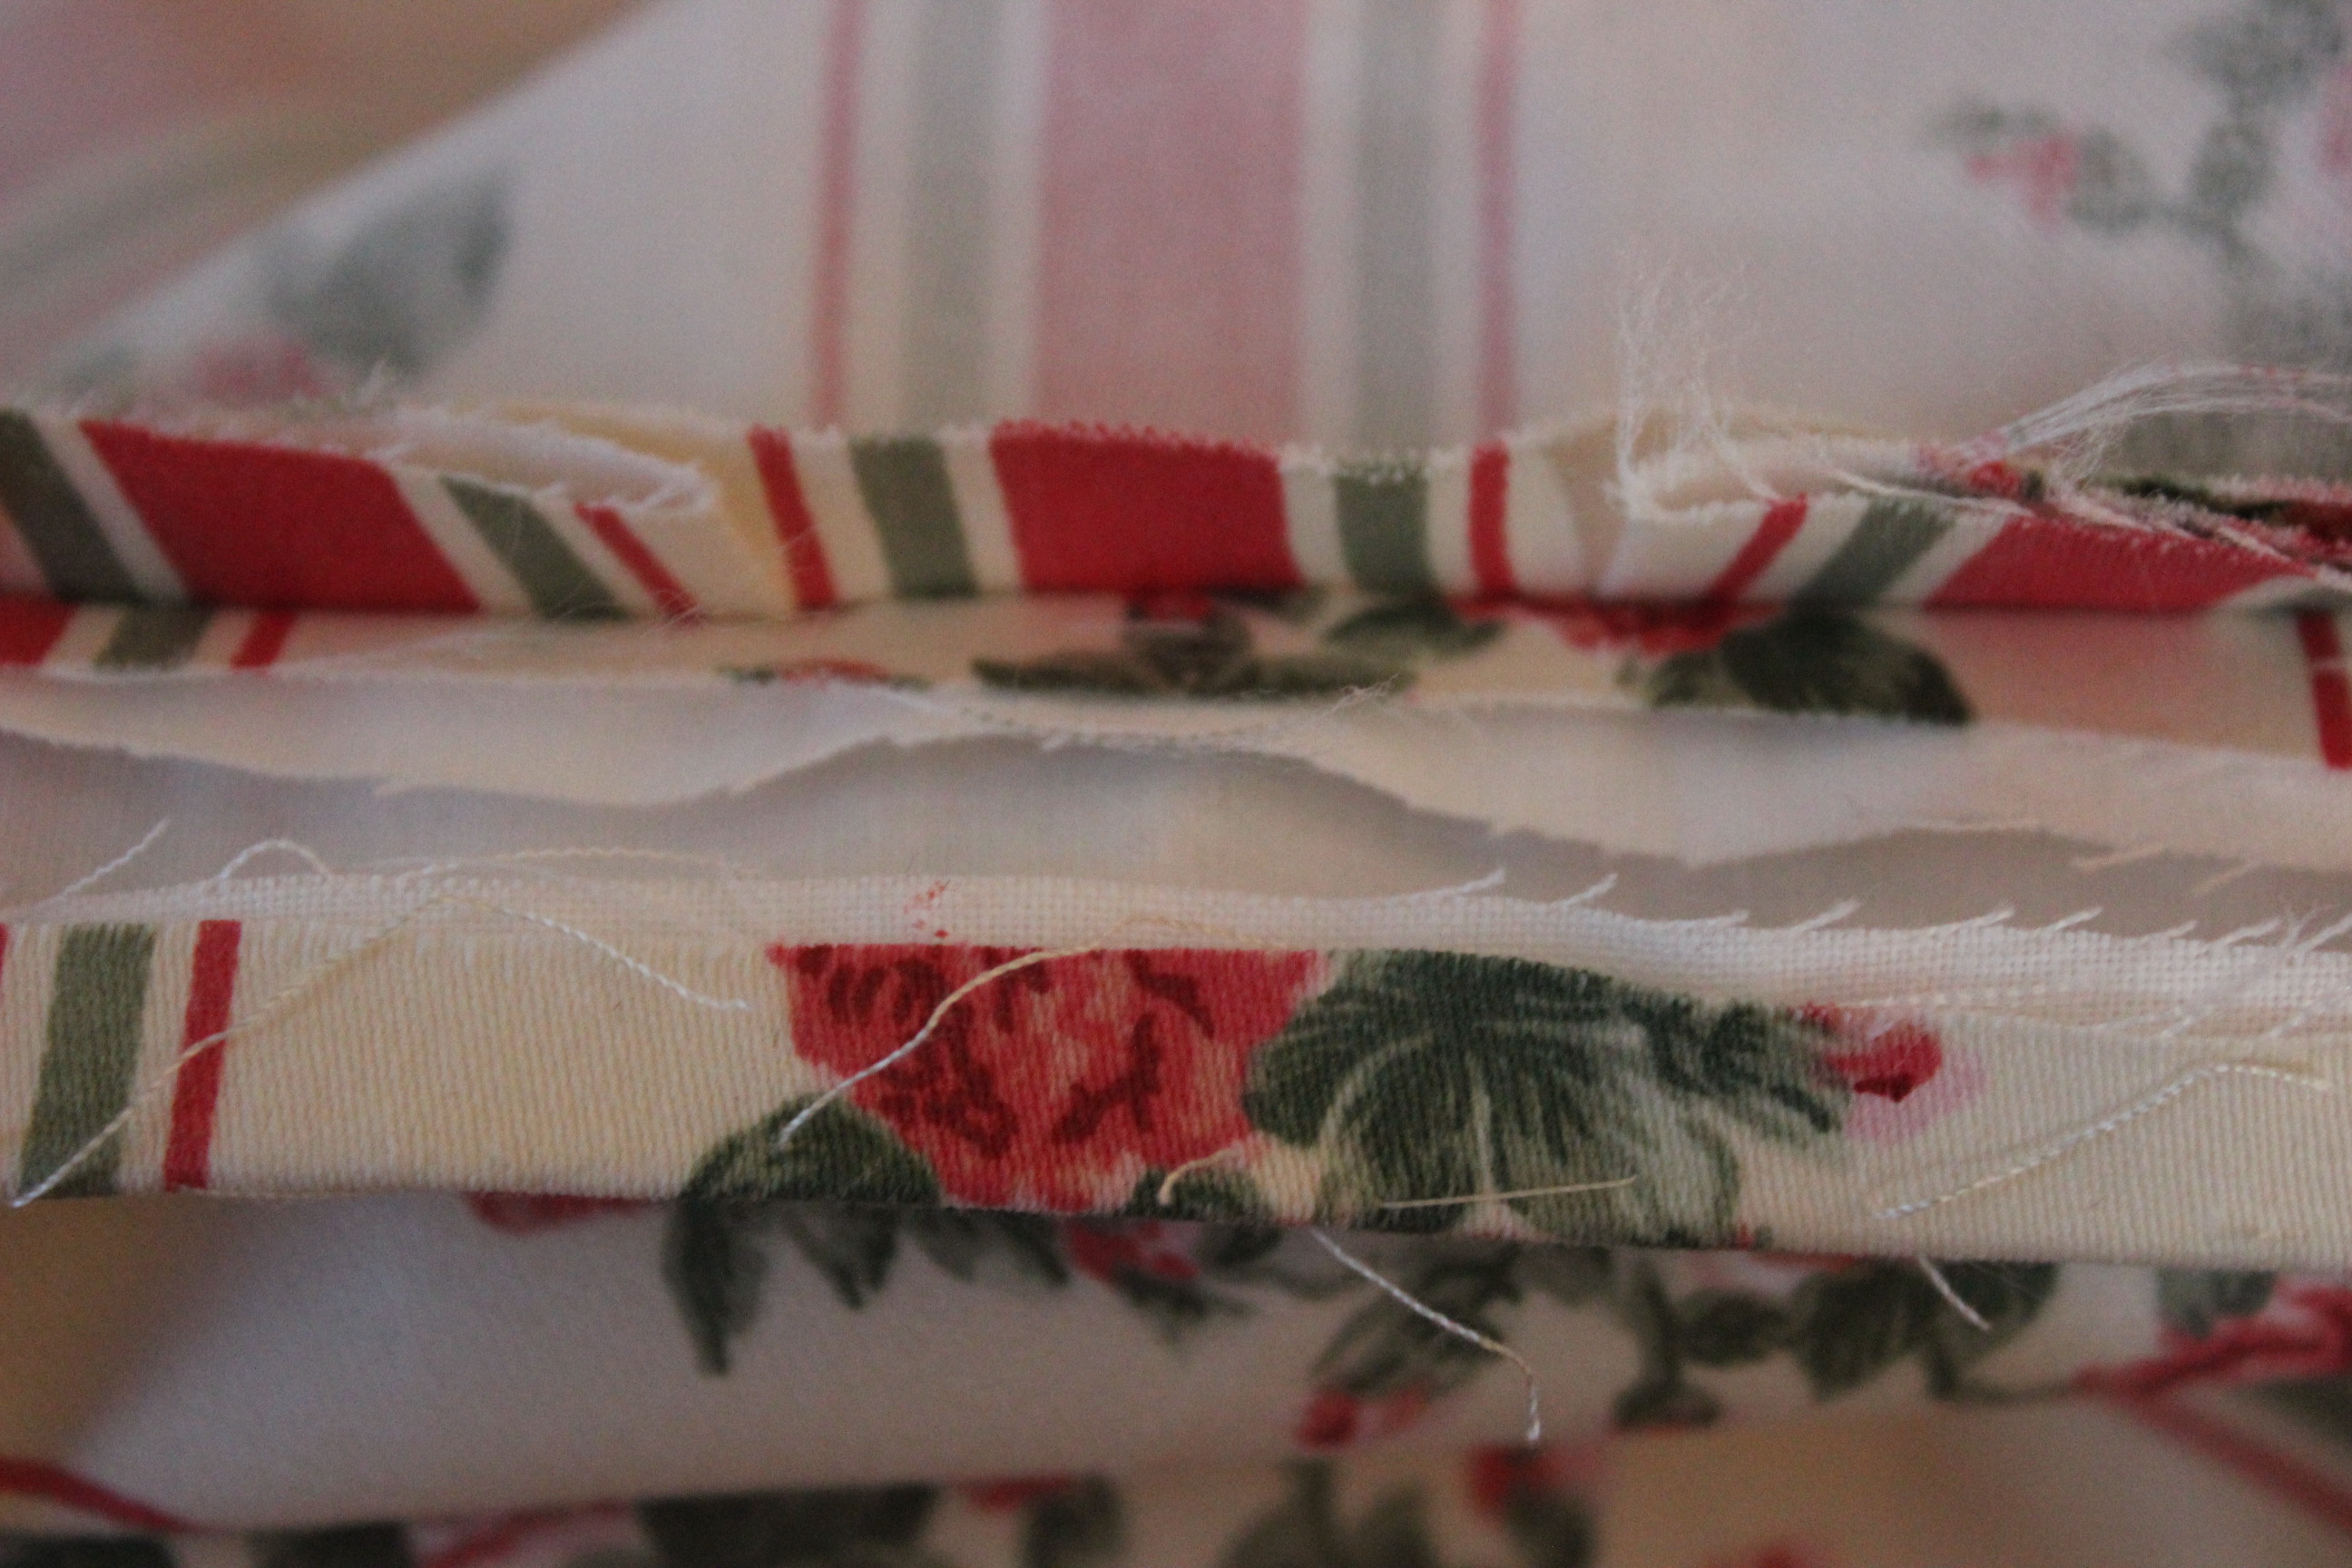
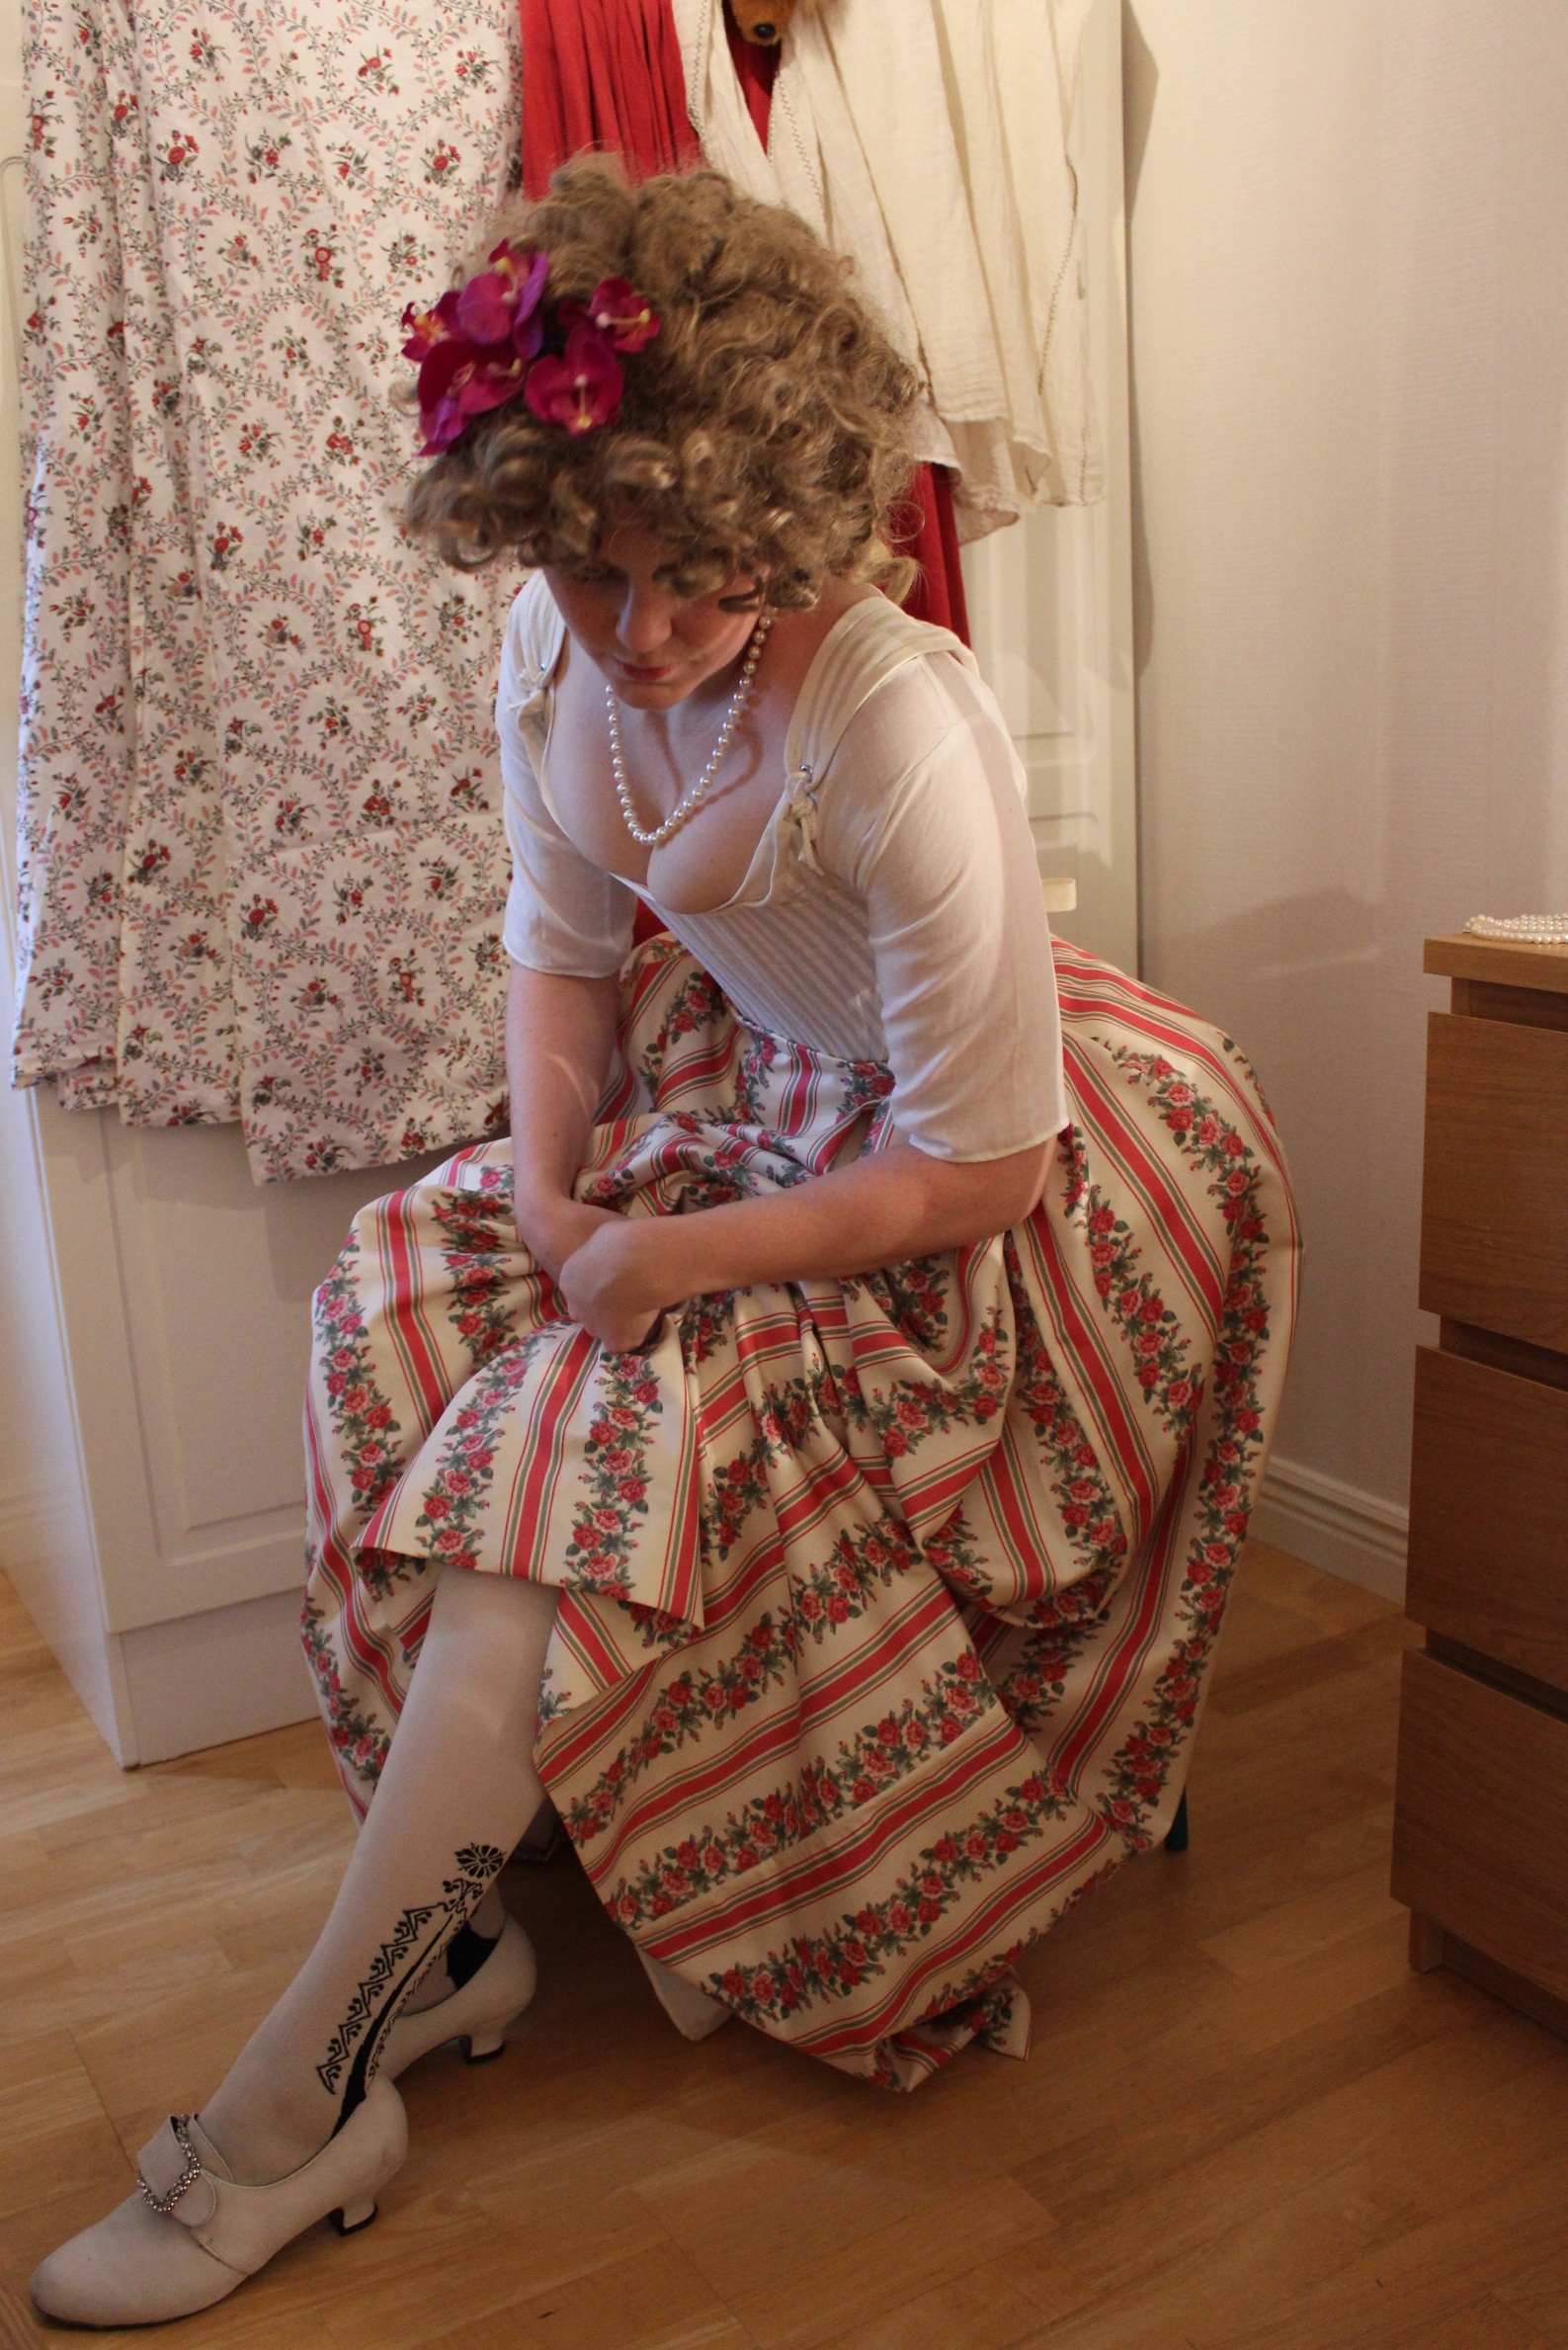
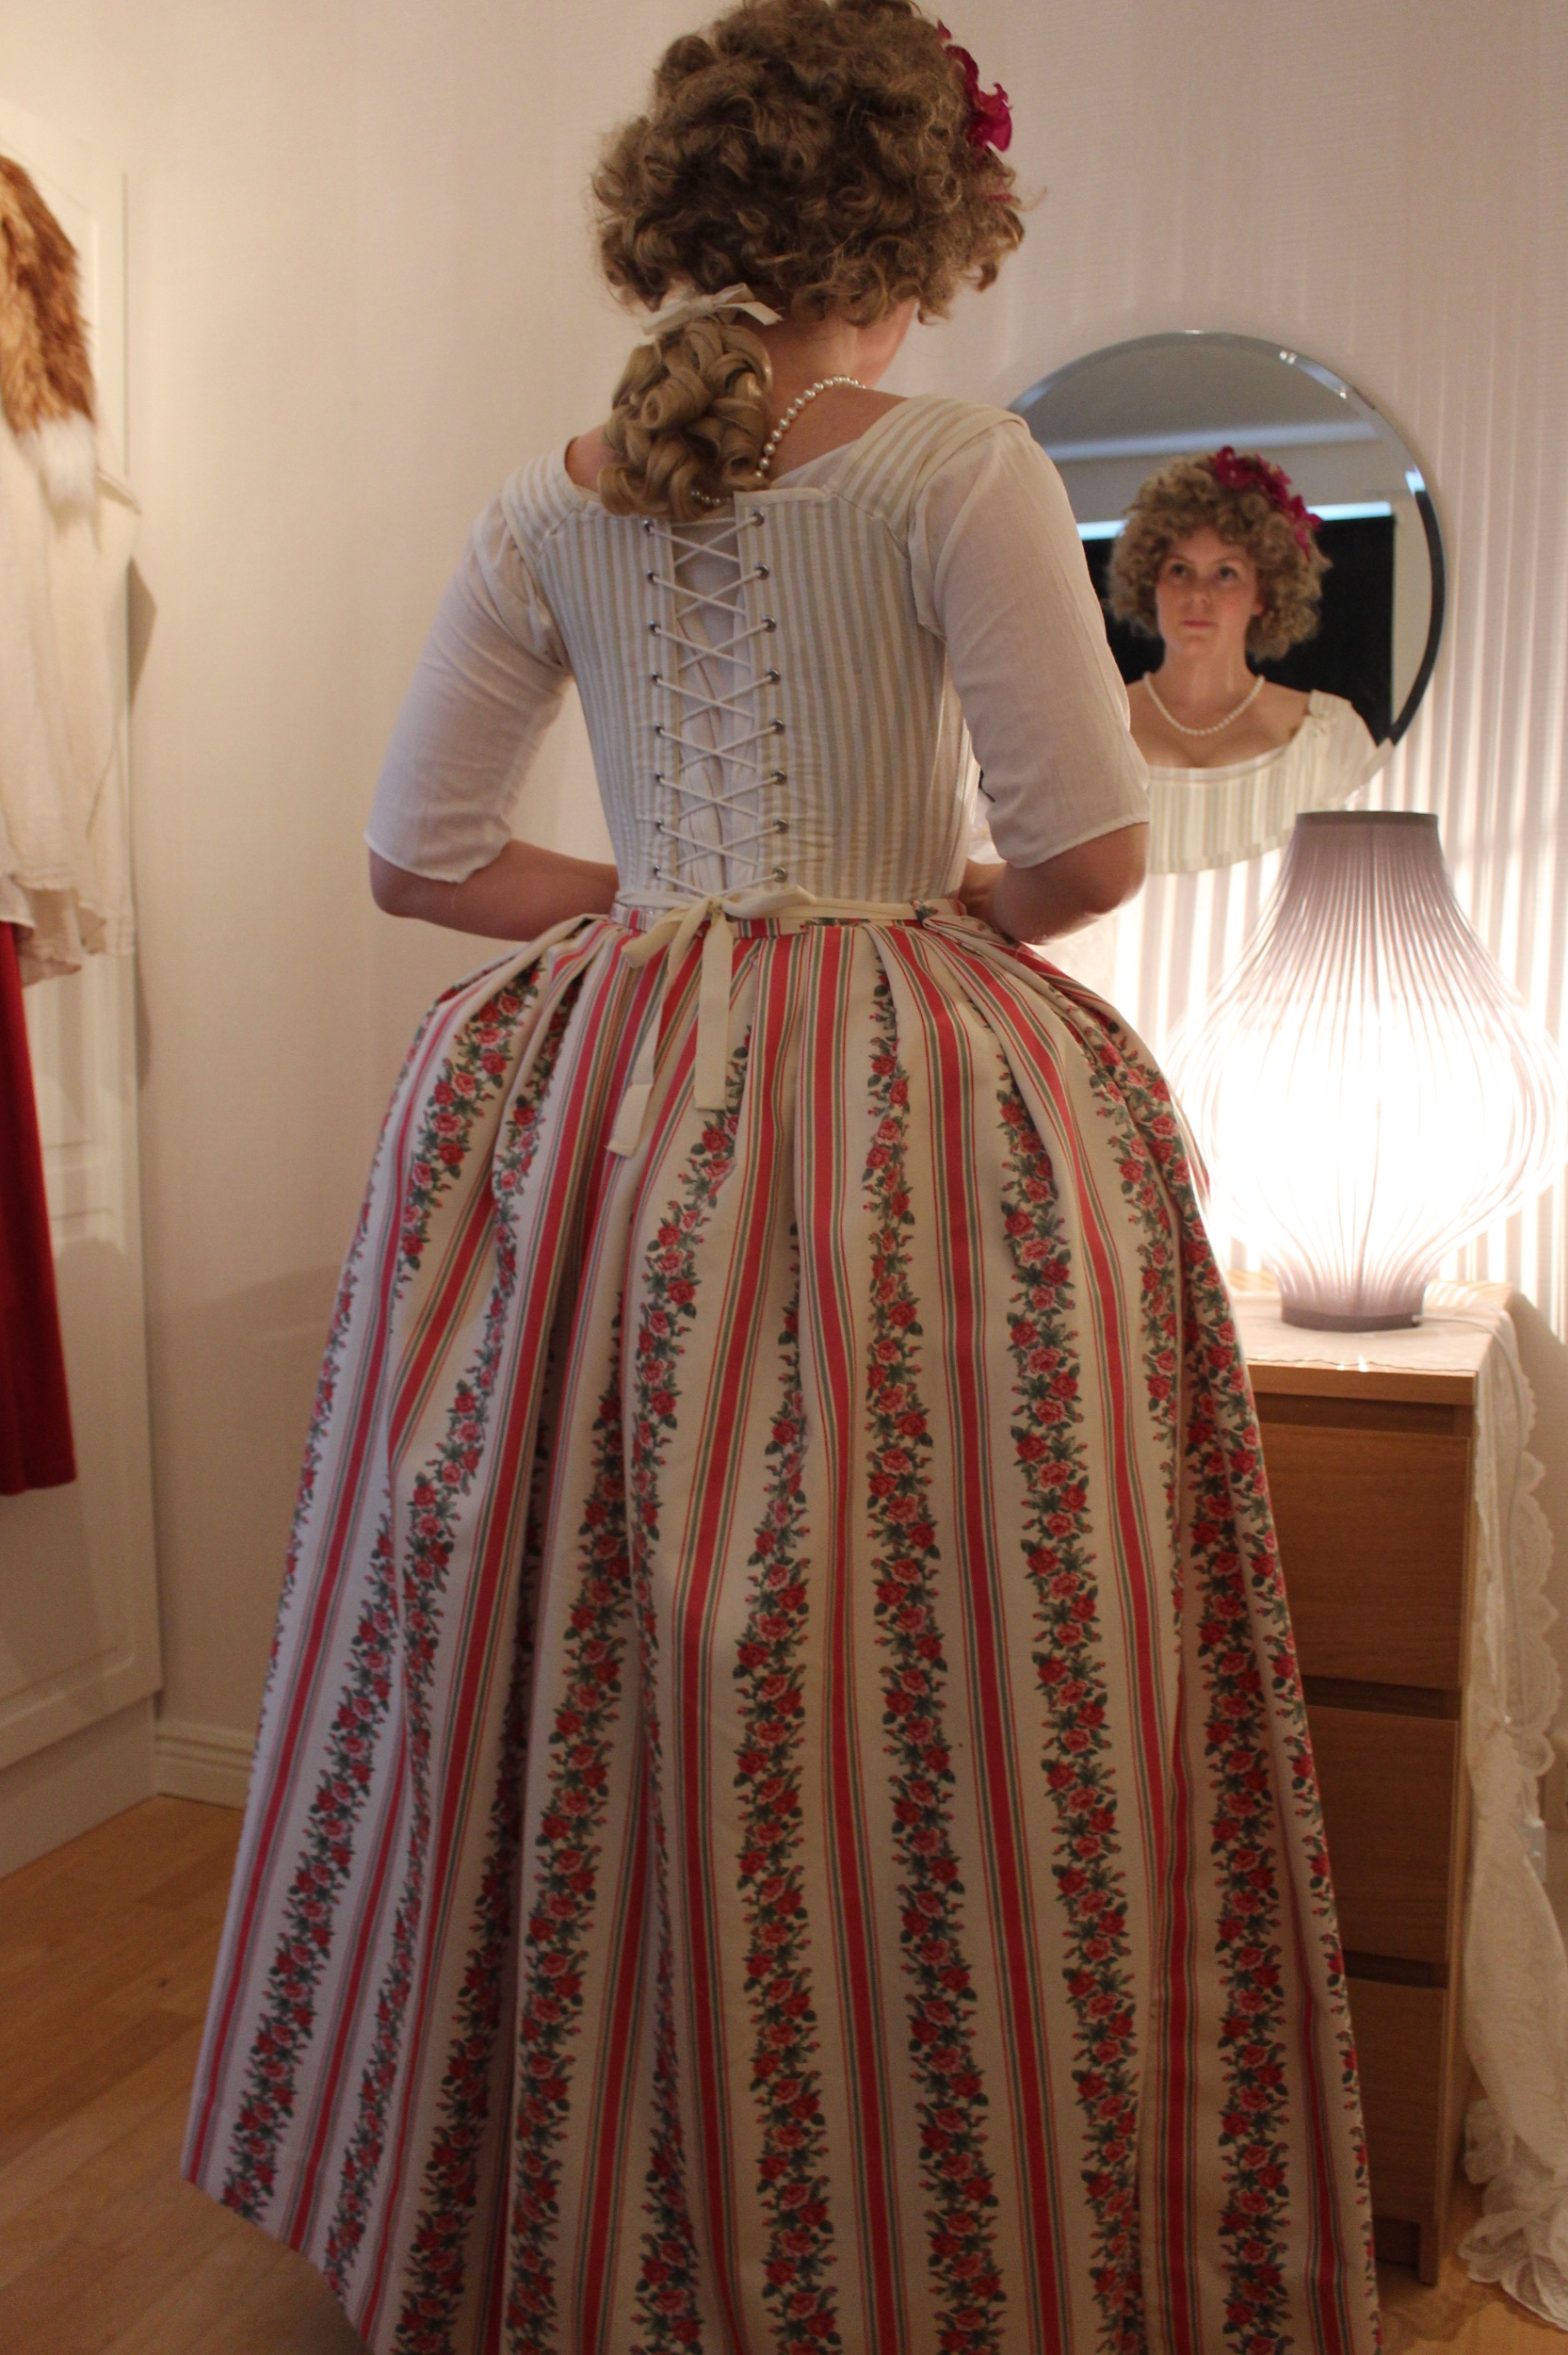
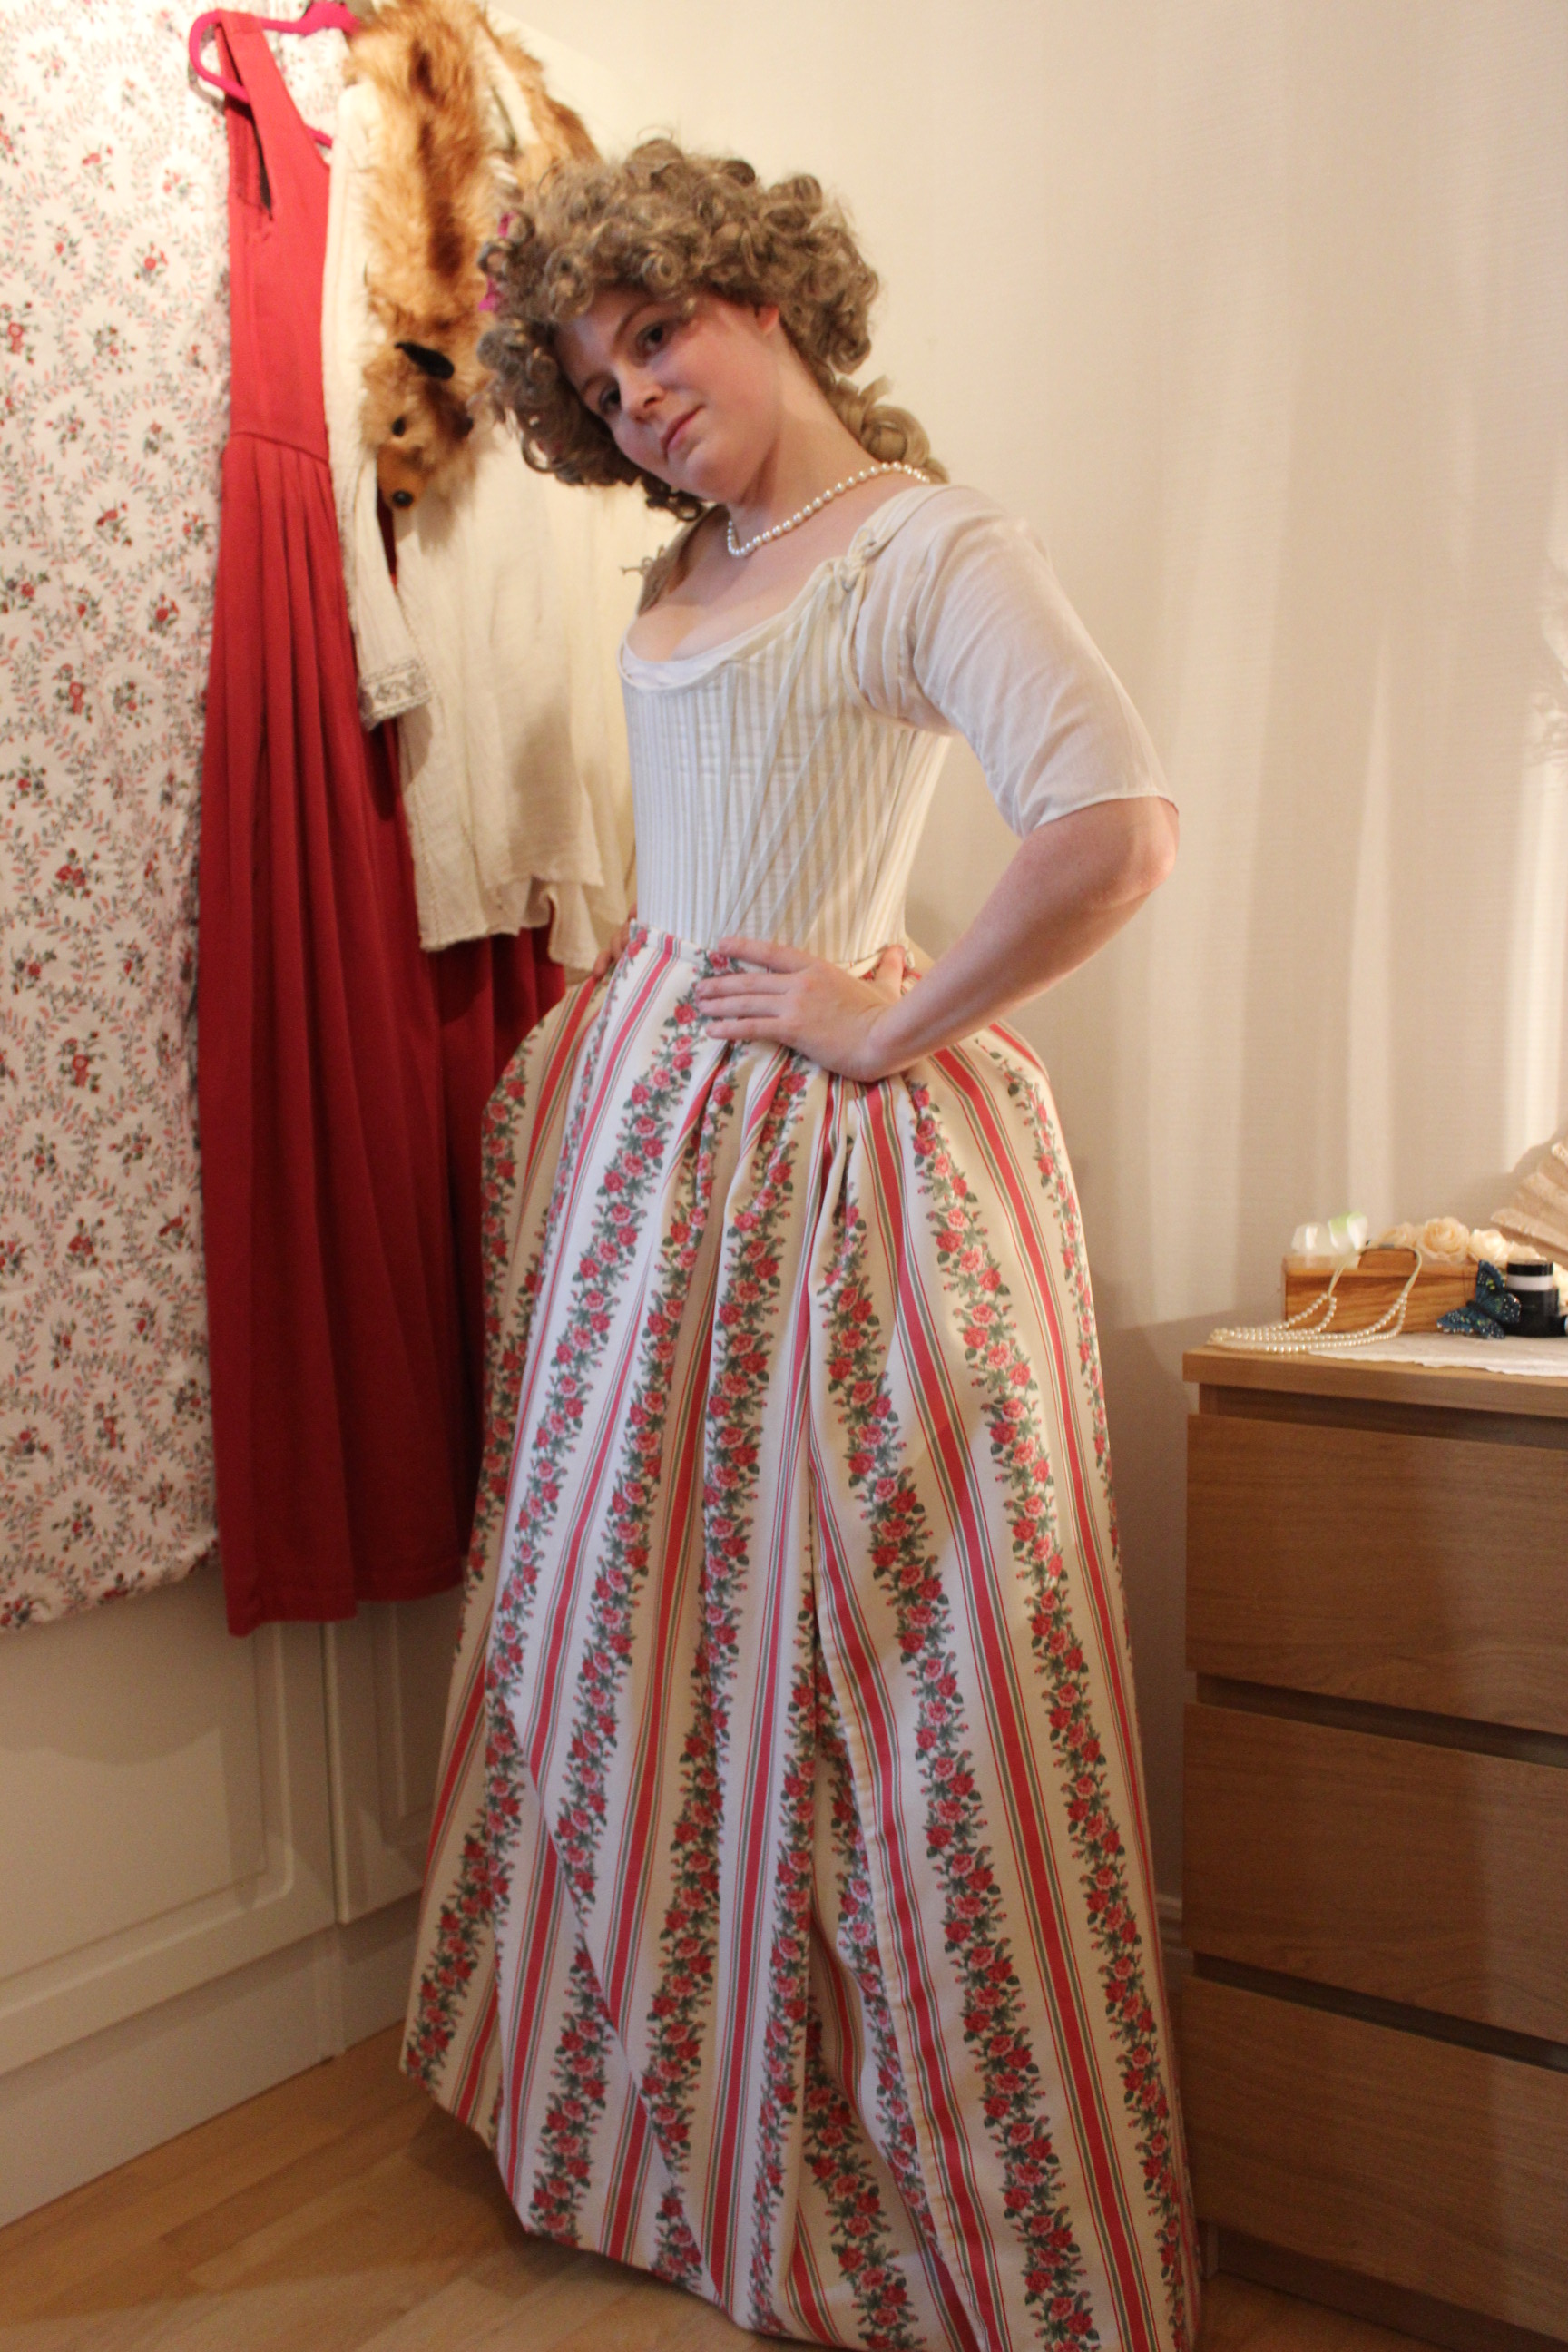 a 1770s skirt/petticoat made to be worn over pocket hoops.
Complete: So so, not a complete robe, and not in the intended fabric, but 18th century and flower fabric it is.
19. HSF inspiration
I’m sure there will be lots of inspiration in the “HSF” folders by then, but right now I have no idea.
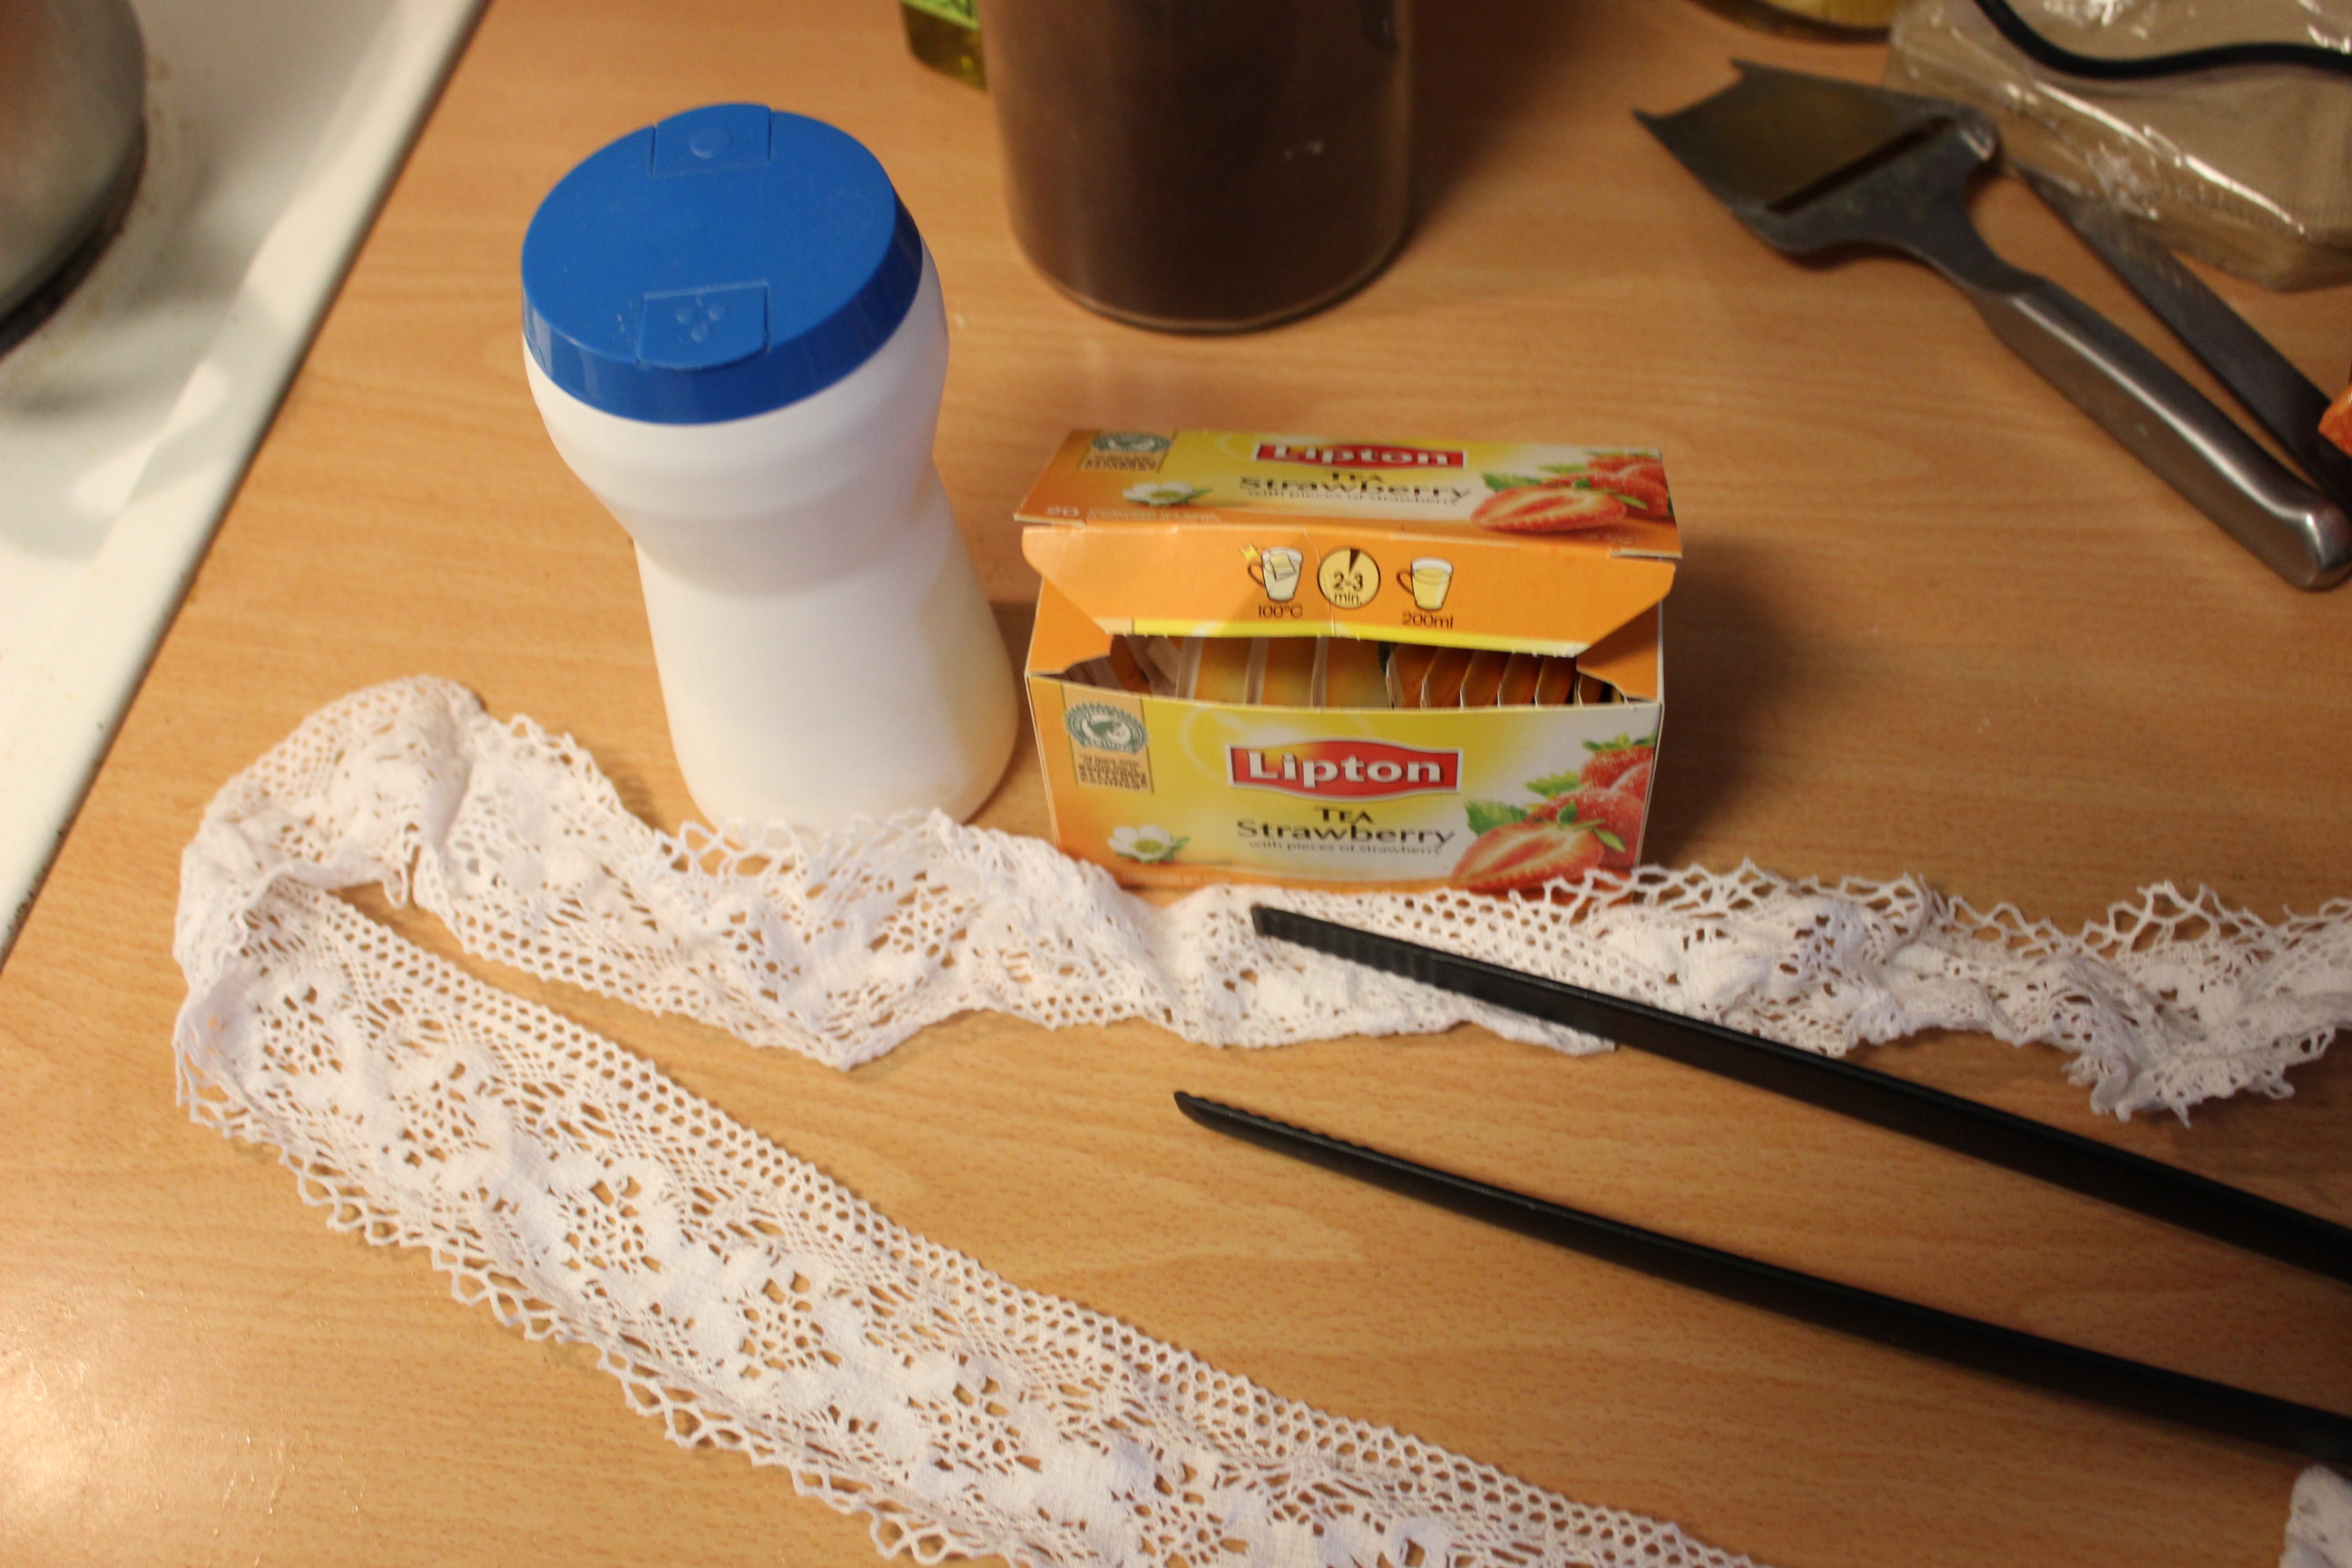
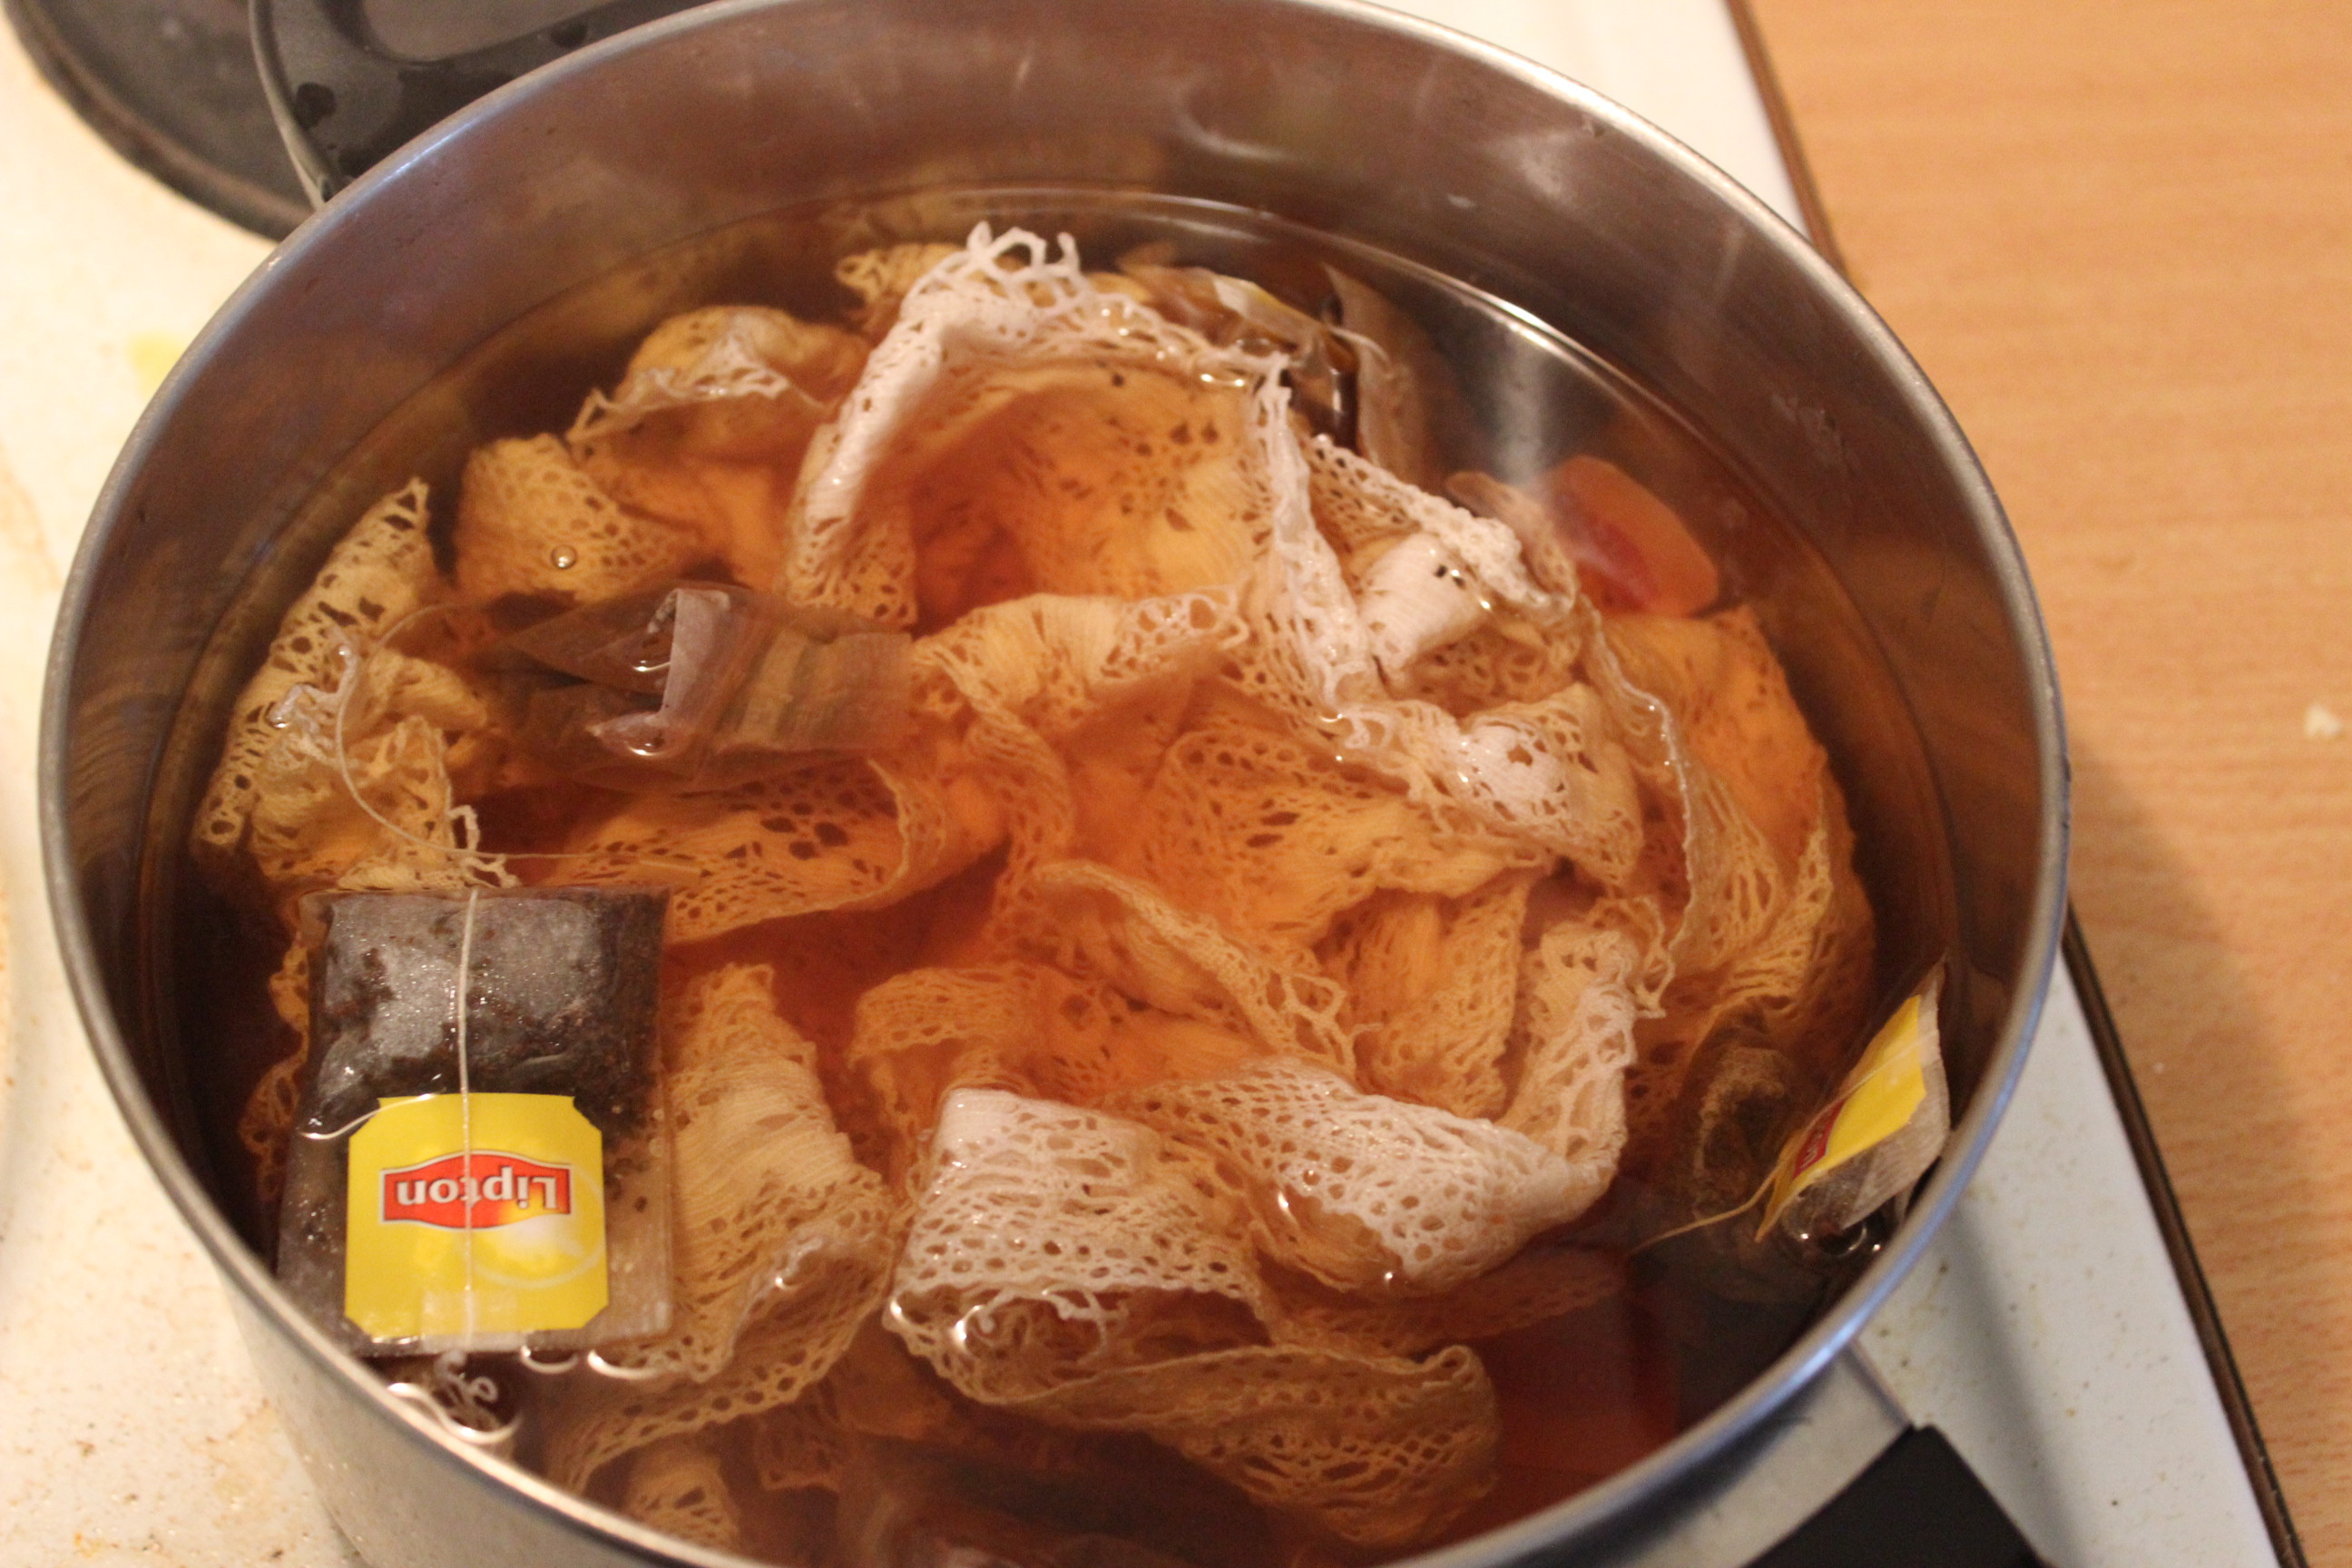
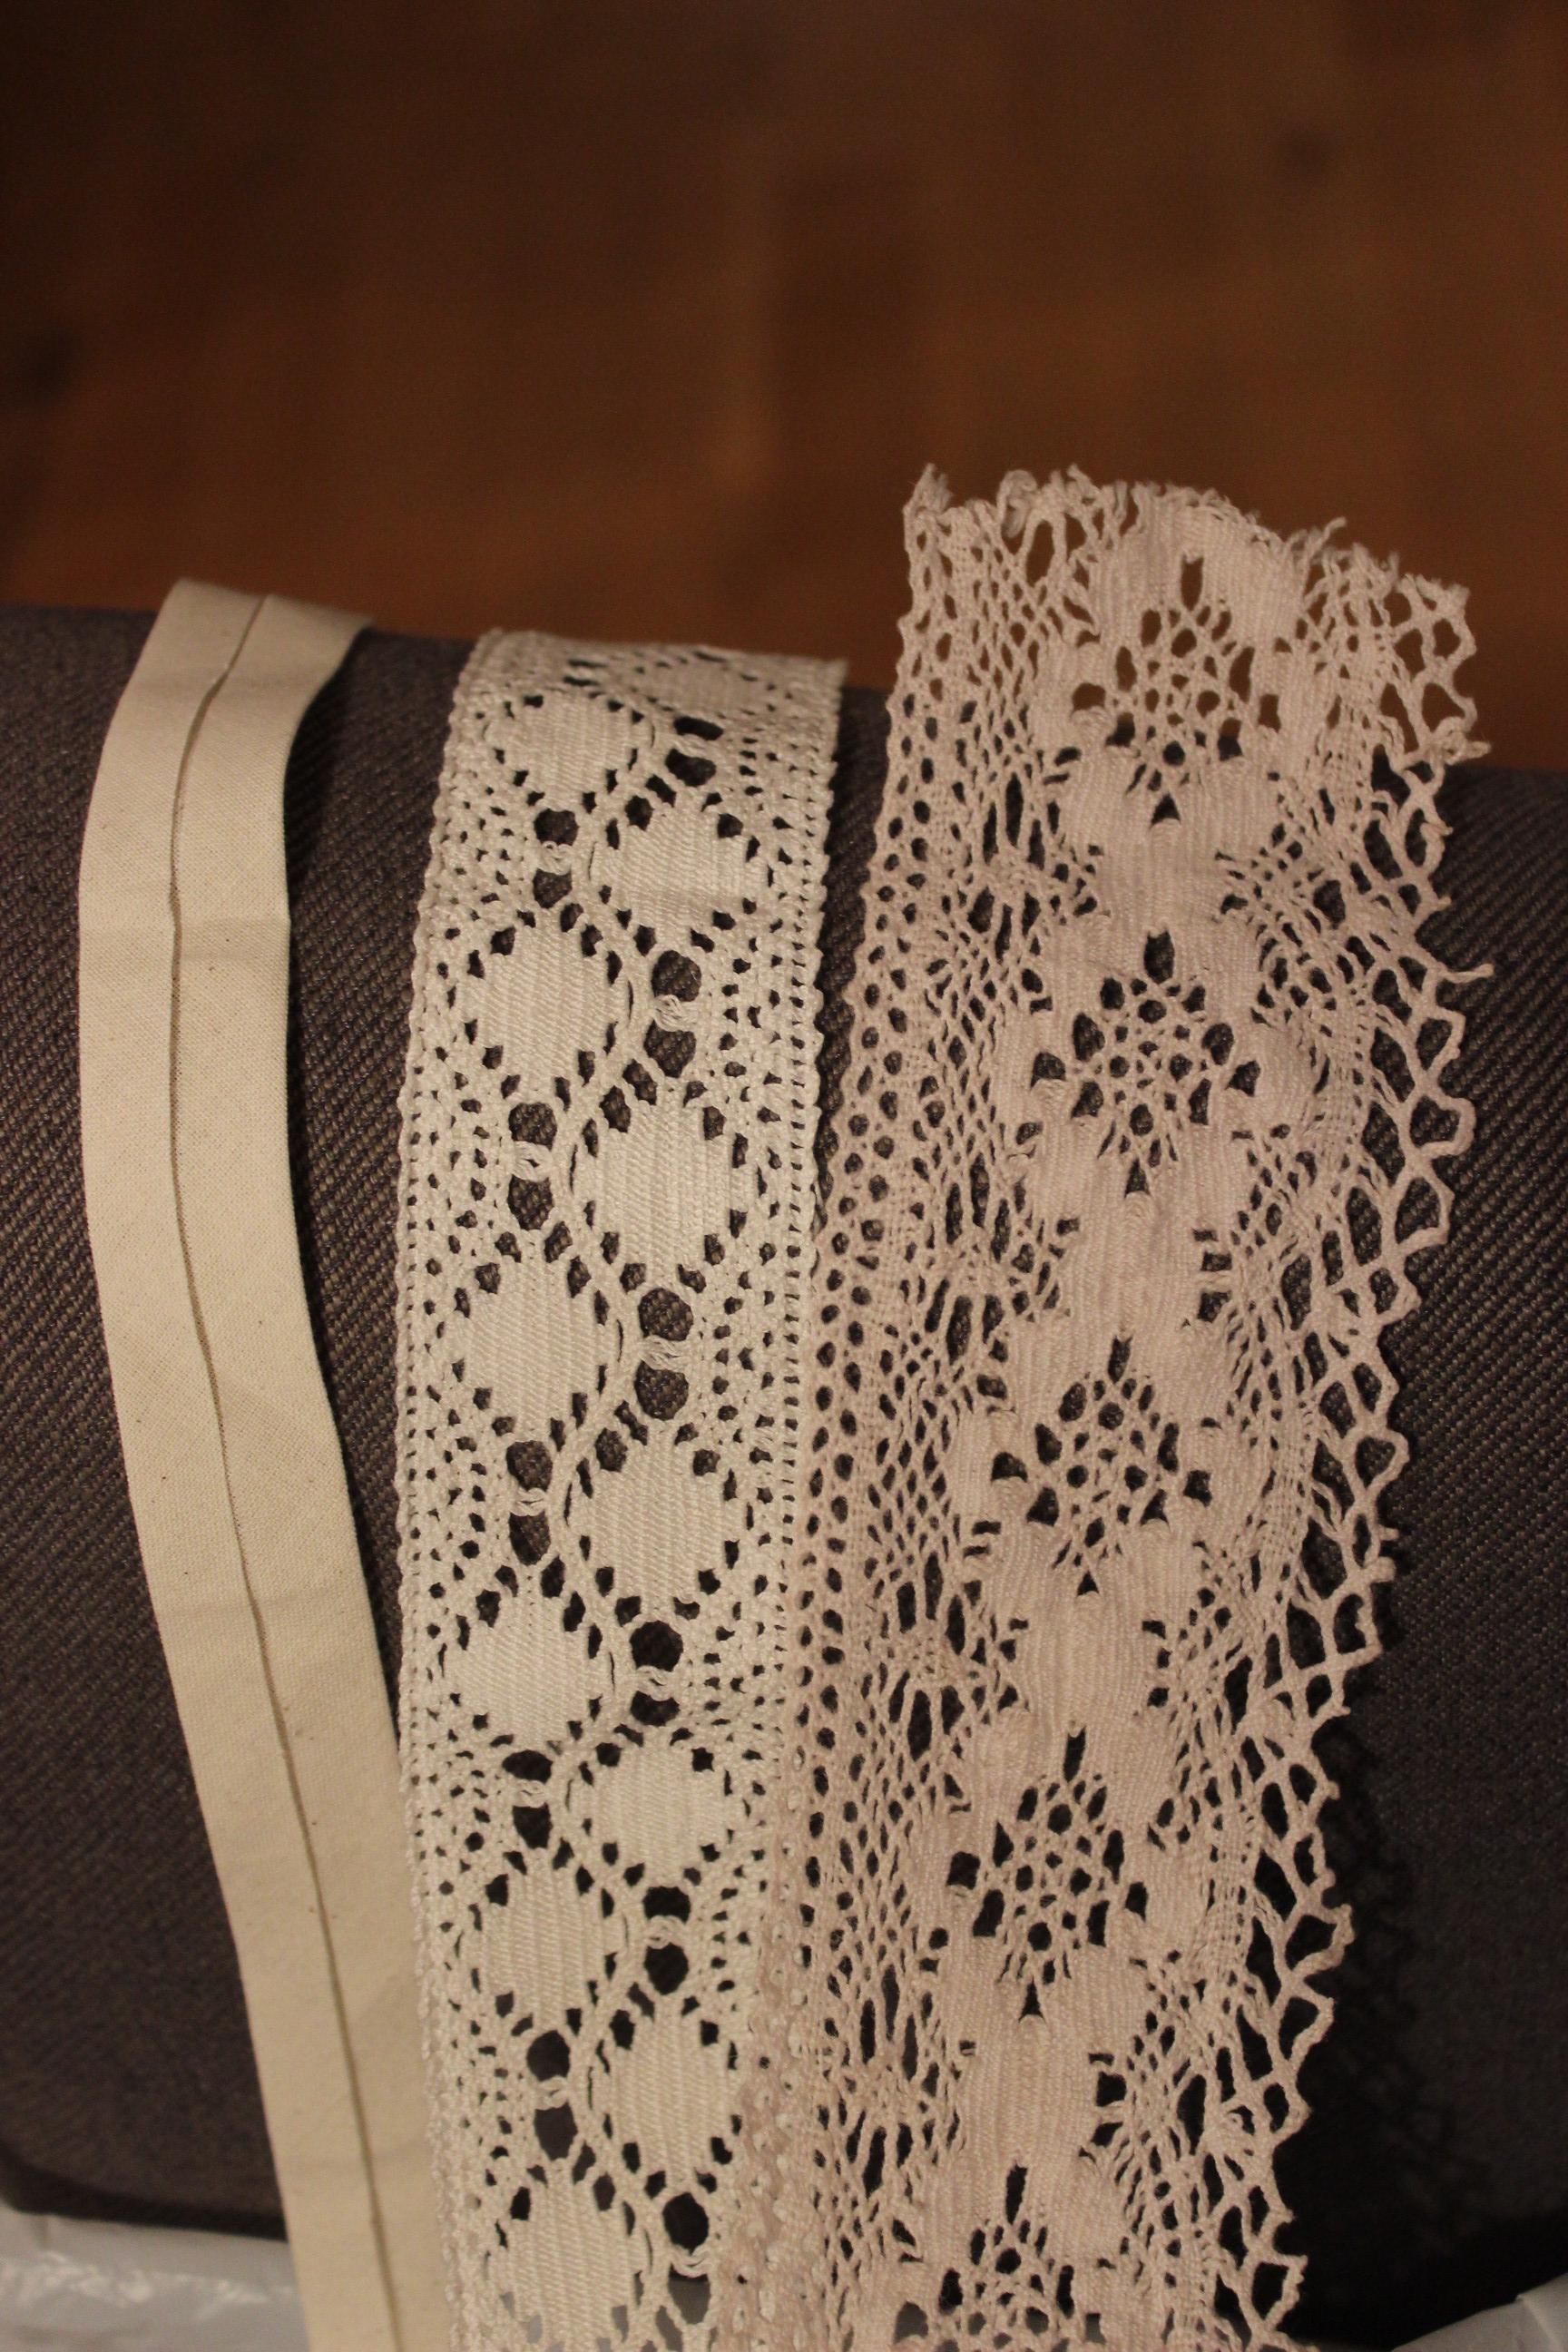
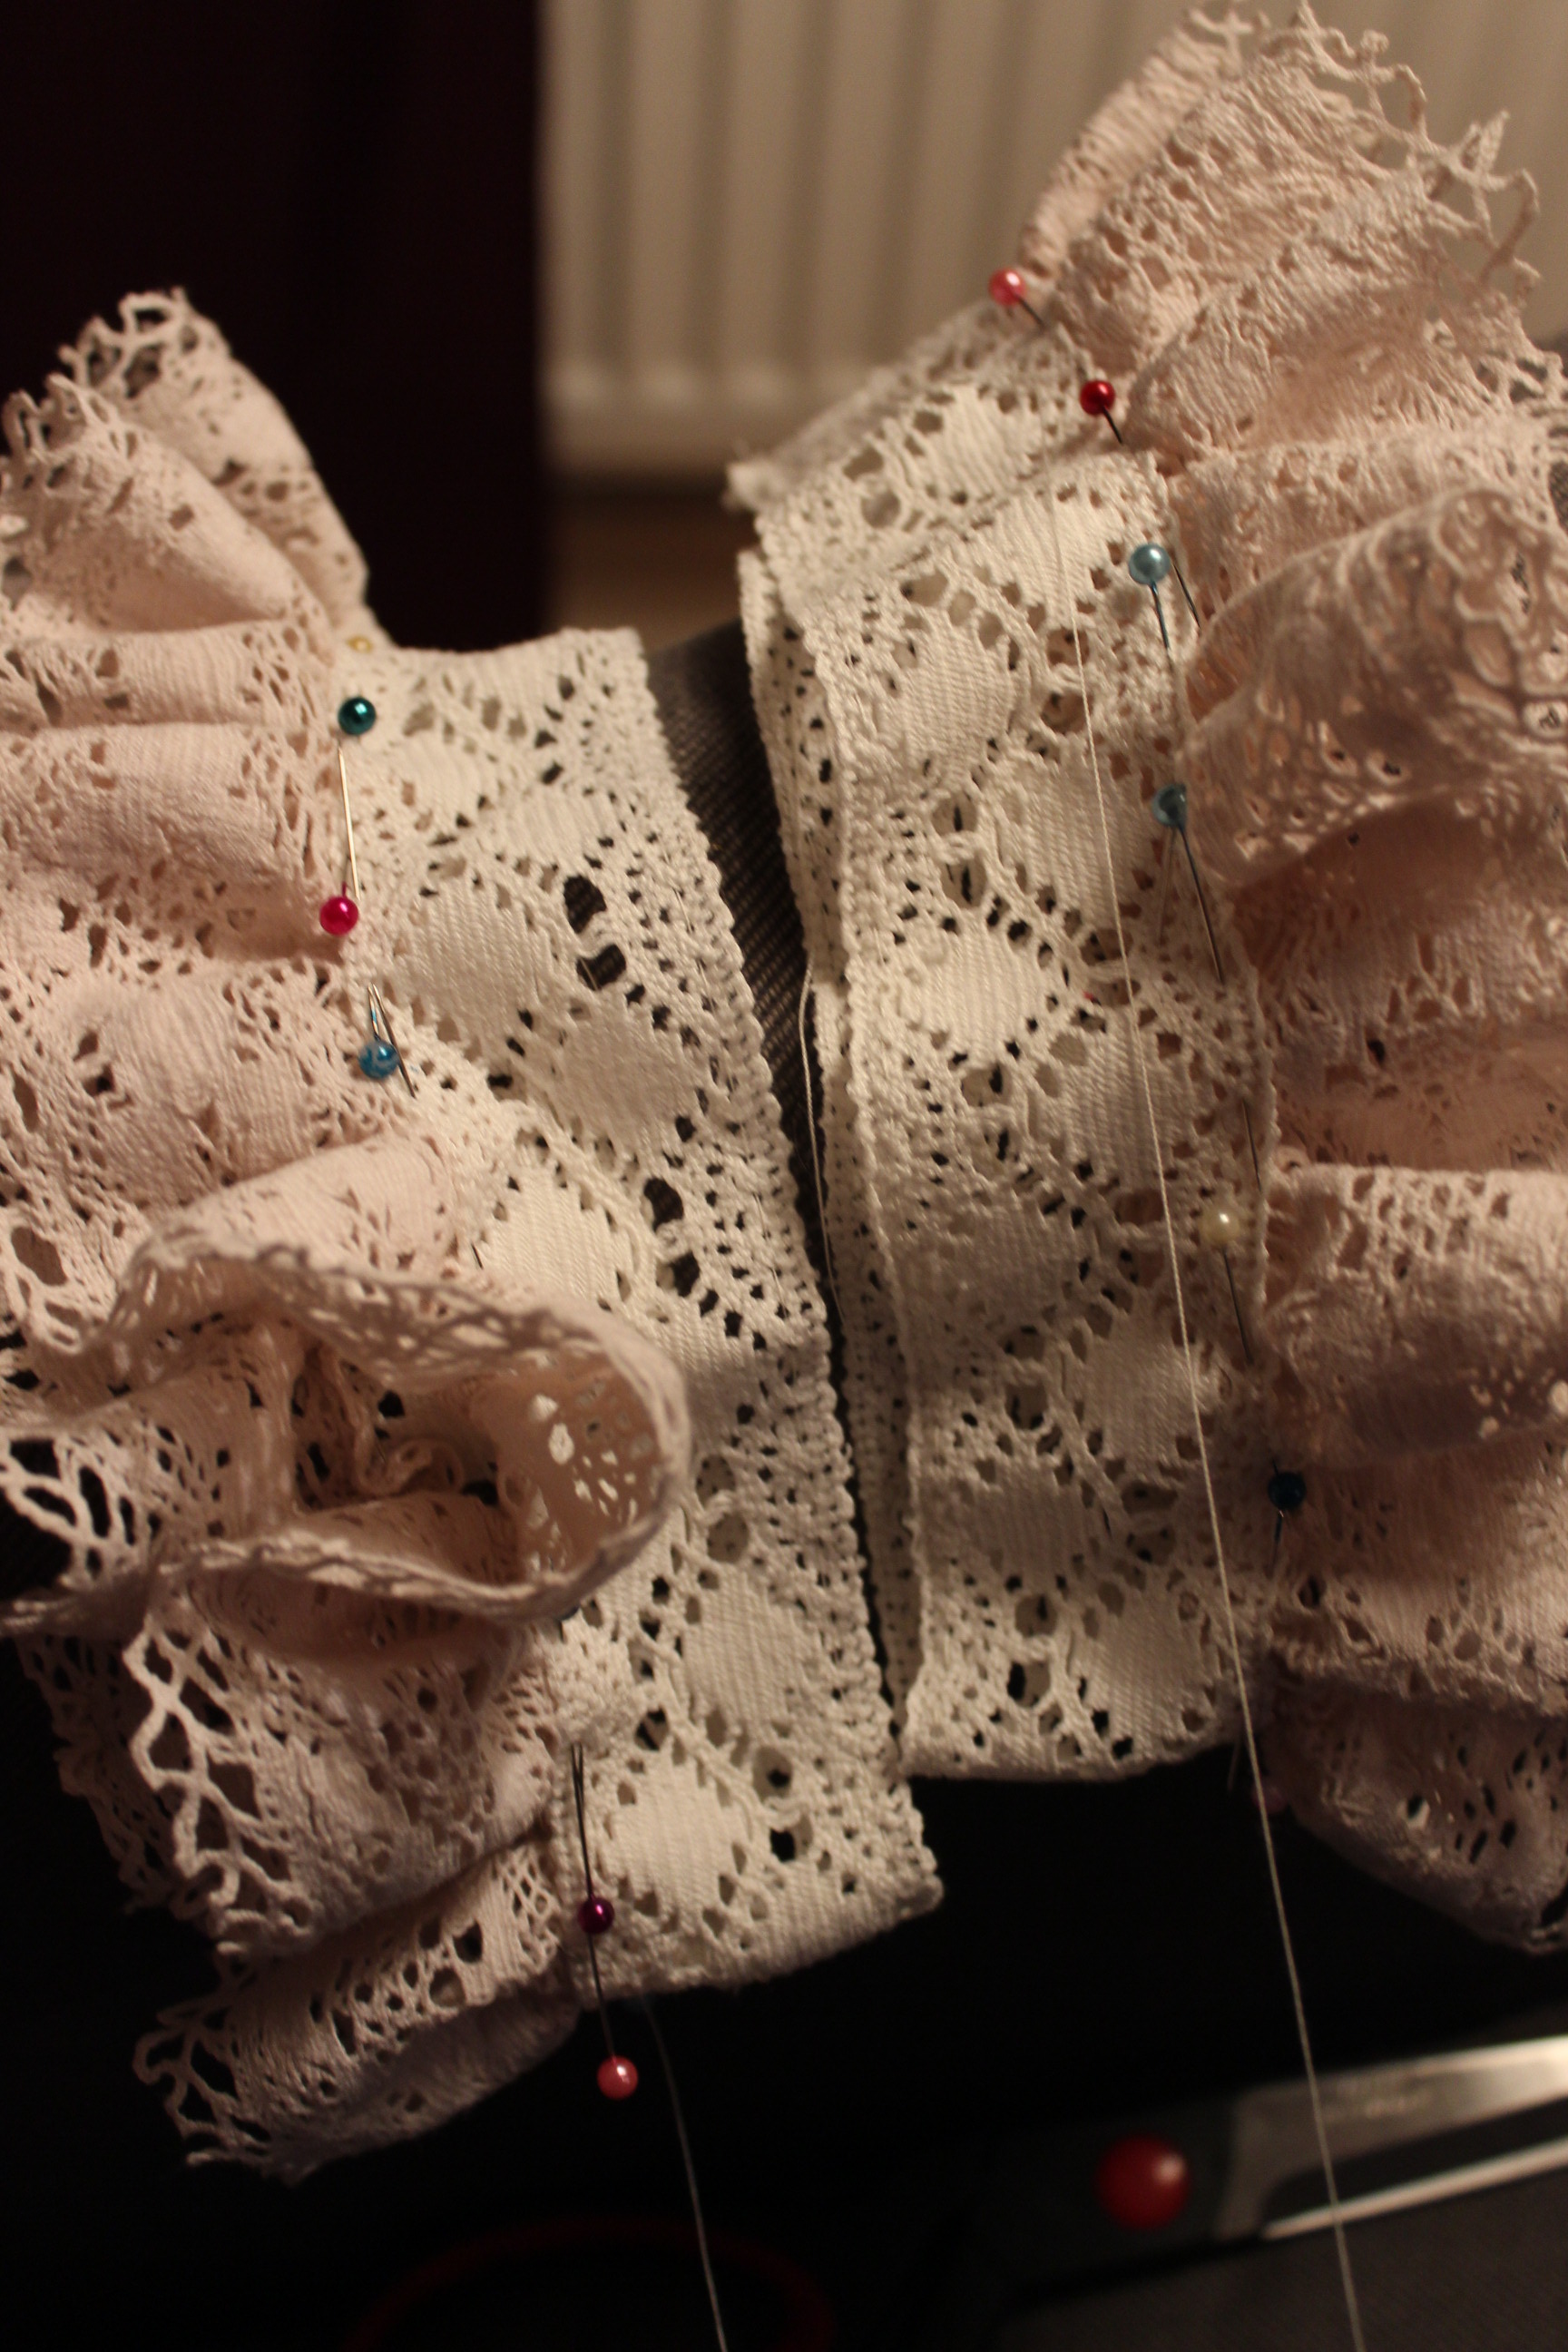
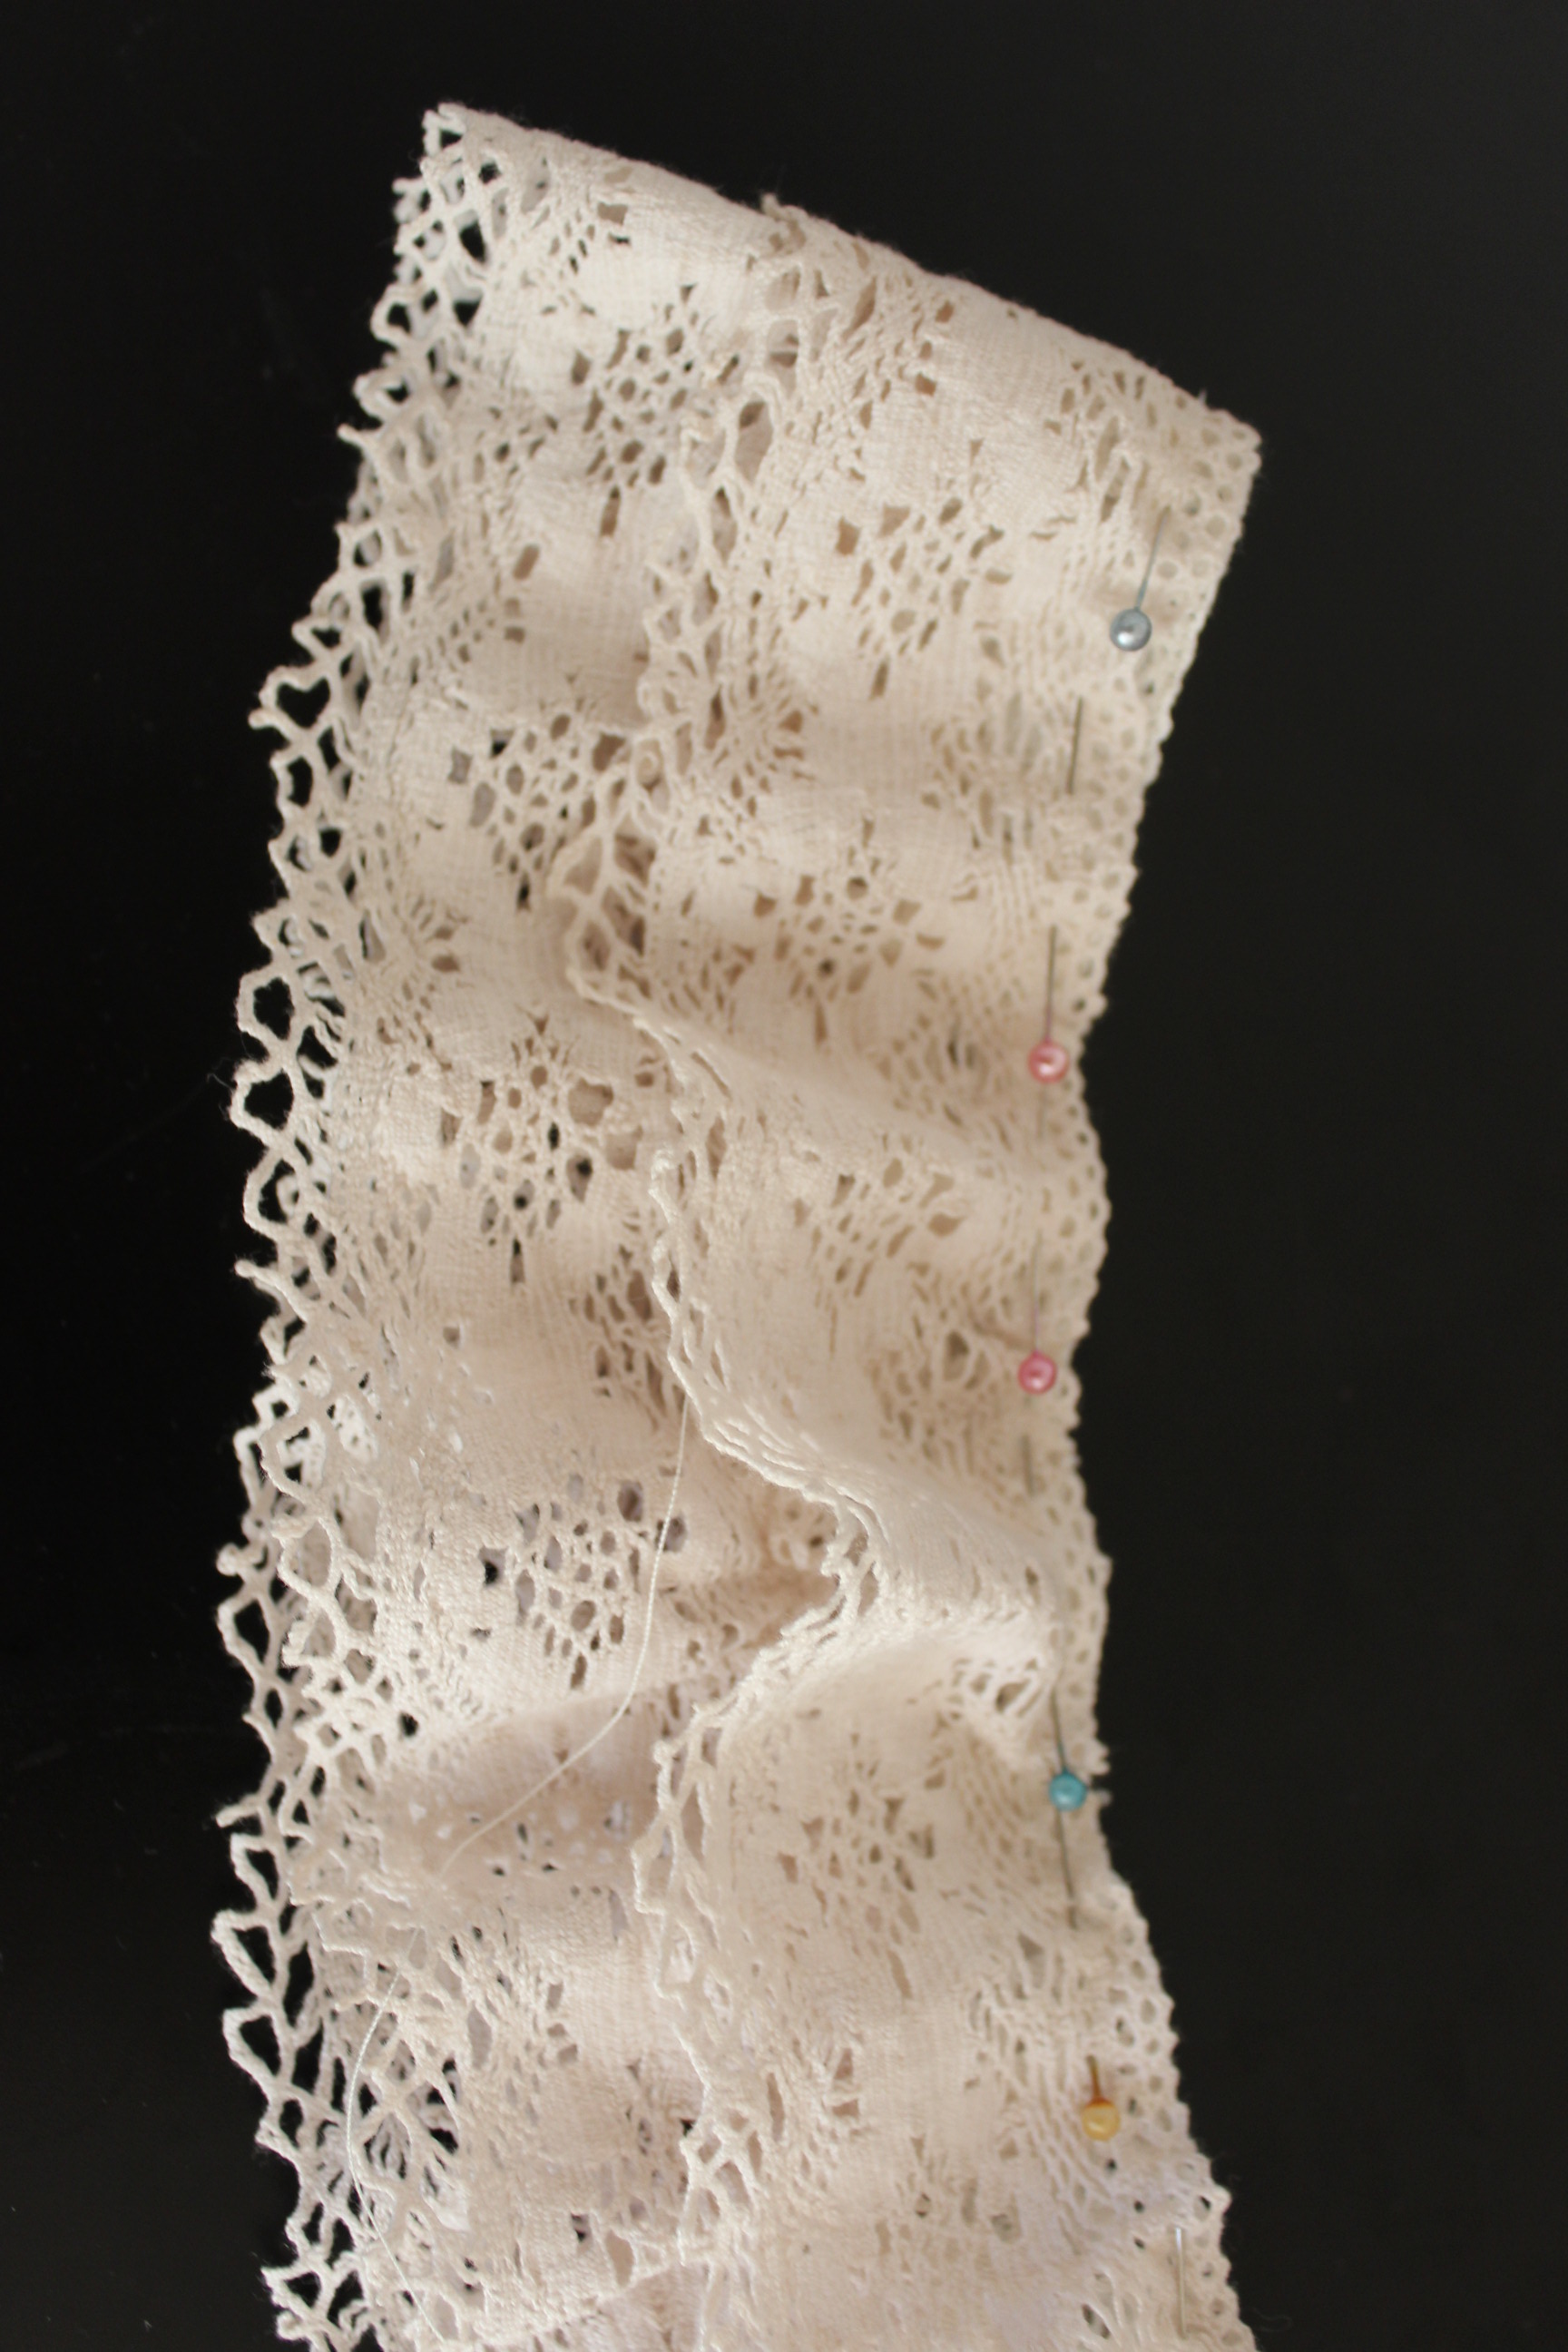
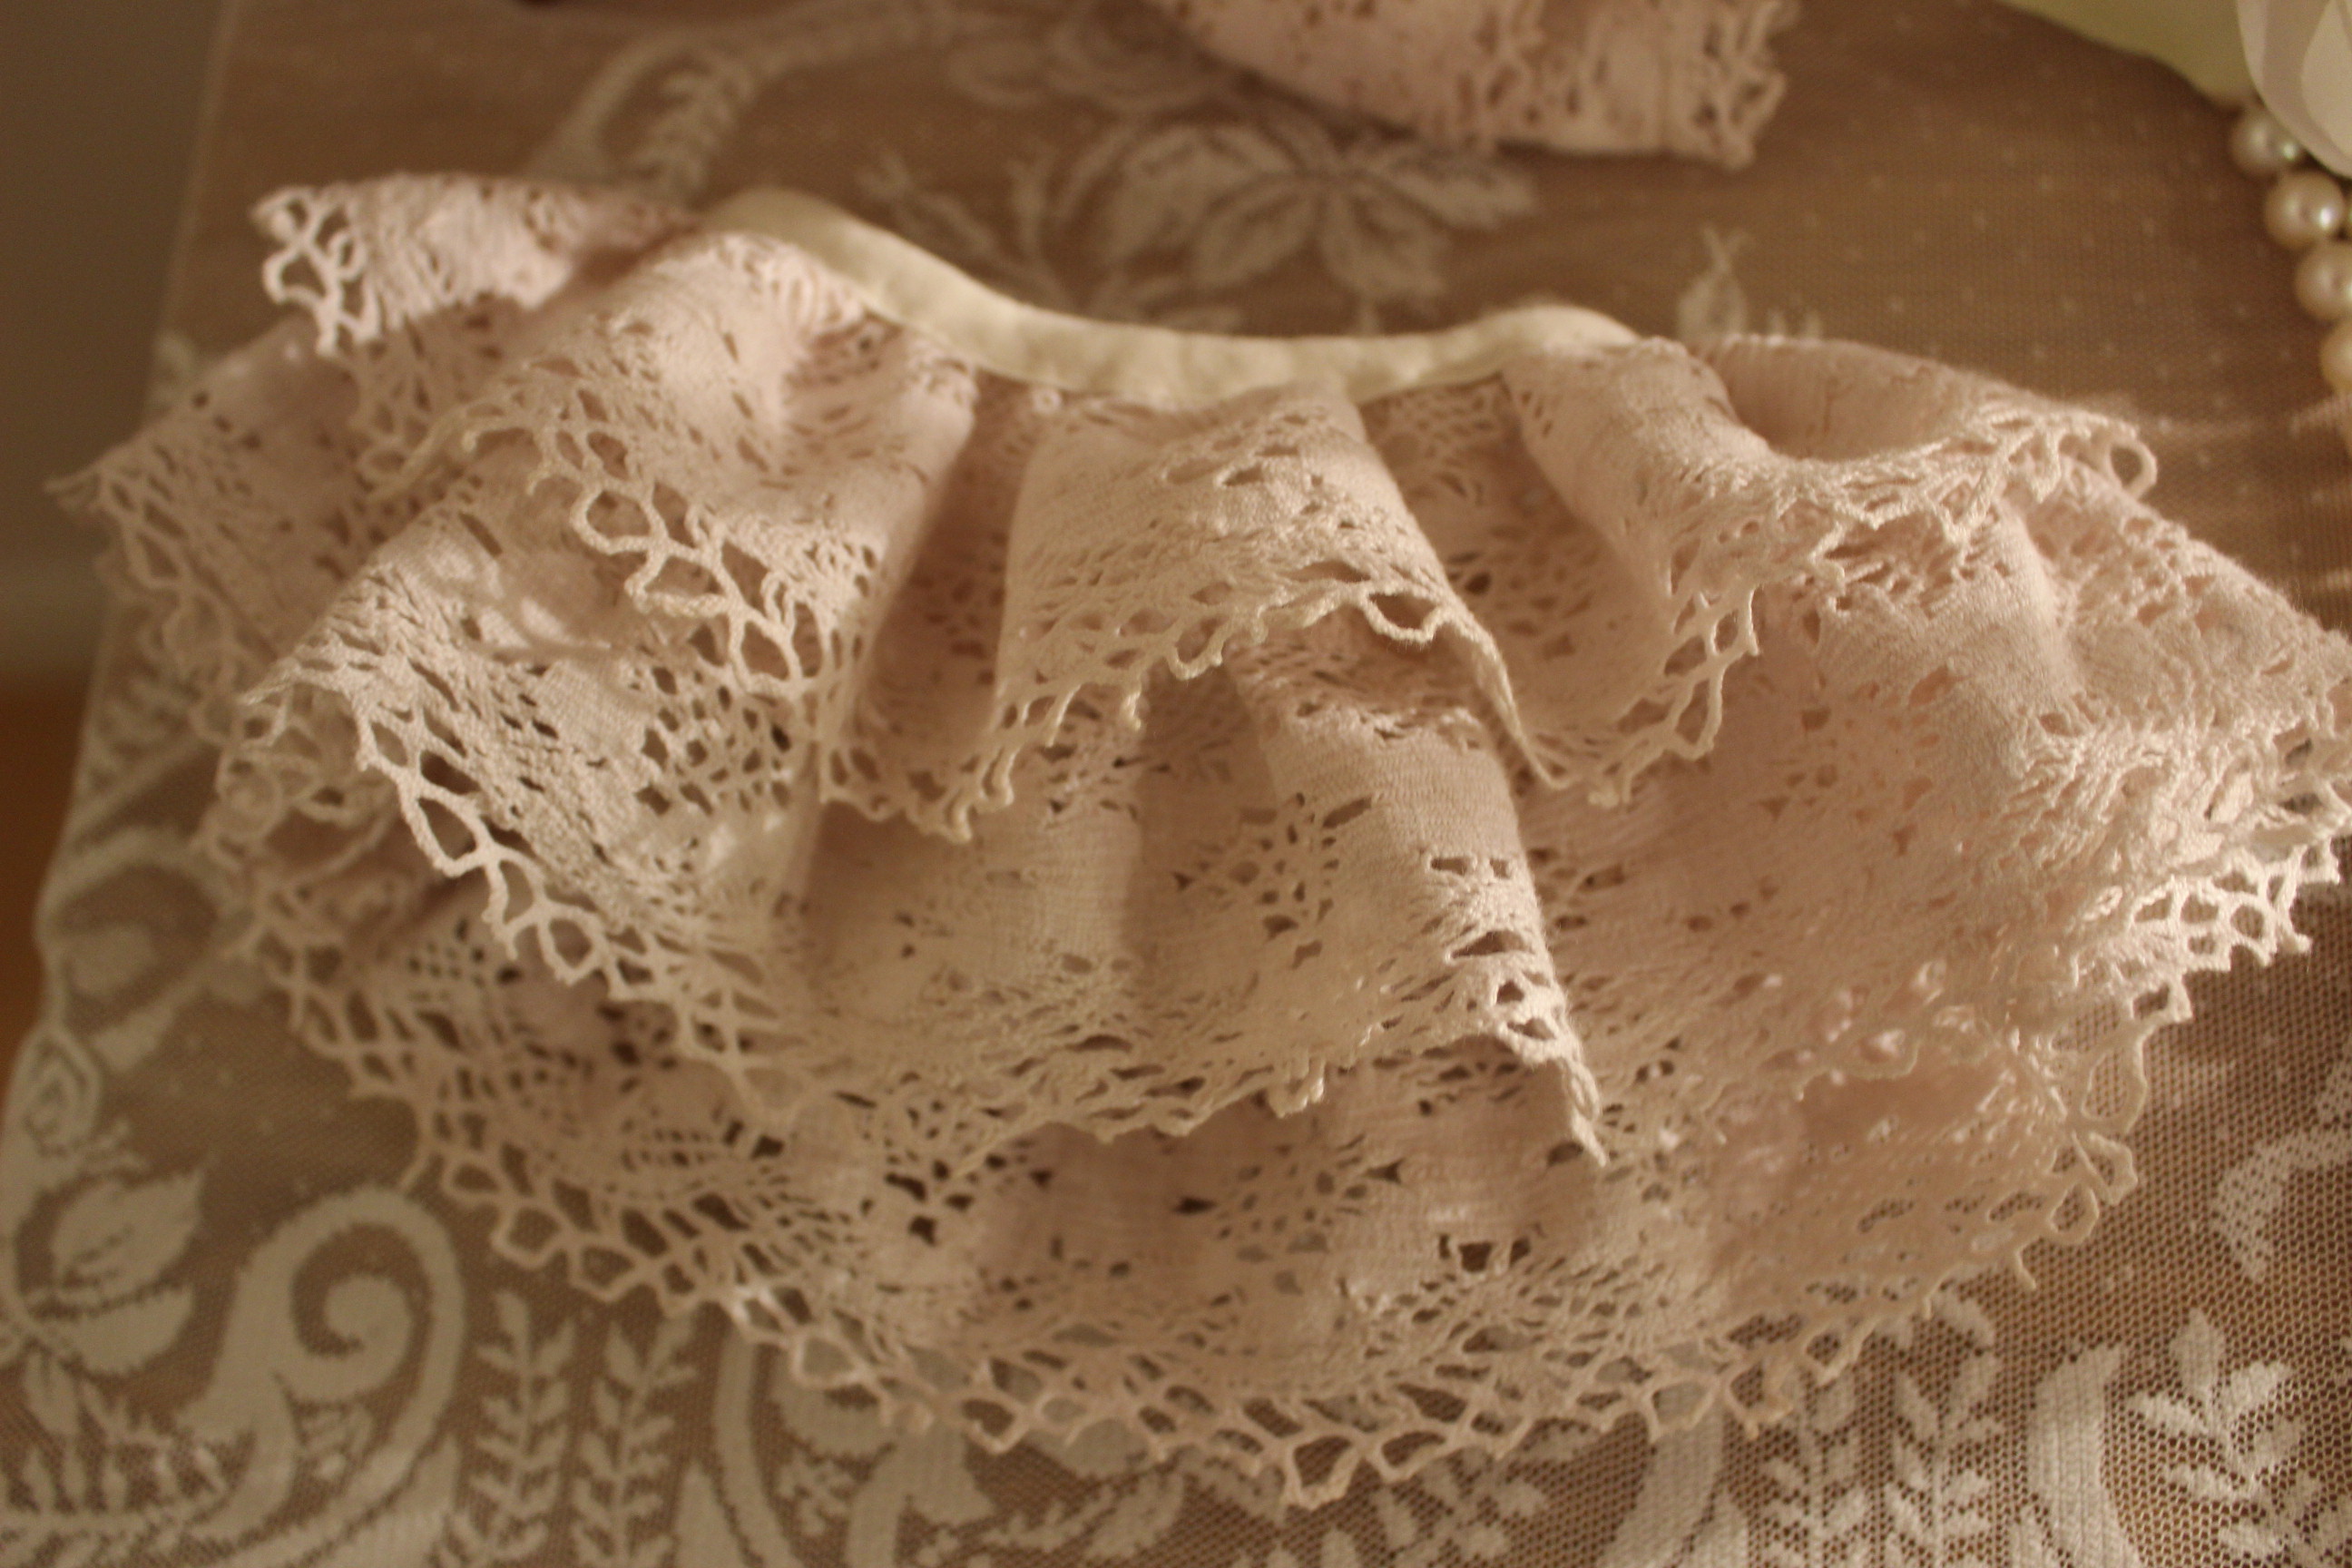
 A pair of lace cuffs for my 18th century wardrobe
Complete: Yes – I’m quite a cheater making something so simple from a non specified challenge.
20. Alternative Universe
Maybe some steampunk or halloween dress. I like them both, but are not sure I will be able to make any of them.


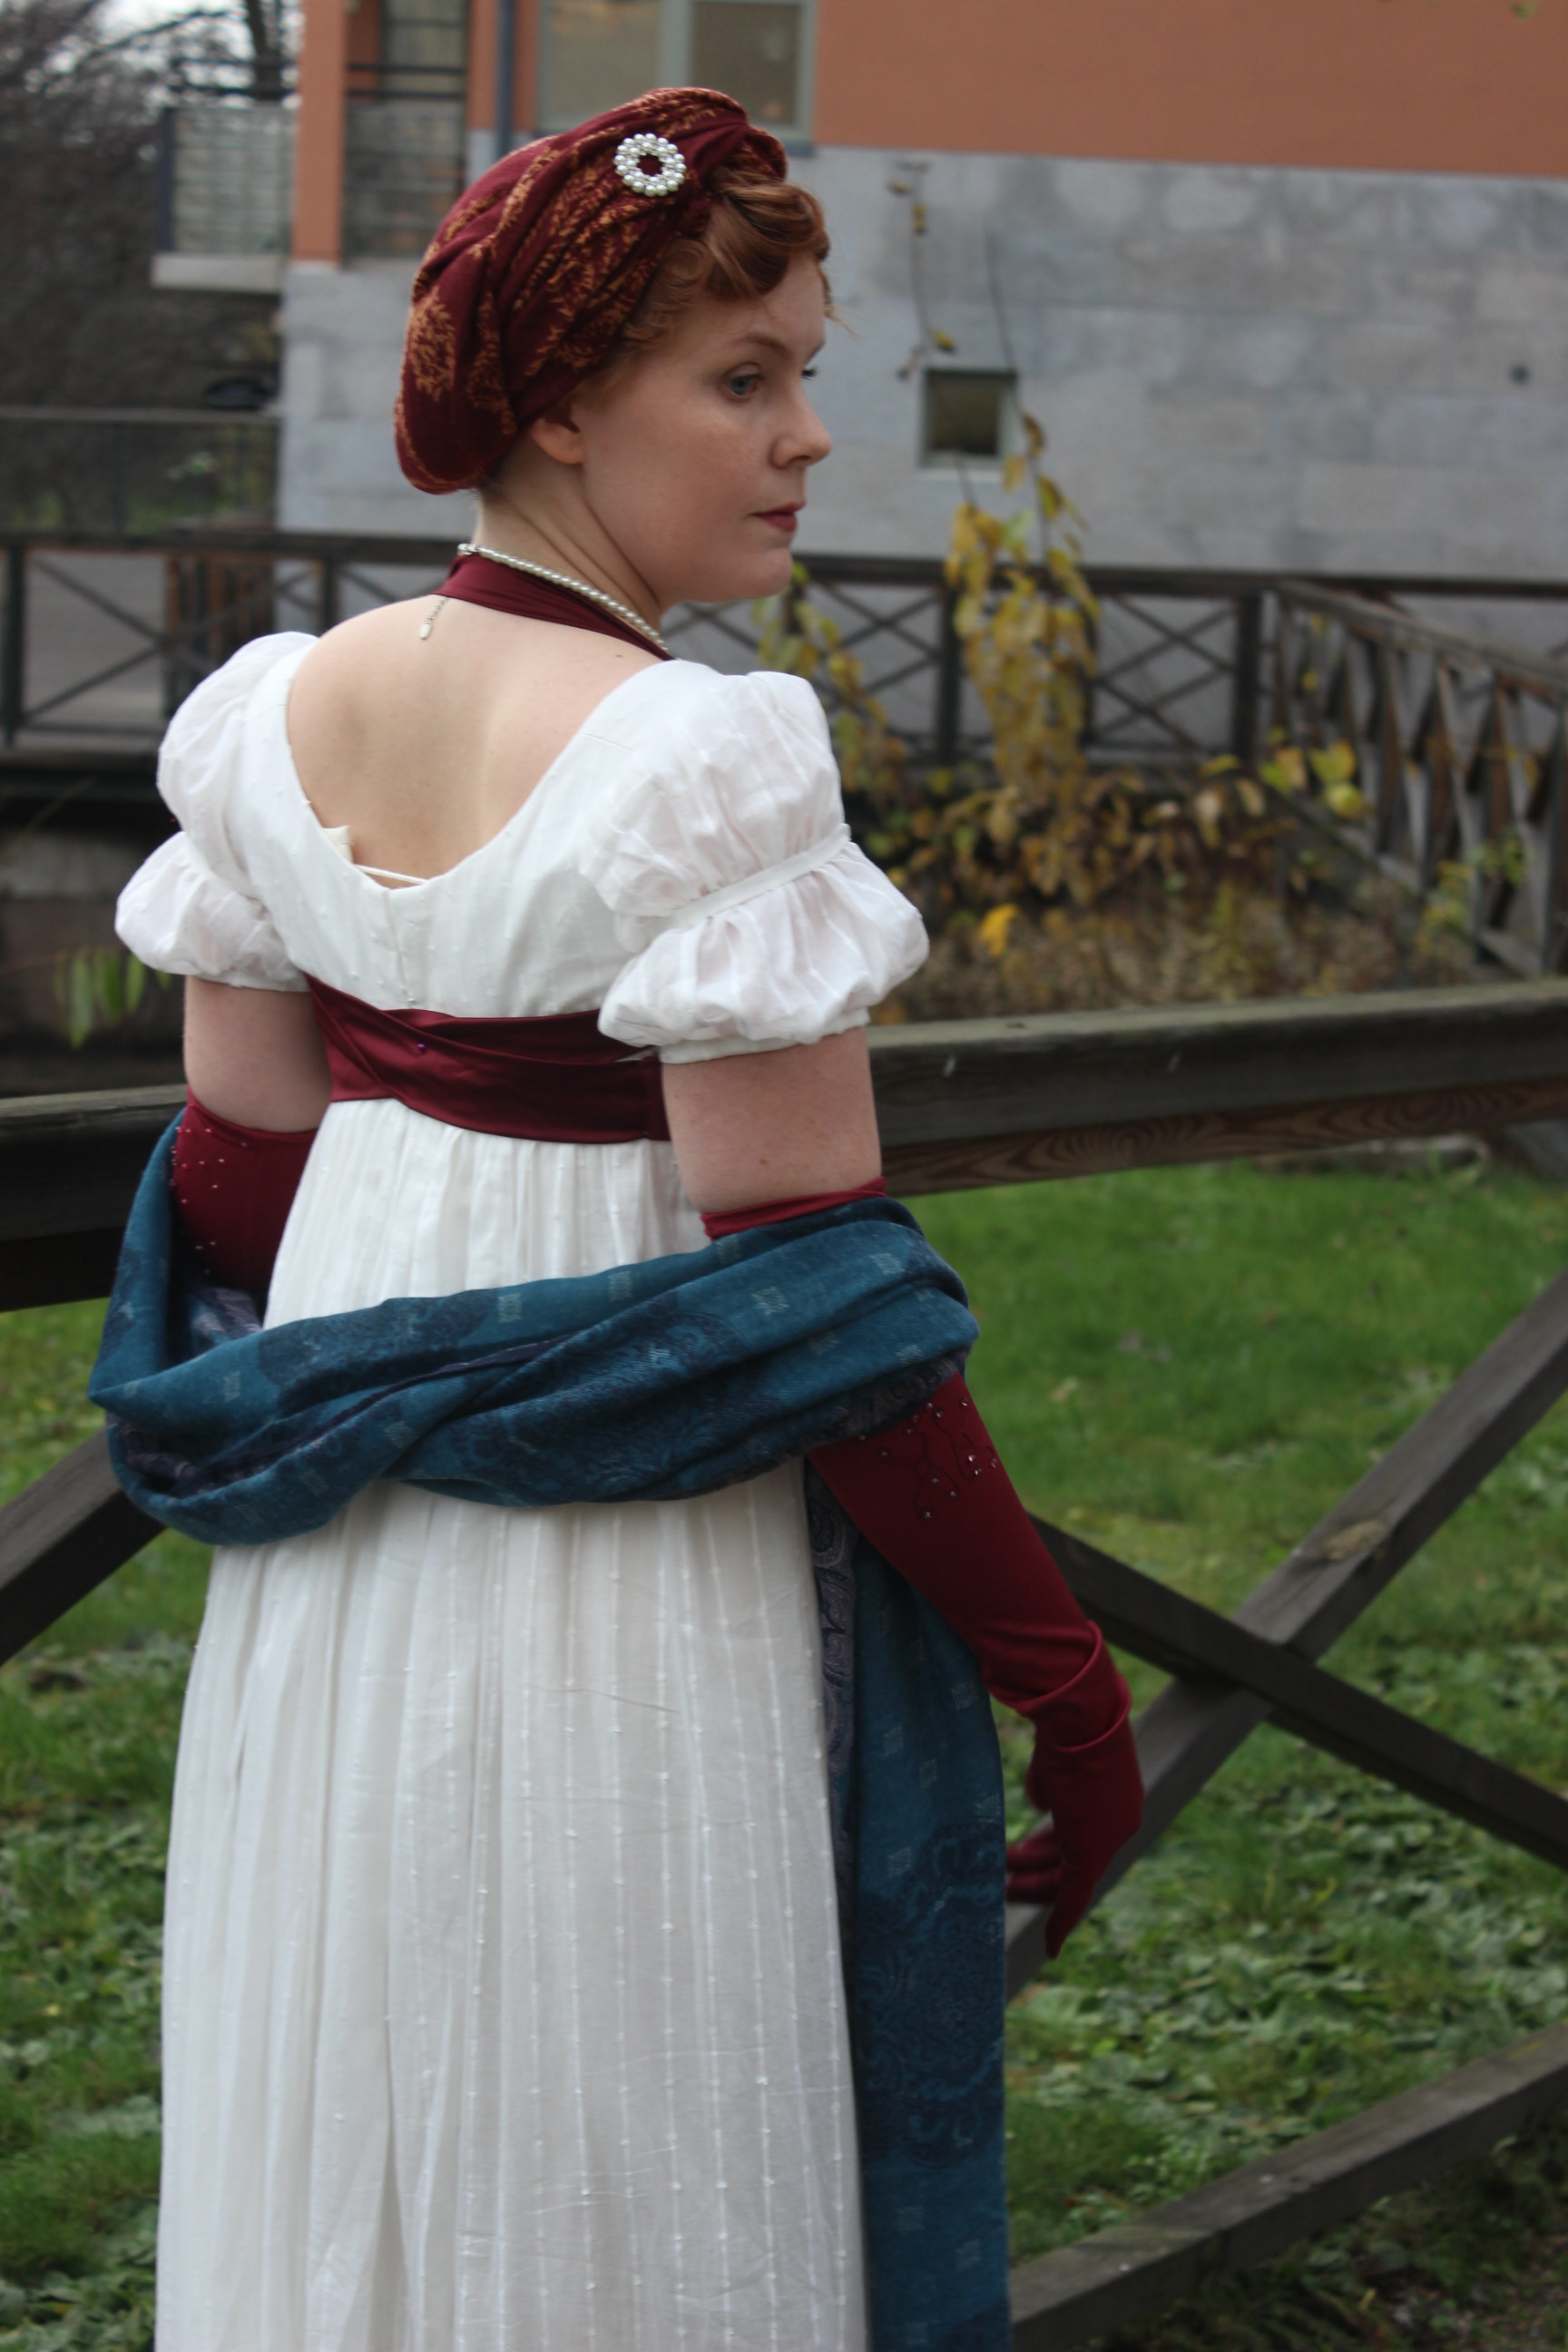
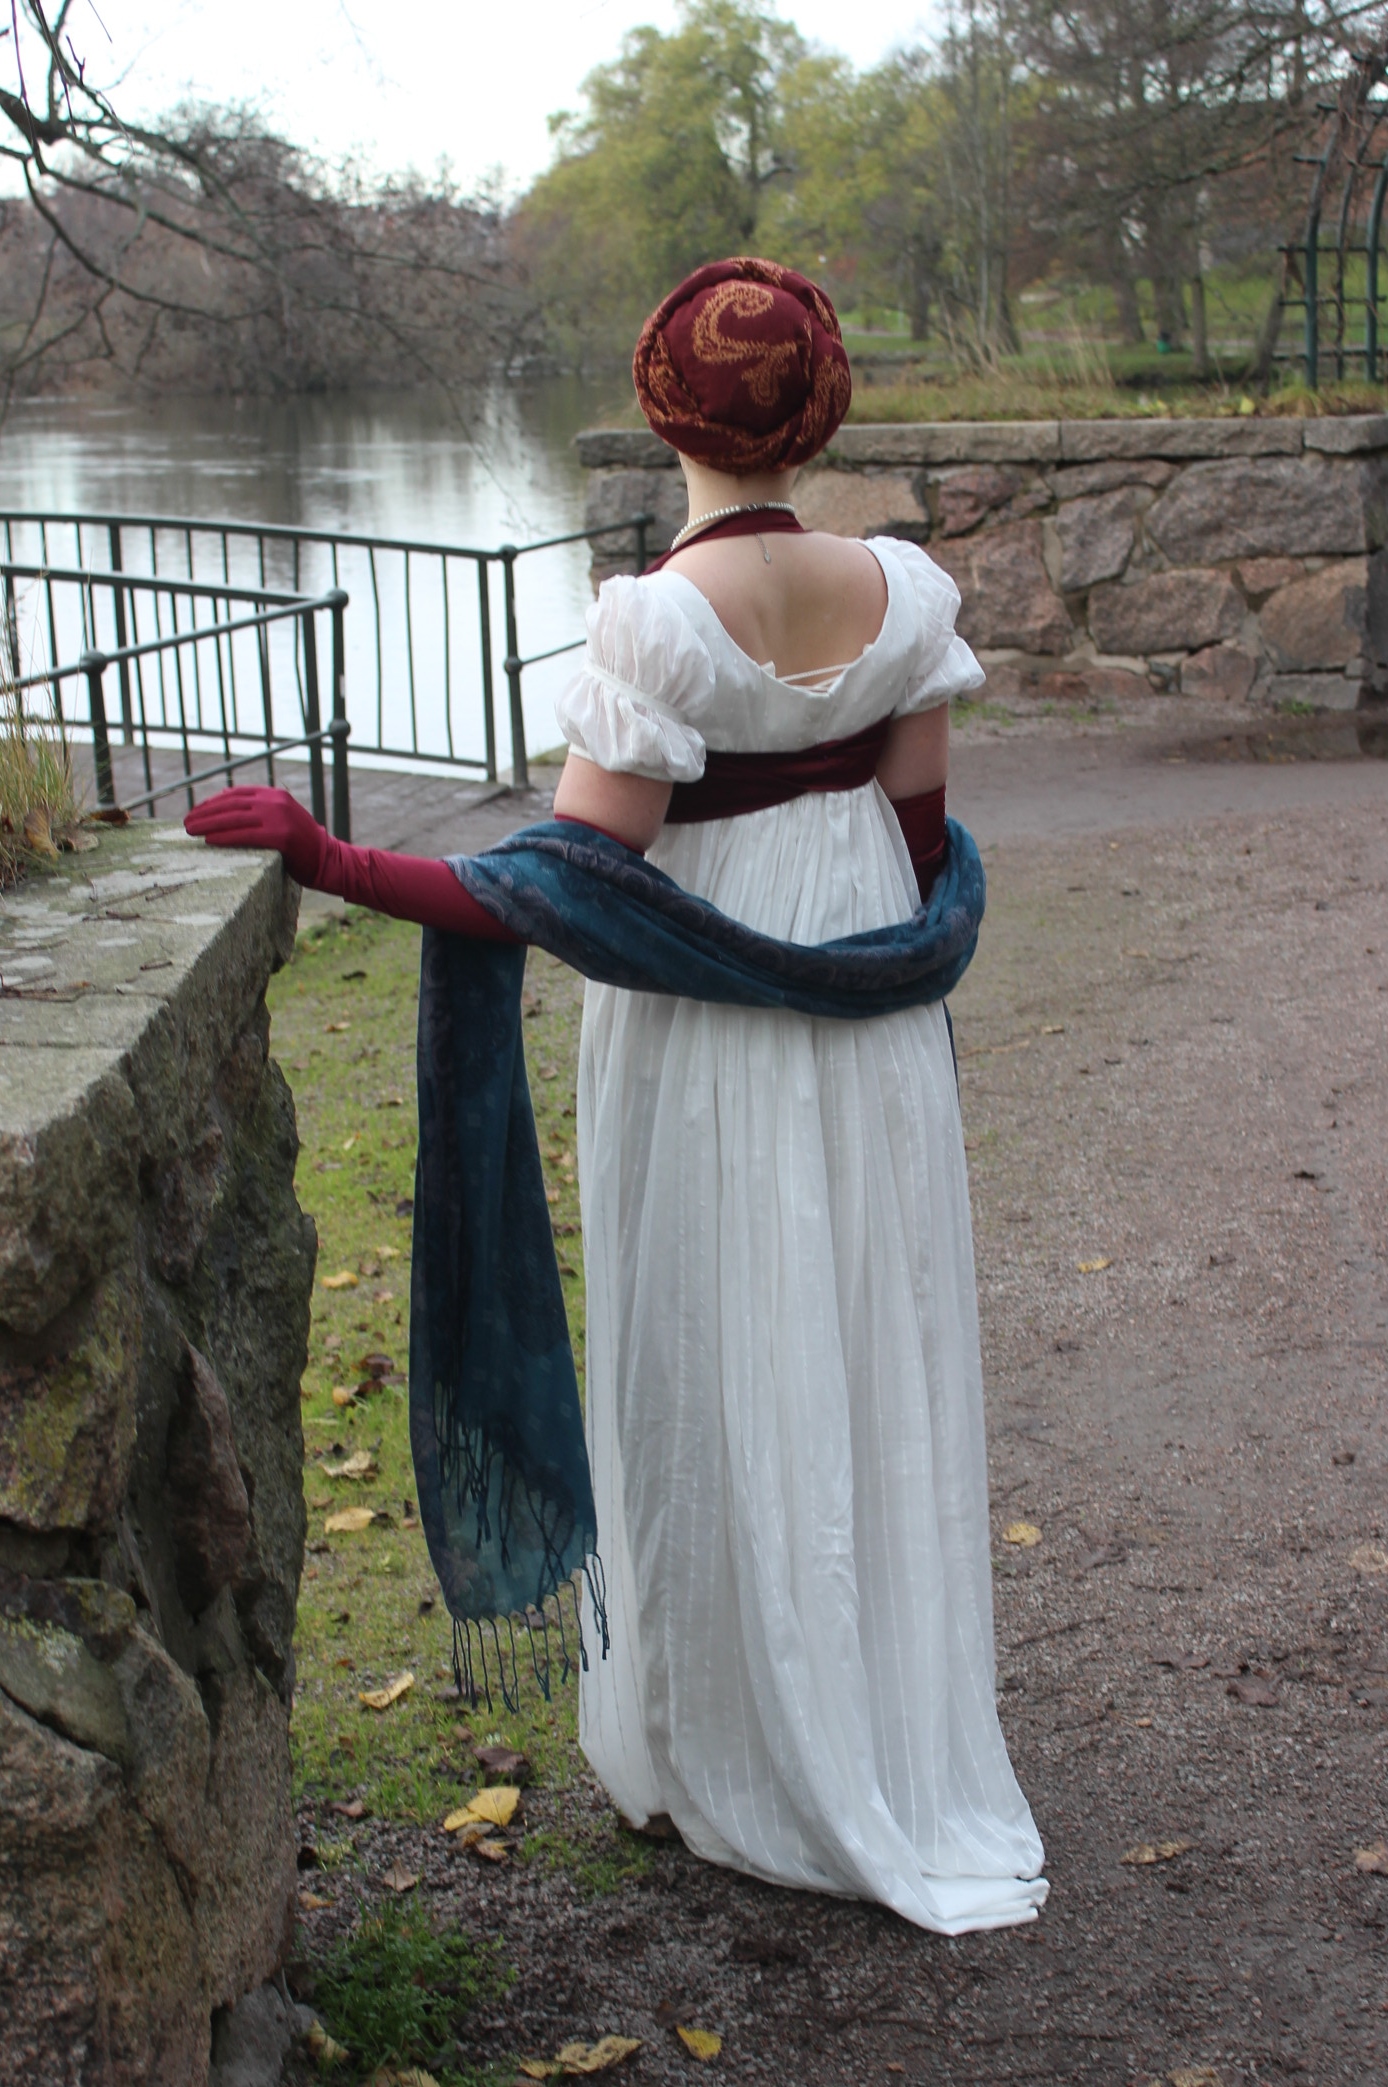
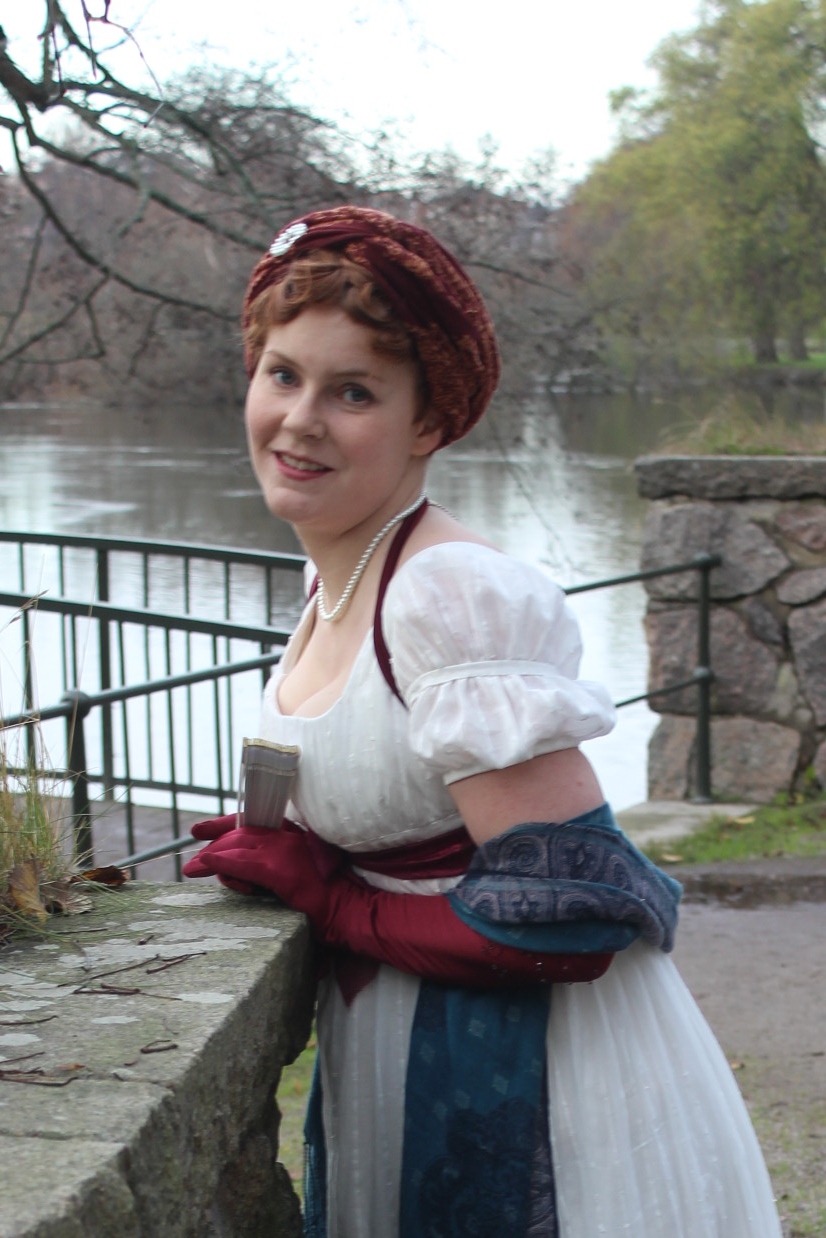
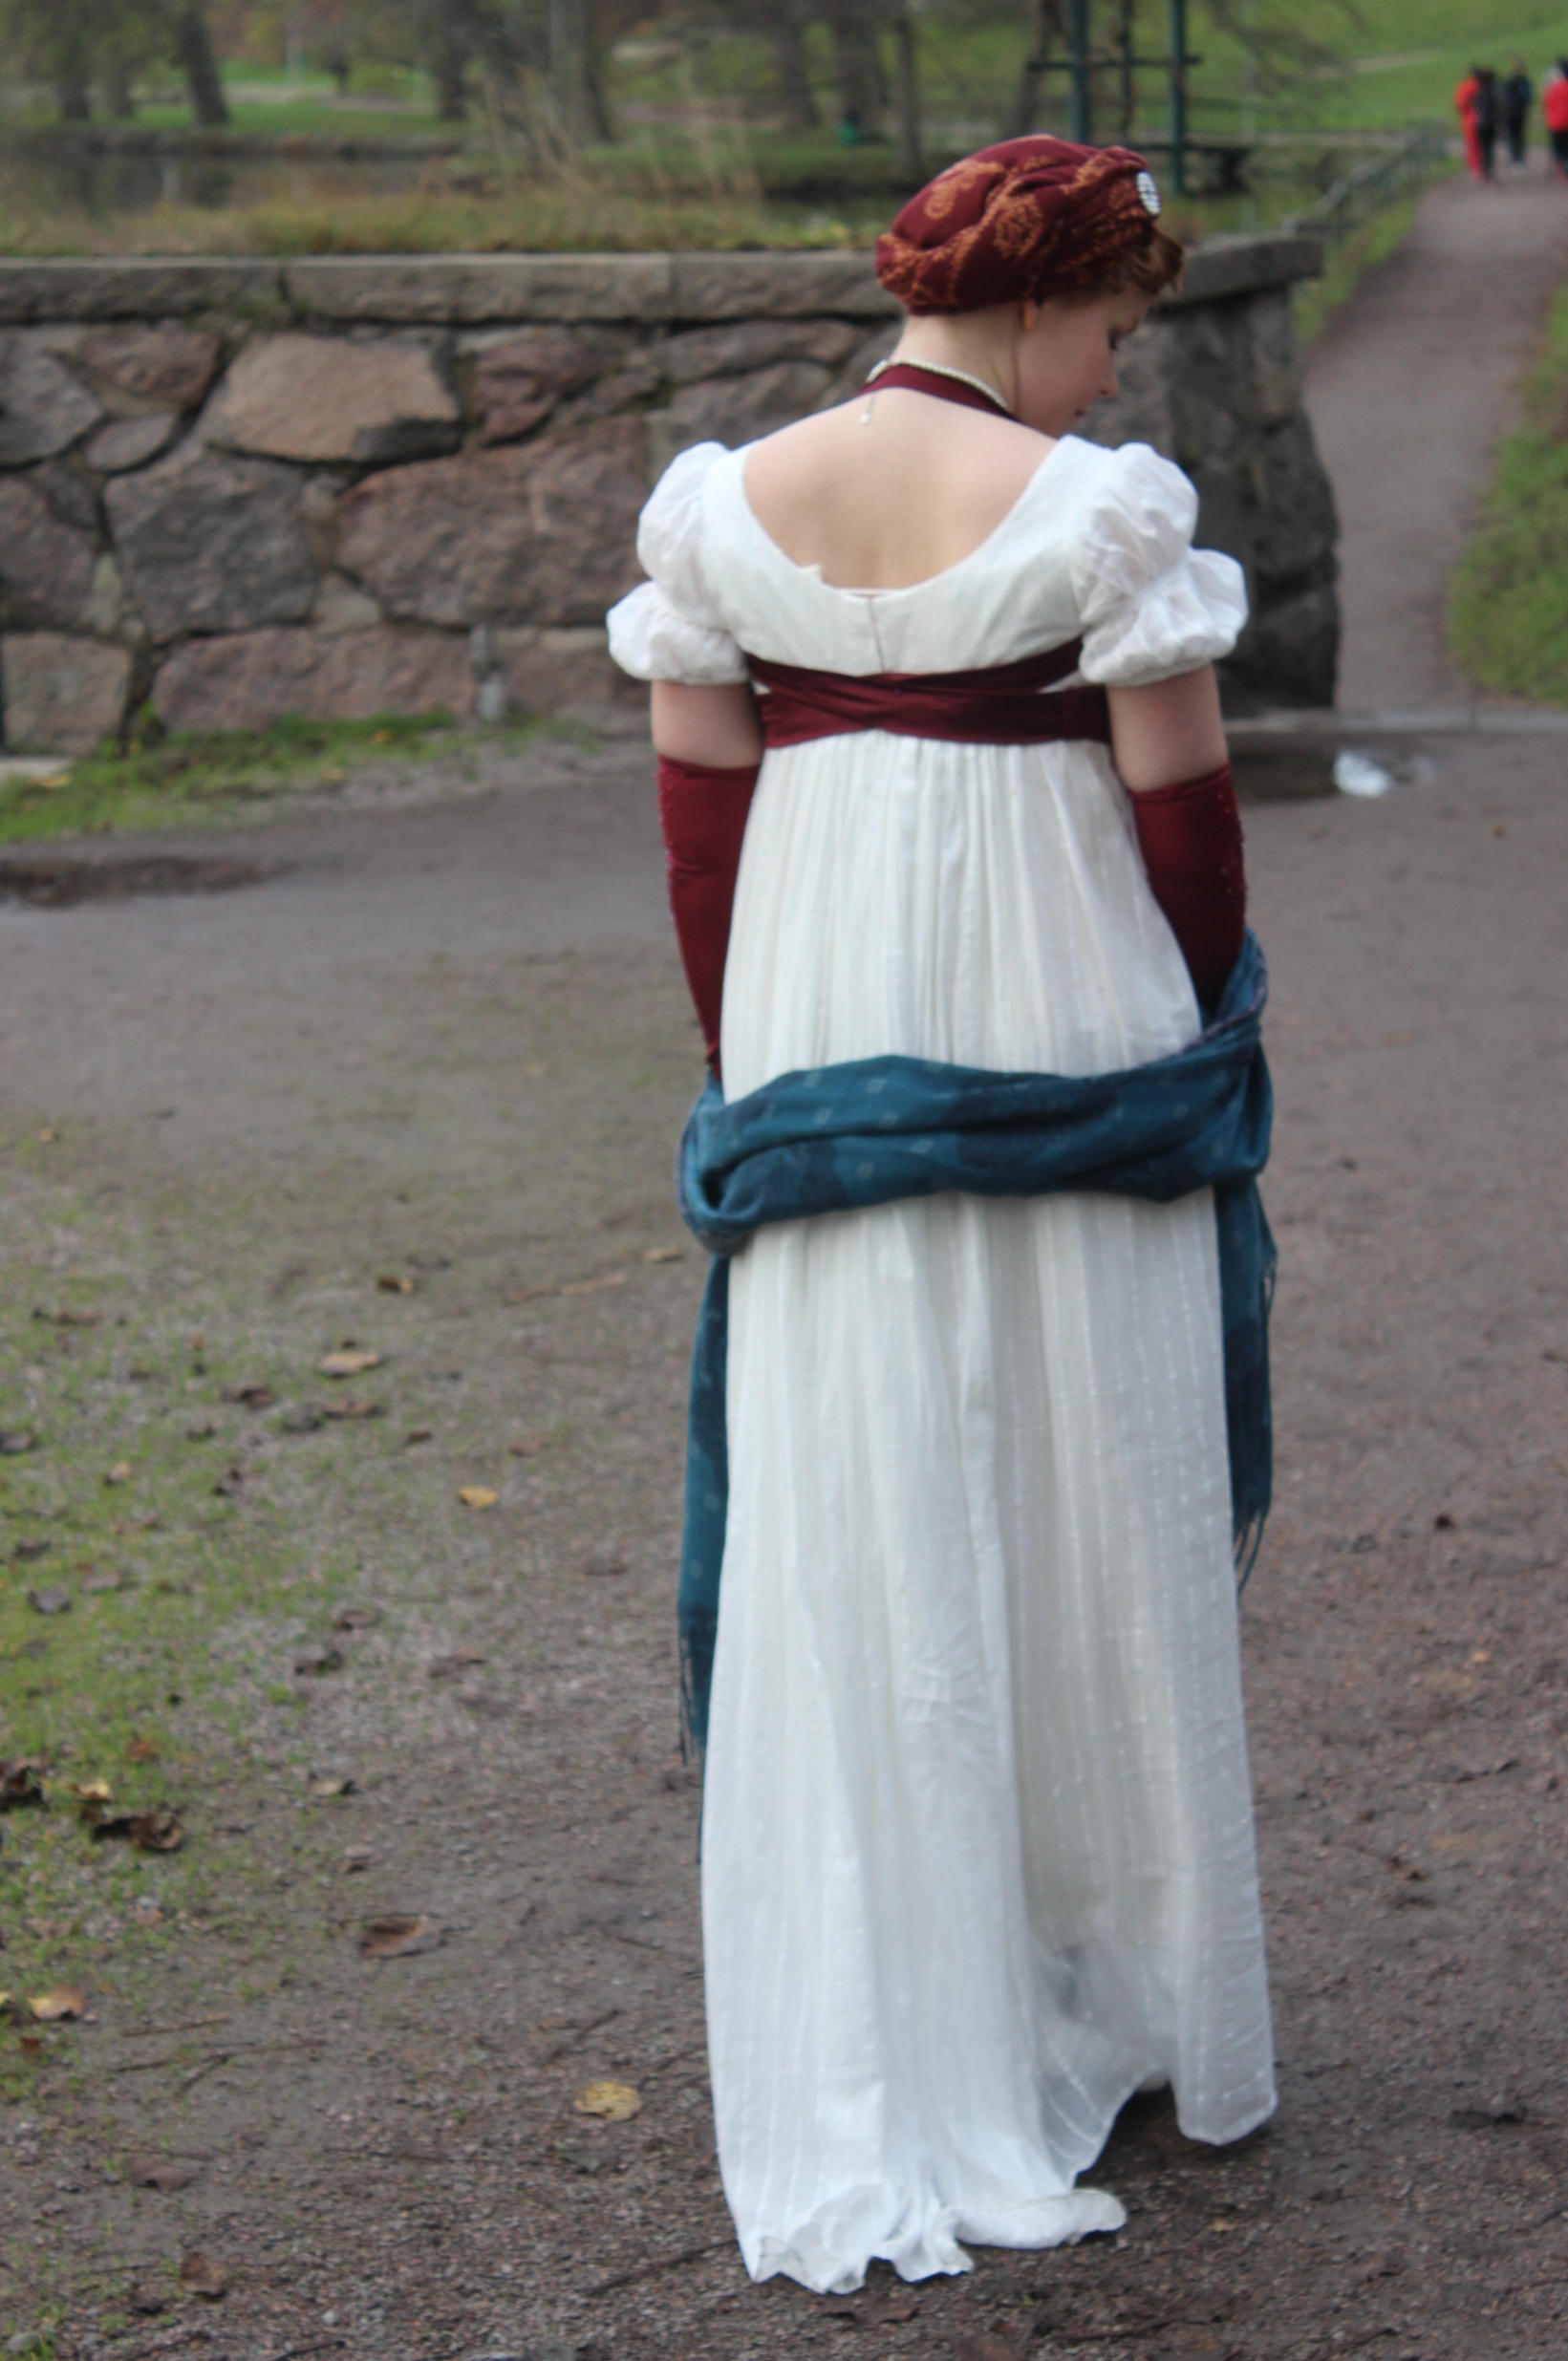
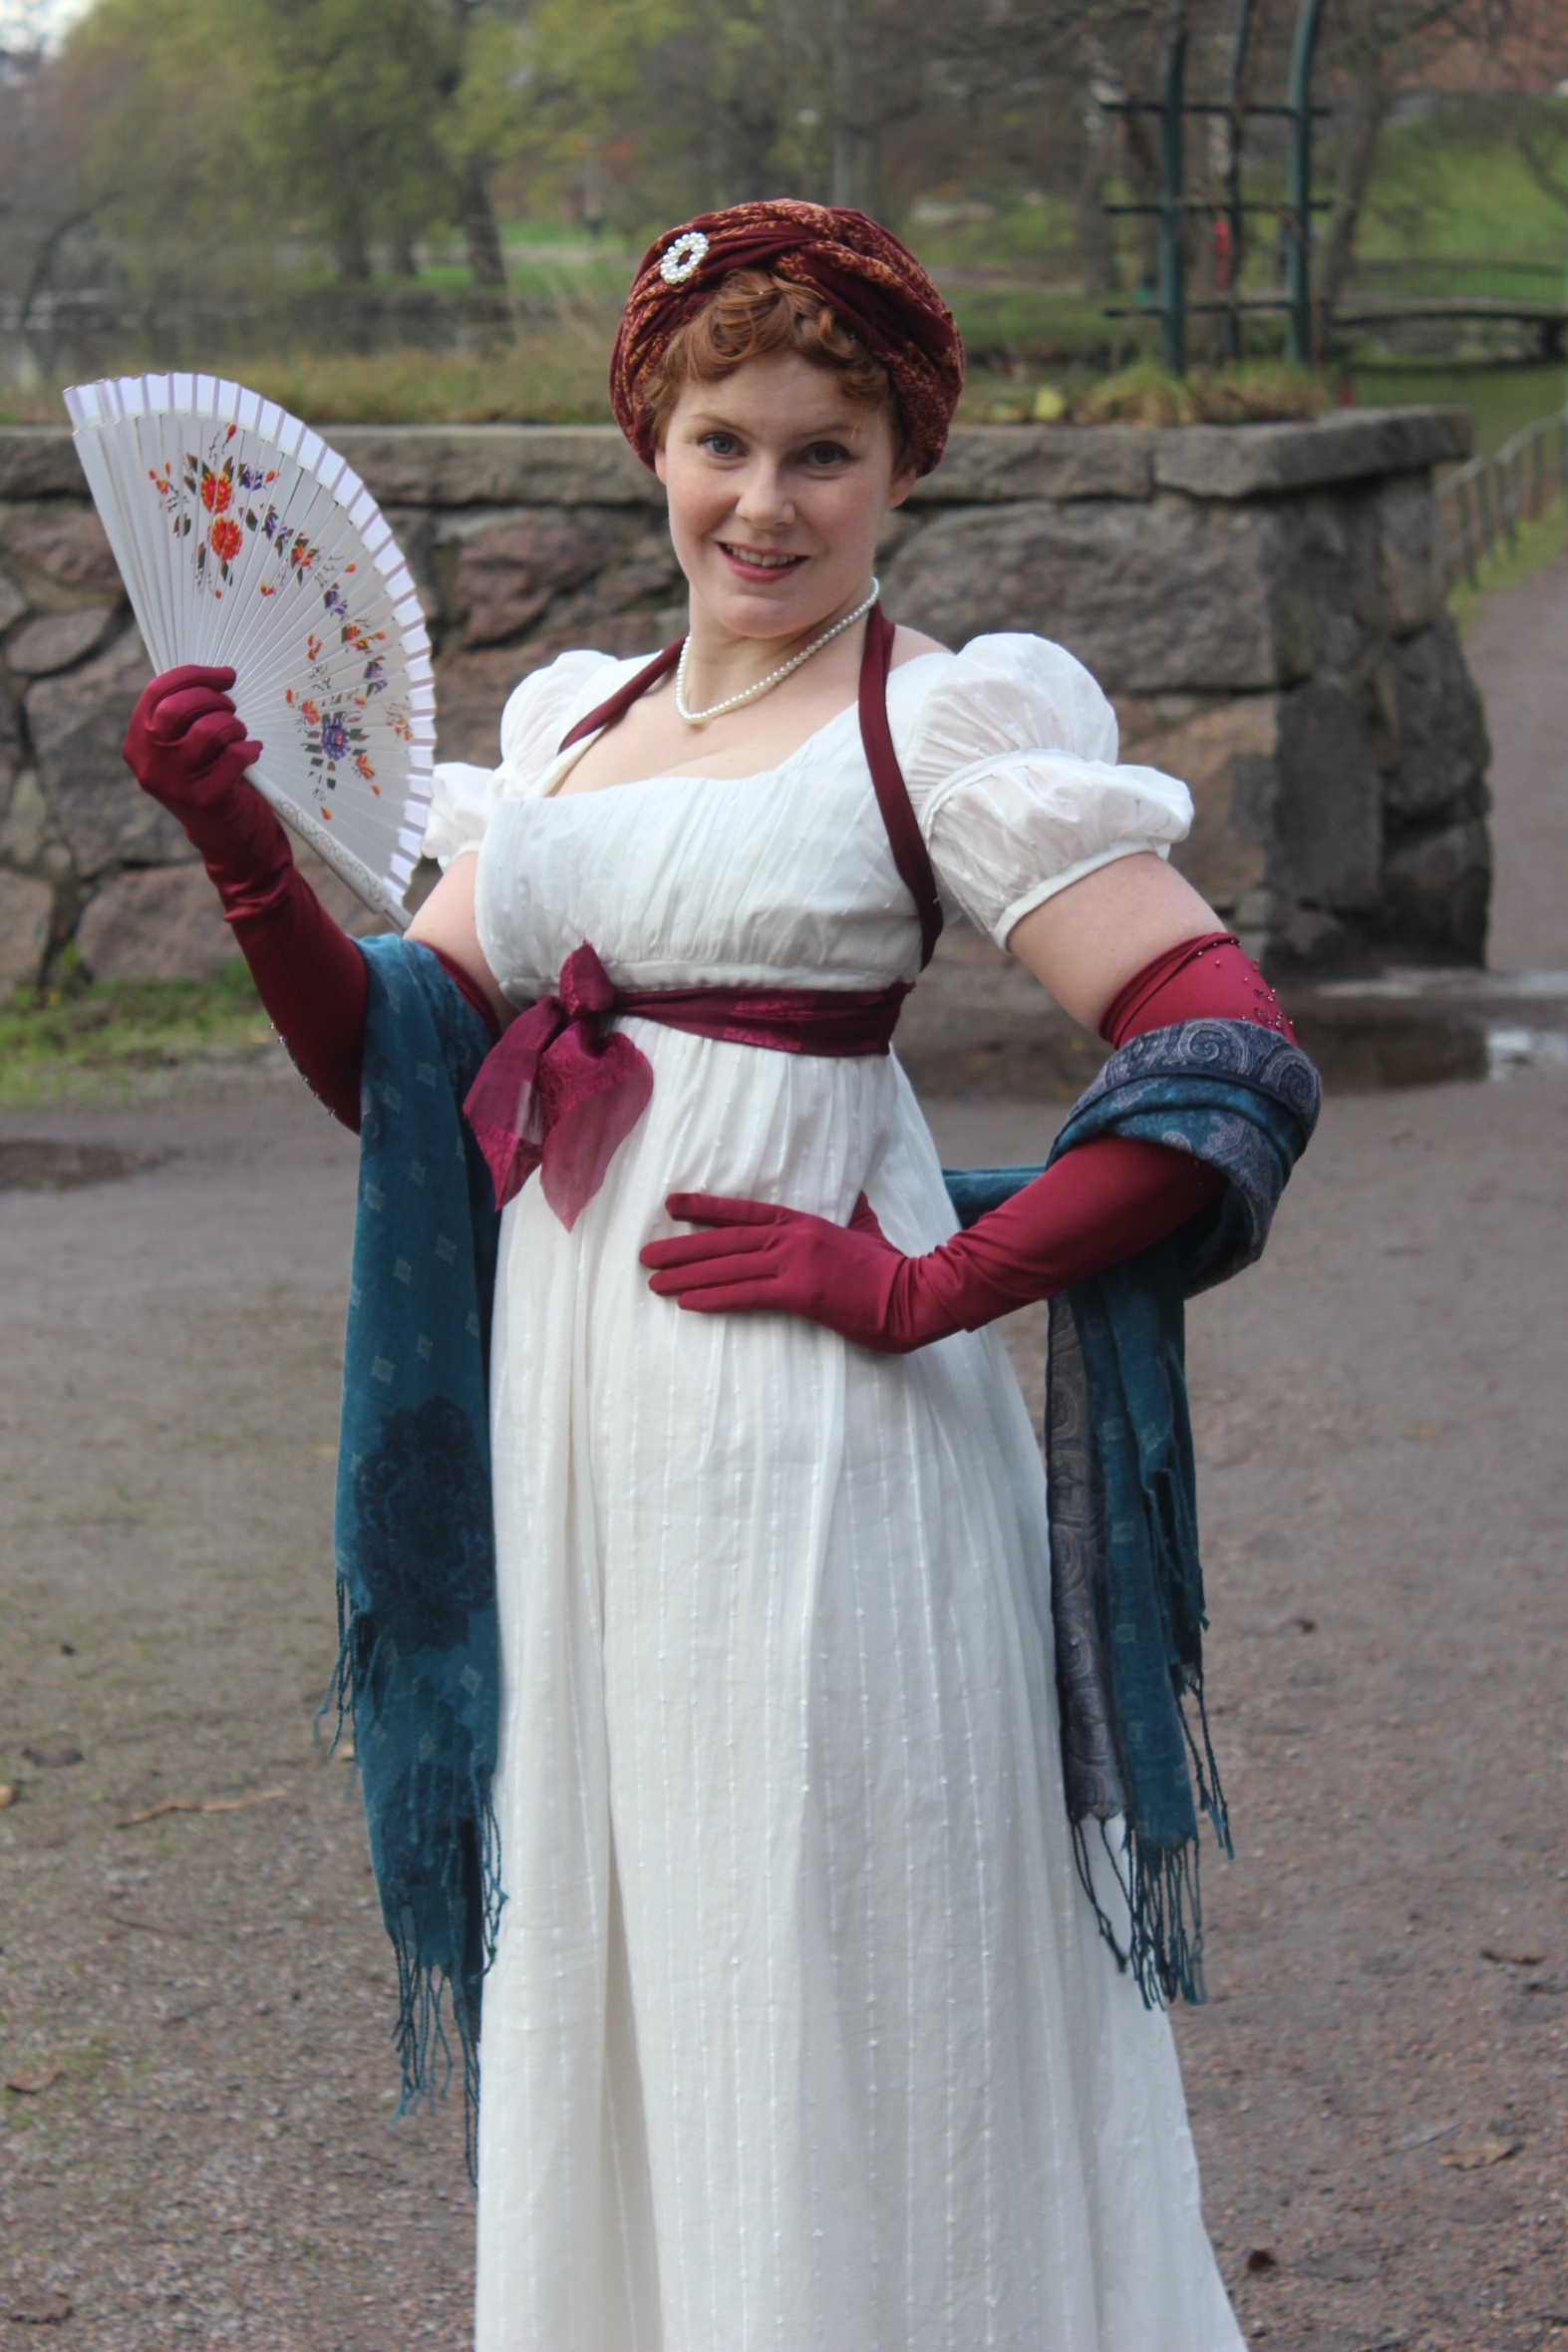
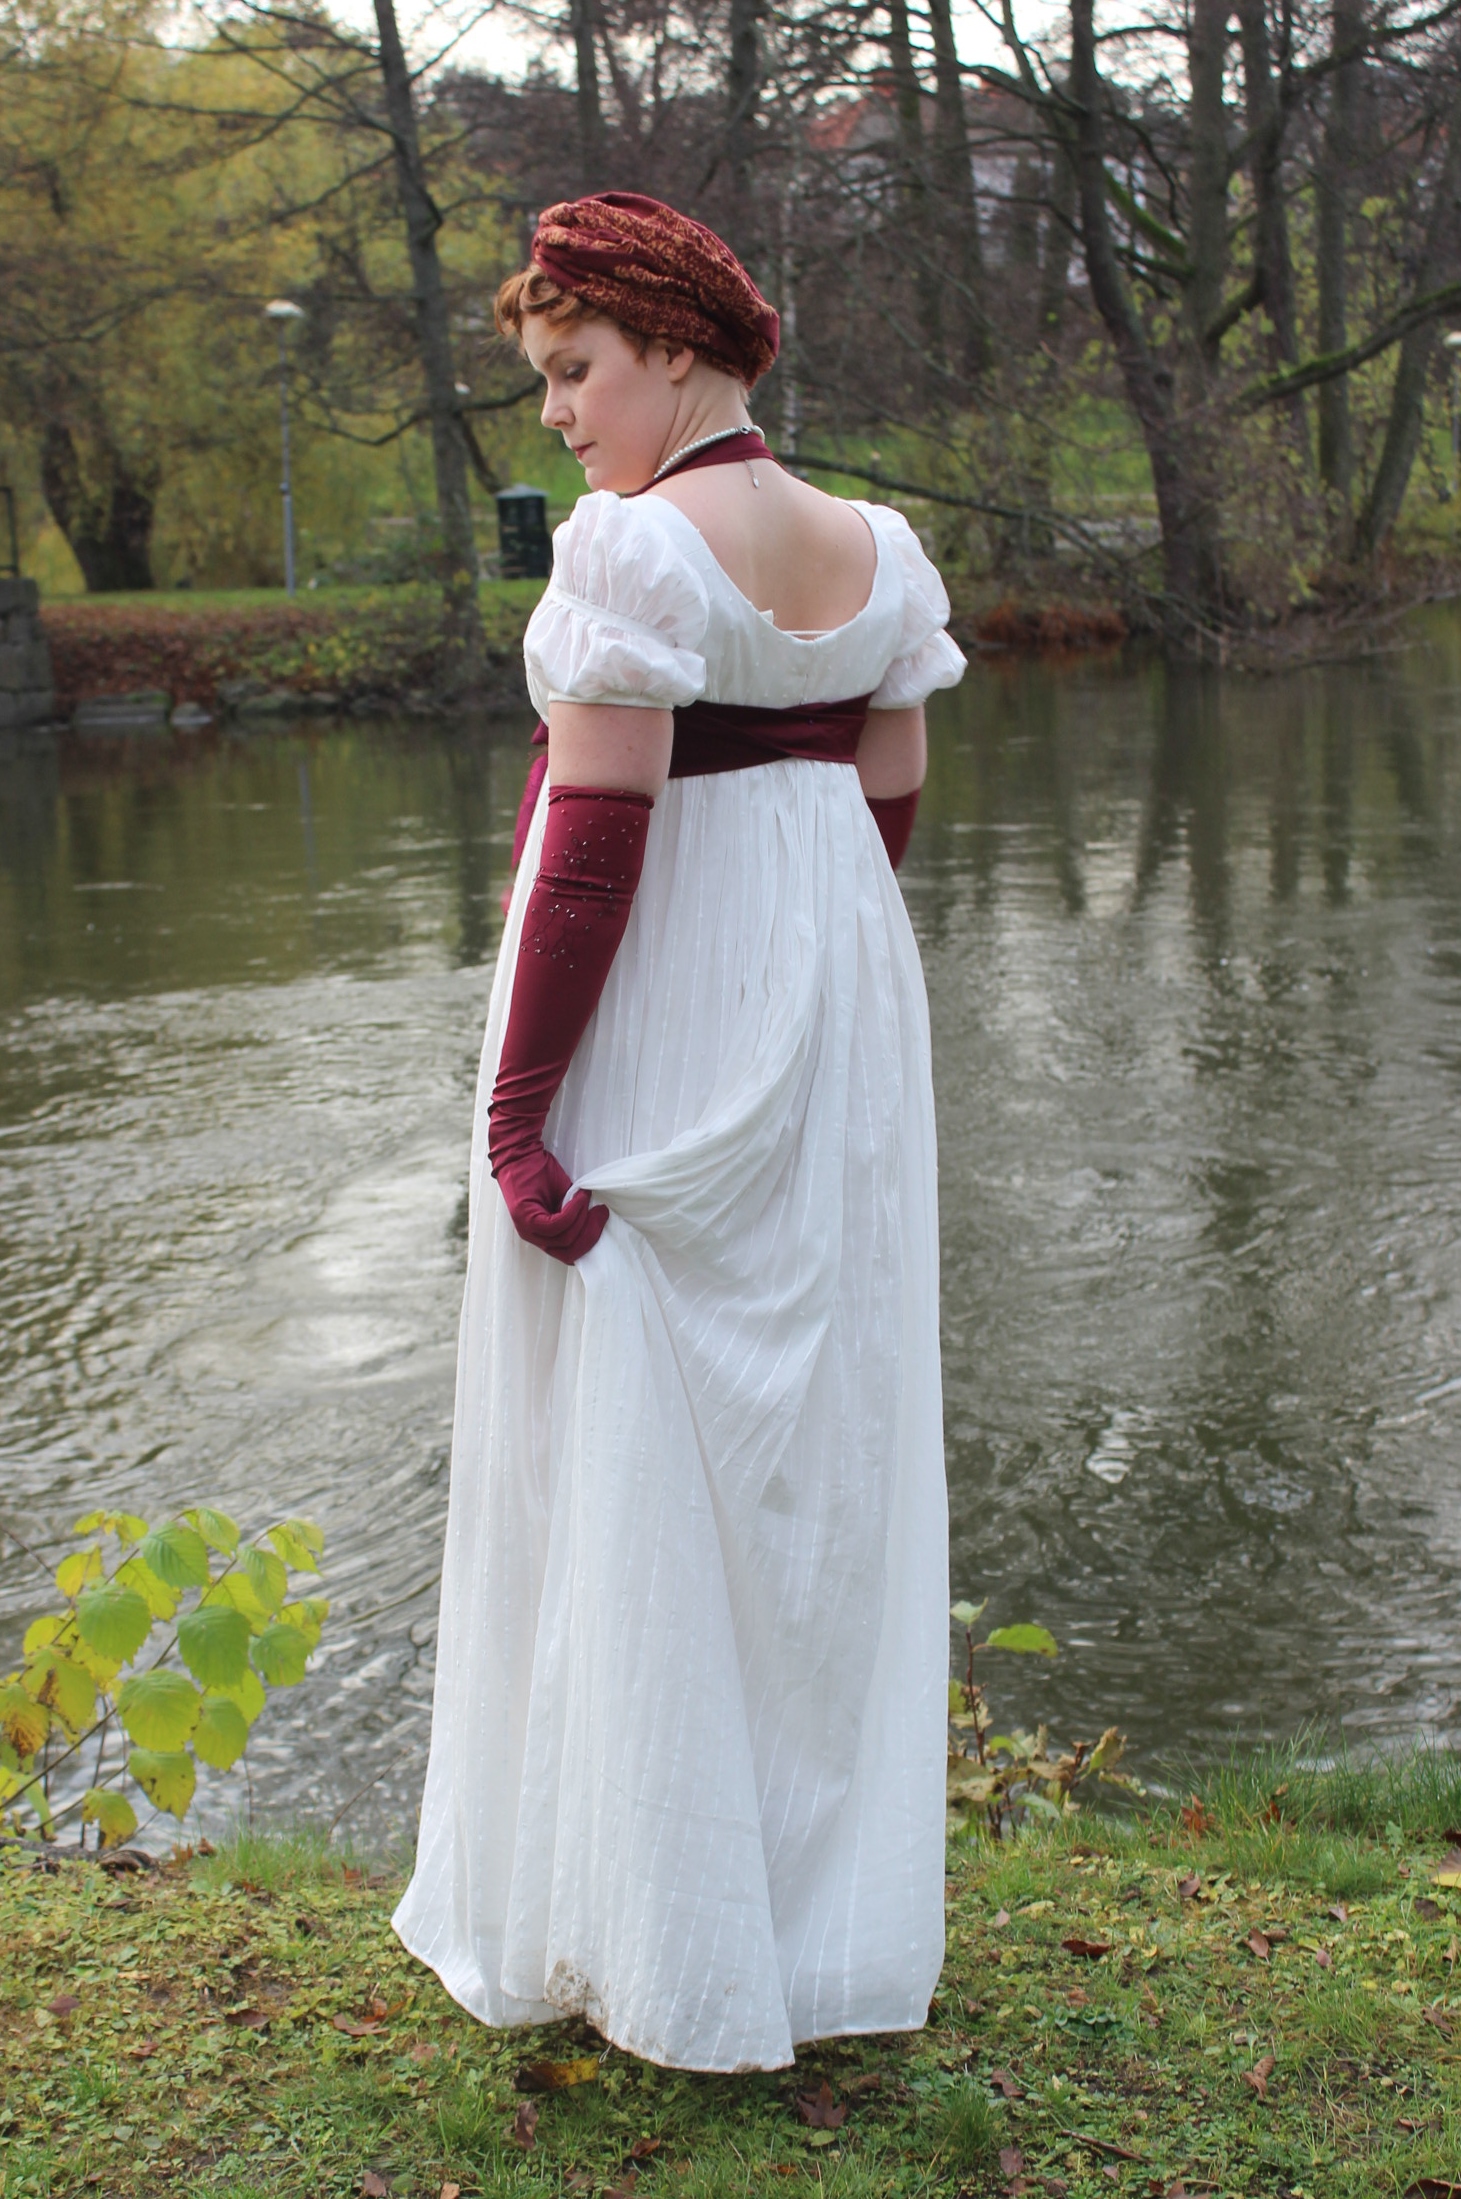
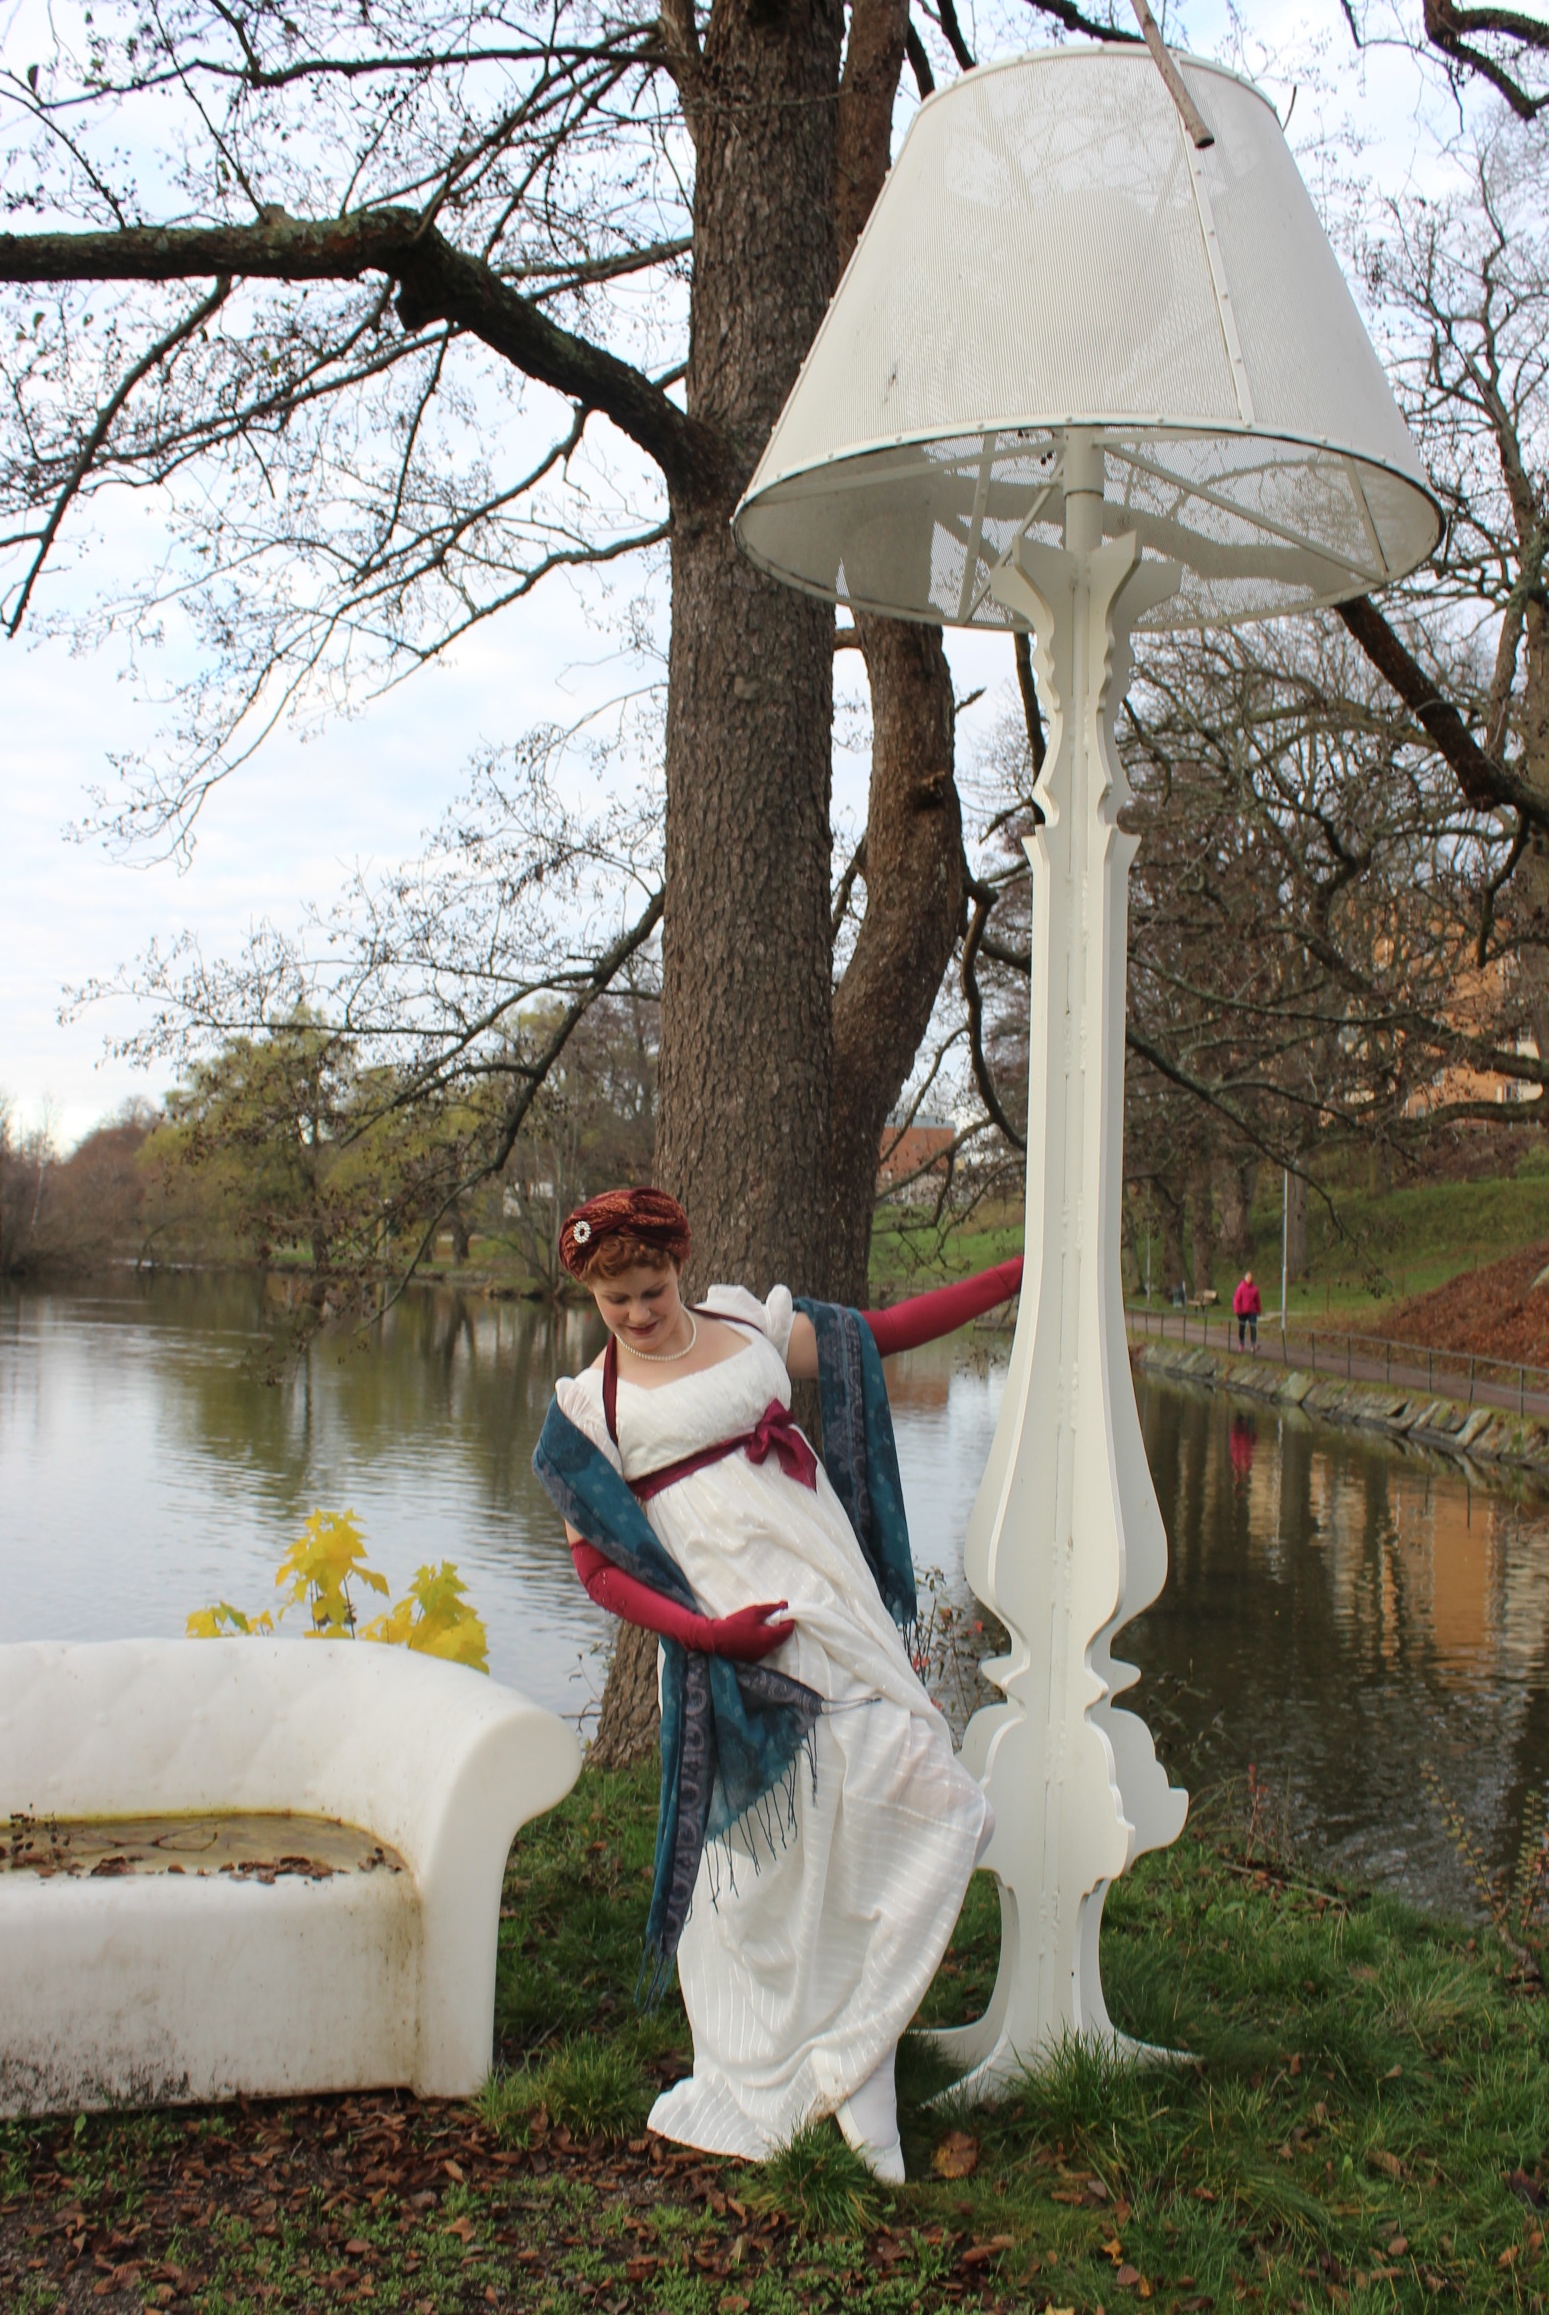
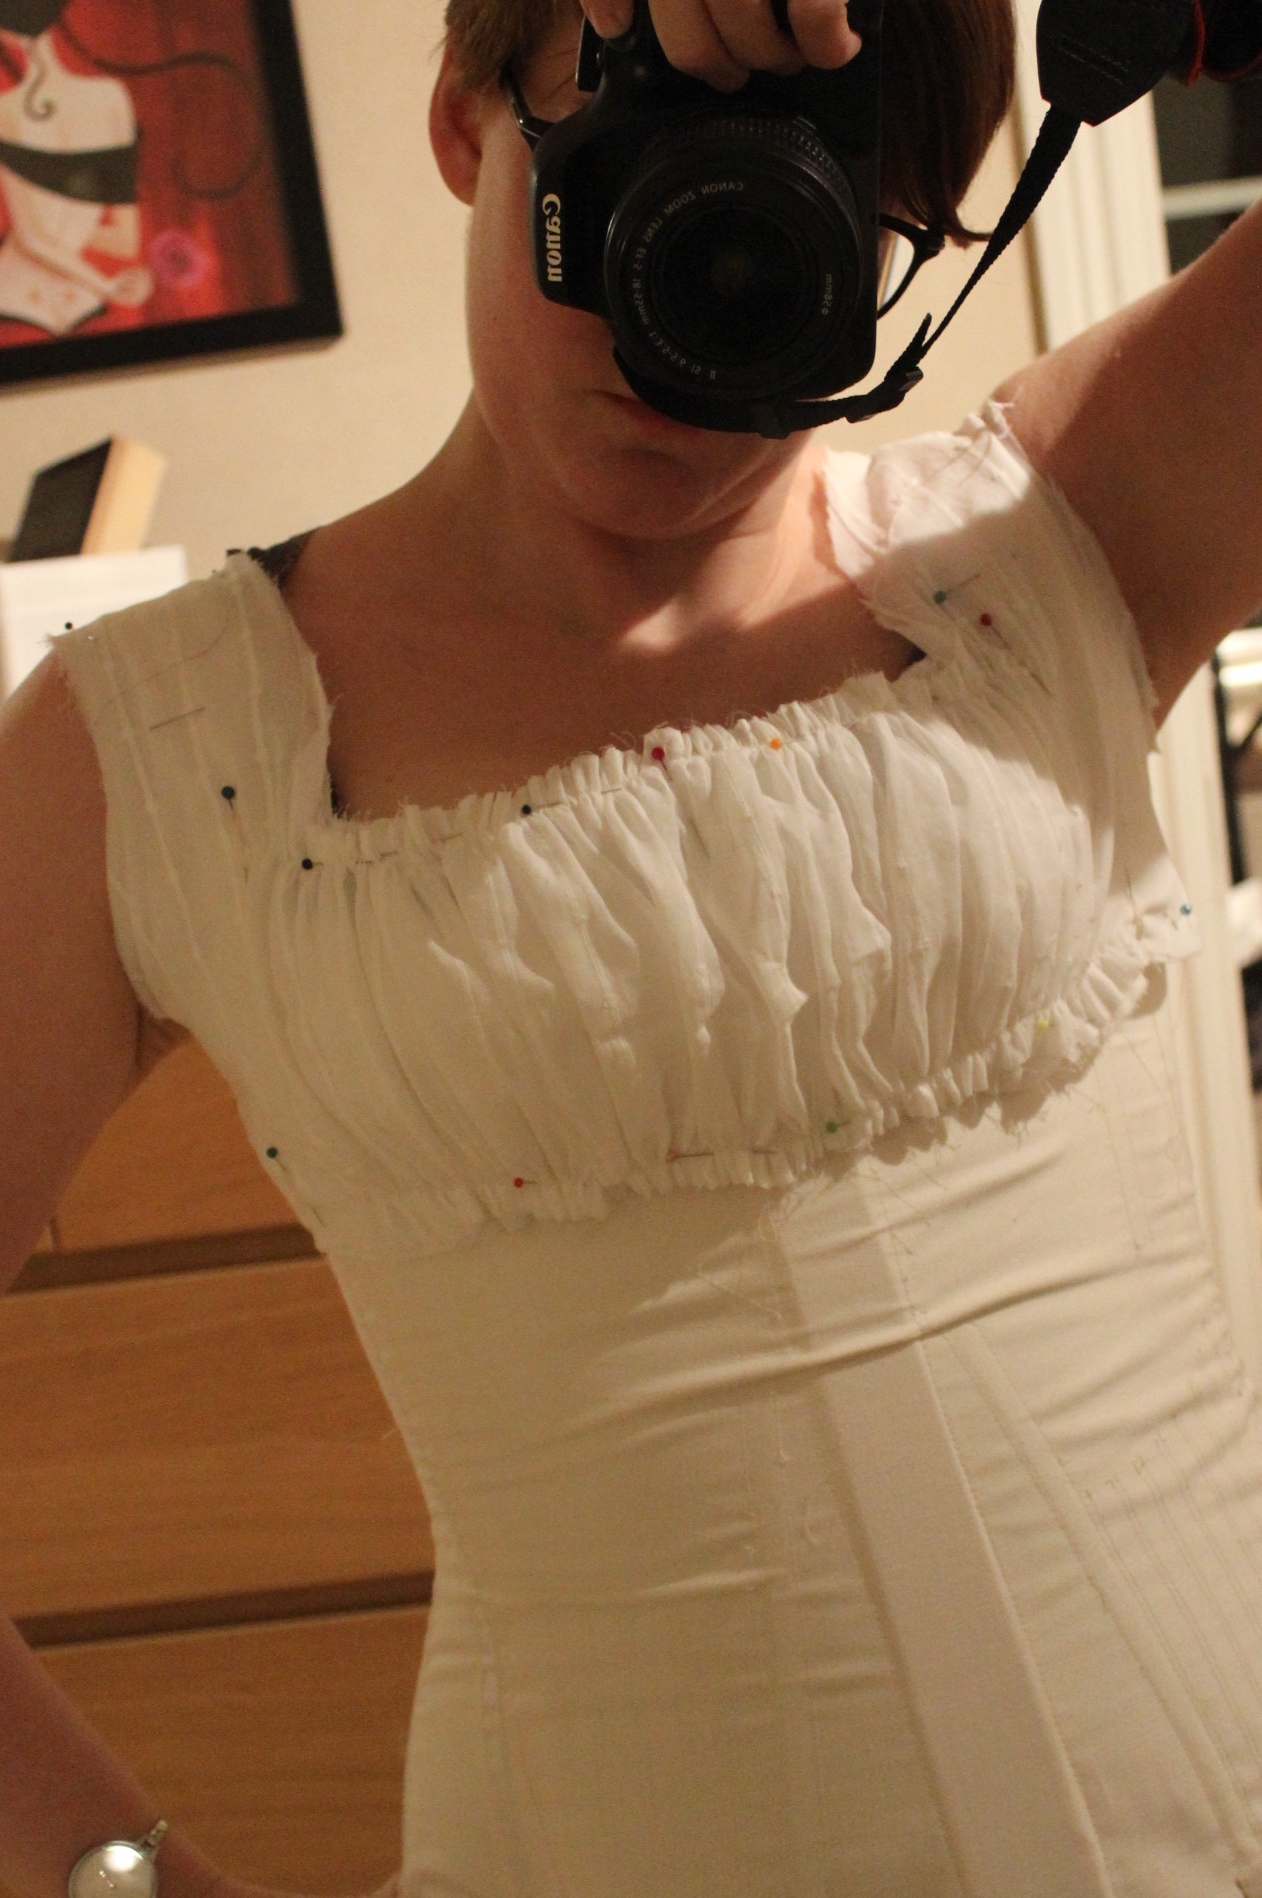
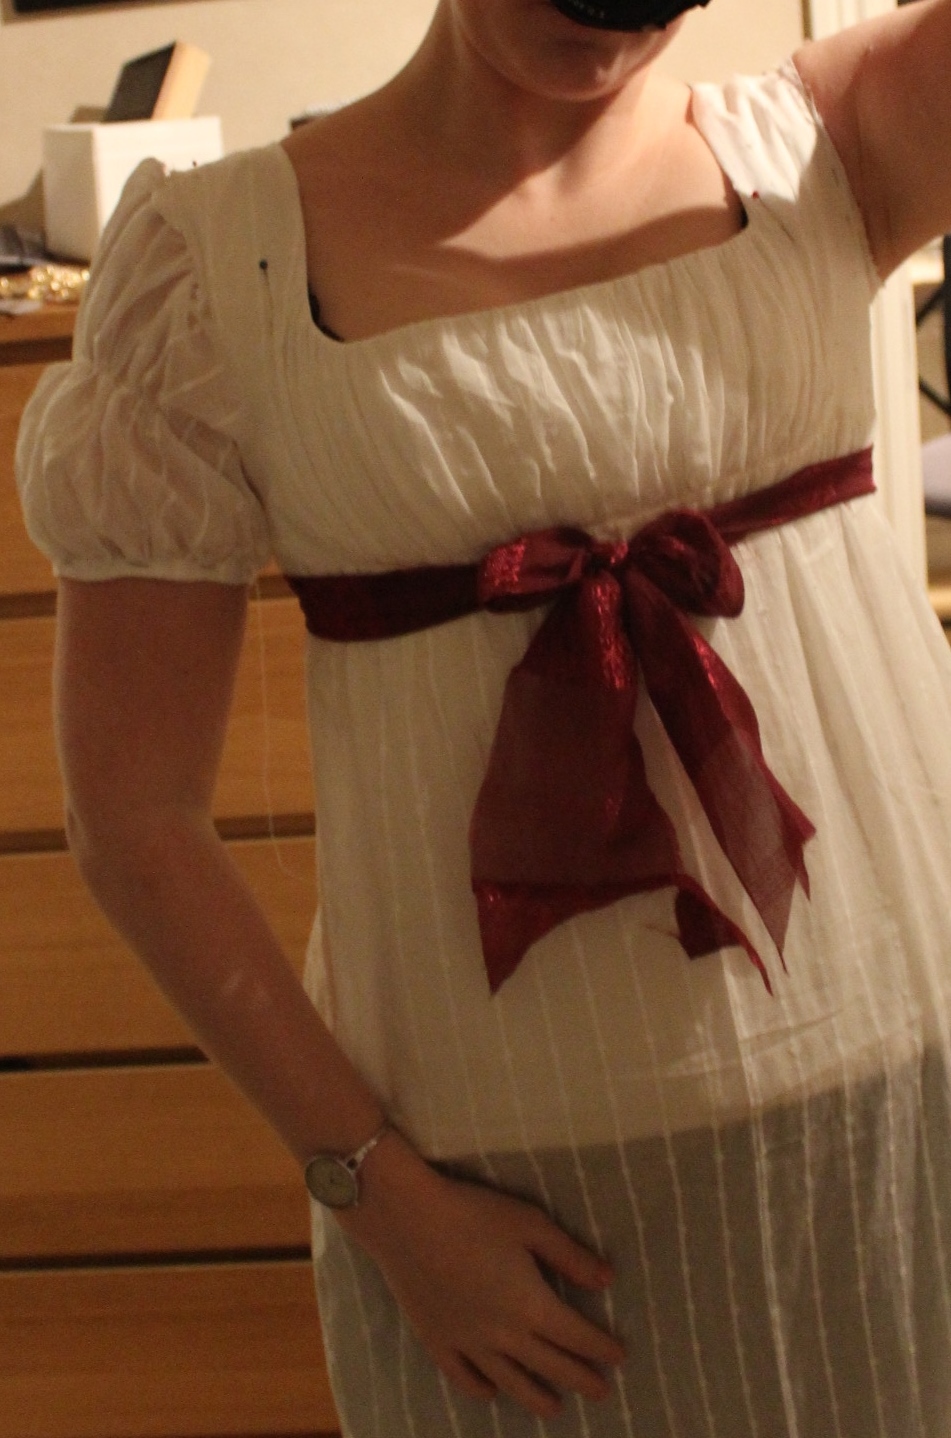
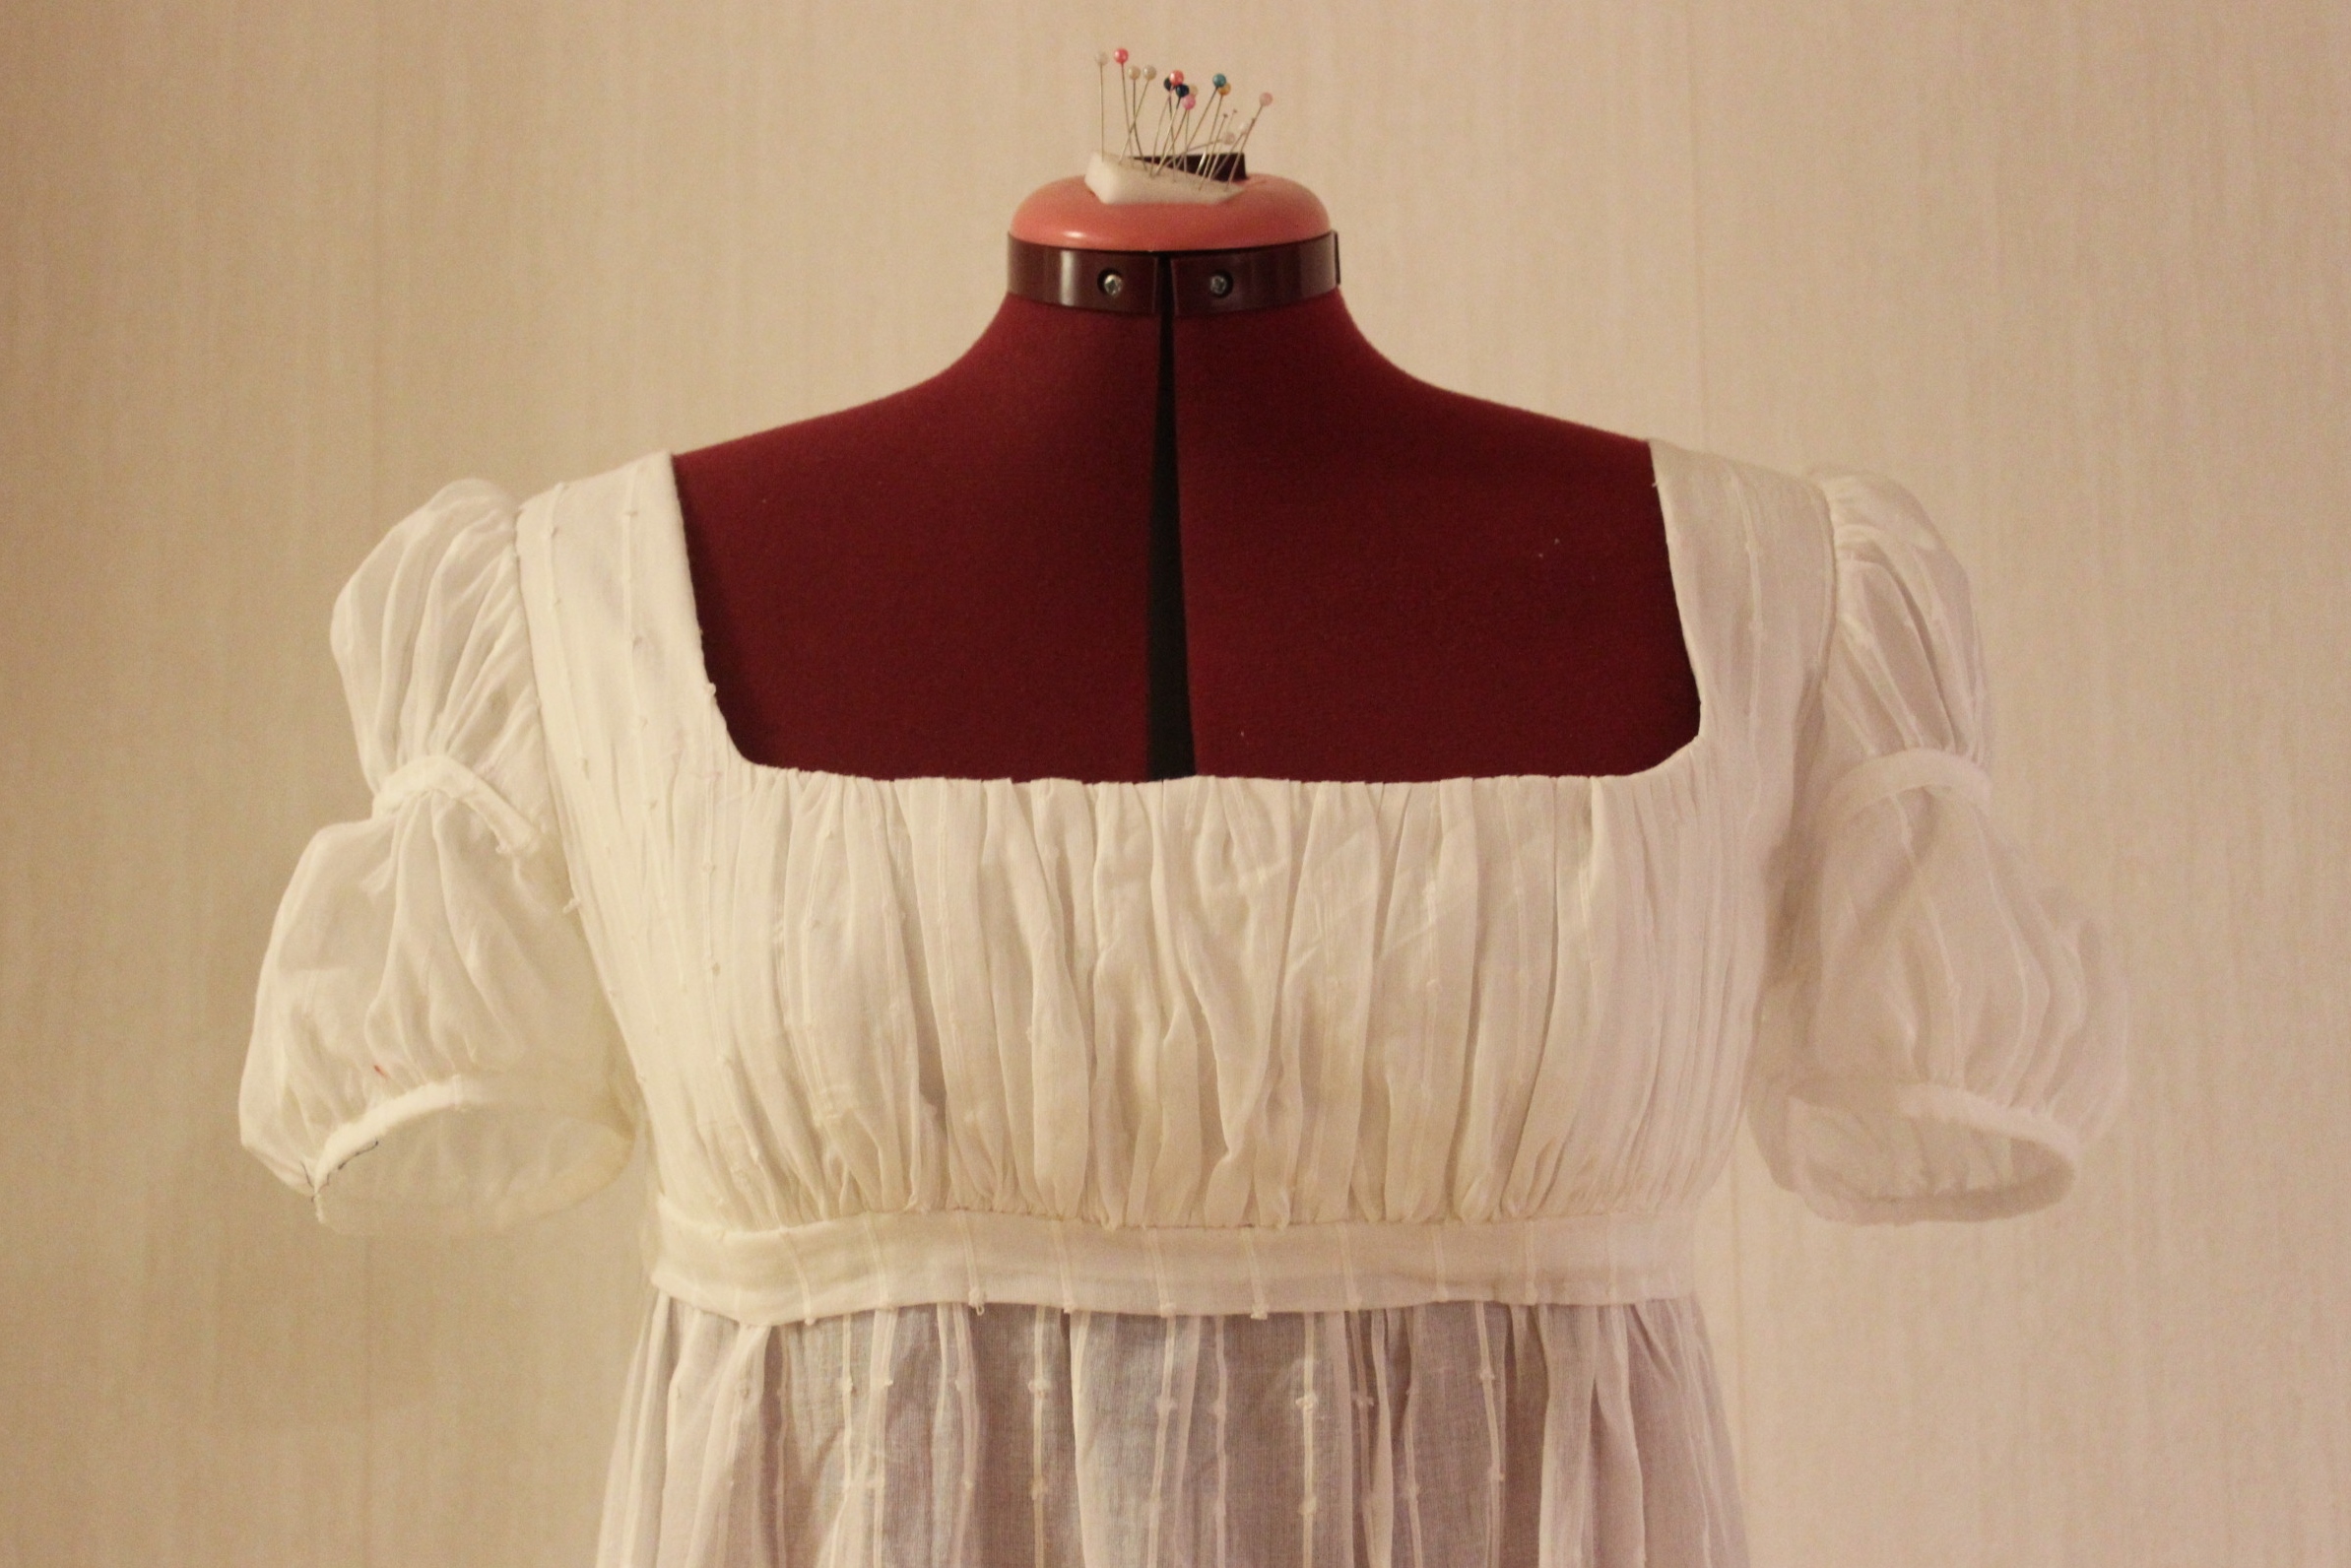
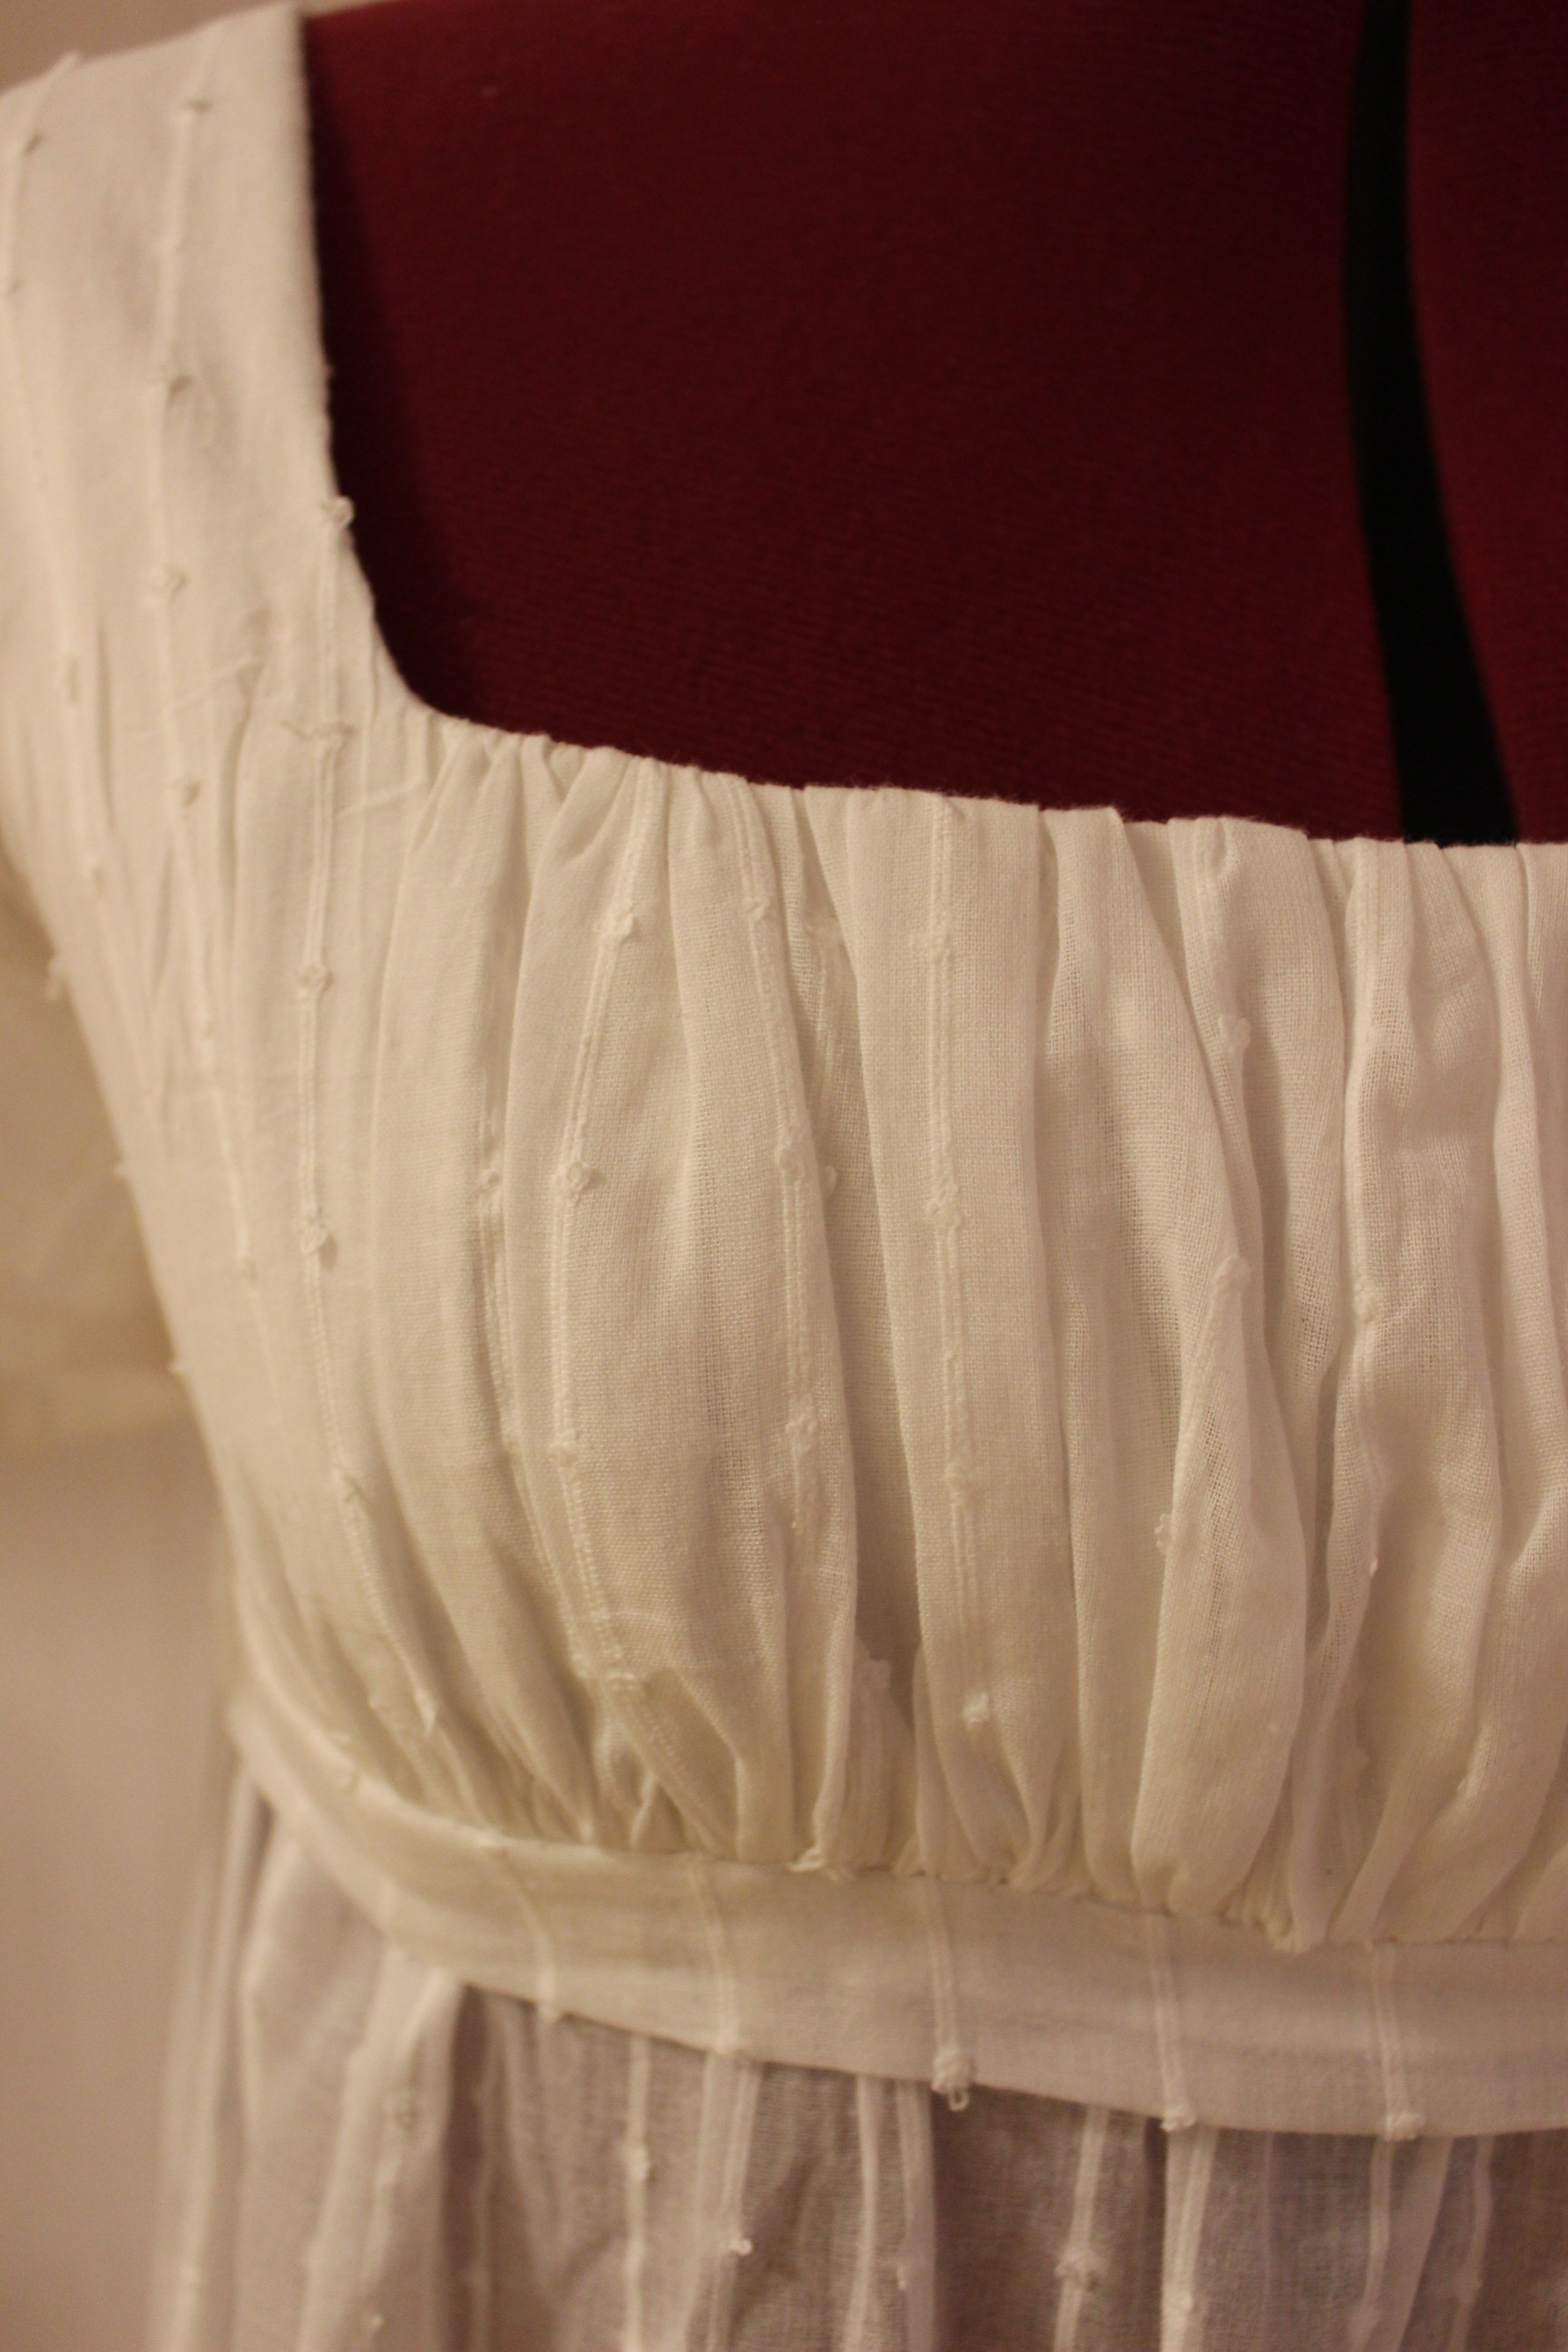
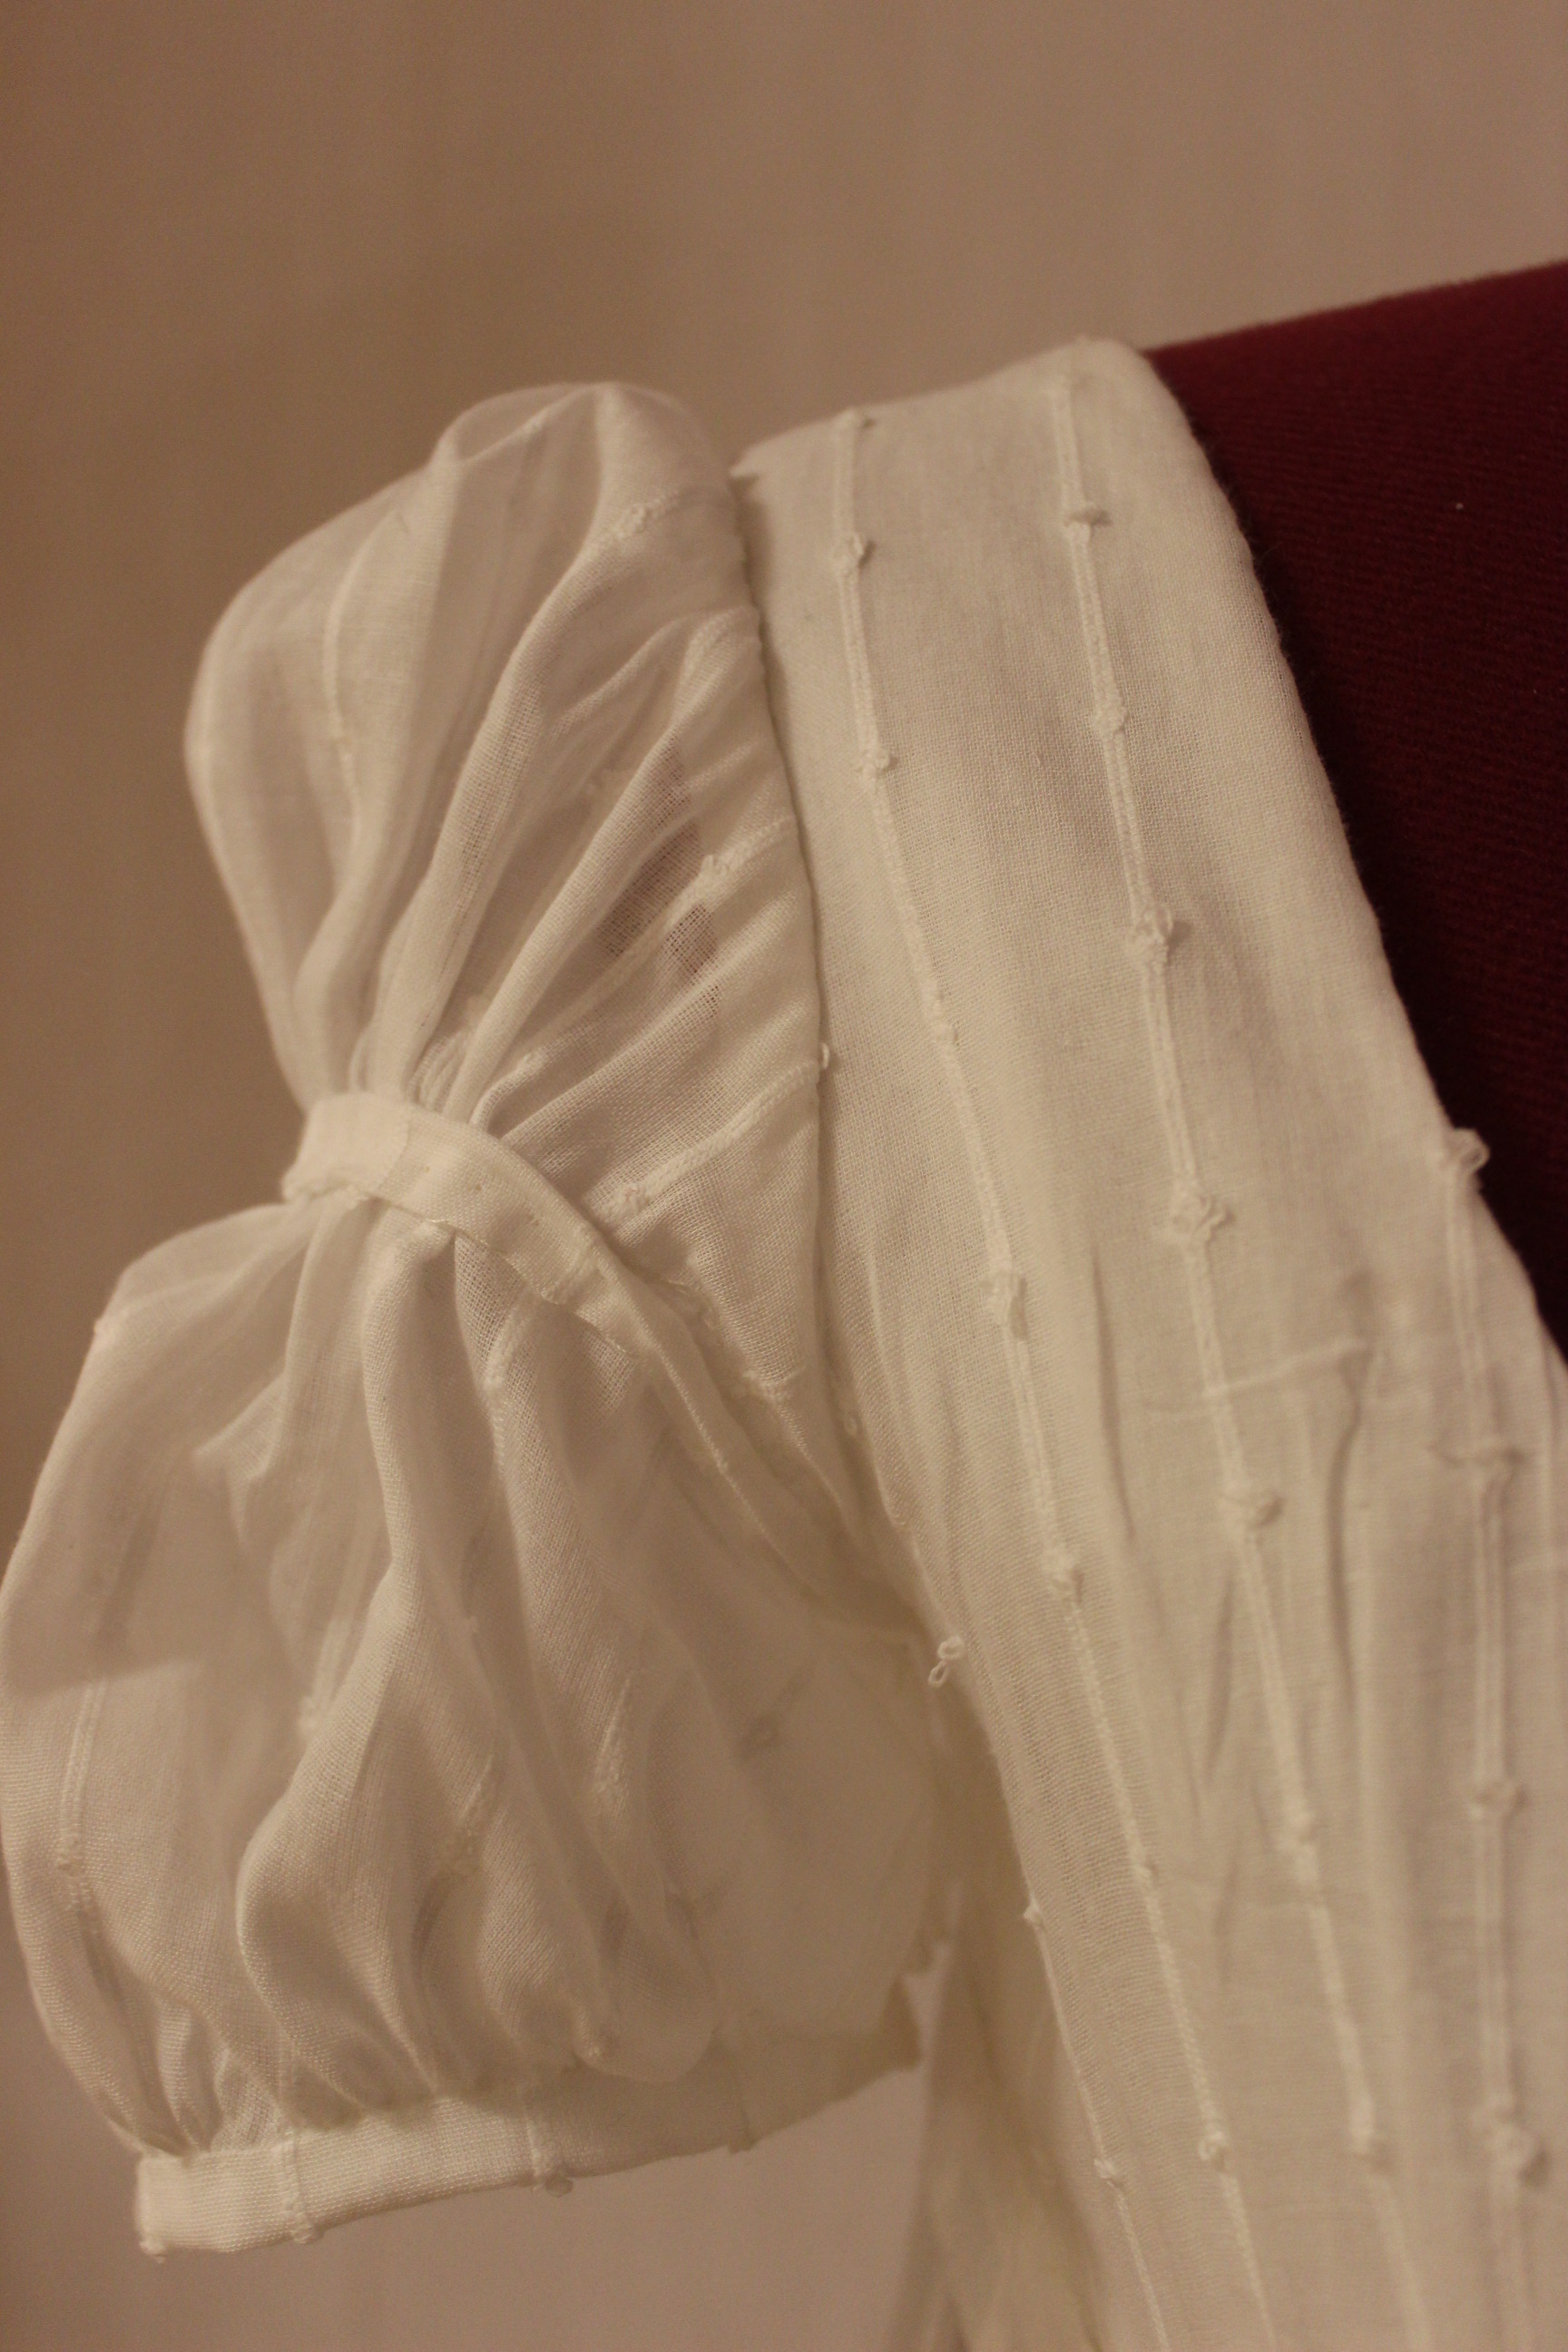
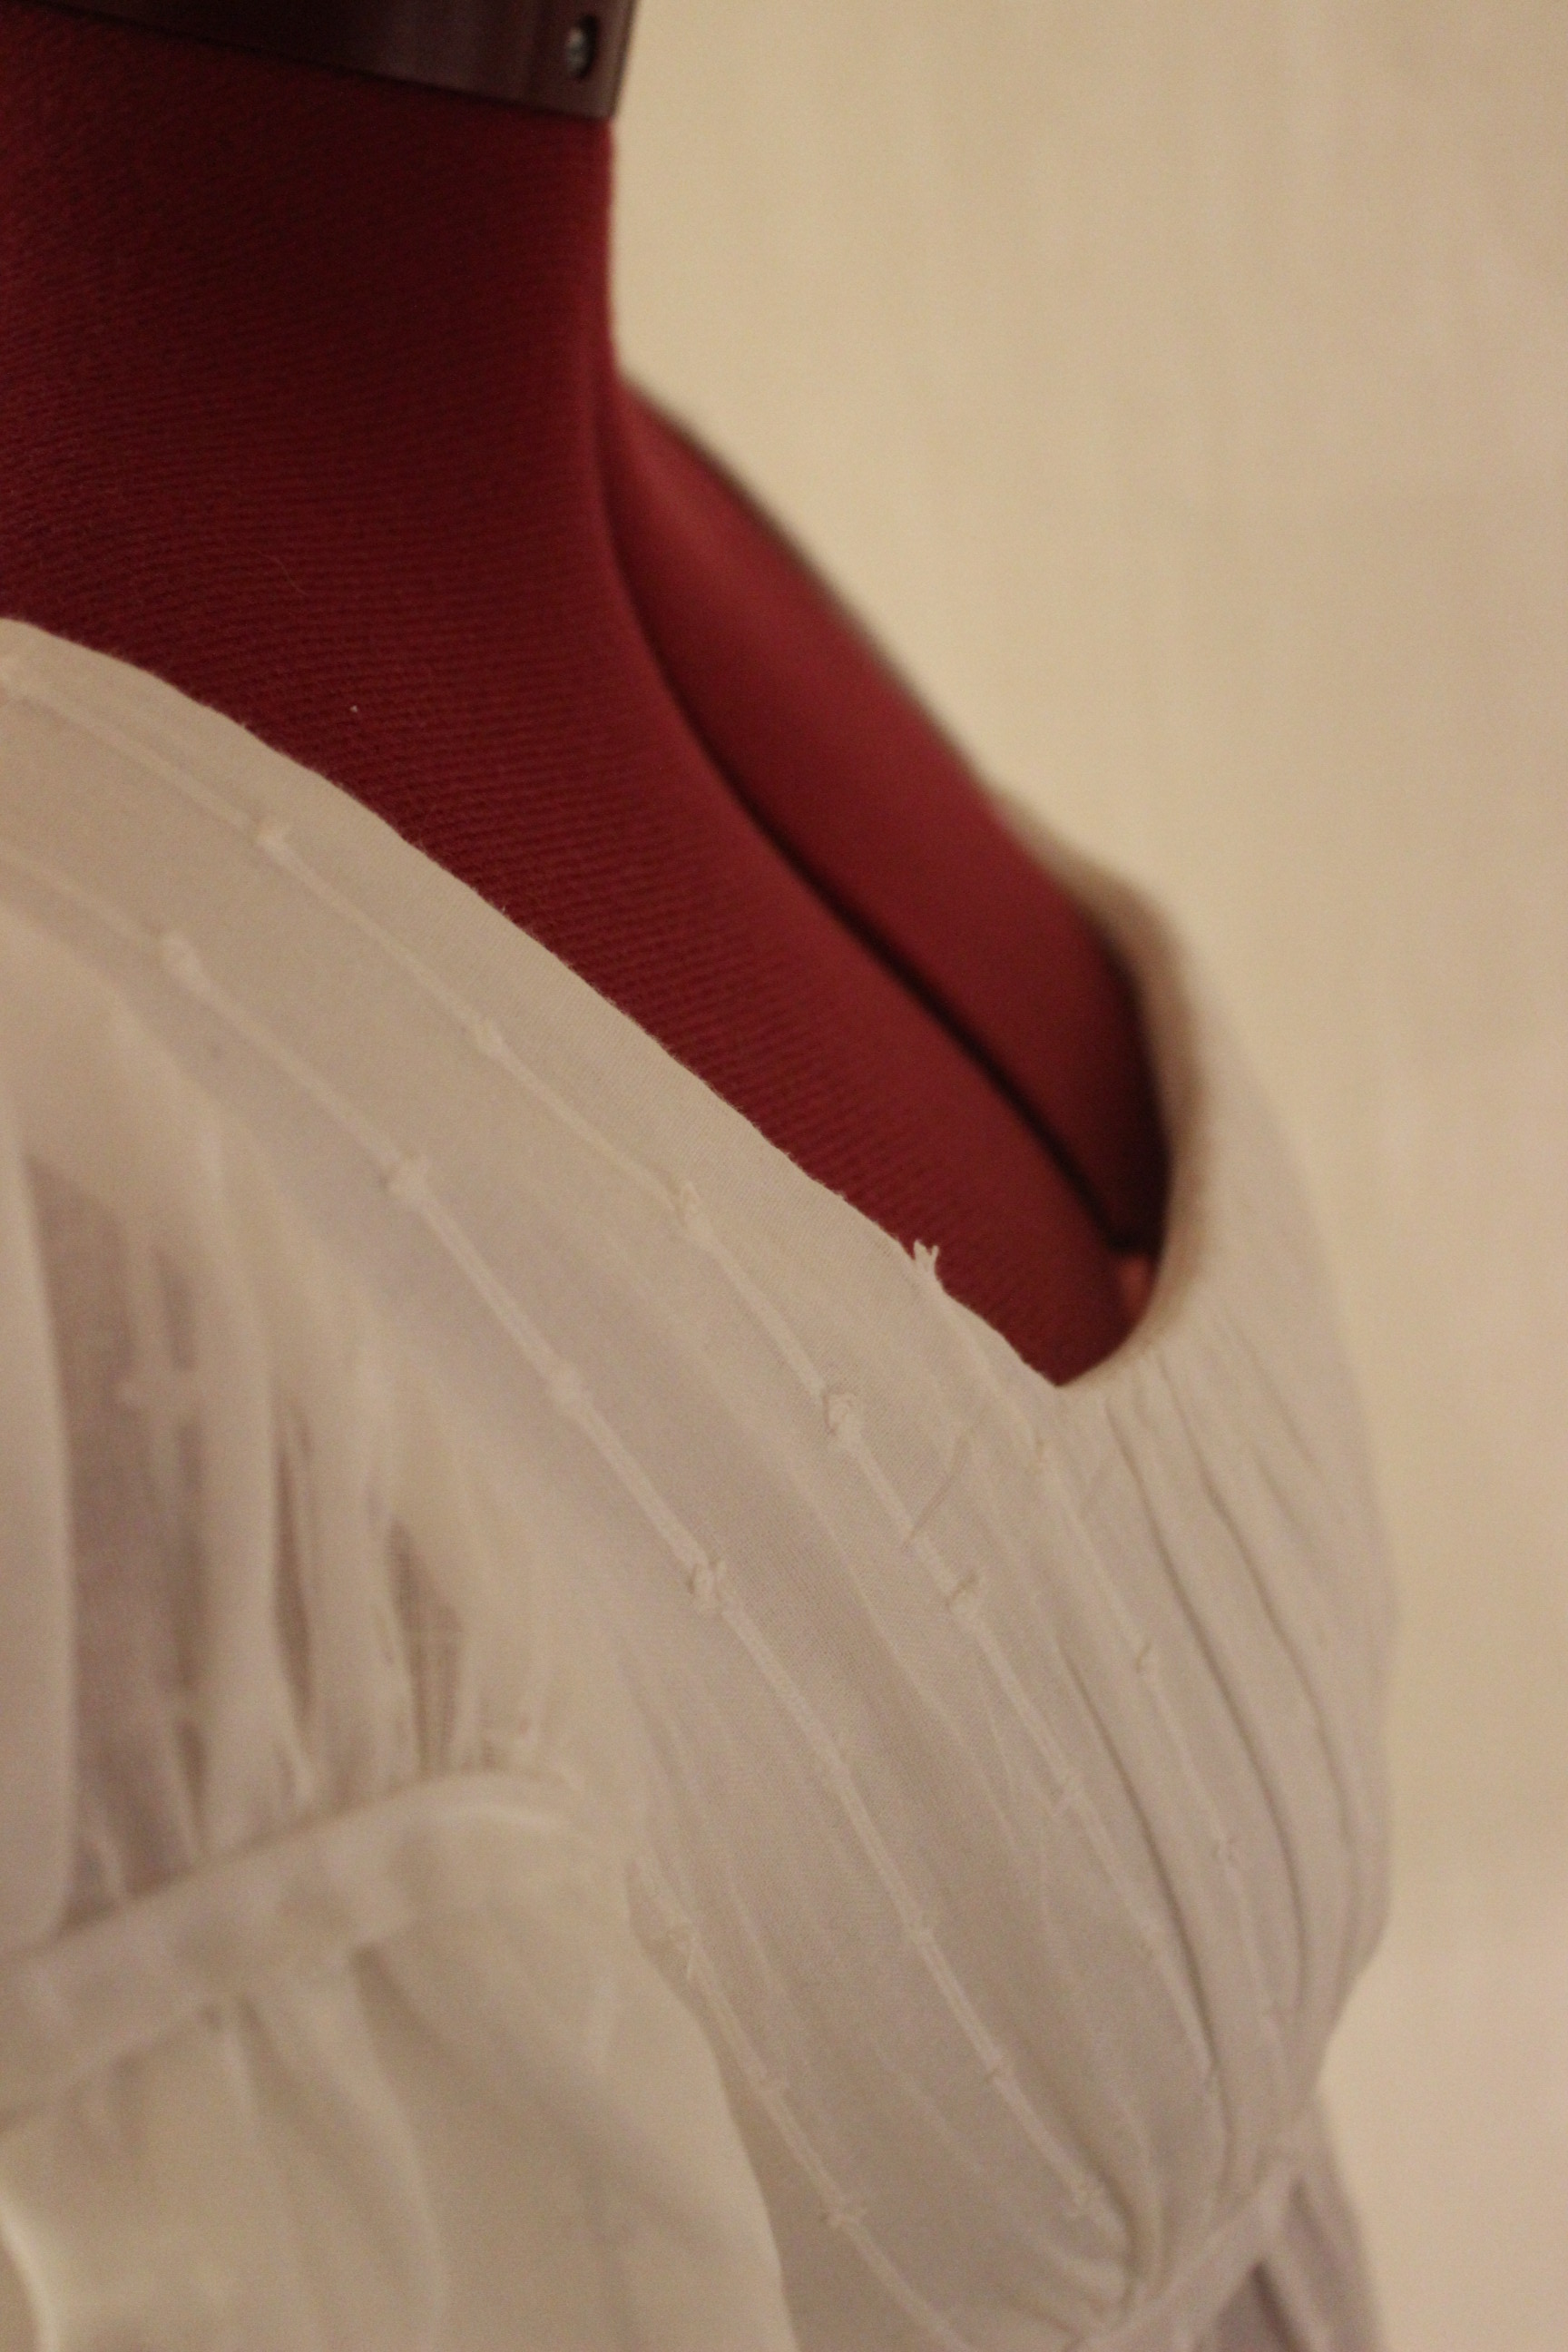
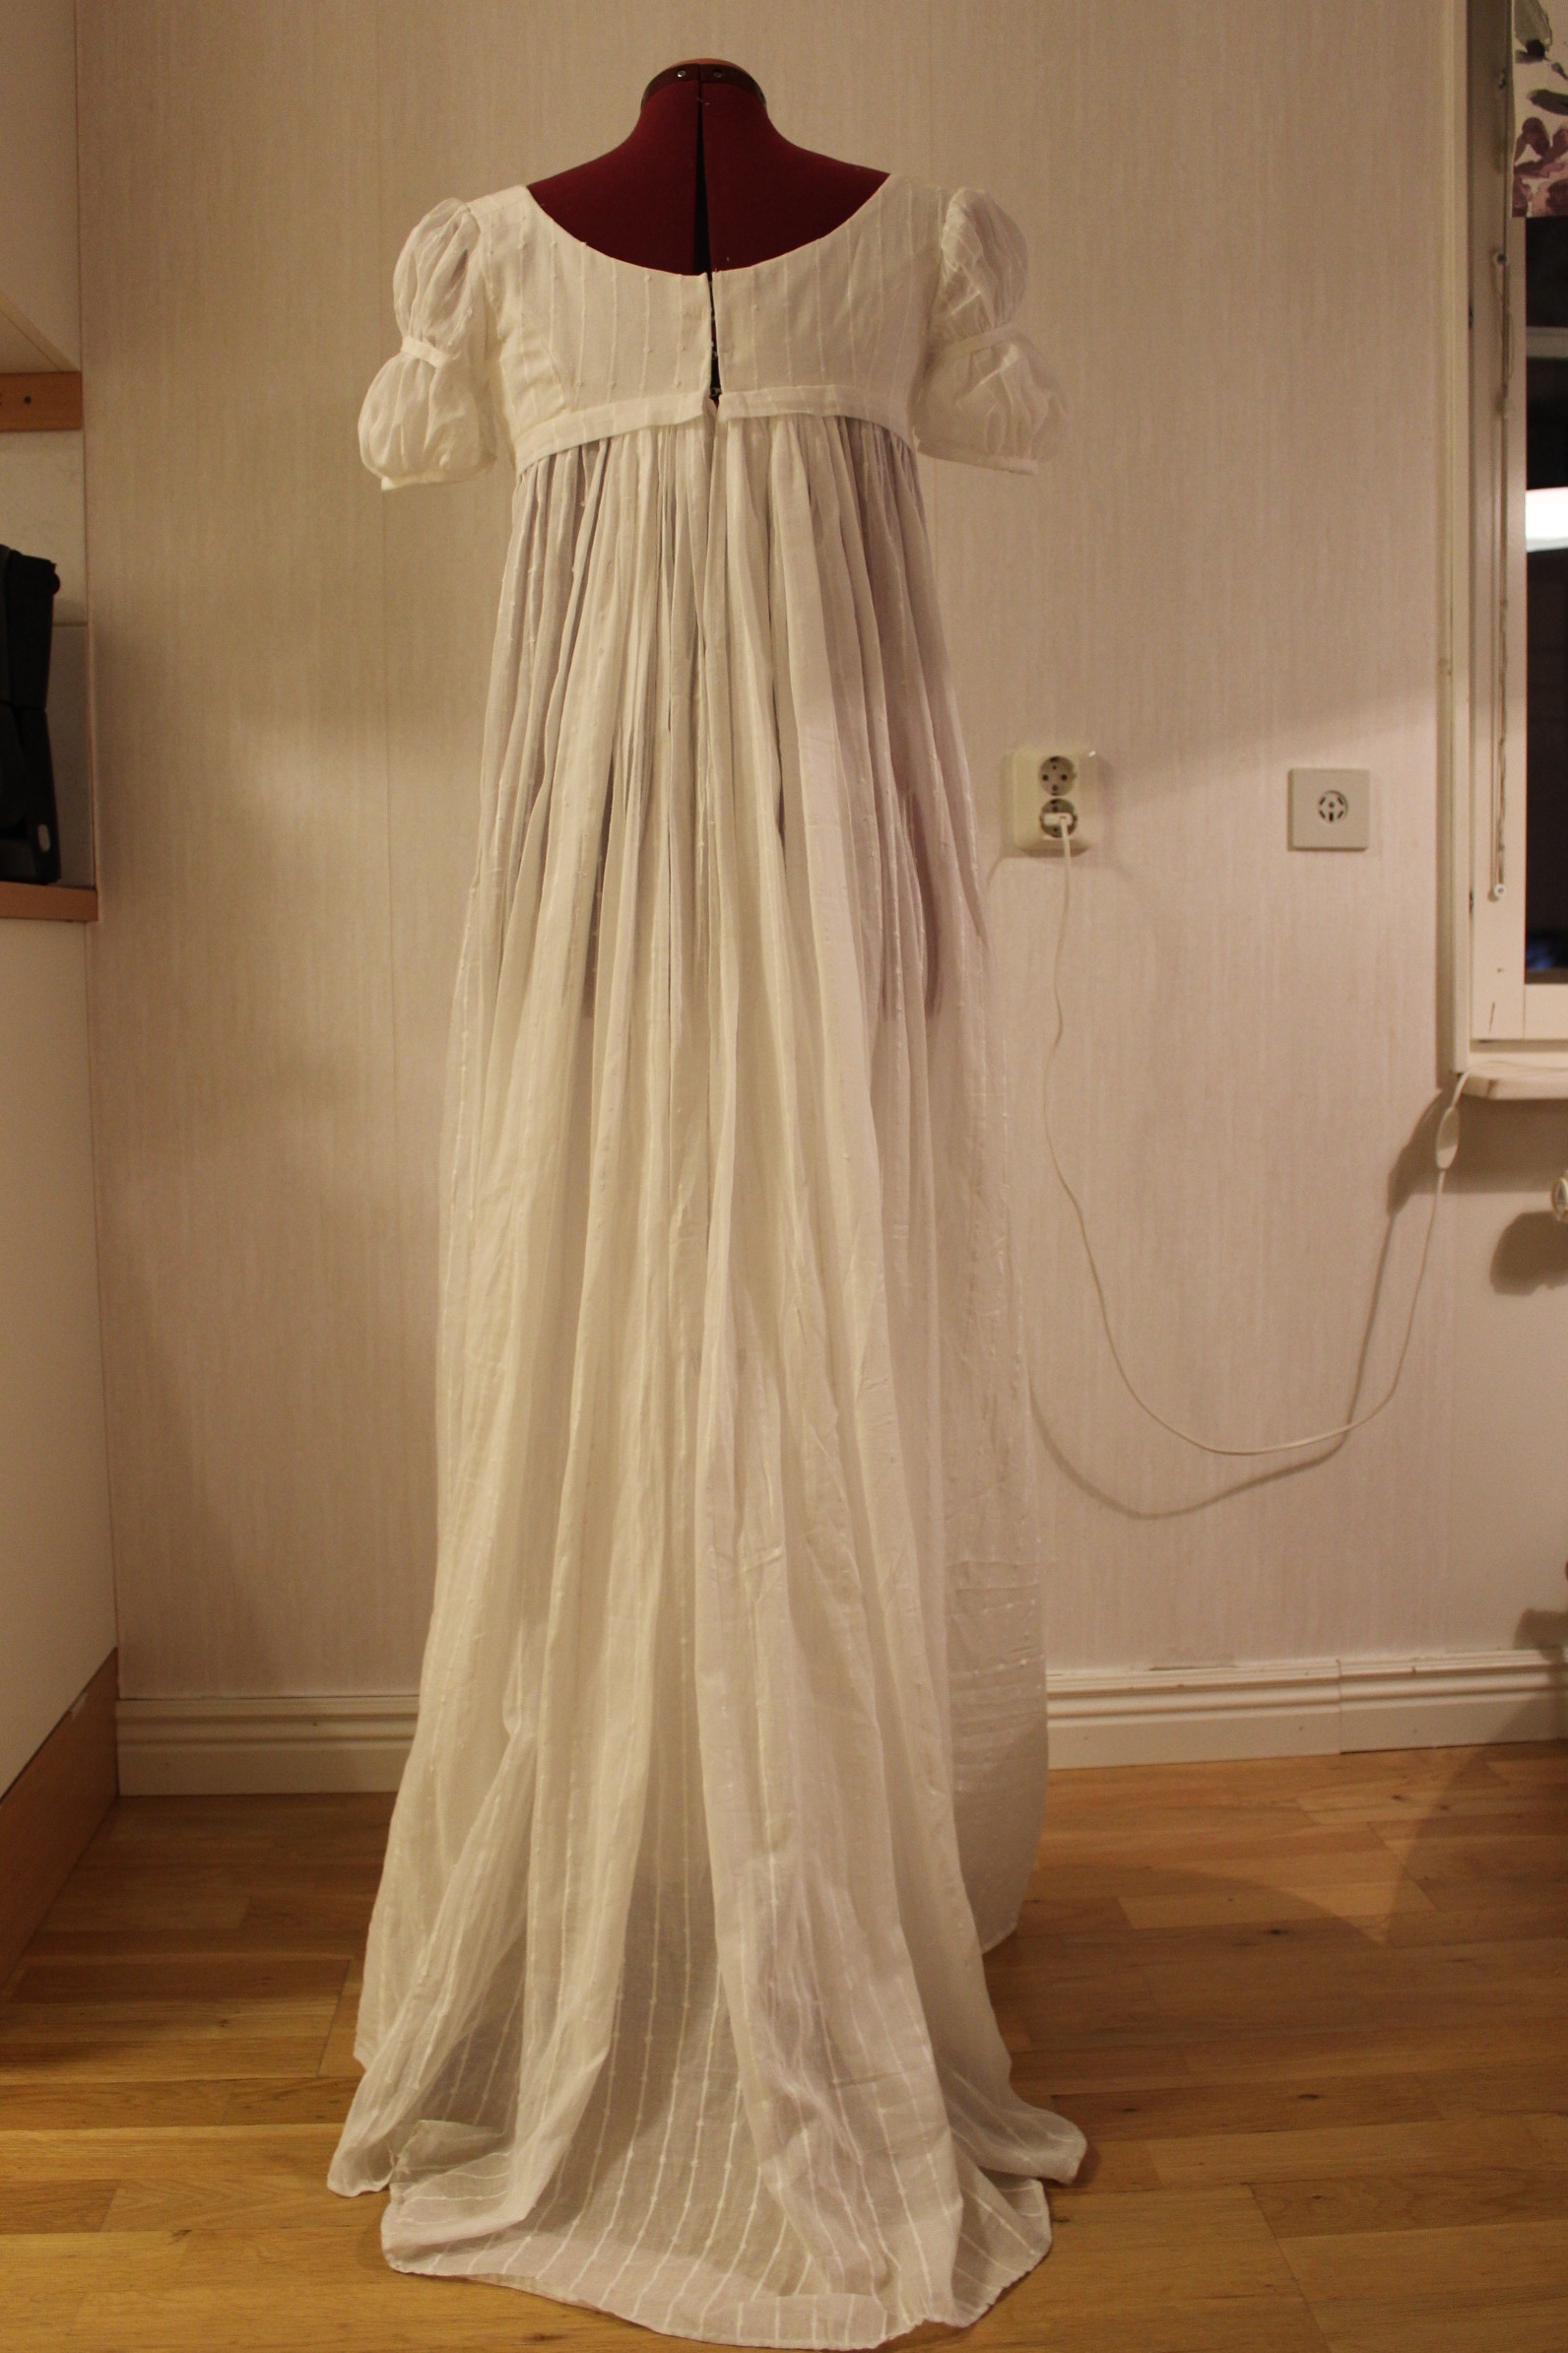
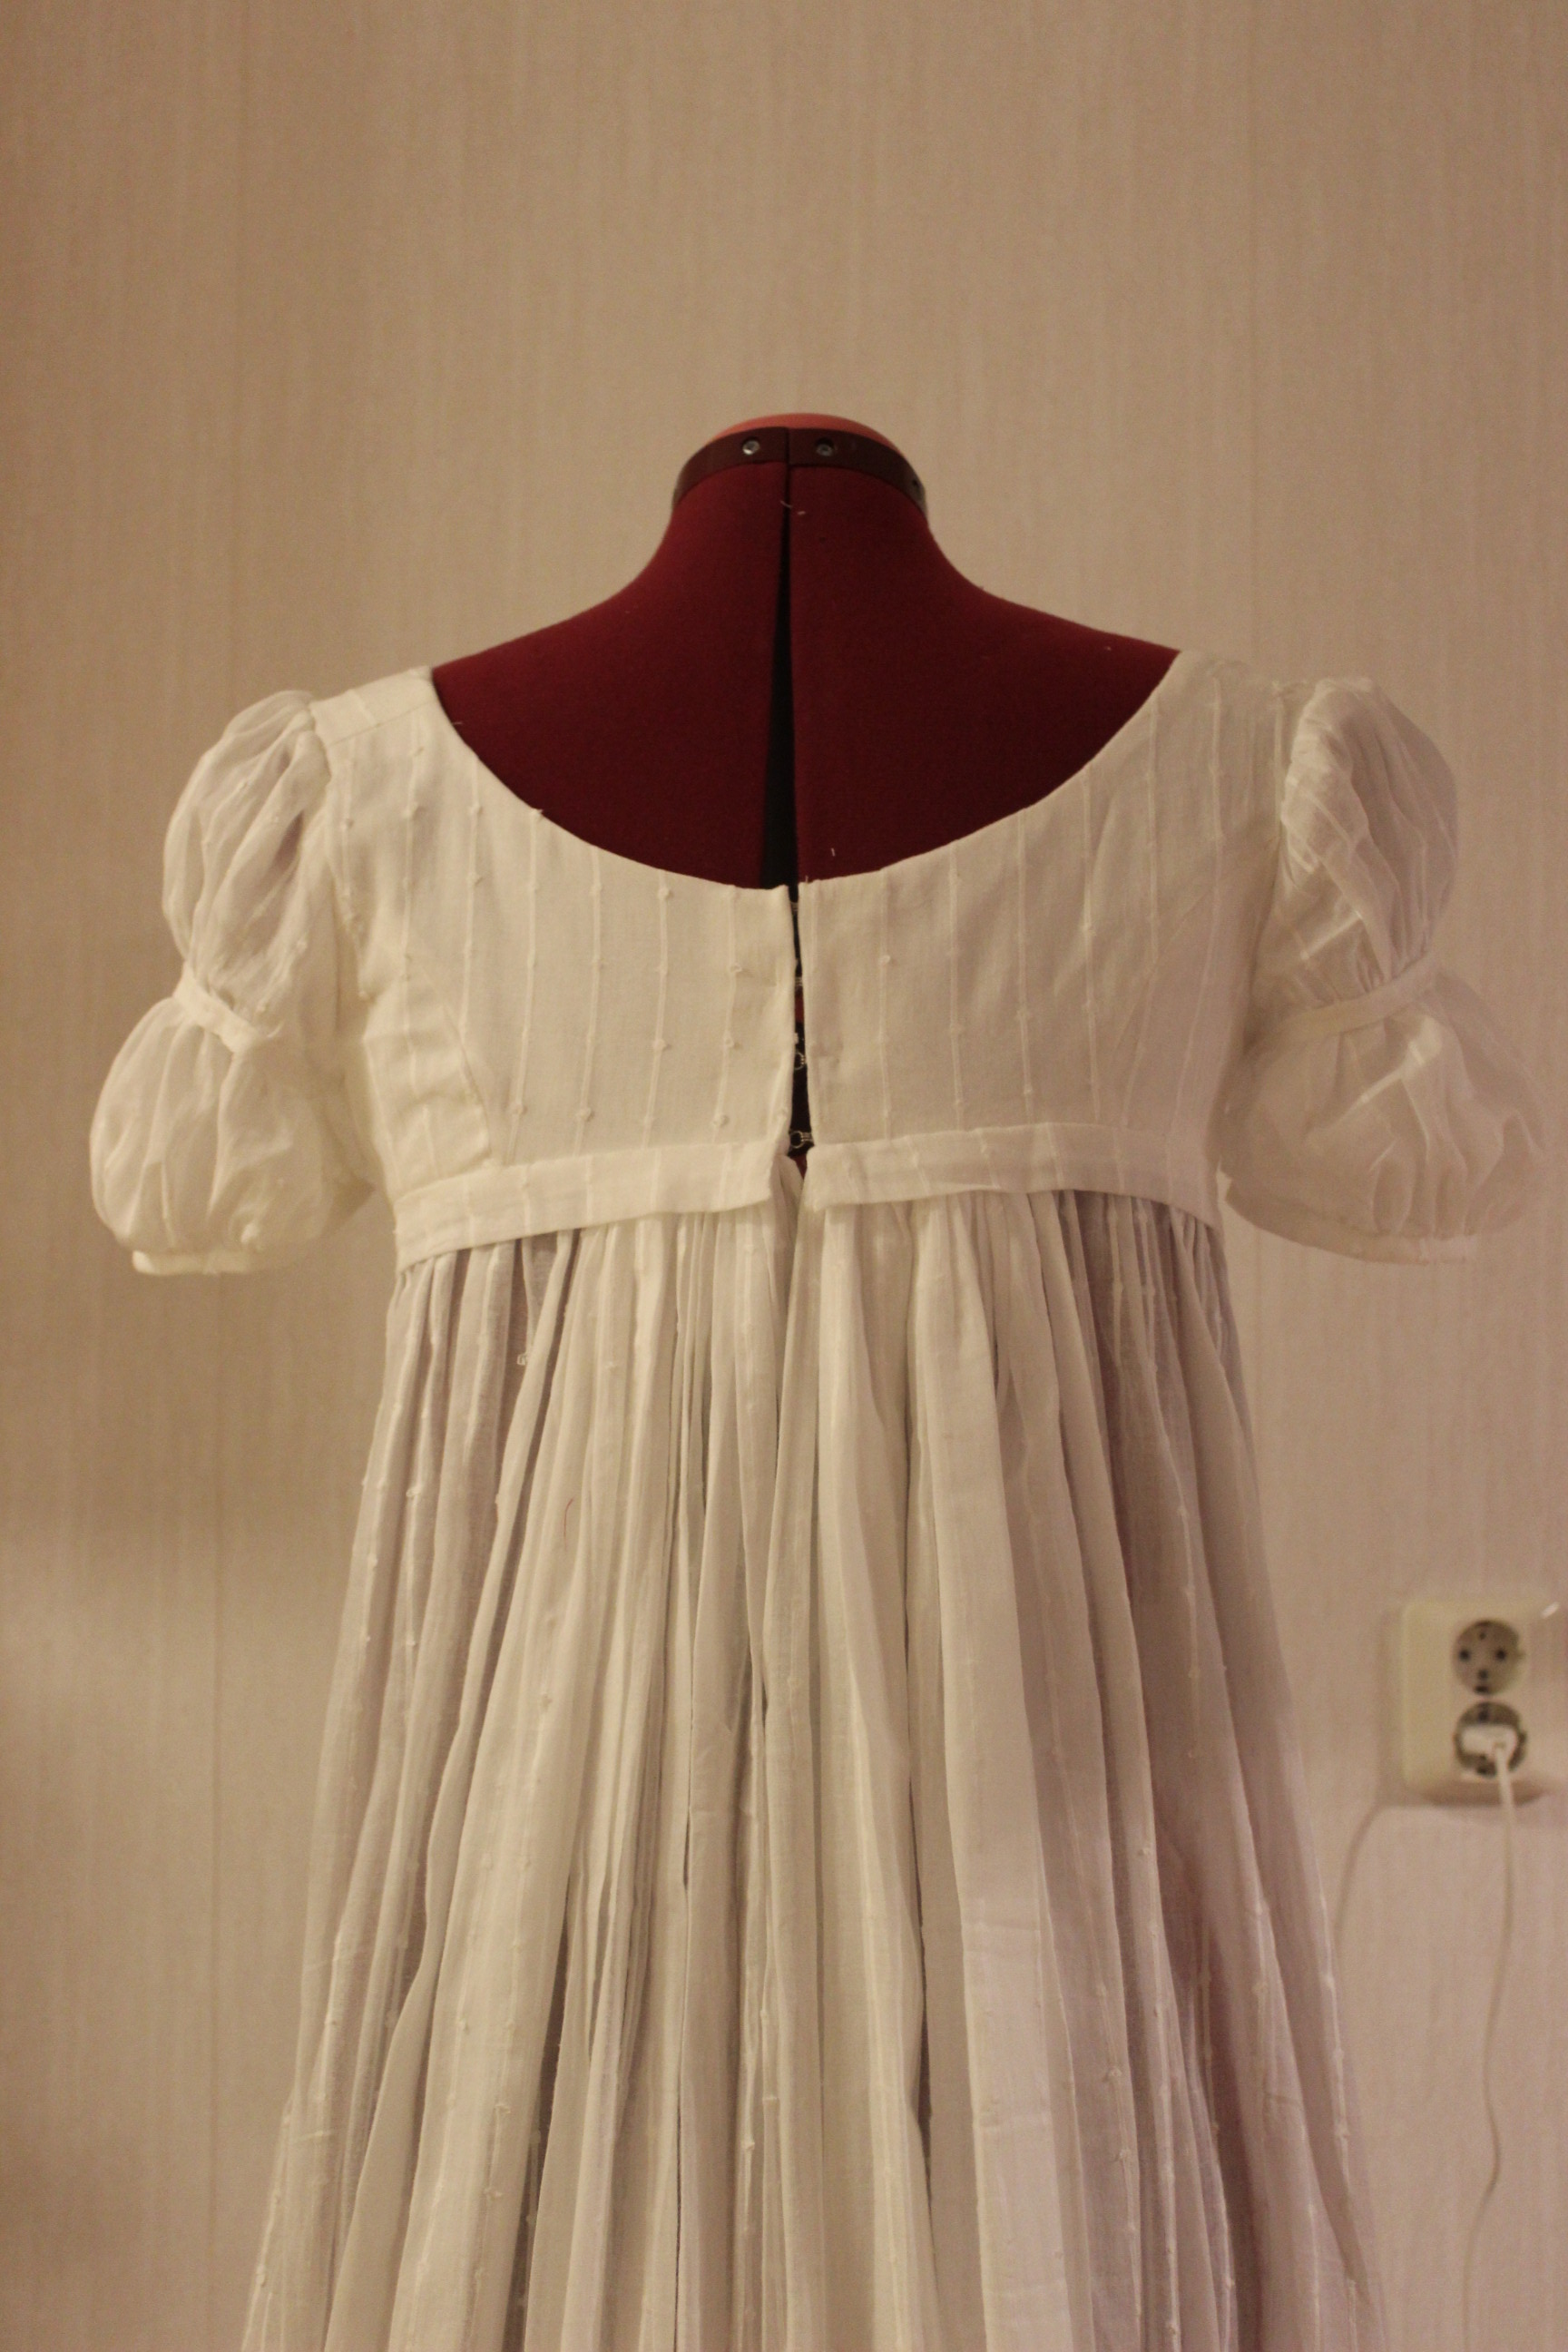
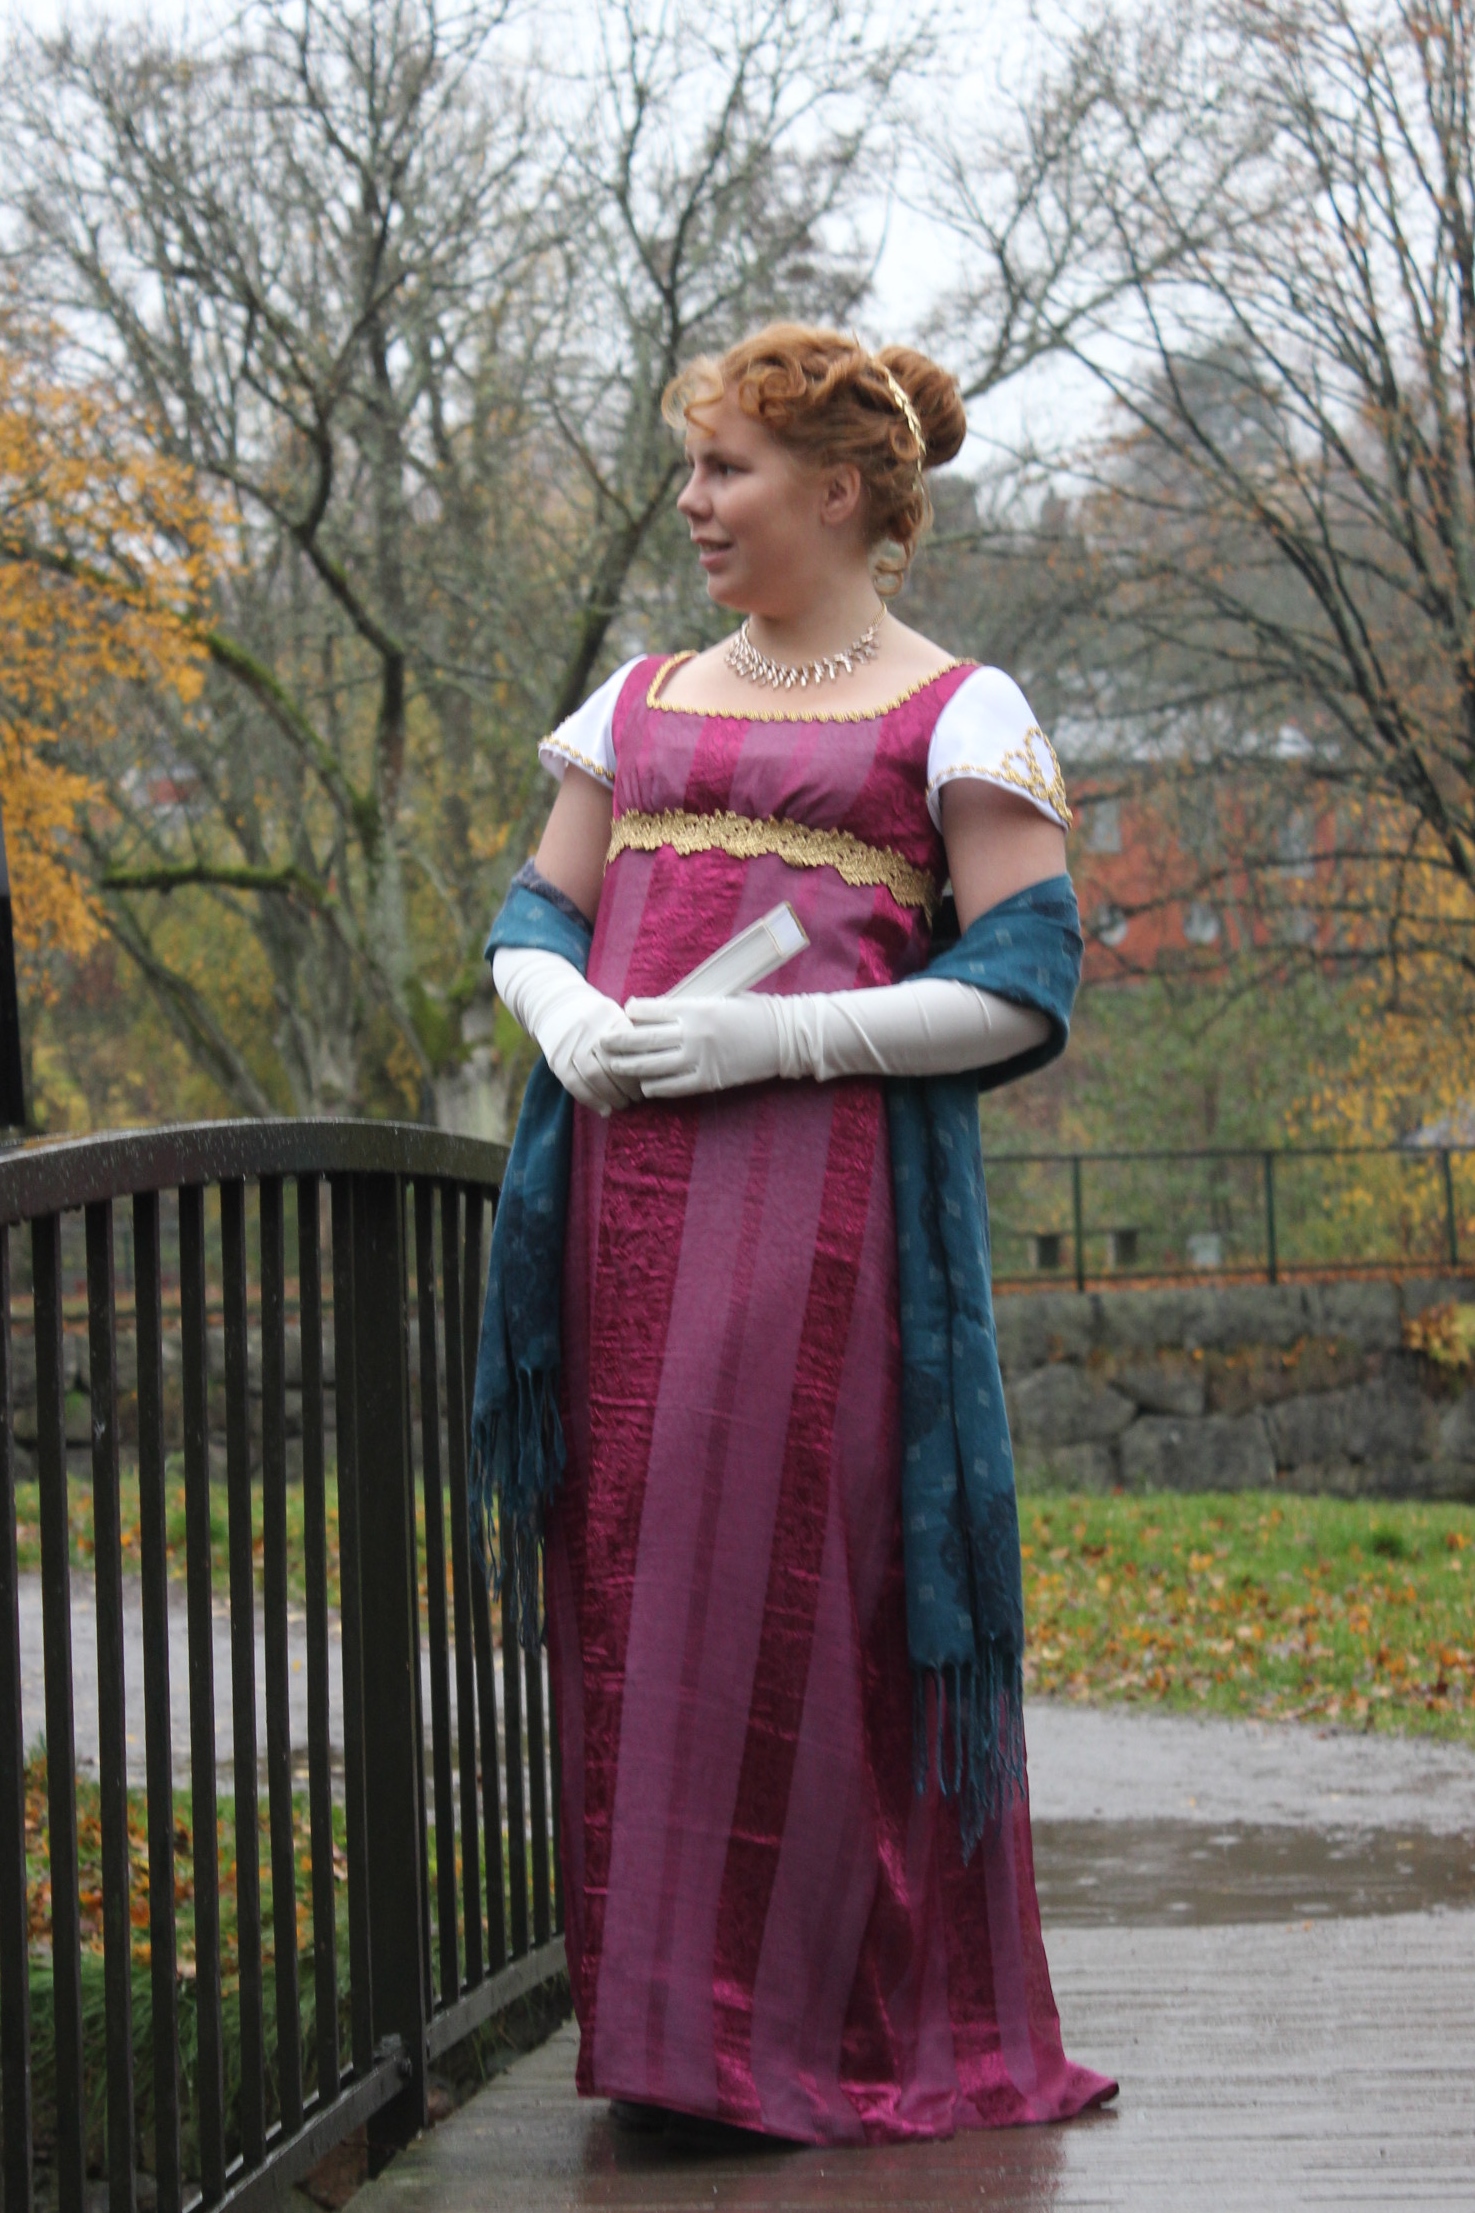
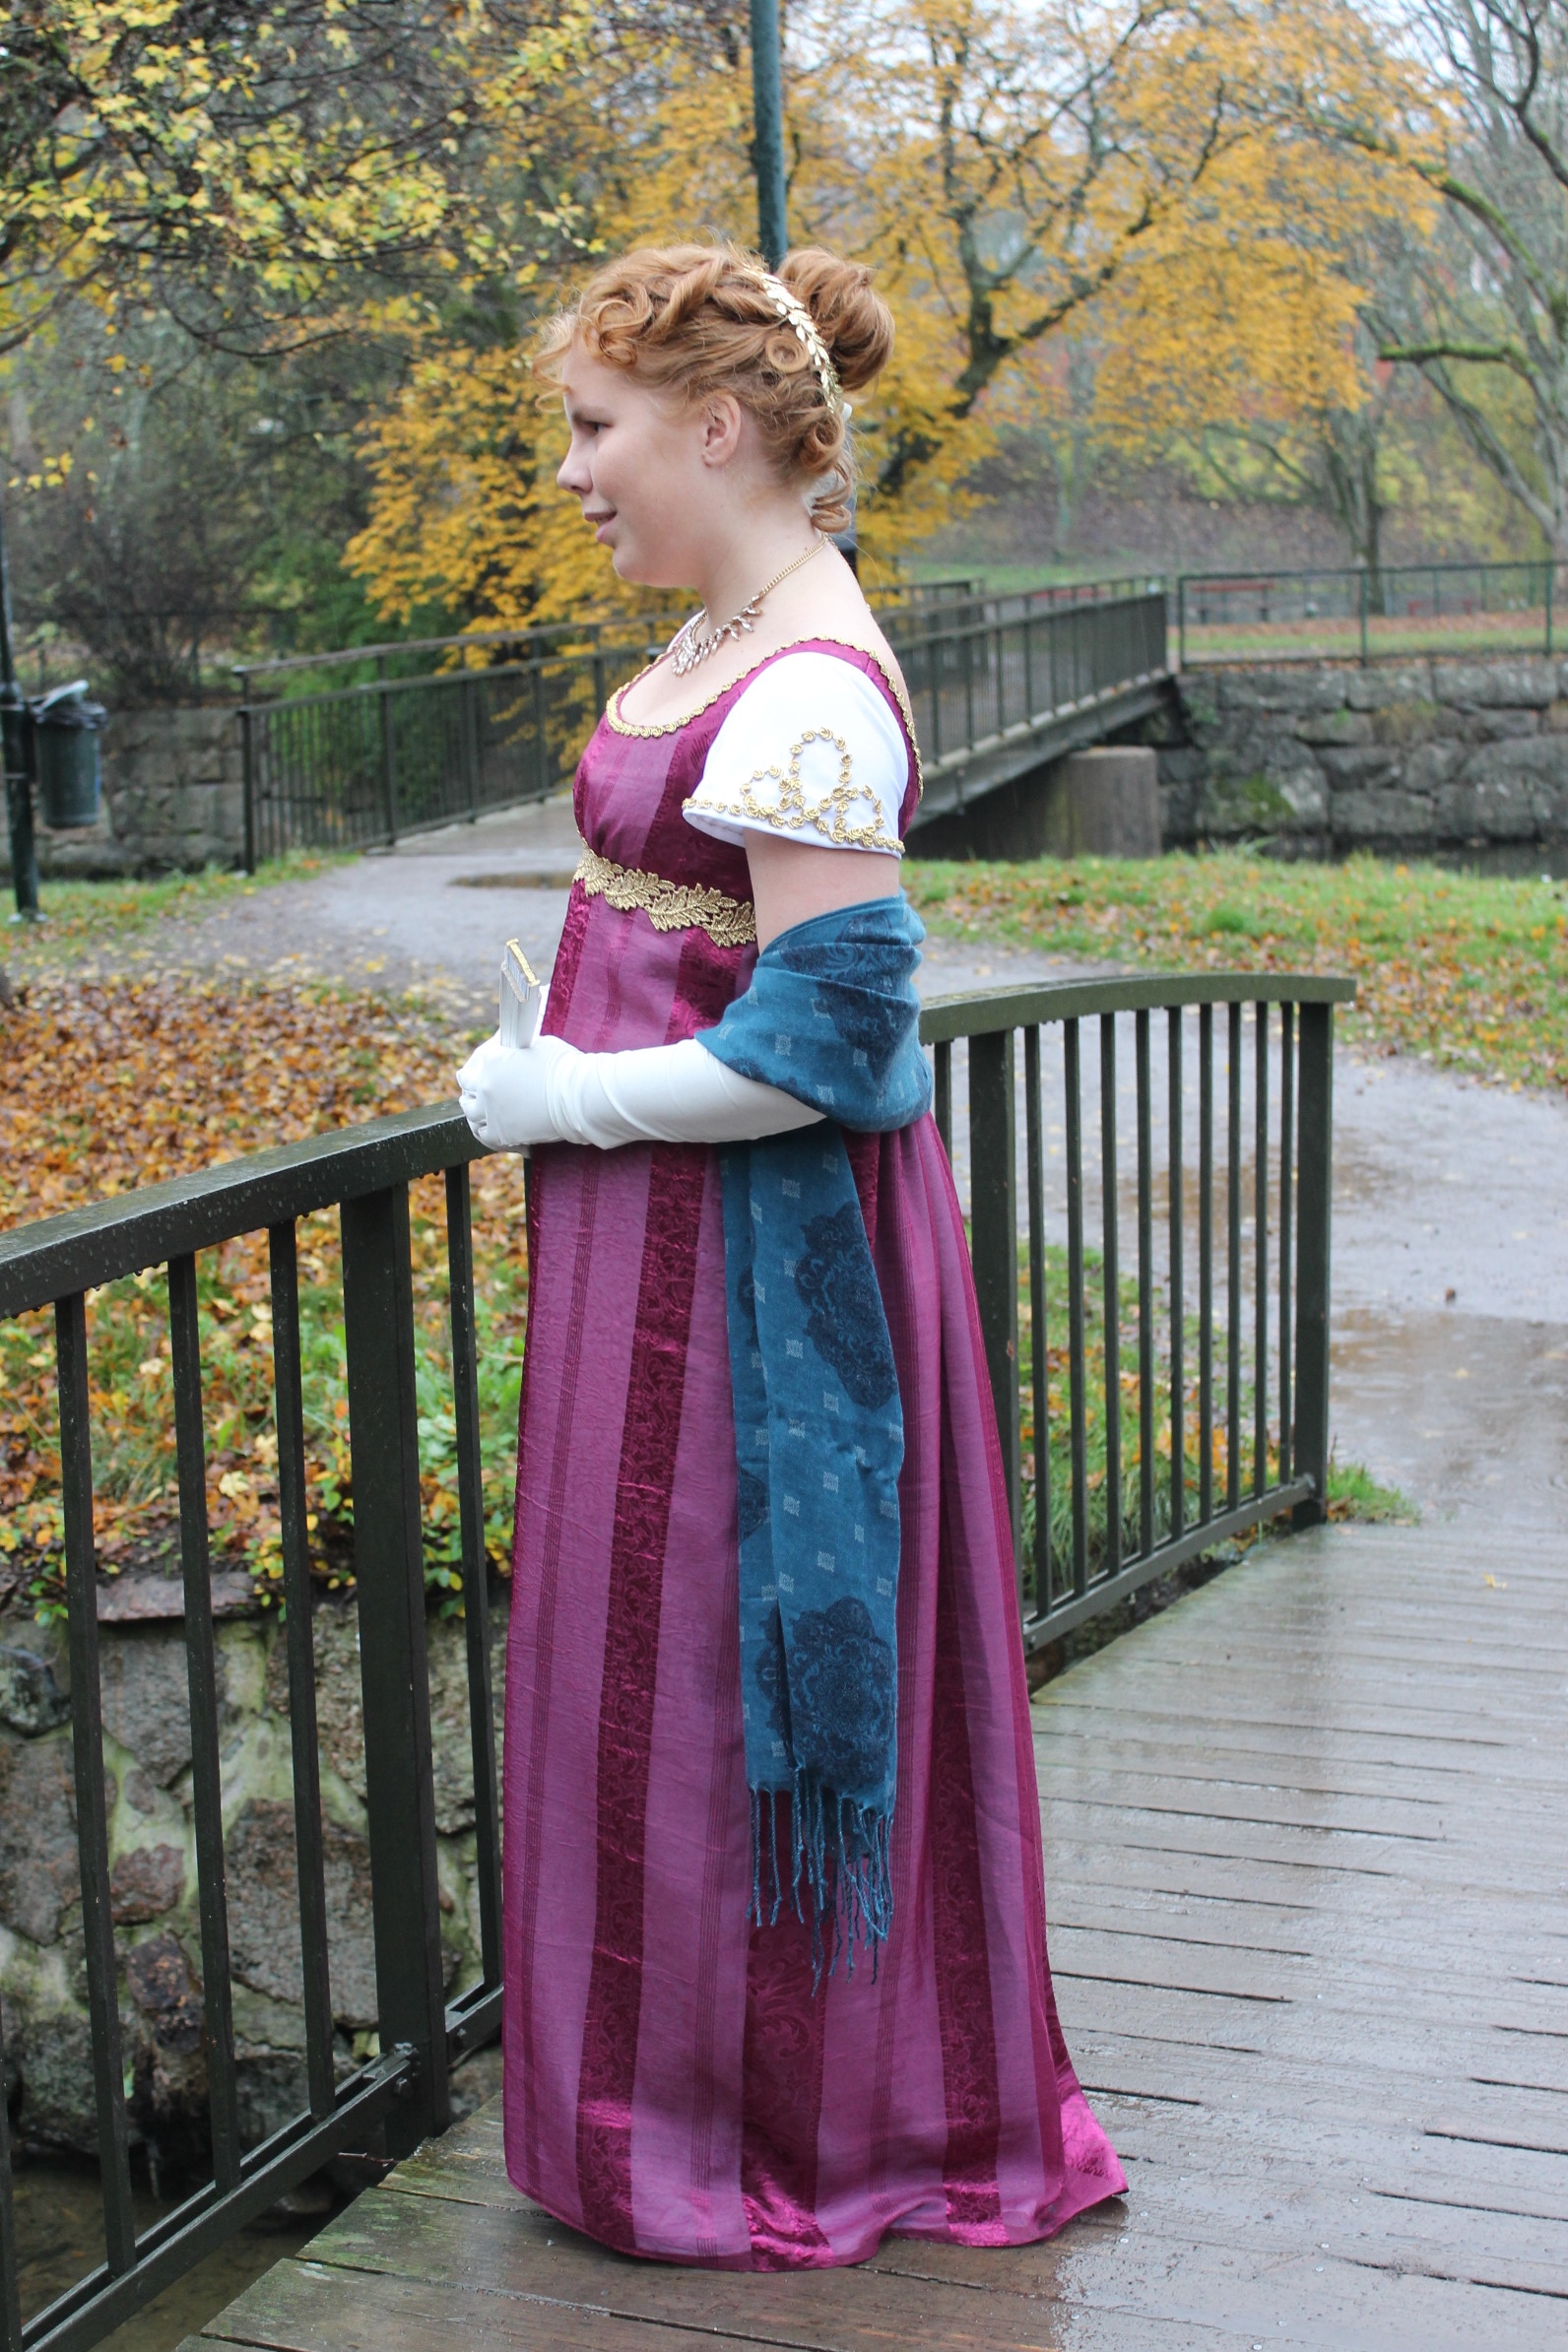
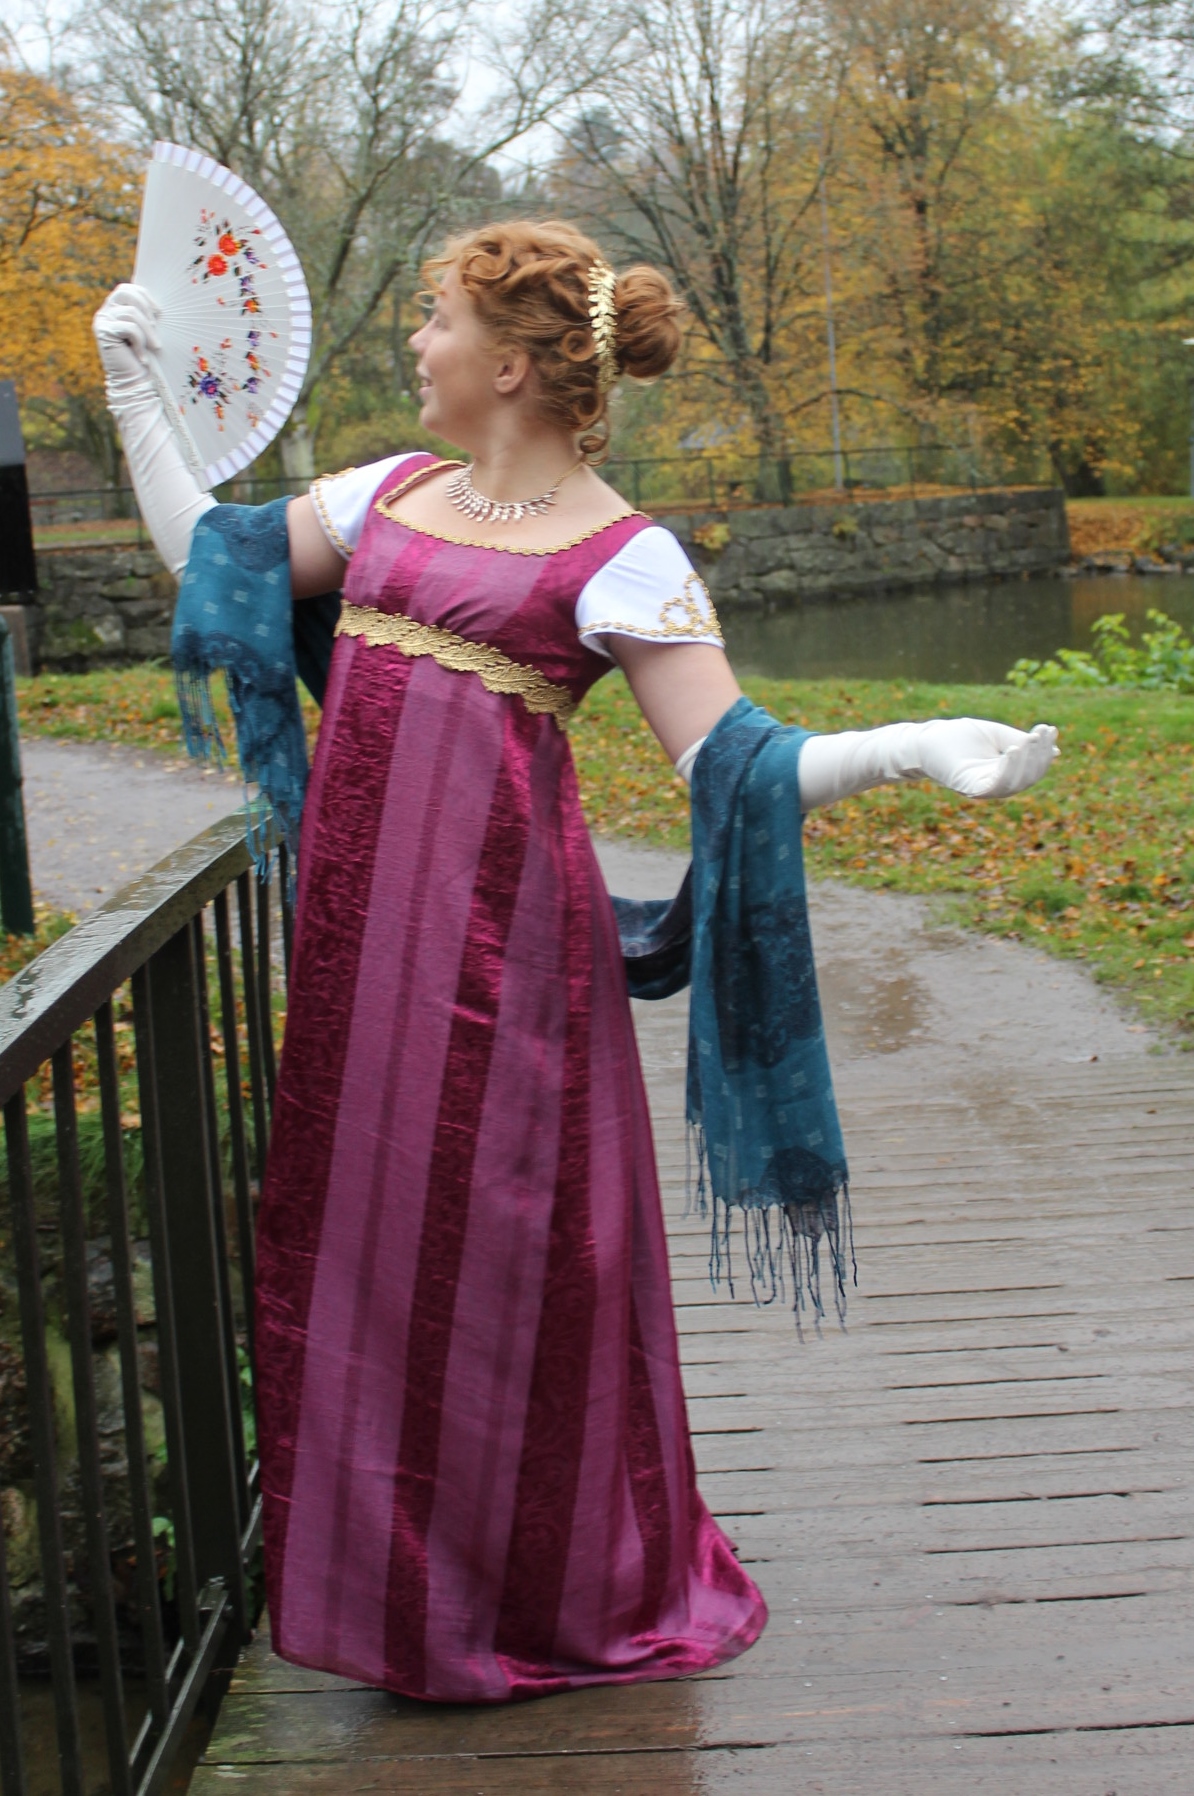
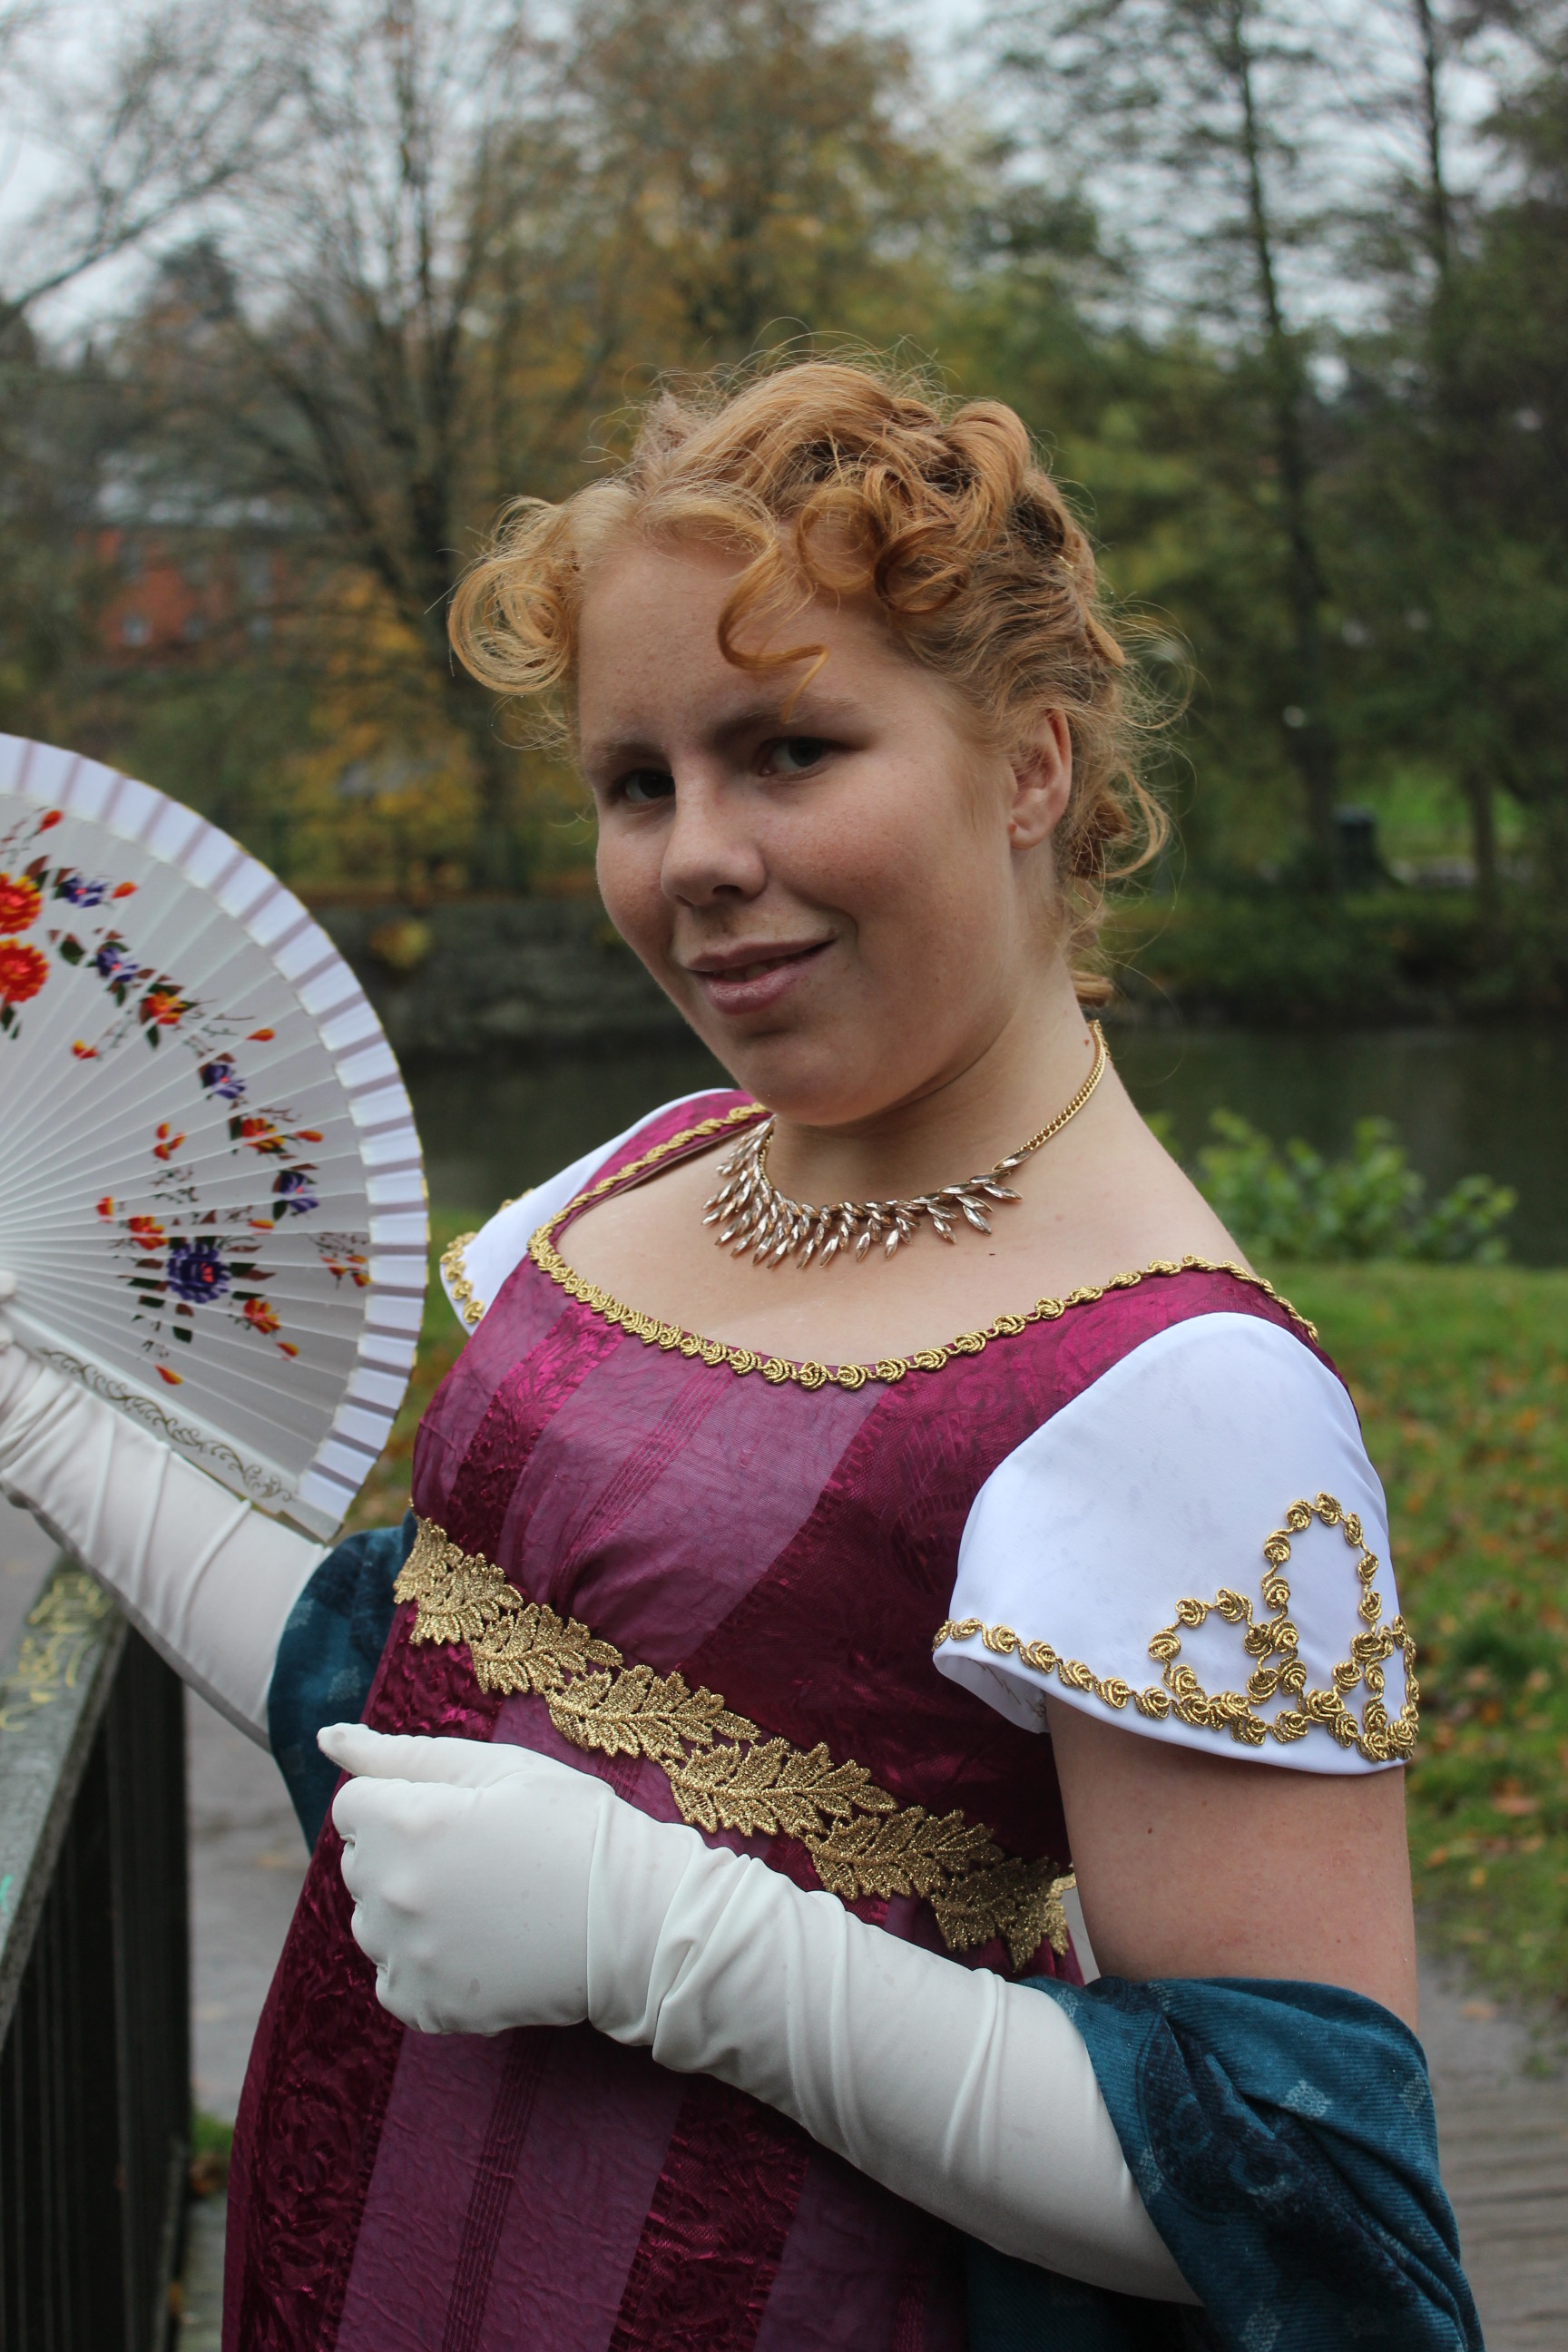
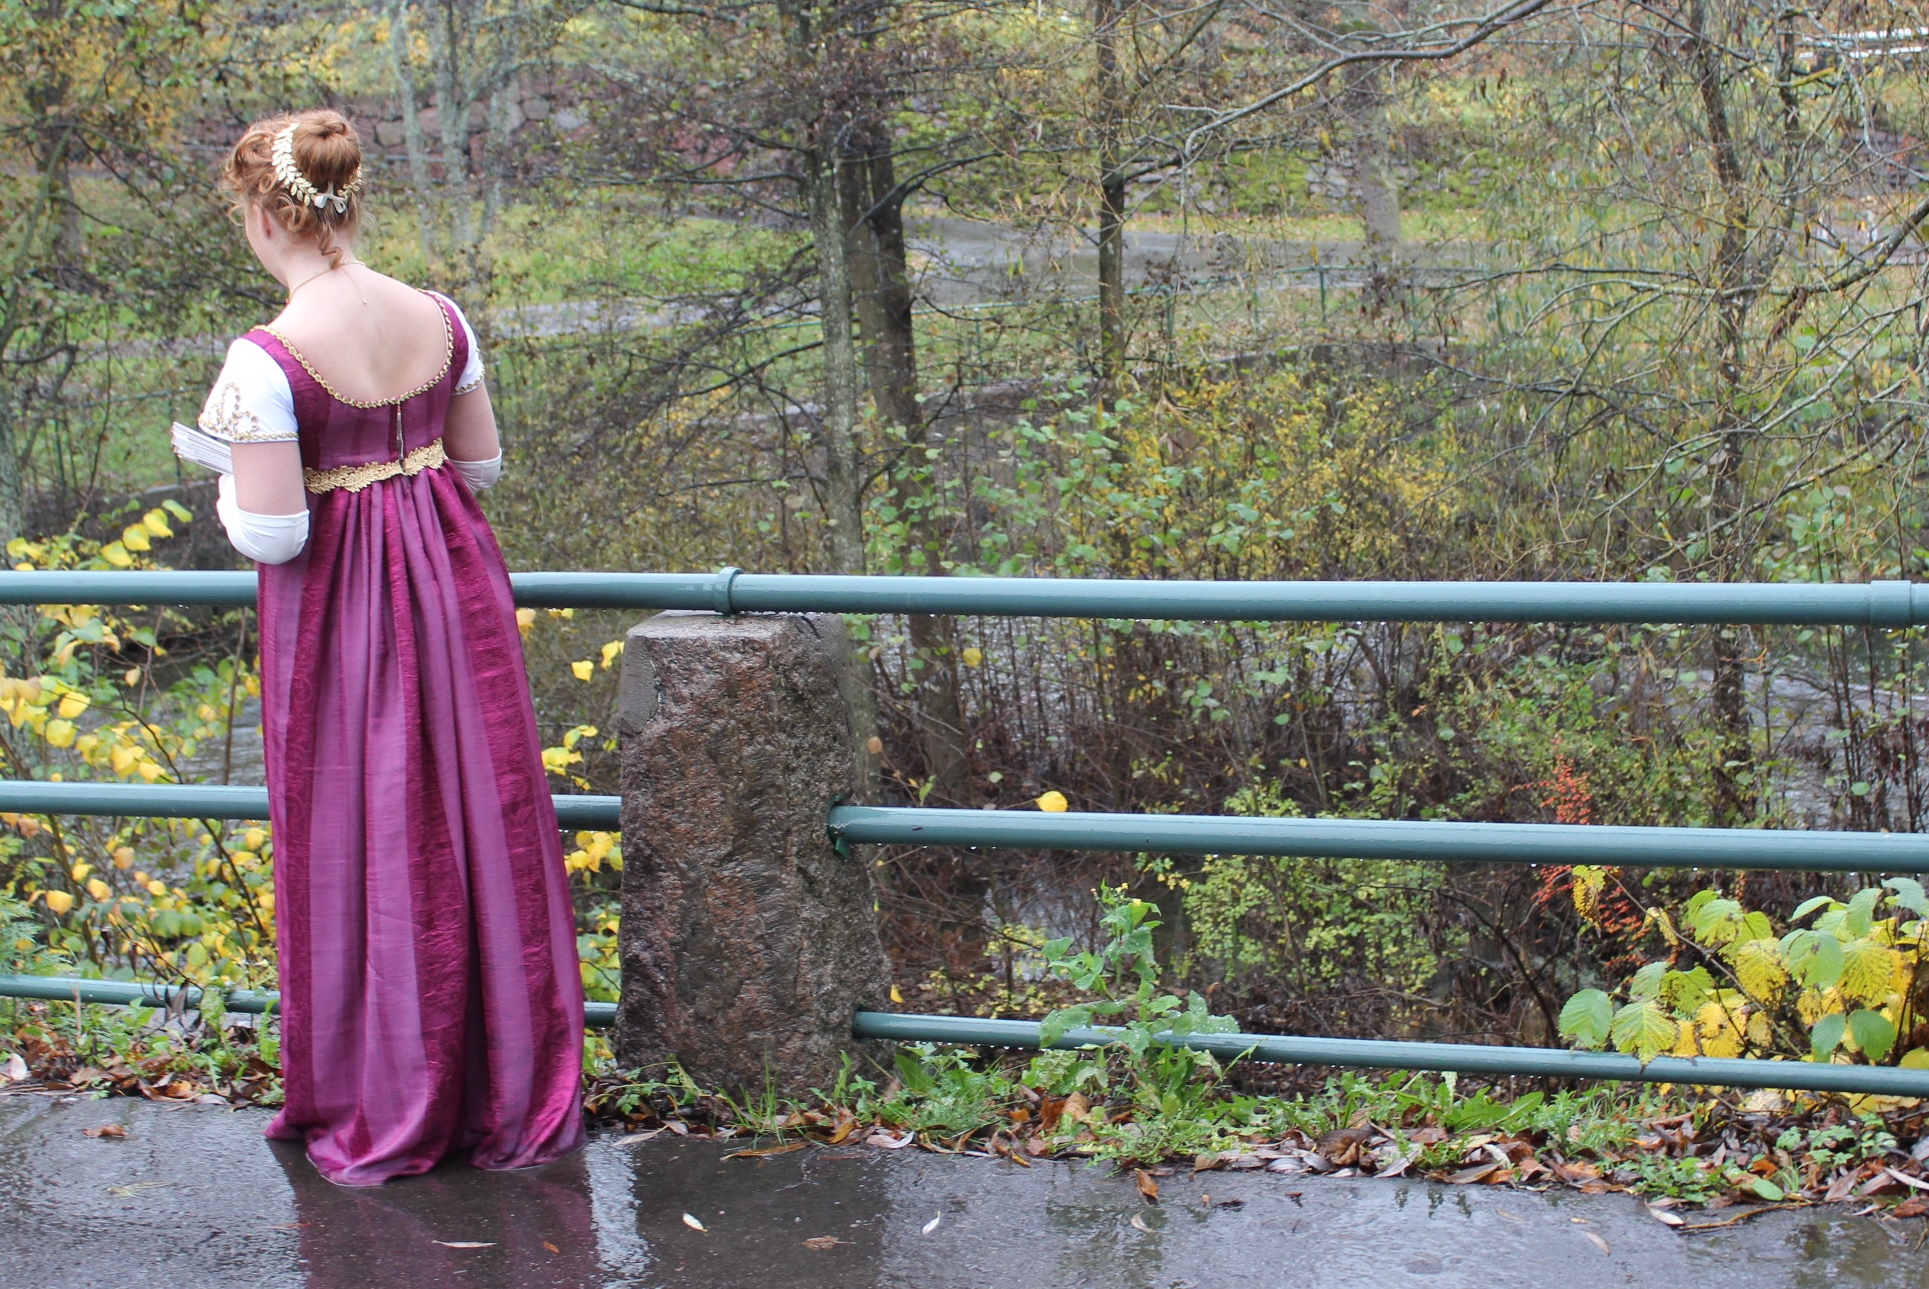
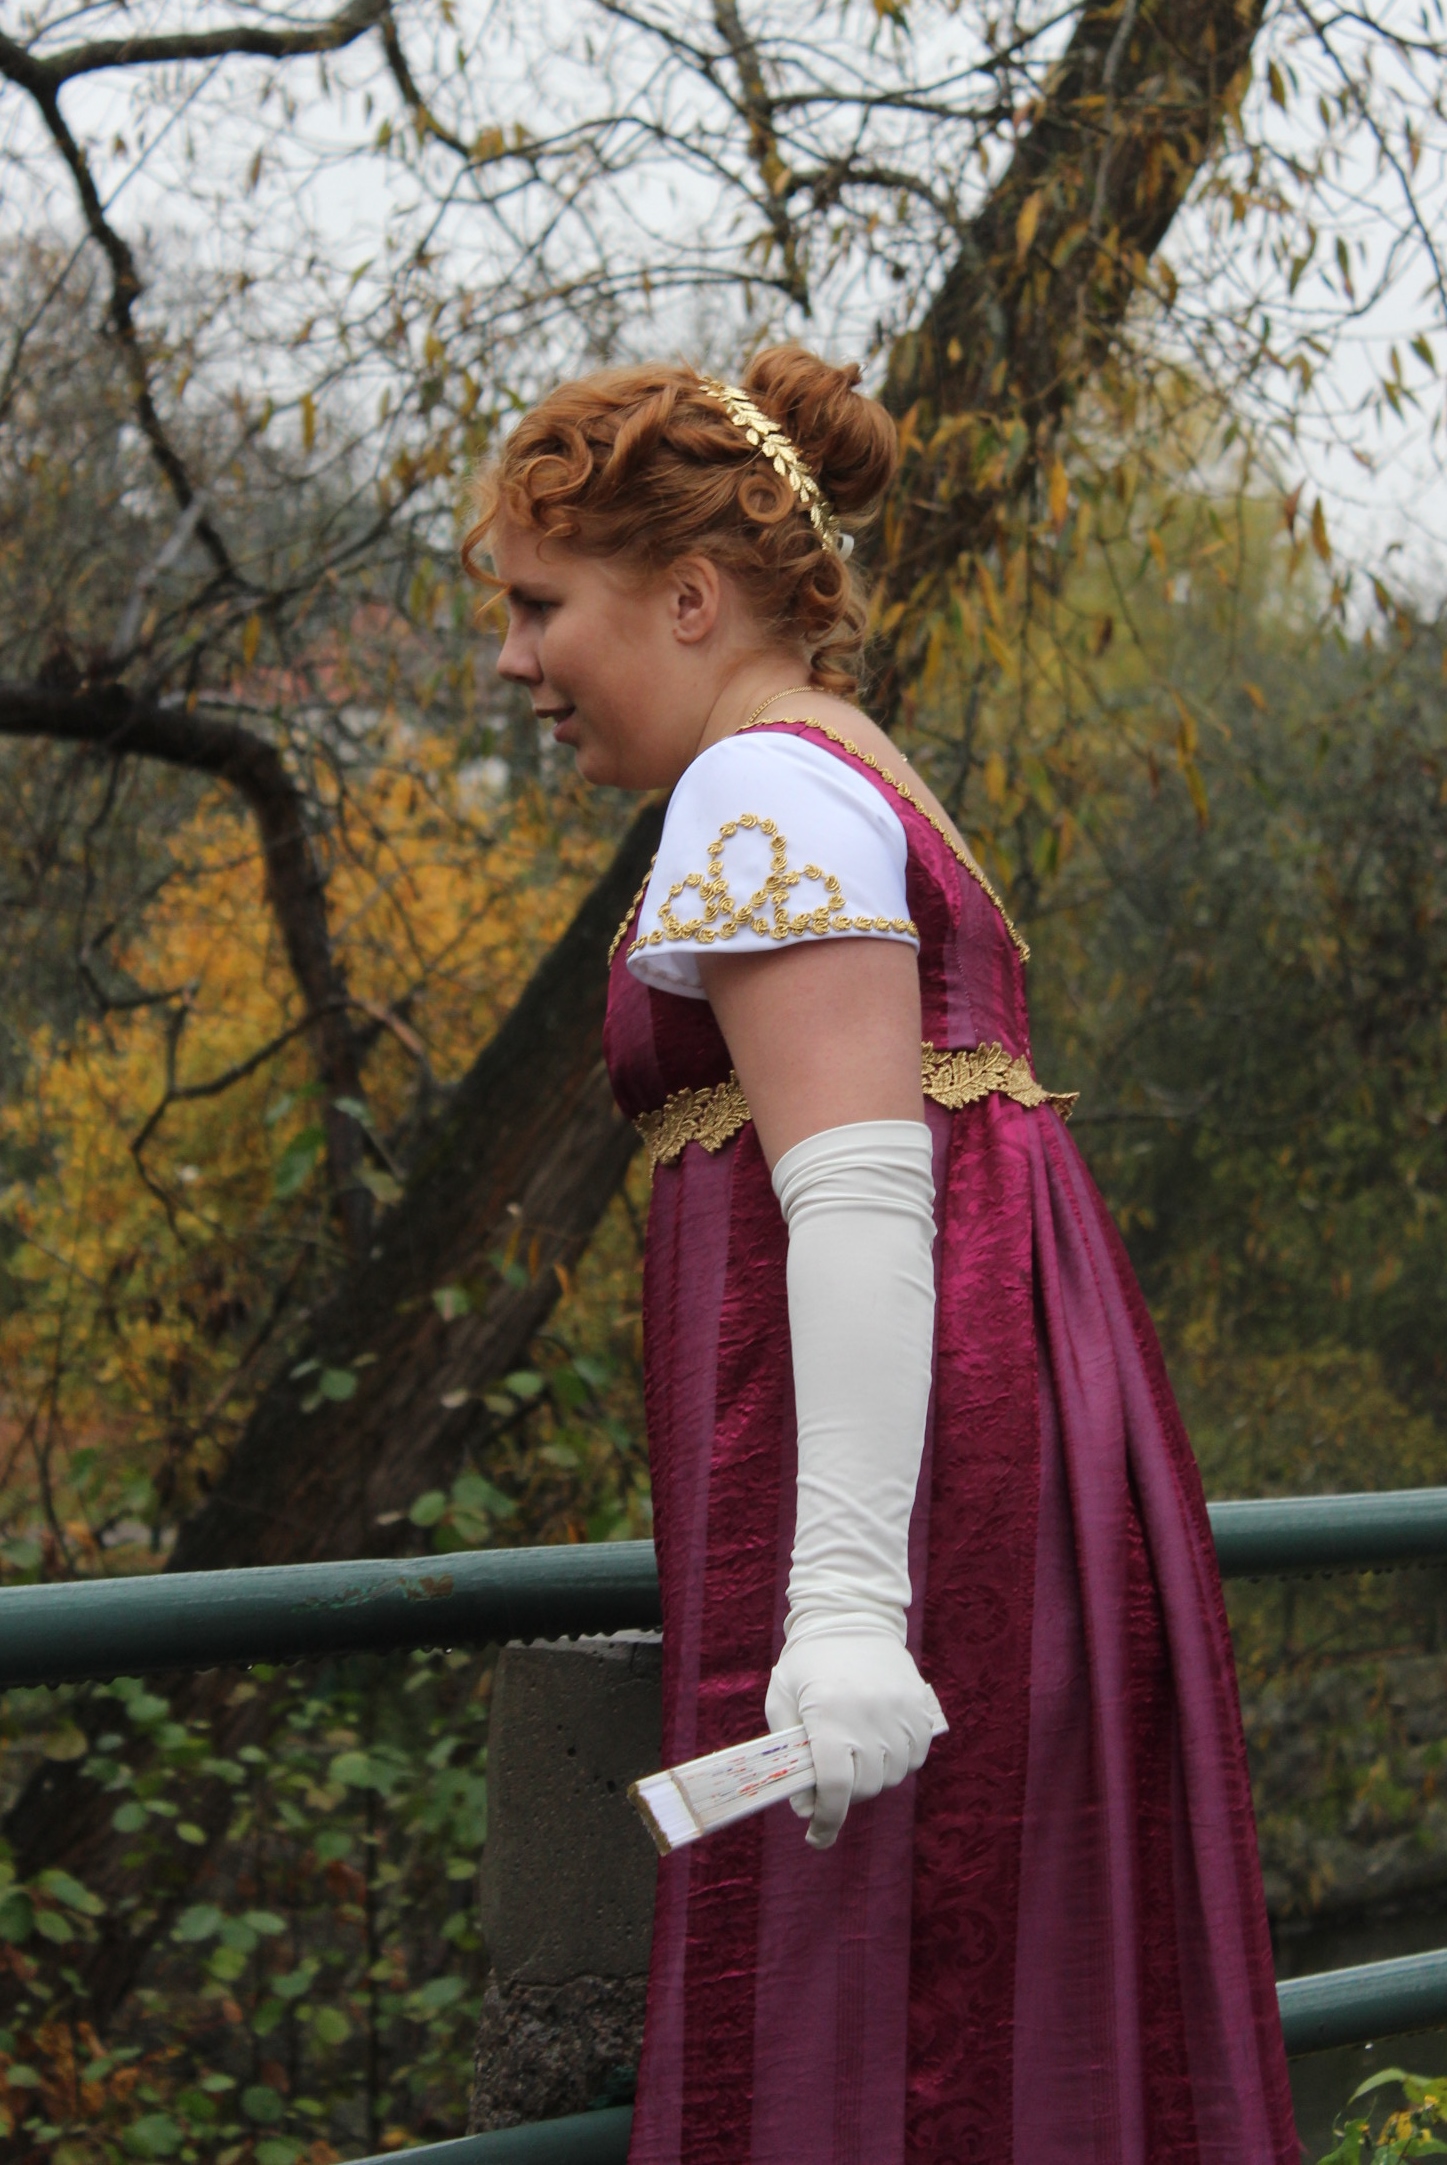
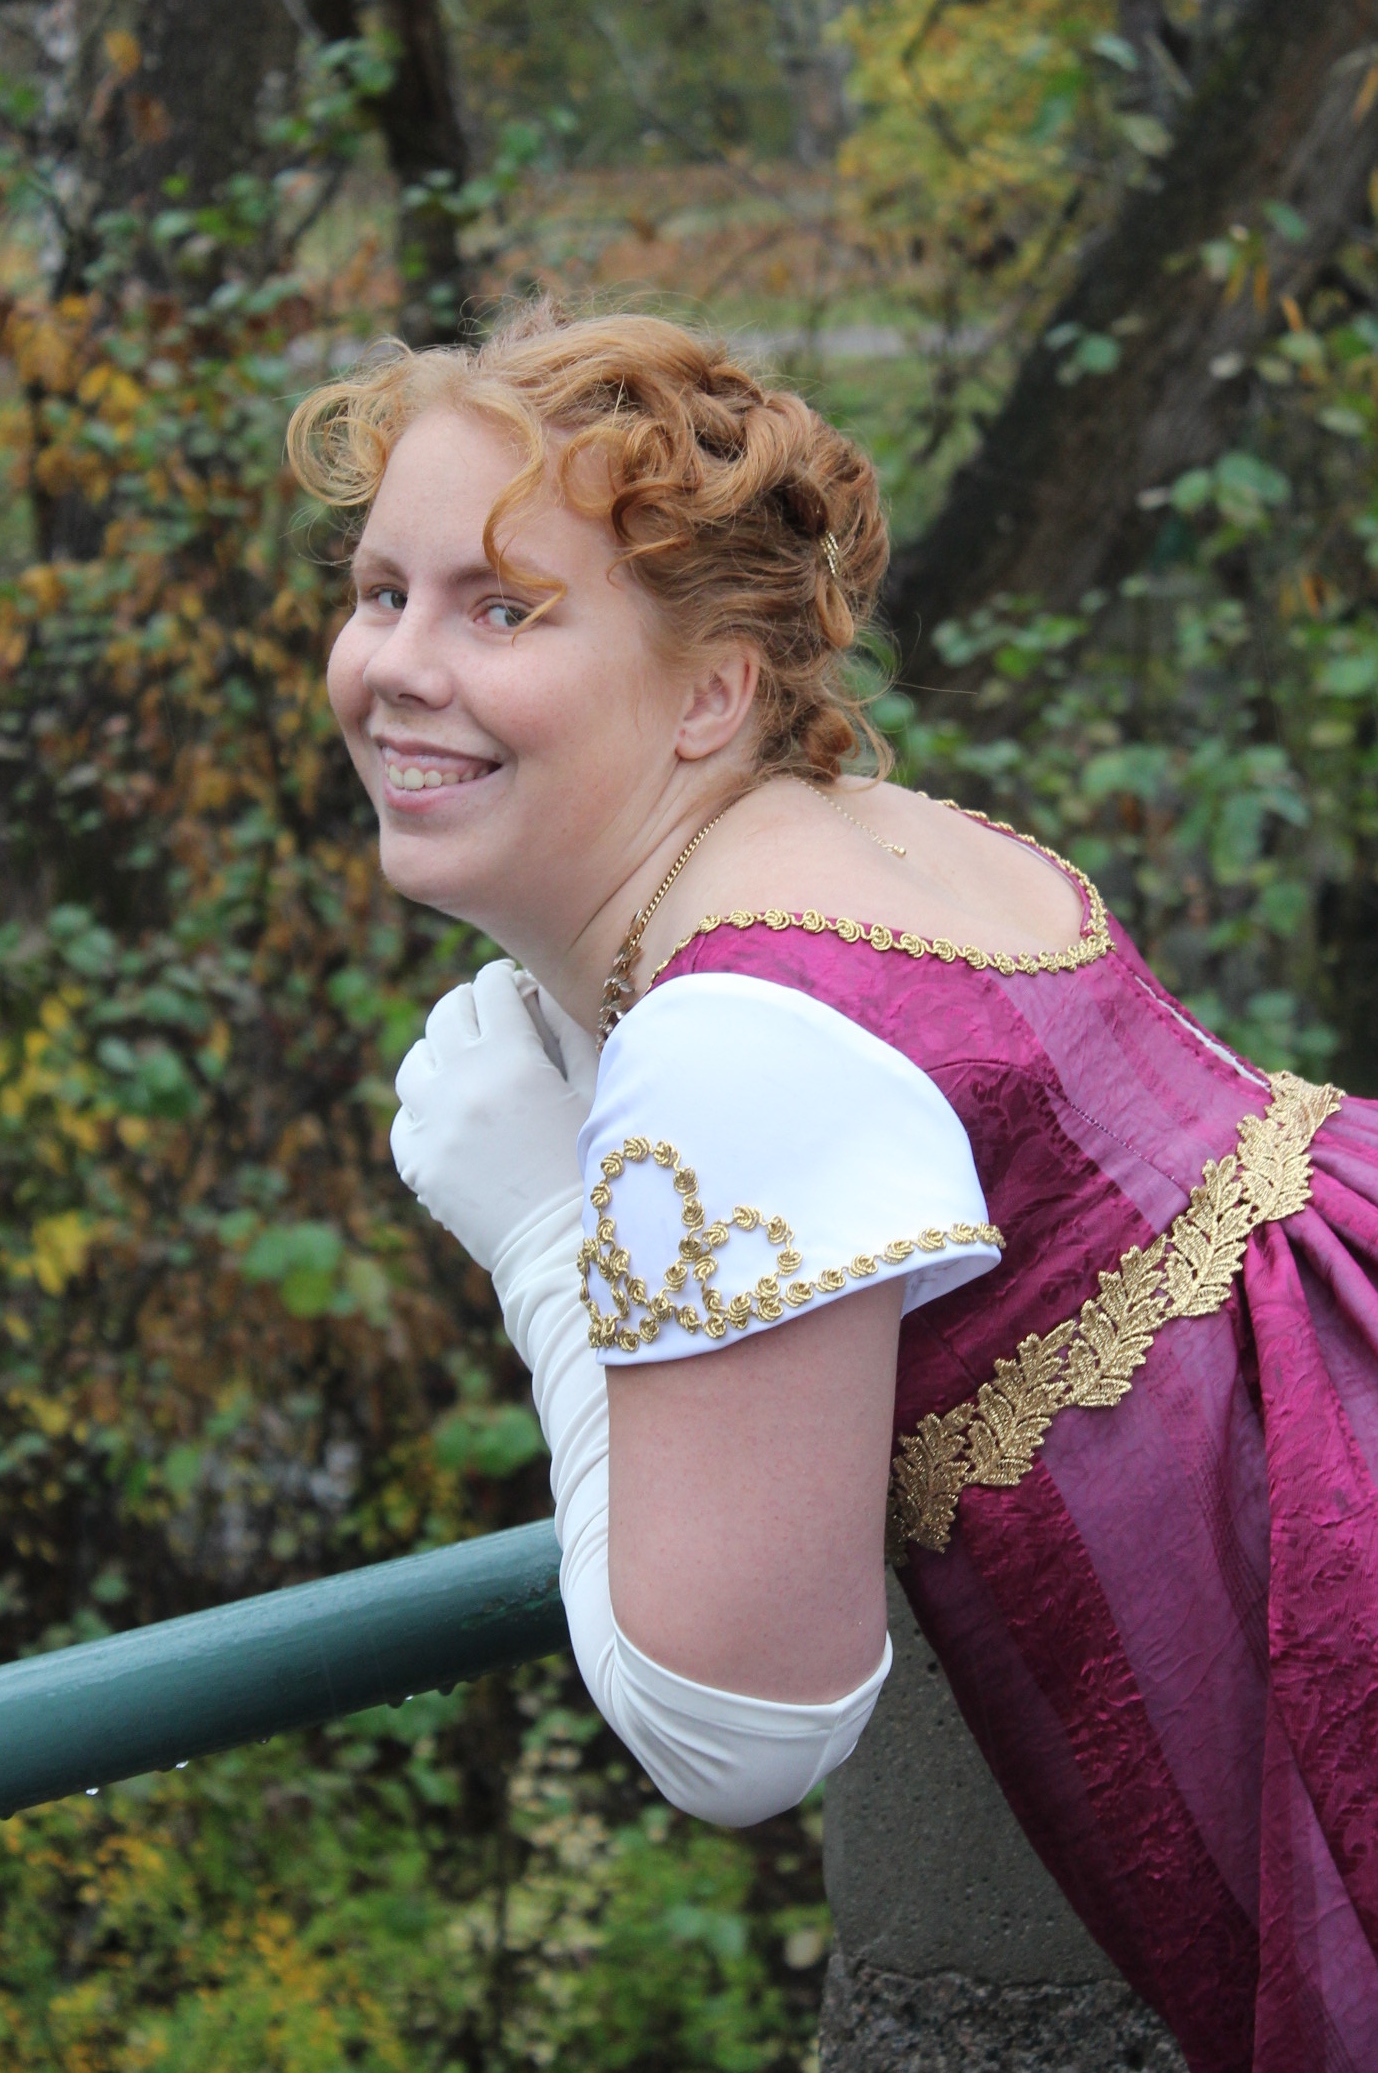
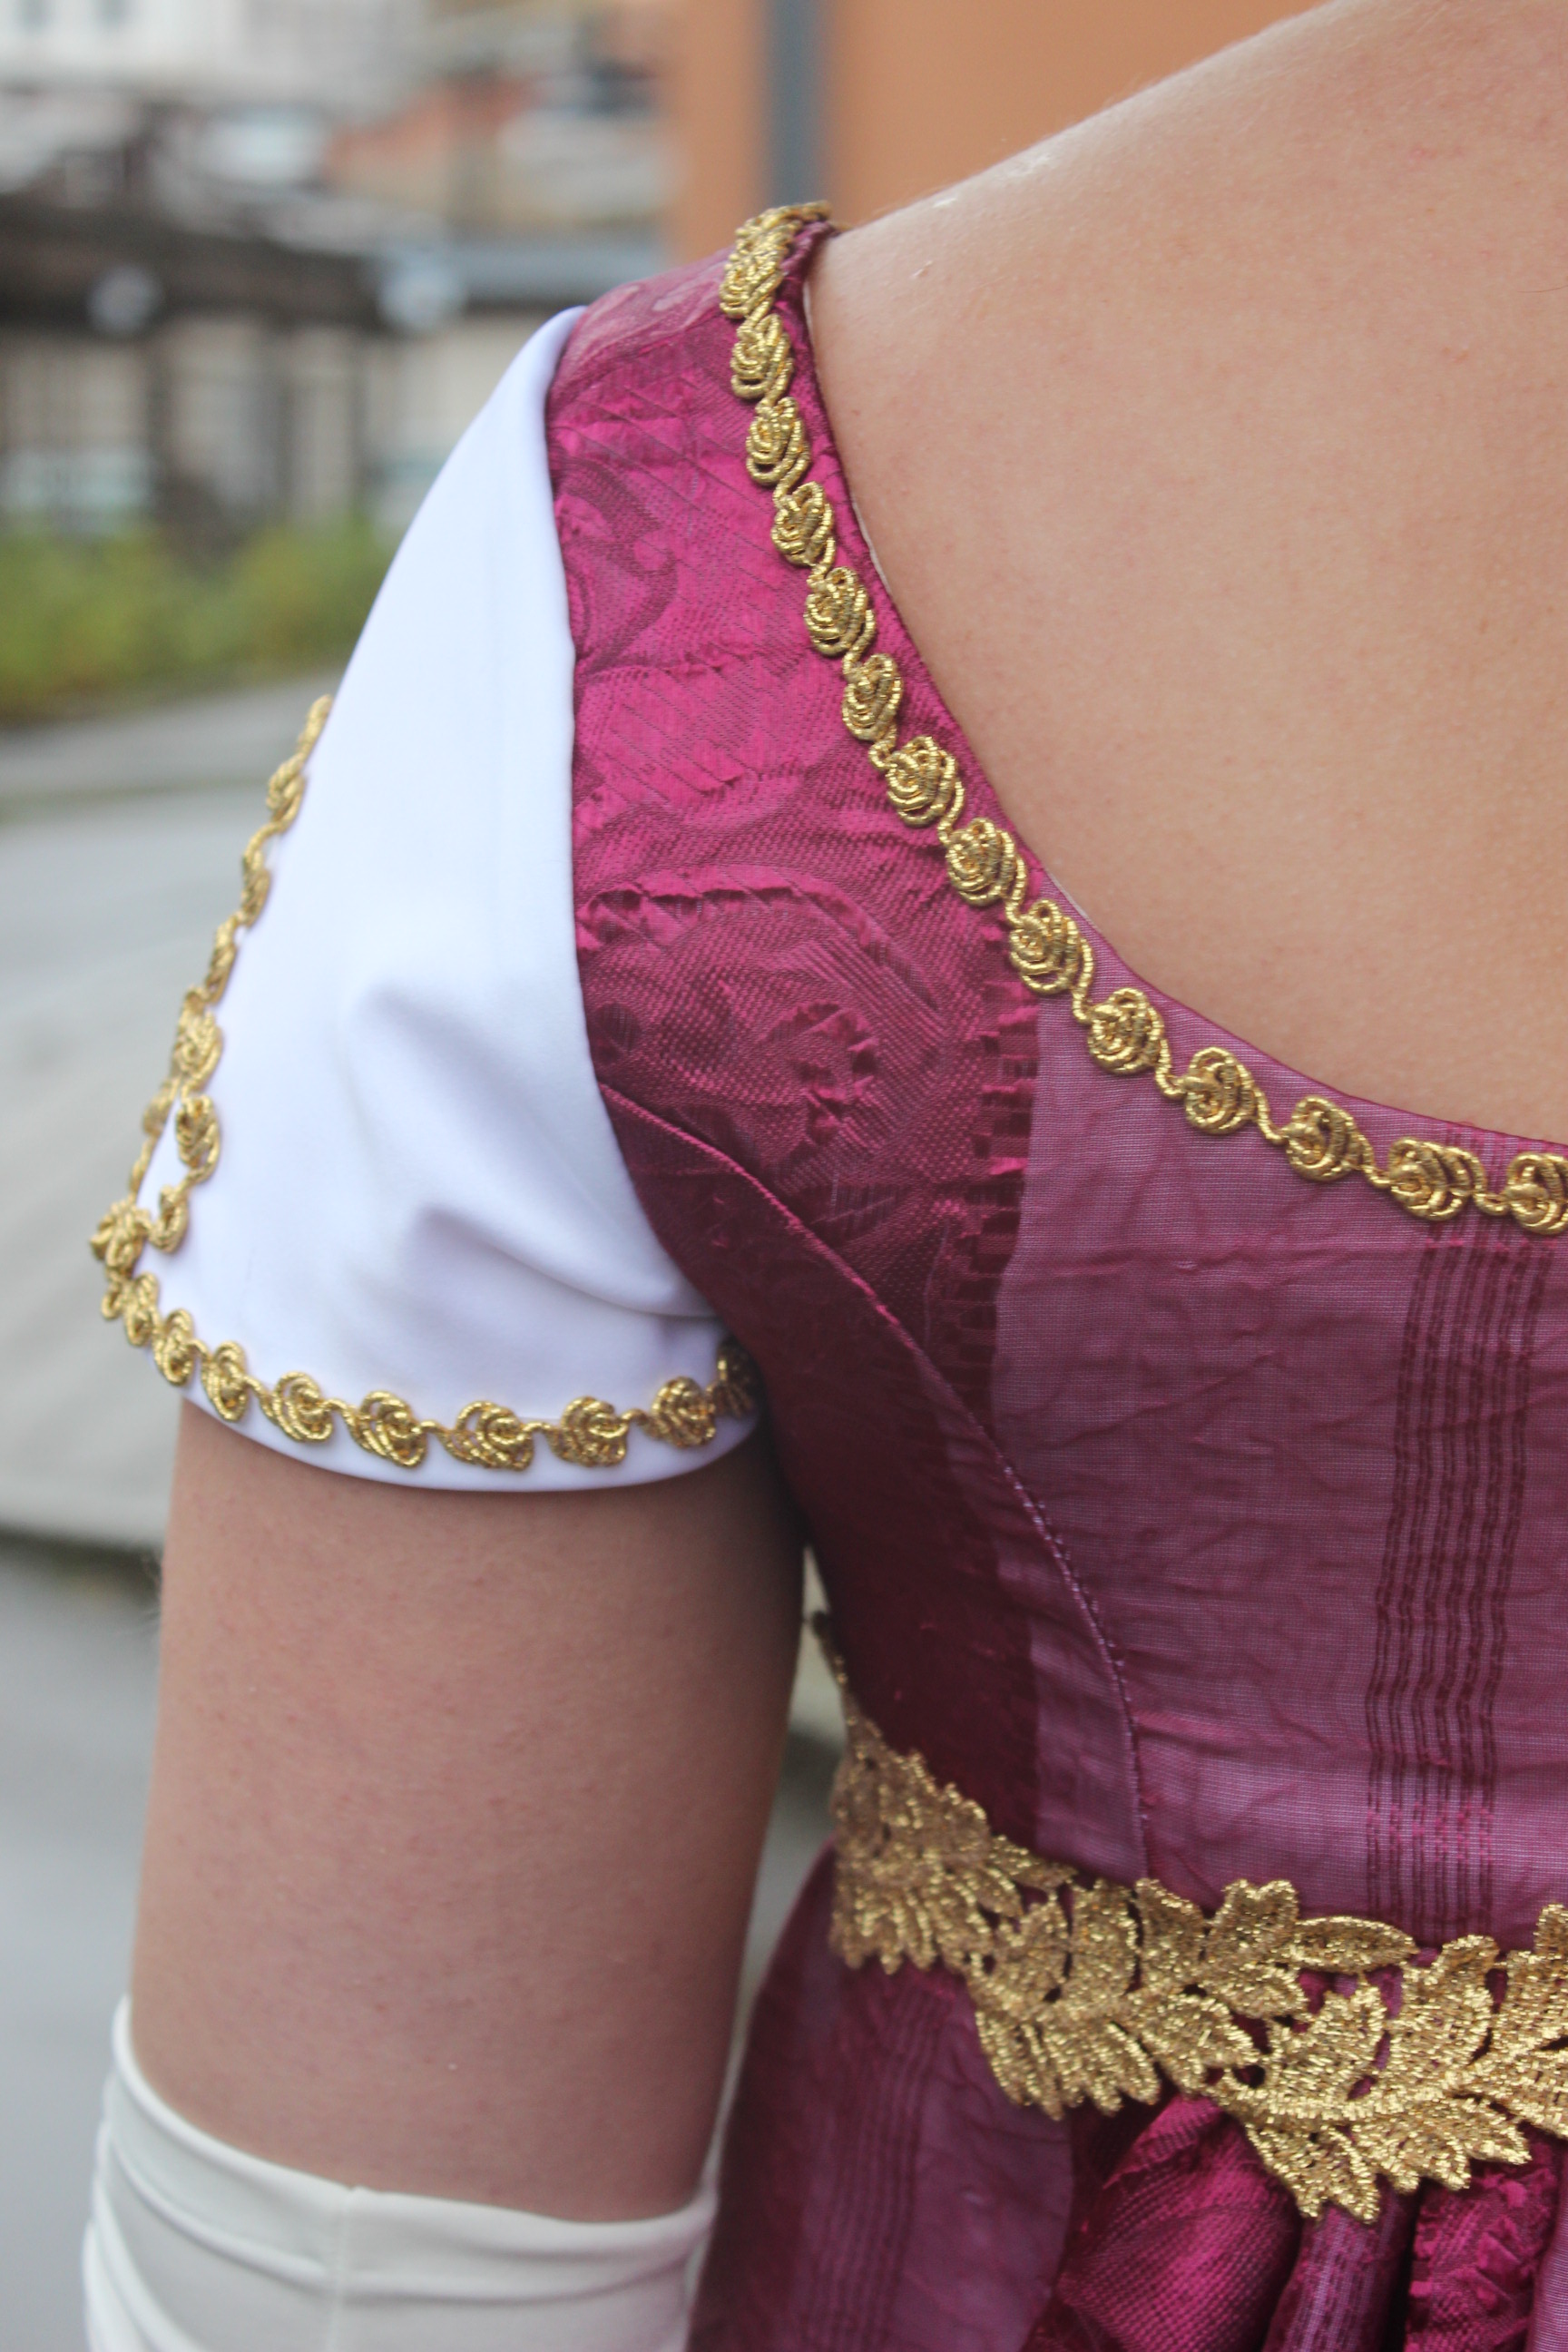
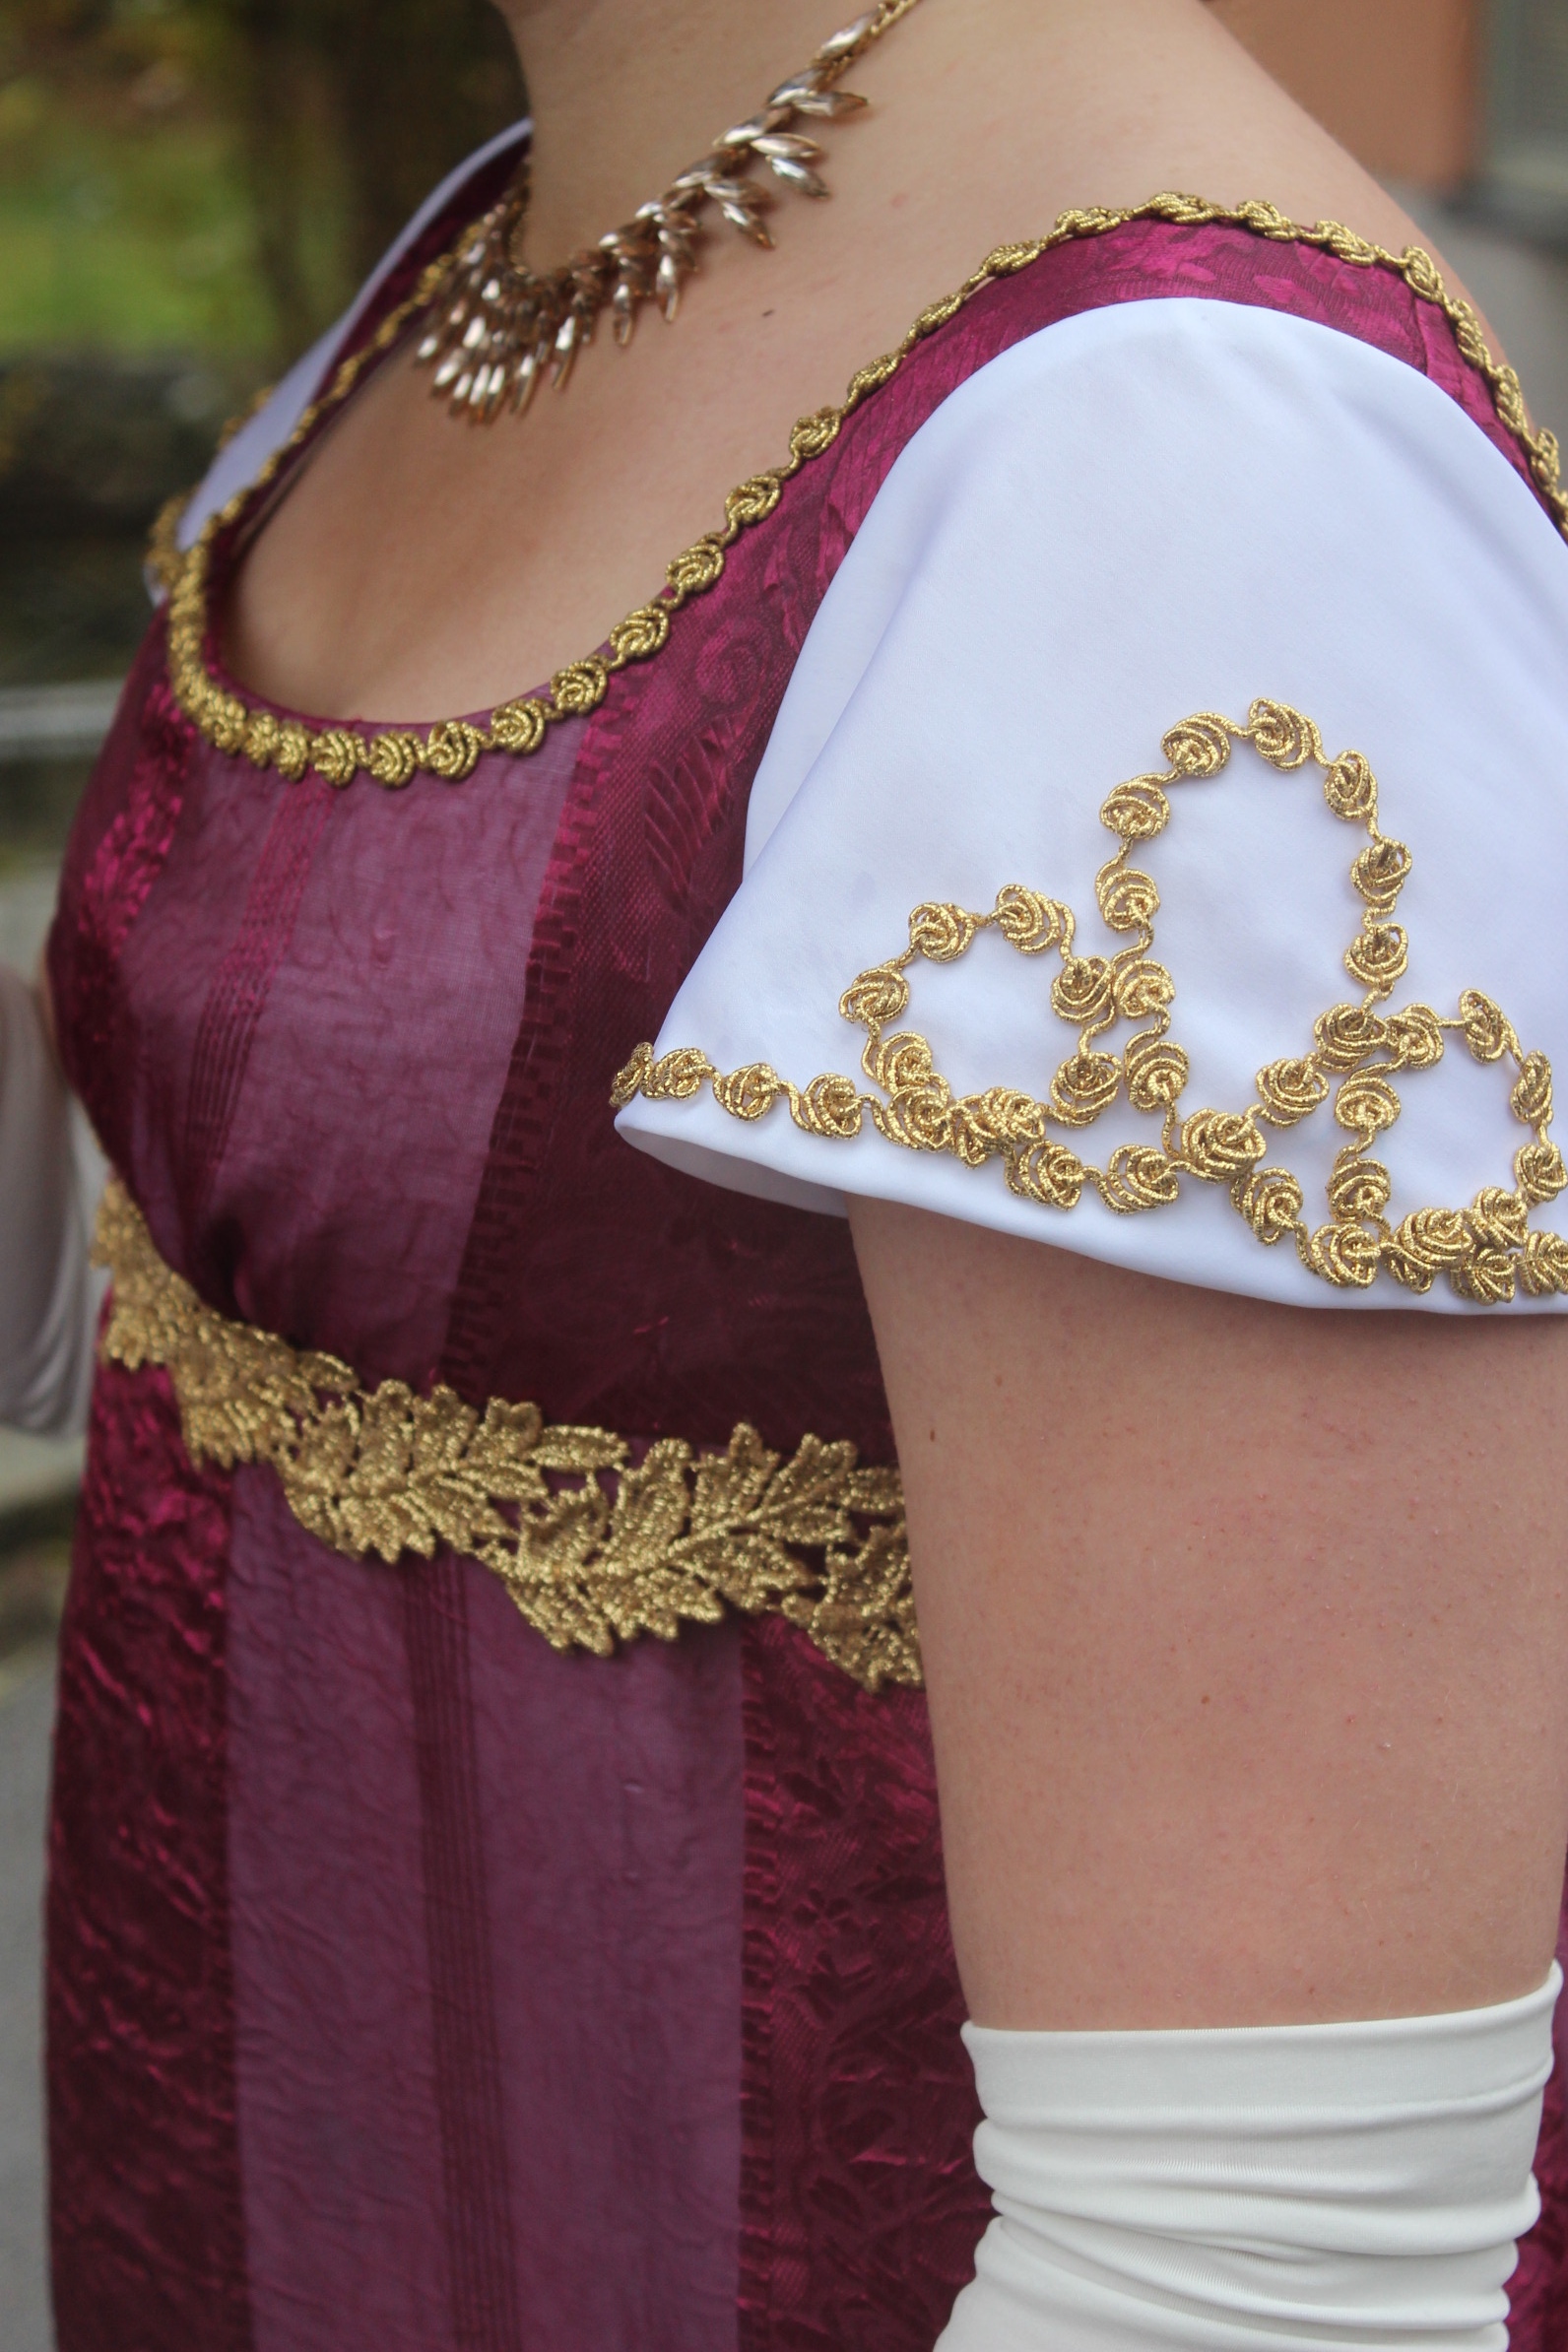
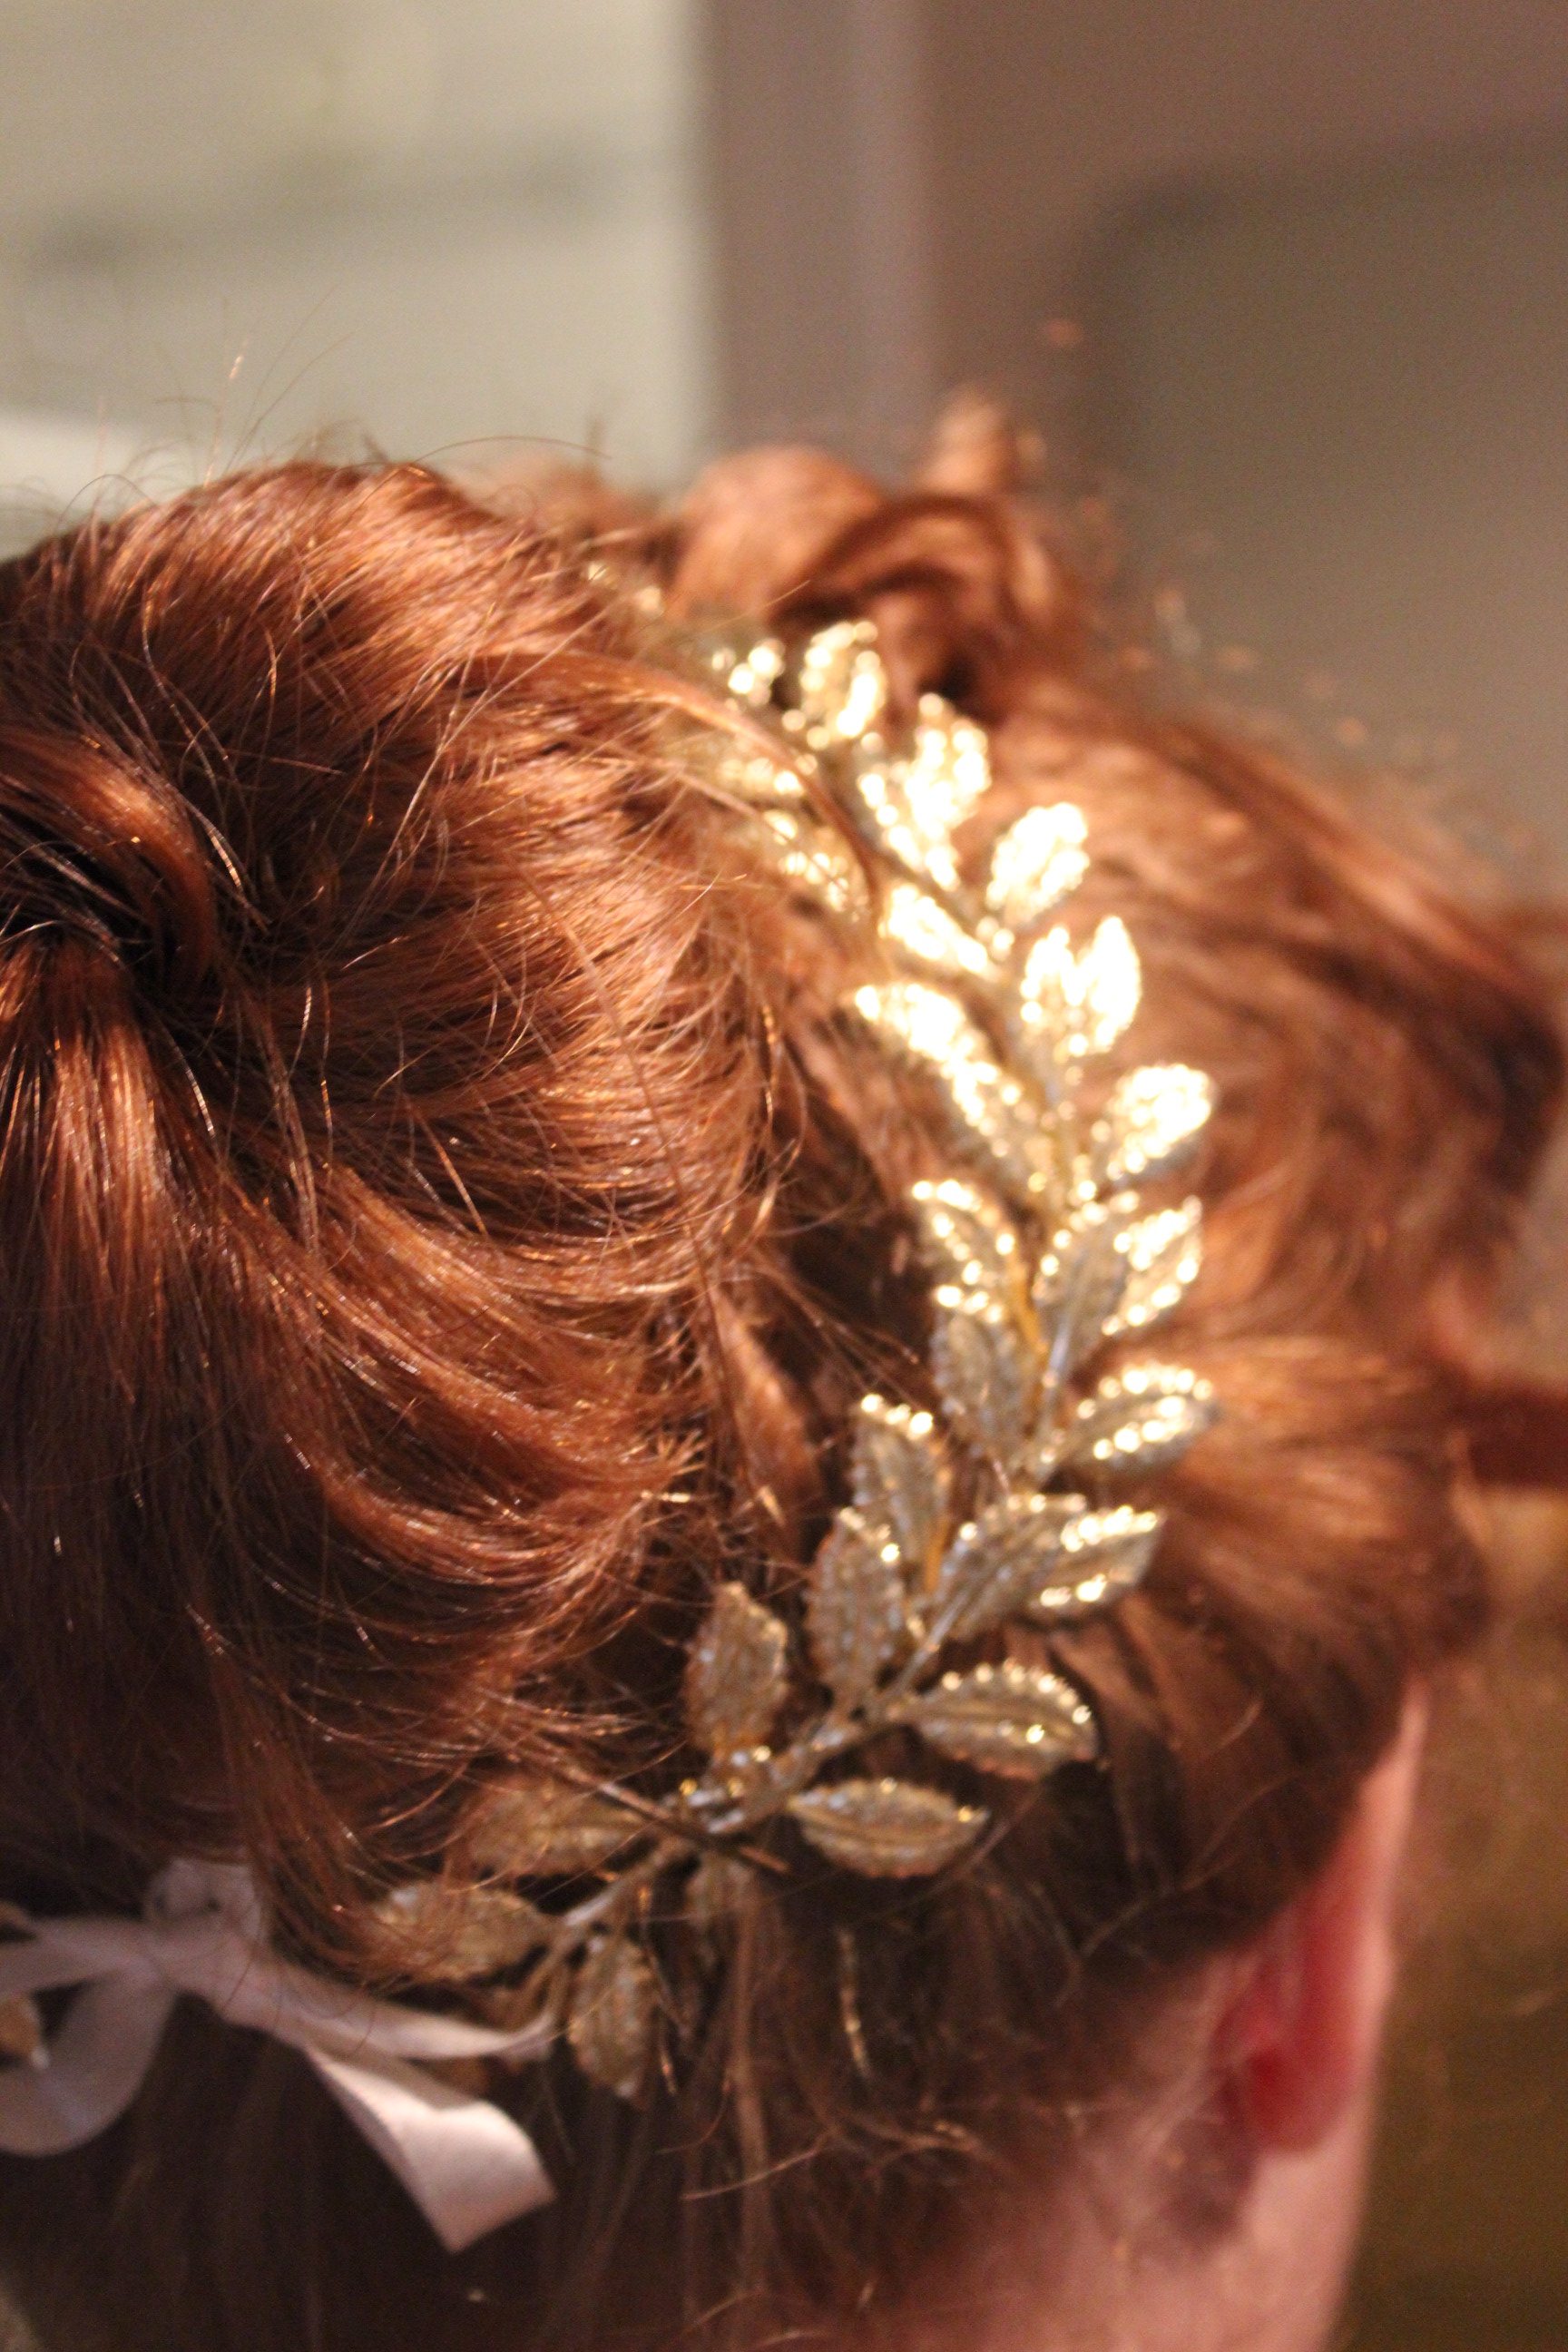
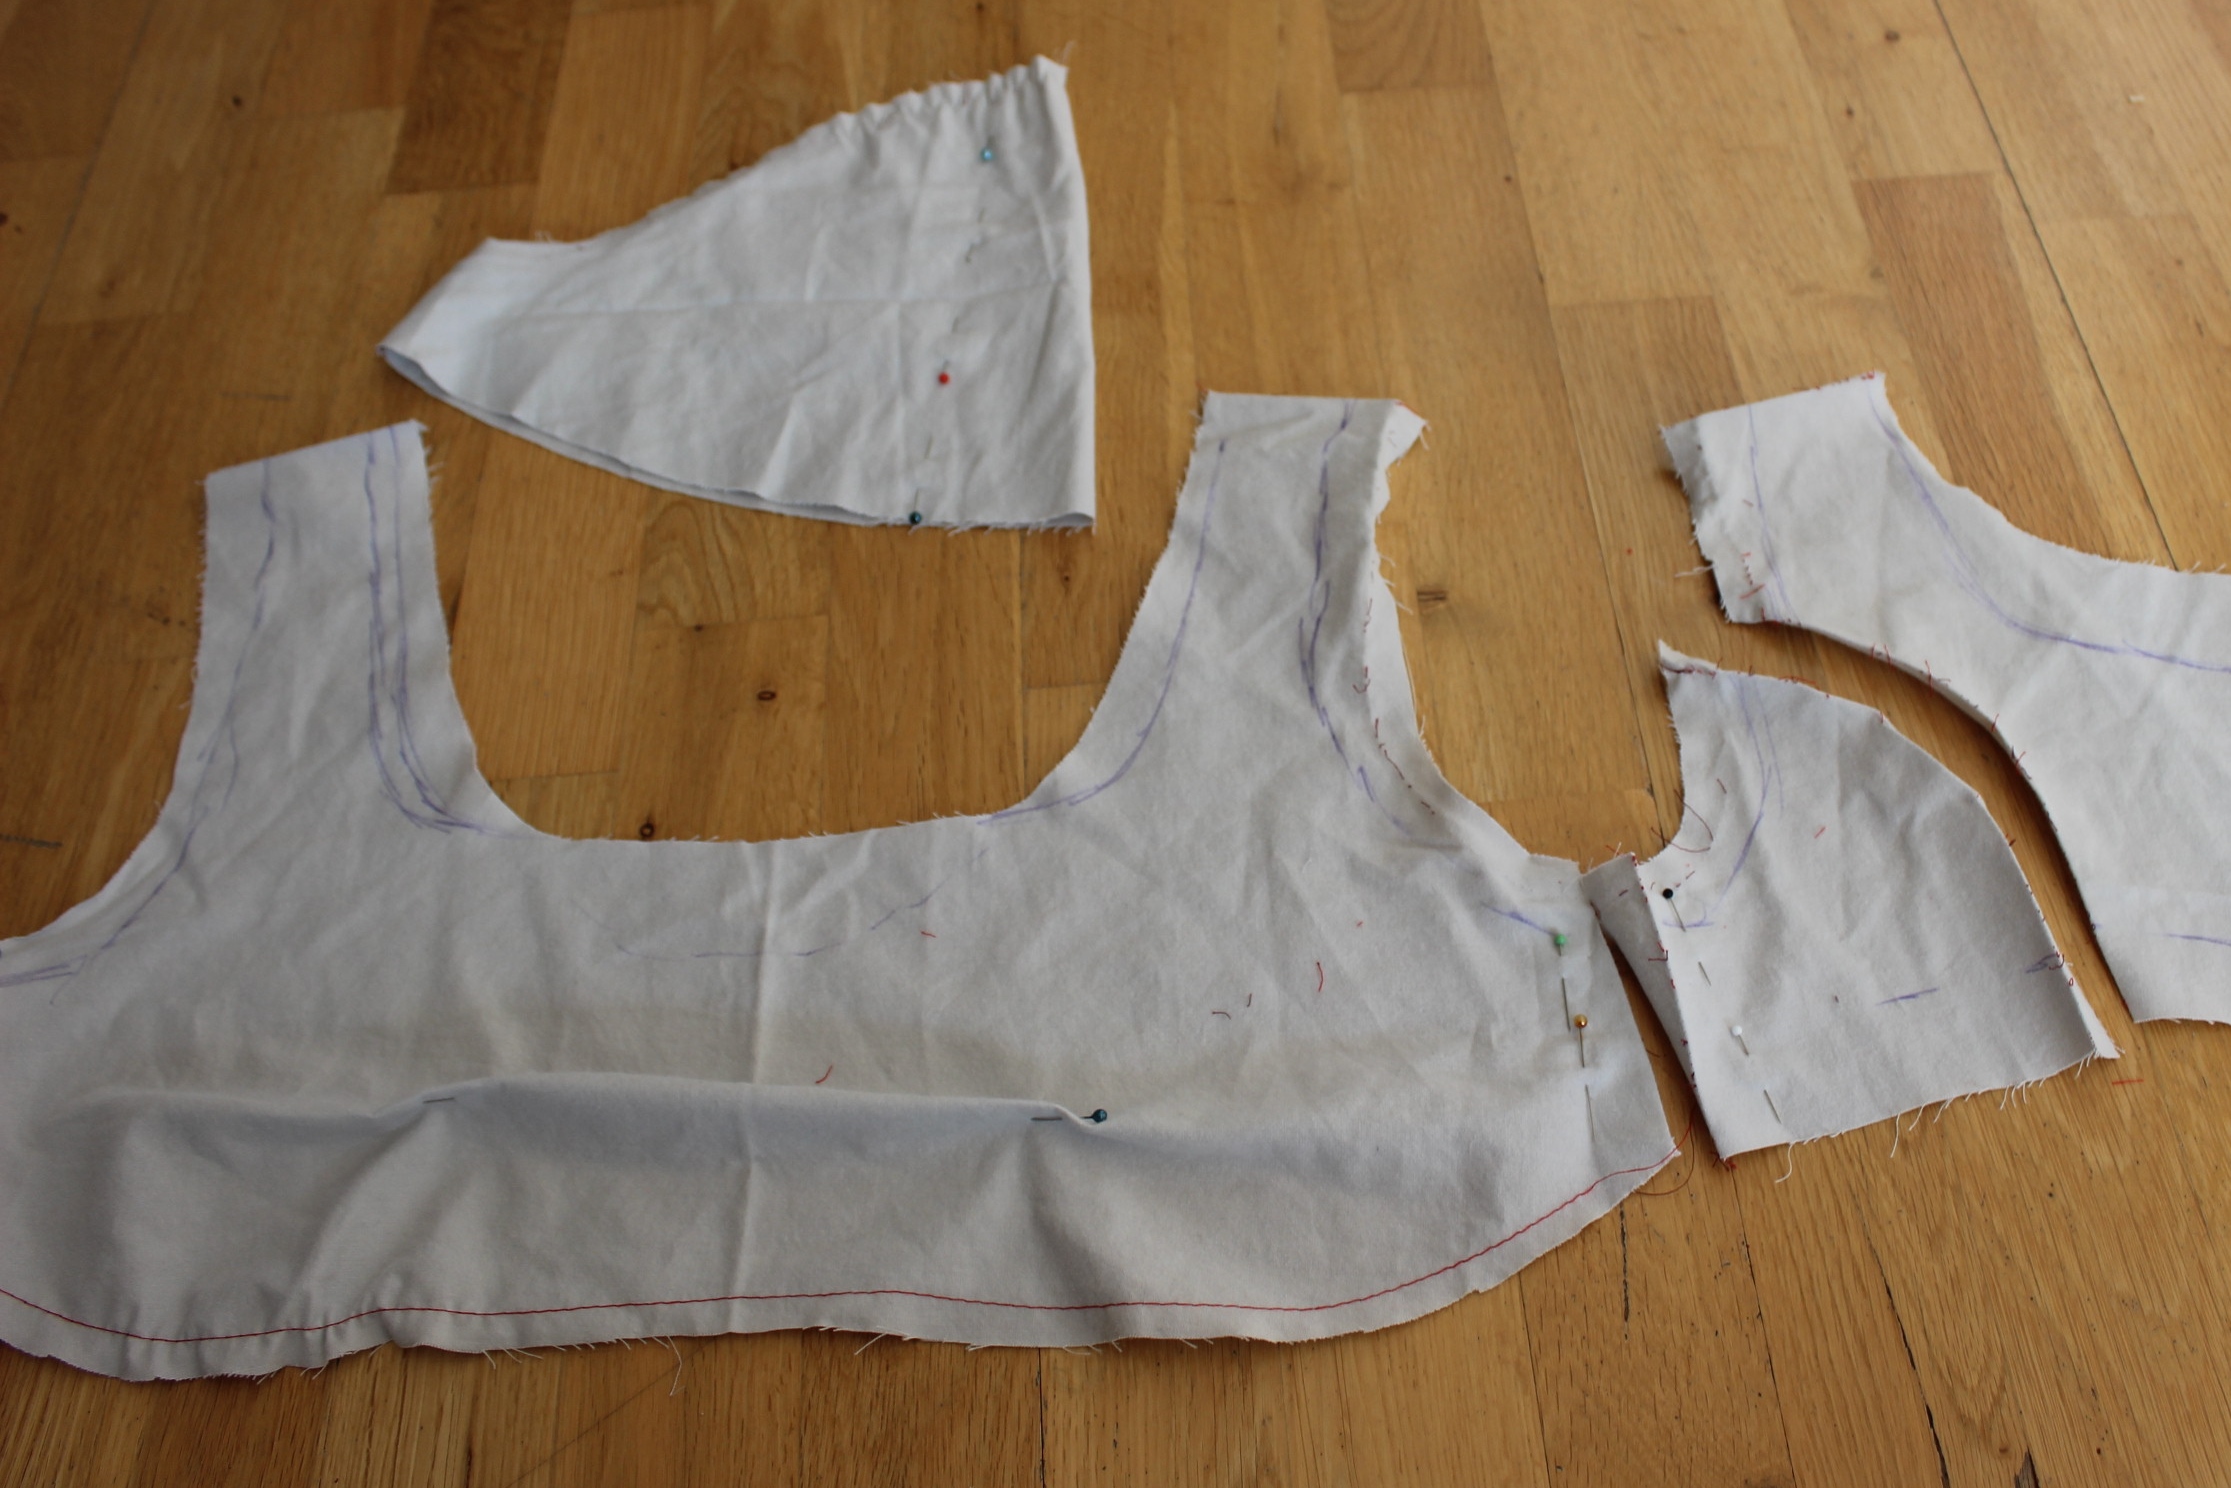
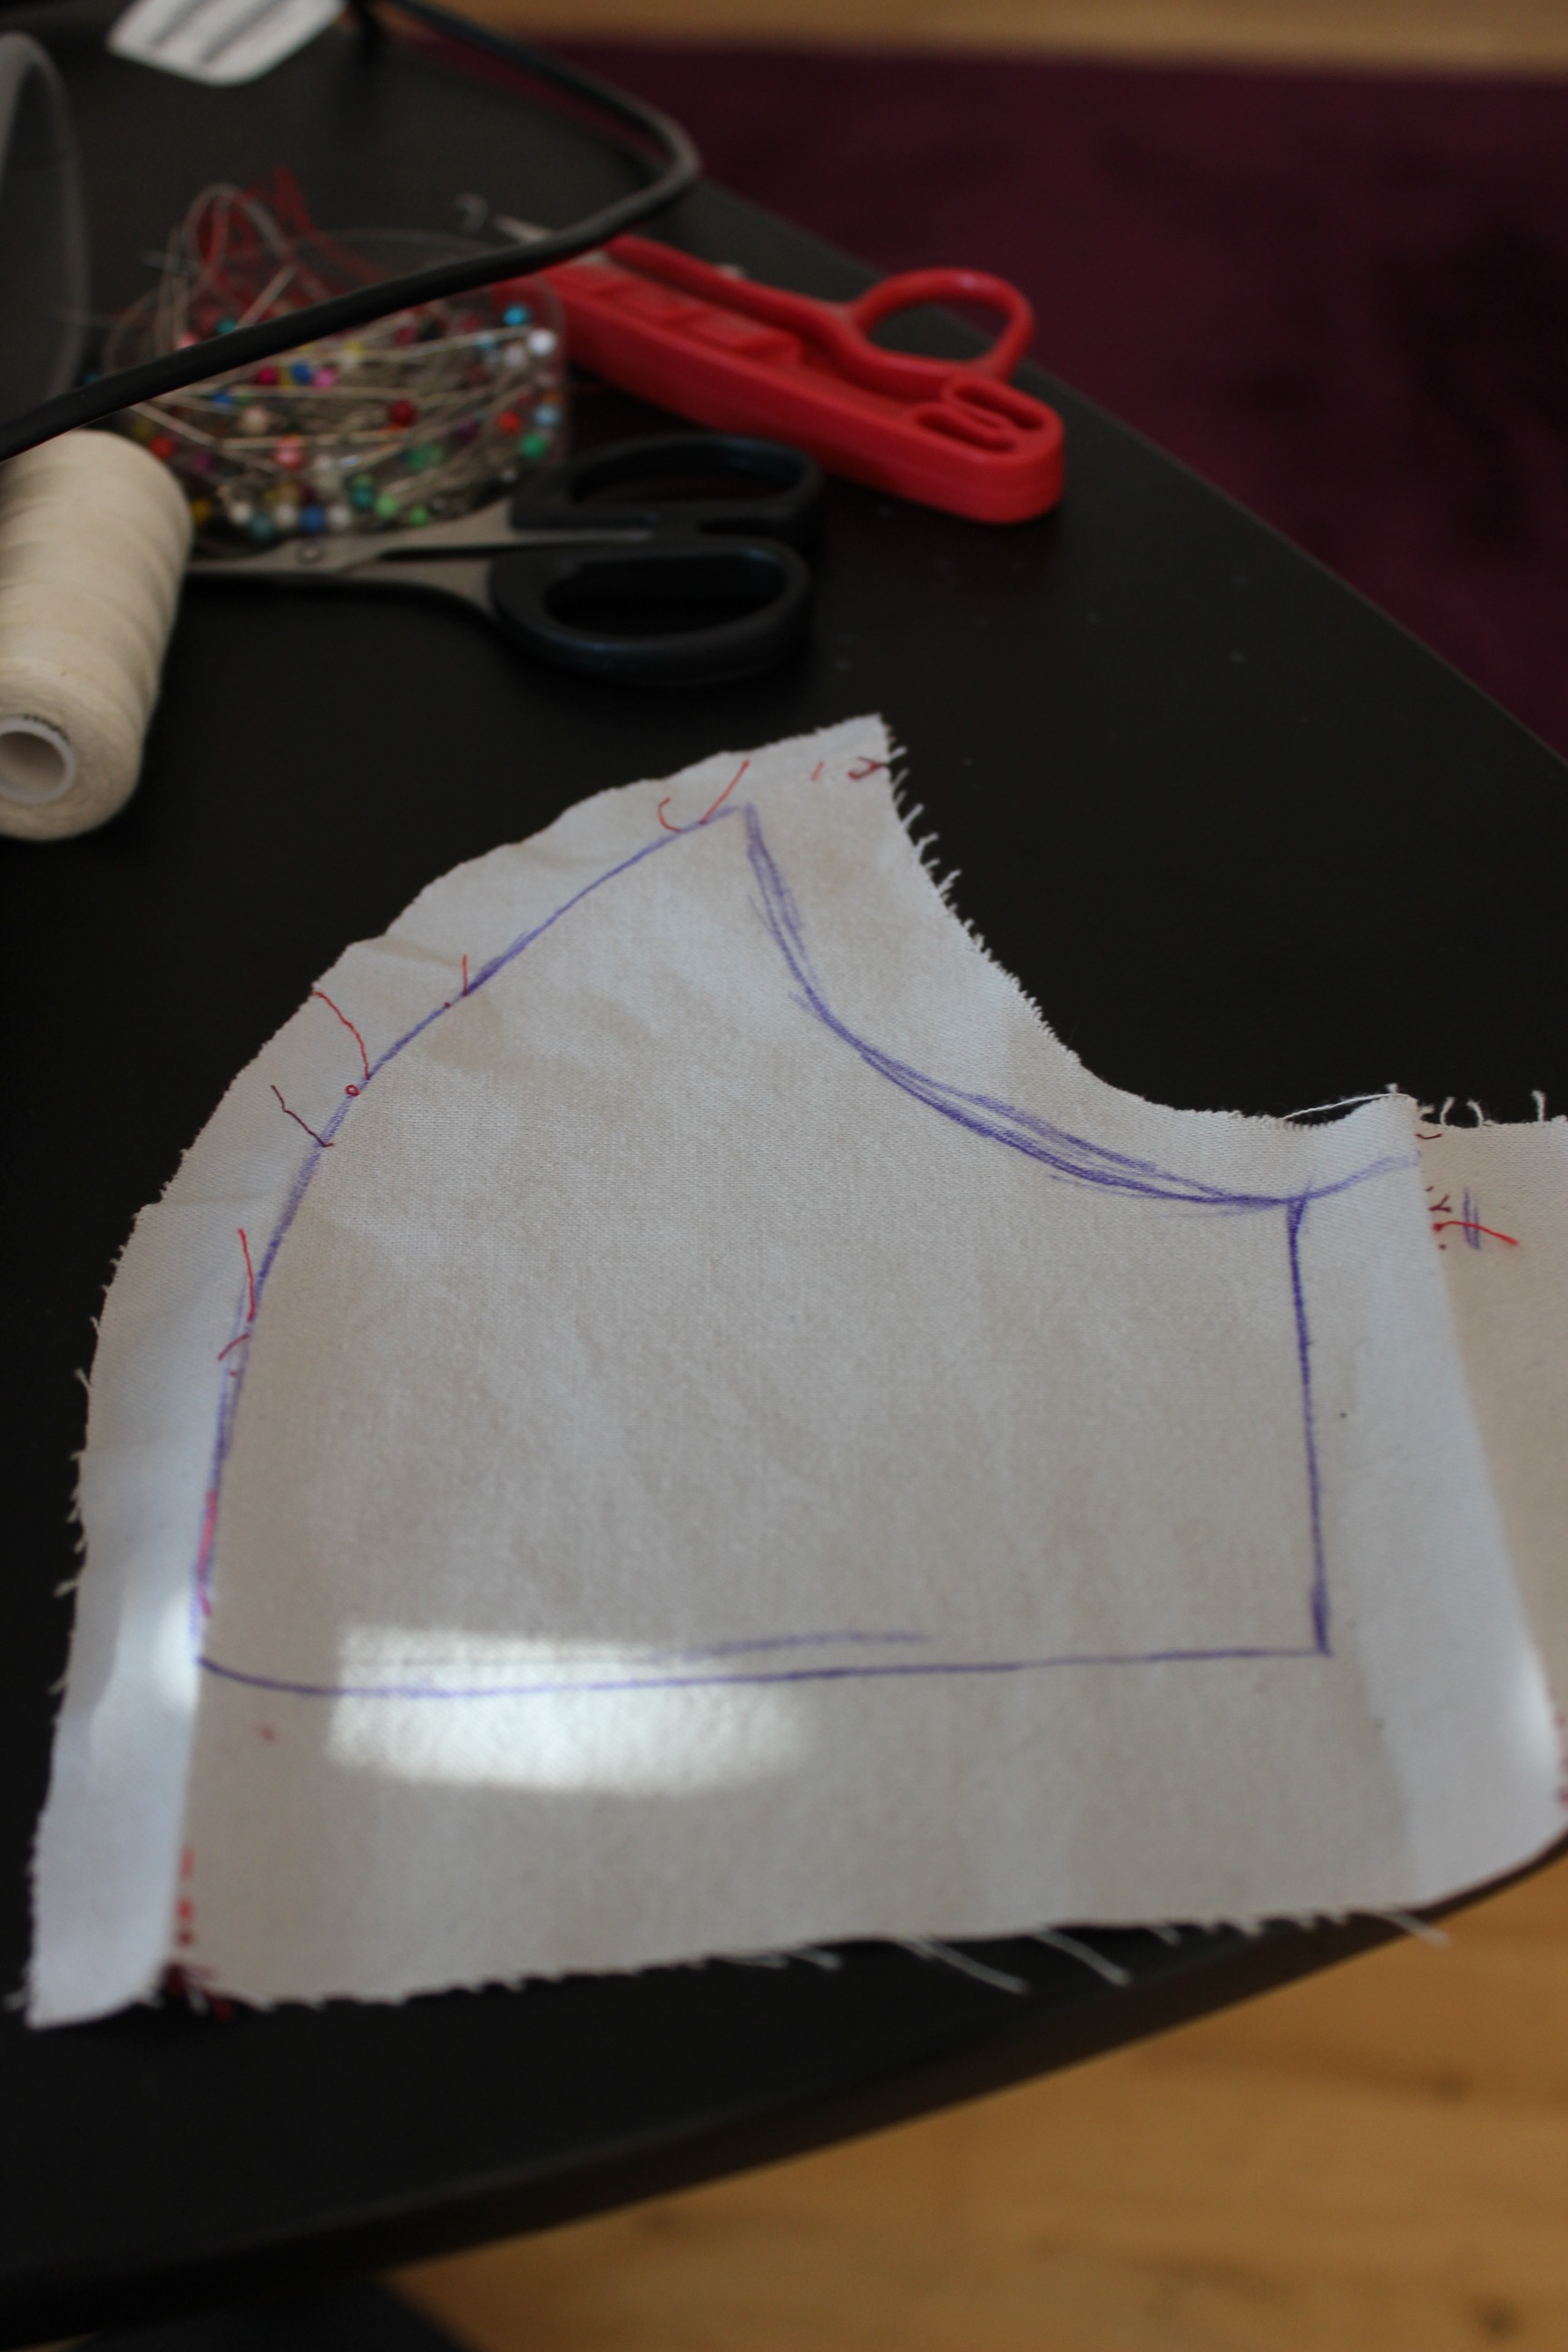
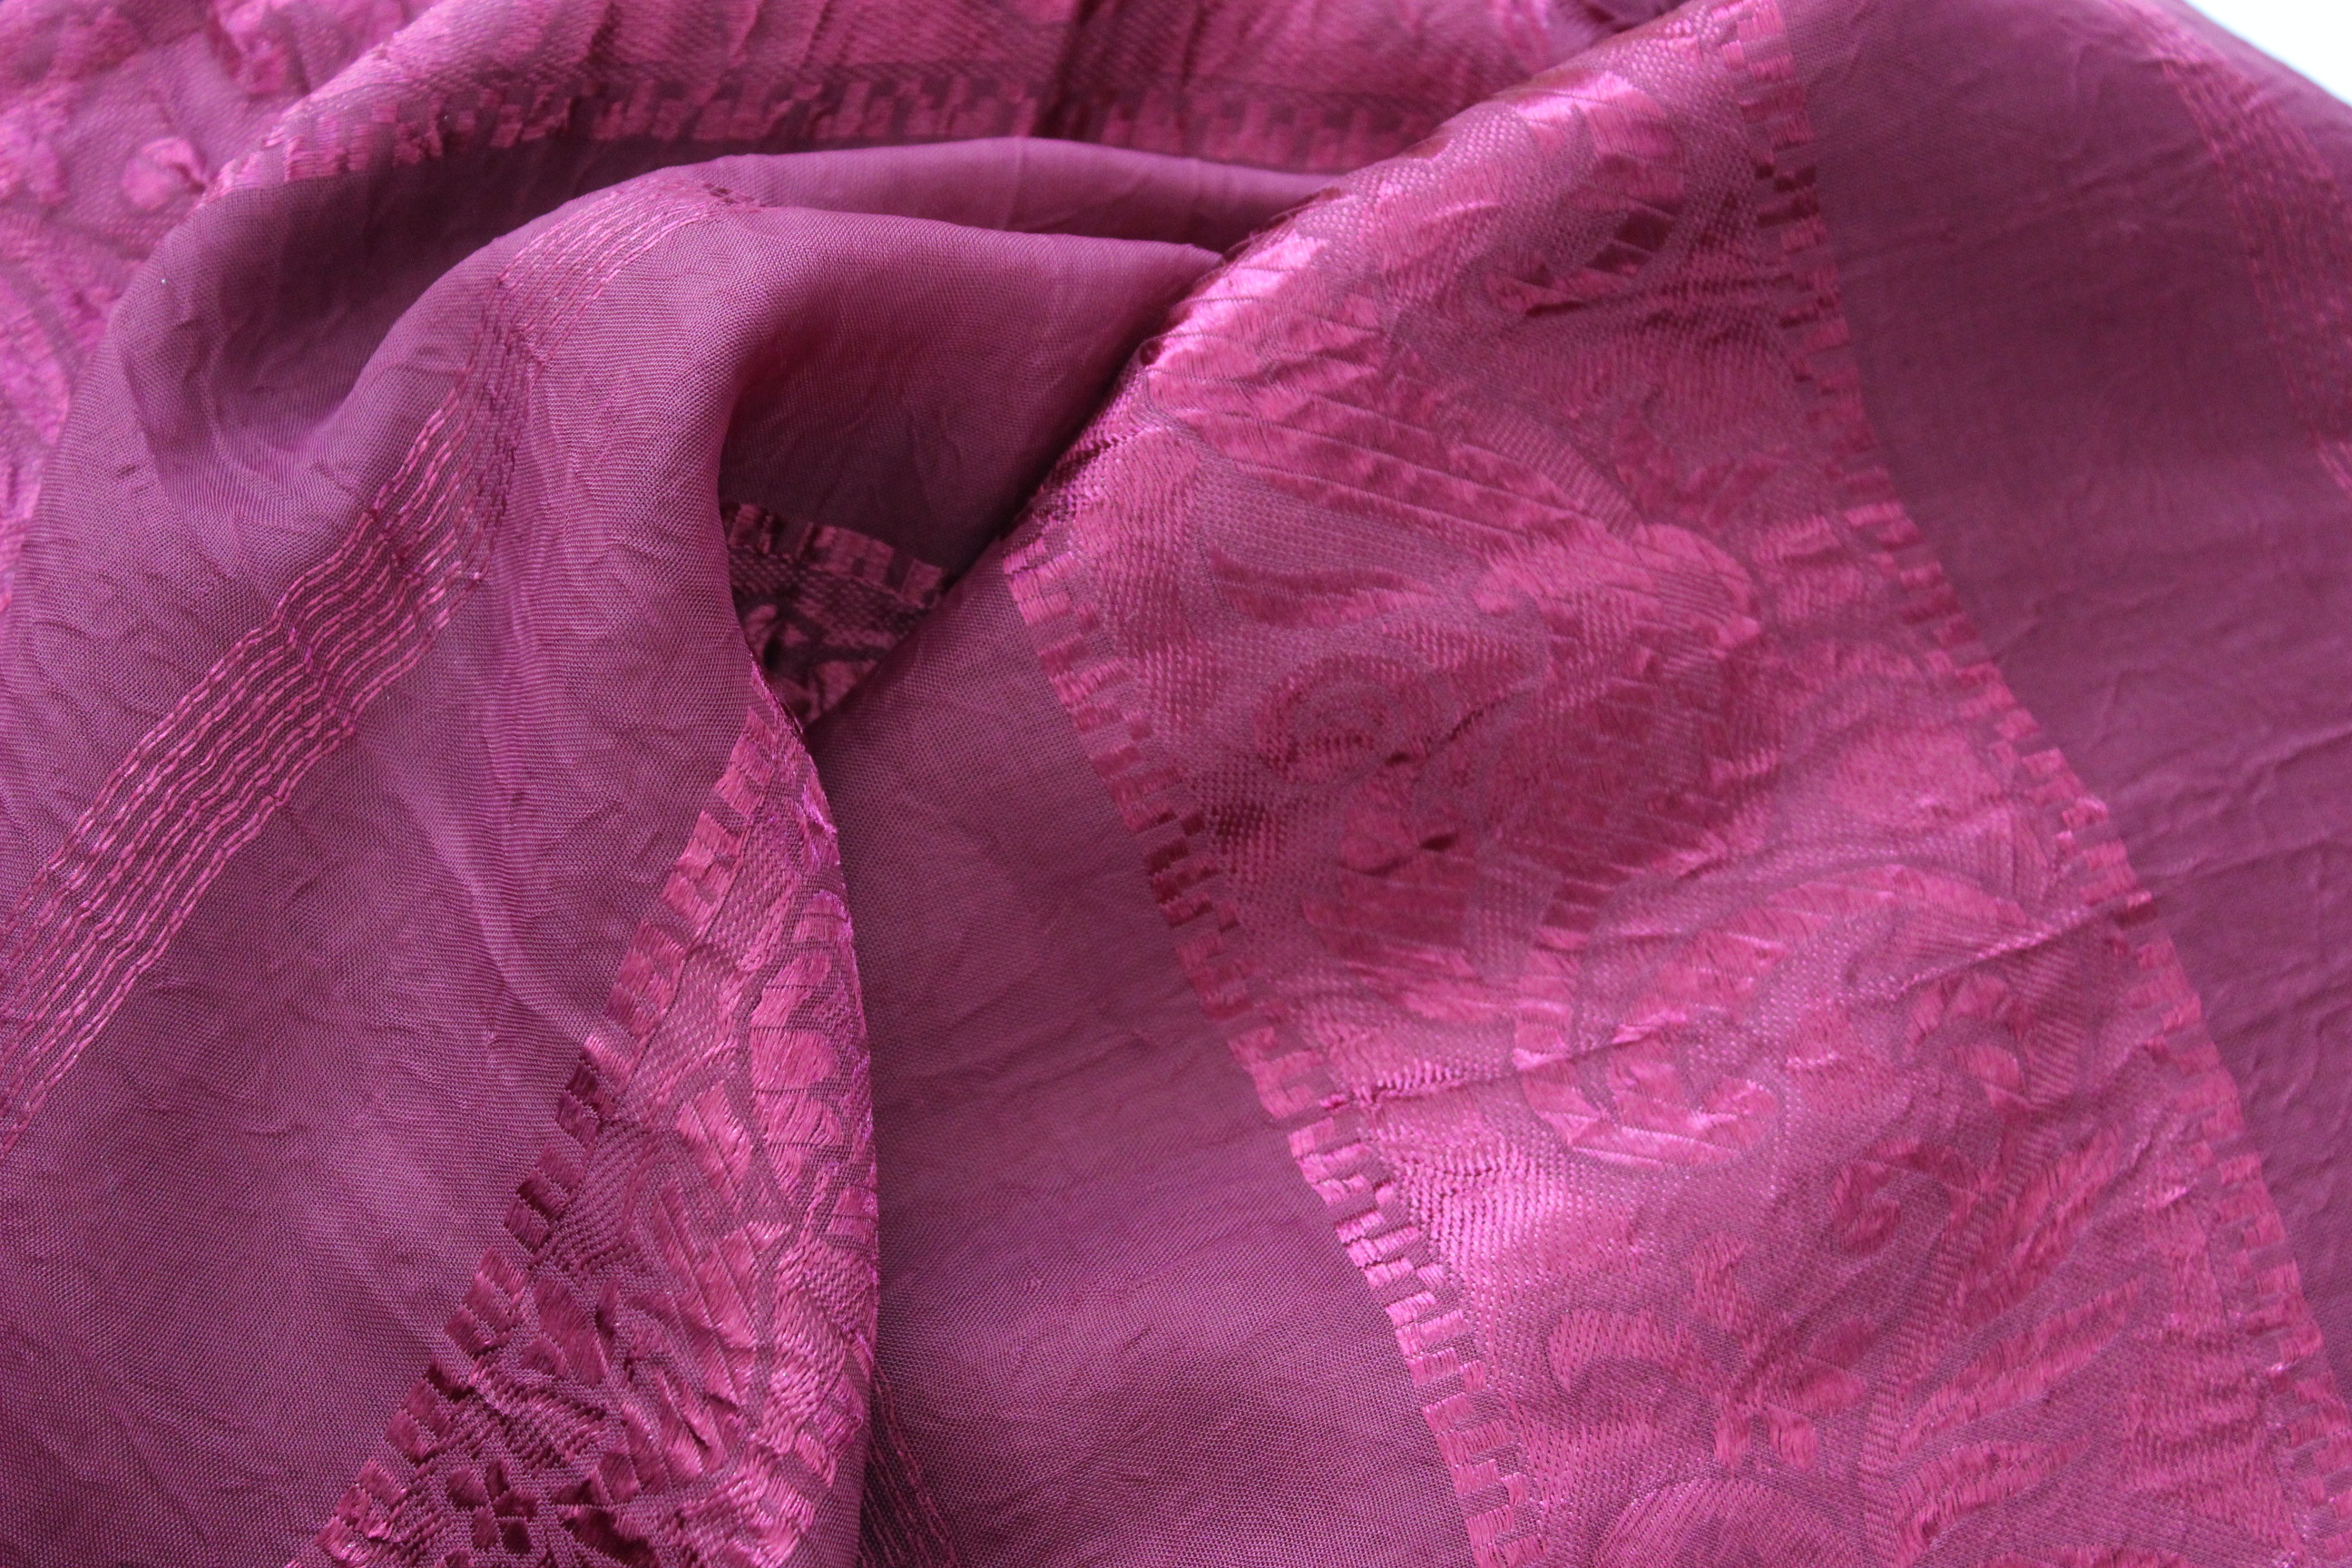
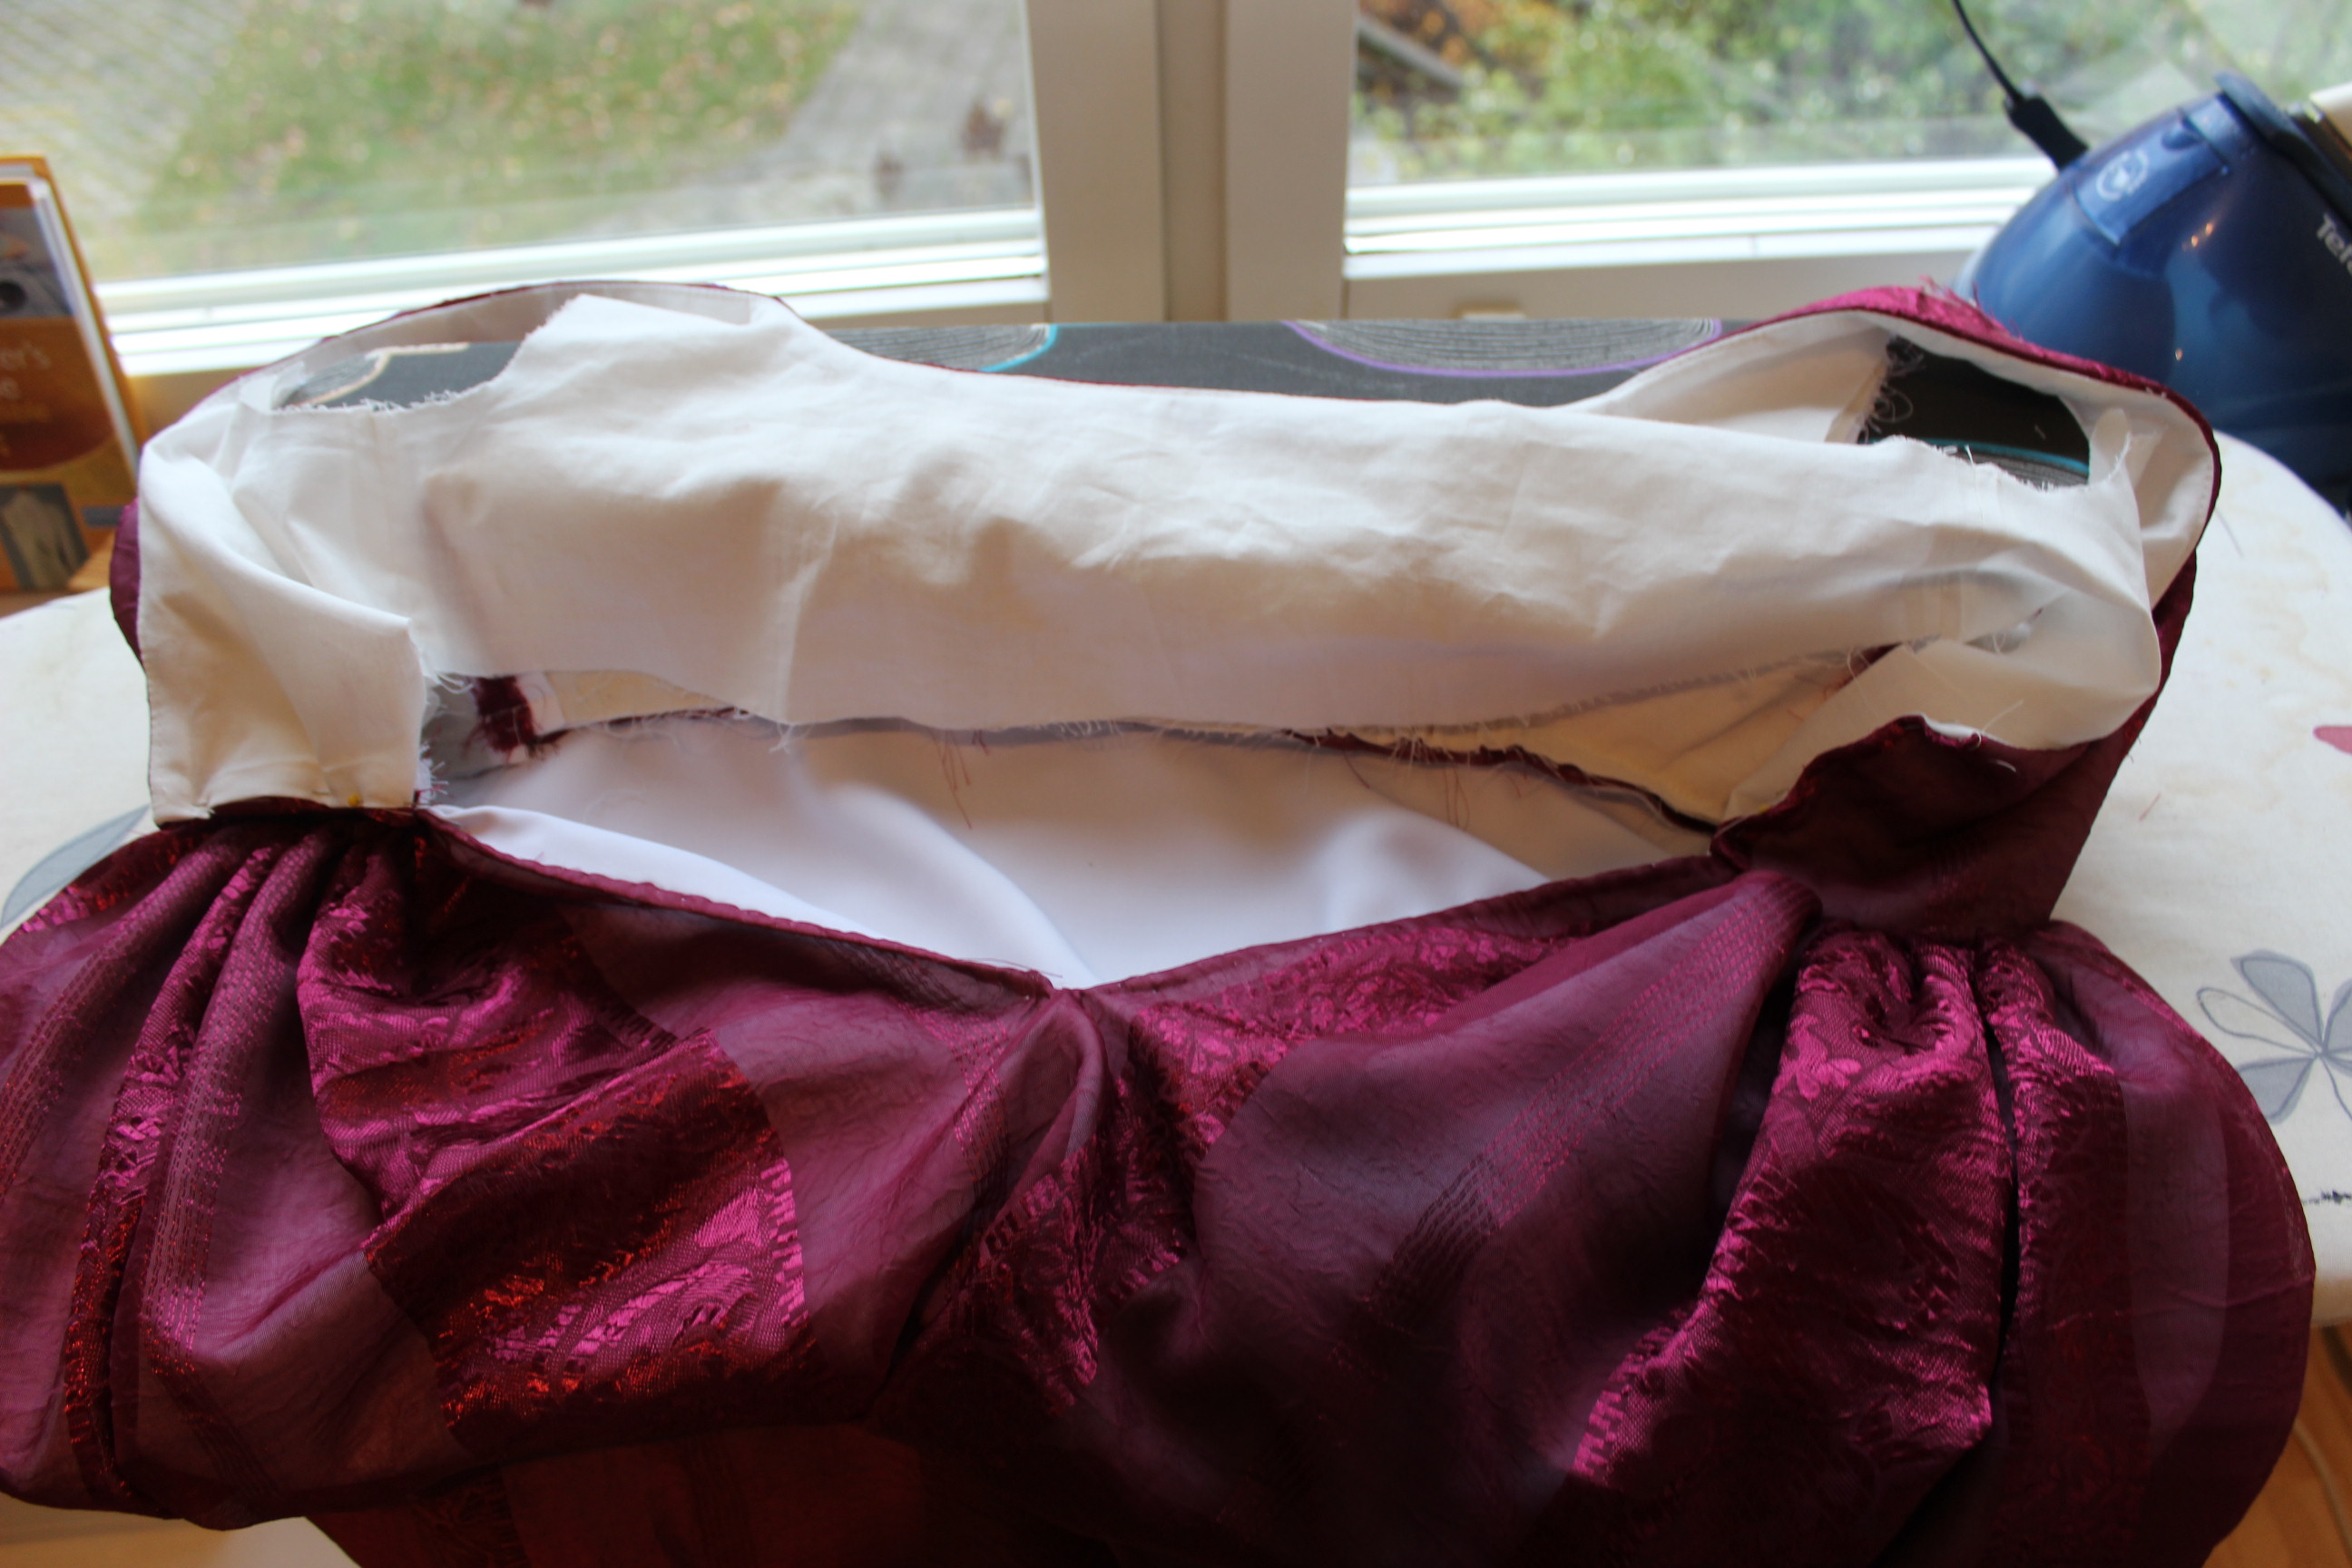
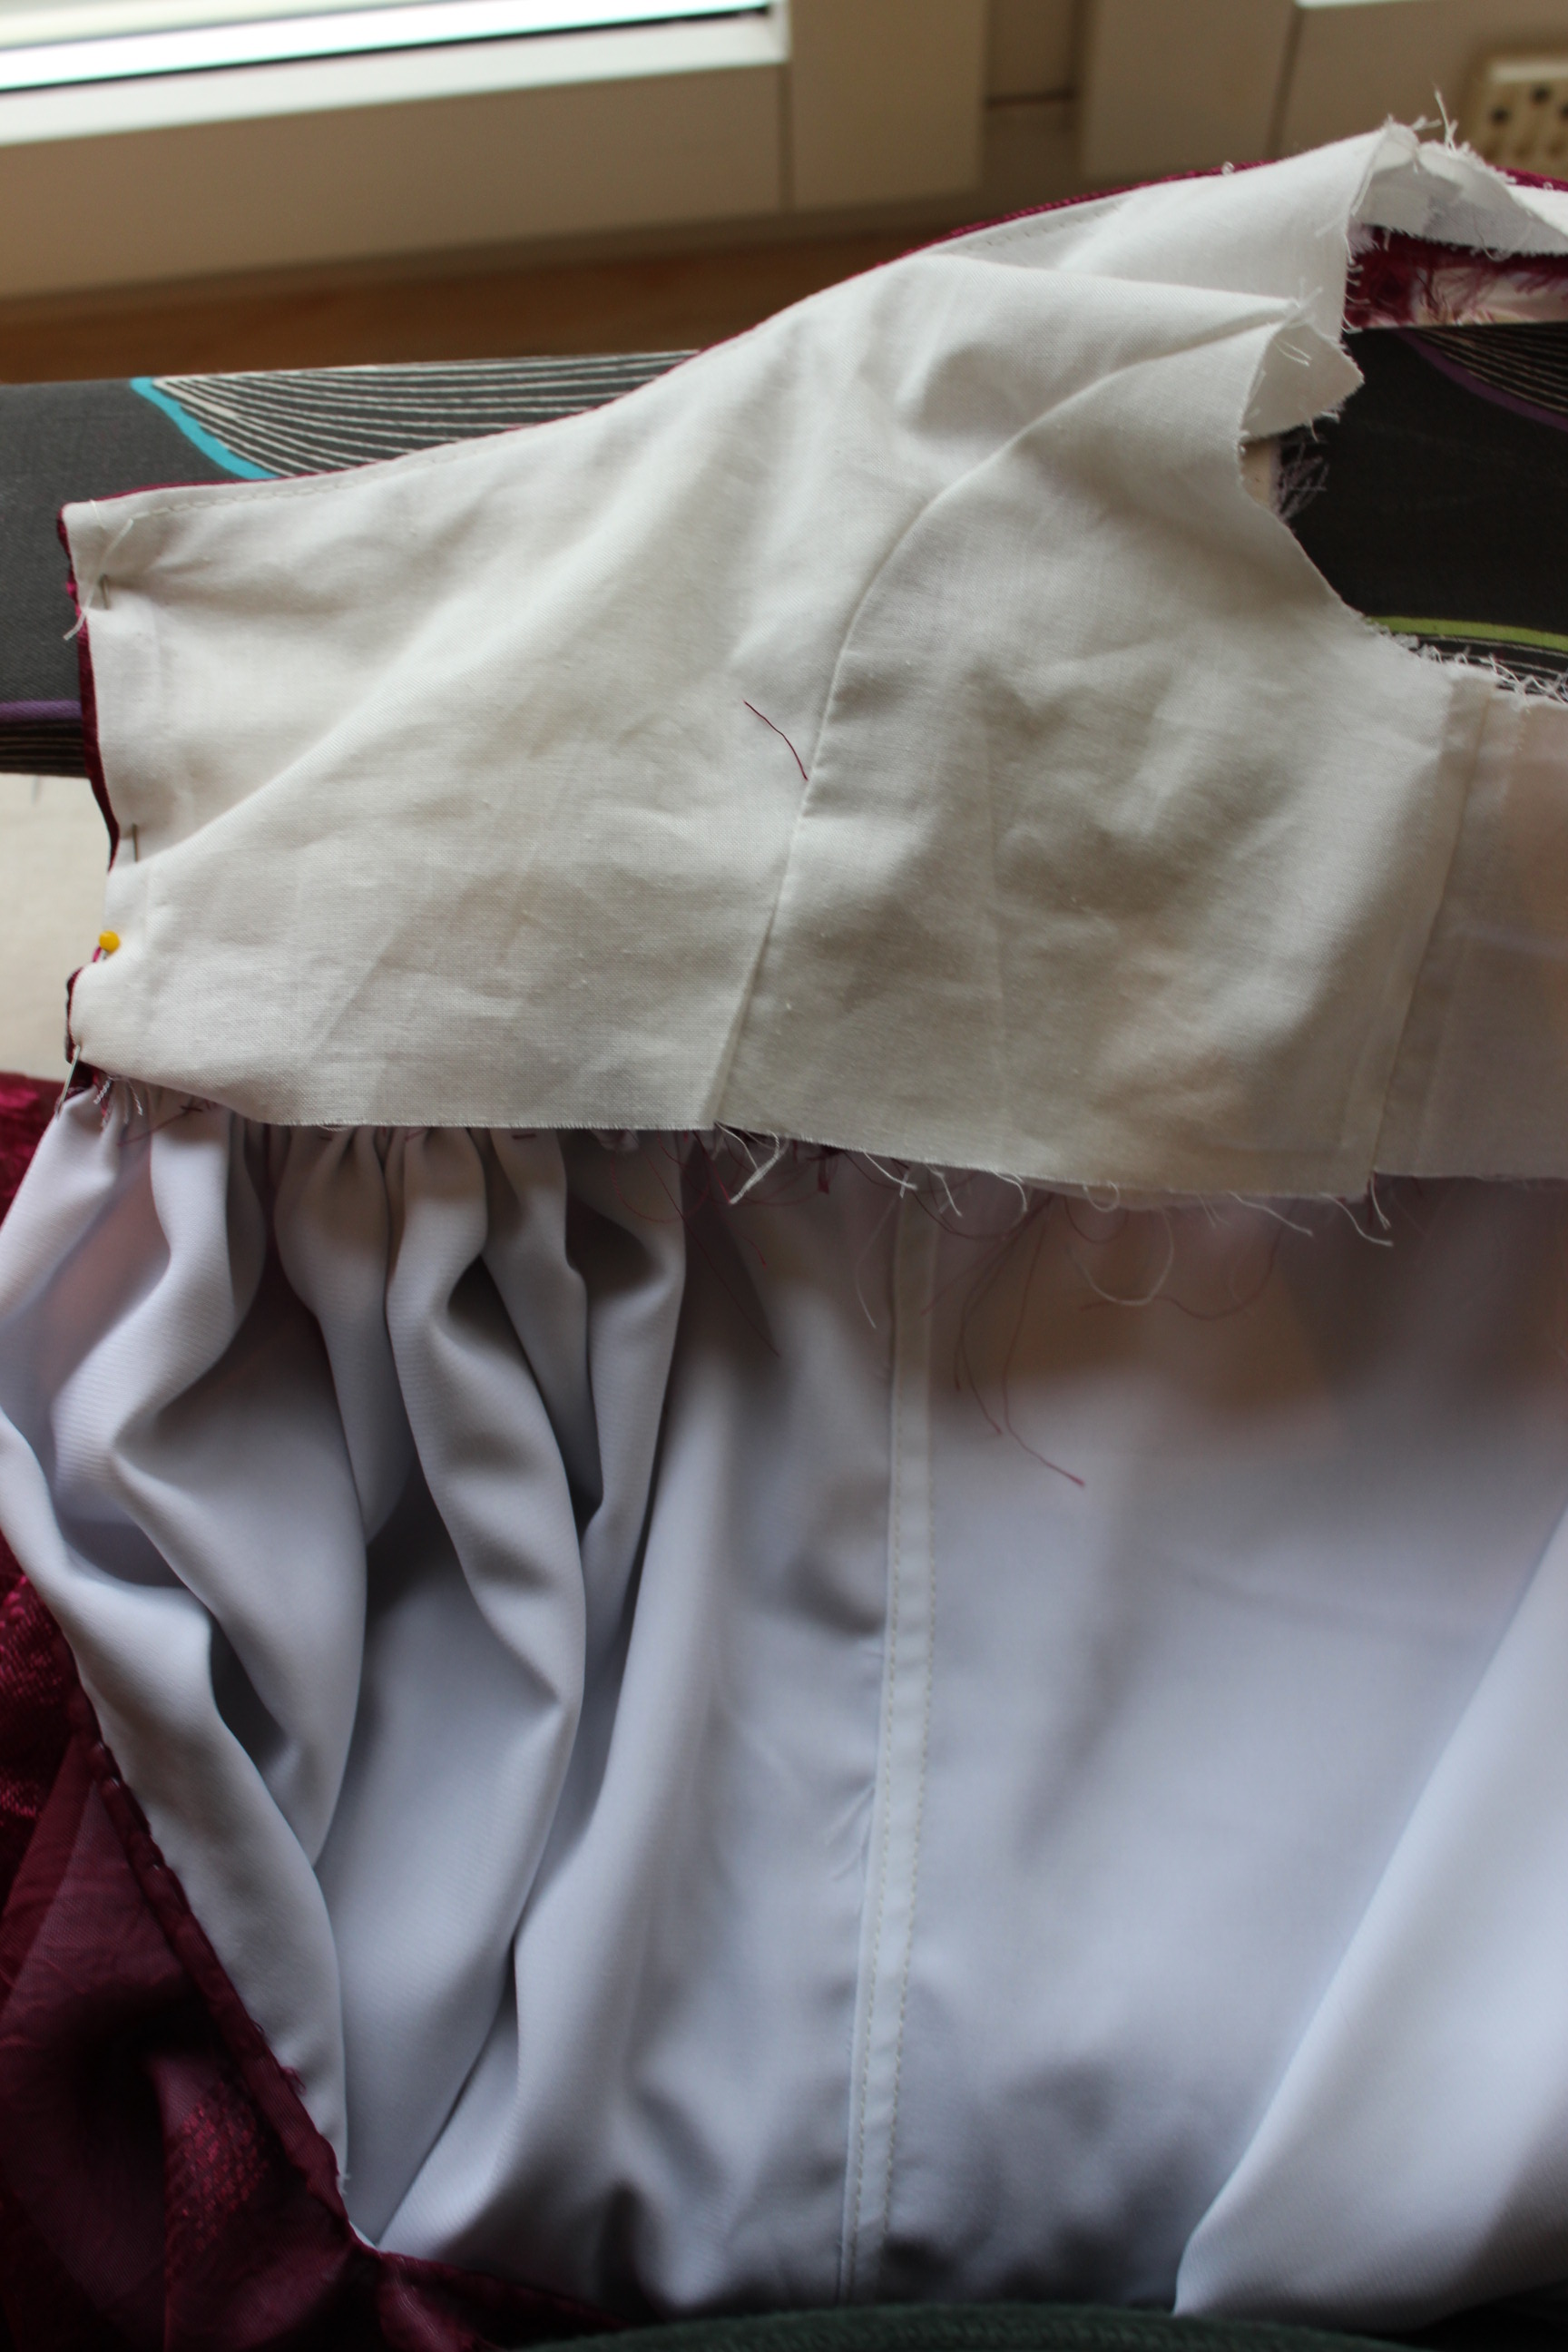
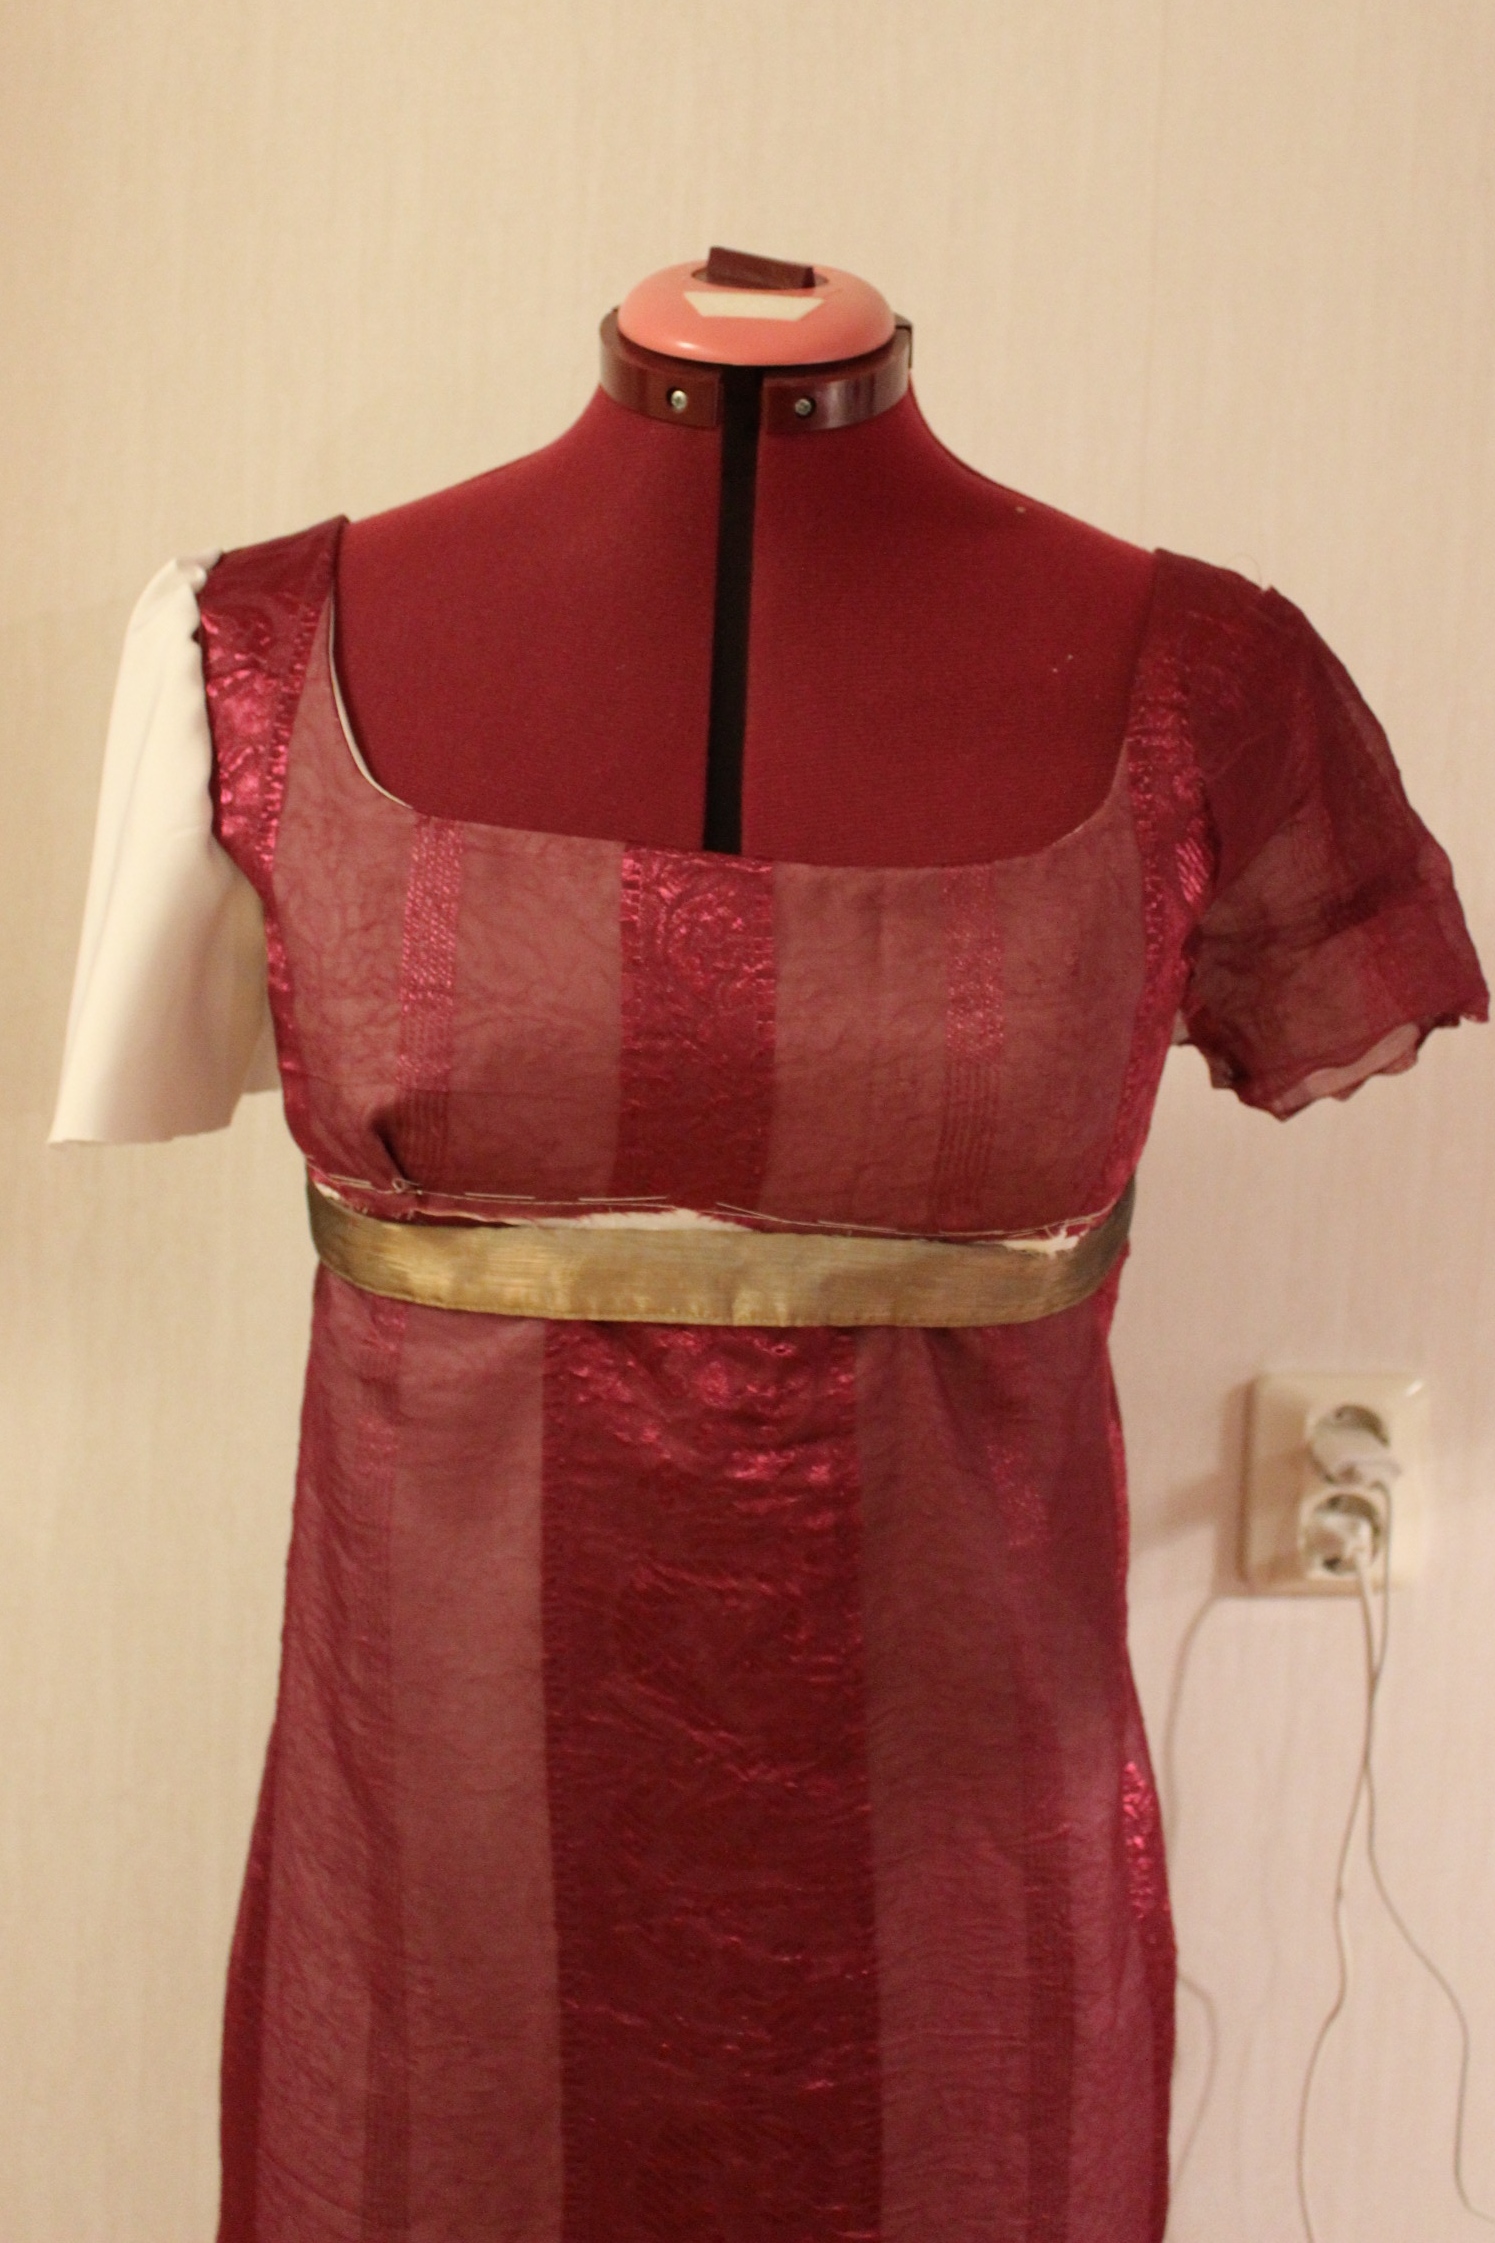
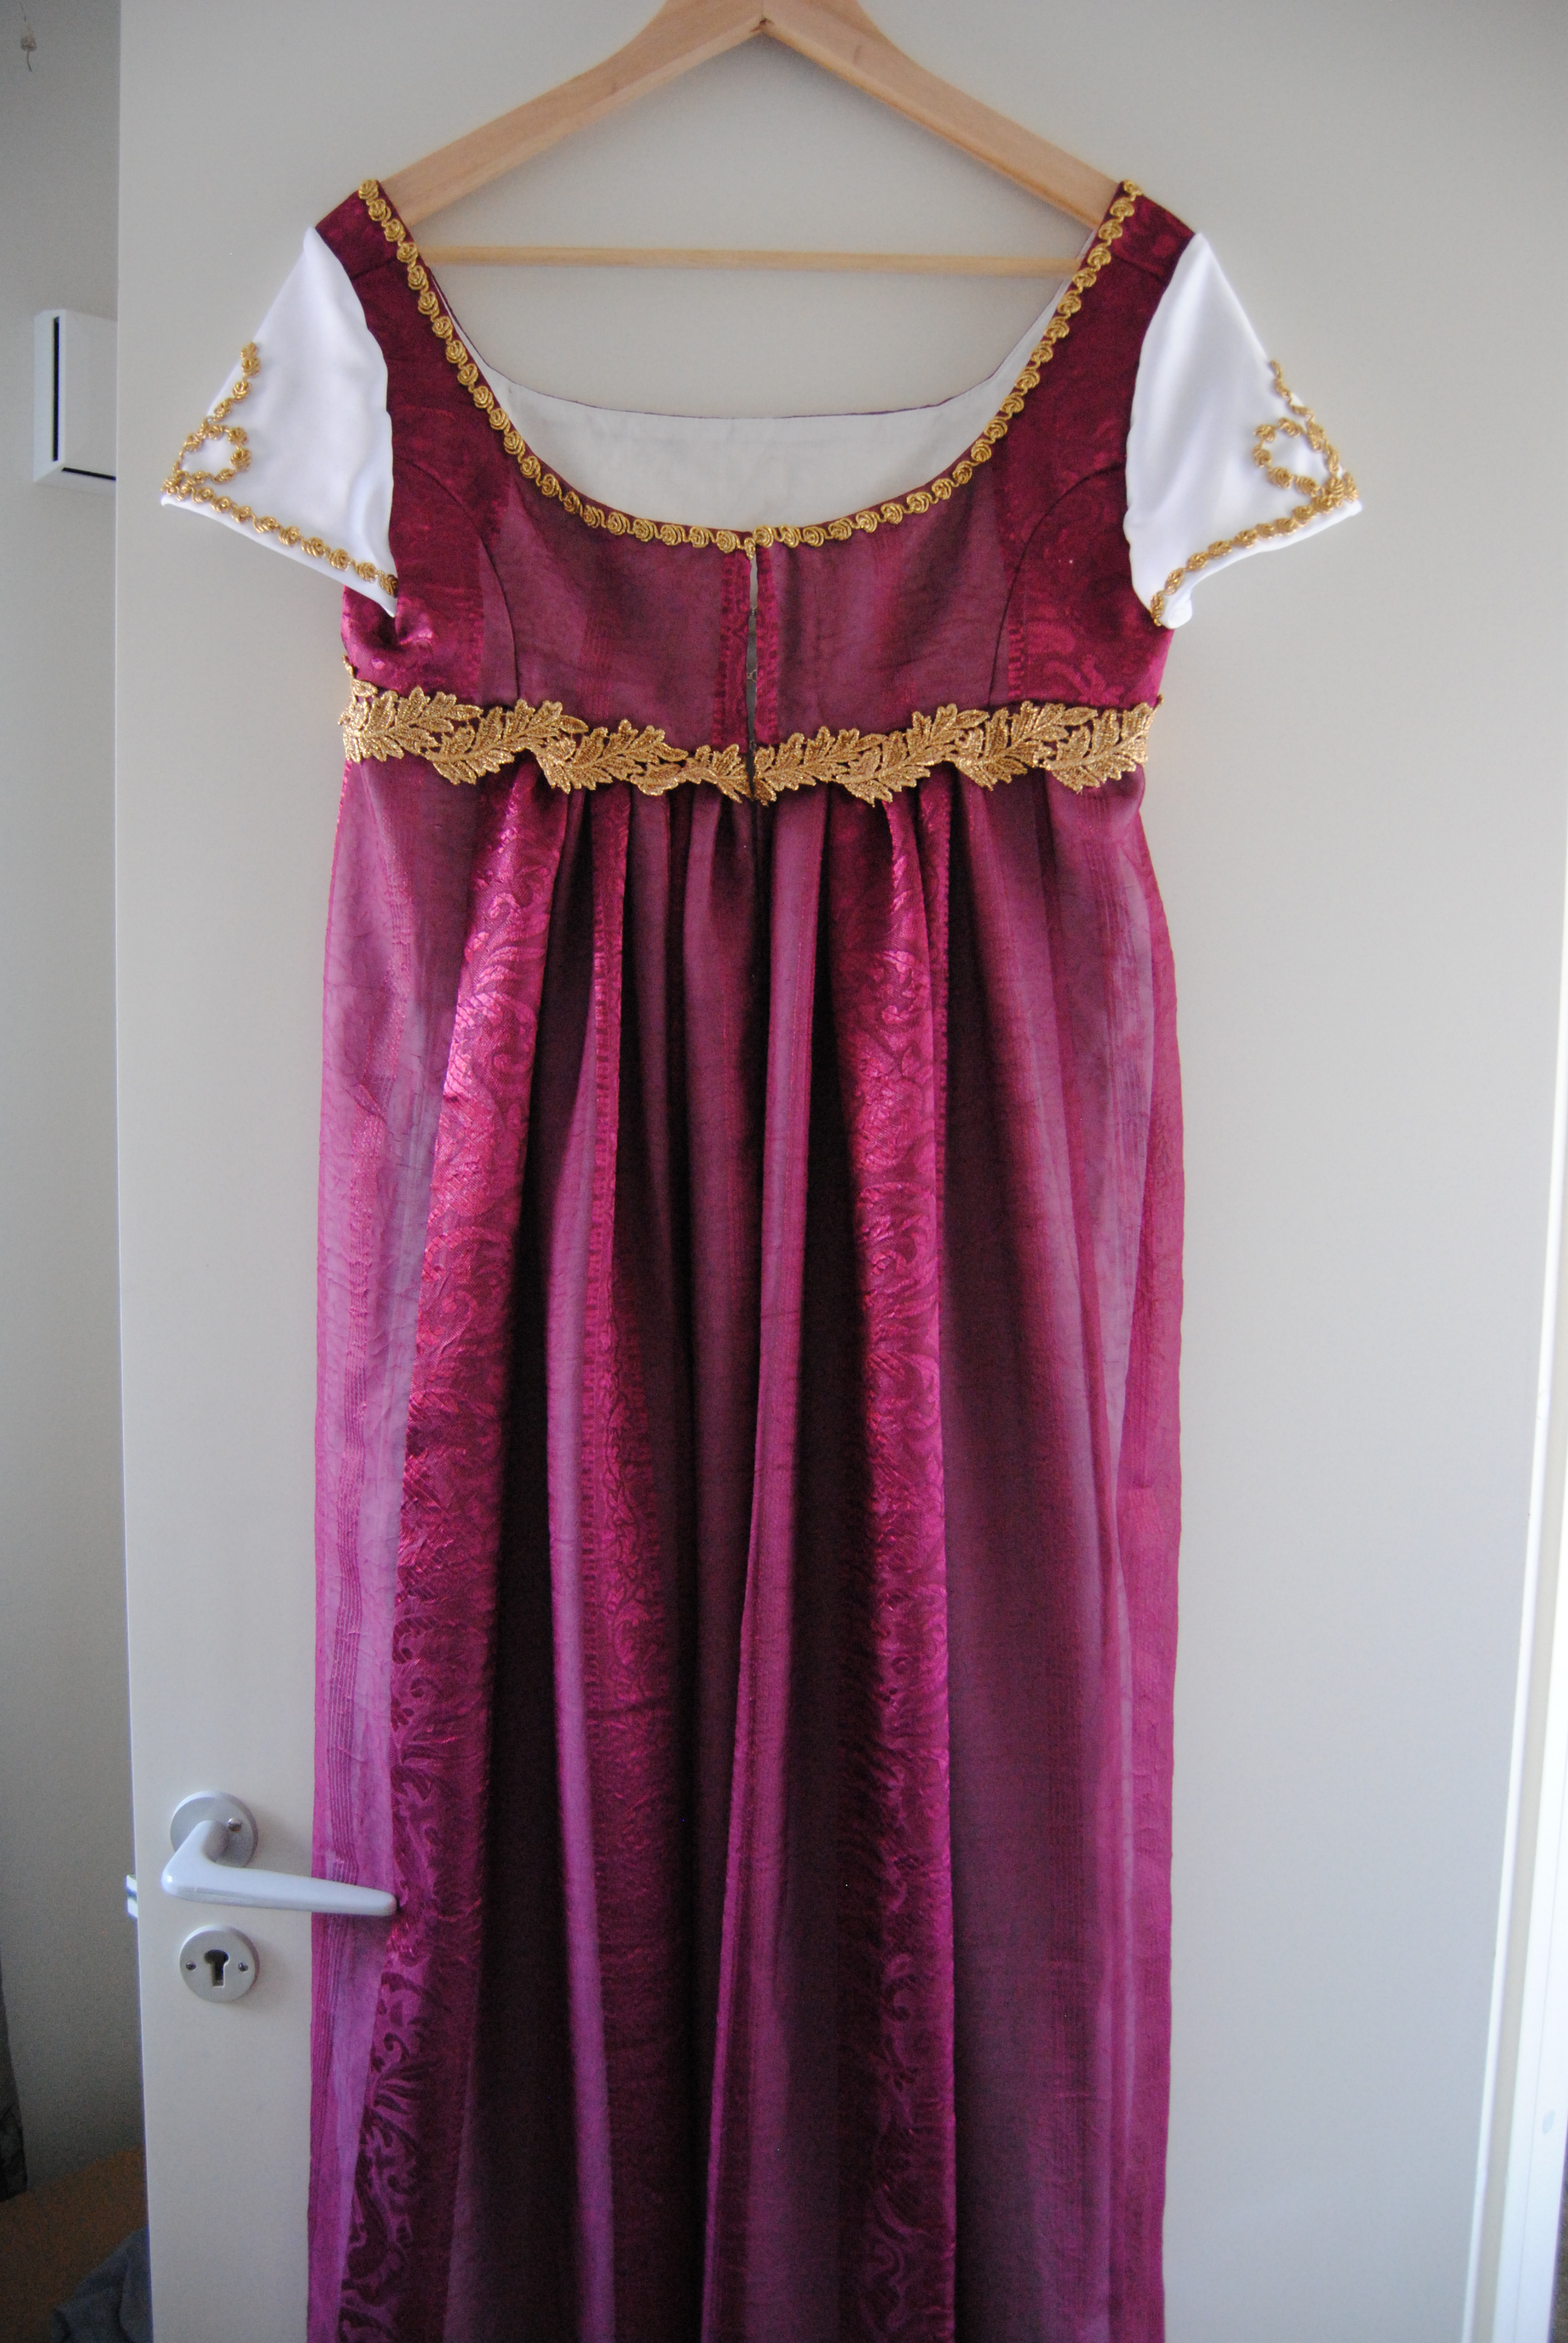
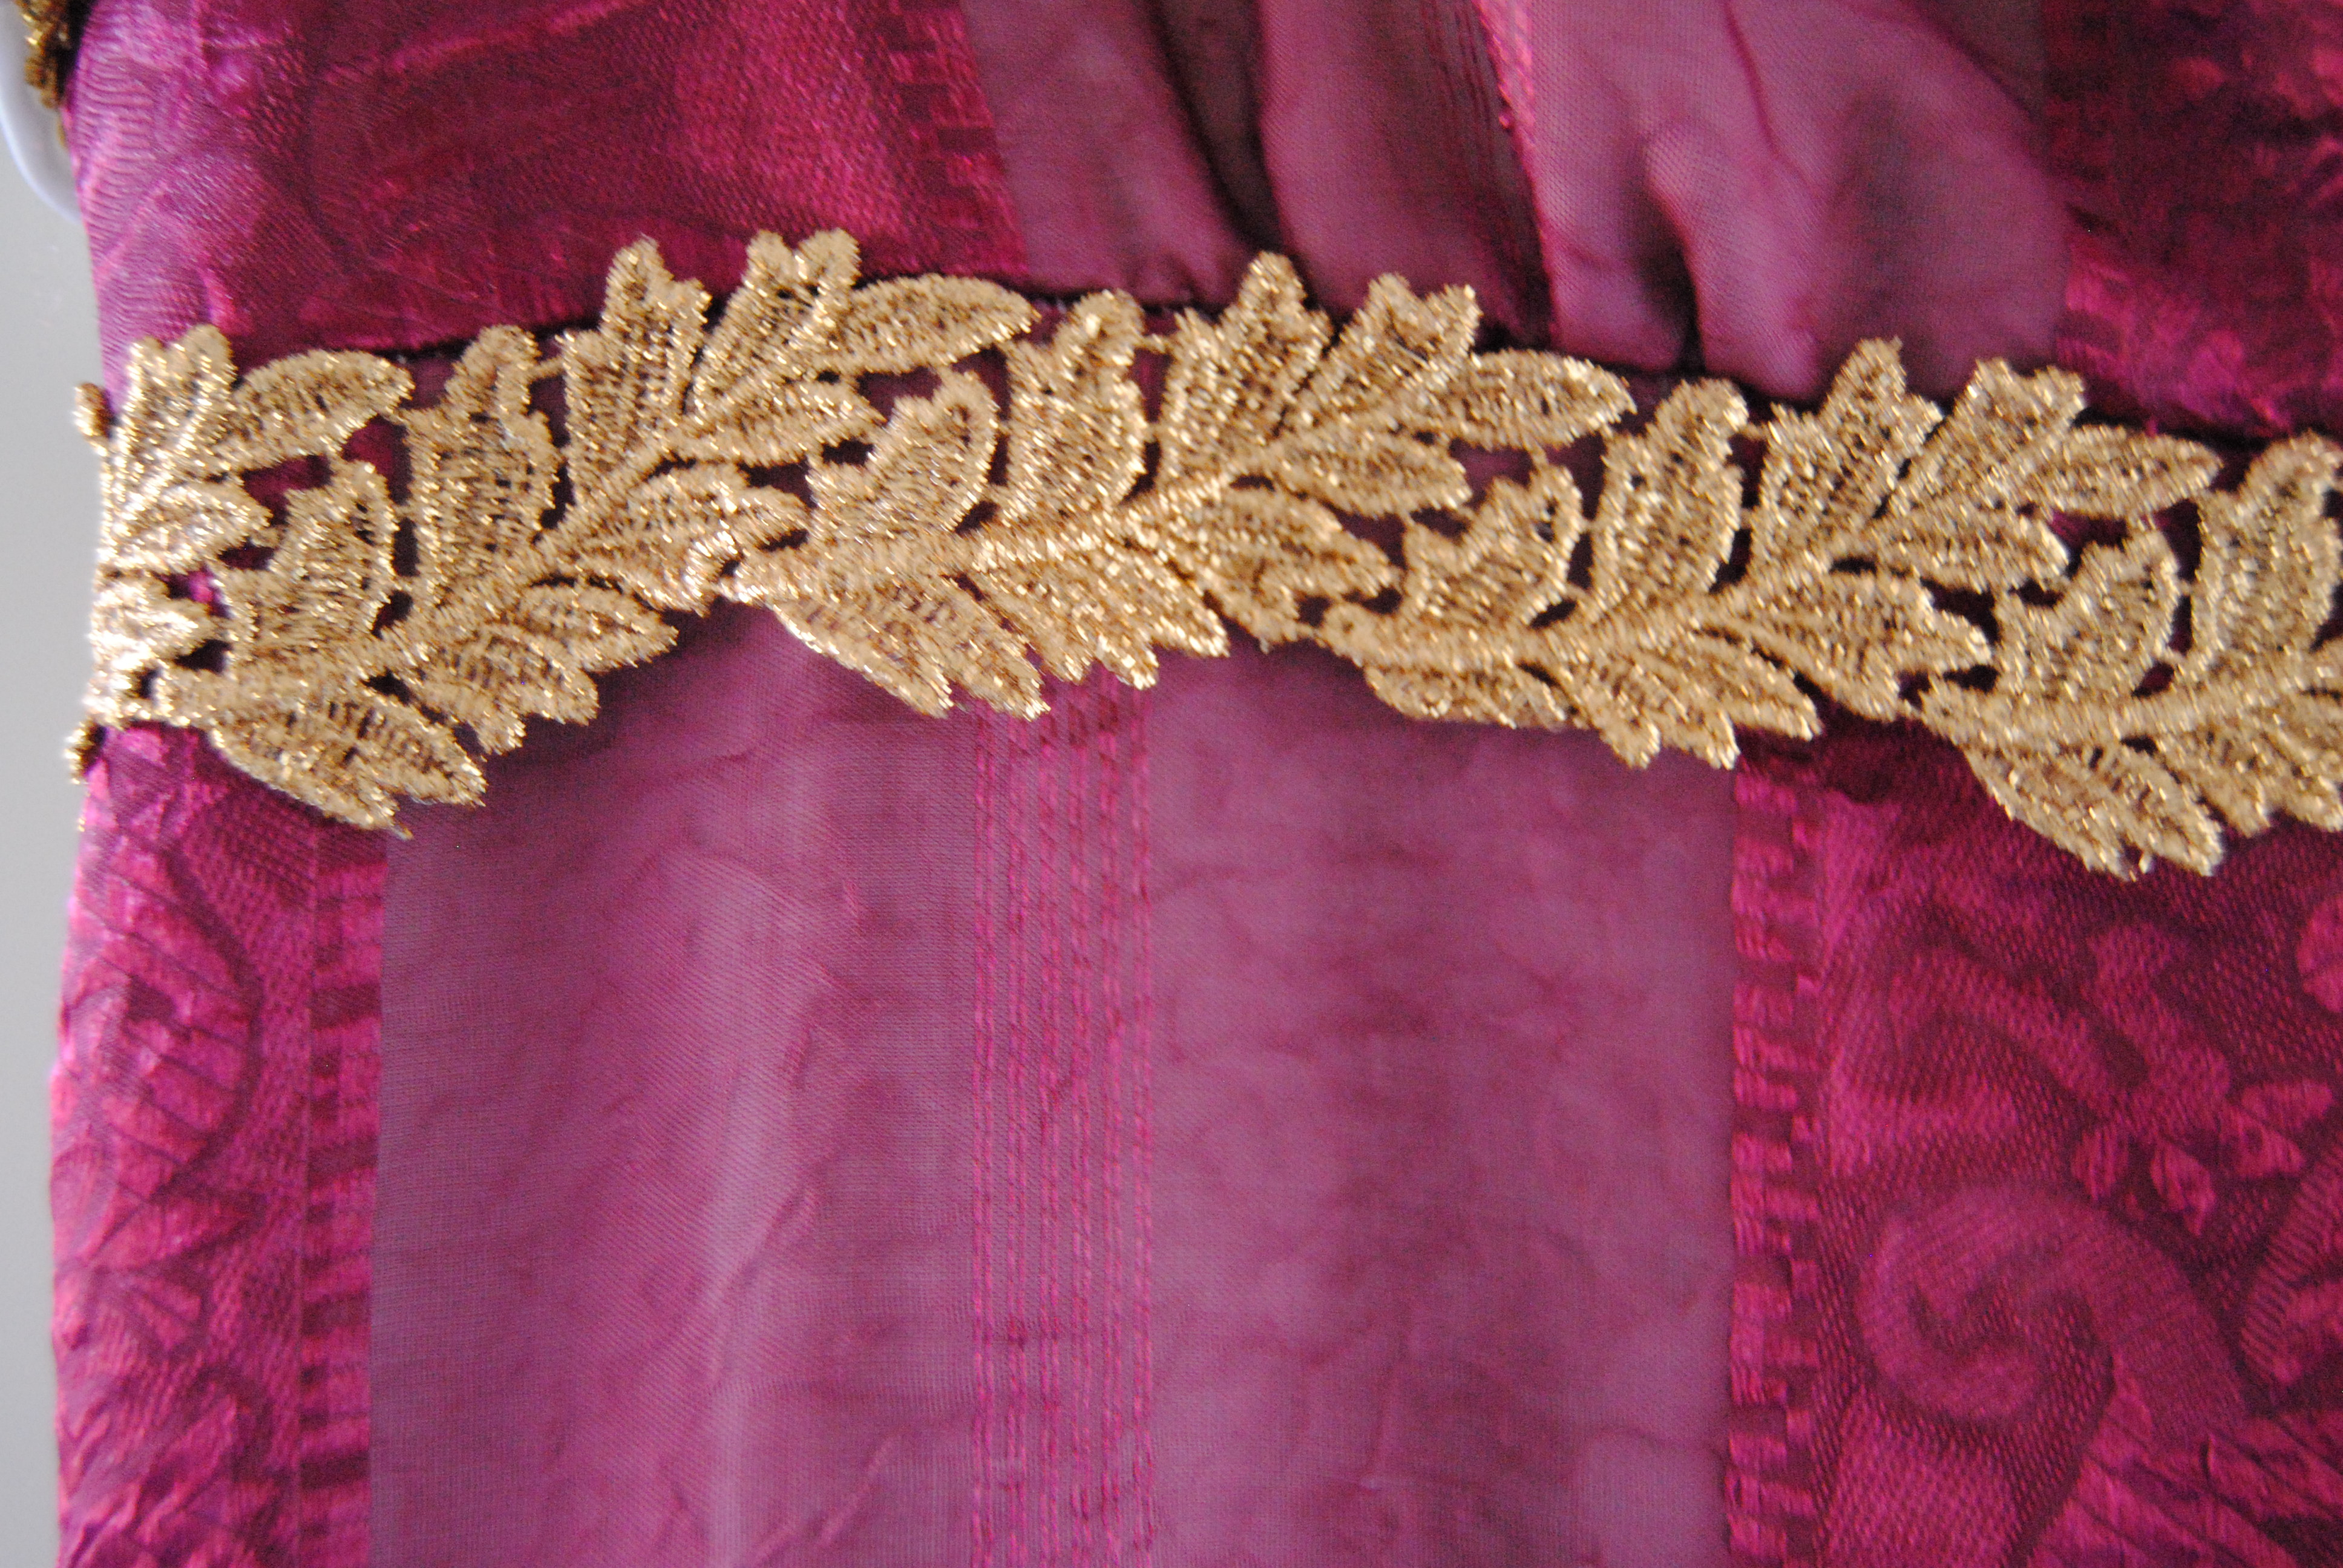
 A greecian inspired Regency gown
Complete: No. Even though the Steampunk outfit got finished months before, and the 18th century Halloween gown was planed, but never executed.
21. Re-do
A easy one to do since you can make almost anything, but I will decide later on.
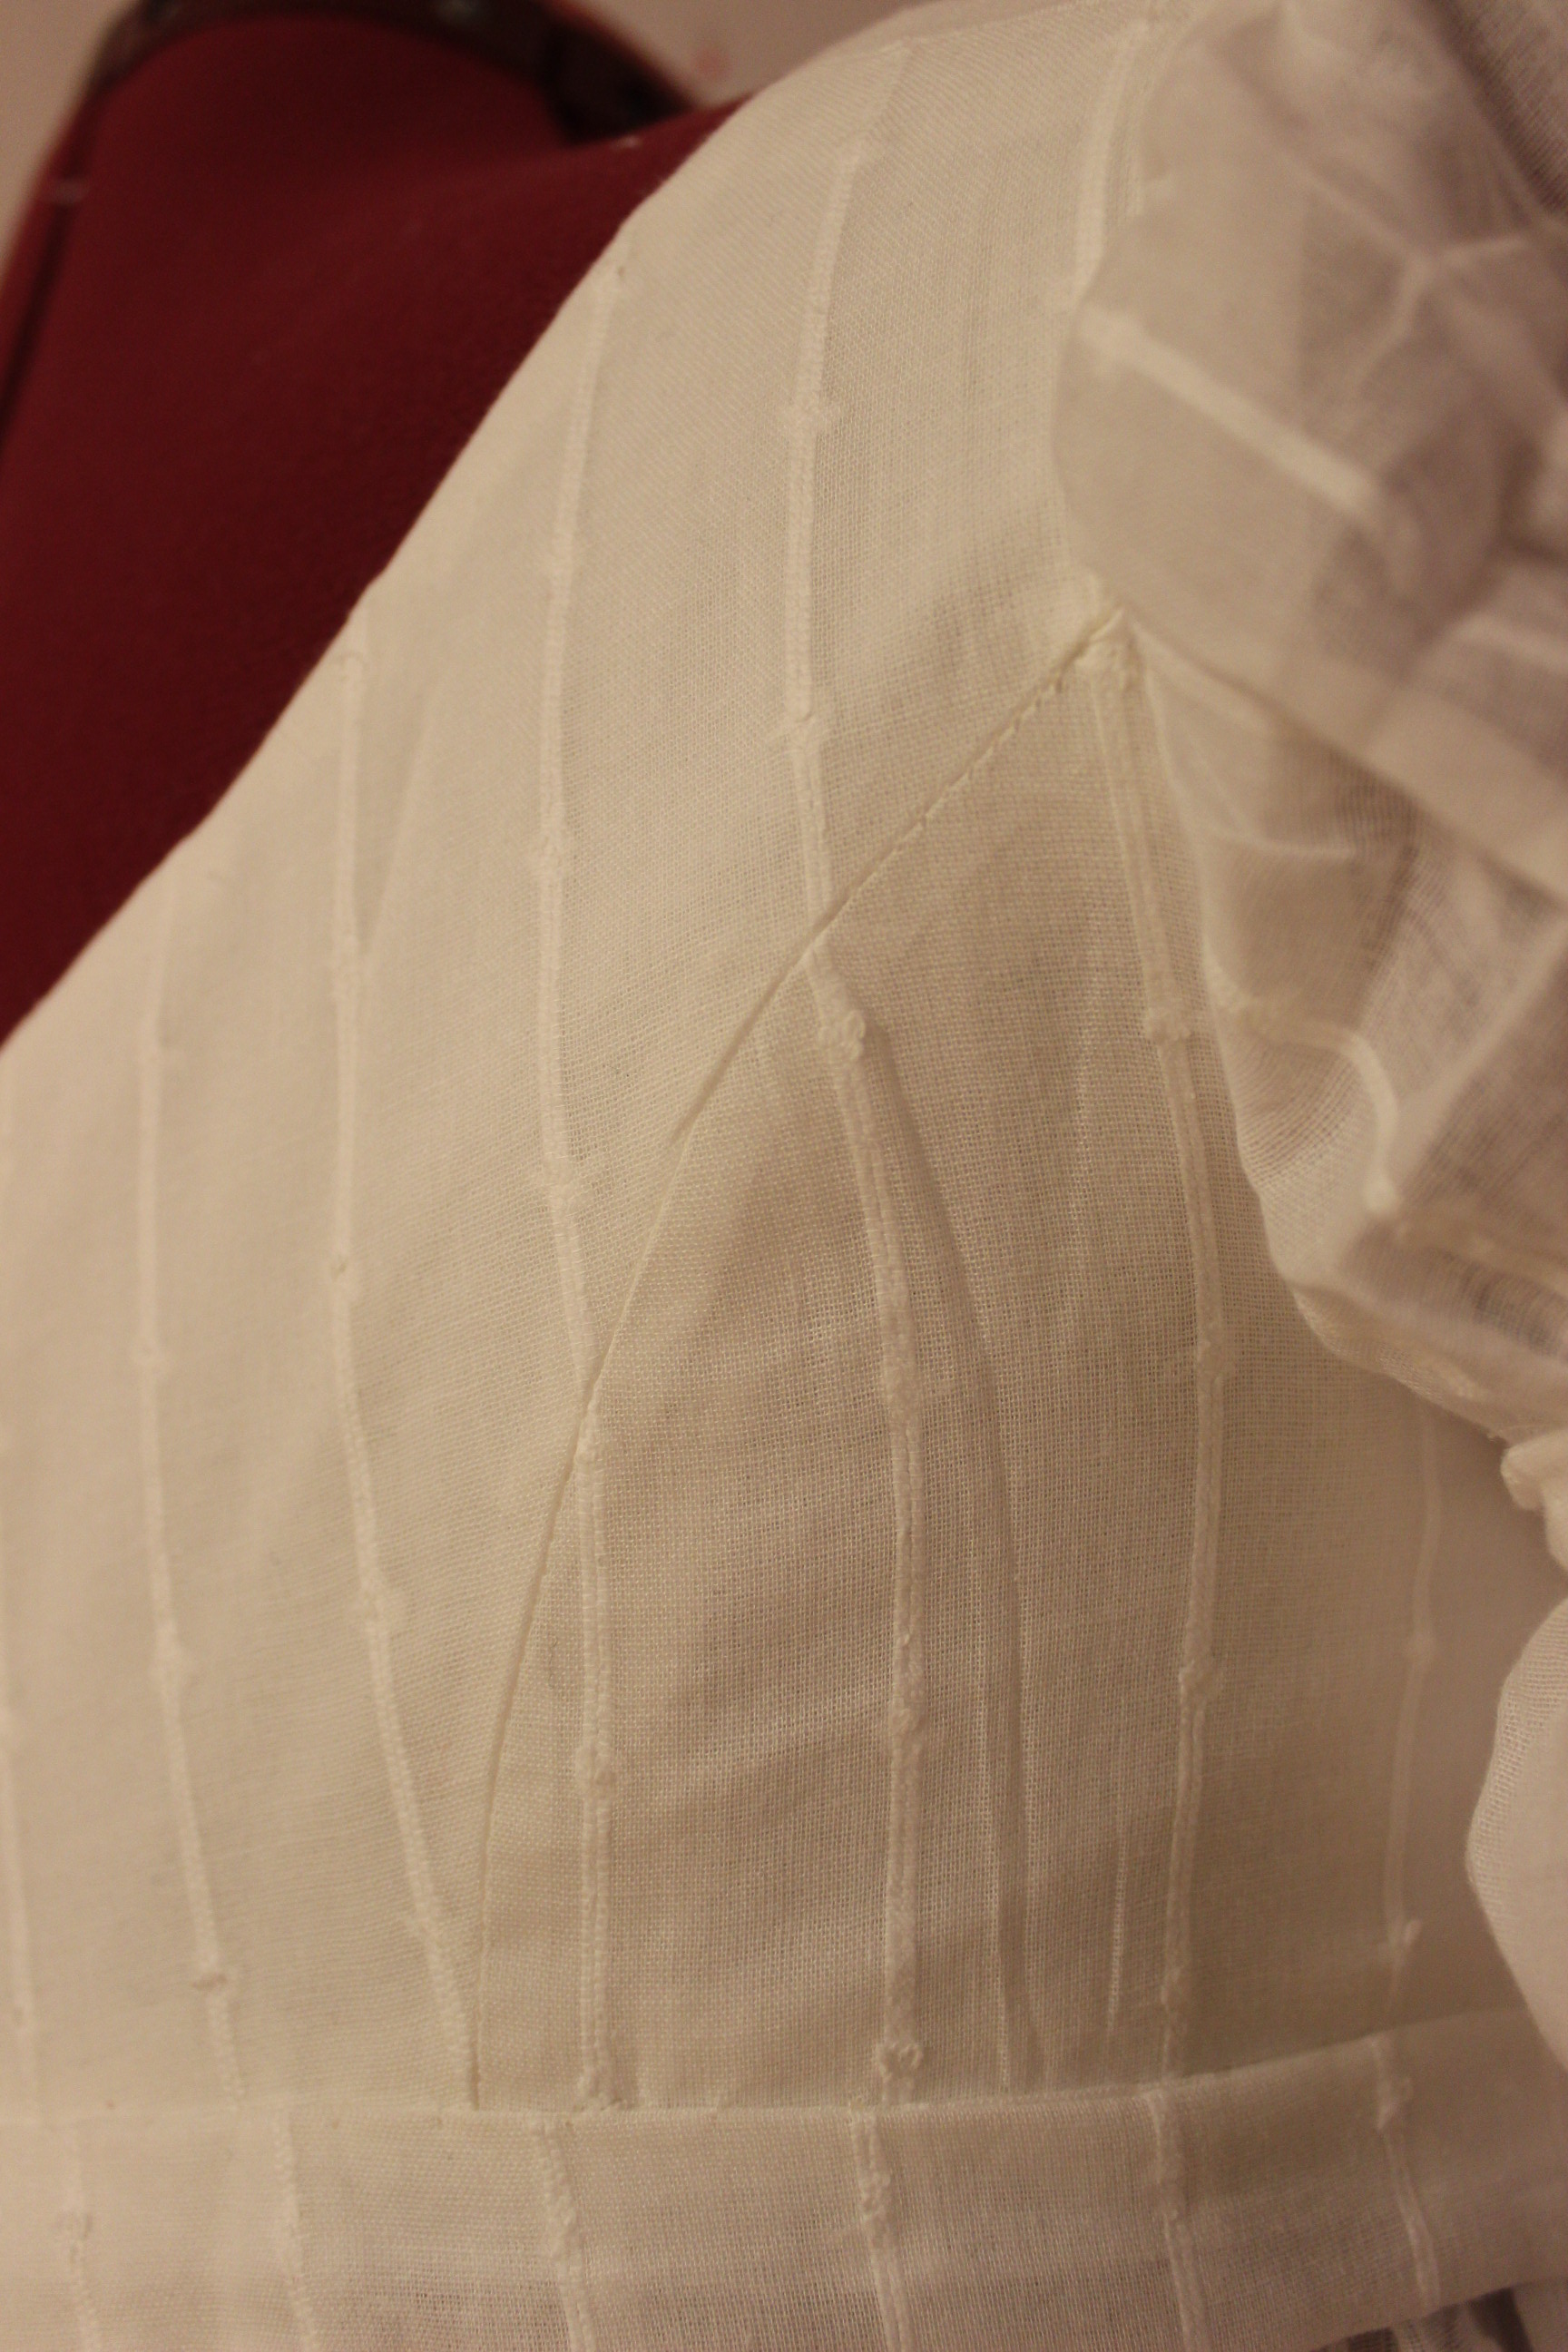
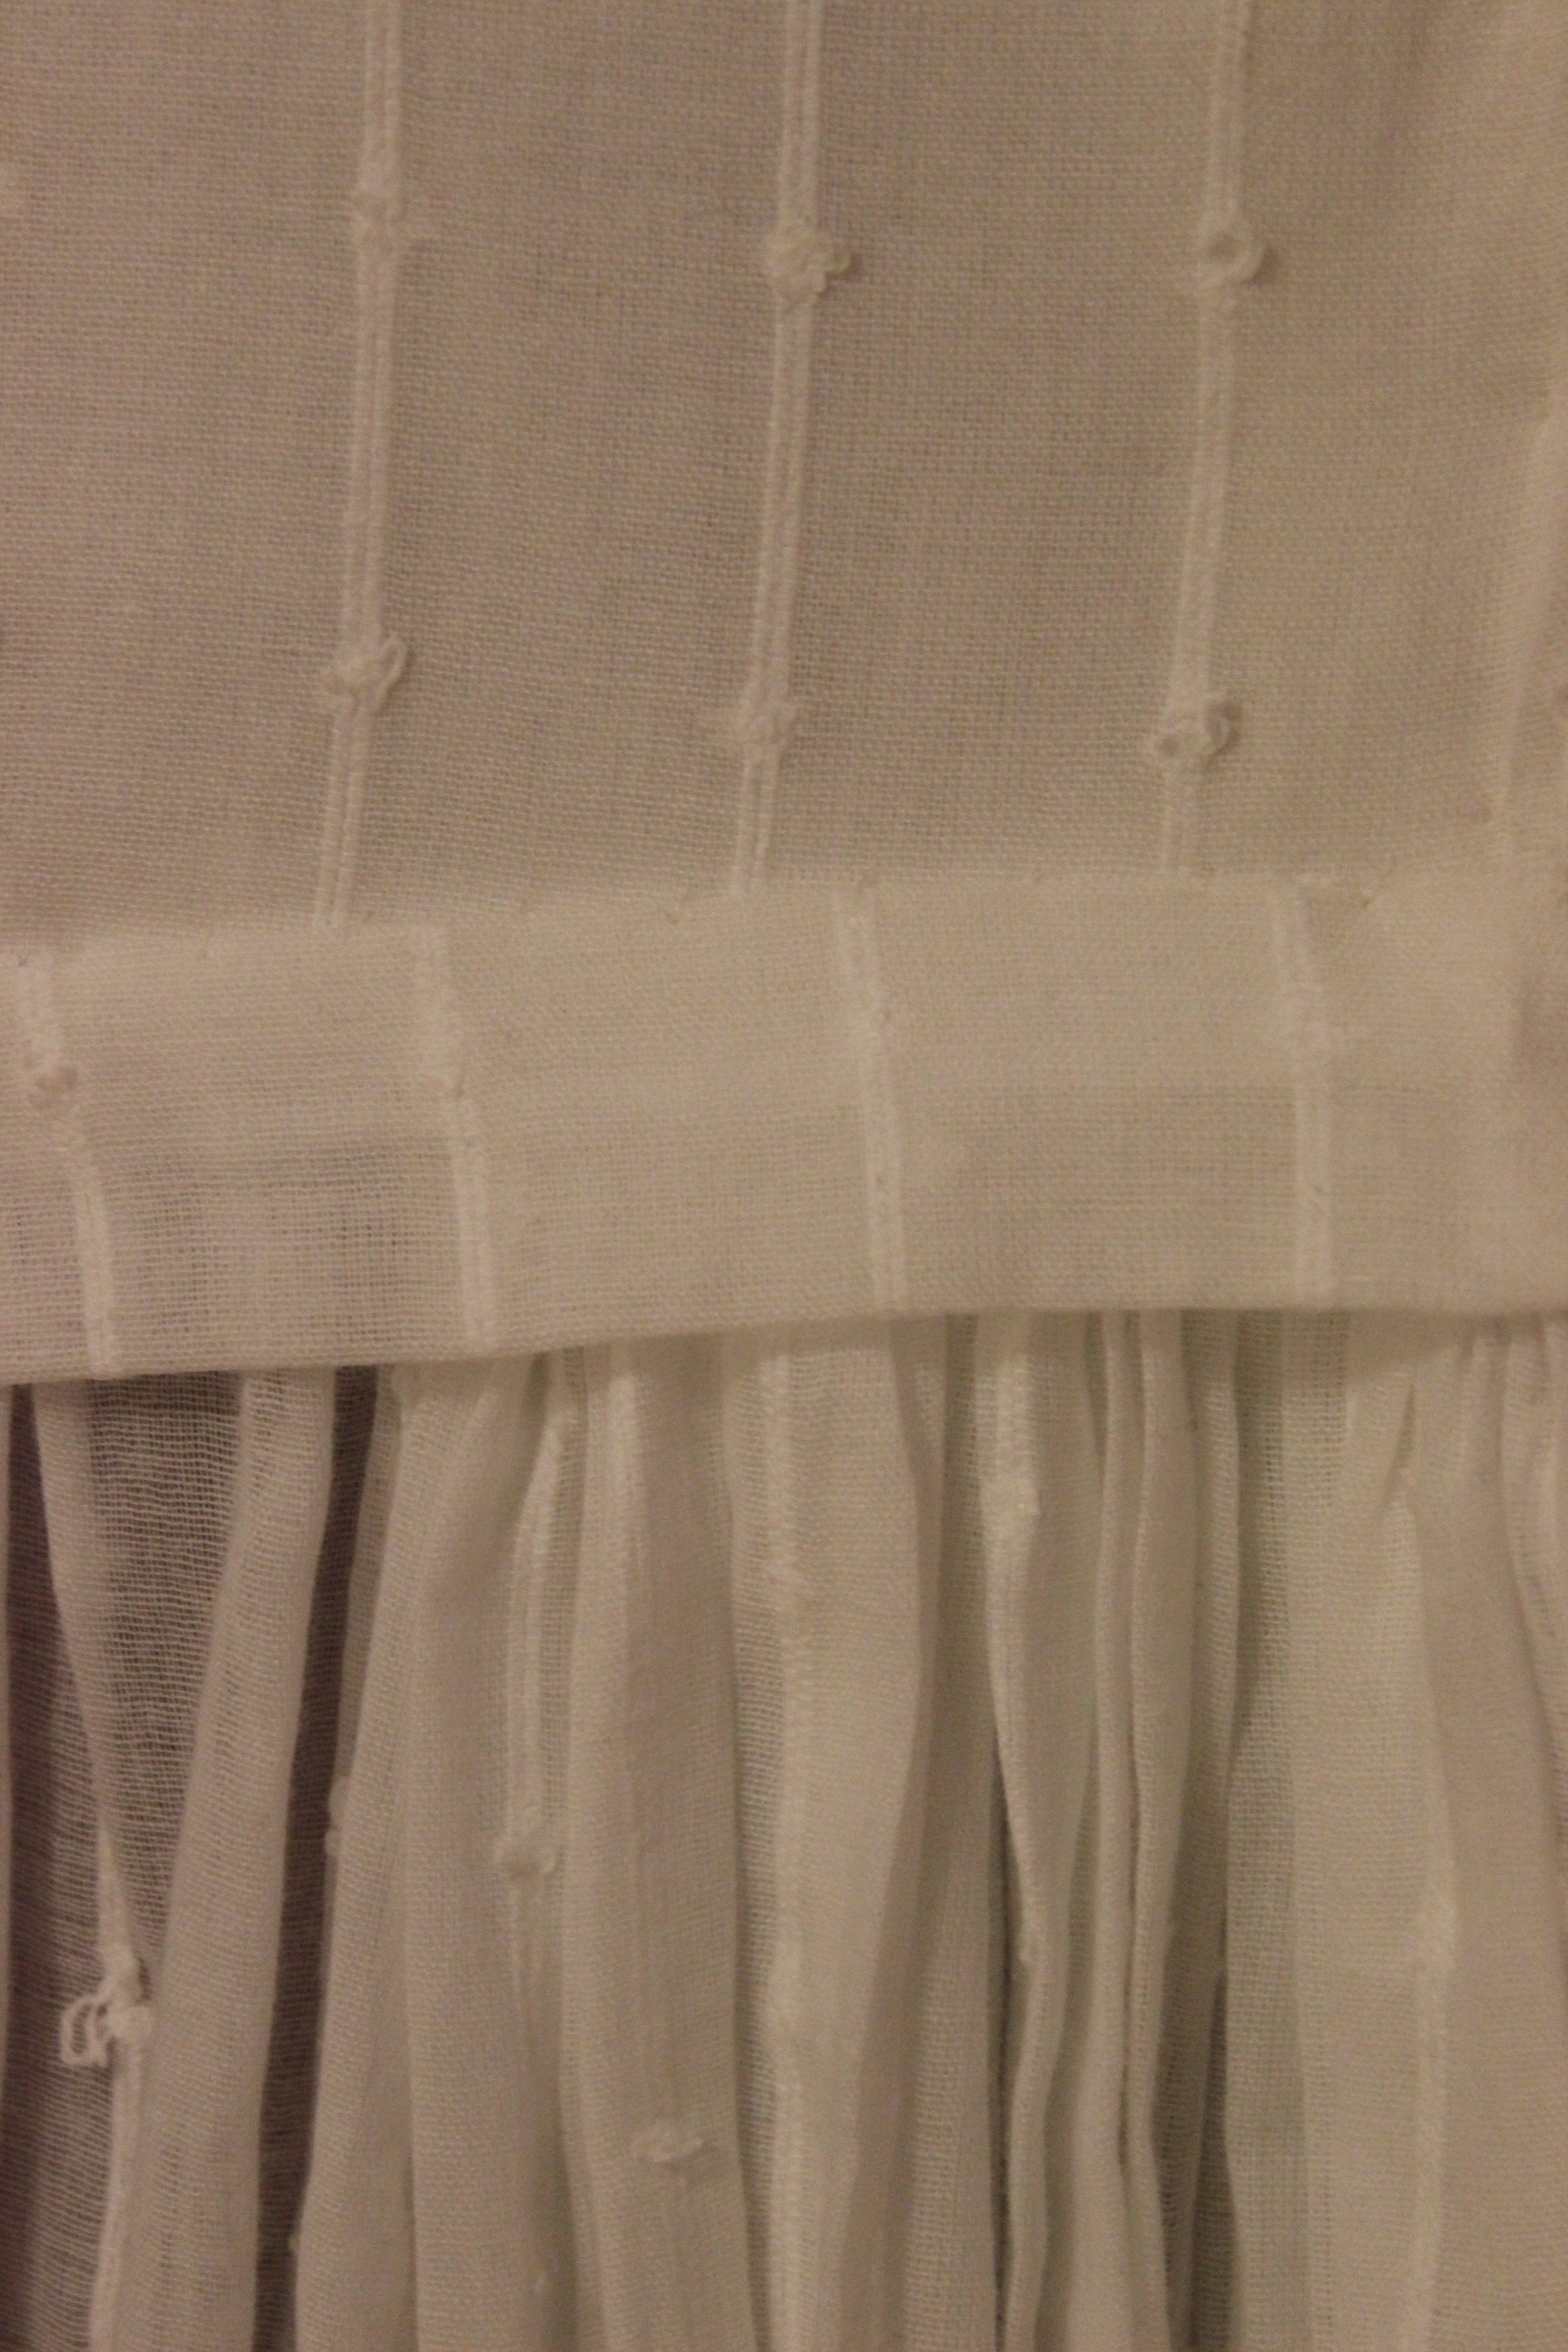
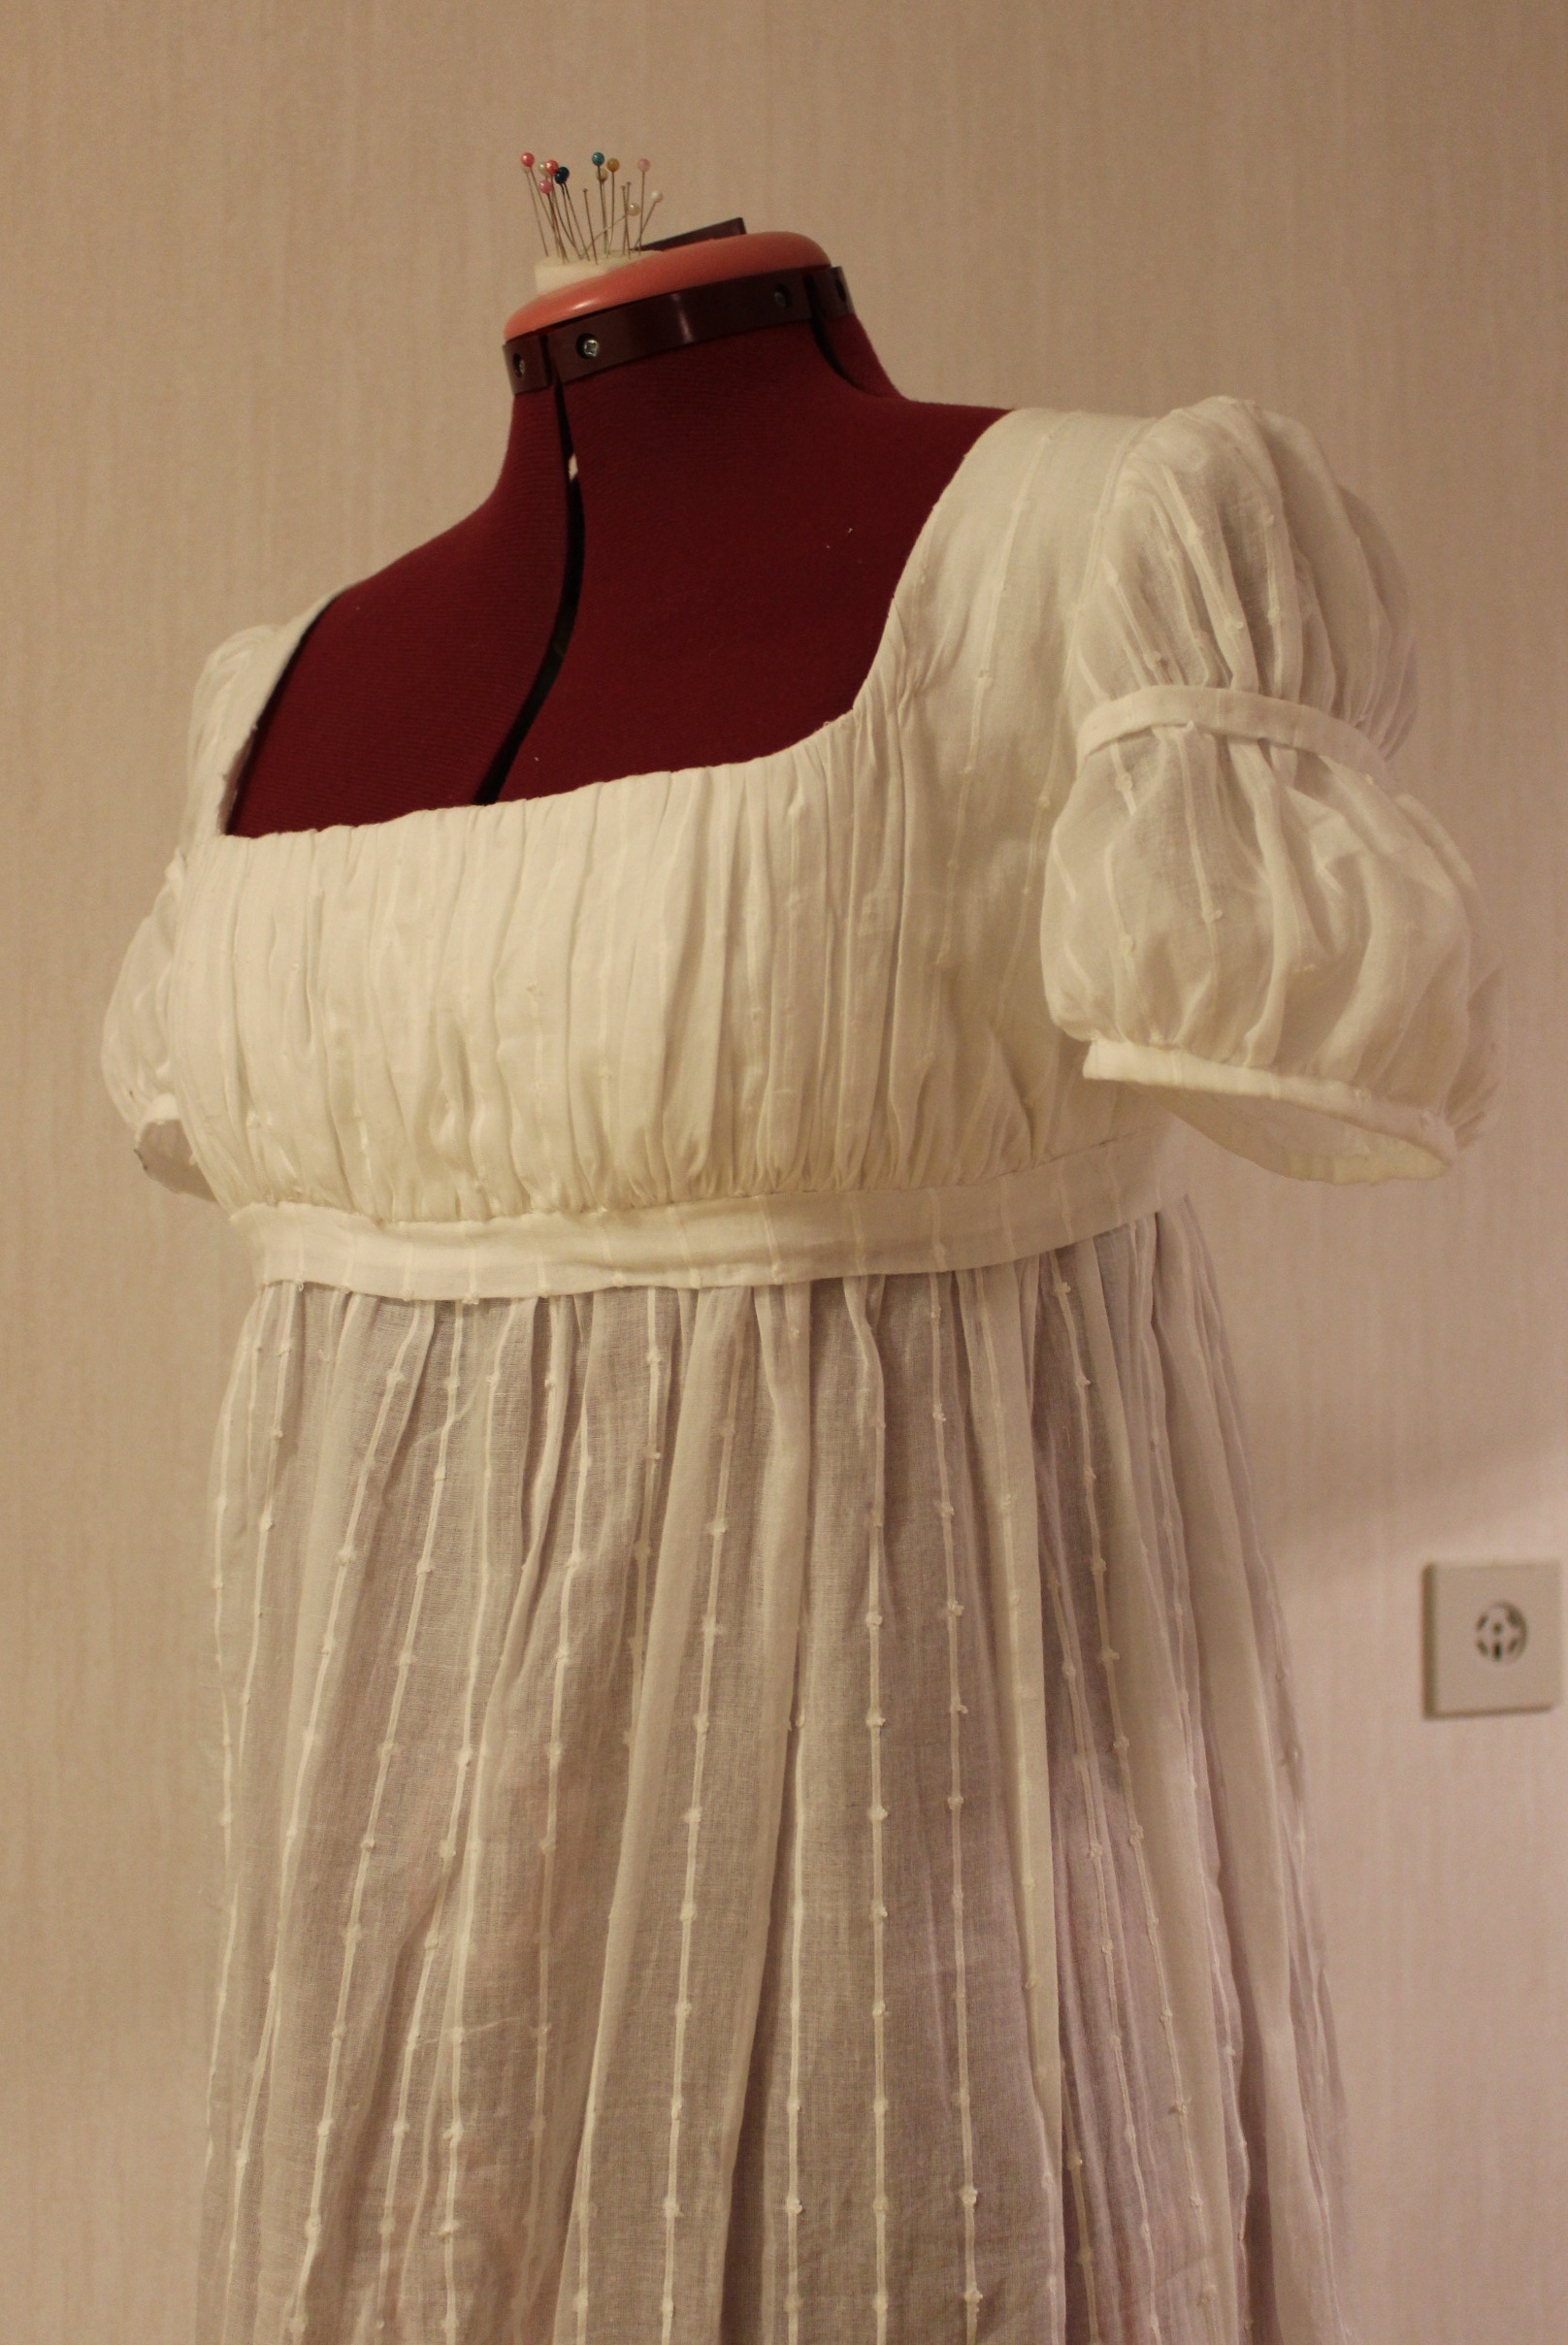
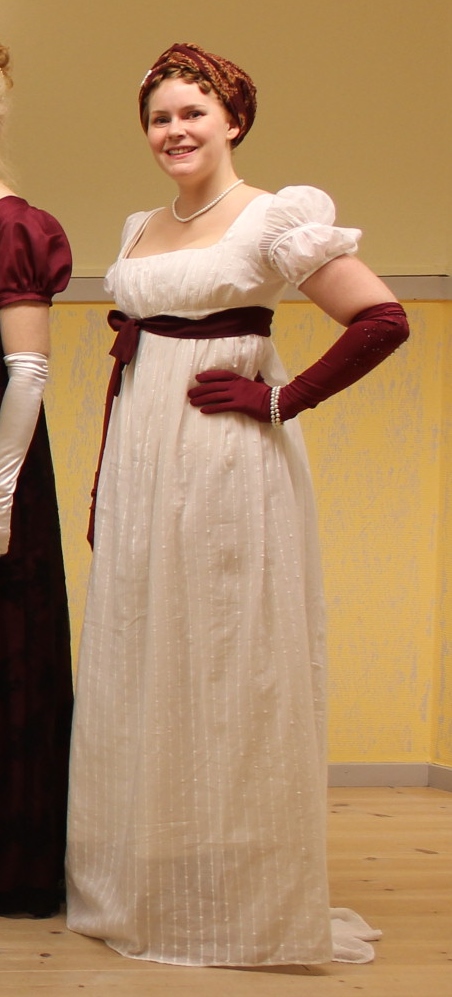
 a white regency evening gown thous re-making: Black/white, Politic and Terminology.
Complete: Yes, once again not fair, since I didn’t specify.
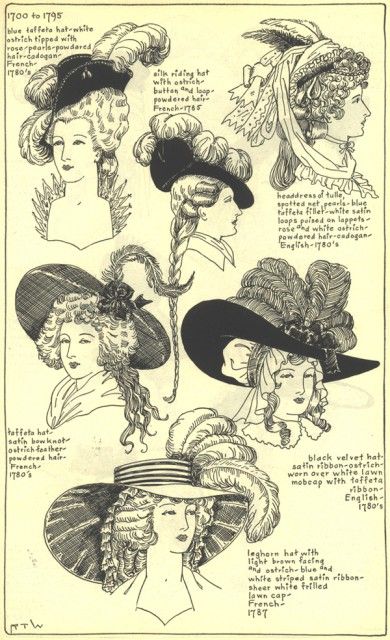
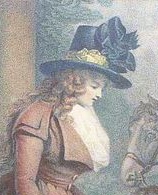
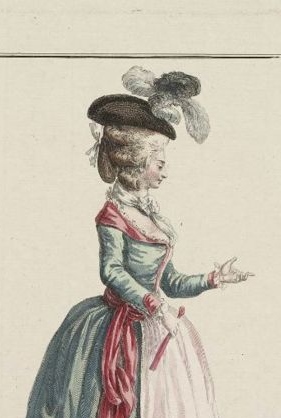
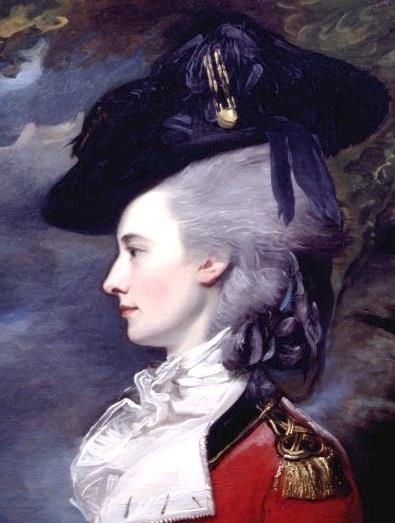
22. Fortnightliers Choise (Menswear)
This depends on what the challenge will be. (Well, obviously).

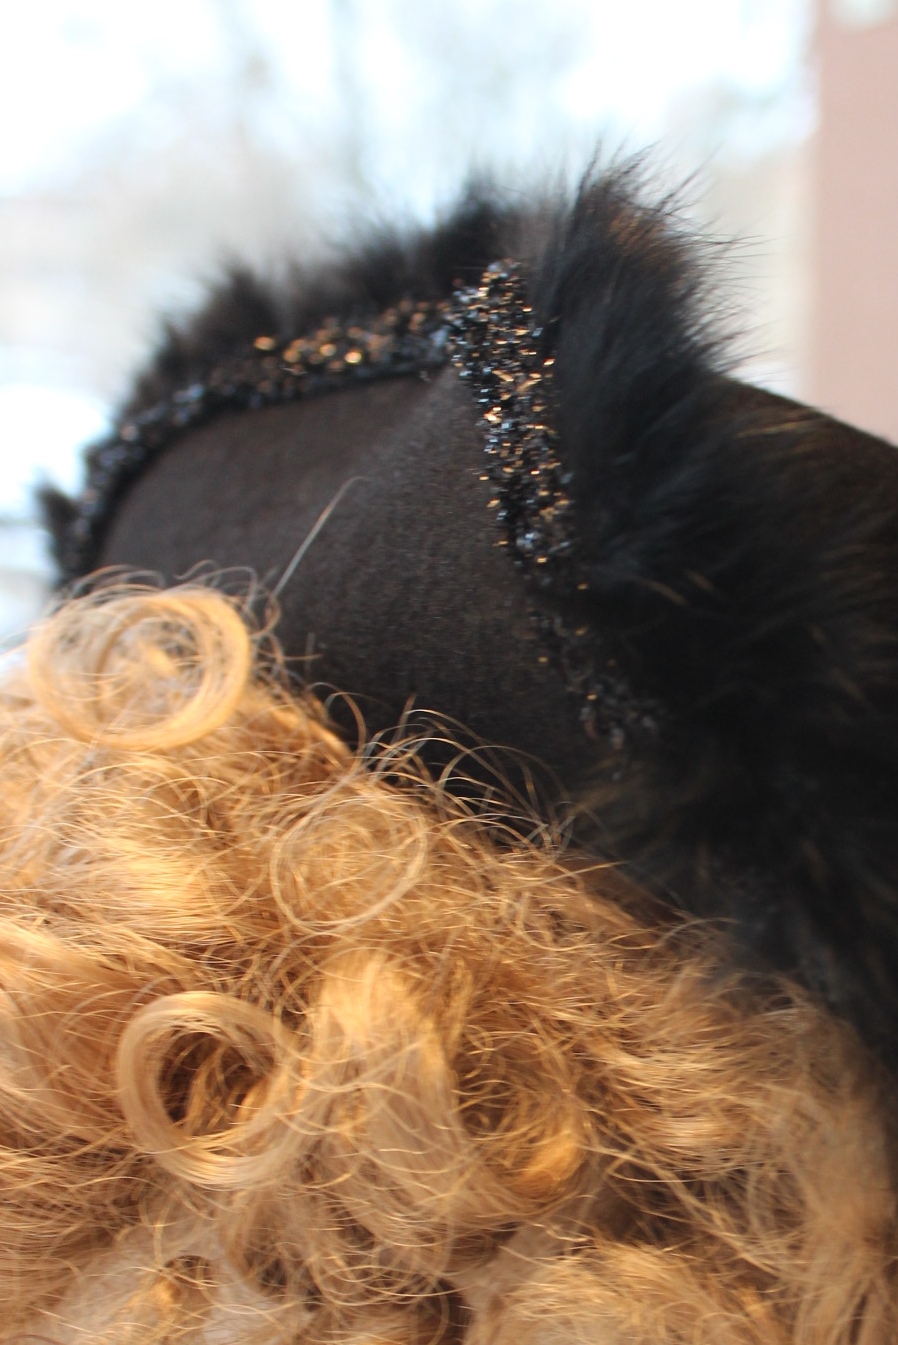
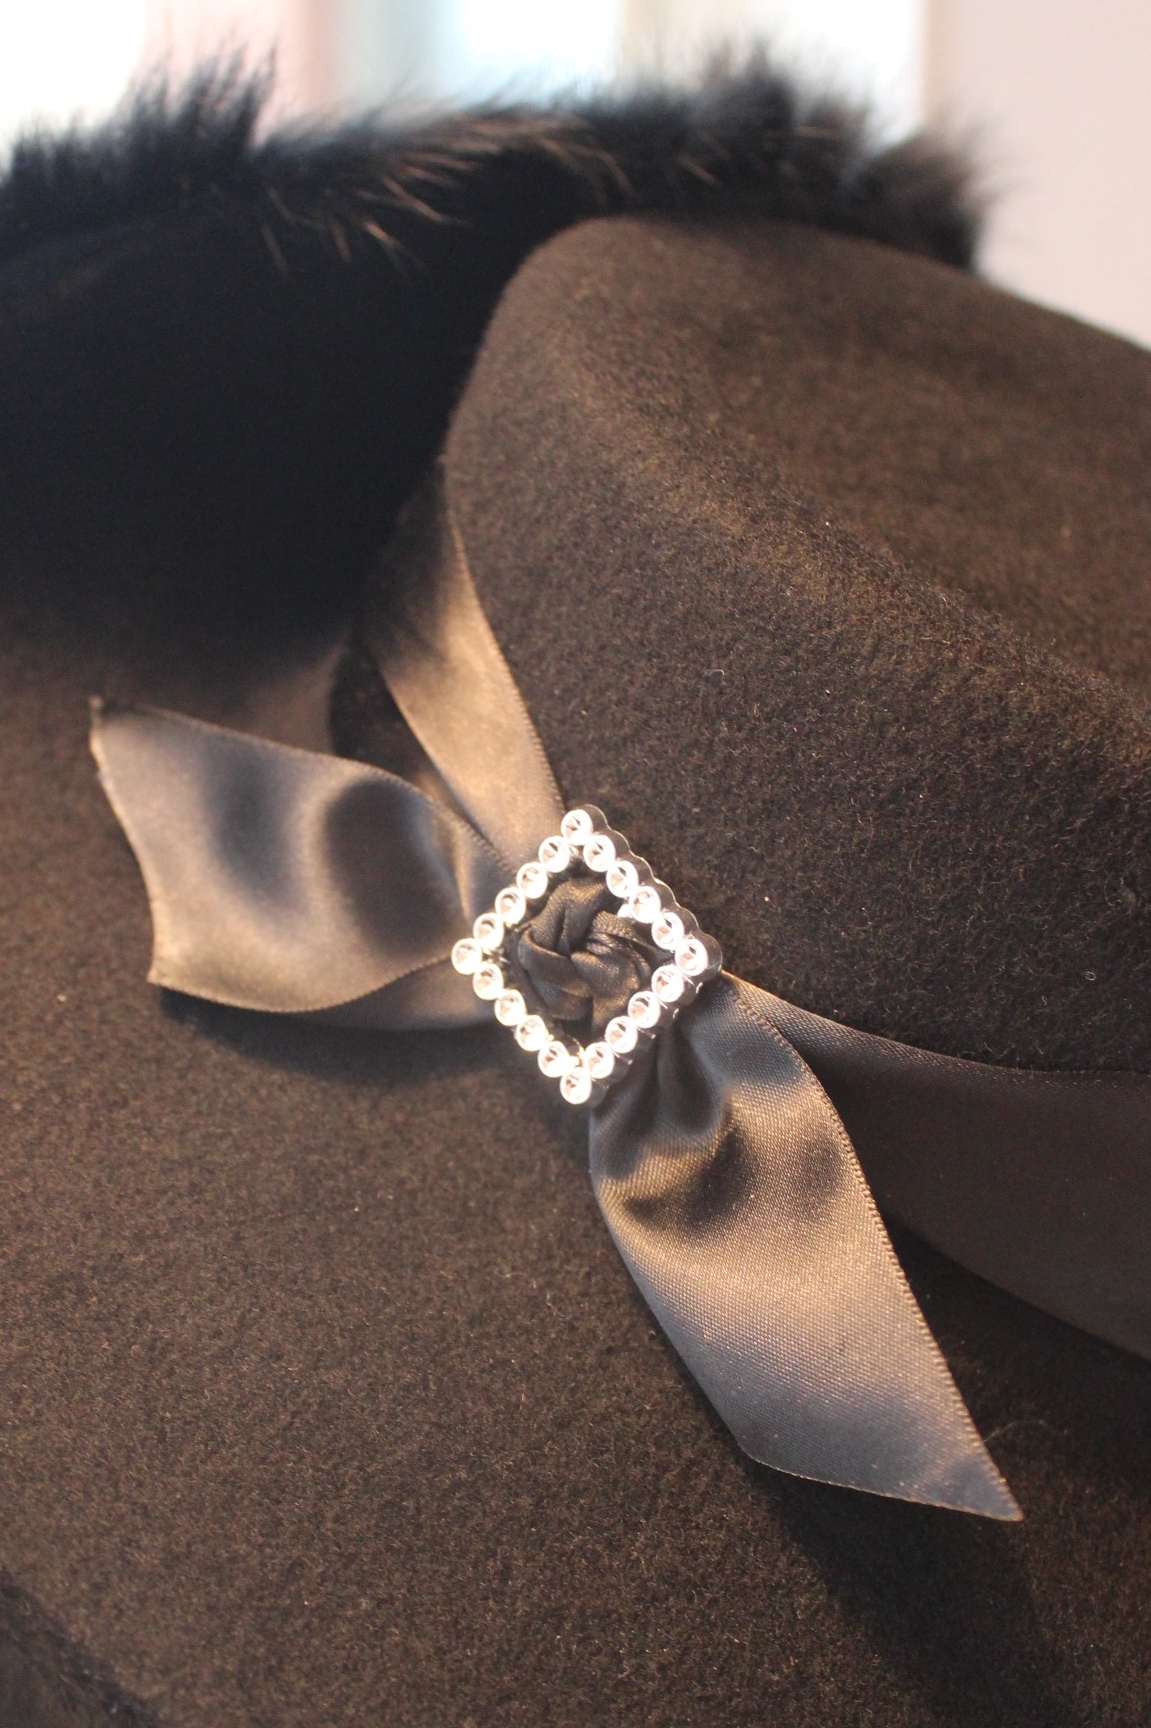
Compete: So so – This was quite a cheat, since I had great planes for this challenge and only managed to finish the head wear.
– I did to try to get the 18th century riding habit made for this one. Unfortunately it took a bit more time then estimated and I will not be finished for at least another month (but I’m hopefully looking forward to one of the new challenges in the beginning of next year…).
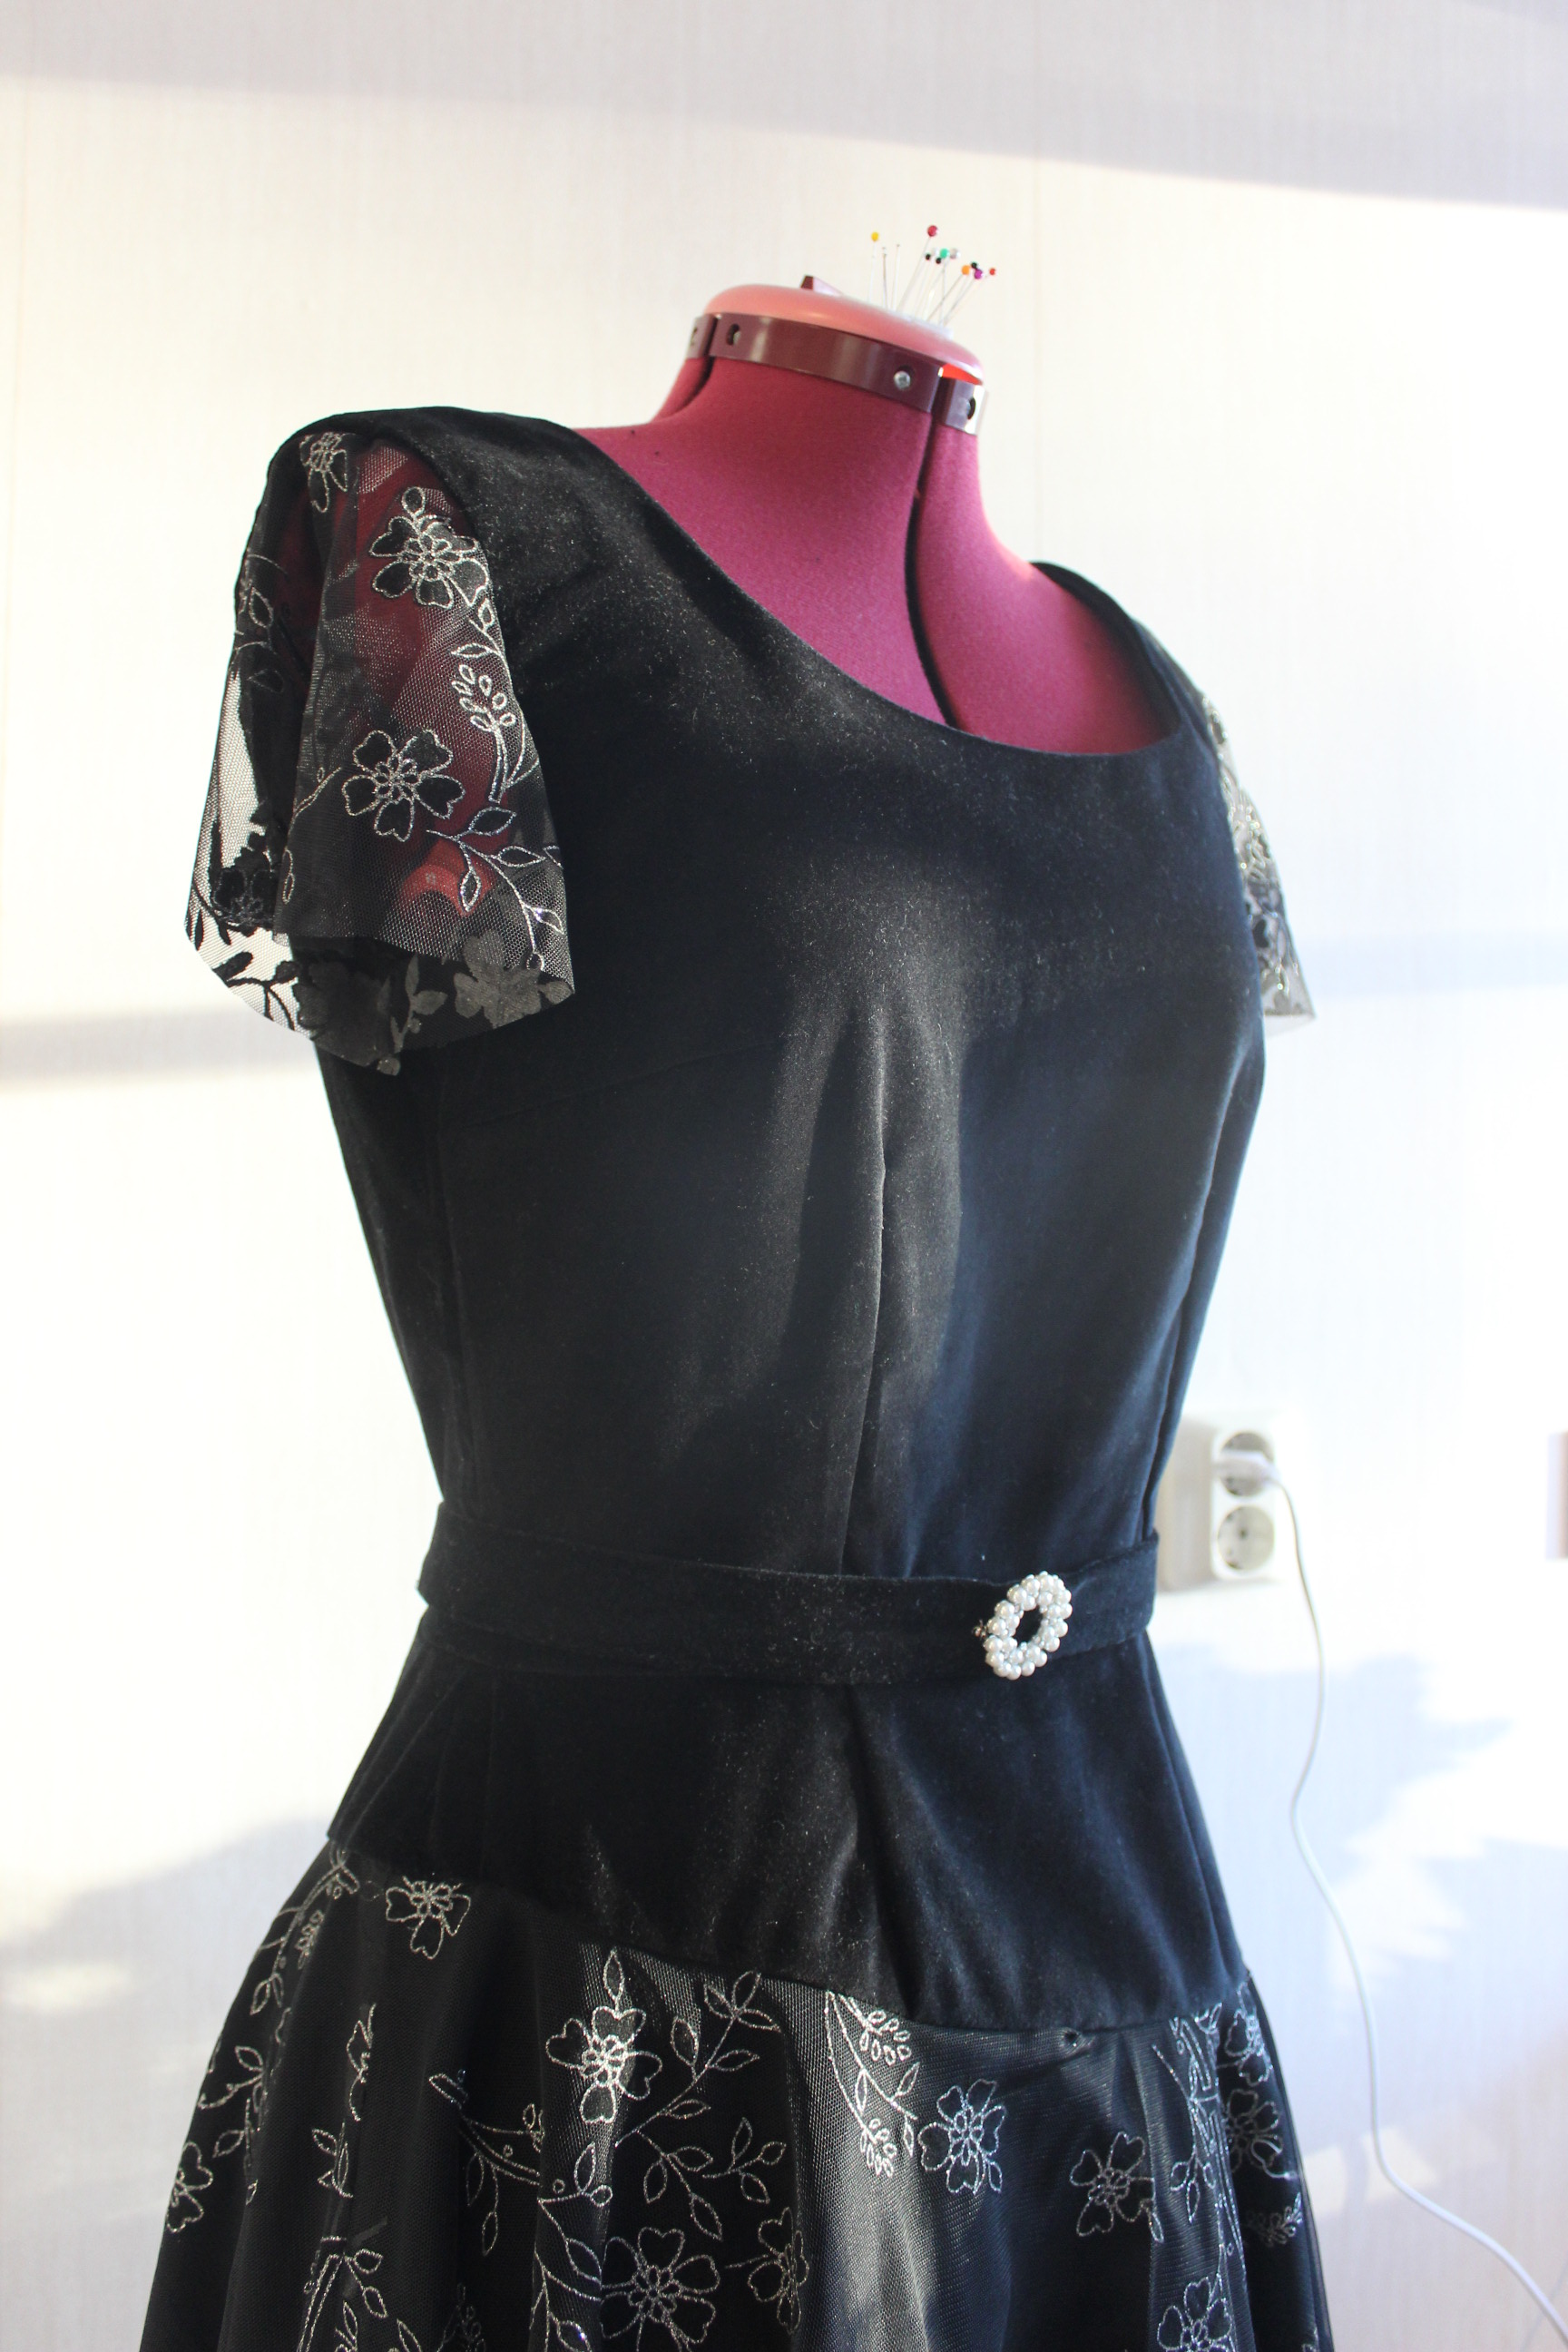
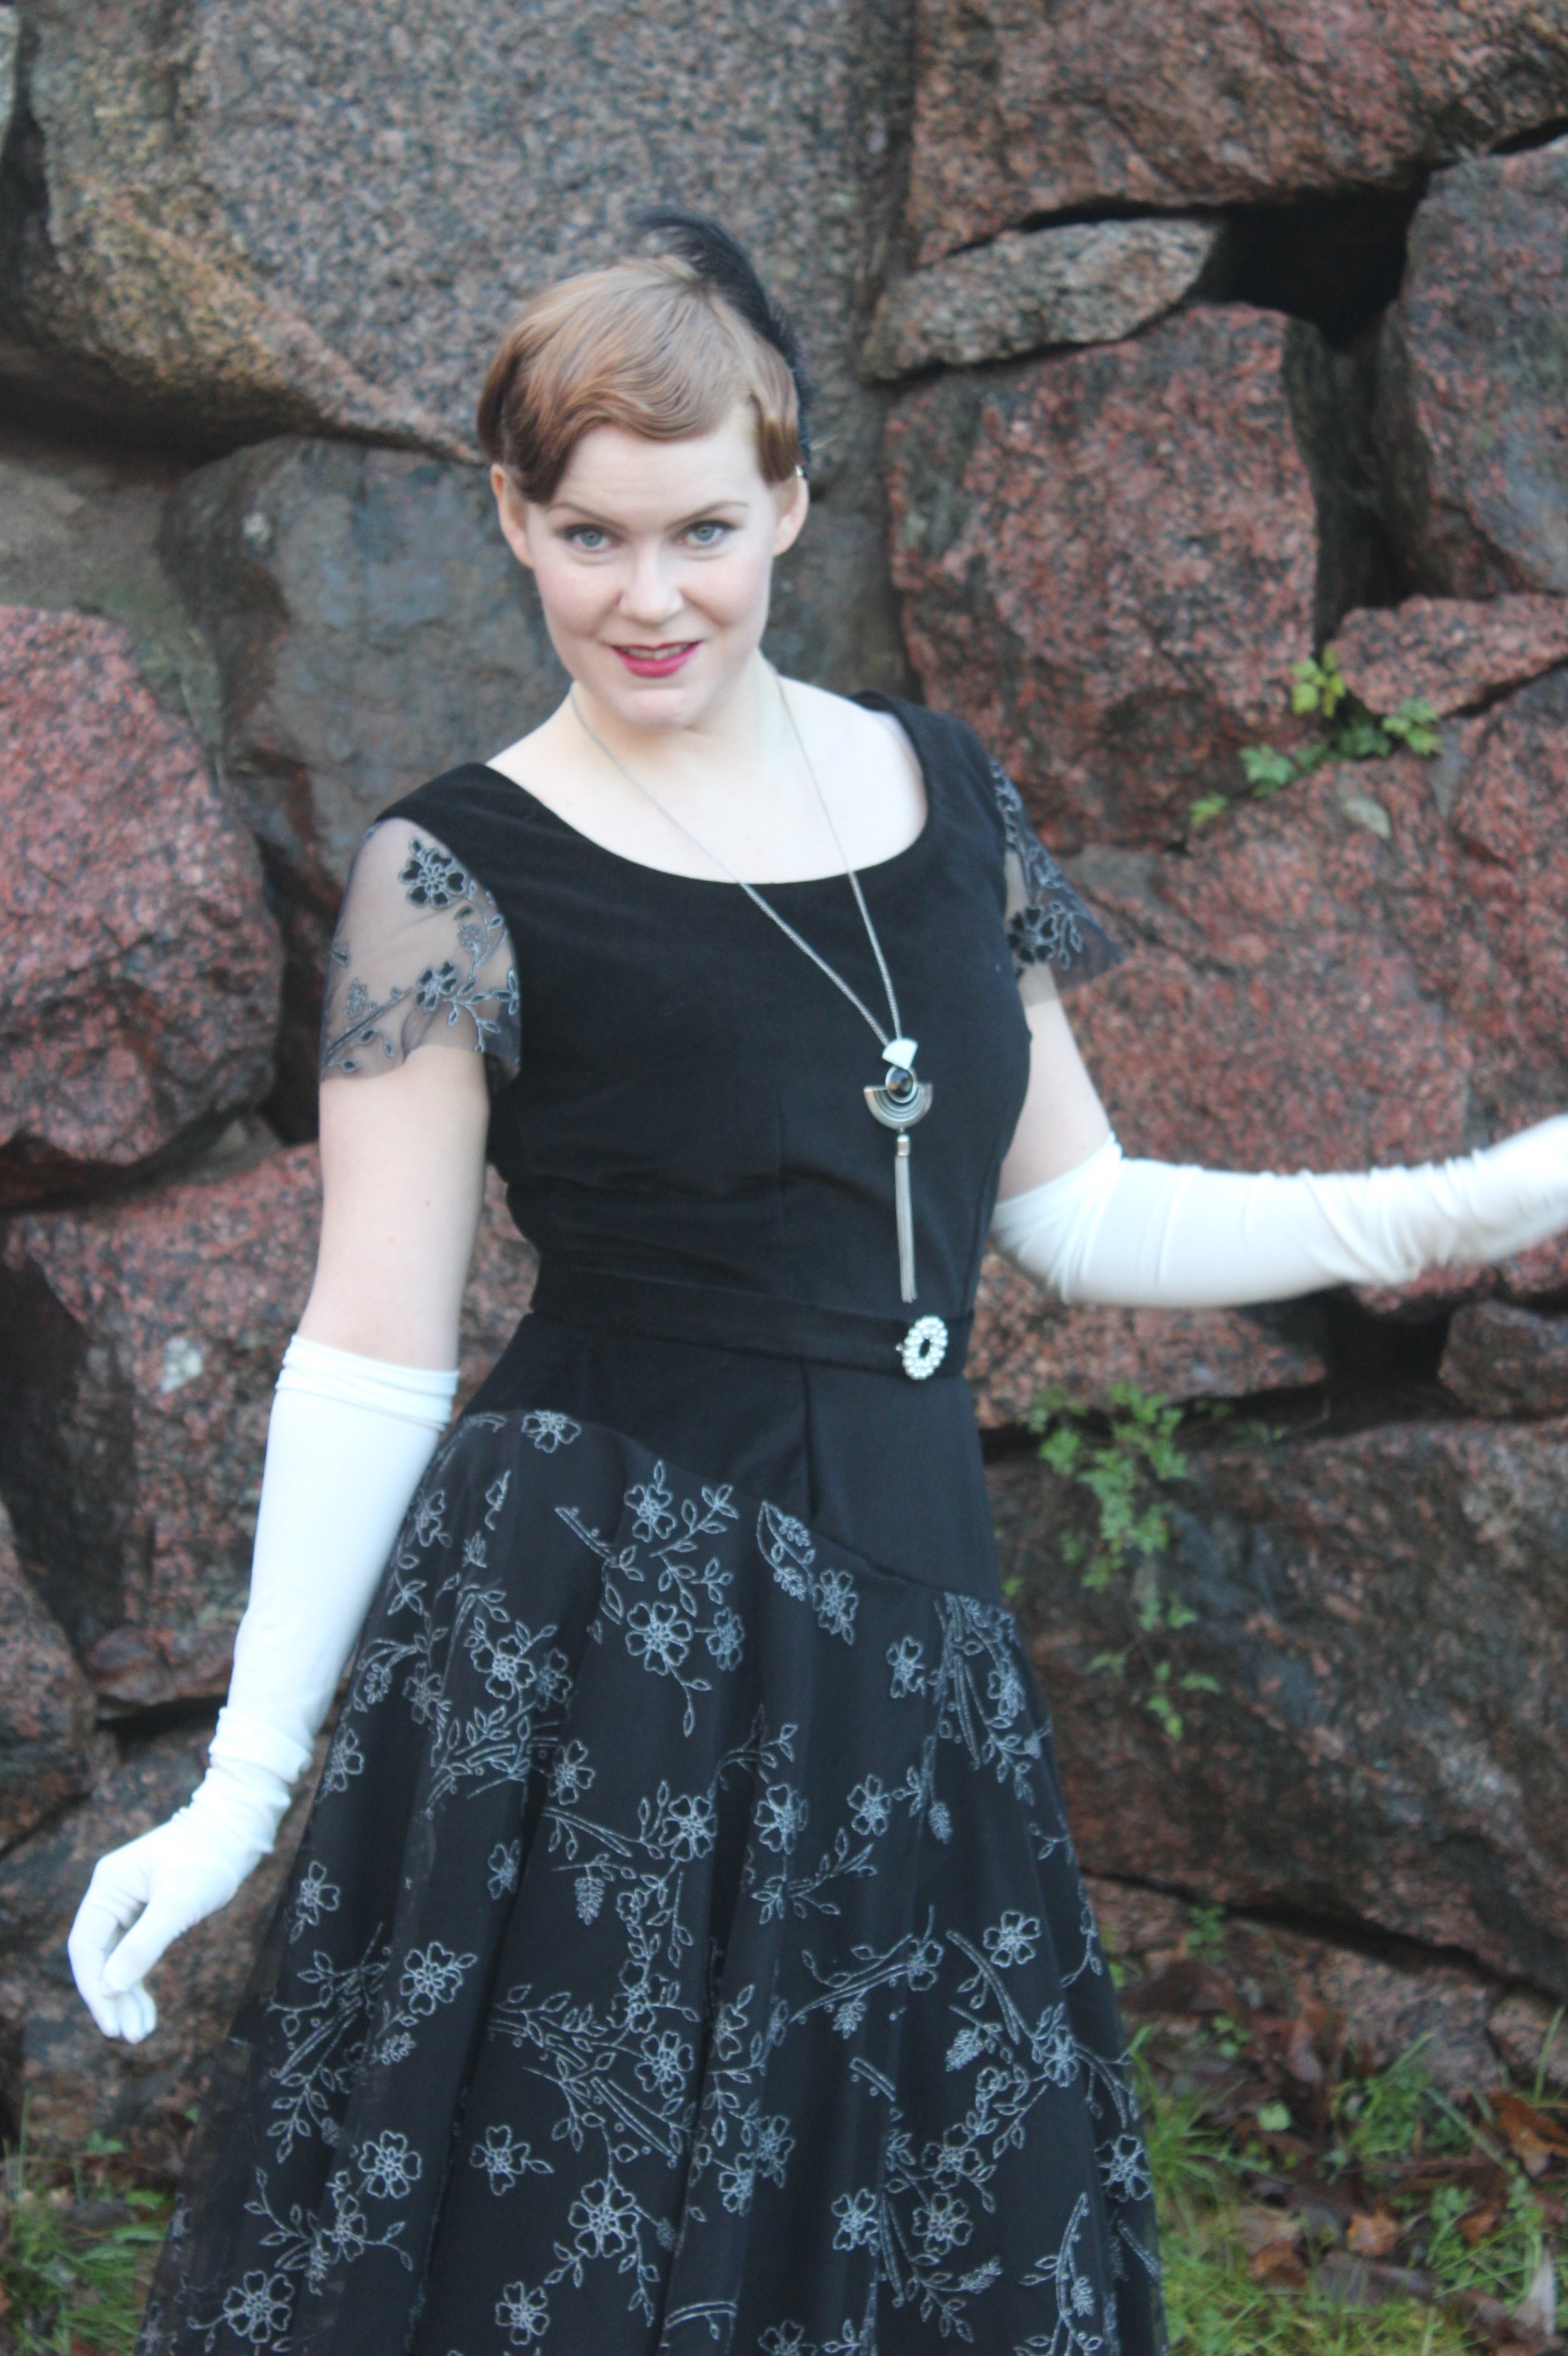
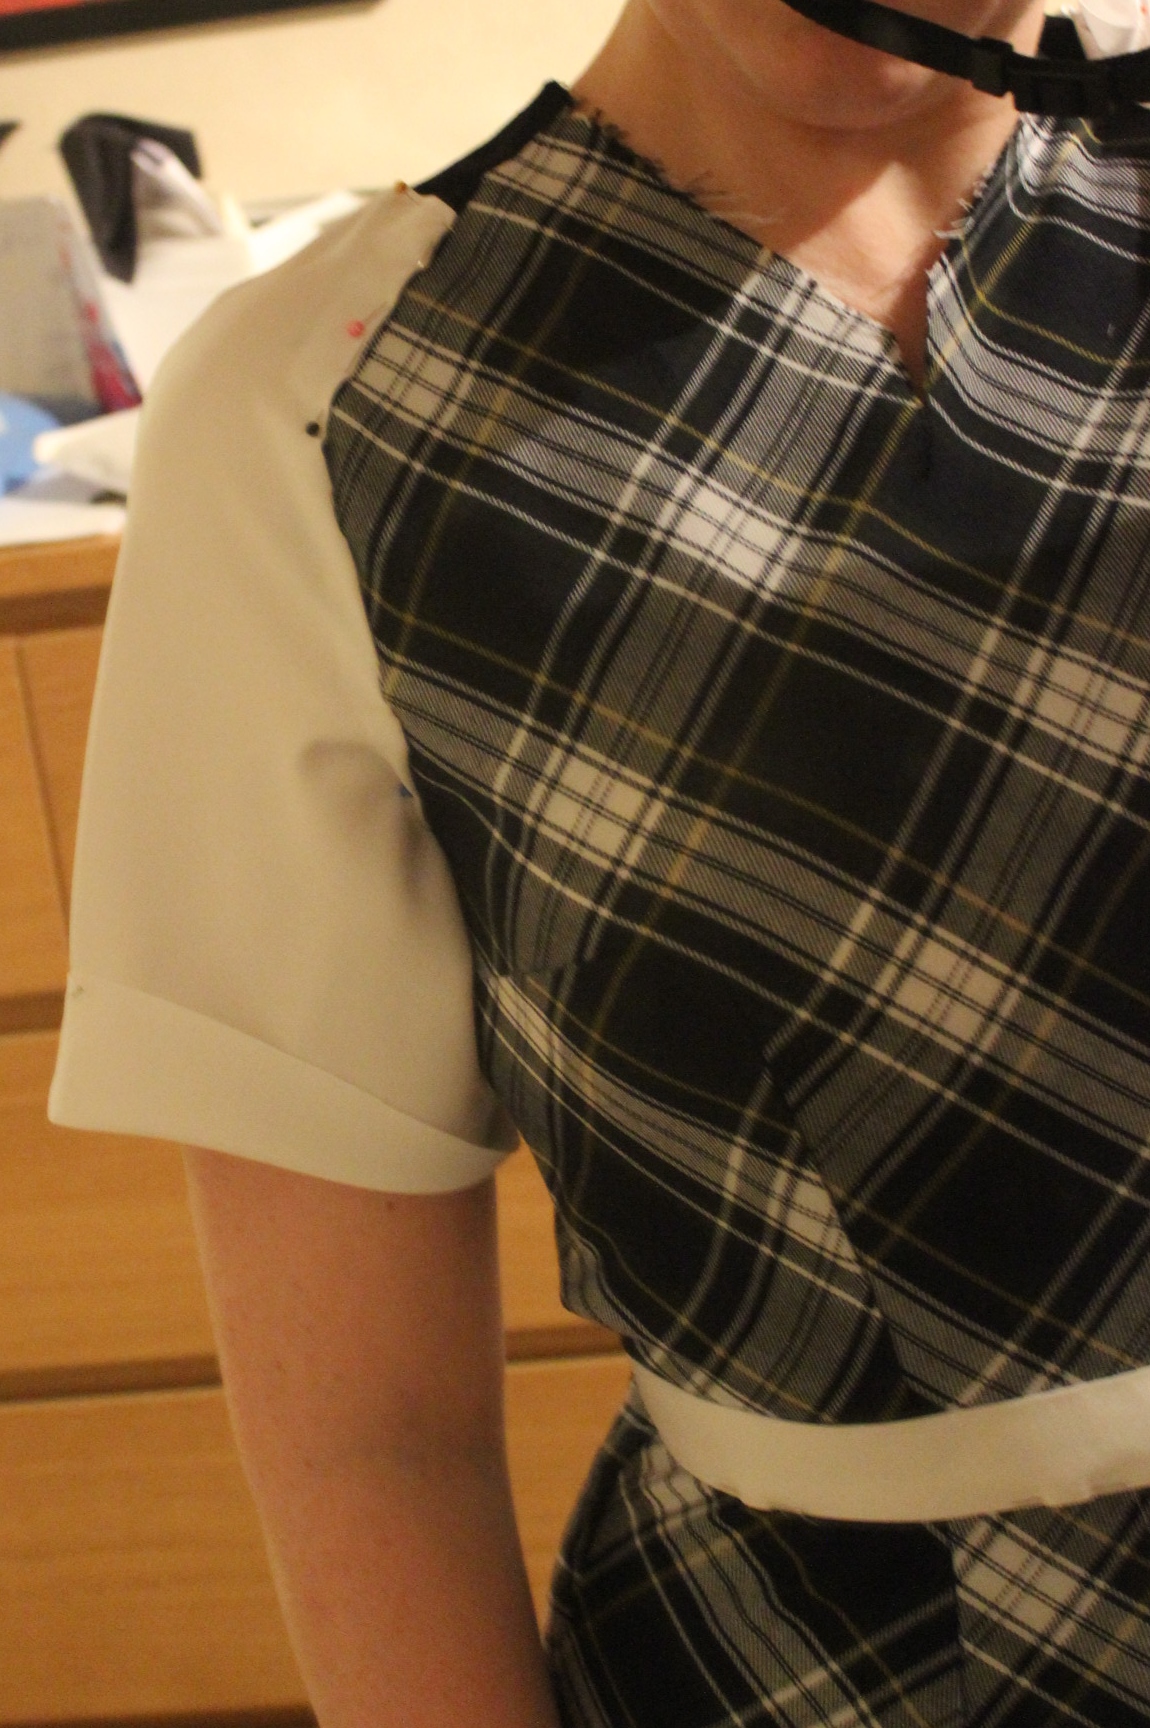
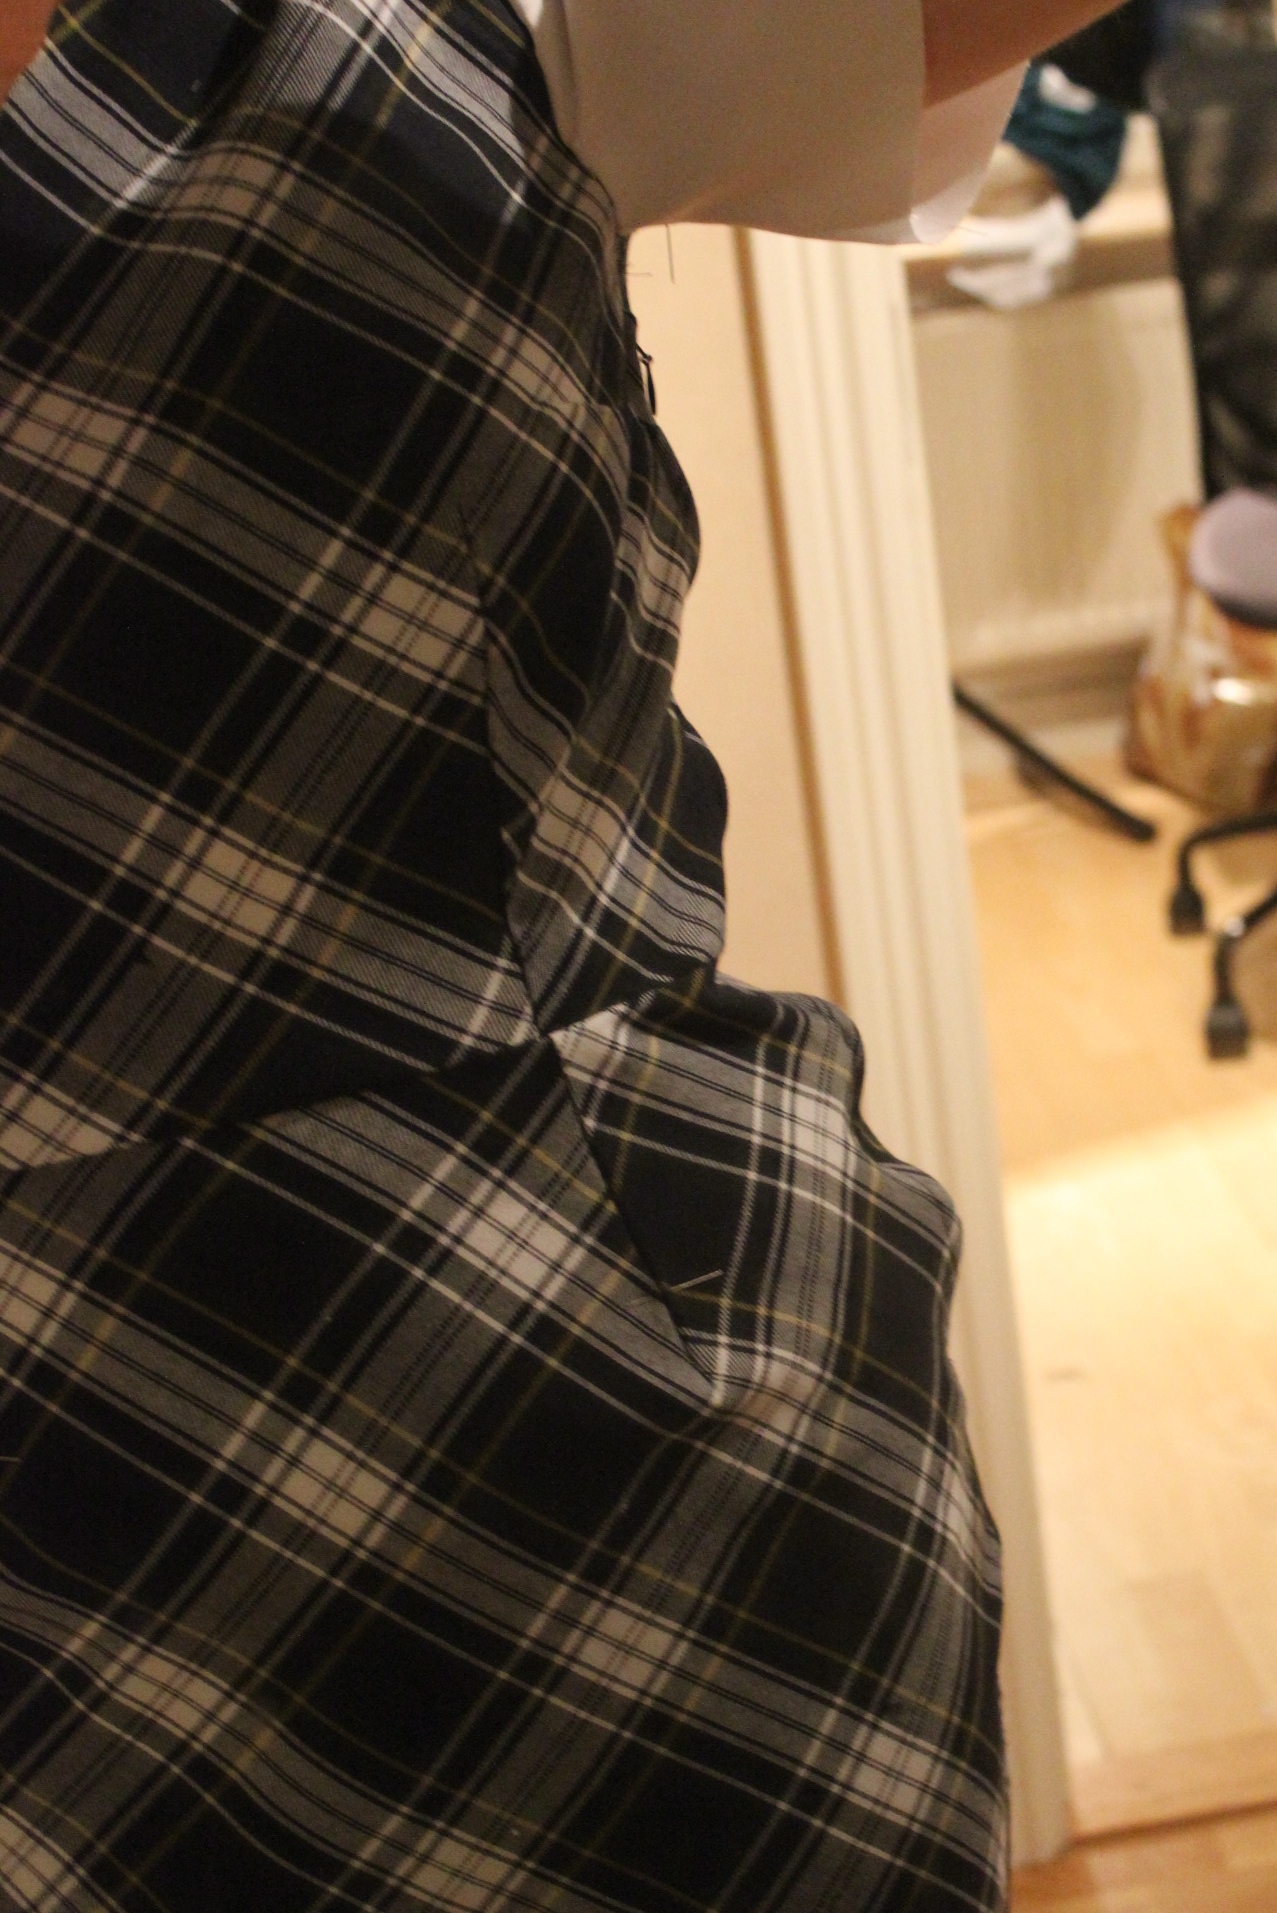
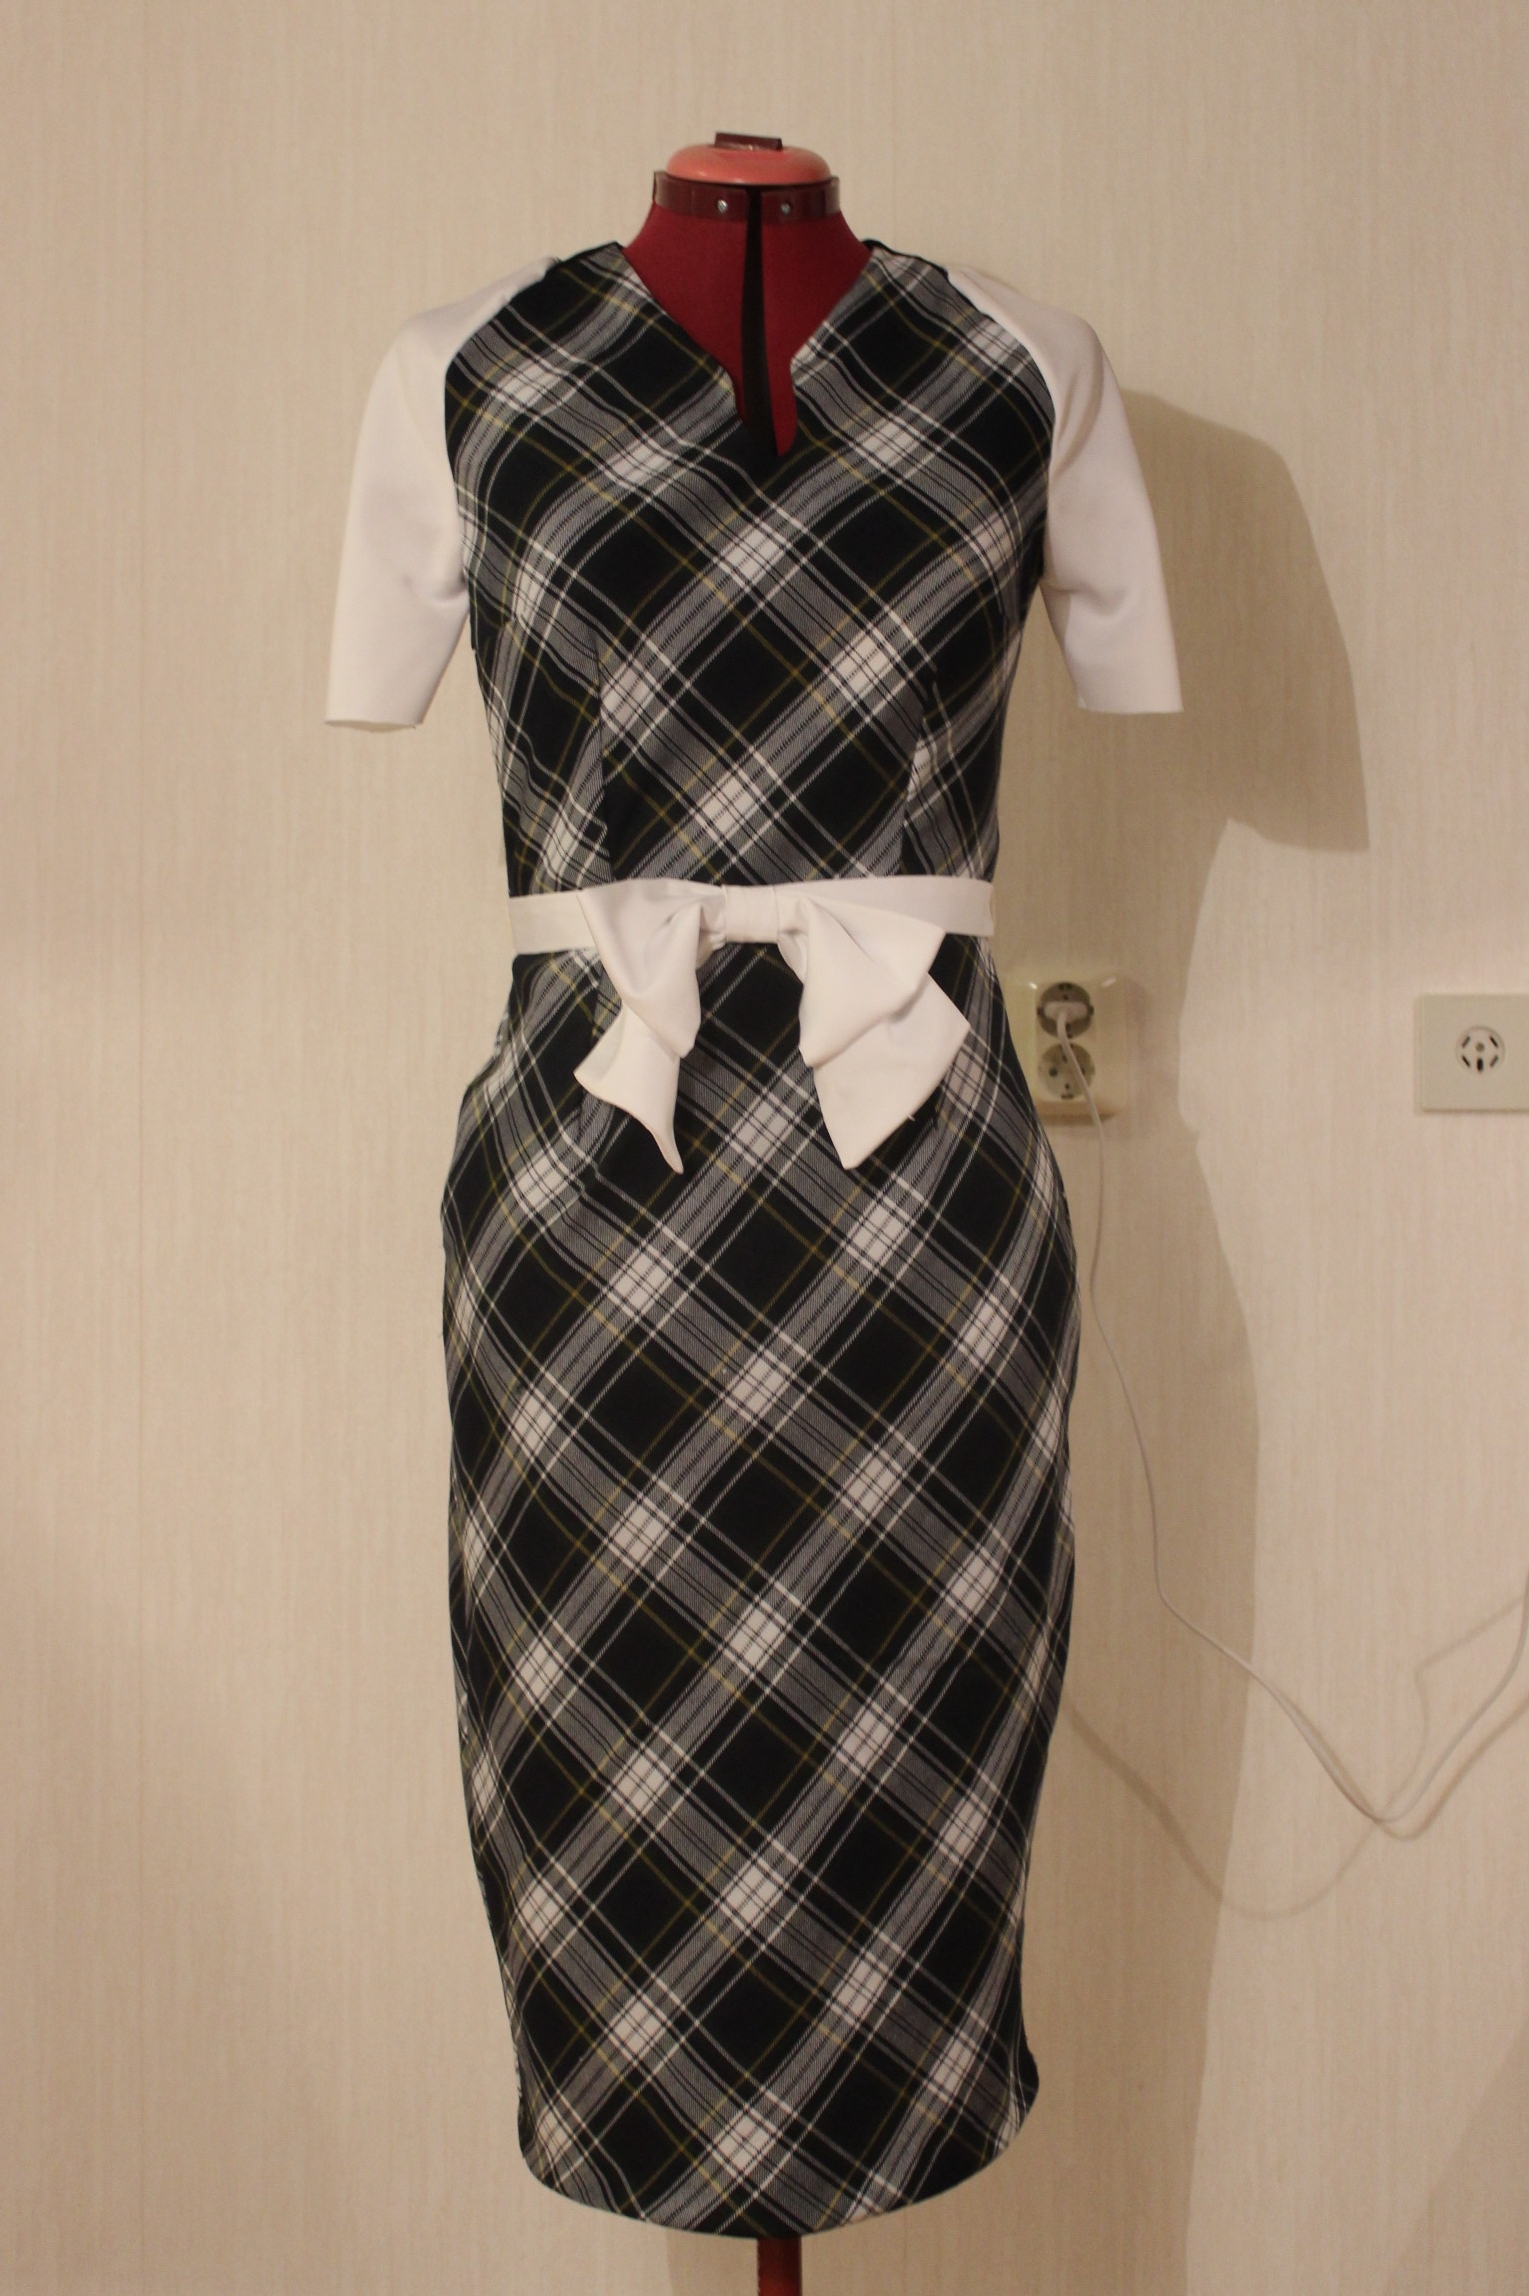
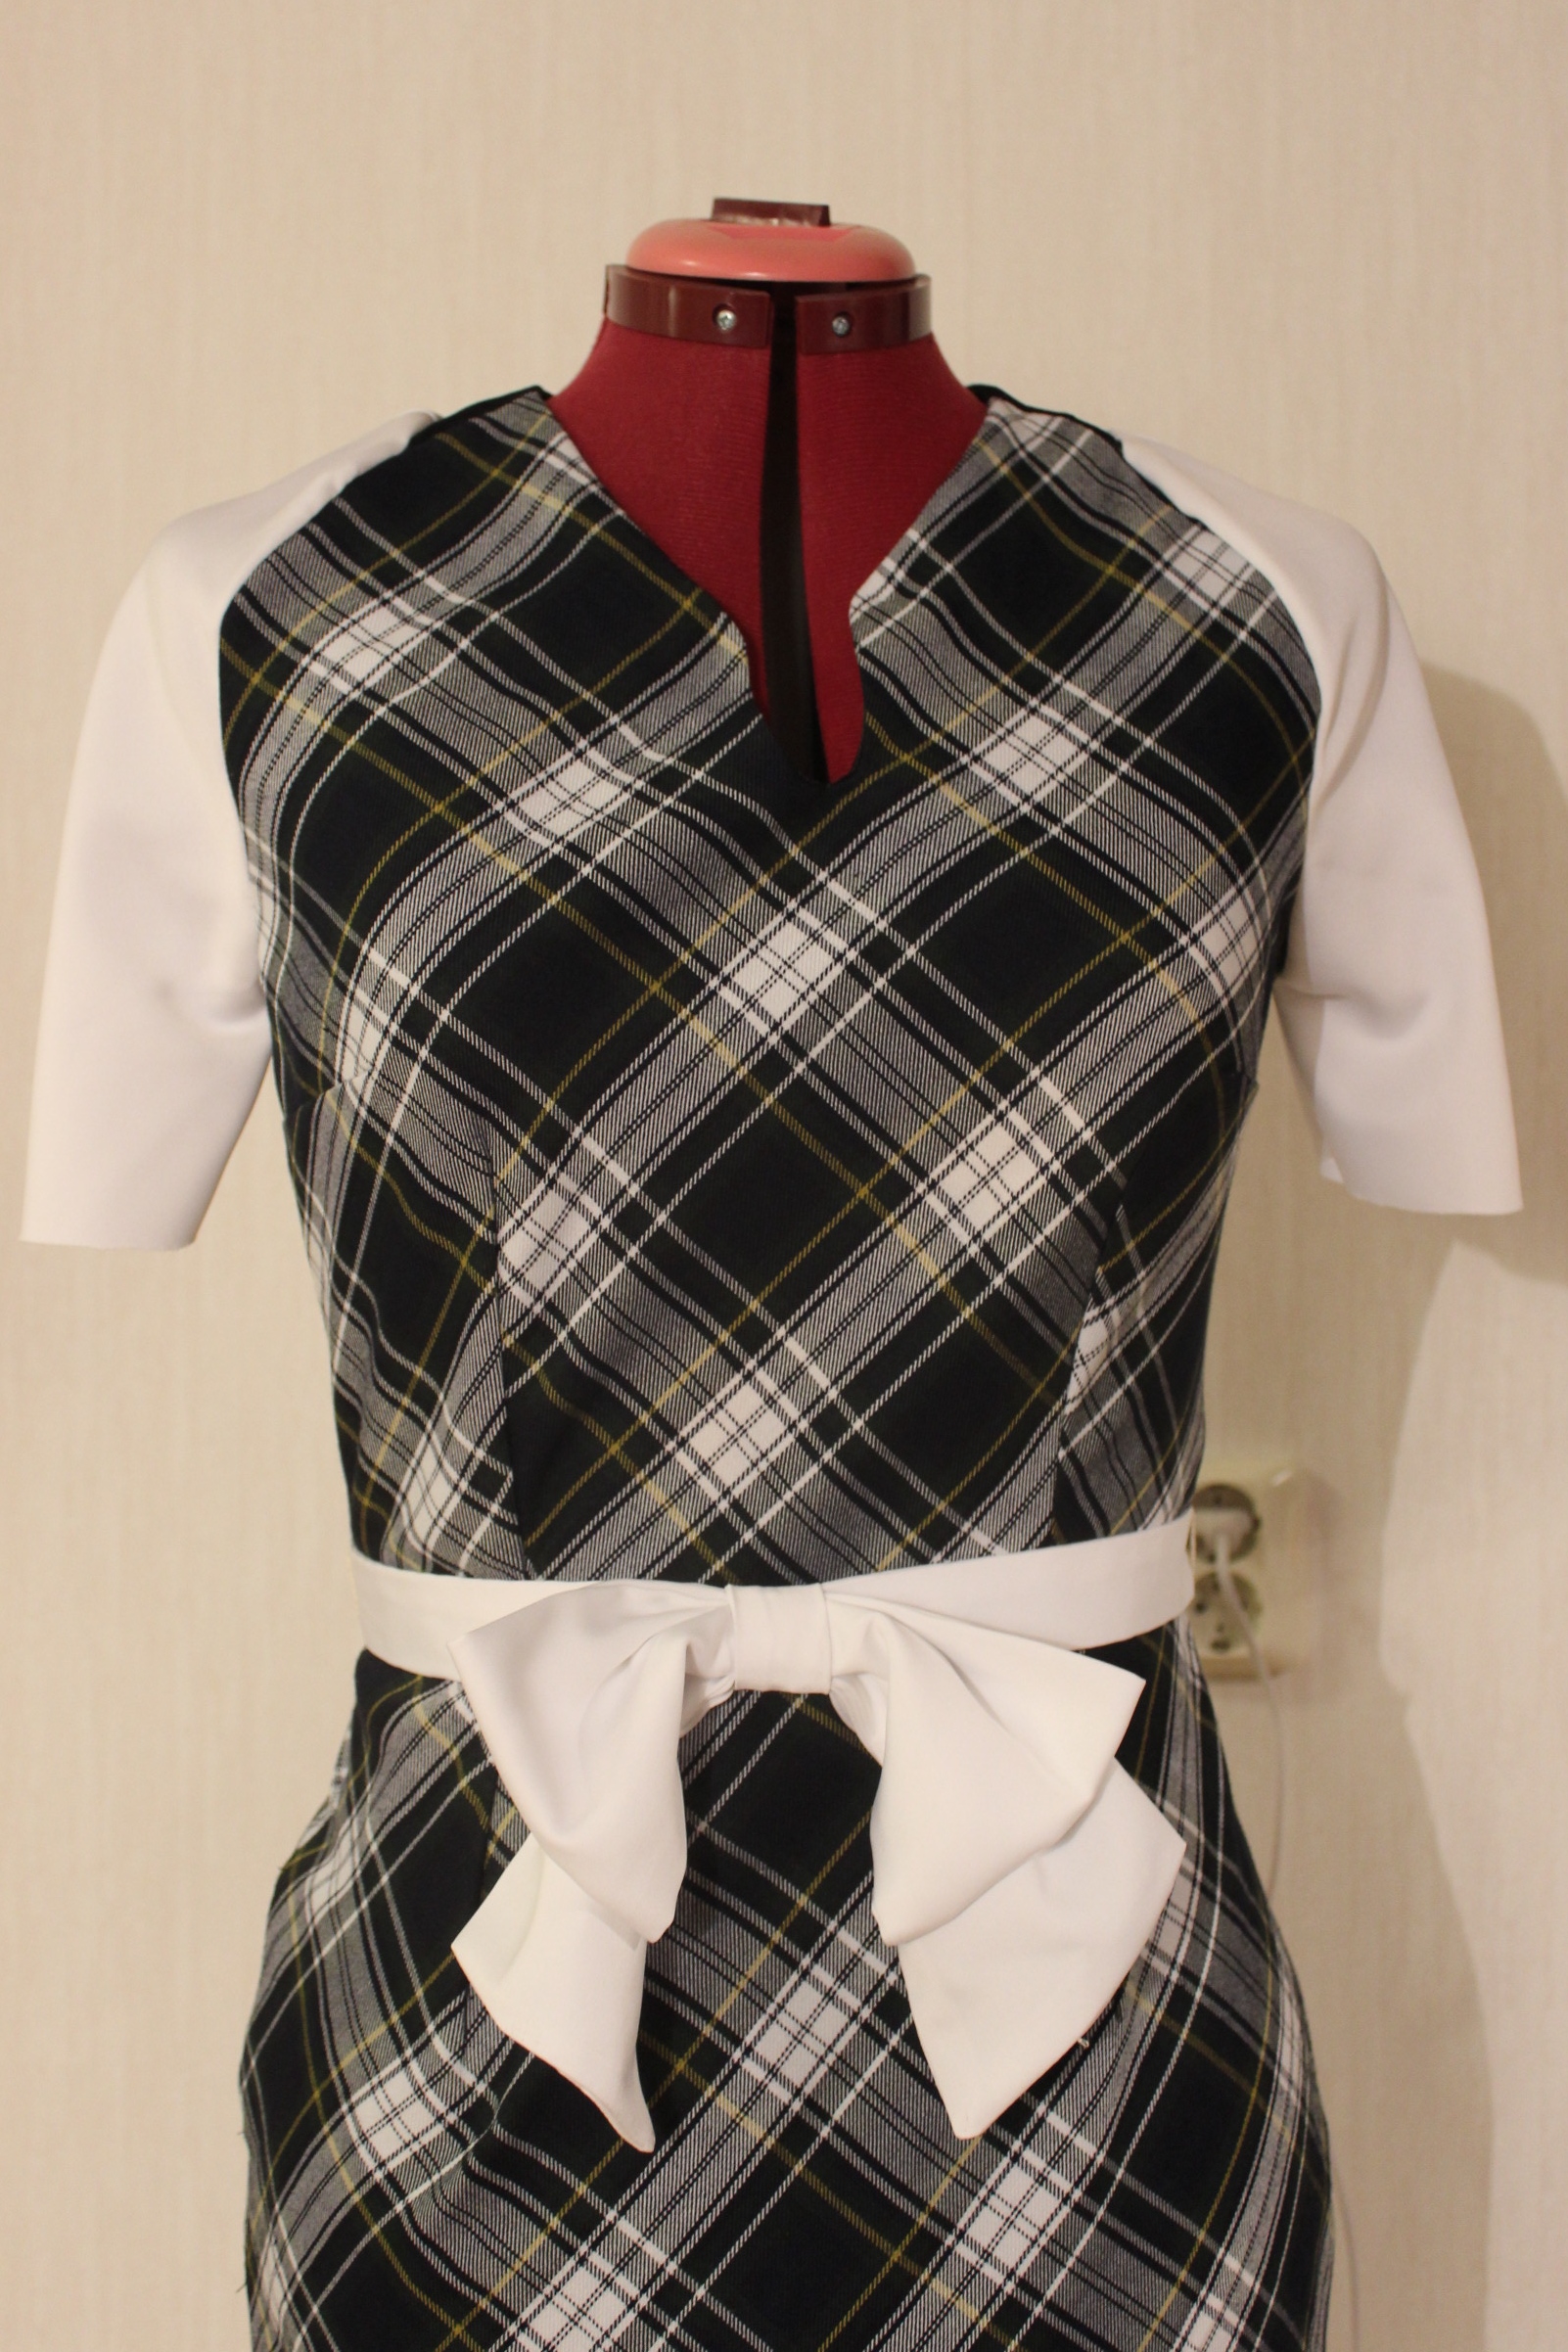
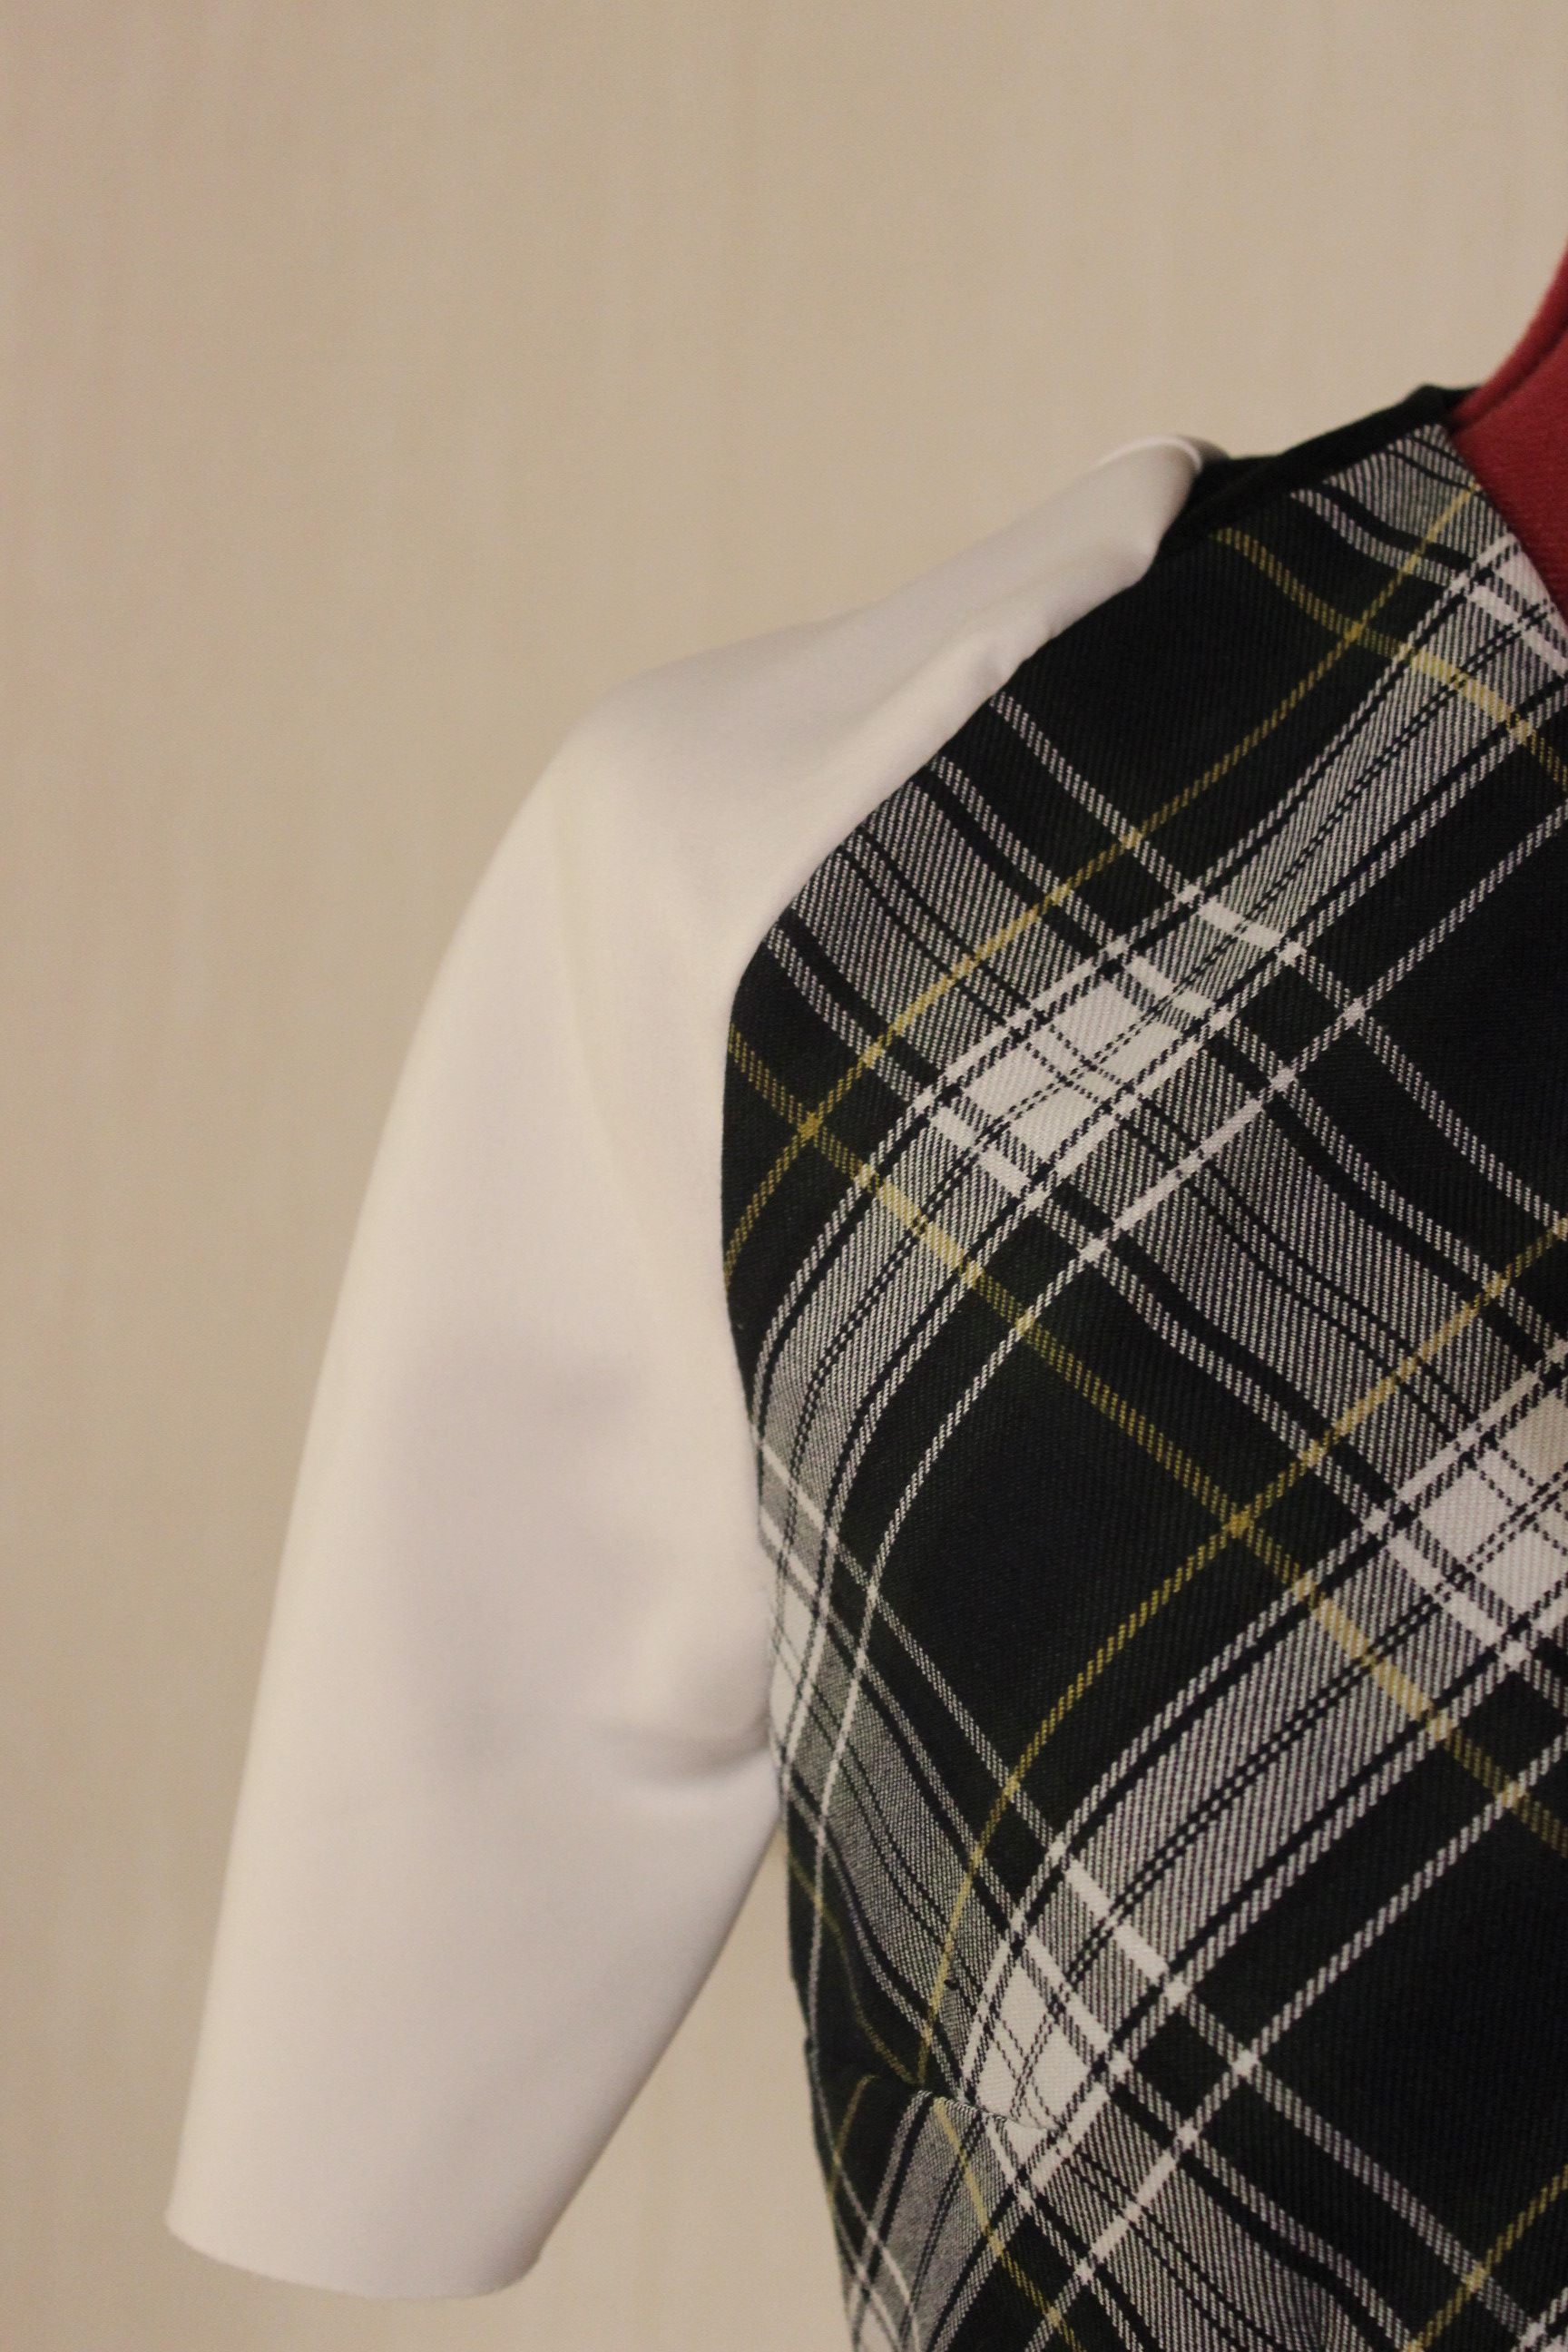
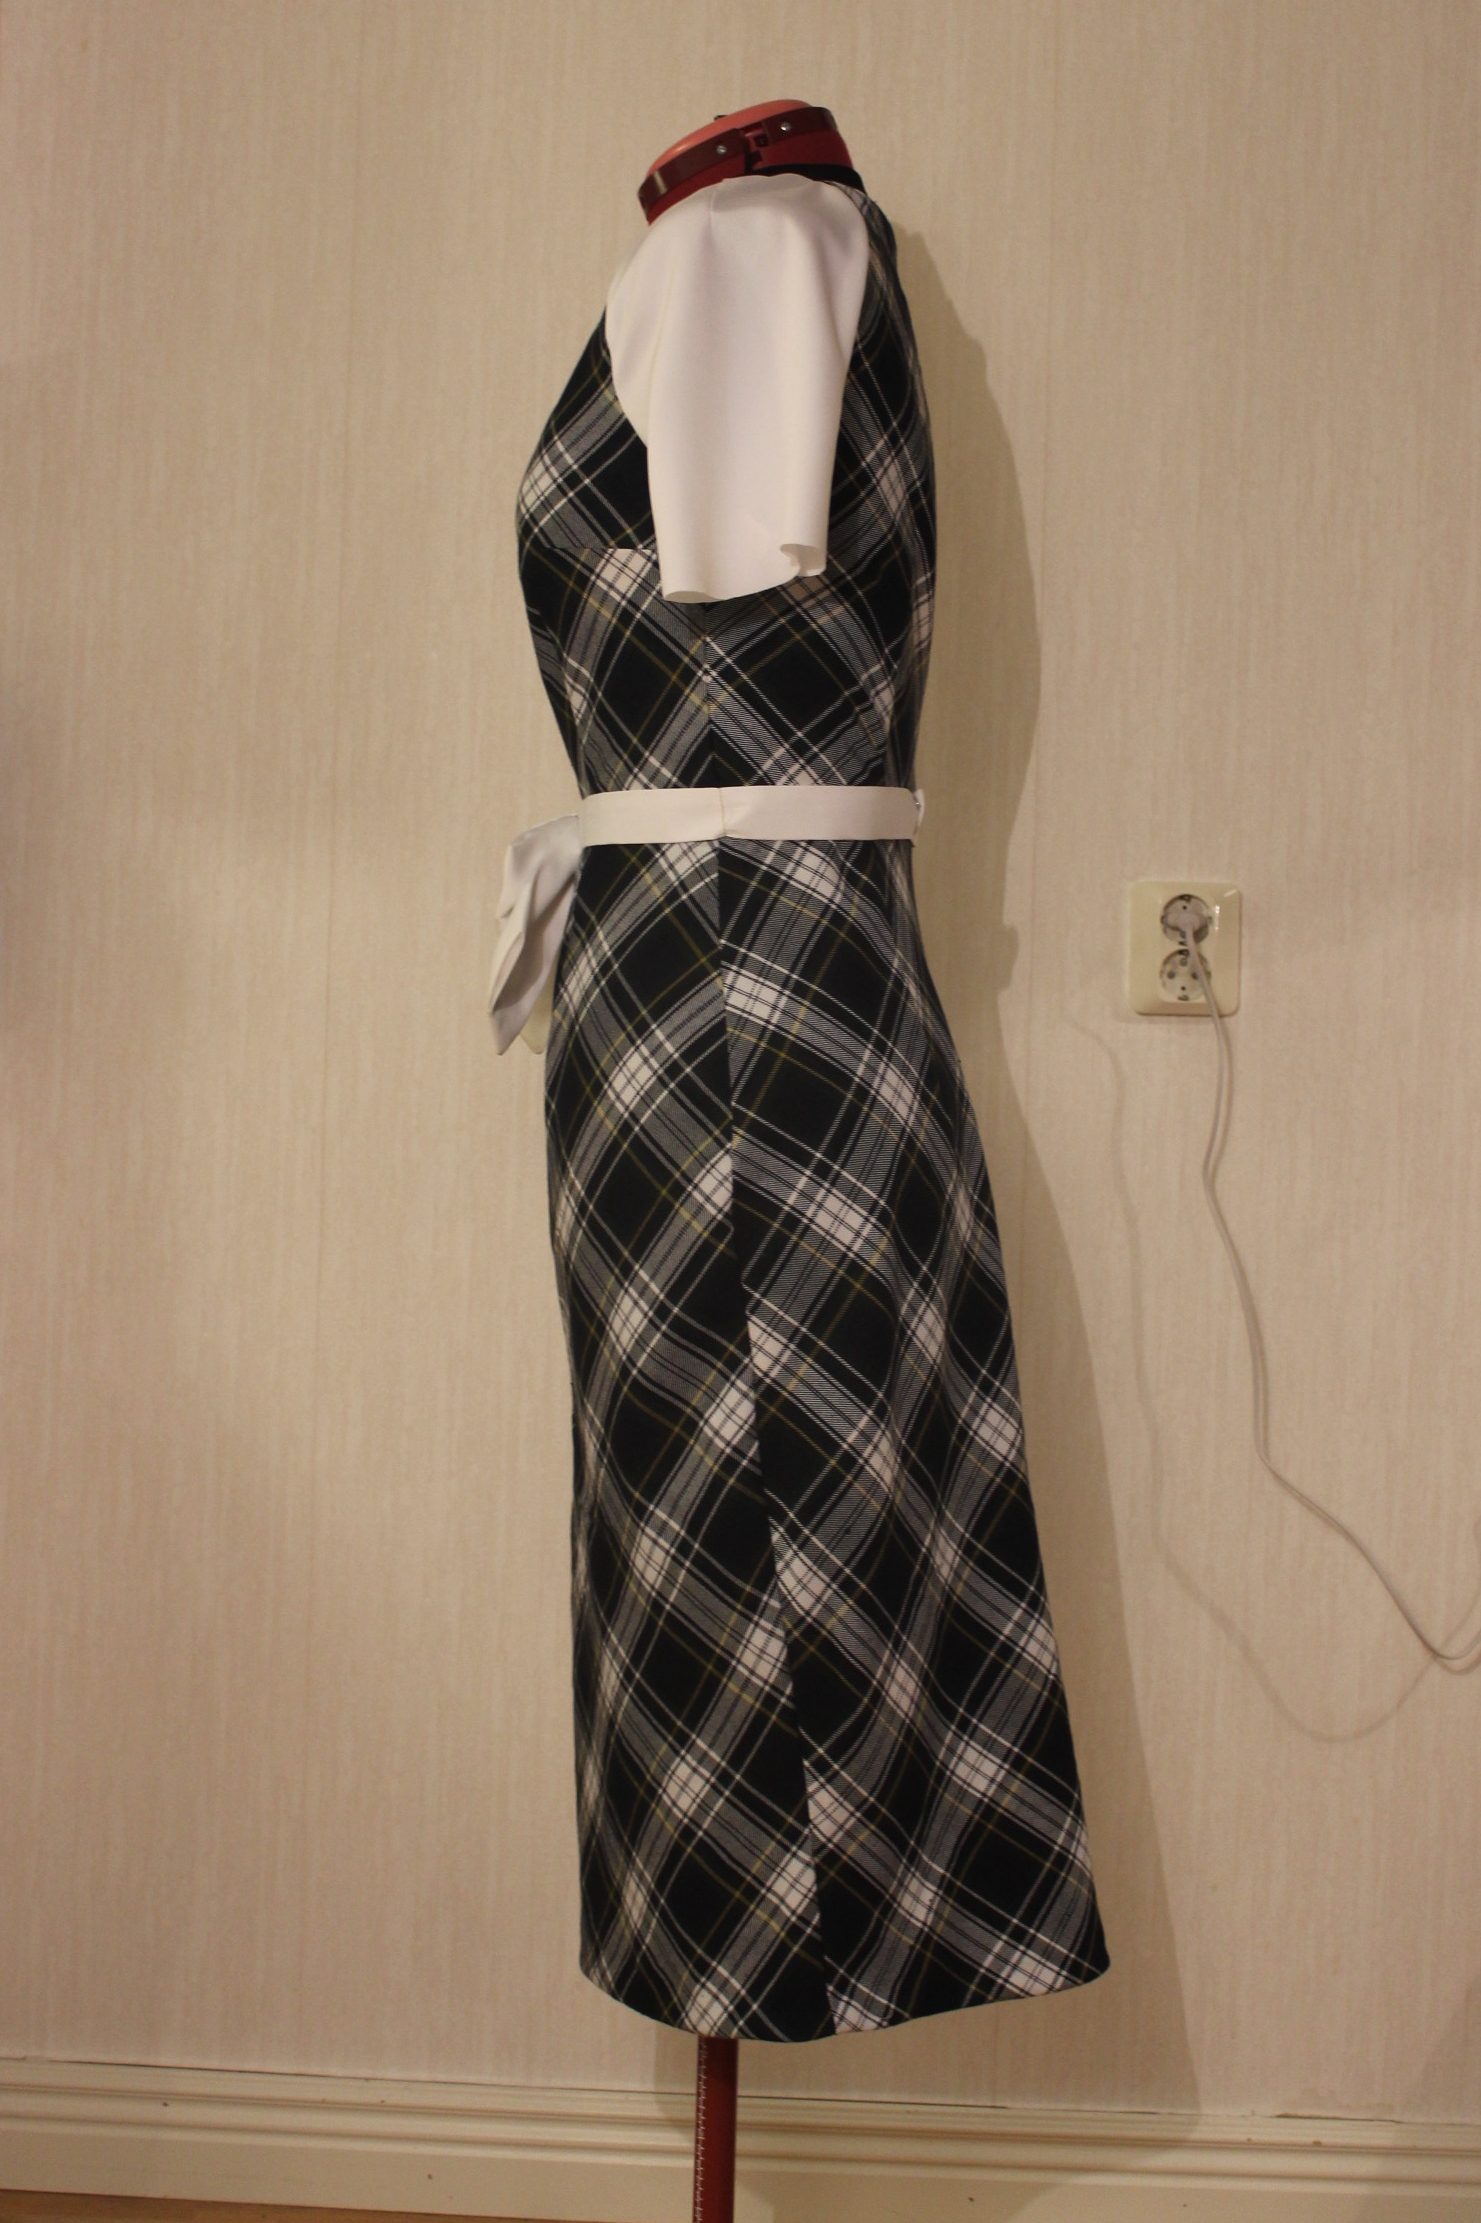
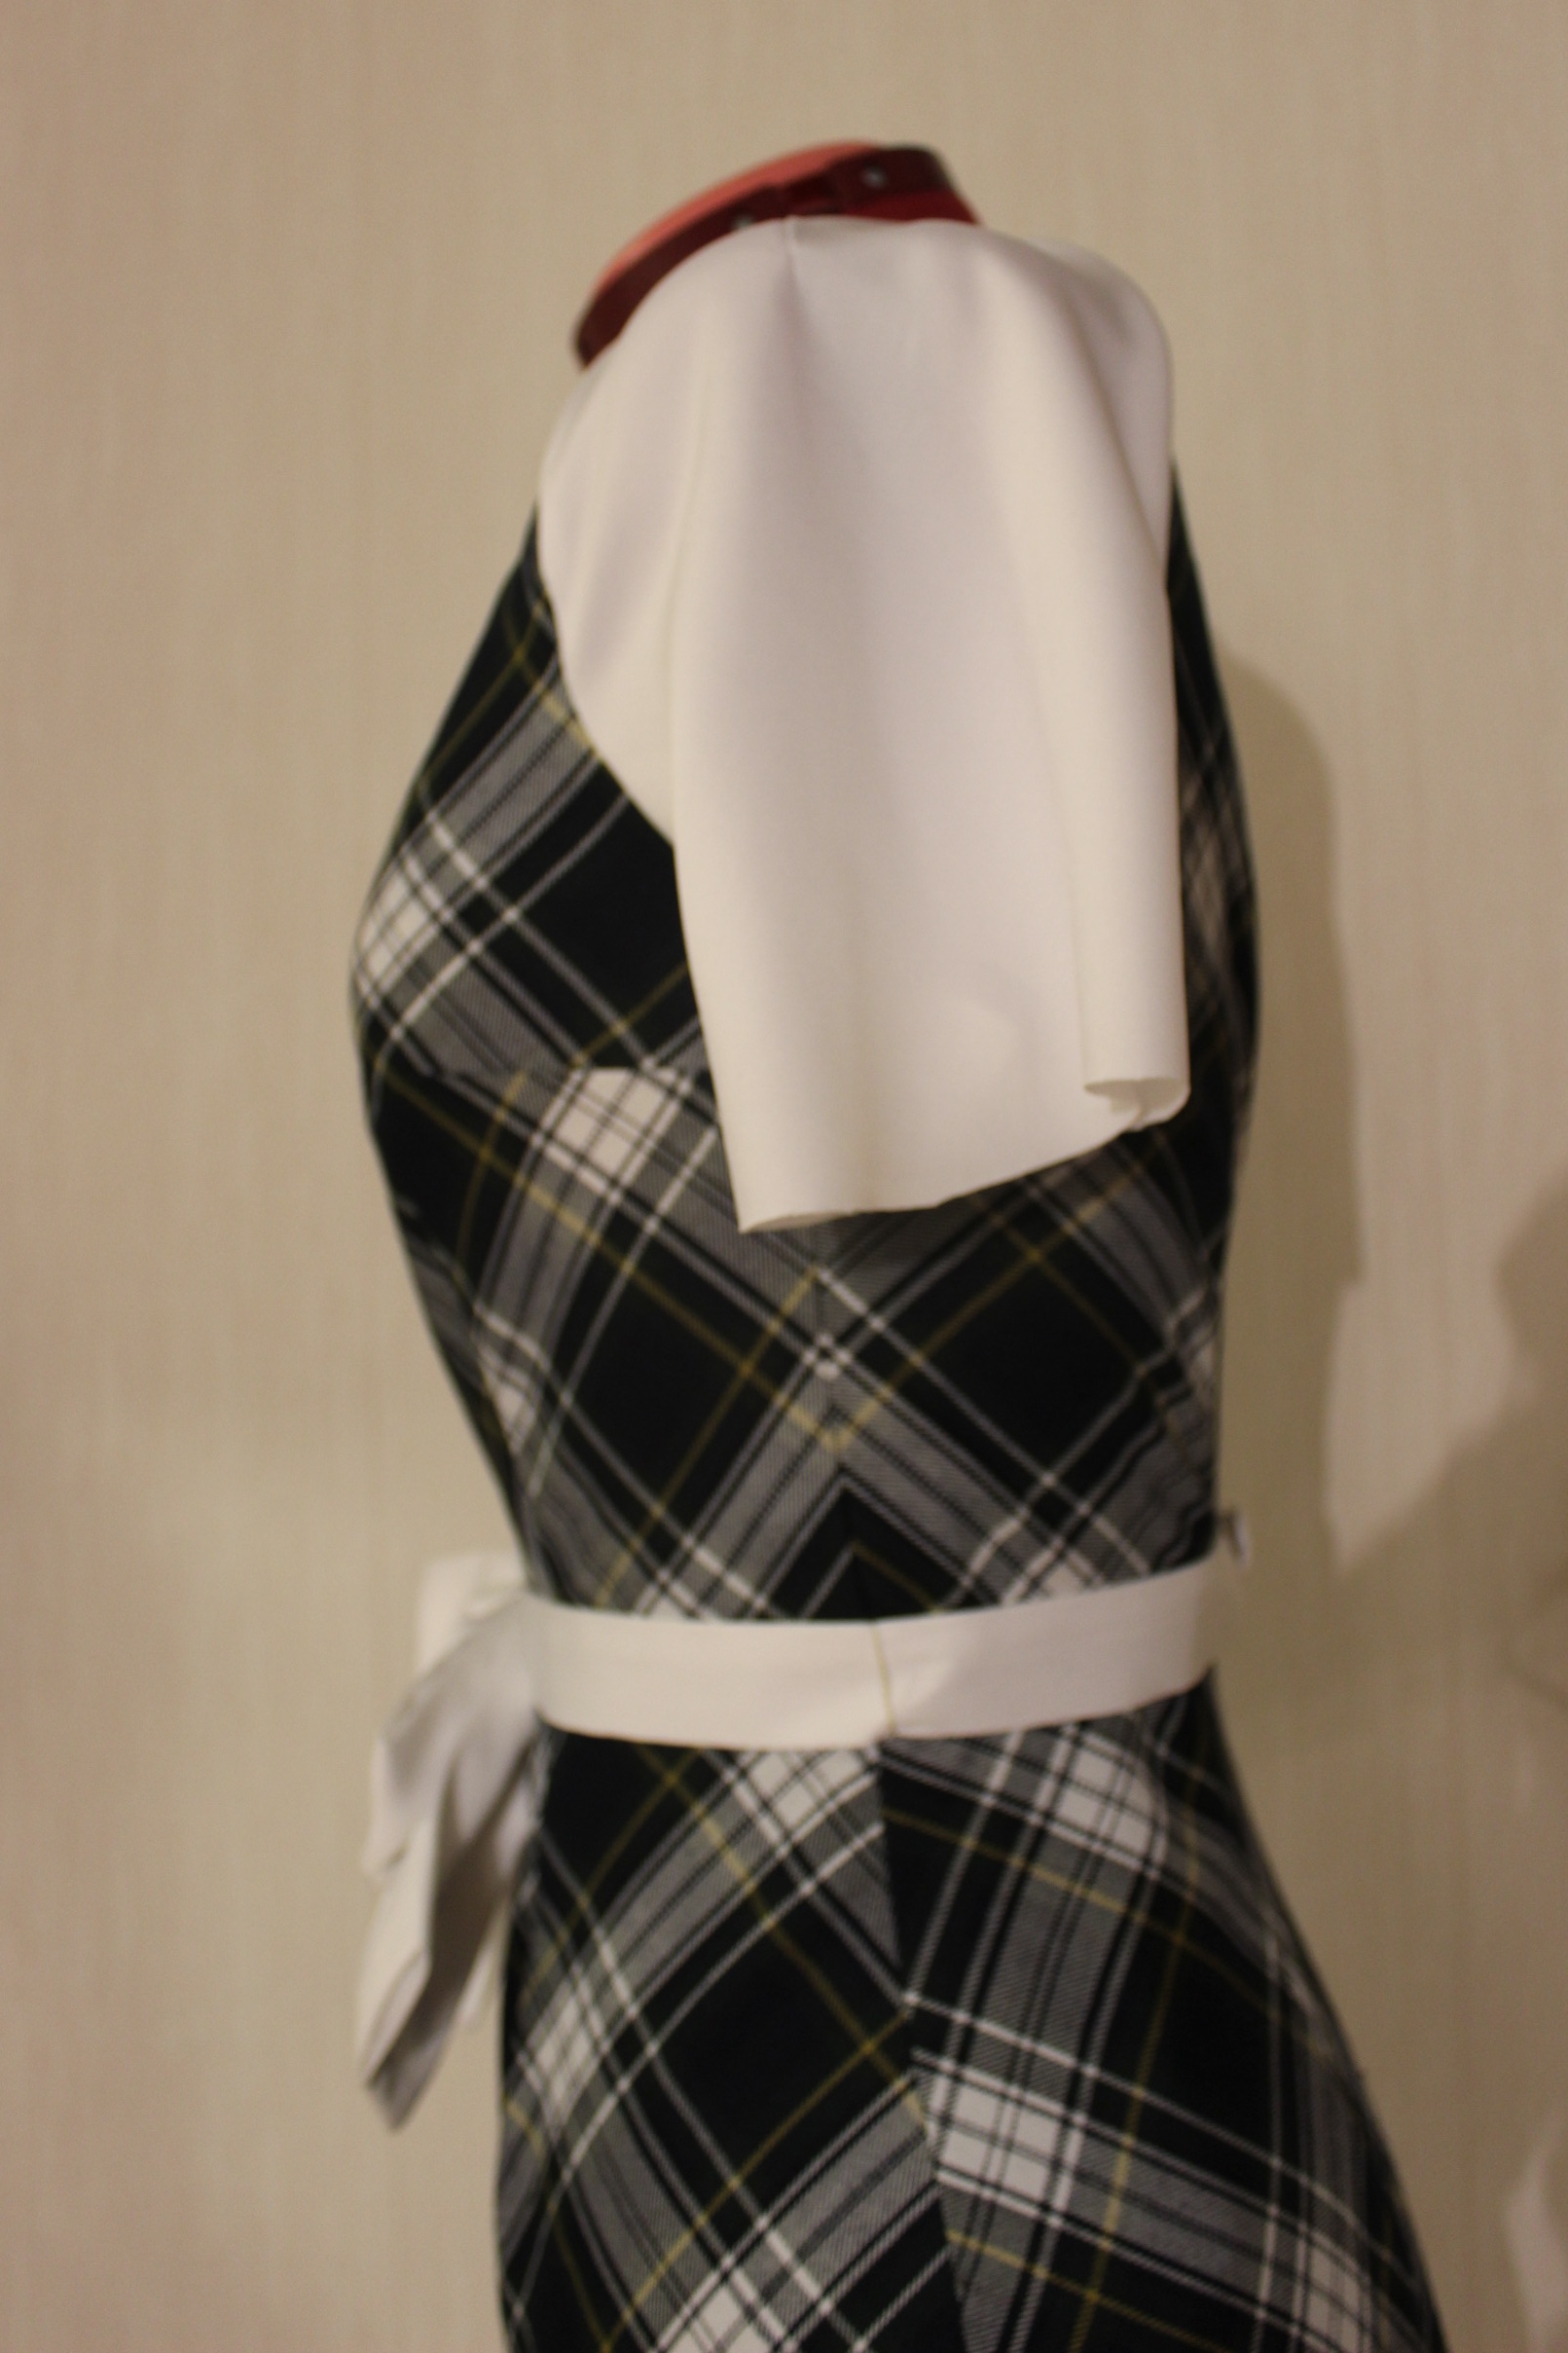
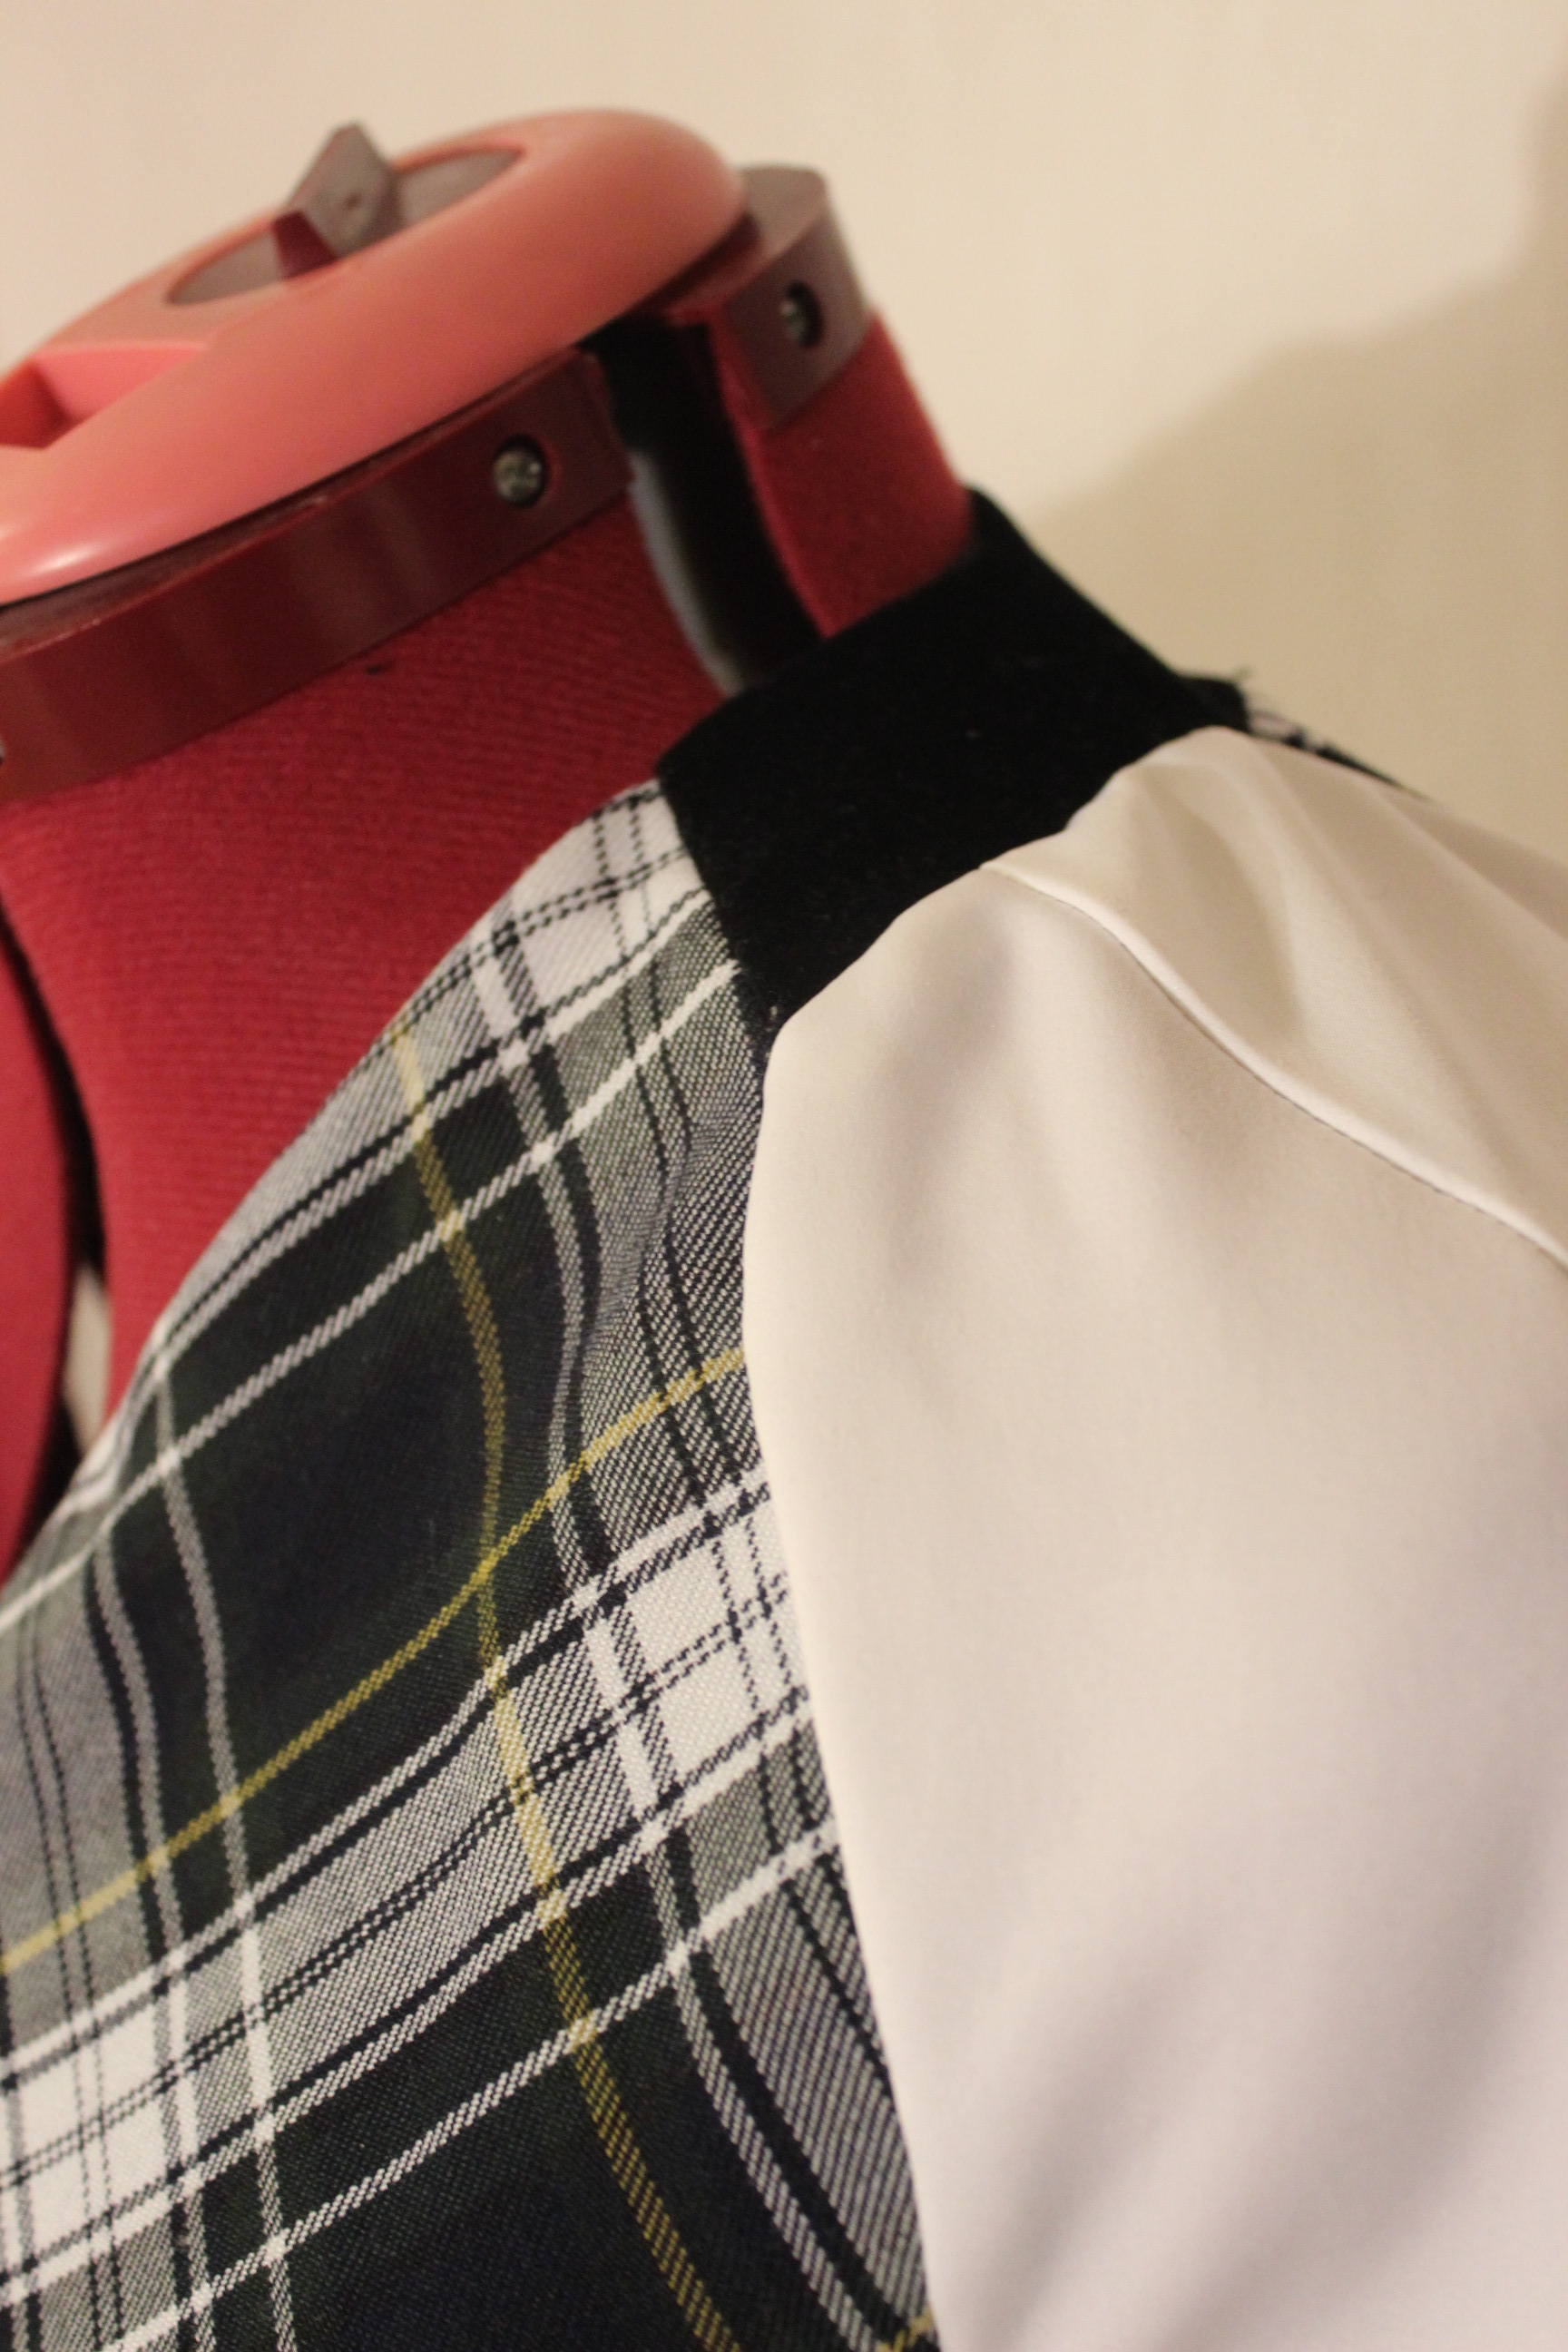
23. Modern History
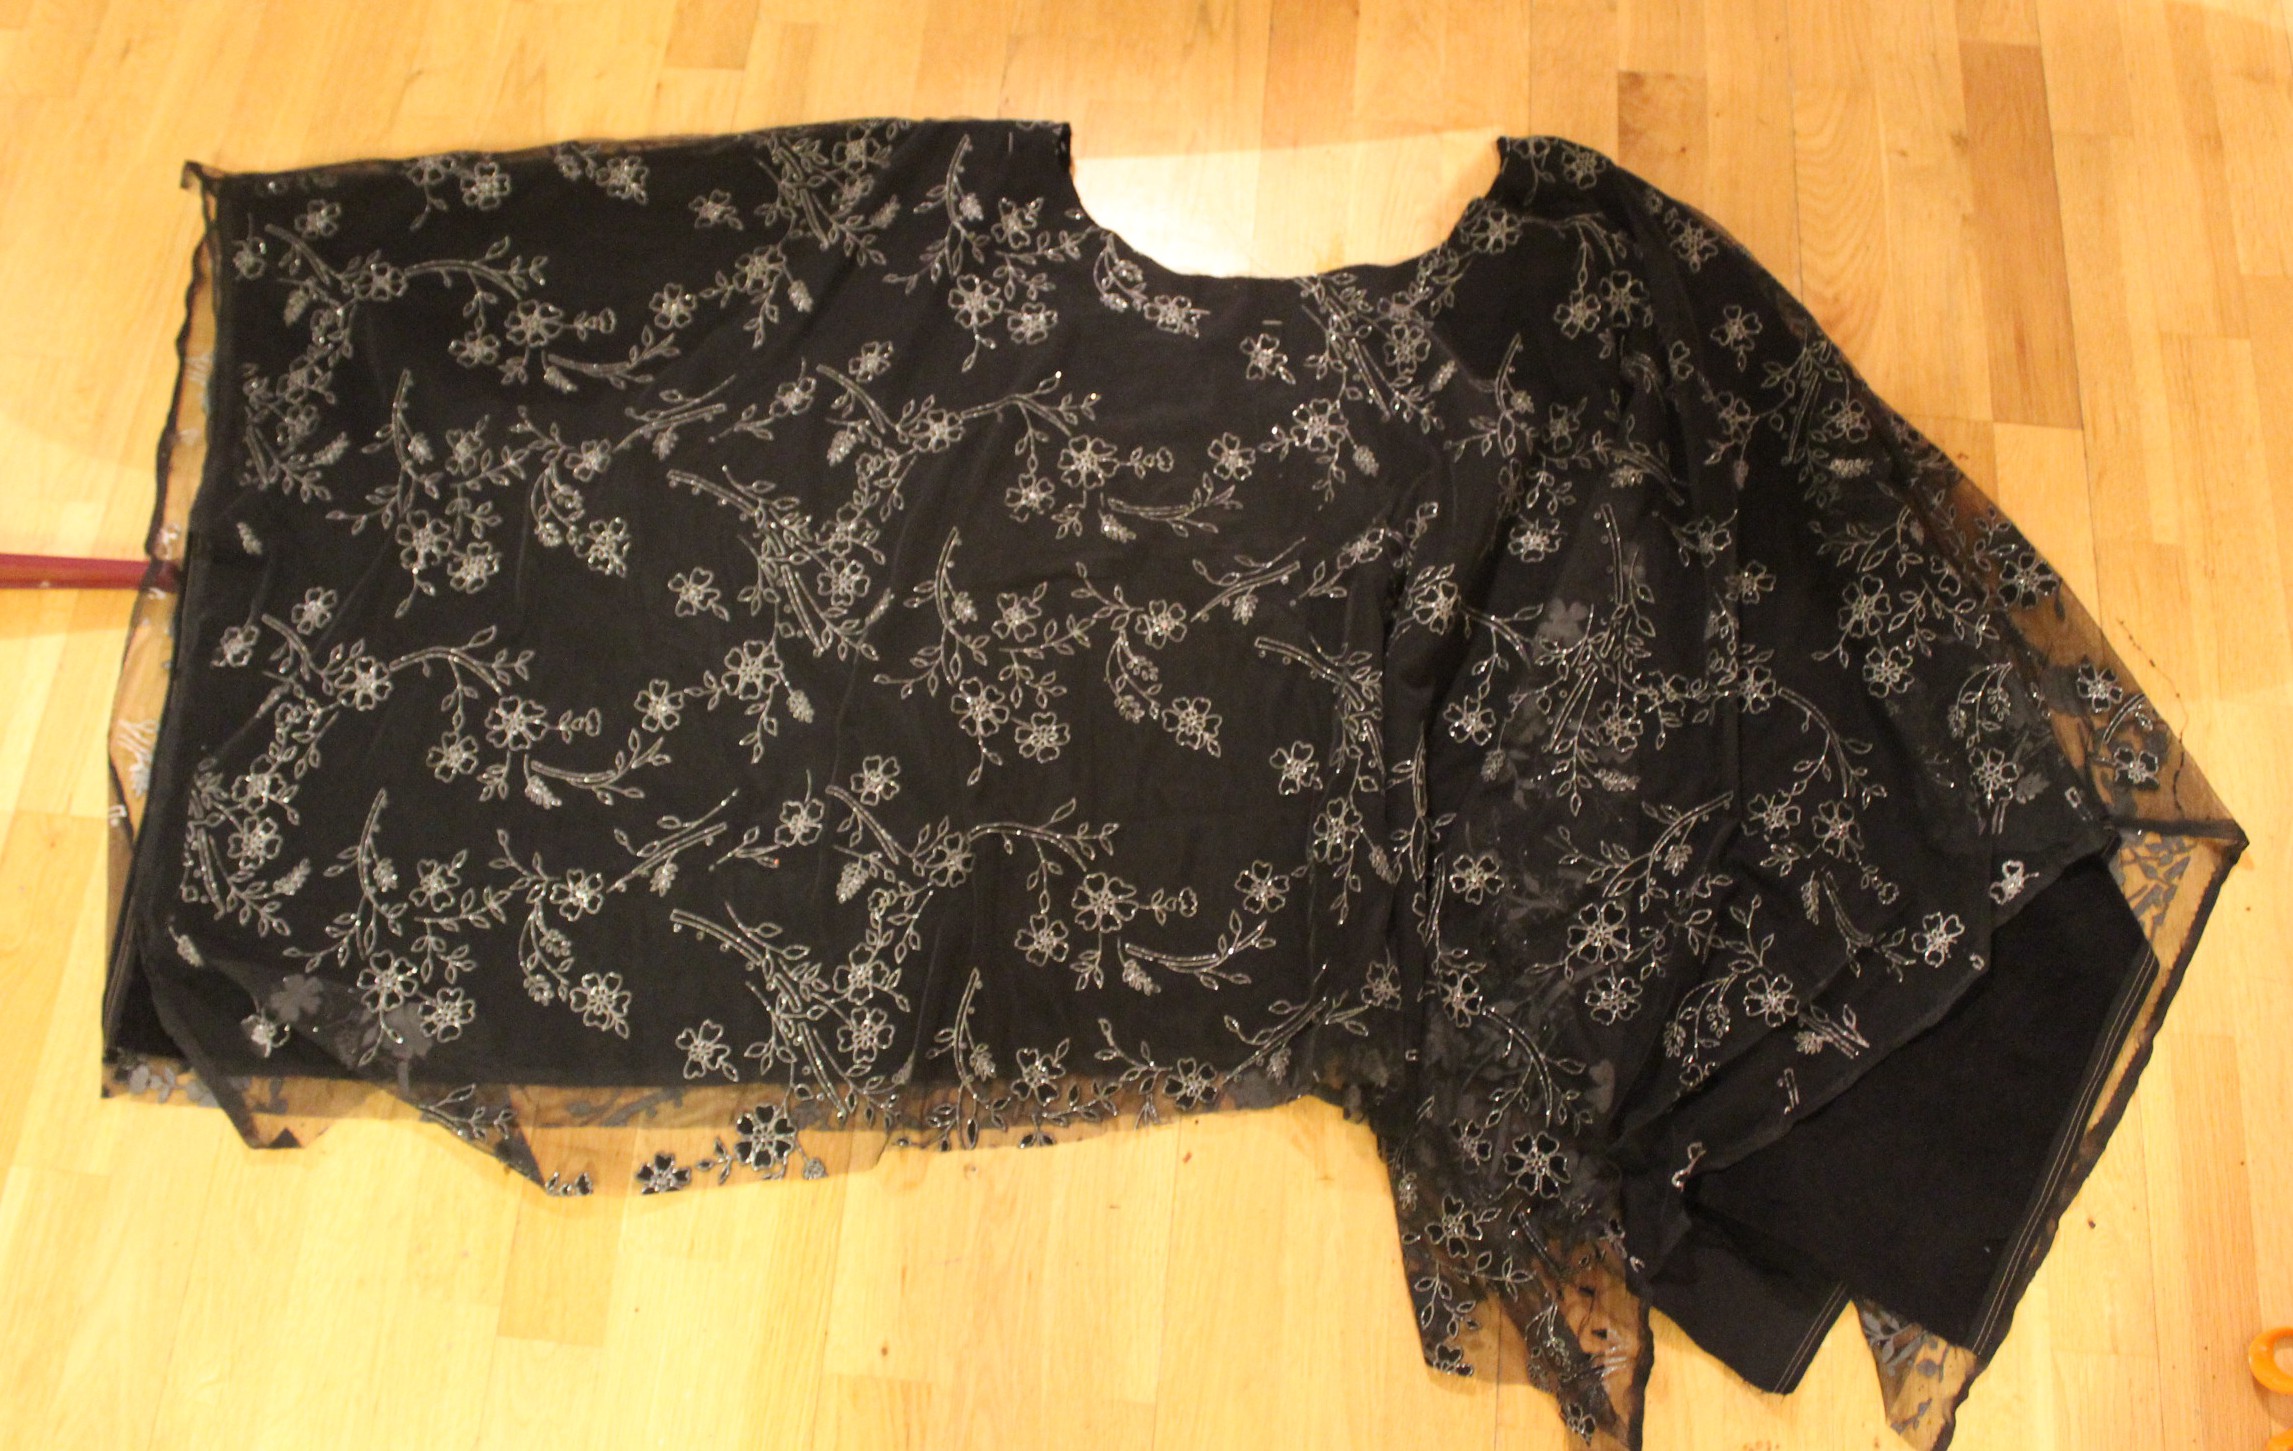
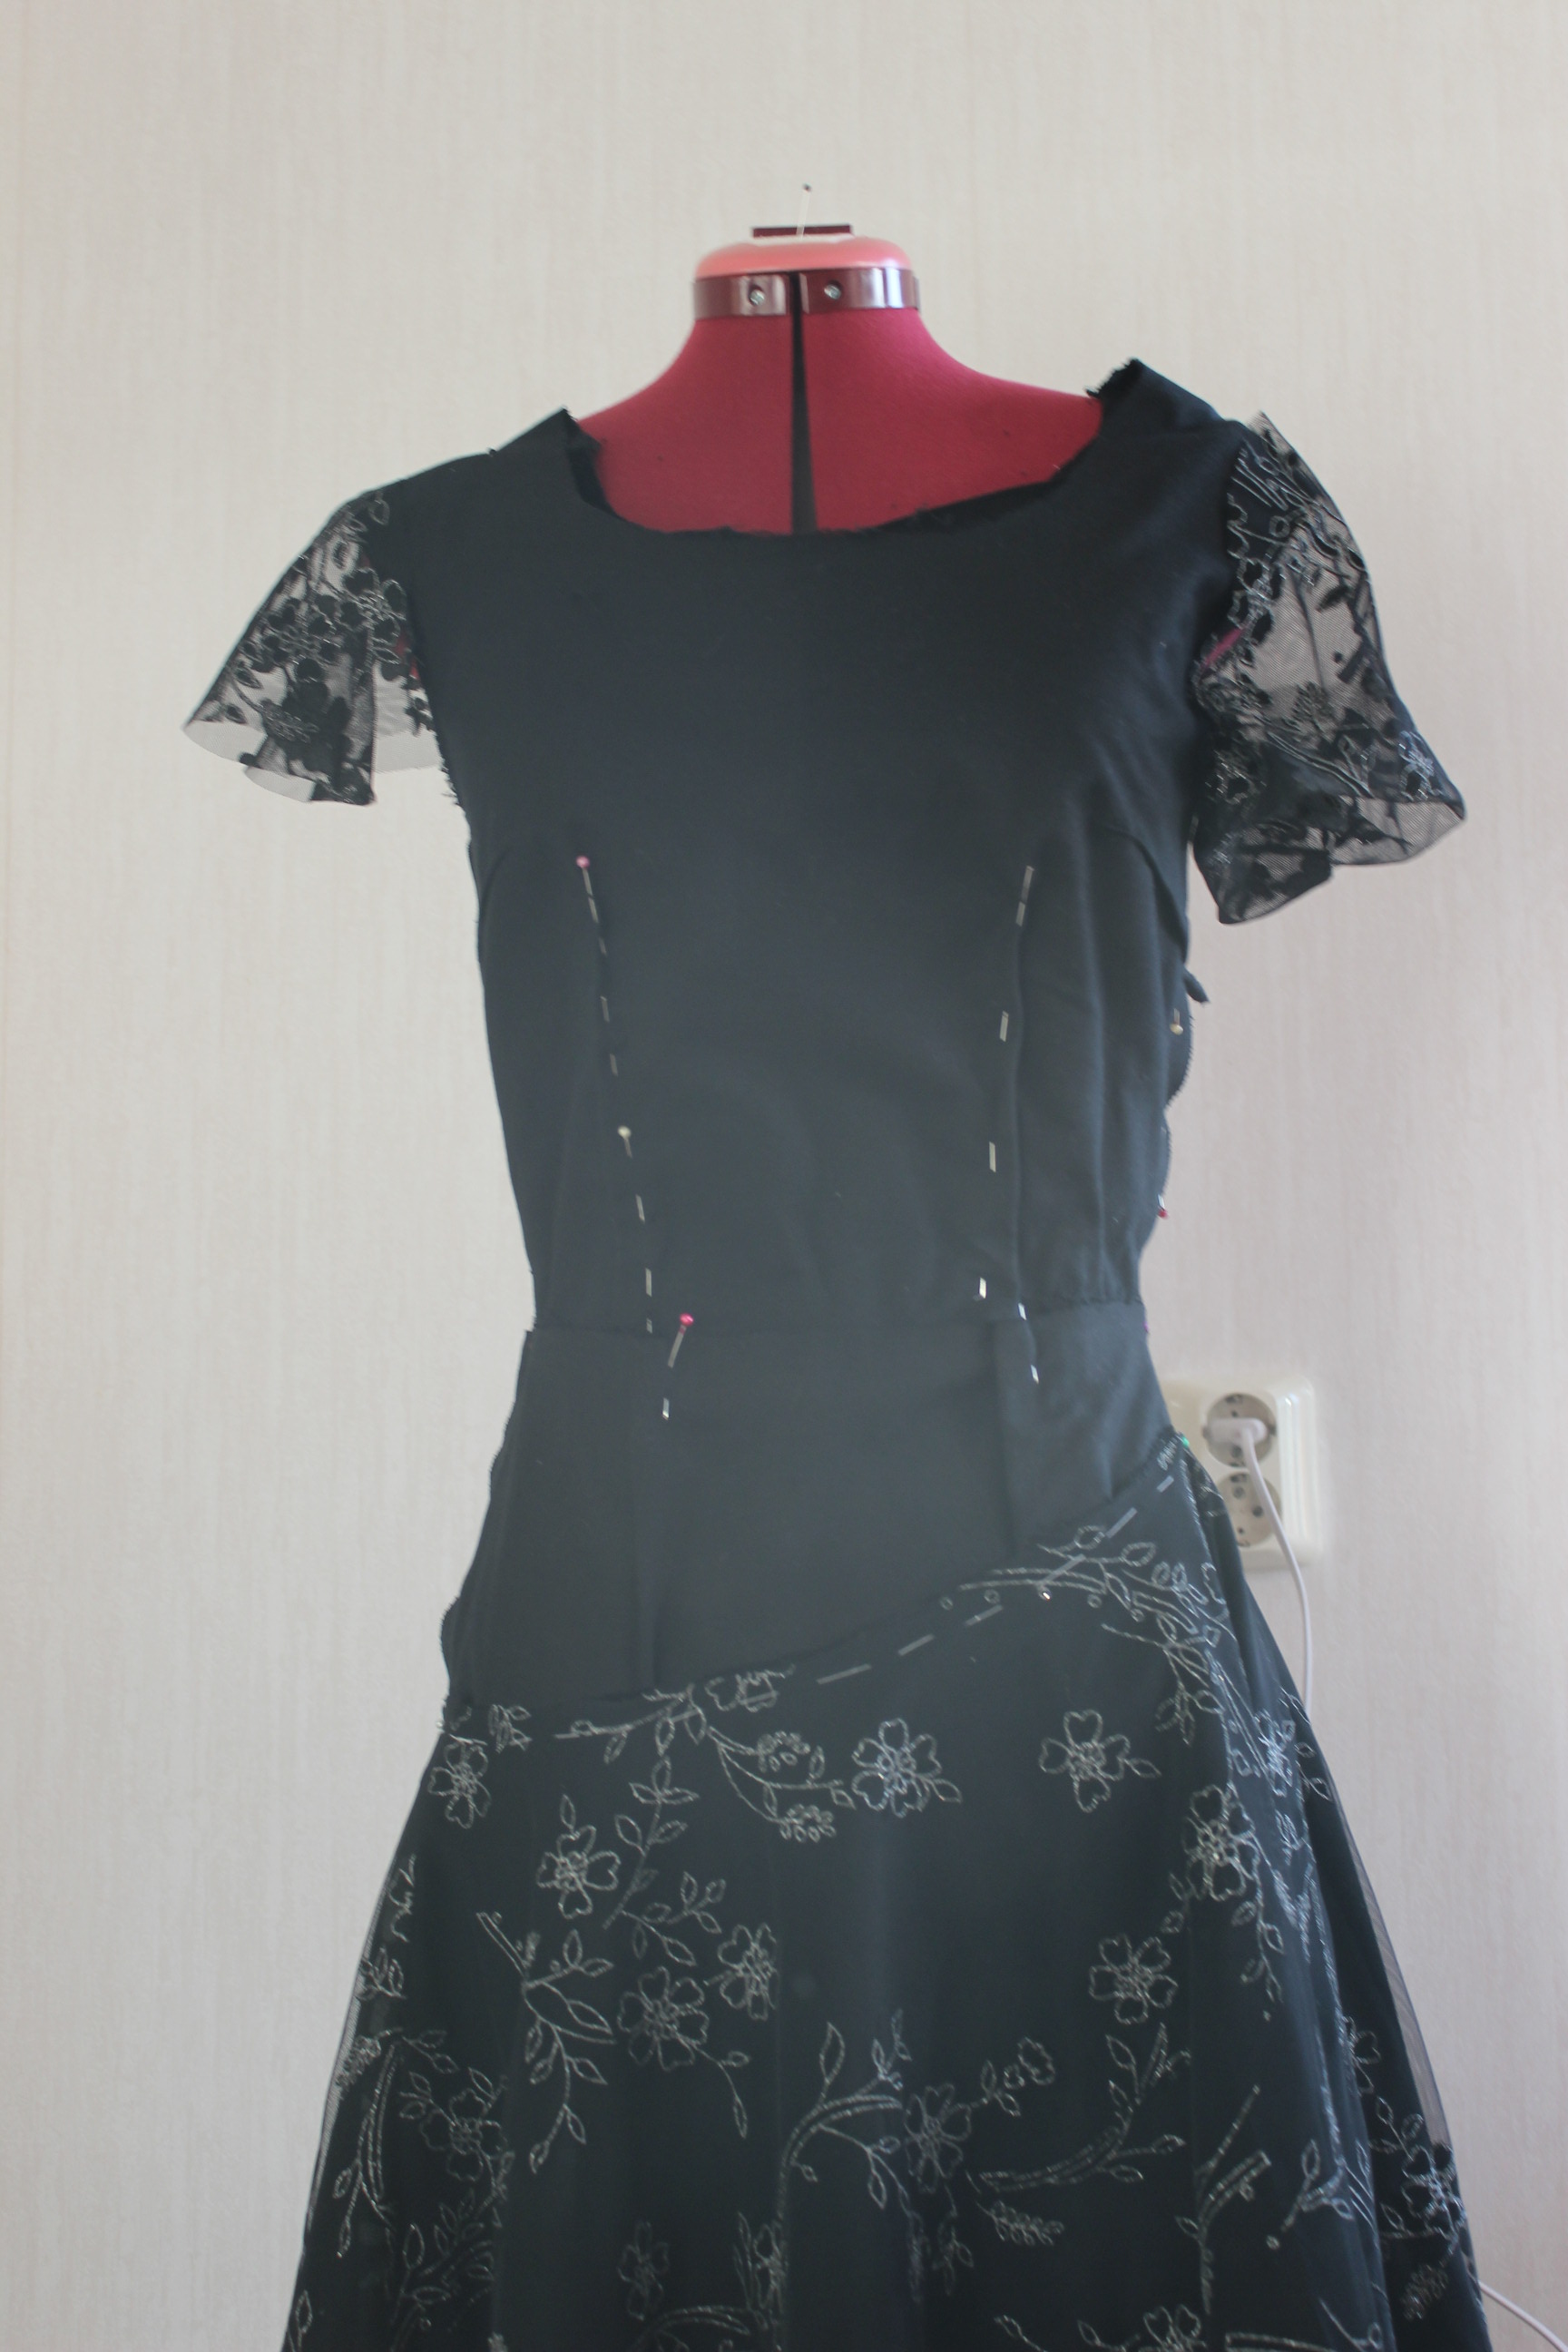
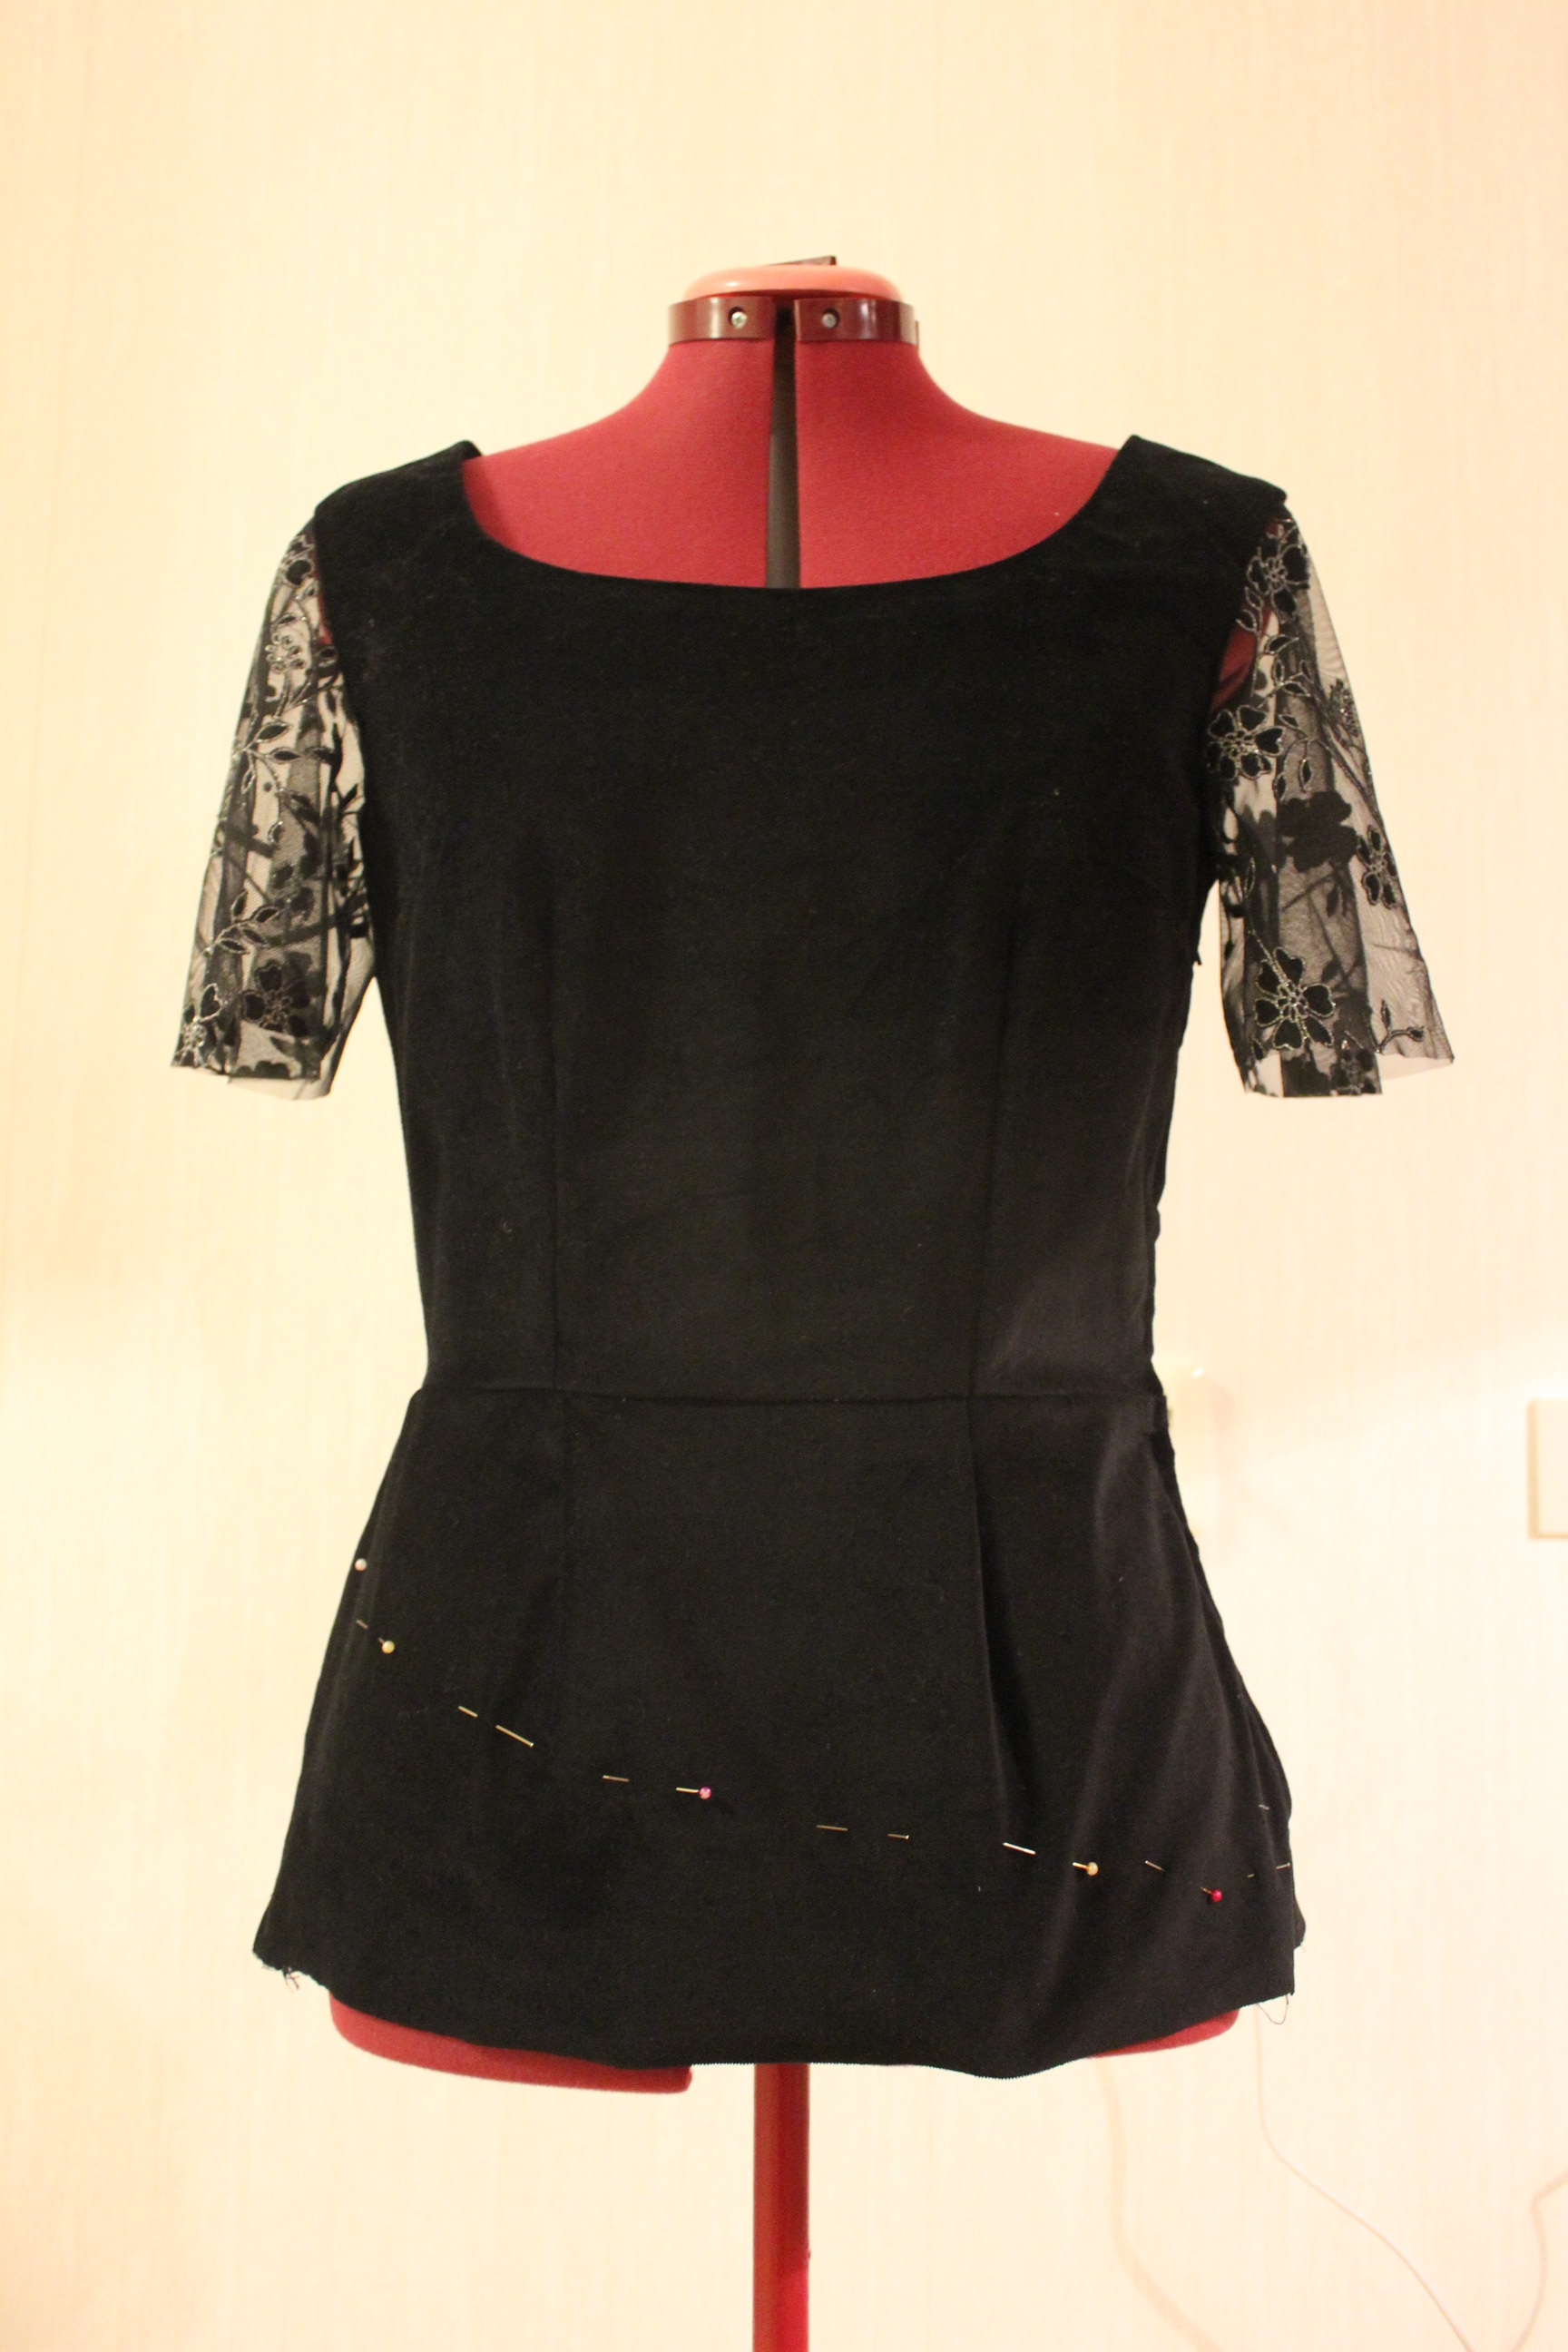
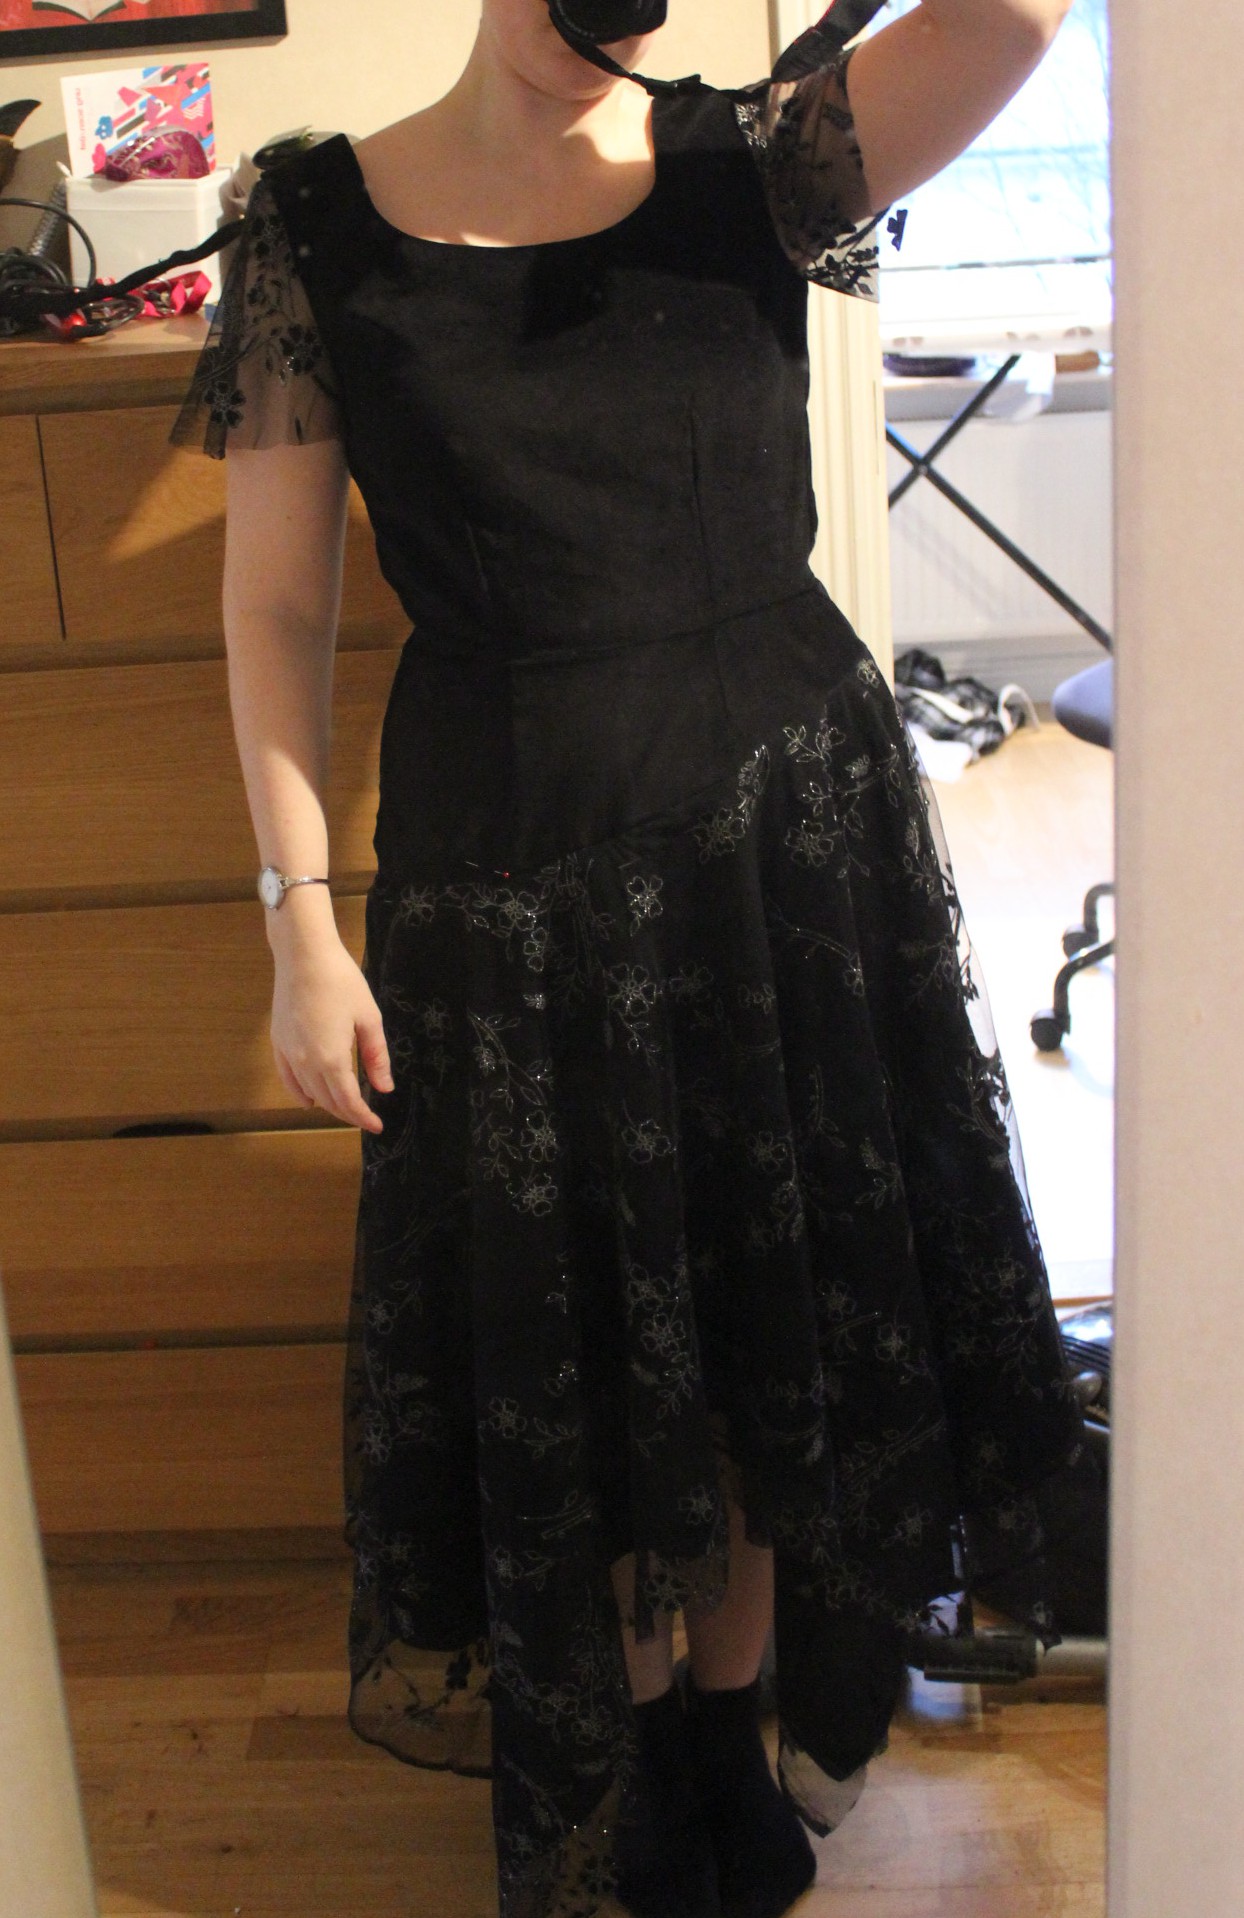
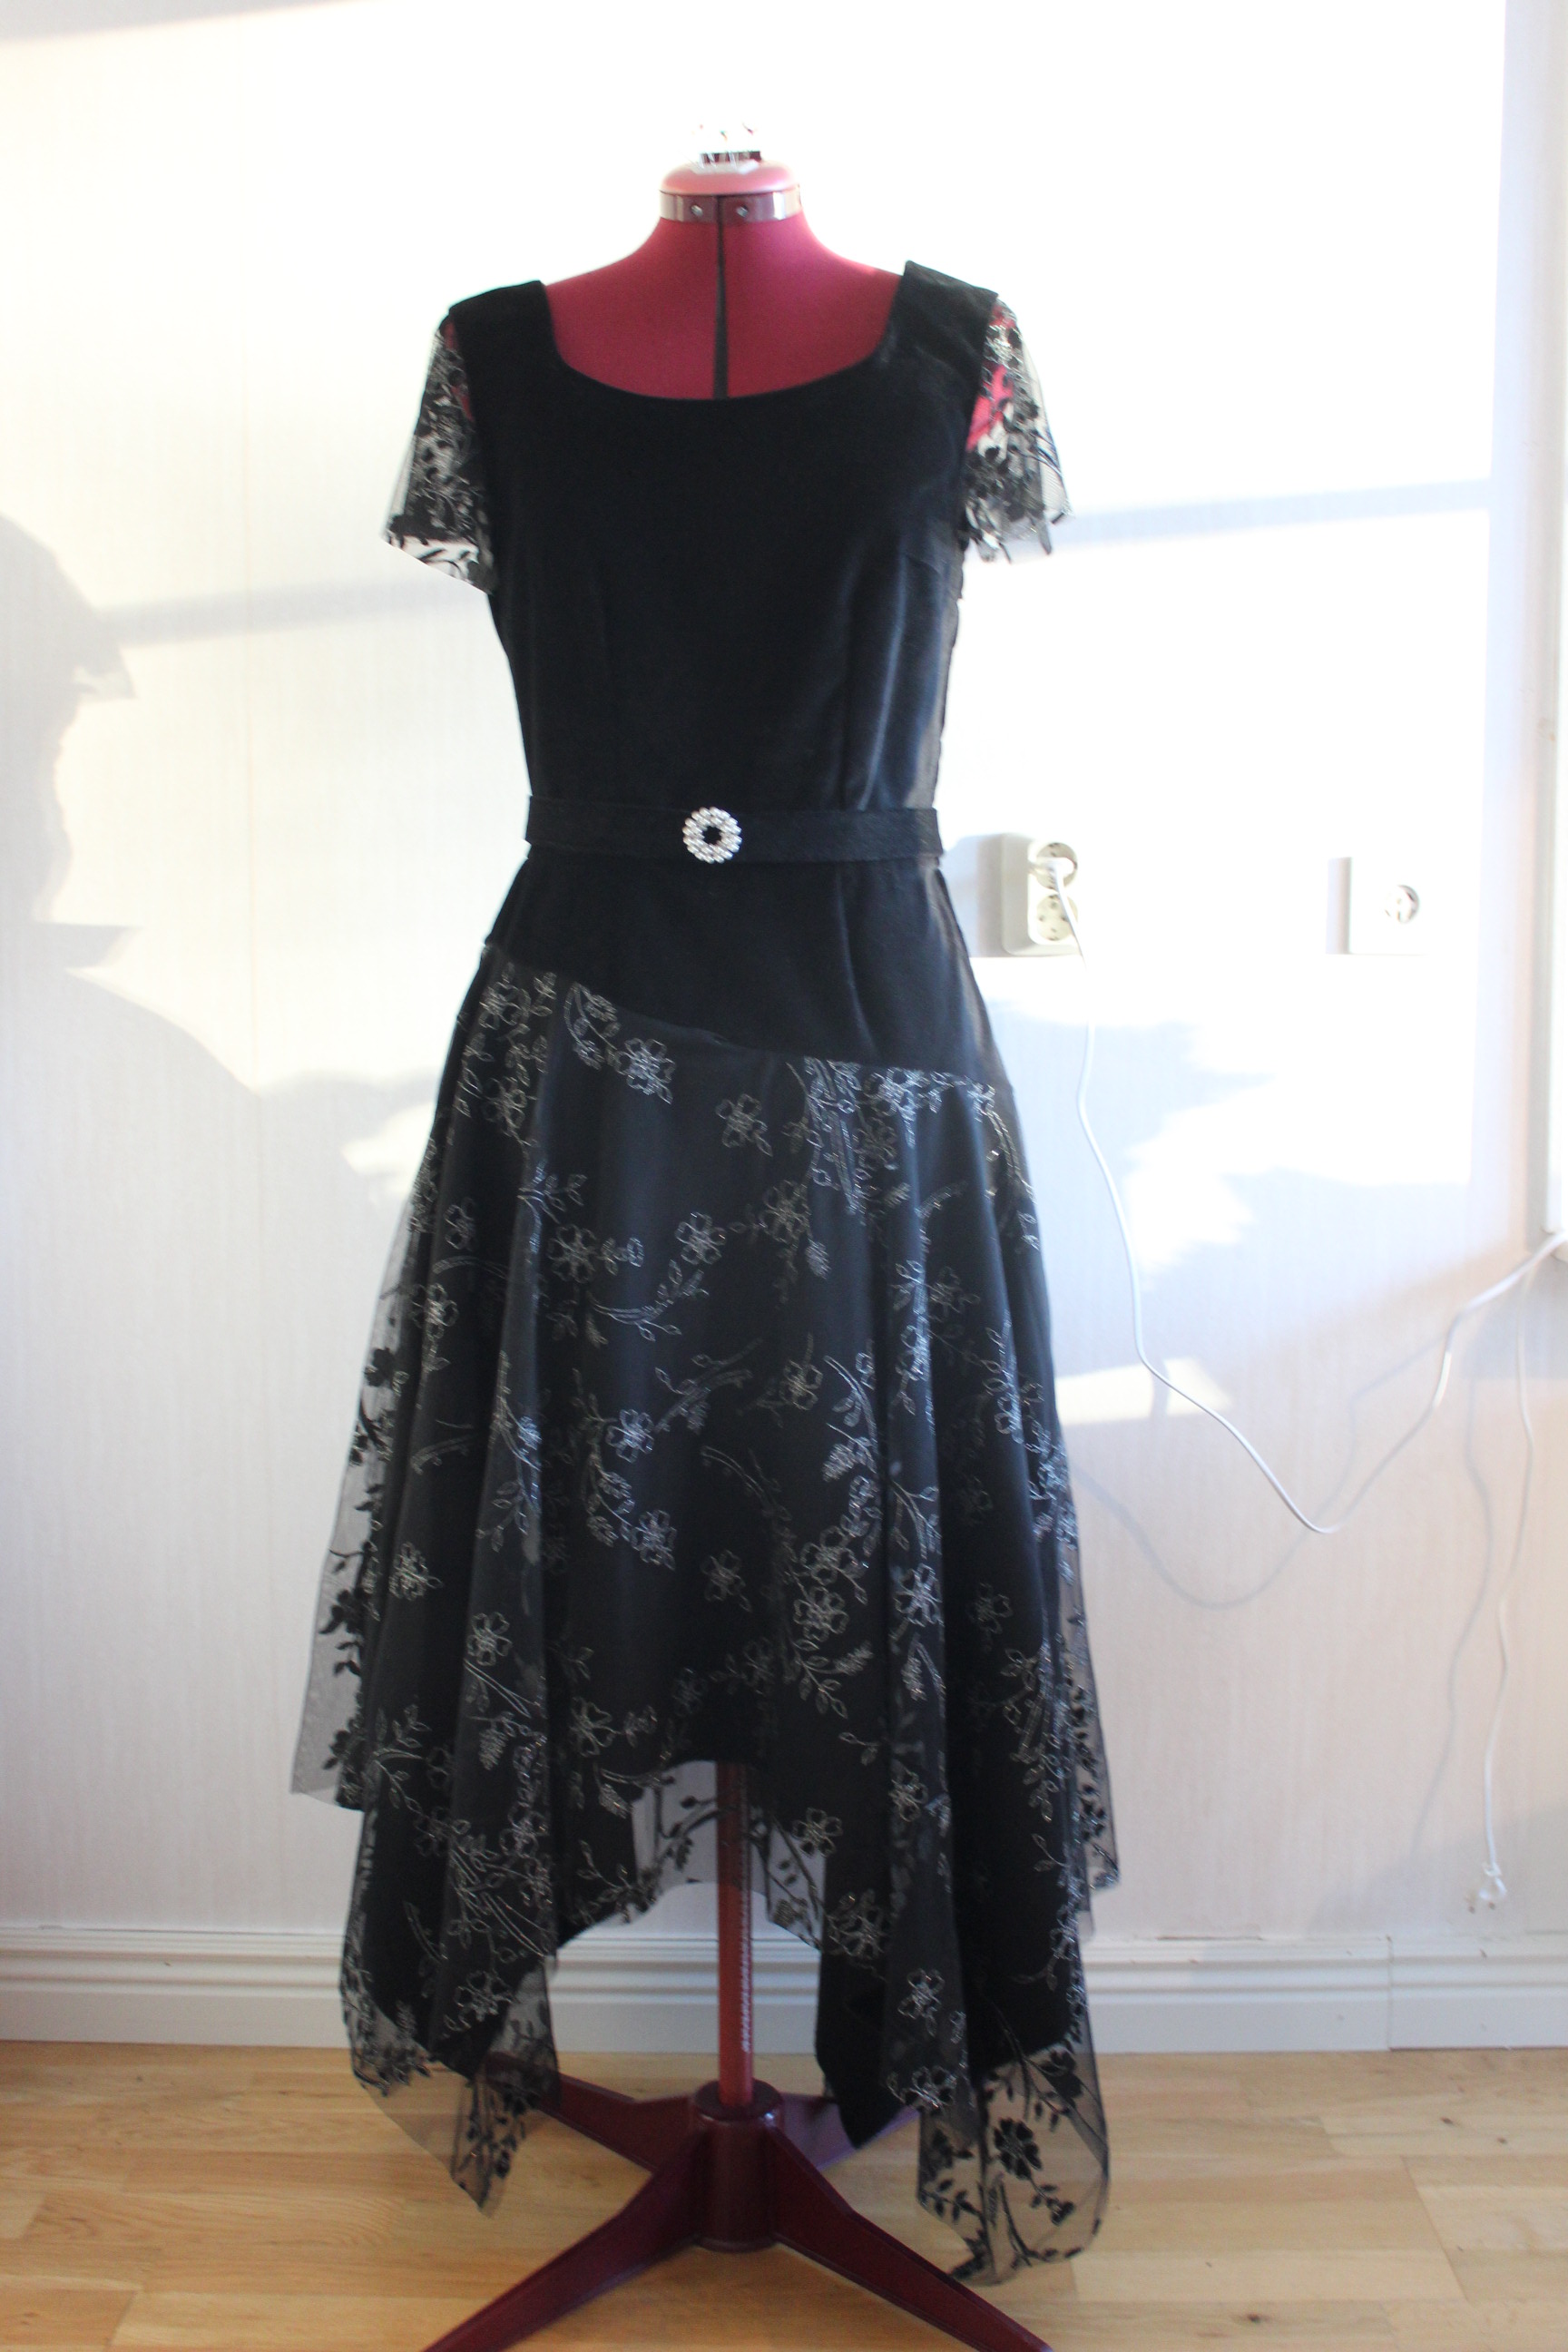
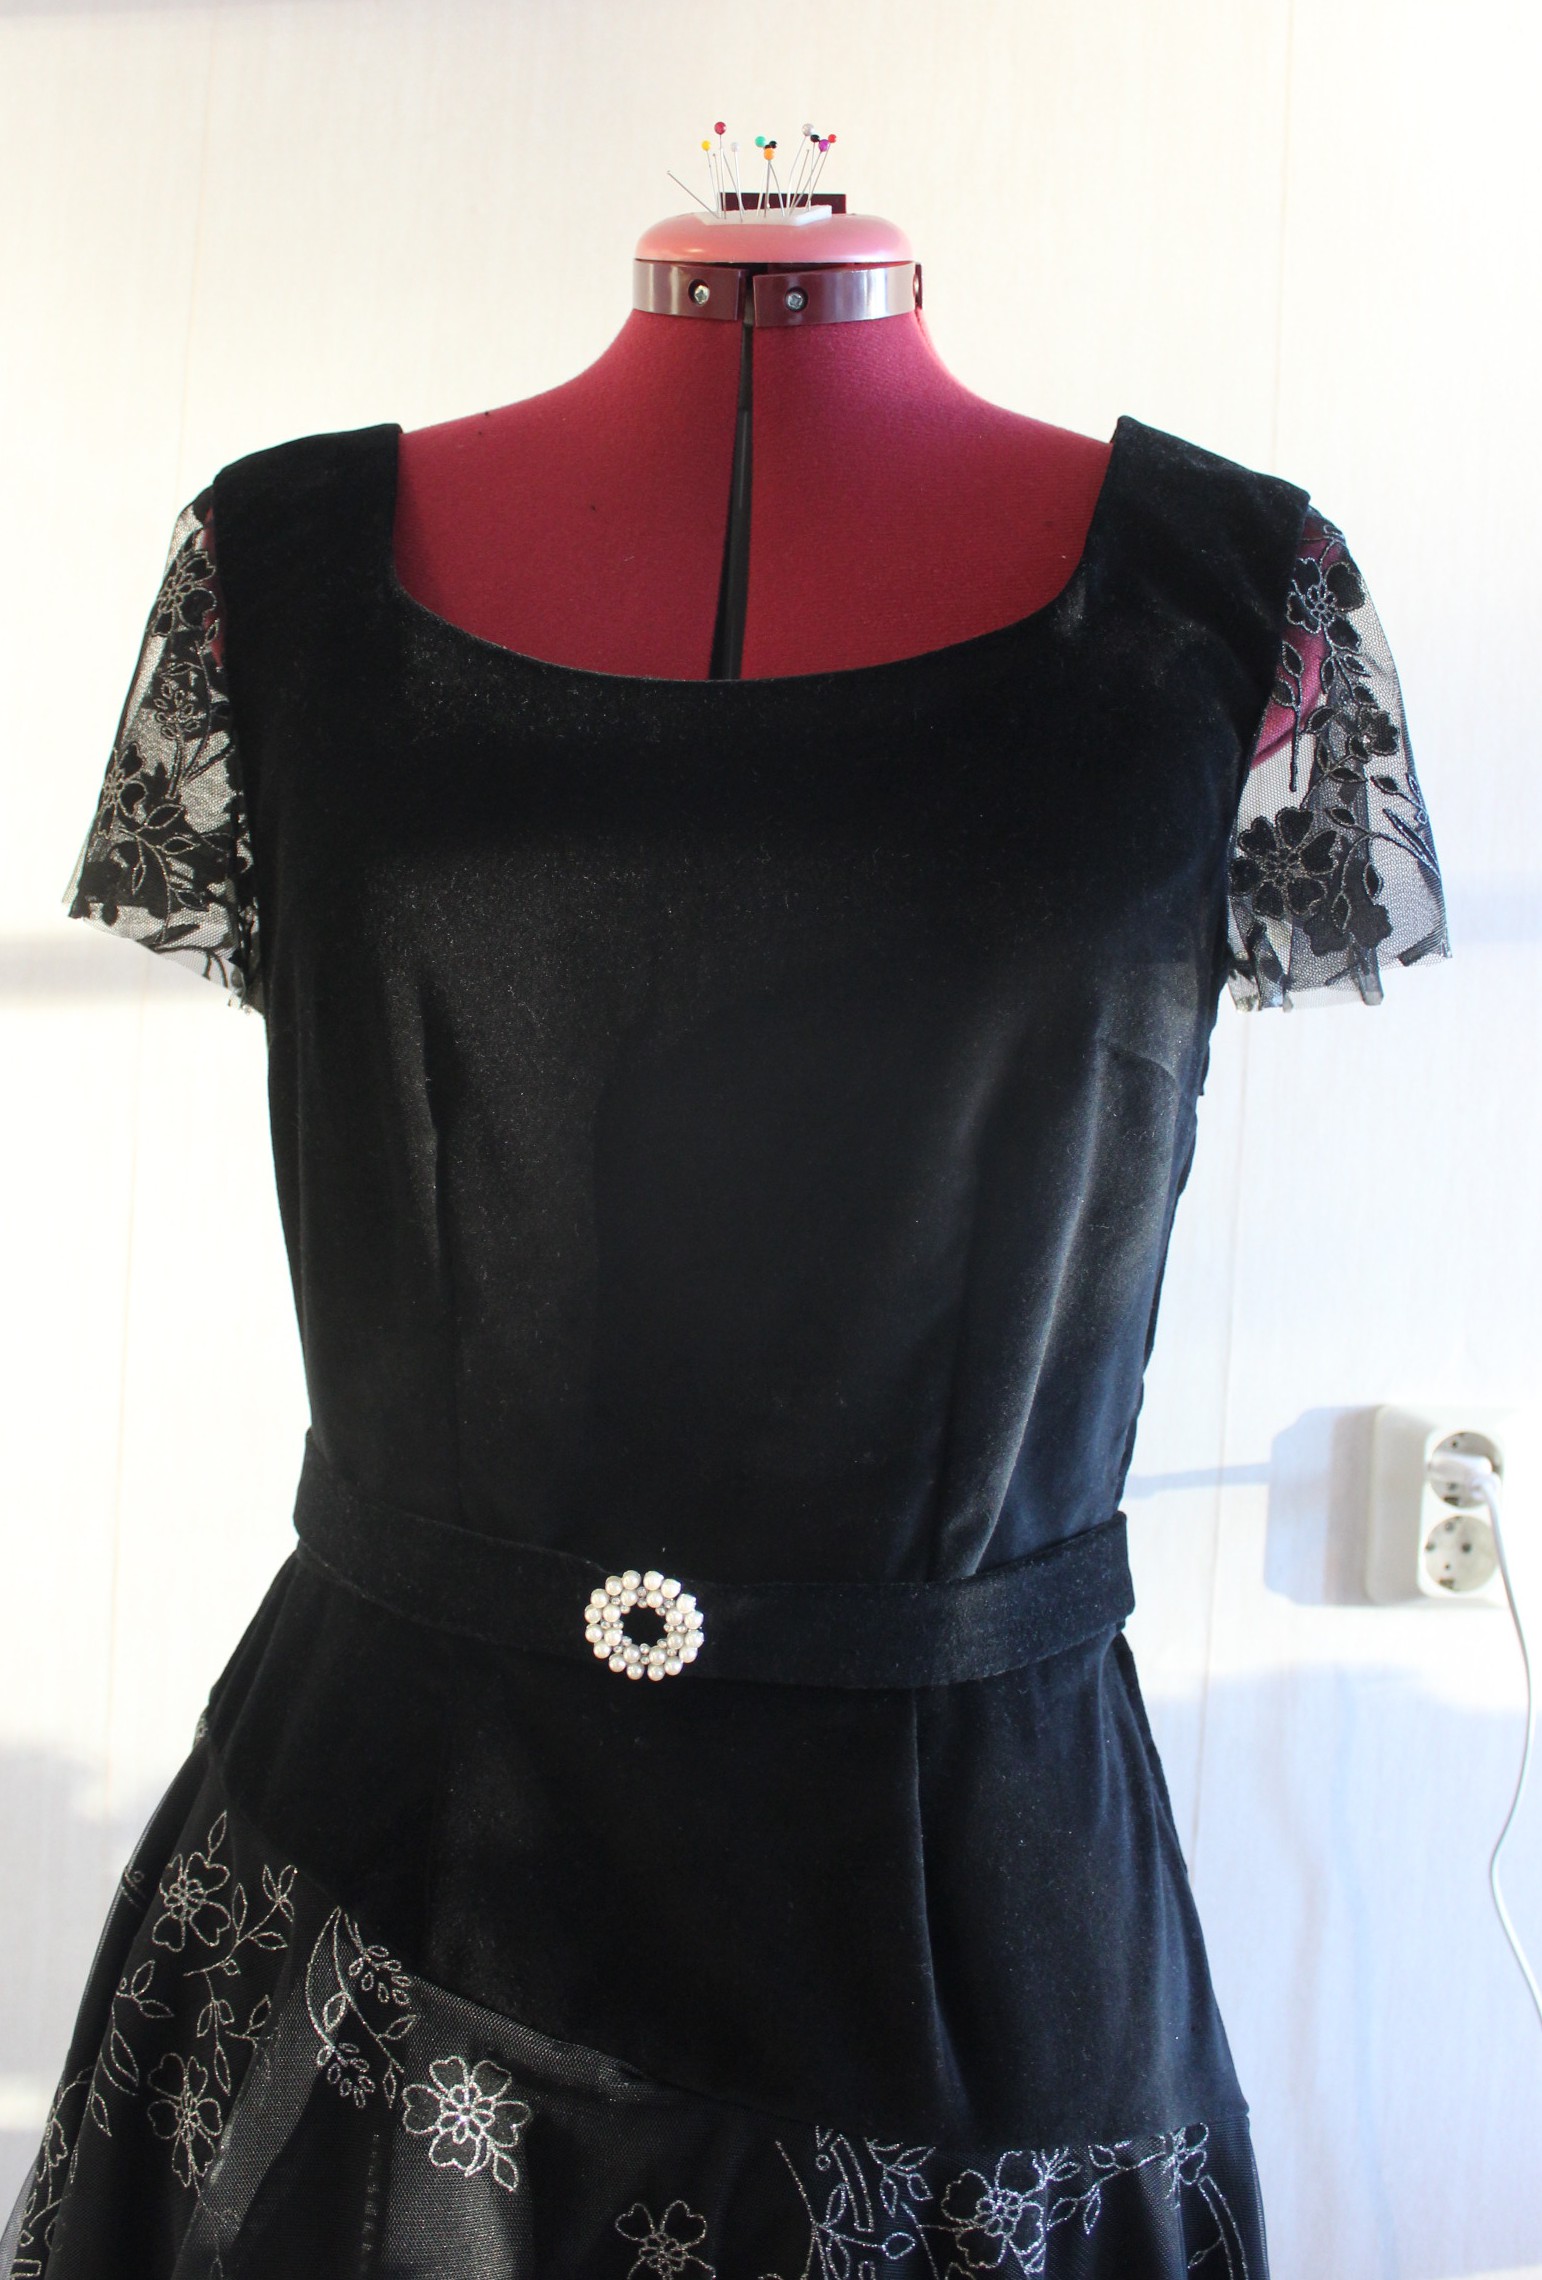
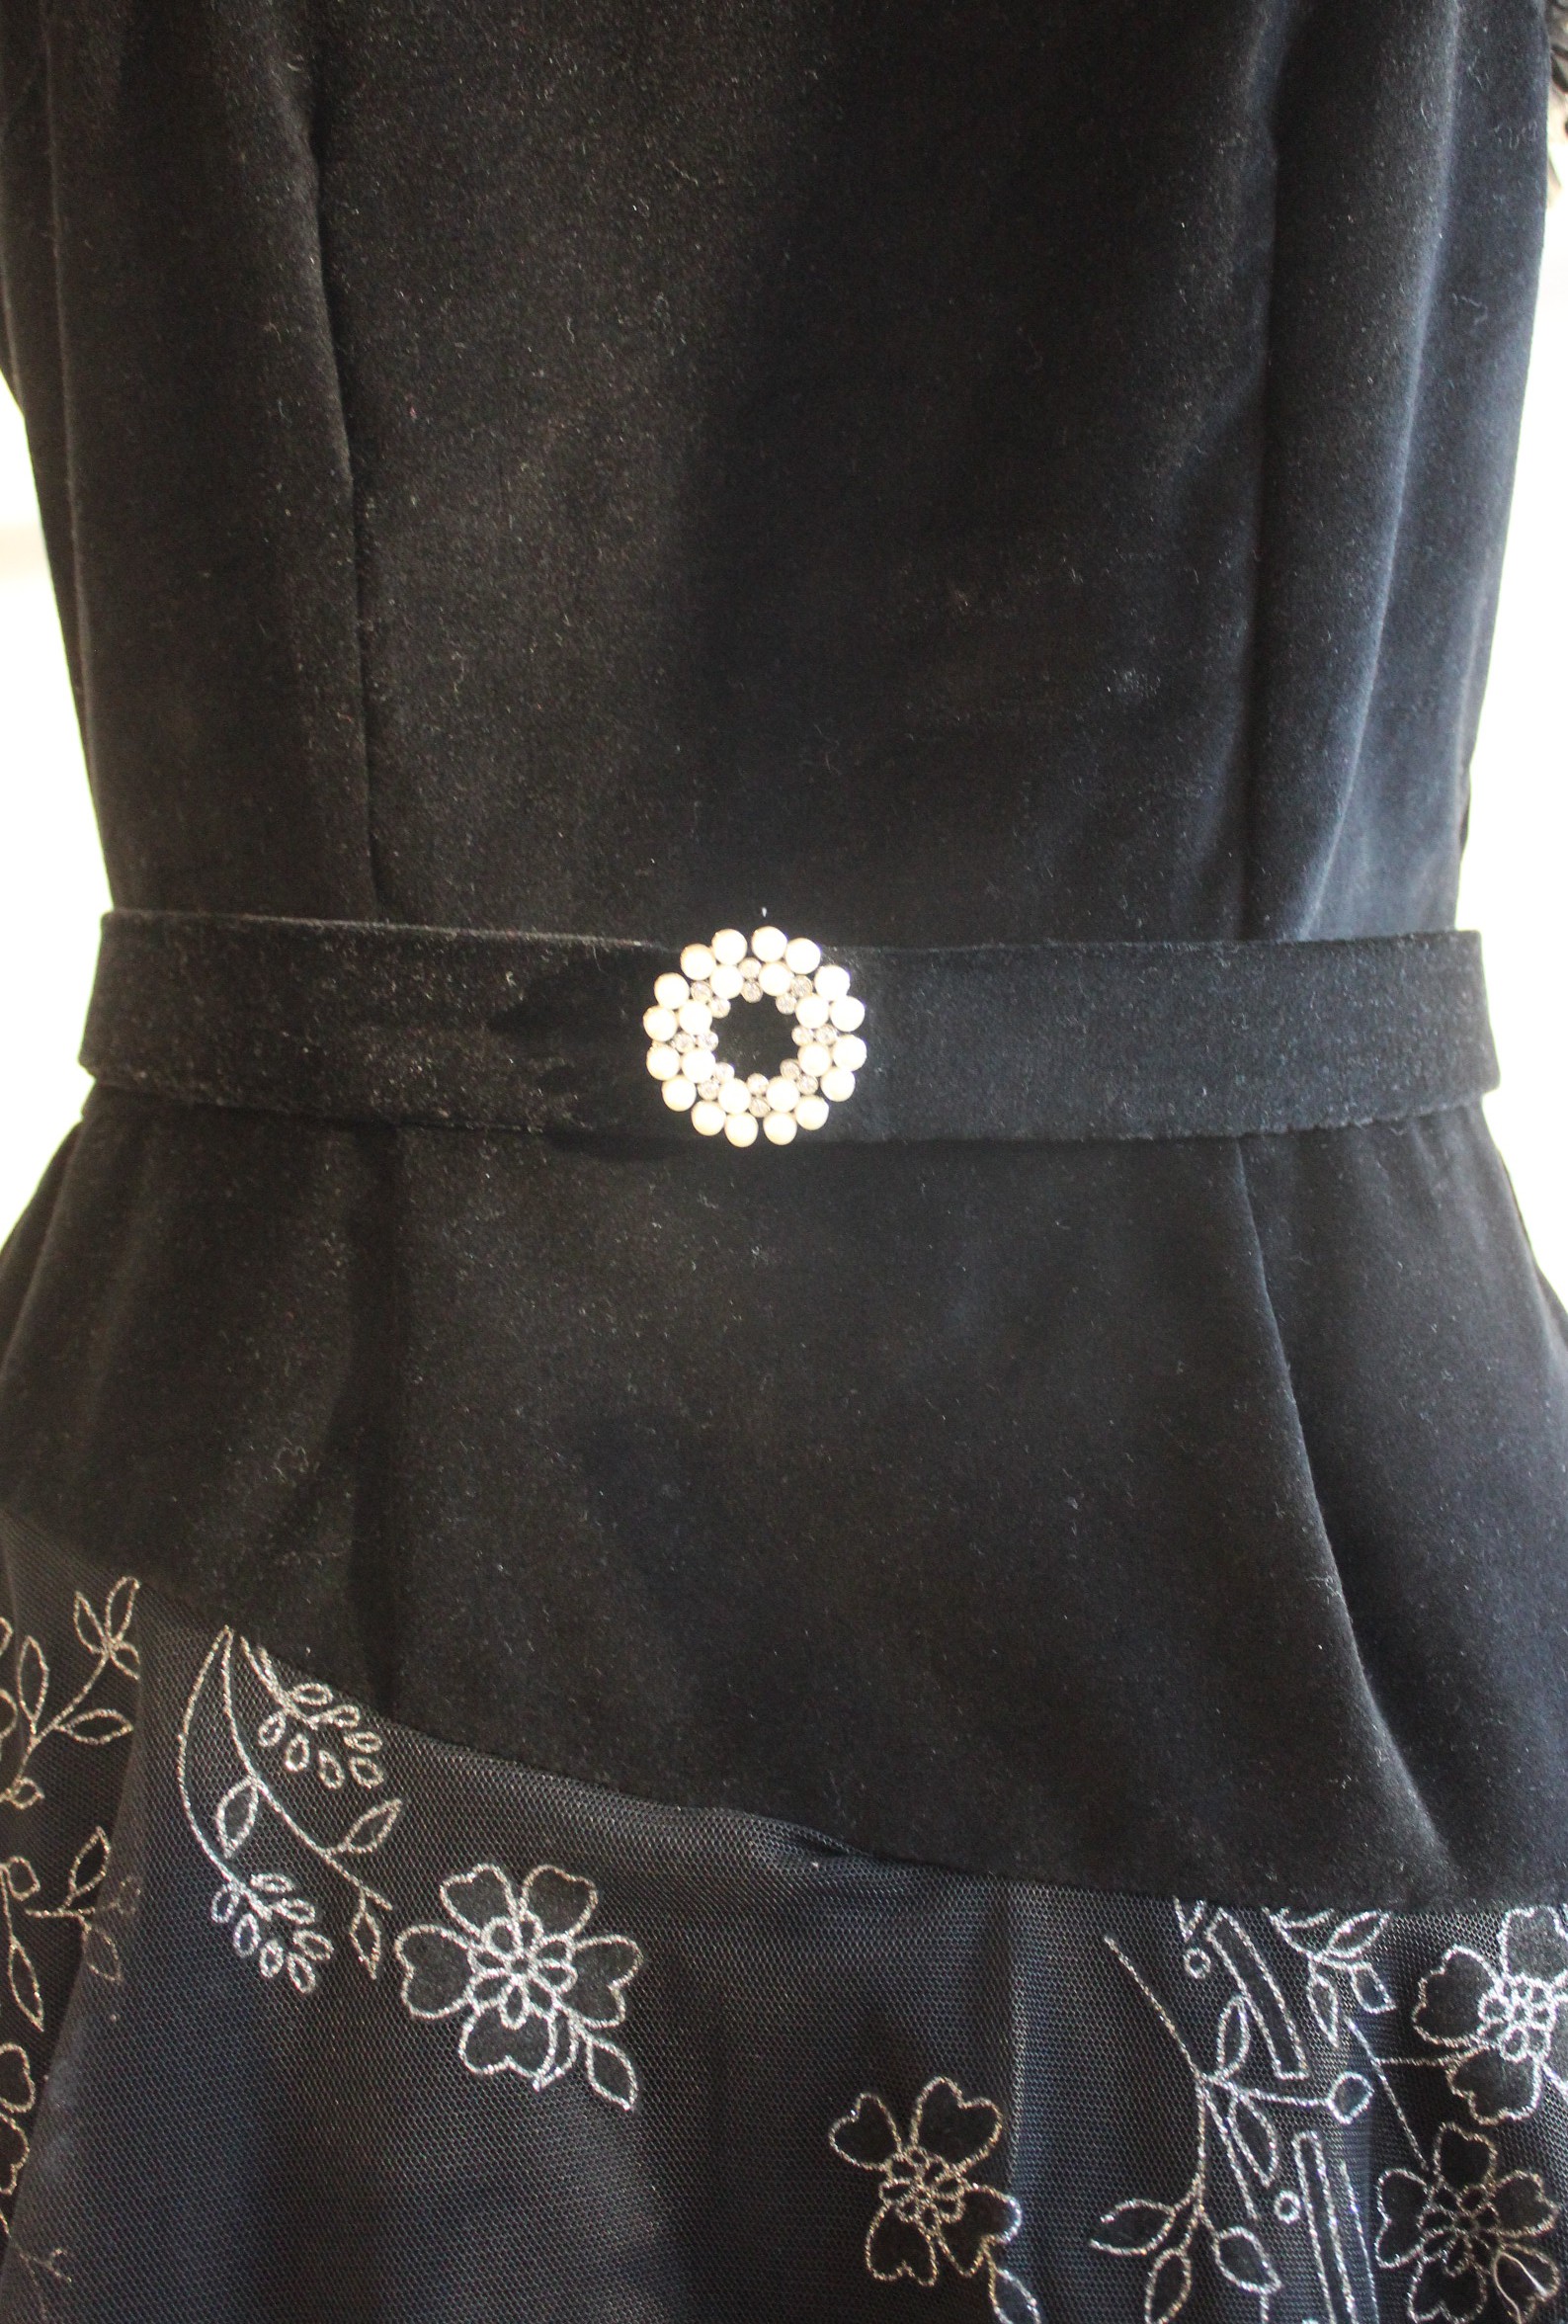
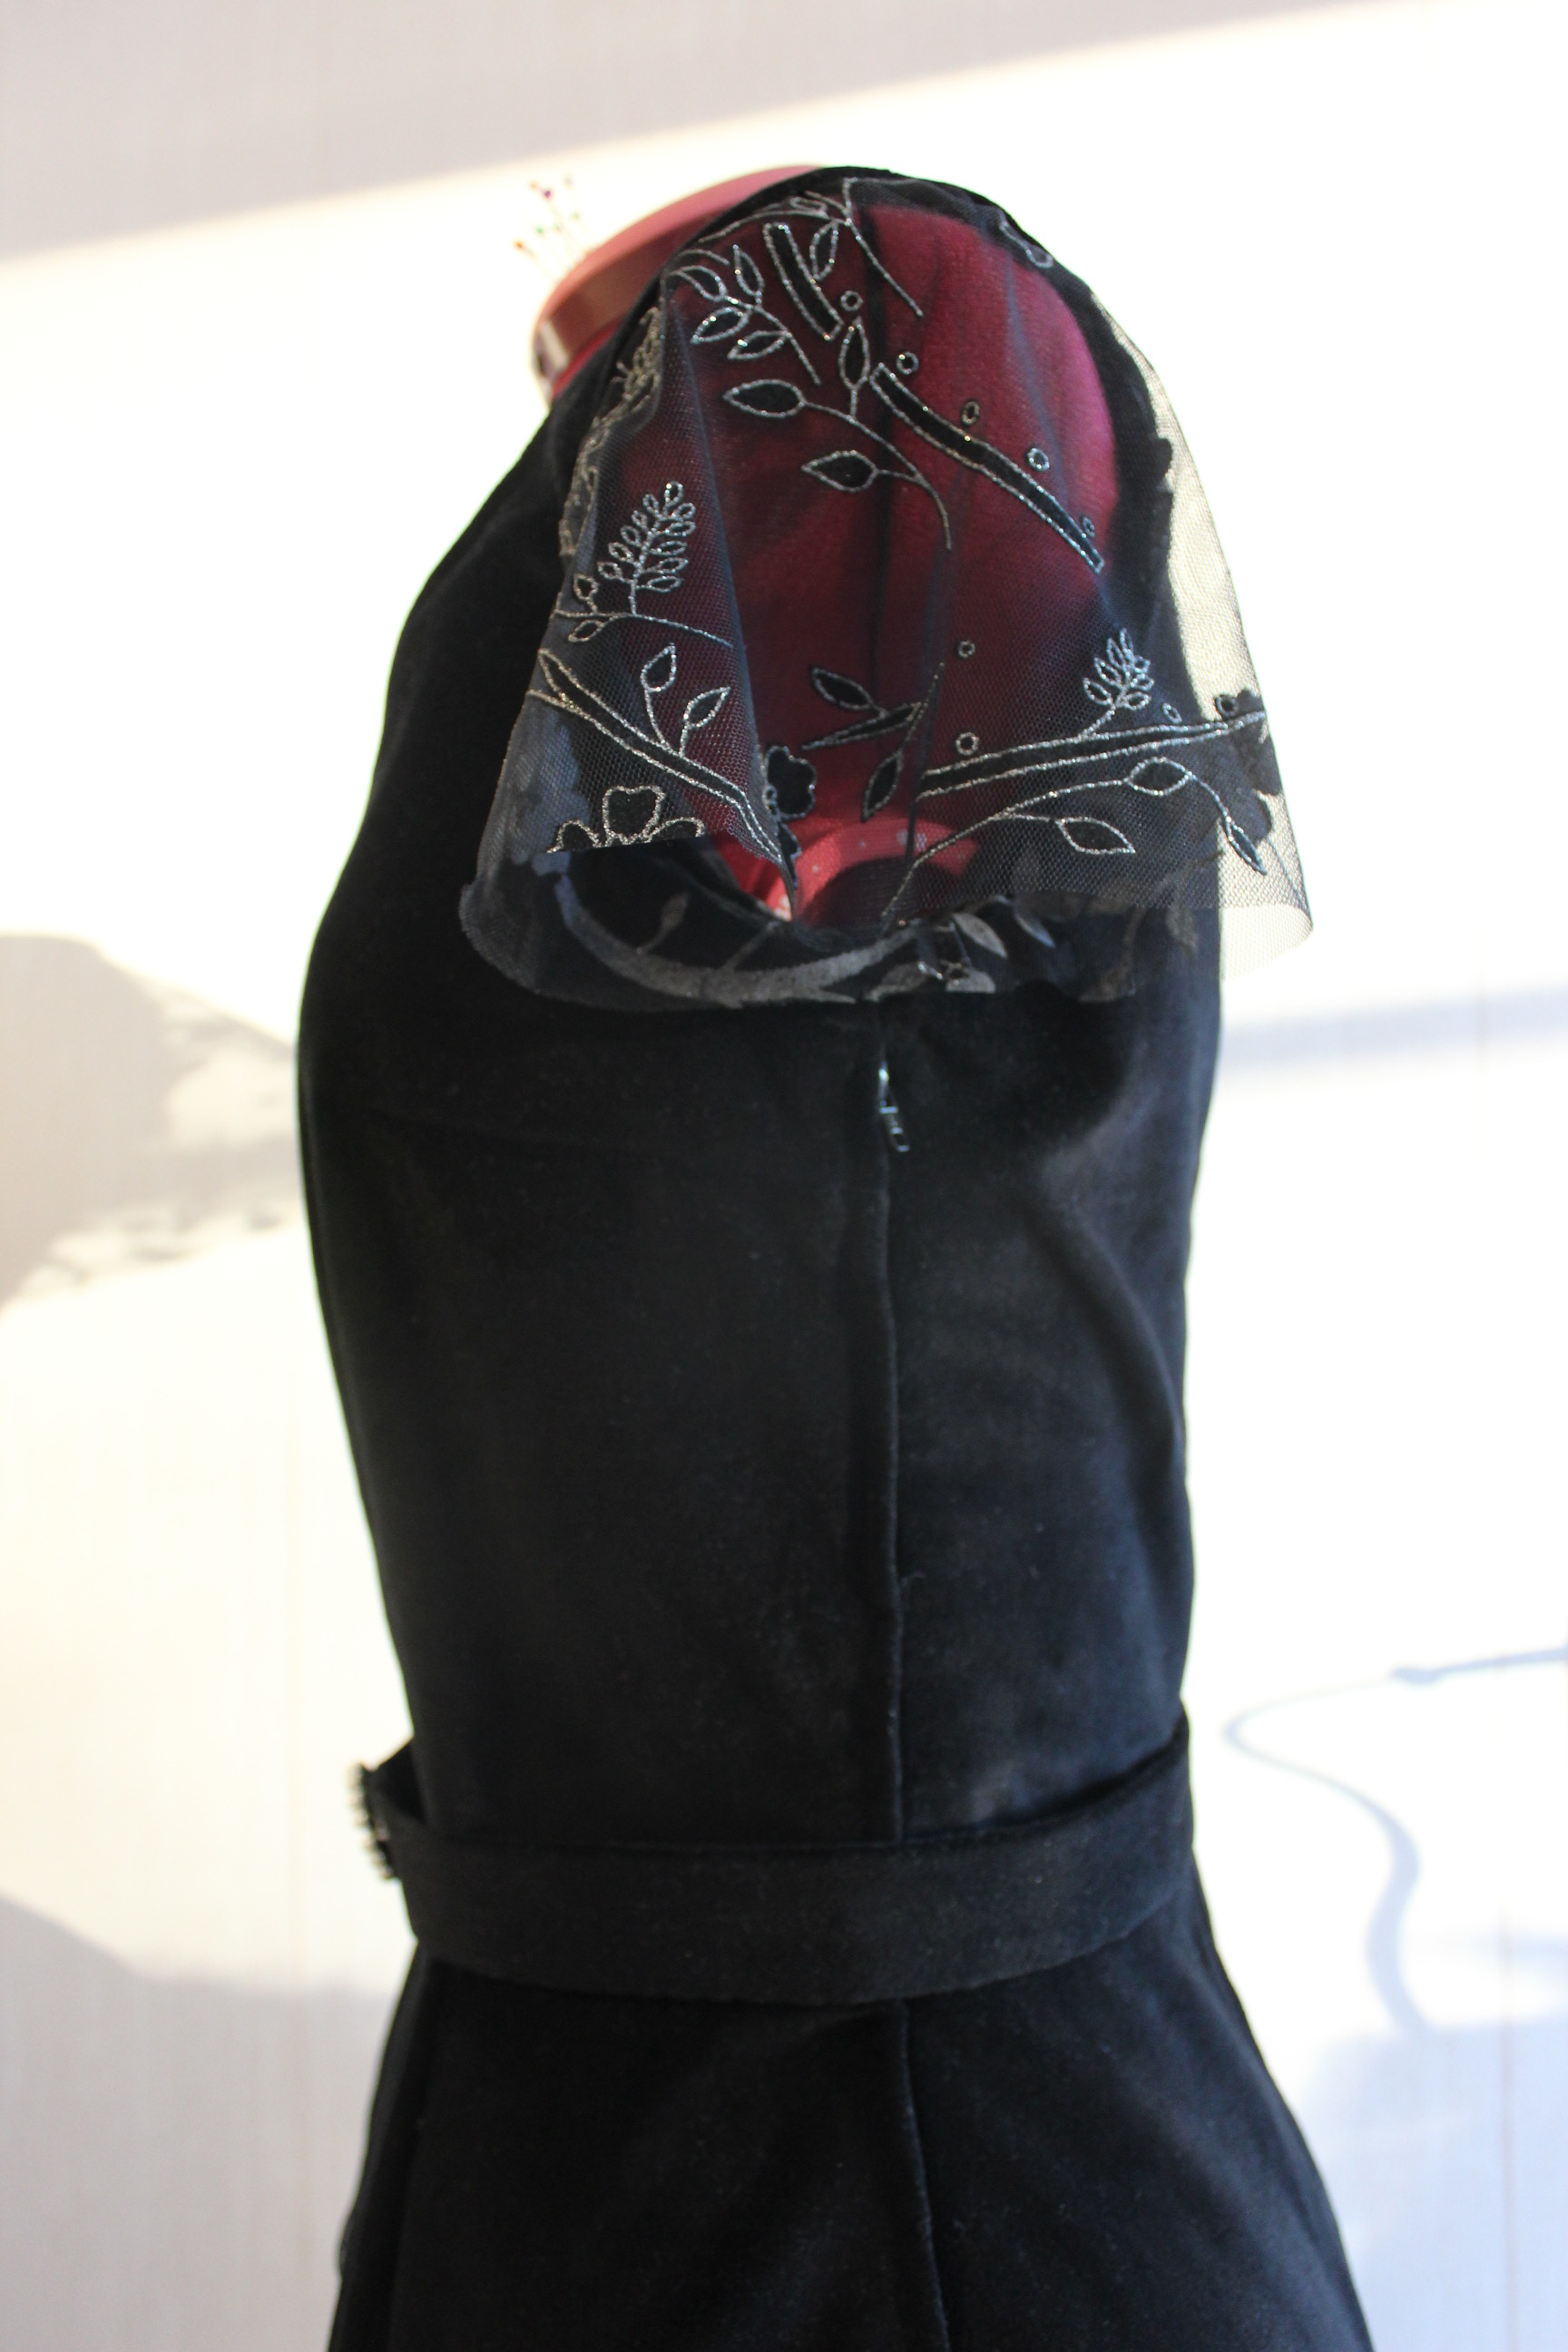
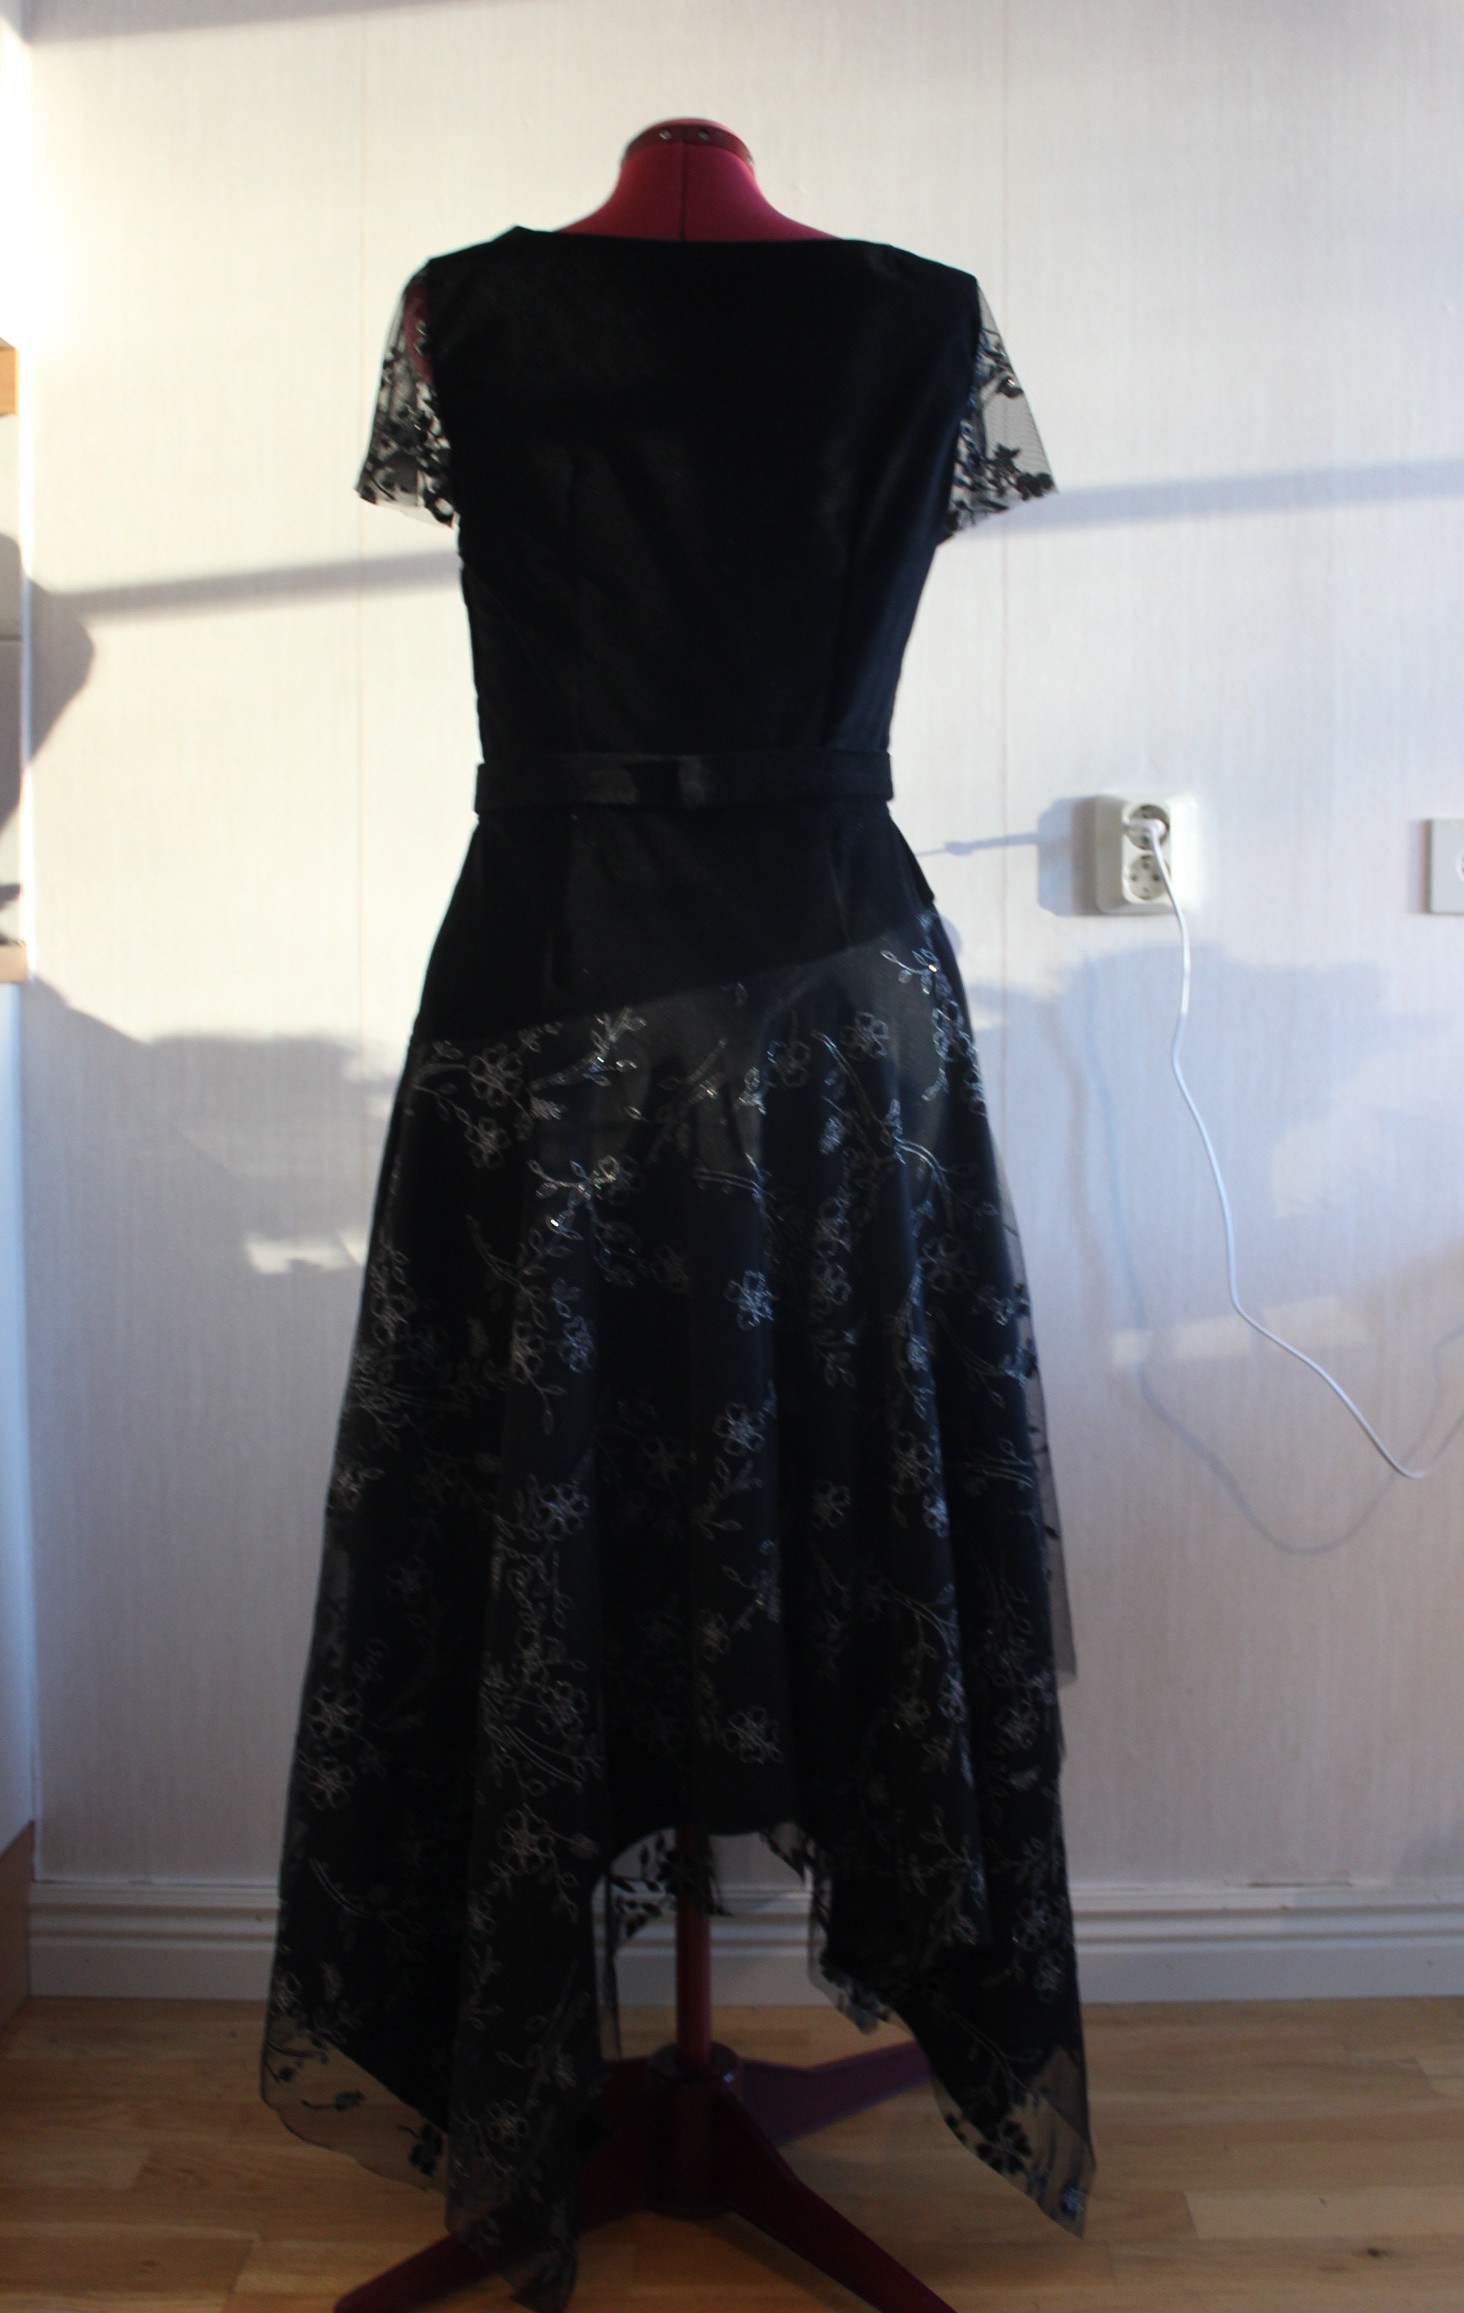
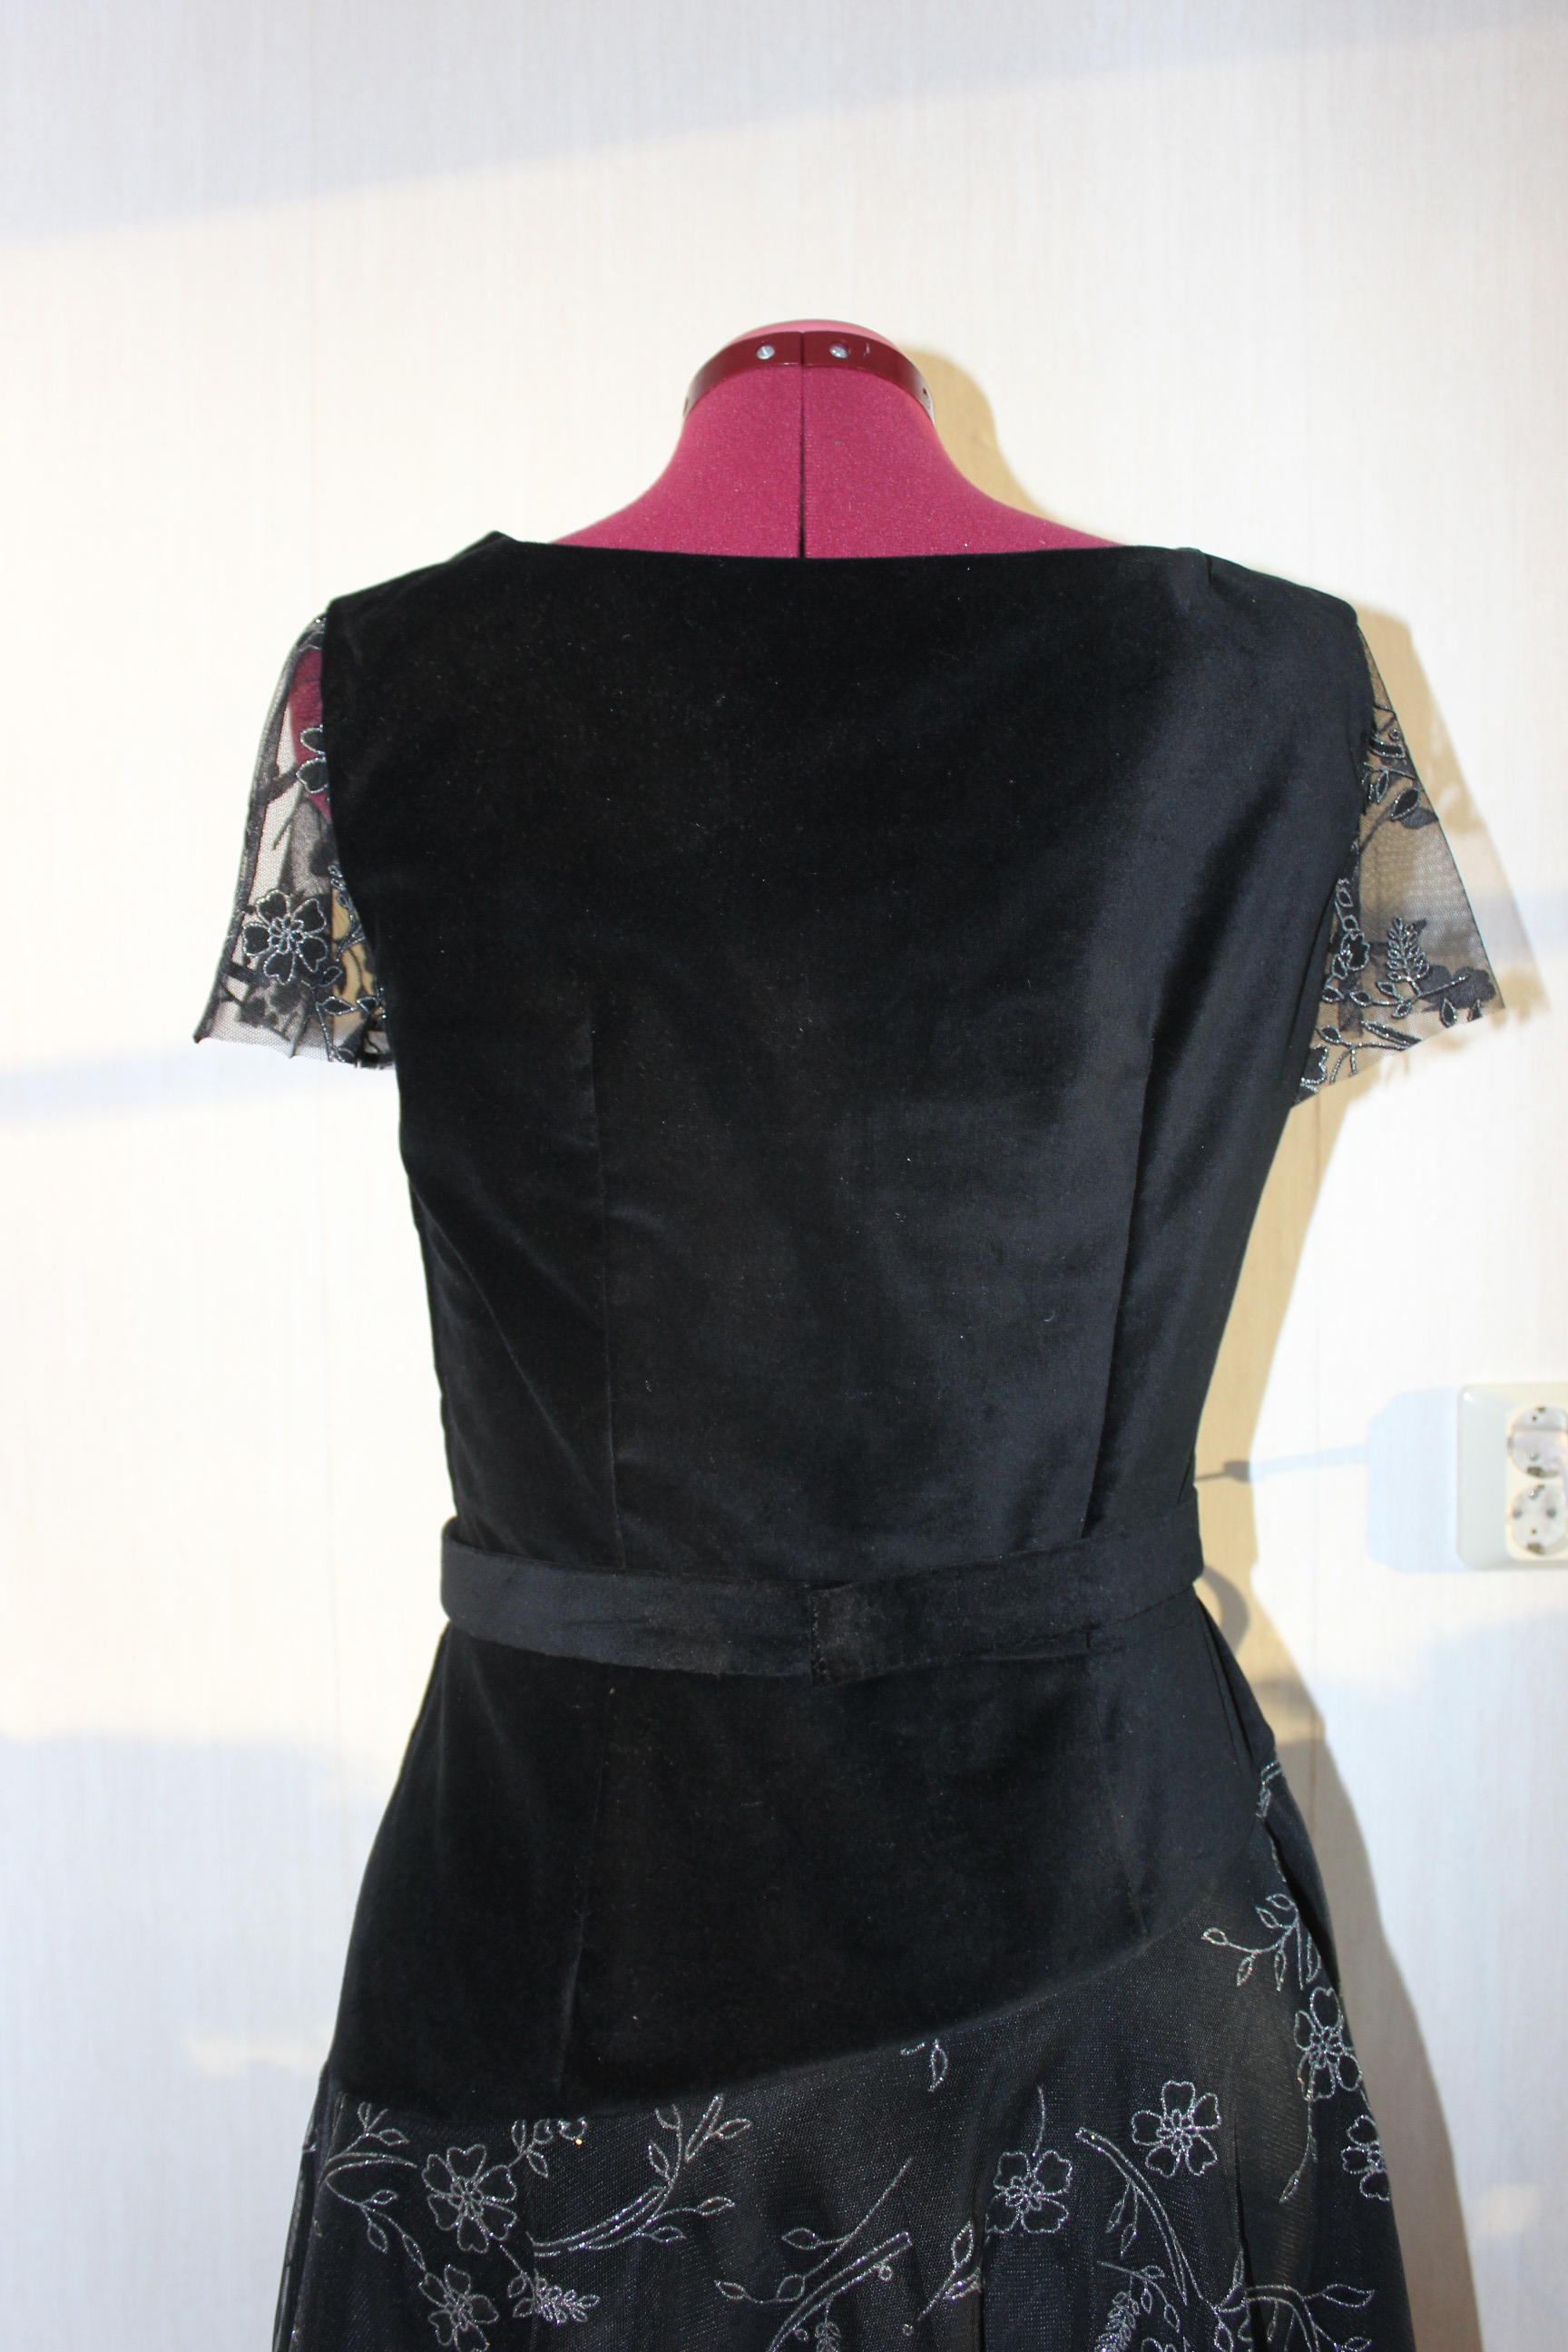
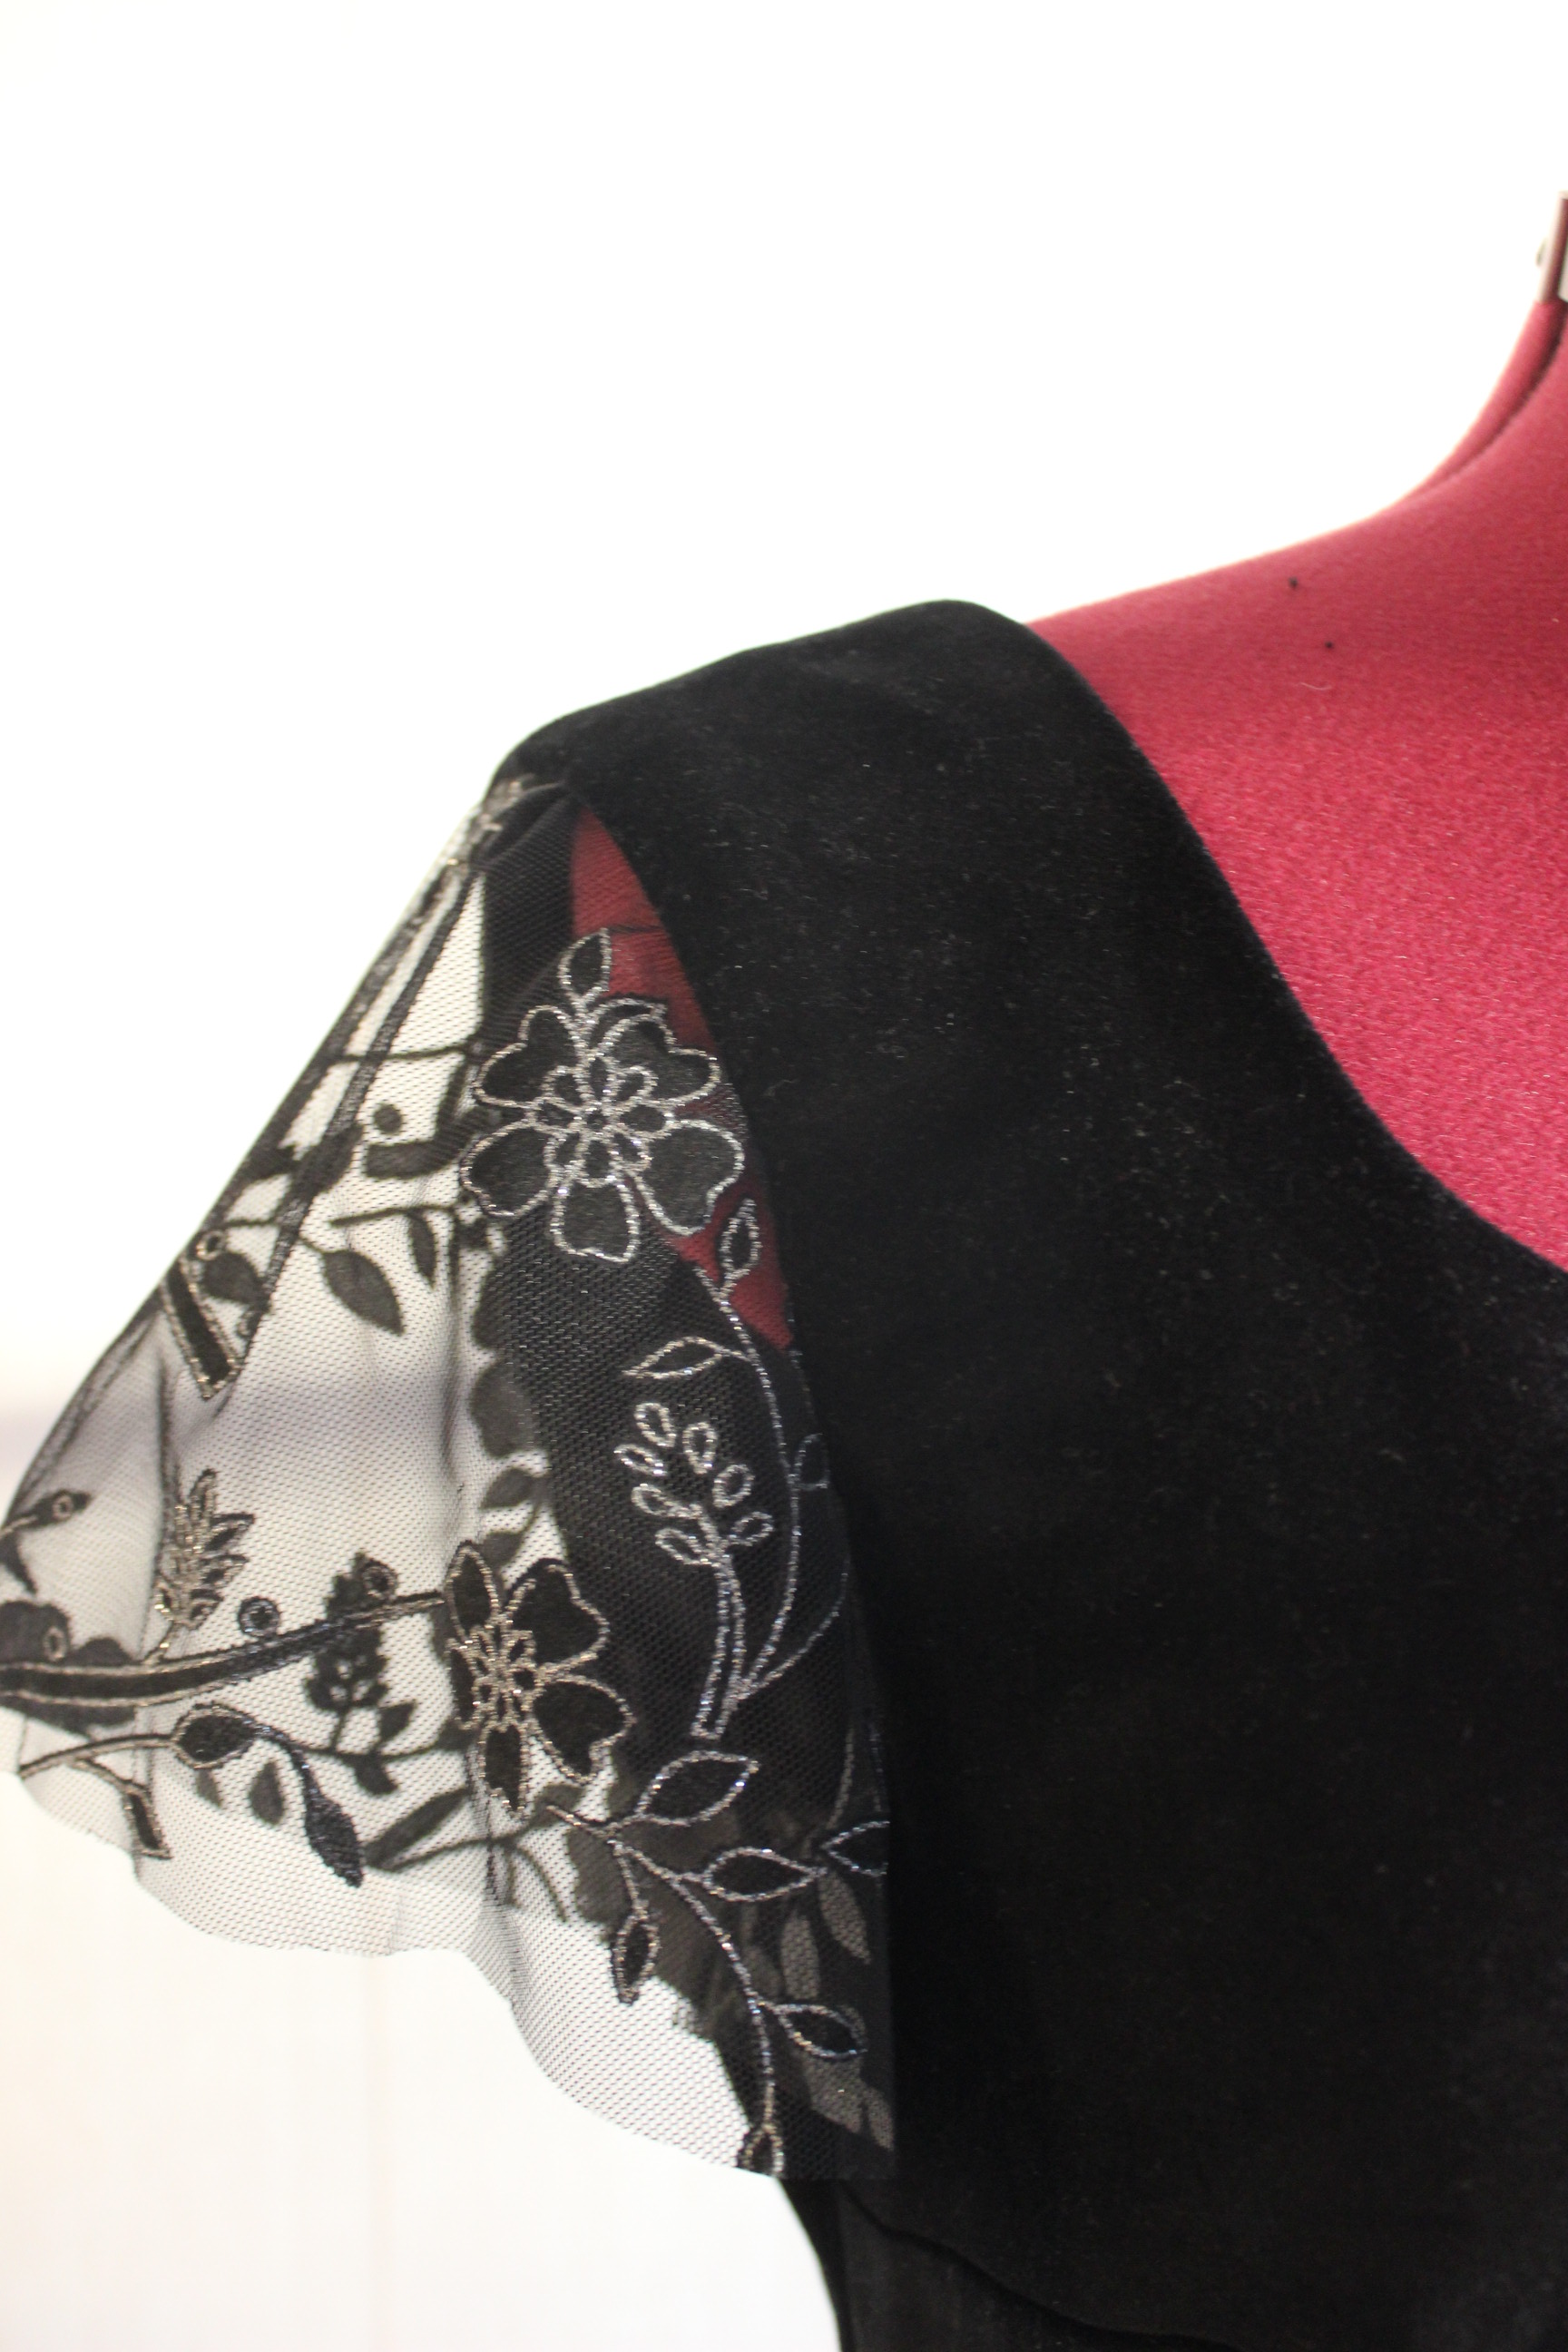
This one is difficult, since I usually don’t wear “strange” clothing. But maybe I can try some 1930s blouse or pant patterns. Or perhaps the lovely black dress from “True Blood”.


Complete: Yes – Not quite a blouse, but almost.
24. Glitter
I’m thinking of making a 1920s party gown, maybe something I can wear on new years eve.
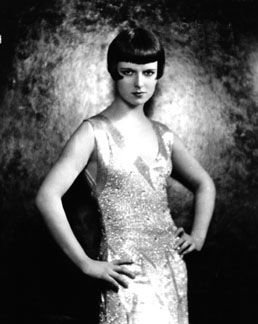
 A
A Complete: Yes – I will not wear it at New Year but otherwise I think I did pretty good.
Conclusion HSF2014: Think I did very good.
It is really hard to plan a whole year ahead of time, and I suppose that’s why the spring challenges are more accurate then the ones from the autumn and winter months.
Even though I didn’t make every challenge according to plan, I’m still proud of myself for finishing the entire HSF14 race.
Now It’s time to look ahead to future sewing….