And here comes the second part on the construction of my “Borgia” dress (part 1)
 The Main inspiration
As a new mom the time for sewing is a bit more restricted then before, but when the urge to create gets to overwhelming you sometimes need to do what ever needed to get the itch satisfied.
 #multitaskingmom
He actually falls right asleep once carried, whether I’m handsewing or using the machine.
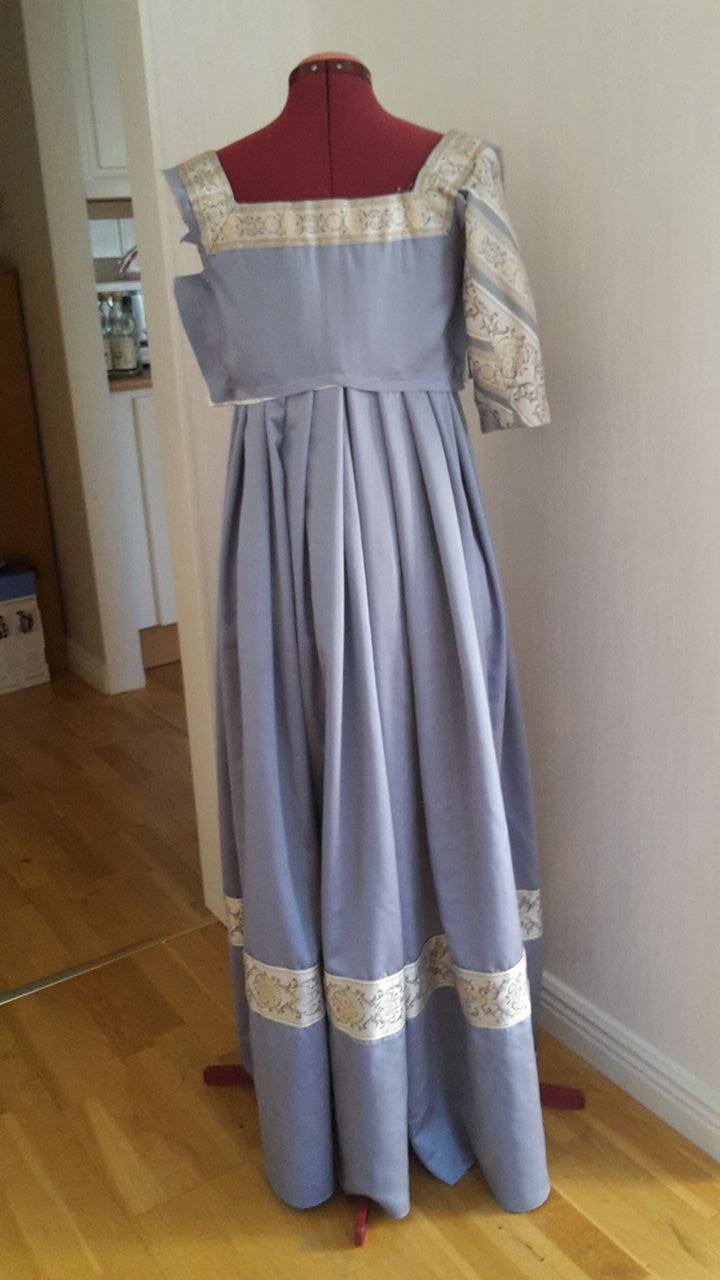
Starting where we left of, finished the skirt, sleeves and assembled the bodice I hated the dress. I was so frustrated I left it on the dressform several days before I got the energy to tackle it again. By then I’ve convinced myself that once finished it would look much better then limp and sad on my dressform. I also hoped the proportions would look much better on me then on the form.
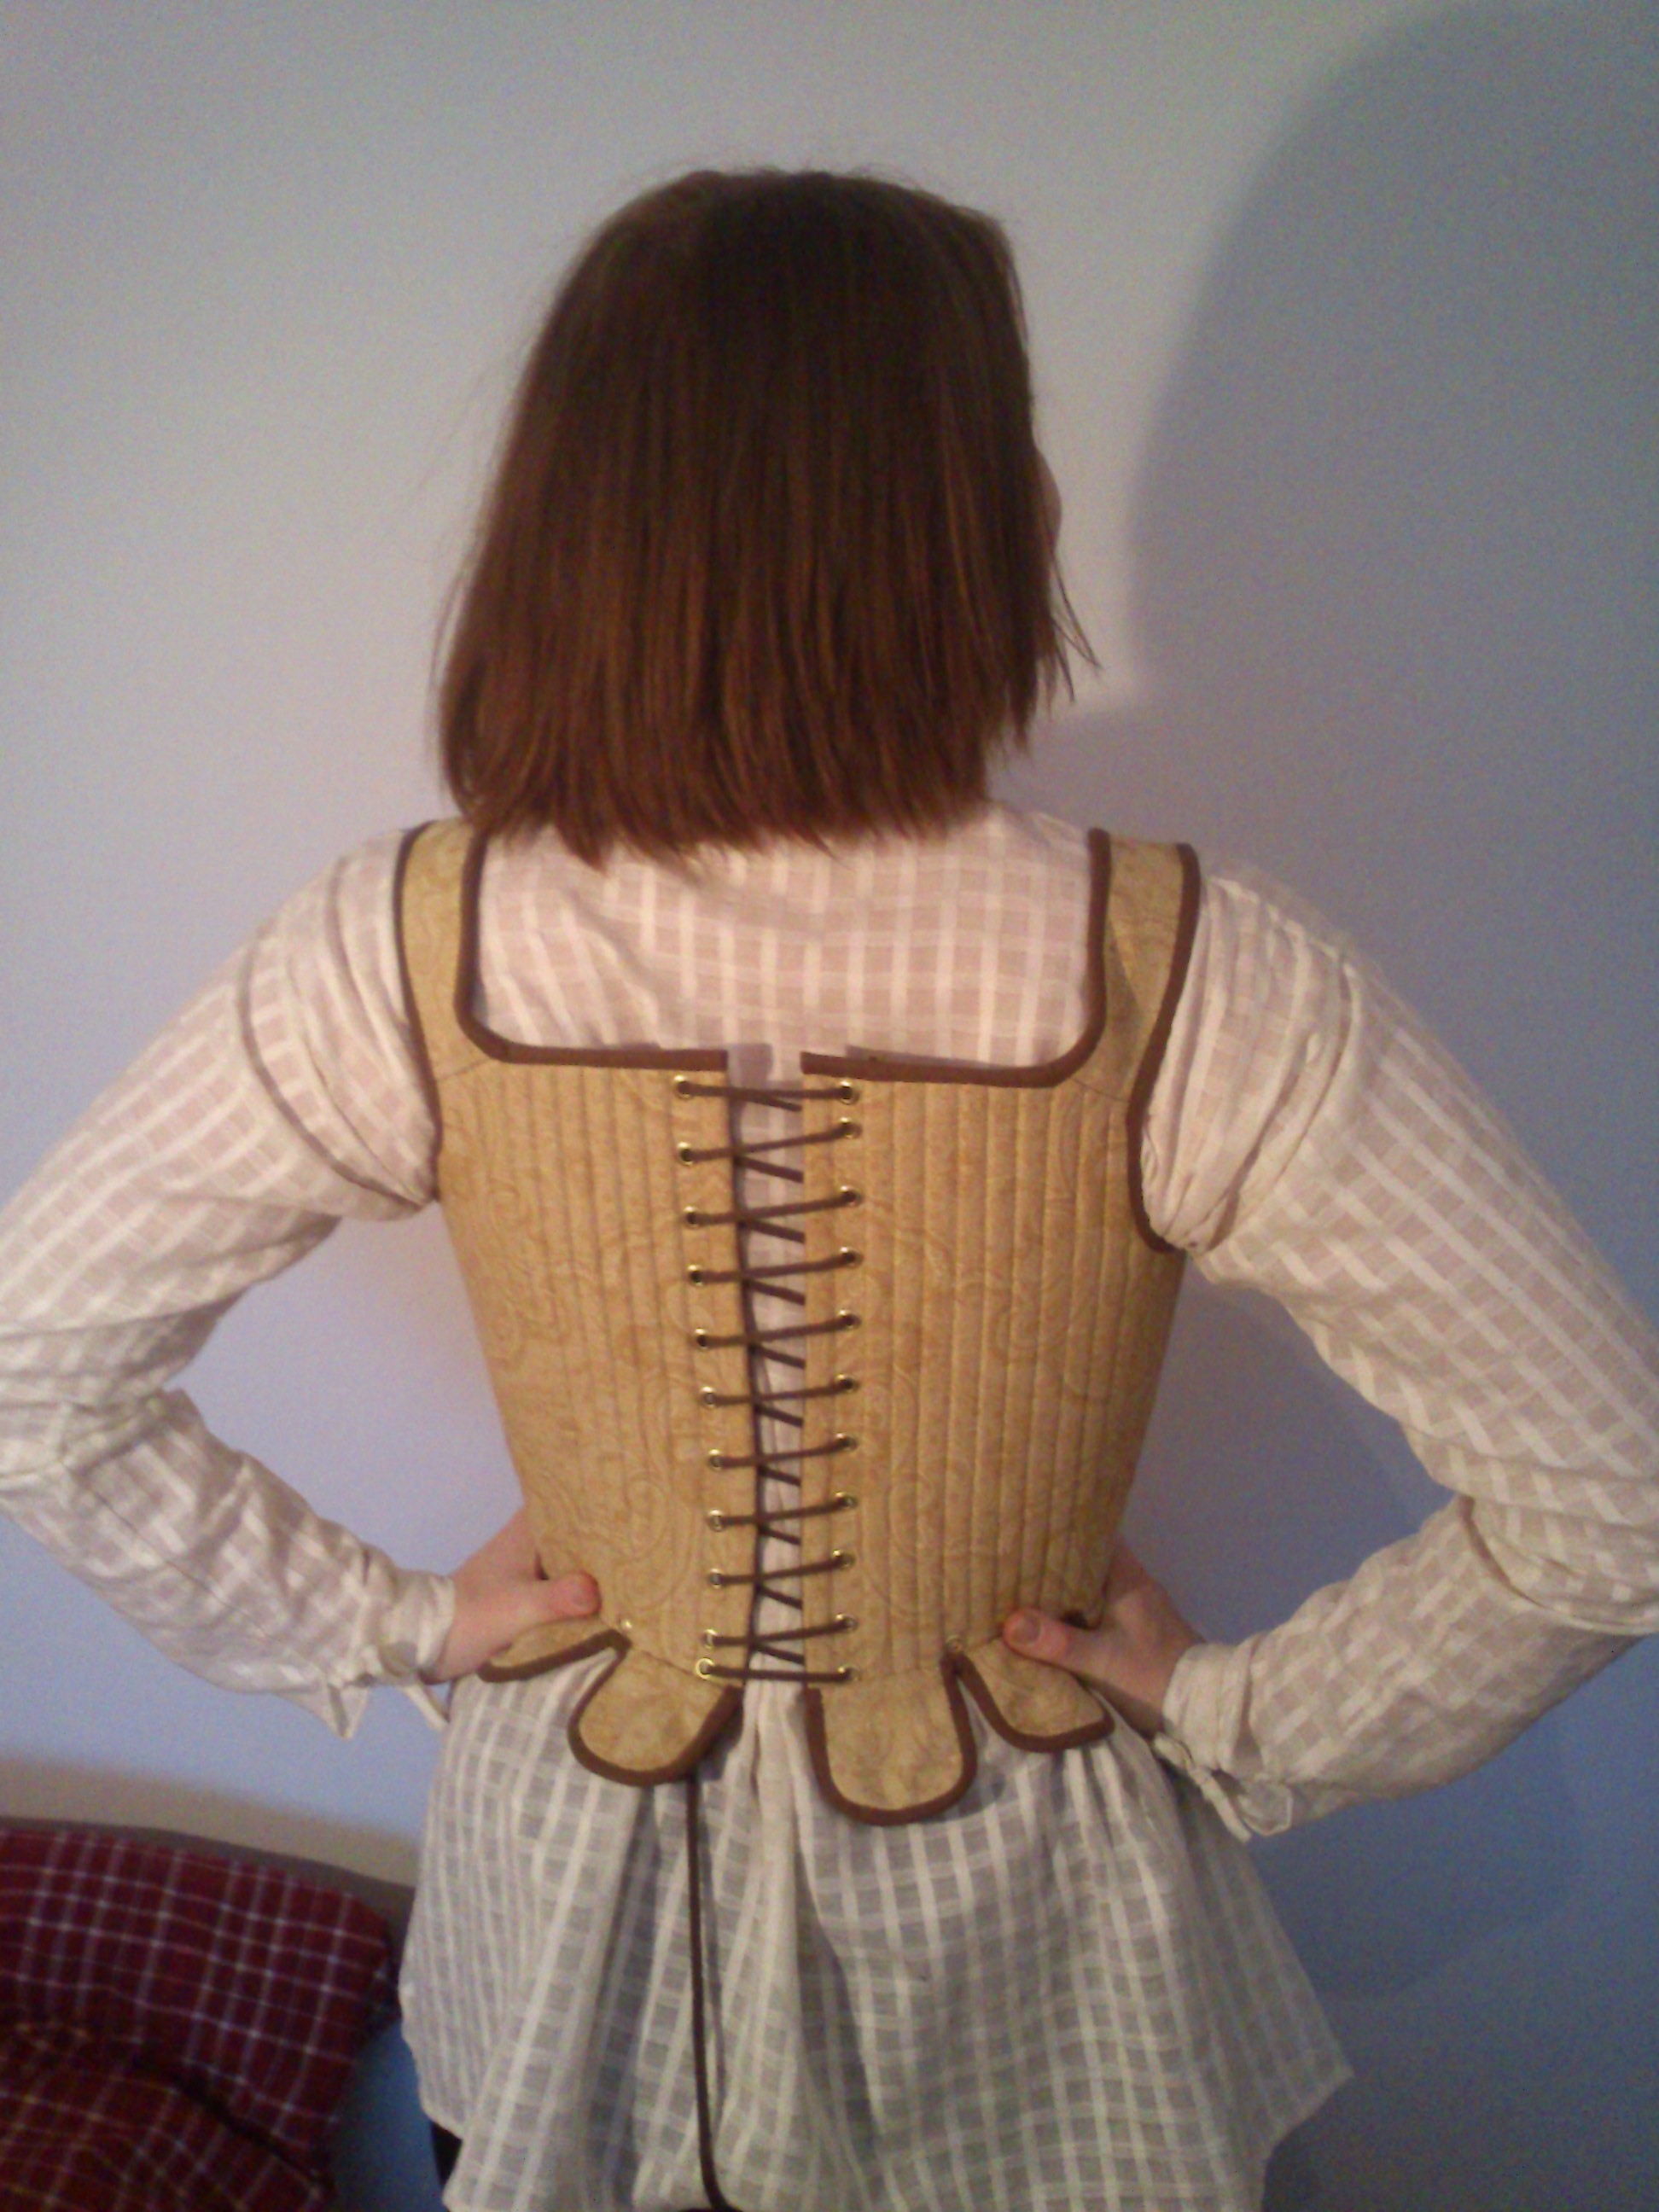
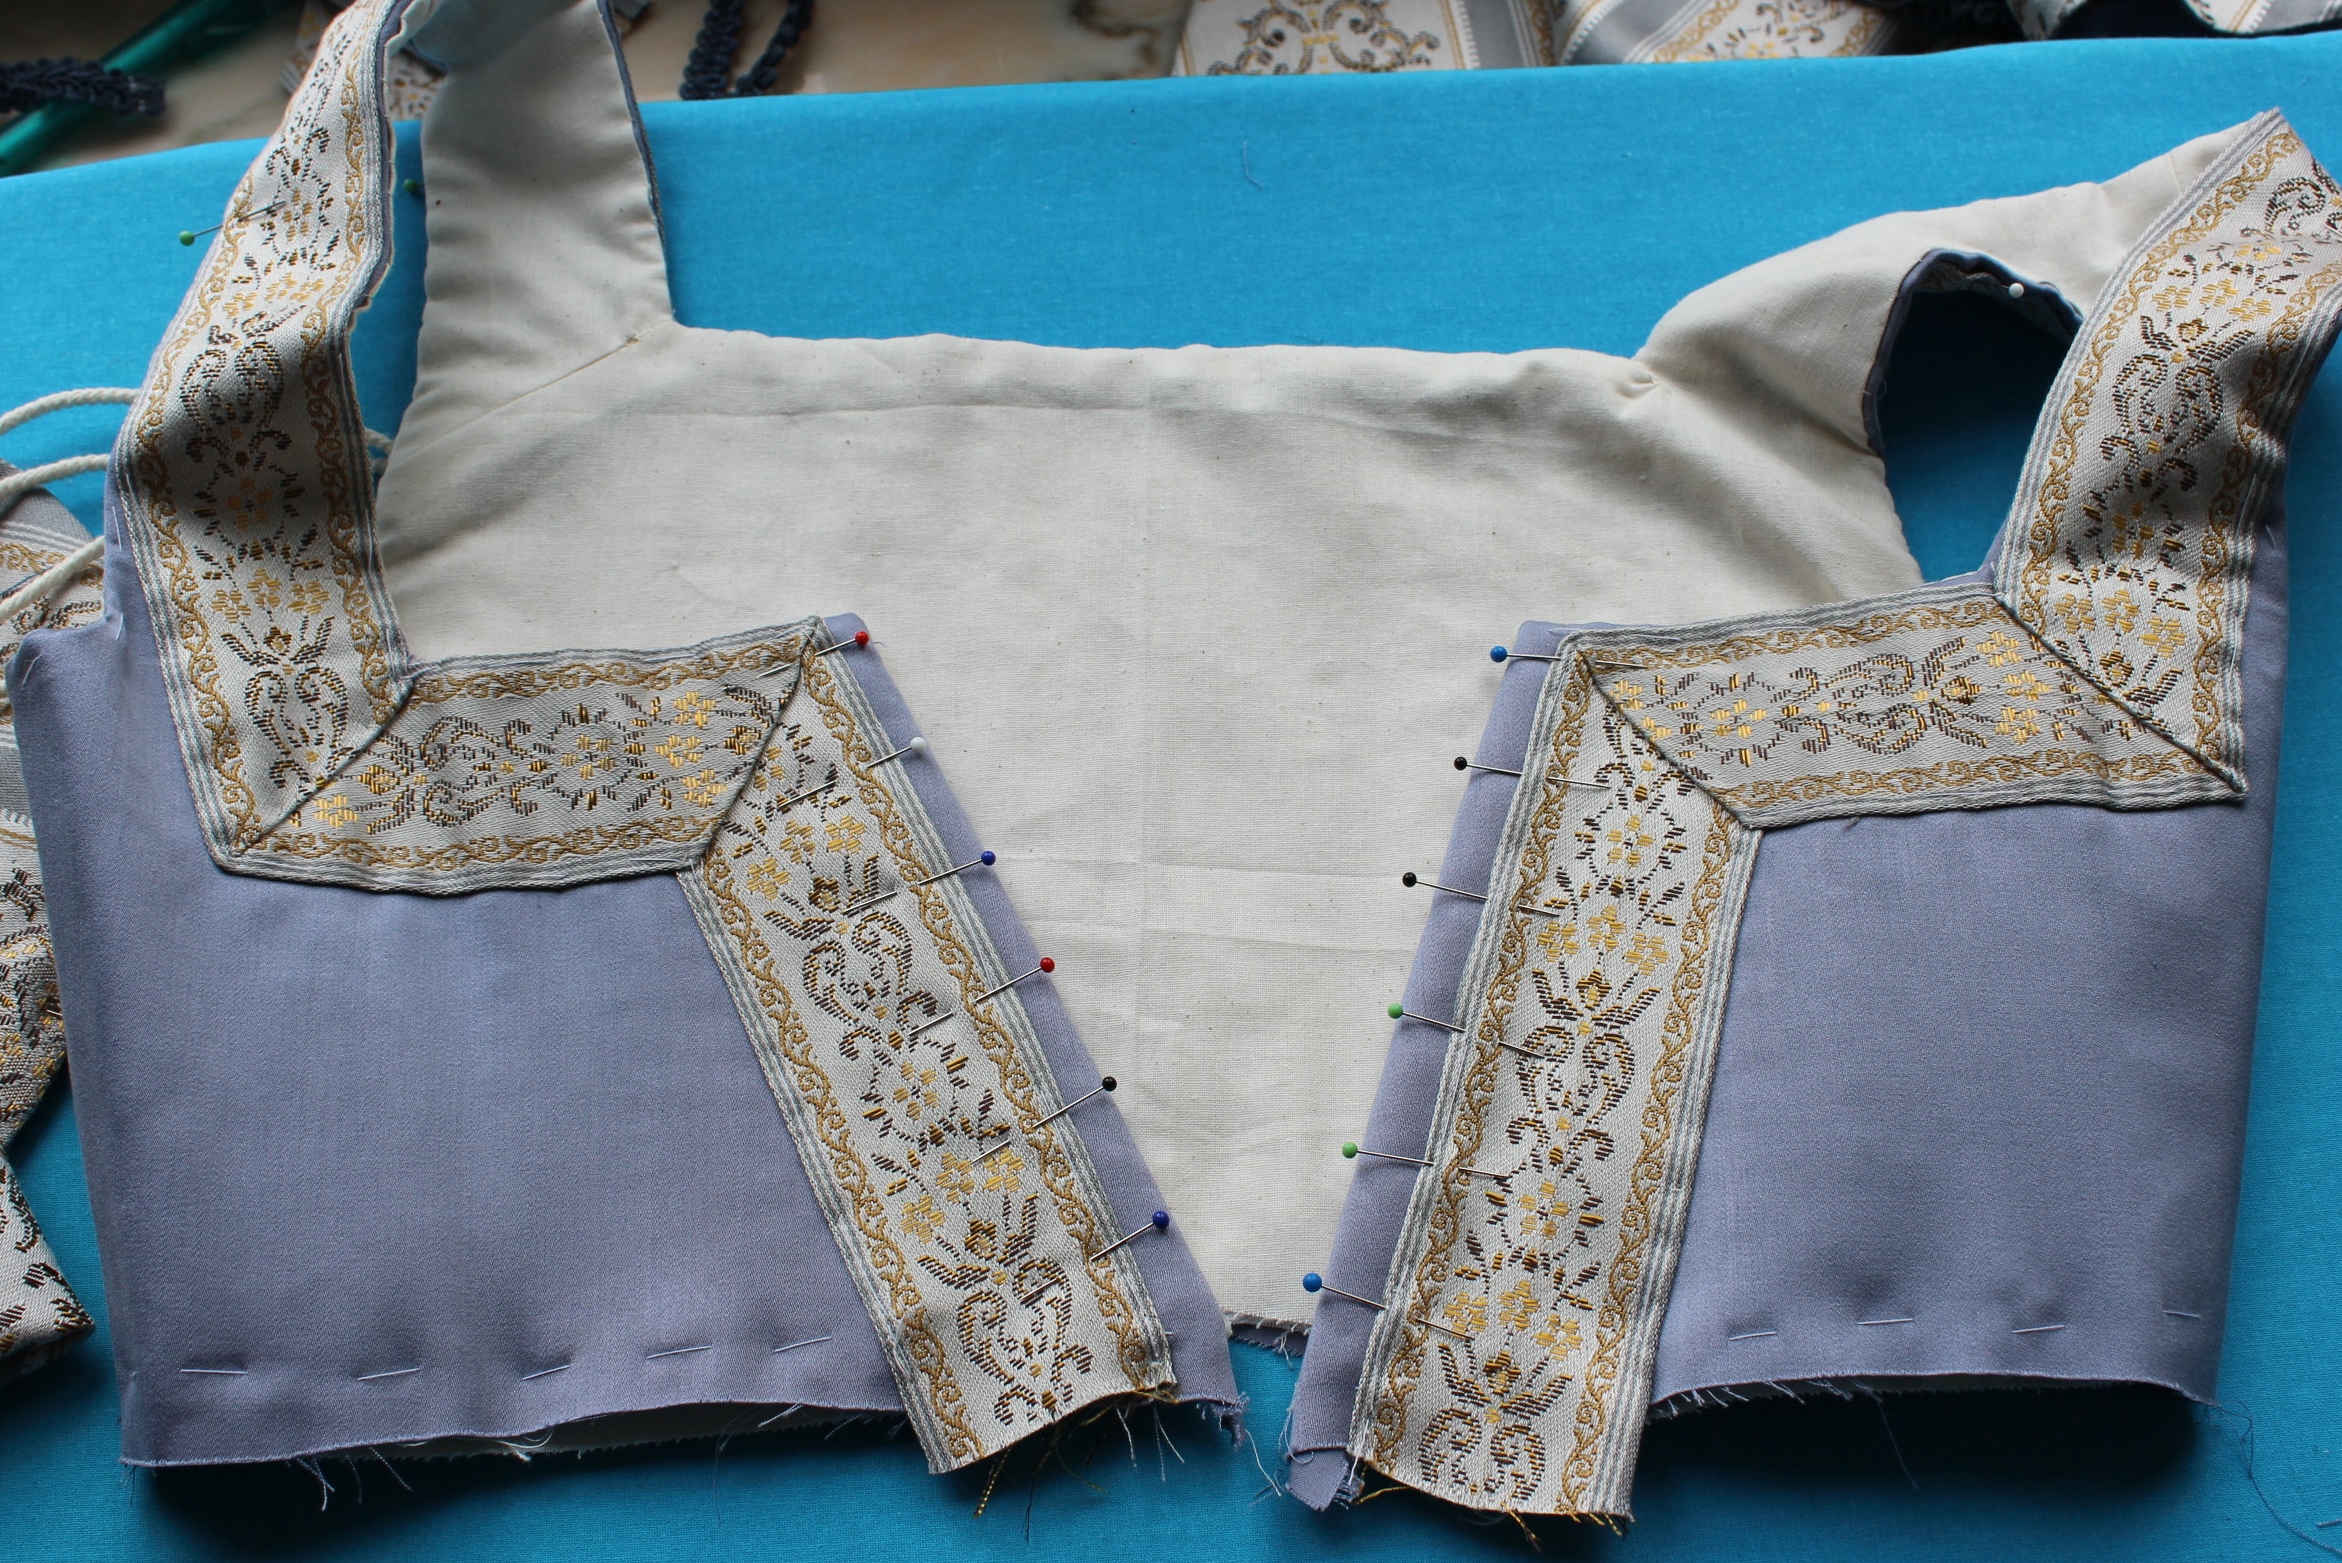
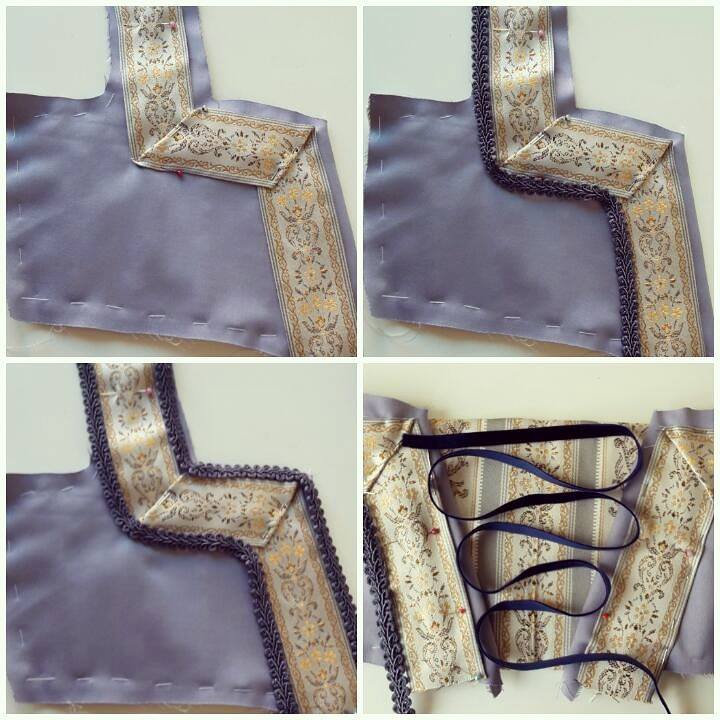
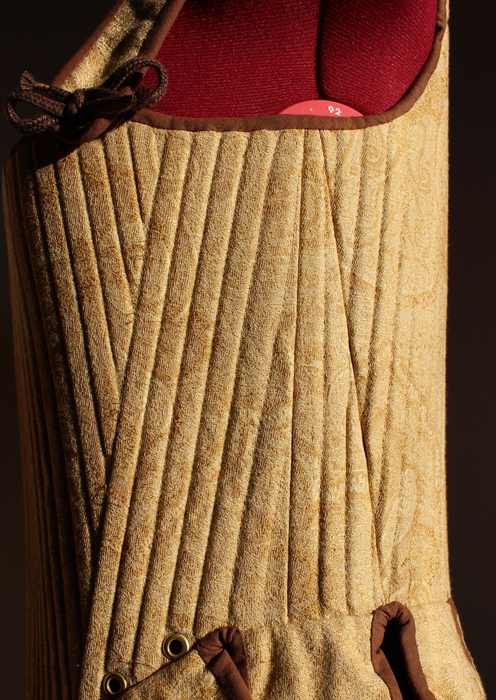
So carry on I did, marking the lacing holes.

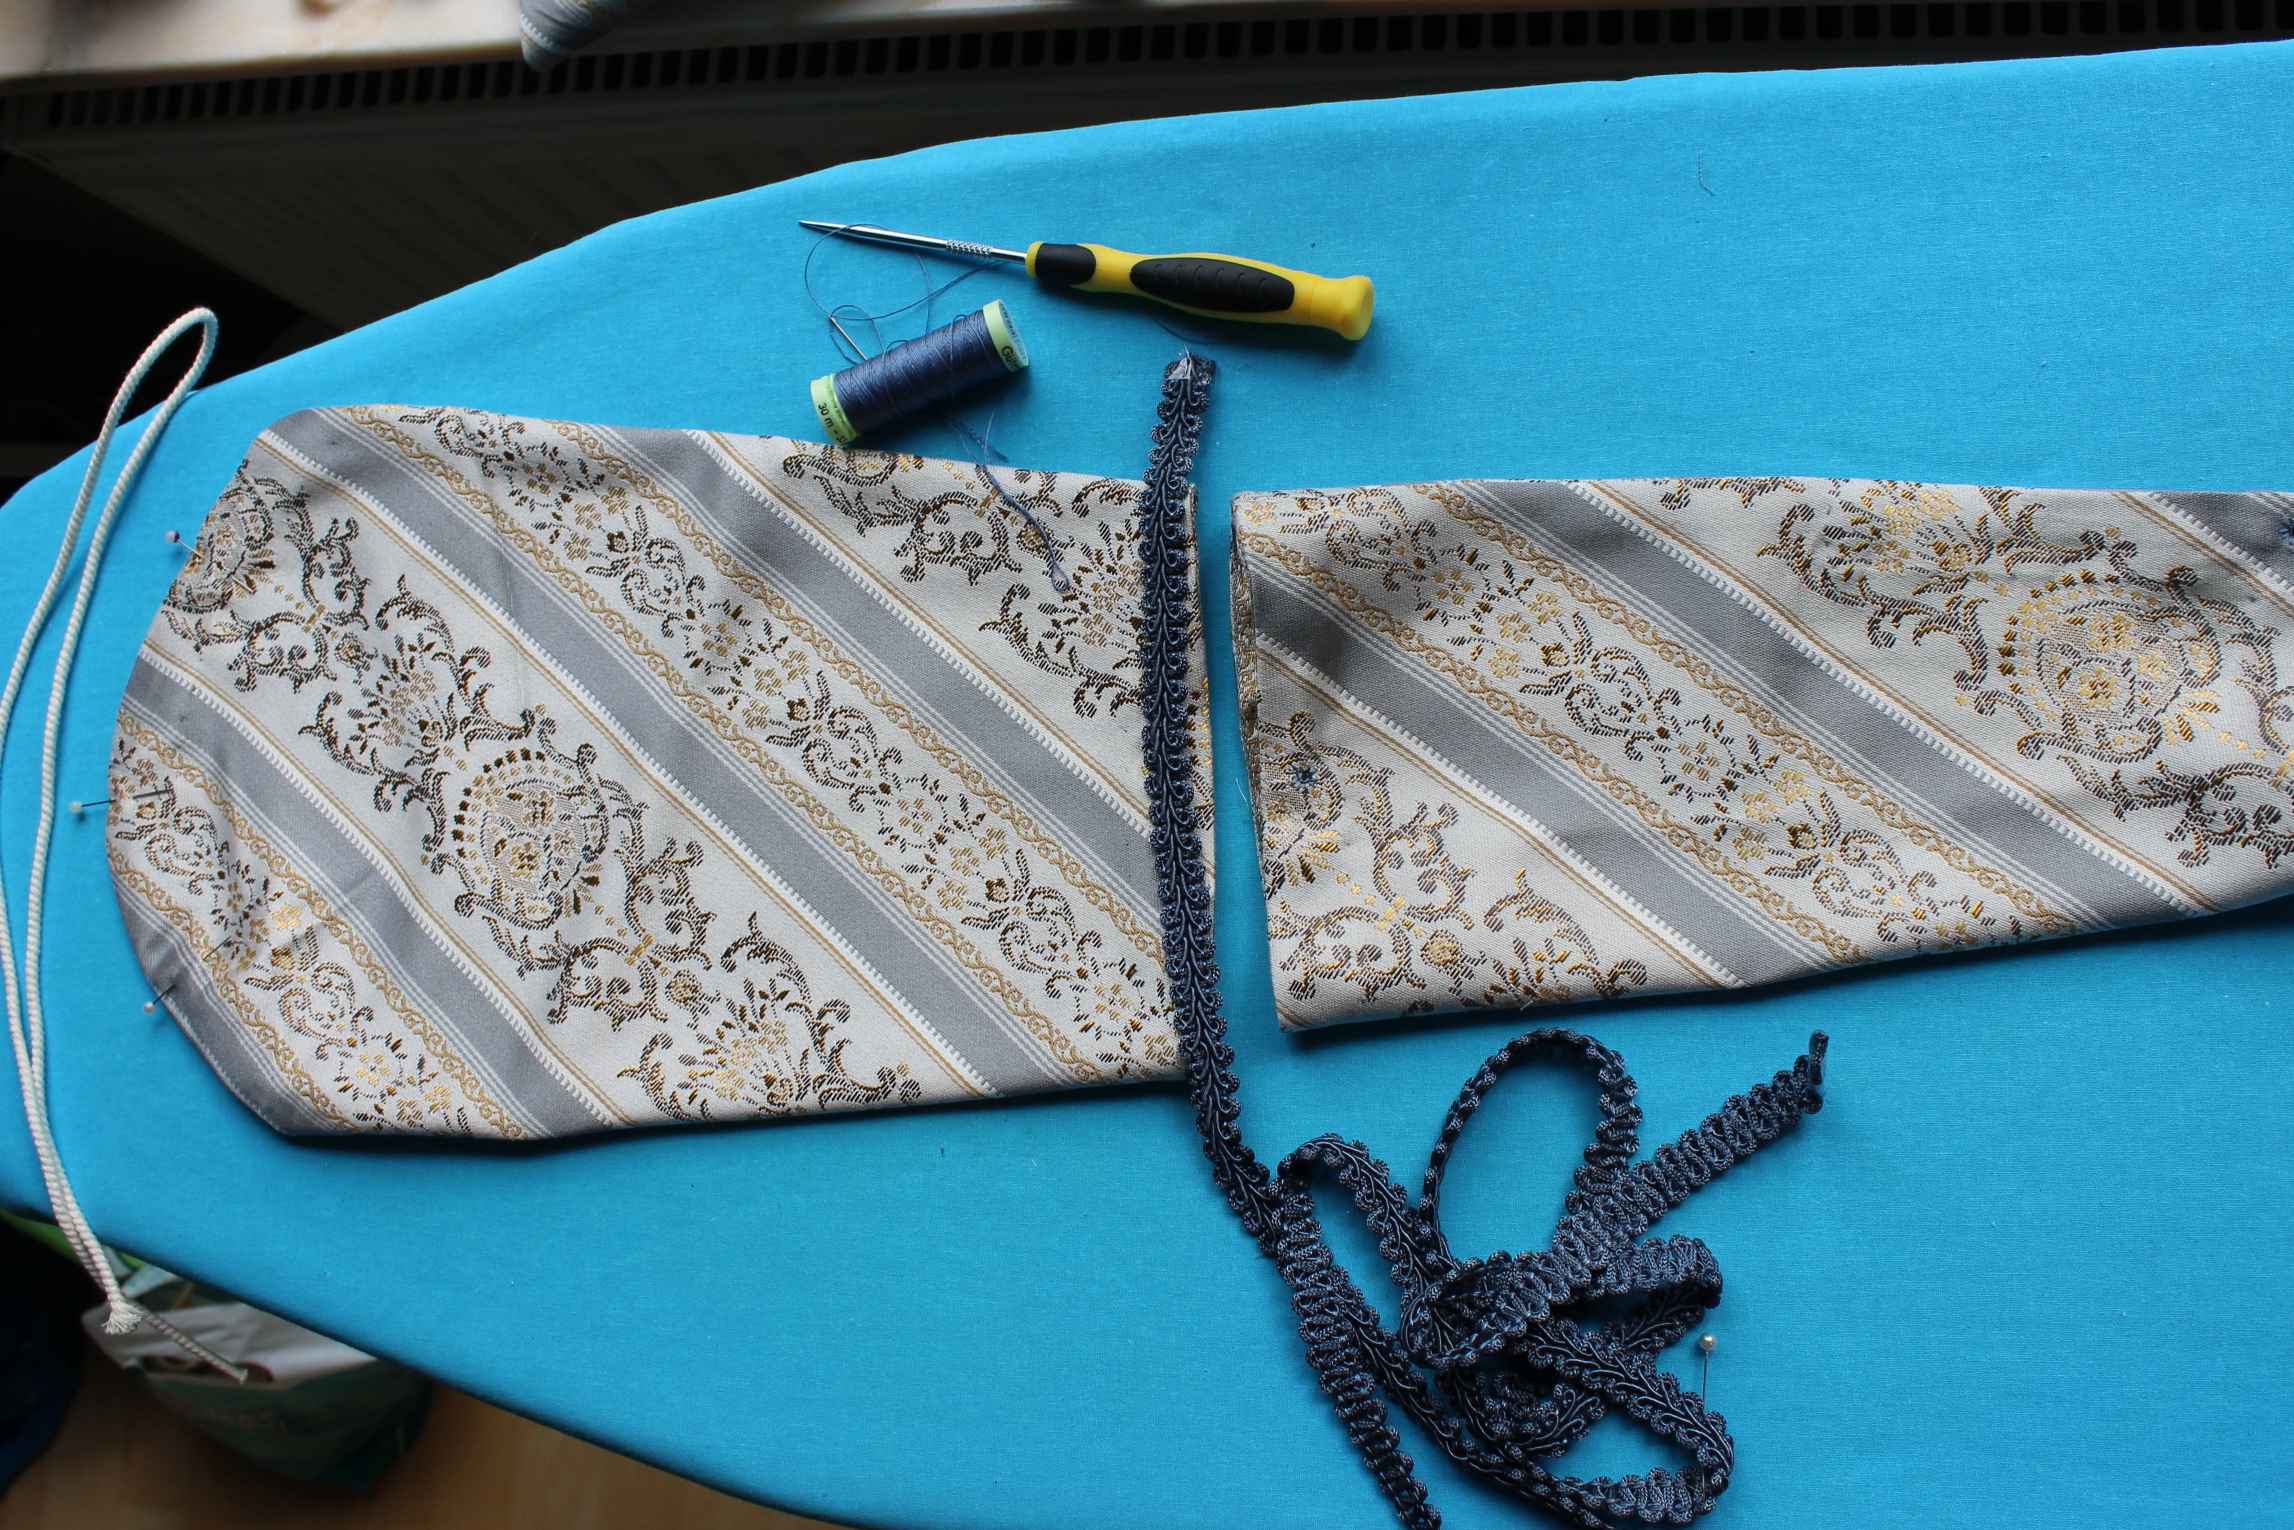
 Hm, what color to use…
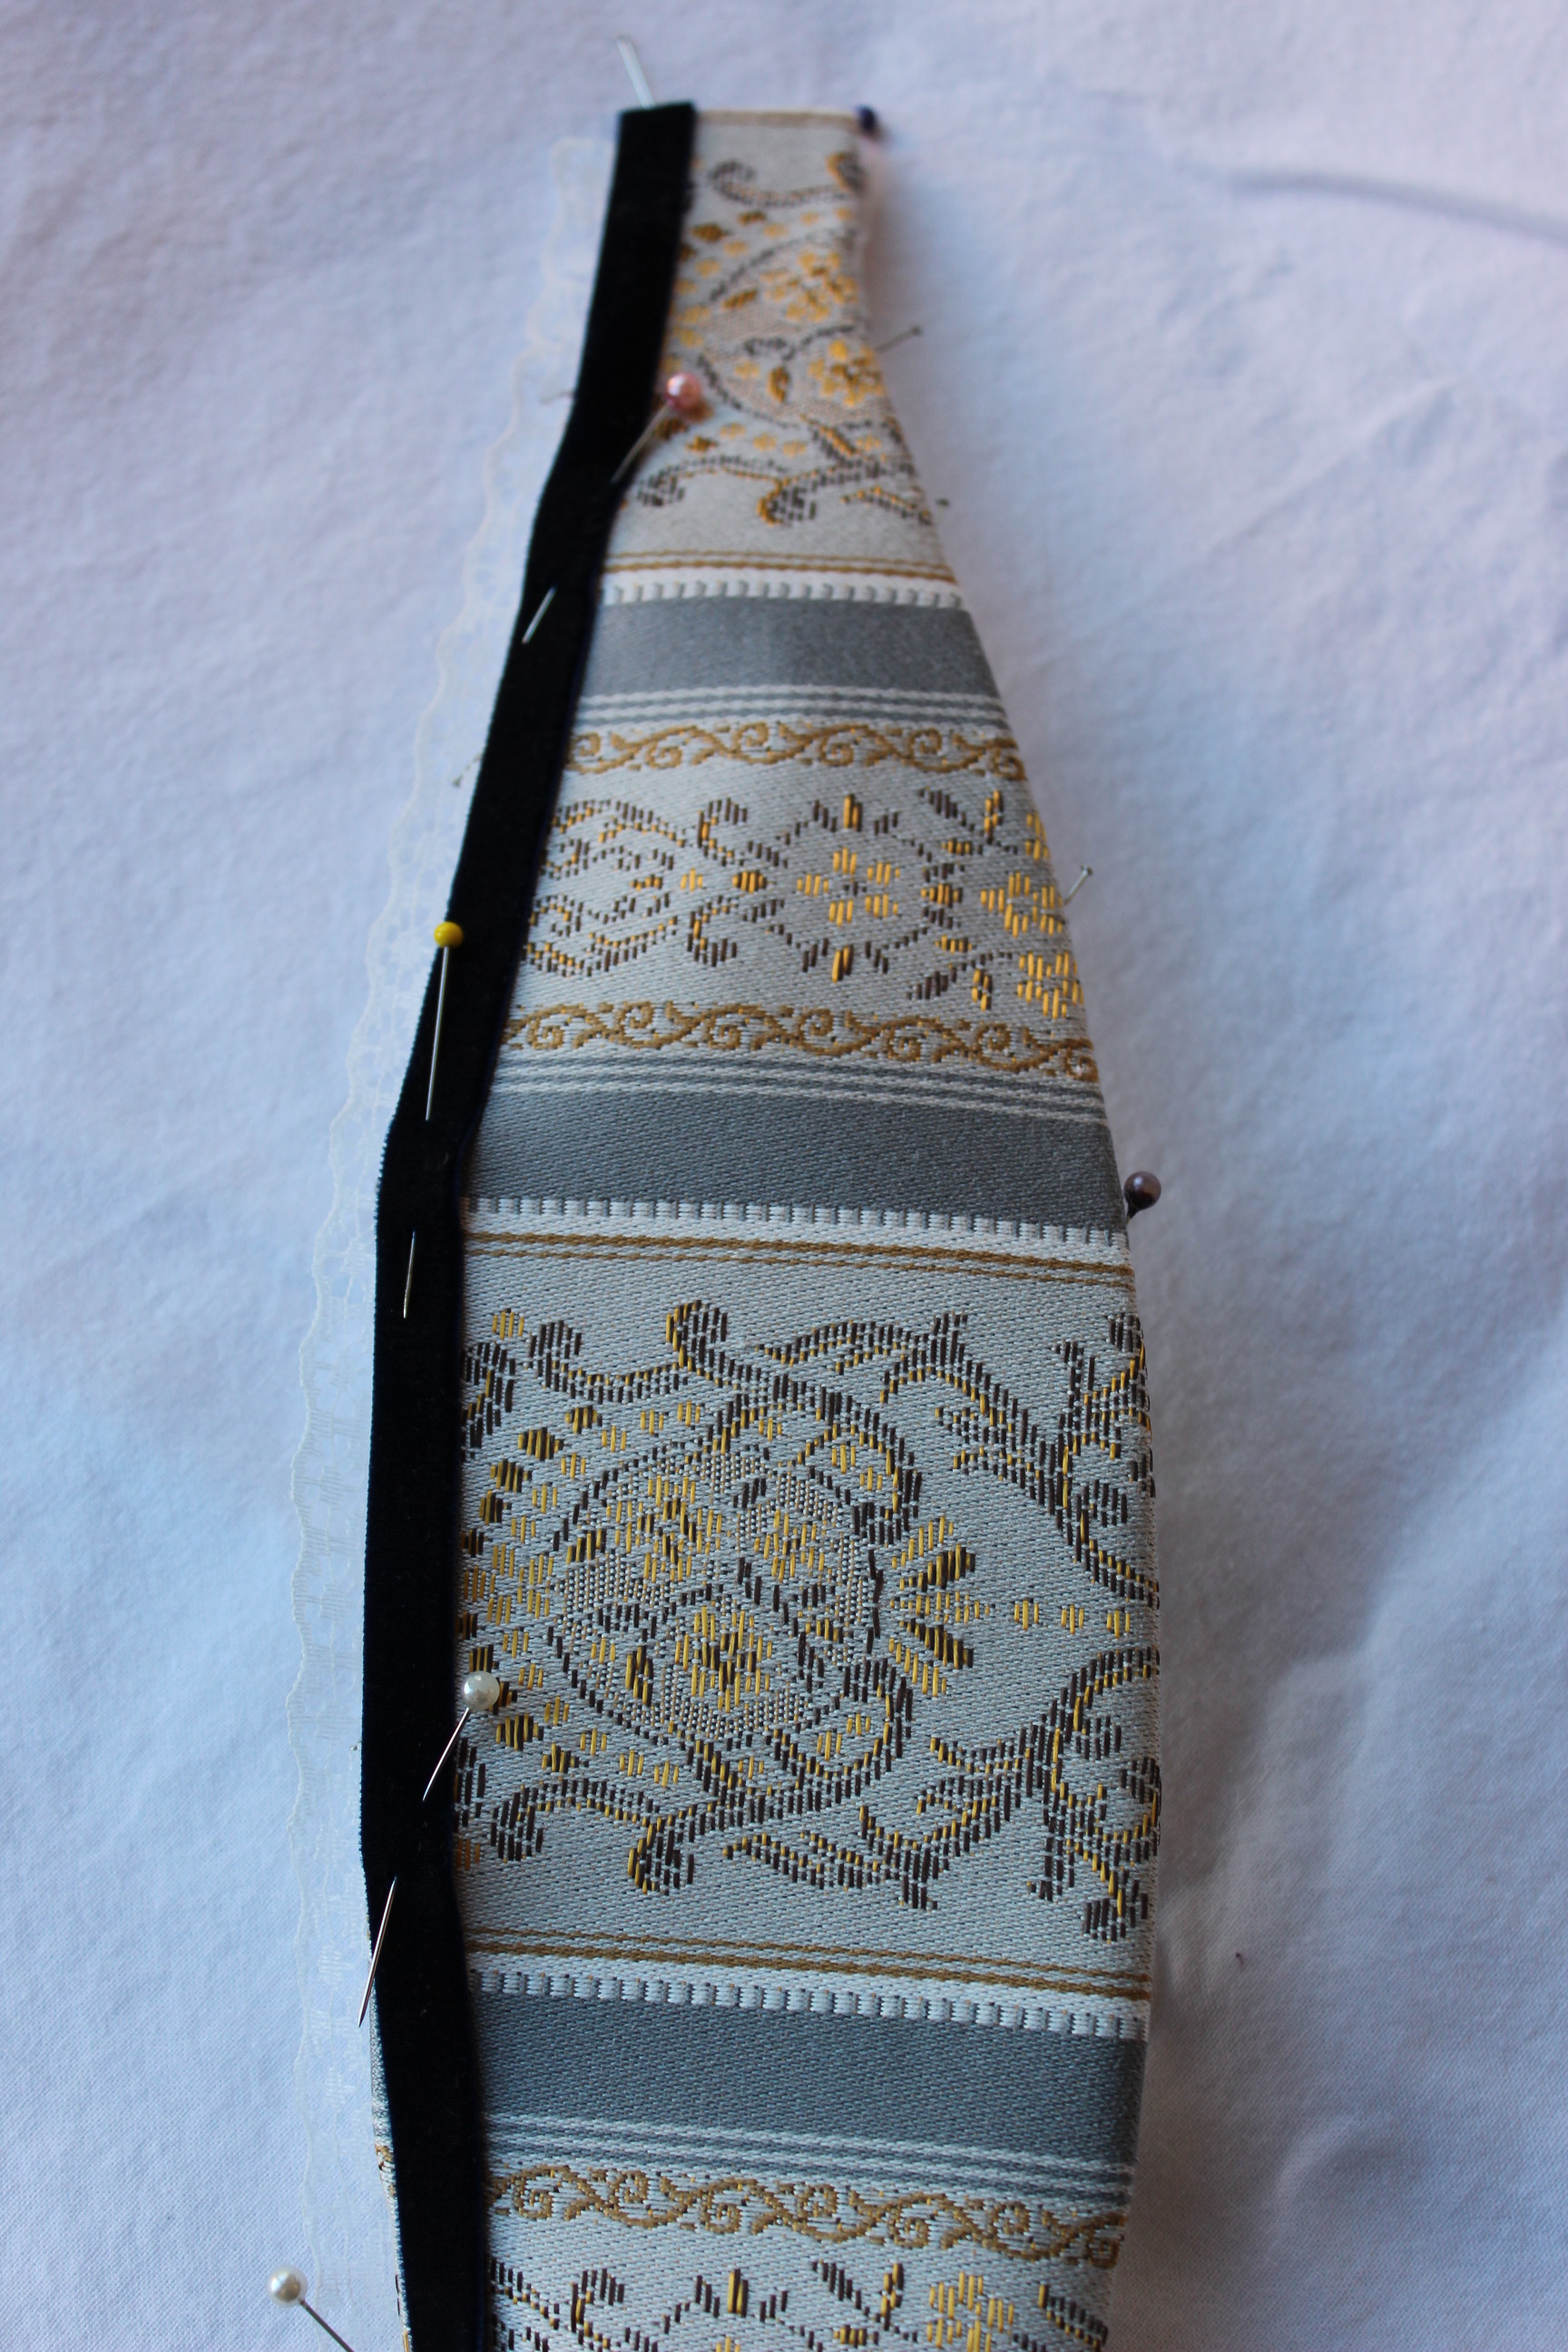
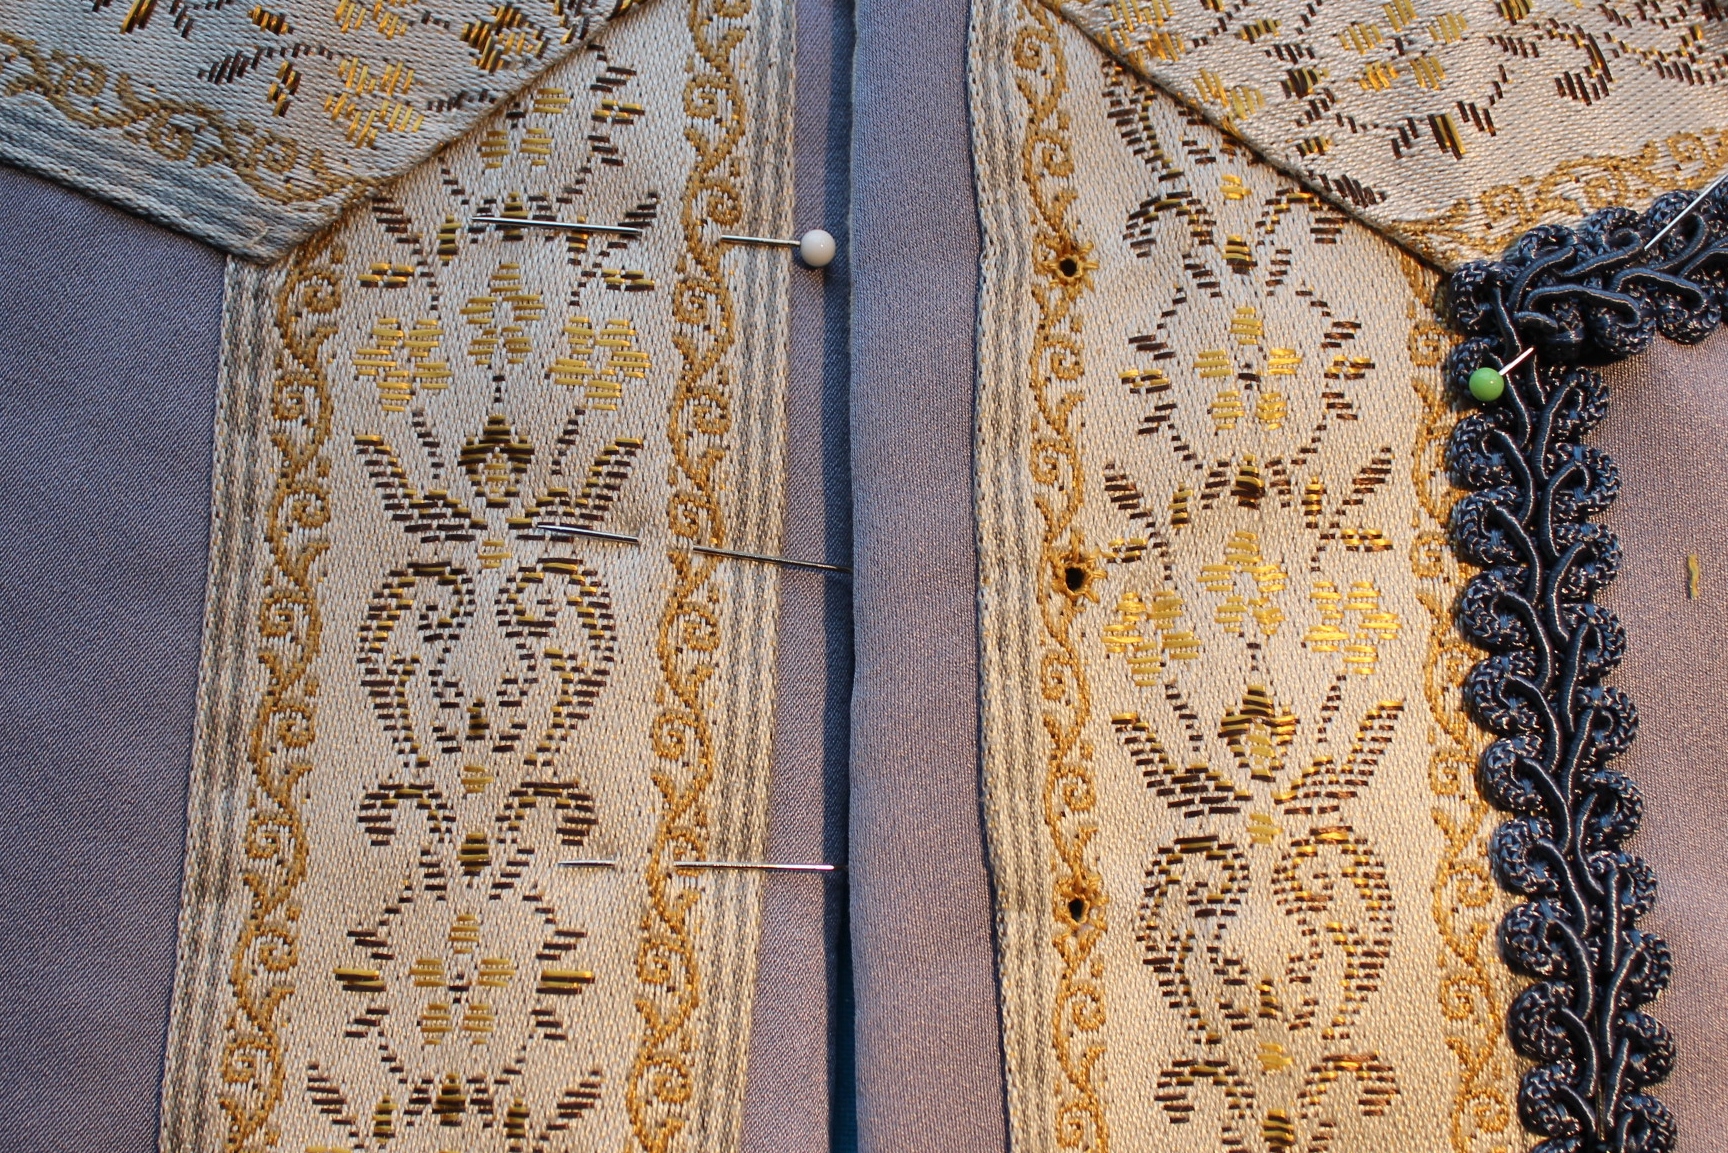
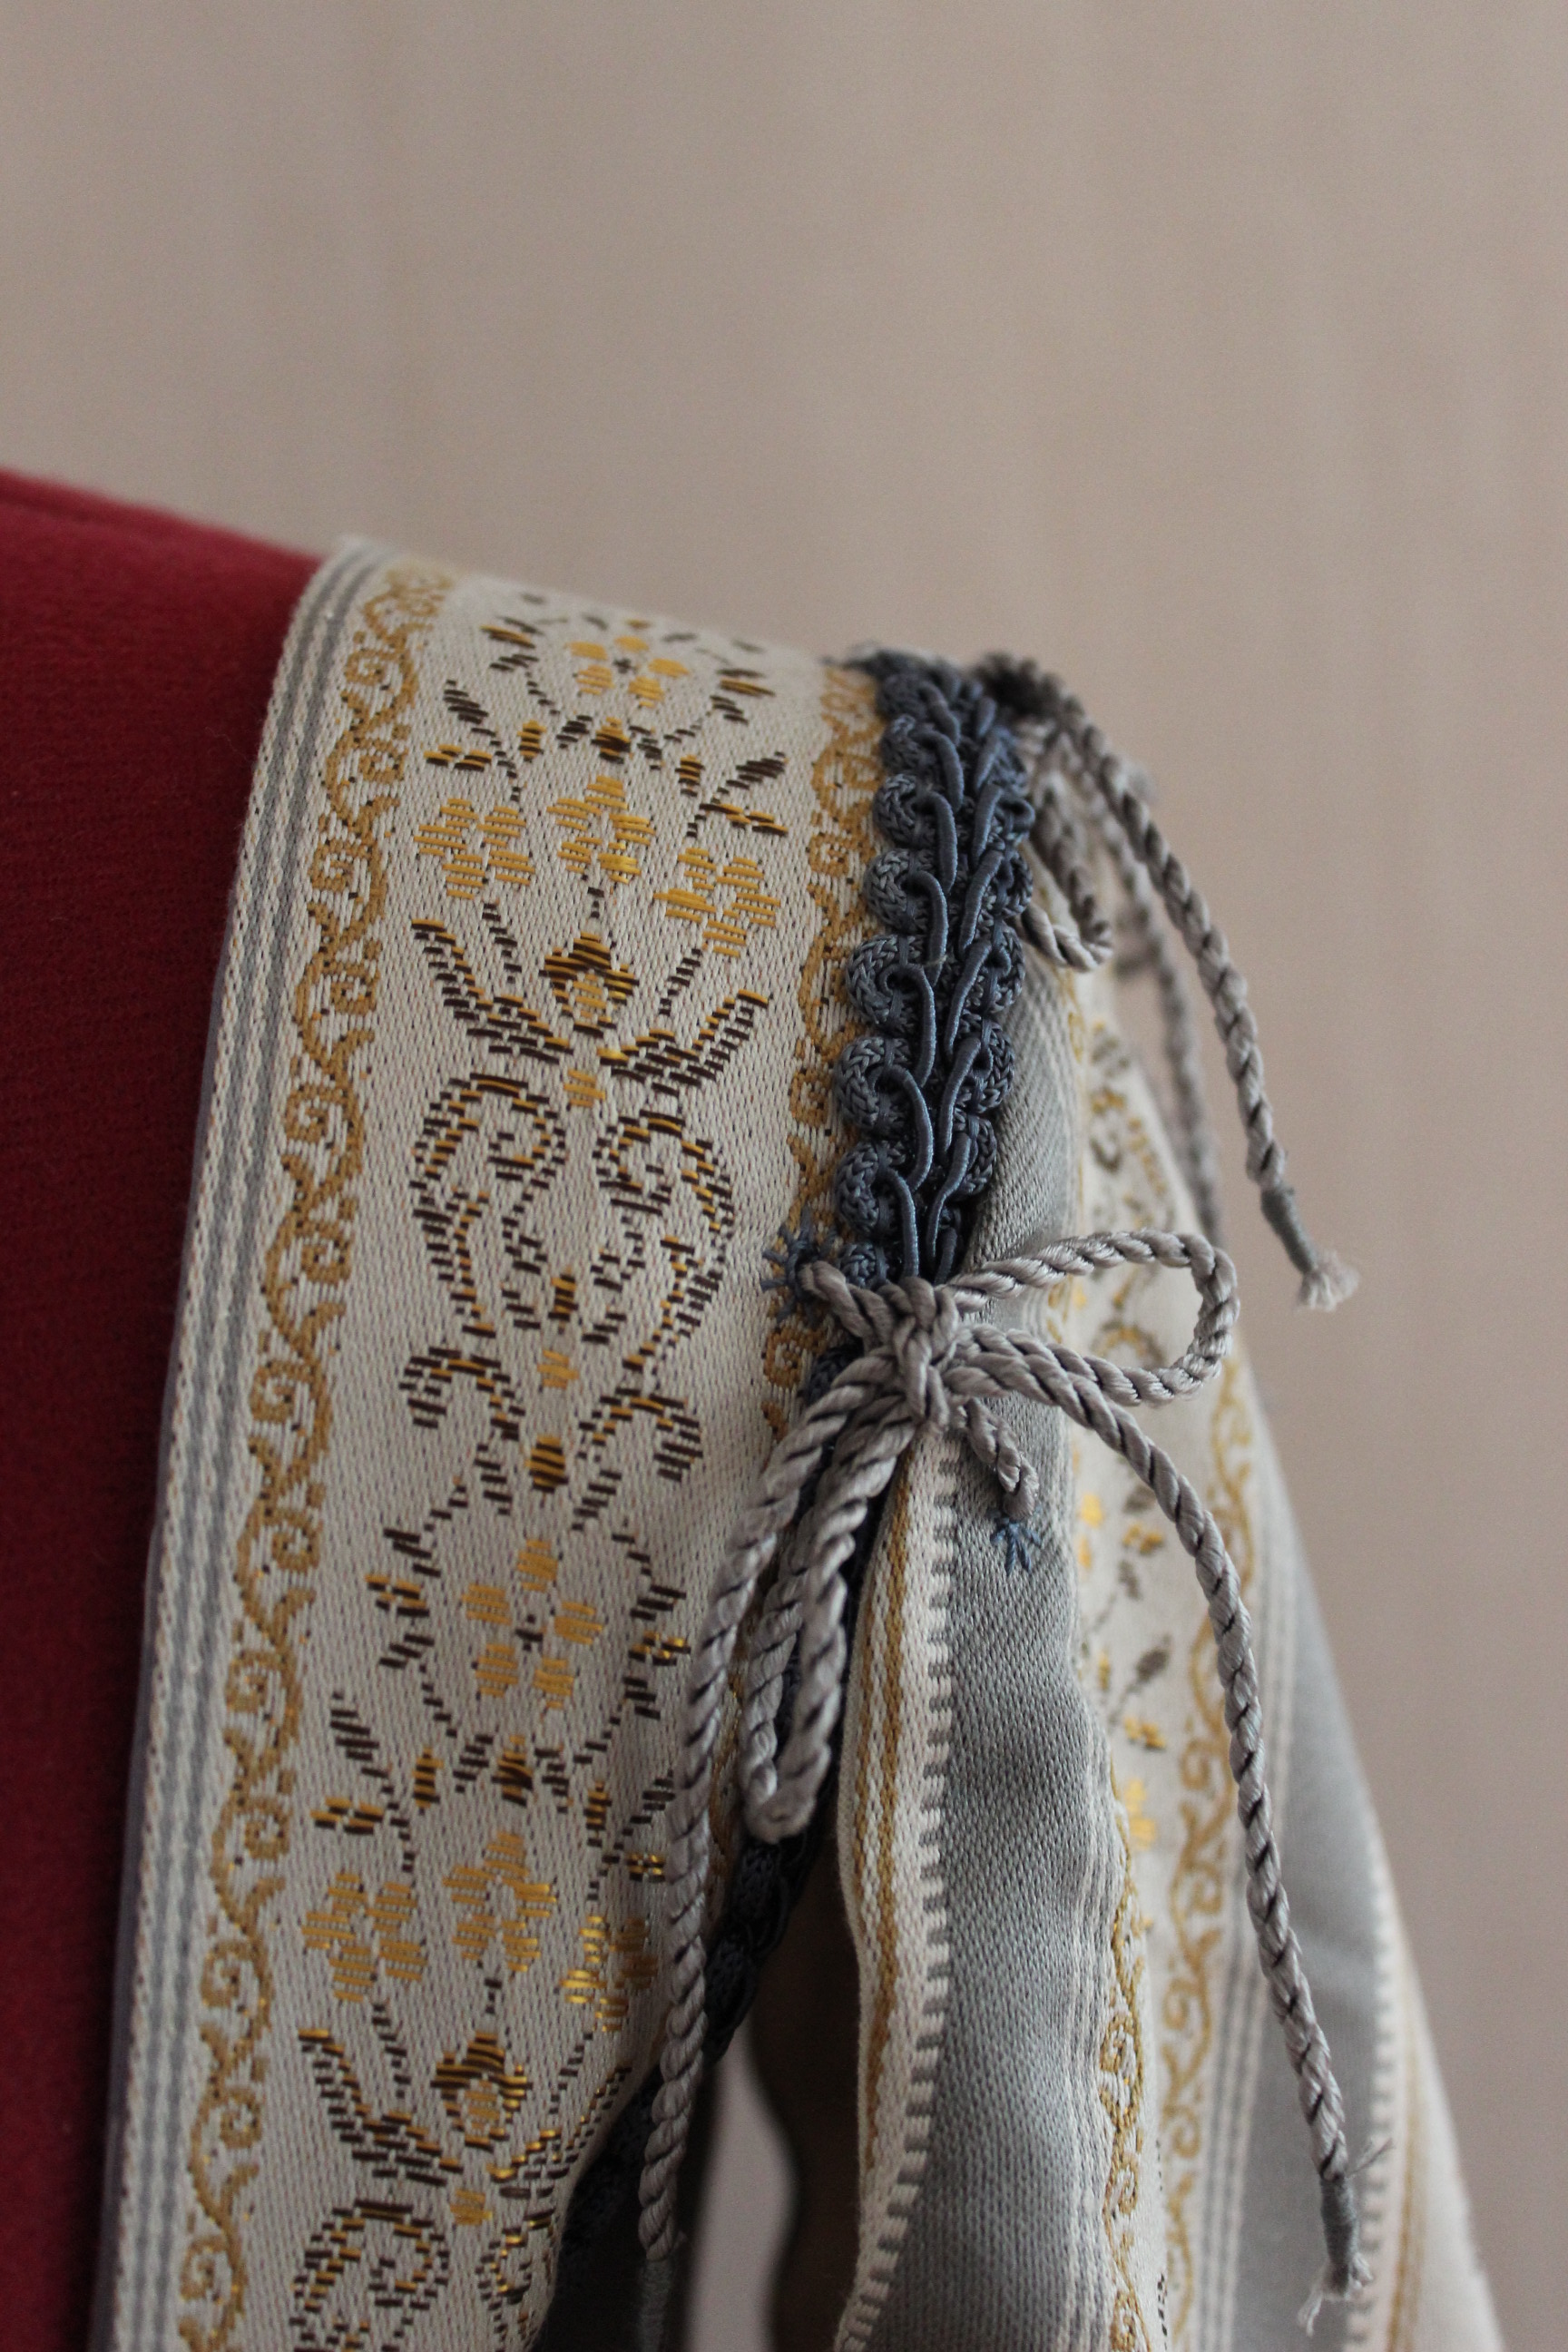
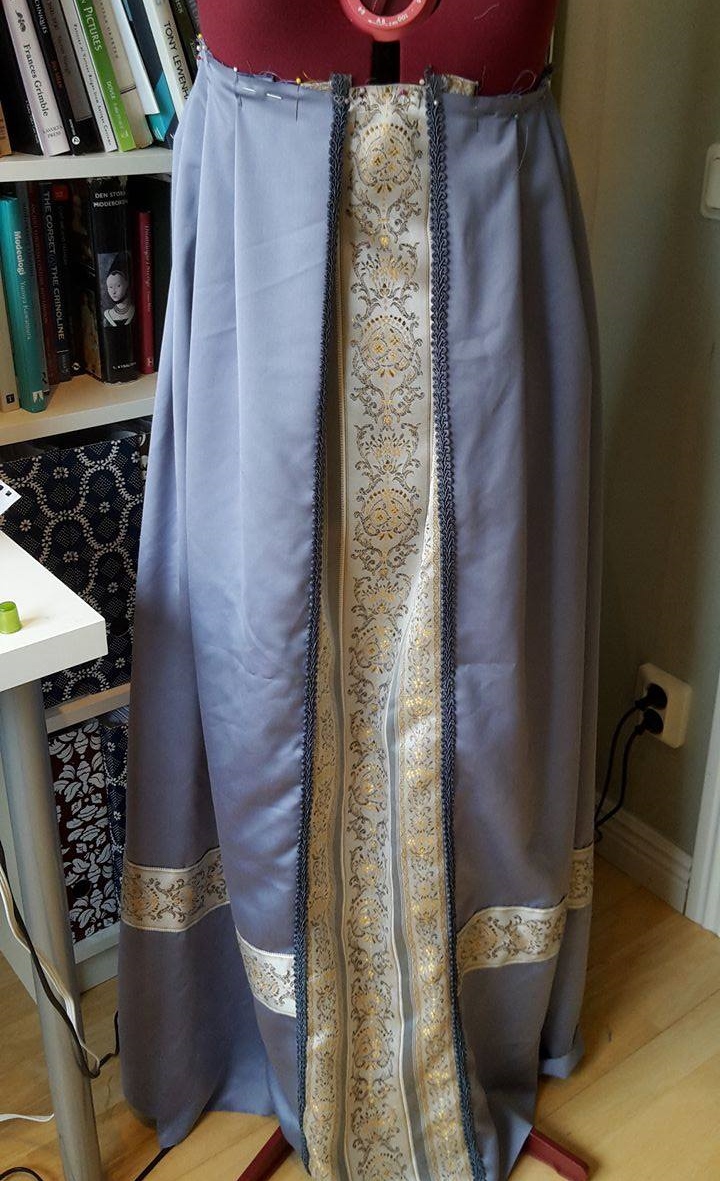
 Right side finished with lacing holes and trim.
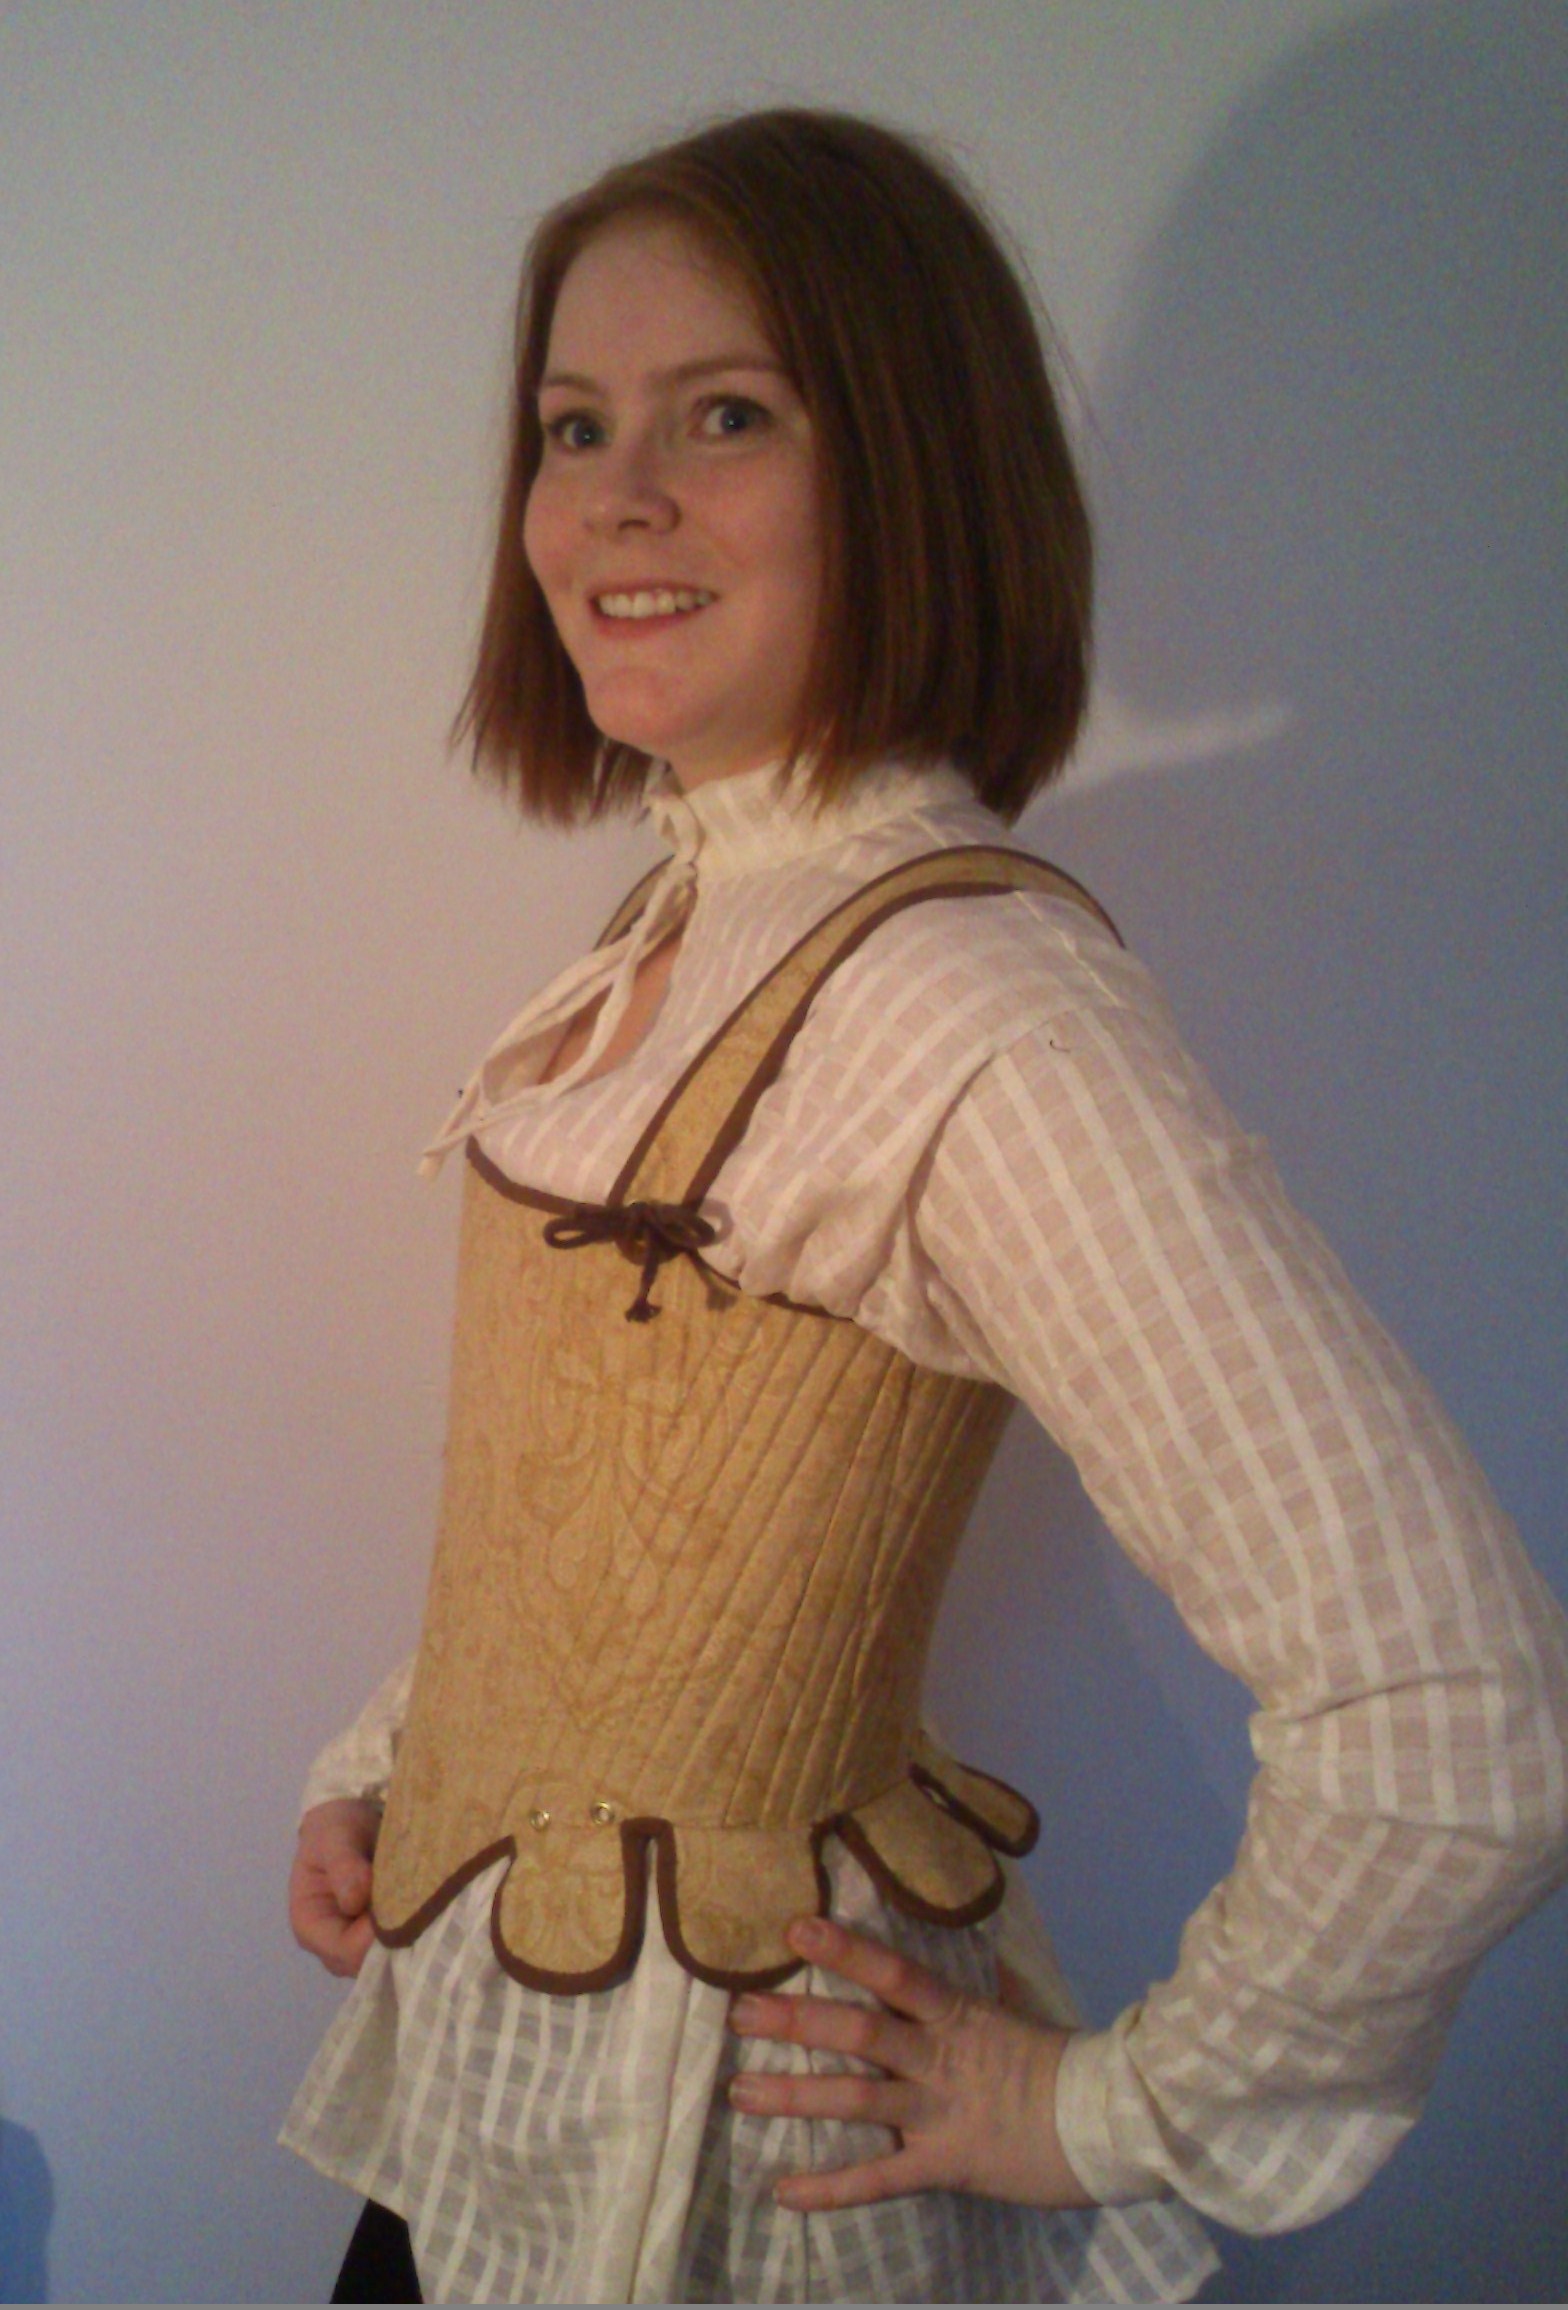
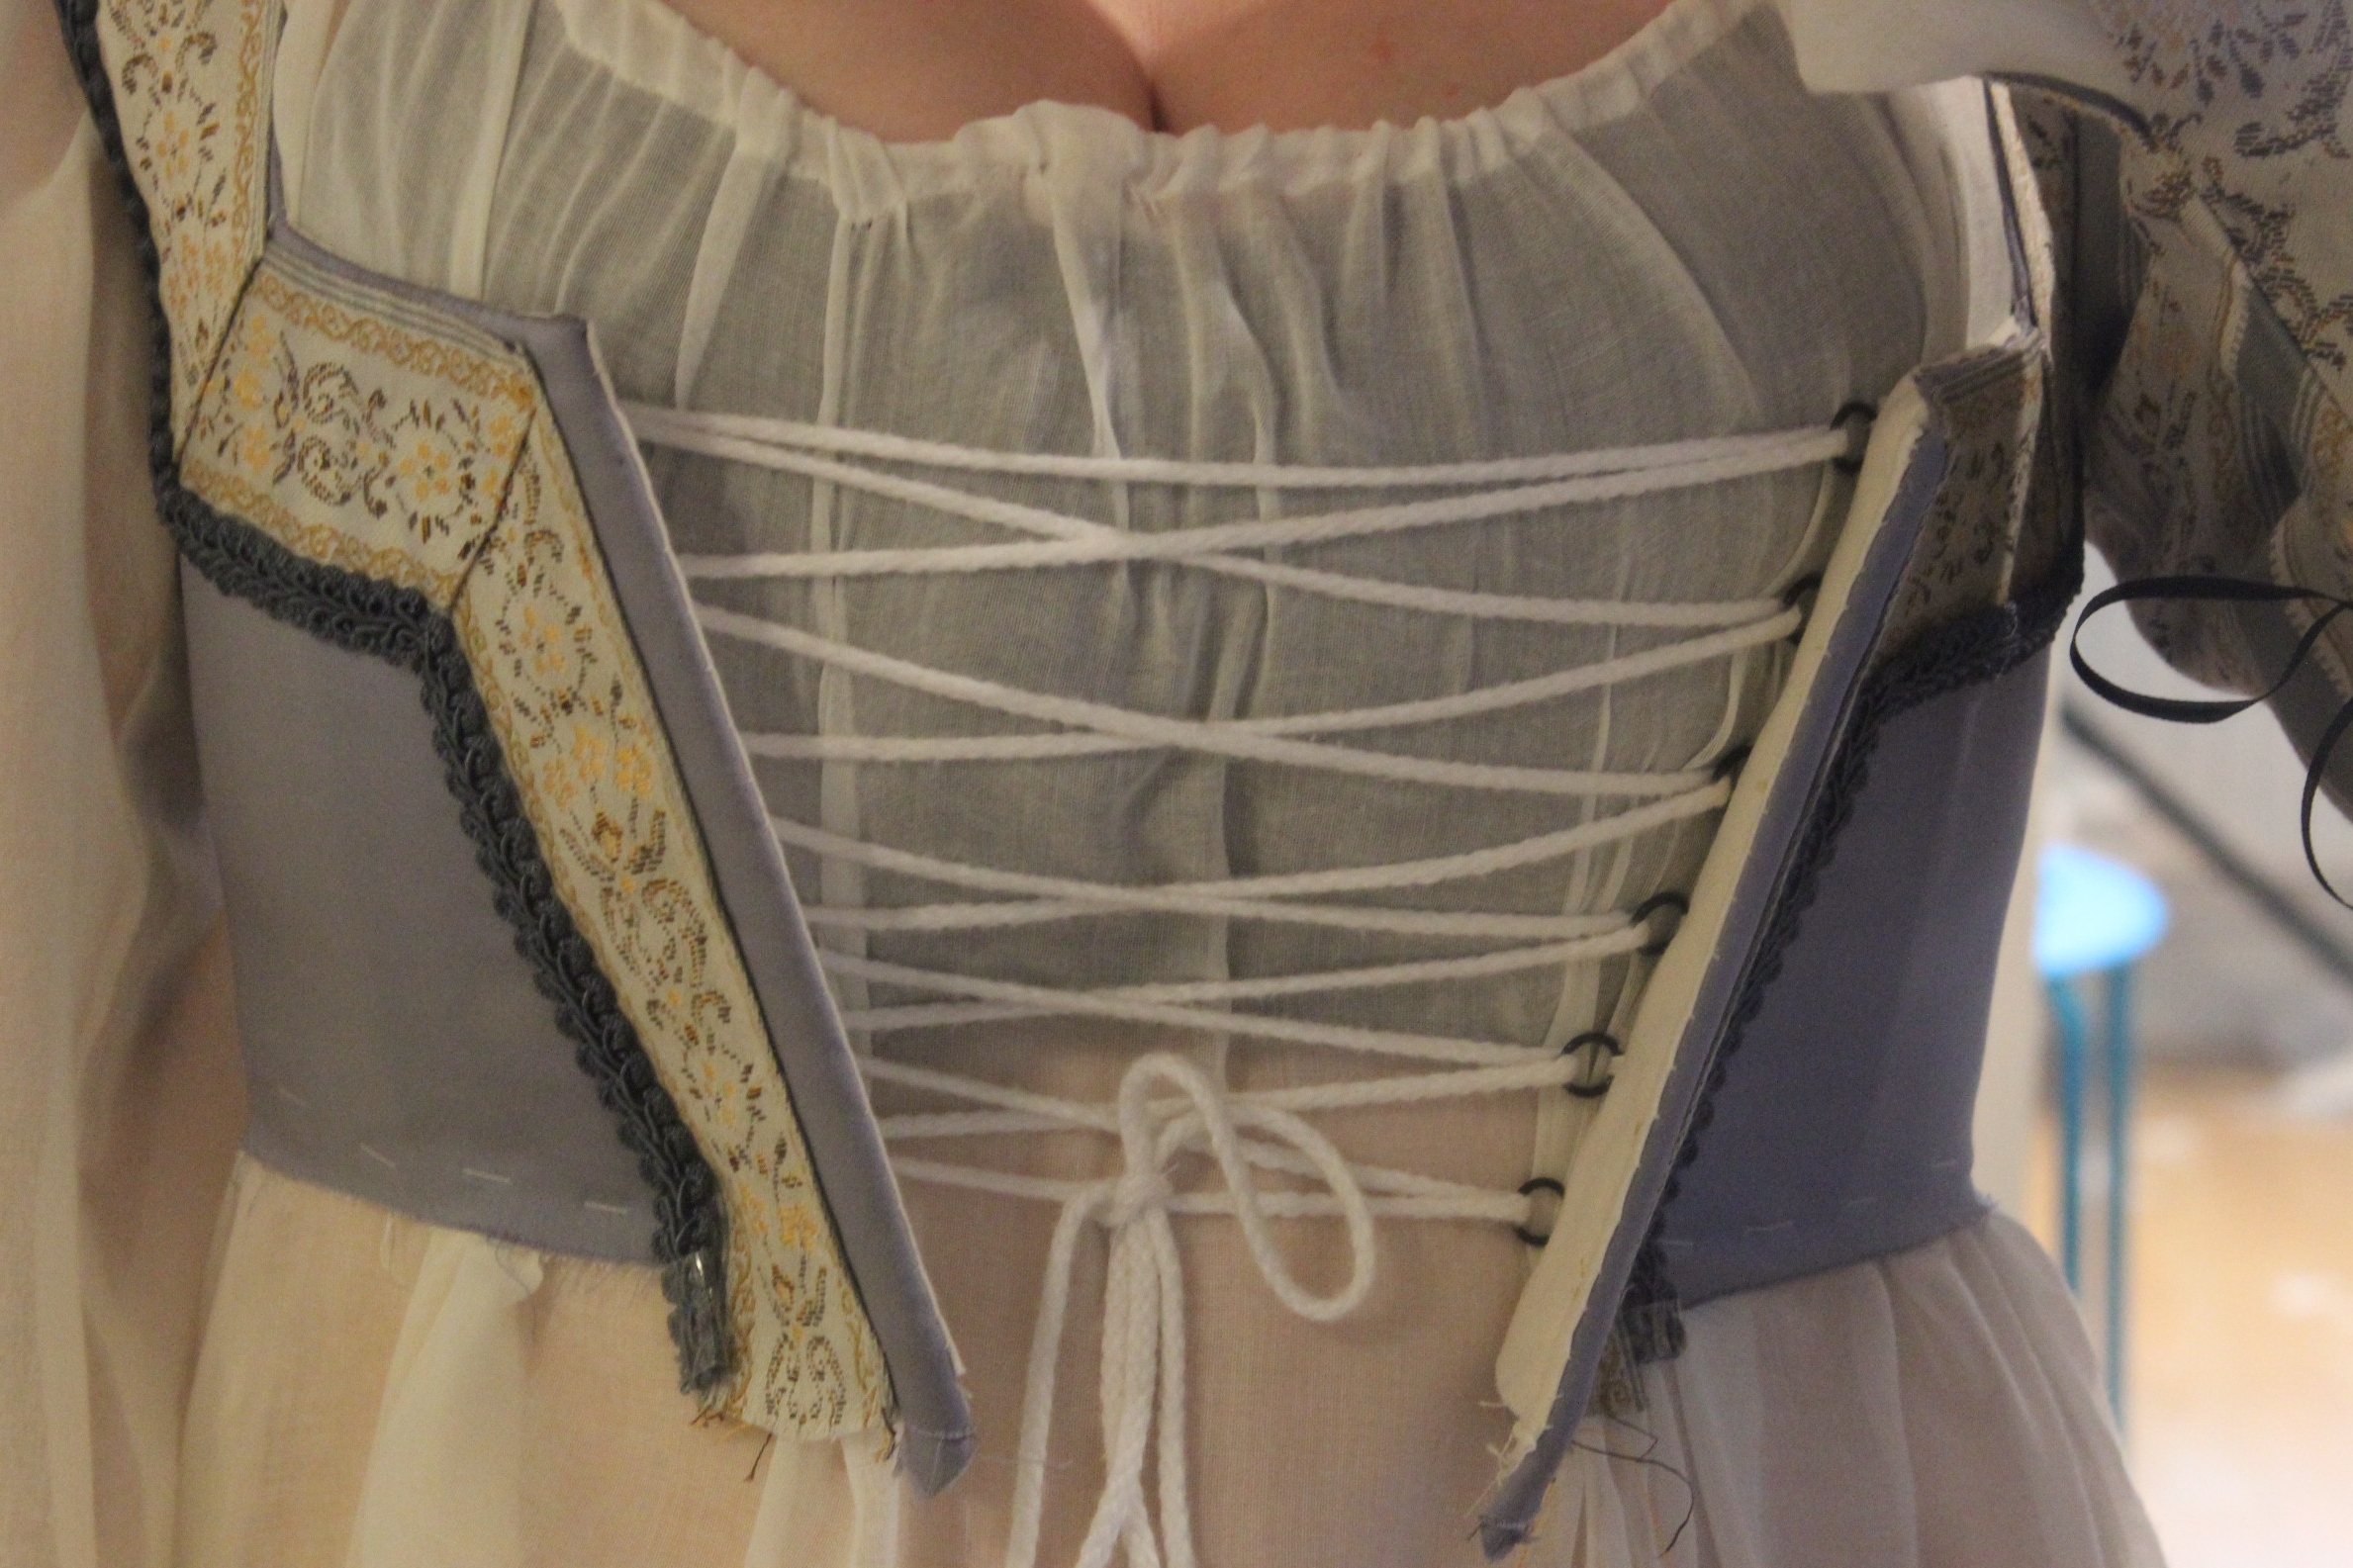
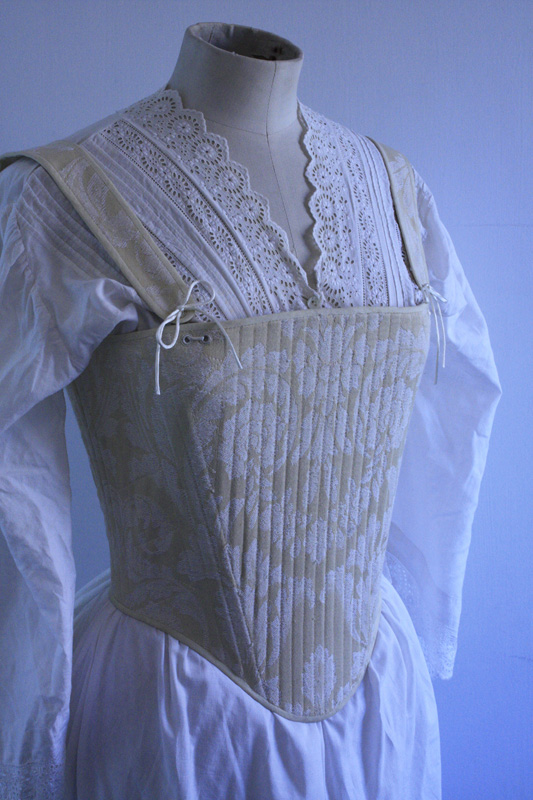
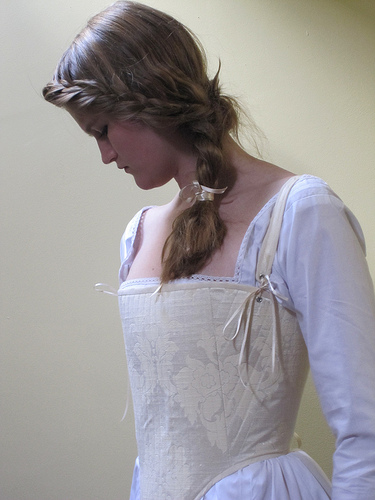
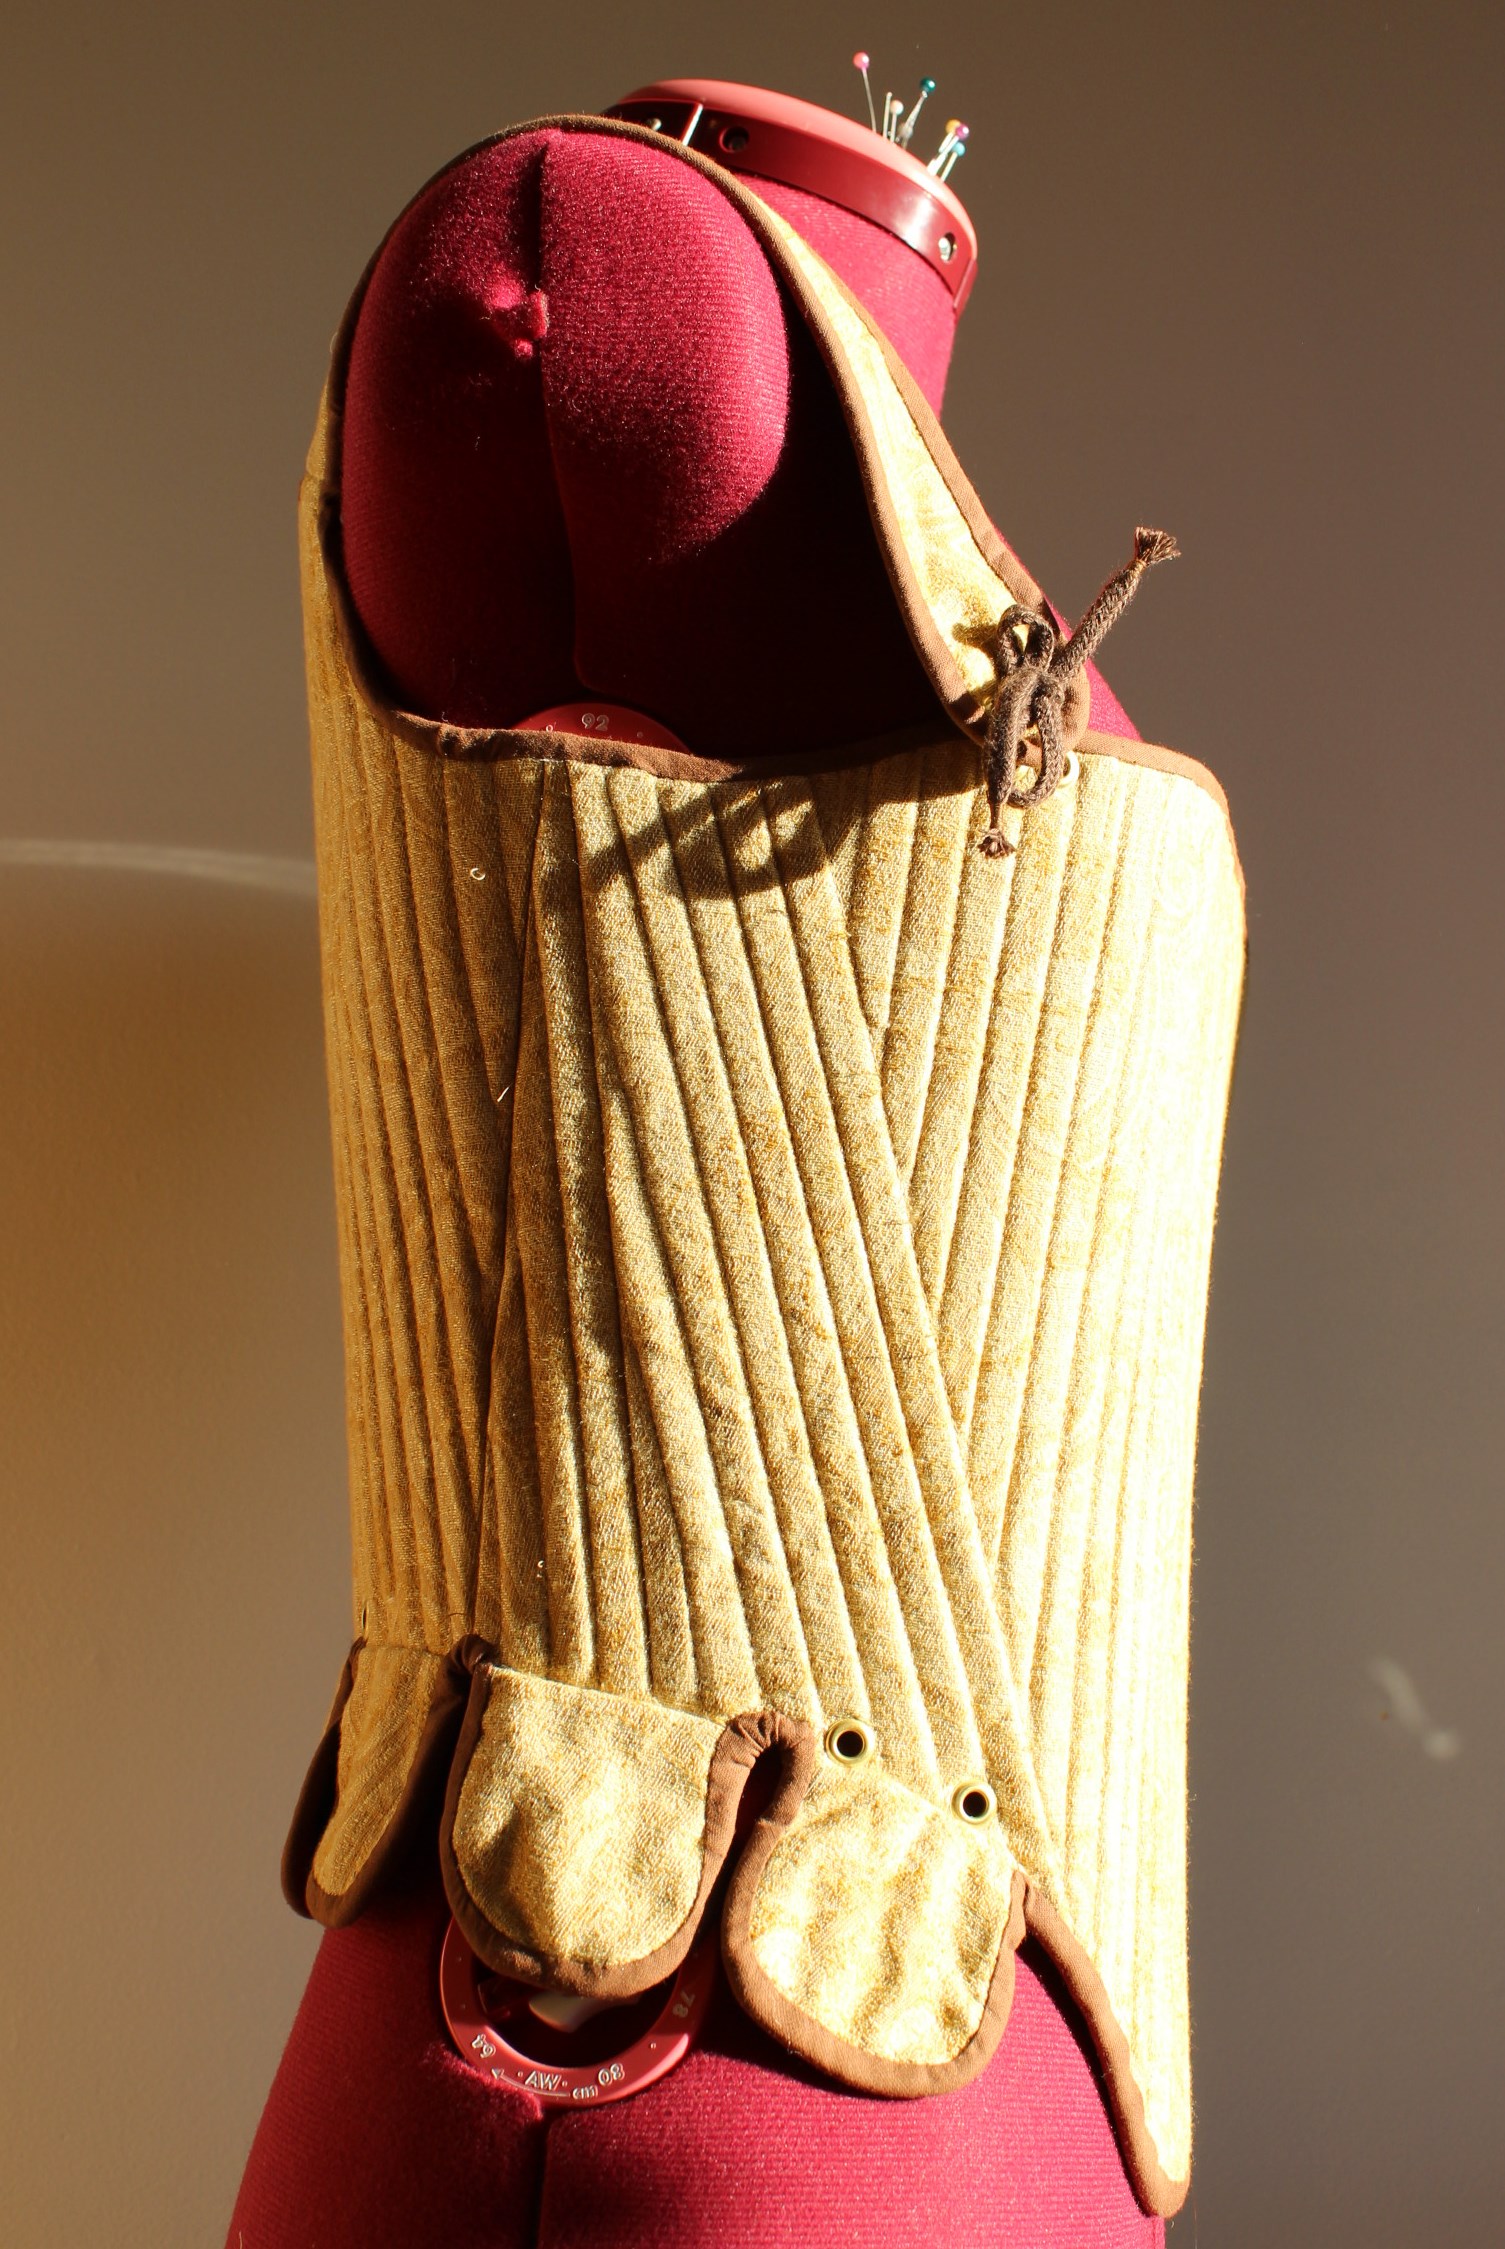
Once the lacing was finished I stitched the sides of the bodice together and then it was time to put it on to

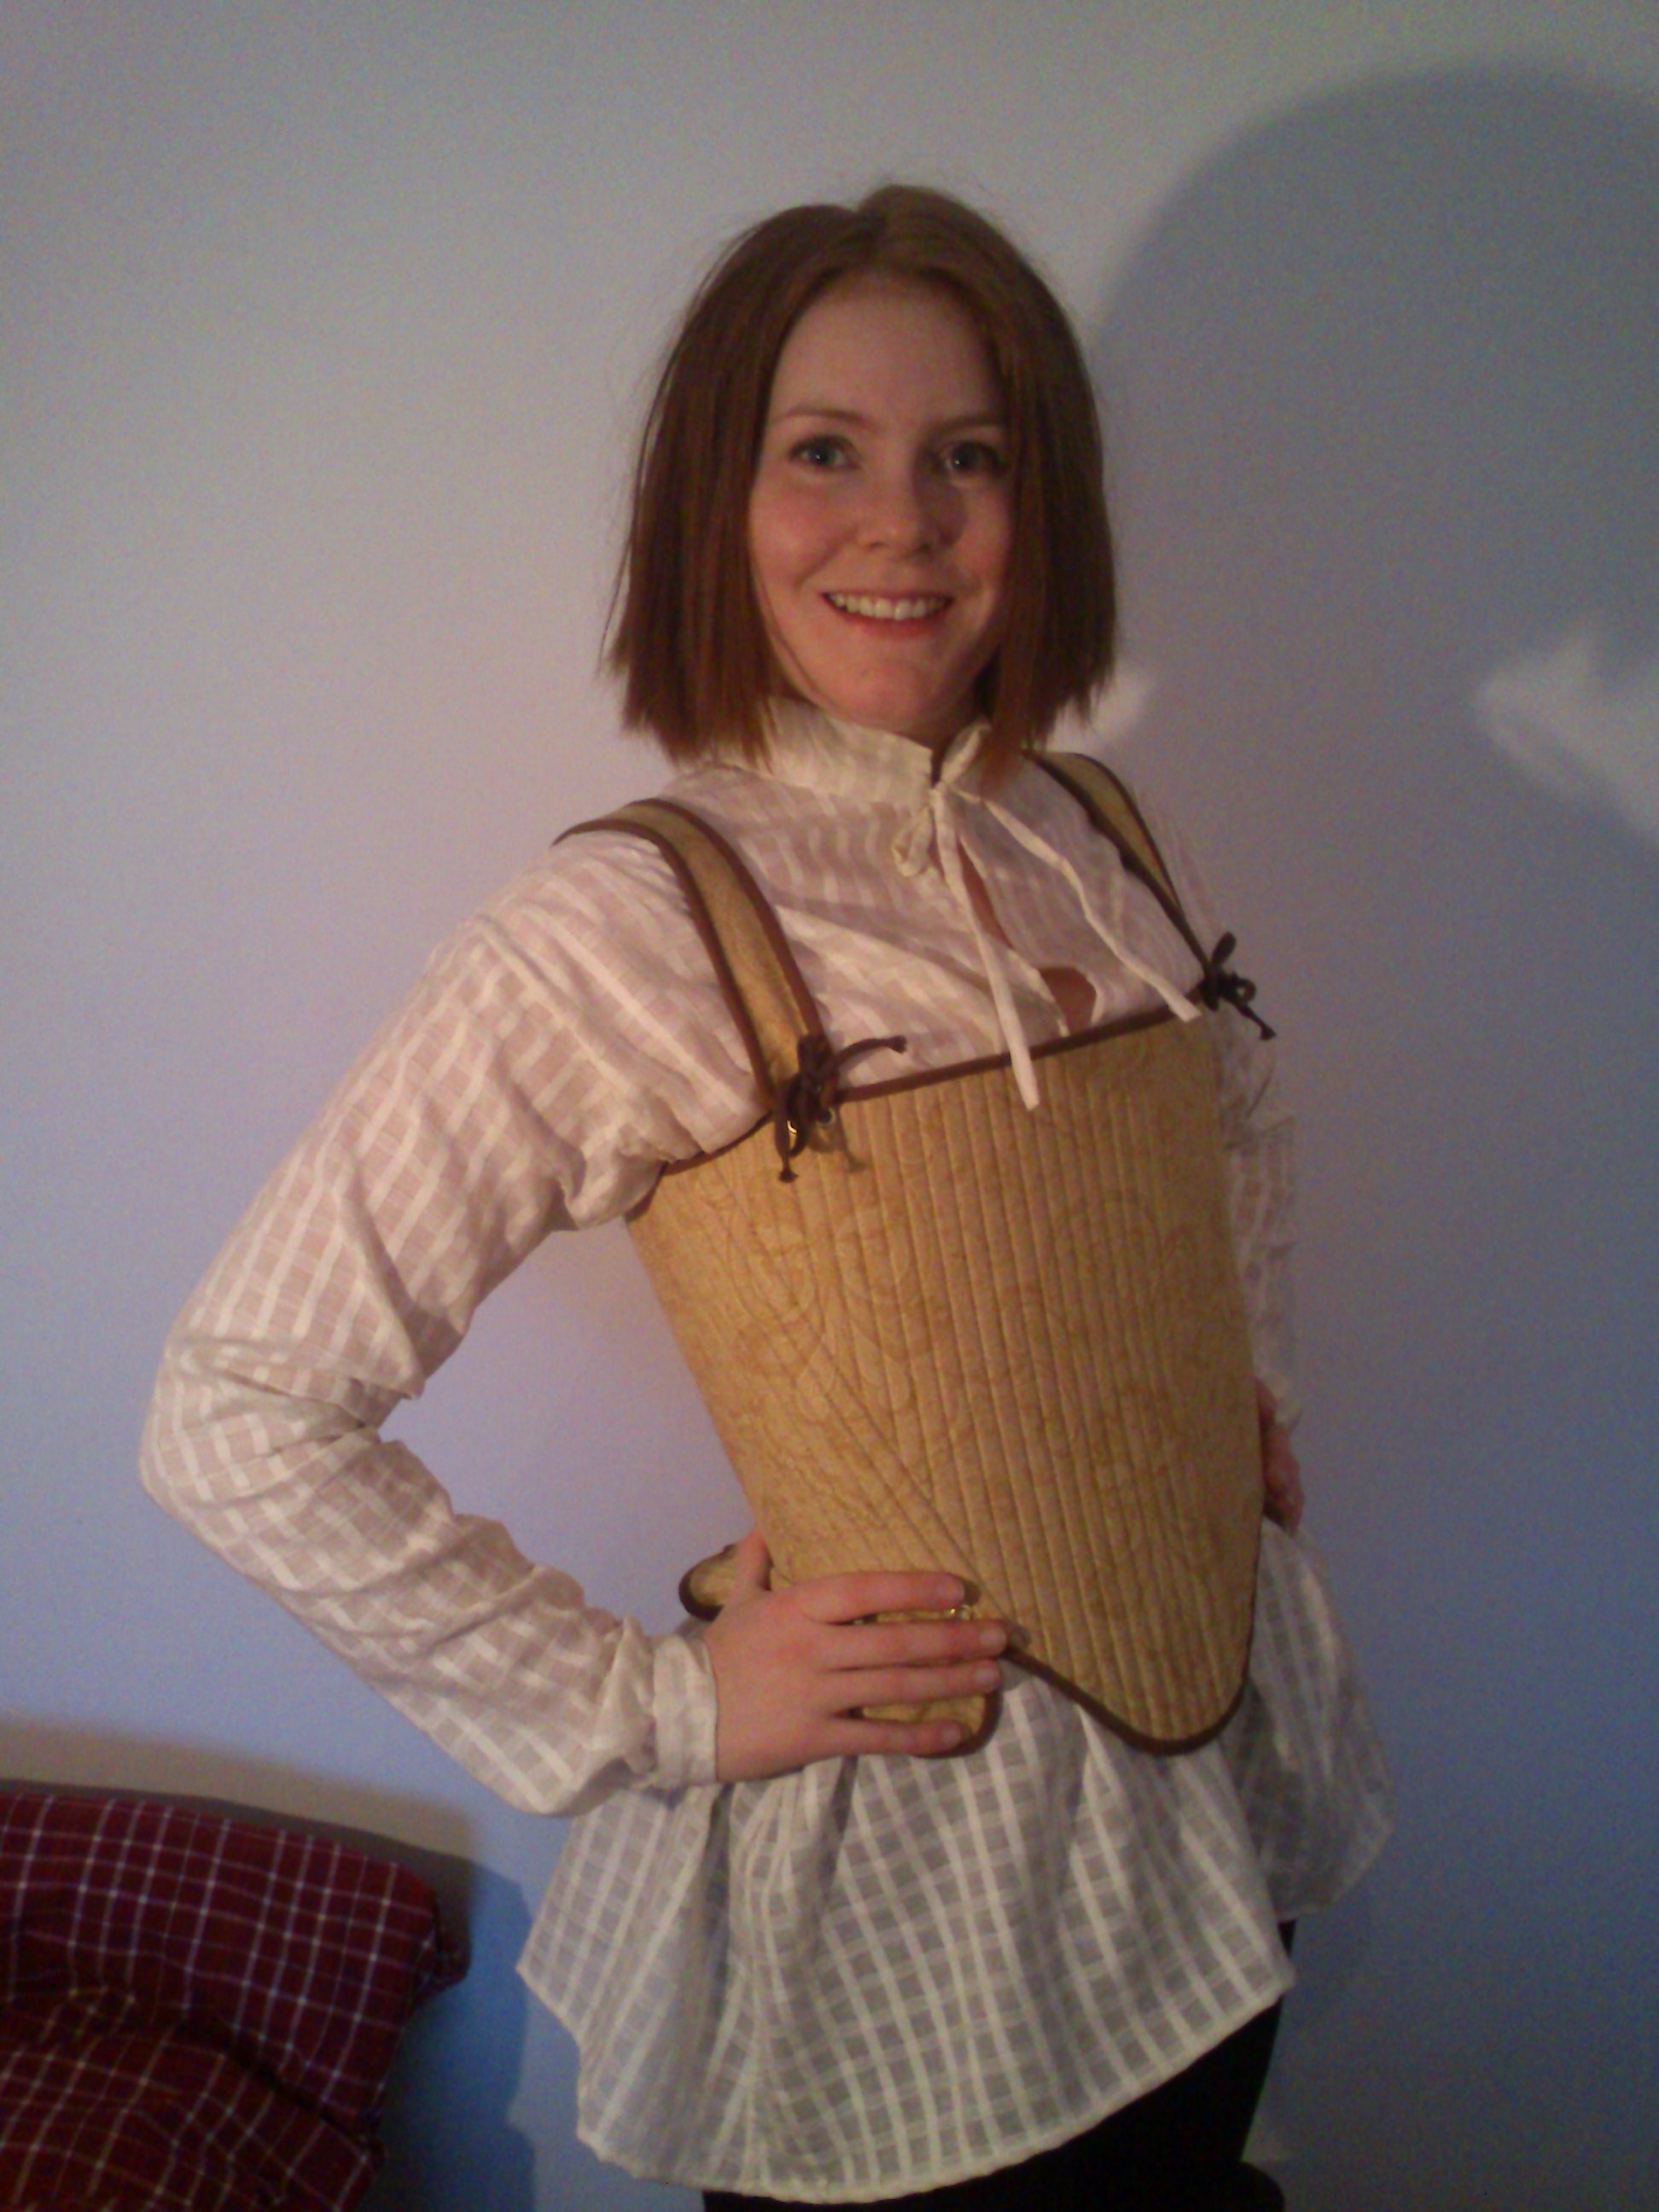
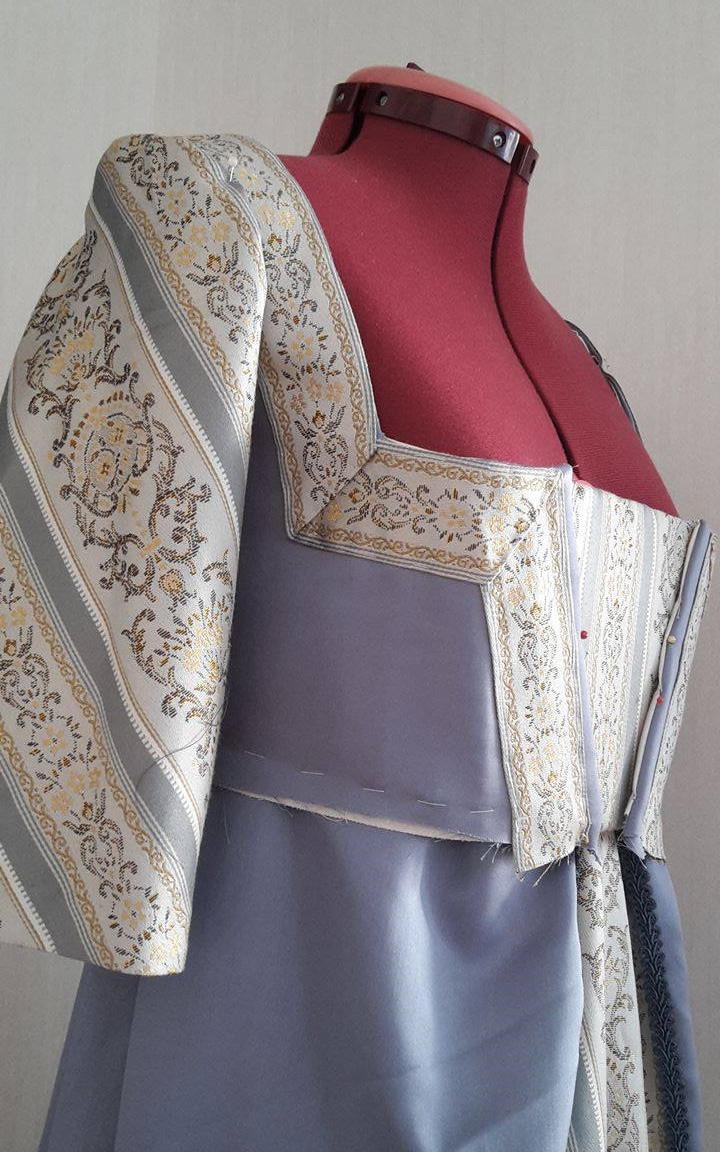
The fit is almost perfect (if you ignore the ridiculous low neckline).
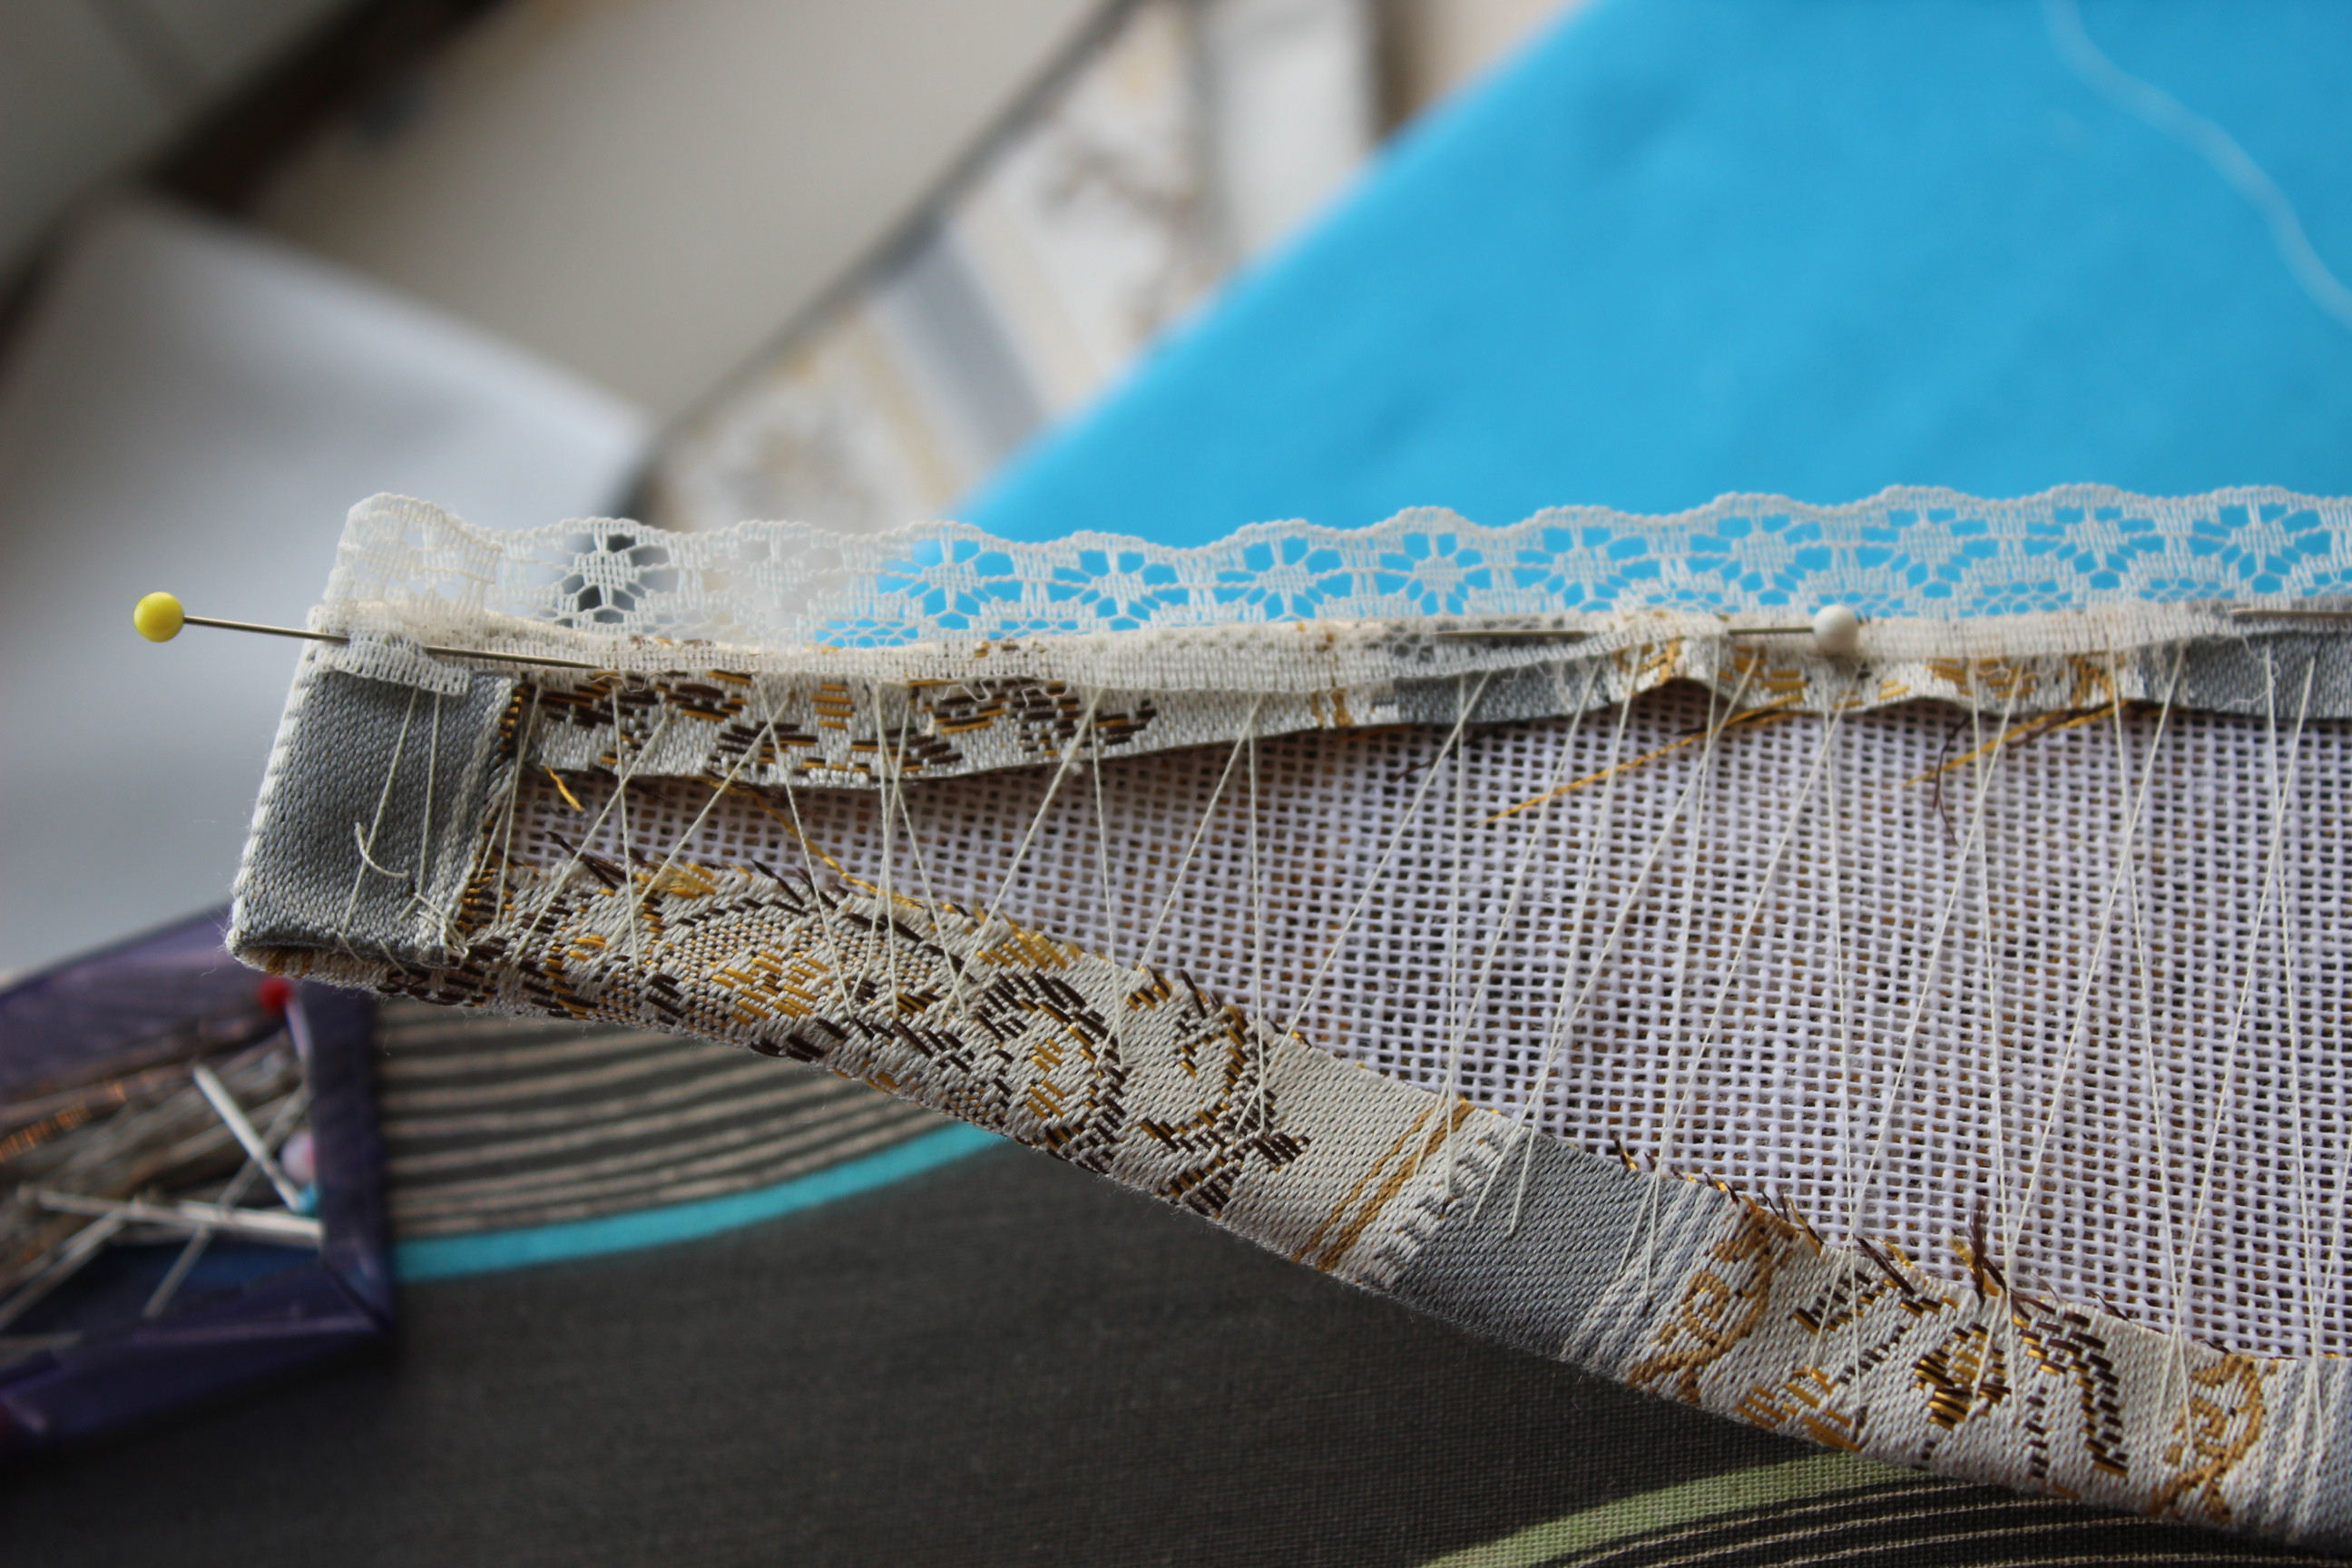
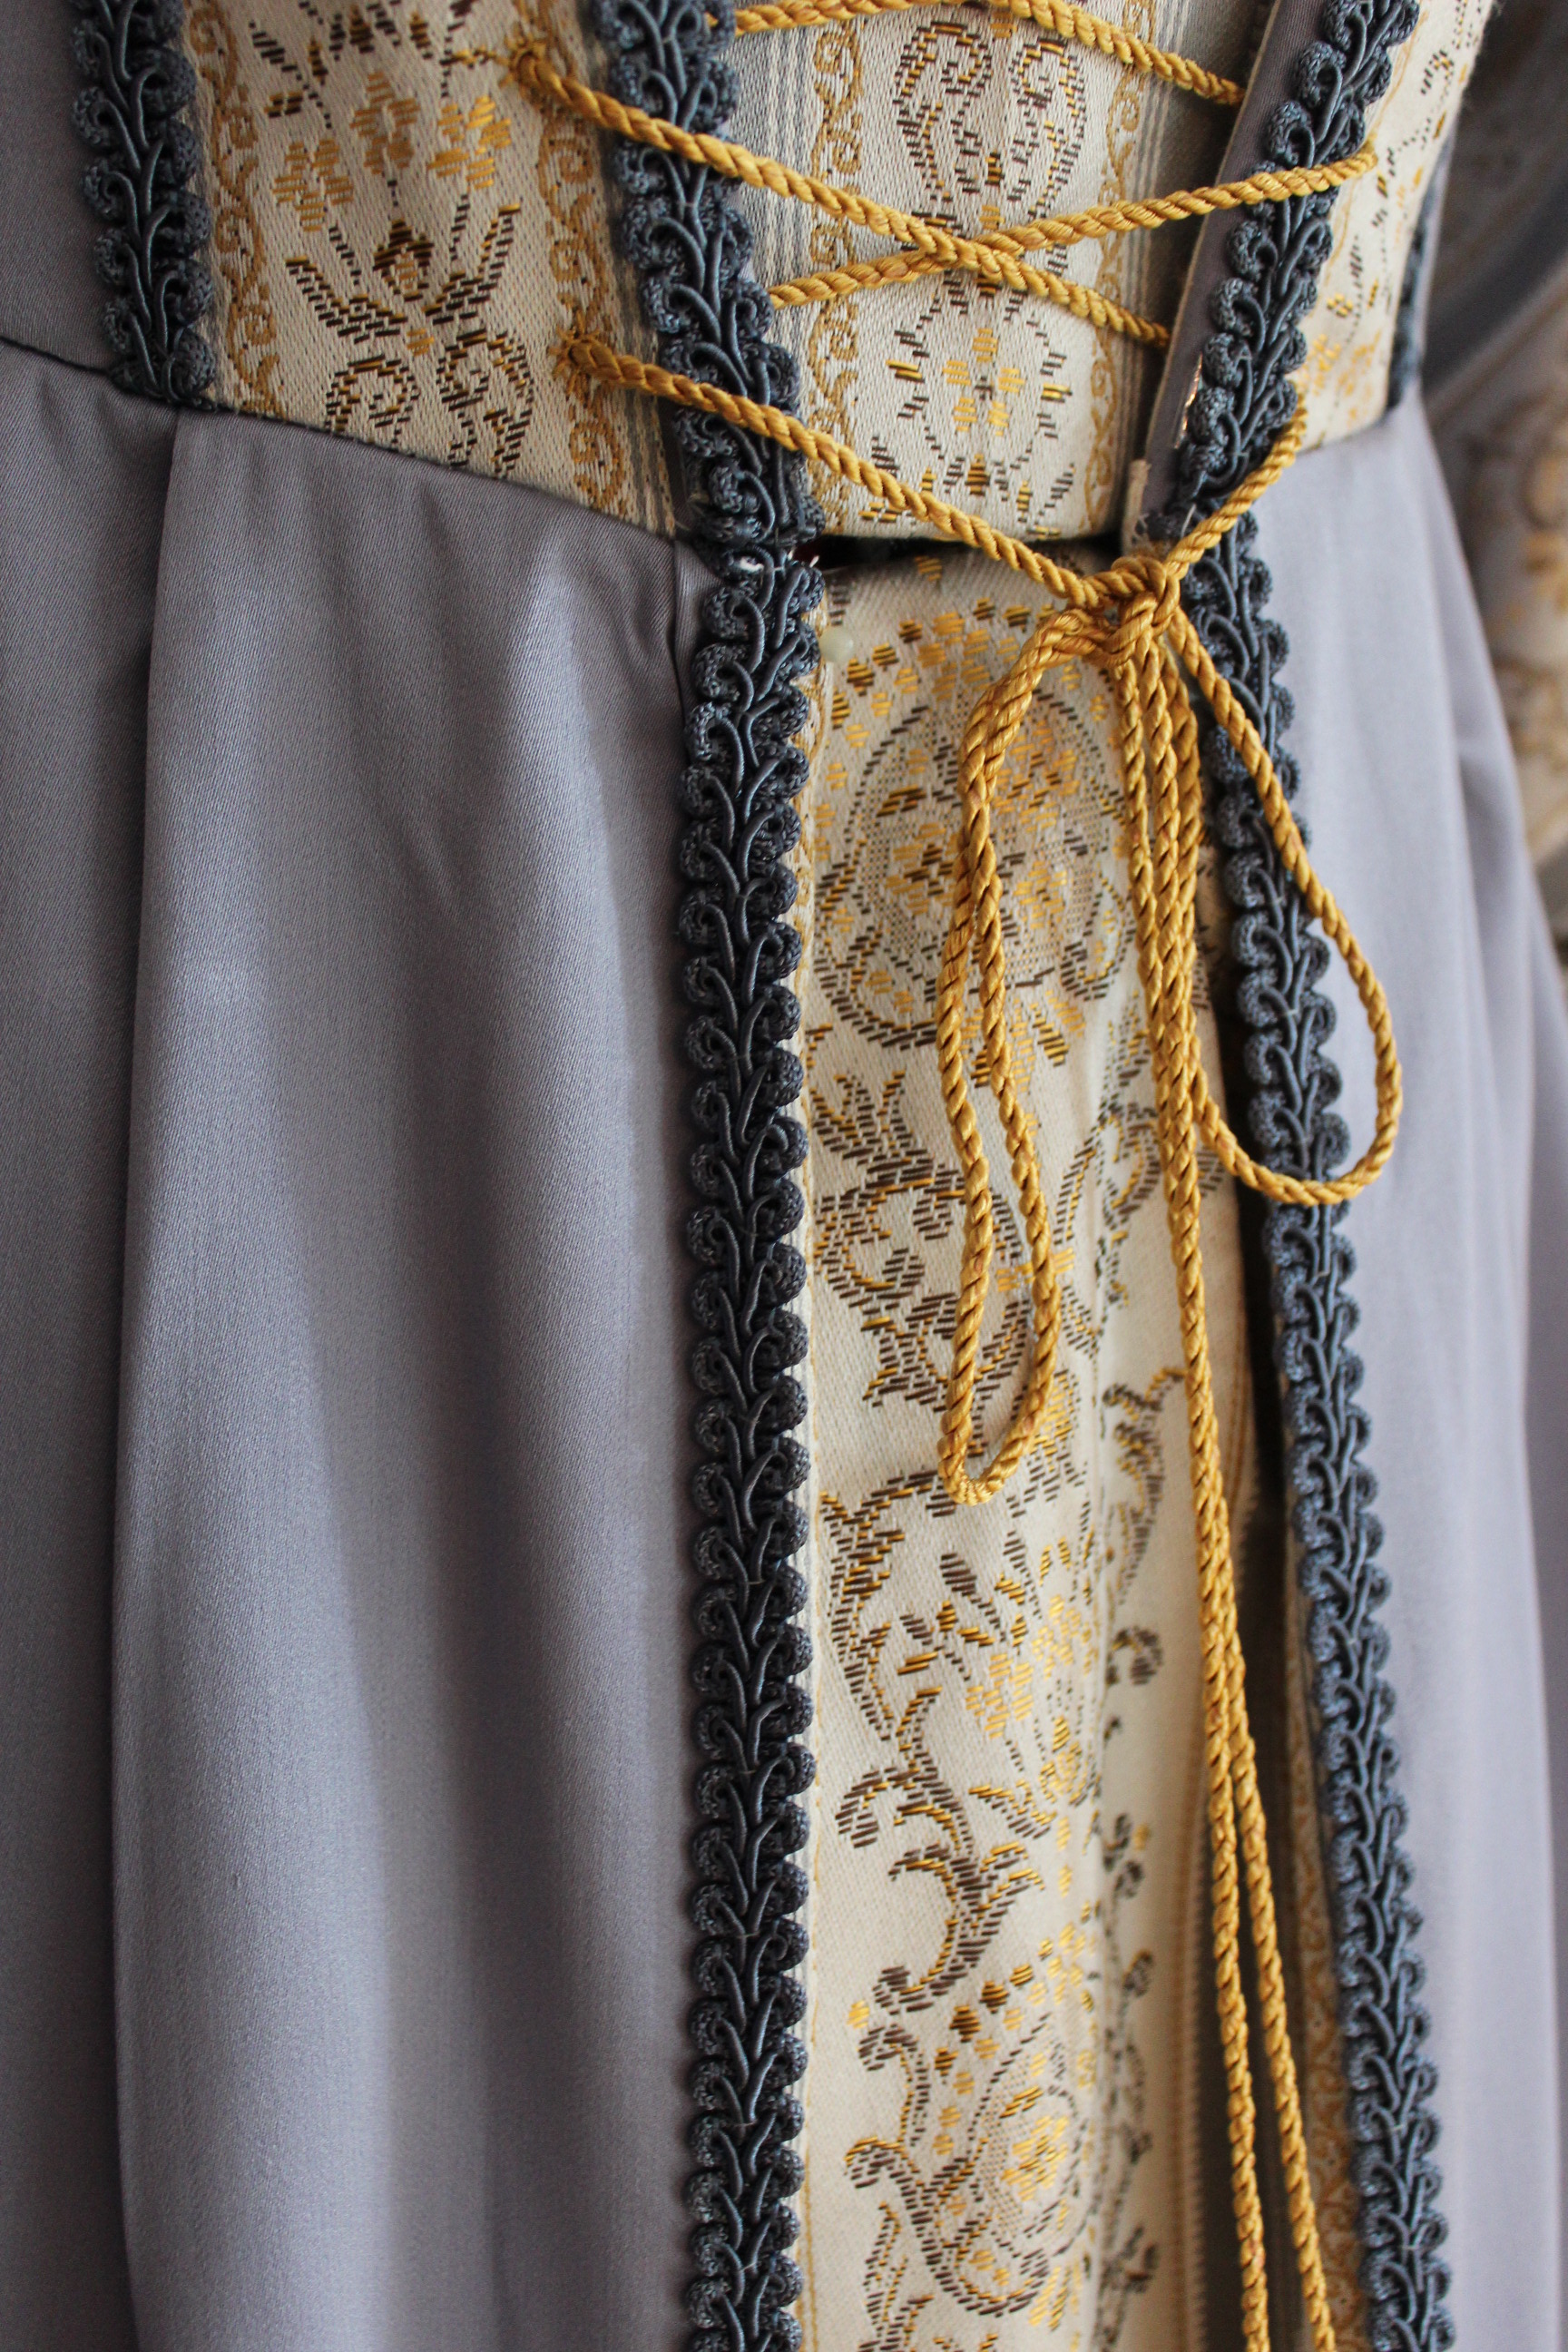
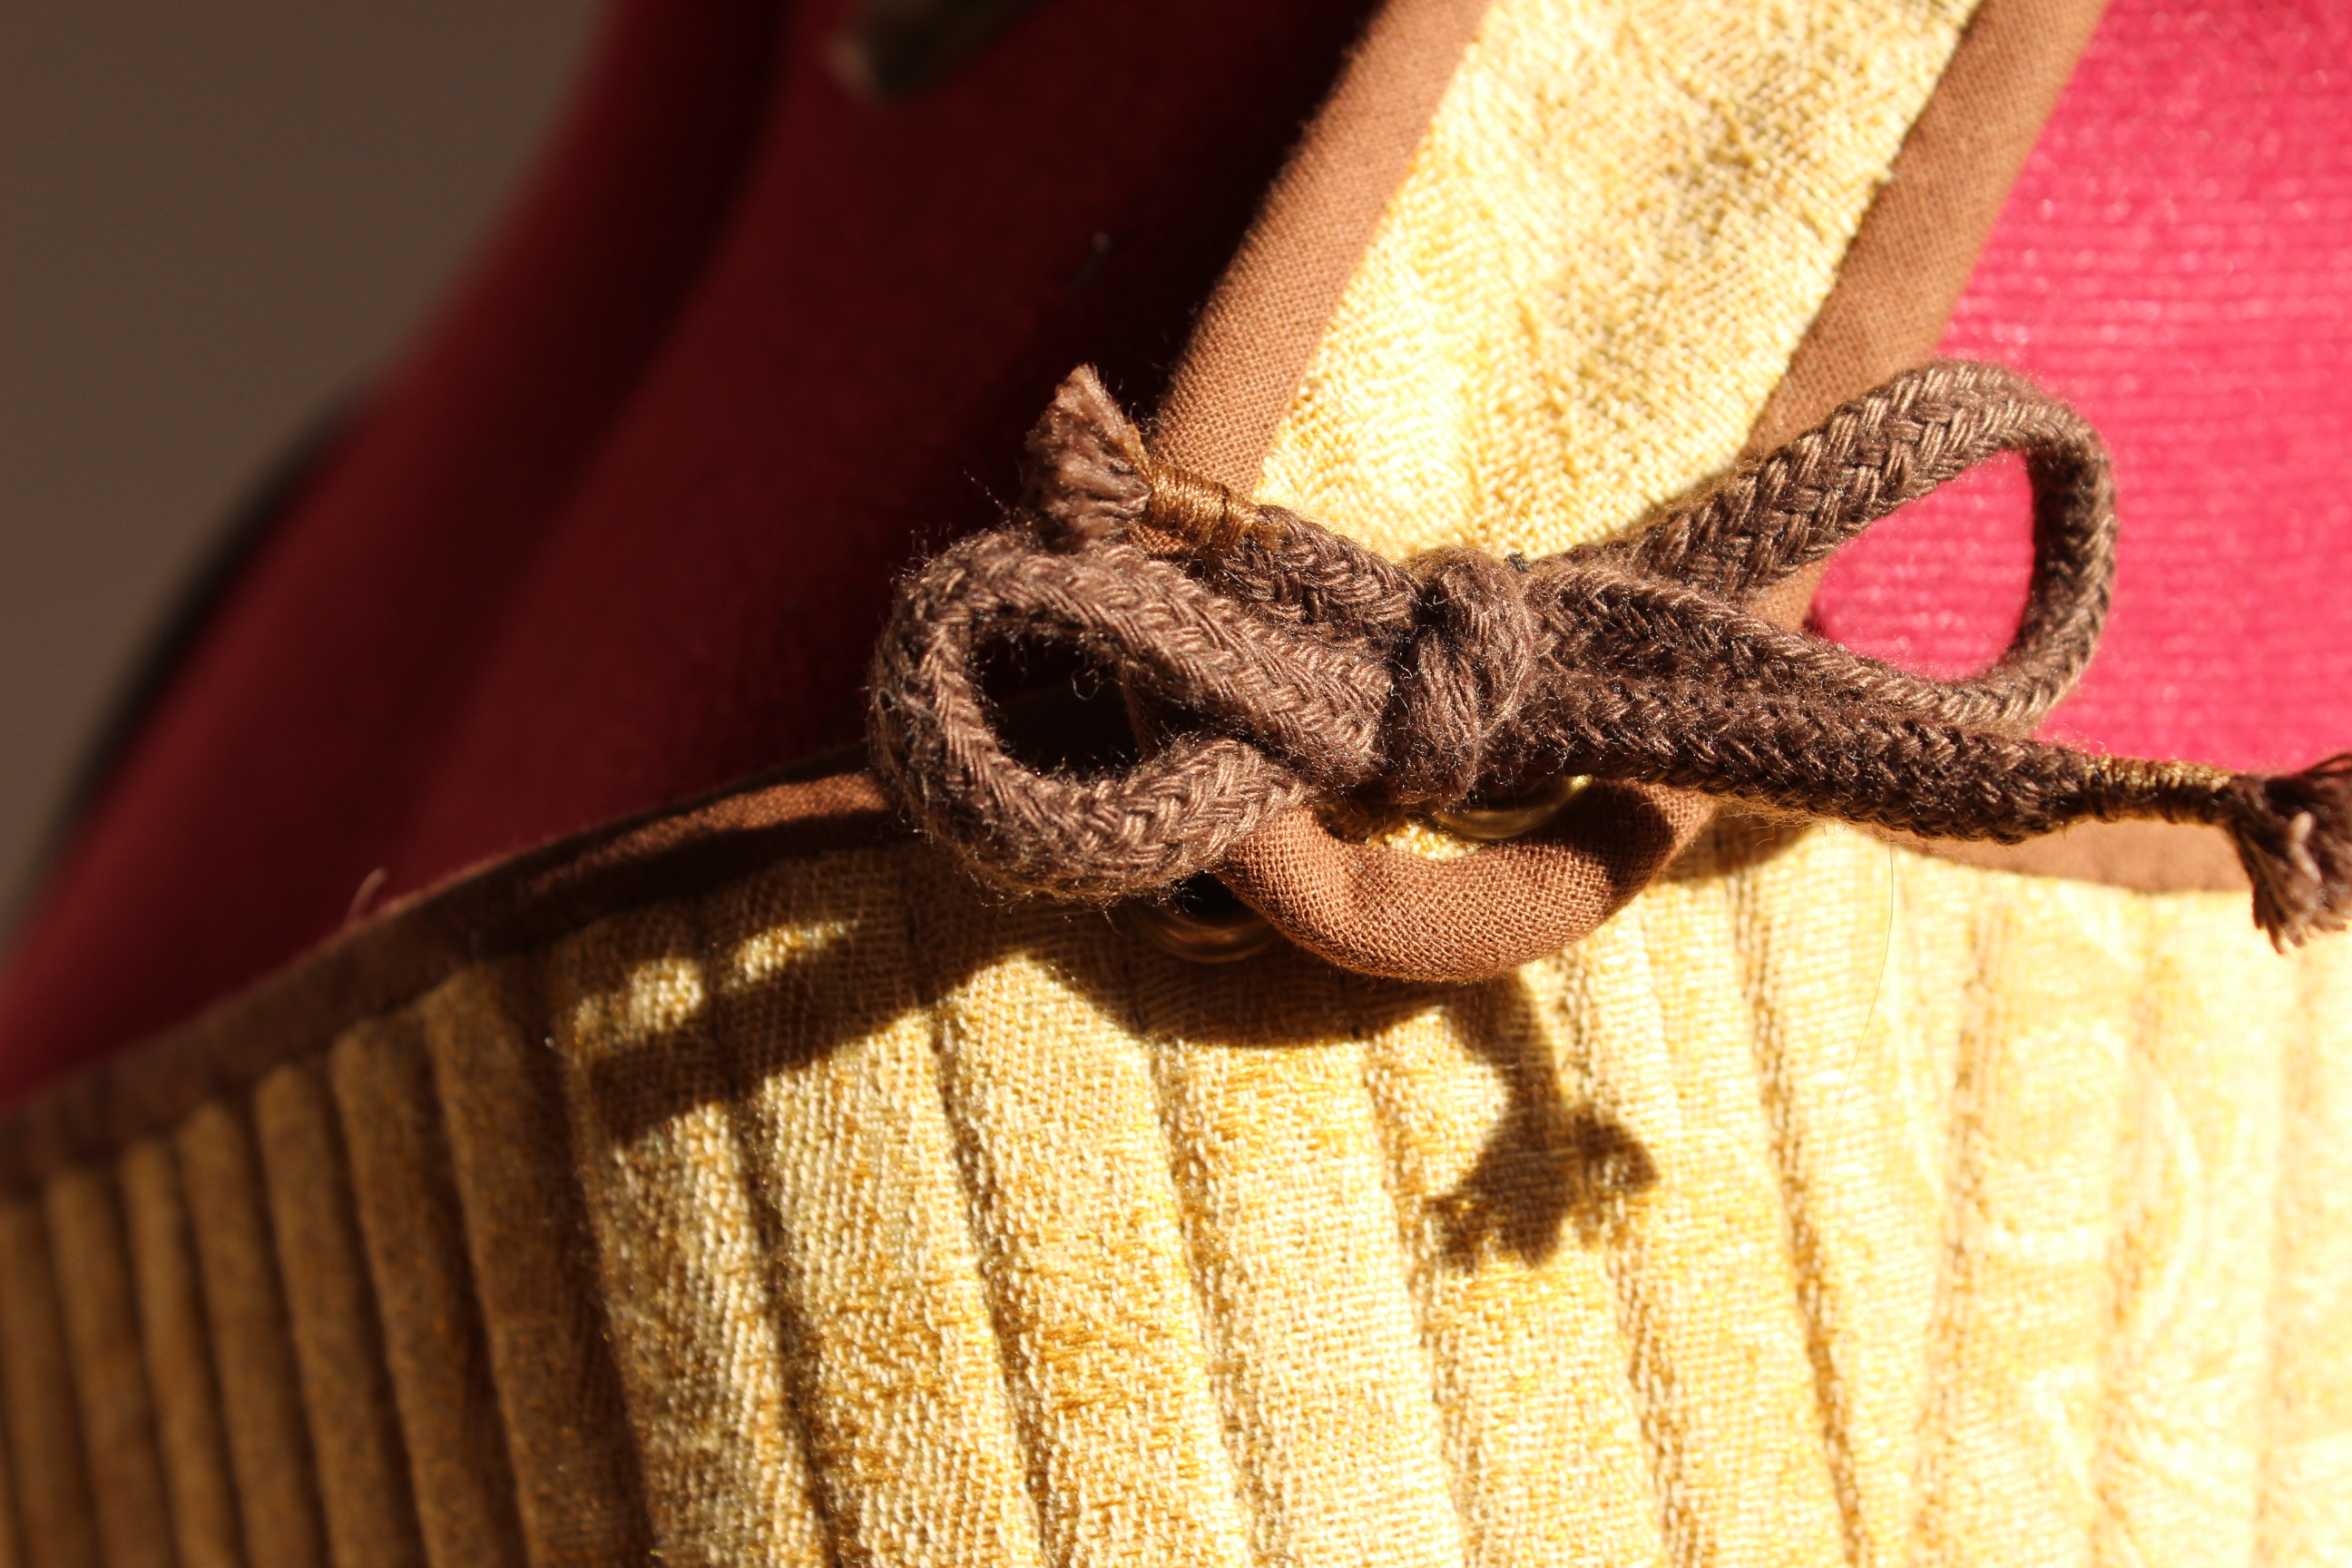
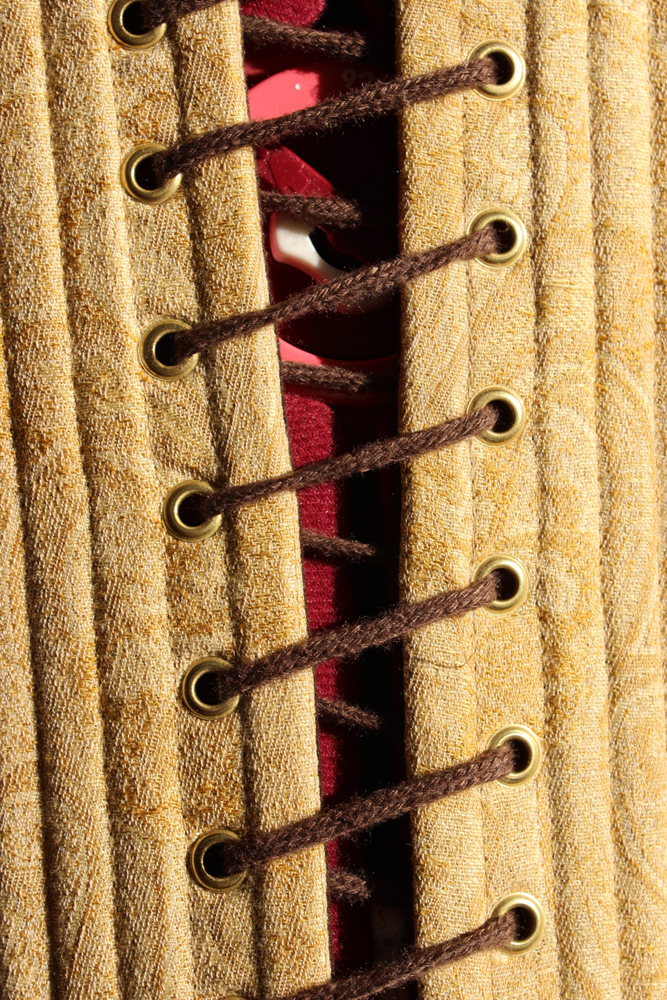
The small lacing holes I’ve made needed a thin and delicate lace – one which would not hold the preasure of my not so small bust. So I added some lacing rings and a cotton cord (to be hidden beneath the stomacher) to take the stress of the pretty golden laces.
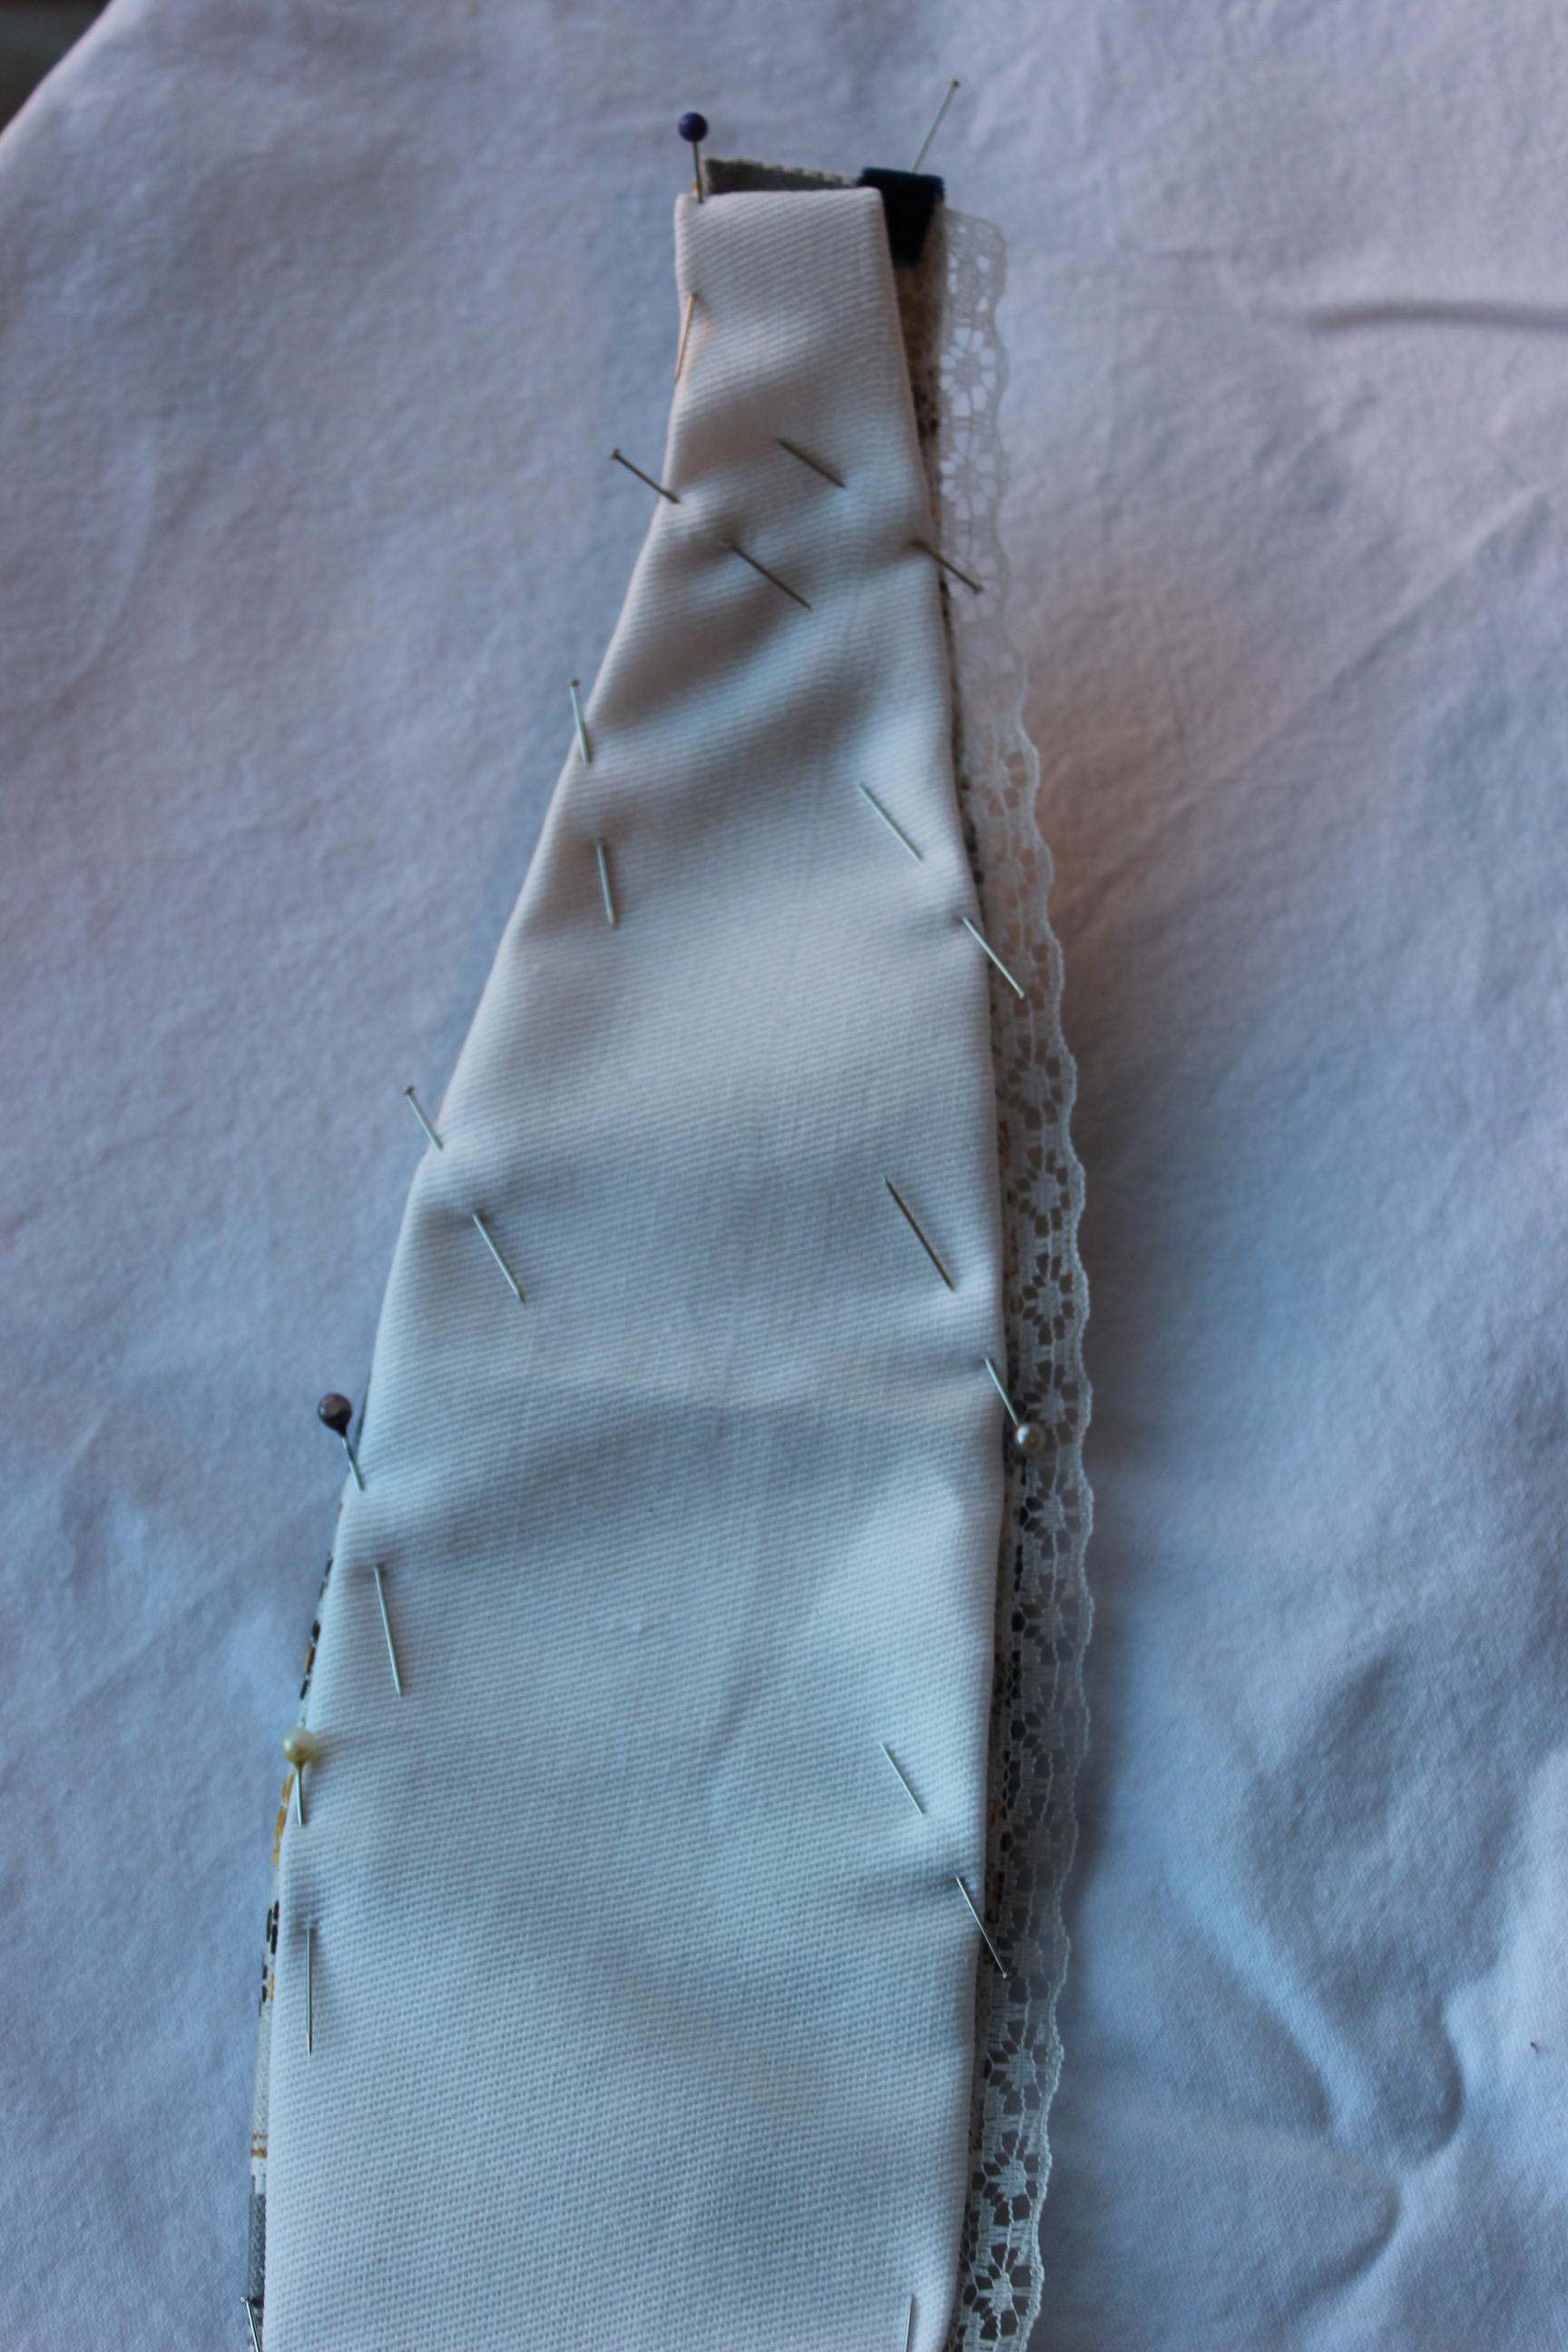
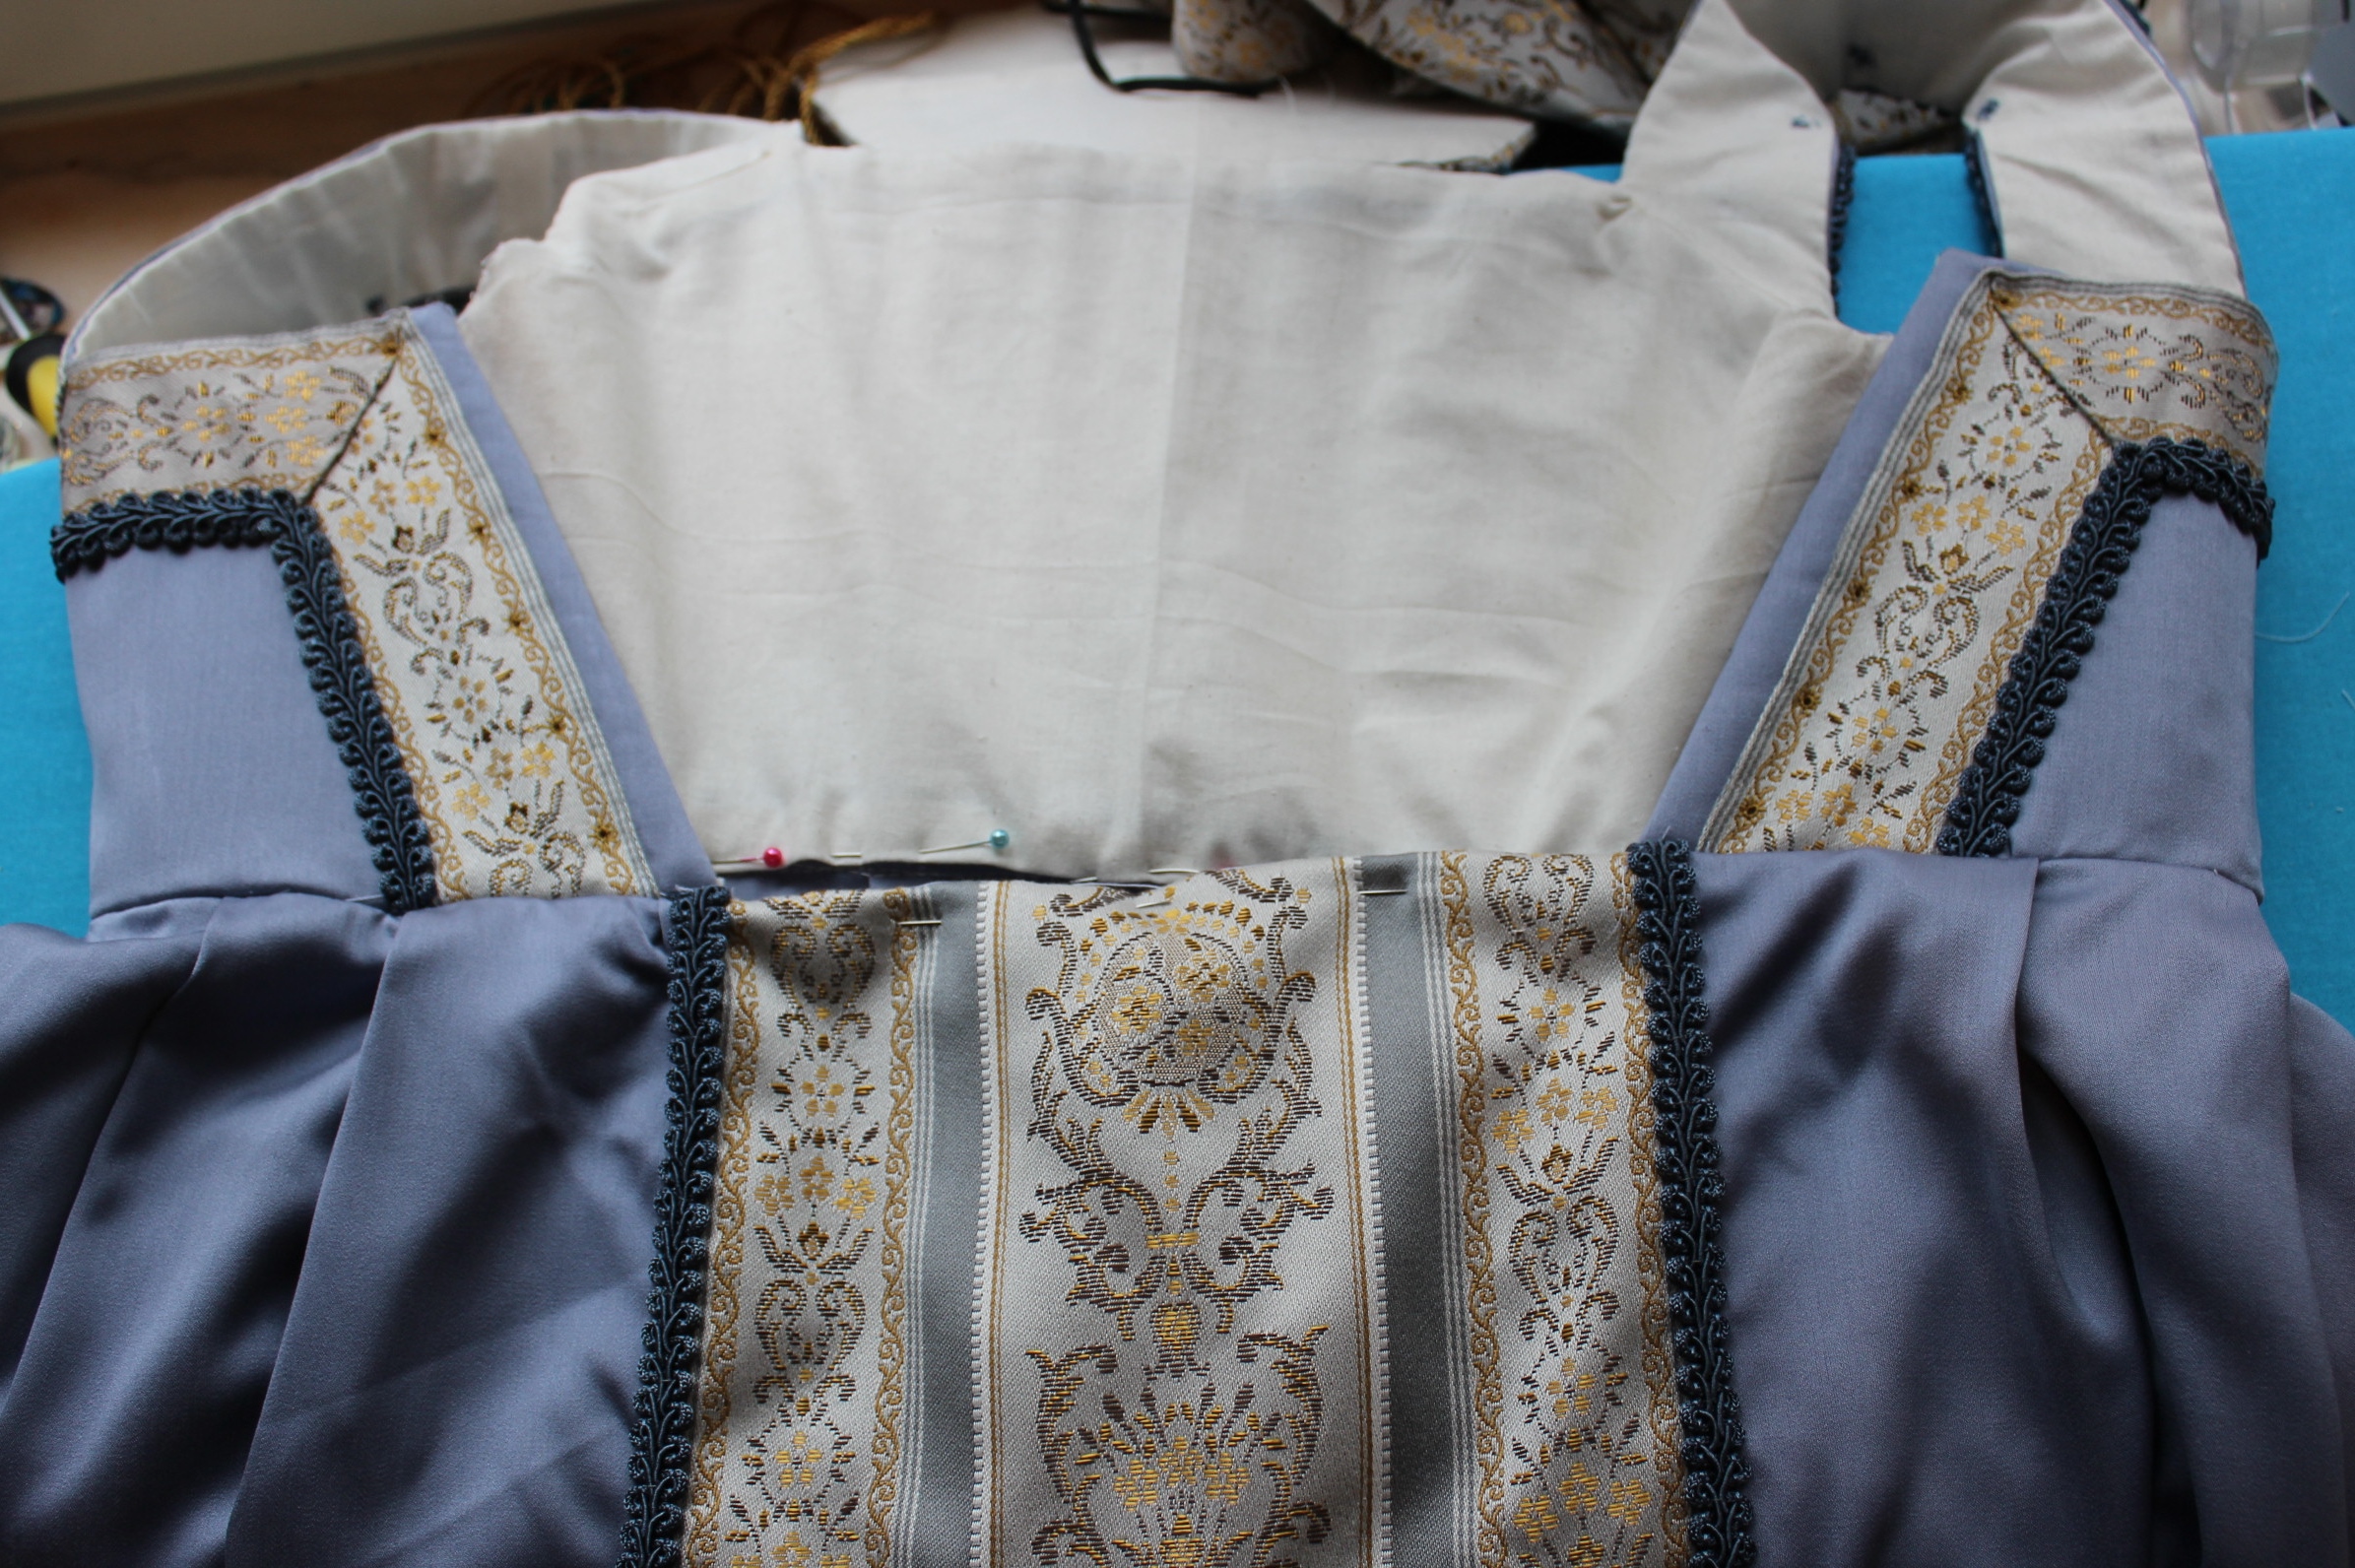
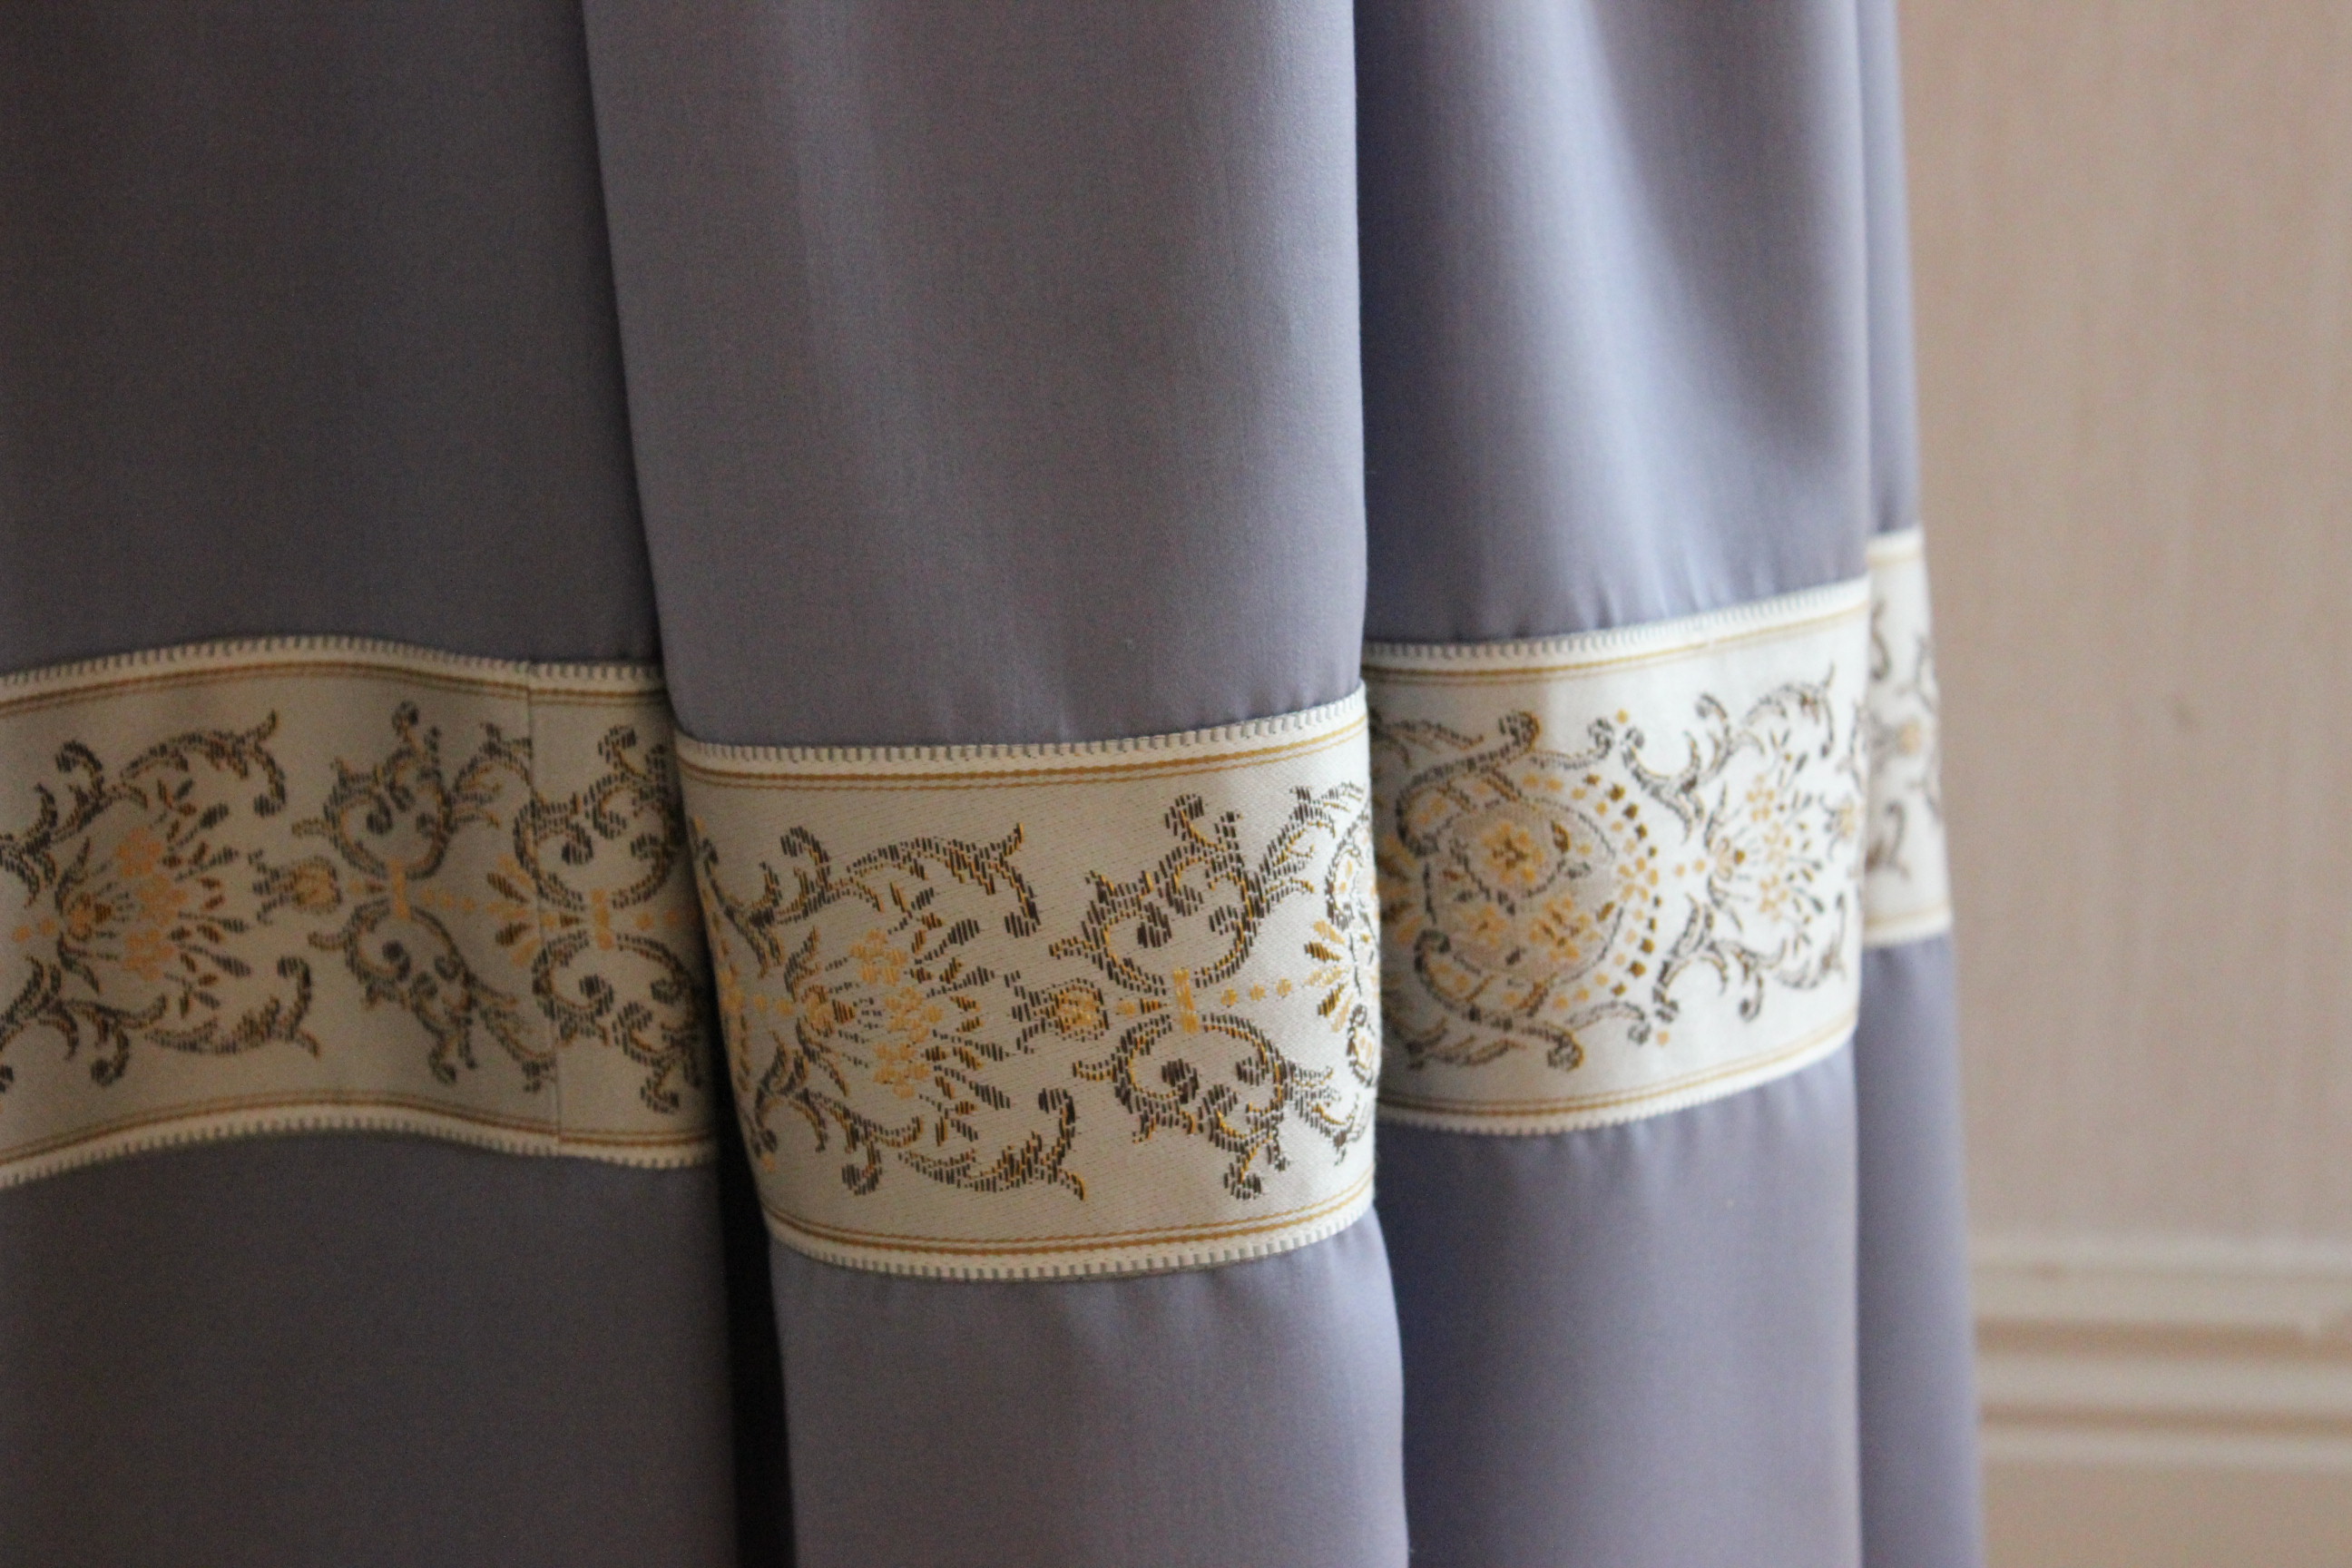
Then I added the lining to the bodice, fixed the front clouser, finished the edges of all the little laces (sooo many laces and lacing holes) and hemmed the skirt.
And that was that 🙂
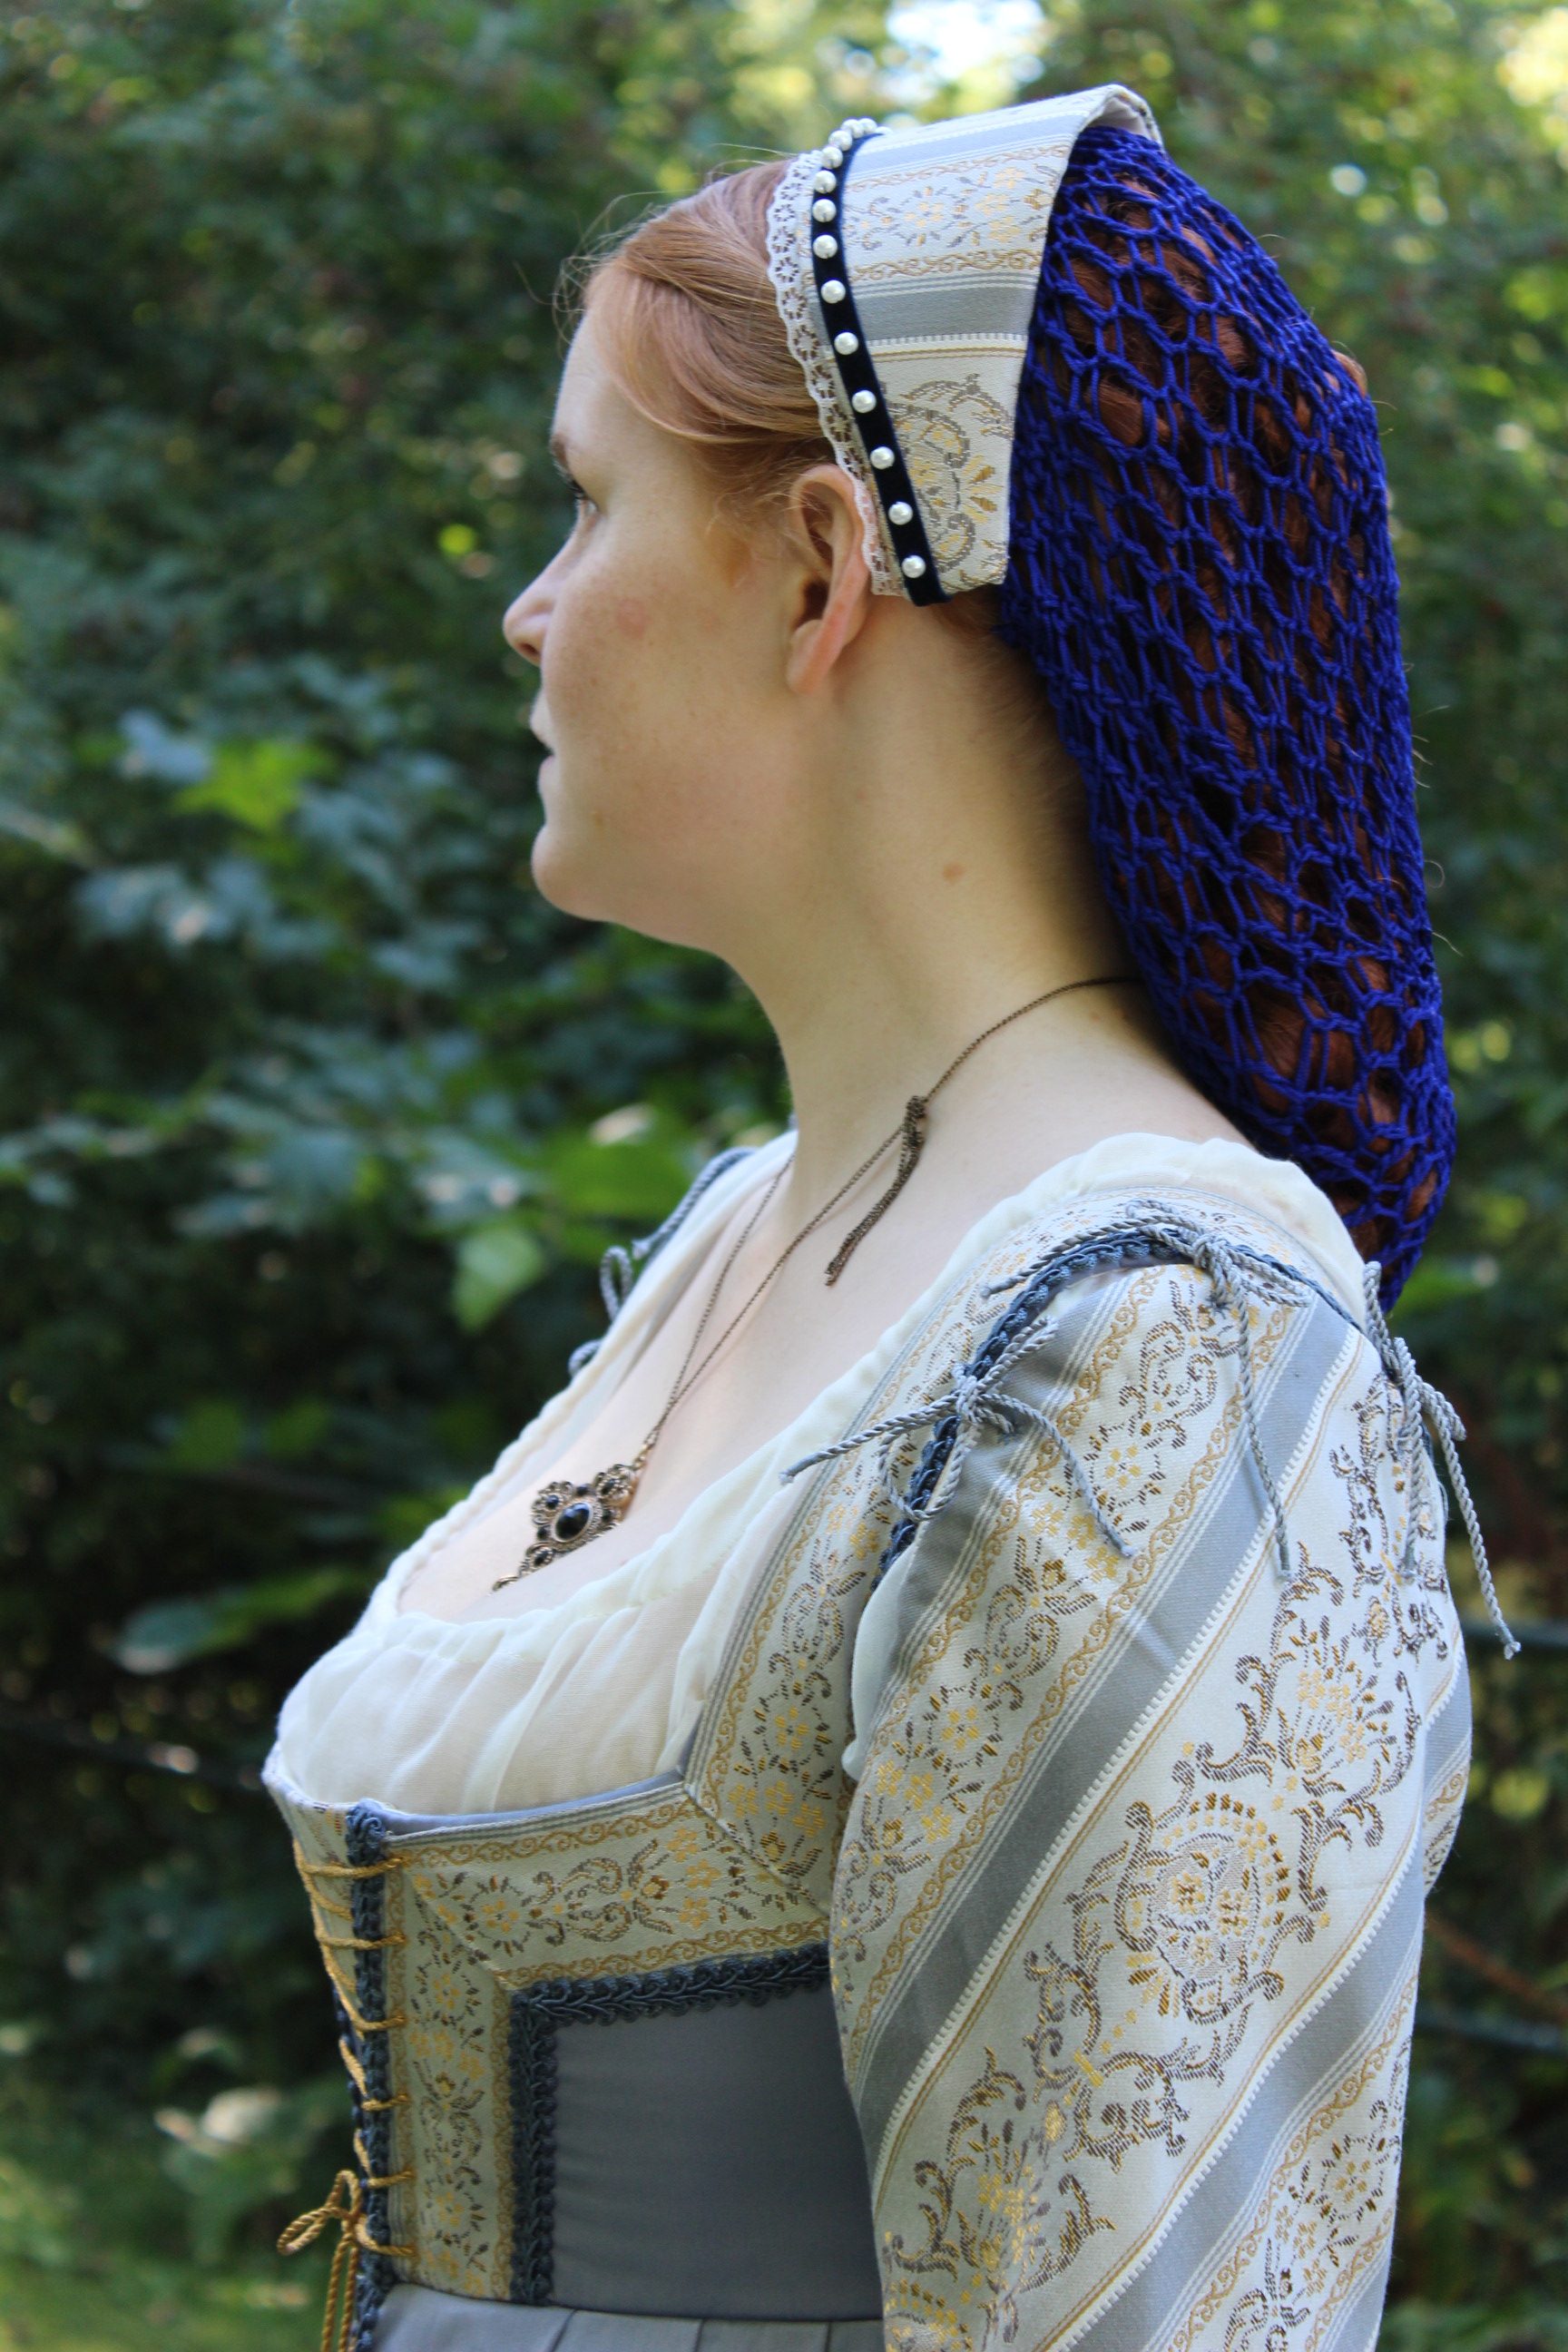
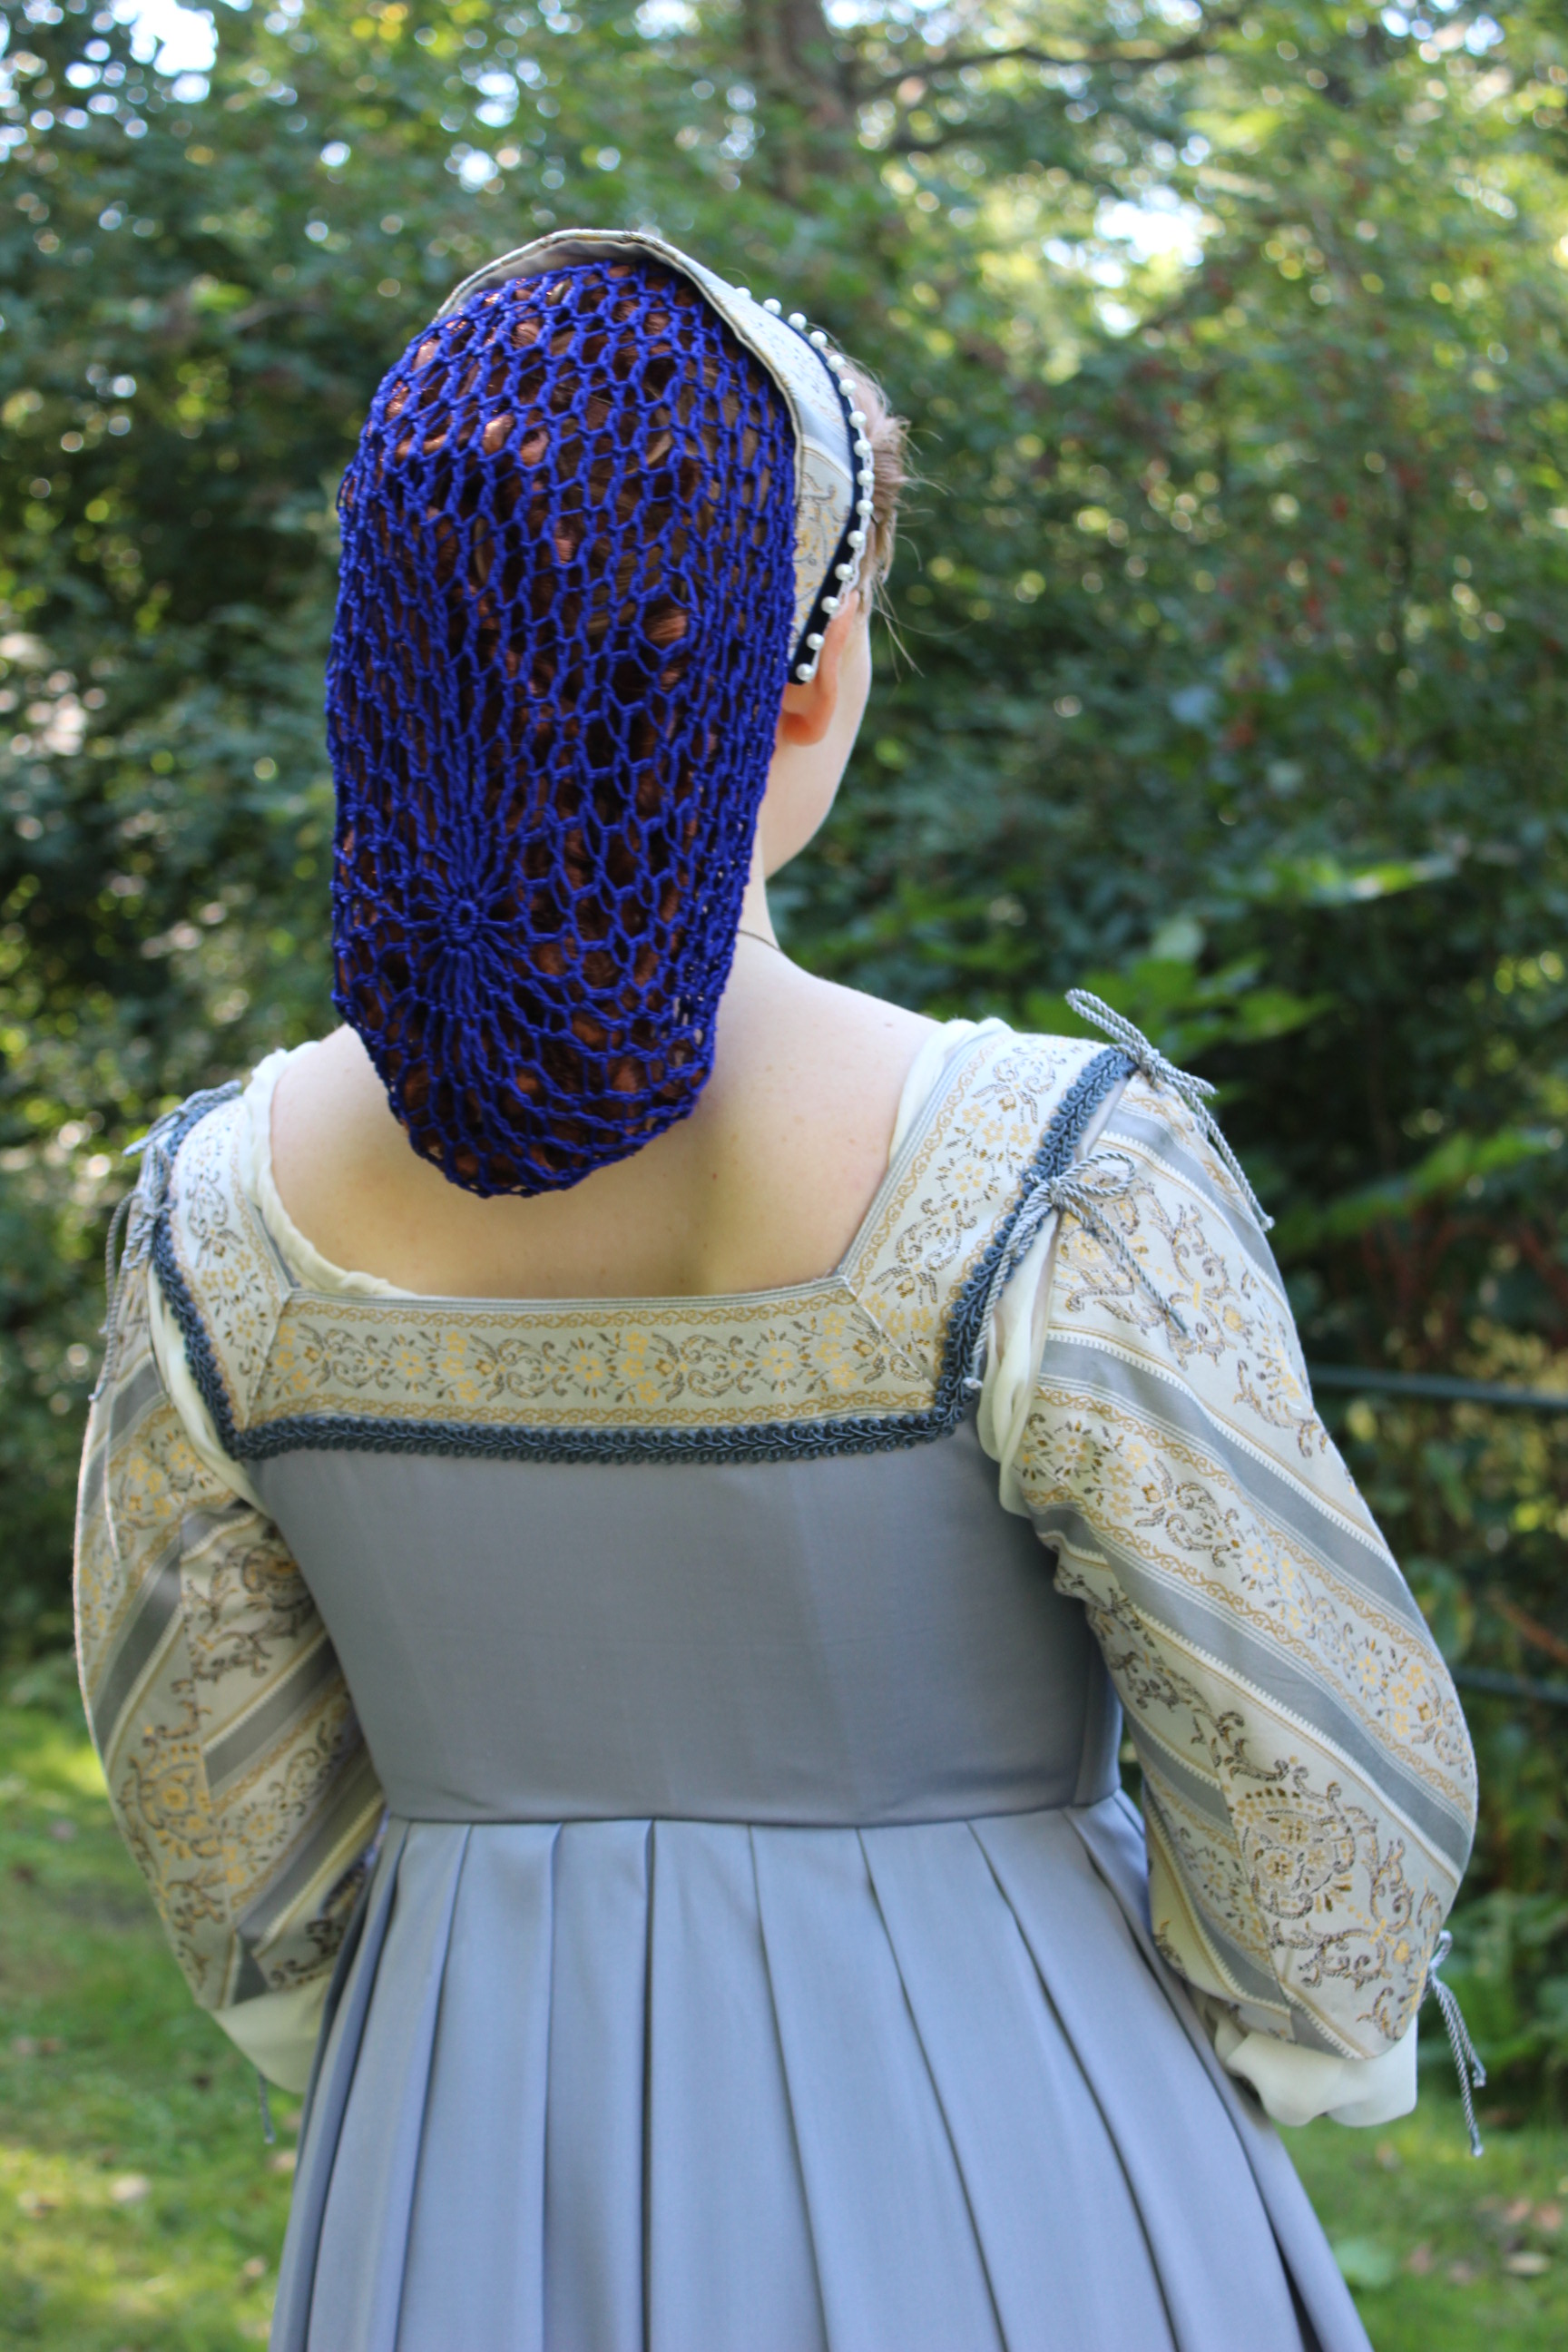
The finished Dress


Just the Facts:
Challenge: nr 1/2016 Procrastination – I’ve been wanted to make this dress for long time, but only now (summer 2016) got around to make it.
What: A 1490s Italian Dress inspired by the TV-series “The Borgias”
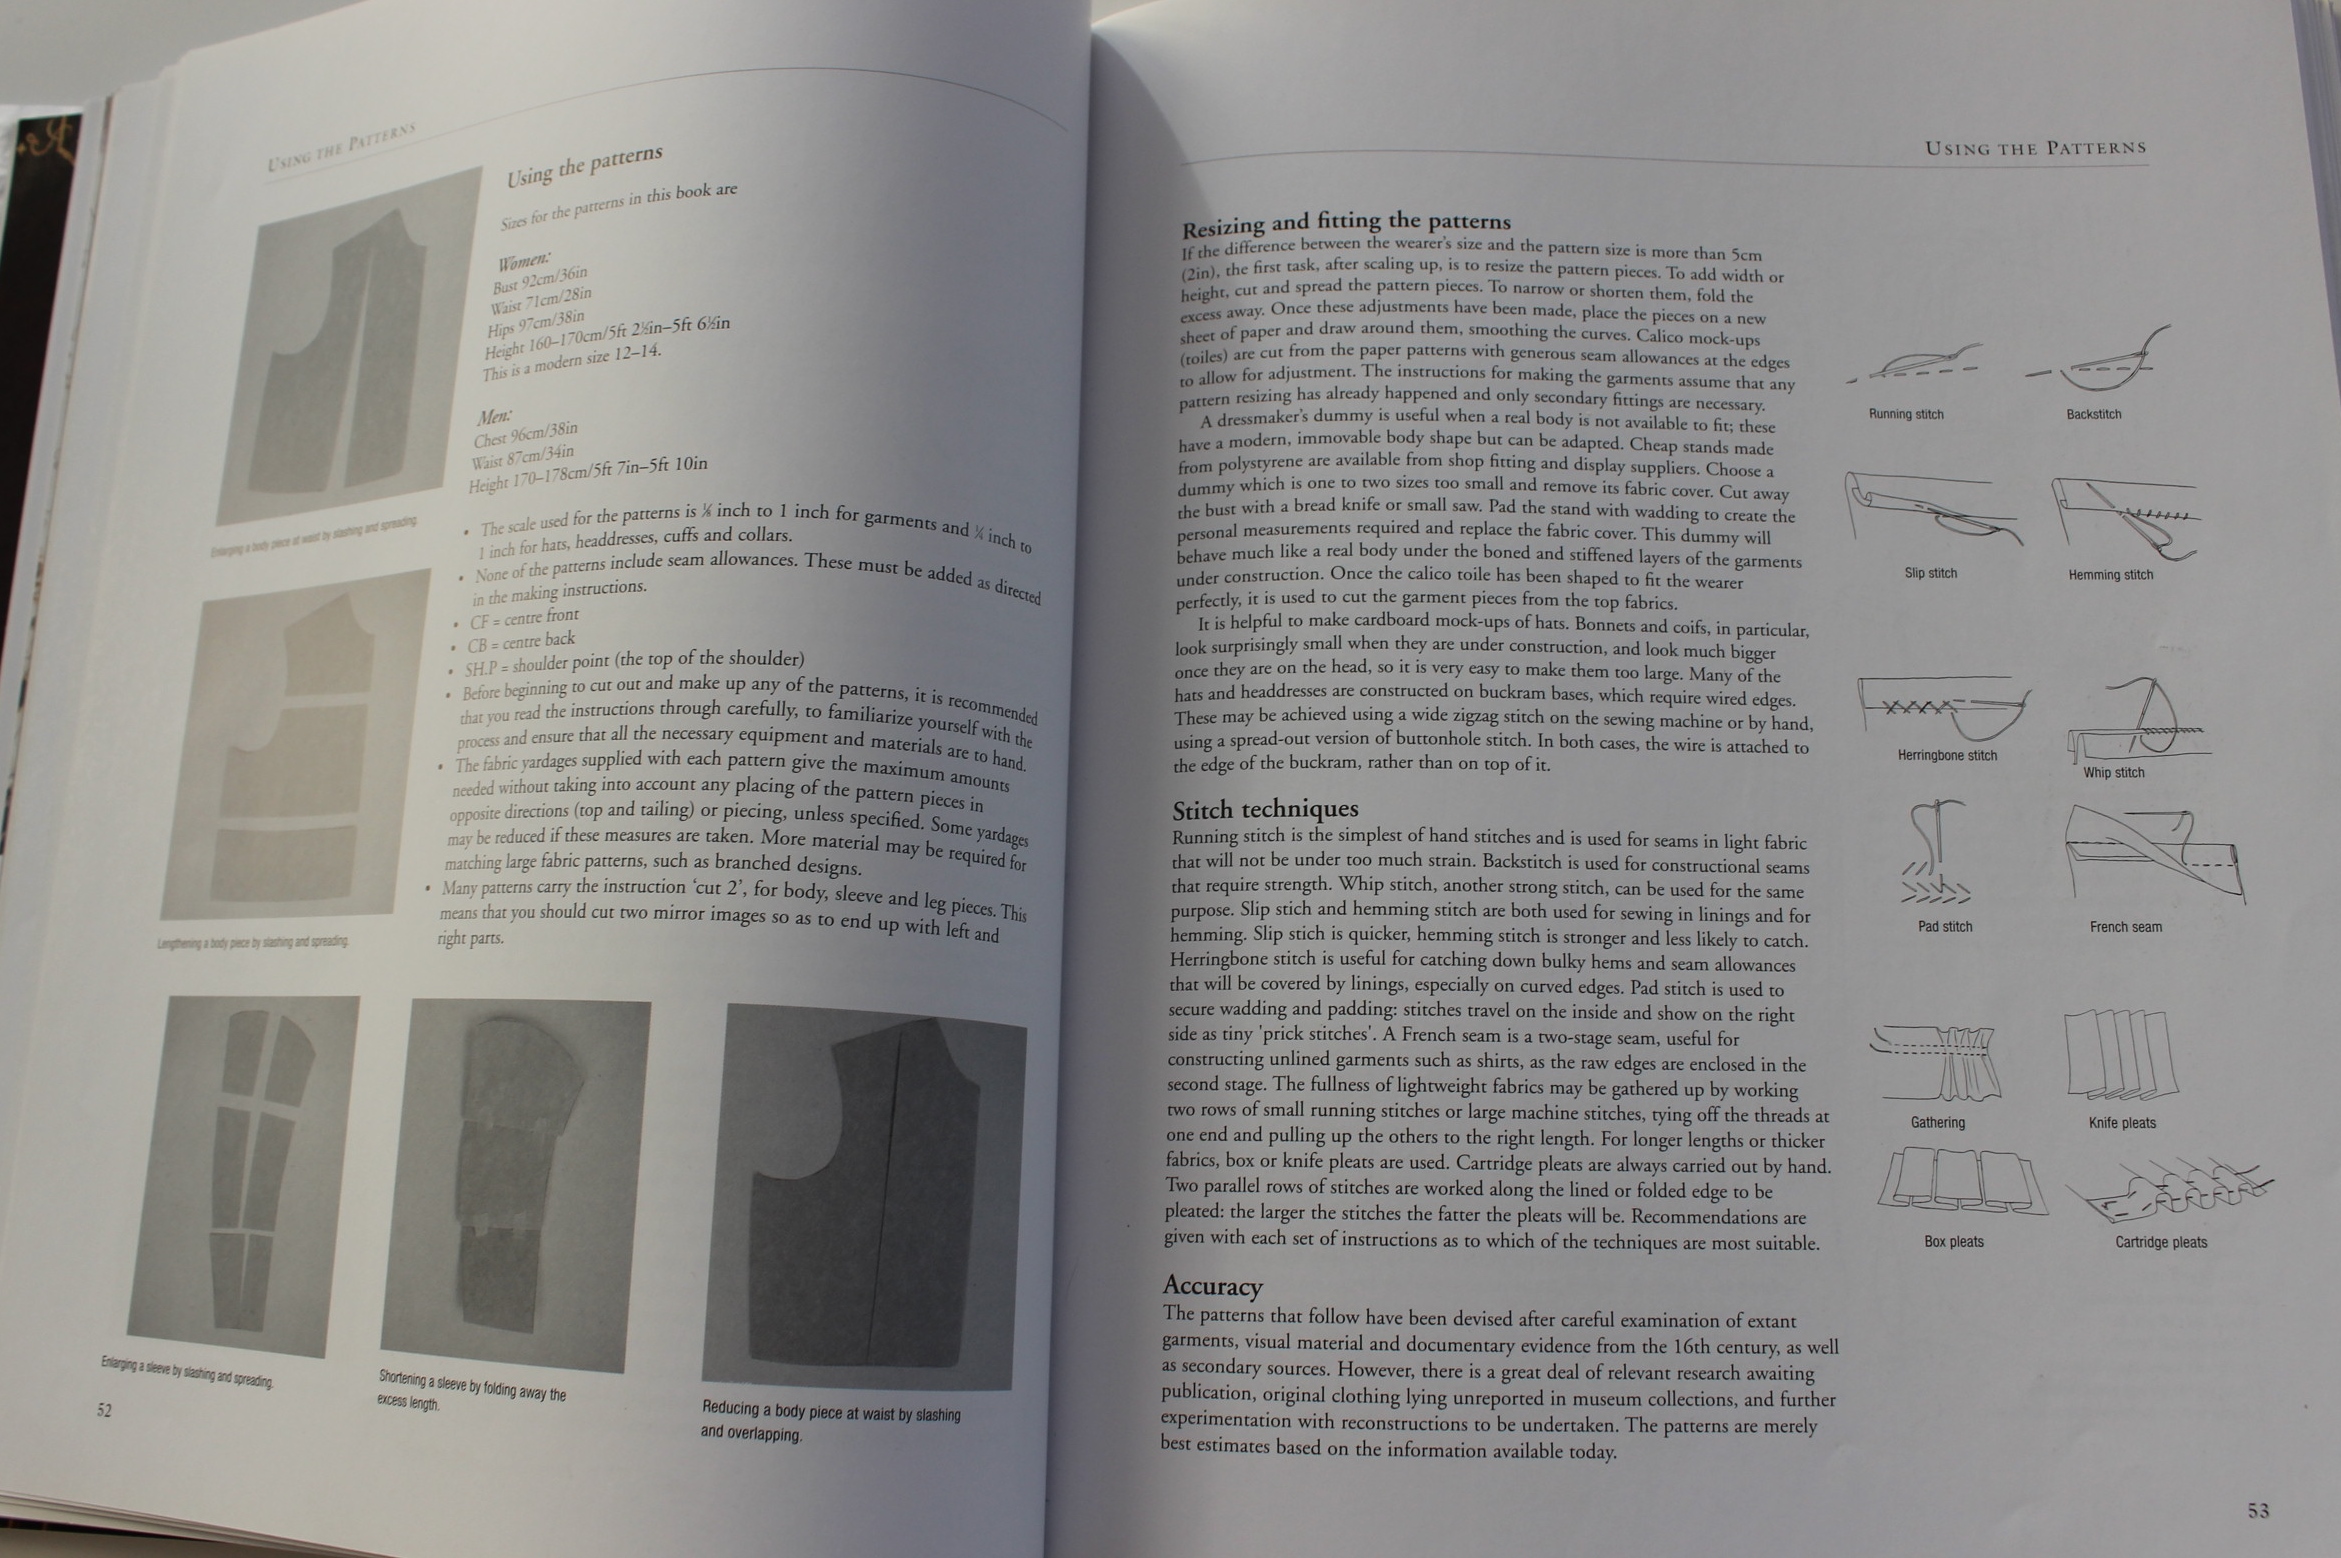
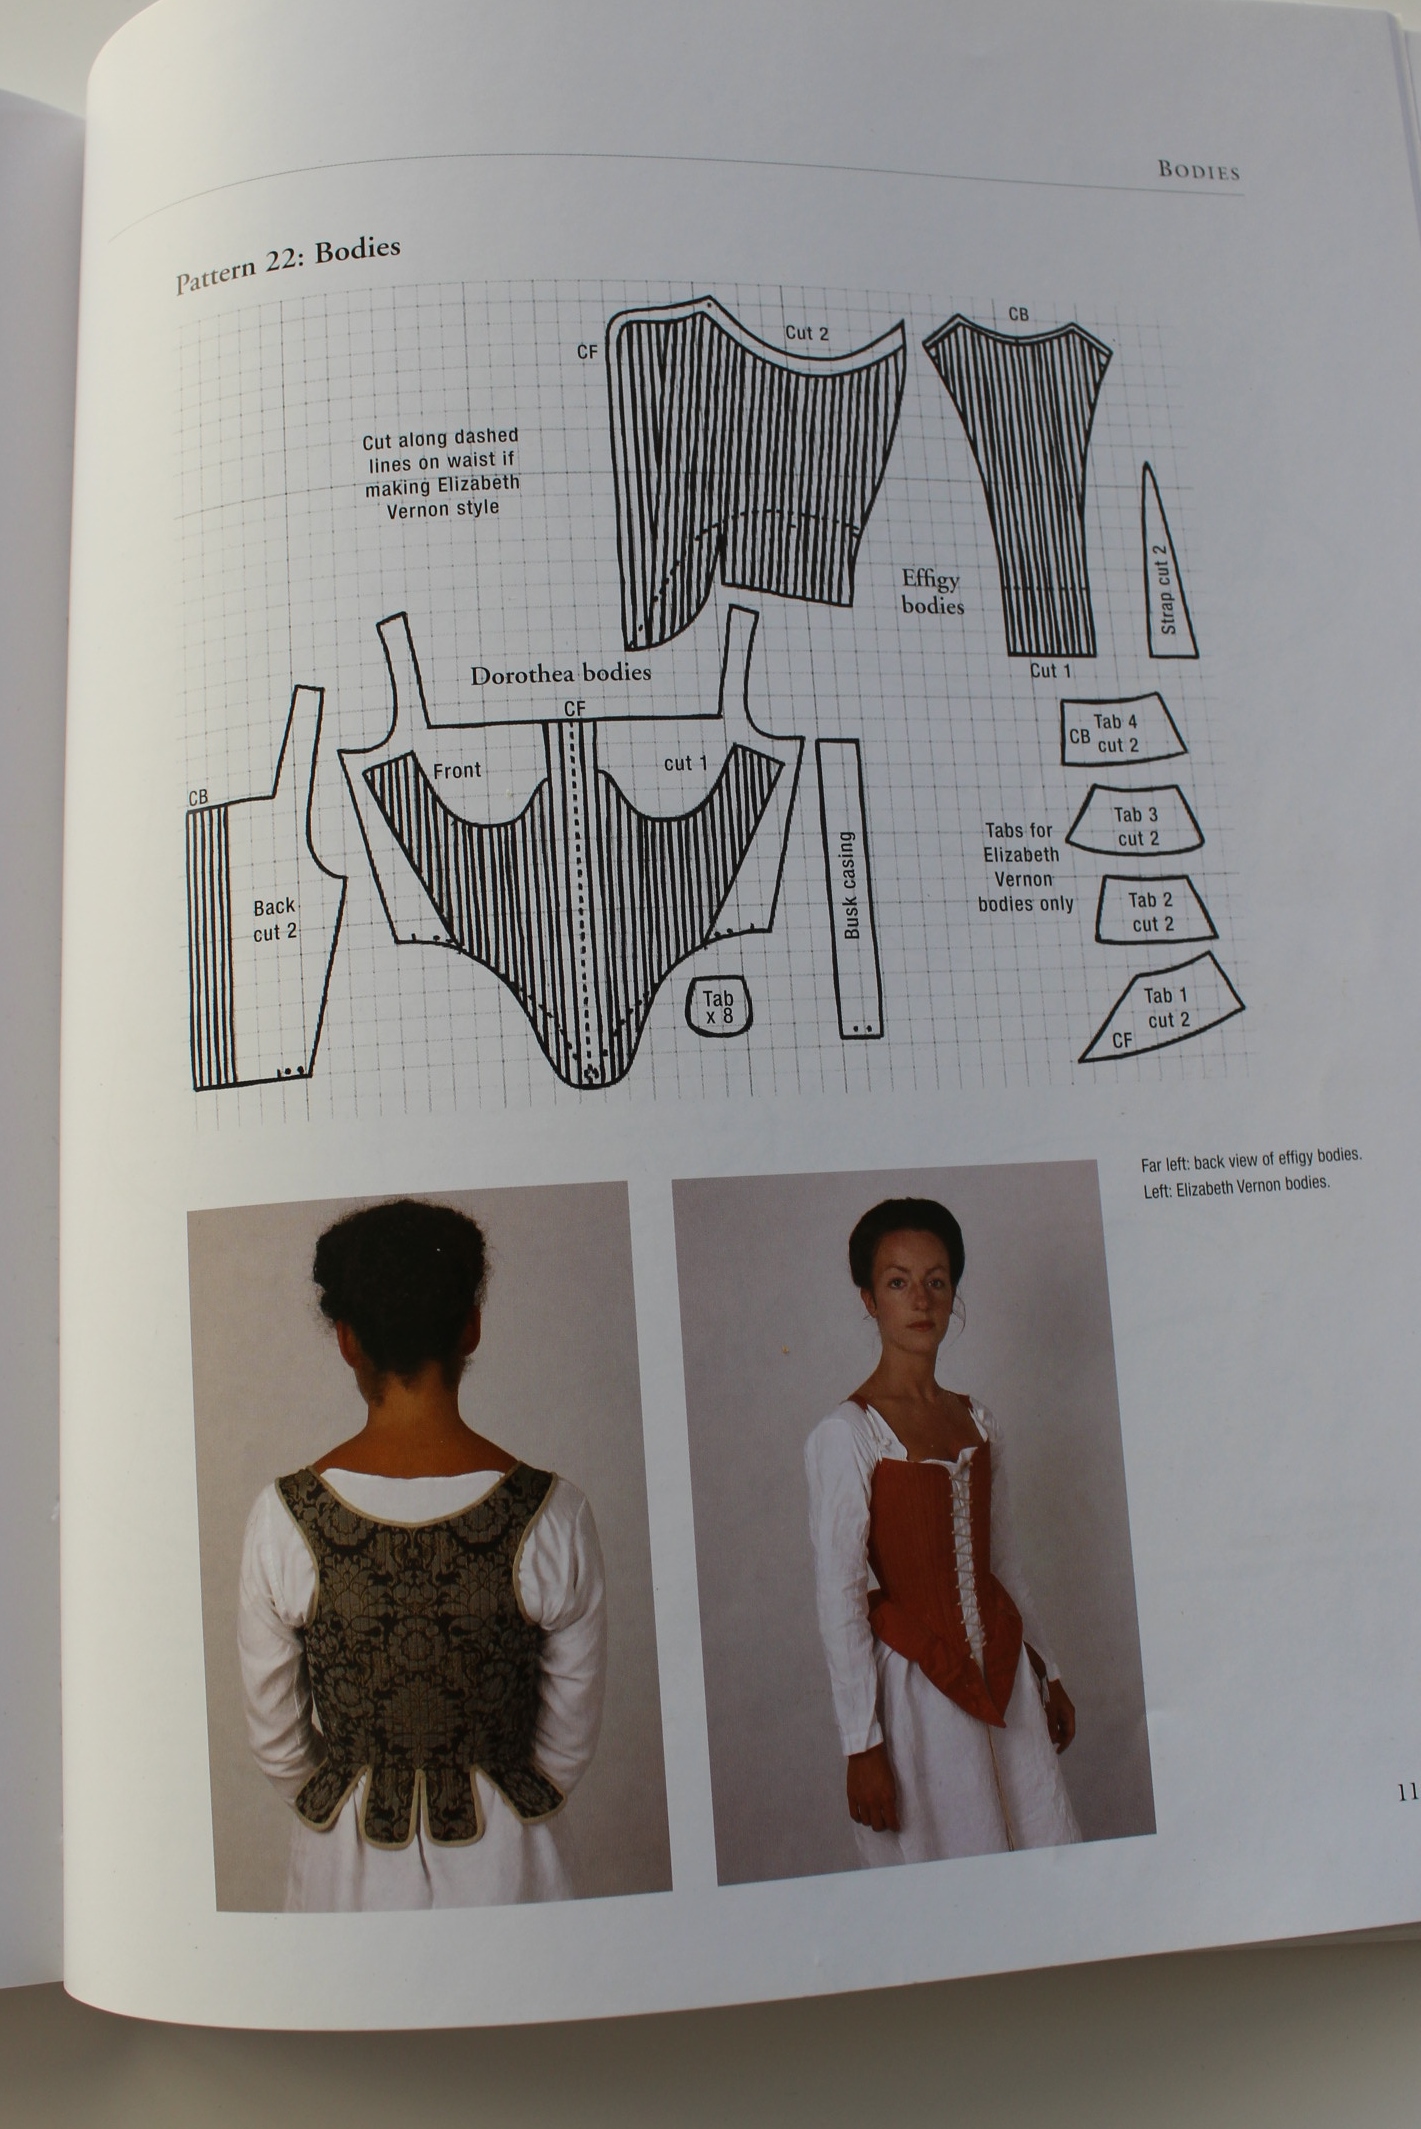
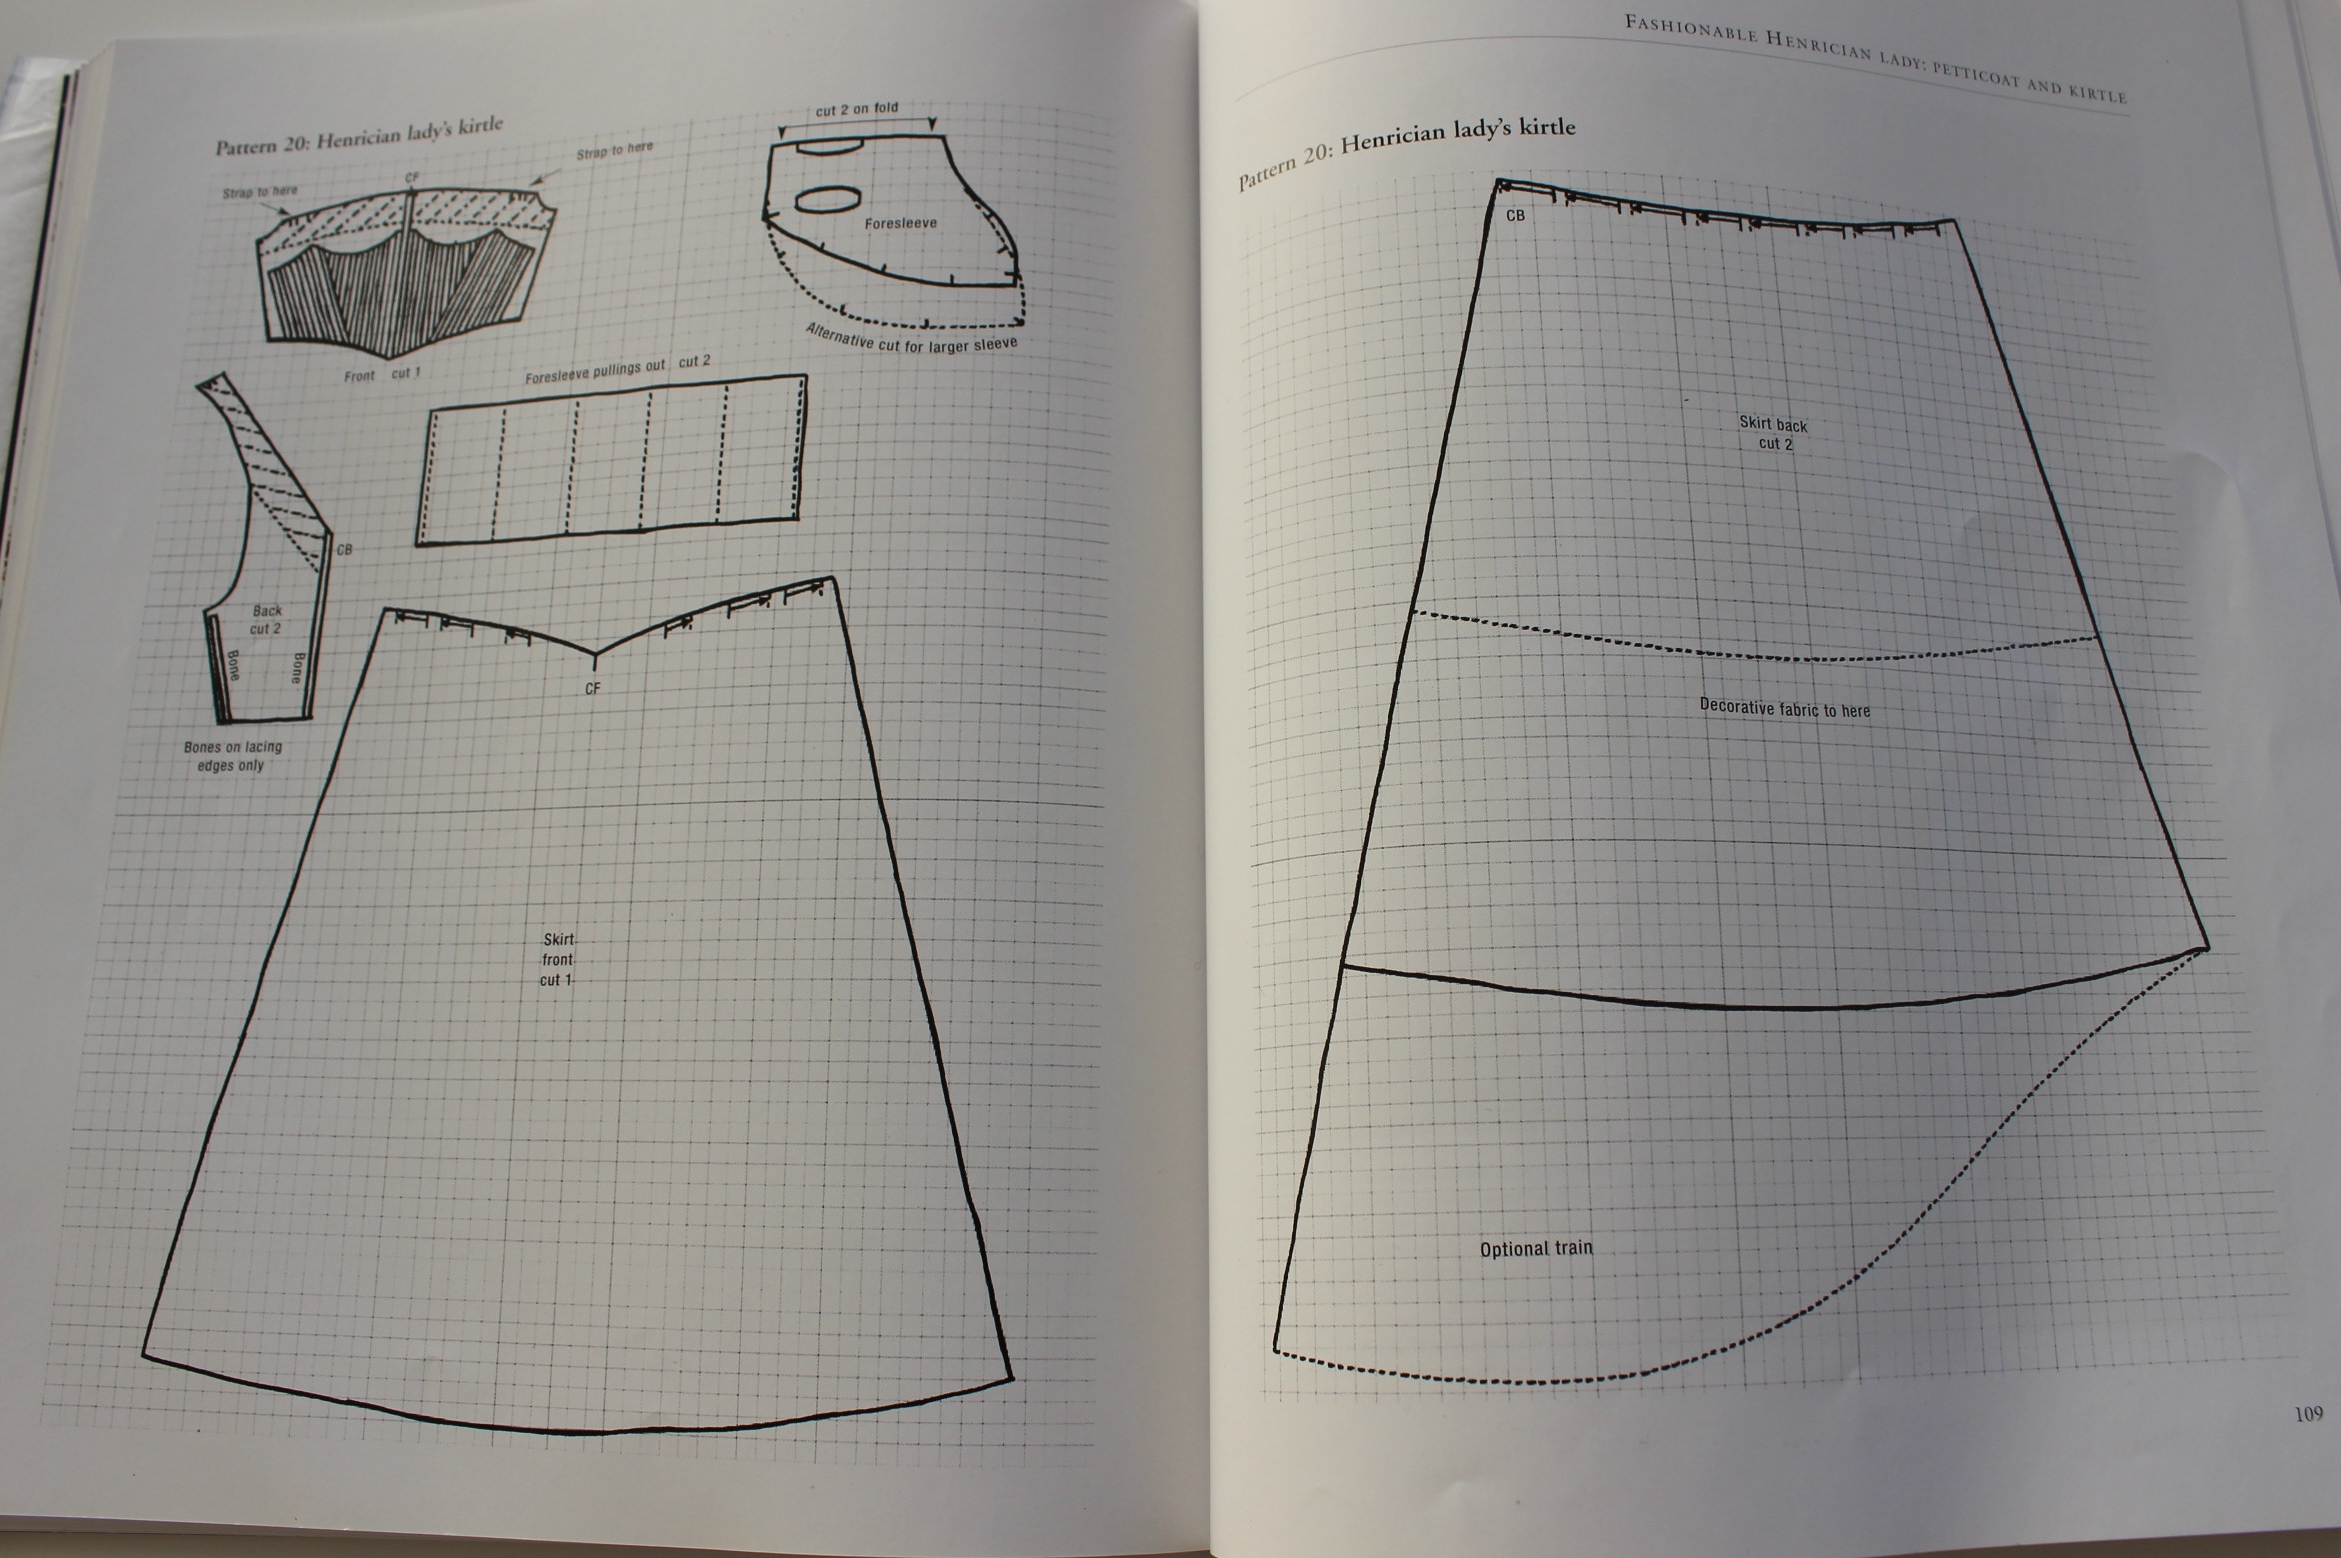
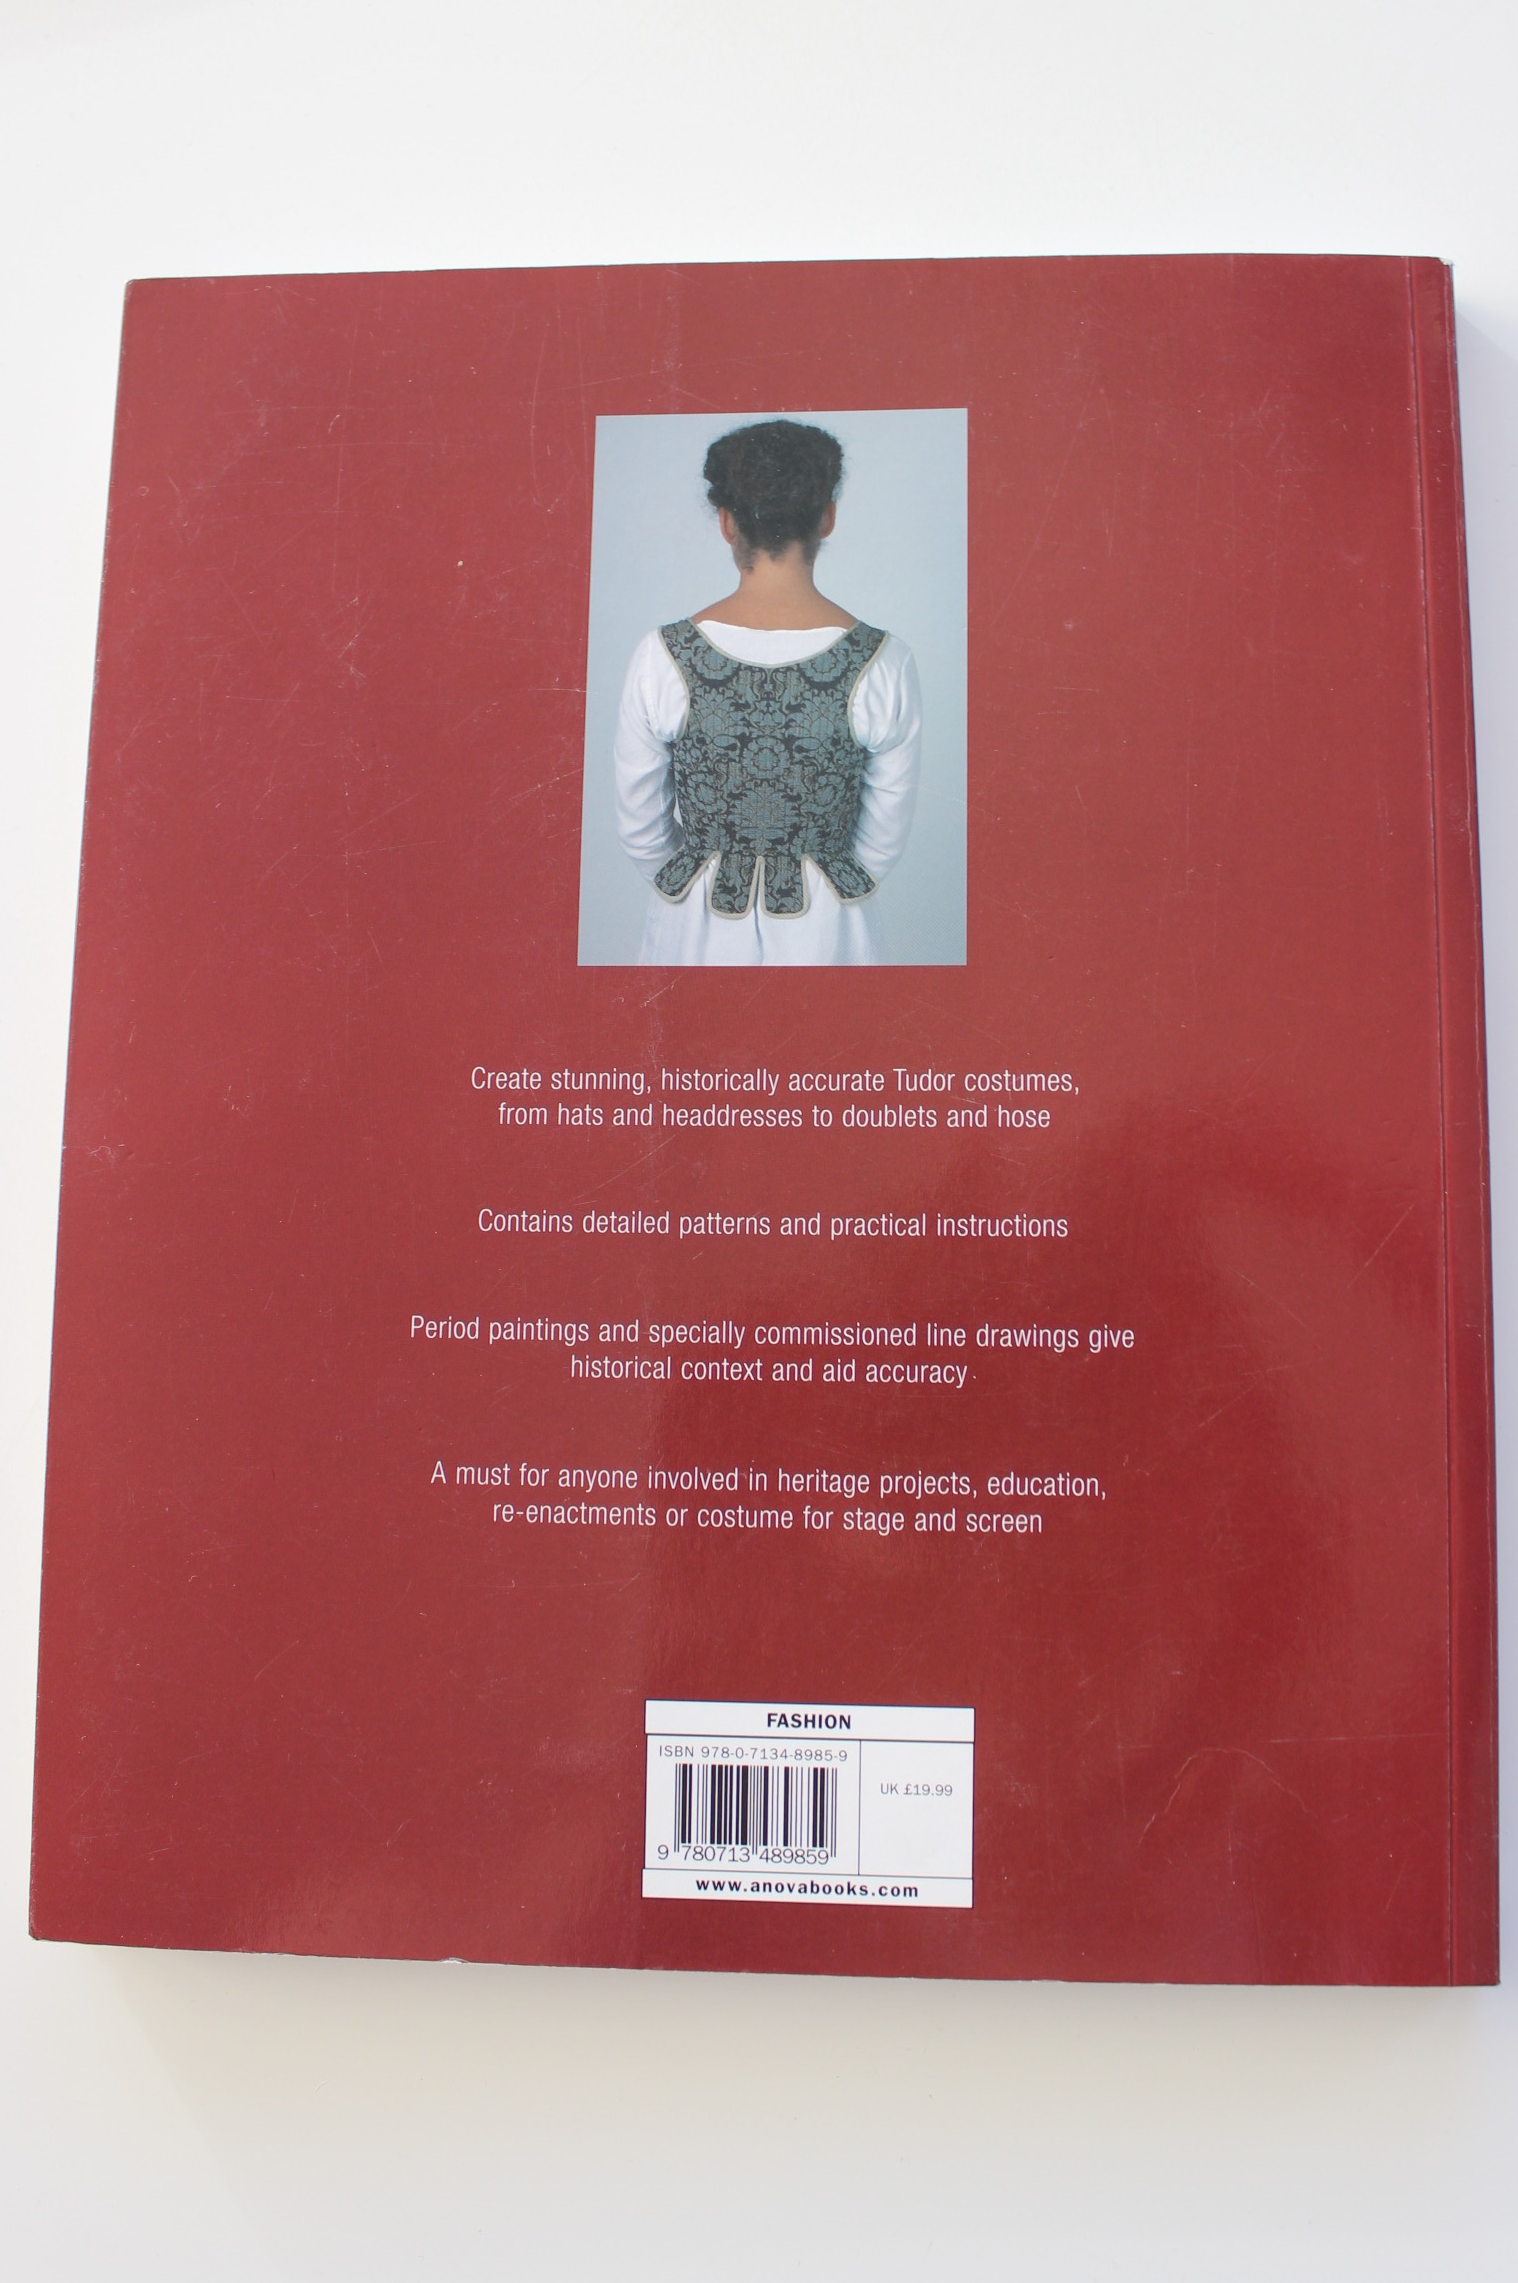
Pattern: I drafted my own, using “The tudor tailor” for reference on the bodice.
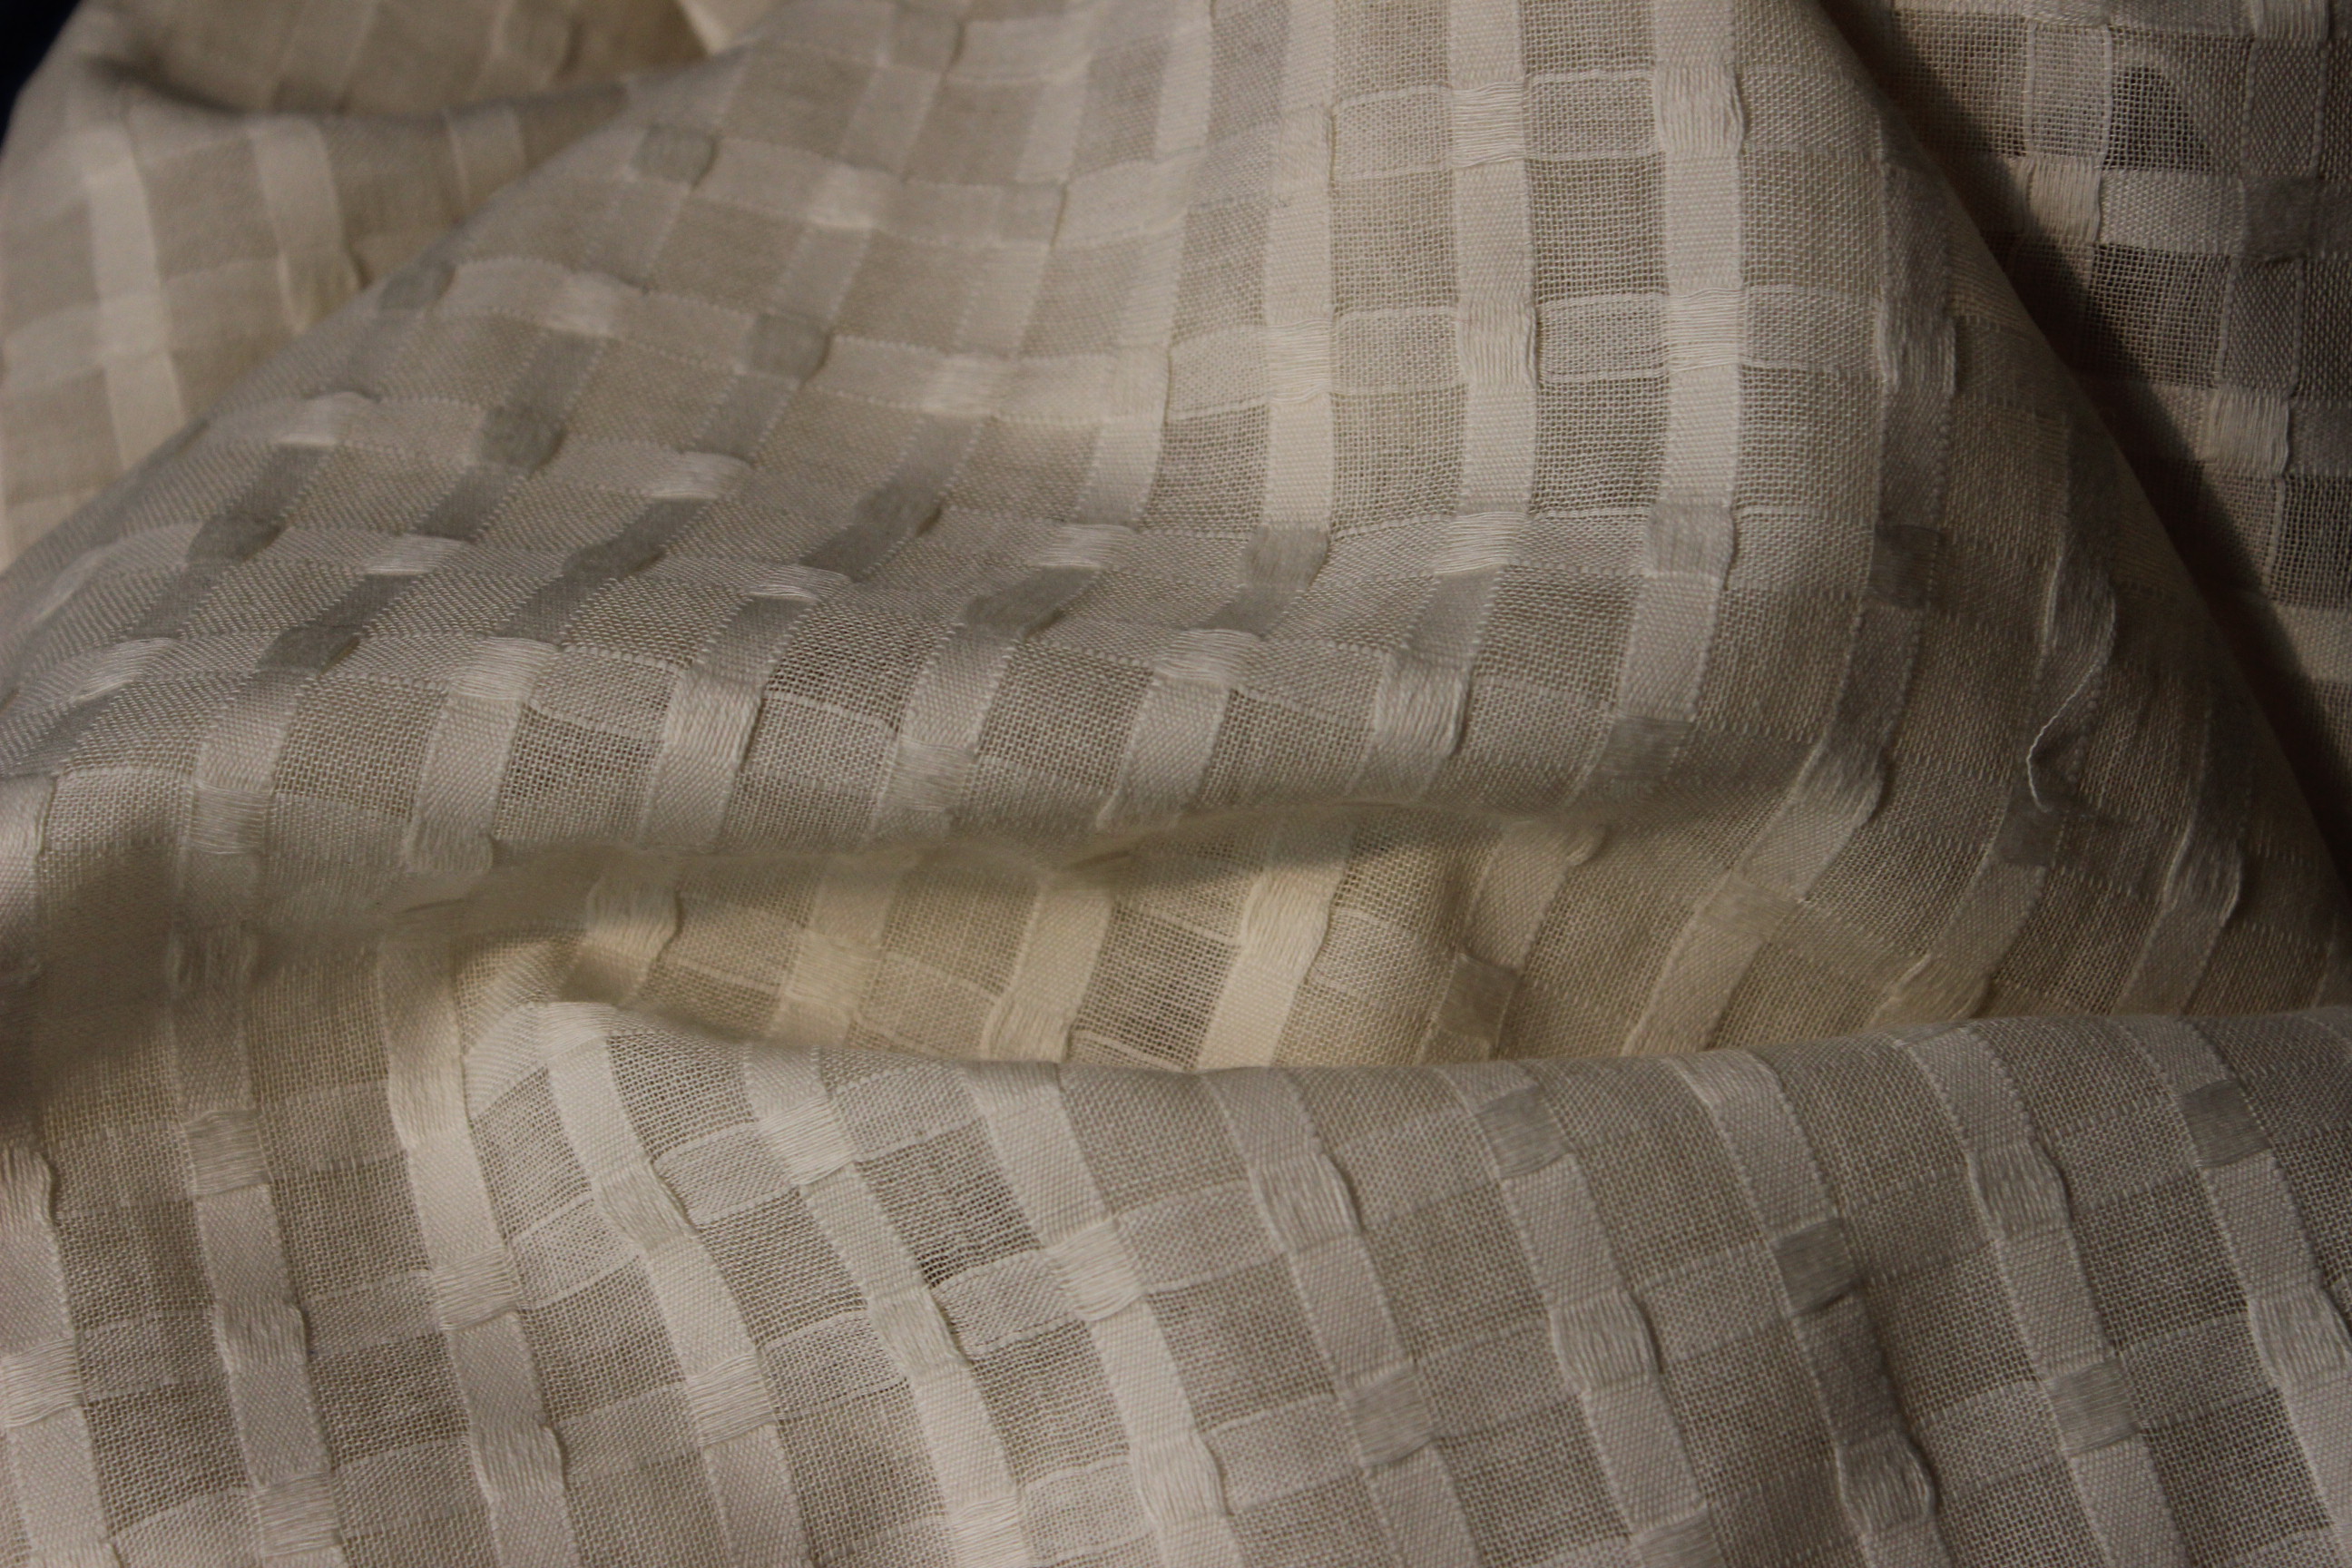
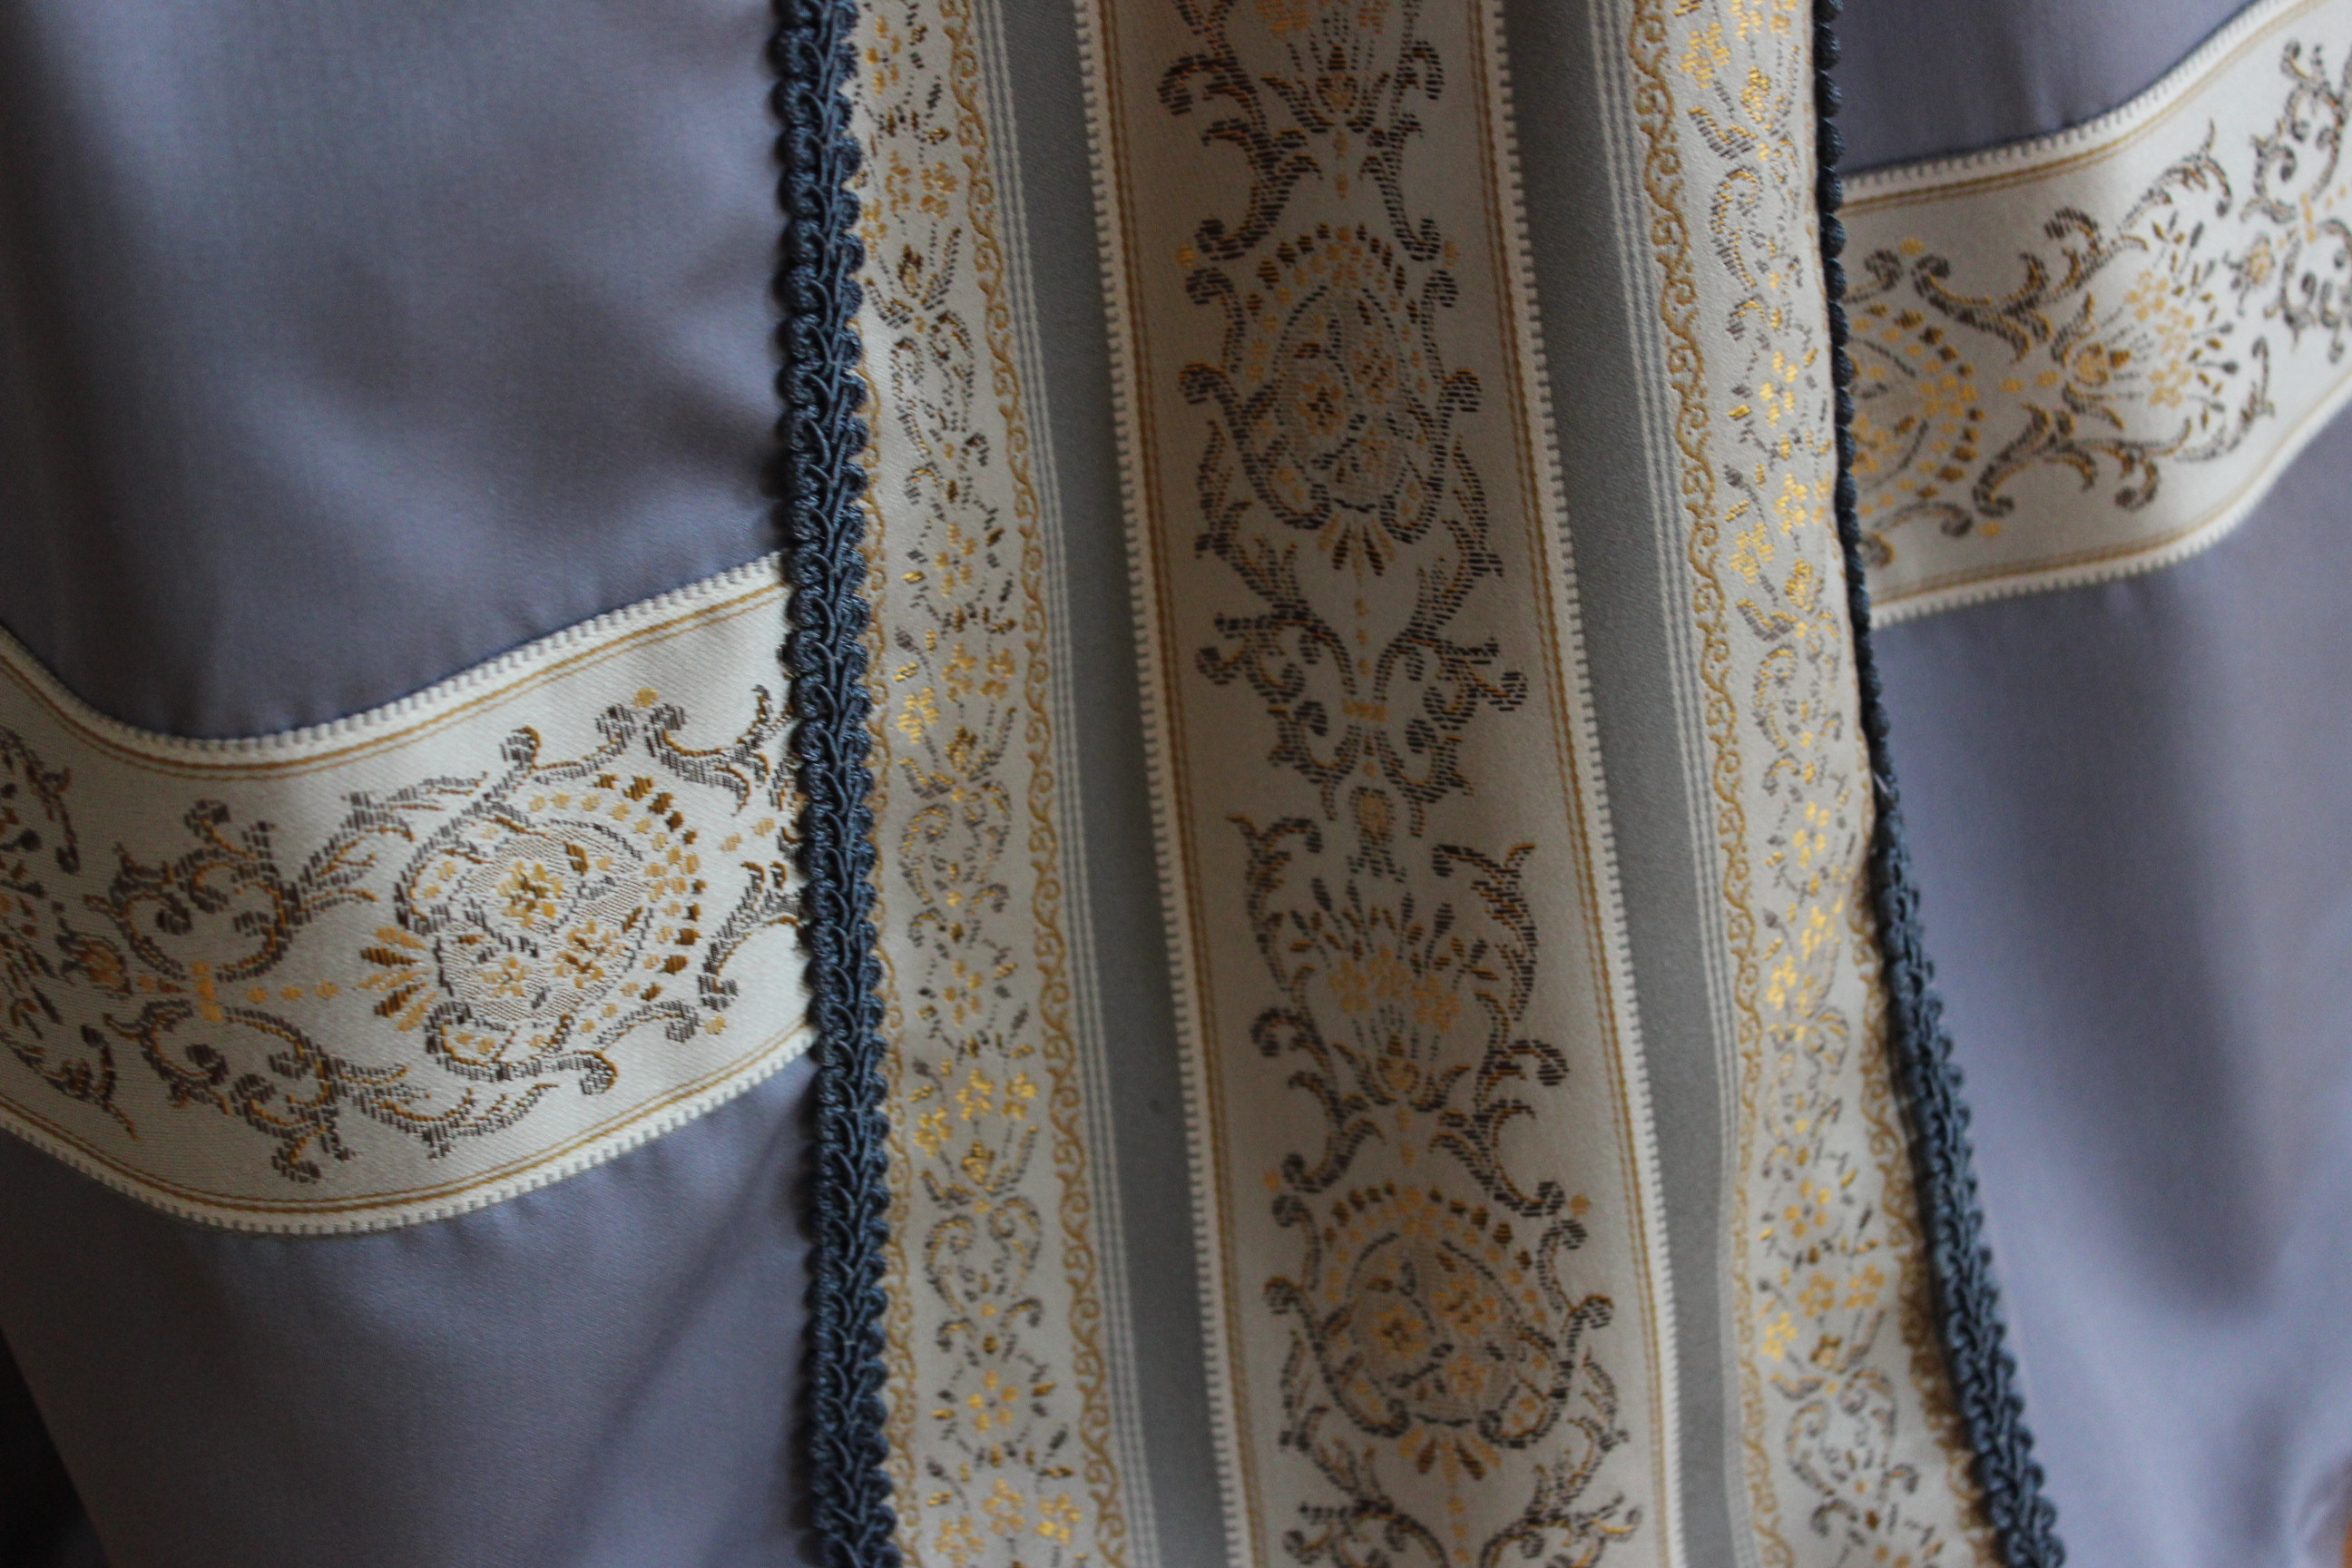
Fabric: 4 m light blue satin (1 m wide) 1,5 m striped brocade, 0,5 m white cotton for lining and interlining.
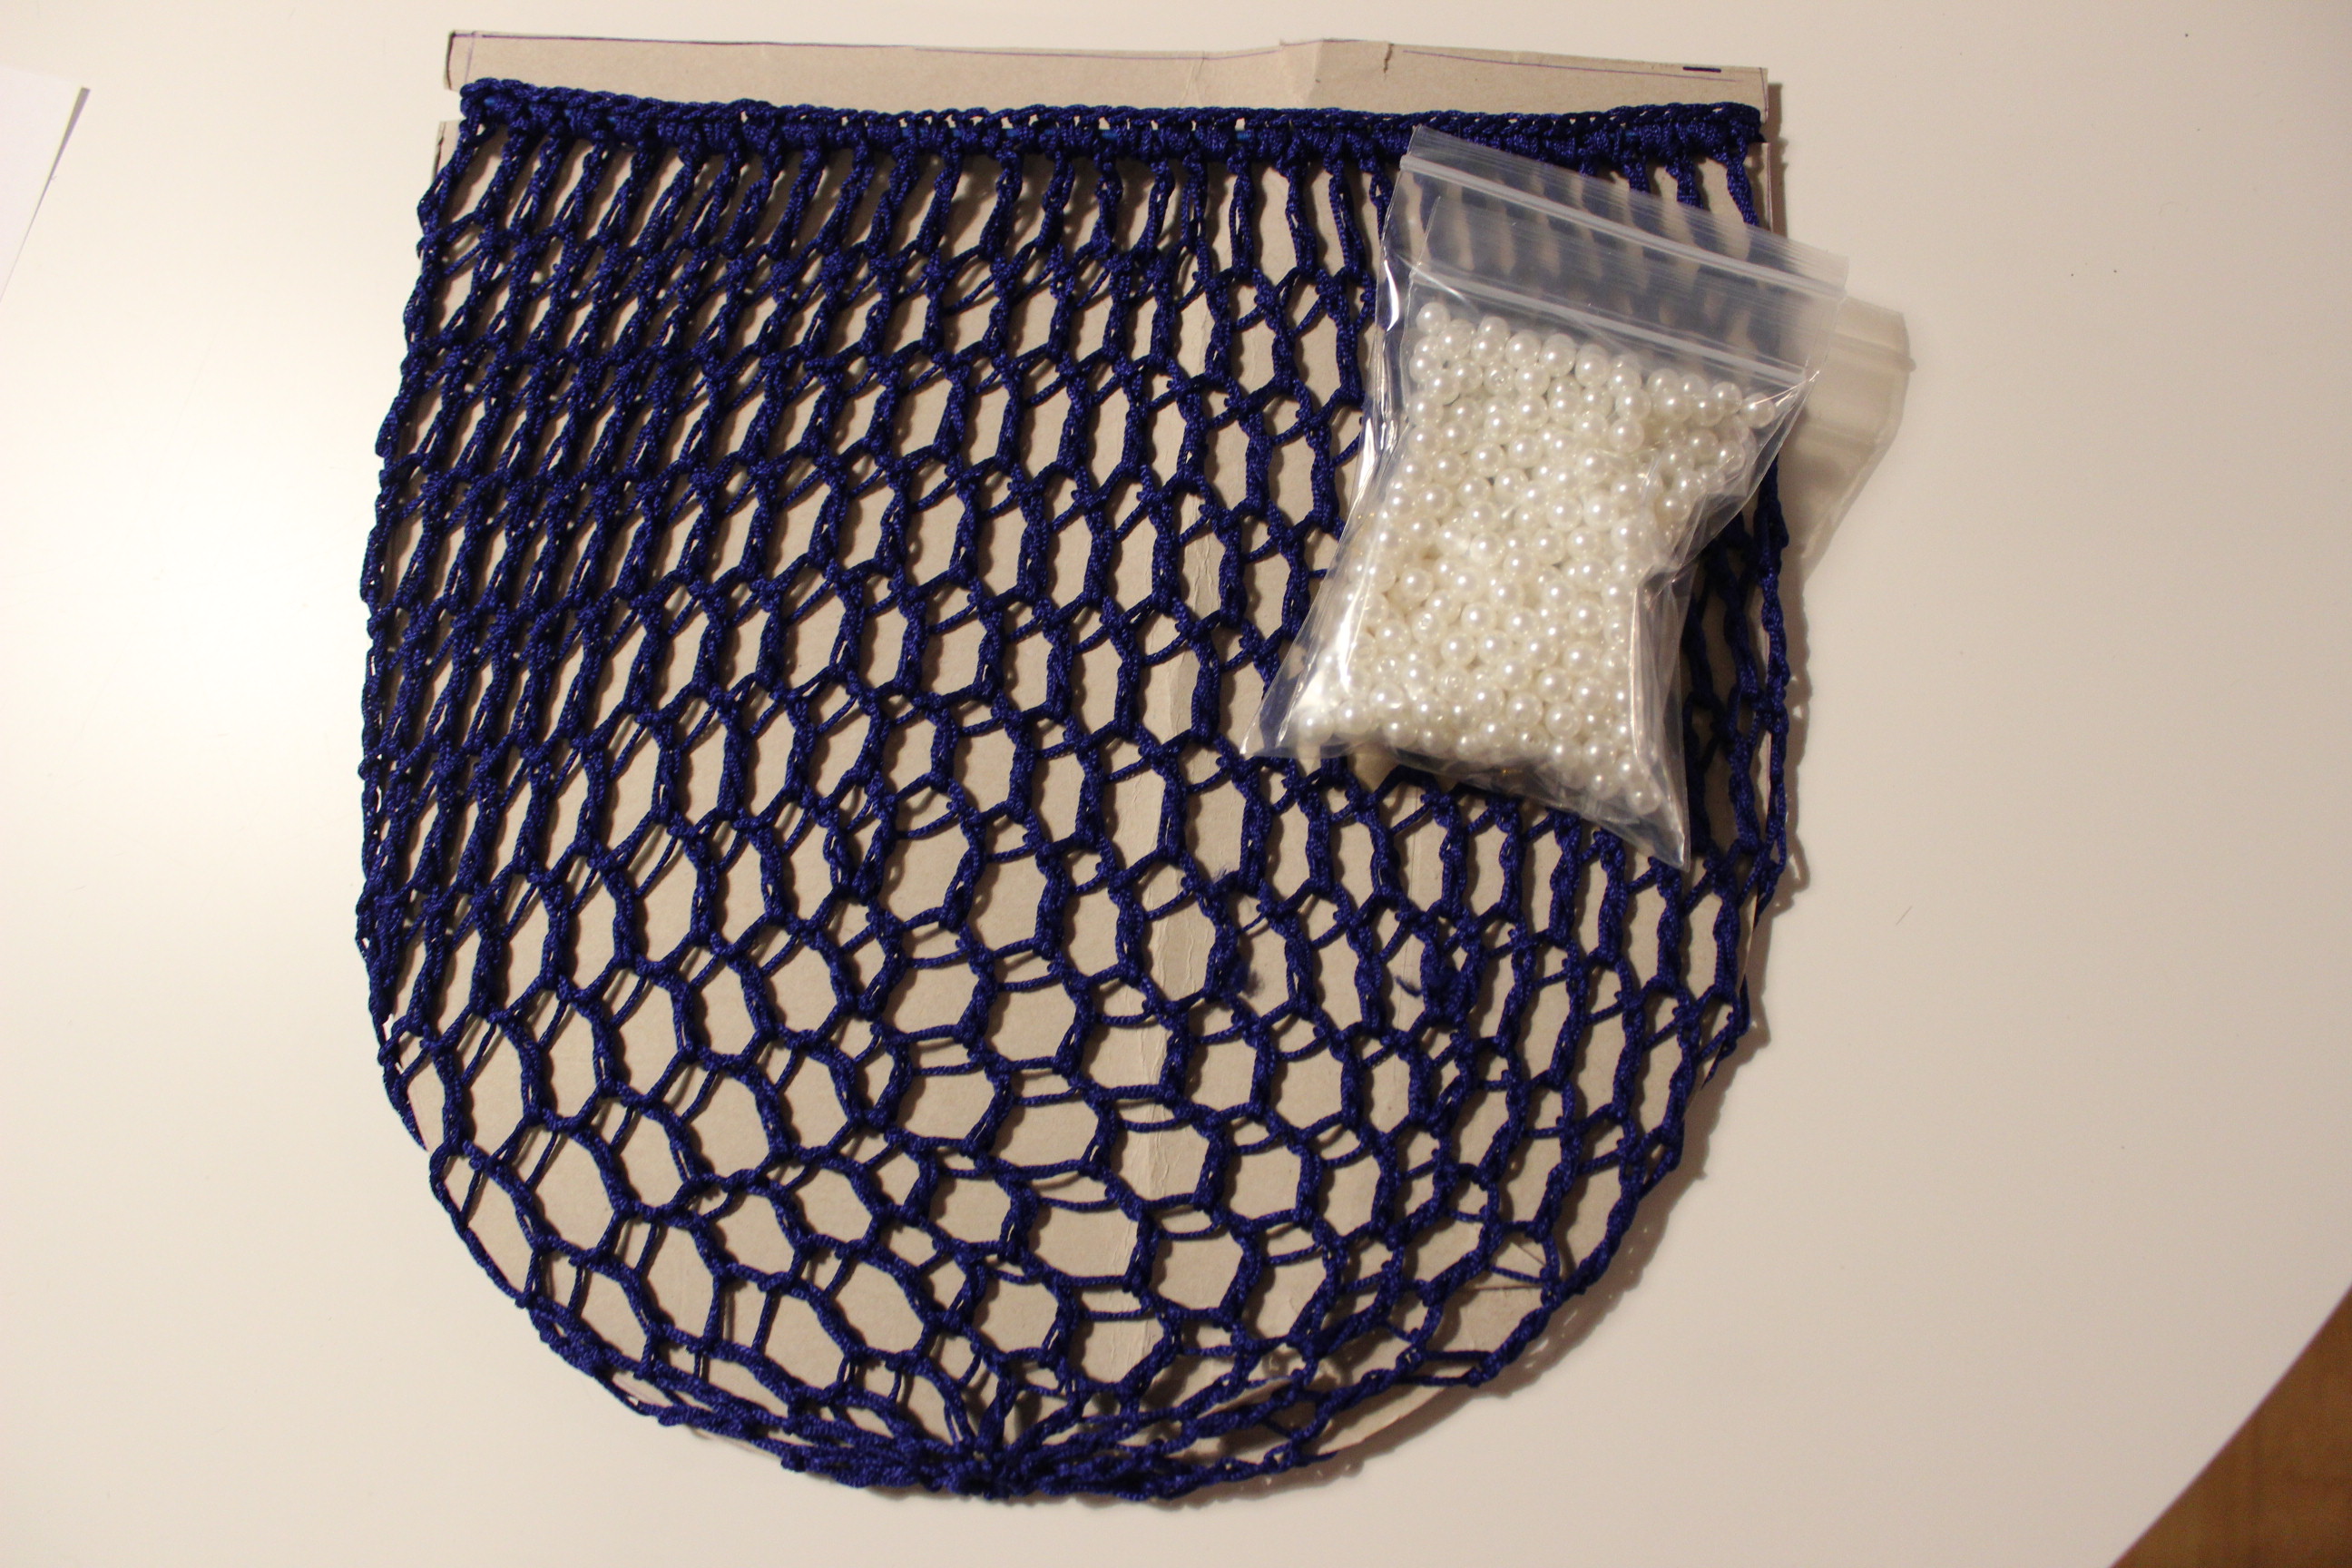
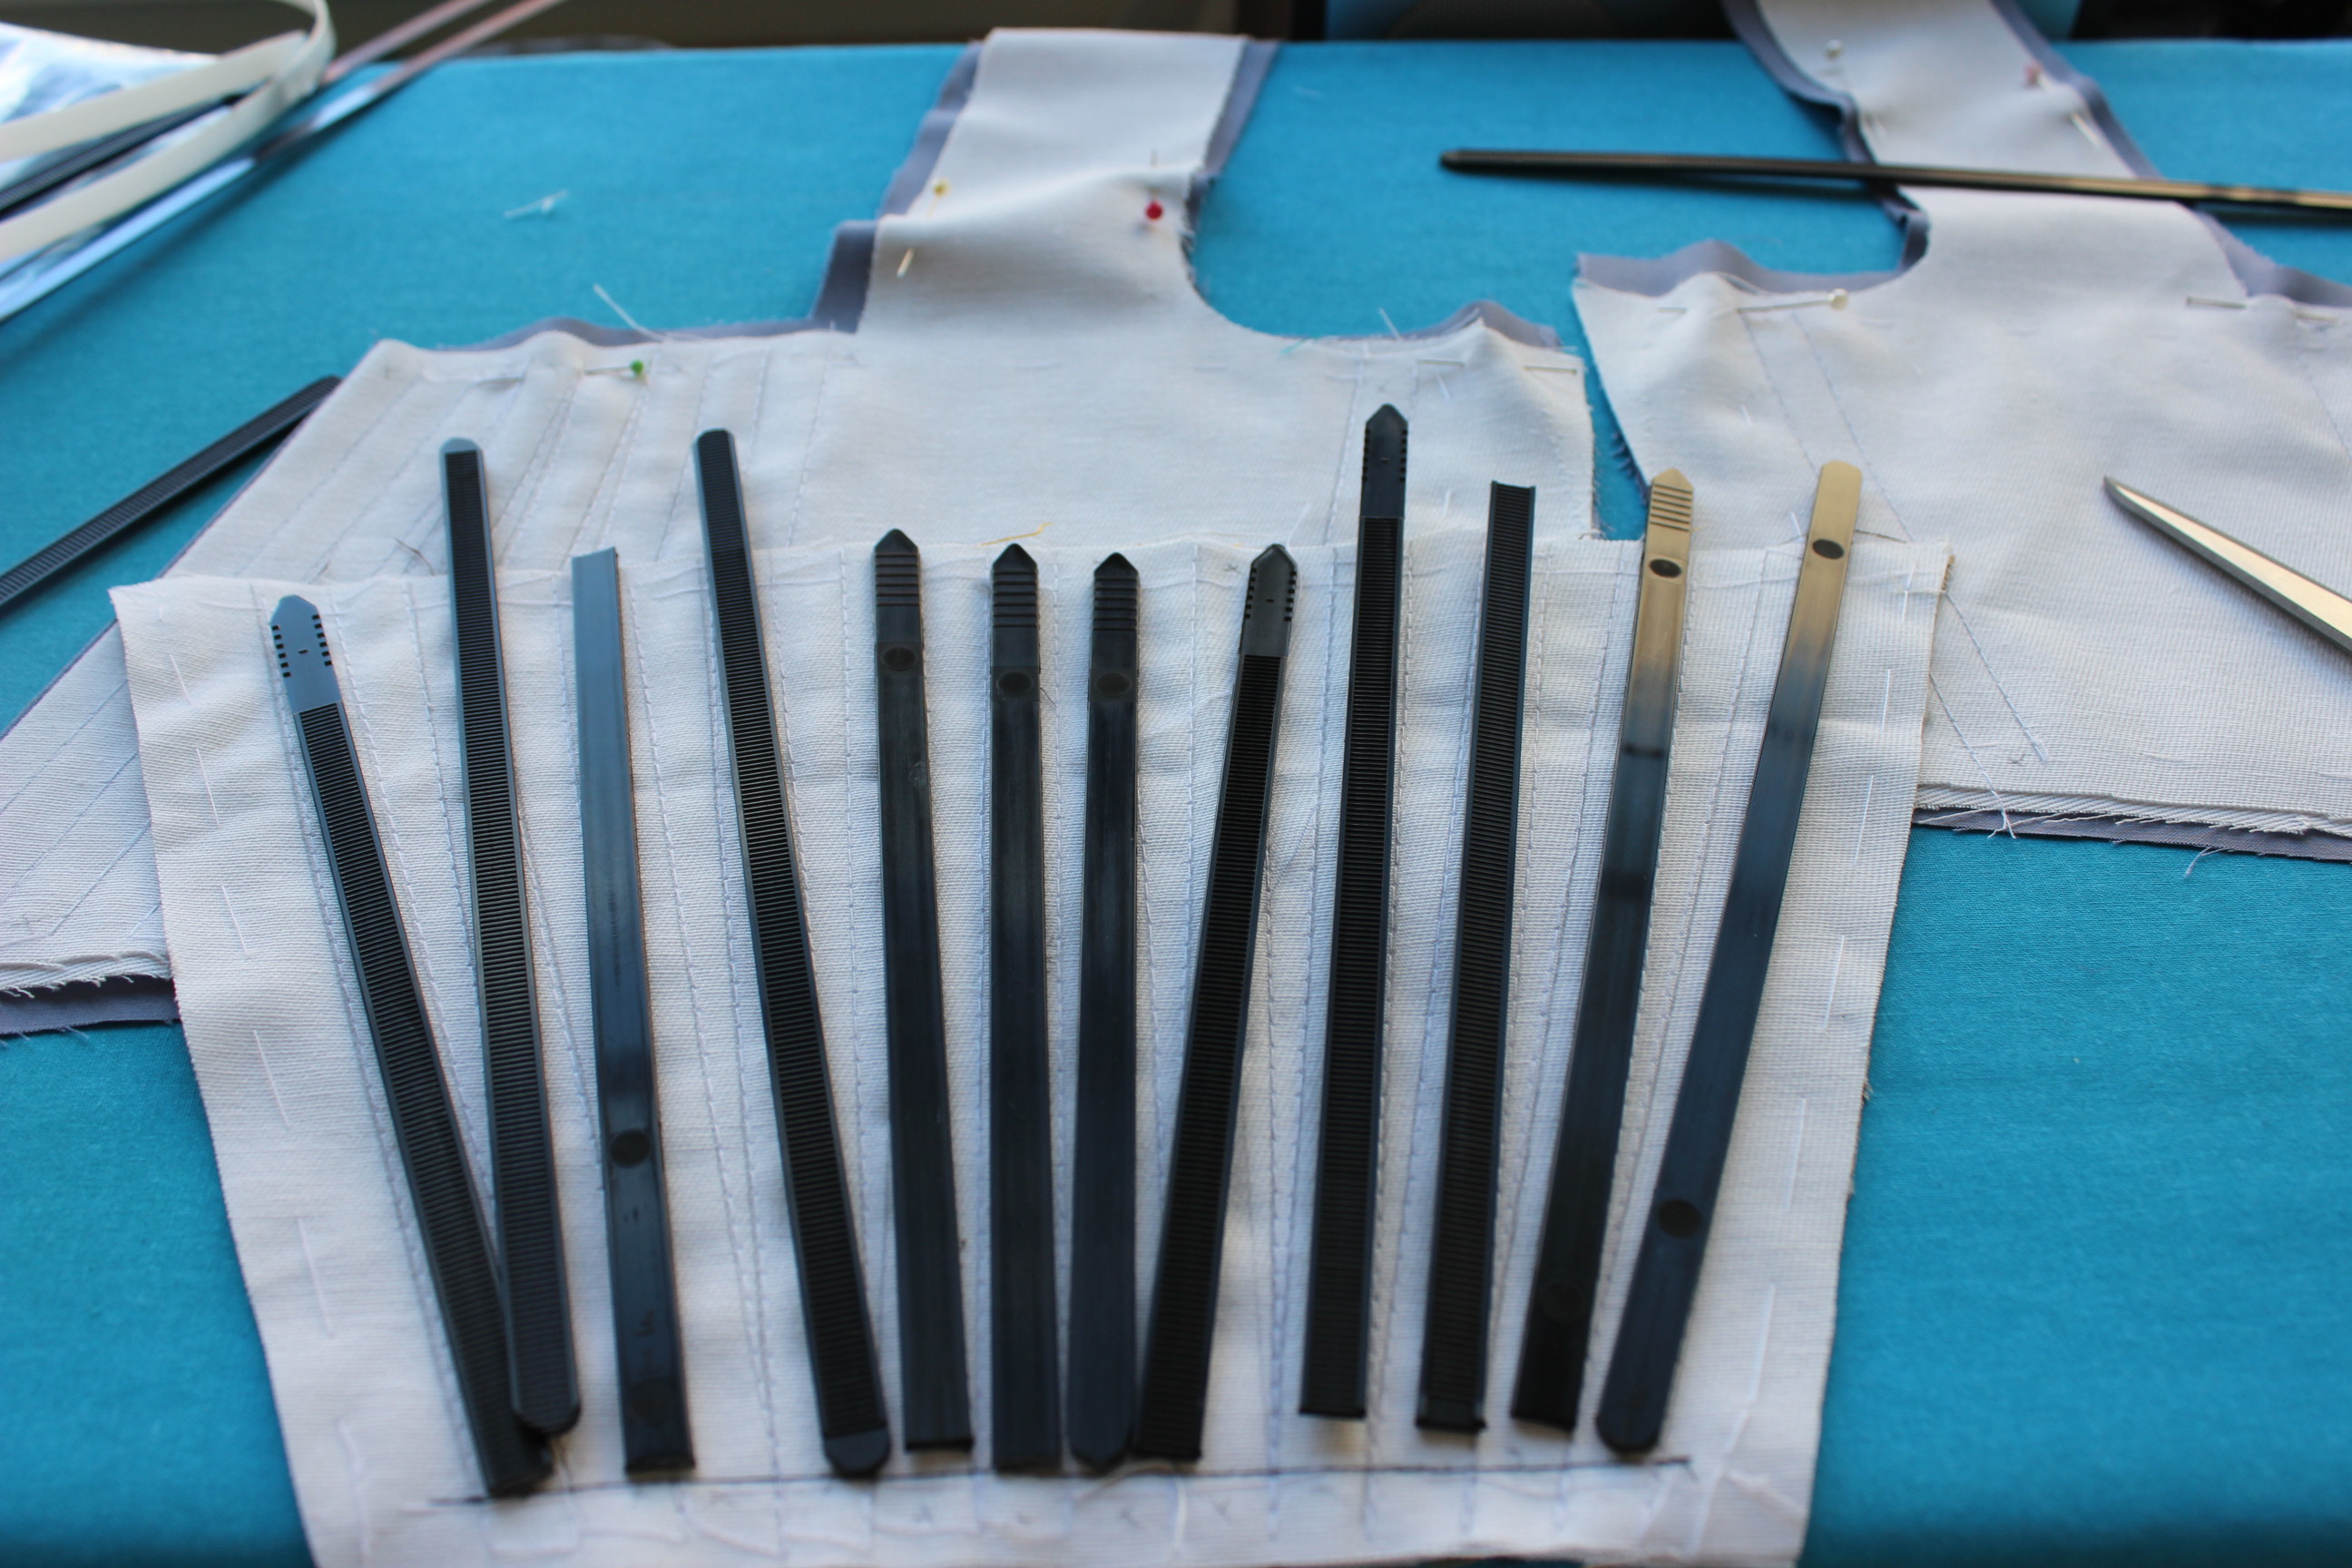
Notions: Thread, buttonhole thread, 6 m silvery ribbon, 3 m golden ribbon for front lacing, 3 m cotton lacing for internal lacing, 12 lacing rings, 2 m plastic boning, 0,5 m steel boning, 4 m blue furniture braid for decoration.
How historical accurate: Not that much I’m afraid. The fabric are all modern (polyester) and the sewing and construction was made using modern techniques and sewing machine. the style of dress itself are plausible but probably borderline fantasy. I must admit I’m not that knowing on this specific period. Maybe 5/10
Time: Way to long – I would guess about 20 hours over the course of 1,5 month, working in small batches of maximum 1 hour at the time.
Cost: About 200 Sek (16 Usd) – A real bargain! It should probably be more like 1000 sek (160 Usd)
First worn: For photos mid August and at a Medieval Fair late August.
Final Thoughts: I actually like it even though I feel like Booberella in it. The neckline ended up to low, and the way it closes in the front are not the best solution.
But I think this is one of the most decorated pieces I’ve ever made, and think it looks great.


 Main inspiration

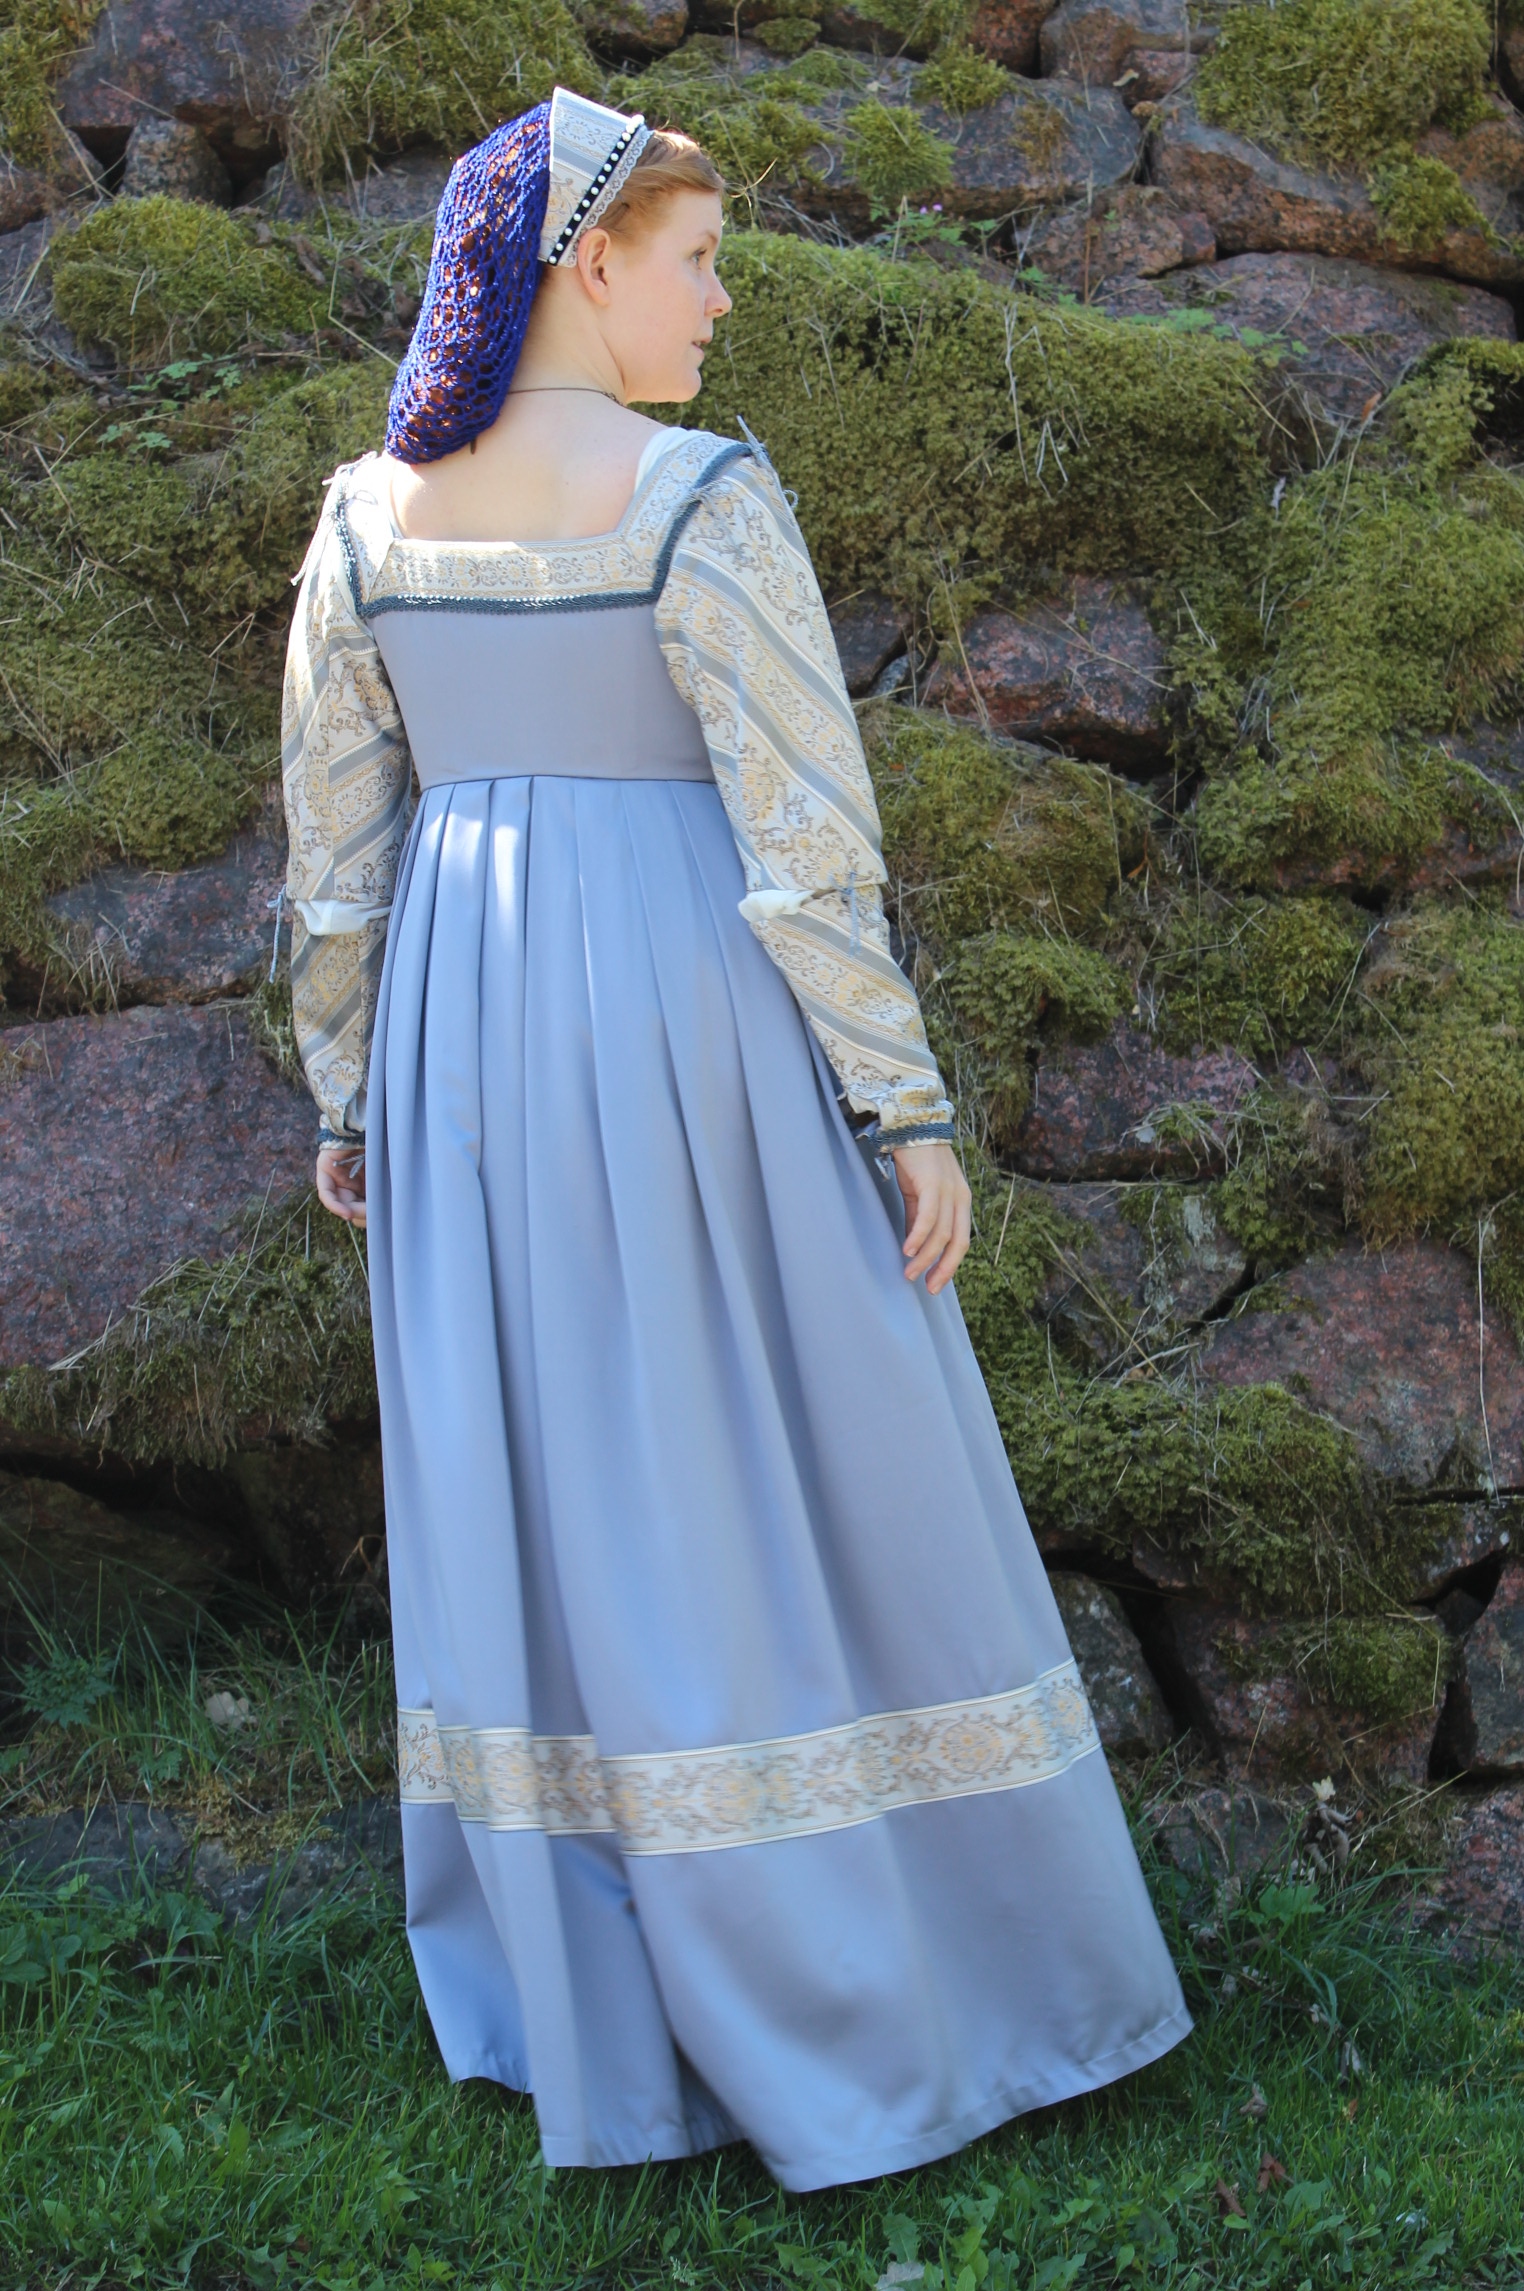


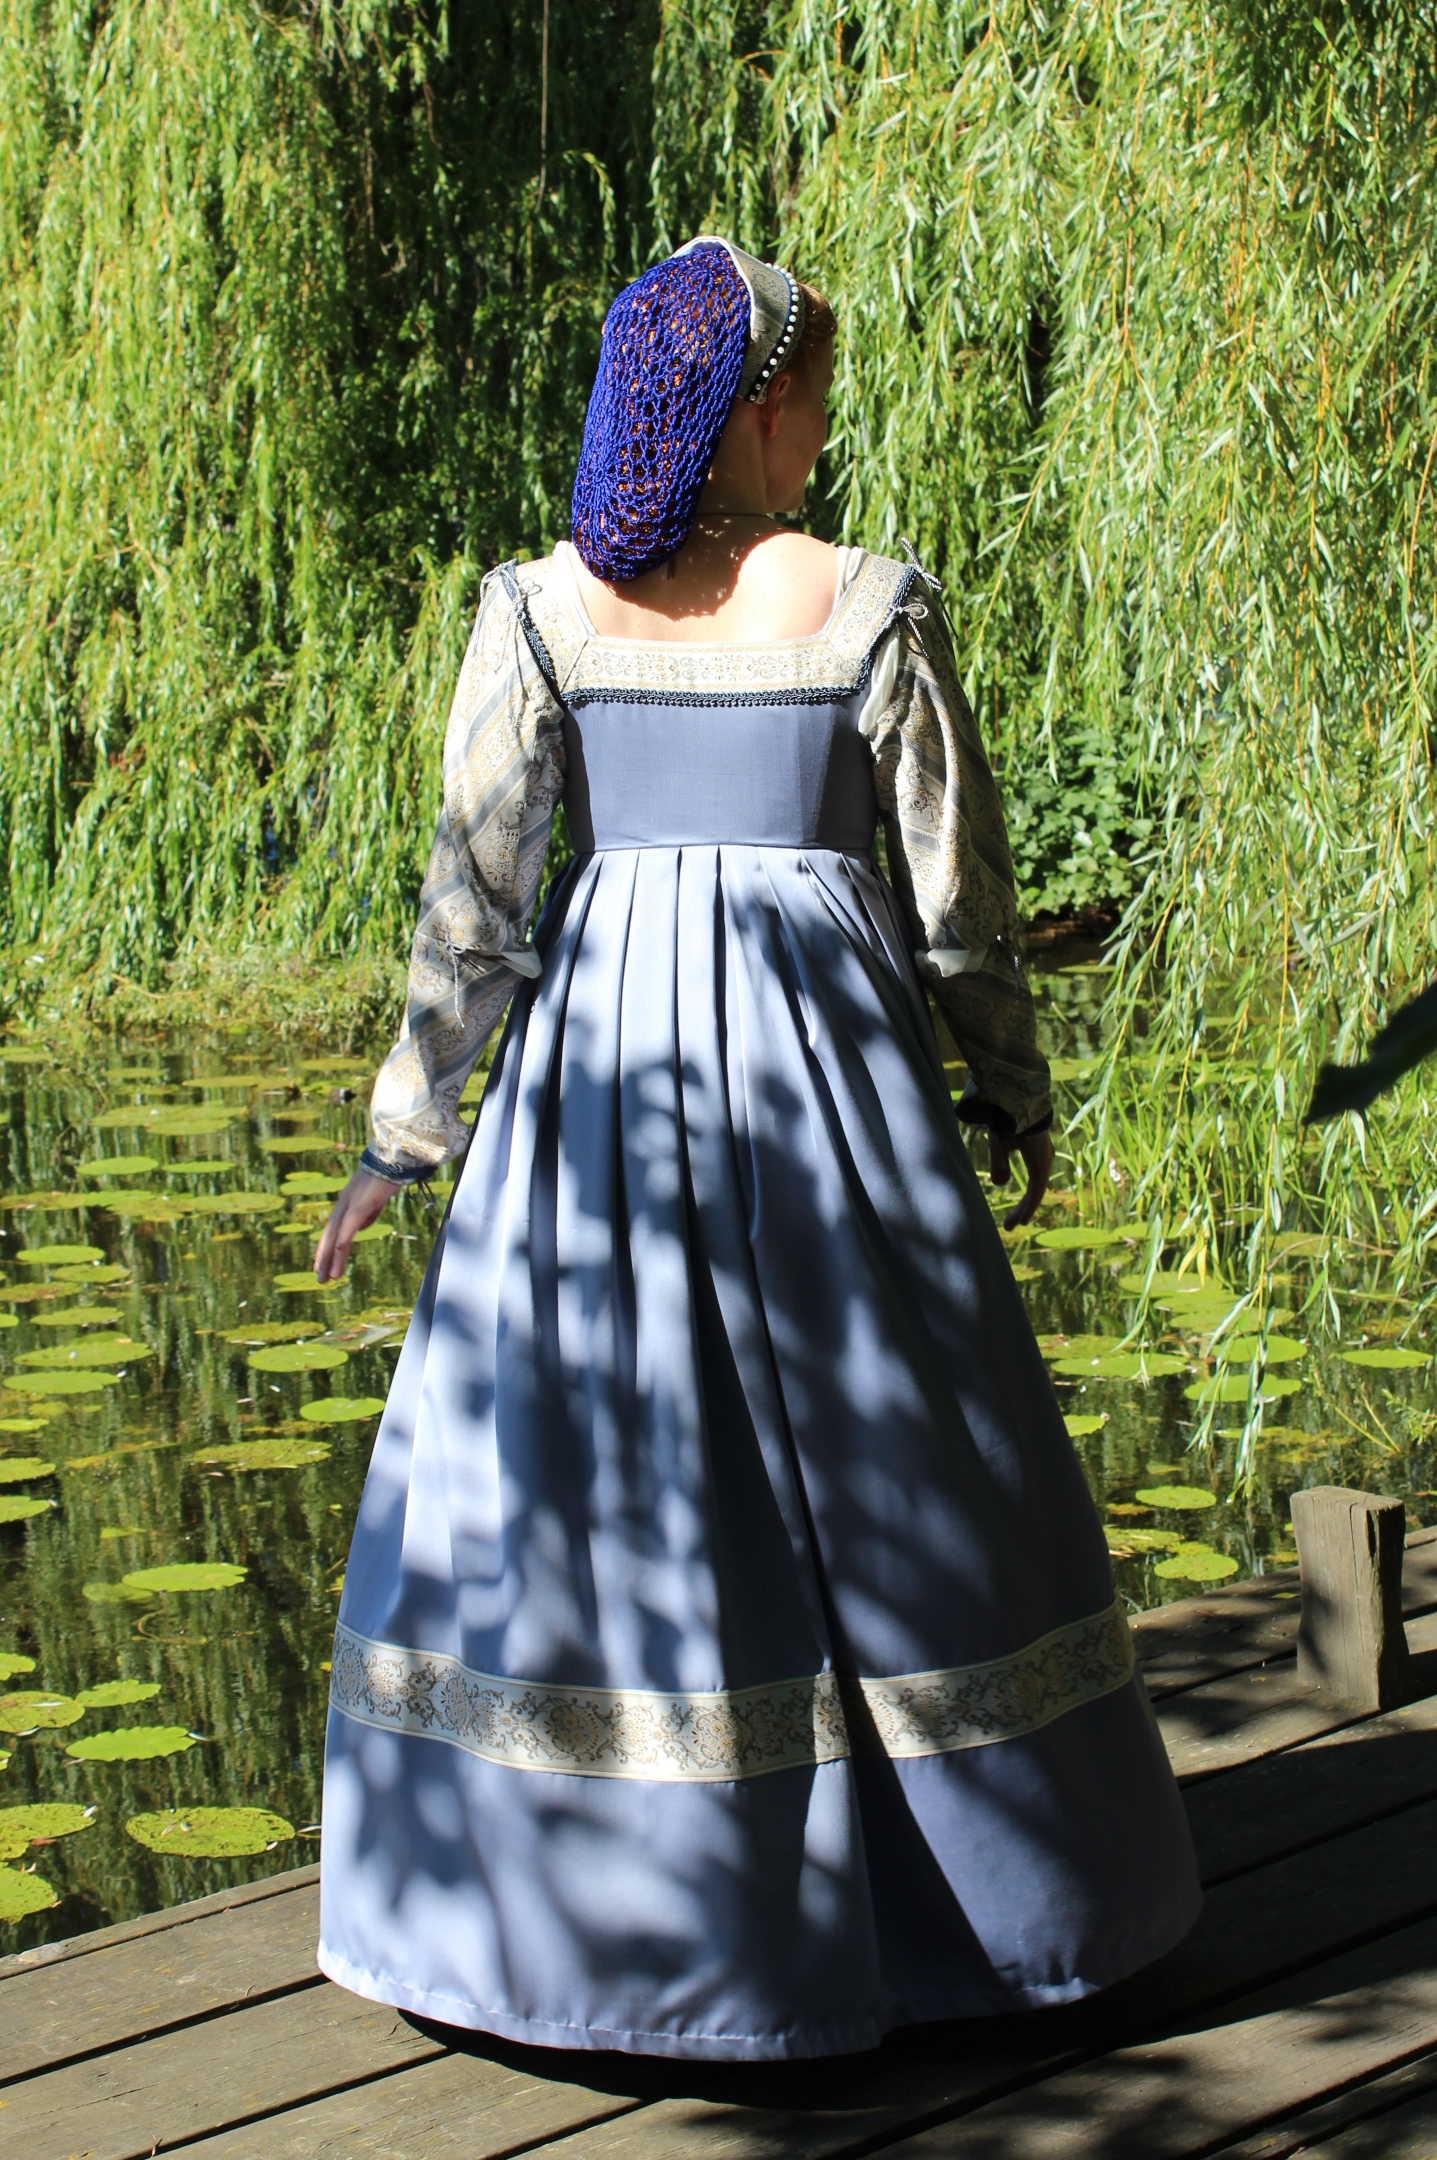

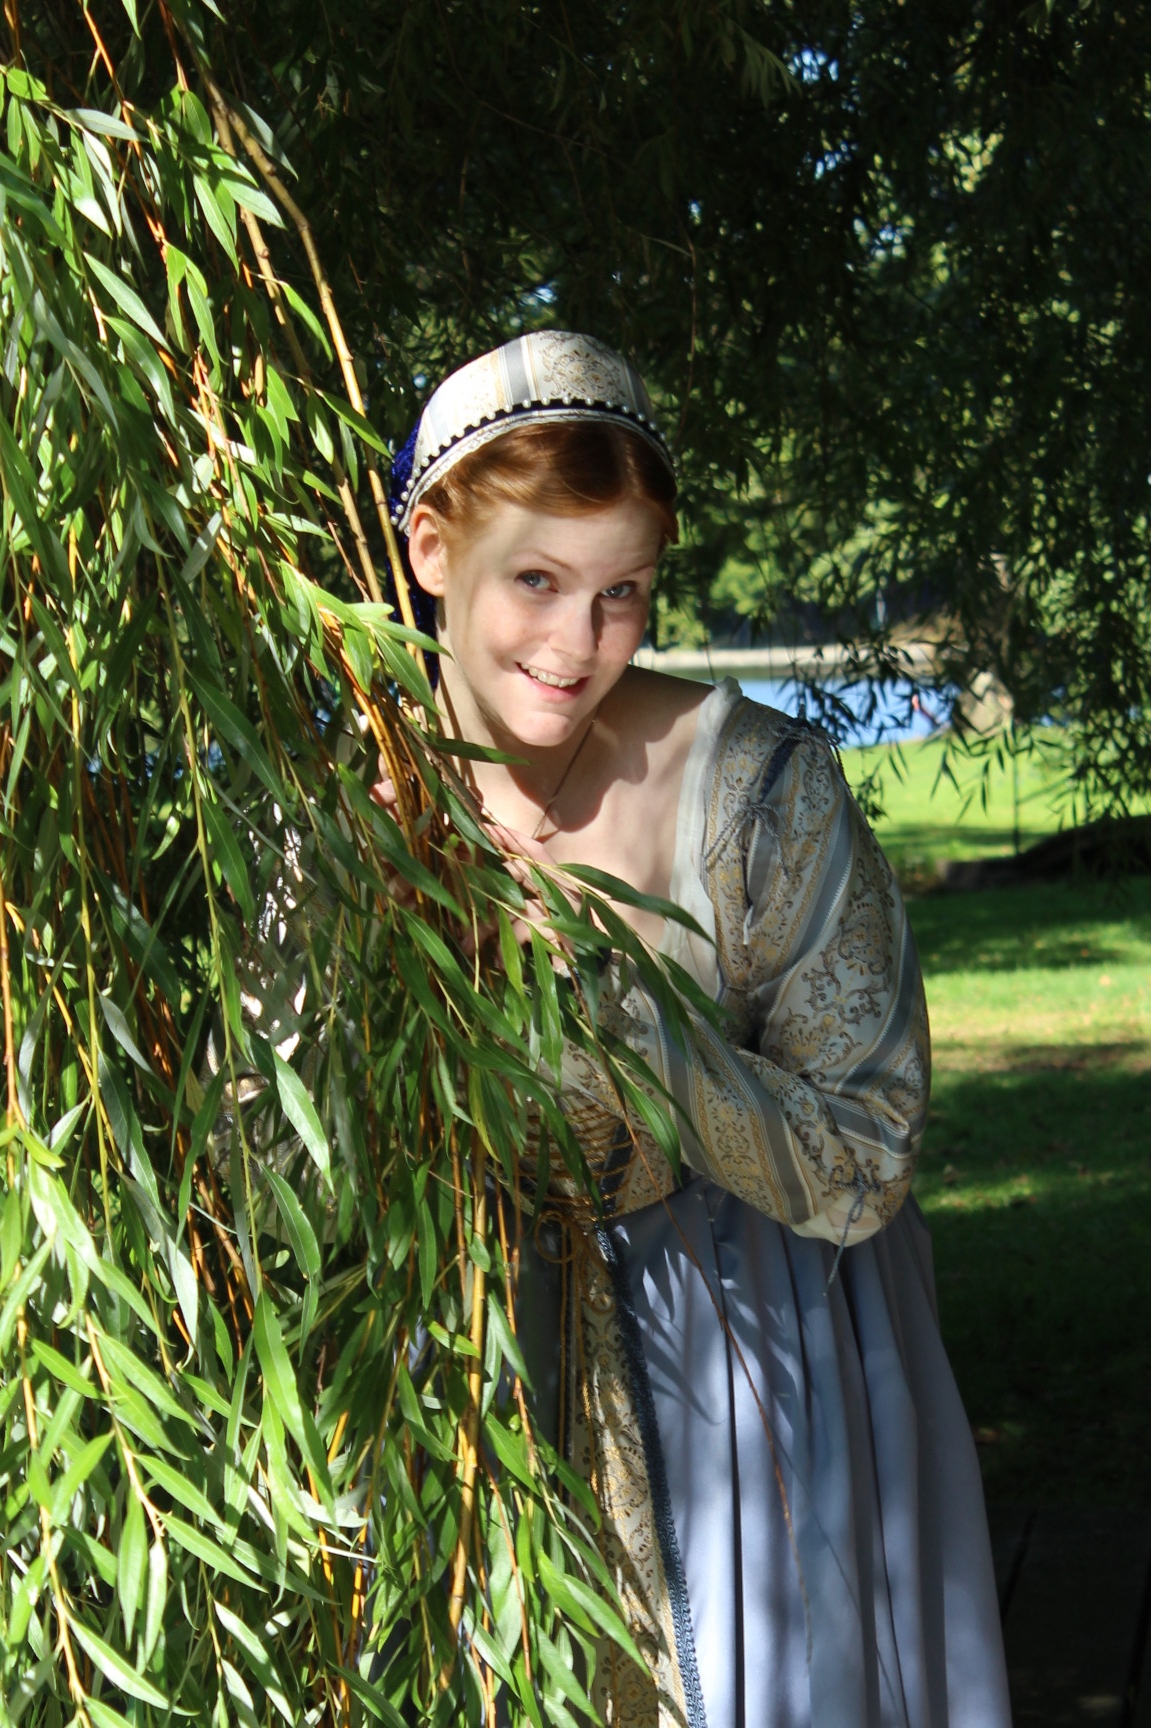
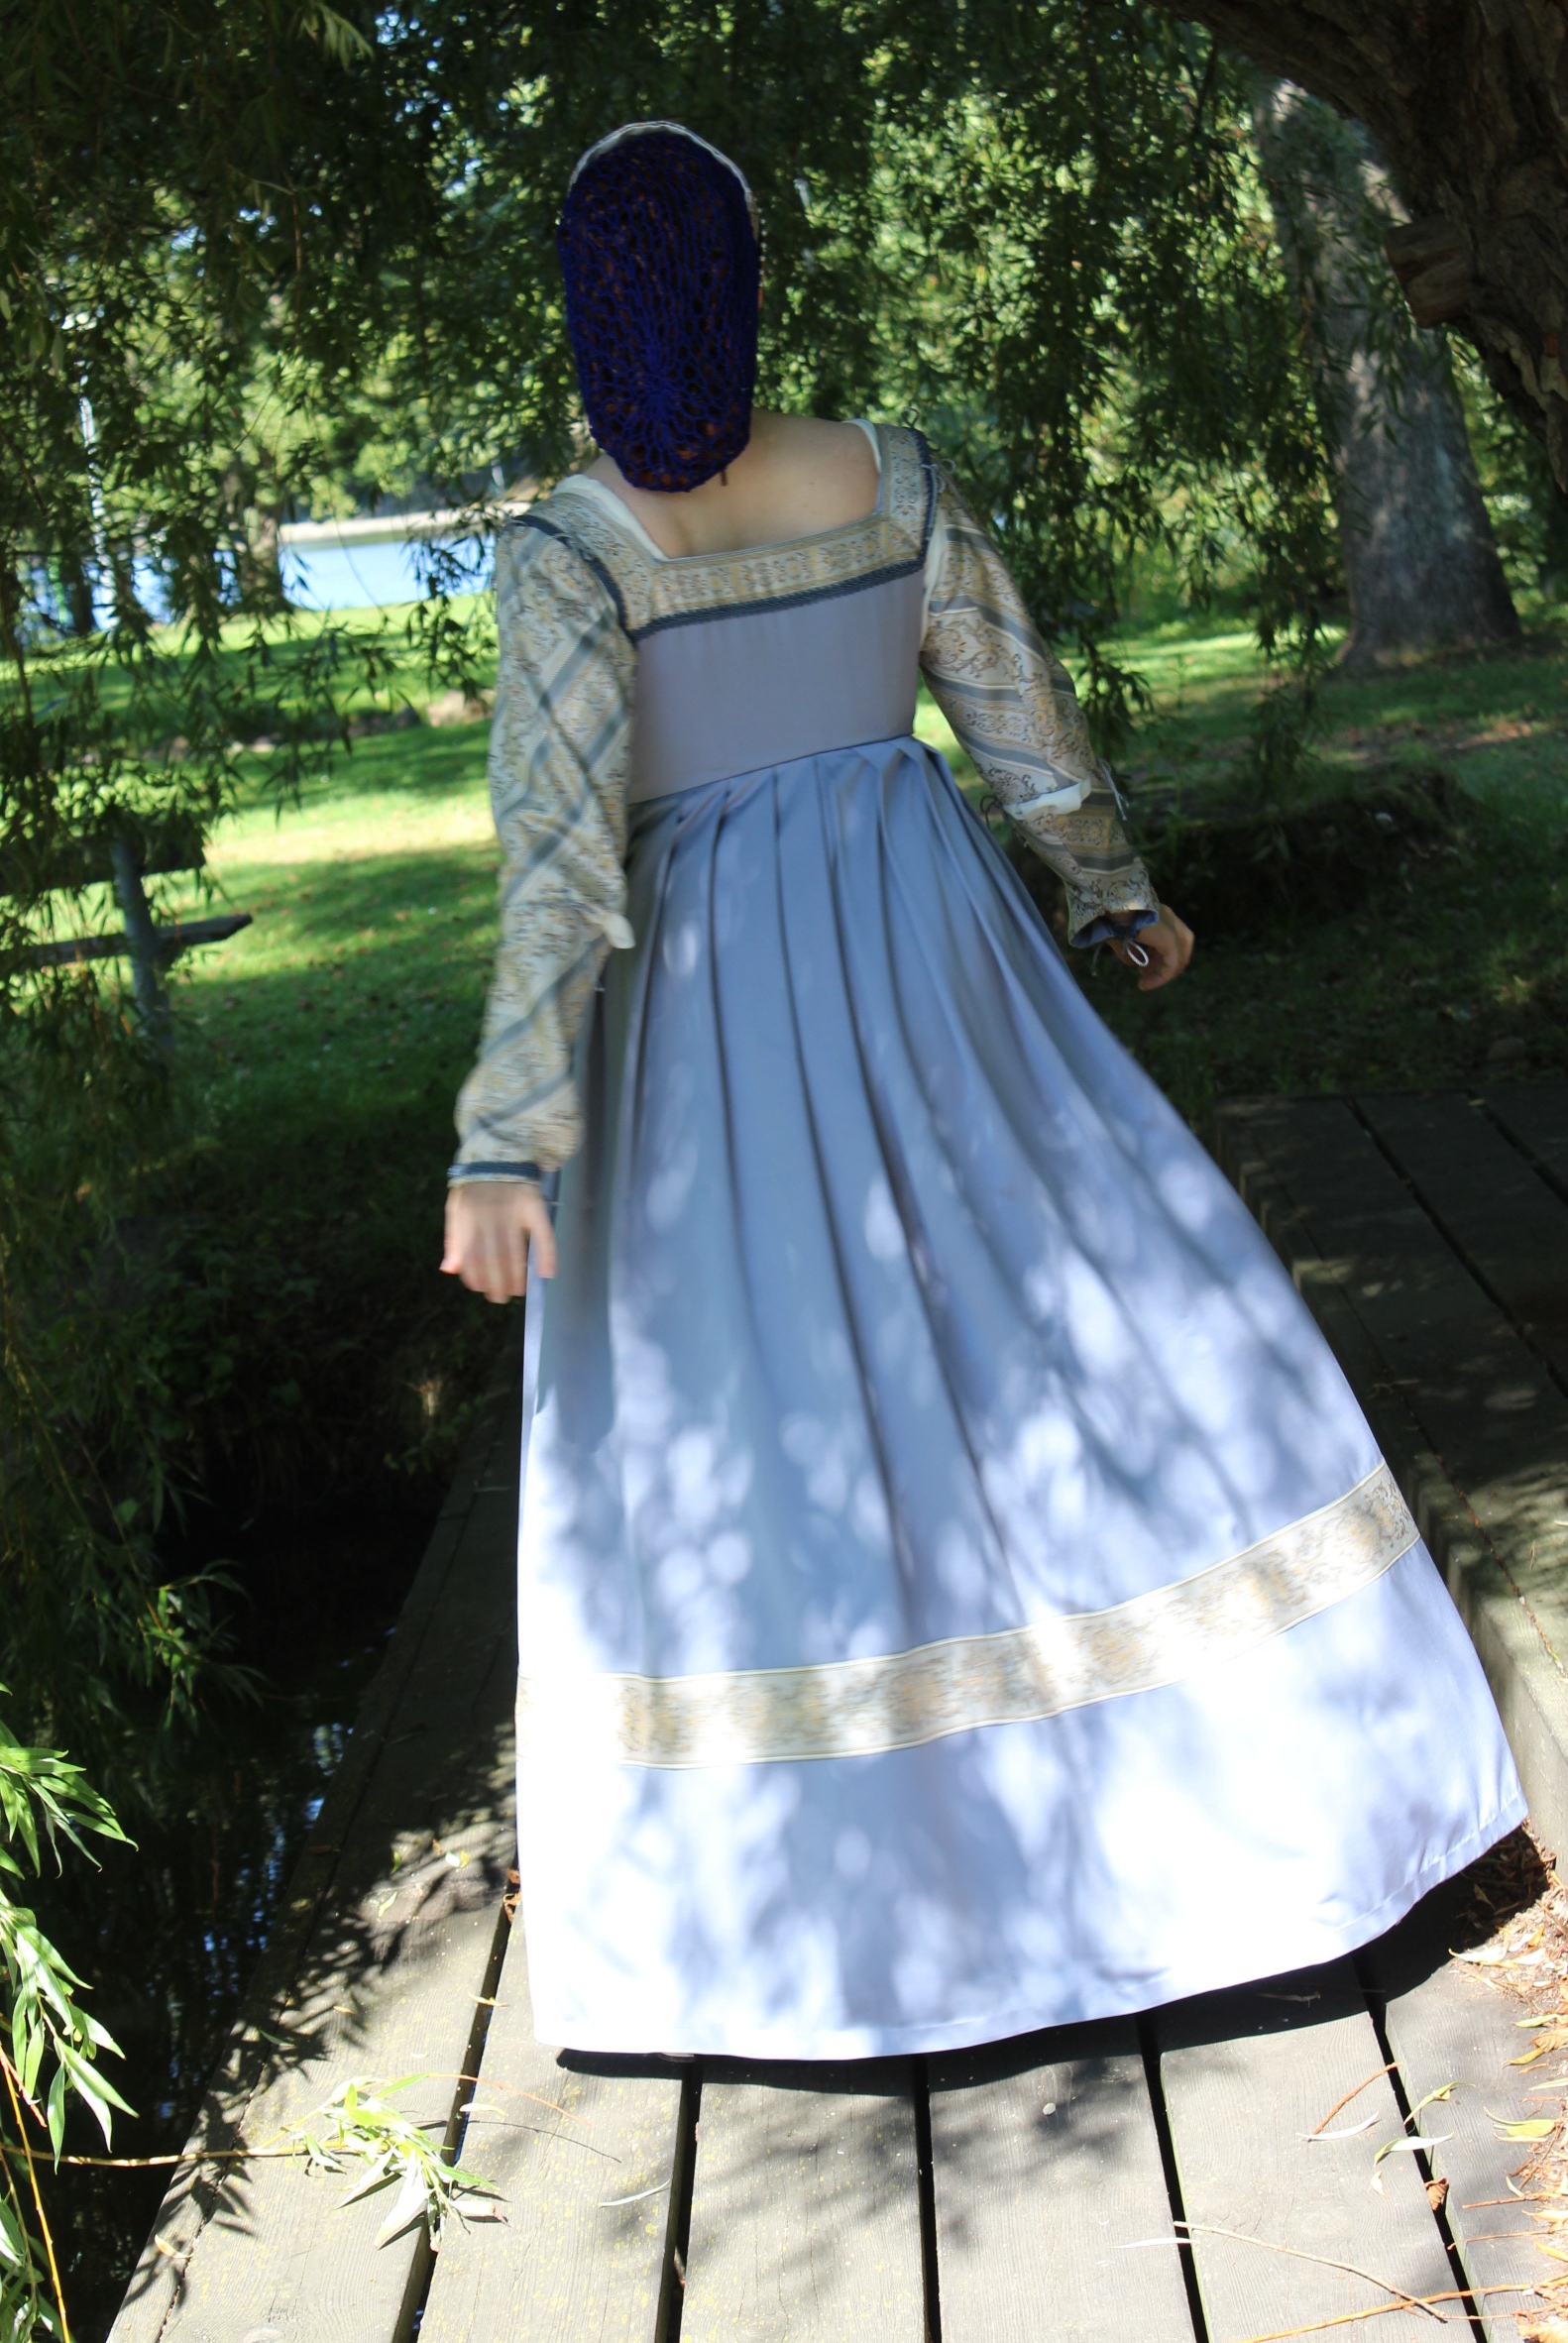


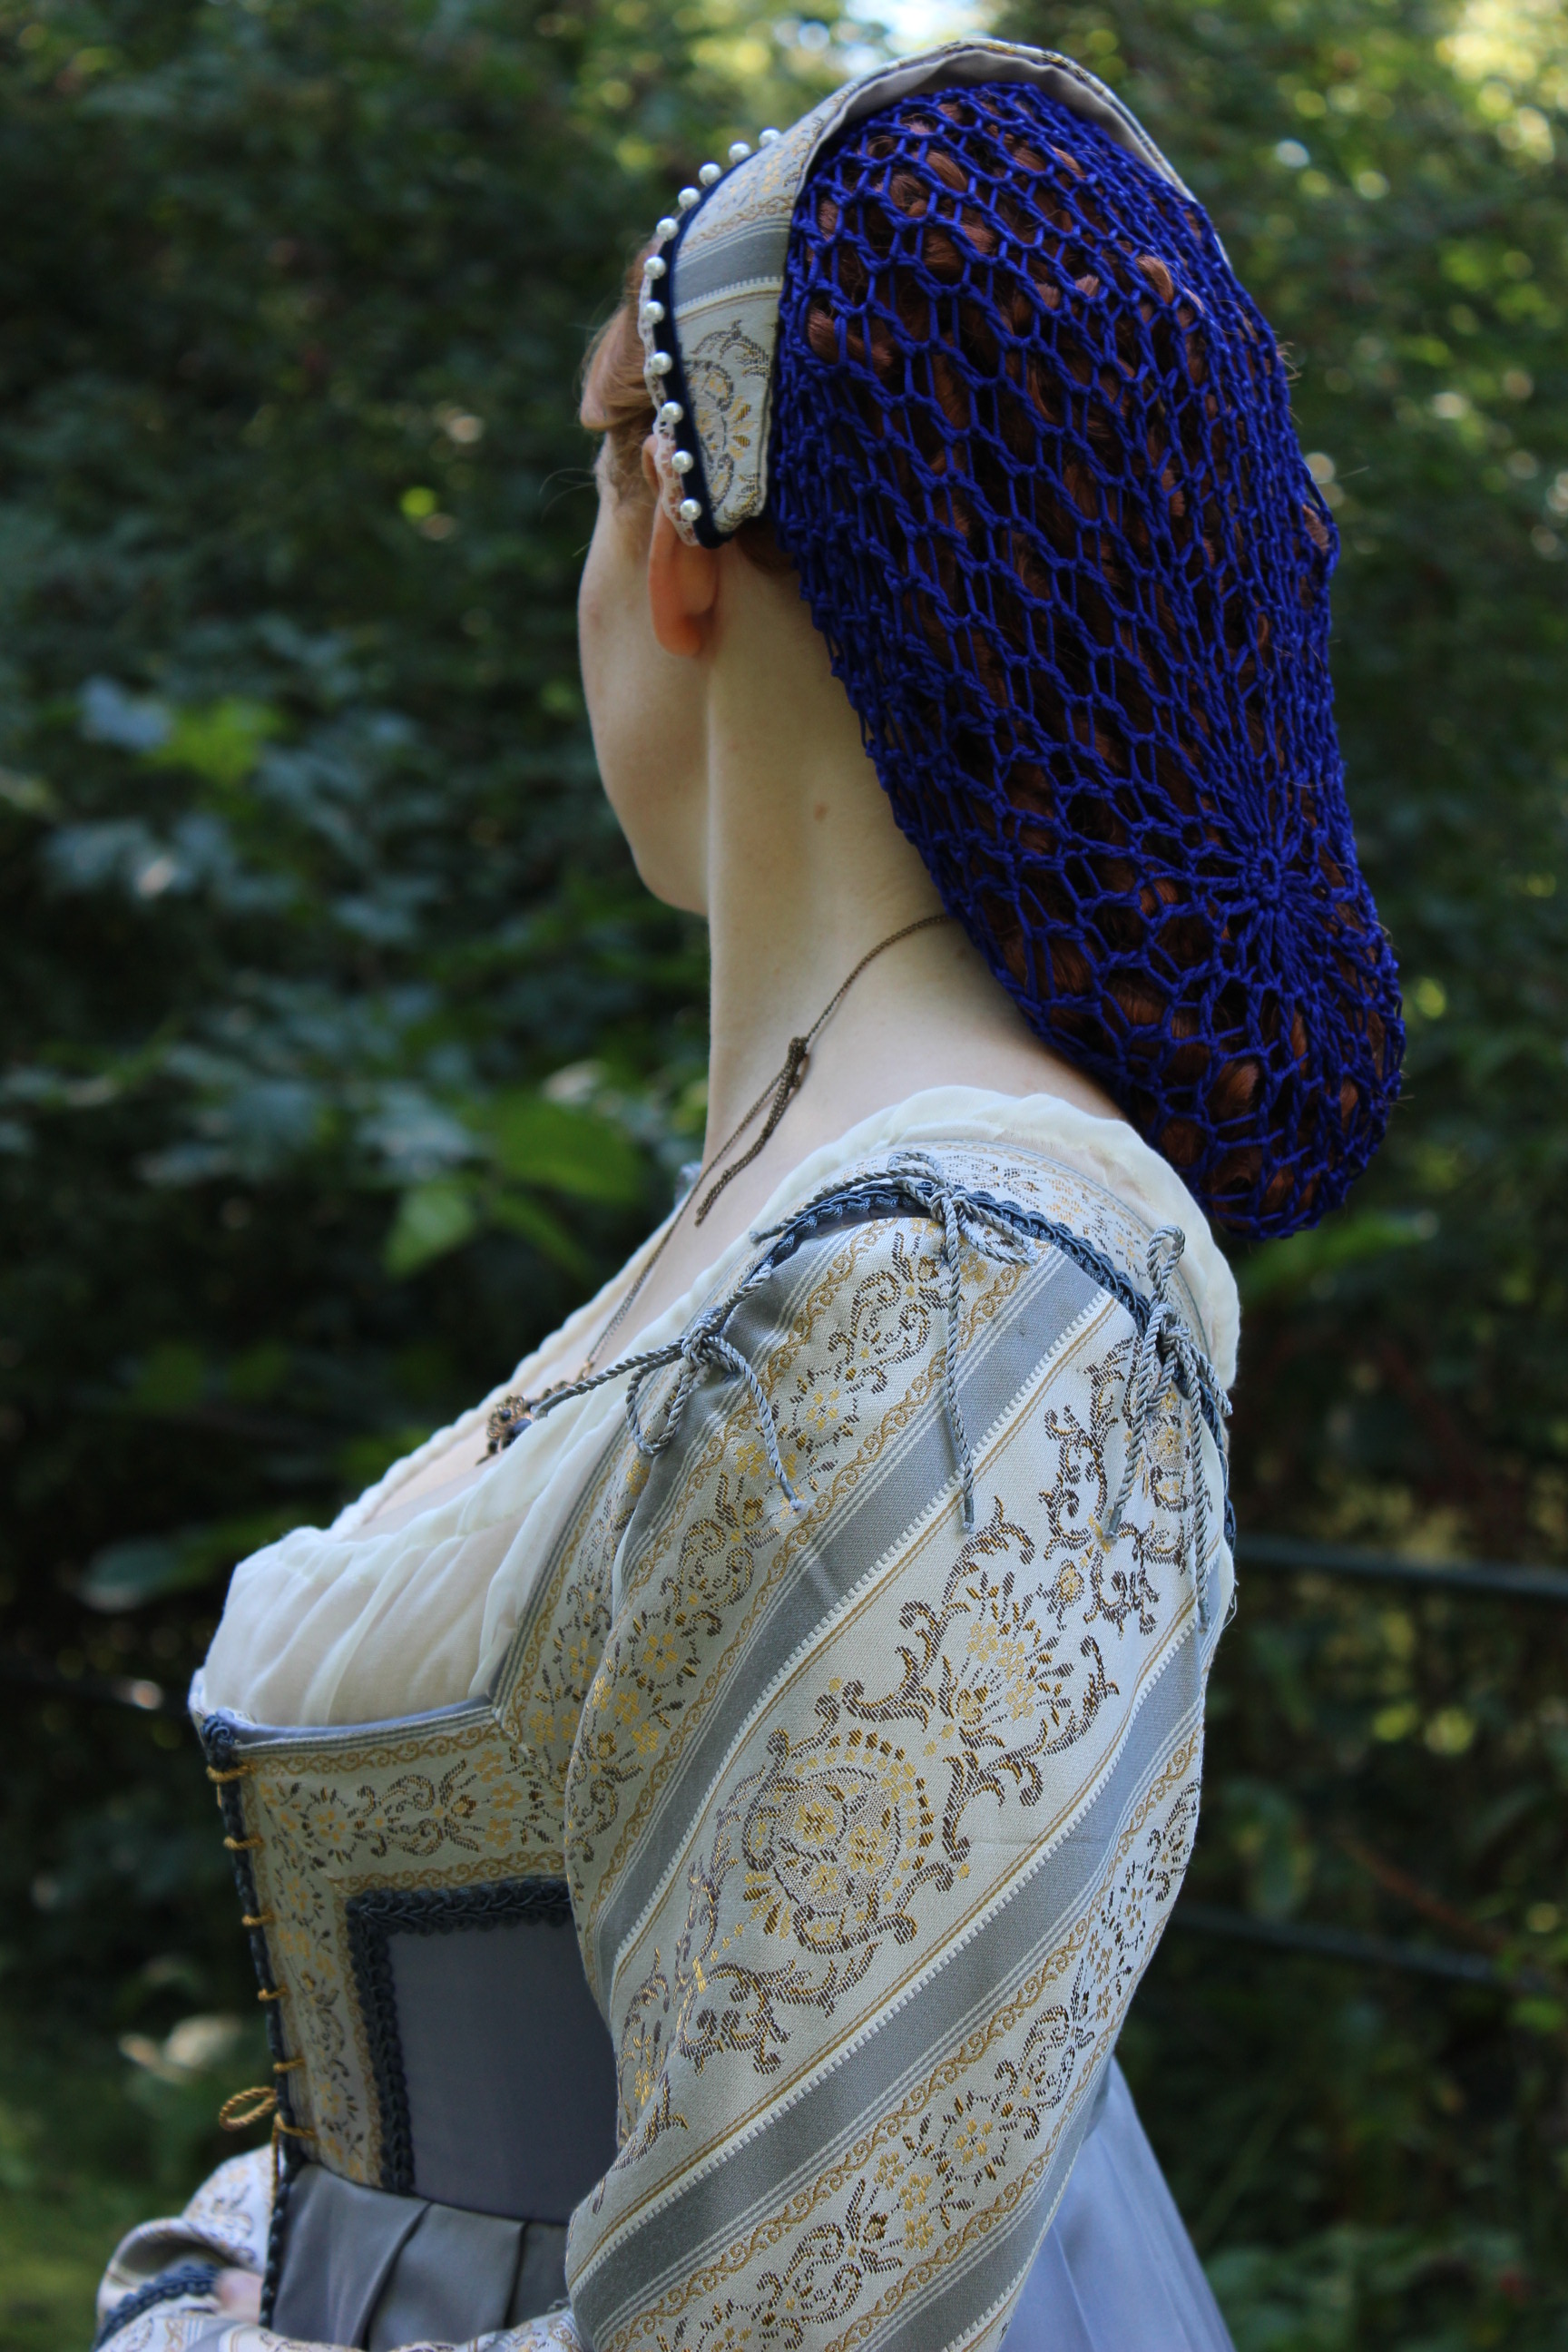


 Photo: Maria Petersson
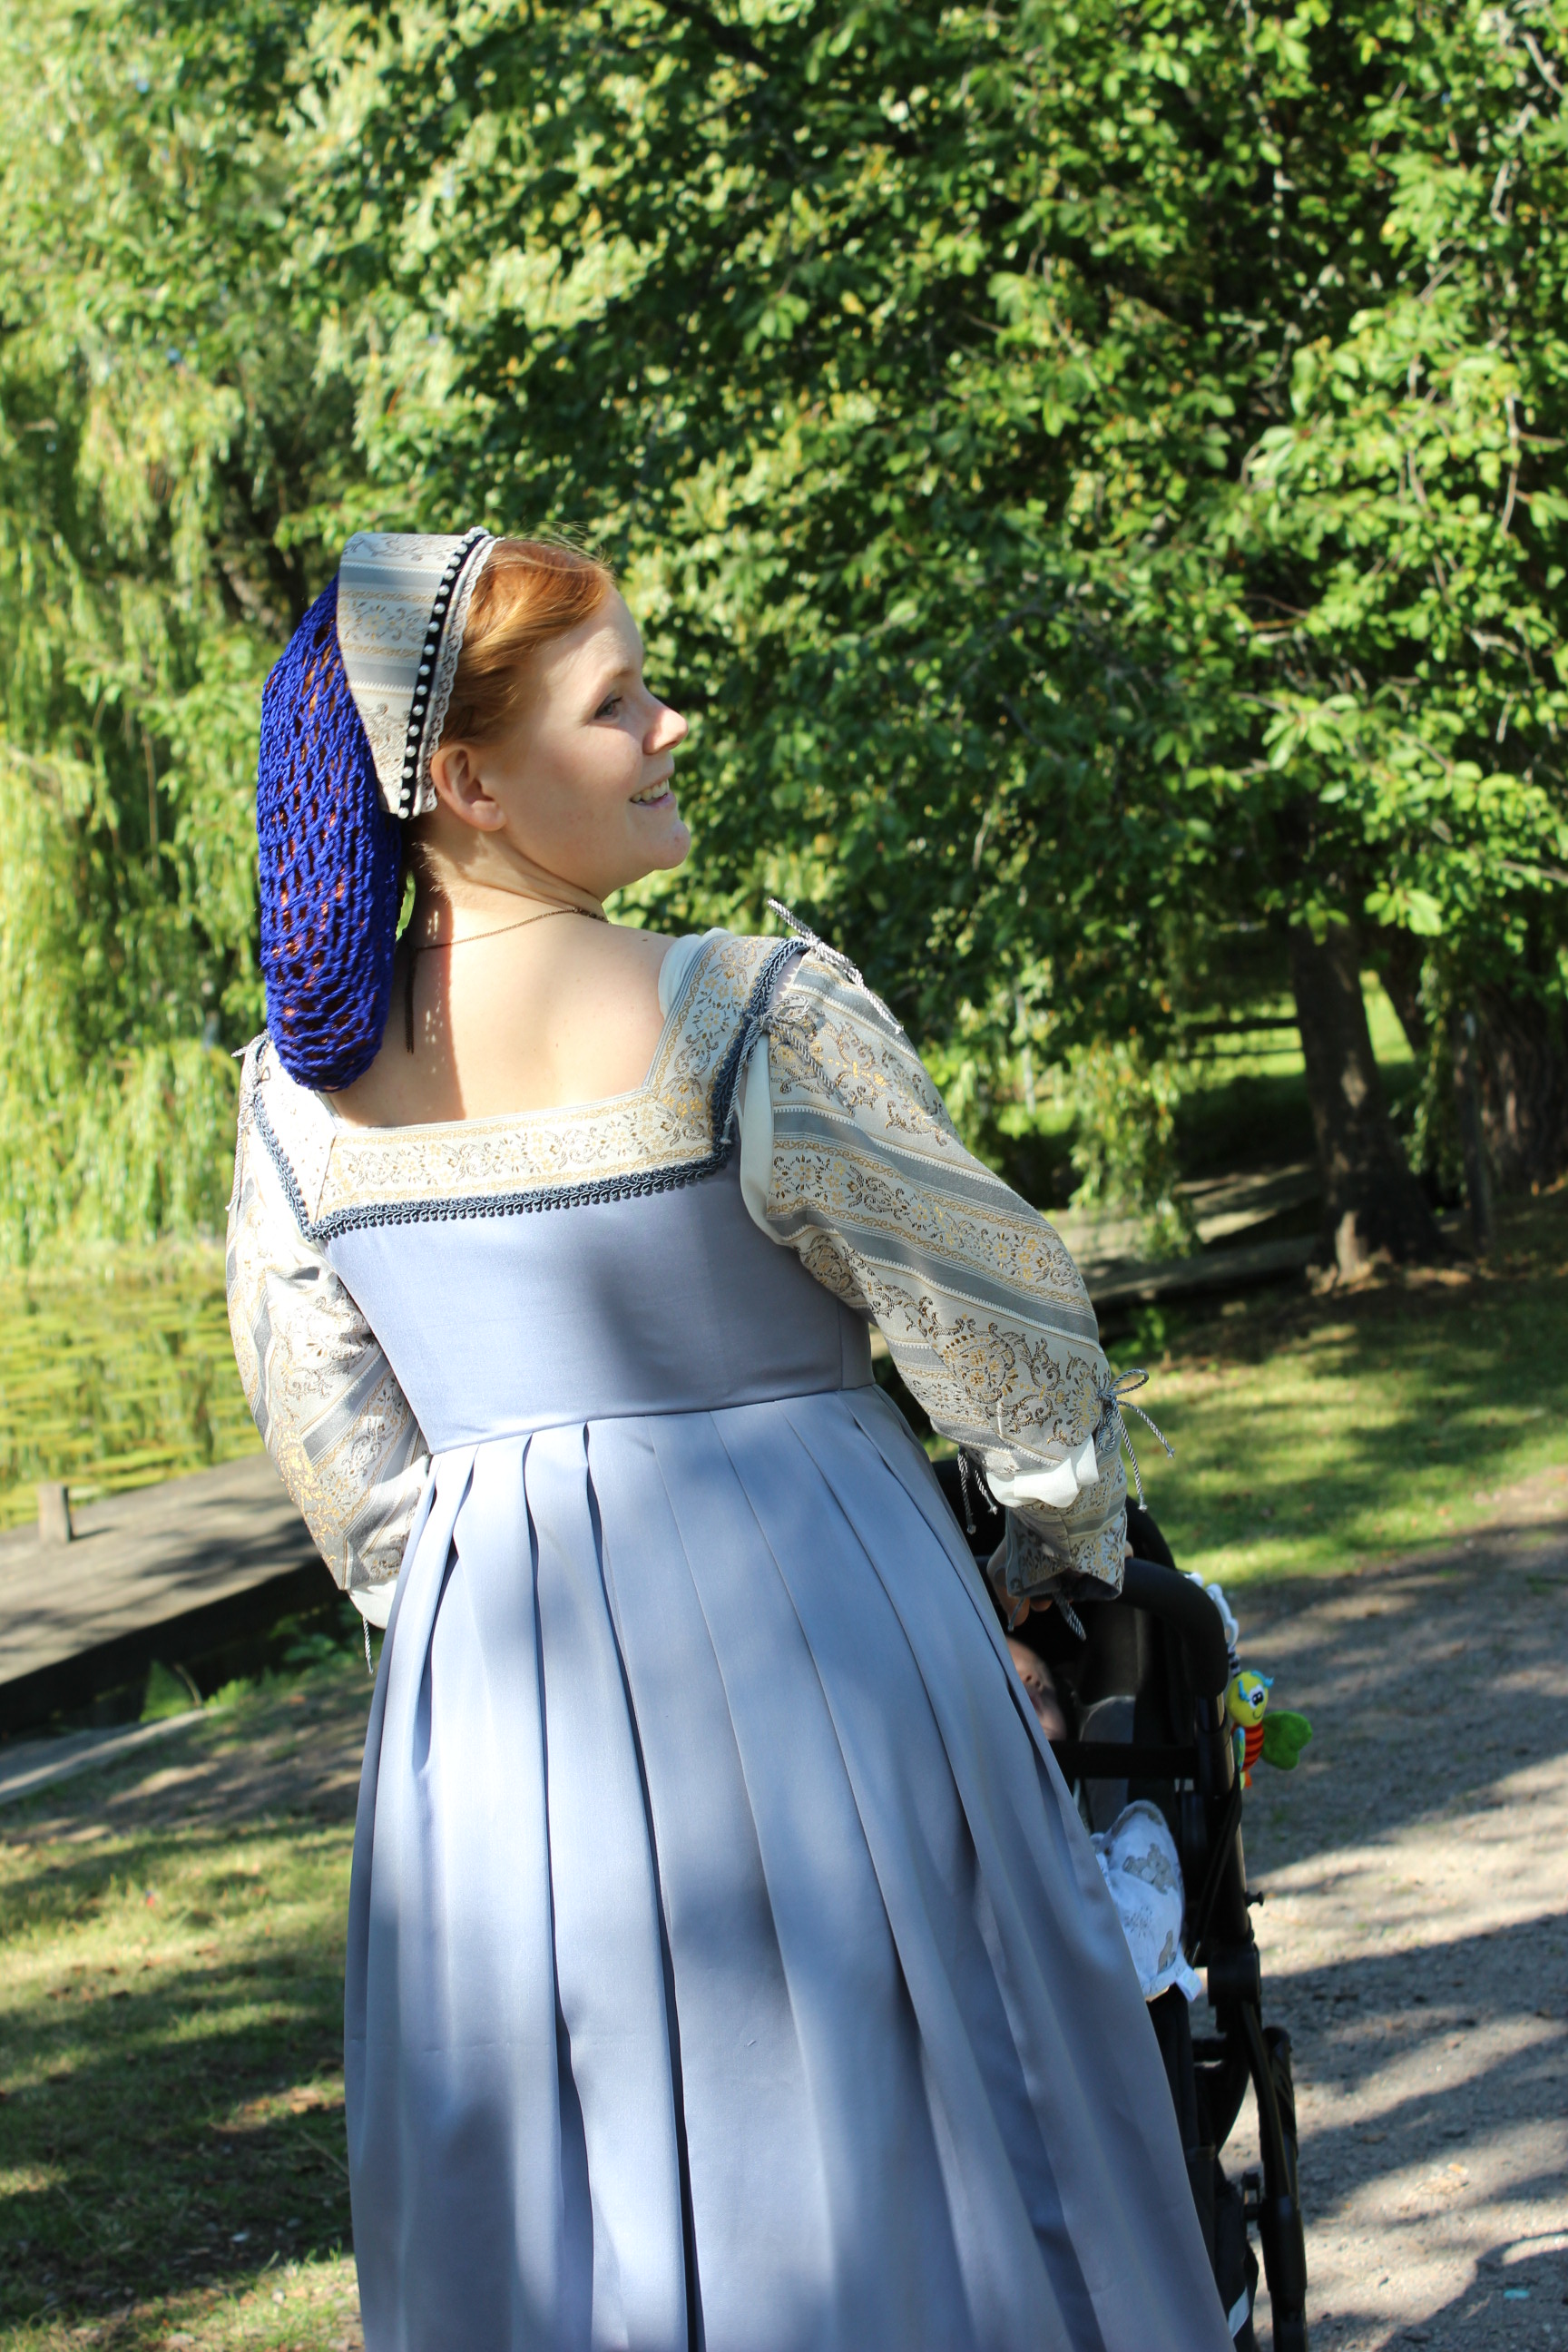 Just a Mama out on a walk…
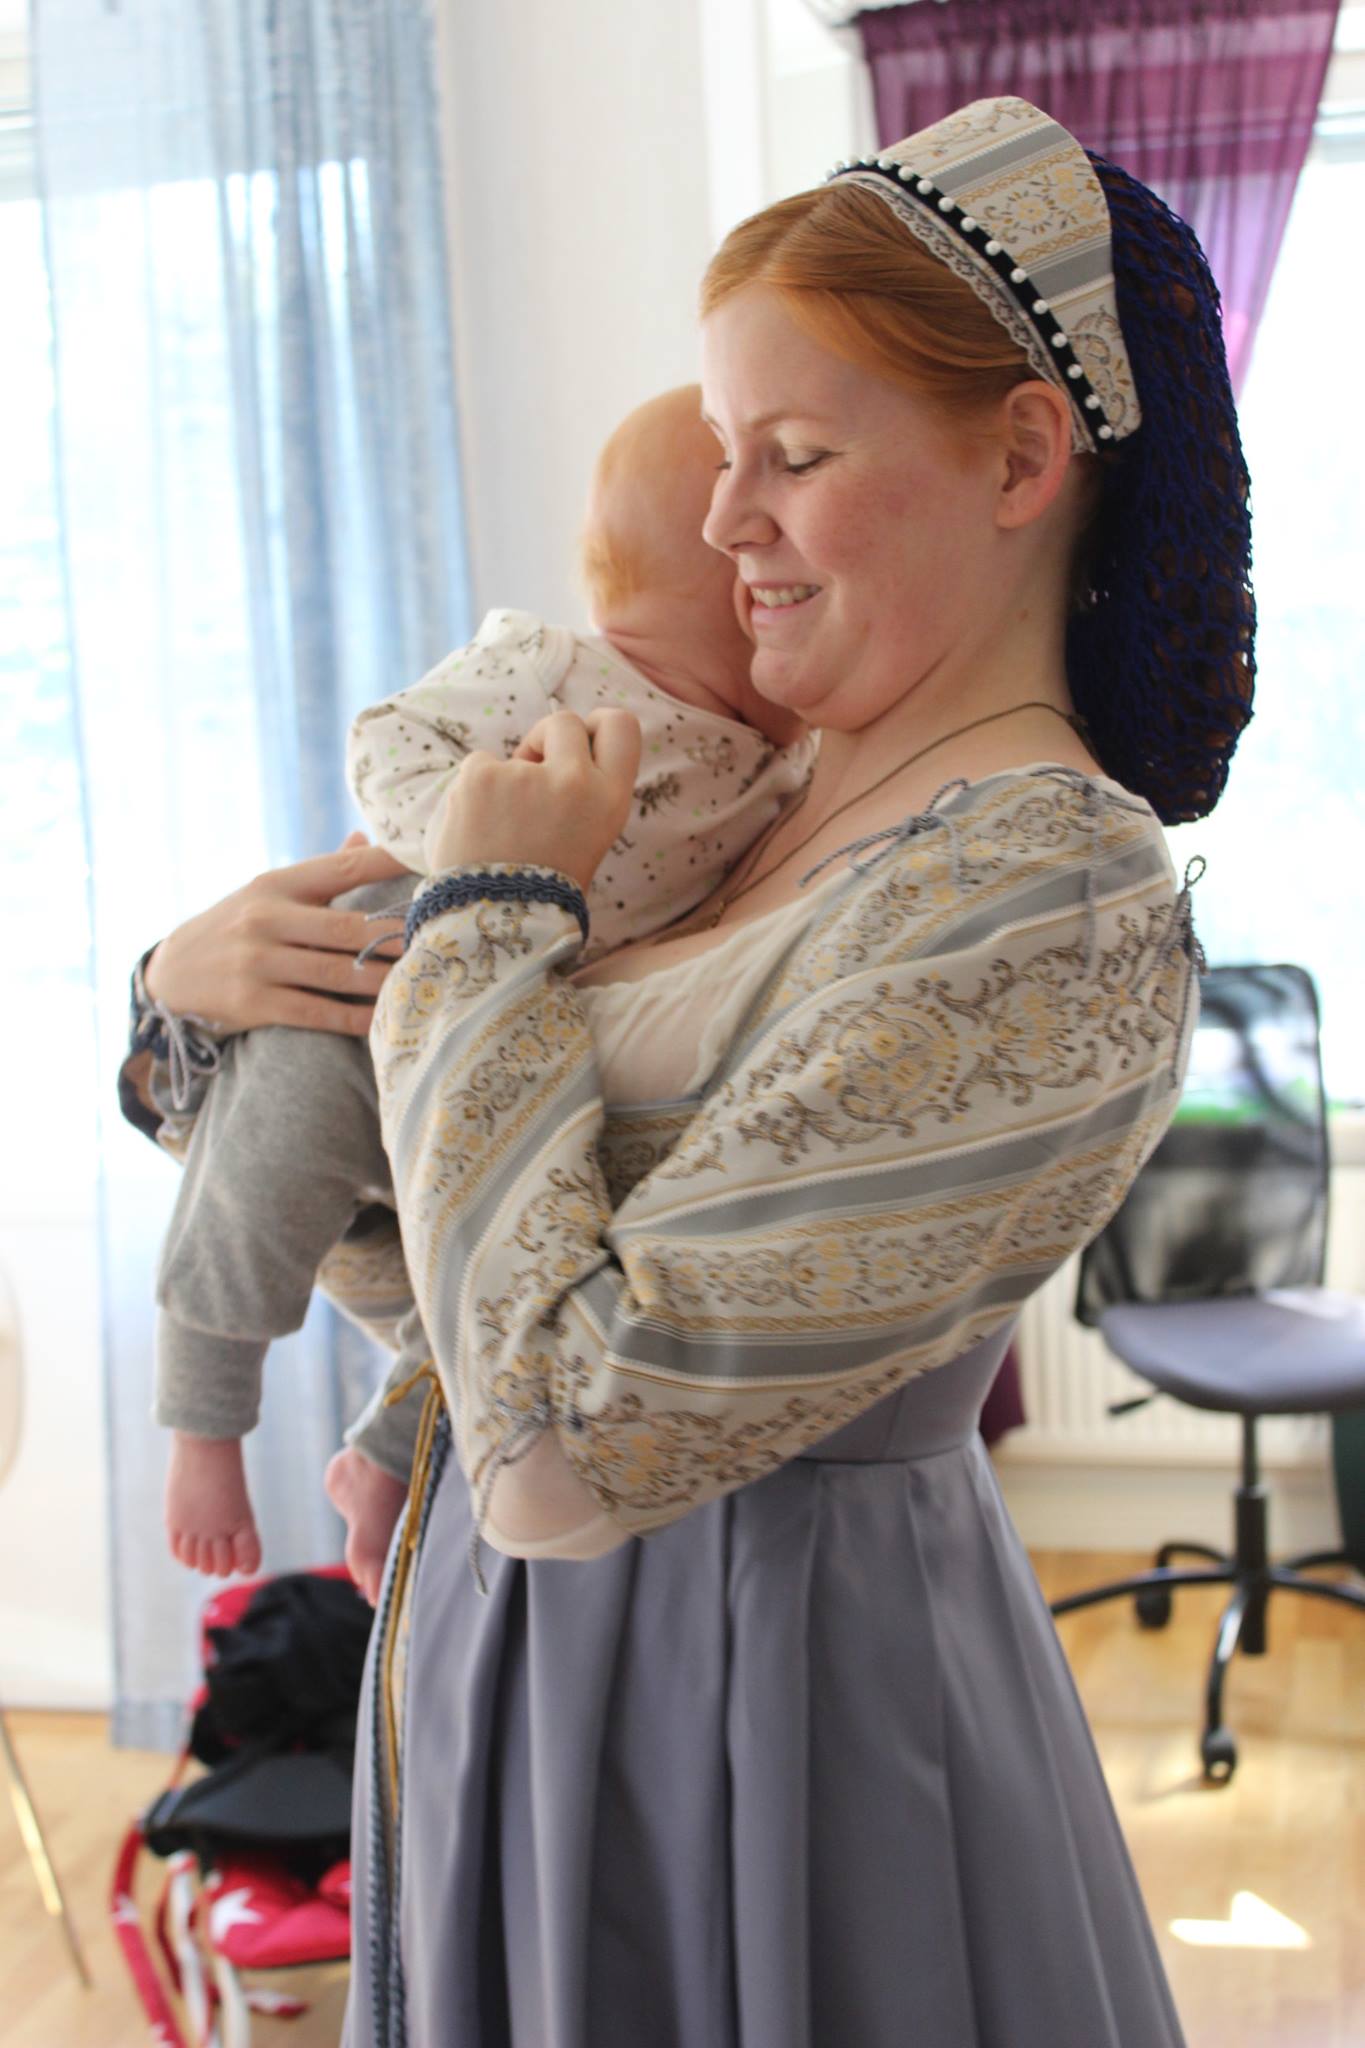 Hugs and kisses
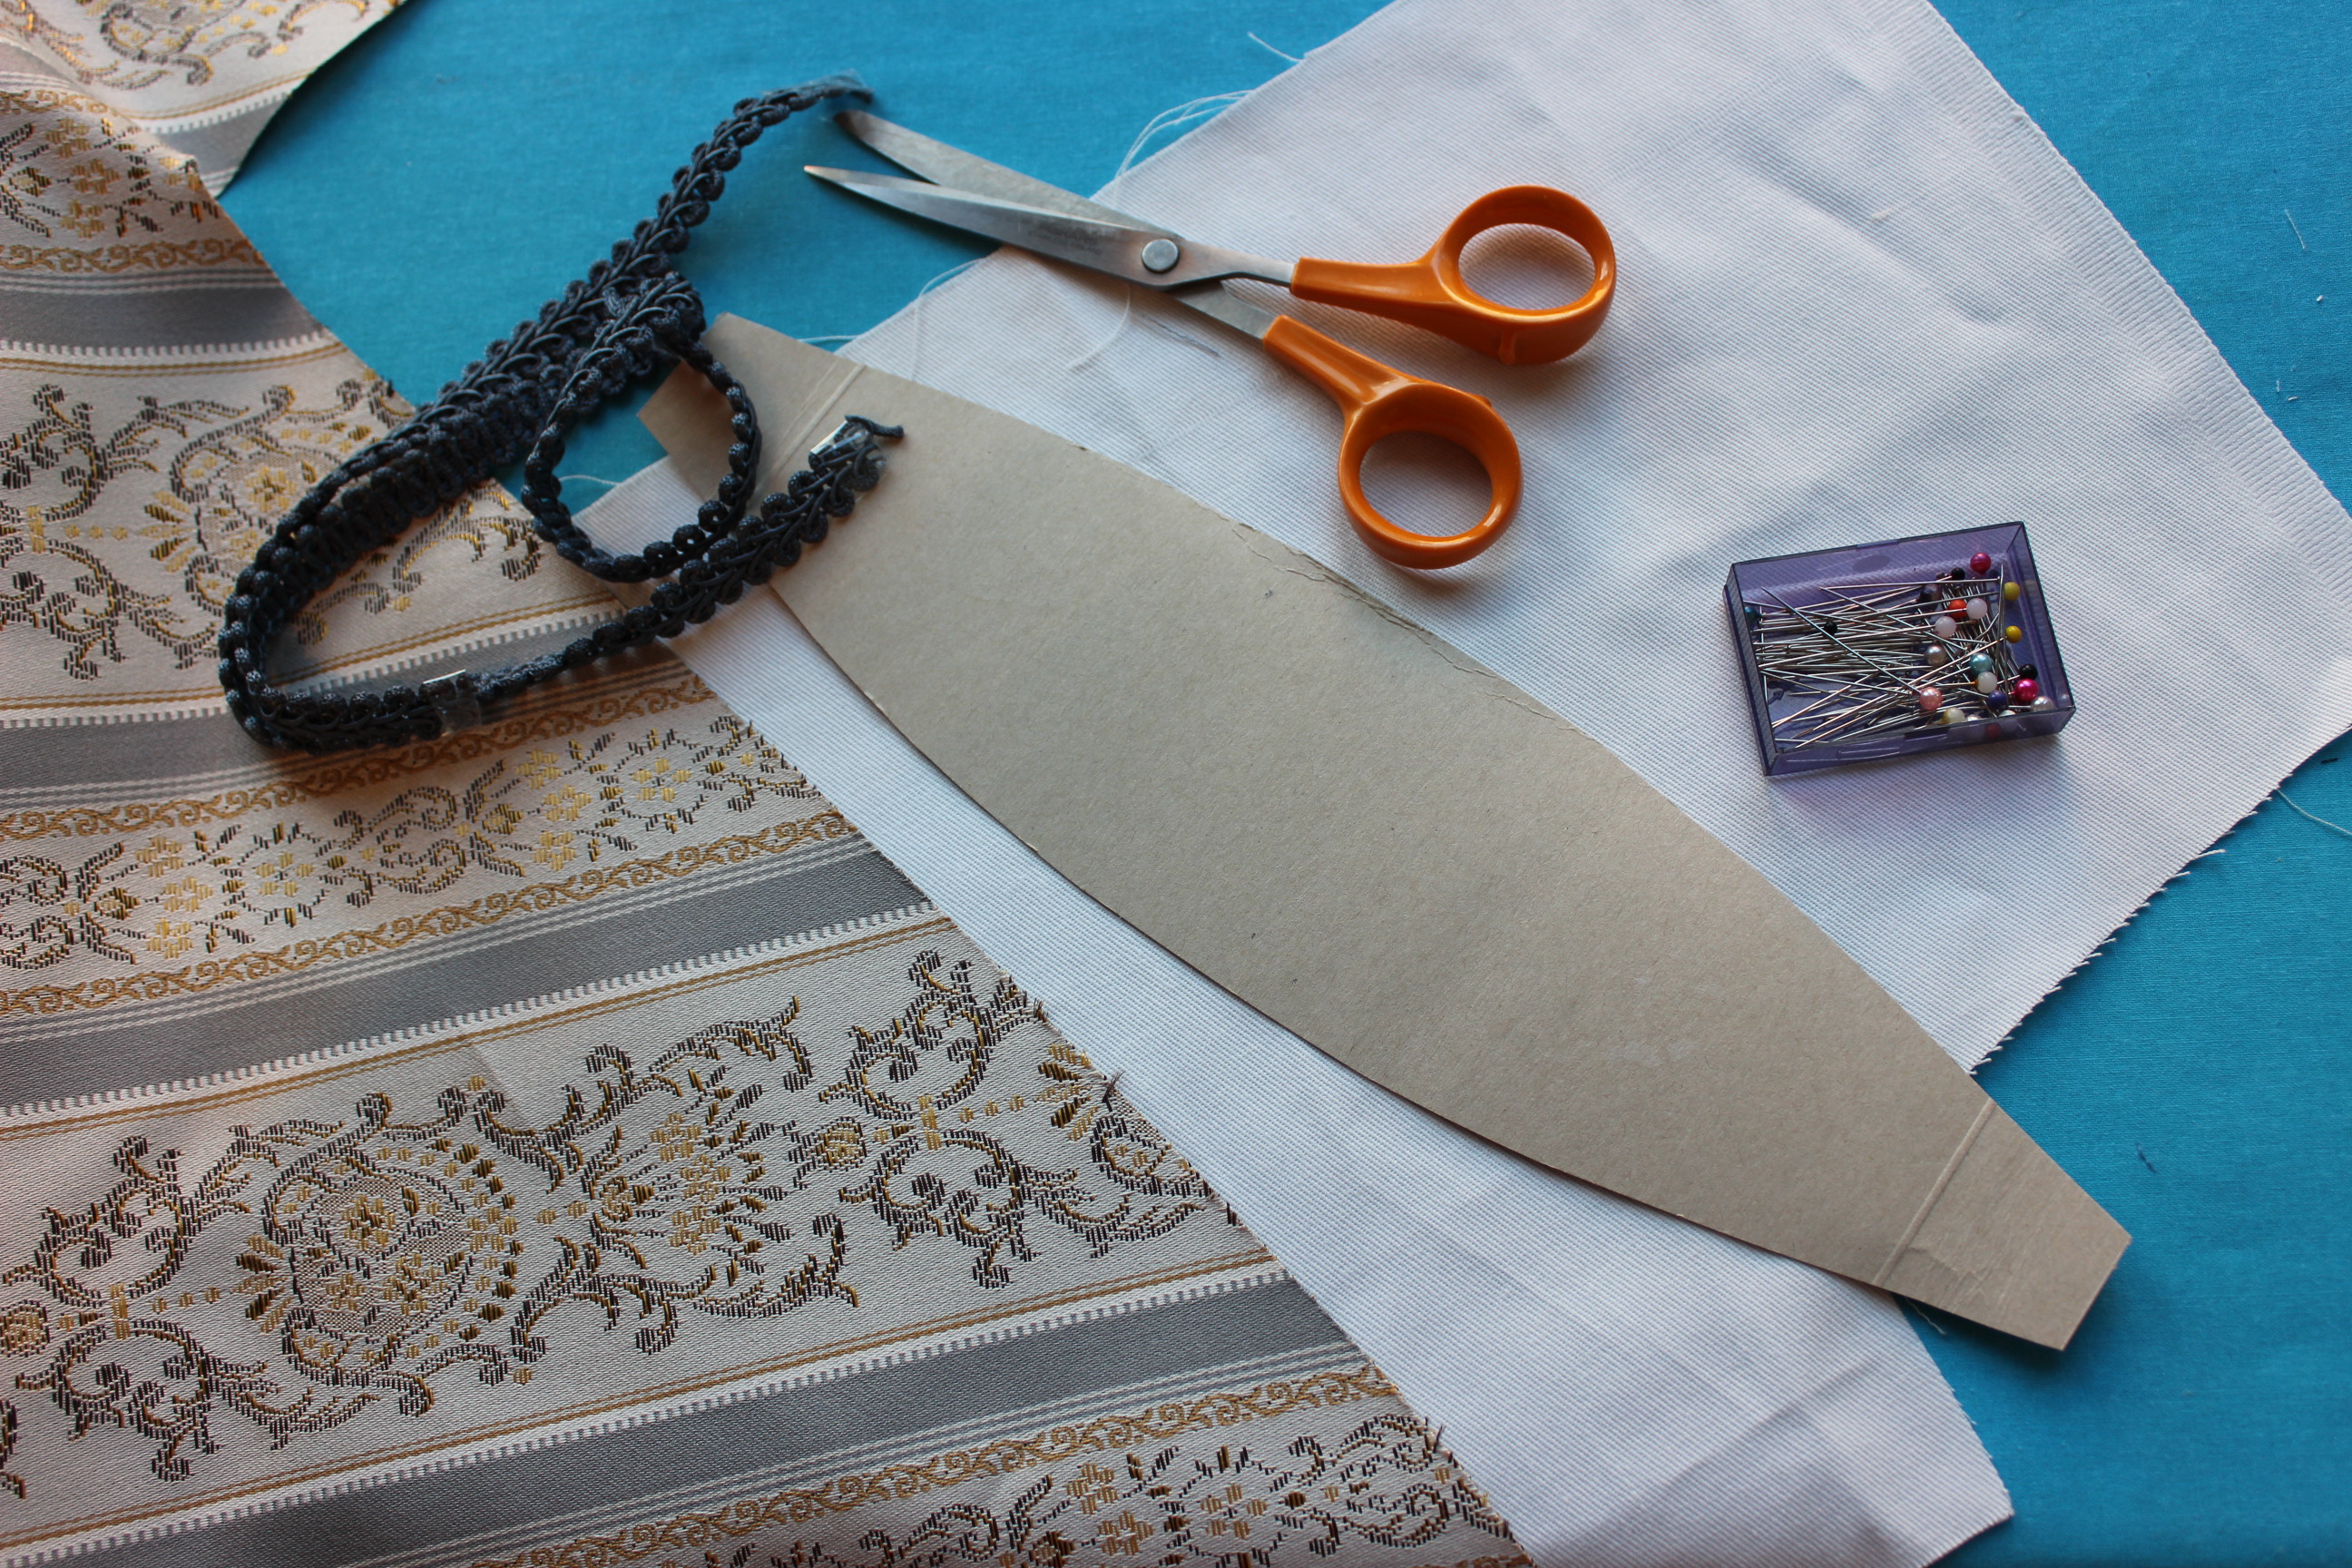
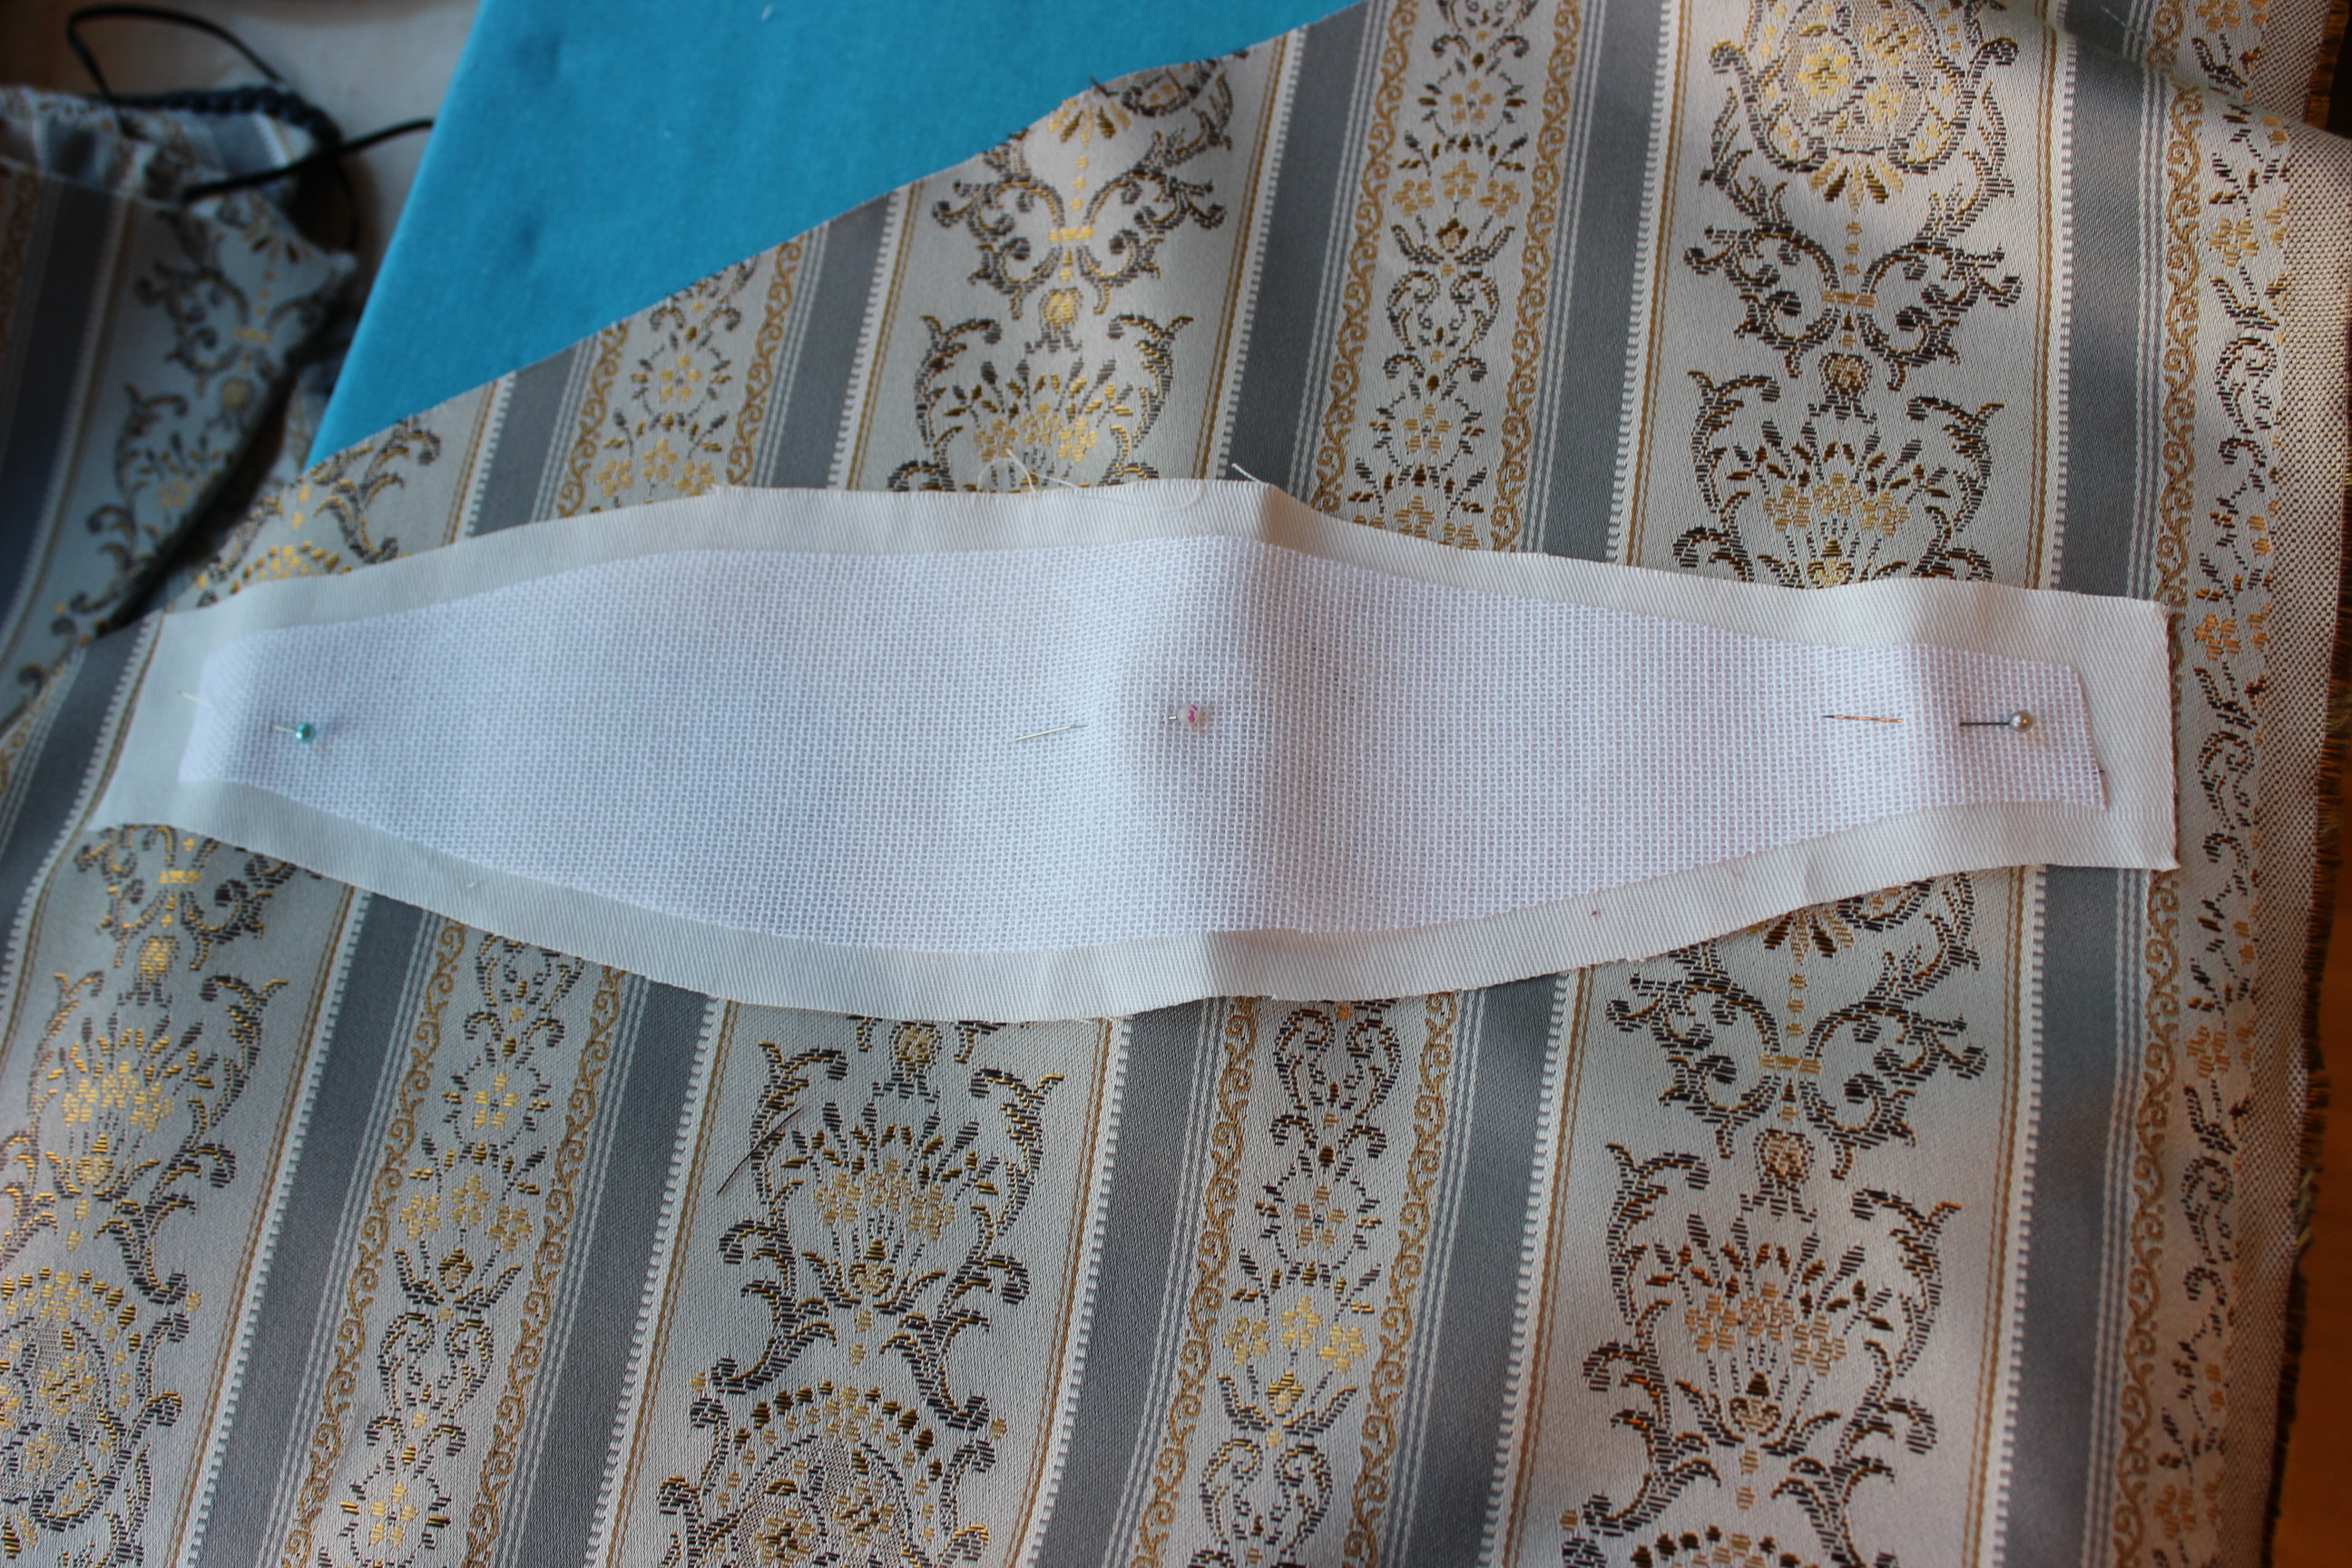


 Drafting the pattern
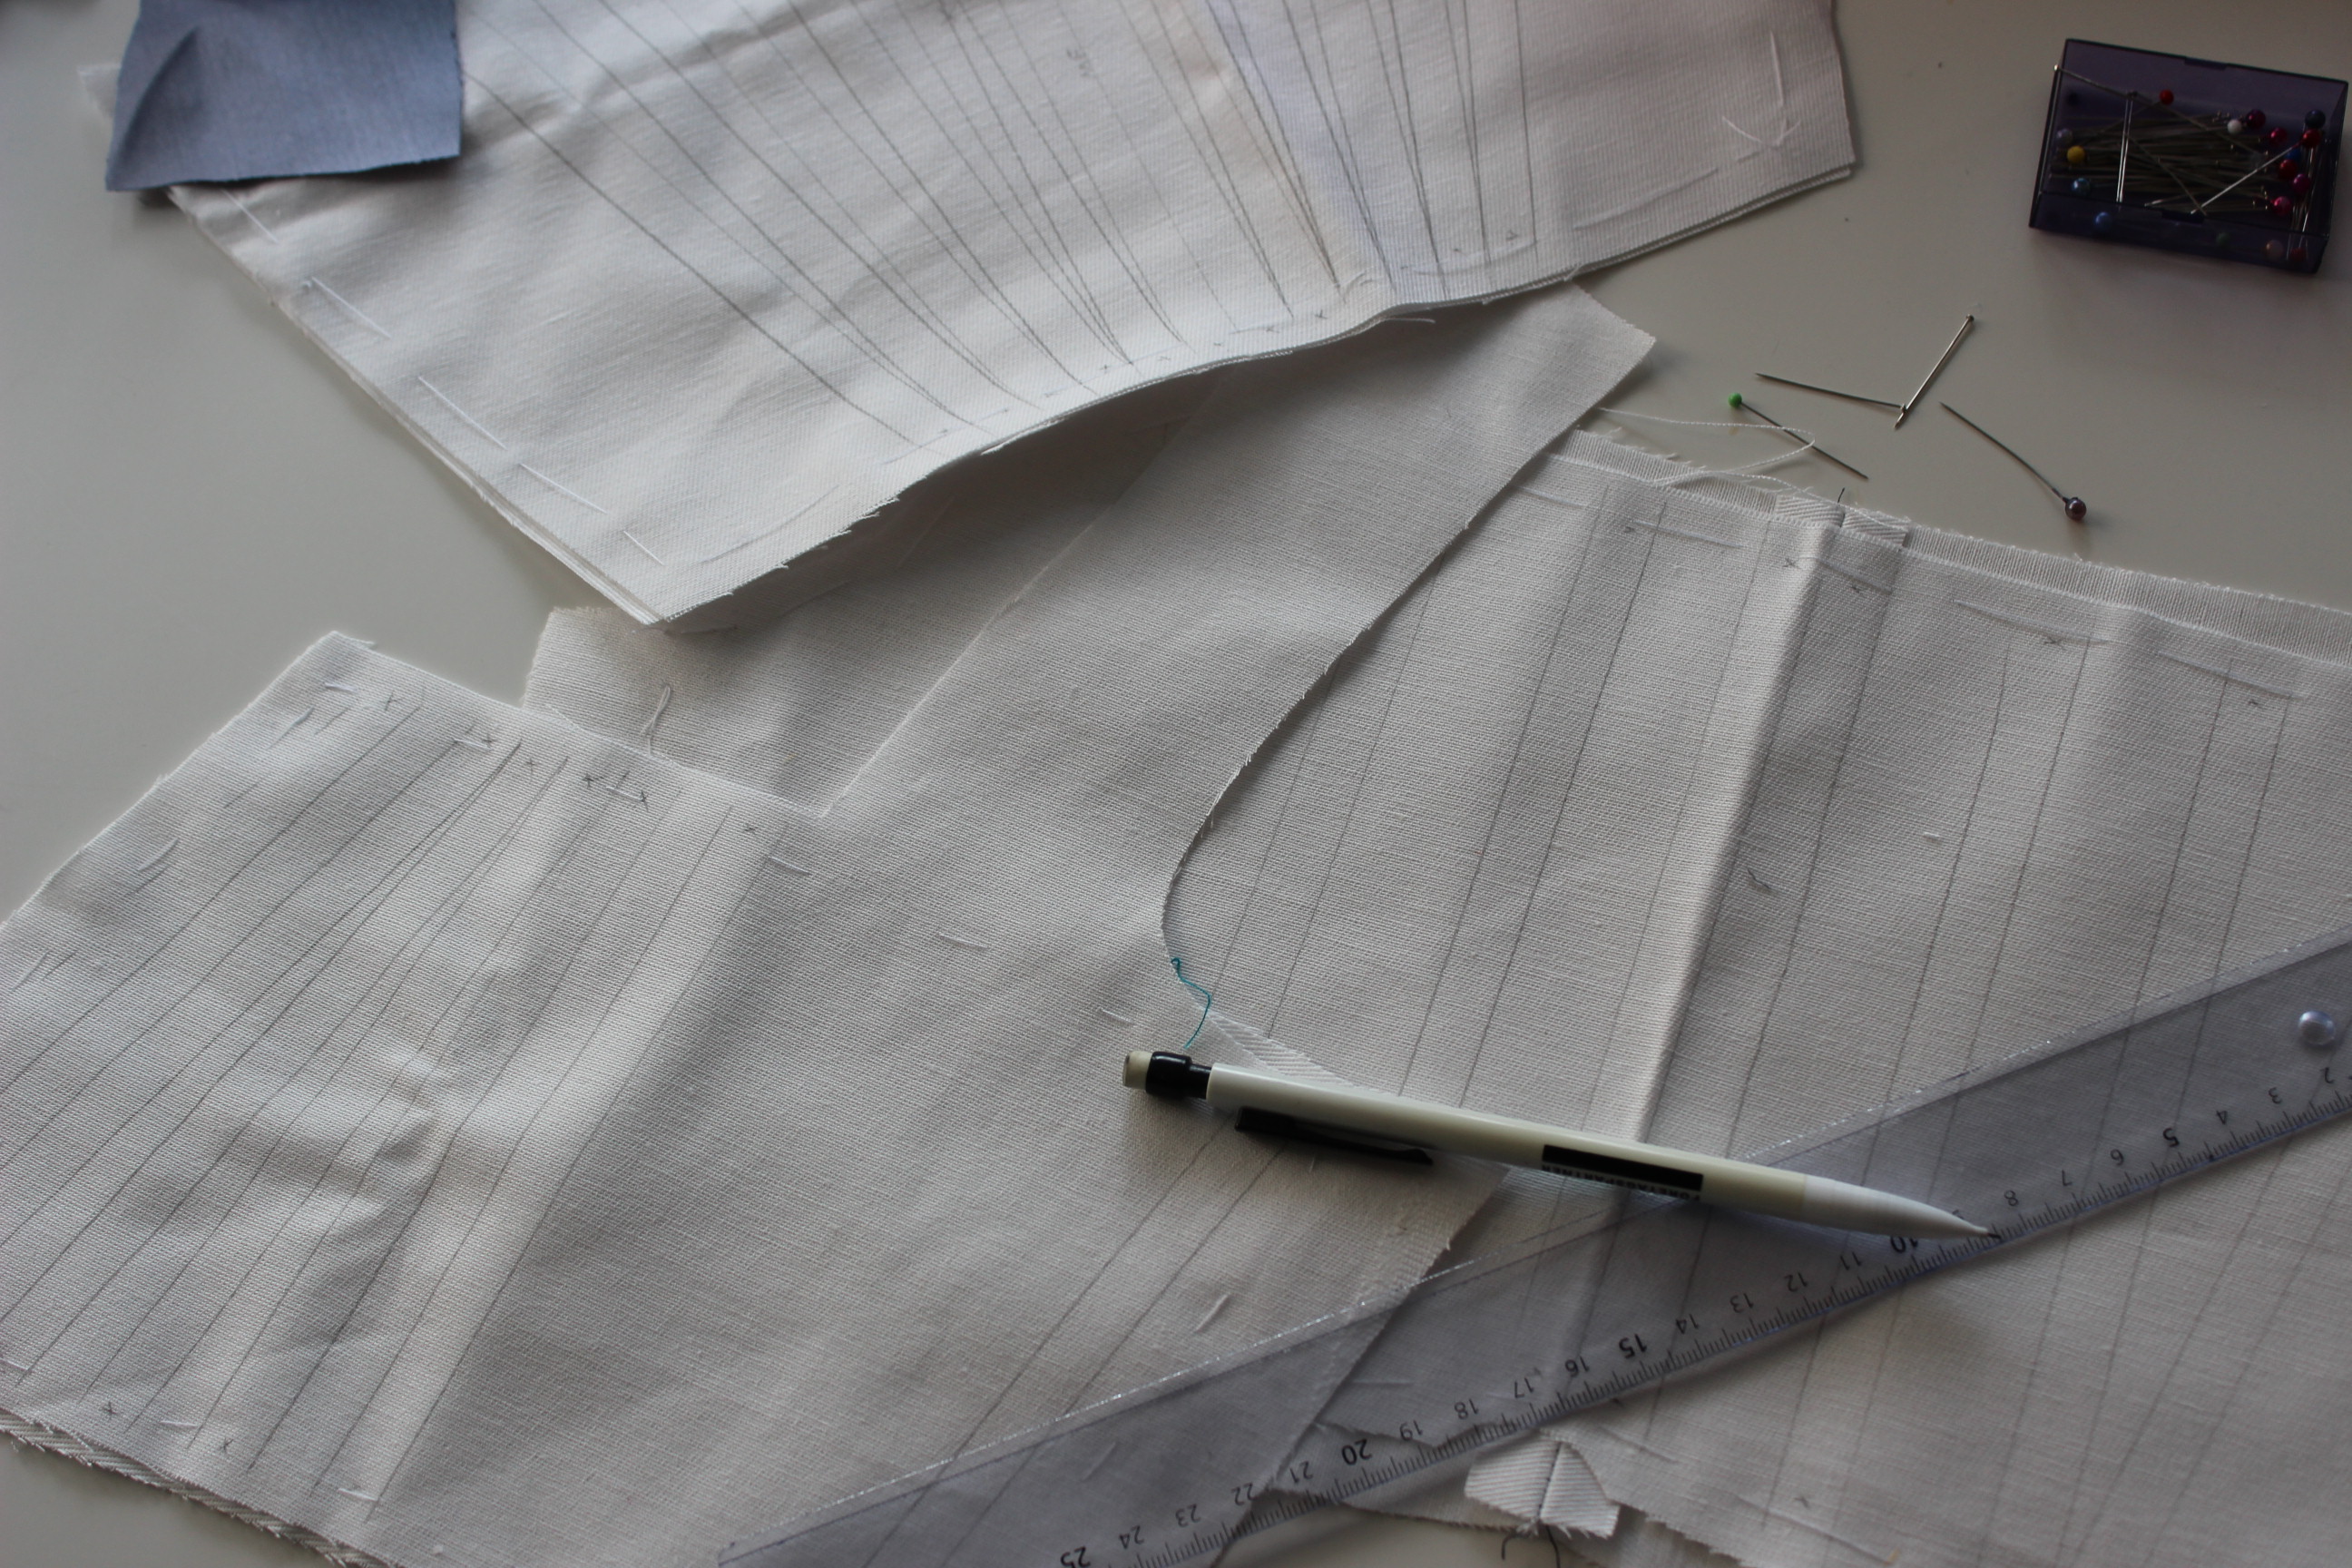

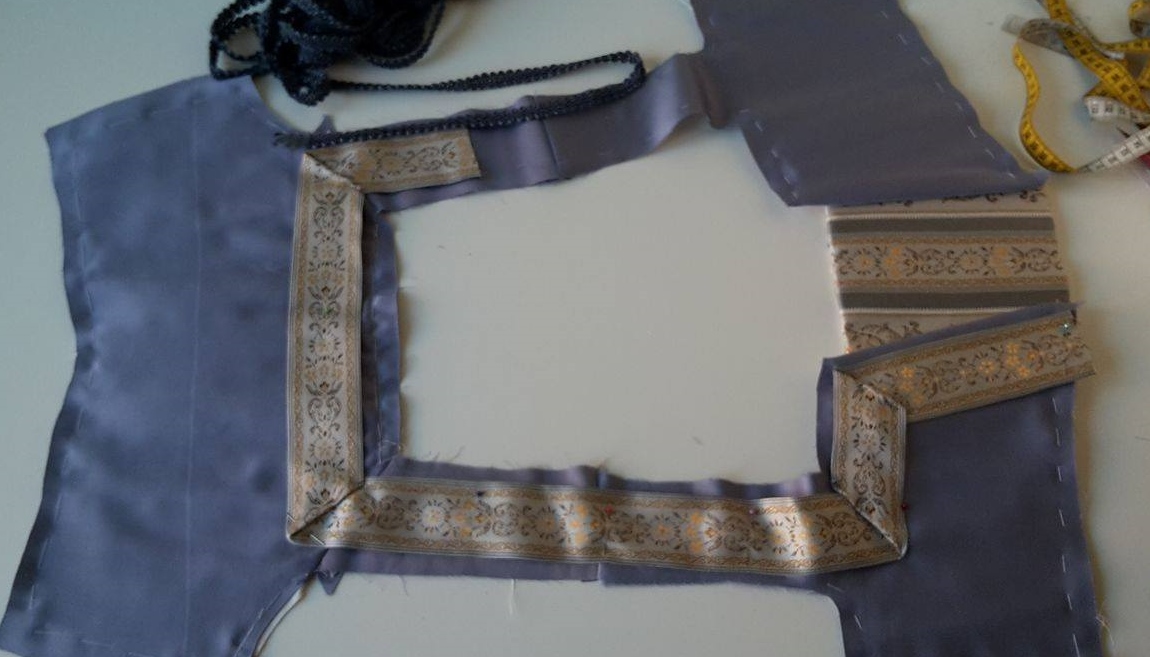


 that seam should really be on the inside…
 It’s a wonderful series About the 15th century pop Alexander VI and it’s full of betrails, sex, murder but most of all gorgeous costumes.


 I used the pattern for a


![images[4]](https://fashionthroughherstory.com/wp-content/uploads/2013/11/images4.jpg)