“Ariel”, meet “Camille”

From the moment I put the Ariel gown on, I’ve been thinking about ways to alter it to make it more flatterning, tous make me like it more.

I very seldom re-work and alter my costumes. If there is some item I don’t like, I usaly just putt it in the bottom of the costuming box and forget about it.

But this time I figured I give the re-working a try. And after reading all the tips and encuragment from all of you, I decided I was definetly going to try to make it into a more lovable gown.

But how?

After some image searcing, for edwardian dresses, on the internet I came across this pic. Camille21 It’s Camille Clifford in a white “pigeon bust” gown accessorized with black belt and hat.

I emmediately decided to try to re-style my Ariel gown into Camilles beautiful dress.

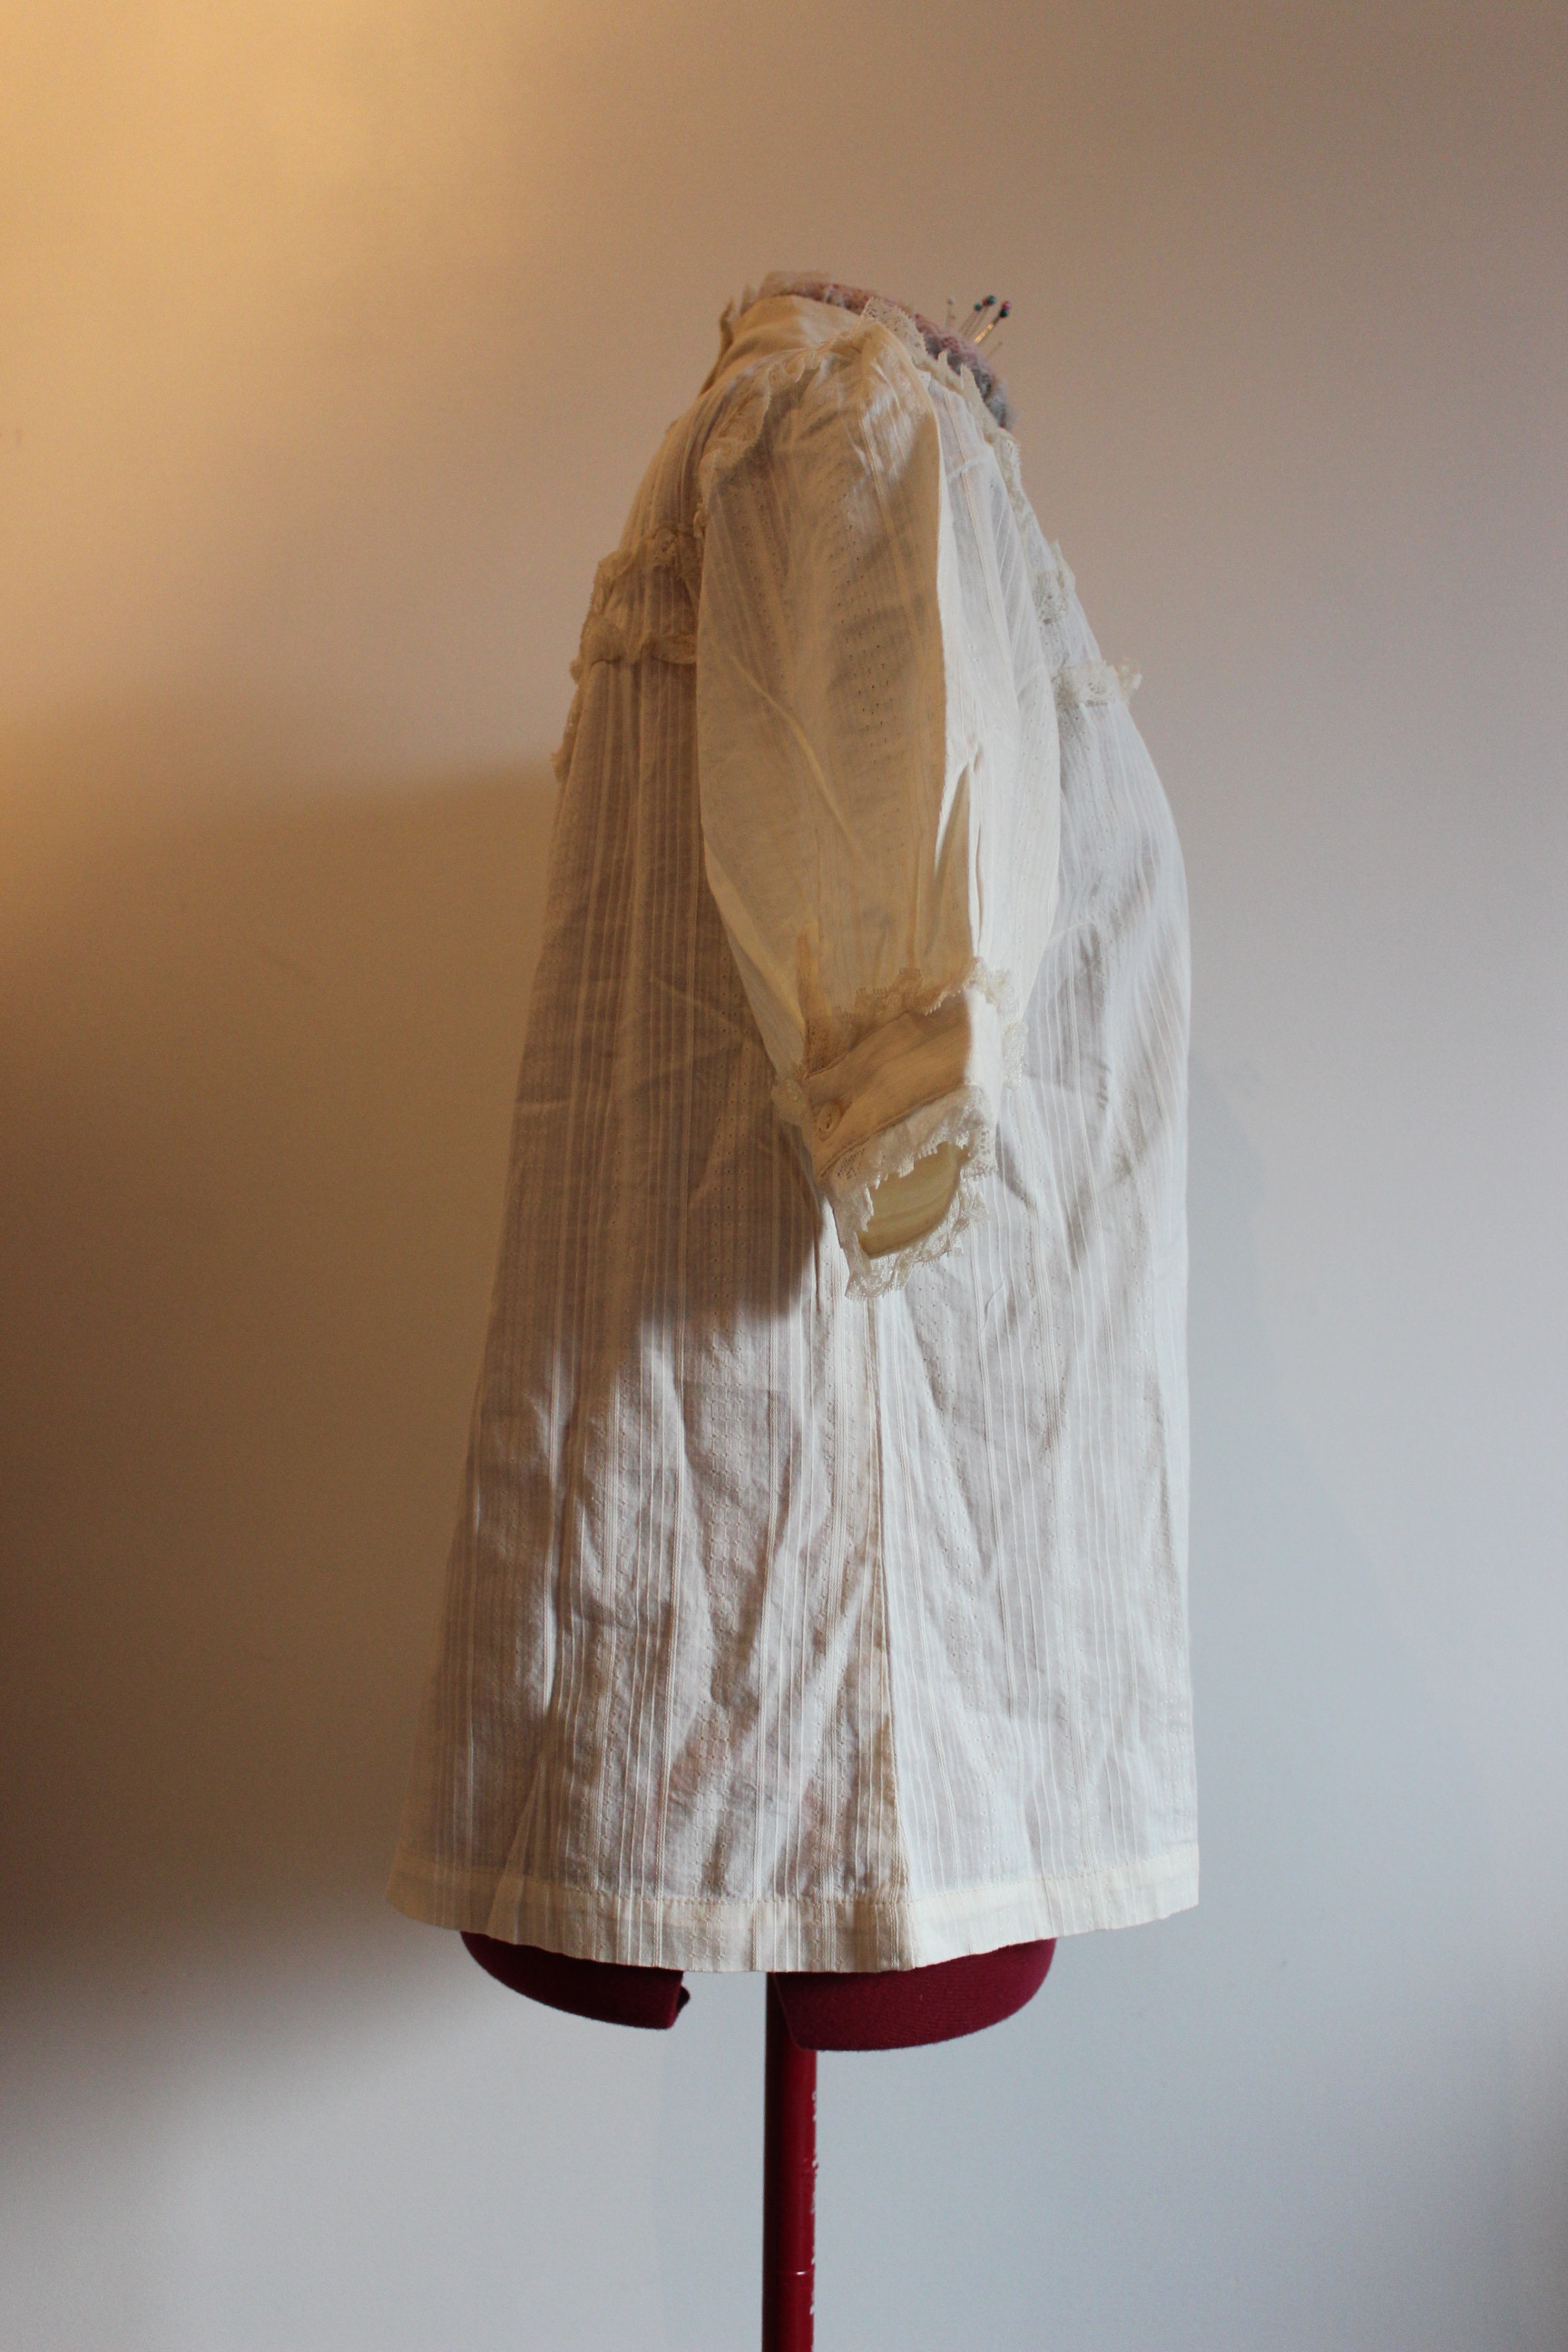
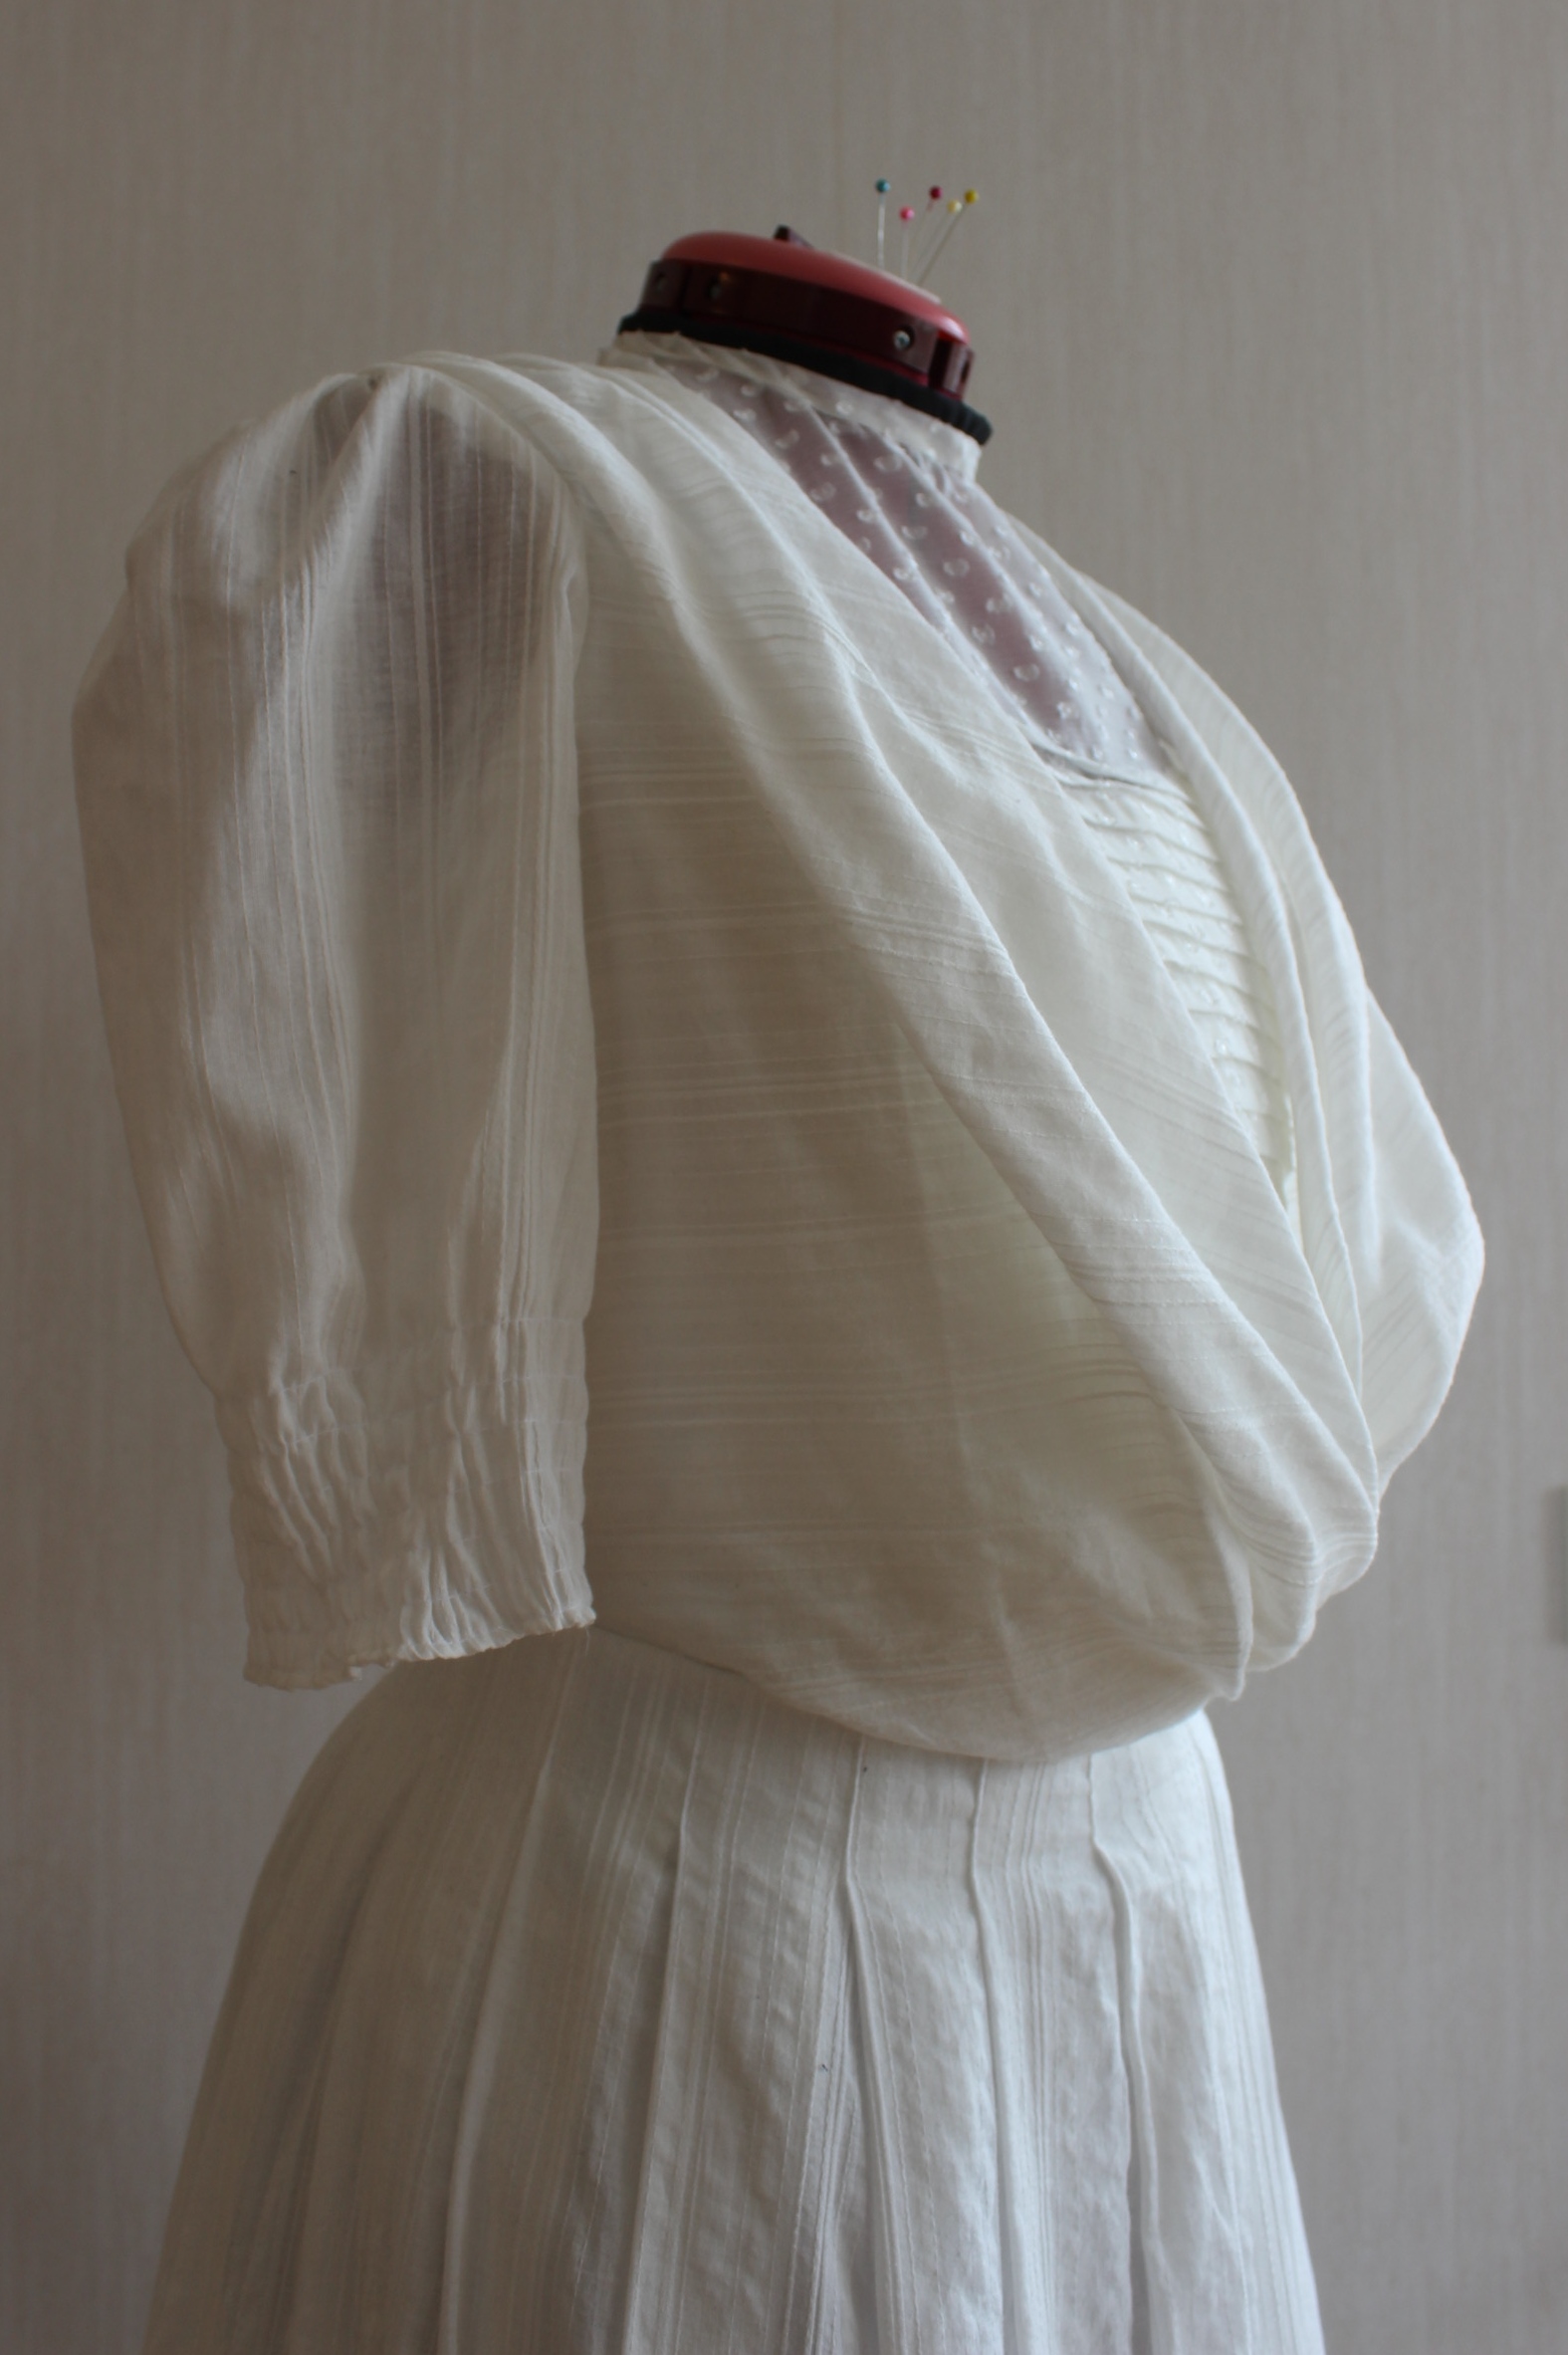
So, I needed to go from this…b494ff618d0617fcfd3b9dc06ed0a0f5

…To this.b17-1(the black line highlighting the low neckline is a later addition by who ever had the picture before me).

I realized at once I was not going to manadge the black colour fading on the skirt, simply because my fabric didn’t had the toning. Nor did it had the flowery design, and I did not had the time to cut and attach several hundreds of flowers to get the style completly right. Maybe that will be something to do later on, if I decides I like it this time around.

But on to what I could do.

I started by ripping my gown appart, separated the bodice and skirt. IMG_7108

Ripped out and re-cut the sleeves to get rid of some of that high pouf I prevously had. IMG_7115

And getting rid of the cuffs. IMG_7106

Then I started to assemble it again.

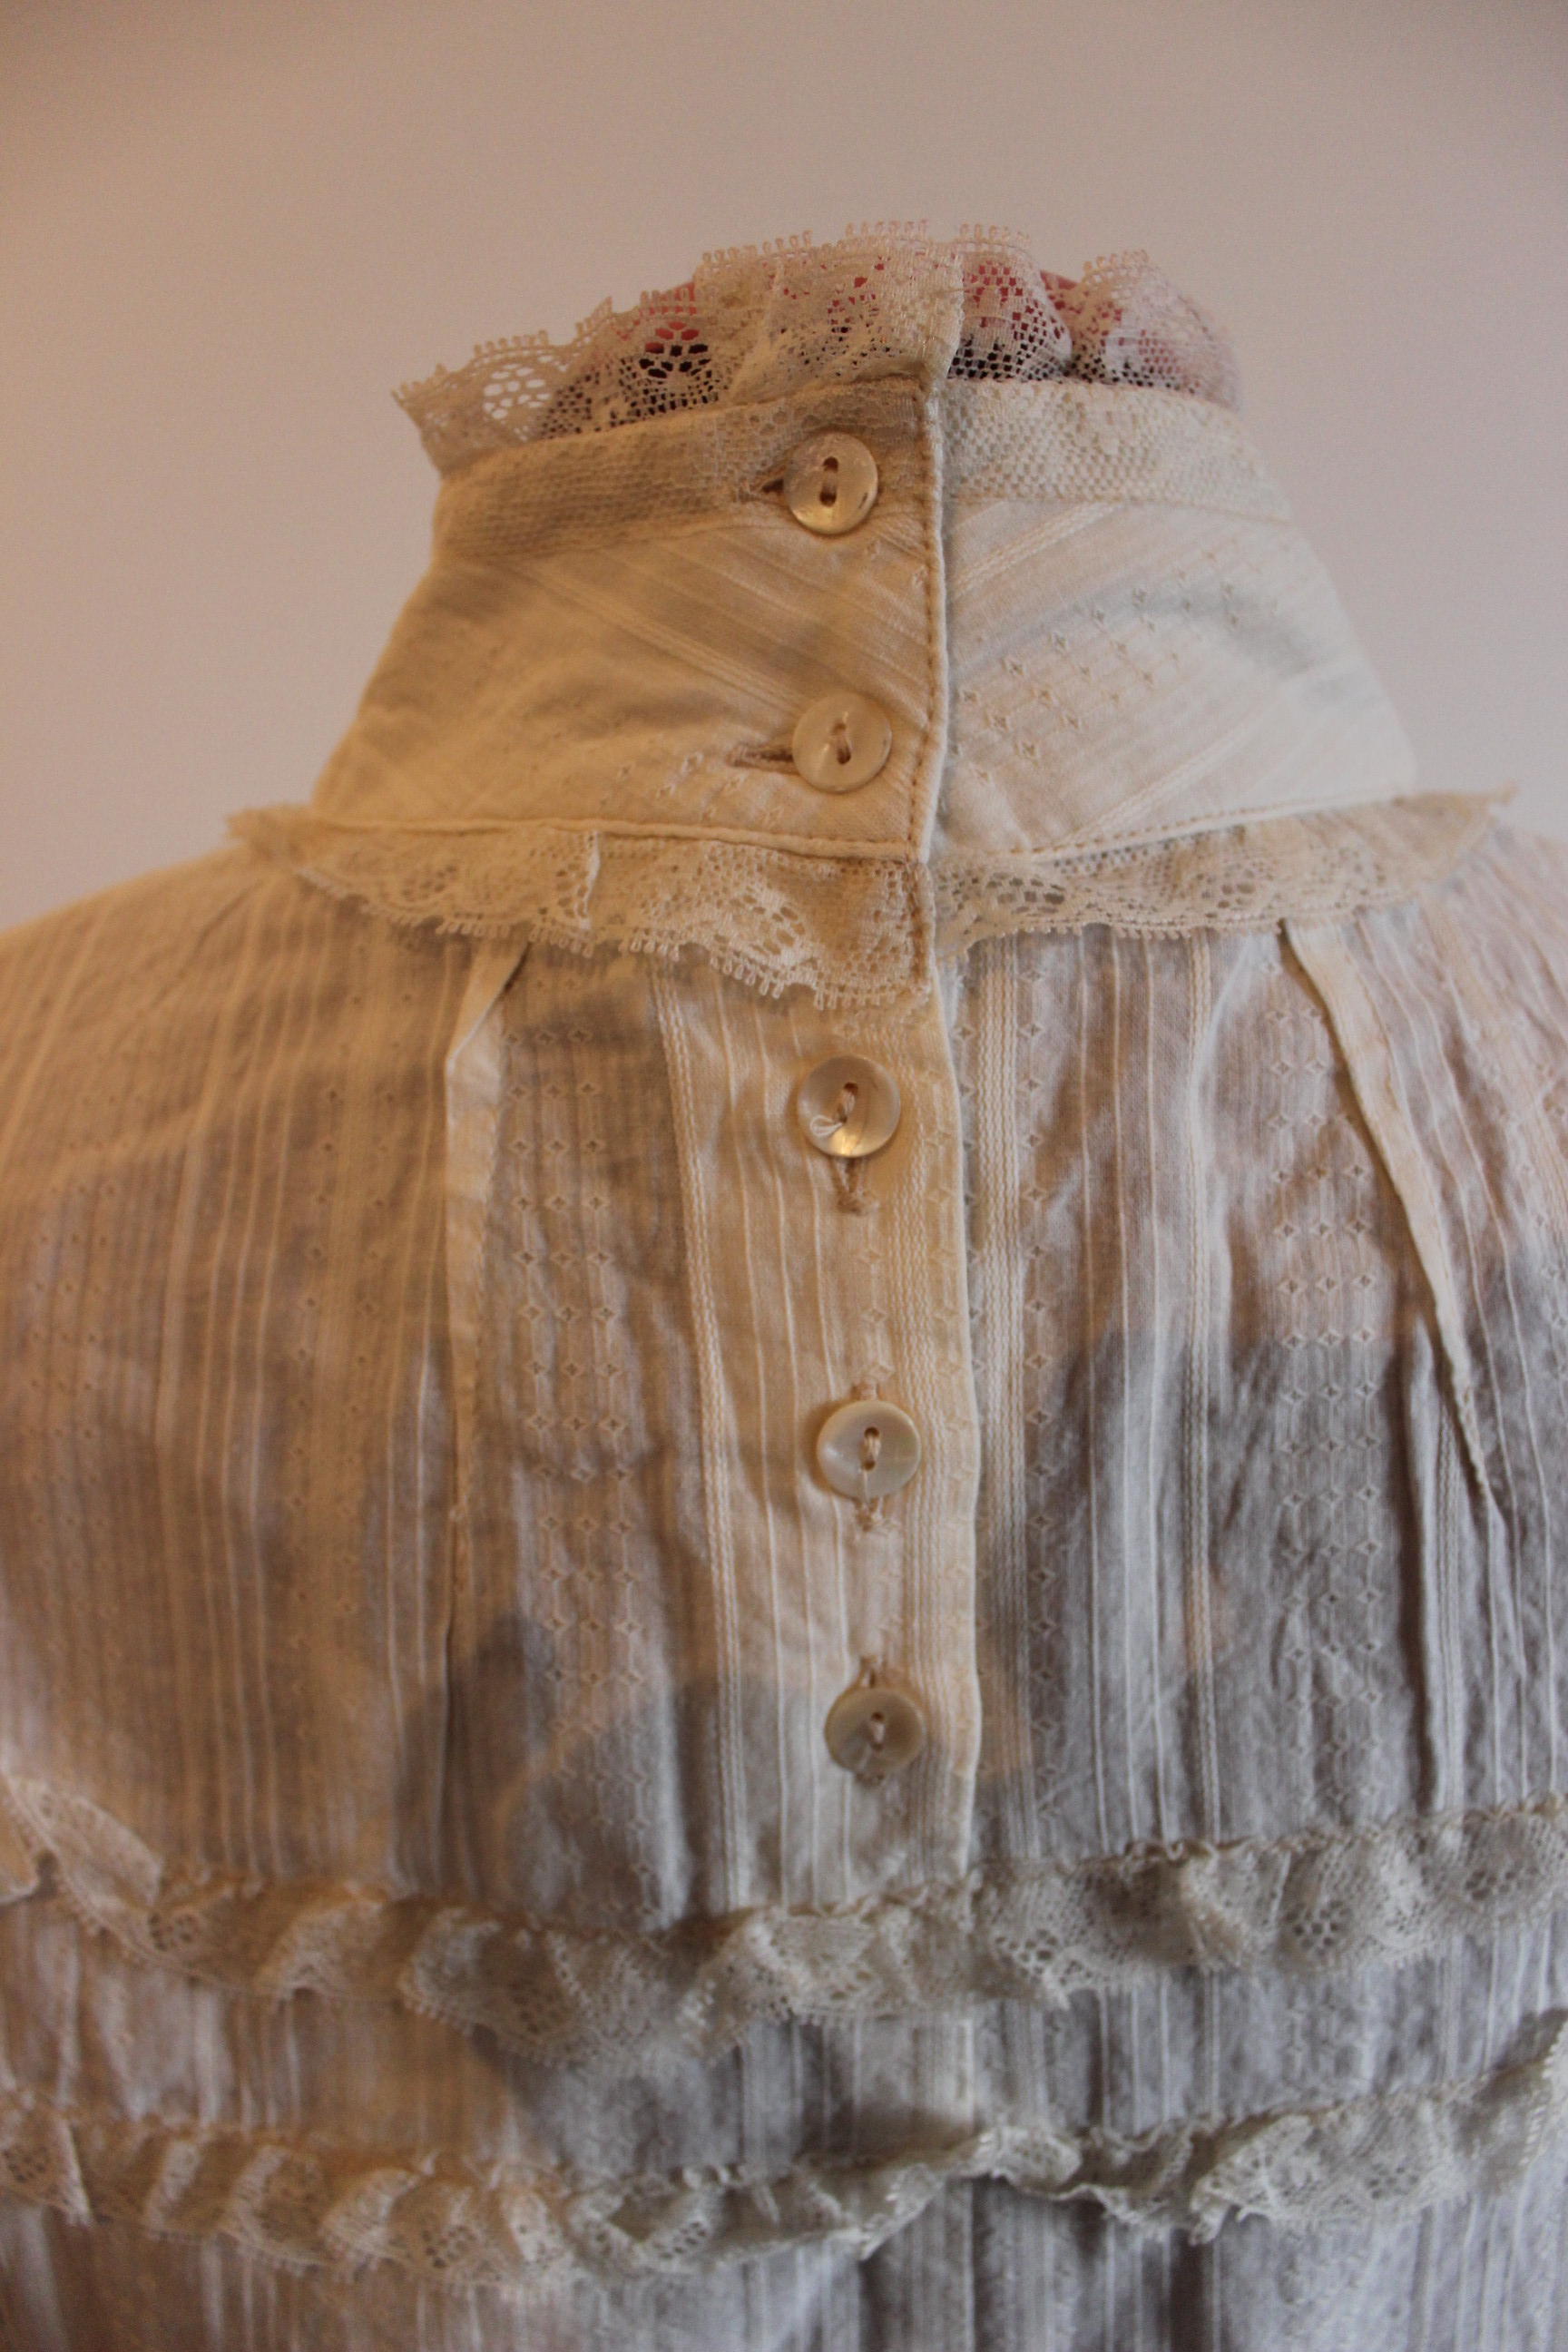
Attaching a black self made bias tape to the collar, to mimick the high sharp collar of Camilles gown. IMG_7187

Then I got on to the sleeves. Gattering the sleeve head, and changing the design of the sleeve-end from cuff to rusching.IMG_7181

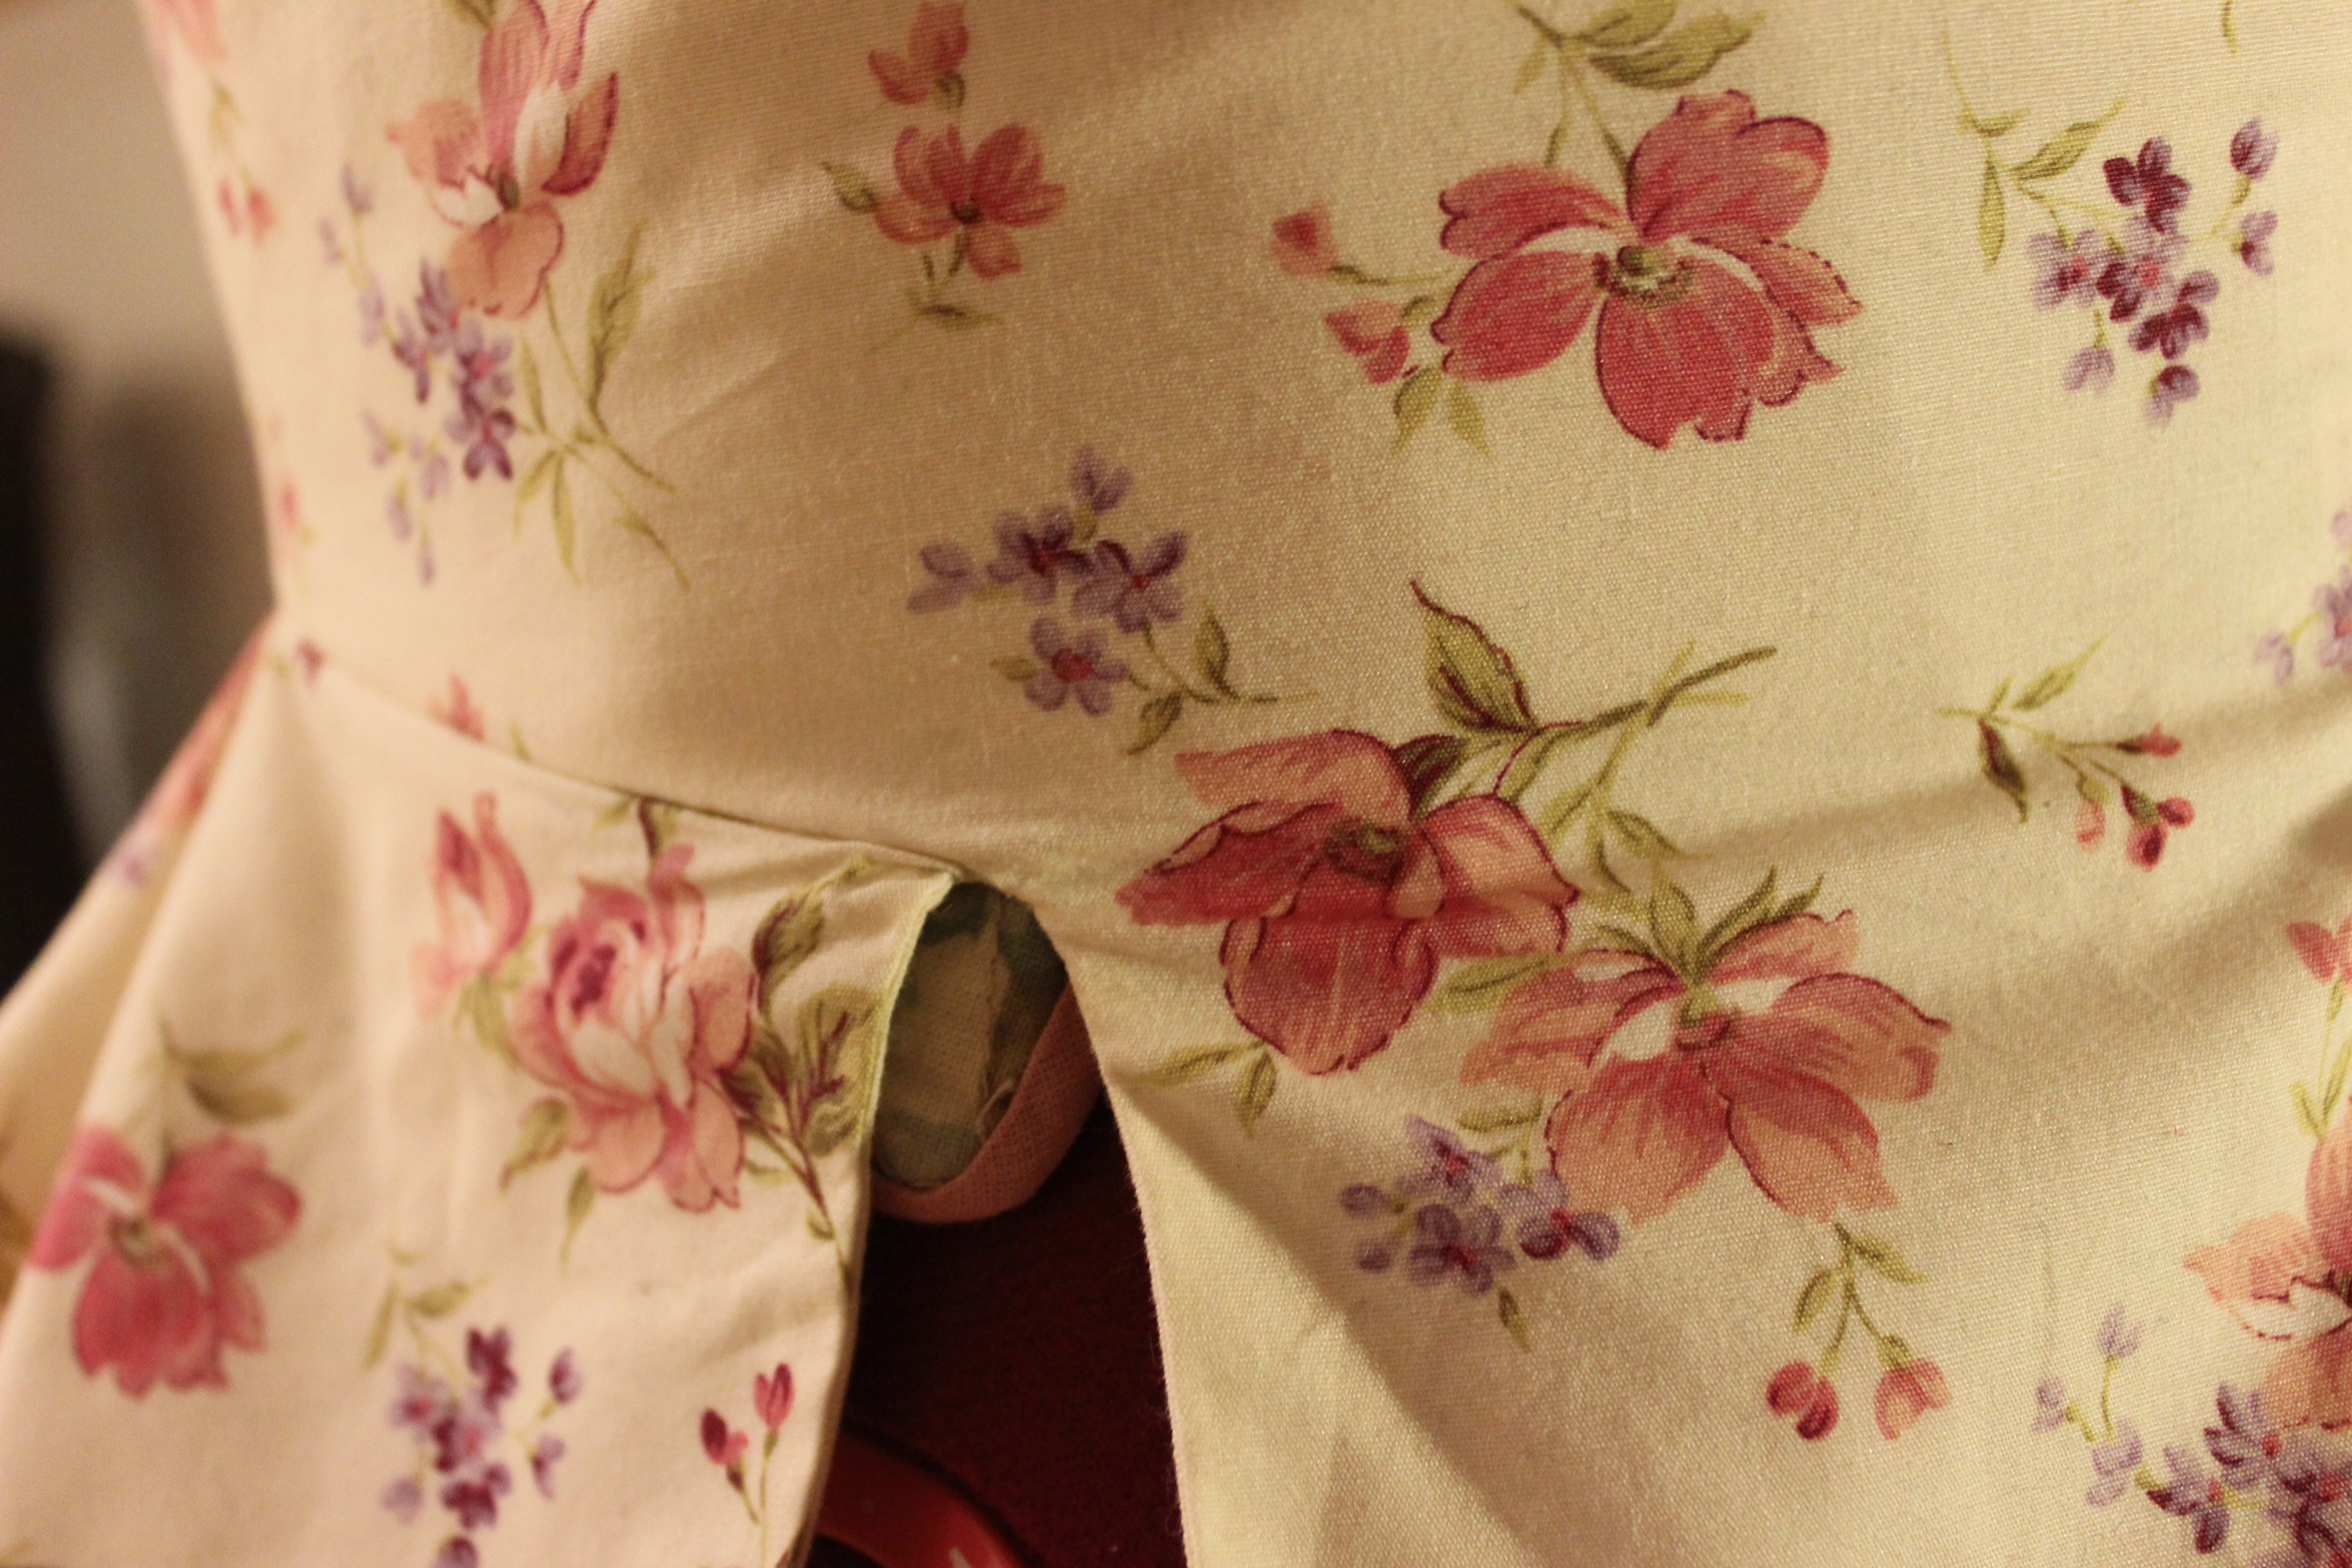
I re-stiched the bodice to the skirt, rising the waist a bit in the process.

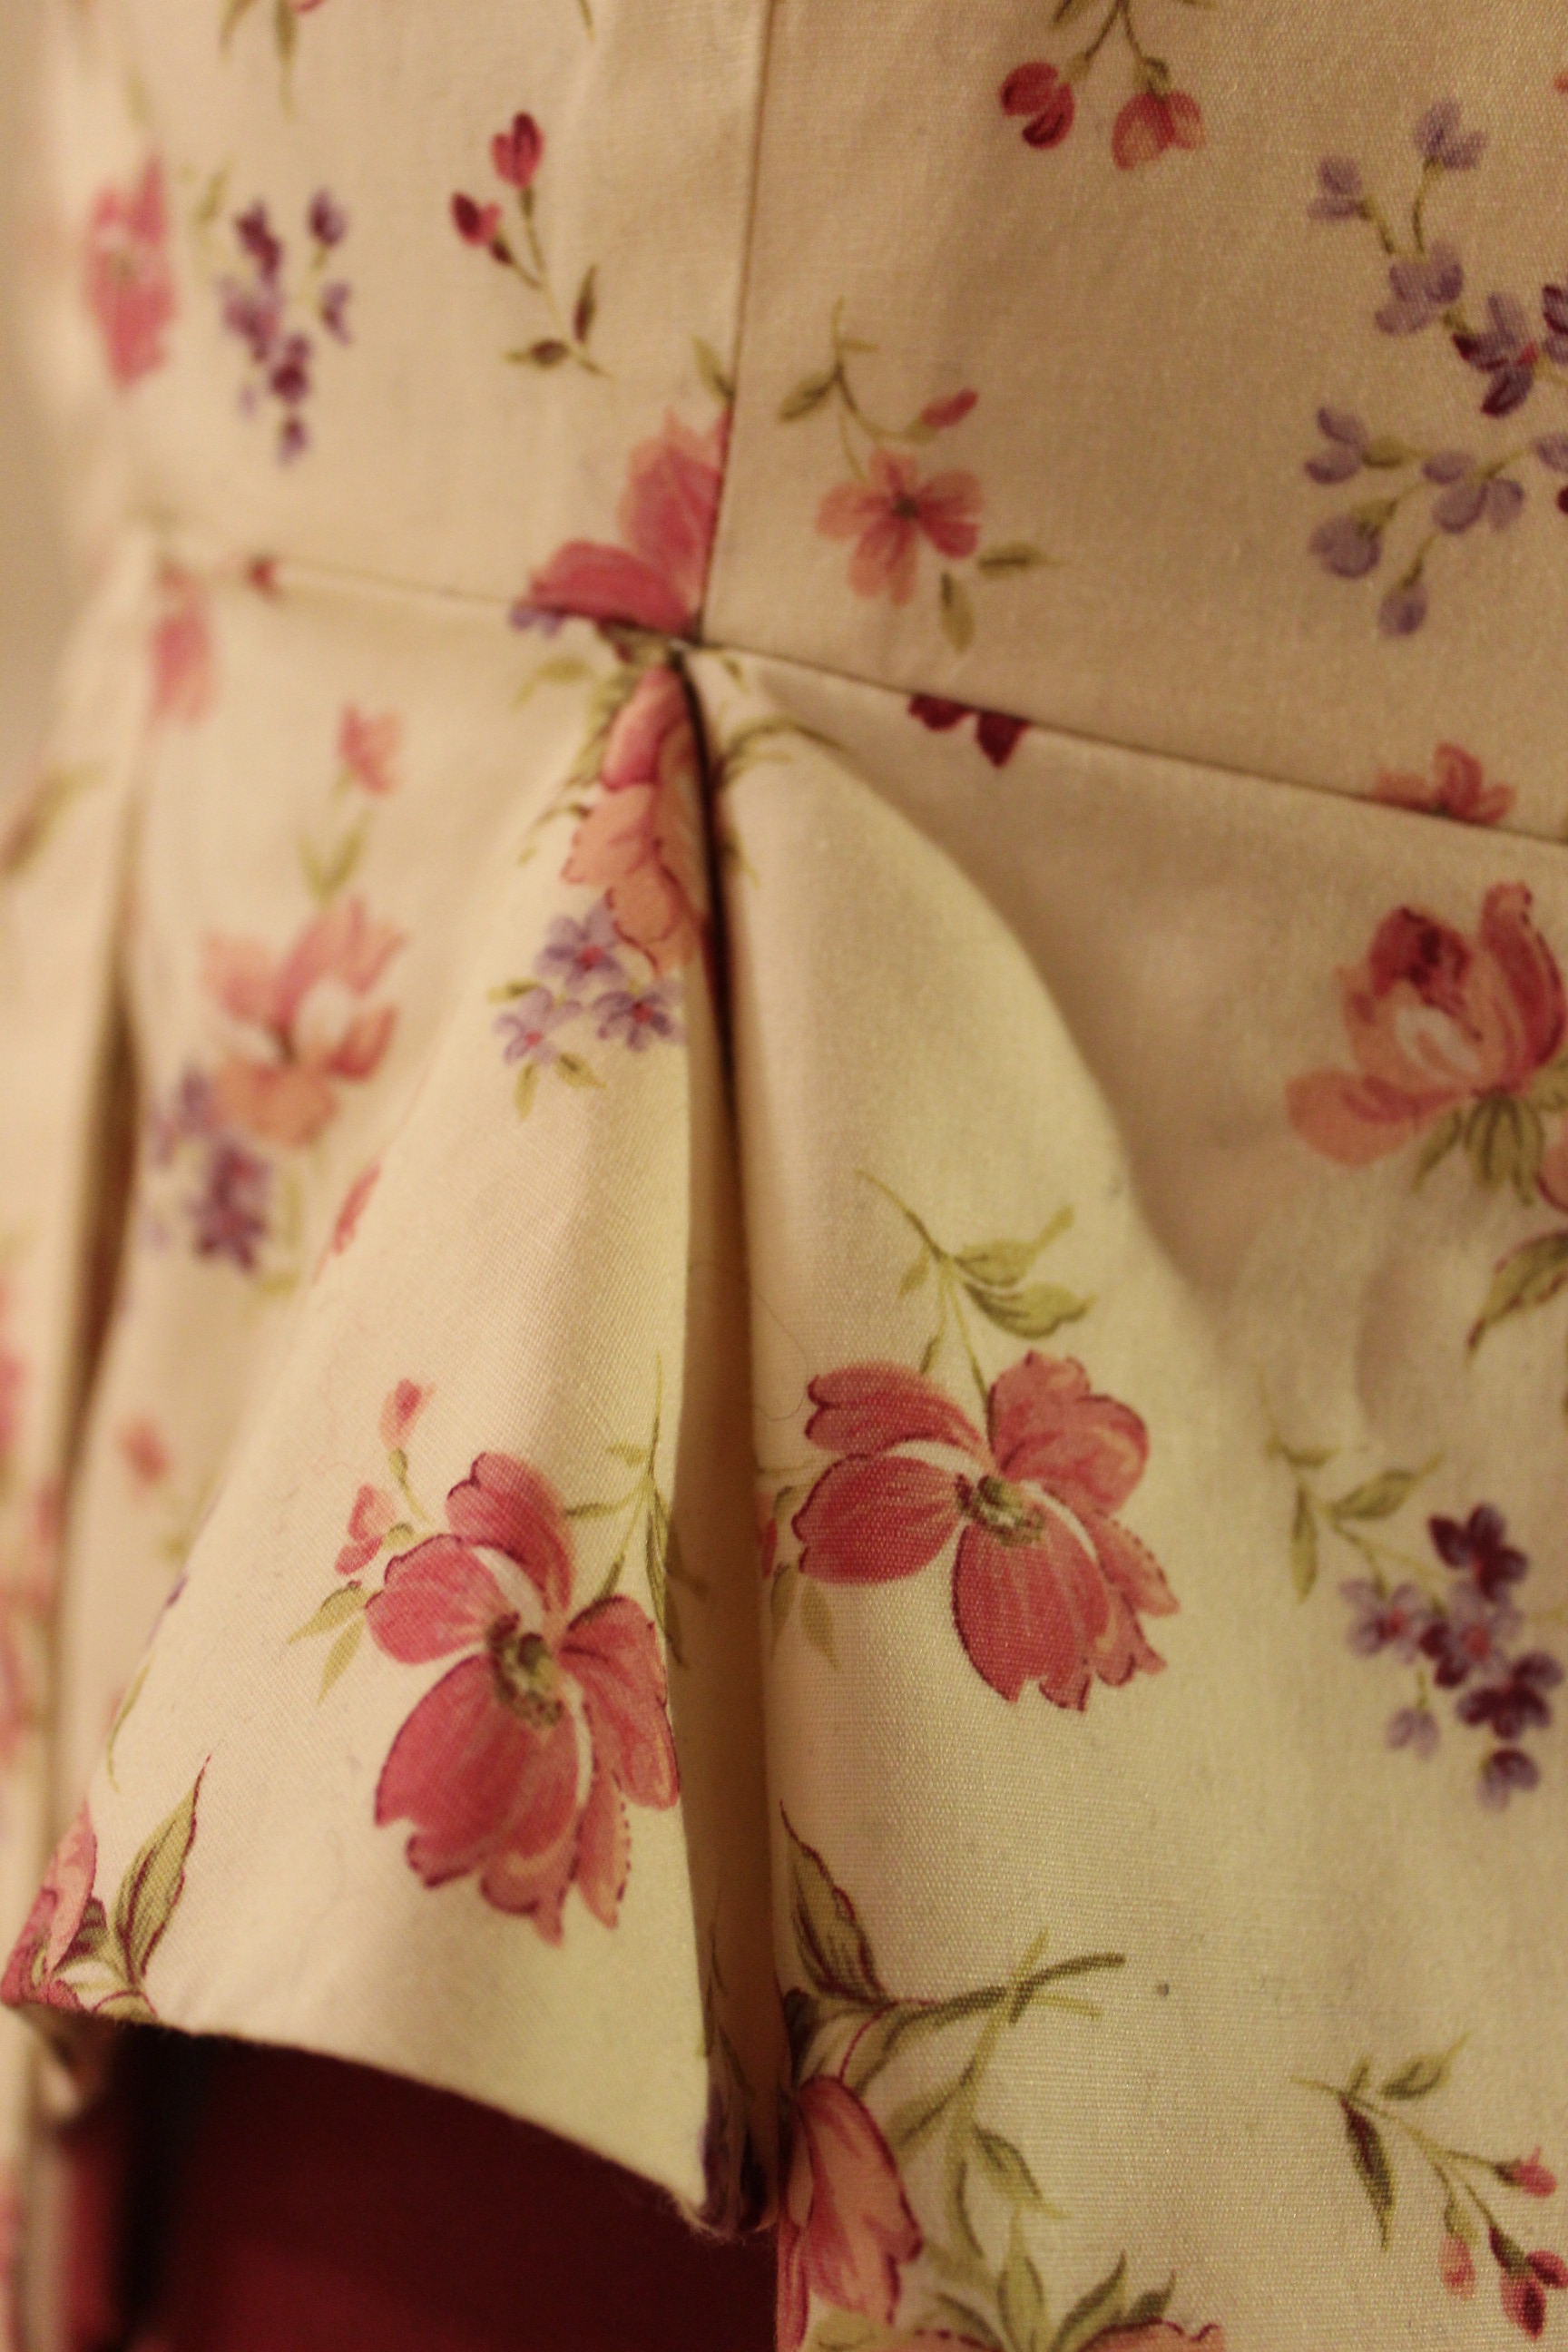
I also experemented a bit with the flowers from the previous design. IMG_7105 Making them smaler and pinning them to the sleeves, bodice and skirt. But decided to pospone that project to the future.
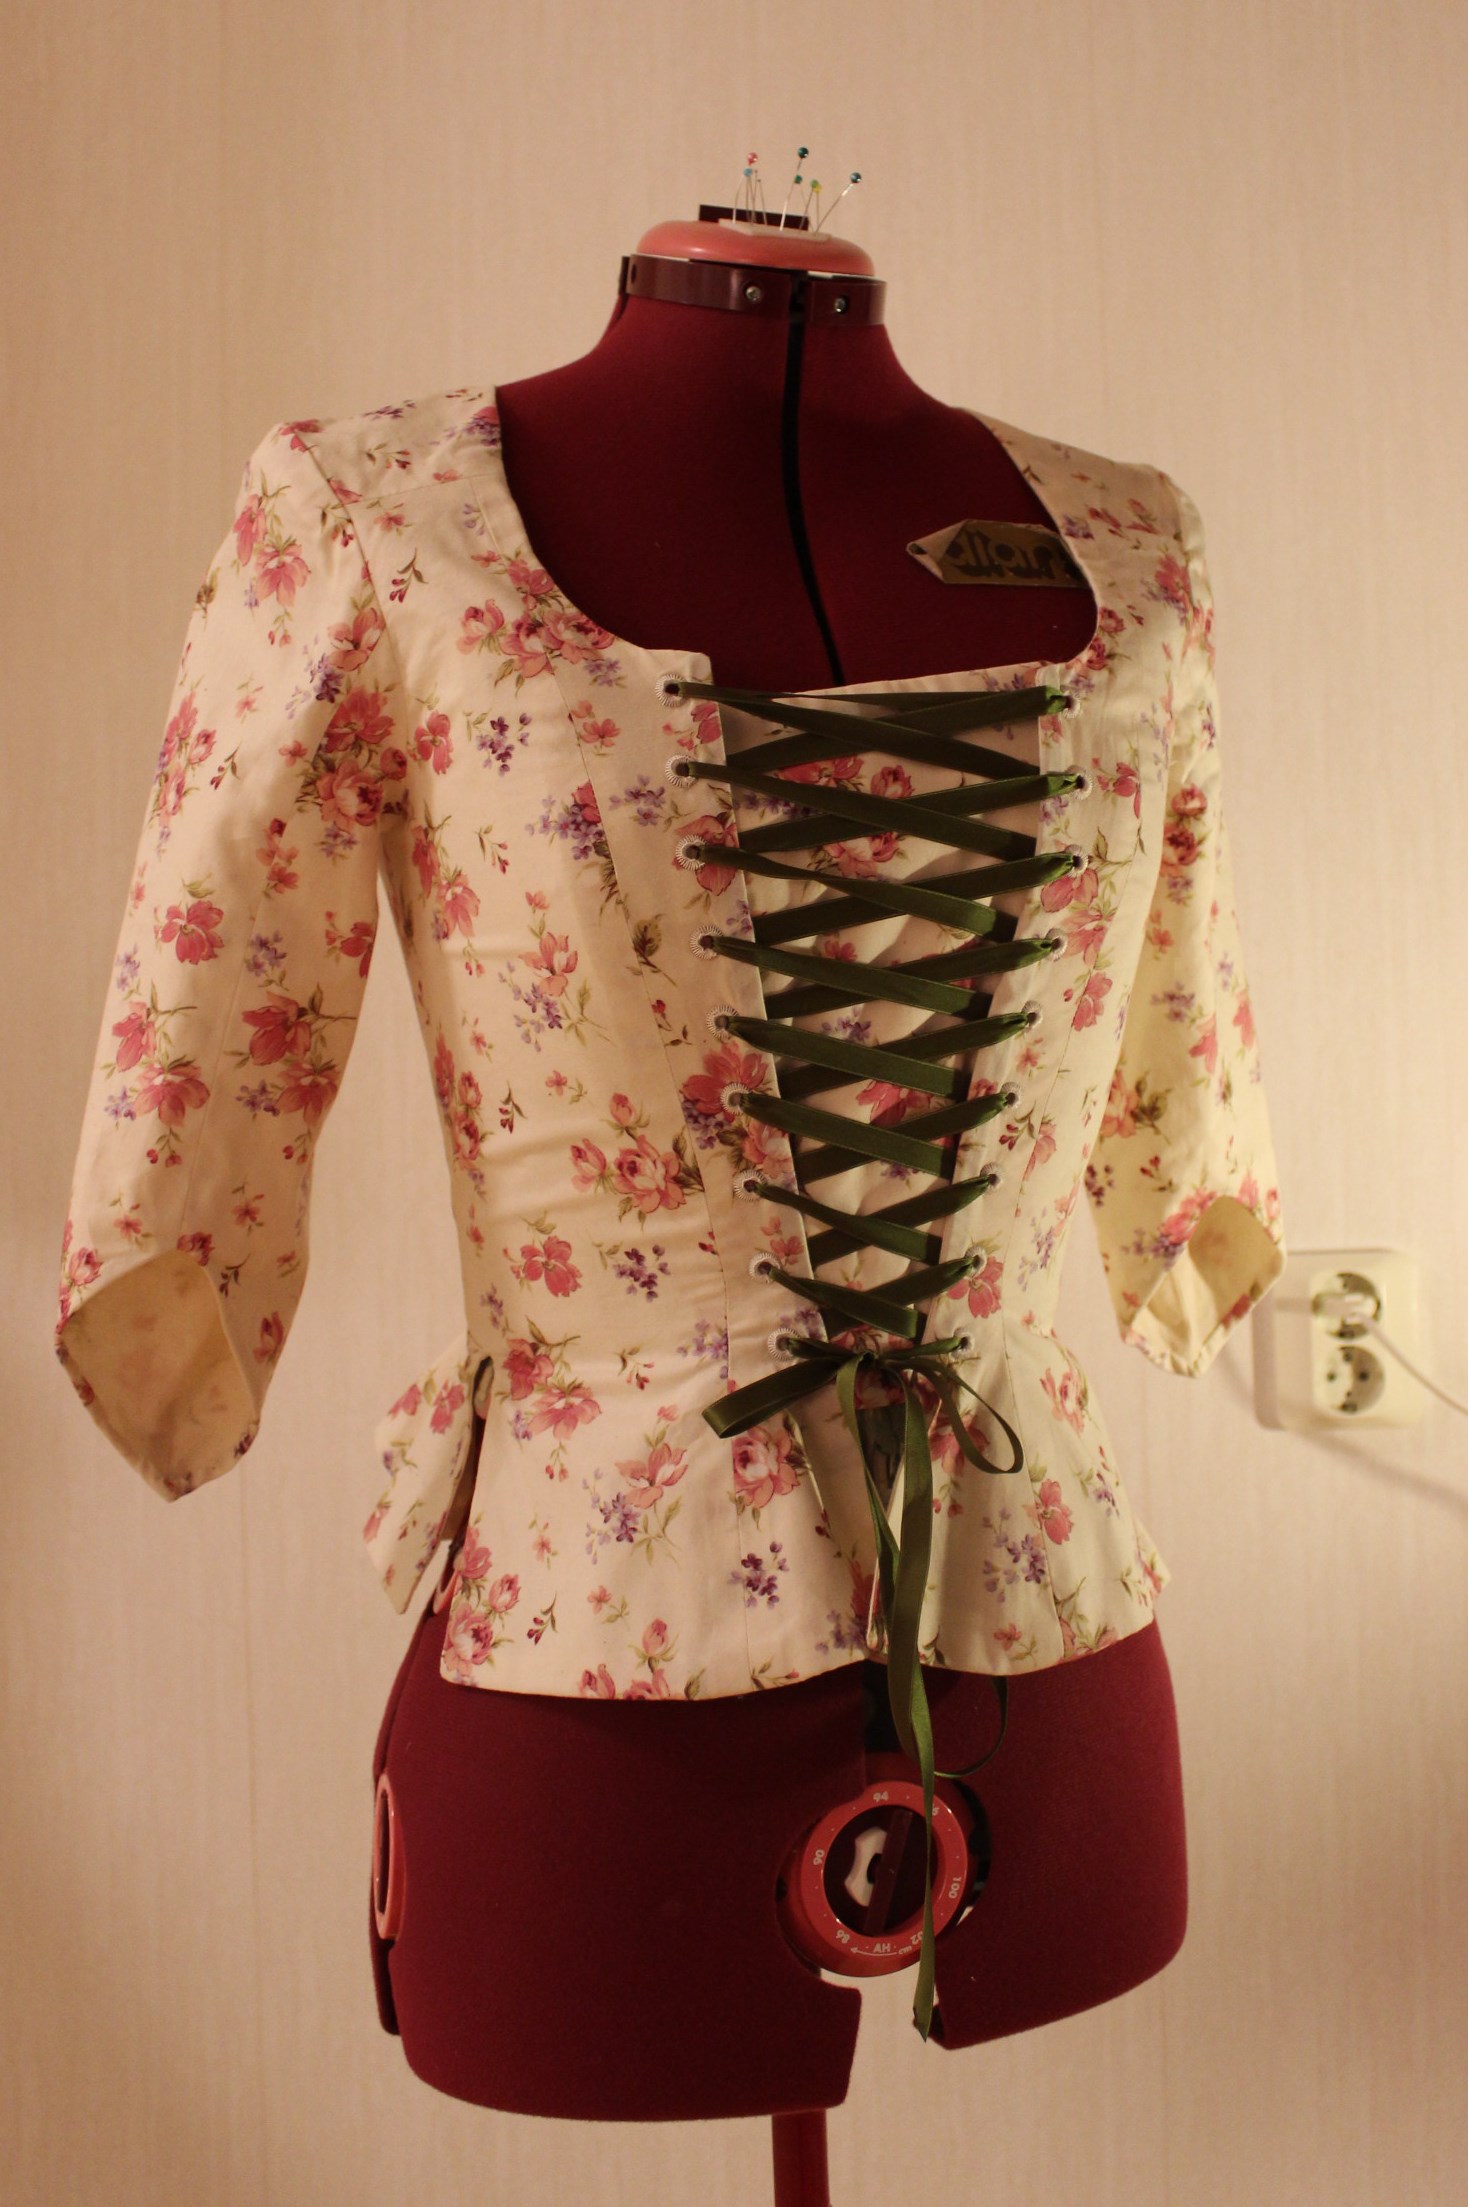
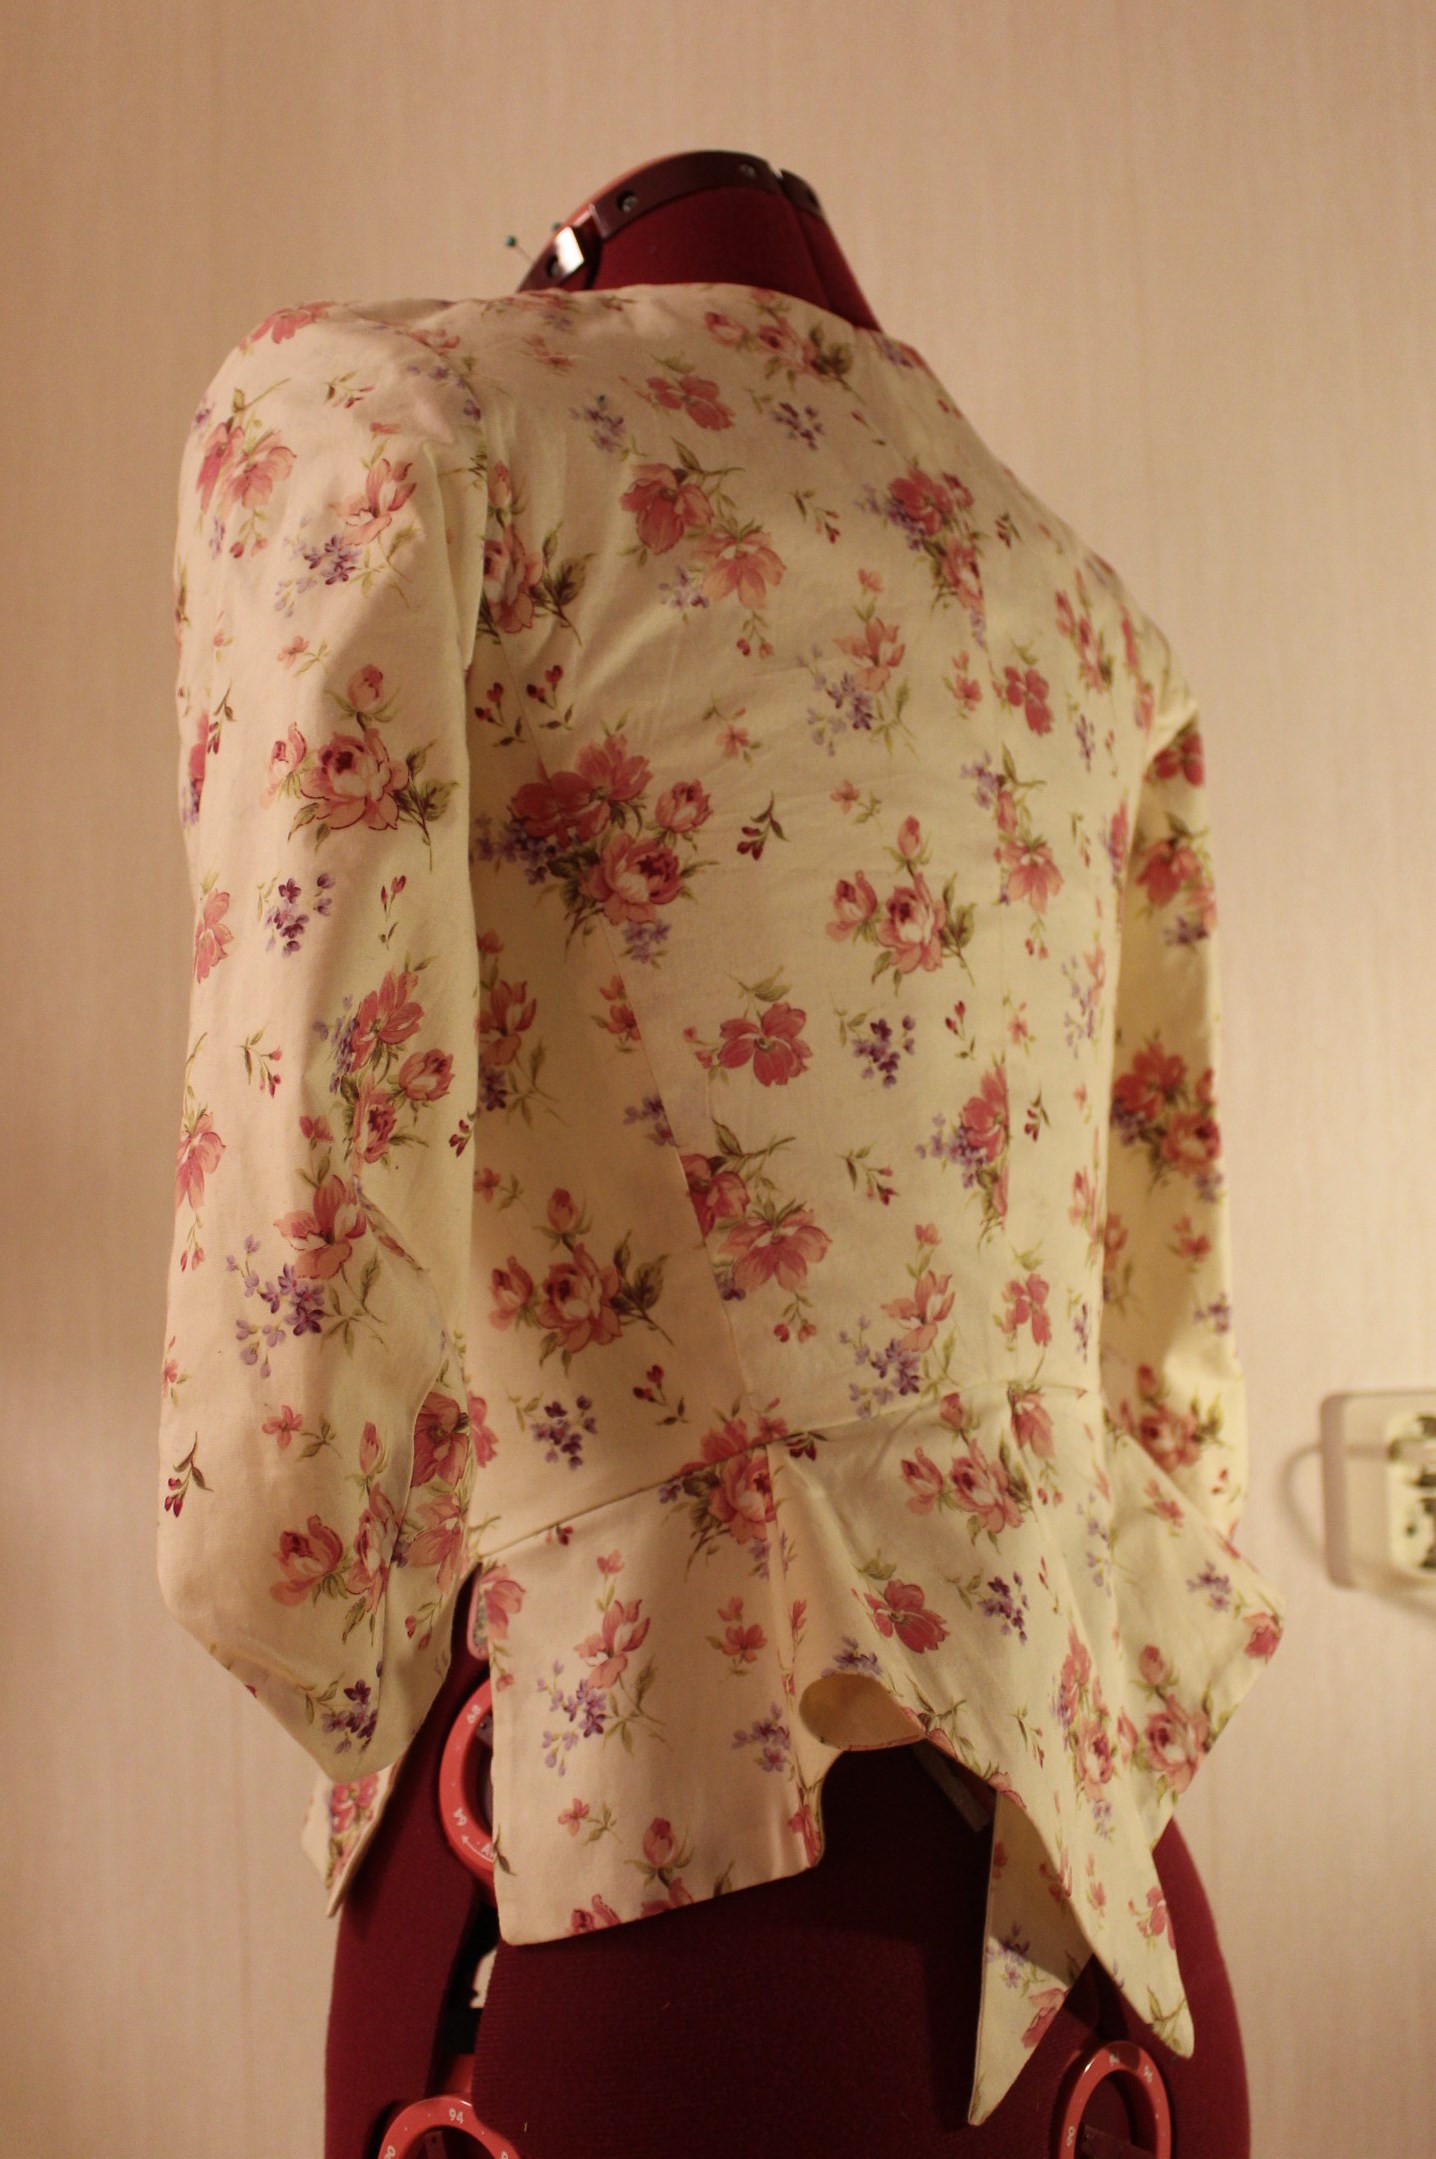
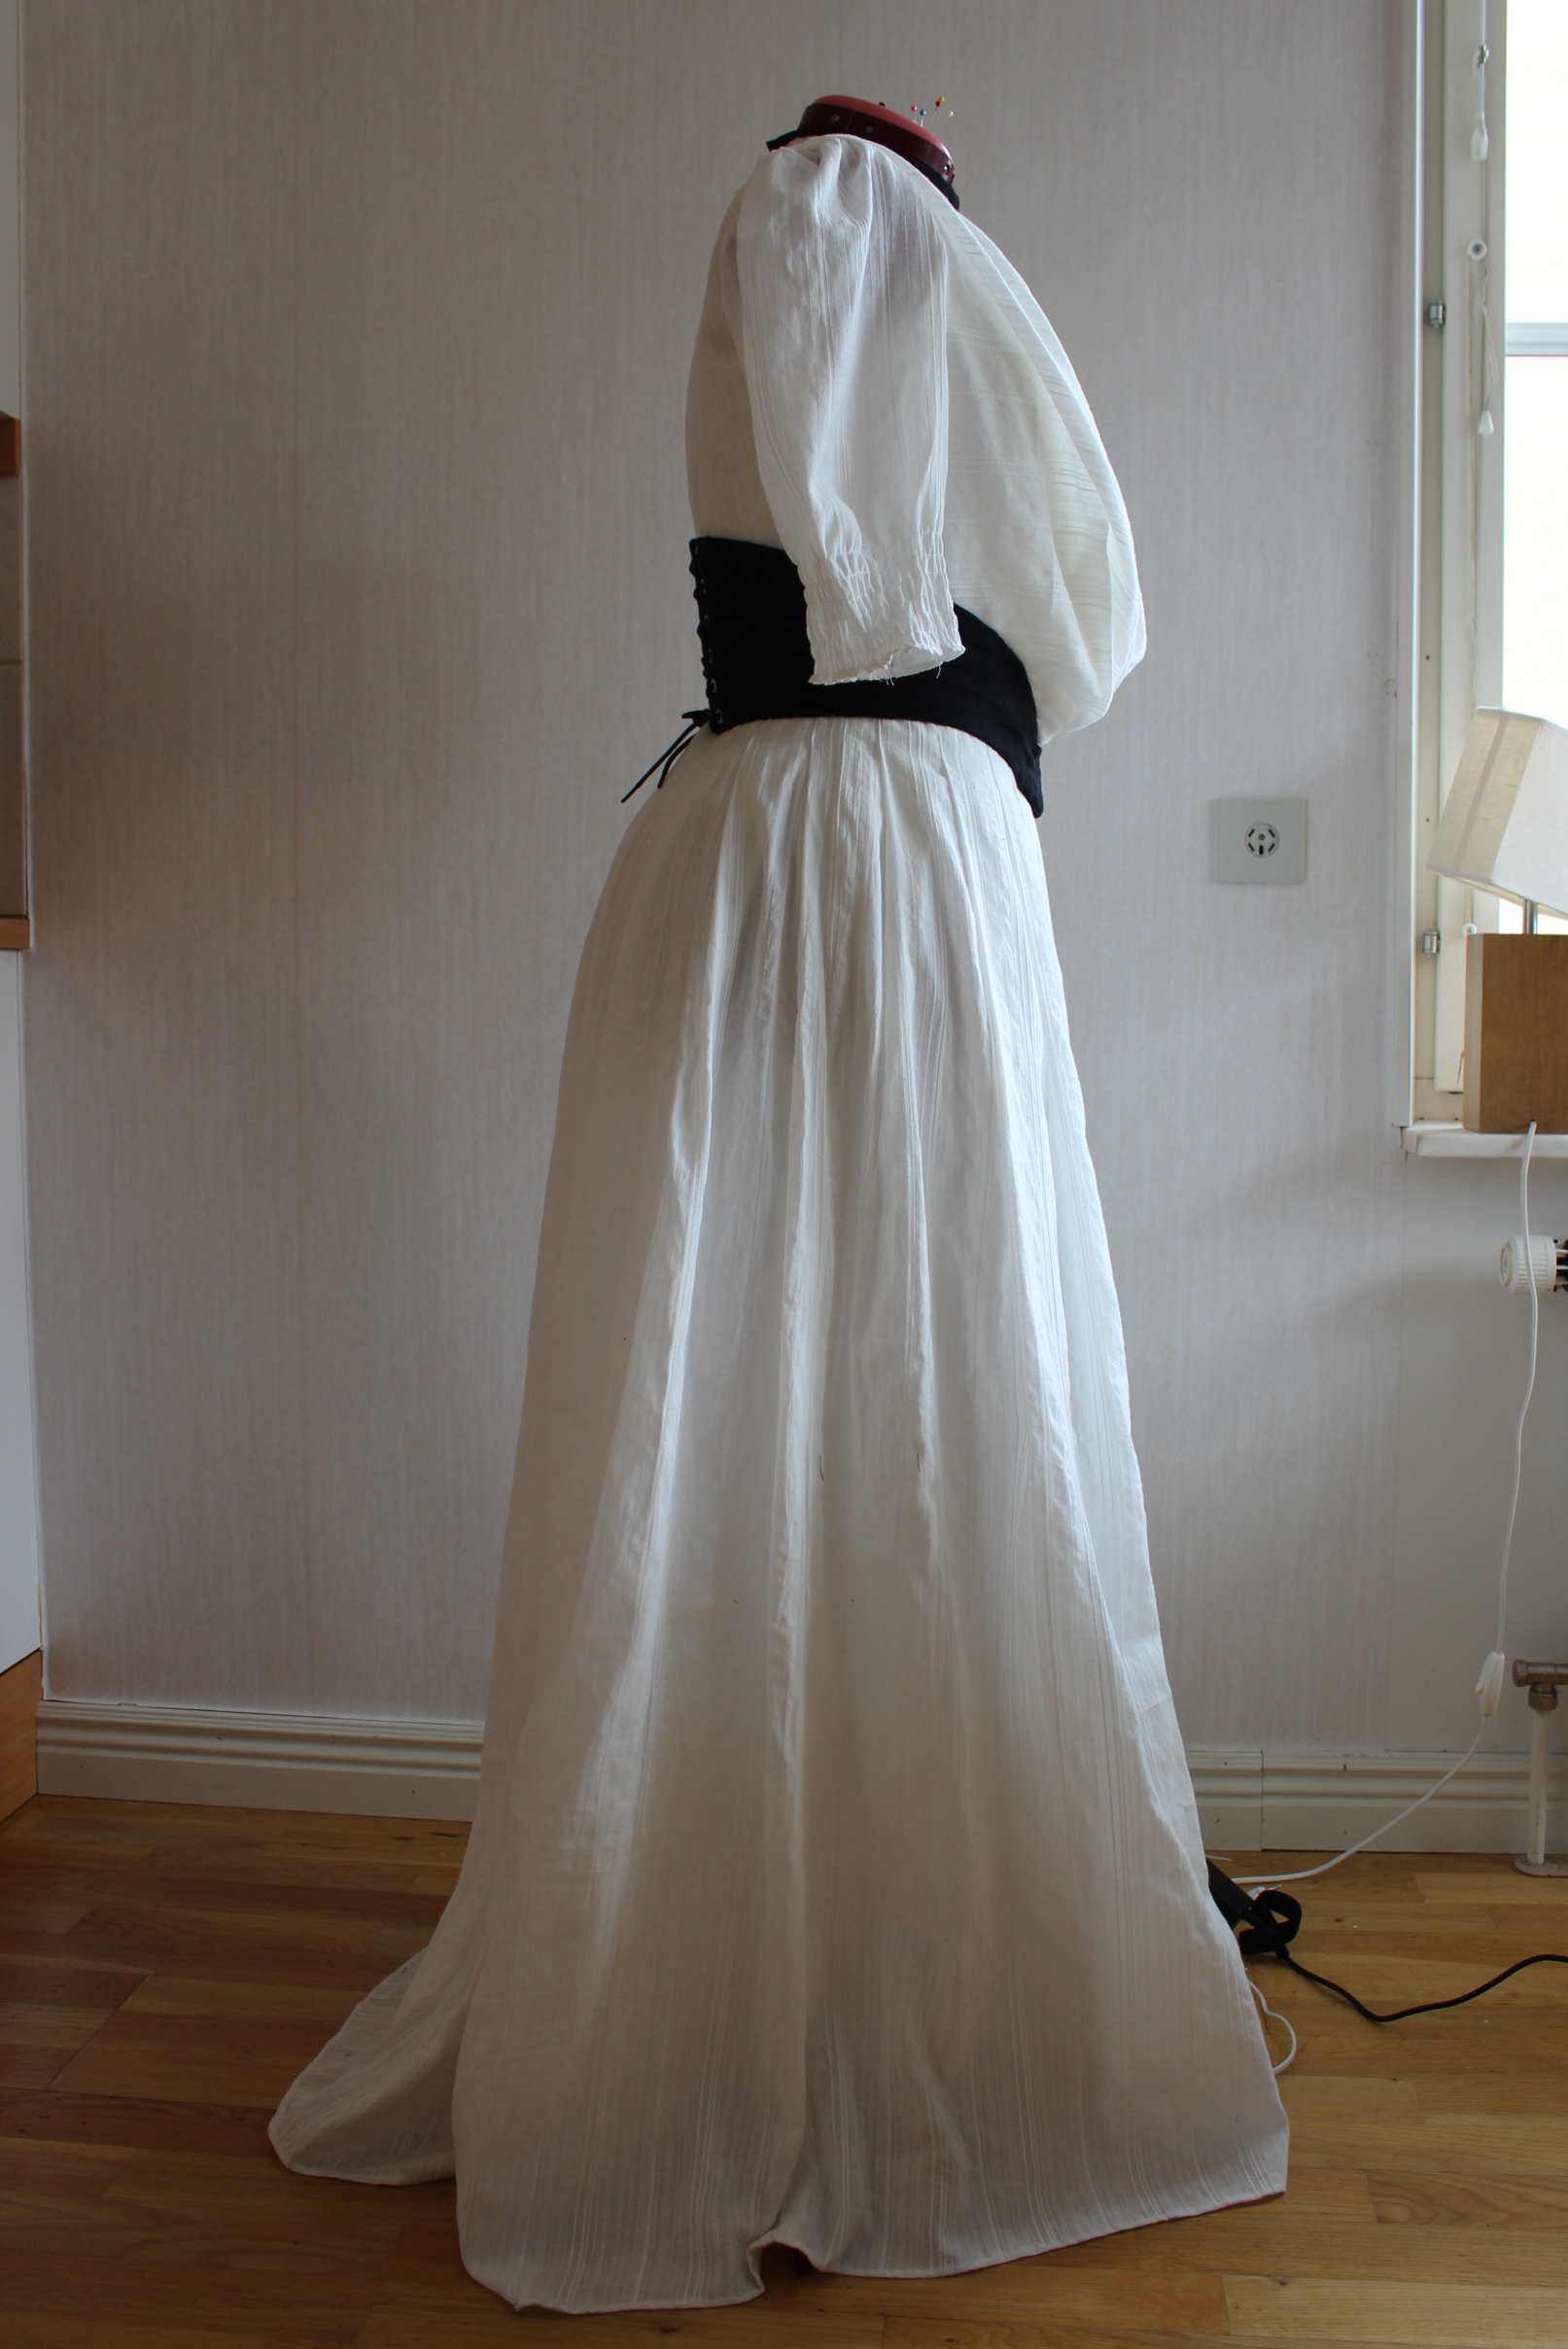
The finished dress:IMG_7230

IMG_7227

IMG_7233

IMG_7234

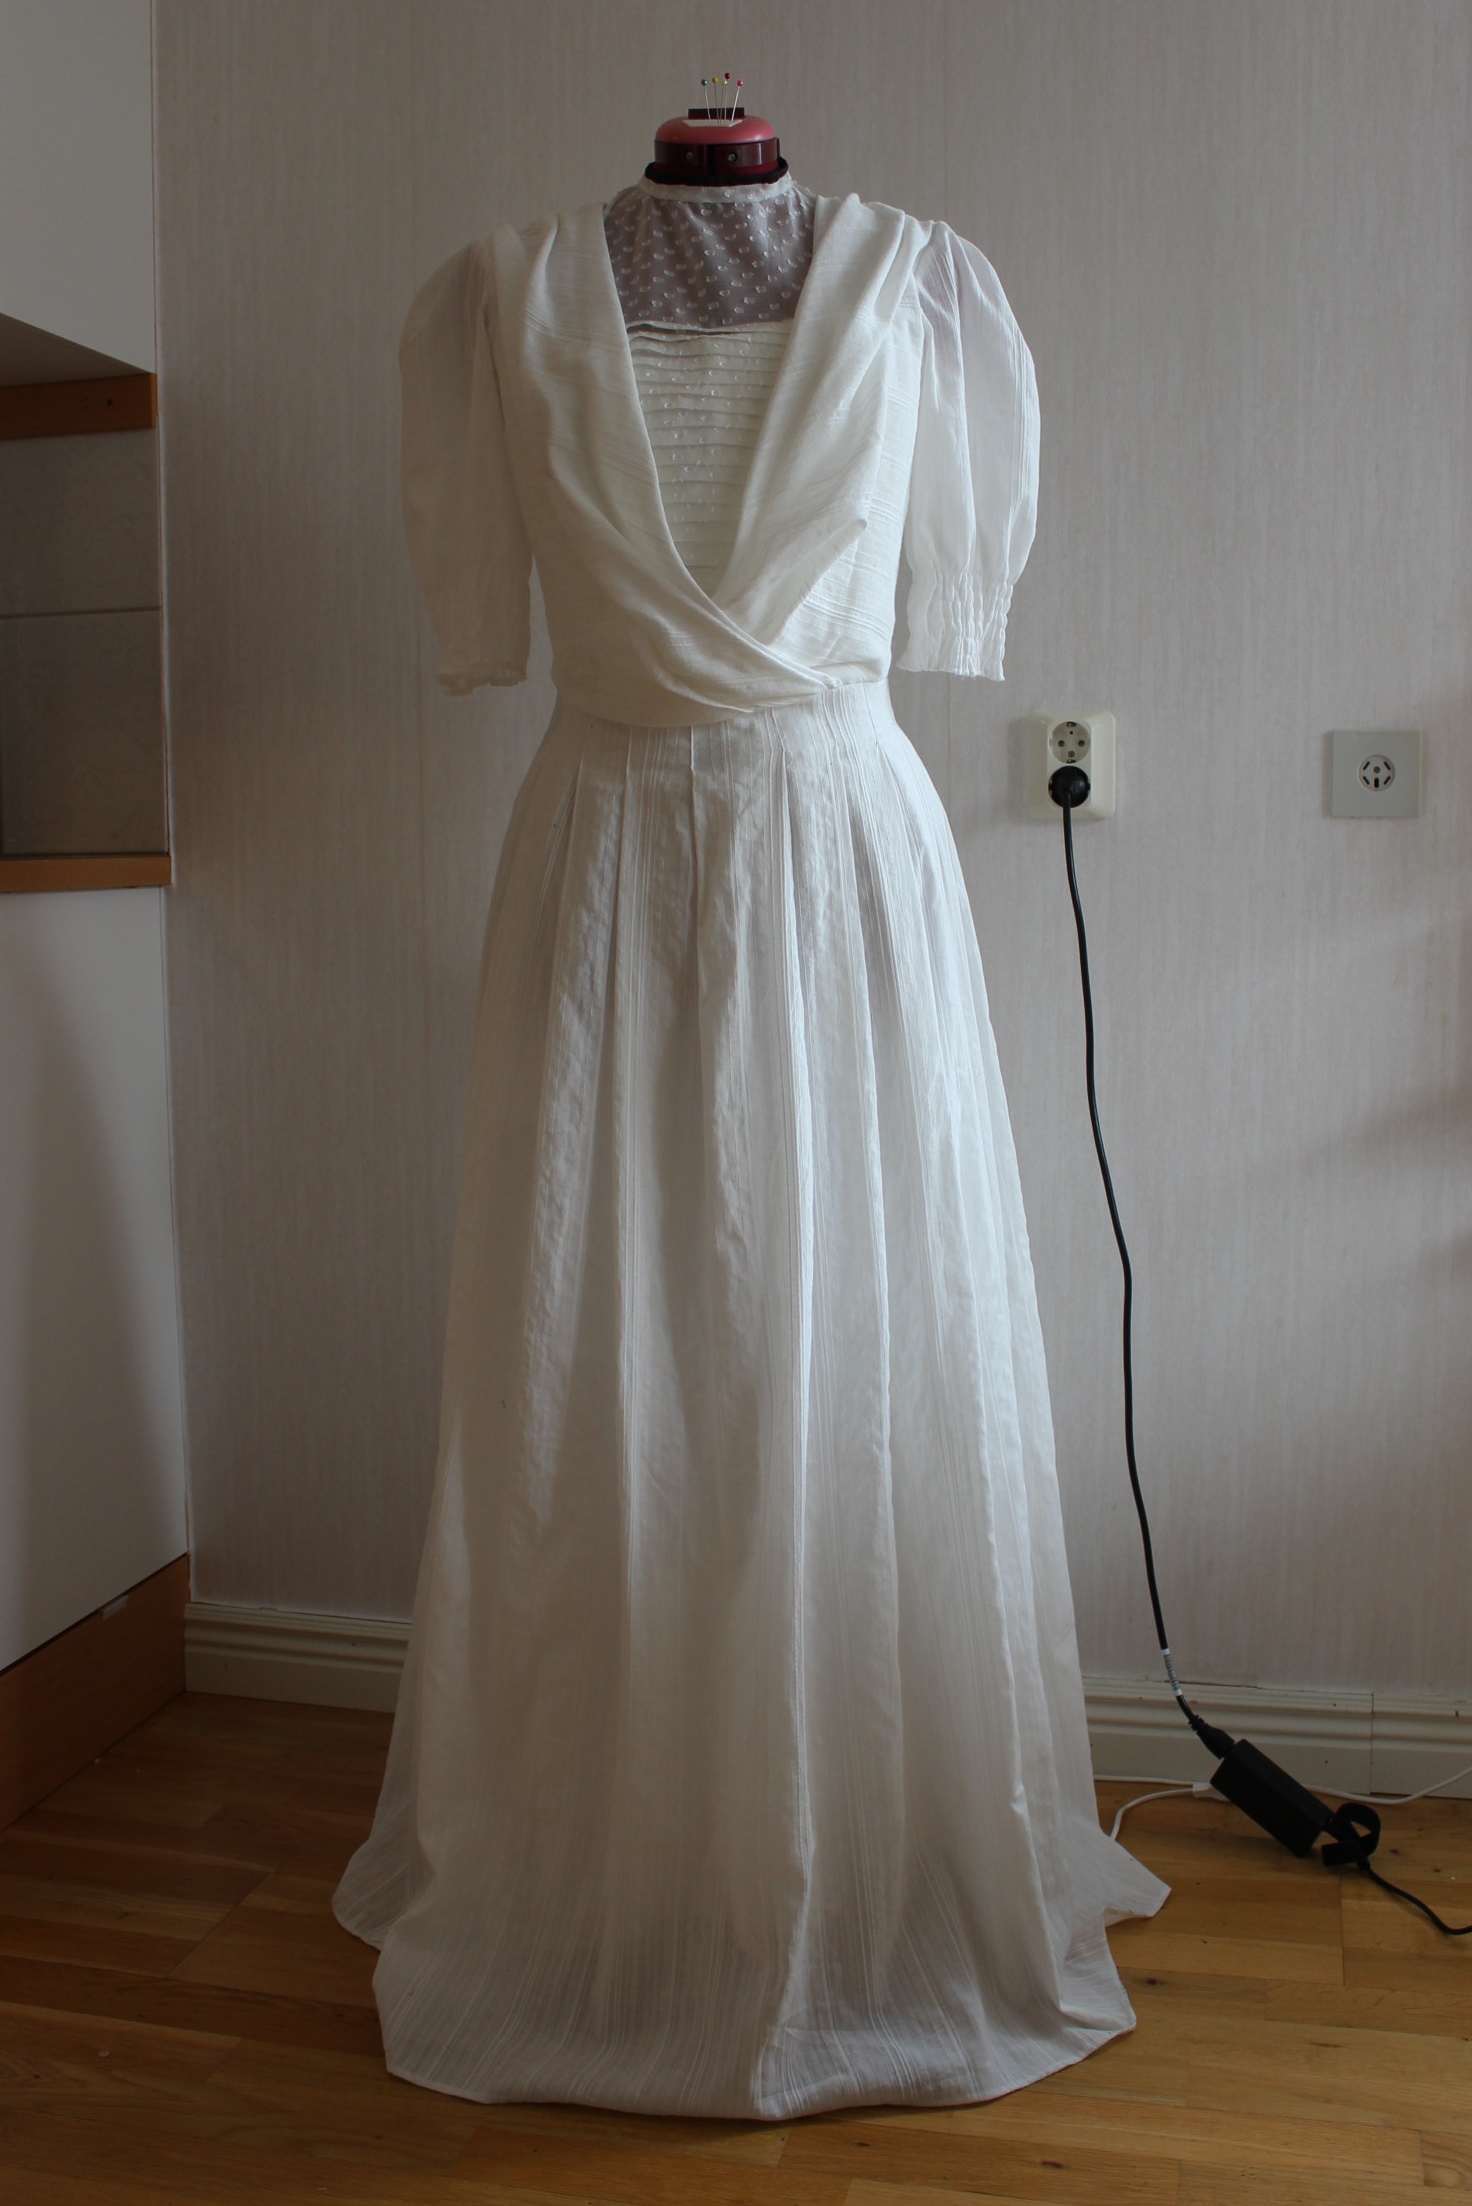
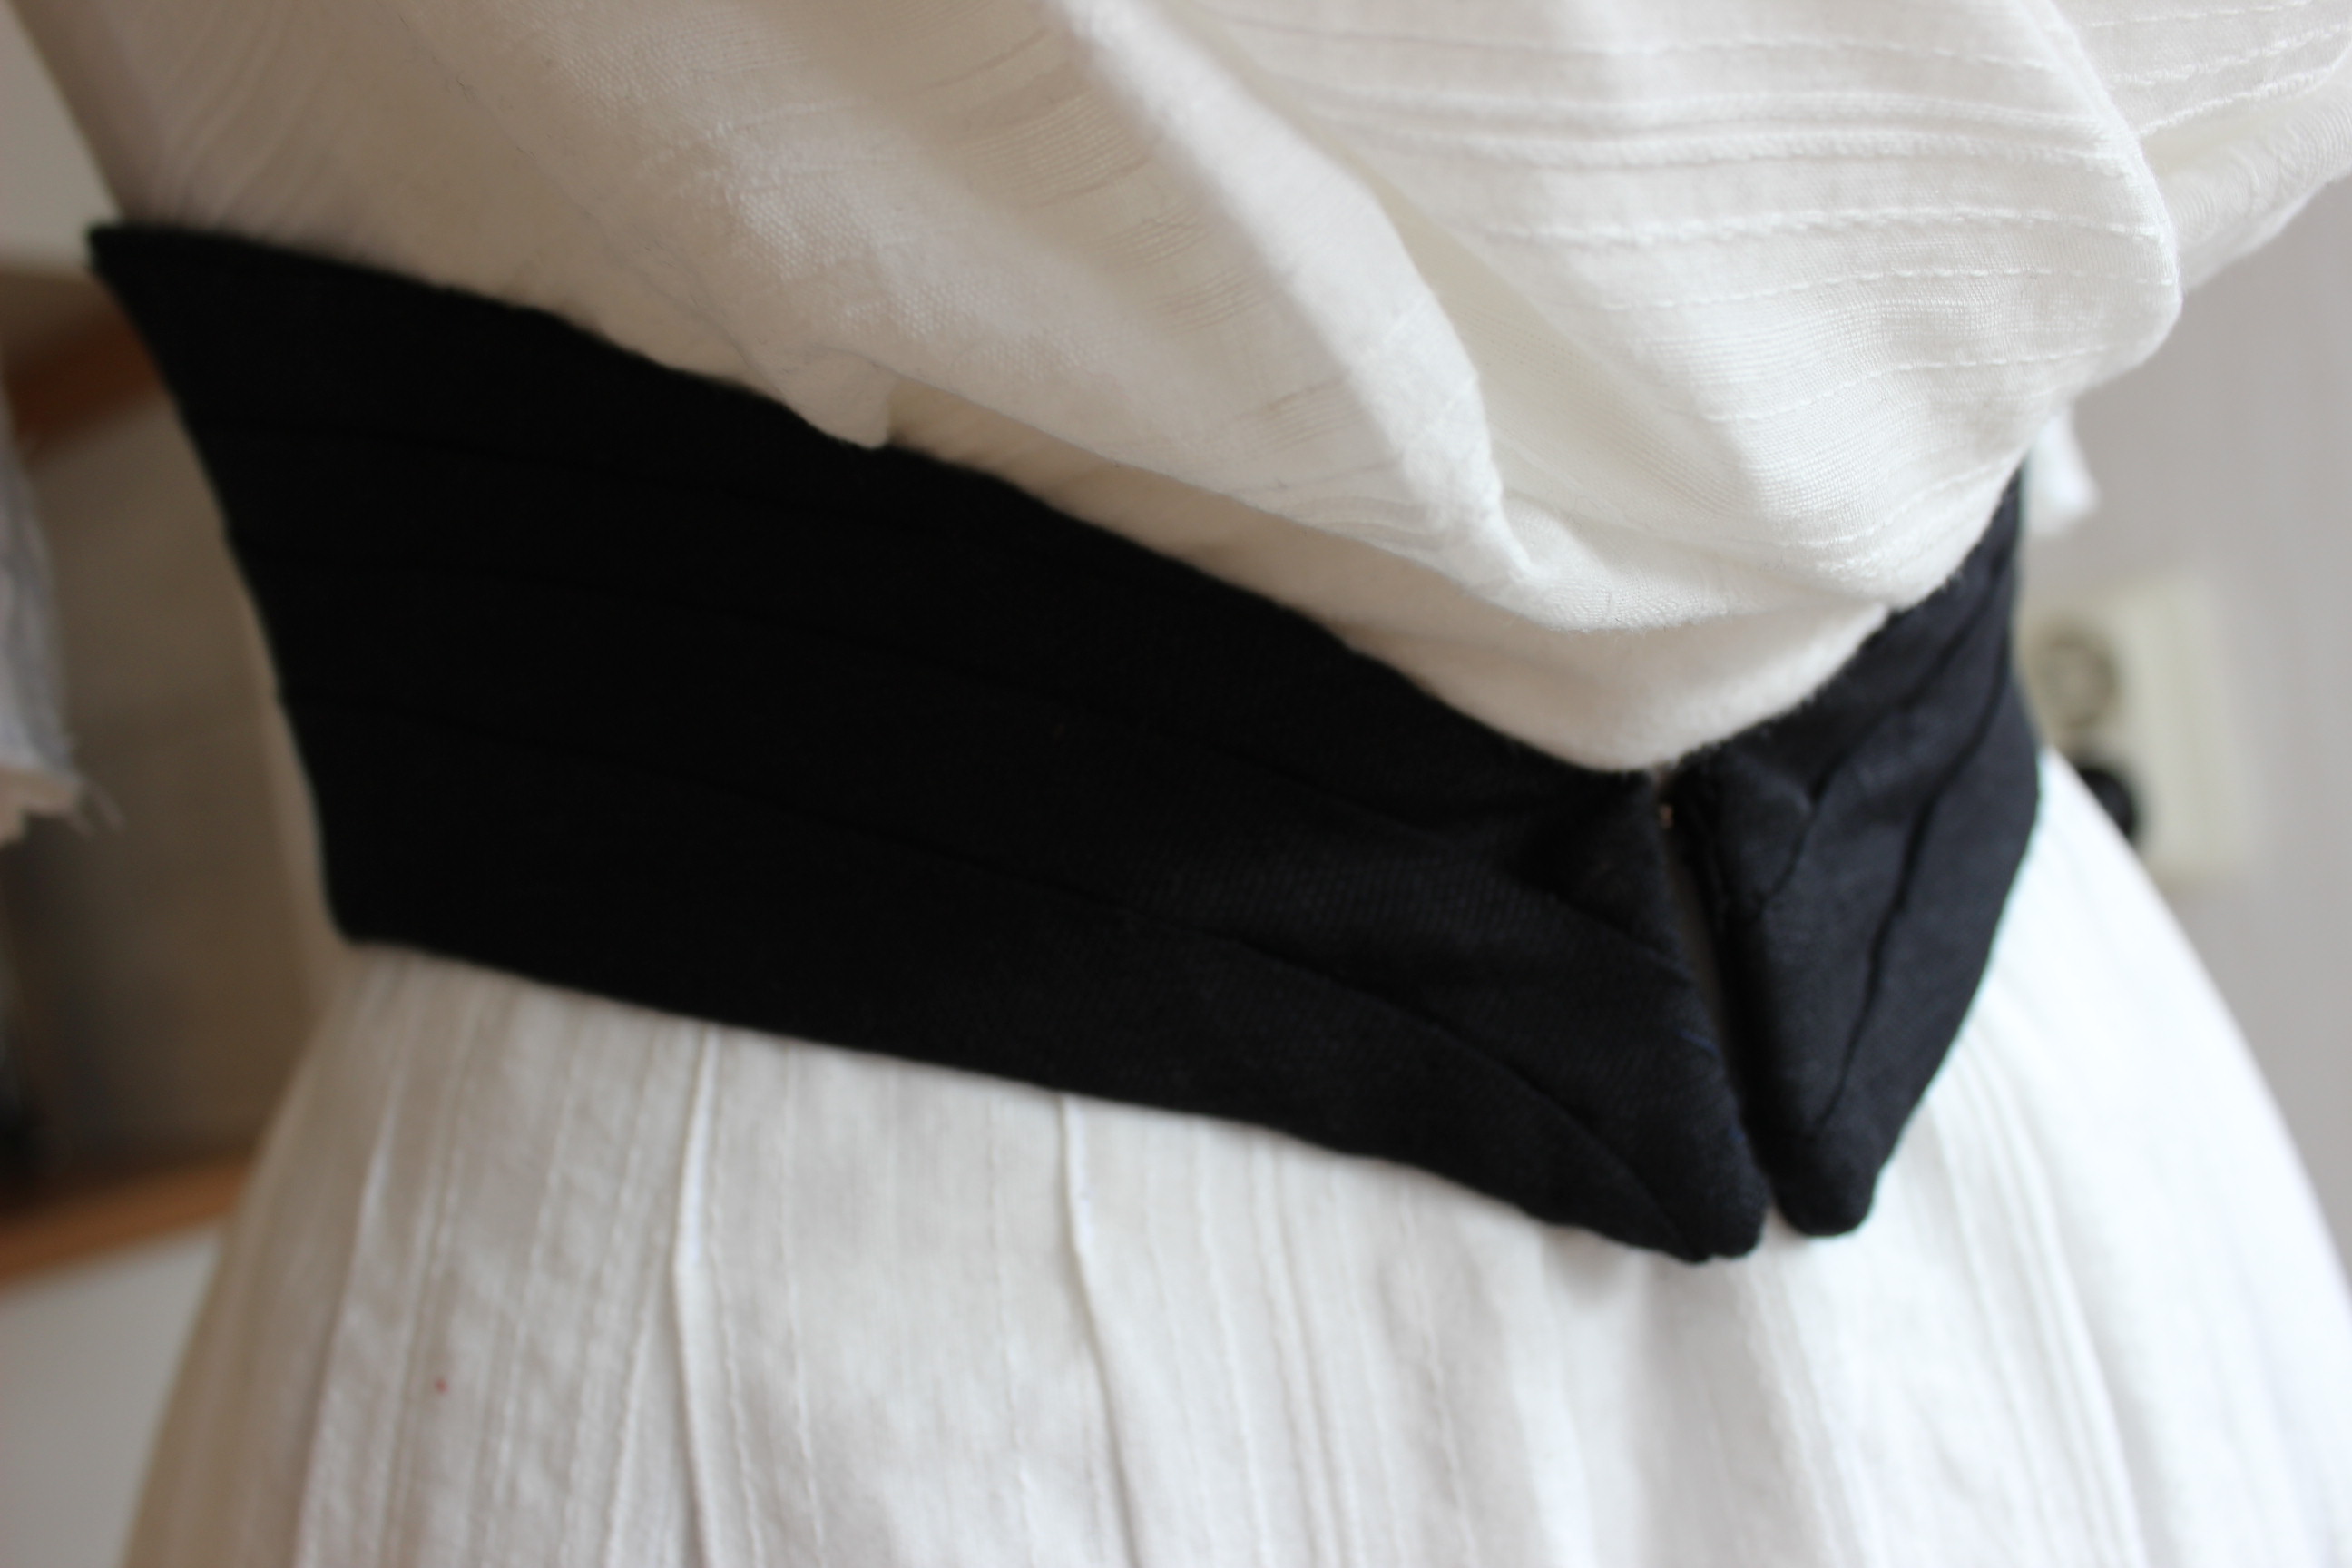
When the gown was finished it was time to start on the belt.

I did not had a pattern to use, so I decided to make my own. IMG_7122

IMG_7123 IMG_7124

IMG_7125

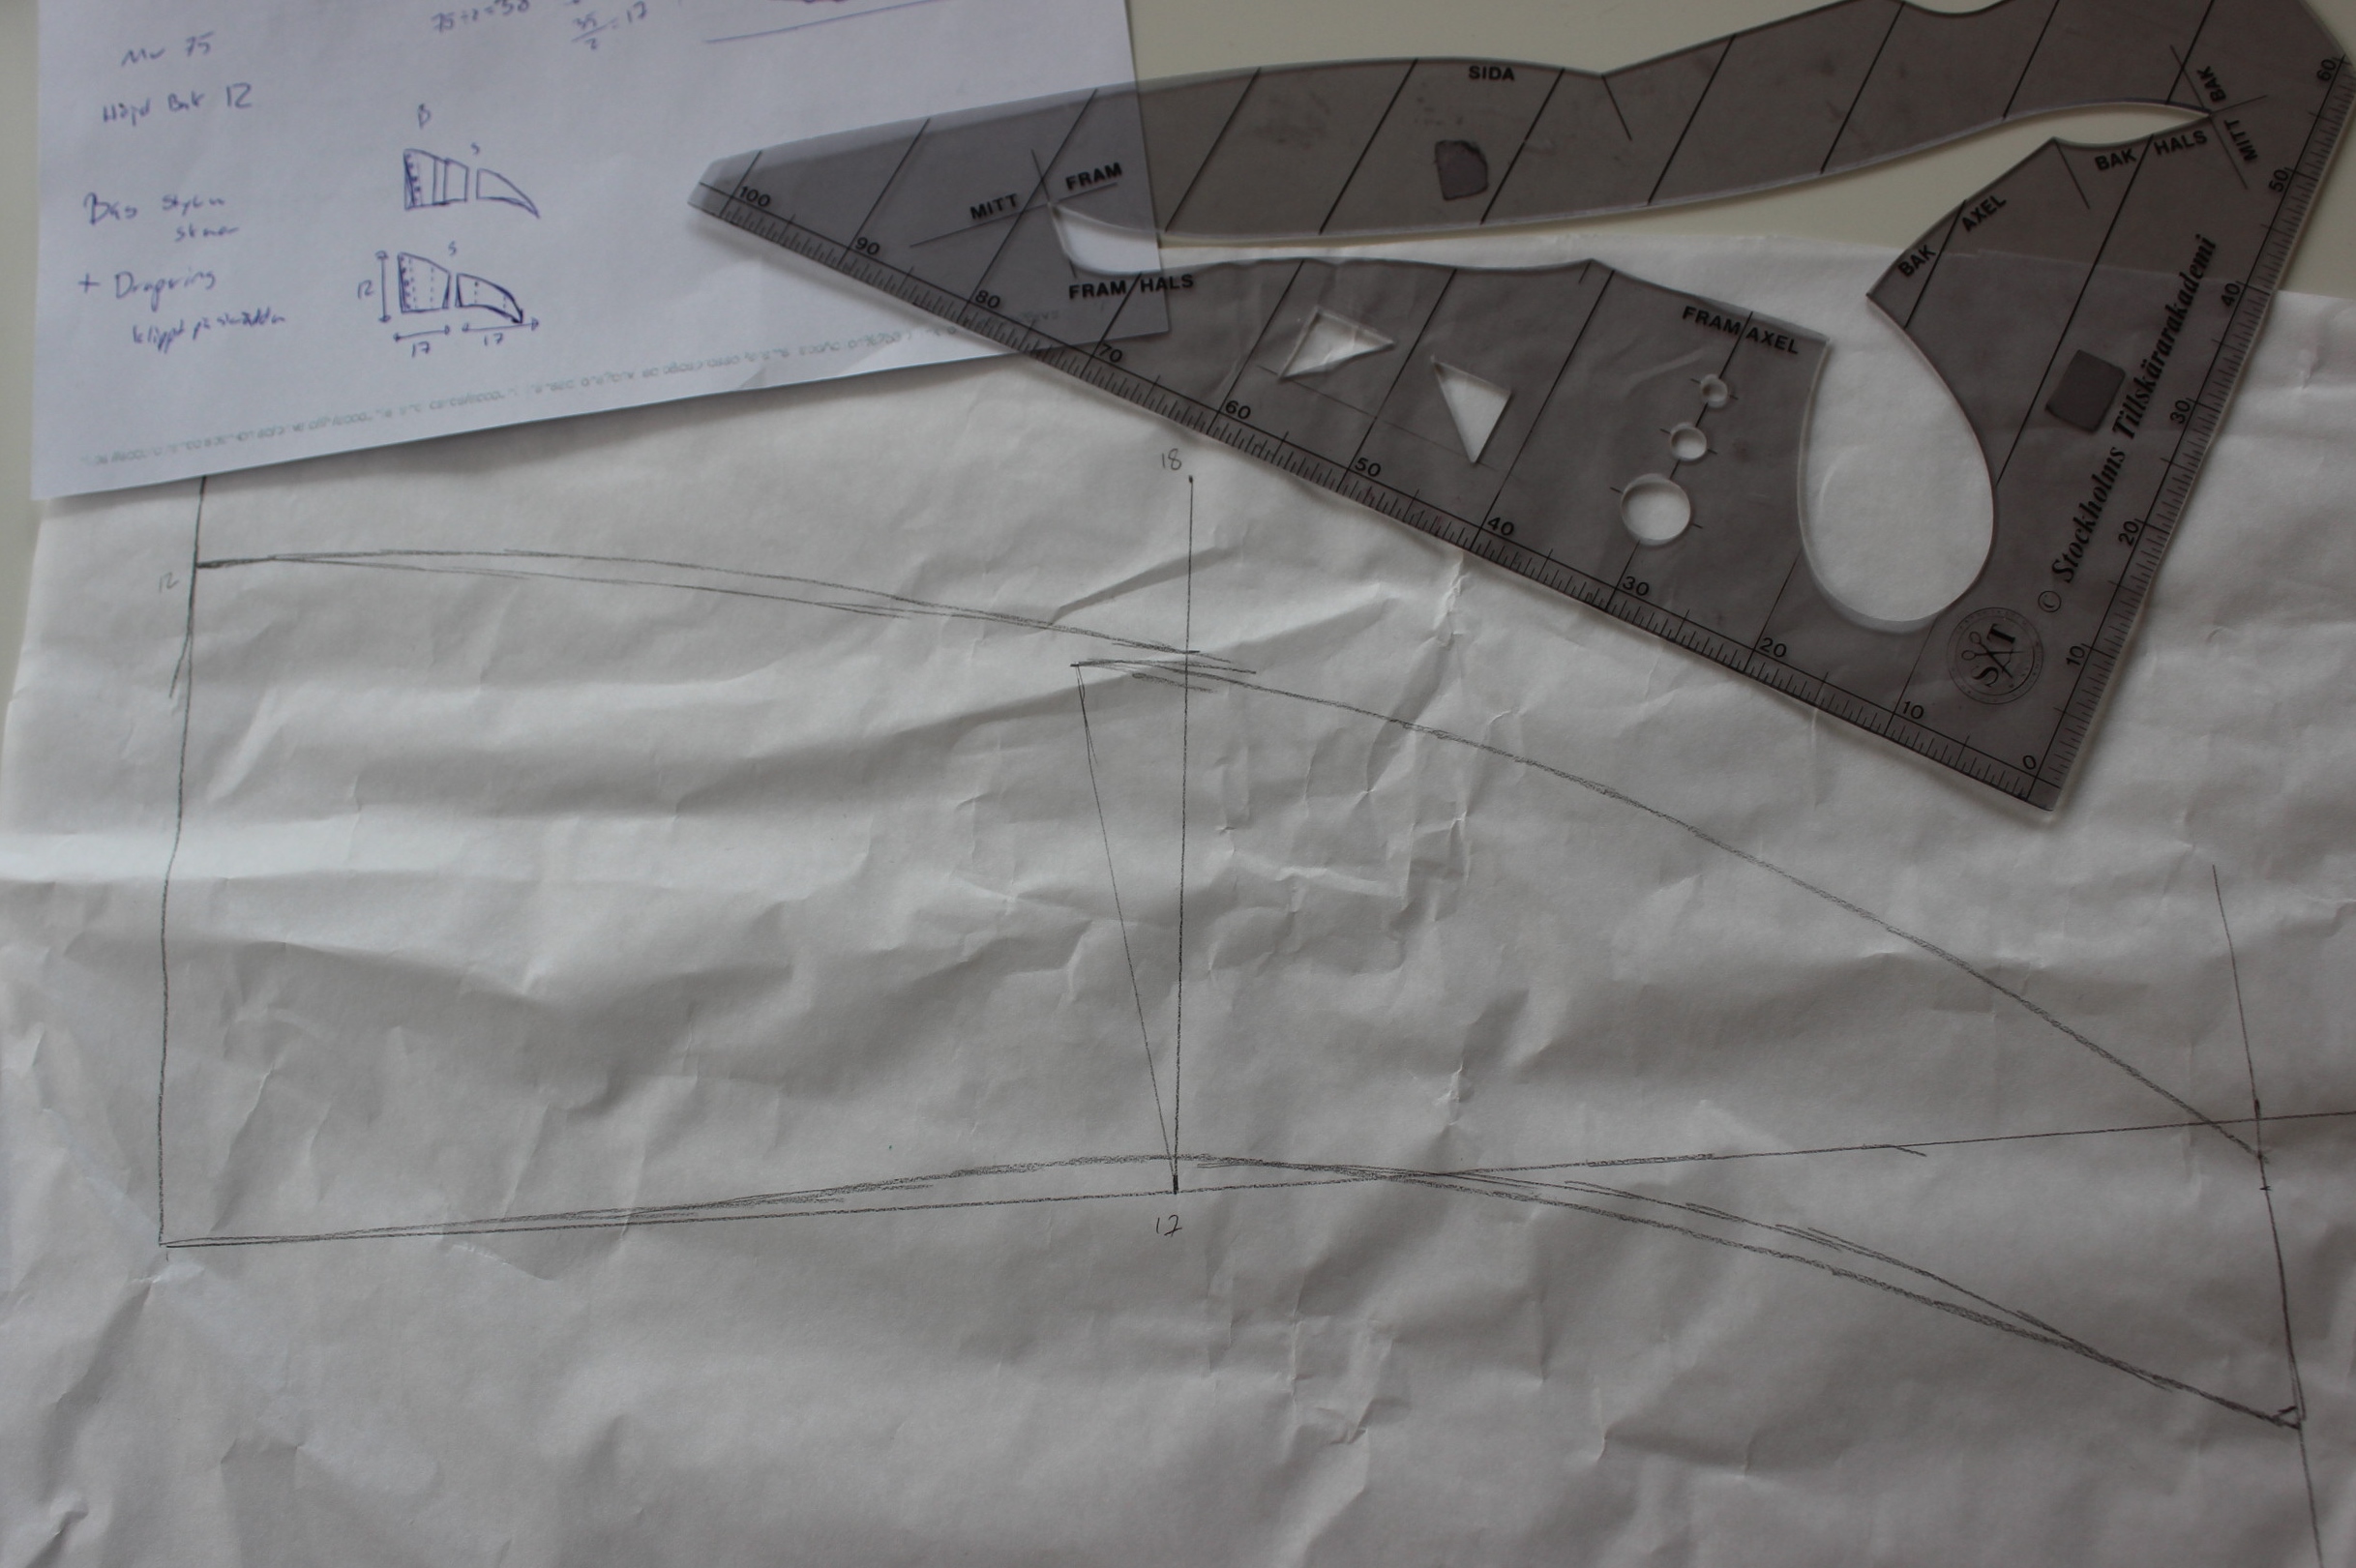
I then brought out all the pieces of black fabric I owned to decide wich one/ones to use. IMG_7113 I decided on the plain cotton fabric (center top) for the foundation, and the cotton voile/cheese-cloth (top left) for the draping.

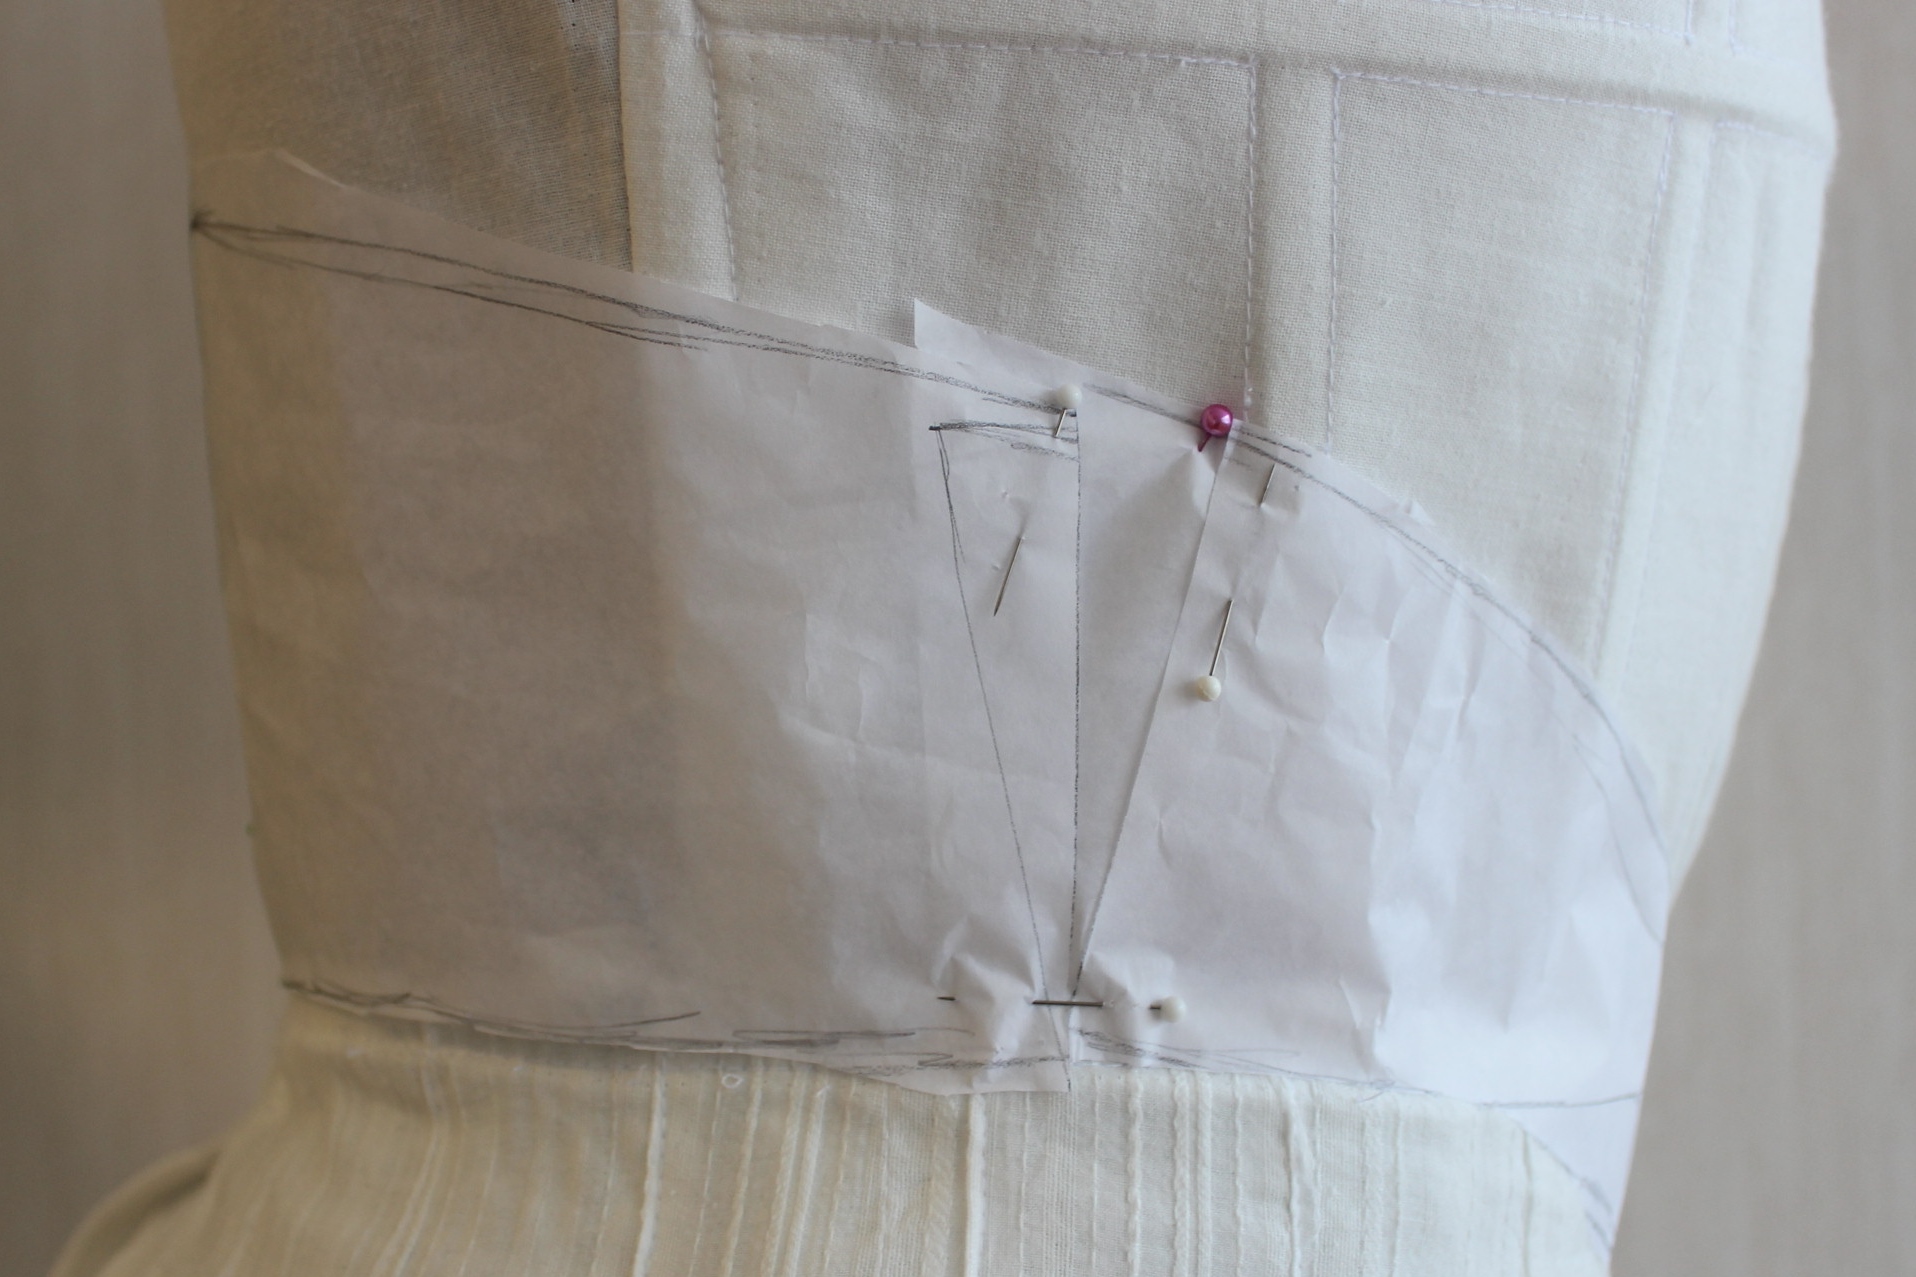
I cut the foundation pieces and basted on a second layer as interlining. IMG_7137

Marked and stiched the boning chanels, and inserted the boning. IMG_7208

Then I started on the draping.IMG_7209Pinnig the cotton voile on the bias to the foundation piece while attached to the dressform.

Then I cut of the exess fabric and pinned the tucks in place. IMG_7214

I handstitched the tucks down, and folded the exess fabric around to be covered in cotton lining.

IMG_7218 IMG_7219

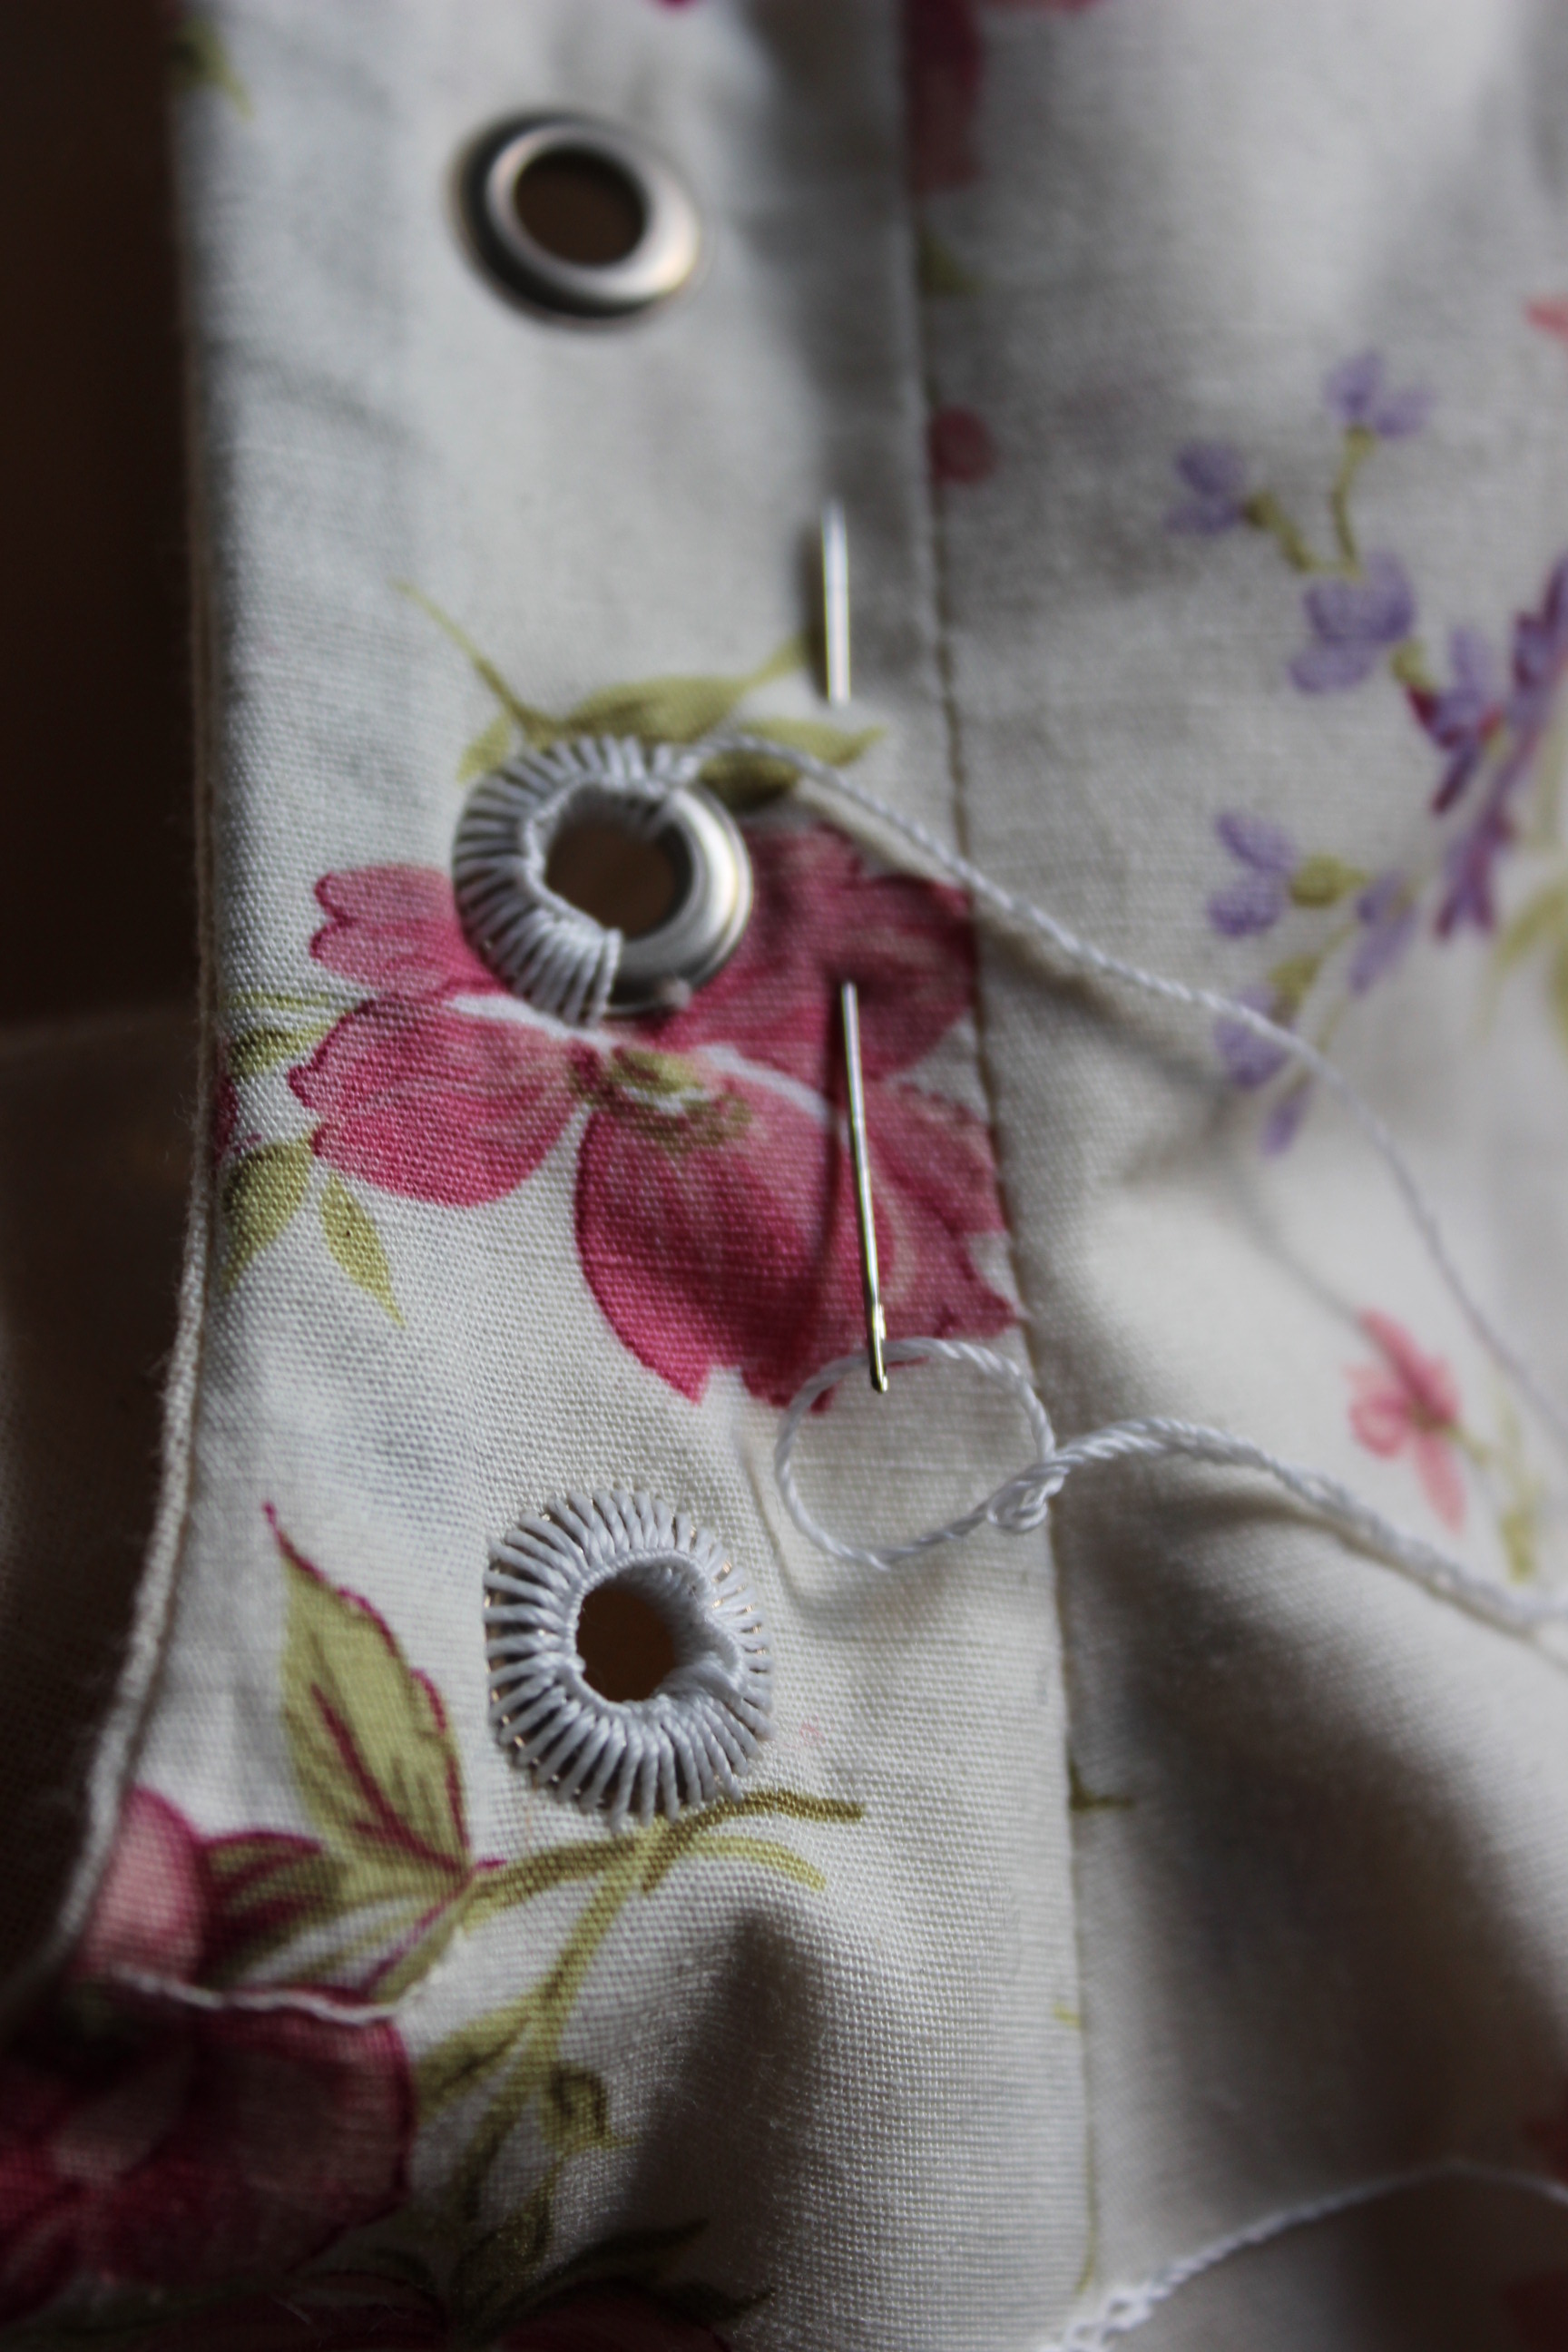
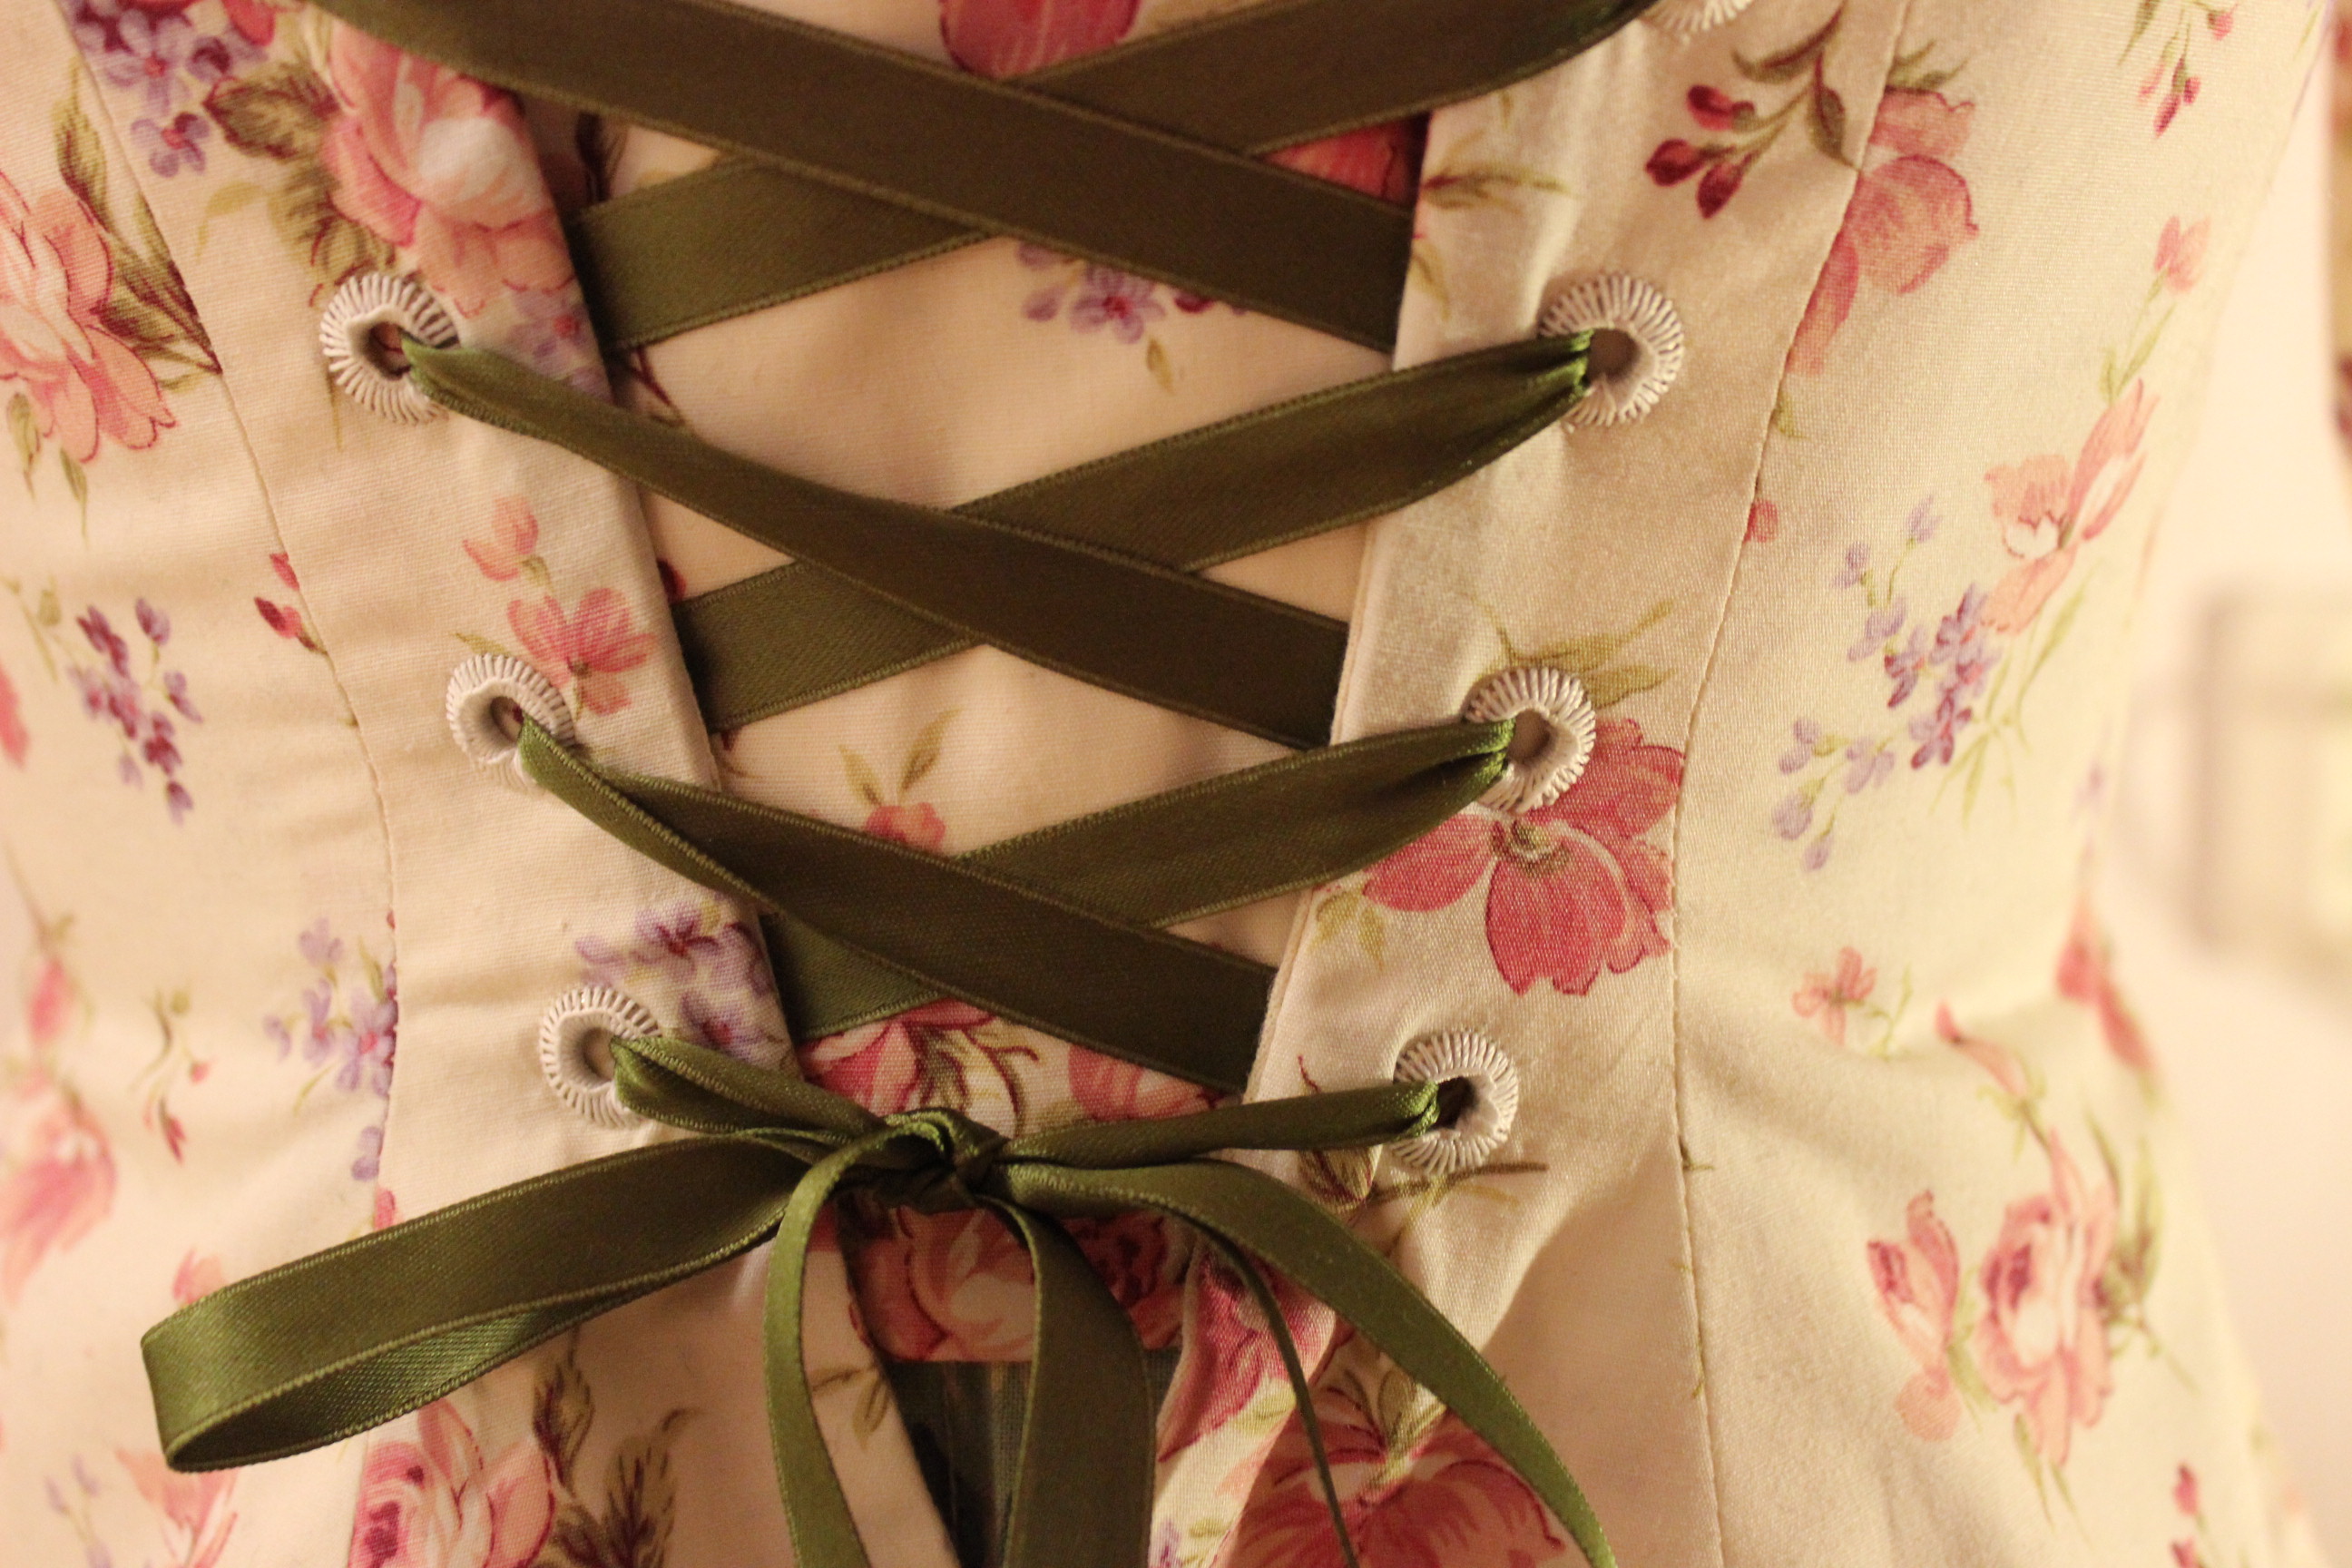
Then I set the gromets (something that caused more trouble then usual due to thick fabric).IMG_7220

And finishing of with some hooks and eyes at the front tabs.

IMG_7222 IMG_7223

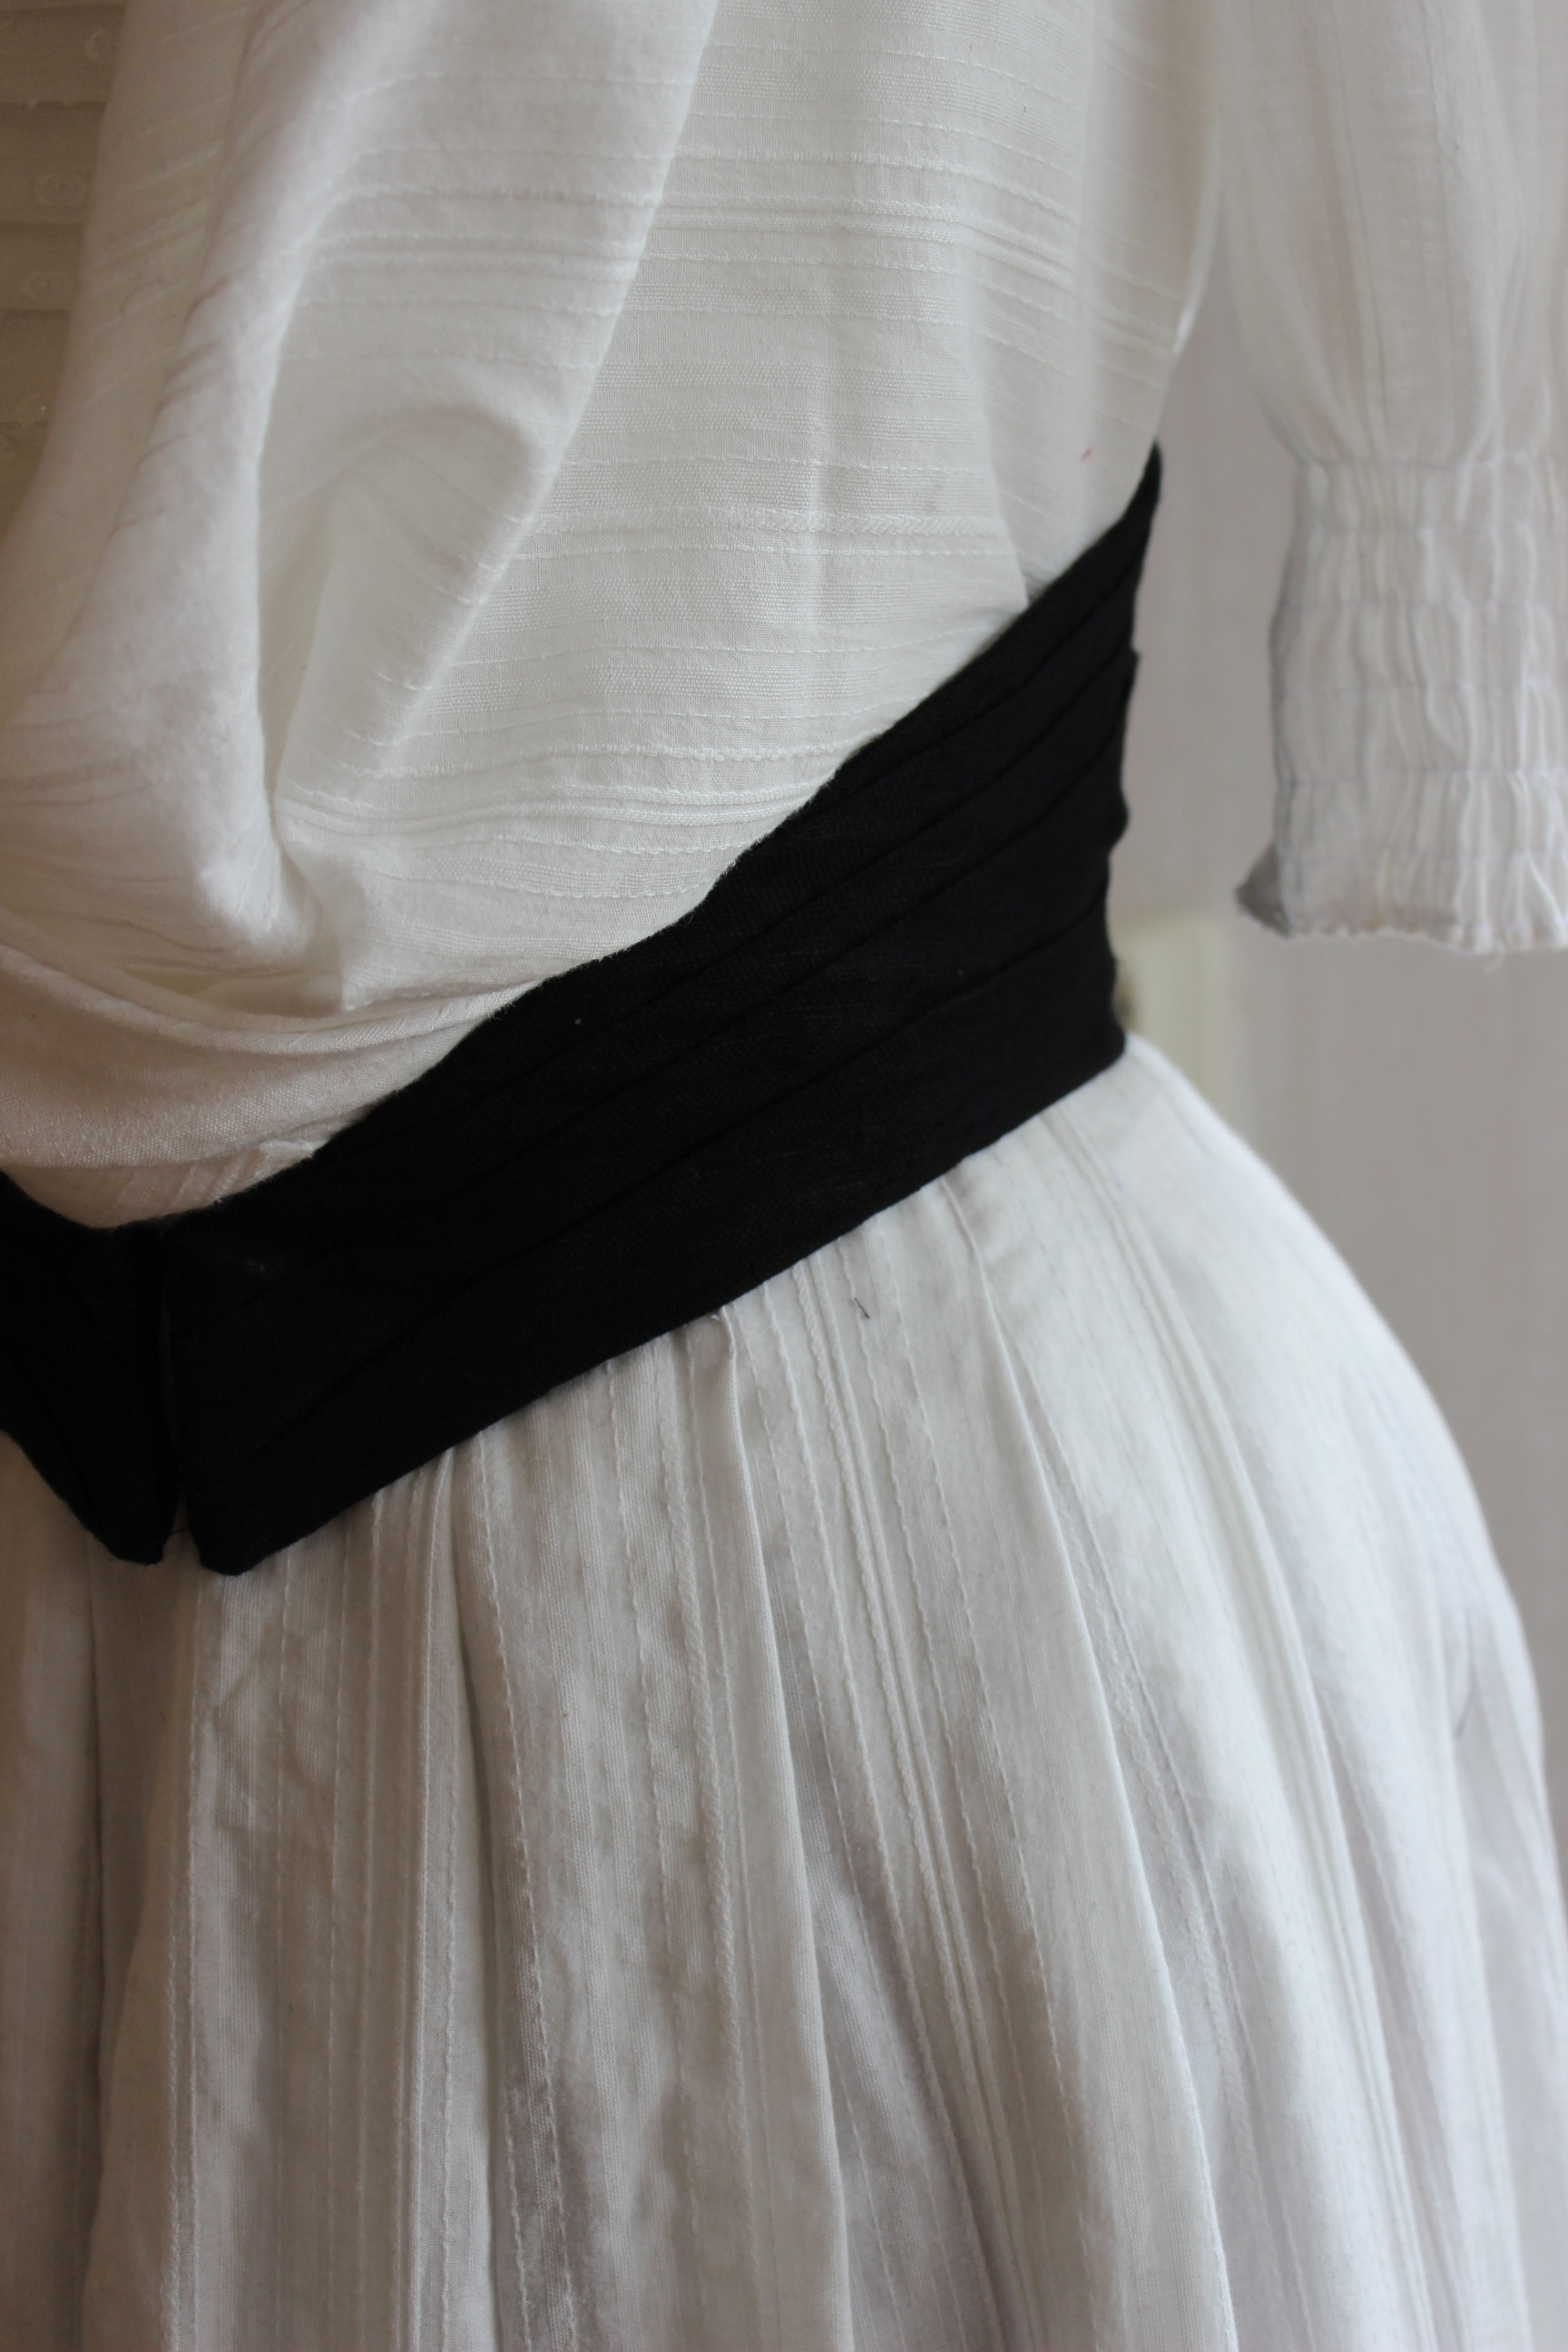
I really like how the curve of the belt looks in this picture.IMG_7225

Finished:IMG_7238

IMG_7253

IMG_7235

IMG_7262

IMG_7247

IMG_7254

IMG_7258

IMG_7242

IMG_7241

IMG_7244

IMG_7260

IMG_7252

Facts re-making:

What:  Re-fashion of the edwardian “Ariel” gown into a new edwardian gown – “Camille”.

Fabric: Scraps of regular black cotton sheets (maybe a total of 30cm), and 30 cm black cotton voile.

Notions: 2x hooks and eyes, thread, 20 cm black bias tape, 1m of boning, 1,5 m black cord and 12 gromets.

Time: To long – ca 8 hours.

Cost: Maybe 20 Sek (3 Usd) worth of stash notions.

Result: I think it looks great (but so did  “Ariel” on the dressform), I will have to wait and se how I feel about it until after the photoshoot next week.


Re-make of the Flowery Jacket

This is my first entry to the HSF14, and I submit it as a “Light Entry” for the 1th challenge: Make-do/Mend.

Ive been so pre-ockupied with all my other sewing and work and moving recently, so there has really not been any time left to fix those litle things thats been bugging me about some of my costumes. But now I finaly got the time (at relatives on chrismas) to finish the re-modeling of my 18th century flowery jacket. You can reed more about the original jacket here.

I loved this jacket ever since I made it  2 years ago, even now when I lernt a bit more about historic clothes it’s still one of my favourite items. But latley the fit of it have been bugging me.

2013-04-07 13.37.55 2013-04-07 13.37.34

It’s a bit long in the back and the gromets really need to be covered with thread.

And this challenge gave me the motovation I needed to finaly get it done.

Since there’s not much interesting going on in the sewing I forgot (read: decided not to) take any process photos. But I did snap one with my phone on christmas-eve when working on the eyelets.

IMG_4447

Finished:IMG_4781

IMG_4784

IMG_4799

IMG_4786

IMG_4791

IMG_4792

IMG_4789

Just the Facts:

Challenge: nr 1 – Make-do/Mend. (Light Entry)

What: Fixing some issues on a 18th Century Jacket.

Pattern: None this time (originaly from Baumgarthers “Costume Close-up”)

Fabric: None

Notions: Sewing thread and ivory buttonhole thread.

How Historical Accurate: Not much. Re-modeling and re-fitting of clothes was common practice, but since gromets didn’t even existed back then I’d say 3/10.

Time: 3 Hours

Cost: 30 Sek (2Usd)

First Worn: Hopfully this summer for picknicks and plays.

Final Thoughts: The back of the jacket, do look very short on my dessform. But I decided that’s because she is somehow lening forvard, and I have a realy straight posture, which causes my back to look shorten then it realy is.

Re-make a 1900s shirtwaist

A very late entry to the HSF challenge 18: Re-make.

I’ve been so busy with work, moving and life it-self that I totaly forgot I didn’t do the 18th challenge back in aug/sep. But now finaly I’ve manadged to make it.

I found this blouse on a sale two days ago and emedetly feelt it would be perfect as a late 19th century/early 20th century shirtwaist. The model is completly straight (no darts or shaping what so ever), but do have some lovely detalied tucks and lace work.

IMG_4512 IMG_4511

IMG_4516

IMG_4513

IMG_4514

To make it look a bit more historical I needed to make a few changes.

Firstly I needed to give it some shape in the waist era. Sewing the sides and creating a few darts to give it that desired hourglas shape.

Then I needed to lenghten the button clouser n the back – now when the blouse is much tighter you can’t put it on over your head as you could before. Ripping the back seam open and creating a longer buttonhole stand, then sewing the buttonholes and attaching the buttons.

IMG_4531

And as this was a stash project I could only use buttons I already owned, resulting in lots of different buttons.IMG_4529

And lastly I needed to strenghten the neck collor a bit, to keep it standing straght.

As it was a bit to big I started by taking it in. Then I was thinking about putting smal plastic bonning into the created chanels, but with the extra bulk, the collar now manadged to hold itself up. So no bones where needed.

IMG_4530

And that was that, quick and simple. And now it fitt perfectly over a corset.

IMG_4536


IMG_4538


IMG_4540


IMG_4543


IMG_4542


IMG_4534

Just the Facts:

Challenge: nr 18 – Re-Fashion.

What: a 1900s Shirtwaist out of a modern blouse.

Pattern: None

Fabric; A smal stripe of ream coloured cotton for the buttonhole stand.

Notions: Thread and 8 asorted buttons.

How Historical Accurate: Not at all. The look is accepteble and so is the fabric, but the blouse is factory made and reshaped using modern tecniqukes. So about 2/10.

Time: 2 hours.

Cost: 150 Sek (16 Usd) for the blouse, none for notions who have been in my stash for ages.

First worn: Not yet, but hopefully will be when its gets a litle bit warmer.

Final Thoughts: The re-fashioning was quite easy to make, and I guess you can do this to a lots of garmnents.

The blouse does look a bit odd on the dressform though, but it fits me perfectly, and worn with a high waisted skirt I’m sure it will look faboulus.