
After finishing the 1850s skirt for the 14th HSF challenge I started on the jacket.
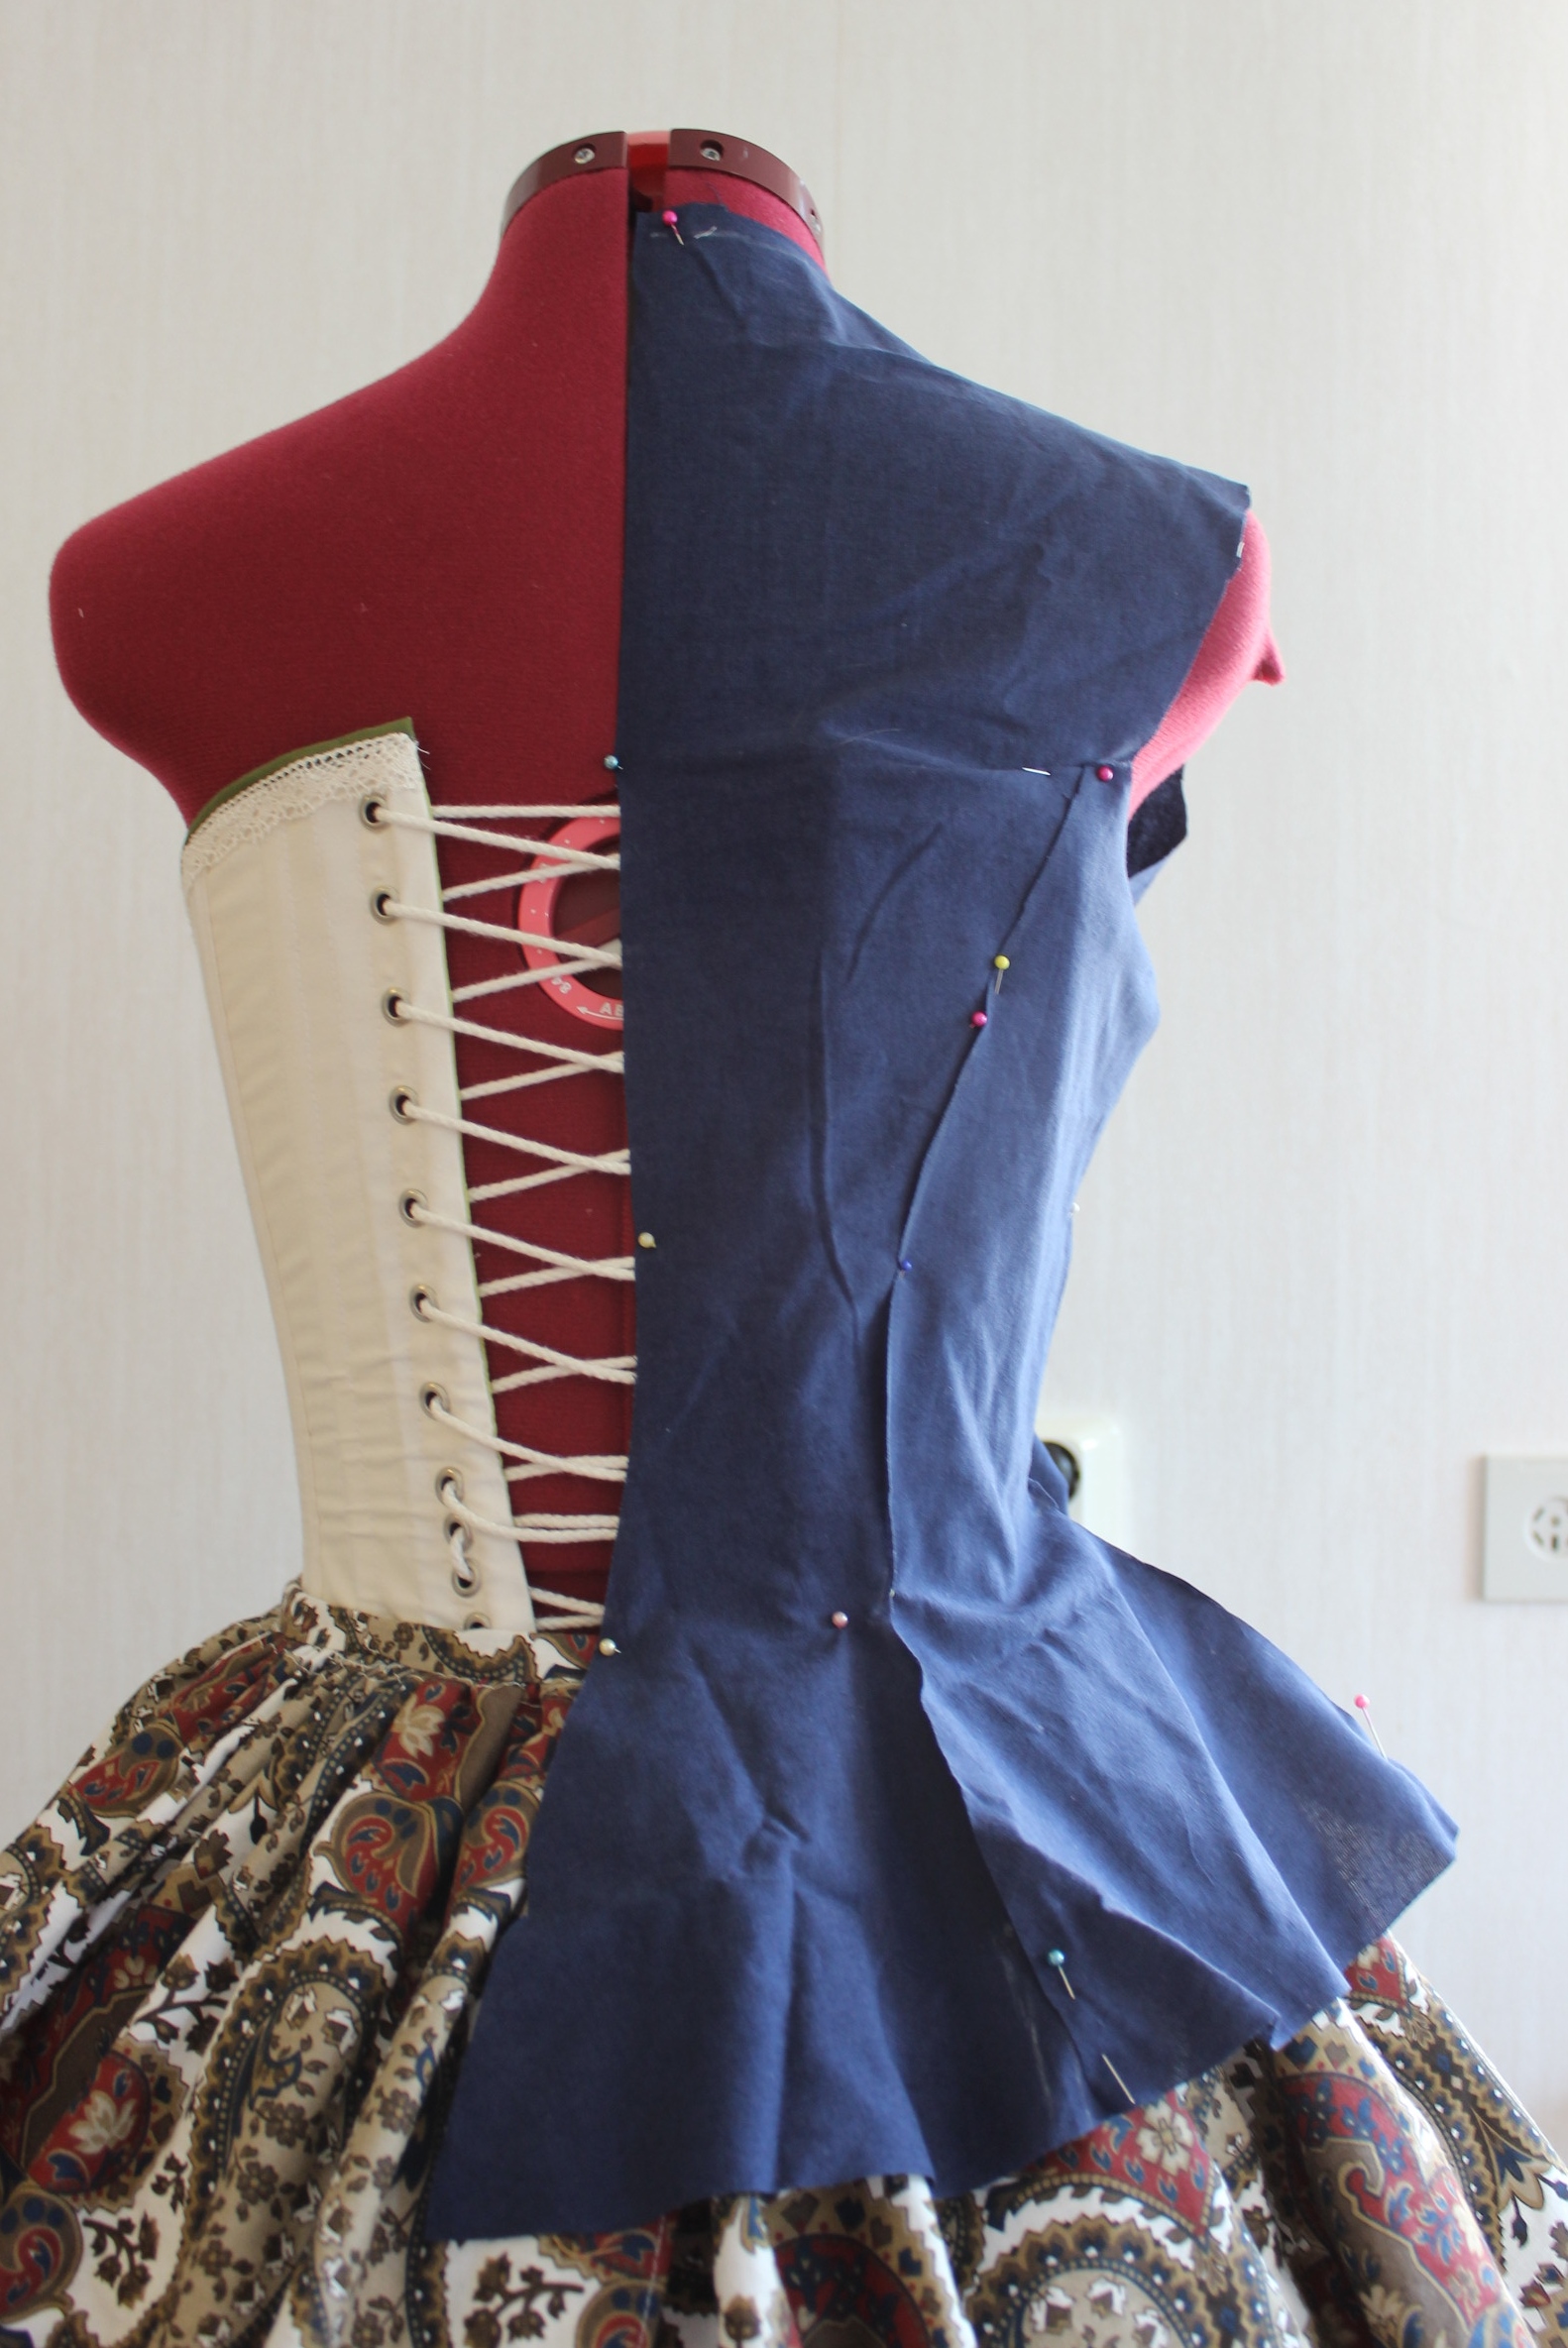
I knew I wanted a fitted jacket with a bit of a peplum and a sculpted neckpiece on top, like the ones in Nancy Bradfeilds “Costume in Detail” 
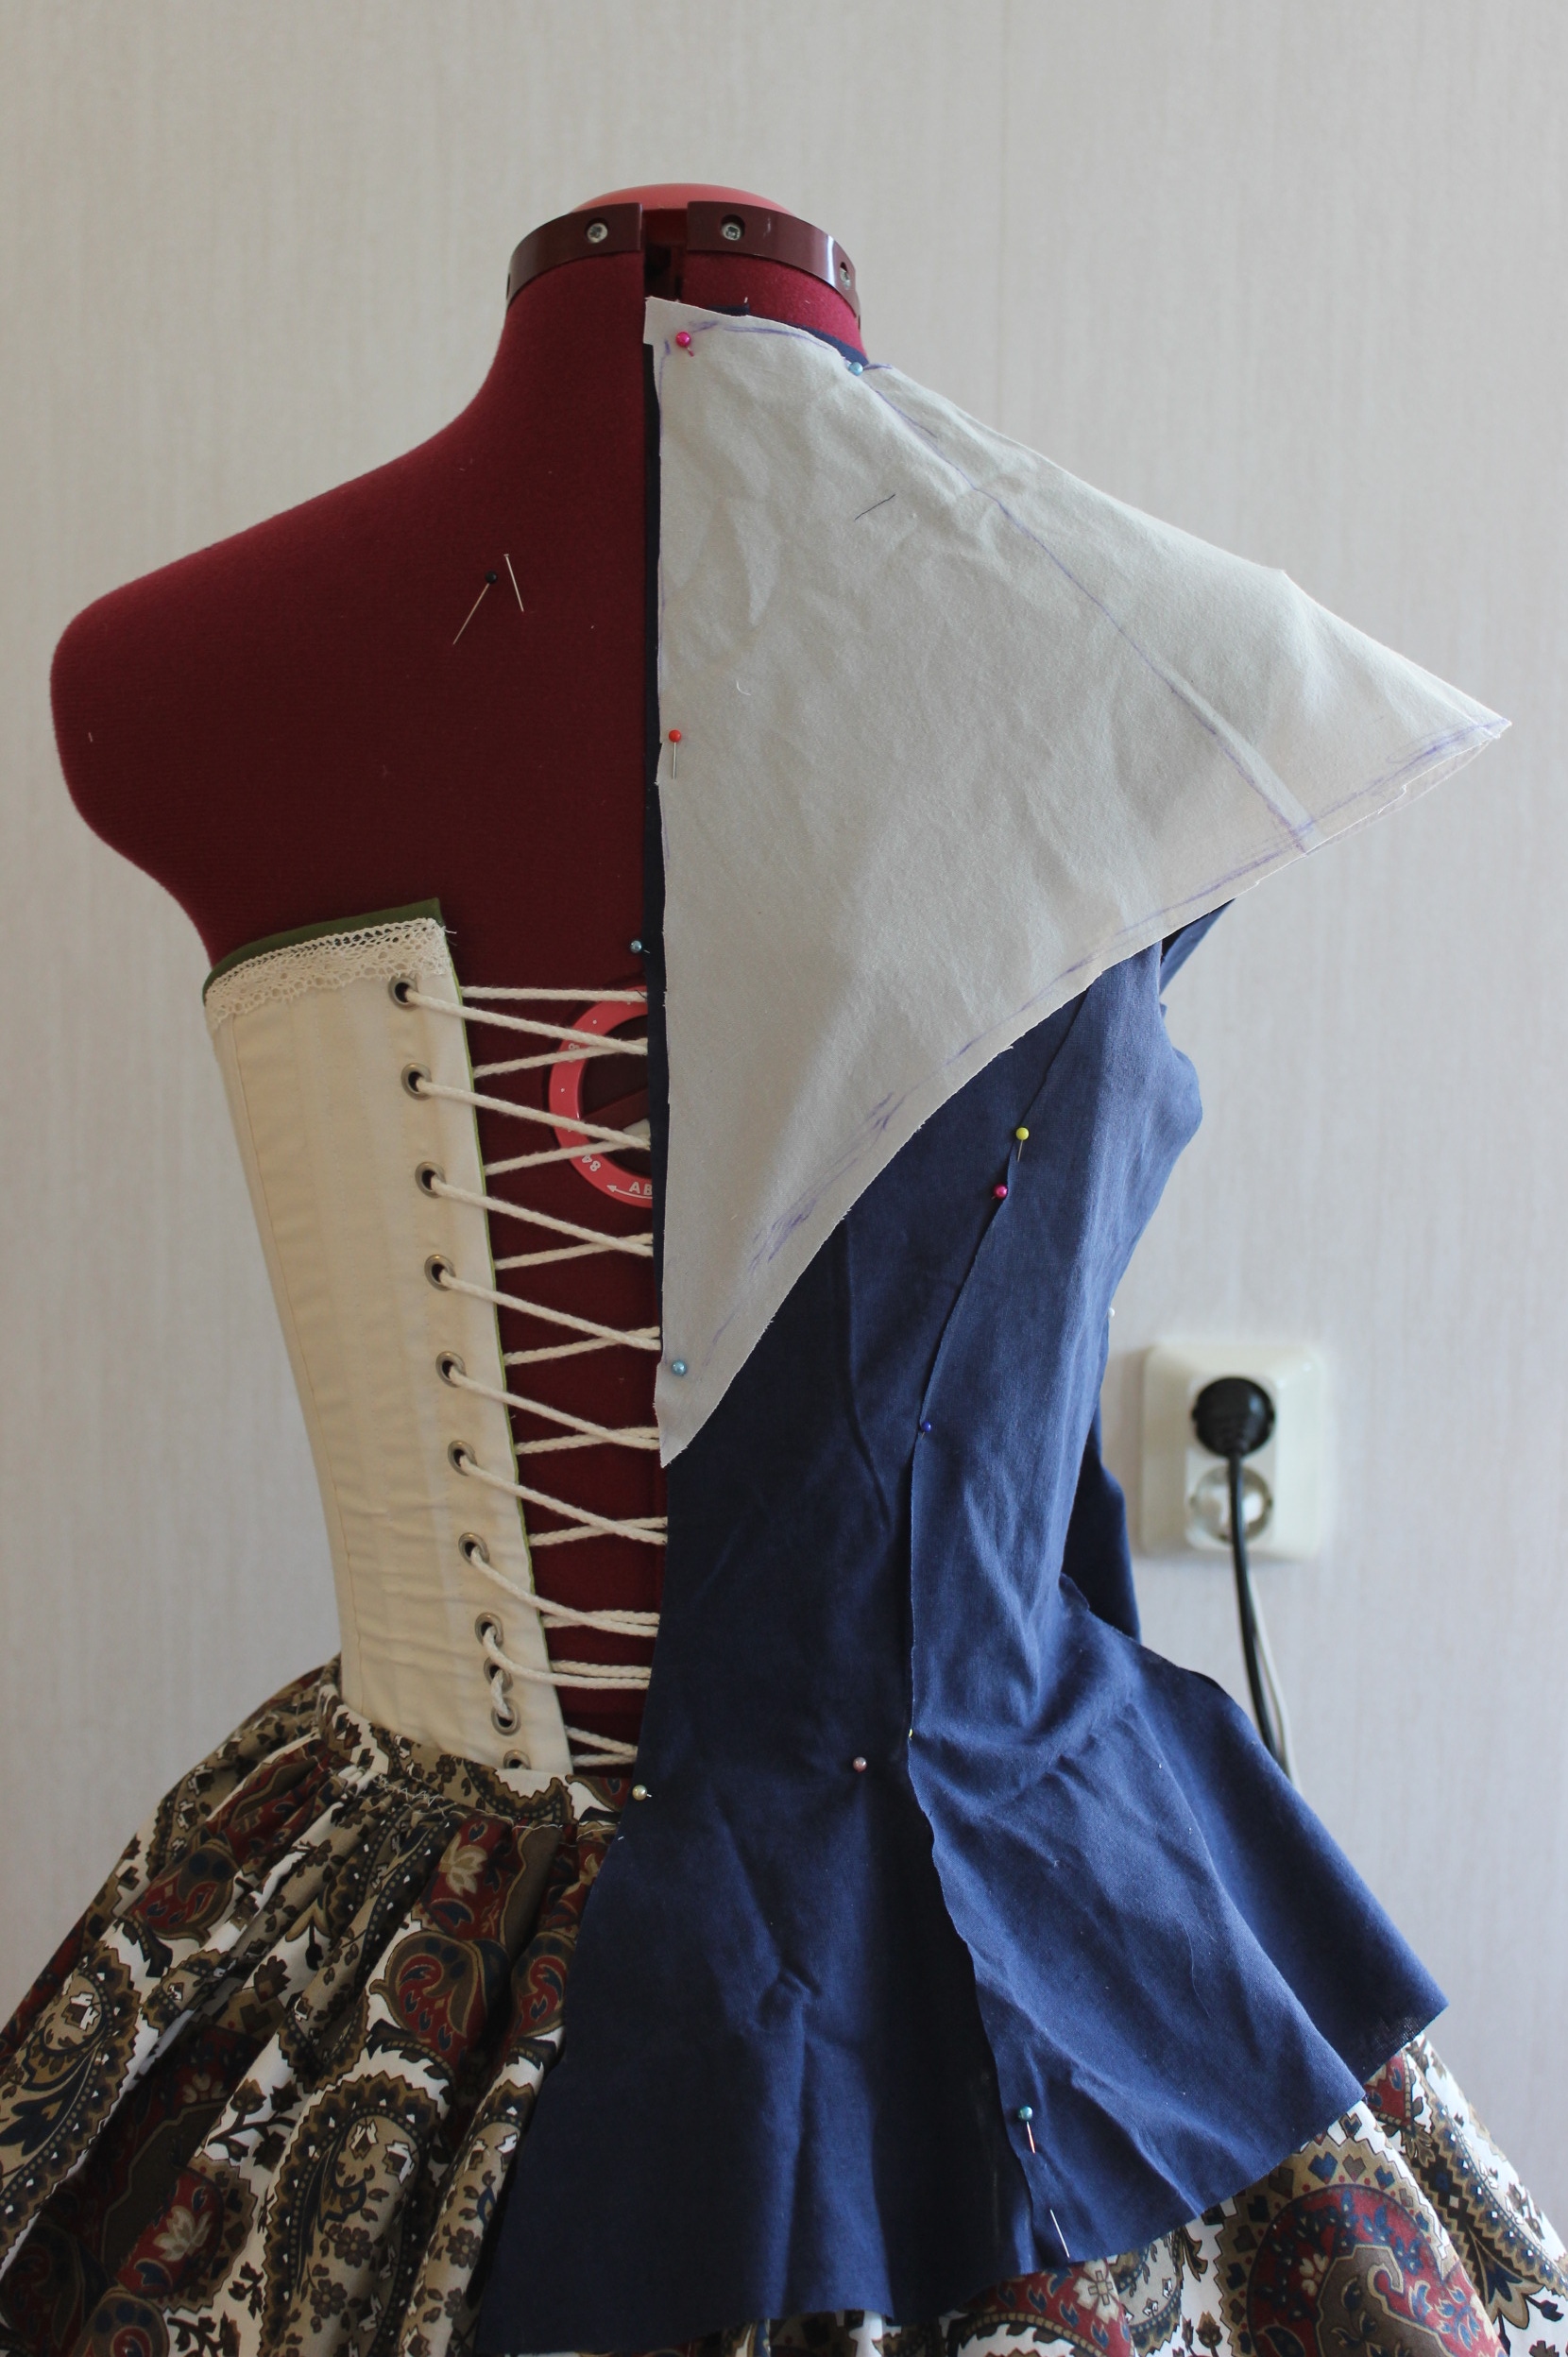
Draping the pieces on my dressform.

And the neckpiece.

I then cut and made a mock-up, and let it rest upon my dressform for a week when we were abroad on vaccation.
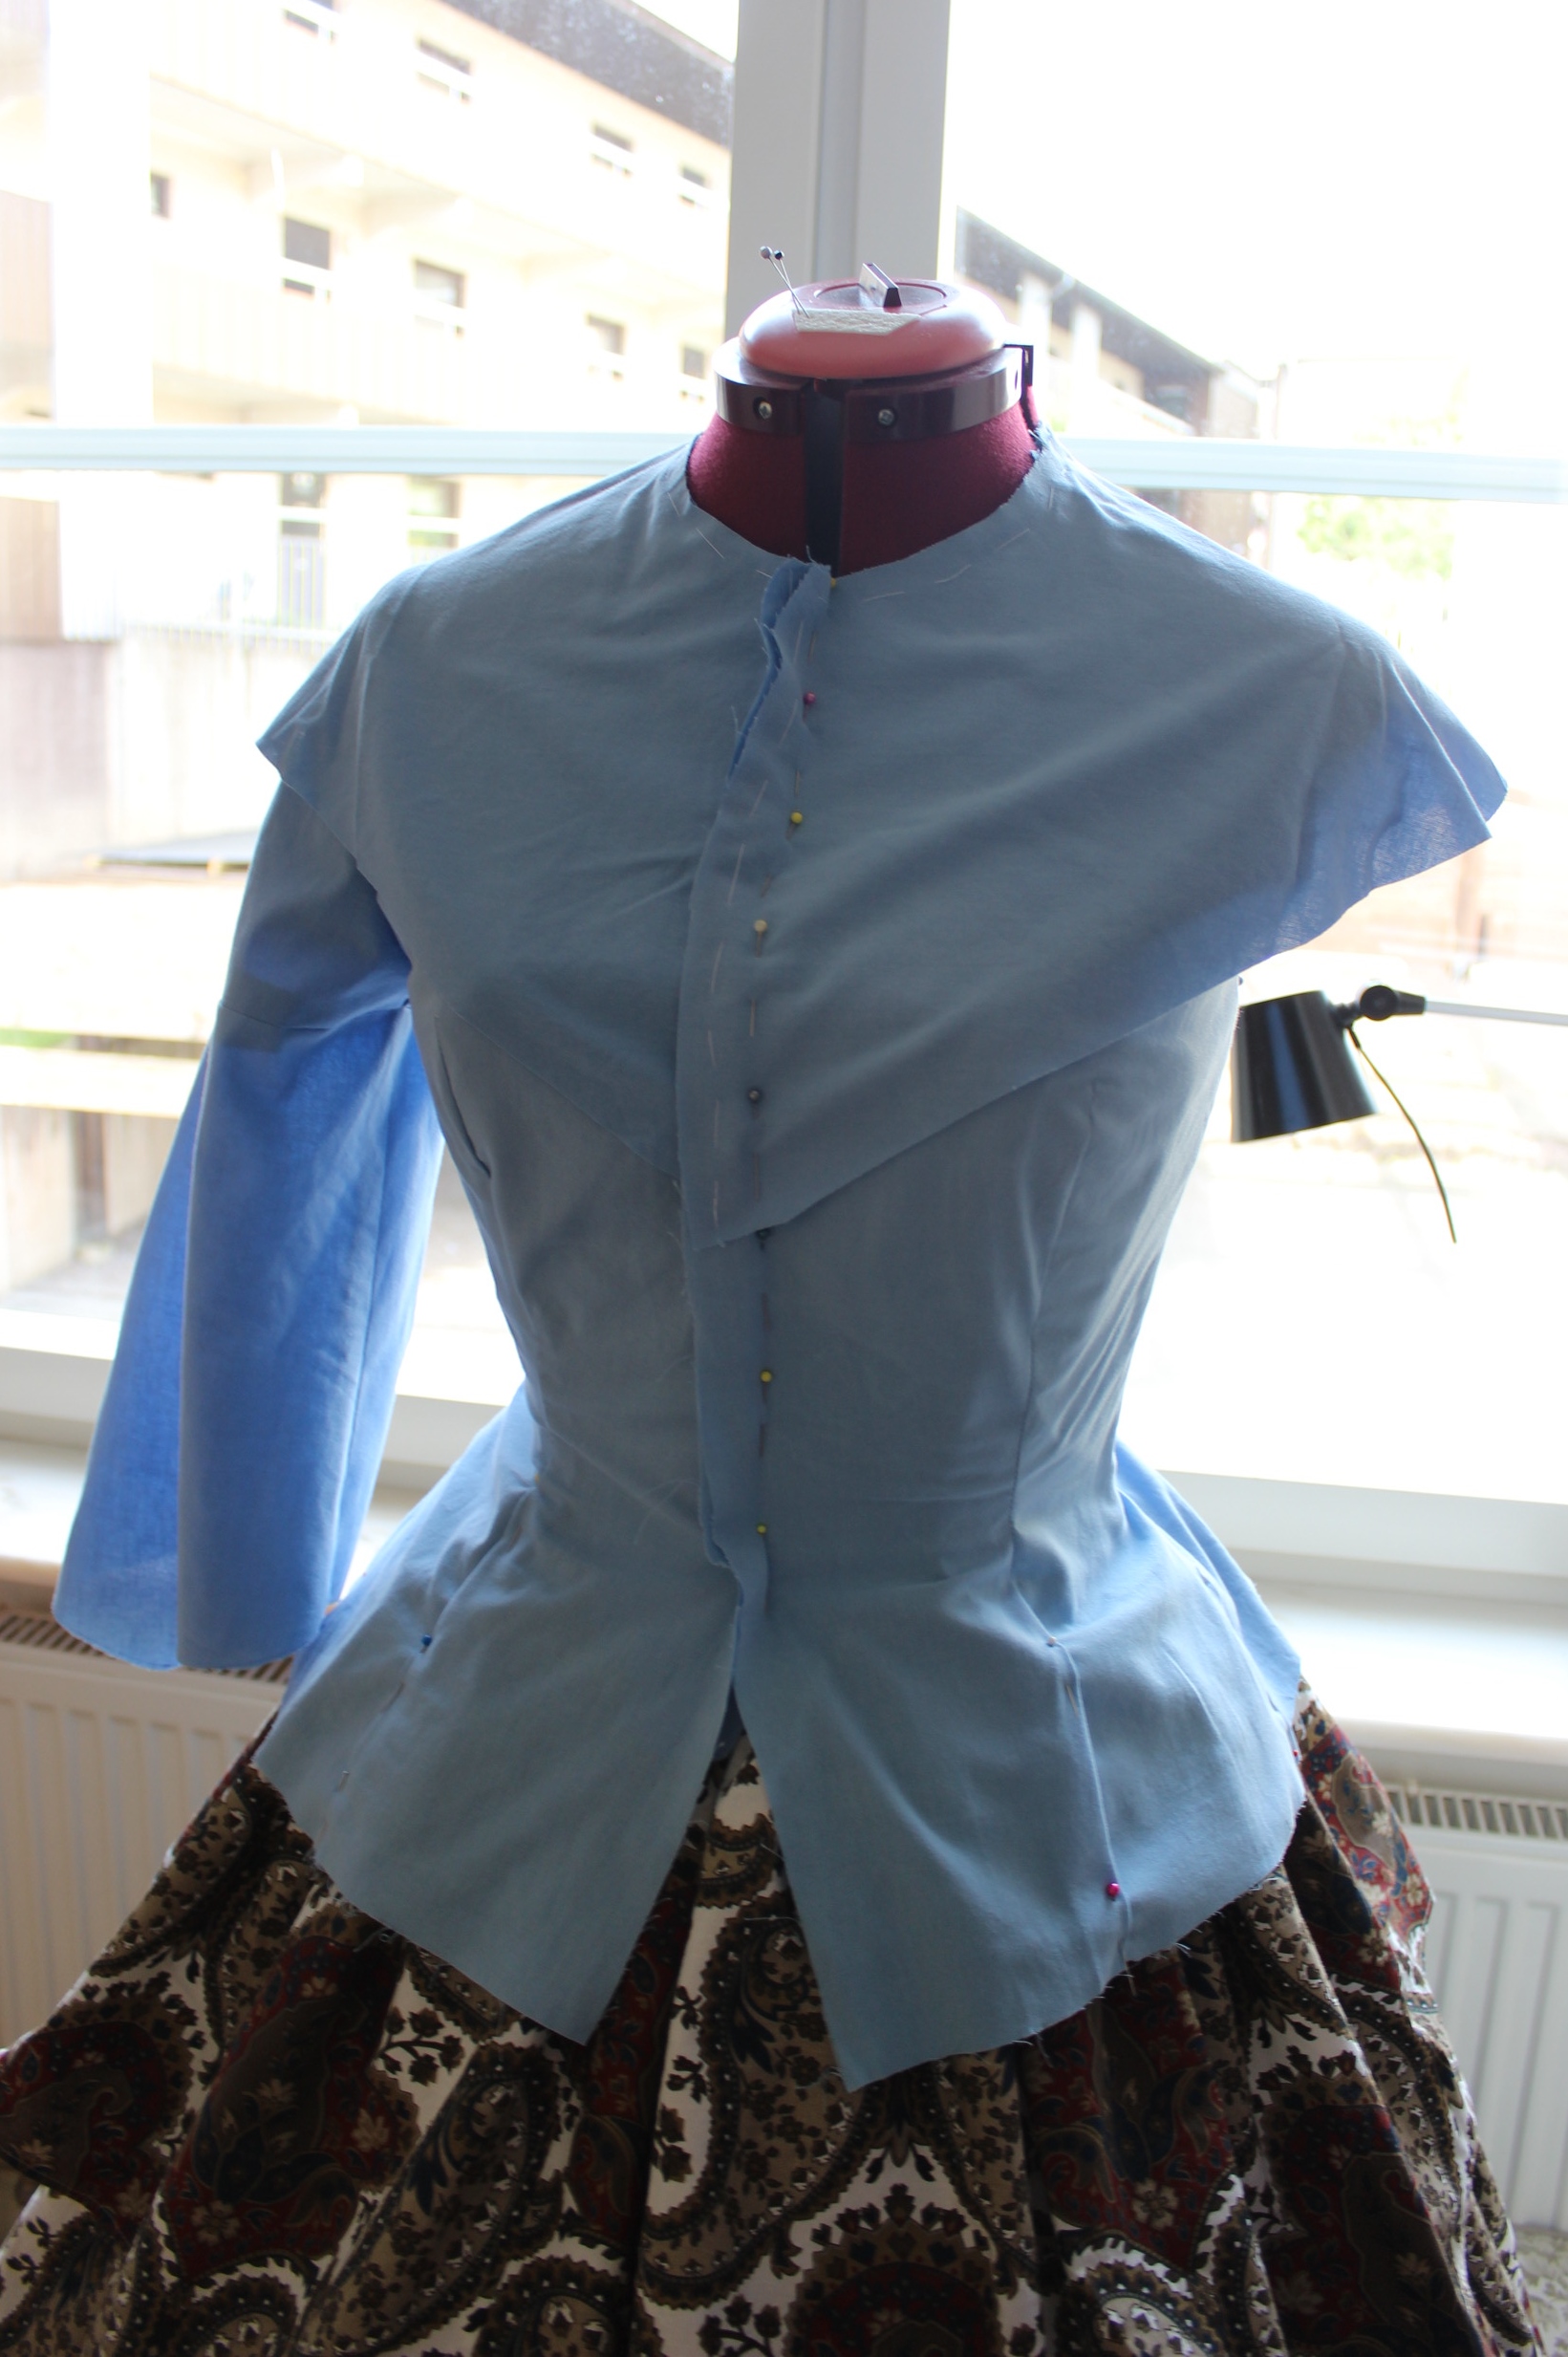
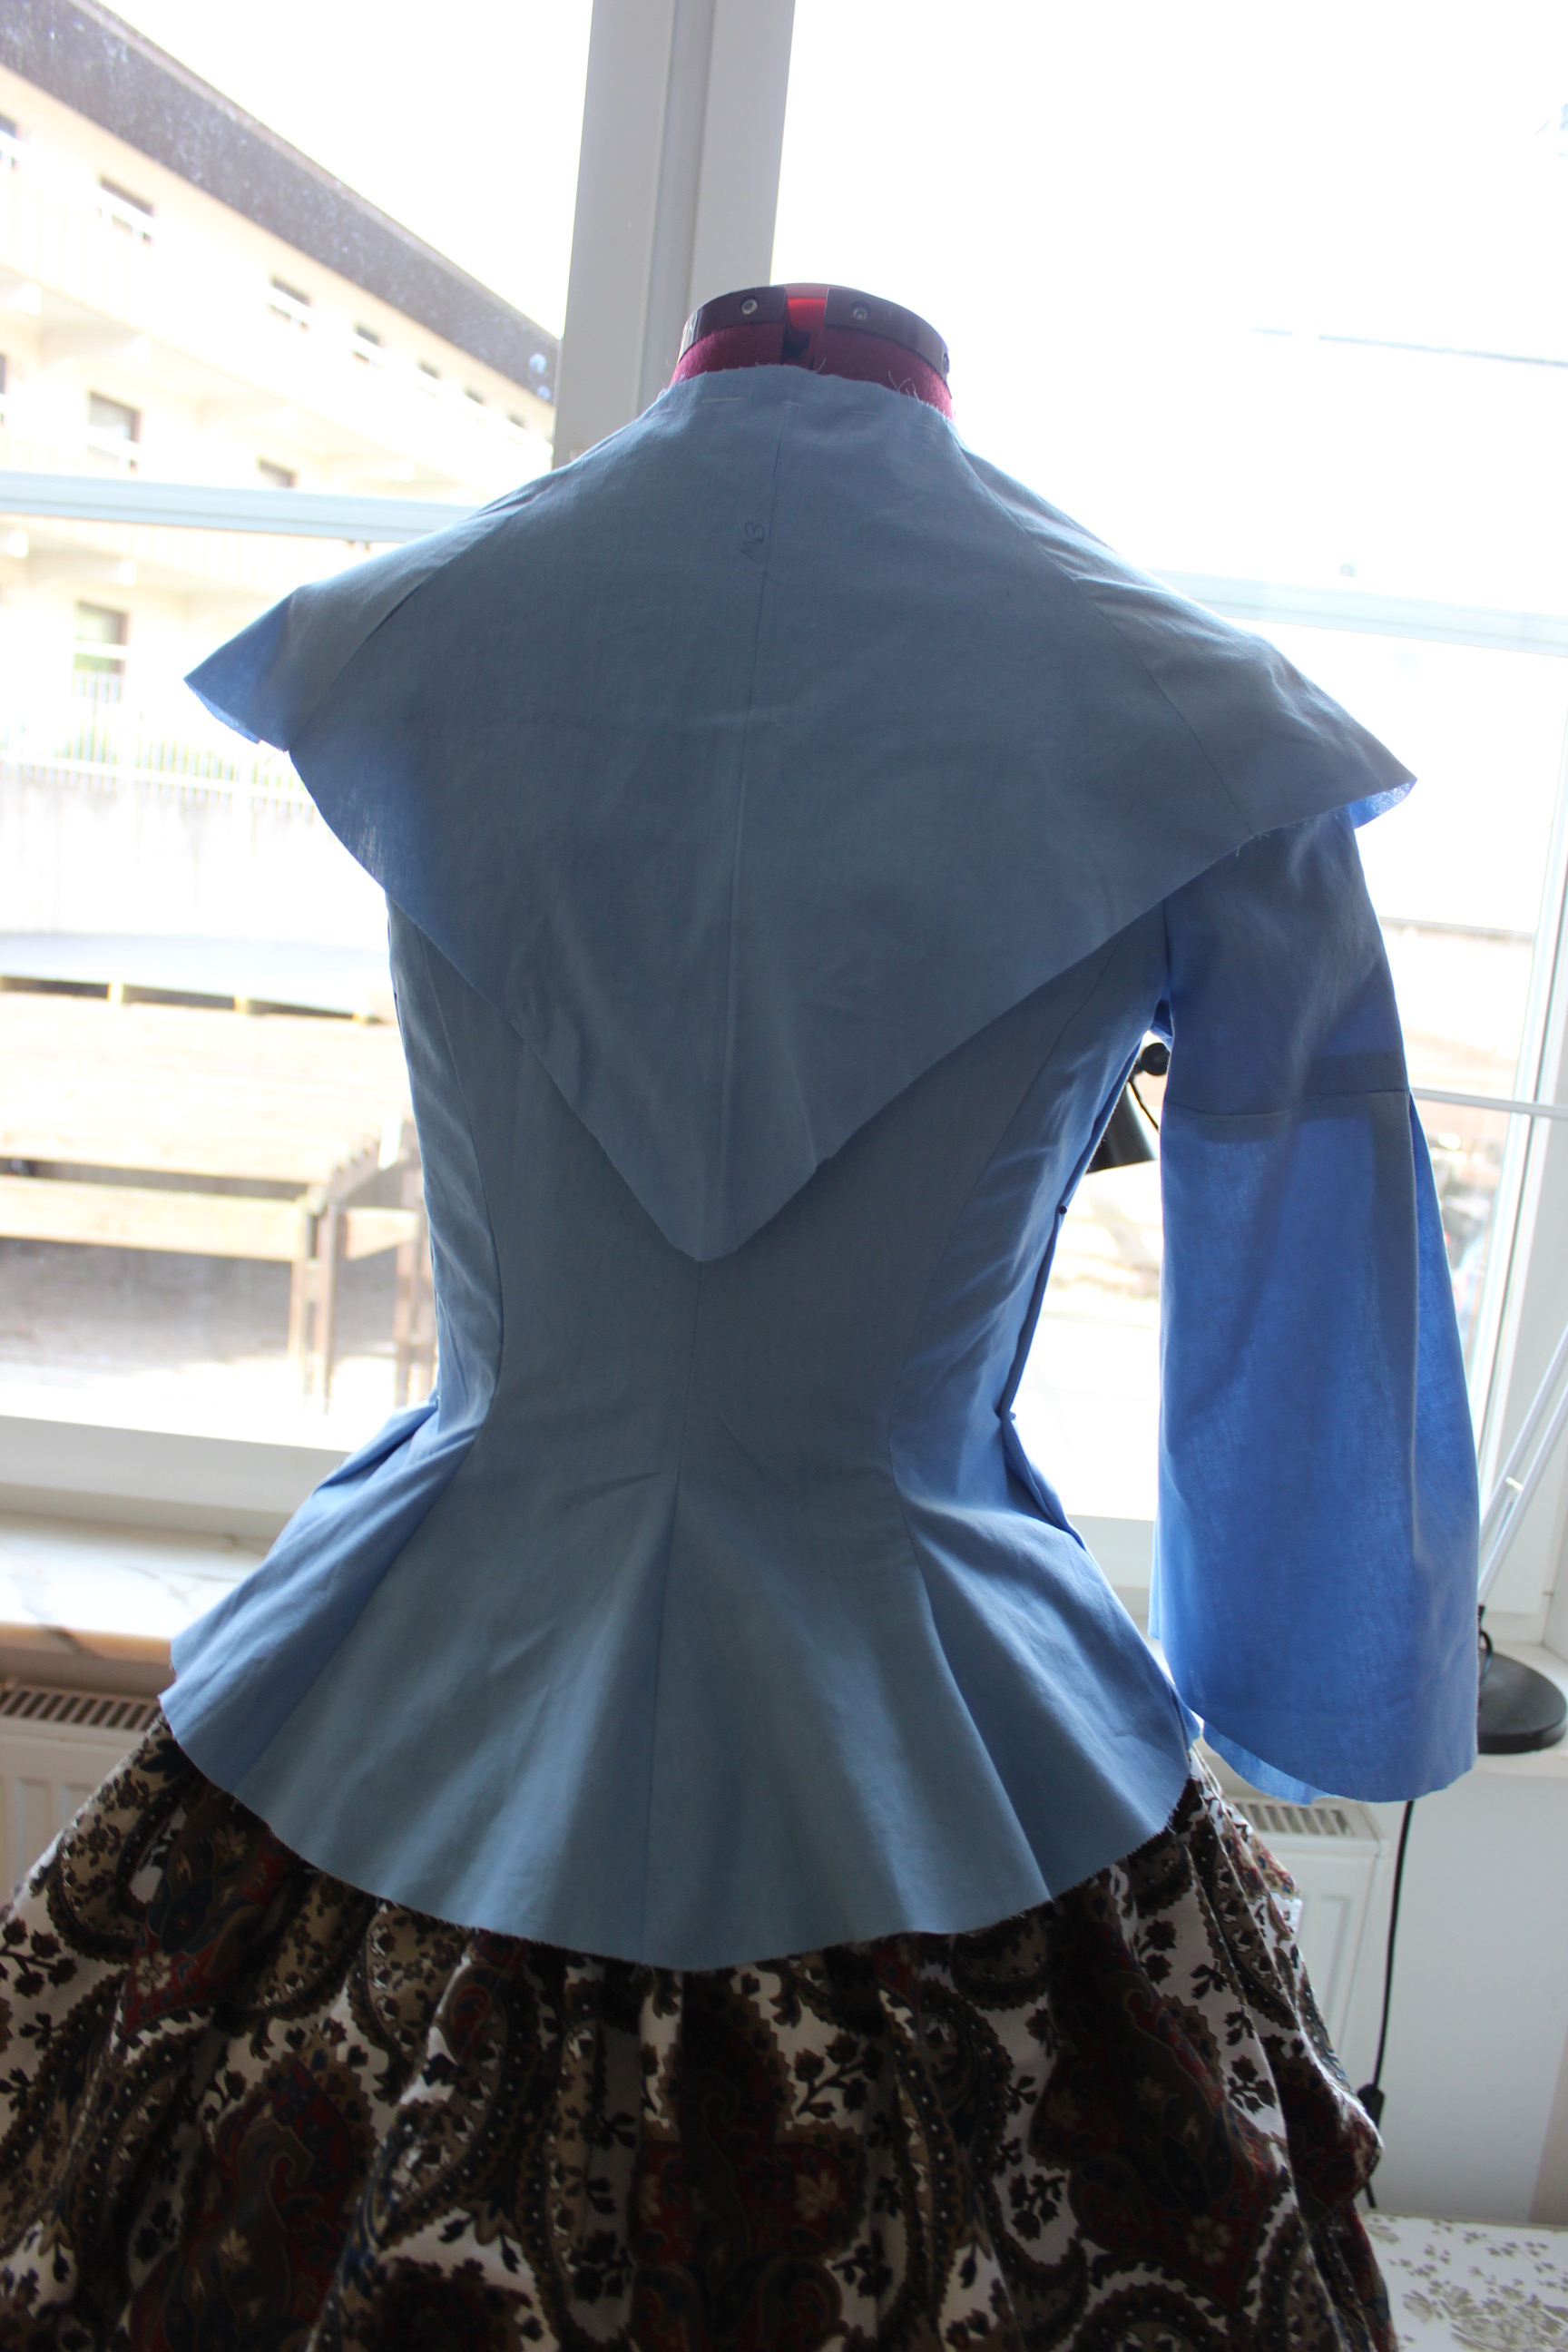
Coming home again, I put it on to check the fit.
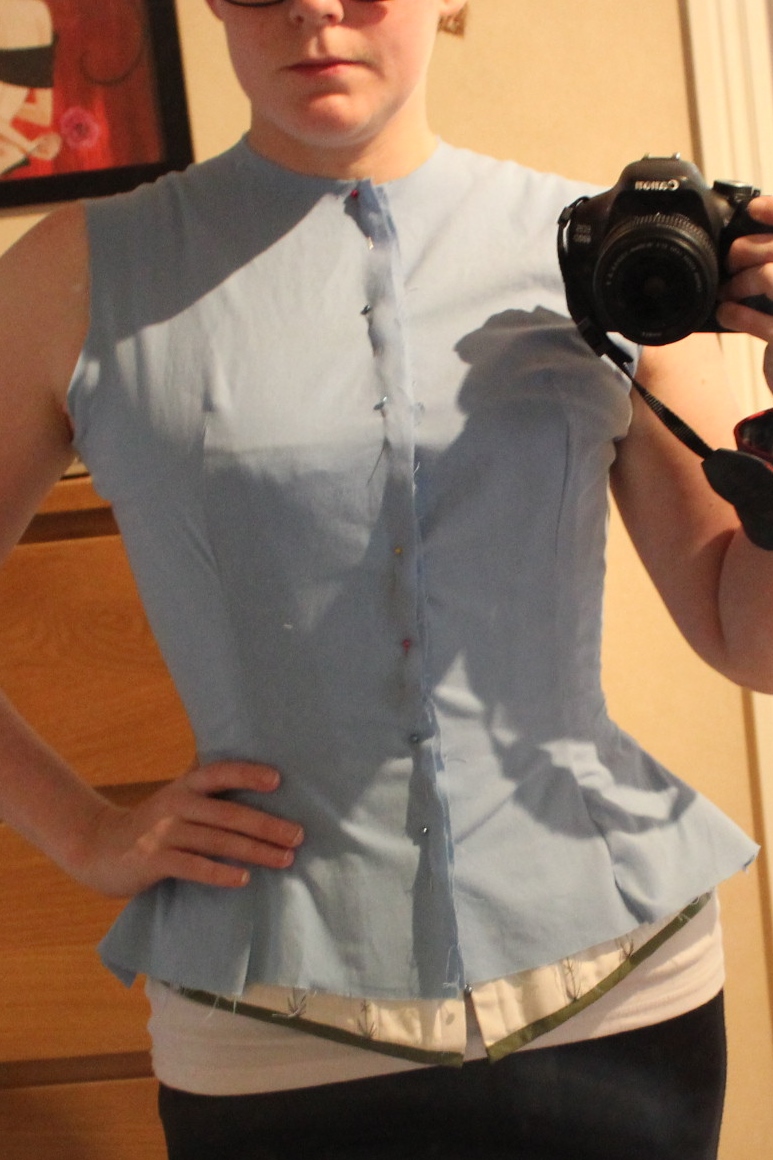
It did needed some changes (hard to se in this pick due to the pining I’ve made on the inside), but for the most part it worked pretty good.
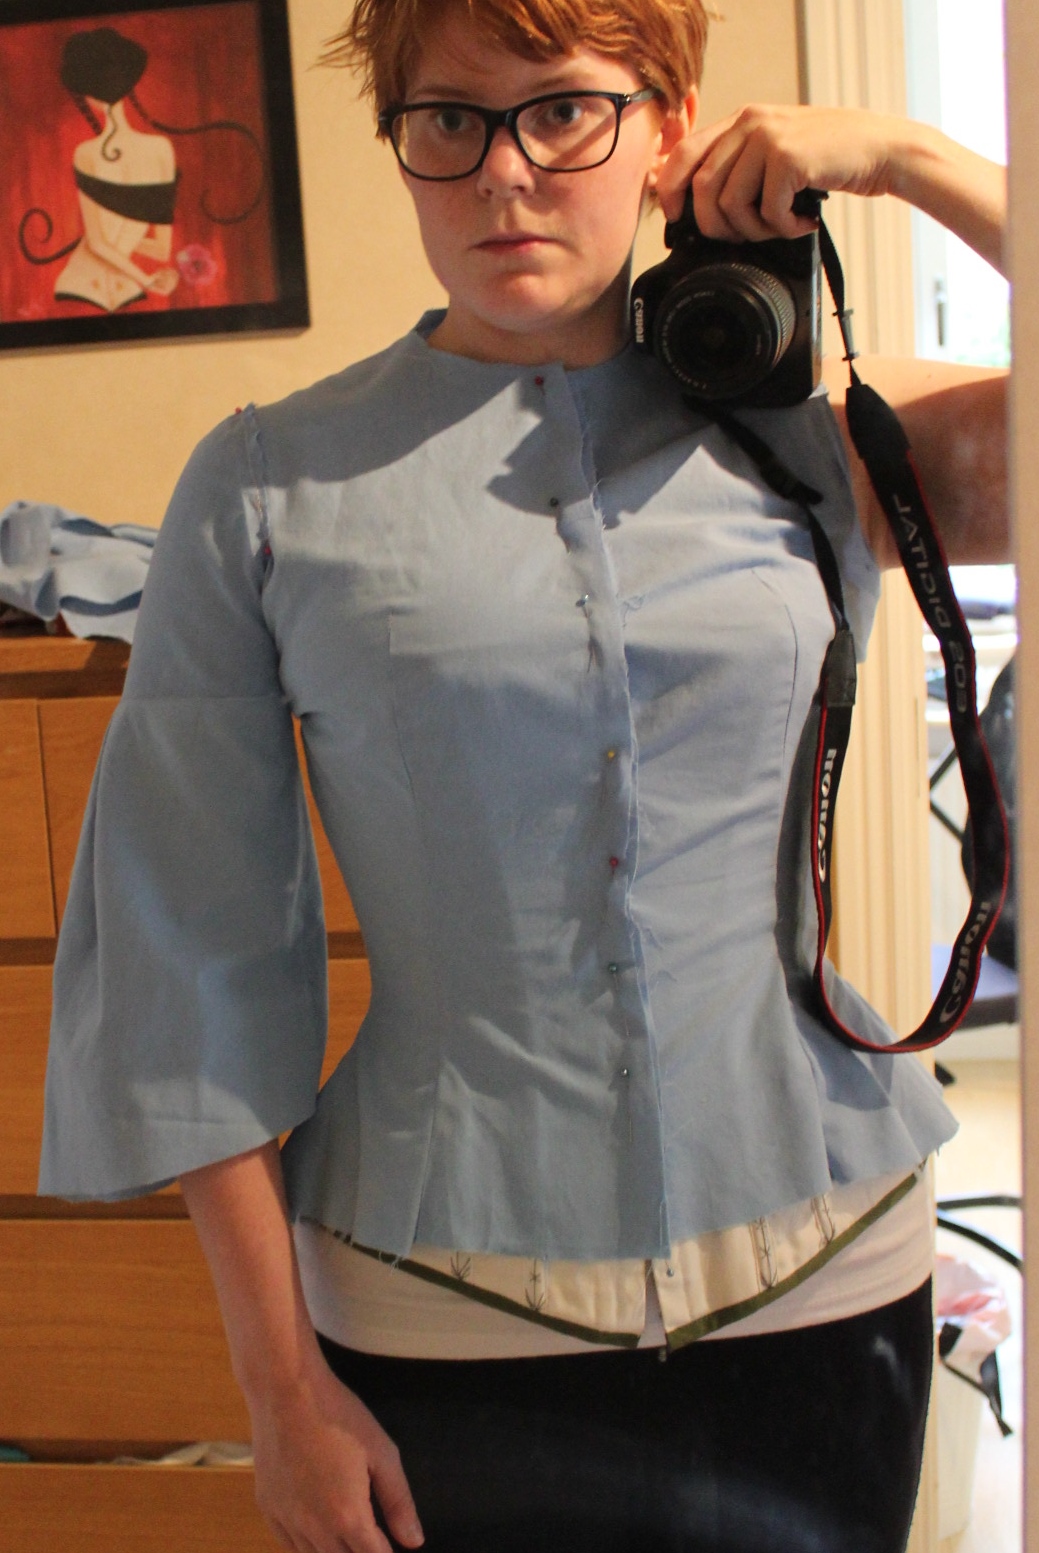 Trying out the sleeve pattern.
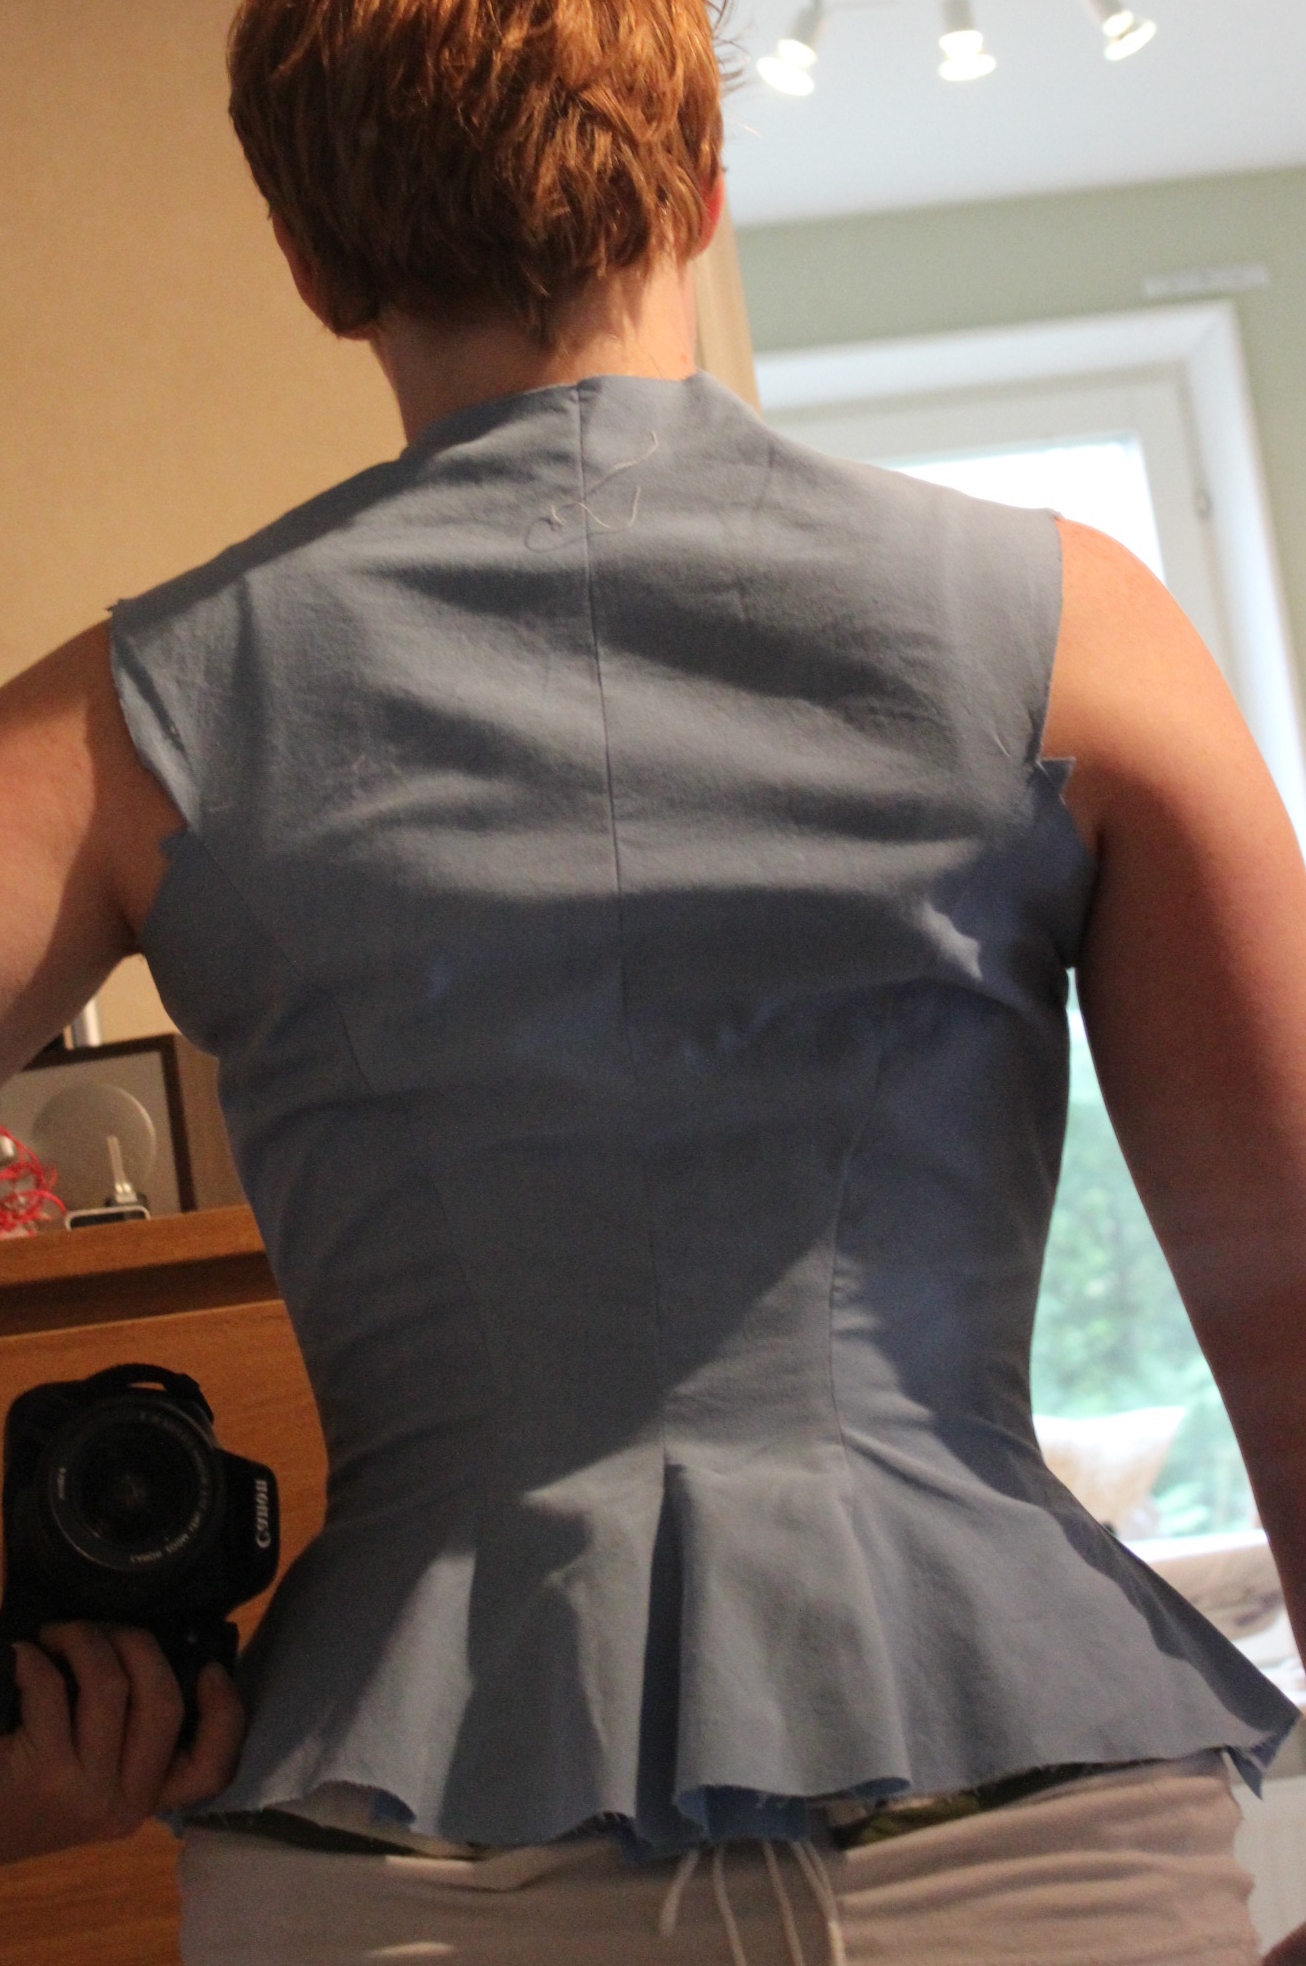
 The biggest change I neede to make was to lover the wasit and to take it in a bit more.
Here you can see the new lower, and the old un-picked waist placement, and the amount needed to be taken in at each seam. 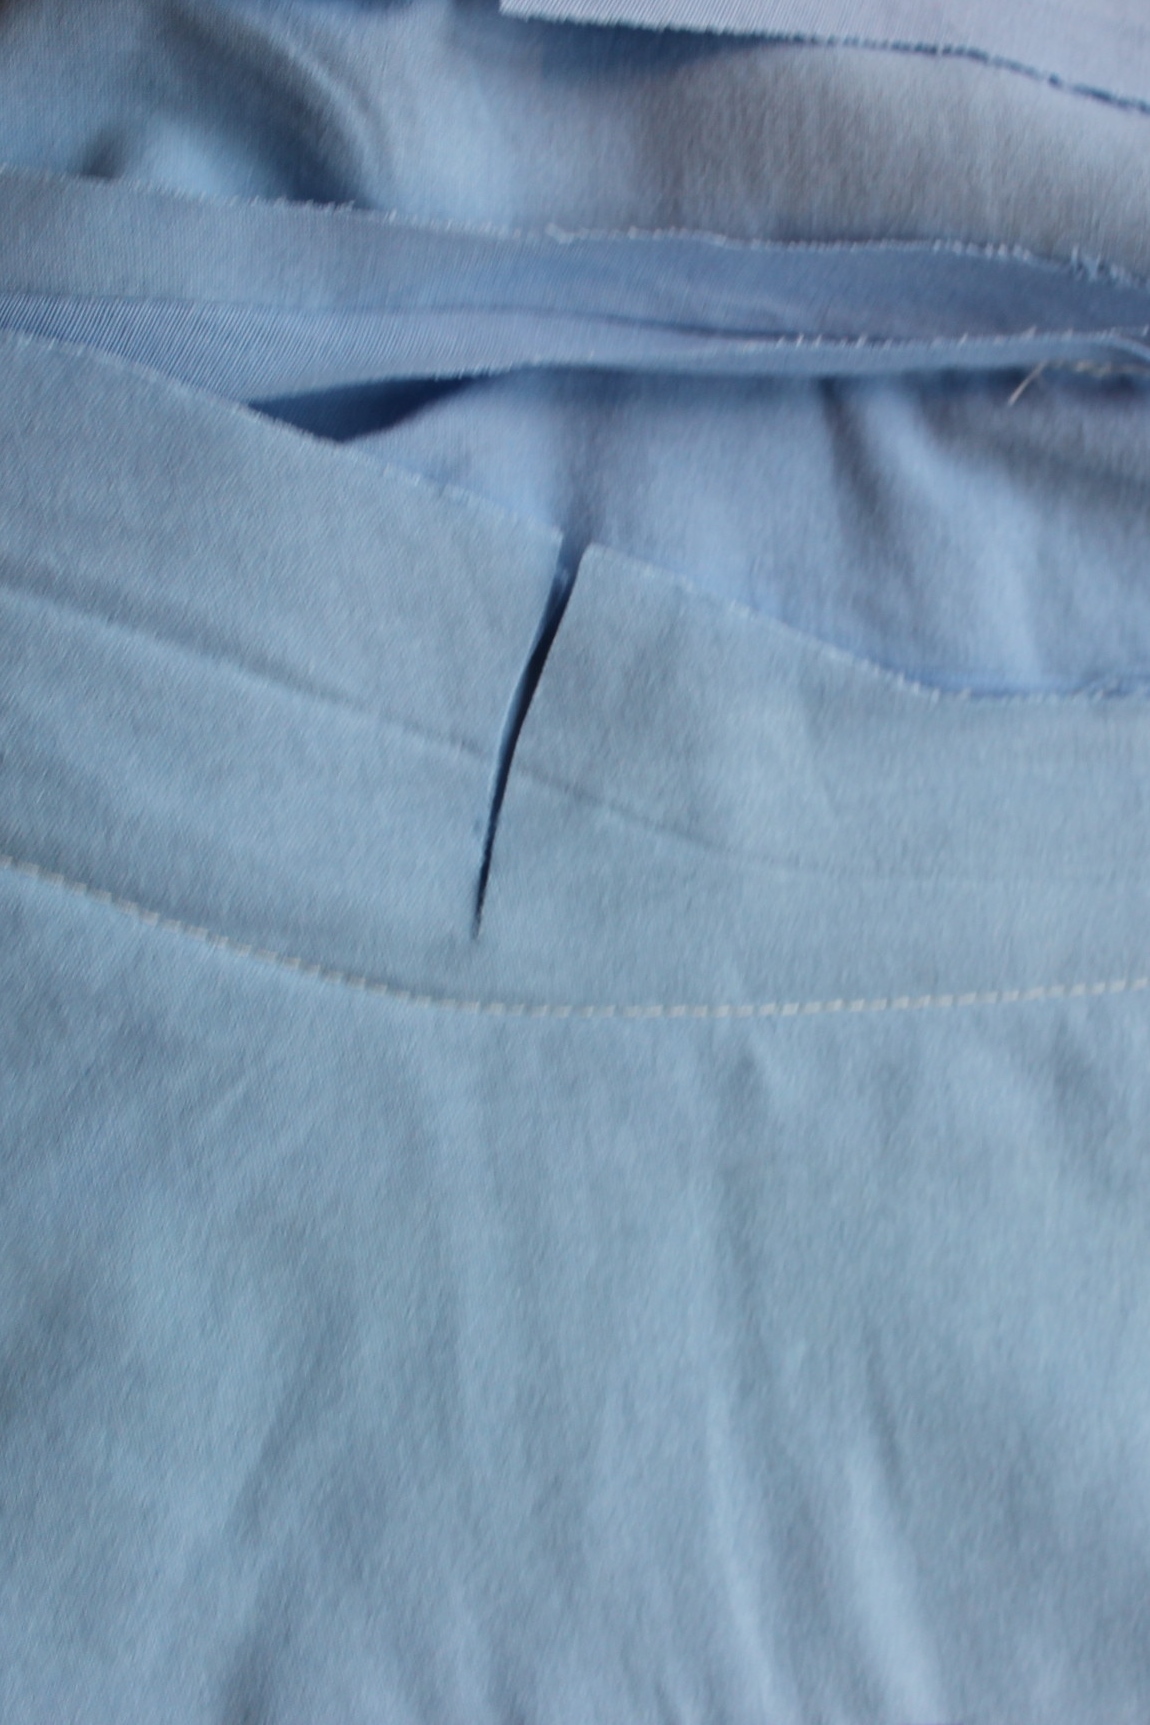
Then it was time to cut the pieces. I needed to ration the fabric very carefuly to make sure I had enough to get the print matched on each piece. It was a bit tricky but I manadged to fit all the pieces pretty much the way I wanted.
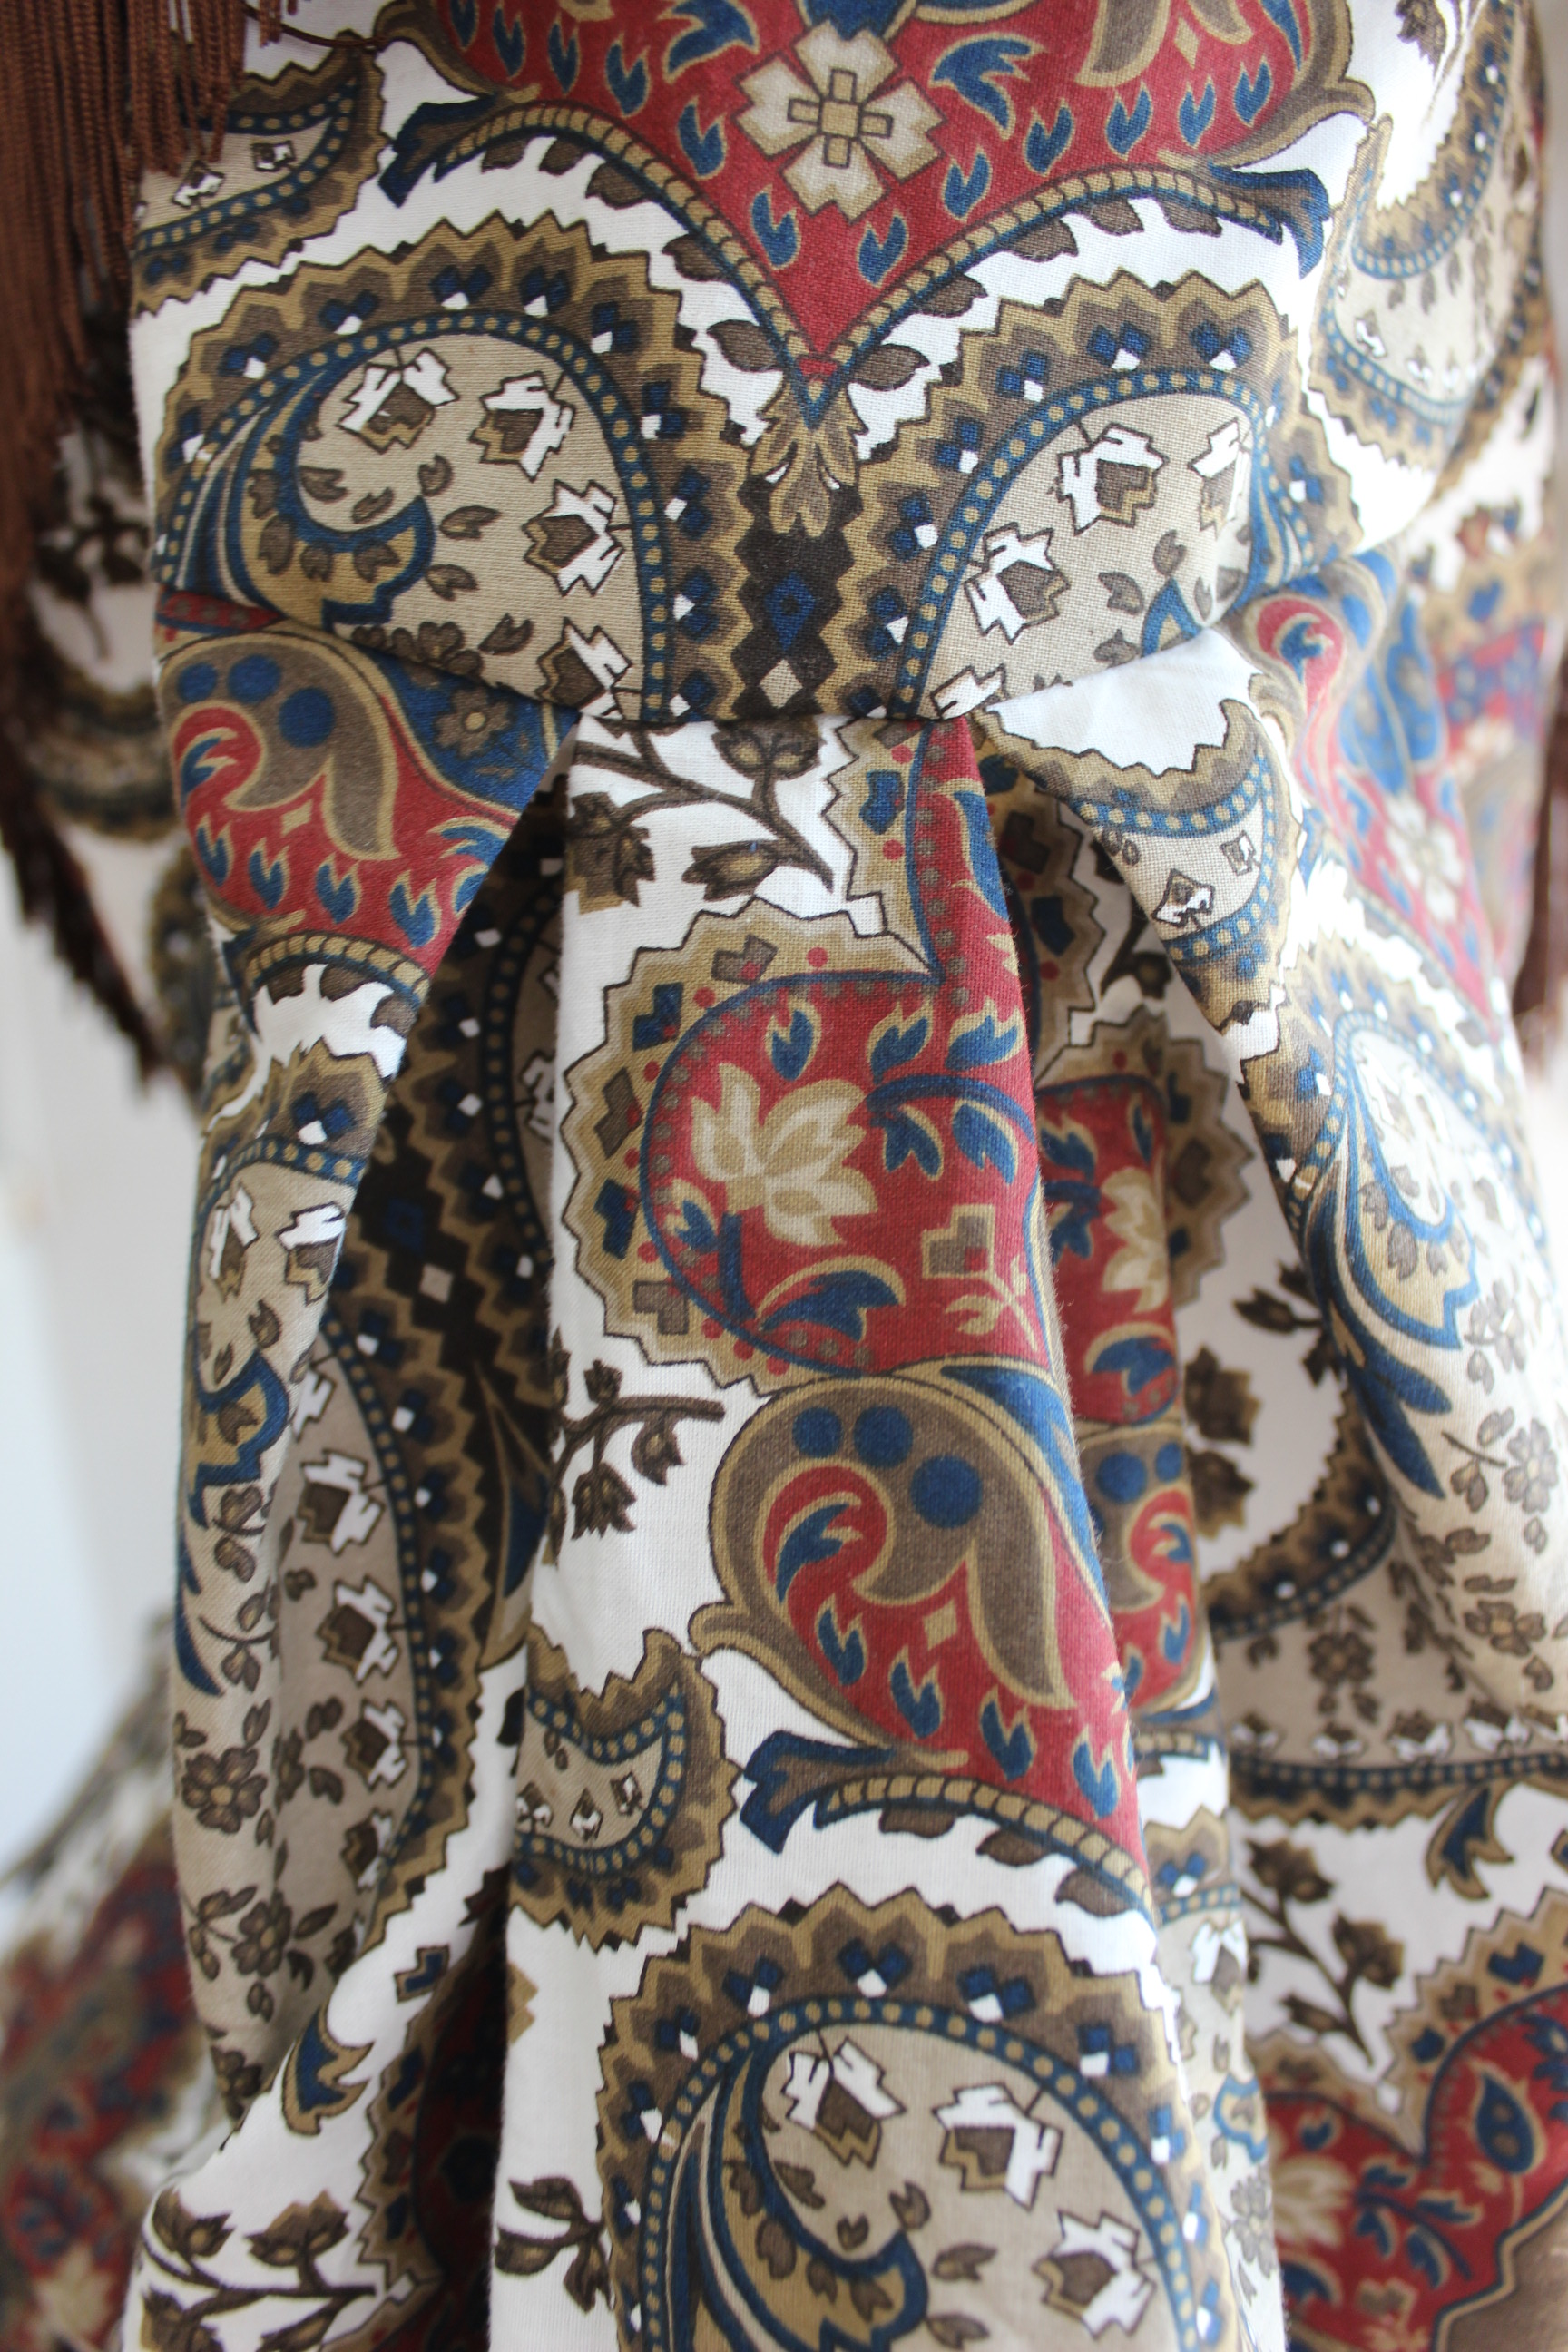
I’m particulary proud of the center back (which unfortanly won’t even show beeneth the neck piece).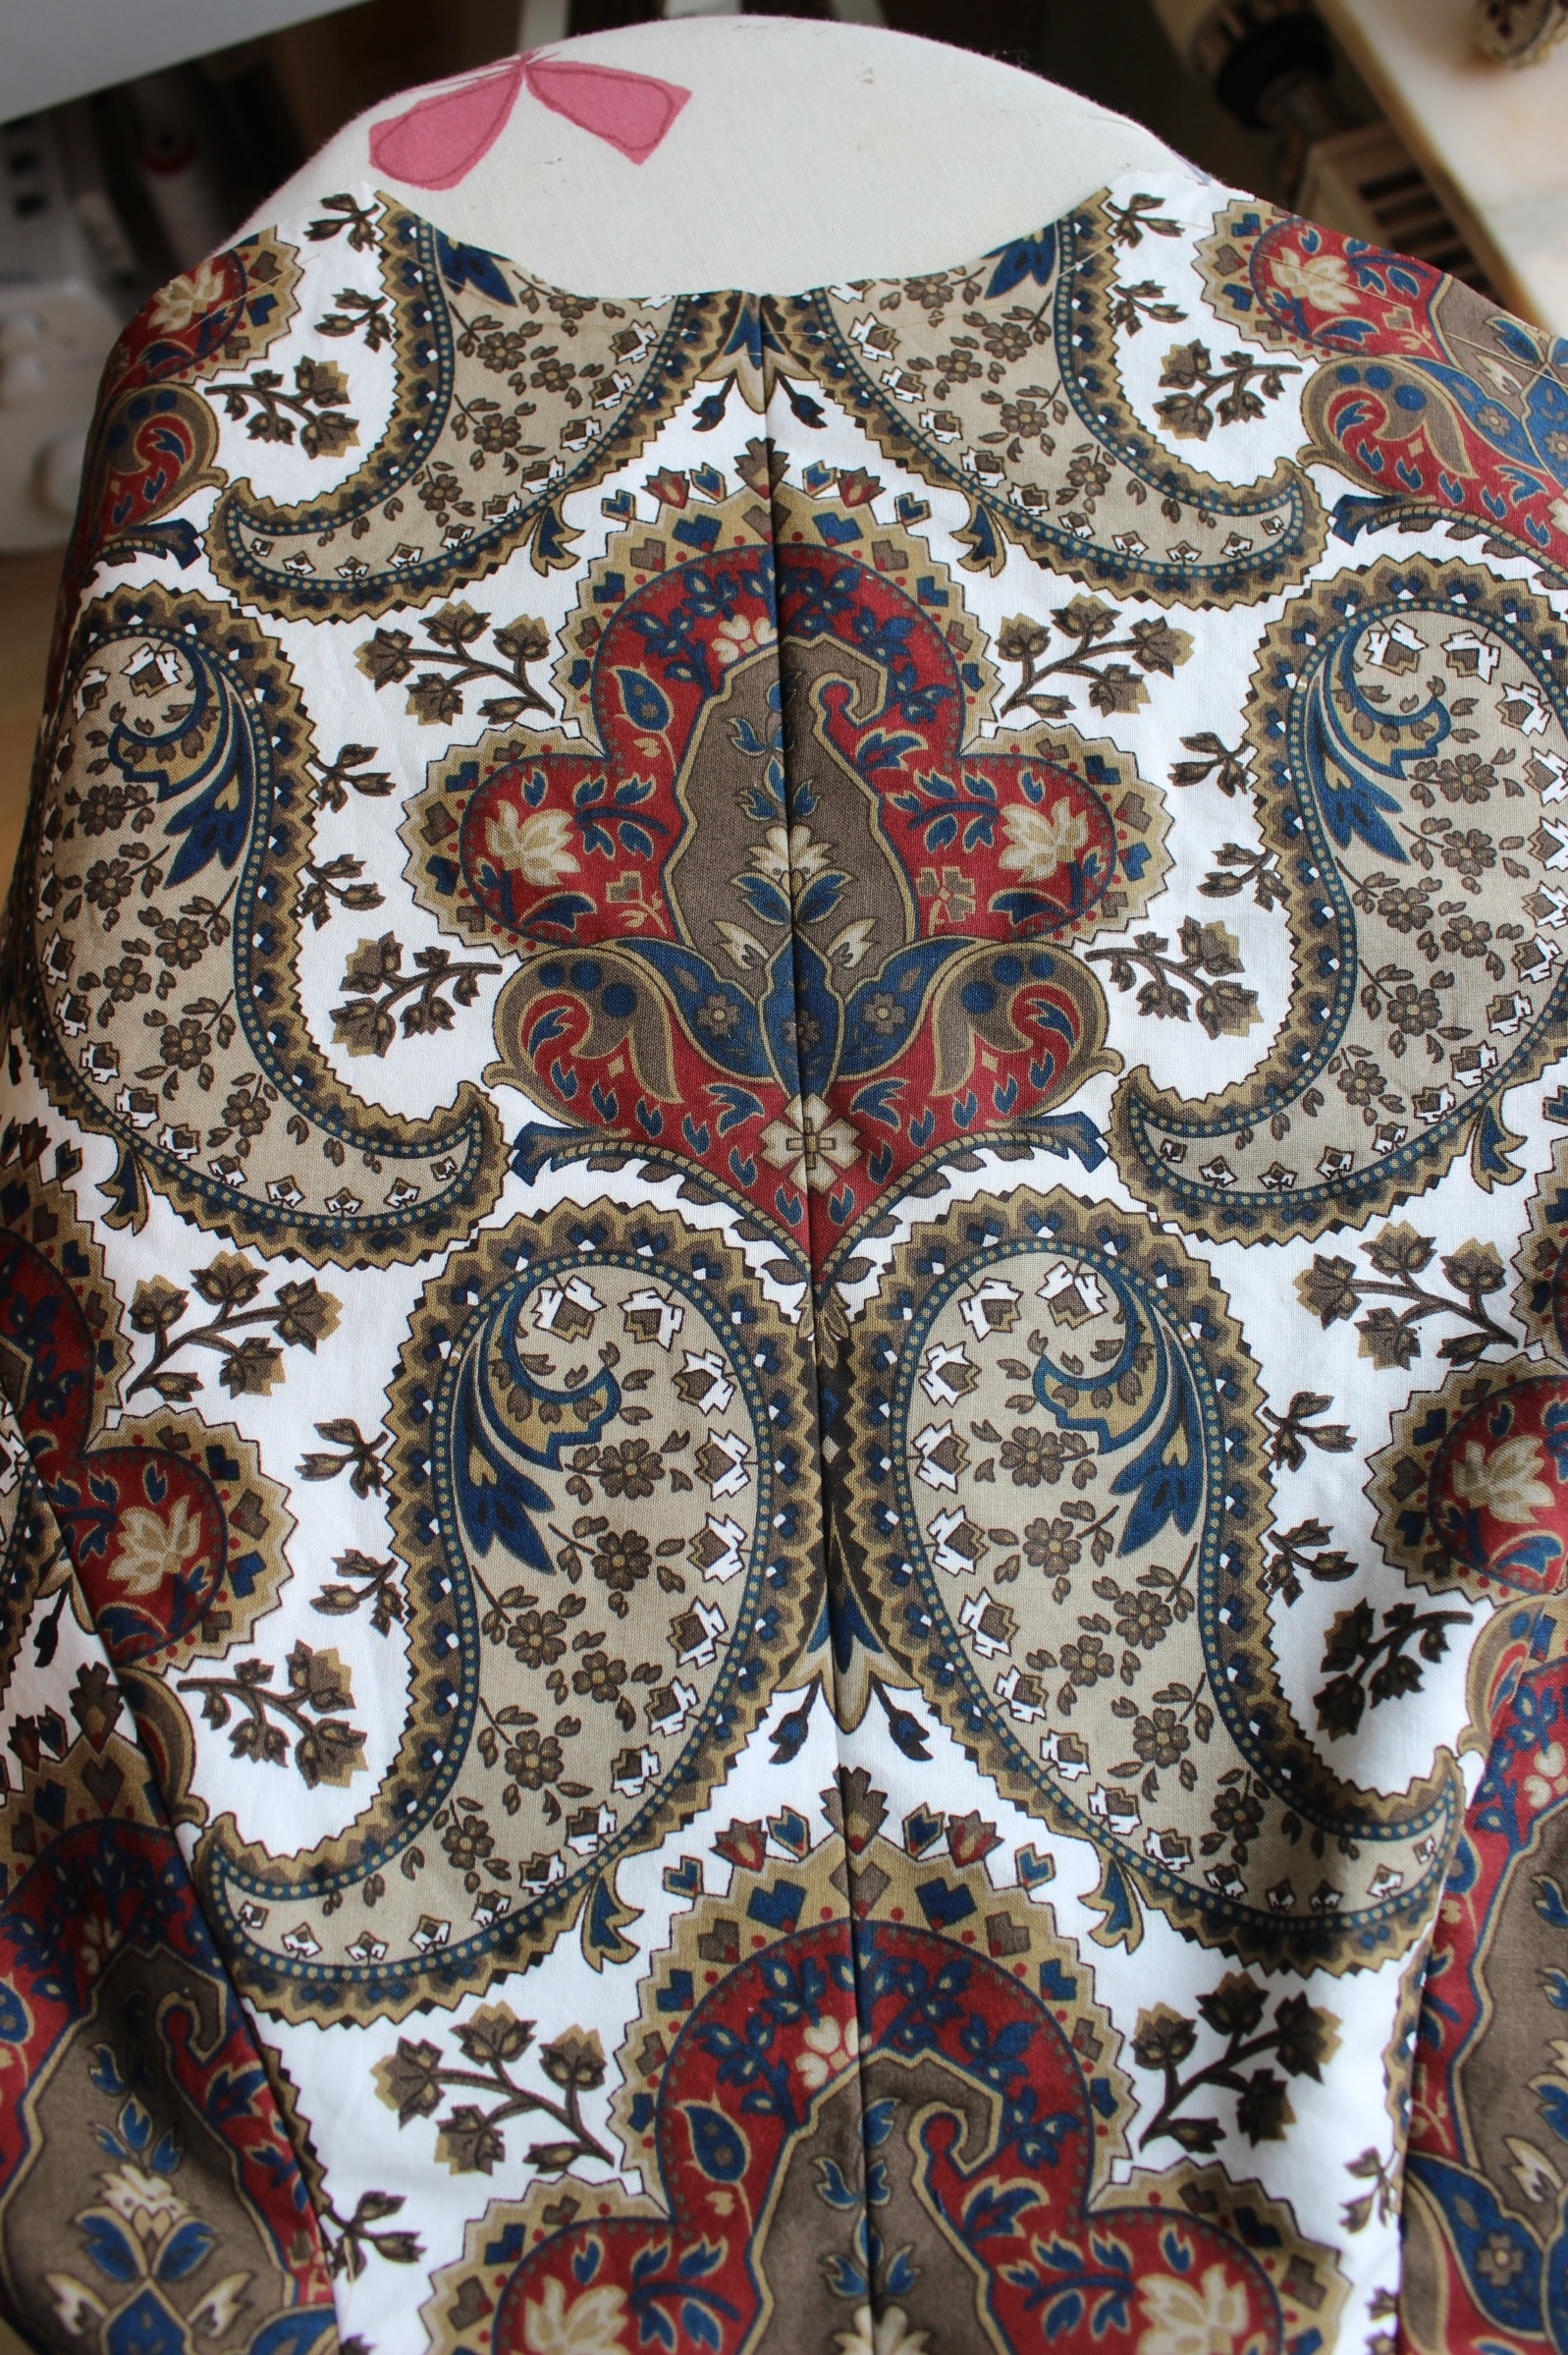 After basting the interlinig to the paisley, I sewed the pieces together and tried it on.
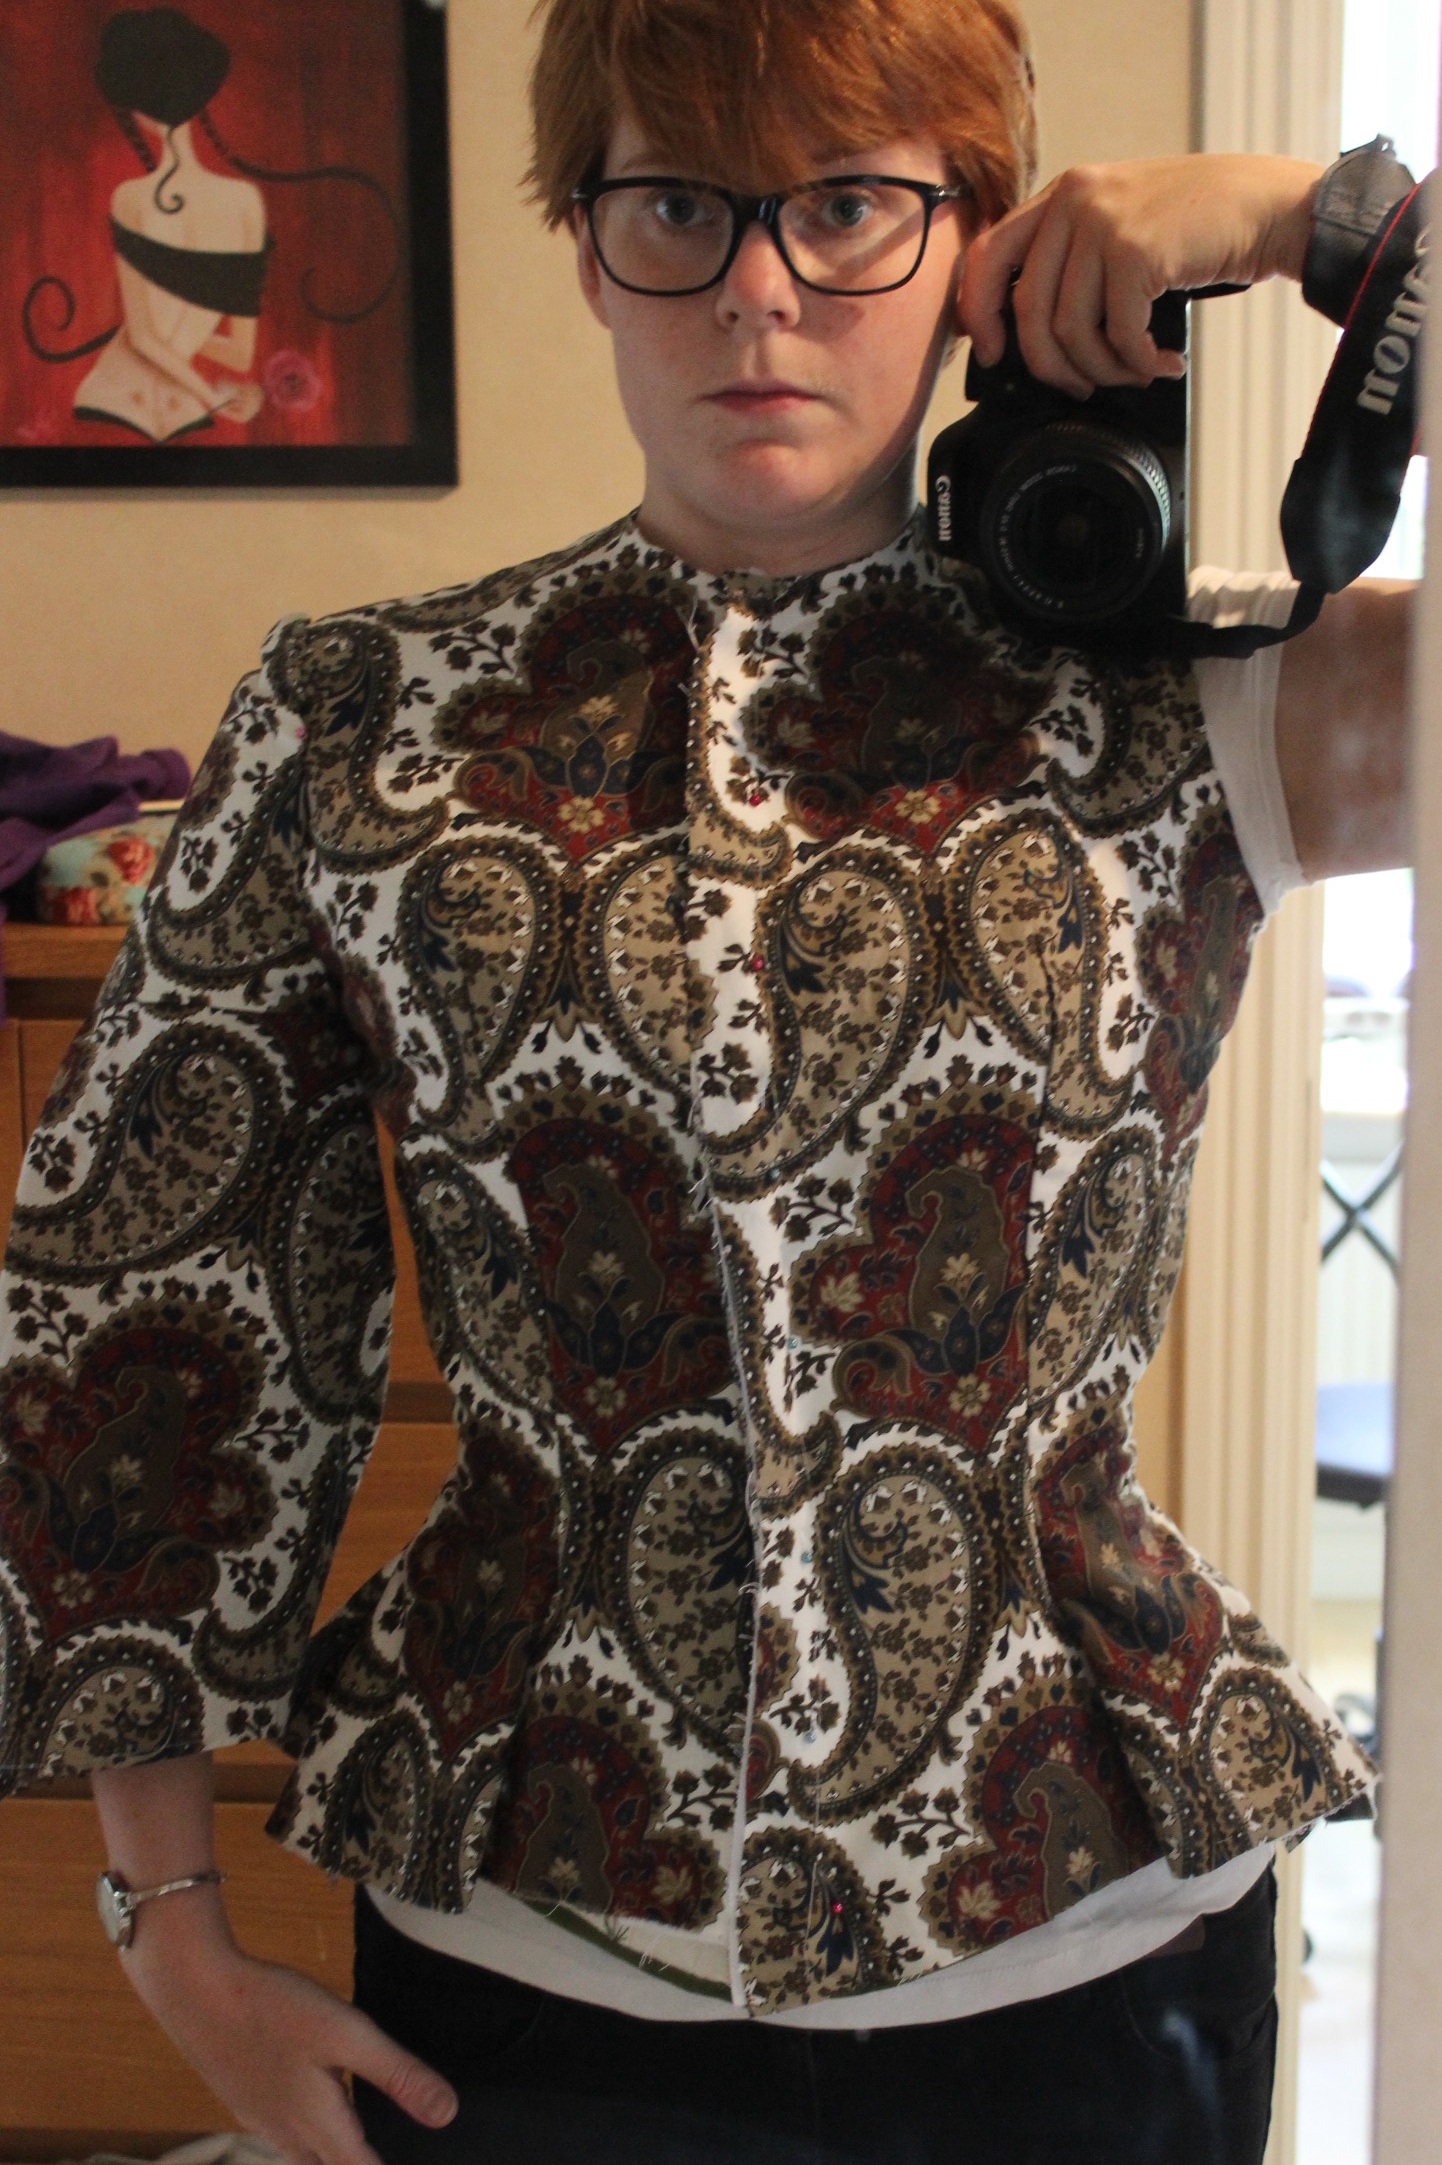
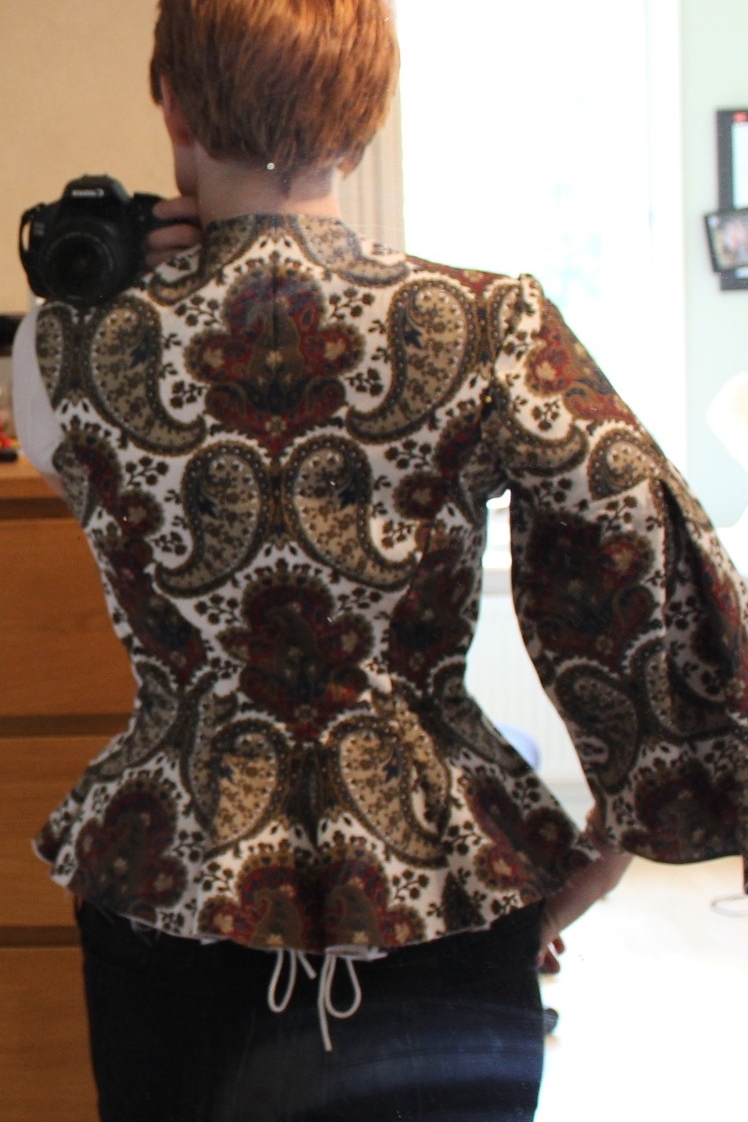
This time it looked rater good.
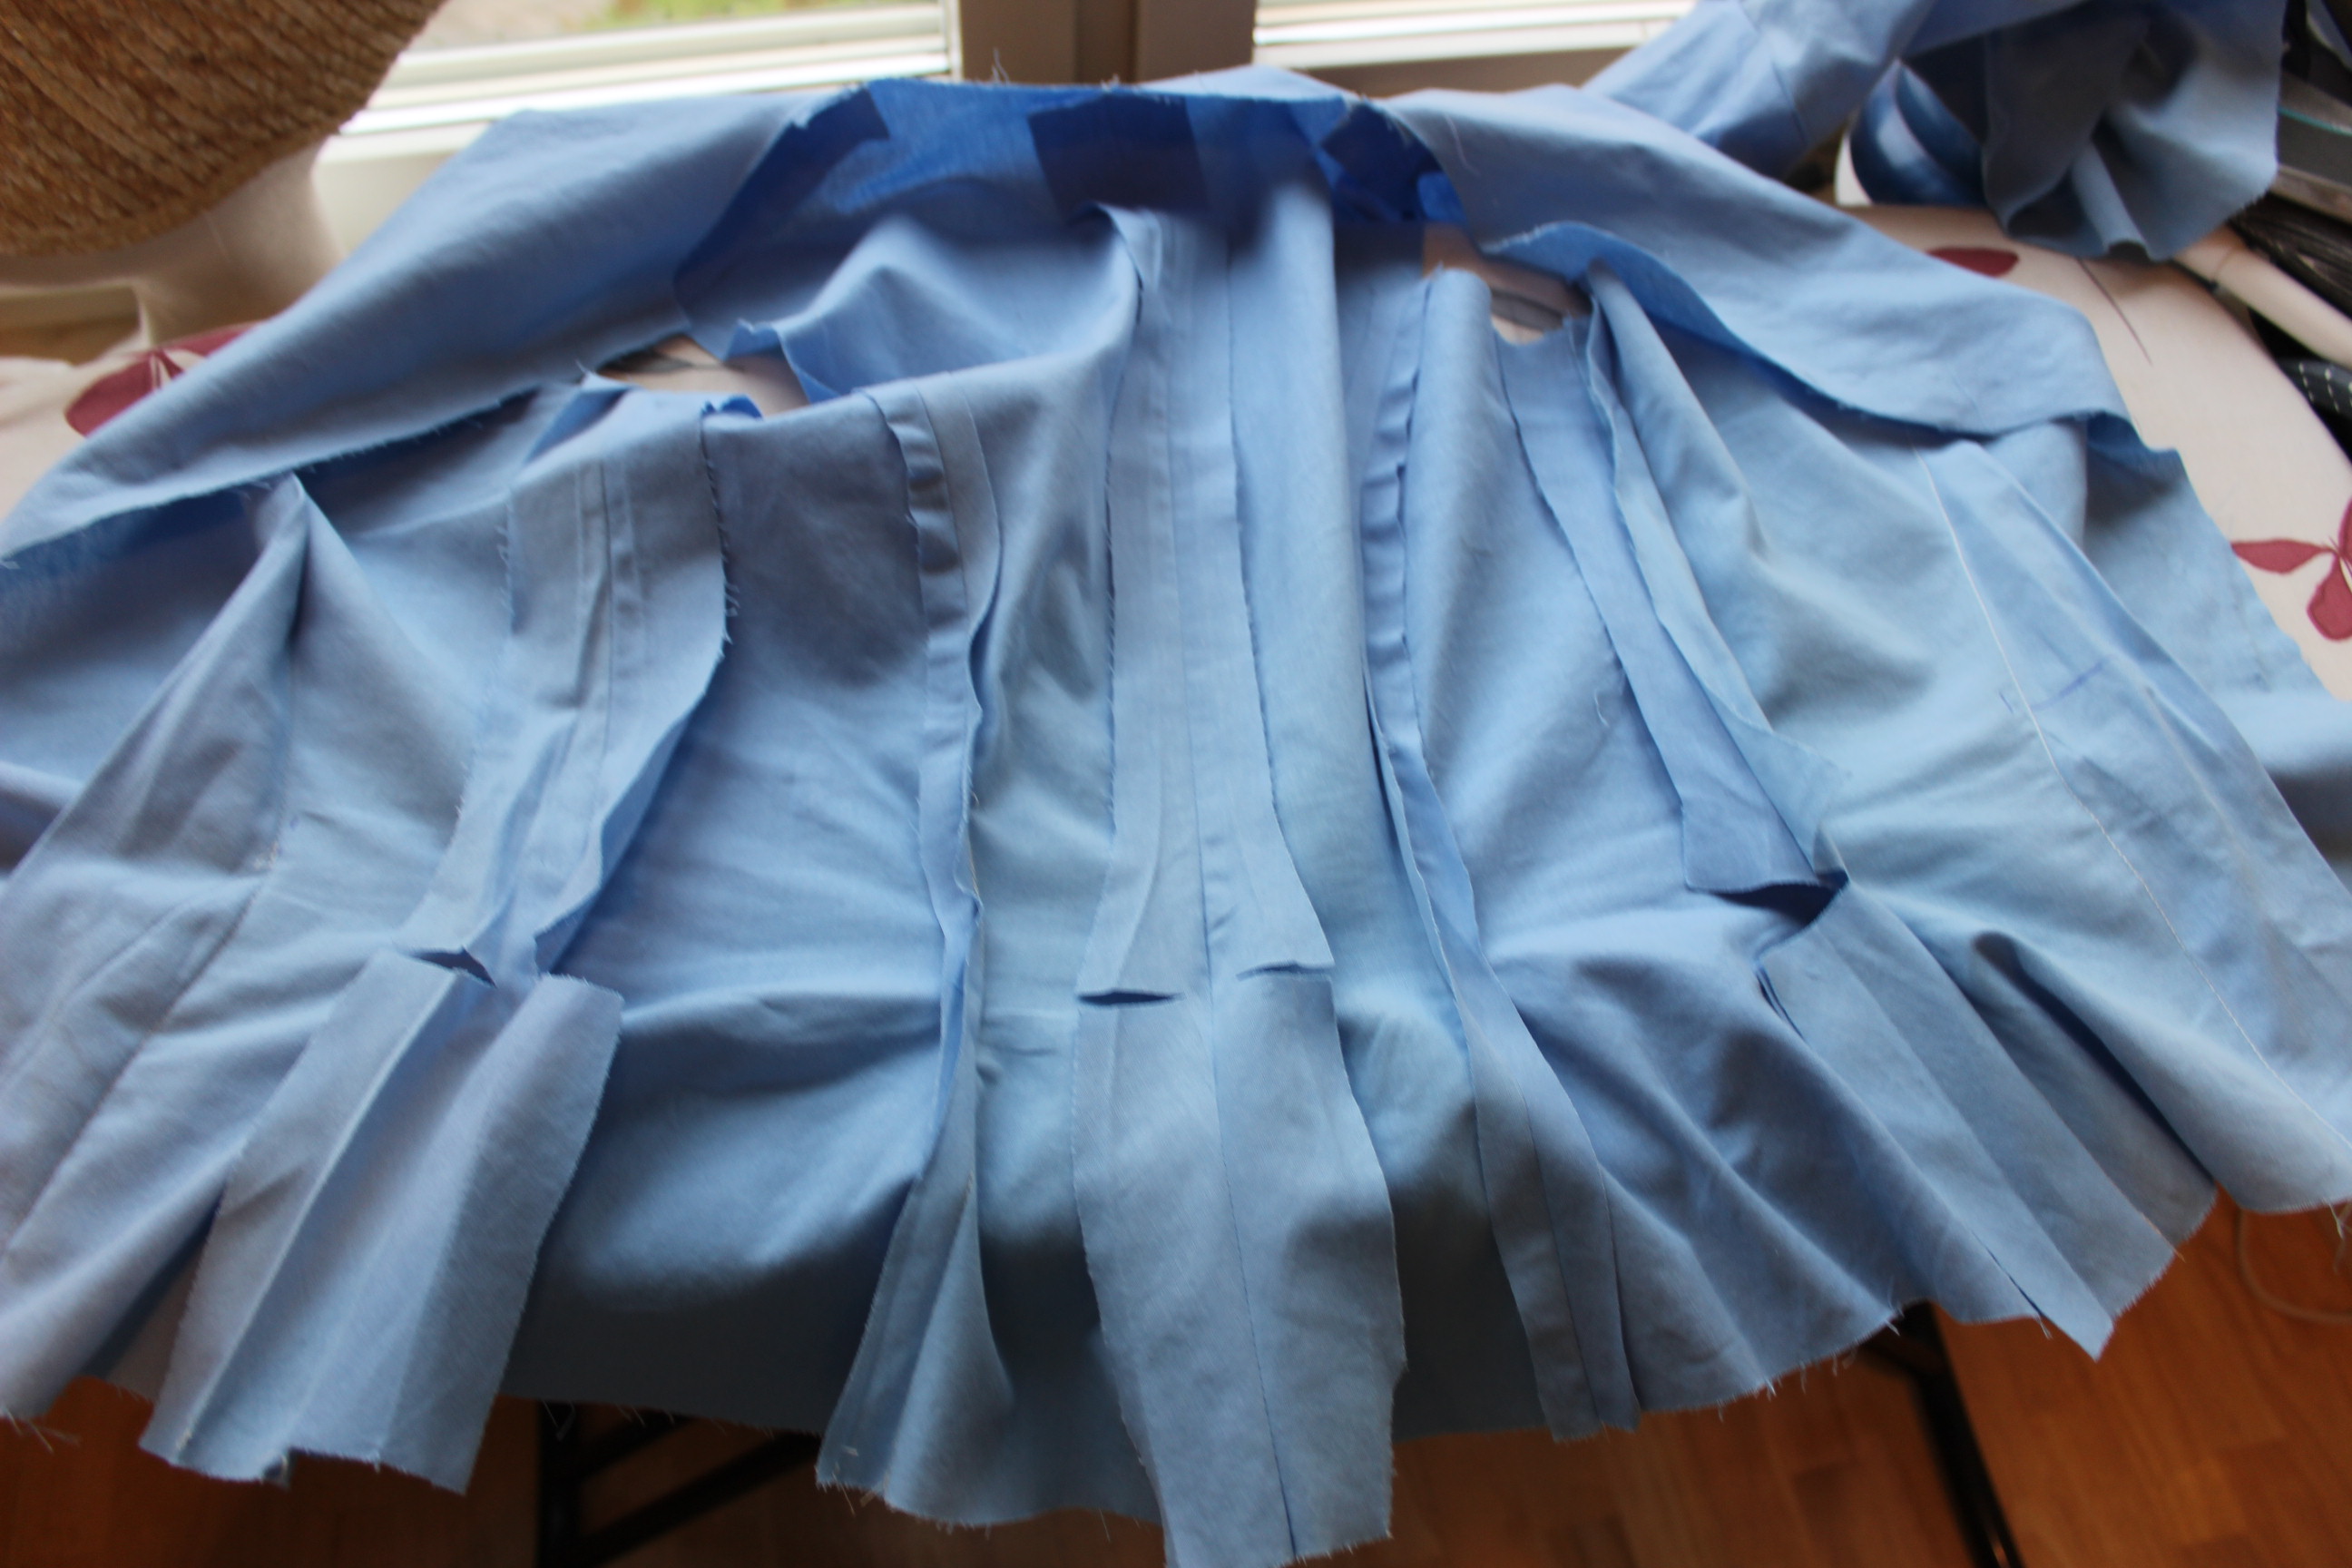
When I was sure about the fit, I cut all the wide seam allowence down, and trimmed away all the exess fabric at the darts.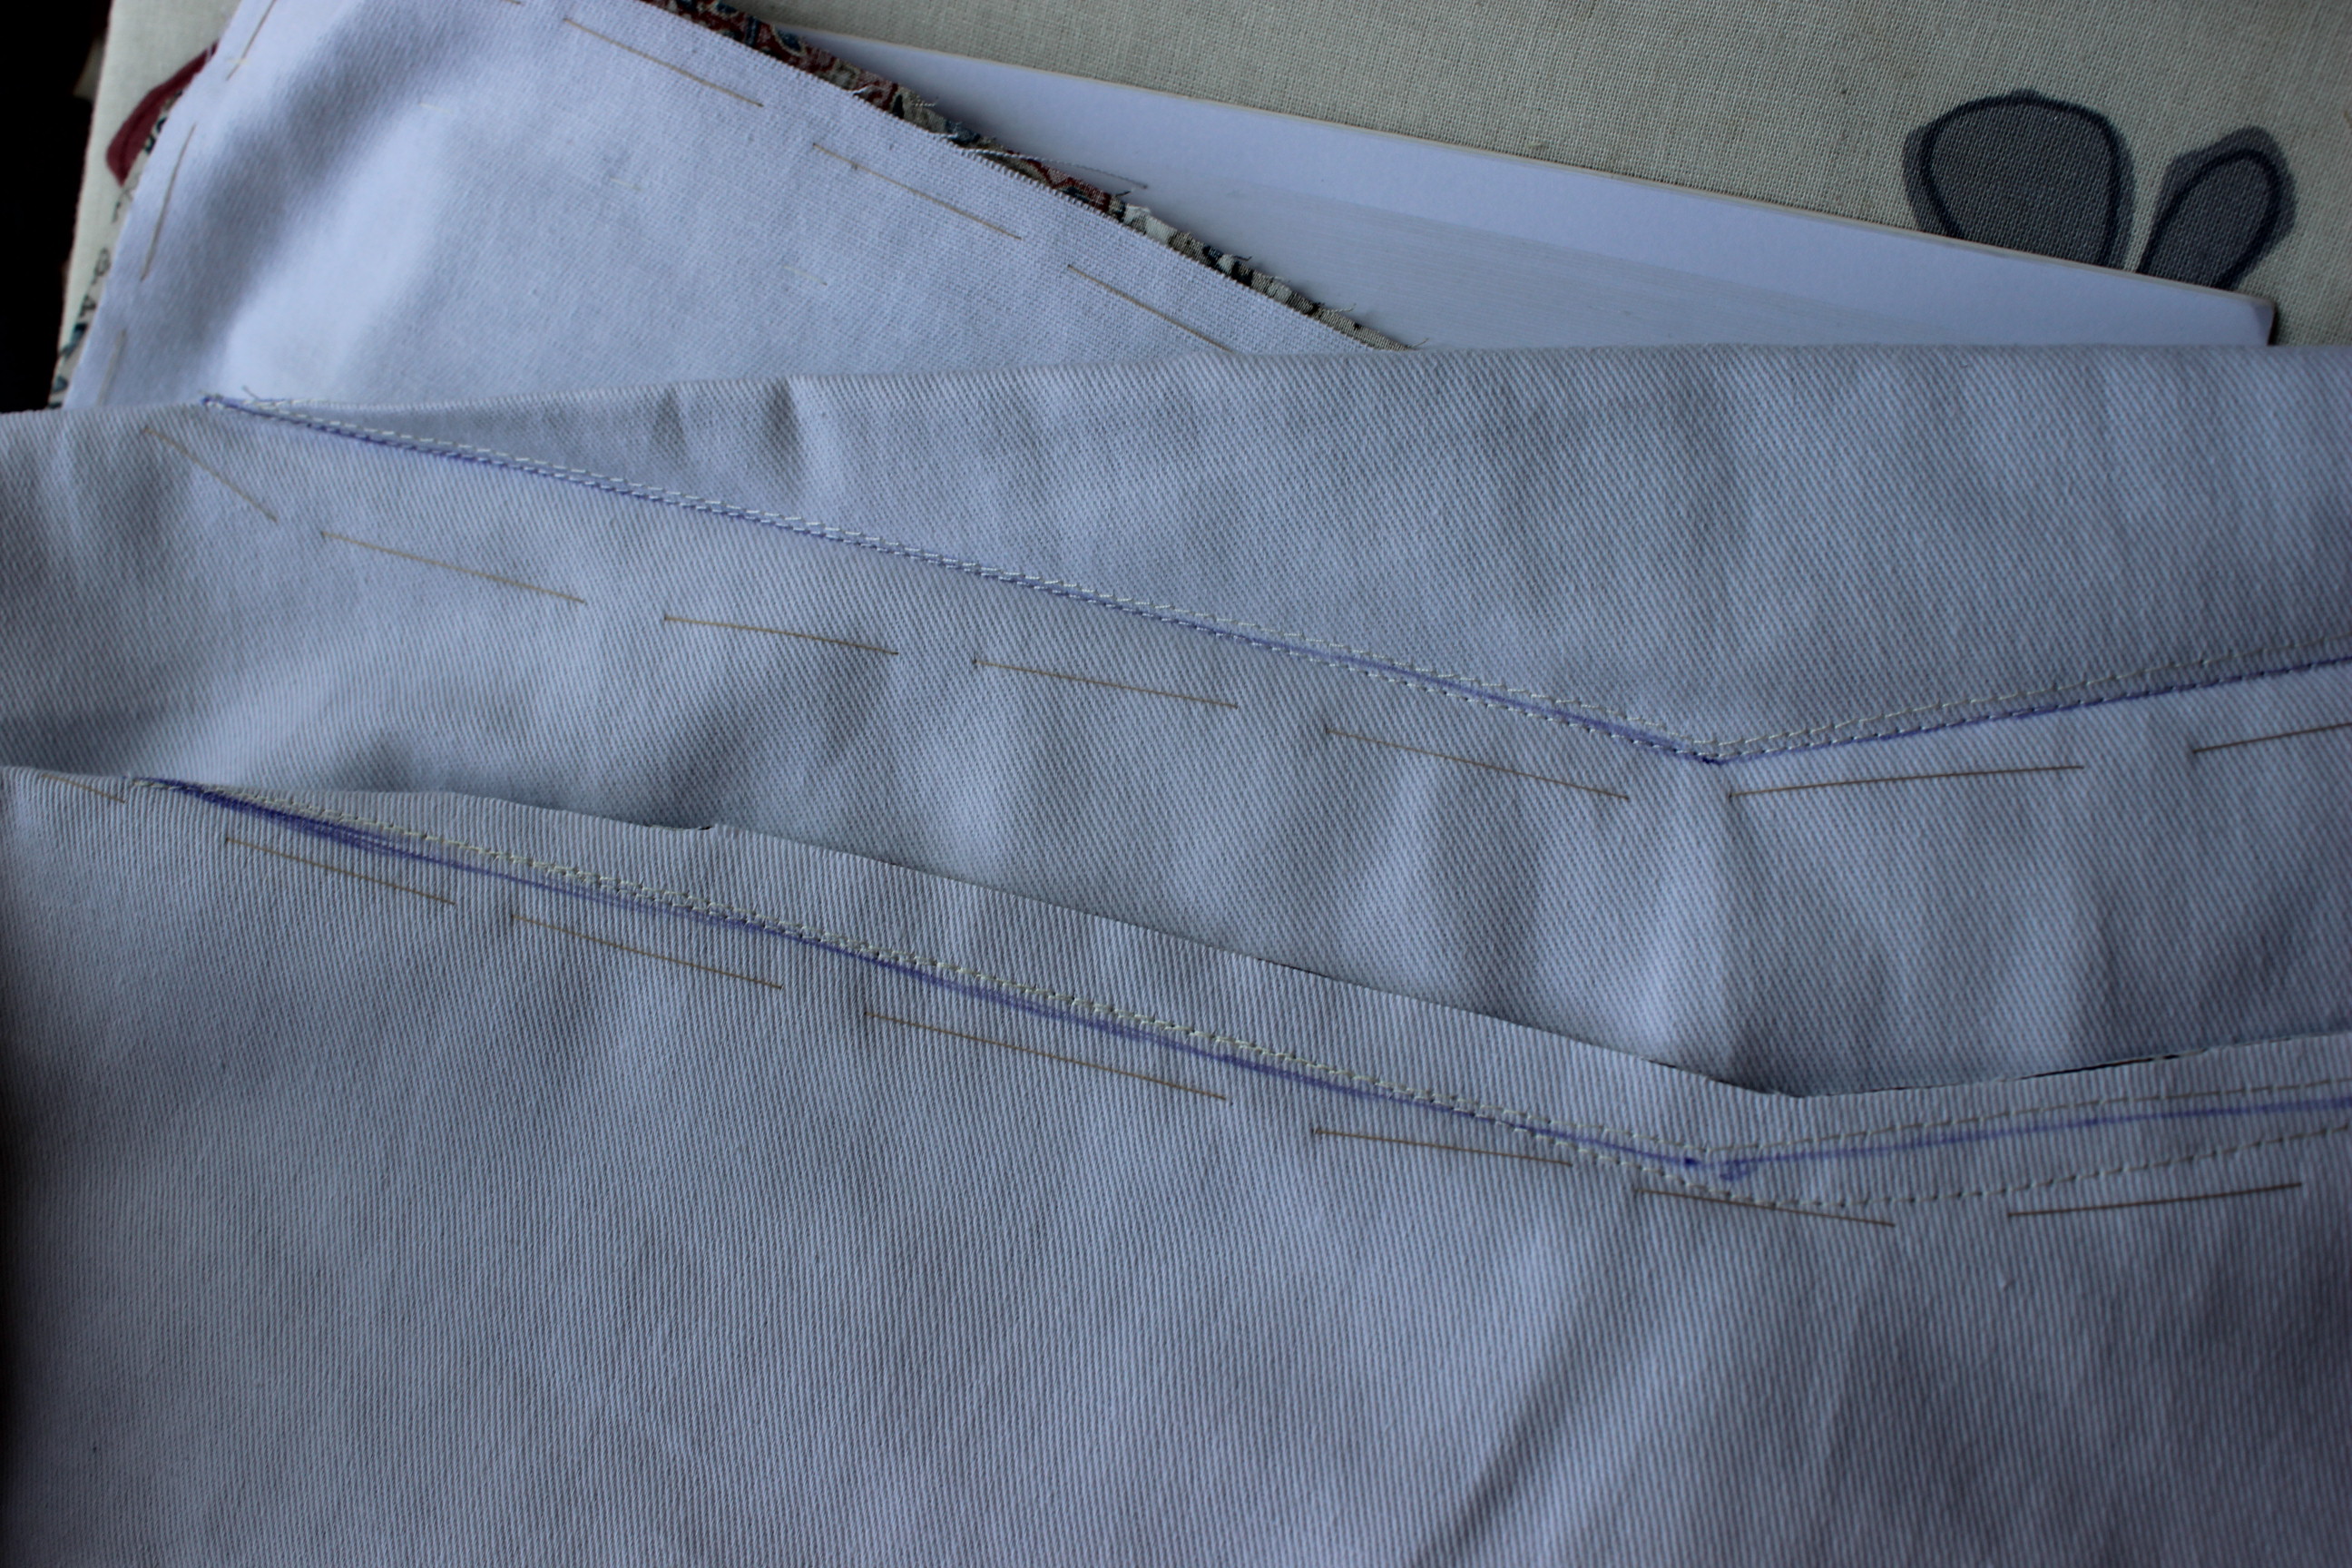 Huge un-cut and cut dart.
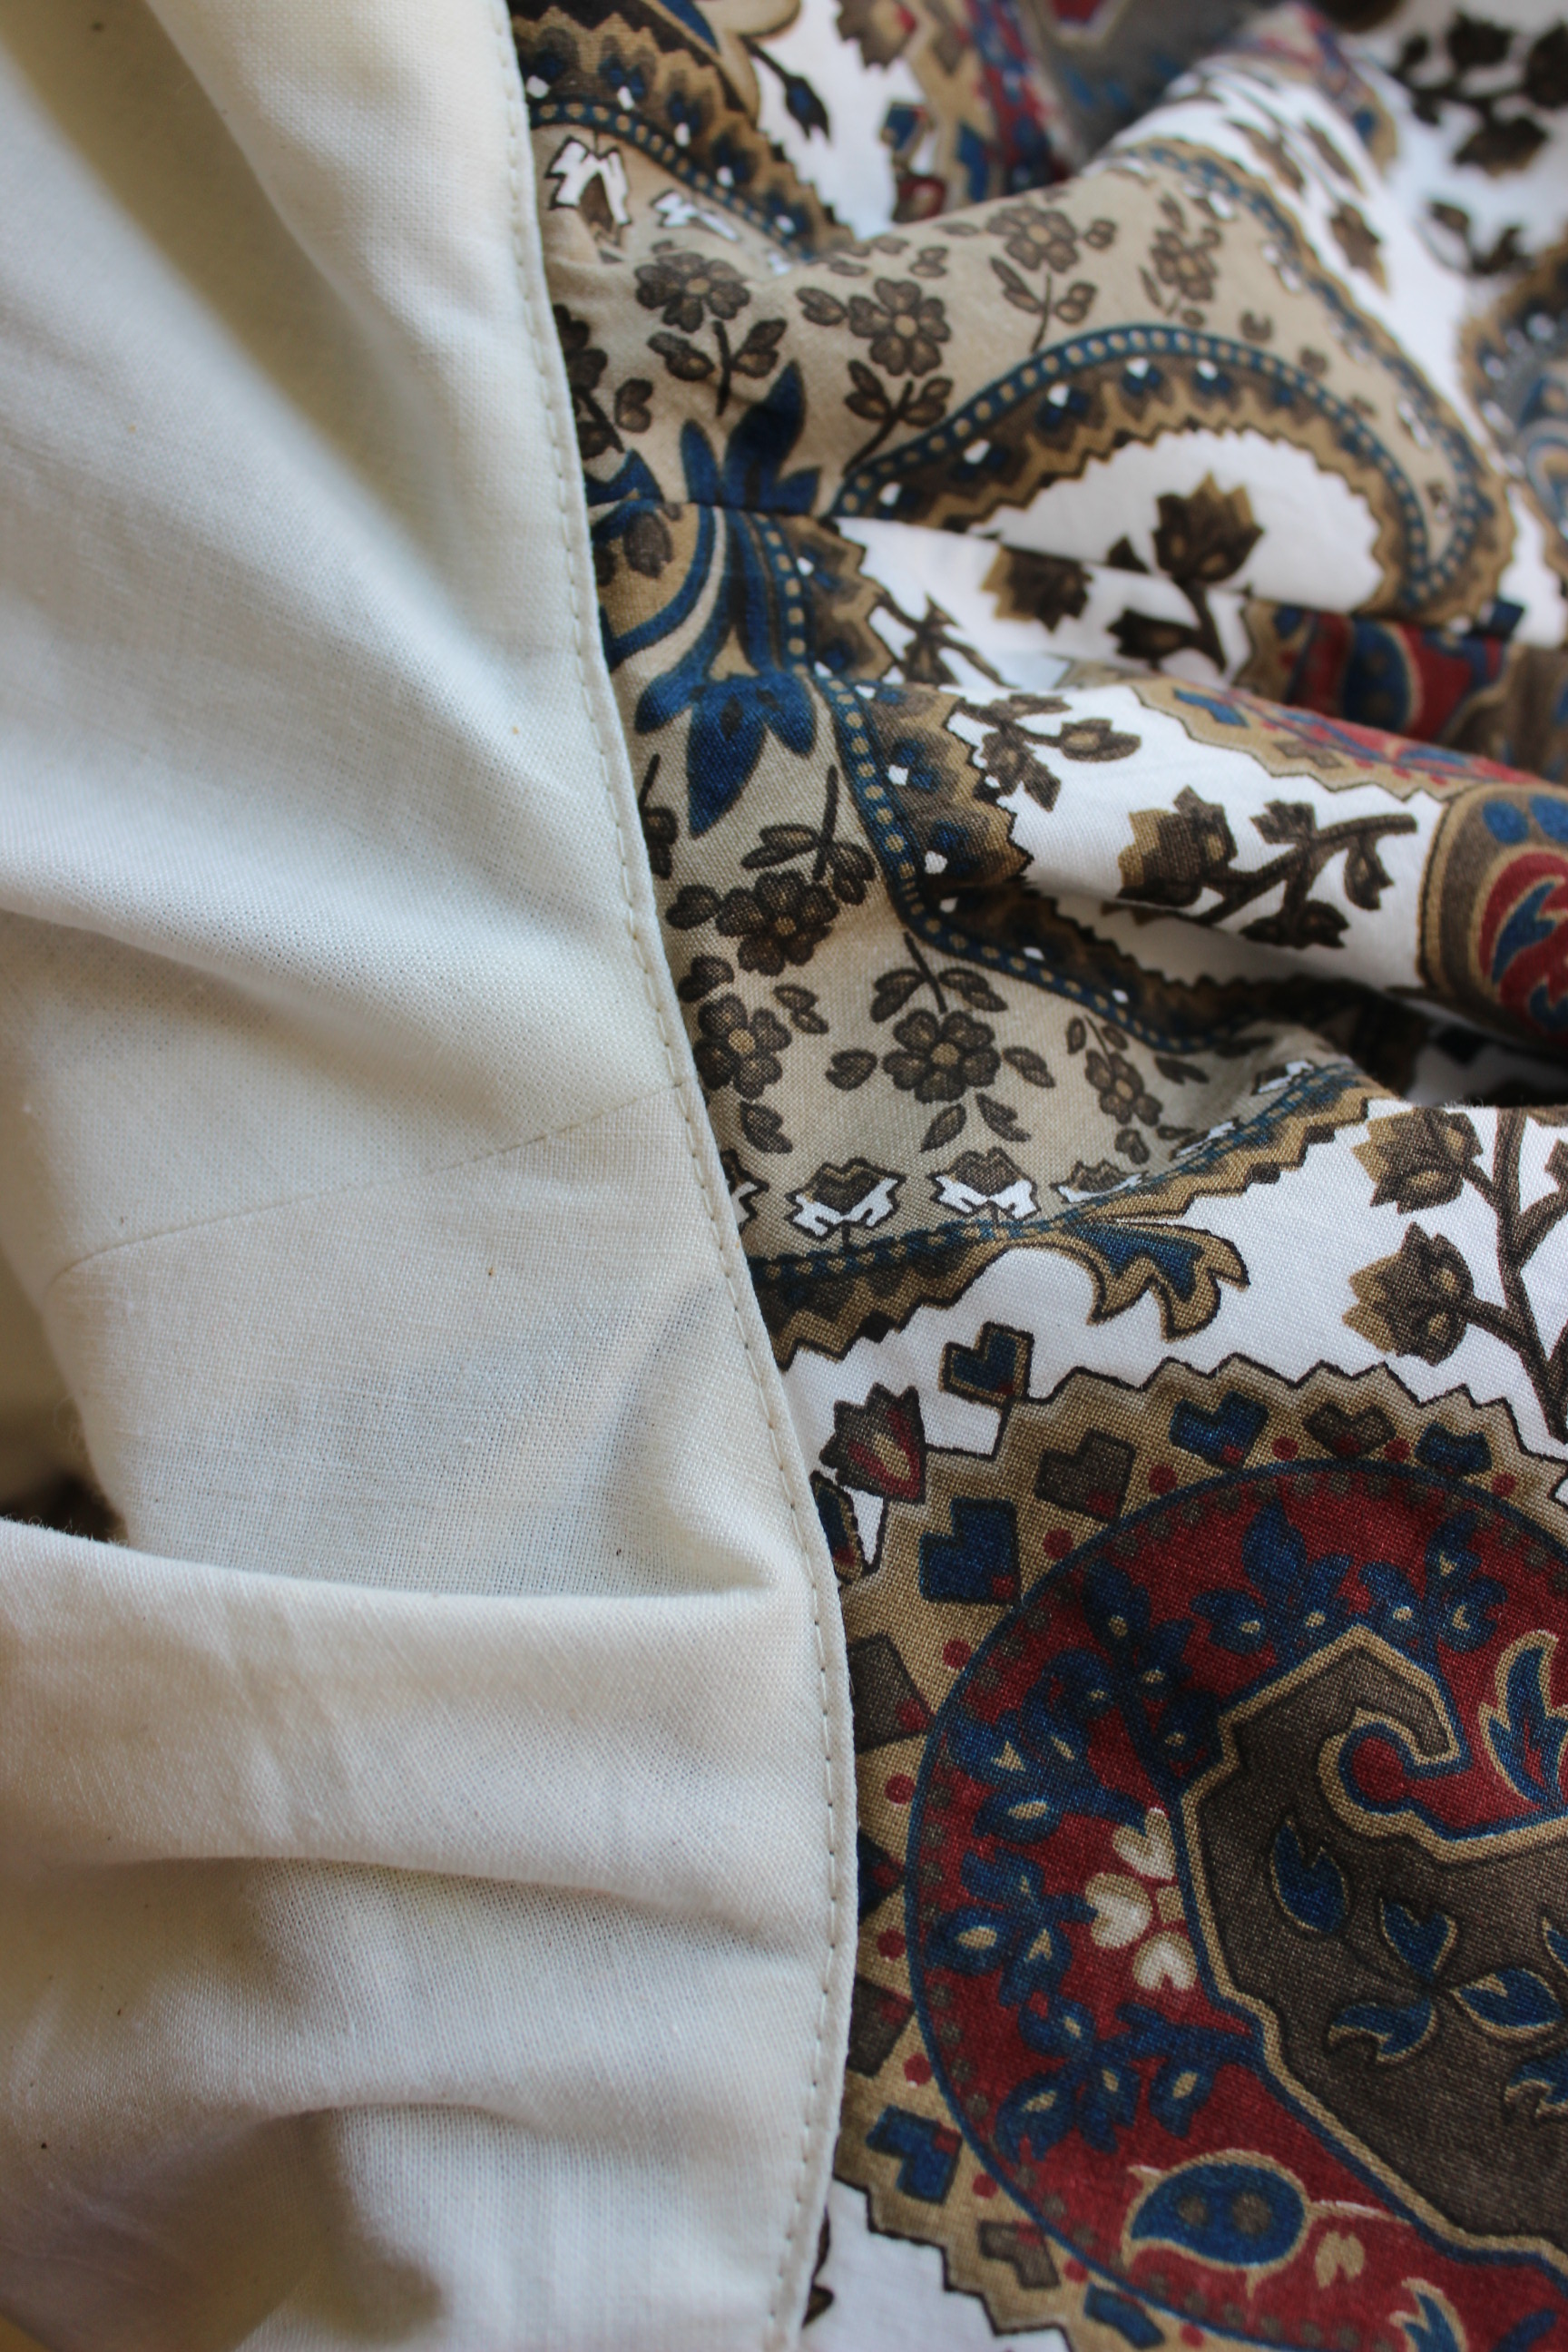
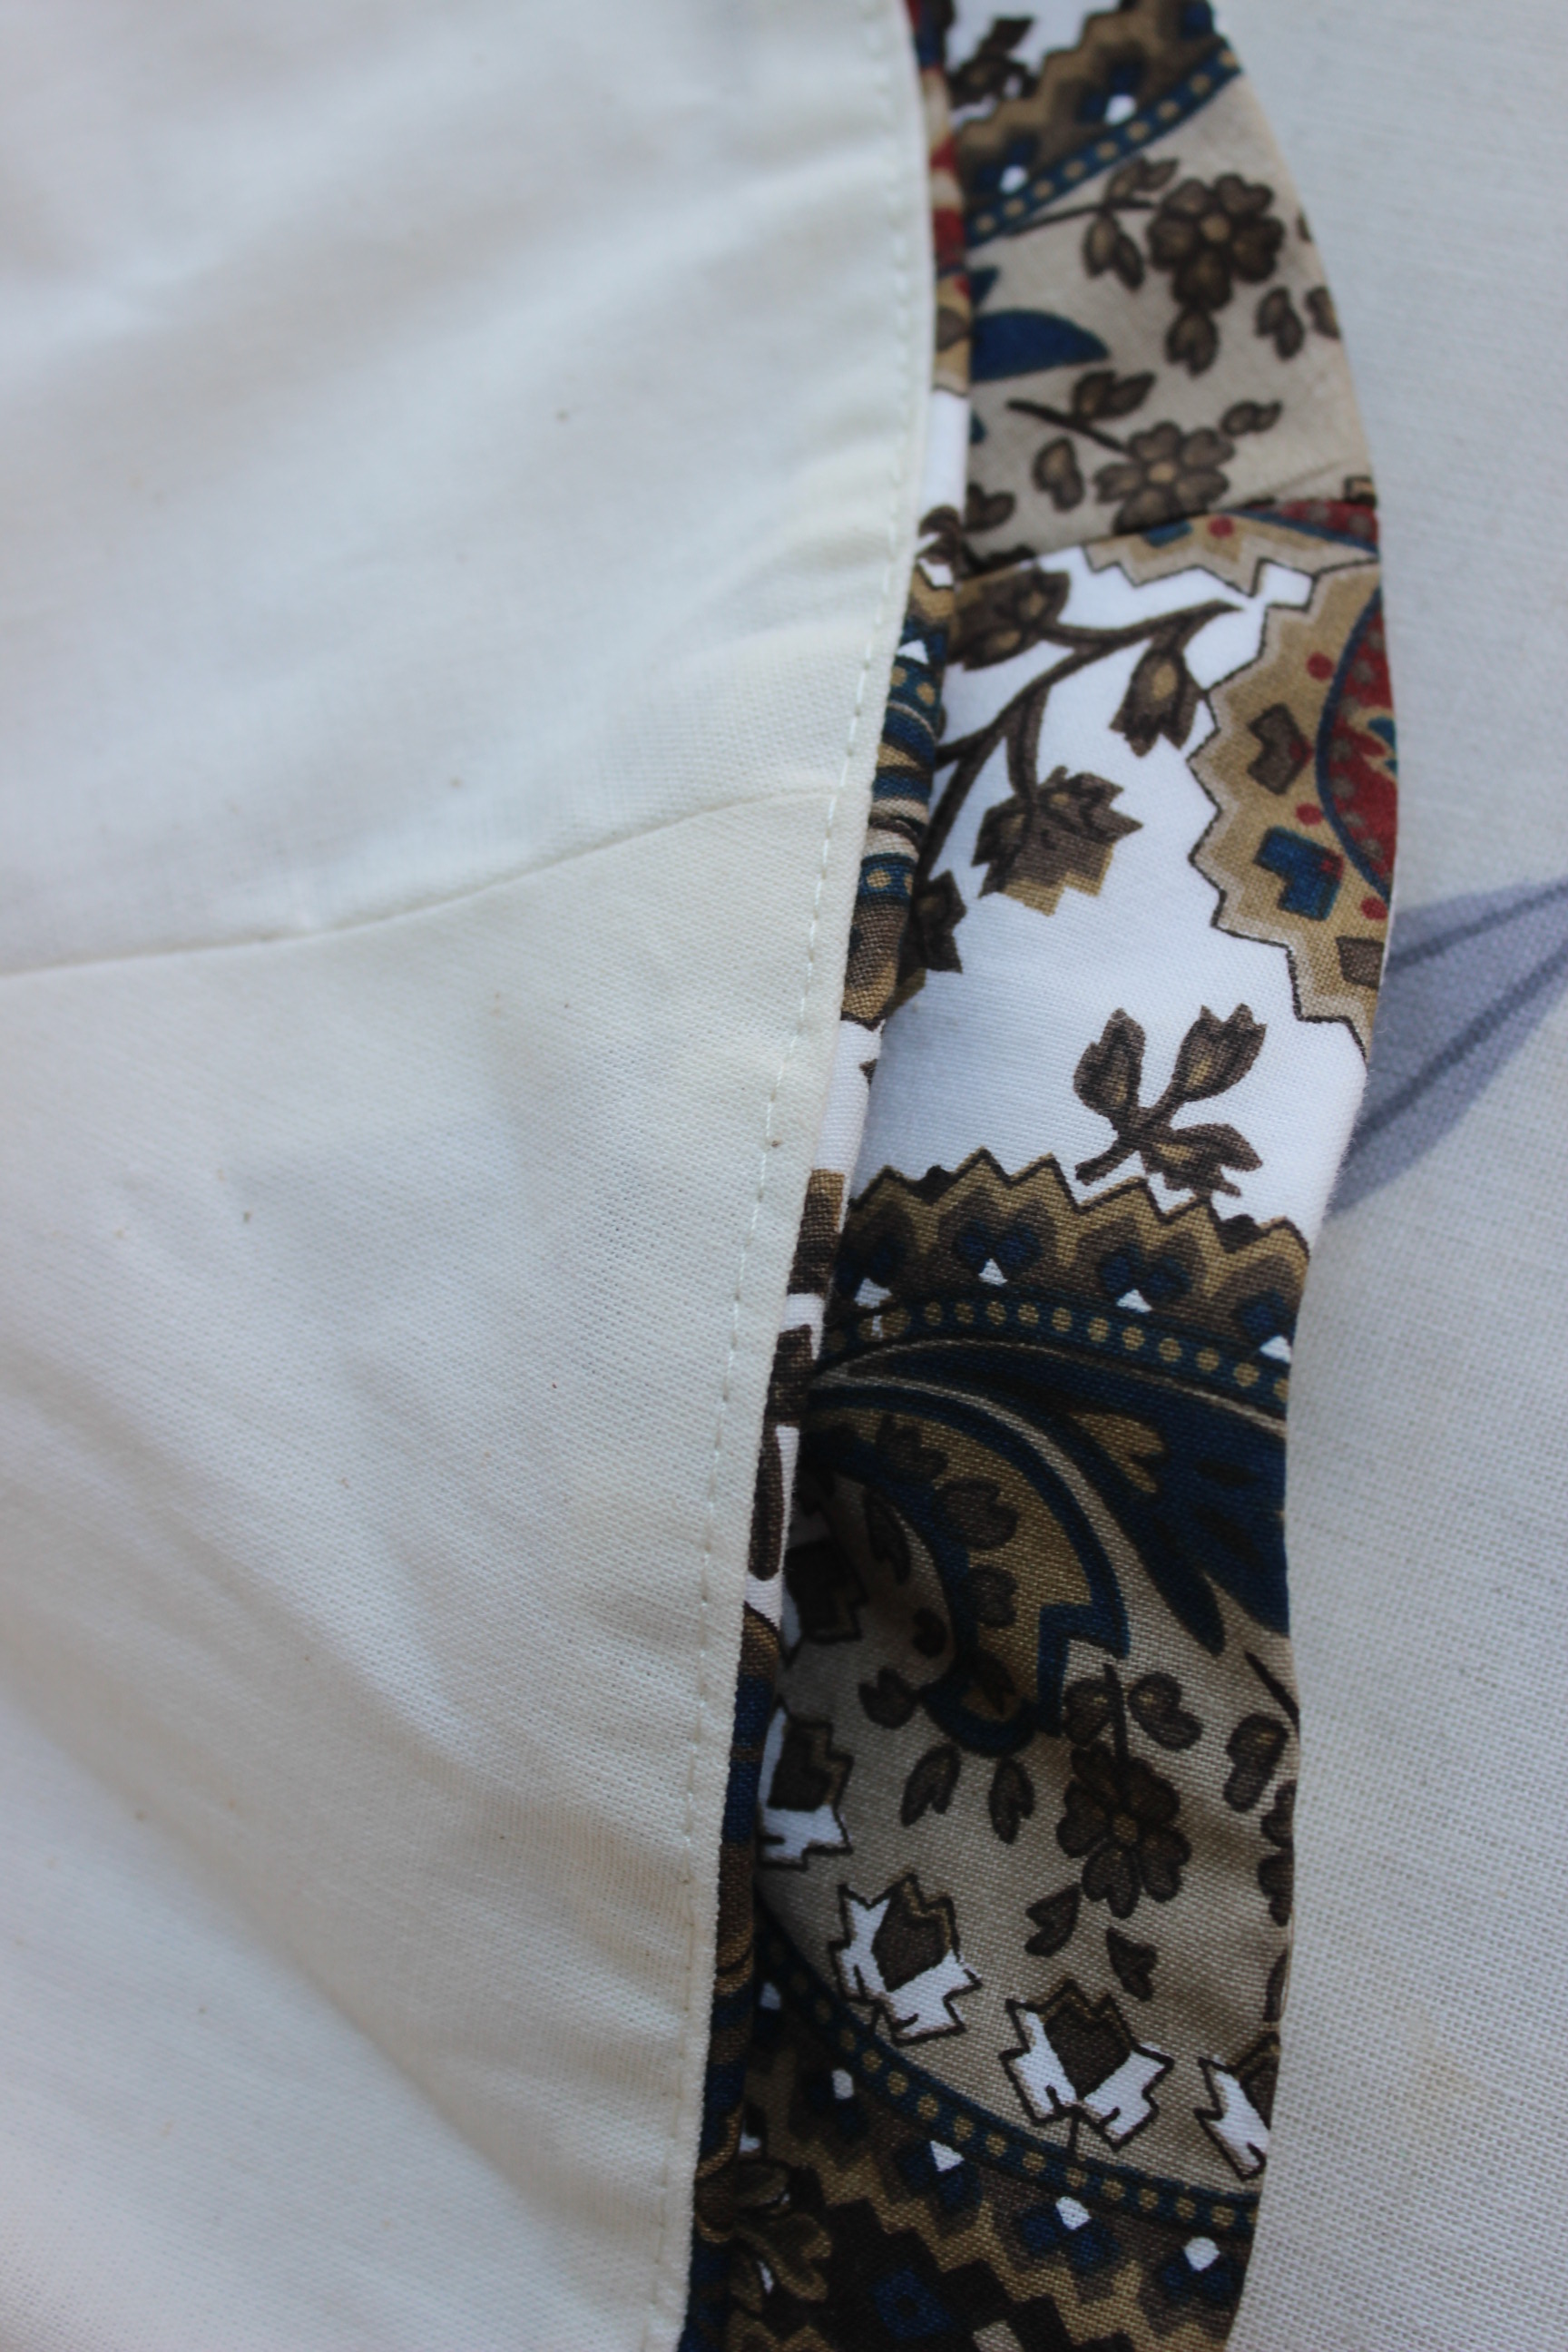
Then it was time for the linnig, which I putt in using the “bag method”. and to make sure all the edges would turn nicely I made notches in the allowence of all the curved seams. Notches on the neck-seam.
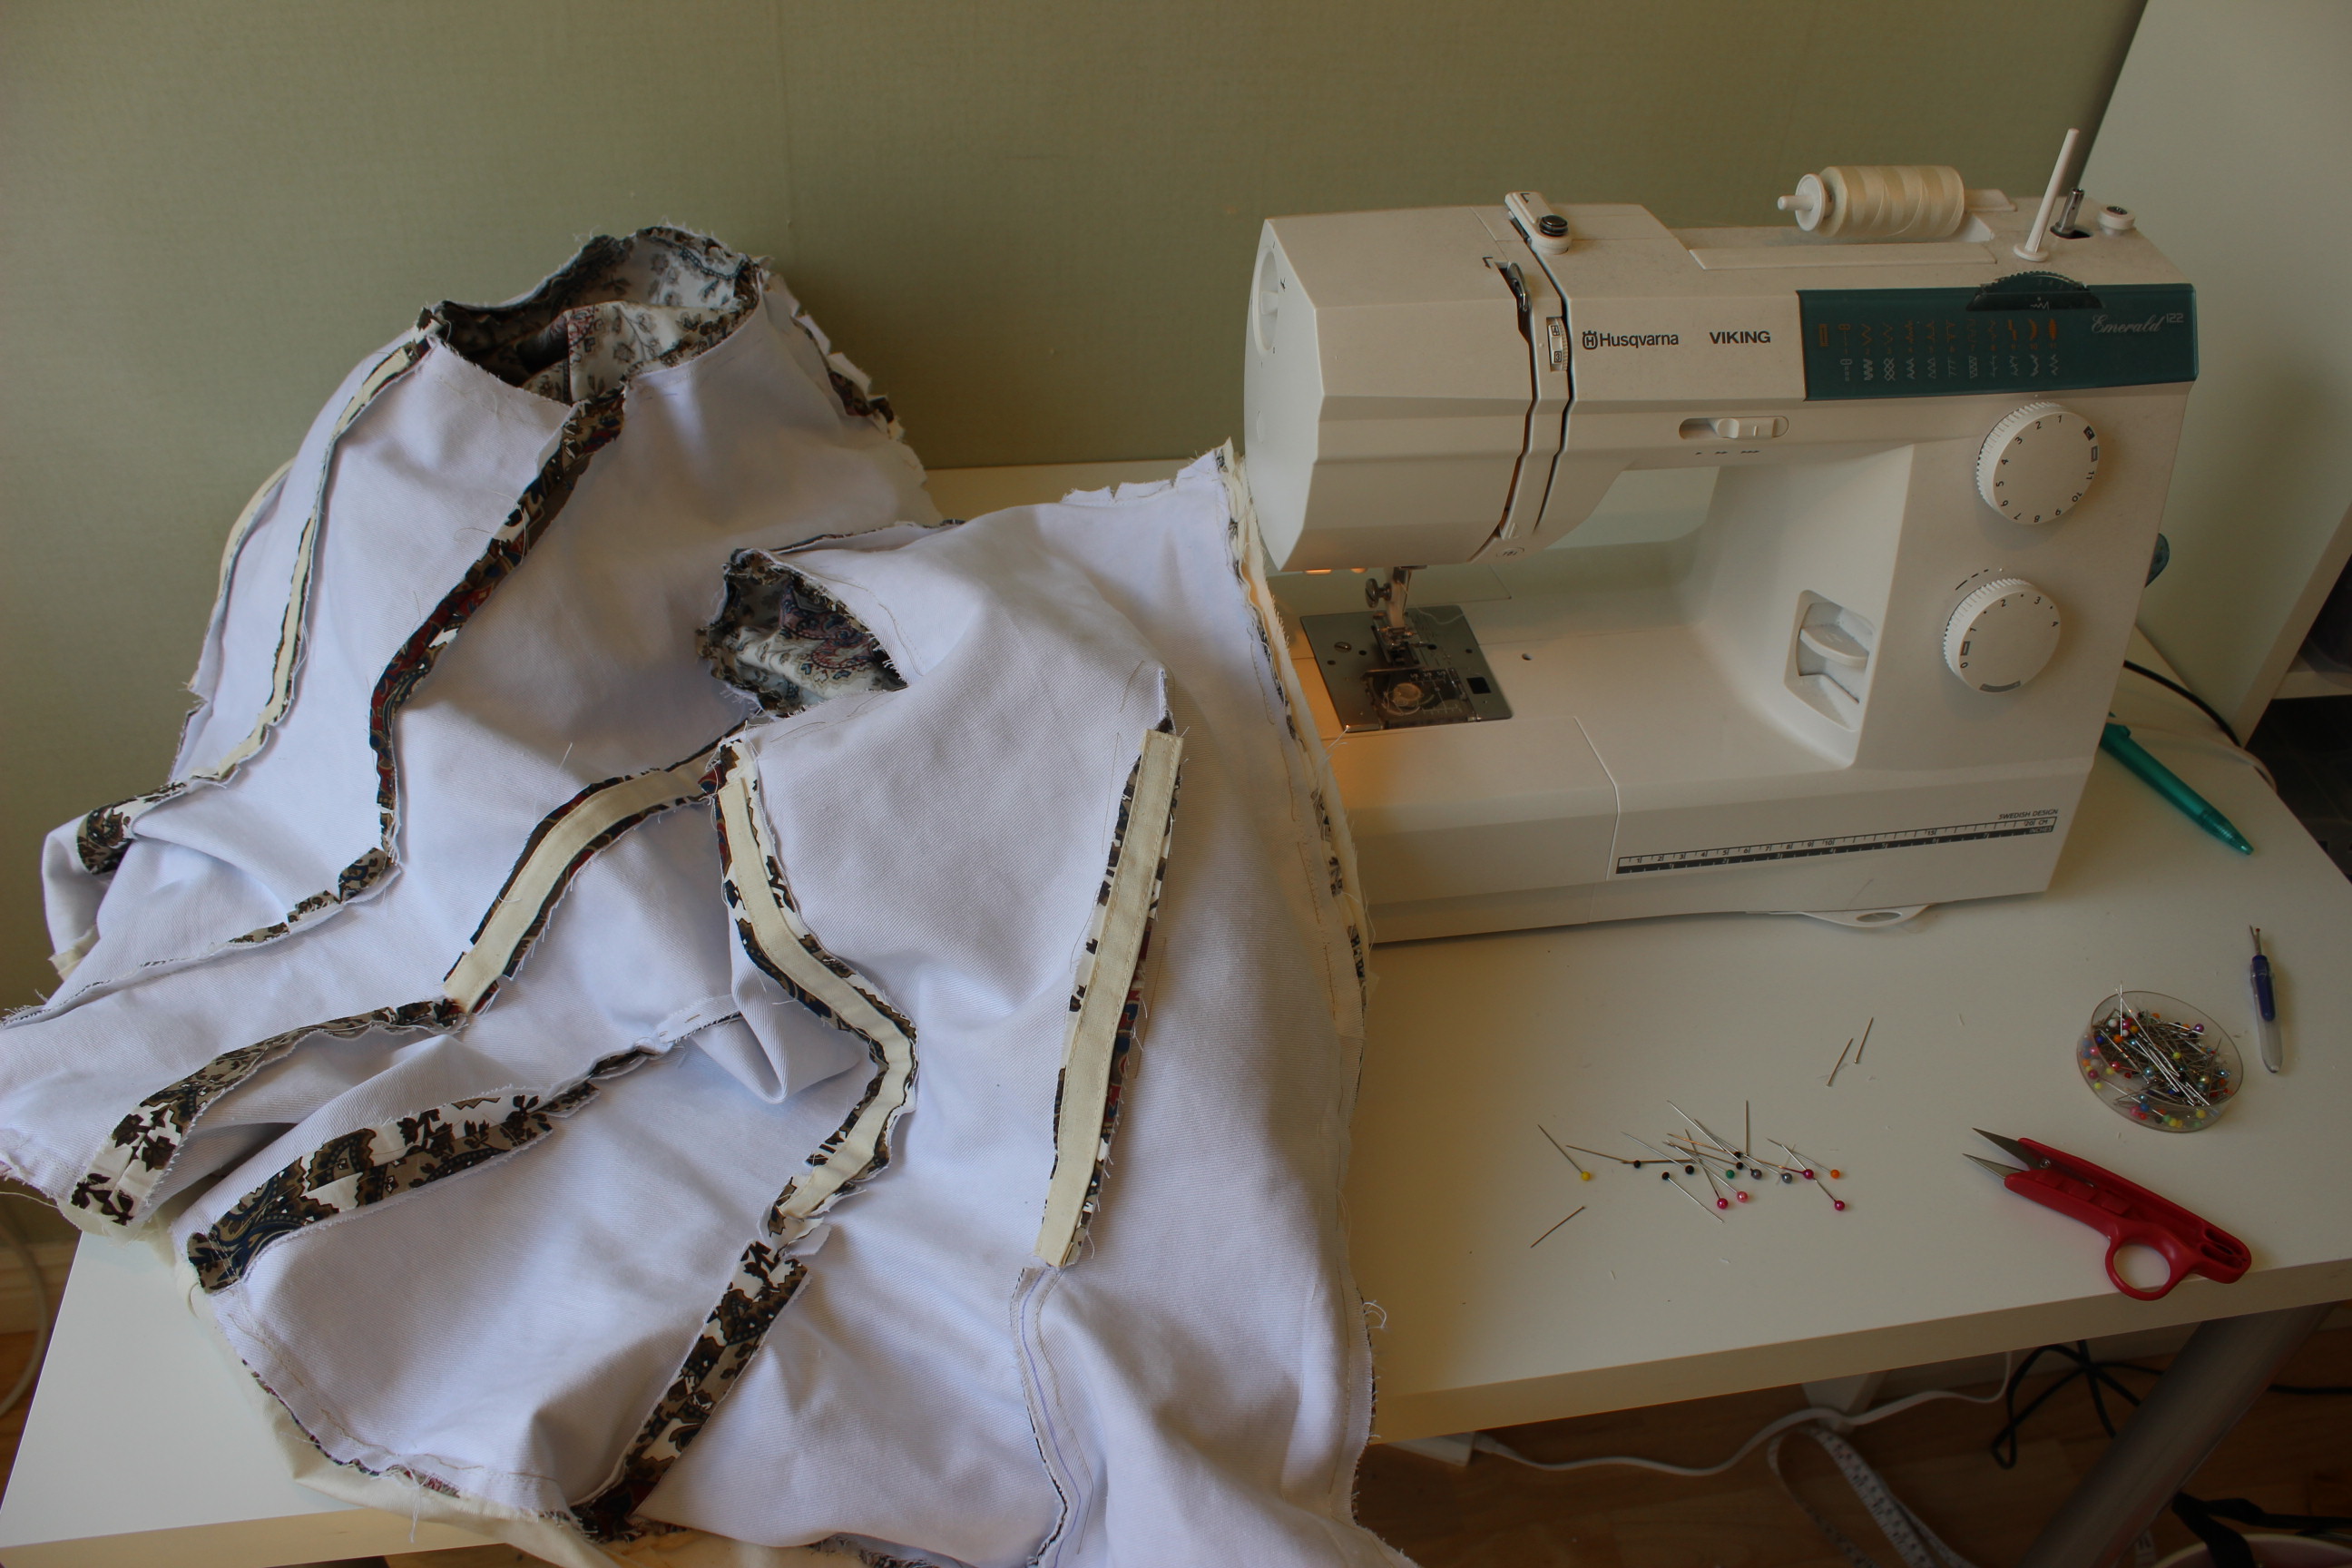
All this trimming and notching left my sewing room a mess. 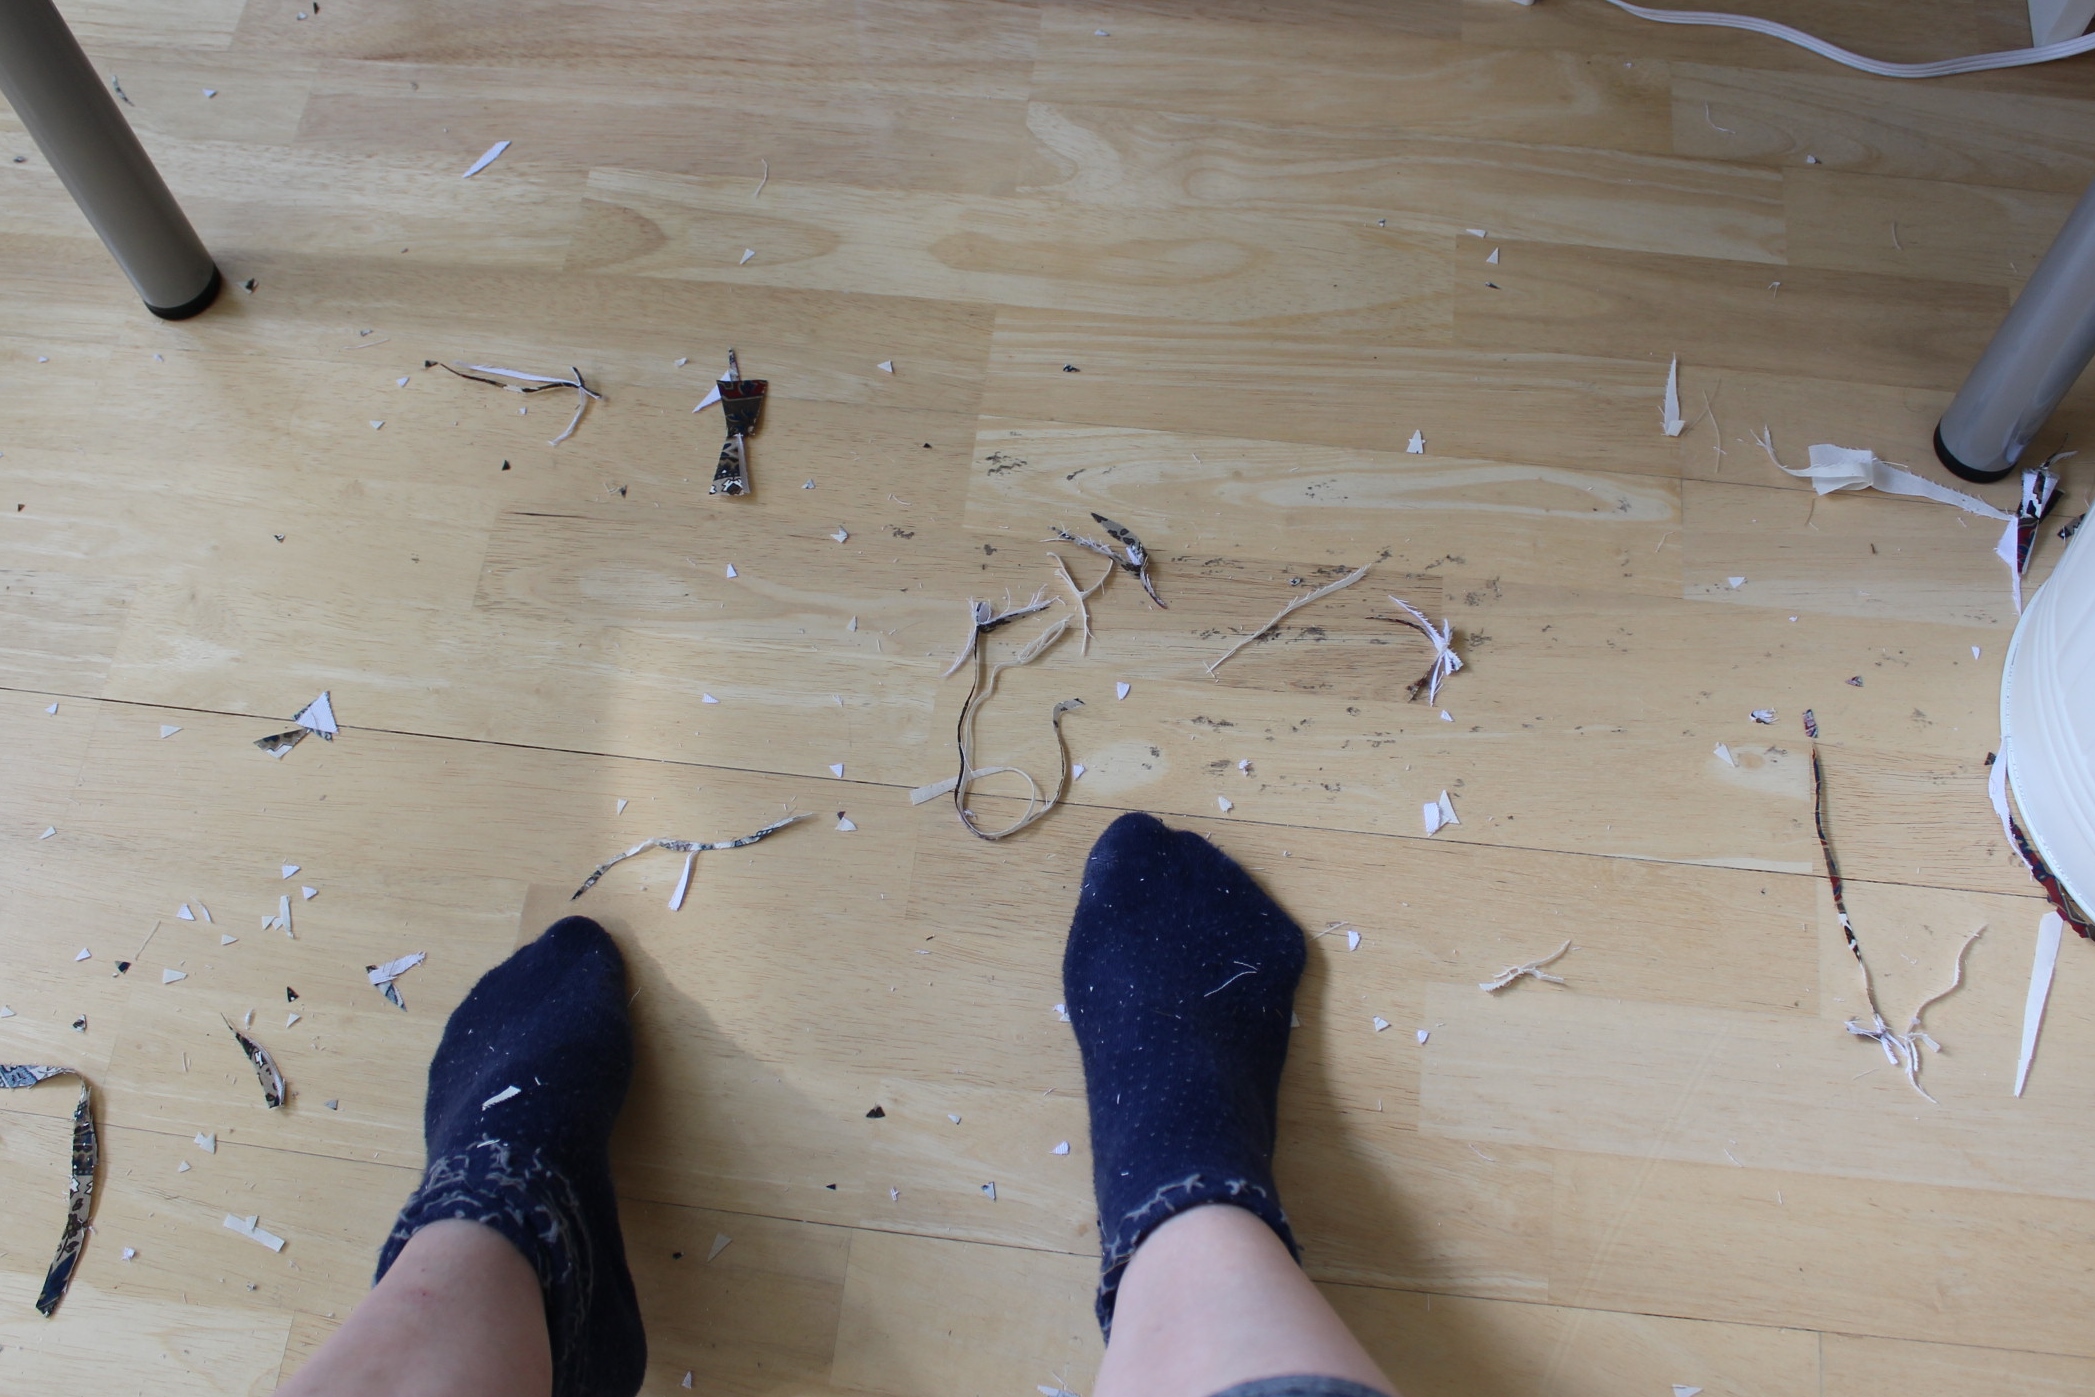 Lots of thread and fabric scraps.
I also took the time to under- stich the neck and hem to make sure the edges was nice and crisp, and would not be able to peek out.
Then it was time for the boning. Well actually I should have done this before putting in the lining, but forgot and thous needed to do it the harder way, trying to avoid getting the lining intangeled with the chanels.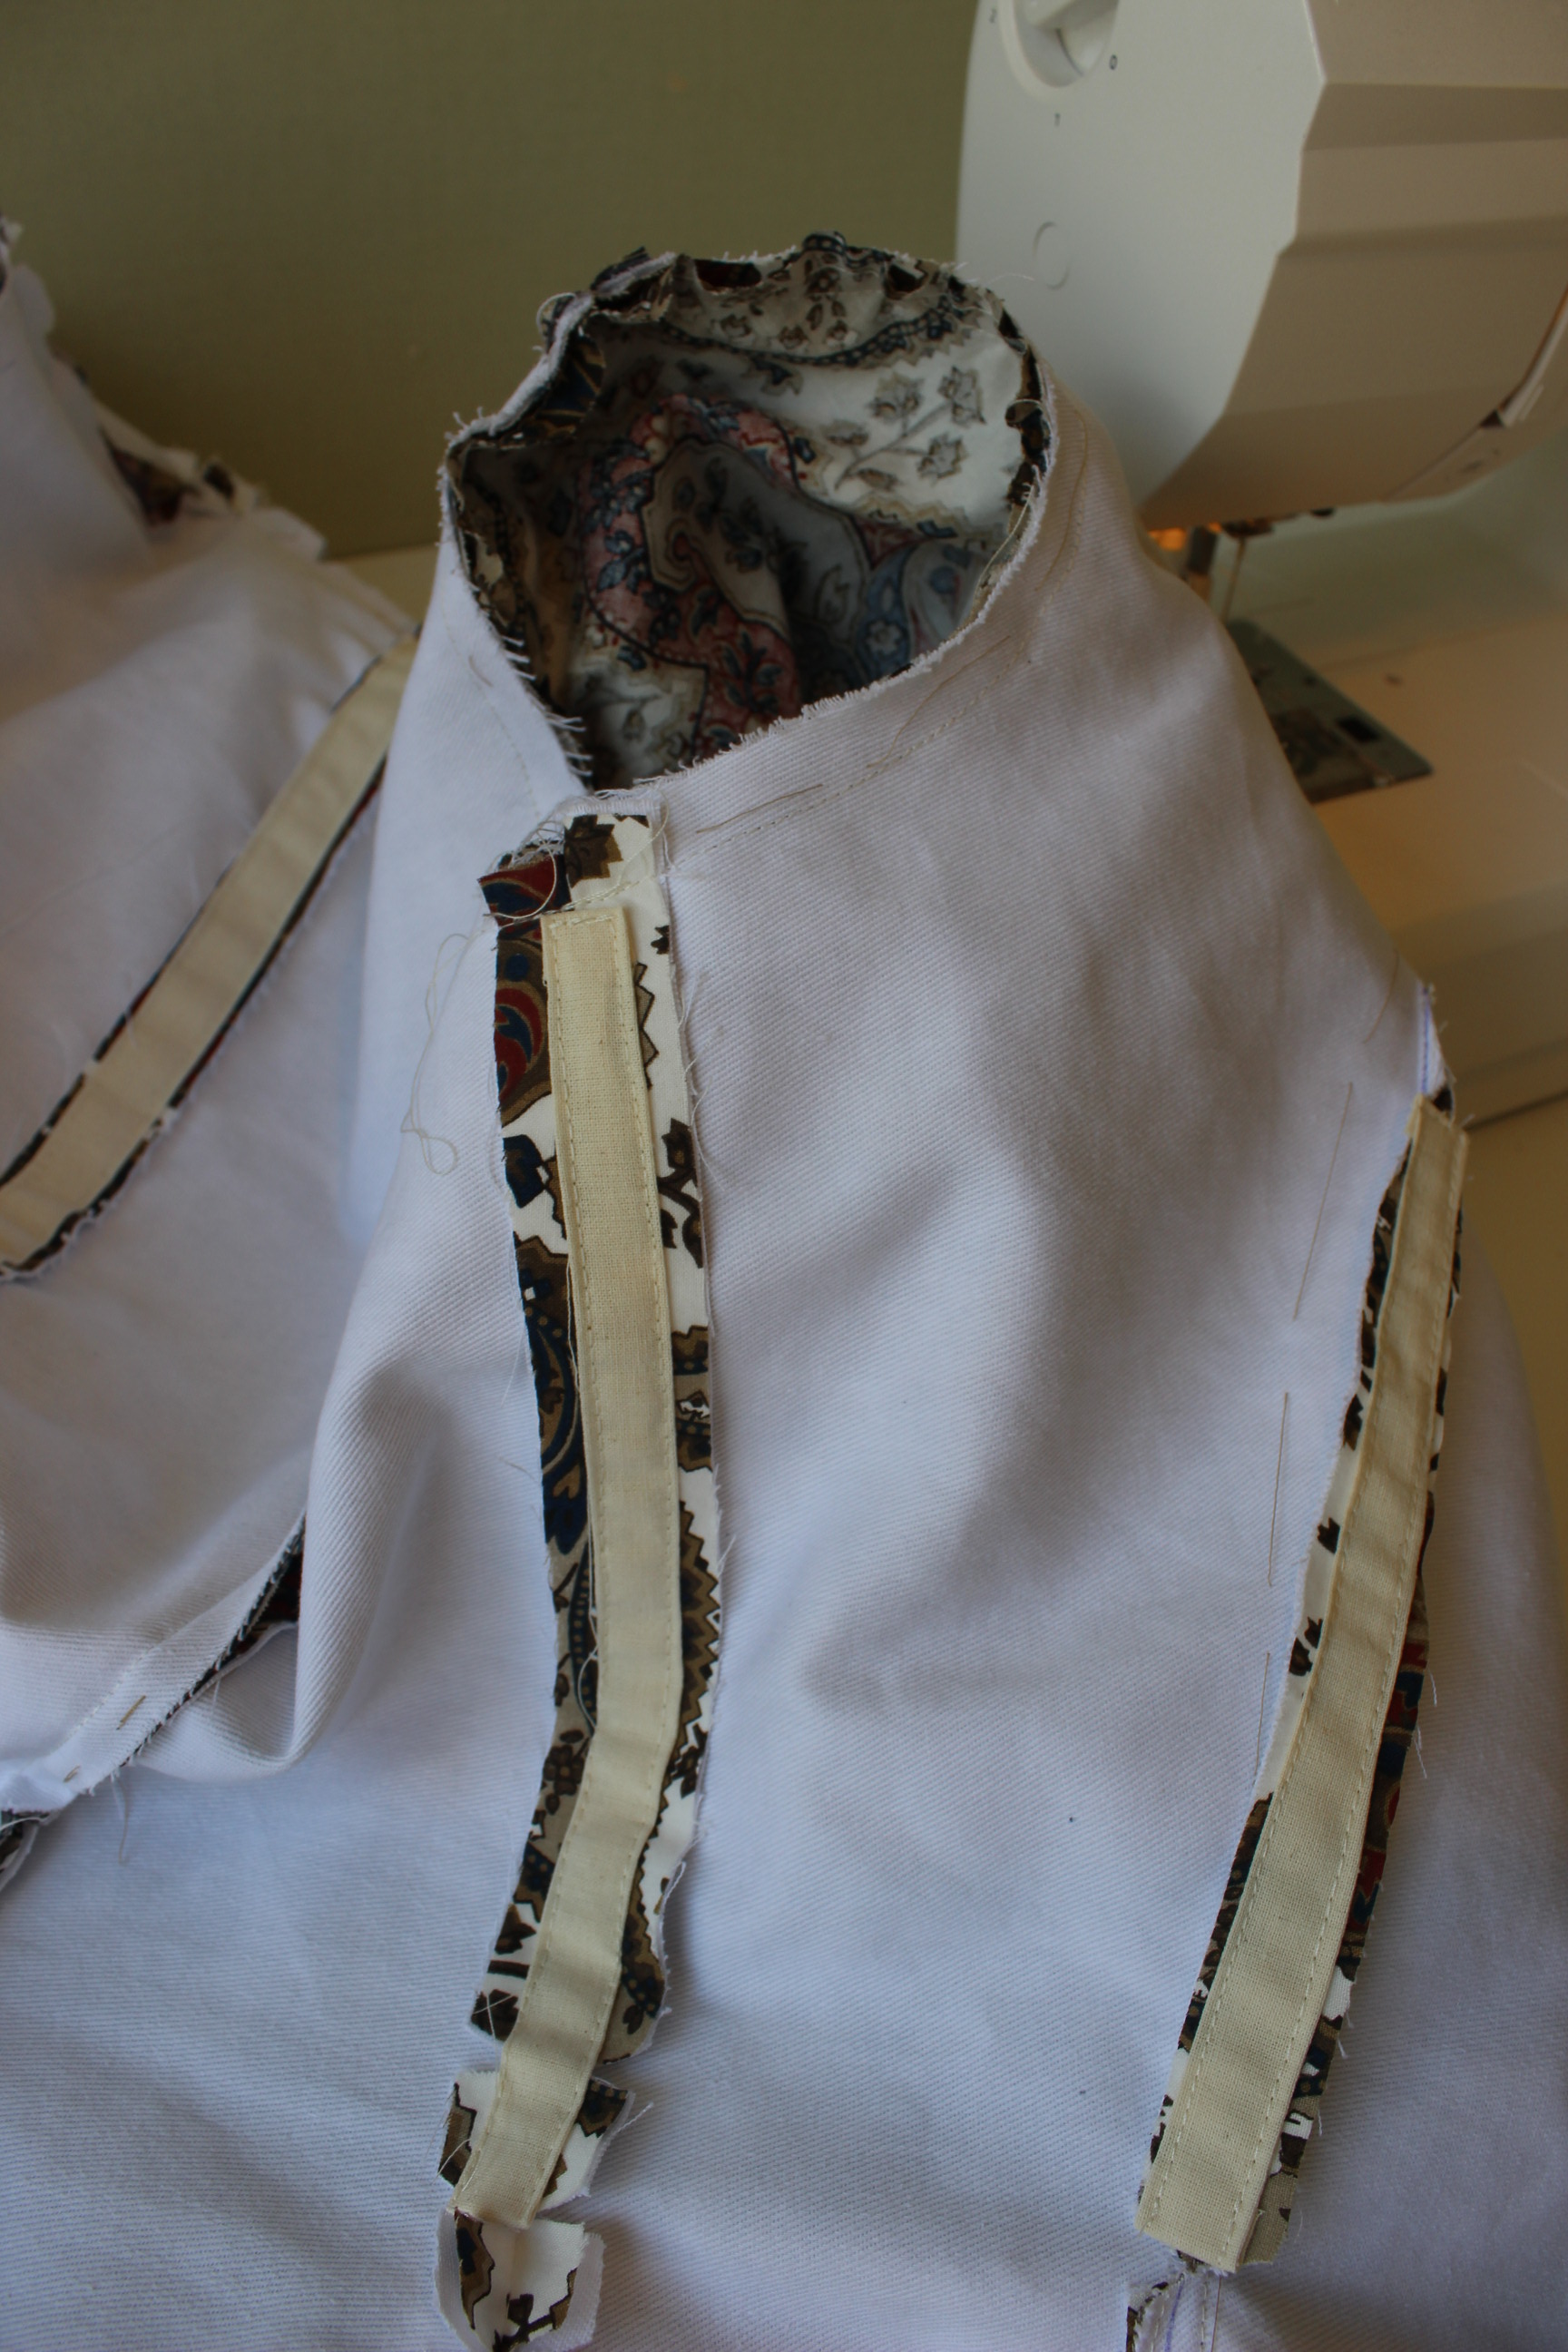 anyhow, I sewed the boning chanals to the seam allowences using self made bias-strips. Then I cut, shaped and put in the plastic whalebone, starting on the sleeves.
 The jacket almost done, inside-out, on my sewing table.
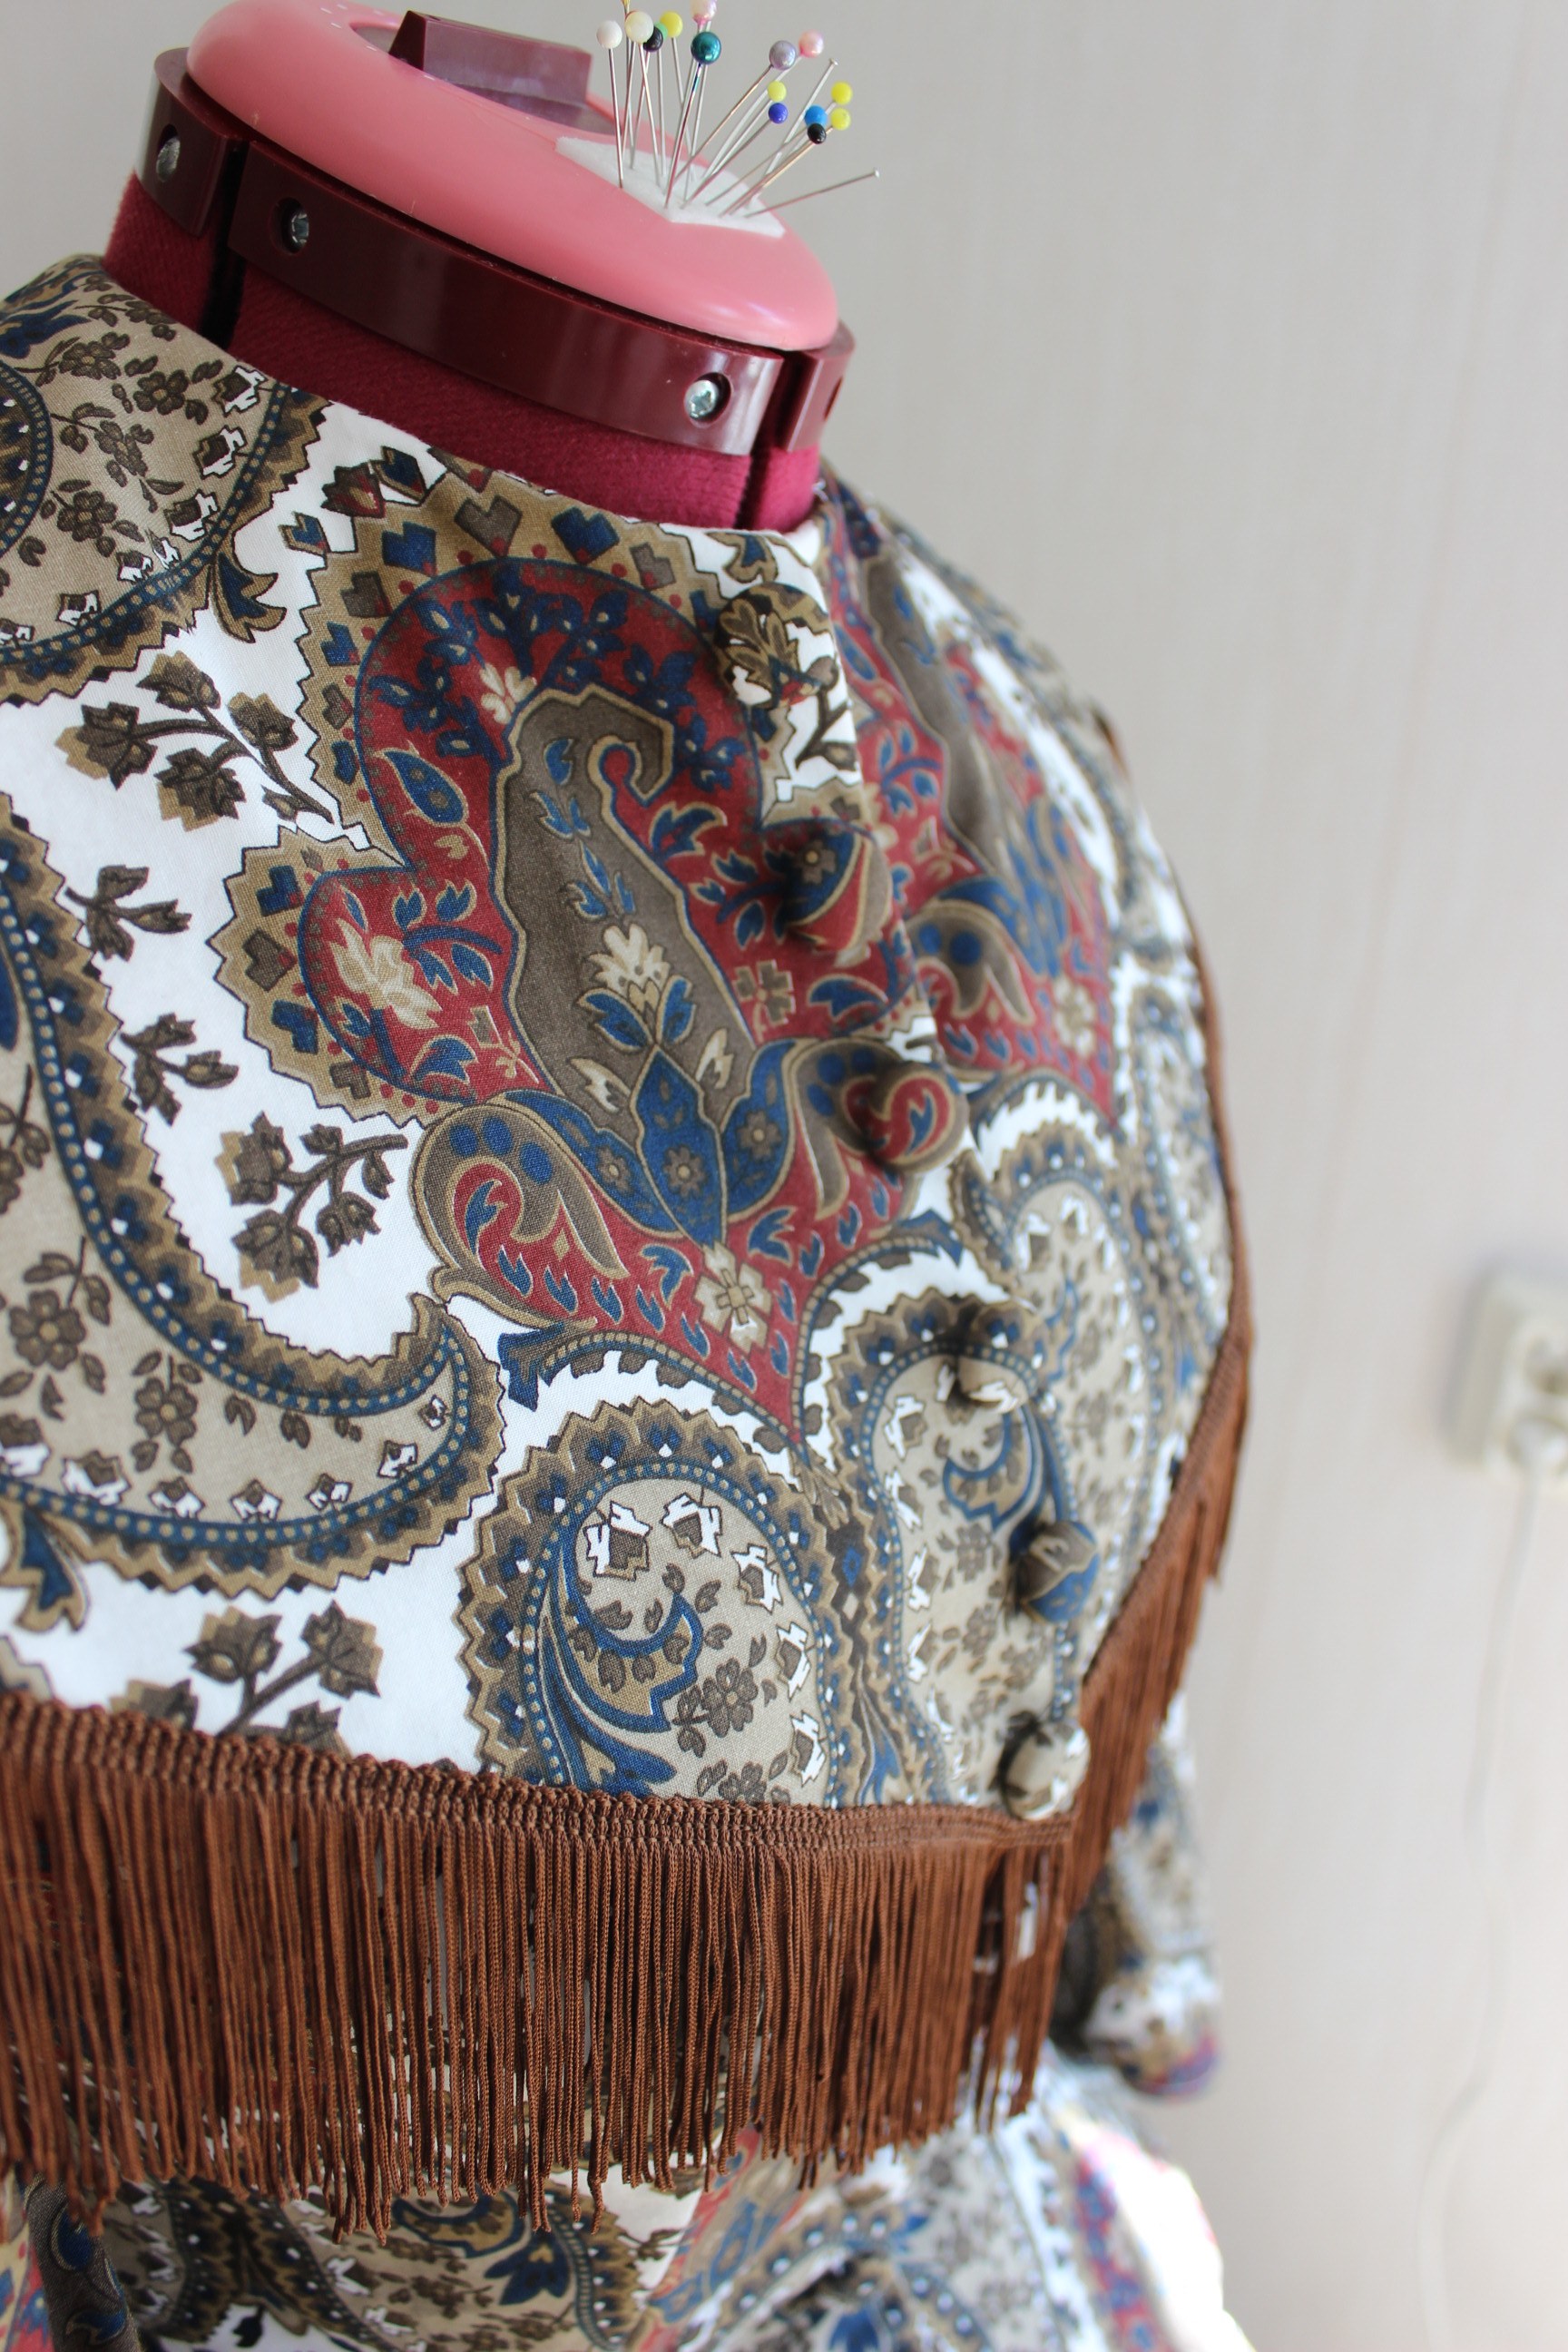
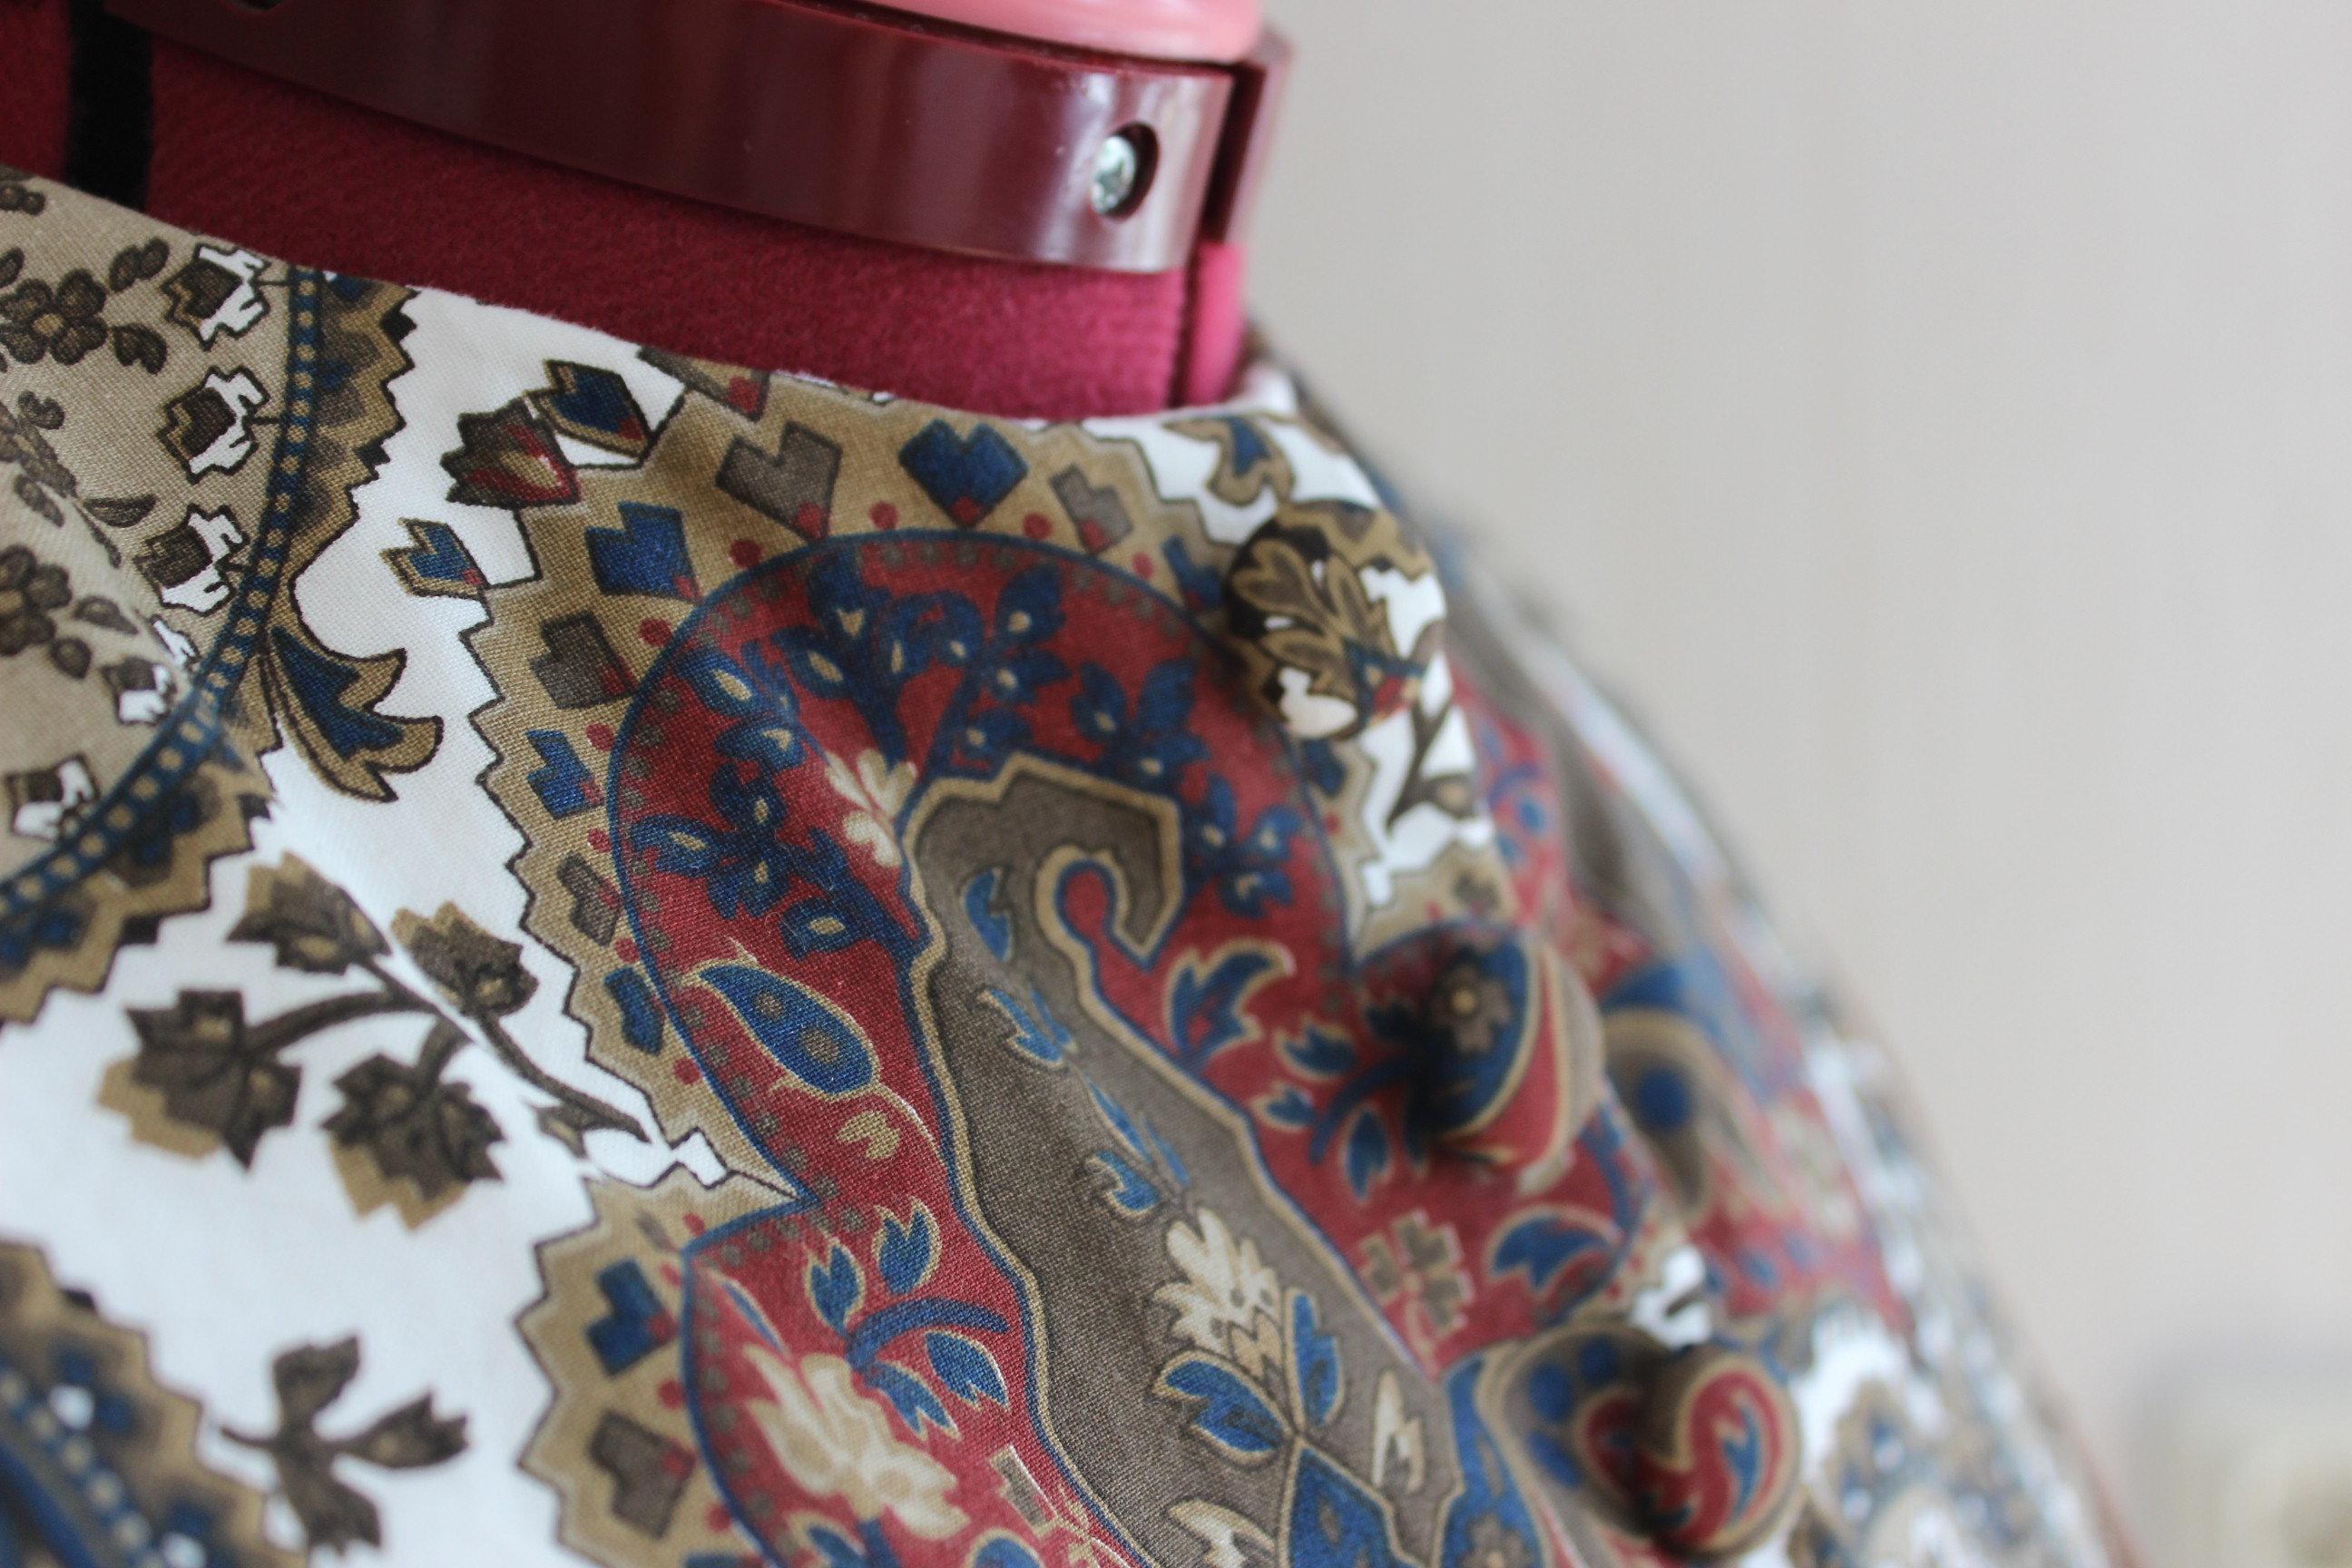
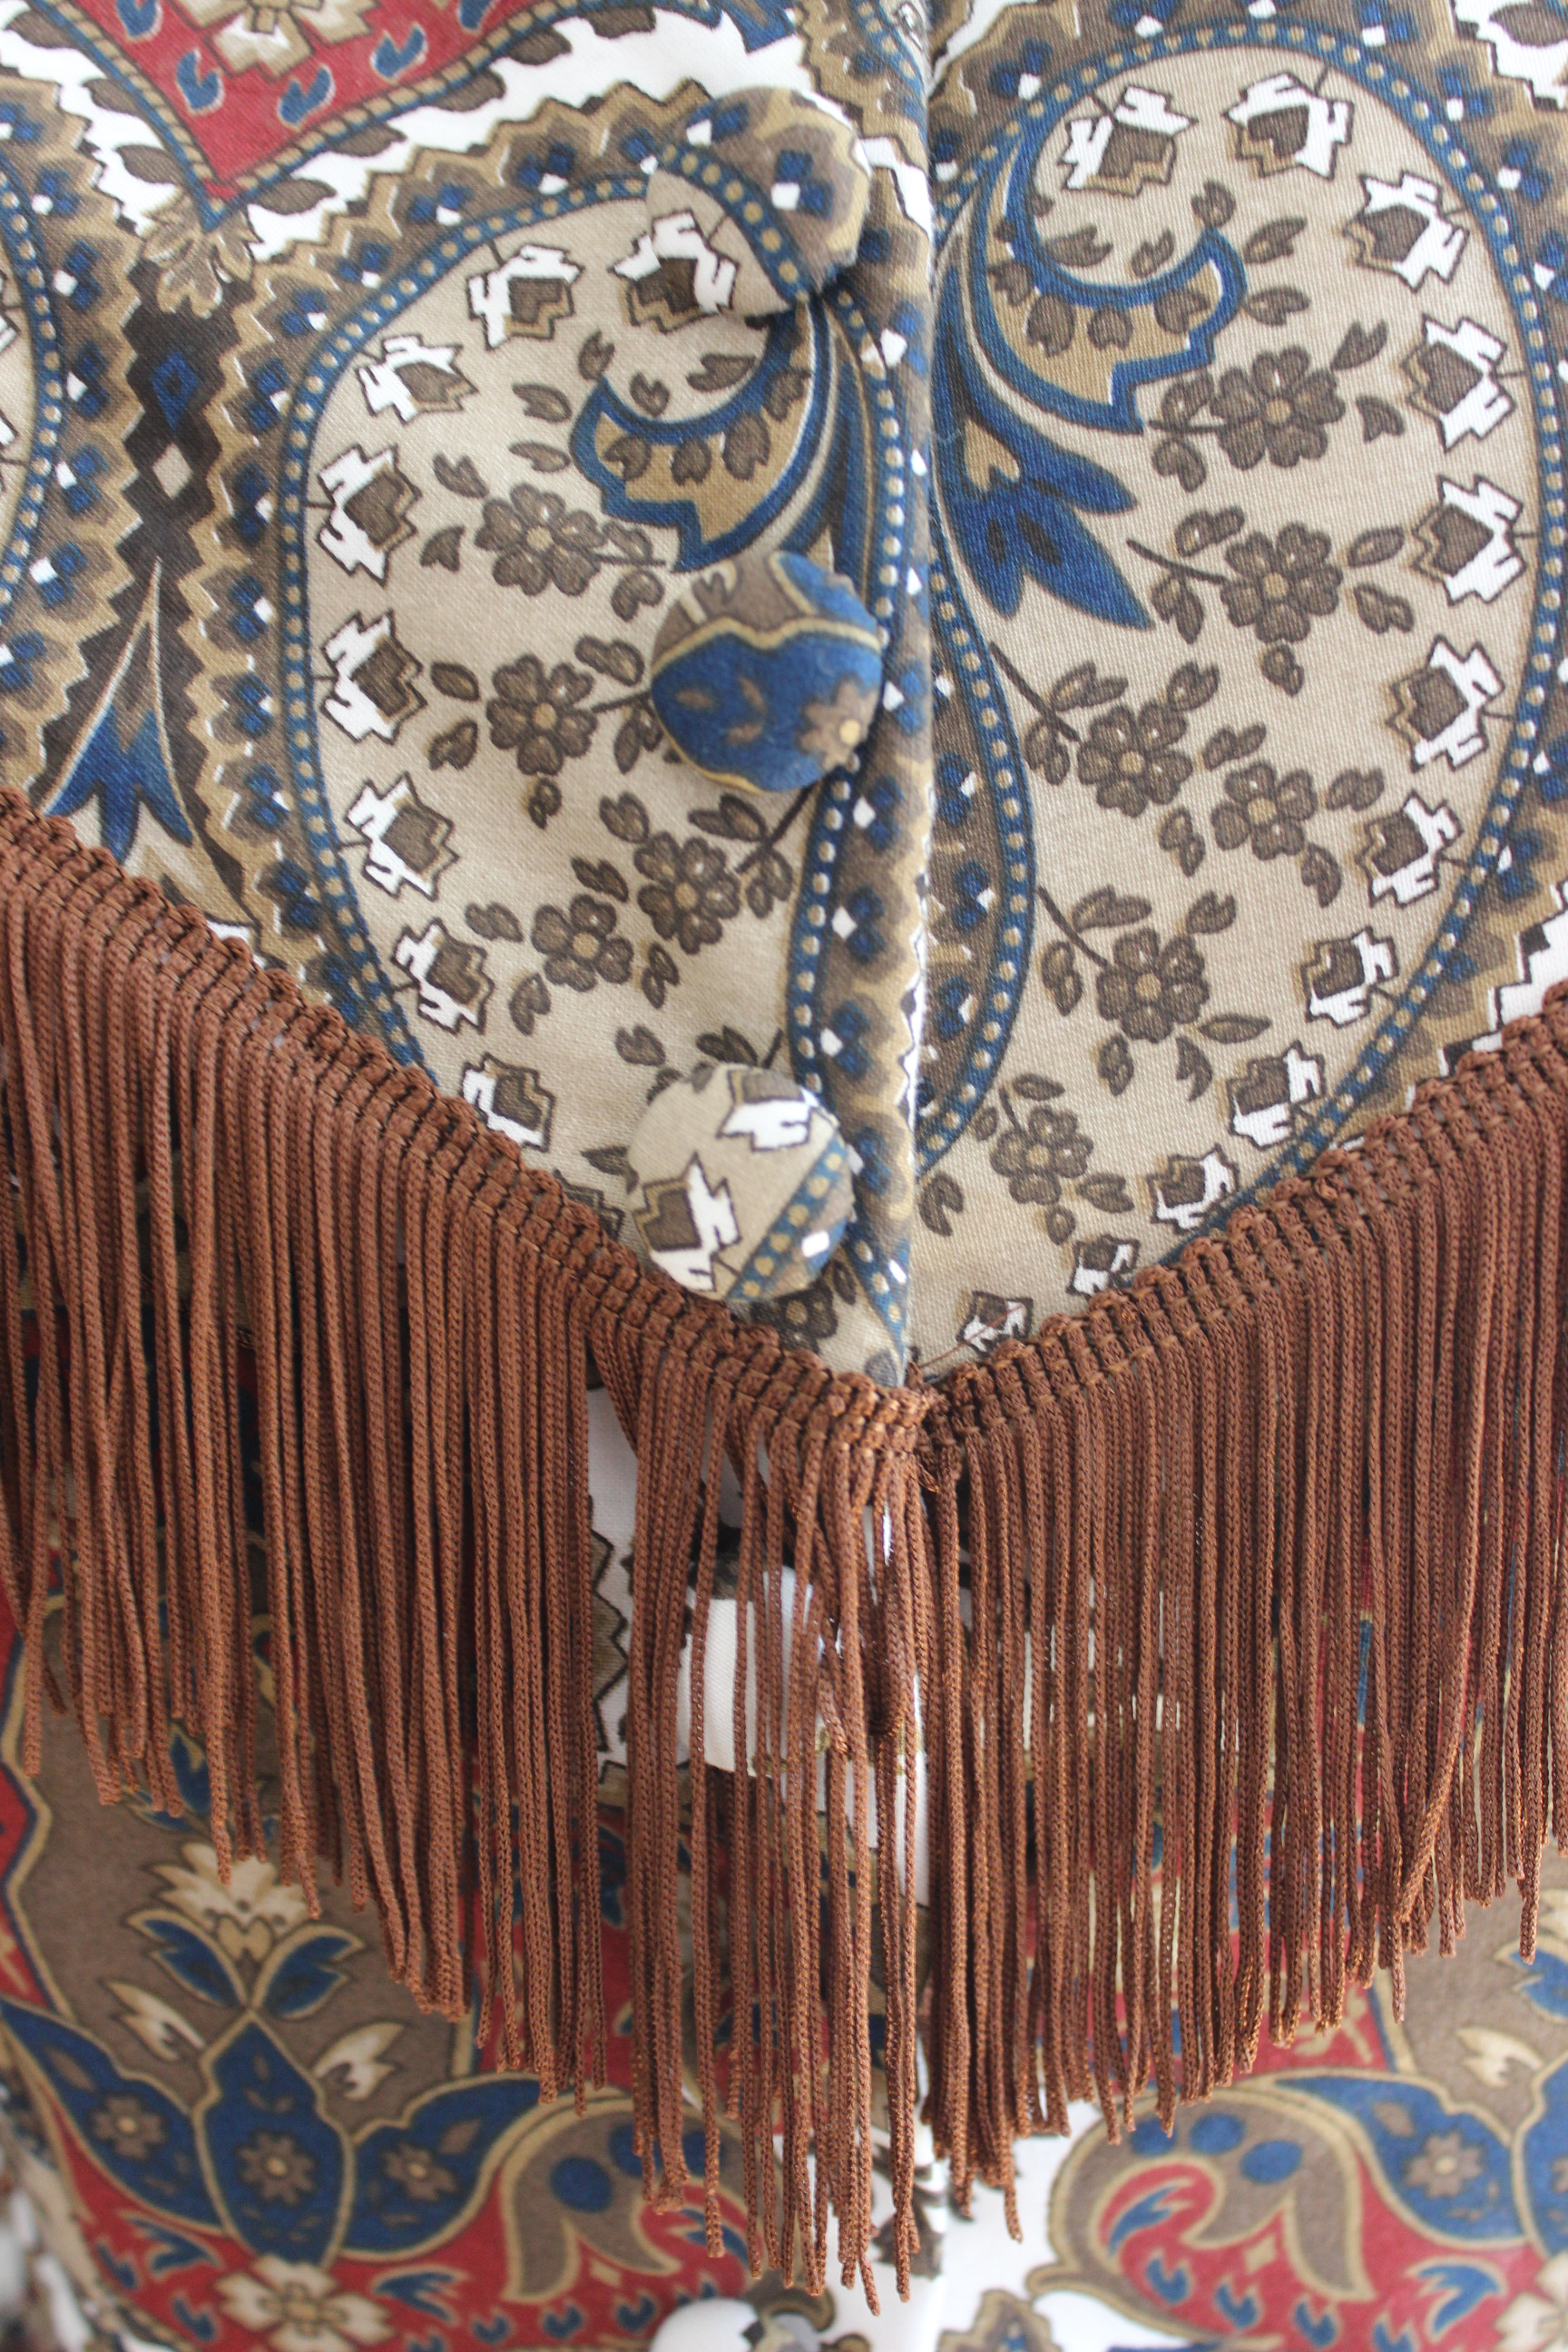
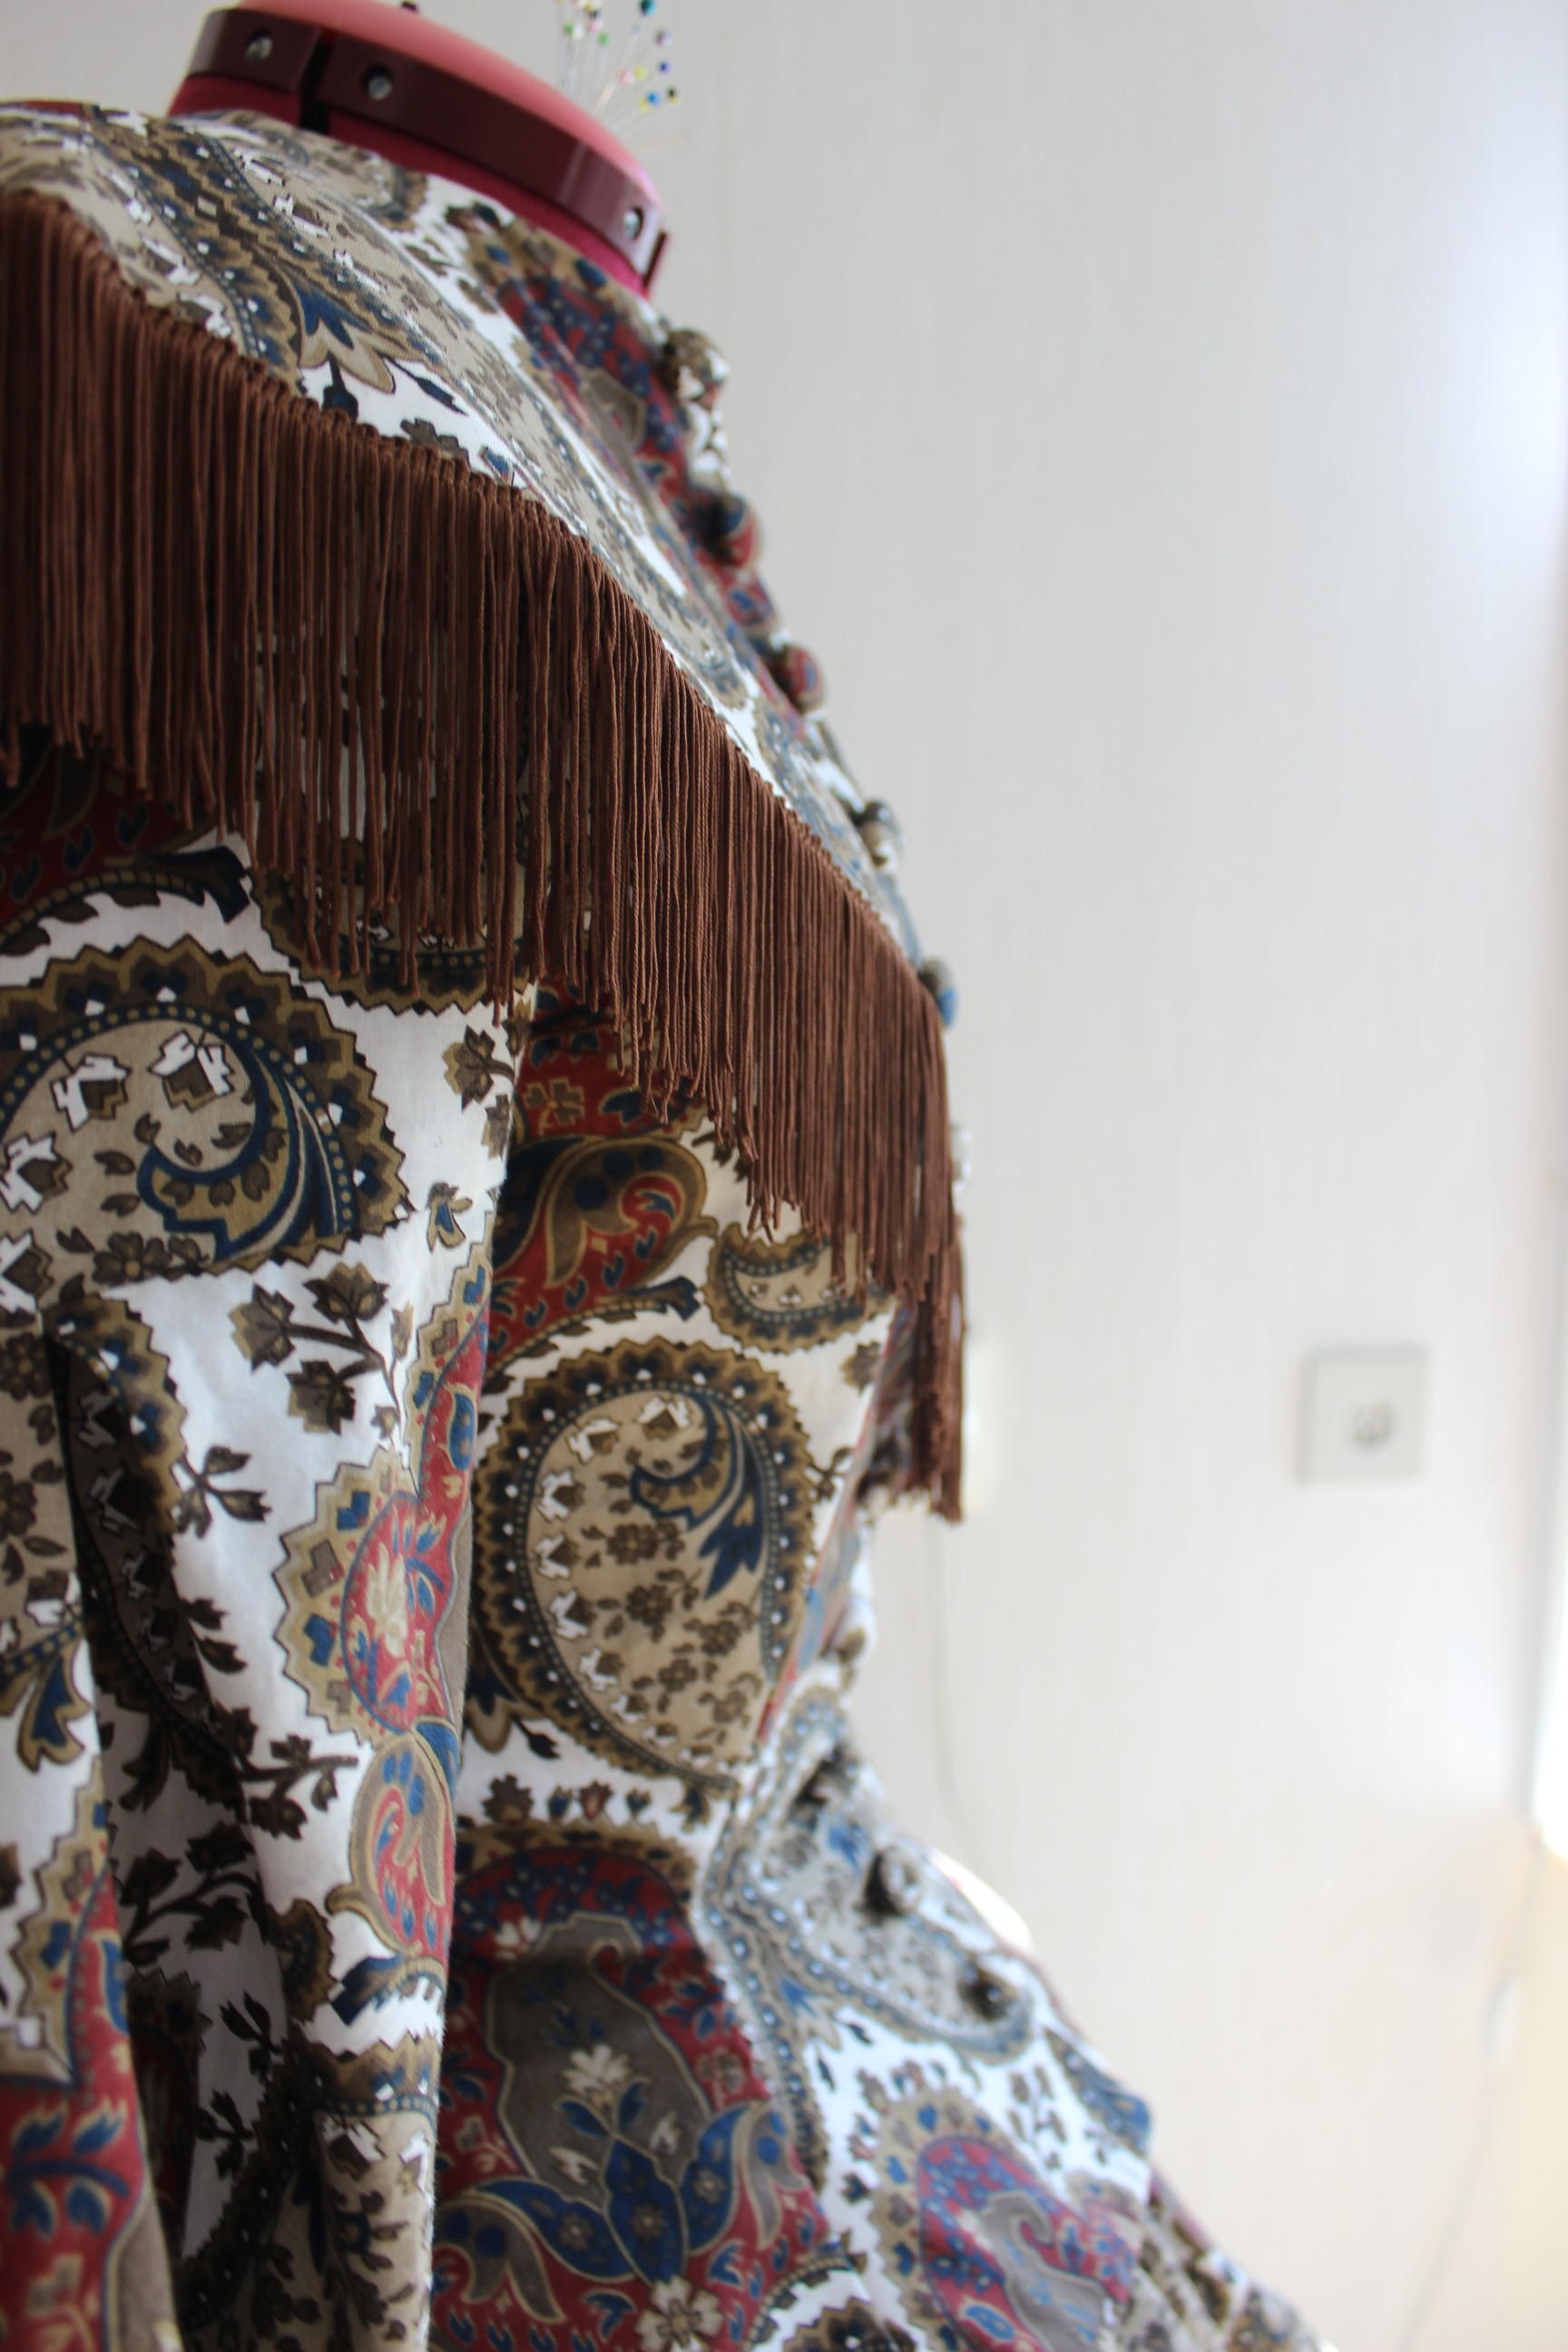
When the bones and the sleeves were inserted and the lining was sewed down nicely it was time to deal with the clouer of the garmnent. I used several self covered buttons and stiched them to the front. 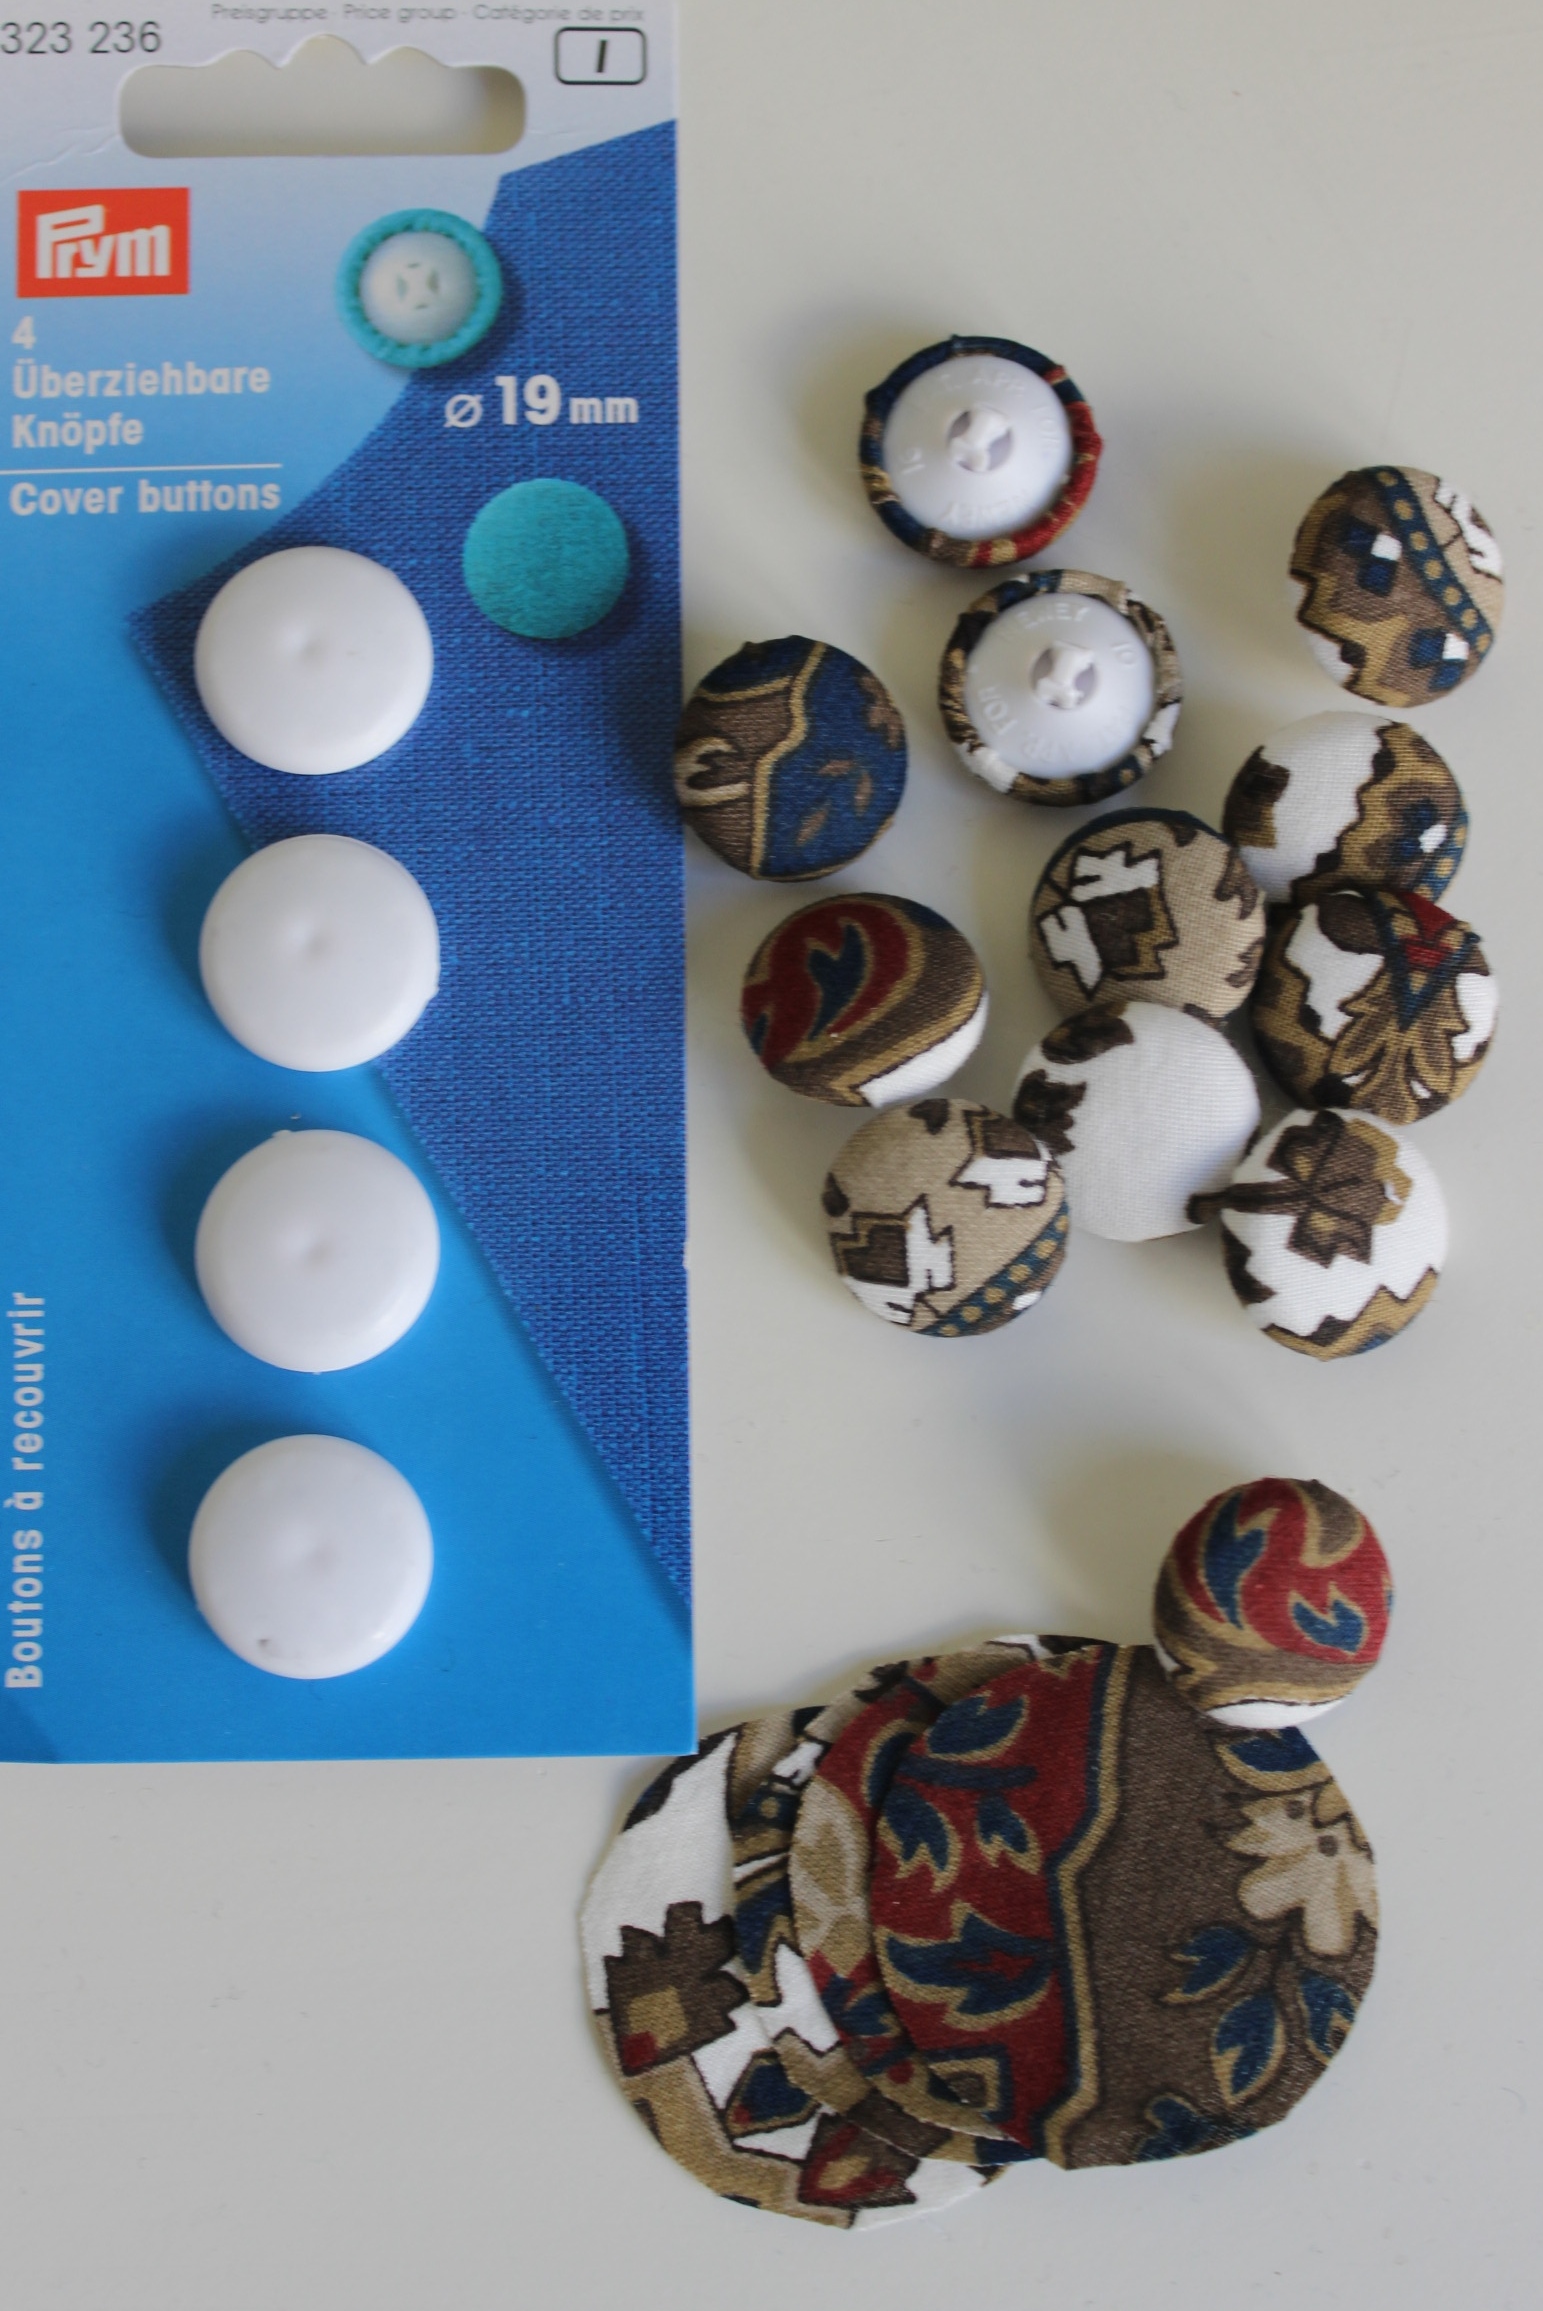 But since I didn’t had the energy (nor time) to make buttonholes I put the buttons on the outside, and stitched hooks and bars underneat to use as clouser.
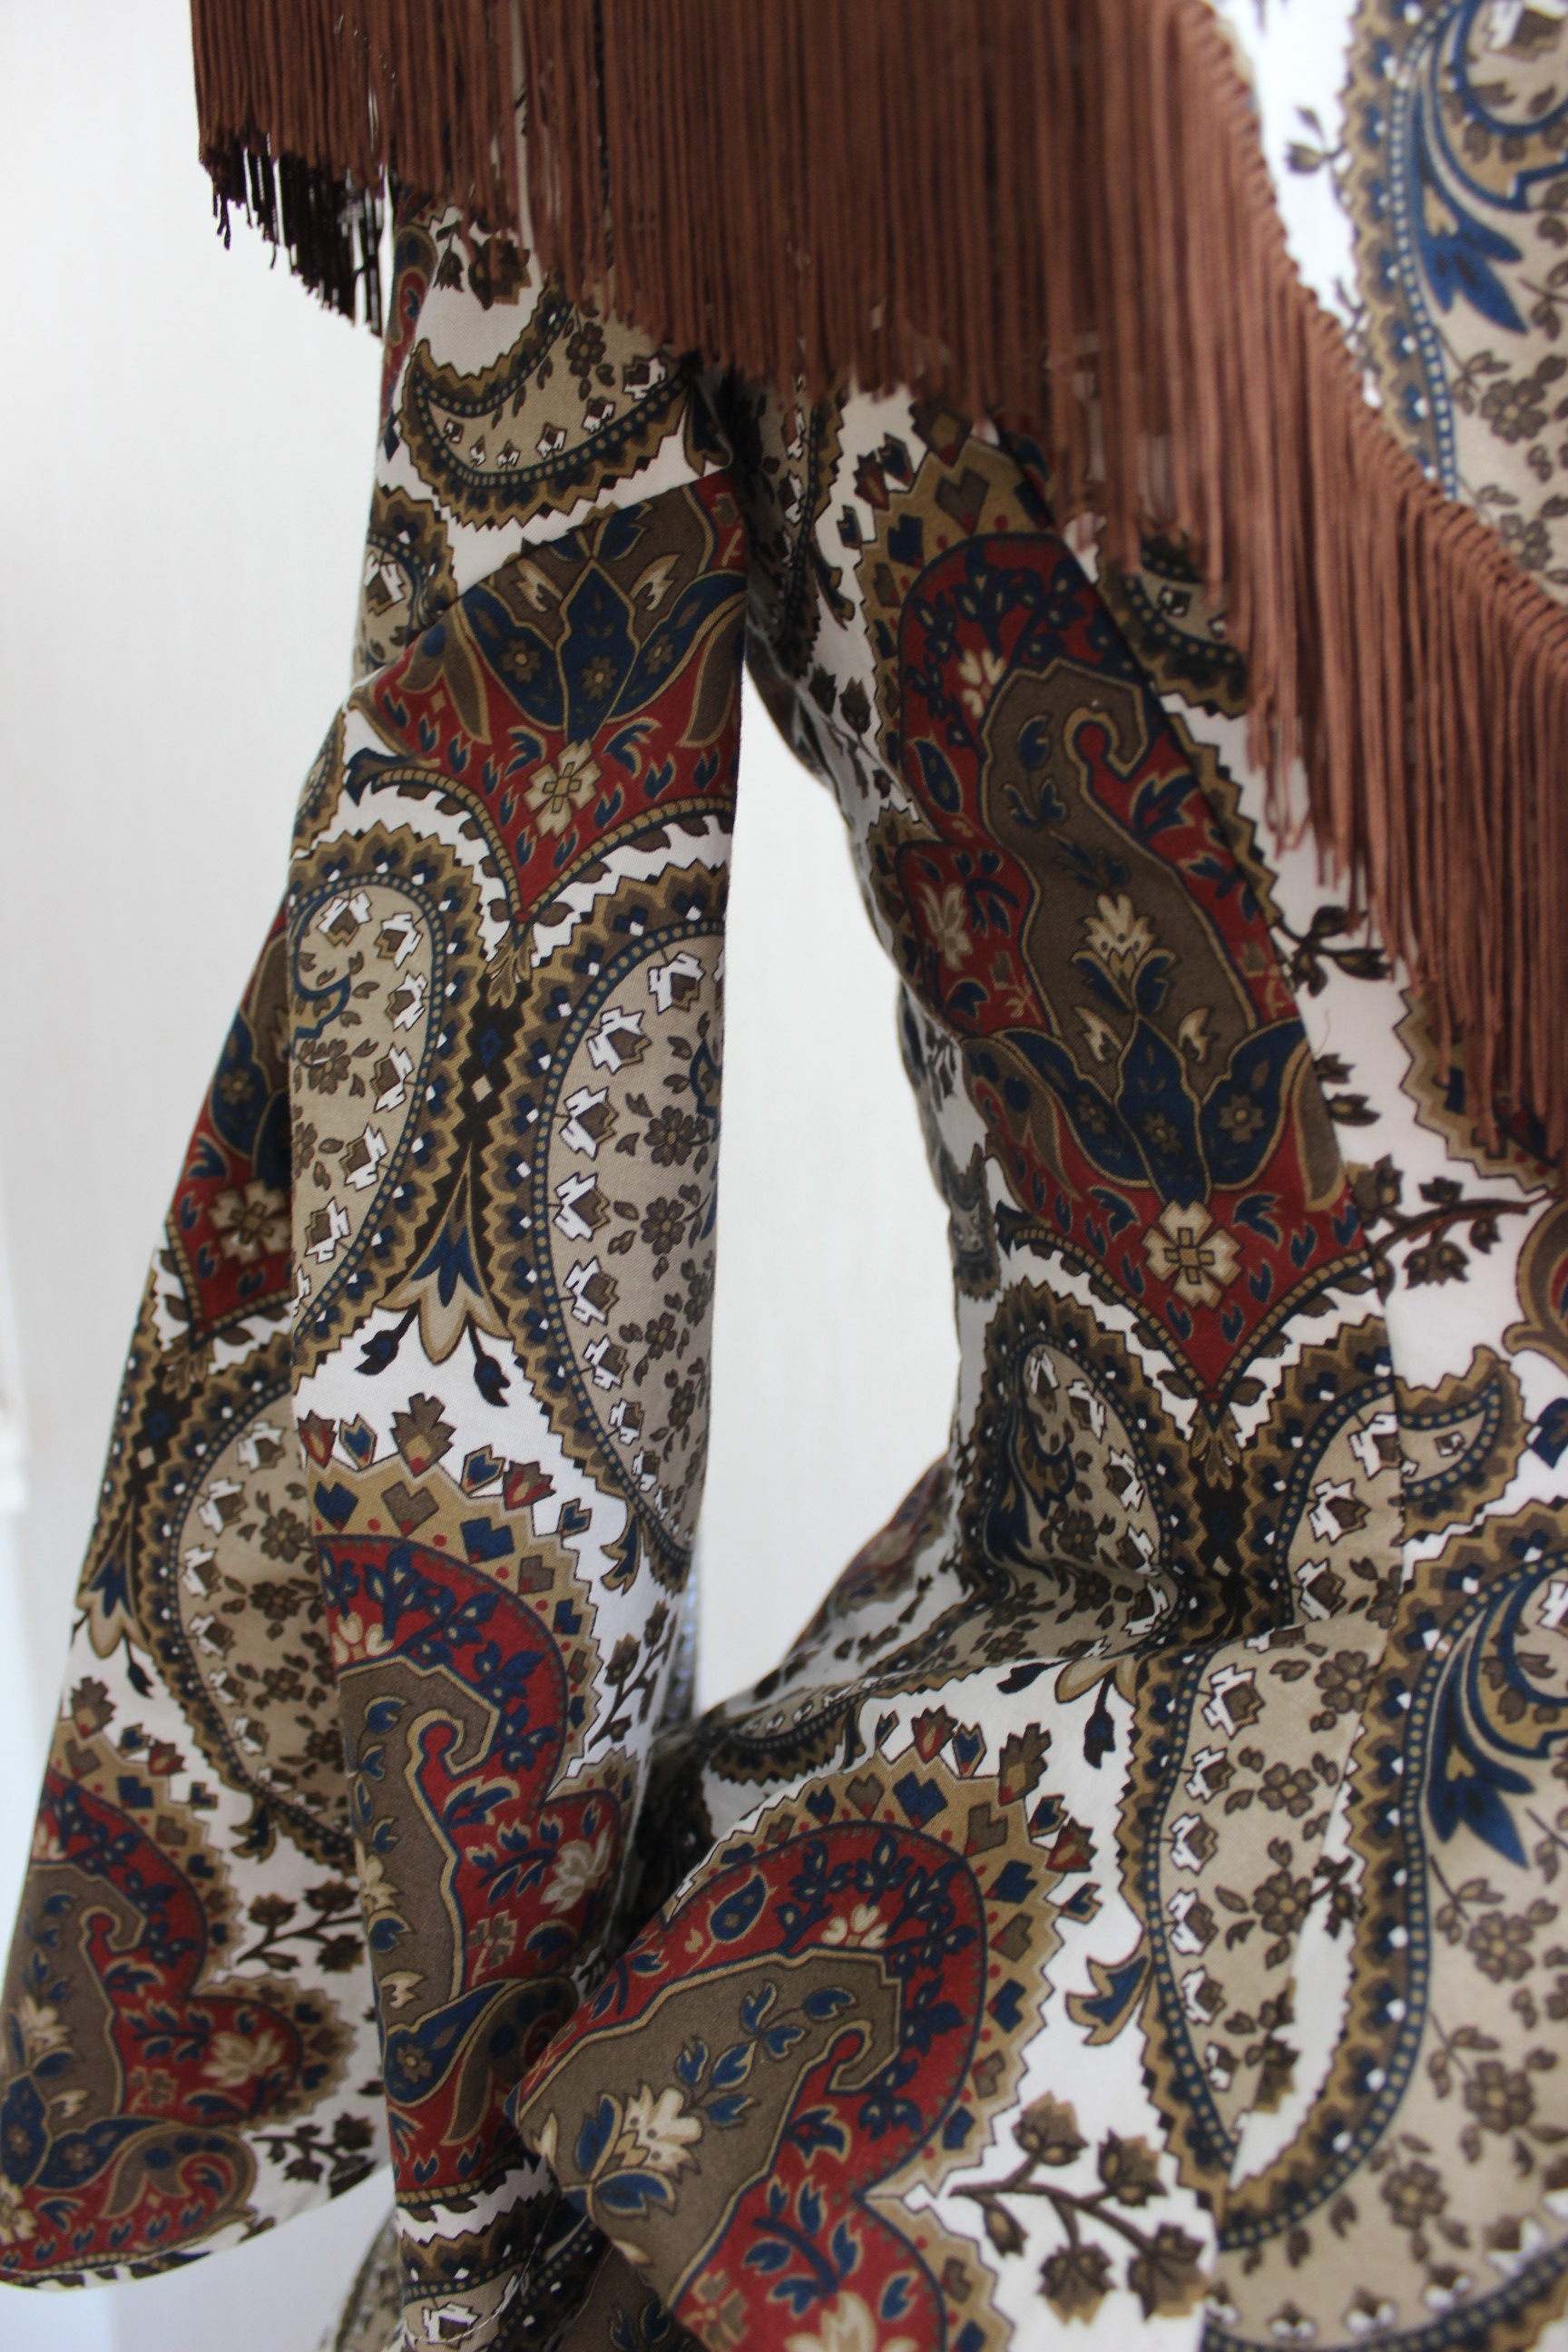
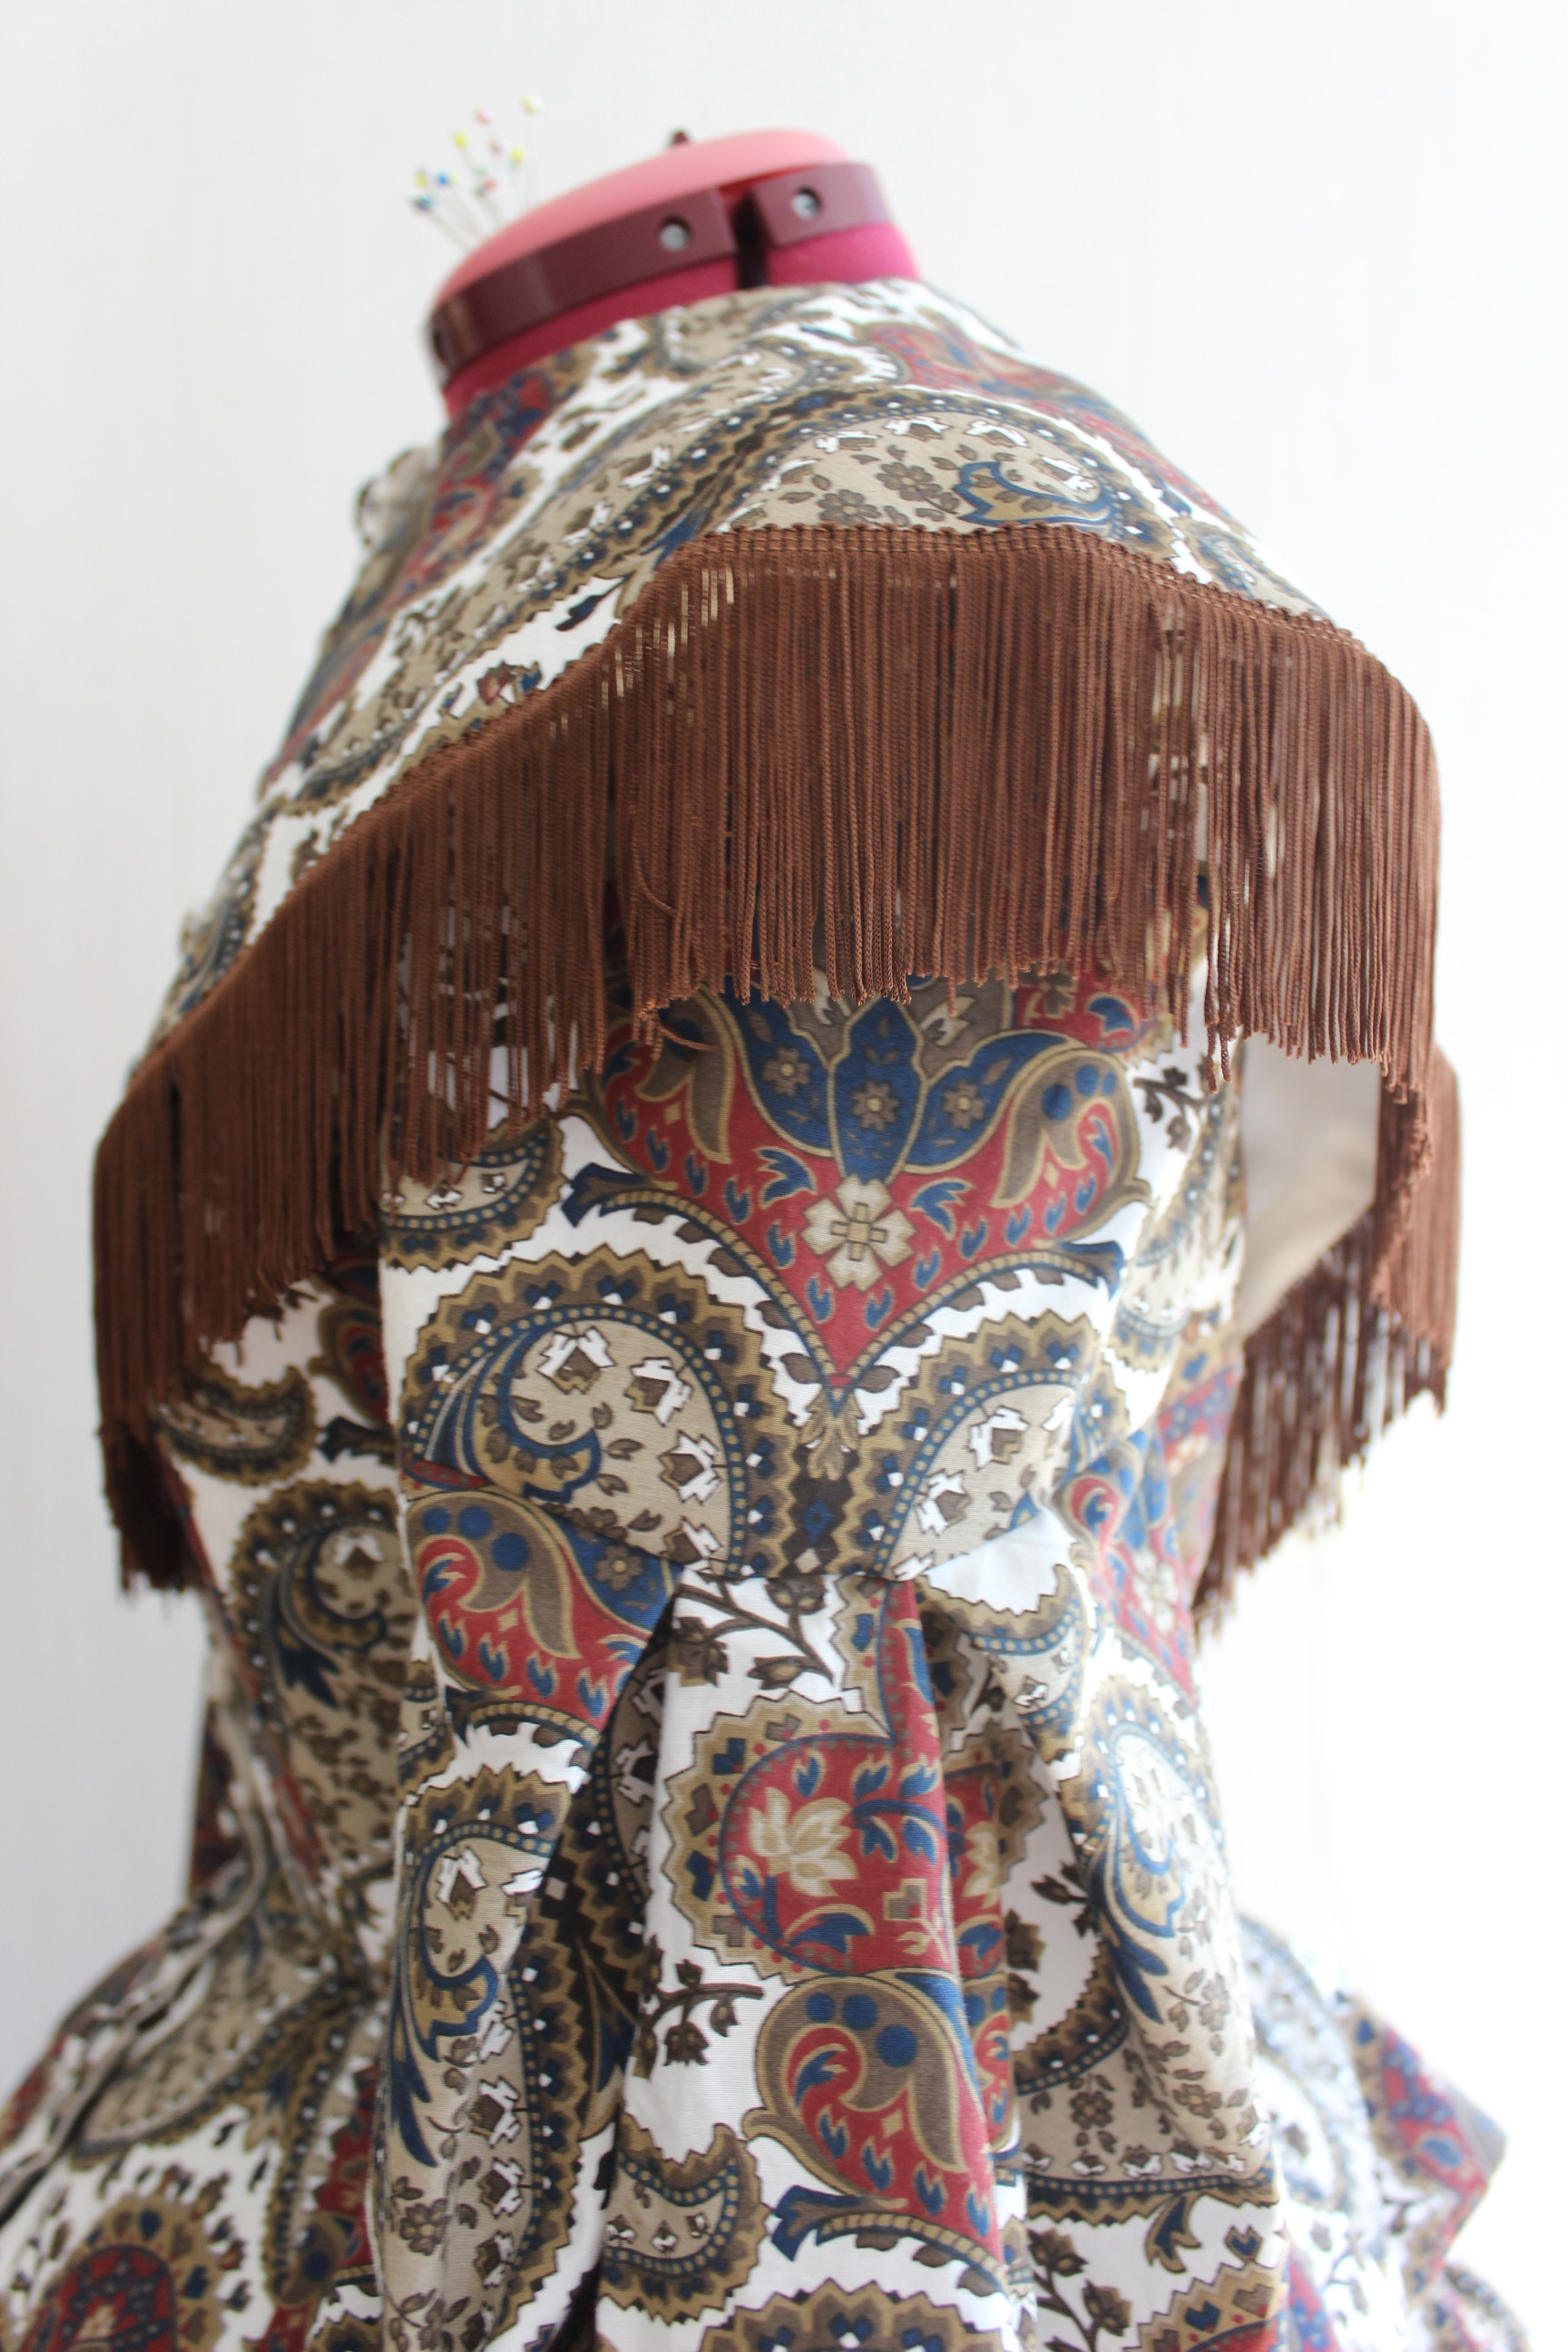
And lastly I pinned and sewed on the brown fringe to the edge of the neckpiece.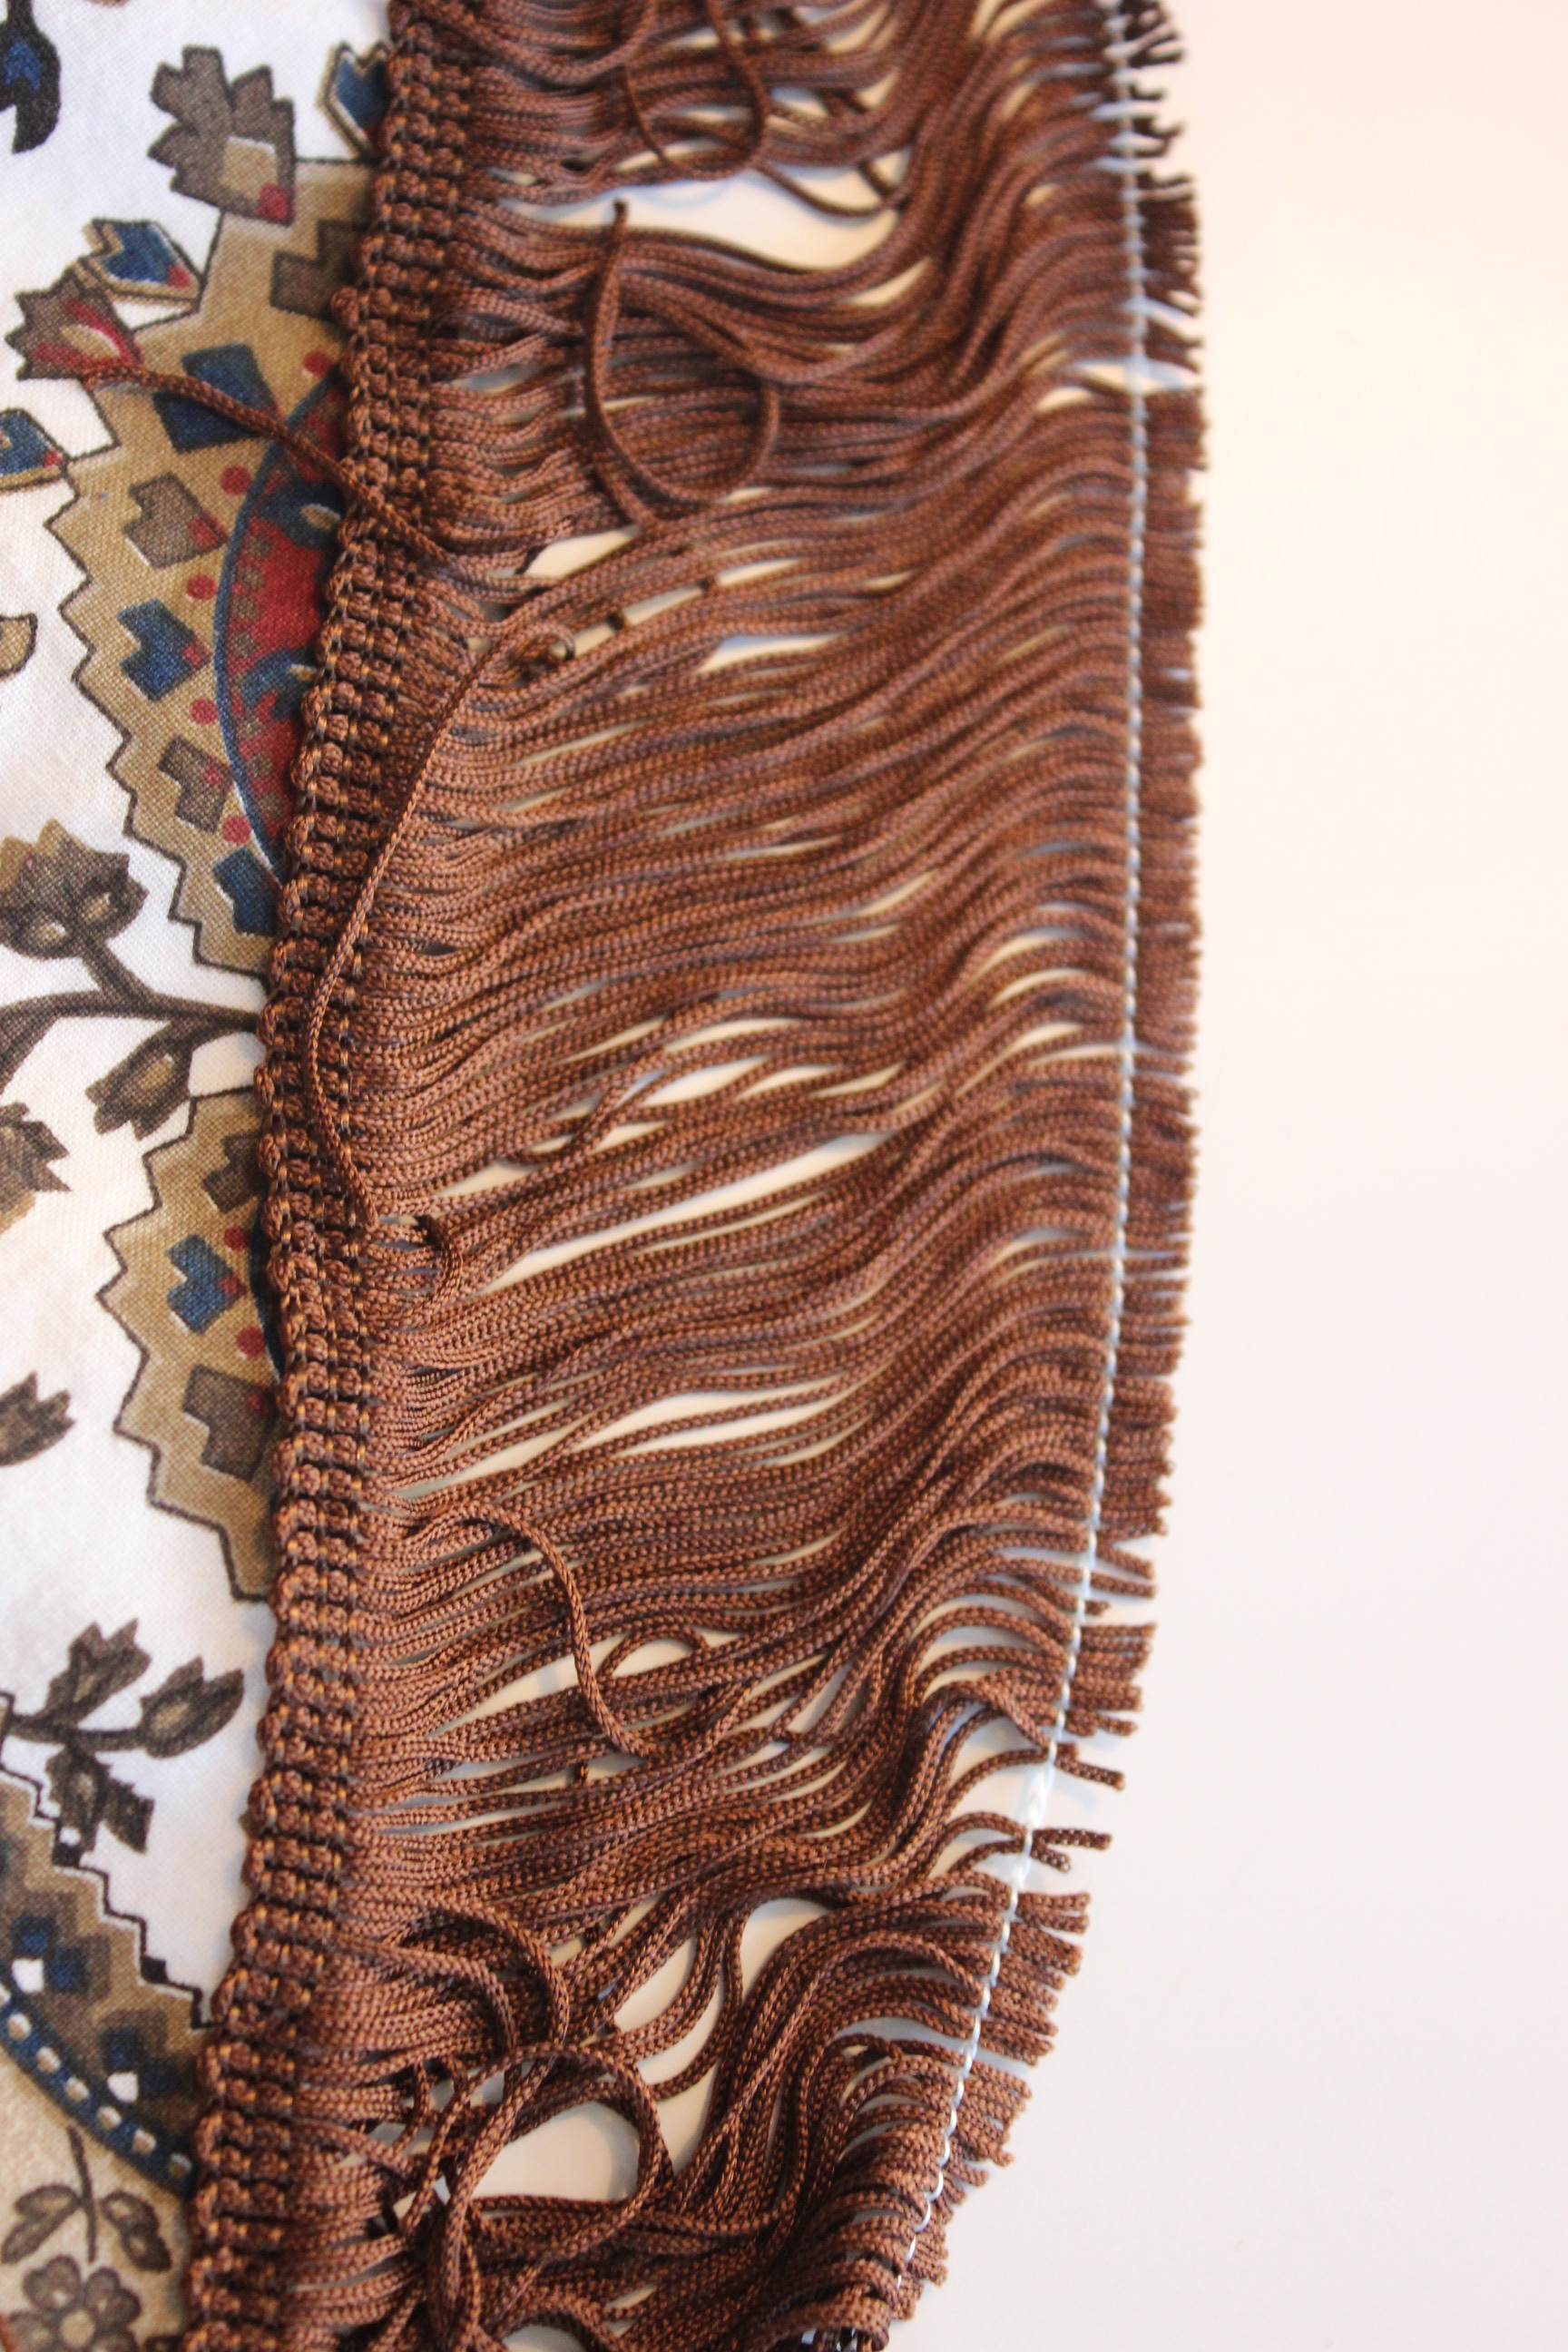 This is the only fringe I’ve ver used, and I love how it’s sewed at the end to prevent the fringes from getting caught in your stiches. When finished sewing you just cut the stich away, and you have a nice straight fringe. It’s great.
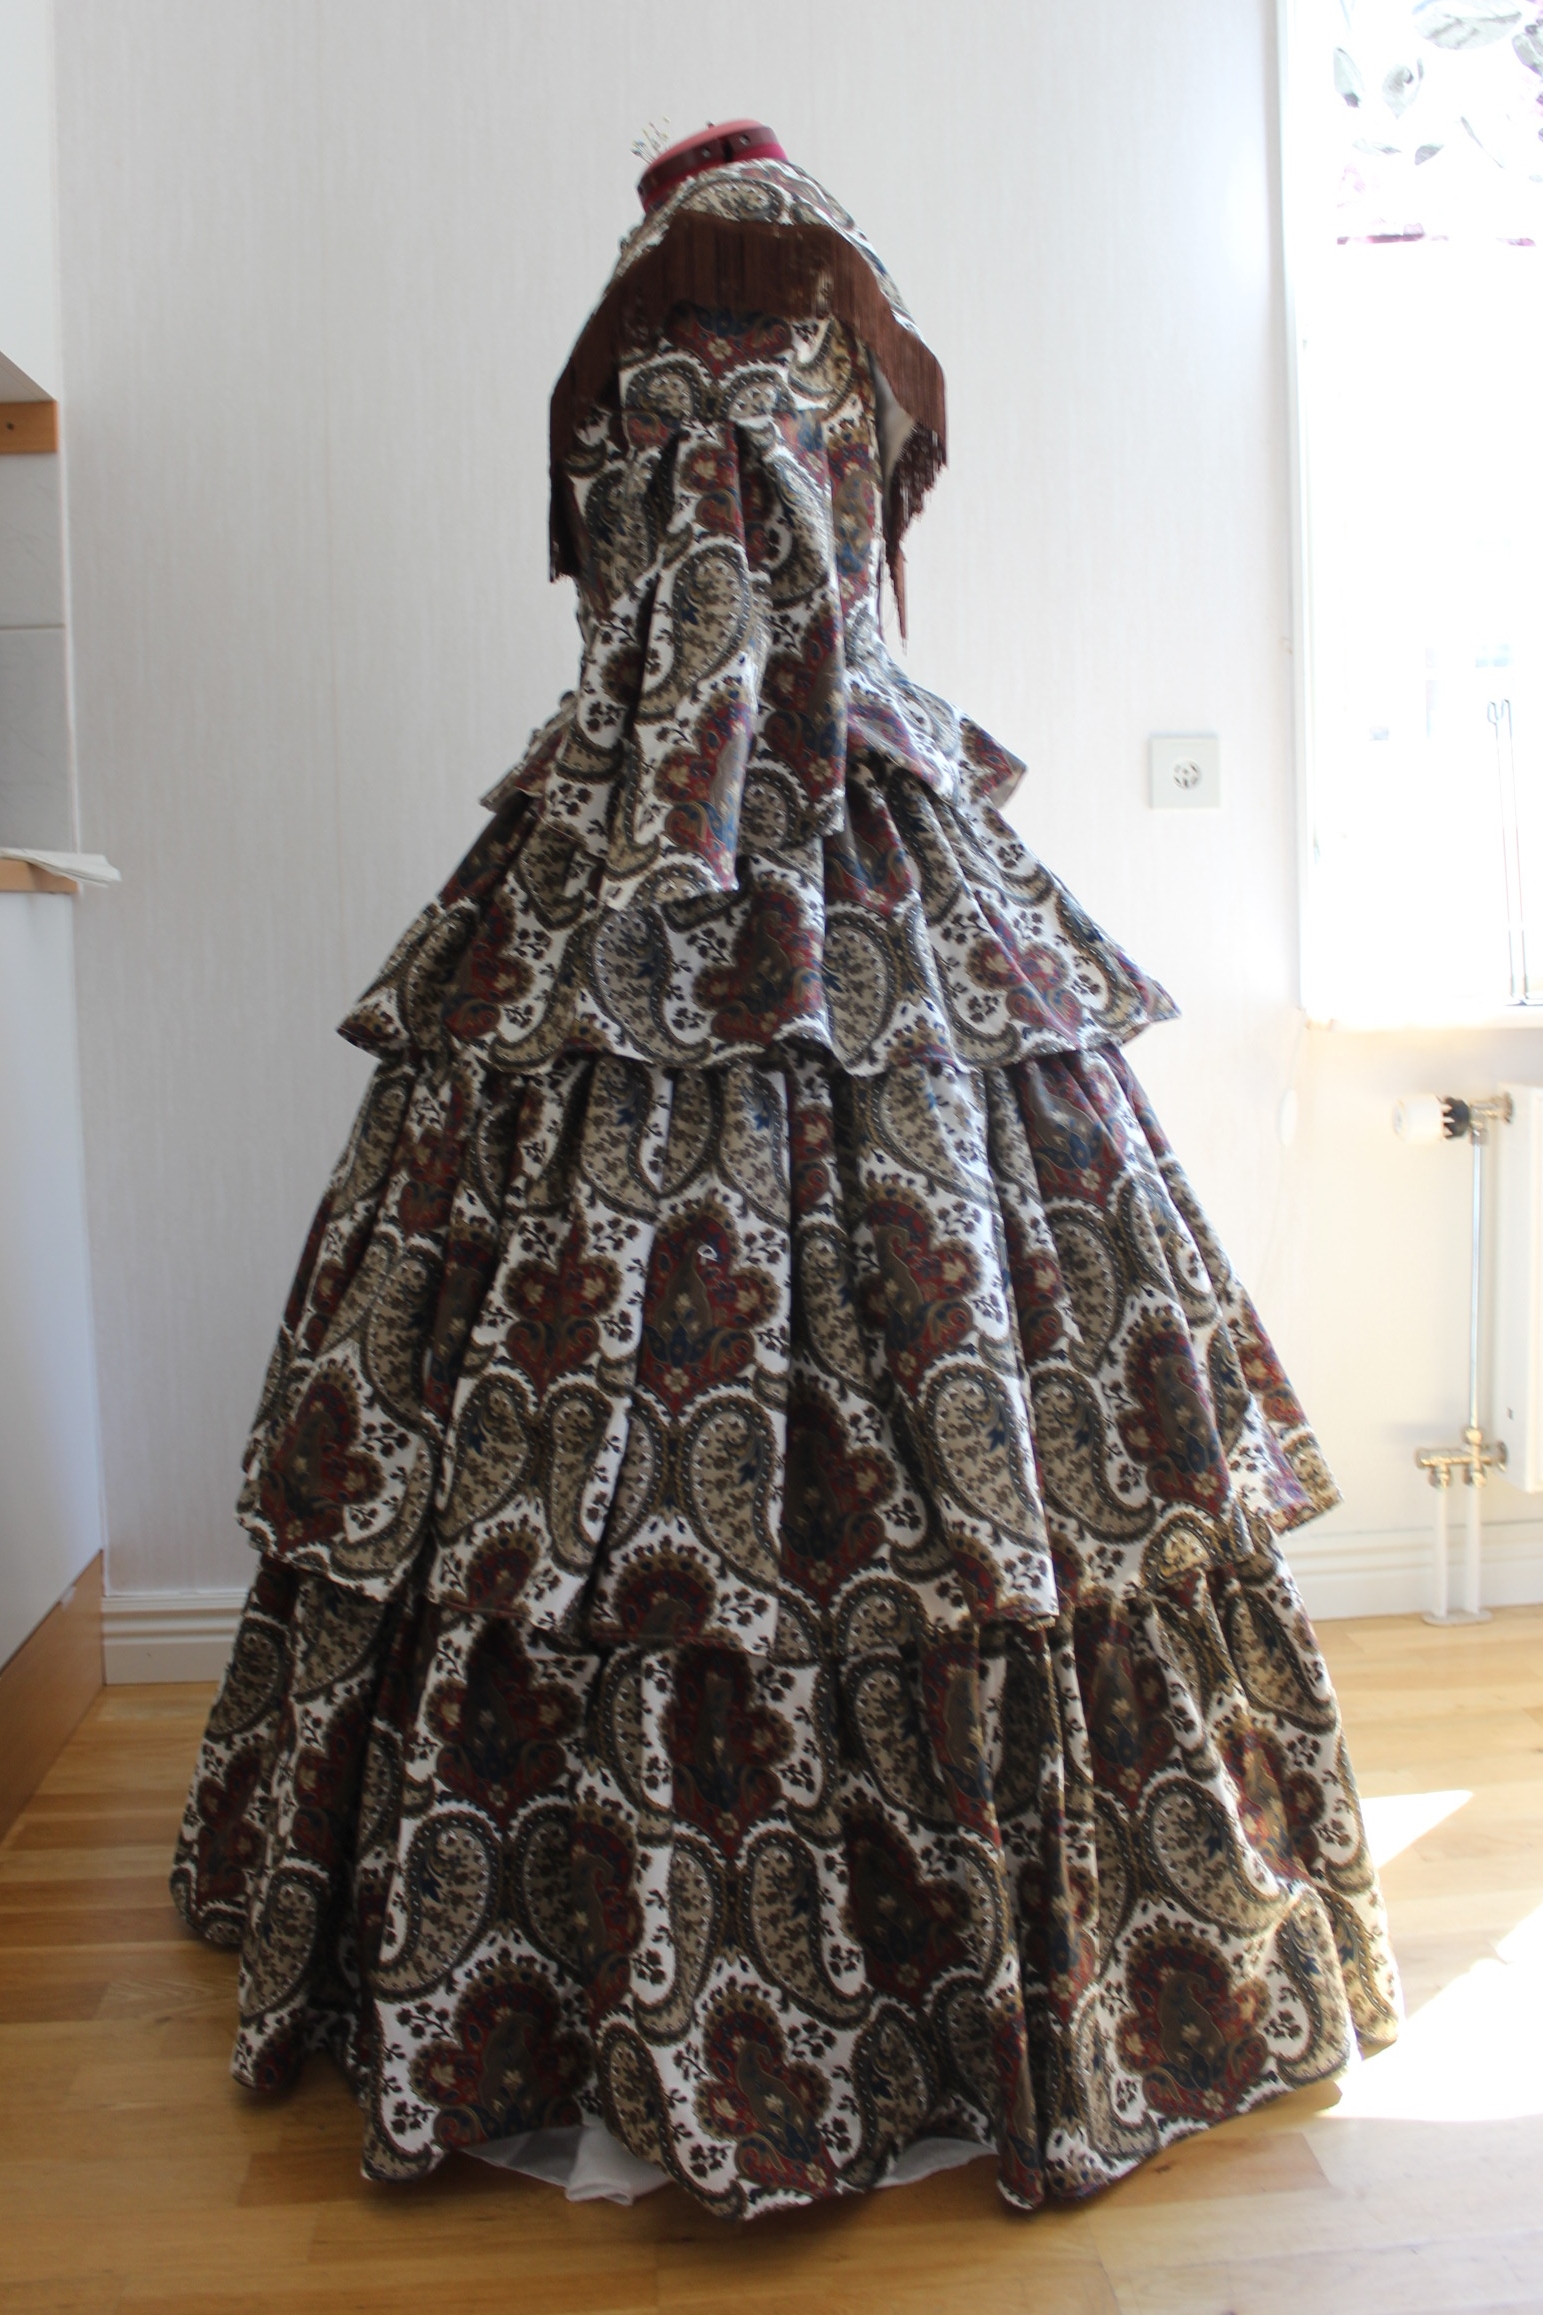
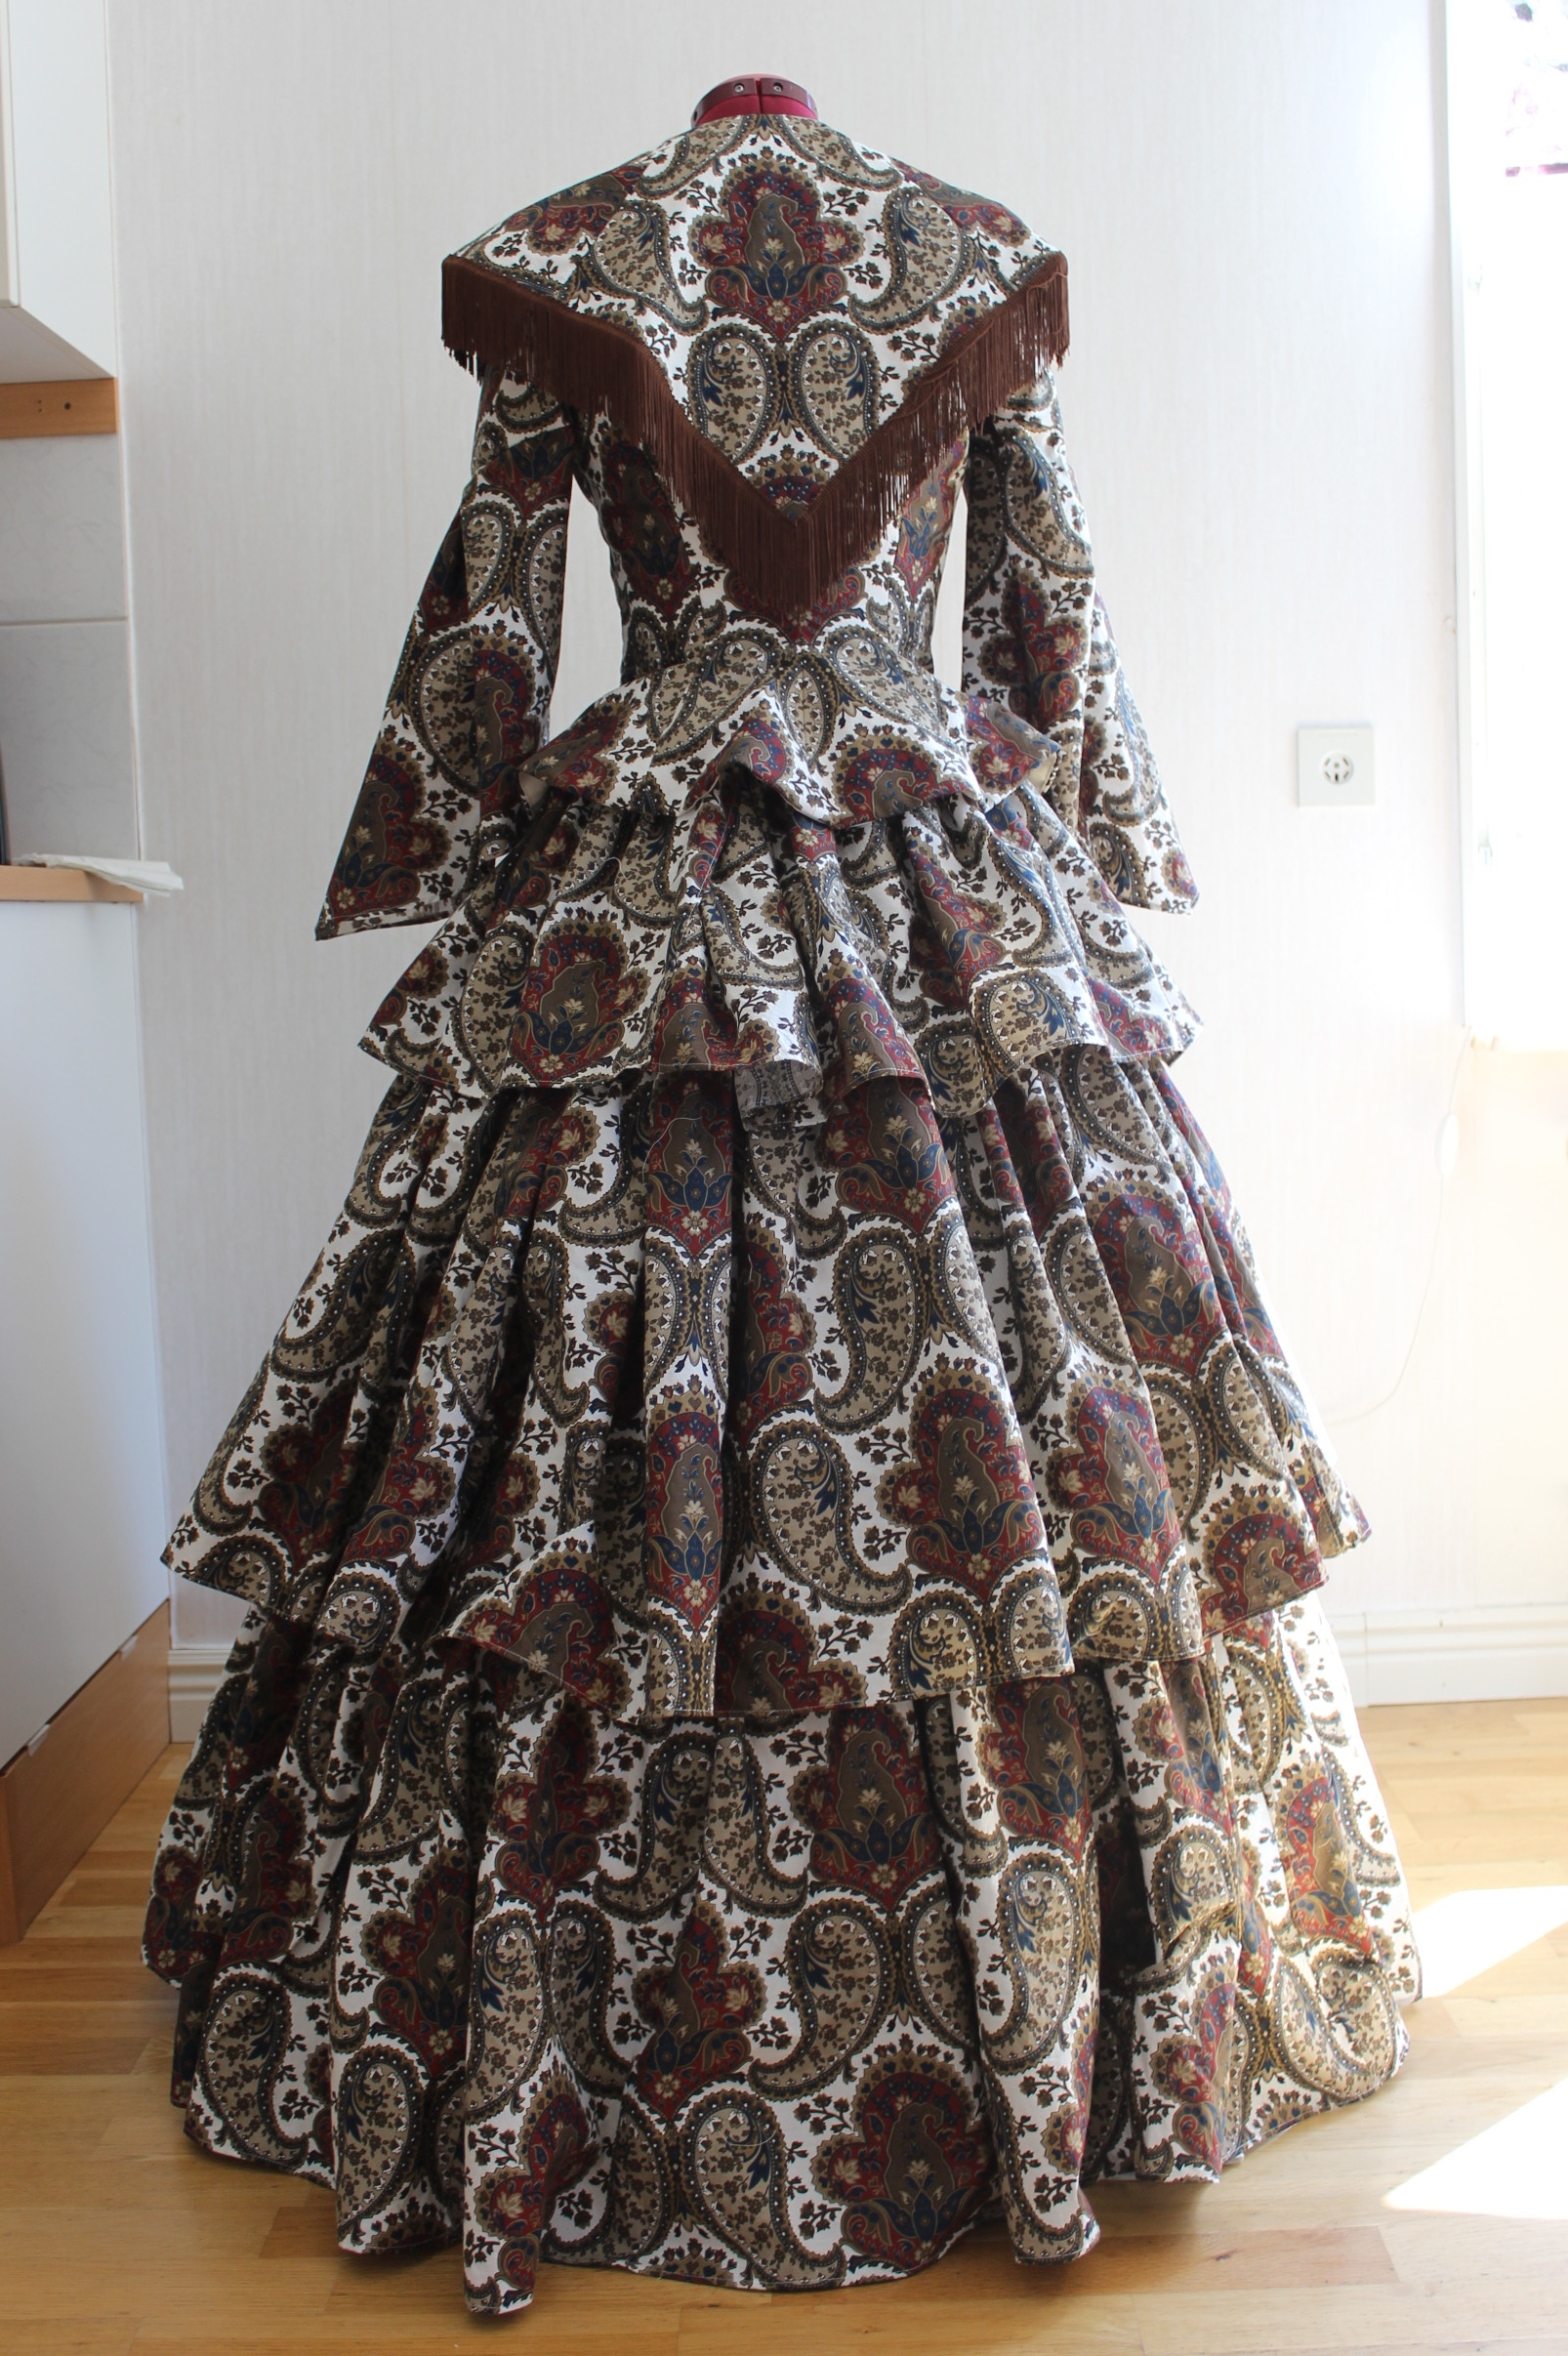
The finished dress (Jacket and Skirt)


Just the facts:
Challenge: nr 14: Paisley & Plaid.
What: a 1850 daydress (bodice and skirt).
Pattern: None, draped my own using “Costume in detail” as a general guide.
Fabric: Two bedsheets with duvet covets from IKEA, 1,5 white cotton sheets for lining and 1 m cotton twill for interlining.
Notions: Jacket – Thread, 3 m of plastic boning, 3 m of self mde bisatape, 12 buttons, 14 pair of hooks adn eyes, 1,5 m of brown fringe. and only thread and hook and eye for the skirt.
How Historical accurate: So so. I think it does look the part but I’m not sure about the messy pattern. Cotton is legit and paisley was a popular pattern during this time, but I doubt that the dressmaker using cotton in her daydress would have had a sewingmachine.
Time: About 15-20 hours total.
Cost: 300 Sek (48 Usd) for the whole dress.
First worn: Ony for photos so far. I meent to wear it at a victorian picknic in july but the weater was way to hot for all the layers, so ended up using another costume instead.
Final thoughts: I’m not totaly happy about how messy the print looks made up in this dress. And I could have spent some more time getting the pattern to mach up and also making the neckpiece fit better.
All in all I think it was a funny project and I hope I get to wear it sometime.

Stunning!