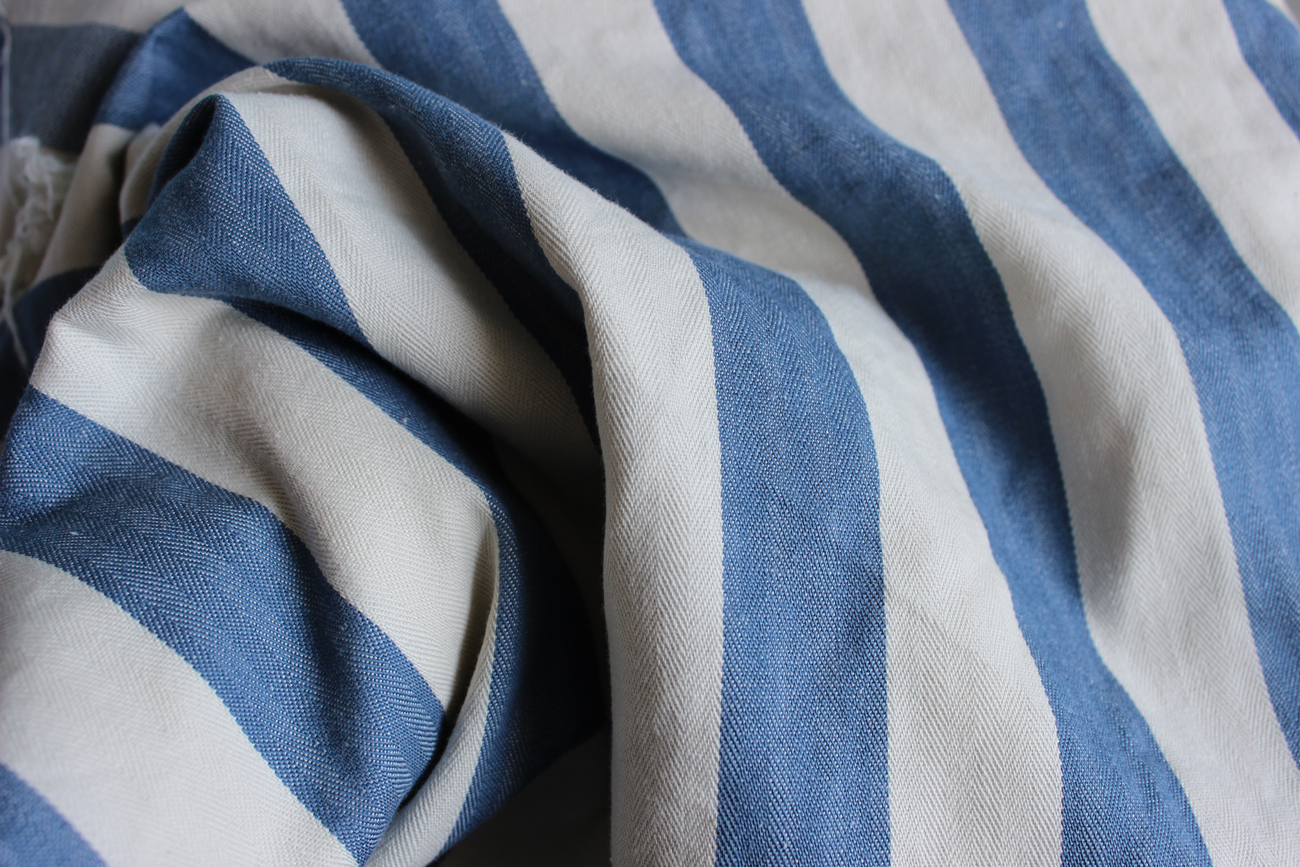
I bought this blue and white striped cotton for 15 Sek/m a while back, and since it was the last 2,5m on the bolt I decided it would make a perfect 18th or 19th century jacket.

So when the 17th HSF challenge was announced as – Robes and Robings, it was the perfect opportunity to use the fabric.
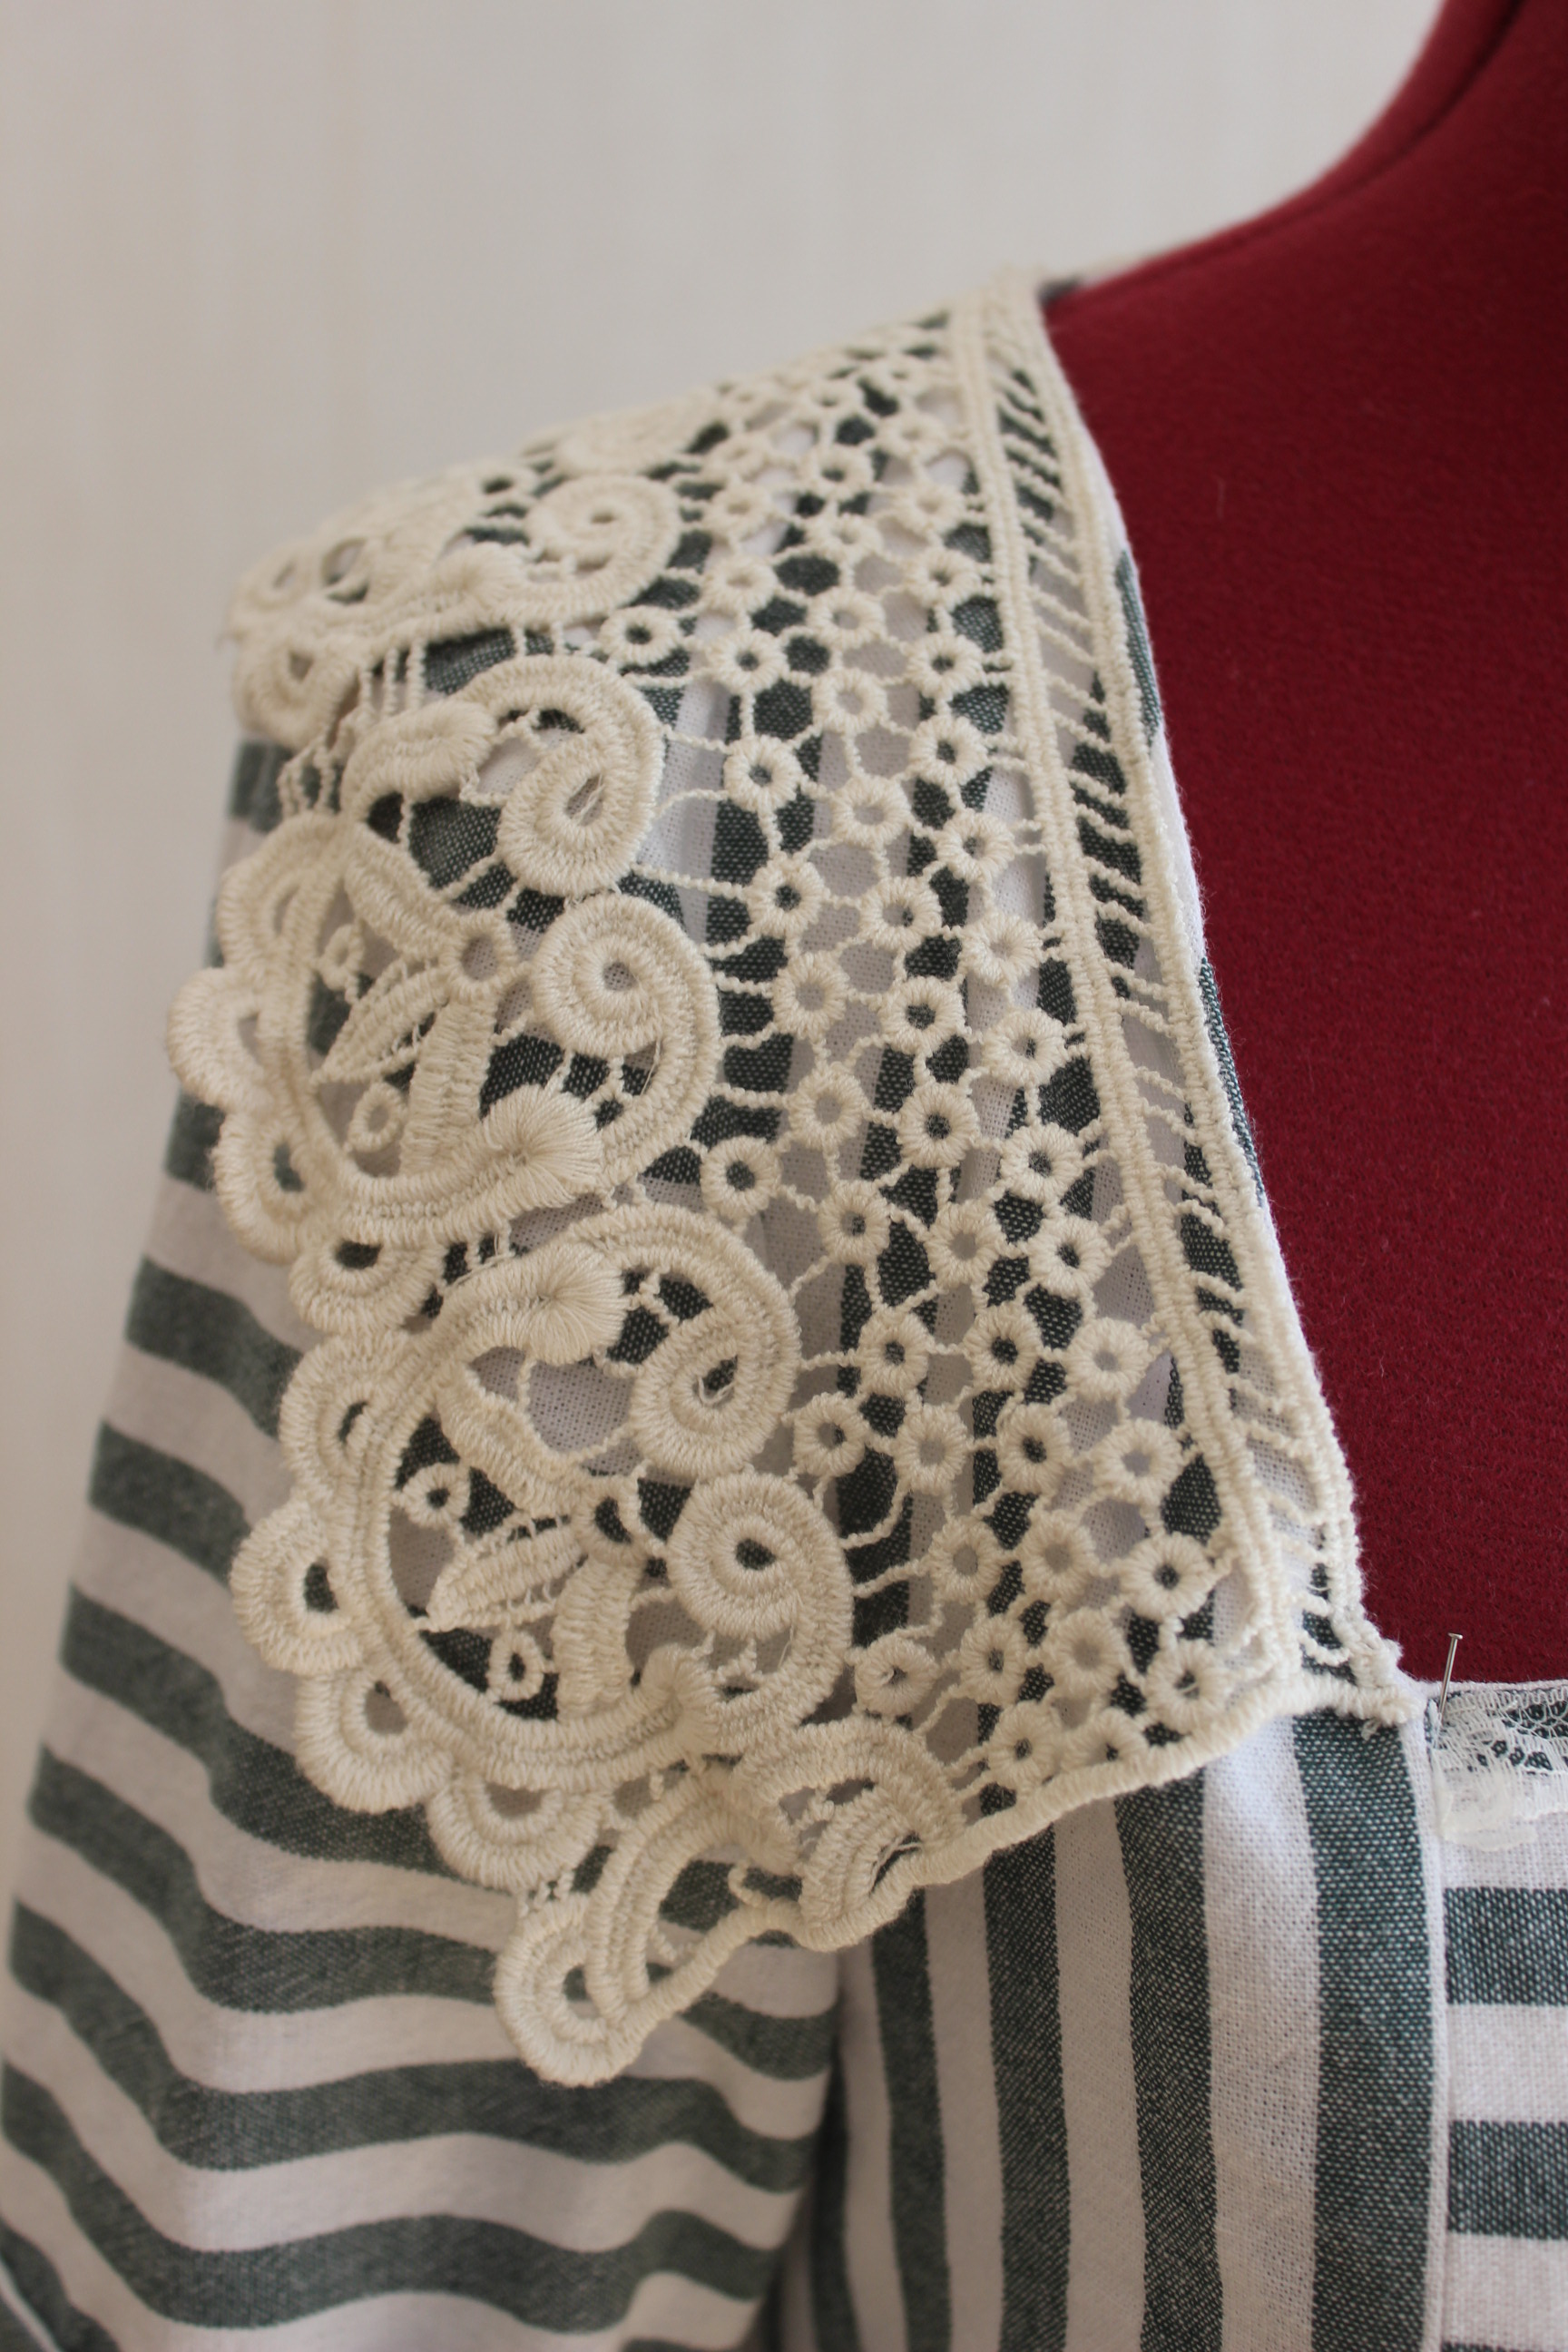
“And what are robings? They were also called robins and round robins. Basically they are the trimming round the neck and down the front of 18th and early 19th century gowns and pelisses.” quote from the Dreamstress in her annoncement of the challenge.
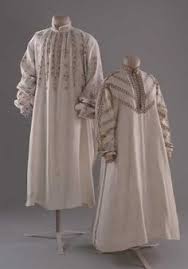
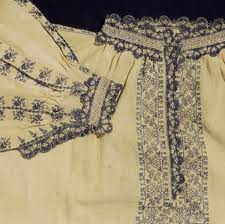
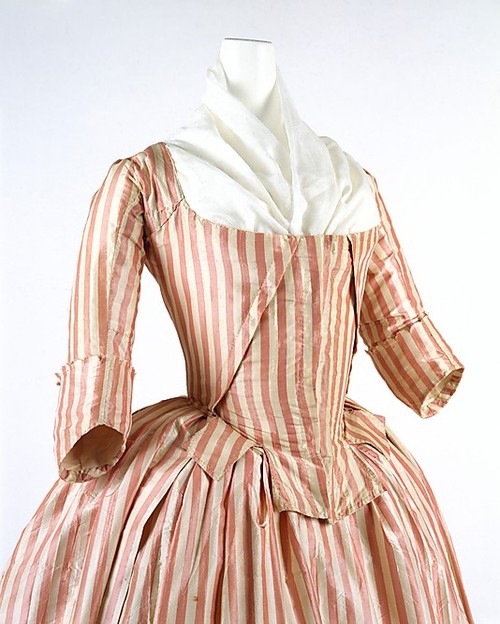
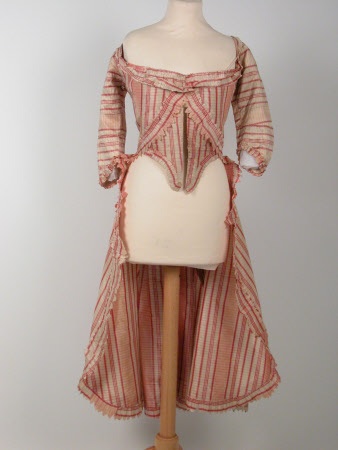
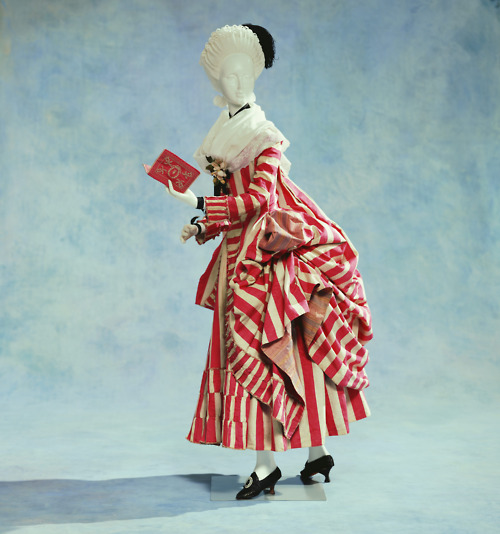
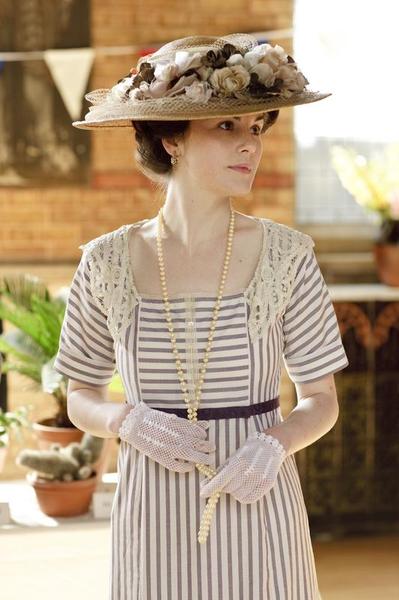
As usual I started with some inspirations pictures.


 (quite a pink-orama)
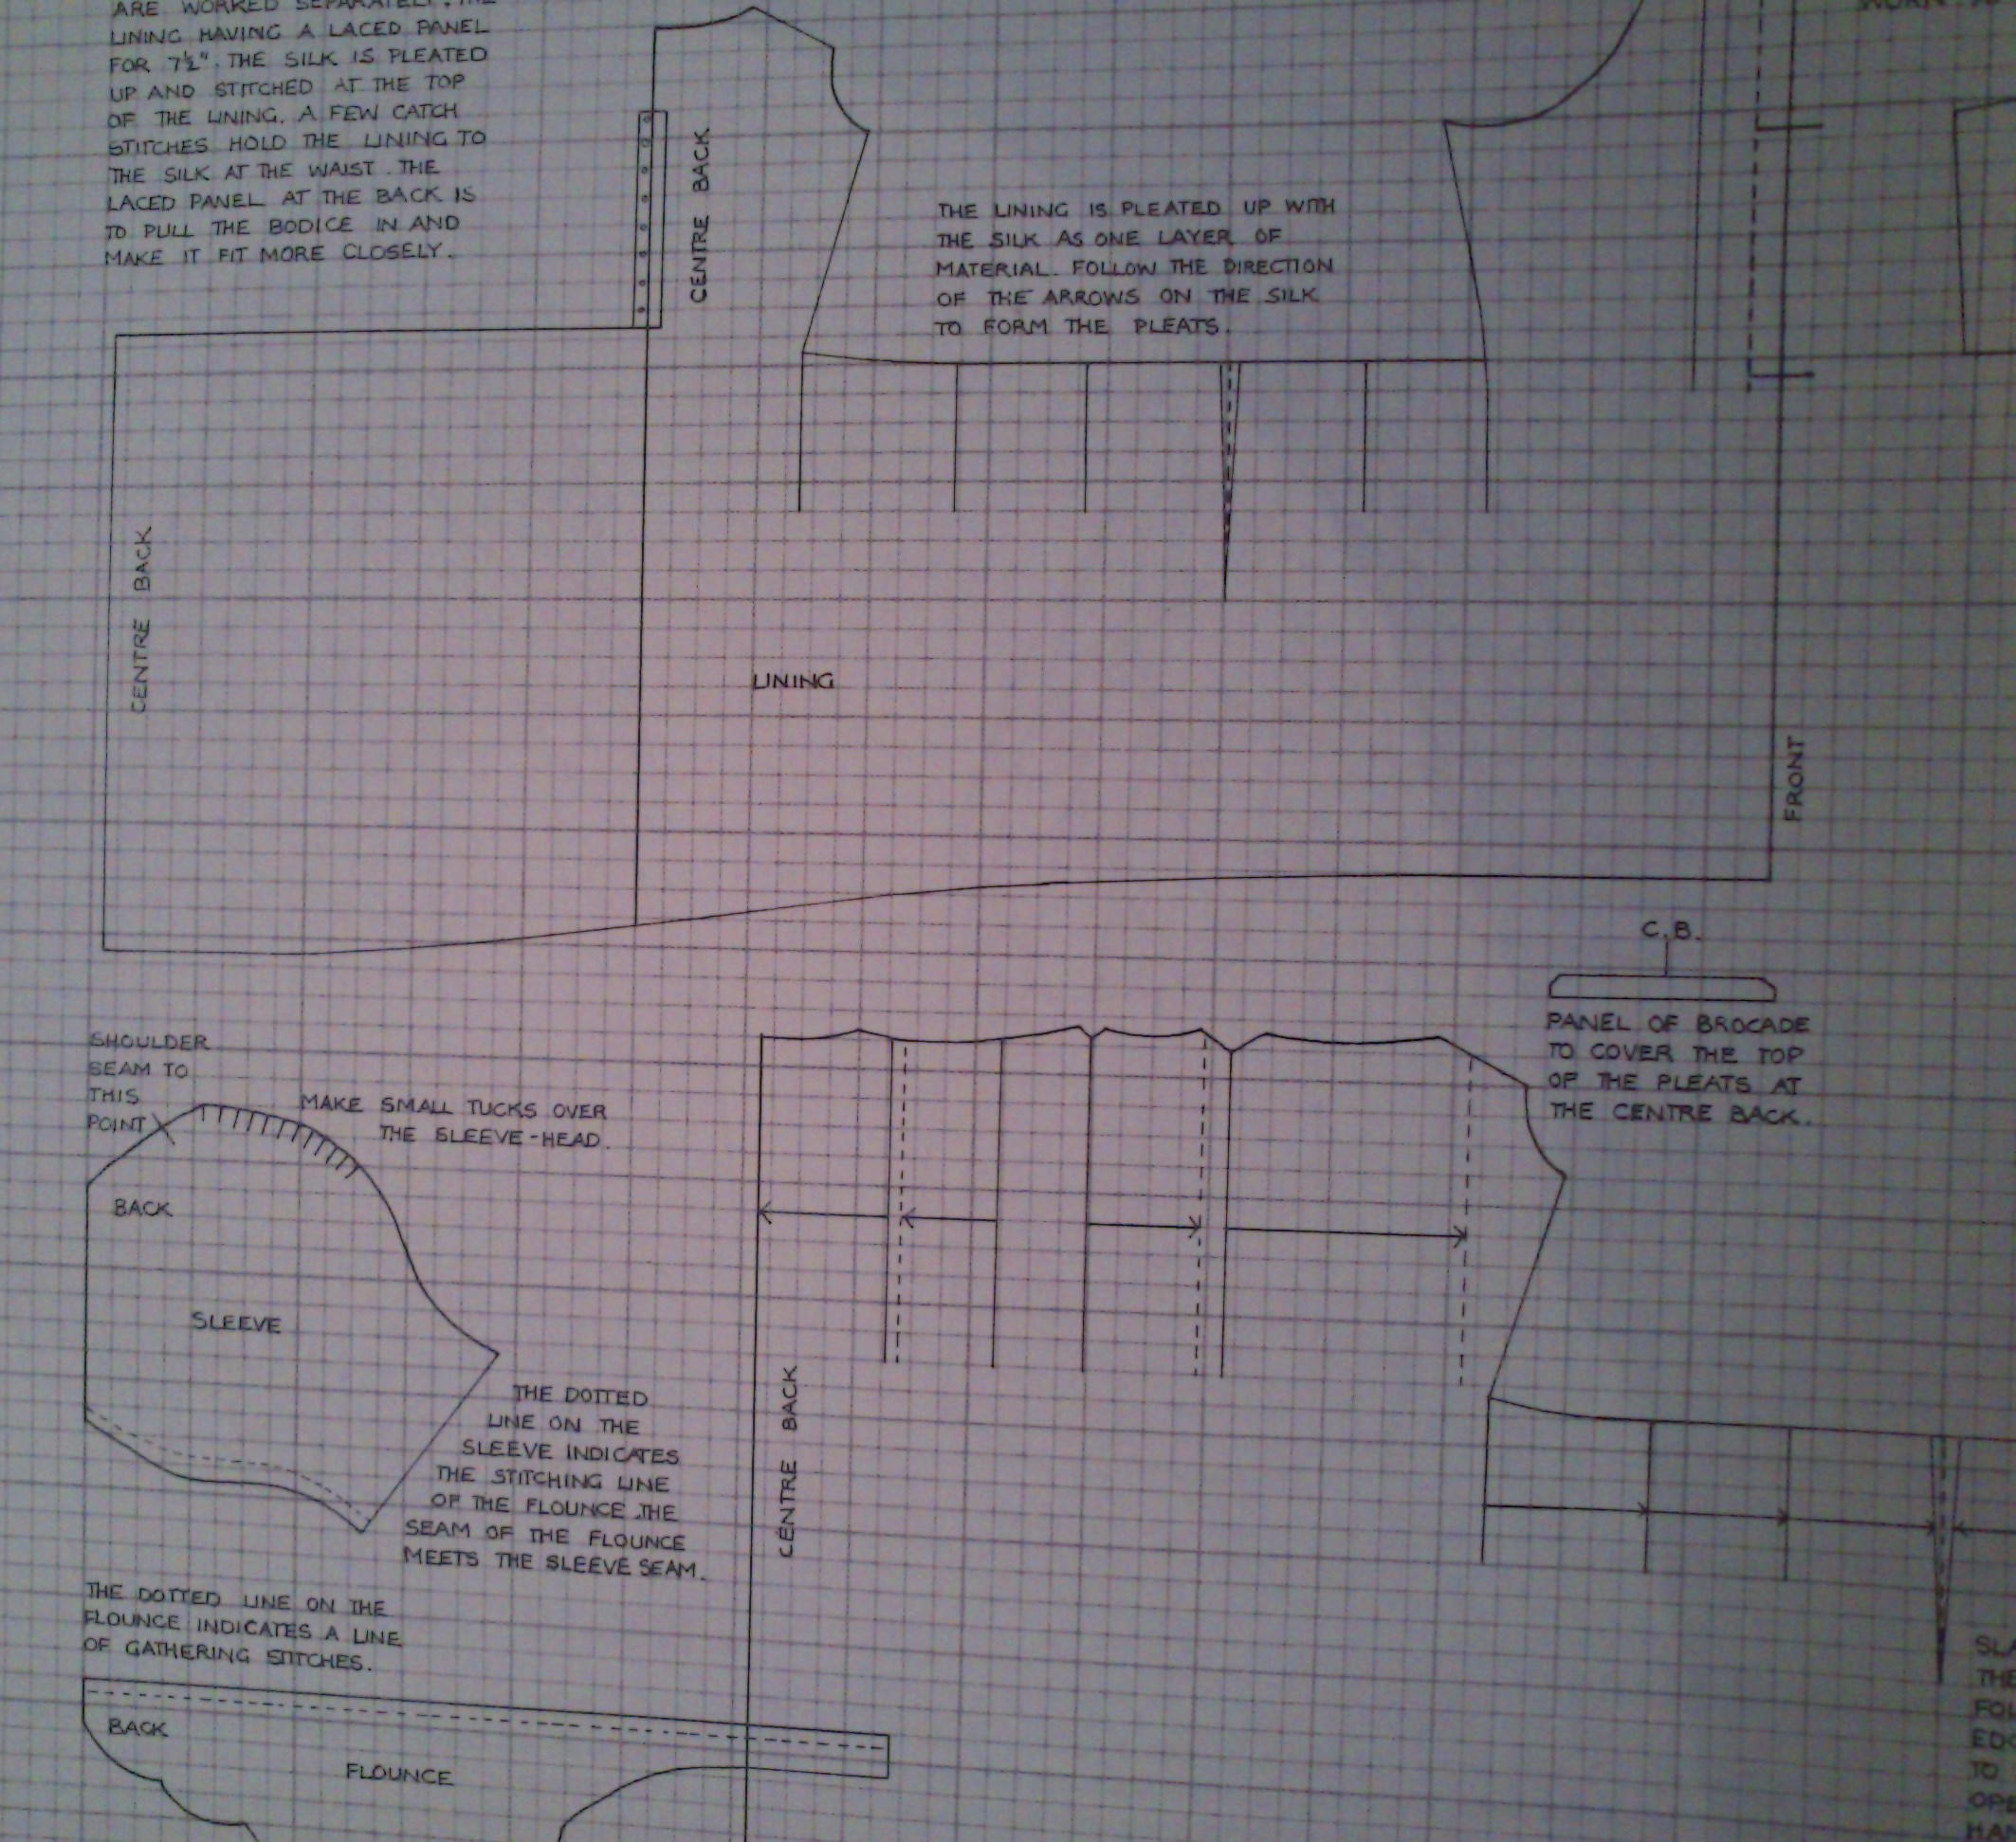
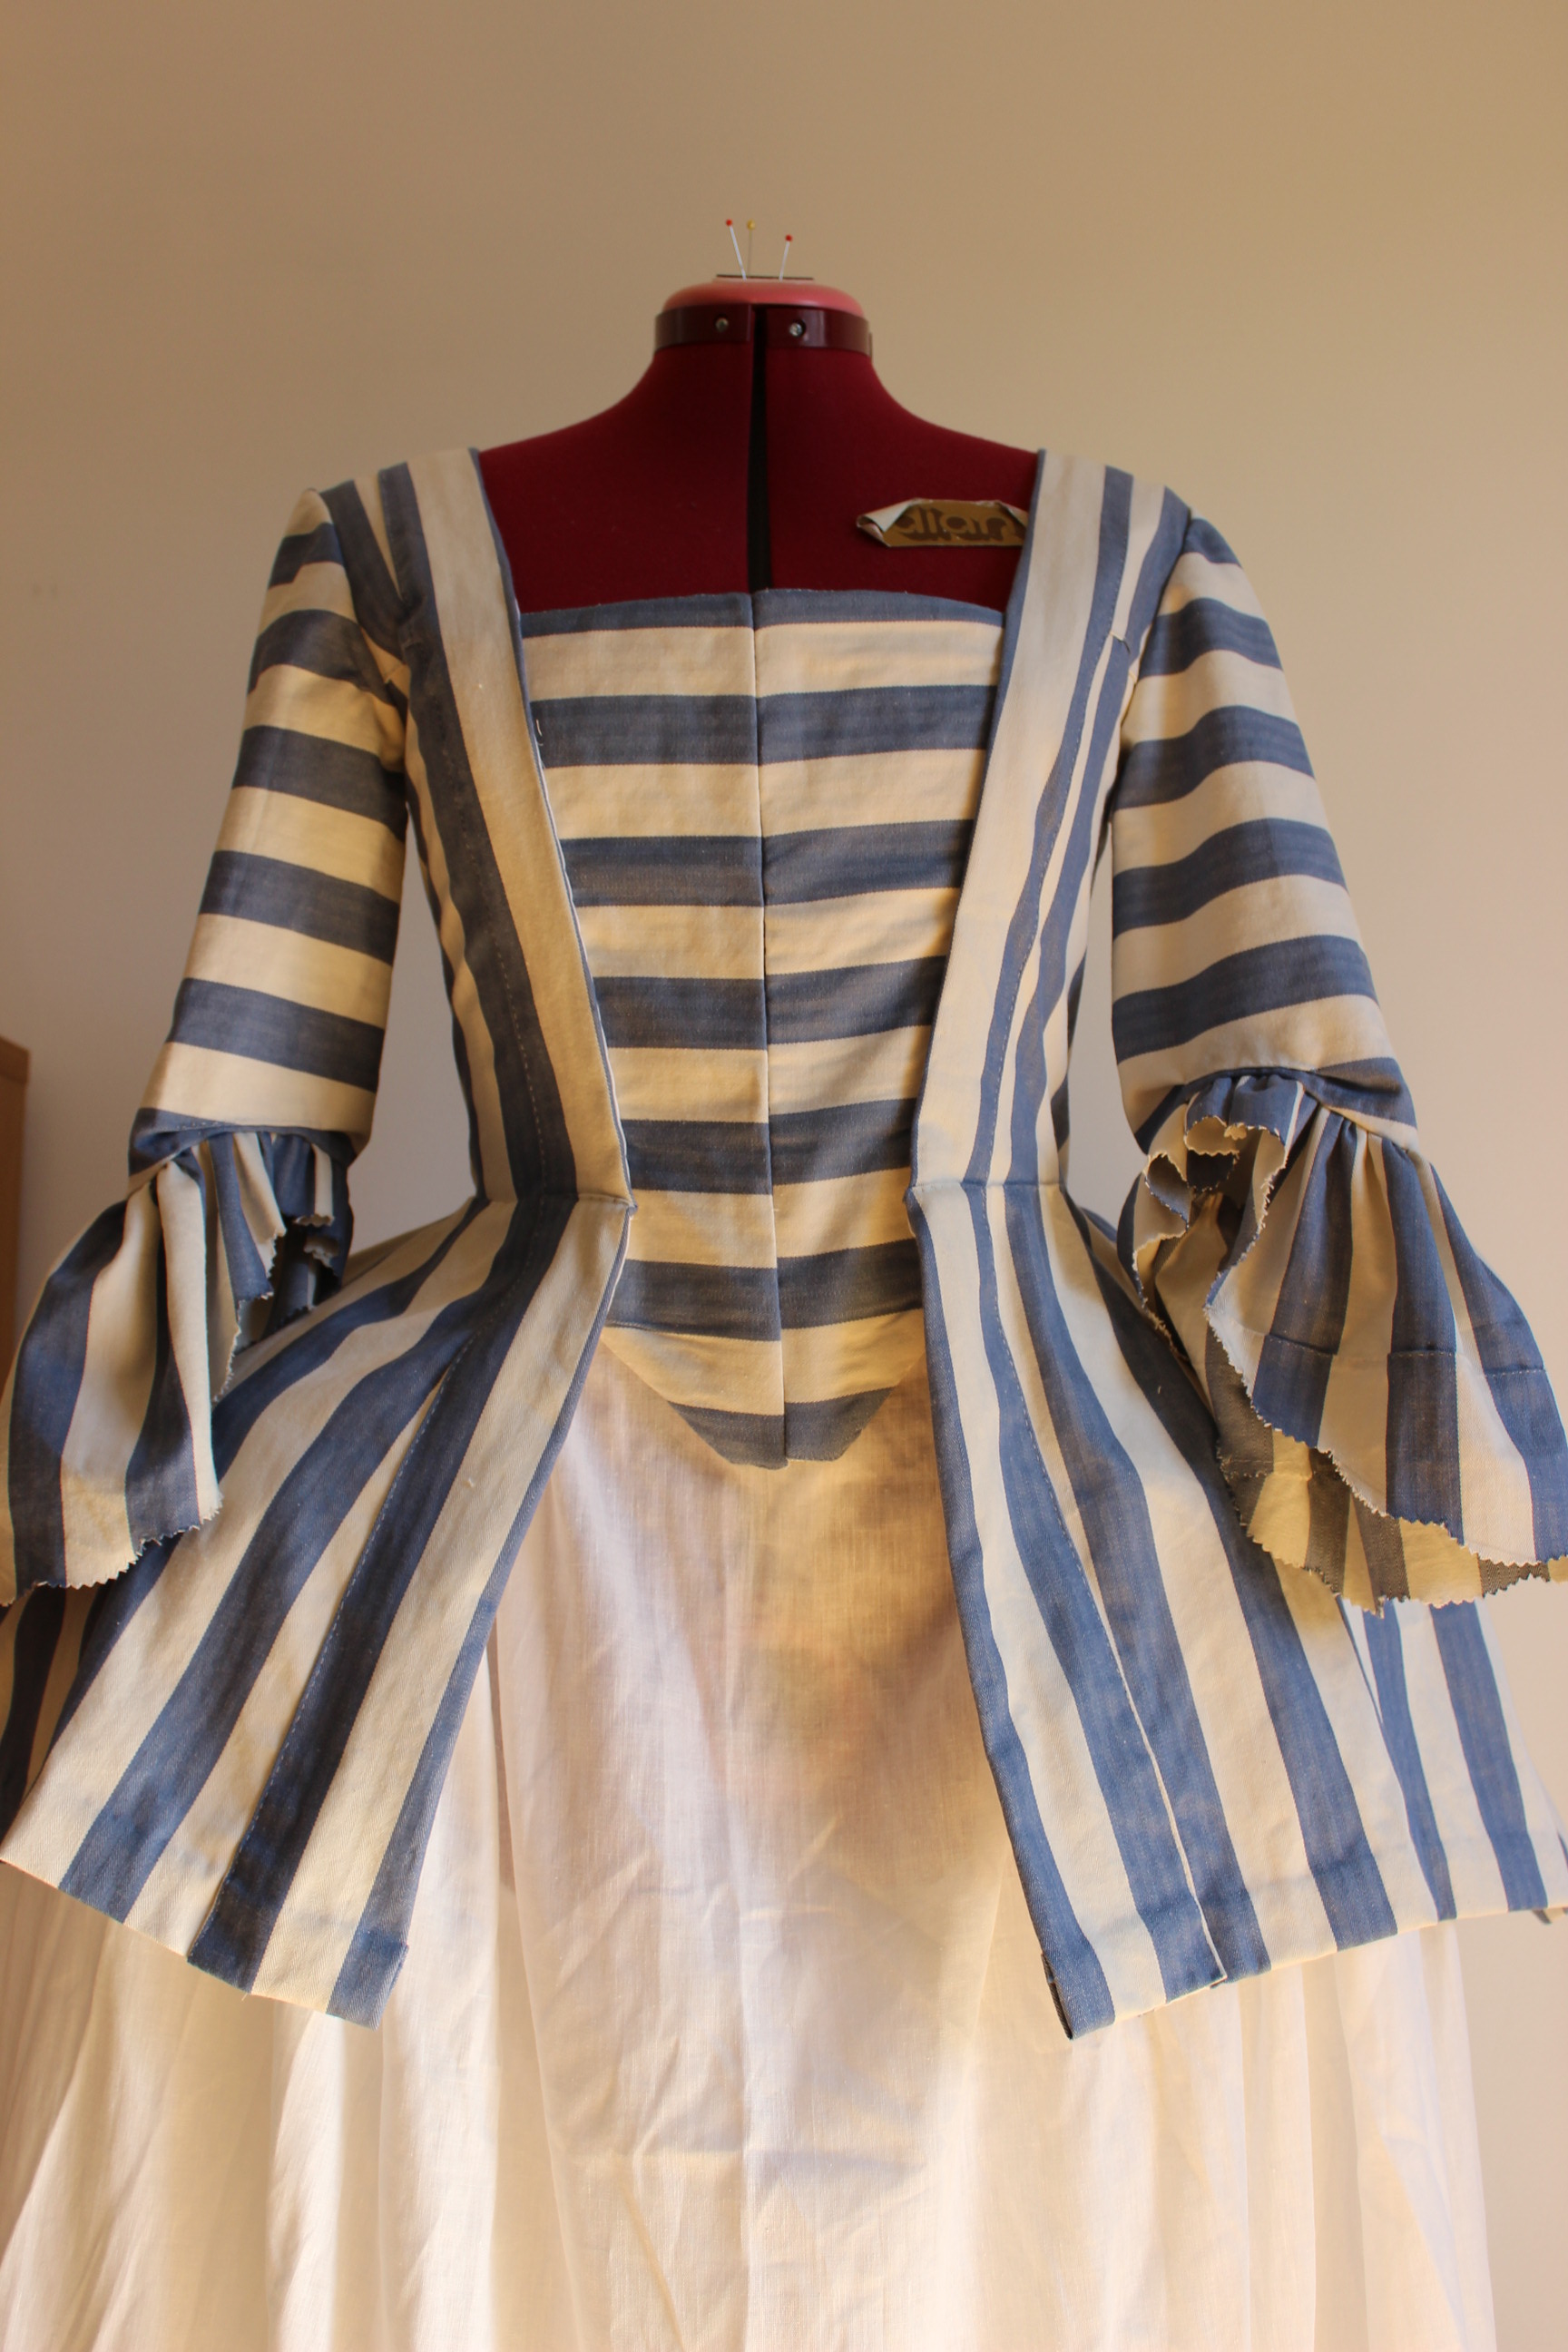
As pattern for the jacket I turned to Janet Arnold, and her beautiful 1750s pet-en-l’aire (jacket).


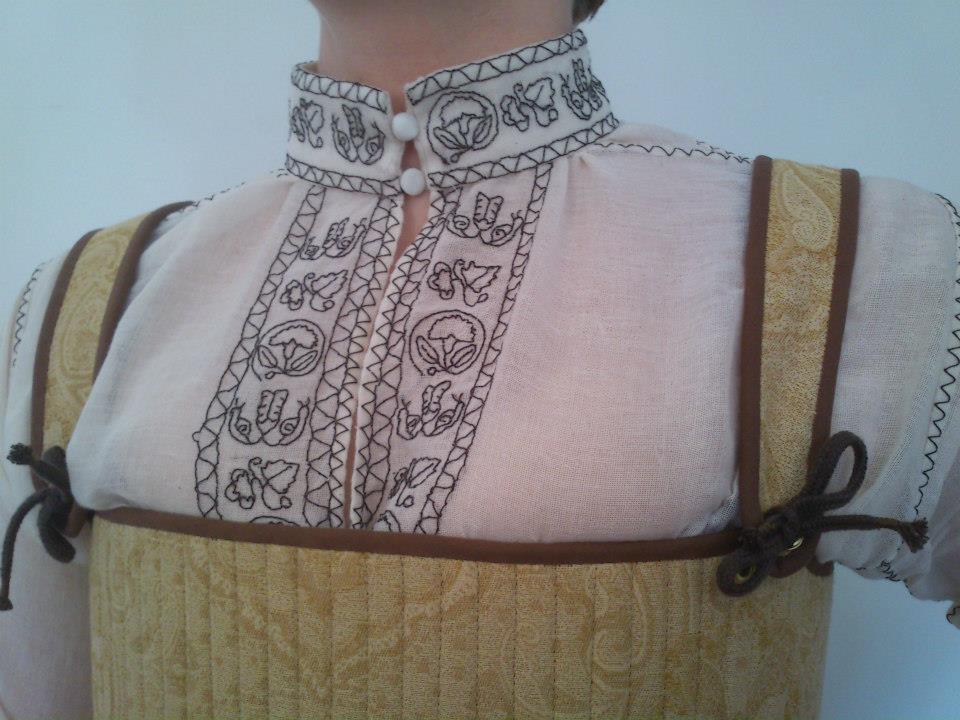
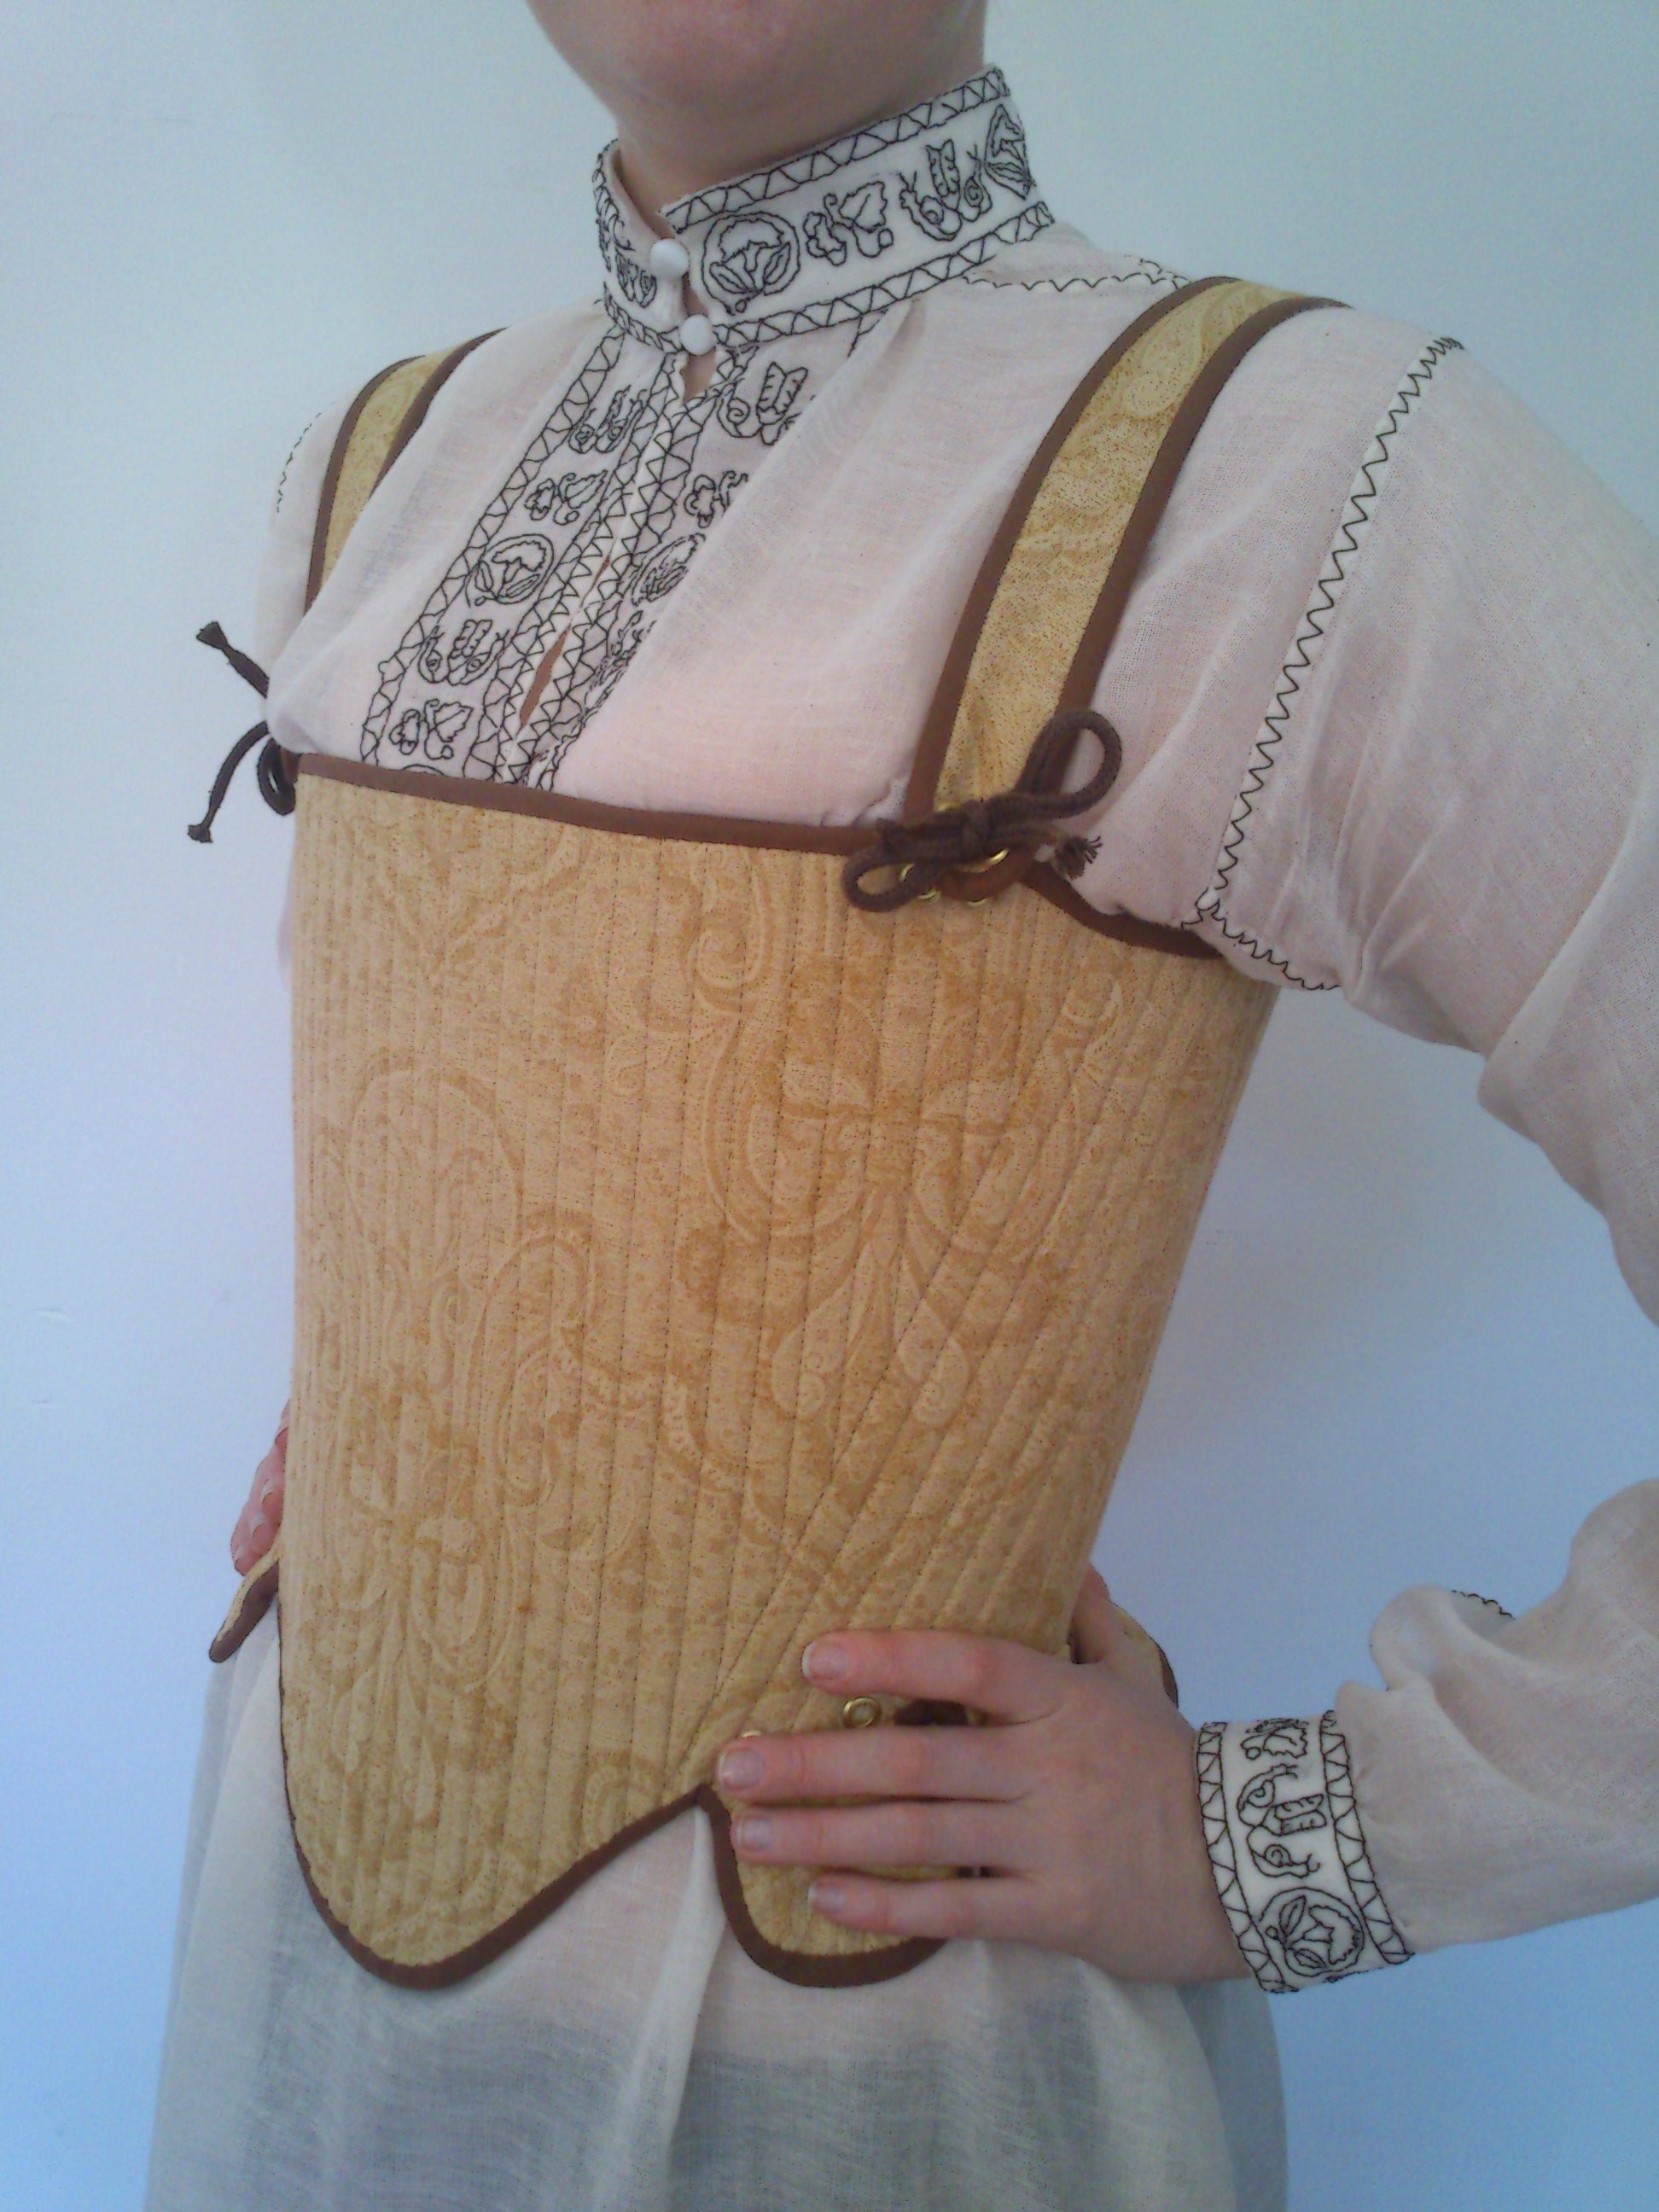
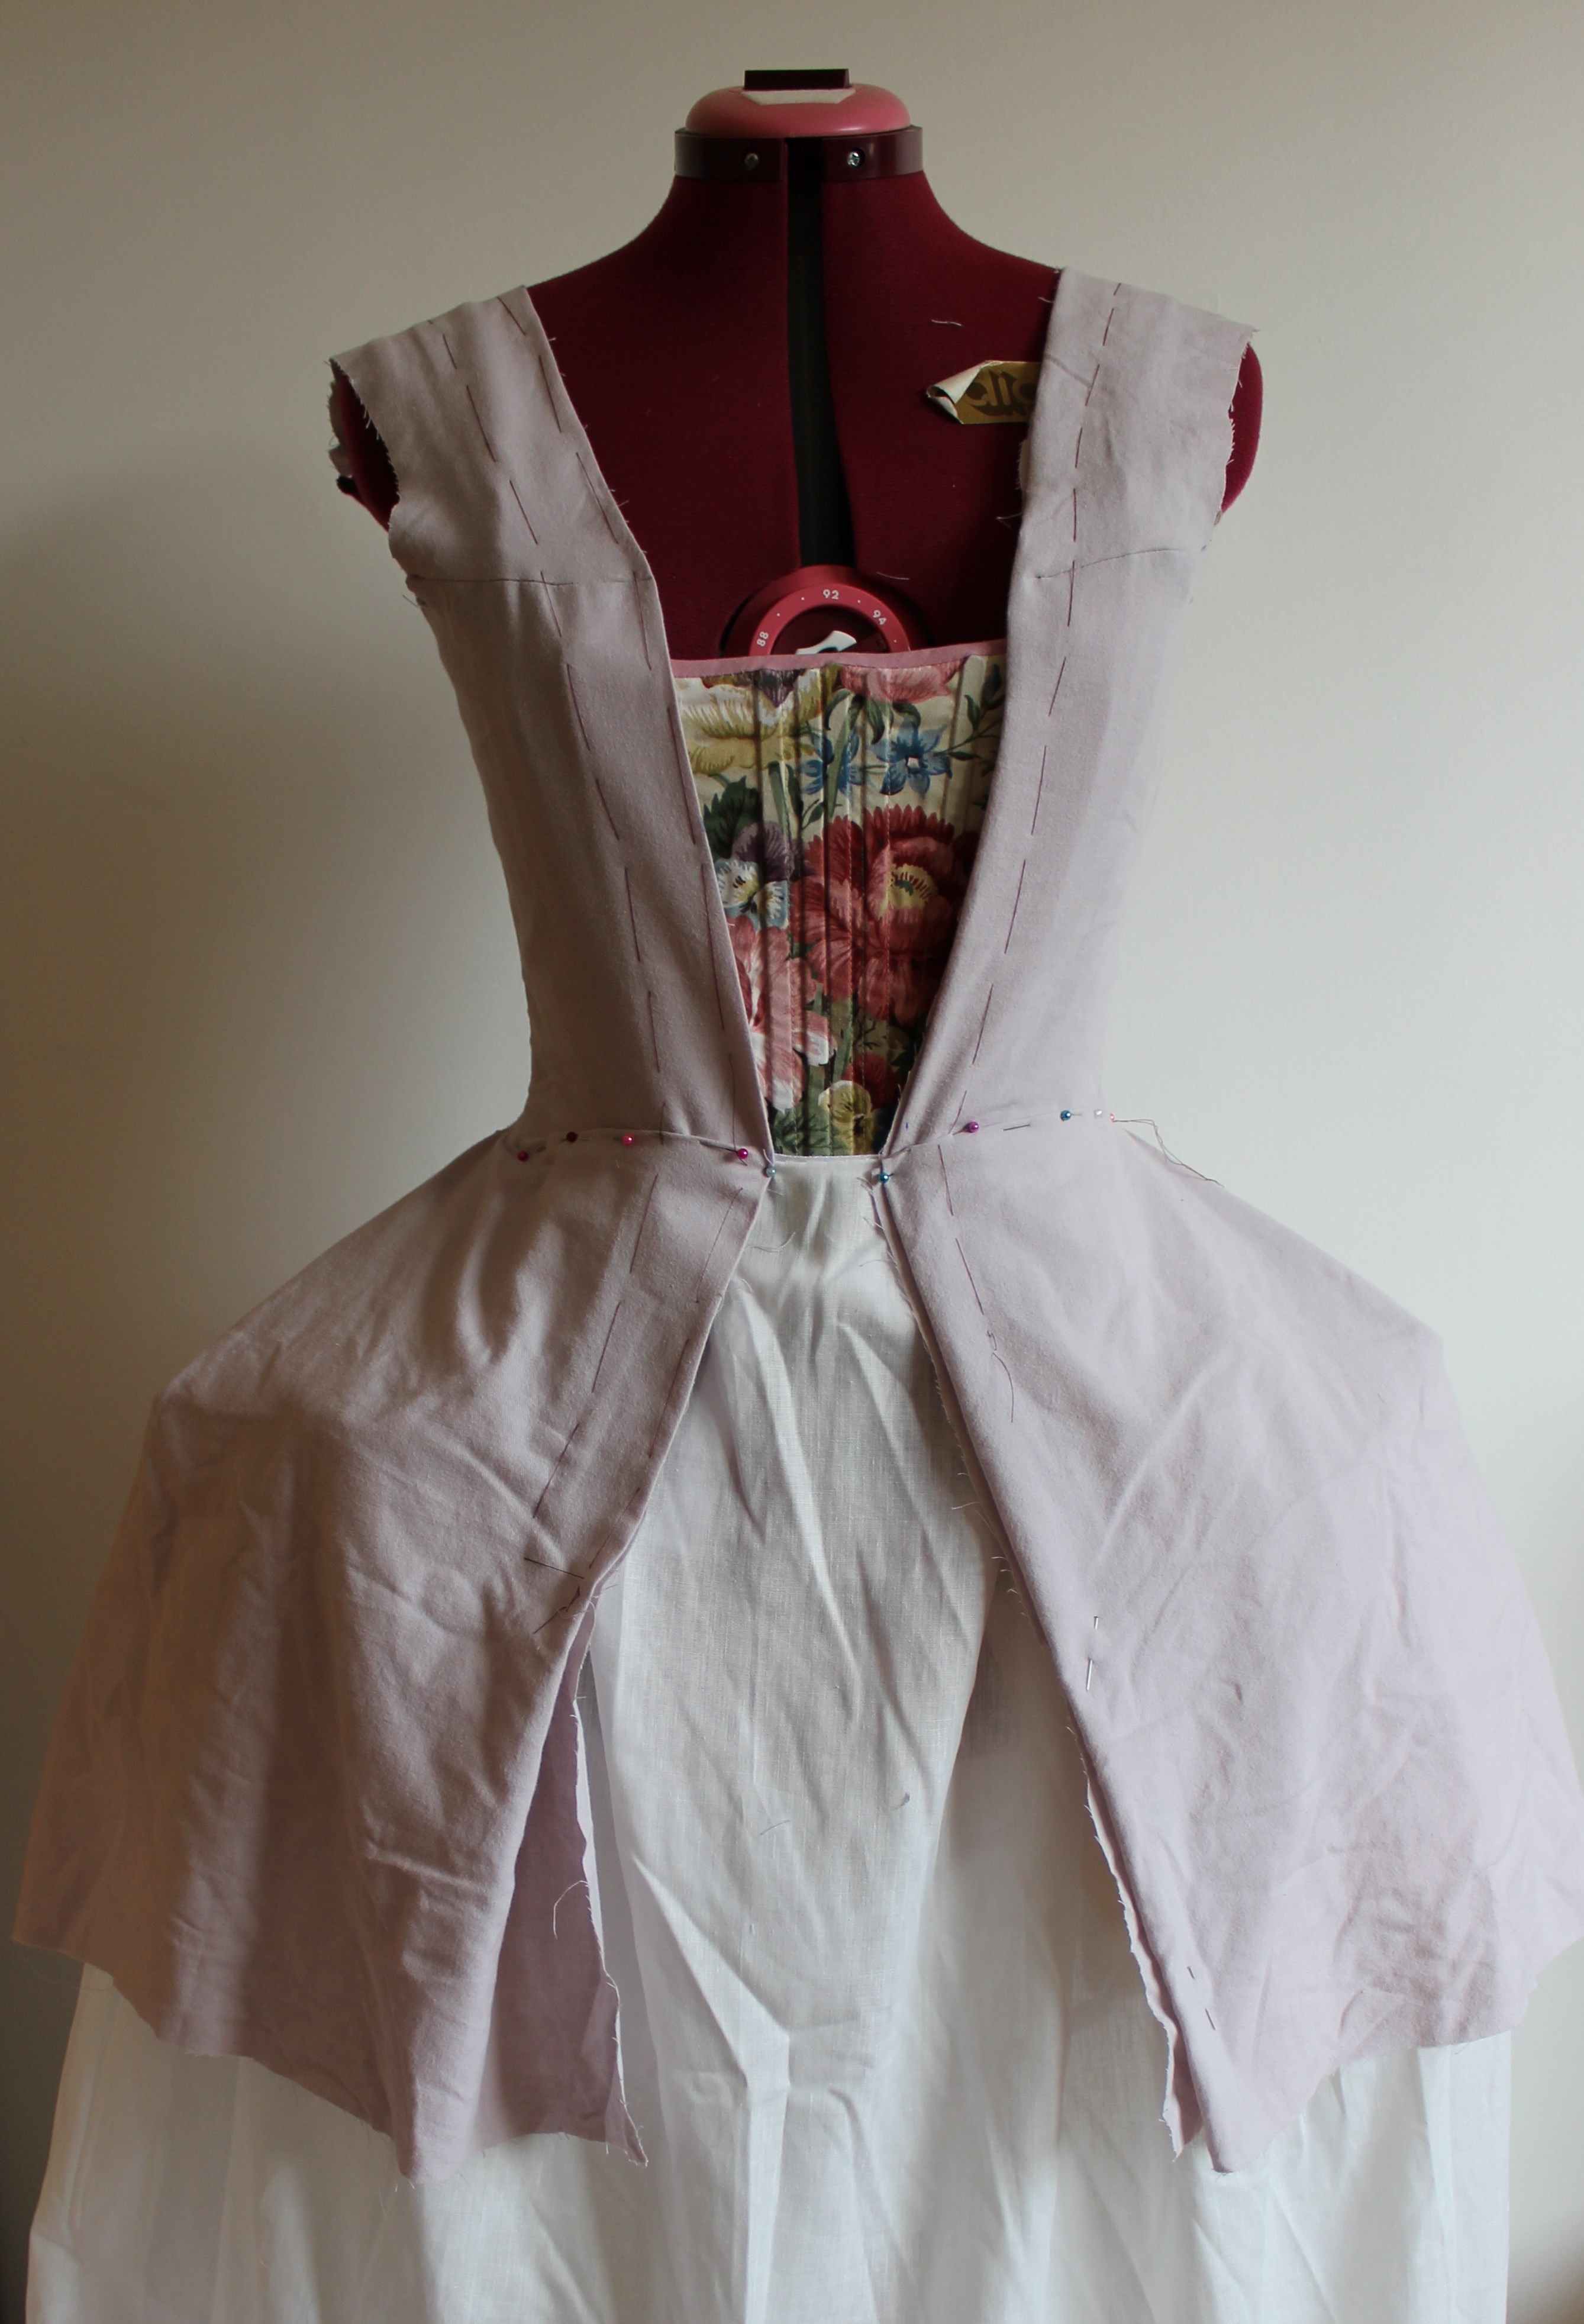
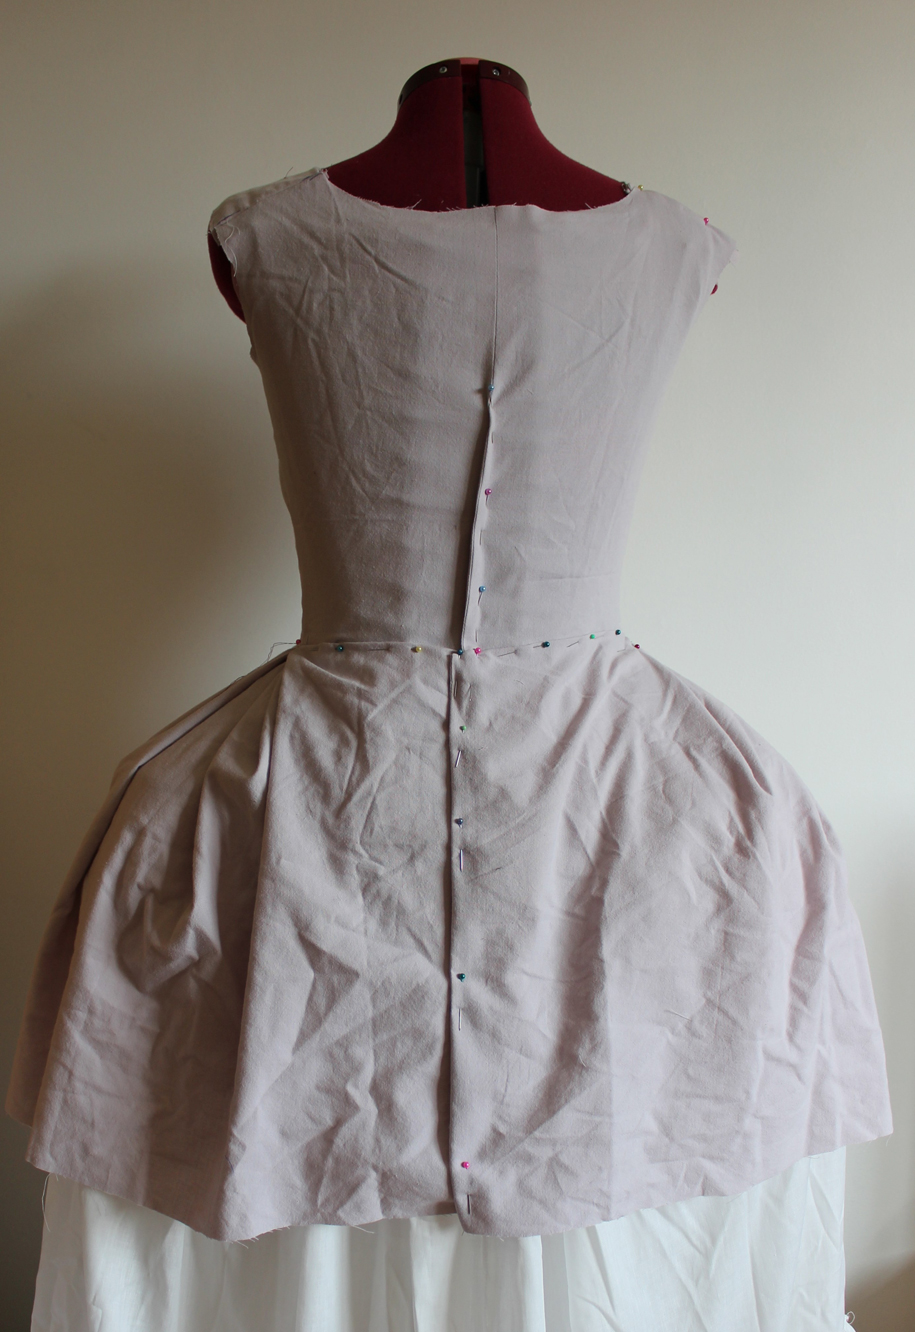
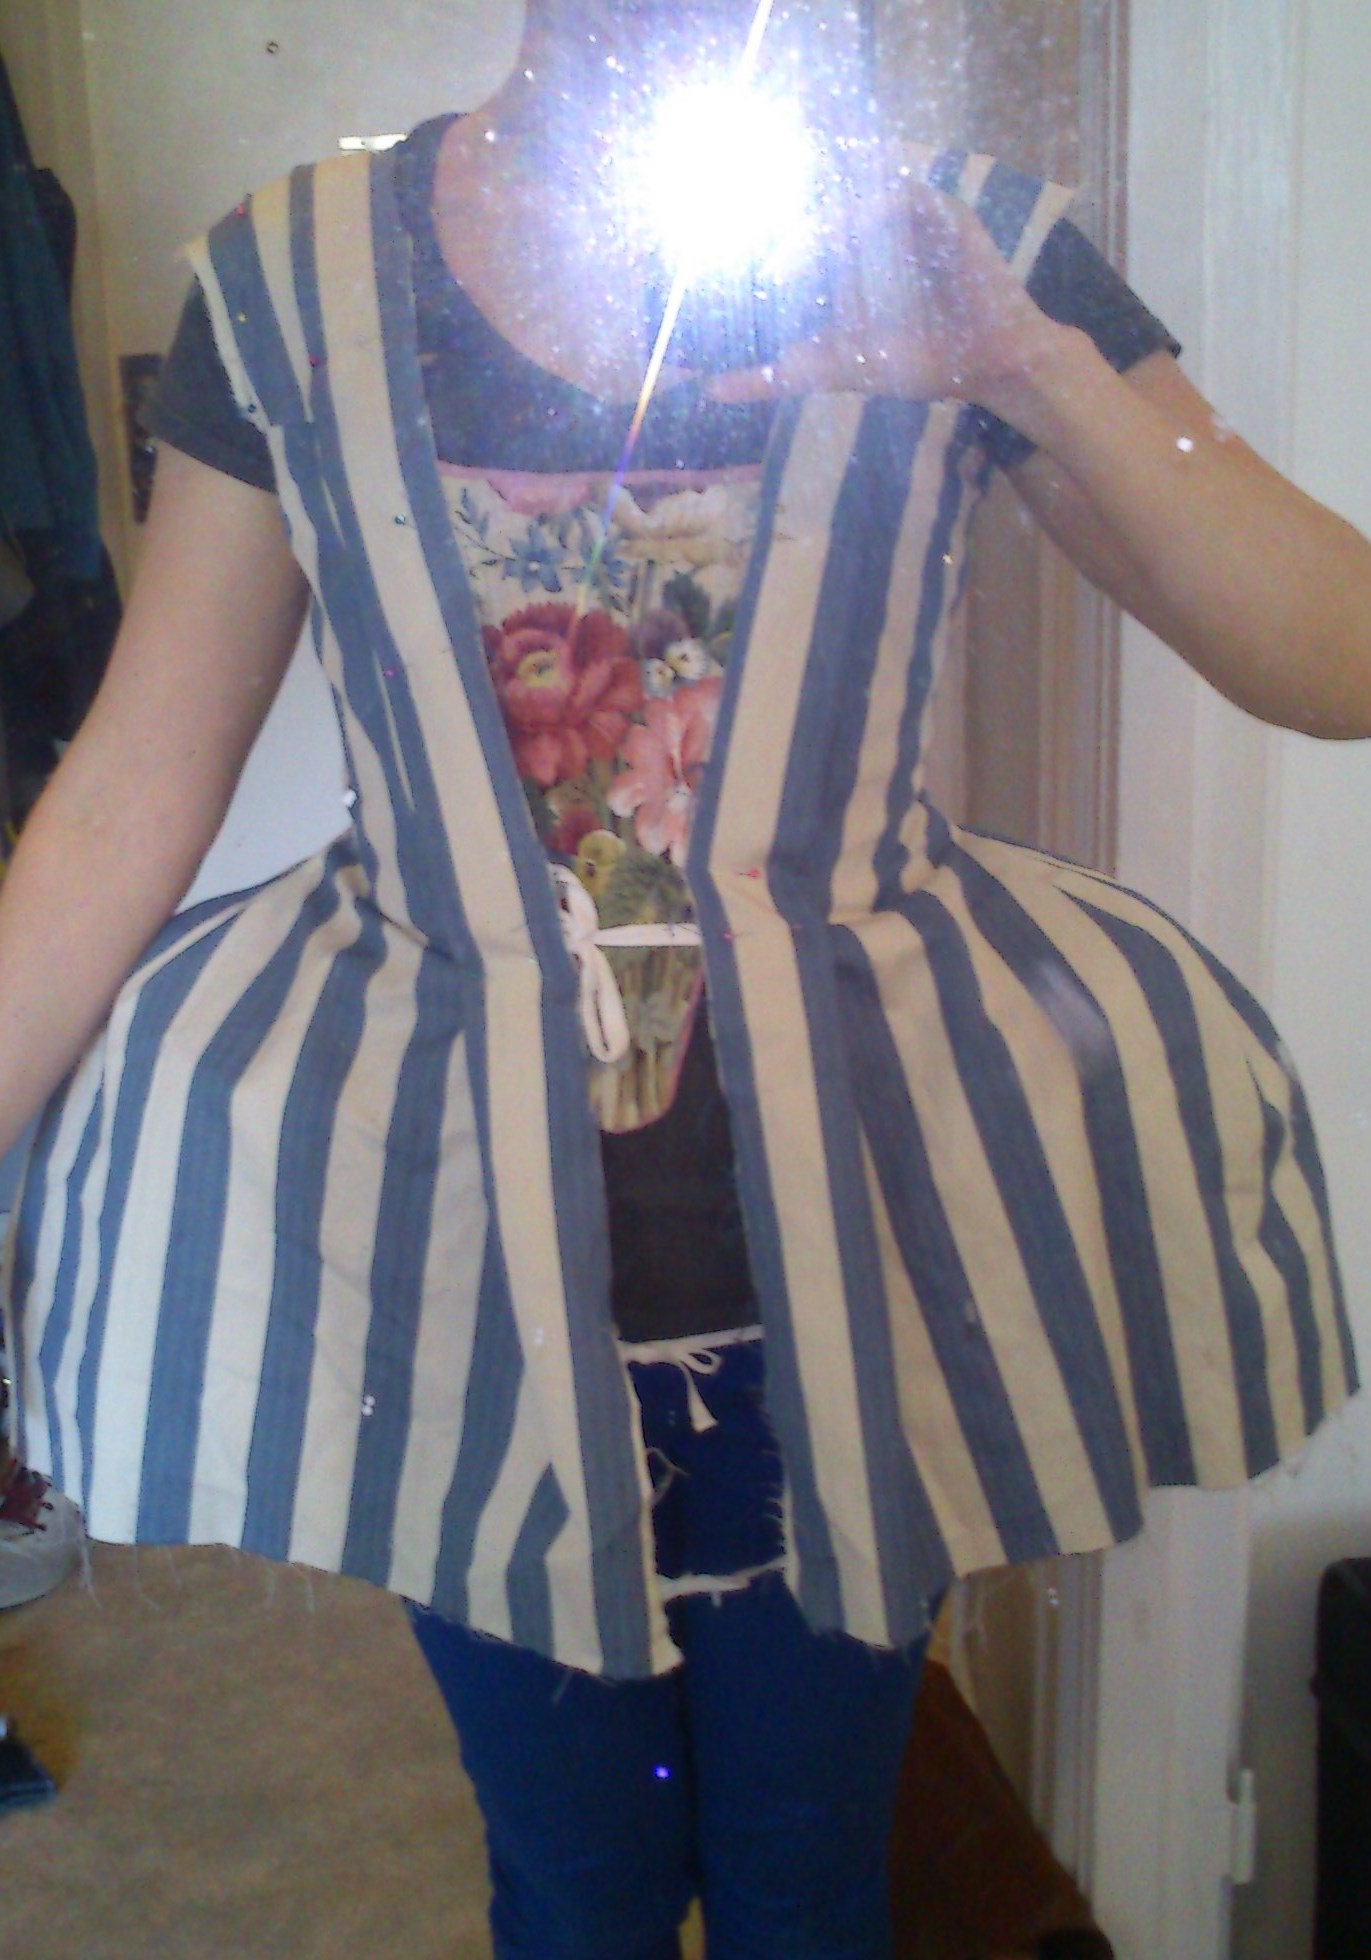
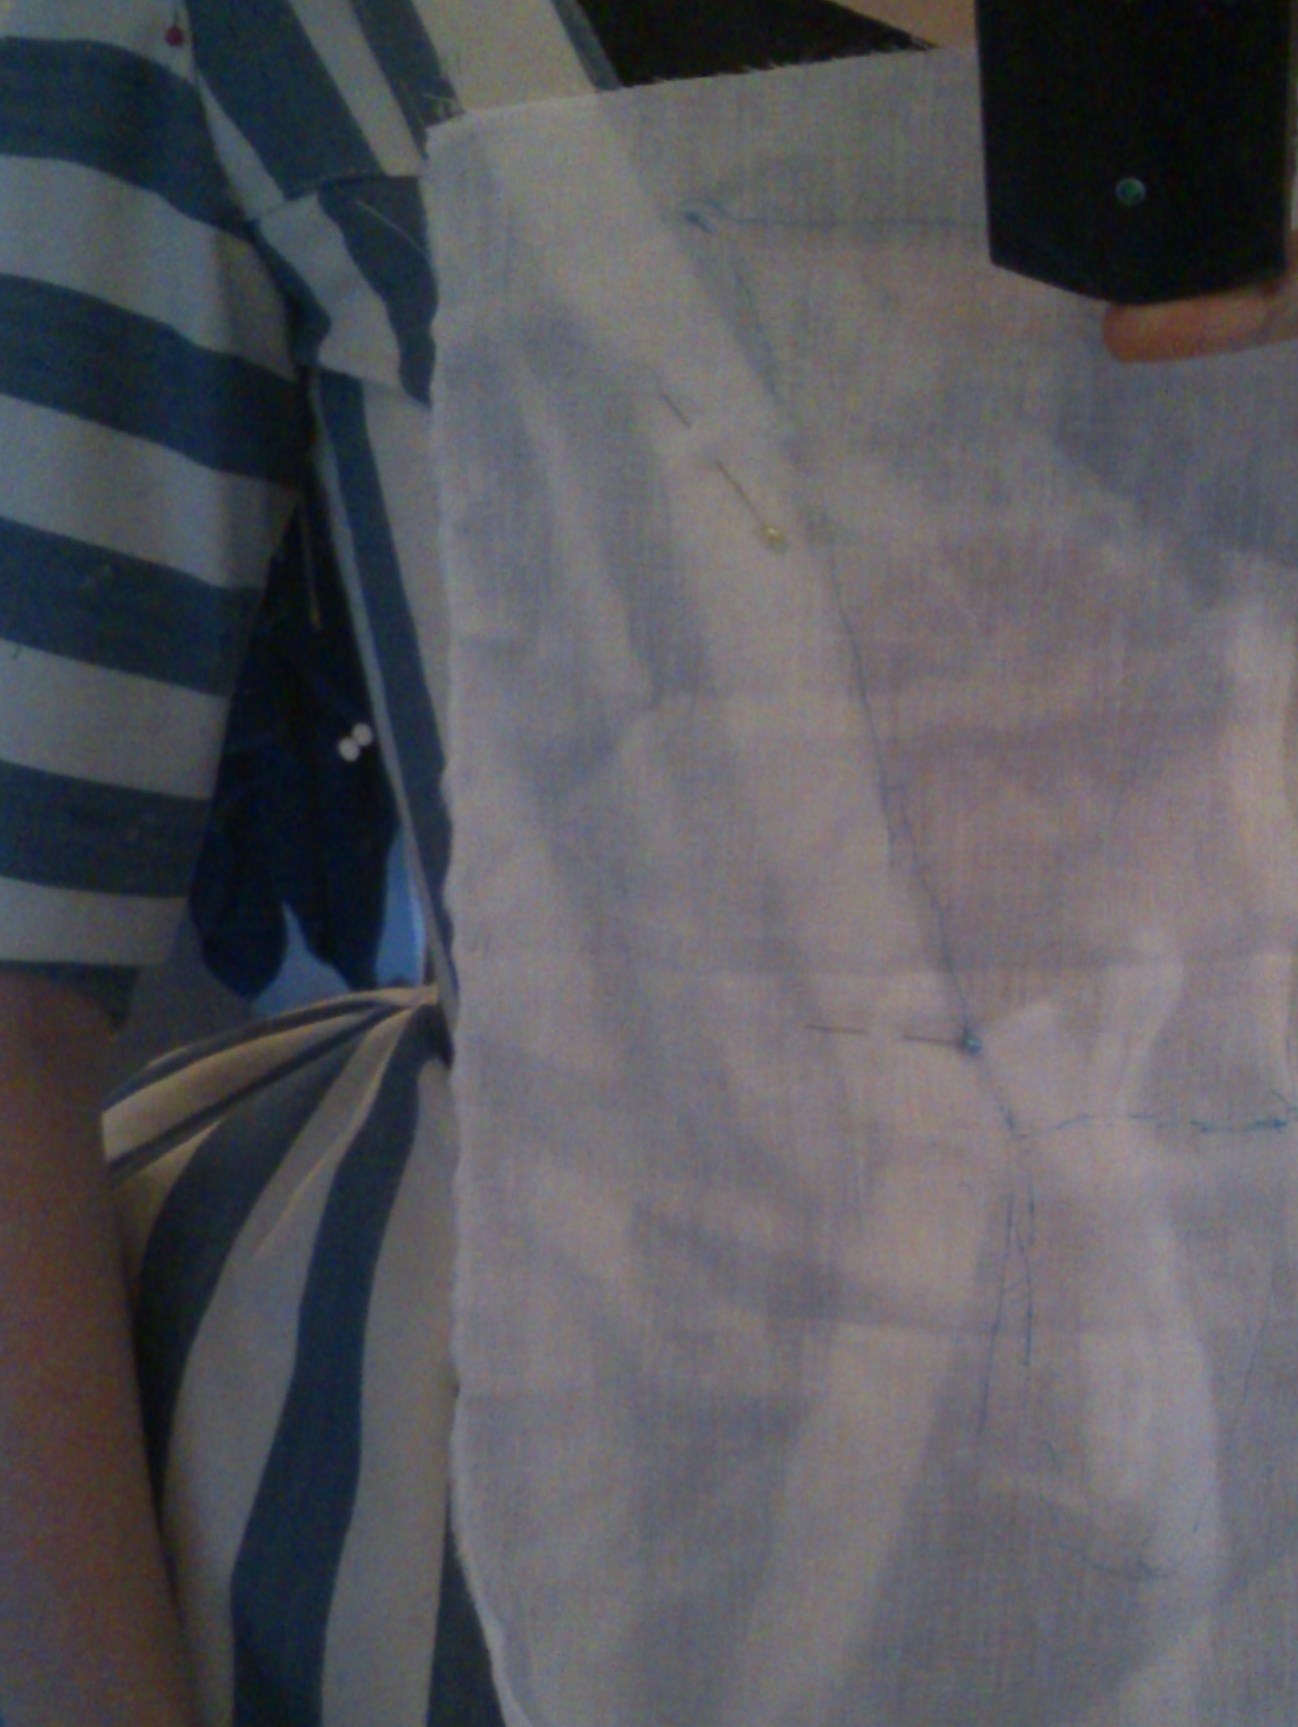
So I put the corset and pocket-hoops on my dressform and started to drape a pattern.


Then I removed it, sewed and tried it on as a mock-up.


After a few alterations it was time to cut the fabric.
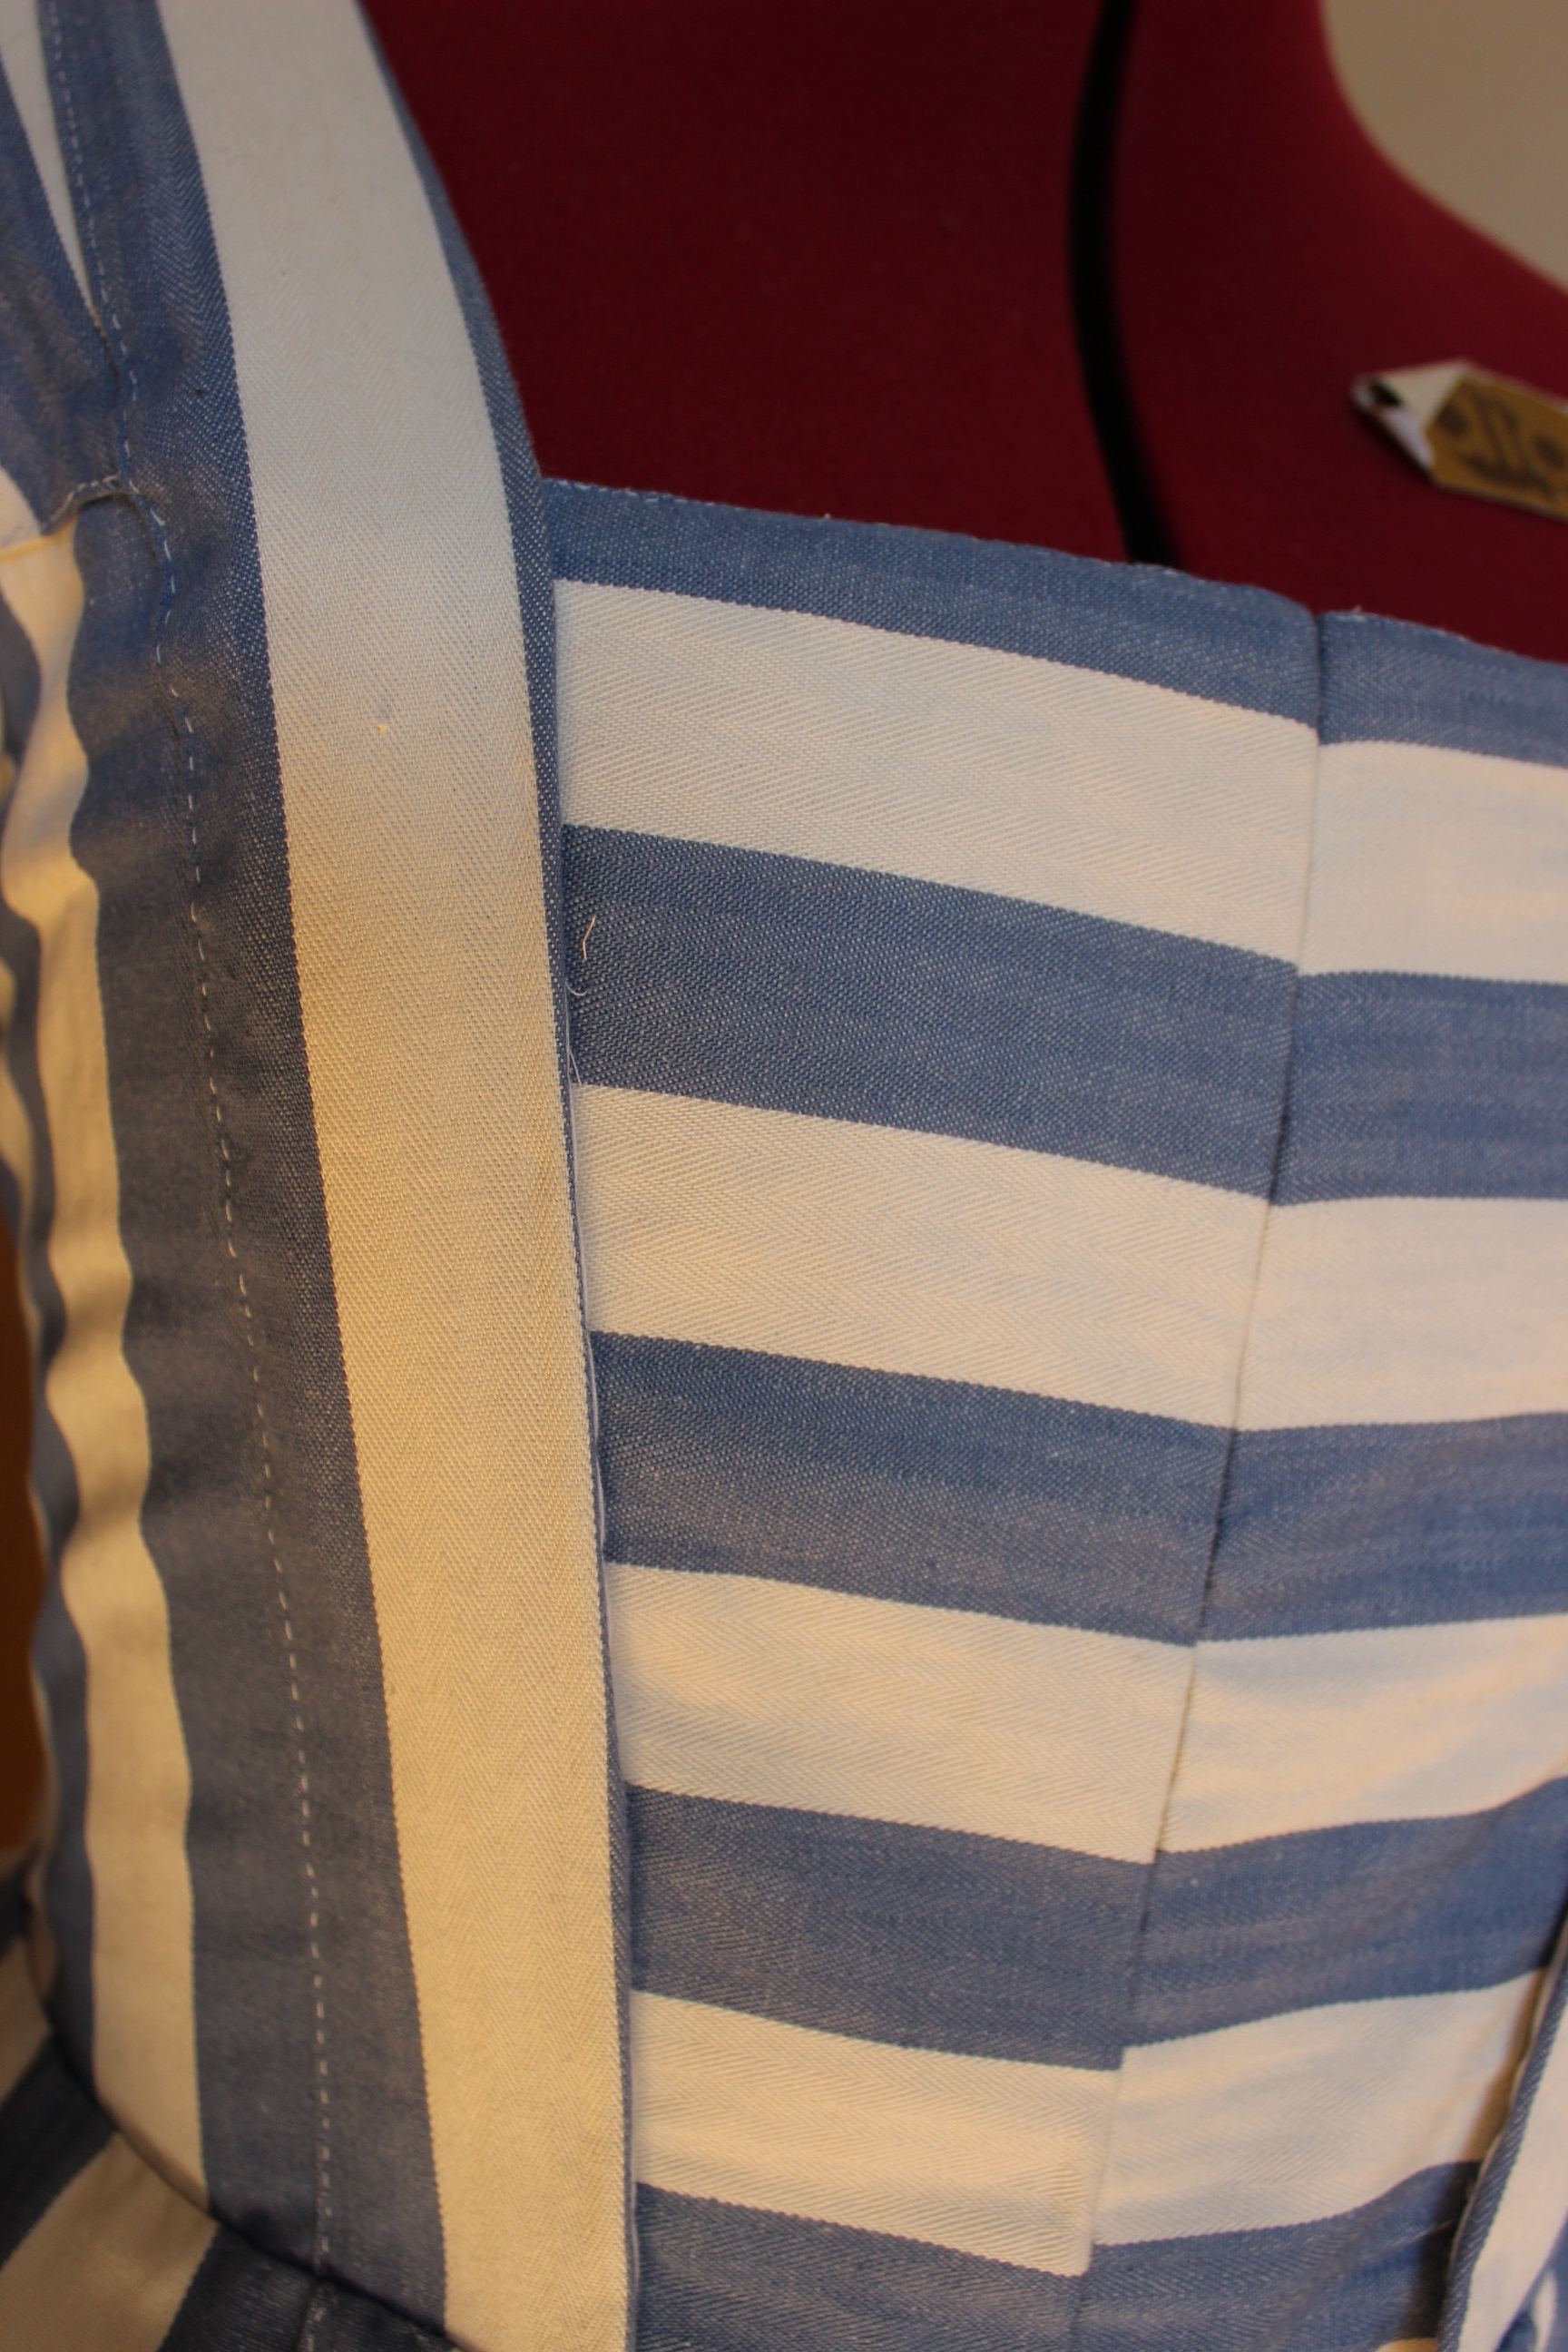
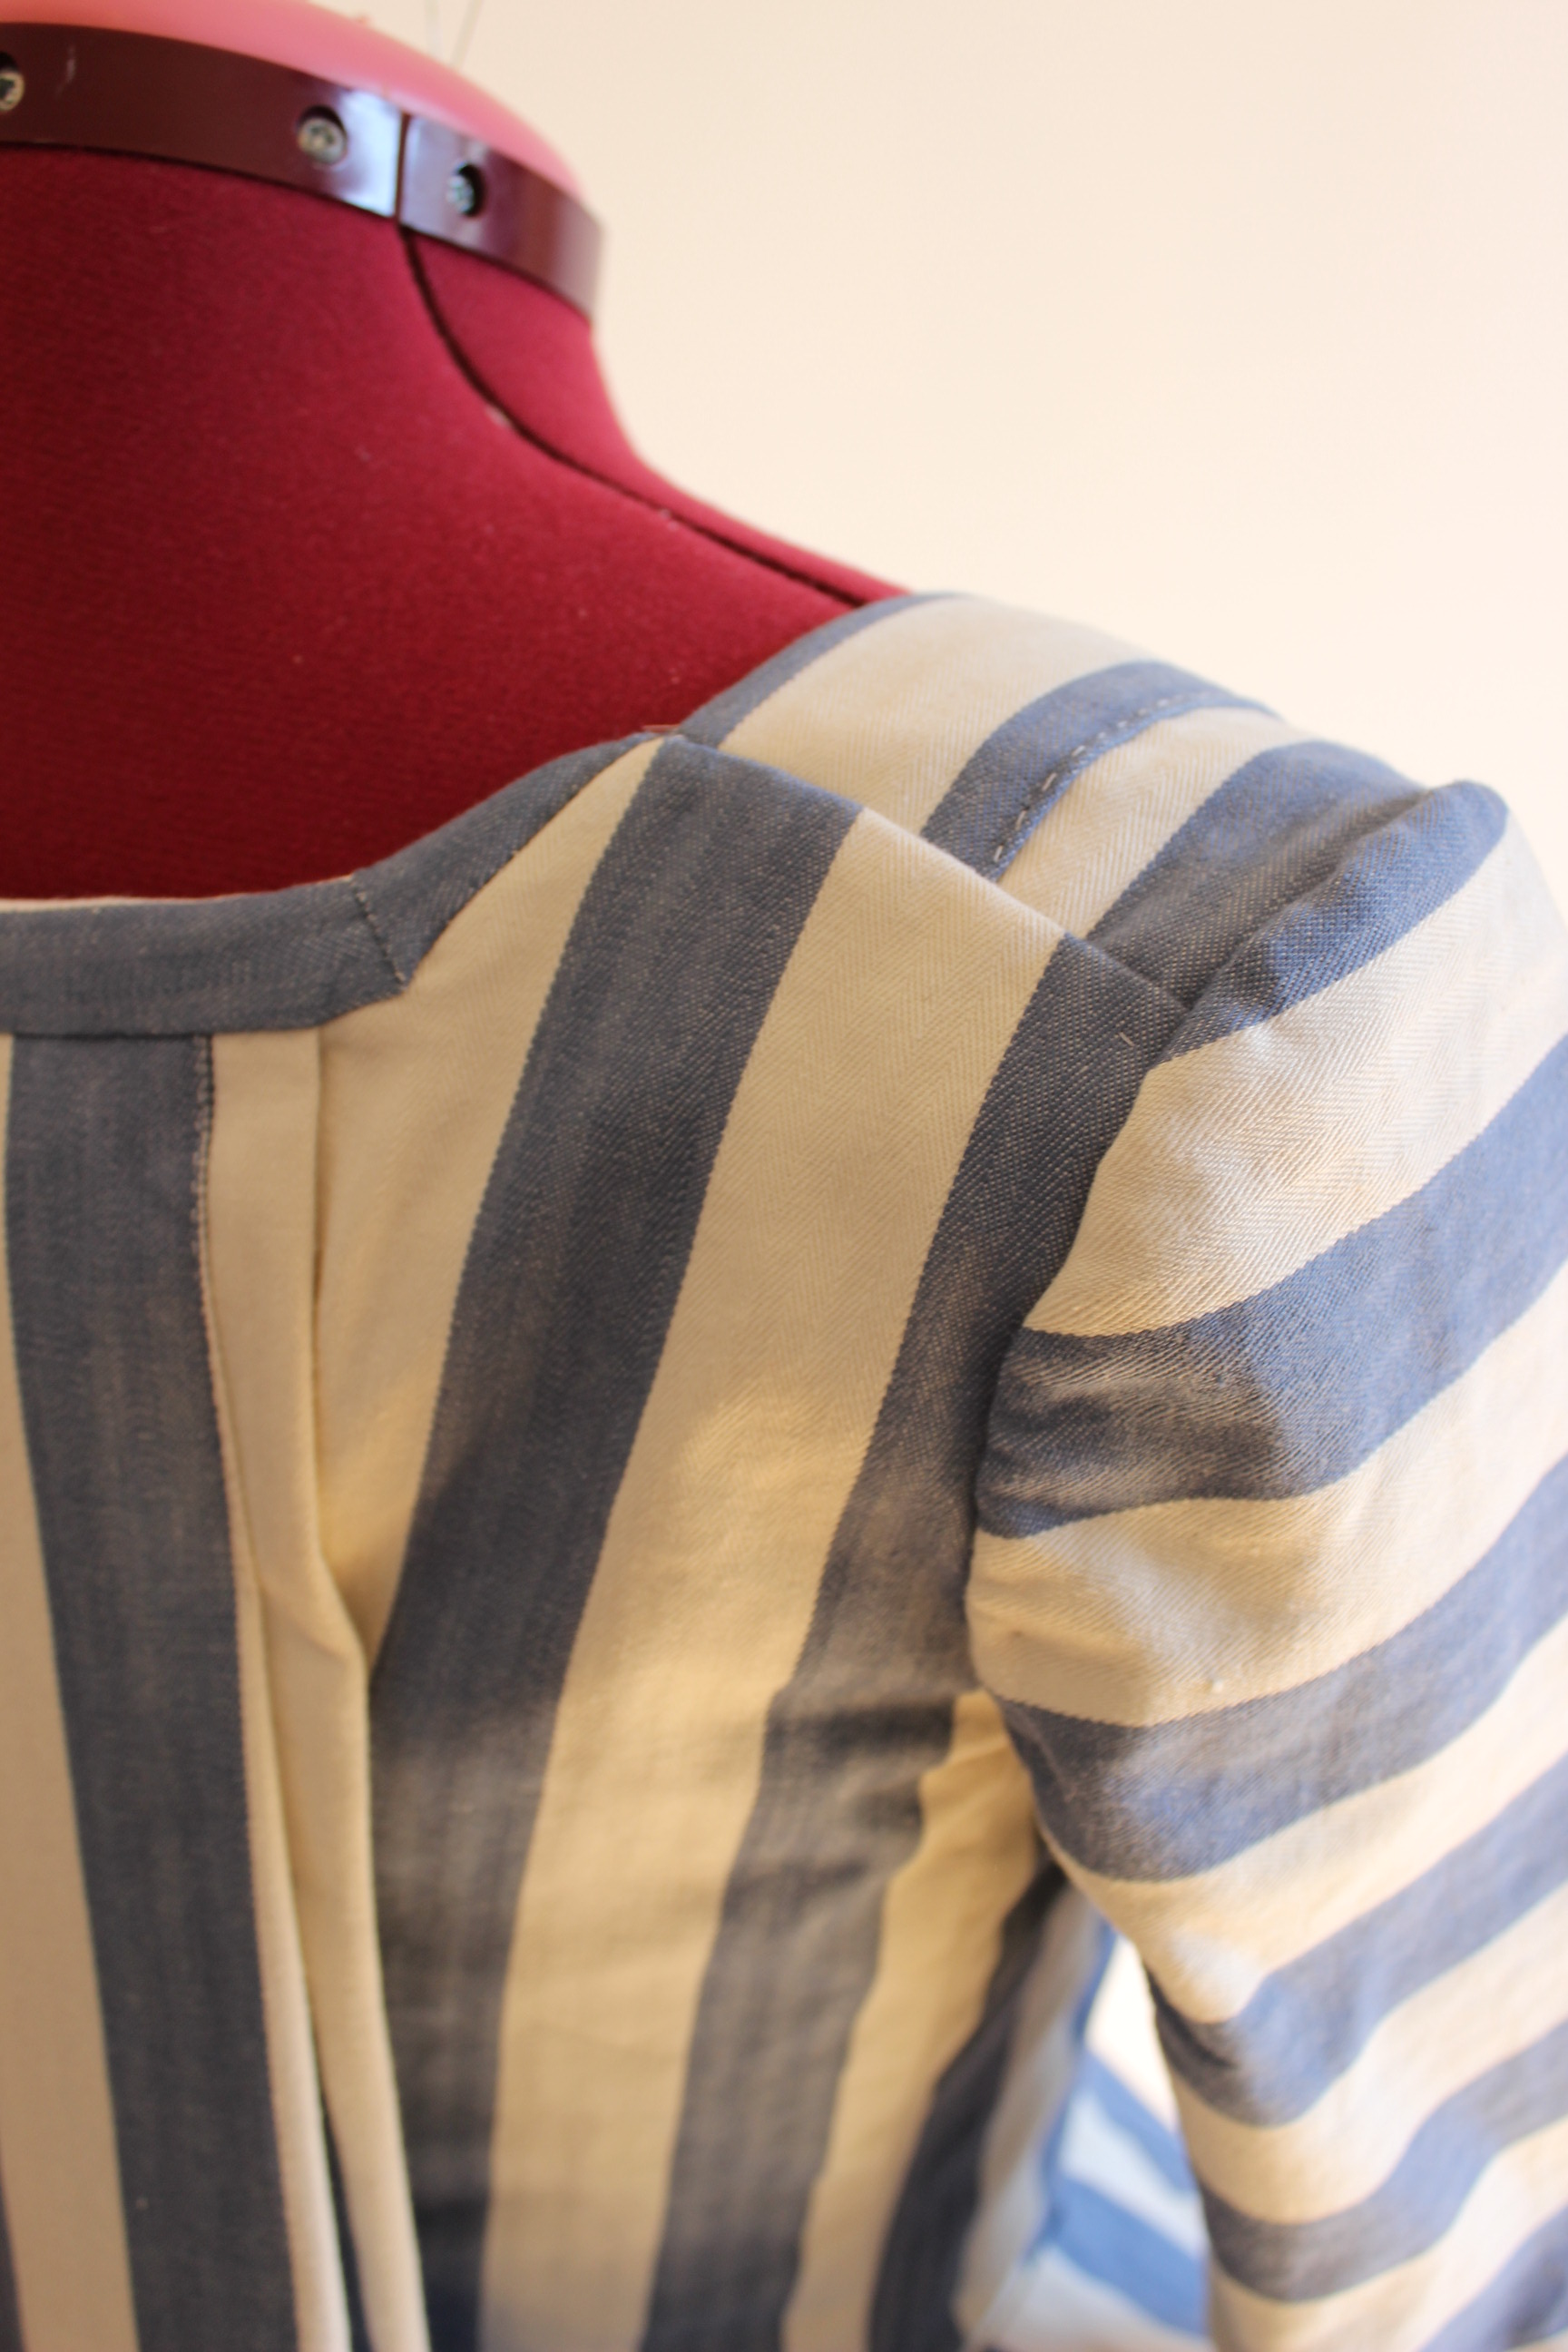
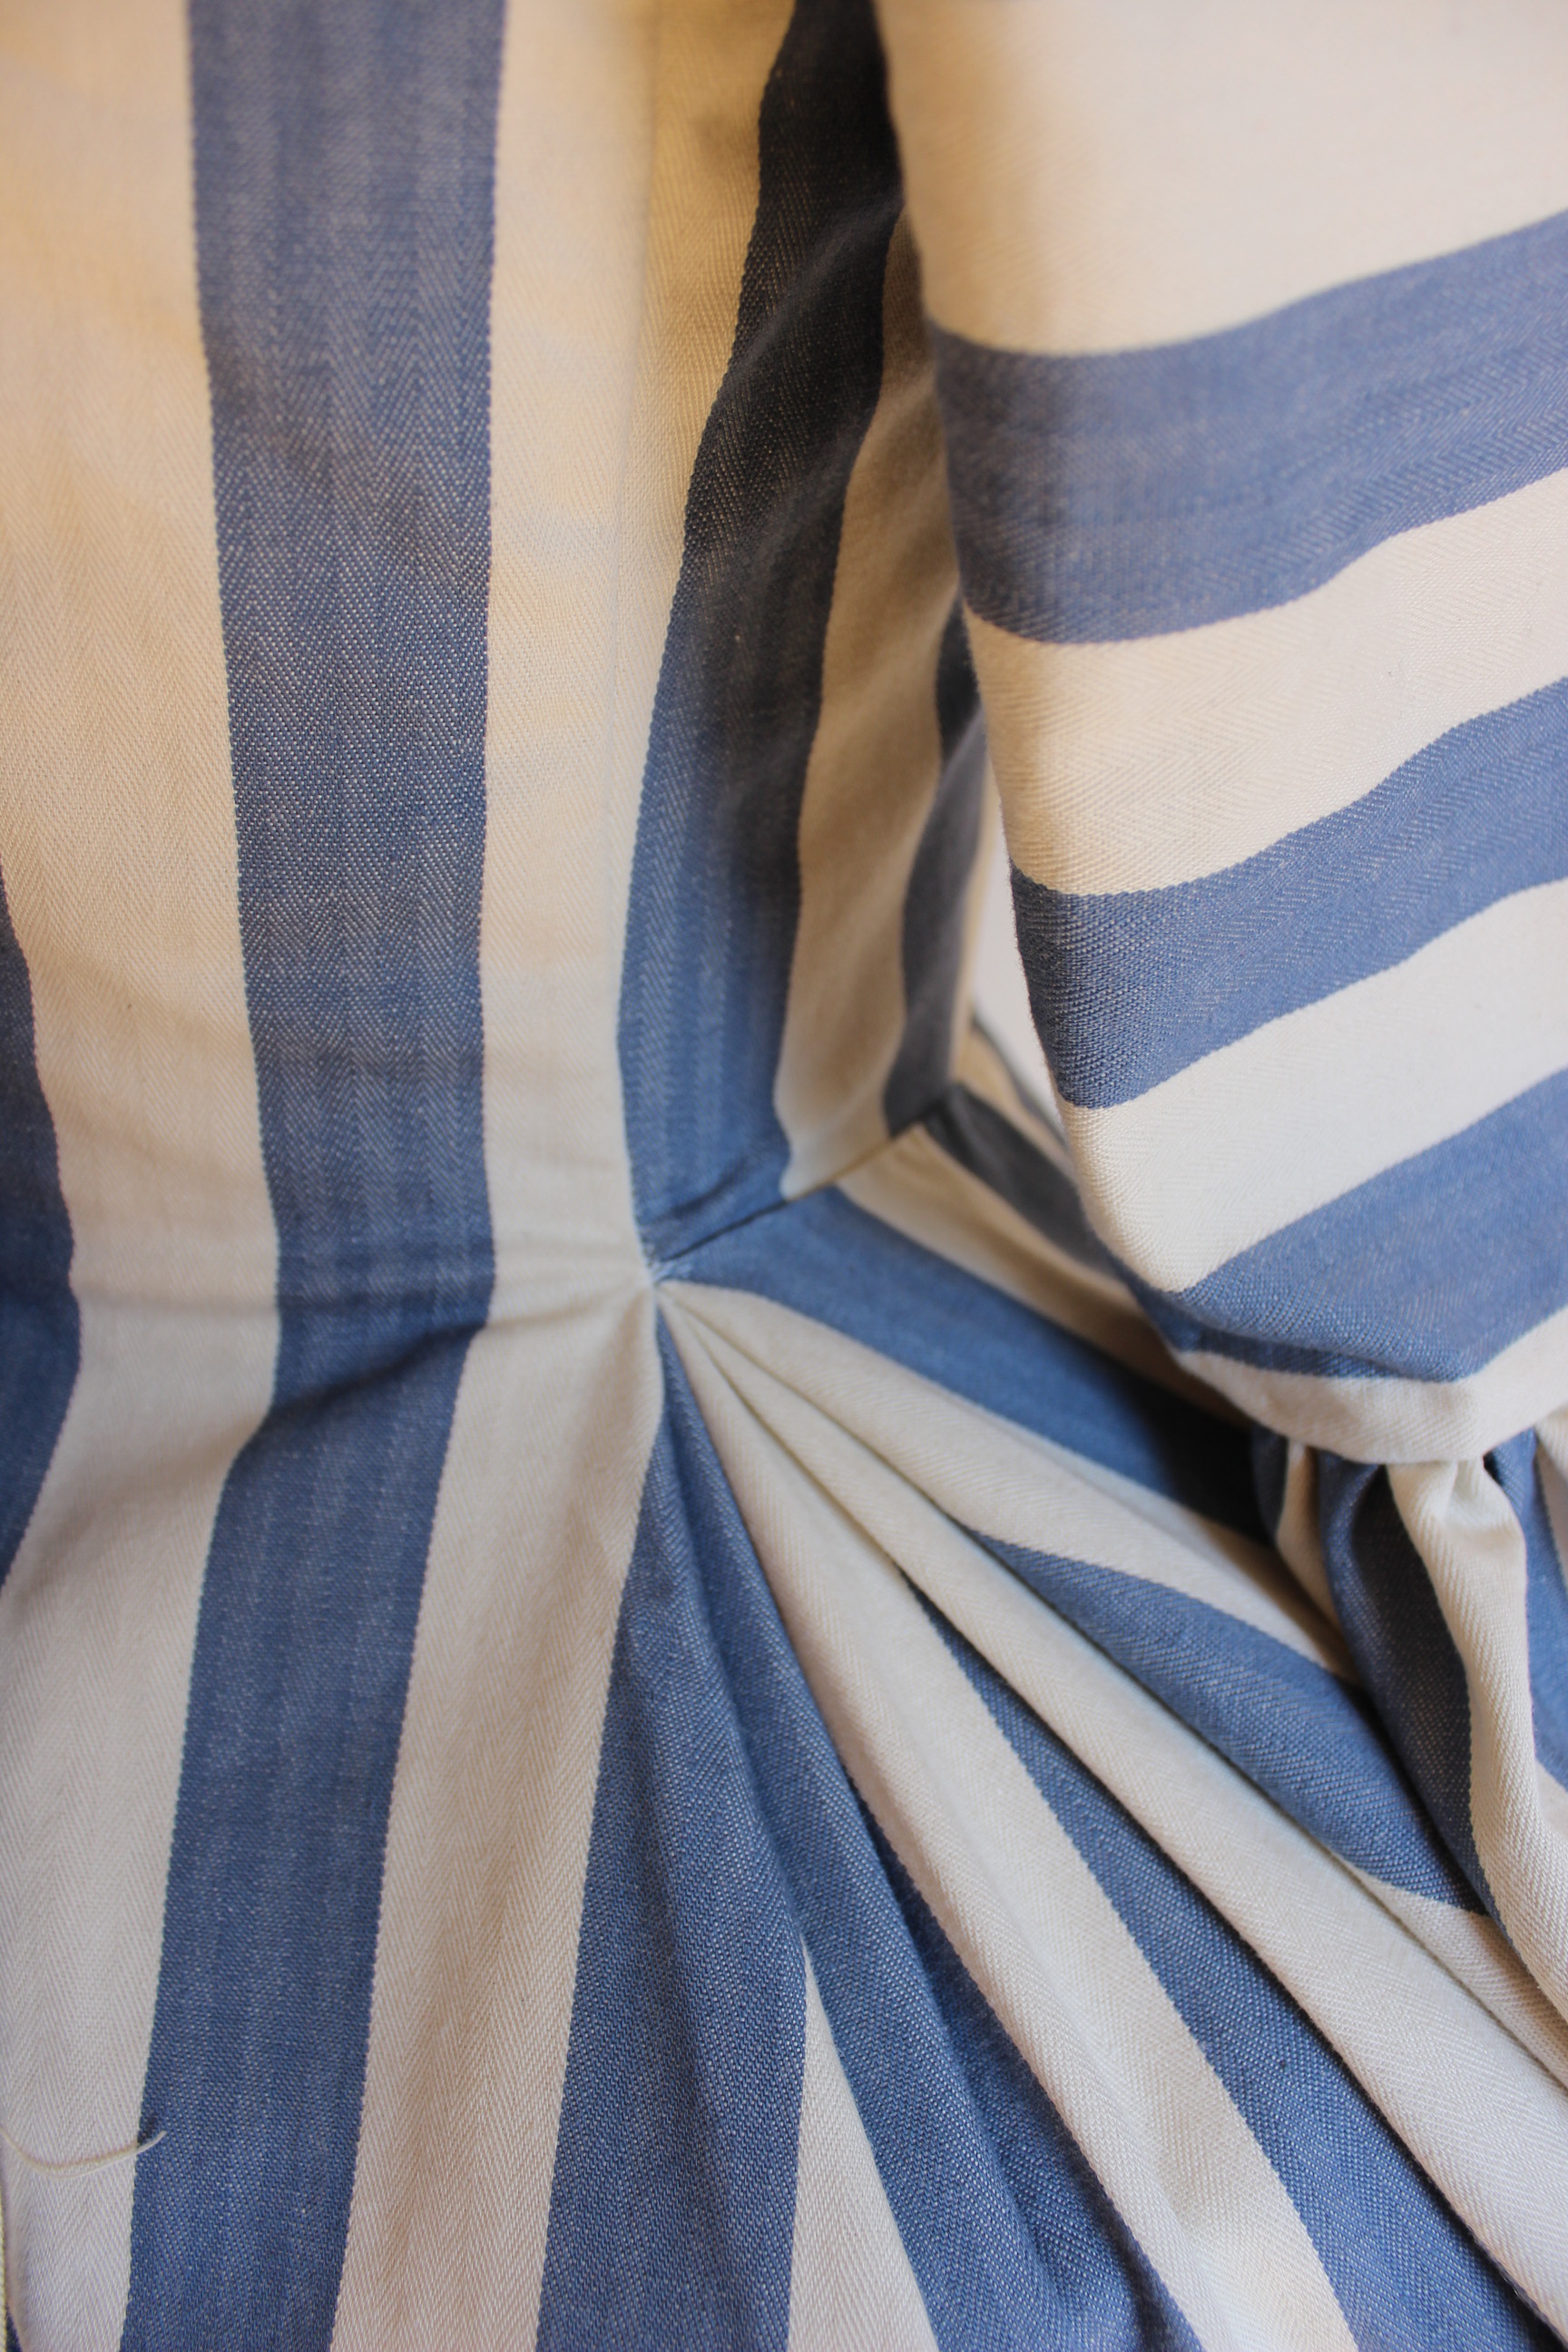
 left and right sides being cut separatly so to mach the stipes perfectly.
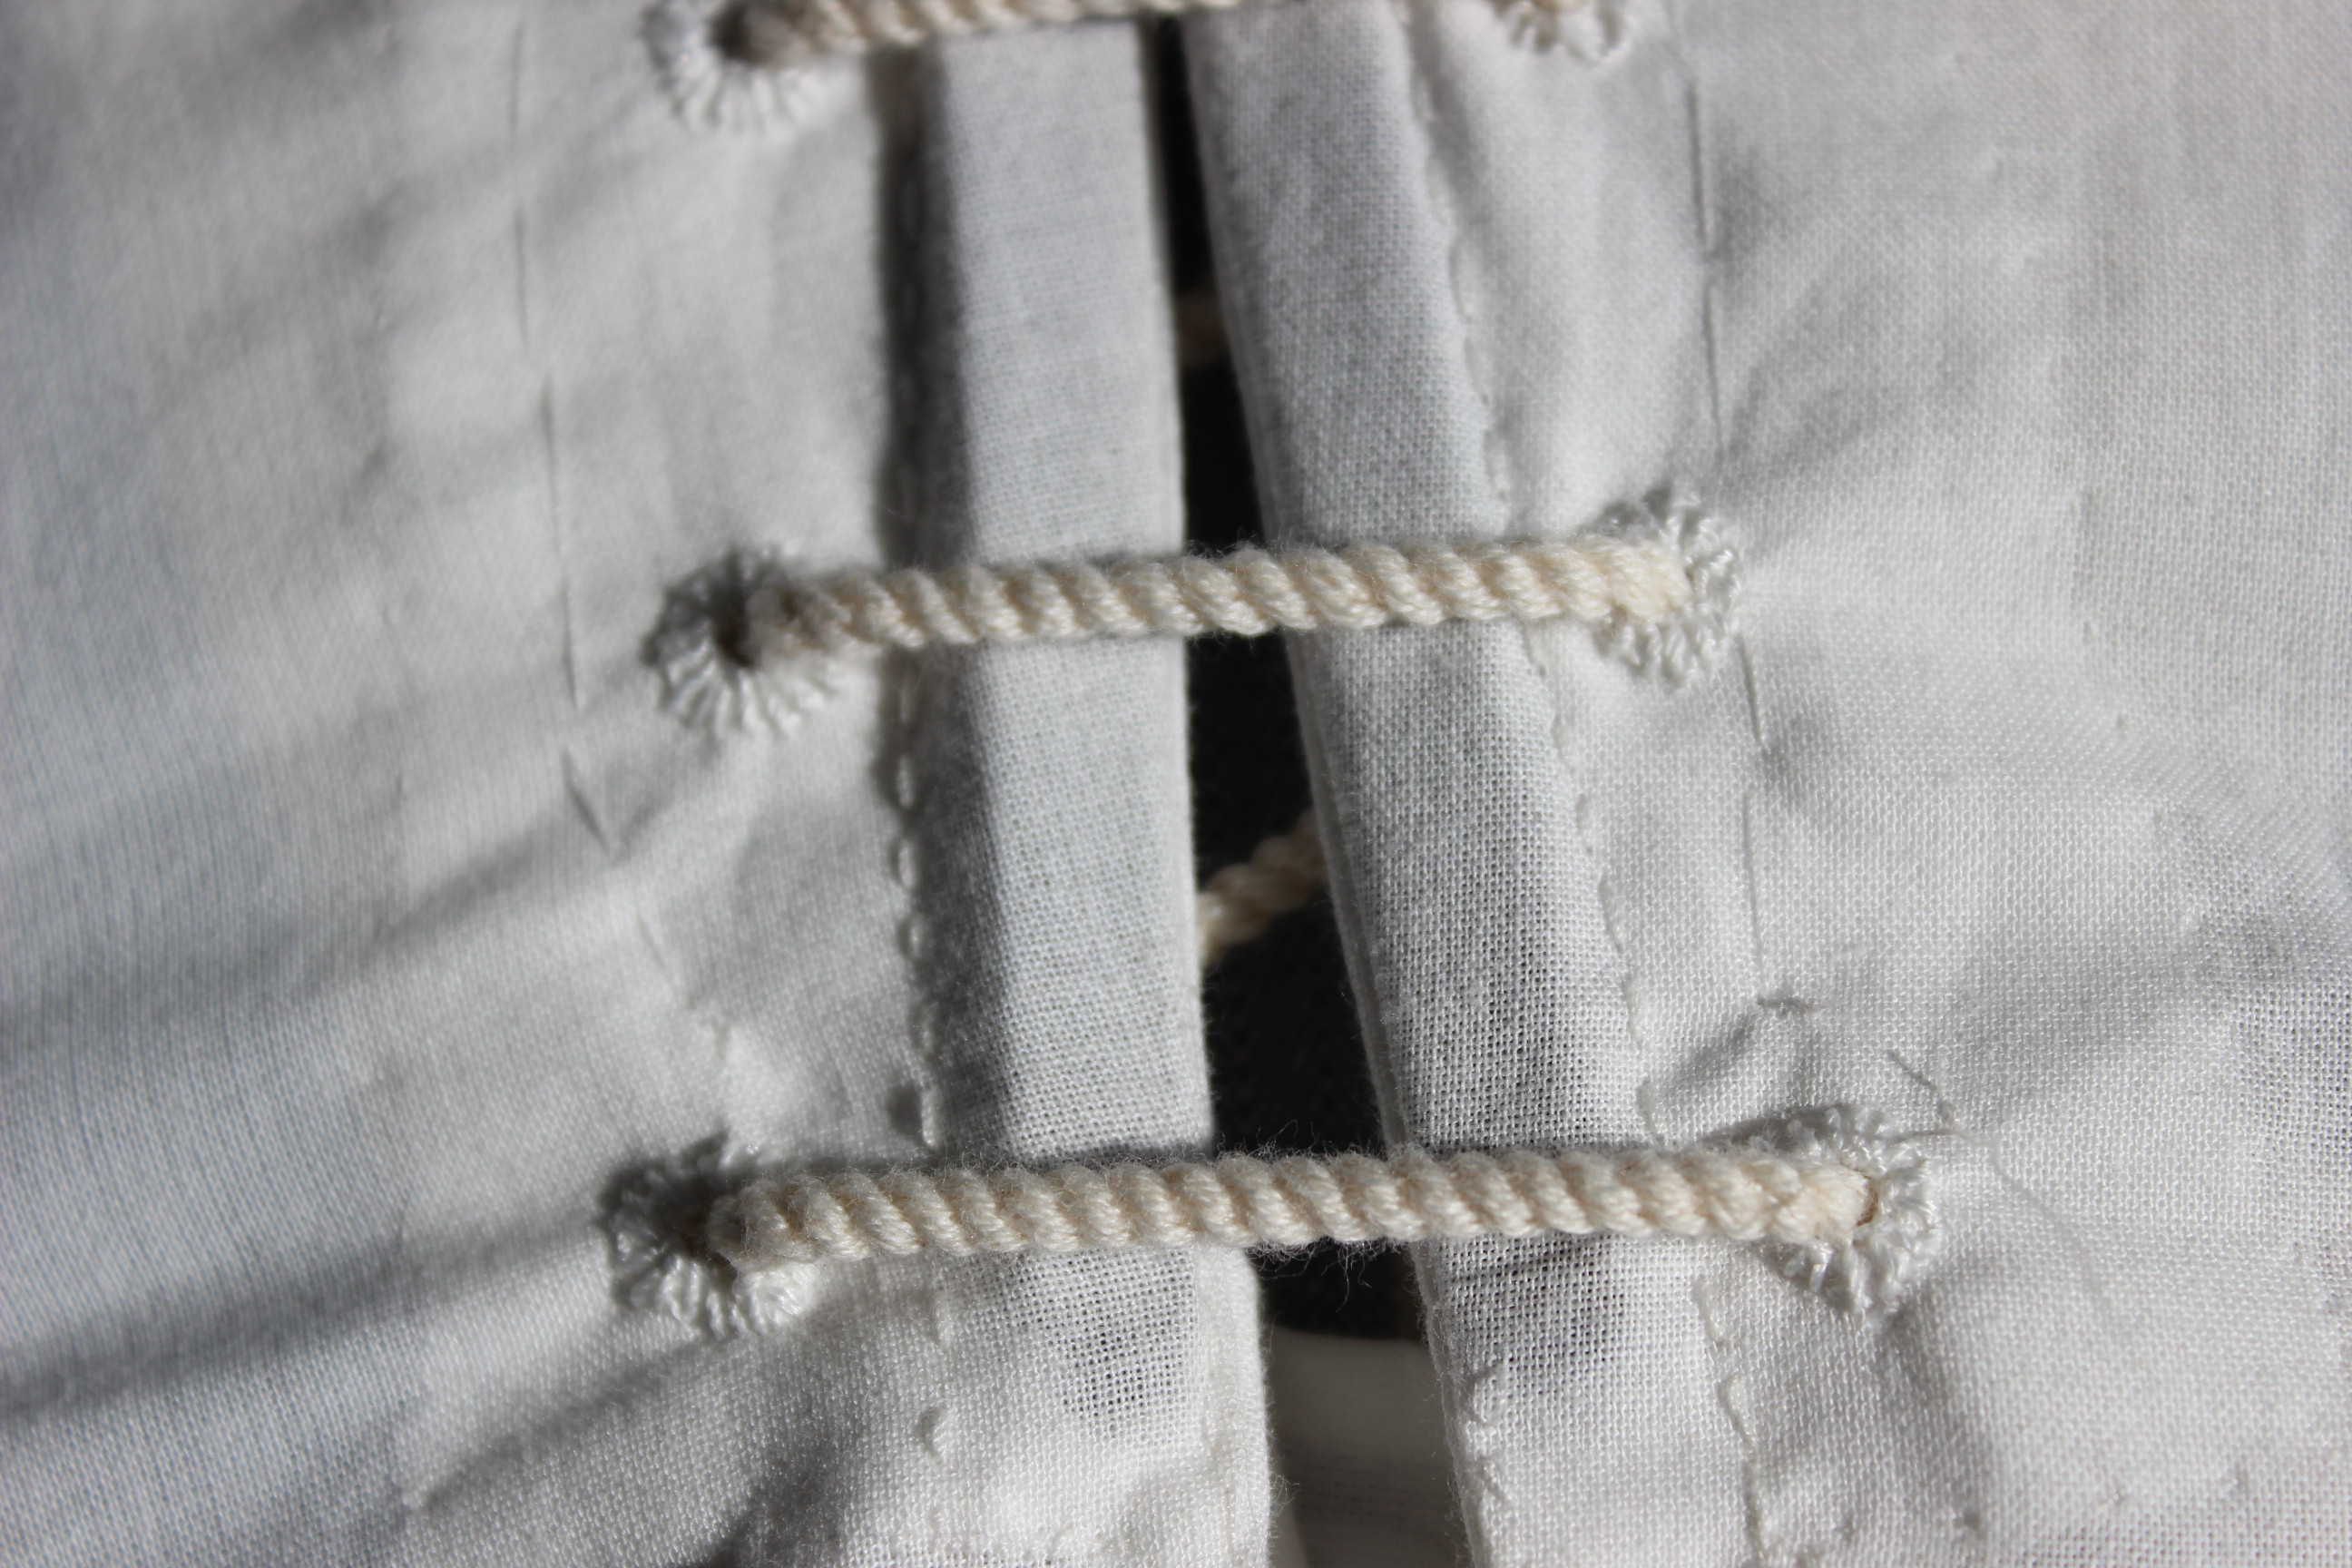
I used plain white cotton as lining, and started the handsewing by working the eyelets into the back of the linning.


I basted the lining to the striped fabric as a interlining.
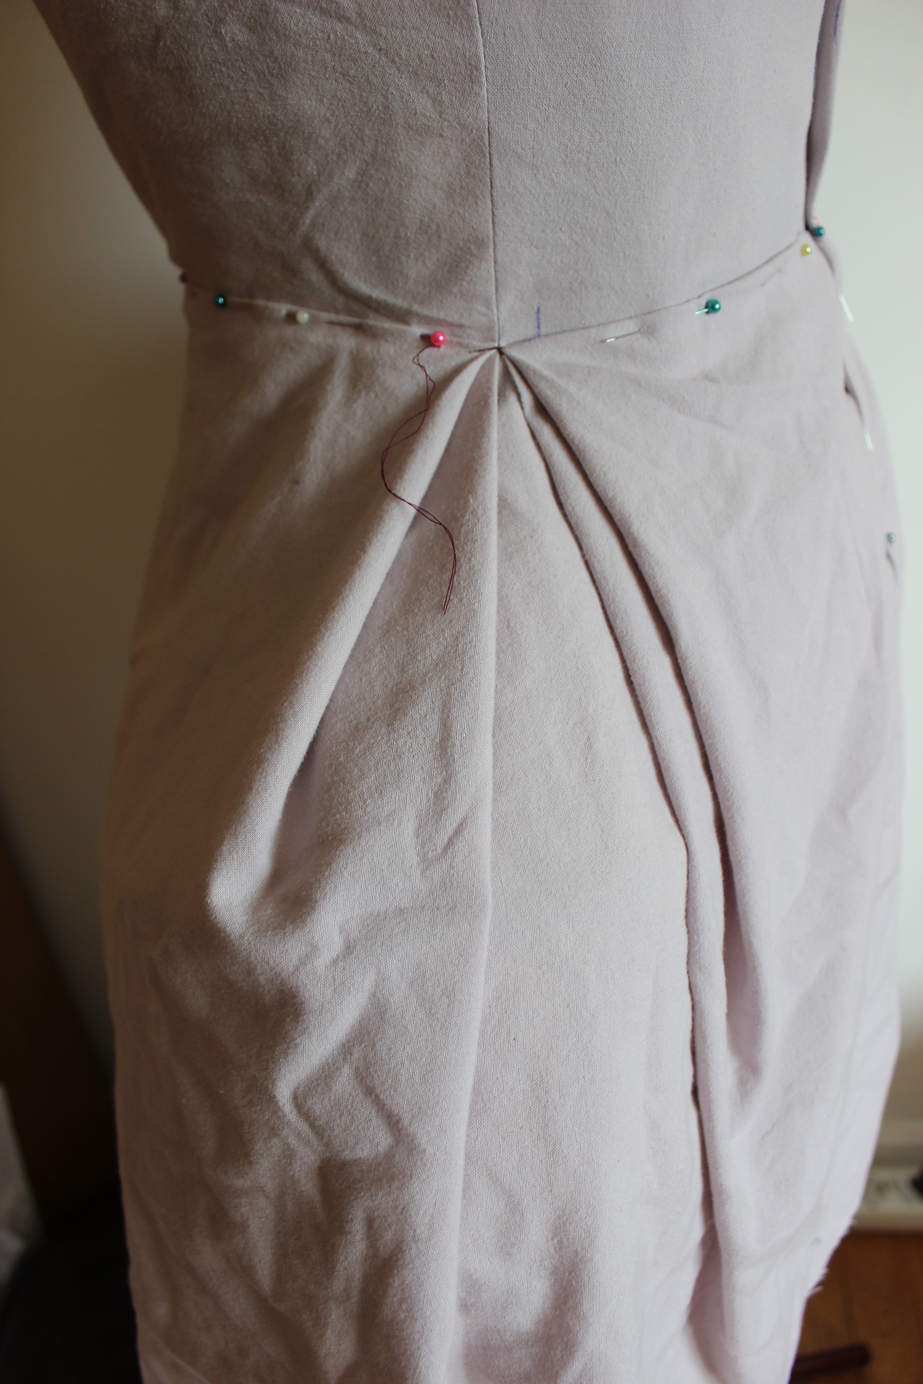
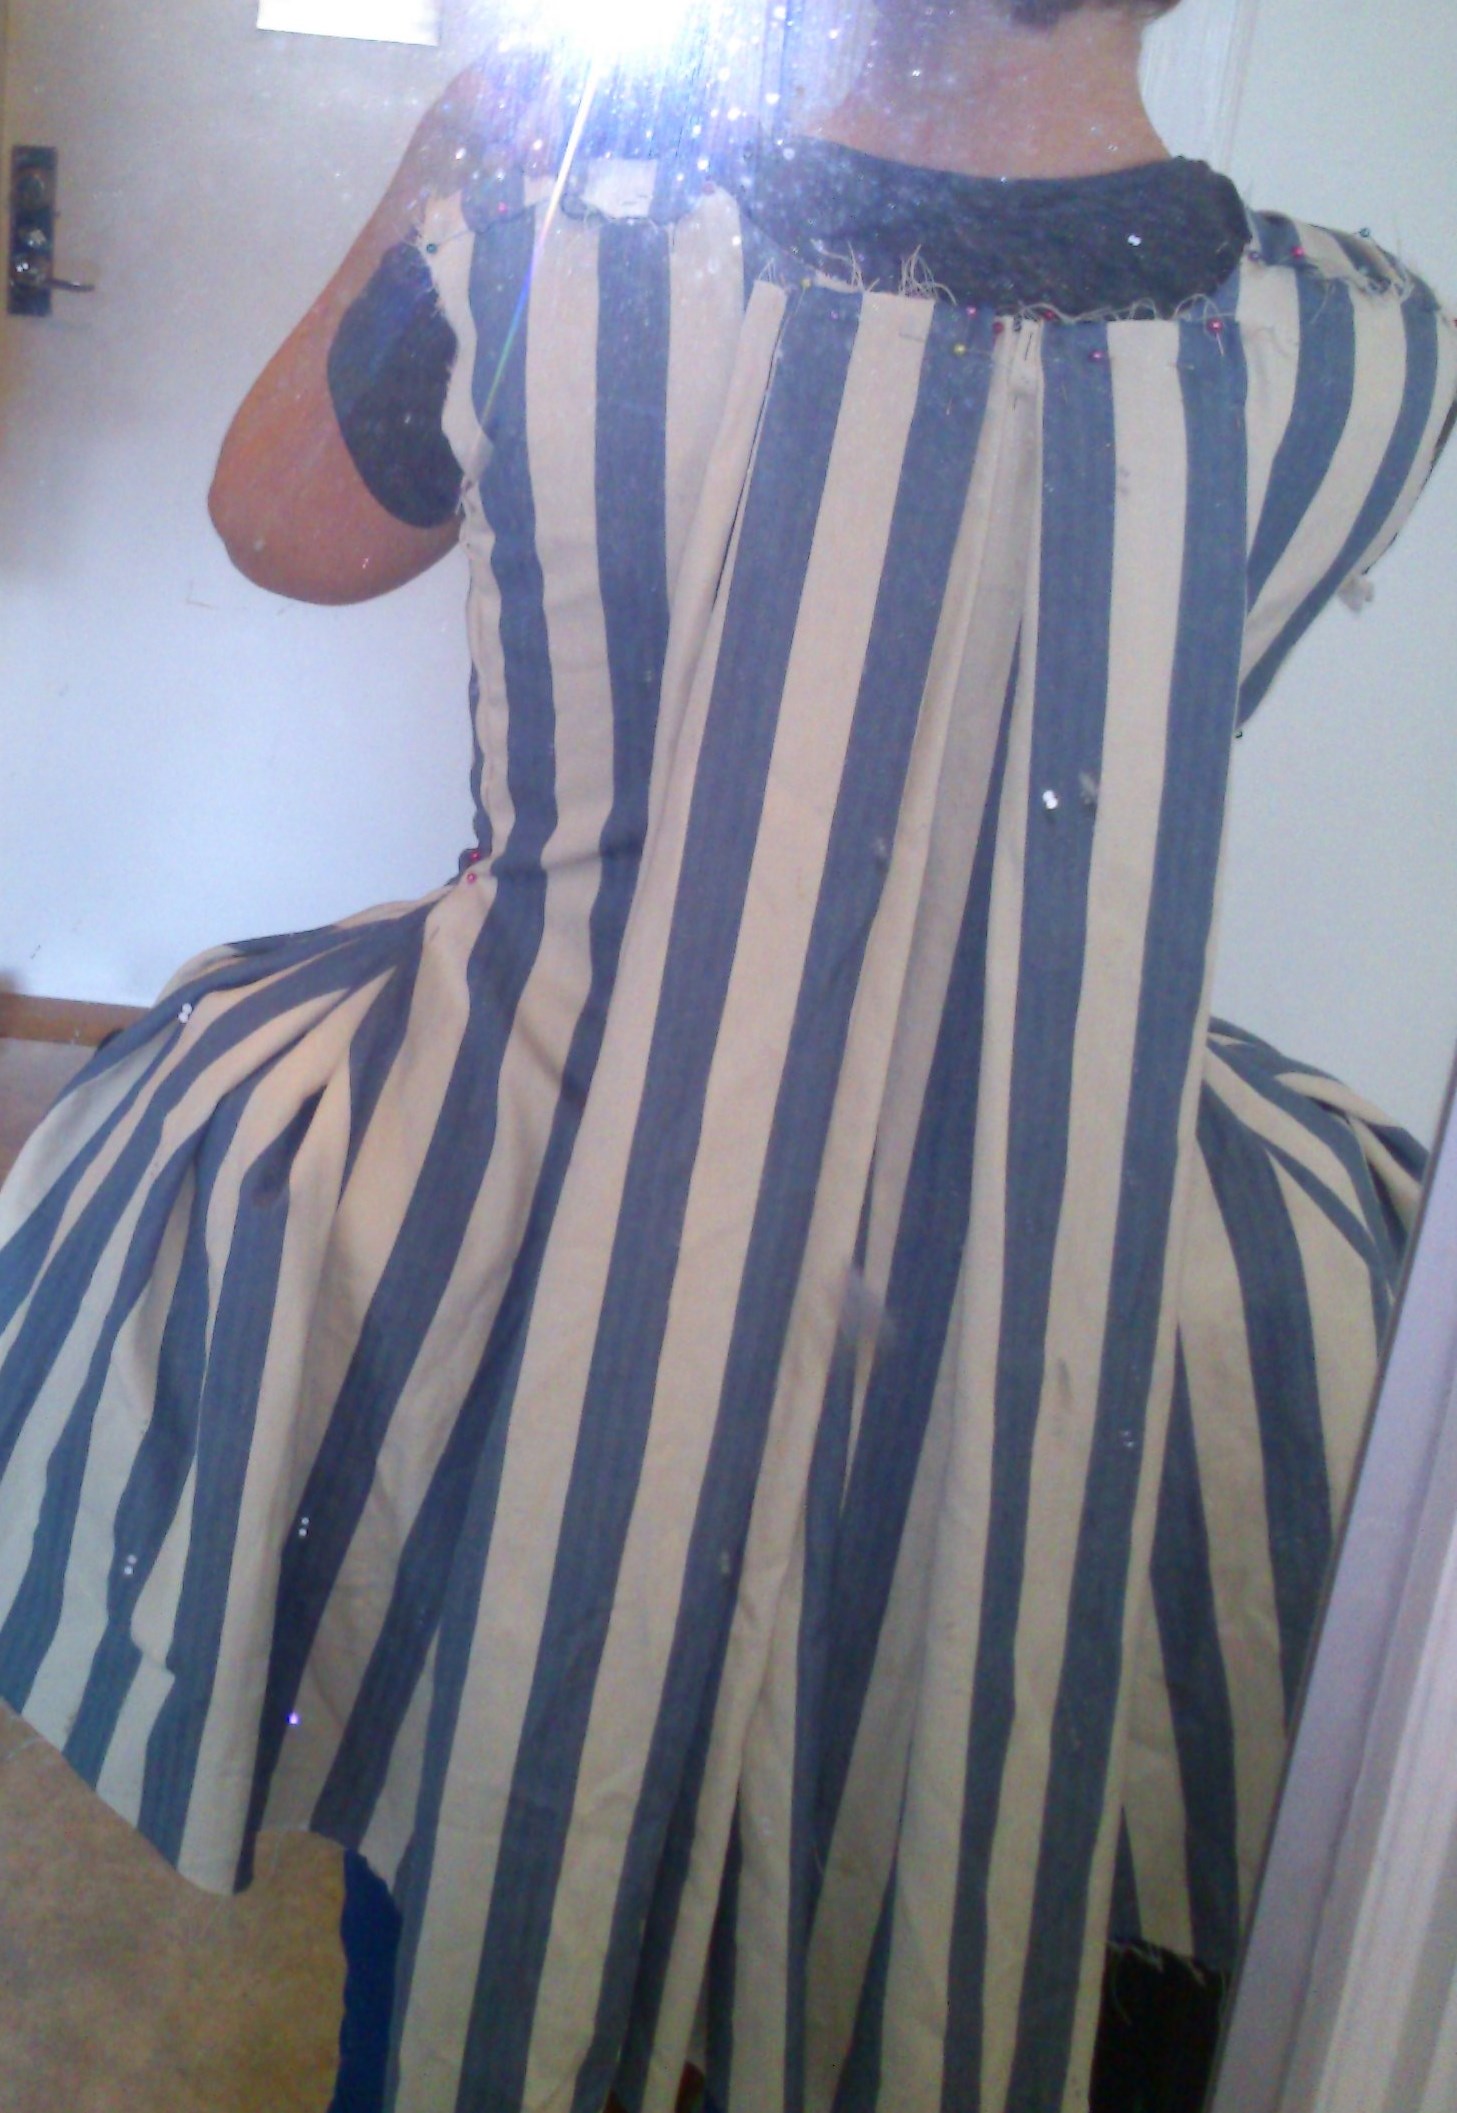
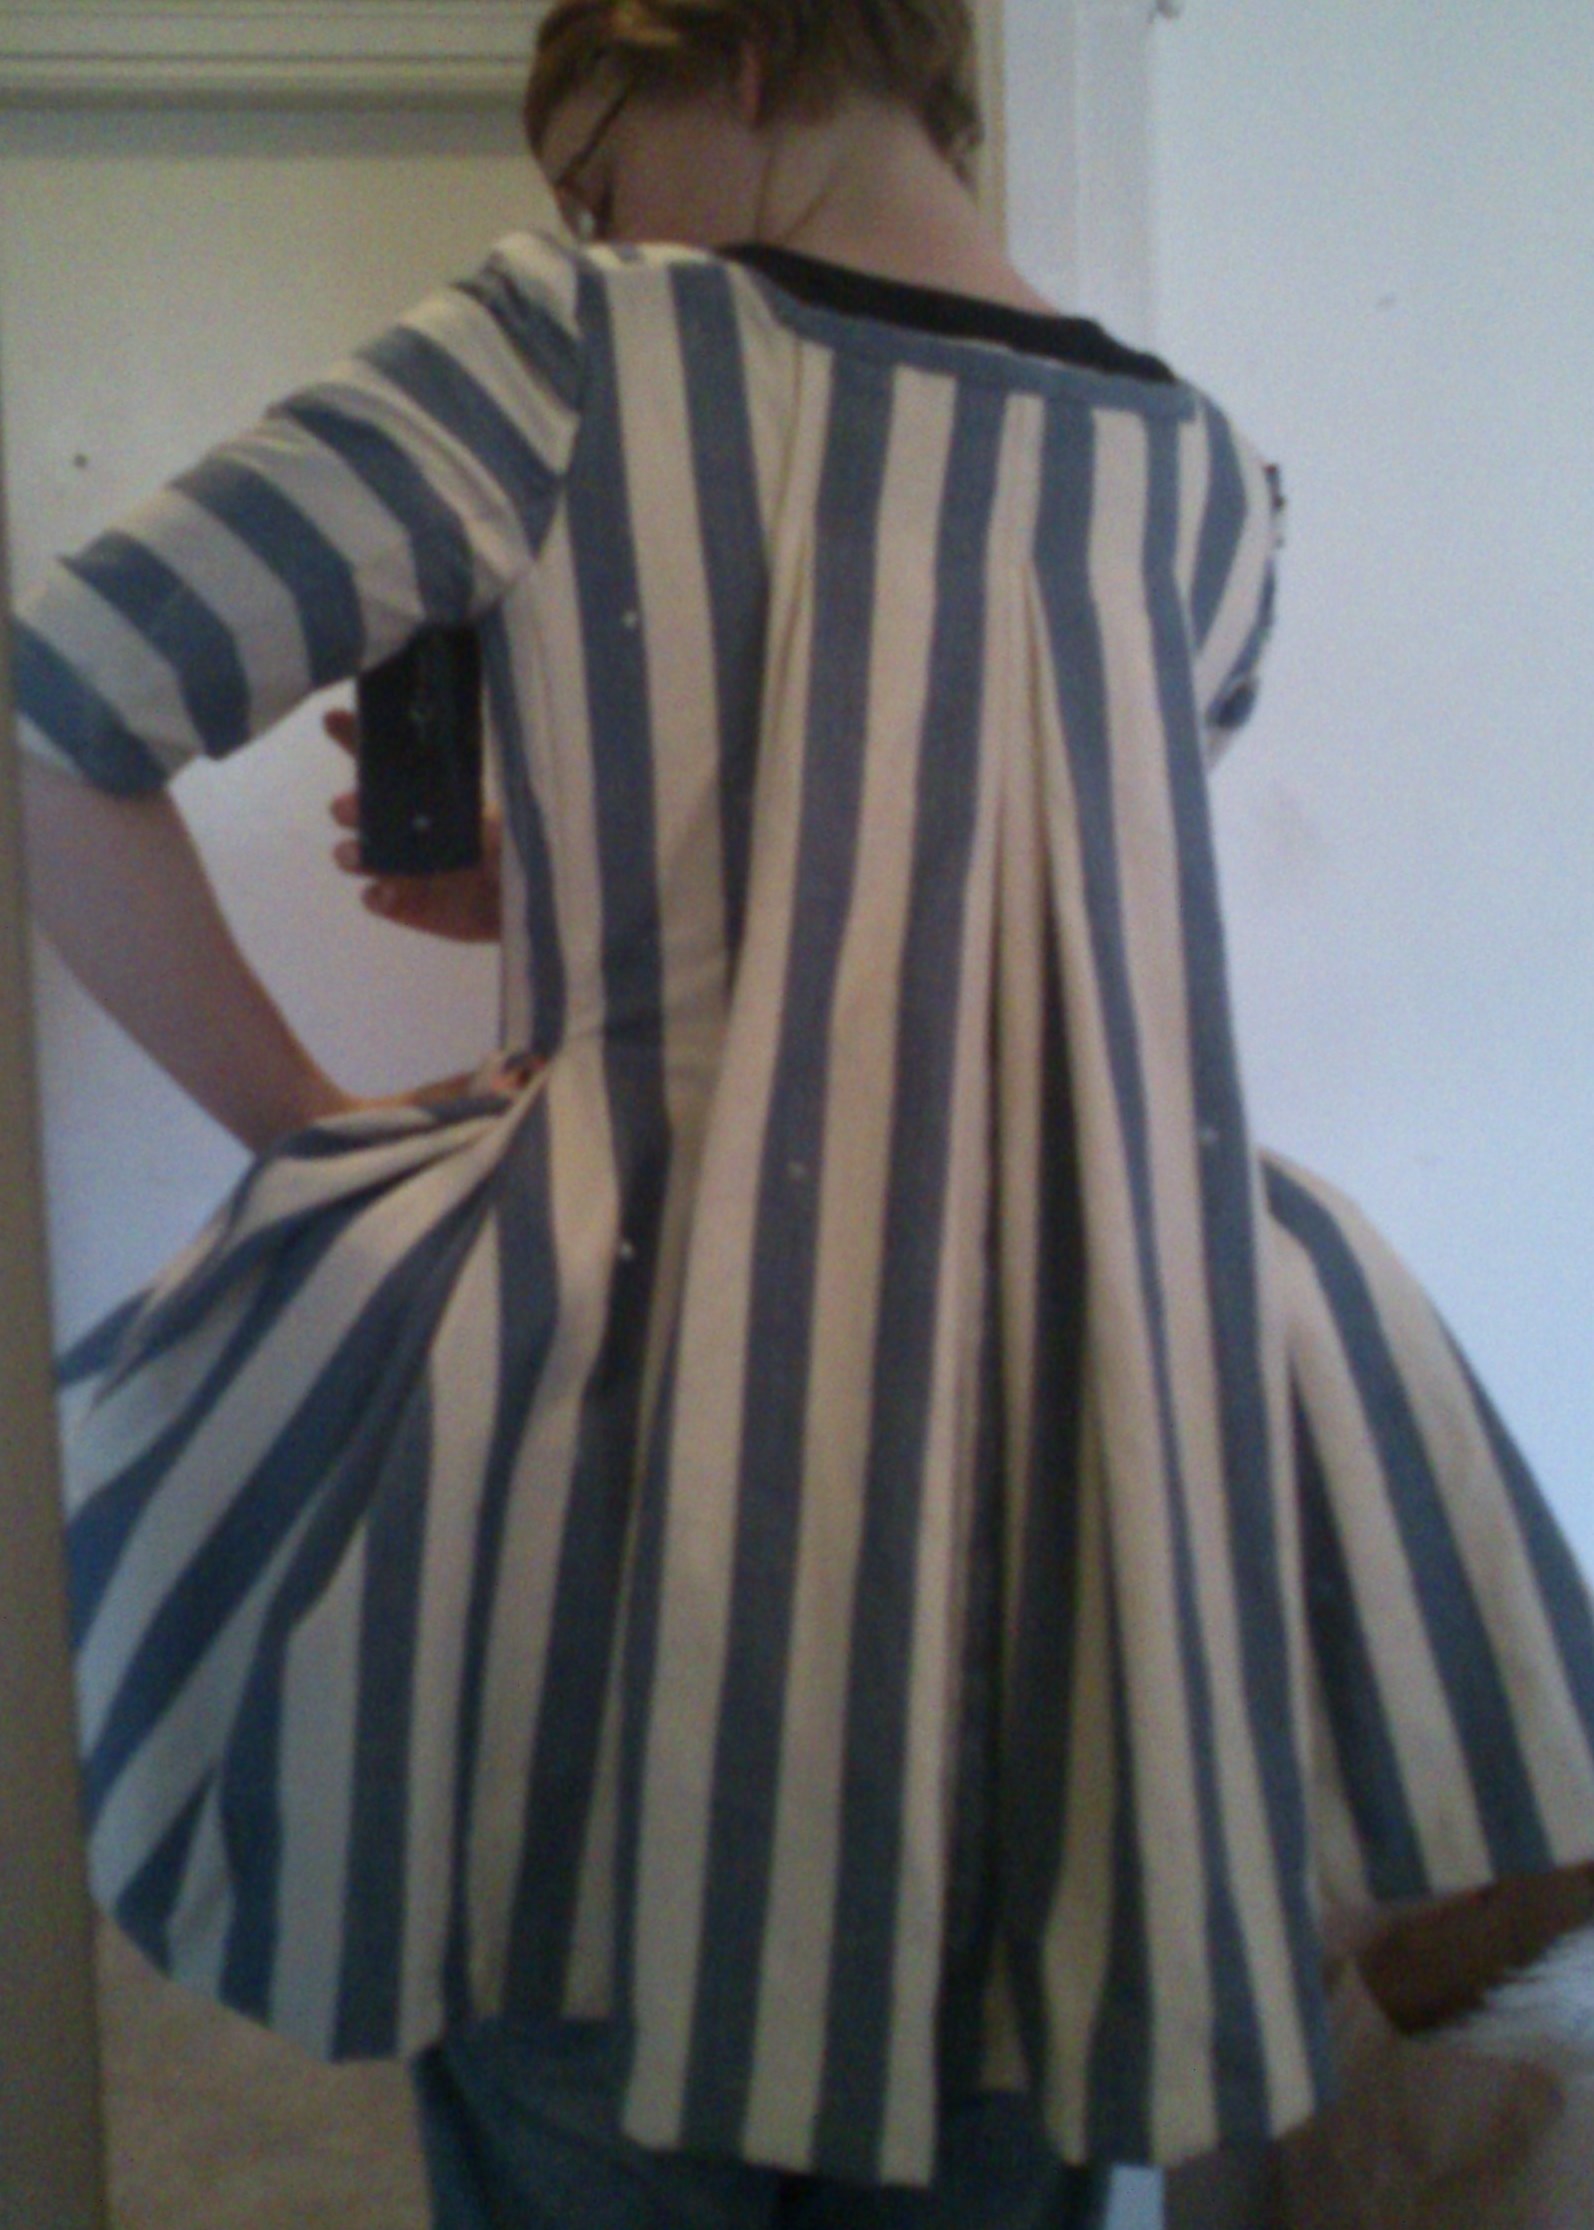
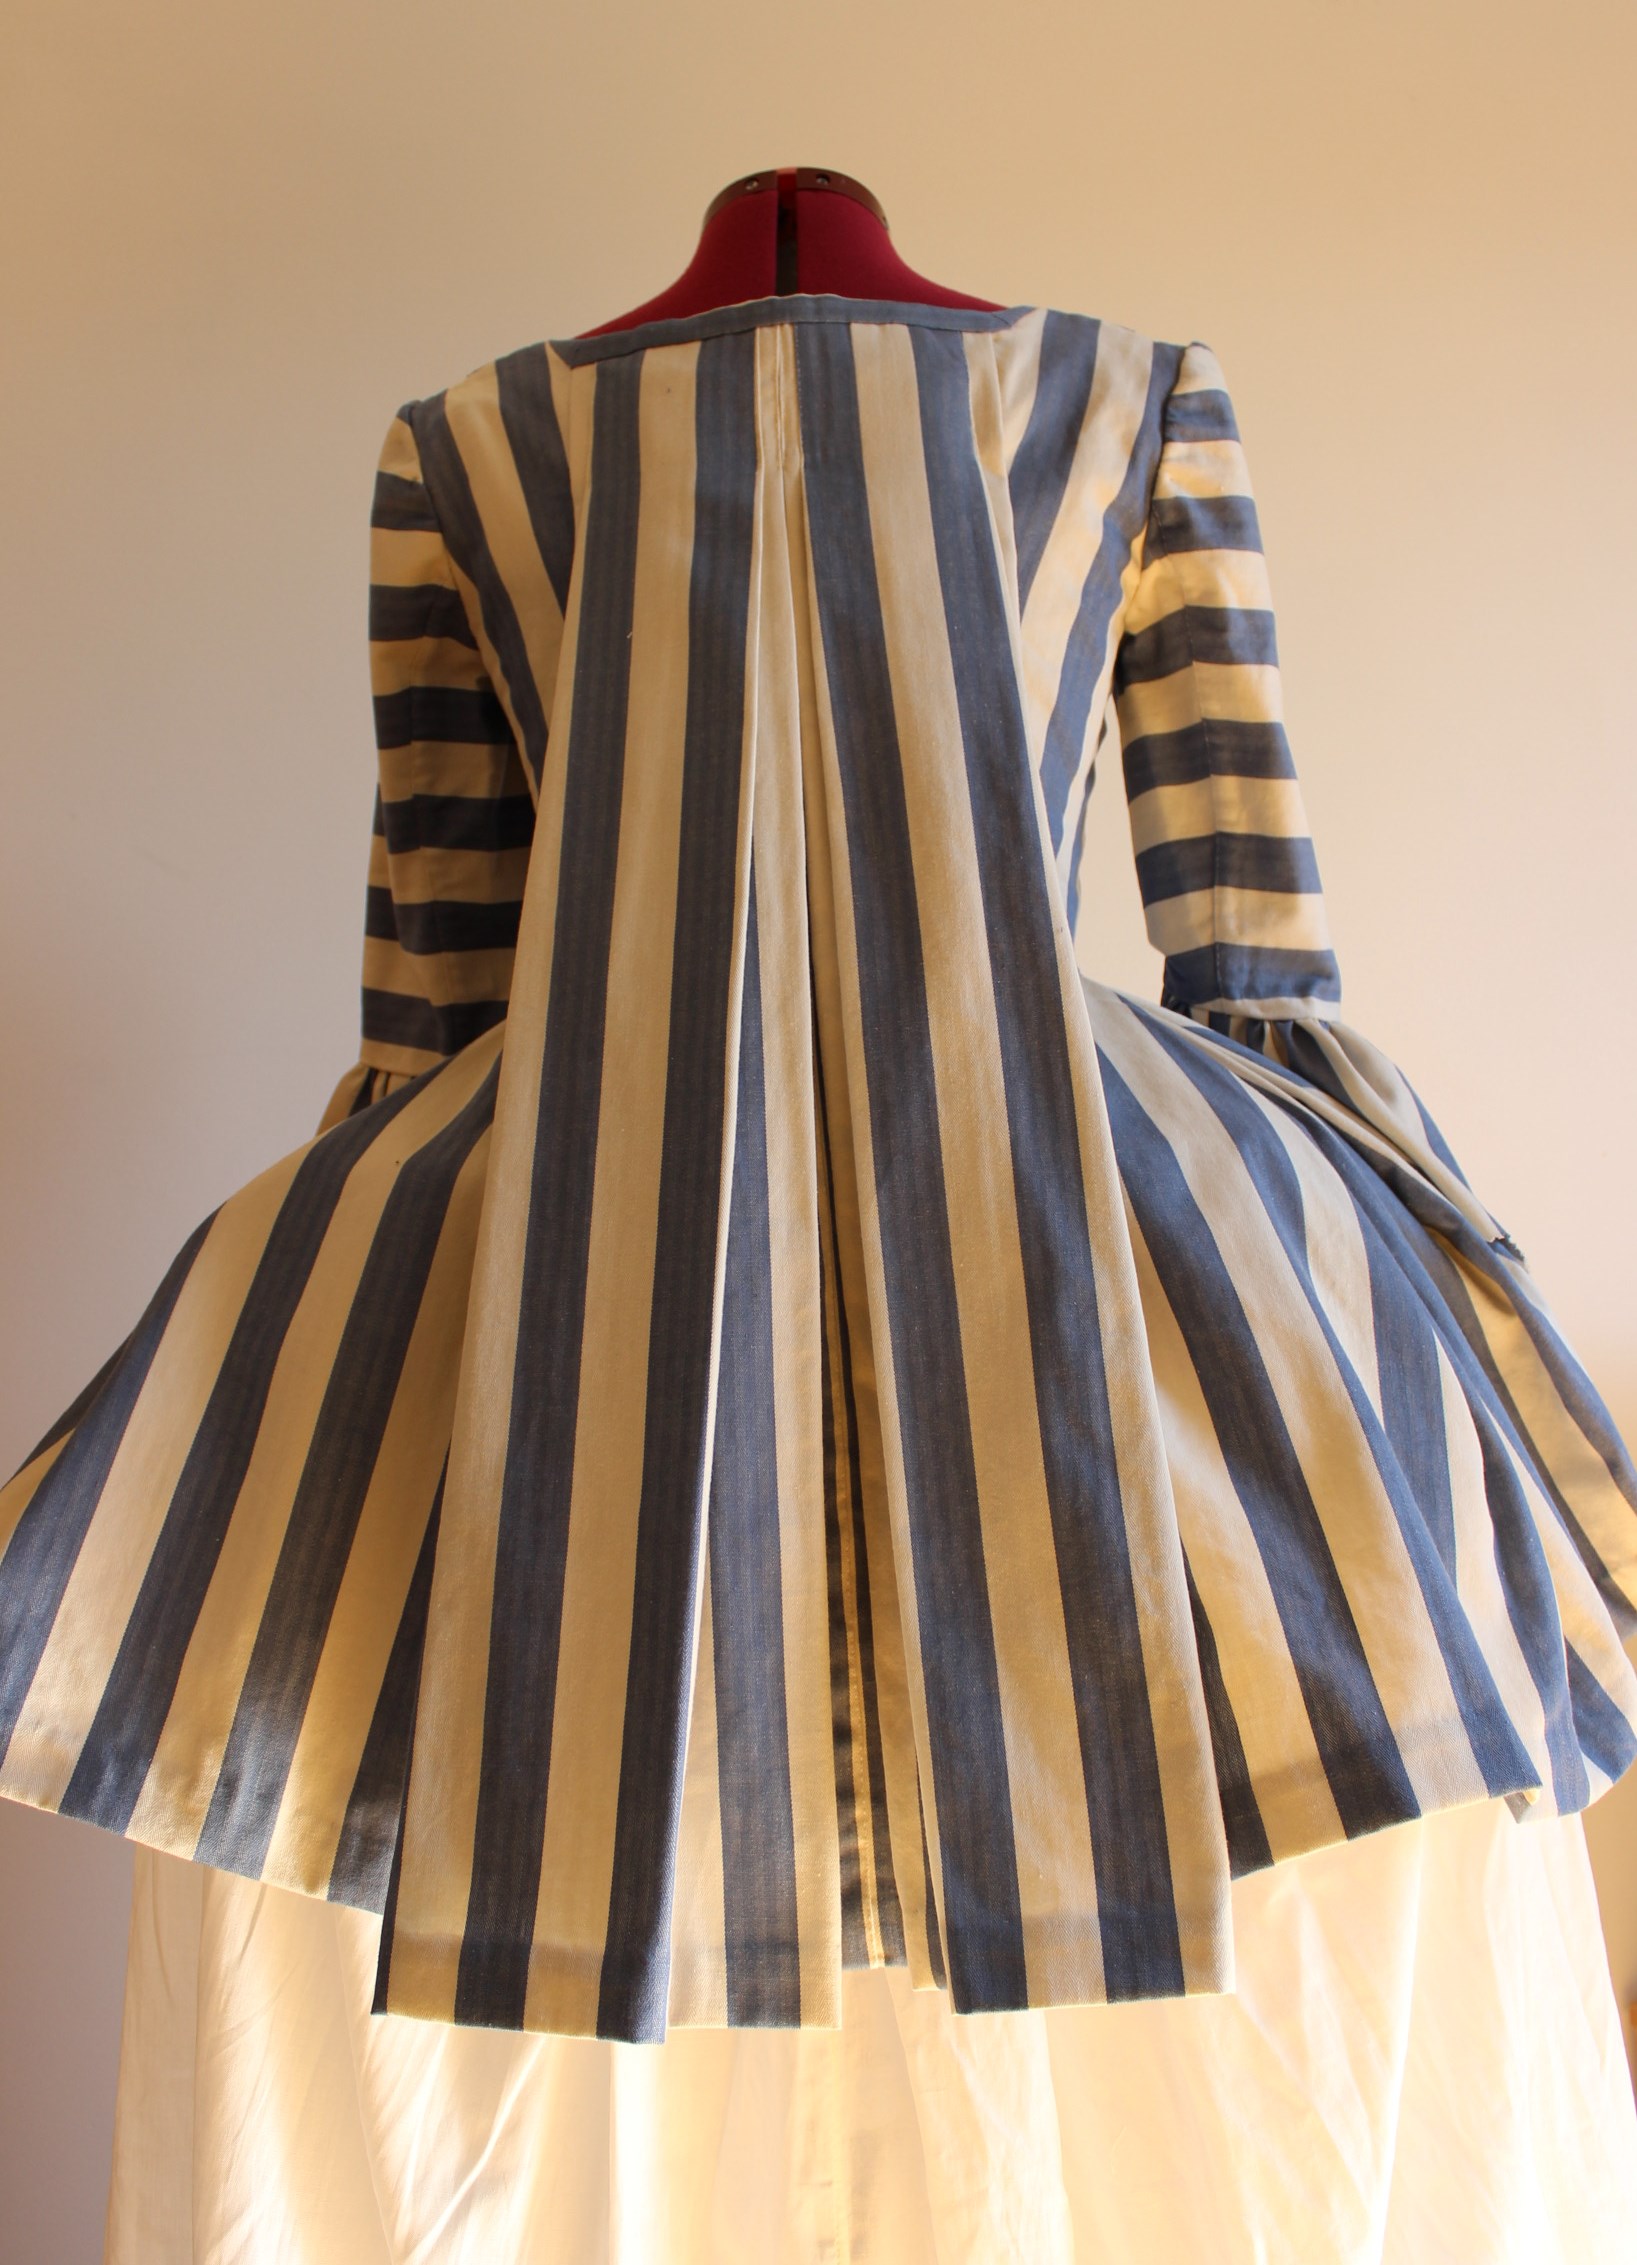
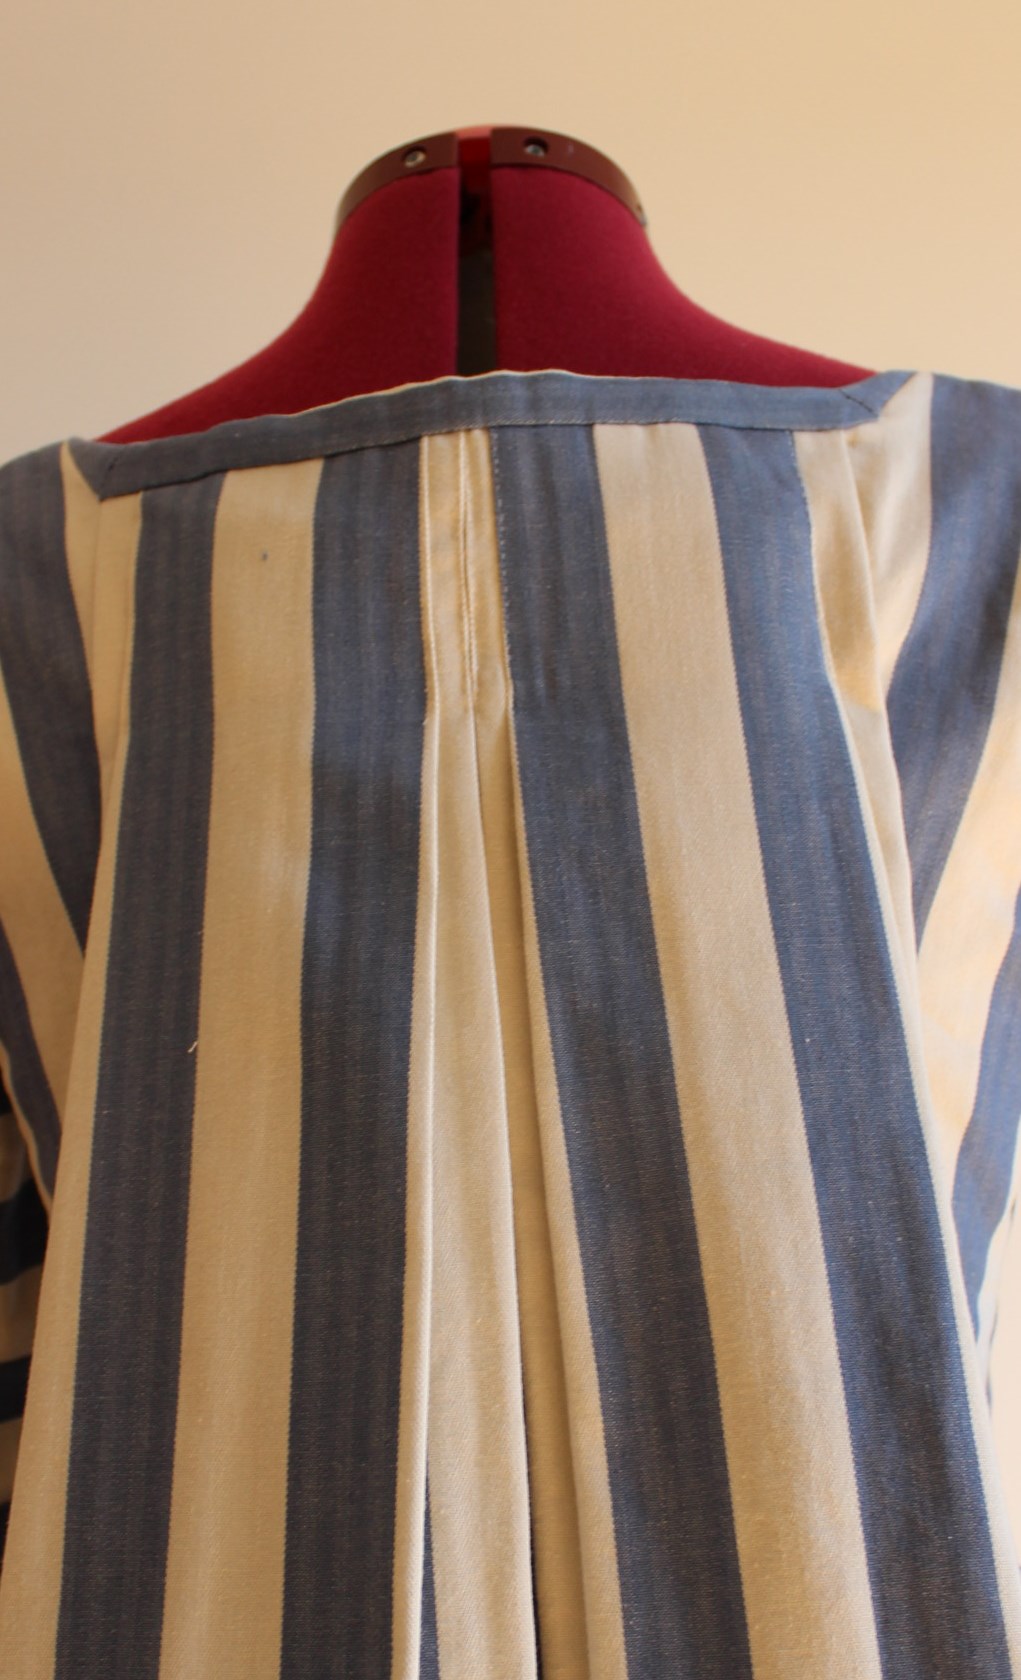
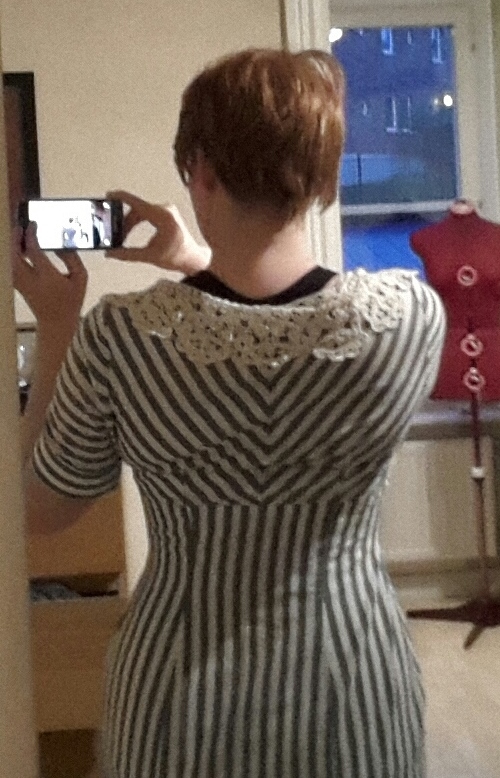
Now it was time to arrange the backpleats. Something that took a bit of time and carefull forcing of the fabric.
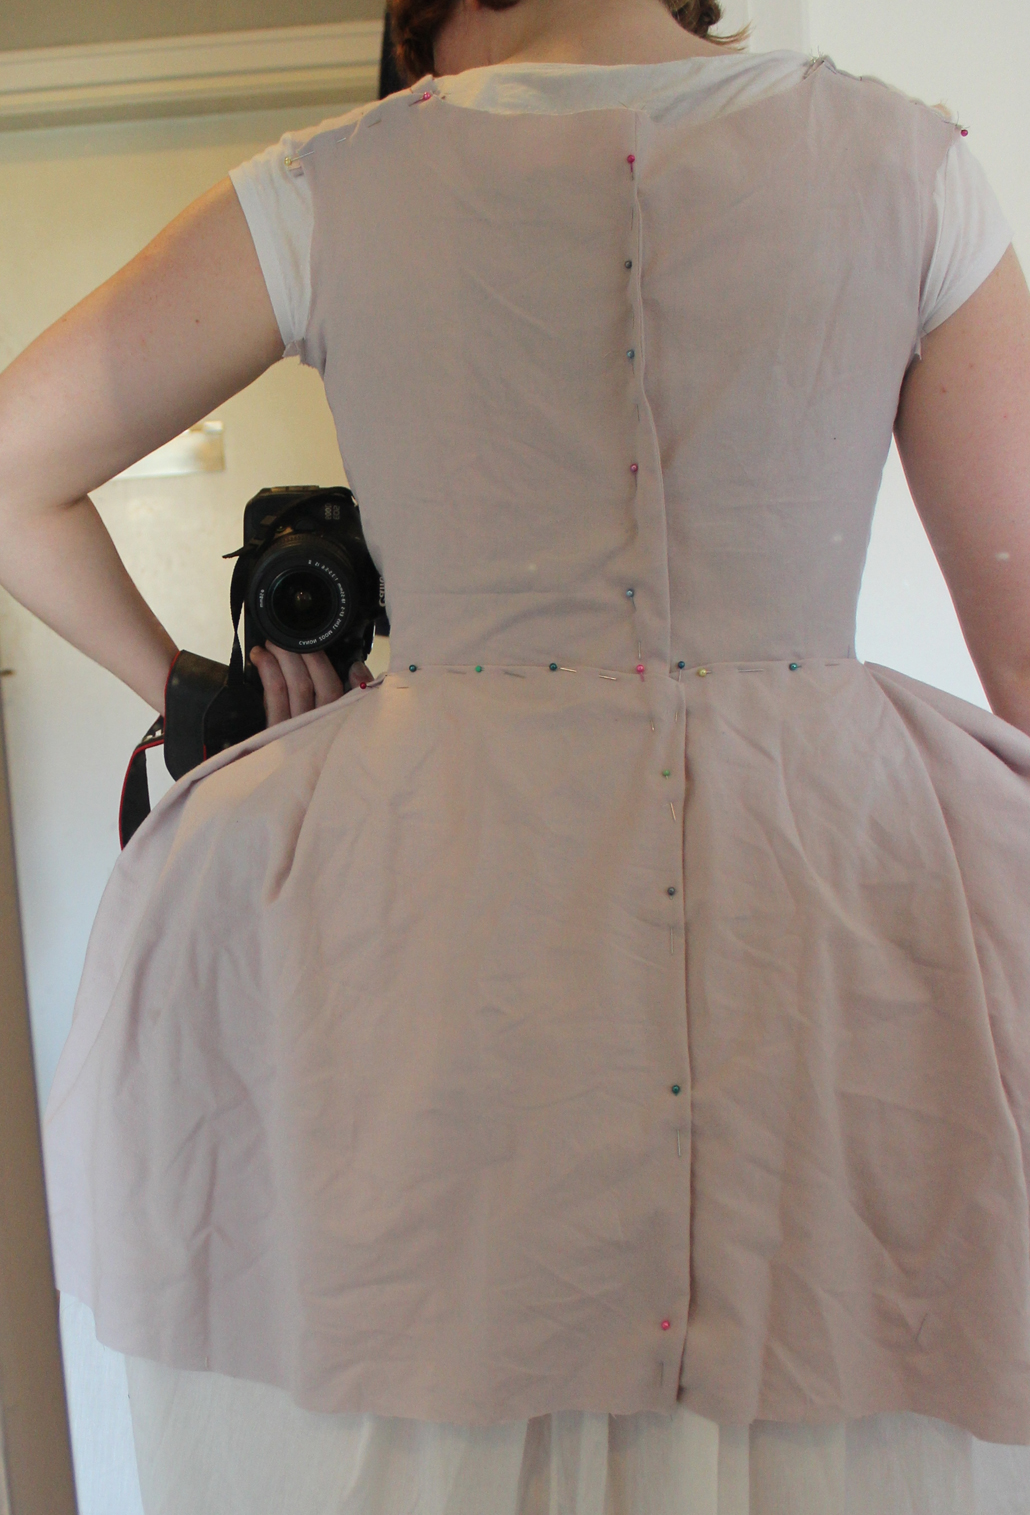
Then everything went pretty fast, and I sewed the shoulders, the hip-pleats and the side seams. And I tried it on for further adjustments.


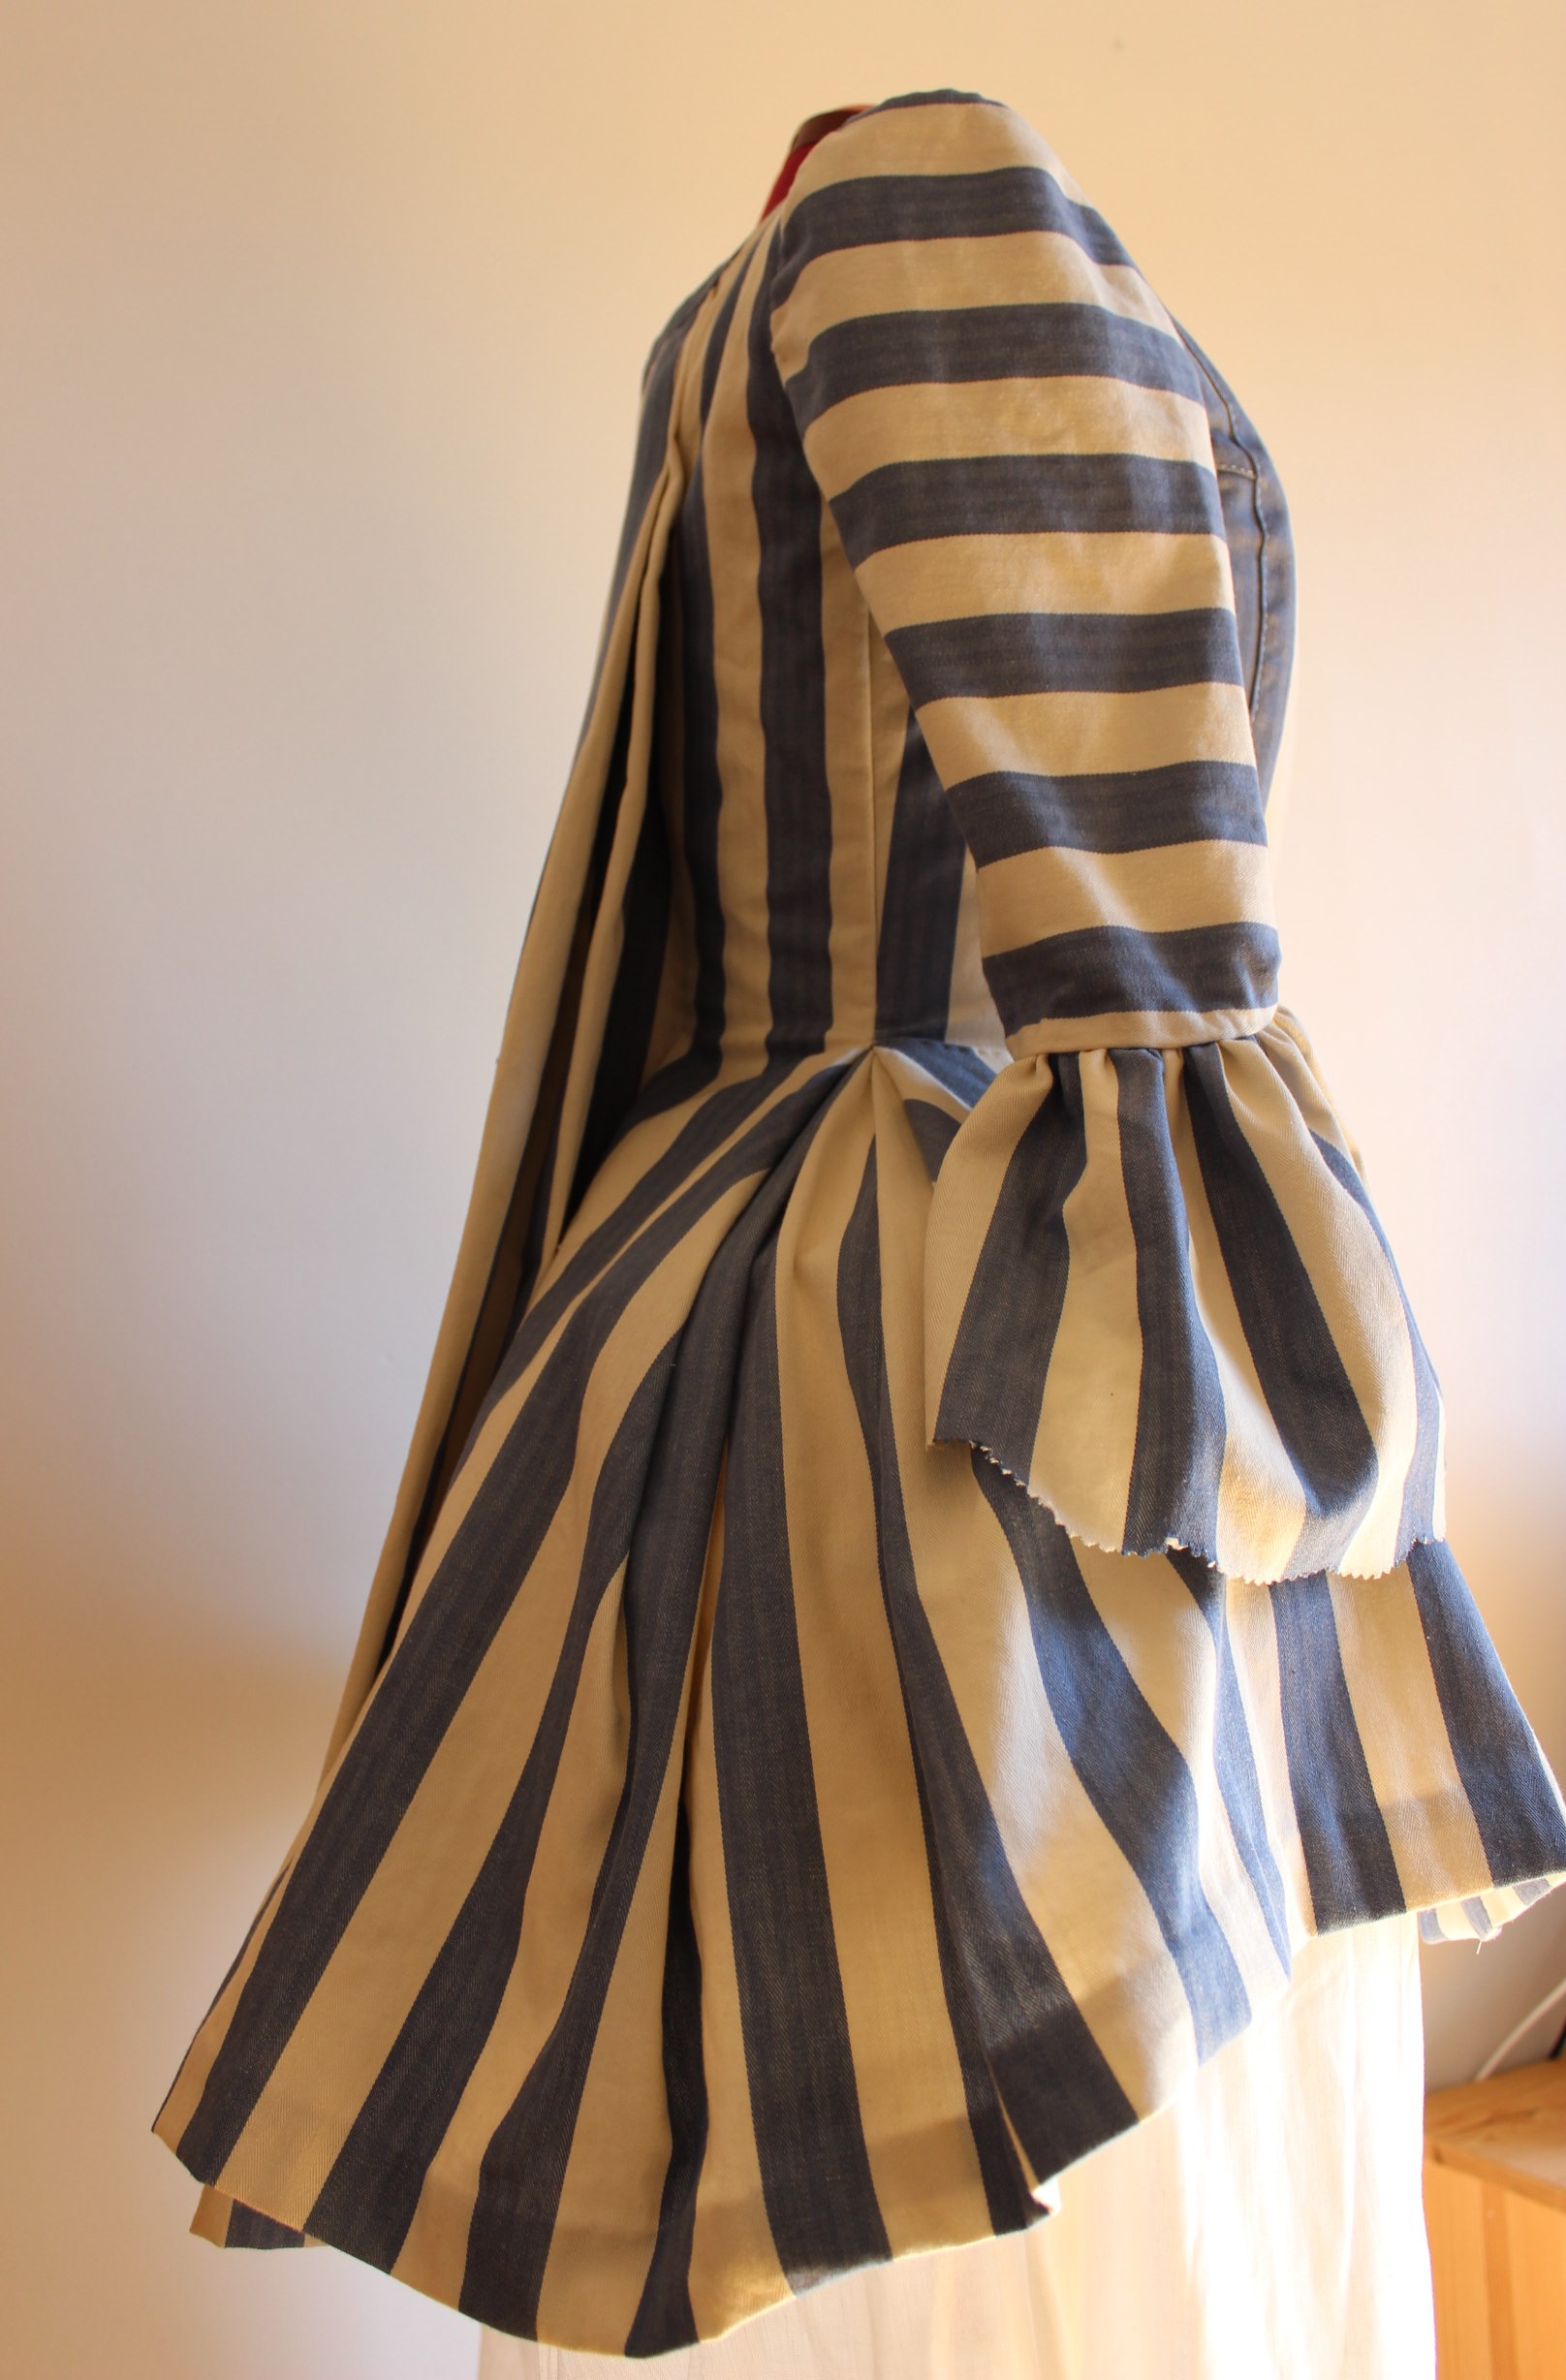
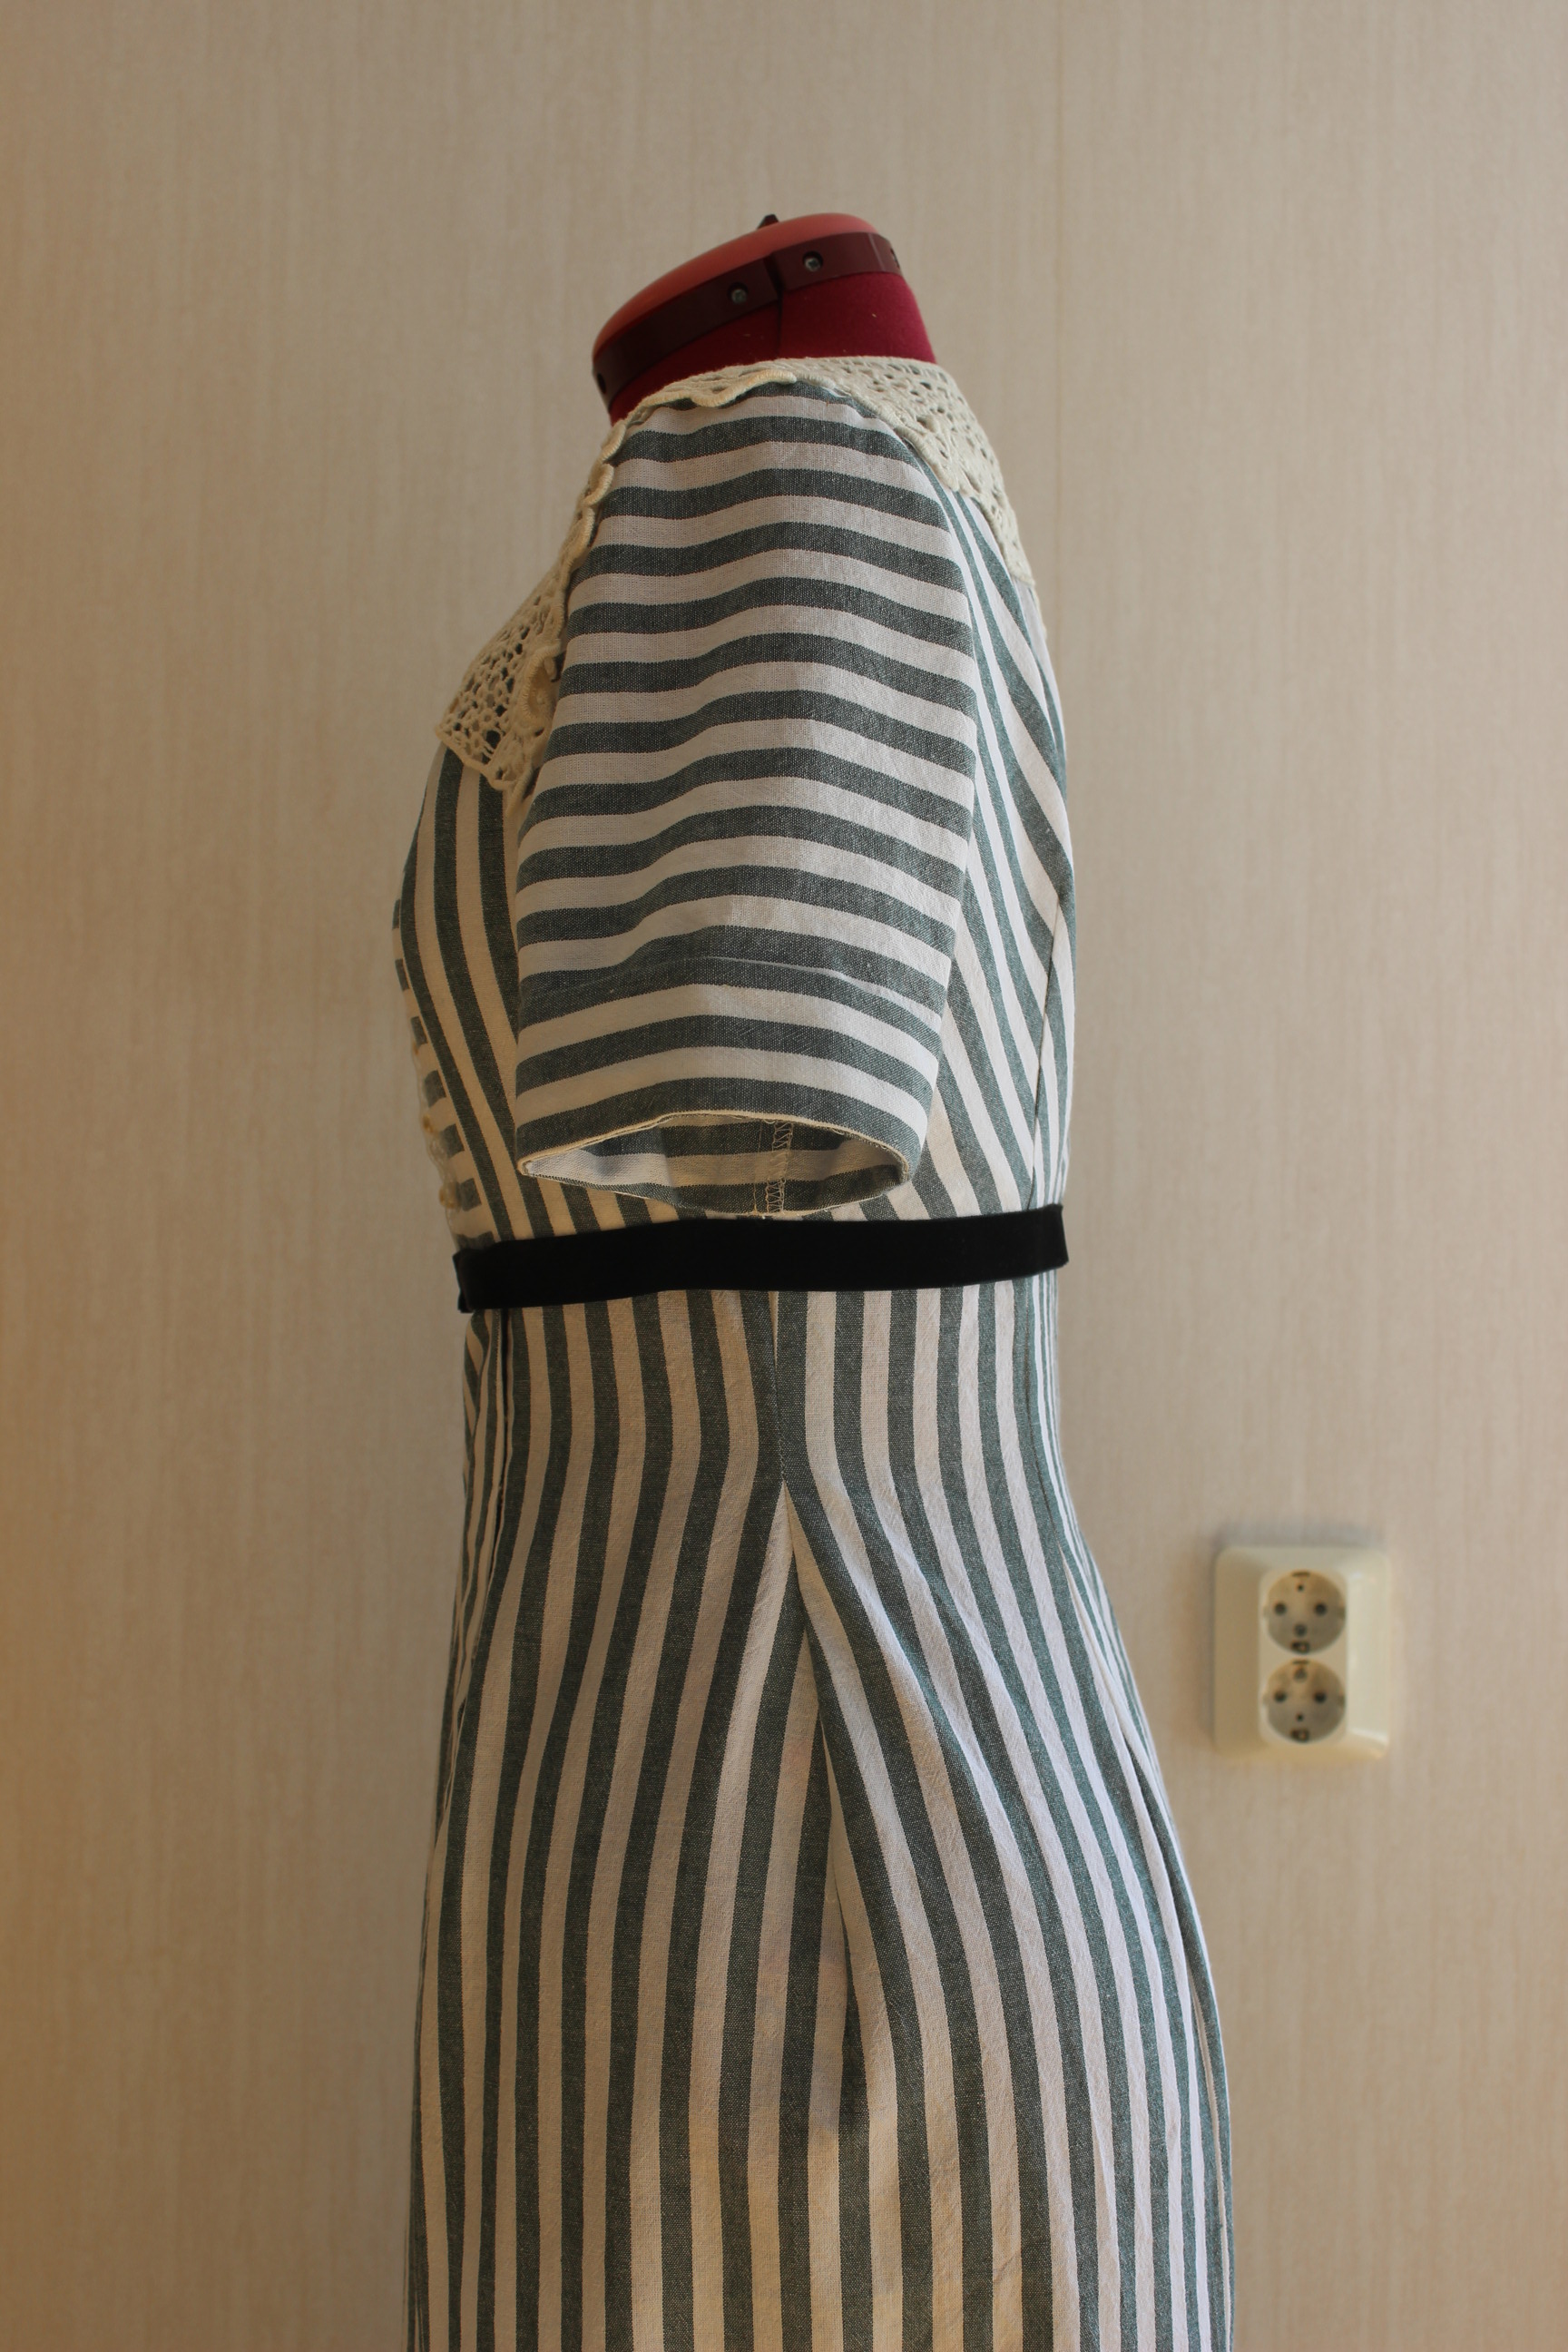
I needed to make a few alterations and then I continued by folding and hemming the layers seperatly, and cut and turned under all the seam-allowences. I attached the sleeves and made the elbow flounce.


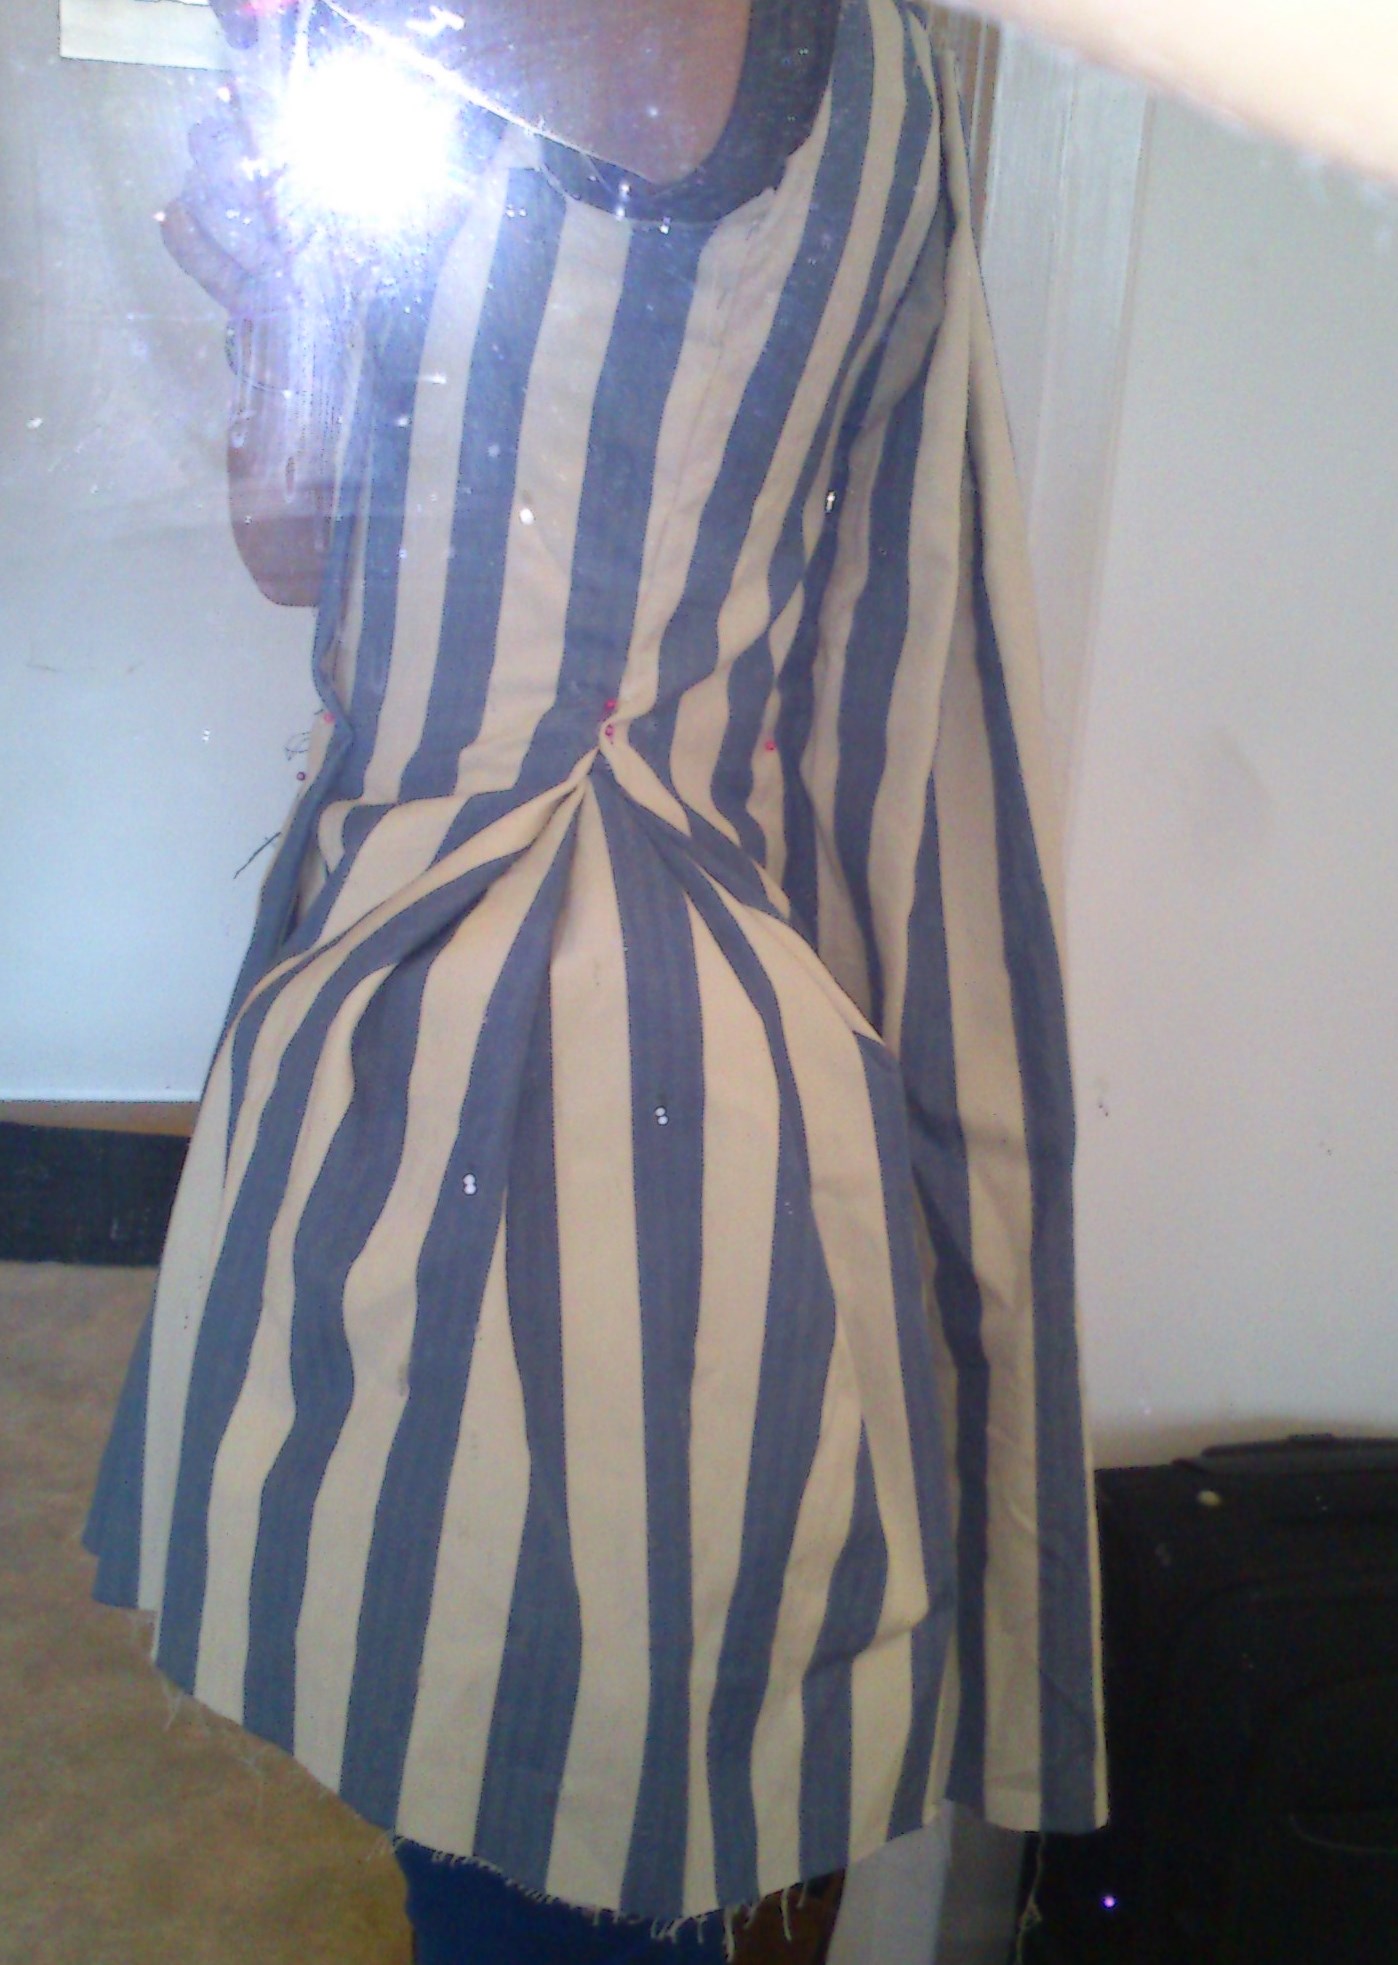
I’m a bit worried by the wrinkles in the waist. I had hoped to be able to make the jacket without a waist seam. But I had to give in to the wrinkles and decided to sew them down as they lay, creating a false seam.

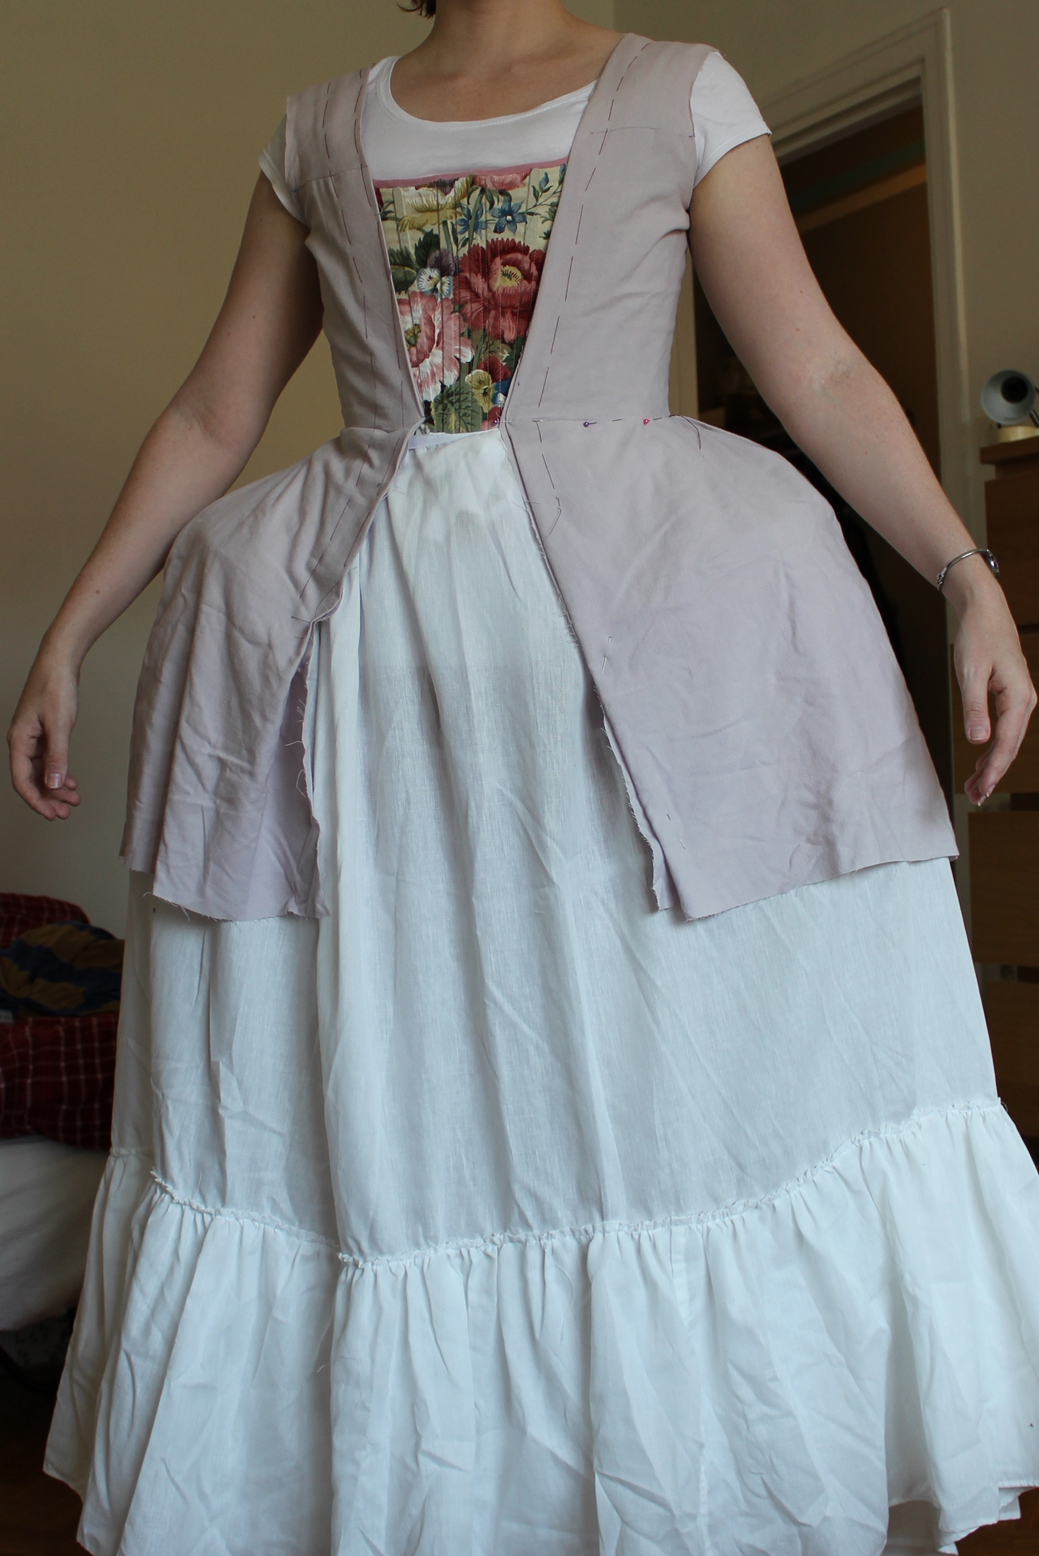
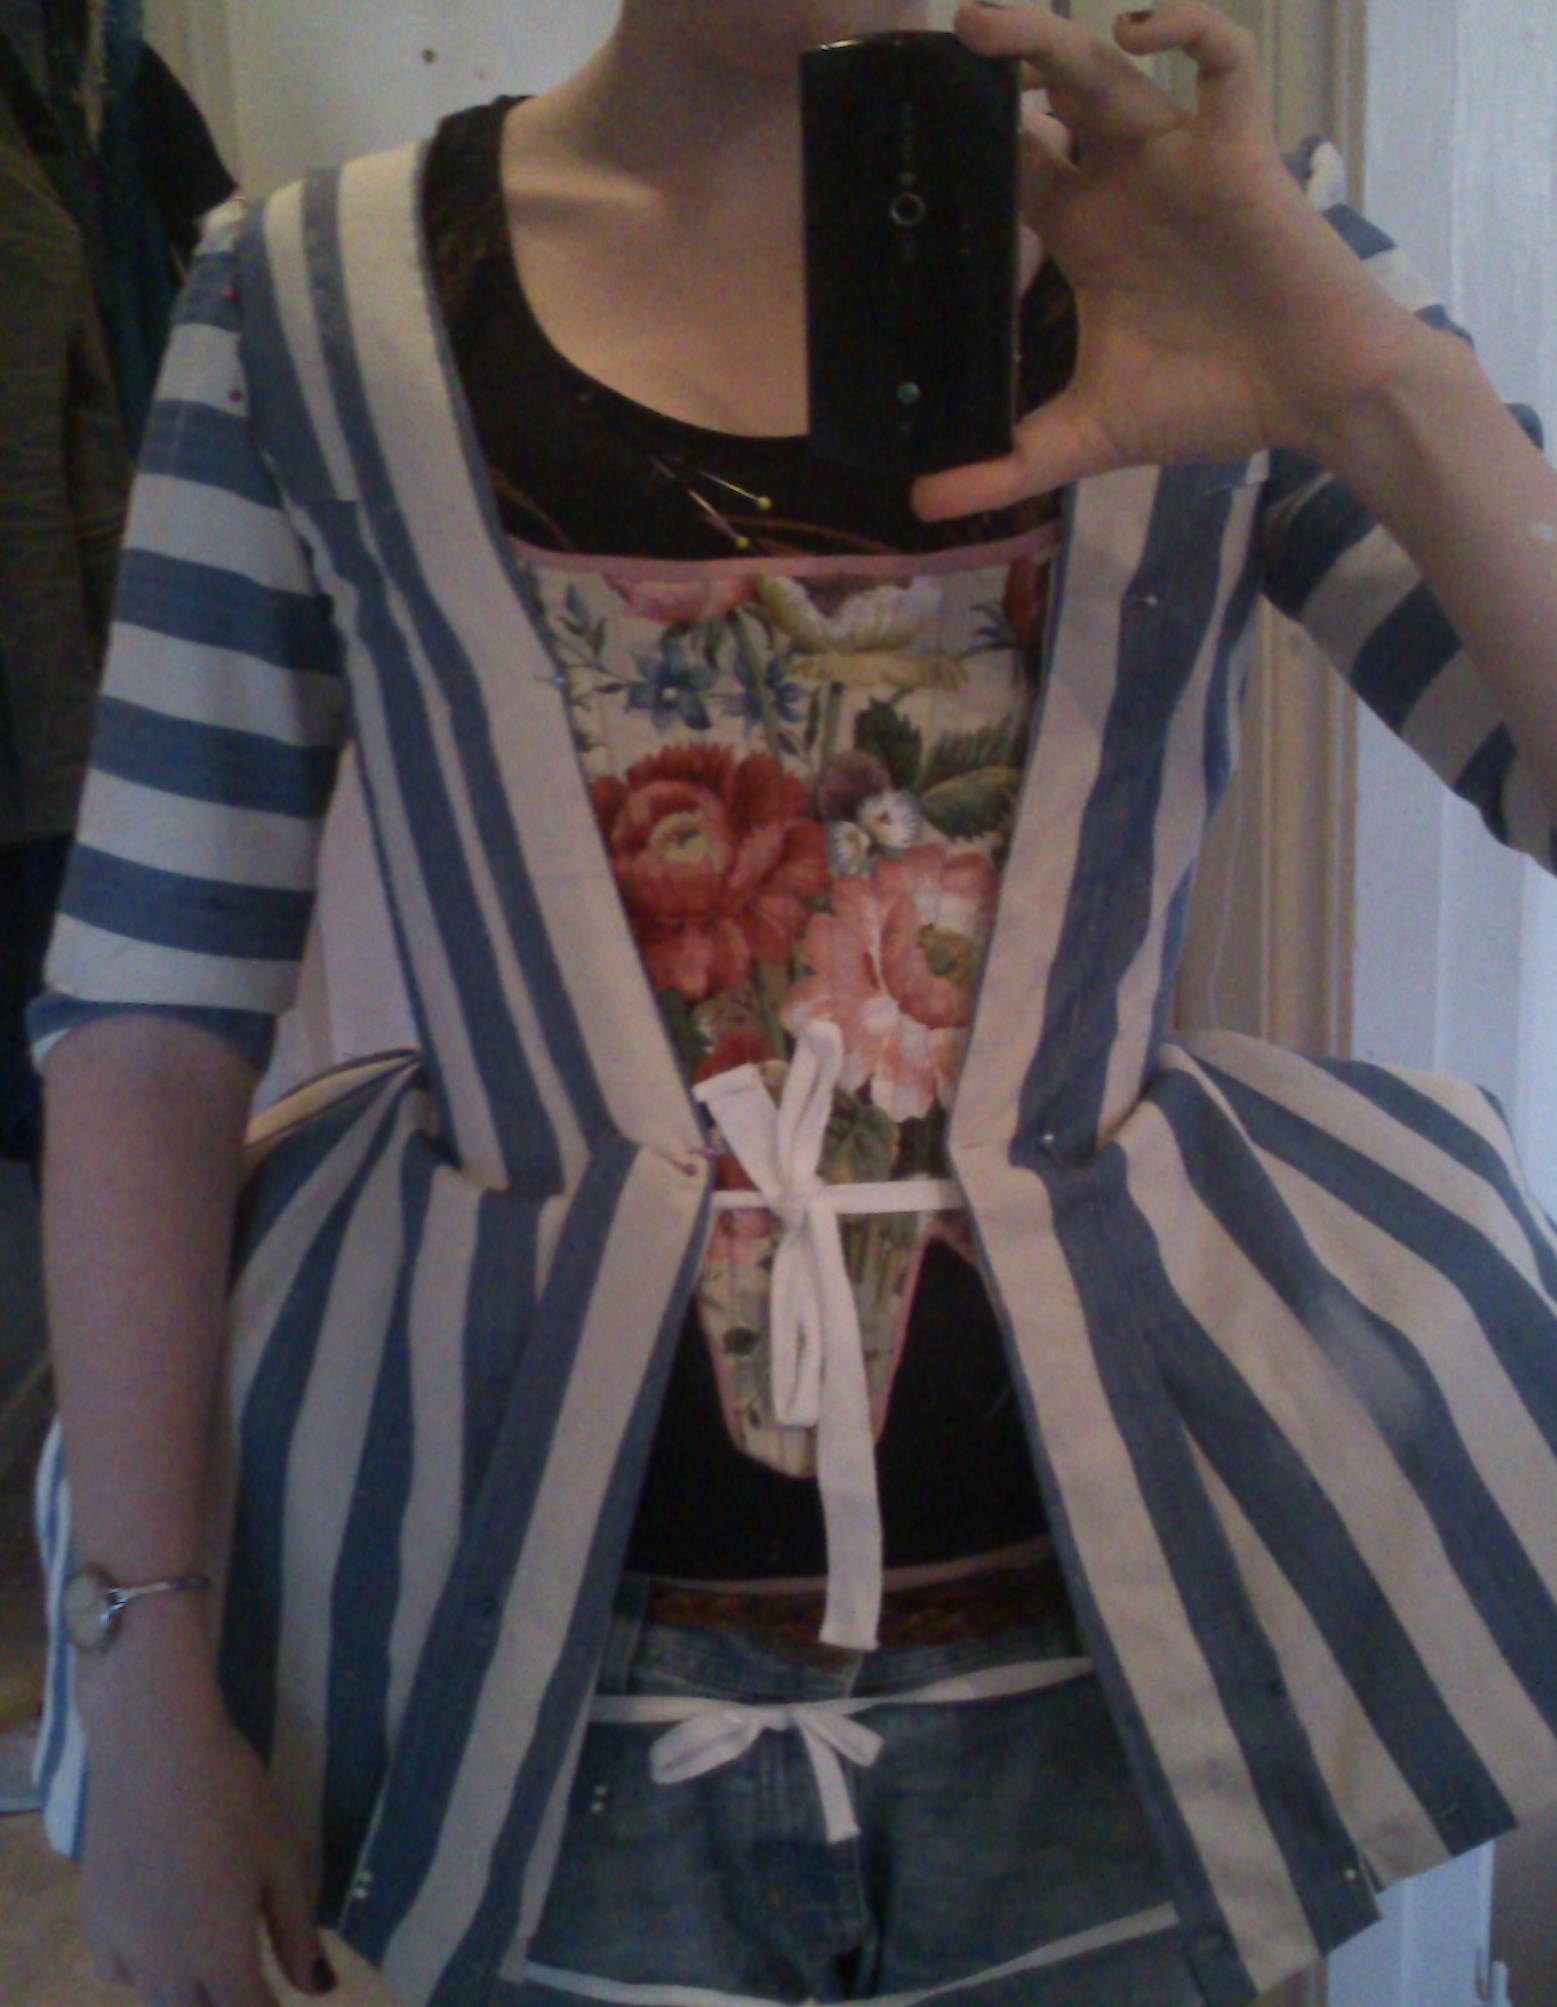
I draped the stomacher straight to the body when wearing the jacket, to get the opening and sizing right. I cut the stomacher in two parts, who closes at center front by hooks and eyes.
The hole jacket are compleatly handsewn and I’m very proud of it. I used up every single piece of the fabric and manadge to only piece it in one place – the left sleeve flounce.
And thisweekend me and my sister had a photoshoot of the jacket paired with the separate skirt, that I will show you pictures of in my next post.
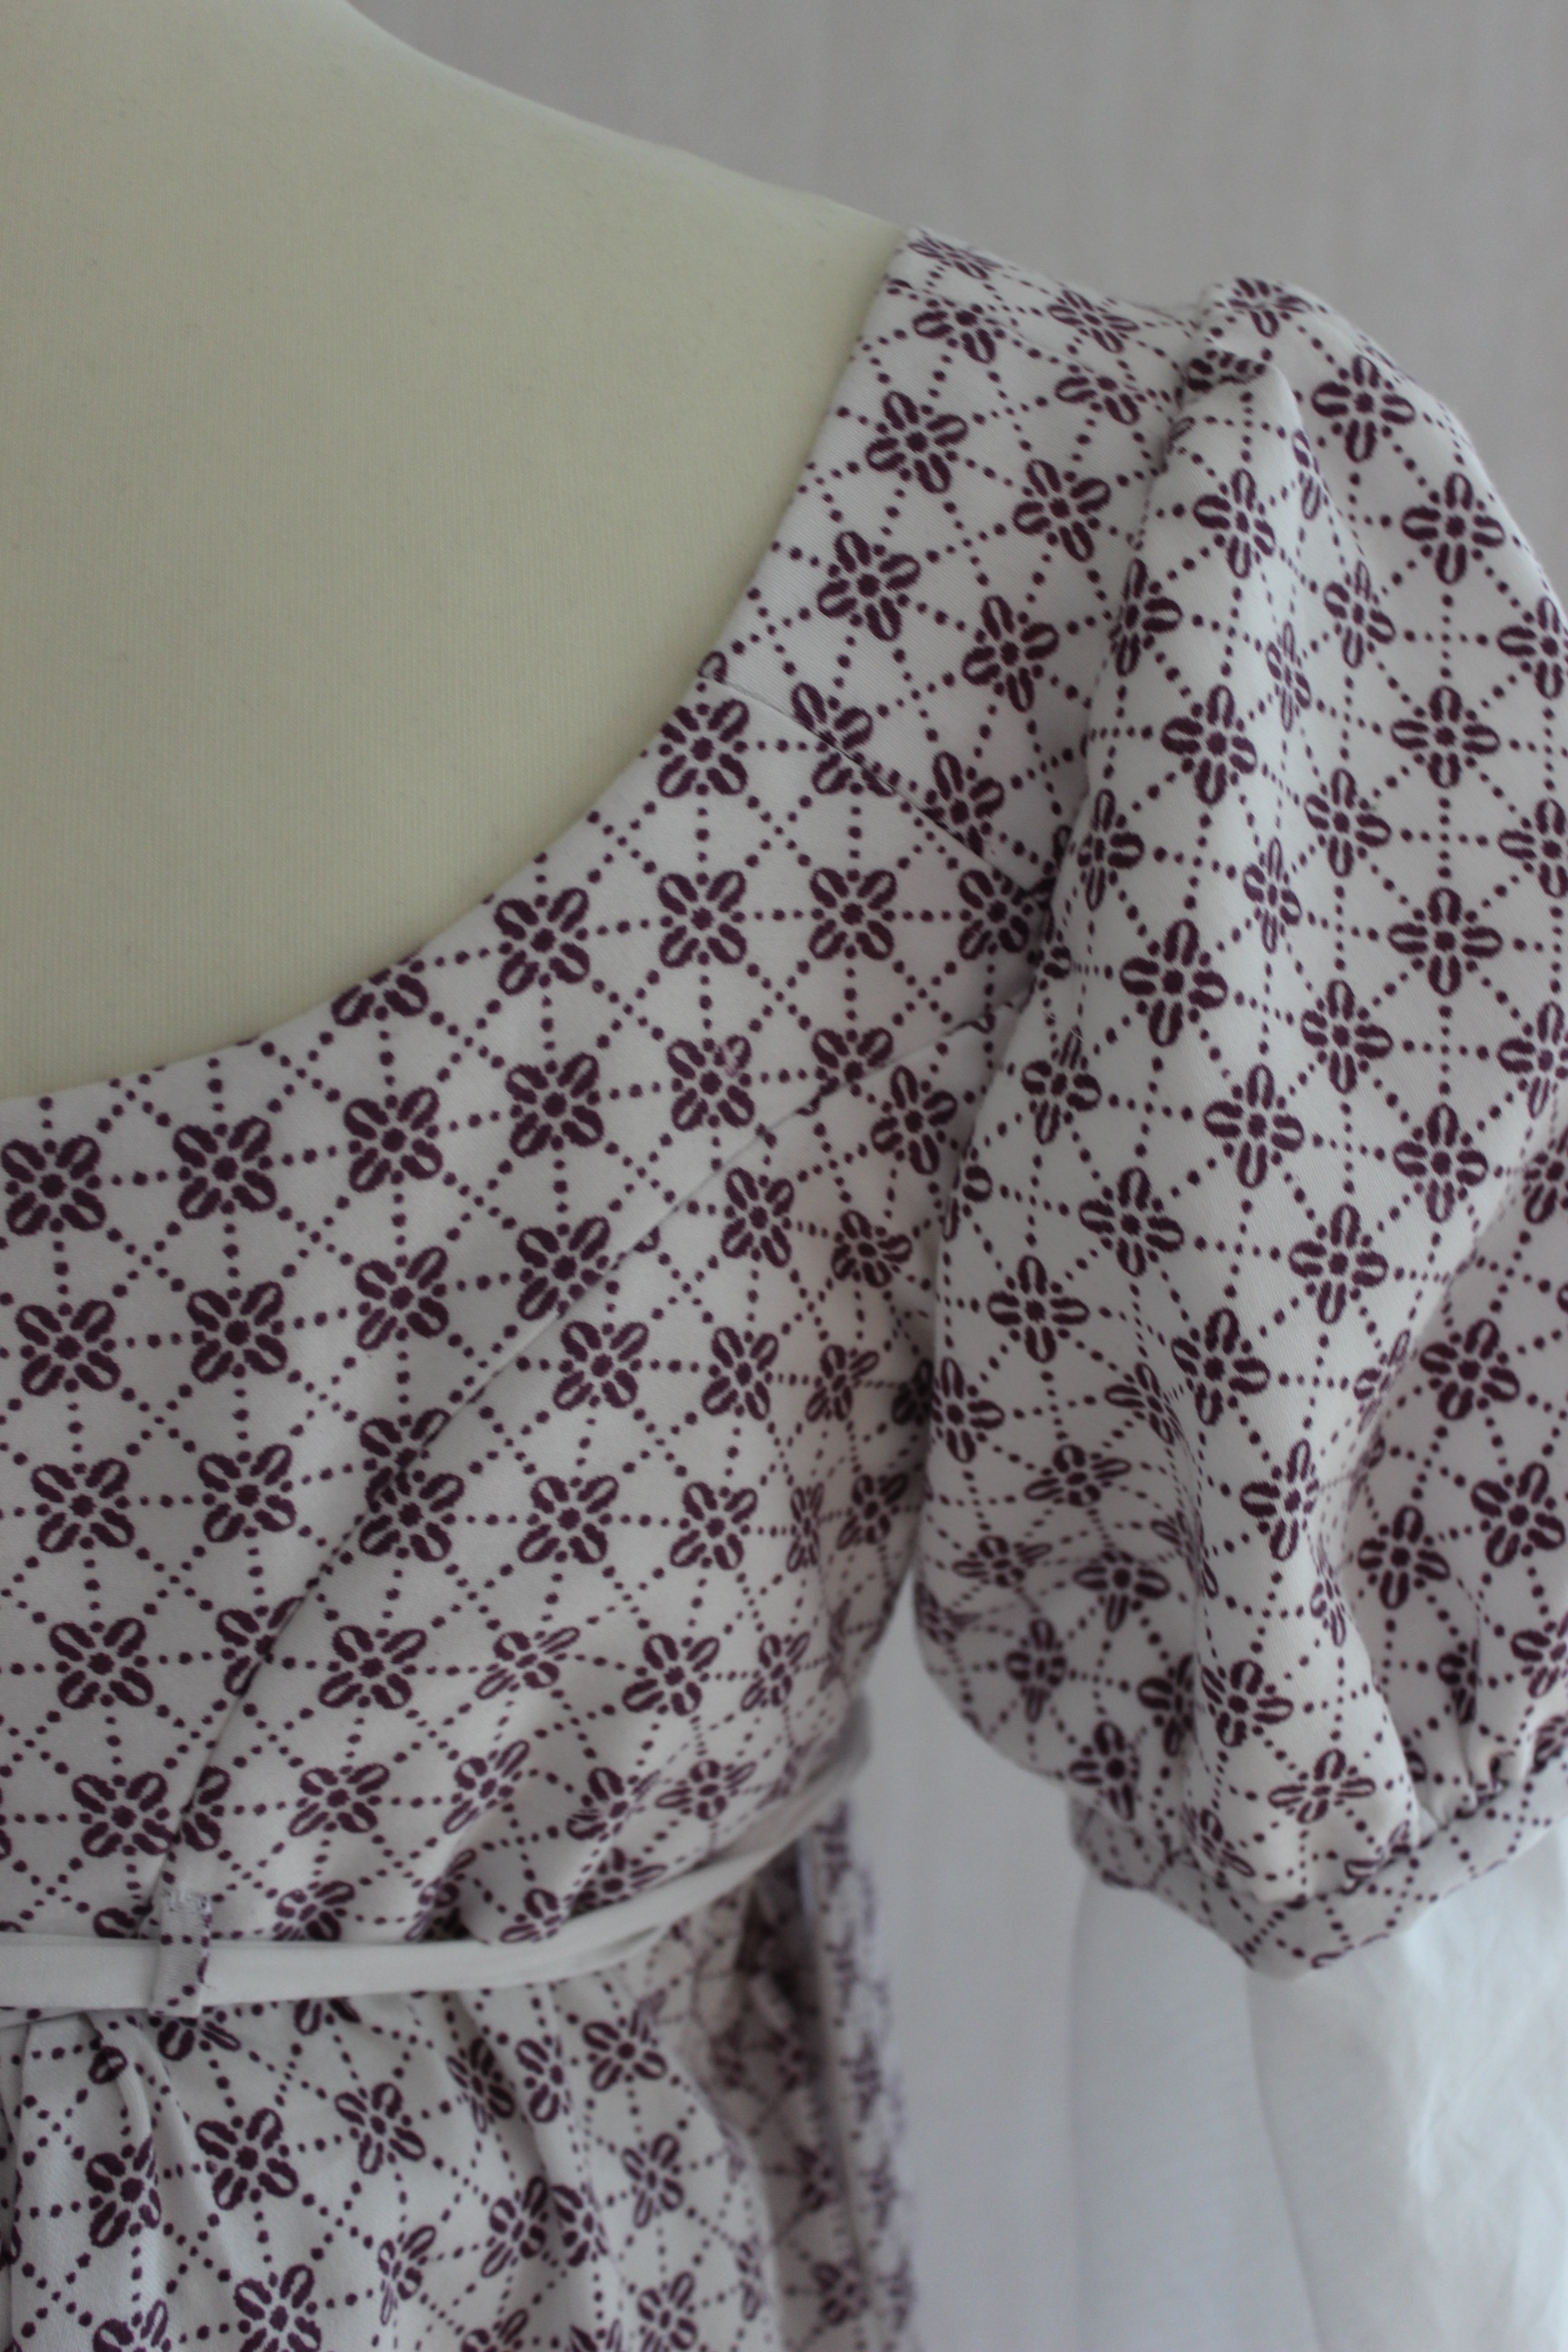
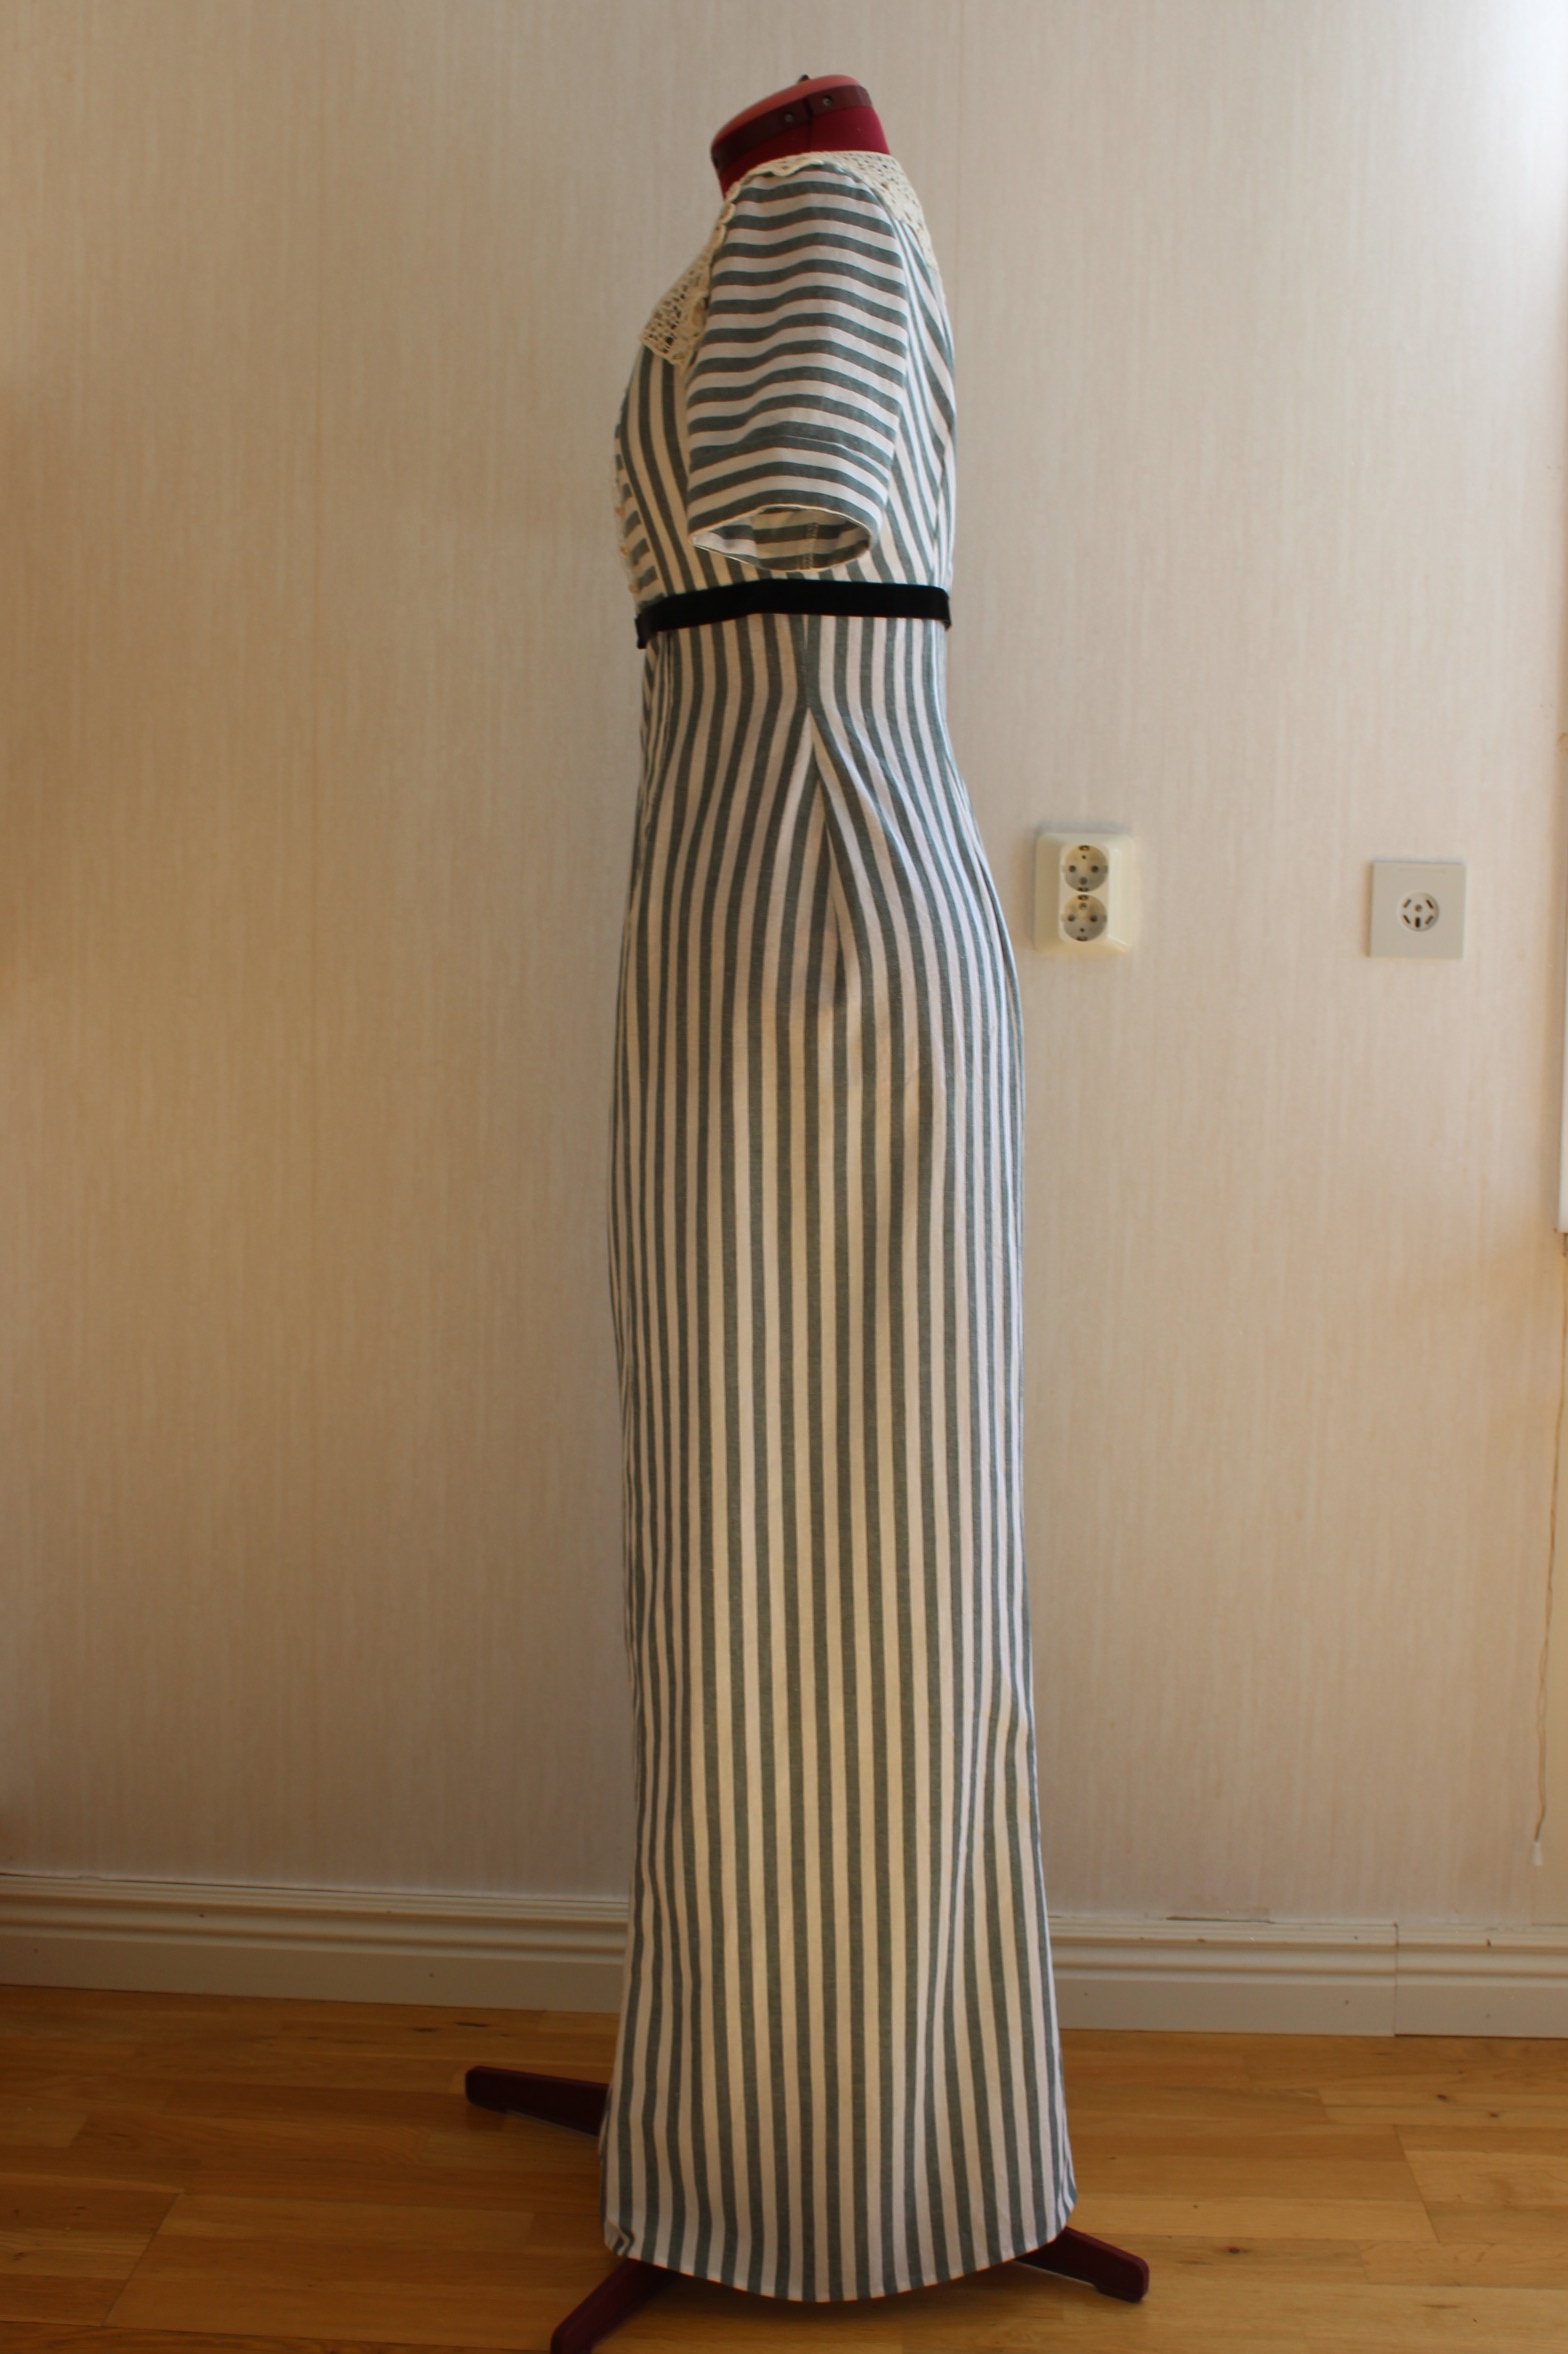
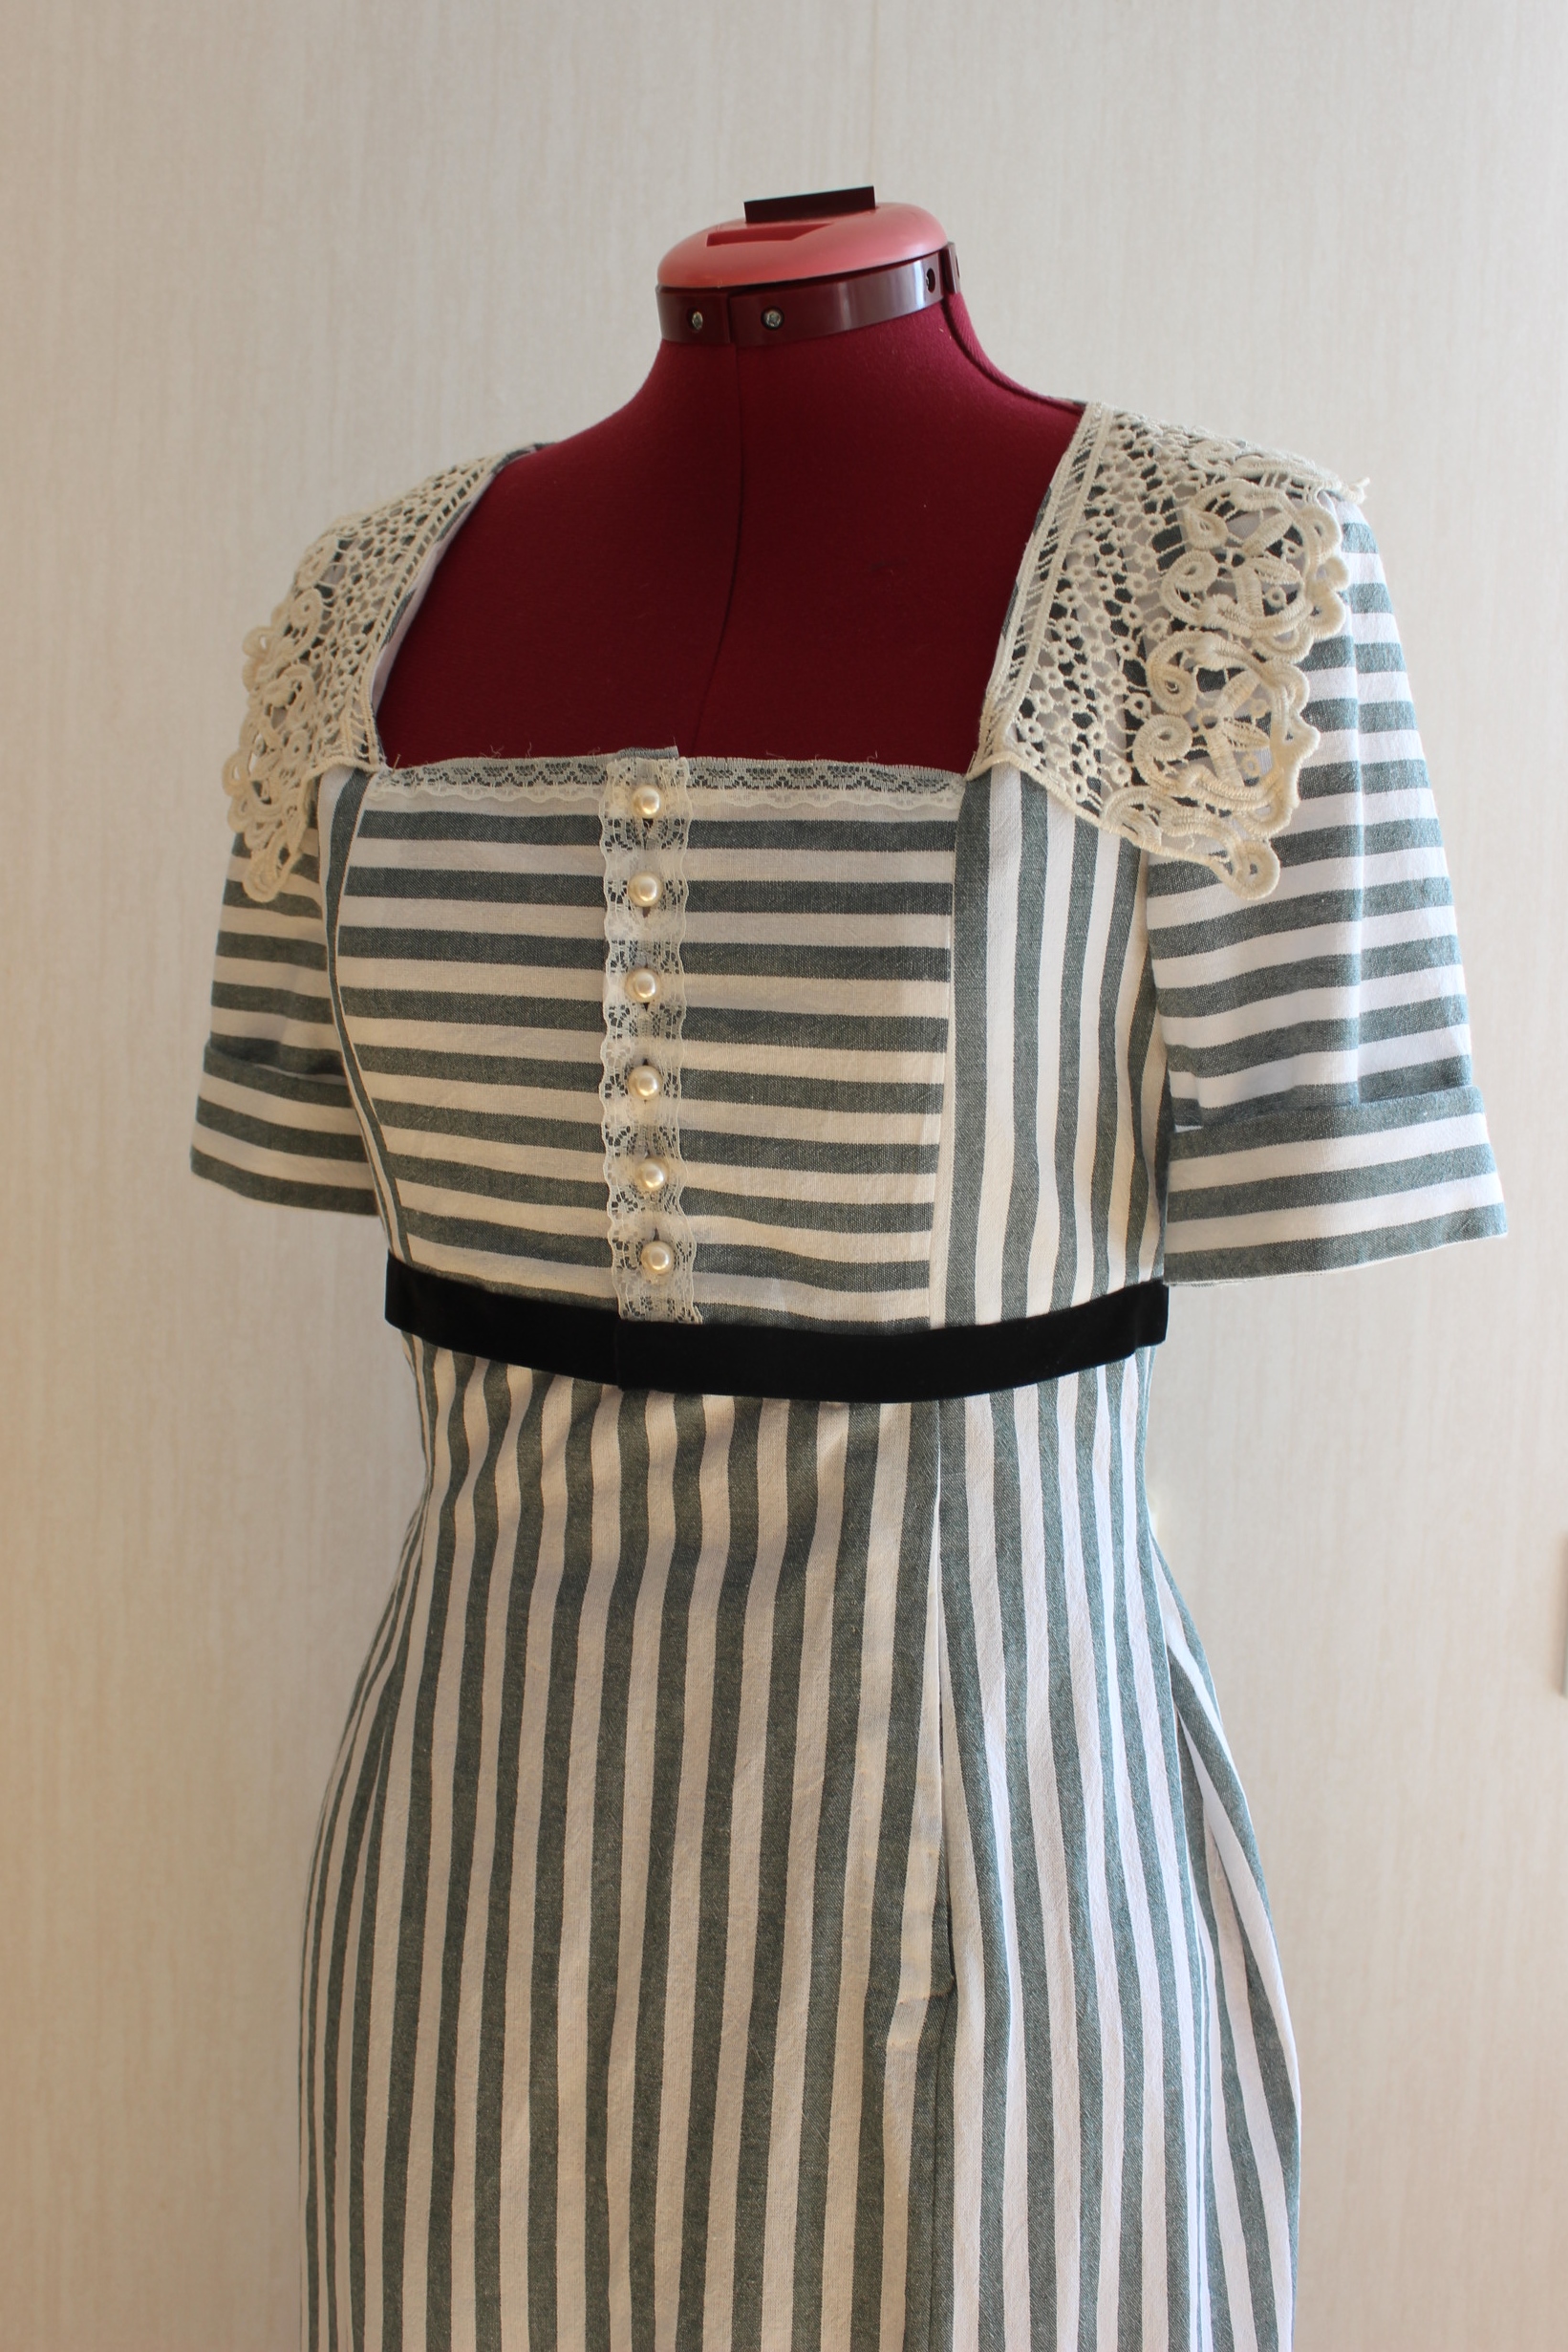
Some finished pictures on the dressform.


Just the facts:
Challenge 17. Robe and Robbings
What: A pet-en-l’air (Jacket)
Year: 1745-1755.
Pattern: Janet Arnolds “Pattern of Fahsion 1” A pet-en-l’air
Fabric: 2,5 m of striped cotton, and 2,5 m white cotton-sheet for lining.
Notions: Thread, hooks and eyes, lacing cord, plastic boning for the stomacher and lacing.
How historical accurate: My closest yet. Compleatly handsewn with period stiching, pattern and cutting methods. I’d say about 90%.
Time: 25 hours
Cost: 100 Sek (11USD)
First worn: On the photoshoot mid sep.


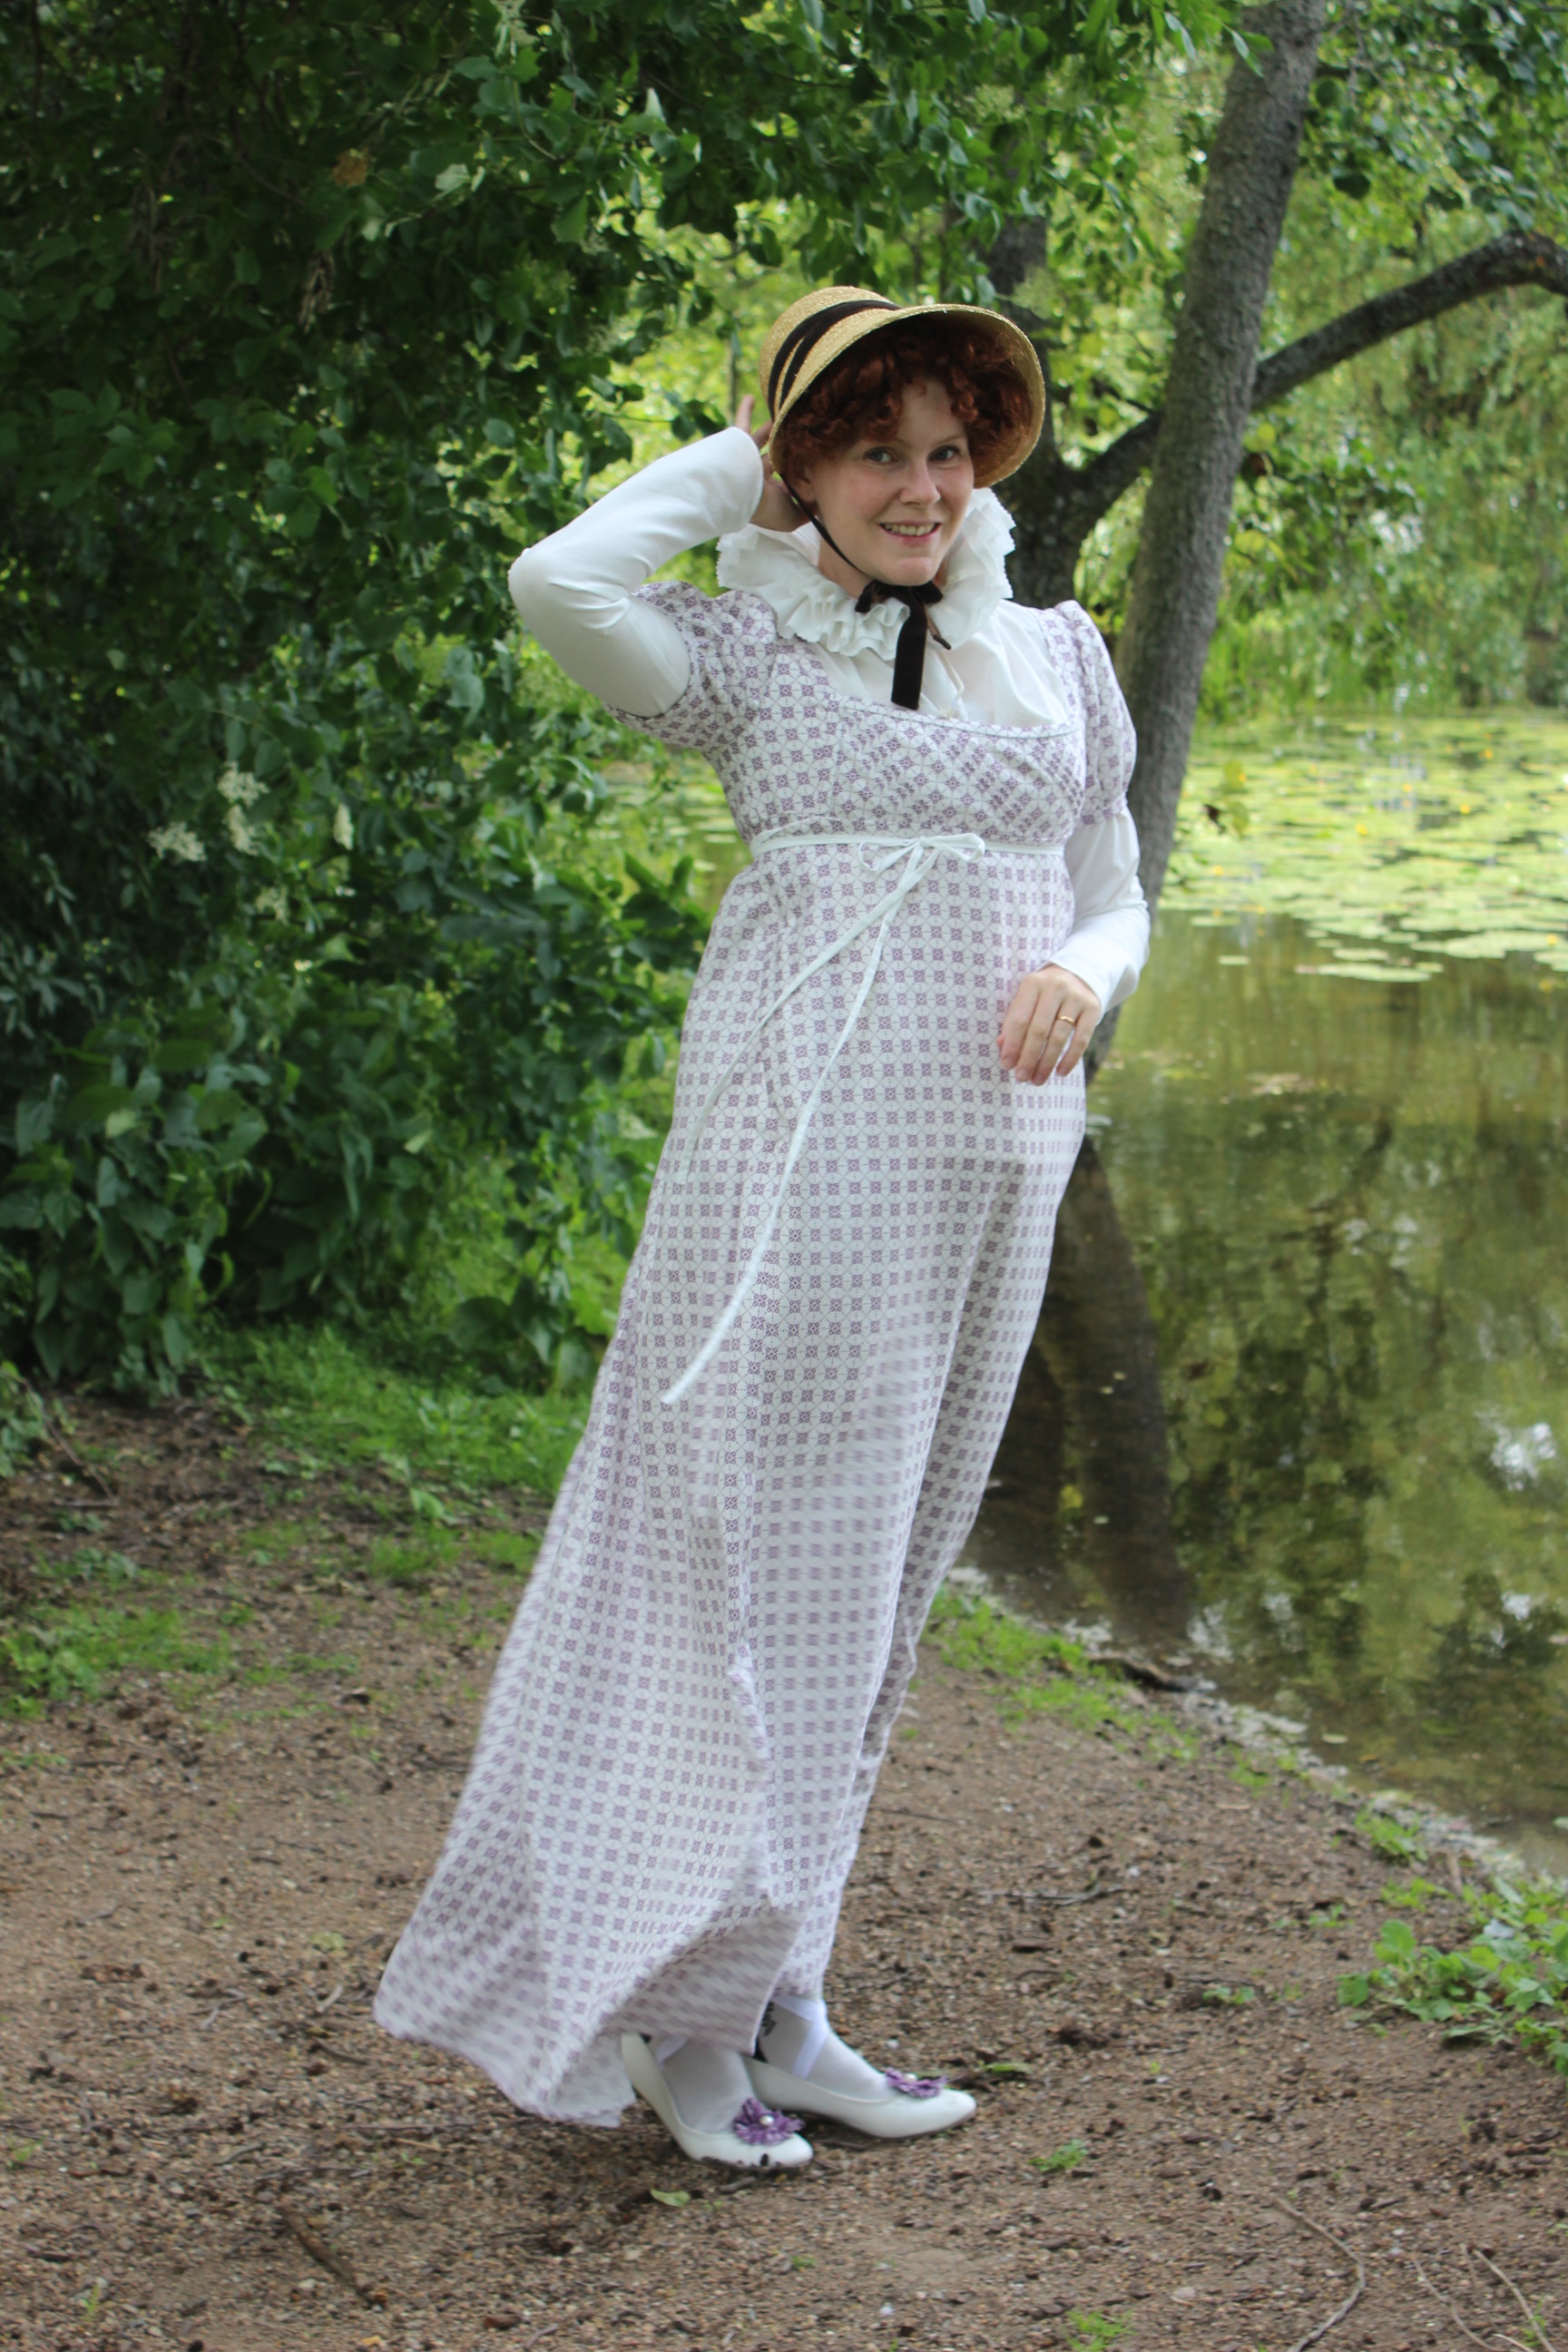
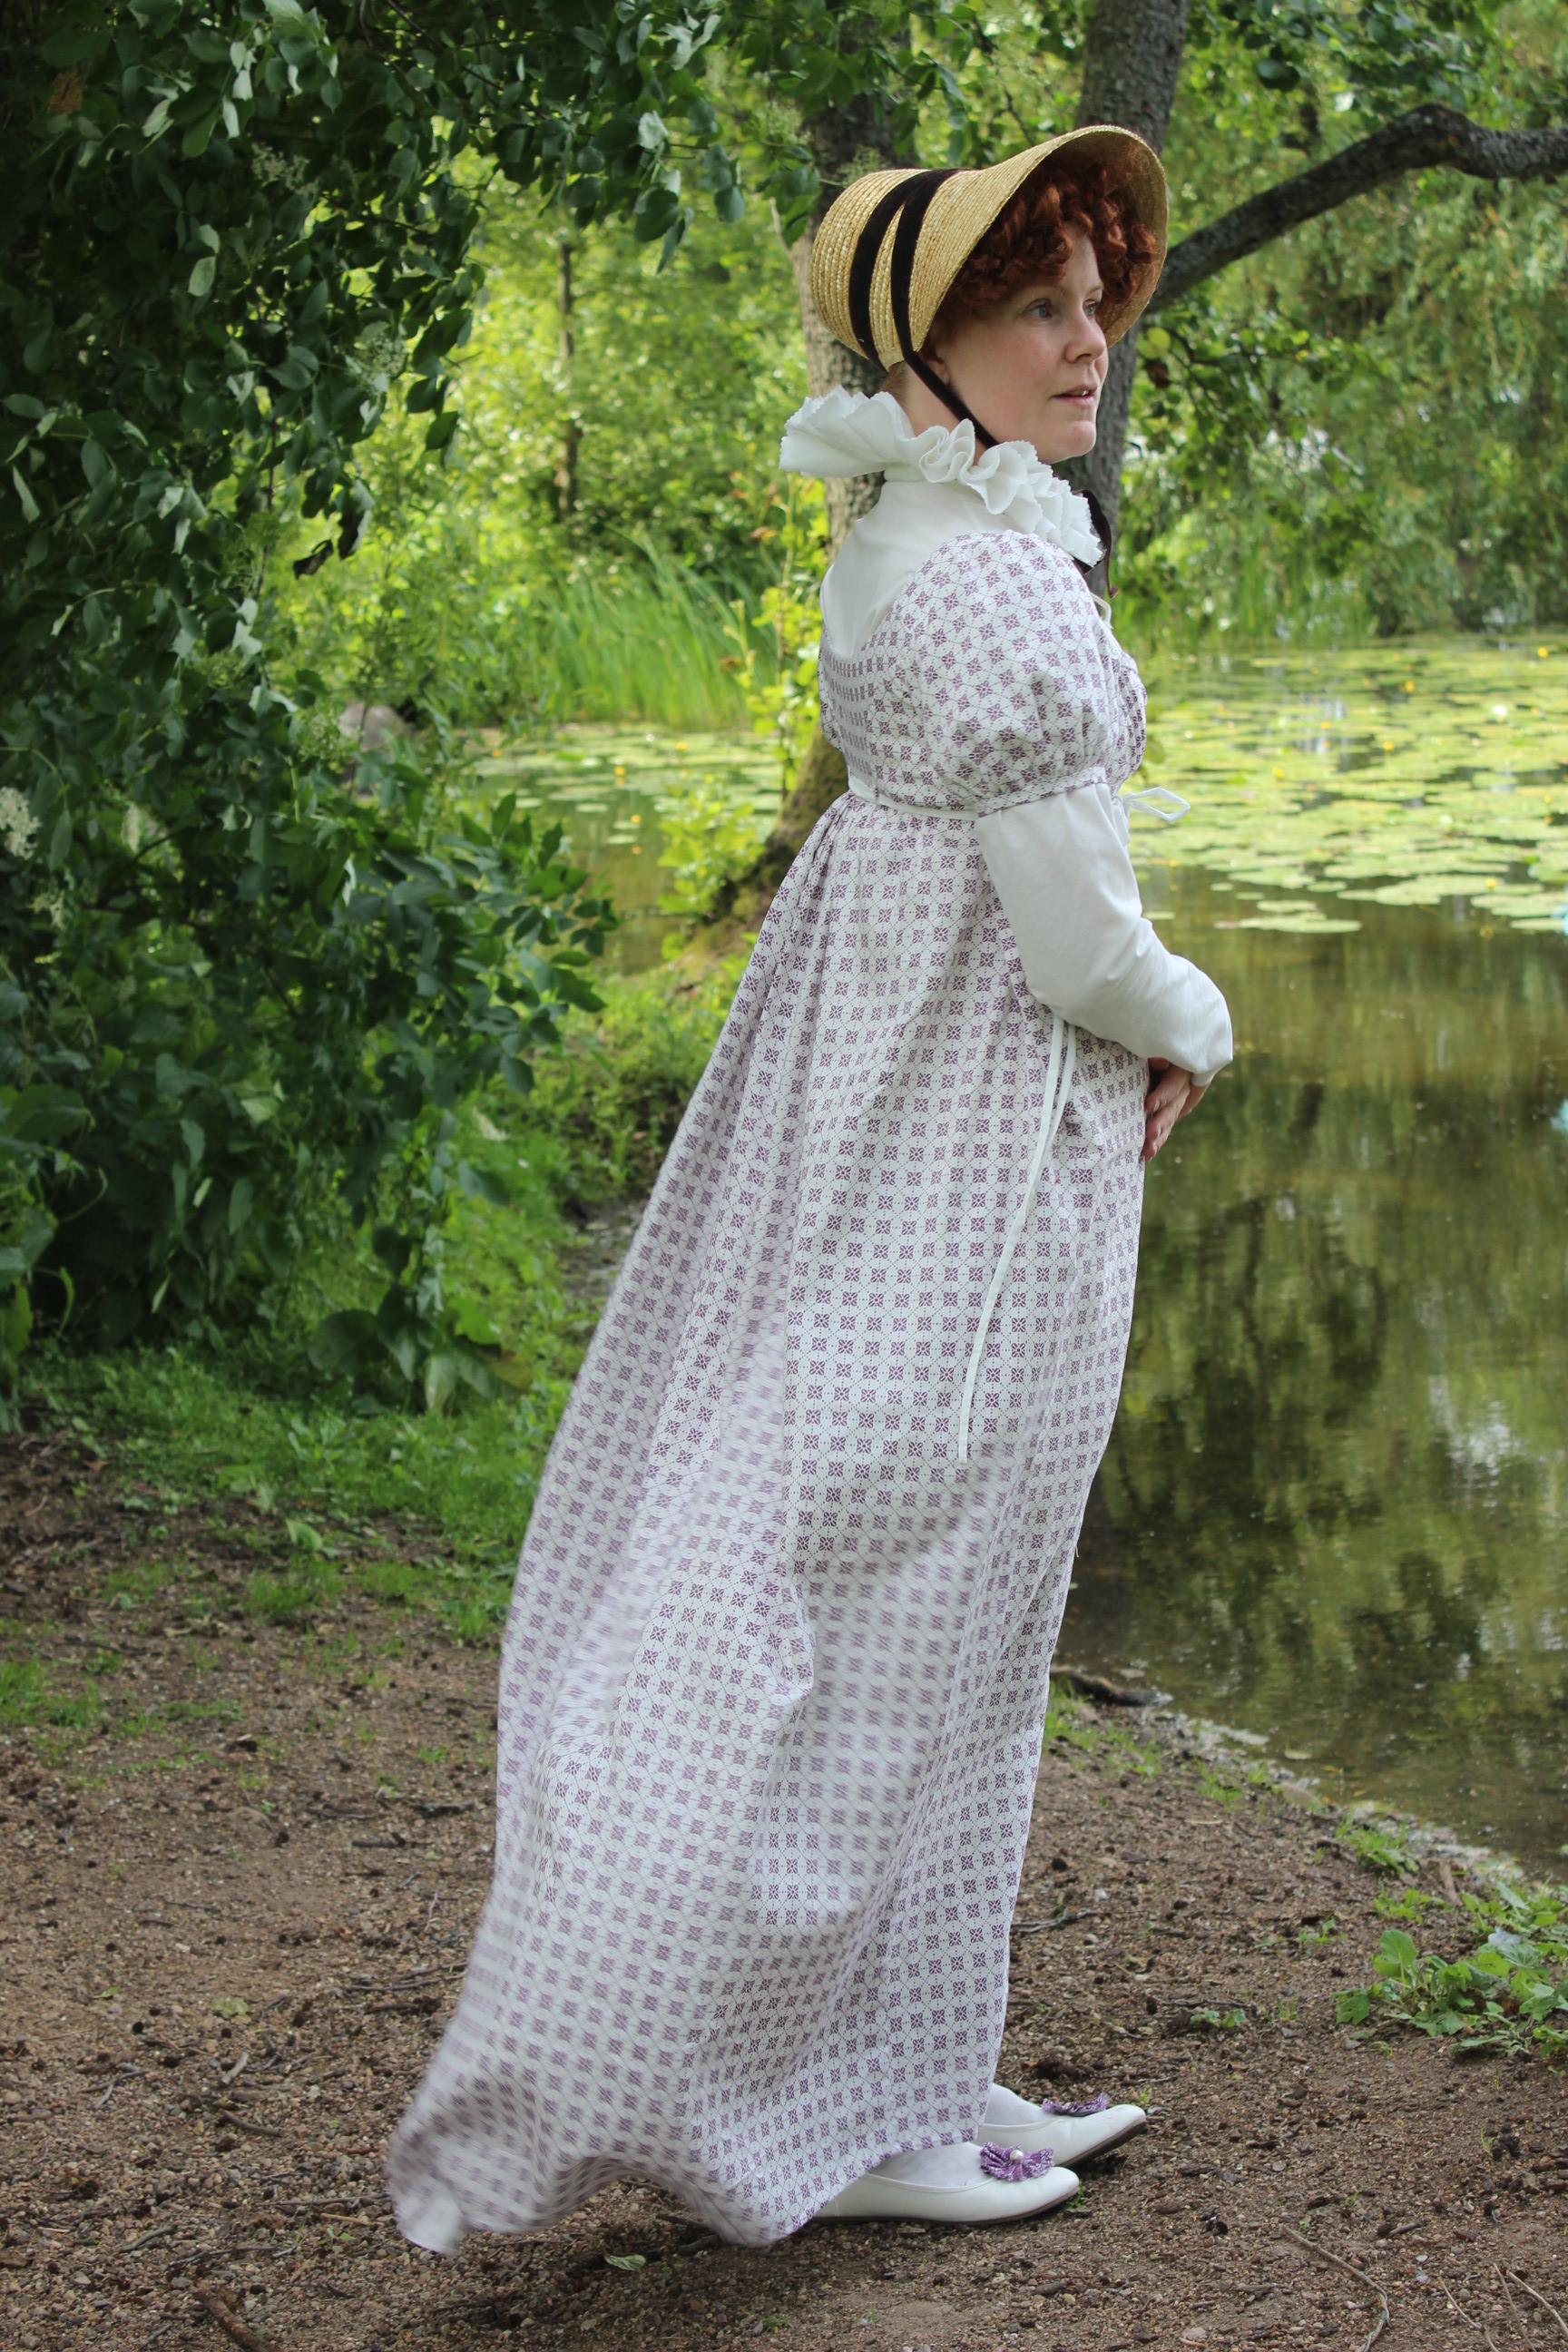
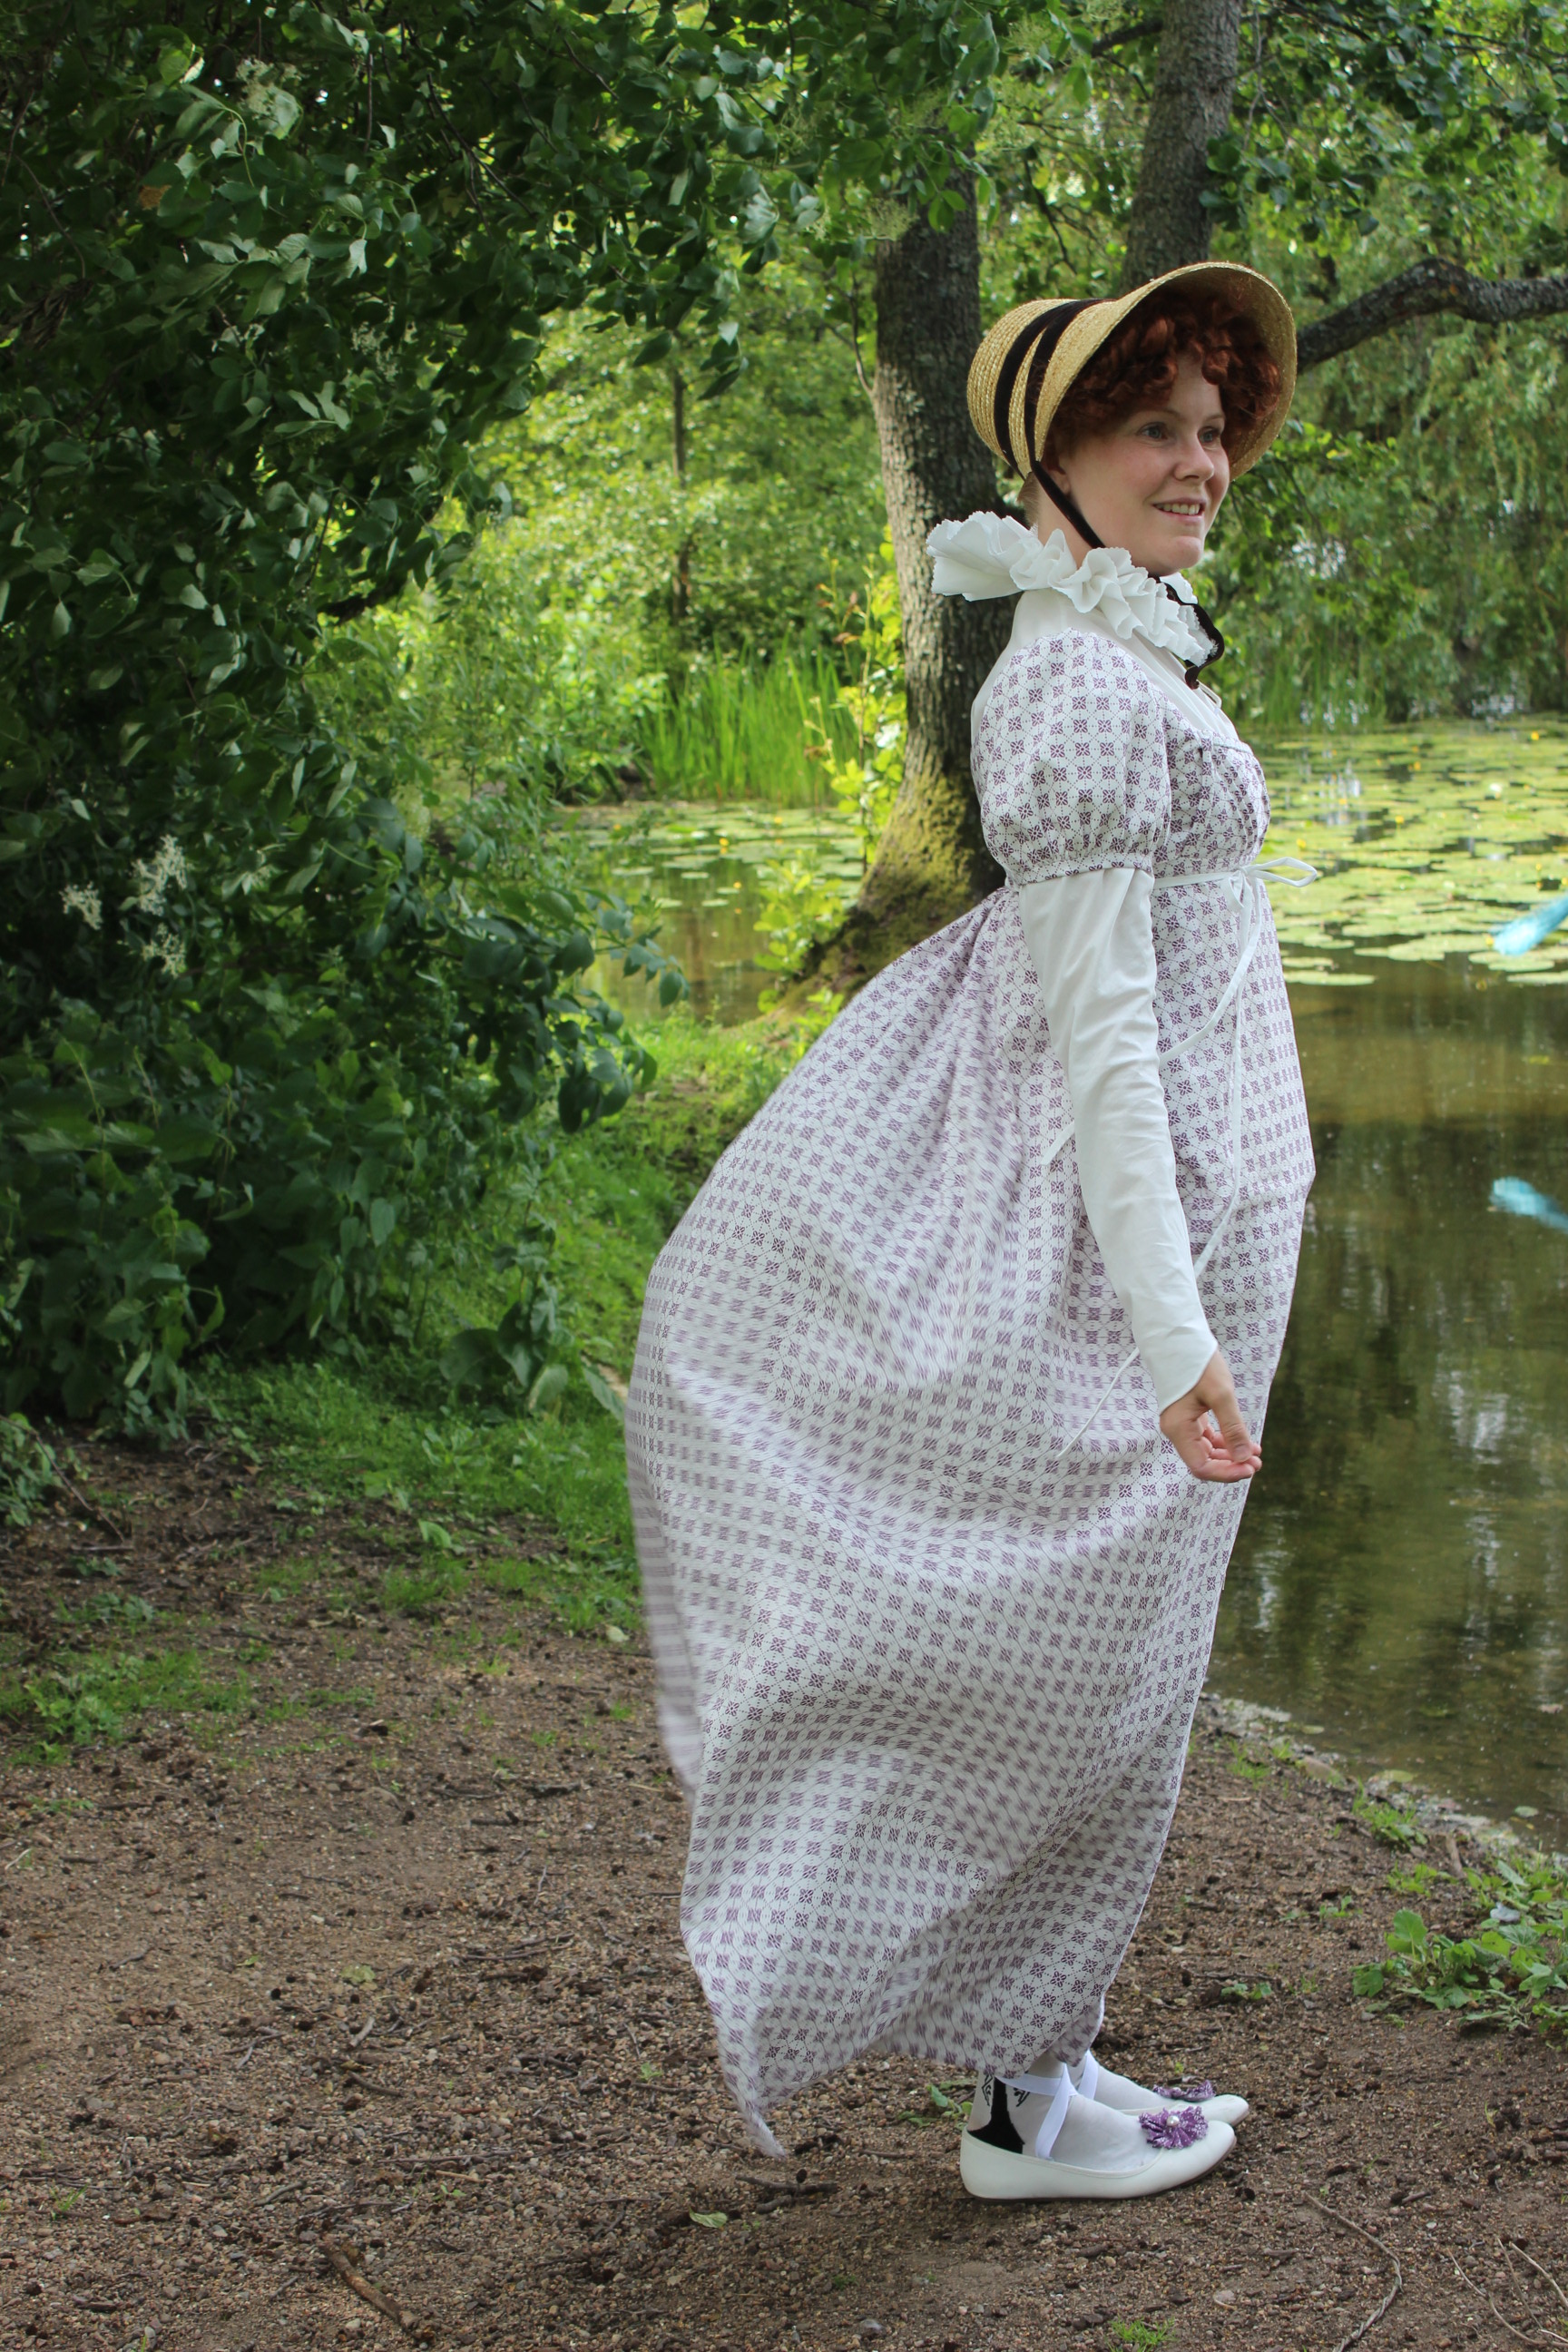
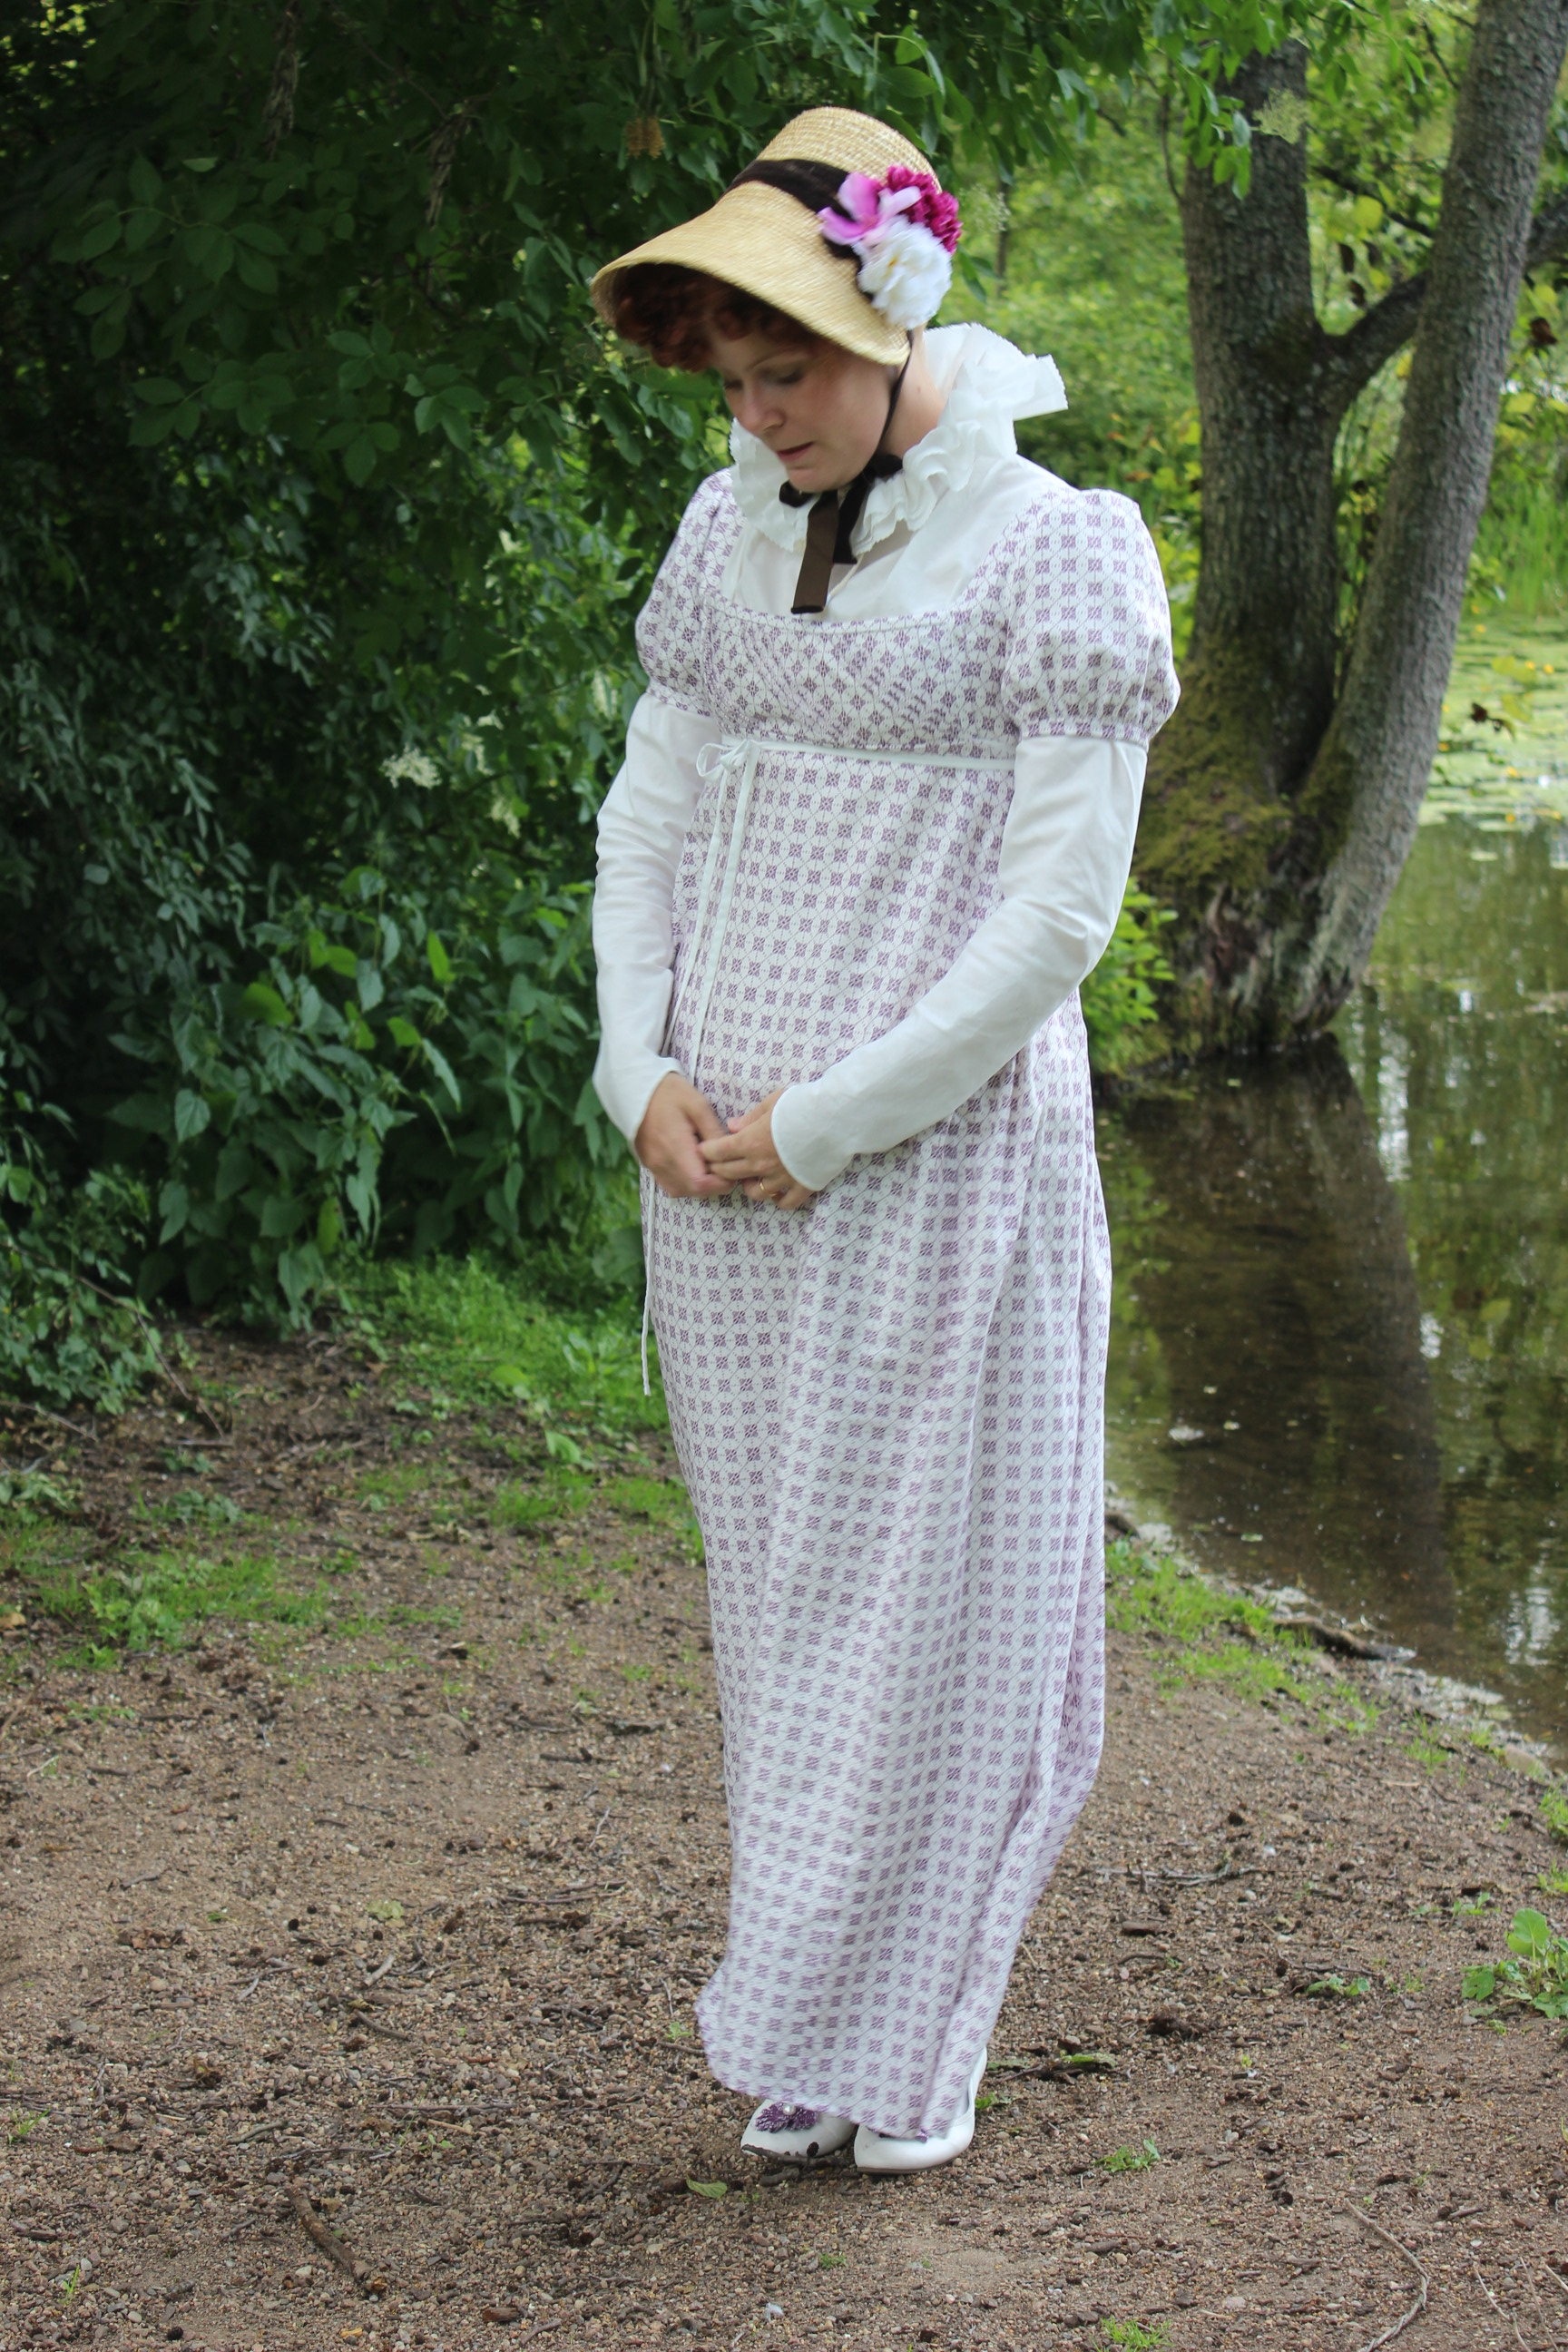
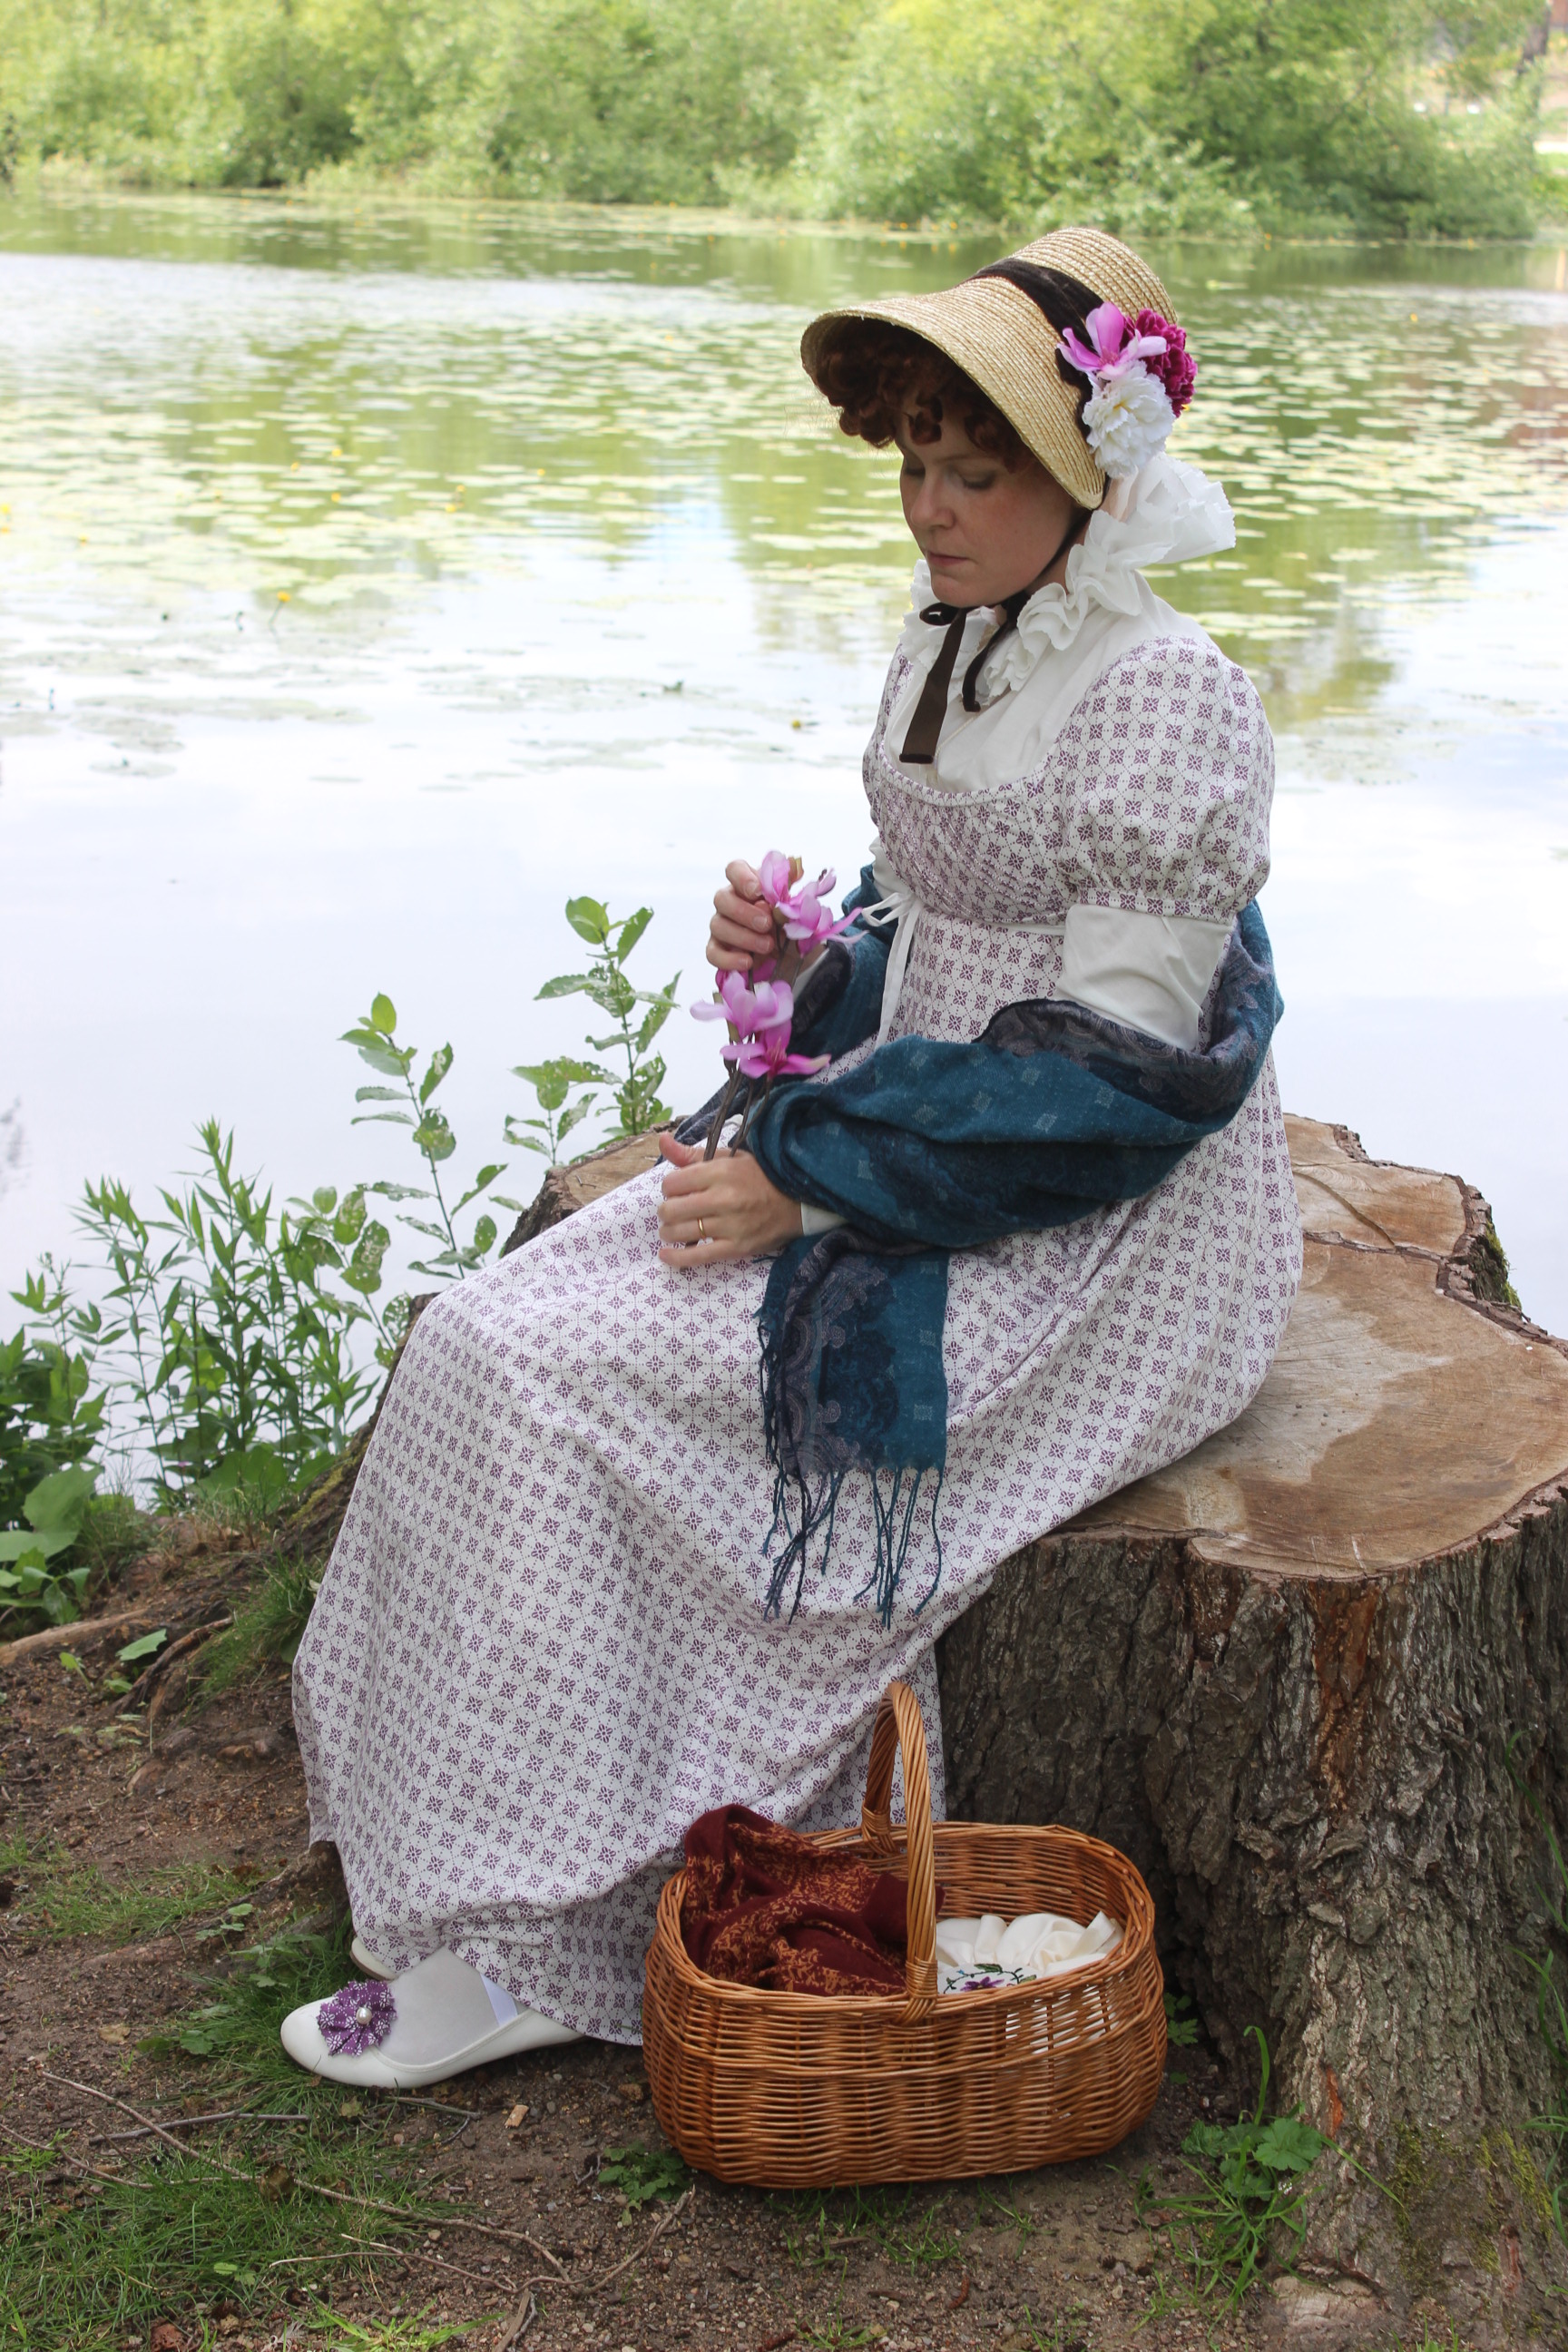
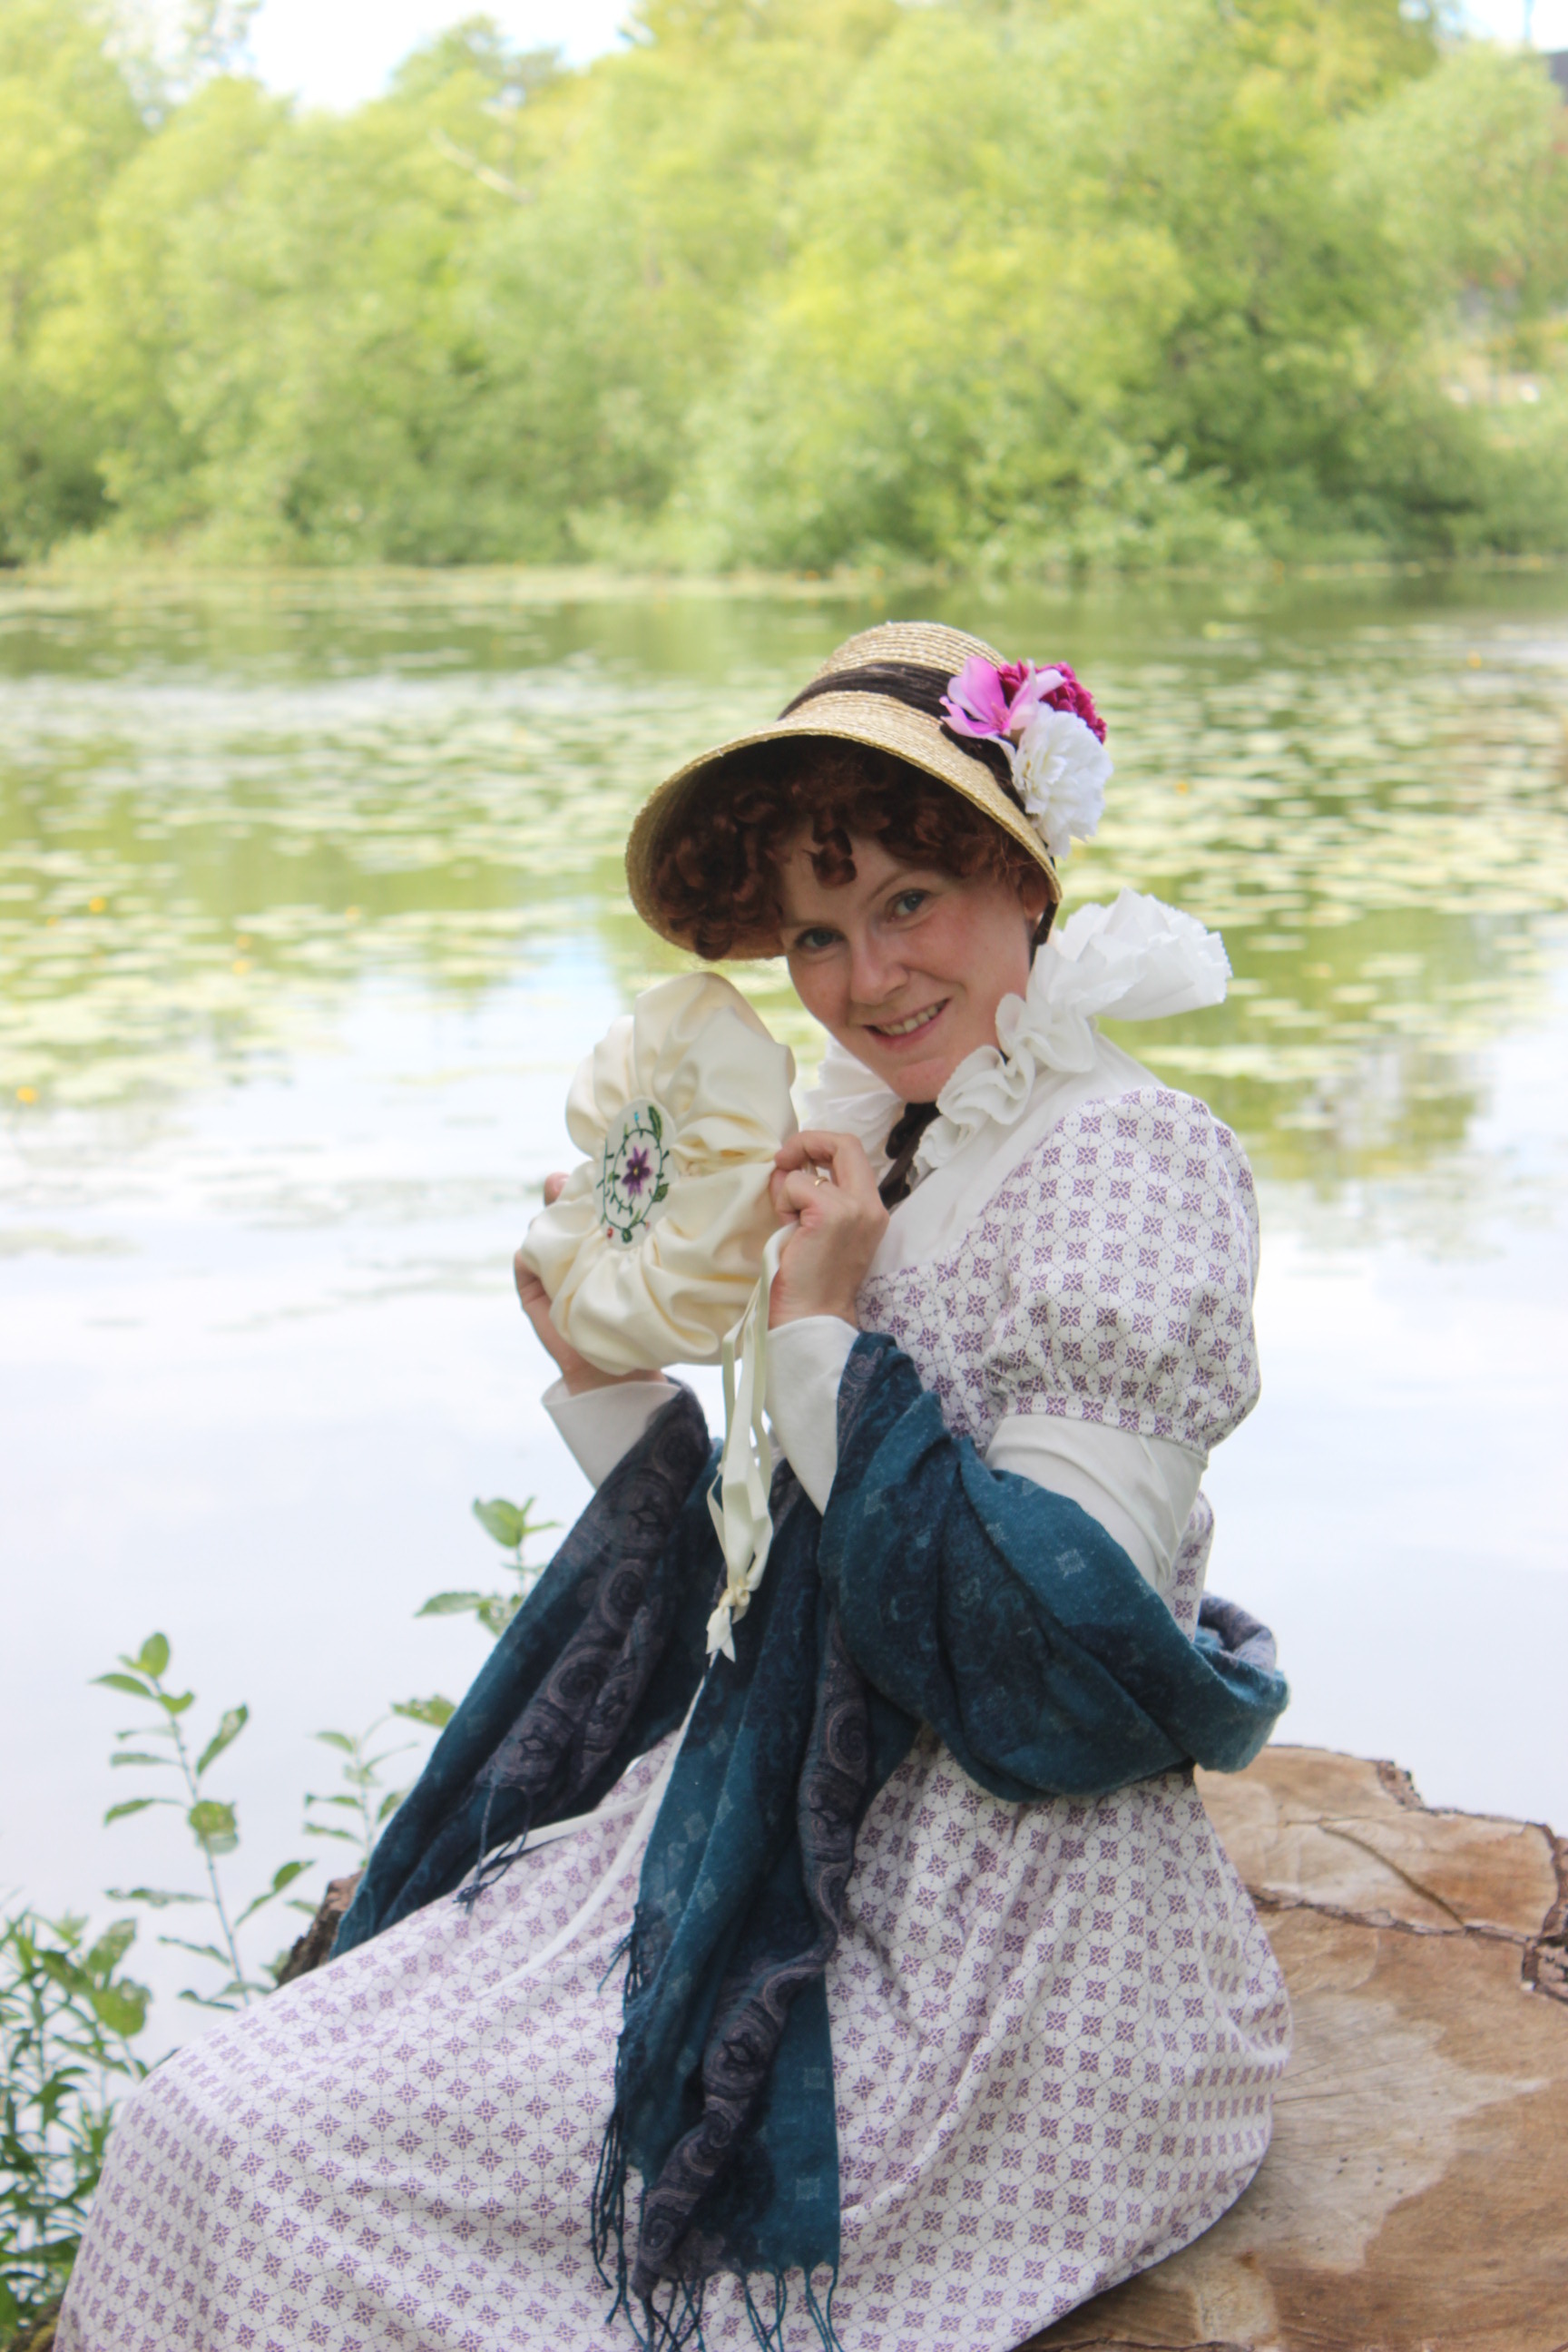
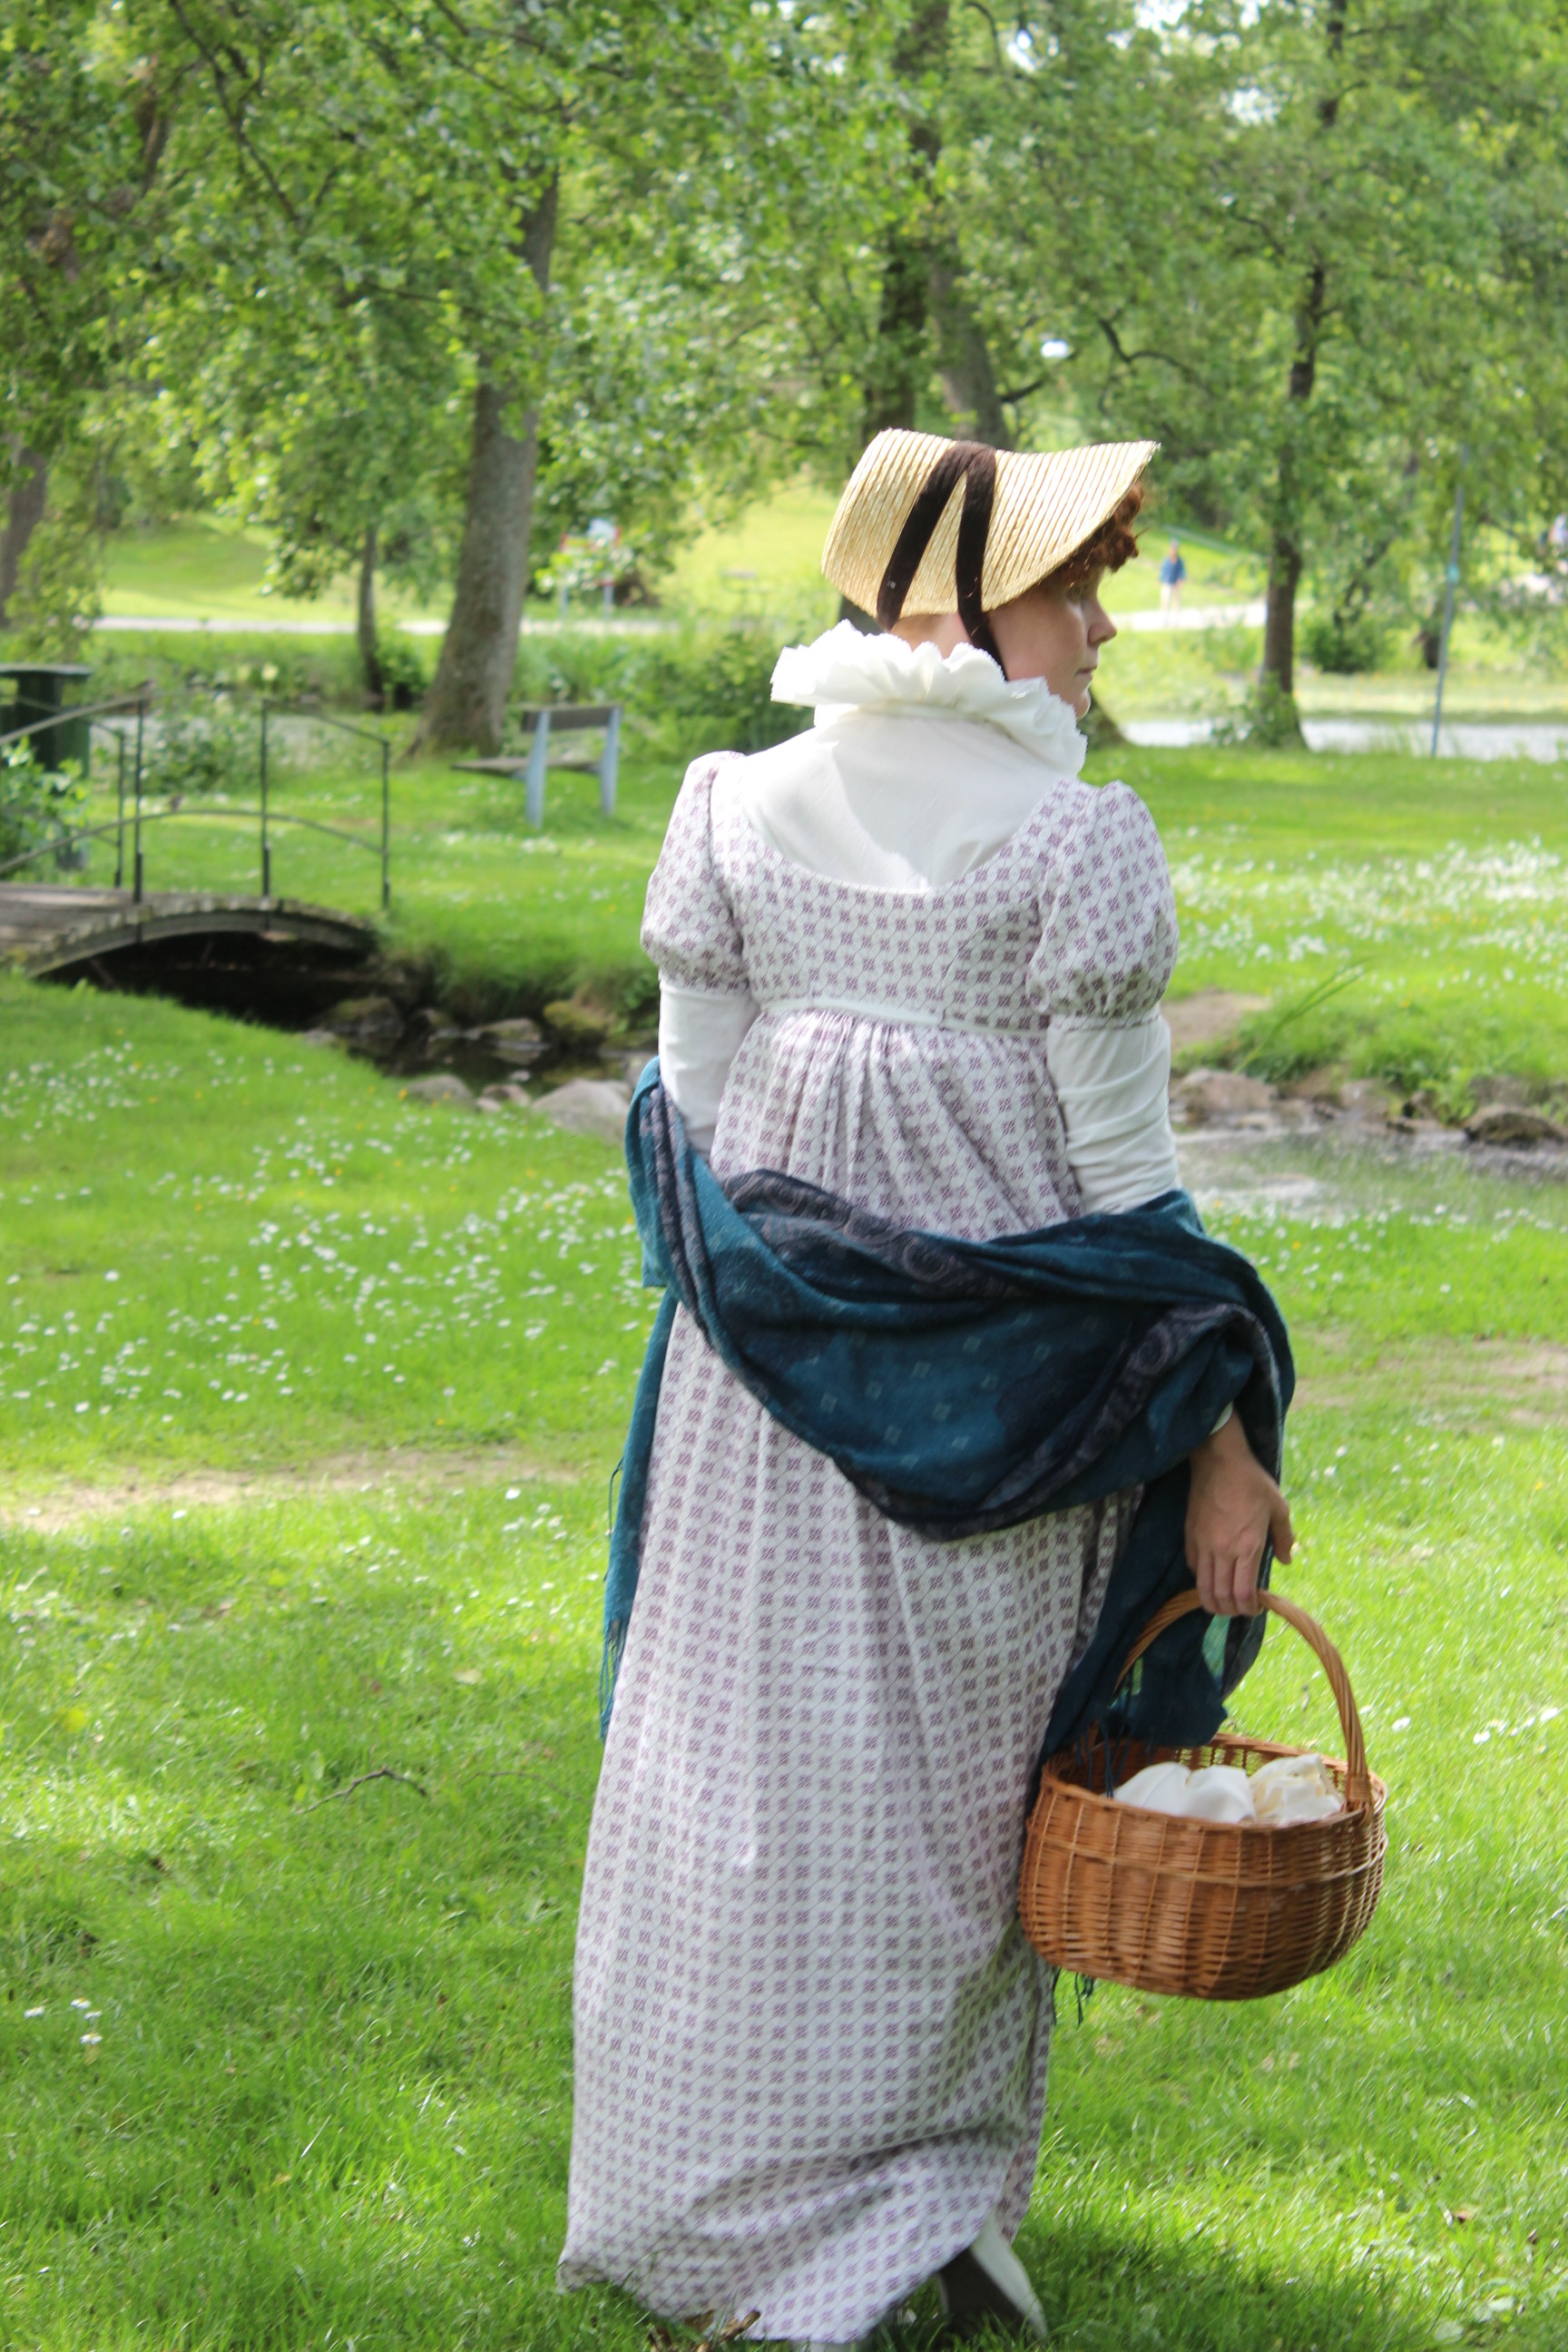
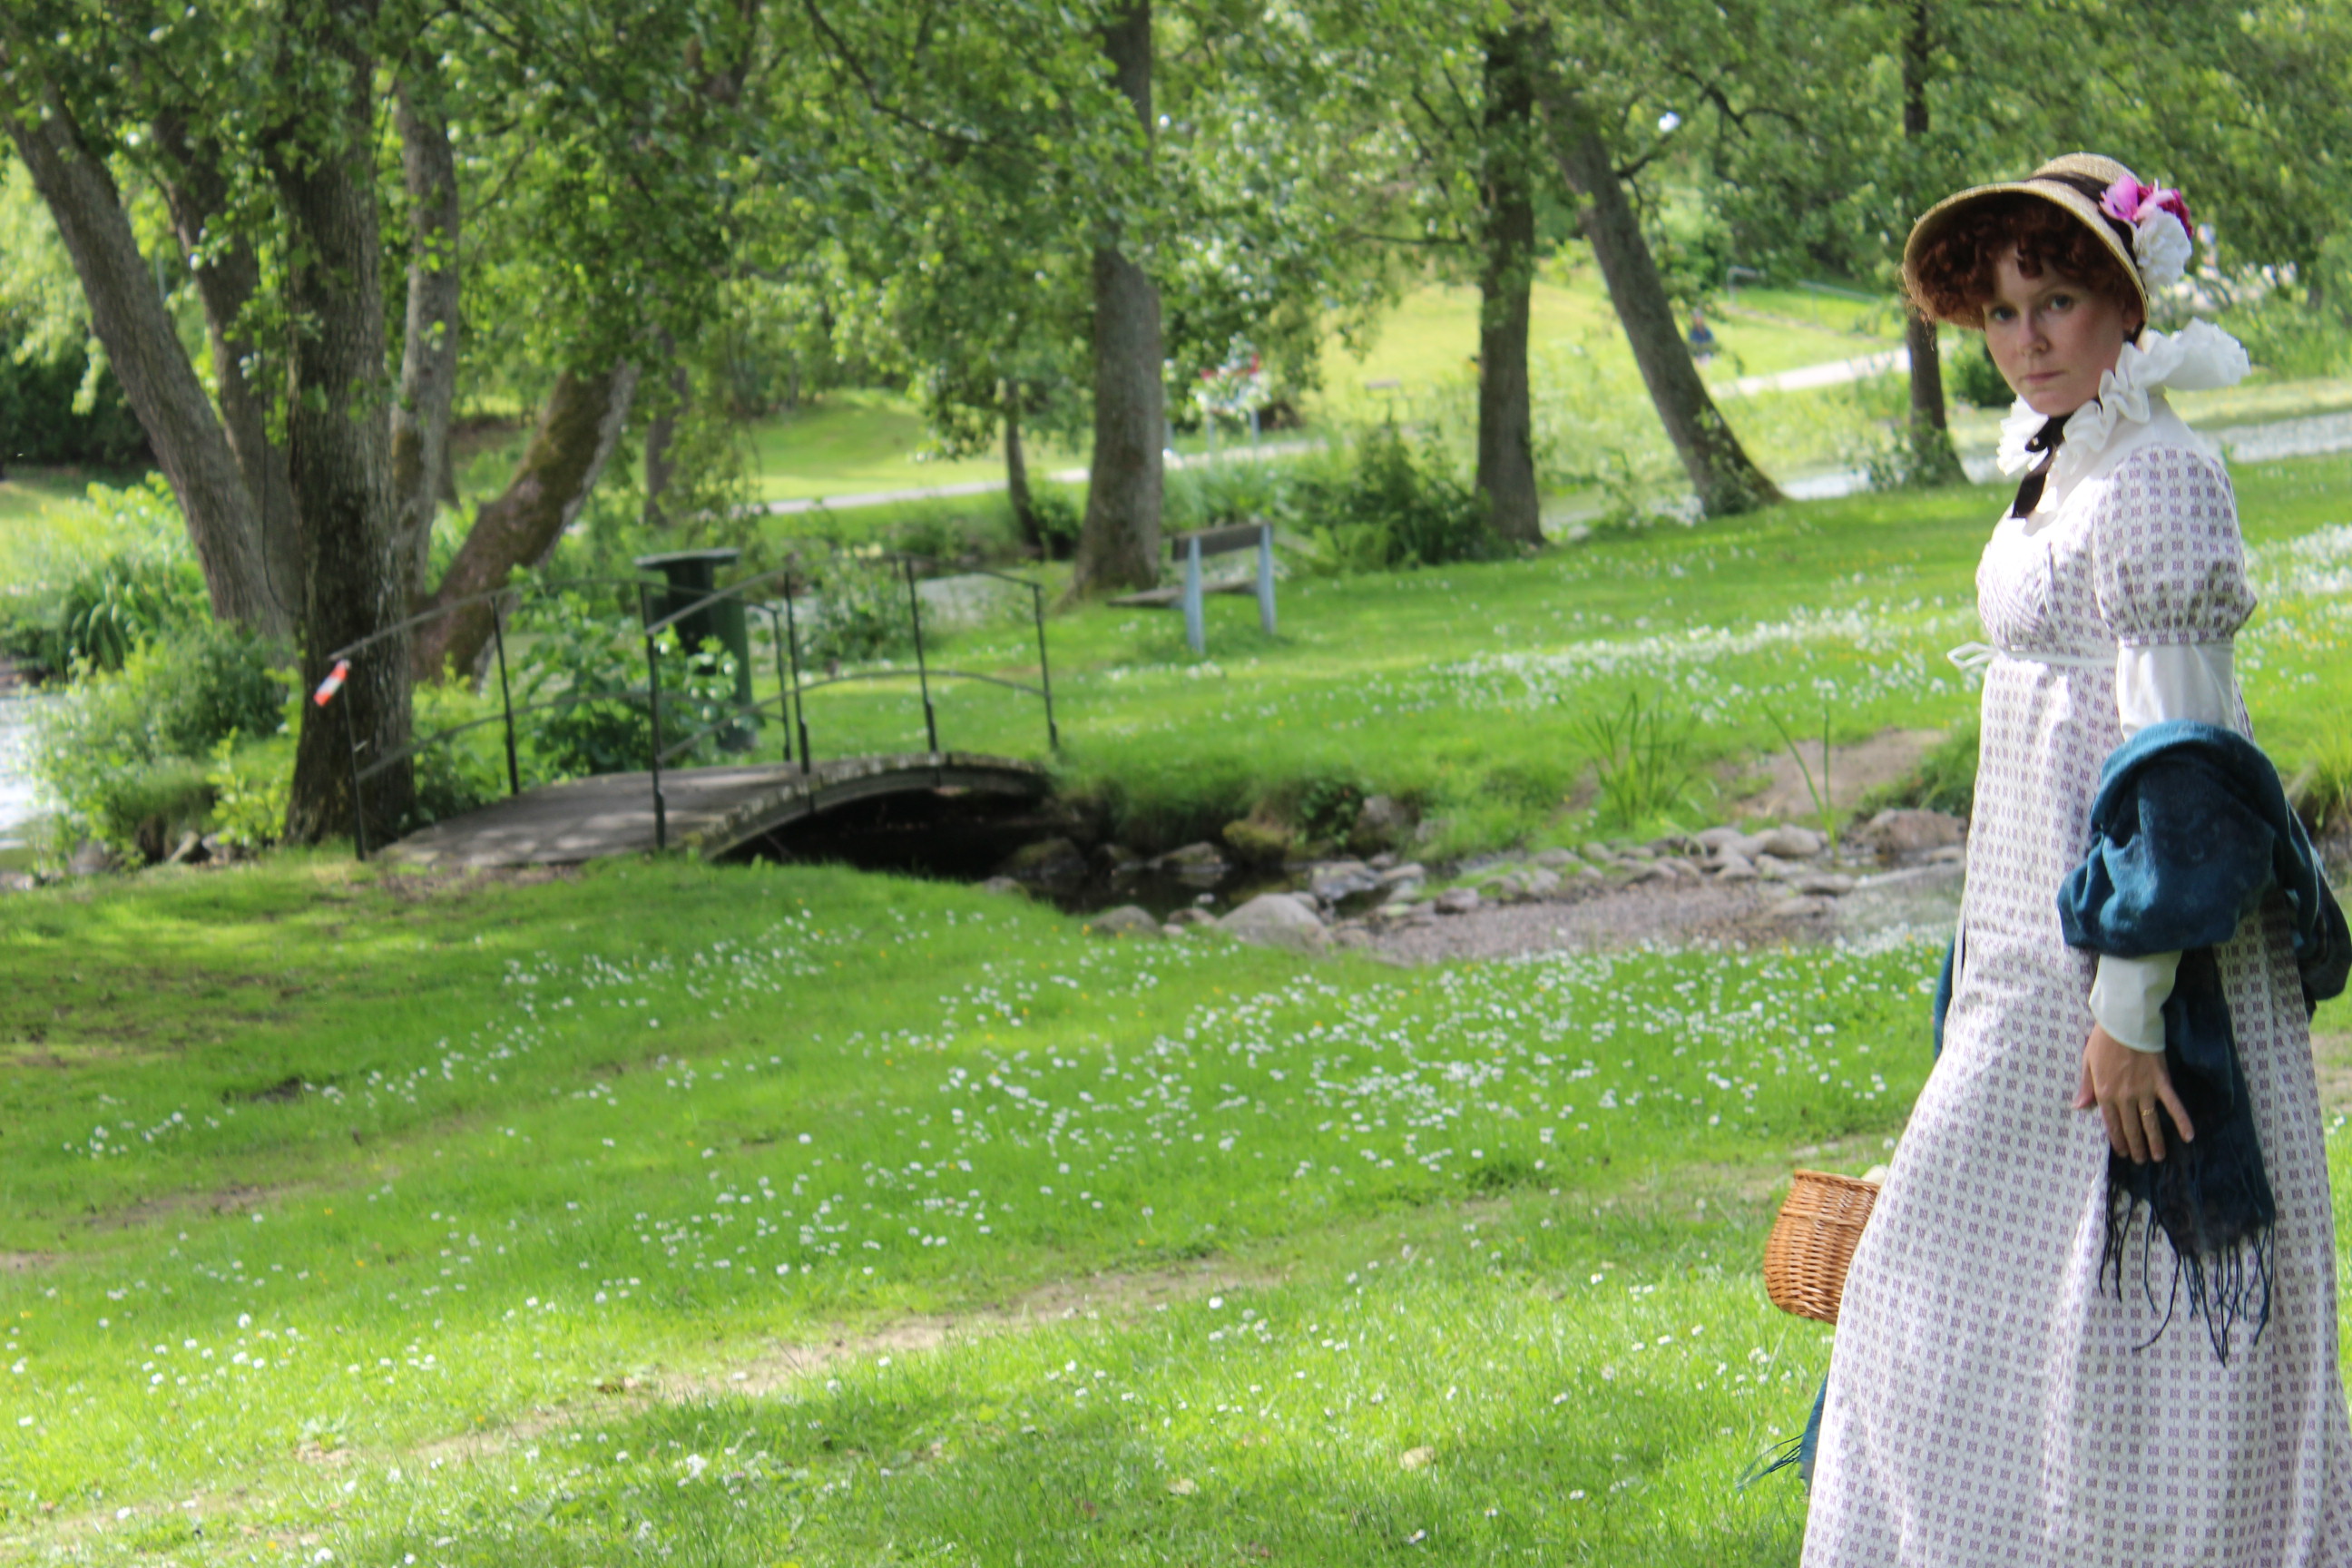
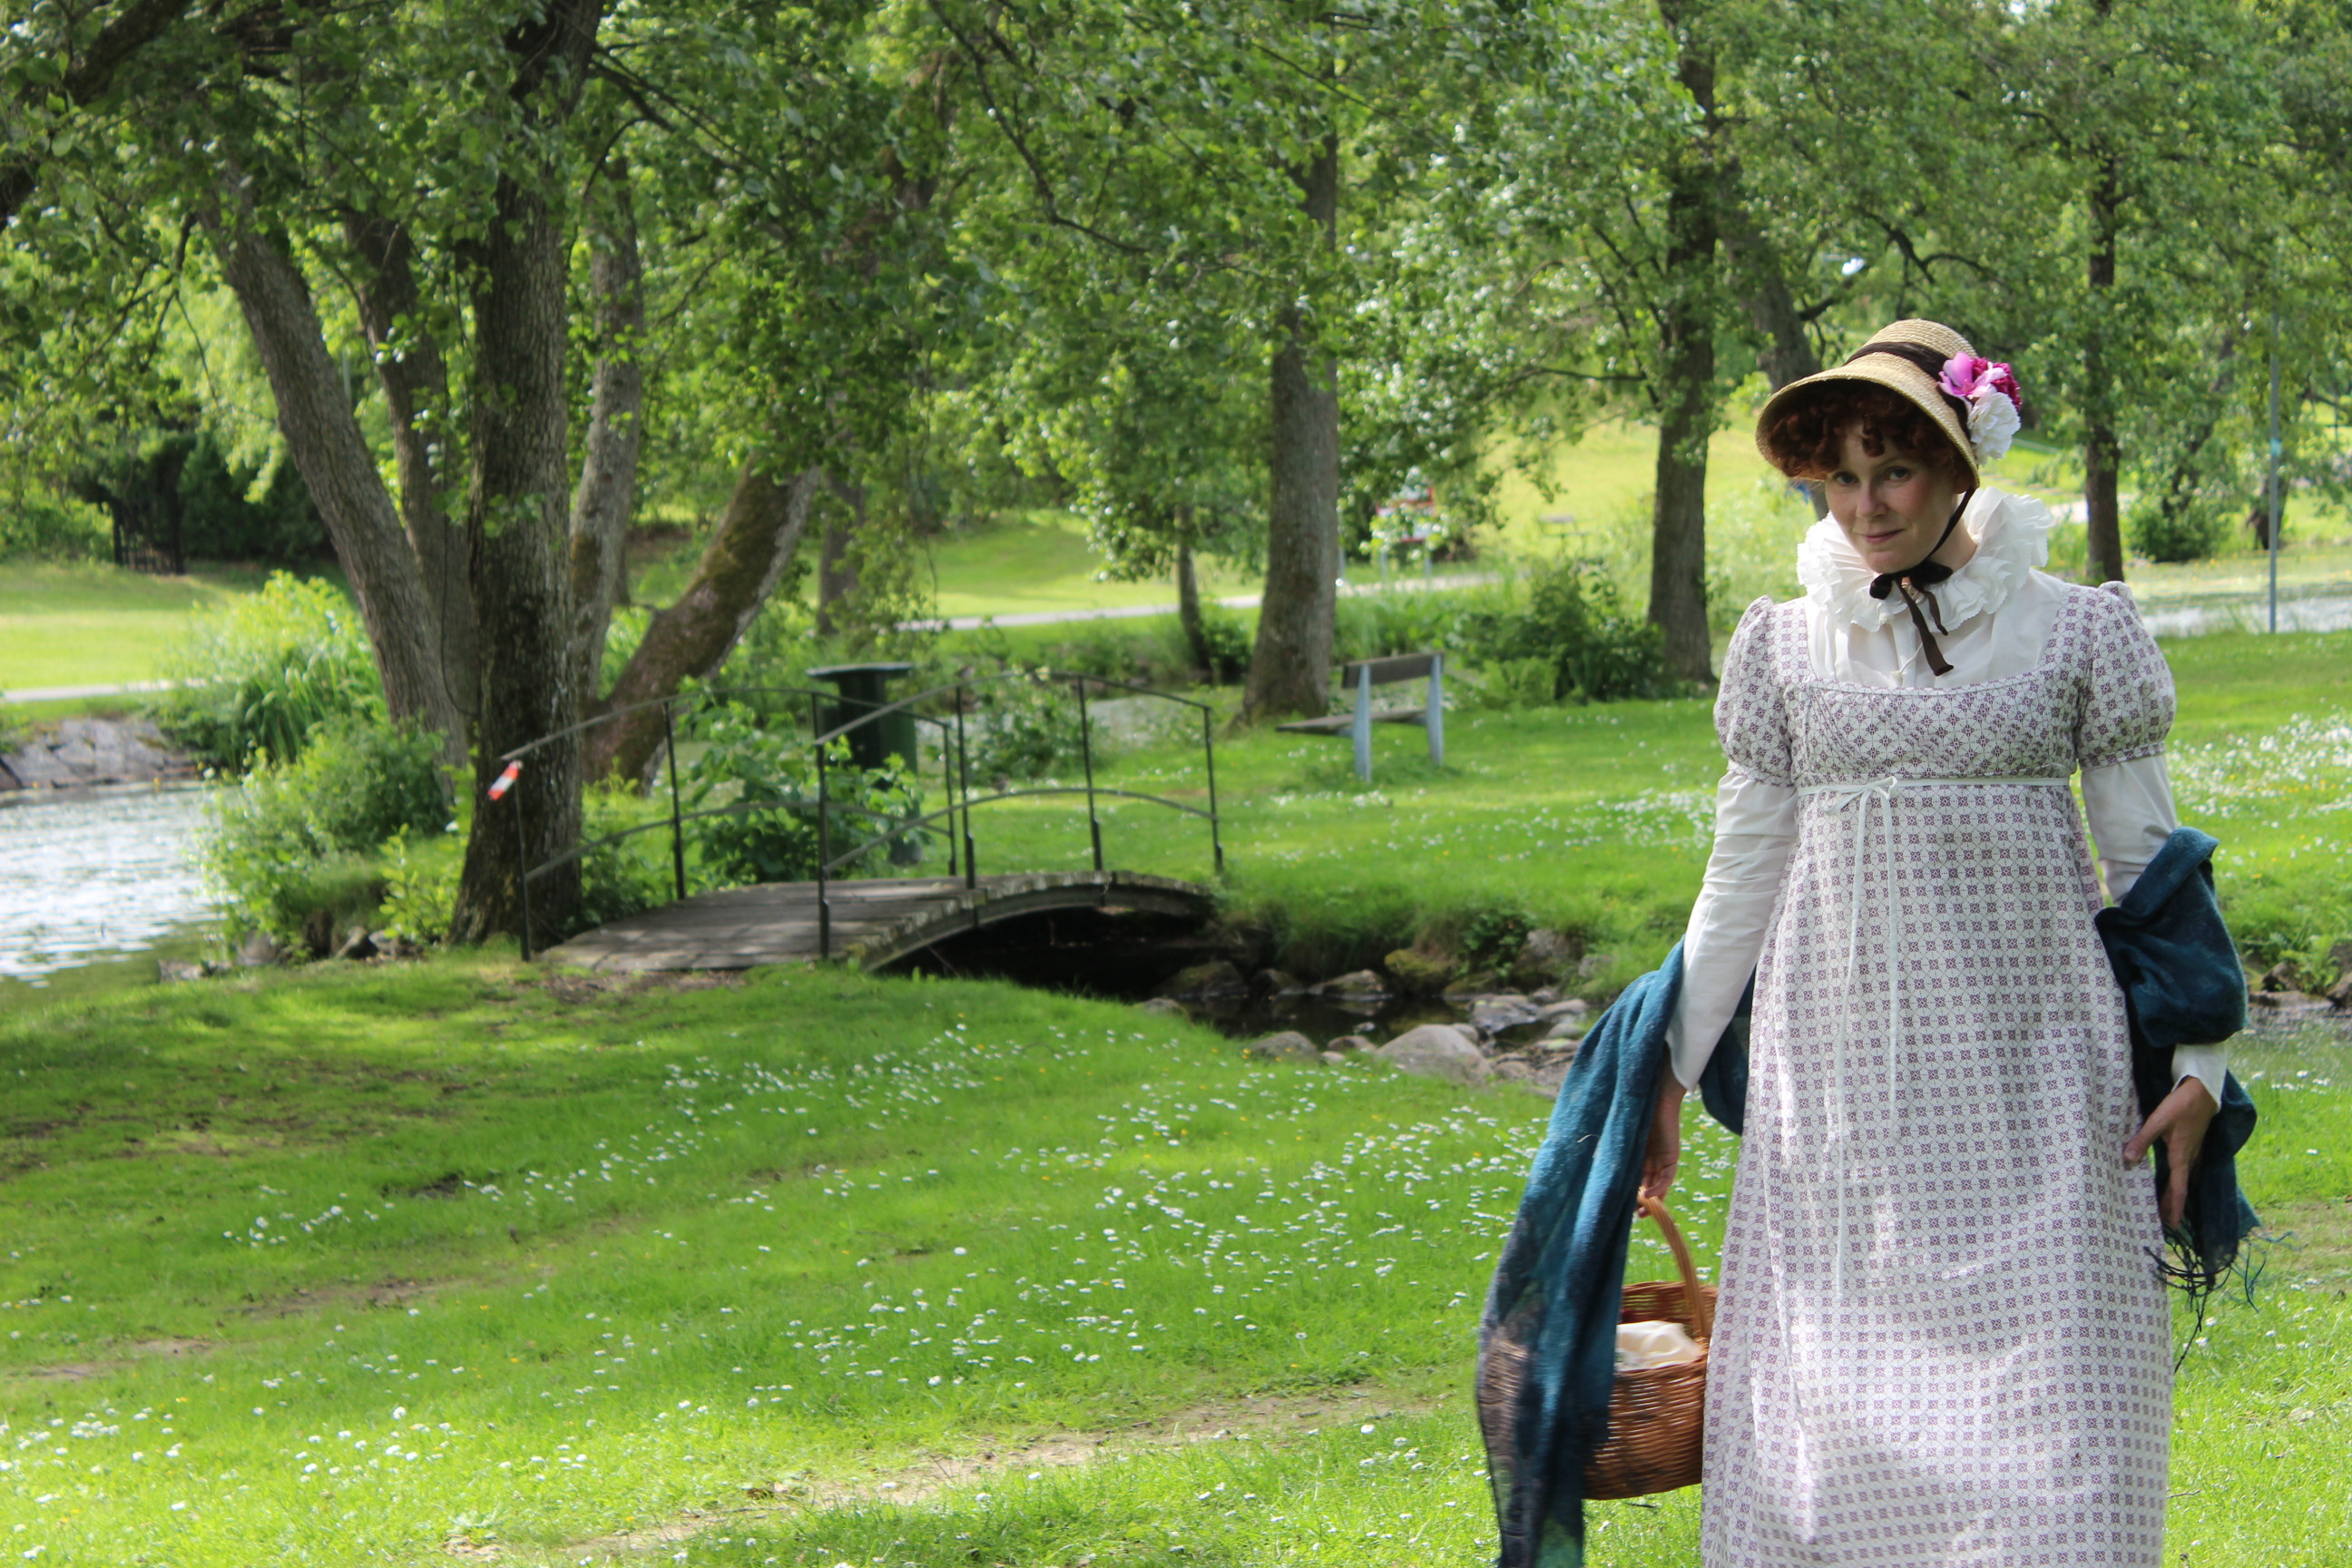
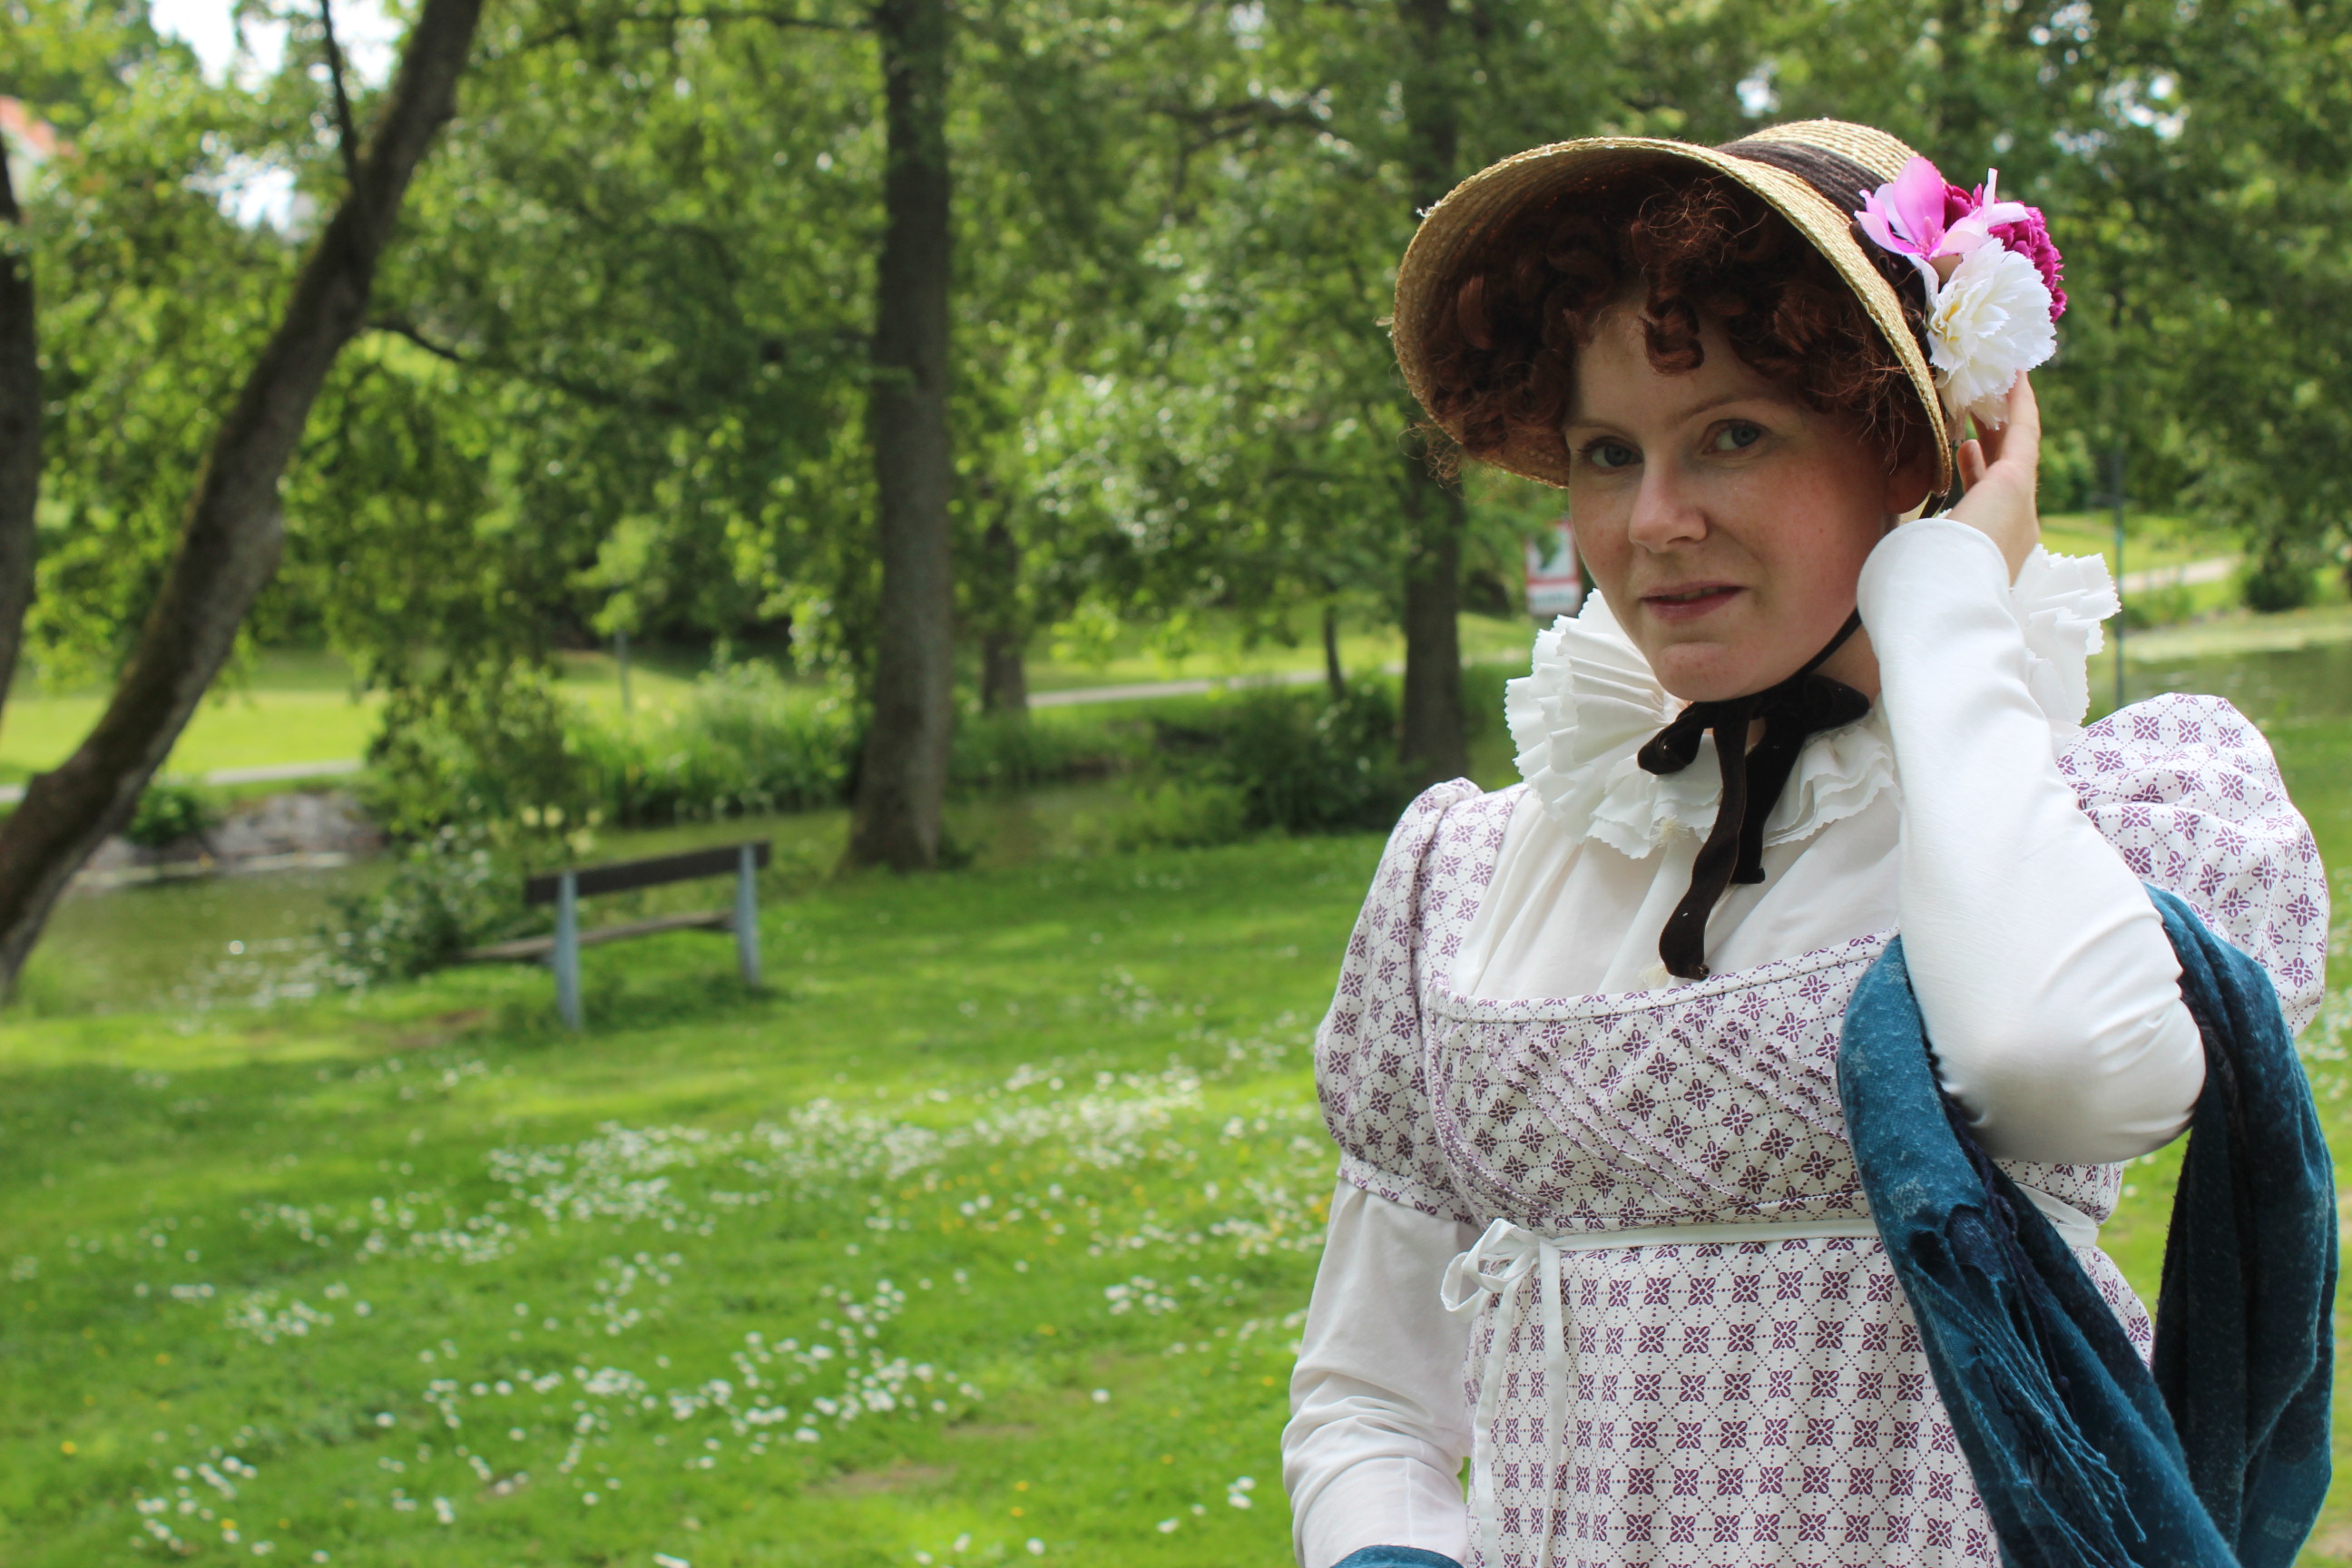
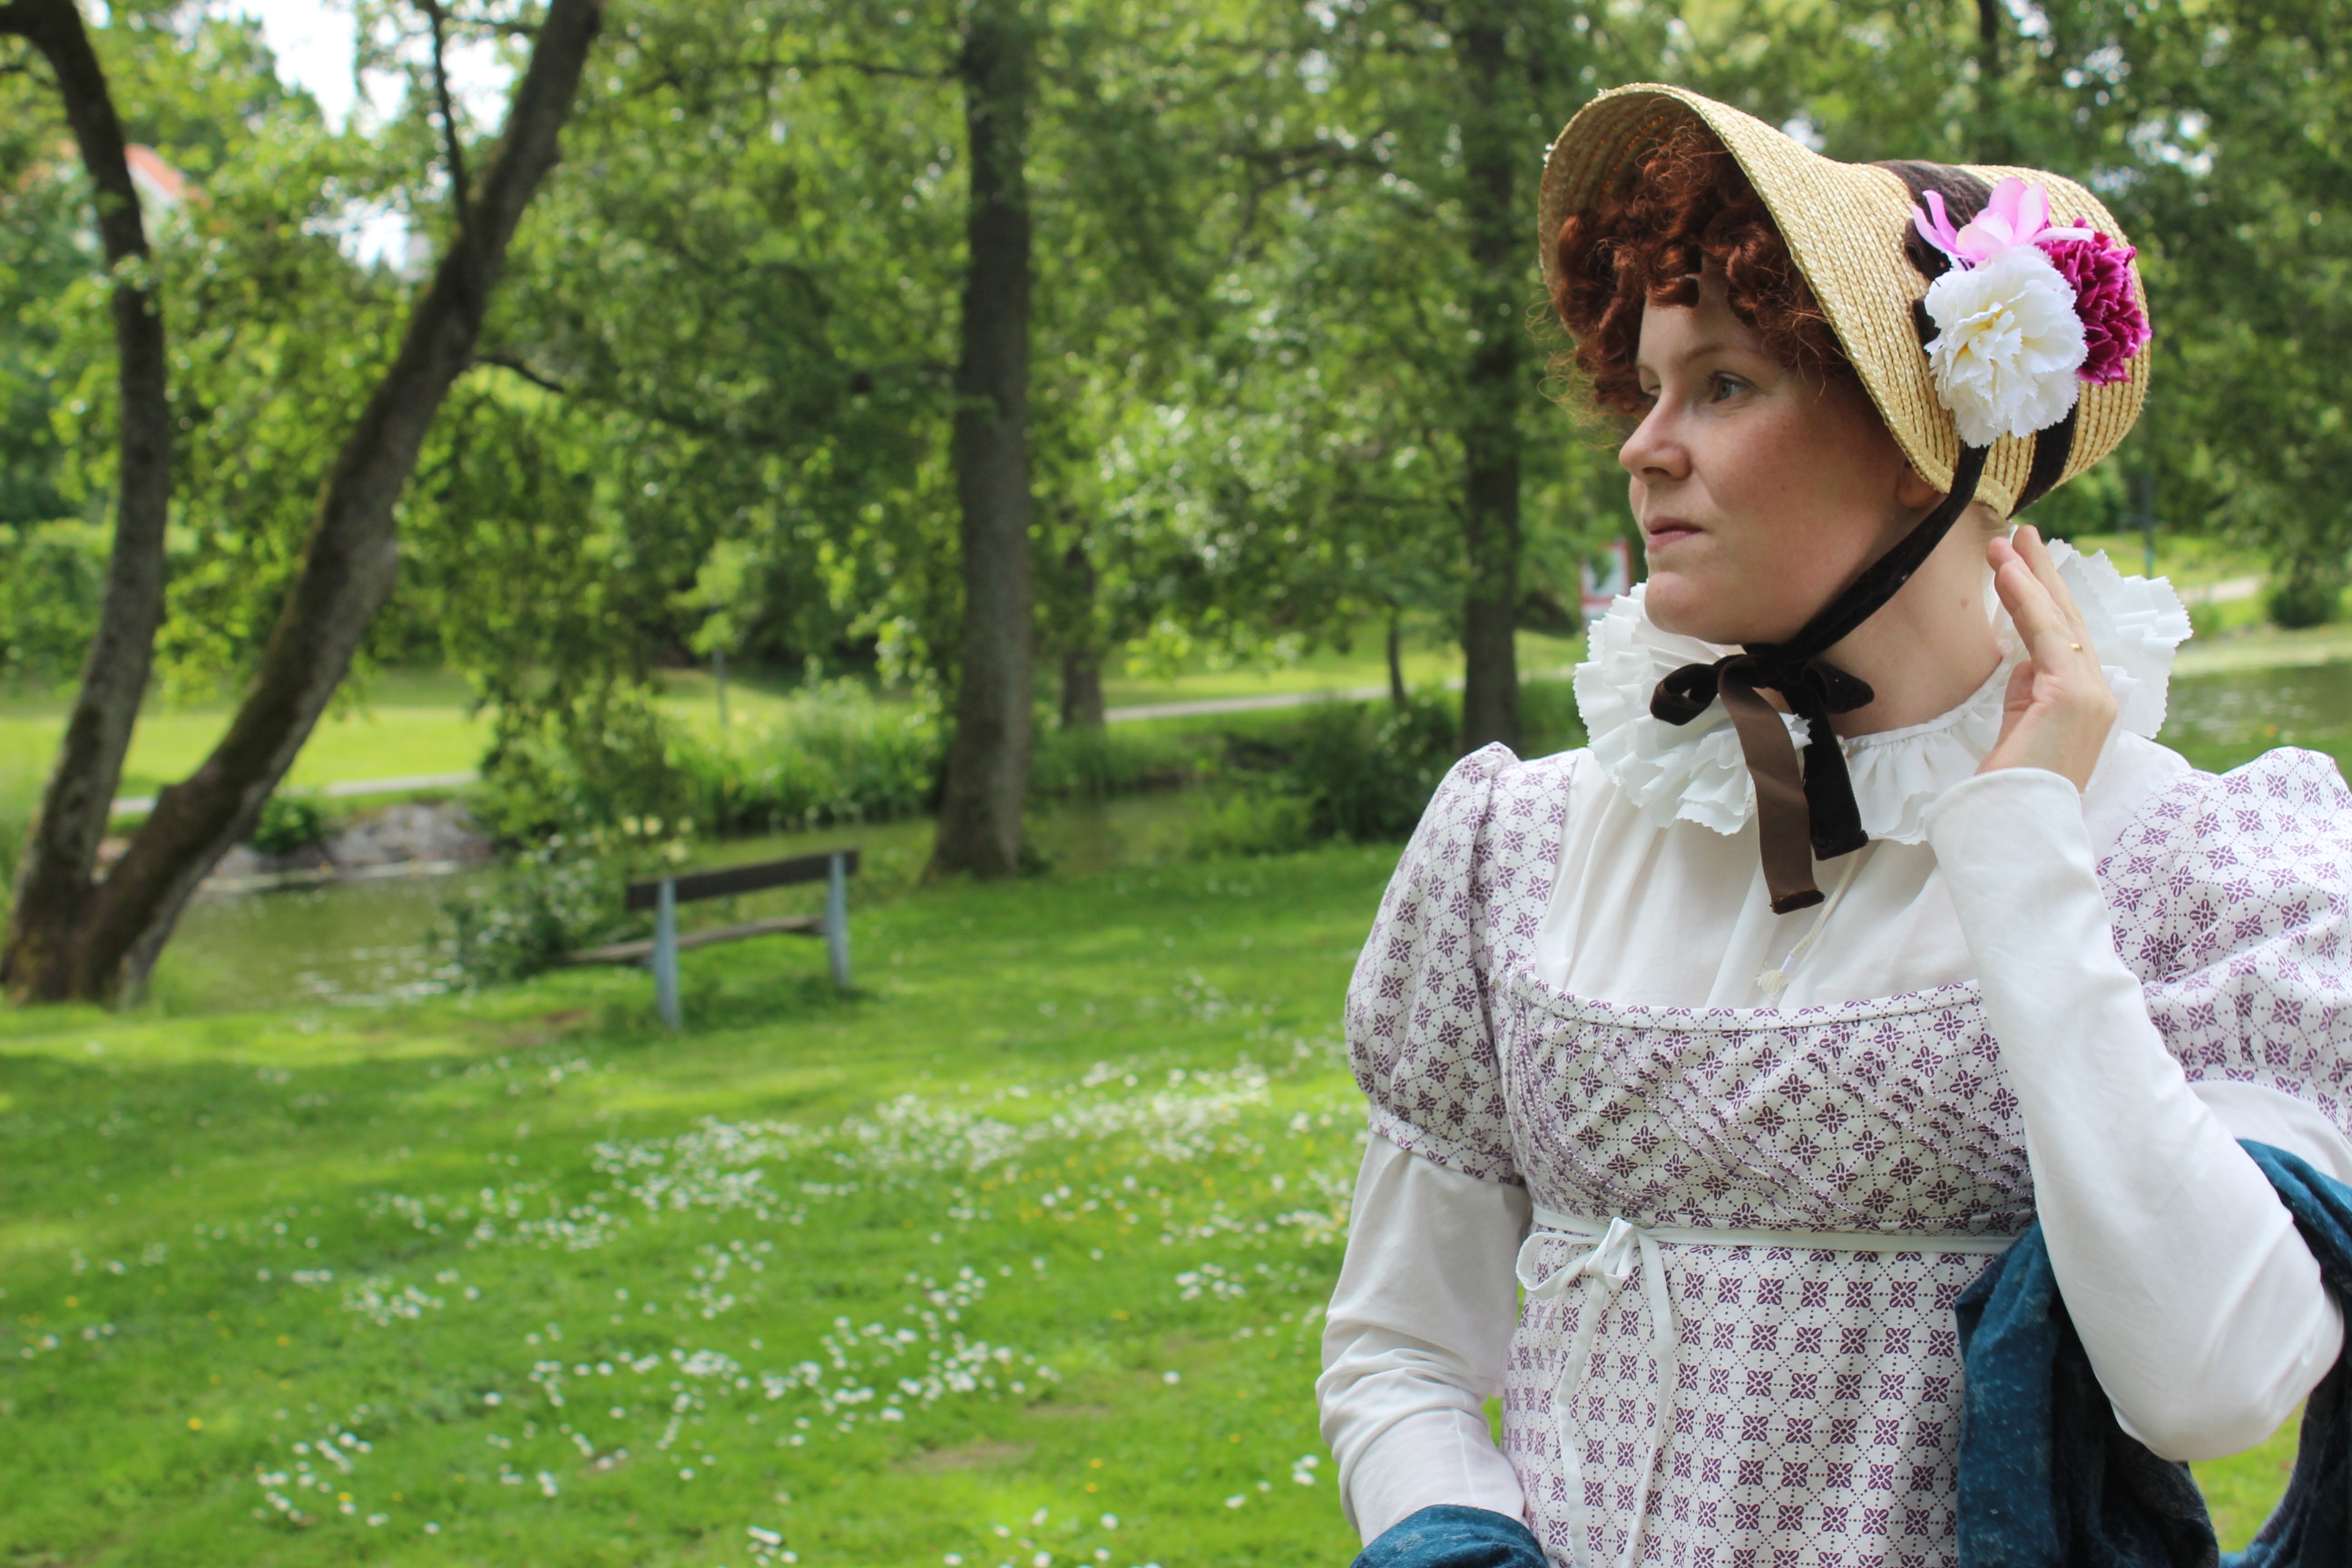
 photo by: Elin Evaldsdotter

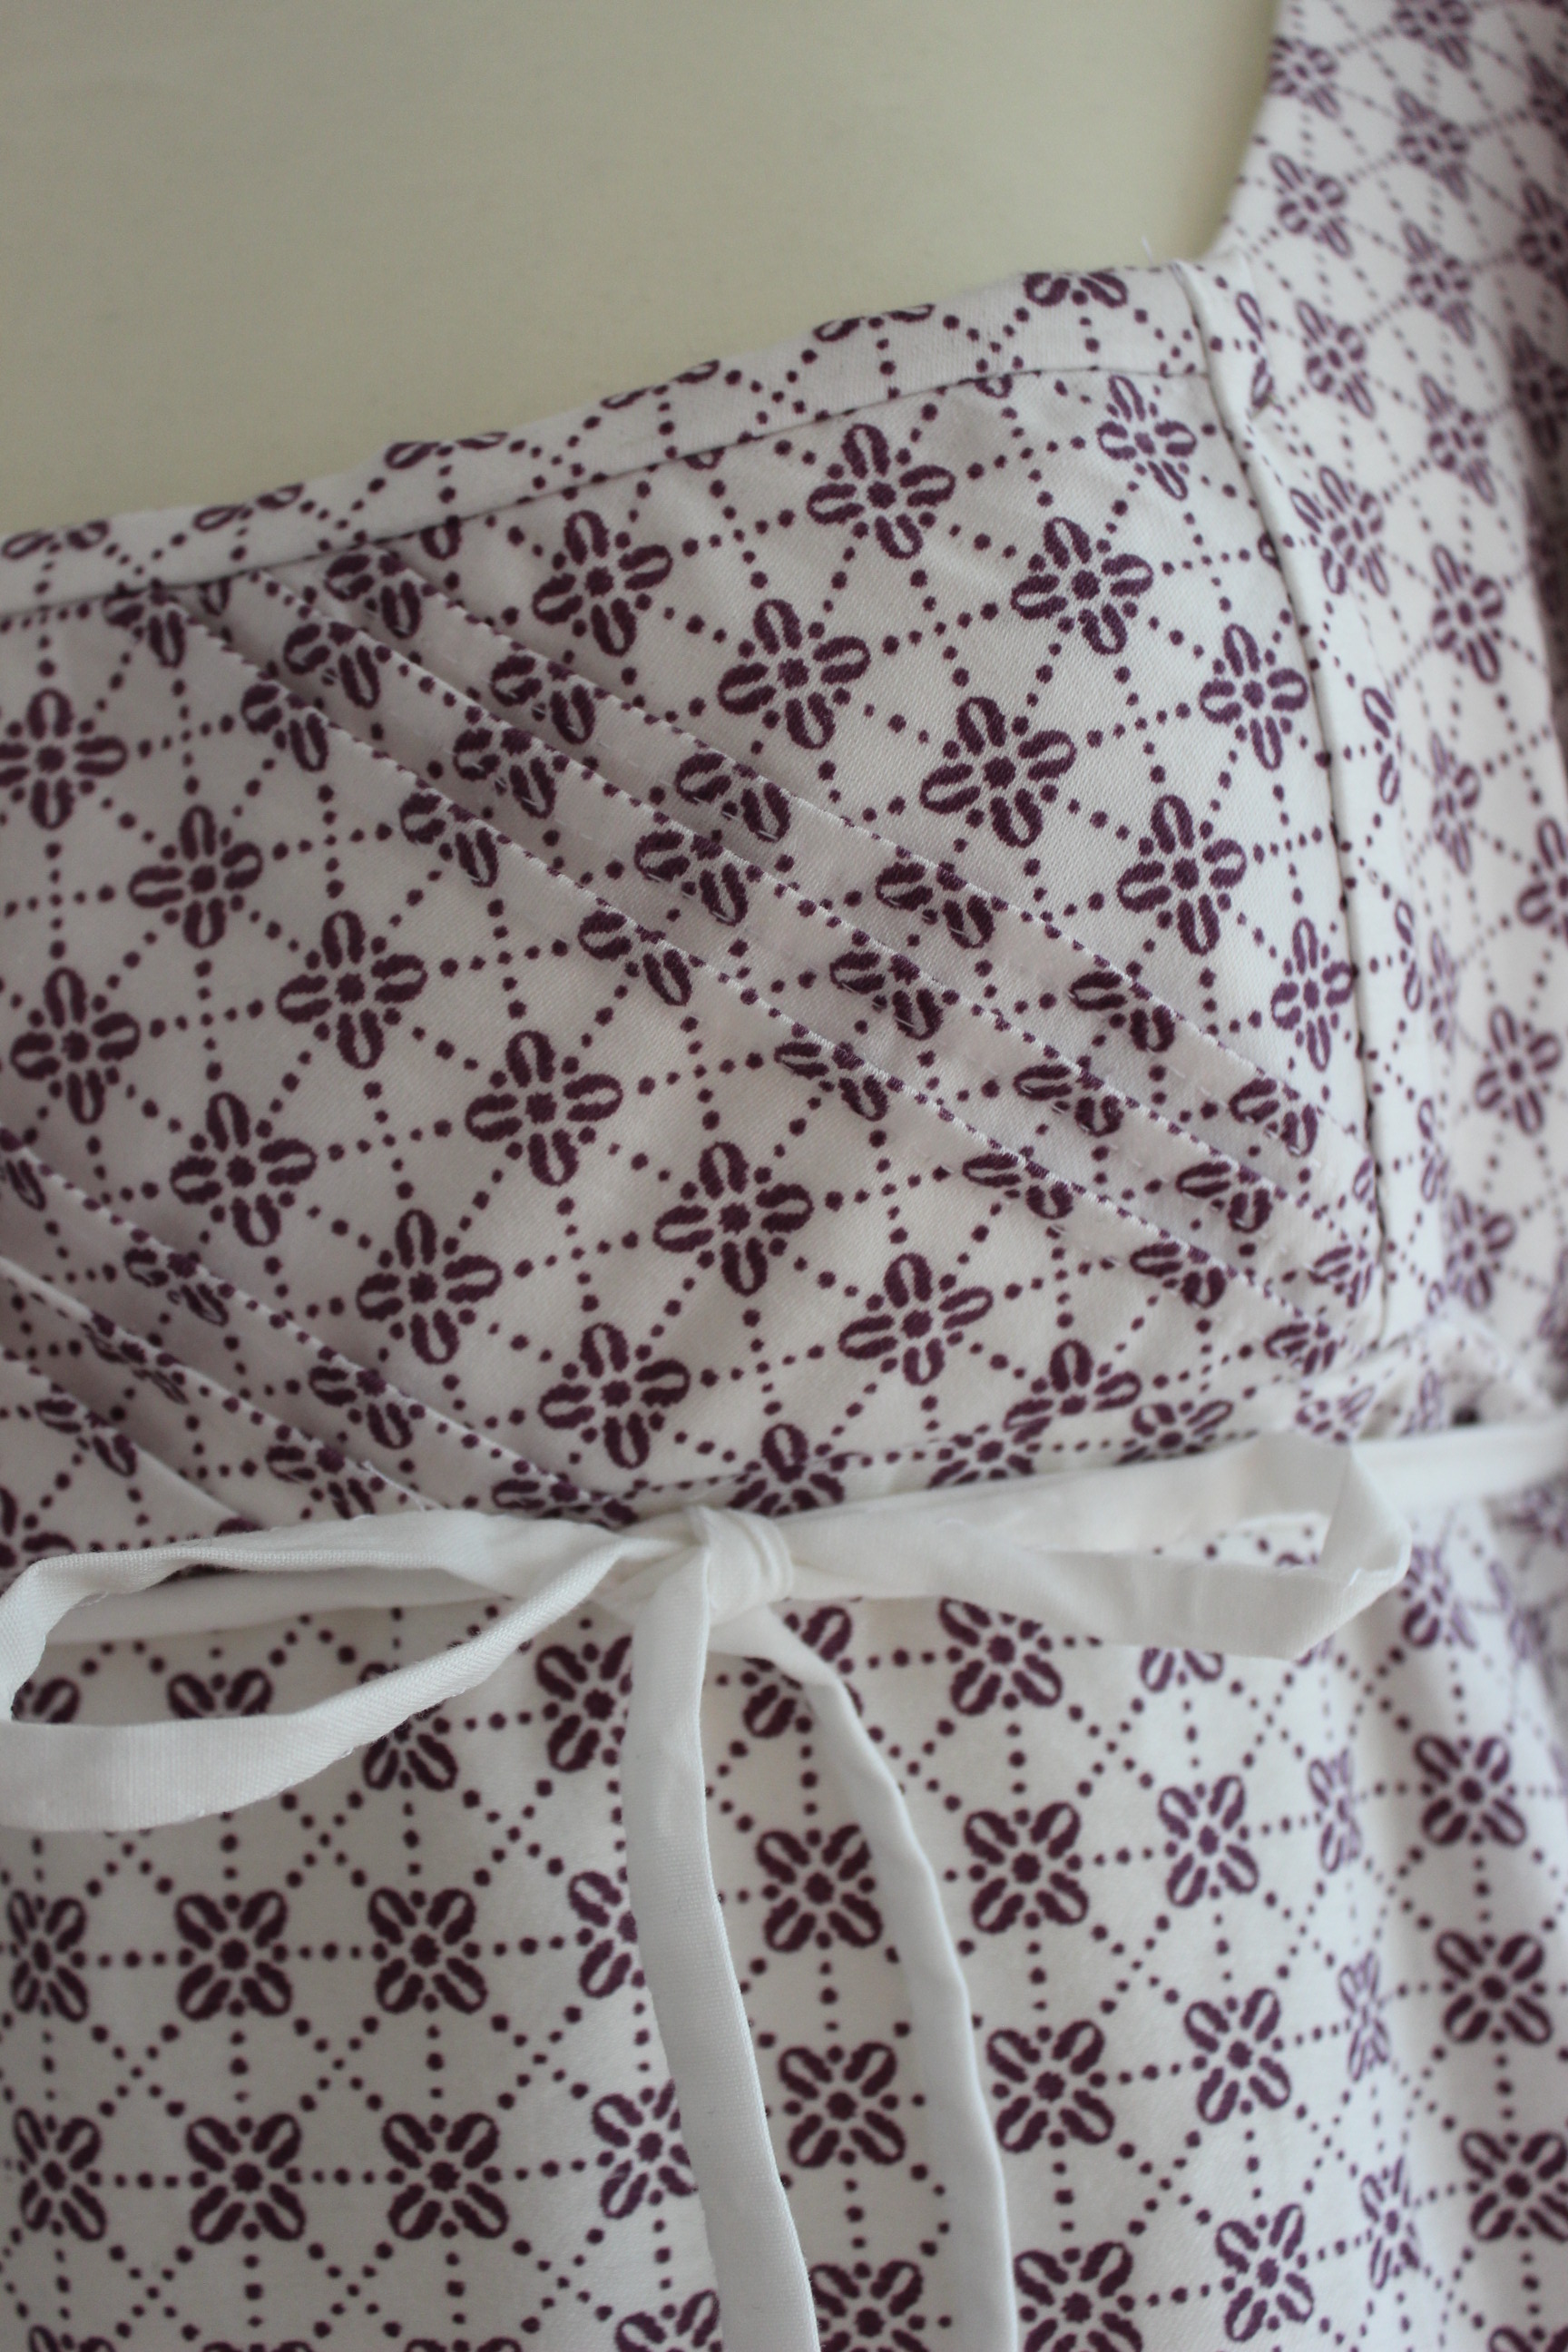
 Remember this fabric?
 I’ts what I used for my
  Something that turned out just perfect for this dress 😀


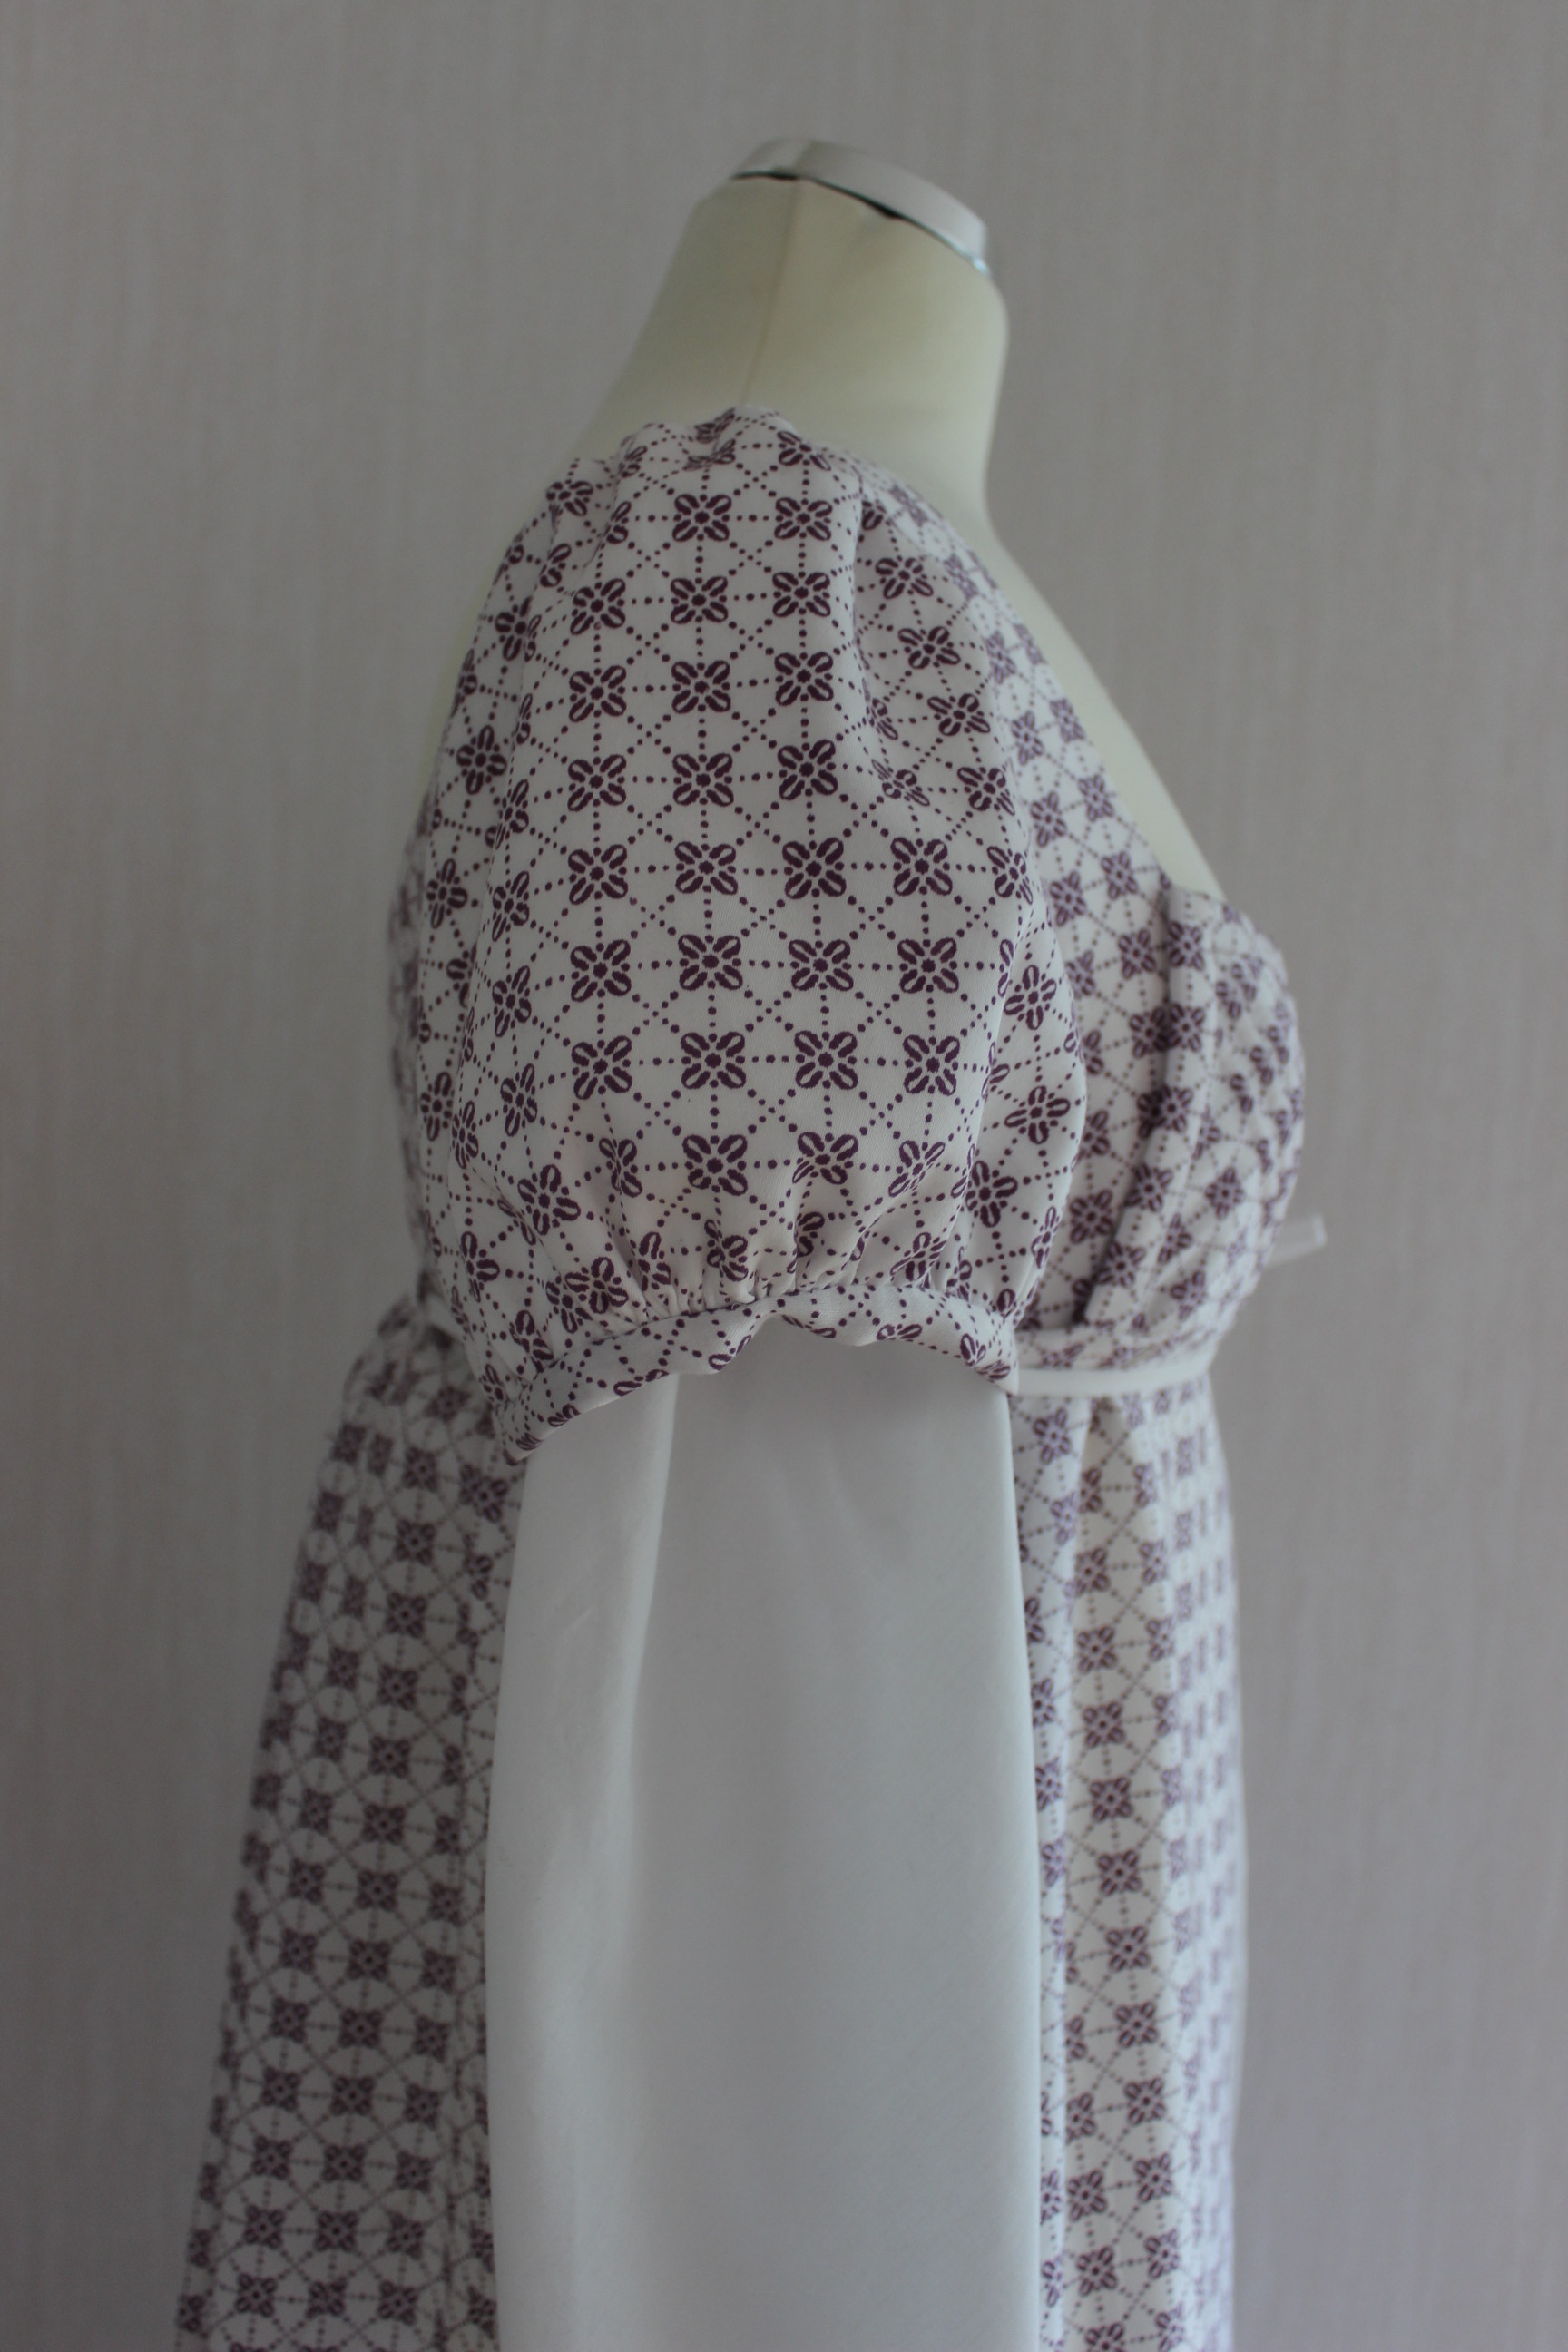
 With the front down.
 lastly I made and attached strips of fabric for tying and a small pad for the back to hold out the skirt
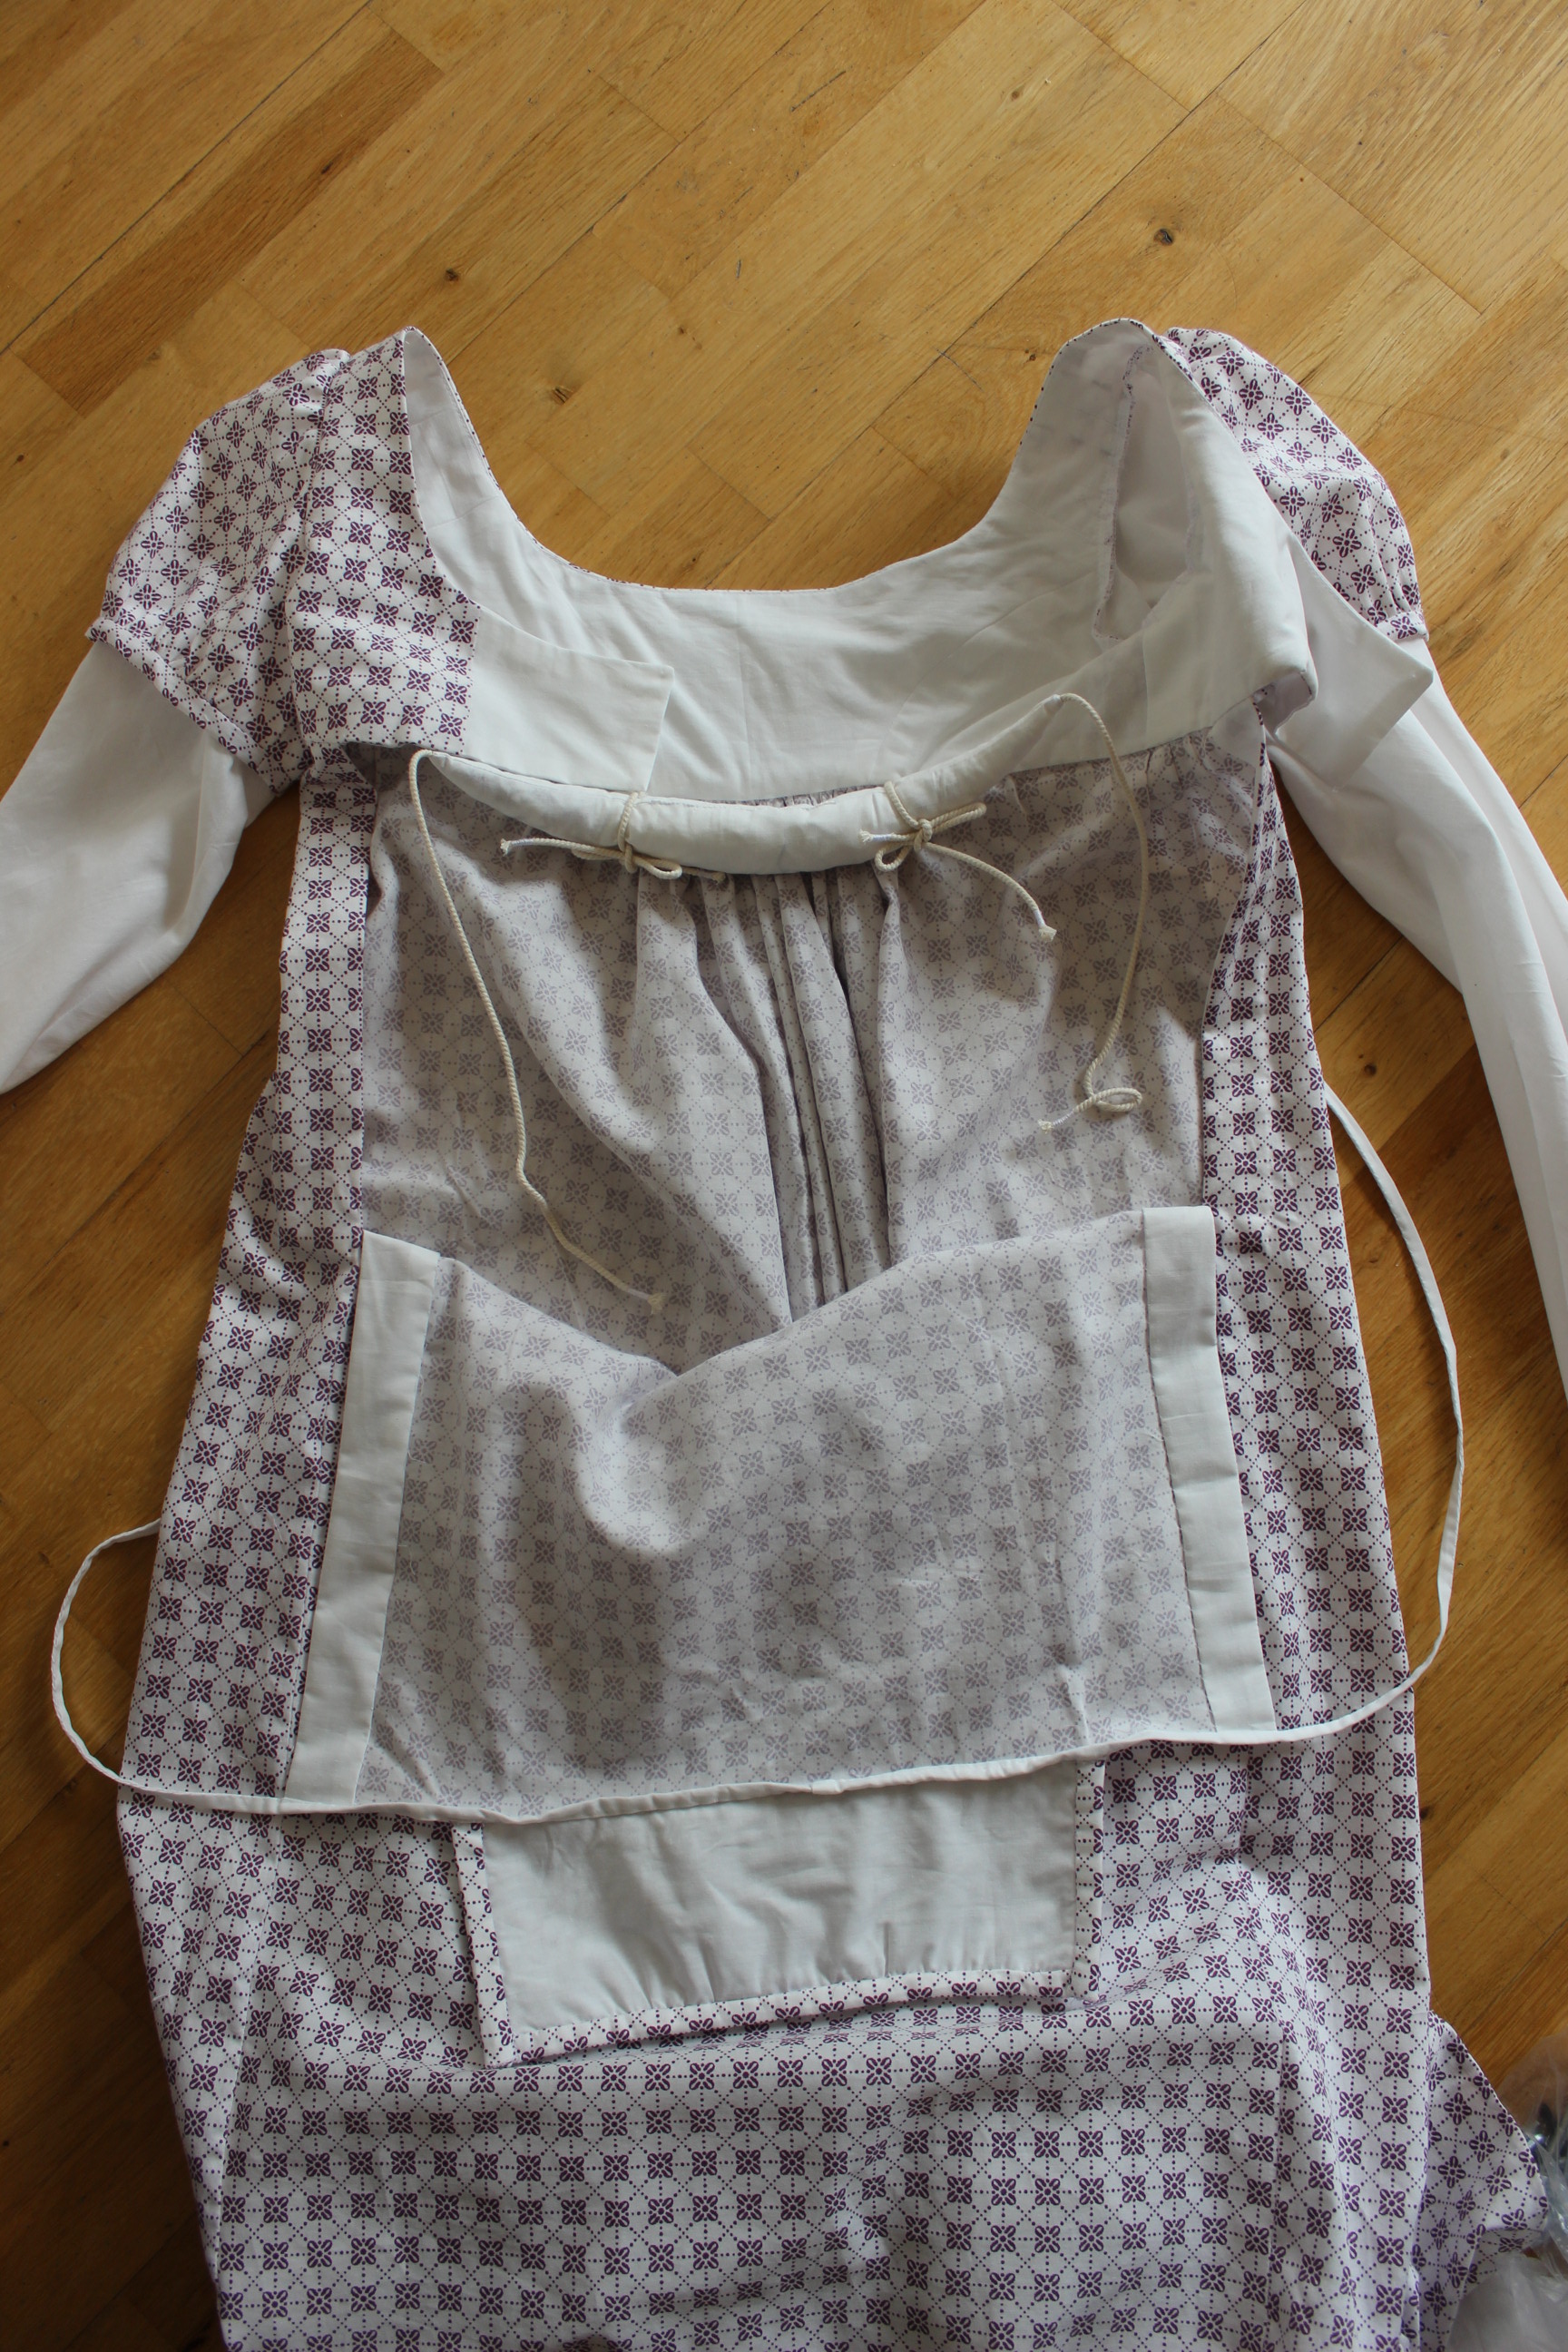


 Accessorized and ready for a photoshoot.