Blog

Past Halloween Costumes – Renessance / Elizabeth I

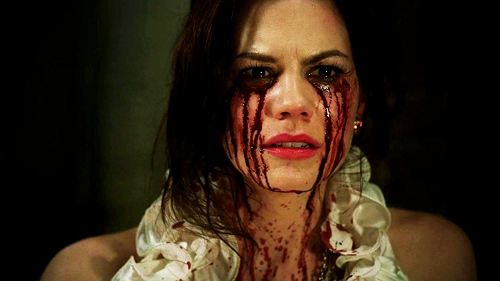
When my sister told me she was going to a big halloween party last year, we immediately sat down to decide on what to make. Since the time was tight we both decided to re-make one of her old costumes.

Since I’ve haven’t gotten around to write about the “old” costume yet, I will start there and then show you the alterations we did for halloween 2012.

***

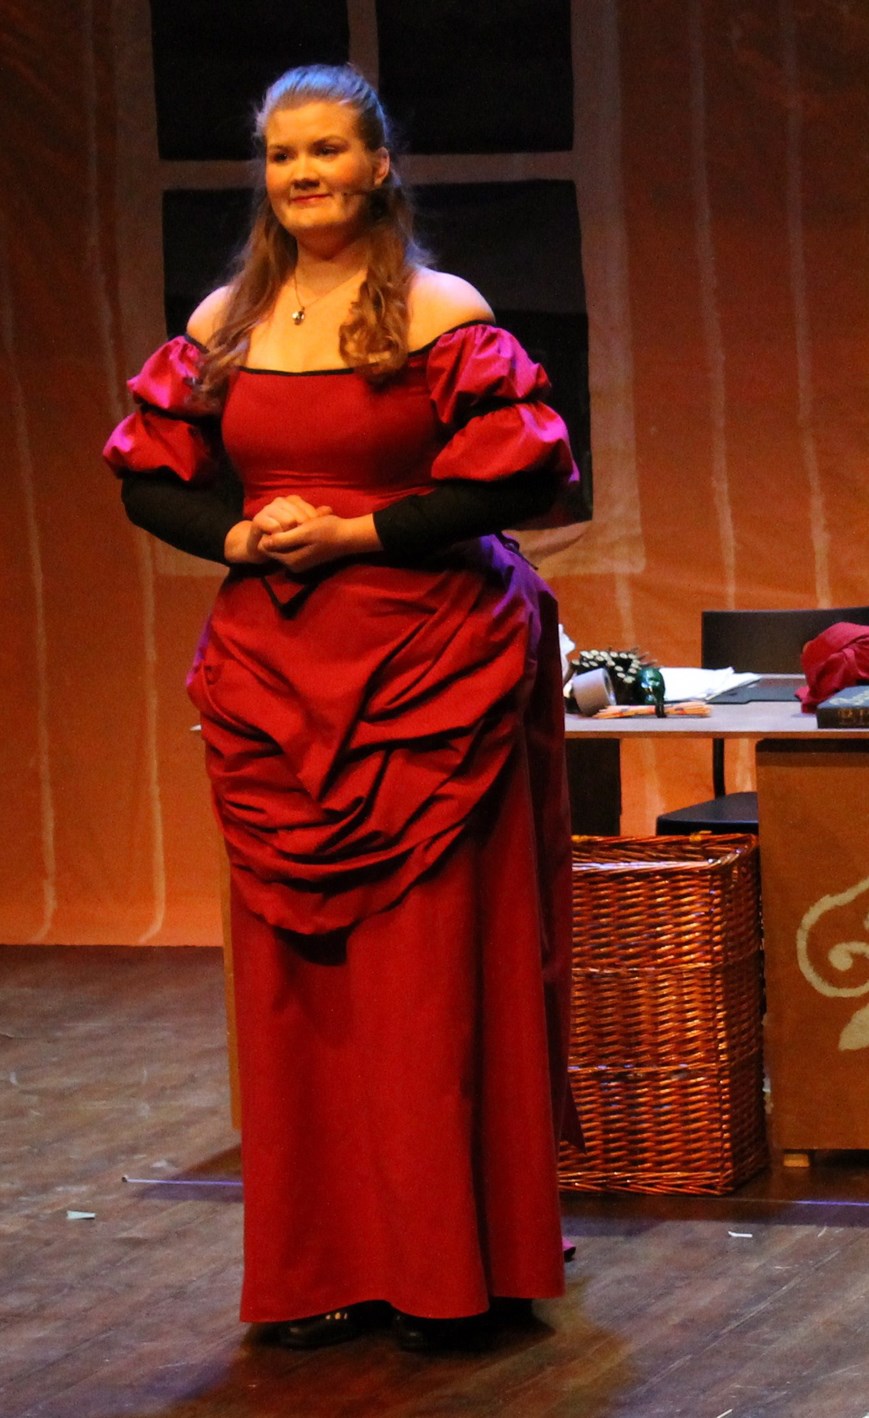
2010 I took a class in costume design, and was asked to design and make a costume to fit one of the caracters in Shakespeares “The Tempest”.

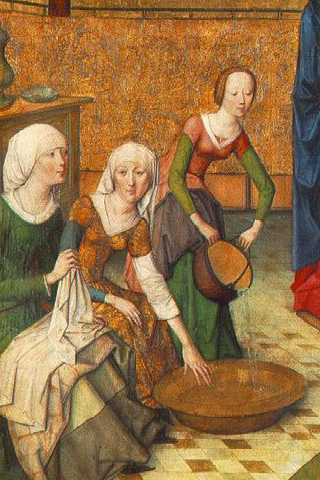
Being a sucker for beautyful renessance gowns, I choose the one female character in the play – Miranda, the daughter of the king, who’s been living on a deserted island until a prince comes and rescues her.
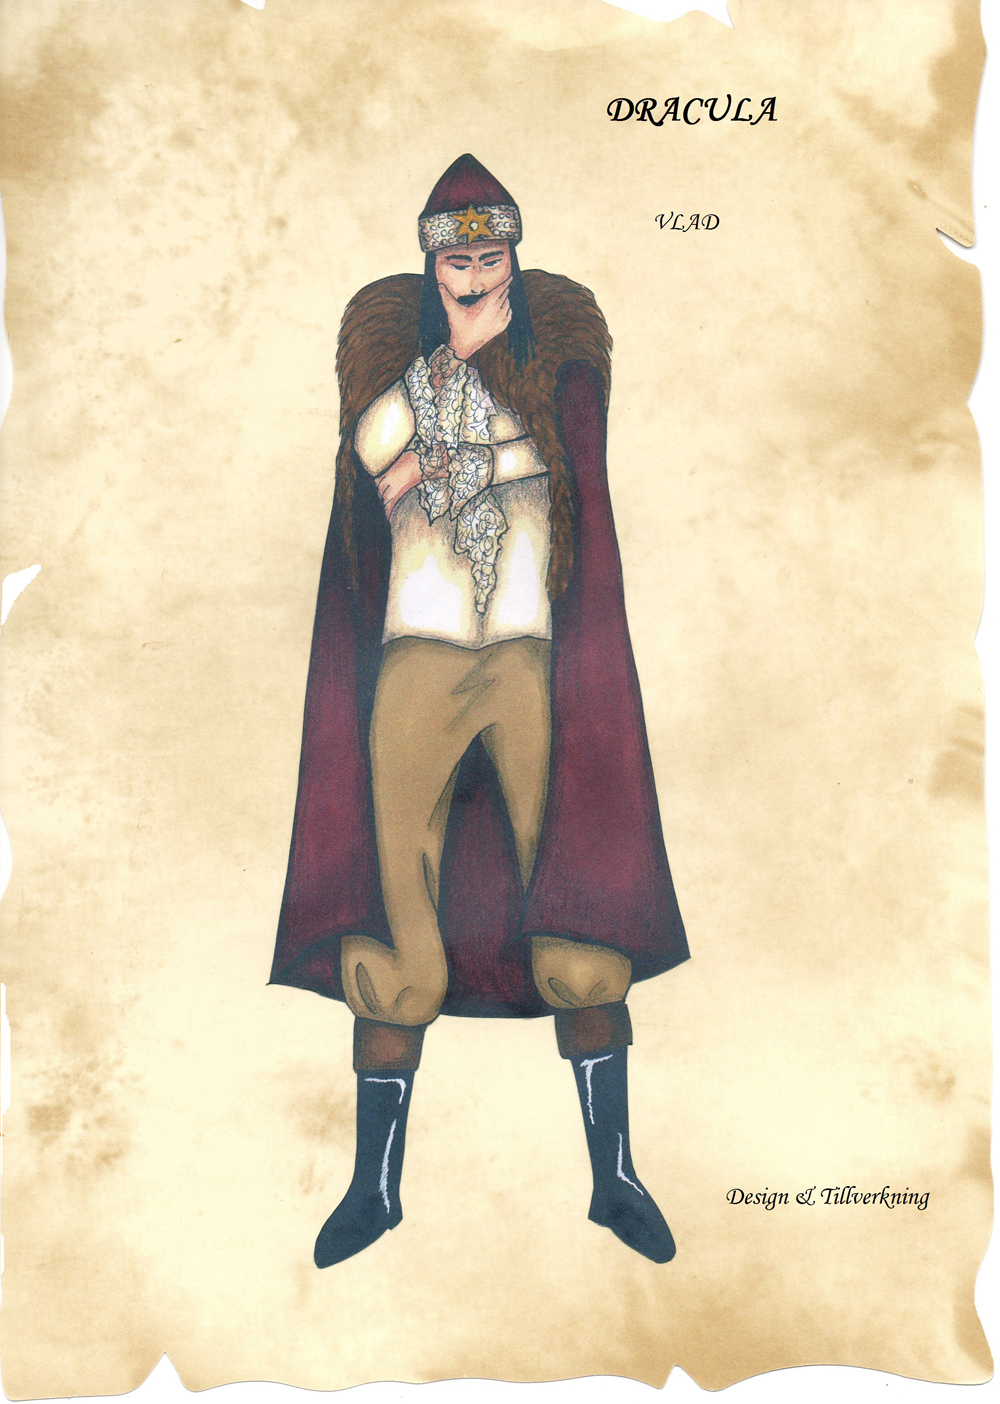
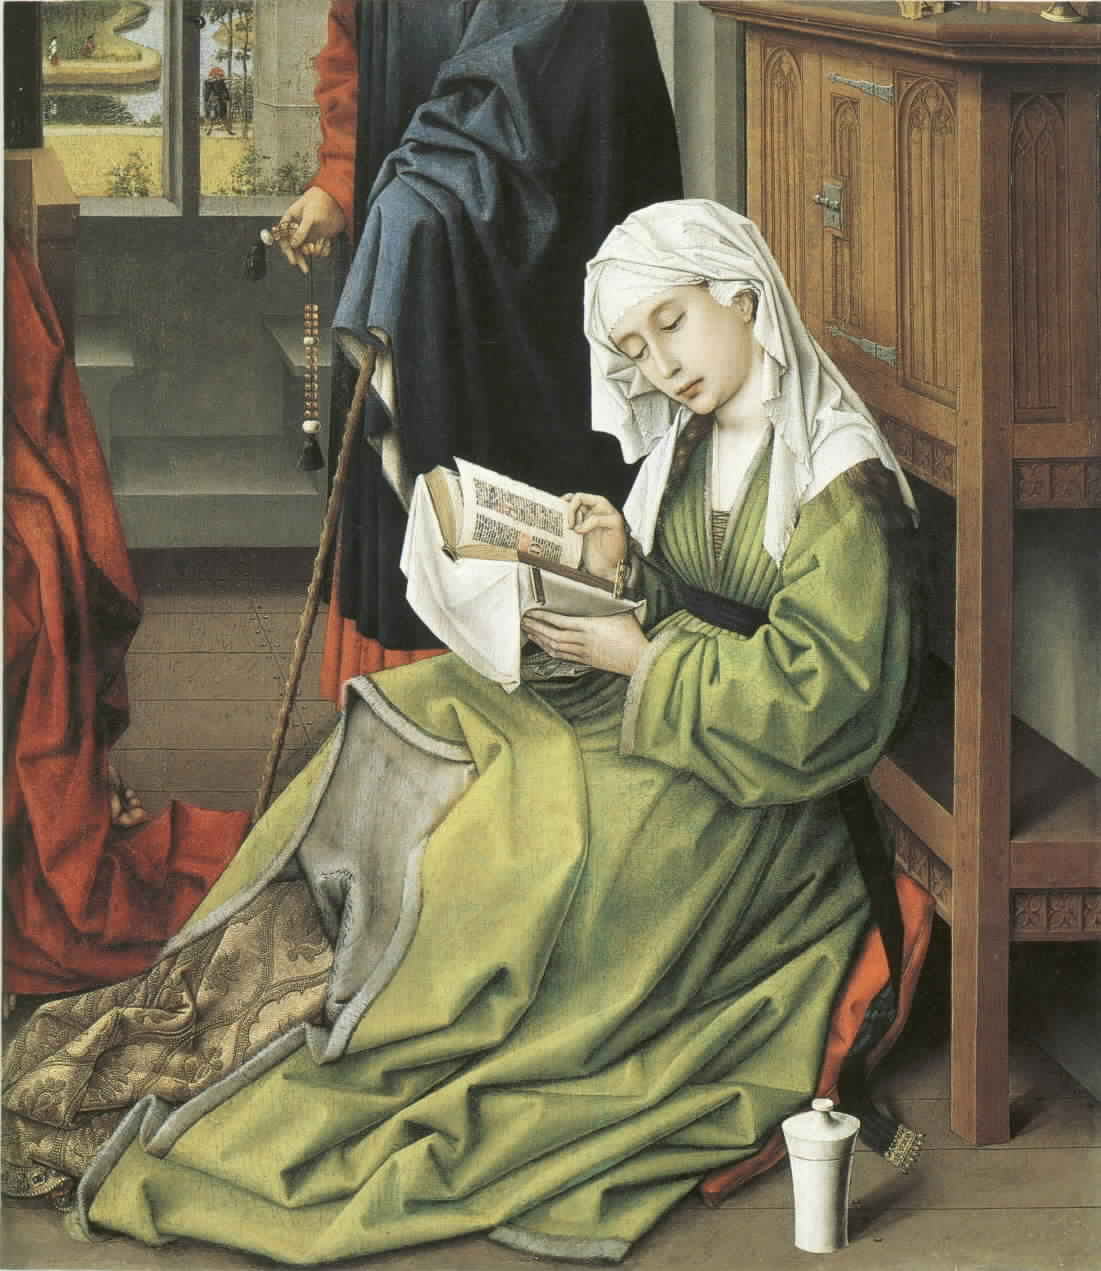
Stormen MirandaMy caracter design

All items were to be made in theatrical fashion – super easy to both get on and of.

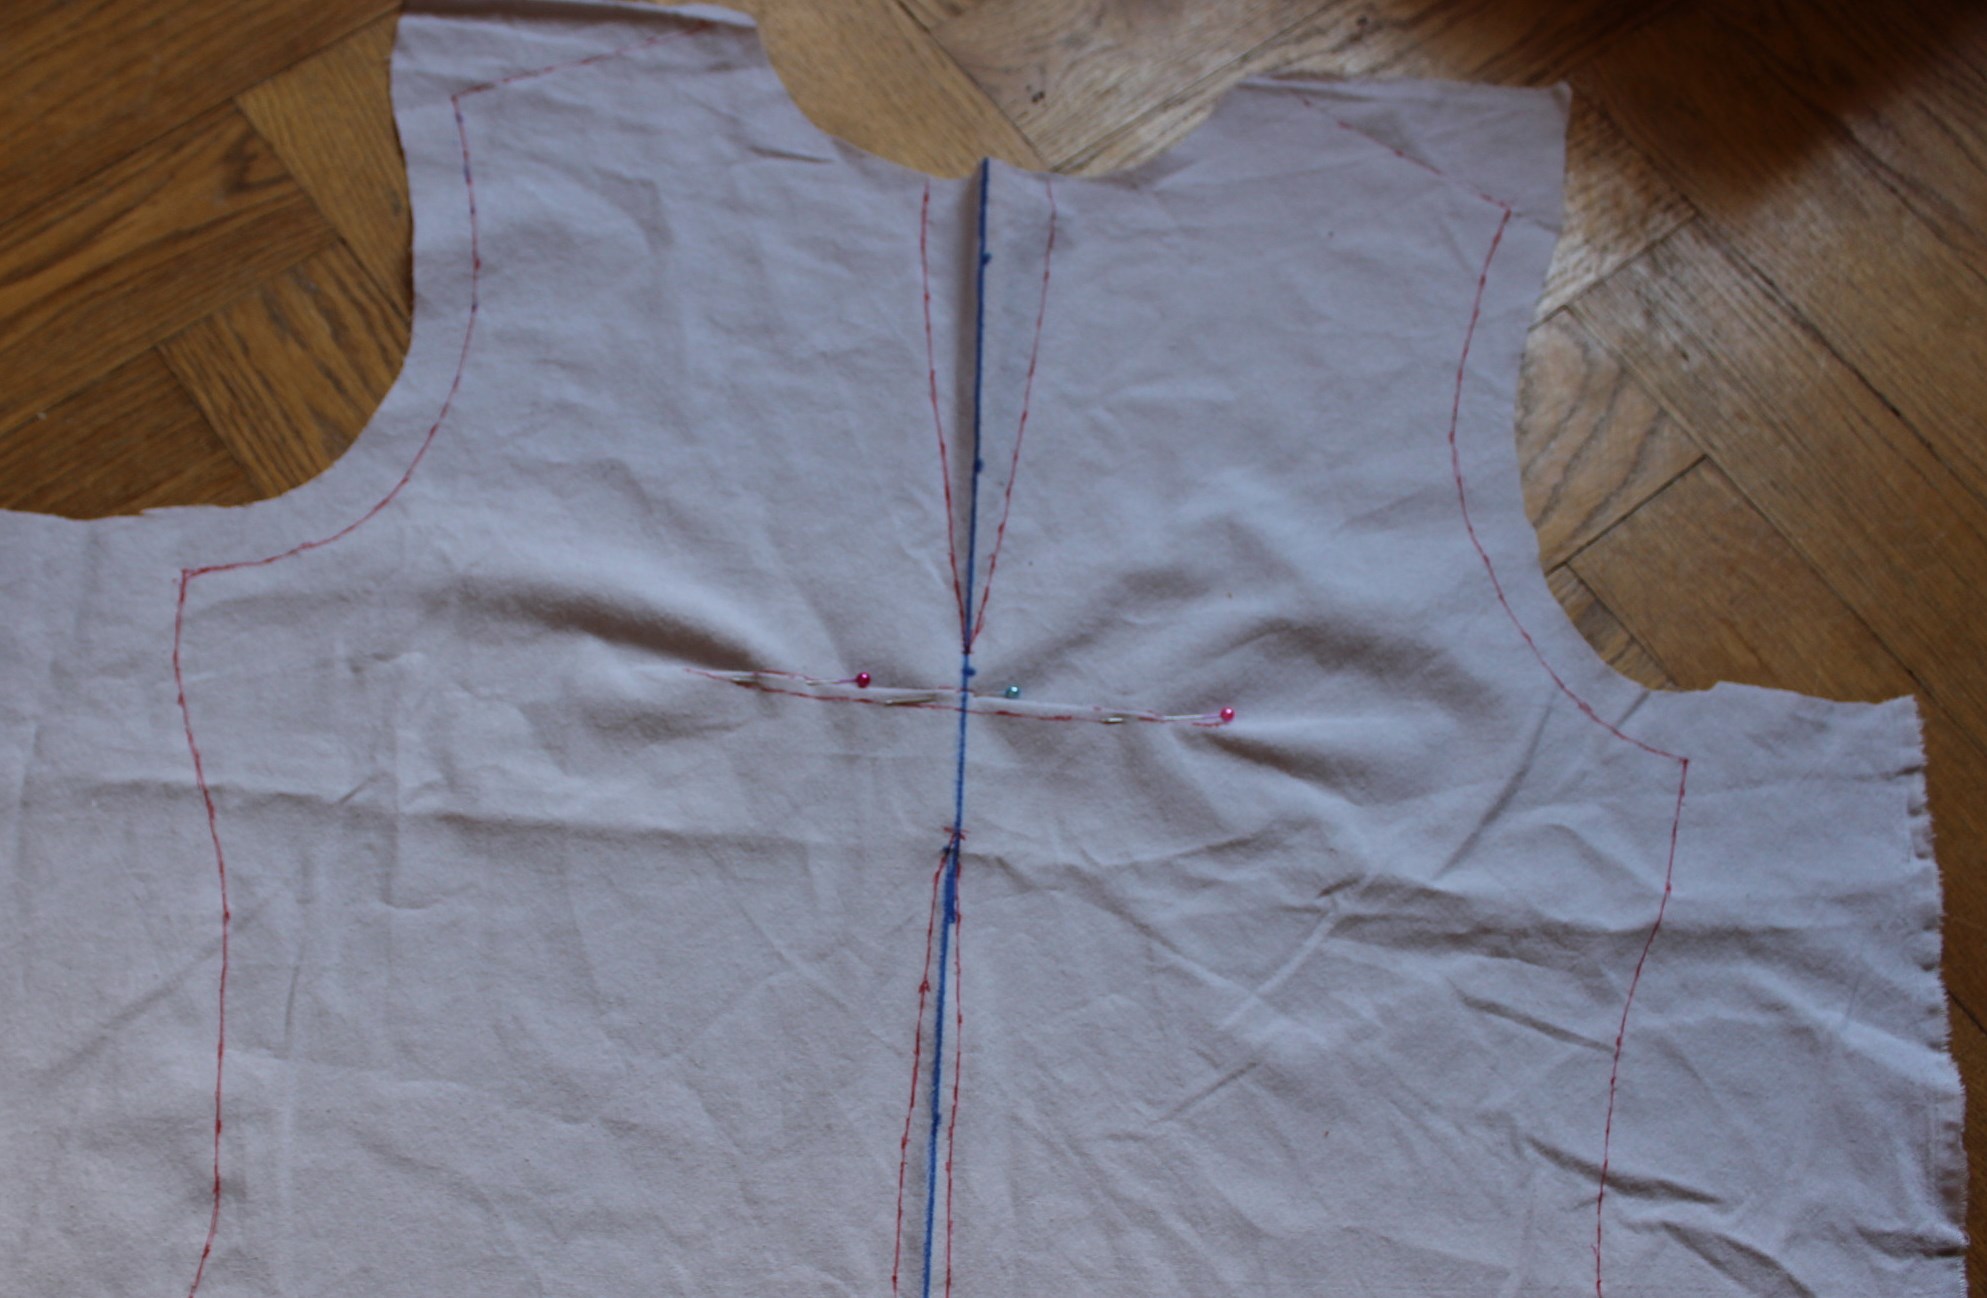
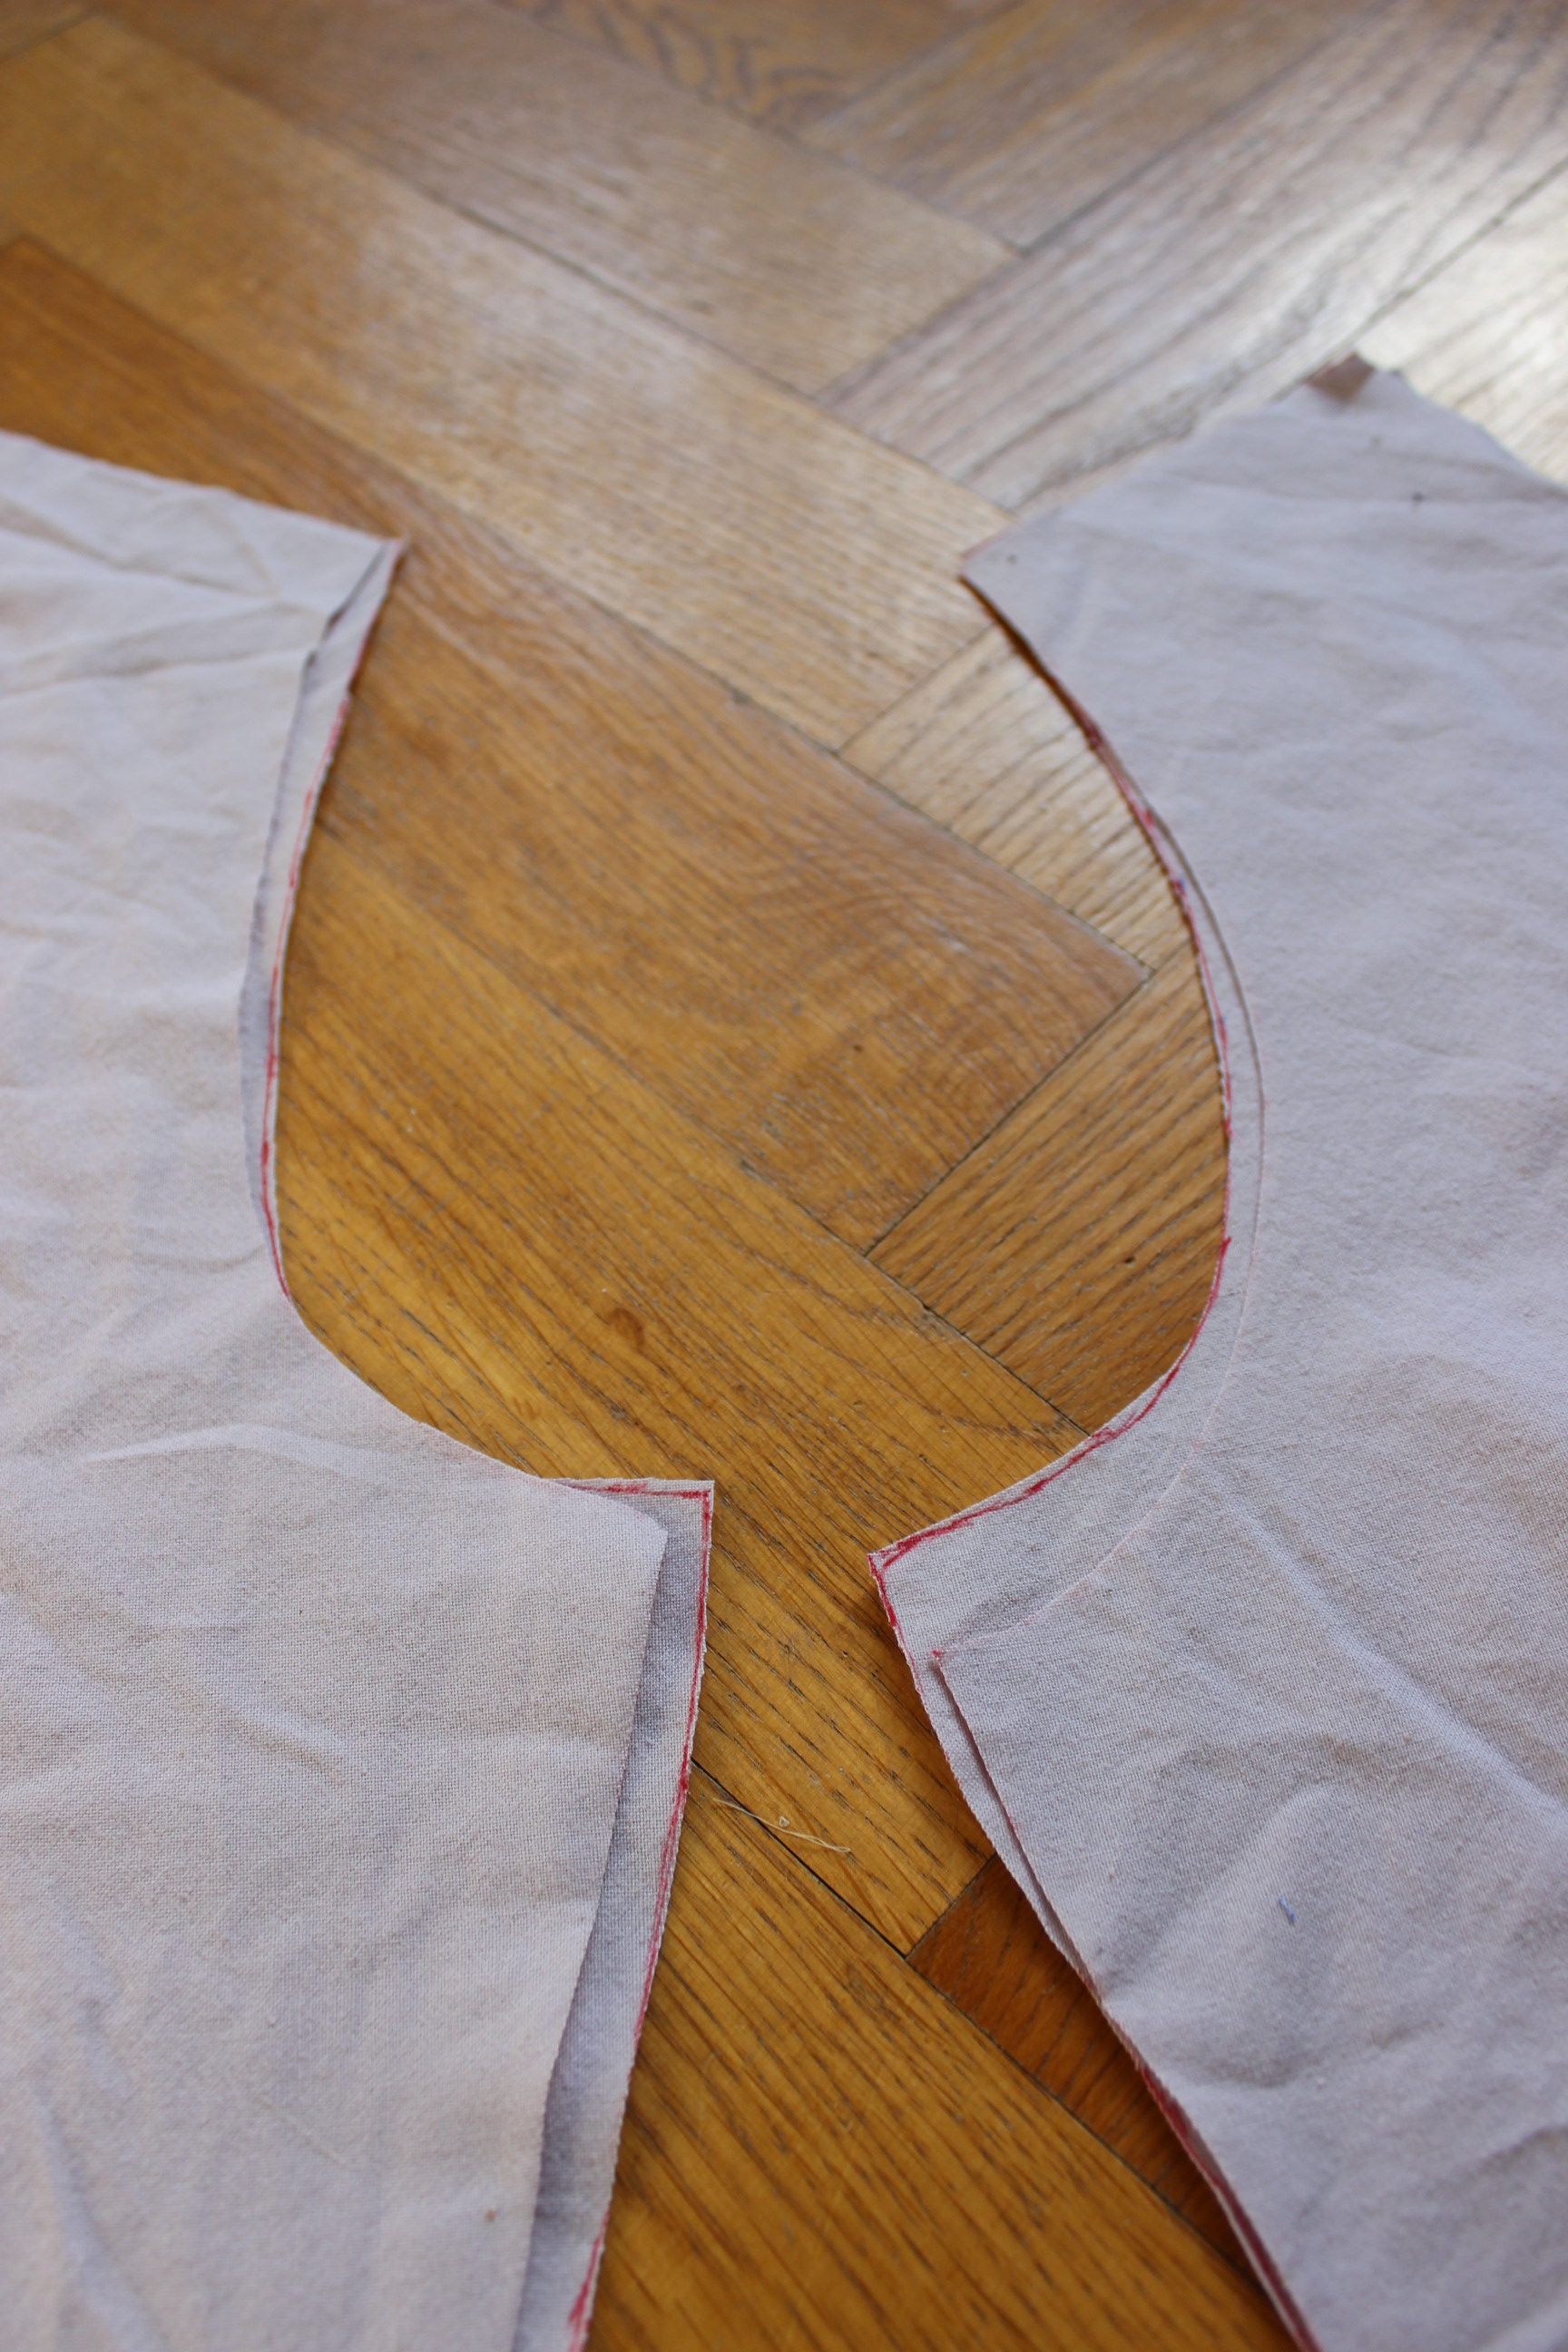
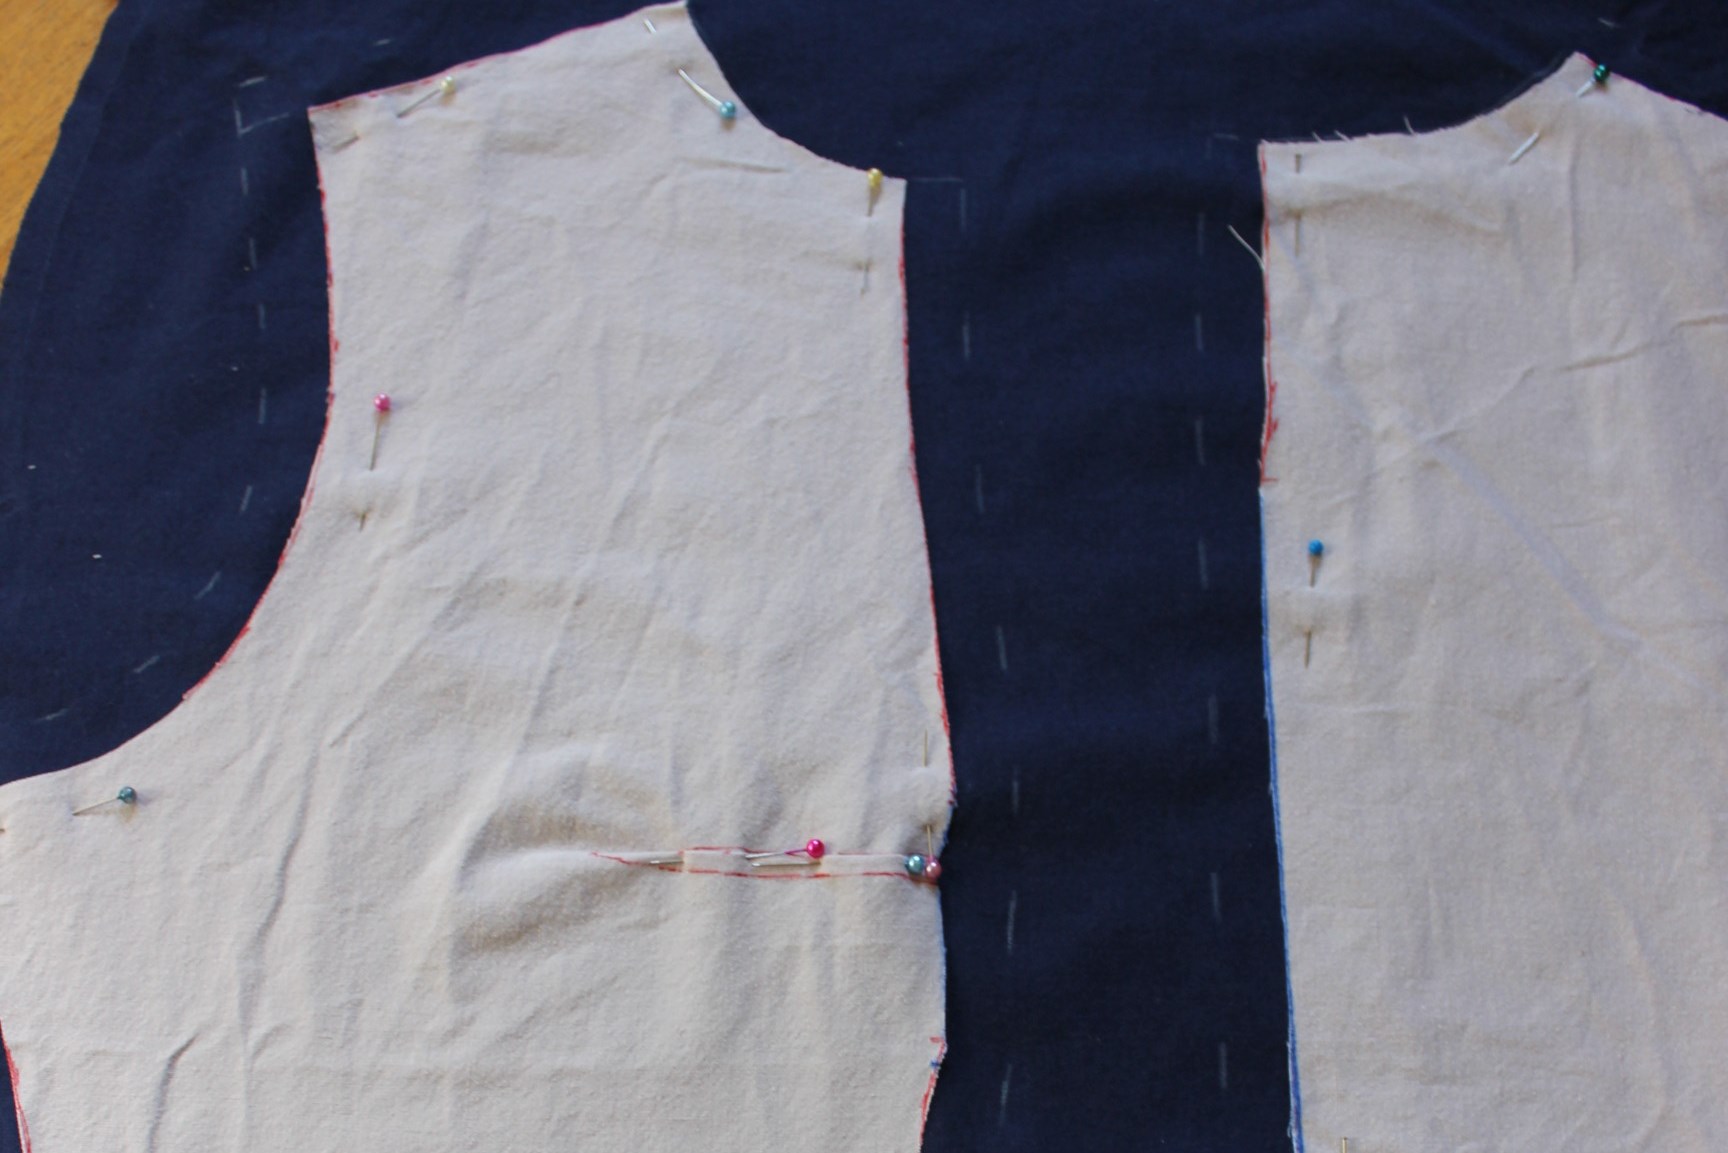
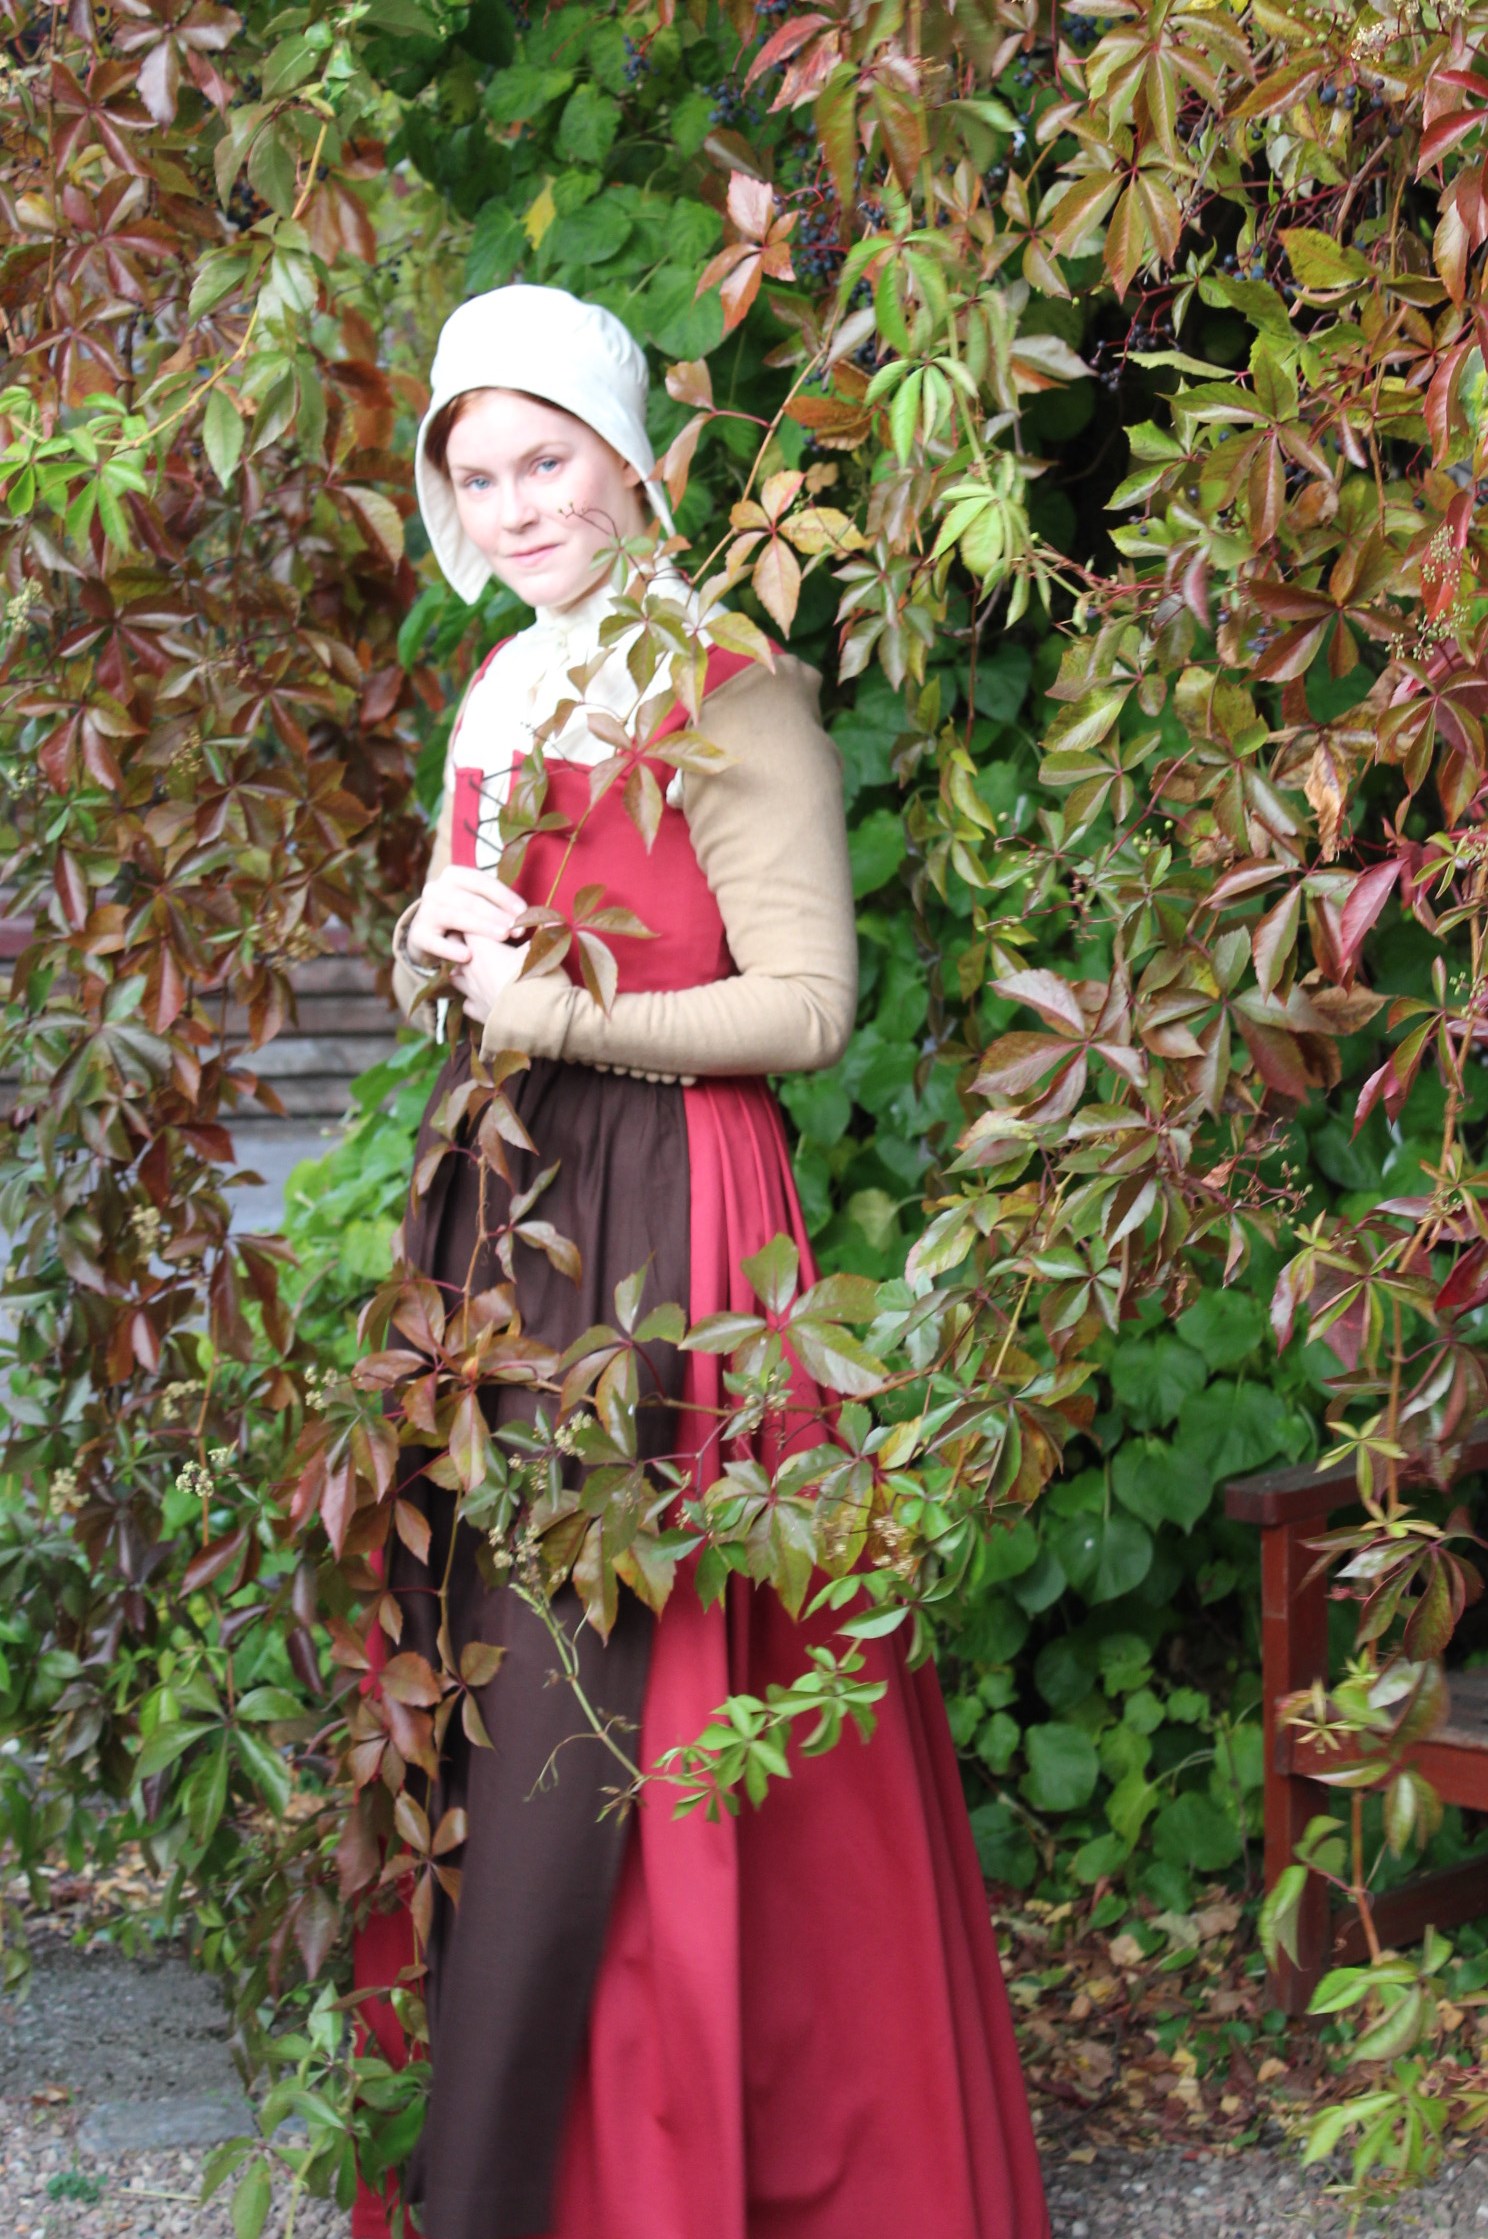
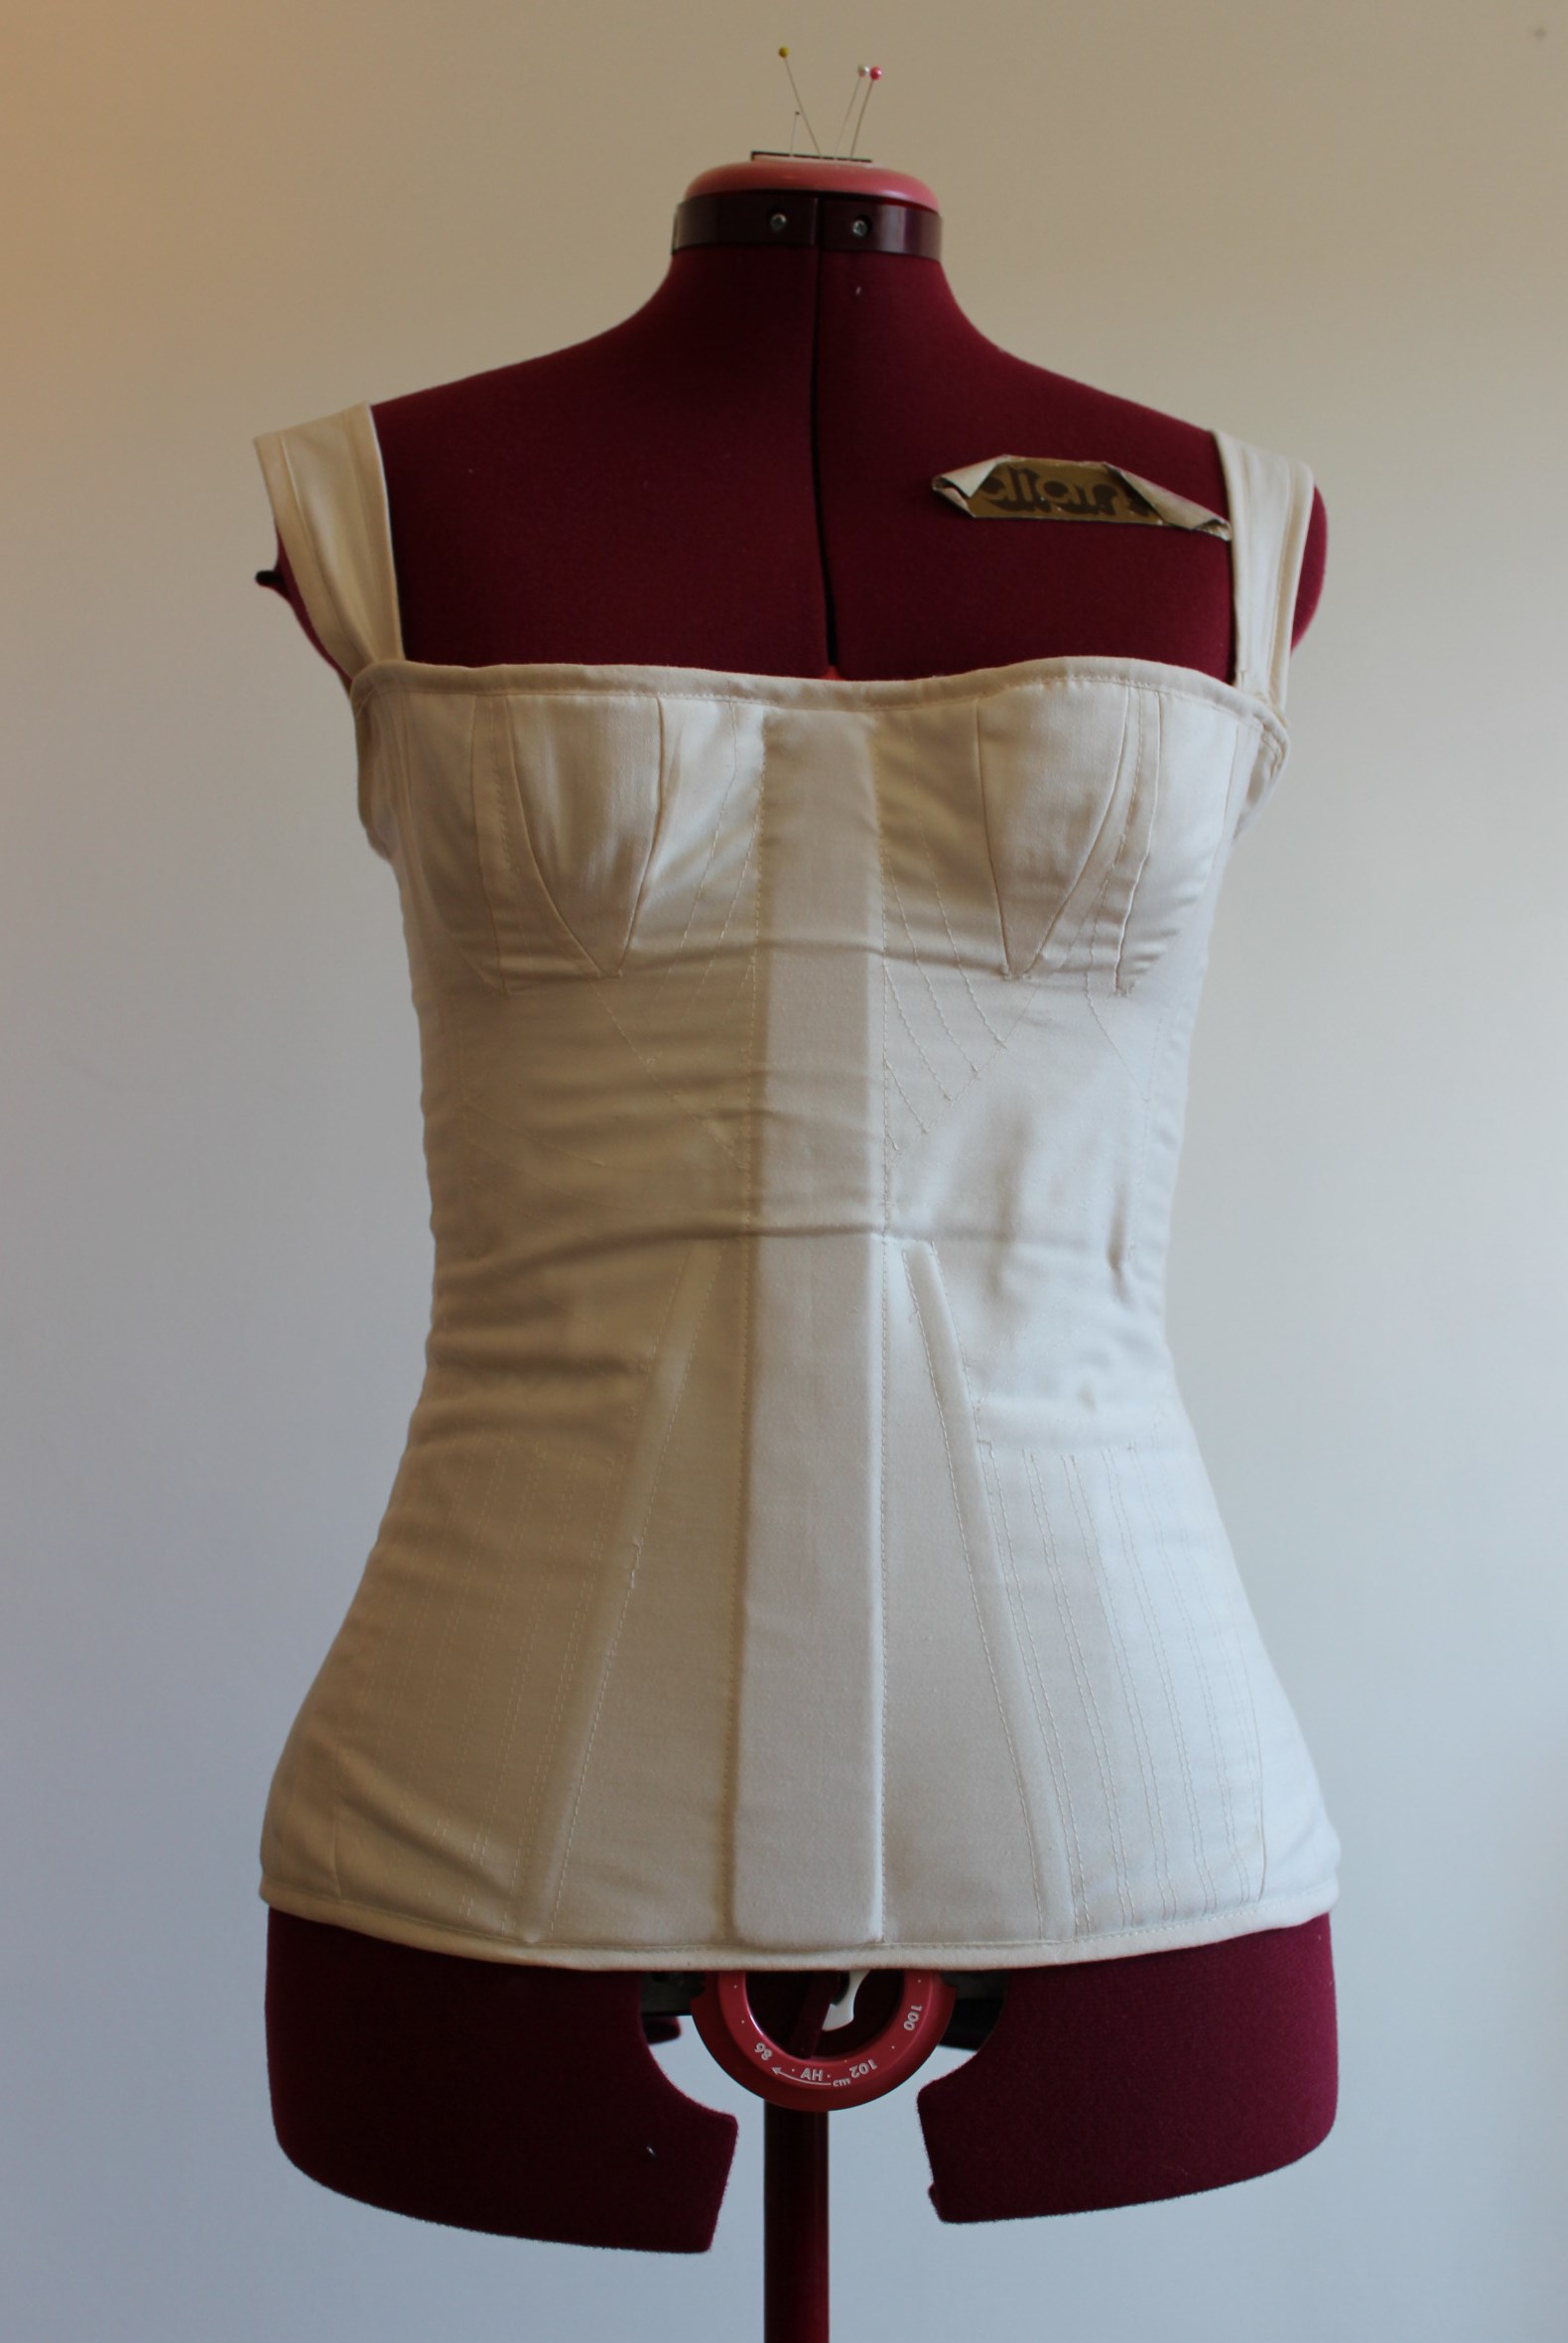
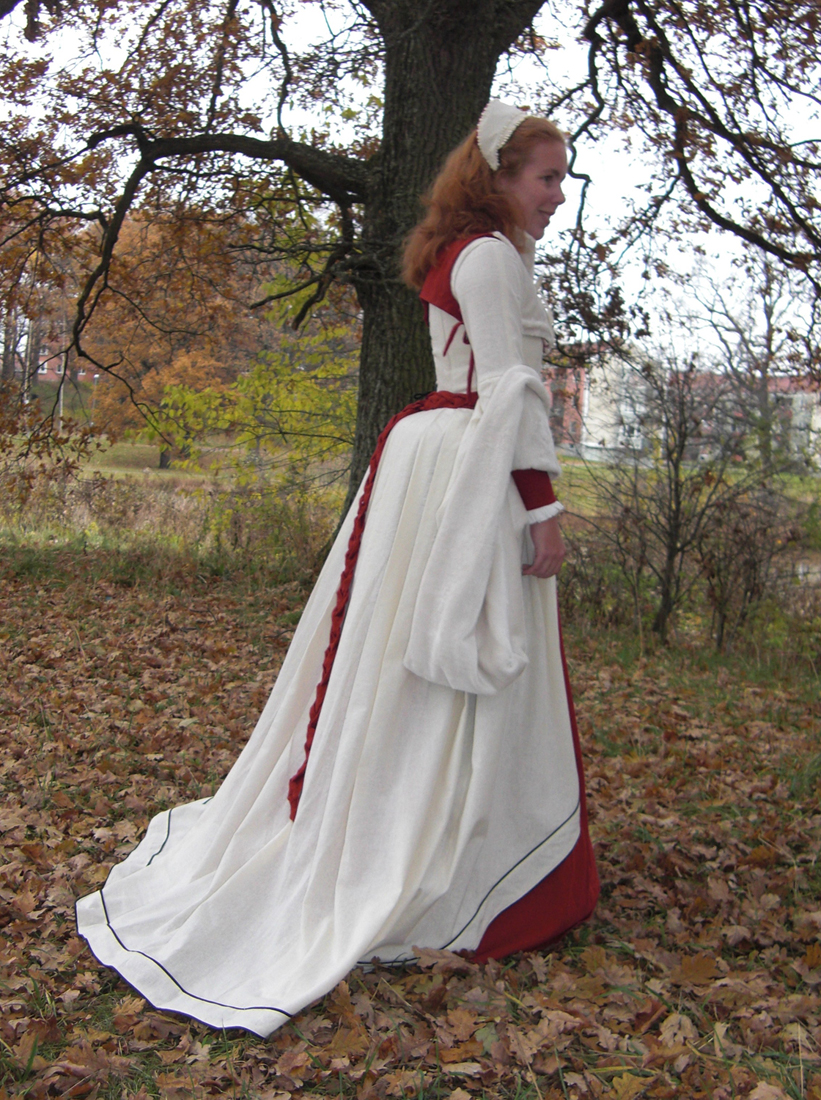
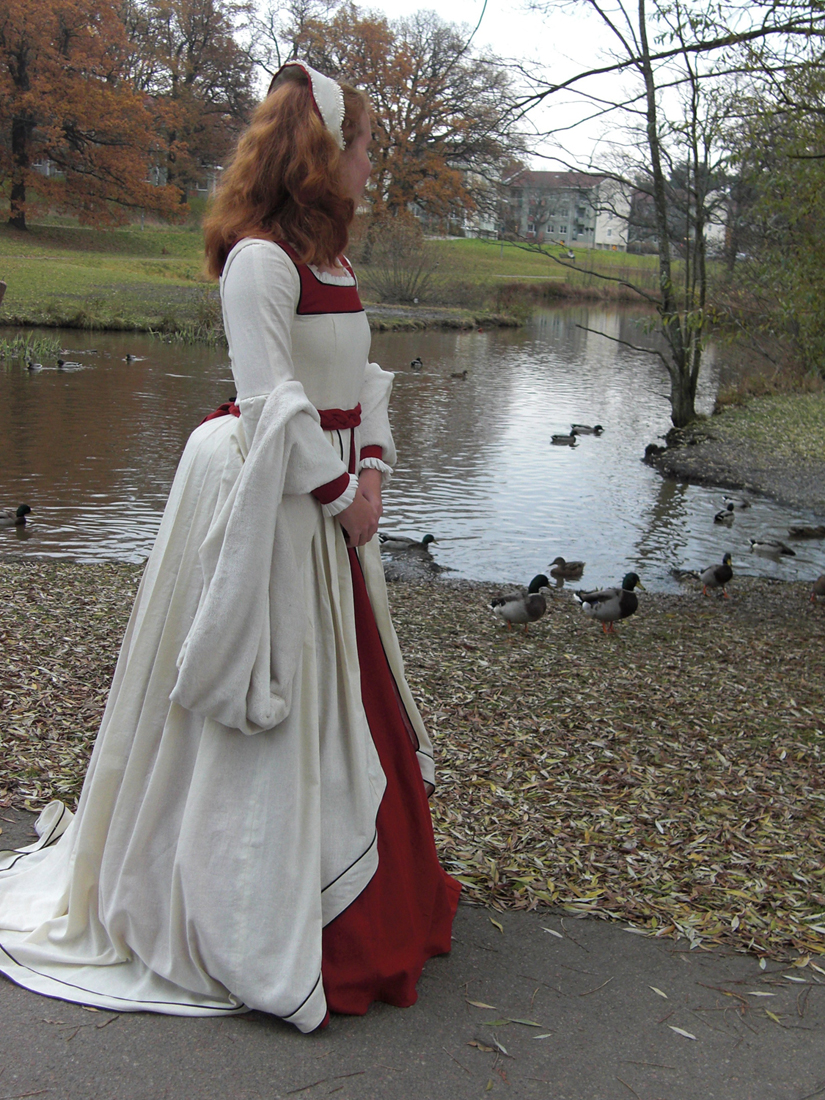
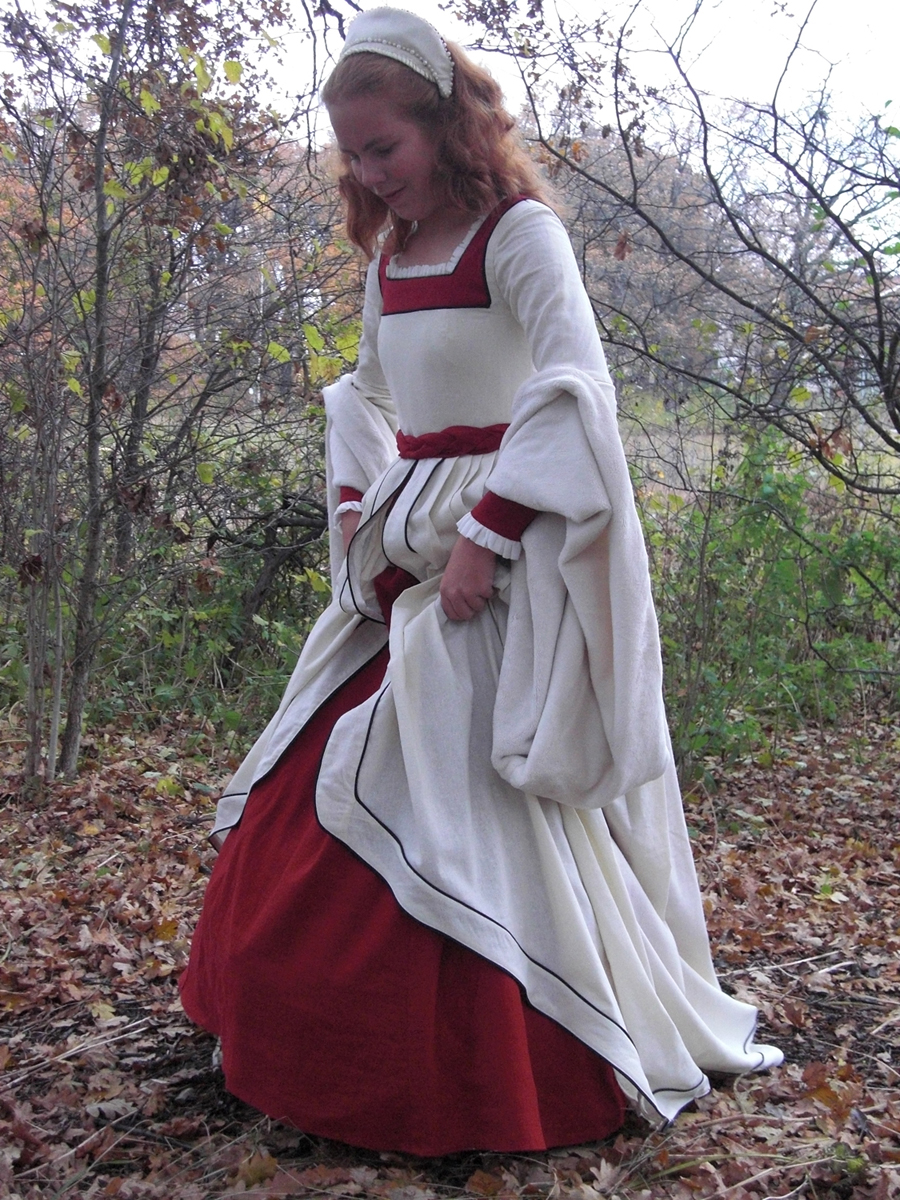
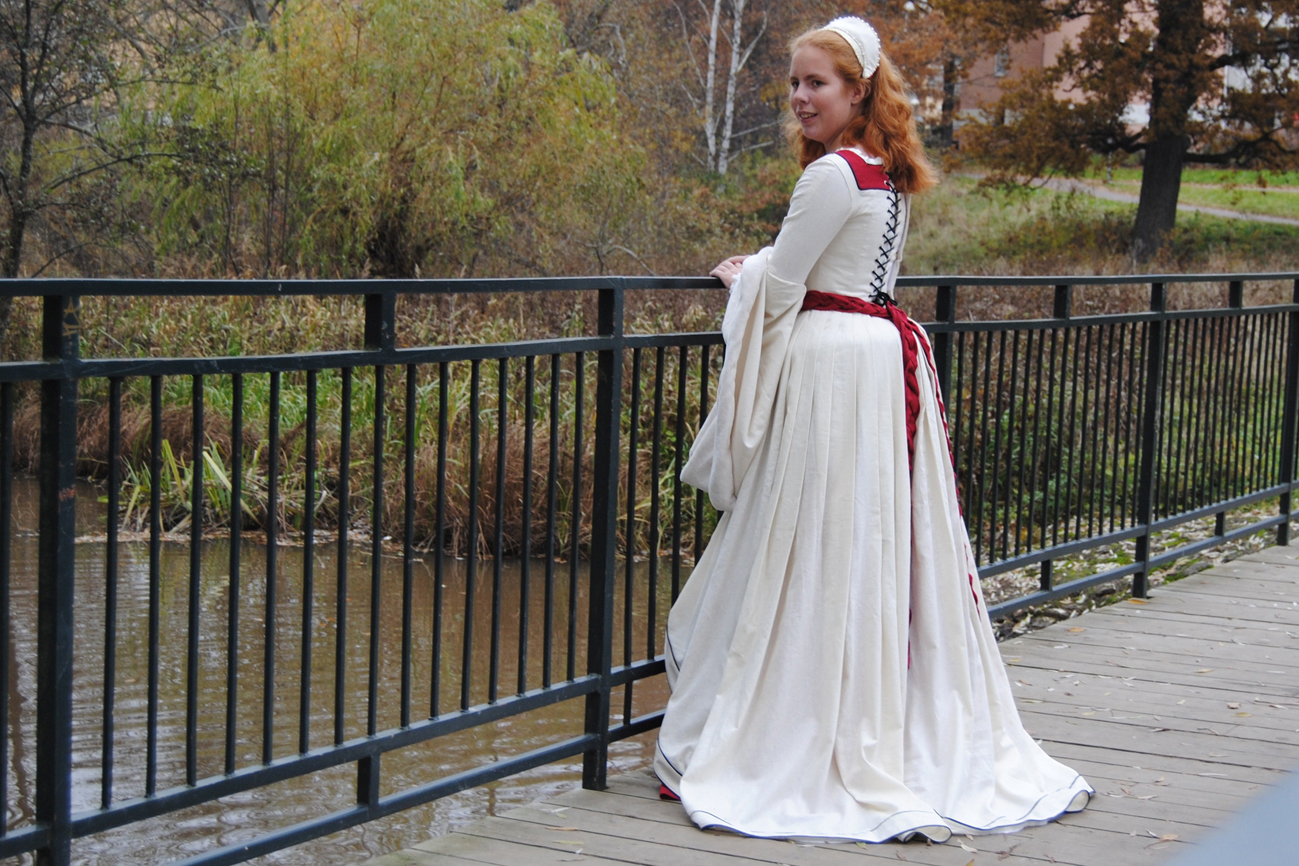
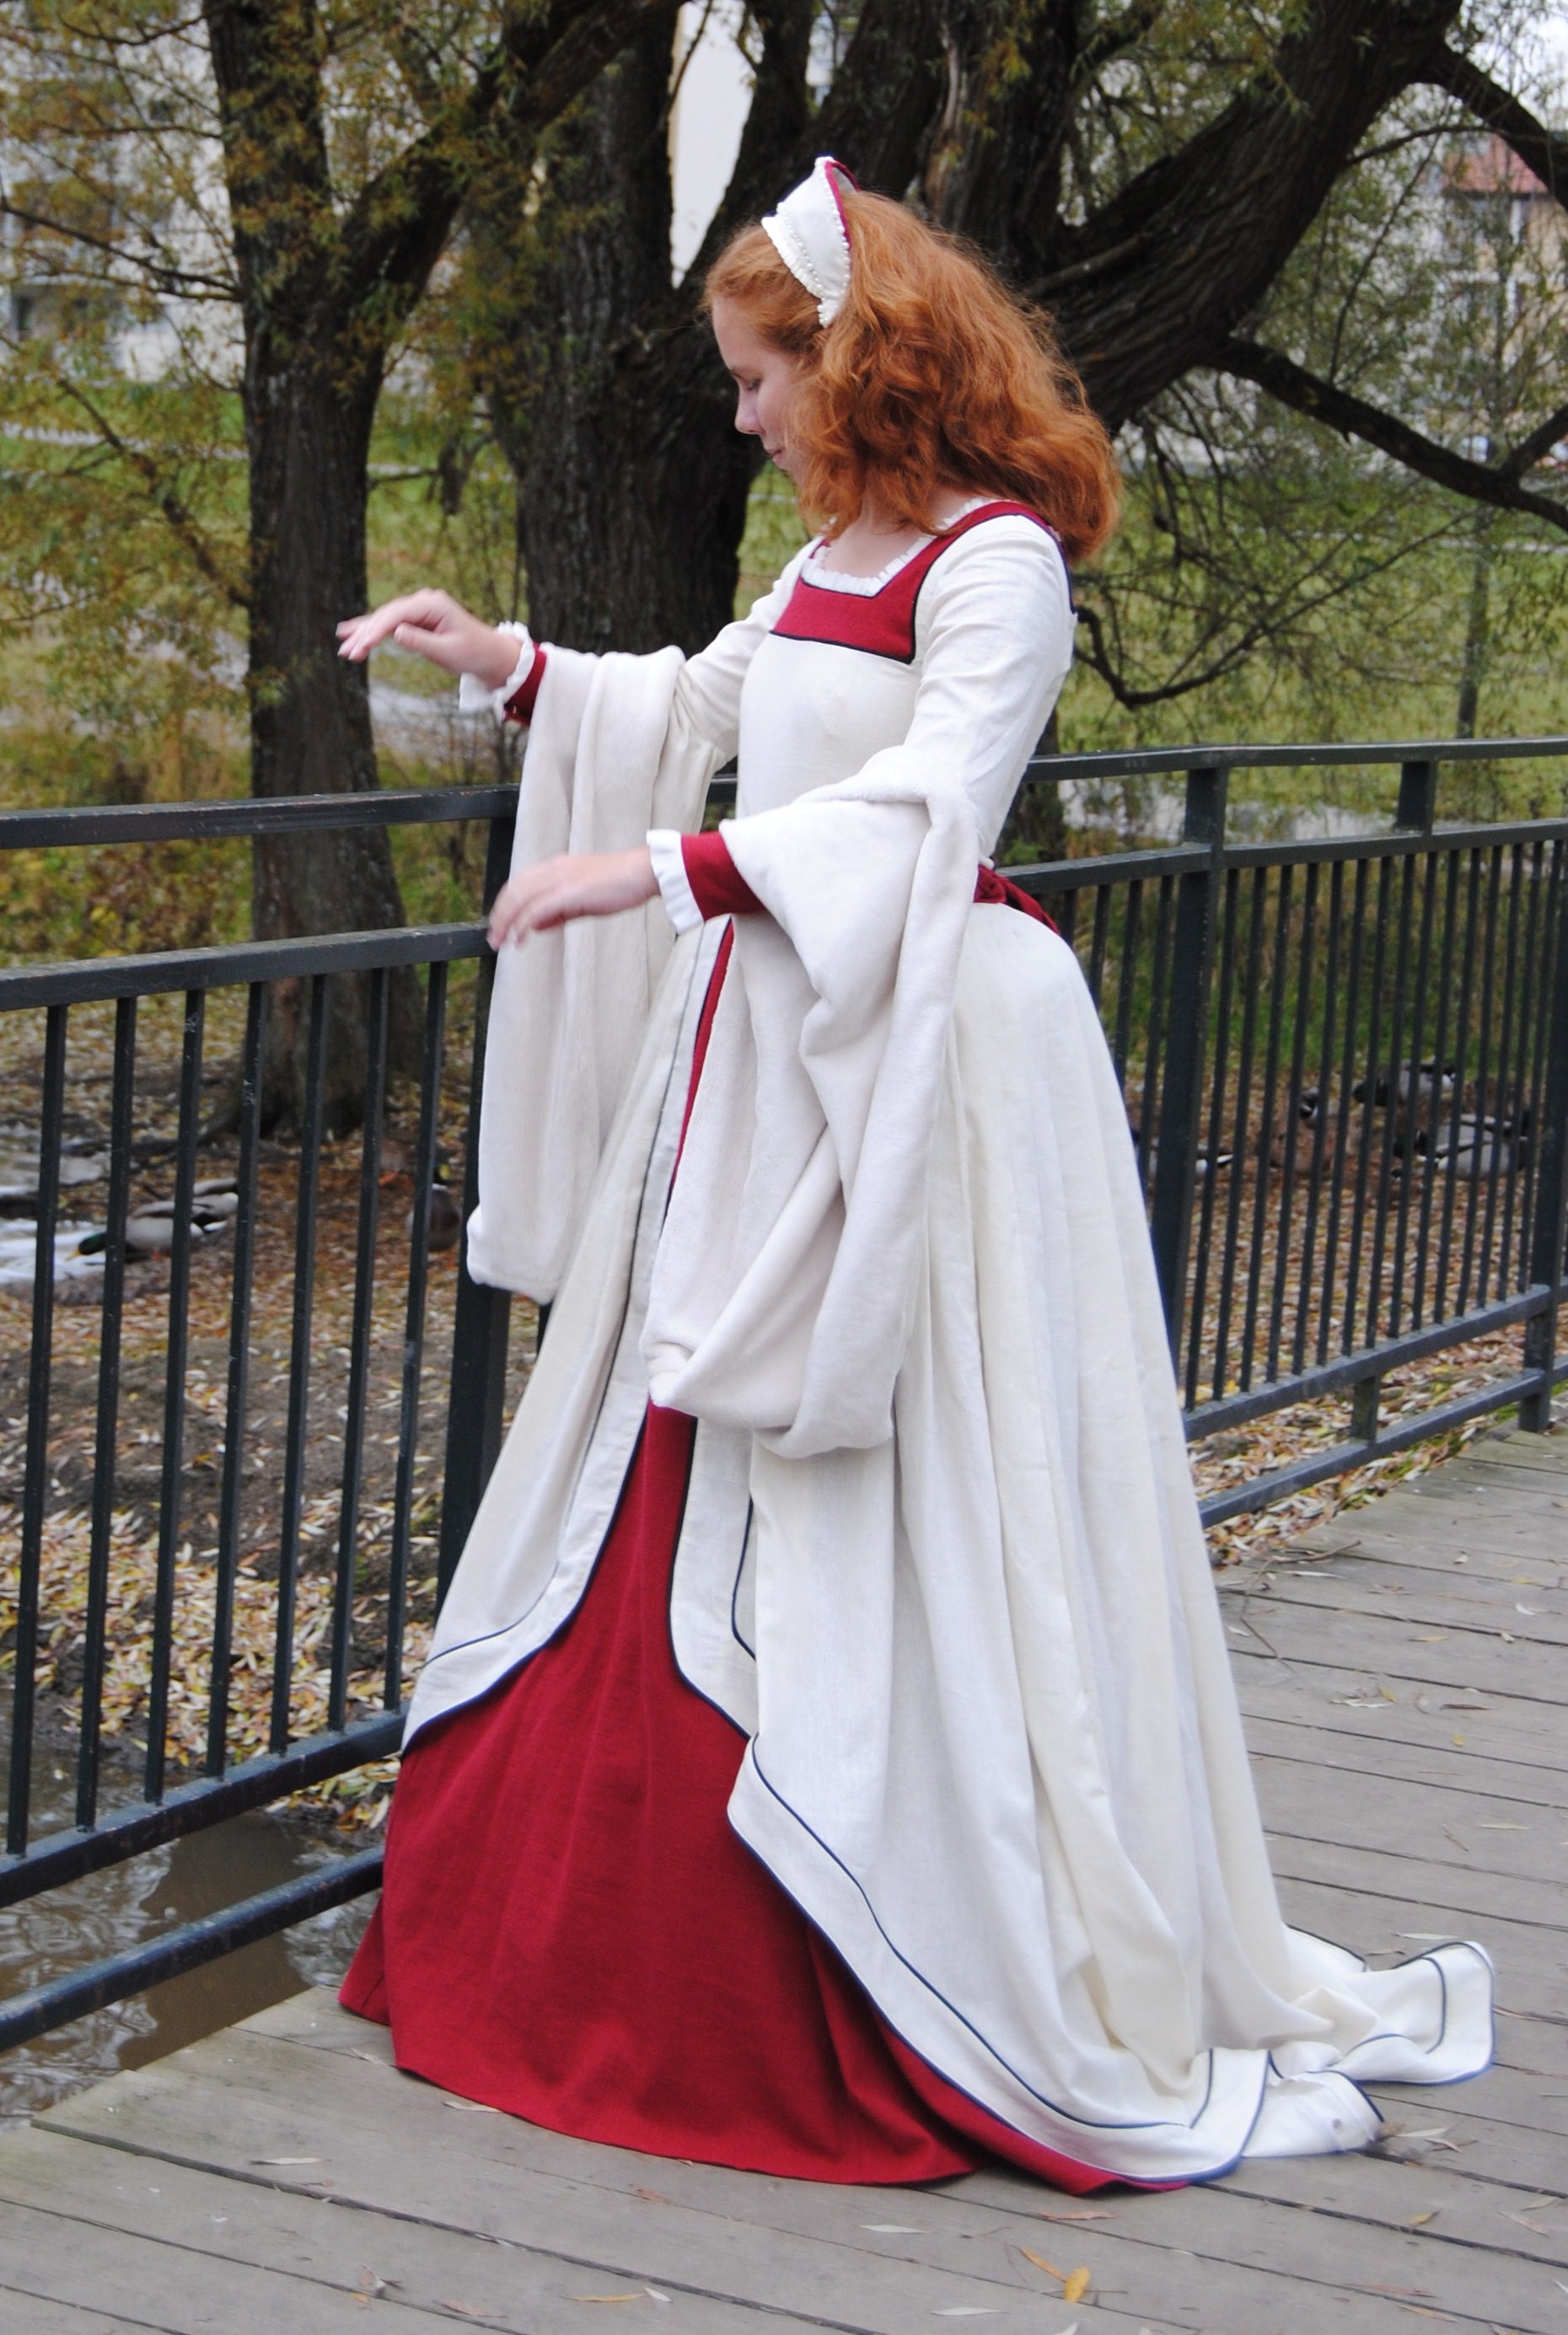
So I made the open skirt with the forepart as one.

CIMG3085

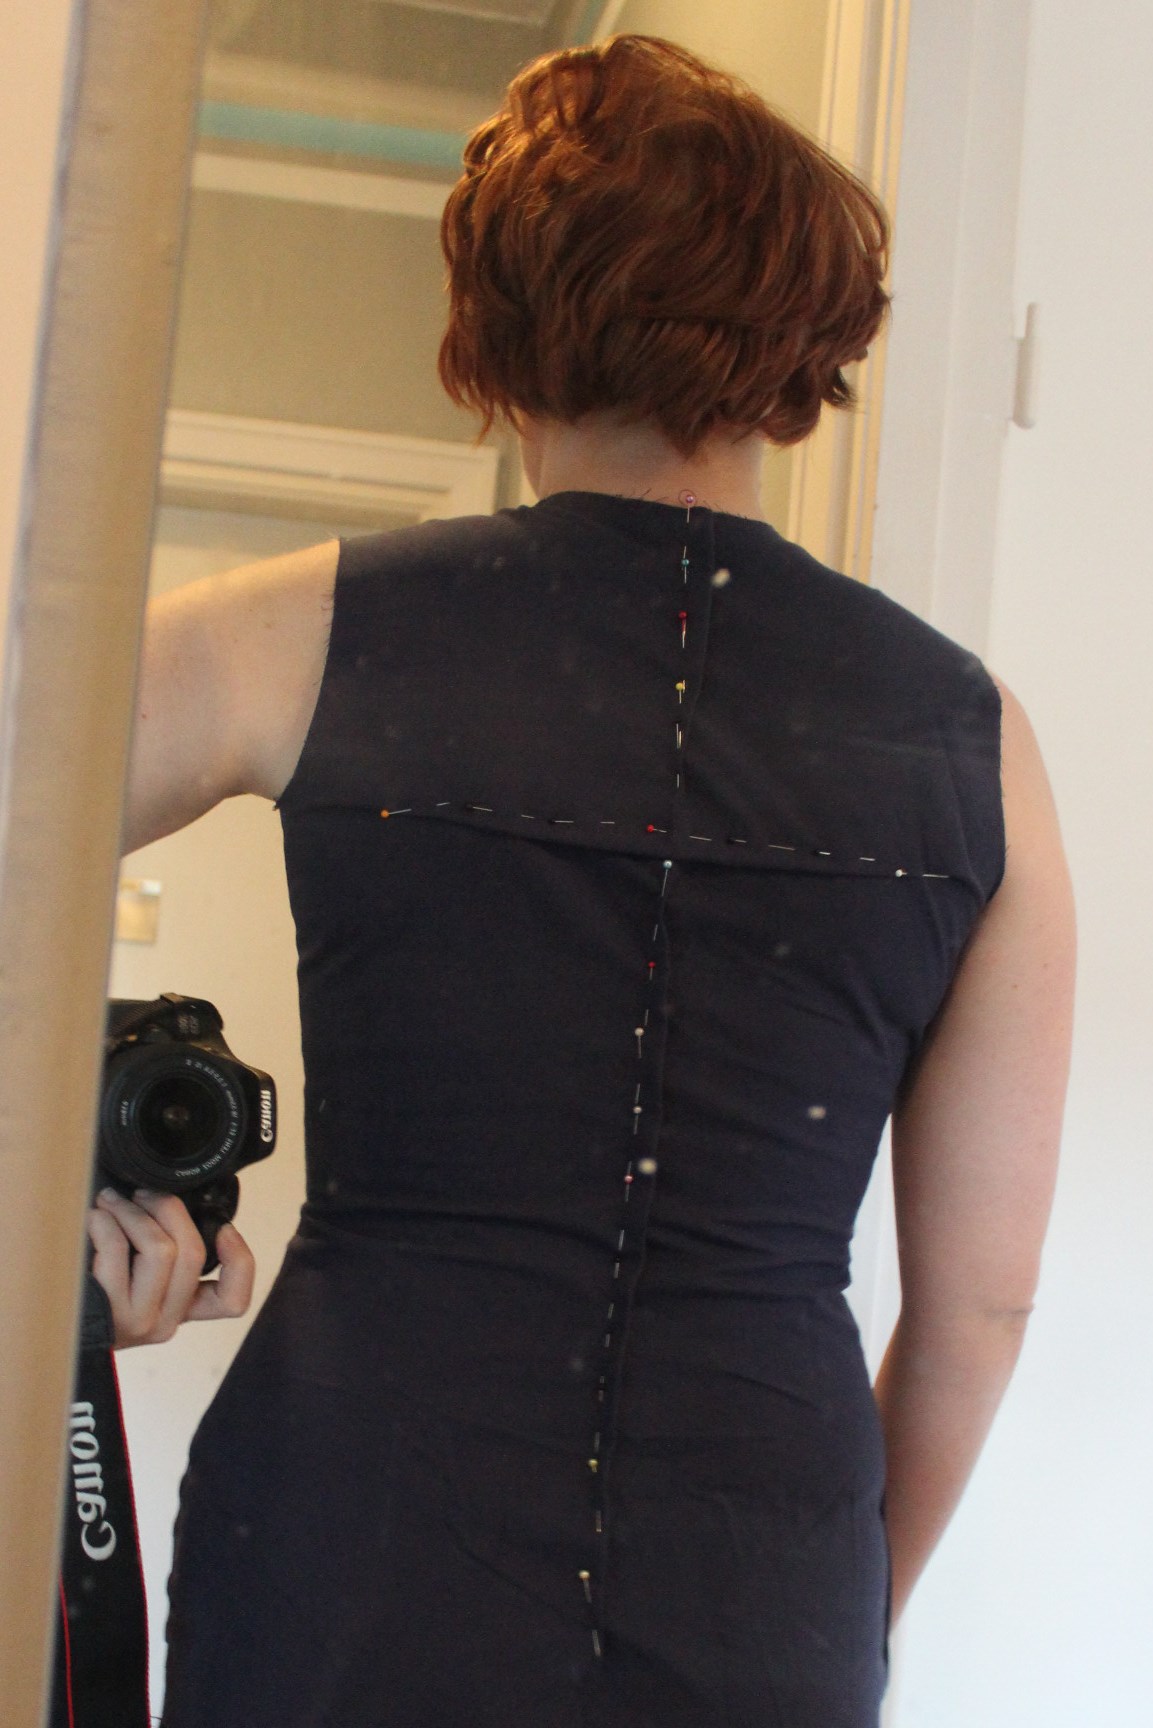
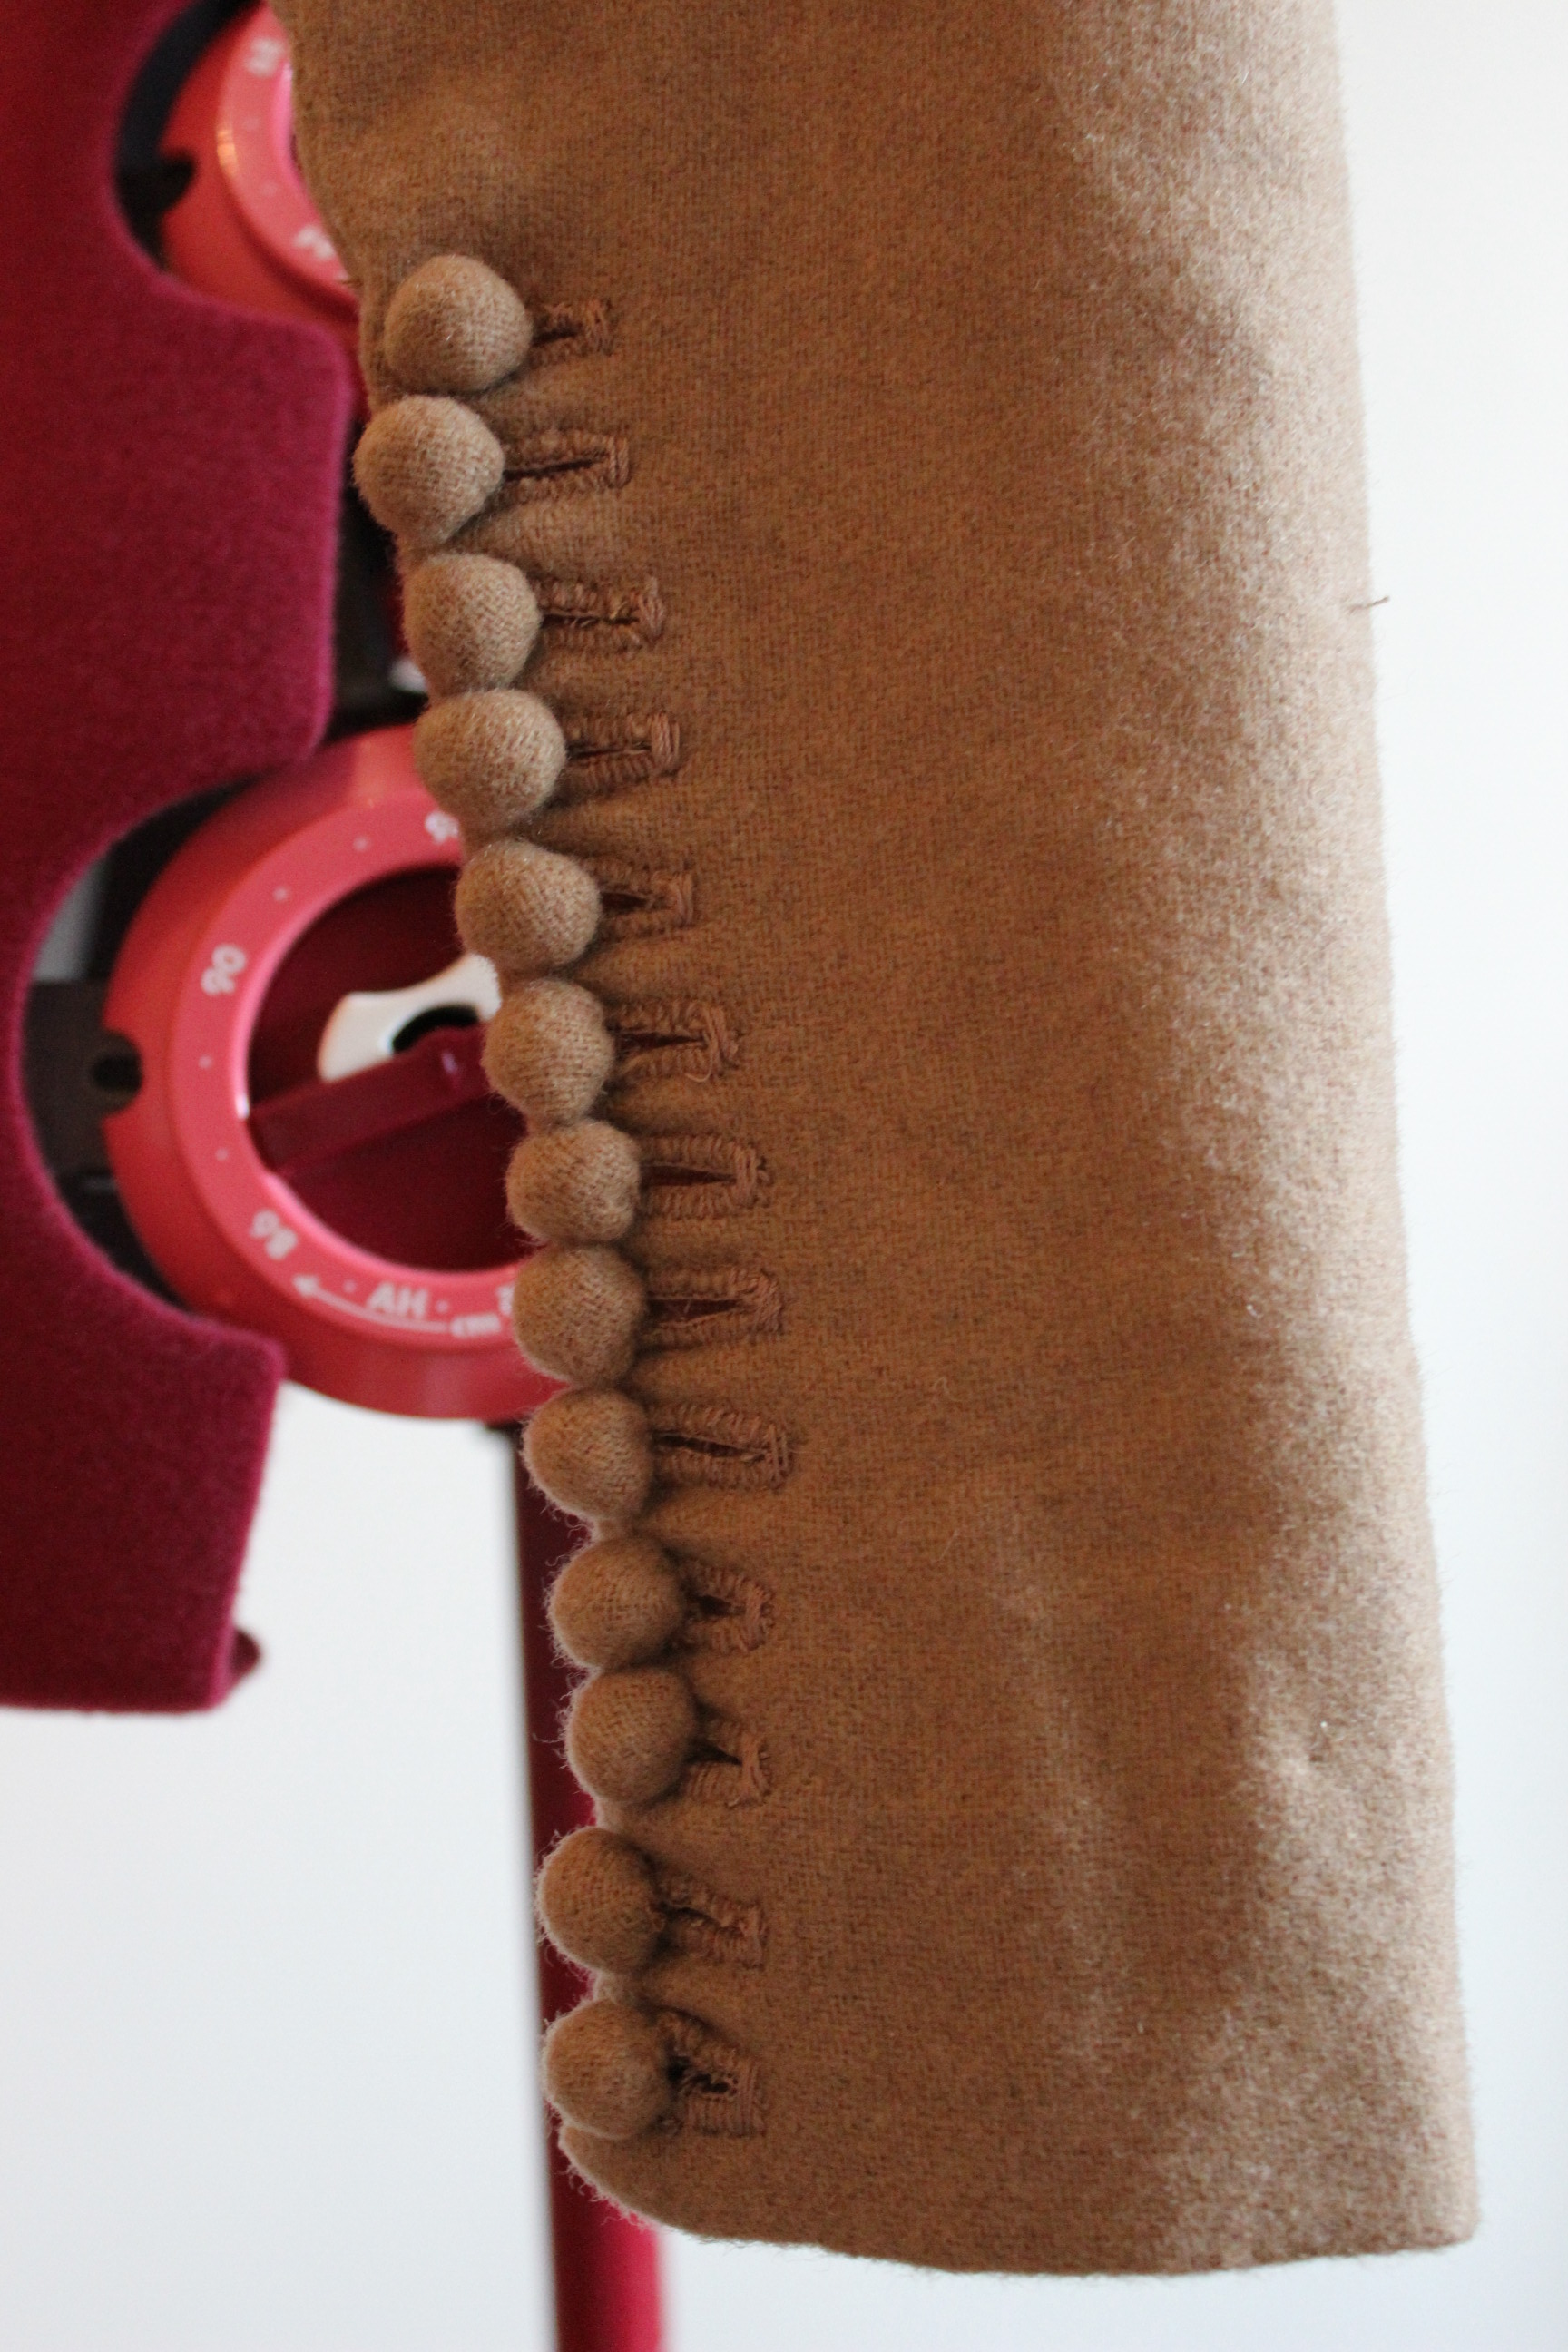
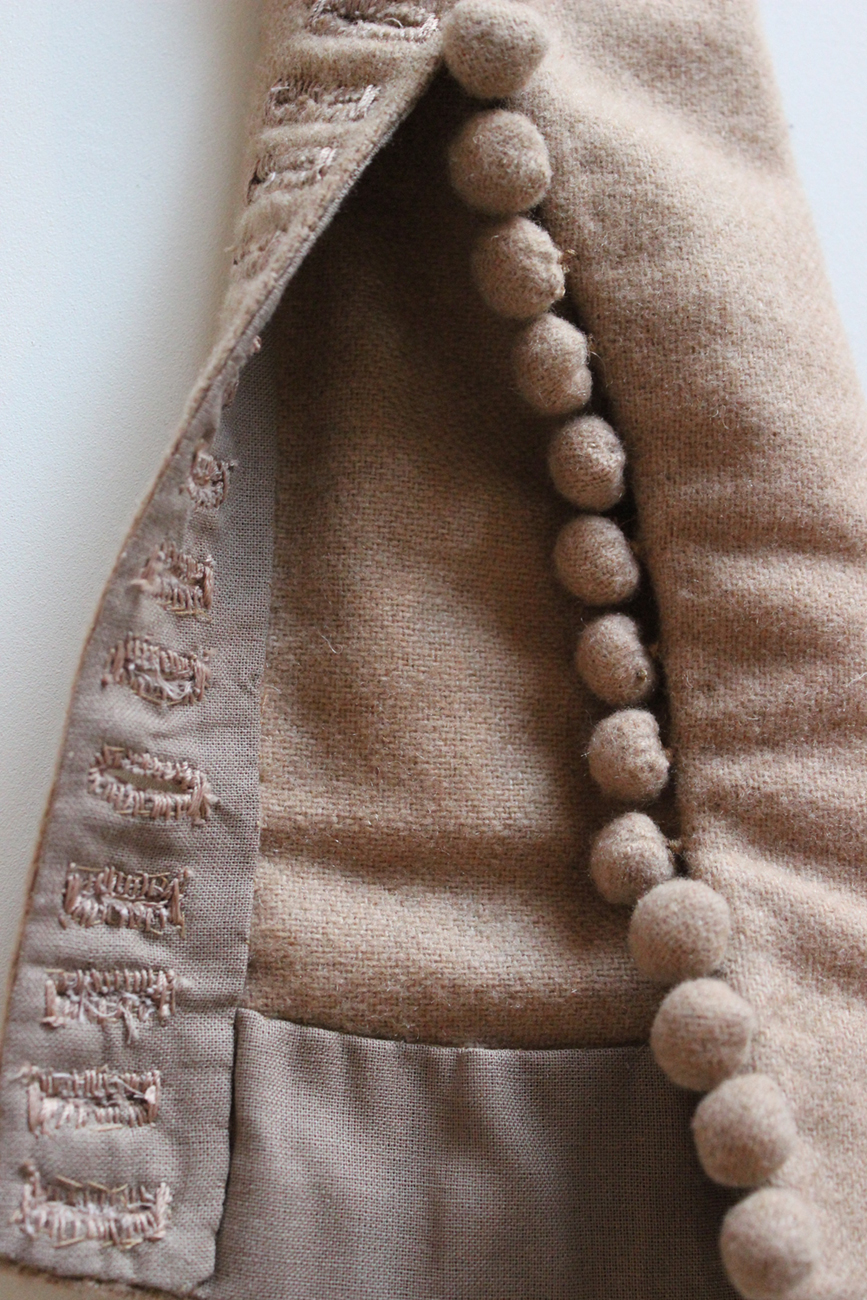
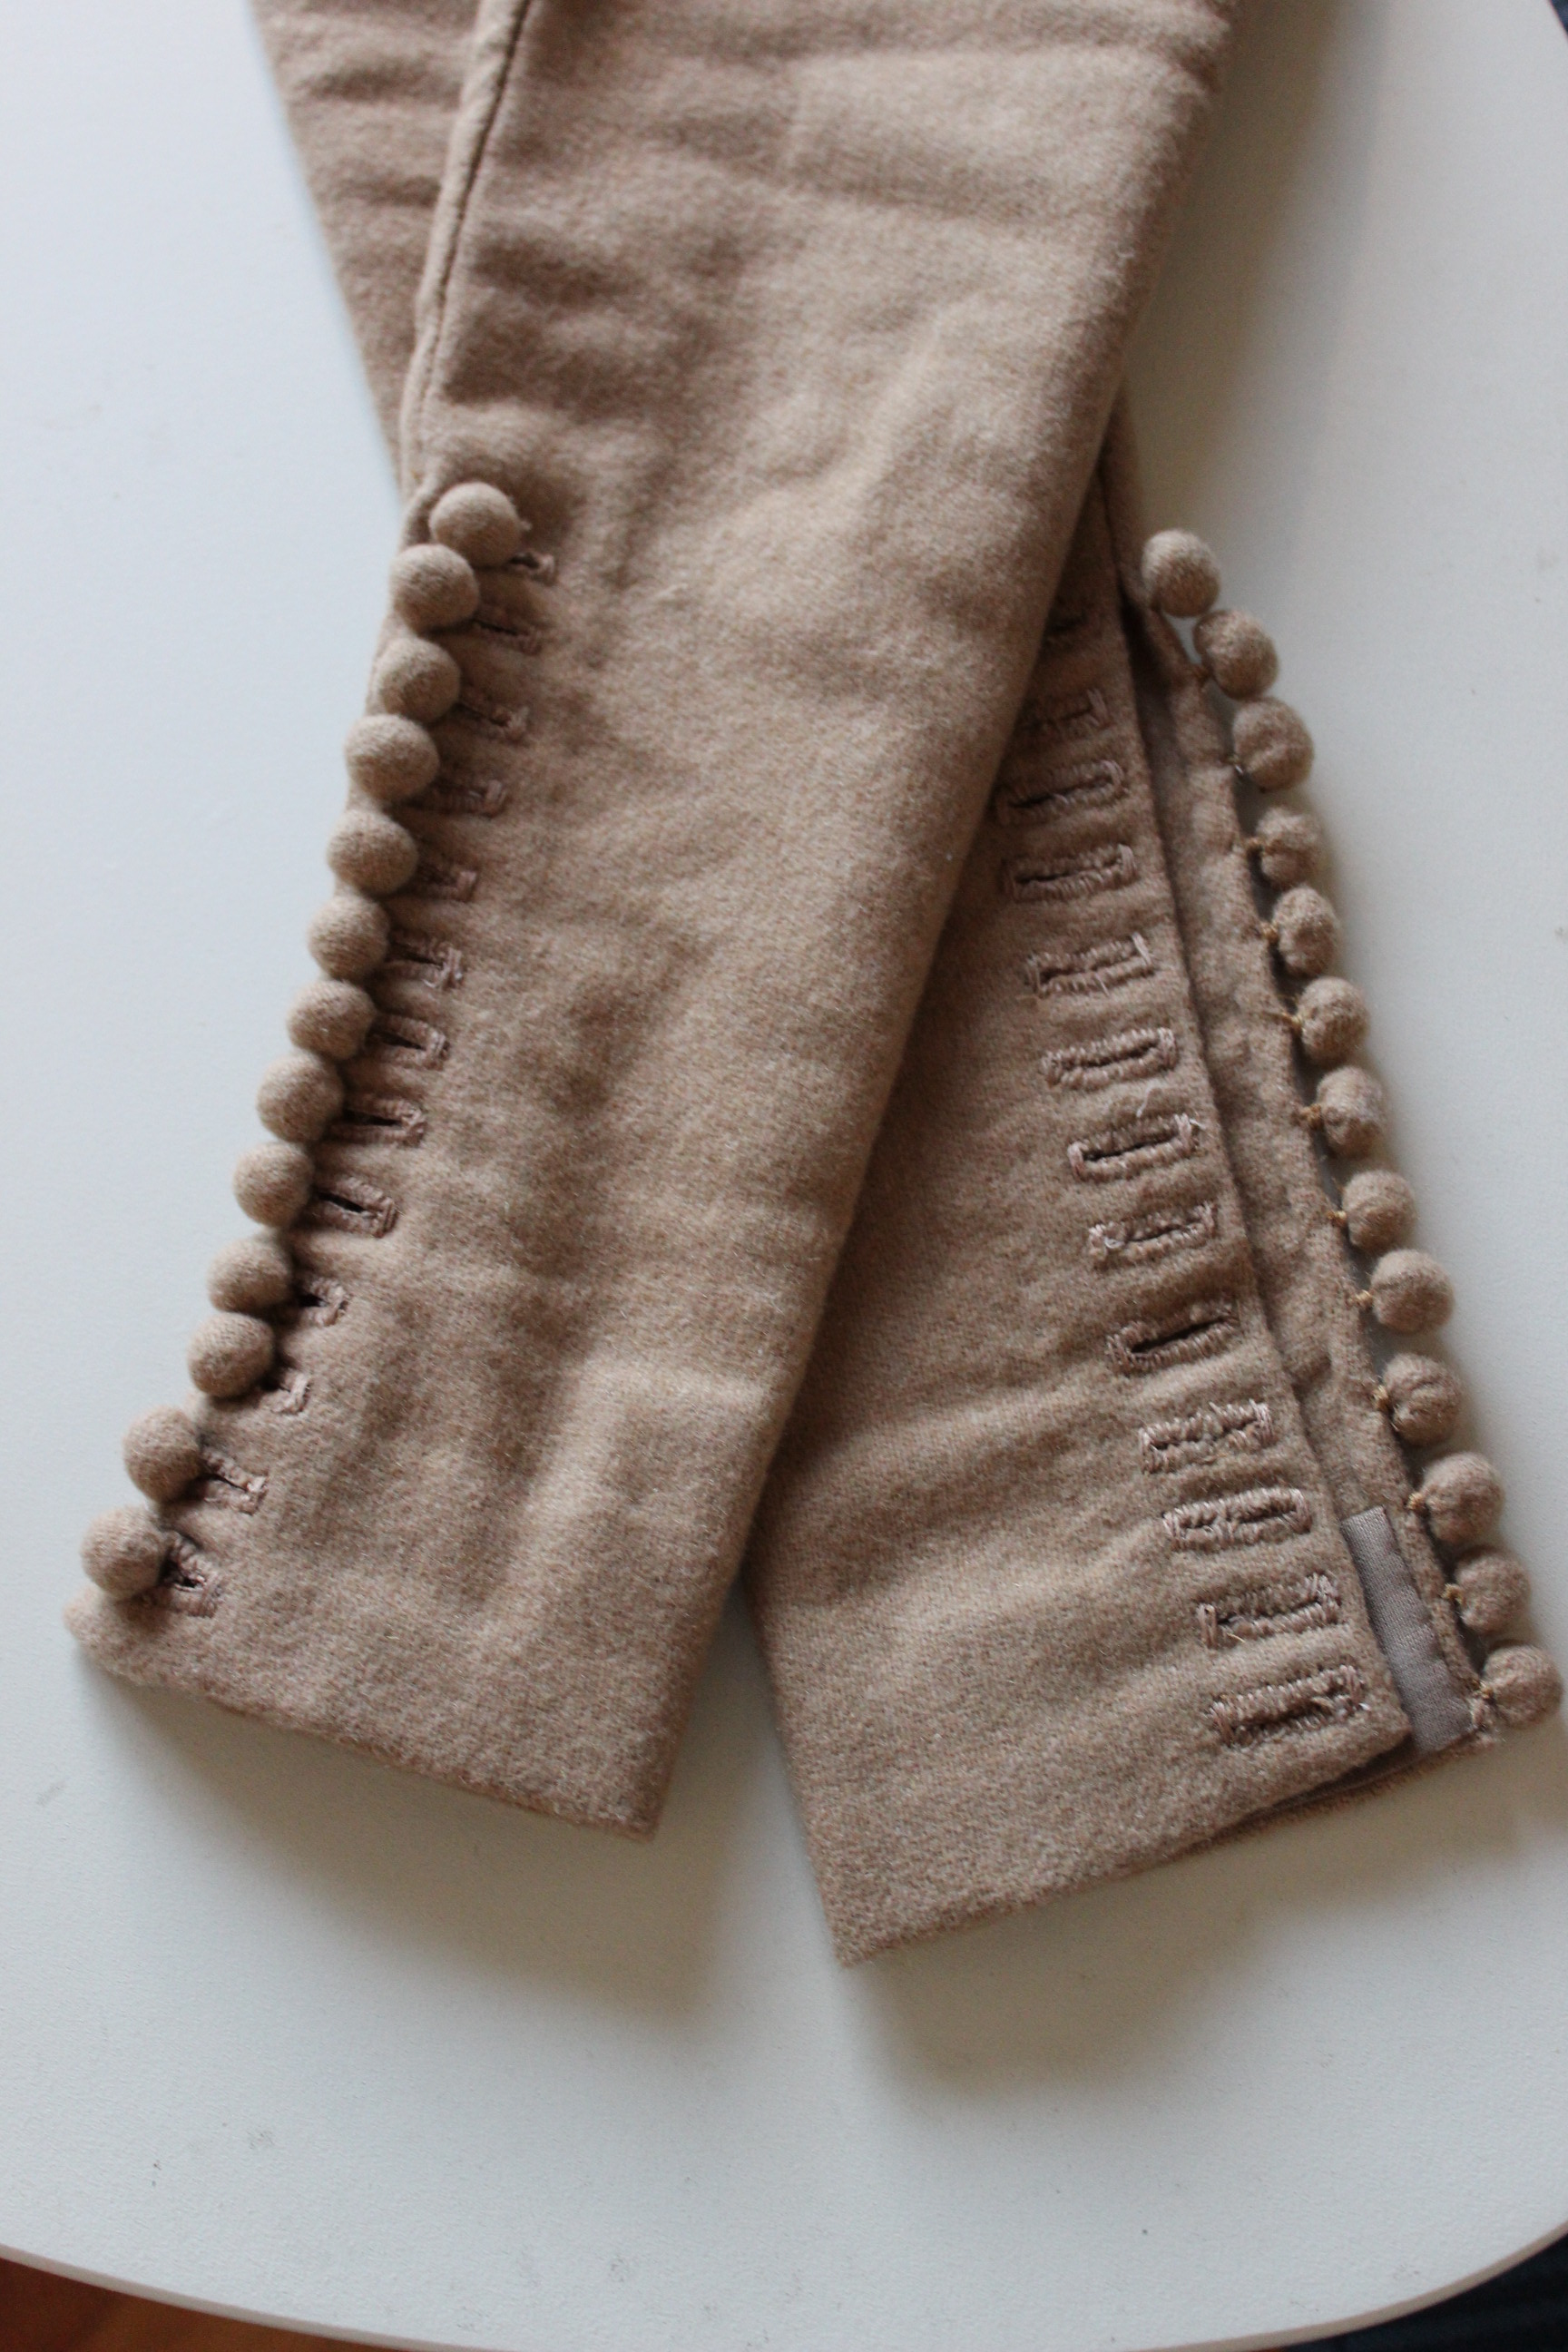
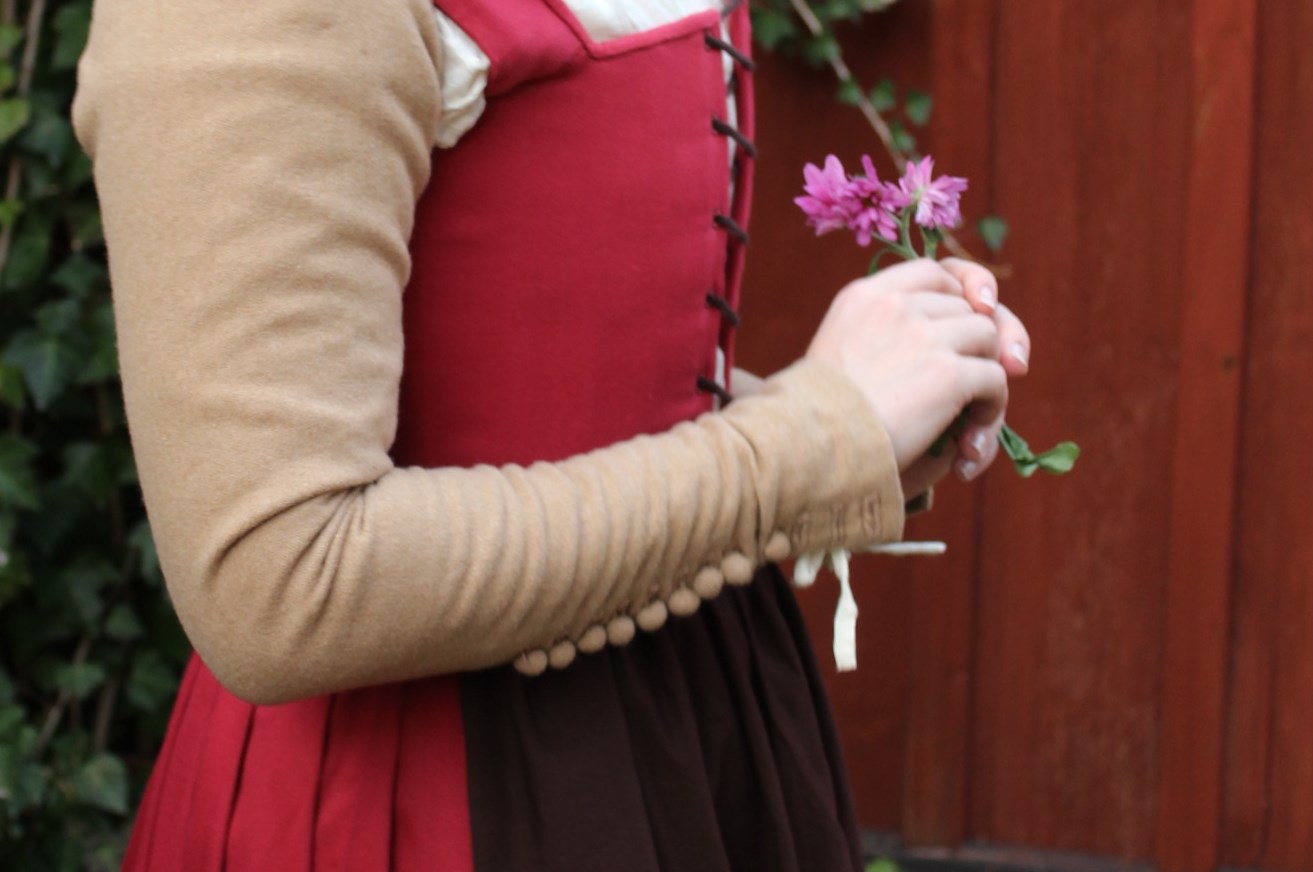
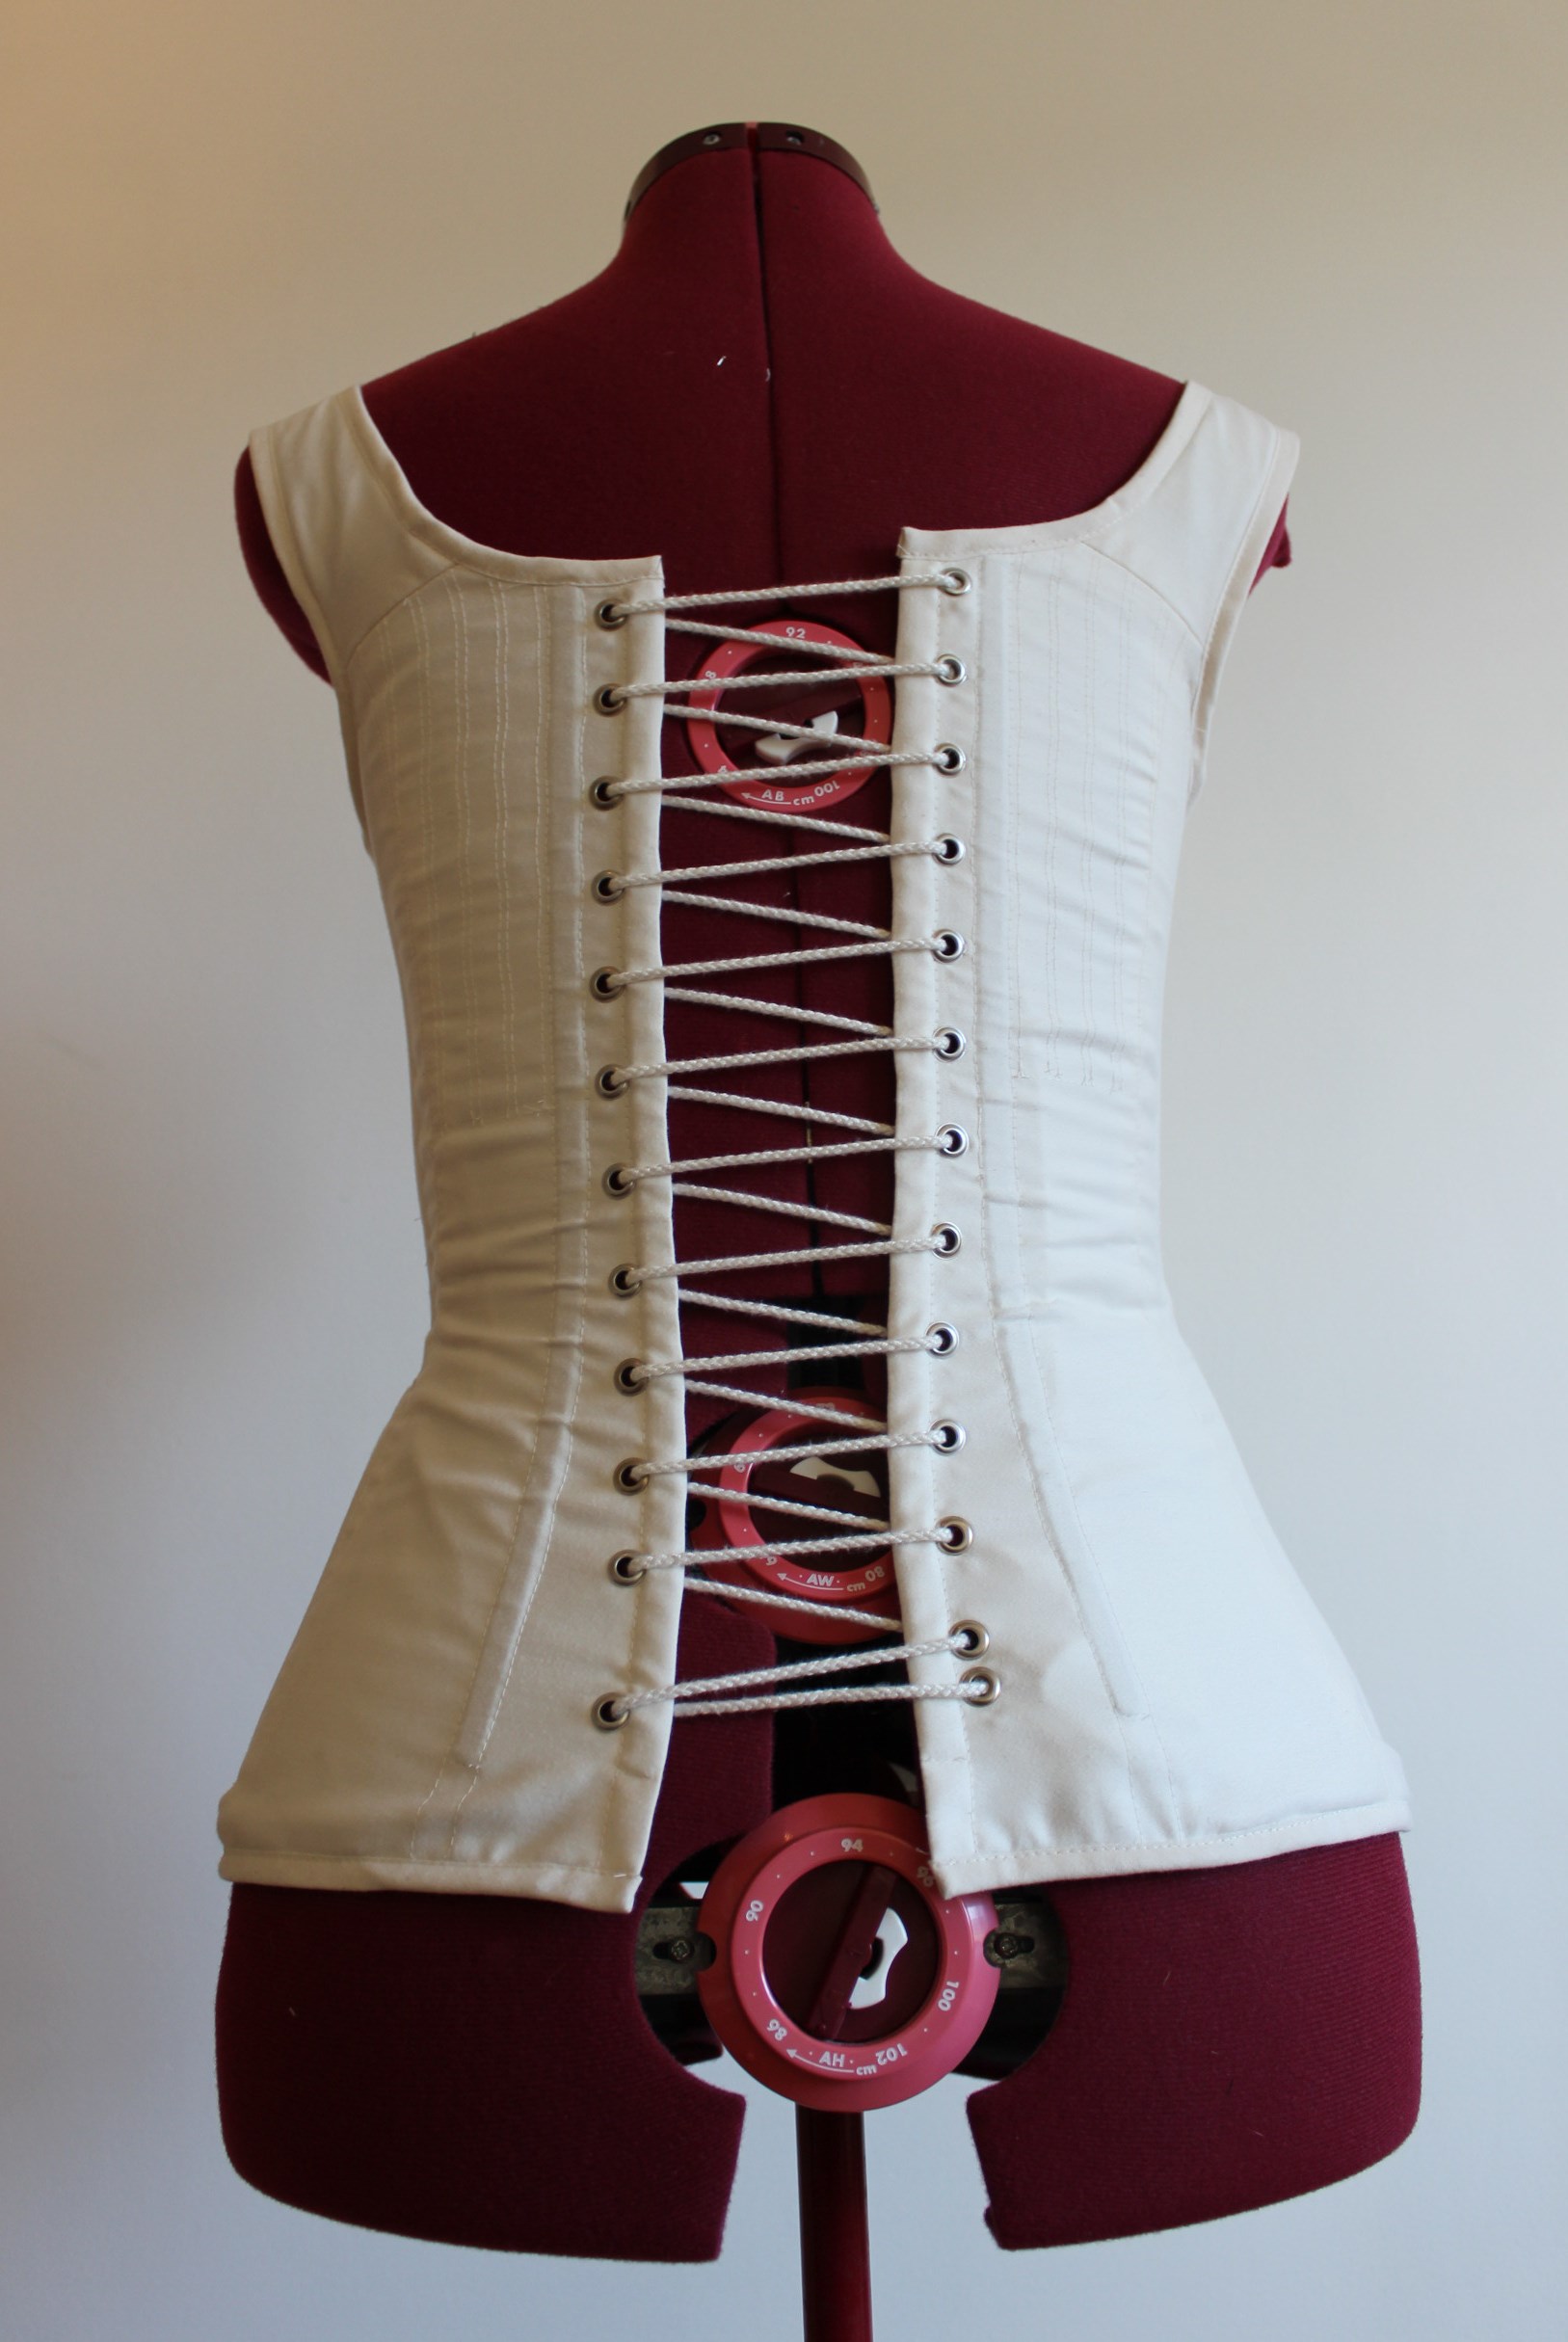
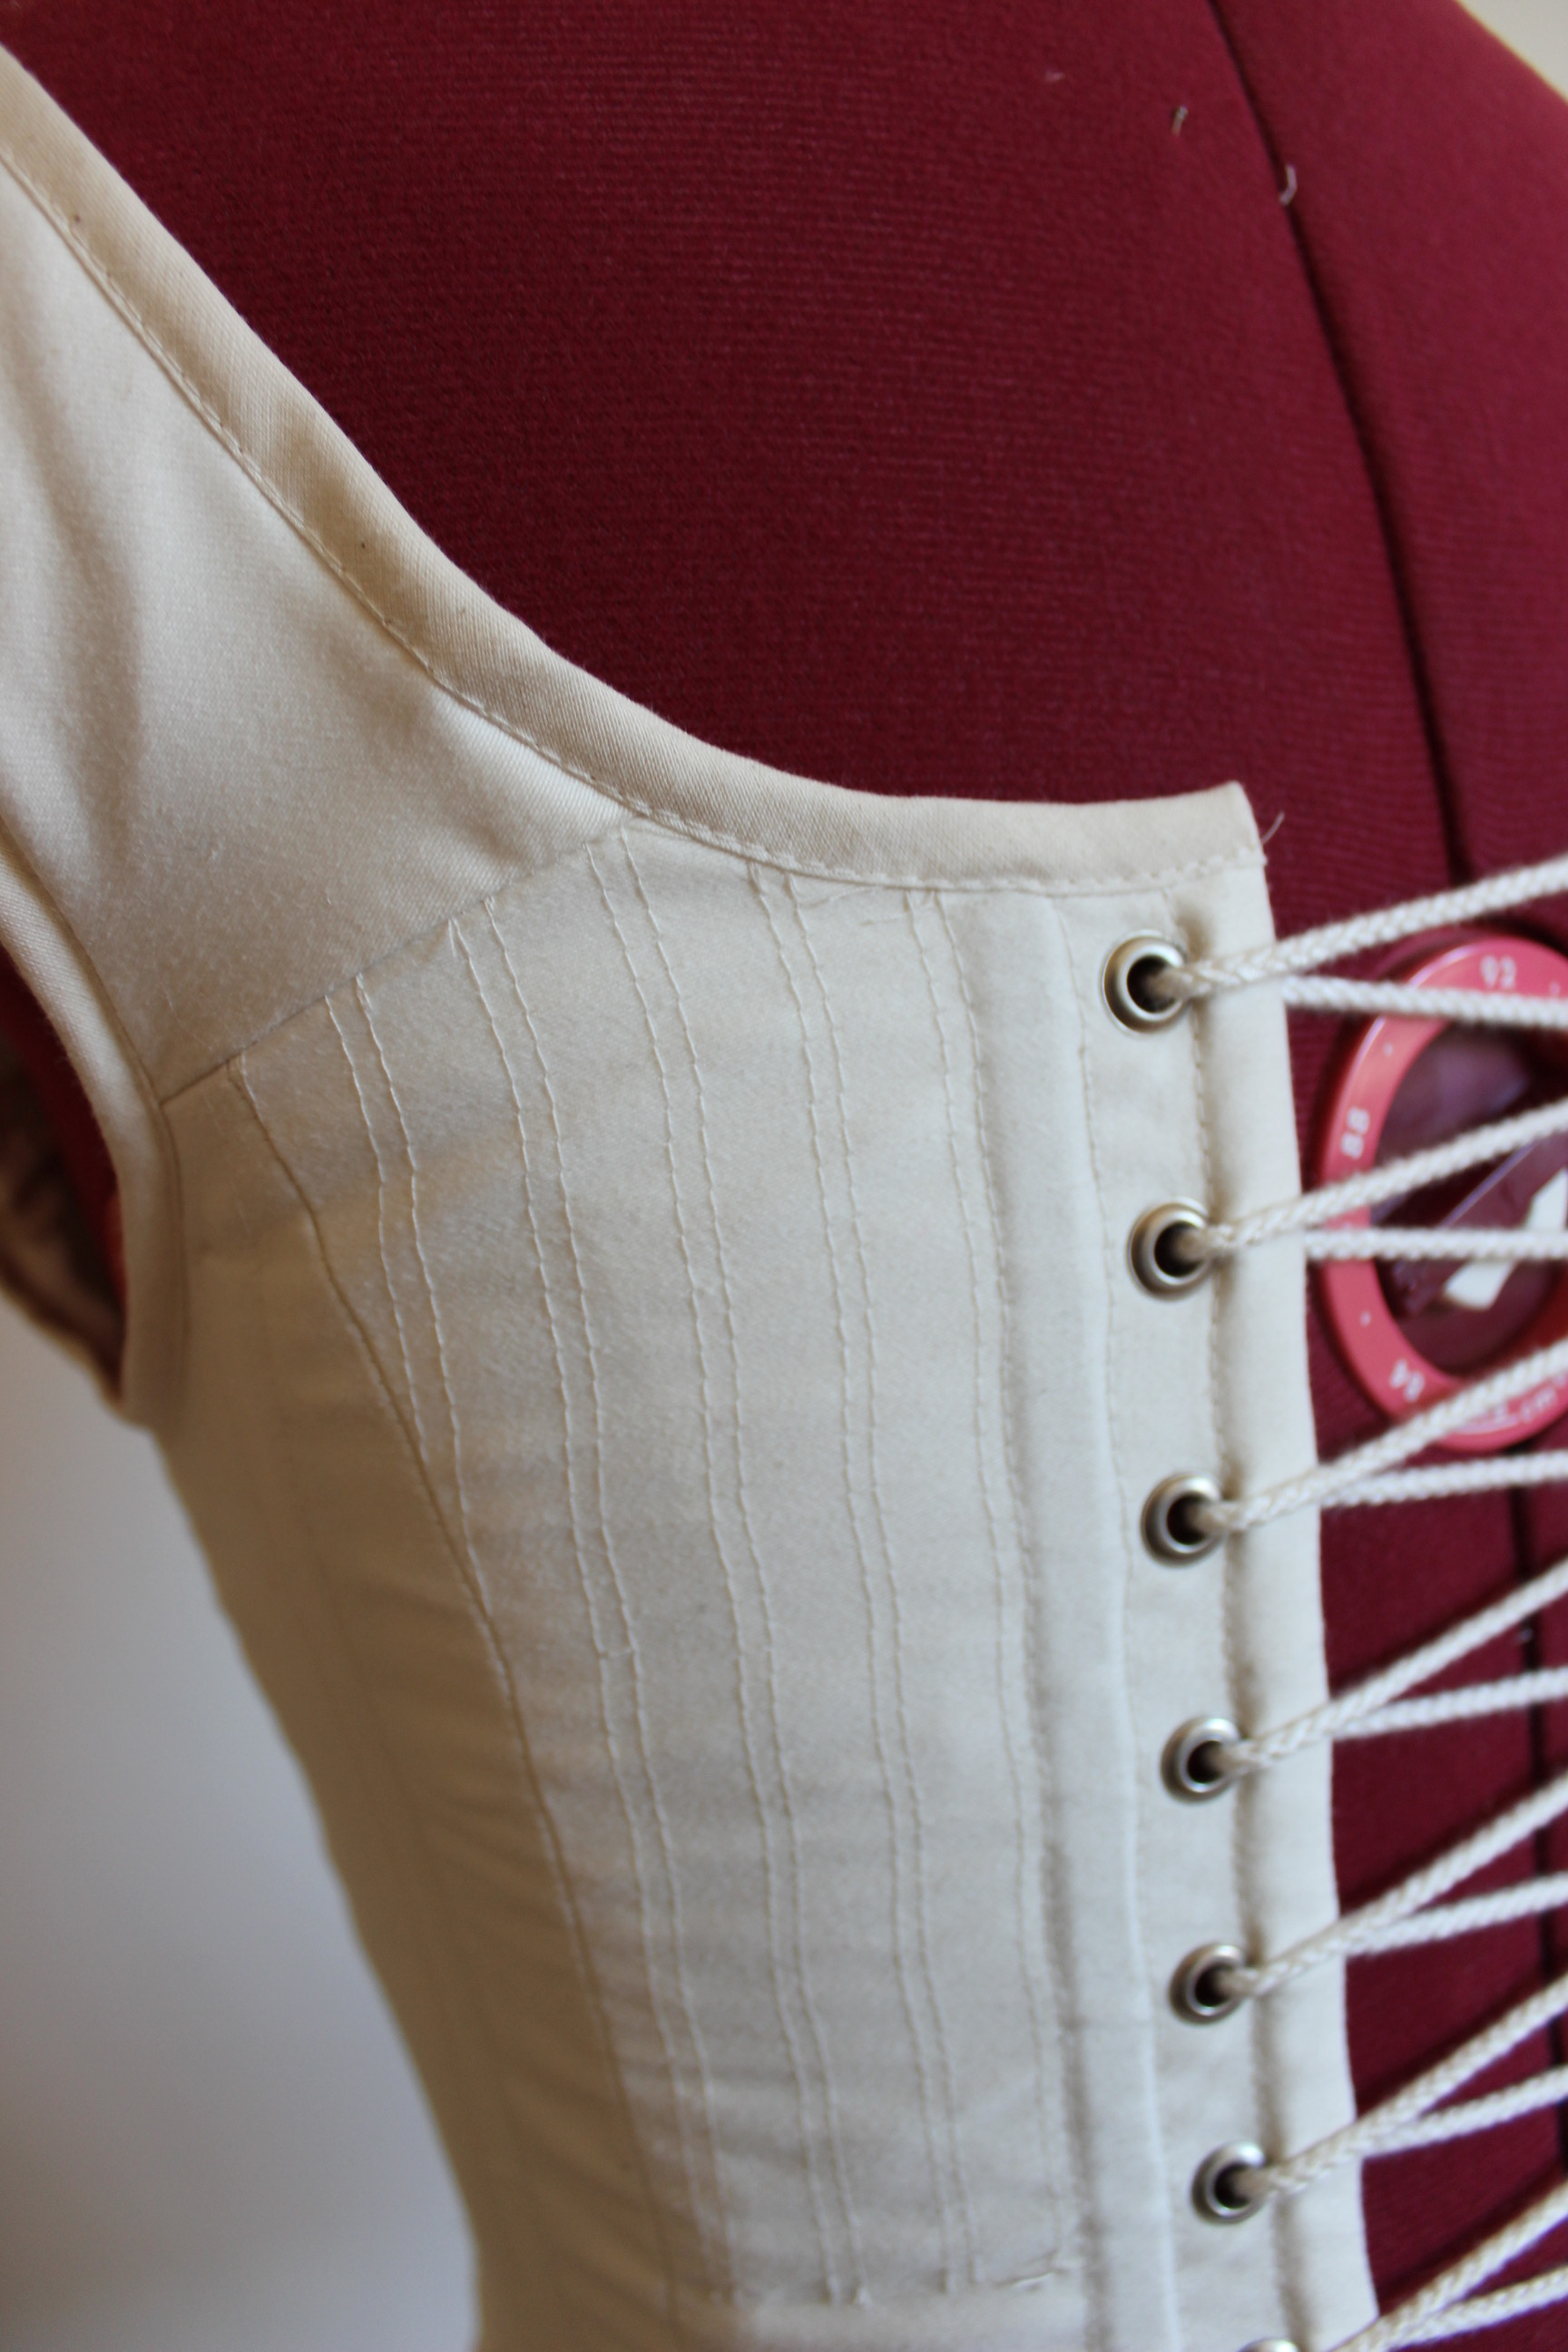
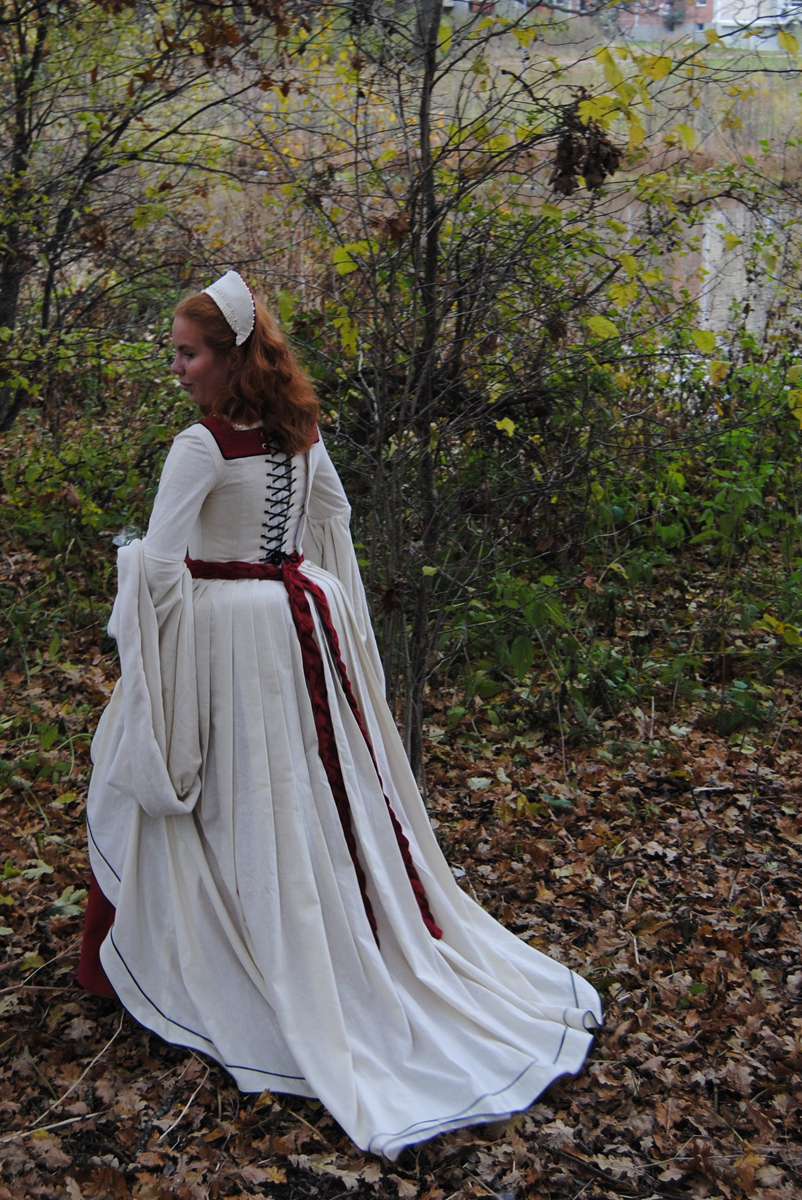
And the bodice with the big sleeves sewed on, and a opening in the back next to the lacing which closed with snaps.

CIMG3121CIMG3126

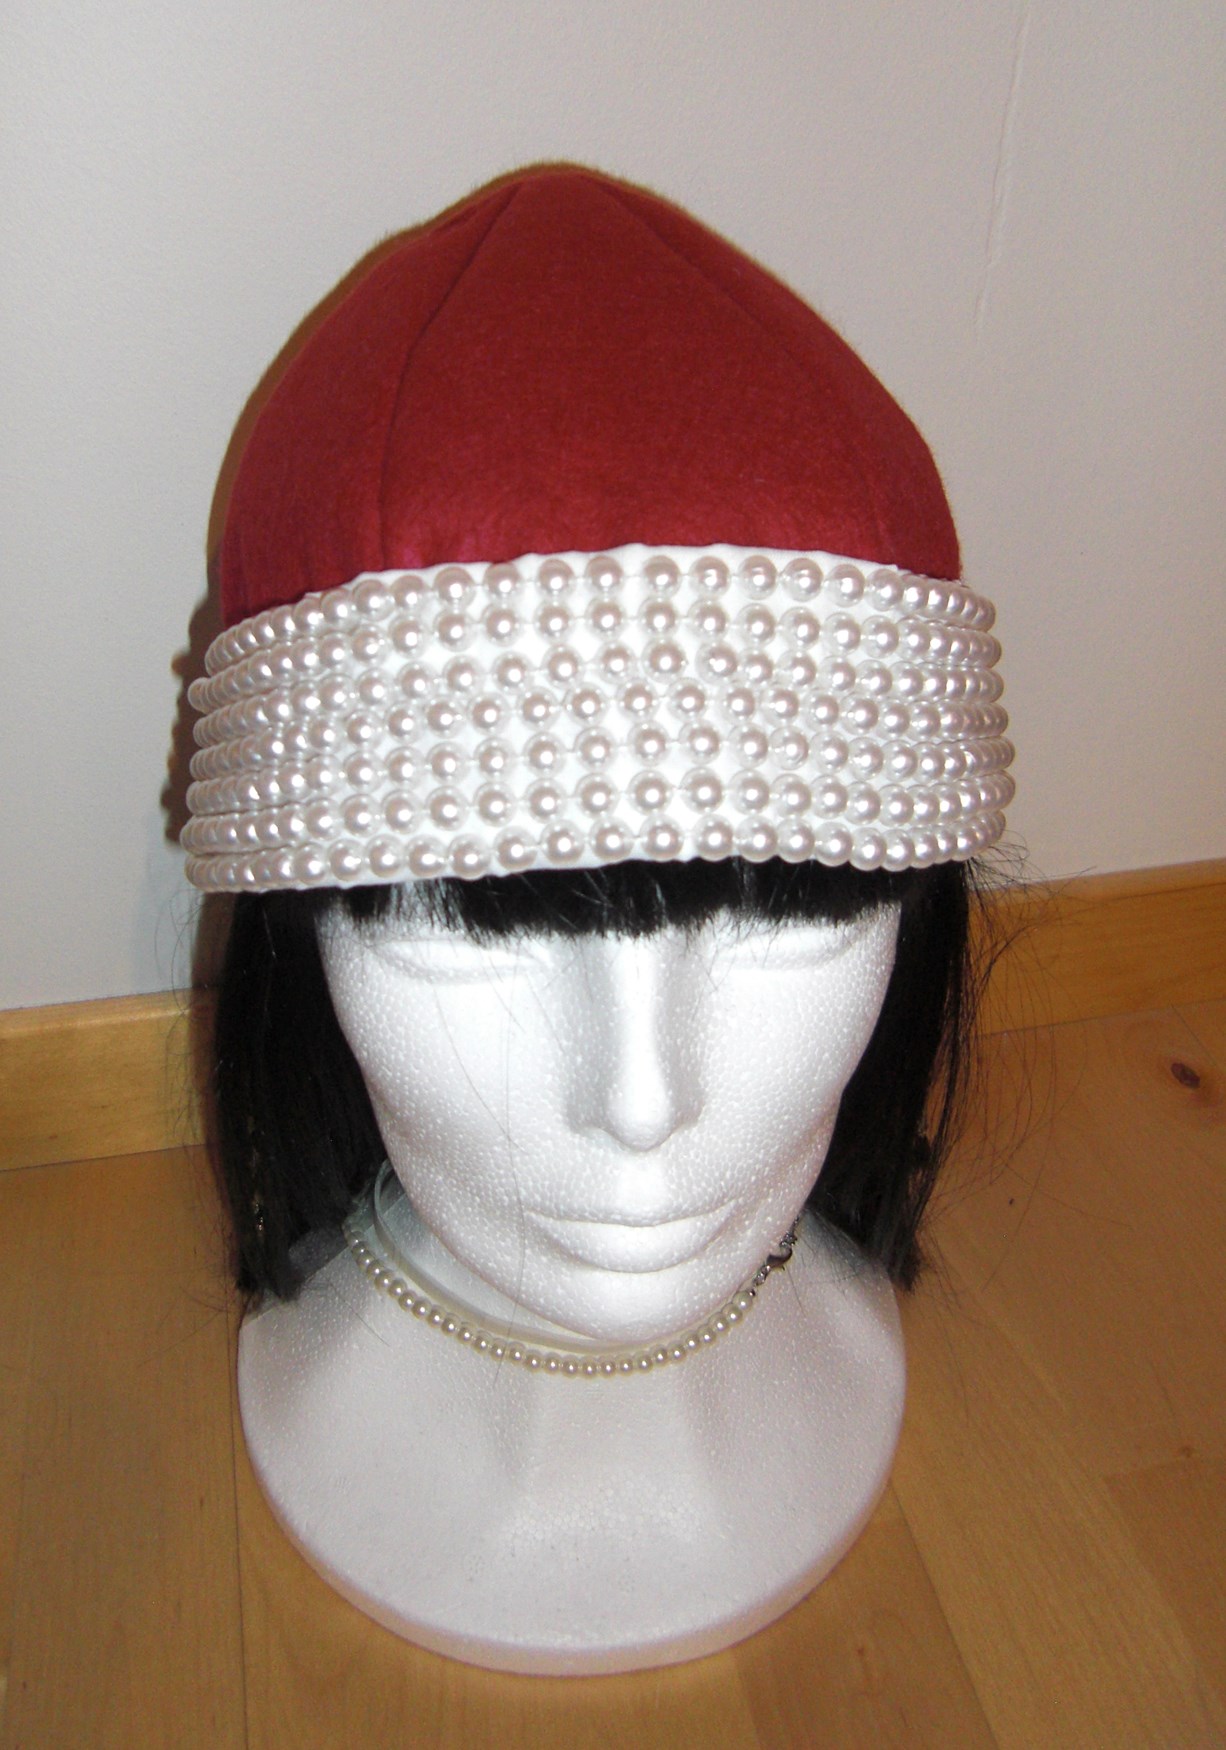
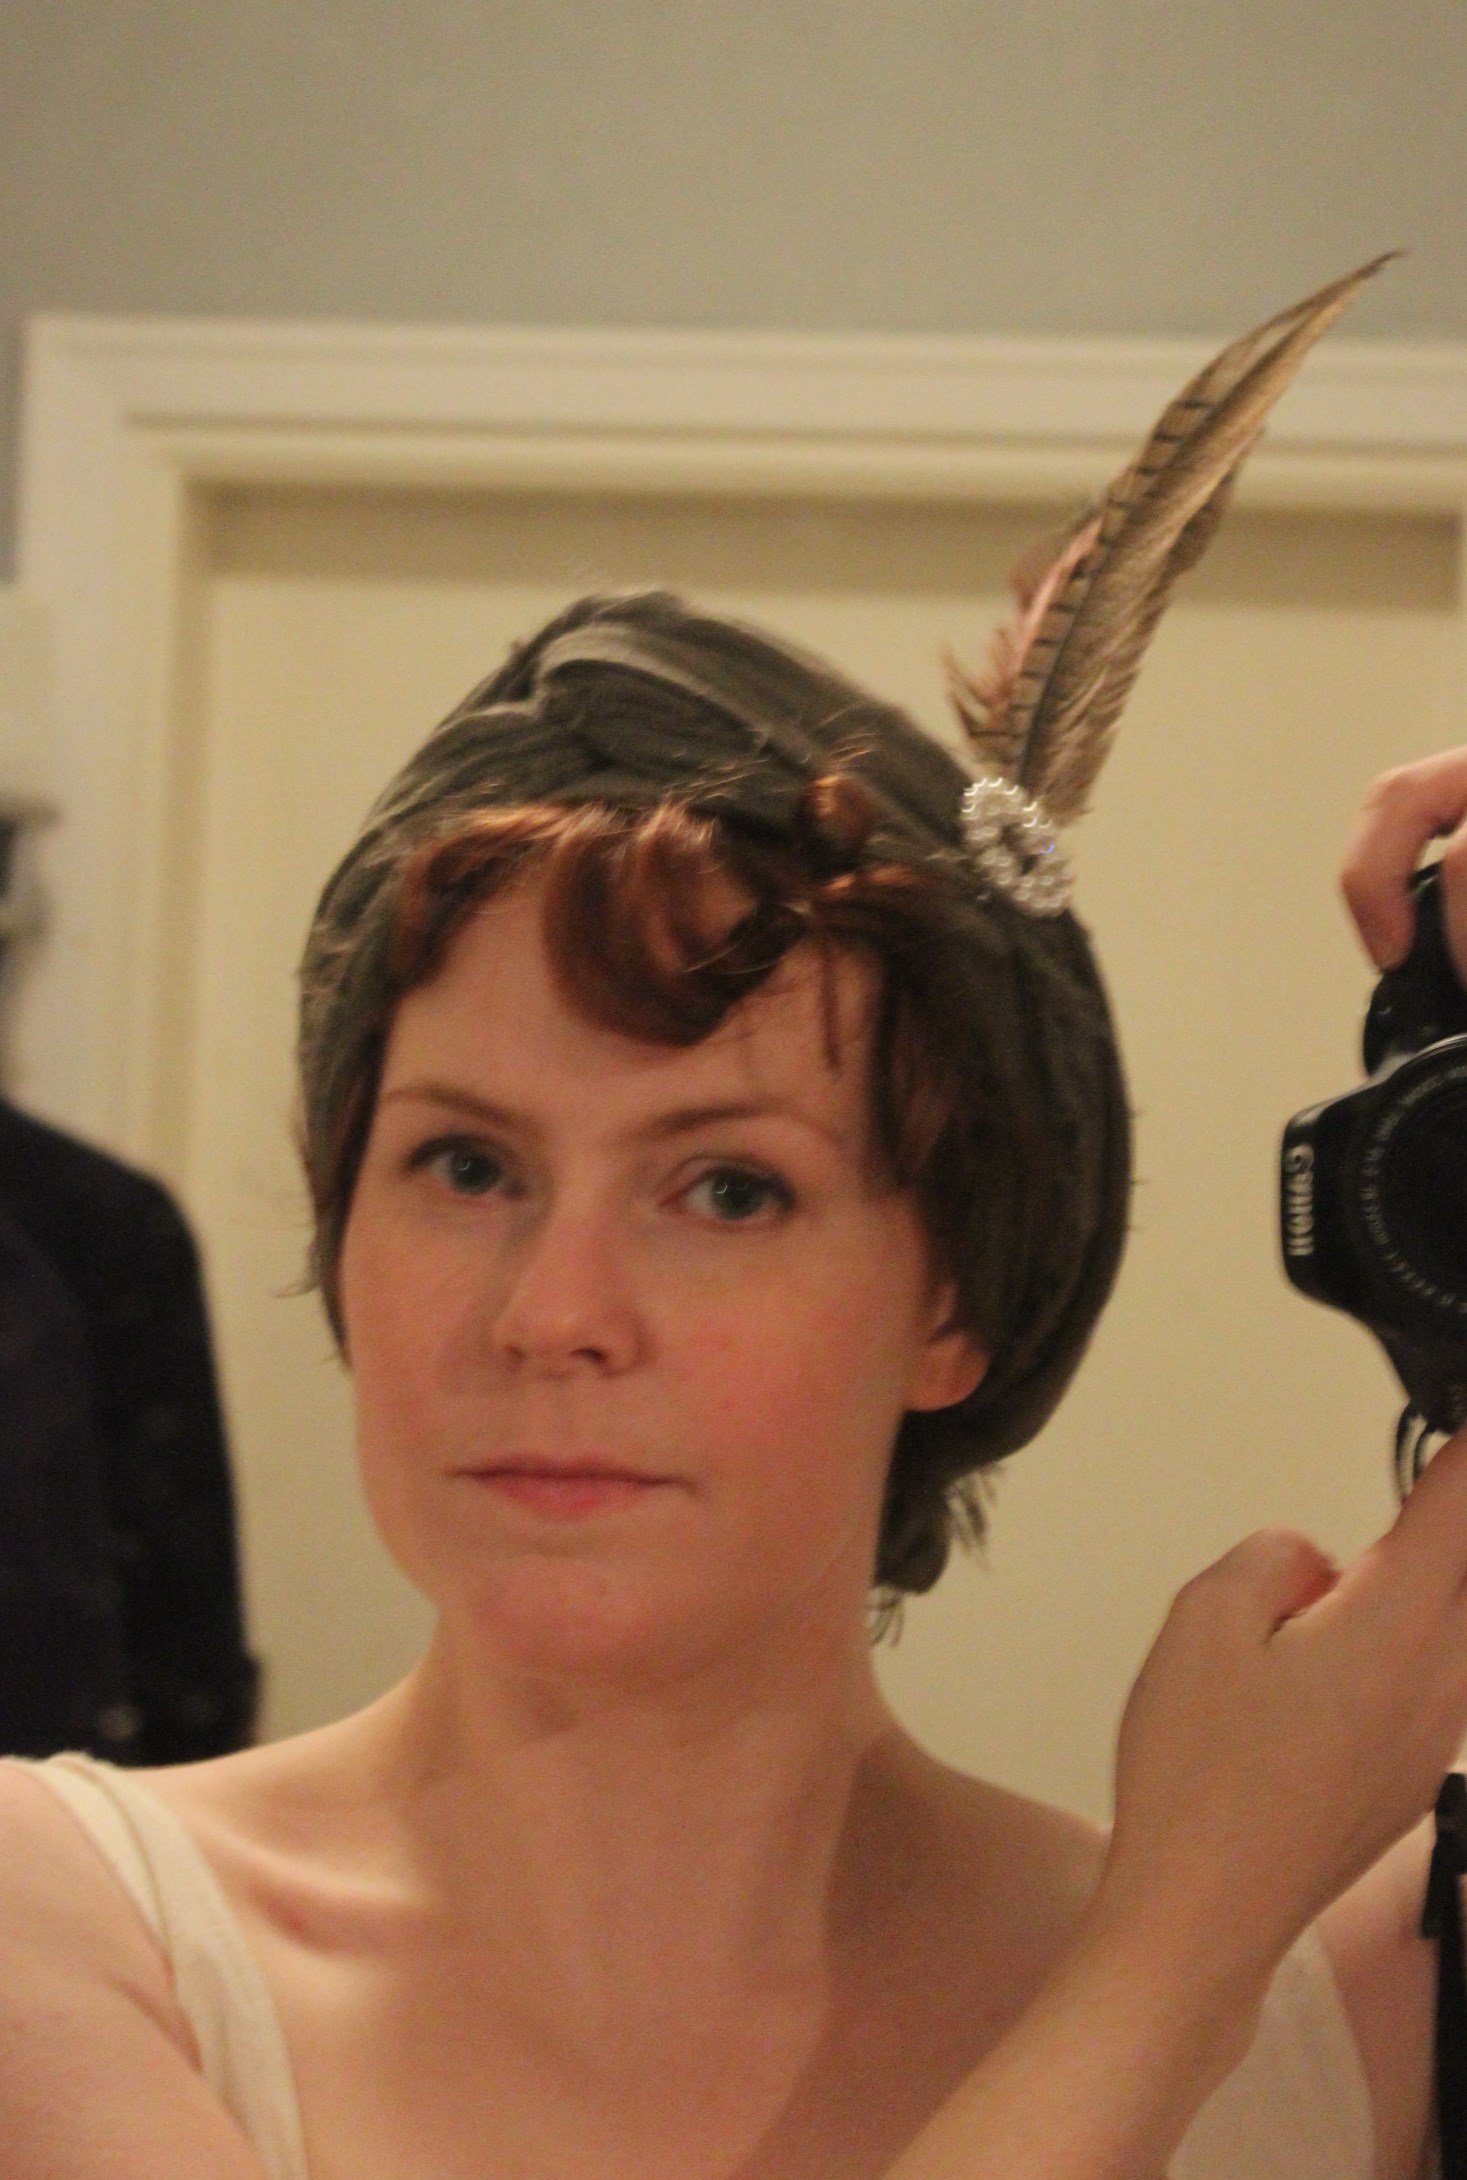
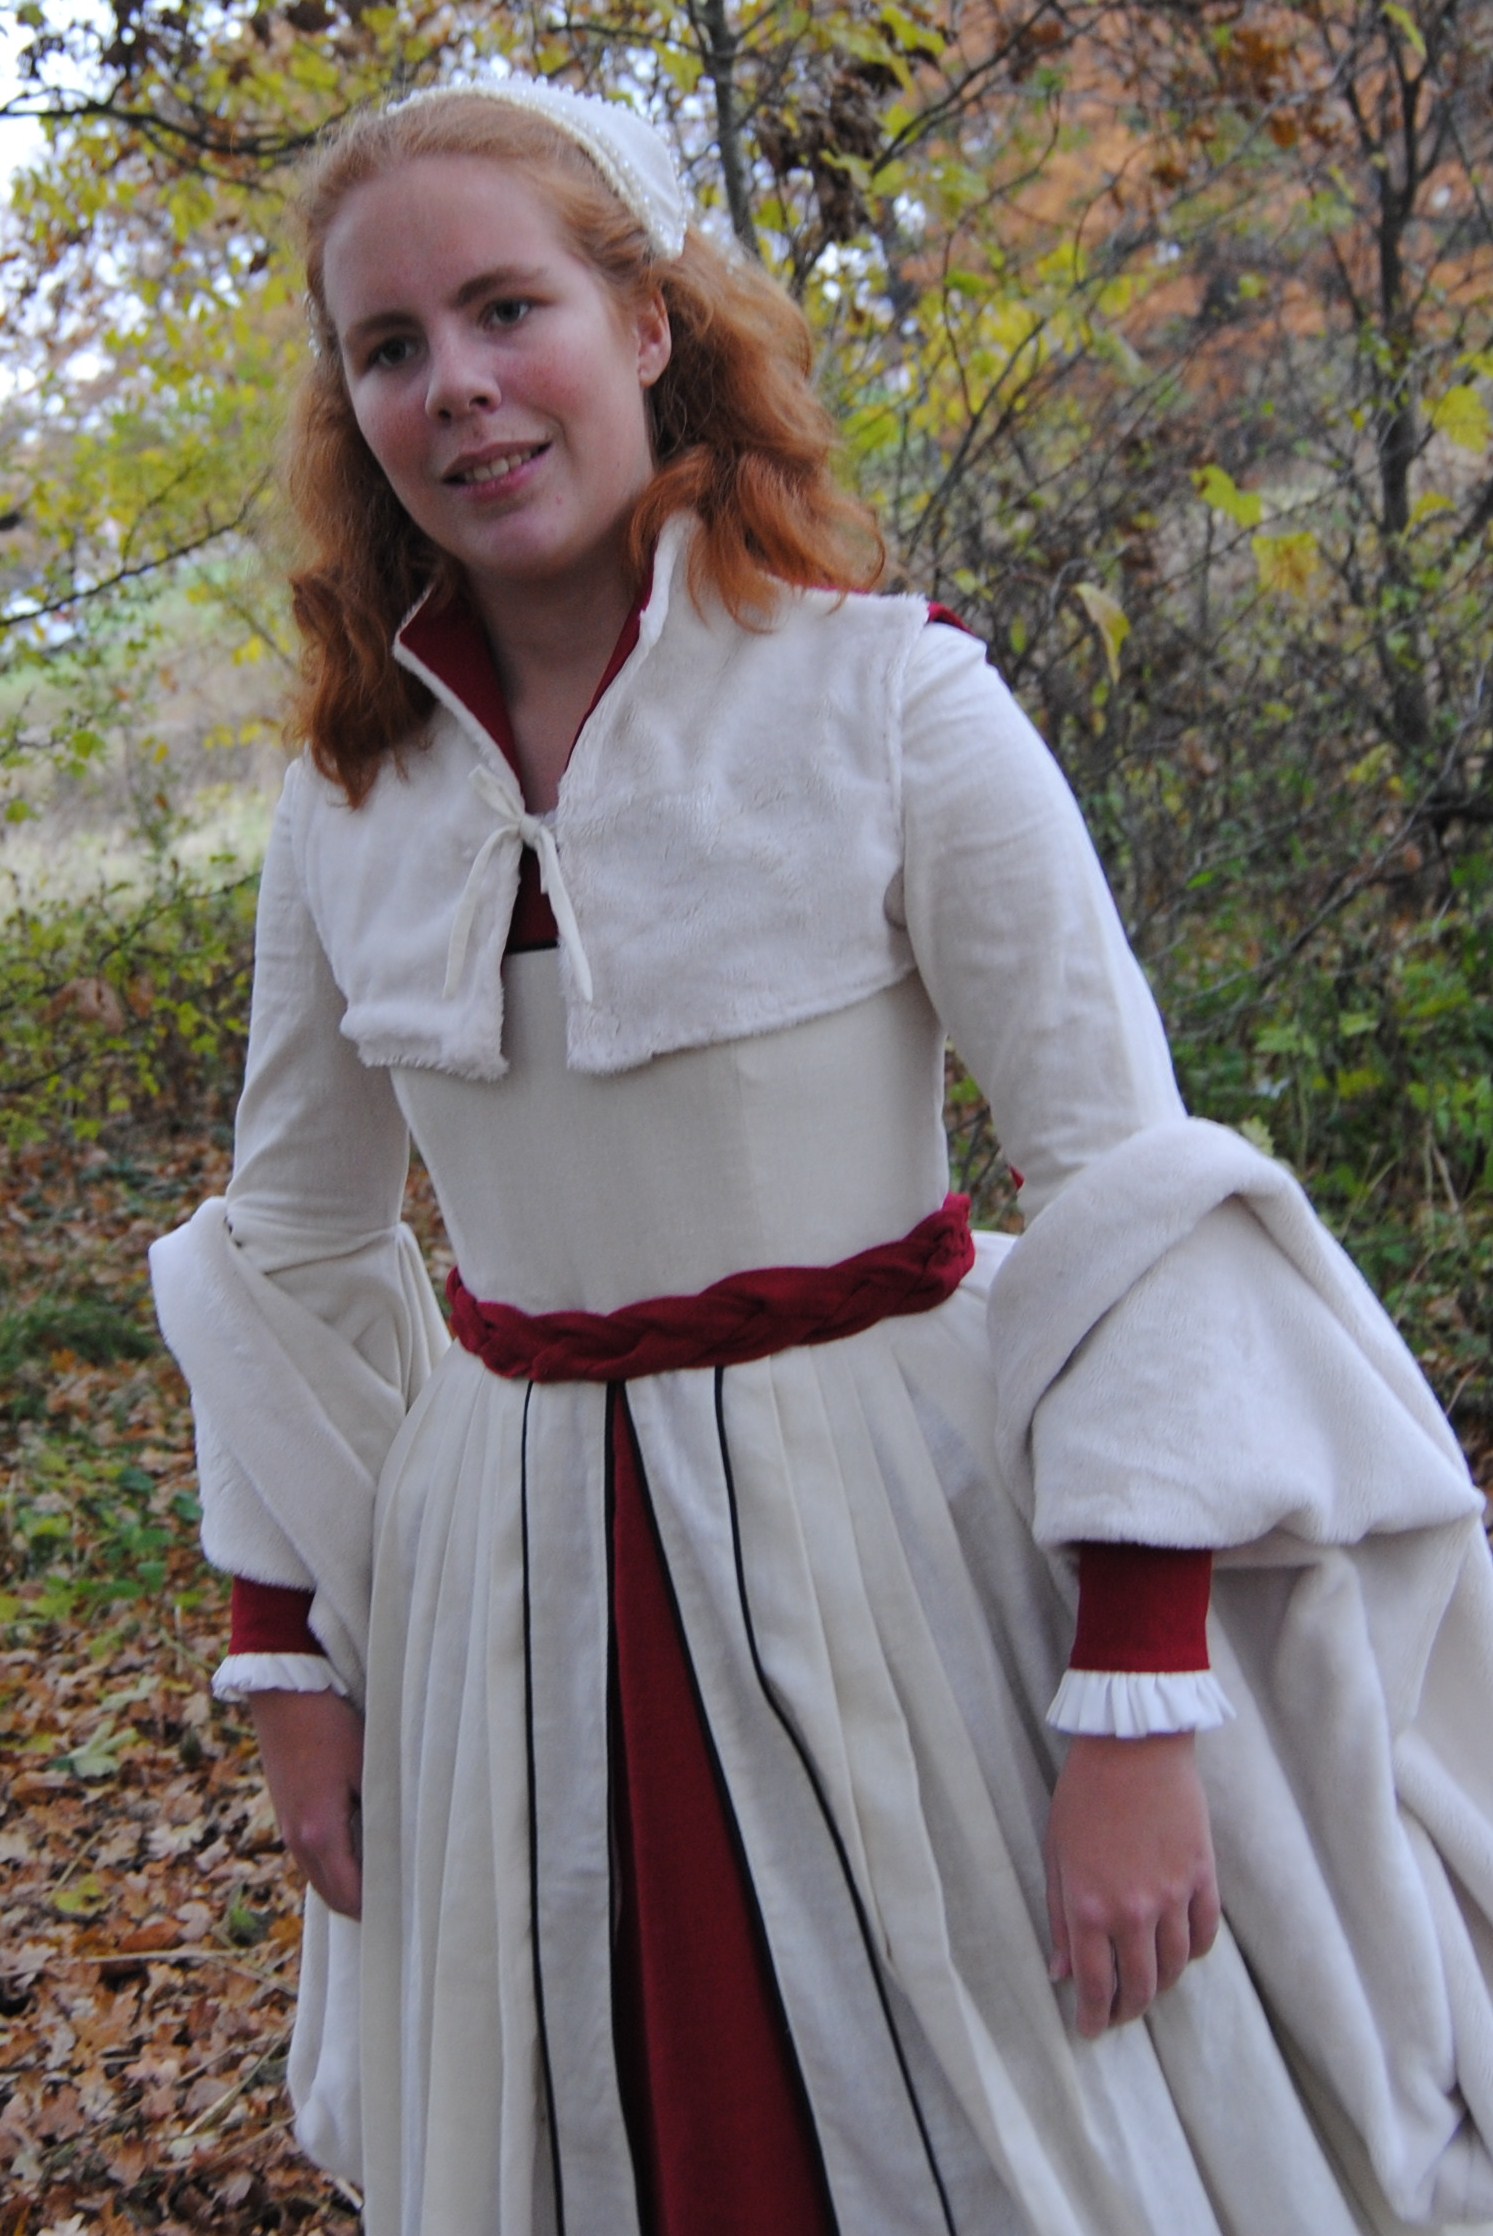
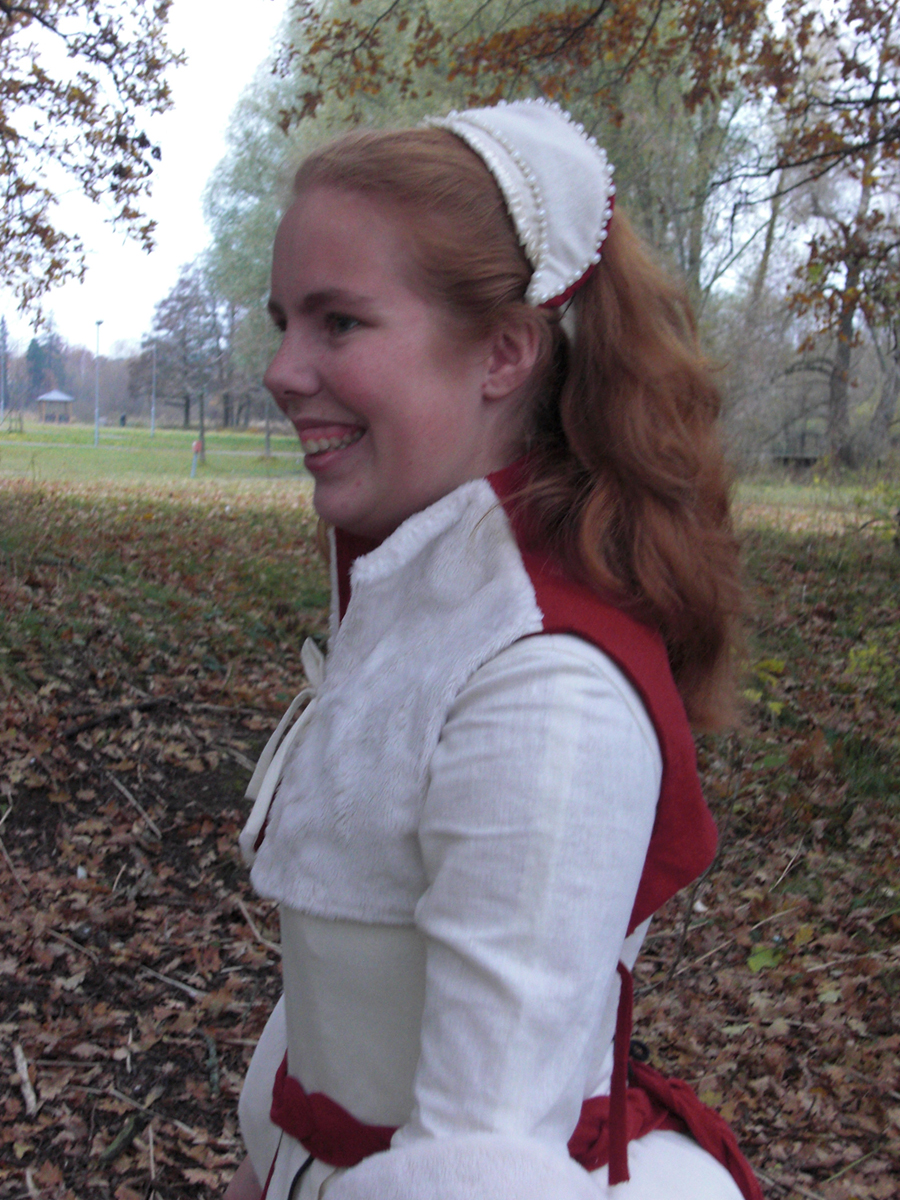
I also made a partlet, a bumroll, a belt and a french hood.

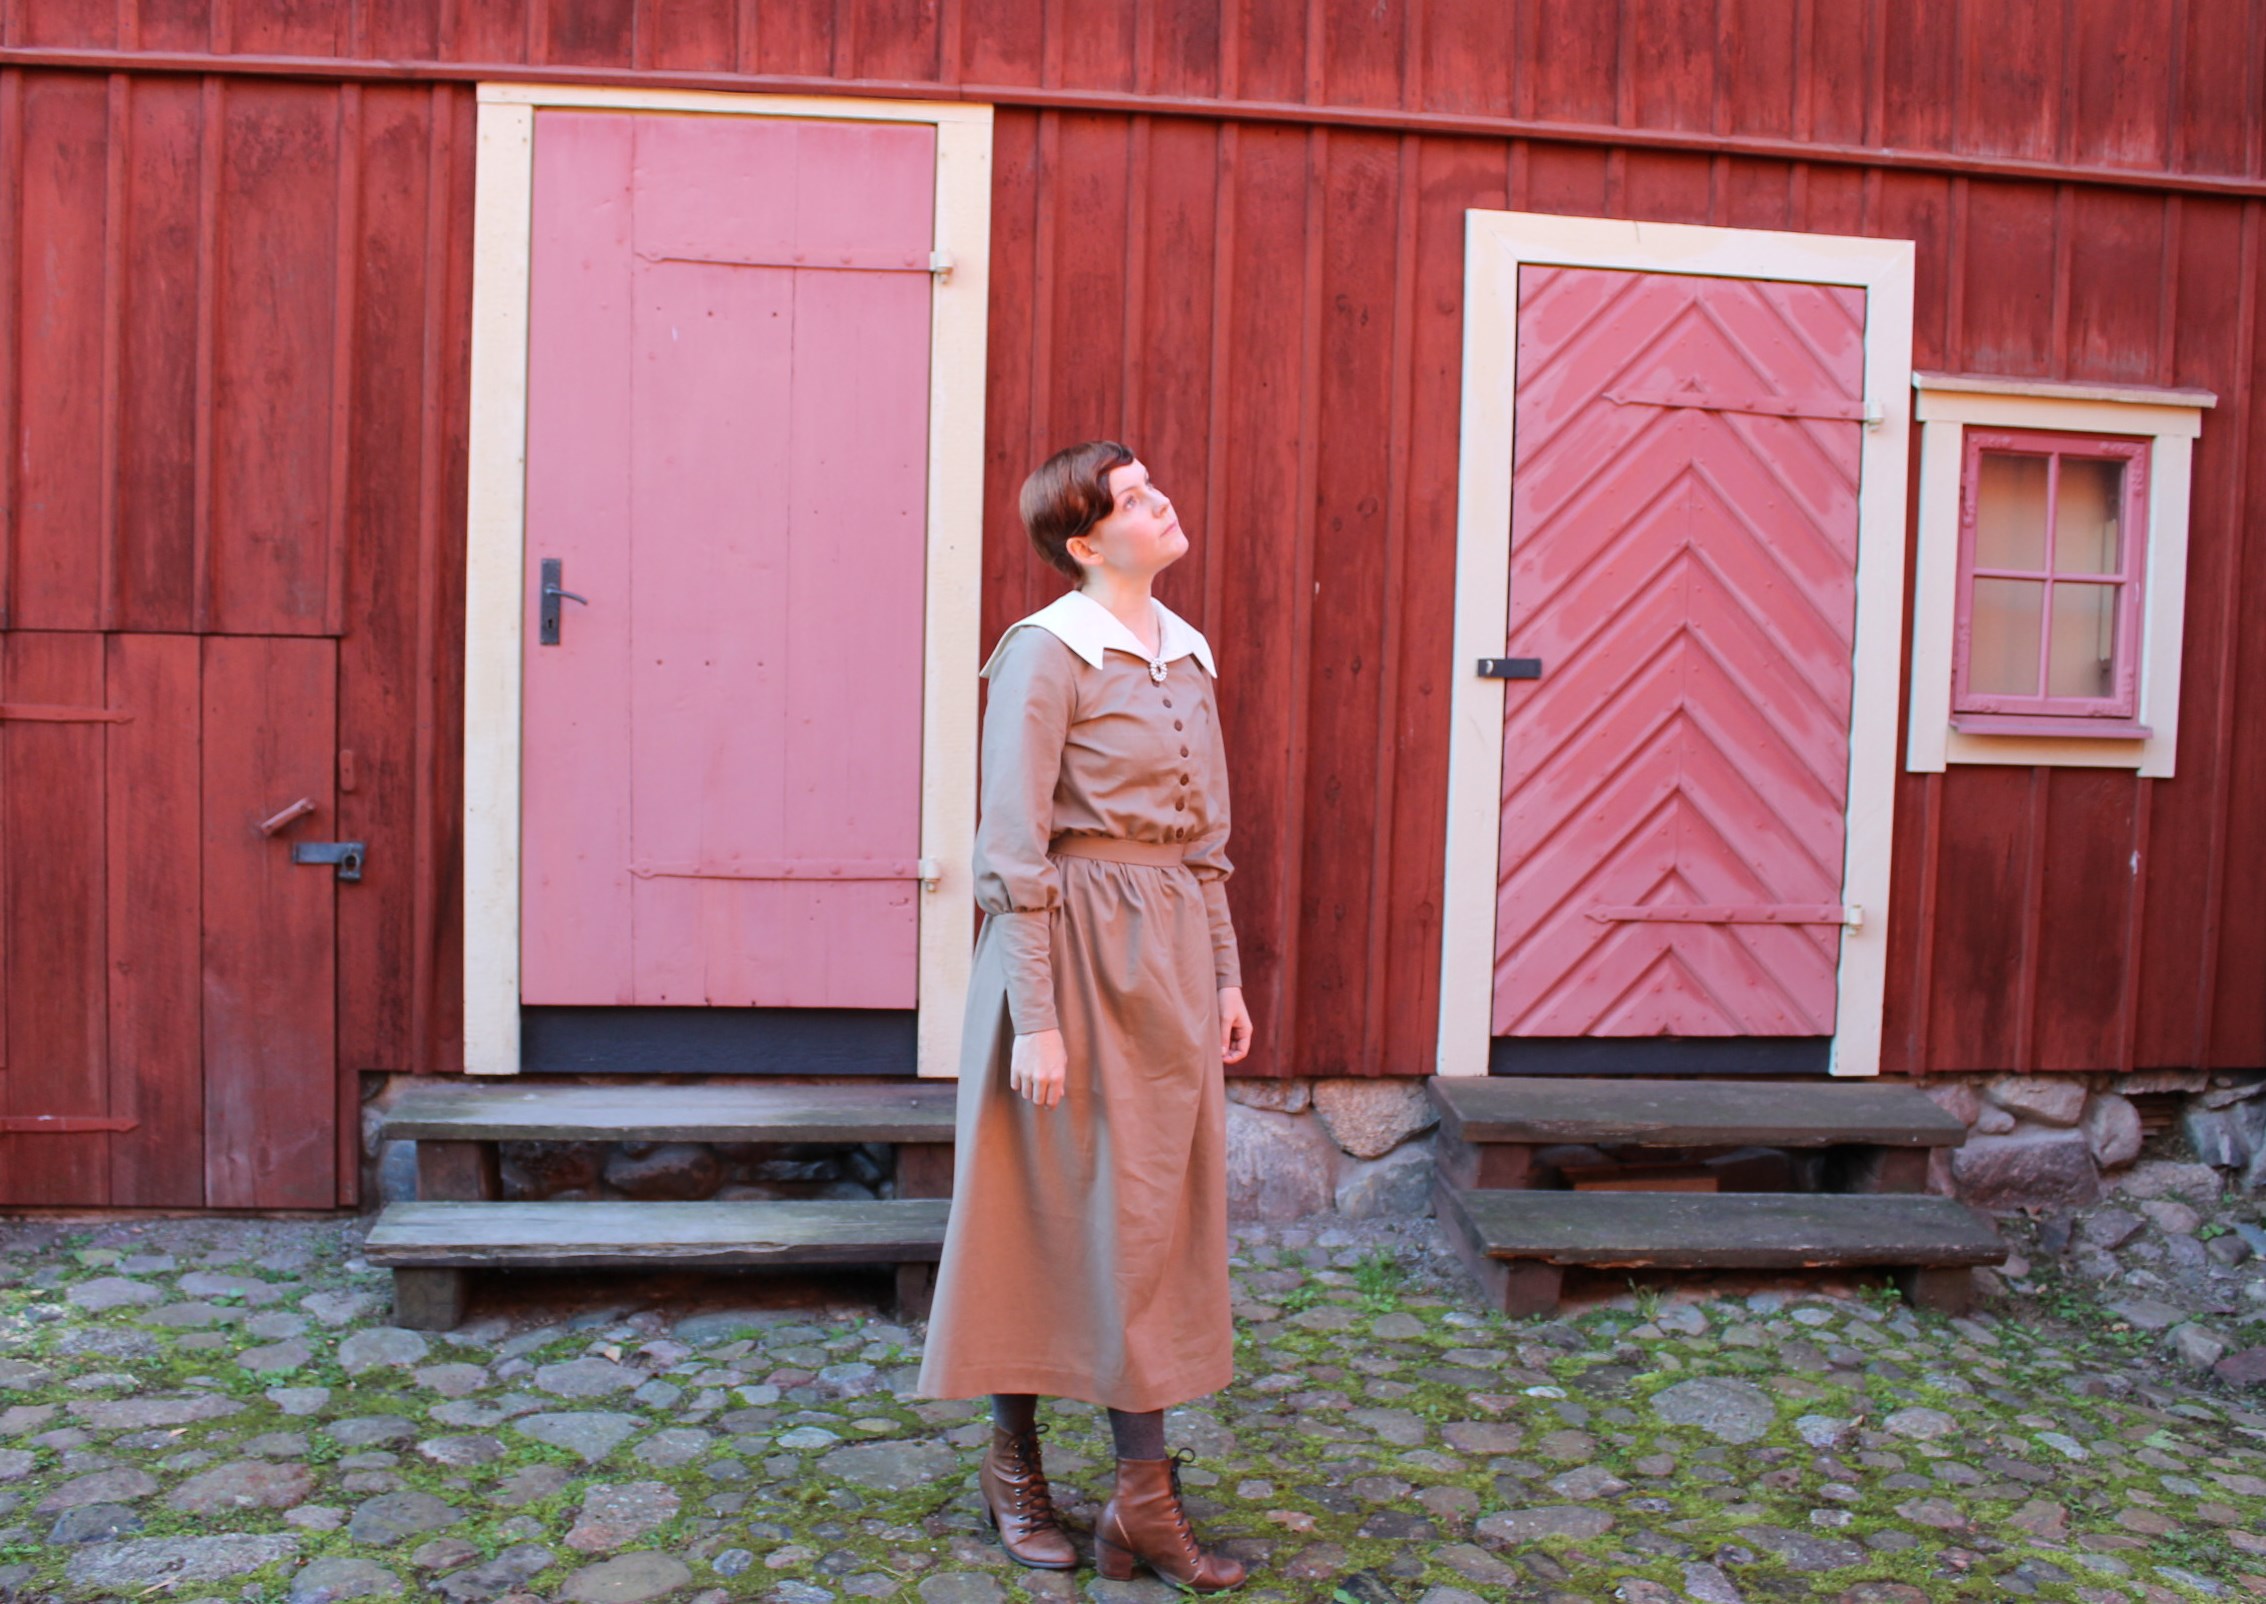
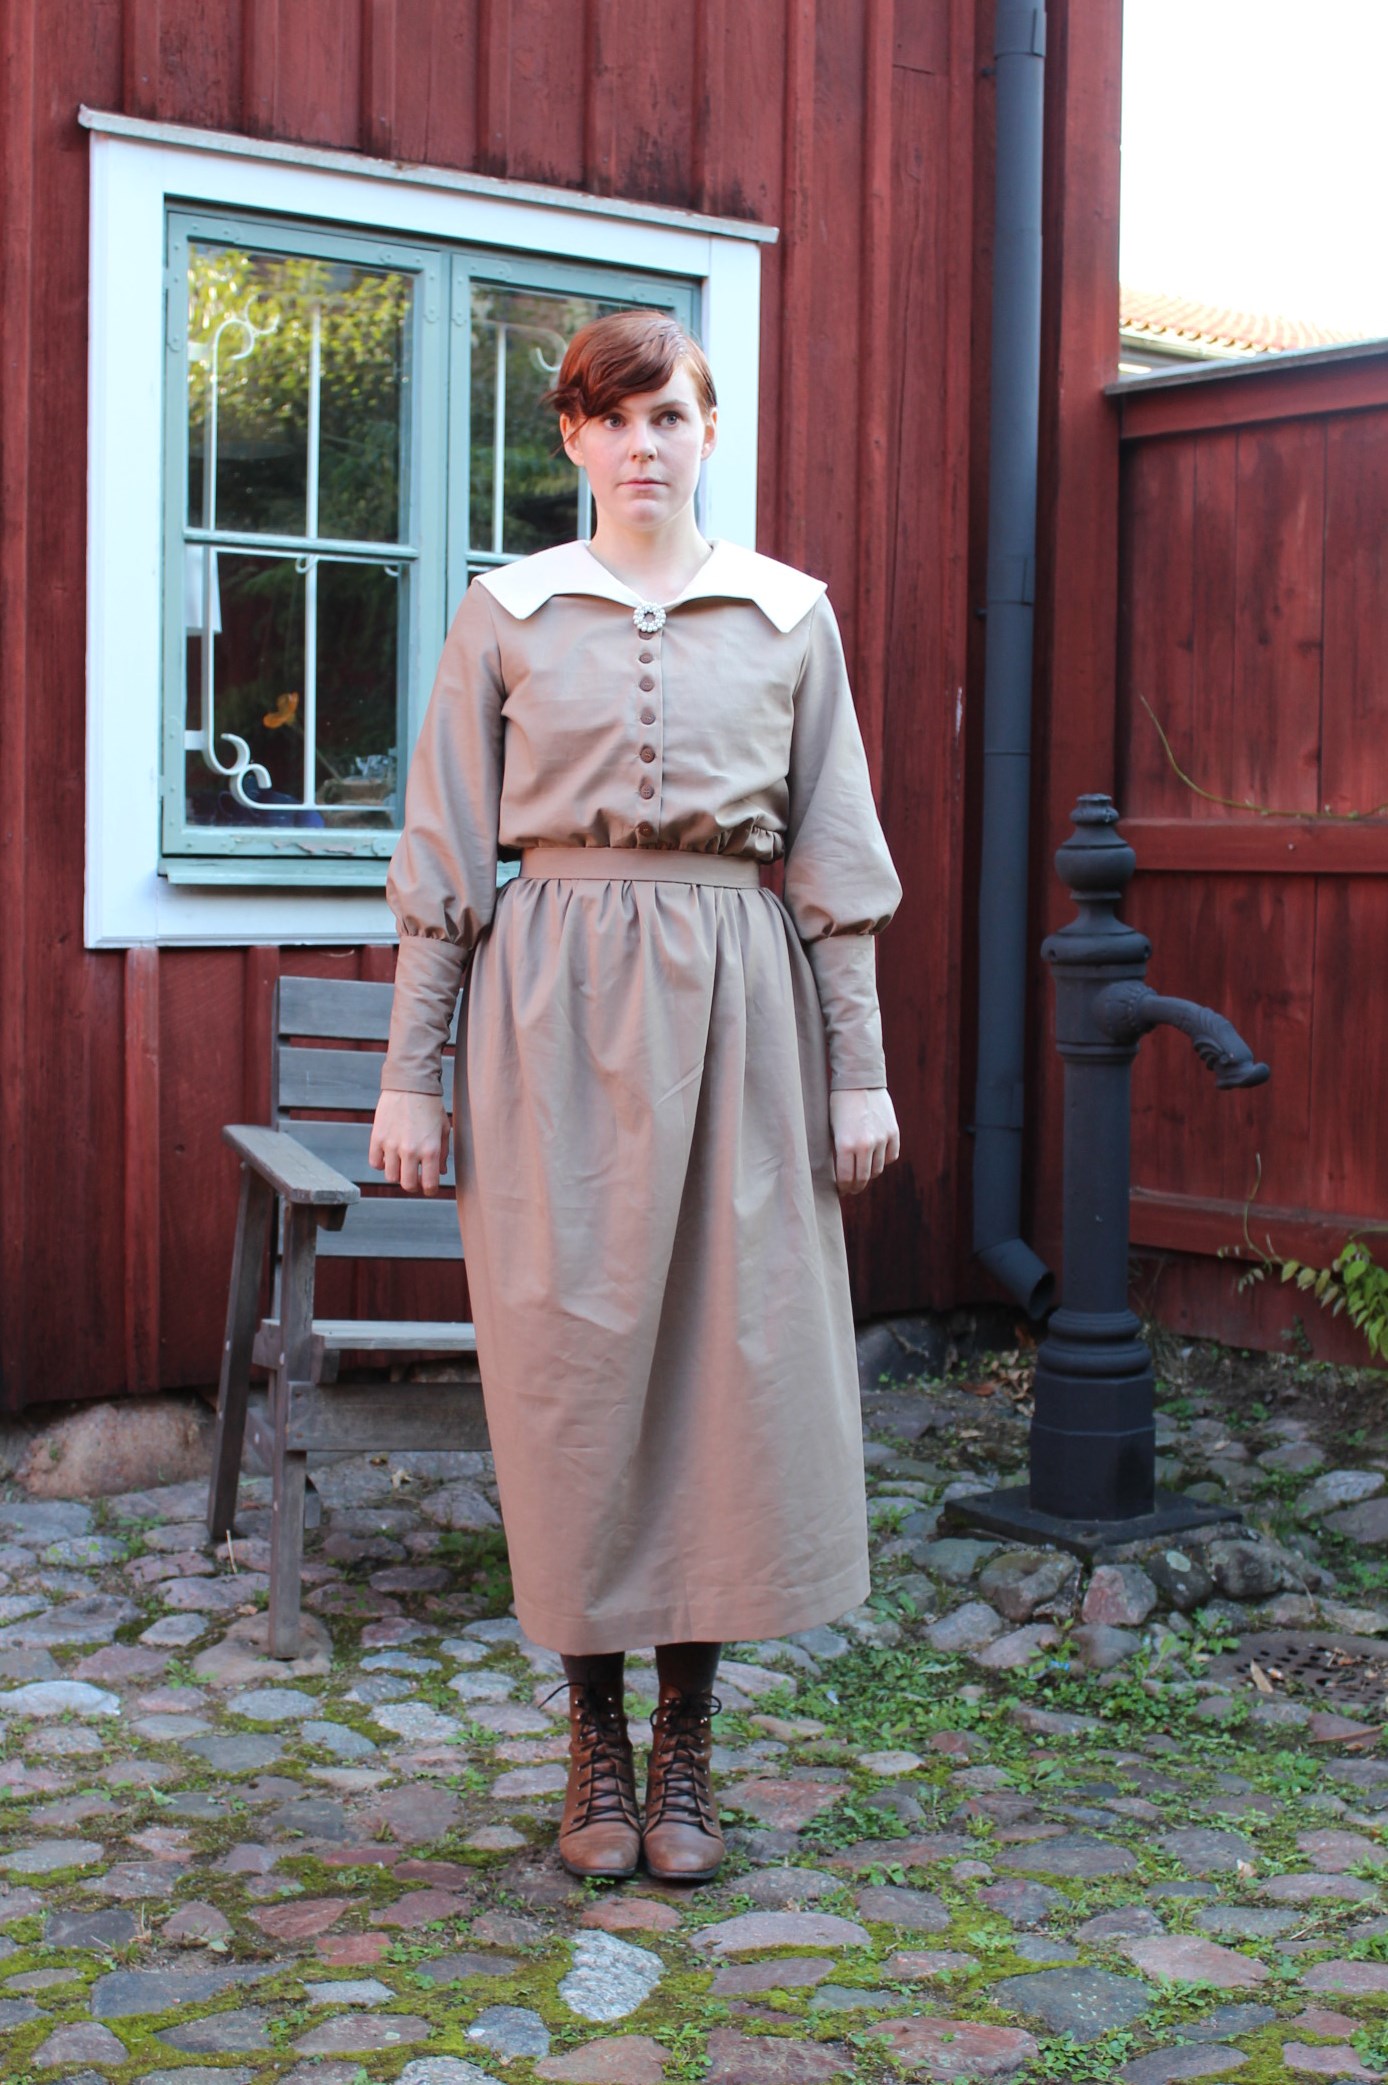
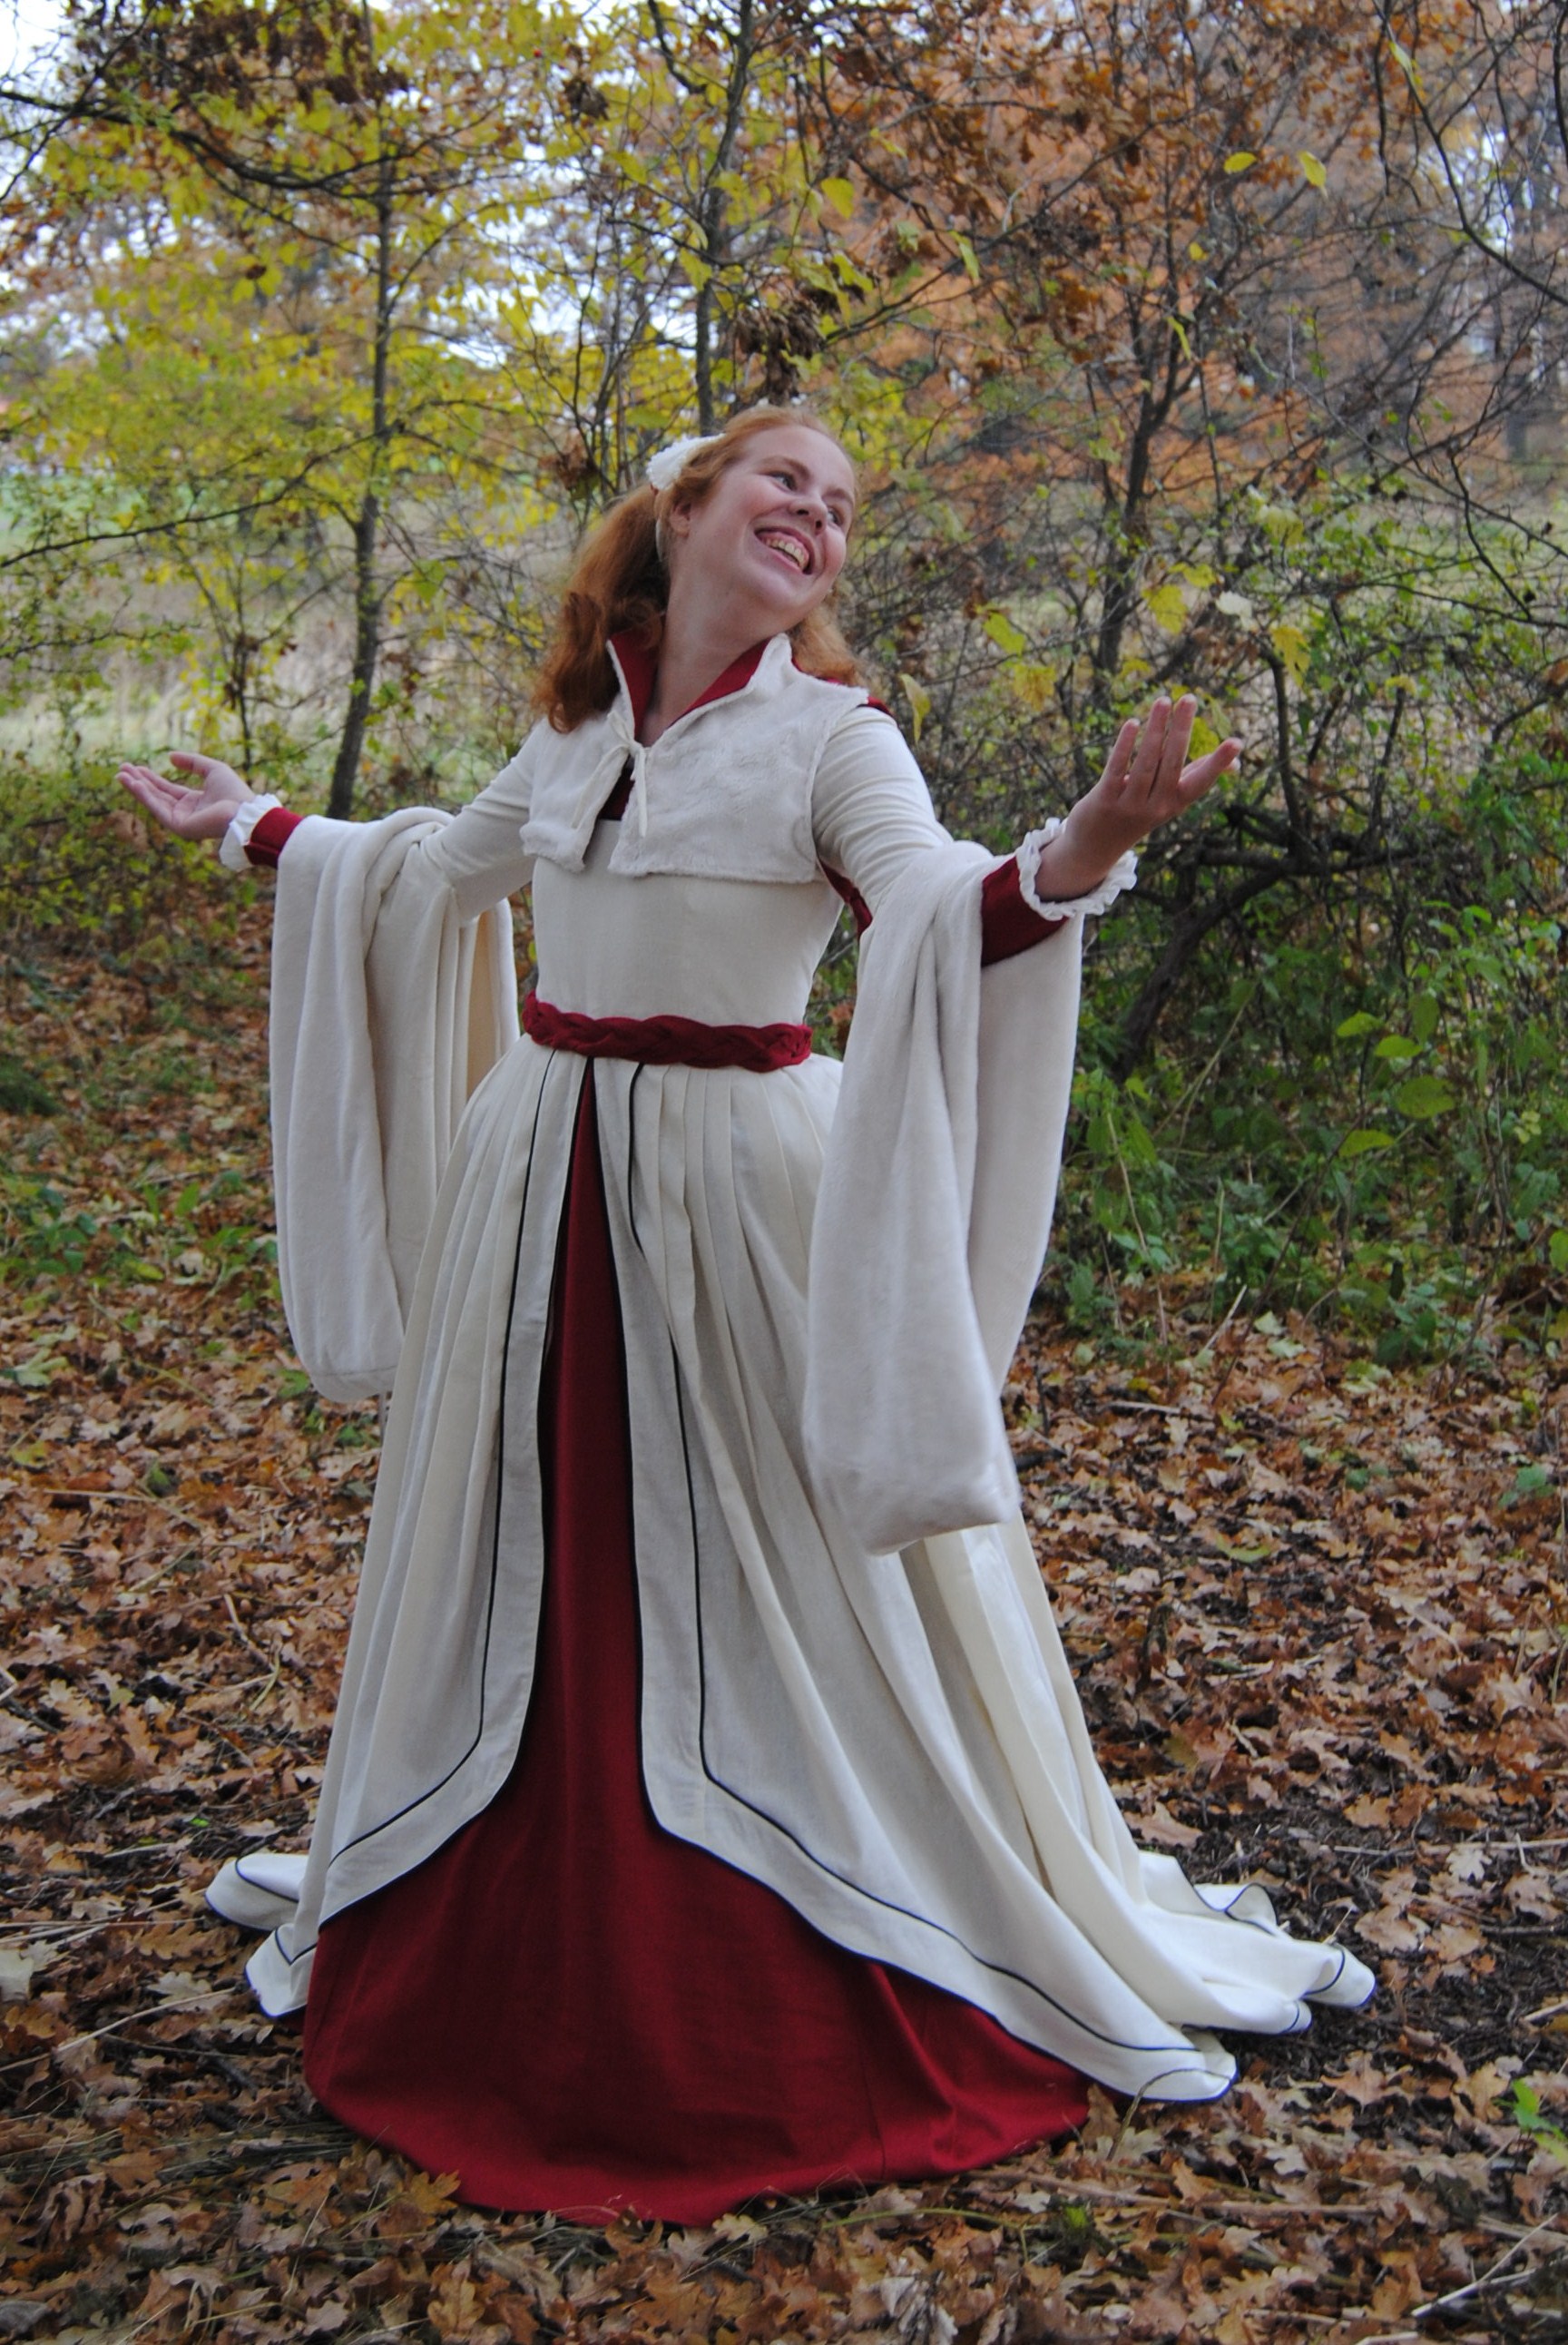
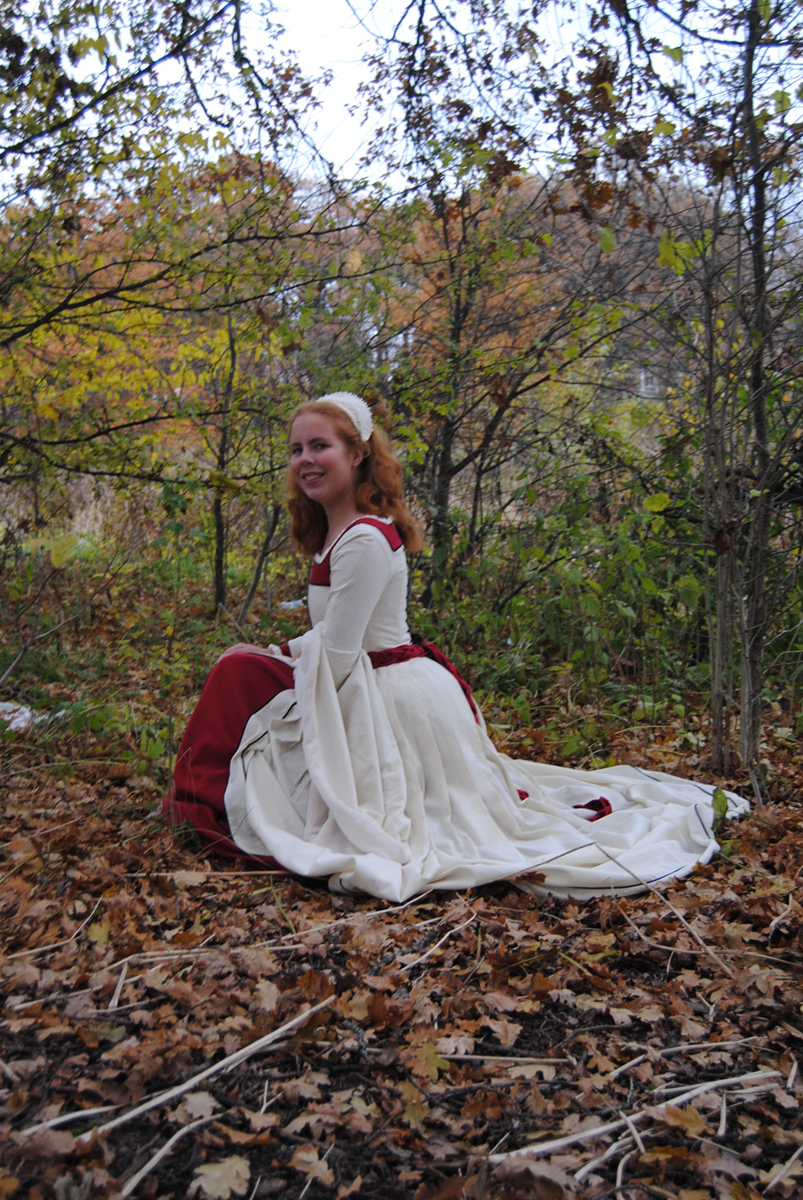
Then me and my sister whent outside and took some photos.

CIMG3141

DSC_0446

DSC_0436

CIMG3175

CIMG3263

CIMG3185

DSC_0481

DSC_0507

DSC_0575

DSC_0593

***

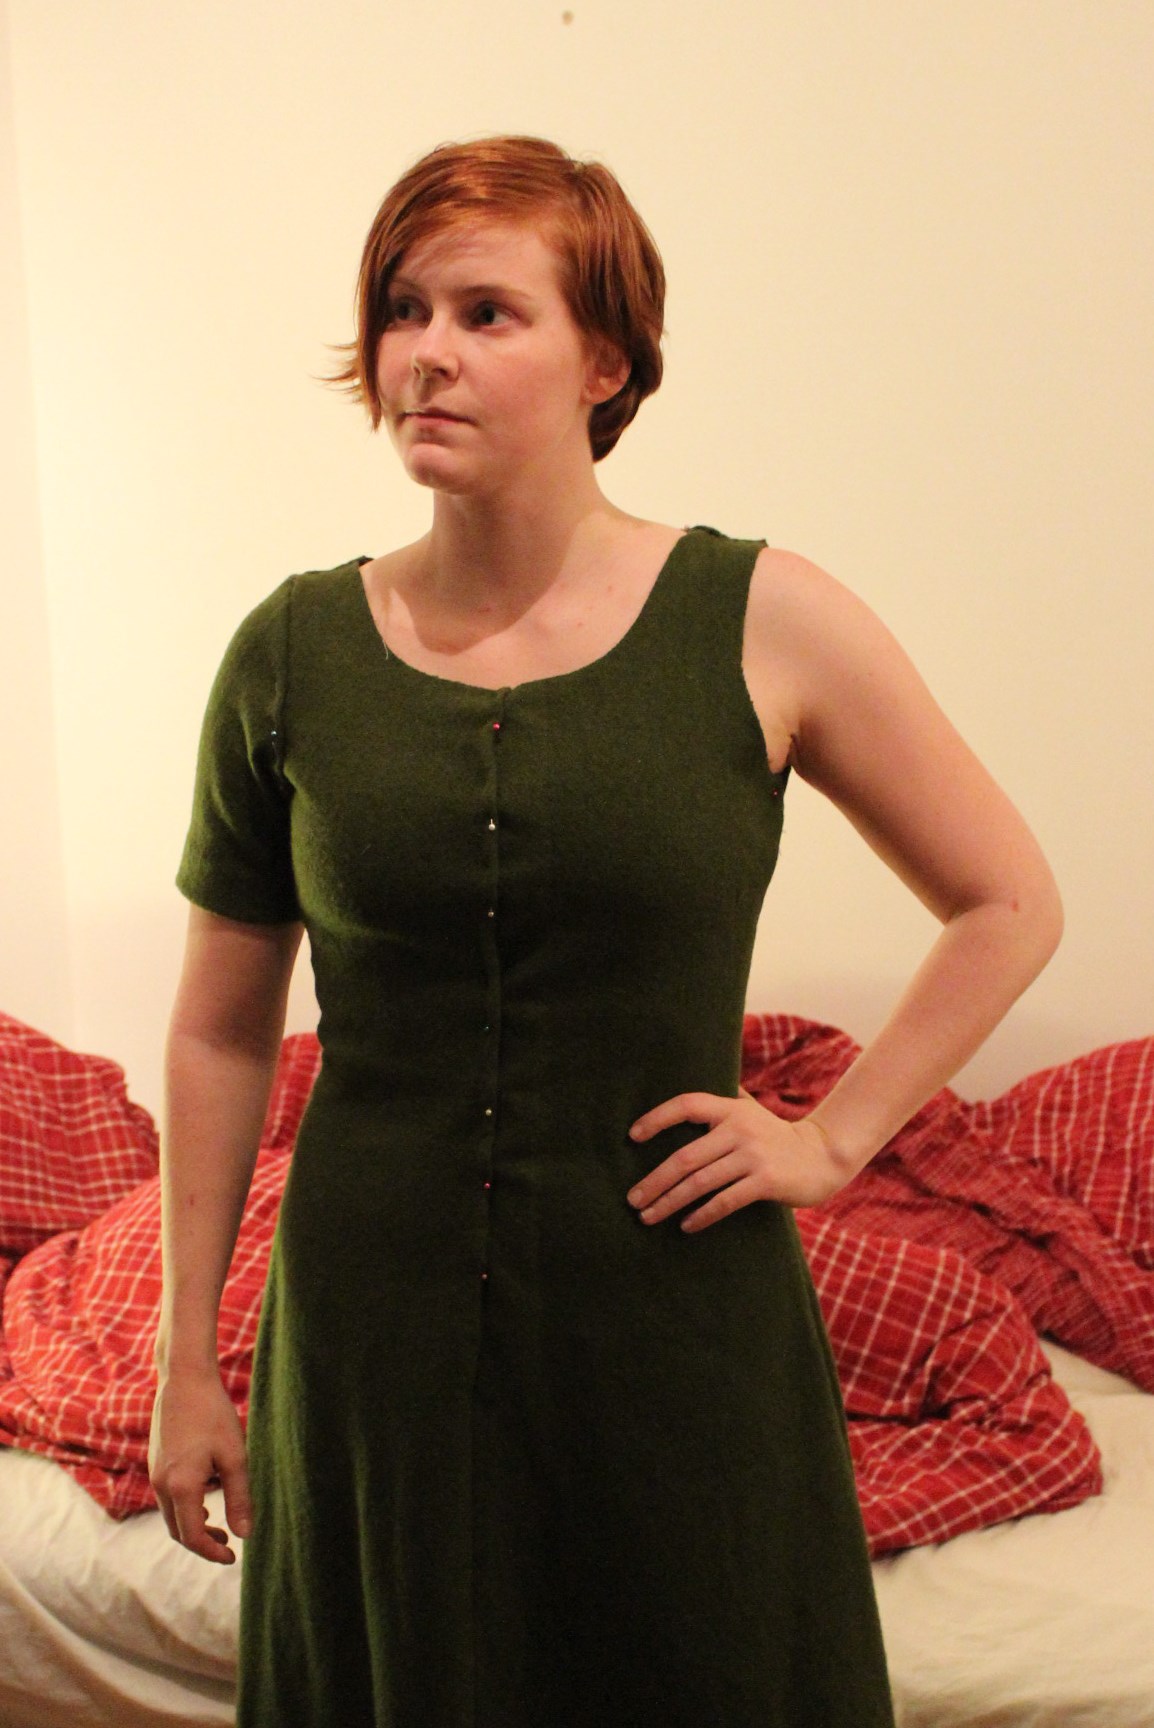
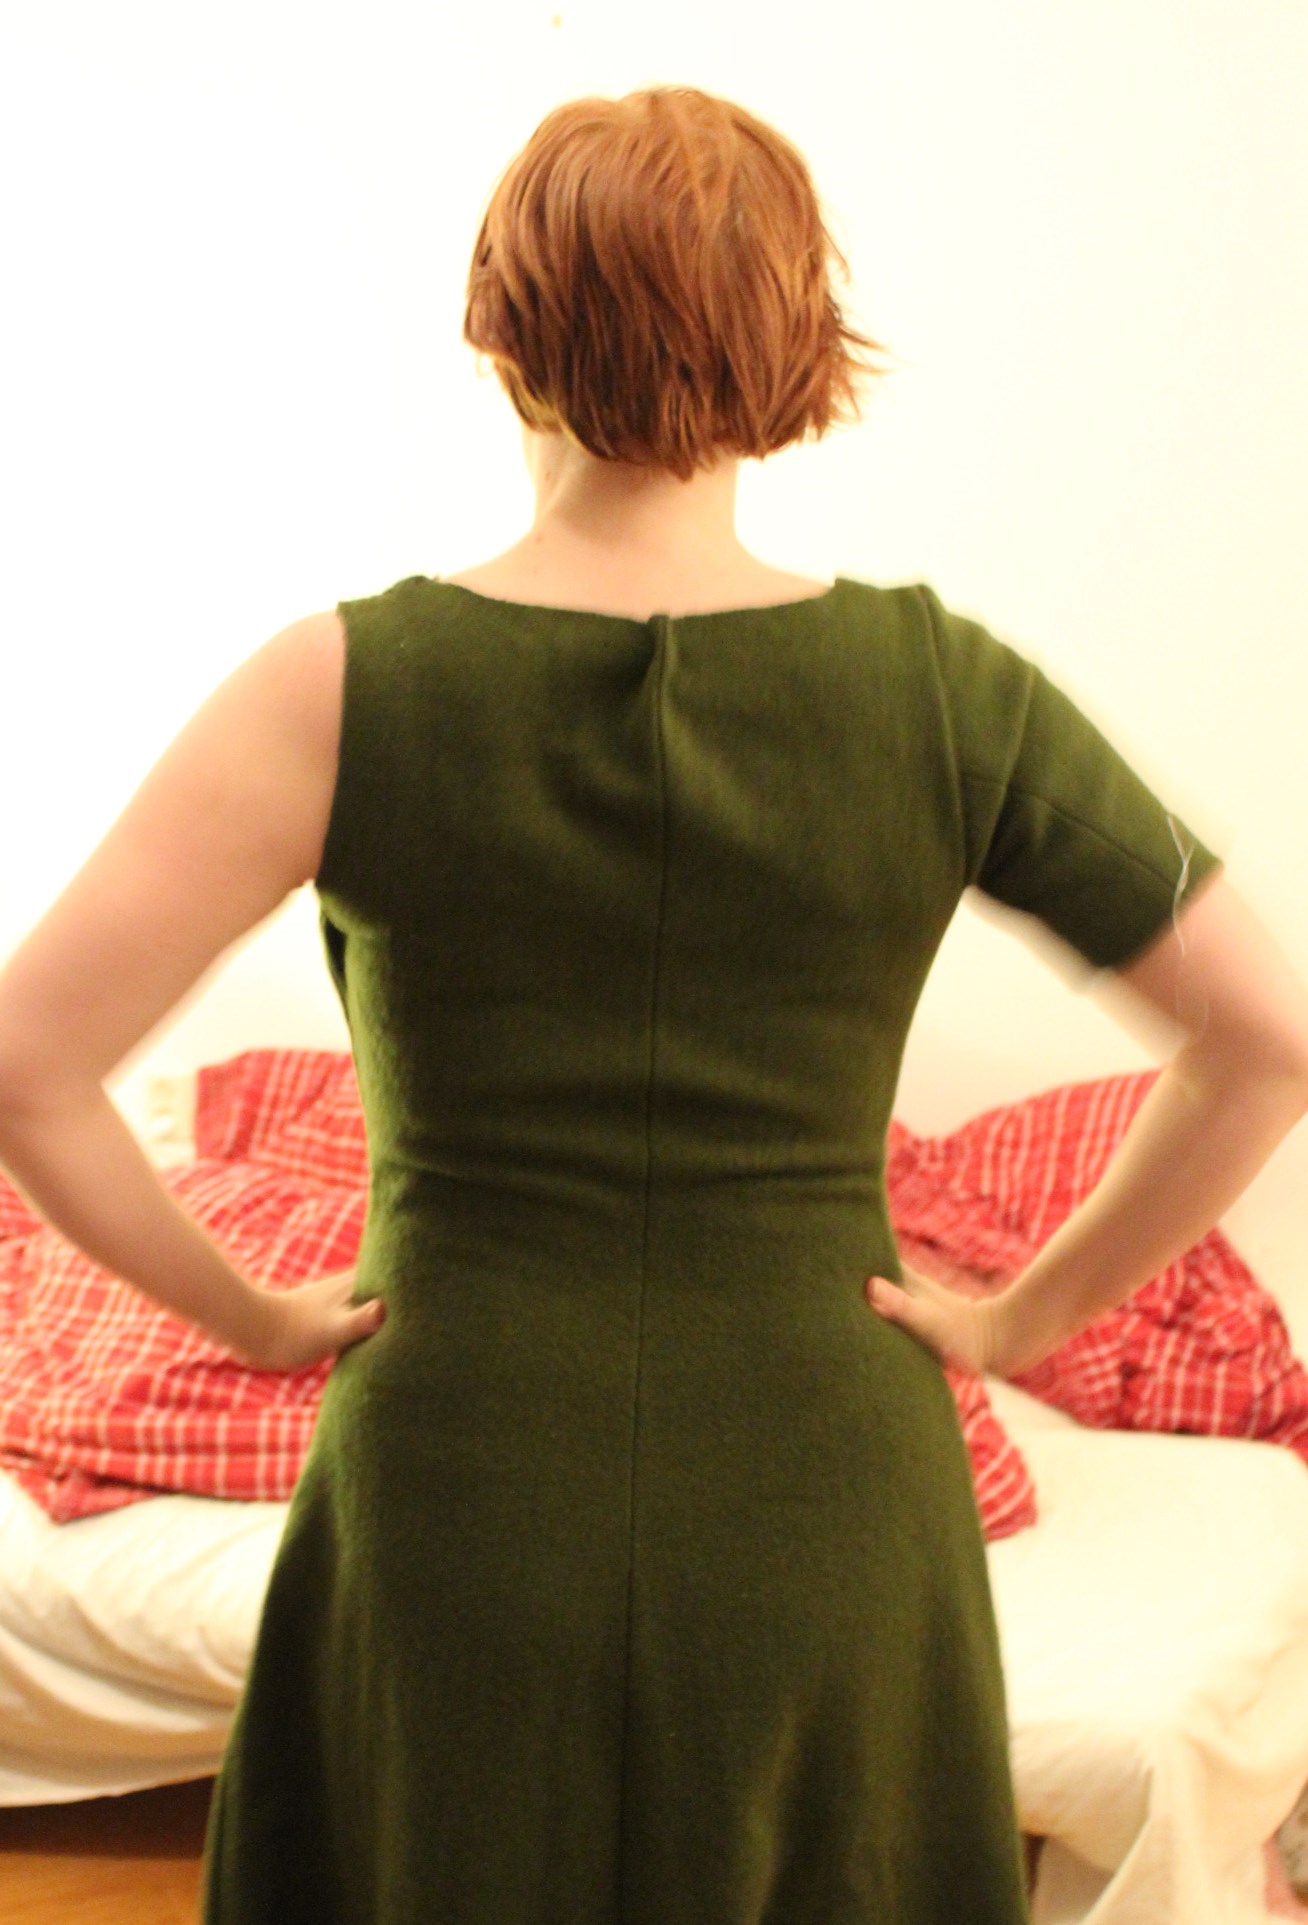
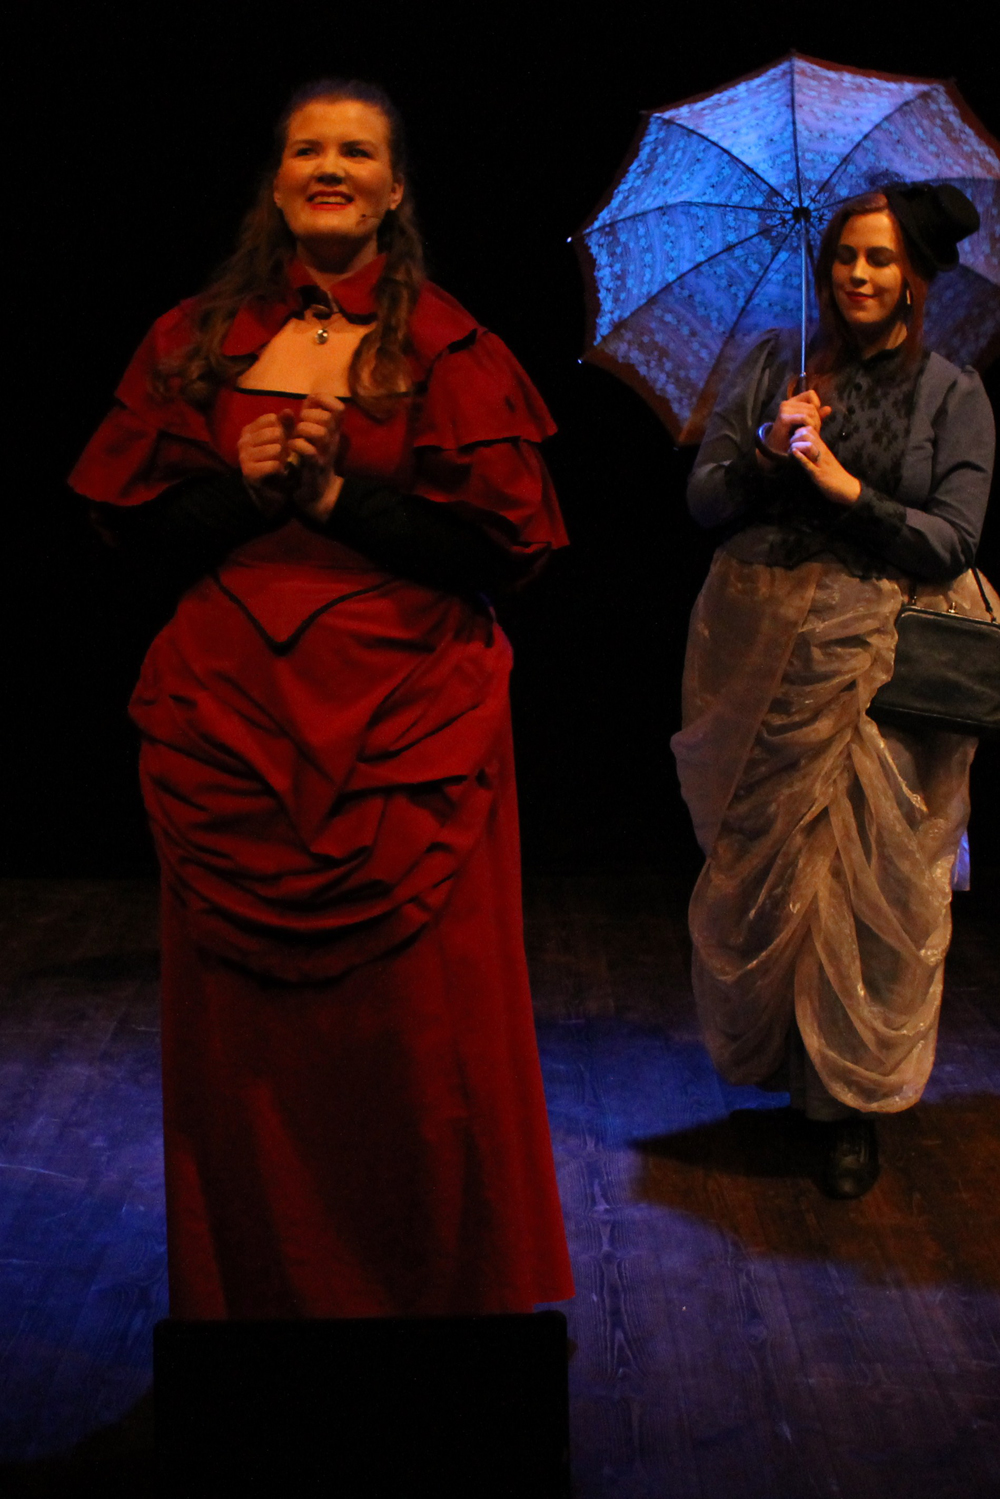
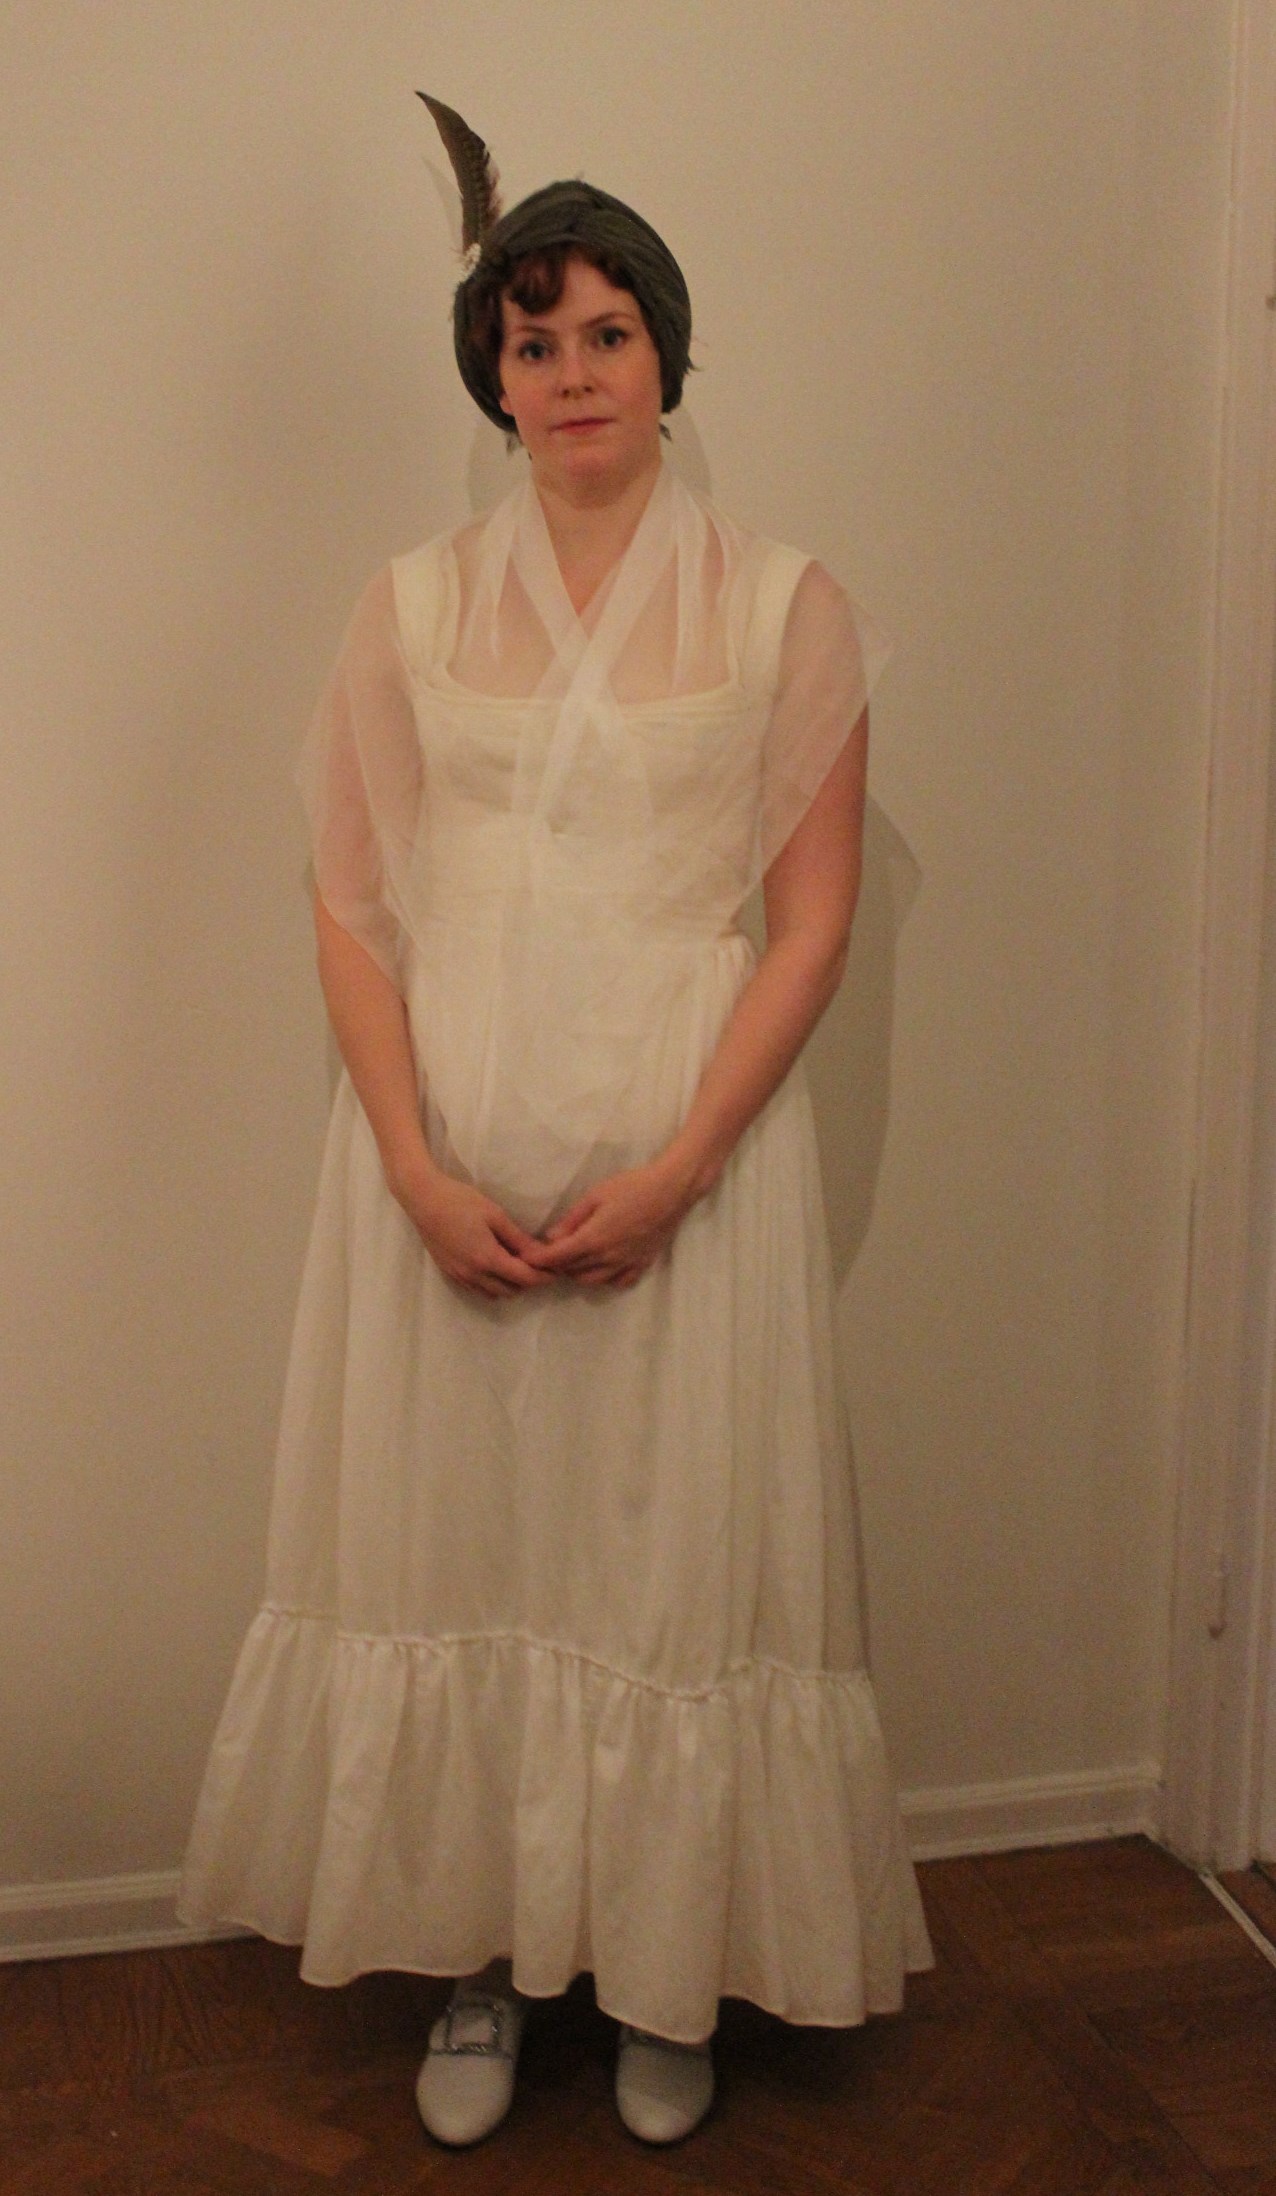
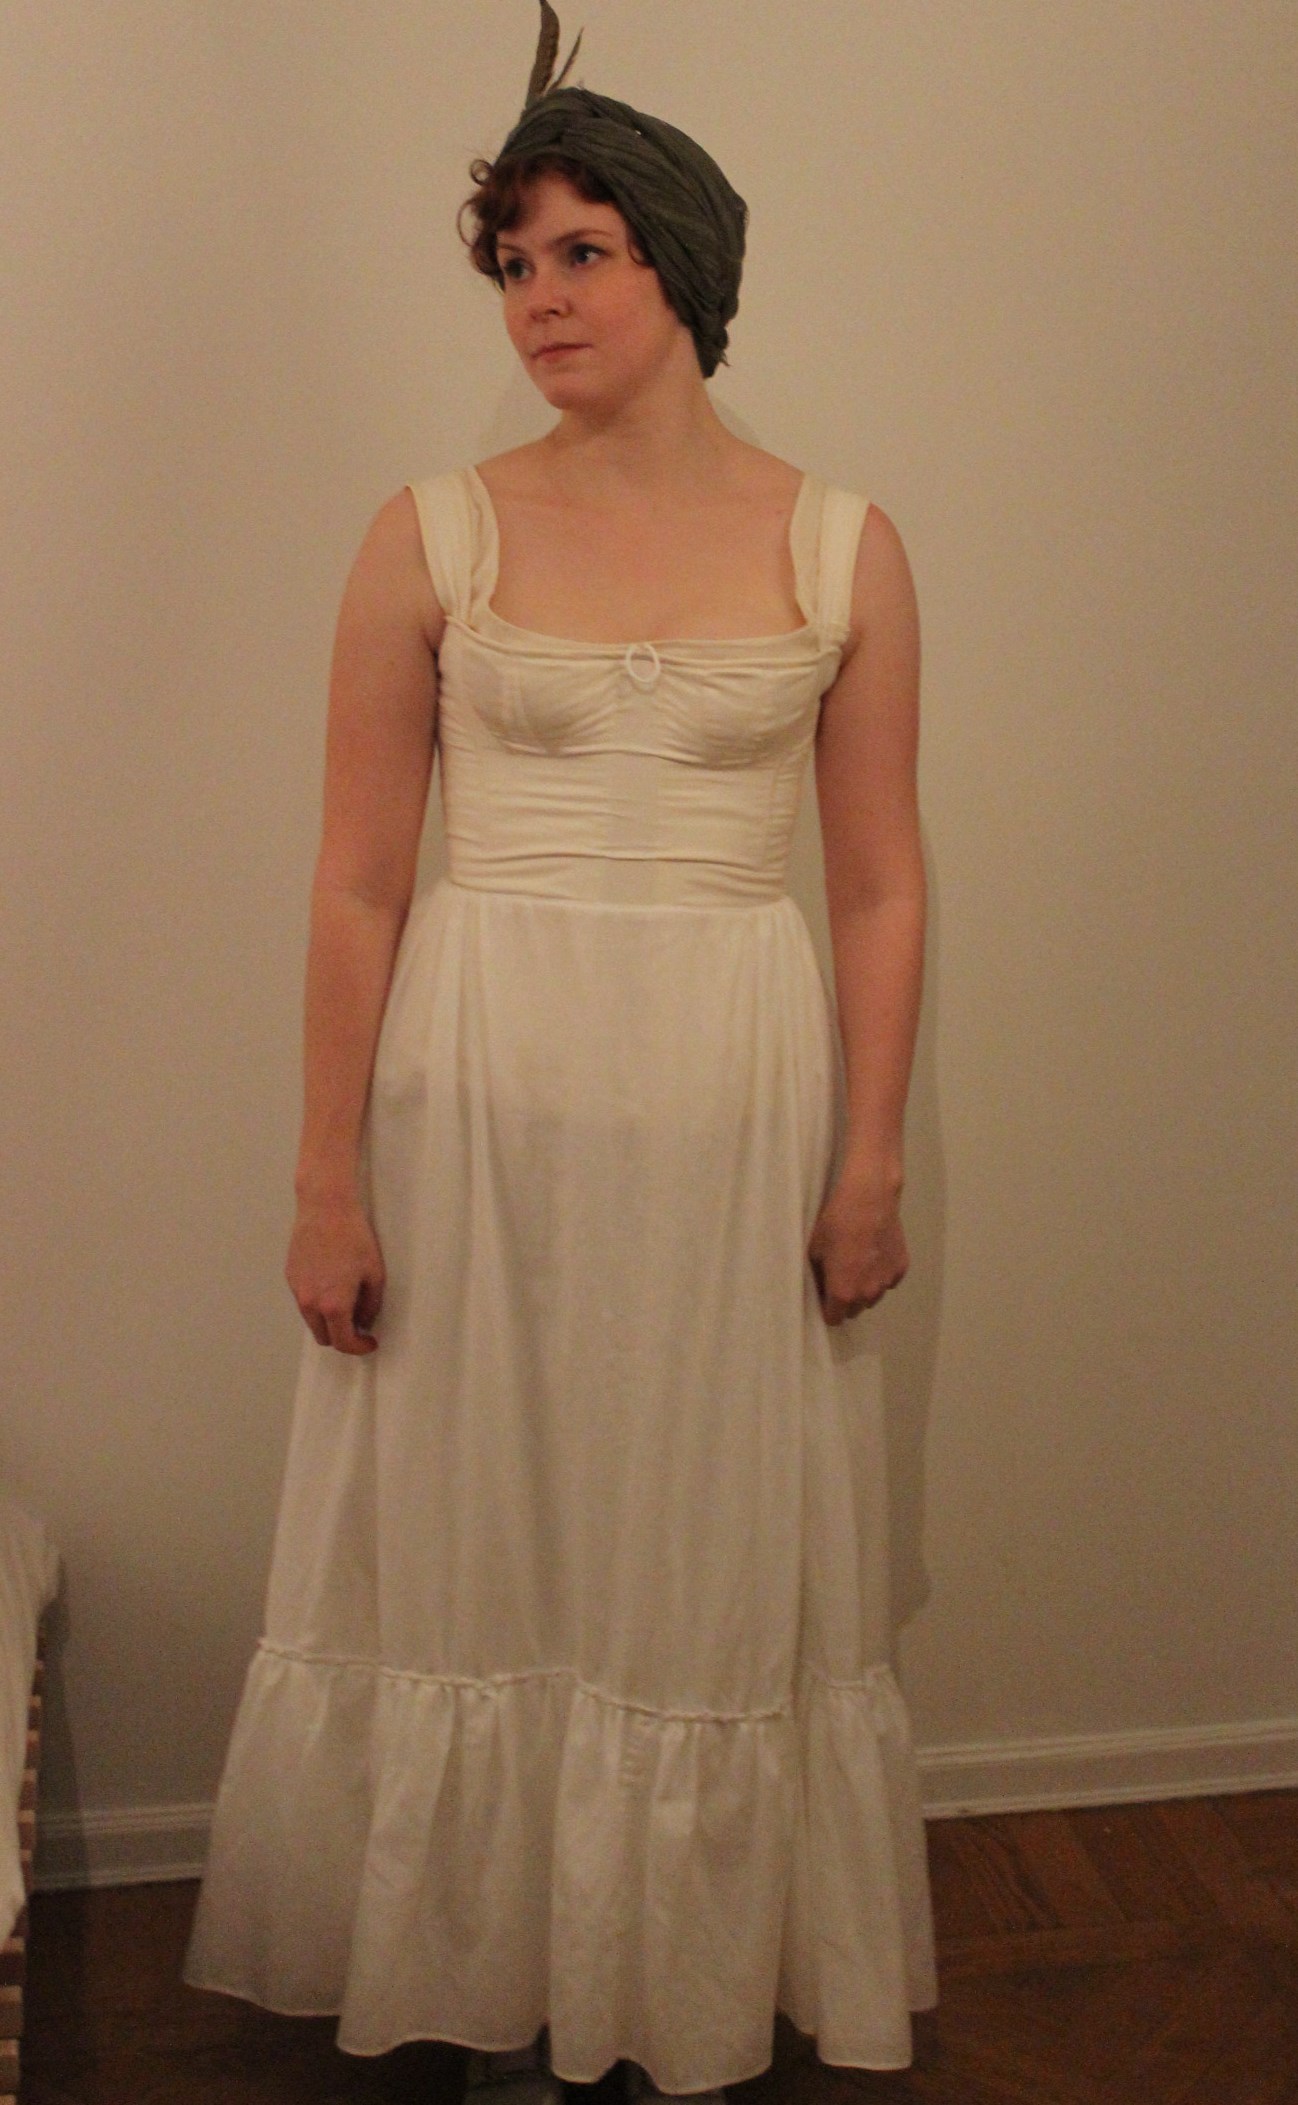
Then, two years later, we dugg the dress out from it’s box and got to work.

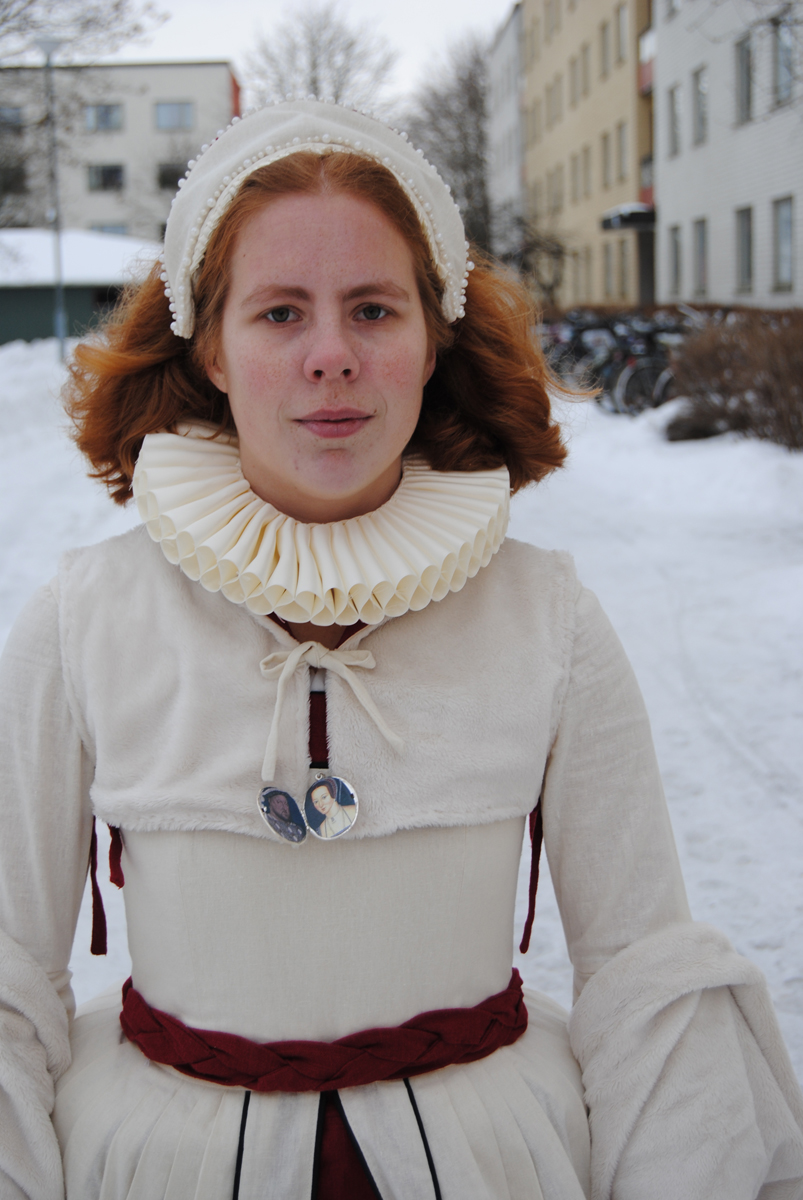
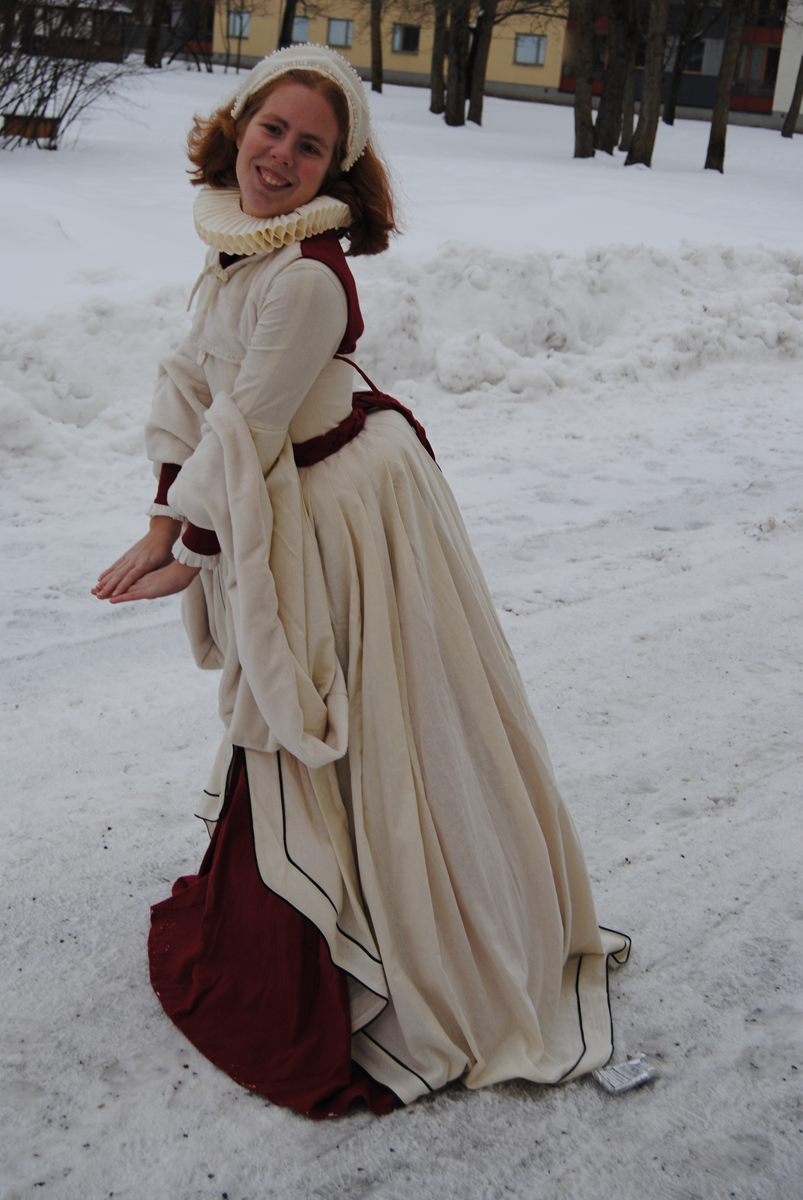
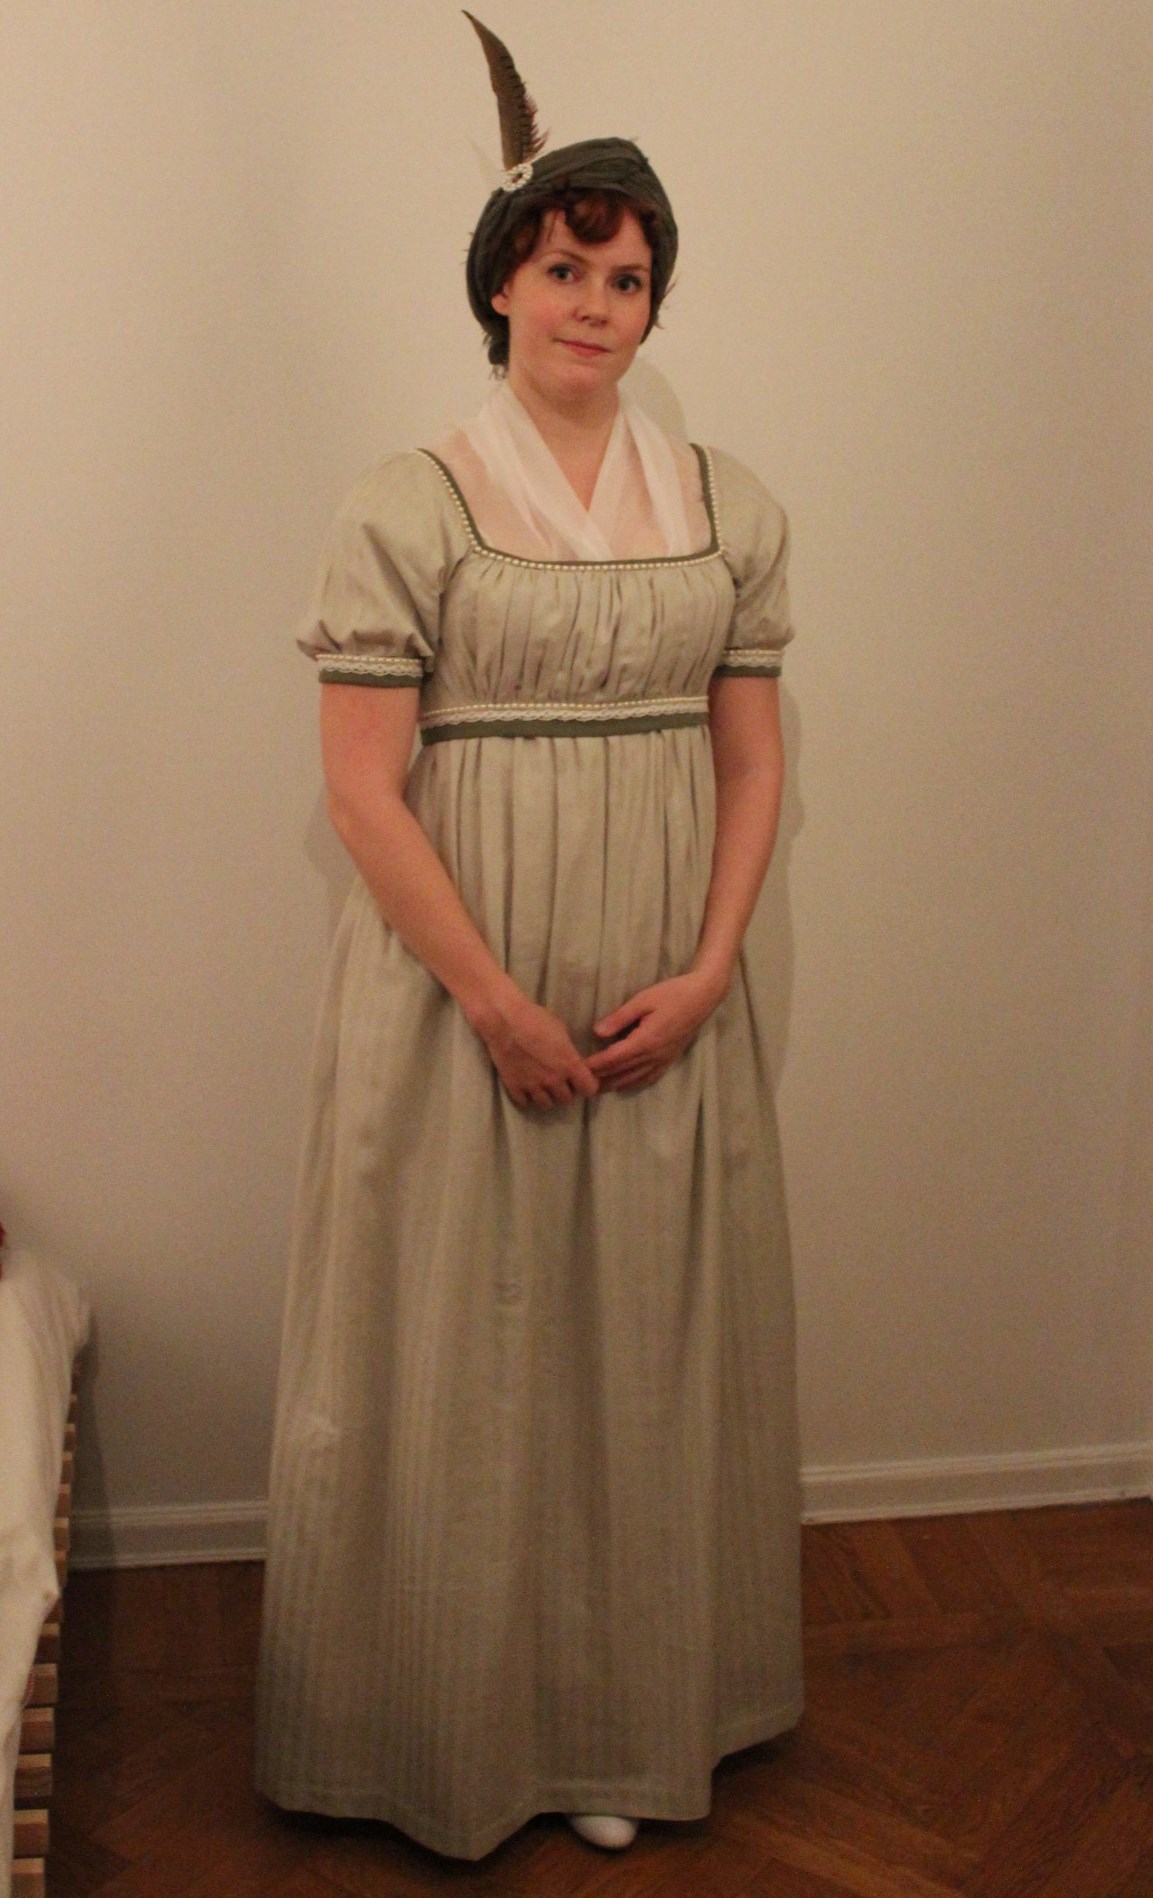
This time it was going to be transformed to something fit a young queen Elizabeth I.

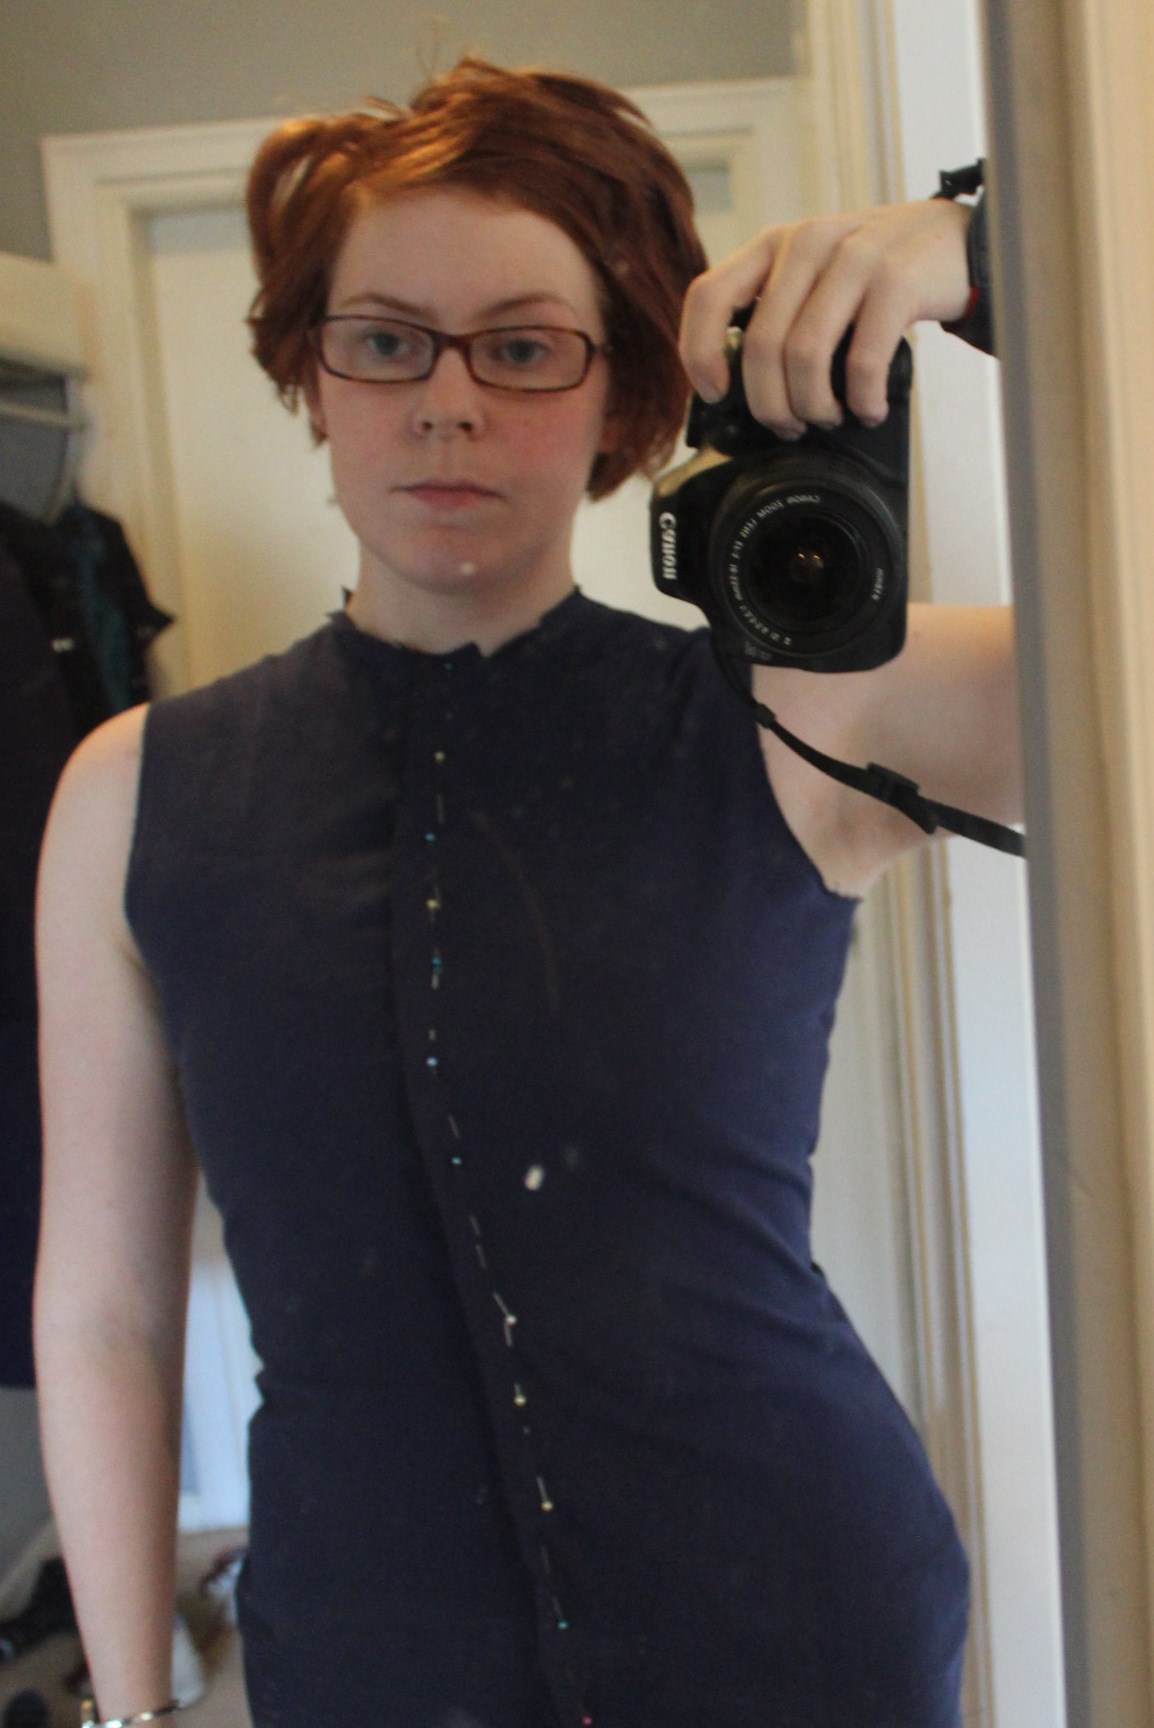
First we needed to lenghten the bodice (to get a better fit), and then we made the skirt and bodice connect by sewing on hooks and eyes.

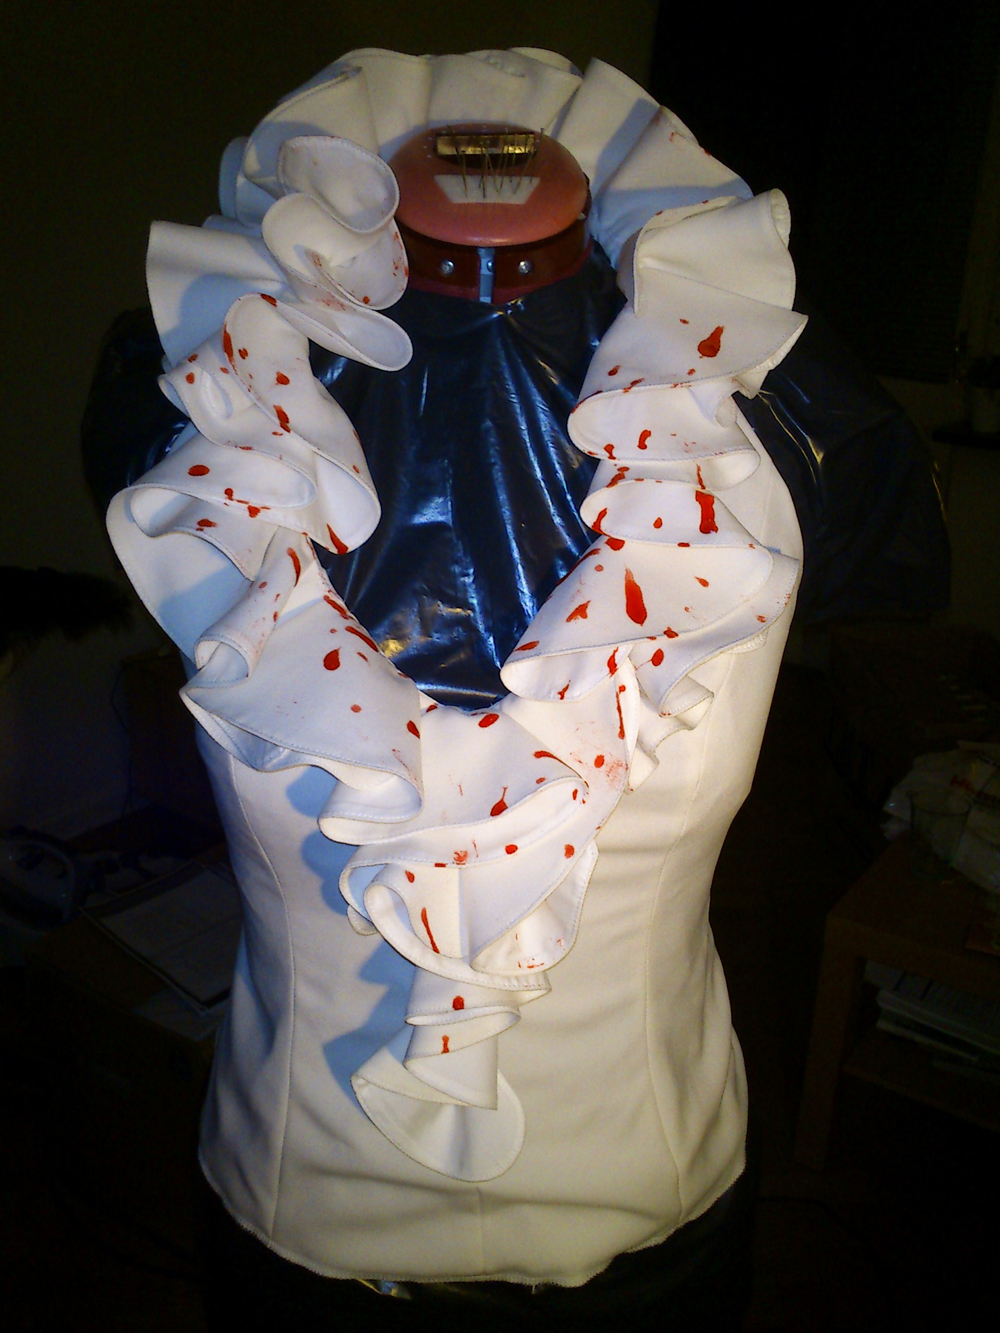
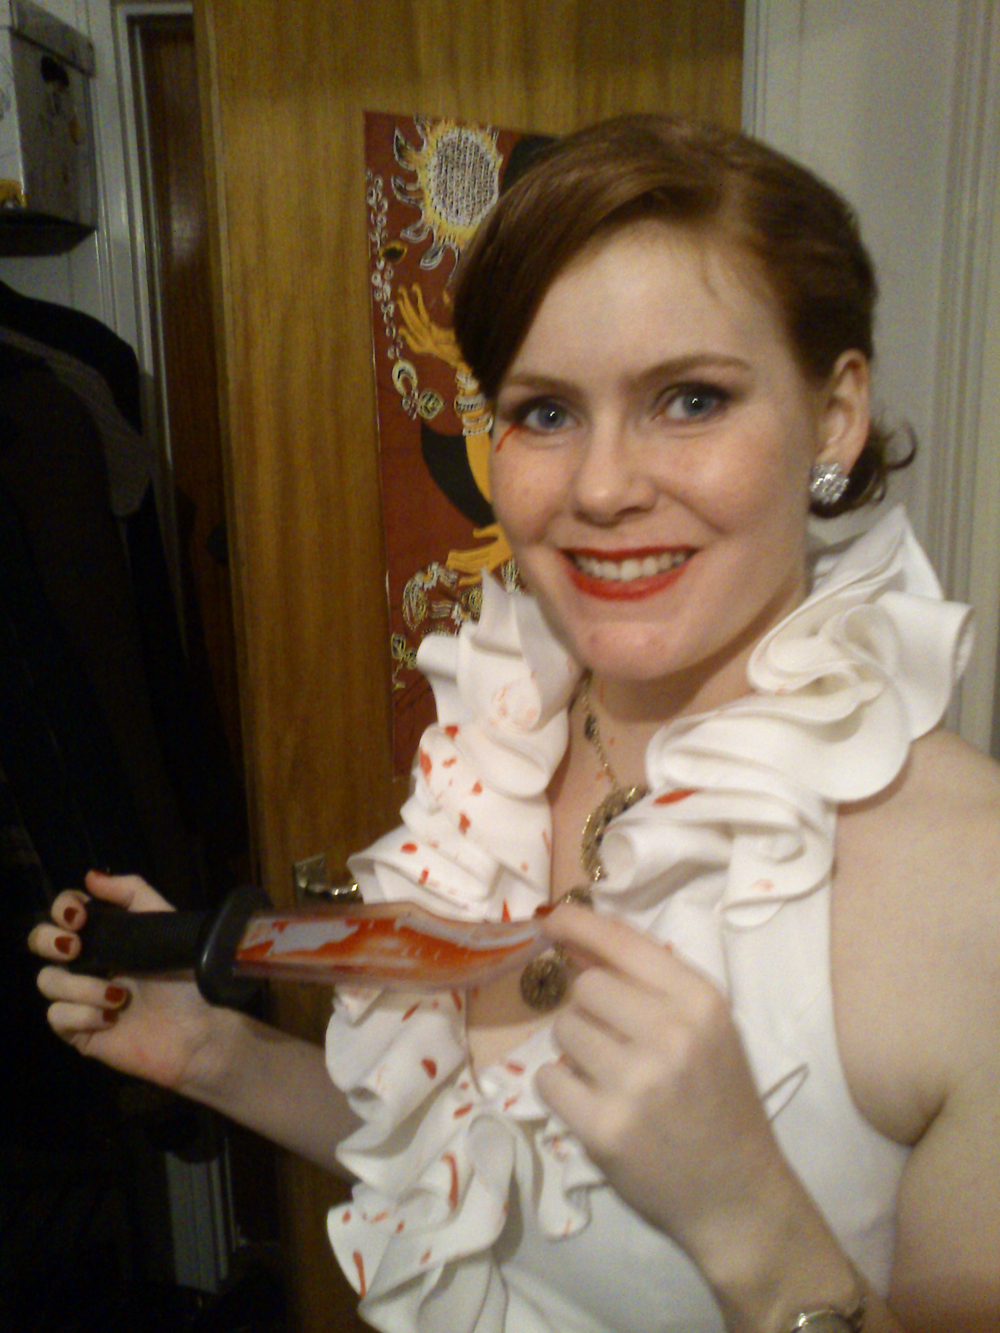
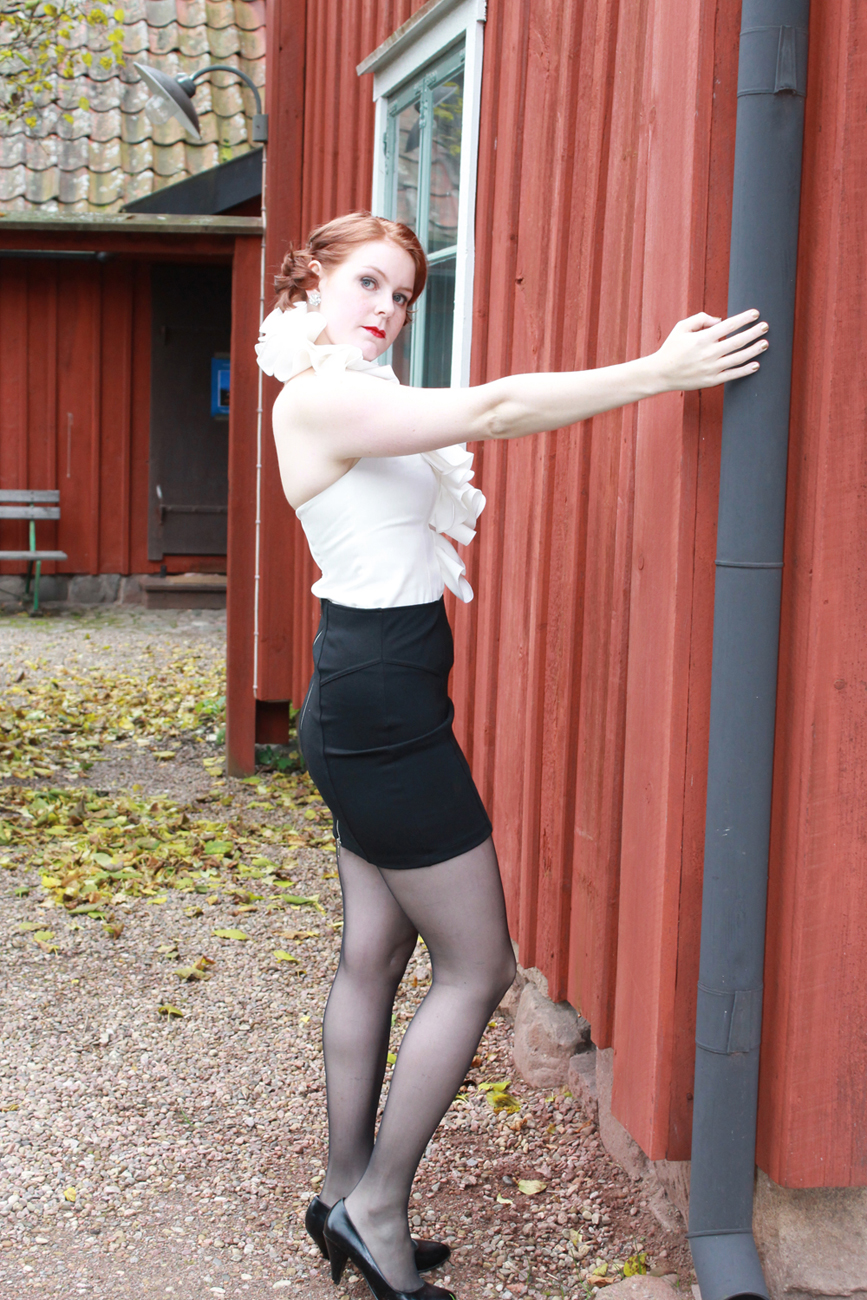
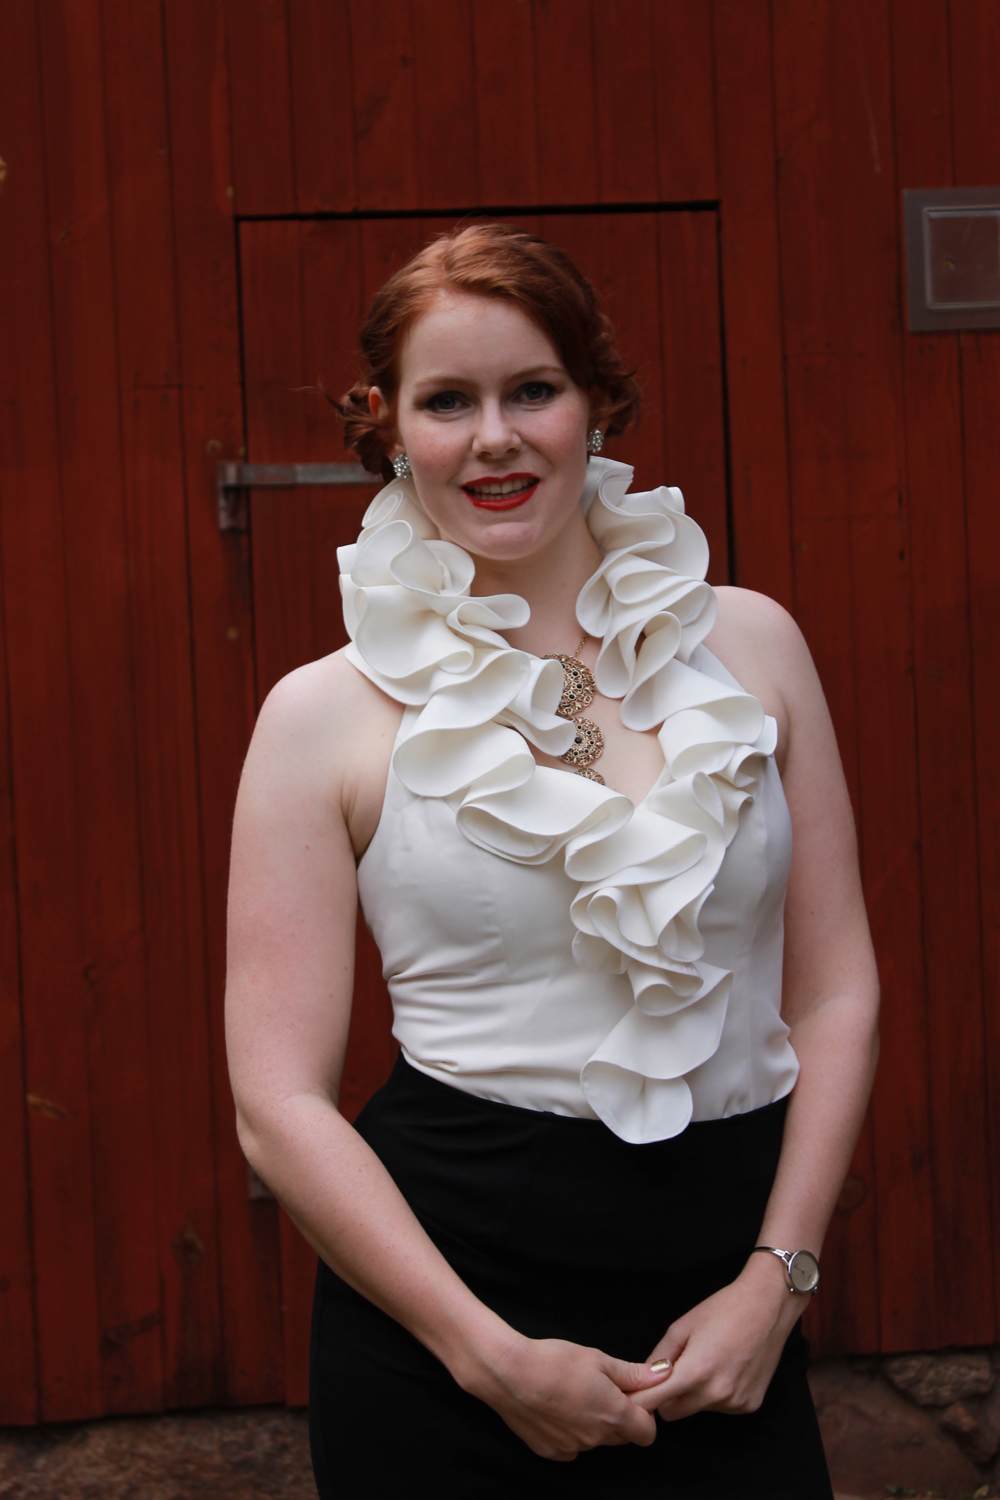
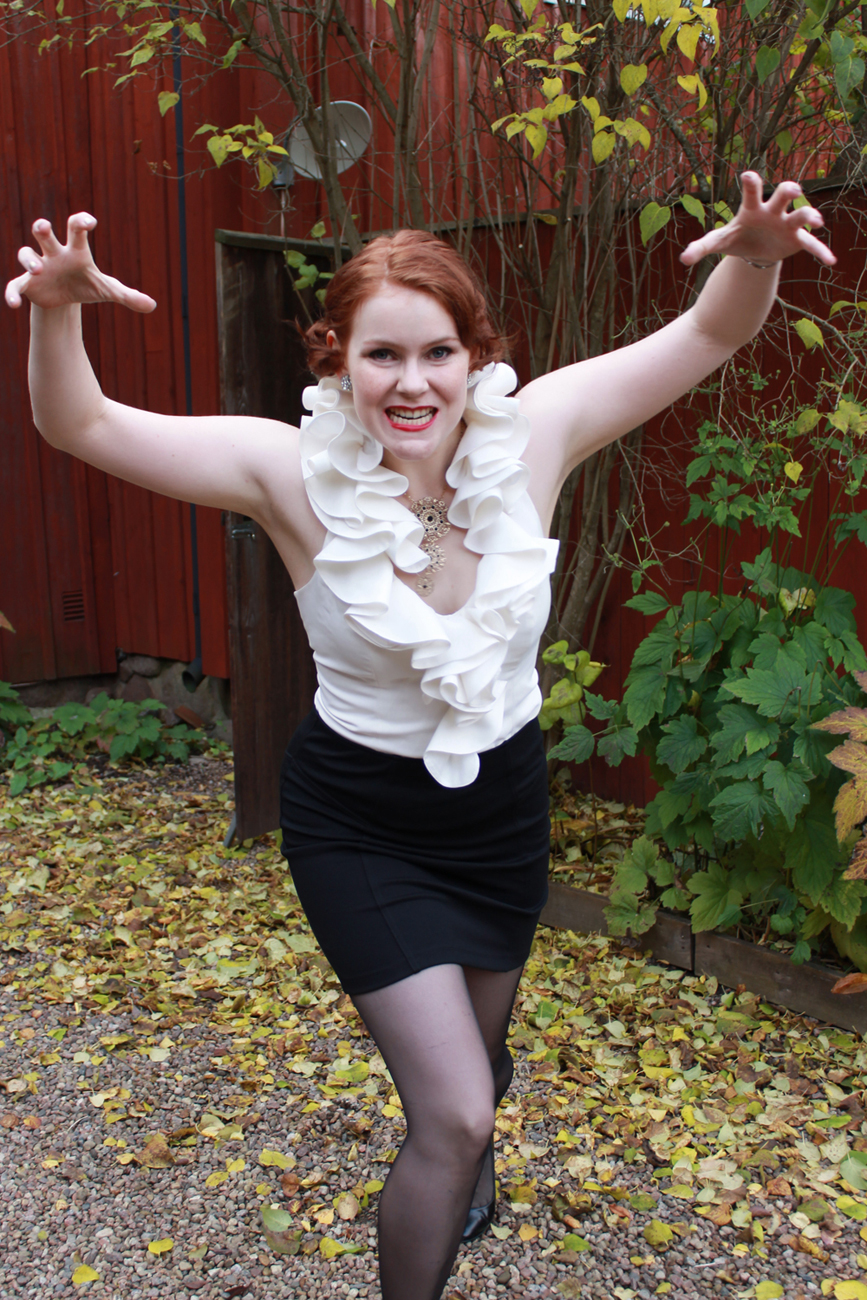
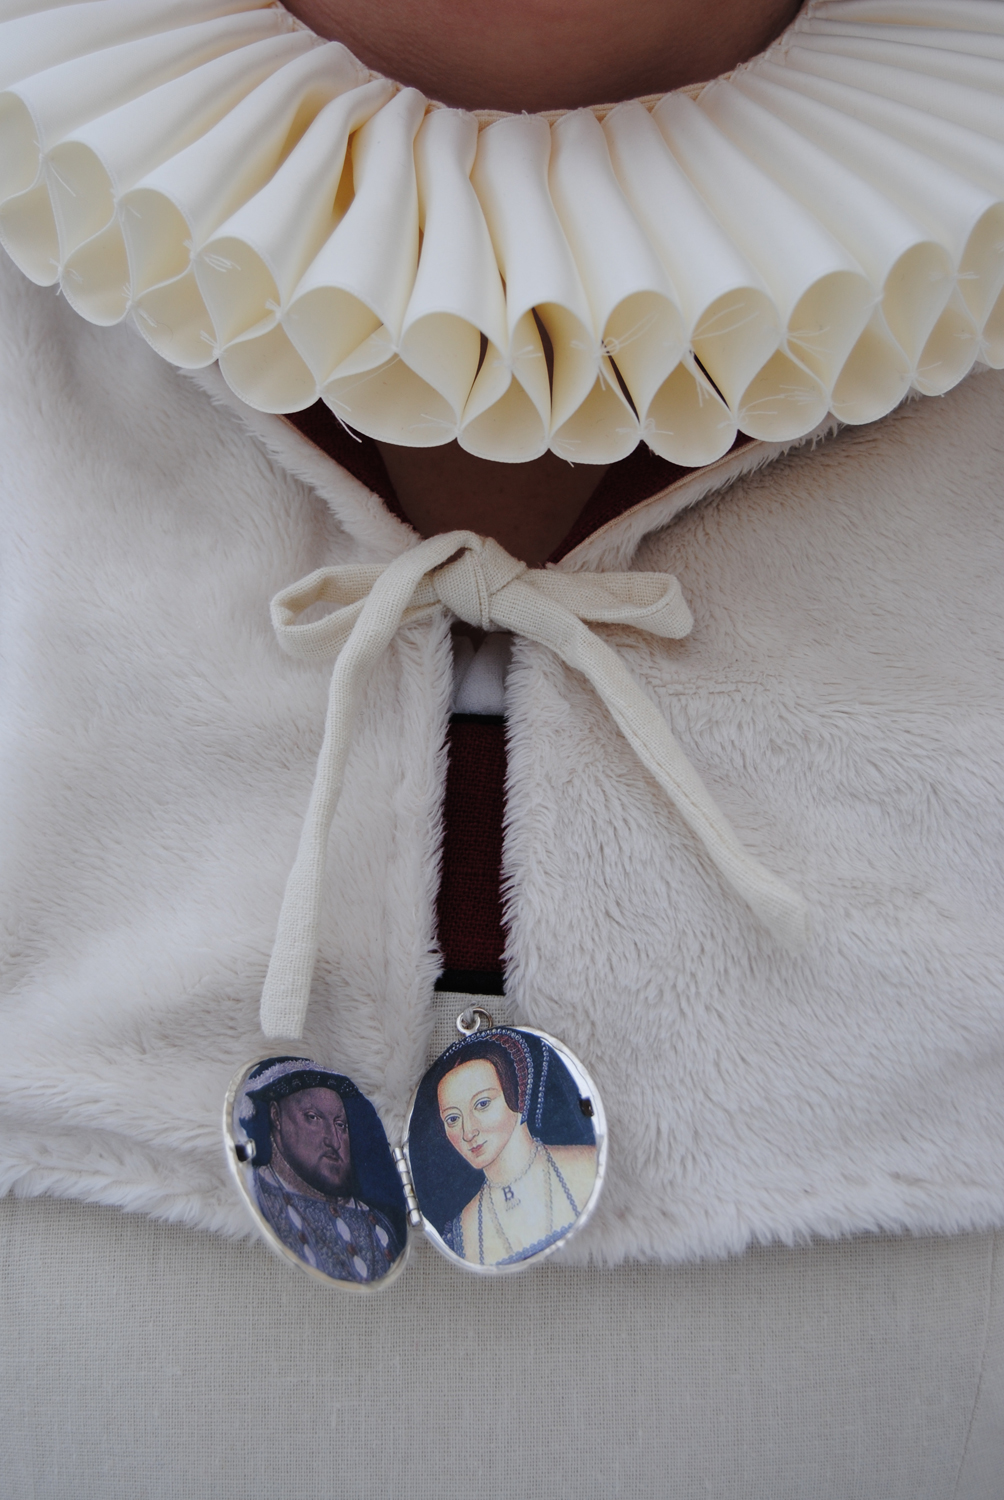
I also made a simple ruff to wear around the neck, and put some pictures of King Henry IIIV and Anne Boleyn in a amulet.

halloj-061

This time we din’t have the time to take good pictures but I still managed to snap a few shoots of the ensamble.

halloj-062

halloj-042

halloj-073

halloj-069

Past Halloween Costumes – True Blood

Halloween are without doubt my favourite holiday, unfortunaly we don’t celebrate it here in Sweden.

The wounderfuly decorated houses and creative costumes that’s been seen in the US are never seen here. Even though the celebrations have started to grow a bit these past few years, it still have a long way to go in my opinion.

***

So last year when I got invited to a halloween/birthday party I tought long and hard of what to make.

I decided on one of the coolest evil television caracters right now: Lorena from “True Blood”.

I always loved her outfits and style, and decided to make the white ruffled blouse and little black skirt she wears when being staked to death in the series.

img-thing lorena

tumblr_m3k2vn0OVt1qc28xko1_500

I made a simple halter top and sewed the ruffles on to it. Then I dripped and painted faux blood on it.

2012-10-25-22.31.49I bought a slim black skirt and some stockings with a contrasting black seam.

I also decided to take the look down a bit and didn’t use either fangs or bloody tears on the face.

2012-10-27-21.59.07A pic from the party

And the photoshoot…IMG_0446

IMG_0452

IMG_0467

IMG_0512

IMG_0487

A Green Medieval Cote

My entry for the HSF challenge 21: Green, is a medieval dress called a Cotiehardie. Its a outer gown which is ment to be worn over a kirtle and a chemise.

medieval4My inspiration pic.

I used the “Medieval Tailor’s Assistant” as a guide, and did my patten from the basic pattern block, and toile I’ve previously made from the book.

51K1J4FC5GLIMG_2348

IMG_2766I used a thick green woolen fabric, and cut and basted the dress together for a fitting.

IMG_2725IMG_2727

I needed to adjust the sleeve and neck a bit. So I took it apart and made the alterations.

IMG_2738Then I started the time consuming task of working about 30 button-holes.

IMG_2740I’ve already compleated the buttons in advance and sewed them on the outer edge of the right front piece.

IMG_2745I’ve used some cotton leftover as facing in the neck and as a buttonhole stand.

Then I sewed the rest of the dress together – did the gores, side seams and sewed on the sleeves.

IMG_2791

IMG_2759

IMG_2787

IMG_2776

IMG_2767

IMG_2765

IMG_2792

Just the facts:

Challenge: 21 – Green

What: A medieval cotehardie.

Year: 1350 -1400.

Pattern: Drafted my own based on the “Cotehardie” pattern from “The Medieval Tailor’s Assistant”.

Fabric: 3m of green wool and some cotton scraps.

Notions: Thread and buttonhole thread.

How historical accurate: Pretty good. The dress is compleatly hand sewn, with historical methodes. I do however think the fabric is a bit thick for this type of dress. 7/10

Time: About 30 hours

Cost: 400 sek (44 Usd)

First worn: Not yet, but will be on the Medieval dinner party my dance group is hosting on 9th of nov.

Dracula – student theatre

2 years ago, during my university time, I joined the student theatre group as shared costume designer.

That years play was “Dracula” – a humorus story about the infamous transylvanian count and his “friends”.

The first step as the costumer desiger was to do some research of the original story.

vlad_tepes_big-x01Using this well known portrait from the 15th century, of the “original” Dracula – Count Dracul, as inspiration.

12I drew a design sketch, and got to work.

CIMG6144I made a coif using some red felt, and 3 pearl necklaces. Unfortuanly the hat got lost before the premier, so the actor never got to wear it.

IMG_0749 (2)He did whoever get a big furry cape and lots and lots of lace frills.

IMG_0882Fighting with the always unfortat mr Jonathan Harker.

13The servant “Reinfied” is a dark, crazy and creapy caracter.

IMG_0728

IMG_1014Dressed in torn clothes, dirt and spiderweb.

IMG_0909

IMG_0865The caracter of “Illusion” is only real in Reinfields head and tells him to do a lot of crazy things.

IMG_0961-(1)The ladys Nina and Lucy.

IMG_1520“Lucys” dress is a simplifyed version of a Victorian bustle dress.

Unfortanly I had already moved back to my old town when the play premiered, so I never got the chanse to help finish or even watch it. But I’m still pretty proud of the result.

Medieval pattern drafting

This fall/winter I will attend my first medieval event and therefor will need something to wear.

Odly enough I must admit the middle ages never tempted me before. I tought the costumes and styles of the period seamed pretty plain and boring, and I figured I would never have the use of one.

But when the invitation for a Medieval feast arrived from my dancing company I didn’t heasitate. I signed up for both the party, the medieval dance course and the medieval sewing course. If you haven’t noticed, I have a tendency to go all in with things like this.

So now it was time to make an medieval outfit – and we only had about 1,5 months to do it. The first challenge was to decide on wich style of dress I was going to make.

medieval4The stylished simple Cotehartie

campbellp393Or the pretty high waisted gown from later in the period.

The sewing group was asked to by the book “The Medieval Tailor Assistant”, (I’ve already read through it), and will treat it as my construction bible for this project.

51K1J4FC5GL

While still unsure about the dress style, I draped a fitted bodice pattern on my dressform.

IMG_2340I adjusted her size to my mesurments and putt a sports-bra on her.

IMG_2343Following the instructions in the book, I cut and draped two pieces of fabric over the dressform.

IMG_2354Starting with the shoulders, pinning the fabric close to the dressform.

IMG_2355And then the waist.

IMG_2348IMG_2349

I did the center back and neck shaping. And then the same at the front.

IMG_2352The front neck needed some big darts to lie nice and flat.

IMG_2357Side view of the front.

IMG_2366Then it was time to mark the armholes.

IMG_2373IMG_2377

Cutting the exess fabric from the neck and armhole.

IMG_2378Then I marked the lines with a red marker, making sure not to miss any needels.

IMG_2380

IMG_2383And removed it from the dressform. Lying falt on the floor, I traced the dotts to make some nice looking lines.

IMG_2388The vertical darts will be left closed while cutting the toile.

IMG_2391Cut the pieces out, and place the front pieces (and then the back pieces) on top of each other. Adust the lines.

IMG_2395 Trace the pieces to a cotton fabric, and cut the toile.

IMG_2417IMG_2431Make it up and try it on.

Since I draped mine on a dressform and not straight on my body, there was a few adjustments that needed to be done. I took out some width at the center back and also placed a vertical dart at the shoulder blades.

And there you have it – your bodice blocks to make your pattern from.

Now it is time to start with the actual pattern.

Which dress I will make?

You will just have to wait and se…

Medieval Sleeves as Outerwear

As the deadline for the HSF challenge 20: Outerwear, drew closer I needed to decide what to make. The time was pressing and I had a couple of other costuming deadlines lurking close by, so I know I needed to make it an easy and quick one.

So why not make something I could use for the up-coming medieval event my dance group are hosting.

I knew that I wouldn’t be able to make the whole medieval outfit from the inside out, so I needed to prioritate. The gown will be made in time for the “Green” challenge, and as “Outerwear” I will make a pair of lose sleeves.

birth_of_mary_gr“The Birth of Mary” shows a servant with one of her lose sleeves taken of.

Technically they don’t count as outerwear as they will be worn under the short sleeve of the cotehardie, but as they are separate they can also be worn together with a sleeveles kirtle over a shift – thus becoming outerwear…

I bought a light brown/beige colored wool with a soft feel to it.

IMG_2556

I the drafted the pattern, using “The Medieval Tailor Assistance” diagram for –  a Kirtles fitted sleeve.

IMG_2561

I didn’t make a mock-up, but cut and basted one sleeve togheter and then fitted it to my arm. It needed some taking in across the upper and lower arm.

I stiched and felled the seams, reinforced the buttonhole stand and the wrist with some brown cotton..

Then it was time to make the buttons.

2013-10-05 18.12.19

Cutting about 30 circles of fabric, and sewing the buttons when ever I got some spair time, really saved me a lots of time and effort.

I sewed the finished buttons on to the sleeves, putting them close togheter.

IMG_2543

Then I made all the buttonholes, using a buttonhole-thread and all of my patience and determination to get them finished in time.

2013-10-06 20.46.22

IMG_2542

IMG_2553

And the finished sleeves.

IMG_2540

IMG_2534

IMG_2538

IMG_2552

IMG_2545

And being worn, paired with my Peasant Kirtle.

IMG_2463

IMG_2446

IMG_2447

IMG_2489

IMG_2487

IMG_2523

IMG_2514

IMG_2490“Knitta please” are maching my outfit

Just the facts:

Challenge: 20 outerwear.

What: A pair of lose sleeves.

Year: 1300 -1450

Pattern: Drafted from “The Medieval Tailor Assistent” – Kirtle, fitted sleeve.

Fabric: 1 m thin light brown wool.

Notions: Thread

How historical accurate: Pretty good. The fabric, thread and methodes where all used during the time. I give them 8/10.

Time: About 15 hours (the button-holes took like forever).

Cost: 150 Sek (16 Usd)

First worn: On the photoshoot begining okt.

Final toughts: The sleeve cap is a bit low, and needs to be either raised a bit or tied to a very firm shoulder-strap that won’t slipp of the shoulder.

1810s Layering

Last weekend when dressing for the “Mikelsmäss” I spent 1 hour on my hair (curling, styling and tying the turban) and the remaining 10 minutes to get the rest of the costume on.

This was not a good way to do it, since I usally count at least 30 minutes for the dressing. So I ended up going “half dressed” to the event, and needed help with getting the fichu right and to close the dress when I arriwed.

The reason why it takes so long getting dressed, are of course the many different layers of clothing you need to get the right look of your costume. And tying a back laced corset on your own takes both skills and time.

So here is an other “un-dressing” post – Regency style.

IMG_2256Lets start fully dressed in: Gown and fichu, whit a headress (turban) and some accessoares like mittens and a shawl.

You could also wear a open robe or a spencer over the dress, and a few more accessoares like a riddicule (bag), muff, fan or a parasol.

IMG_2264Lets take away the accessories.

By now you could call yourself dressed and be on your way. But you would need some small items/accessoares to compleate the look of your costume.

IMG_2266Once we take the gown of, we reveal the complete fichu, the petticoat and the some of the corset.

The fichu is a pice of sheer fabric shaped as a rectangel or a tiangel. Ladies used it to cover the neck and bust, and pined it on before putting on the gown.

IMG_2273Removing the fichu we now view the top part of the corset and the petticoat.

The regency lady could also have worn an extra under-dress on top of the undergarmnents, to prevent see-througness in verry sheer gowns.

IMG_2278And then we are down to the underpinings with the corset, chemise, stockings and shoes.

The chemise are worn to keep the swett and dirt from the body away from the corset.

 The corset could also be in a short style (ending right below the bust), or in a wraping style.

It is important to remember to put the shoes on before the corset – since it is very difficult to lace or attach buckles while fully corsetted.

Mickelsmäss

A month ago I got asked to be part of the dancing entertainment on a event the local historic museum were arranging.

So this weekend (29 sep) I got my regency clothing together and hurried to get to the “on spot” rehersal.

I curled my hair and tied a shawl as a turban, then I attached a brosch and some feathers to get the right regency look.

IMG_2322

I hurried to lace my brand new corset, put on the petticoat, stockings and mylovely “Kensingtons” shoes from American Duchess.

IMG_2312IMG_2314

Unfortanley I didn’t have the time to find some ribbons to replace the shoe buckles with. Although 20 years wrong in the time period they do look beautiful.

The dress I wore was the HSF Striped regency gown, matched with mittens, fichu and an shawl.

The dinner went well, and the dancing even better, with lots of on-lookers and applaudes.

And now for some pictures:

IMG_2211Ladies inside warming themselfe before the dancing.

IMG_2210Our gentlemen

IMG_2218Outside, listening to speeches after the dancing. (sorry for the poor quality photos – It was quite dark by this time.)

IMG_2214

IMG_2227Talking after the dance.

IMG_2231Anna, looking lovely in the dress she made herself for a prevous event.

IMG_2240The whole group

IMG_2243Solveig, Anna and Sievert.

IMG_2244Me and Solveig. I made both our dresses this past year, from the same pattern (Reconstructing History nr 838).

IMG_2247

IMG_2249 I found it exiting to notice the differences between the dresses and the way they look being worn in two different ways.

Wood, Metal and Corsets

As the 19th HSF challenge Wood, Metal and Bone past by I feelt I needed to make something a bit more challenging then the Suffragett brosches I finished just in time.

An with a regency event coming up swifty, I decided it was time to make myself the 1820s corset I’ve been wanting since I bought a wooden busk half a year ago.

Here are some inspiration pictures:

hämta

a-wedding-corset-74890

ba8694ee1bdaa03c315f43bd2f88fb65

corset-49100

il_fullxfull_116590212

OLYMPUS DIGITAL CAMERA

regency stays estabrooksdesign

Wives%20and%20Daughters%20stays

And the pattern comes from the trusted Norah Waughs “Corset and Crinolines” – A 1820s corset.

1820 waugh

I bought 0,5m of cream colored cotton sateen, and found some plain cotton sheet for the linnig and interlinning in my stash.

I dafted the patten, made some changes to the sizing and made a mock-up.

IMG_2179IMG_2185

I needed to raise the cups 1,5 cm and take them in 2cm a the top. And lenghten the shoulder straps.

IMG_2181I also needed to add 4-5 cm to the back pieces.

After drafting the alterations on the pattern, I cut and interlined all of the pieces.

I sewed the bust and hip gores, the boning chanels and set the gromets on the back pieces.

IMG_2198

Then I started on the decoration.

IMG_2193

By now I feelt I was running out of time (this was just a couple of hours before the event) and I needed to decide which ones of the decoration seams was the most neccessary – regarding both prettynes and function, though to the strengtening quality of the stiching.

IMG_2200

Then I made and attached the lining and putt the boning in to the chanels. I used bias-tape to bind the edges, and put a drawstring into the bias-casing in the front of the corset. Making it adjustable over the bust.

I finished sewing just in time, since I straight away needed to hurry to get dressed and on my way.

IMG_2284

IMG_2299

IMG_2292

IMG_2396

IMG_2404

IMG_2402

IMG_2399

IMG_2400

IMG_2412

IMG_2407

Just the facts:

Challenge: 19 – Wood, Metal and Bone.

What: A regency corset

Year: 1800 – 1830s

Pattern: Nora Waughs “Corset and Crinolines” – a 1920s corset.

Fabrics: 0,5 m of cream cotton sateen, 1 m of white cotton sheet.

Notions: One wooden busk, bias tape, thread, gromets, boning (cable-tie and plastic whalebone), lacing-cord and ribbon.

How historical accurate: Machine made with gromets and polyester thread. Butt the pattern, shape and the color are correct. Mabye 5/10.

Time: 10 hours (the evening before and the same morning as the event).

Cost: 200 Sek (22 Usd)(50 Sek, not counting stash).

First worn: On 28 sep “Mickelsmäss” (celebration of the harwest) where I was part of the dancing entertainment.

Final toughts: The corset do what it is supposed to (bust-wise), but I’ts not that comfortable. I almost got a cramp in my side/waist sitting in it for two hours. Mabye I need to change the fit.

A 1929s picture dress

When looking at the pictures for my boyfriends exhibition I emedetly fell in love with the photo of the 4 women and the little girl.

CApettersson1 - Kopia

3 generation of women who, probably dresses in their finery for the photograph, all look so severe and sad. It makes me wonder who they where and what there lives was like.

I decided to make one of their garnments, and really wanted to make the little girls jacket. But since the time was limited, I only had two late nights to do it, I decided to make the teenage girls dress instead.

After studying the picture, I drafted a pattern for a straight skirt, a straight bodice with button clouser and a sleeve with a long slim cuff.

And a big white collar…

Those of you who know some of my previous work will recognize the collar.

It is almost the exact same collar as in The 30s sailor dress and in the 1913 to late for Titanic dress!

Buggers.

And yet, I do have historical evidence for all of these dresses (well, I do if you count fashion plates).

I have no idea why, but apperently I’m drawn to dresses with big white collars…

Well, back to the construction. The fabric is a cheap brown cotton and the collar is the exact same fabric, just a lighter shade of colour. The buttons is cheep brown wooden buttos which works verry well with the brown of the fabric.

The whole dress took about 6 hours to make, and I manadged to have it ready and hung 10 minutes before the opening of the exhibition.

IMG_2079

IMG_2084

IMG_2081

IMG_2136

The original…CApettersson1 - Kopia - Kopia

And the copy.IMG_1979Hm, maybe not that good…

IMG_1990

IMG_2004

IMG_2010

IMG_2011

IMG_2038

IMG_2032It was really hard to try to mimic the stiff, severe look of the girl in the photo. But I did my best.