Last Saturday evening I came to chat with my sister about the upcoming Medieval fair, where I was to have a dance performance this weekend.
I asked if she wanted to come along, and since she doesn’t have any medieval clothes, if I should try to make her some…
Of course she wanted – So said and done.
I made a quick calculation of how much time I would have for this project – with deadline in 6 days wear of 5 was workdays and the only whole day was Sunday – where all the fabric stores are closed. And no I didn’t had anything suitable in my stash.
This was going to be a though one, but I knew that with some planing (and boyfriend away at work most of the nights) I could do this.
And this is how it went:
Saturday evening/night:
I sent her some picks of various medieval gowns that would be easy to make even without to much time and fittings.
She selected a model – The 15th century Burgundian dress, and sent me her measurements.
 Picture from “The Medieval Tailor Assistant”
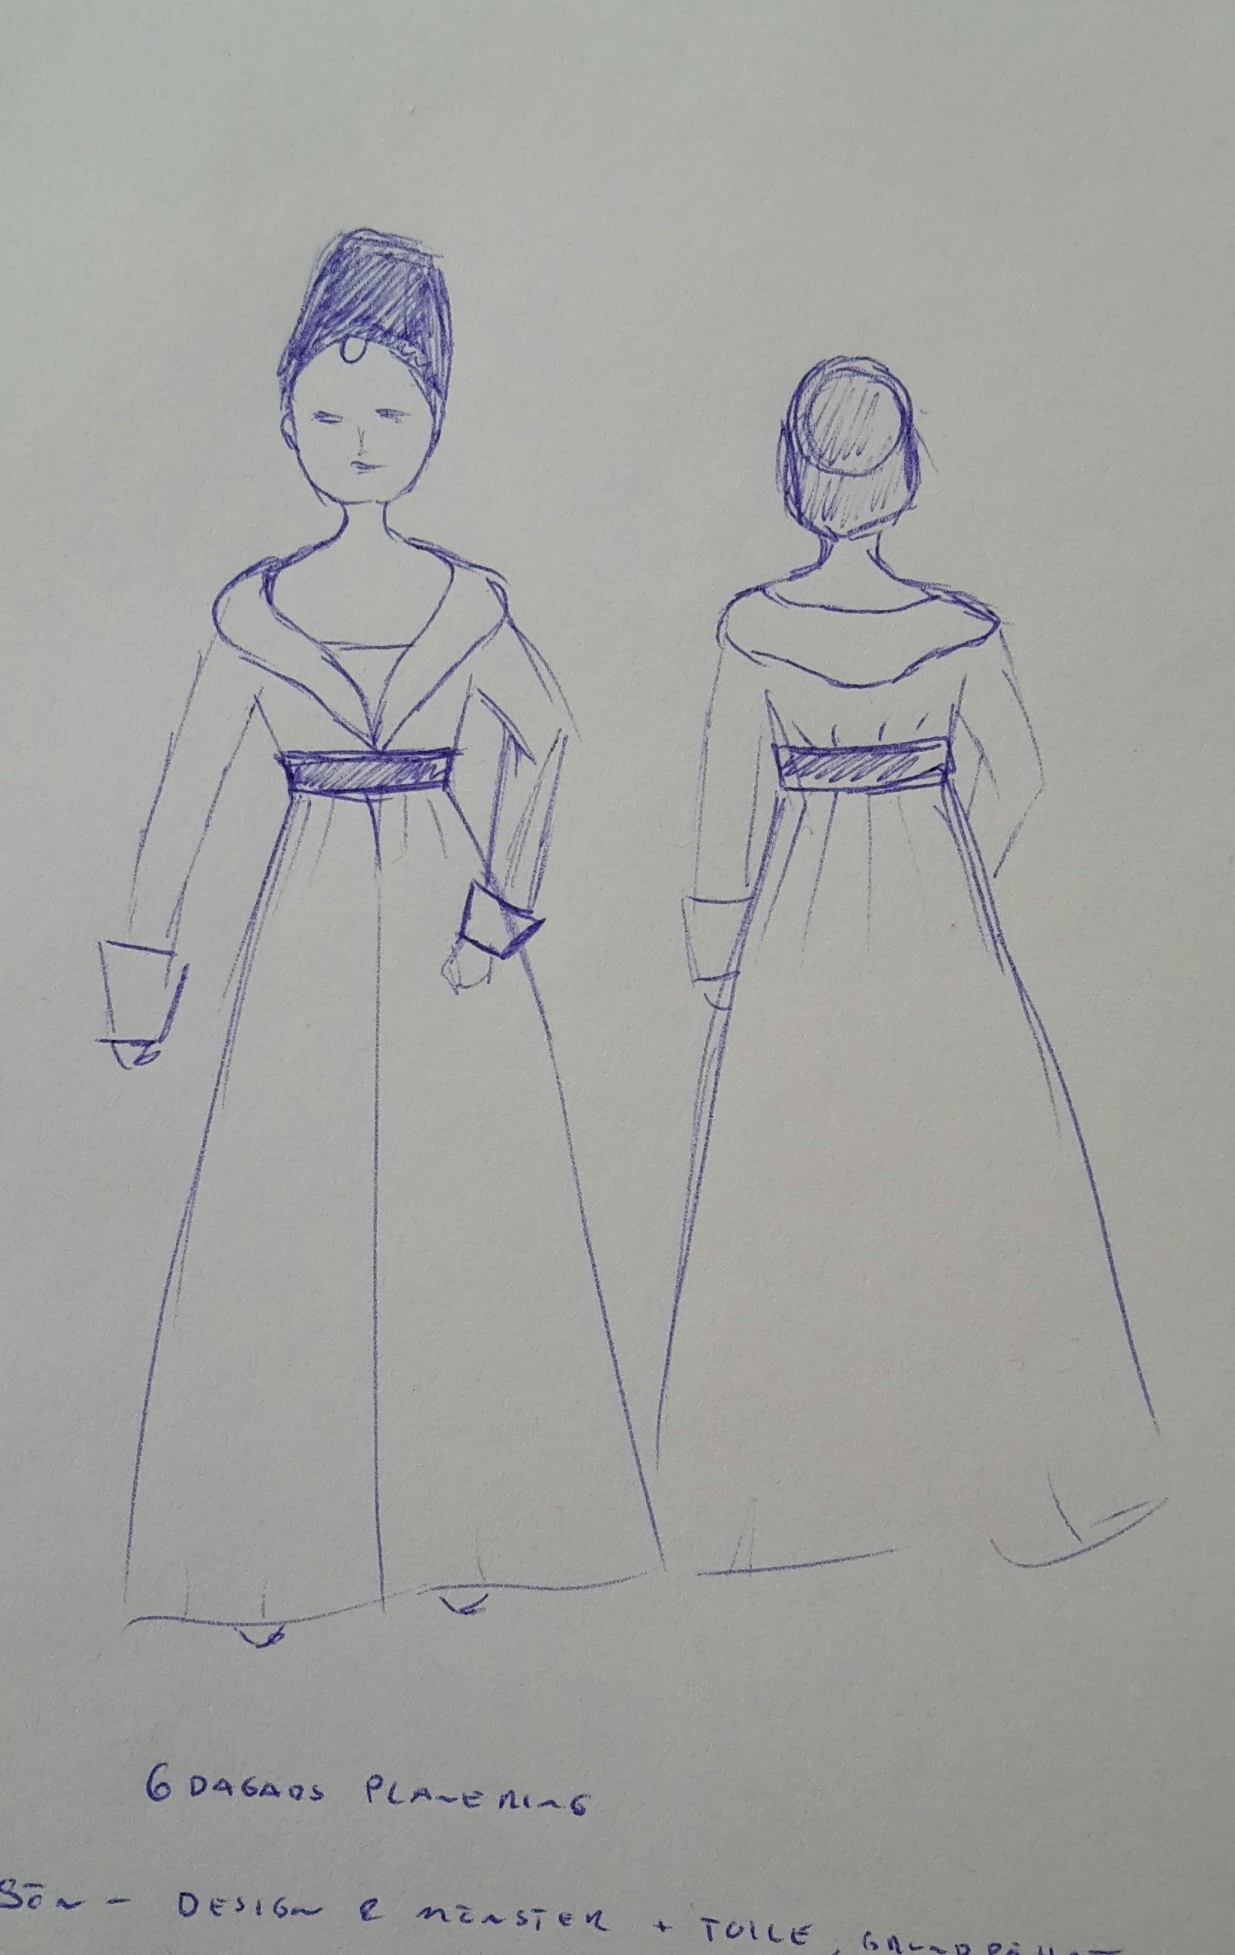 My quick sketch including calculations on time, fabric and money.
(Consultation = 1 hour)
Sunday morning:
I drafted the pattern for the dress based on “The Medieval Tailor Assistant” and her measurements.
Then I cut and made a mock-up.
I also drafted and made a pattern test for the typical Burgundian “flower pot” headwear. 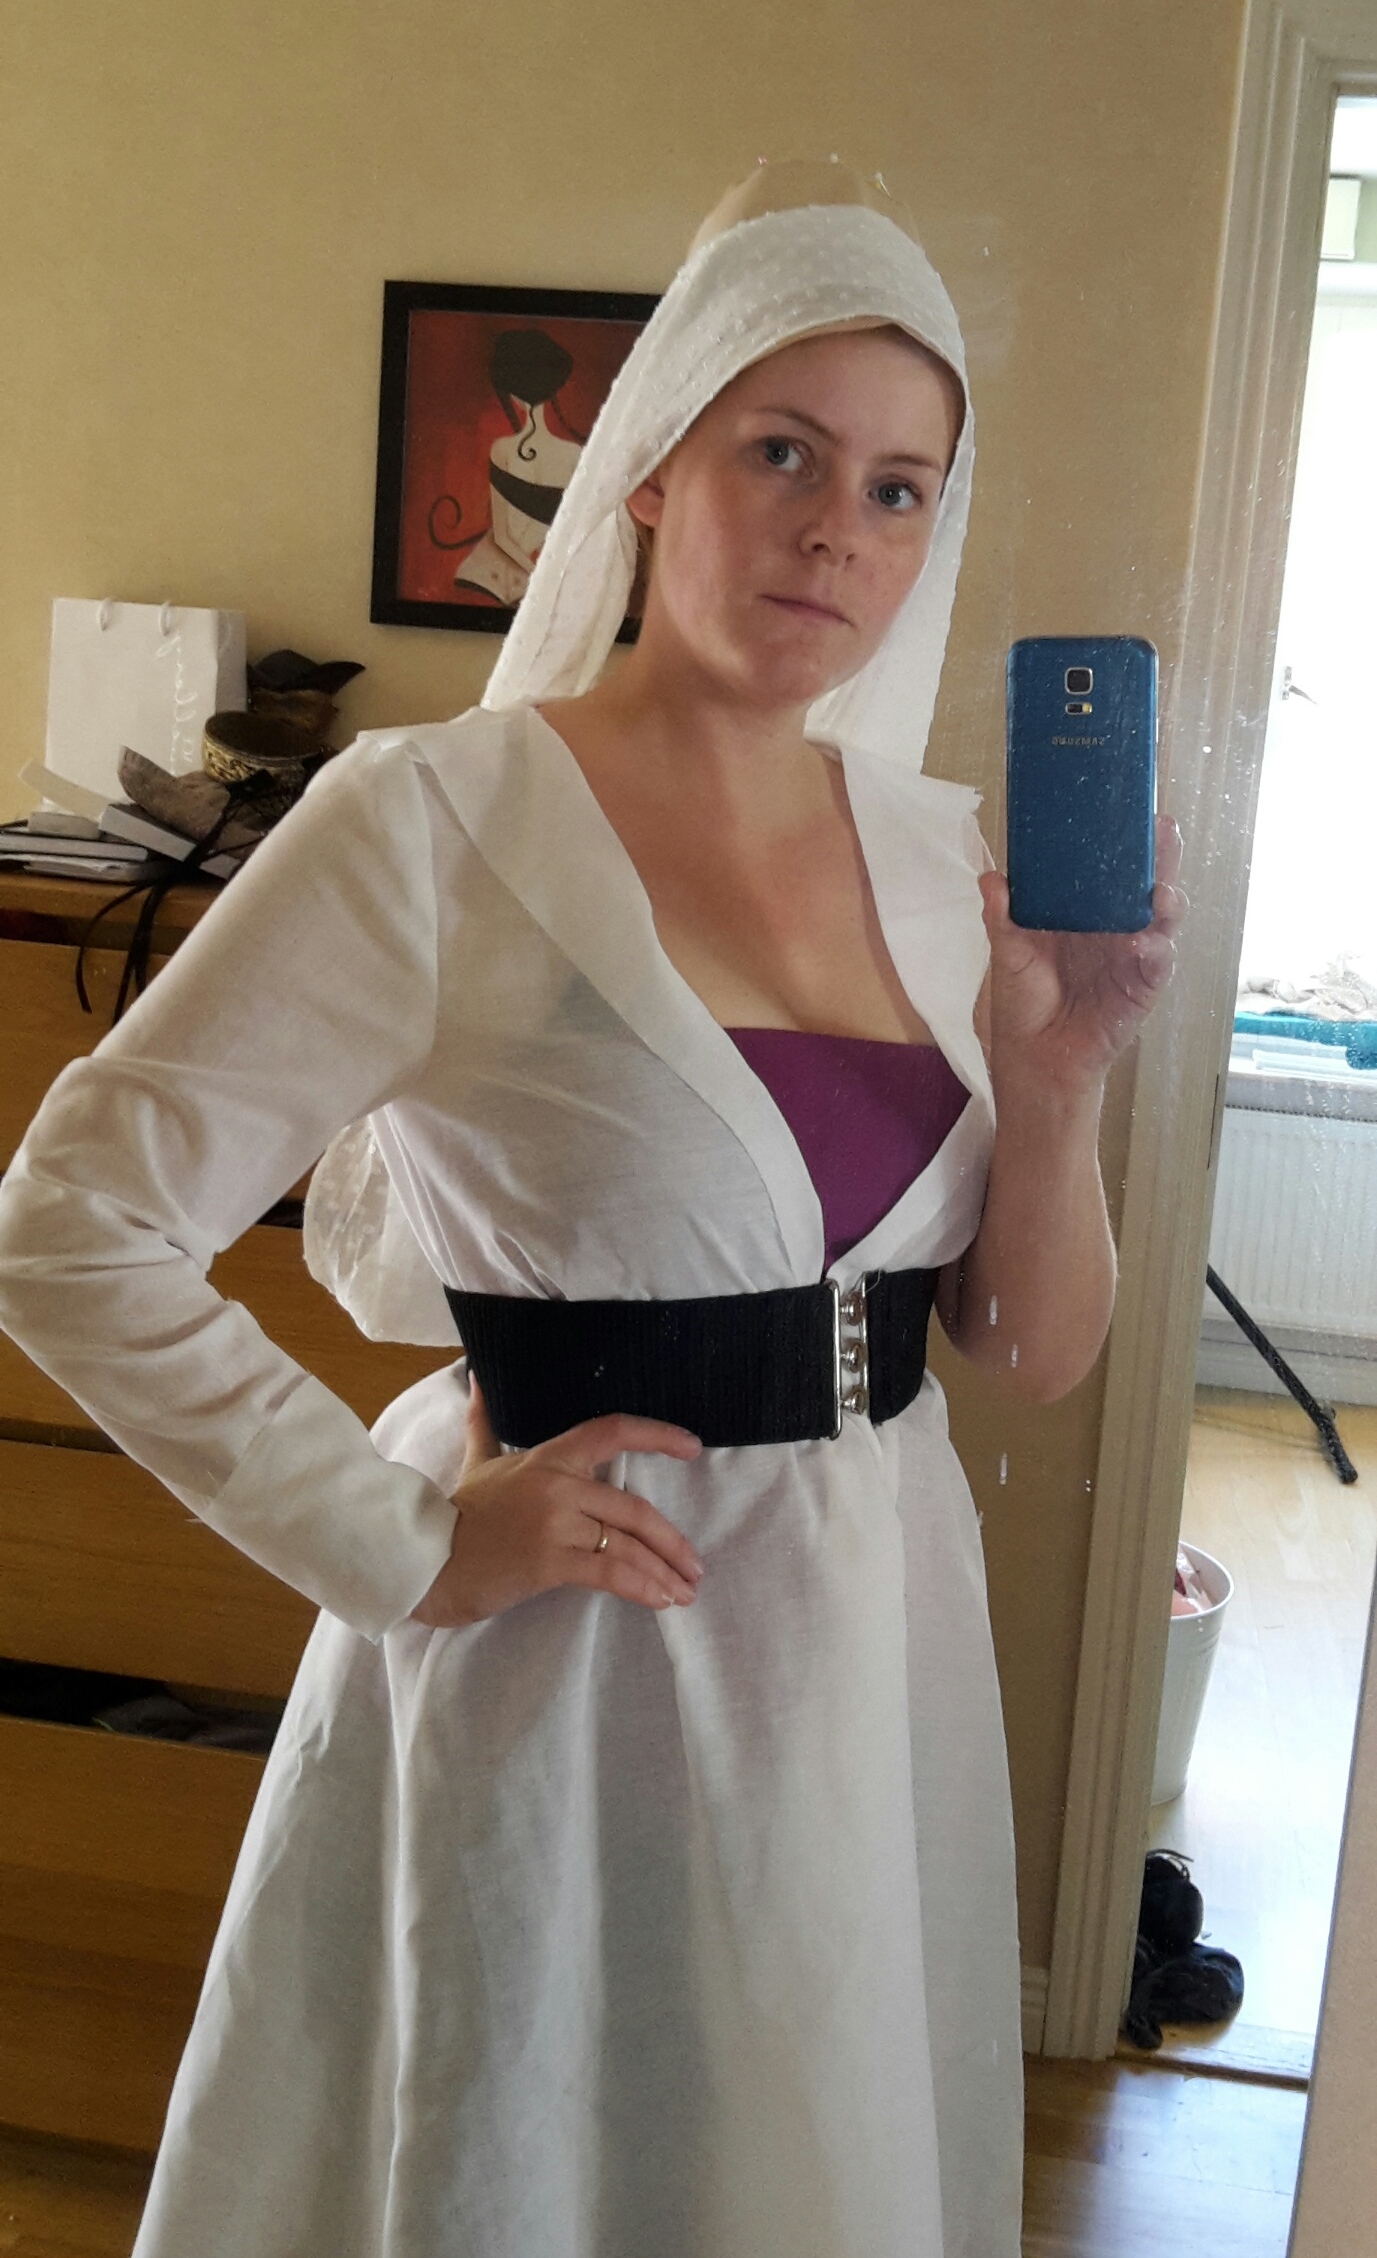 I tried the mock-up on myself to see if there was any obvious problems.
(Pattern (1) & Mock-up (1,5) = 2,5 hours)
Monday:
I meet with my sister after work to try the mock-up – which fitted her really good.
Just some minor alterations like shortening the sleeves, raising the under arm seam and ad more width to the skirt and it would be perfect.
Then we went to the store to pick out her fabric.
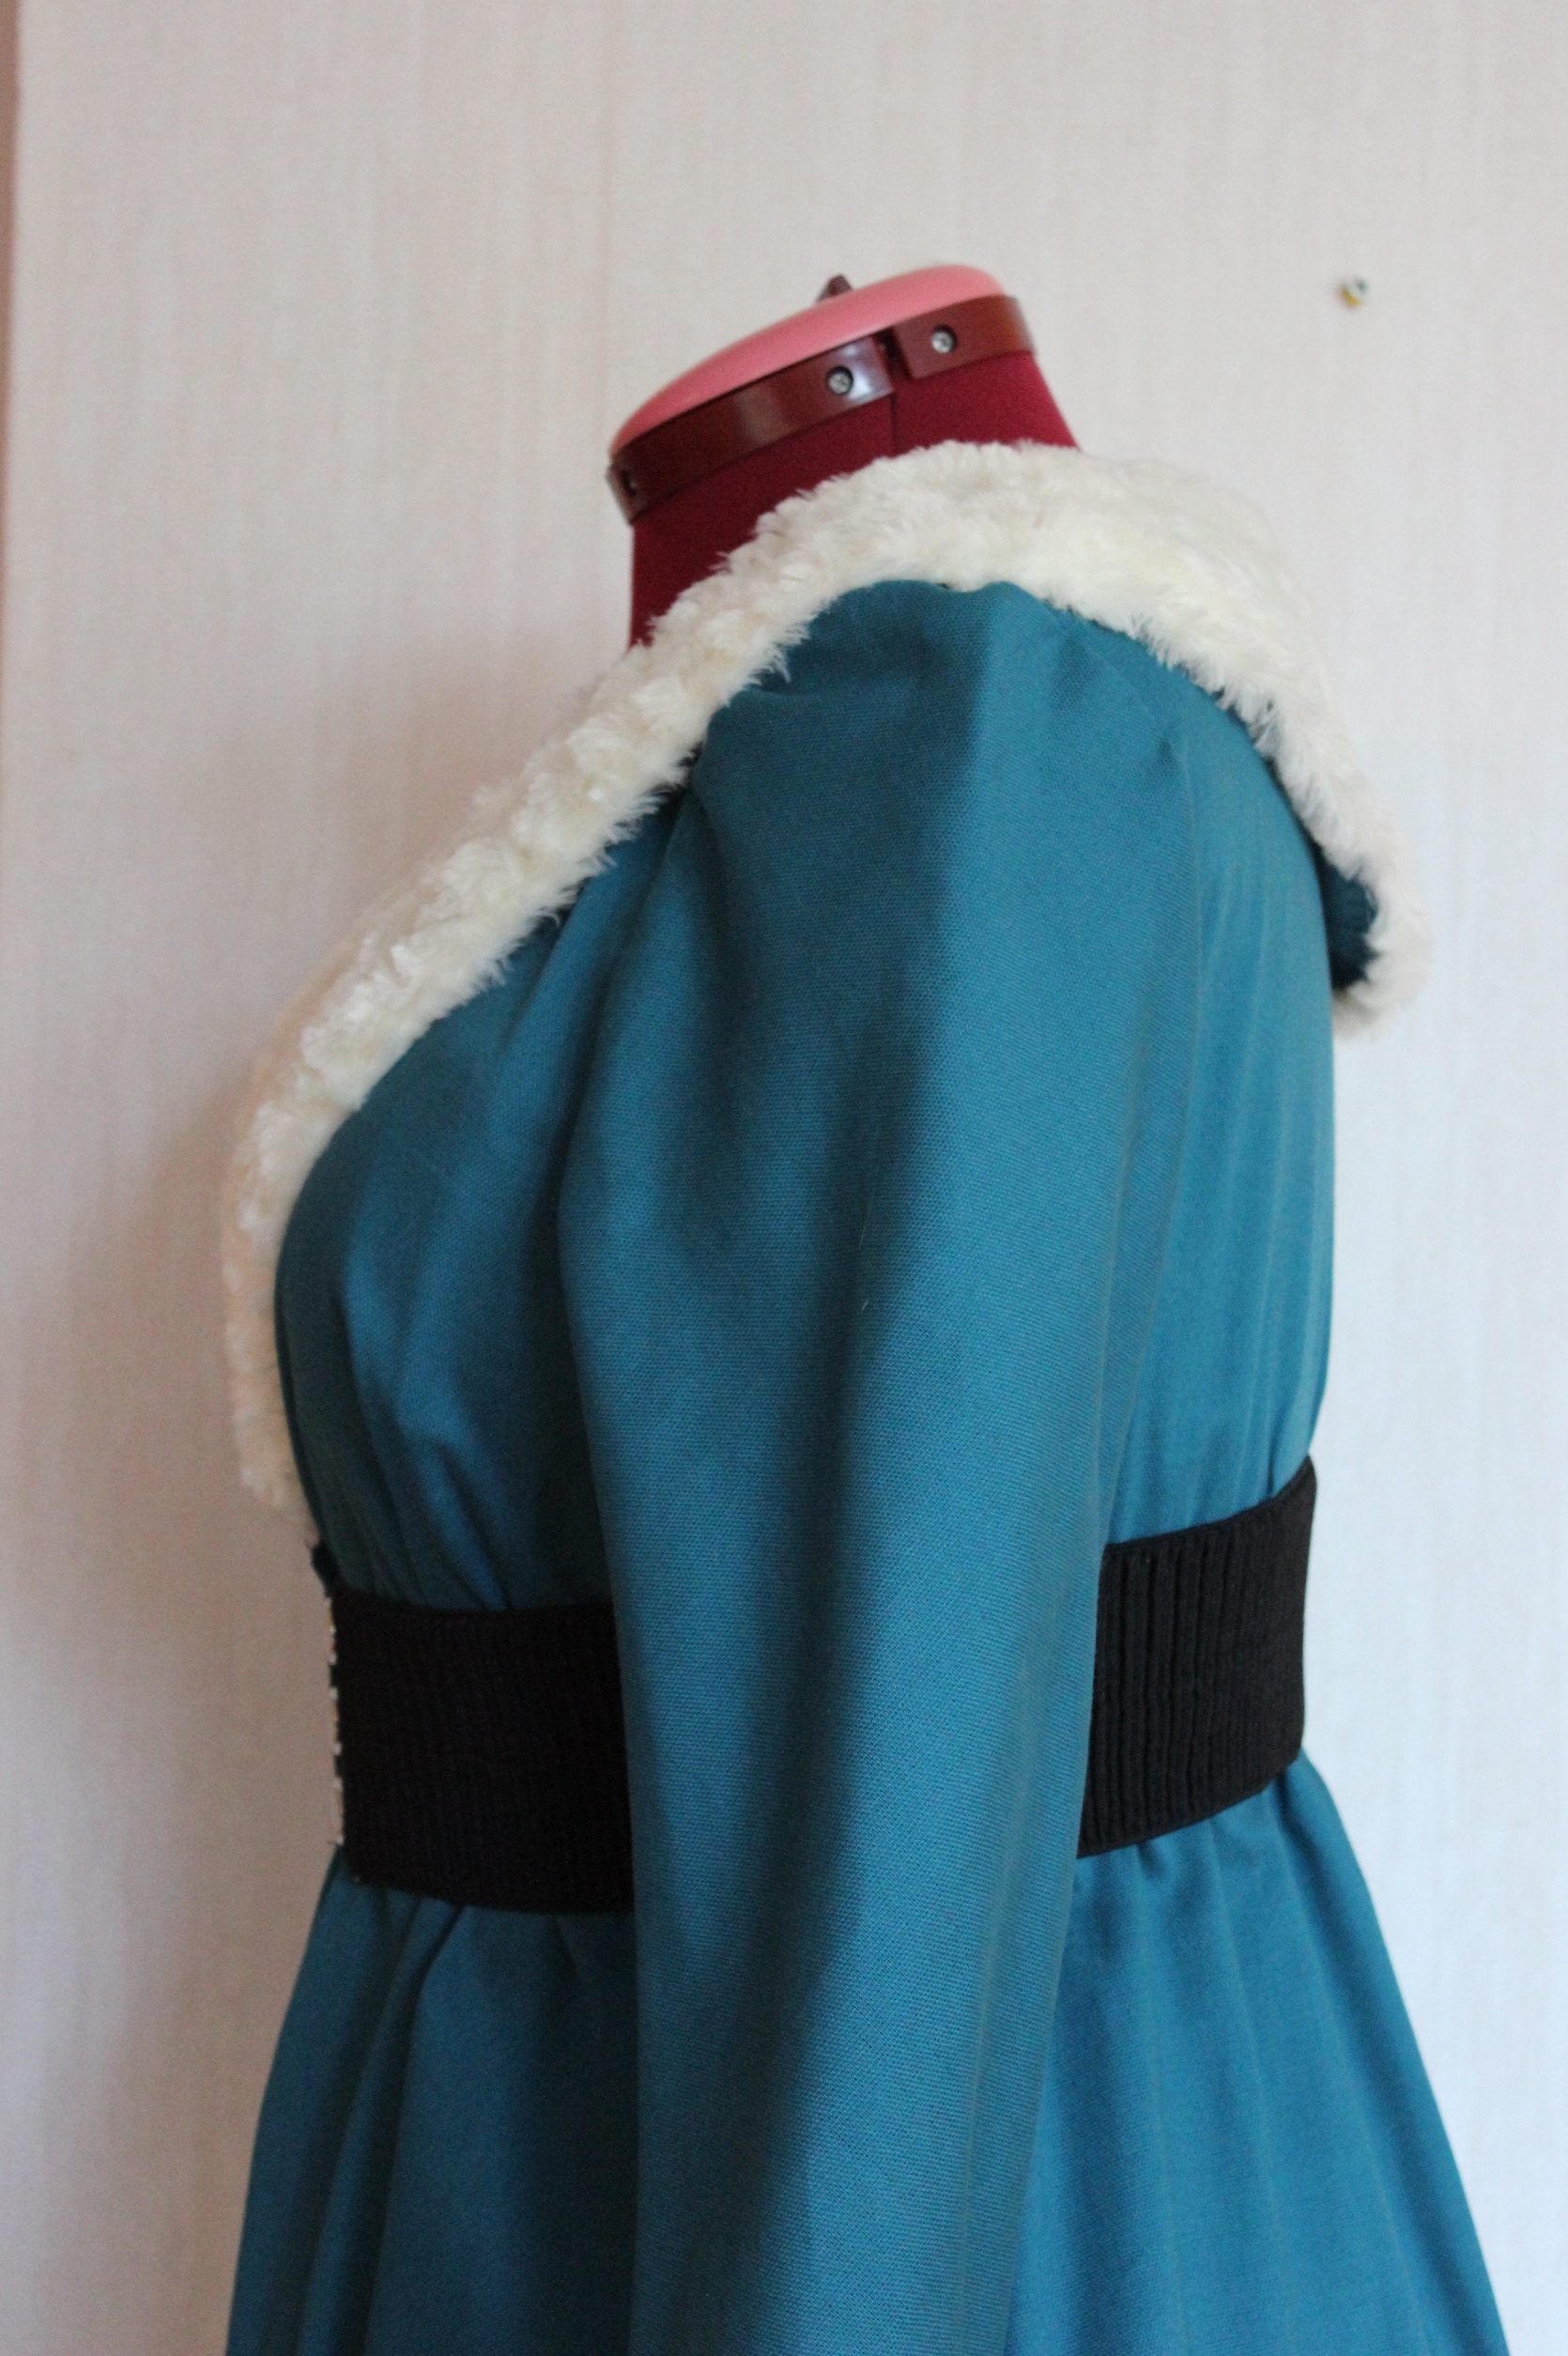
Due to lack of both time and funds we decided on some cheaper cotton twill in a lovely teal blue color, combined with purple for the stomacher and white fake fur collar – from my stash.
The dress should probably be made in lovely thin wool or heavy silk brocade to look it’s very best, but I’m convinced no one will notice our small budget, and if it men the dress is done in time and looks nice I think it’s the best choice to make.
 the selected fabric
Once home again I immediately started to pin the pattern to the fabric for the cutting.
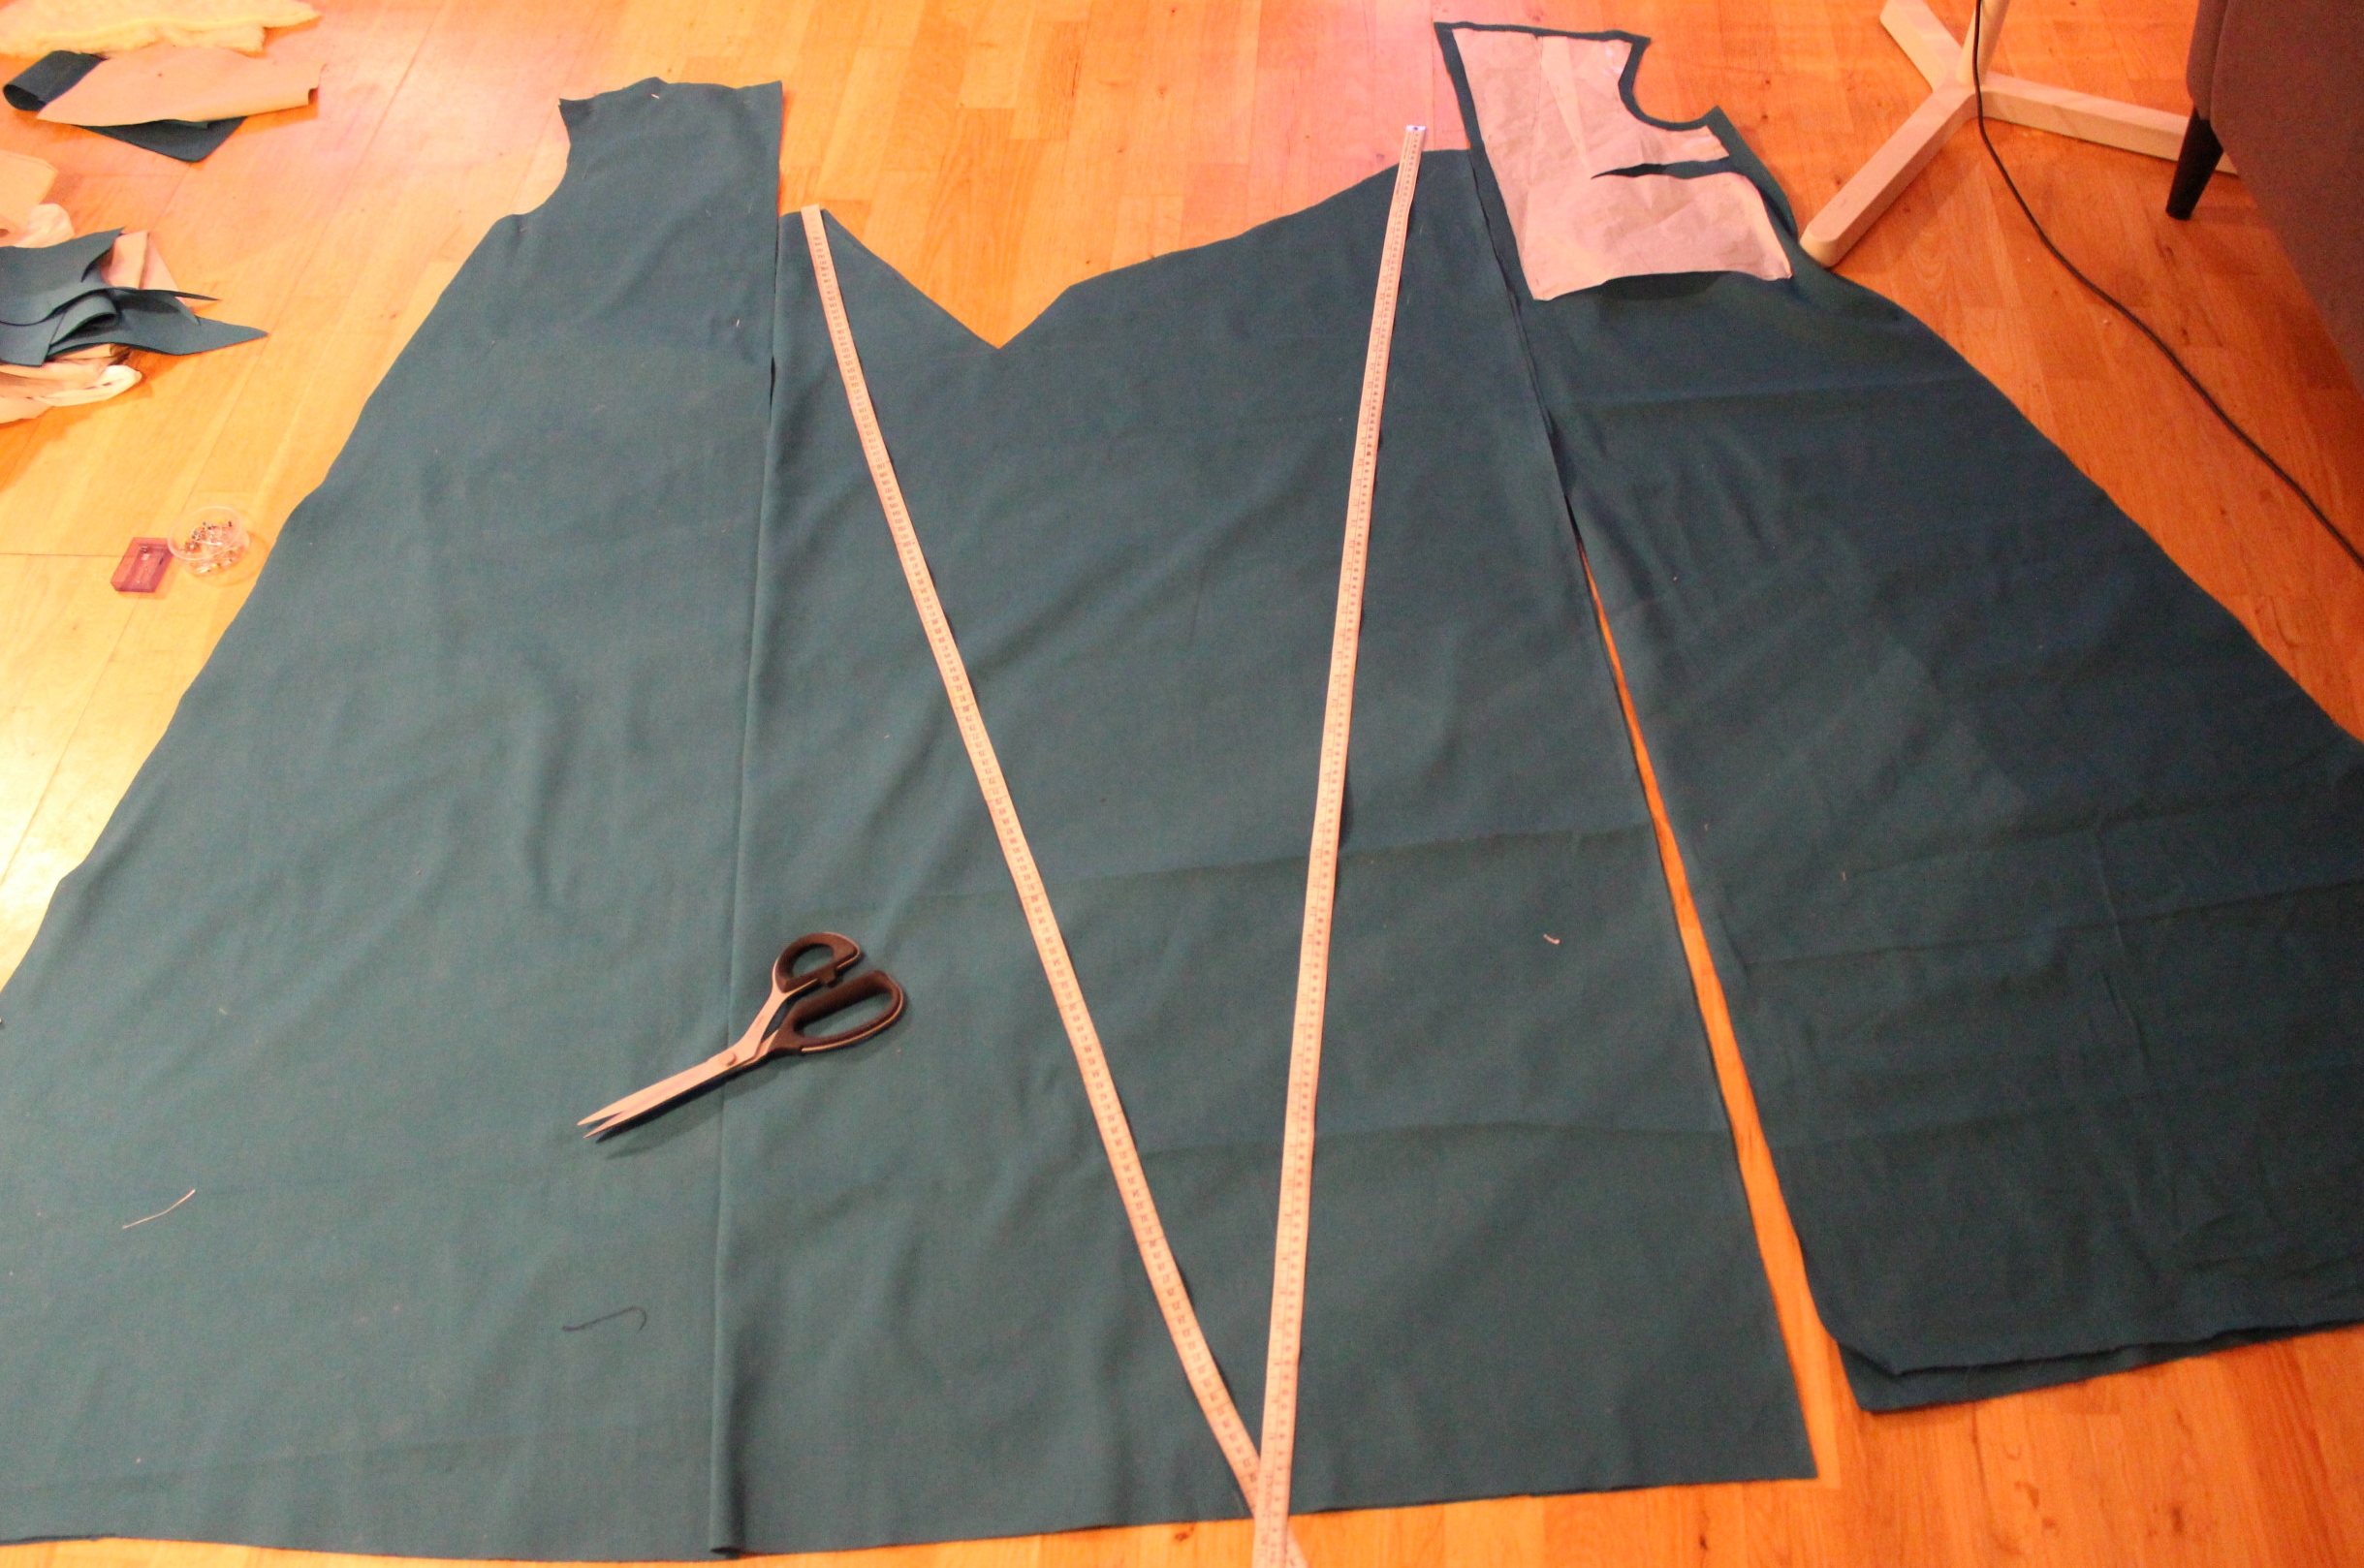 measuring the biggest possible size of the gores
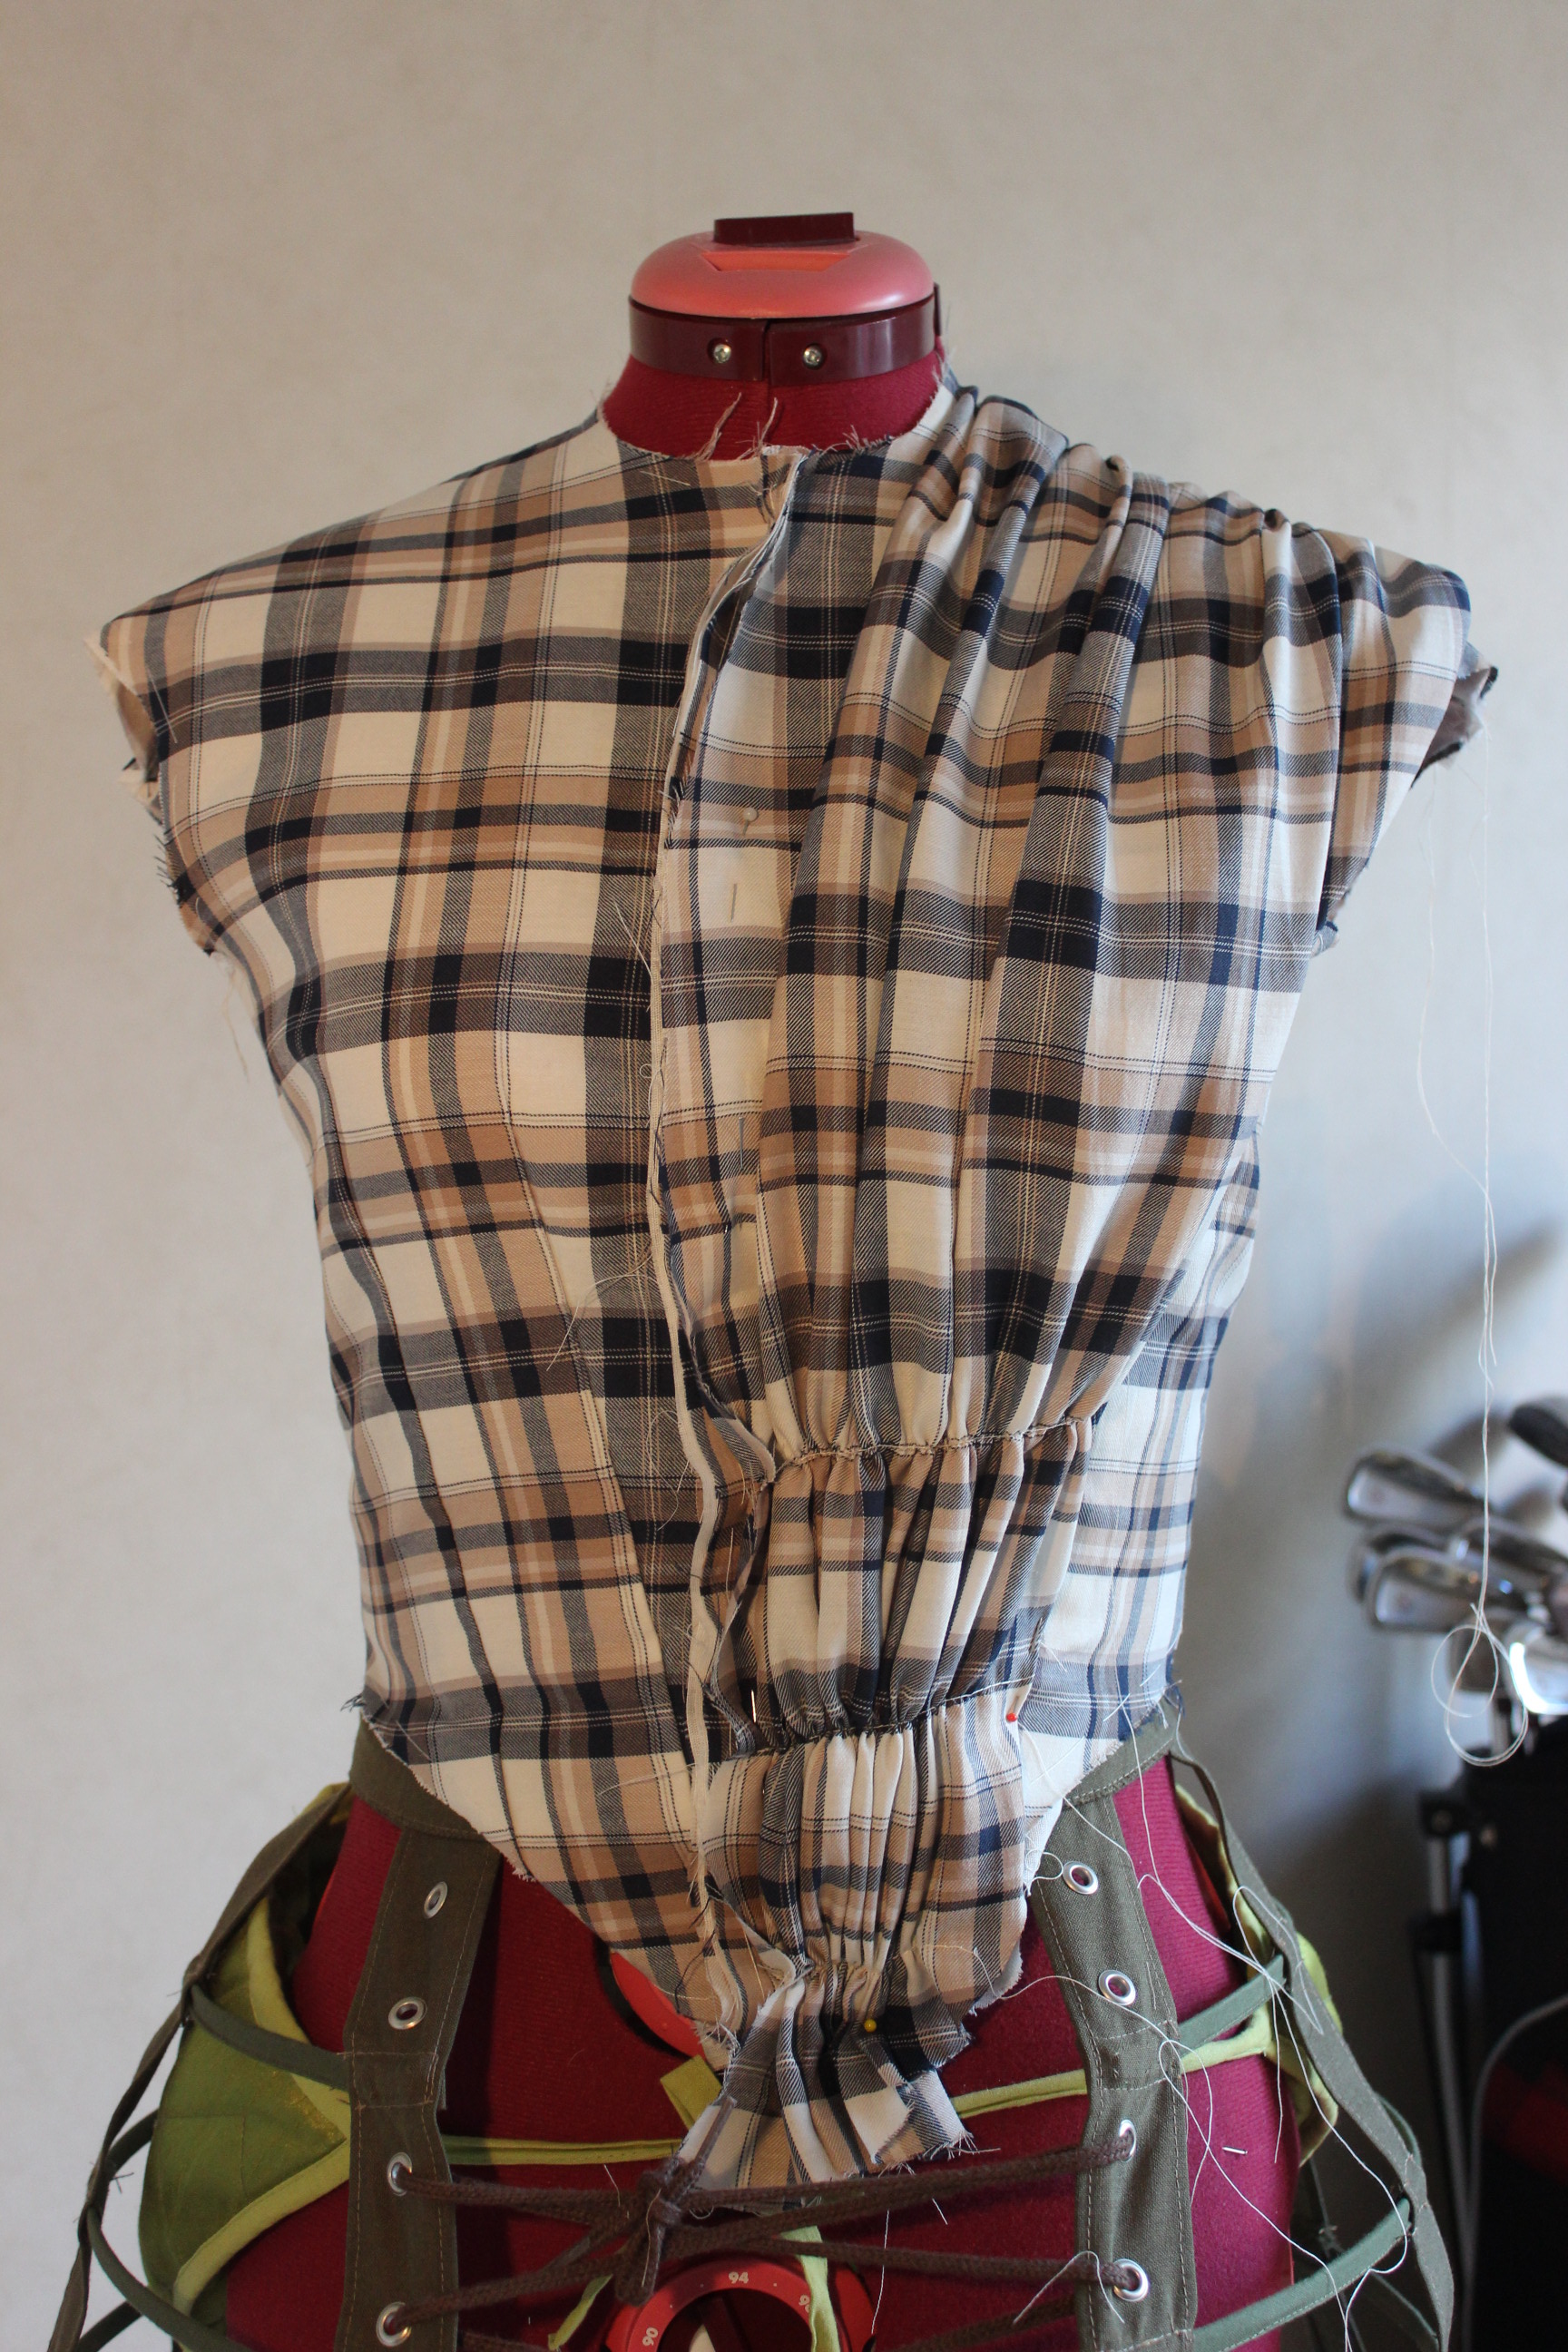
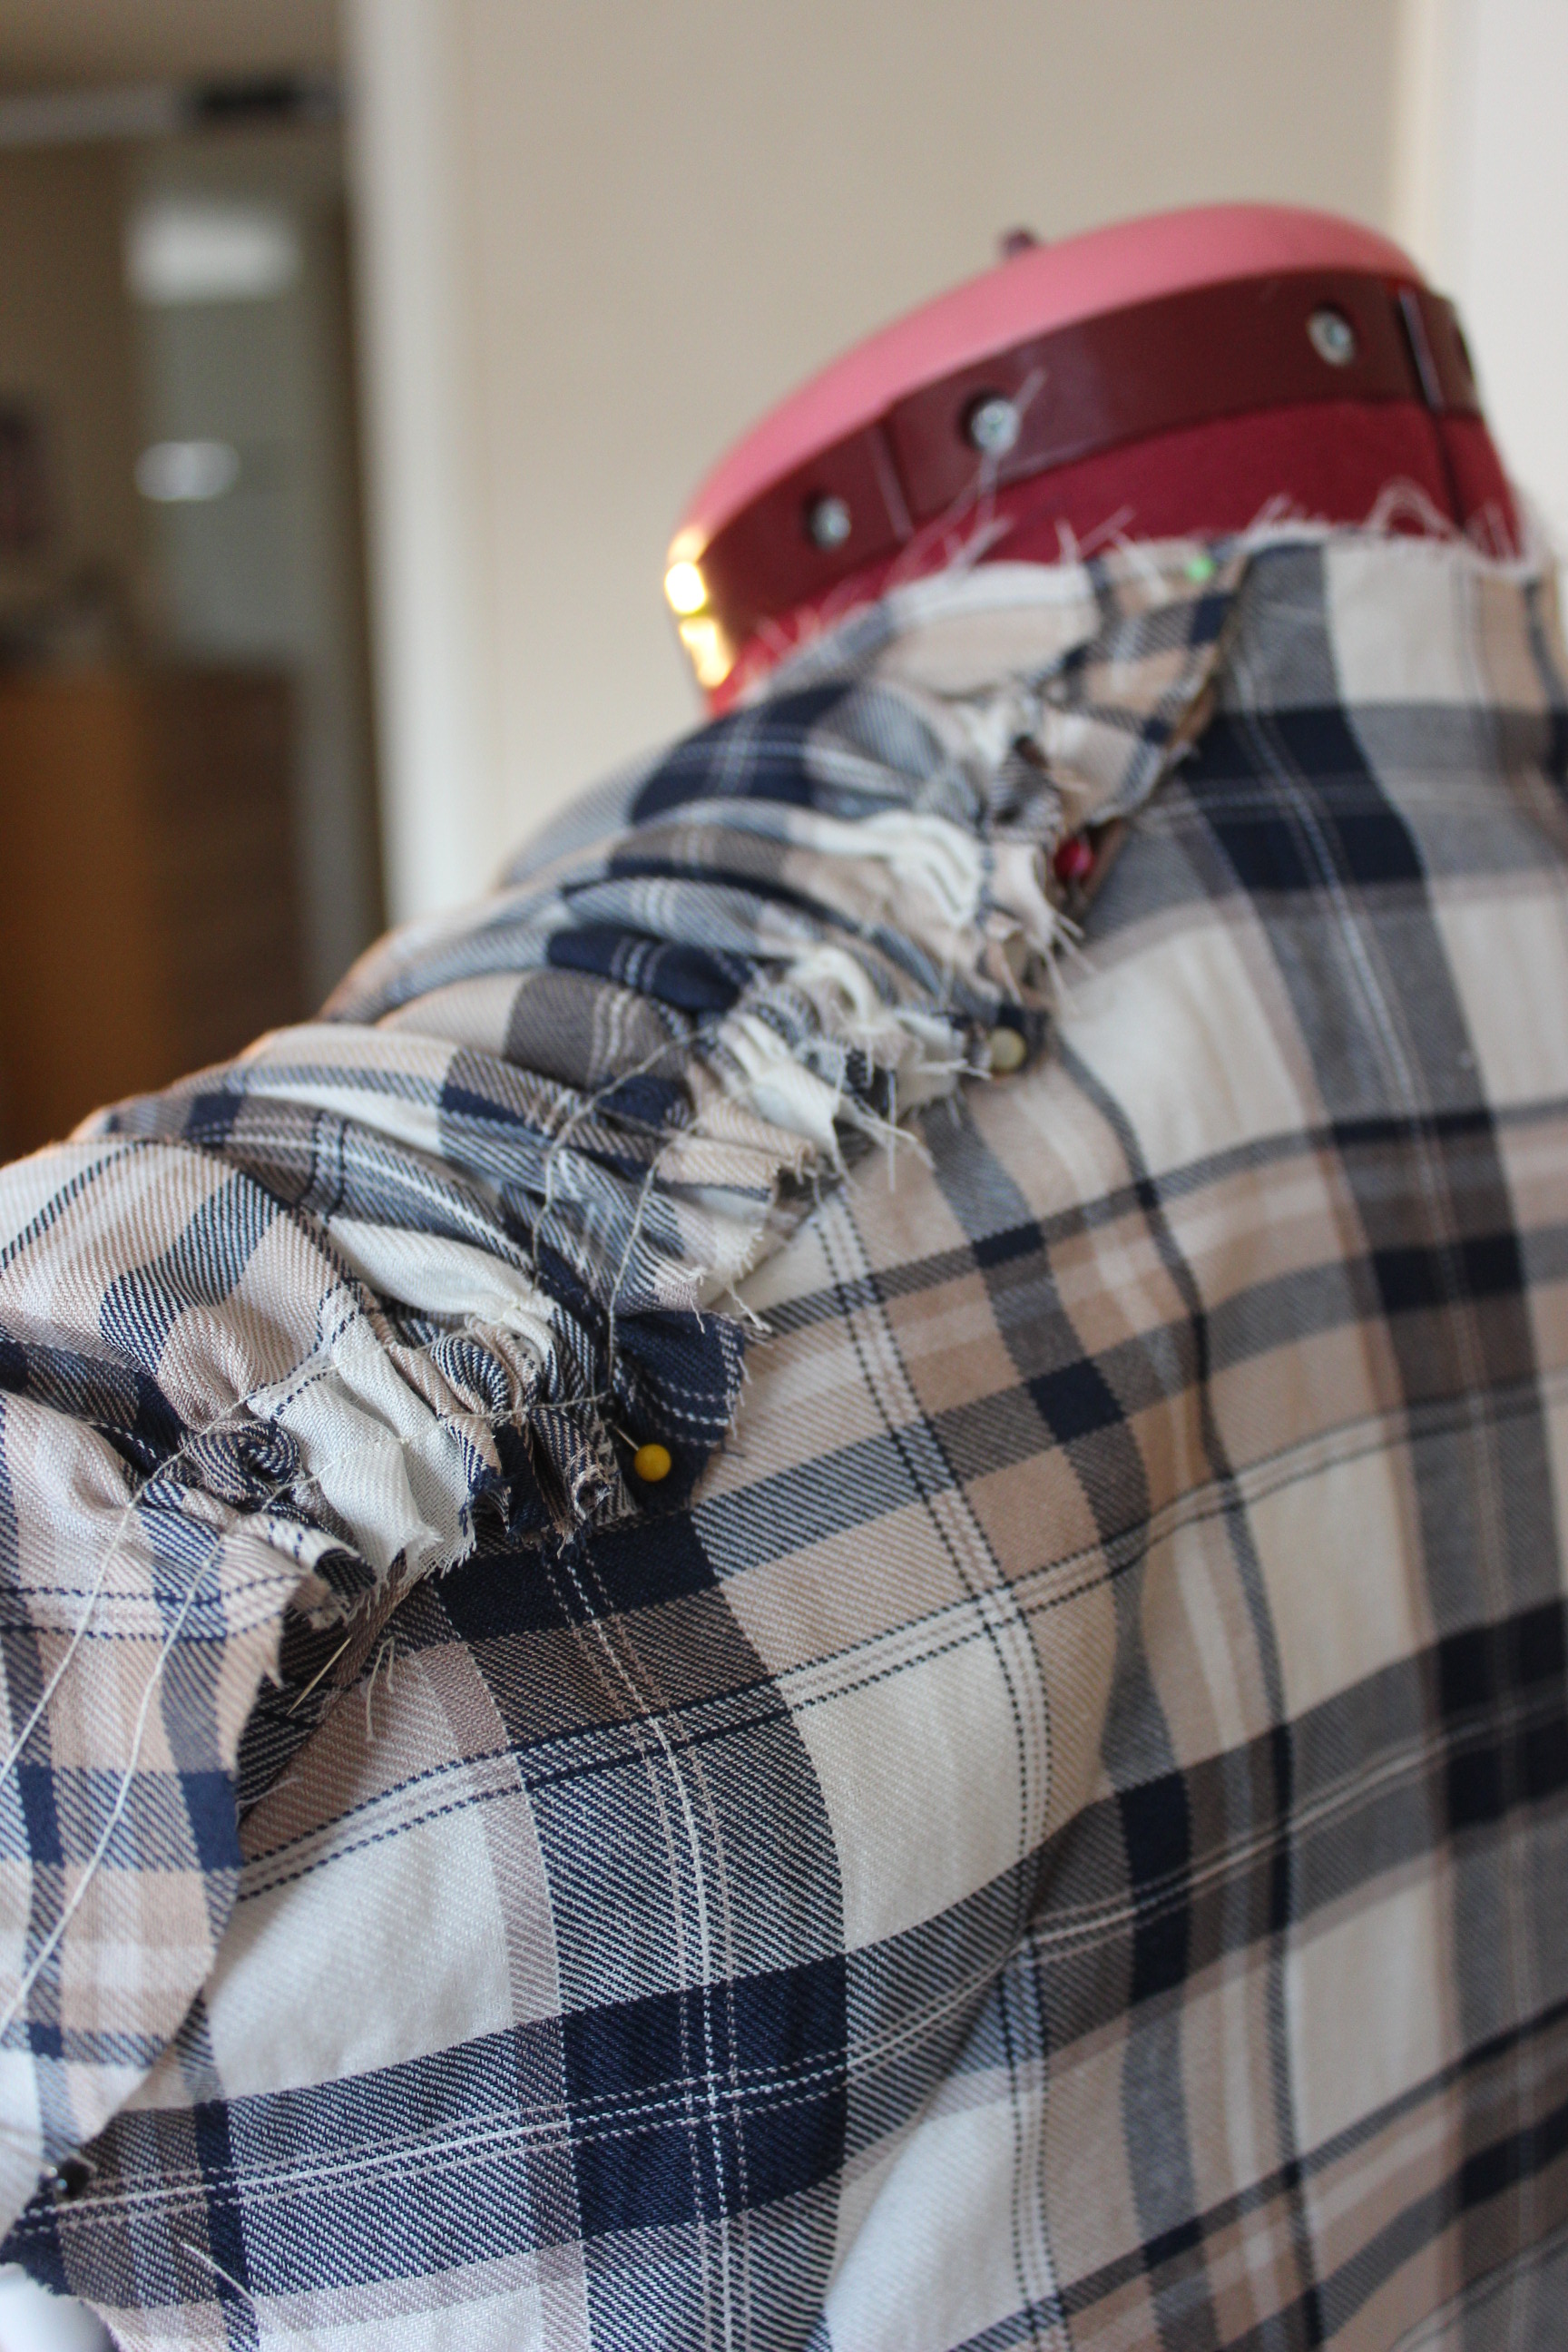
Then I begun the daunting task of pinning all the (huge) pieces together. The back pieces pinned together.
And finished the night by hand sewing the base of the Burgundian Hening in front of the TV.
(Fitting (0,5) + Fabric shopping (1) + Cutting (1) + pinning/sewing (2) = 5 hours)
Tuesday:
When I got home from work on Thursday I immediately started to sew the dress together, pinning and pressing as I went.
The time flied and by the end of the night I had a pretty decent looking dress (thank good for sewing machines and sergers)
 The basic dress stitched together
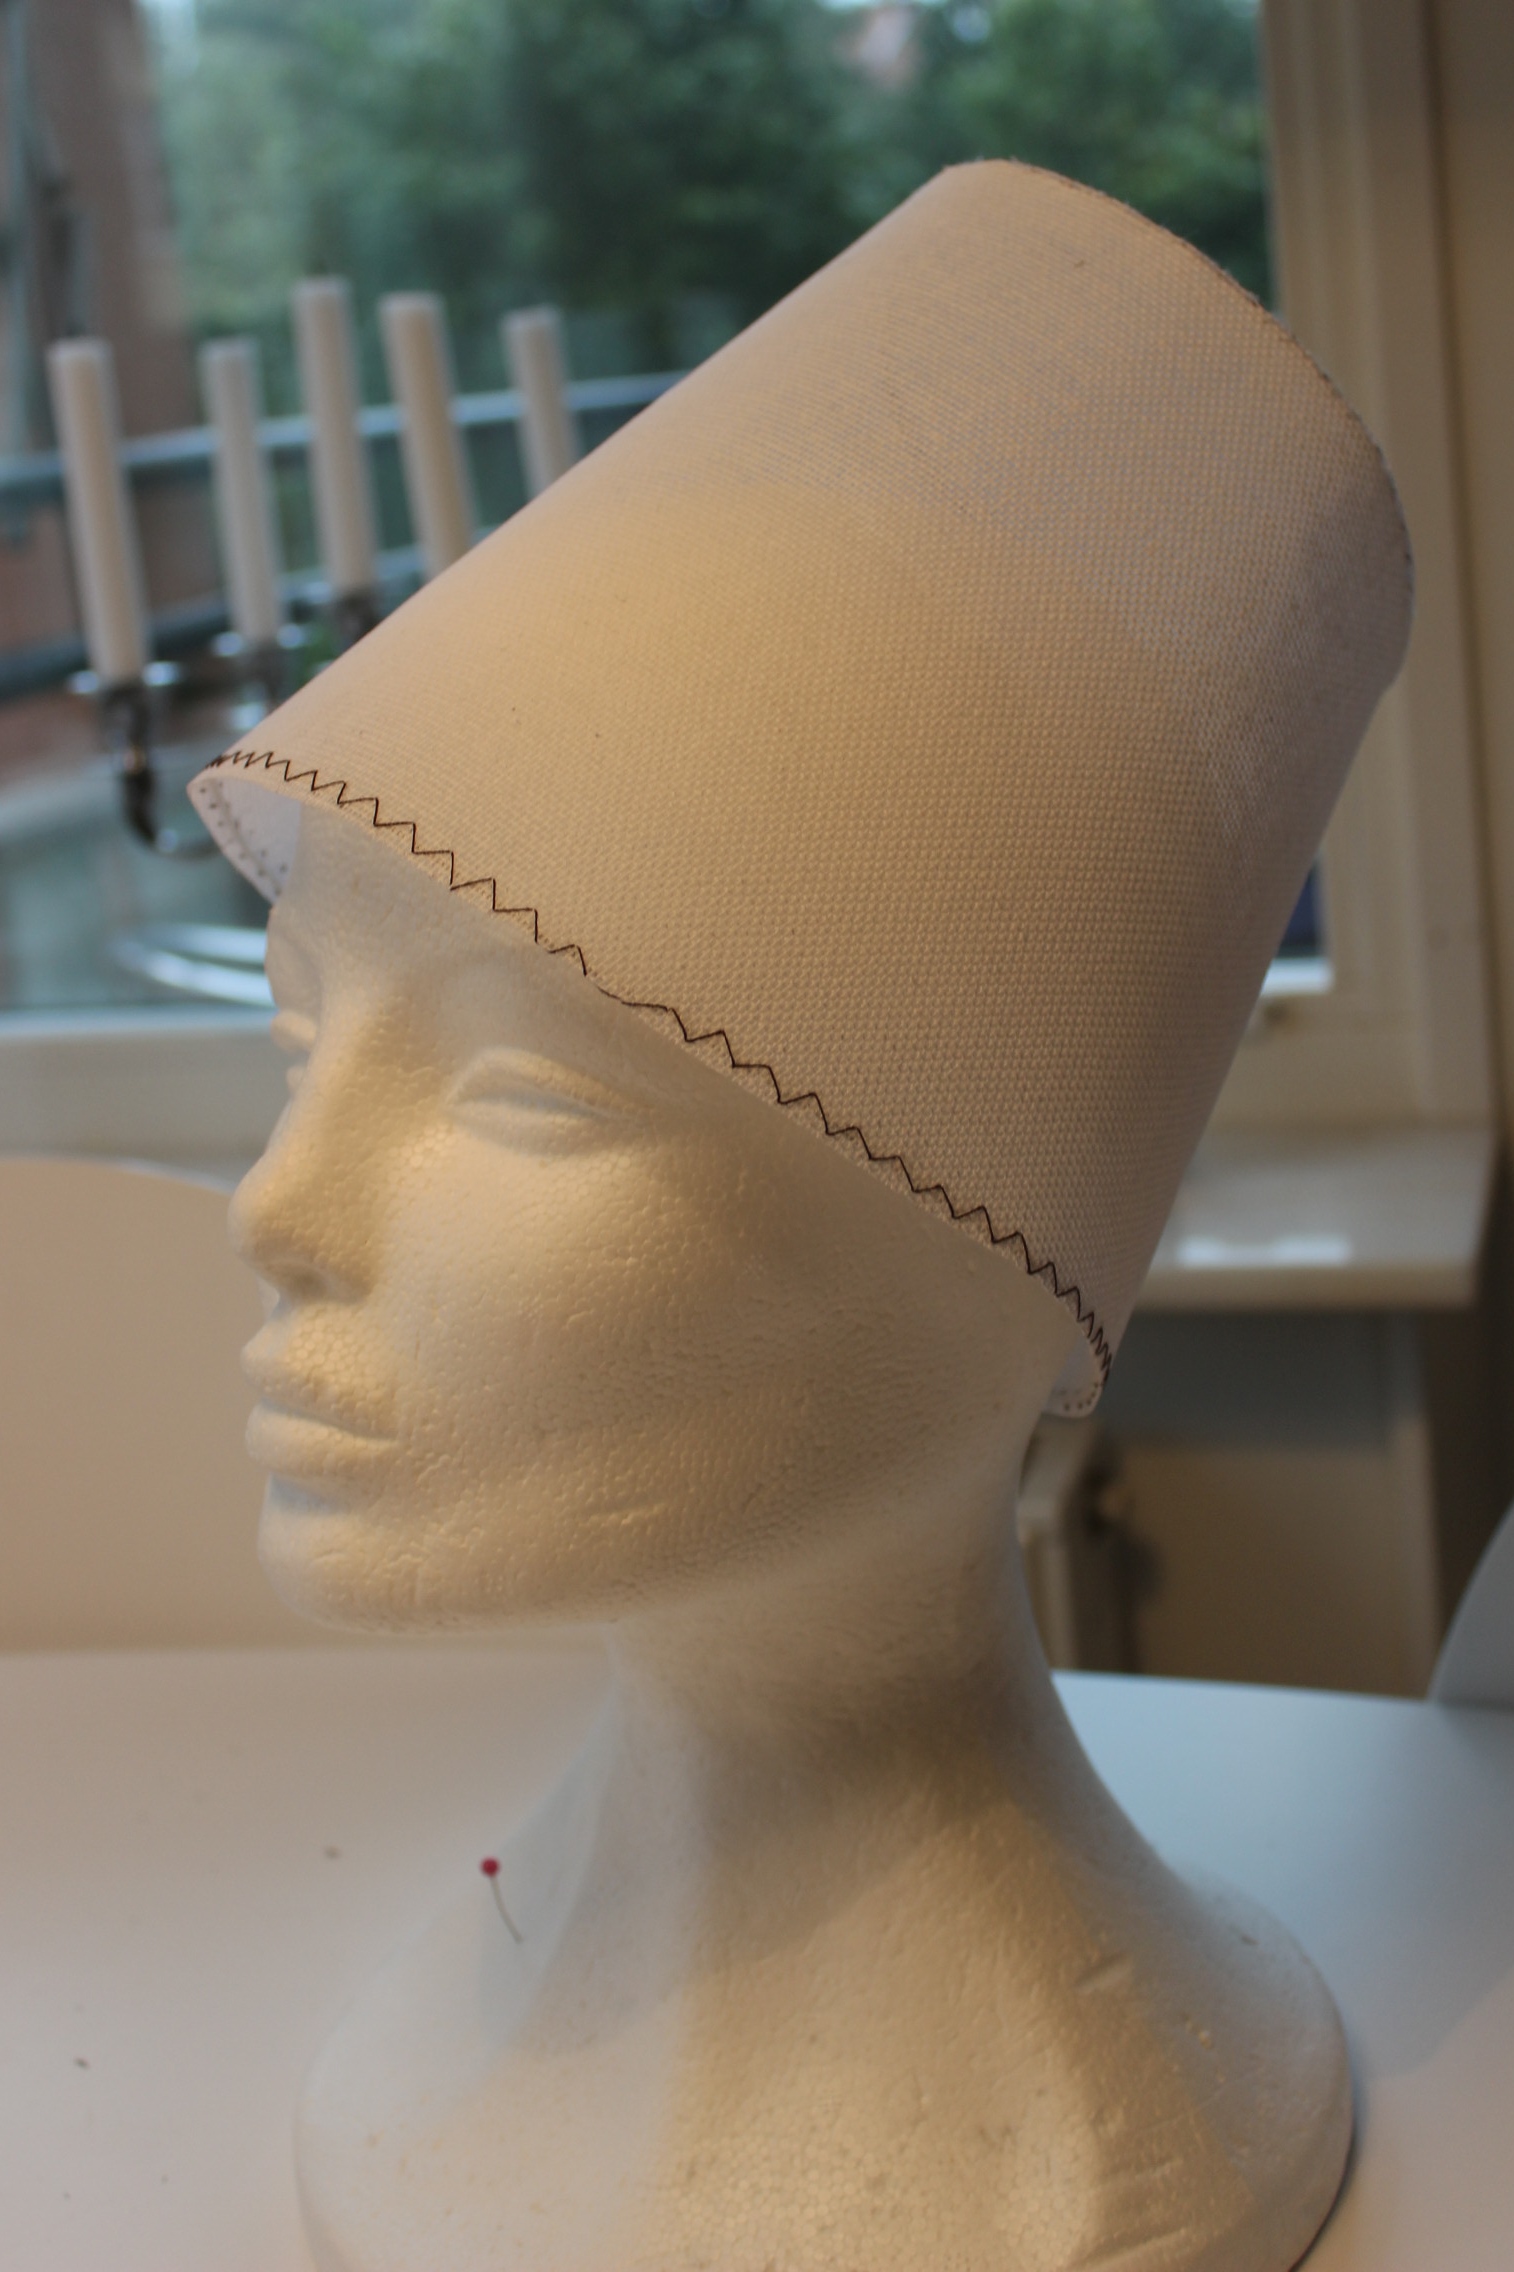
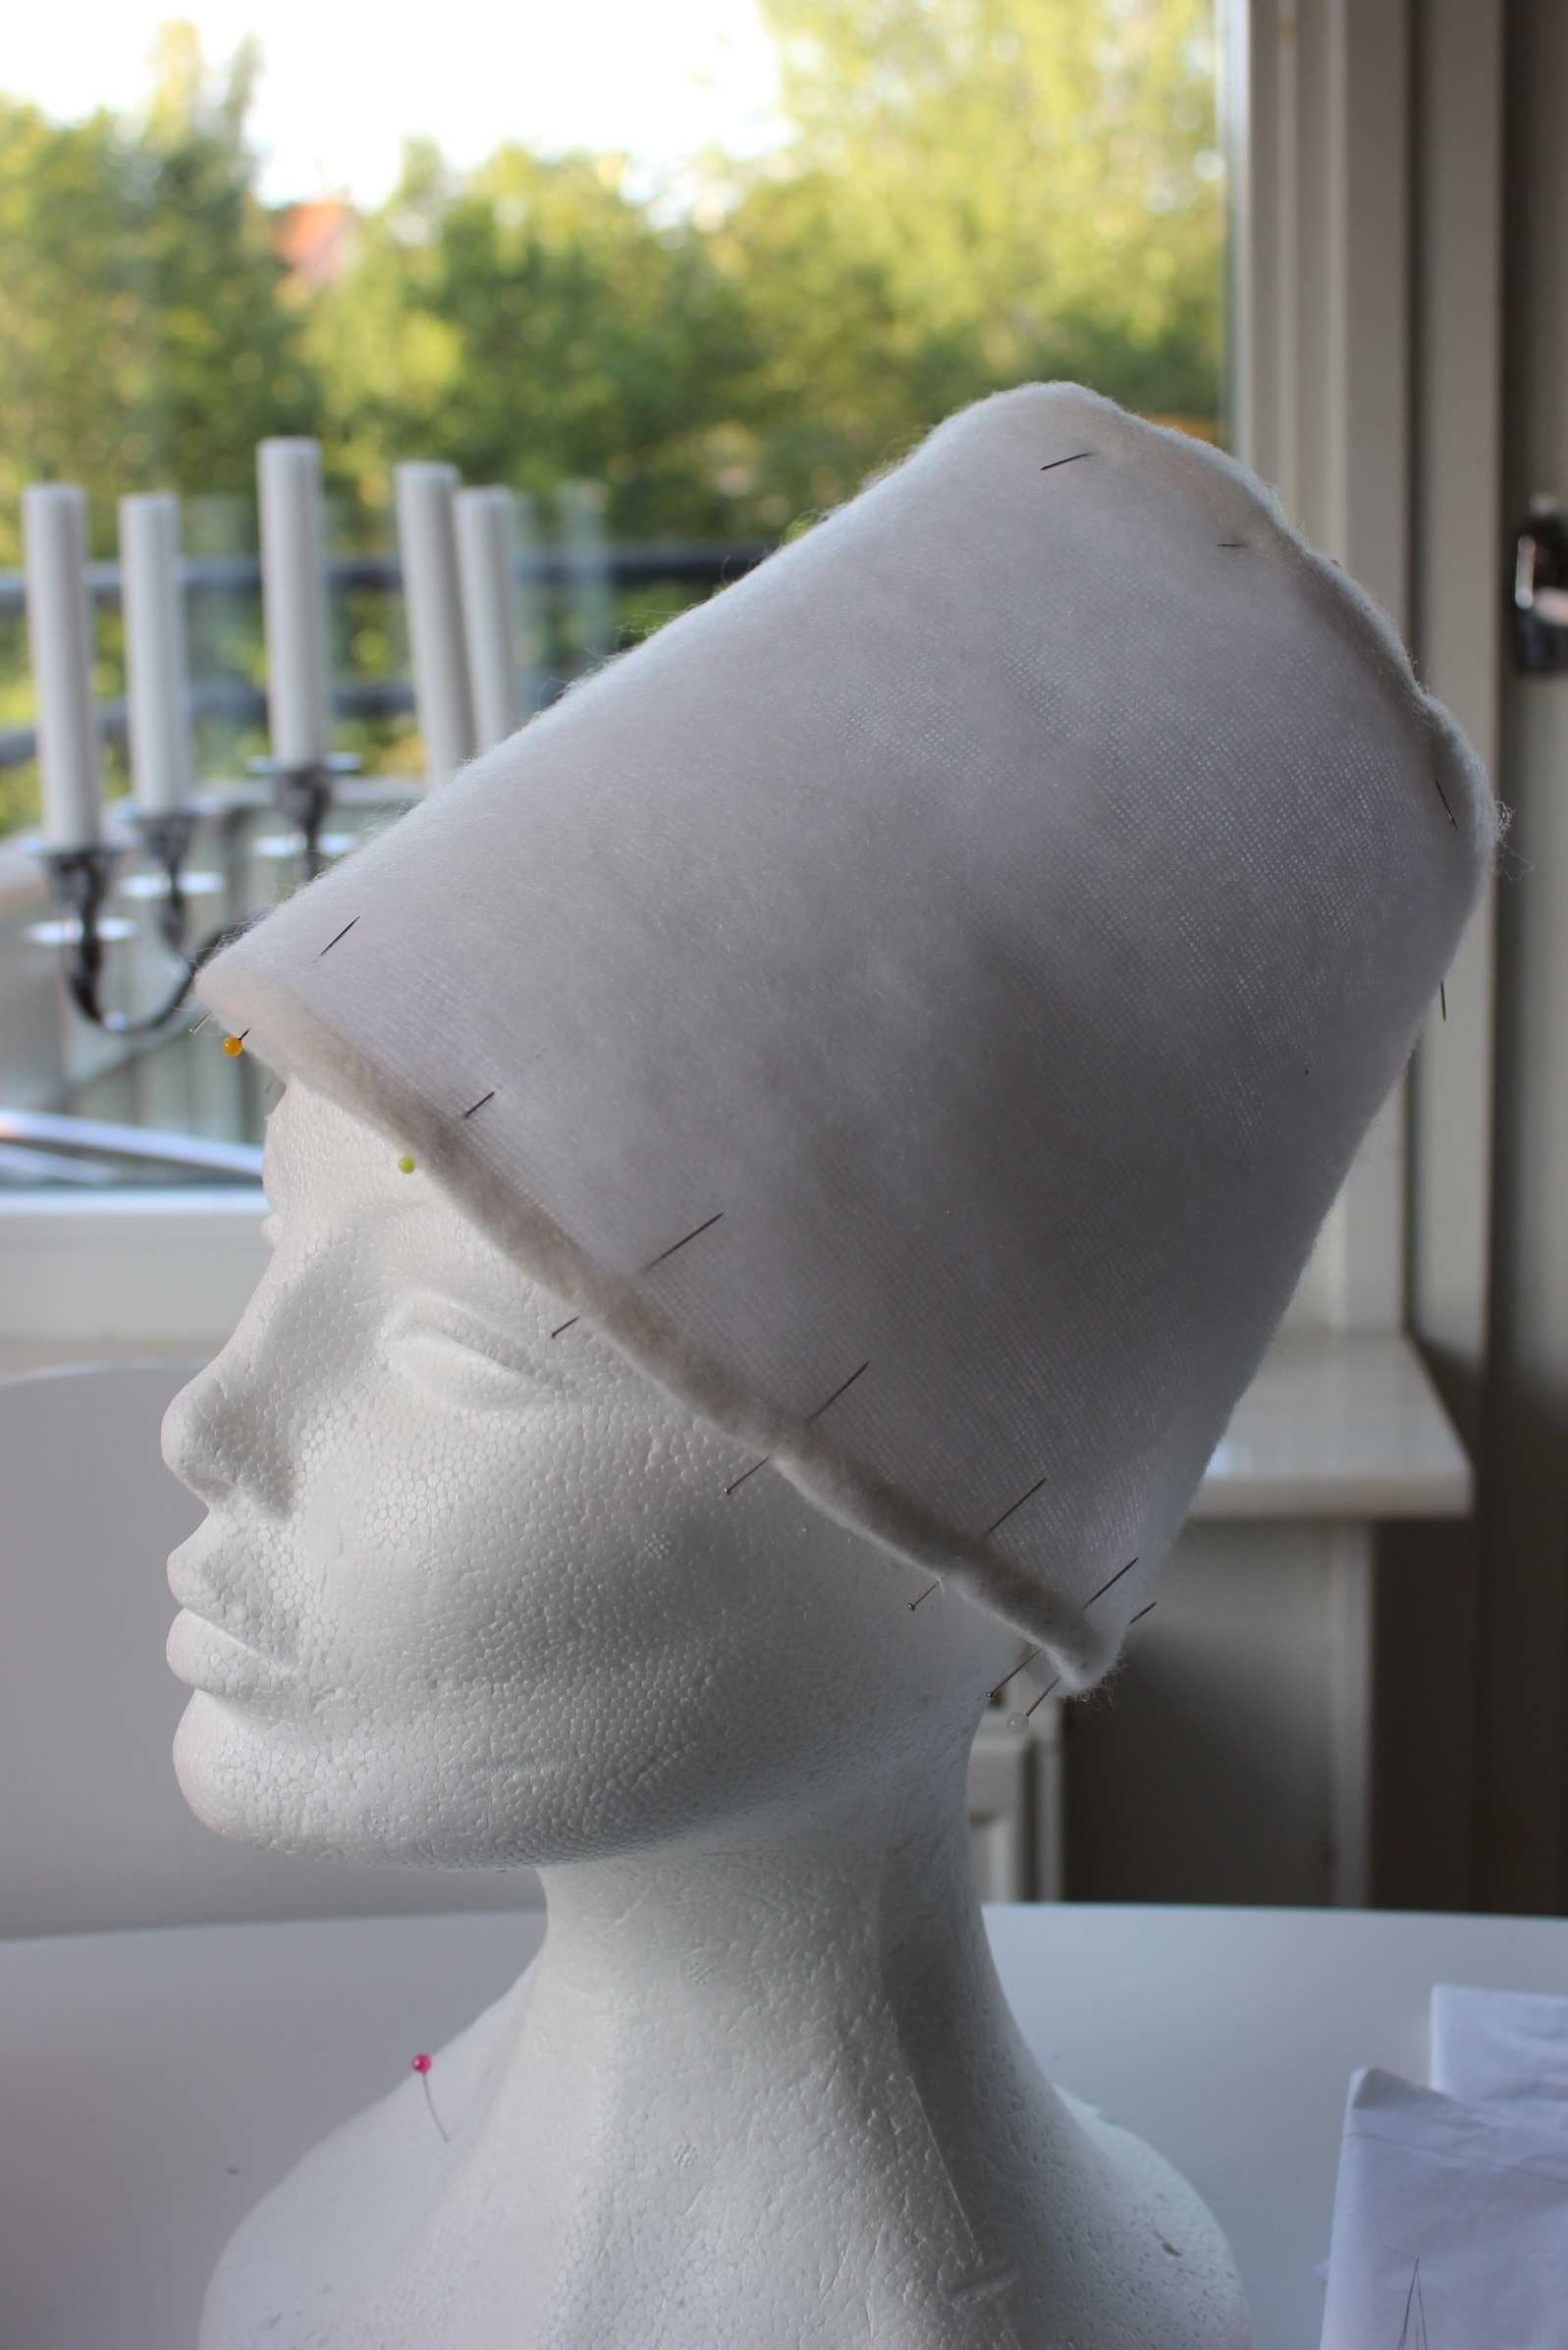
Once the night fell I once more seated myself in my favorite couch to put some more work into the hat.
Adding bias-tape round the edges and covering it with glued on batting.
(Sewing dress together (2) + Hat (2) = 4 hours)
Wednesday:
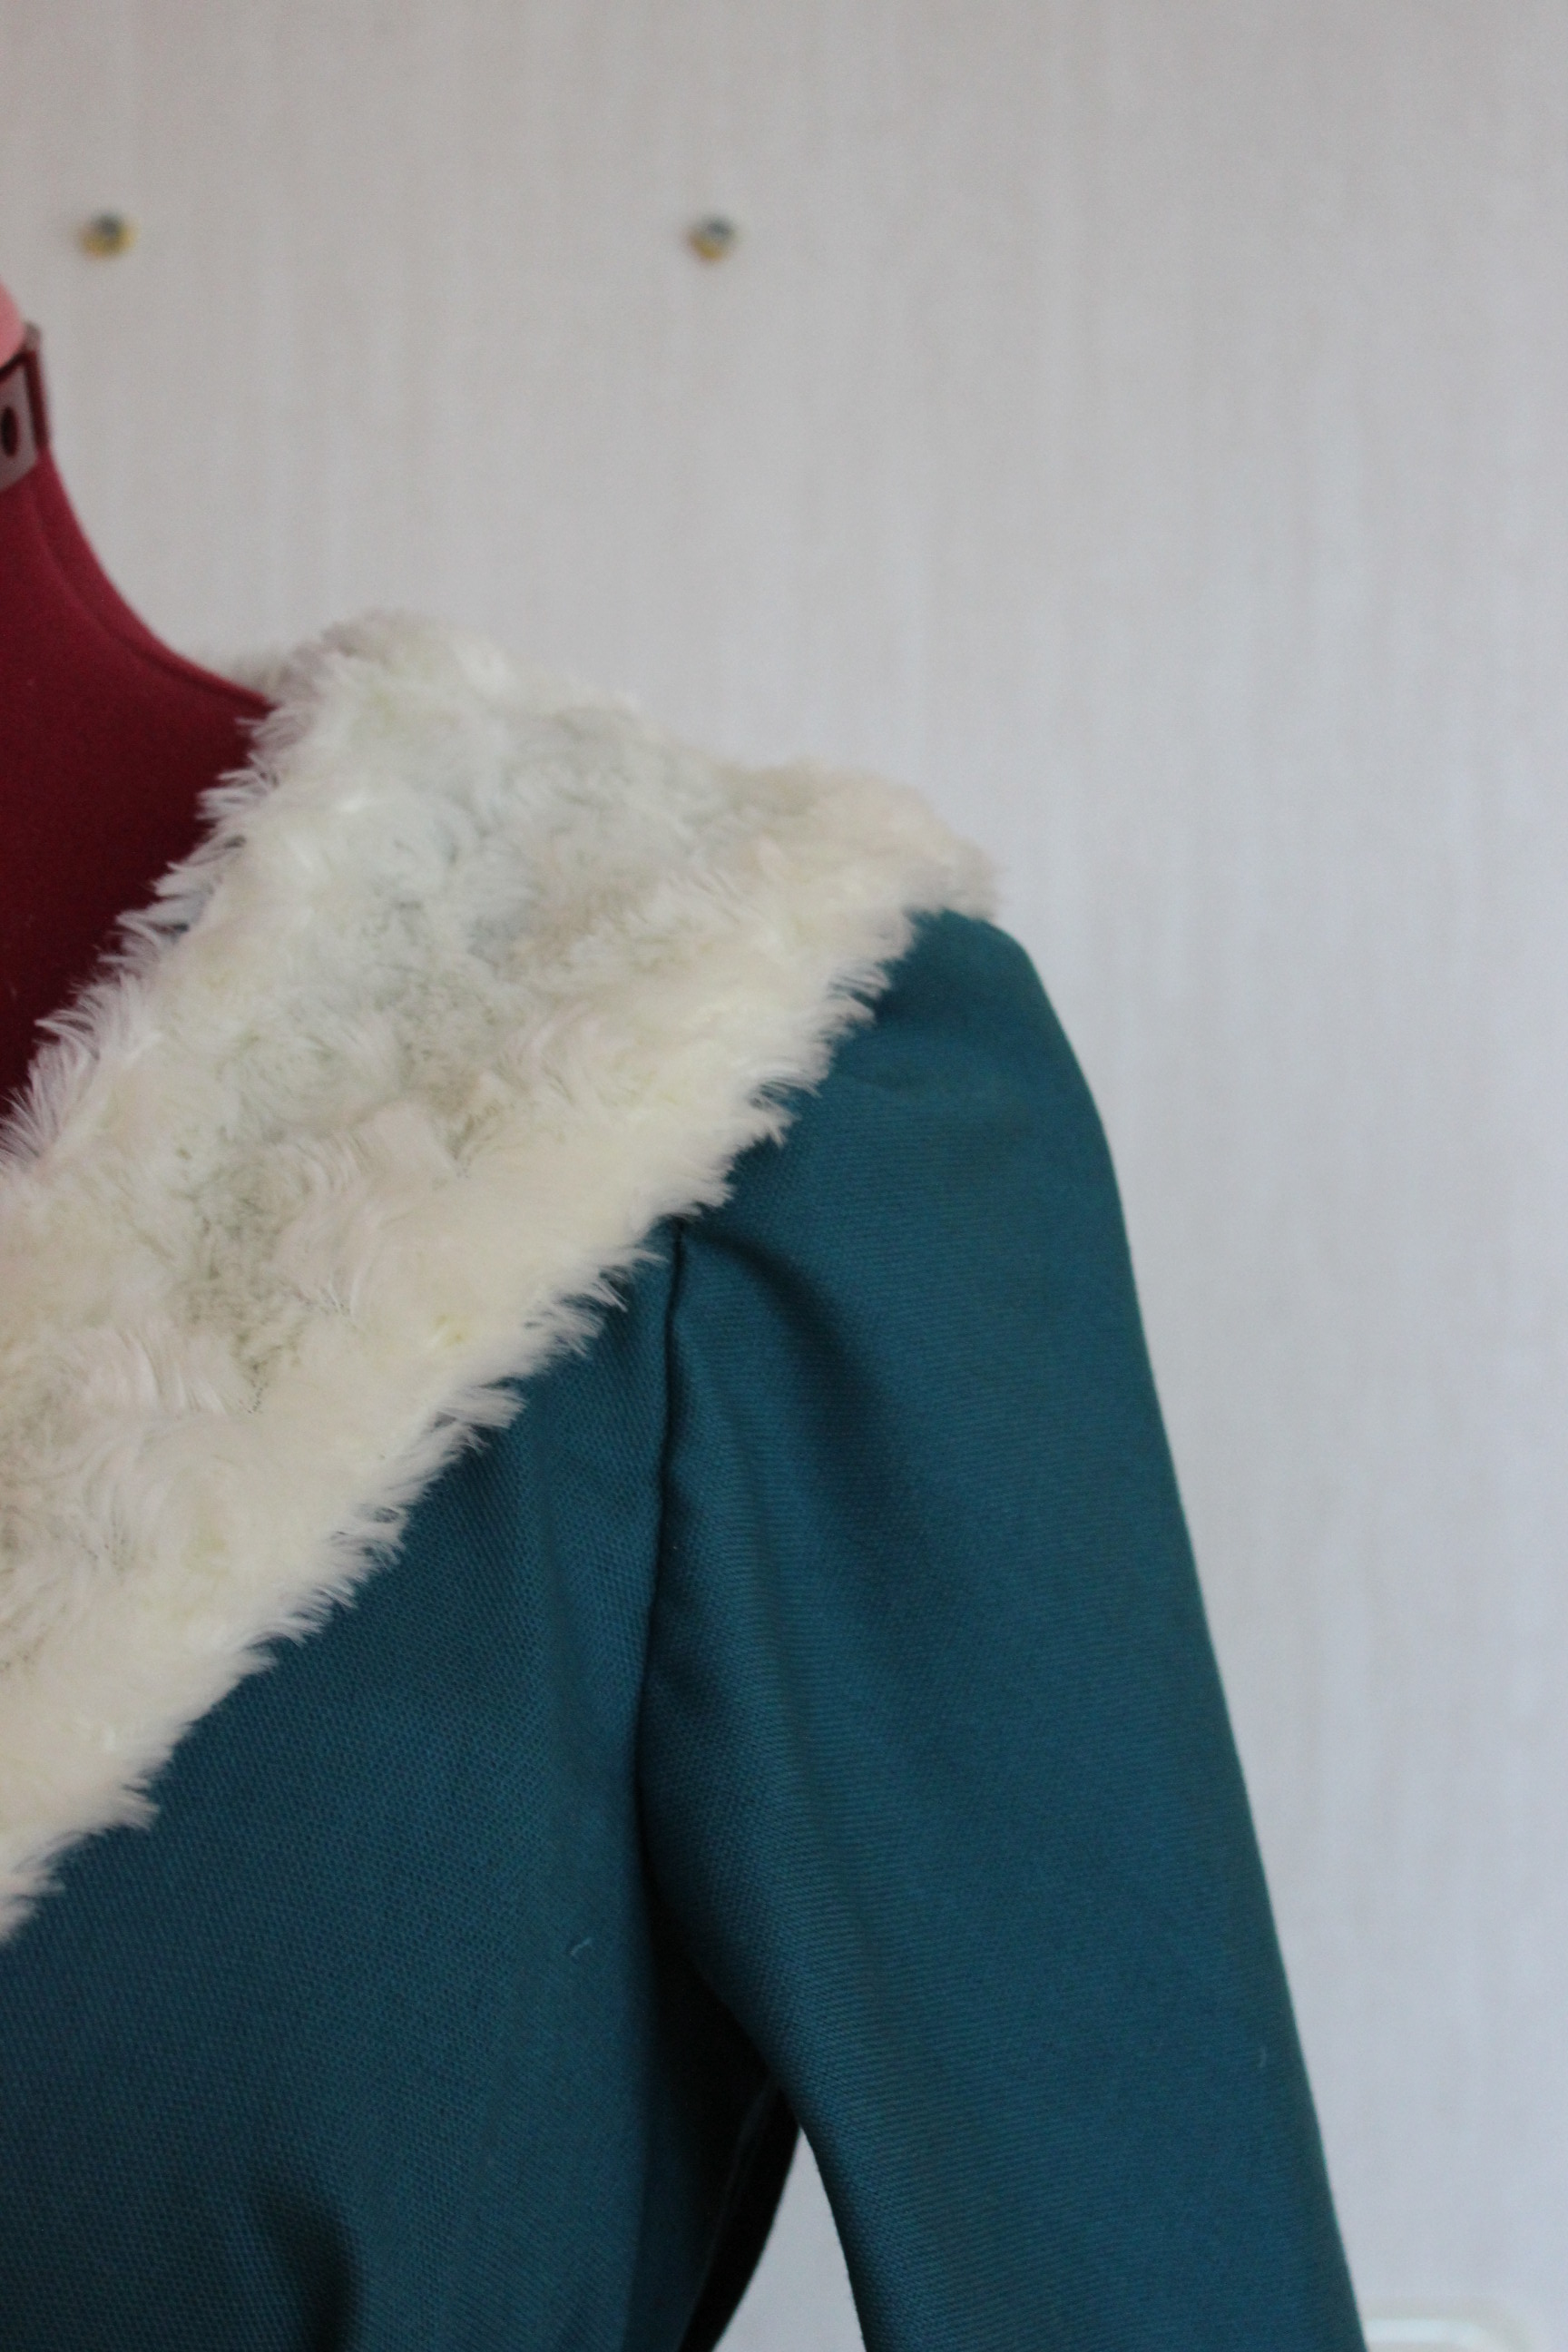
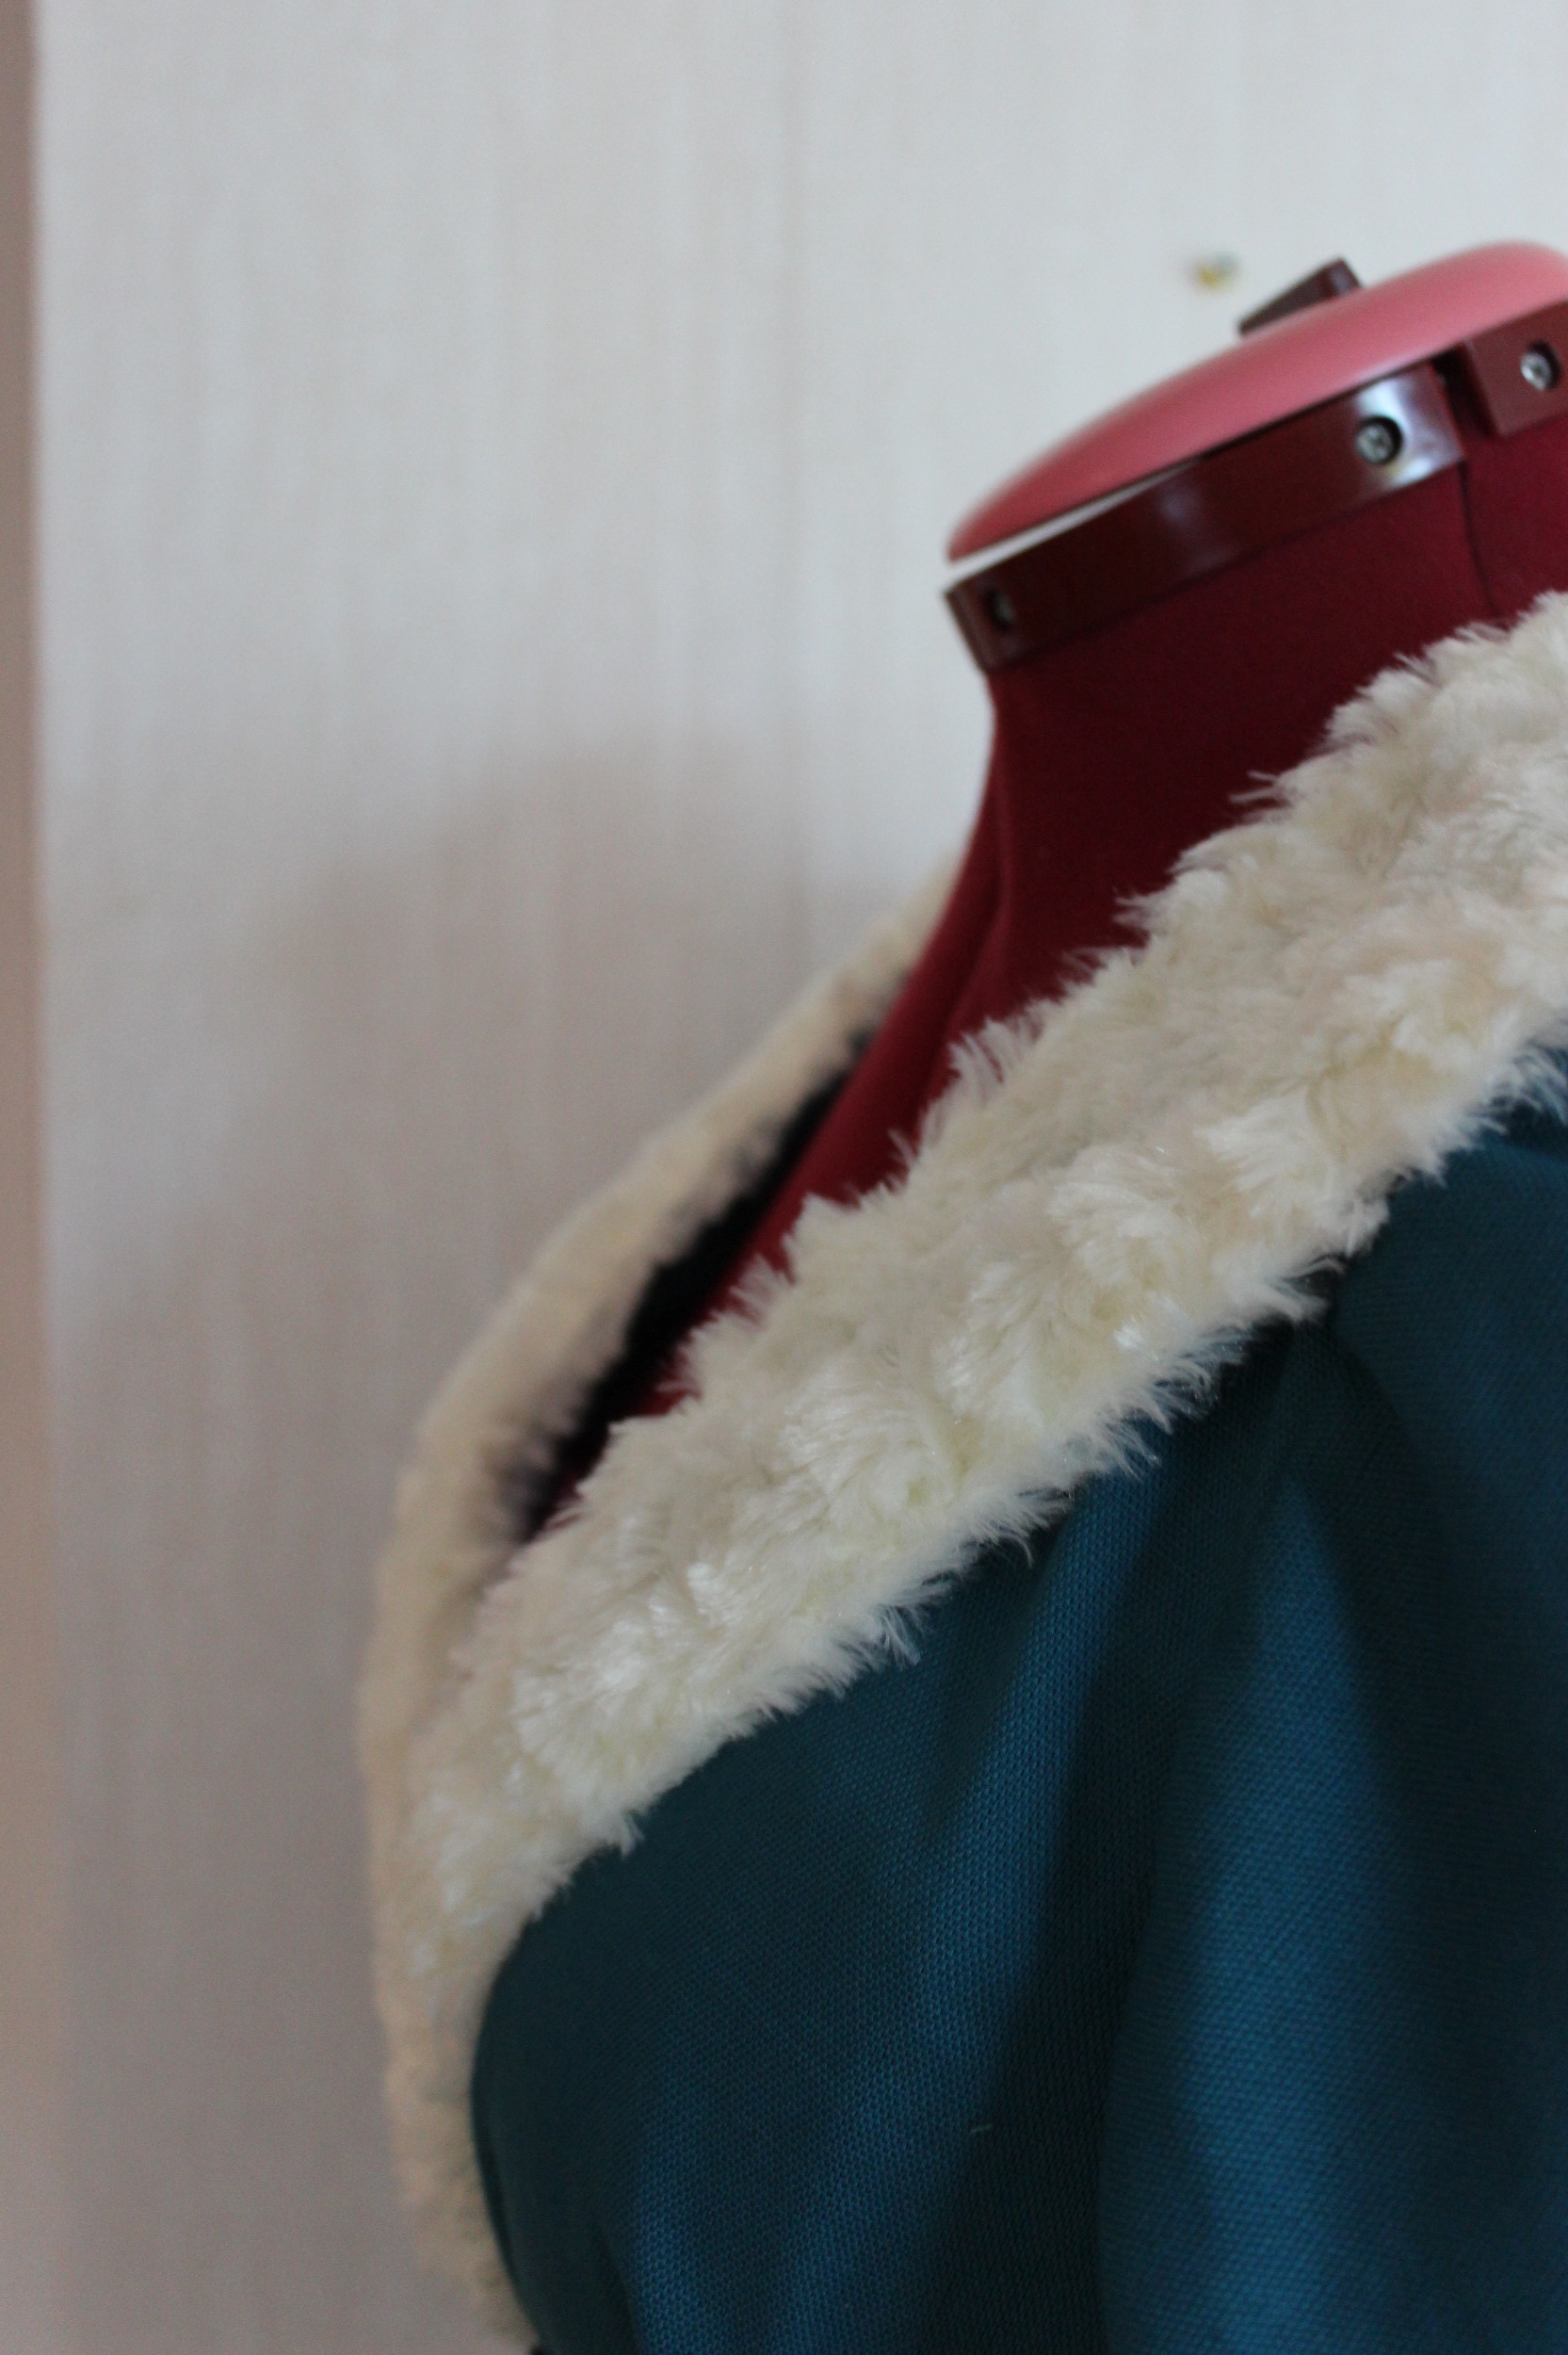
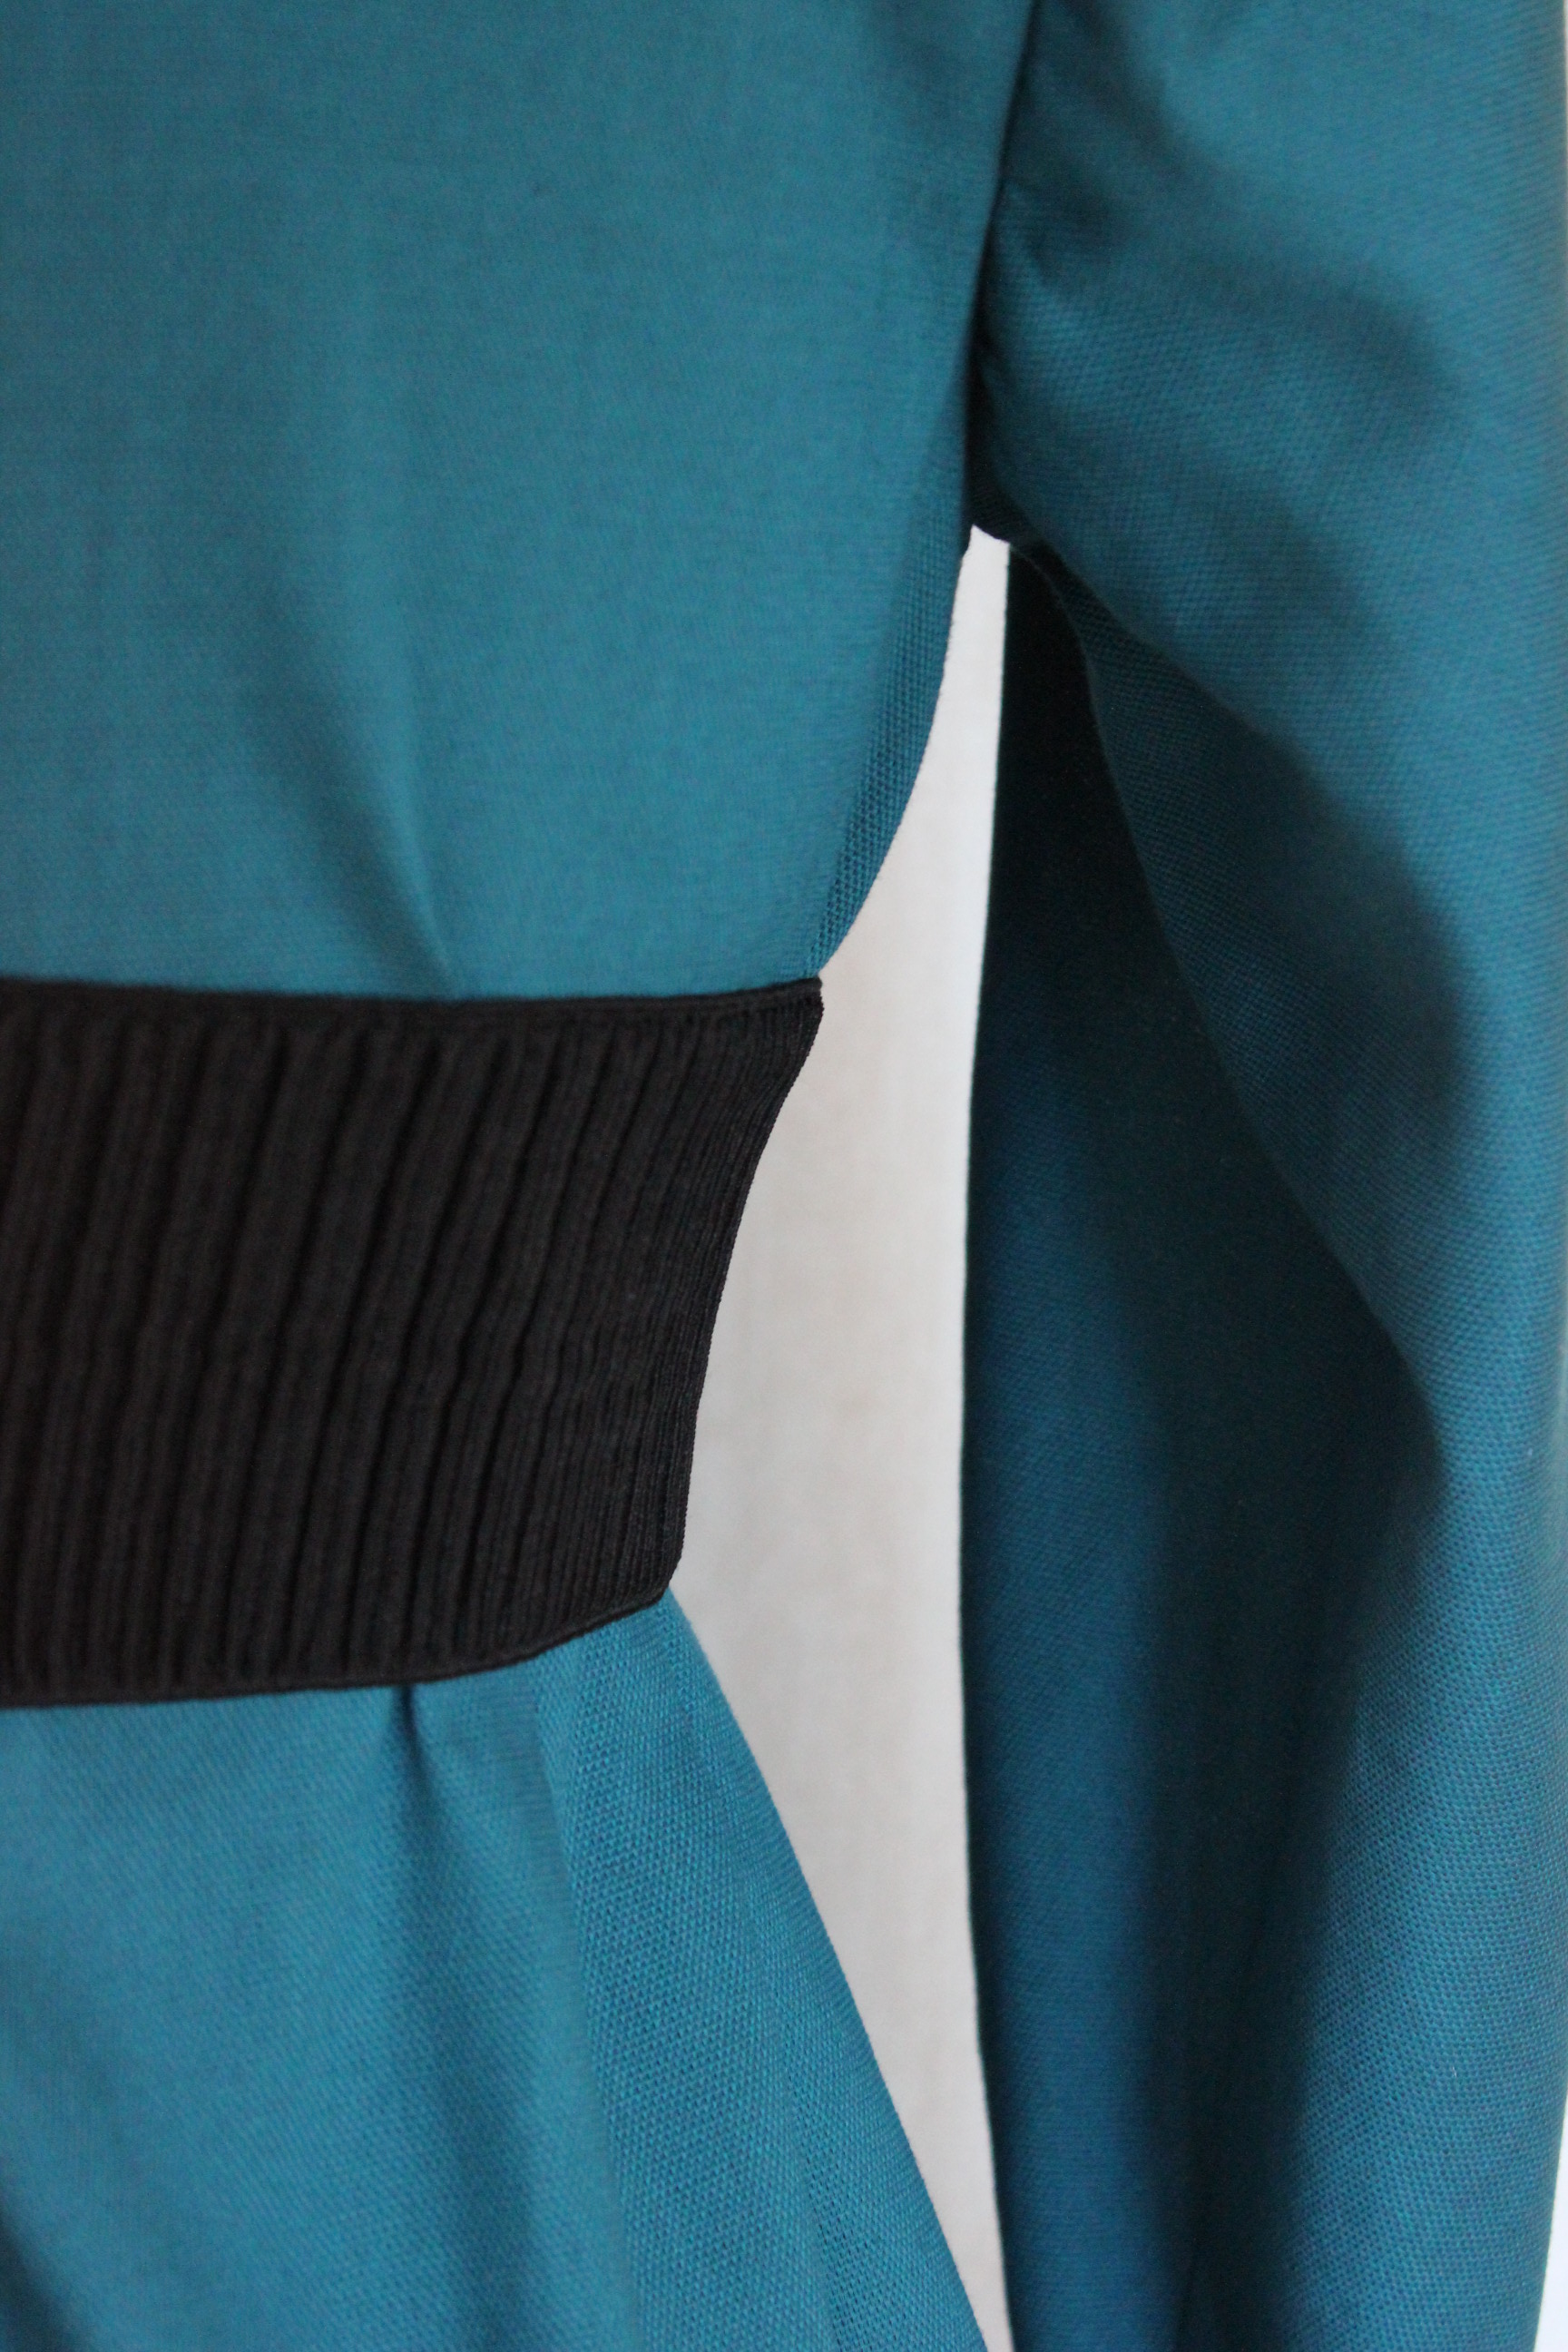
On Wednesday I focused on getting the collar done to get the dress as finished as possible for the final fitting on Thursday.
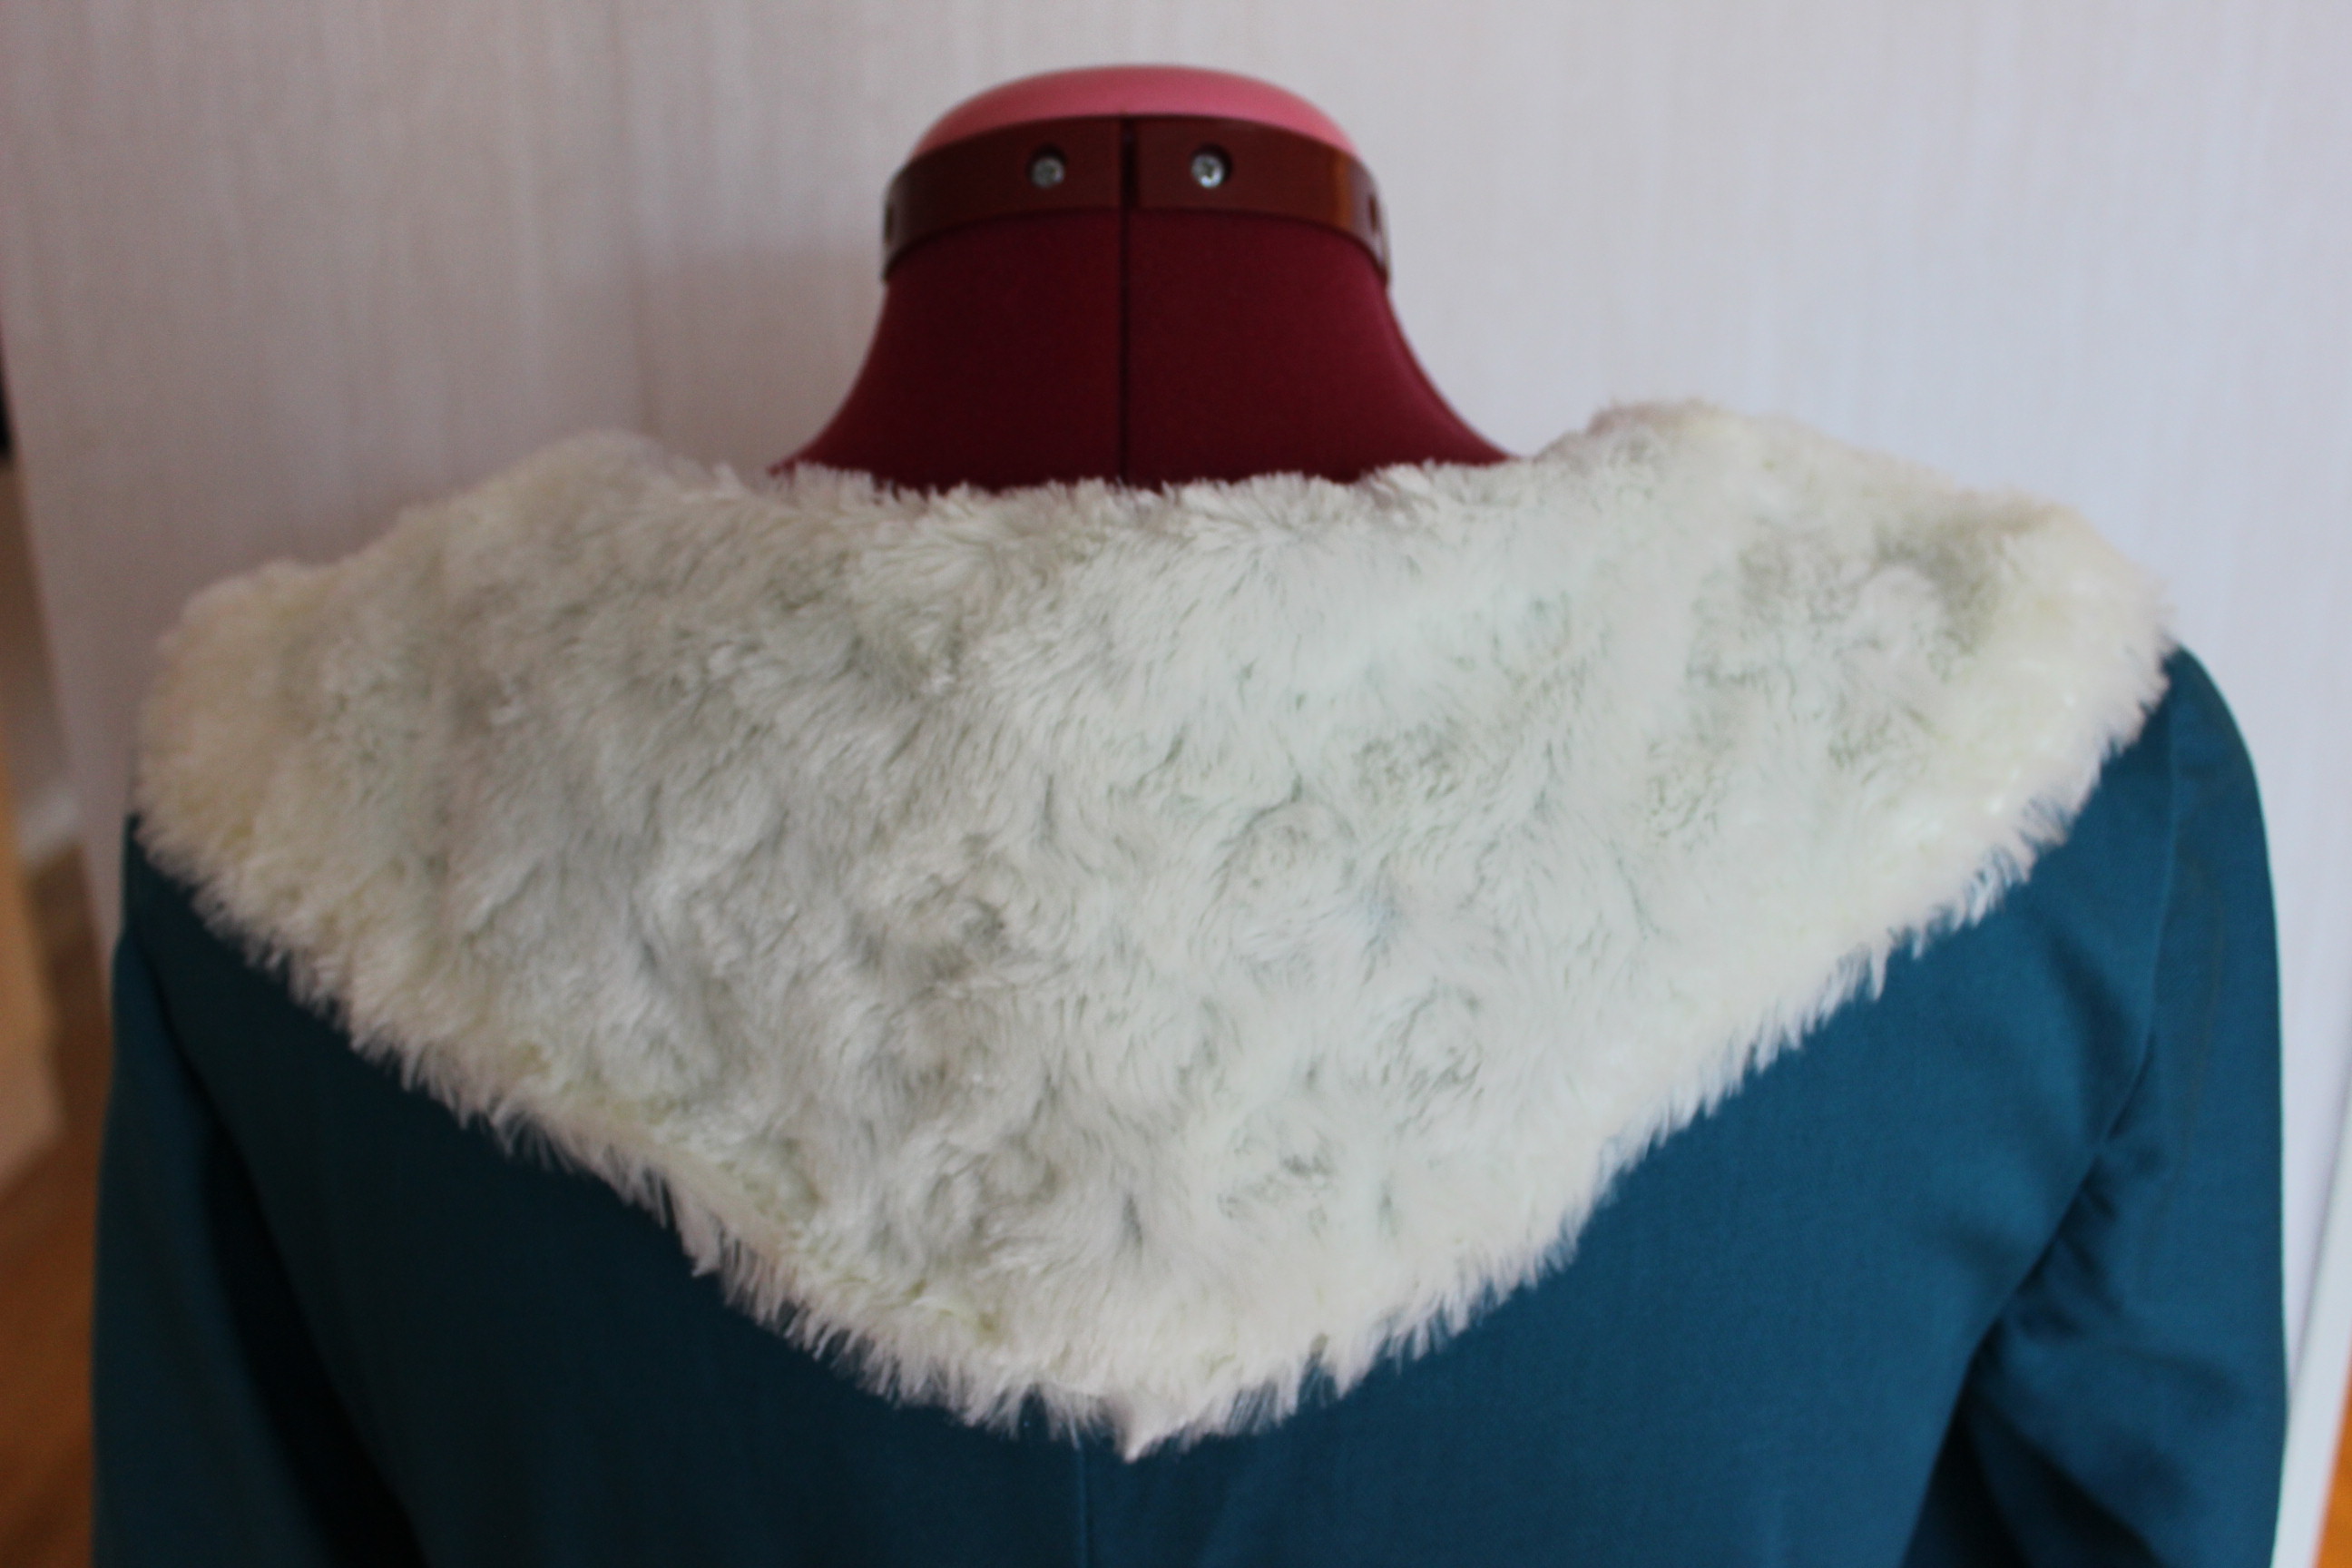
I sewed the collar to the neckline and carefully pinned the fur pieces on top, attaching the by hand.
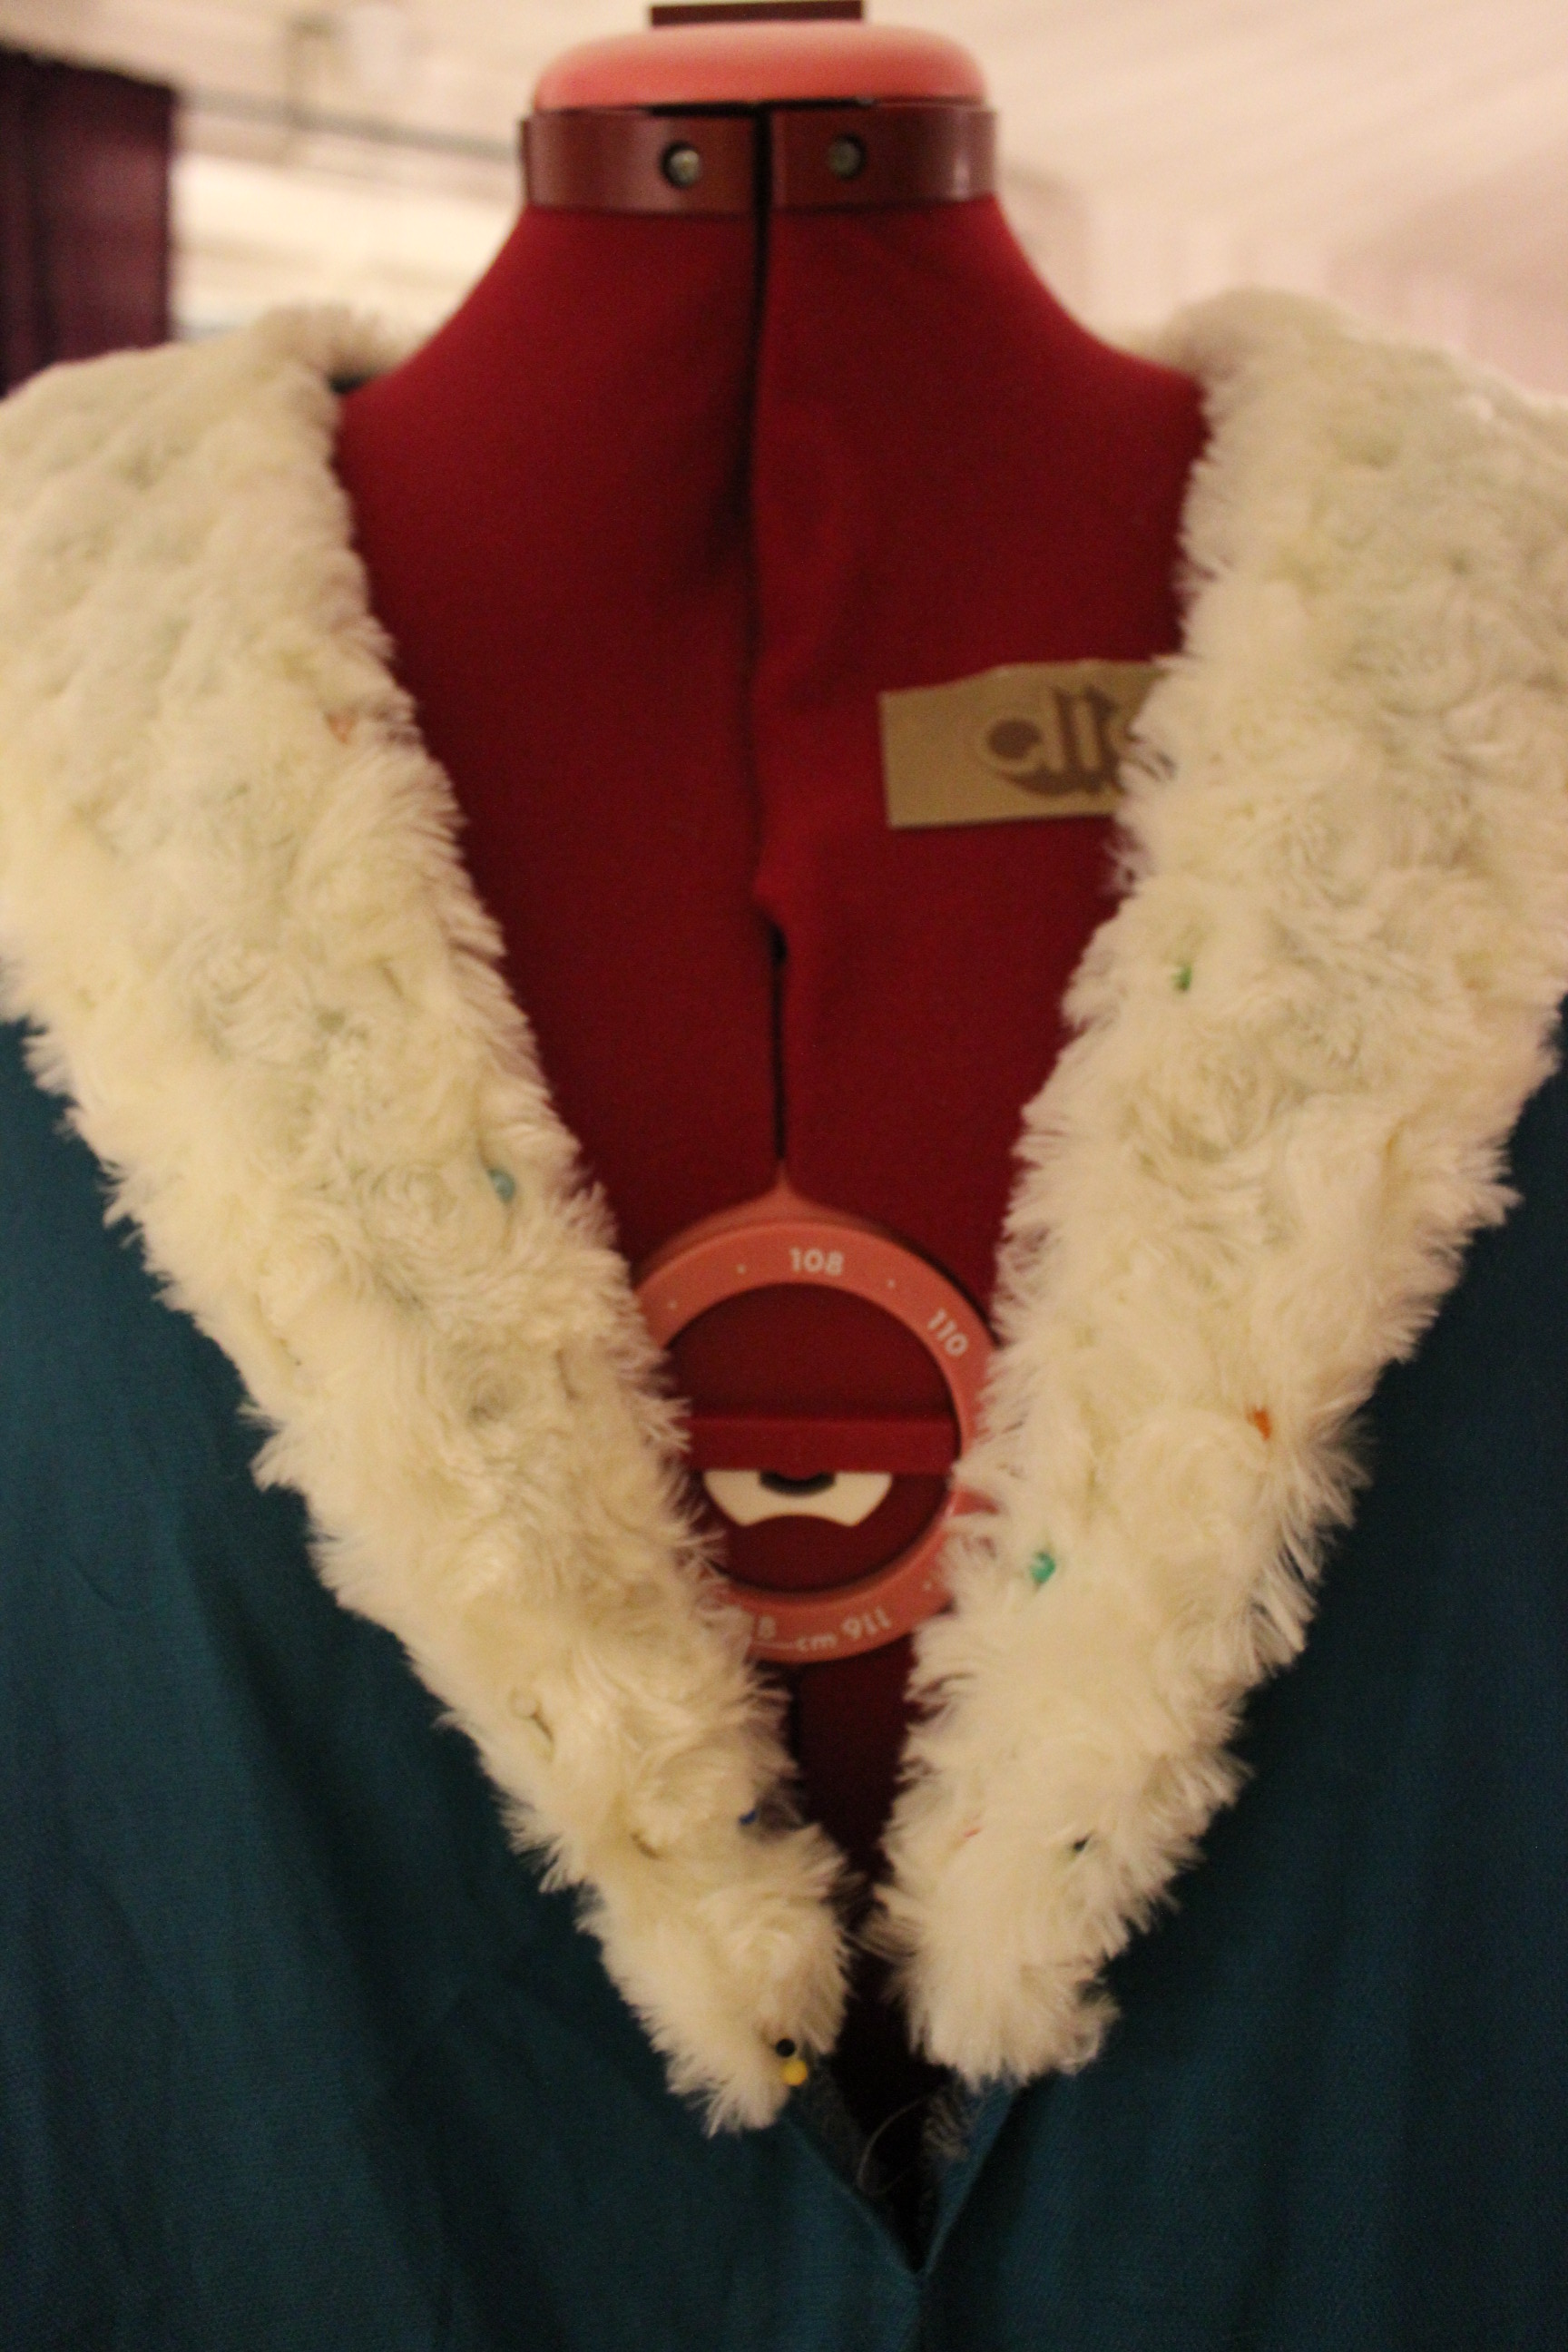
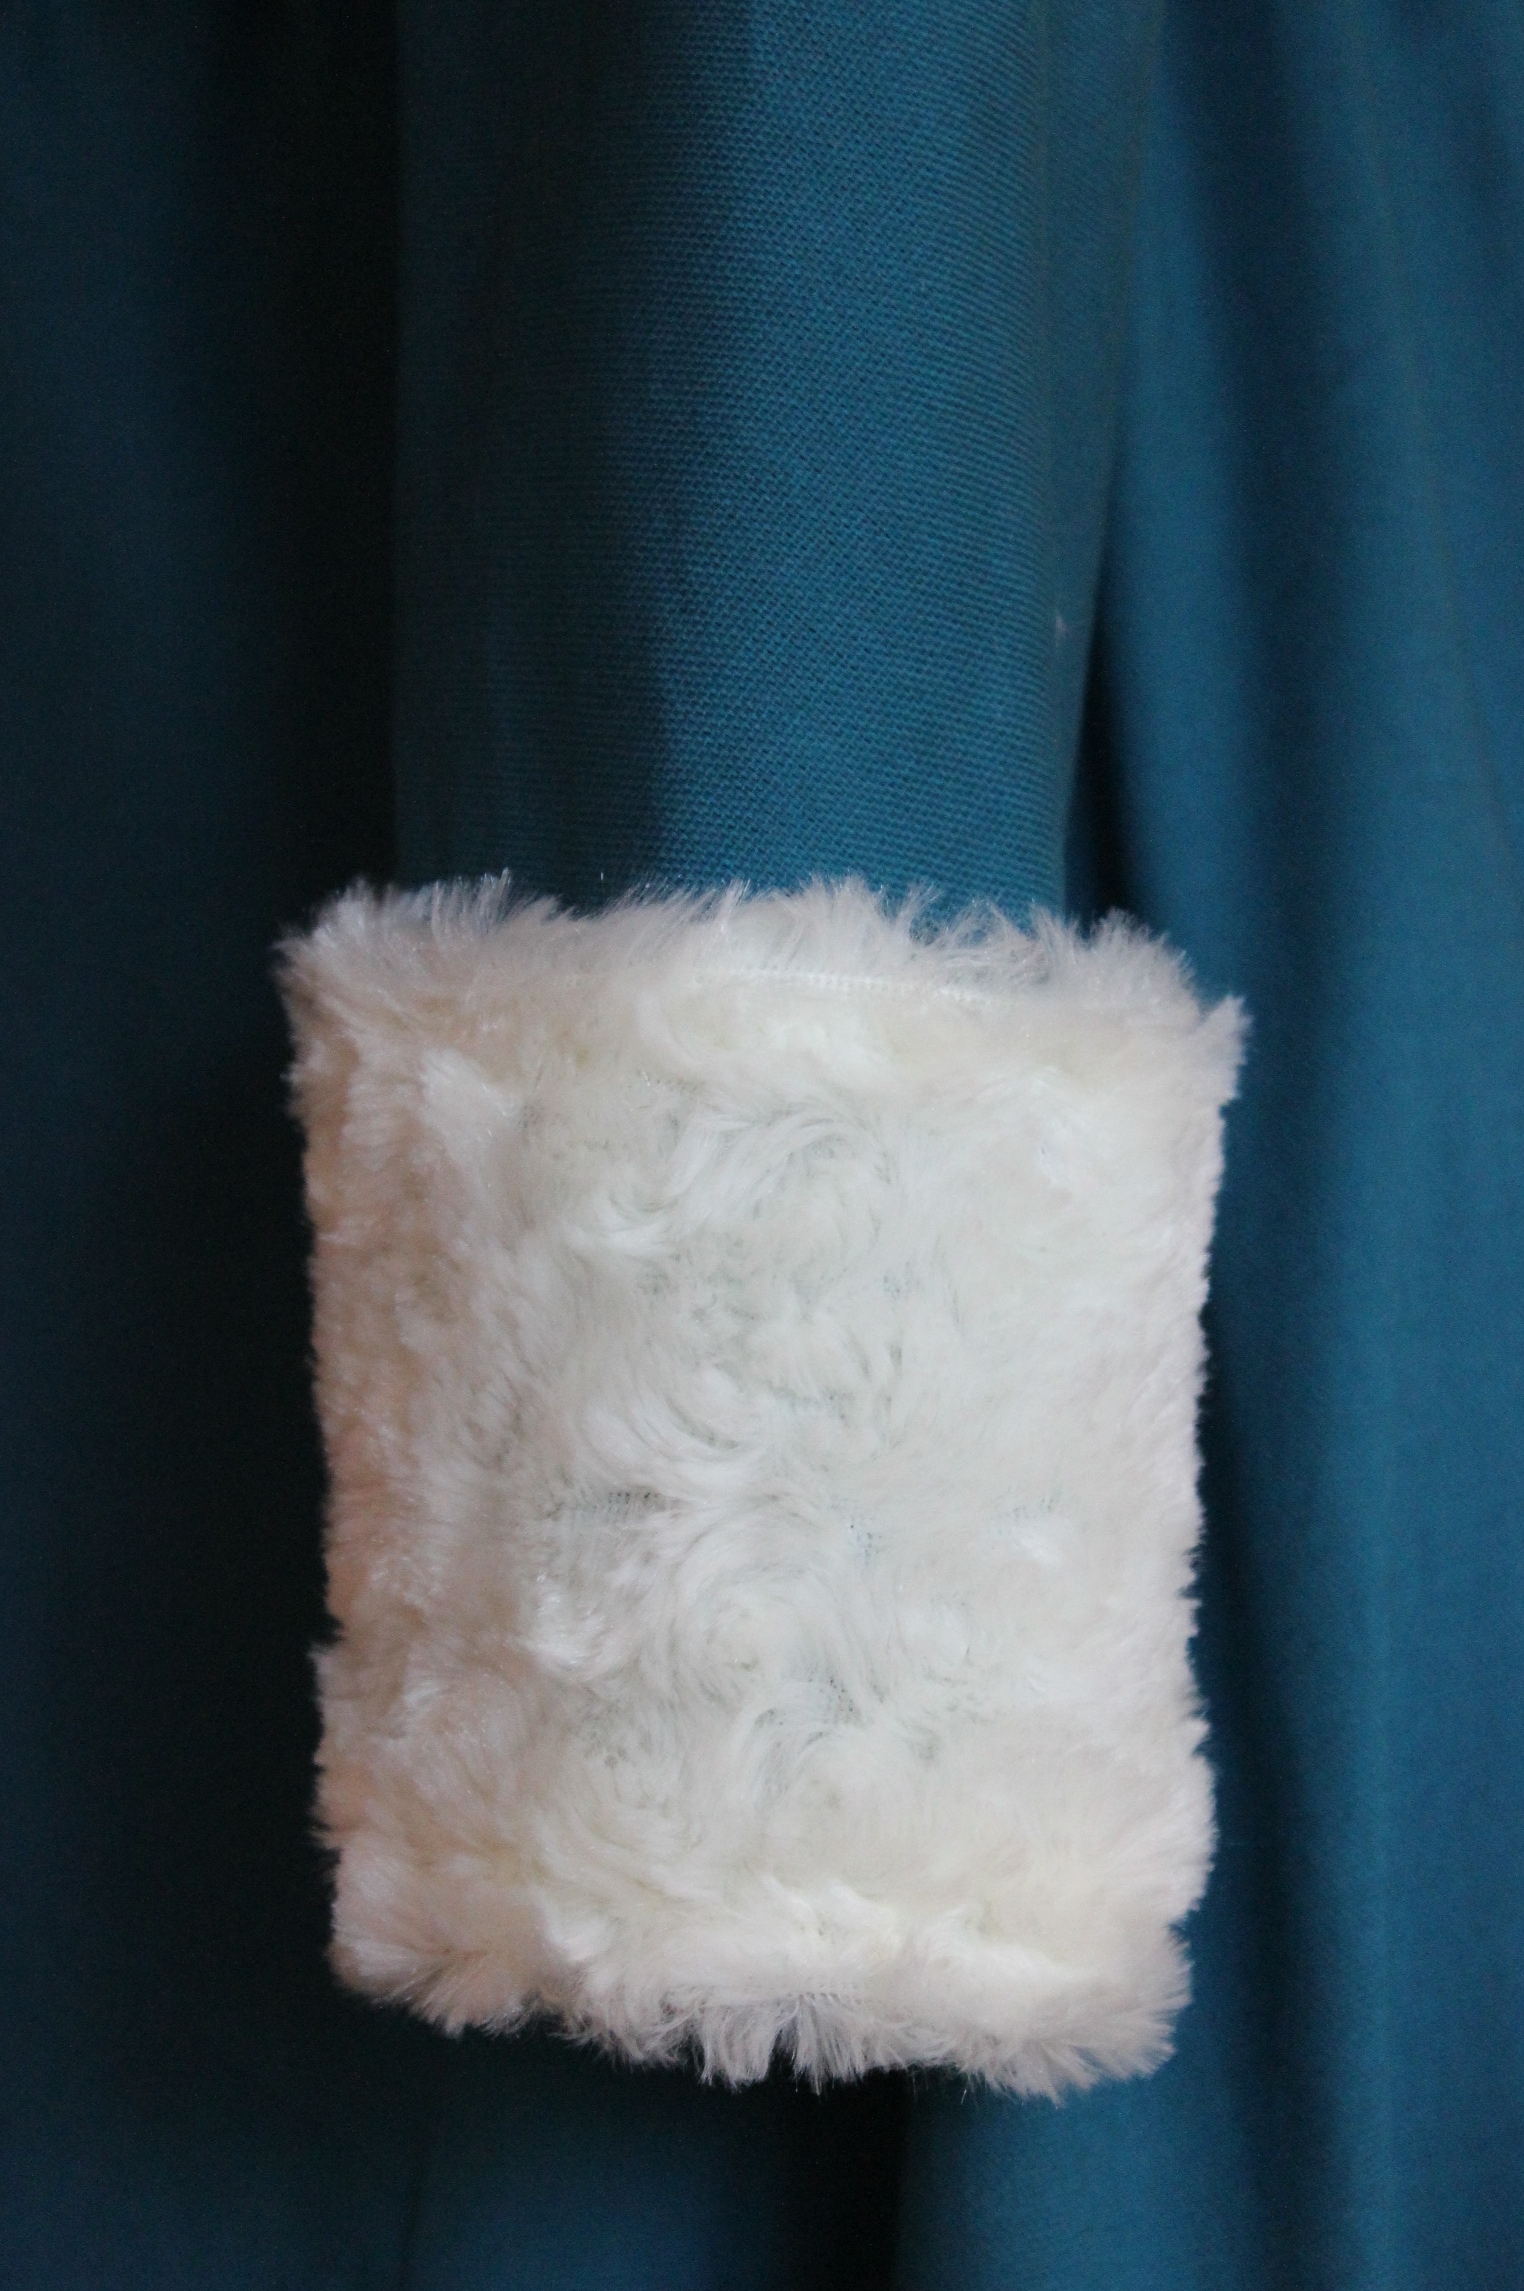
Then I finished the cuffs and attached the sleeves.

I also started covering the hat with black fake silk.
(collar (2) + hat (1) = 3 hours)
Thursday:
I meet with my sister once more to try the almost finished dress, and to determent the length of the skirt.

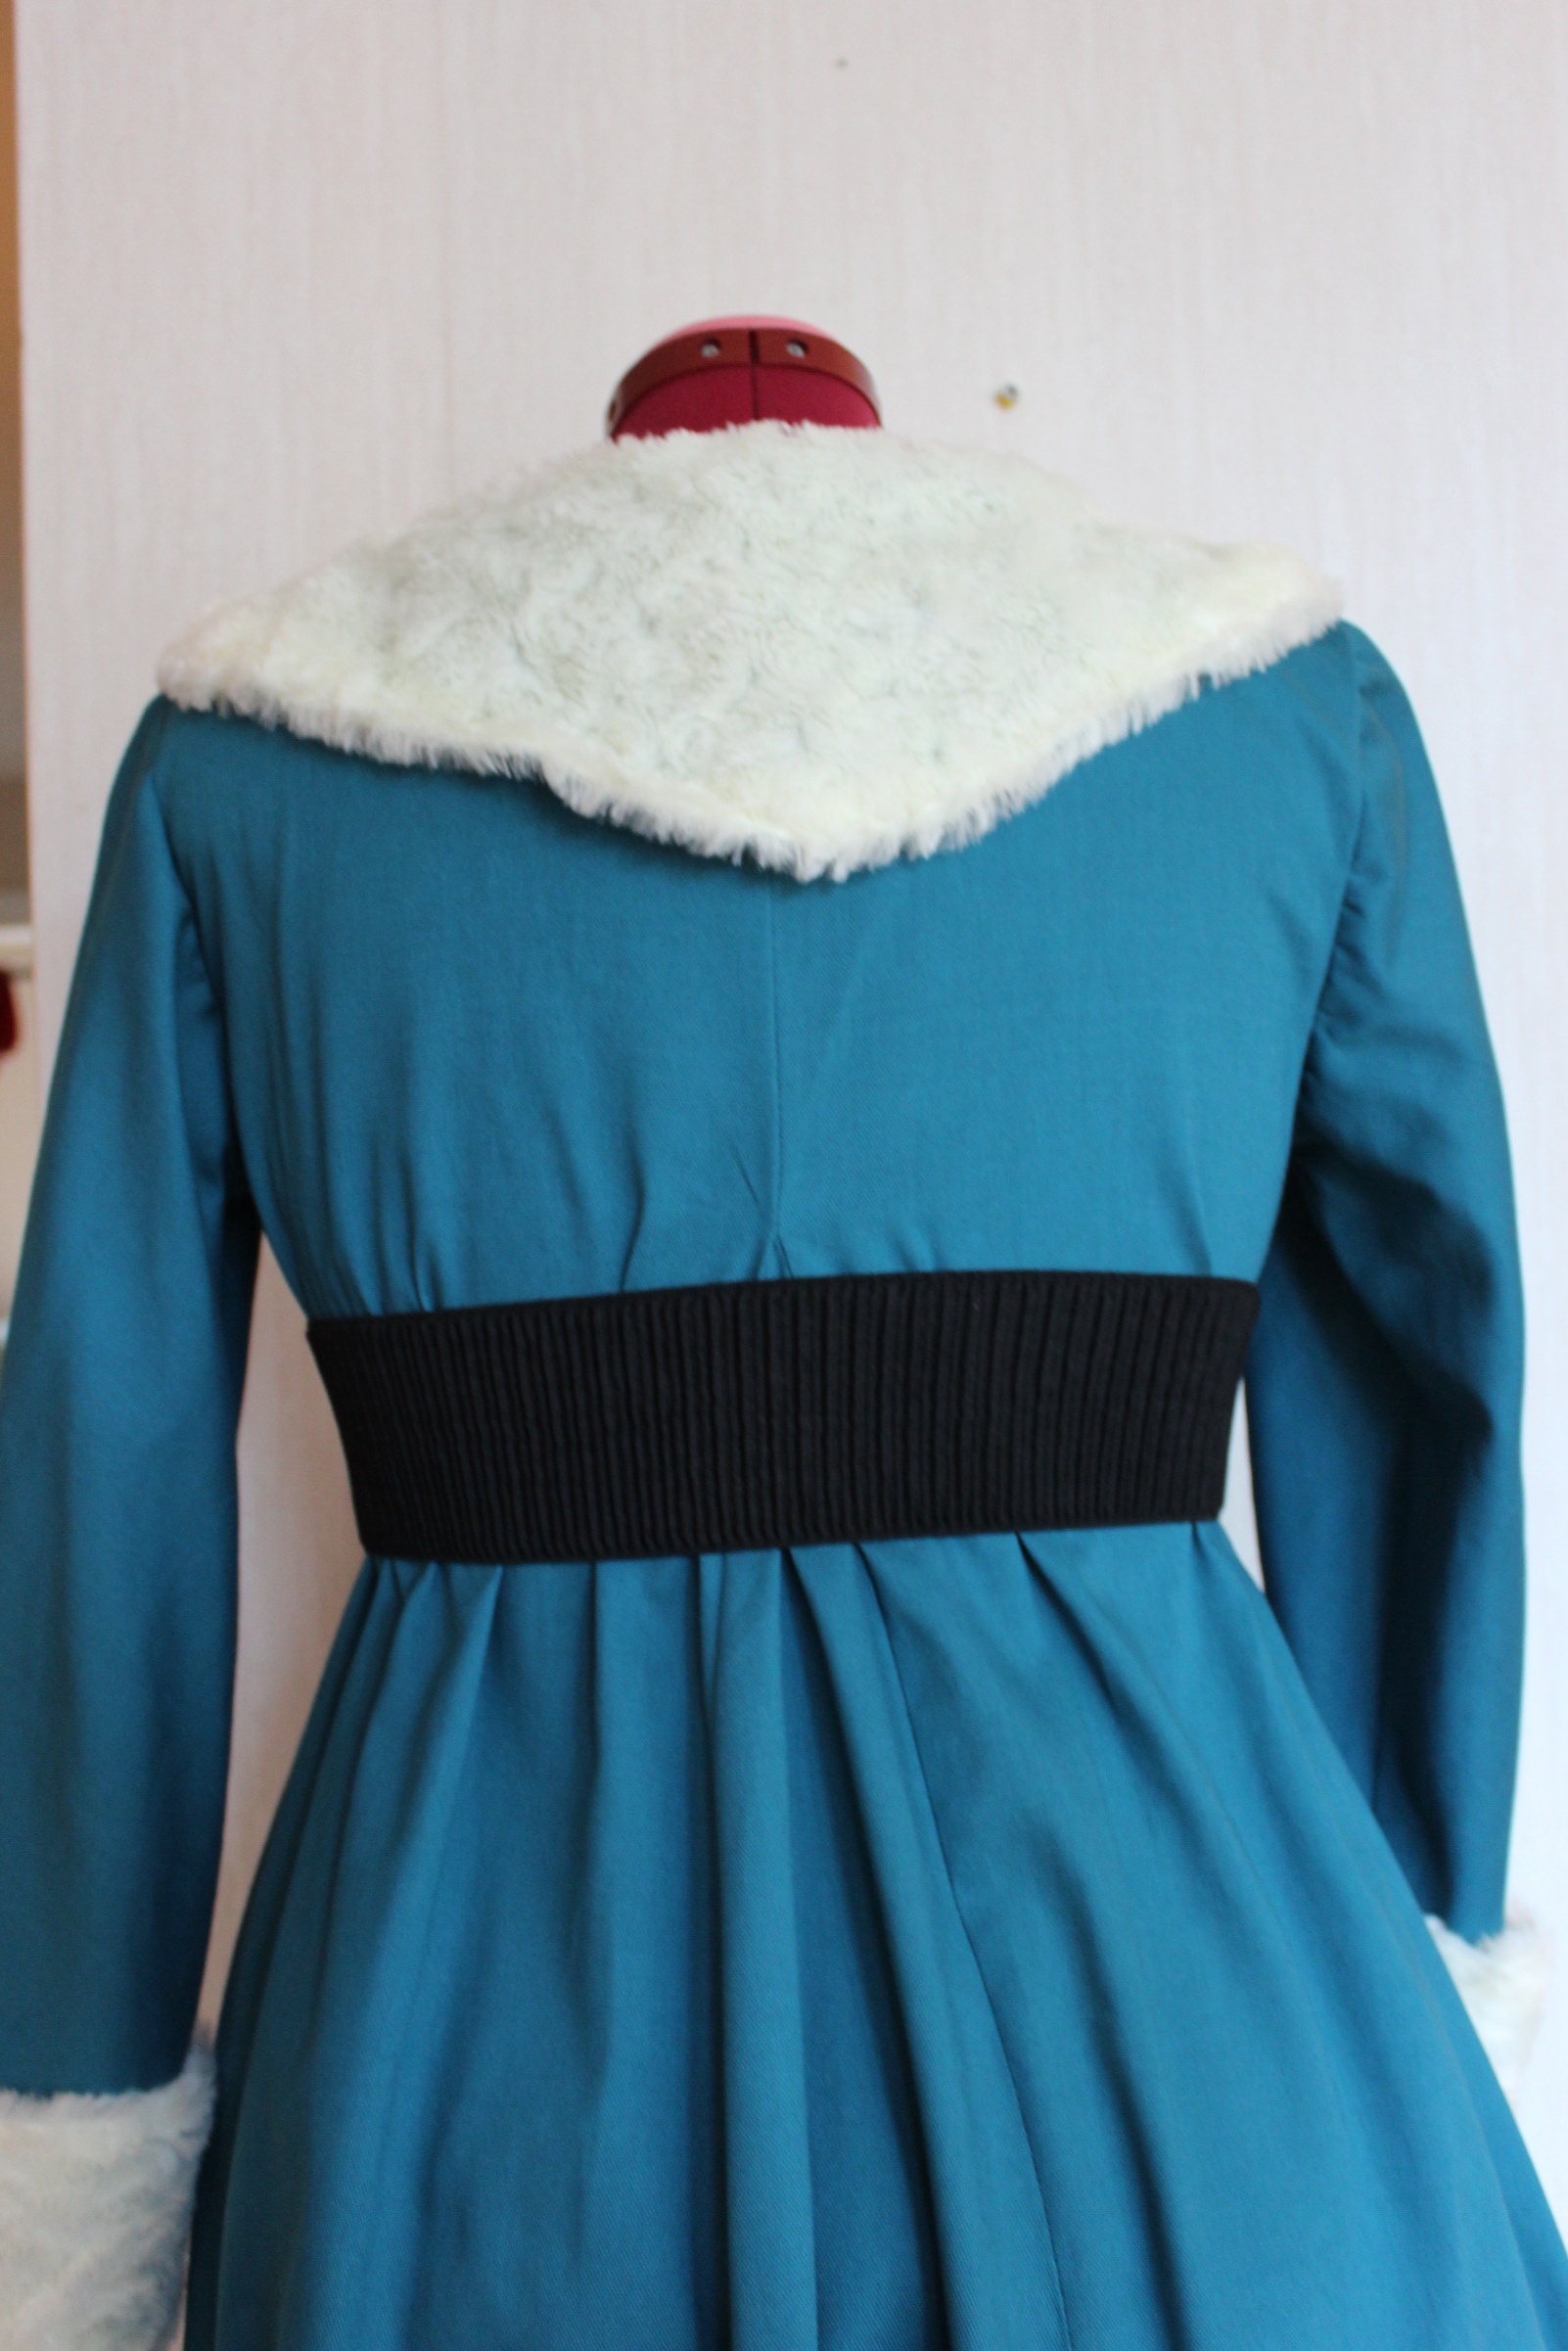
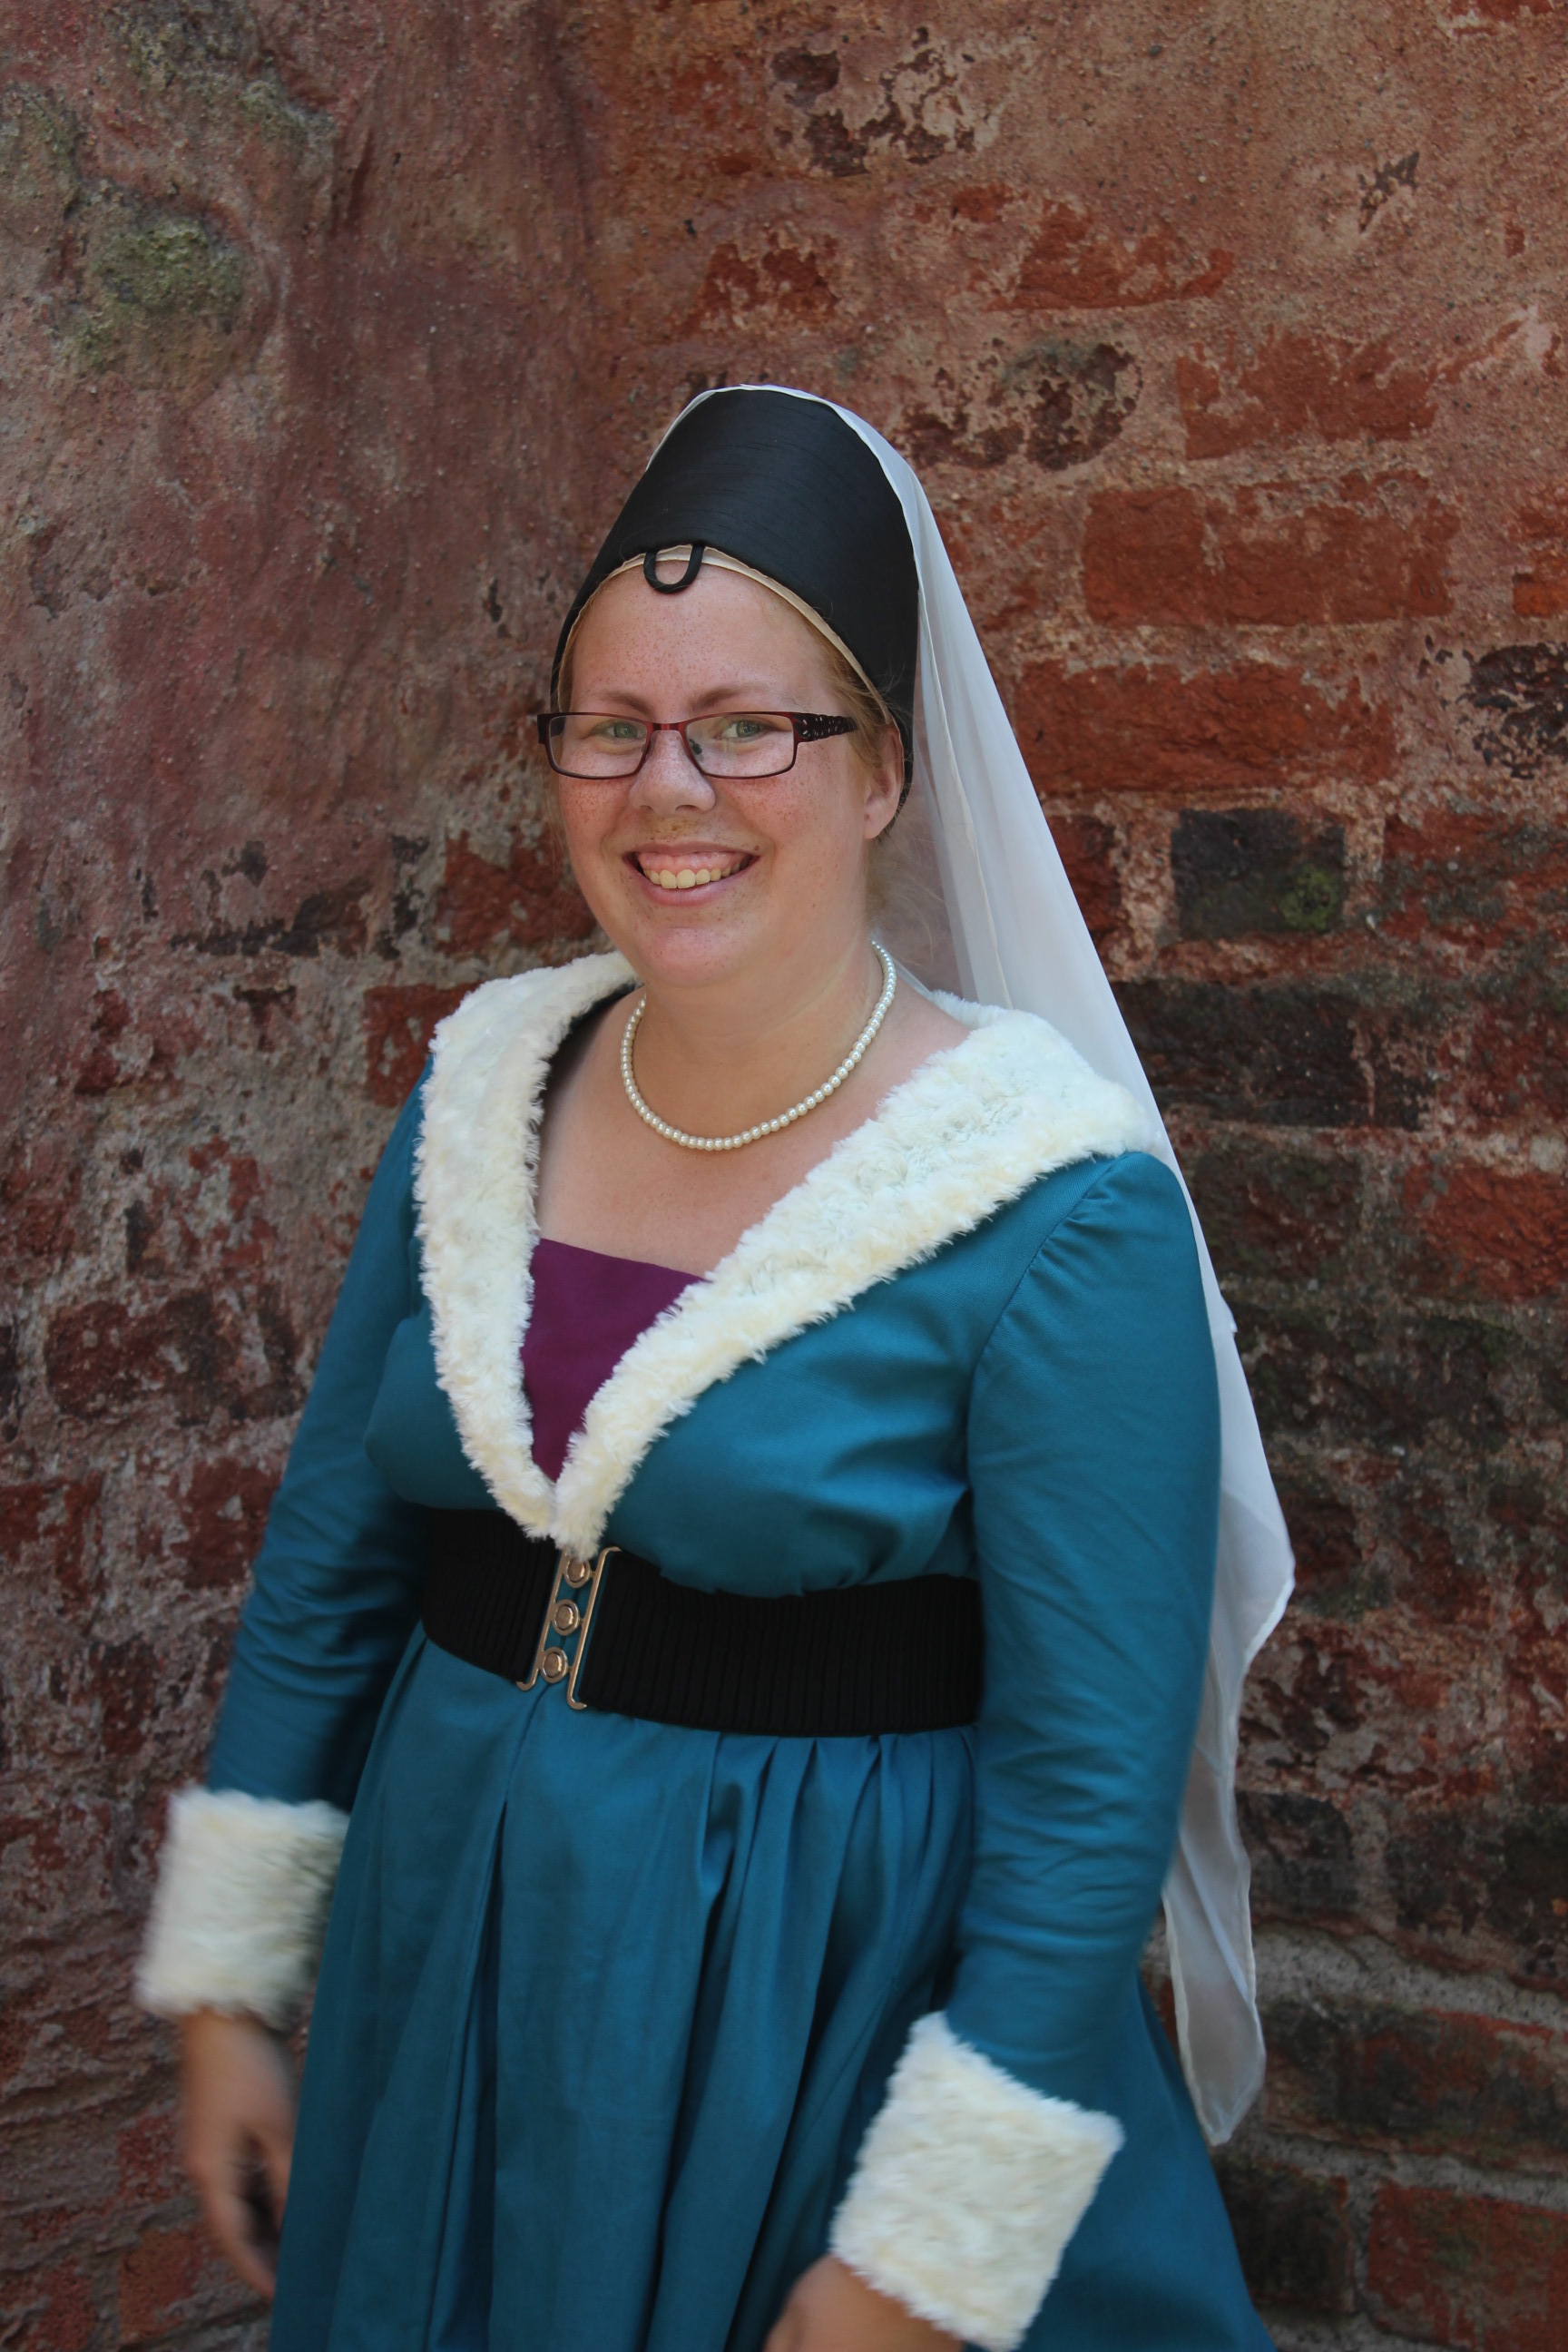
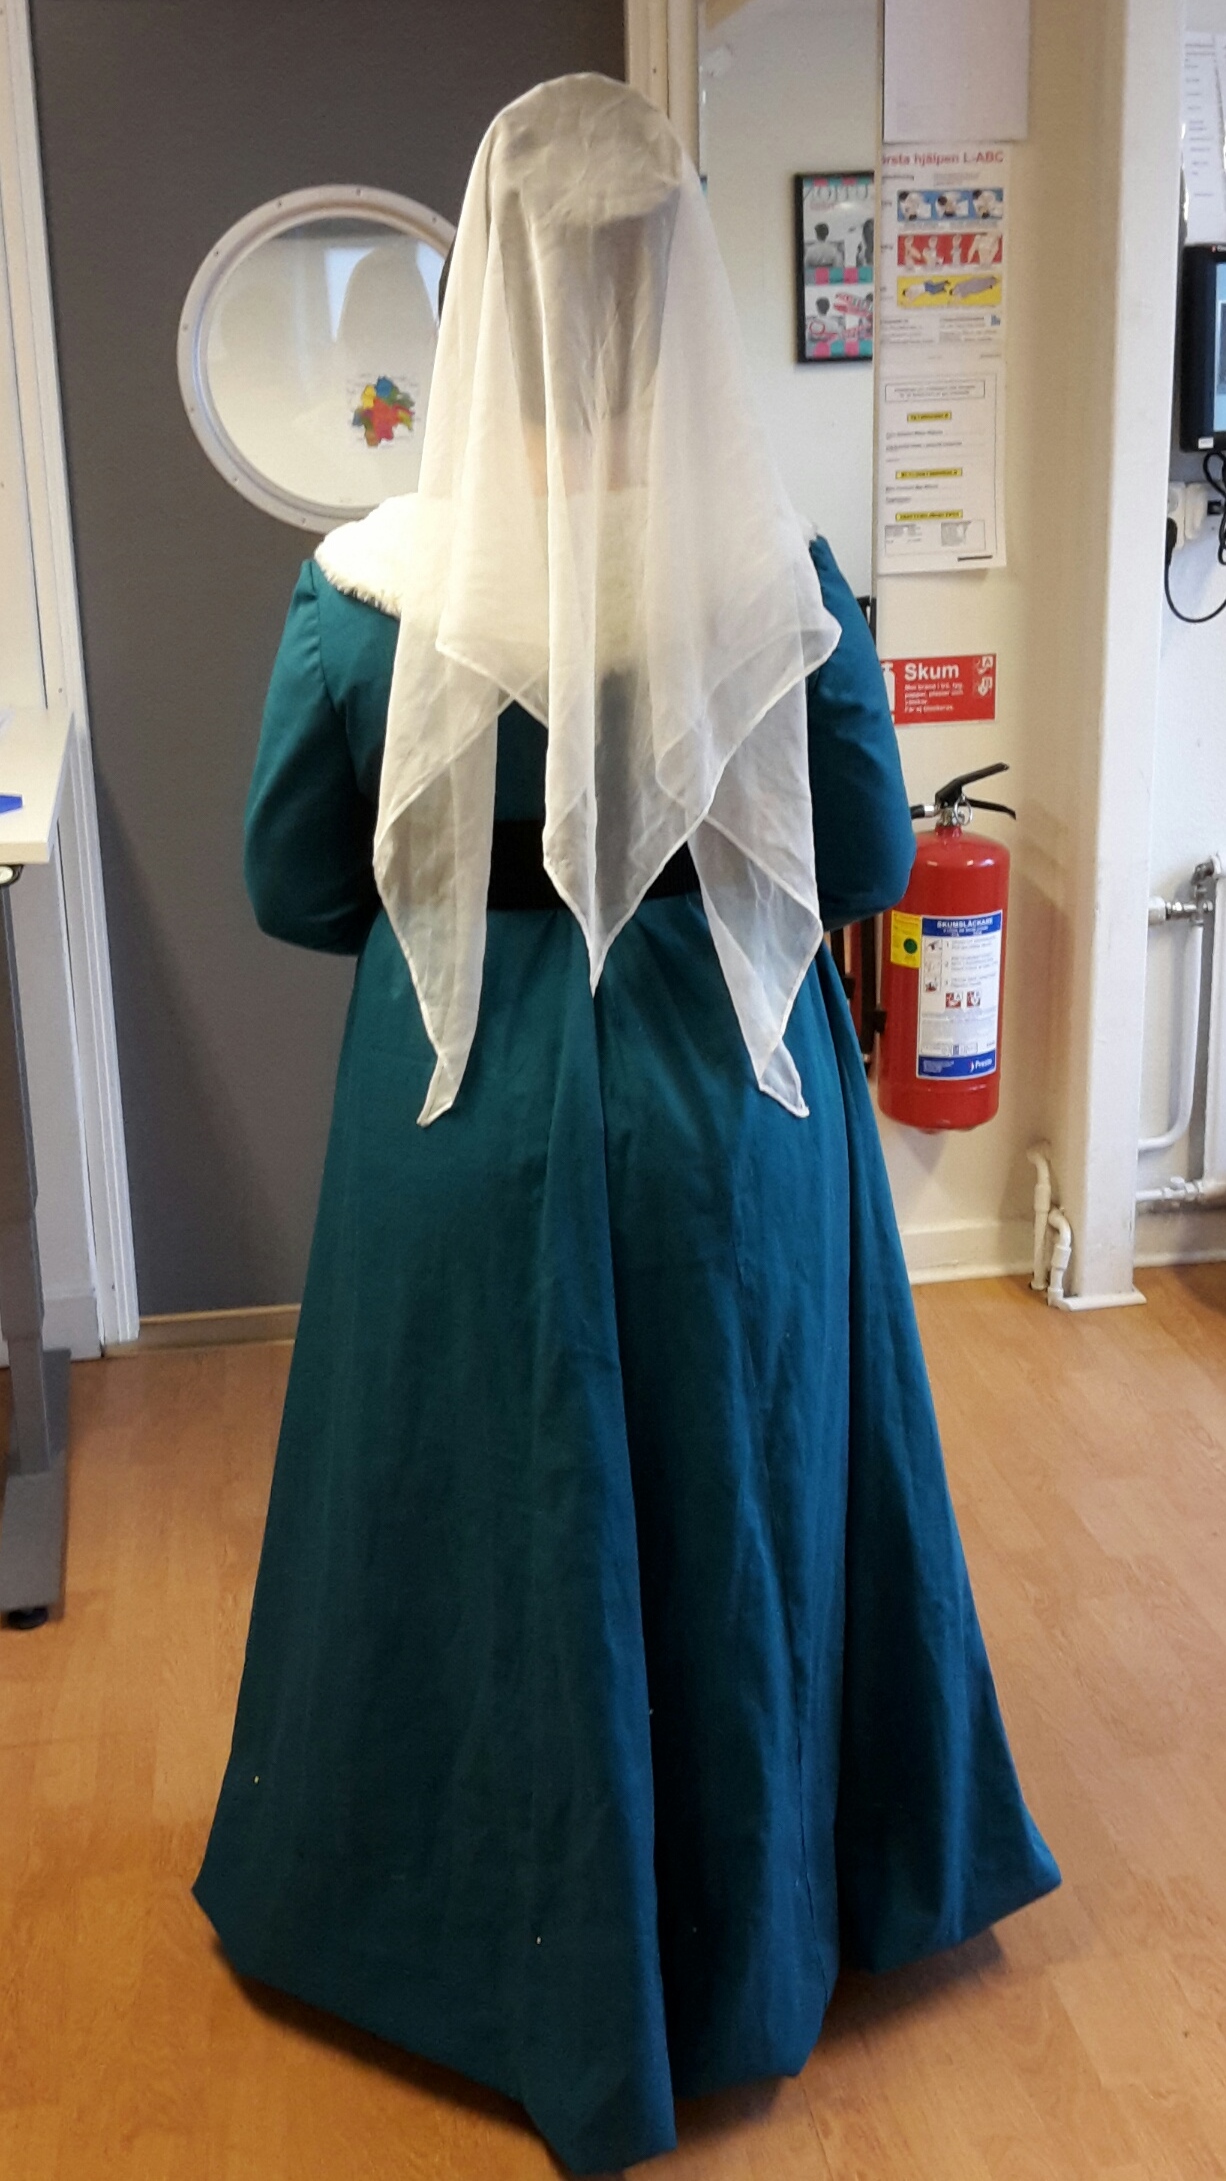 I love the look of this whole outfit
Once my sister left, I got to work on cutting the hem.
I really wanted to make it by hand, but time was running out and I still had the head-dress to finish so I took the easy (fast) way out and machine stitched it.
(Fitting (0,5) + hemming (0,5) + hat (2) = 4 hours)
Friday:
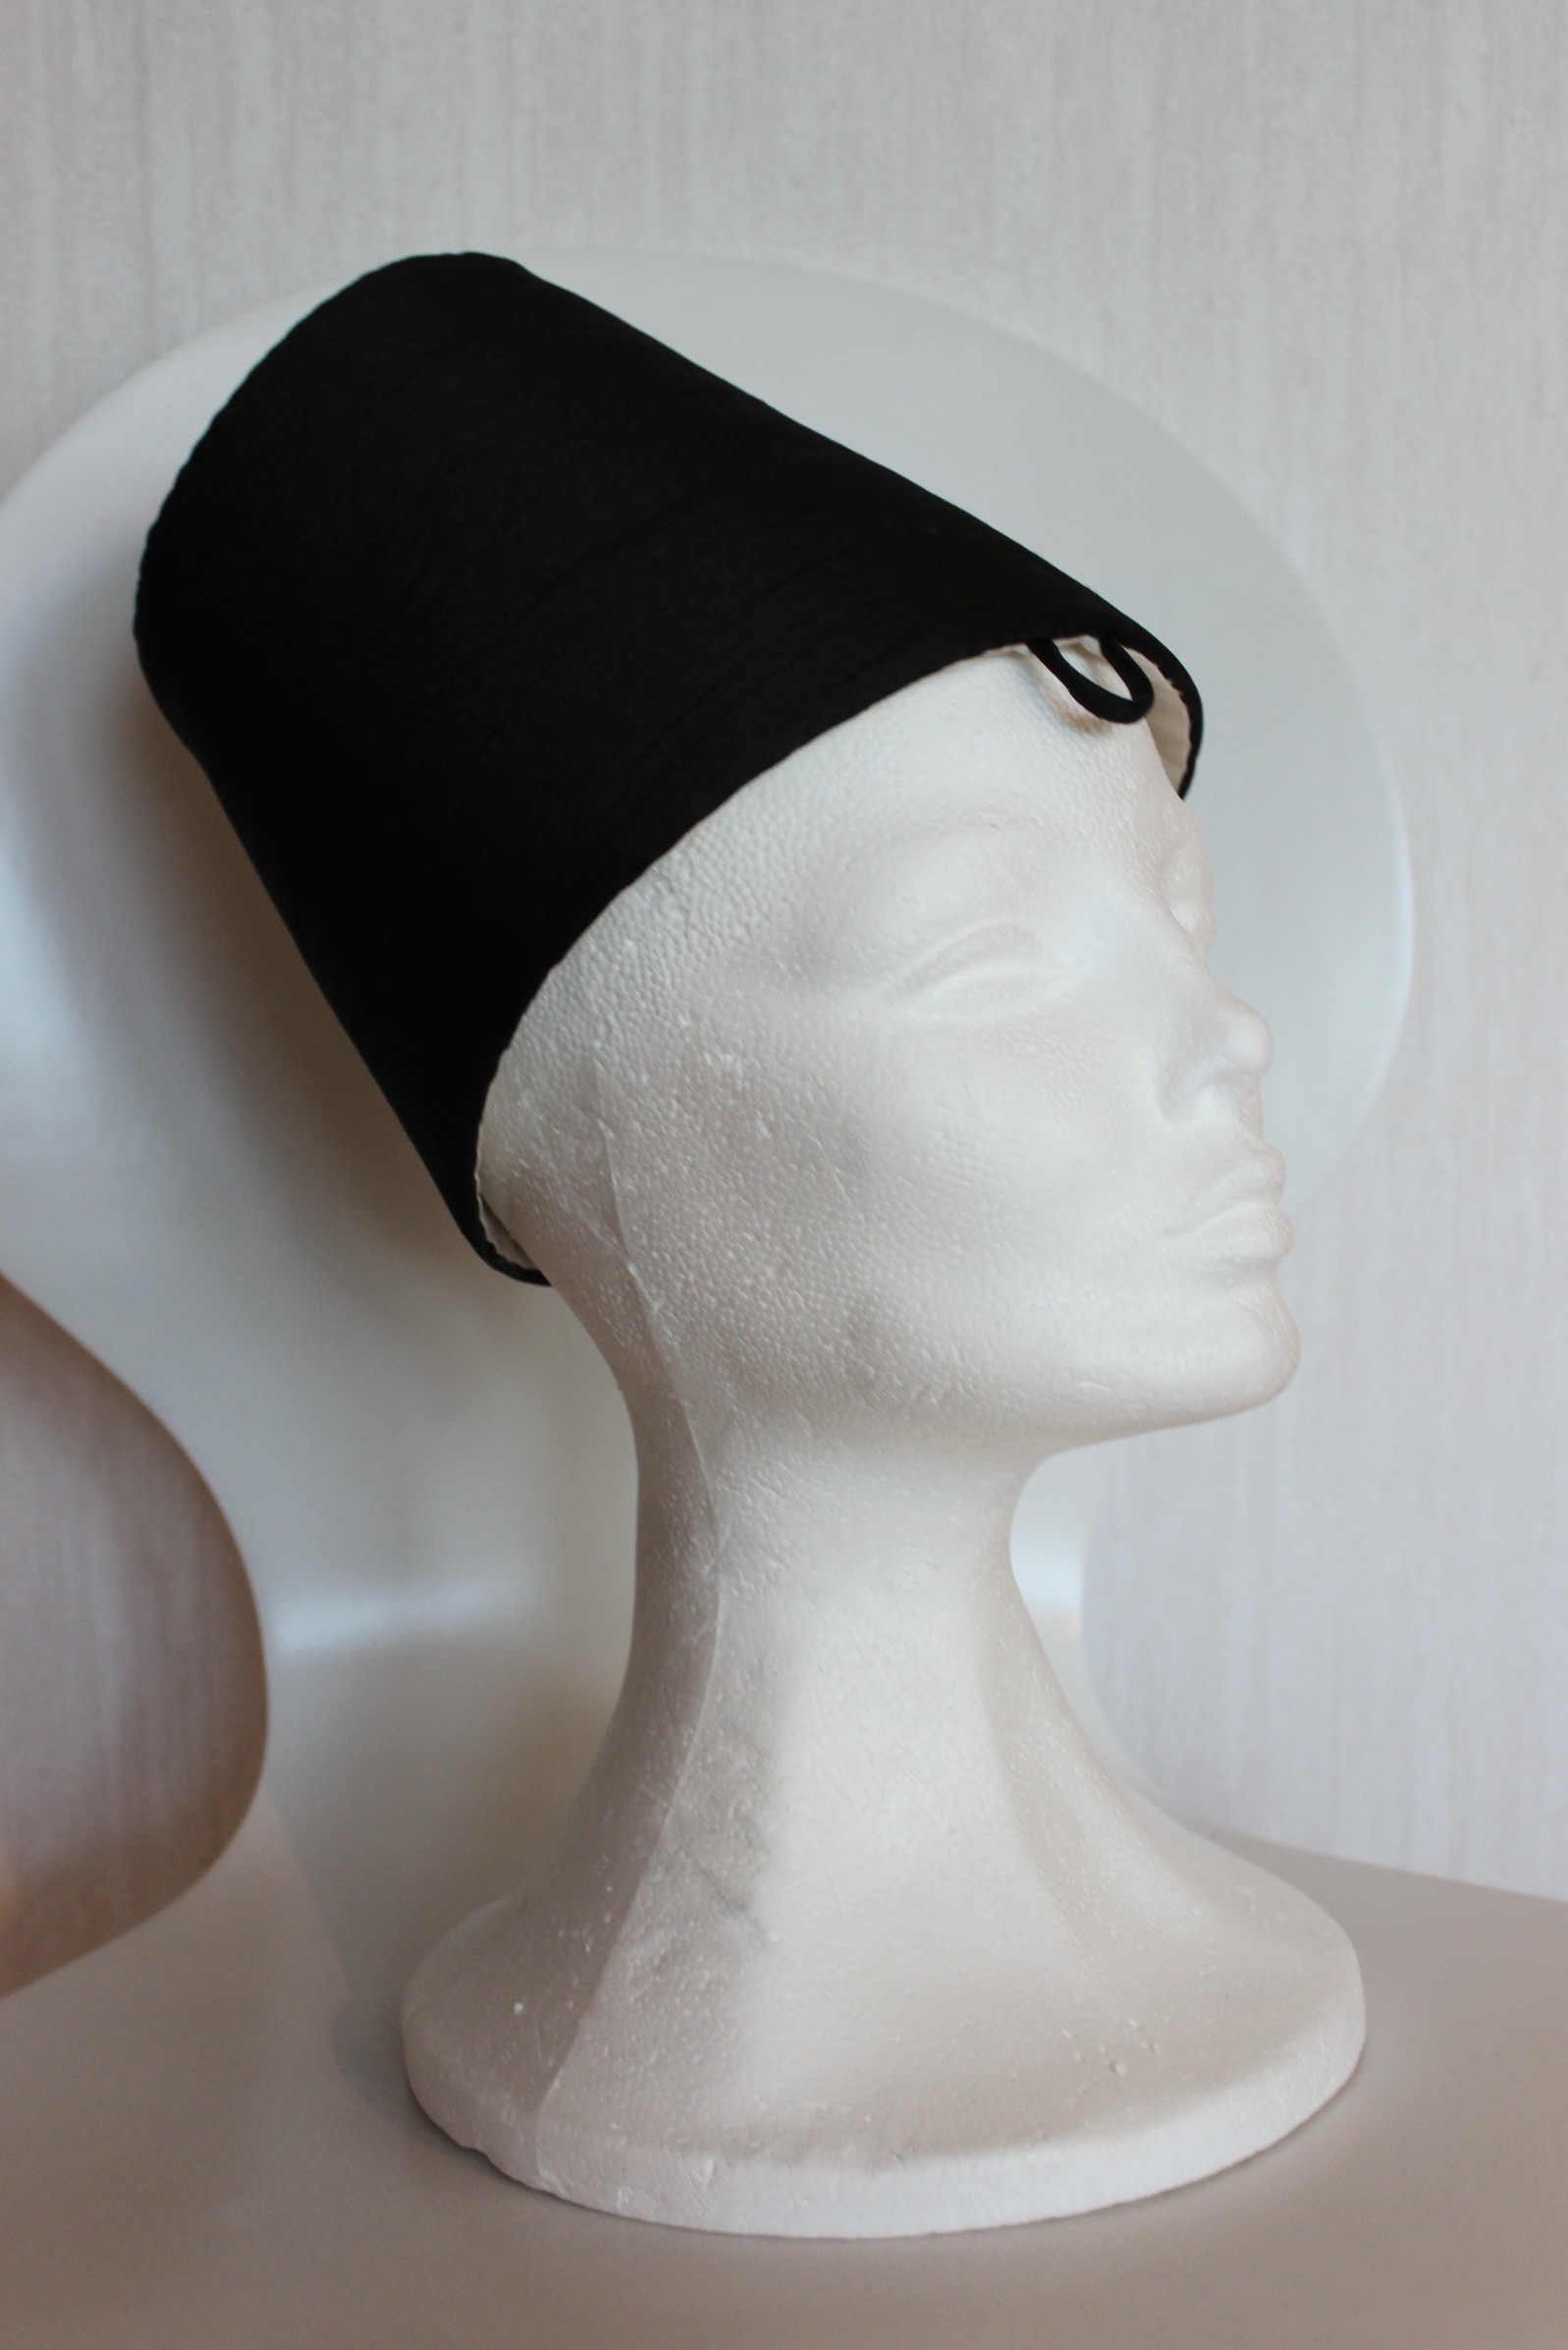
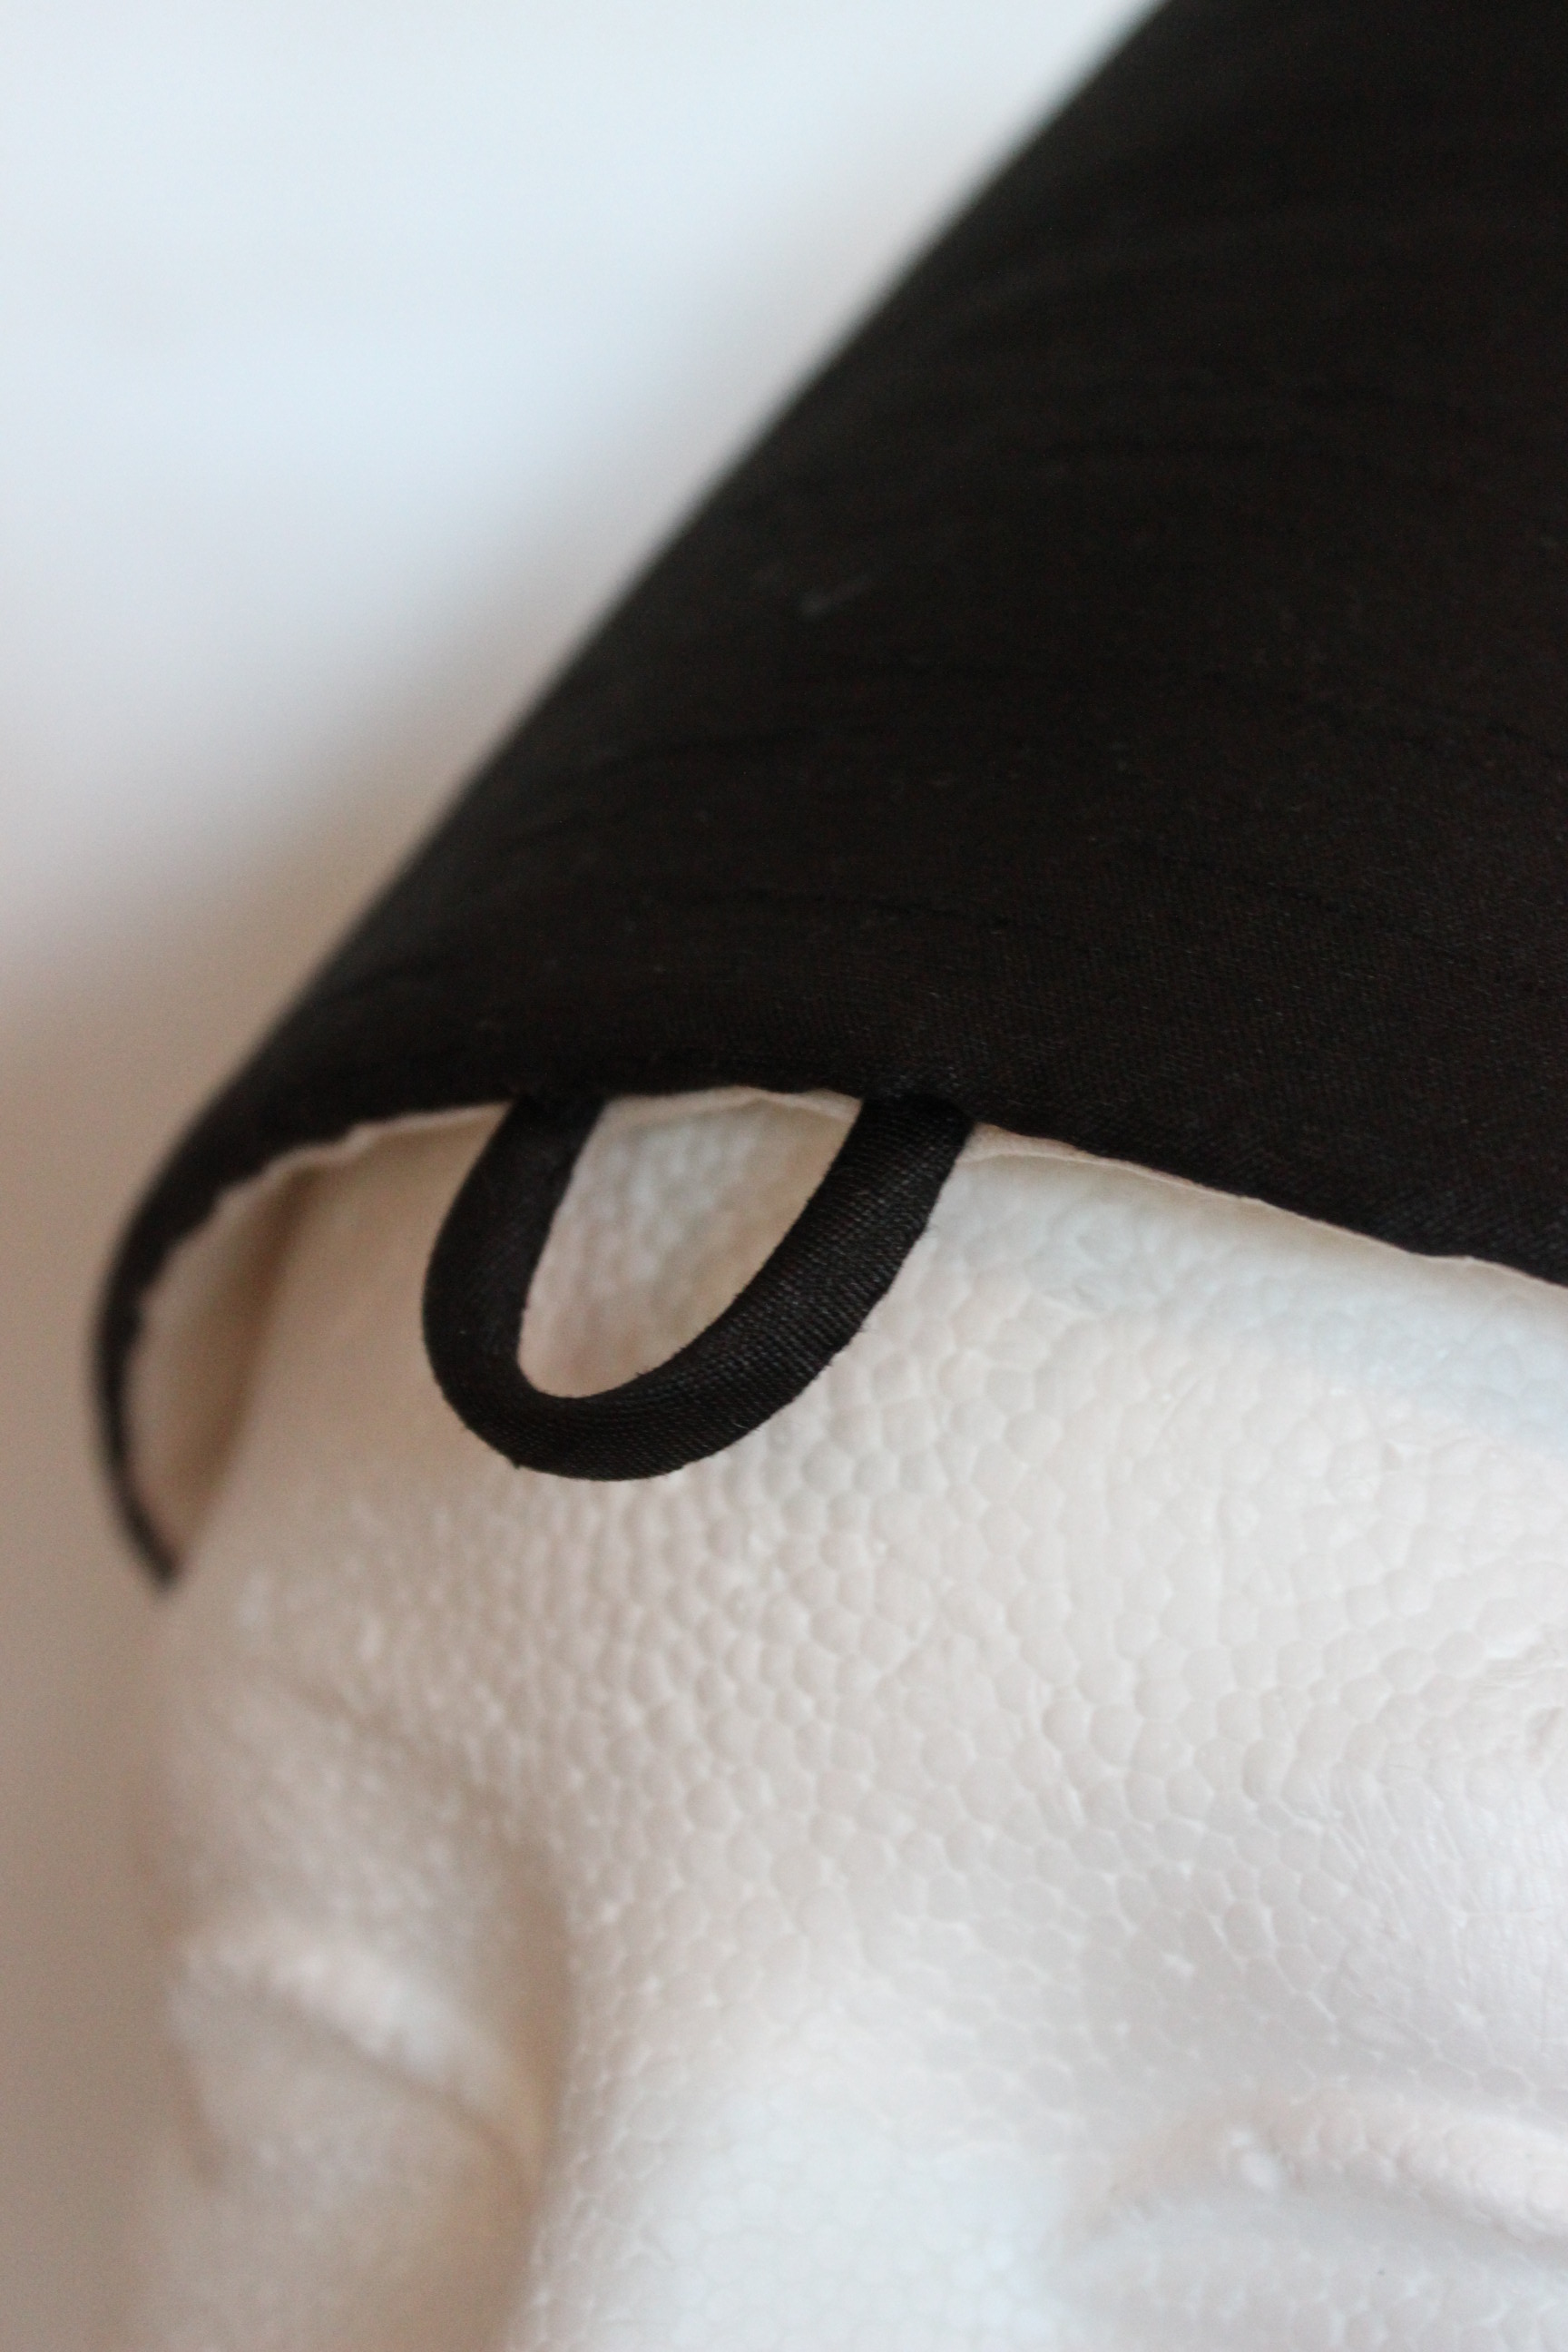
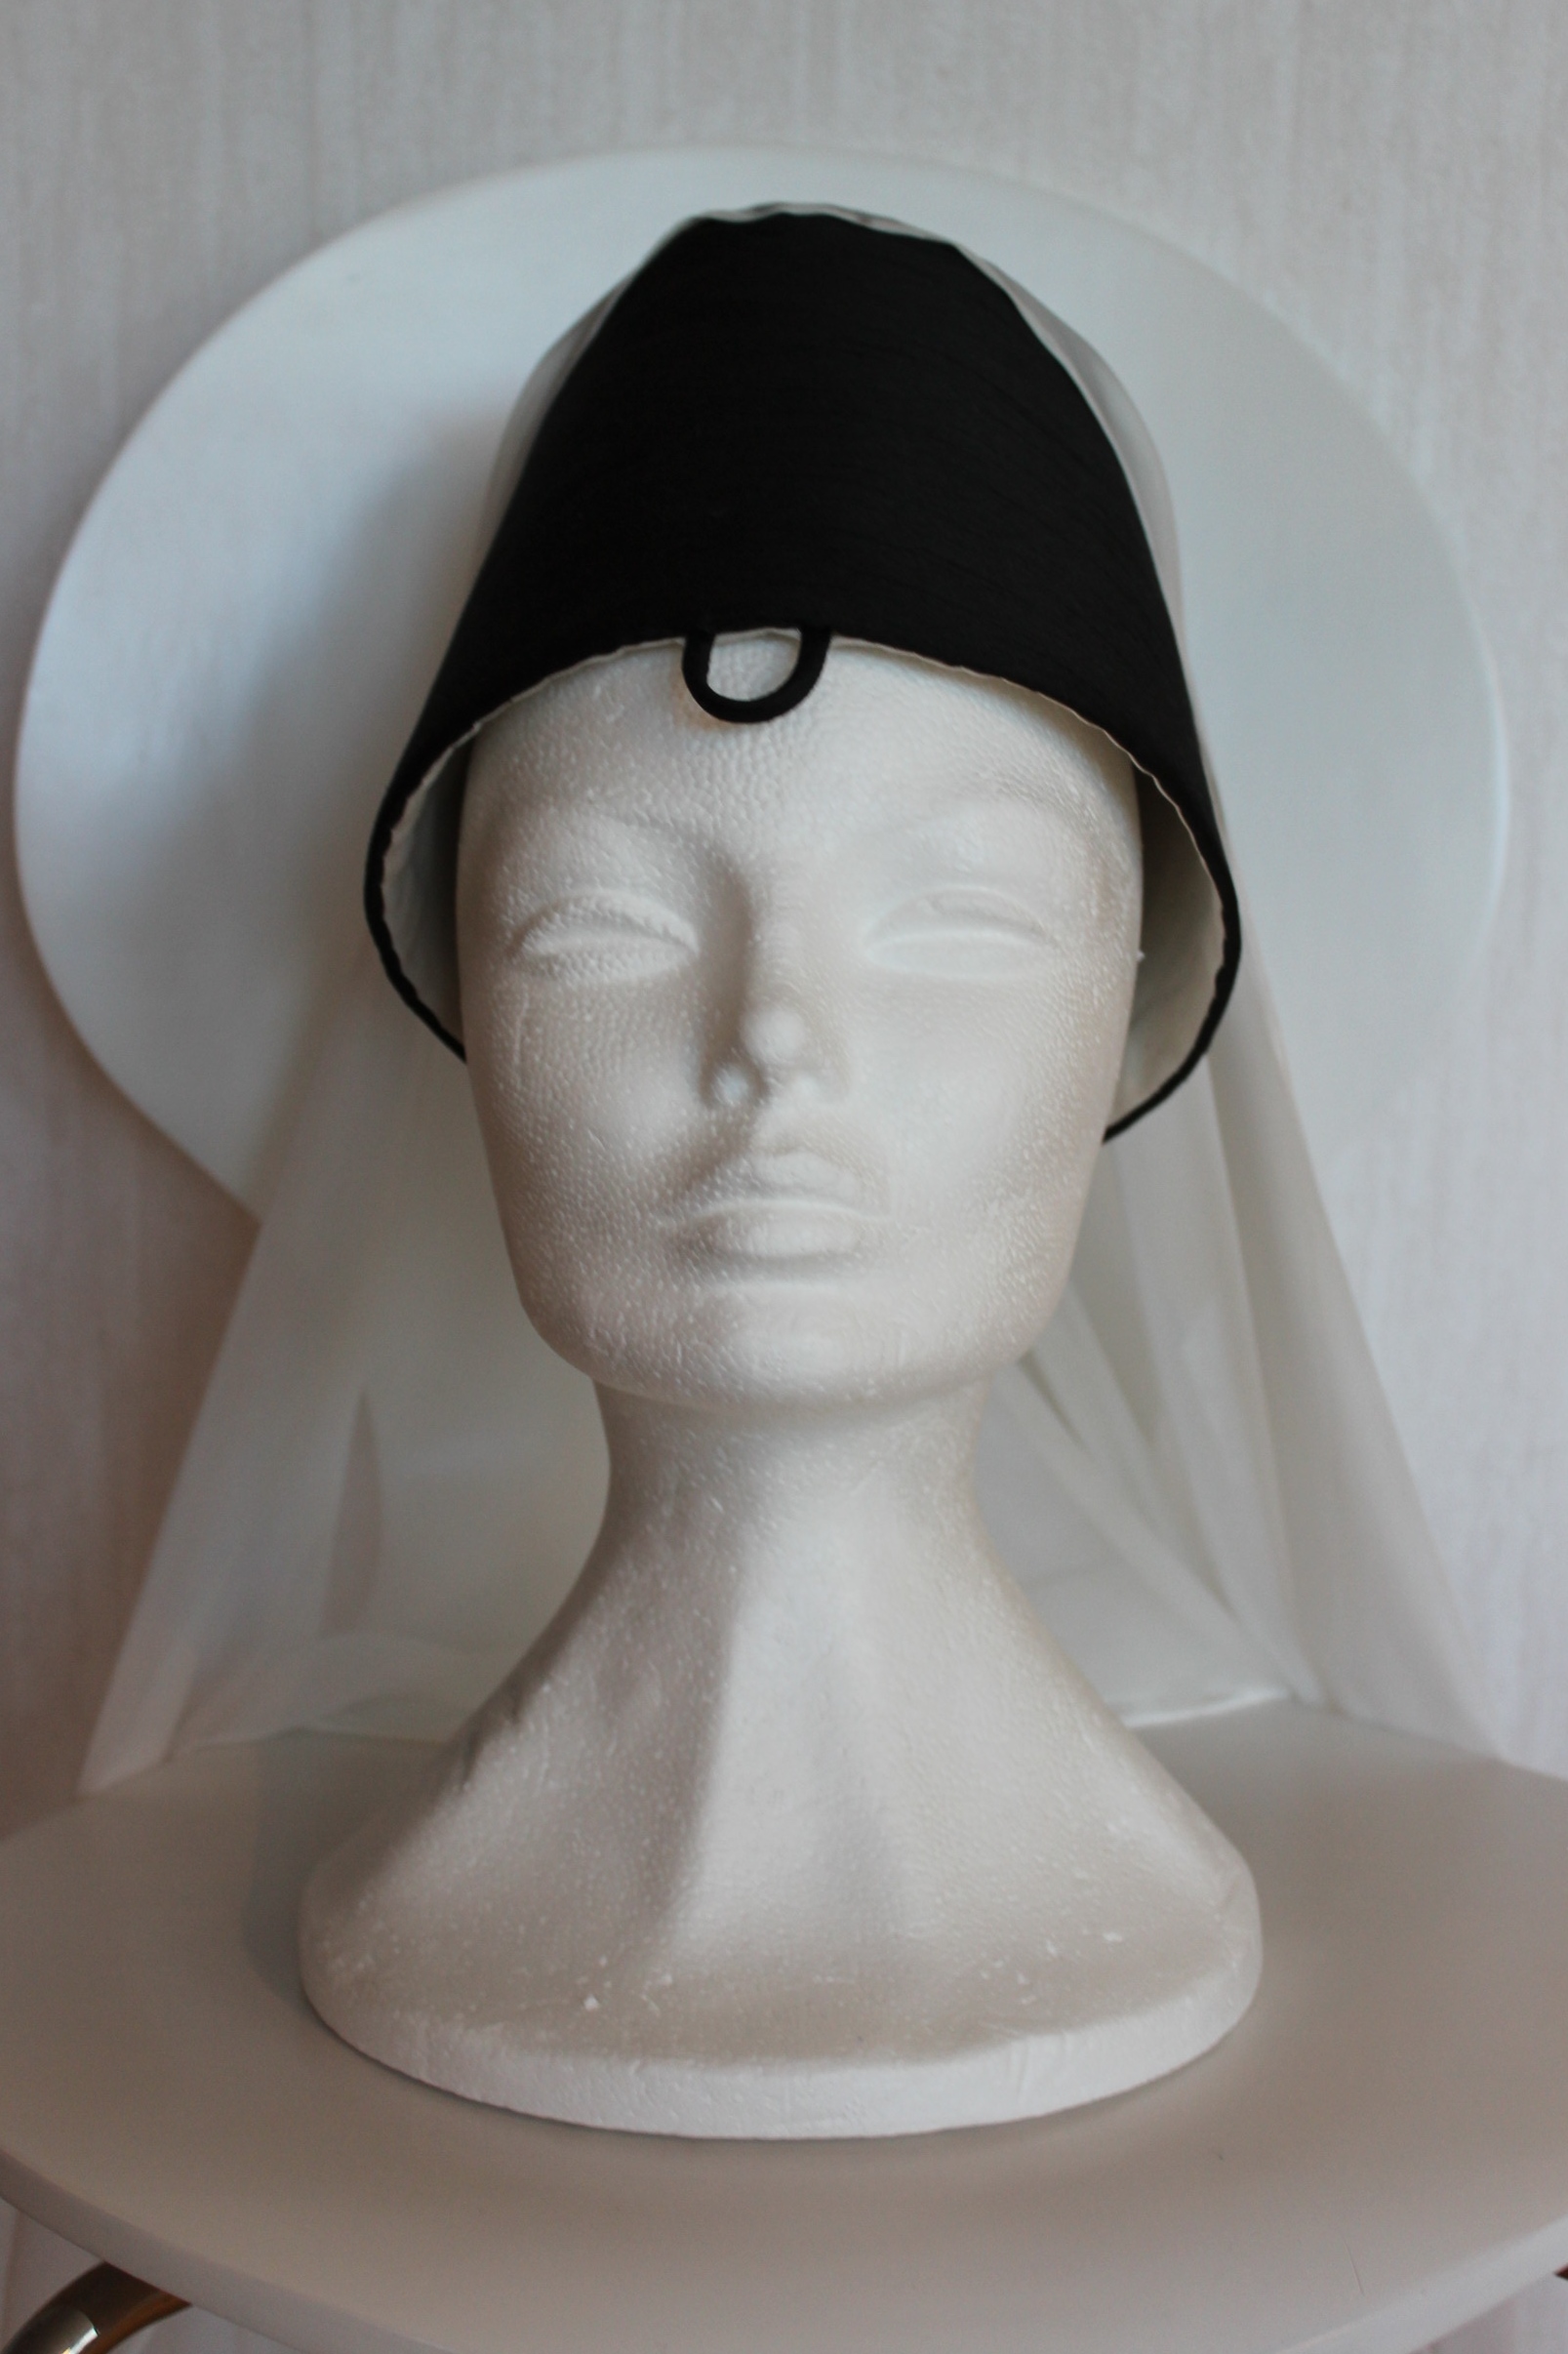
With the dress finished I got to work on the hat, adding the front “loop” and the lining. I finished by attaching a sheer veil (my 18th century fichu) at the top.
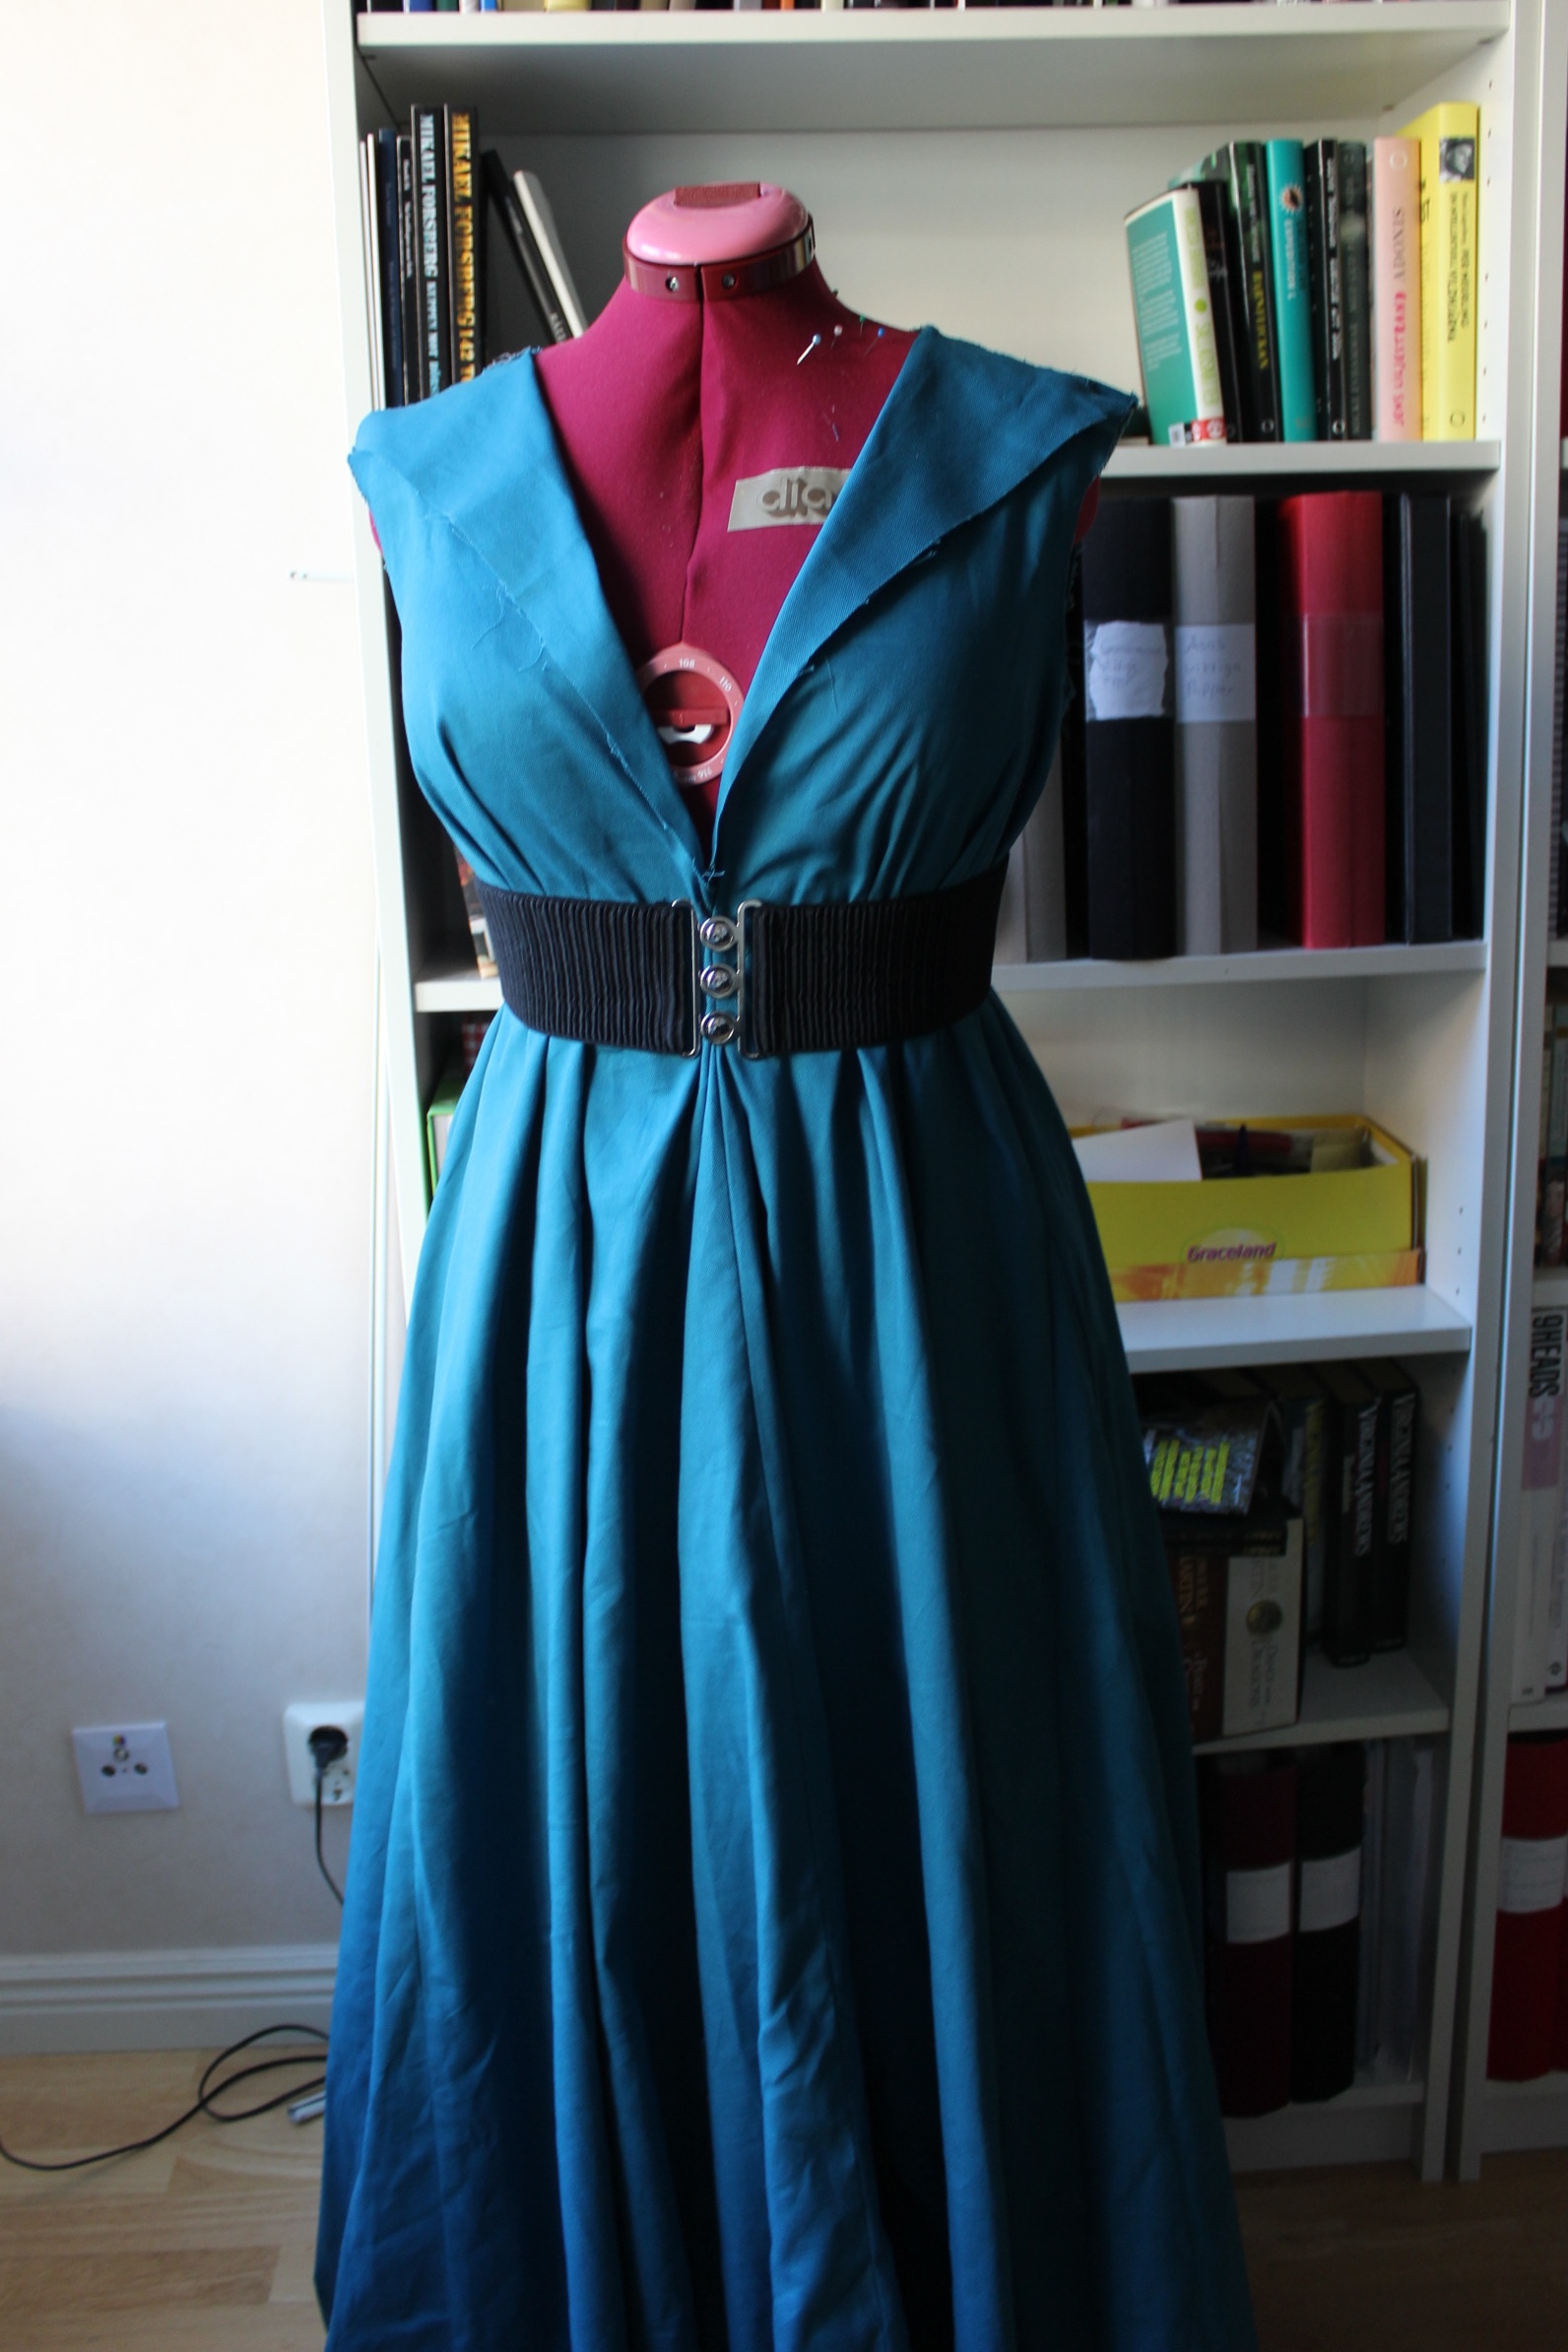
The I steamed the whole outfit, and put it on my dress-form for some nice pictures “finished”.
(Finishing = 3 Hours)
Saturday:
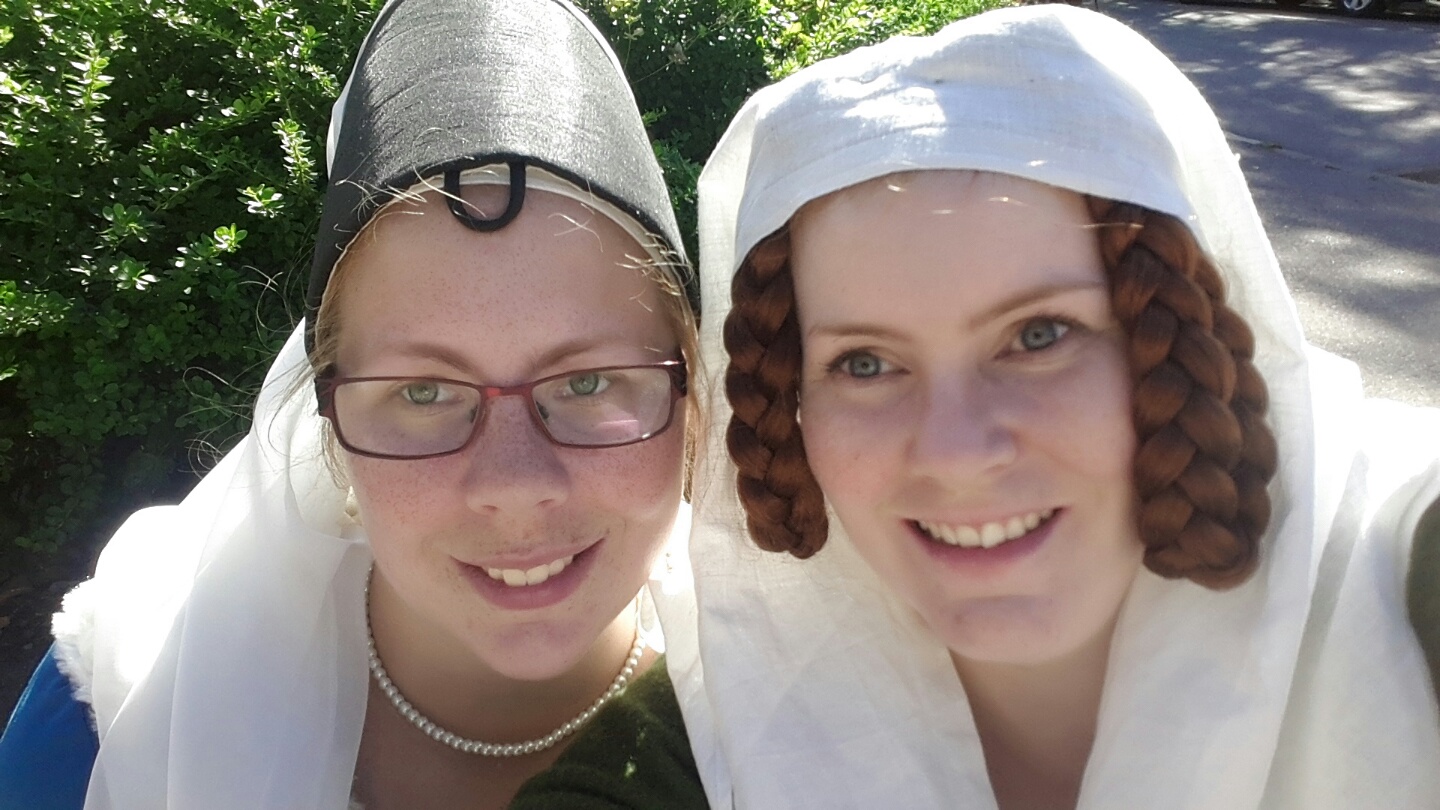
I re-pressed and packed all her garments, dressed in my cotiehardie and traveled to the fair – leaving home 08.00 pm.
More Pics from the Event and photoshoot is in the works.
(pressing, packing and dressing = 0,5 hours)
(Summary: 1 + 2,5 + 5 + 4 + 4 + 3 + 0.5 = 24 hours)
The Finished Hat:

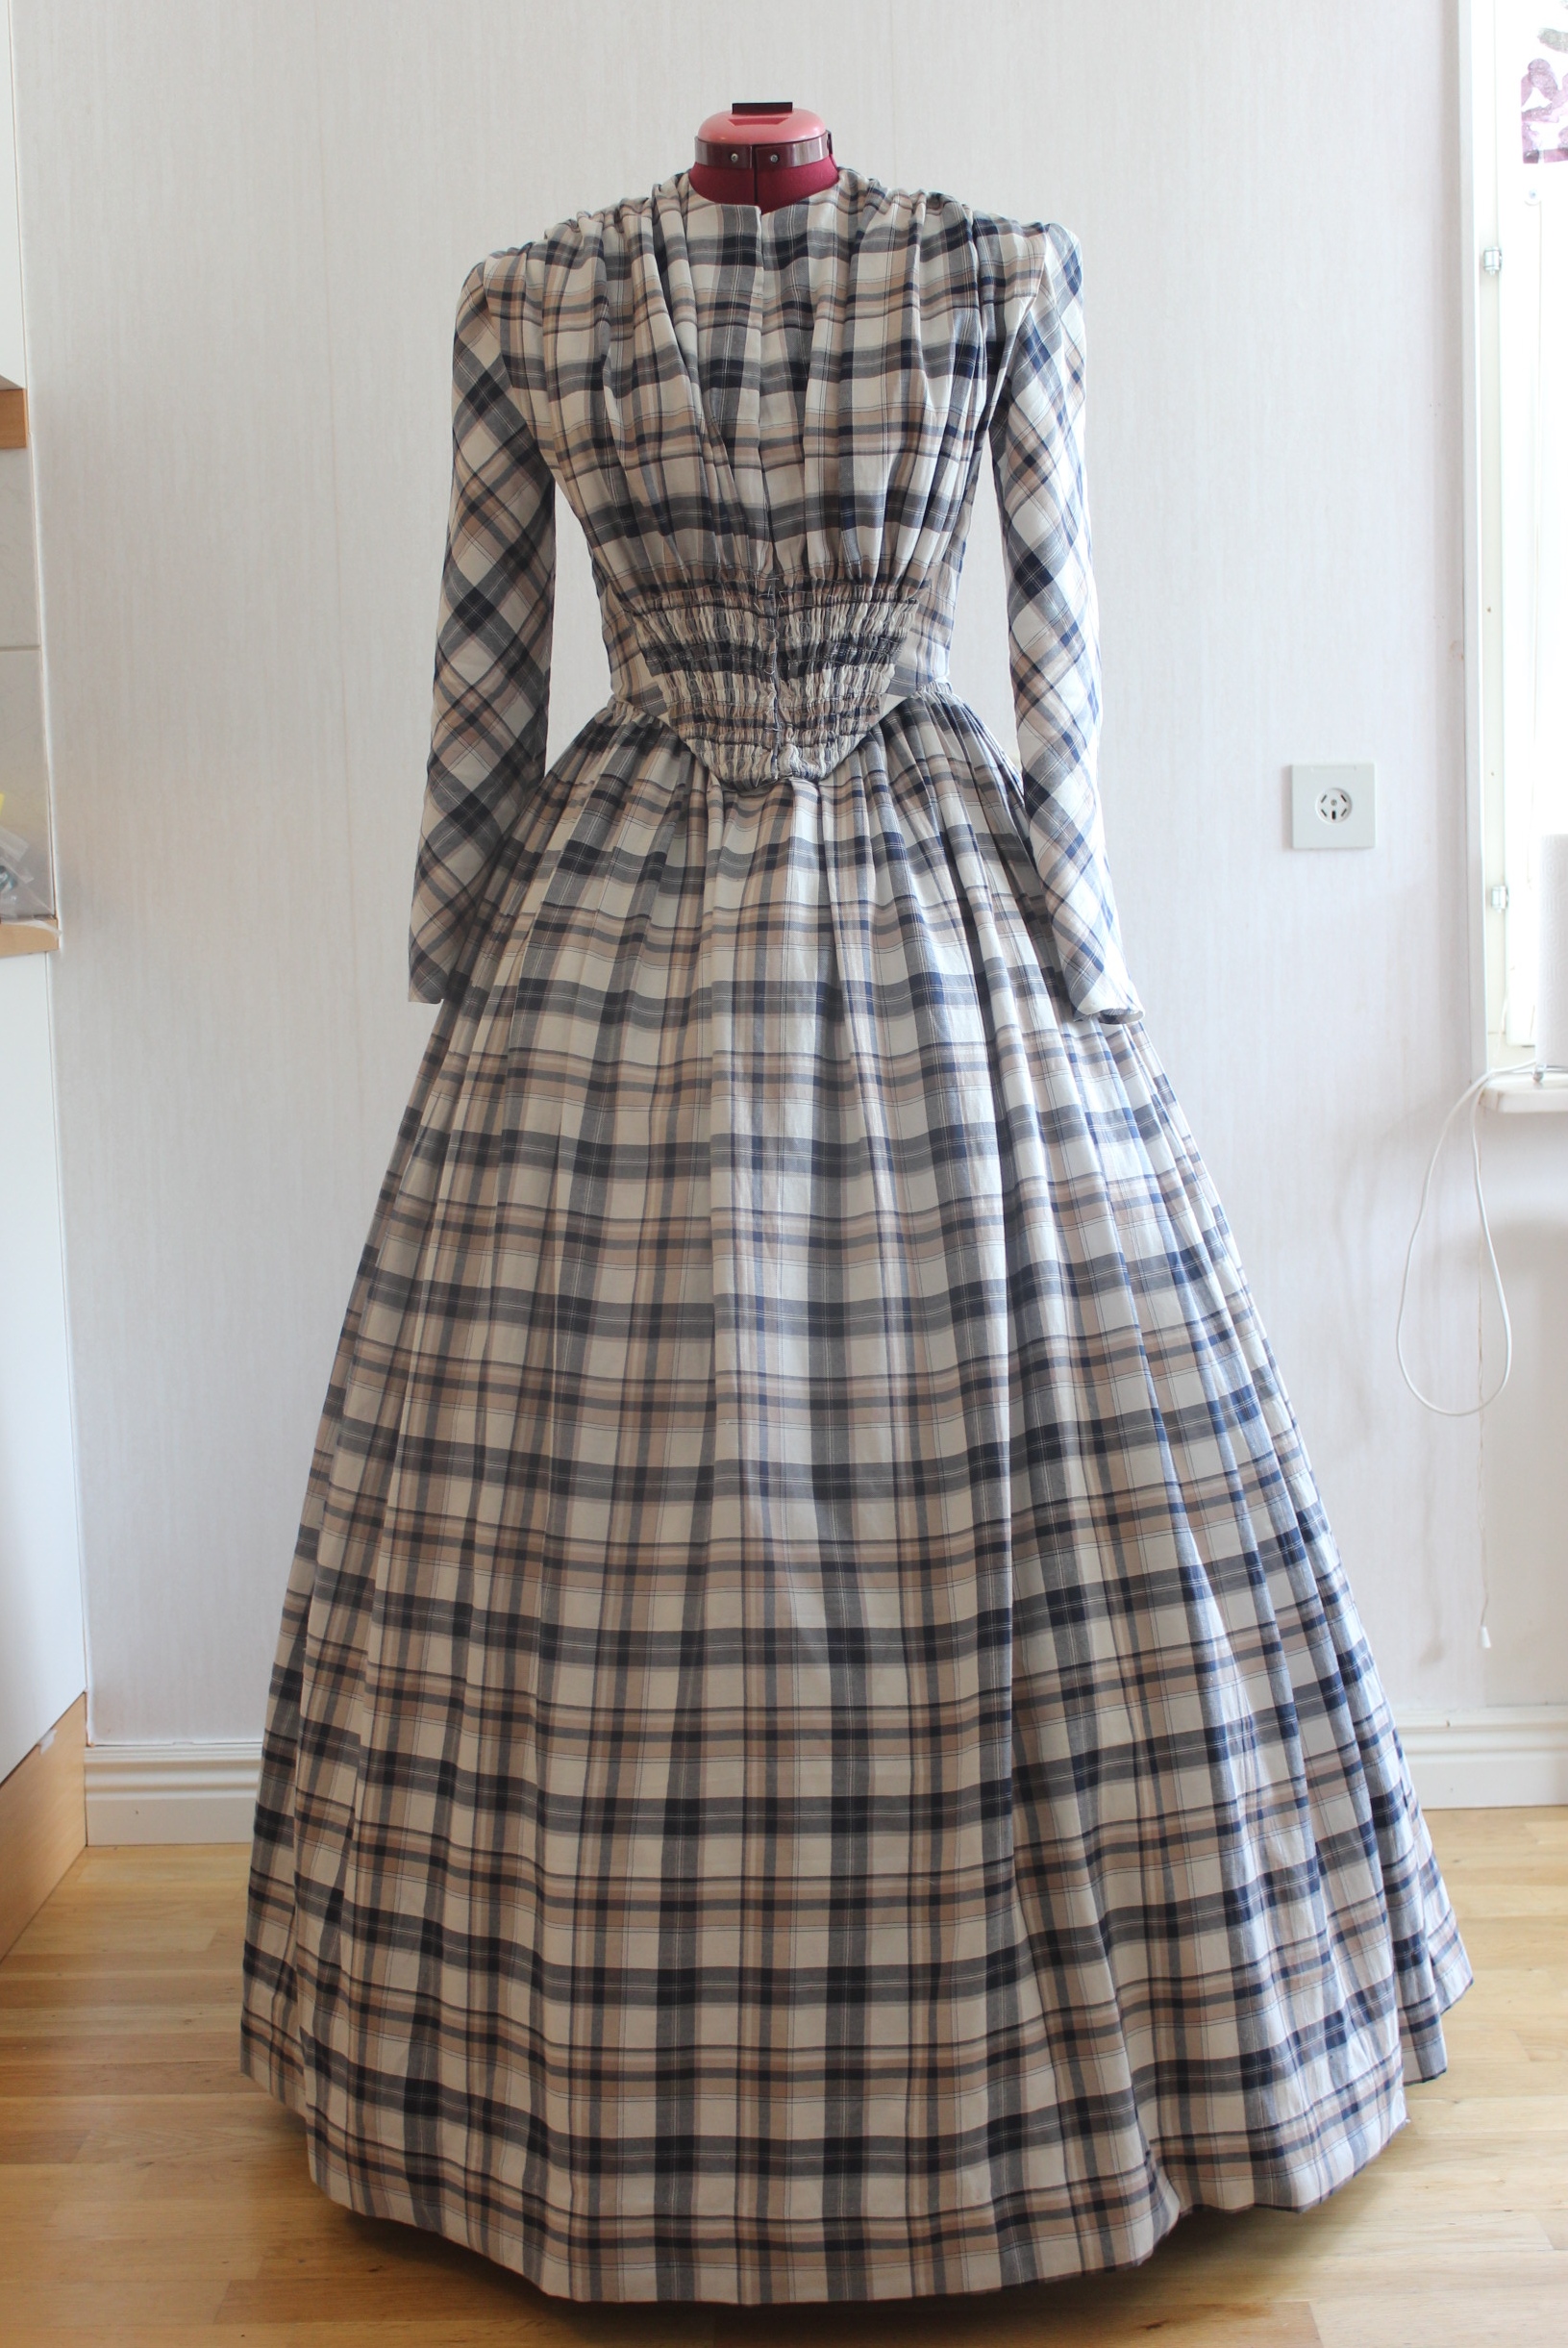
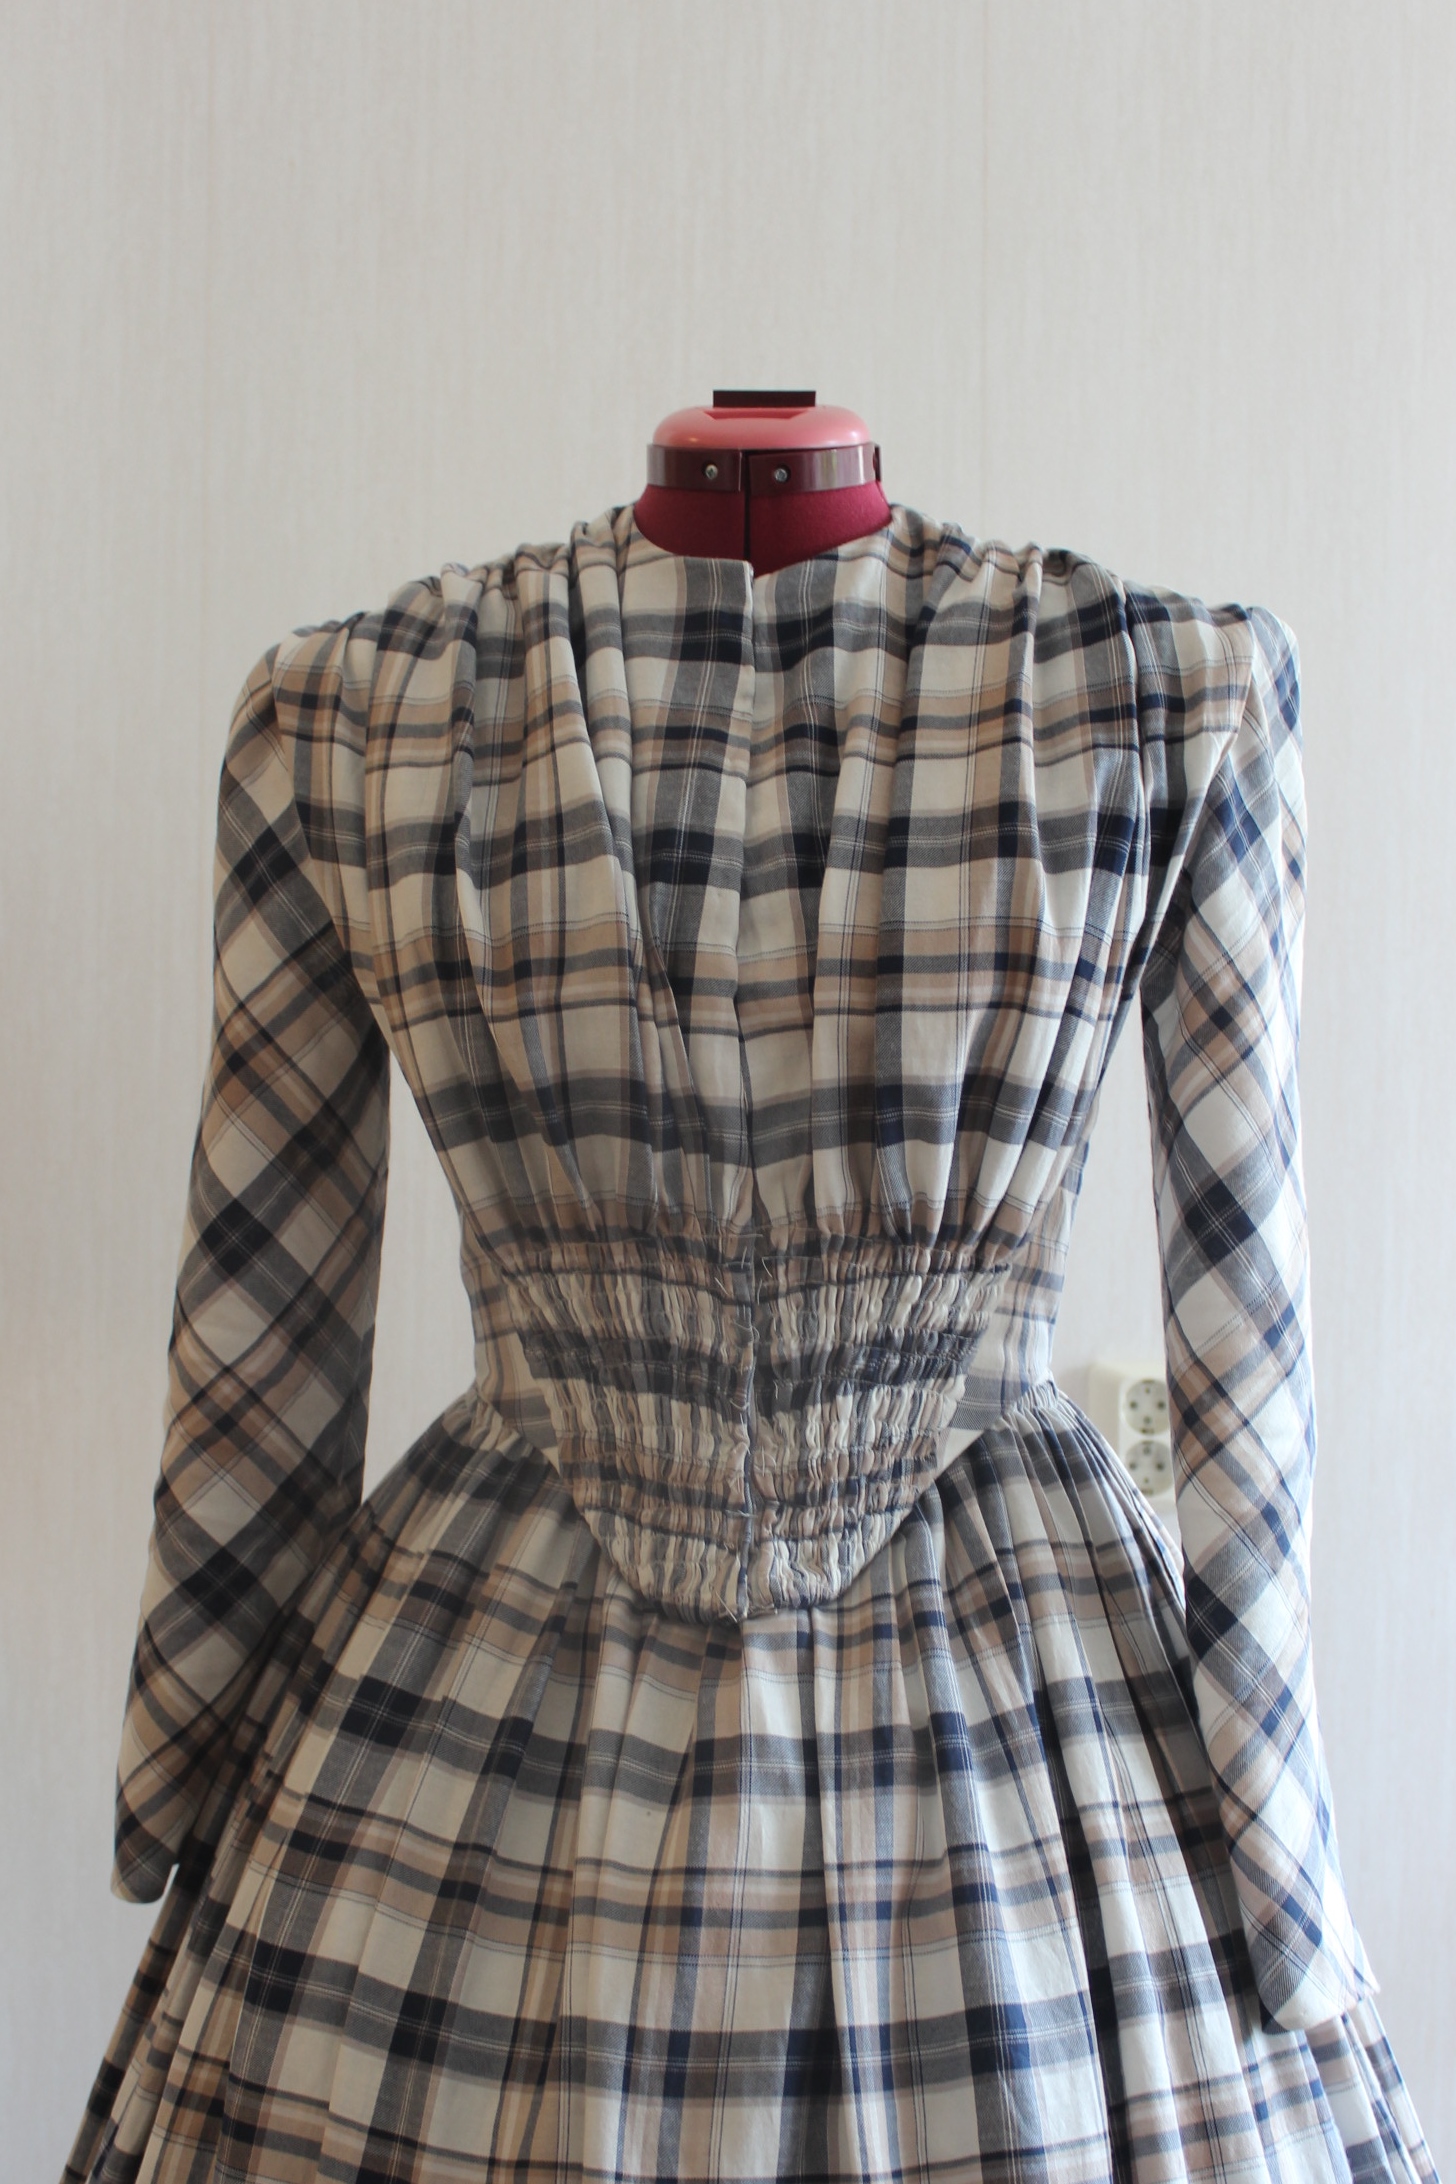
The Finished Dress:


The facts:
What: a 15th century Burgundian gown and hat.
Pattern: I drafted my own using “The Medieval Tailor Assistant” as a guide and my modern bodice templates as a base.
For the hat I refereed to lots of picture sources online this being the main one.
Fabric & Notions: 4 m of teal cotton twill, 0,3m purple cotton twill for the stomacher, 0,3m white fake fur, and thread.
For the hat I used 0,3m black fake silk, 0,3m buckram, pieces of batting, cotton scraps for lining, 0,5m polyester chiffon for the veil (I used my 18th century fichu), 1m of millinery wire and thread.
Time: 24 hours including fittings and millinery-work.
Cost: About 300Sek (48usd) although some of teh material came from my stash so we didn’t pay that much up front.
Final thoughts: I’m so happy with how it came out, And I think my sister also loves it – at least she looked quite happy and confident at the event yesterday…
The only thing that may need some fixing is to lengthen the sleeves about 1 cm, which I in my hurry to finish cut to short – ops.
But the worst thing is – Now I have to buy some nice wool (or brocade silk, oh my) to make myself one of these gowns….


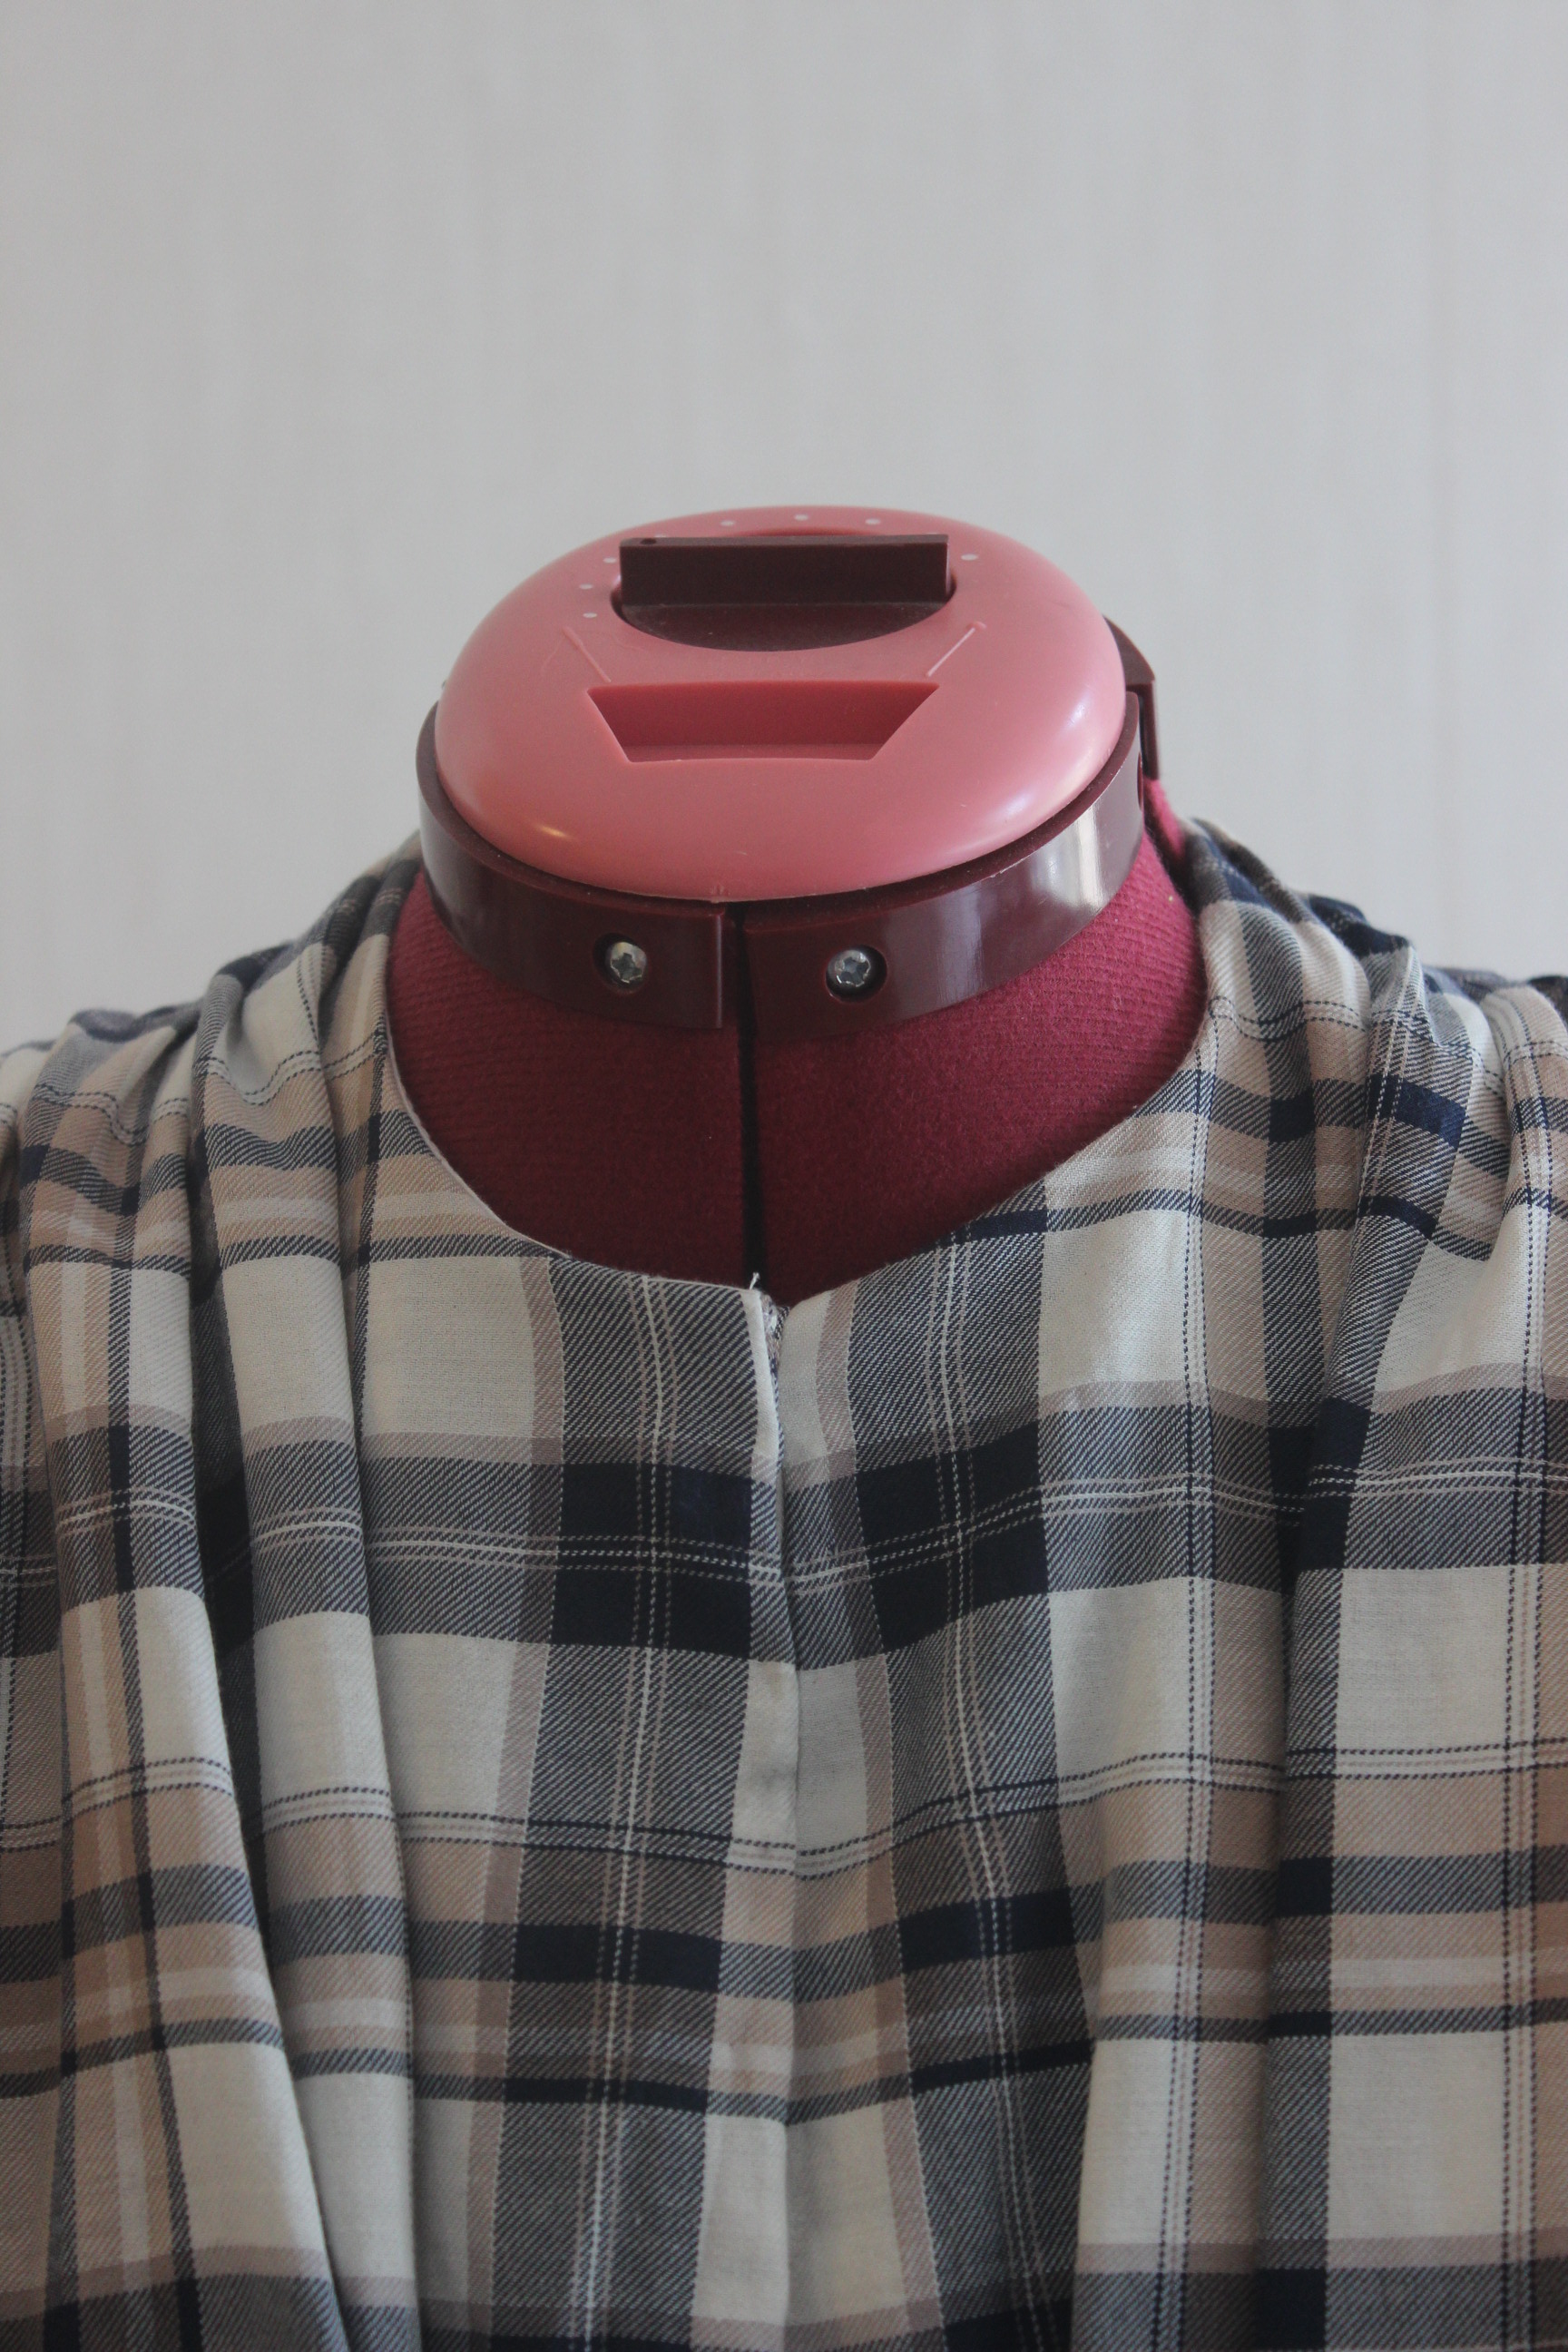
 I didn’t had time to ad the clouser to the front (Edit: Now it’s done).