1810s Layering

Last weekend when dressing for the “Mikelsmäss” I spent 1 hour on my hair (curling, styling and tying the turban) and the remaining 10 minutes to get the rest of the costume on.

This was not a good way to do it, since I usally count at least 30 minutes for the dressing. So I ended up going “half dressed” to the event, and needed help with getting the fichu right and to close the dress when I arriwed.

The reason why it takes so long getting dressed, are of course the many different layers of clothing you need to get the right look of your costume. And tying a back laced corset on your own takes both skills and time.

So here is an other “un-dressing” post – Regency style.

IMG_2256
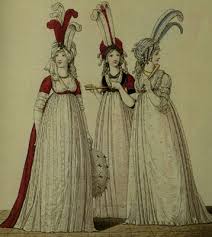
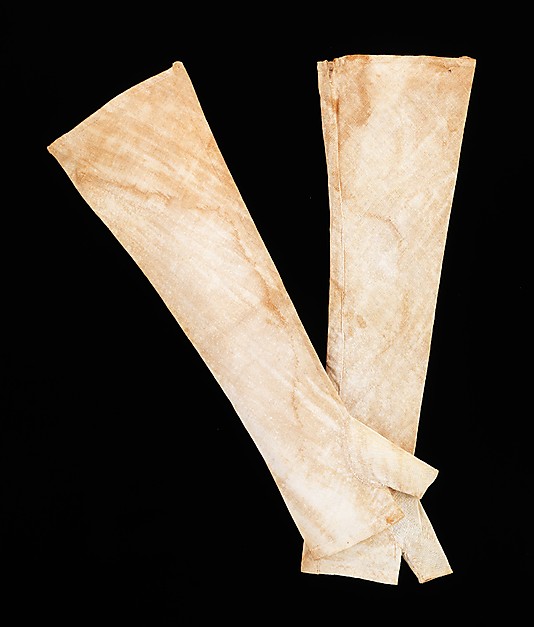
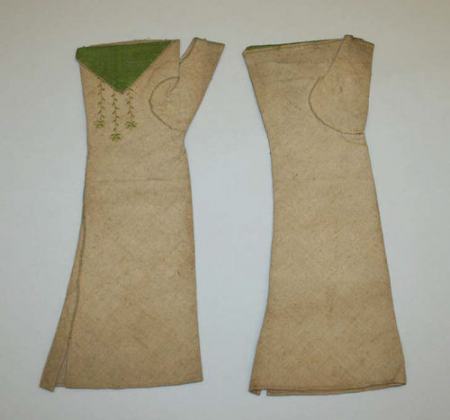
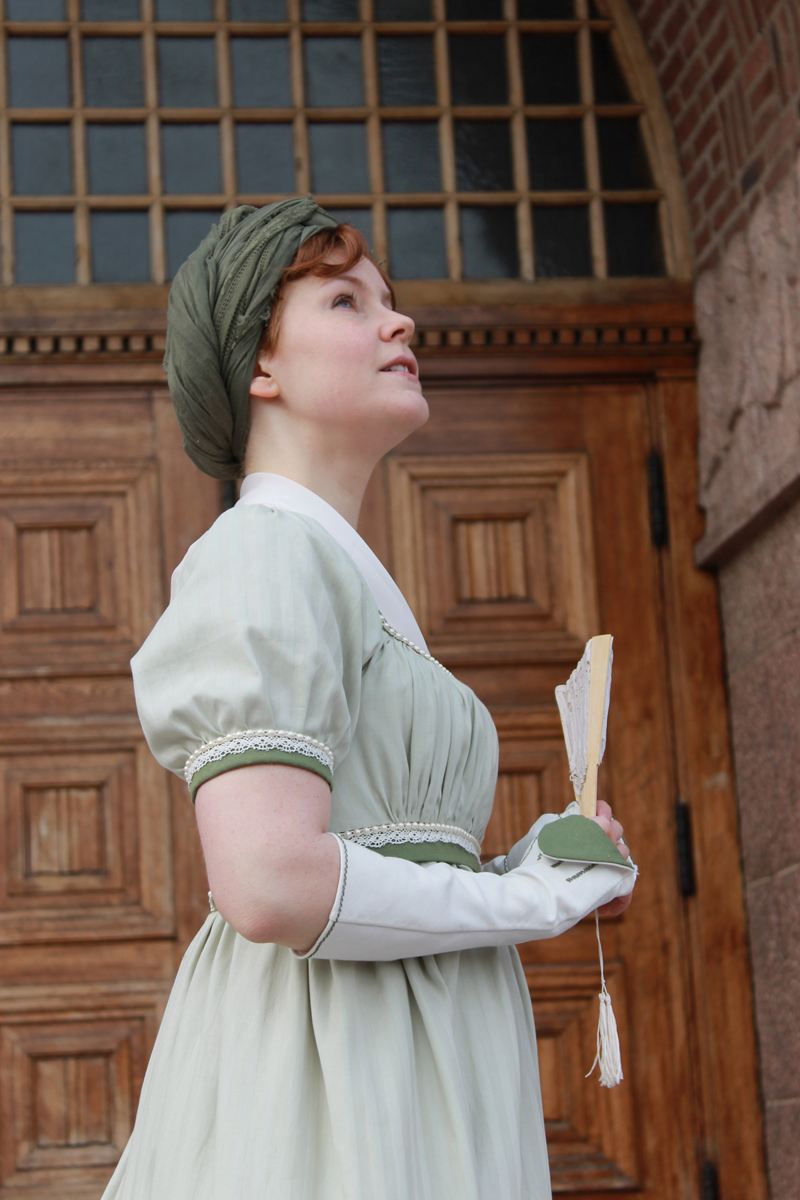
Lets start fully dressed in: Gown and fichu, whit a headress (turban) and some accessoares like mittens and a shawl.

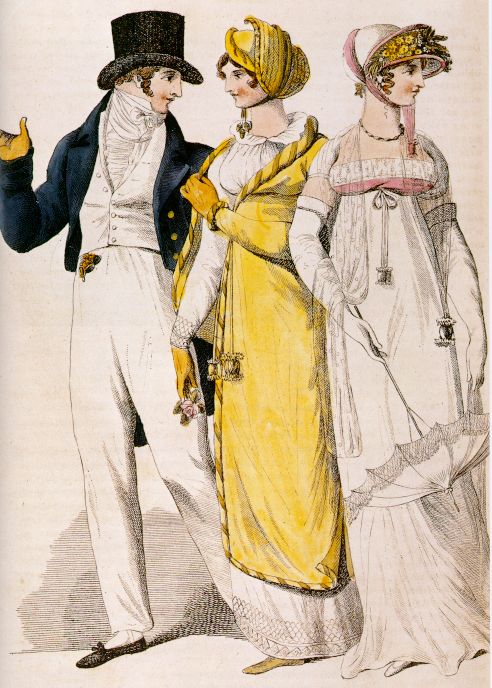
You could also wear a open robe or a spencer over the dress, and a few more accessoares like a riddicule (bag), muff, fan or a parasol.

IMG_2264
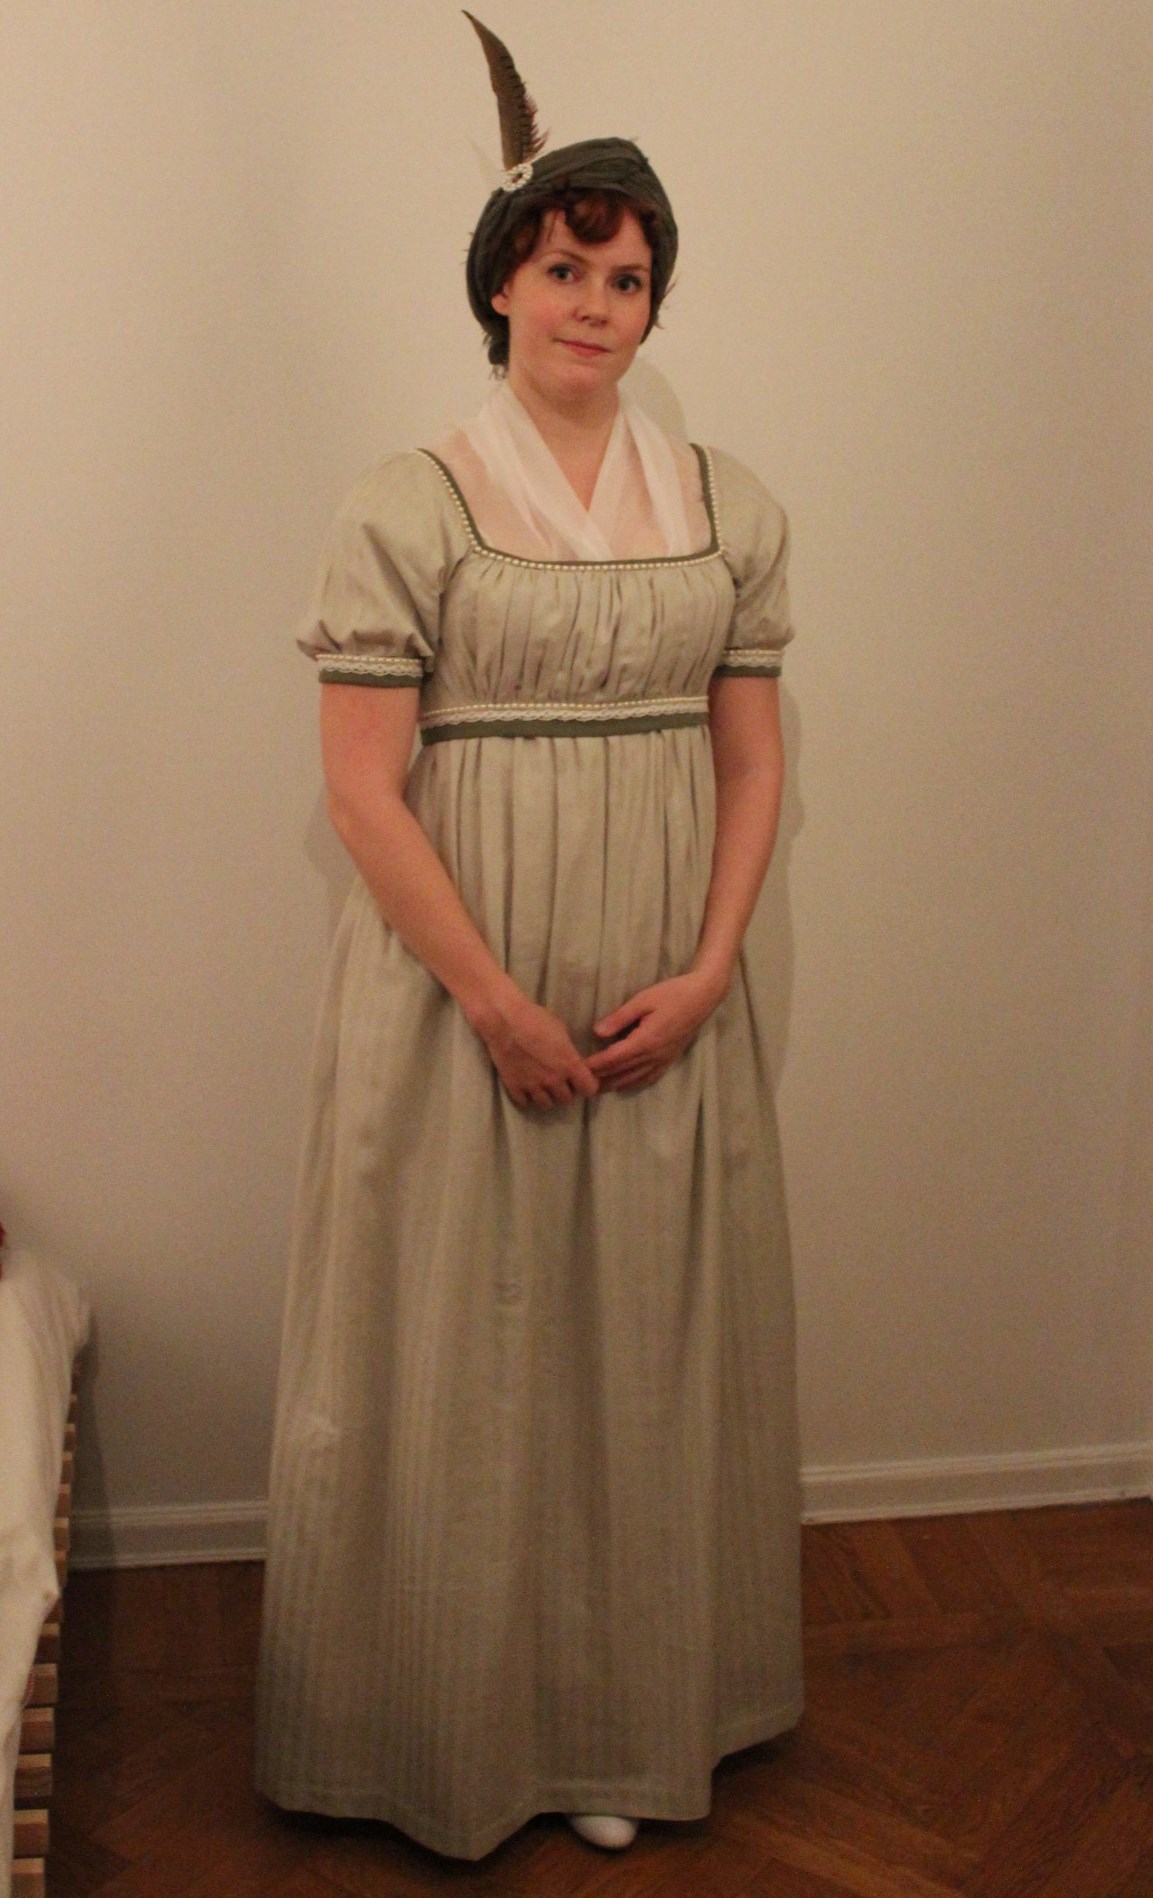
Lets take away the accessories.

By now you could call yourself dressed and be on your way. But you would need some small items/accessoares to compleate the look of your costume.

IMG_2266
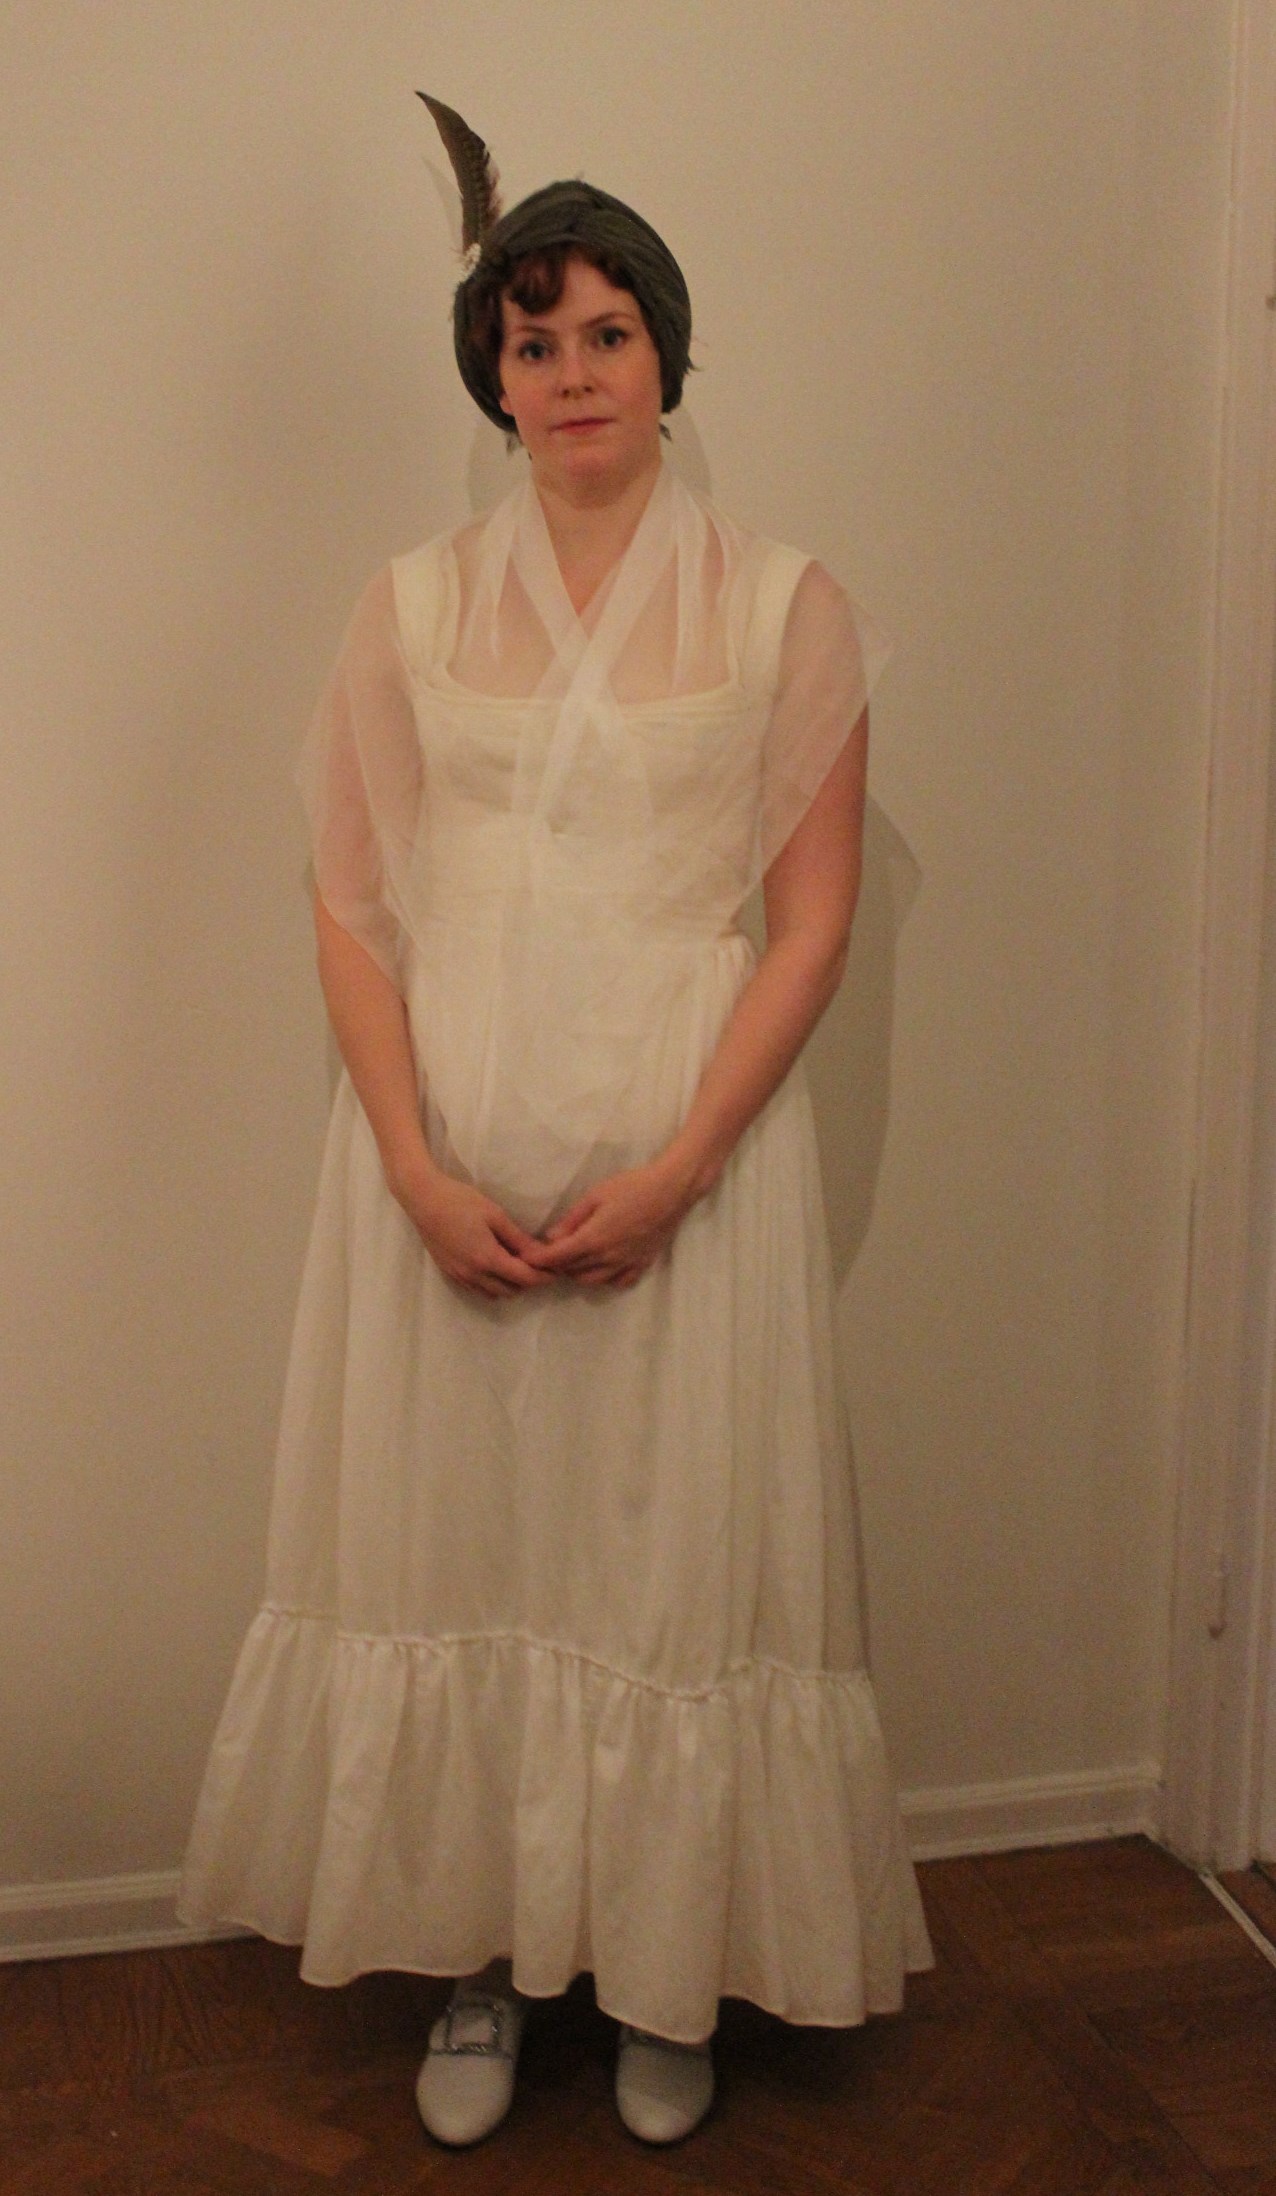
Once we take the gown of, we reveal the complete fichu, the petticoat and the some of the corset.

The fichu is a pice of sheer fabric shaped as a rectangel or a tiangel. Ladies used it to cover the neck and bust, and pined it on before putting on the gown.

IMG_2273
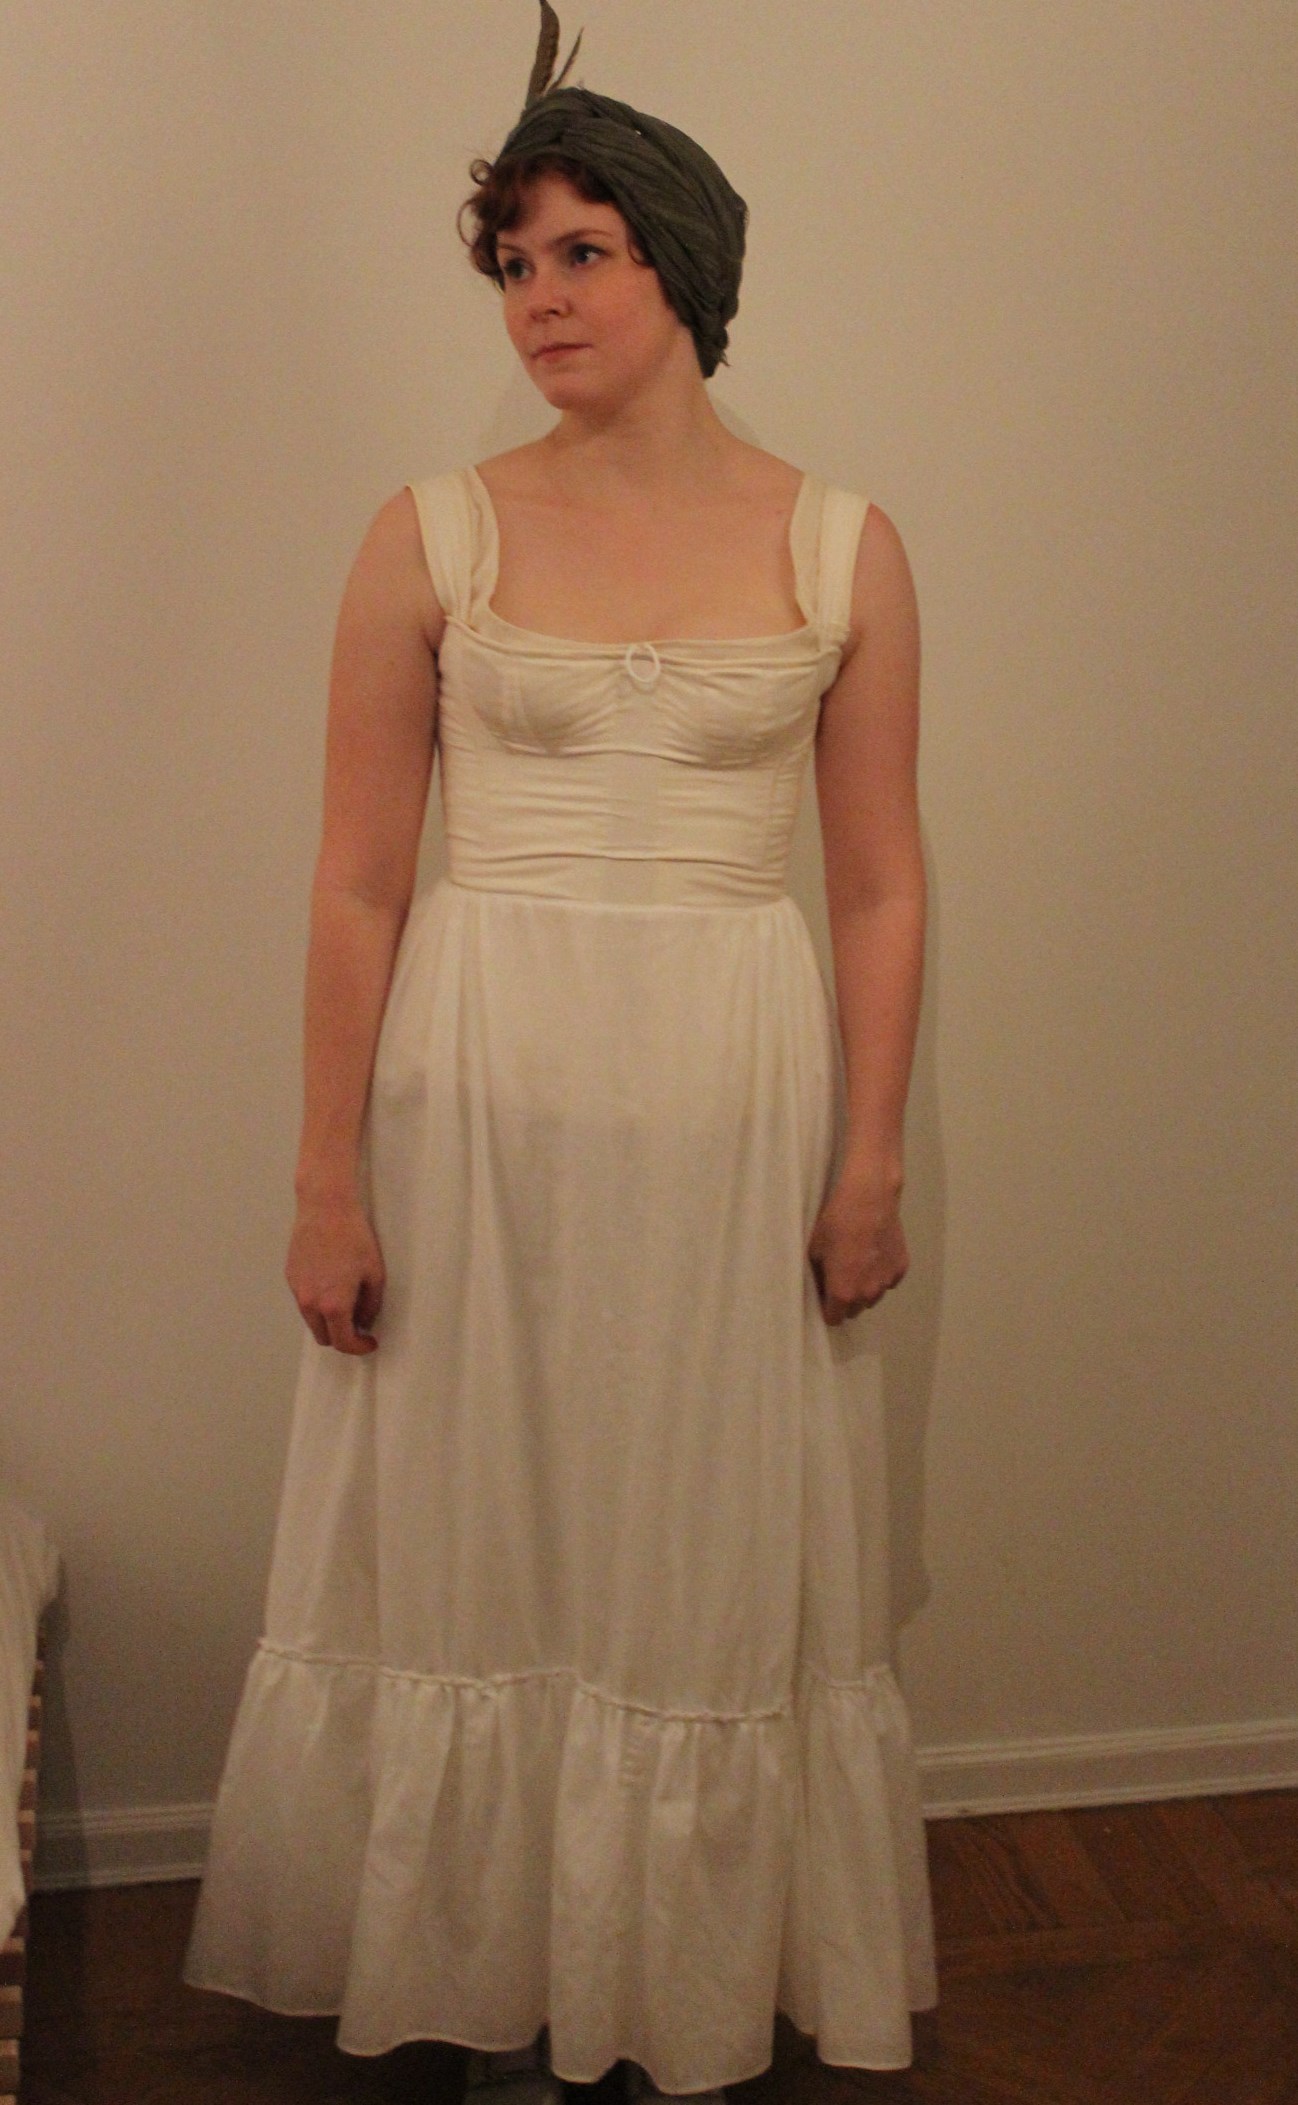
Removing the fichu we now view the top part of the corset and the petticoat.

The regency lady could also have worn an extra under-dress on top of the undergarmnents, to prevent see-througness in verry sheer gowns.

IMG_2278And then we are down to the underpinings with the corset, chemise, stockings and shoes.

The chemise are worn to keep the swett and dirt from the body away from the corset.

 The corset could also be in a short style (ending right below the bust), or in a wraping style.

It is important to remember to put the shoes on before the corset – since it is very difficult to lace or attach buckles while fully corsetted.

Regency accessoars

To make a historical outfit all you need is the right undergarnments and a plausible fabric in a color or pattern used during the intended era. (Honestly, in most circles you can get away with lots of inaccuracies if you have the overall silhouette down)

But how to make your costume go from “nice” to “wonderful”?

It’s all in the accessories.

What would your Elizabethian dress be without the starched ruff, or your 18th century Anglaise without the headgehog-hair/wig.

So for the HSF challenge 7 “accessorize” I decided to style my new Regency gown (which I made in the 6th challenge) with some matching accessories.

But what would I make? There are so many things the proper Regency lady would need.

1817-walking-dress-la-belle-assemblee2Robes and ridicules …

imagesCAW6EP0V… turbans, open robe, spencer, fans and muffs …

regencyfashion… shawls, bonnets, gloves and parasols.

I decided to prioritate headwear – since my hair is cropped in a boyish style I would never be able to arrange it in the curly up-dos so popular at the time. So instead I need to cover it up.

I searched all the stores in town for a straw hat to make into a bonnet. But the sunbonnets was no where to be seen in the still cold and snowy march.

So I needed to re-think the bonnet and decided on the much simpler turban. I bouhgt a shawl in a similar green color as the trimmings on my dress, and practiced wraping and pinning the turban to my head. The American Duchess has a great tutorial which I used to get the shawl to co-operate.

But since the turban seemed a bit too easy I also decided to make some gloves – or mittens to be exact.

26_598a-b_CP4

mittens-18th-c-met-musThese were my main inspirations

Using the pattern from “Costume Close-up”, I drafted and cut the pieces in an ivory cotton blend.

img311

They are completely handsewn and decorated with green buttonhole thread and the same green linnen as for the gown trimmings.

I also bought an ivory lace fan, and cut a big triangle of ivory organdy to use as a fichu (neck coverage) for the photoshoot.

IMG_1556

mittens

IMG_1614

accessorisePhoto: Elin Petersson

Just the facts:

Challenge nr 7 – Accessorize

What: White and green Regency mittens. And my light entries – the green turban (a scarf) and white fichu (a hemed piece of organza).

Fabric: 0,5 m cream colored, thick cotton fabric with a small soft nape.

Pattern: “Costume Close-up” By Linda Baumgarter – Mittens.

Year: 1740-1840.

Notions: Pieces of contrasting green fabric, sewing thread and green buttonhole thread.

How accurate: Pretty good – completely hand stitched with historical patterns and sewing techniques. So about 90 %.

Hours: 6 hours – lots of decorative handstitching.

Cost: 8 USD.

First worn: On Gods friday when we had the photoshoot.

Final thoughts: I love my mittens and plan to make lots of them in different colors and fabrics.

I also noticed that the hostess of HSF The Dreamstess mentioned my mittens as one of her favourite accessories for this challenge.