As the 19th HSF challenge Wood, Metal and Bone past by I feelt I needed to make something a bit more challenging then the Suffragett brosches I finished just in time.
An with a regency event coming up swifty, I decided it was time to make myself the 1820s corset I’ve been wanting since I bought a wooden busk half a year ago.
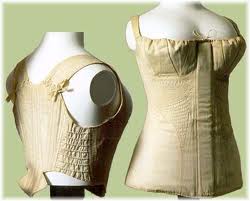
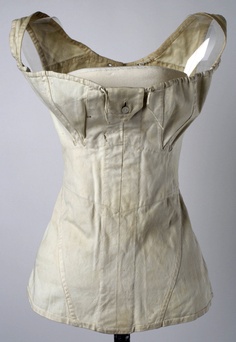
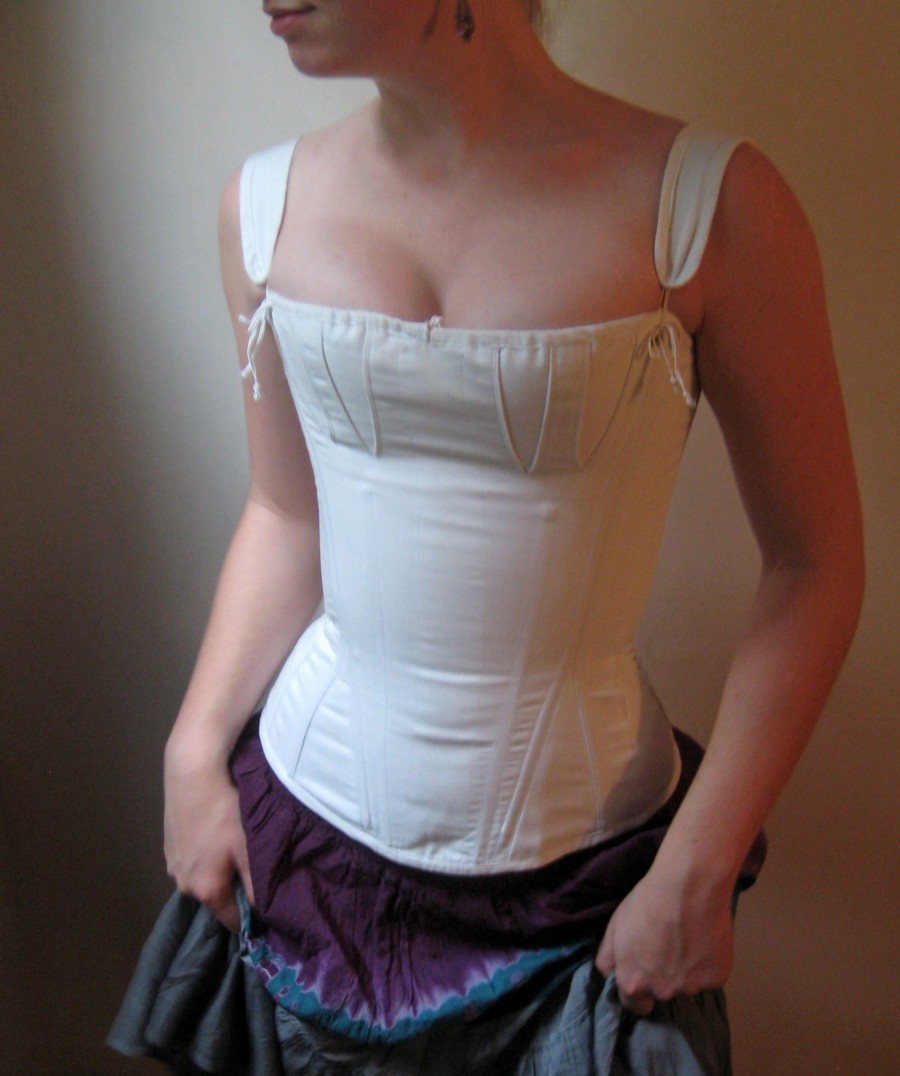
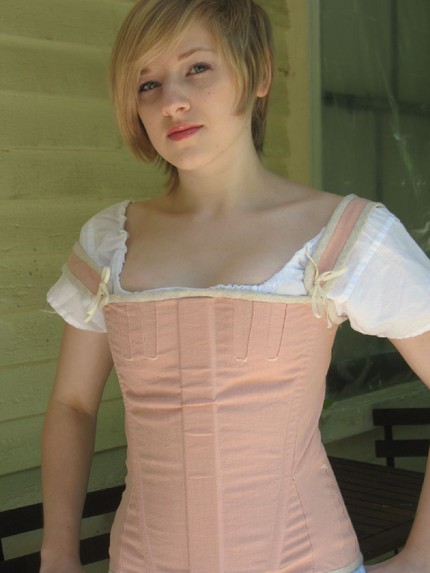
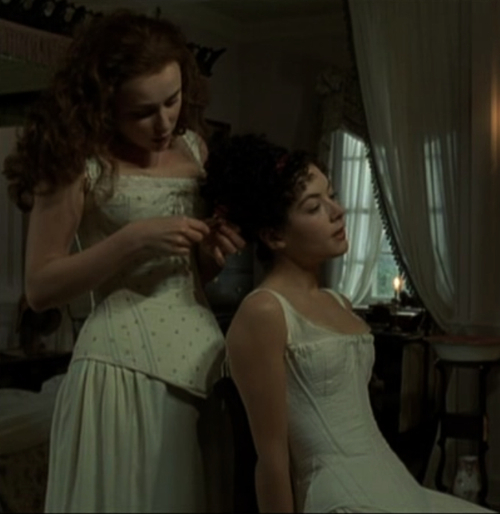
Here are some inspiration pictures:


And the pattern comes from the trusted Norah Waughs “Corset and Crinolines” – A 1820s corset.

I bought 0,5m of cream colored cotton sateen, and found some plain cotton sheet for the linnig and interlinning in my stash.
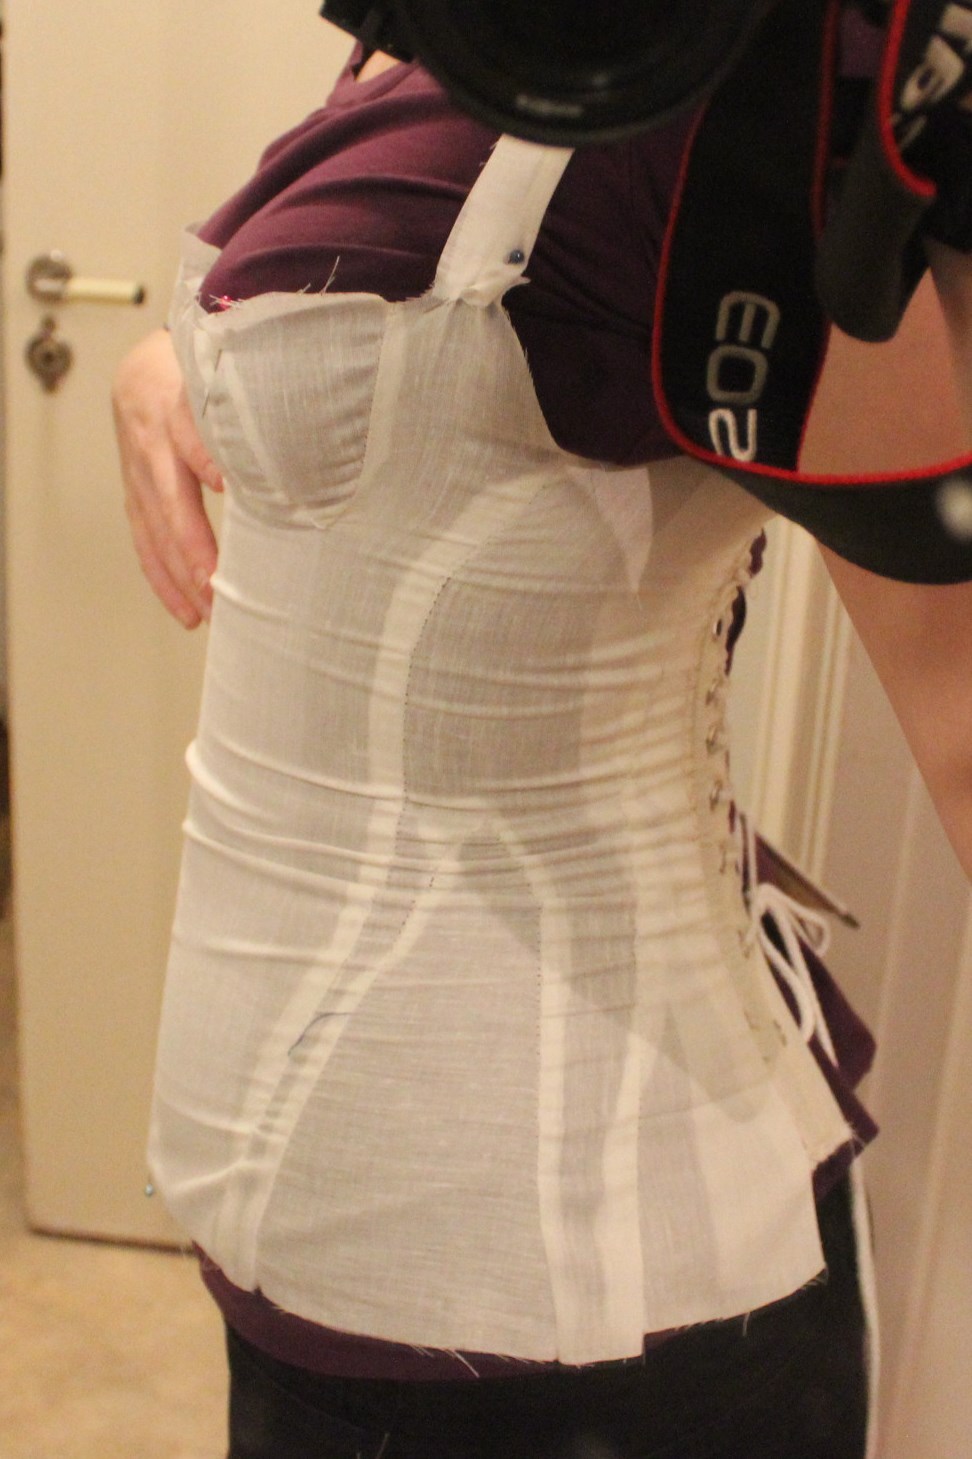
I dafted the patten, made some changes to the sizing and made a mock-up.


I needed to raise the cups 1,5 cm and take them in 2cm a the top. And lenghten the shoulder straps.
 I also needed to add 4-5 cm to the back pieces.
After drafting the alterations on the pattern, I cut and interlined all of the pieces.
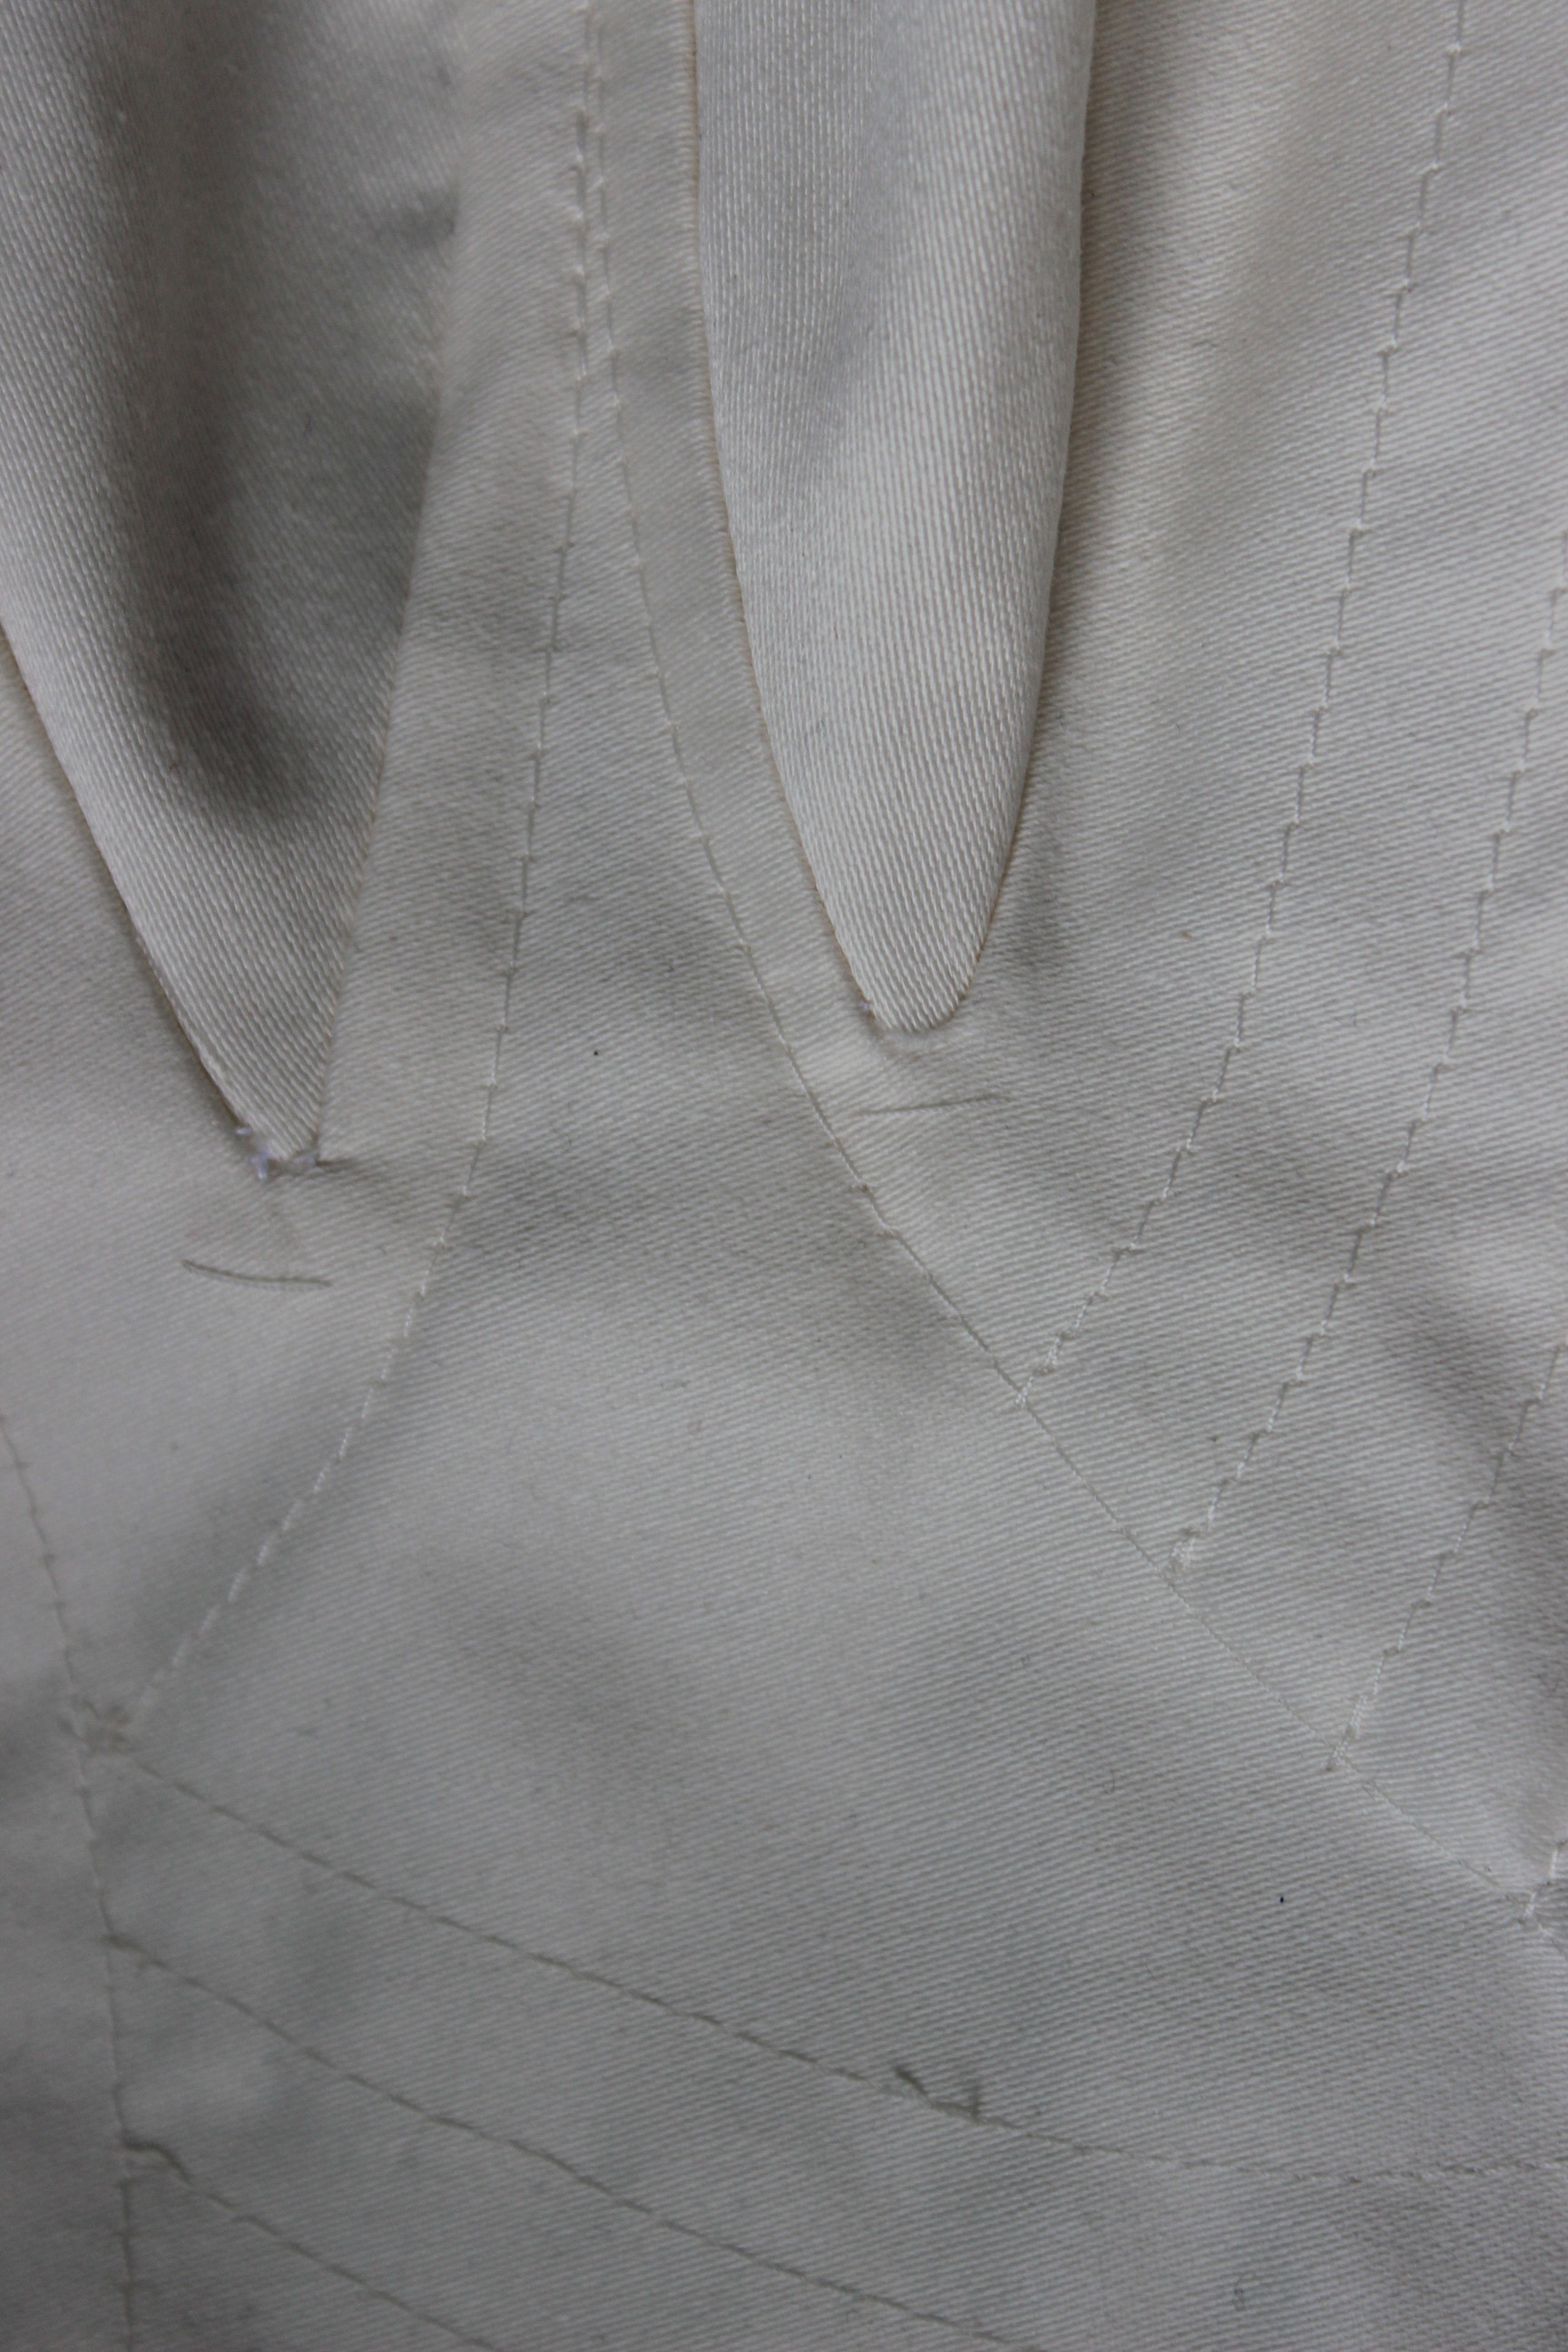
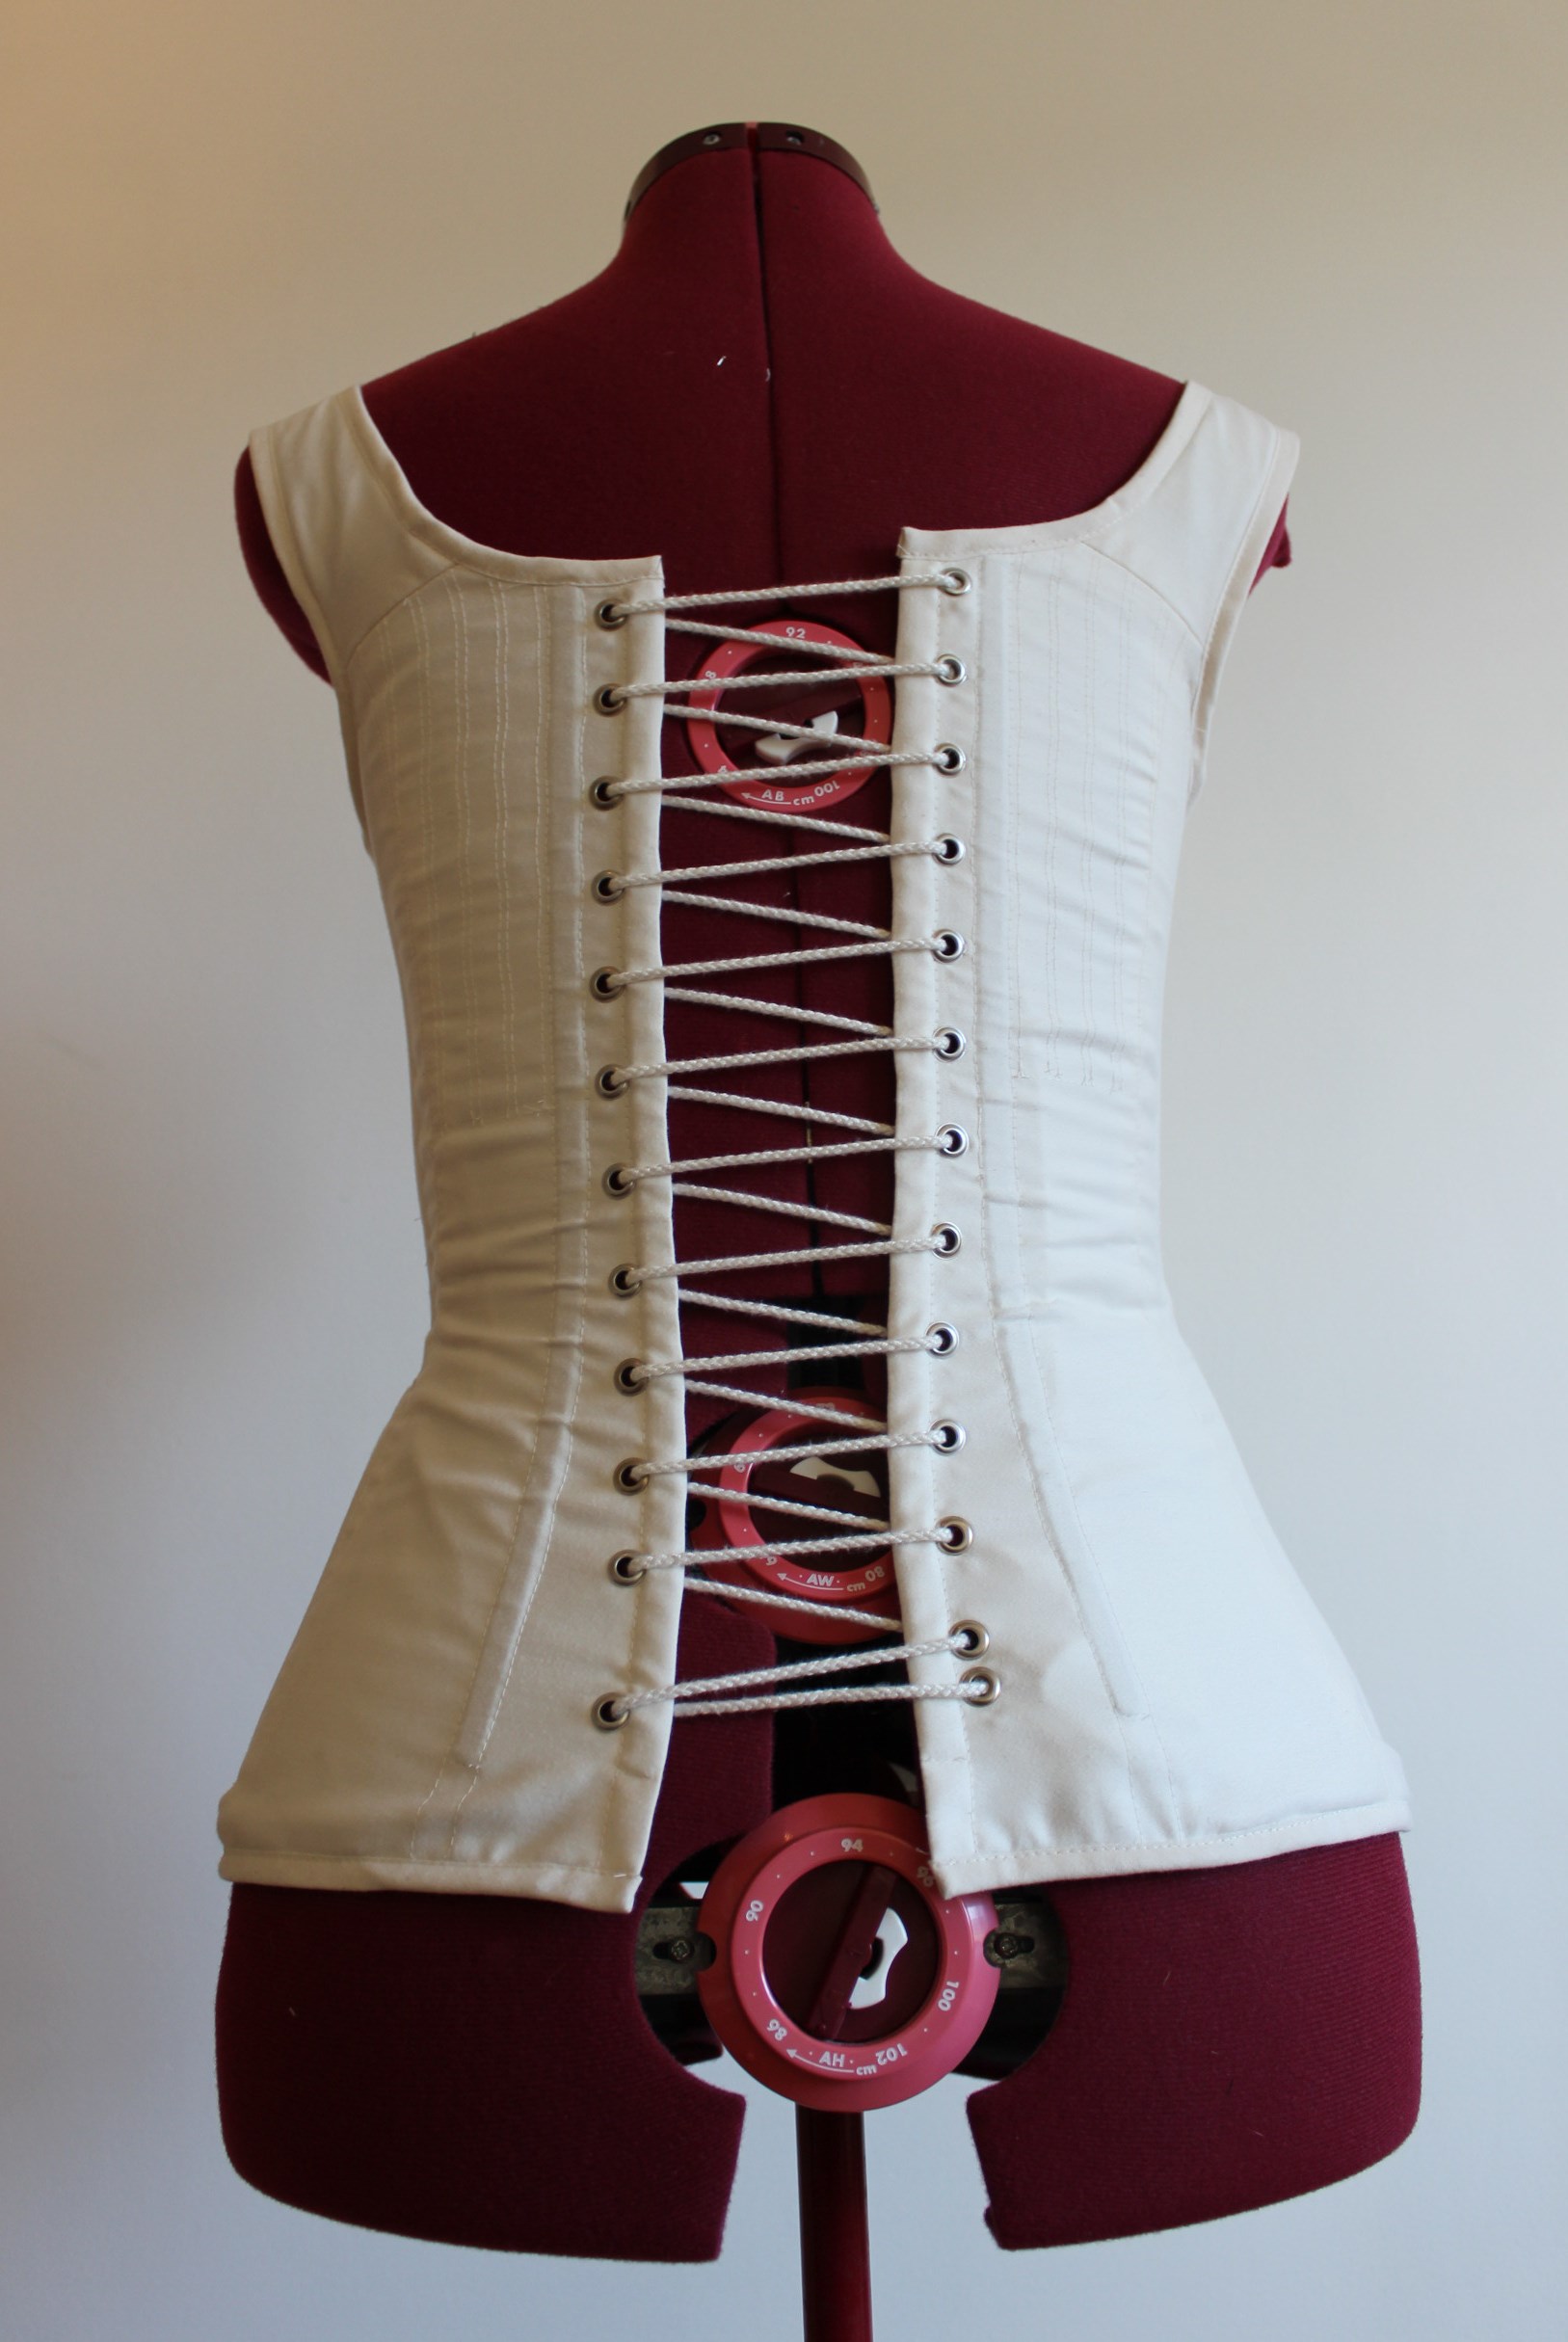
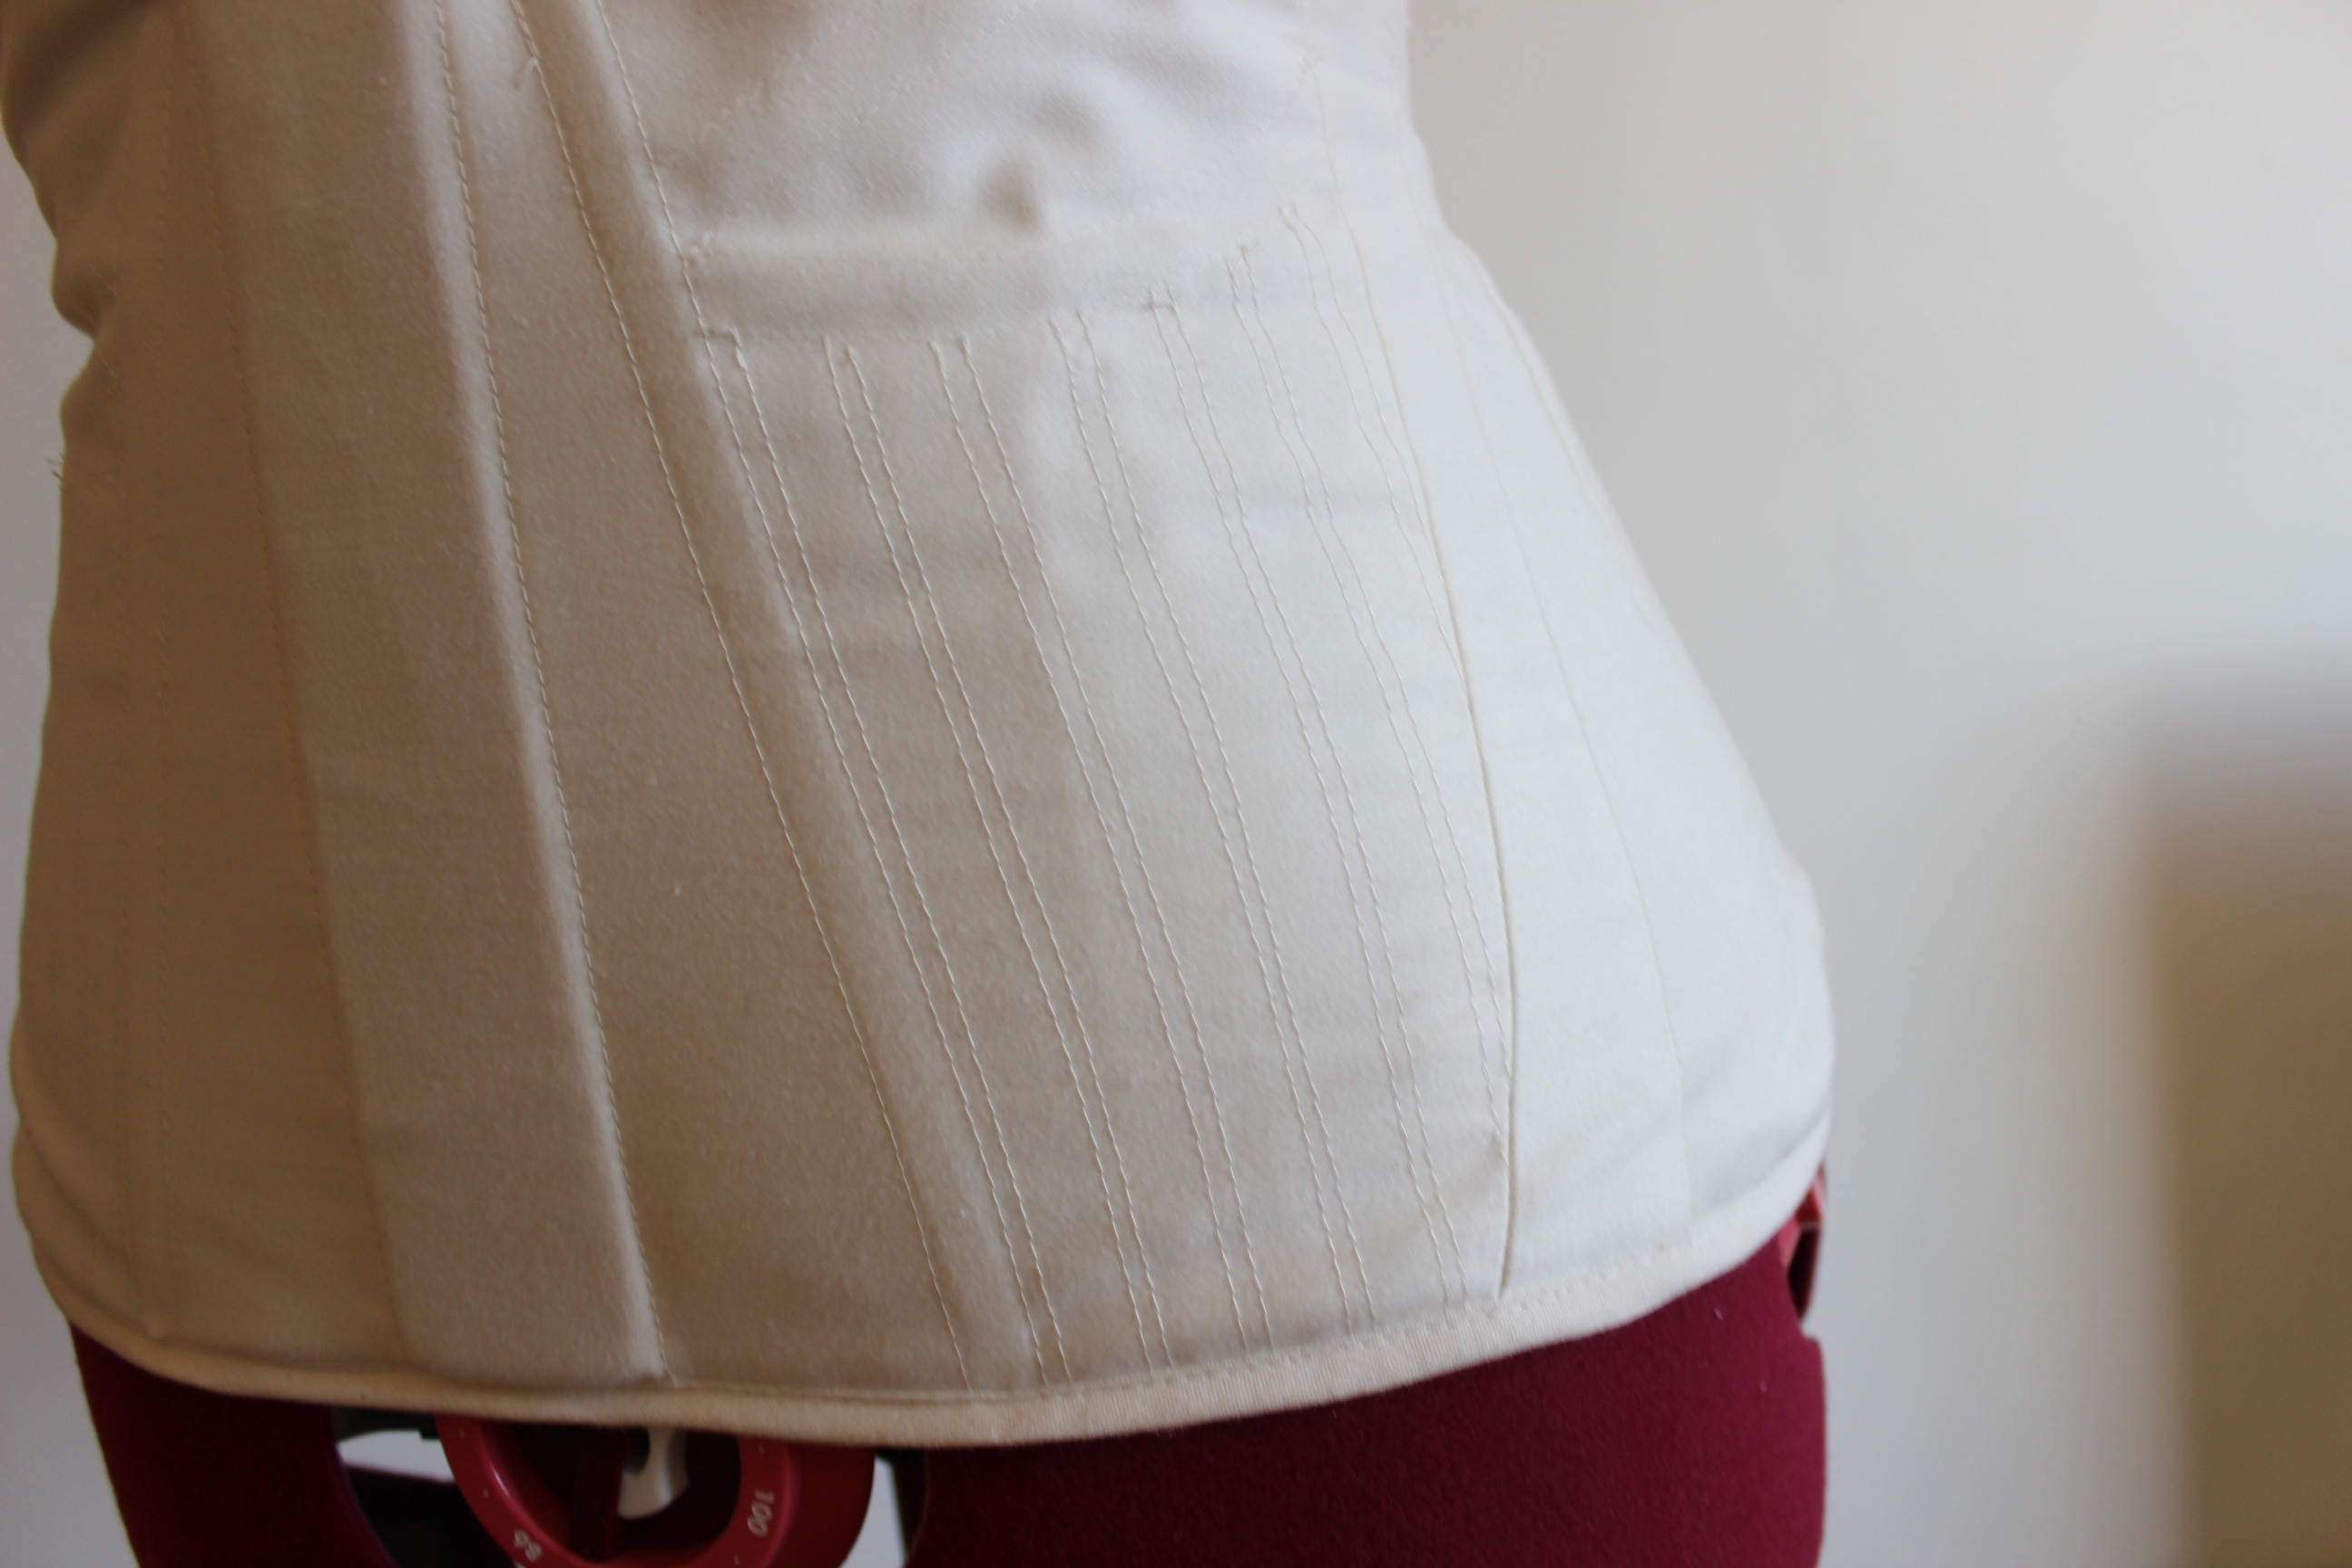
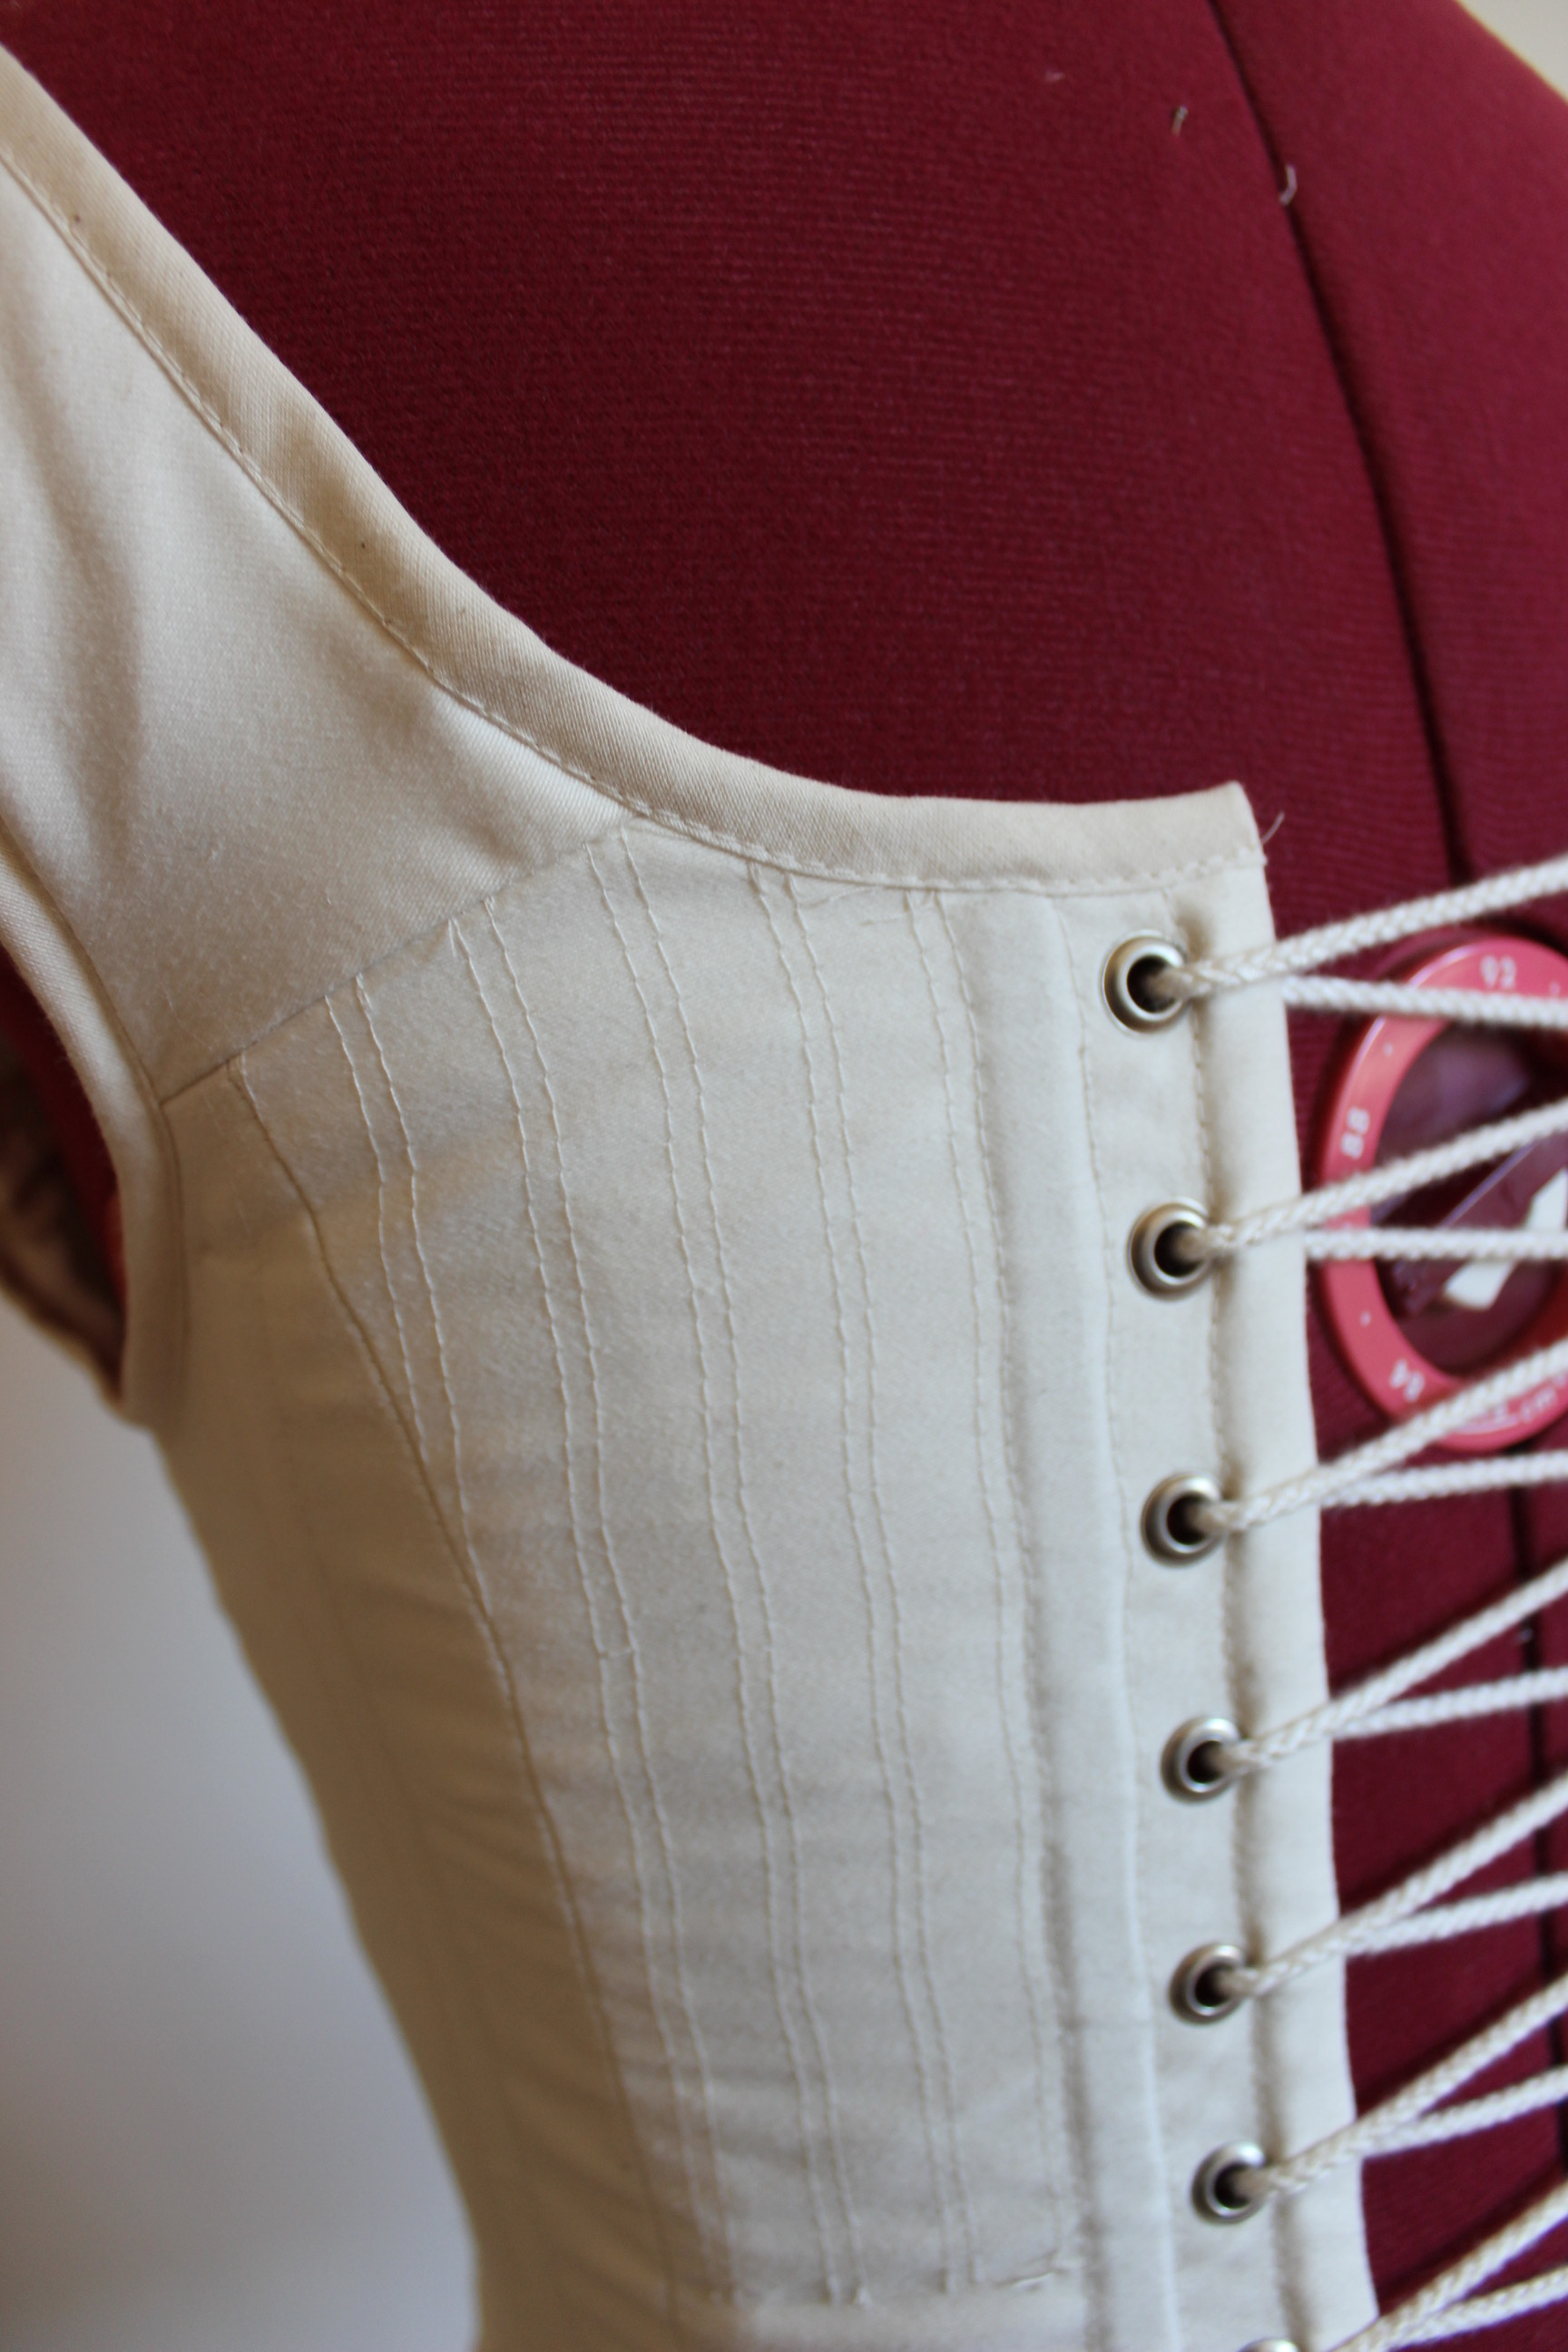
I sewed the bust and hip gores, the boning chanels and set the gromets on the back pieces.

Then I started on the decoration.

By now I feelt I was running out of time (this was just a couple of hours before the event) and I needed to decide which ones of the decoration seams was the most neccessary – regarding both prettynes and function, though to the strengtening quality of the stiching.

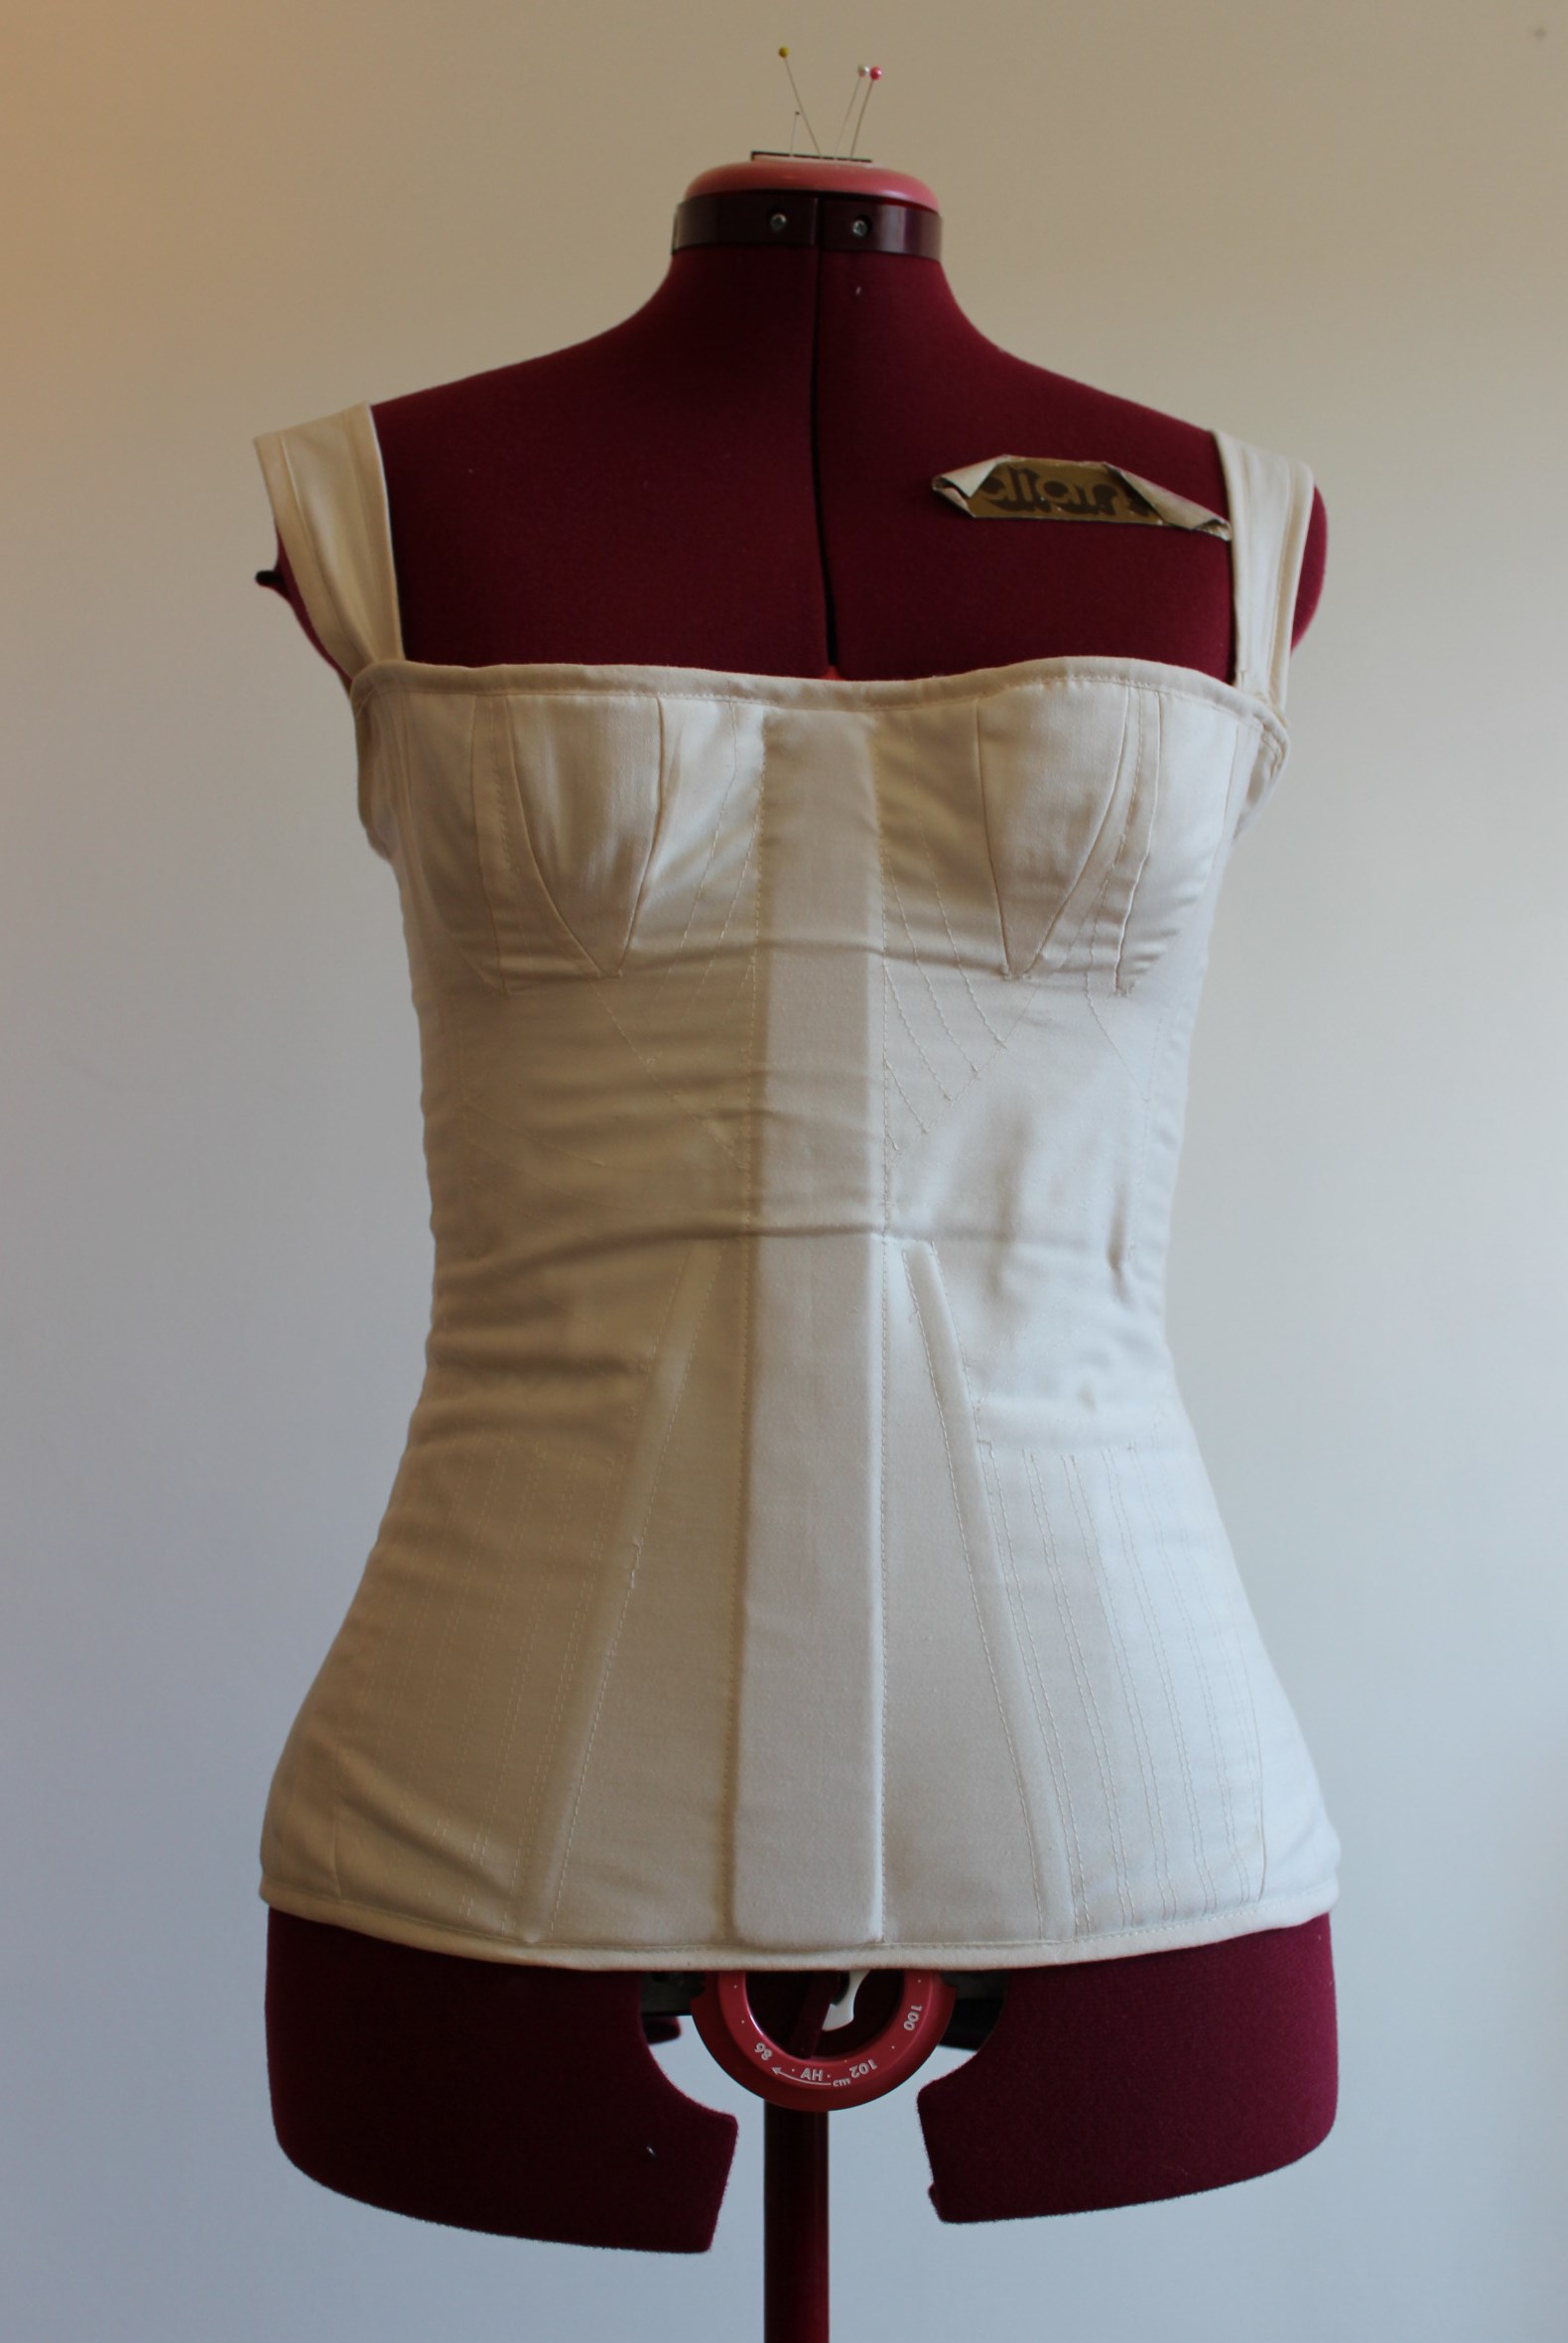
Then I made and attached the lining and putt the boning in to the chanels. I used bias-tape to bind the edges, and put a drawstring into the bias-casing in the front of the corset. Making it adjustable over the bust.
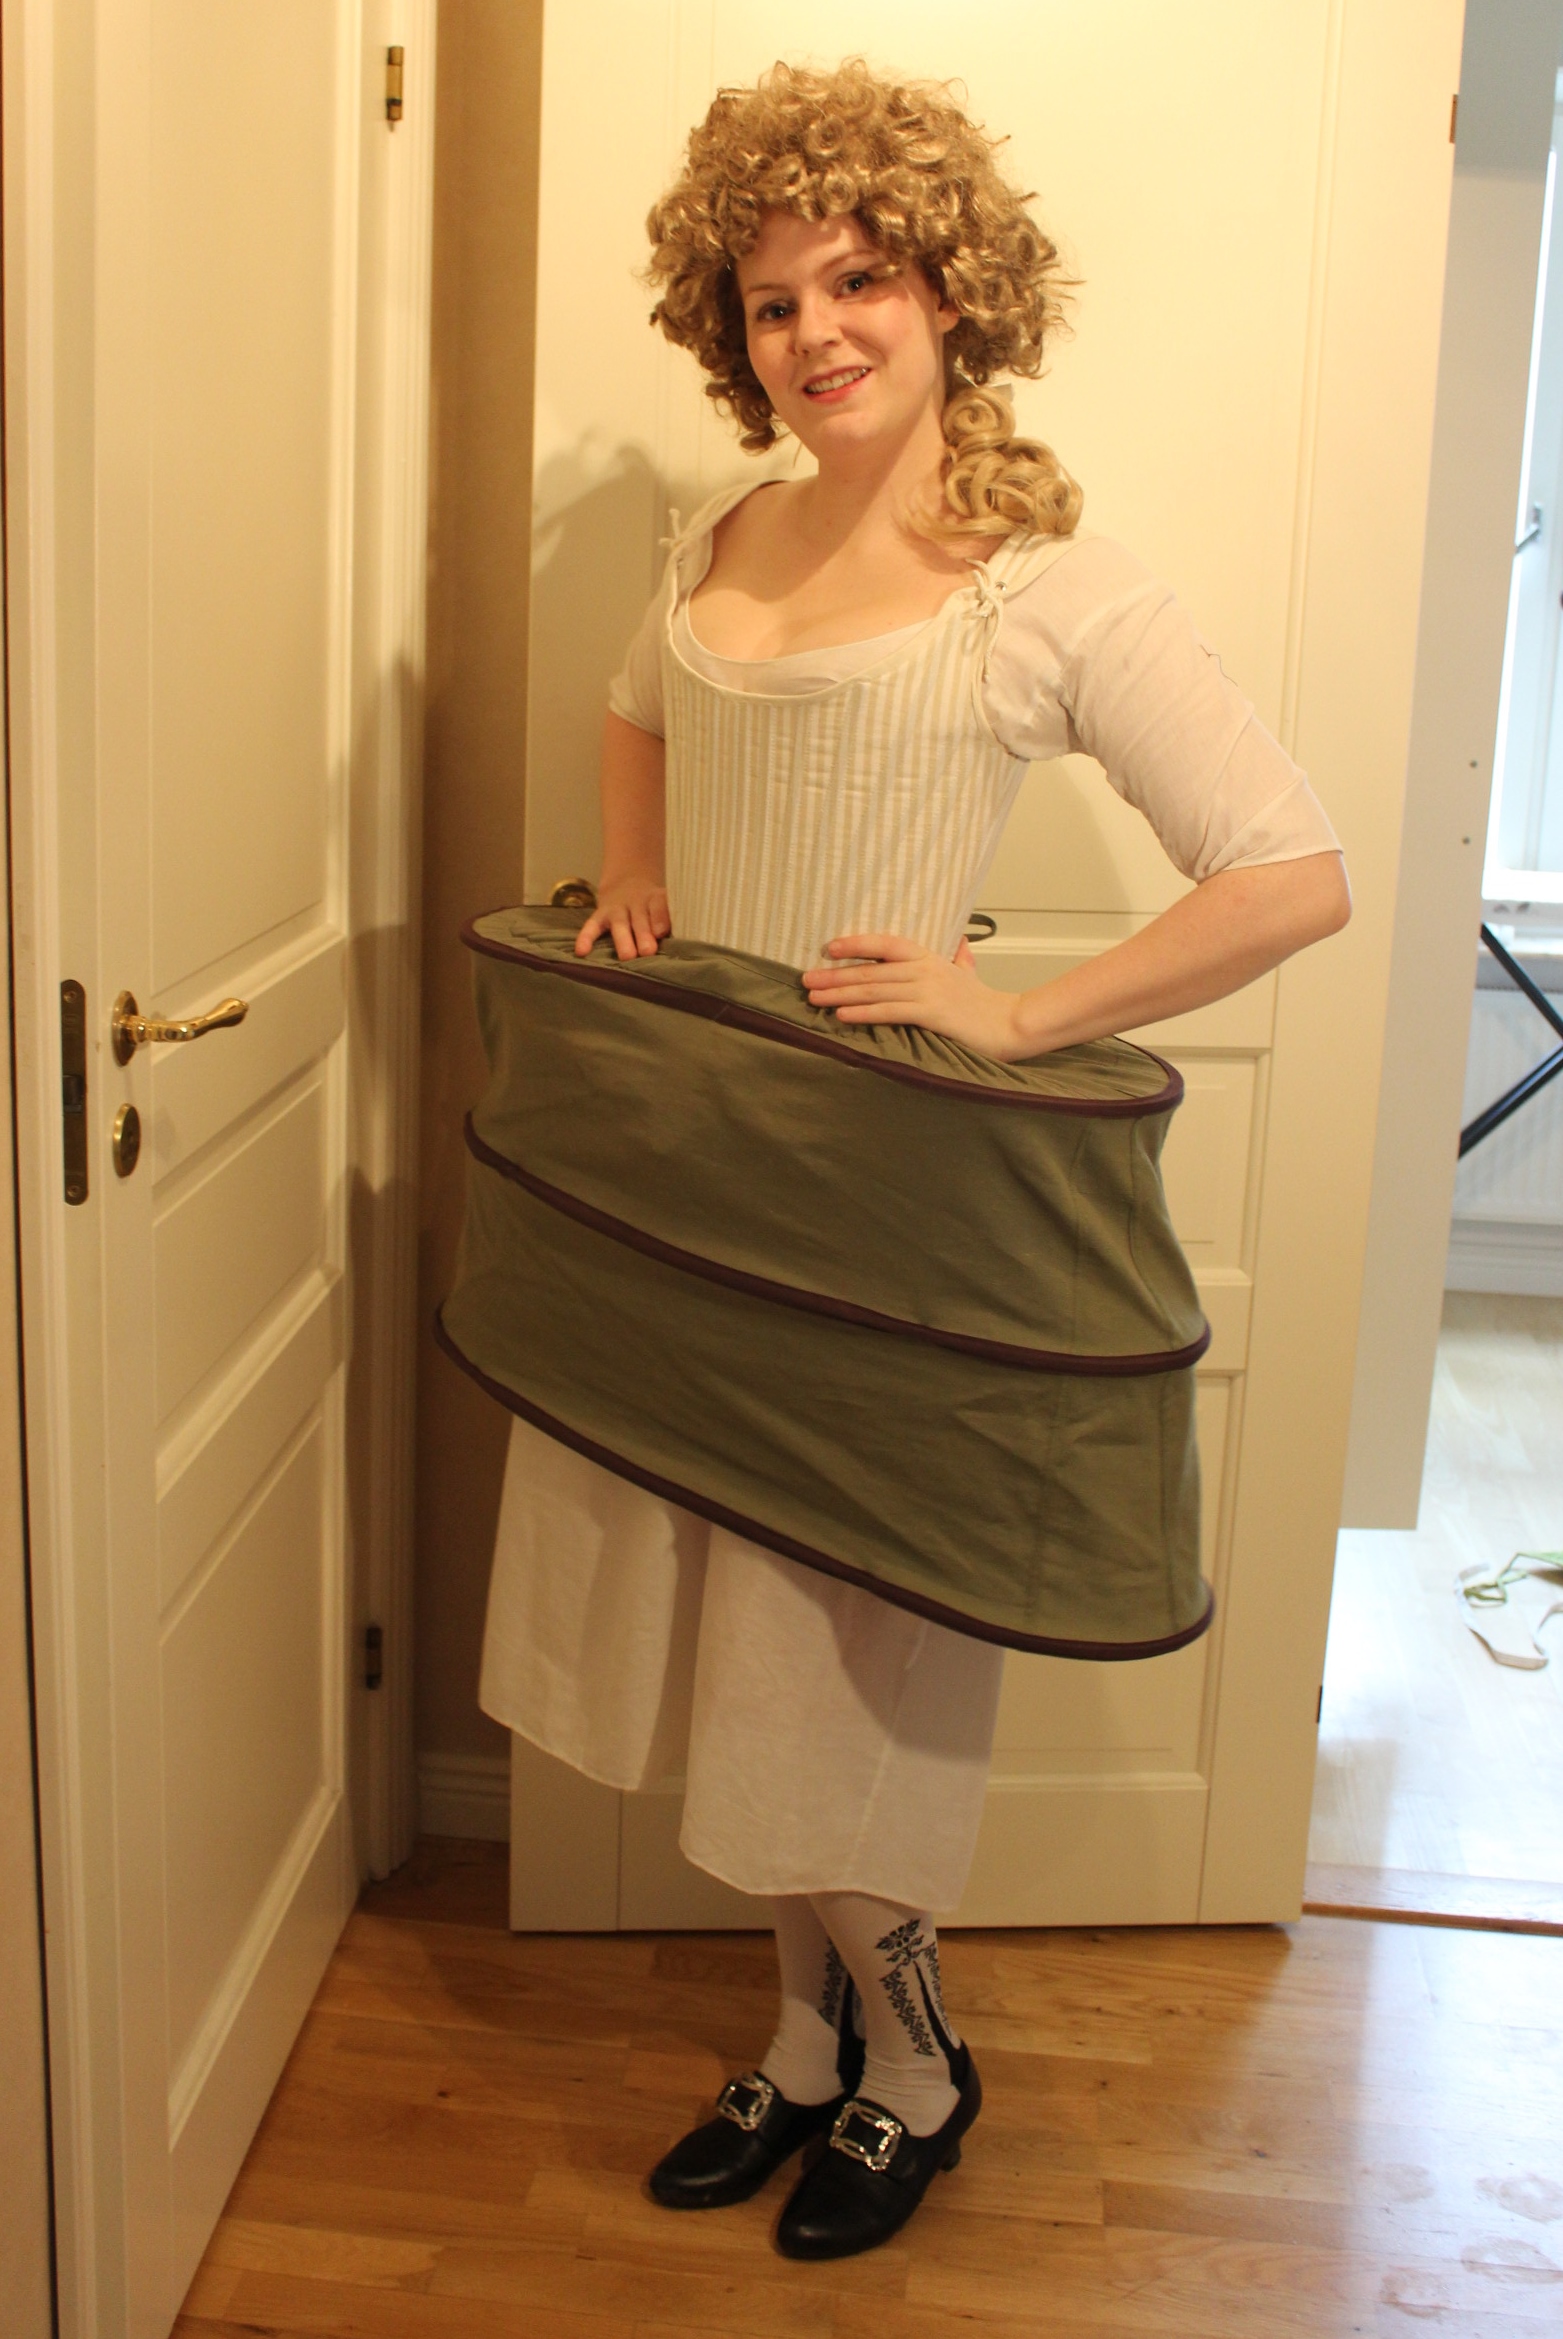
I finished sewing just in time, since I straight away needed to hurry to get dressed and on my way.


Just the facts:
Challenge: 19 – Wood, Metal and Bone.
What: A regency corset
Year: 1800 – 1830s
Pattern: Nora Waughs “Corset and Crinolines” – a 1920s corset.
Fabrics: 0,5 m of cream cotton sateen, 1 m of white cotton sheet.
Notions: One wooden busk, bias tape, thread, gromets, boning (cable-tie and plastic whalebone), lacing-cord and ribbon.
How historical accurate: Machine made with gromets and polyester thread. Butt the pattern, shape and the color are correct. Mabye 5/10.
Time: 10 hours (the evening before and the same morning as the event).
Cost: 200 Sek (22 Usd)(50 Sek, not counting stash).
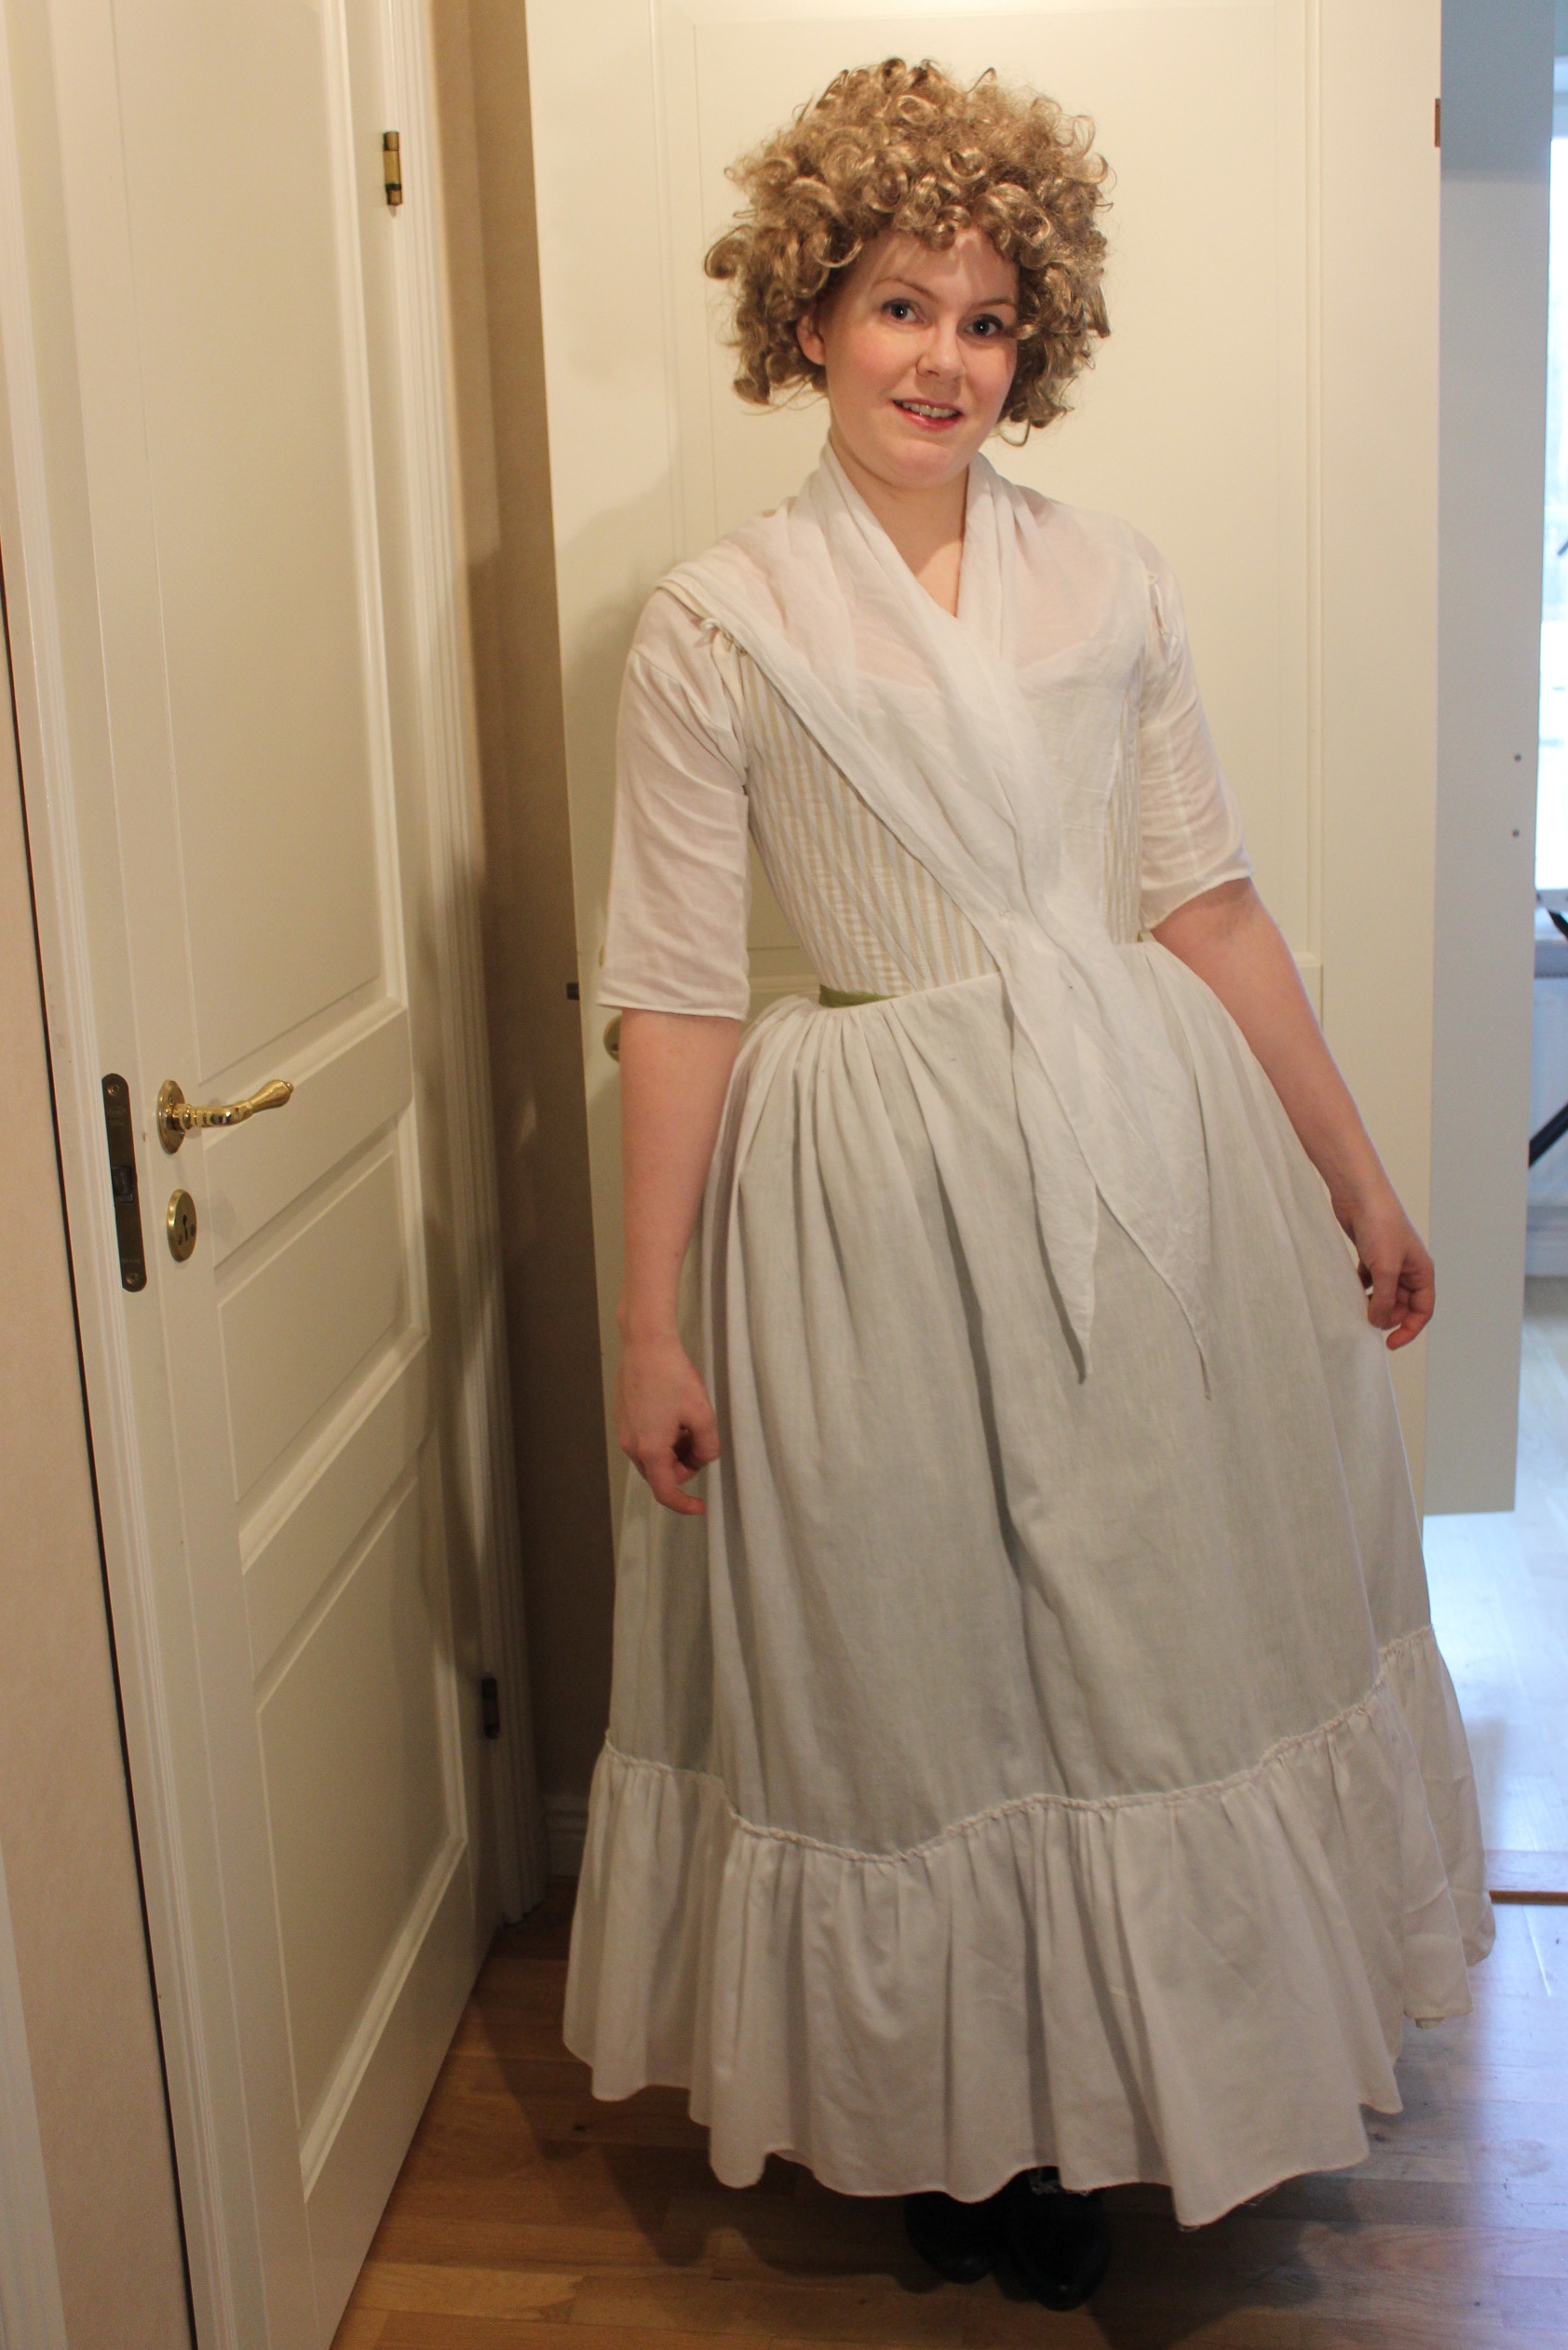
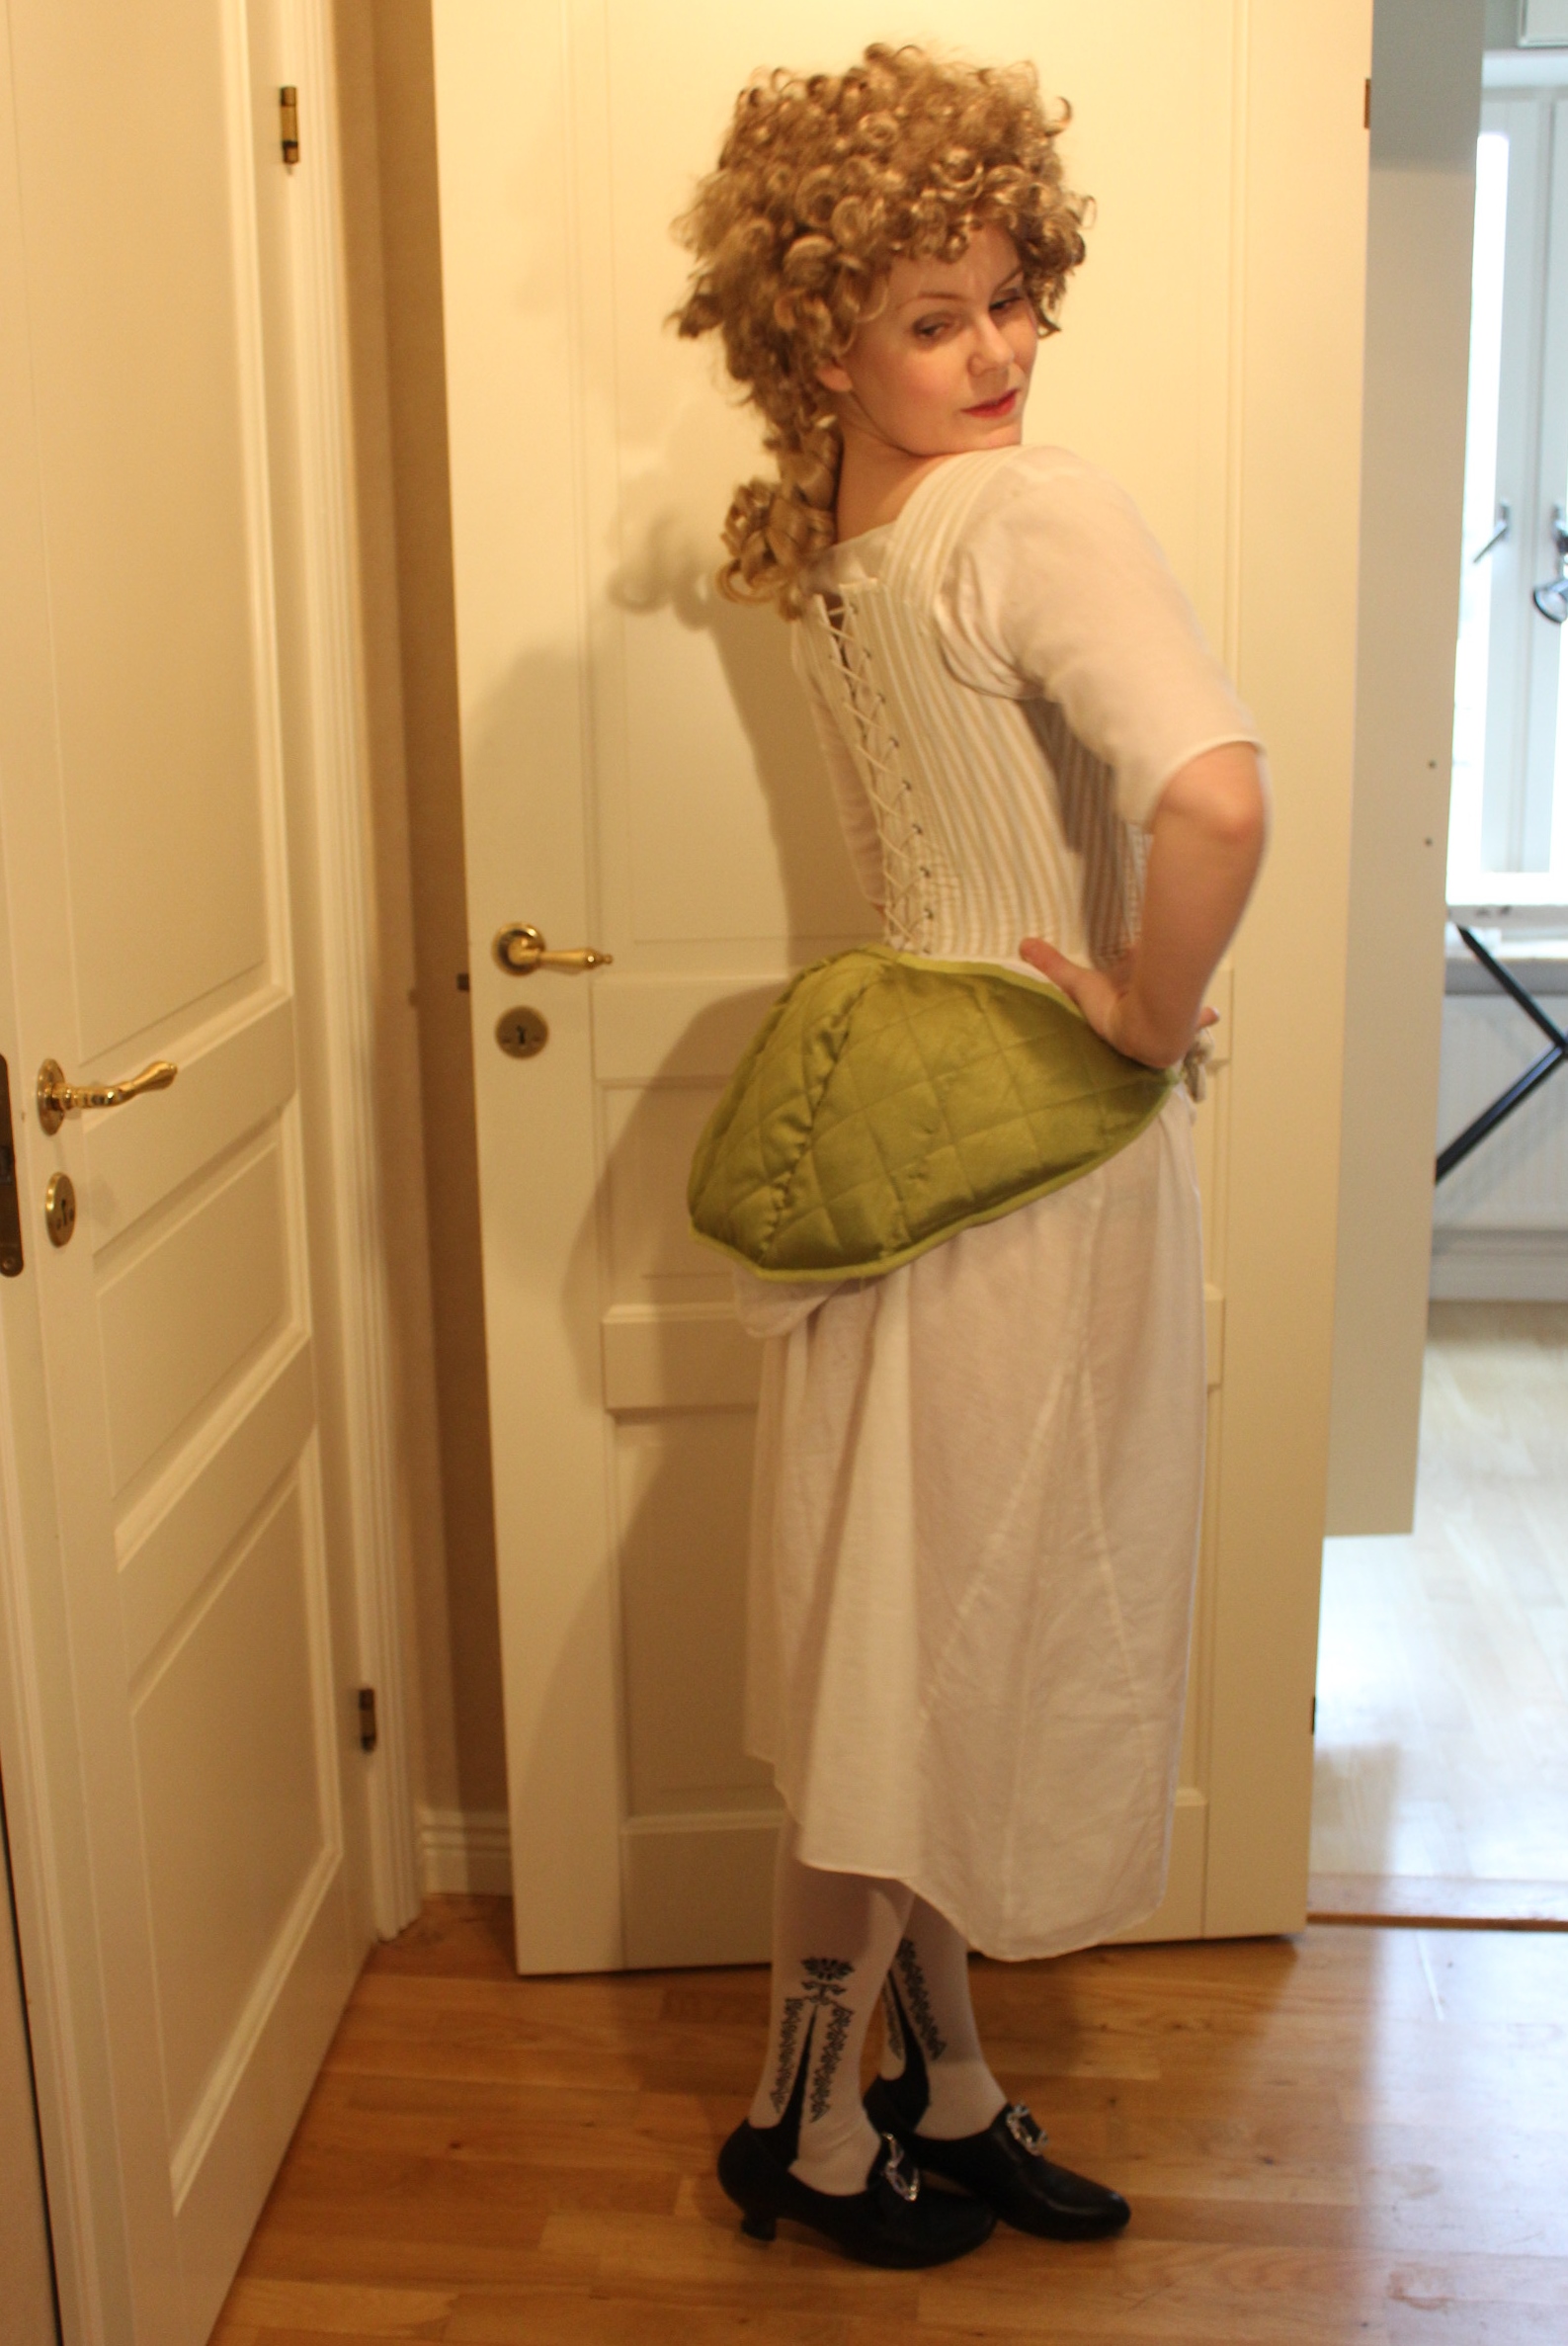
First worn: On 28 sep “Mickelsmäss” (celebration of the harwest) where I was part of the dancing entertainment.
Final toughts: The corset do what it is supposed to (bust-wise), but I’ts not that comfortable. I almost got a cramp in my side/waist sitting in it for two hours. Mabye I need to change the fit.


 And it’s collapsible too!
 I really love how they turned out,