Book Review – Draping Period Costumes

If you been reading my blog, you might have noticed I usaly drape my patterns instead of using the plain pattern drafting techniques.

What you might not now however, are that draping is a skill I’ve learnt les than a year ago.

I’m a trained pattern-maker, and only recently learnt (while working in the theatre ateljere) how to drape a big collar on a dressform to get a nicer shape.

And that was about it.

Until april/may last year, when I decided to try to drape my very first costume piece (The Francaise a la Merteuile). The result was great and I was hooked.

I started to use this metod on most of my costumes, and though it whent pretty good, I ofthen thought about getting a book that would help me take my draping to another level.

And today I will review the first historic draping book I’ve ever found.

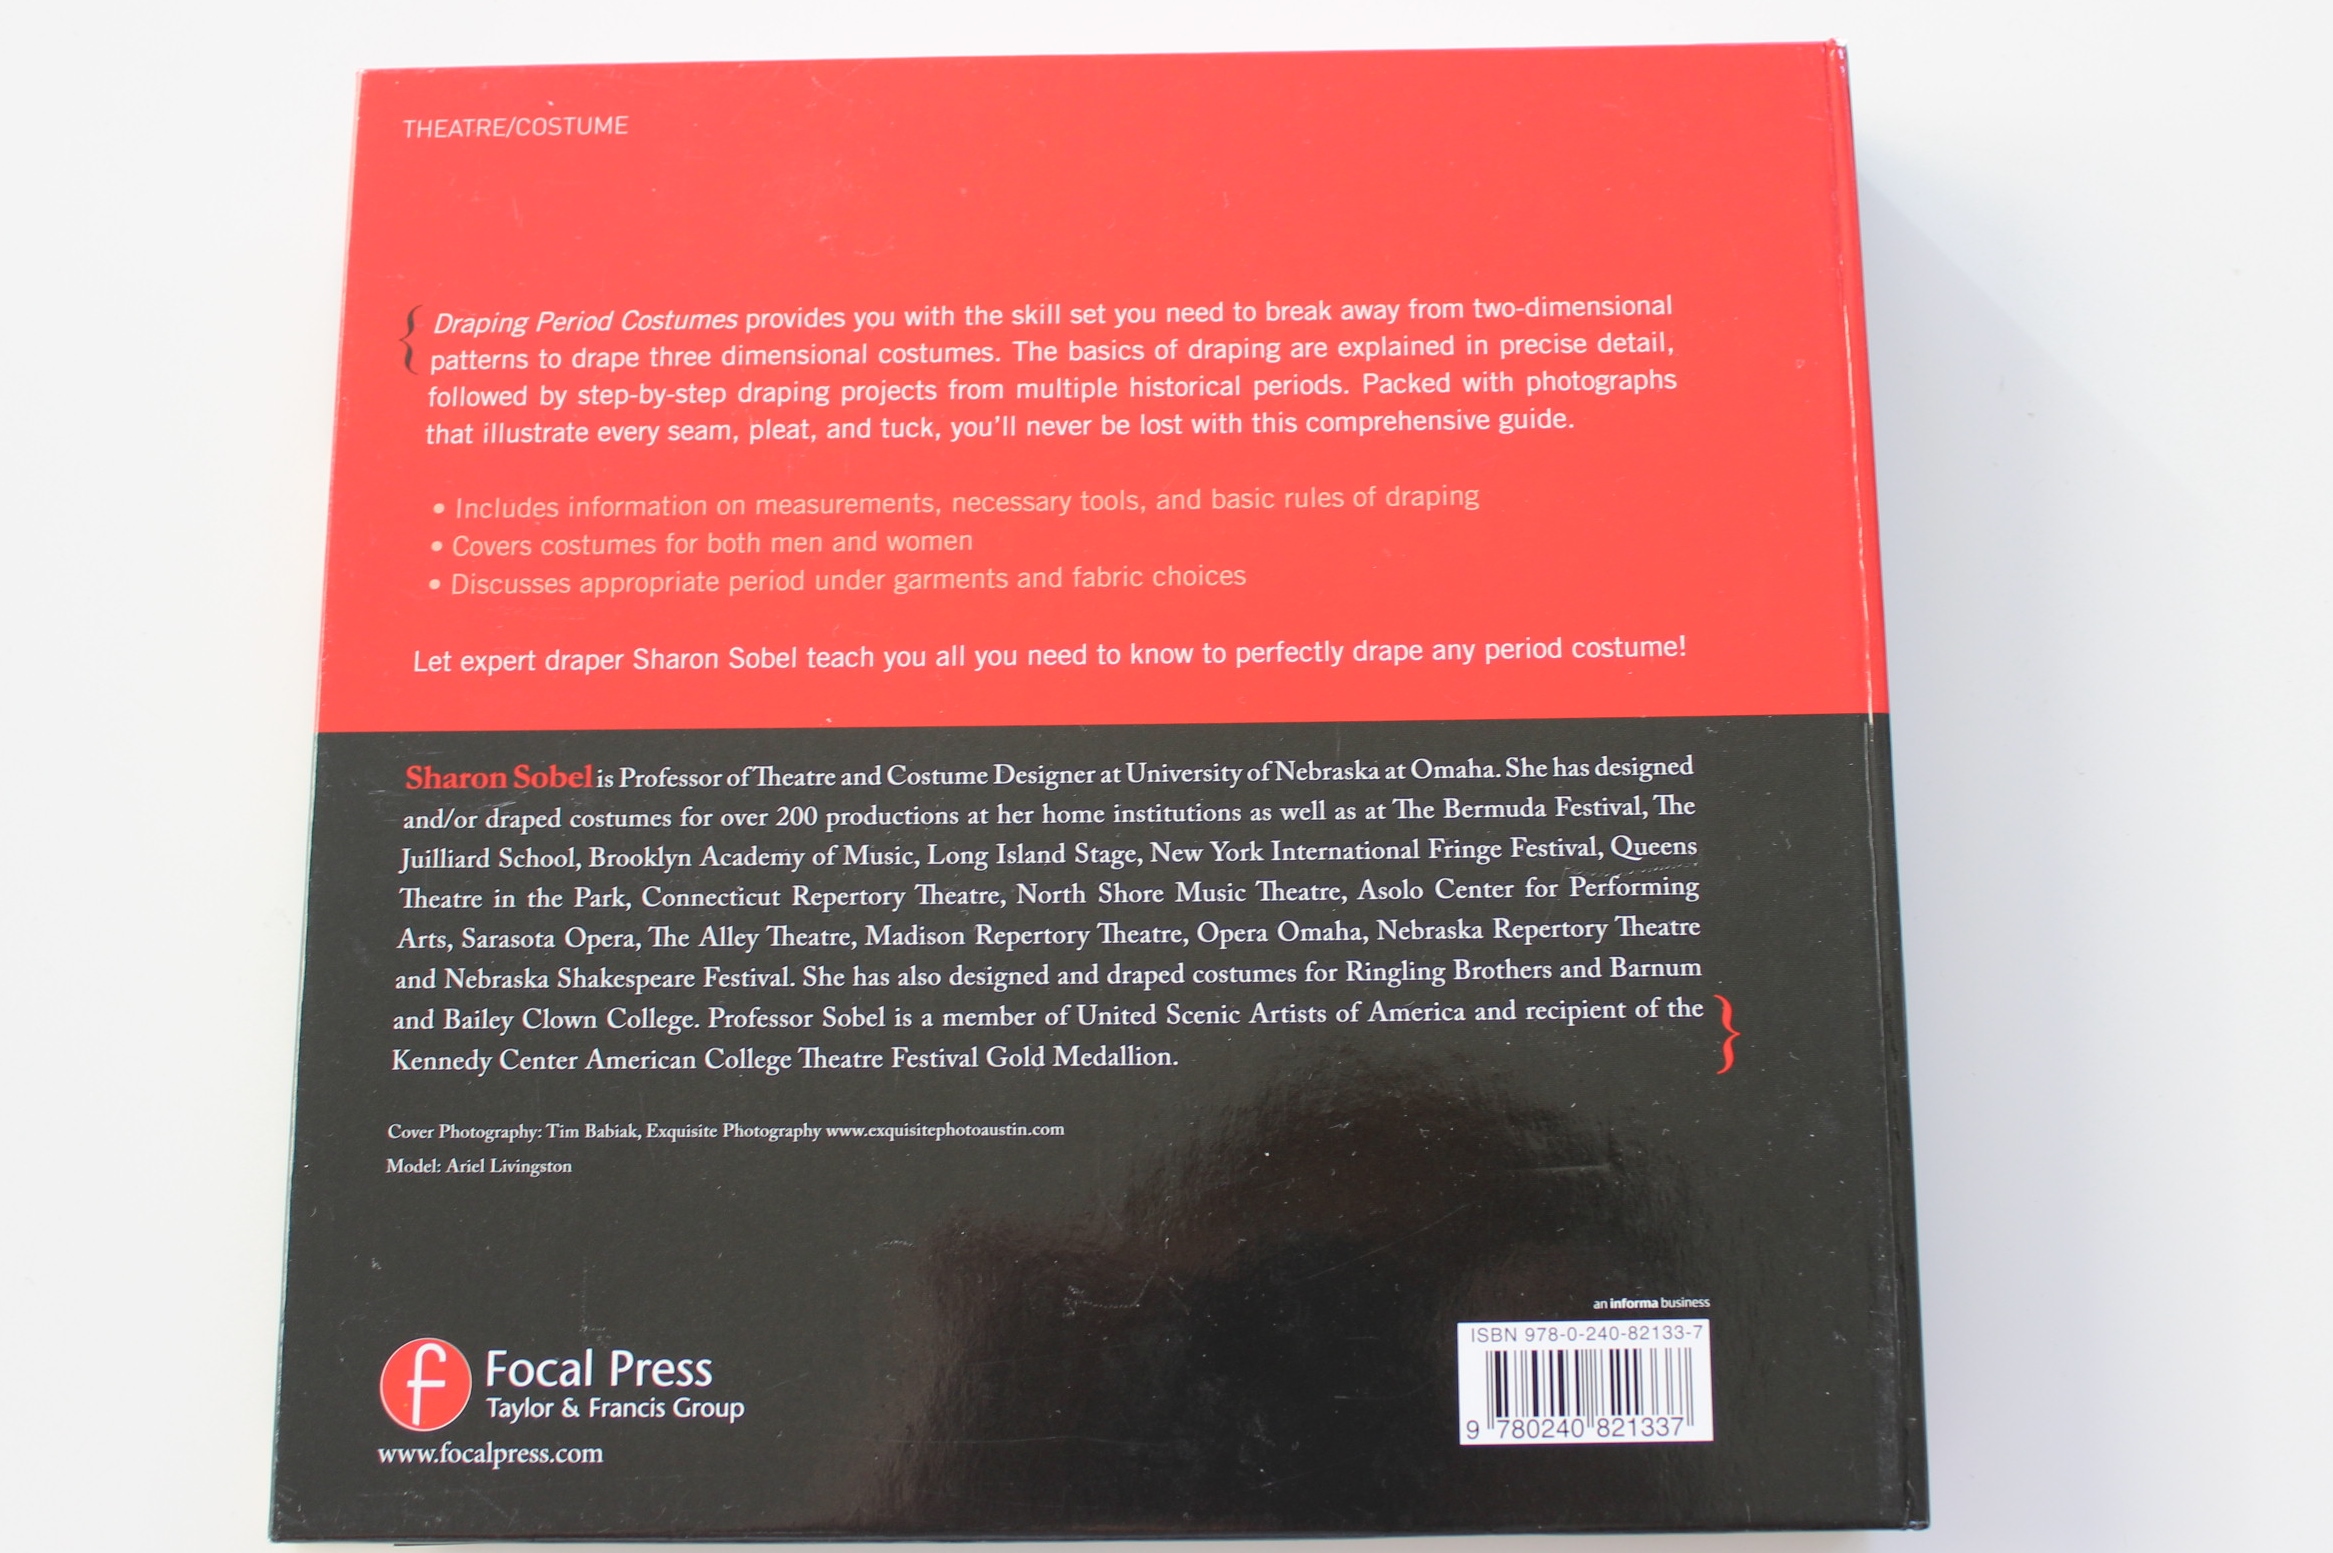
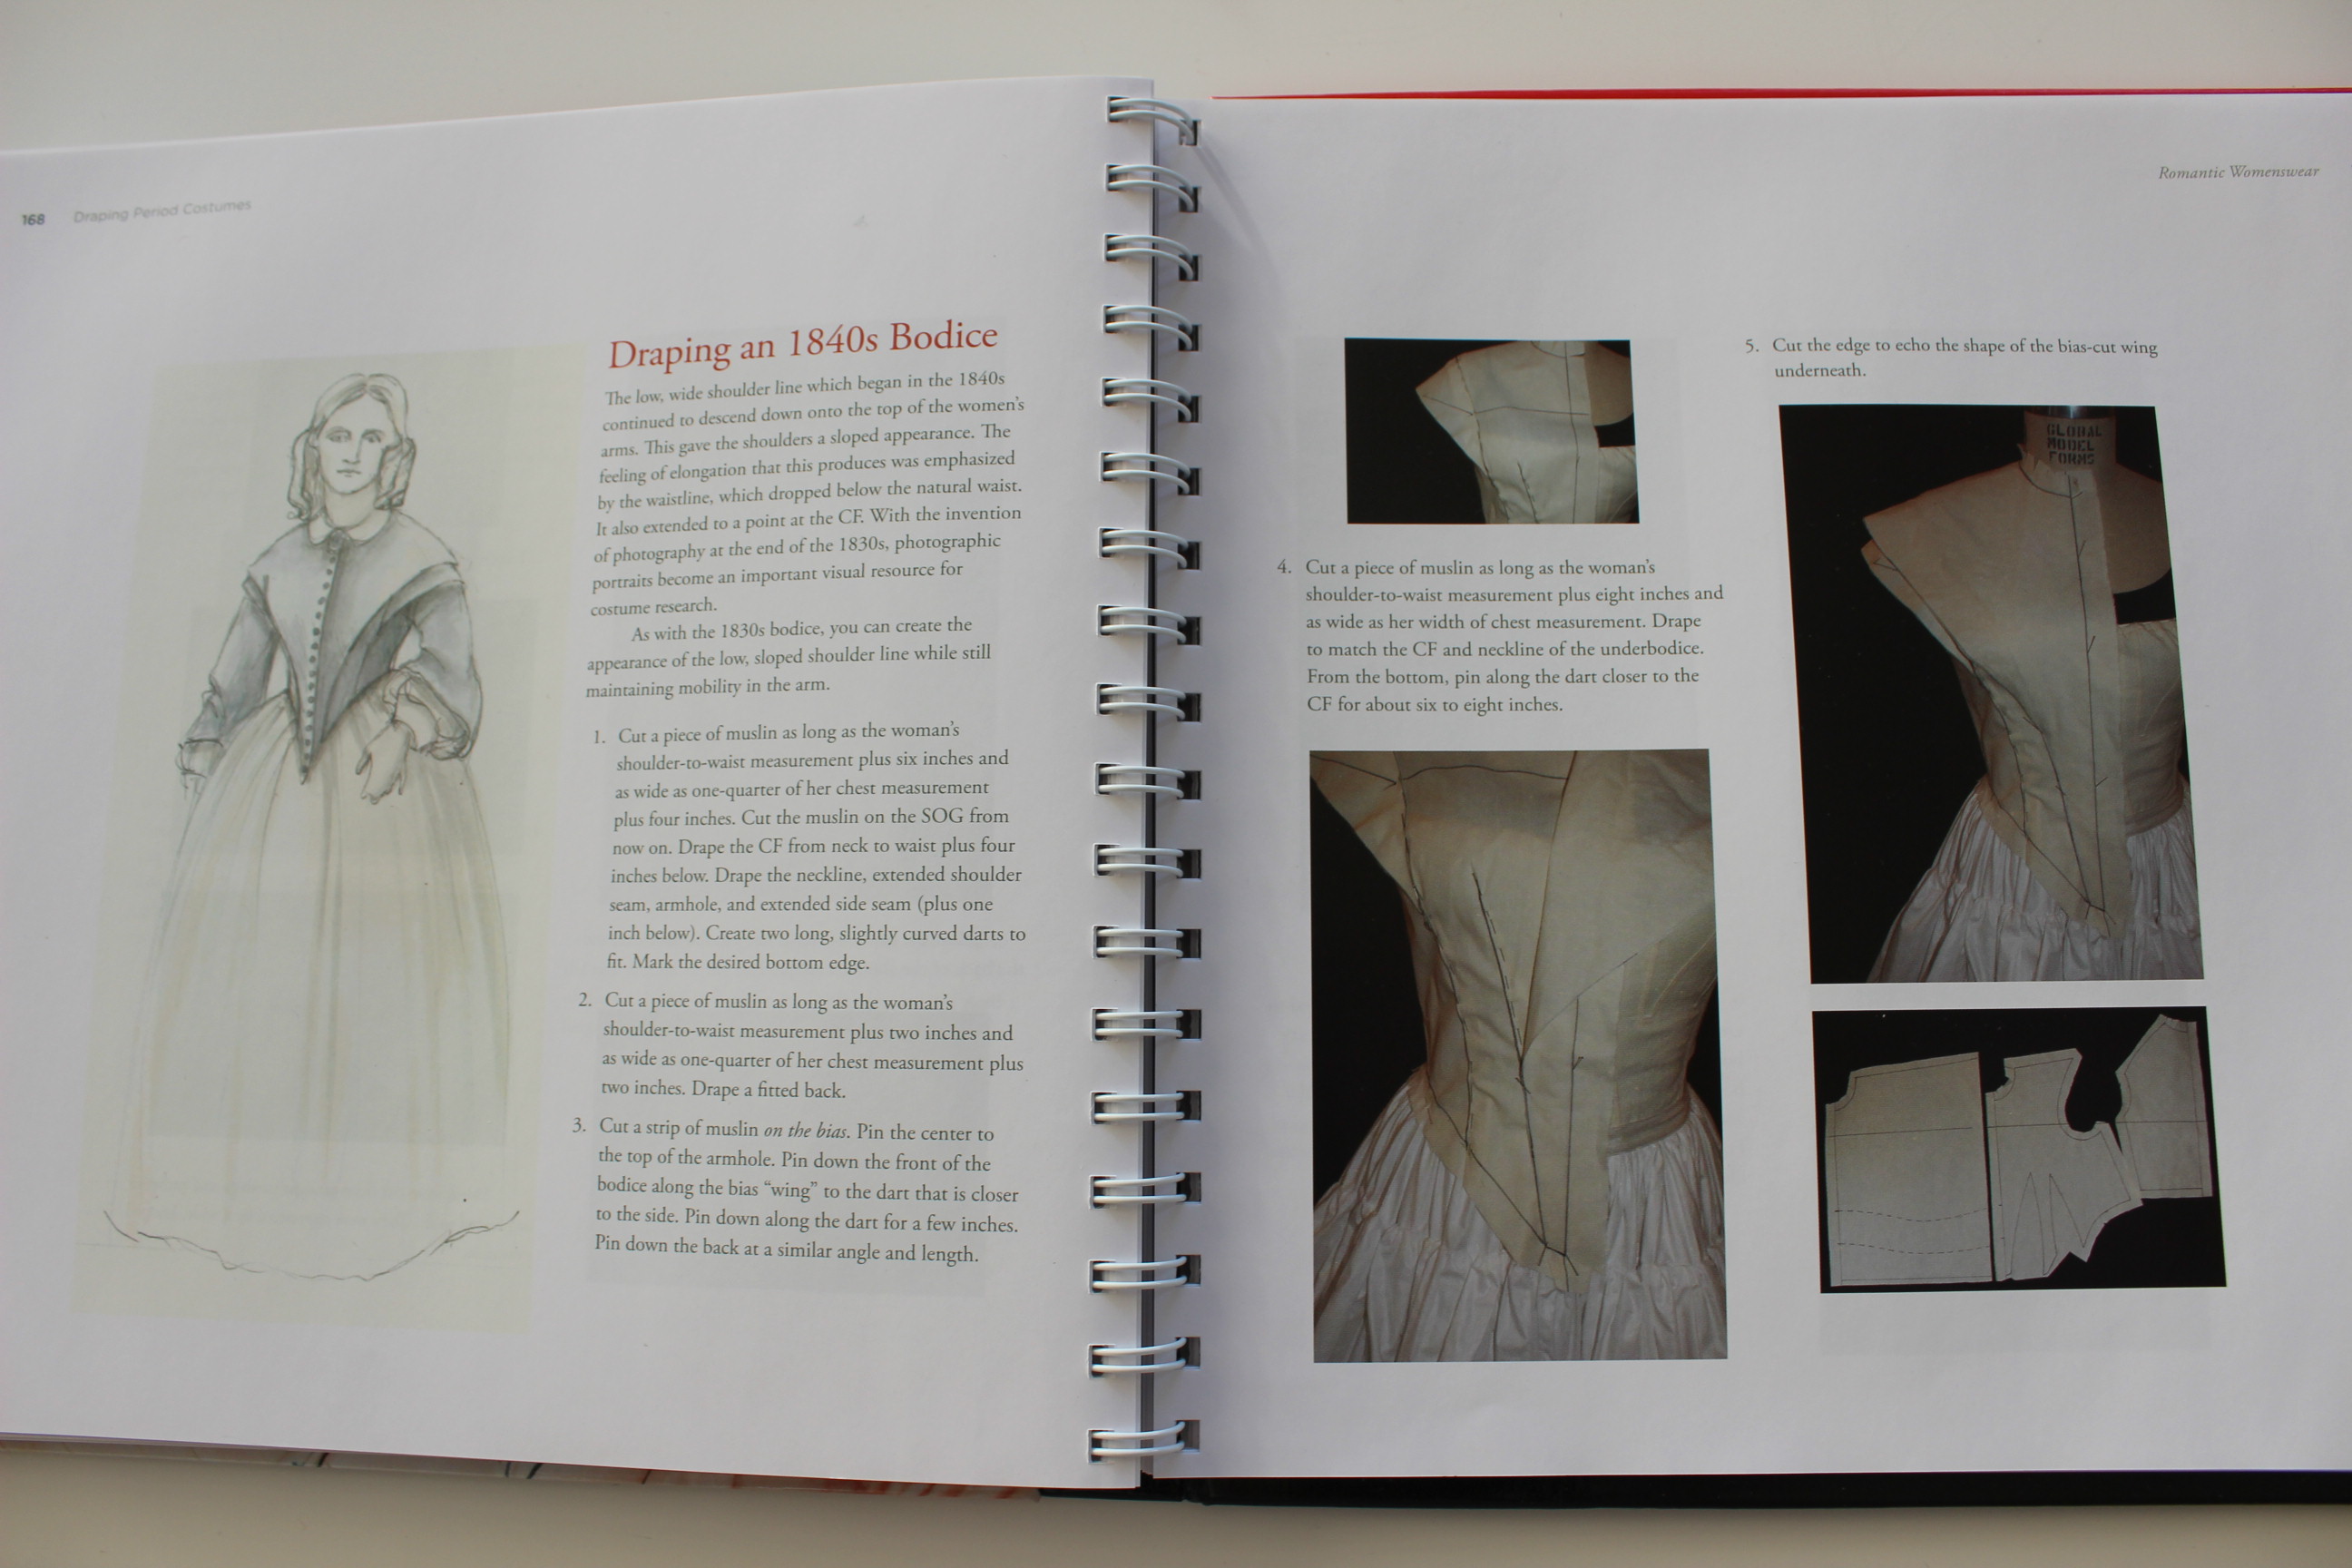
Draping Period Costumes – Classical Greek to Victorian by Sharon NobelIMG_6540

What:

A relativly new, step by step book in the art of draping historical patterns, for theatre or costume design.

IMG_6542

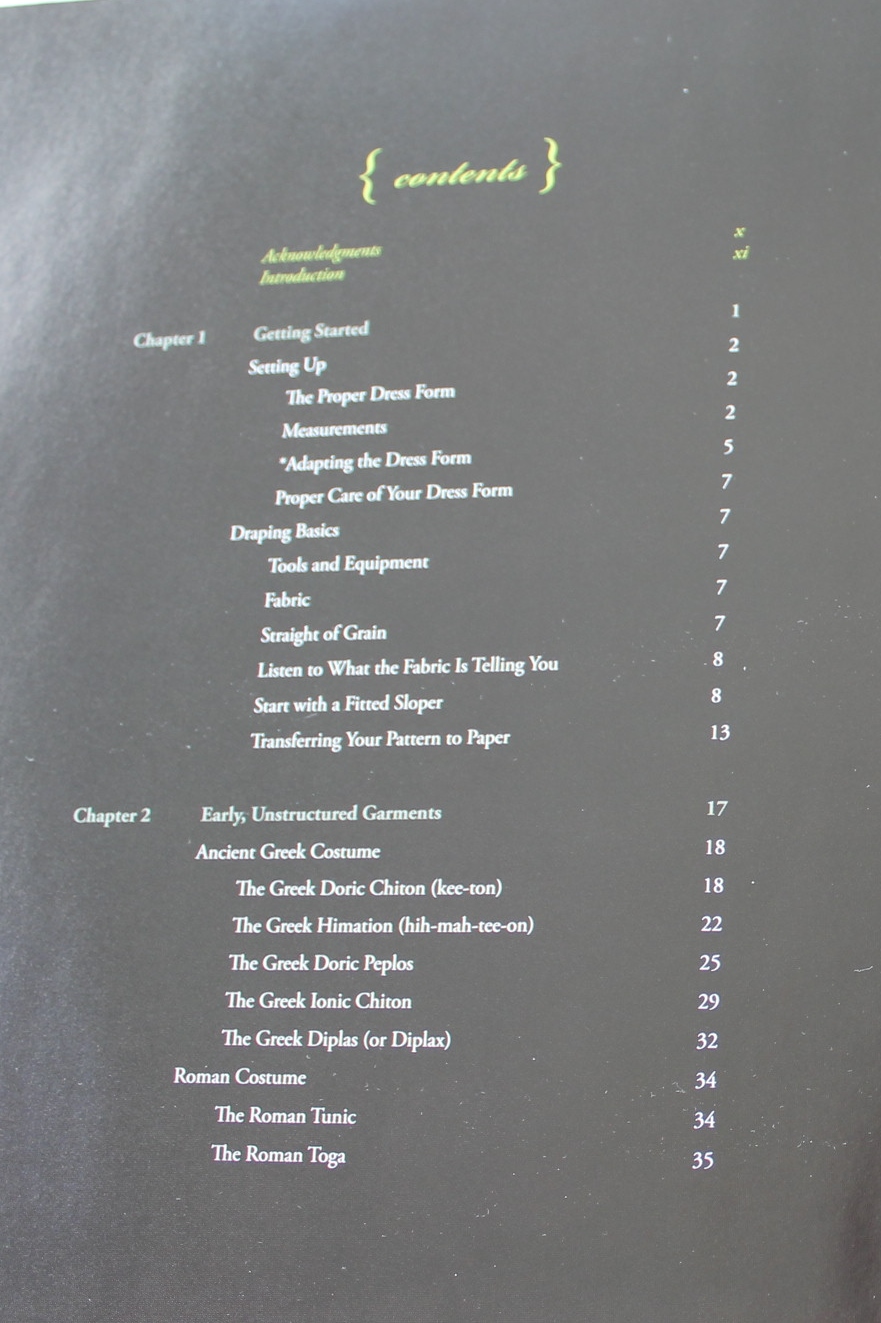
It contains about 50 patterns for different styles of clothing, from the ancent greek to the busteled Victorians. And about half of them are Mens styles.

IMG_6548
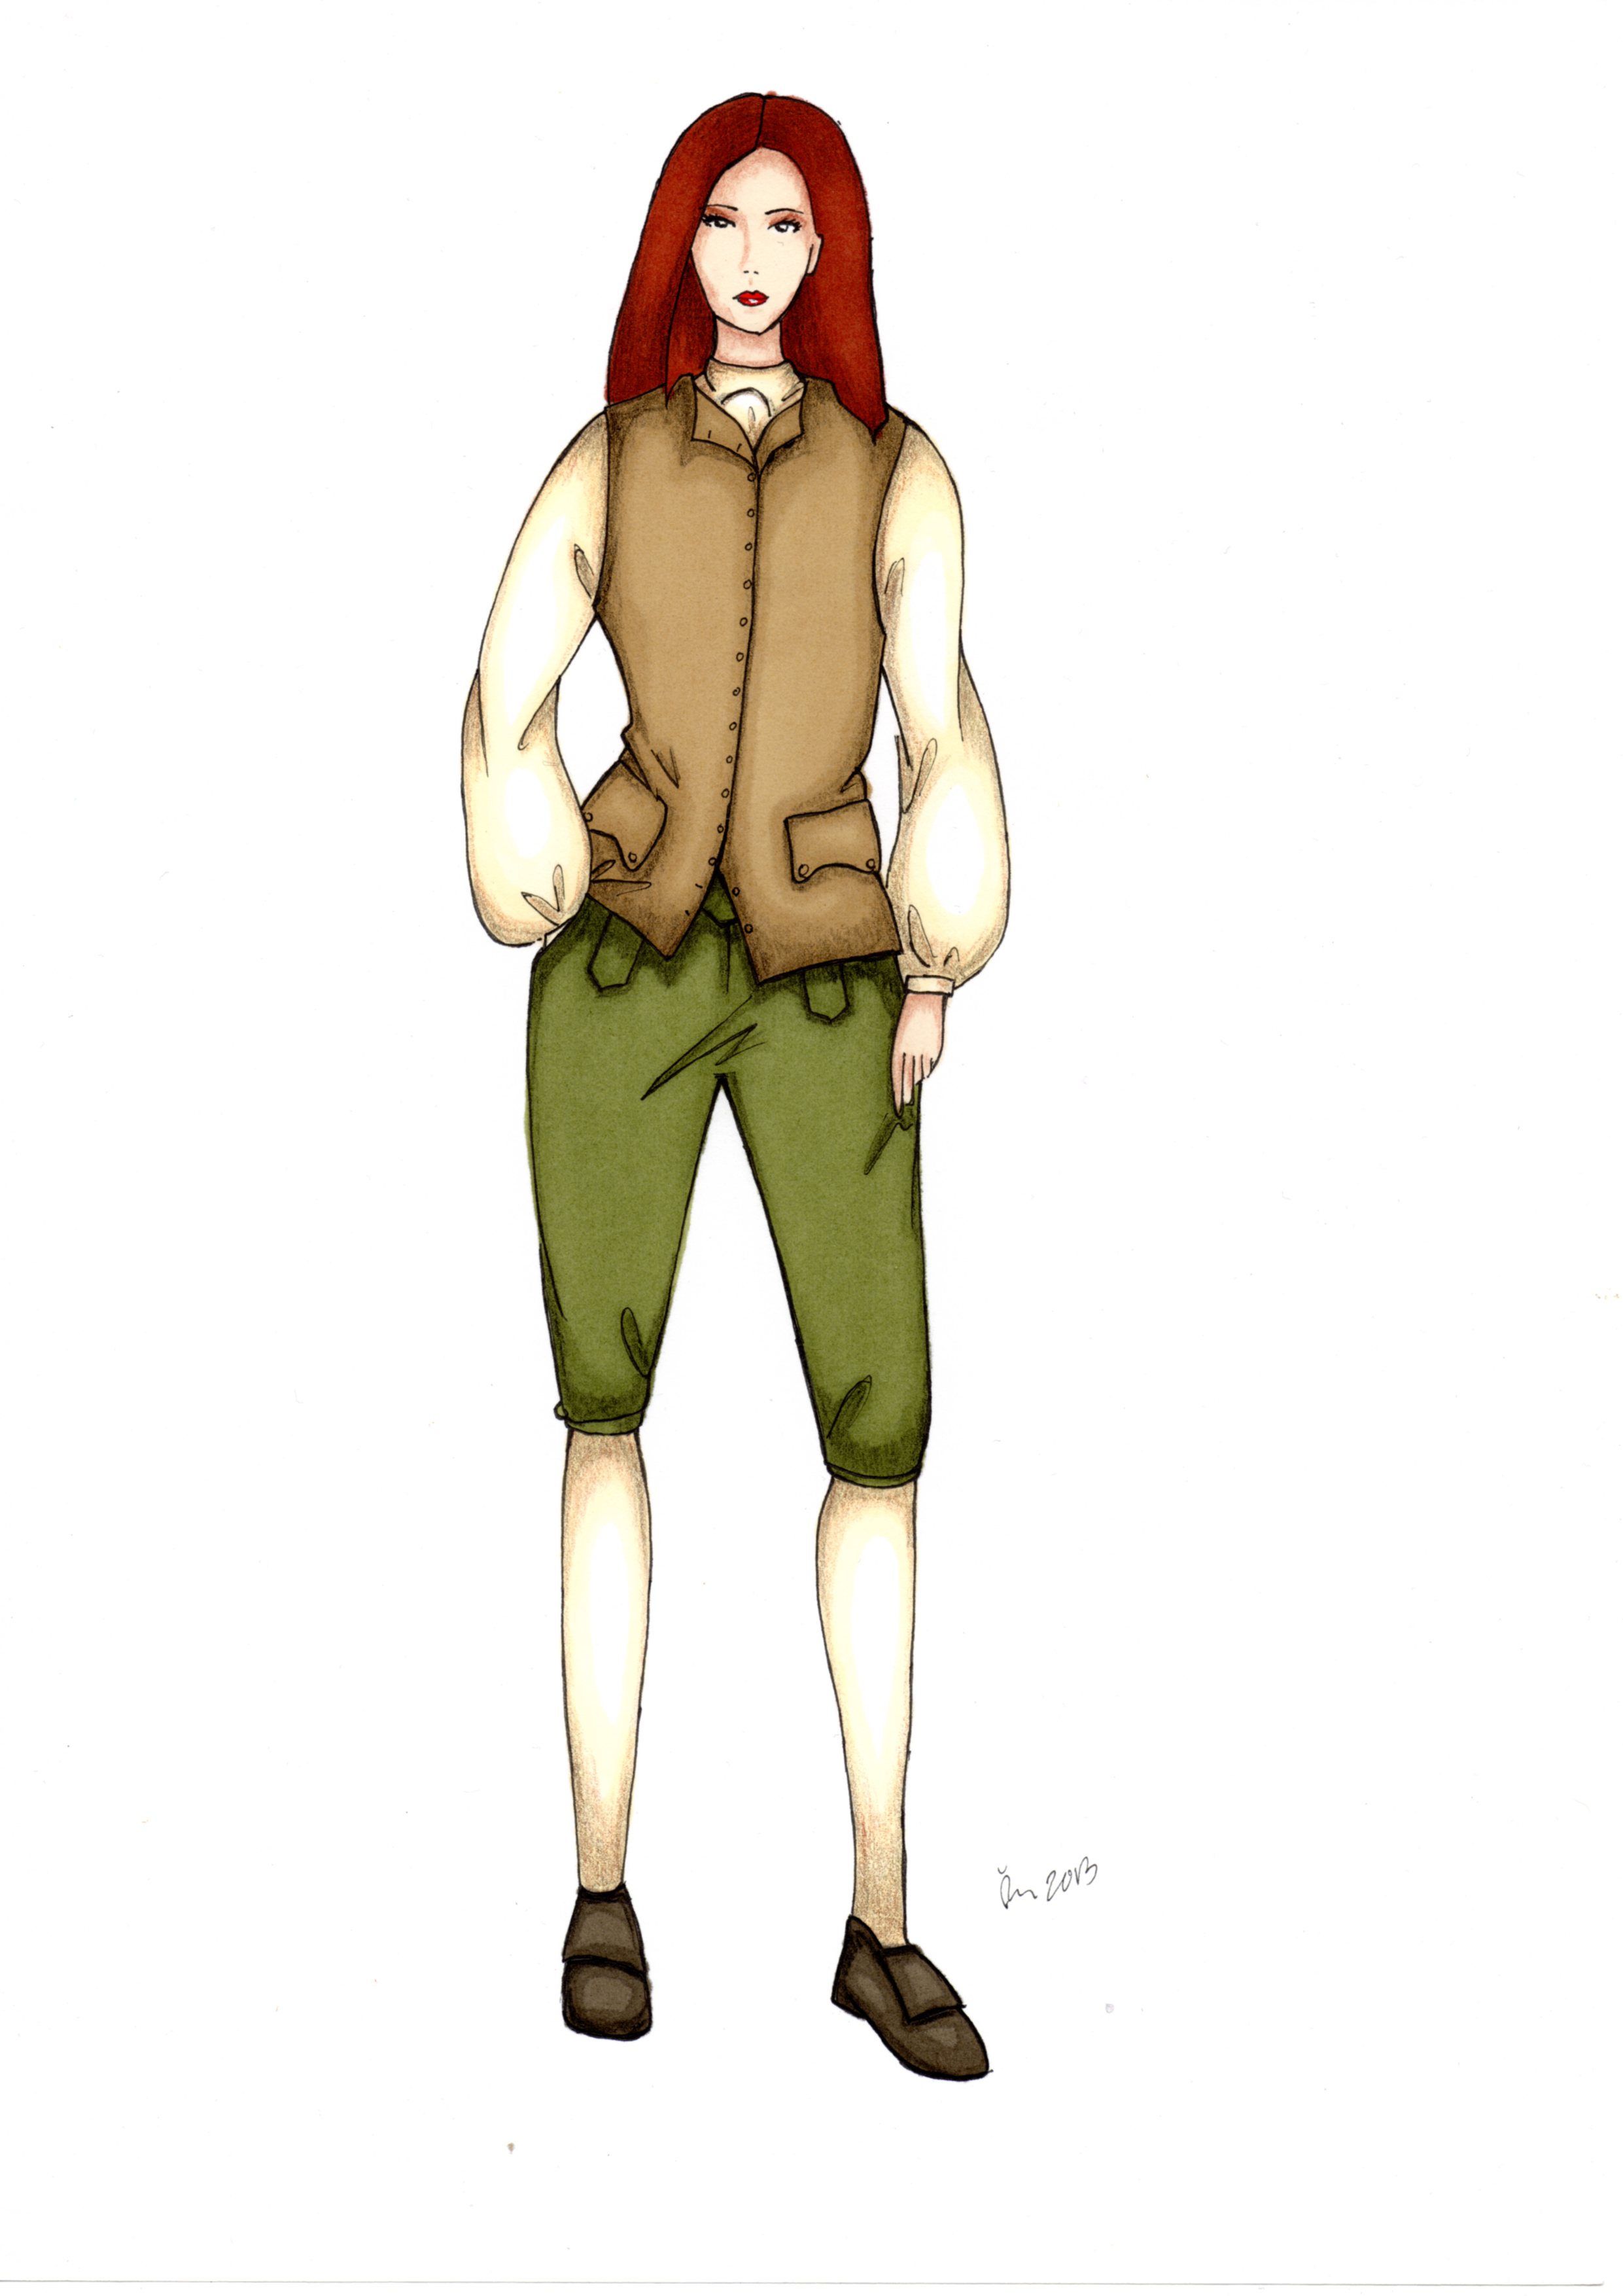
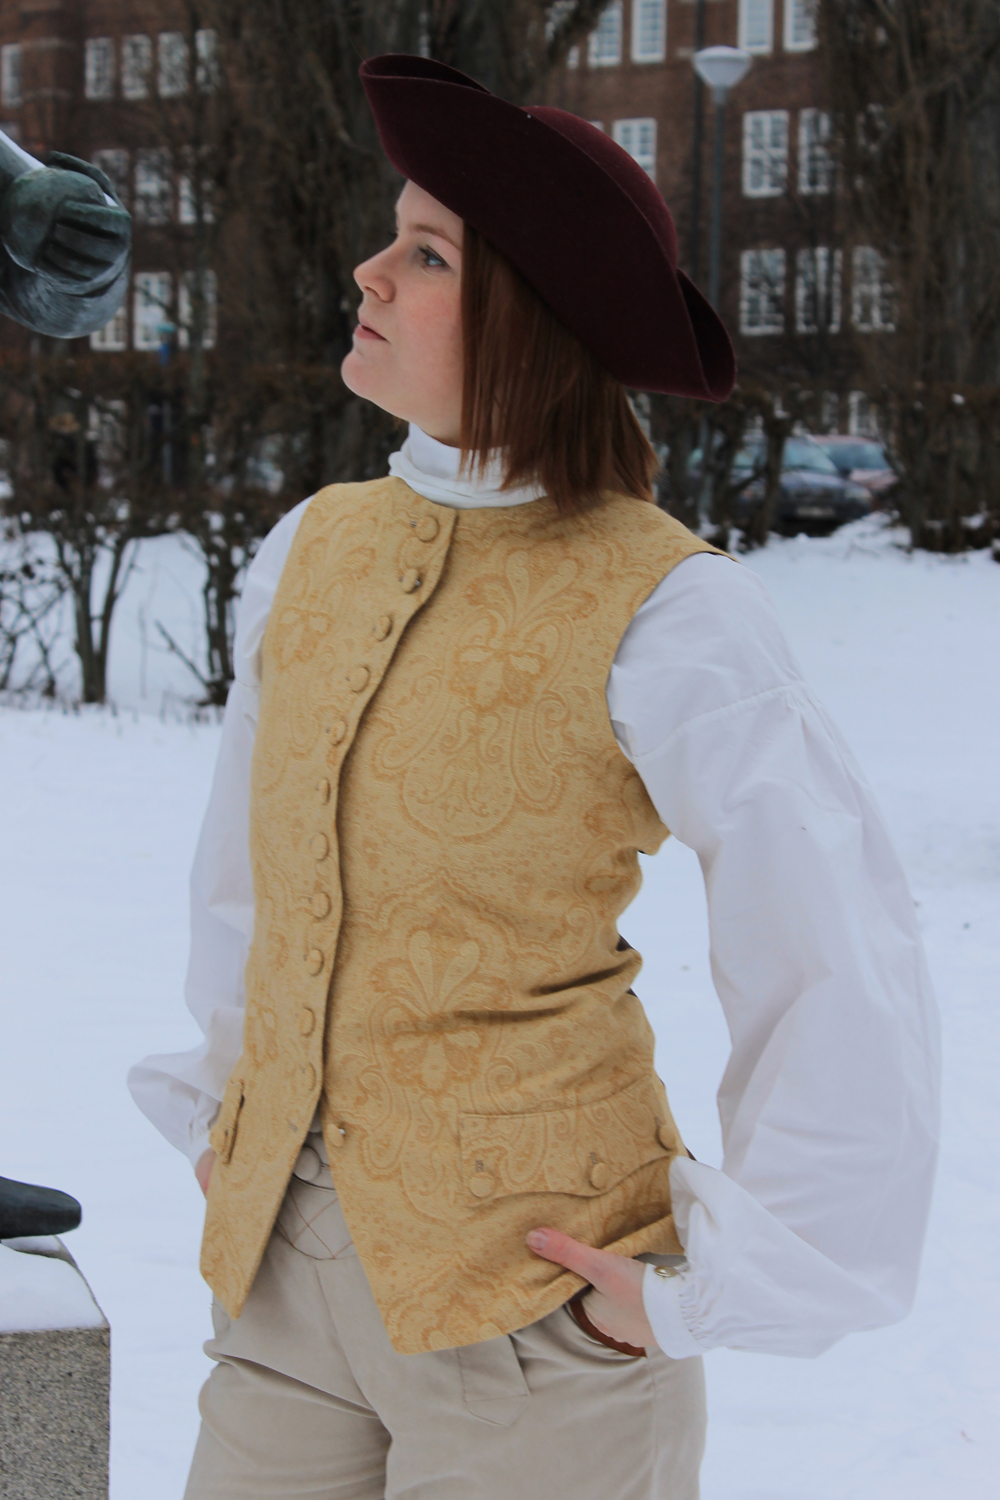
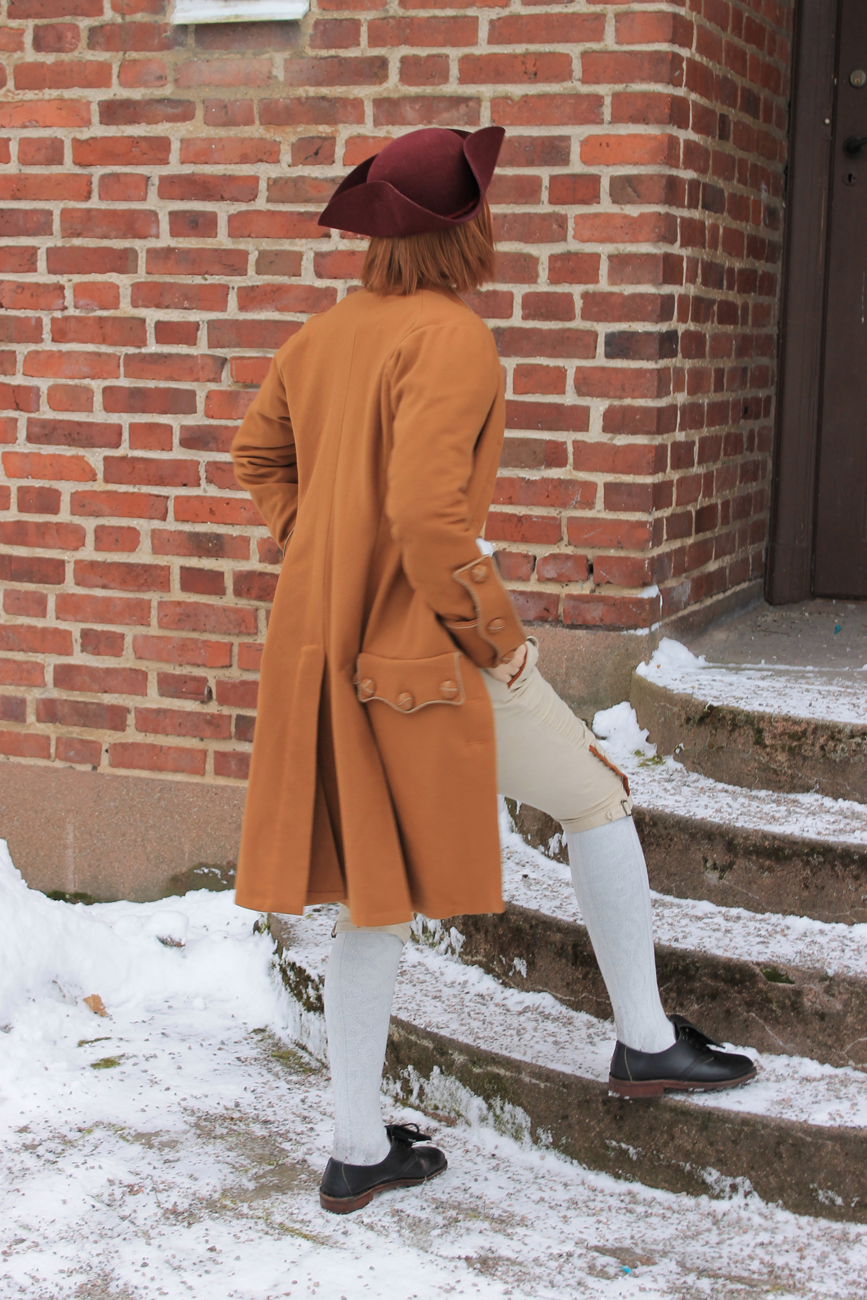
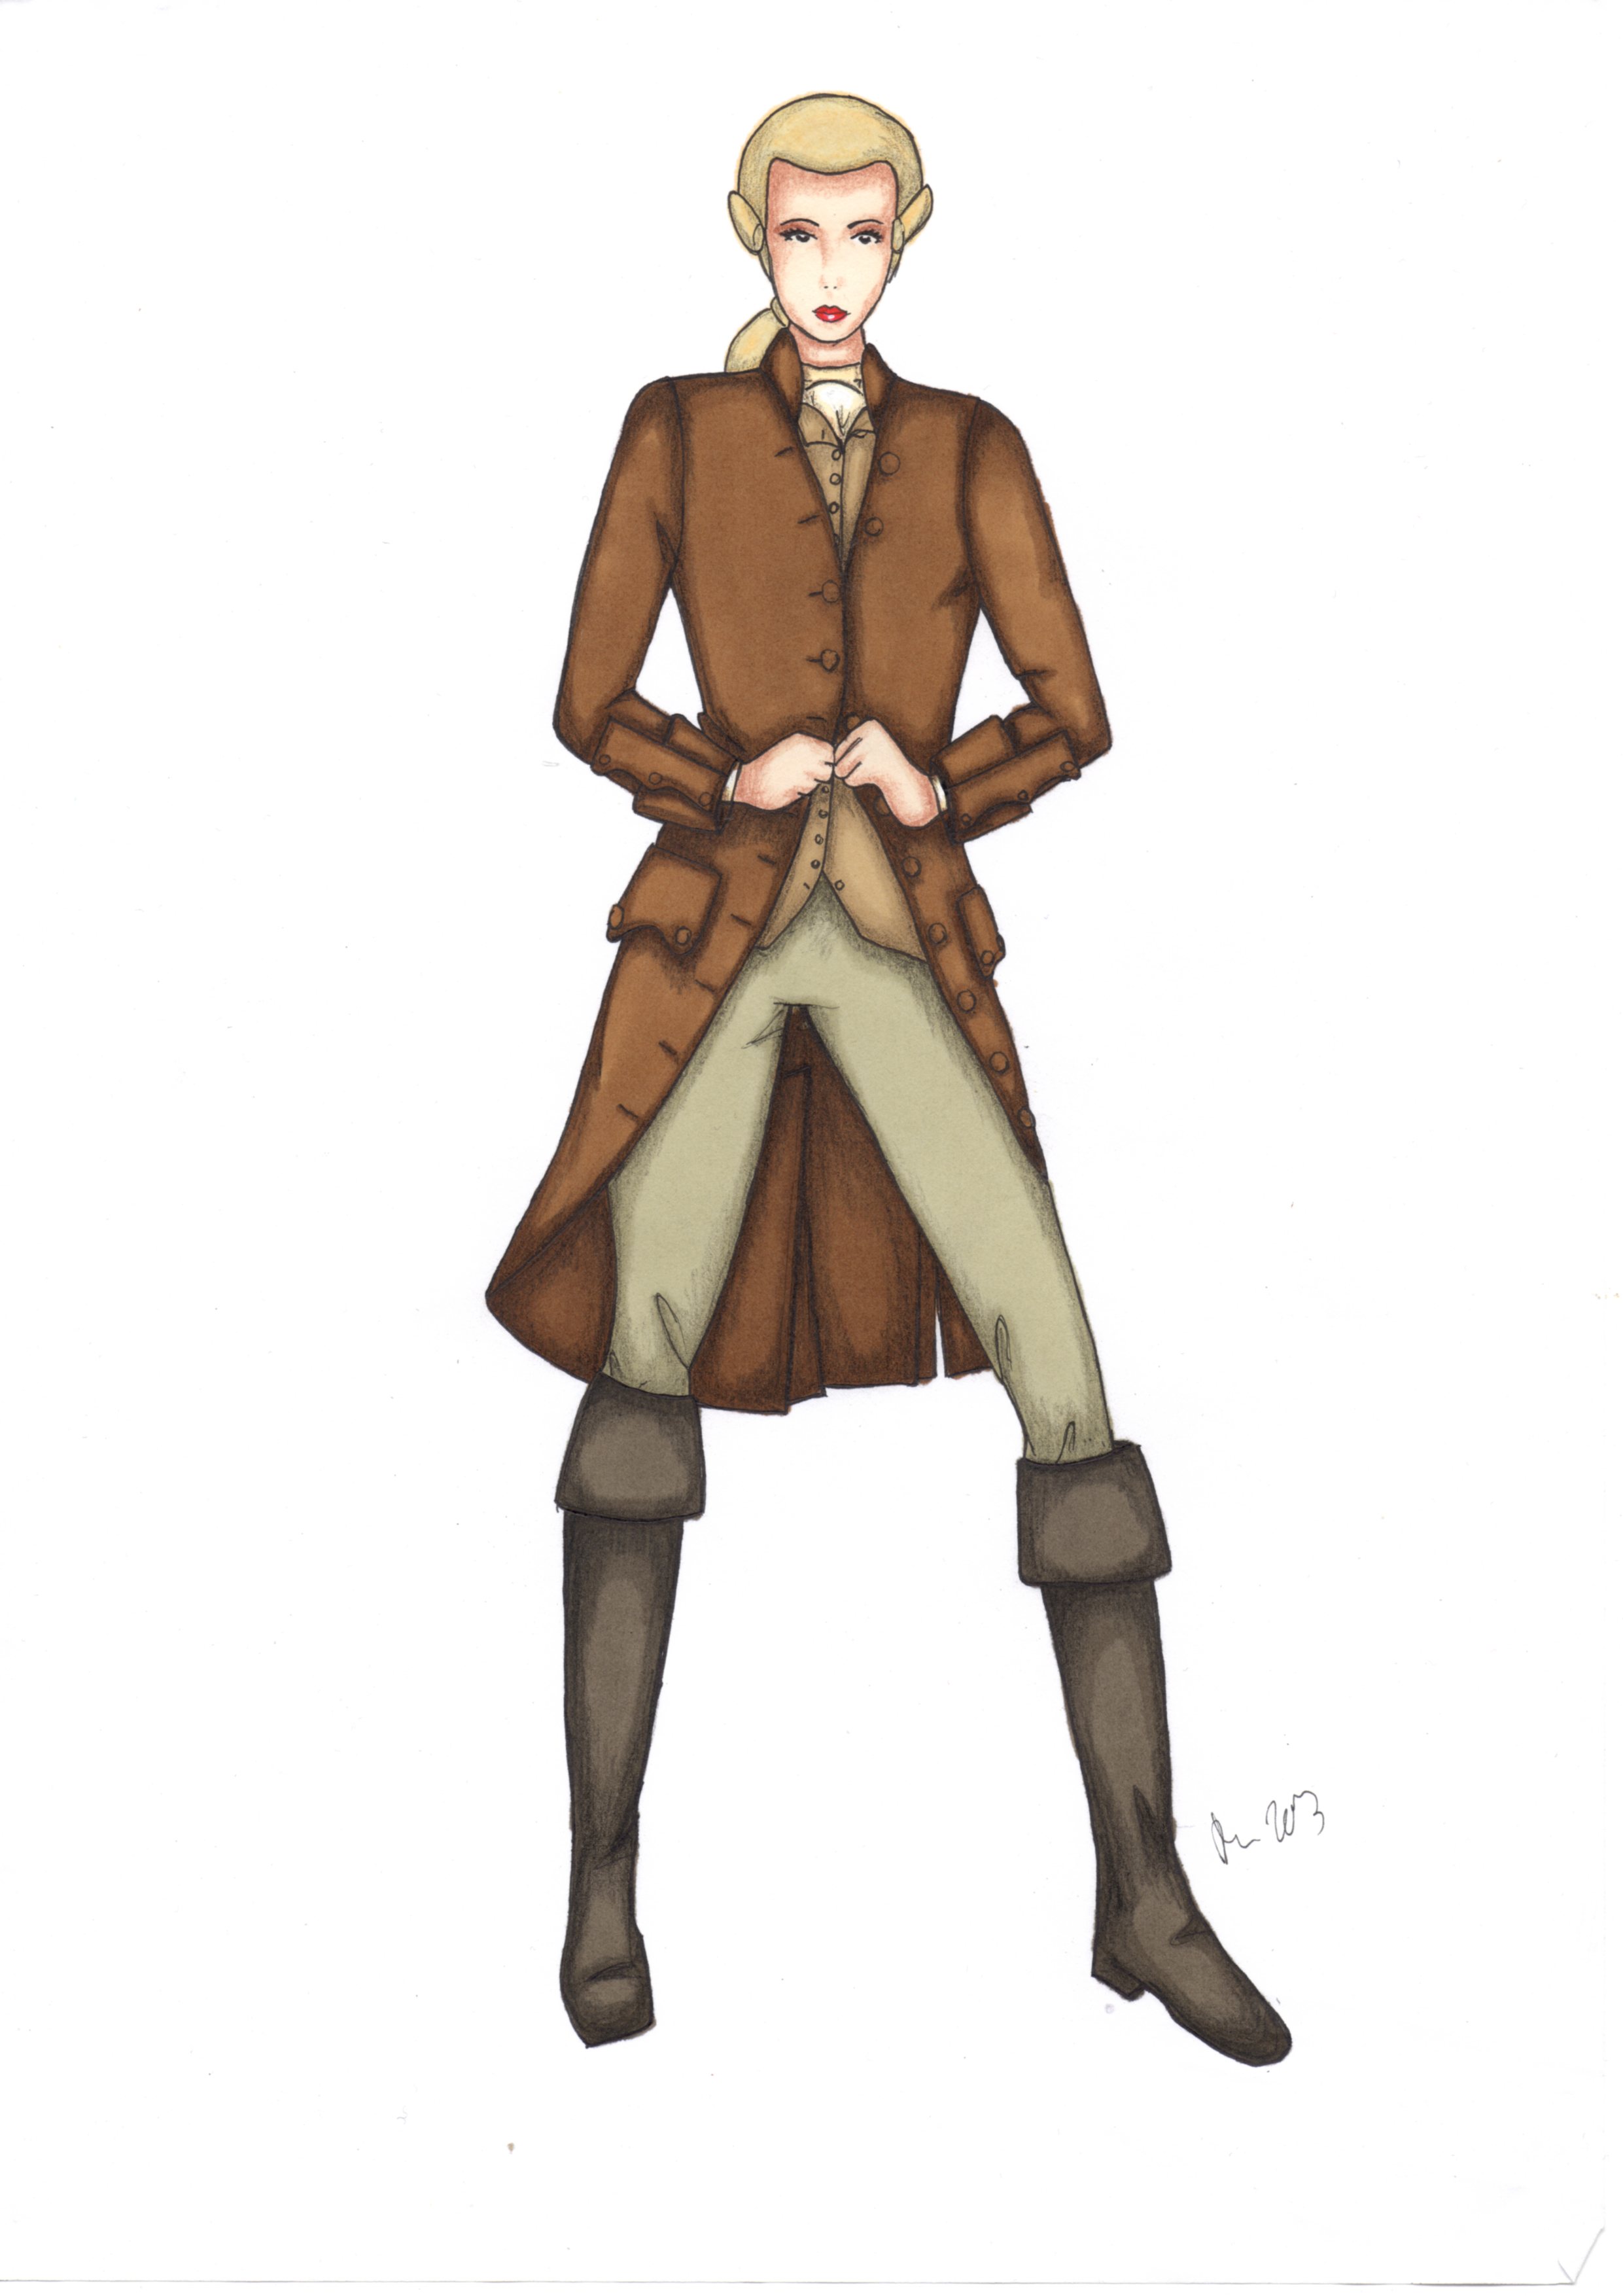
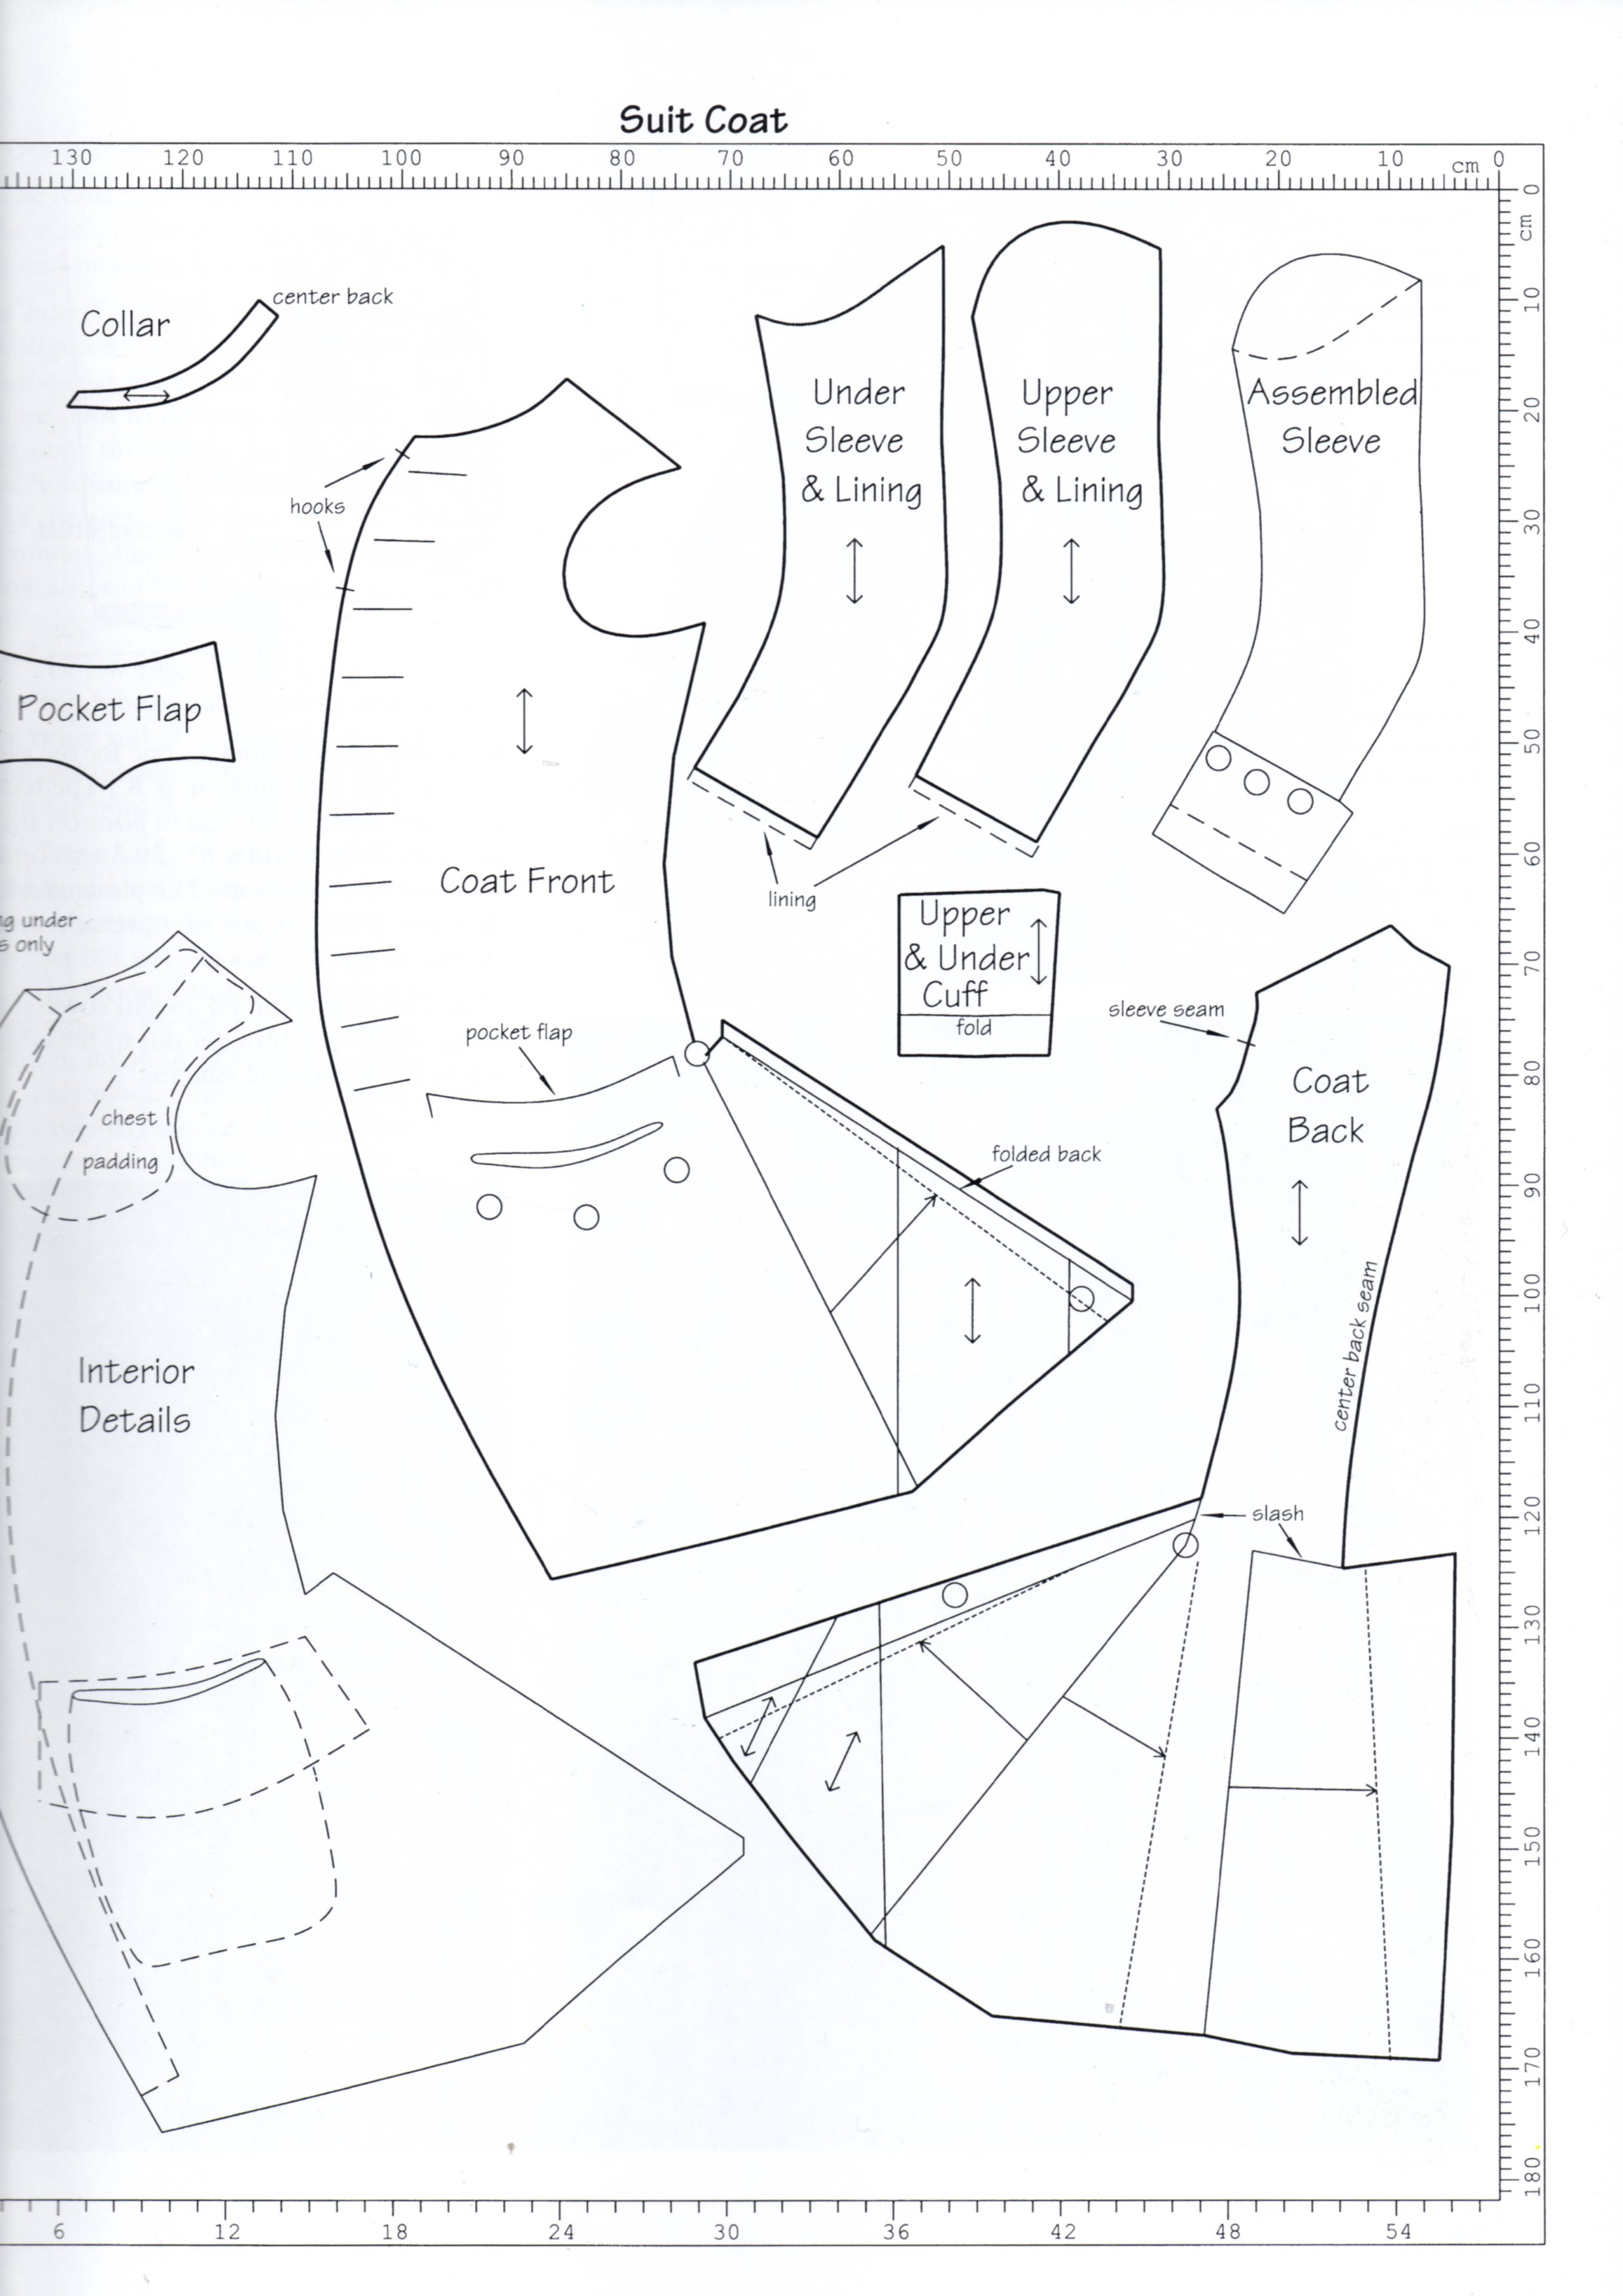
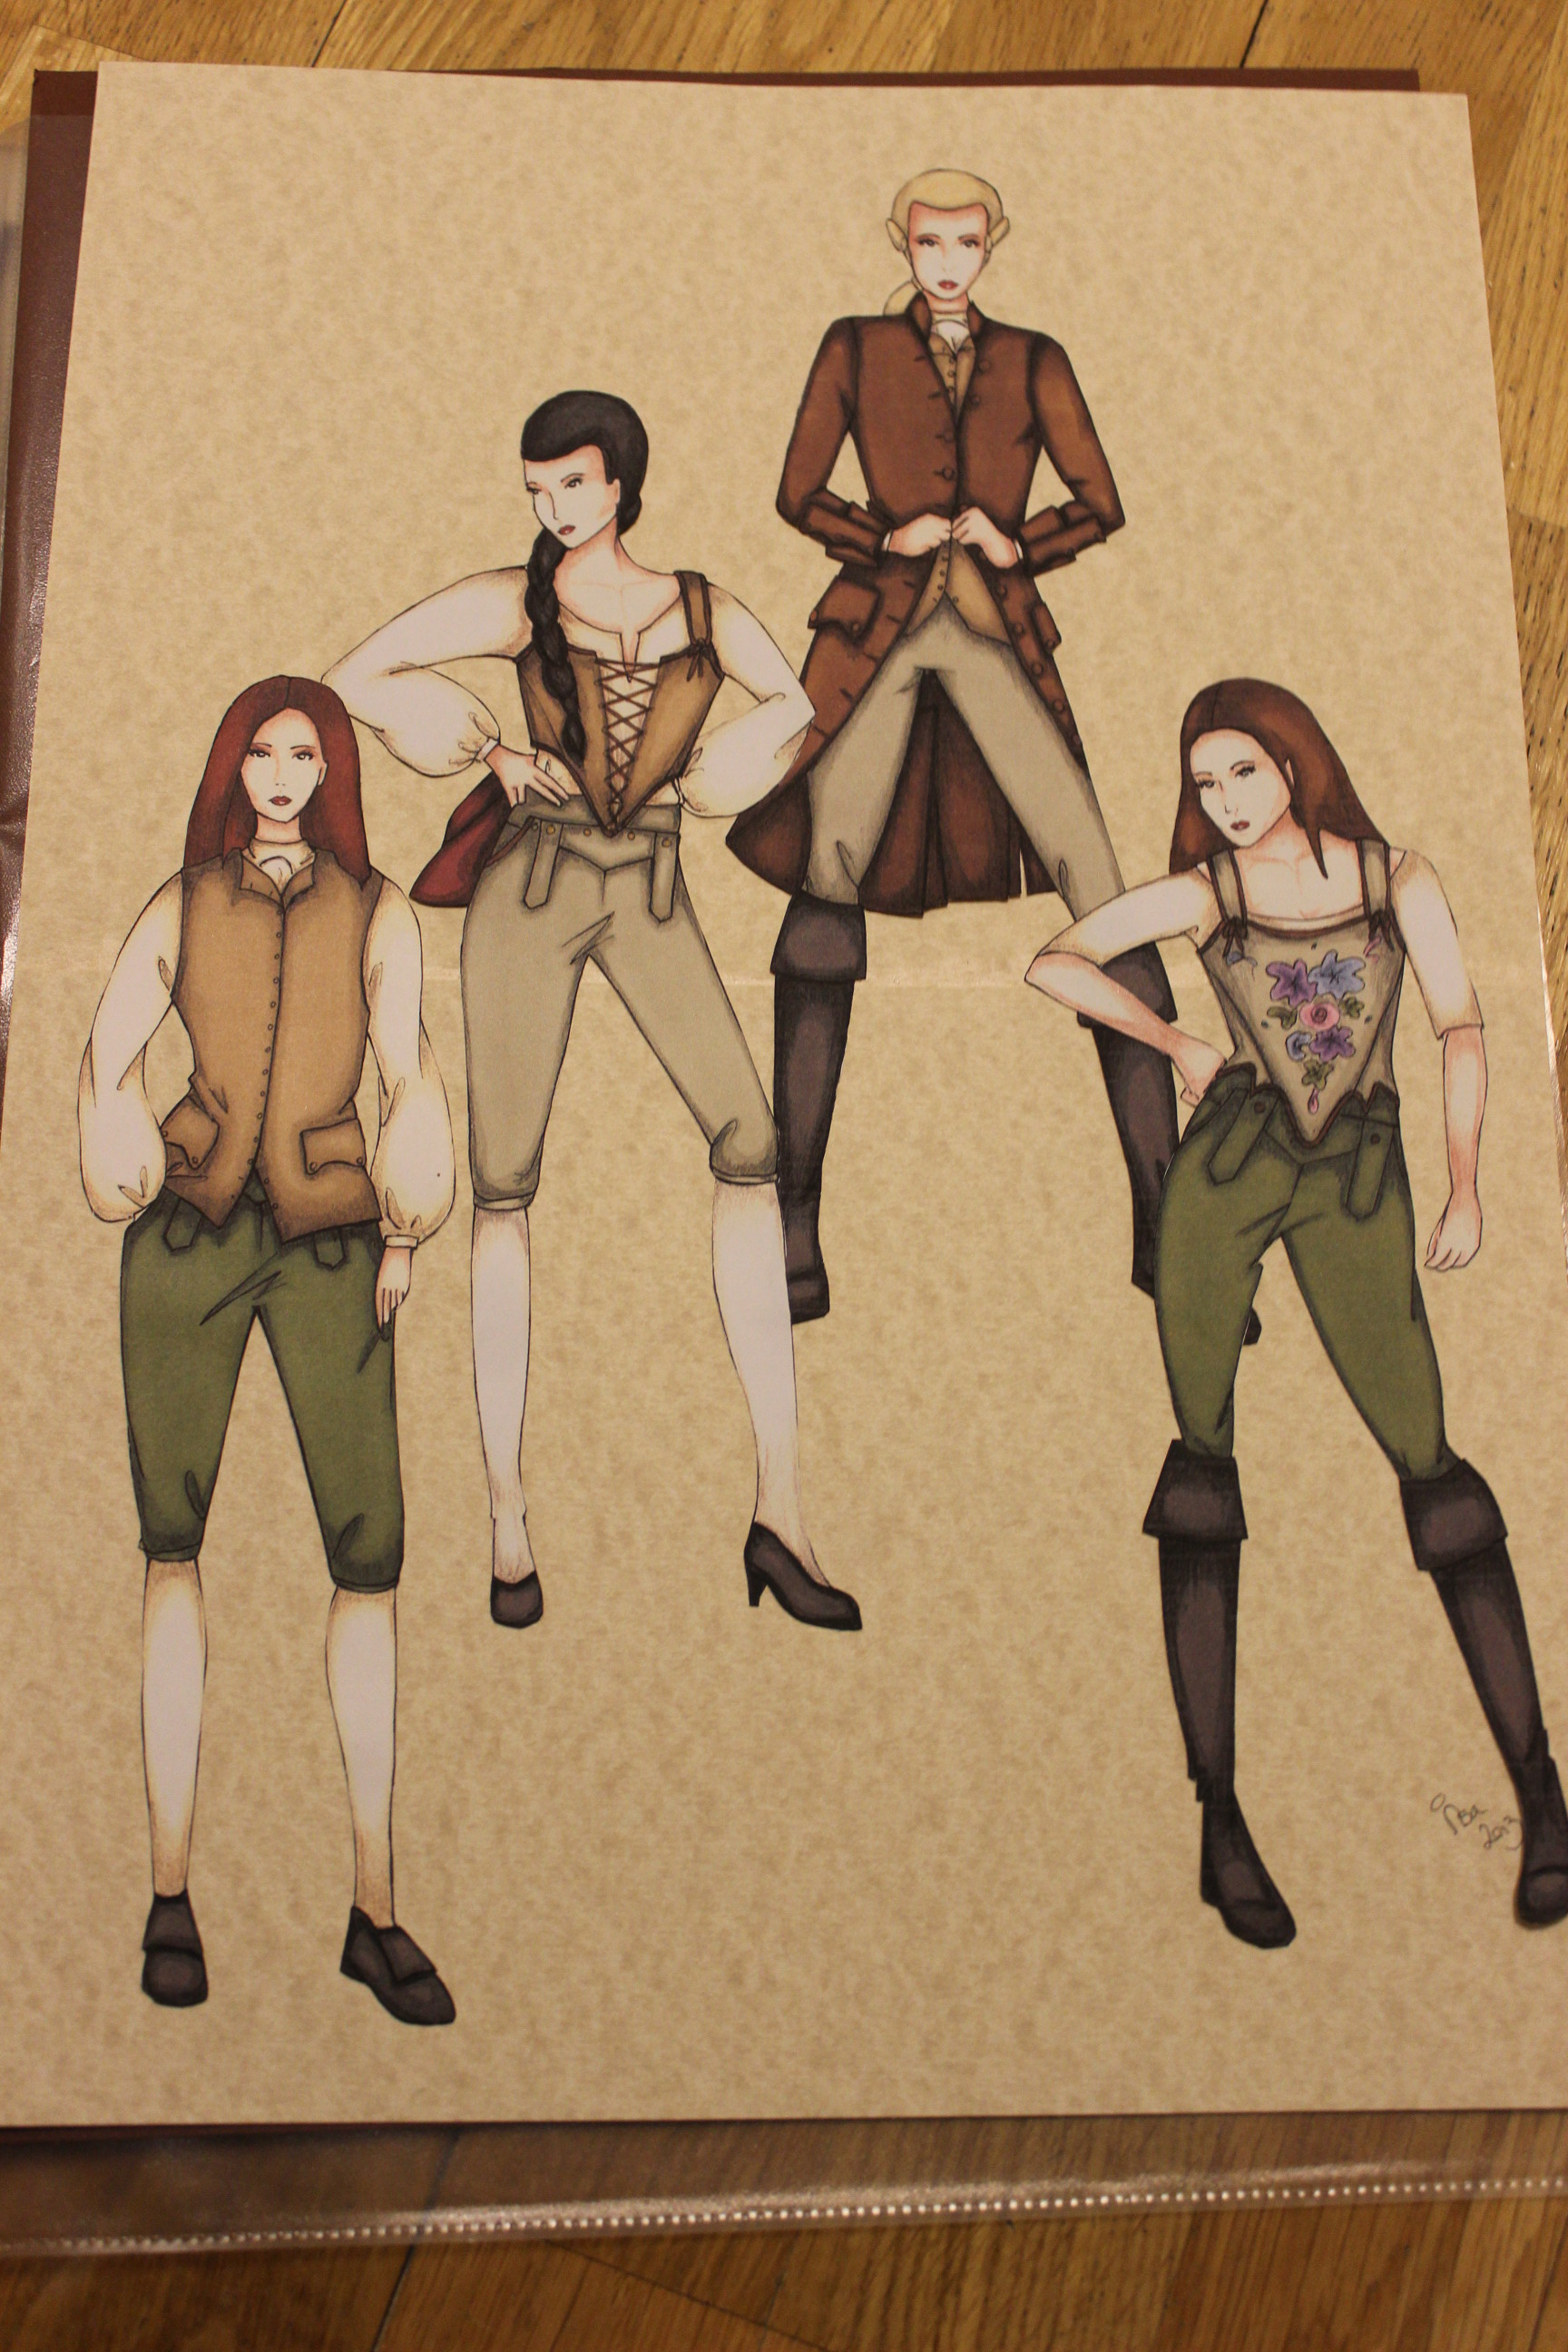
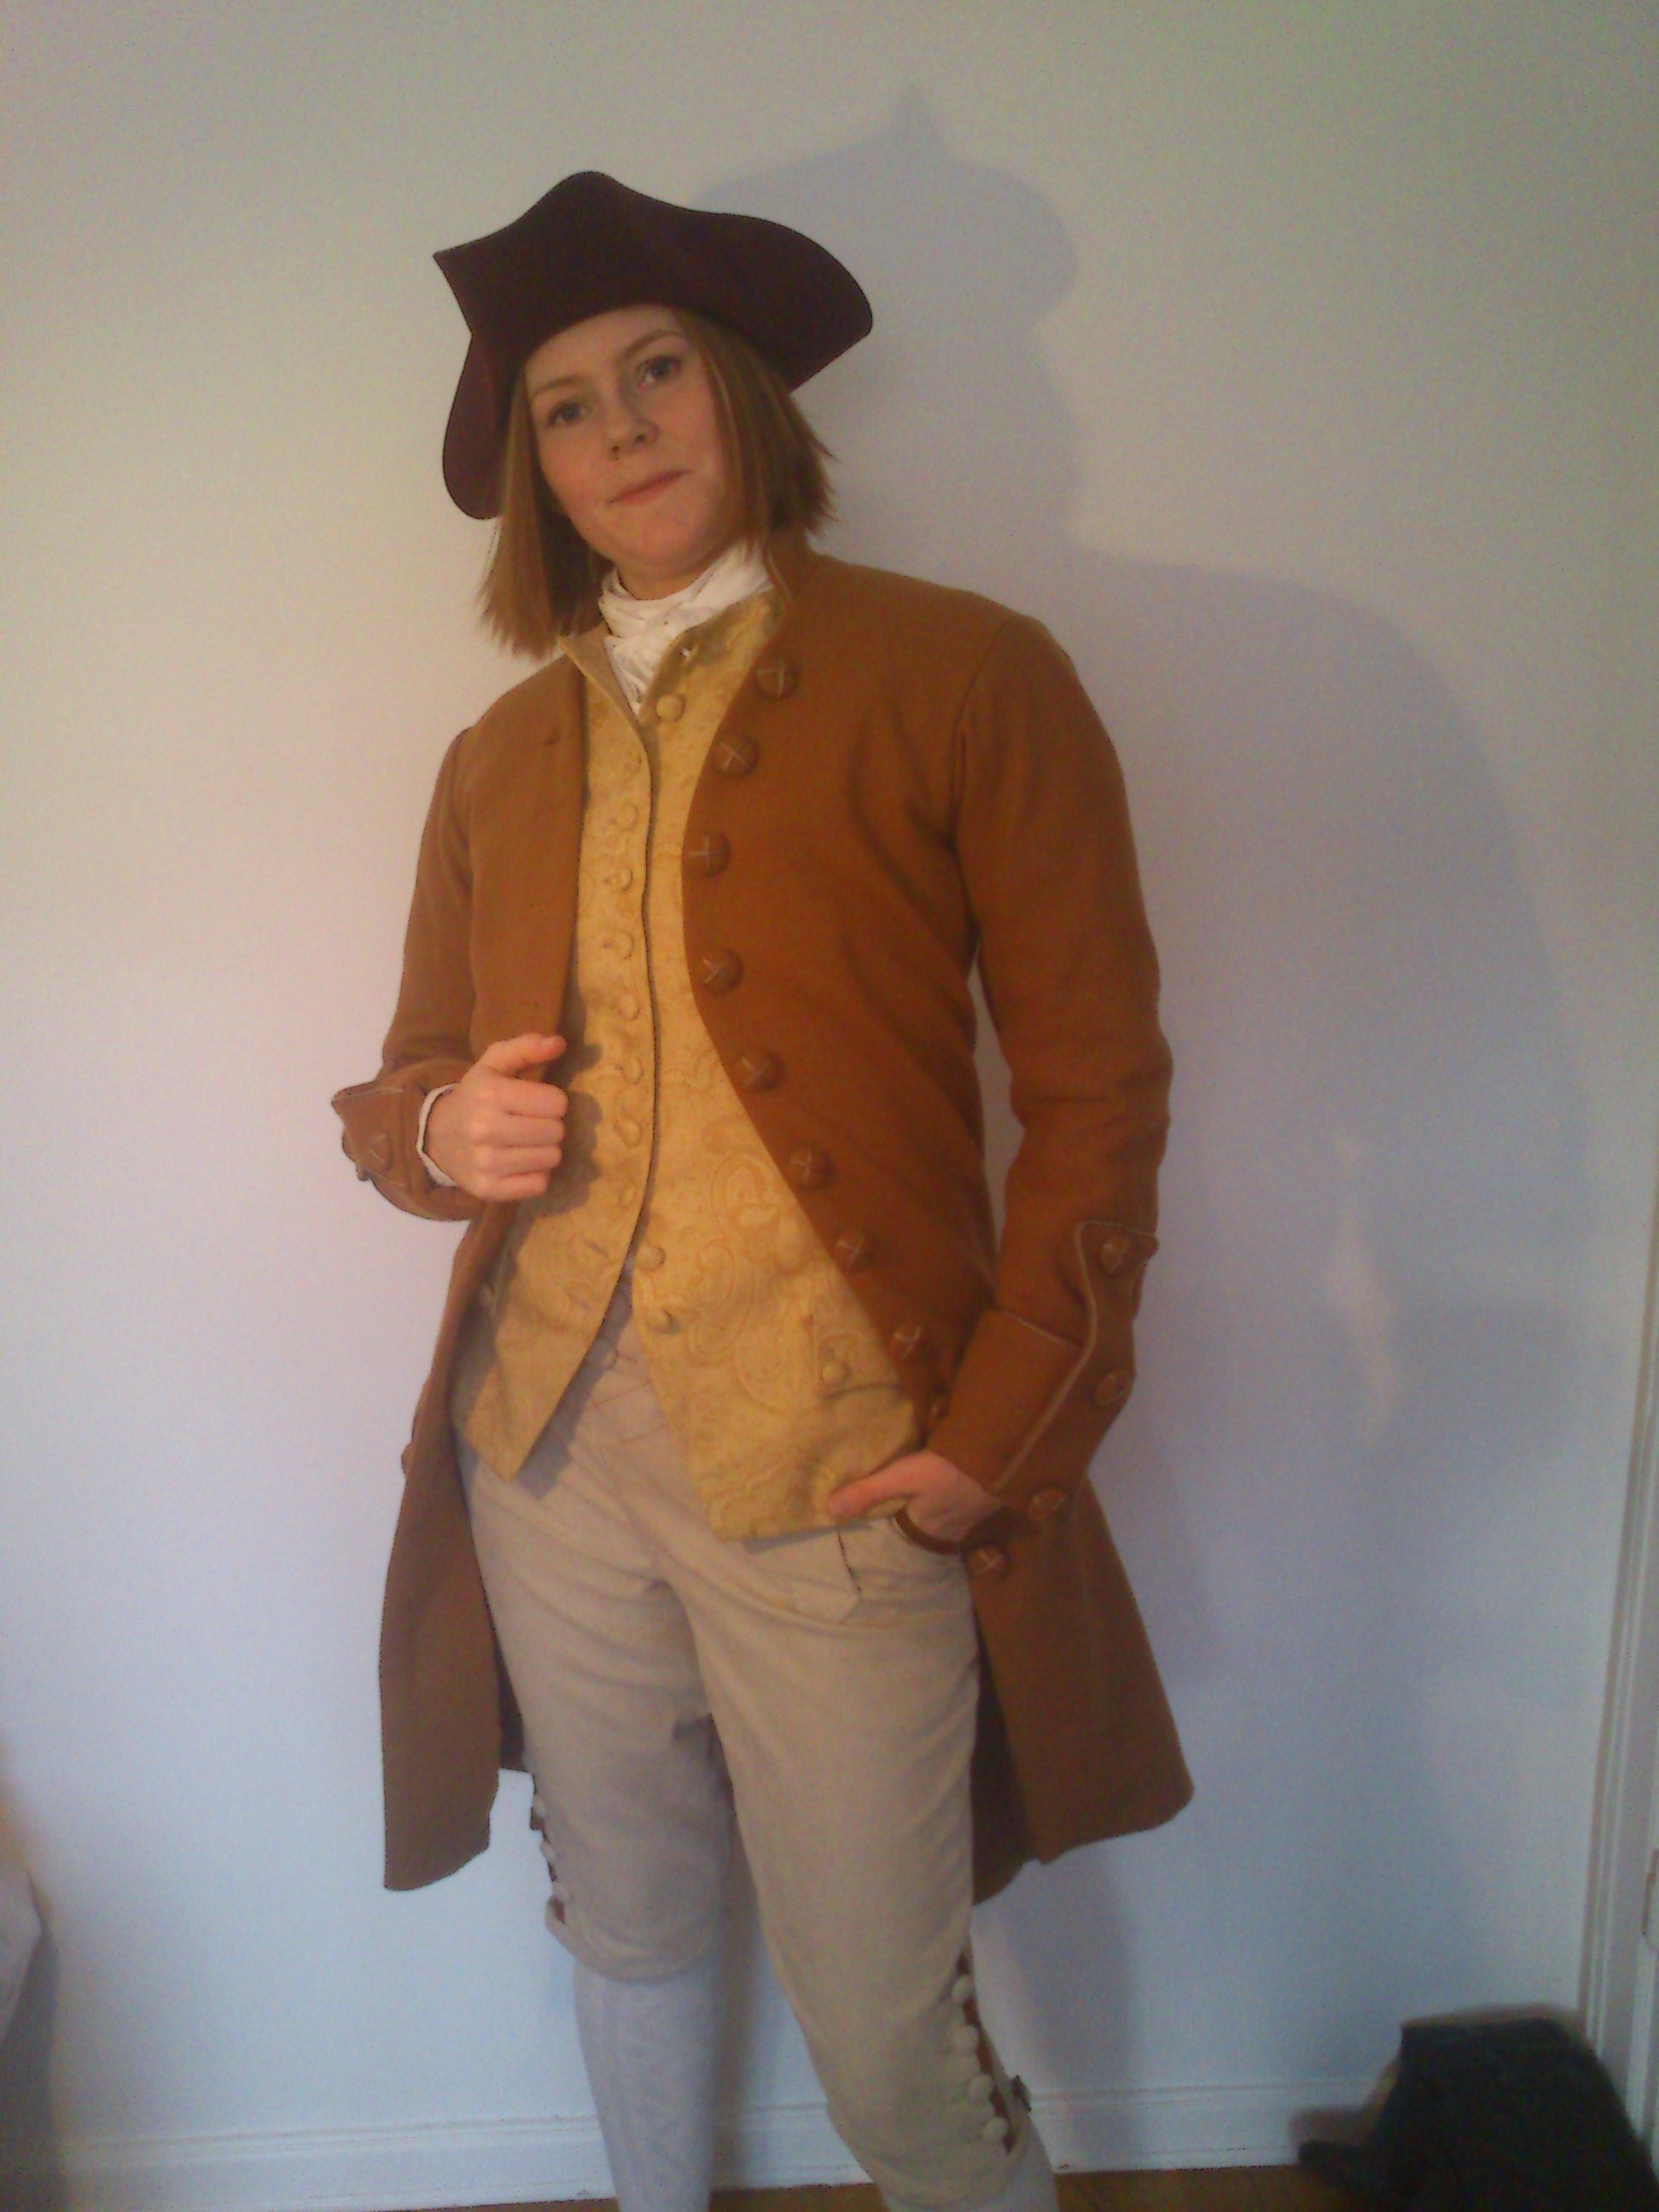
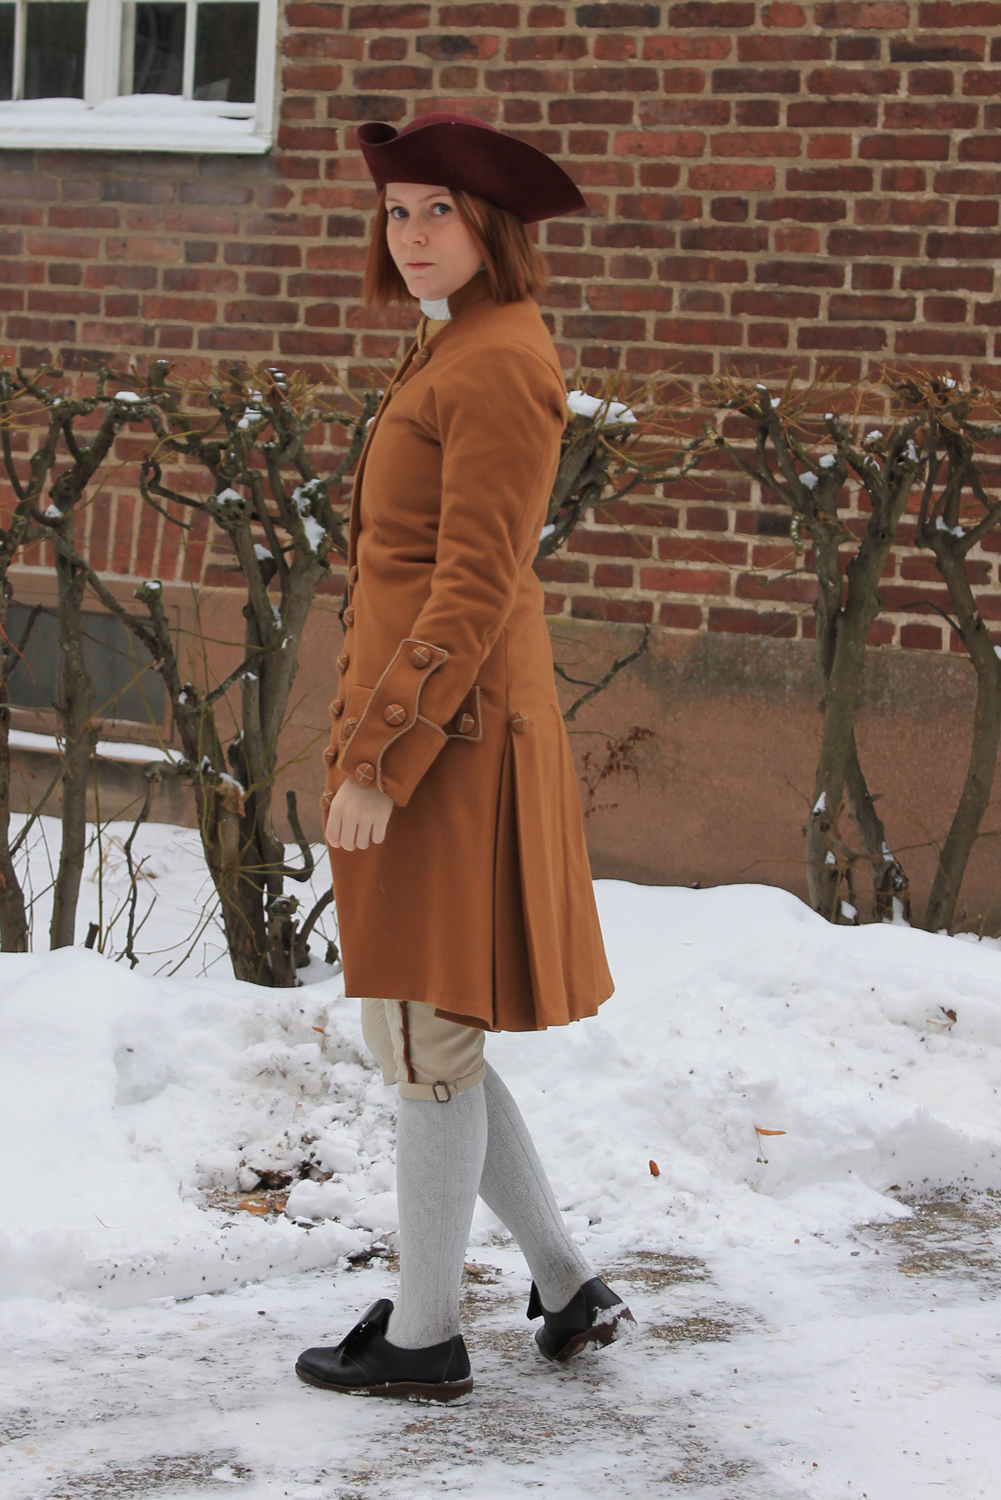
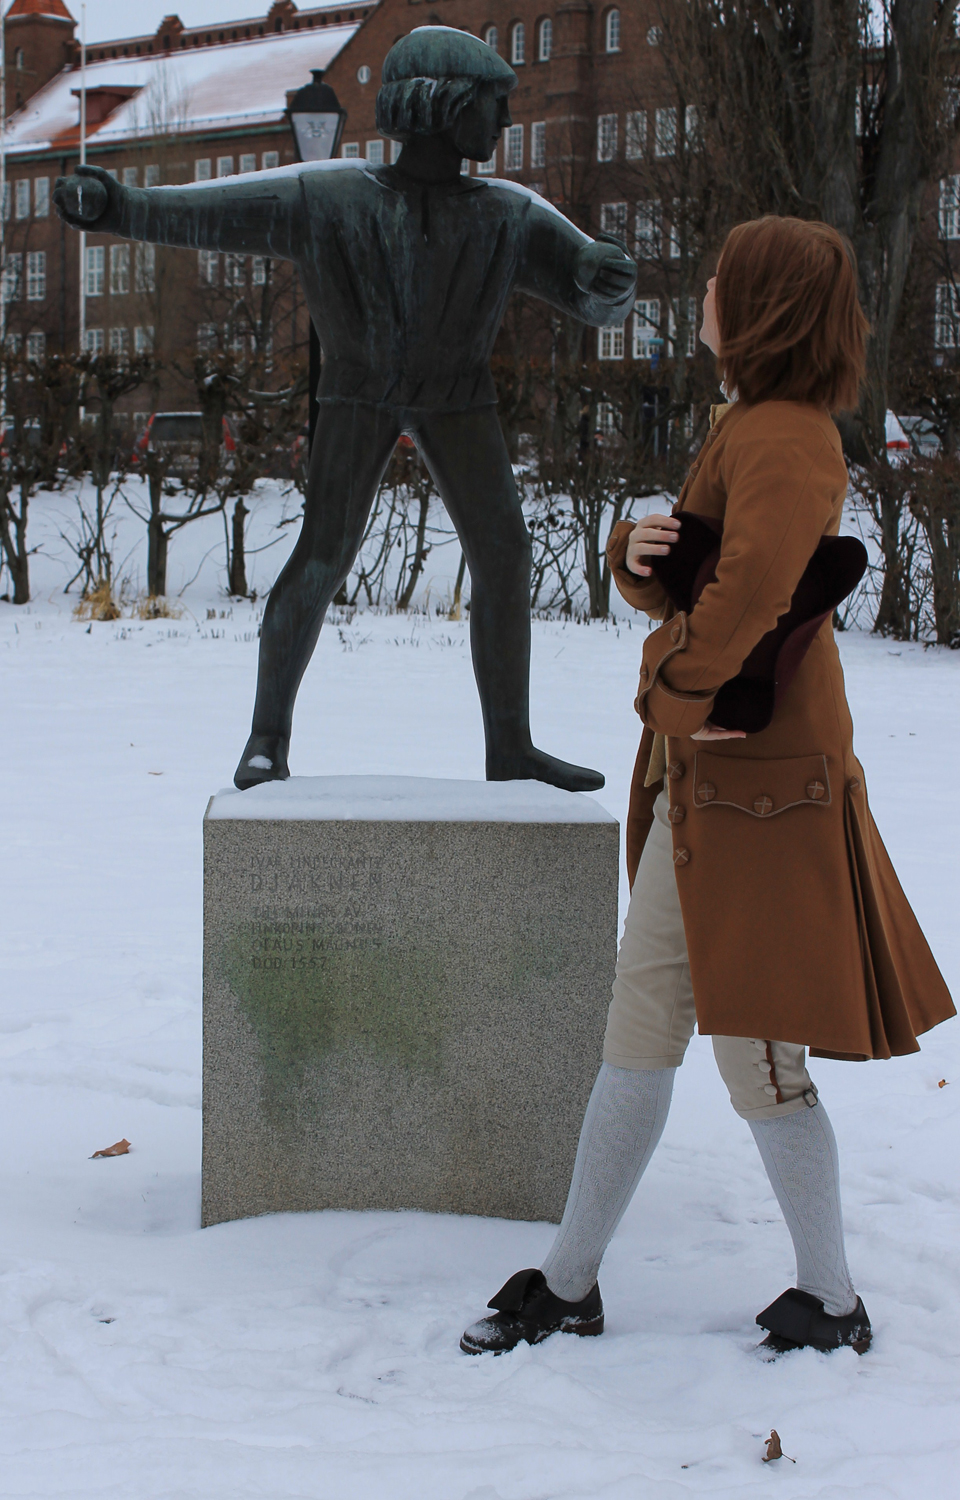
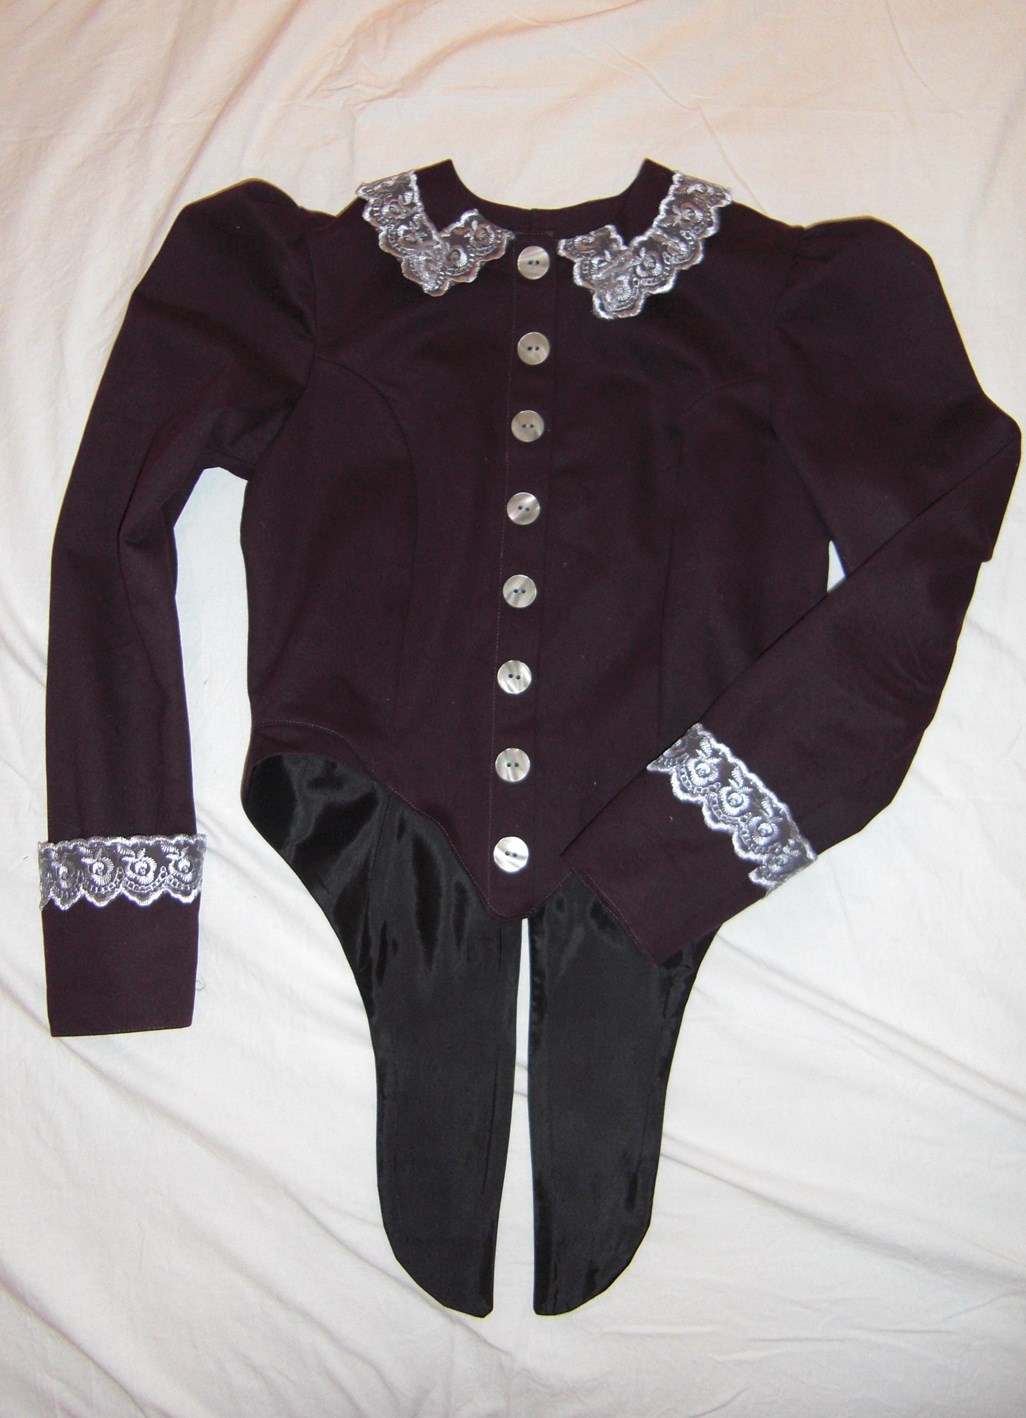
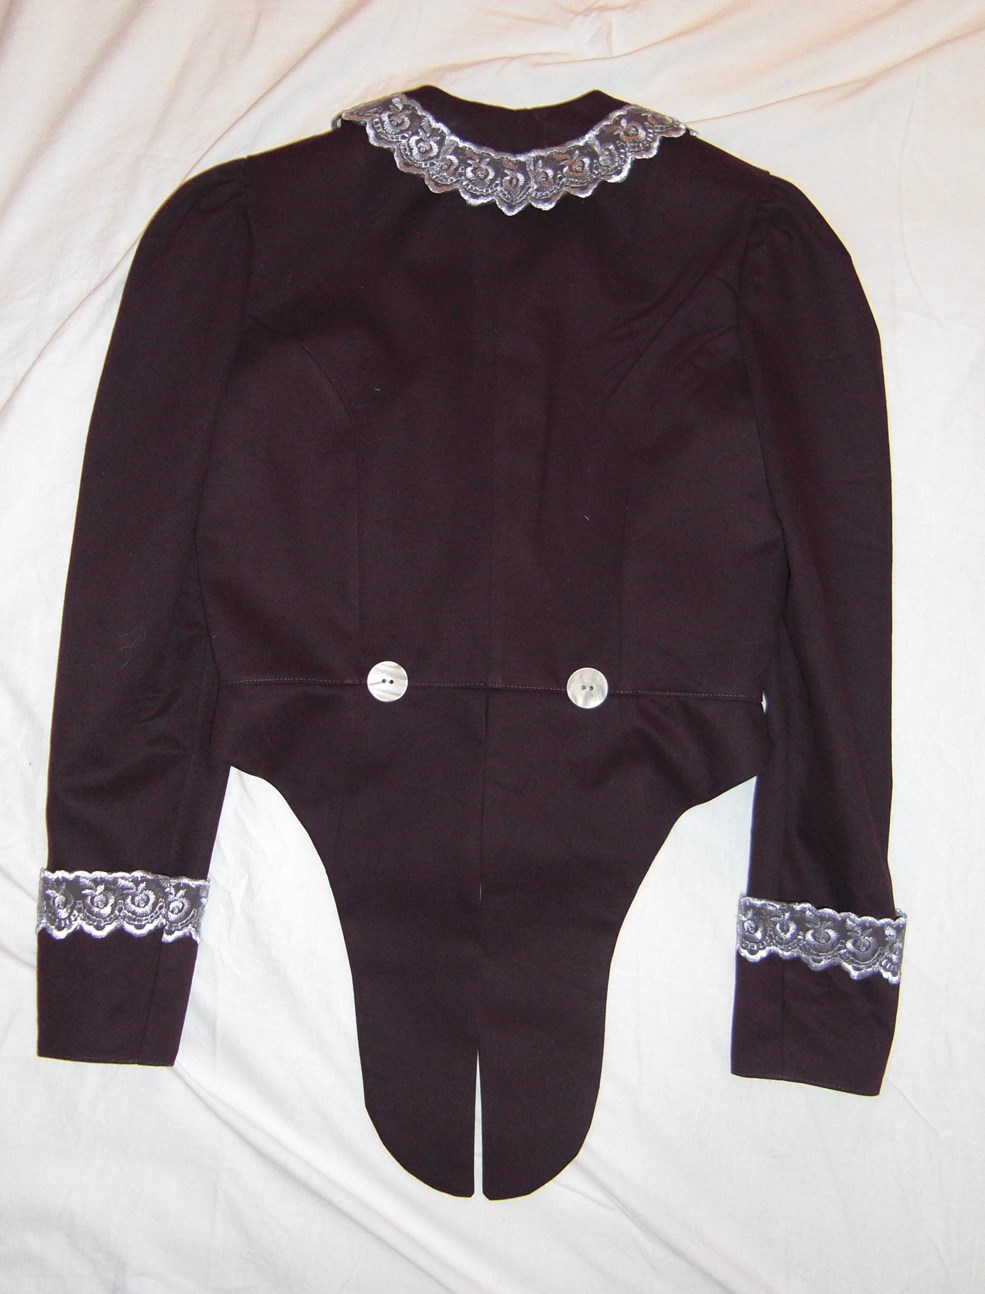
Late 17th century gentlemans Coat.

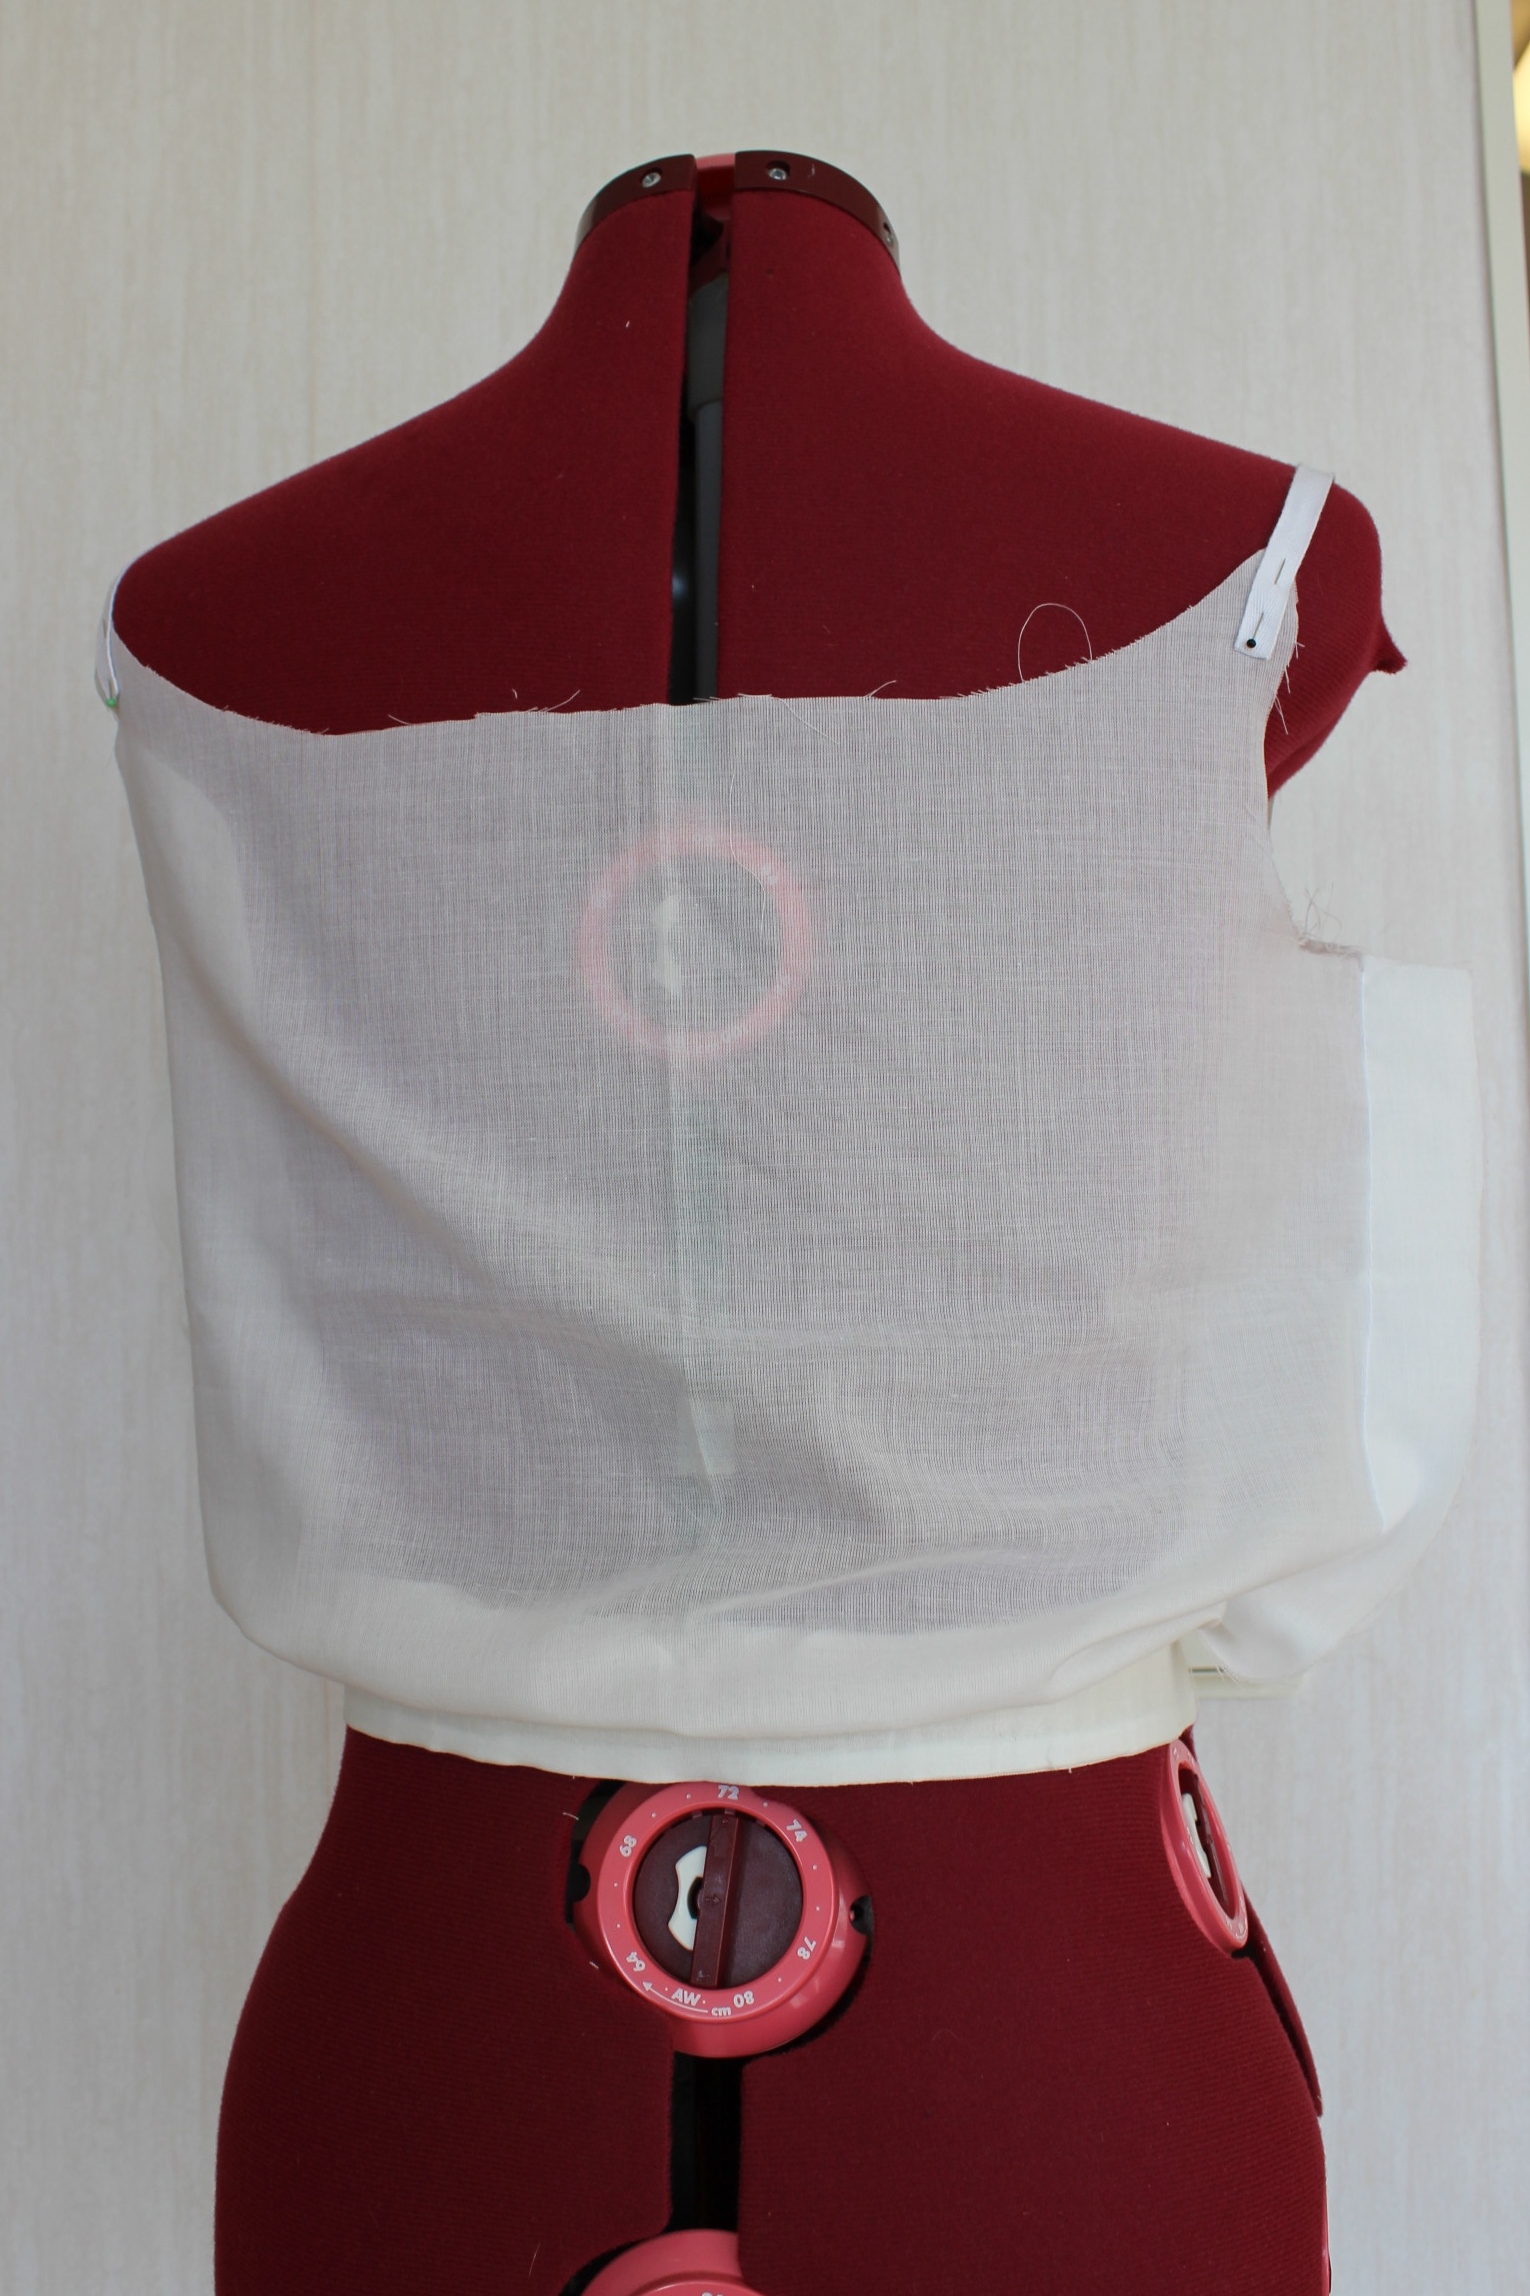
It also contains a chapter on the basic of draping, preparing your dressform and transforming the draped fabric to pattern pieces.

IMG_6543
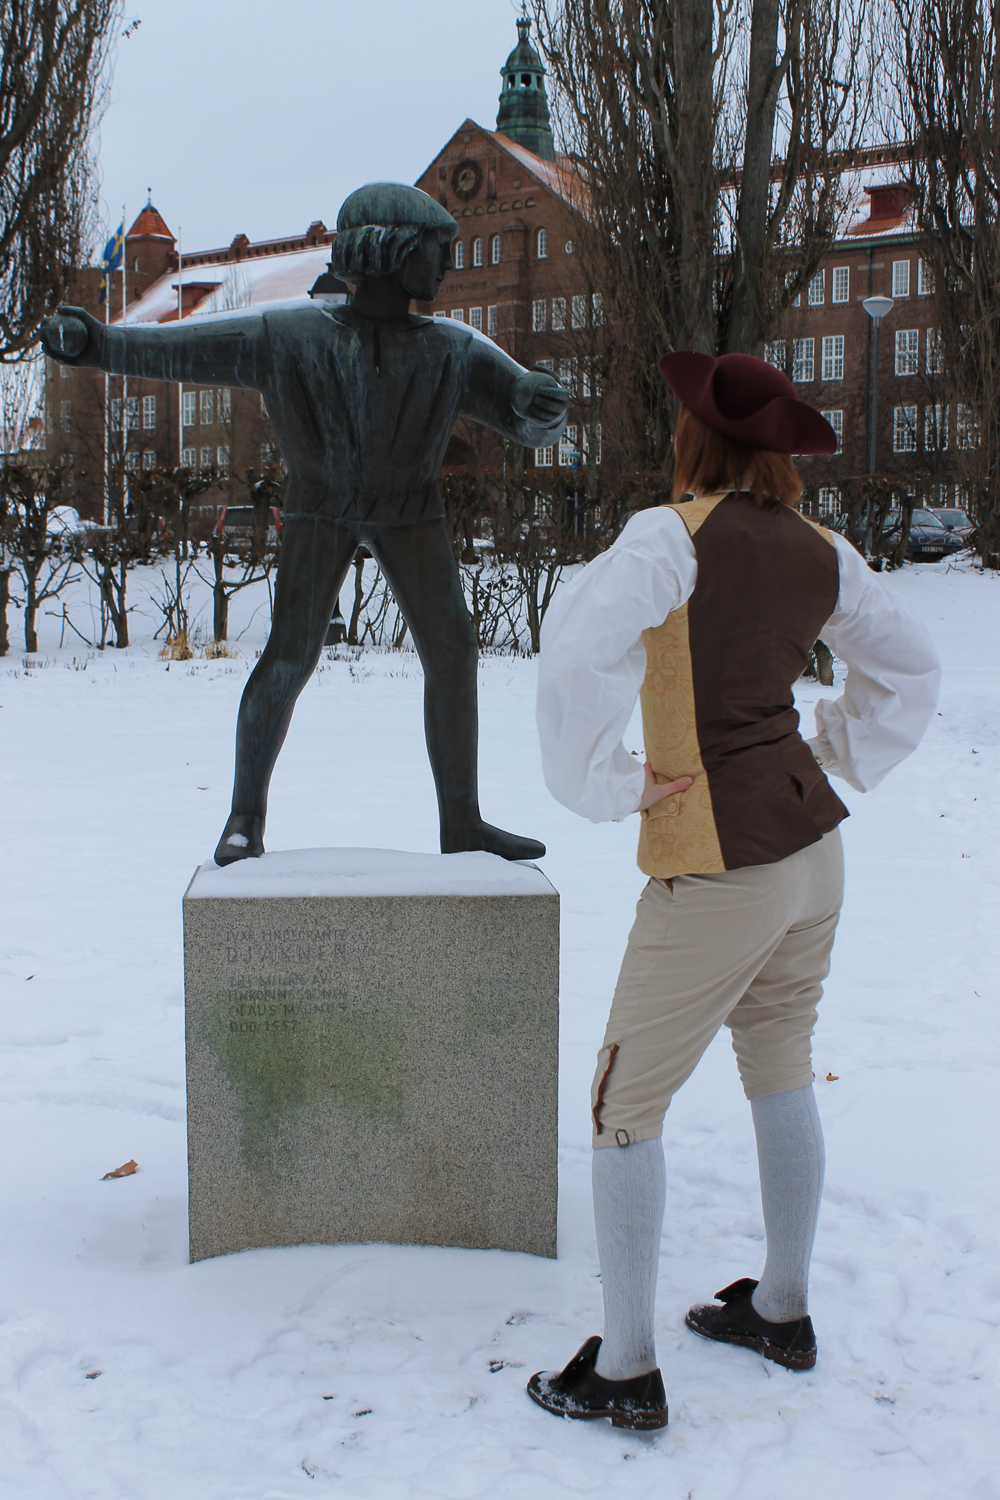
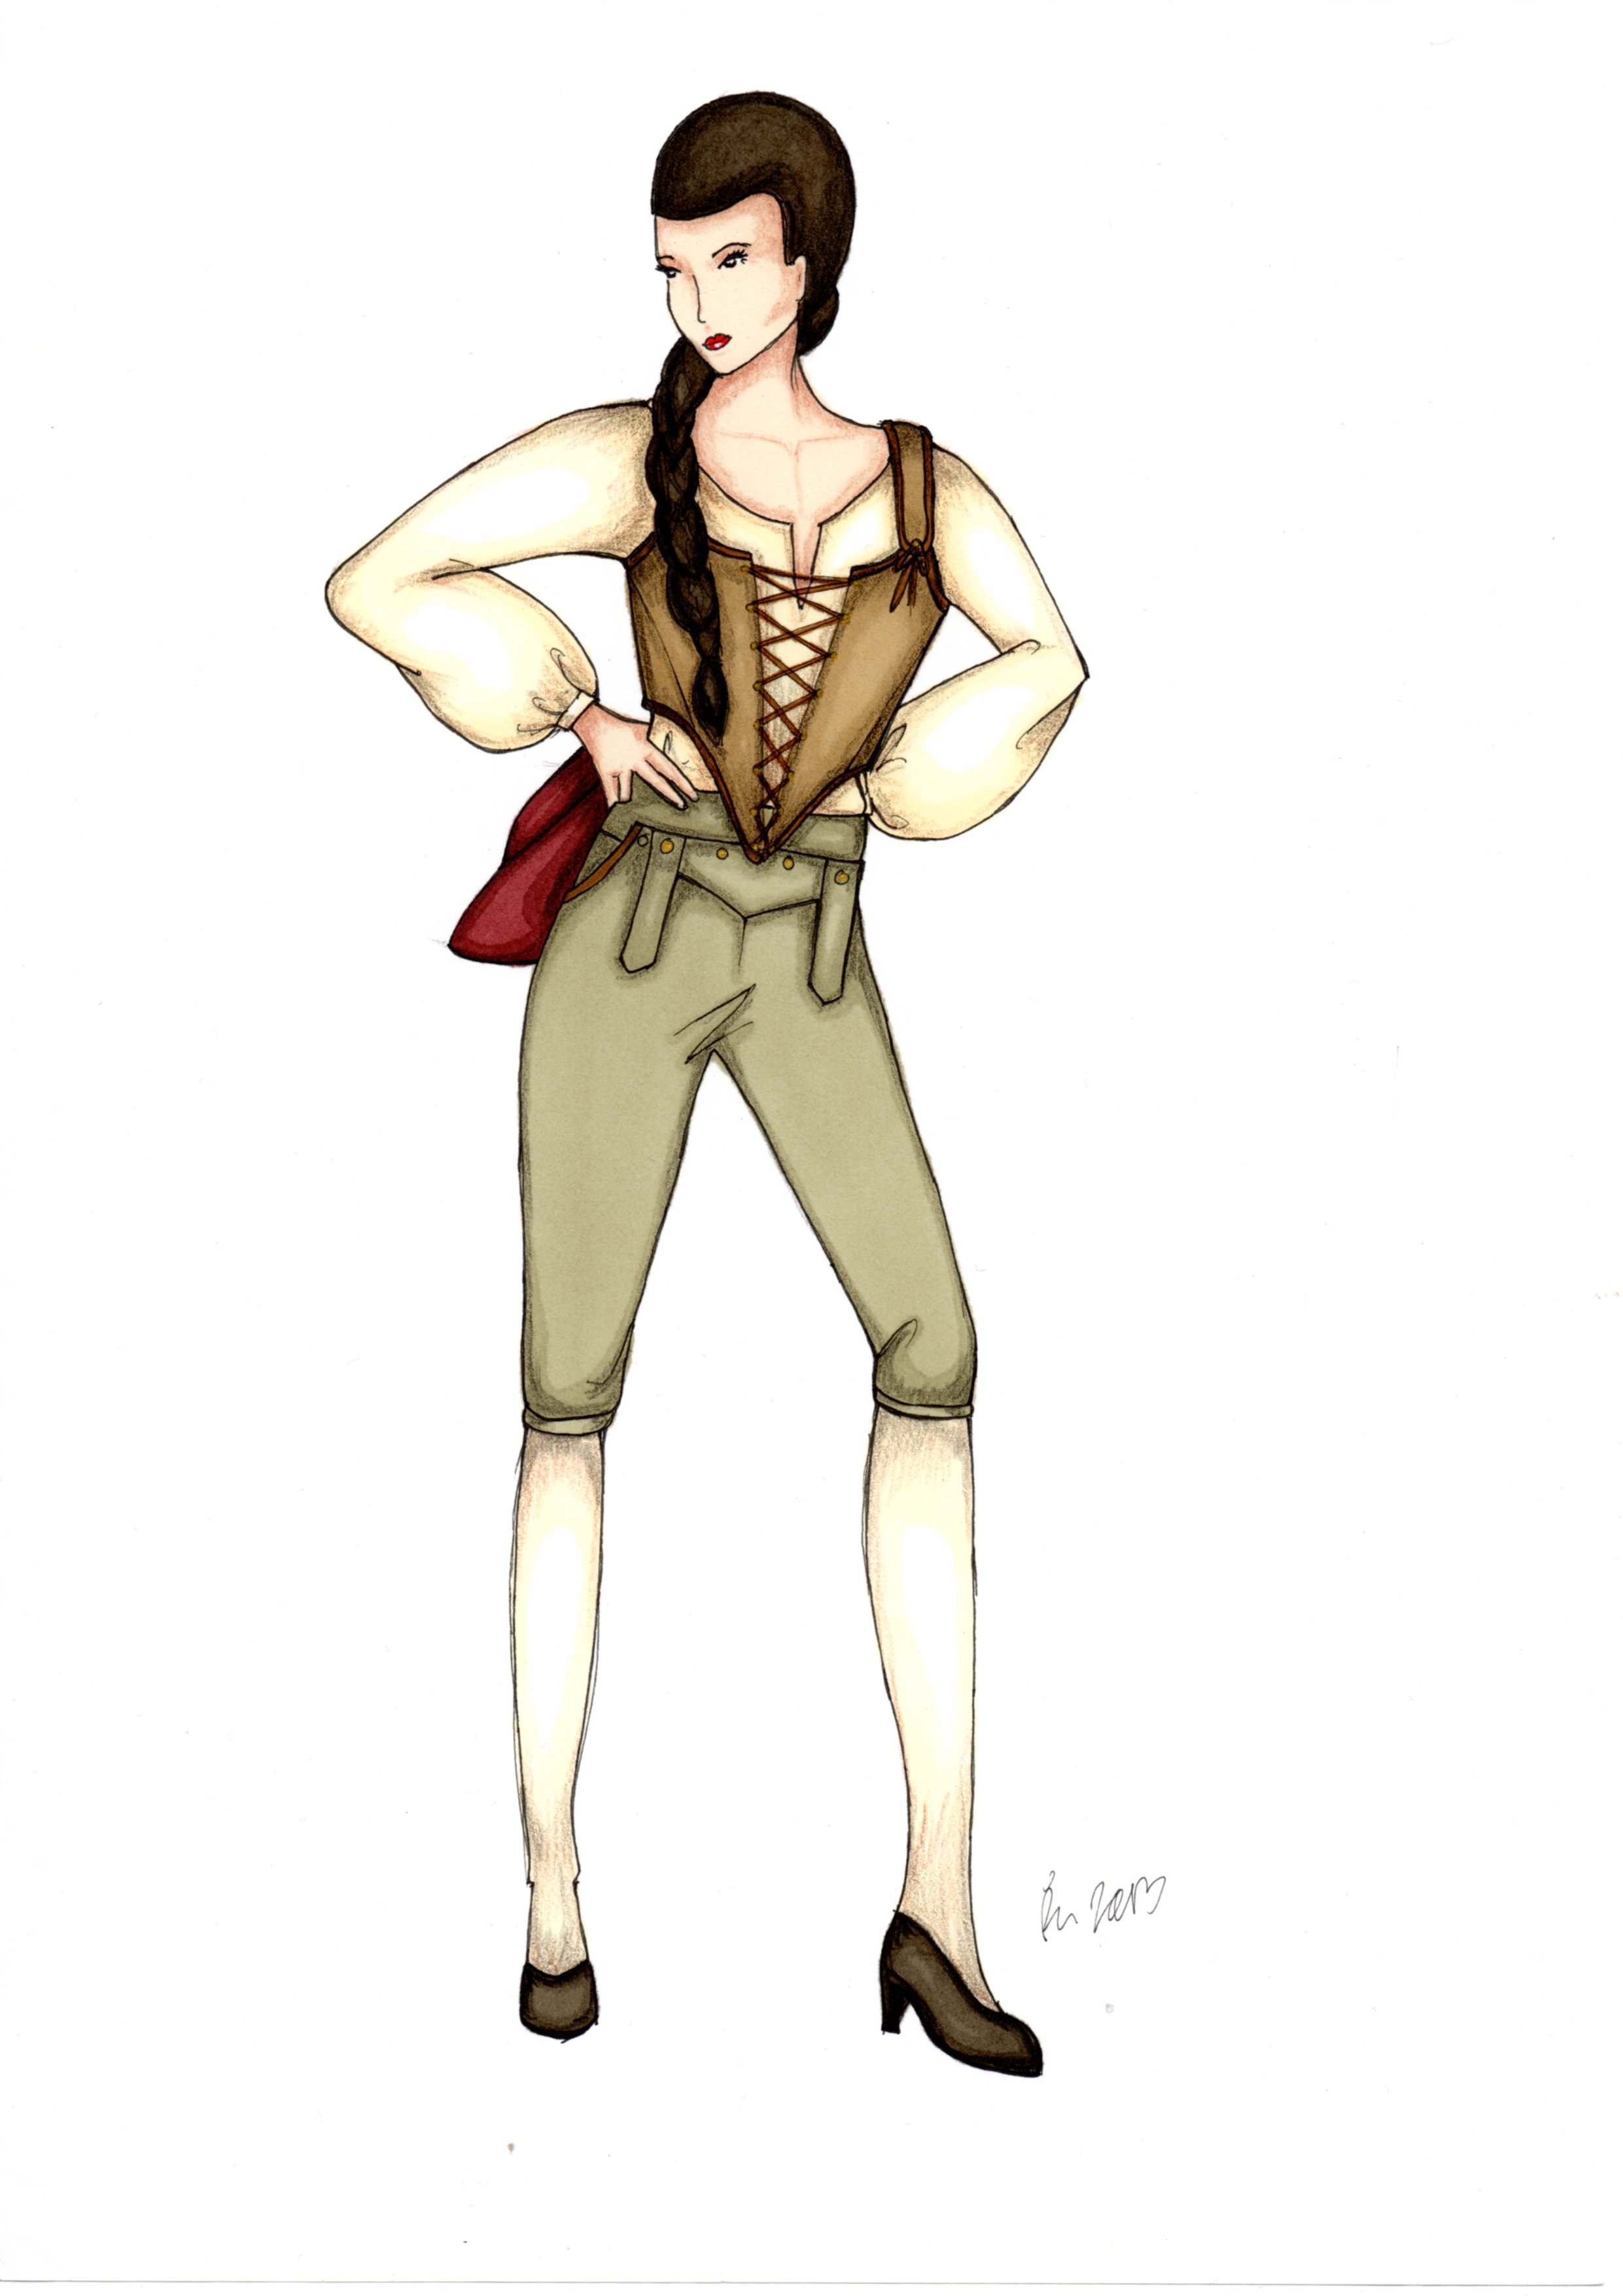
Stuffing the dressform for a bigger size.

Pros:

I think the chapter on draping basics in the begining of the book are realy good, and worth reading even for an experienced draper/patternmaker.

IMG_6544
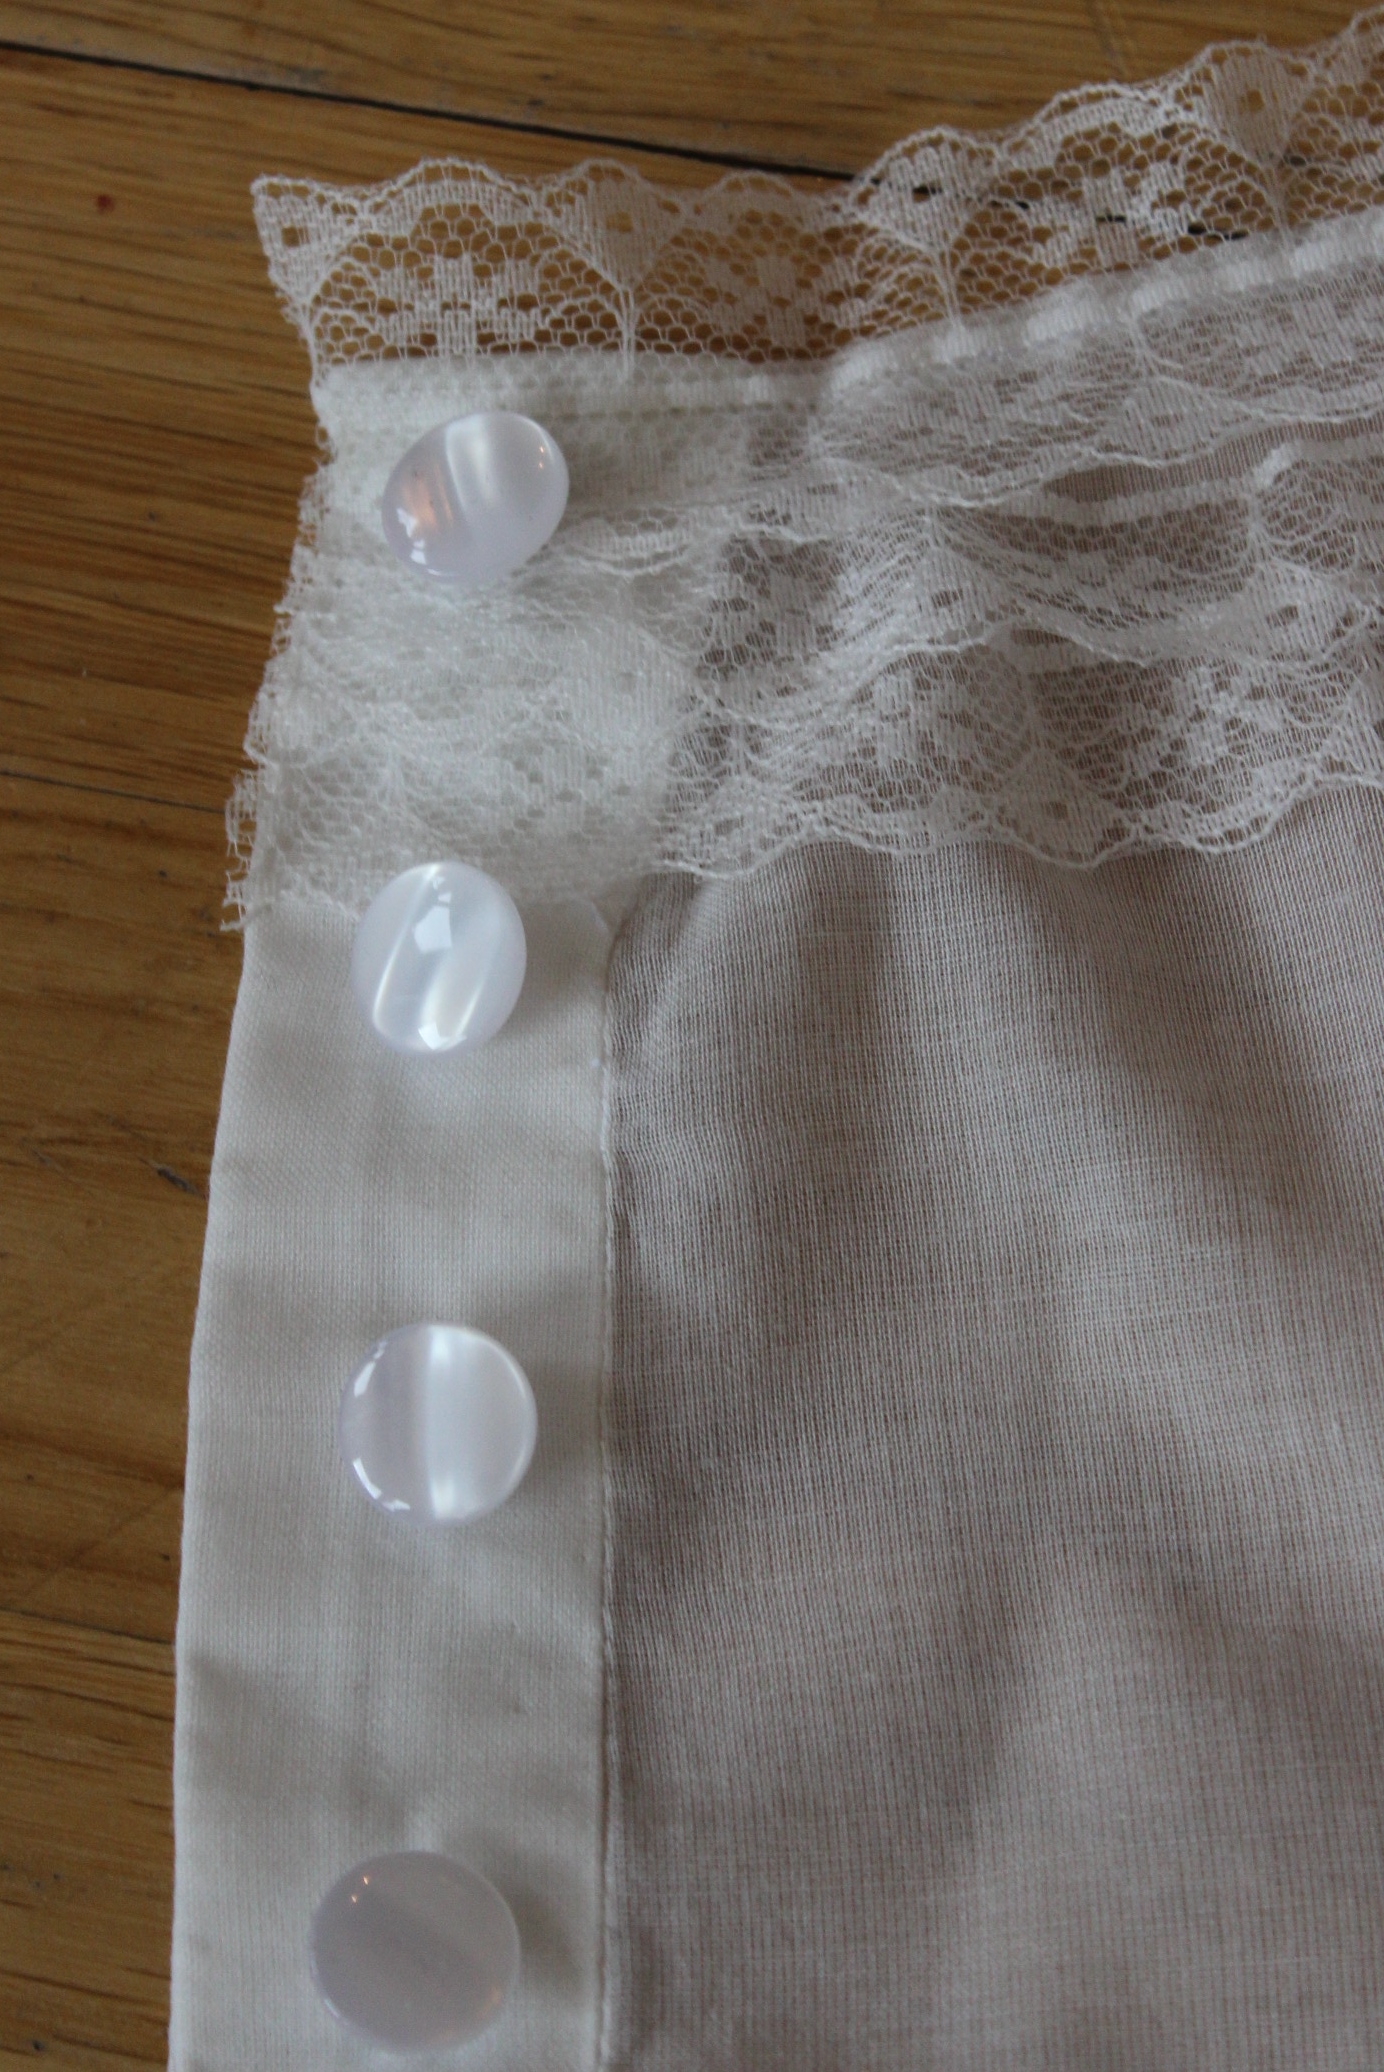
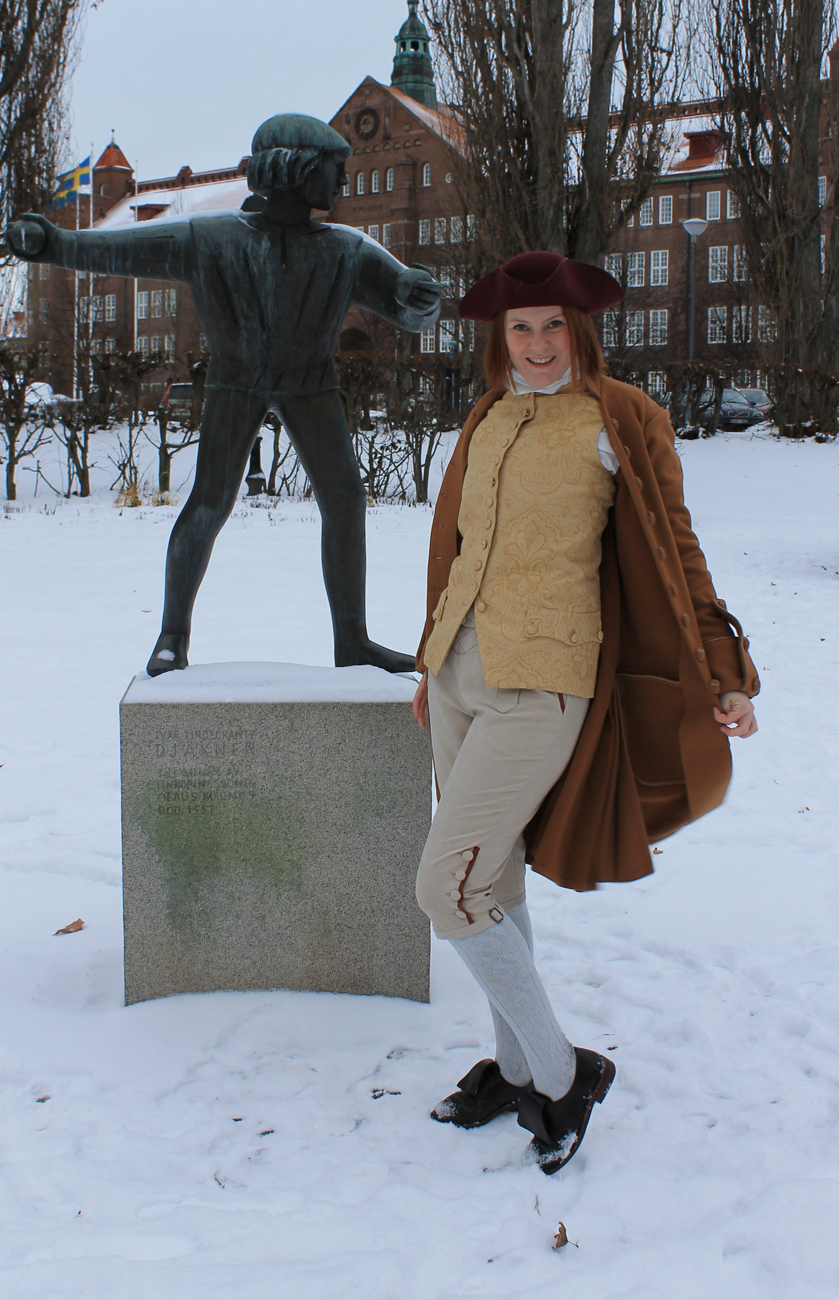
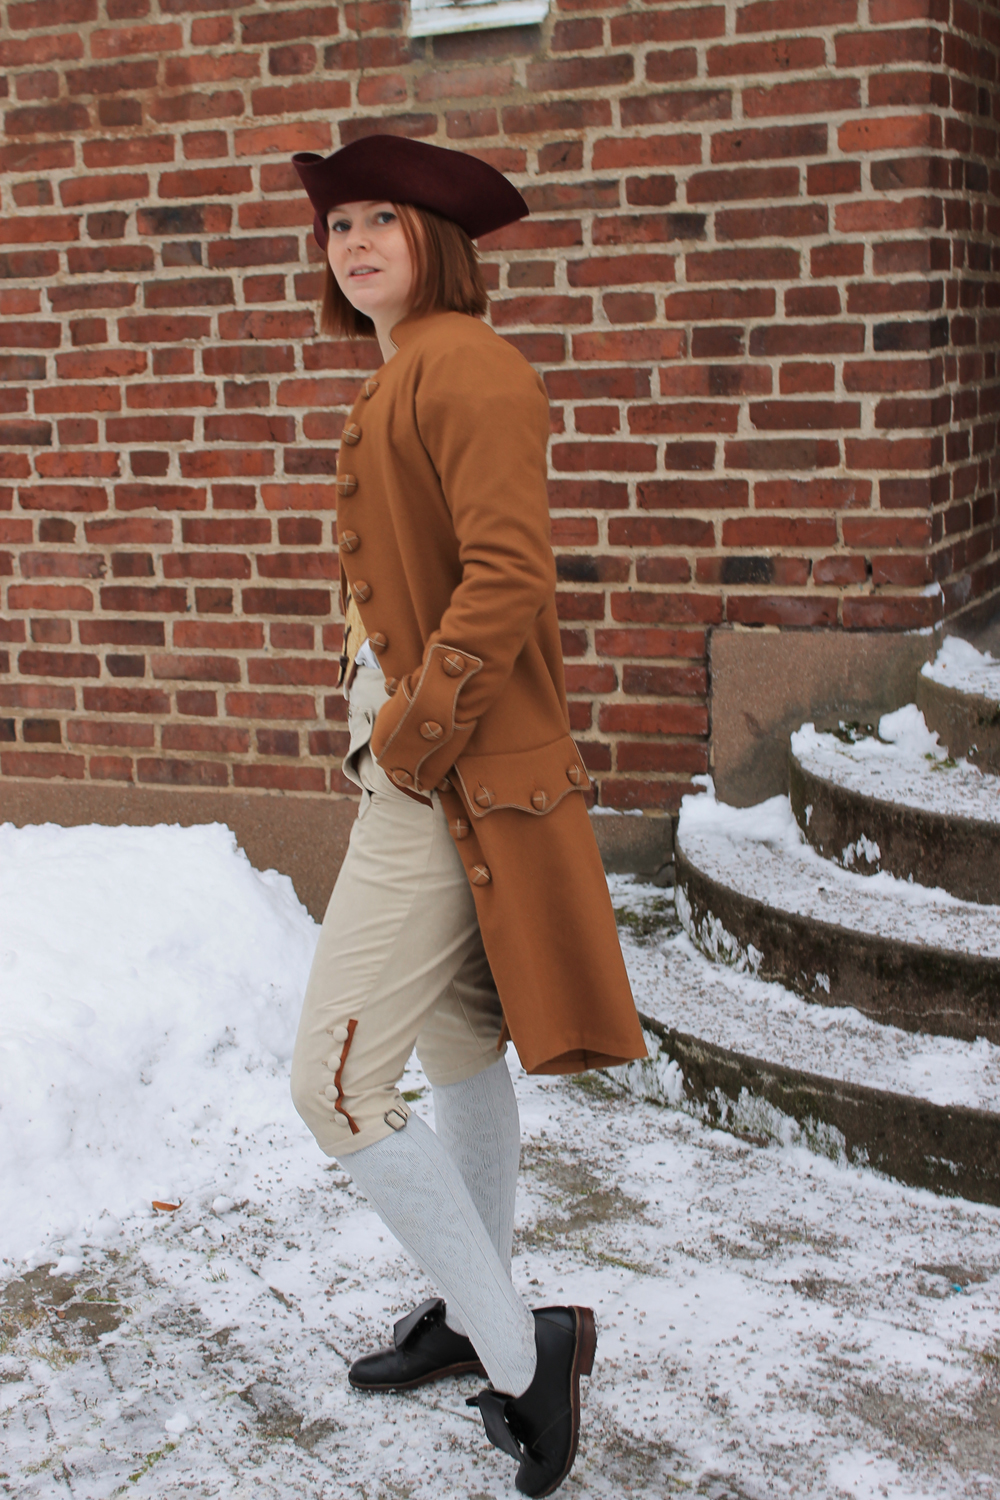
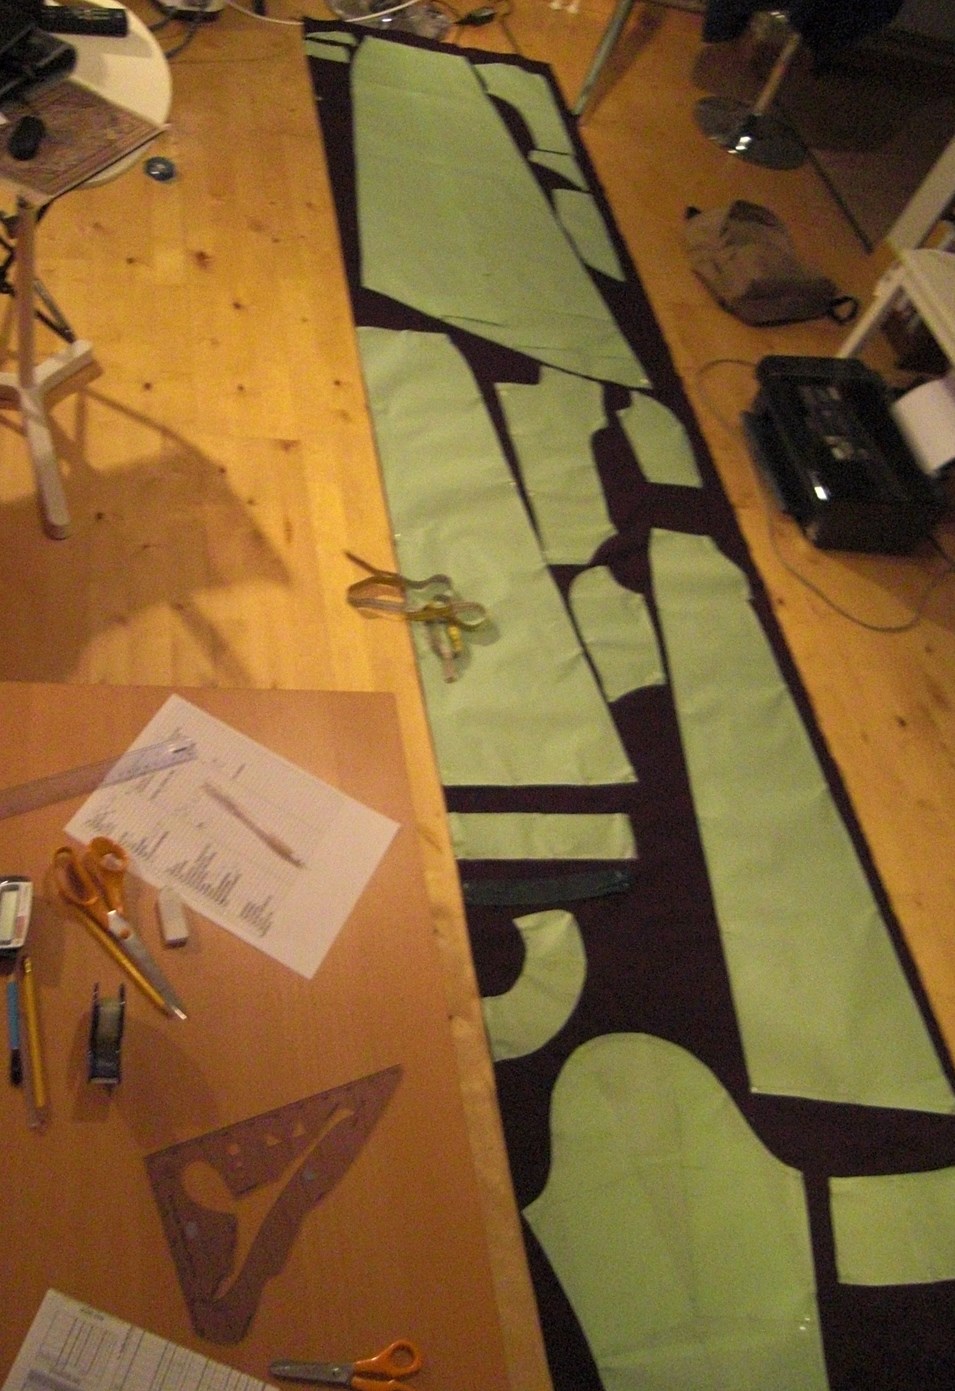
Fixing up the pattern.

And I LOVE that it include so many gentlemens patterns. Mostly the men only get a very smal amount of space, but this book really pulls of the task of showing the variation in mens fashion and dress.

IMG_6546
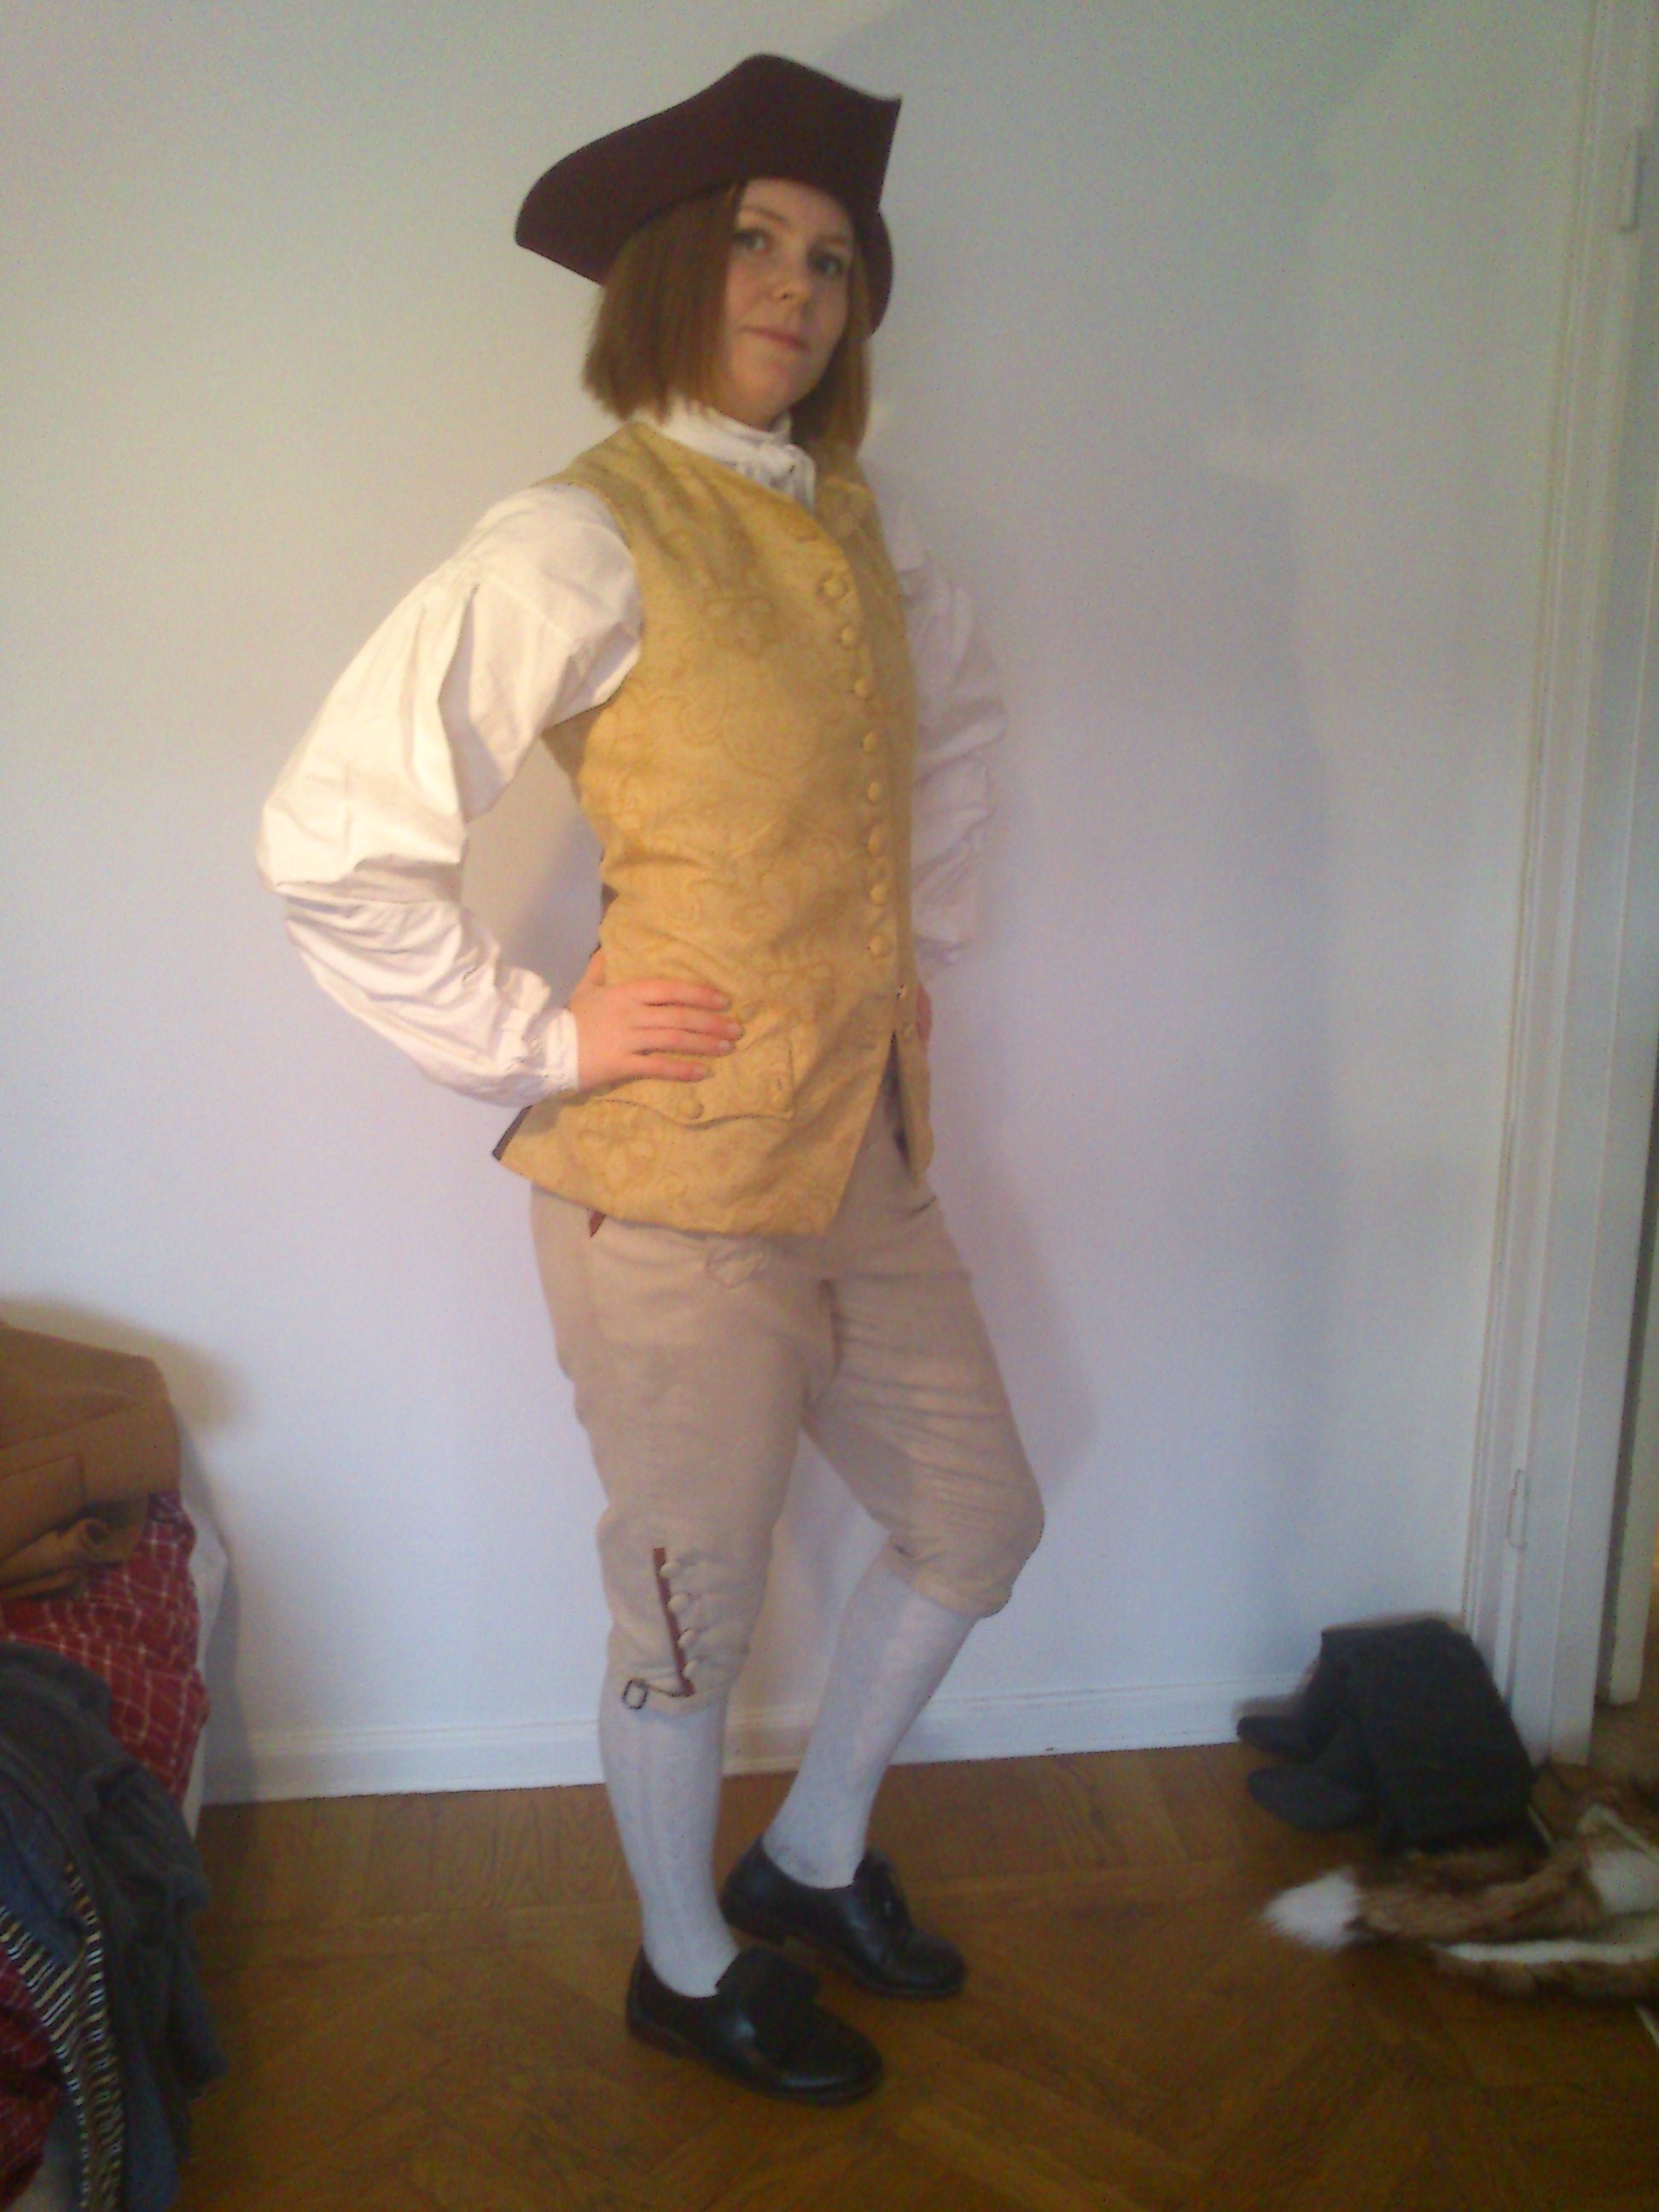
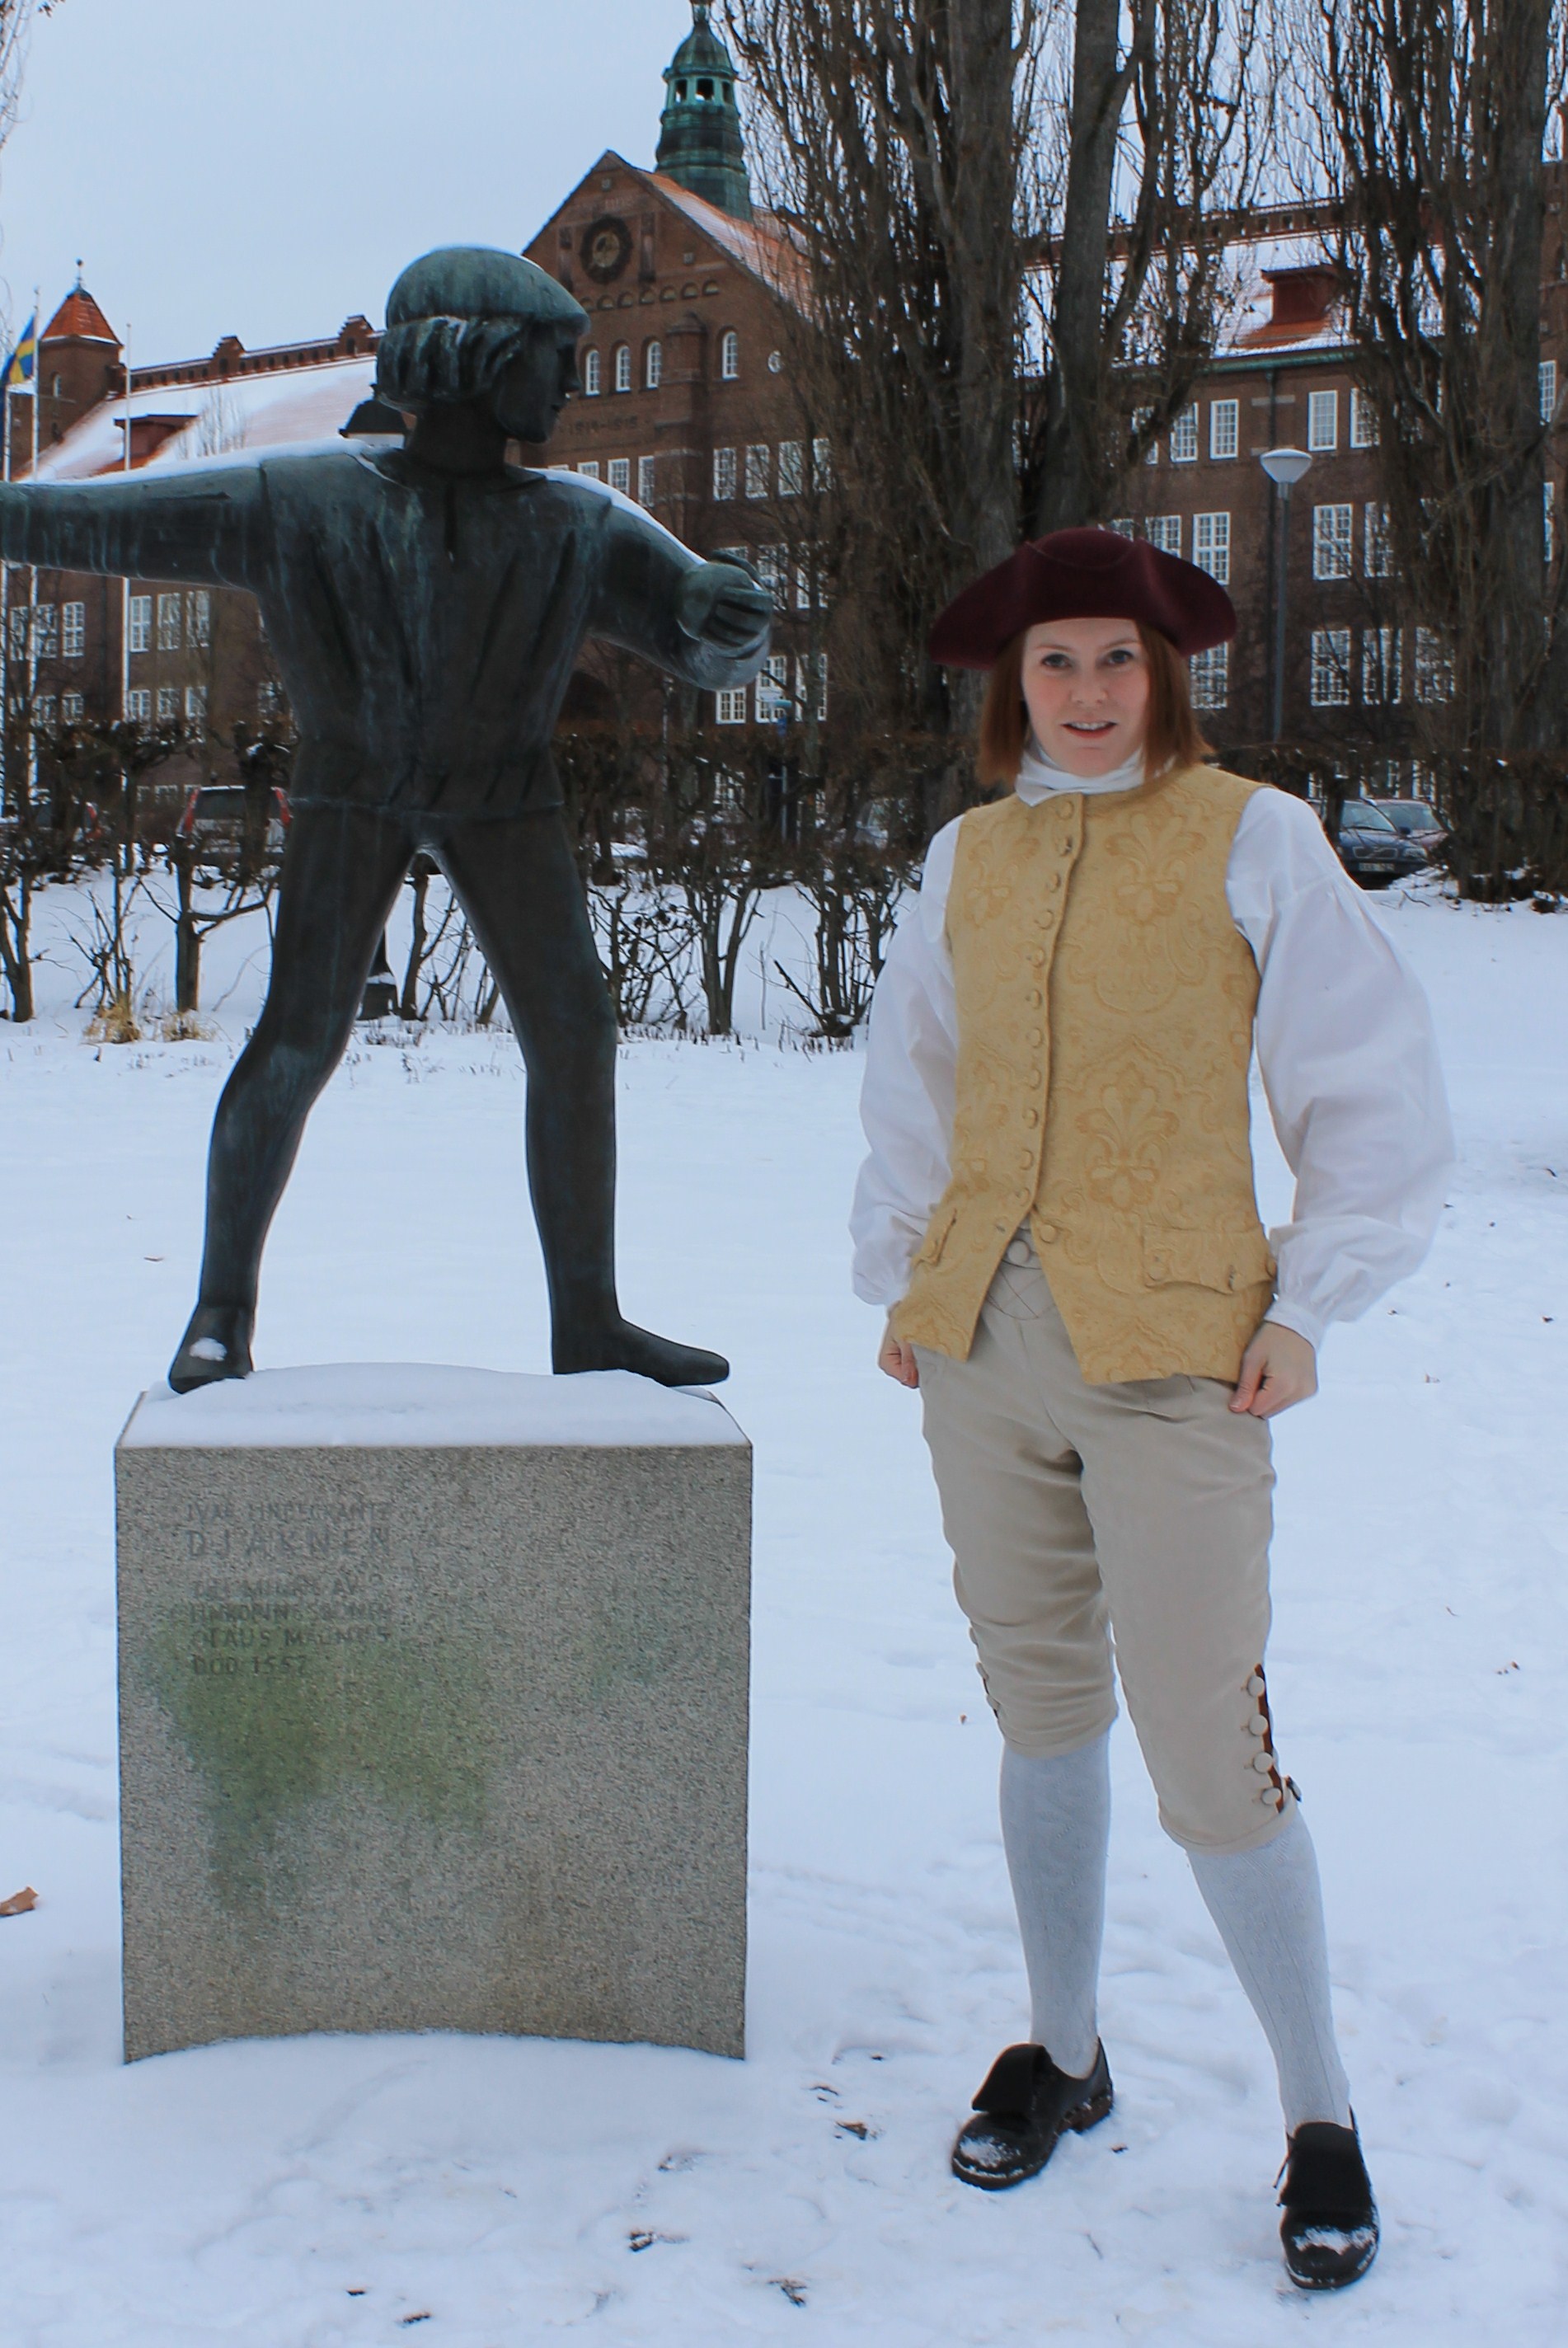
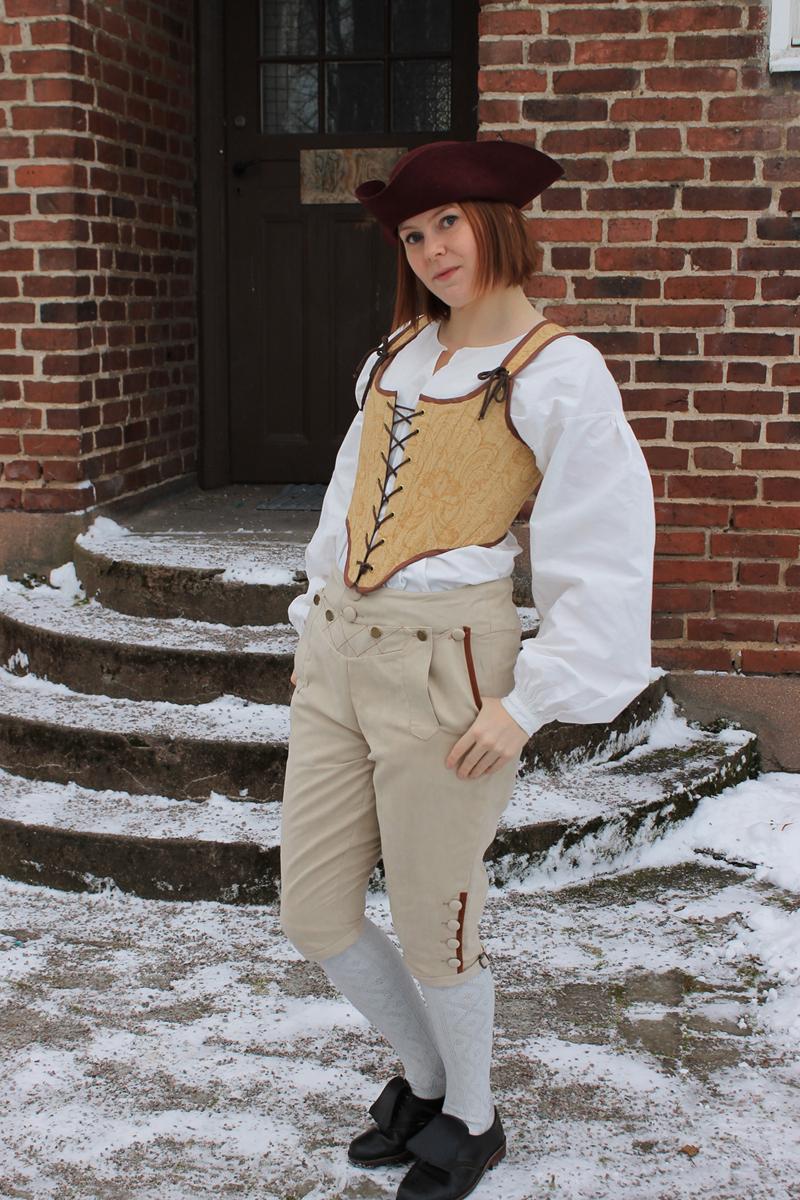
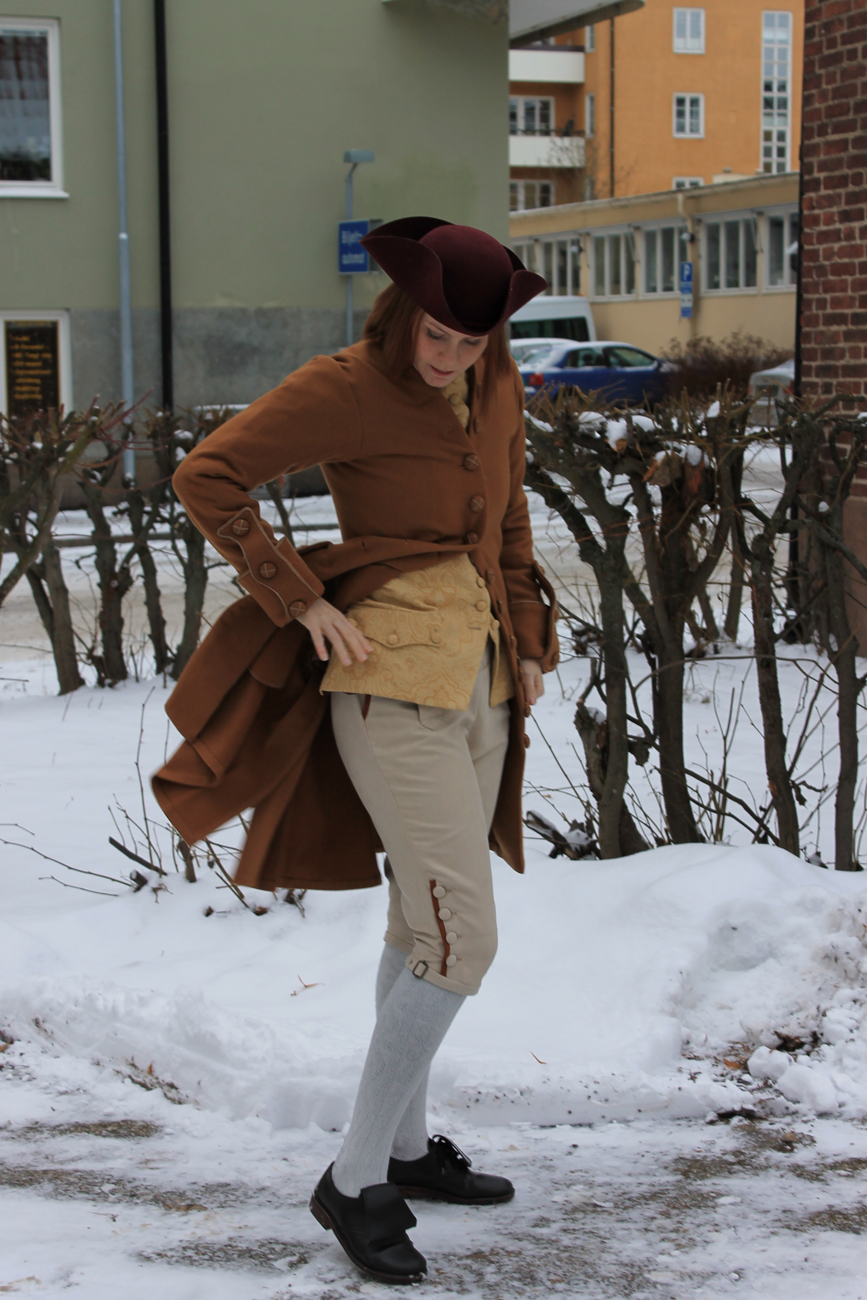
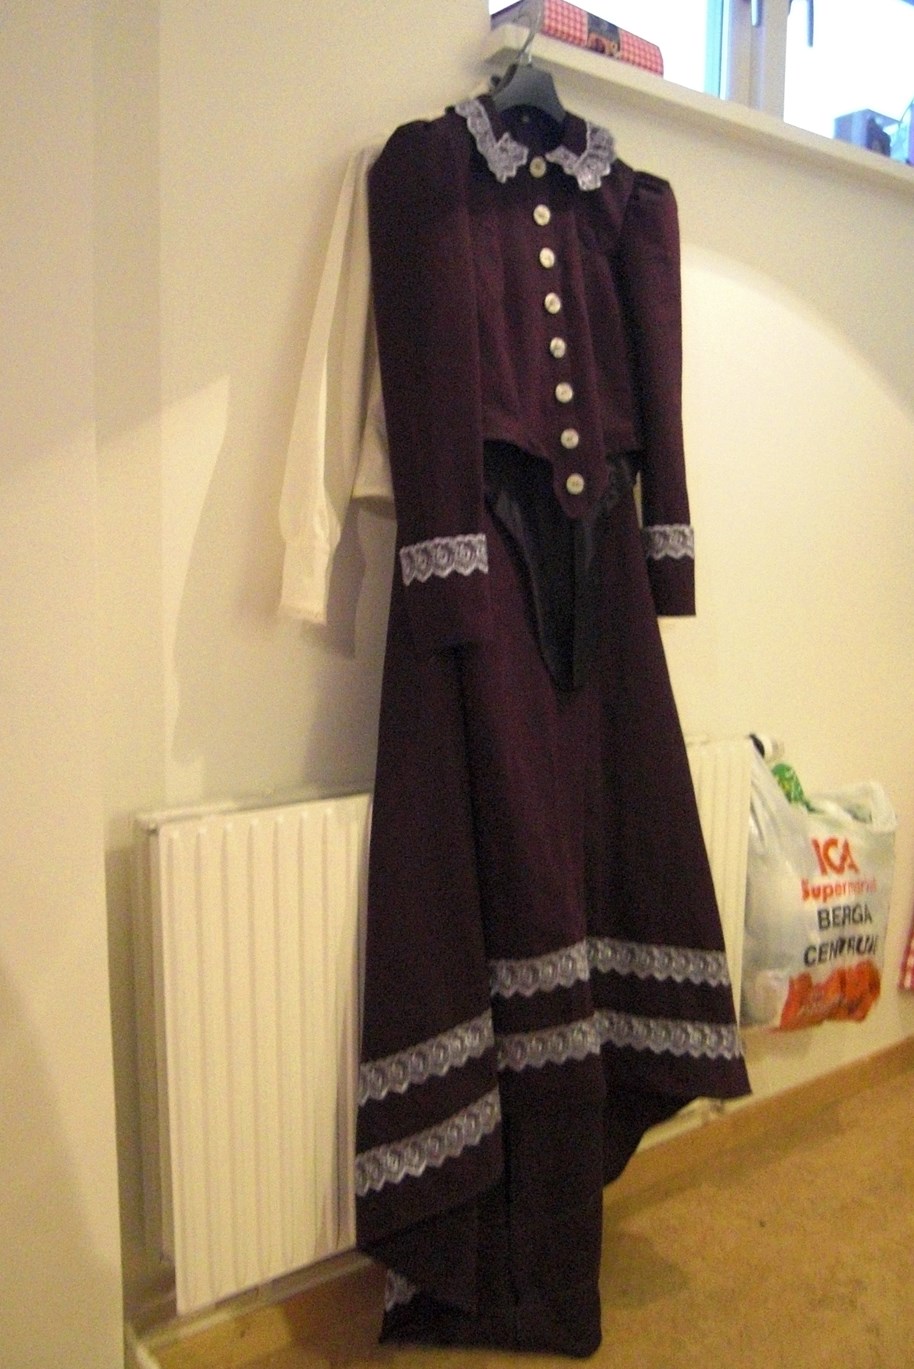
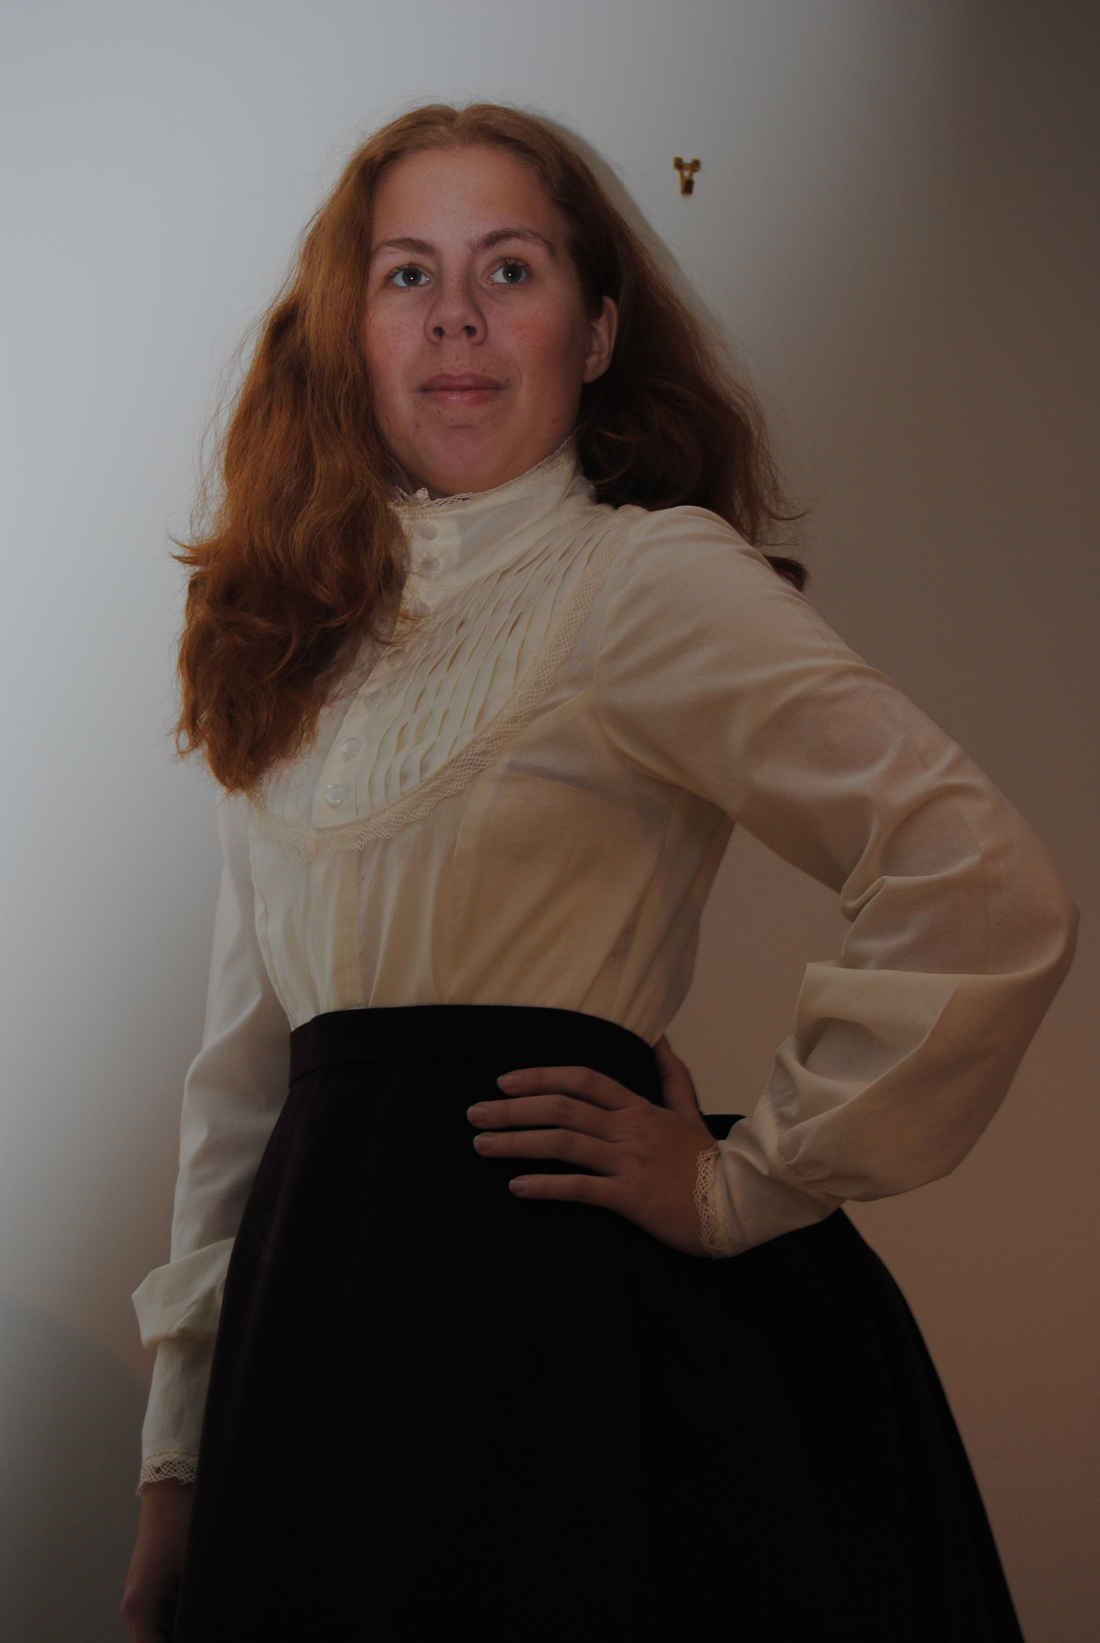
Man’s Pleated Jerkin.

The composition of the book, starting simple with greek tuniks and then moving forward through history making the garment harder and harder as you go along, are very nice and makes you, towards the end, confident enough to take on any period or style.

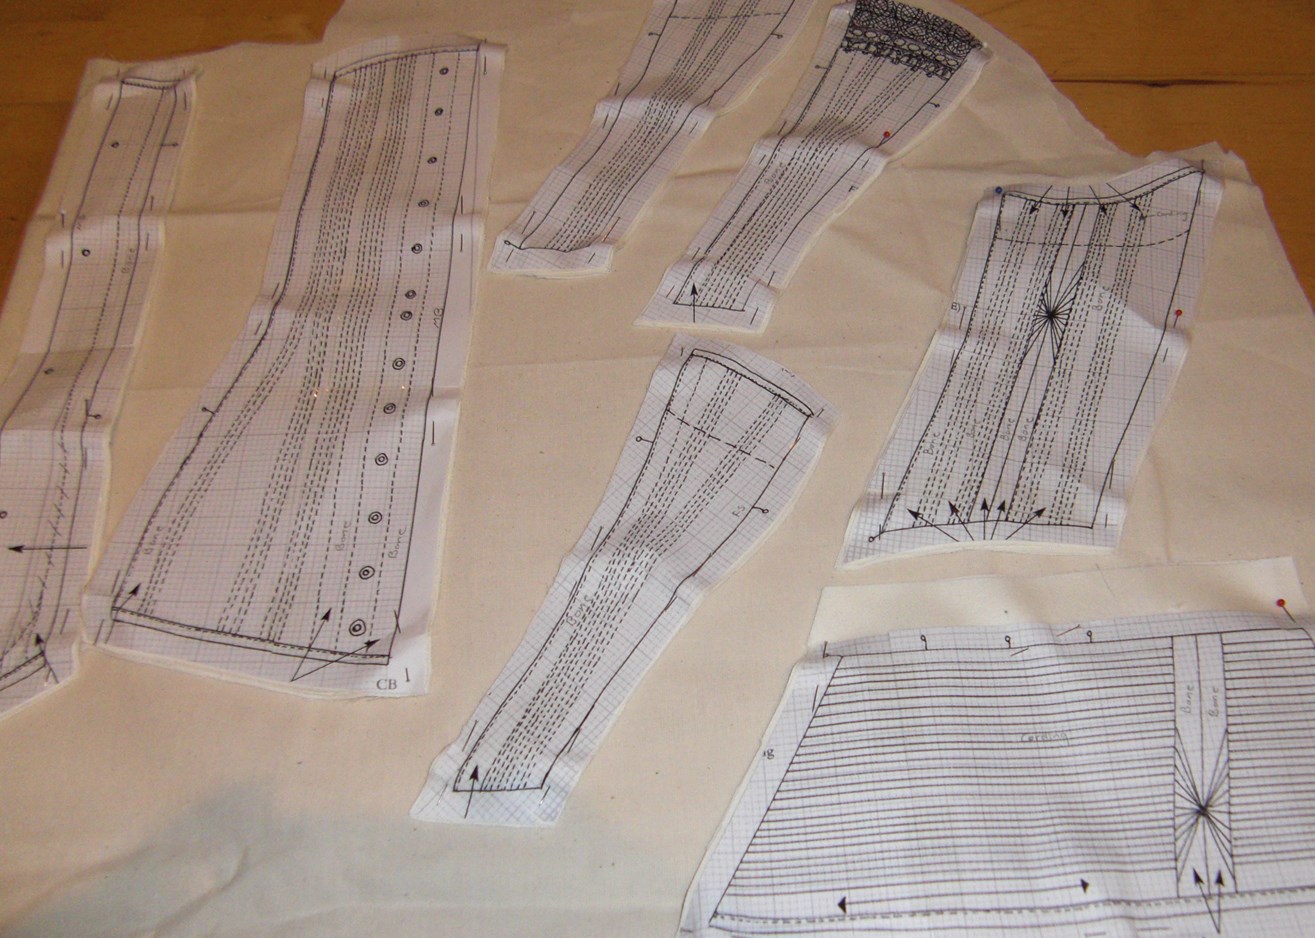
I think the step by step instructions for every pattern are great and really easy to follow, even for a beginner.

IMG_6554IMG_5813

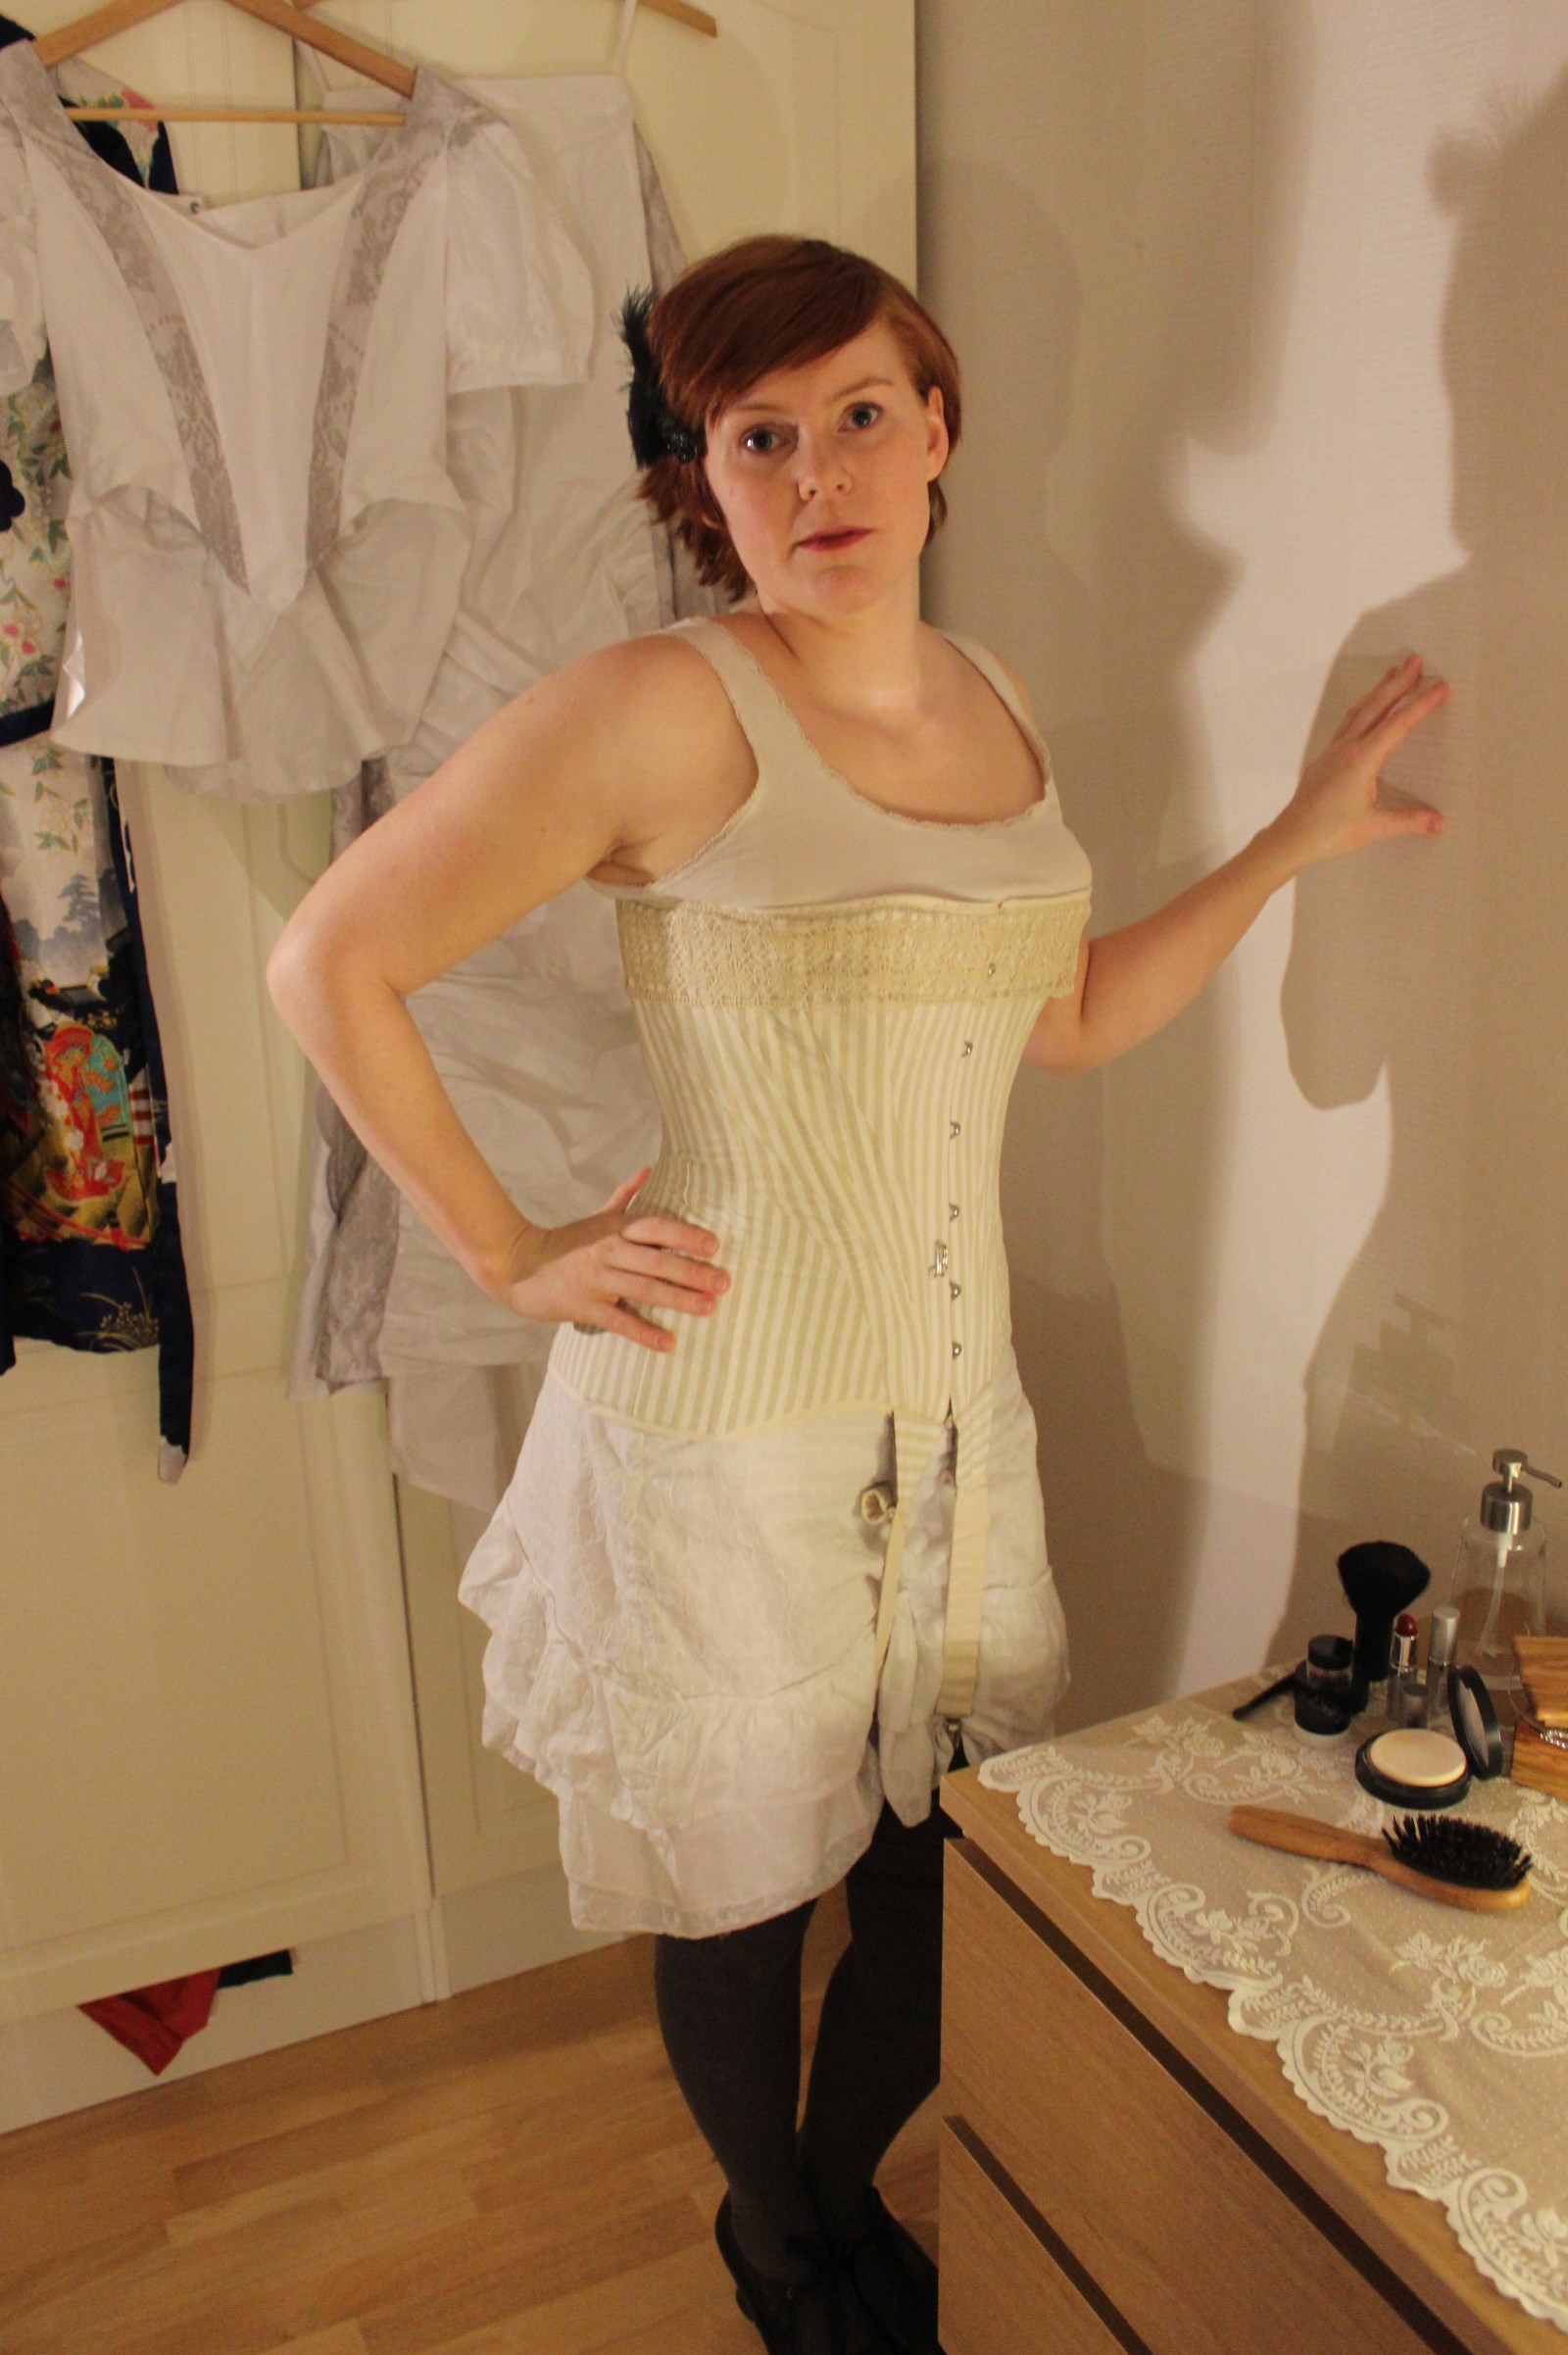
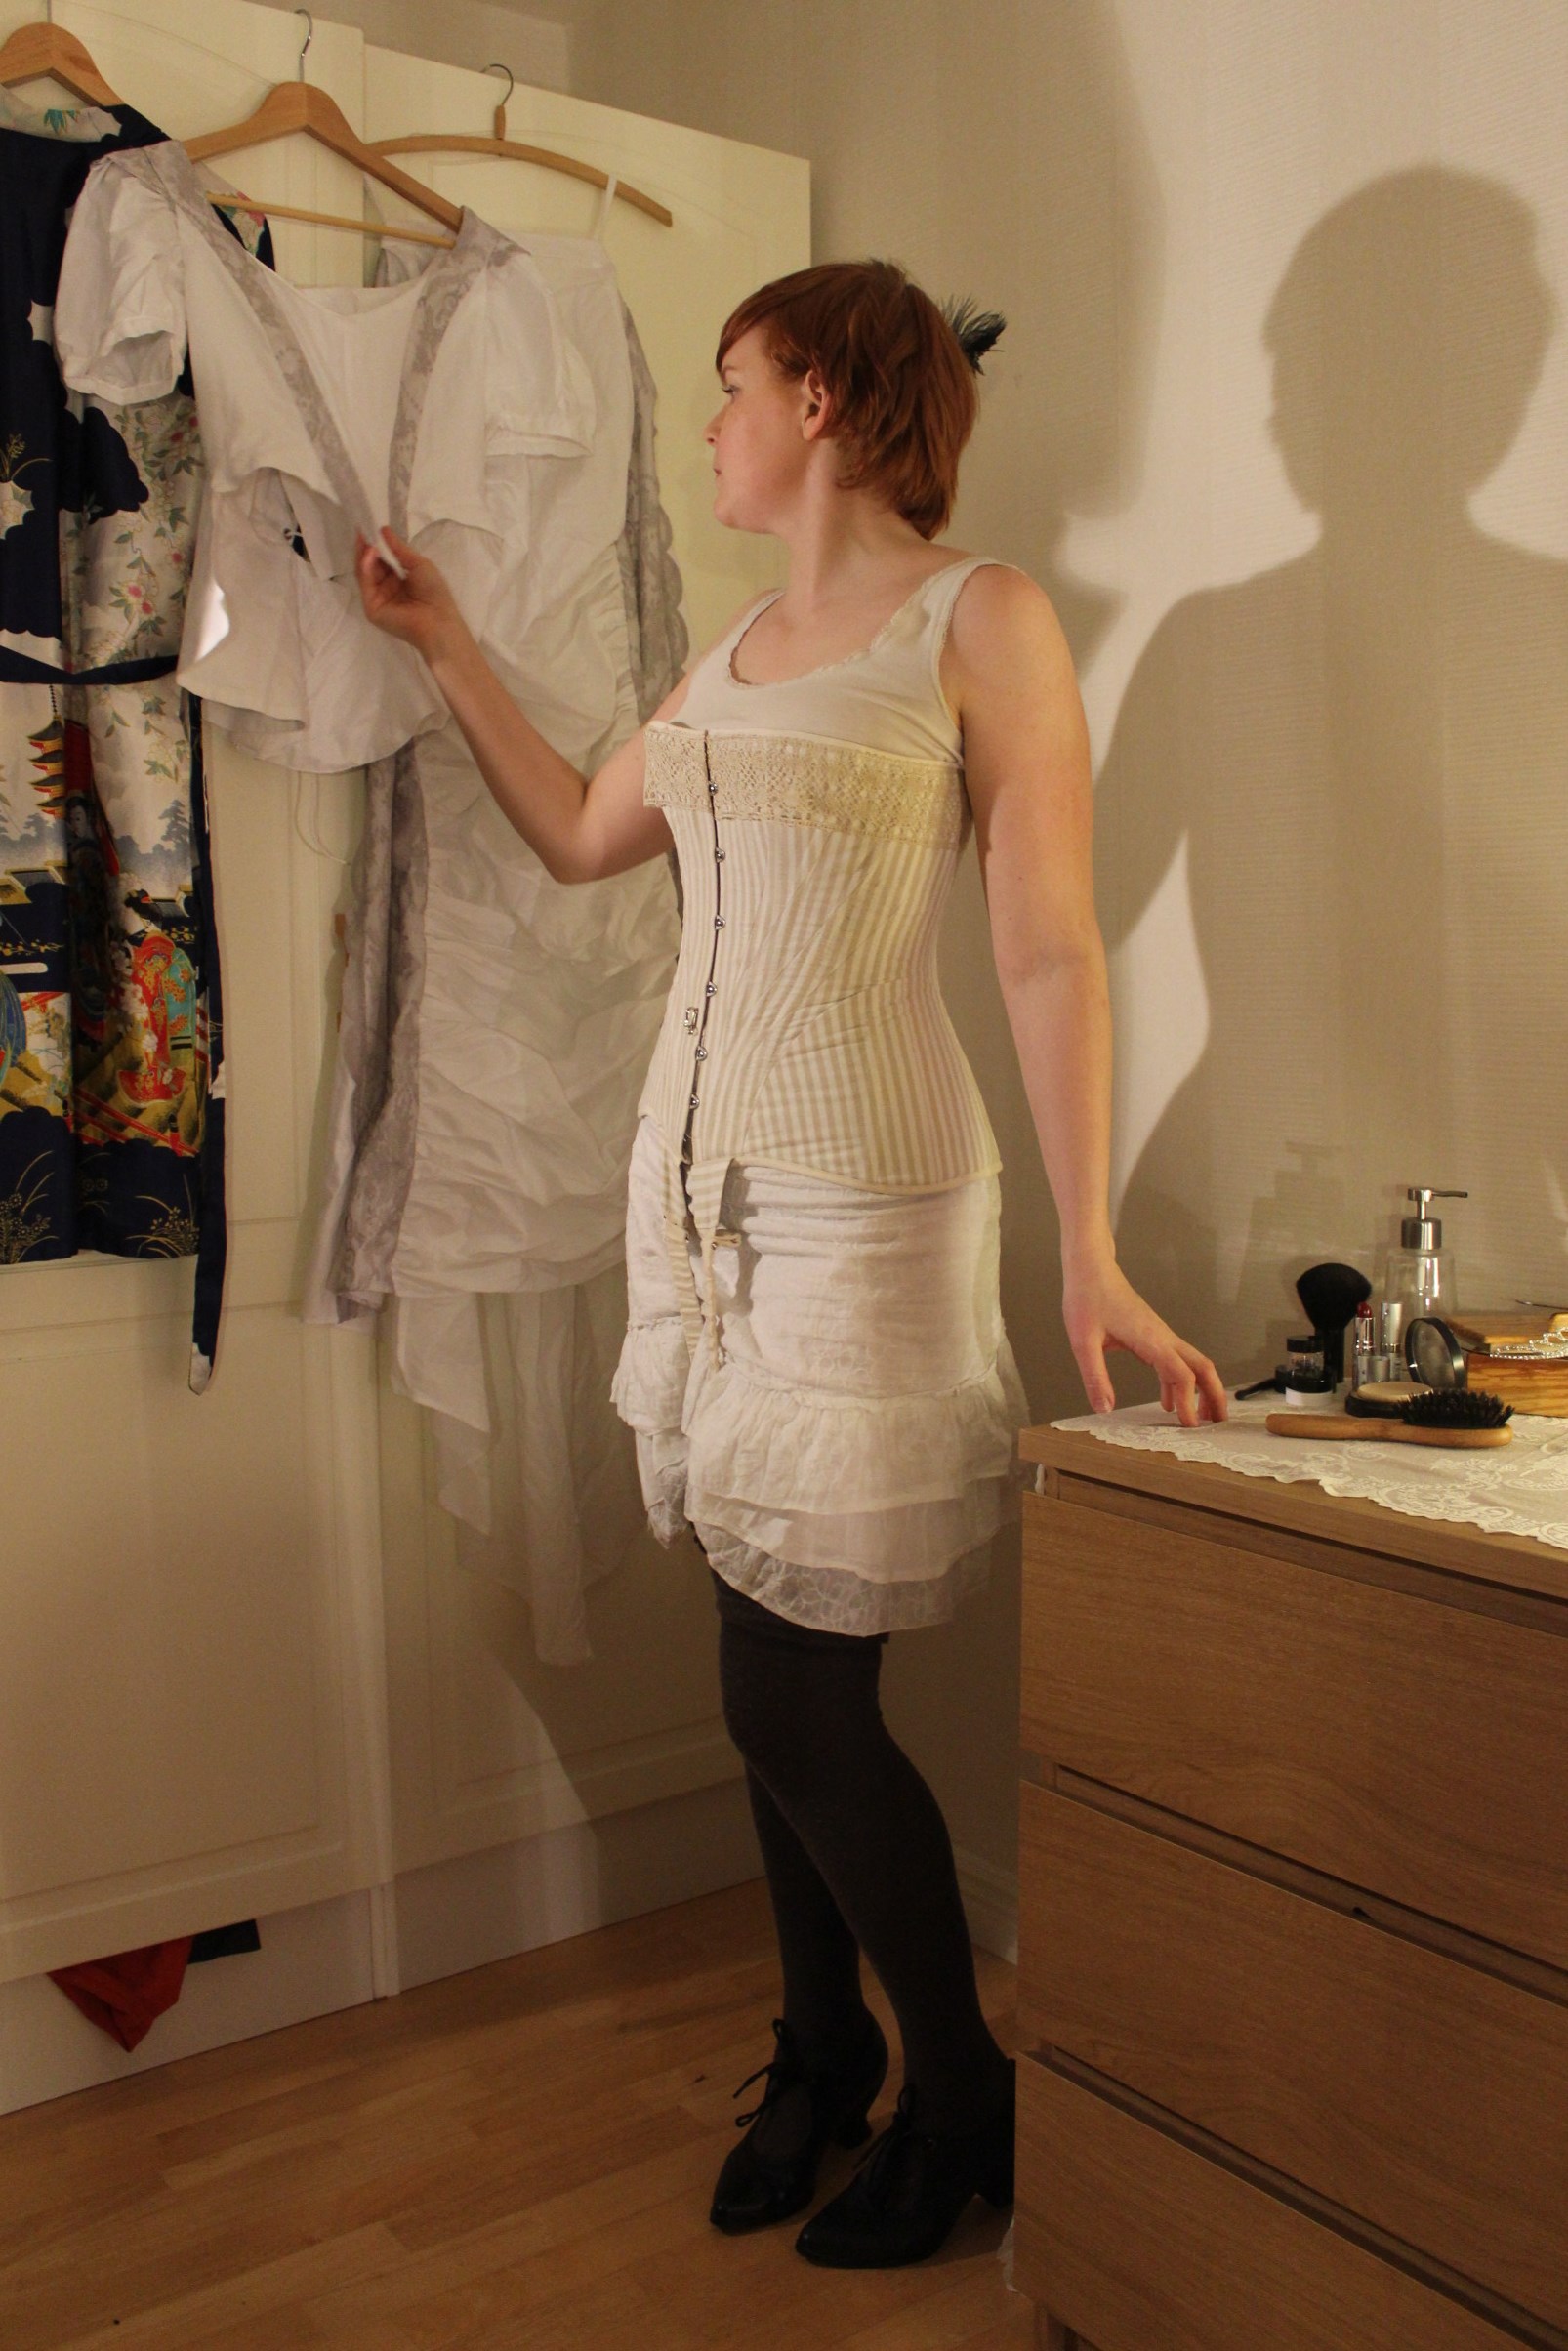
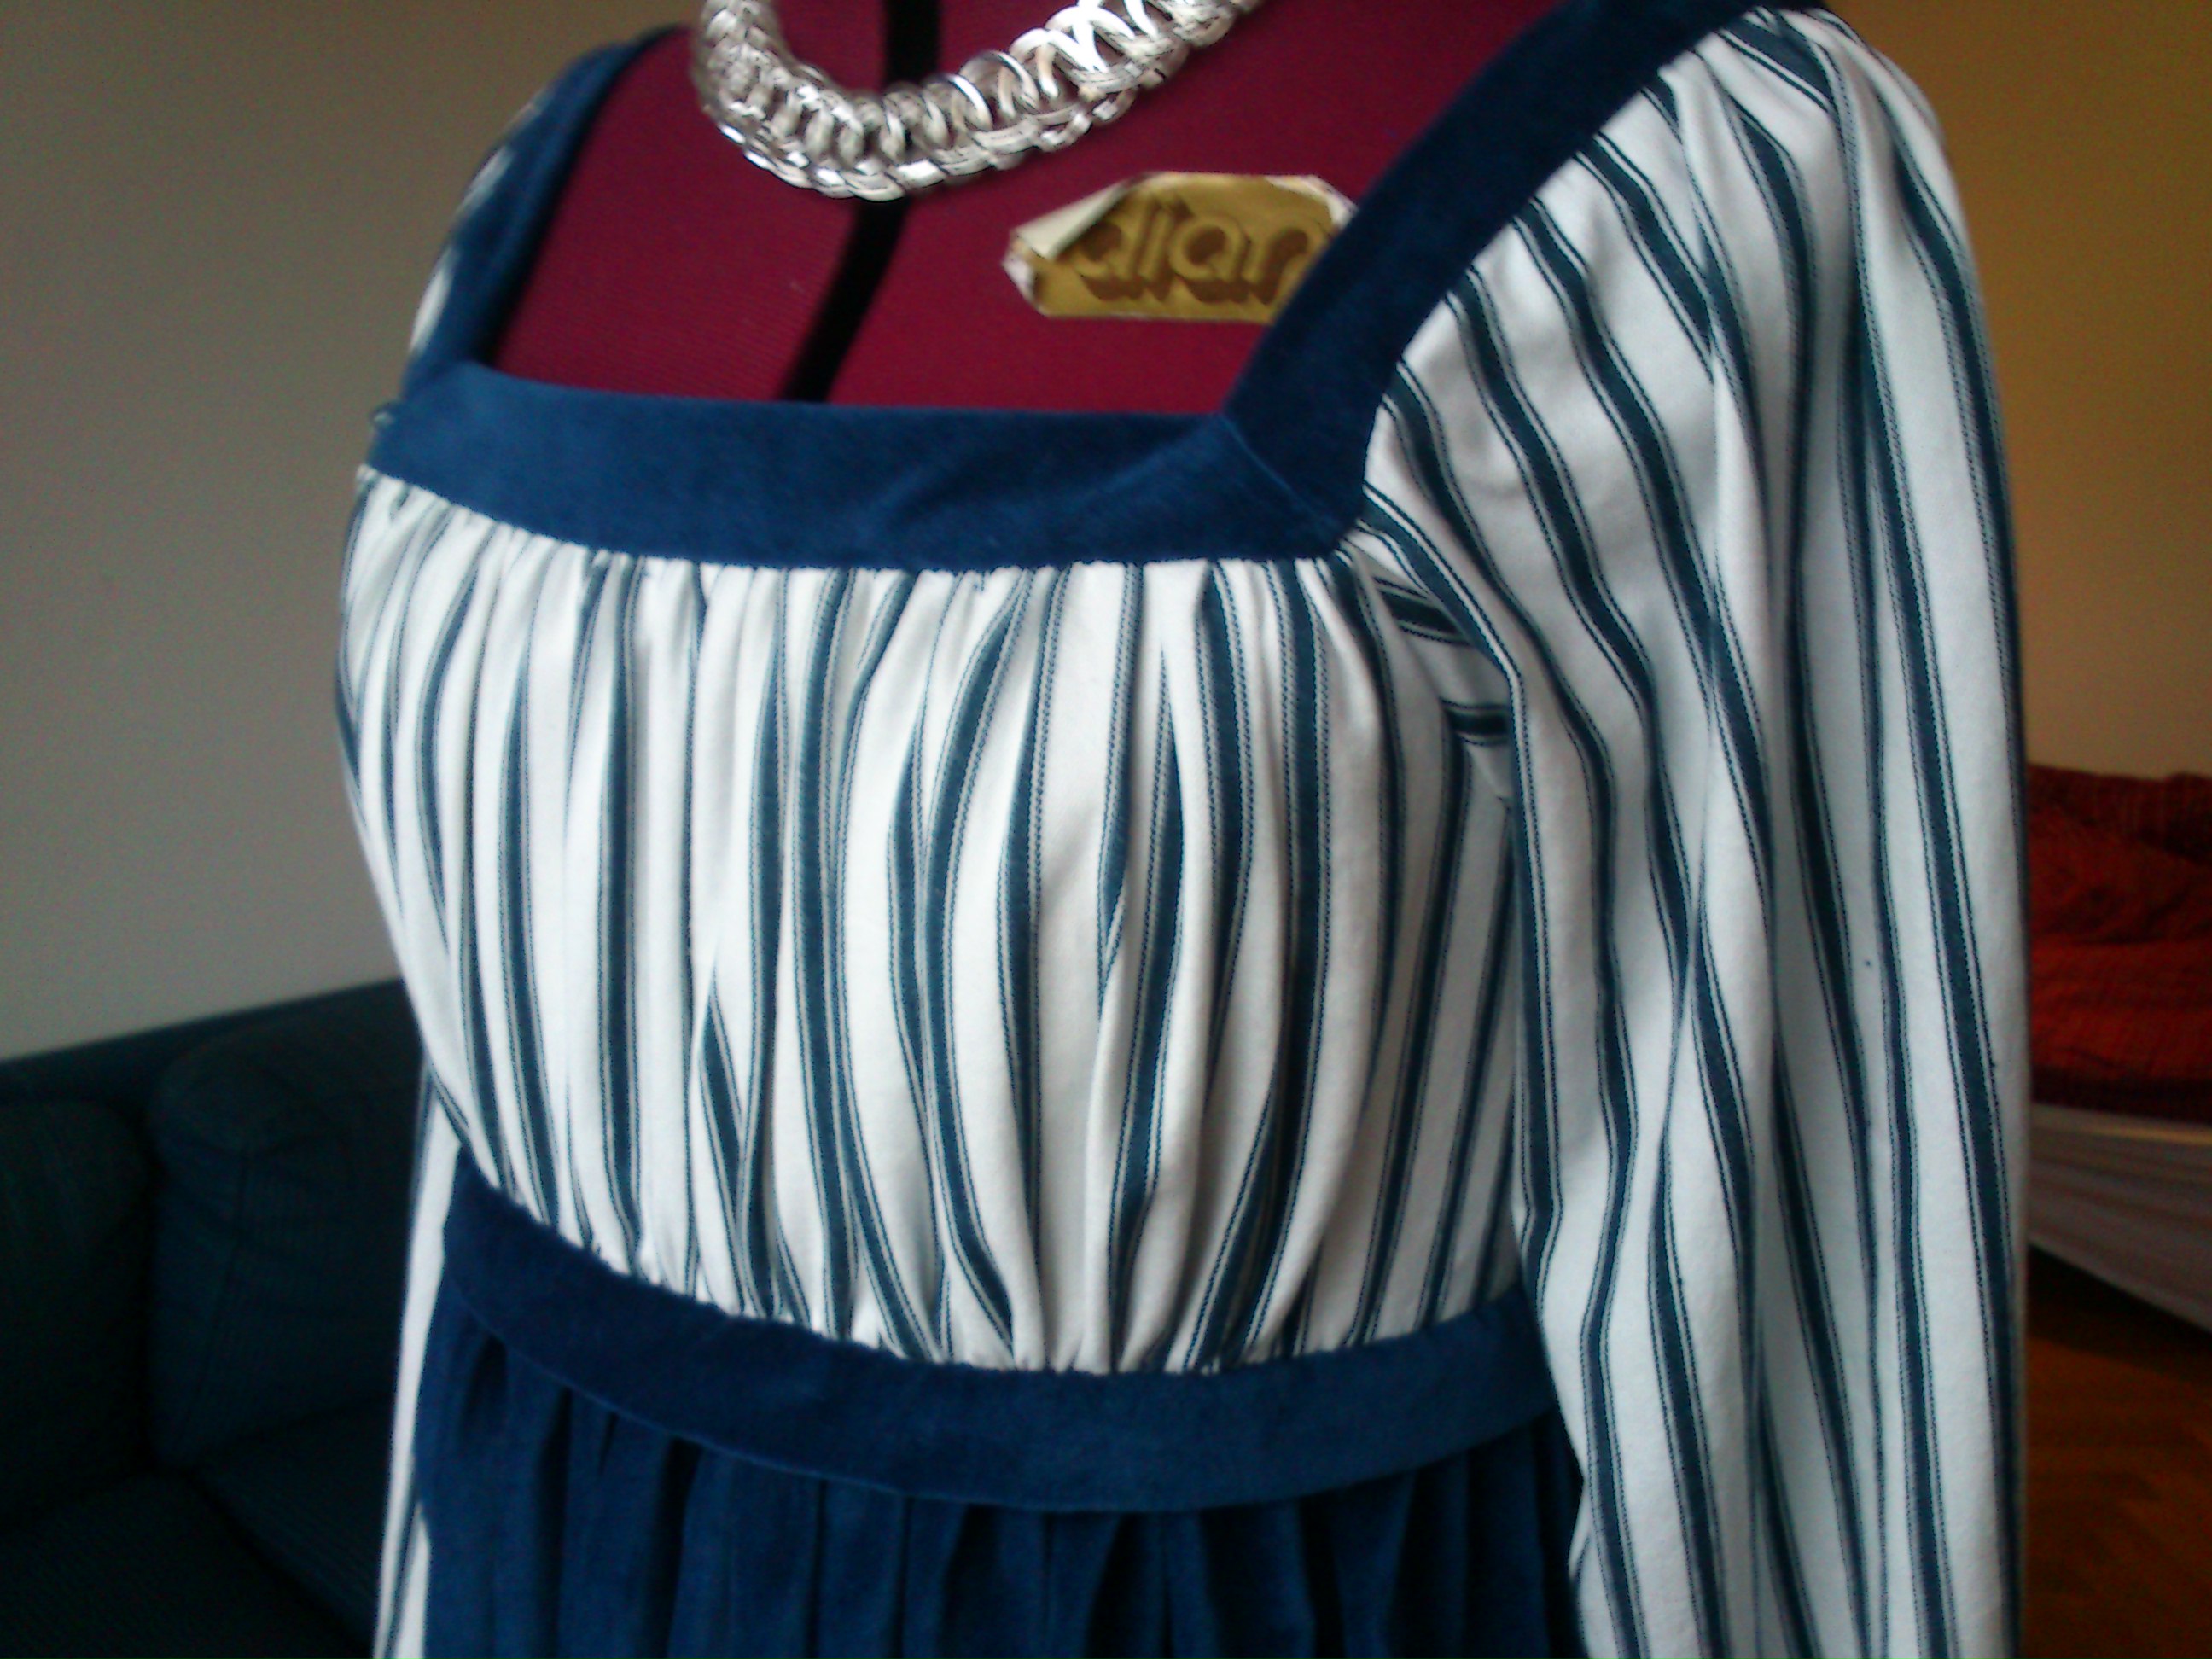
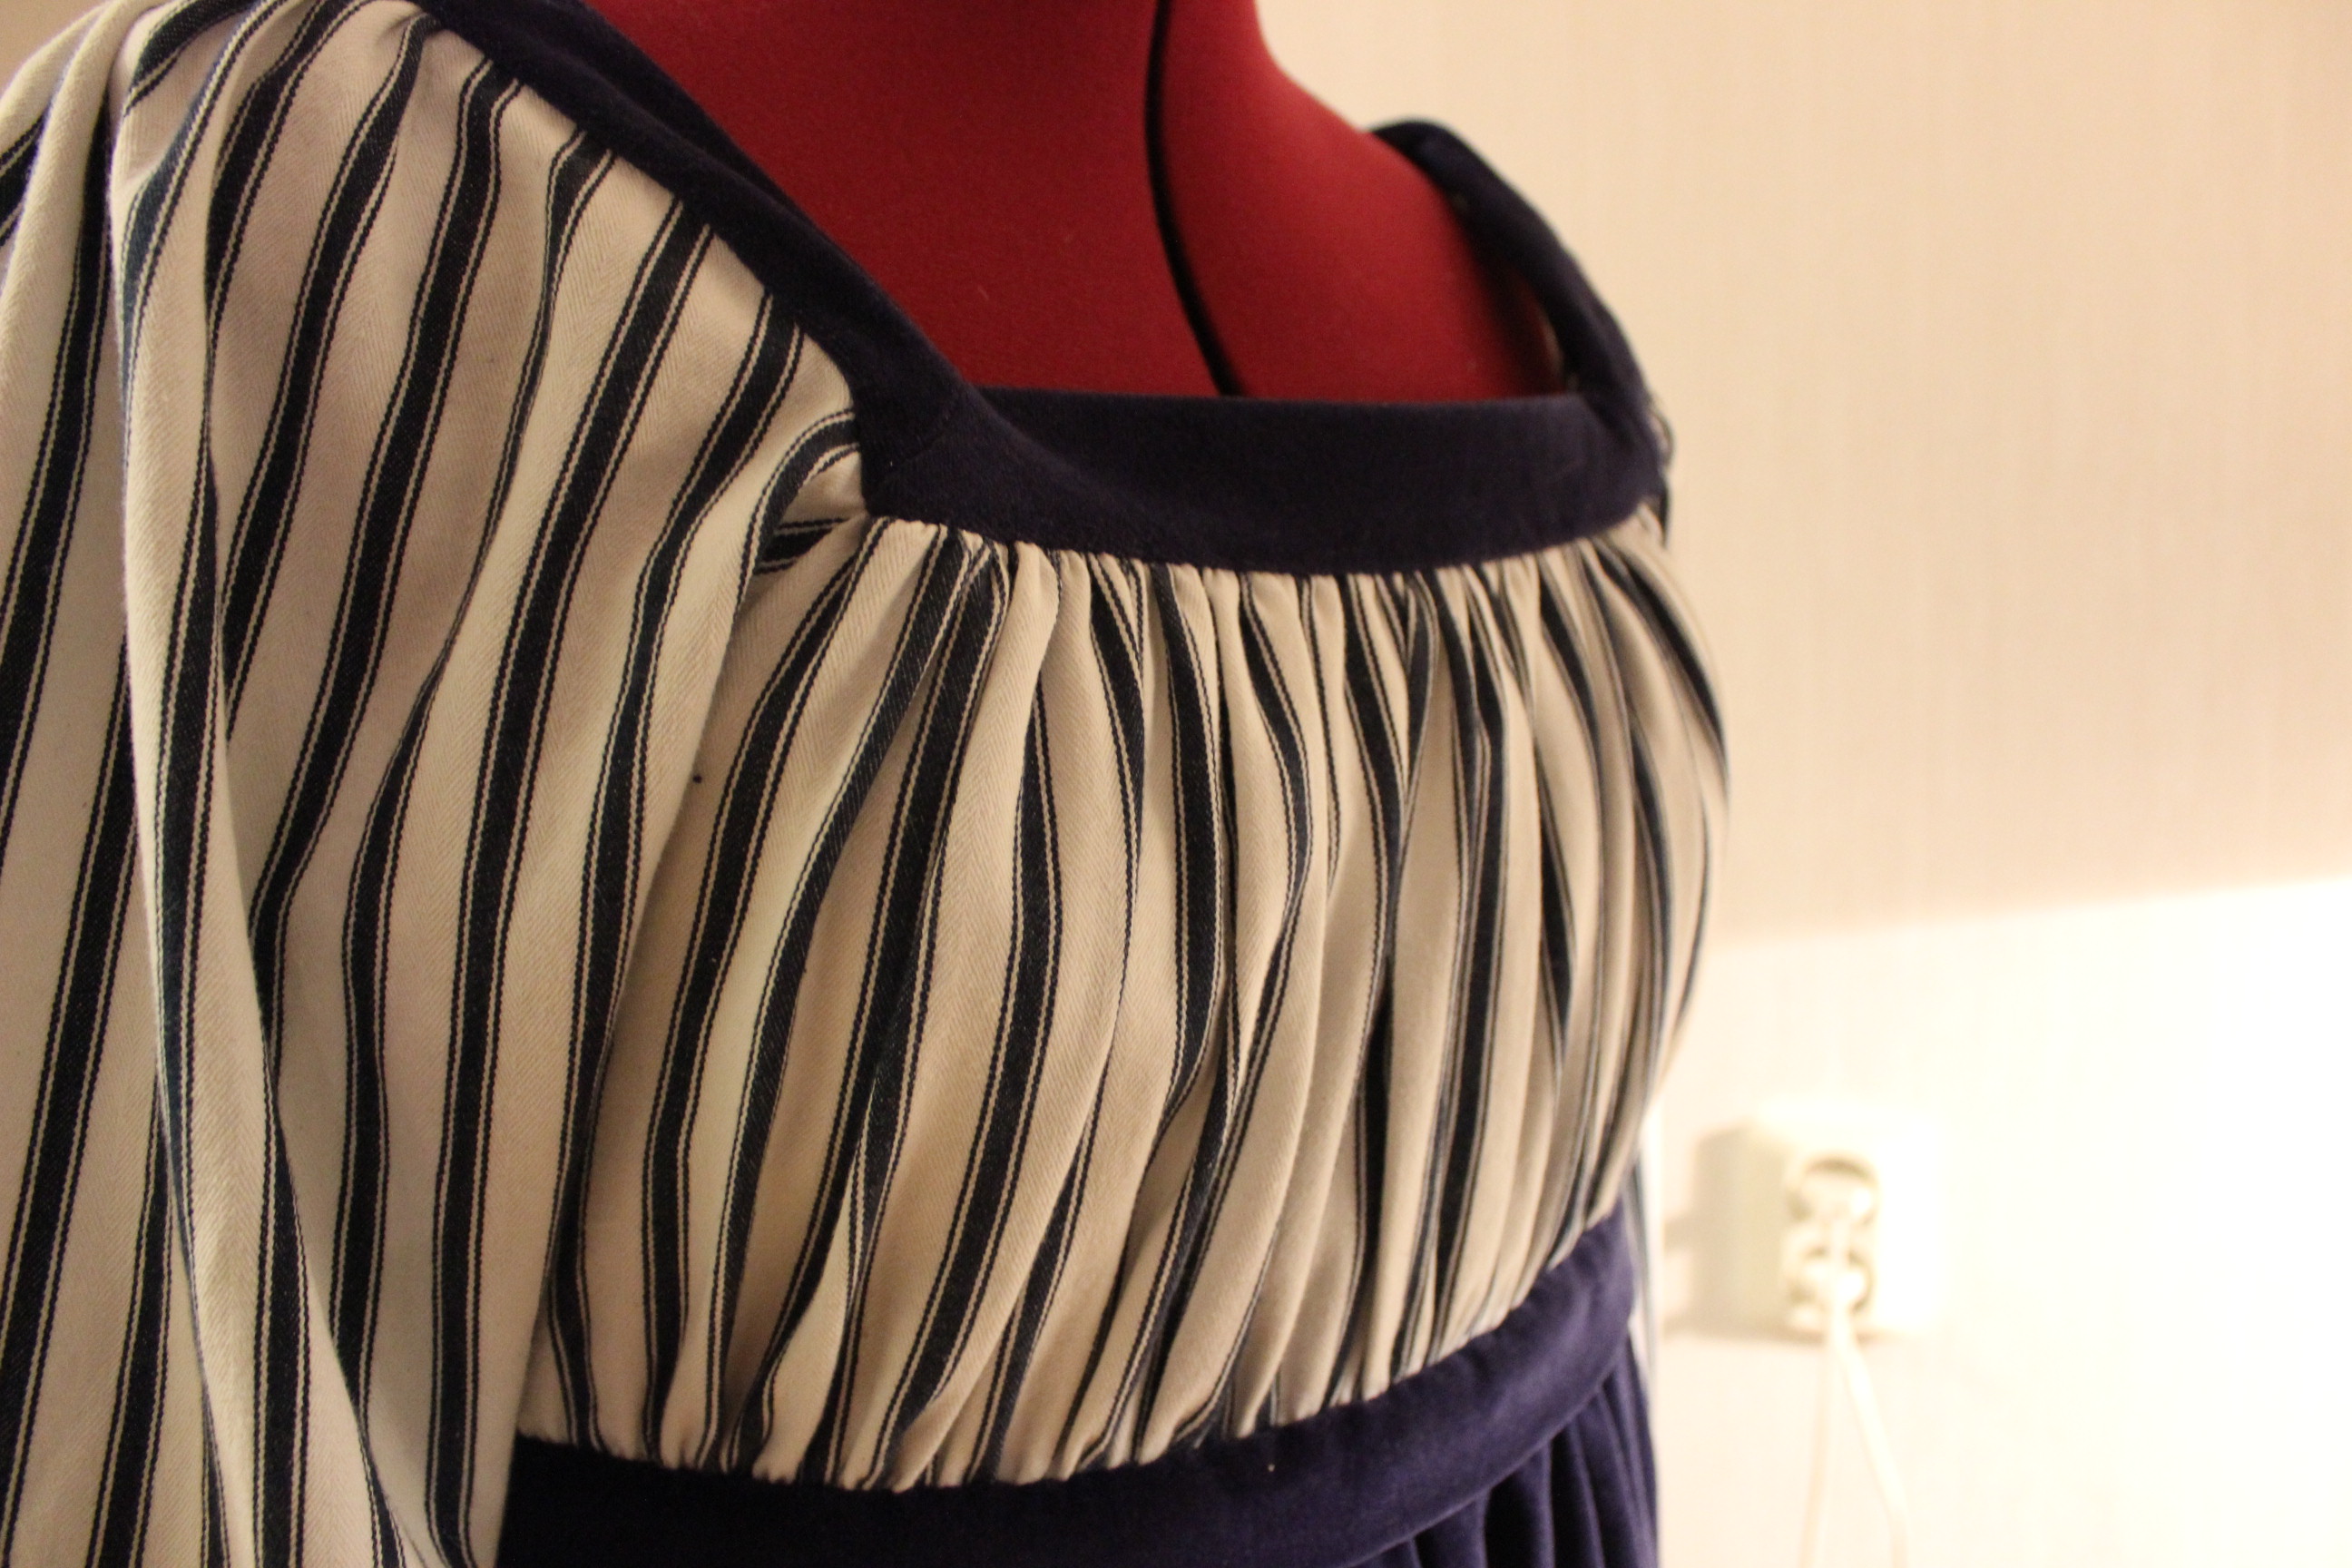
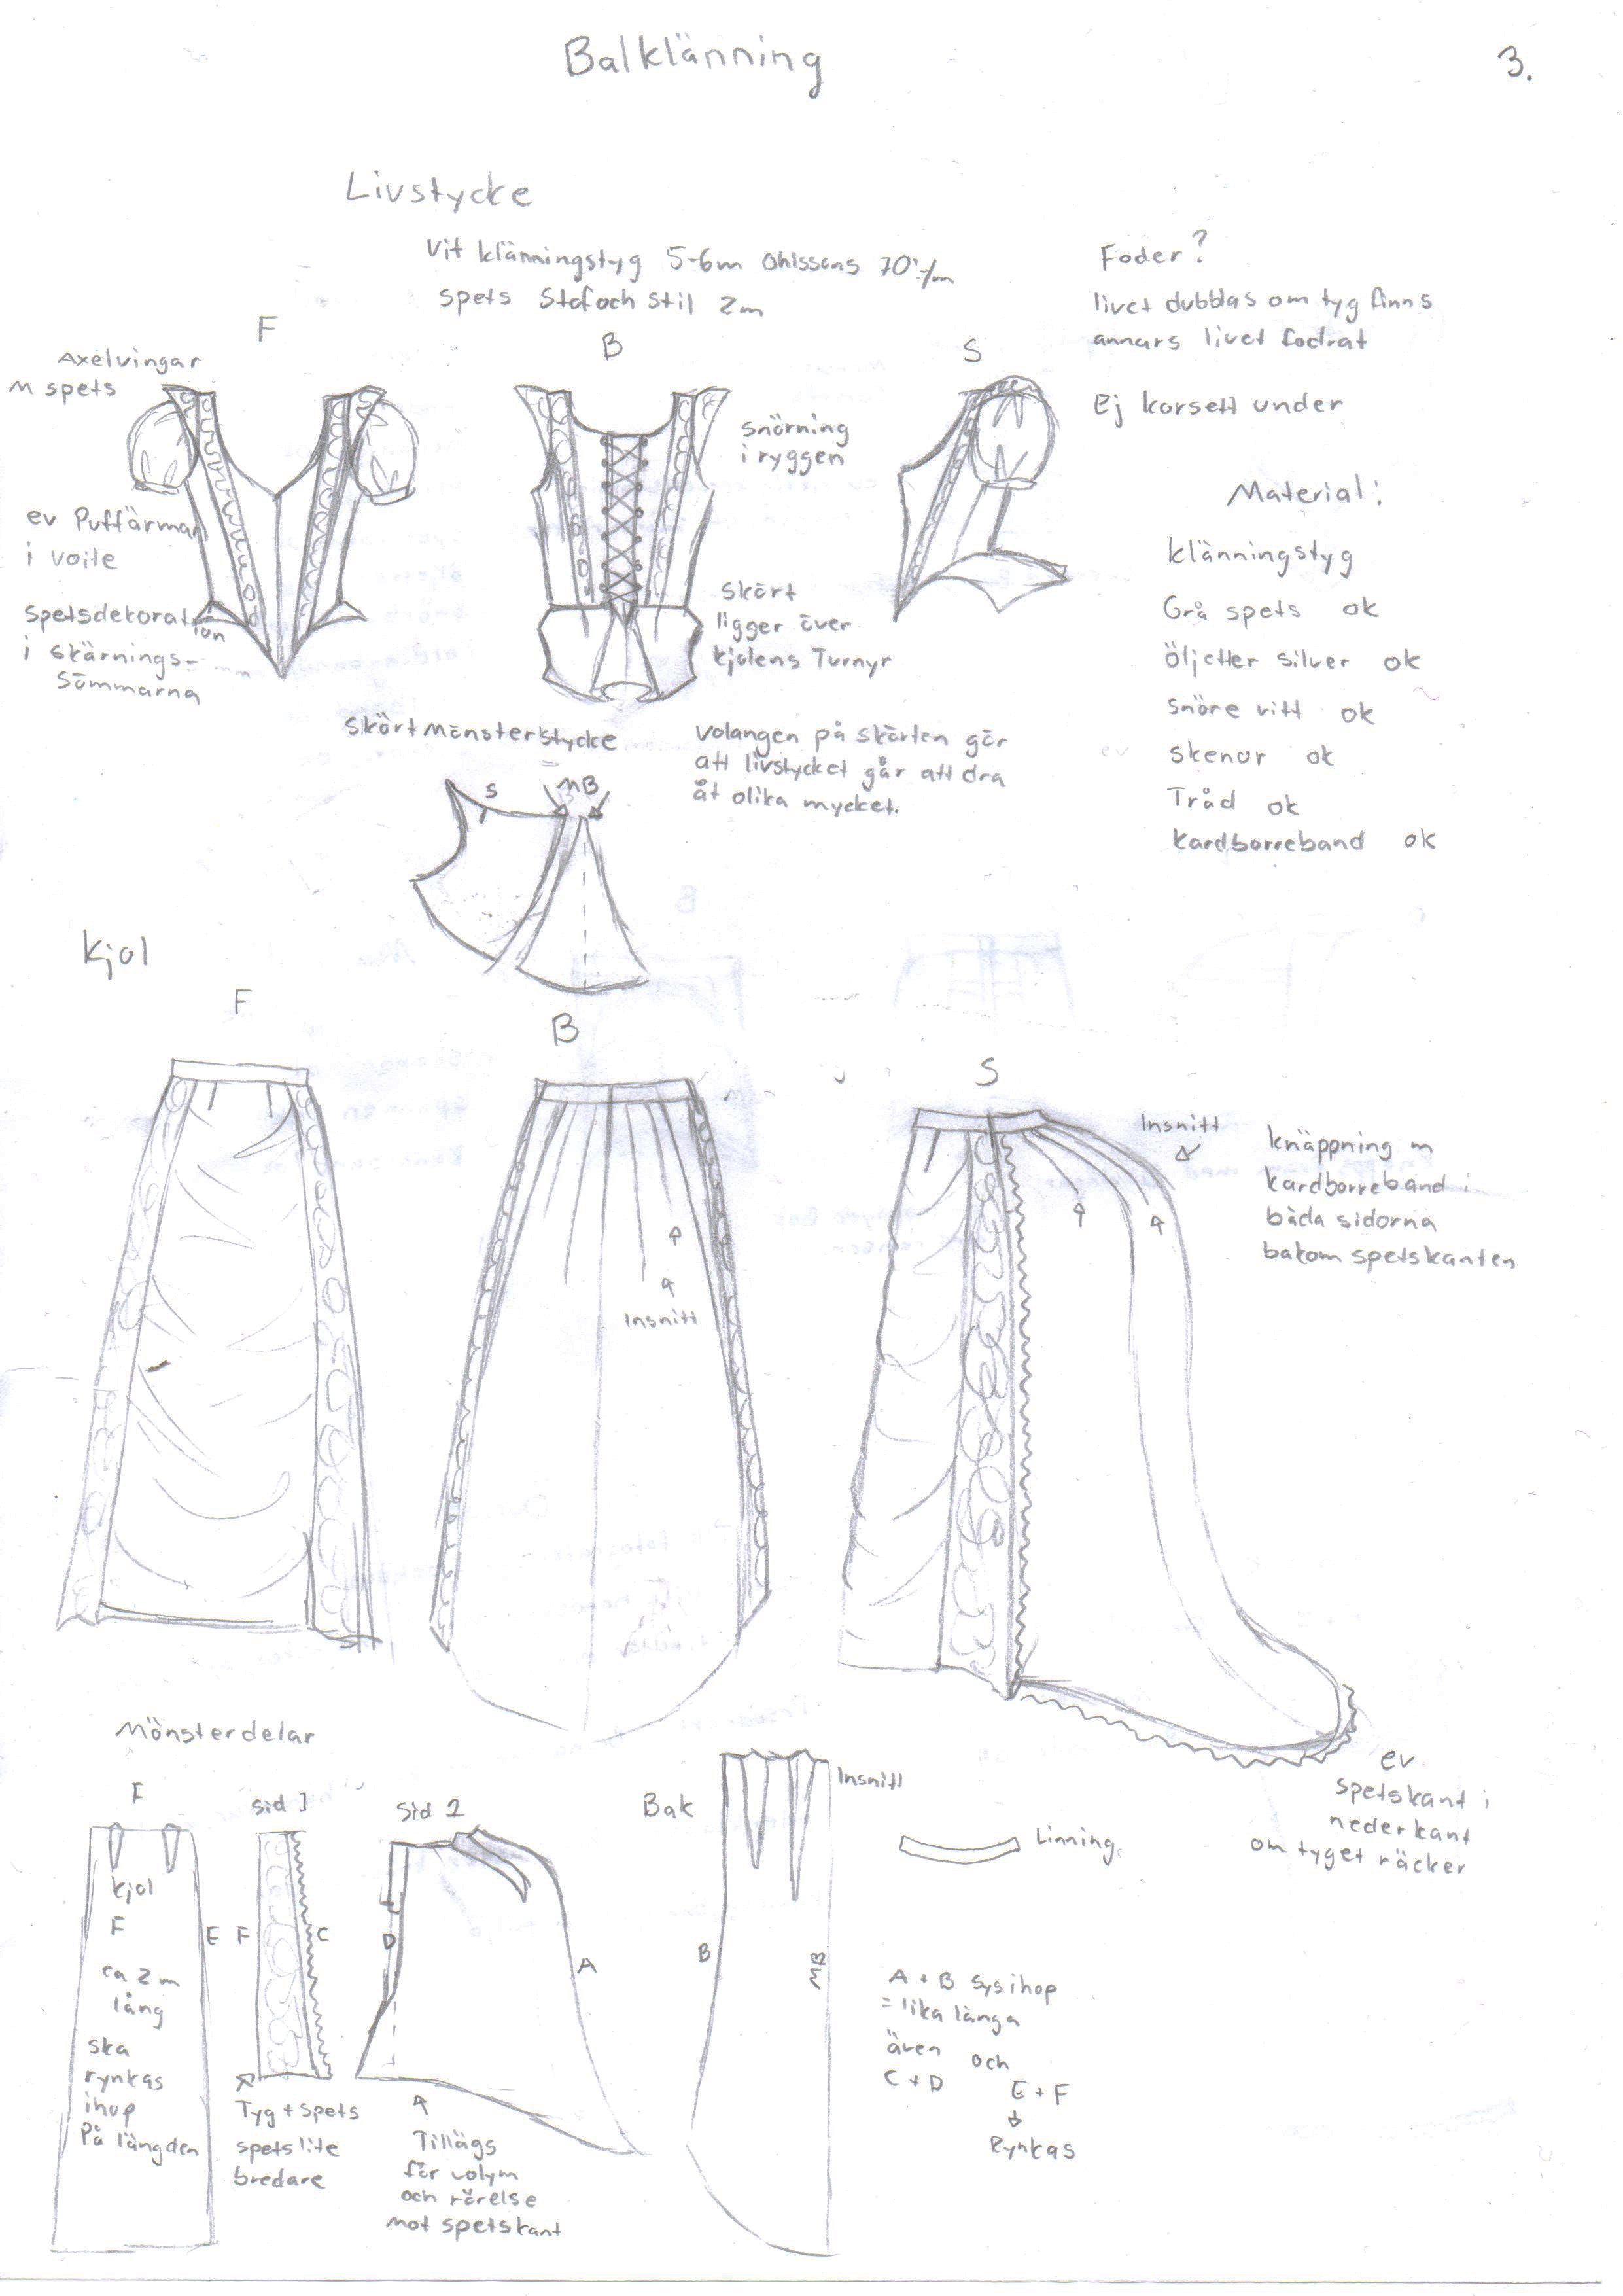
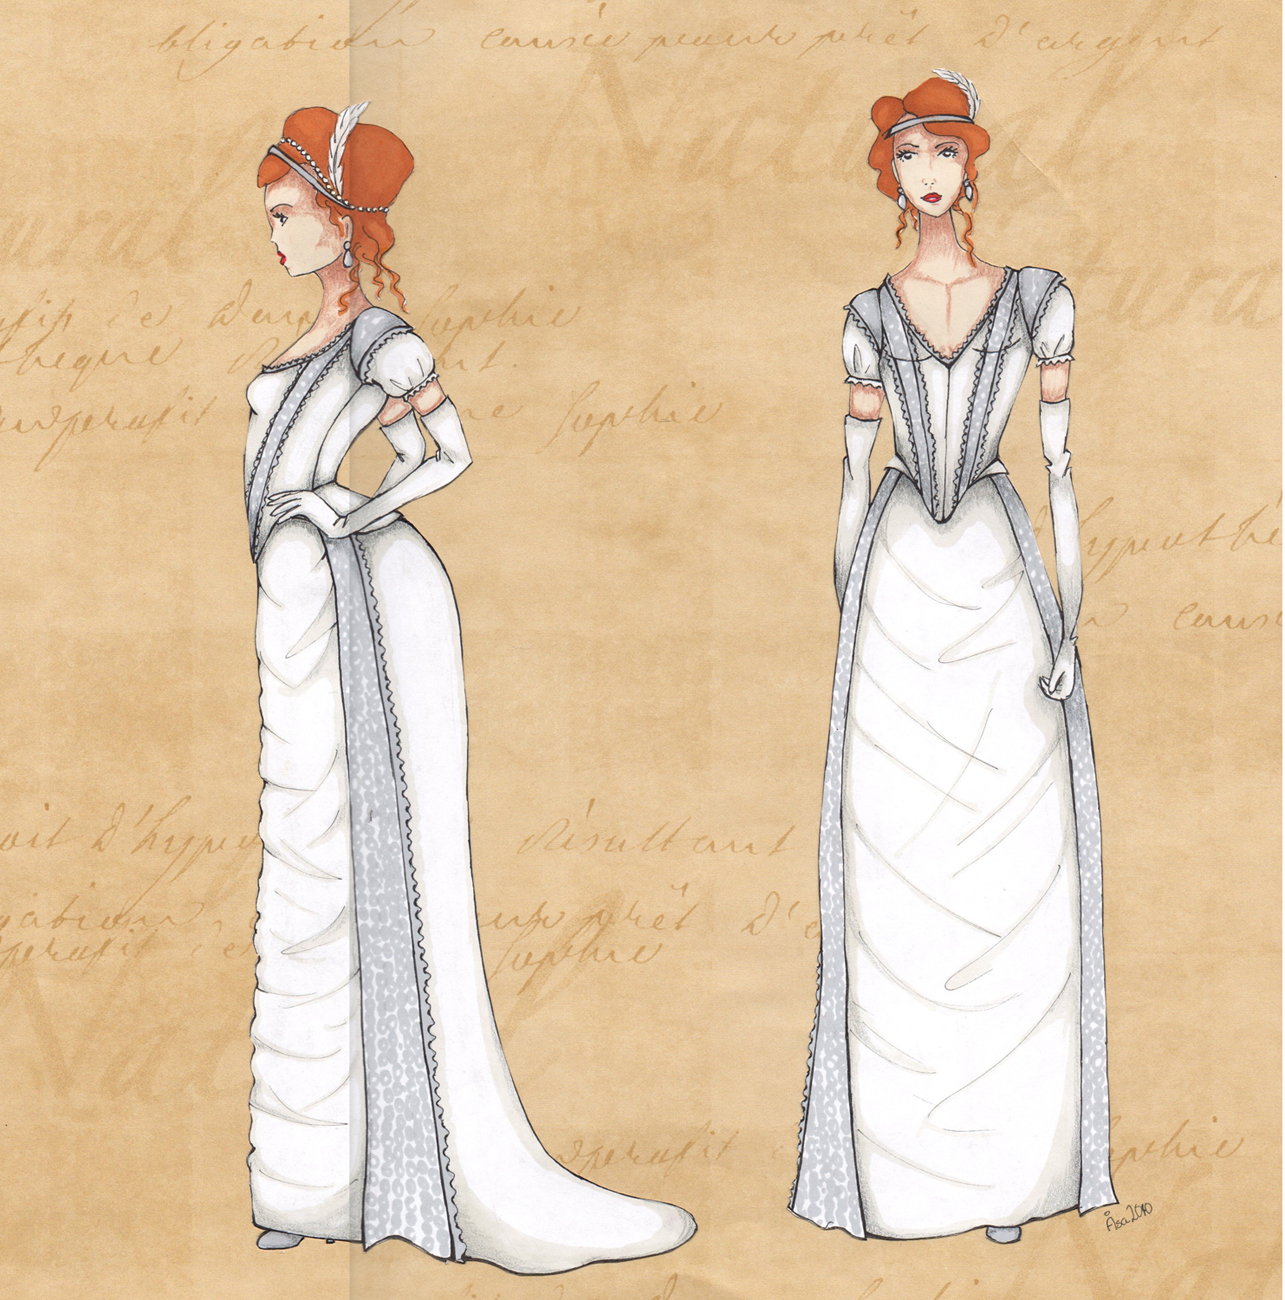
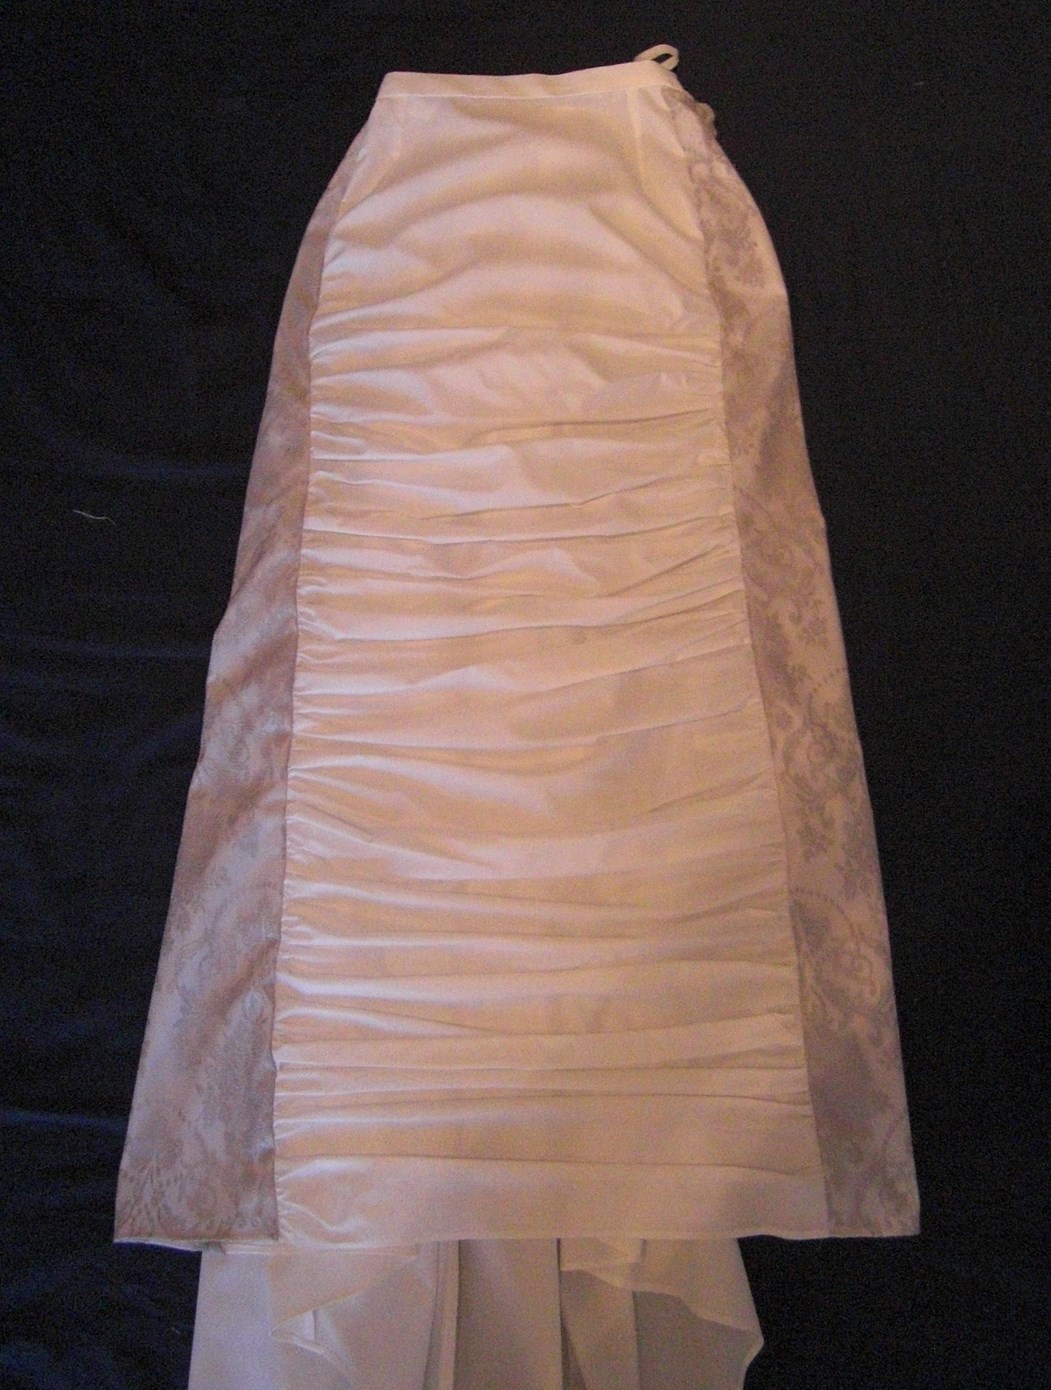
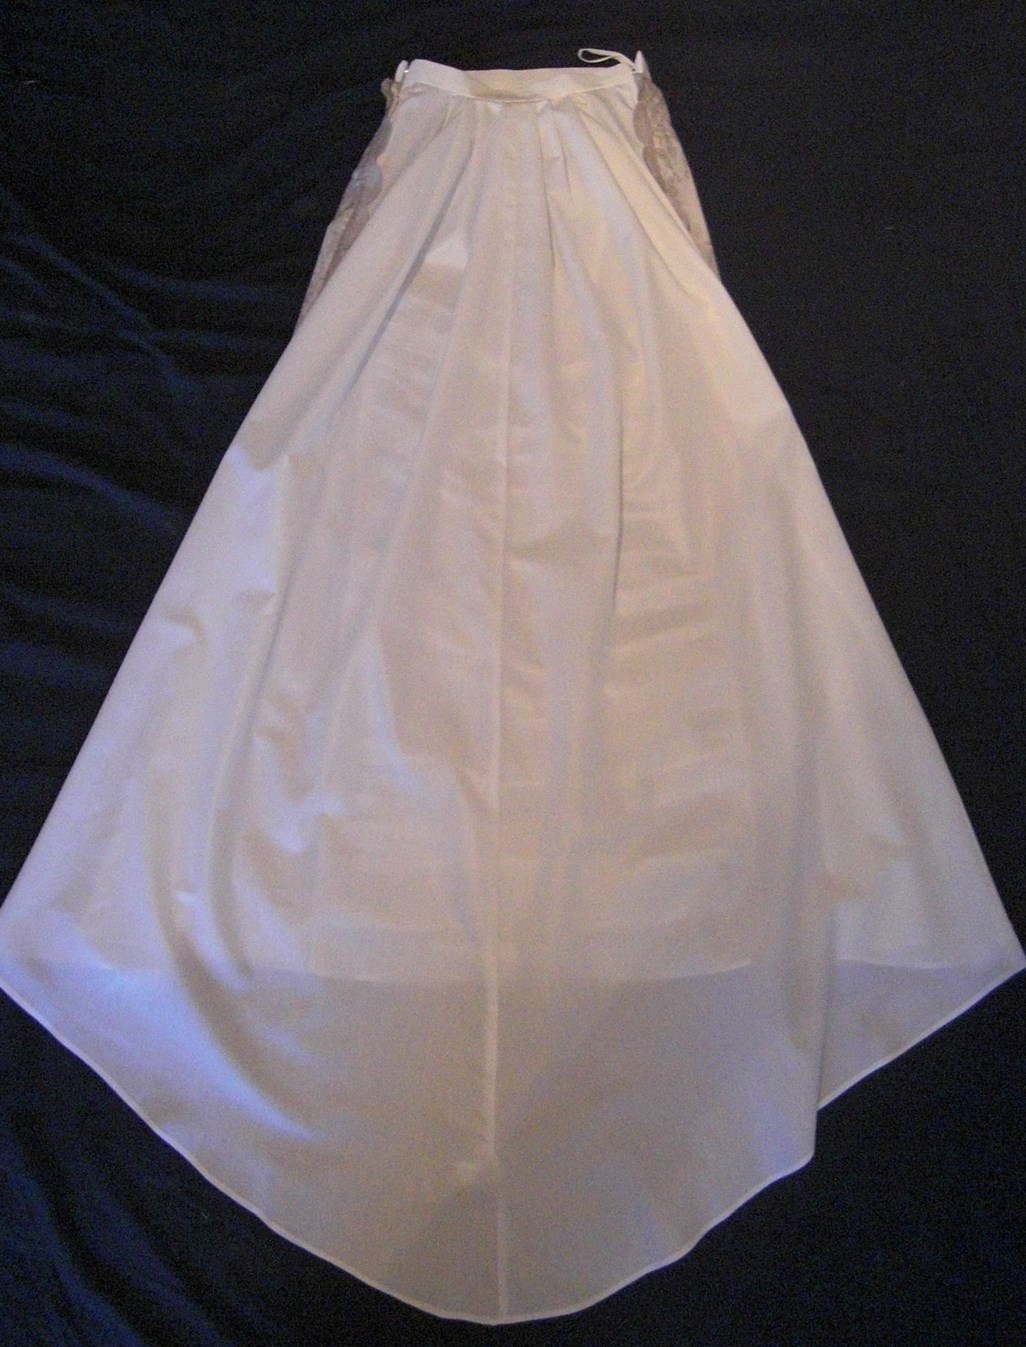
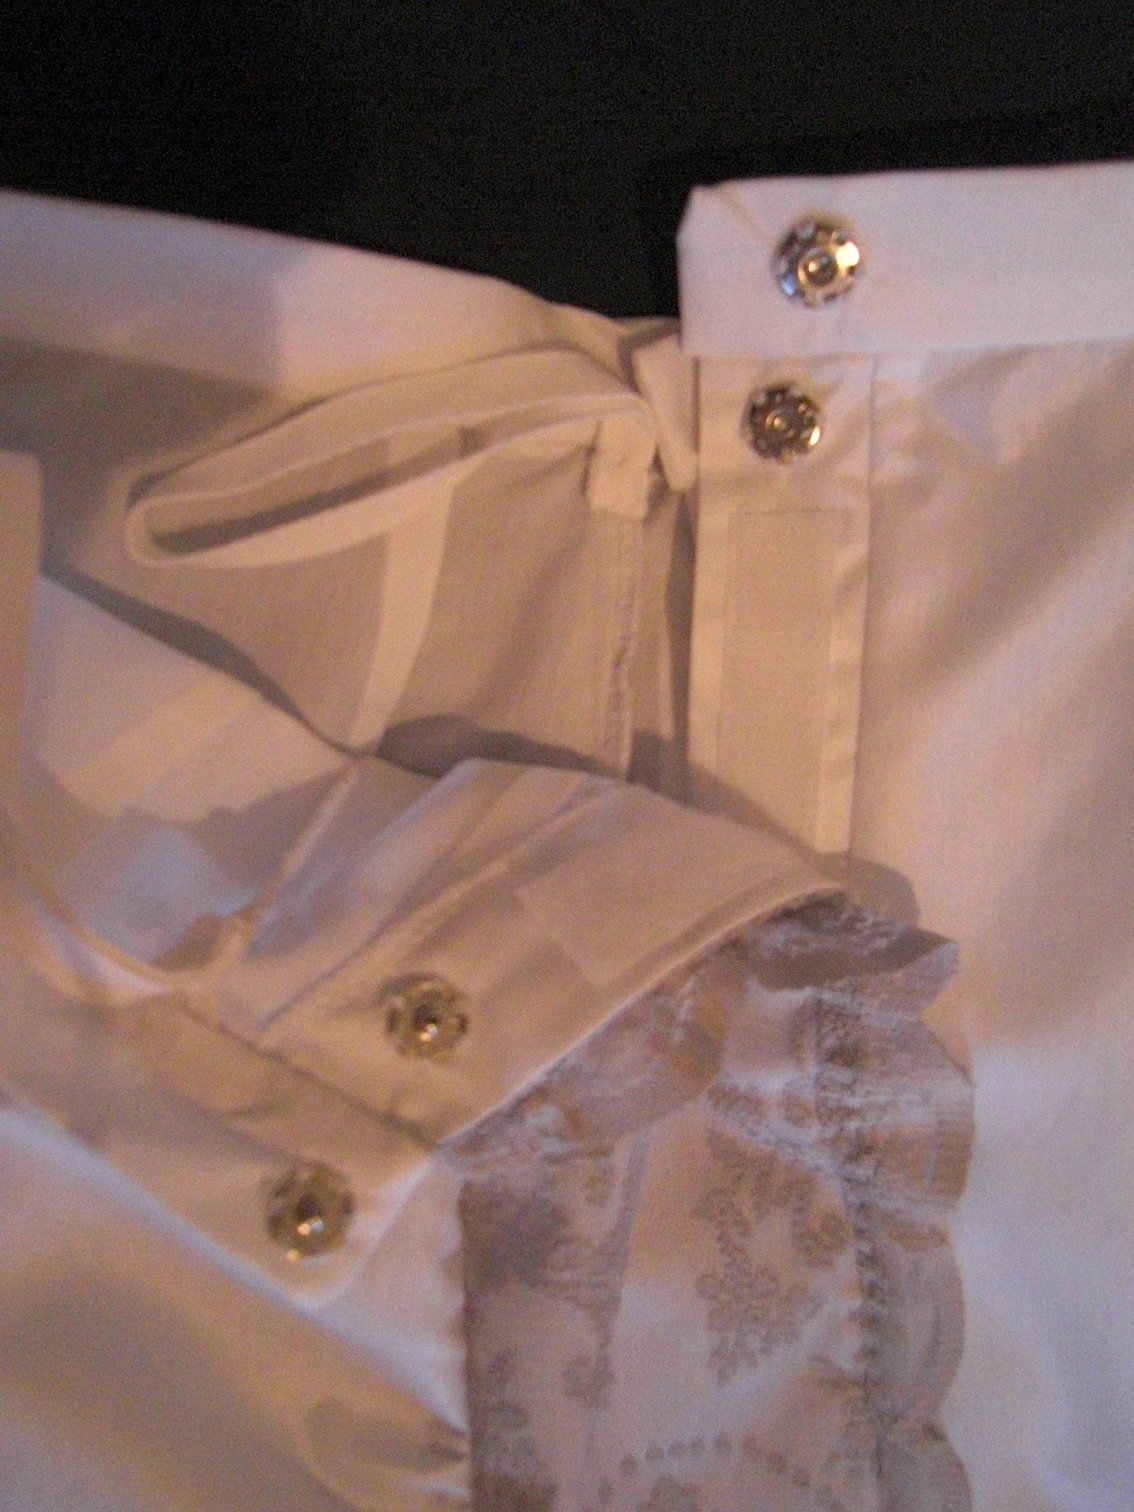
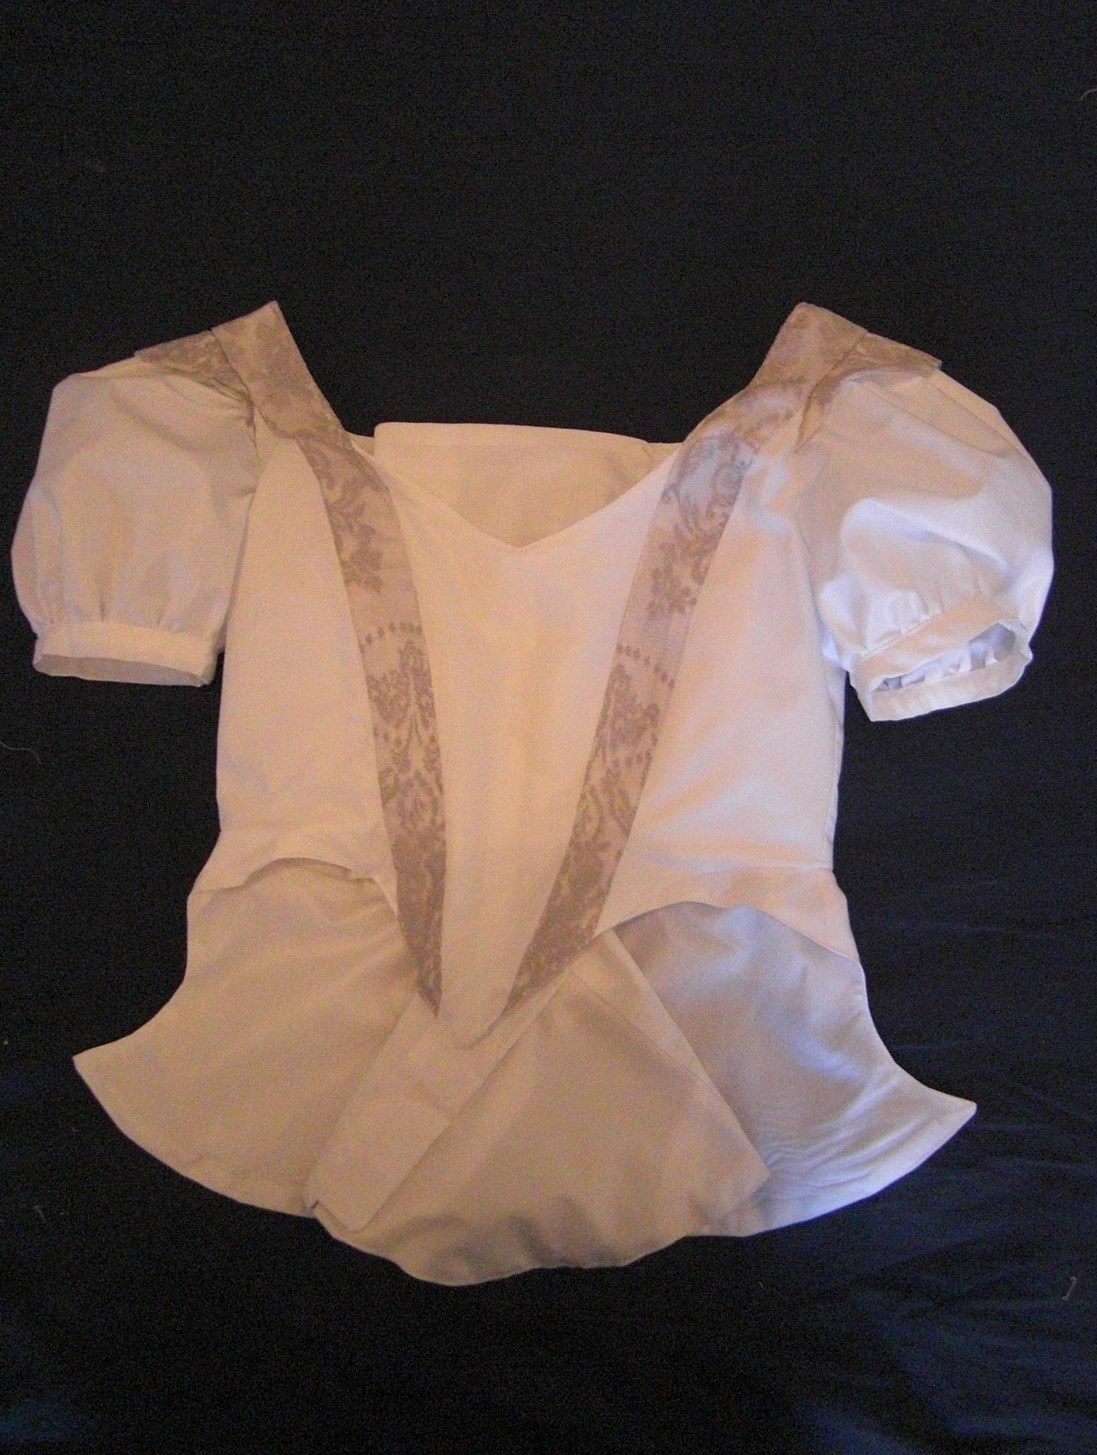
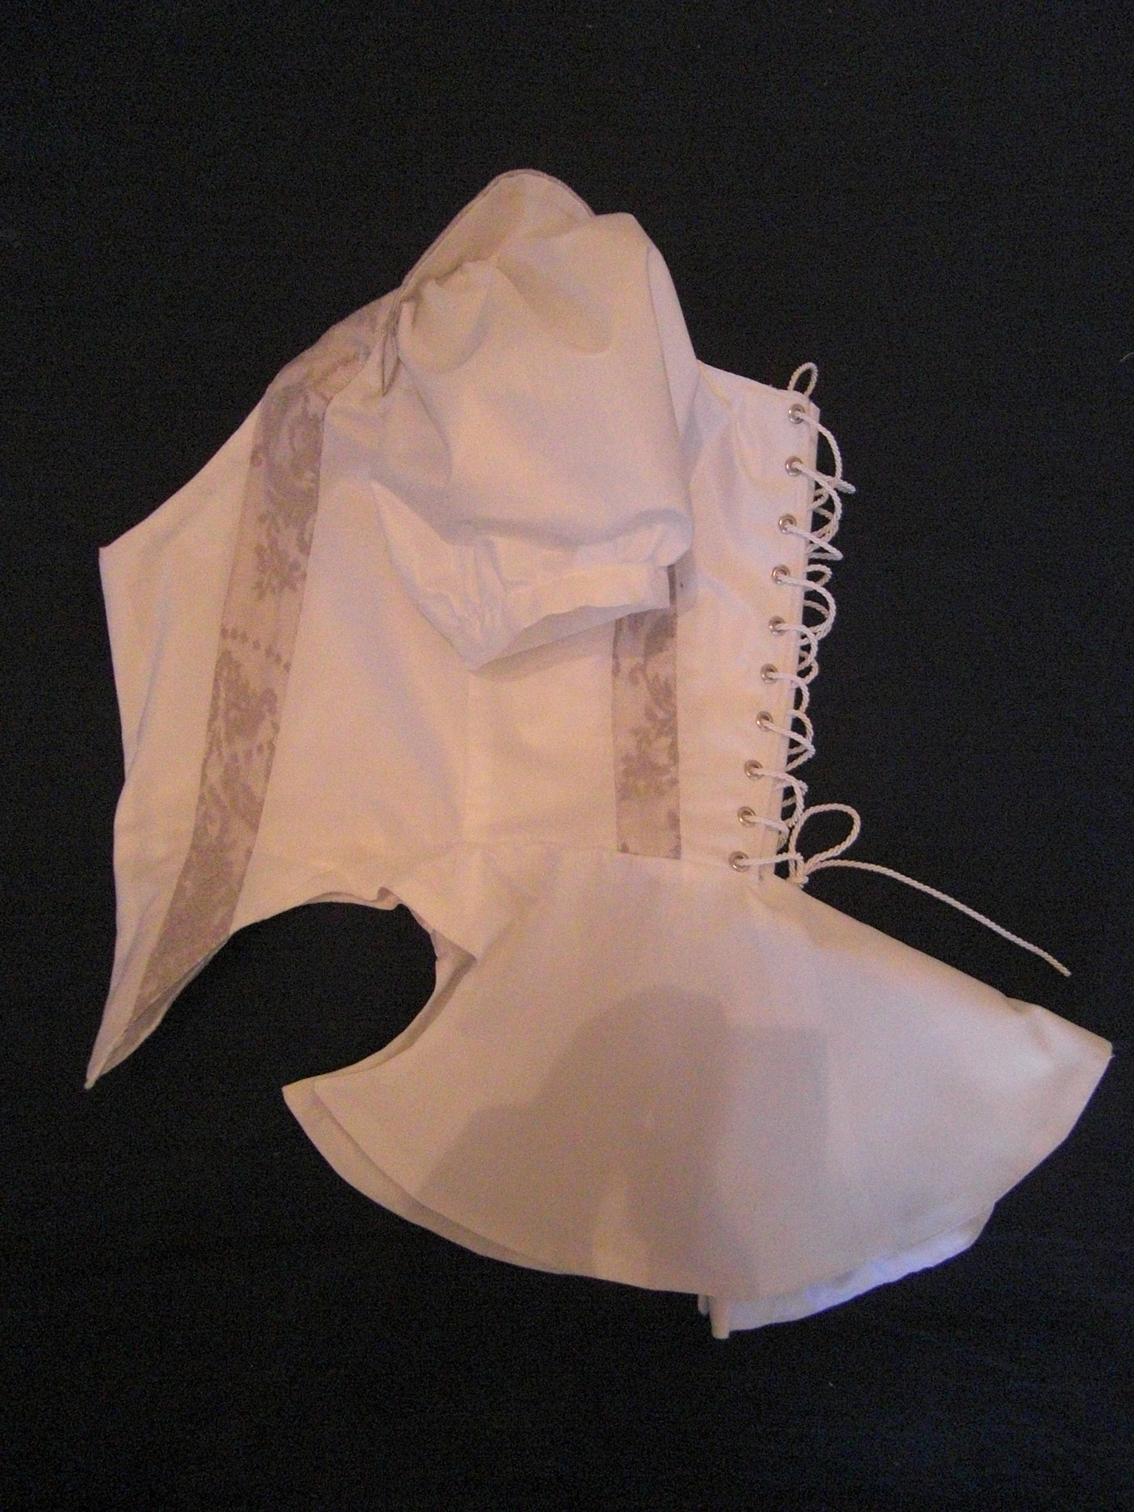
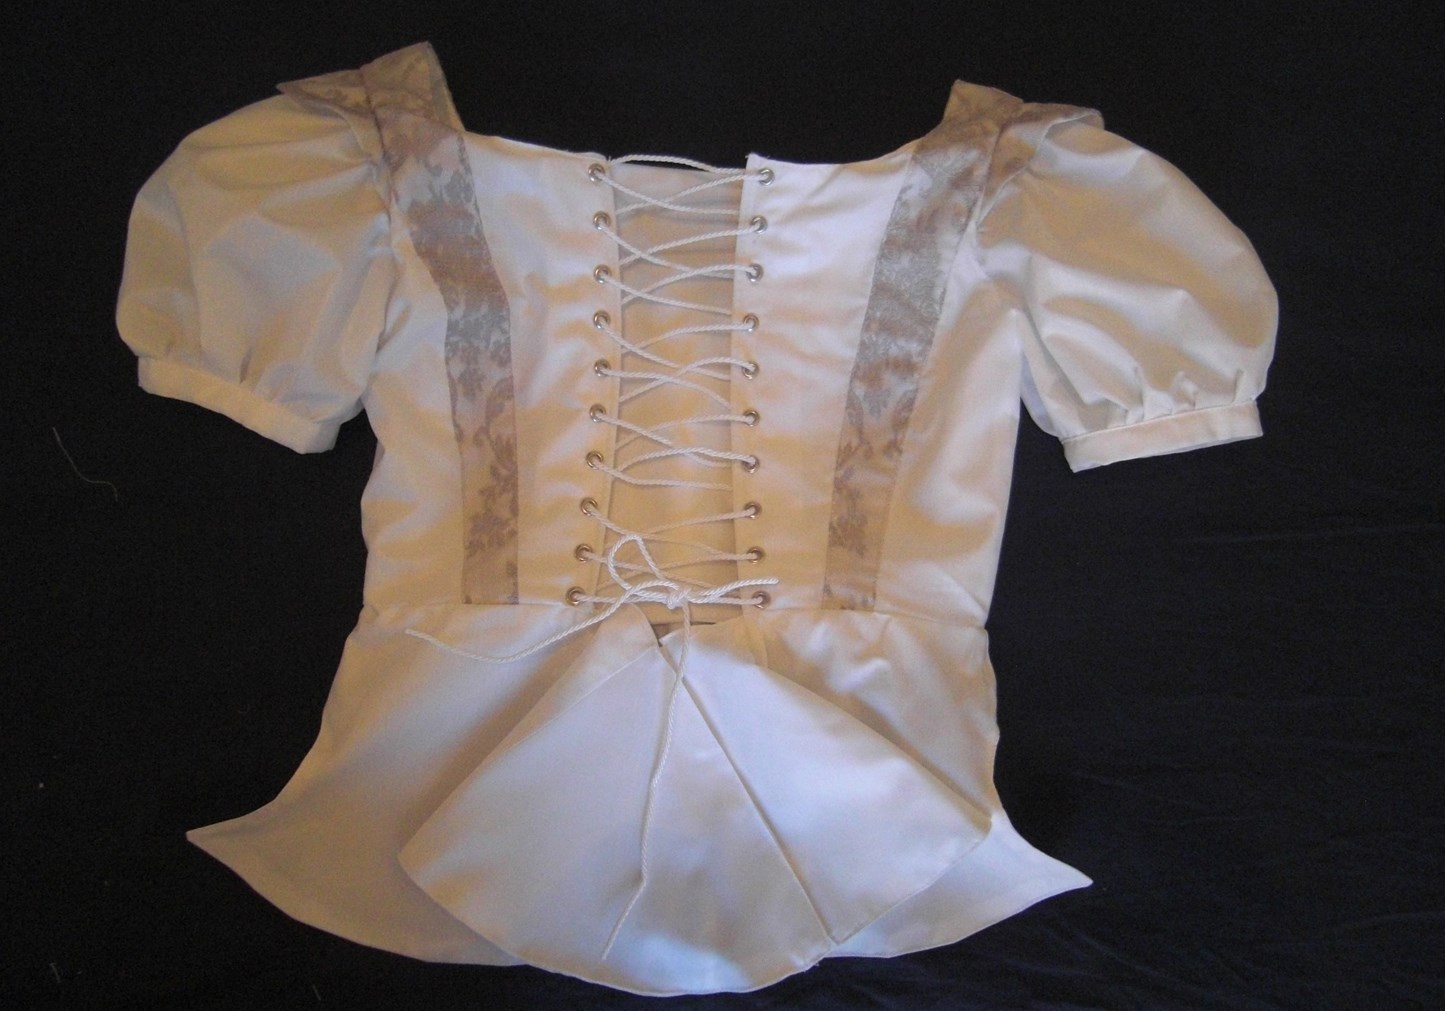
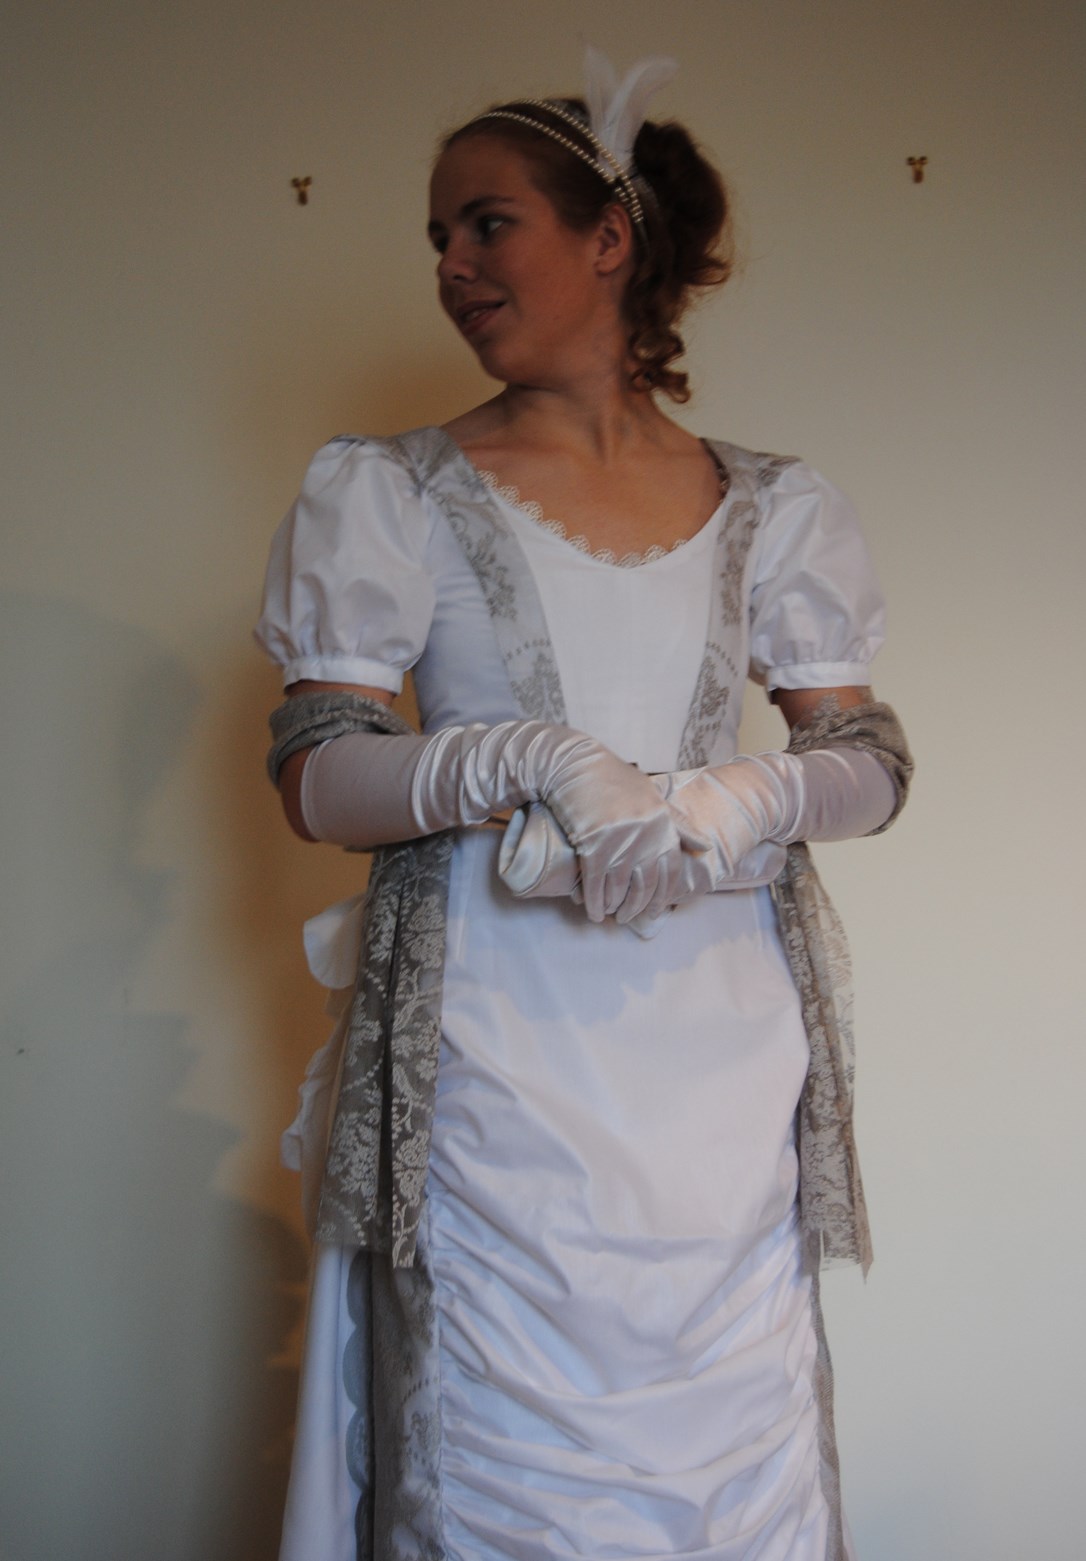
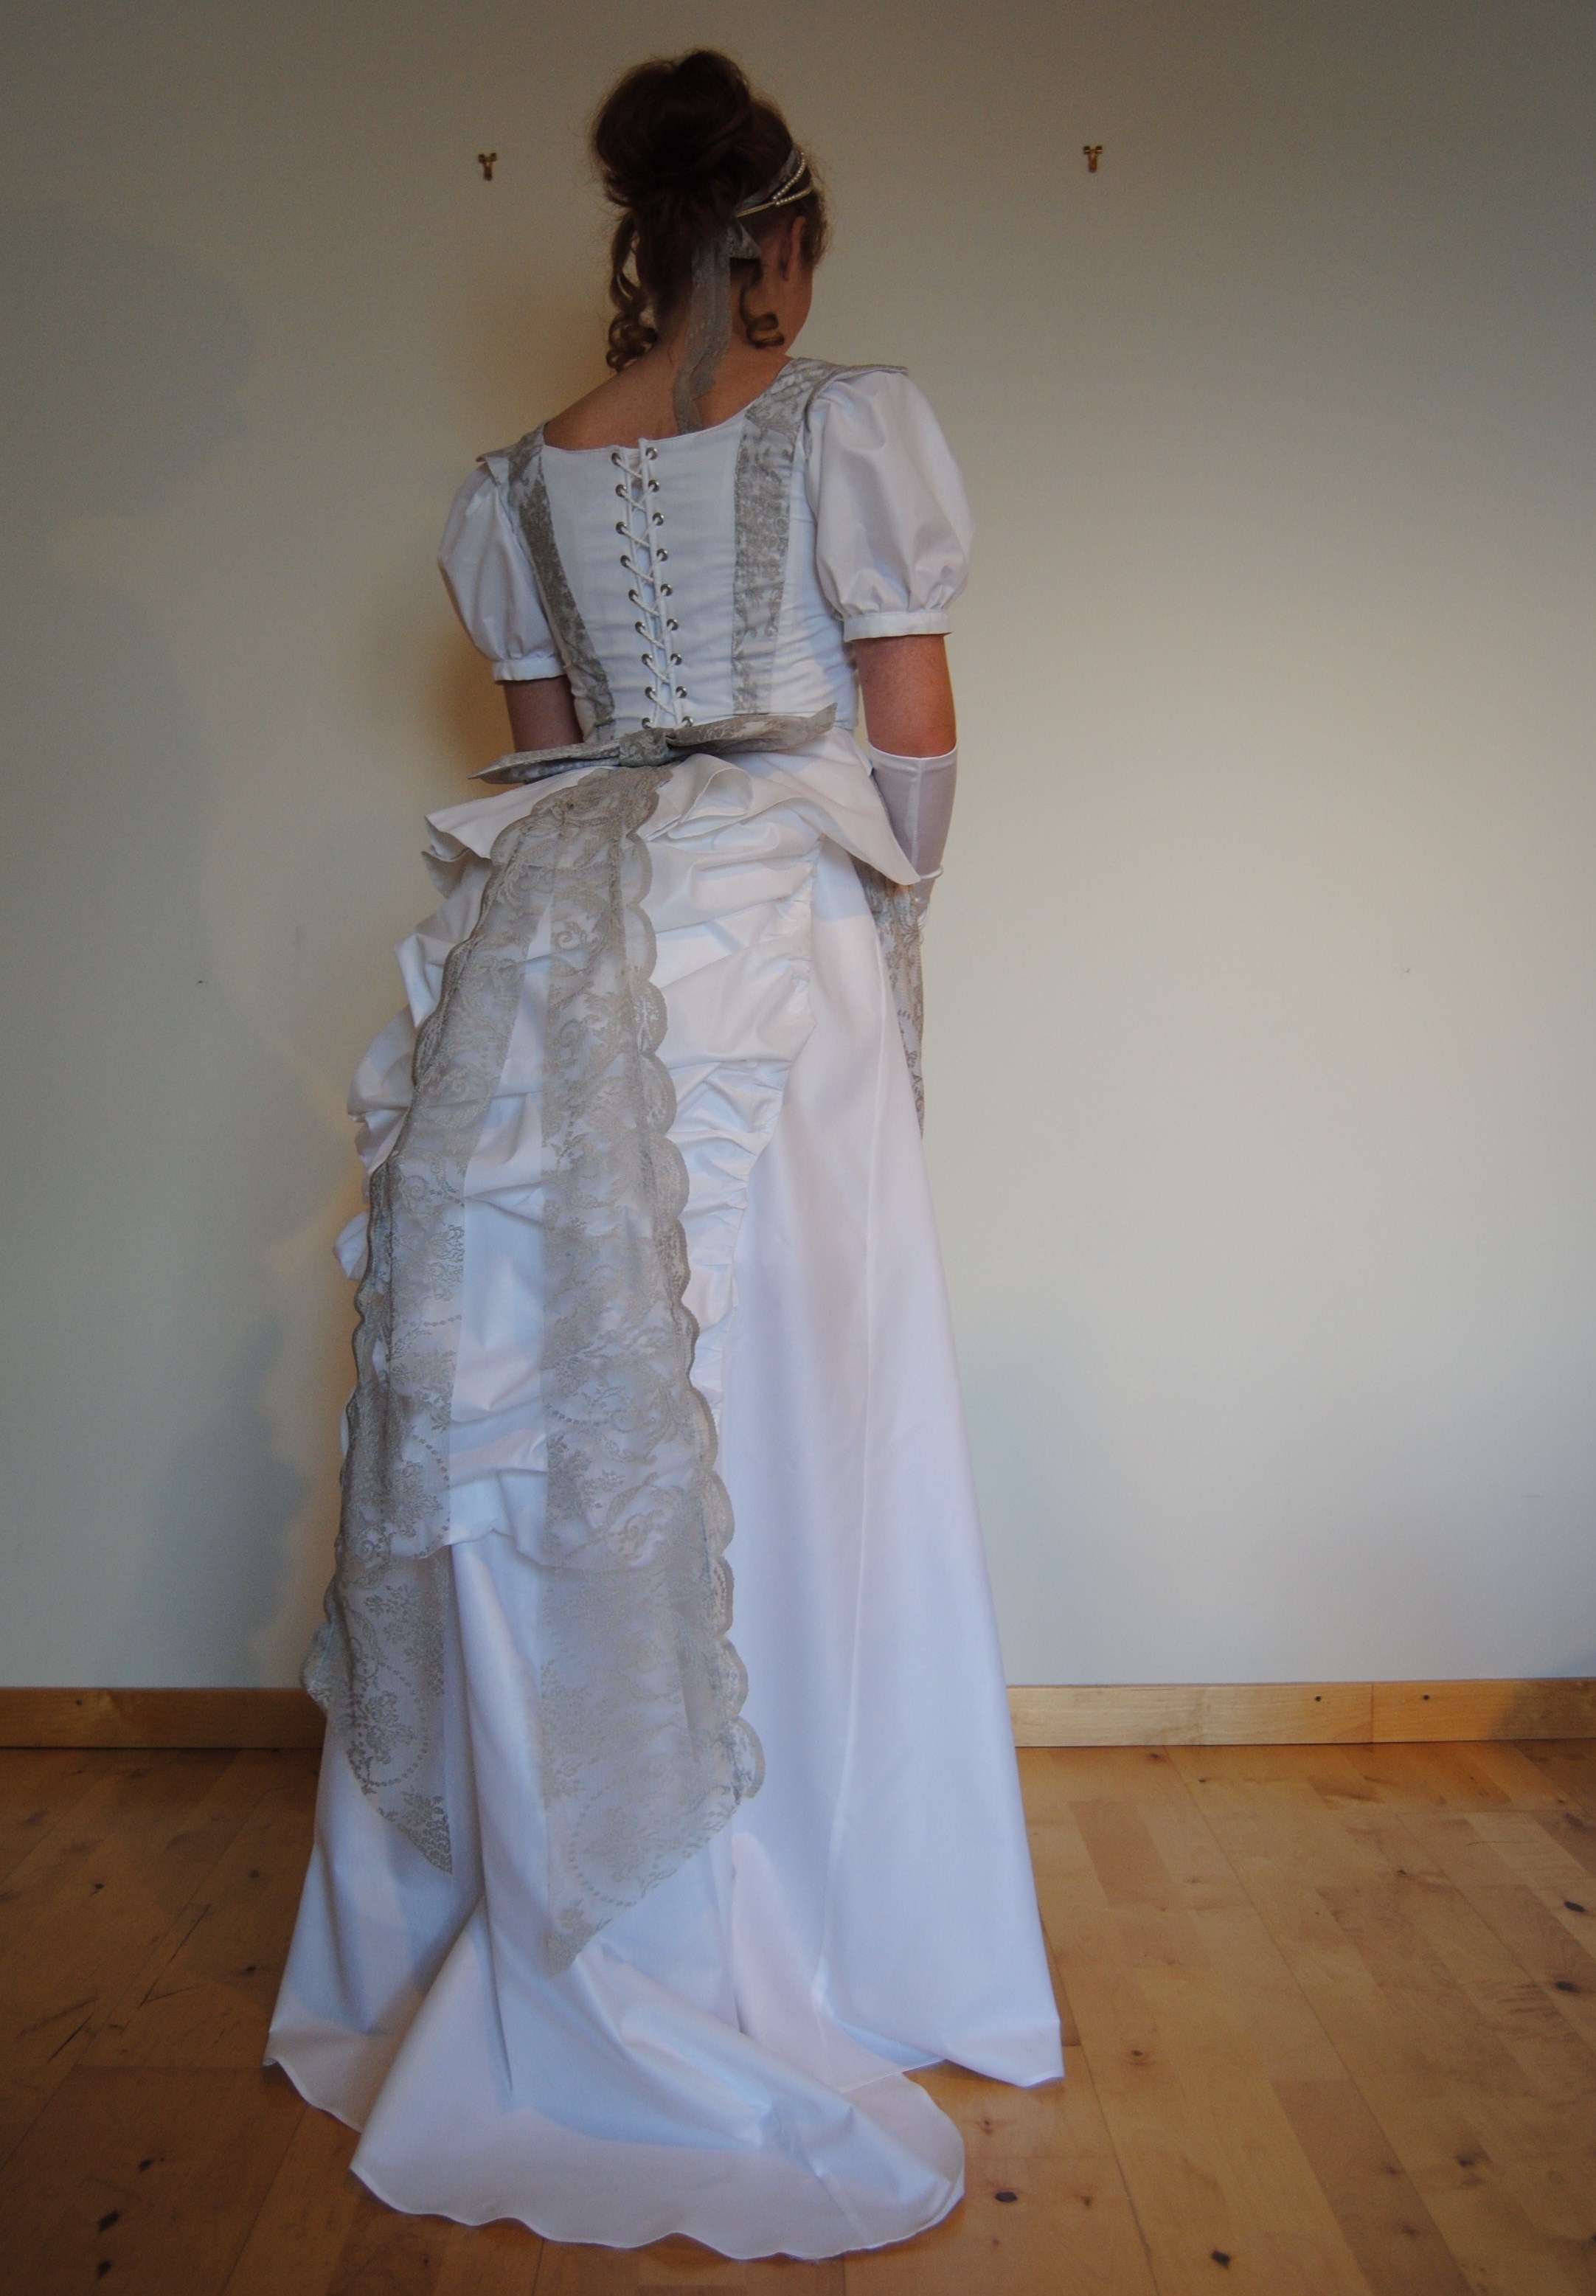
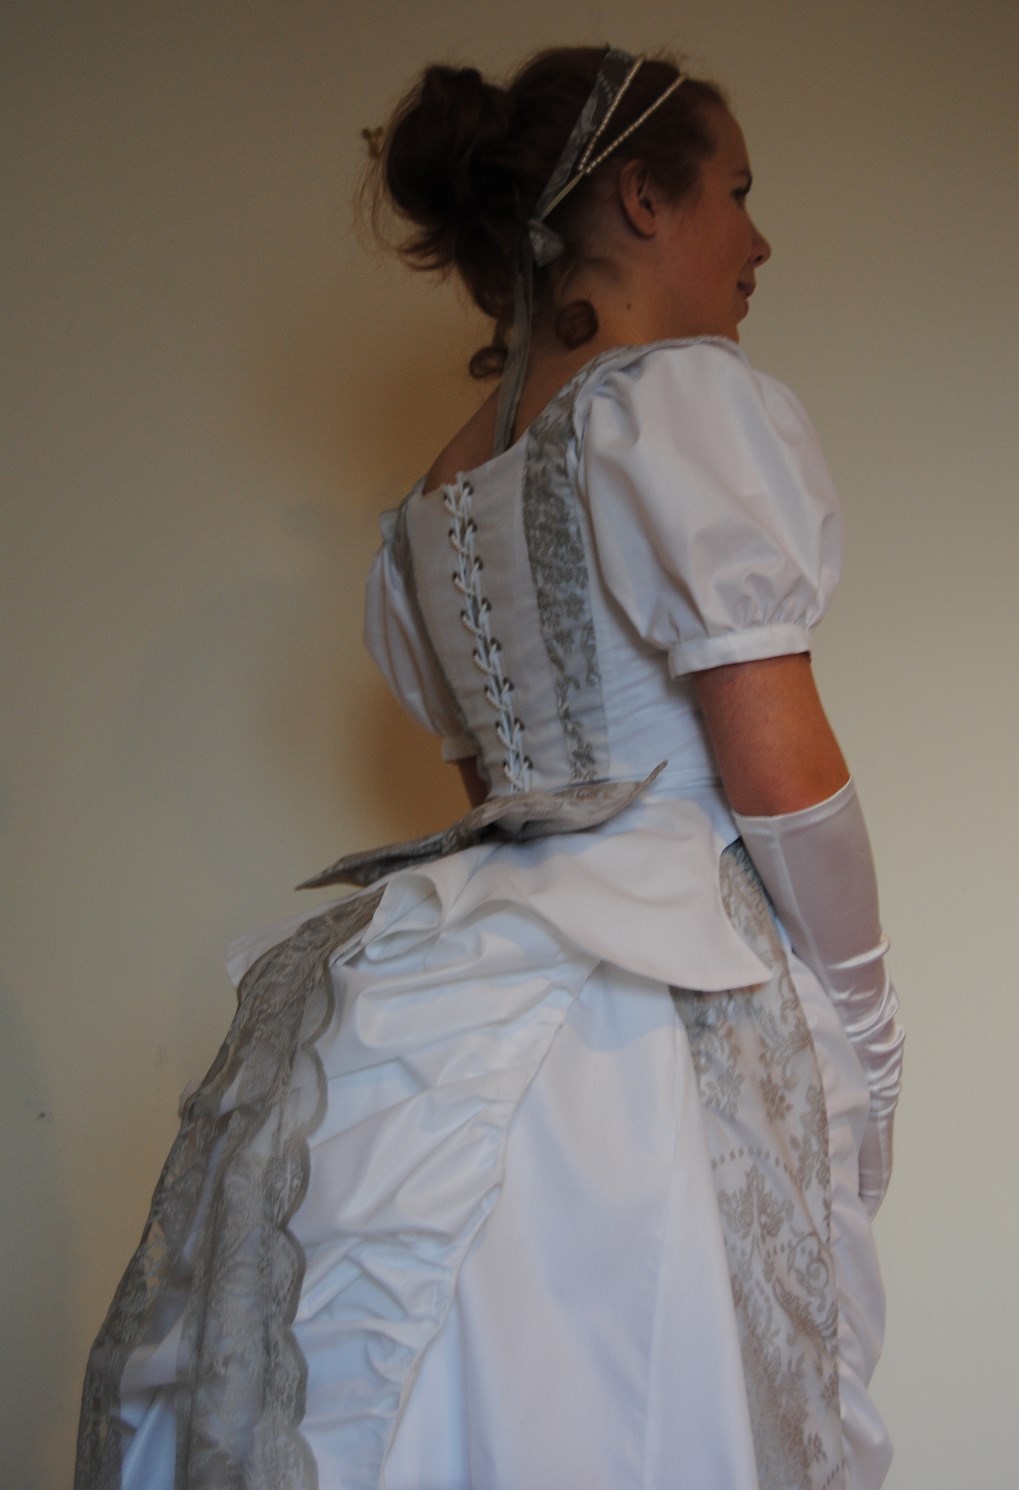
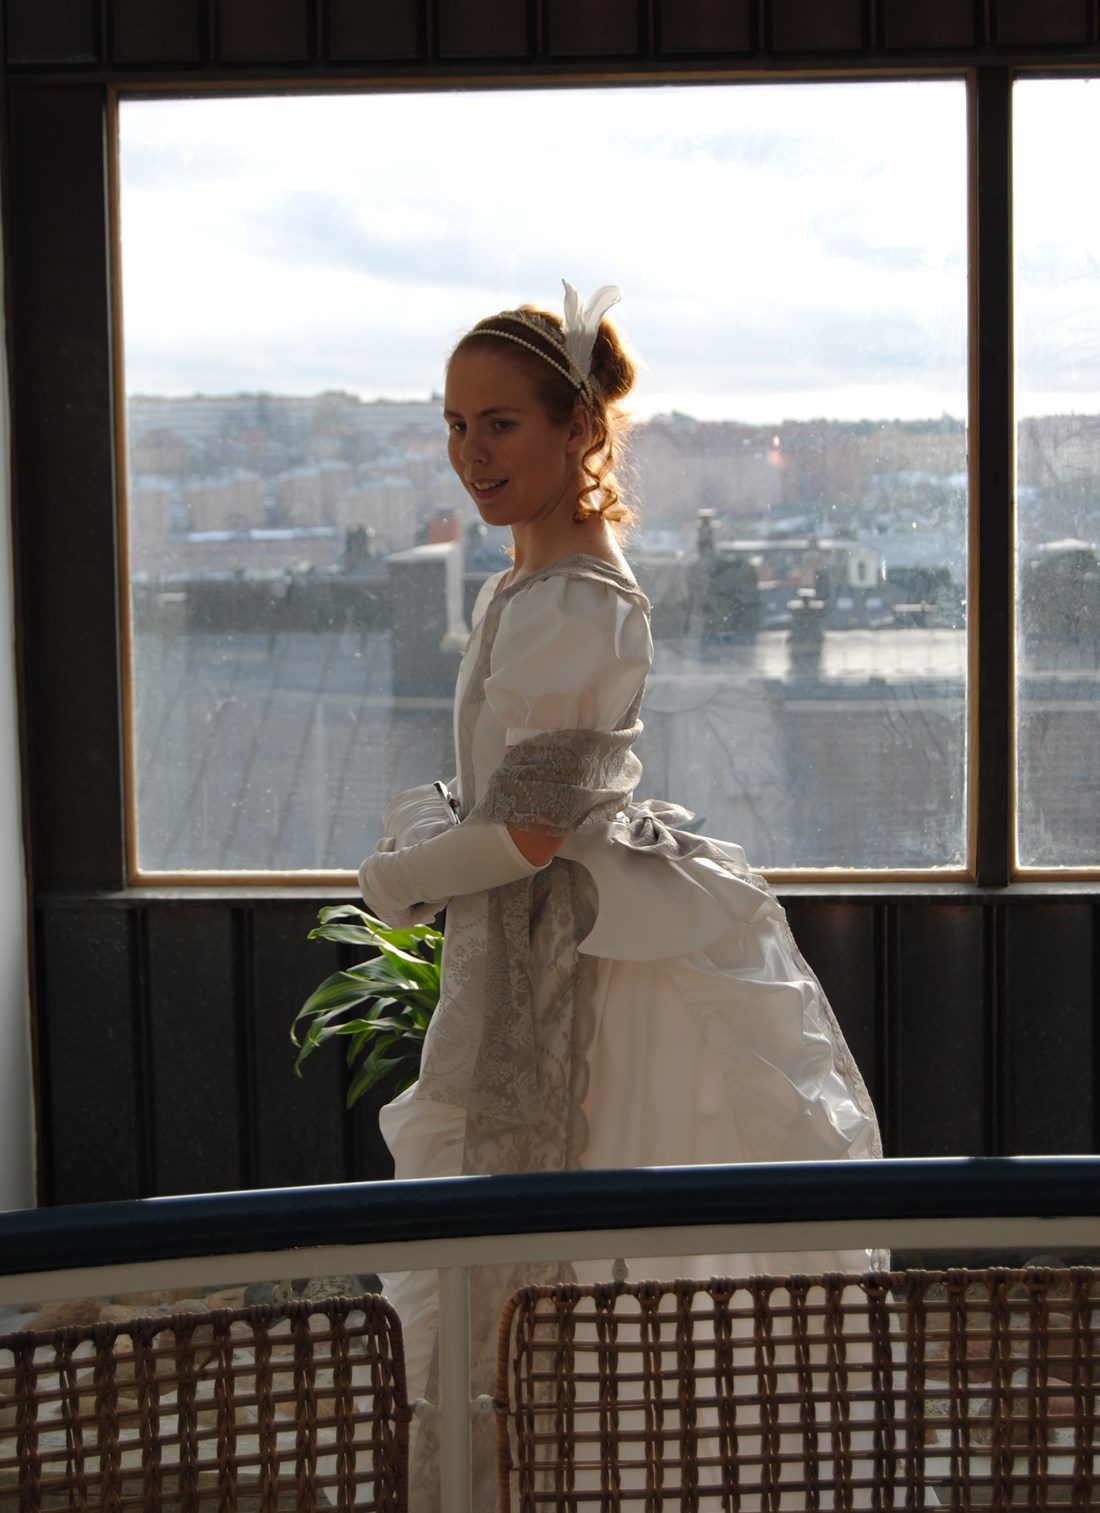
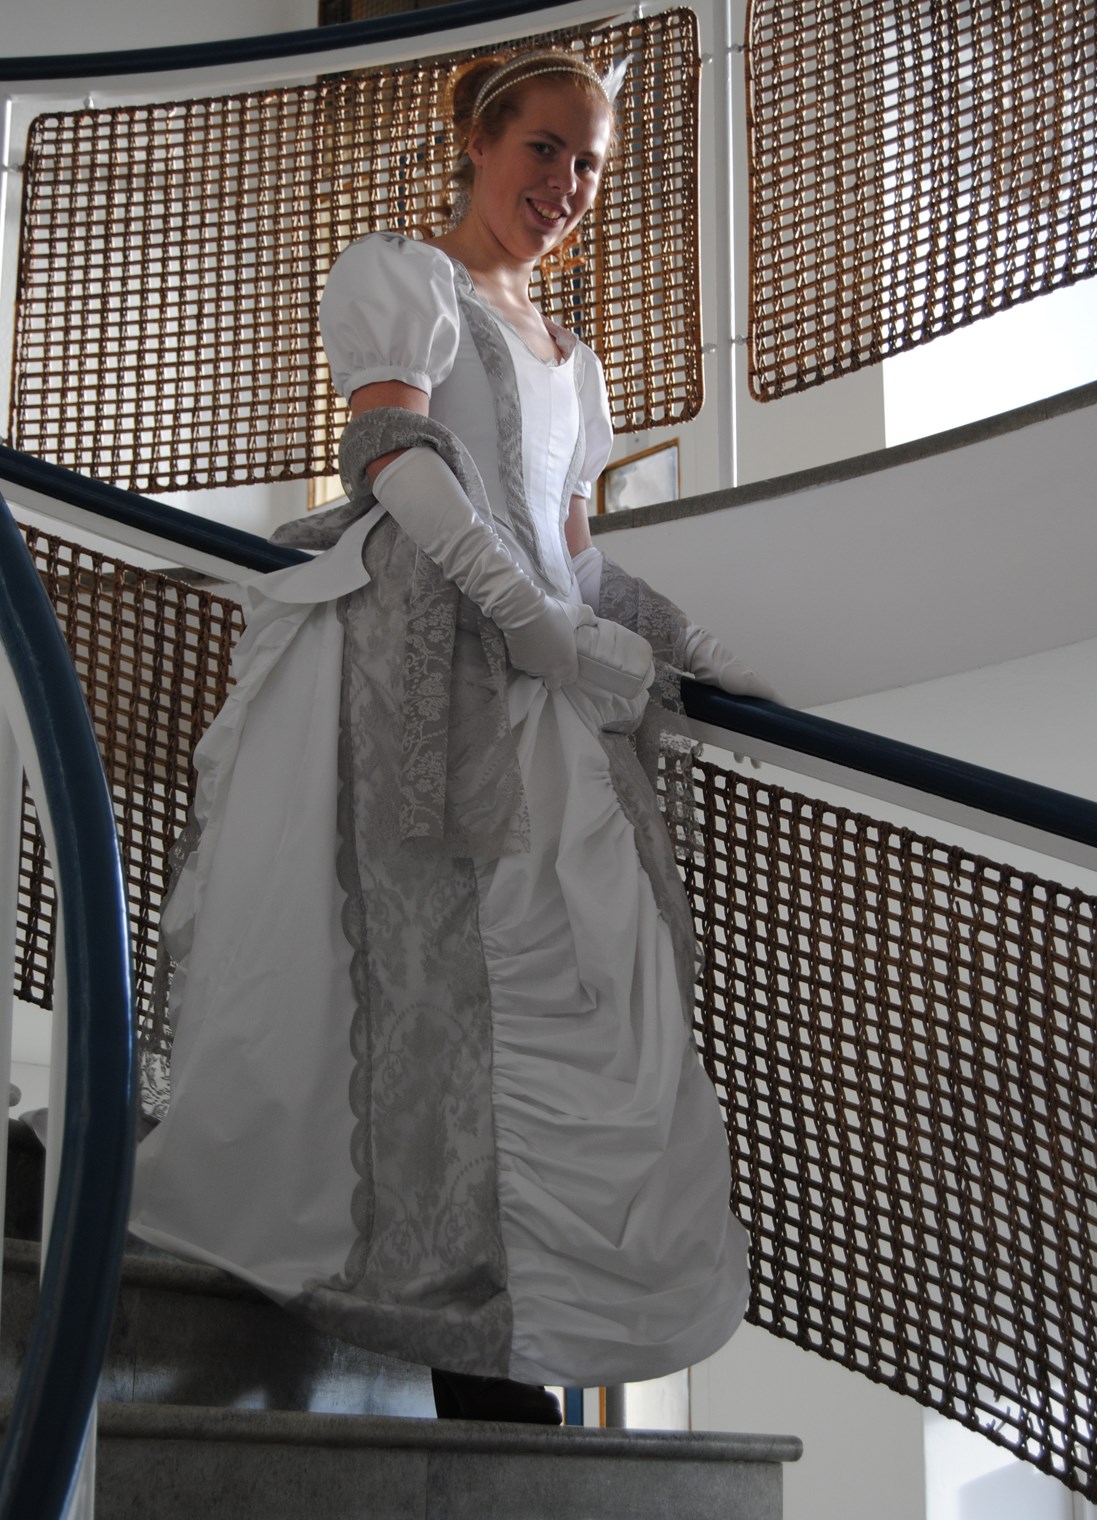
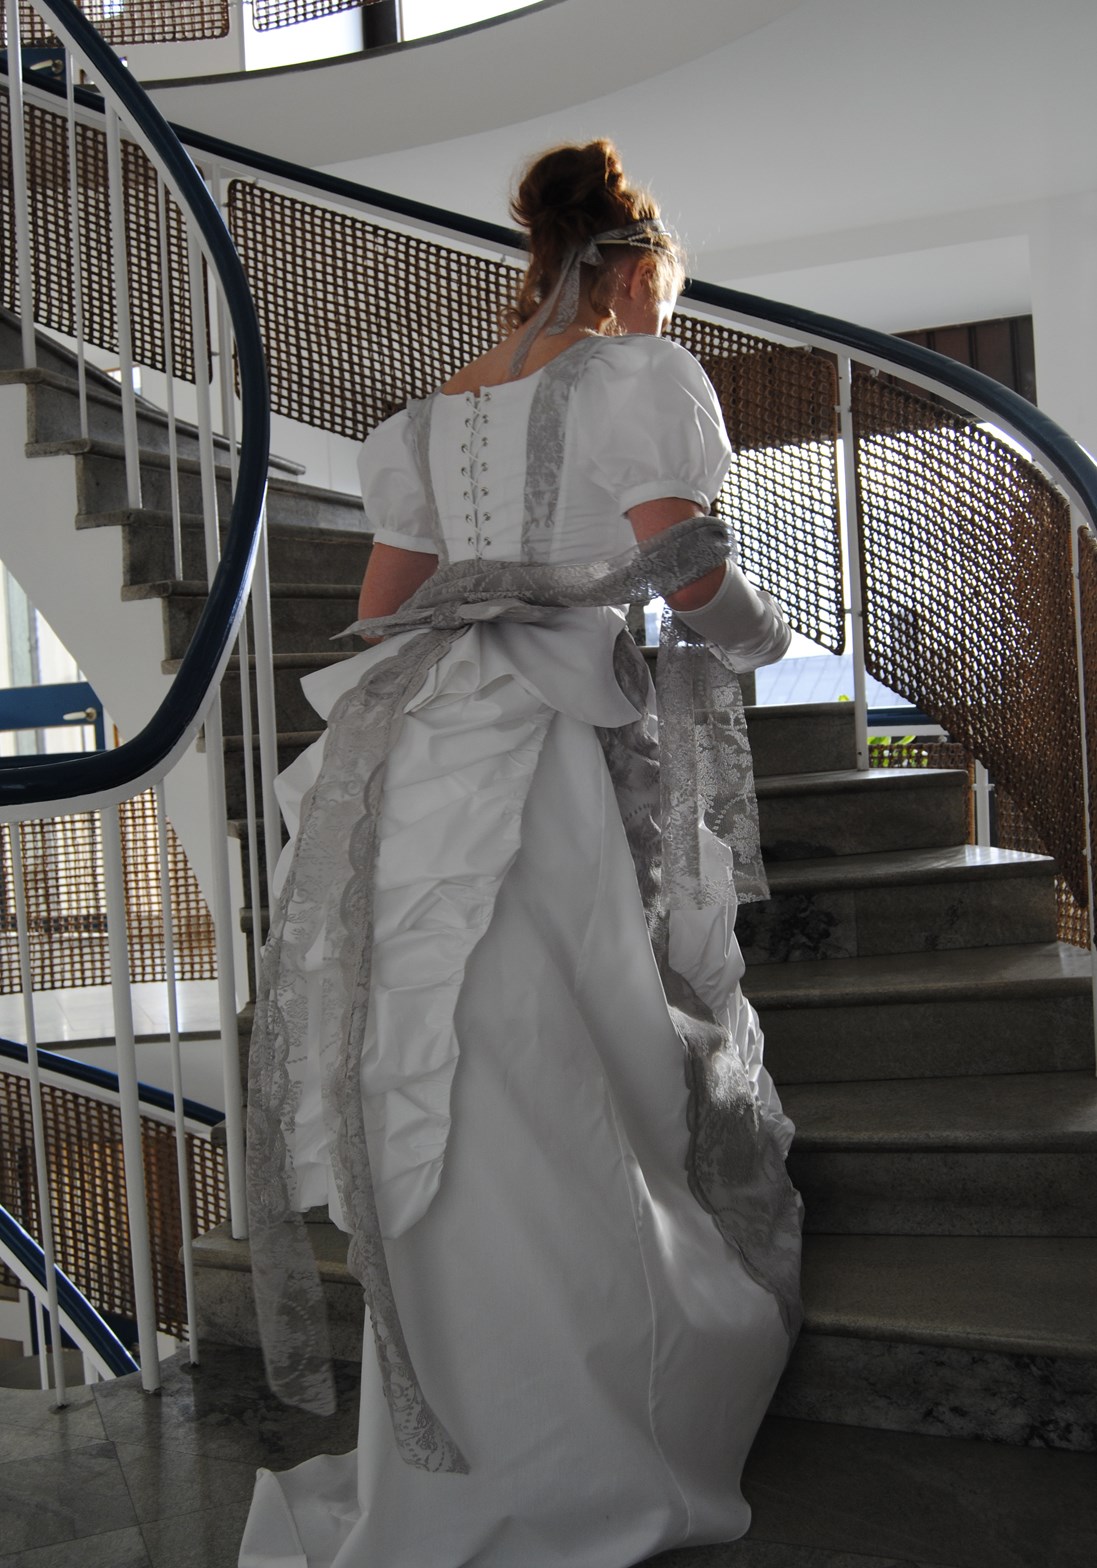
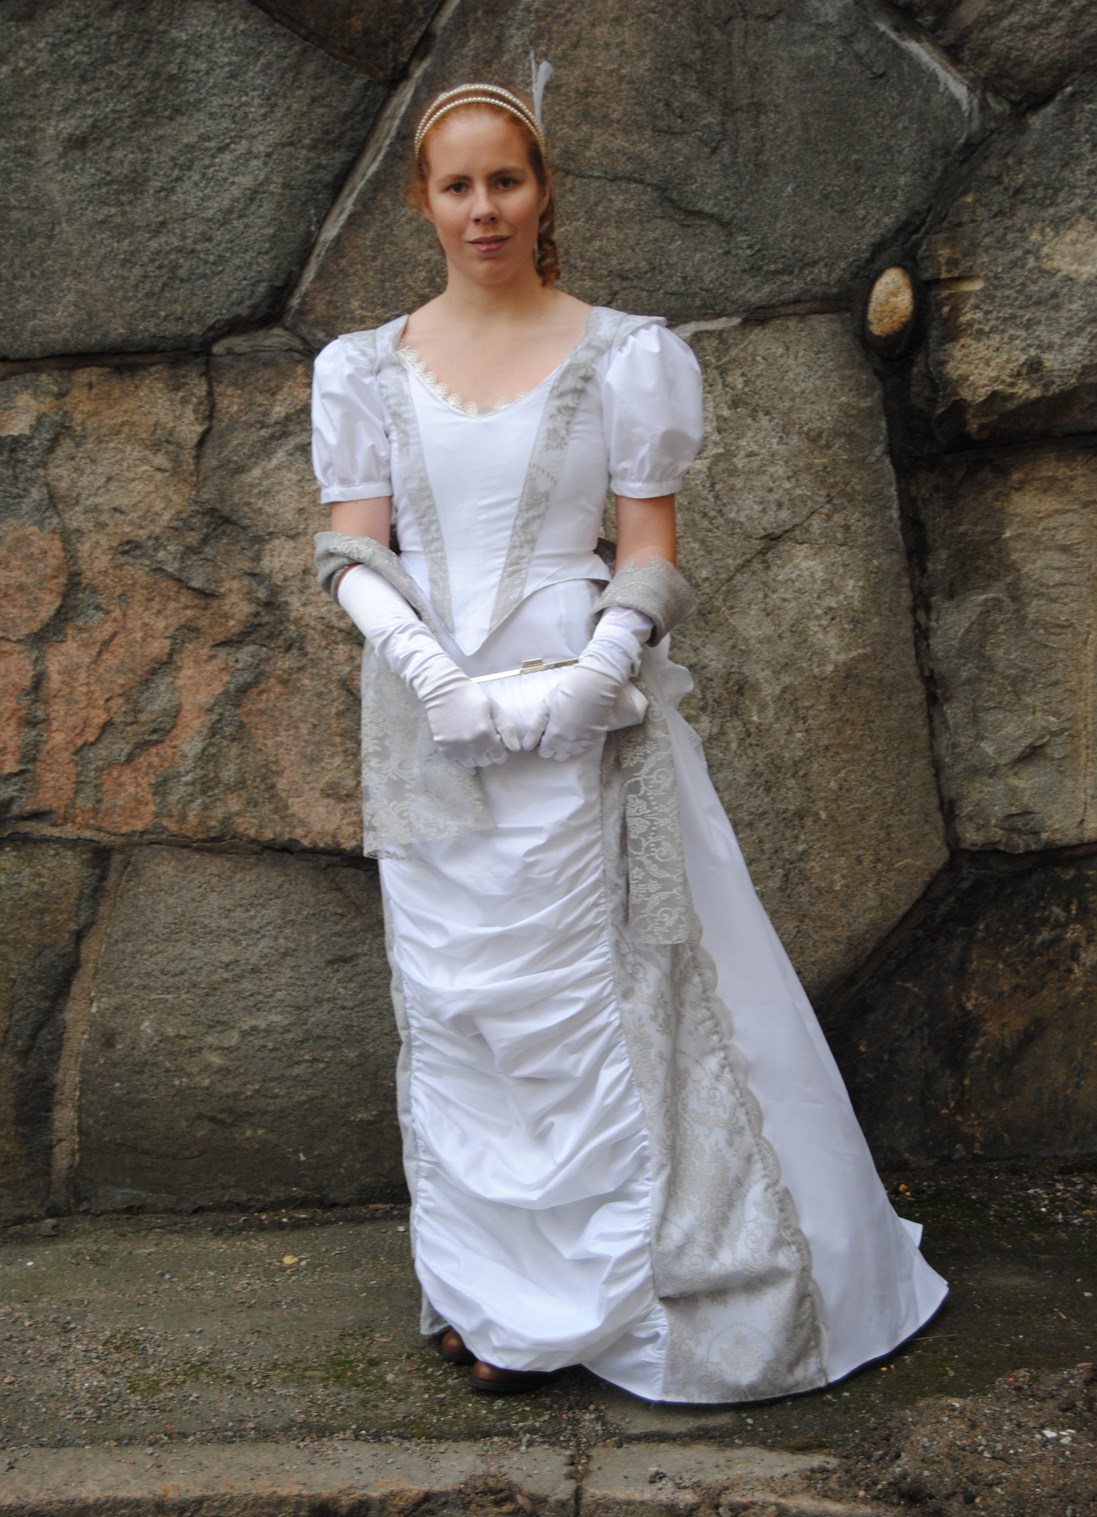
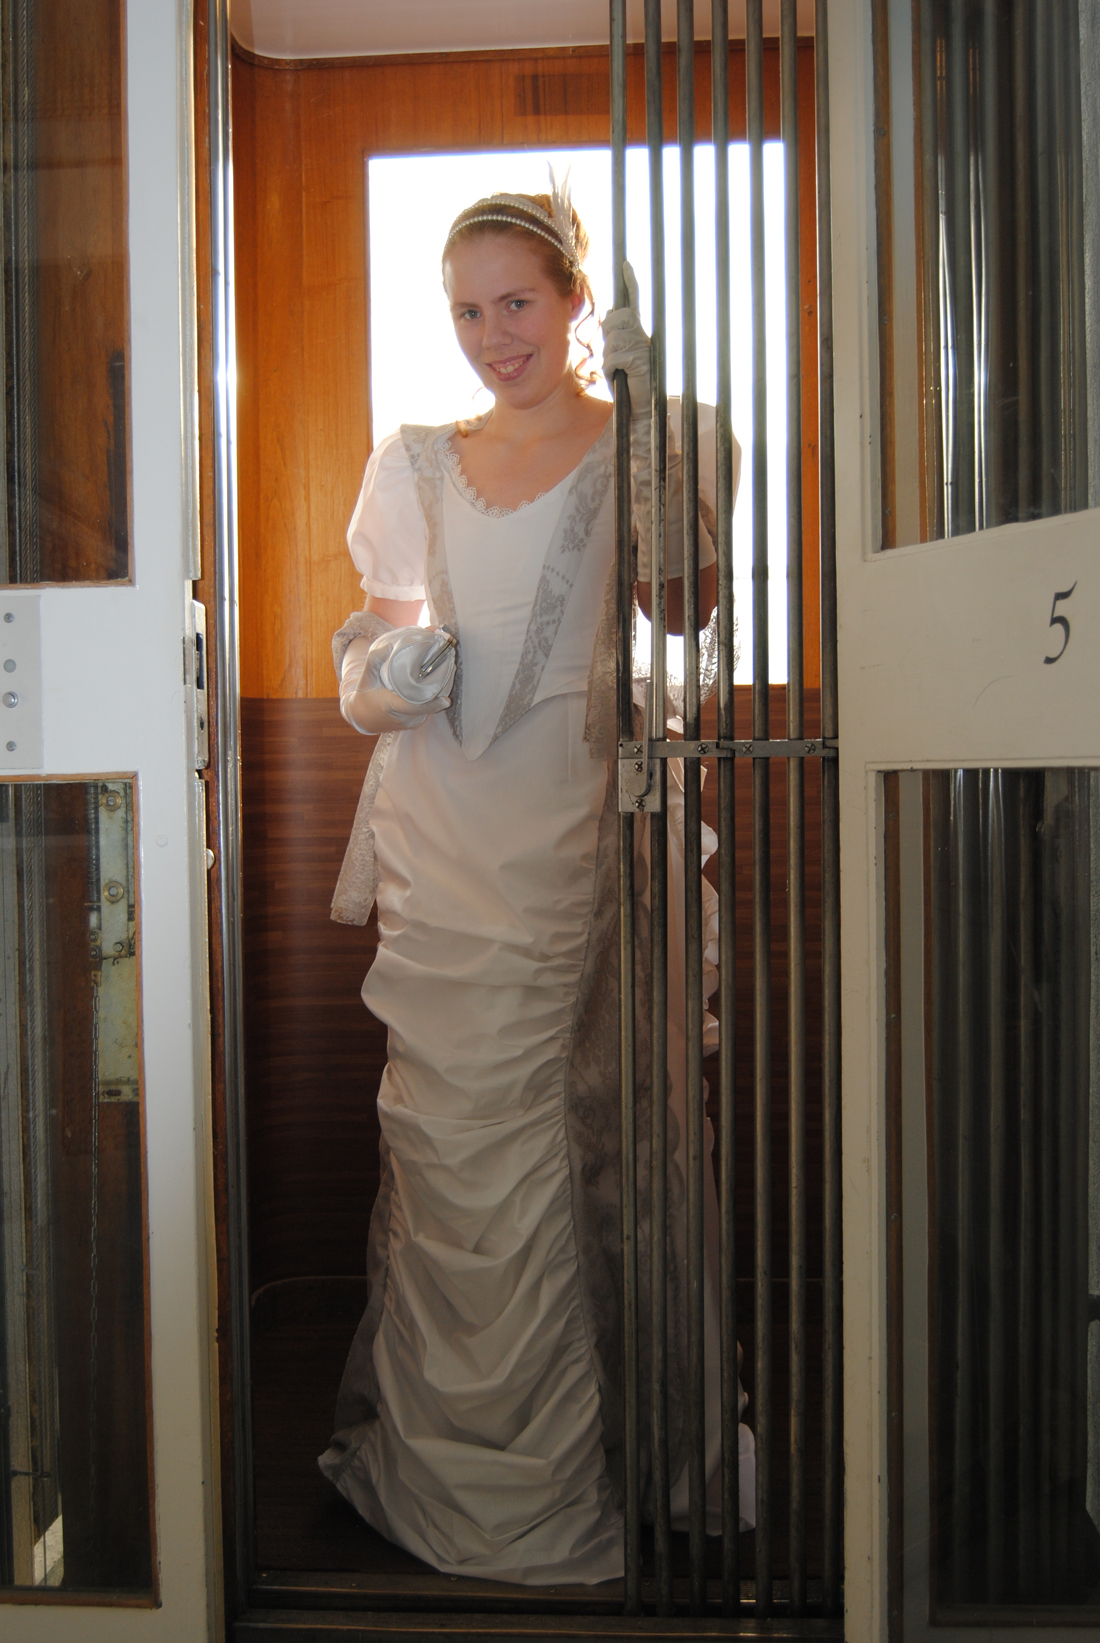
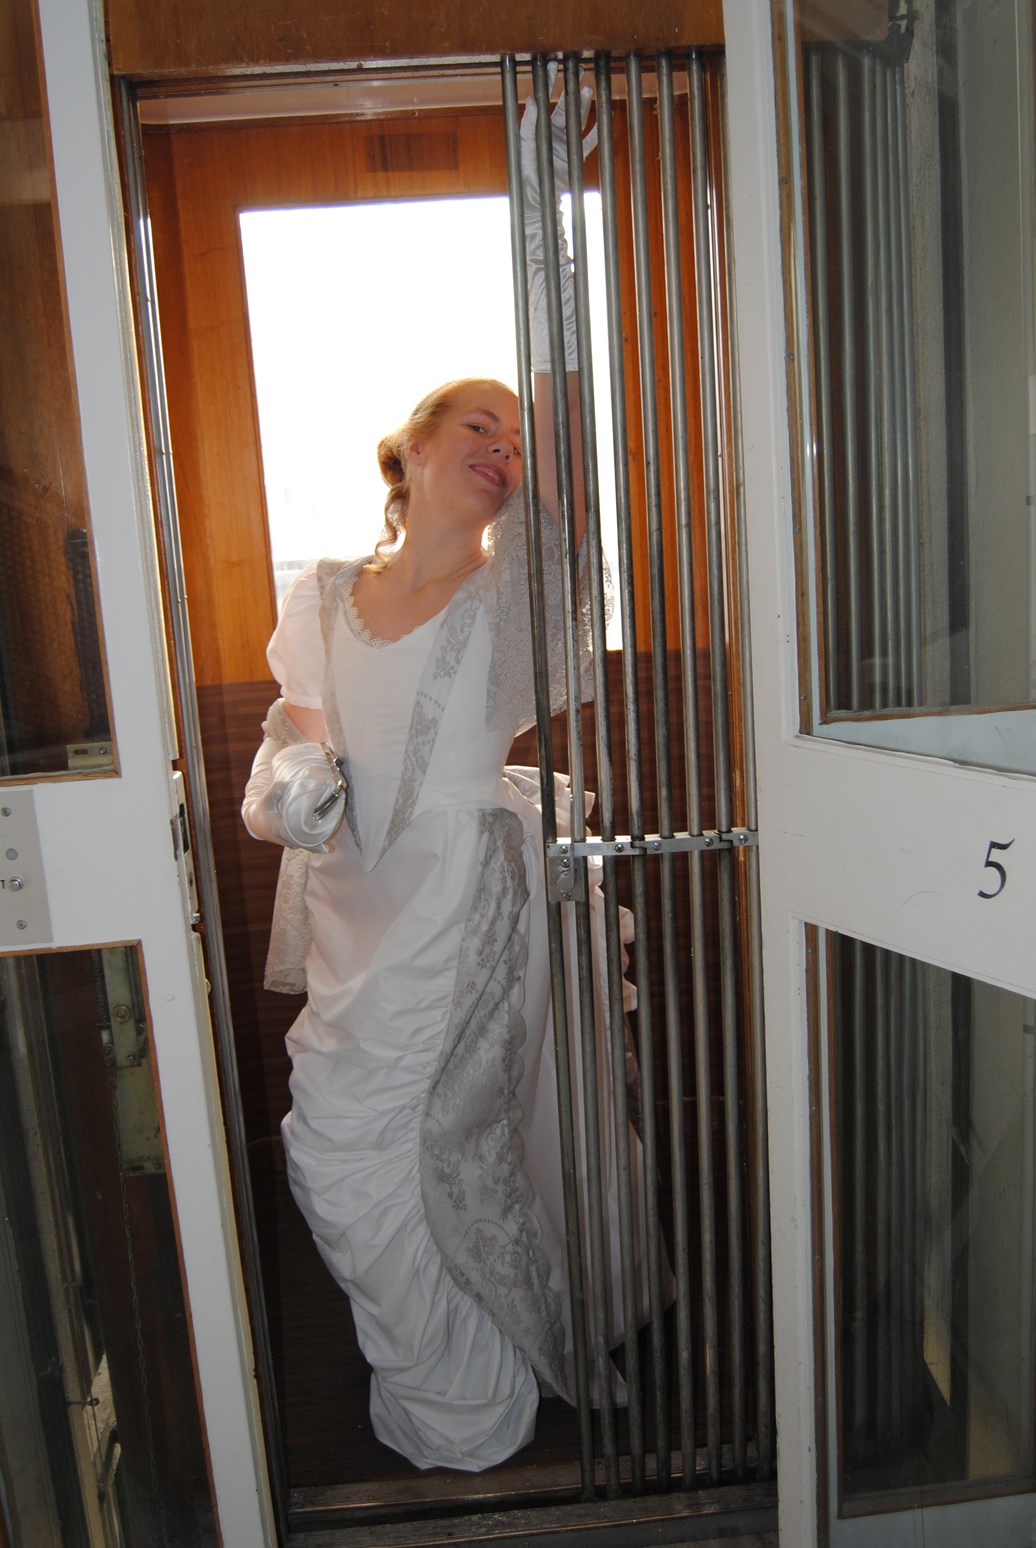
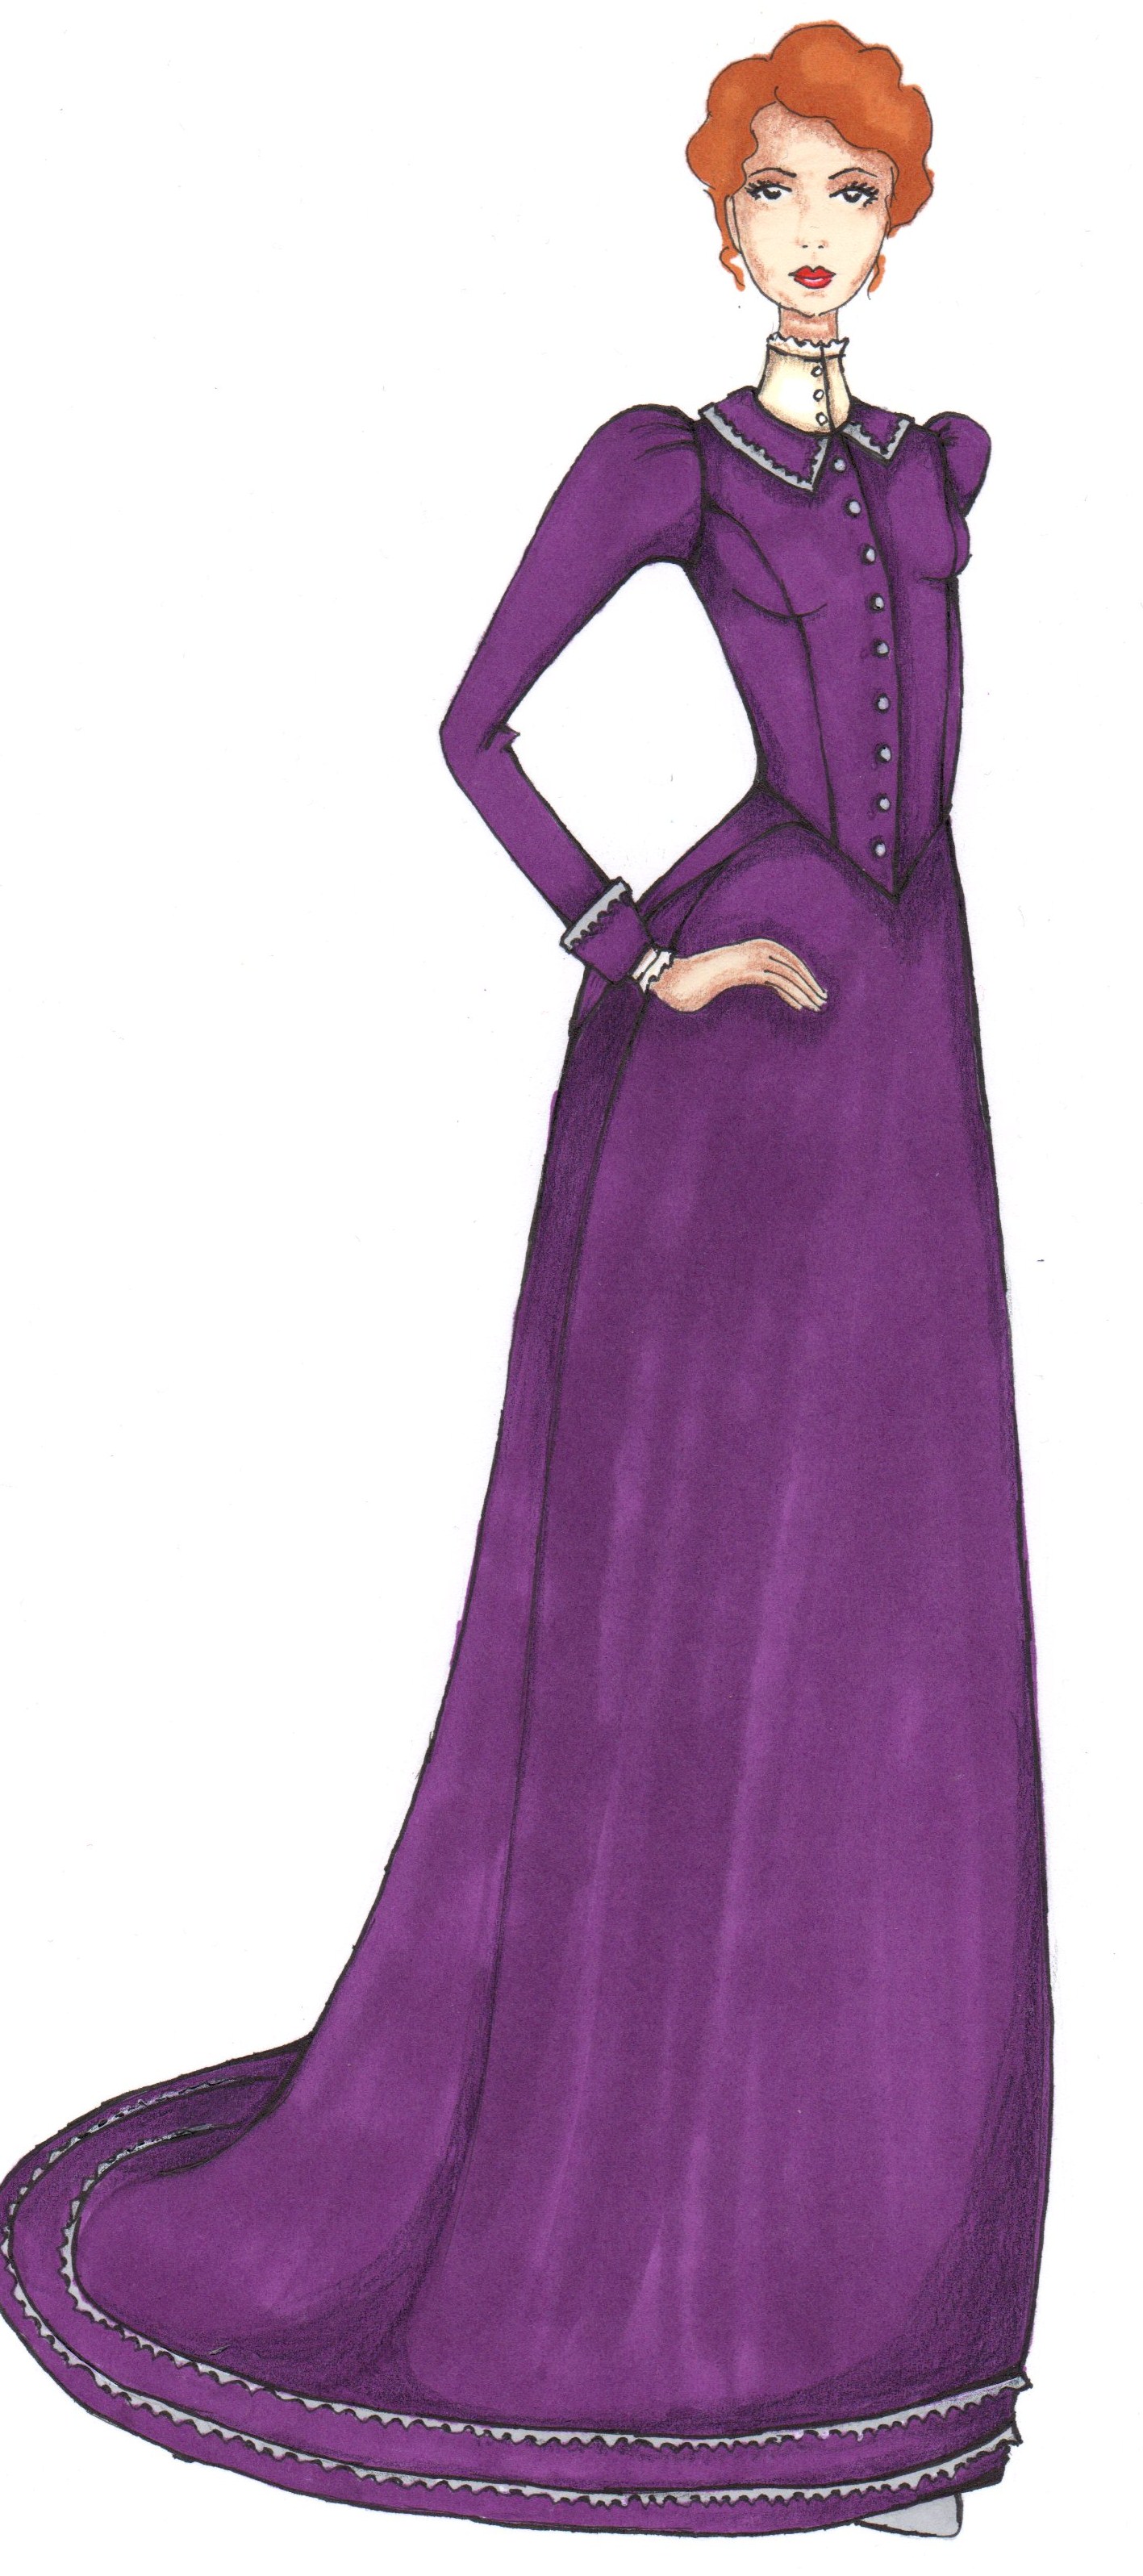
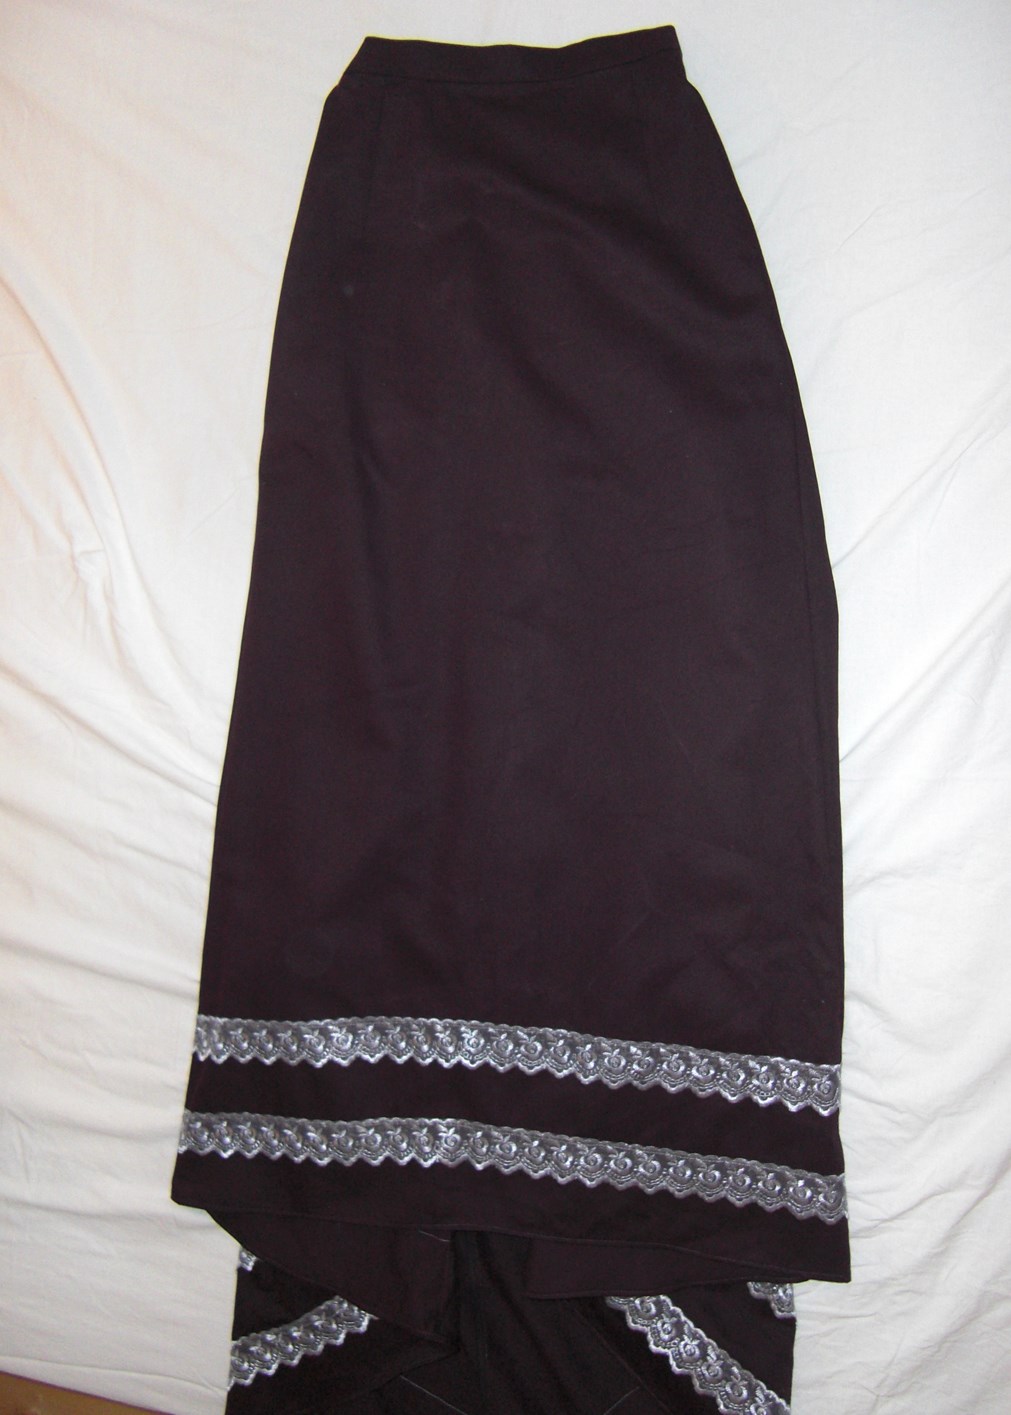
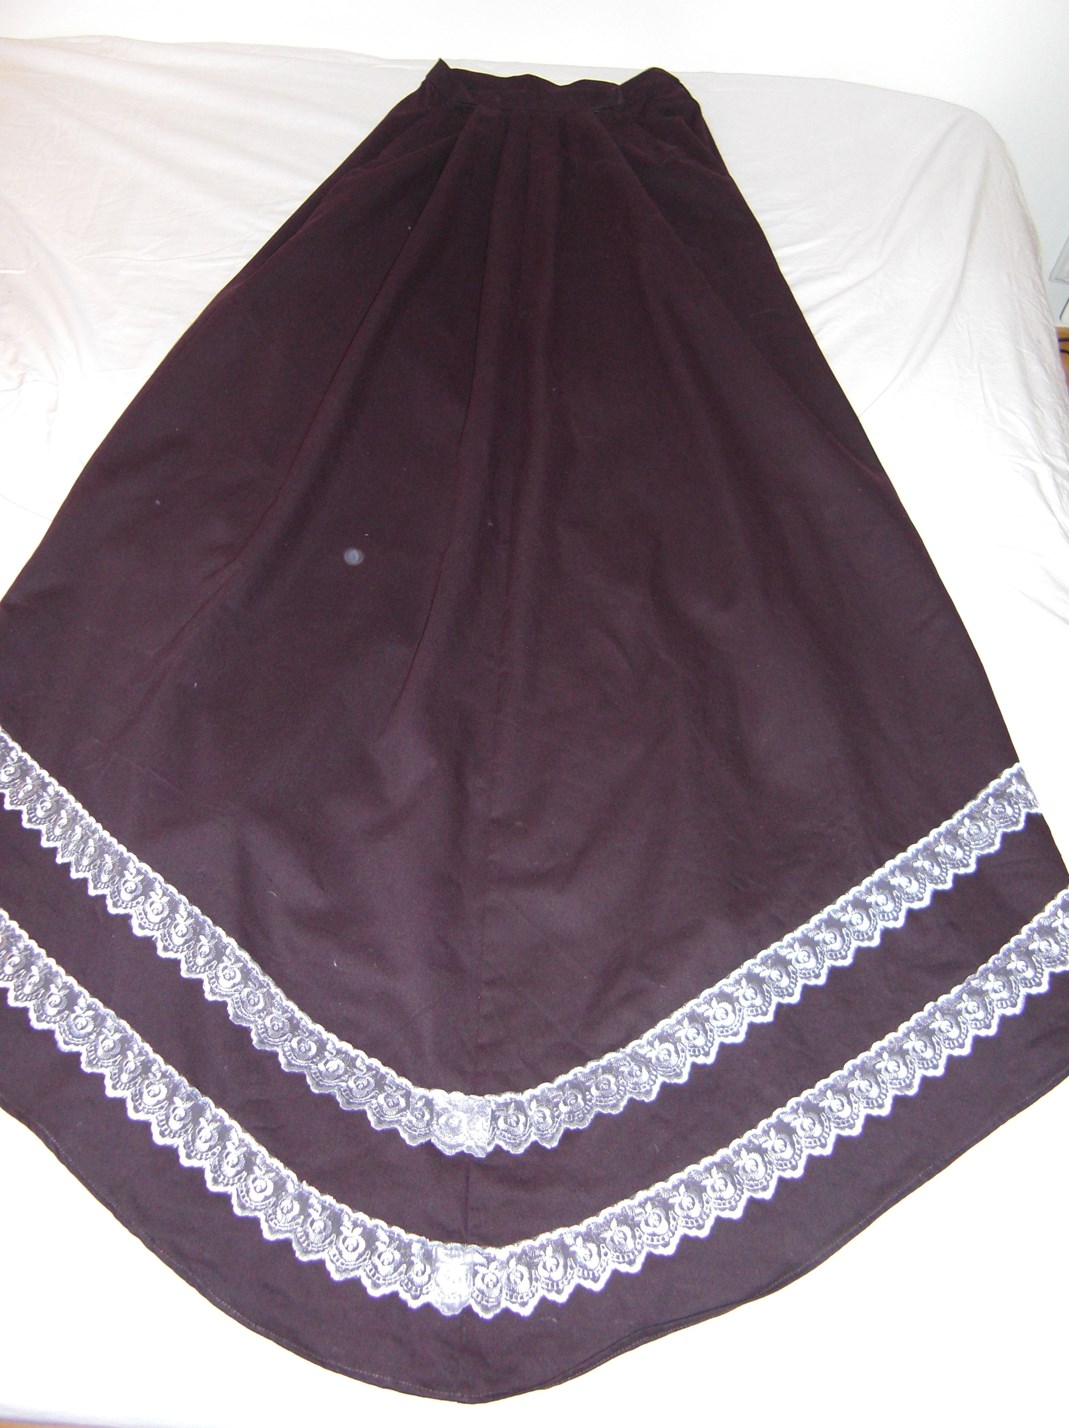
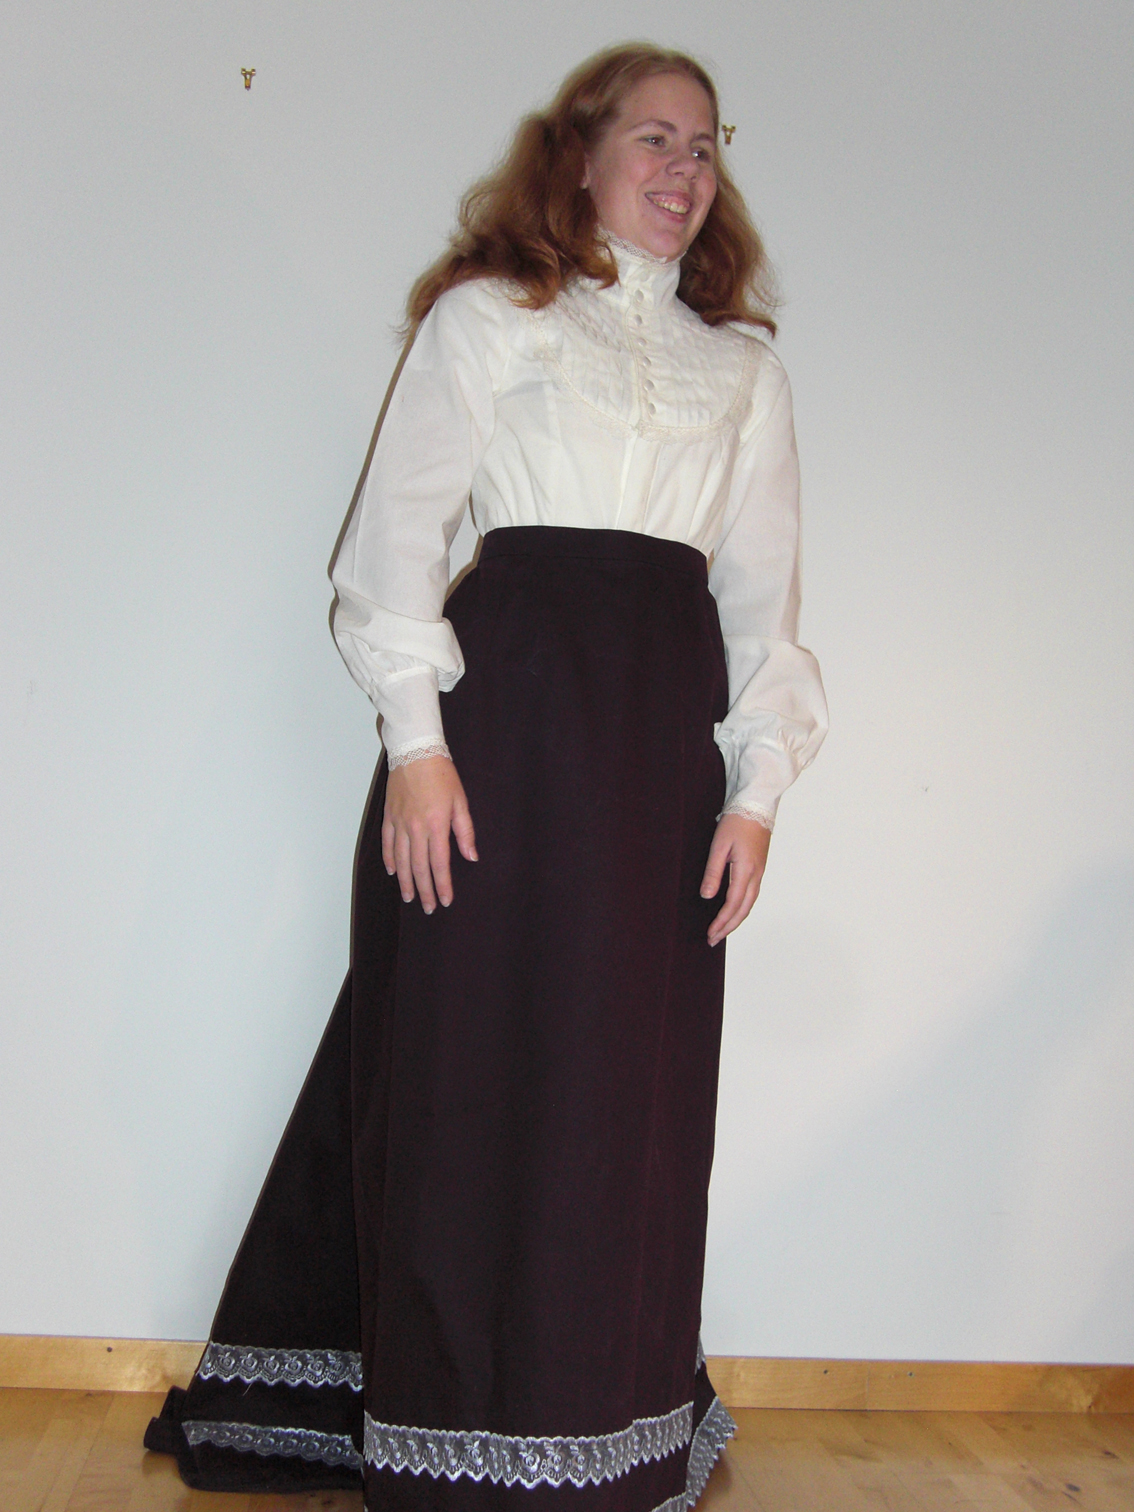
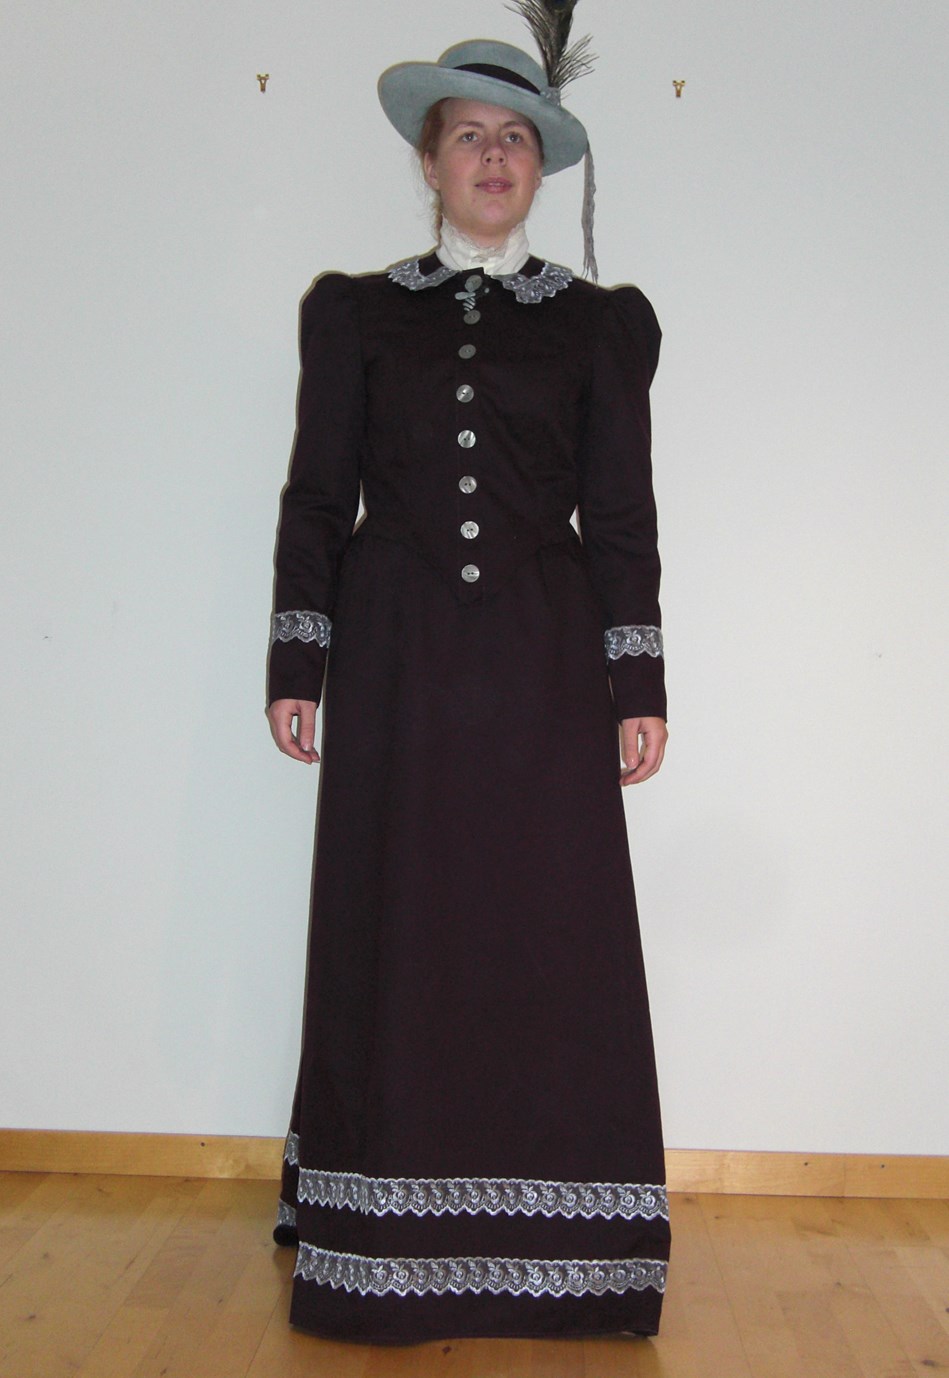
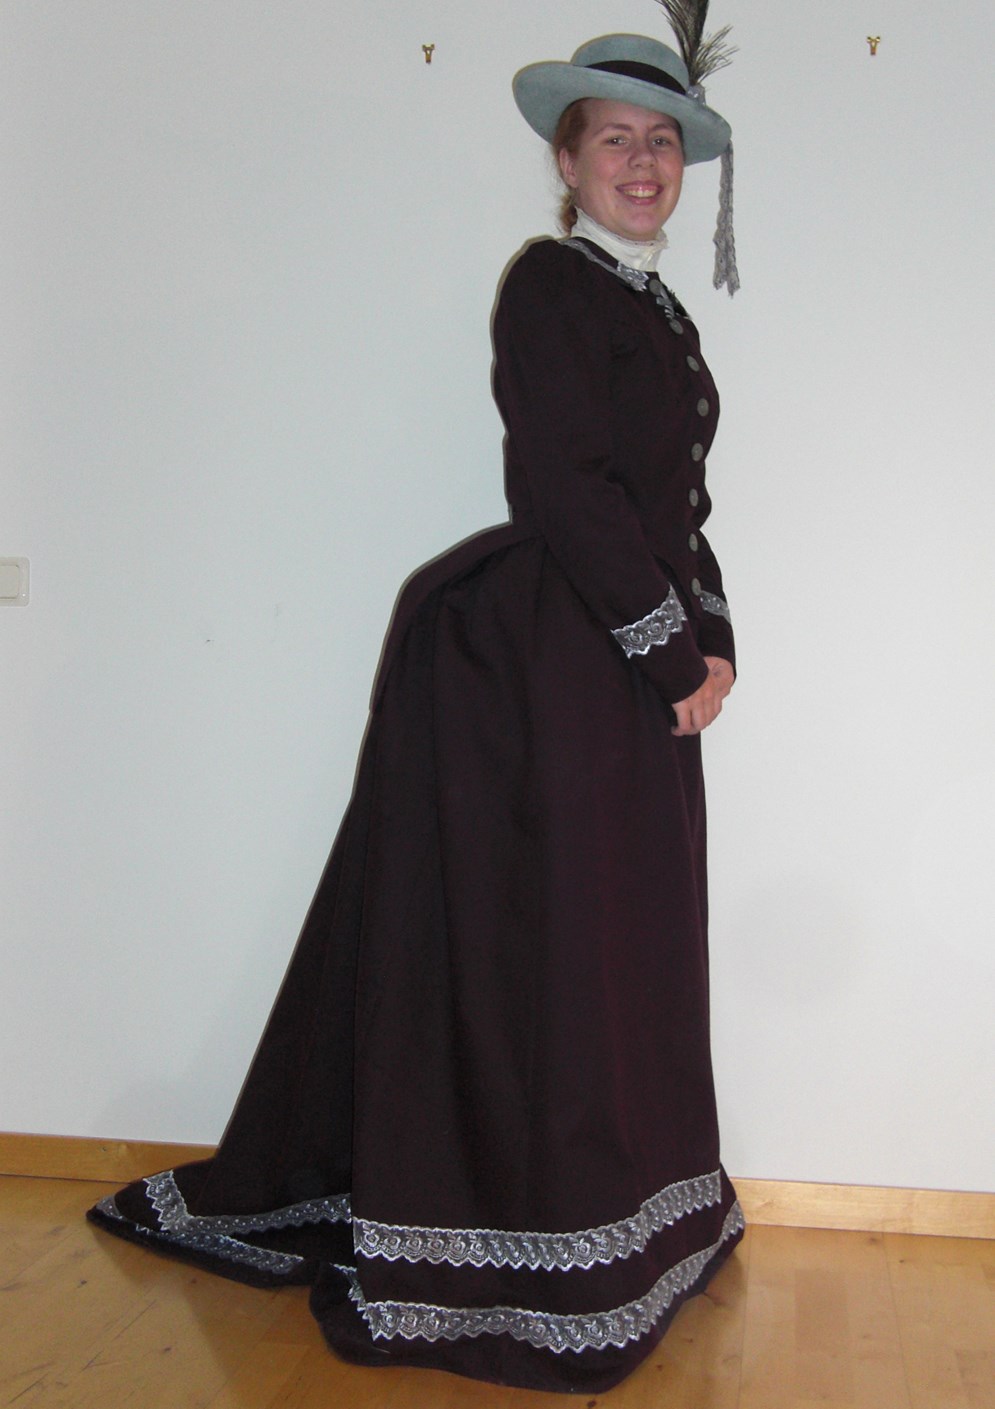
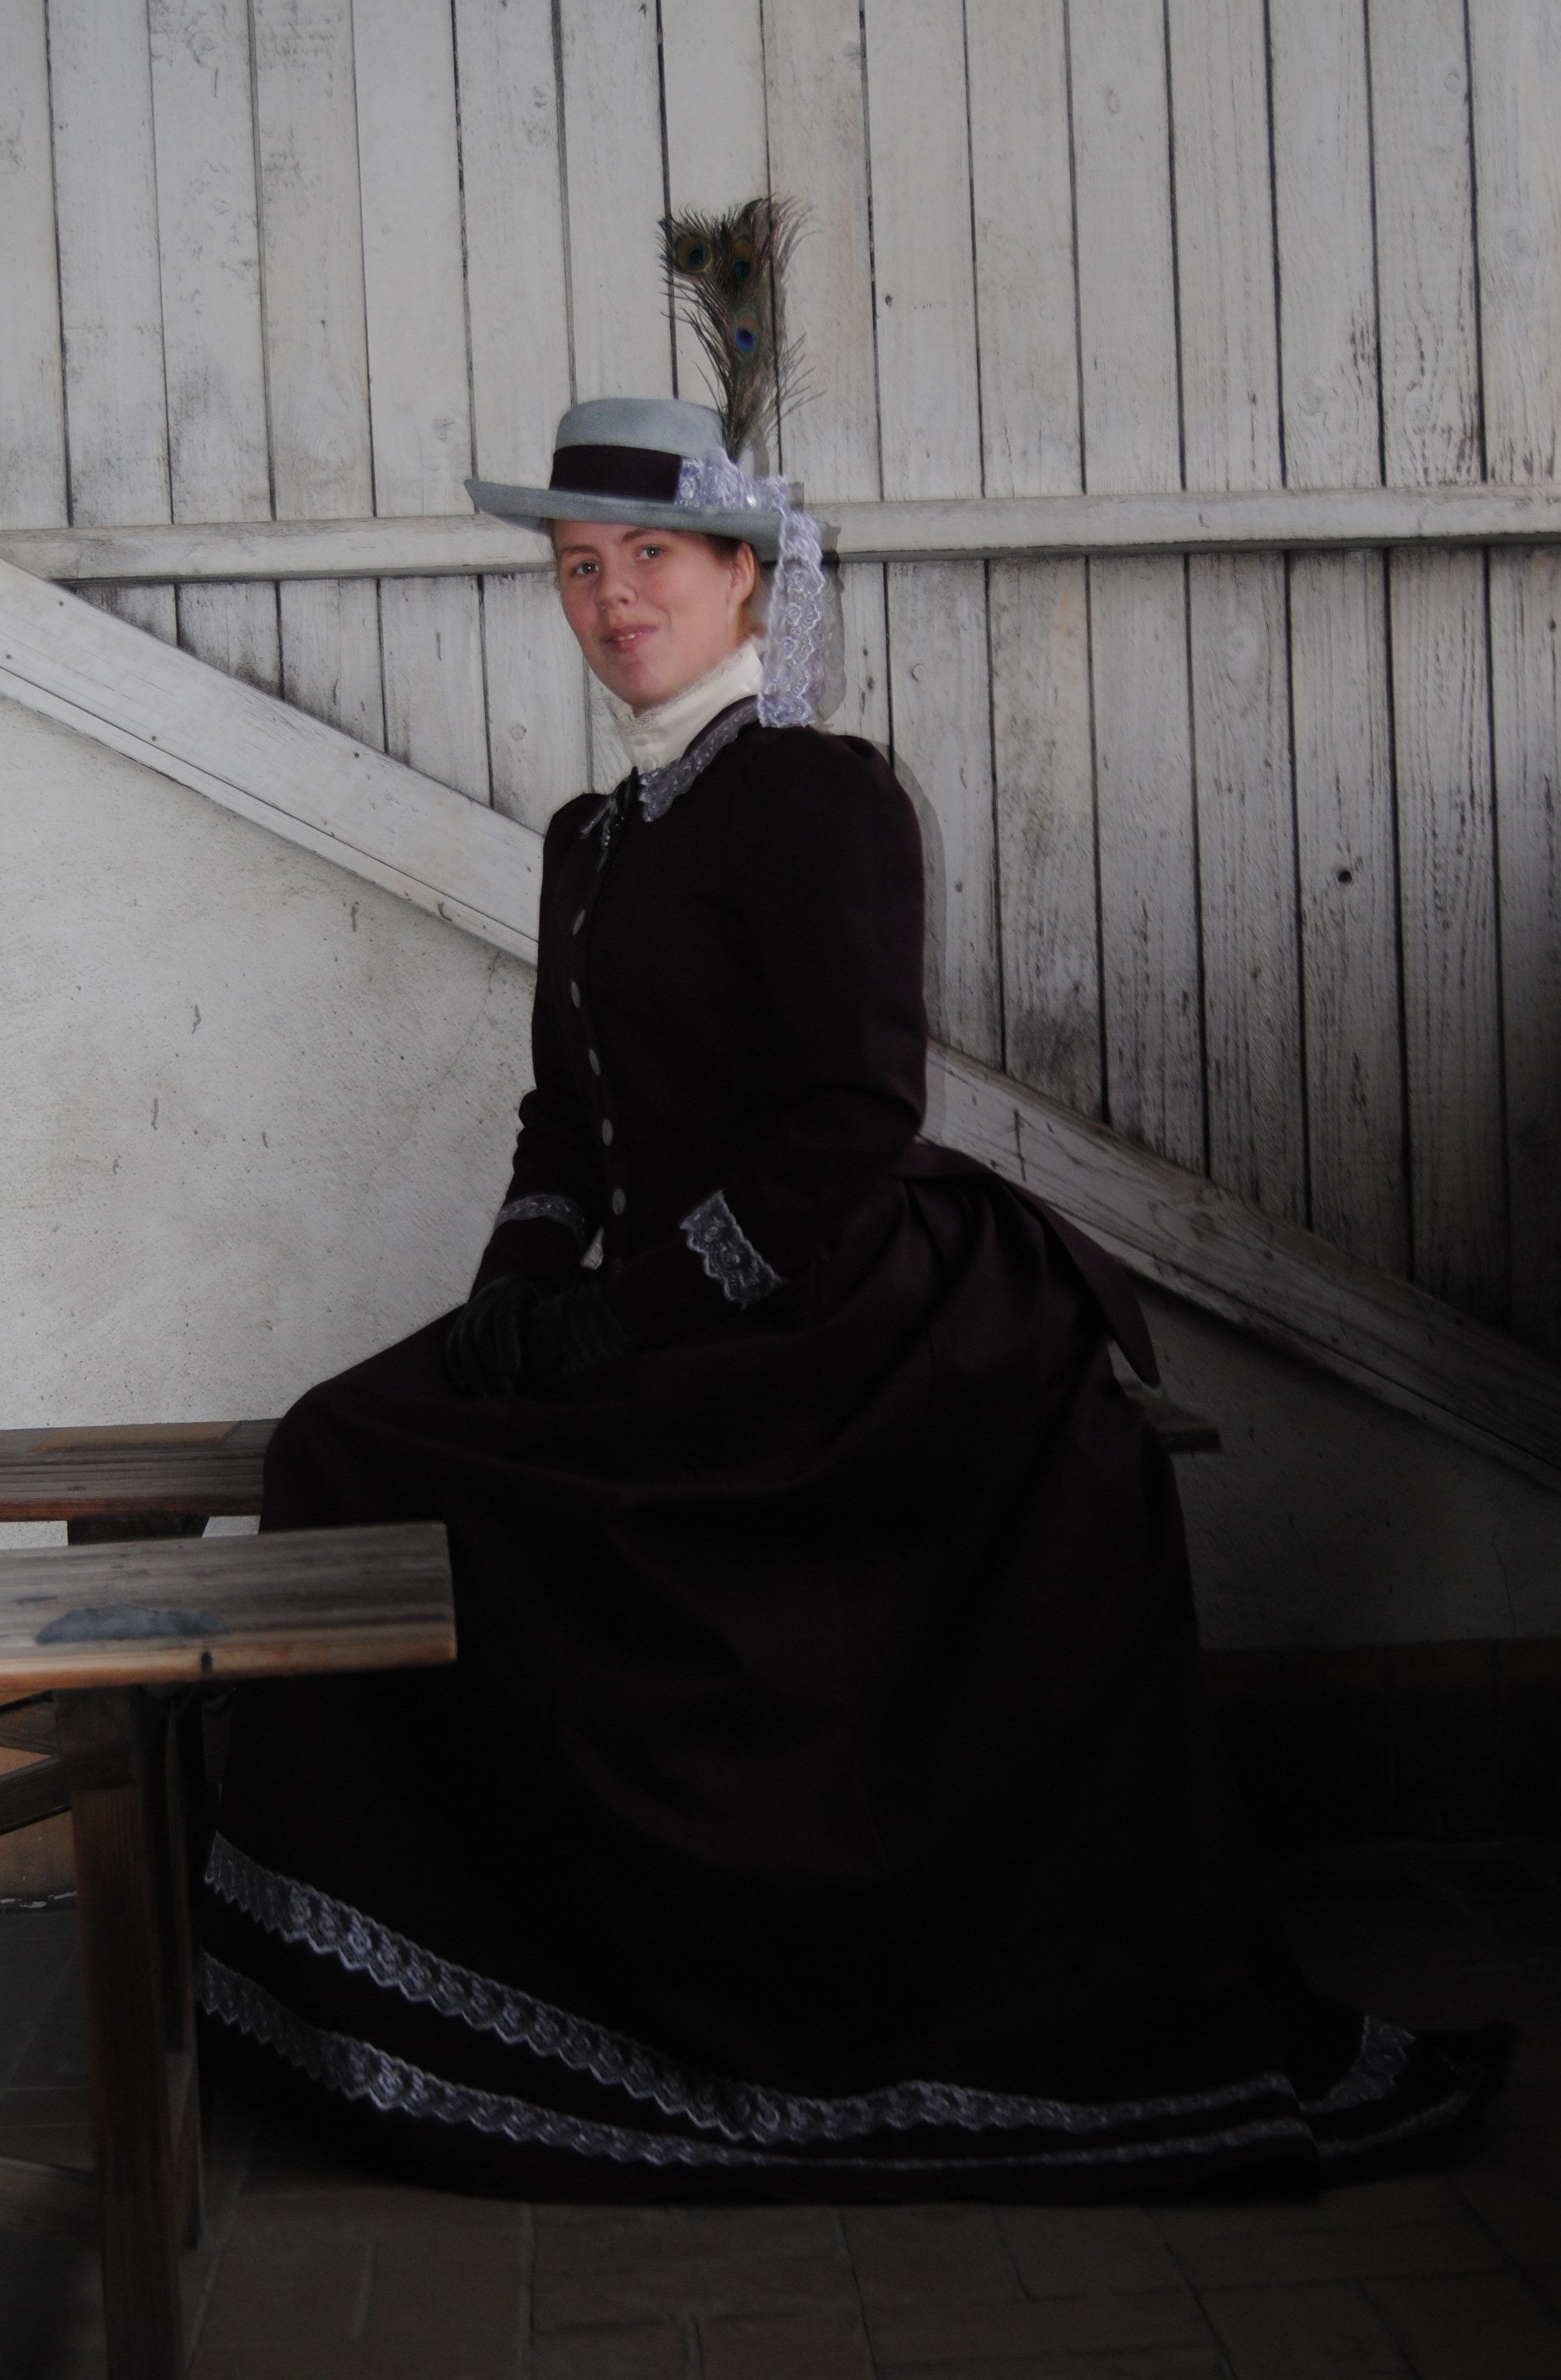
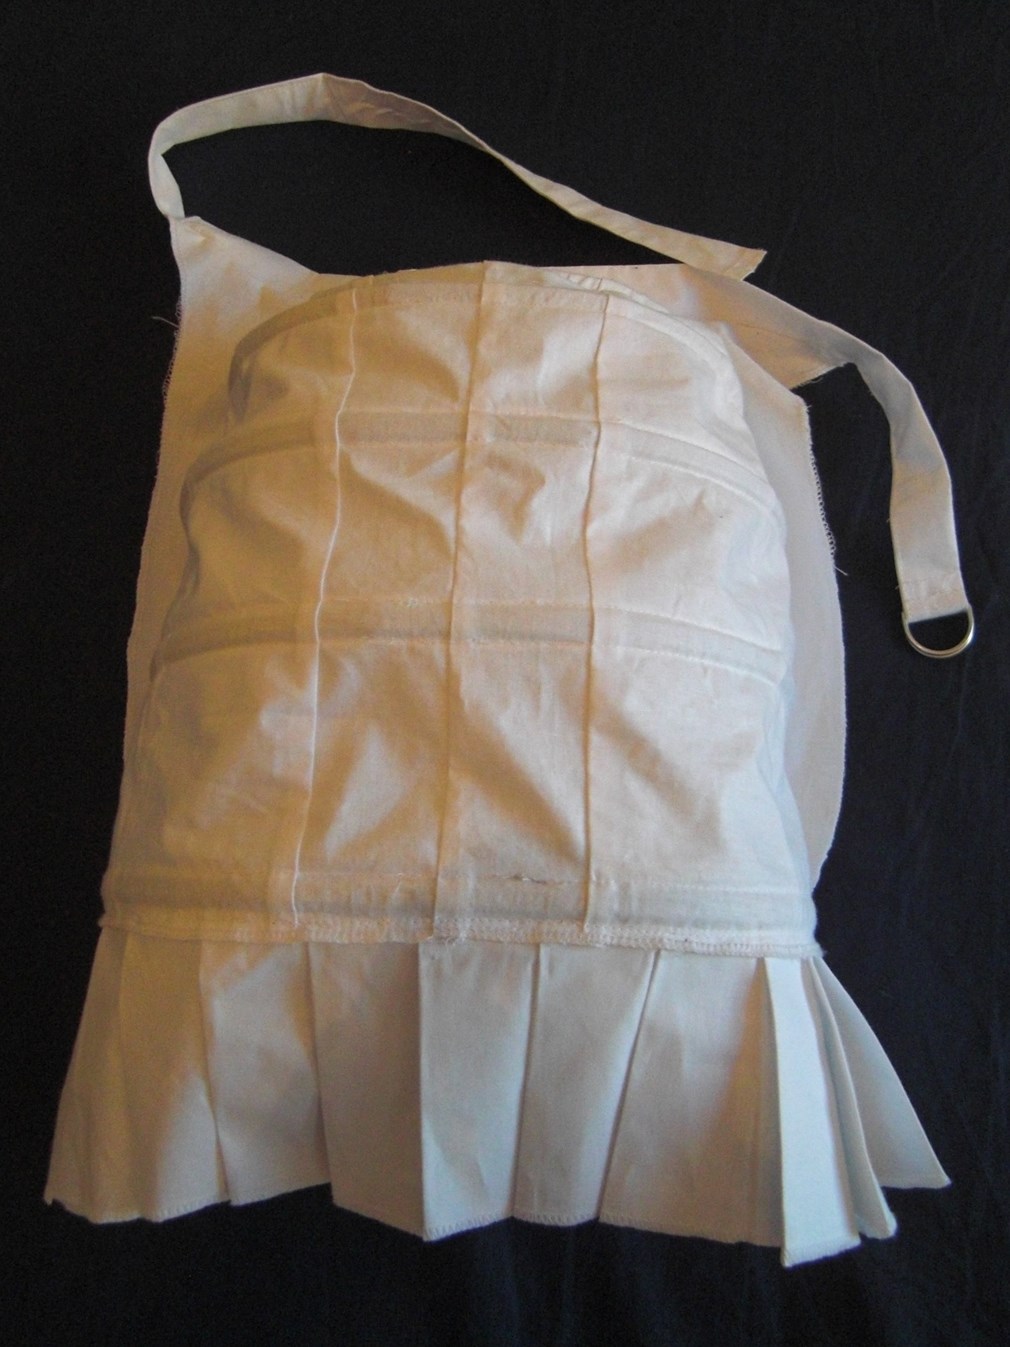
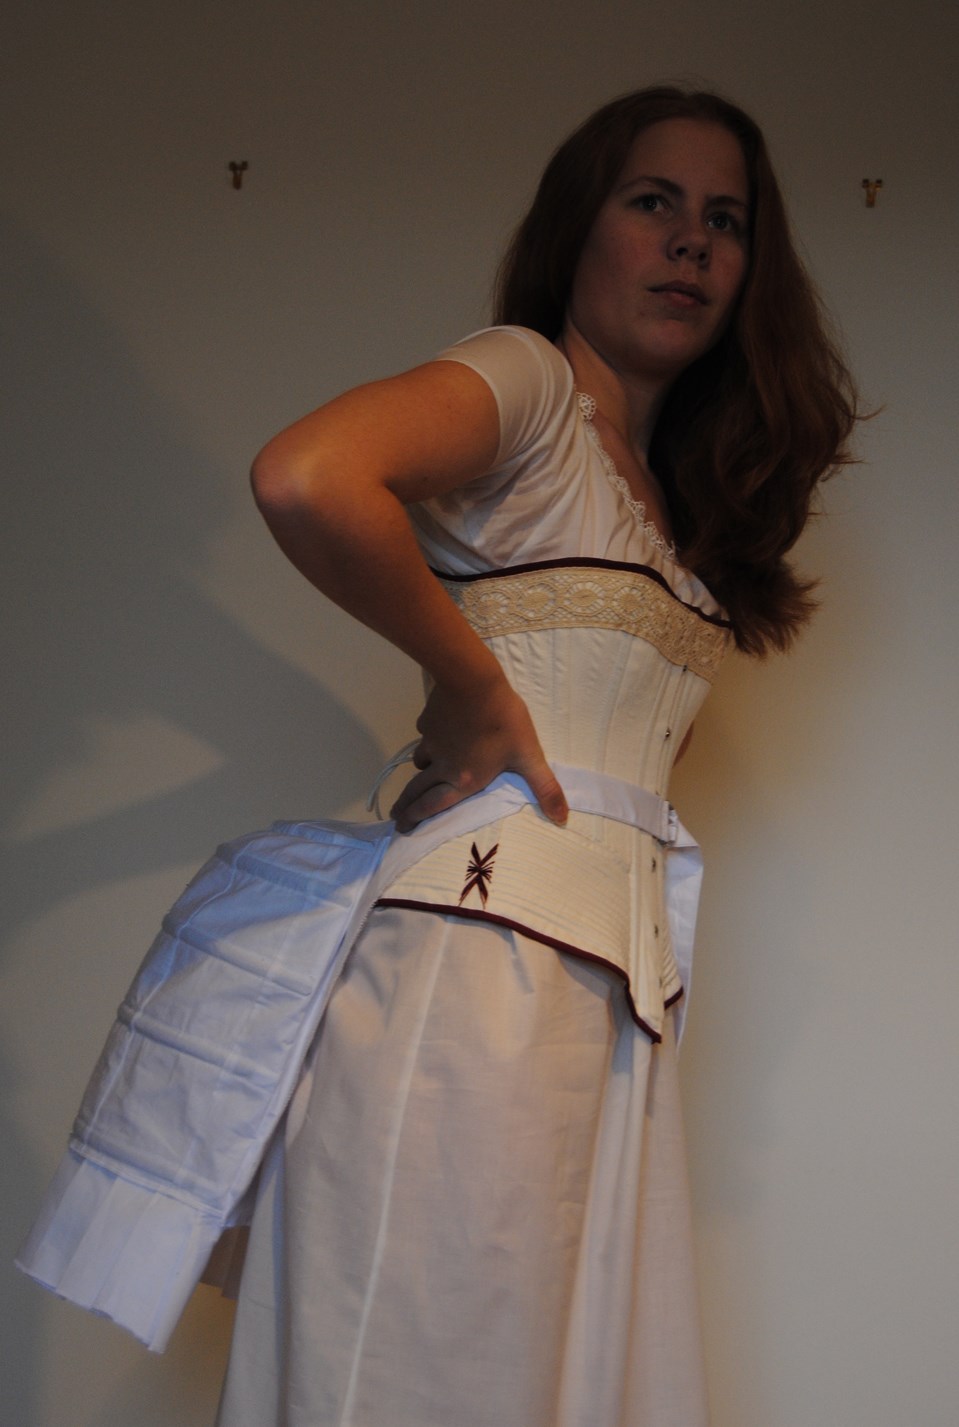
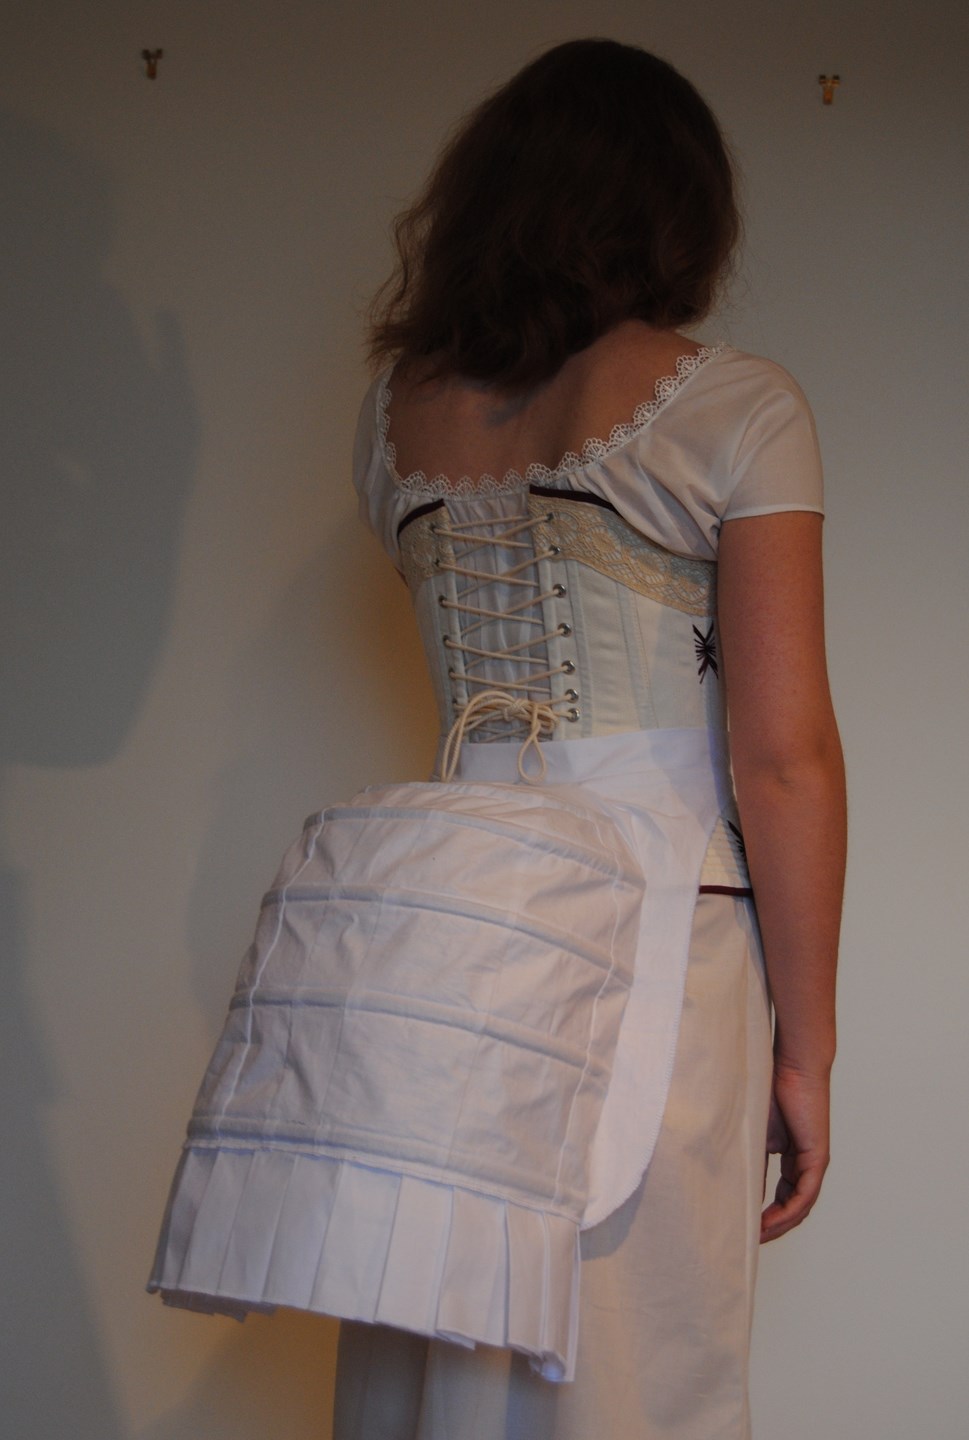
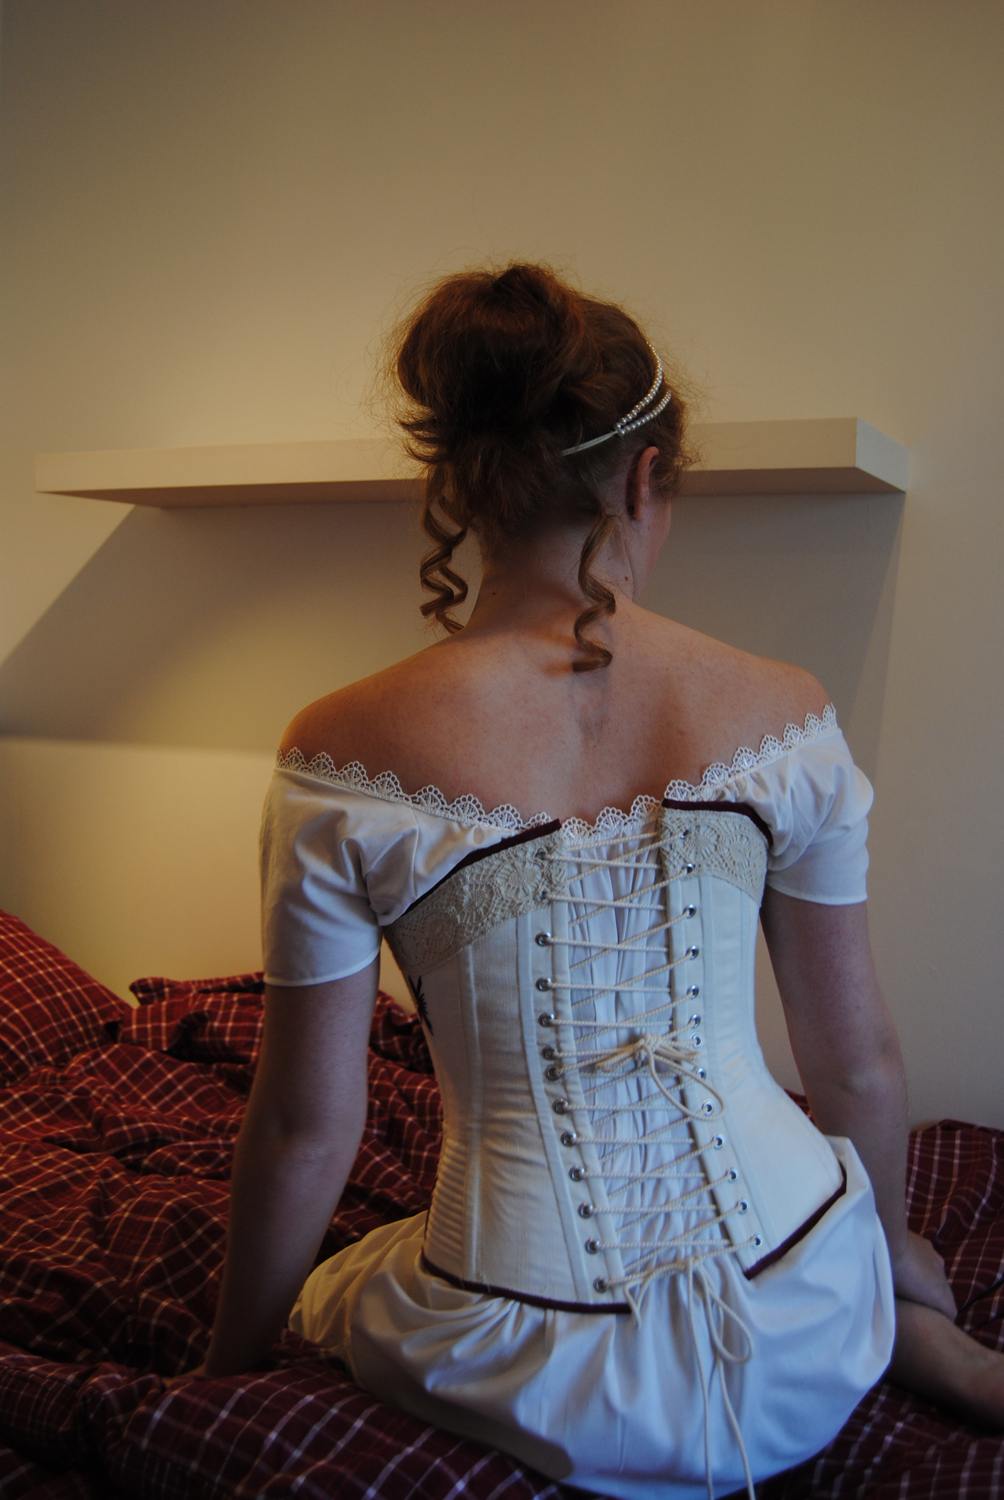
I used the patten for Decortive Victorian Apron, on my 1880s Evening gown.

IMG_6553IMG_6551IMG_6552

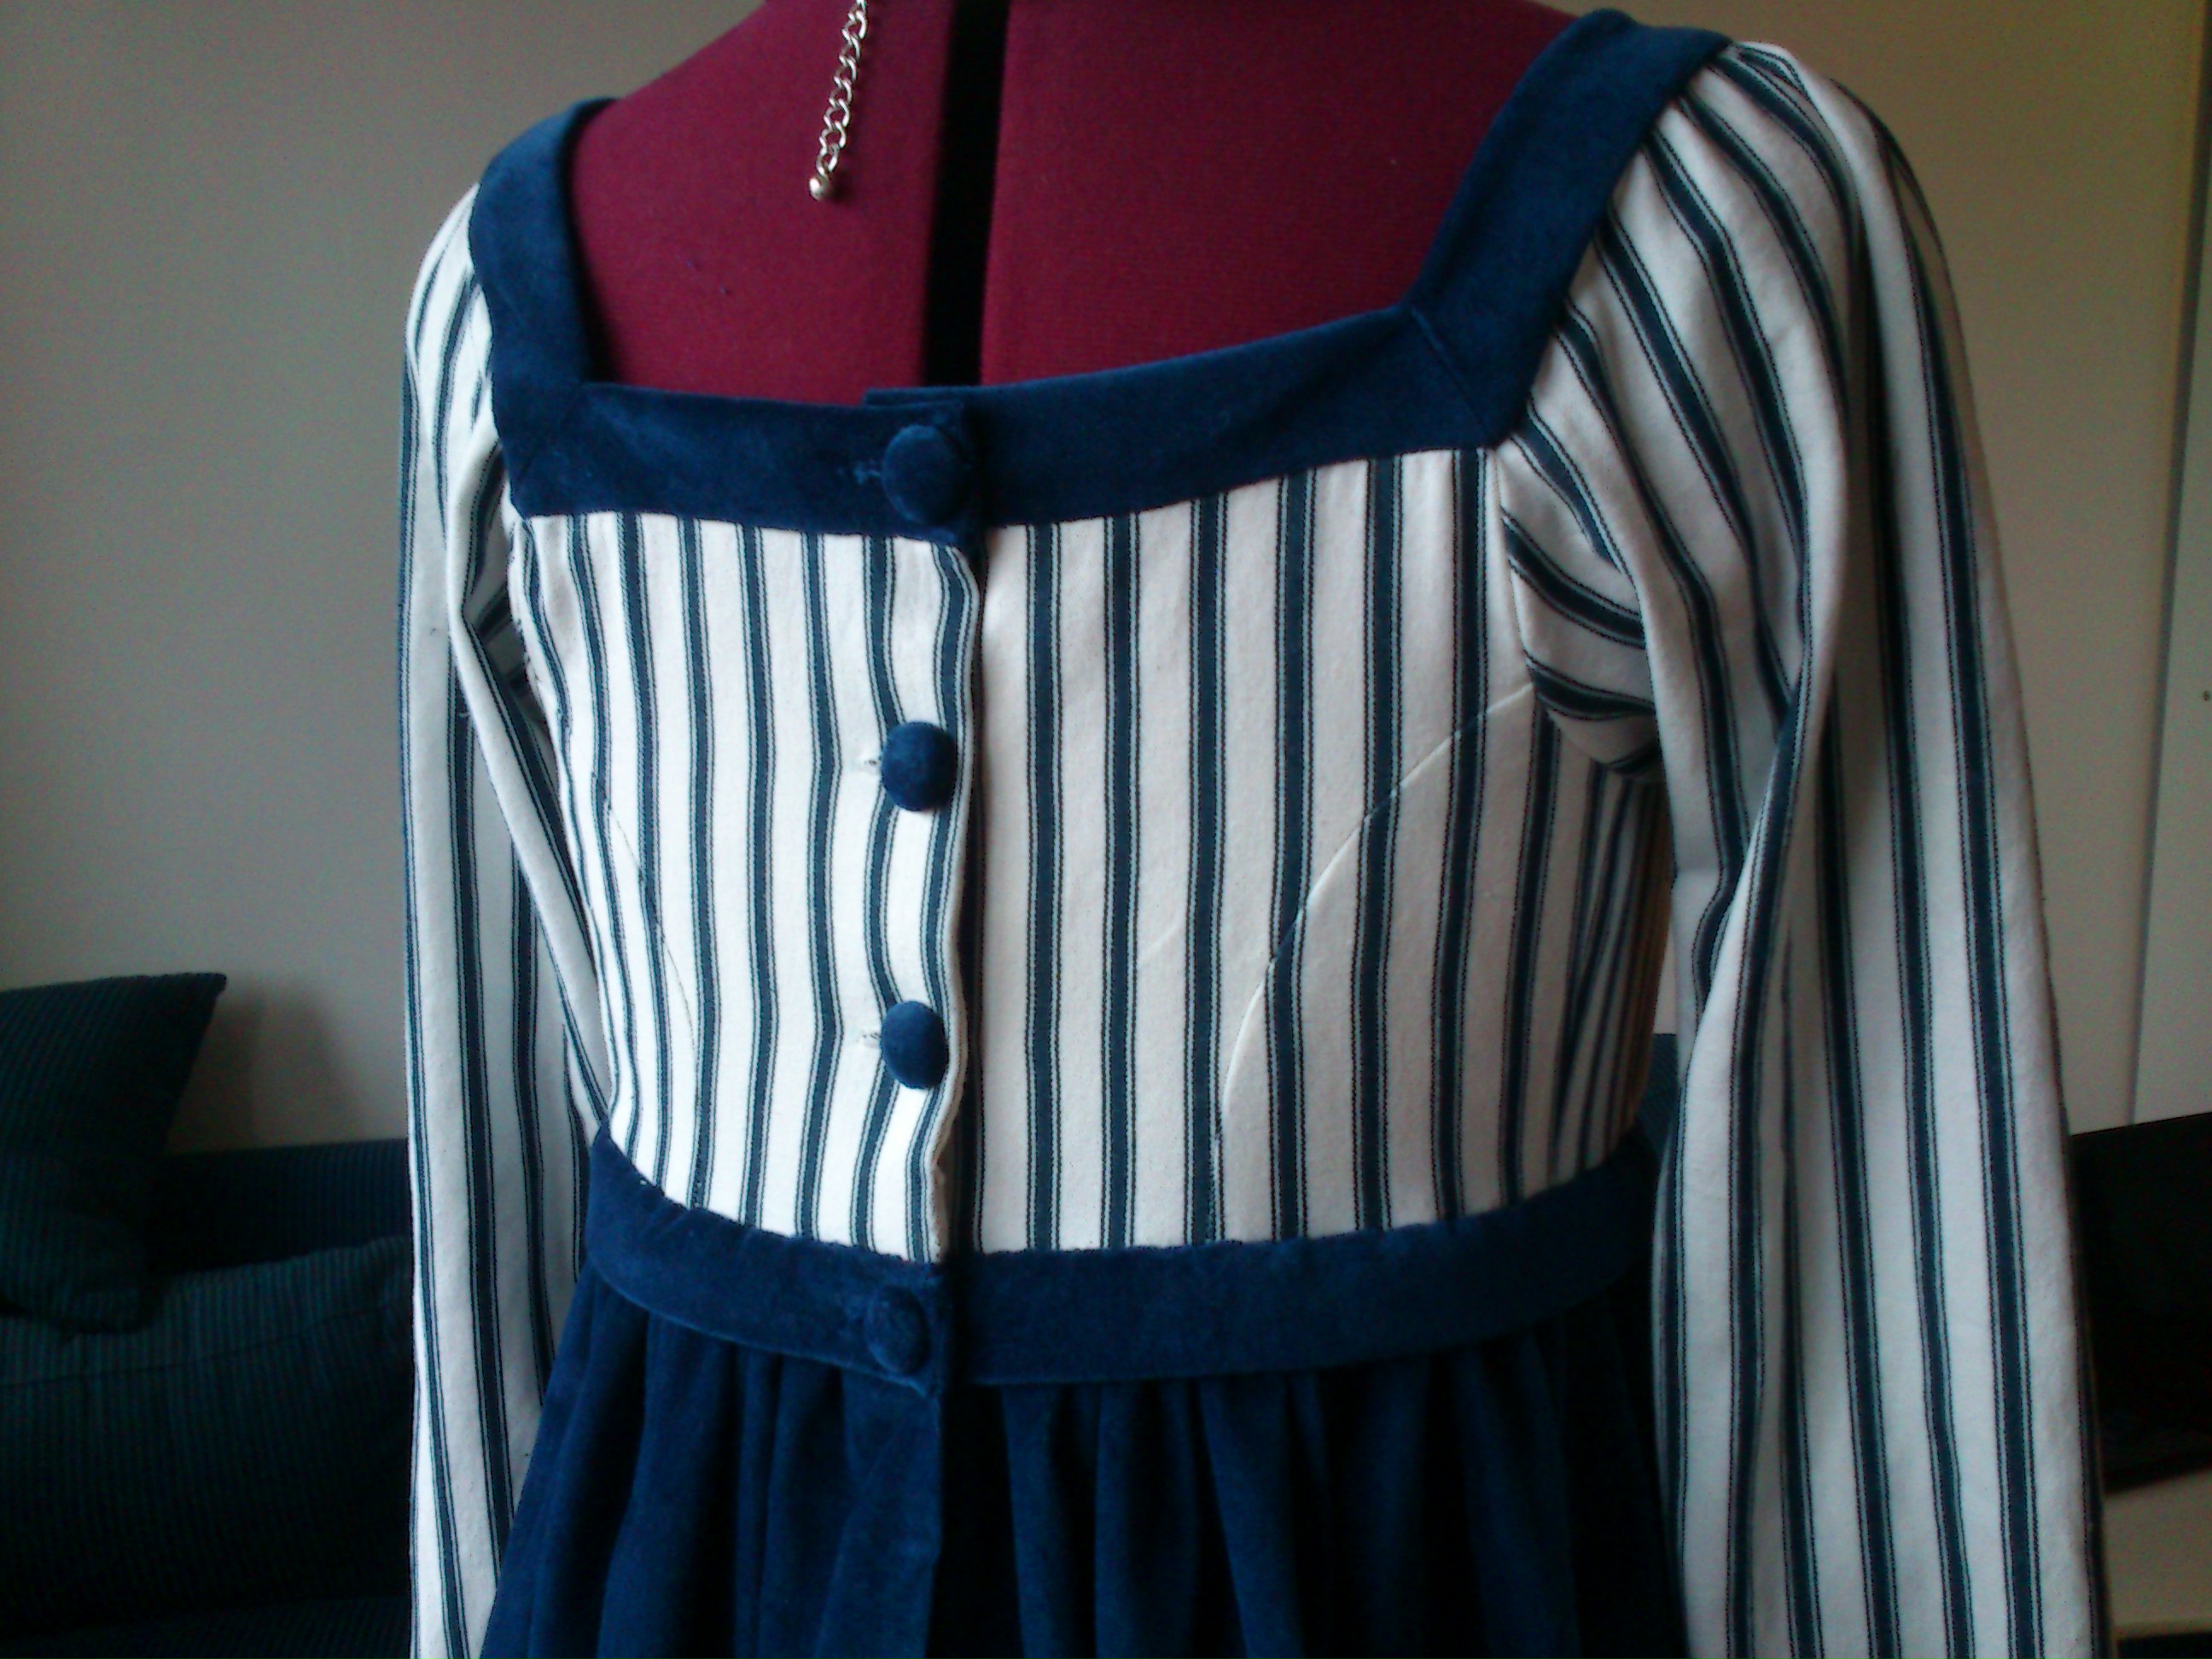
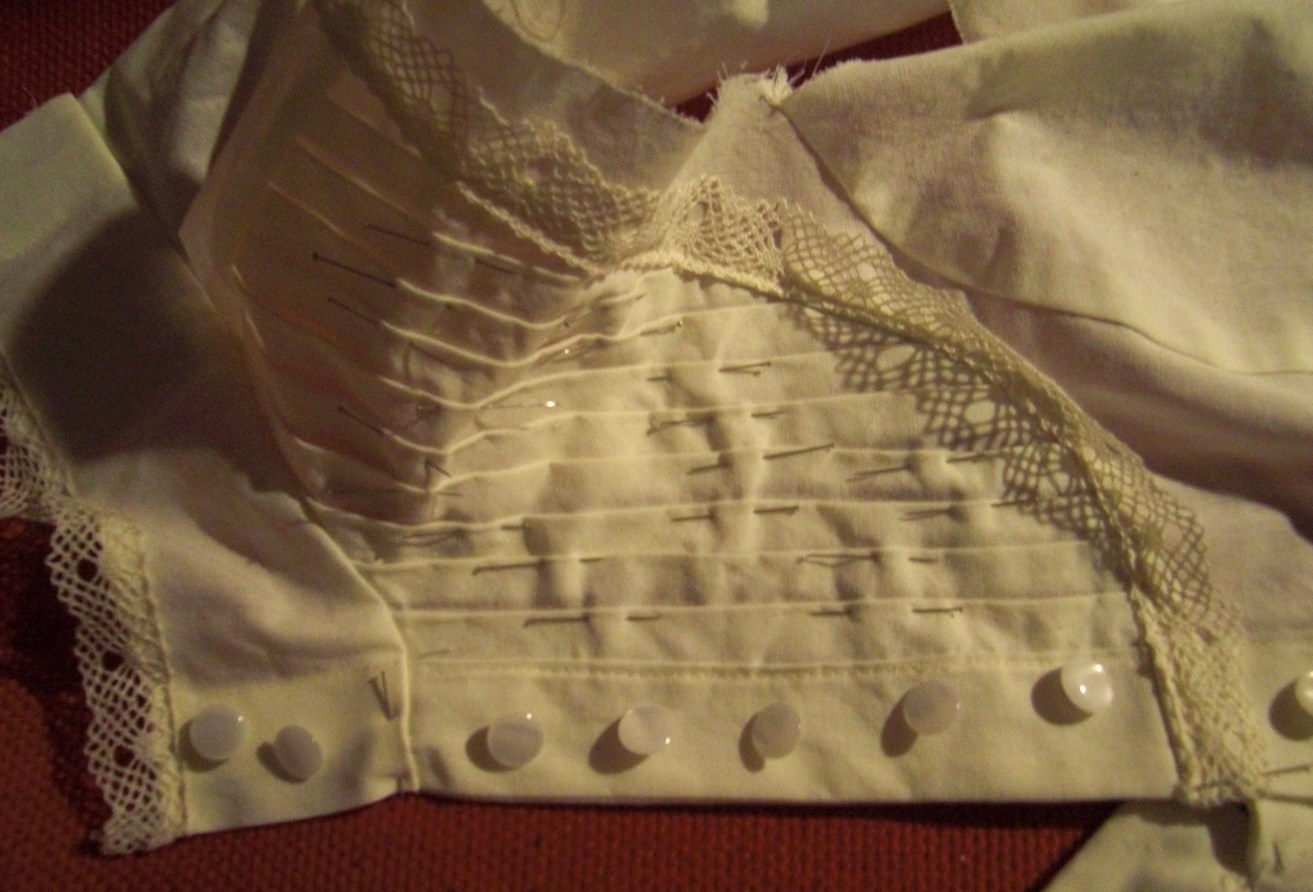
And a combination of the two 1840-1850s dress-pattern for my 1840s green dress.

IMG_4112IMG_4286

Cons:

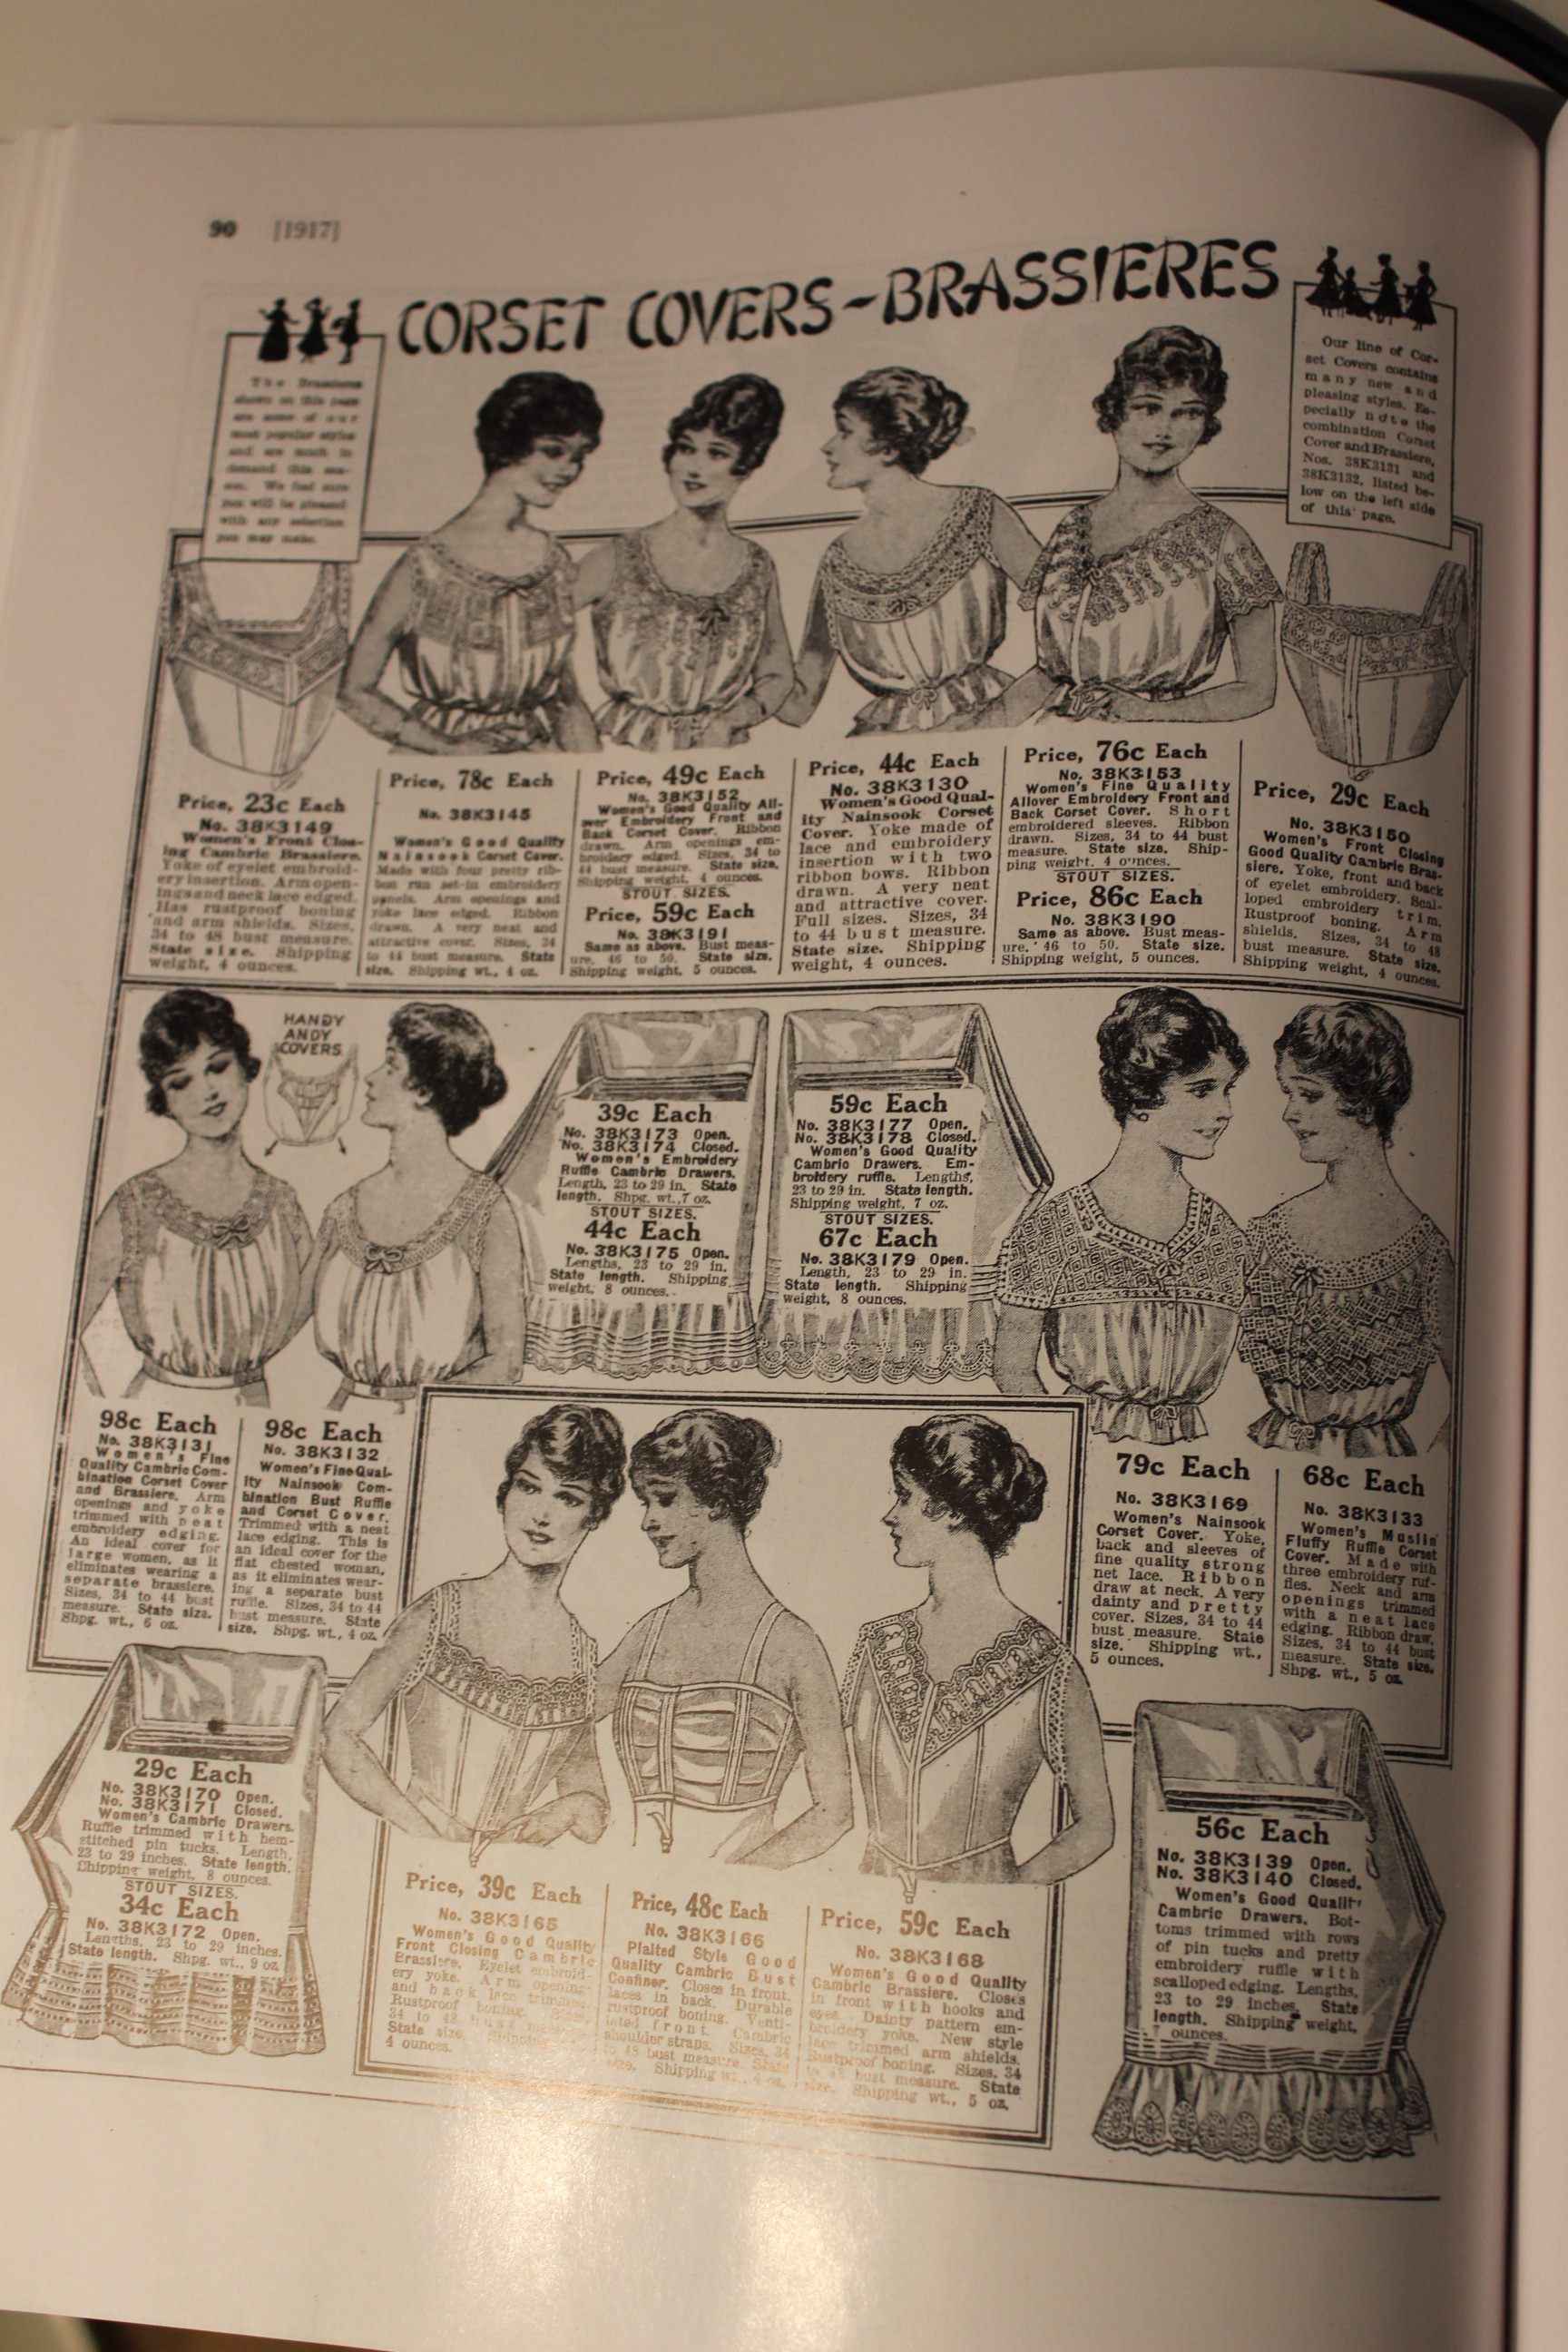
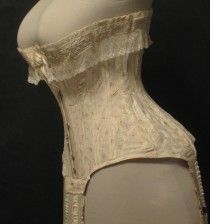
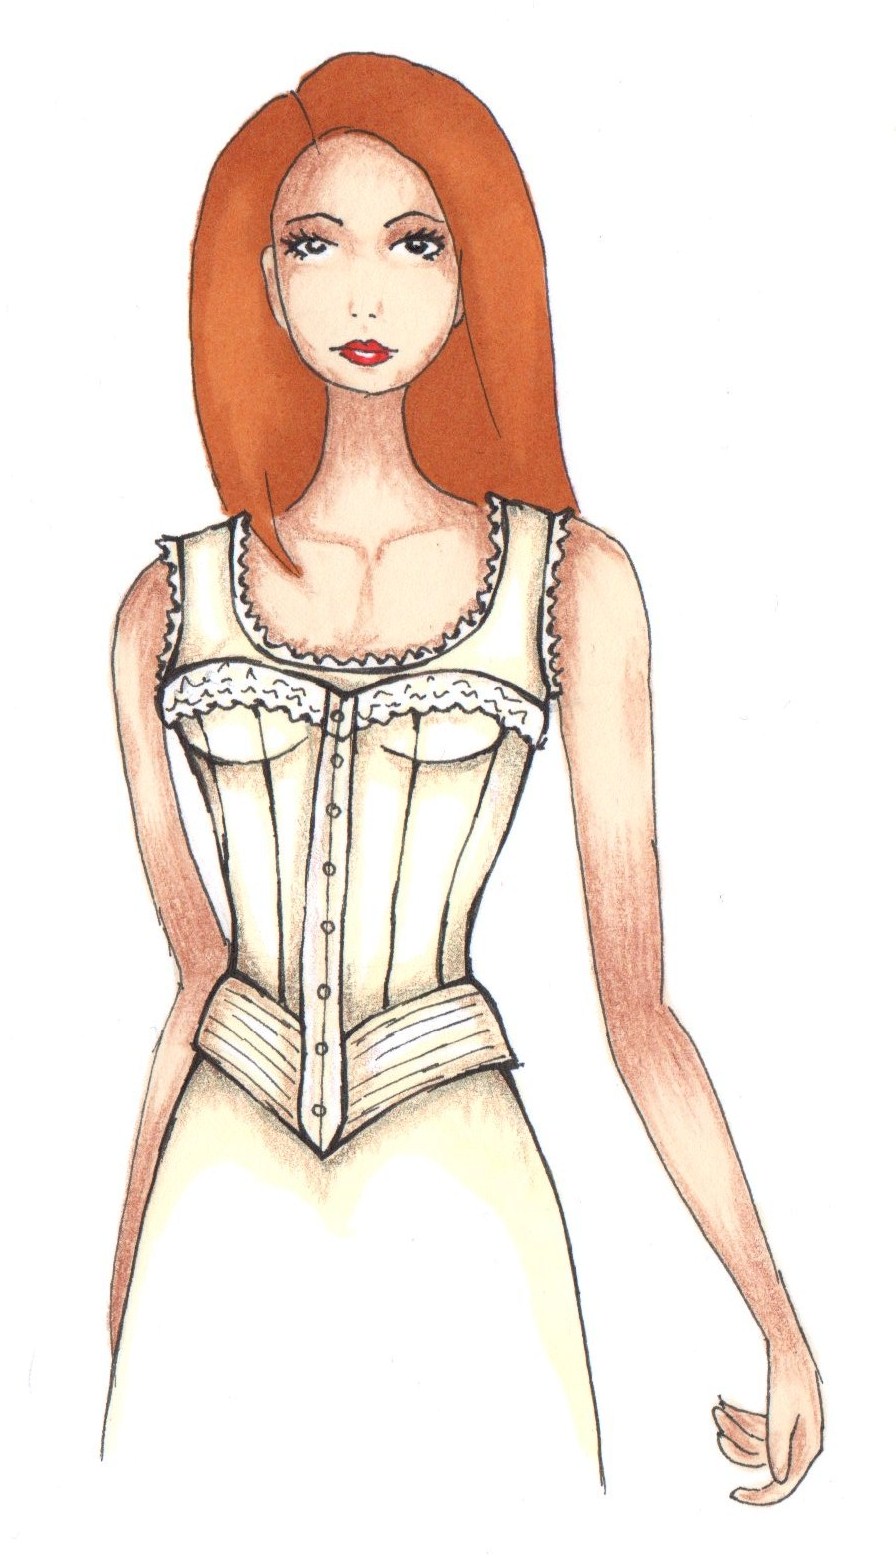
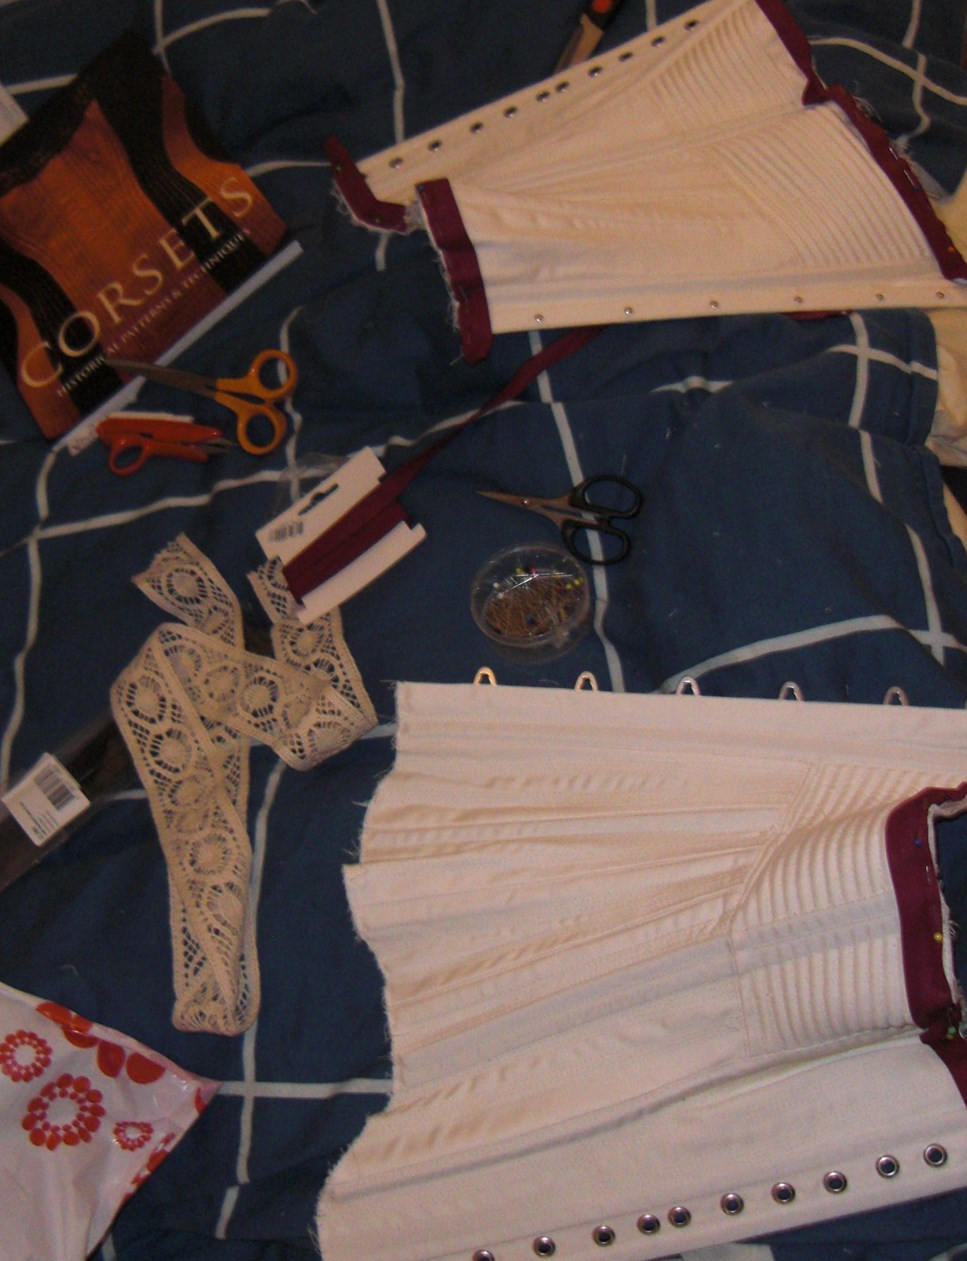
I think that maybe it should be stated on the back cover that the book recuires you to have all your fondation wear already made. I undersand that it would be difficult to drape a corset (or big panniers) on your dressform, but it really could be stated beforhand.

IMG_6549

I think it would have been nice to have some reference pictures at the begining of every chapter, to give the reader a better view of the differeent styles that existed in every period. As it is now, the reader is assumed to have very good knowledge in fashion history.

I’m also a bit underwhelmd by the huge amount of greek and roman patterns included in the book. I find it somewhat difficult to se why you would put patterns for 11 ancent garmnents and only 3 (1 ladys and 2 mens) 16th century patterns in the book.

IMG_6545

And I do miss some “ordanary peoples” clothing. Not everyone wants to be a princess…

And I do seartenly miss some sleeve patterns. There should at least be one page dedicated to show how to drape a basic sleeve, and then how to alter it to fit different time periods. But the book makes no mentions of sleeves what so ever.

Though the book may be great fo theatrical use, when historic accuracy is conserned every one must make their own research before using this book. I doubt that every piece in the book actually was made in the way described “back in the days”.

IMG_6550

Would I recomend it:

This is the best pattern draping book I’ve ever seen (and probably the first one too). It is defenetly a book which belongs in the bookshelf of every historic costumer and modern pattern makers alike.

I only hope there will be a sequel (Edwardian to Today perhaps…).

IMG_6541

Edwardian Corset Cover

When the HSF challenge 5 – Bodice was announced I had no idea on what to make.

But reading about some of the other particapants ideas, gave me one of my own.

I have needed a corset cover for quite some time now – somehow a modern tank top don’t feel quite the same, even though I must say it does do a good job.

So I went searcing for inspiration, finding this in one of my costuming books.IMG_6433Corset Cover ca 1917.

I decided to try to make the one to the left.

And drew a quick pattern sketch.IMG_6441

And scaled it up.IMG_6442

Then I cut the pattern in paper and tried it on my dressform.

IMG_6446IMG_6447

Using a nice cotton voile I cut the pieces.IMG_6450And stiched them togheter.

Putting it once more on the dressform, I tought it looked rather big.

IMG_6459IMG_6460

So I decided to take out about 8 cm in each side, thous making it more figure hugging.

IMG_6462IMG_6464

The next thing needed to be decided was what kind of trim I wanted.

IMG_6425IMG_6423

Deciding on a couple of rows of the narrow trim, I pinned and stiched it on.IMG_6498Backside view.

Then I sewed the buttonholes and stiched on the buttons.IMG_6500

IMG_6497On the floor.

Finished:IMG_6476

IMG_6478

IMG_6482

IMG_6483

IMG_6480

IMG_6489

IMG_6485

IMG_6486

IMG_6487

IMG_6477

Just the facts:

Challenge: 5 – Bodice

What: A 1910s Corset Cover.

Pattern: Drafted my own.

Fabric: 0,5 m of cotton voile.

Notions: Thread, 8 buttons and 4 m of narrow lace,

Historical accurate: So so. The lace is polyester and the buttons are plastic, but the fabric is accurate. And I think it is to slim to really look accuarate. 5/10

Cost: Les then 100Sek (16 Usd)

Time: Way to long. About 8 hours.

First worn: I only tried it on so far, but hopefully I get a chanse to wear it at a Suffraget lunch in may.

Final thoughts: I regret taking in so much of the widht in the sides. The cover is very tight on me as it is, and I would have liked it to have a bit more space and drape at the front. I’t does look pretty though.

“Foxhunt” School Project – part 3

The day before me and my sister was supposed to do the photoshoot of the “Foxhunt” Collection, I got it in my head to try to get some more pieces in to it.

So I decided to finish the mock-up for the breeches, thous including them in the Collection. They were already half finished, and only needed the lining, the buttons and some decoration. Sewn in a plain cotton fabric in a lovely green colour.

I also dug up my 1780s corset from half a year before.

grön okDesign sketch: Flowery corset and green breeches.

This corset was one of my second attempt at the 1780s pattern from Salens “Corsets”.IMG_6104Wise from my previous attempt at the pattern I decided to only use it as a guide in drafting the new pattern.

Not historical correct at all, but I still think the flower design looks great (and a bit kitch) on the front piece (and matching back piece).2012-07-10 19.39.19

2012-07-10 19.39.06The boning layout, using plastic cable-ties.

The corset turned out pretty good, and I frekvently use it in my costuming. If you been reading my blog Before, you might recognize it from some of my previous posts.IMG_6184Draping a robe Anglaise.

IMG_1922Photo from “1750s Layering“.

And worn together with the rest of my “Foxhunt” pieces.CIMG6554Where did the boobs go…

And at the photoshoot.korsett-o-byxa

IMG_1274

IMG_1303 ok

“Foxhunt” School Project – part 2

For my school project last year I made a 18th century Collection called “Foxhunt” (Part 1).

When finished with the coat I started on the pants – A pair of mens breeches, using the pattern from Costume Close-up, and this picture as my guide.breeches-silk-18th-century-part-of-a-wedding-suit-from-the-ham-house-collection-surrey-national-trust

byxor okDesign sketch – Breeches.

I bought a light colloured faux sweade fabric, wich I fell in love with on the rack, but hated long before finishing the pants. The fabric was the devil, and totaly hopeless to manuver into the sewing machine, and harder still to hand stich.

The front opening on the pants was also hard to figure out while patterning (and to sew). But it did end up looking great, and the self covered buttons, jeans buttons and, sweade ribbons I used realy cooperated to make a pretty whole.

And I do love the look and the fit of the finished breeches, so I guess it was wort the work.

Then it was time to deal with the waistcoat.

väst okDesign sketch – waistcoat and green breeches.

I used a gold/yellow upholstery fabric I found on sale, and cut the pieces from the same pattern as the coat – only a tad smaller, and without the sleeves. For the back I used brown polyester lining, and the buttons are self covered in the golden fabric.

Fisnished outfit.2013-01-14 13.01.57I’m also wearing: A re-shaped feelt hat, the shirt for my national costume, neck-cloth, stockings and my folk dancing shoes.

And at the photoshoot.IMG_1111

IMG_1096 ok

IMG_1130

ok

IMG_1167-ok

vänta 2

When the whole outfit (coat, breeches, waistcoat and hat) was ready, I had abot 2 days left until the photoshoot.

And  you know I can’t resist making some more items when I got such a massive amounth of time on my hands (ehm… Yeah, right).

So I decided to do a corset to complement the look.

korsett okDesign sketch: Corset and breeches.

Using the leftover golden fabric from the waistcoat and the 1780s corset pattern from Jill Salens book, and all my spear time, I manadged to get it finished in time.

IMG_1175-ok

stryk

IMG_1194

IMG_1239-ok

IMG_1236

IMG_1205

IMG_1253 ok“Foxhunt” cover pic

And if you thought that was it, you are wrong – well kind of. I will show you the rest of the collection next time.

“Foxhunt” School Project – part 1

Last year I attended a class in “Pattern Constuction”.

For the final exemanation we where suppose to make (pattern and sew) something to challenge and push ourself. We would have about a month to design, pattern and sew the item.

And since I always make womens gowns I decided to try my hands at some menswear.

I really like the late 18th century style and decided to try to recreate something like this right one.hämta

I used this fashion plate as my inspiration.images (1)

And drew my own version of it.rockenok

Since I don’t know anyone who would like a coat like this (and no, I wouldn’t even think of asking my boyfriend), I decided to make the costume to my own measurments.

To keep to the original ideá of a mans coat, I used a mens pattern from “Costume Close-up” by Baumgarther, and altered the shape to fit my somewath more womanly figure.img312

I used a lovely brown wool with a nice strong but shapeable feel to it, and decorated it with lots of self covered buttons and suttage ribbons. (And since this was something I made before my blogging days, I sadly have no construction photos).

When the coat was finished I had 2 weeks left to deadline, and being me, I emedatly started working on a couple of other clothing items to make a mini collection.IMG_5997 (Don’t worry, I will show you everything soon).

Finished outfit2013-01-14 13.01.04Coat, waistcoat, breeches and hat.

I decided to name my collection “Foxhunt”, and the day before the deadline, me and my sister went outside to take some pictures.

vänta

CIMG6530

IMG_1029

IMG_1022

IMG_1047

IMG_1075-ok

IMG_1115-ok

1900s S-shaped Underwear

The item for challenge 4 of the HSF14 was quite simle to decide – Looking at my intended “sewing list” where a 1900s evening gown is the next big thing, I of course needed the proper undergarmnents.

Since this is a new era for me (I’ve done 1980s and 1910s, but they are not at all the same) I needed to start from the bottom. So a corset it is.

Looking through the internet for inspiration I really liked this one. 72867cfdcae740e03be80aca71d75b95

And amongst my patterns I found the 1901s corset from Nora Waughs “Corset and Crinolines”. 1901 waugh

My original thought was to make the corset in ivory cotton sateen, but when searching my stash I discovered it was all gone (I’ve already used it all on a couple of other corsets). And the only other strong ivory colored fabric I had was a rough unbleached cottonblend. So on to the fabric store I went, finding this nice striped cotton upholstery fabric instead. IMG_6291

I had wished to make this a quick and dirty stash busting prject, but found I already had had to many of those lately – thous leaving my stash of notions almost empty (sigh). So I also needed to buy gromets, lacing cord, suspender grips and plastic boning (the planchett and decorational lace thankfully already in stash). IMG_6324

I originaly started this project 9 months ago till the HSF13 “White” challenge – before I realised I had other more pressing costuming needs.

So the pattern and the toile was already prepeared. And since I had absolutly no idea of the measurments I used making the mock-up, I just tried it on.  

IMG_6231 IMG_6233

IMG_6242 IMG_6244

And as could be expected, it didn’t fit at all.

So I took out a total of about 10cm on the size, and added some lenght to make the front bottom smother. The rest of the fitting isues will be corrected once made up in a sturdier fabric and properly boned (I hope).

After the adjusments had been done, I cut the fabric, linning and interlining. Using as litle fabric as I posibly could. IMG_6289

IMG_6281

Then I started to sew it togehter, begining with the narrow side pieces. IMG_6297

And continuing on to the busk…IMG_6304

…and the gromets… IMG_6306

Realising to late I’ve put the gromets to far appart.IMG_6310I tried to fix it by putting some extra gromets at the waist (as in 1880s corsets).

Then I sewed the pieces together and made the boning chanels, using self made bias tape, and sewed them on. IMG_6327

When all the boning was inserted I sewed and trimmed down the top and bottom of the corset, prepeared it for the biastape.IMG_6332

Then I stiched on the pretty lace (which I picked from my “Lace box“).IMG_6317

Finished:IMG_6405

IMG_6407

IMG_6418

IMG_6417

IMG_6409

IMG_6412

IMG_6415

And being worn:IMG_6359

IMG_6384

IMG_6382

IMG_6377

IMG_6372

IMG_6400

Just the facts:

Challenge: 4 – Under it all.

What: a 1900s S-shaped corset.

Pattern: Nora Whaugh’s 1901s corset from “Corset and Crinolines”.

Fabric: 0,5 of striped cotton upholstery fabric (50Sek), 0,4 m of nougat cotton lawn for lining and 0,5 m ivory cotton satten (used on bed-bolsers) both from stash.

Notions: Thread (stash), 32cm Busk (80Sek), 20 gromets (35Sek), 4m of lacing cord (50 Sek), 2 m of ivory biastape (stash), 5m selfmade biastape for boning chanels (stash), 5m plastic cable ties for boning (30sek), 2m steel boning (stash), 1 m lace (stash), 0,5 m elastics (stash) and 2 suspender-grips (50Sek).

How historical accurate: The fabric and pattern are all good. But the plastic boning and the construction tecninques are modern. so maybe 6/10.

Time: About 12 hours.

Cost: Money spent: 275 Sek (42Usd). Actual cost (including stash worth): about 400 Sek (61Usd).

First worn: For photograps 1 mars. But hopefully on some suffraget events and some summer picknics.

Final Thoughs: I’m pretty happy with it, but I think I will need to add some stuffing at the bum to get a more pronounced S-shape.

Changes to a Regency Gown

About a year ago I took on a comision from one of the ladiees in my dance companys historical dancing group. They were having a regency bal, and she wanted something nice to wear.

She bought a pattern and we visited a couple of fabric stores to find the perfect fabric.

51cX1YofXlLThe pattern was “Reconstructing History nr 838” and called for some lightweight cotton or silk fabric.

We decided to go in a different direction – mostly beacause my client wanted something darker and more sutable for her age. We setteled on a nice striped cotton for the bodice and a navy blue cotton velvet to usa for the skirt.

IMG_6203 IMG_6198

I took her measurments and strated on a mock-up. The pattern caused some problems having non-matching seams, and really strange proportions. After some fideling with the pattern I manadged to produce a well fitted gown. And she was really happy with it.

2012-11-29 11.15.27

2012-11-29 11.15.58

2012-11-29 11.16.13

Half a year later we attended the same Regency event and I noticed the gown looked a bit large on her. IMG_2244

So we decided to take it in, and to shorten it a bit. It took a couple of months for us to get together and take the new measurments. Then it took a few more months until I had the time to start working on it.

I ripped the hem out, cut the lenght, then I pressed and sewed the new hem. IMG_4717

IMG_4720 IMG_4721

IMG_4727 IMG_6049

Then I started working on the bodice. This was the part I feared the most. It needed to be taken in about 6 cm at the top and 10 at the underbust. A quite large amount considering there where no good places/seams to do it.IMG_6047The pins makt the widht to sew in.

I closed my eyes and started to rip the linning out, and then taking the neccesary widht in at the waist and underarm seam. I also took a couple of cm out in the front, shortening the velvet ribbon and gathering the front bodice some more. Then I re-attaced the linning and the waistband.

IMG_6195

IMG_6208

Then, when she came to try it on, before taking it home, the dress was to smal…

So I opened the linning once more and let it out again. And now it will finaly fit her again.

IMG_6210

(I’m so taking a break from comissions right now).

A Cherry Blossom part 3 – Evening Gown

So, when I finished the Traveling suit (and underwear) for the school project back in 2010, I decided to also make a balgown for my caracter (Anja in “The Cherry Orchade”).

I found this pretty gown on the internet and used it for inspiration.far1

balklänning produktteckningTechnical drawing of the gown.

Anja-BalklänningAnd my costume design sketch.

I bought a white lightweight cotton fabric and some grey lace, and began the sewing.

This was way before I started doing historical costume so the pattern making and construction are all totaly modern. I just did what I could to make it look historical. The costume is a two piece – skirt and bodice, with additional costume pieces added at the end of the proces to make it look even more historical.

The skirt is made out of three pieces (front, side and back), where the front is draped to the lace-covered side piece.

kjol fram kjol bak

It closes with snaps at the side, hidden behind the lace.kjol knäppning öppen

The bodice is laced up the back using gromets, and are stiffened with bones in every seam. It also have decorative stripes of lace, and a smal peplum at the back.

liv framliv sidan

liv bak

The night before my sister was coming for the photoshoot, I decided to use the last pieces of fabric to make a seperate draping to hide the bustle beneath the way to see-through skirt. I also made a bow of the lace and added it to the back for contrast.

Then I dressed my sister in the gown and had her model it.

DSC_0211

DSC_0221

16

DSC_0200

DSC_0238

DSC_0245

DSC_0260

DSC_0304

DSC_0293

DSC_0311

DSC_0281

DSC_0284

DSC_0278And a silly shoot.

Considering my very limited knowledge of historical clothes at the time, I think I manadged petty good with both the underwear, traveling suit and the balgown. But there are some things I would defenetly change if she would ever whant wear one of these costumes again.

A Cherry Blossom part 2 – Traveling Suit

When the underwear was finished (A Cherry Blossom part 1) It was time to move on to the “real” garmnents.

I decided to make traveling outfit for the caracter of Anja. She and her family rides the train to get to their country estate, and I thougt it would be fun to create a ensamble to wear while traveling.

blusA design sketch of the shirt.

blus o hatt produktteckningAnd a construction drawing of the shirt and hat, including fabric notes and details.

I used a nice cotton satin for the shirt and did pintucks, buttonclouser and lace decoration. Blus stråveck (2)

blus fram hängandesThe finished shirt.

I also bought some modeling clay (cenitlera) and sculpted some bees for the bee-broch being mentioned in the play.bi-brosch i lera

For headwear I bought a hat on an online auction.hatt innan

Which I sprayed with silver paint and decorated with ribbons, lace and feathers.hatt silver omonterad

Then I continued with the outer layer of the costume.Resdräkt

resdräkt produktteckningConstruction sketch with fabric and stiching notes.

I drafted the pattern on my own, and used a purple cotton twill for the skirt and jacket.tillklippningCutting the pieces.

Then I decorated them with silver lace and buttons.

kjol fram kjol bak

jacka fram jacka bak

resdräkt hängandes

And then I asked my sitster to model the clothes.DSC_0071(She is wearing the shift, corset and bustle from my last post underneath.)

CIMG4046

CIMG4063

CIMG4051

4

7

9

6

8

3

CIMG4110And a silly shoot.

Anja-ResedräktMy final costume design.

This outfit would be more than enough to conclude the shool project. But since I’m a bit of an over-achiver (if you haven’t noticed), I also decided to make a balgown for the caracter (which I will tell you about next time).

A Cherry Blossom part 1 – Underwear

A couple of years ago I attended a class in “costume design”, and one of the plays we got to work with was The Cherry Orchard by Anton Tjeckov. The play is set in the late 19th/early20th century russia, and are about a familys last days on their recently sold country estate.

cherry_blossom

We where asked to choose one caracter to design a costume to fitt the narrative of the play. I picked the caracter of “Anja”, a young debutant who dreams of love and a fairytale lifestyle.

I decided to make the costume from the inside out (being me, I couldn’t just do one dress…).

I started by deciding the underwear, doing a principle sketch combined with a lists of material and notions.korsett, turnyr, chemise produktteckningA corset, bustle and chemise.

korsett, chemiseAnd a costume sketch.

I started by making the chemise, in a soft cotton voile and decorated it with some lace. I used a free download pattern from the internet (which I unfortanly have lost the link to). chemise 1

Then I moved on to the bustle. turnyr tillverkningskittWith only pictures of bustles and no pattern I tried to draft my own, resulting in a pretty good shape – but probably not the easyest way to do it.

turnyr inutiInside of the bustle. You can se all the seamlines and the boning chanels.

turnyr stängdturnyr ovanfrån 2

Then it was time for the corset. I used Jill Salens pattern for “Pretty Housmaid corset” 1880s, which I enlarged using the computor and printer.

I cut the pieces in a lovely cotton sateen.Korsett tillklippning

The cording took  quite a while (it was my first time doing it).korsett helt cordat

I sewed it together, inserted busk, bones, gromets and then attached bias tape and lace. korsett divCreative mess.

korsett sidanDetail flossing.

korsett fram

I asked my sister to model the garmnents.CIMG3990

DSC_0011

DSC_0032

DSC_0042

1My favourite costume picture ever.

So now the underwear was ready, it was time to start on the dress.

But that will have to wait untill next post.