Blog

2015 – A year in rerview

I’m a bit behind in posting, but here are a summary of the items I made last year.

January:

I started the year with grand planes (pun intended) and made pannier for the first HSM challenge of the year – FoundationIMG_5811

And one snowy evening I cobbled together a fake fur hat to match my neck-stoleIMG_5188

February:

For Februarys challenge – blue,  I continued with the winter theme and finished my Redingote which I´ve started in the fall.IMG_5615

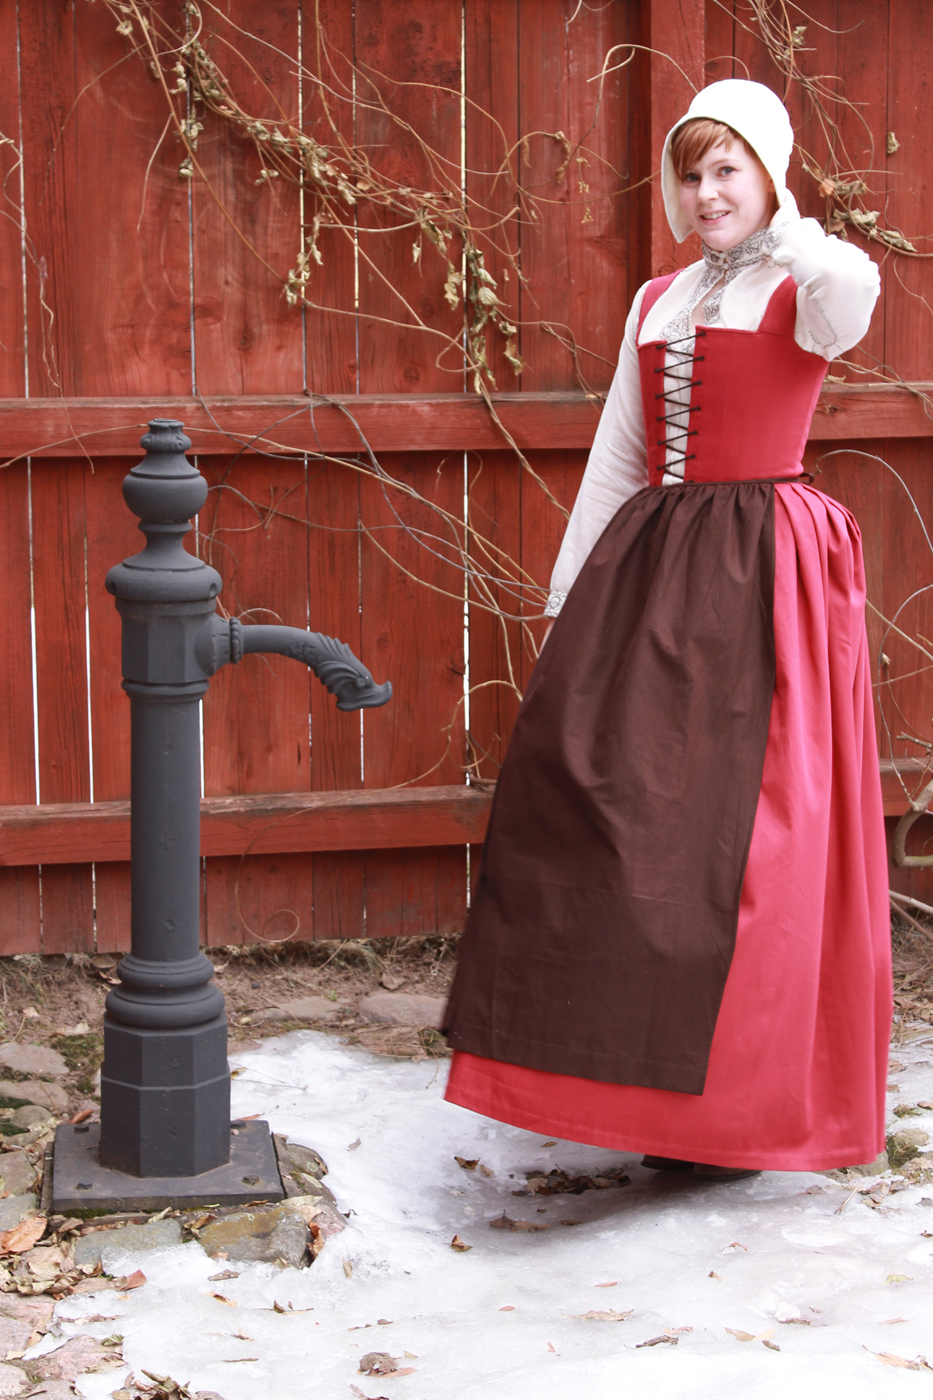
I also had the time to (start) and finish a 18th century maids outfit for the 3rd challenge – Stashbusting.IMG_4587

Mars:

And while I was in the mood to clear out some stash I also made a “Little red riding hood” 18th century cape IMG_4563

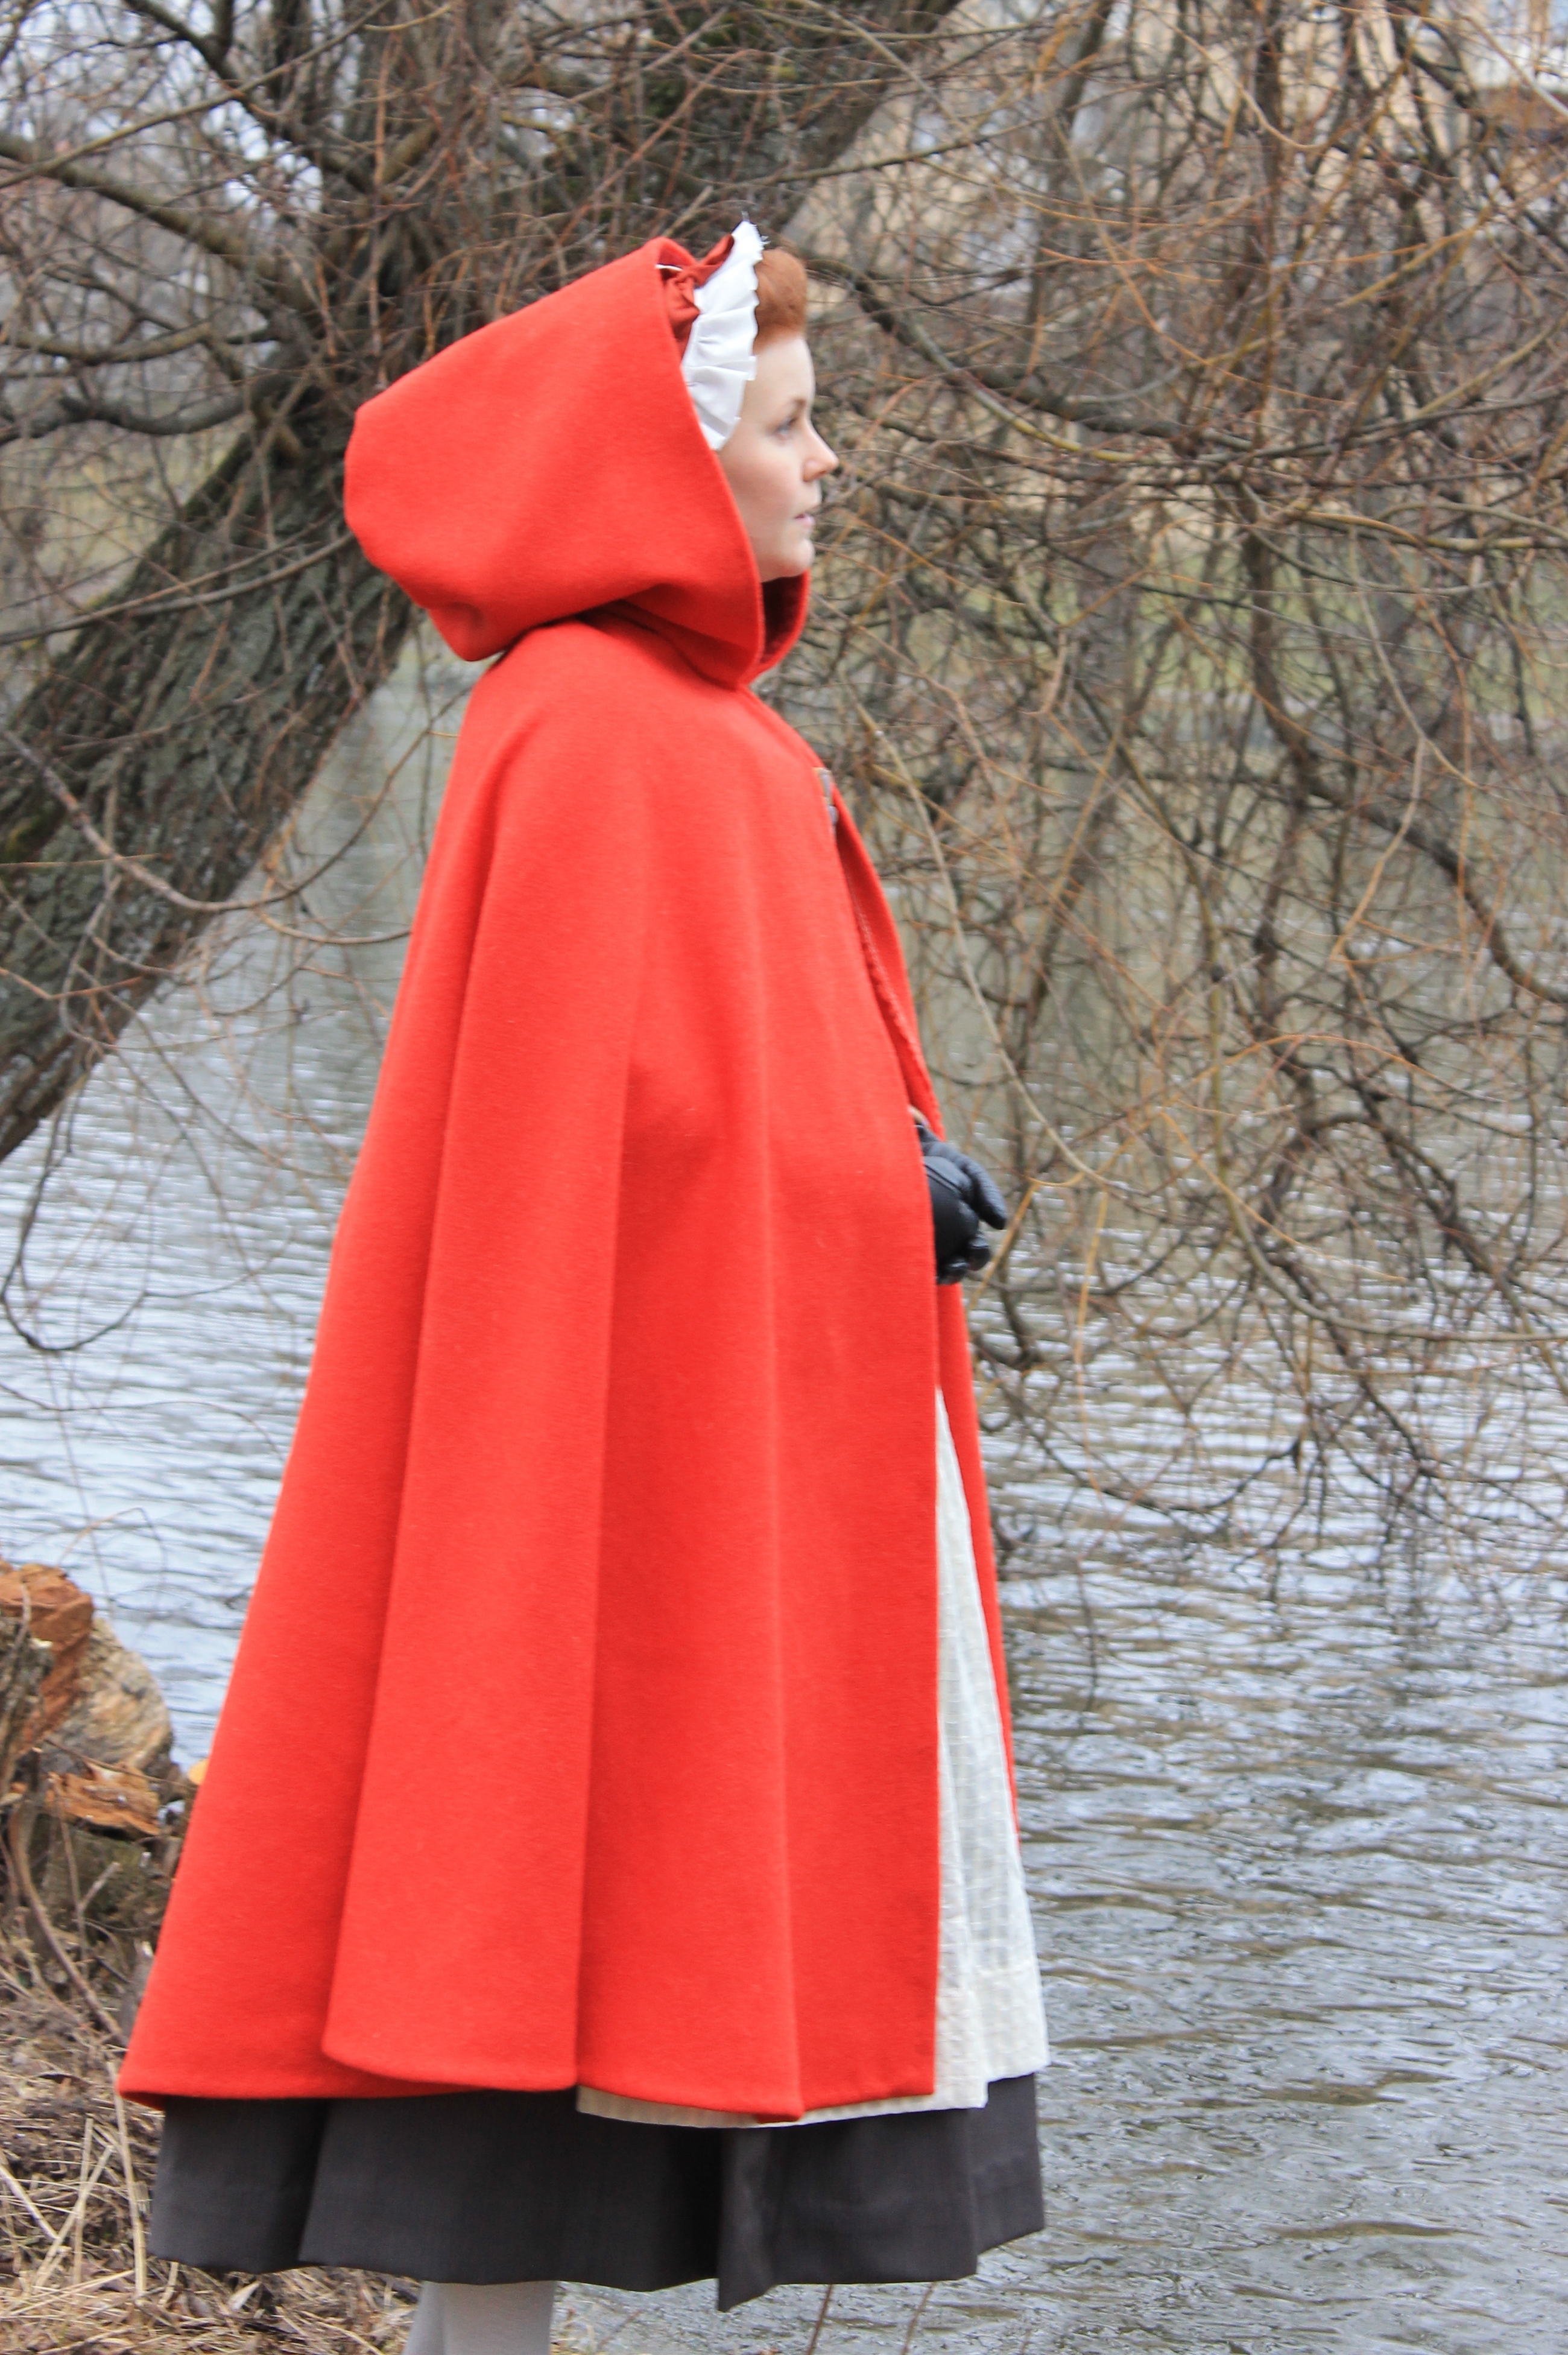
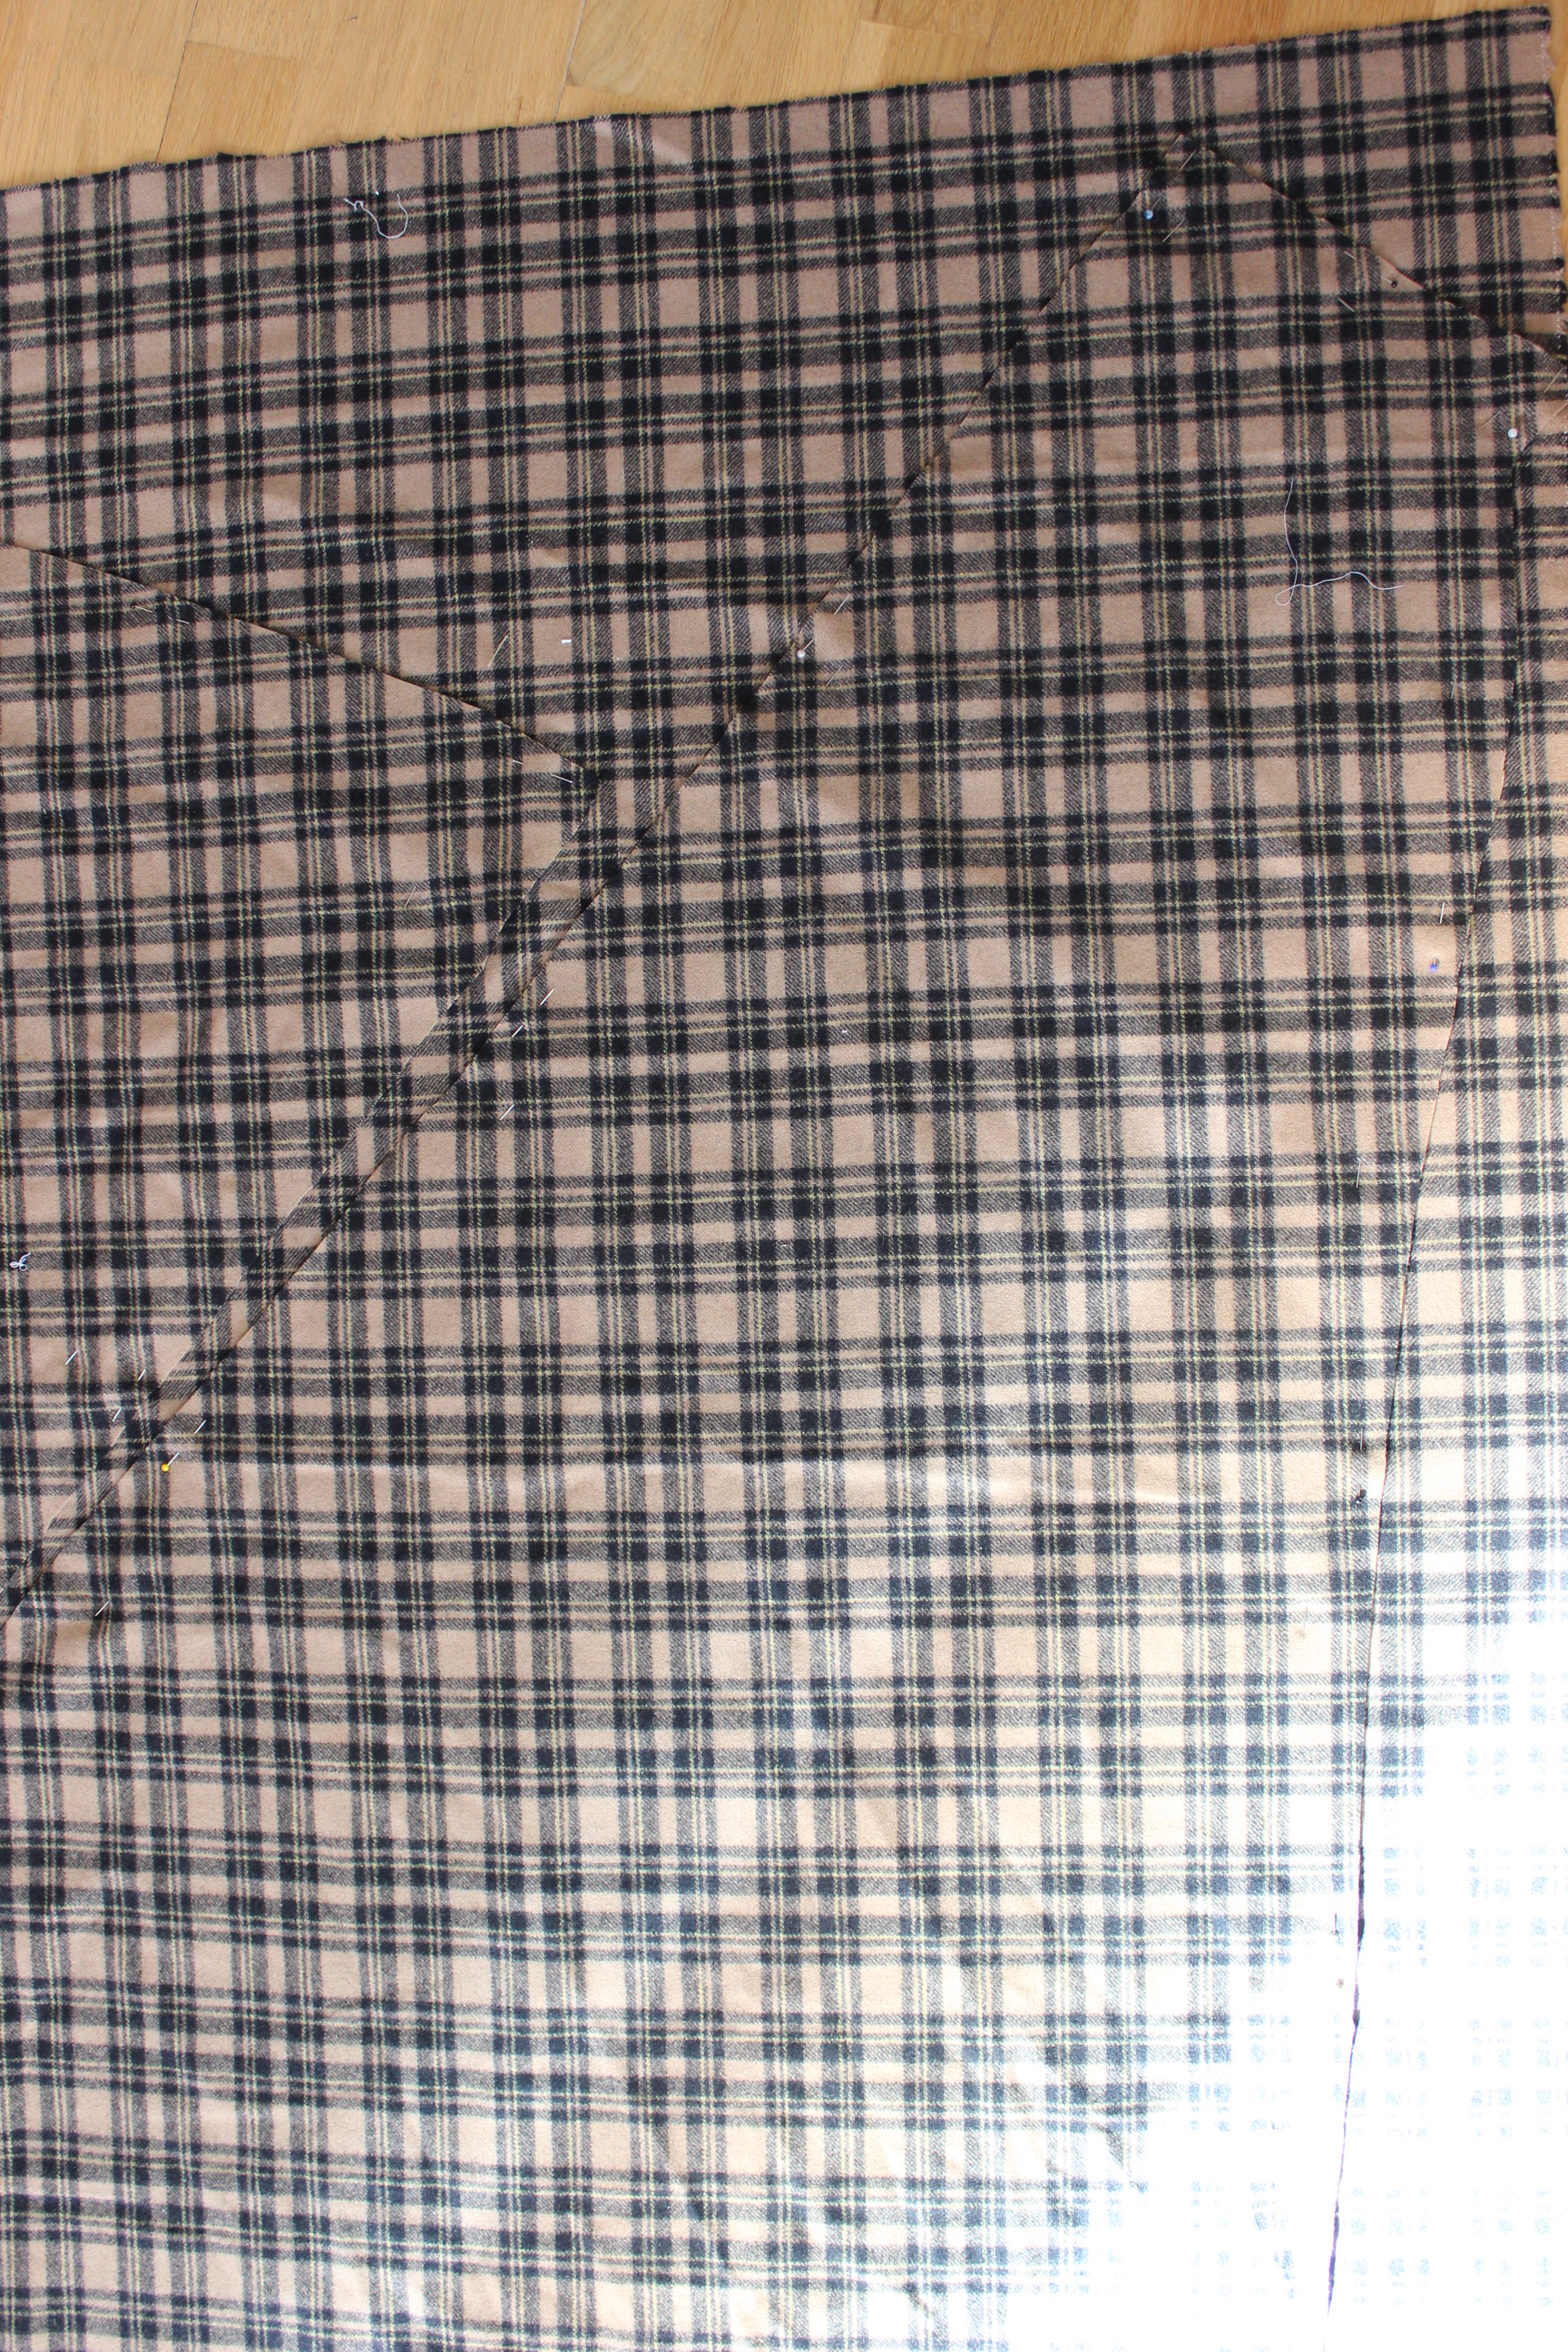
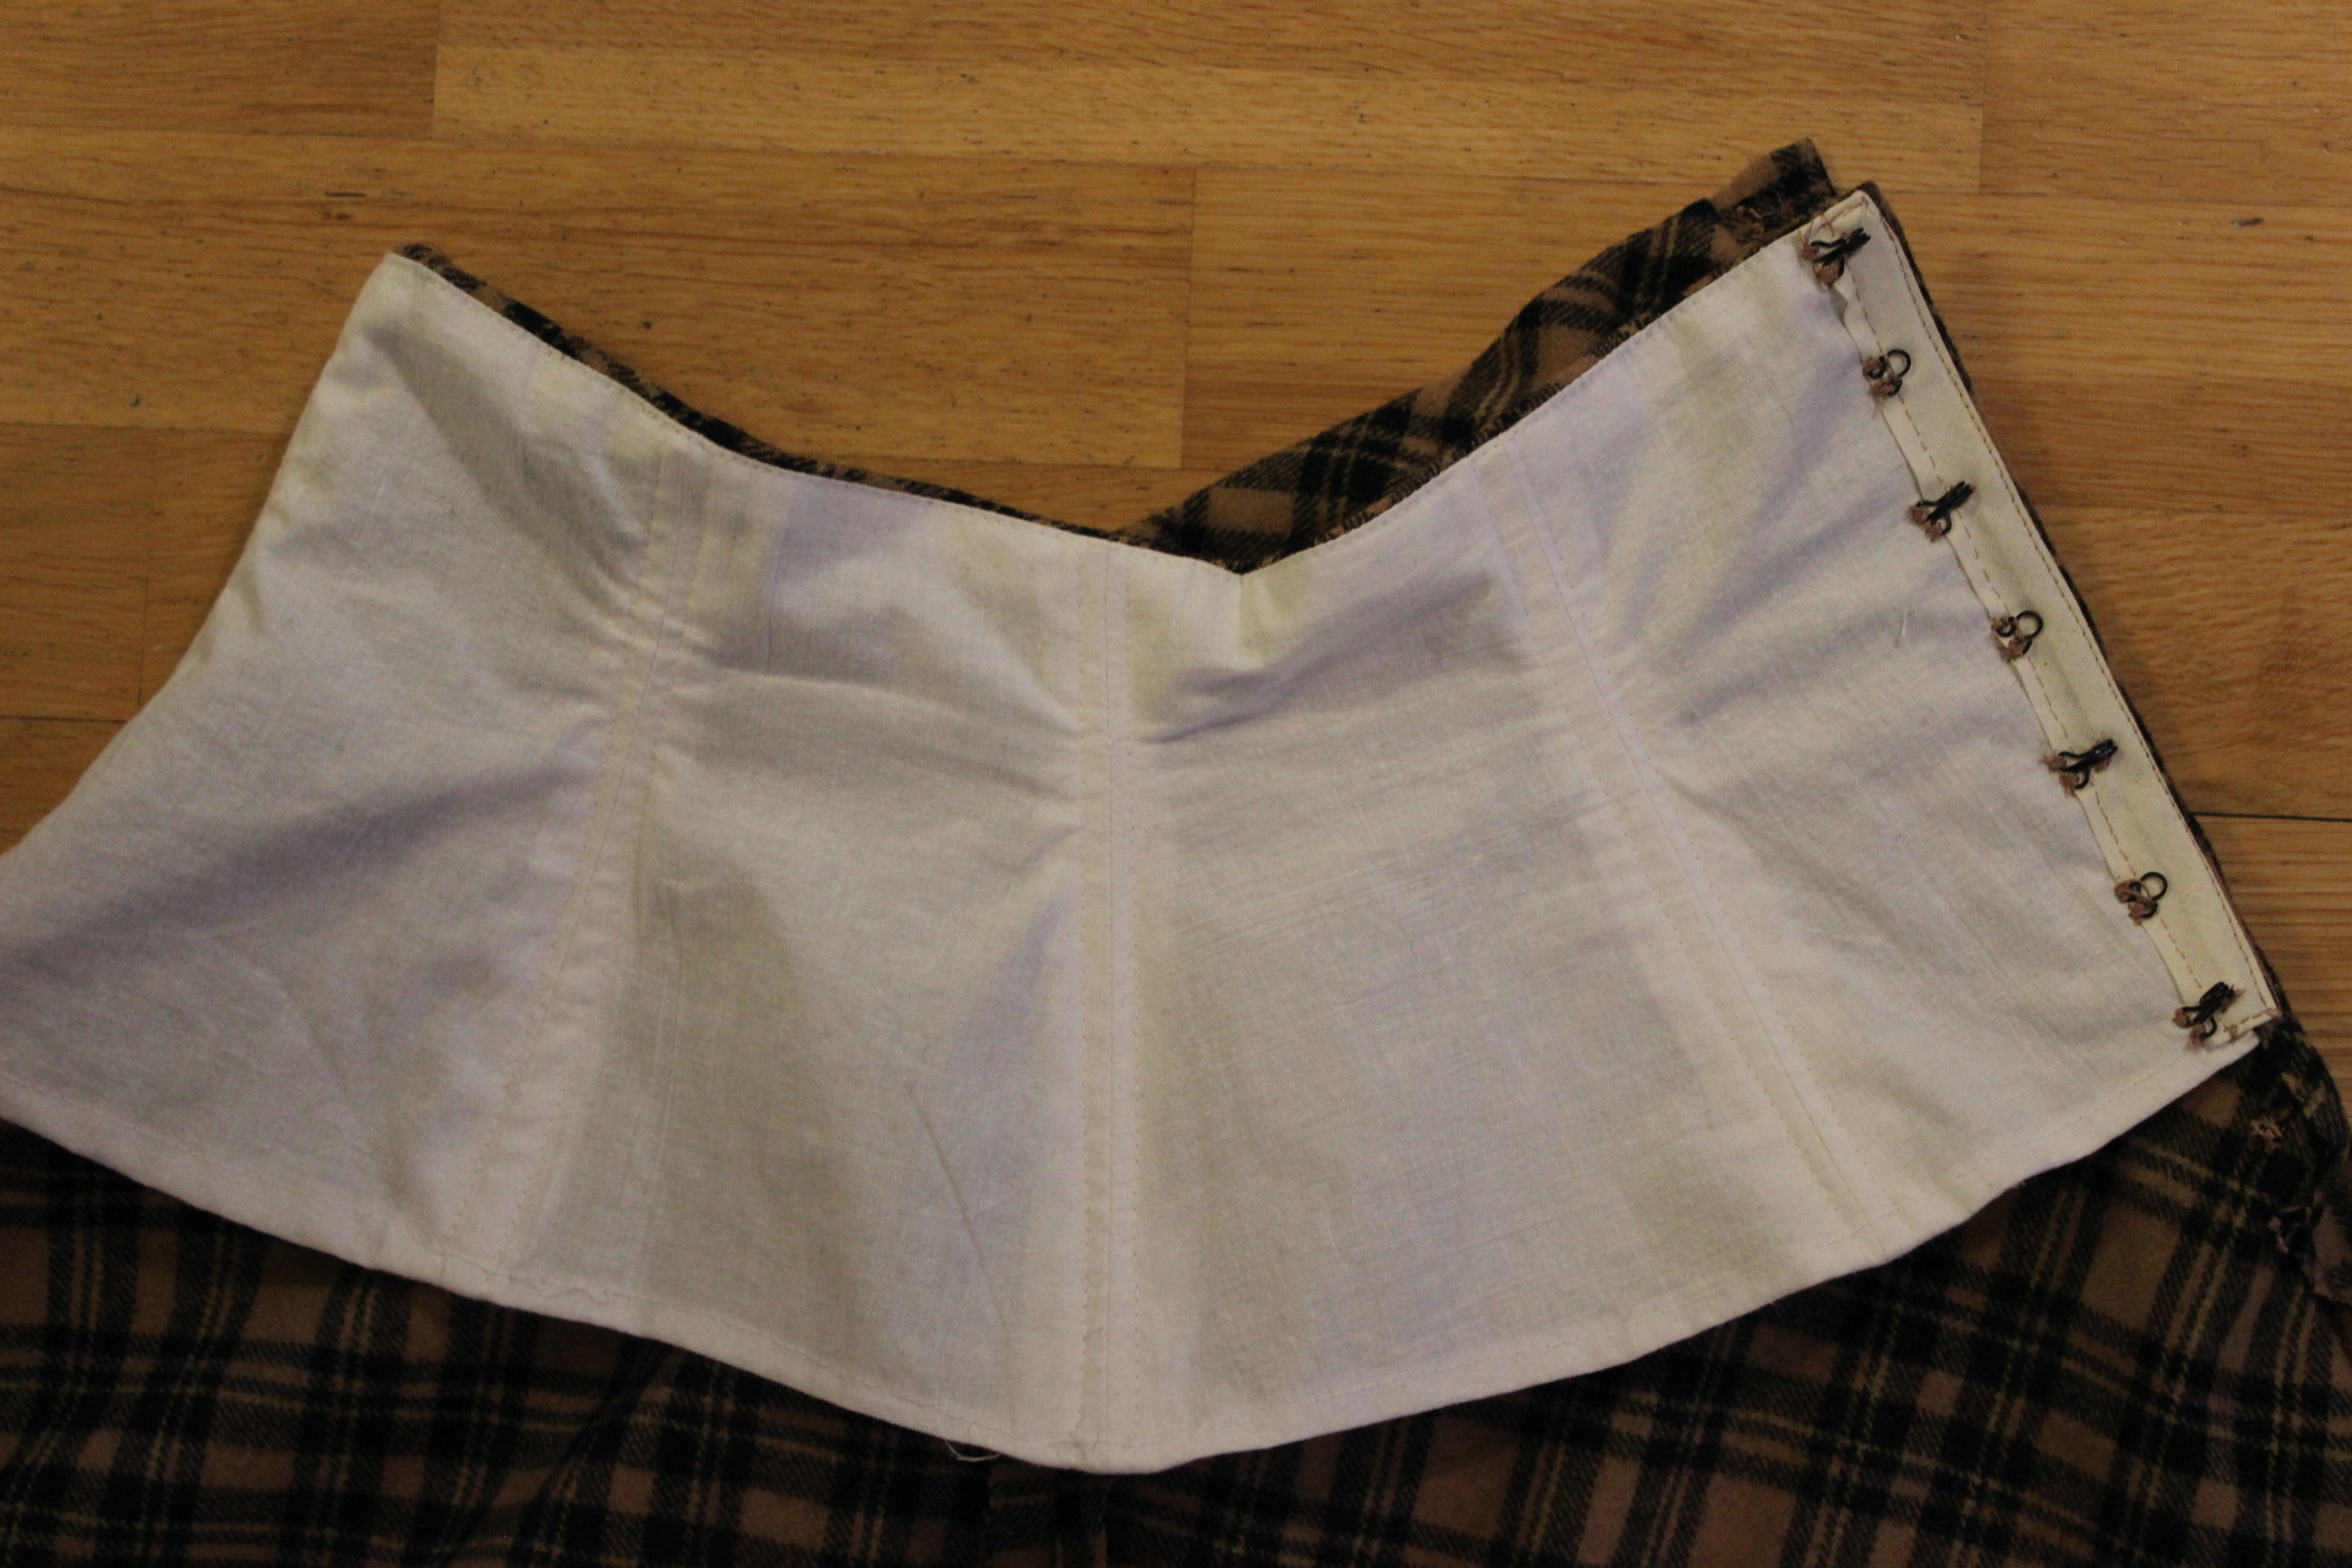
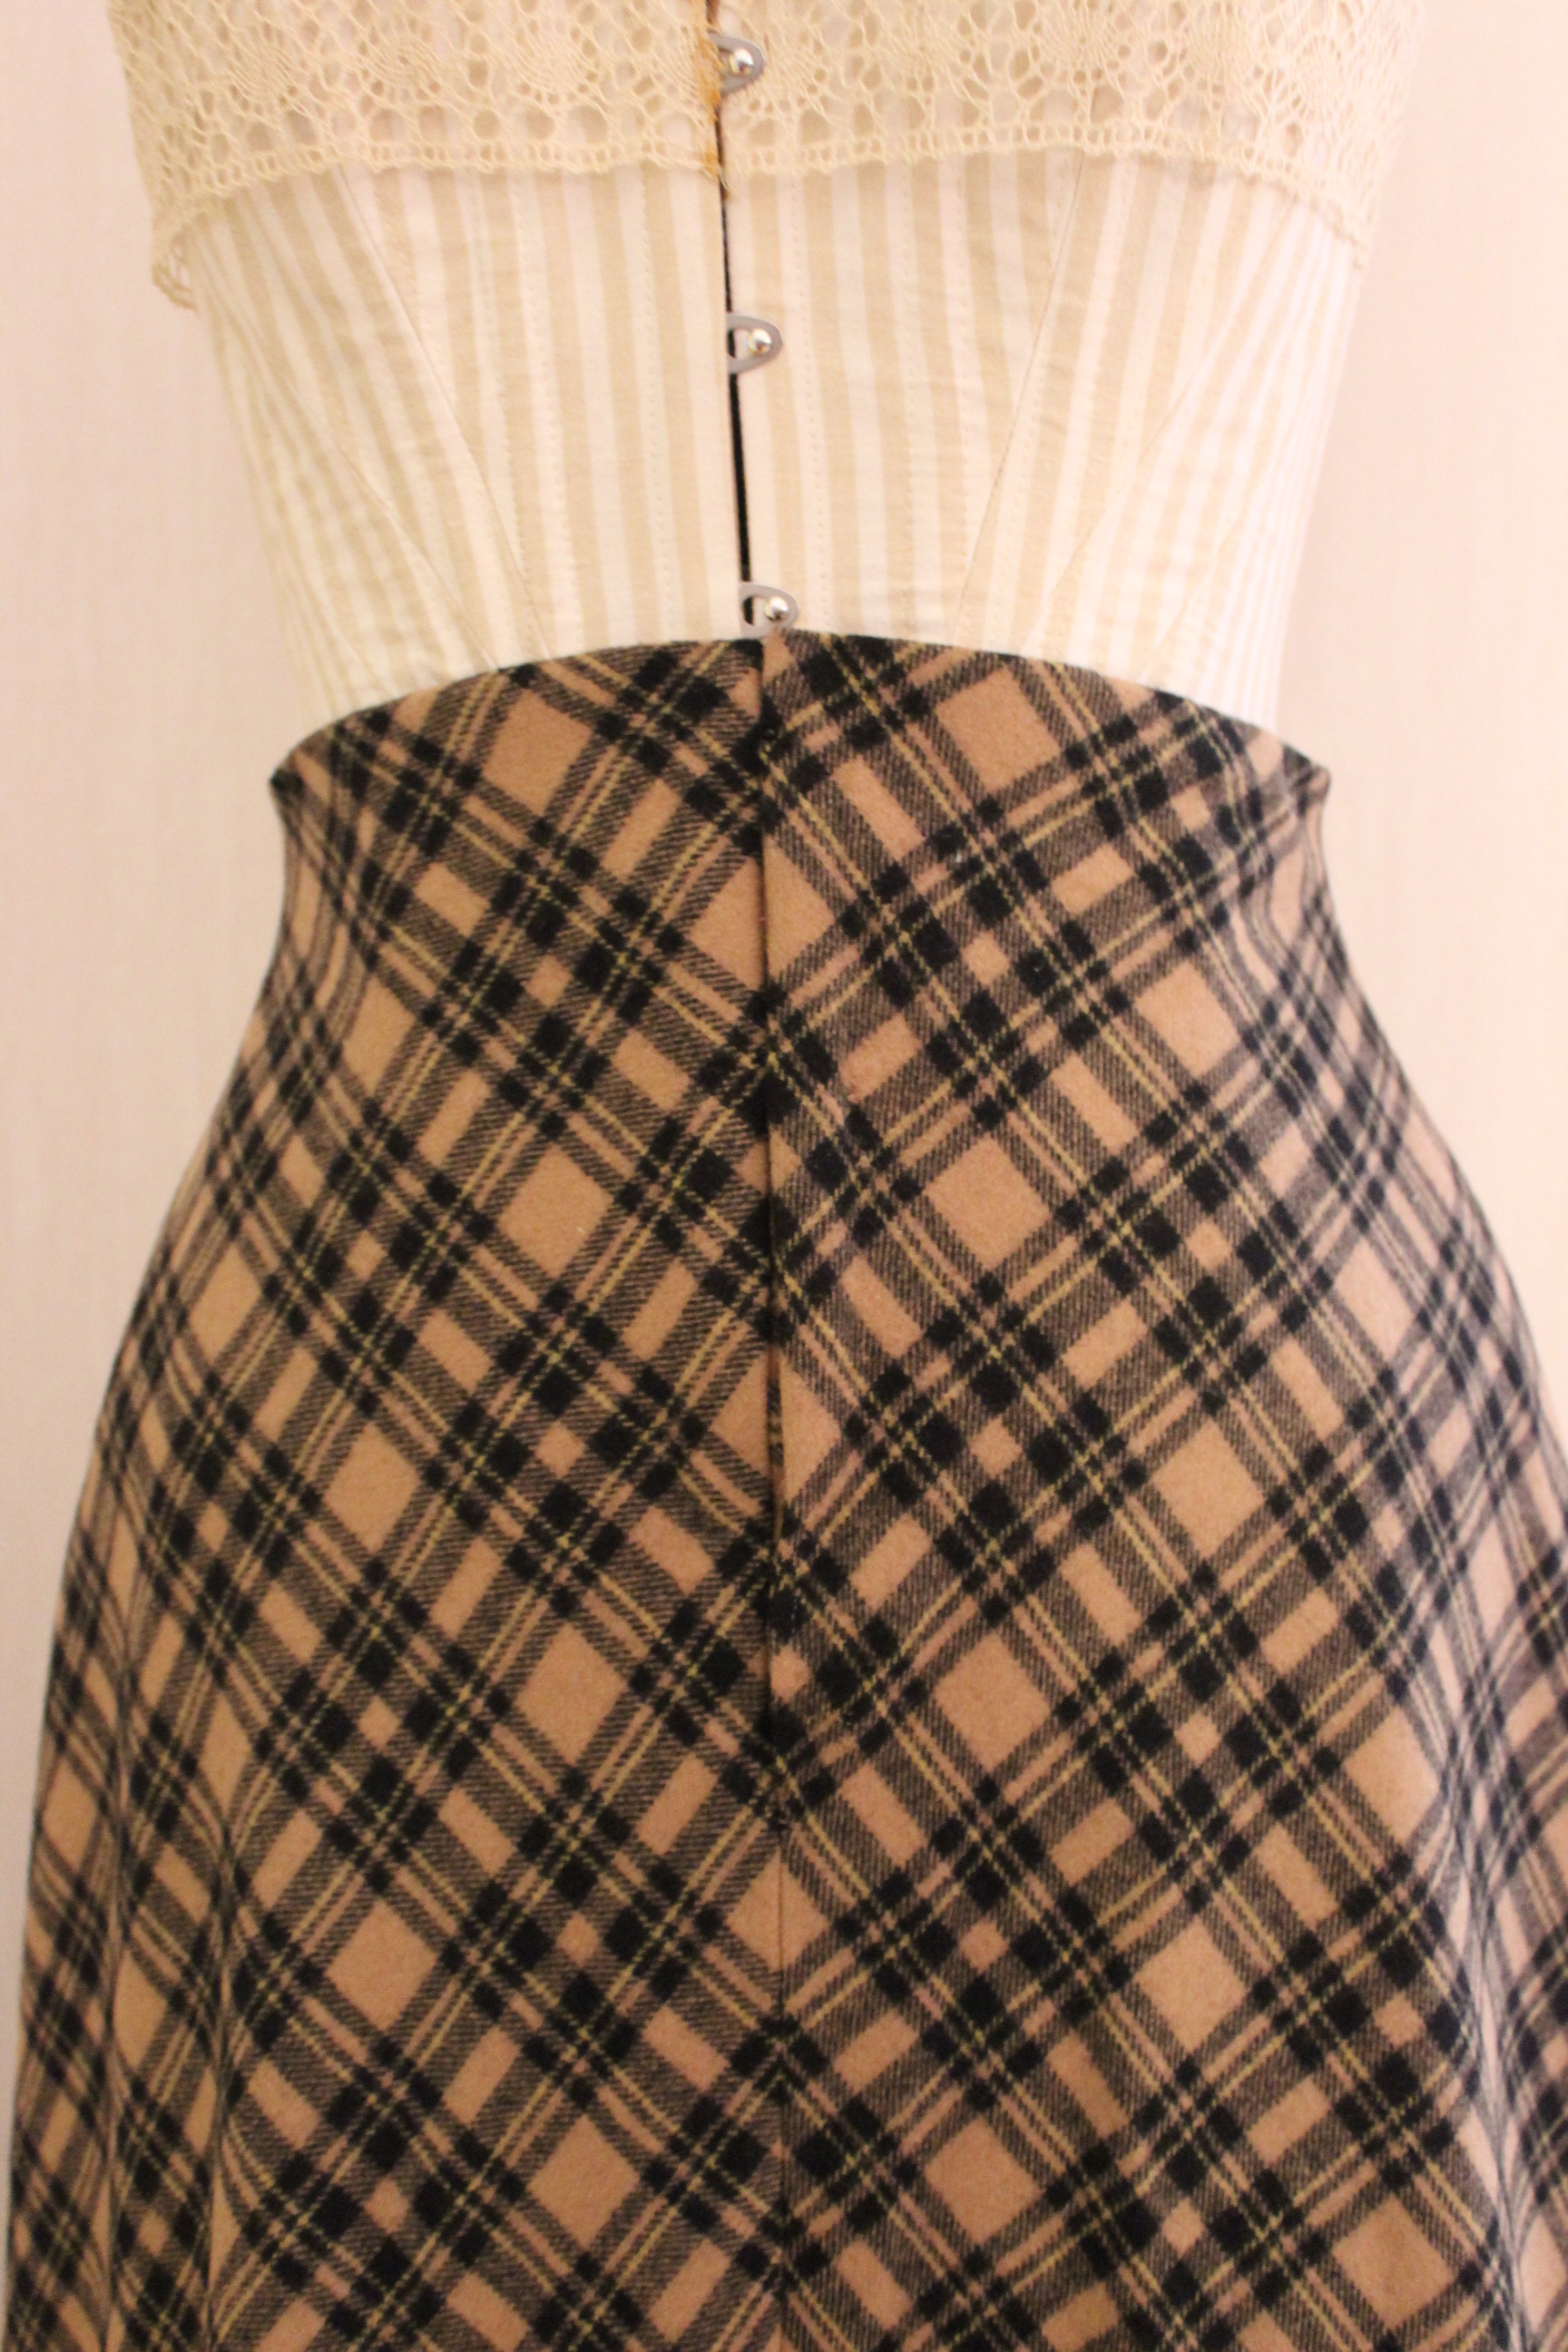
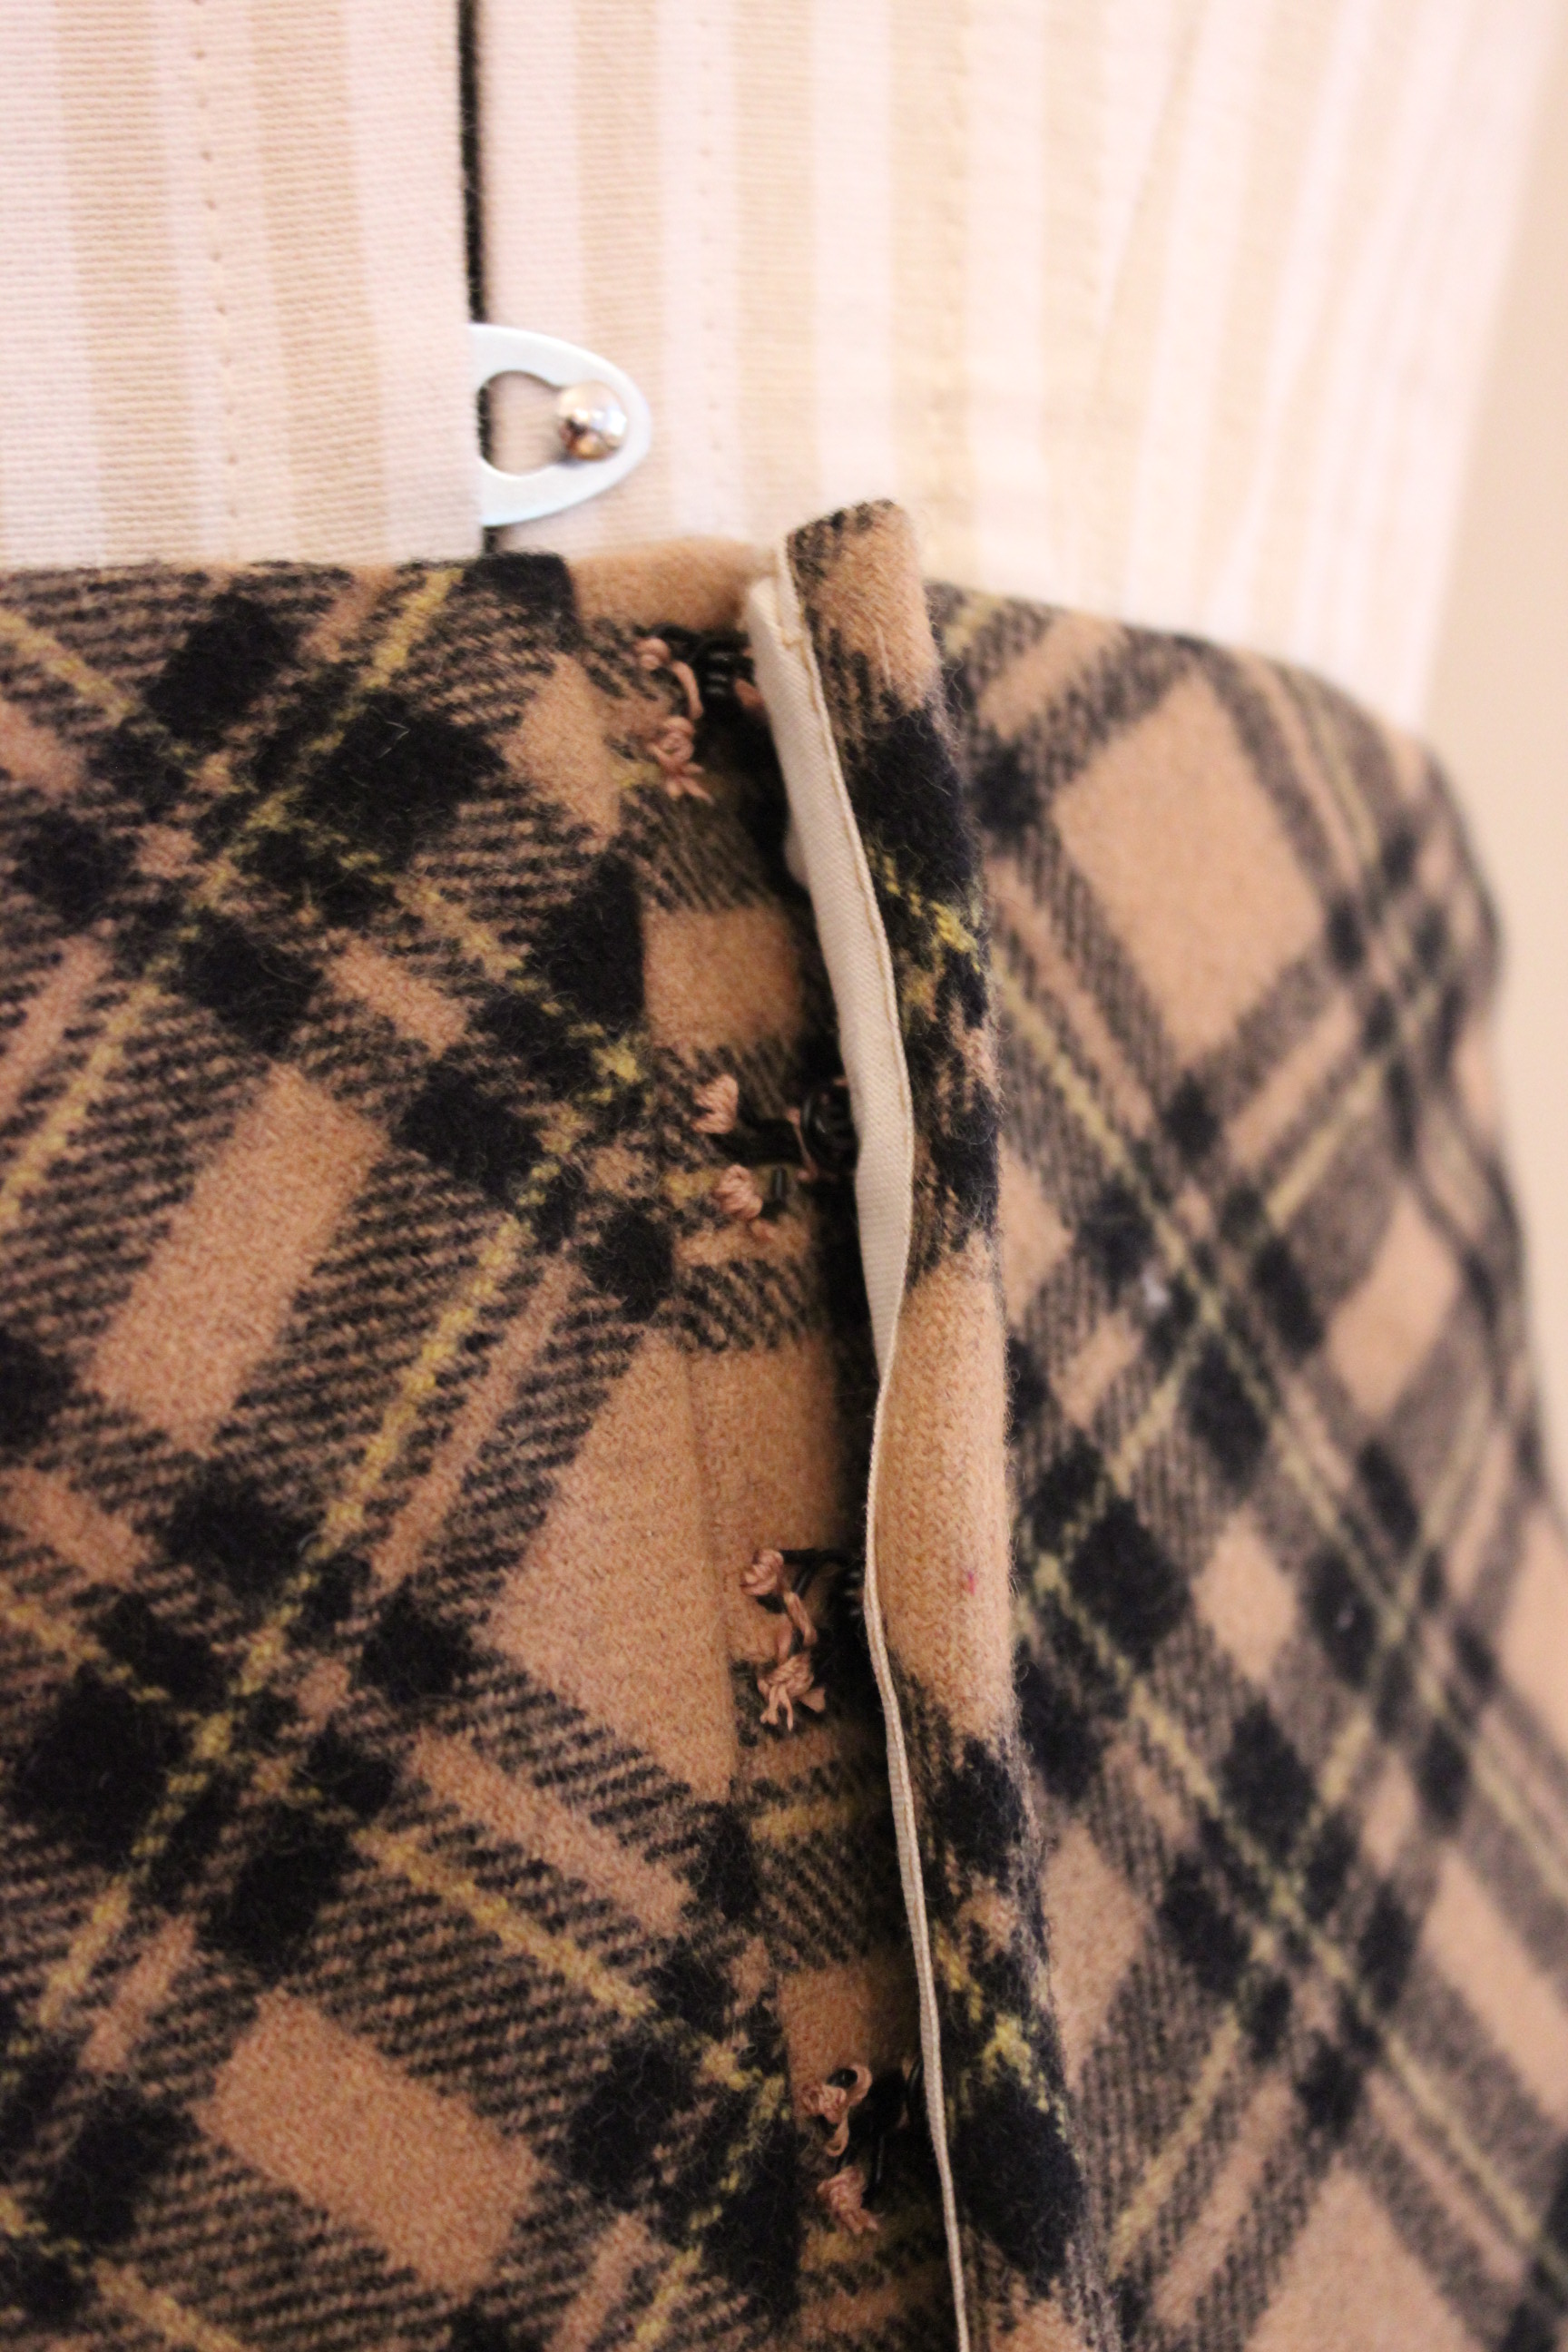
and a brown wool skirt for my sister.
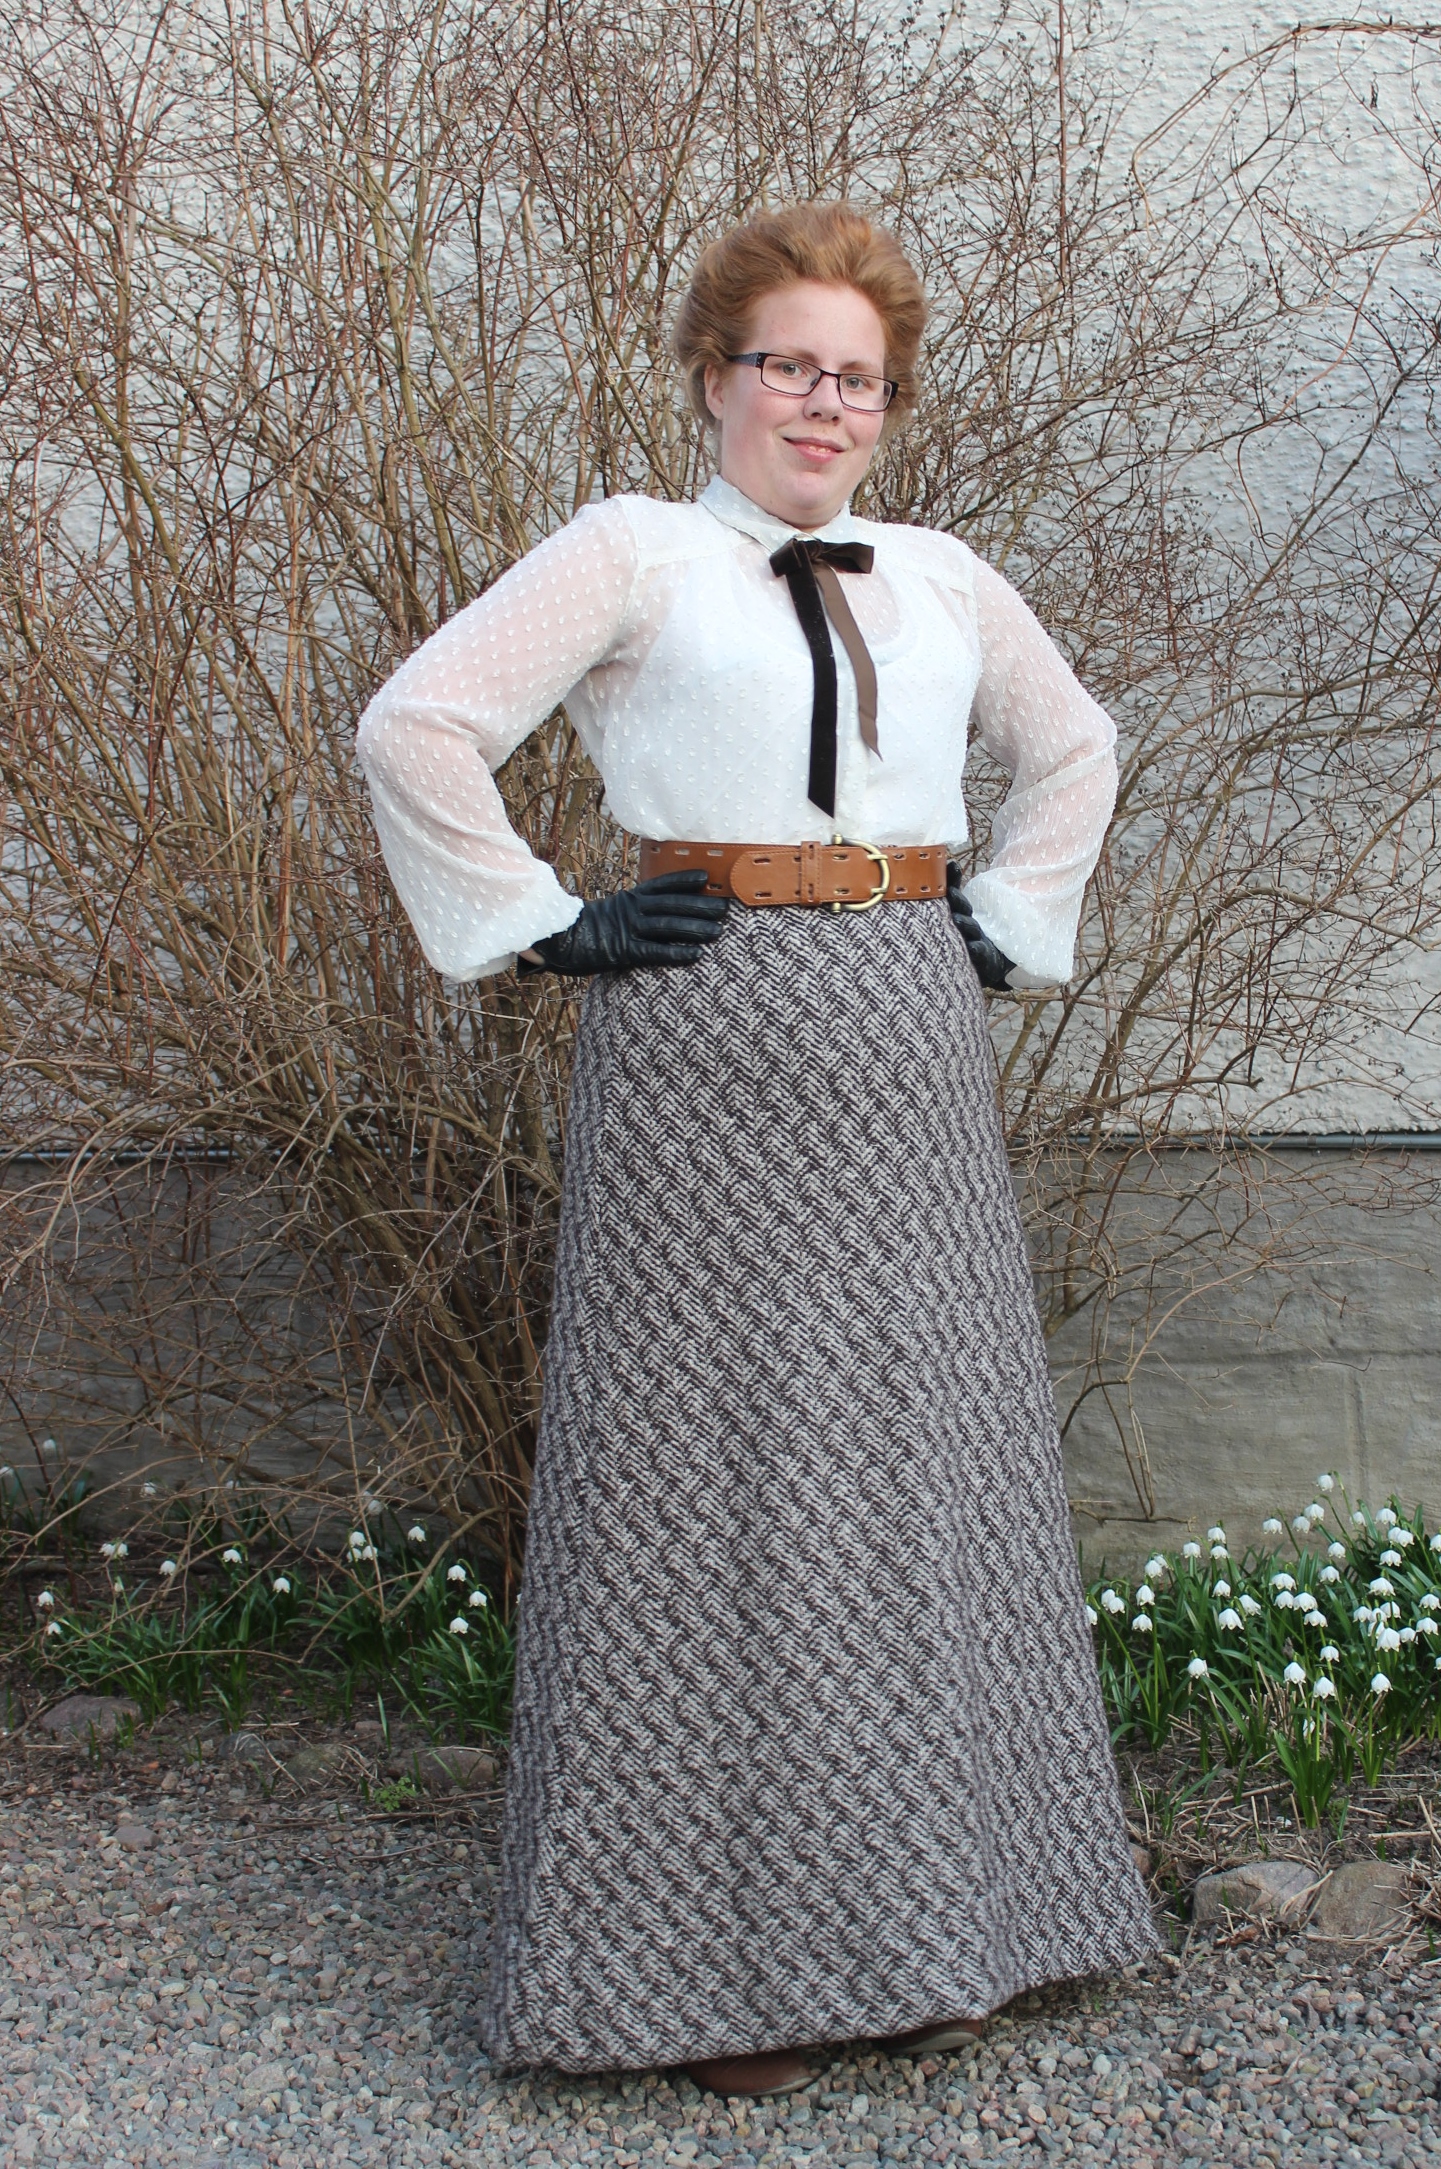
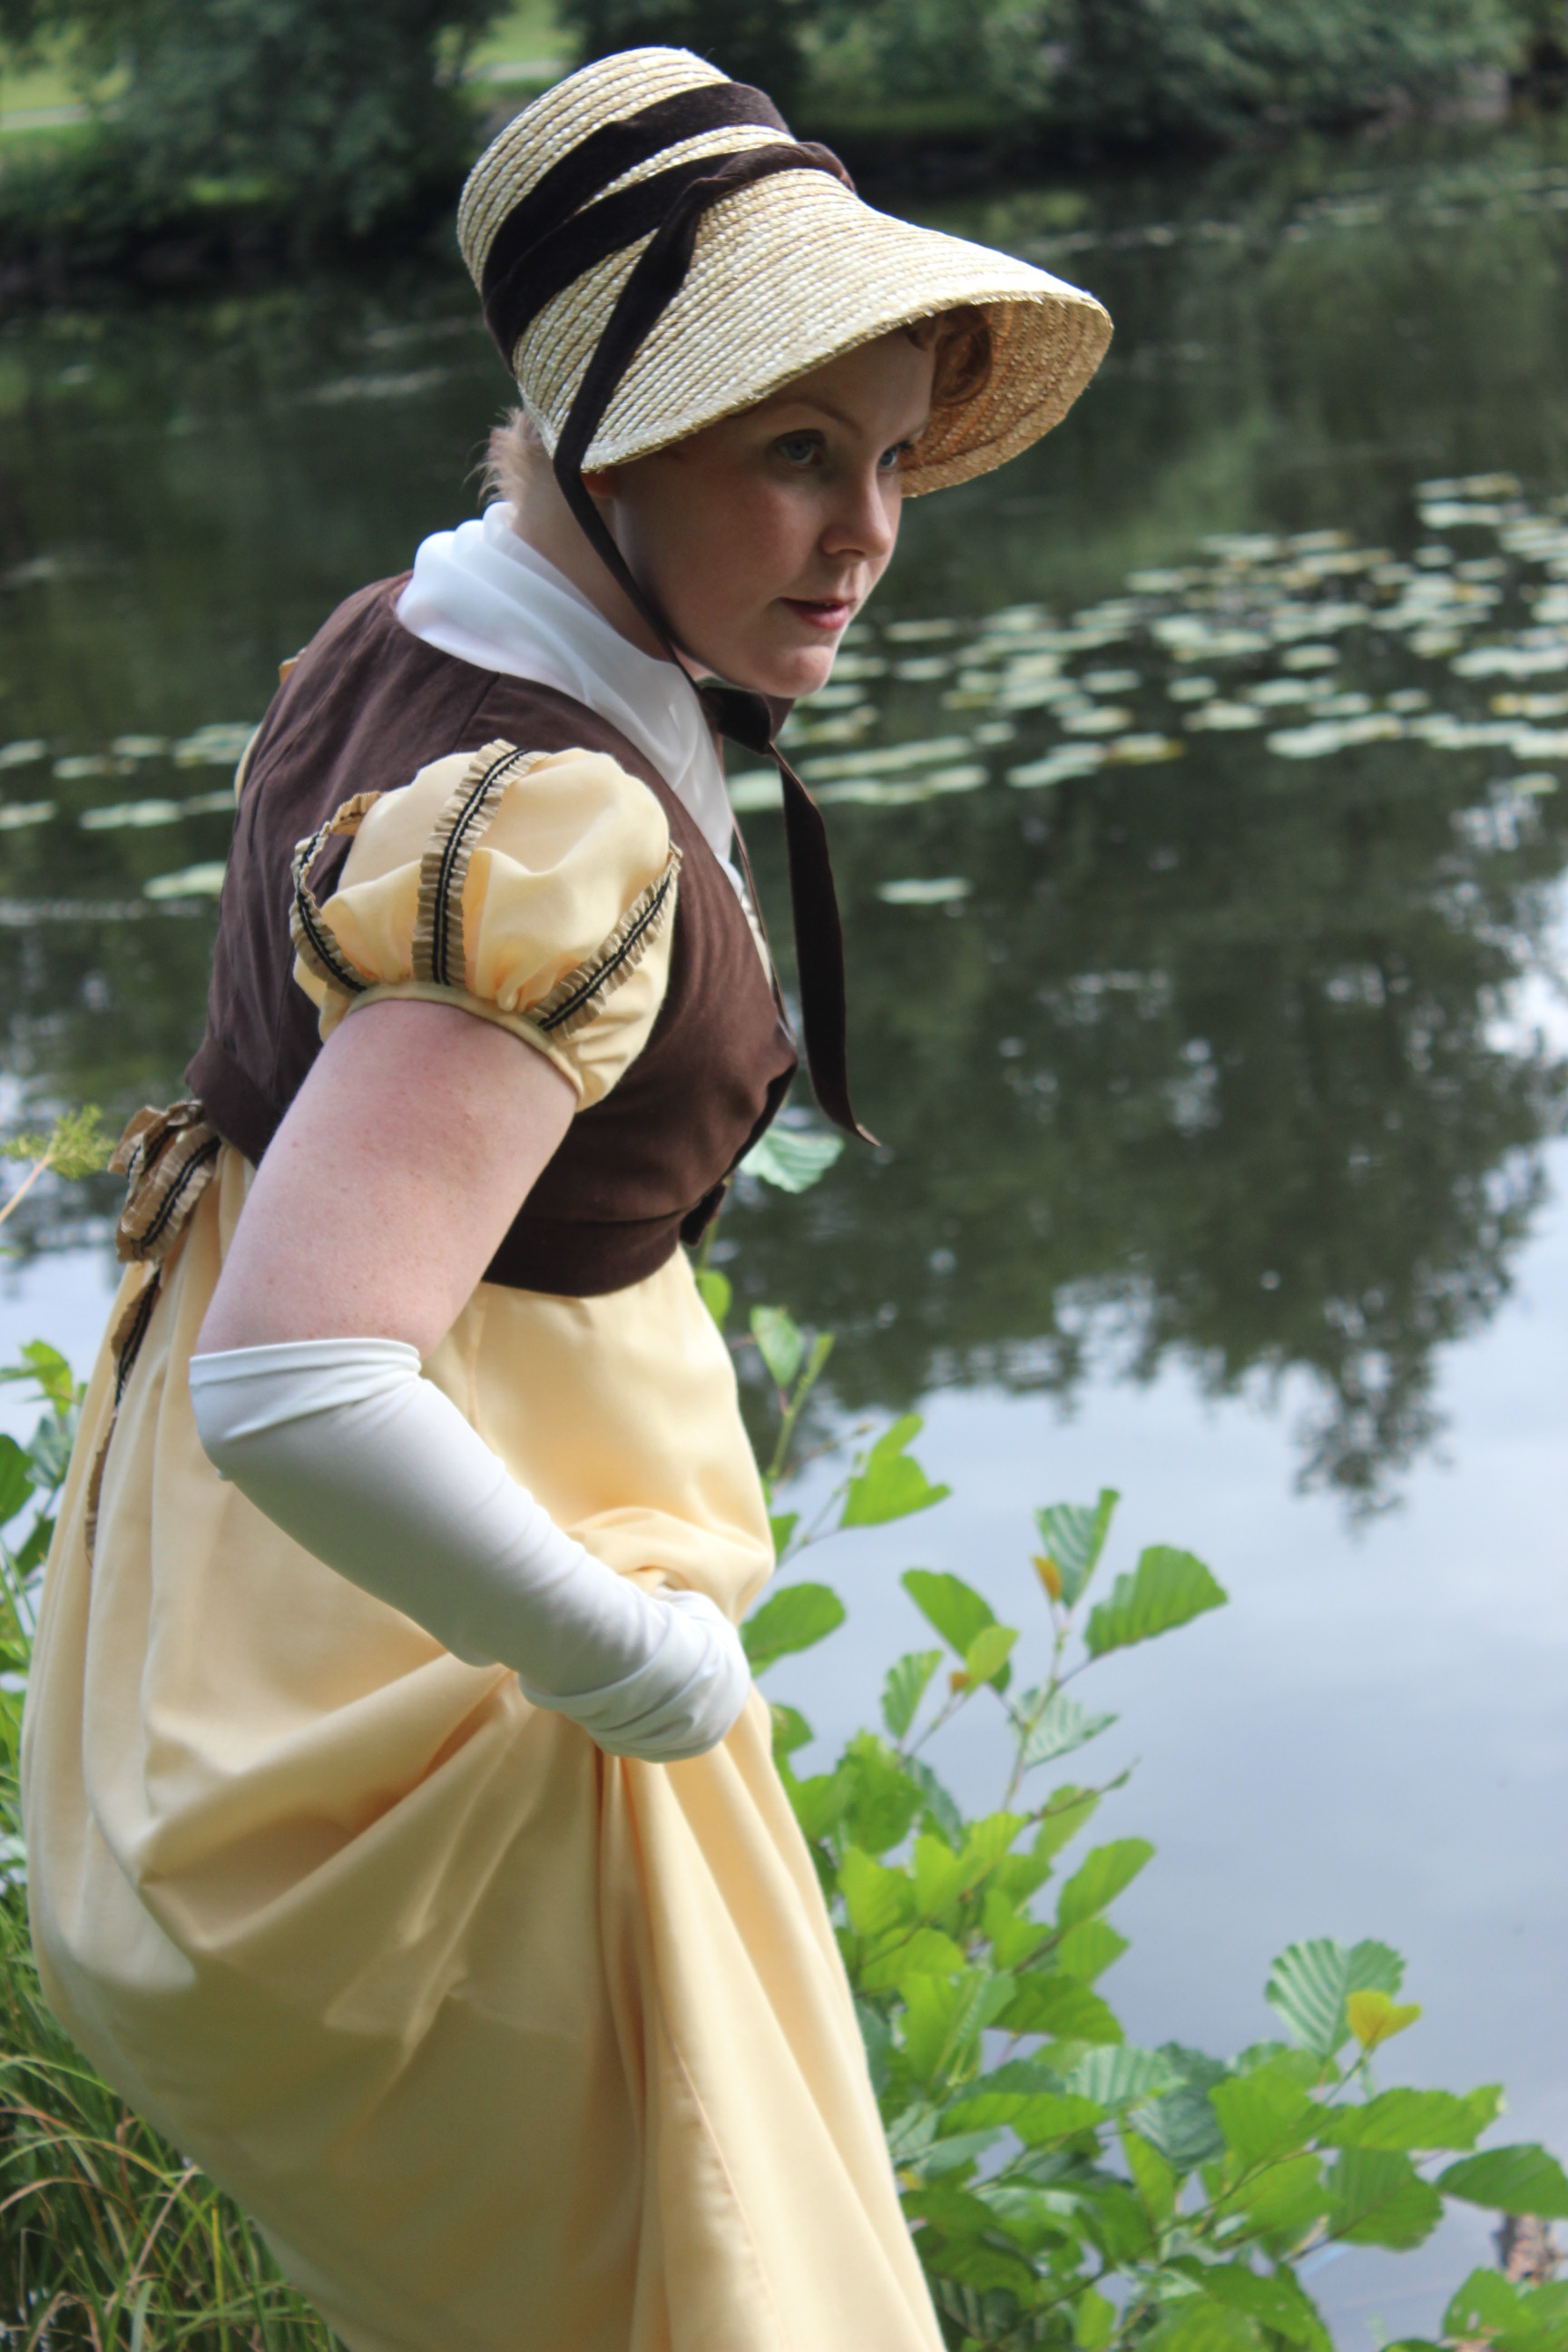
IMG_6203

April:

April came with spring, and I made a summery outfit for “Lady Mary” and the – War and Peace challengeIMG_4861

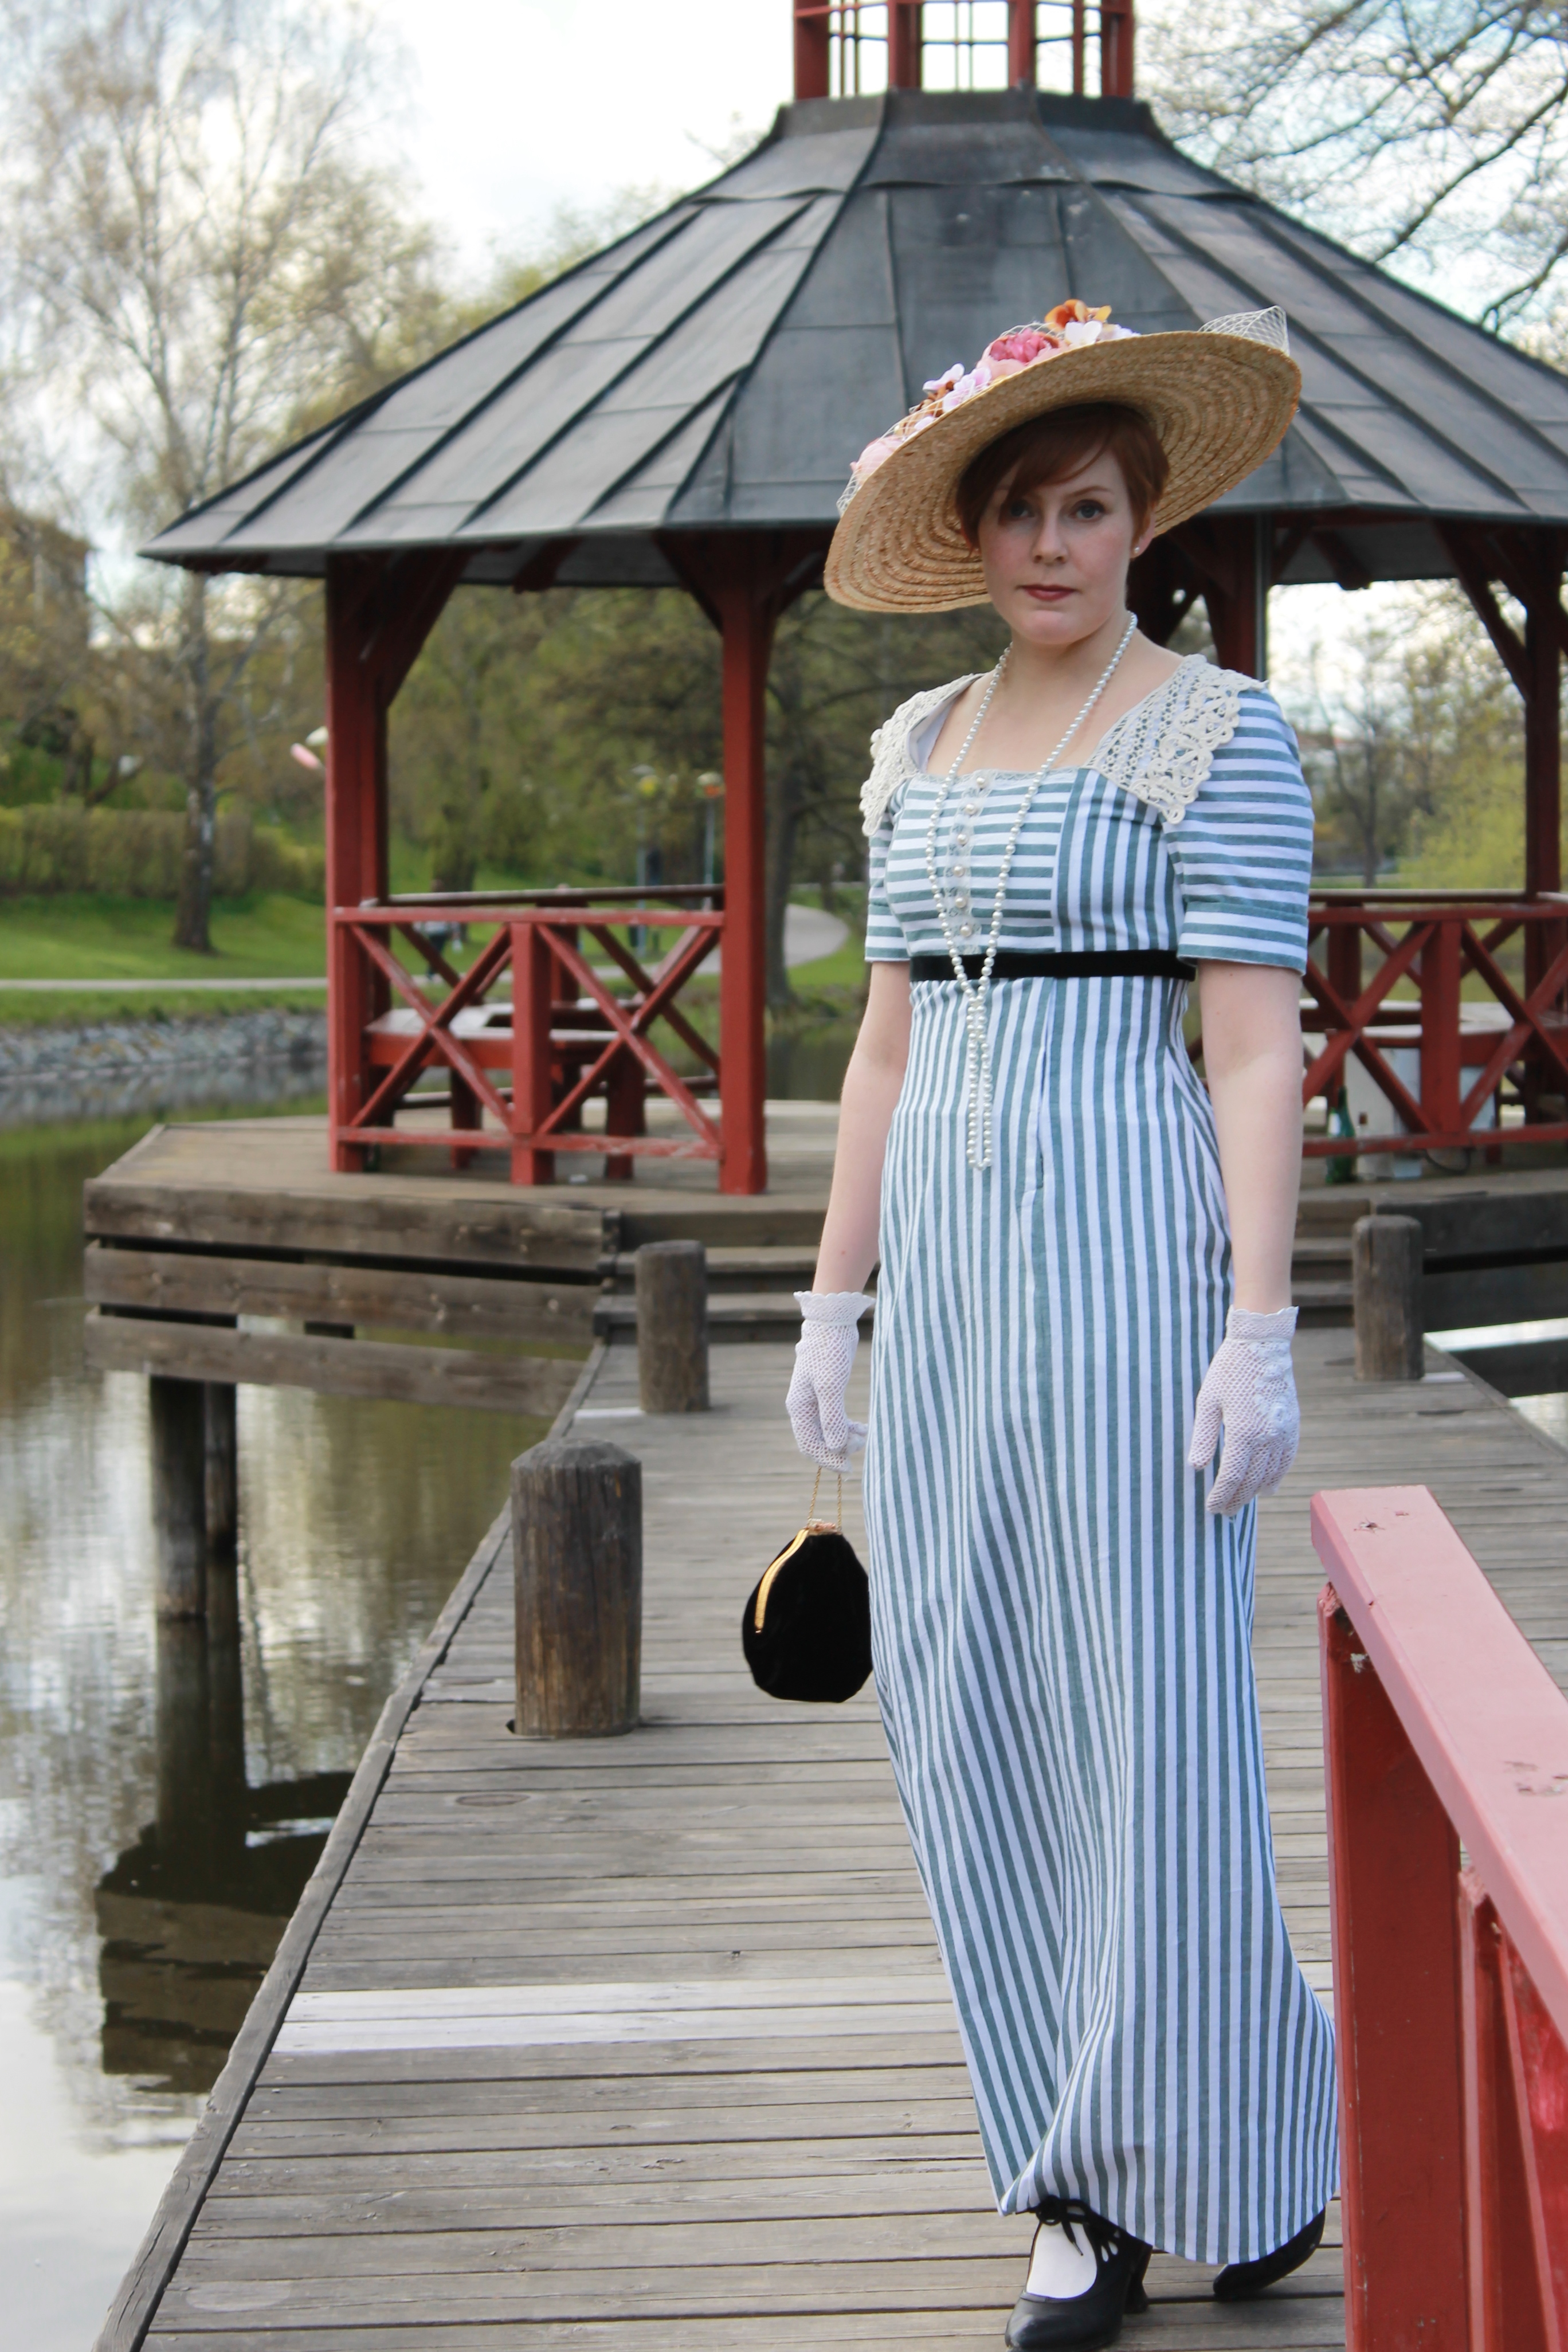
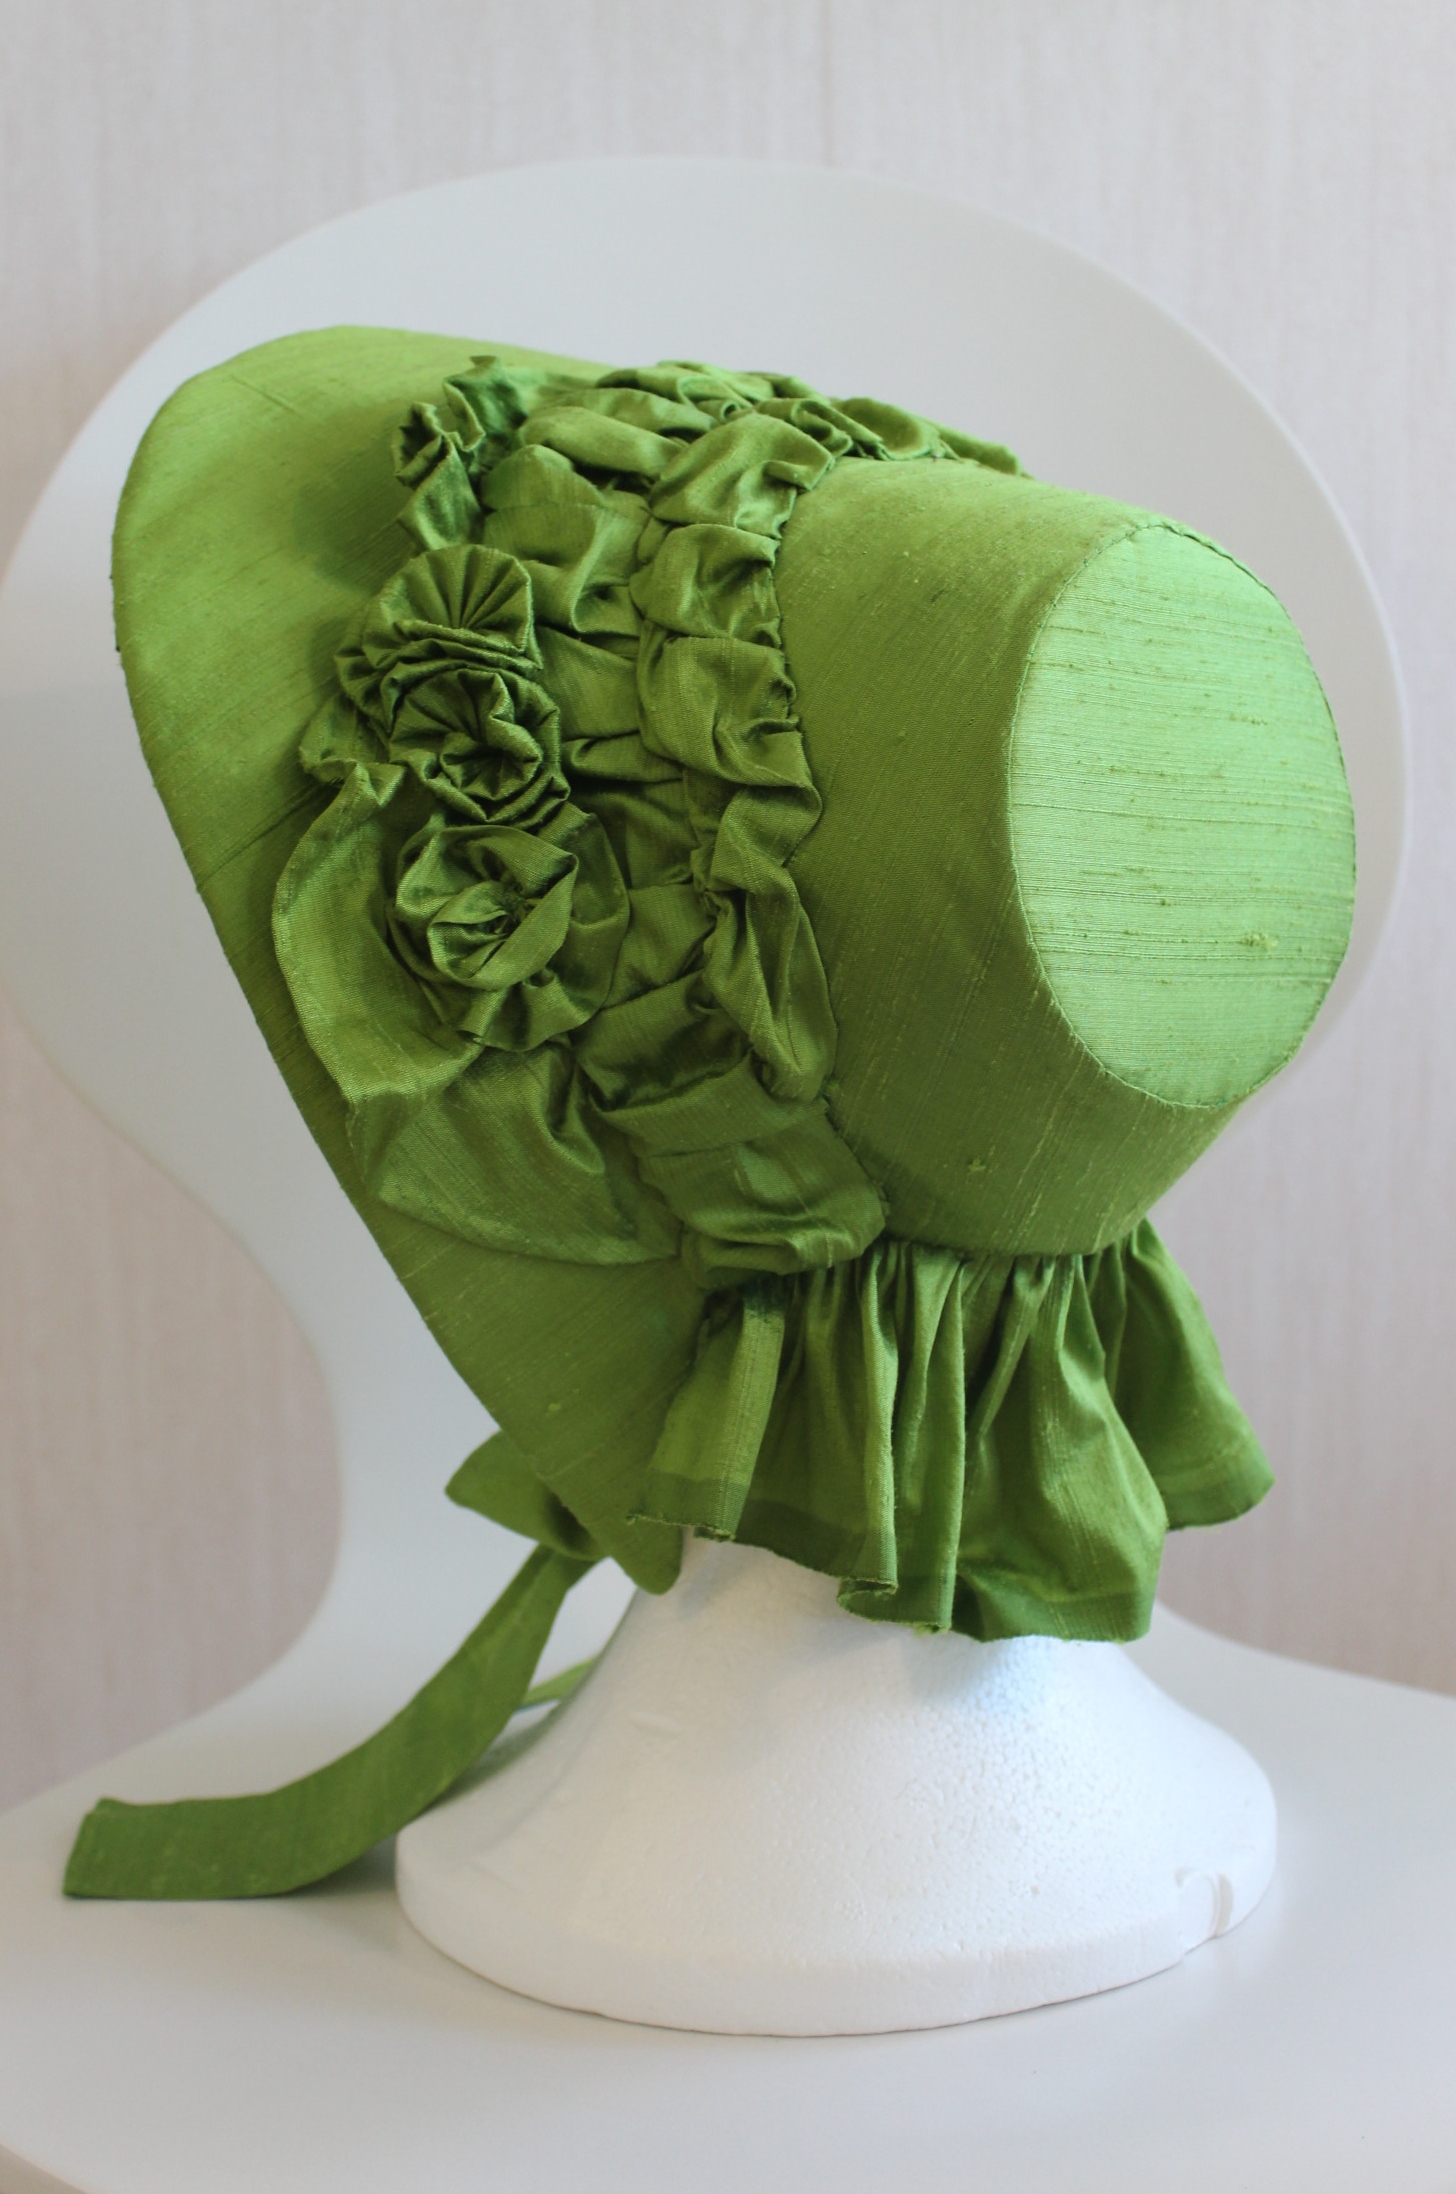
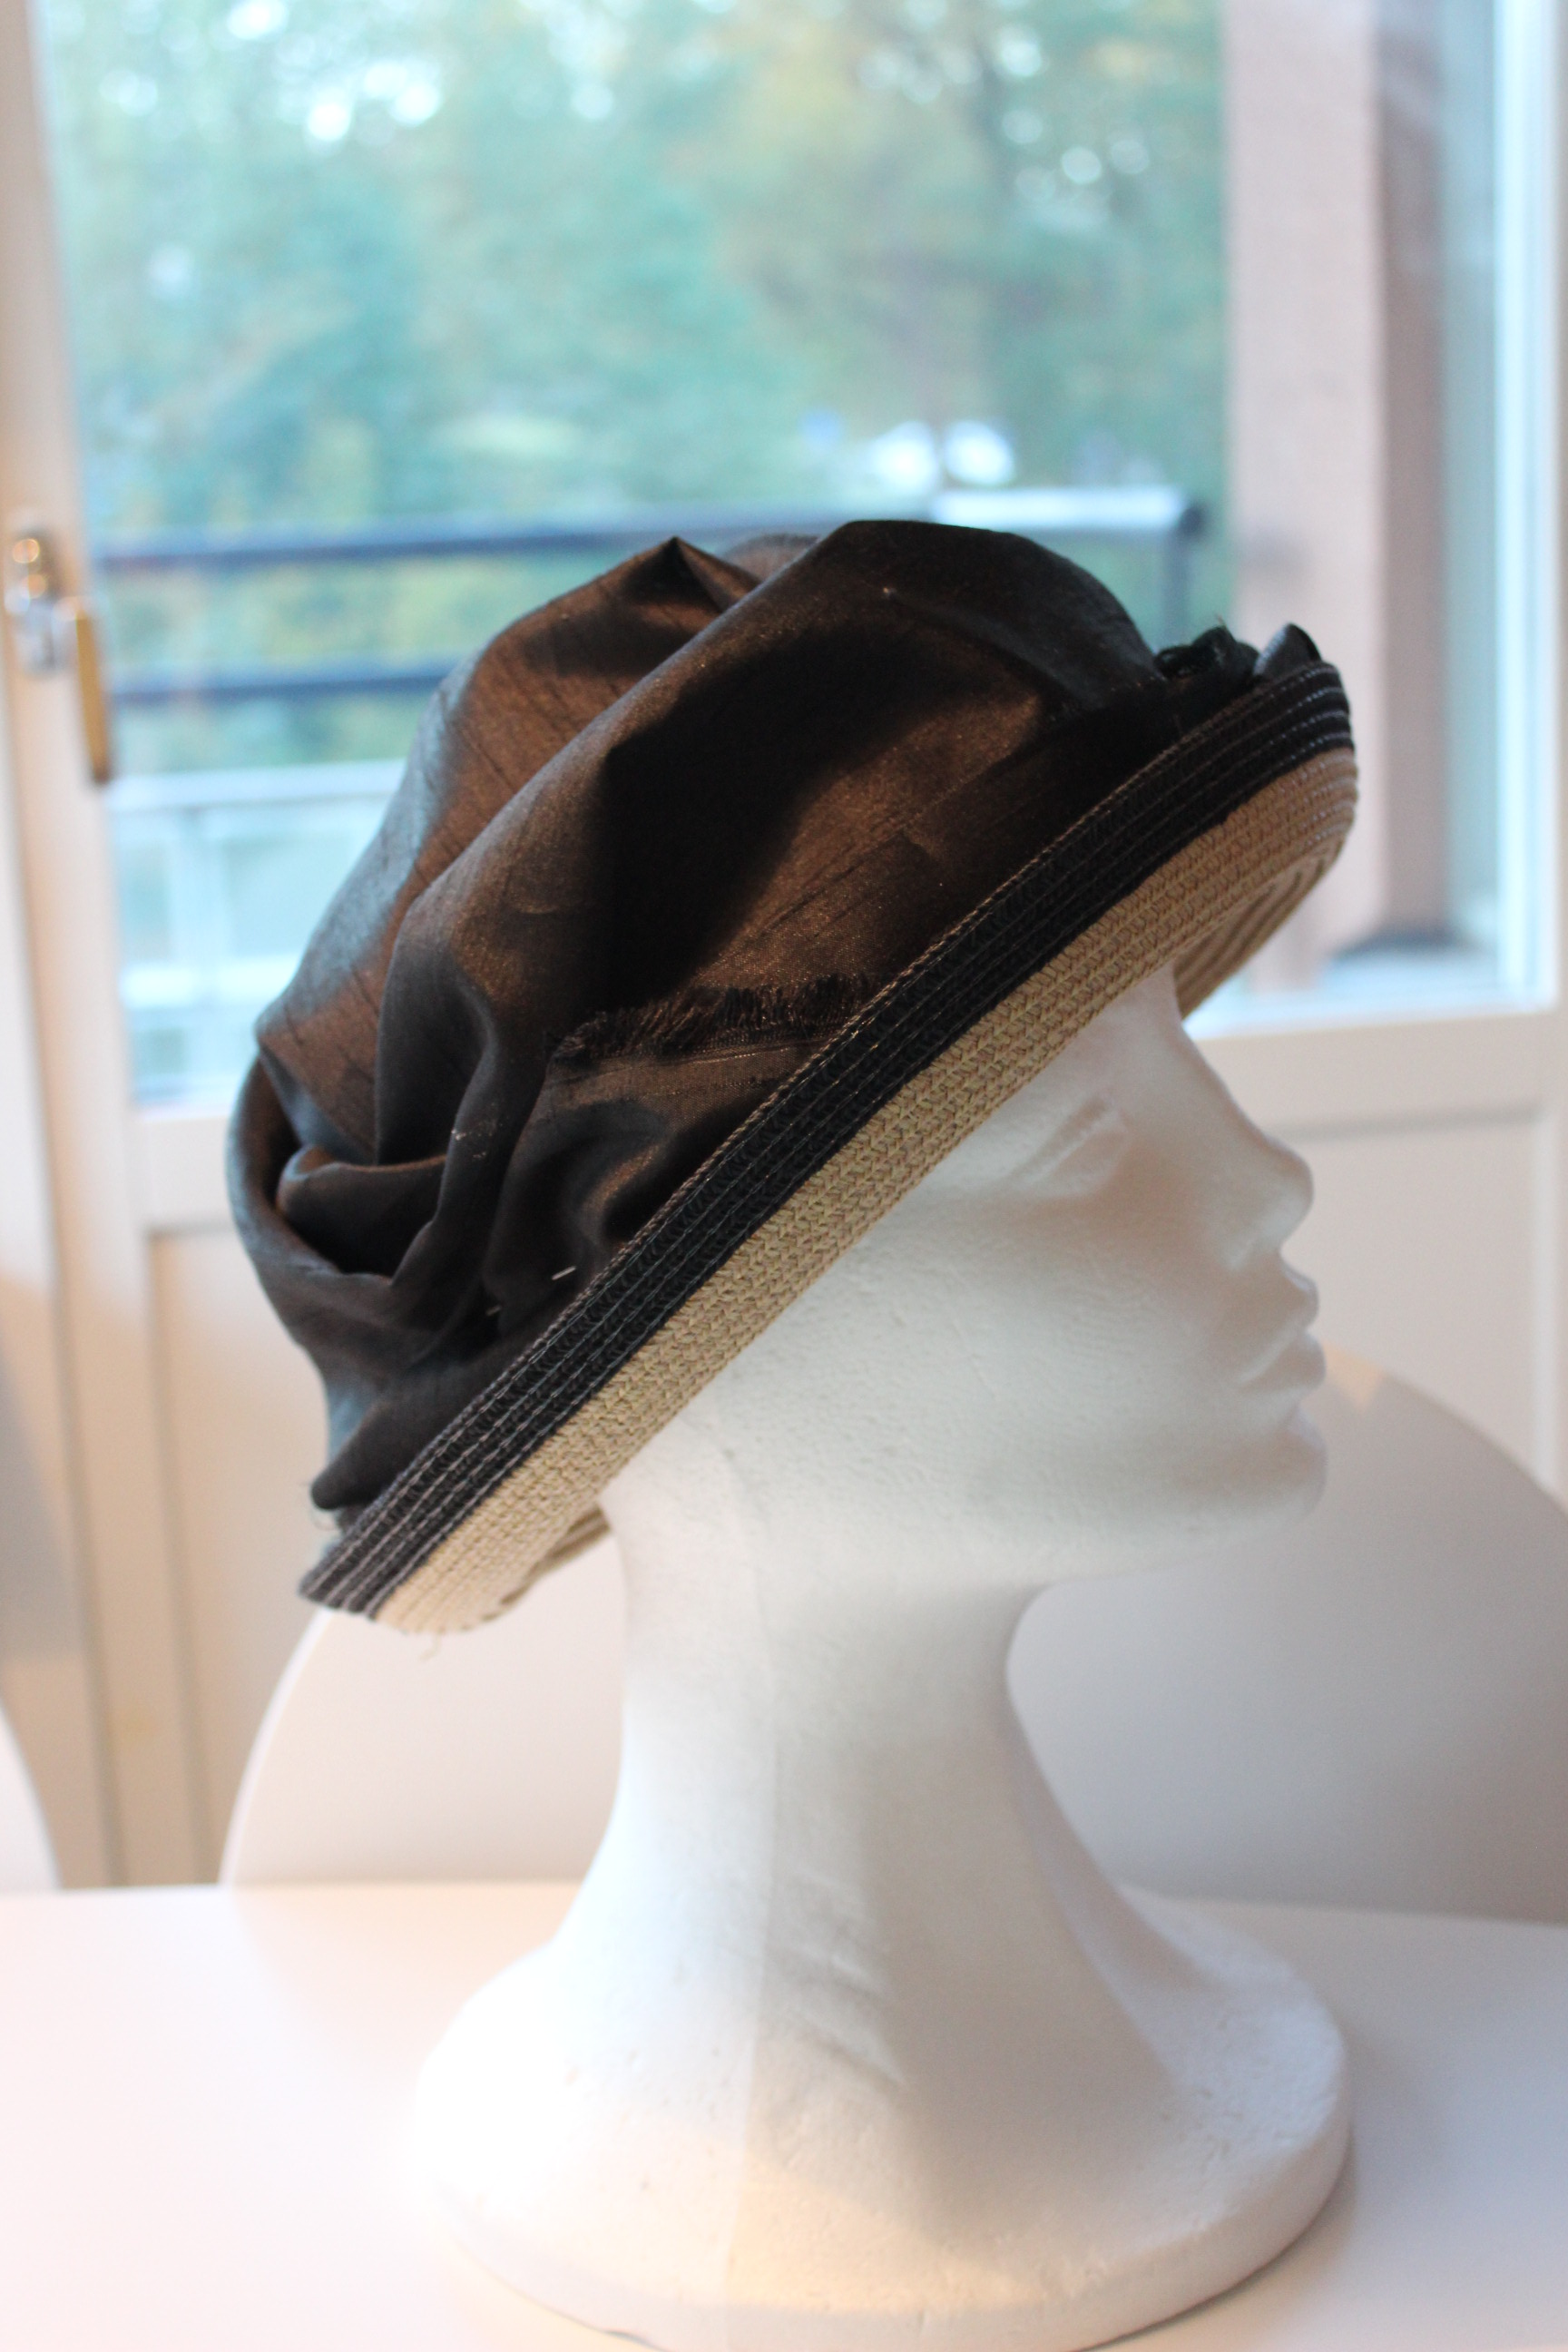
I also made a 1860s blouse and  1850s silk bonnet for a summer event.
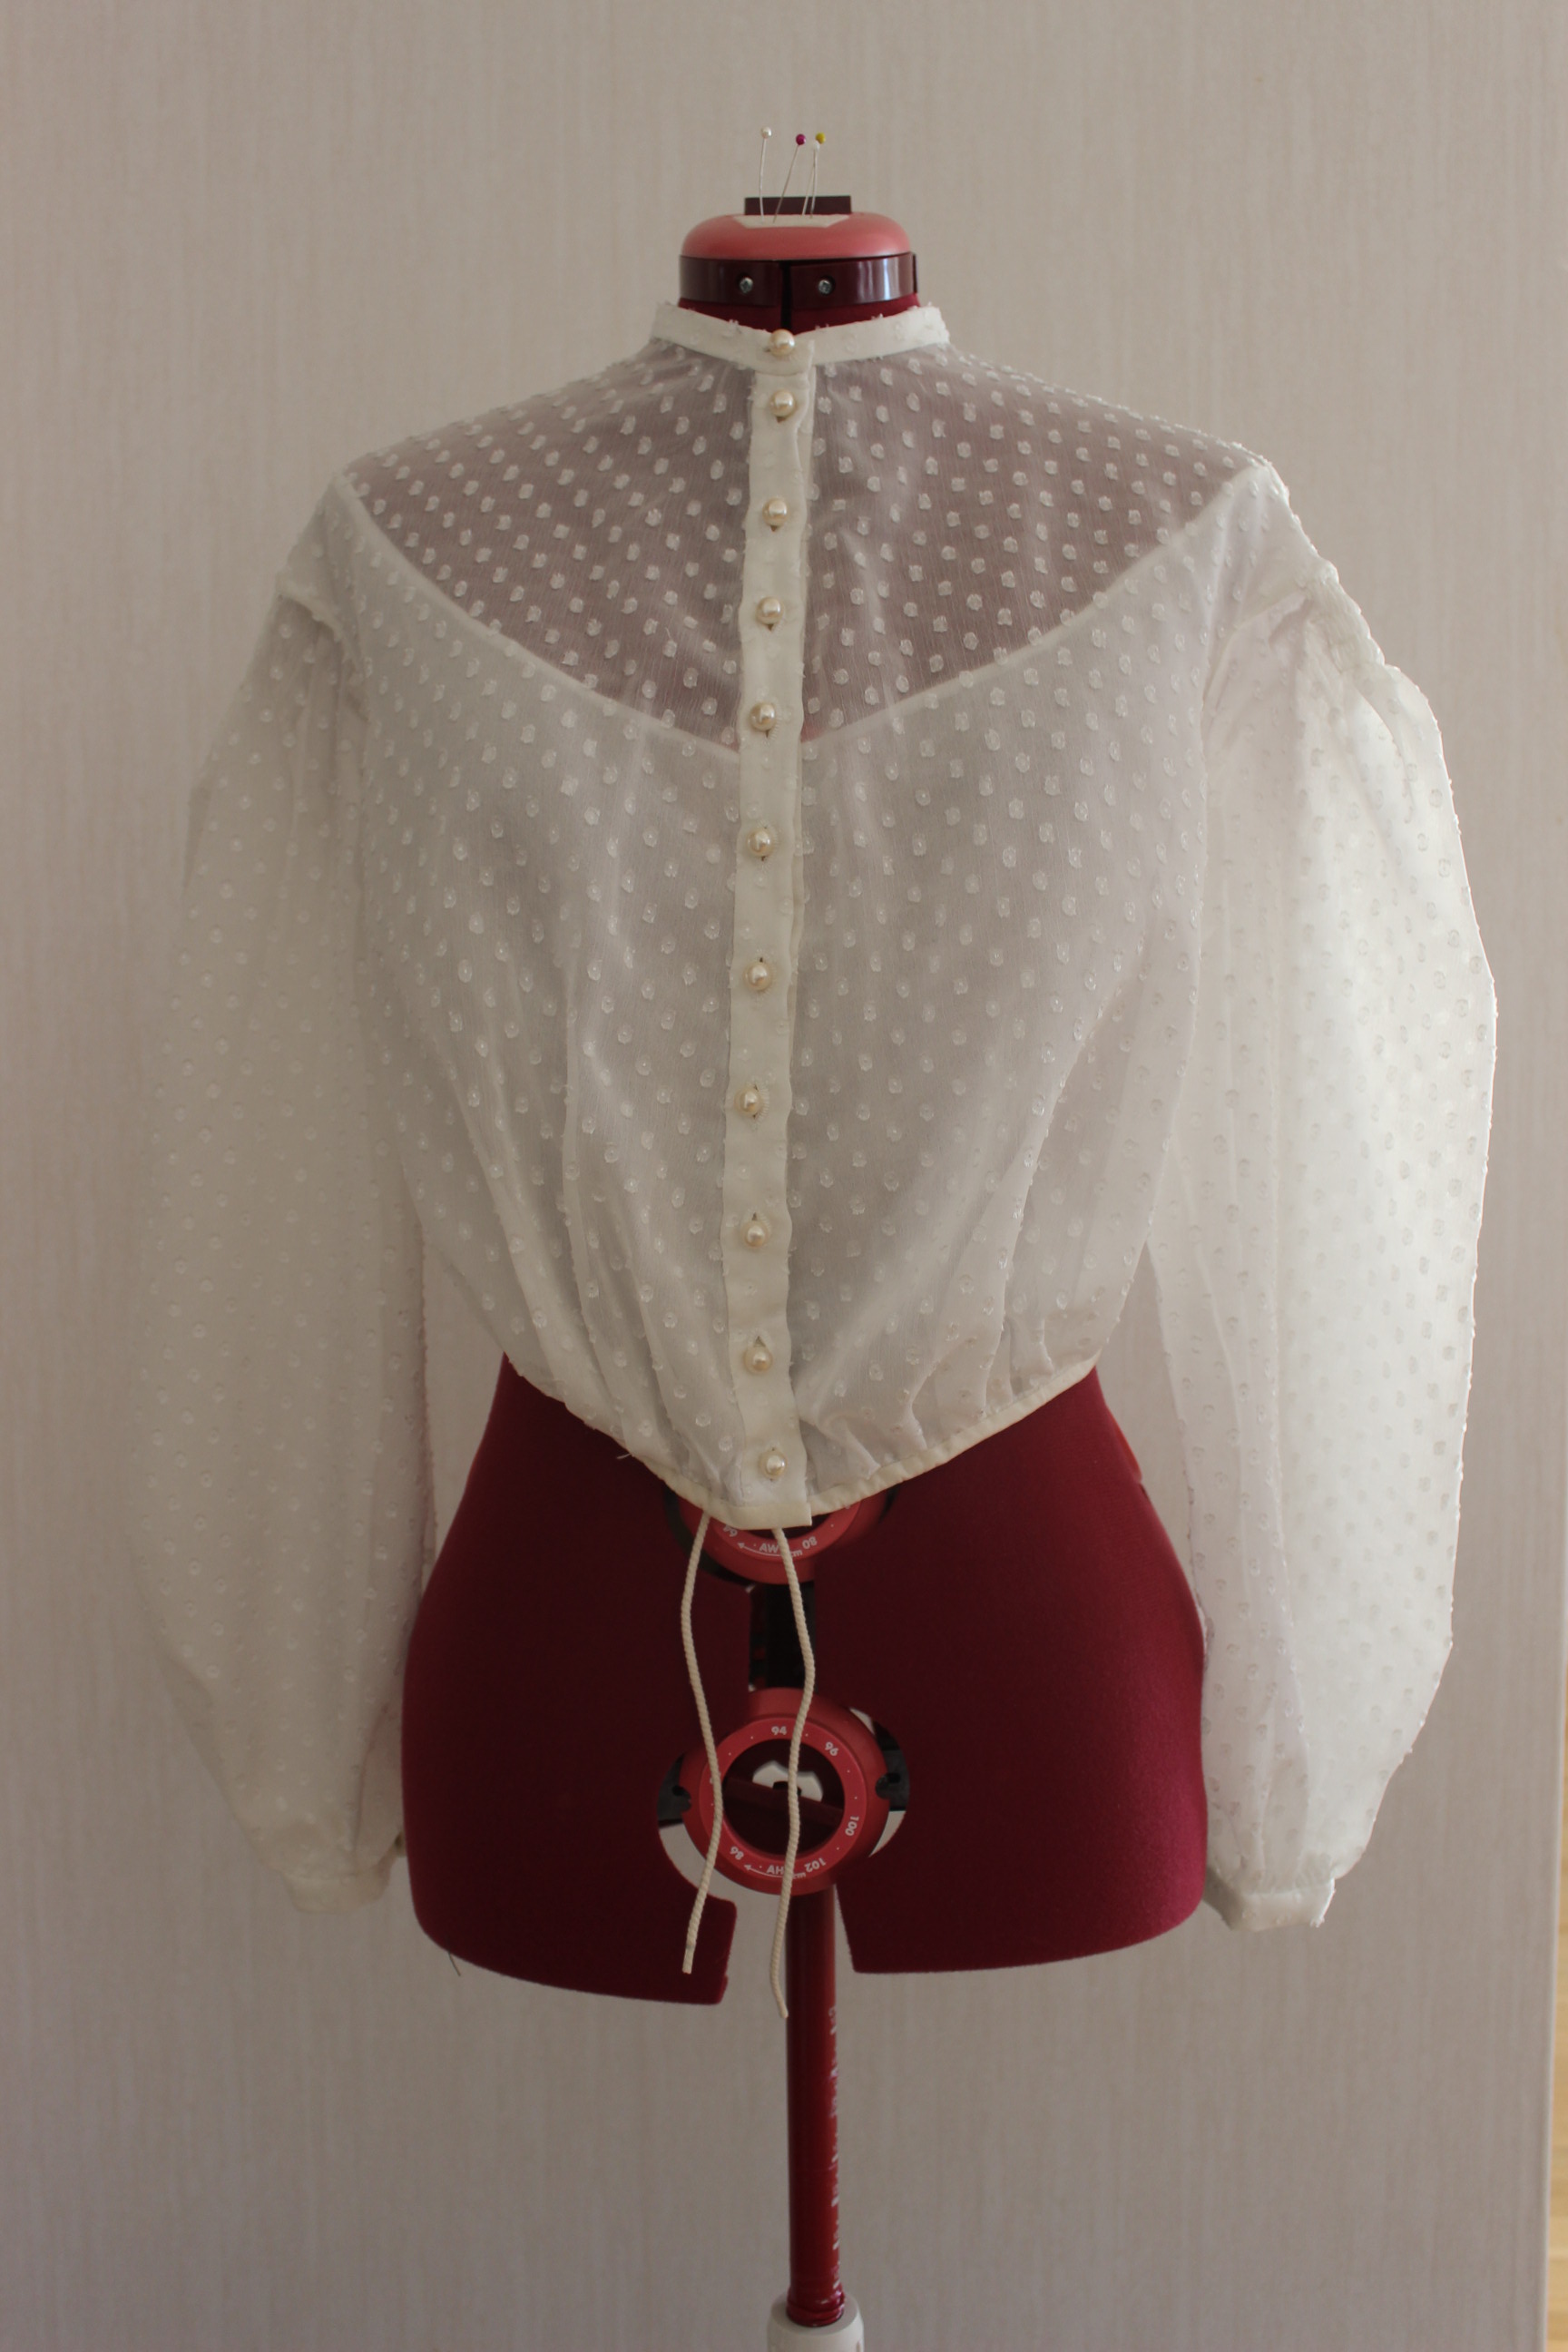
IMG_6304IMG_6729

May:

In May I made a cotton blouse for the – Practicality challenge and then a skirt, hat and belt to go with it.
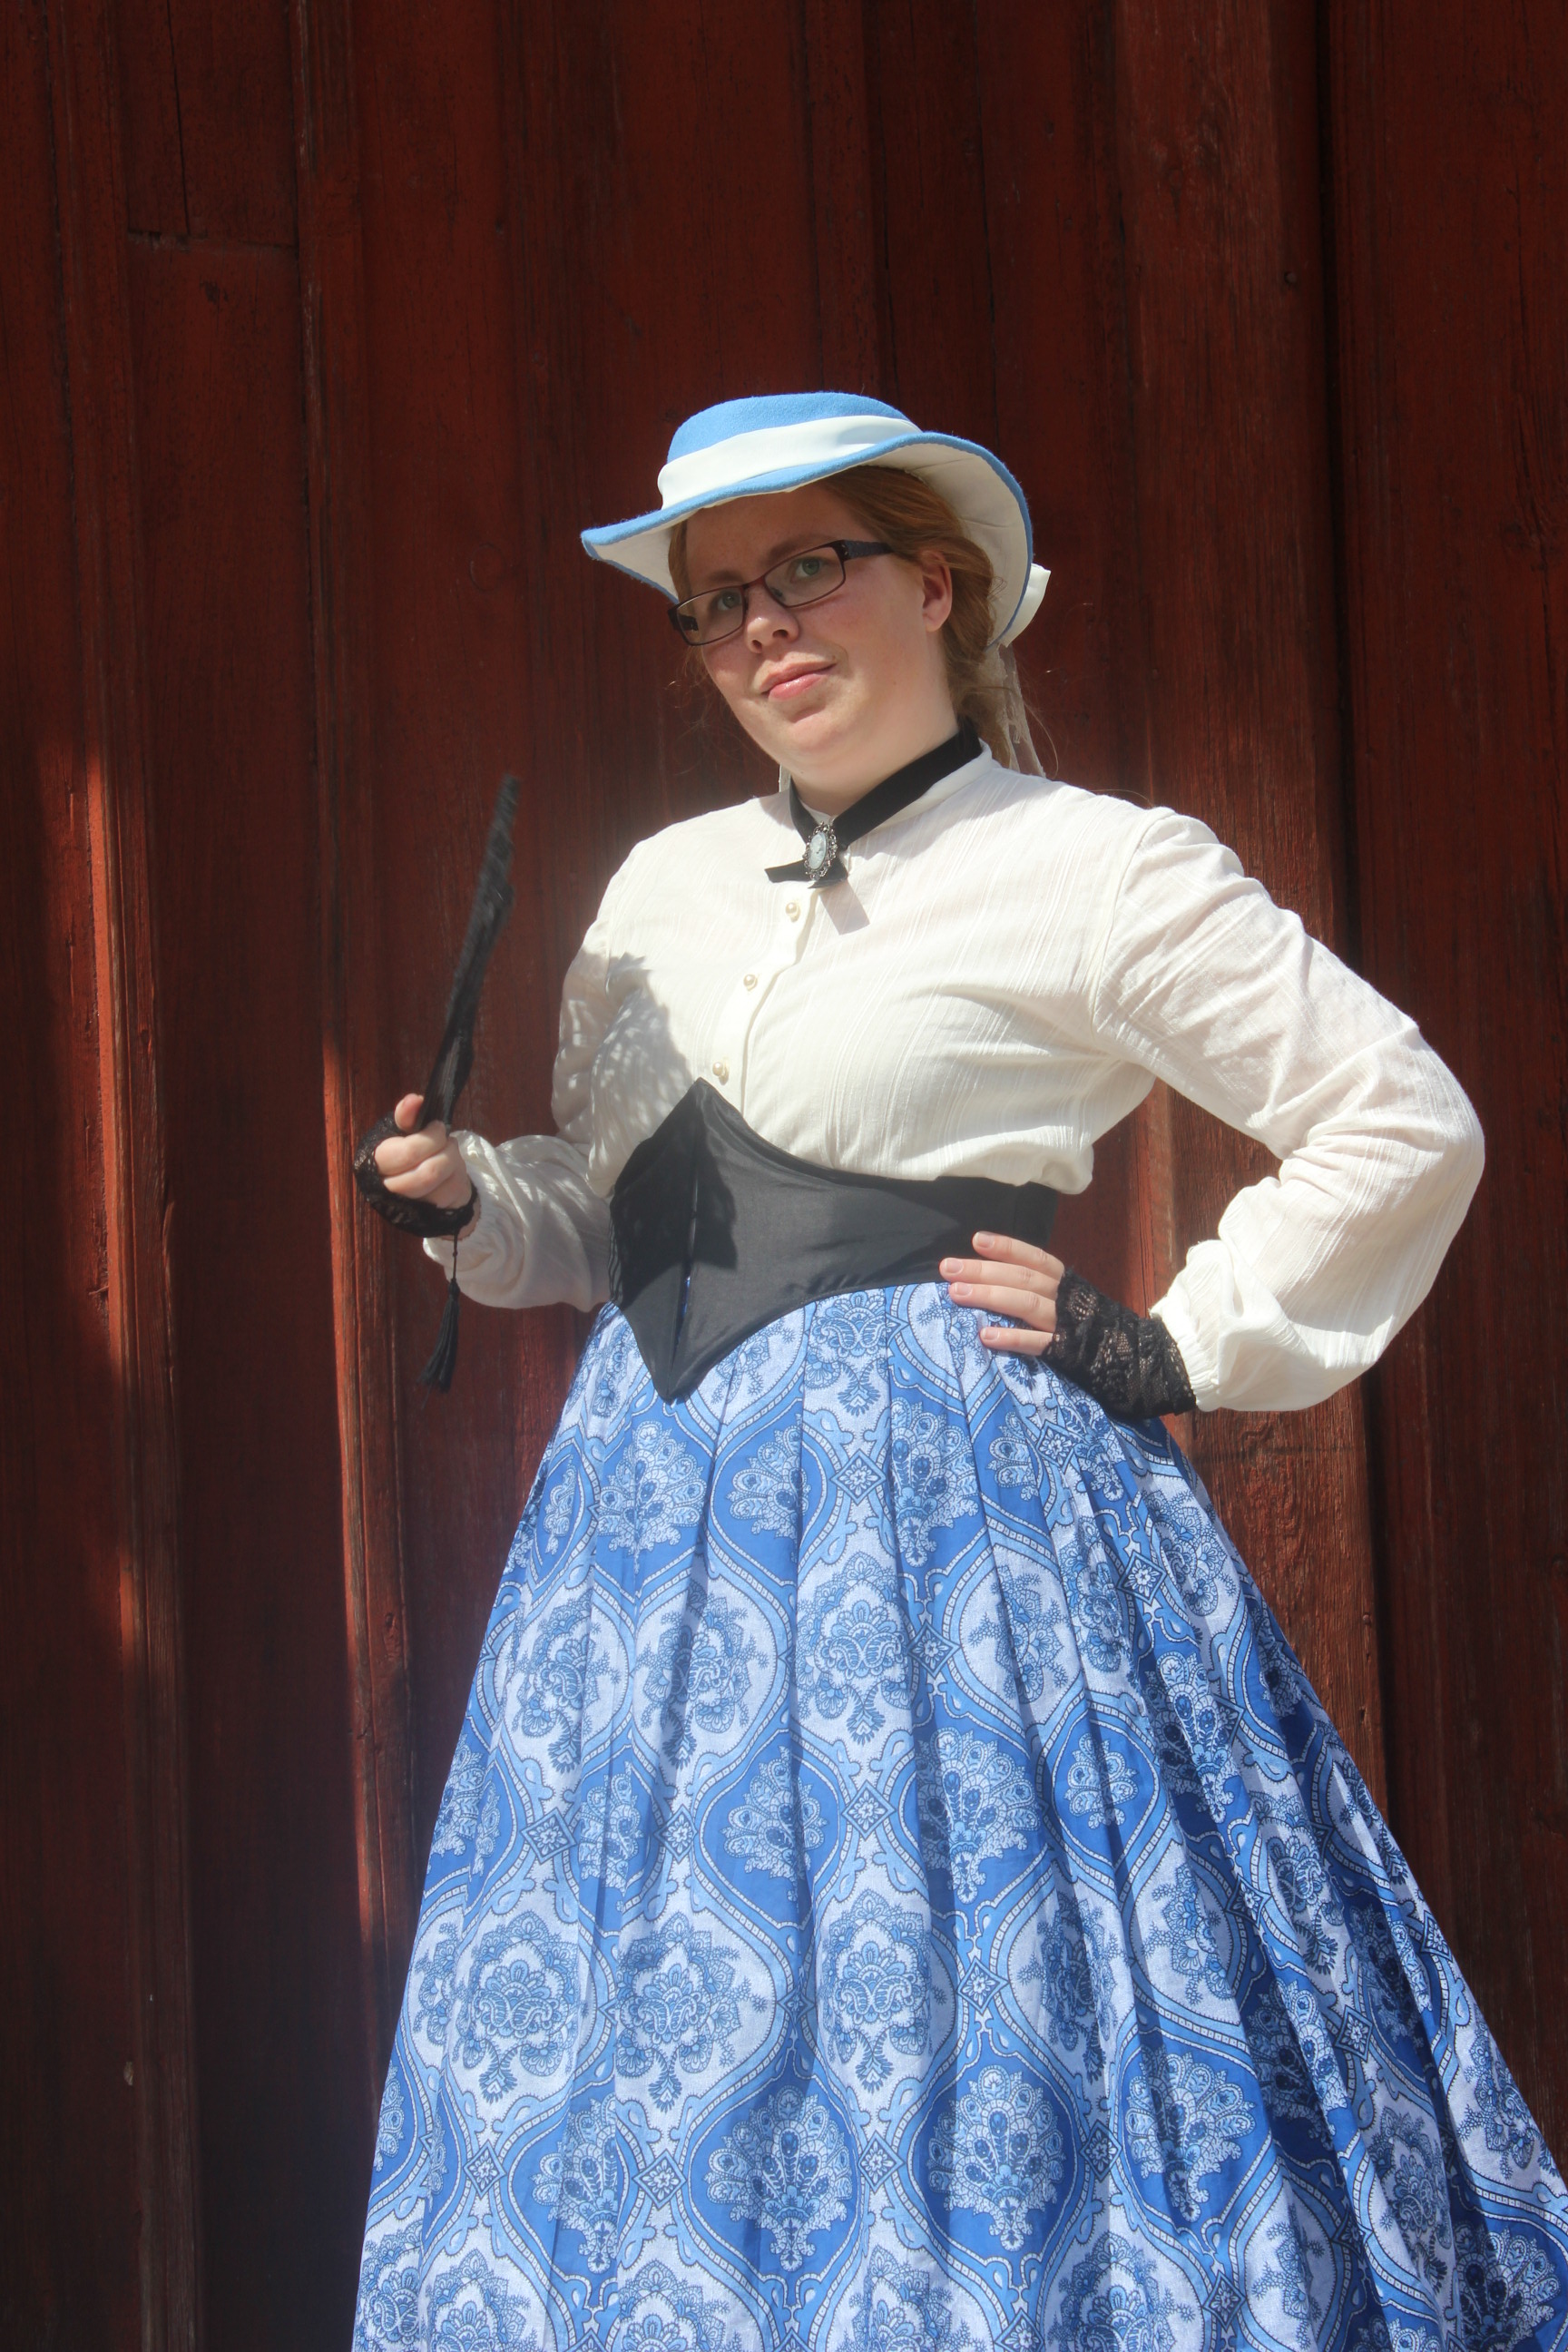
IMG_6963

June:

In June I scrambled to finish my 1850s plaid summer dress in time for an event. IMG_7059

Then I had some fun designing and making a crazy 18th(ish) century masquarde costume.
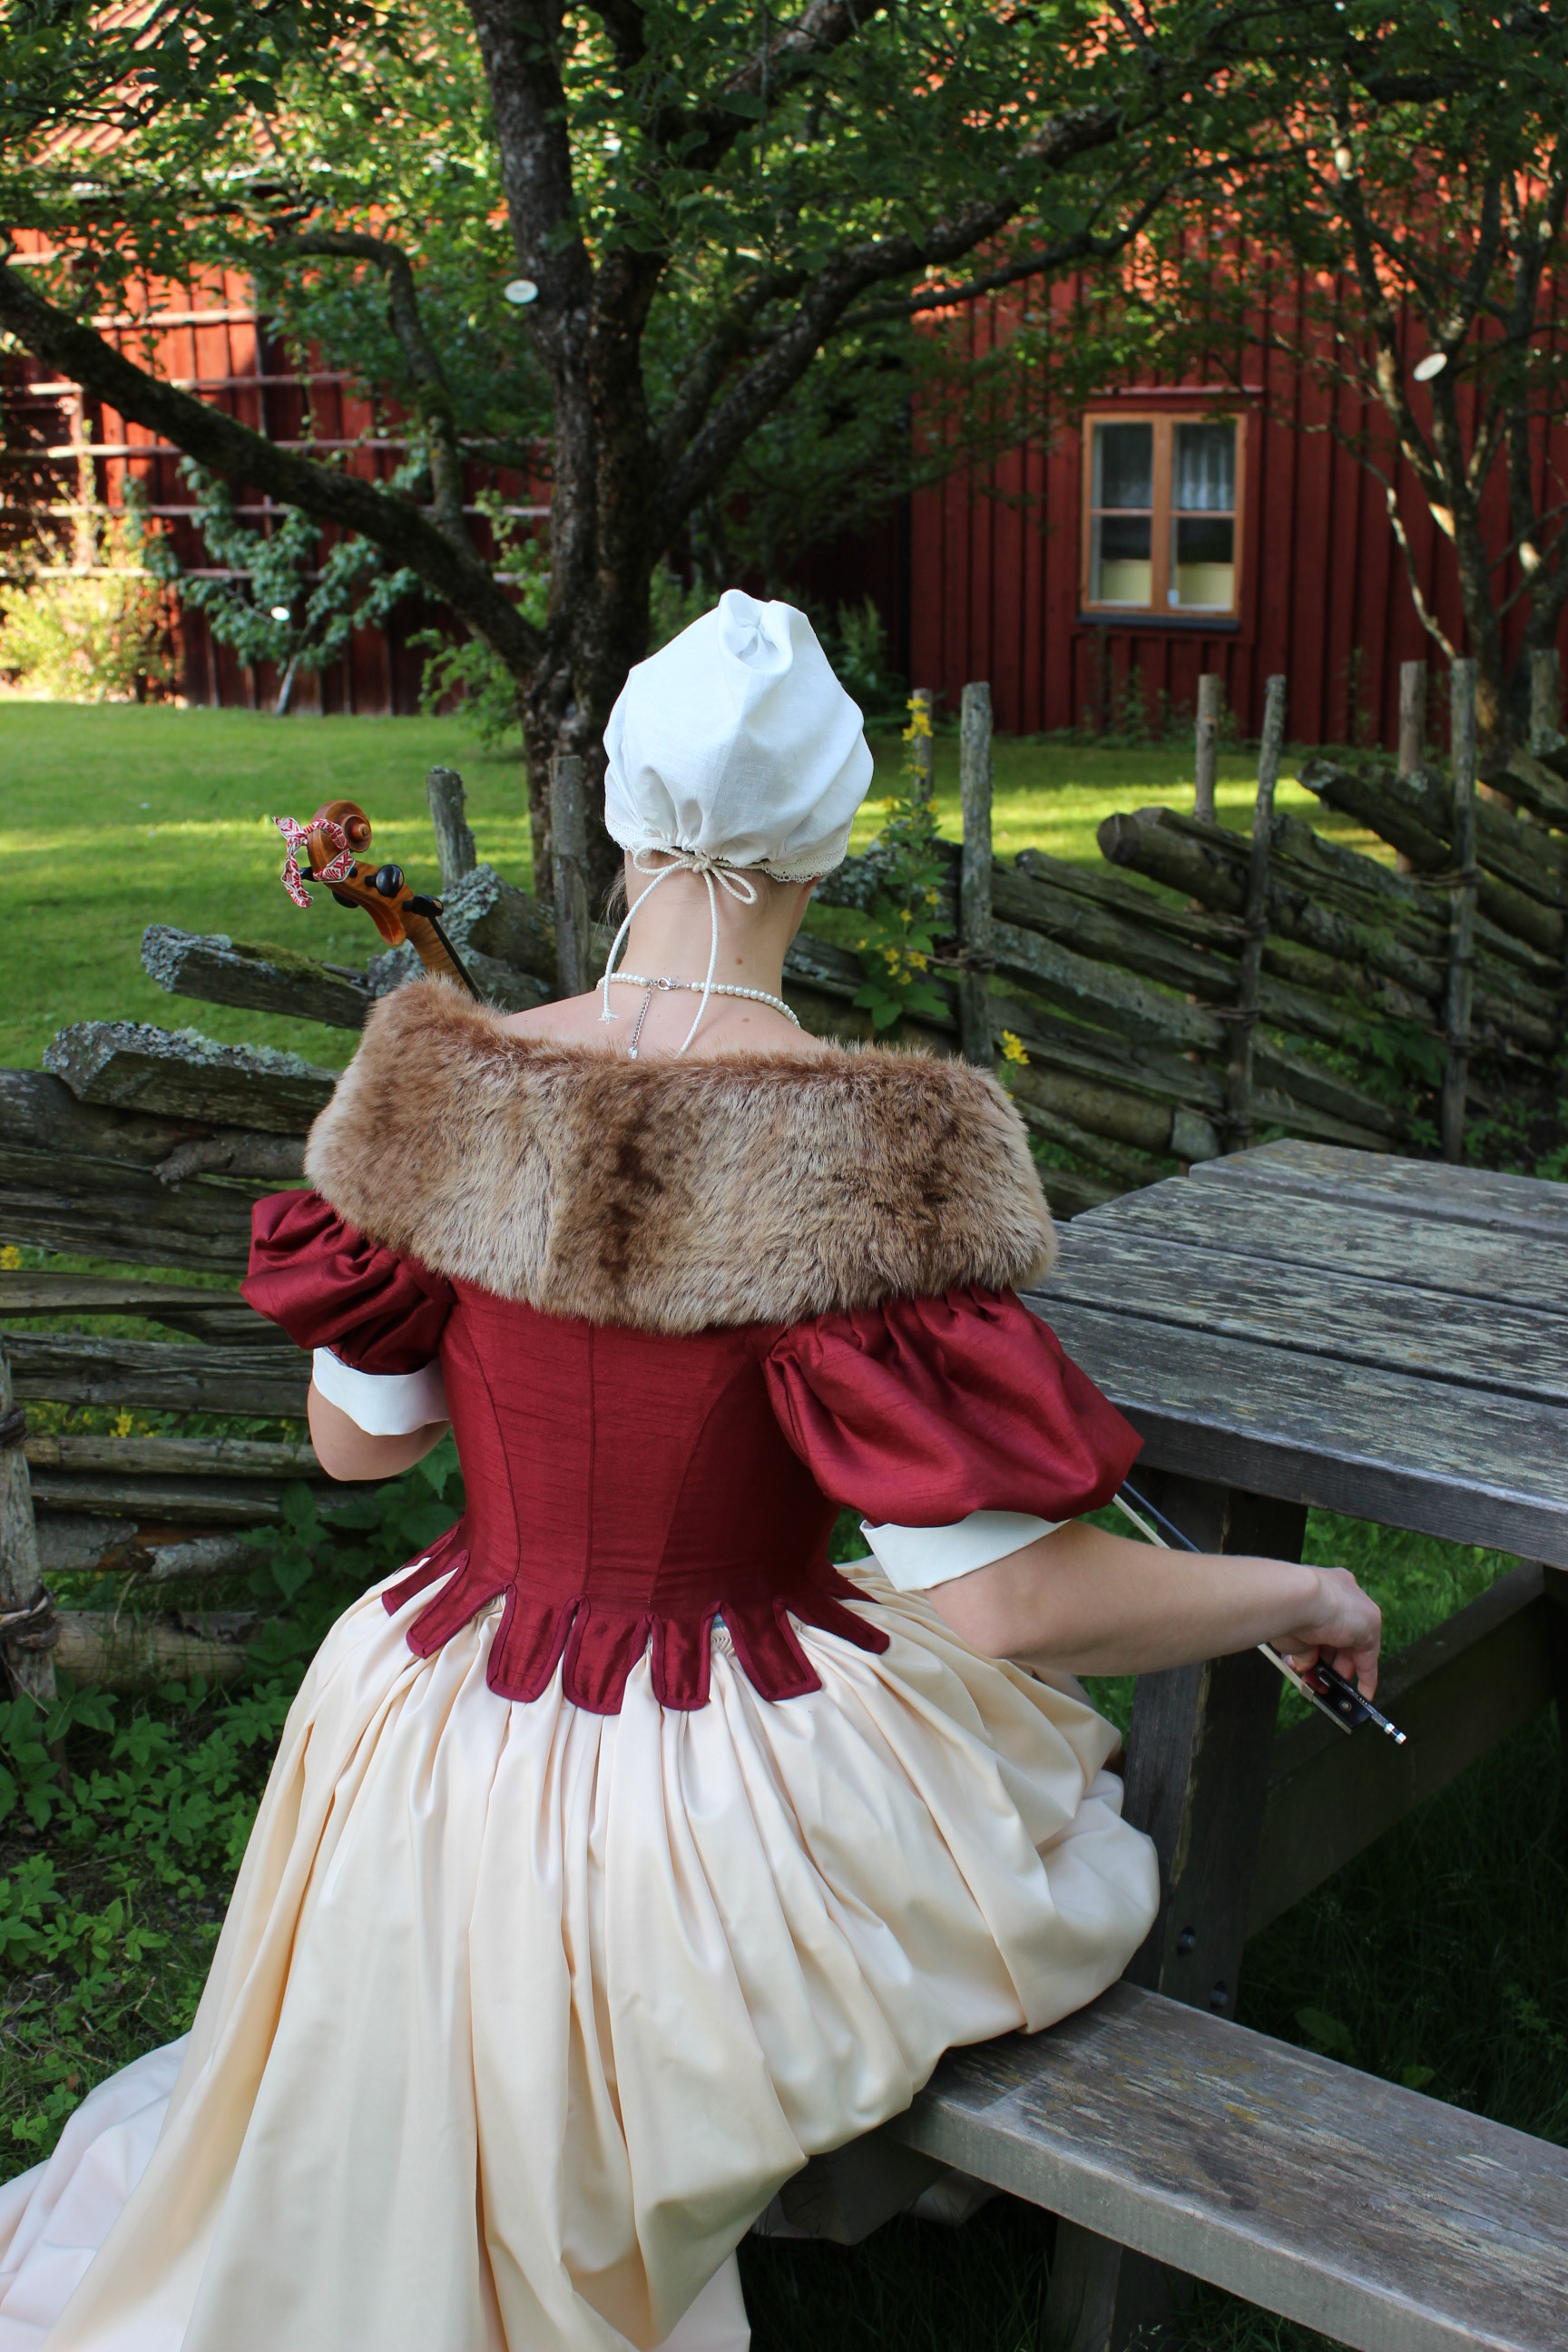
IMG_5079

July:

Almost all of July was spent on making this 17th century bodice (and skirt and accessories) for Isis wardrobes “Sew 17th century challenge”
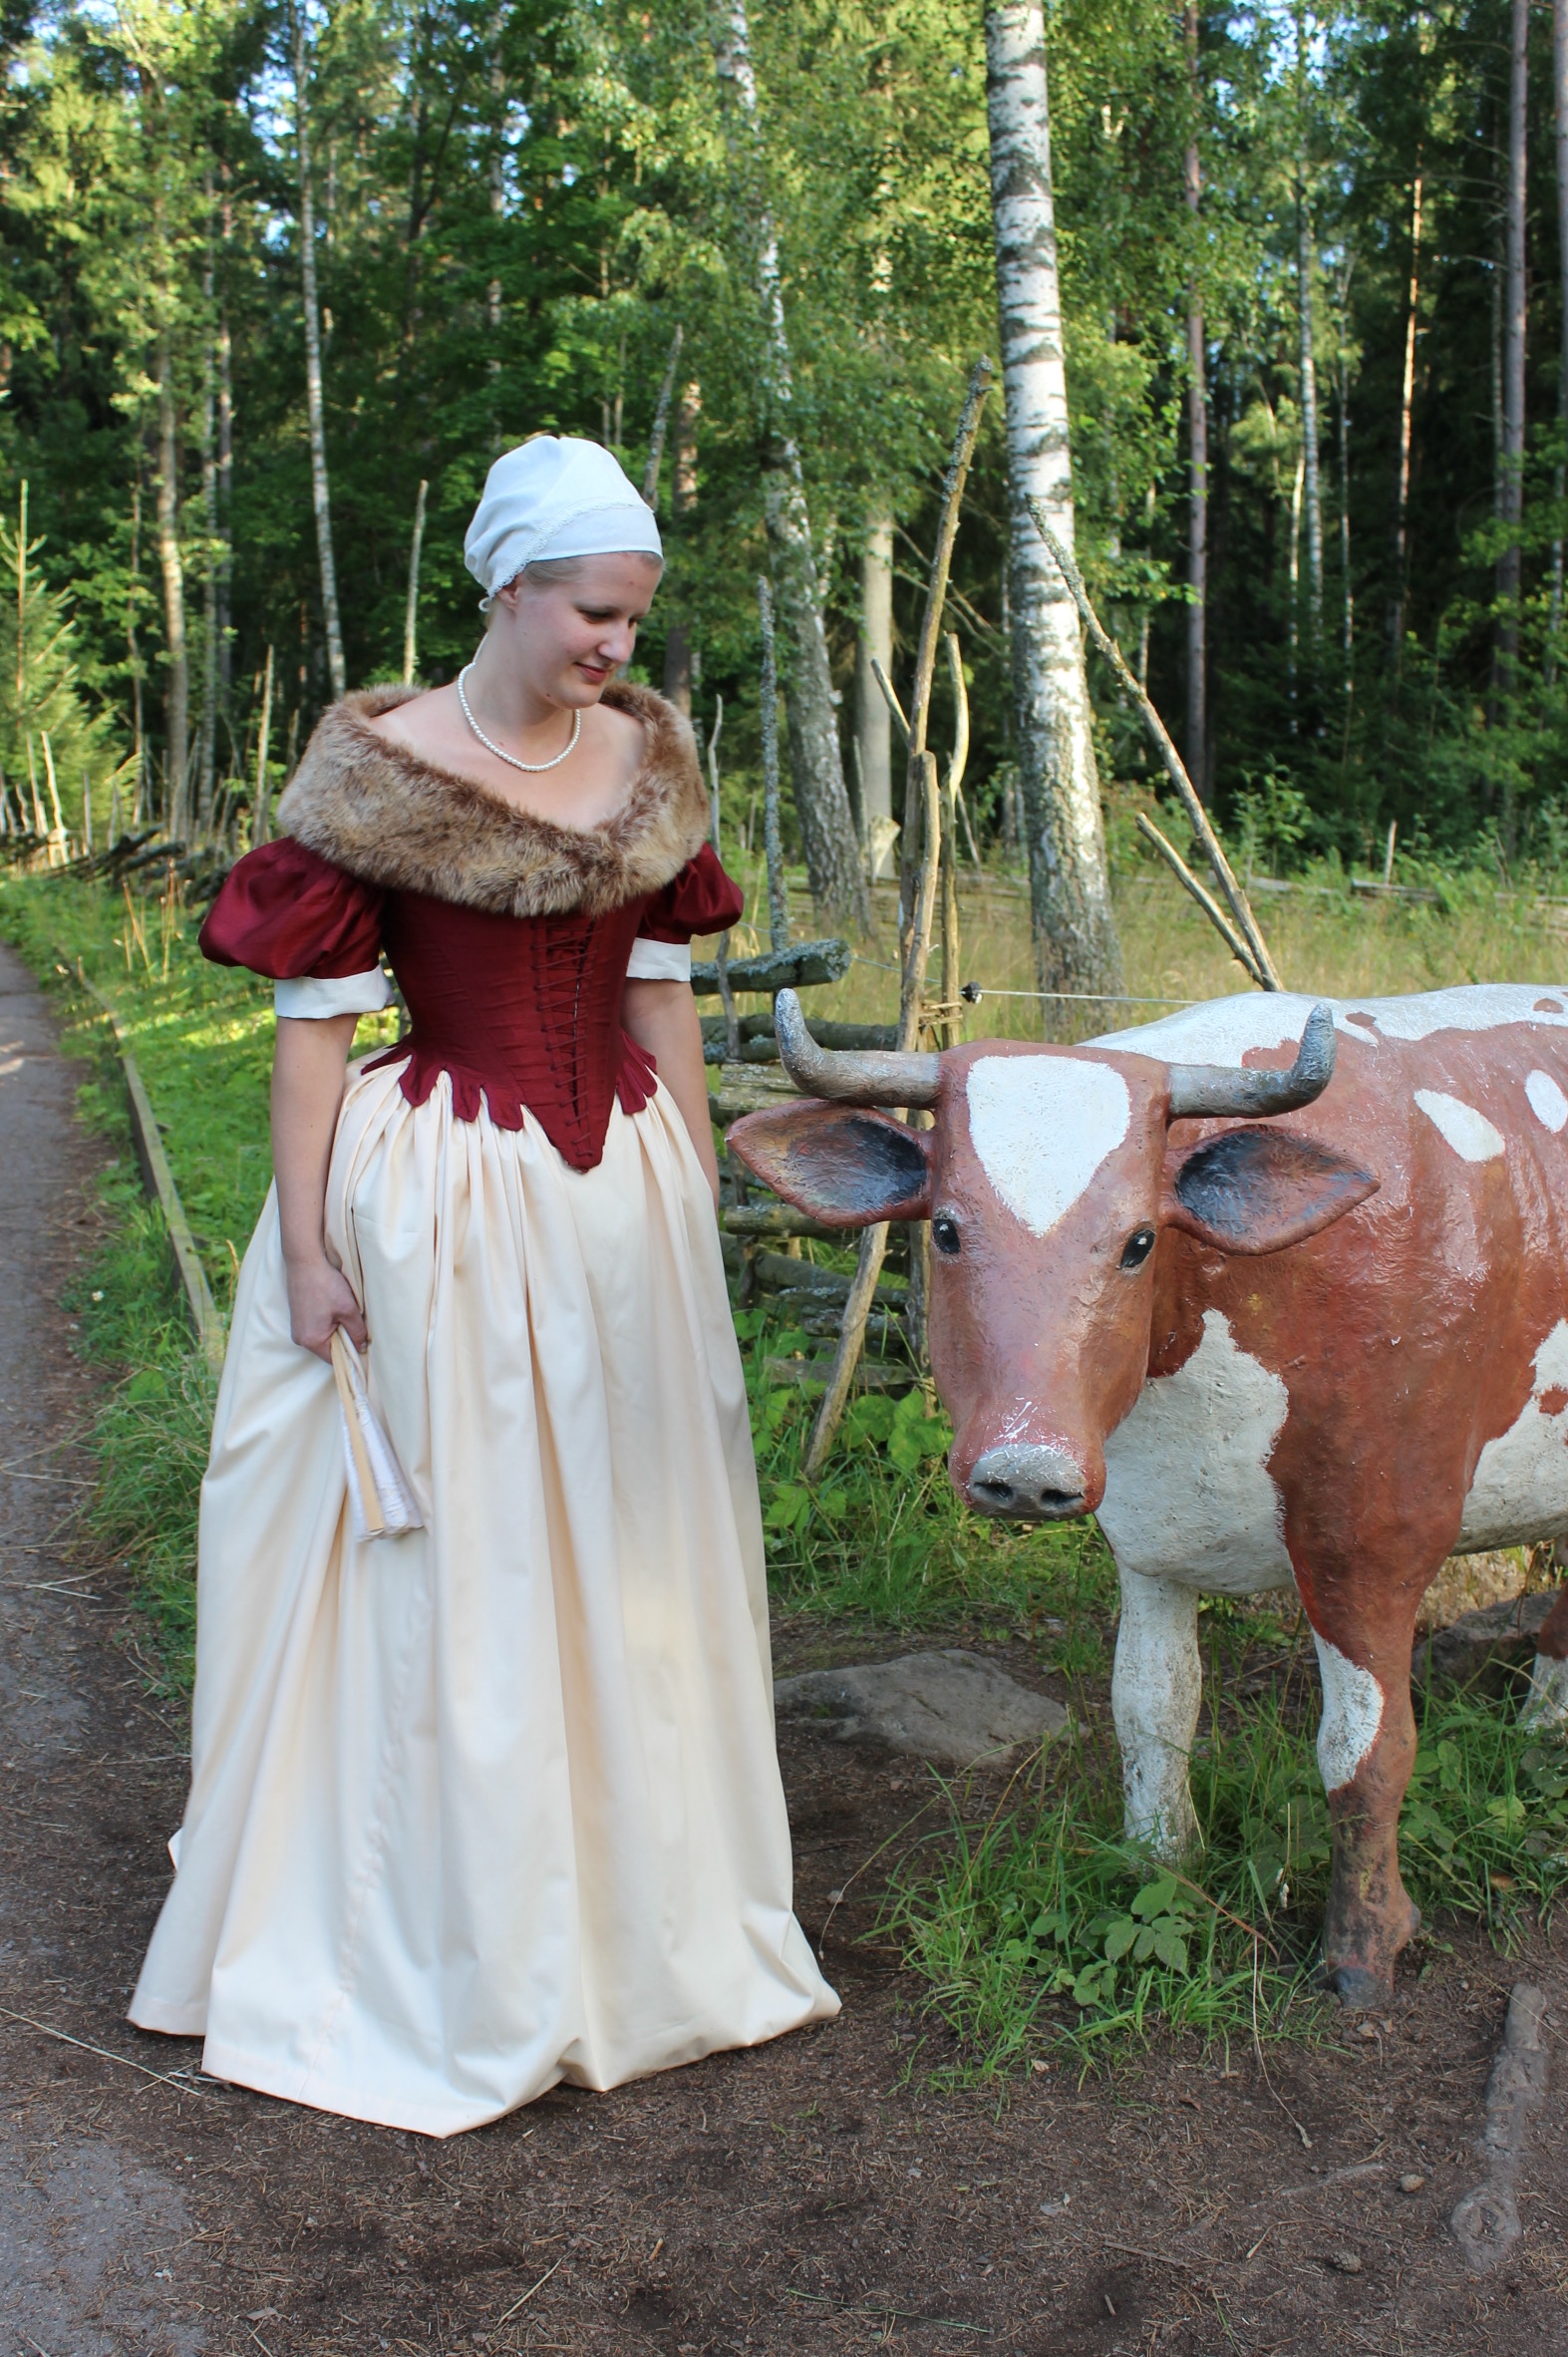
IMG_8019

August:

August is medieval month in our part of town so I made an 15th century Burgundian dress for my sisterIMG_8363

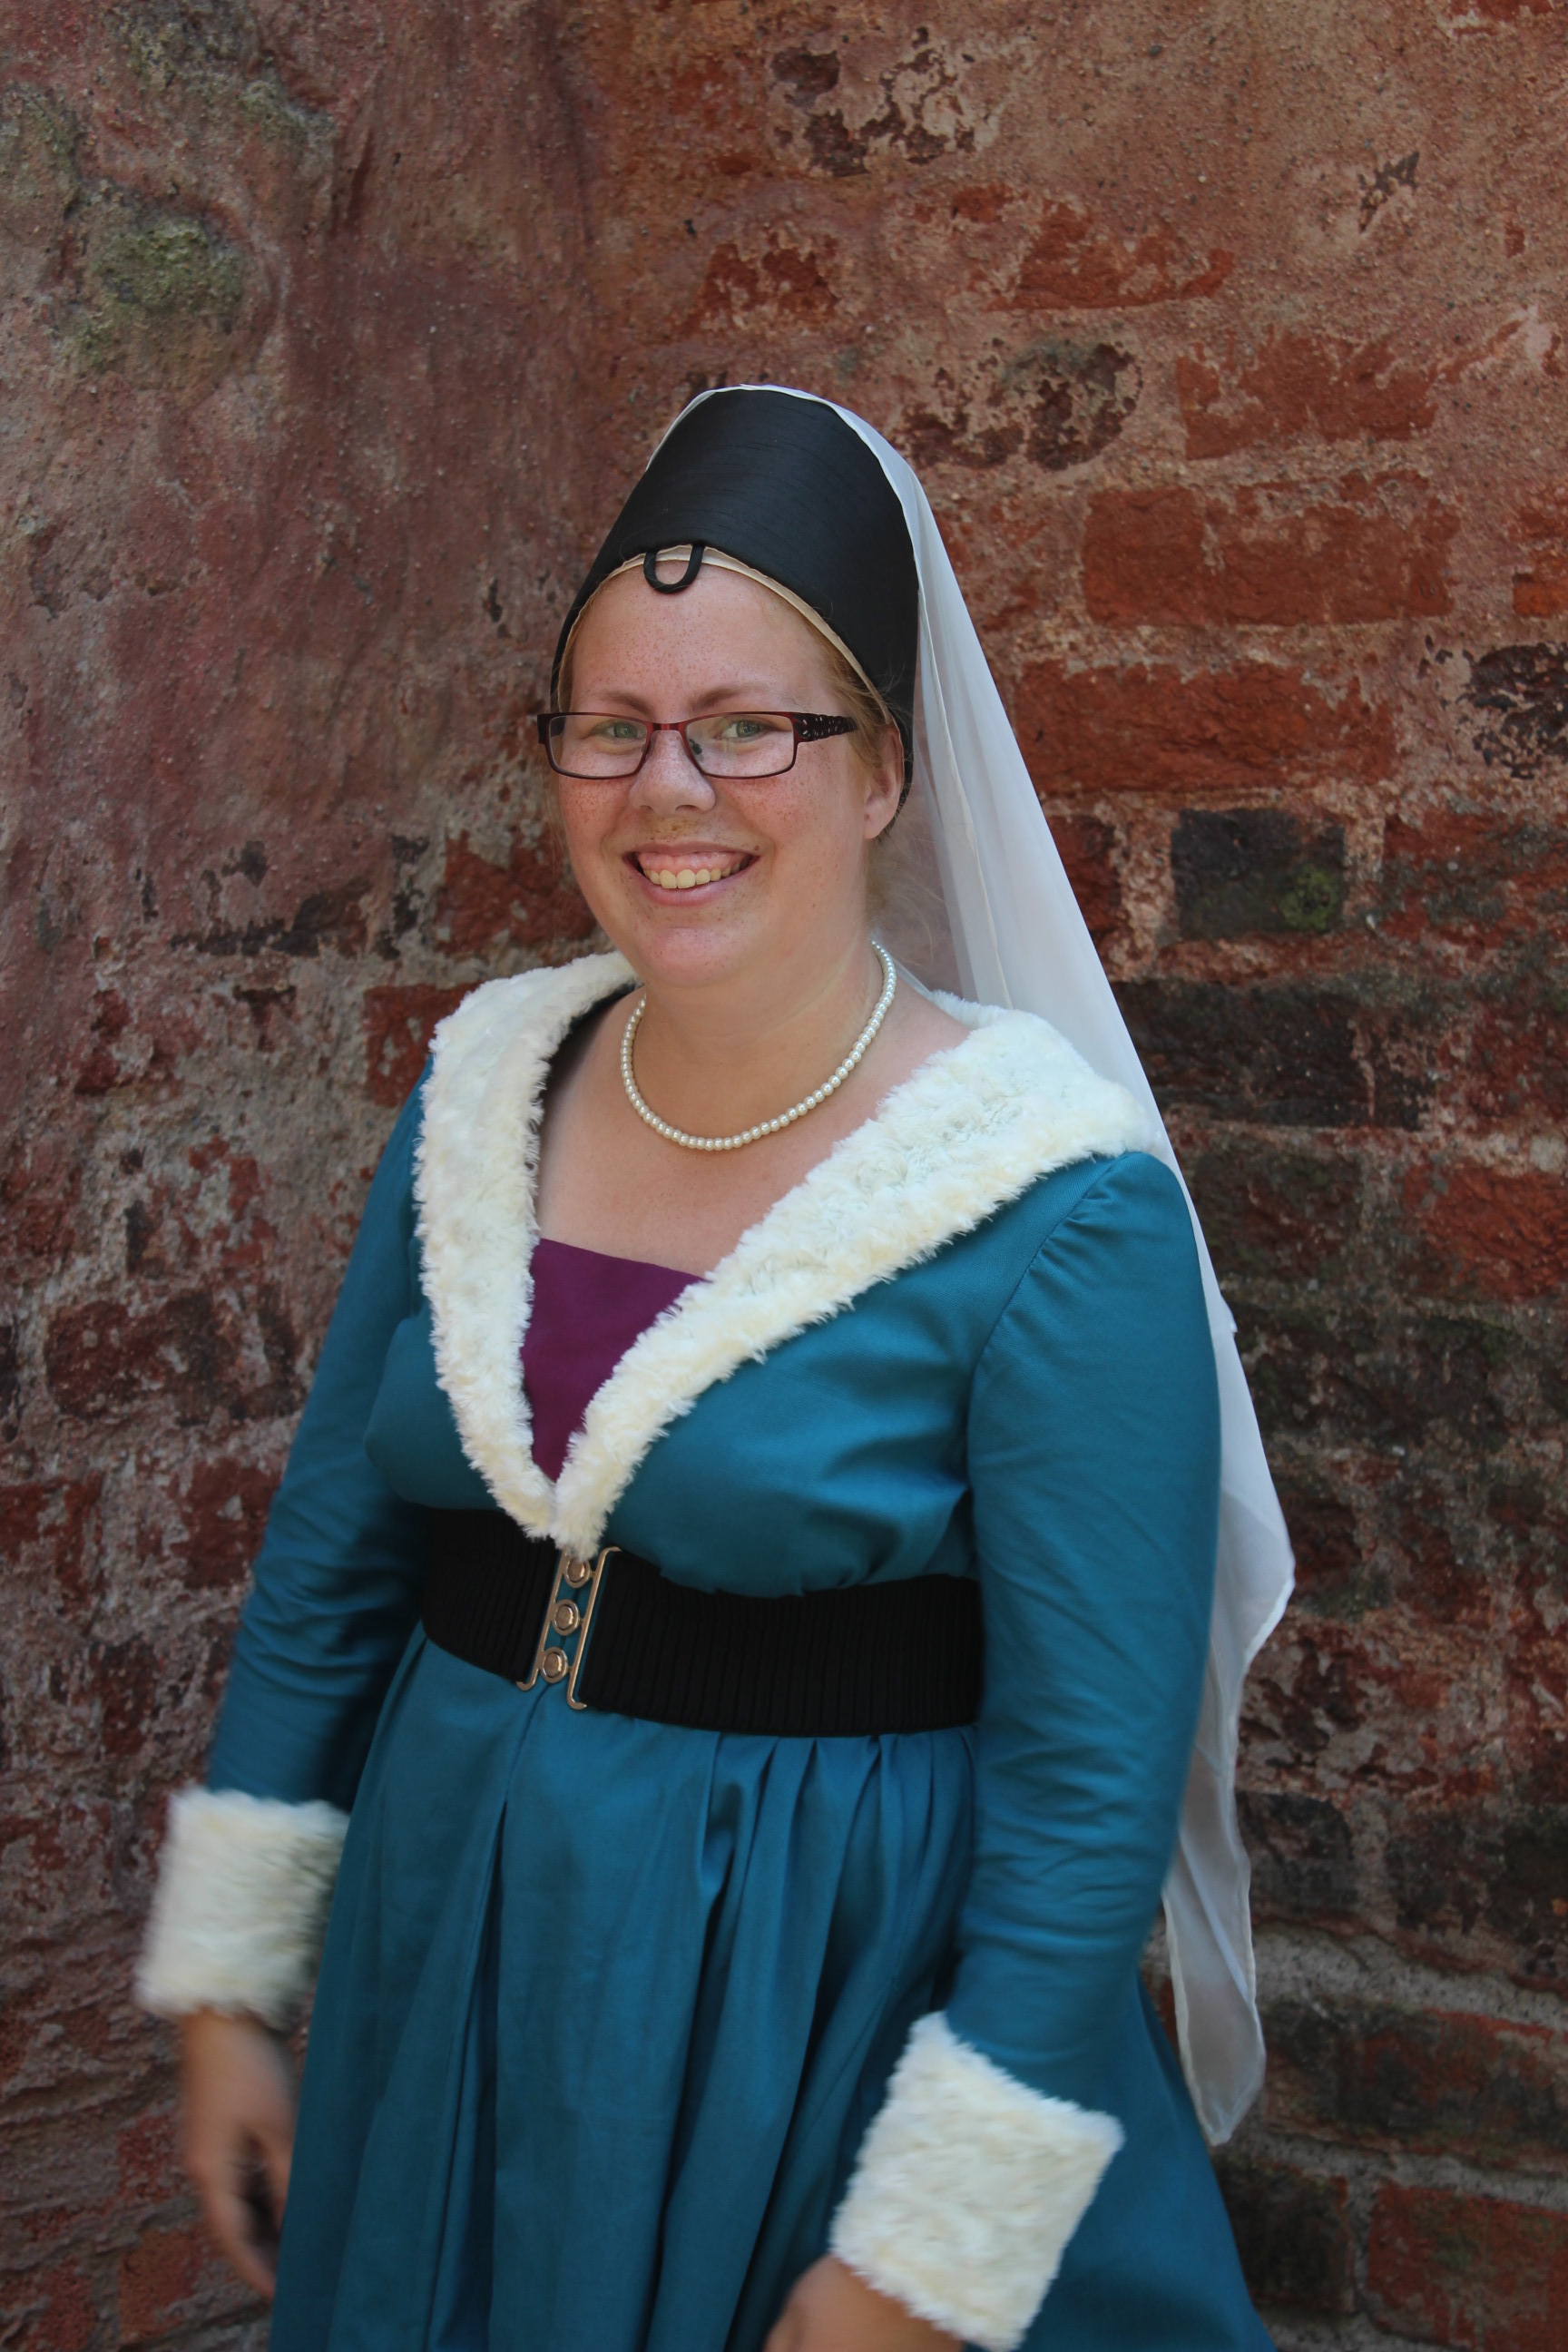
And used an old thrift store find to complete the -Heirlome challenge with a 1850s farmers dress.
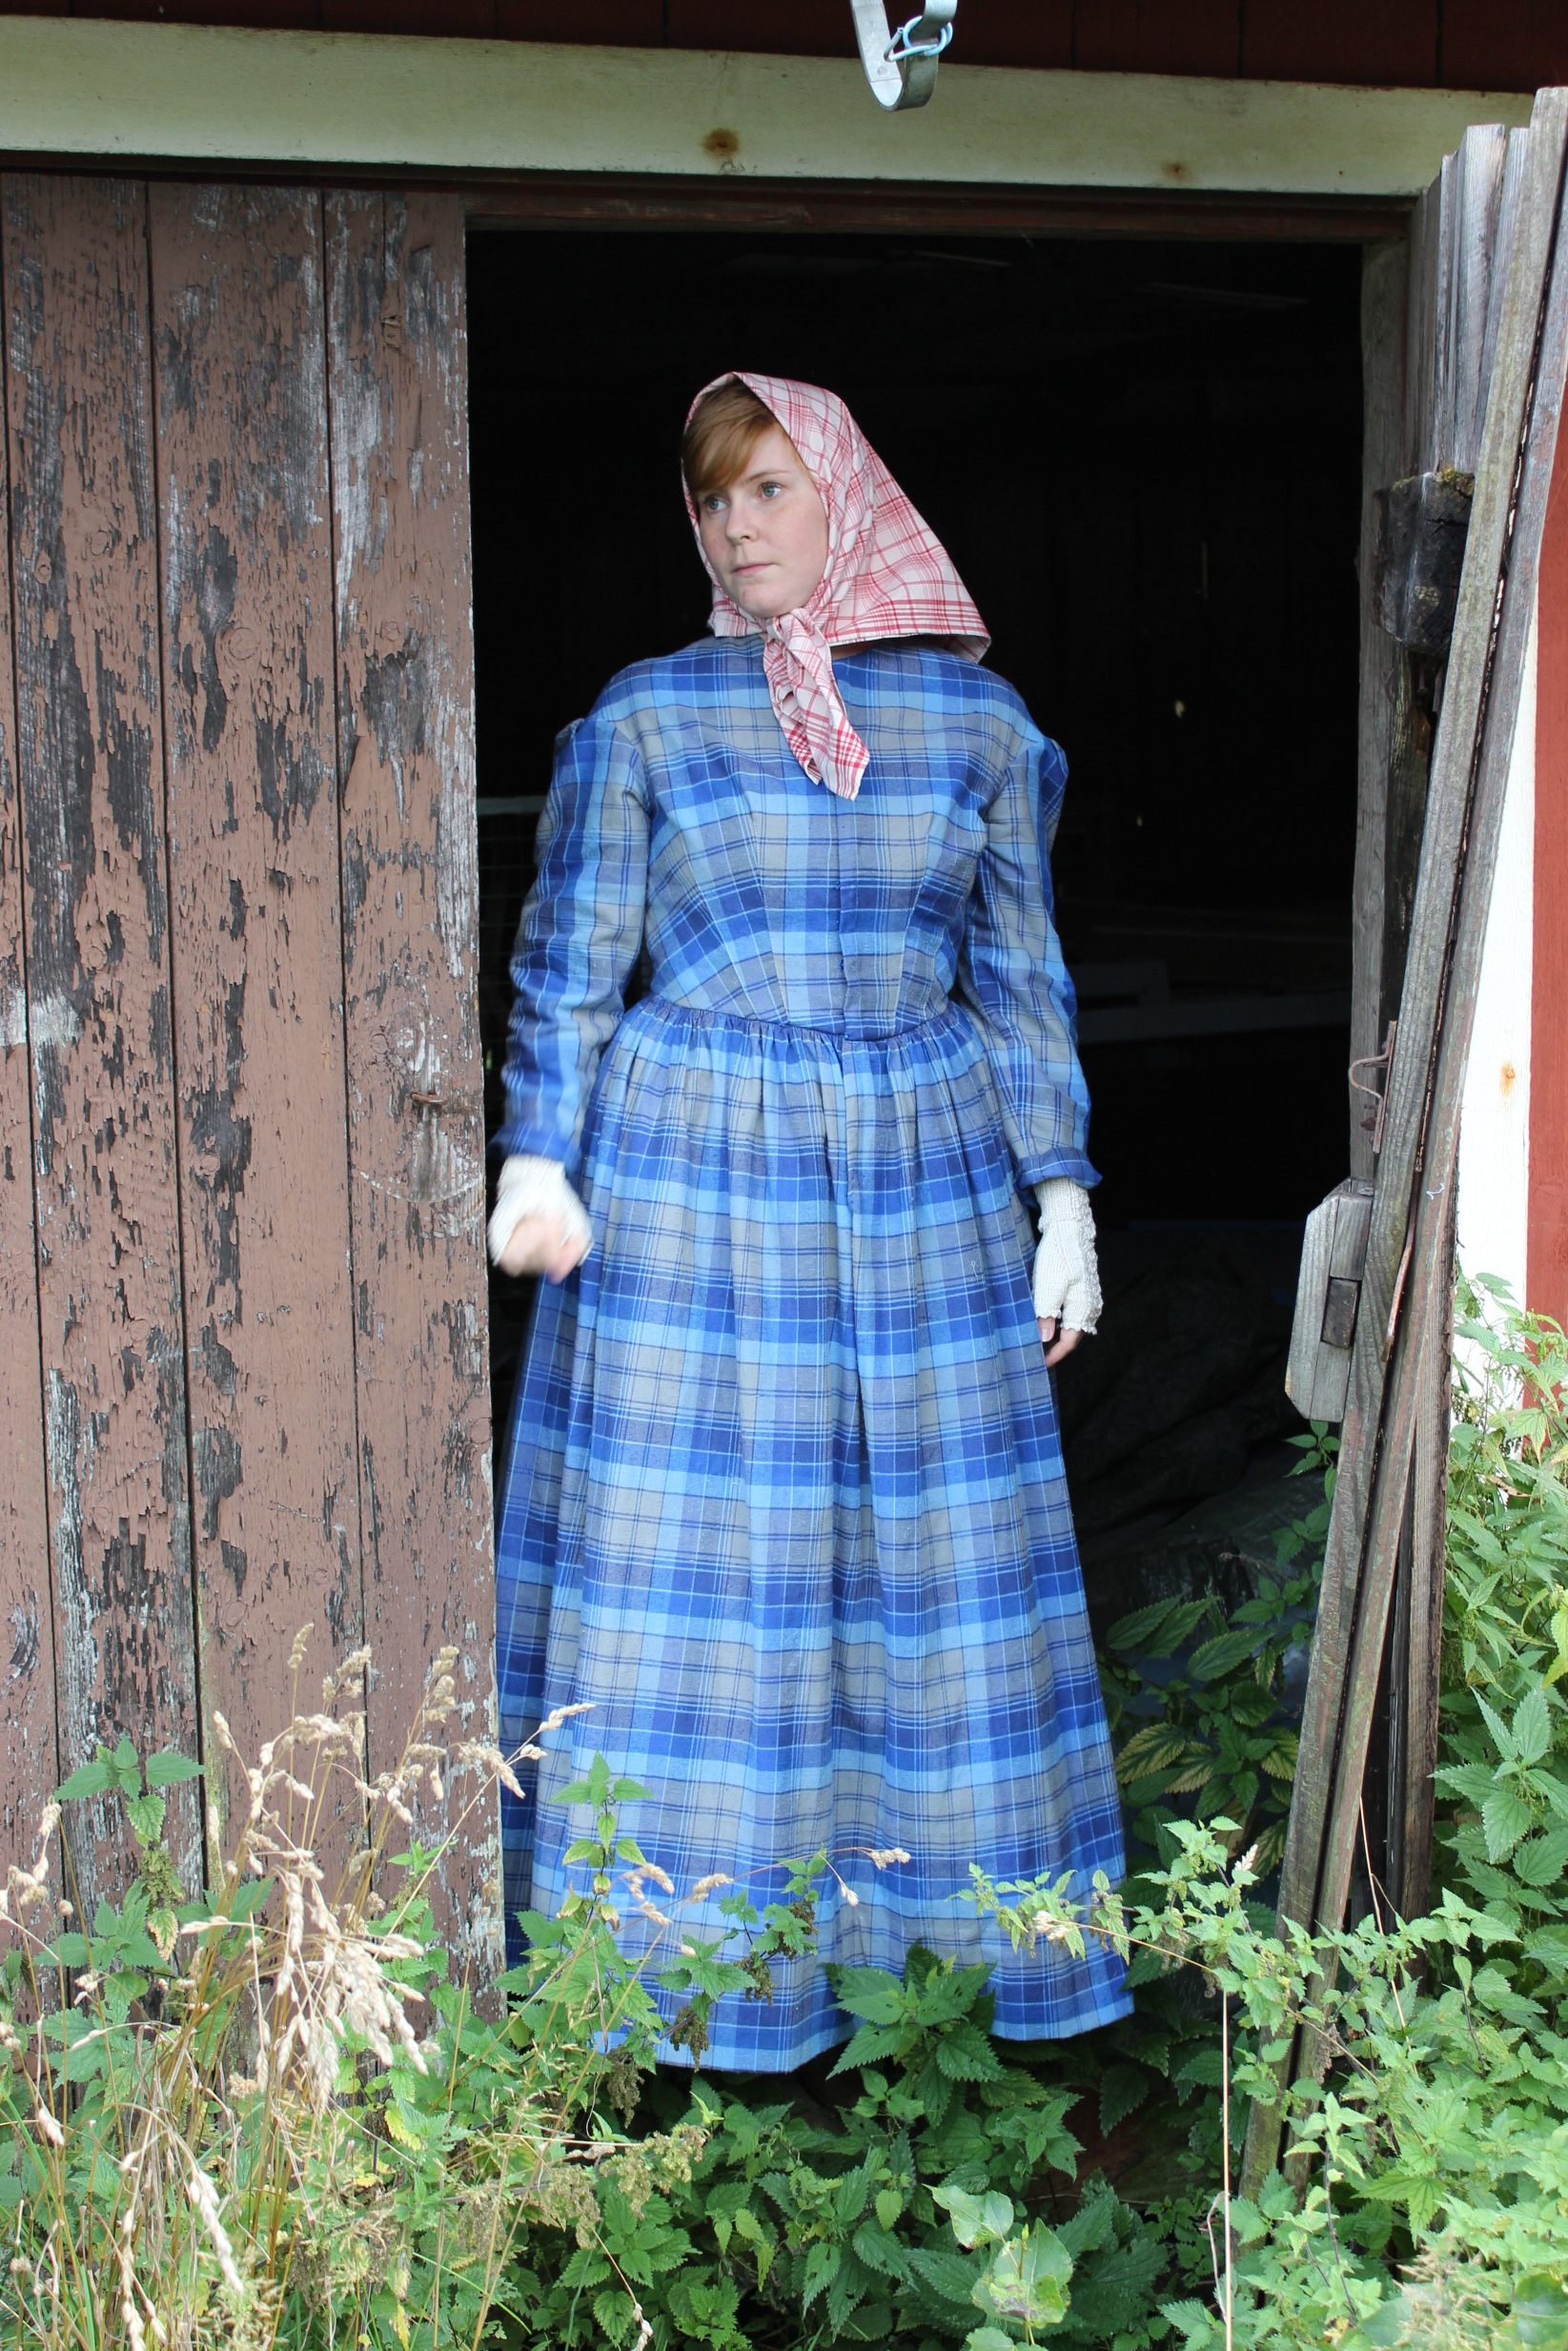
IMG_8518

September:

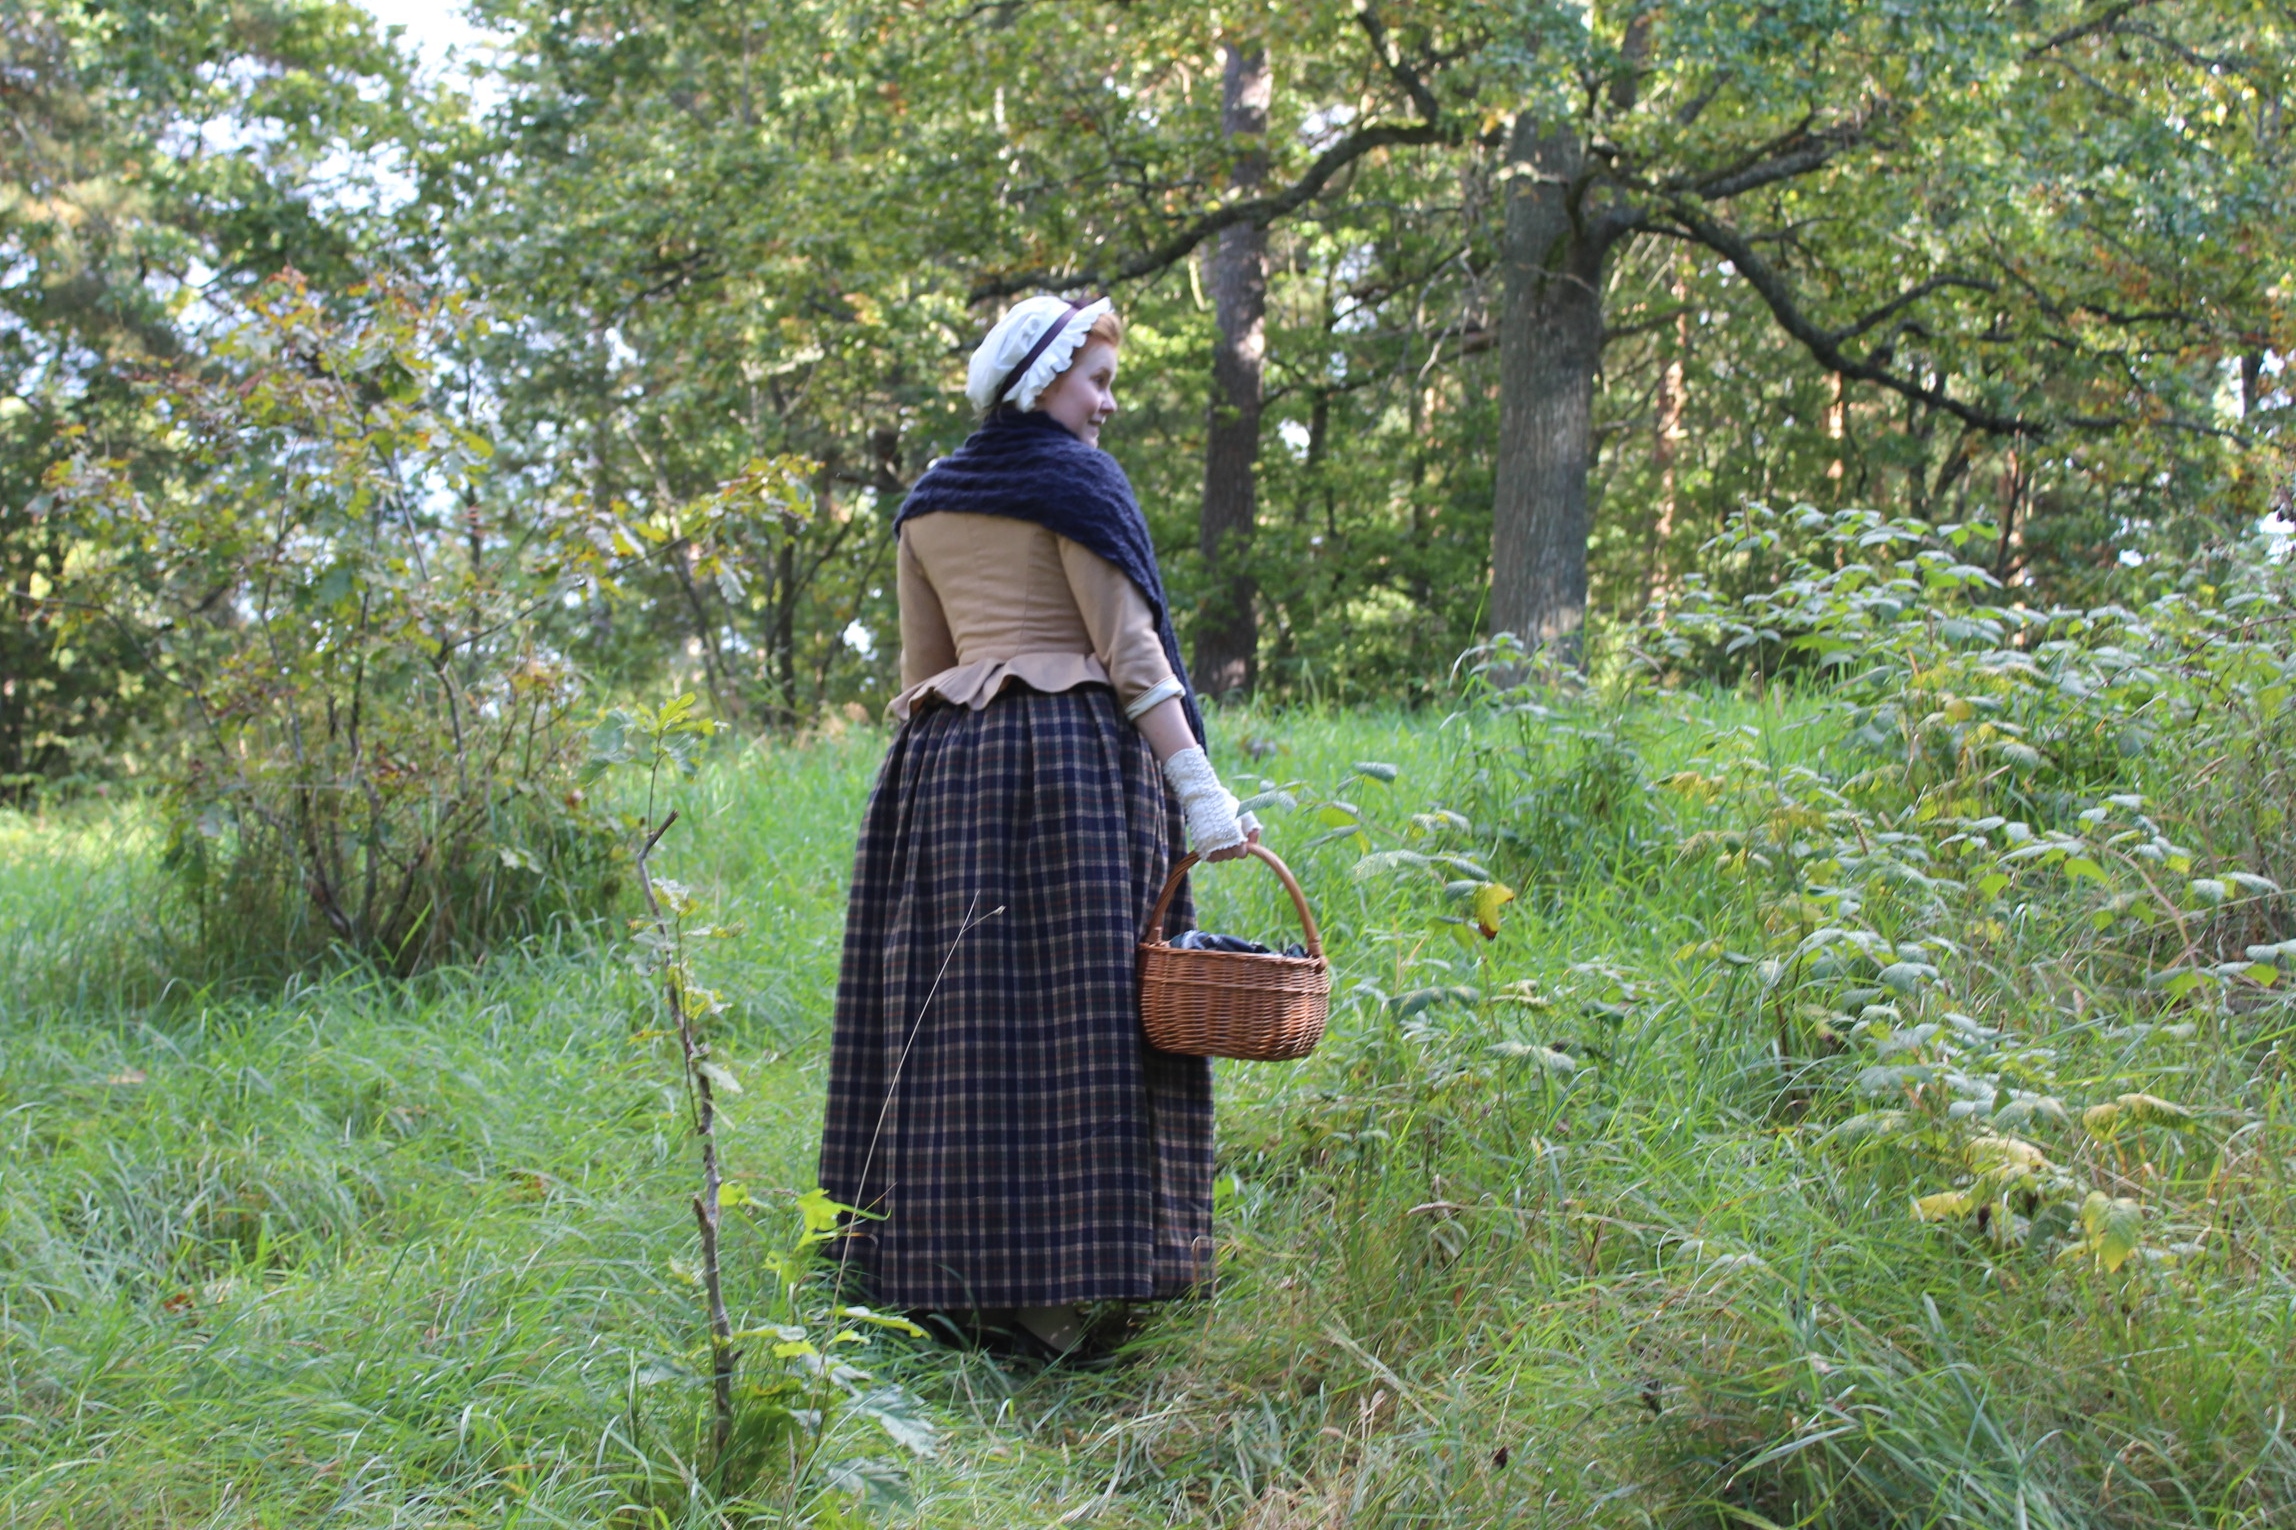
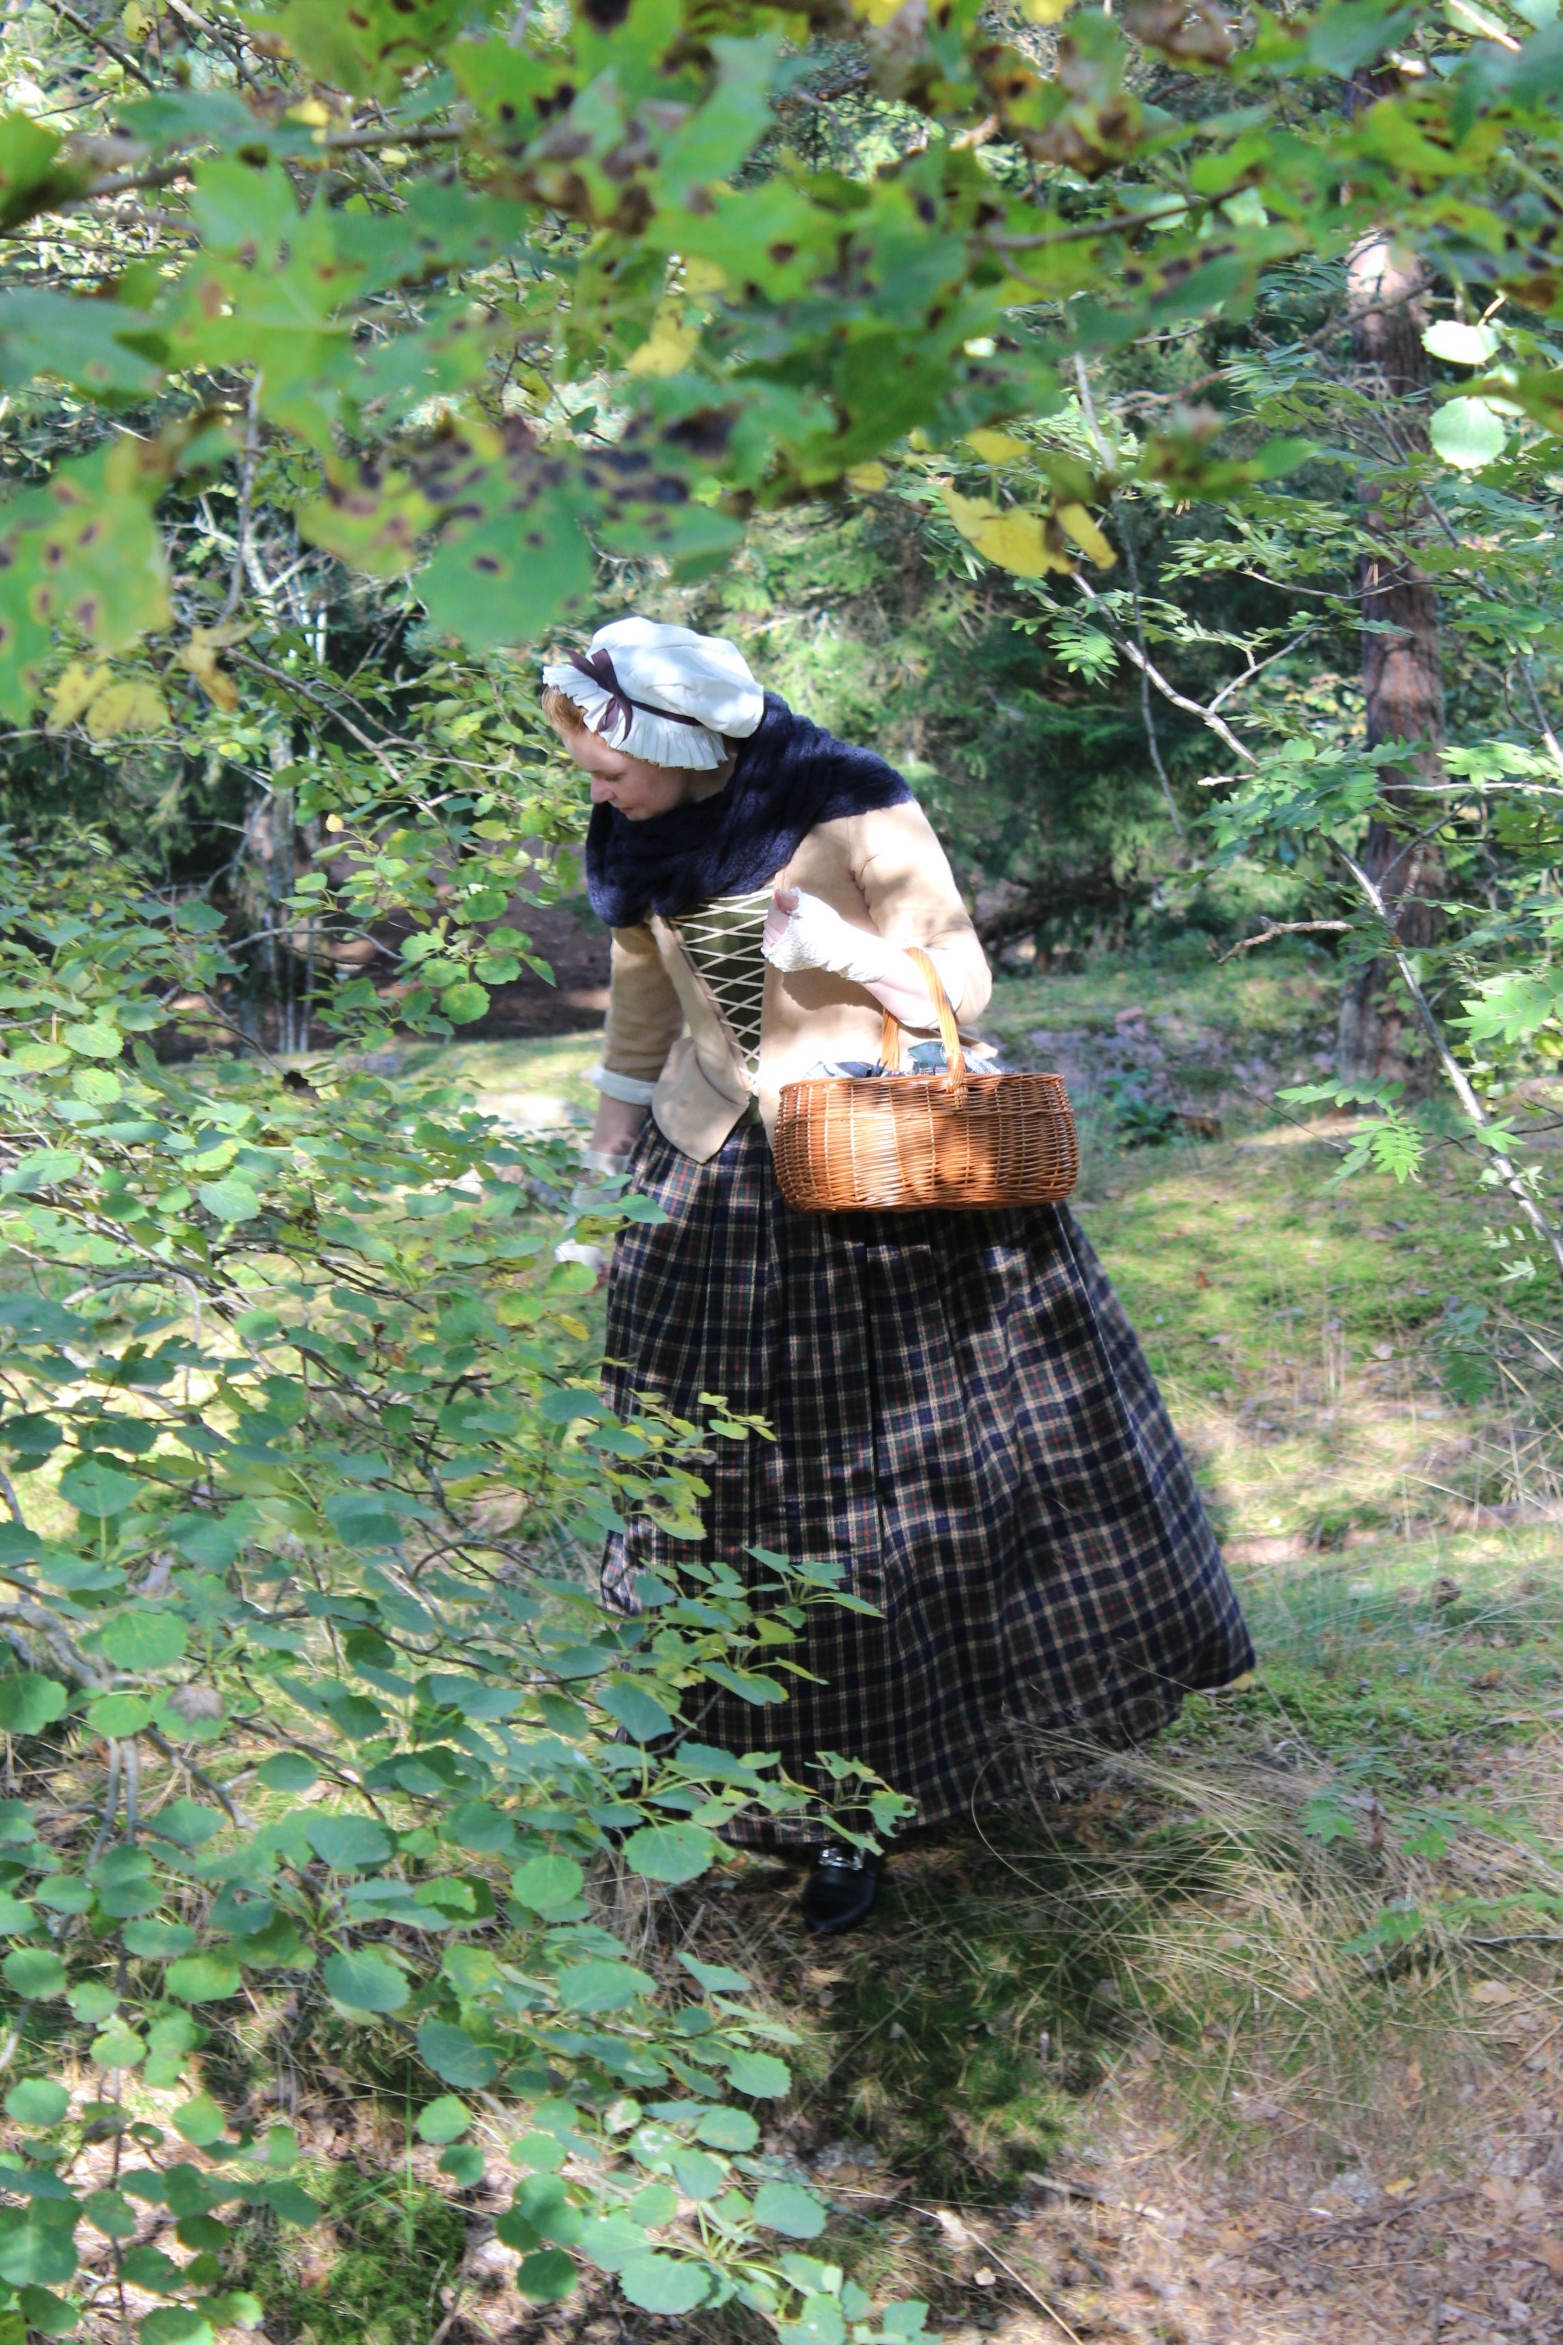
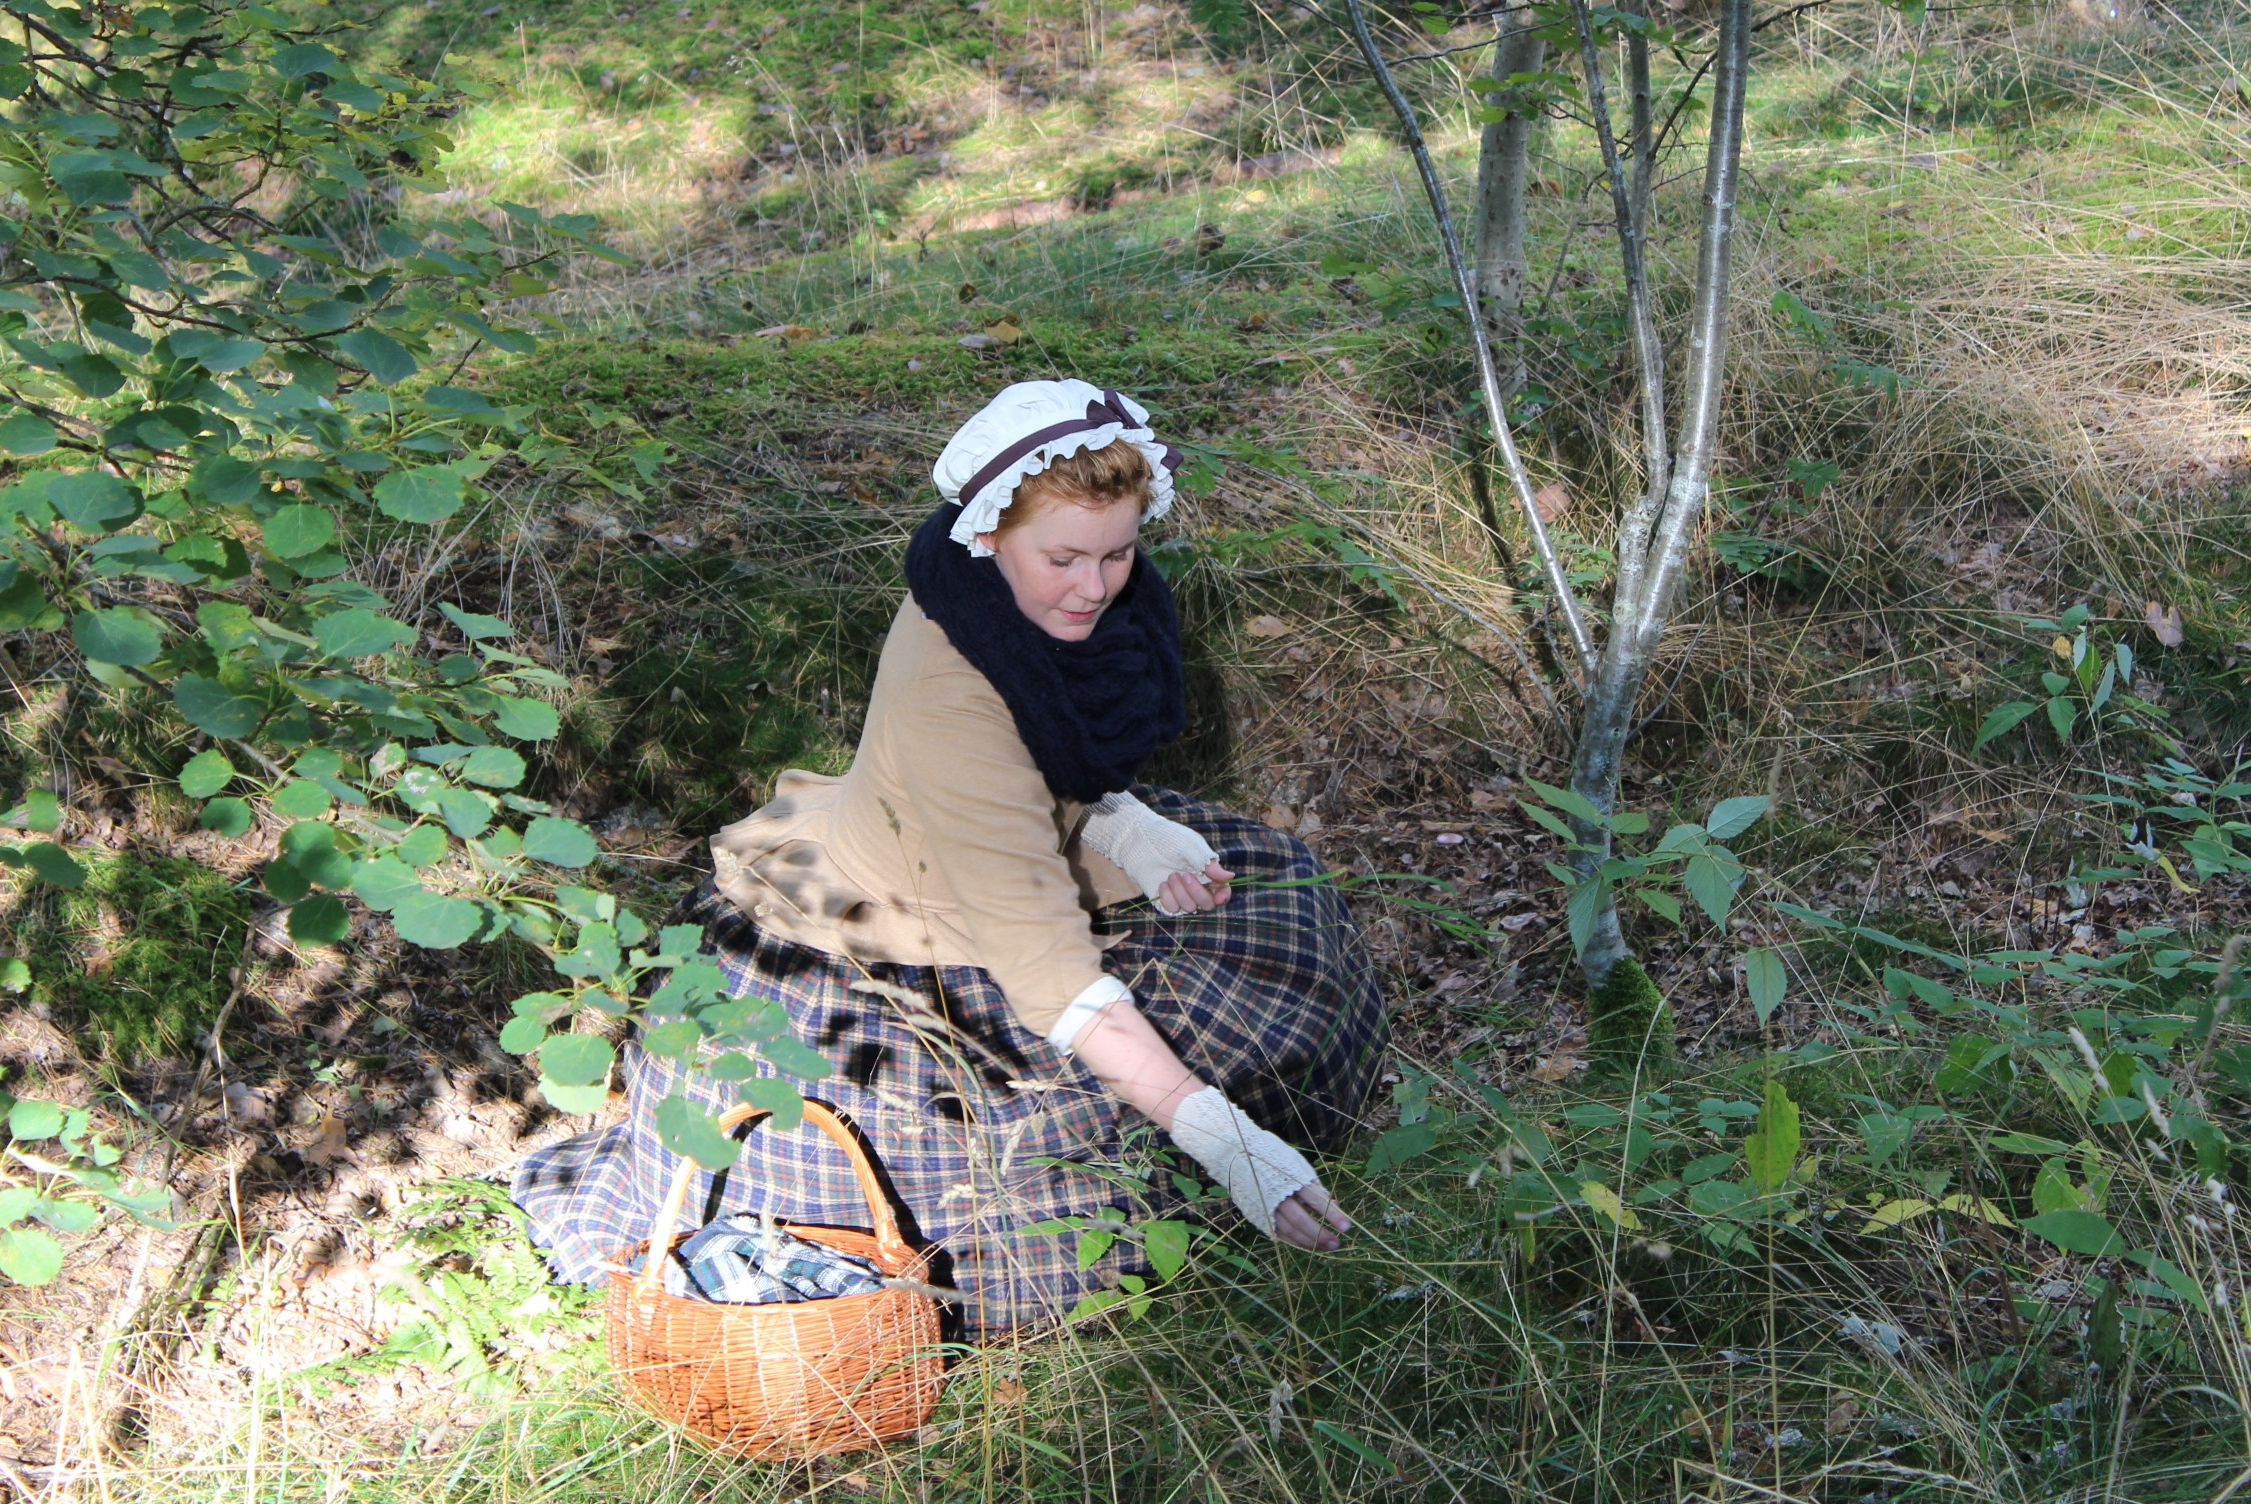
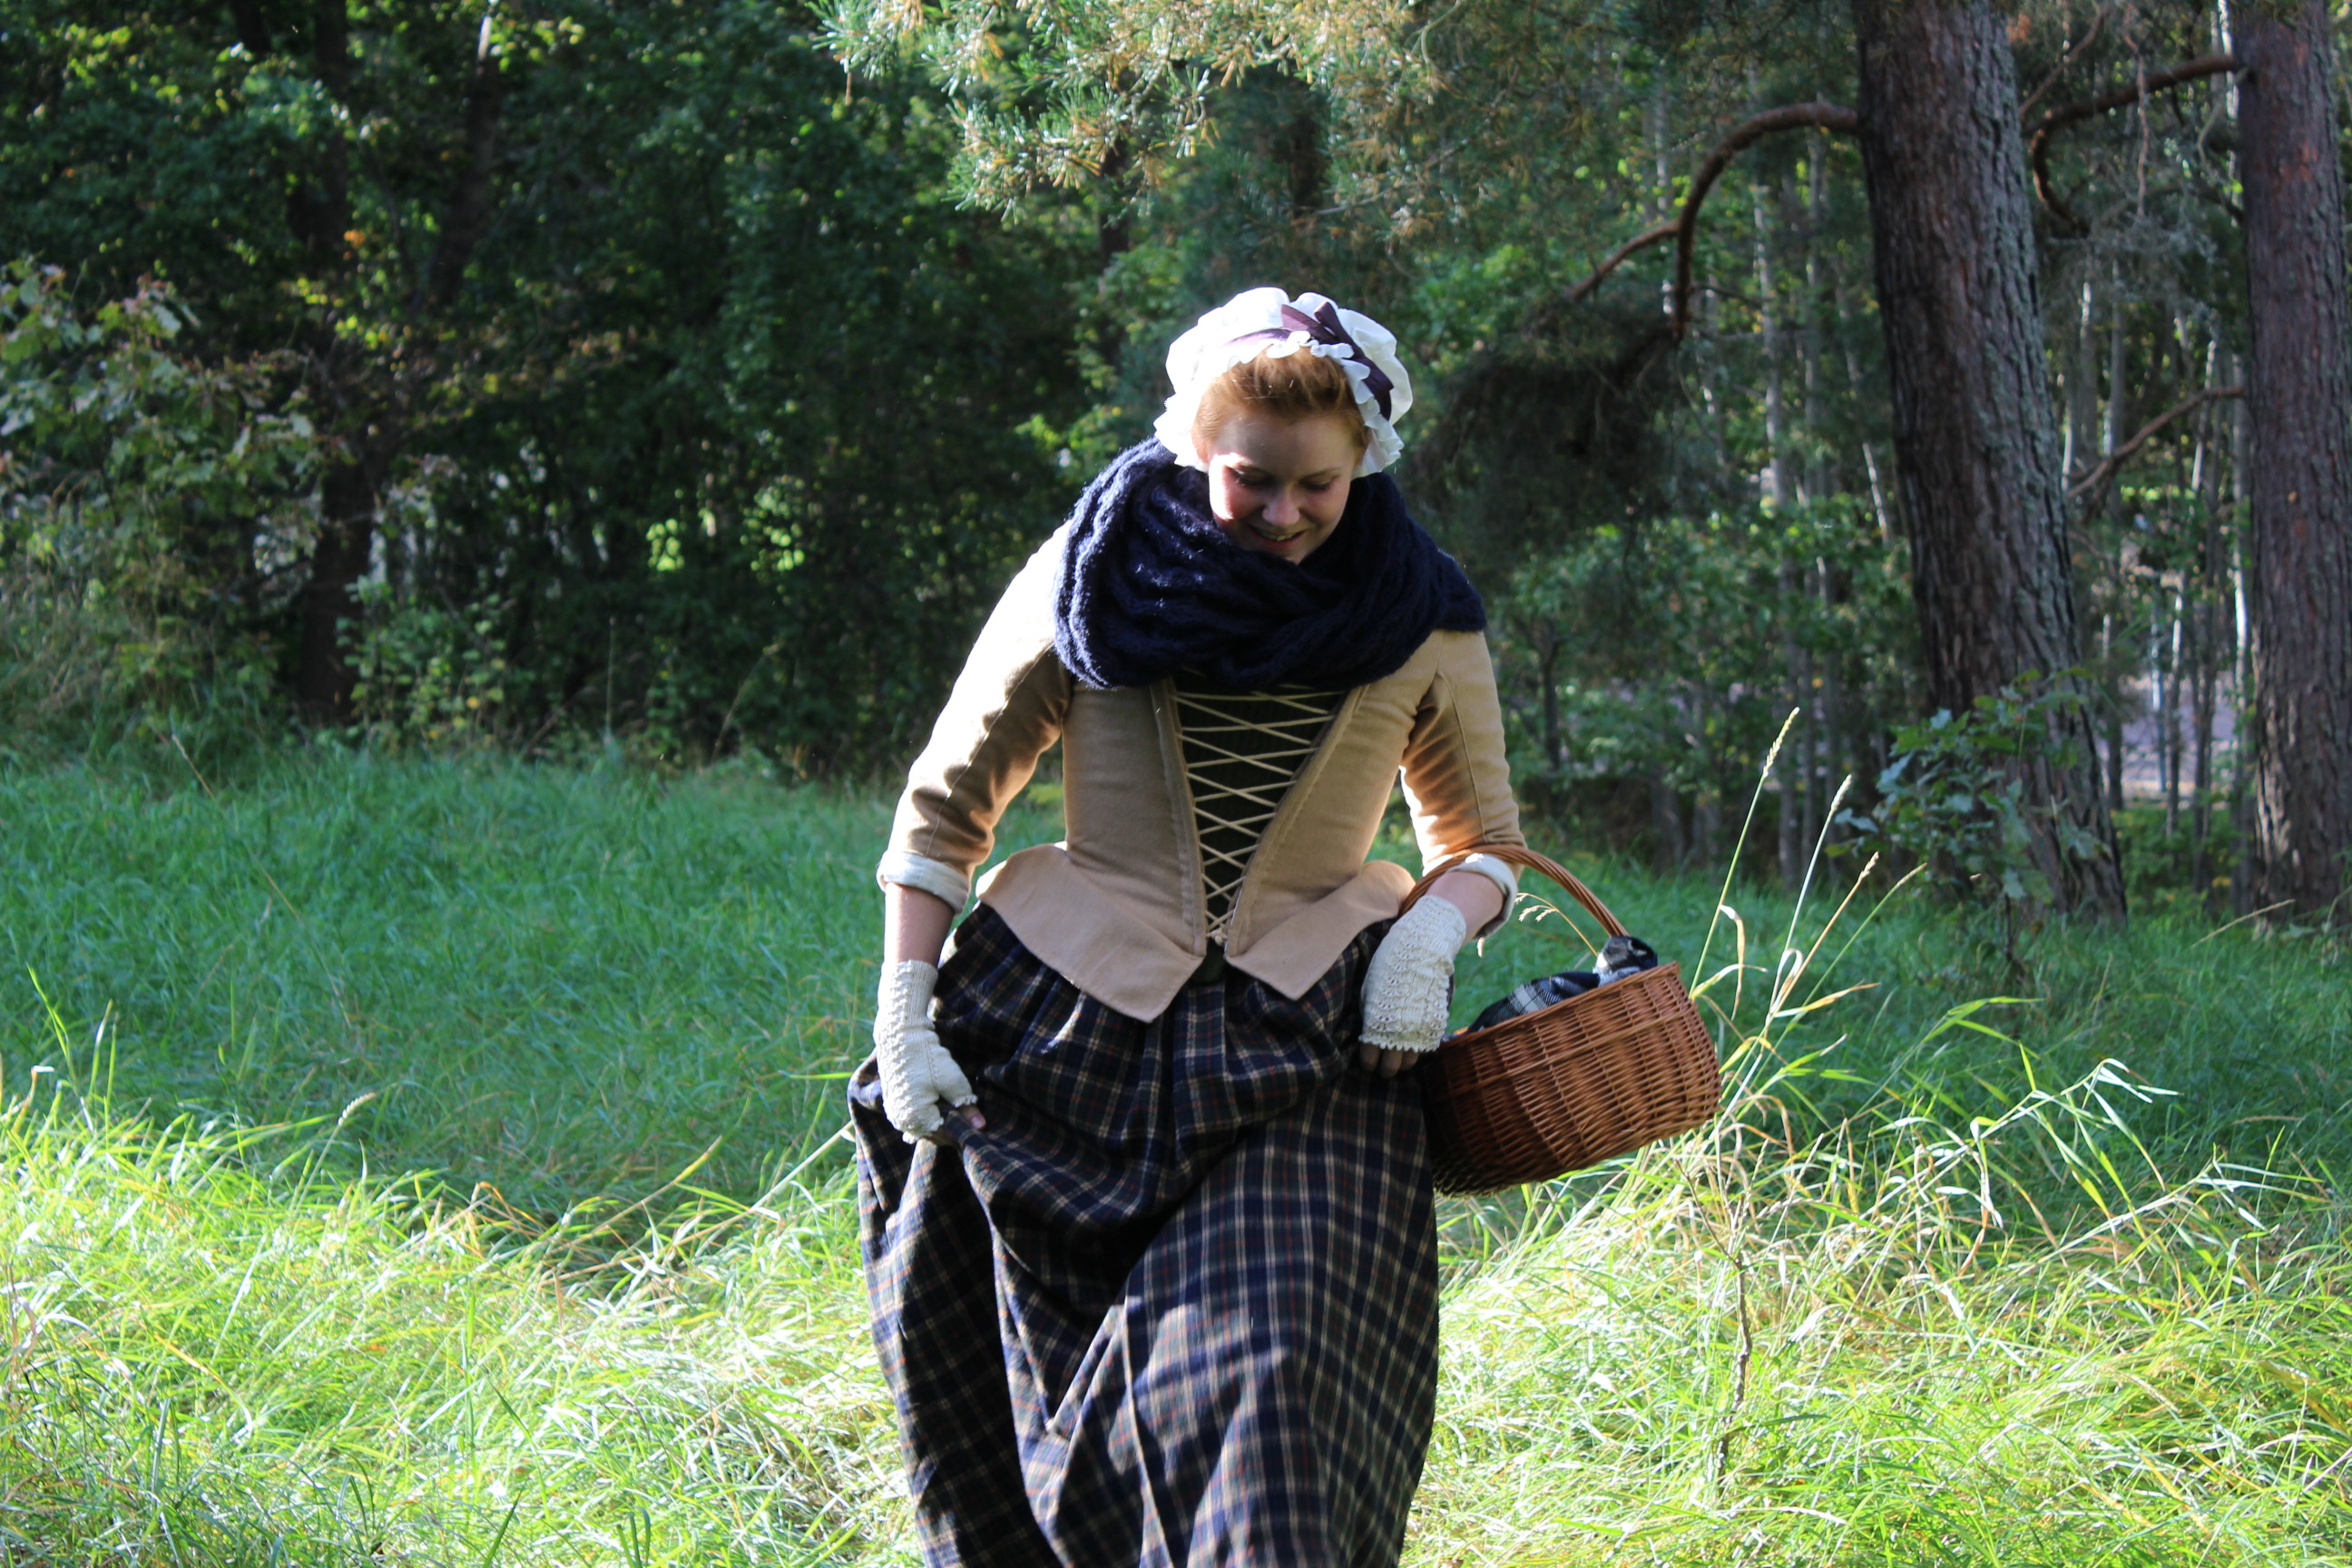
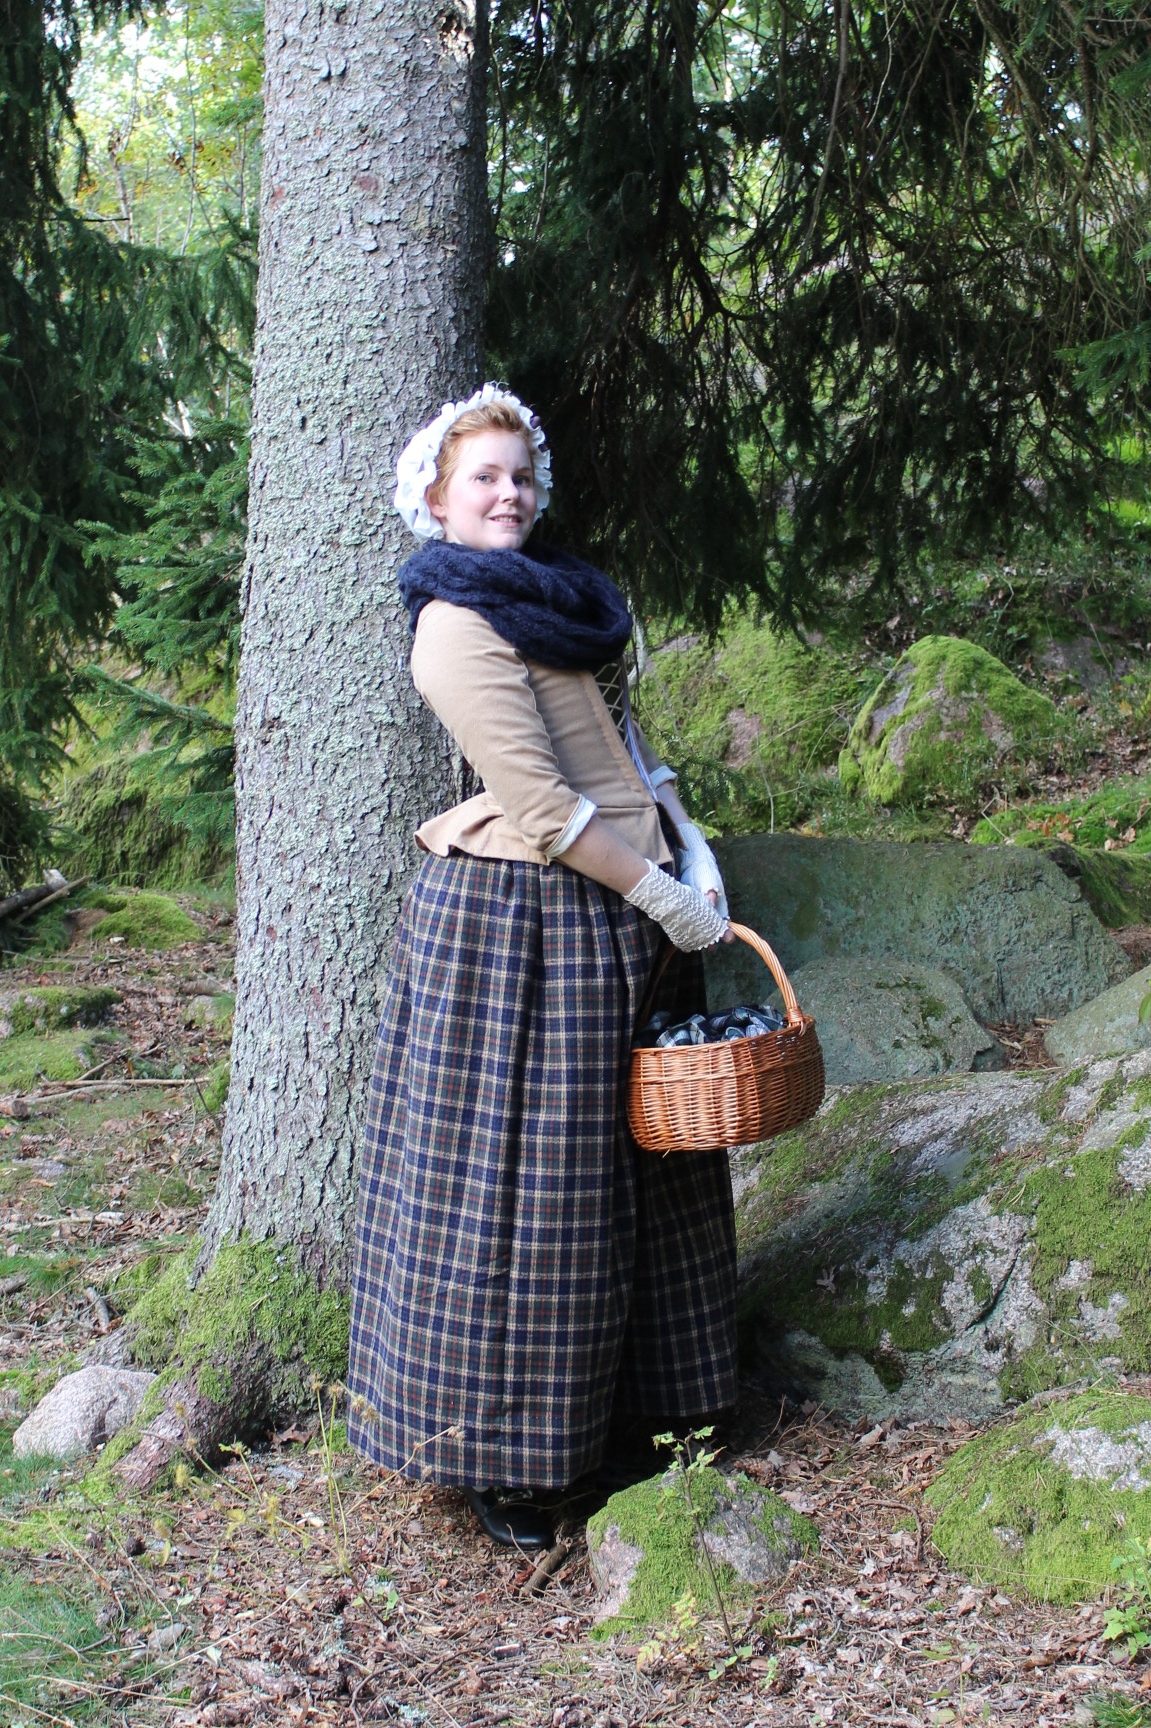
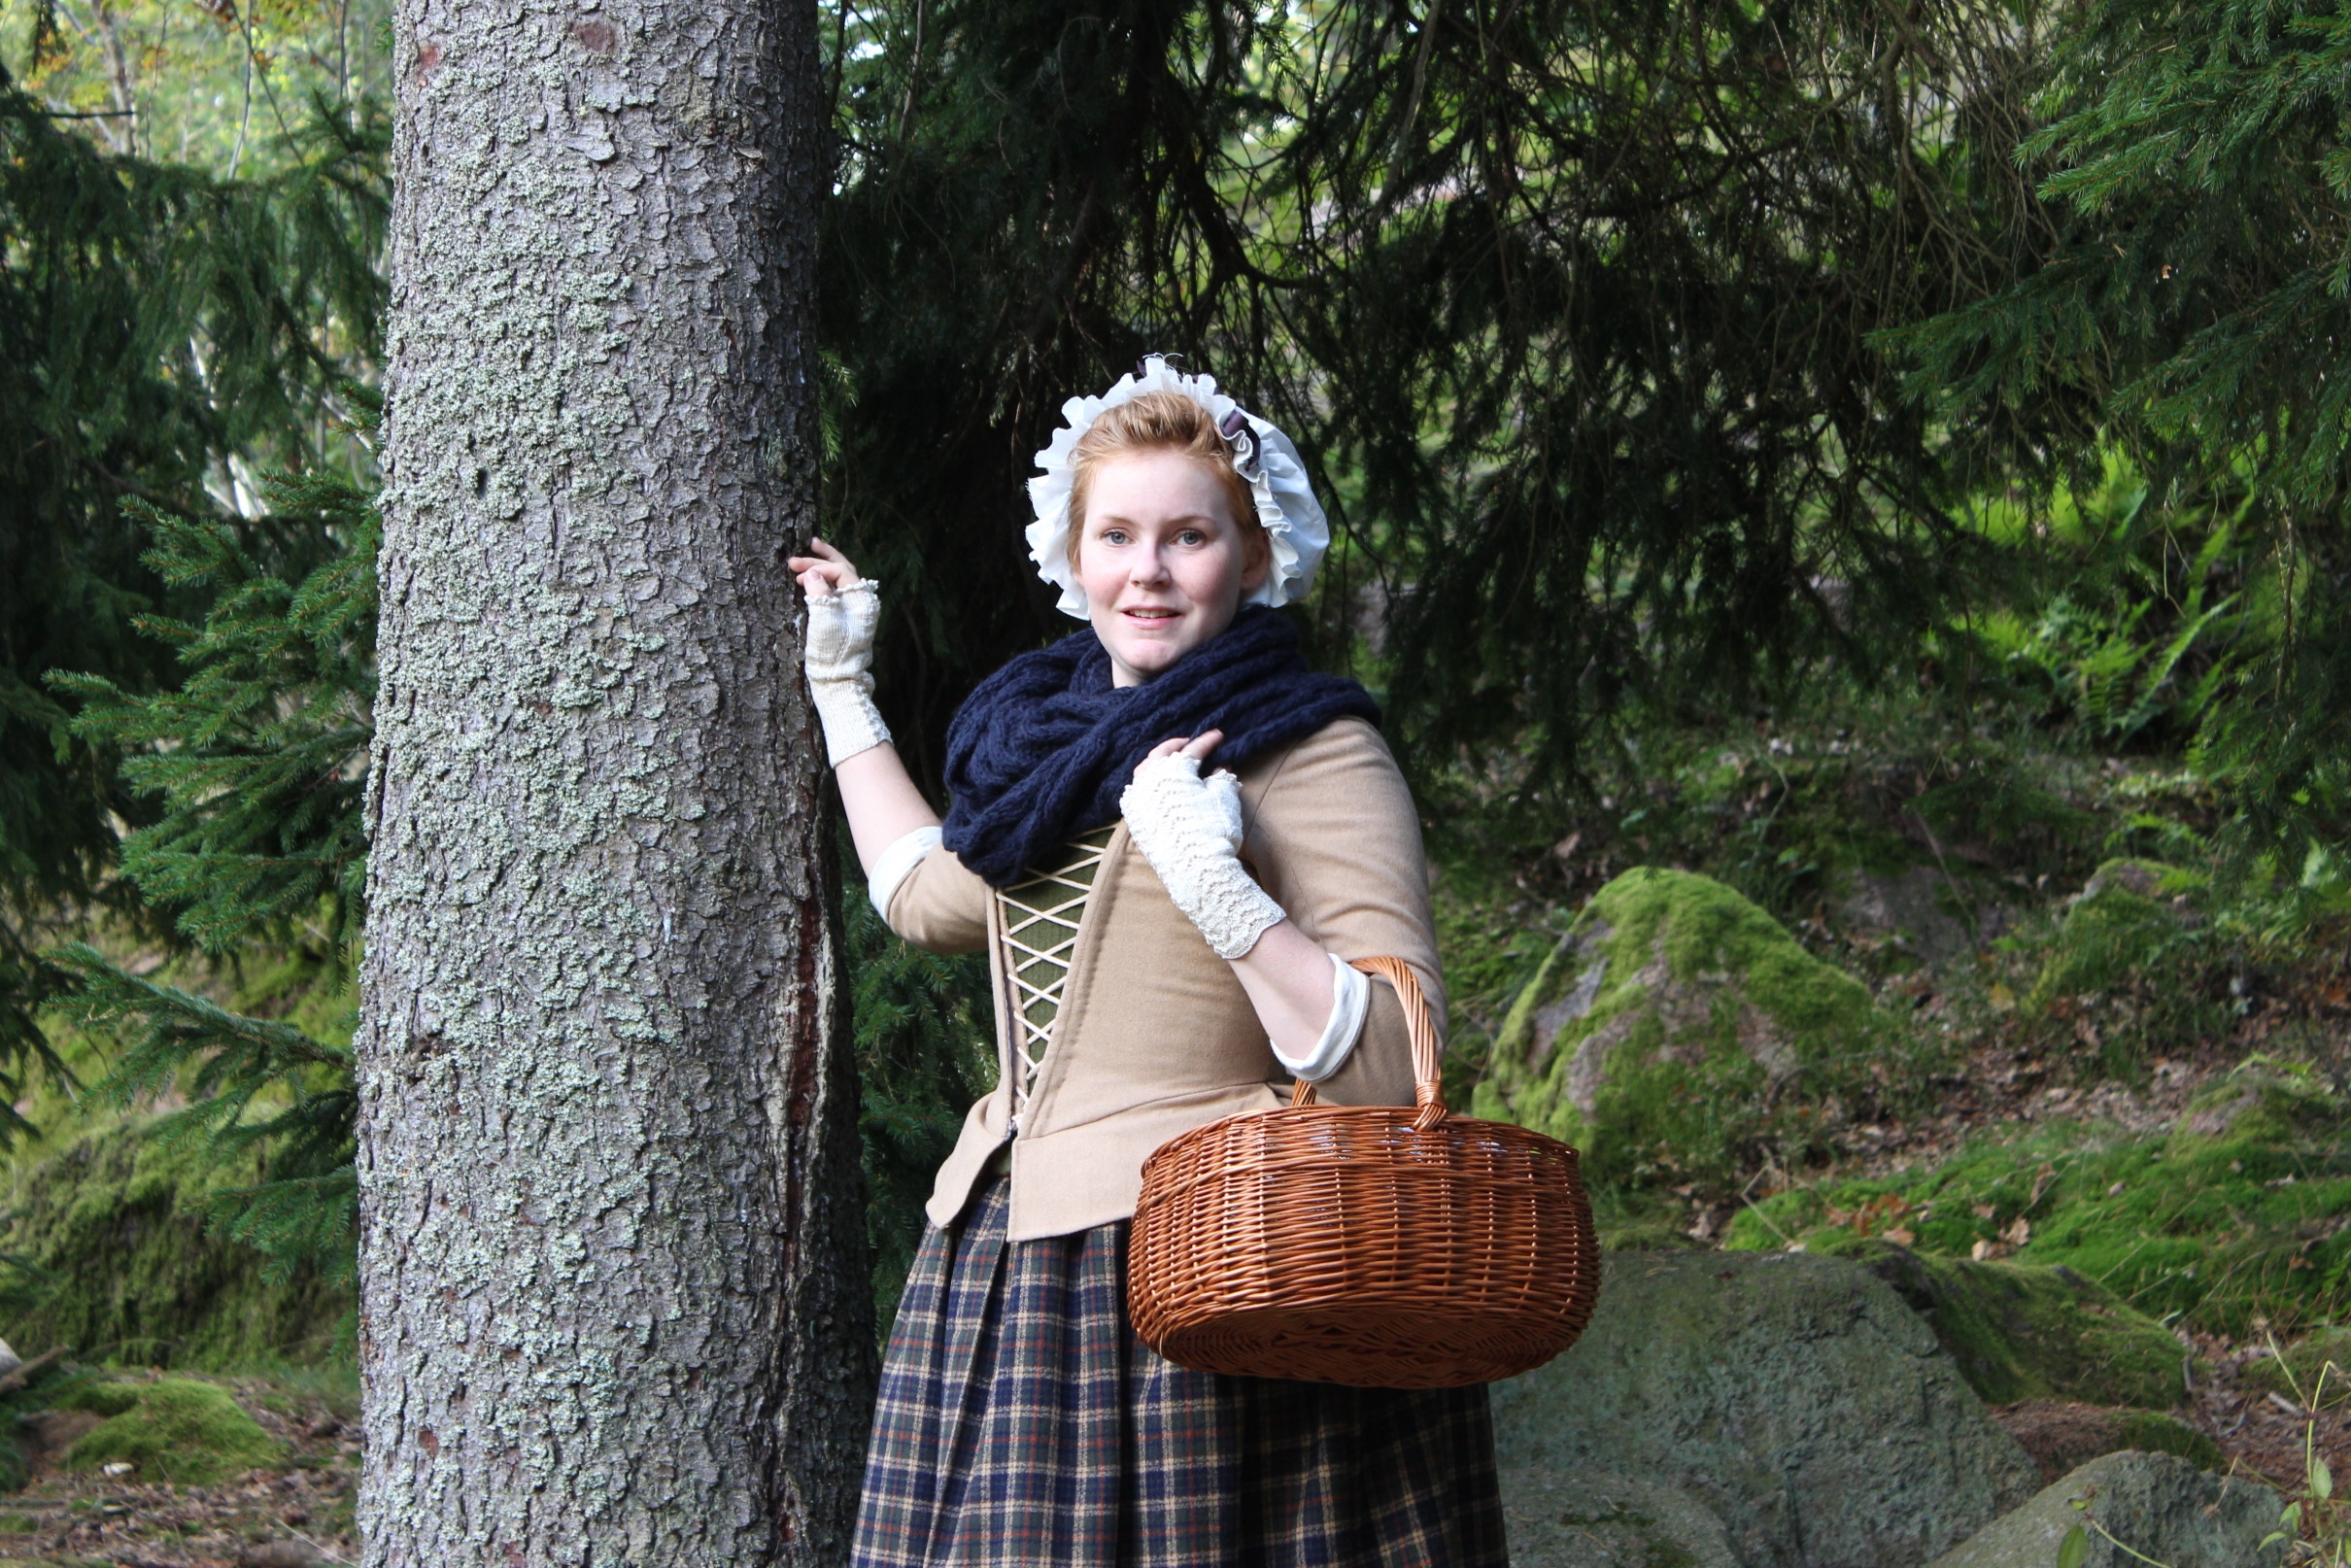
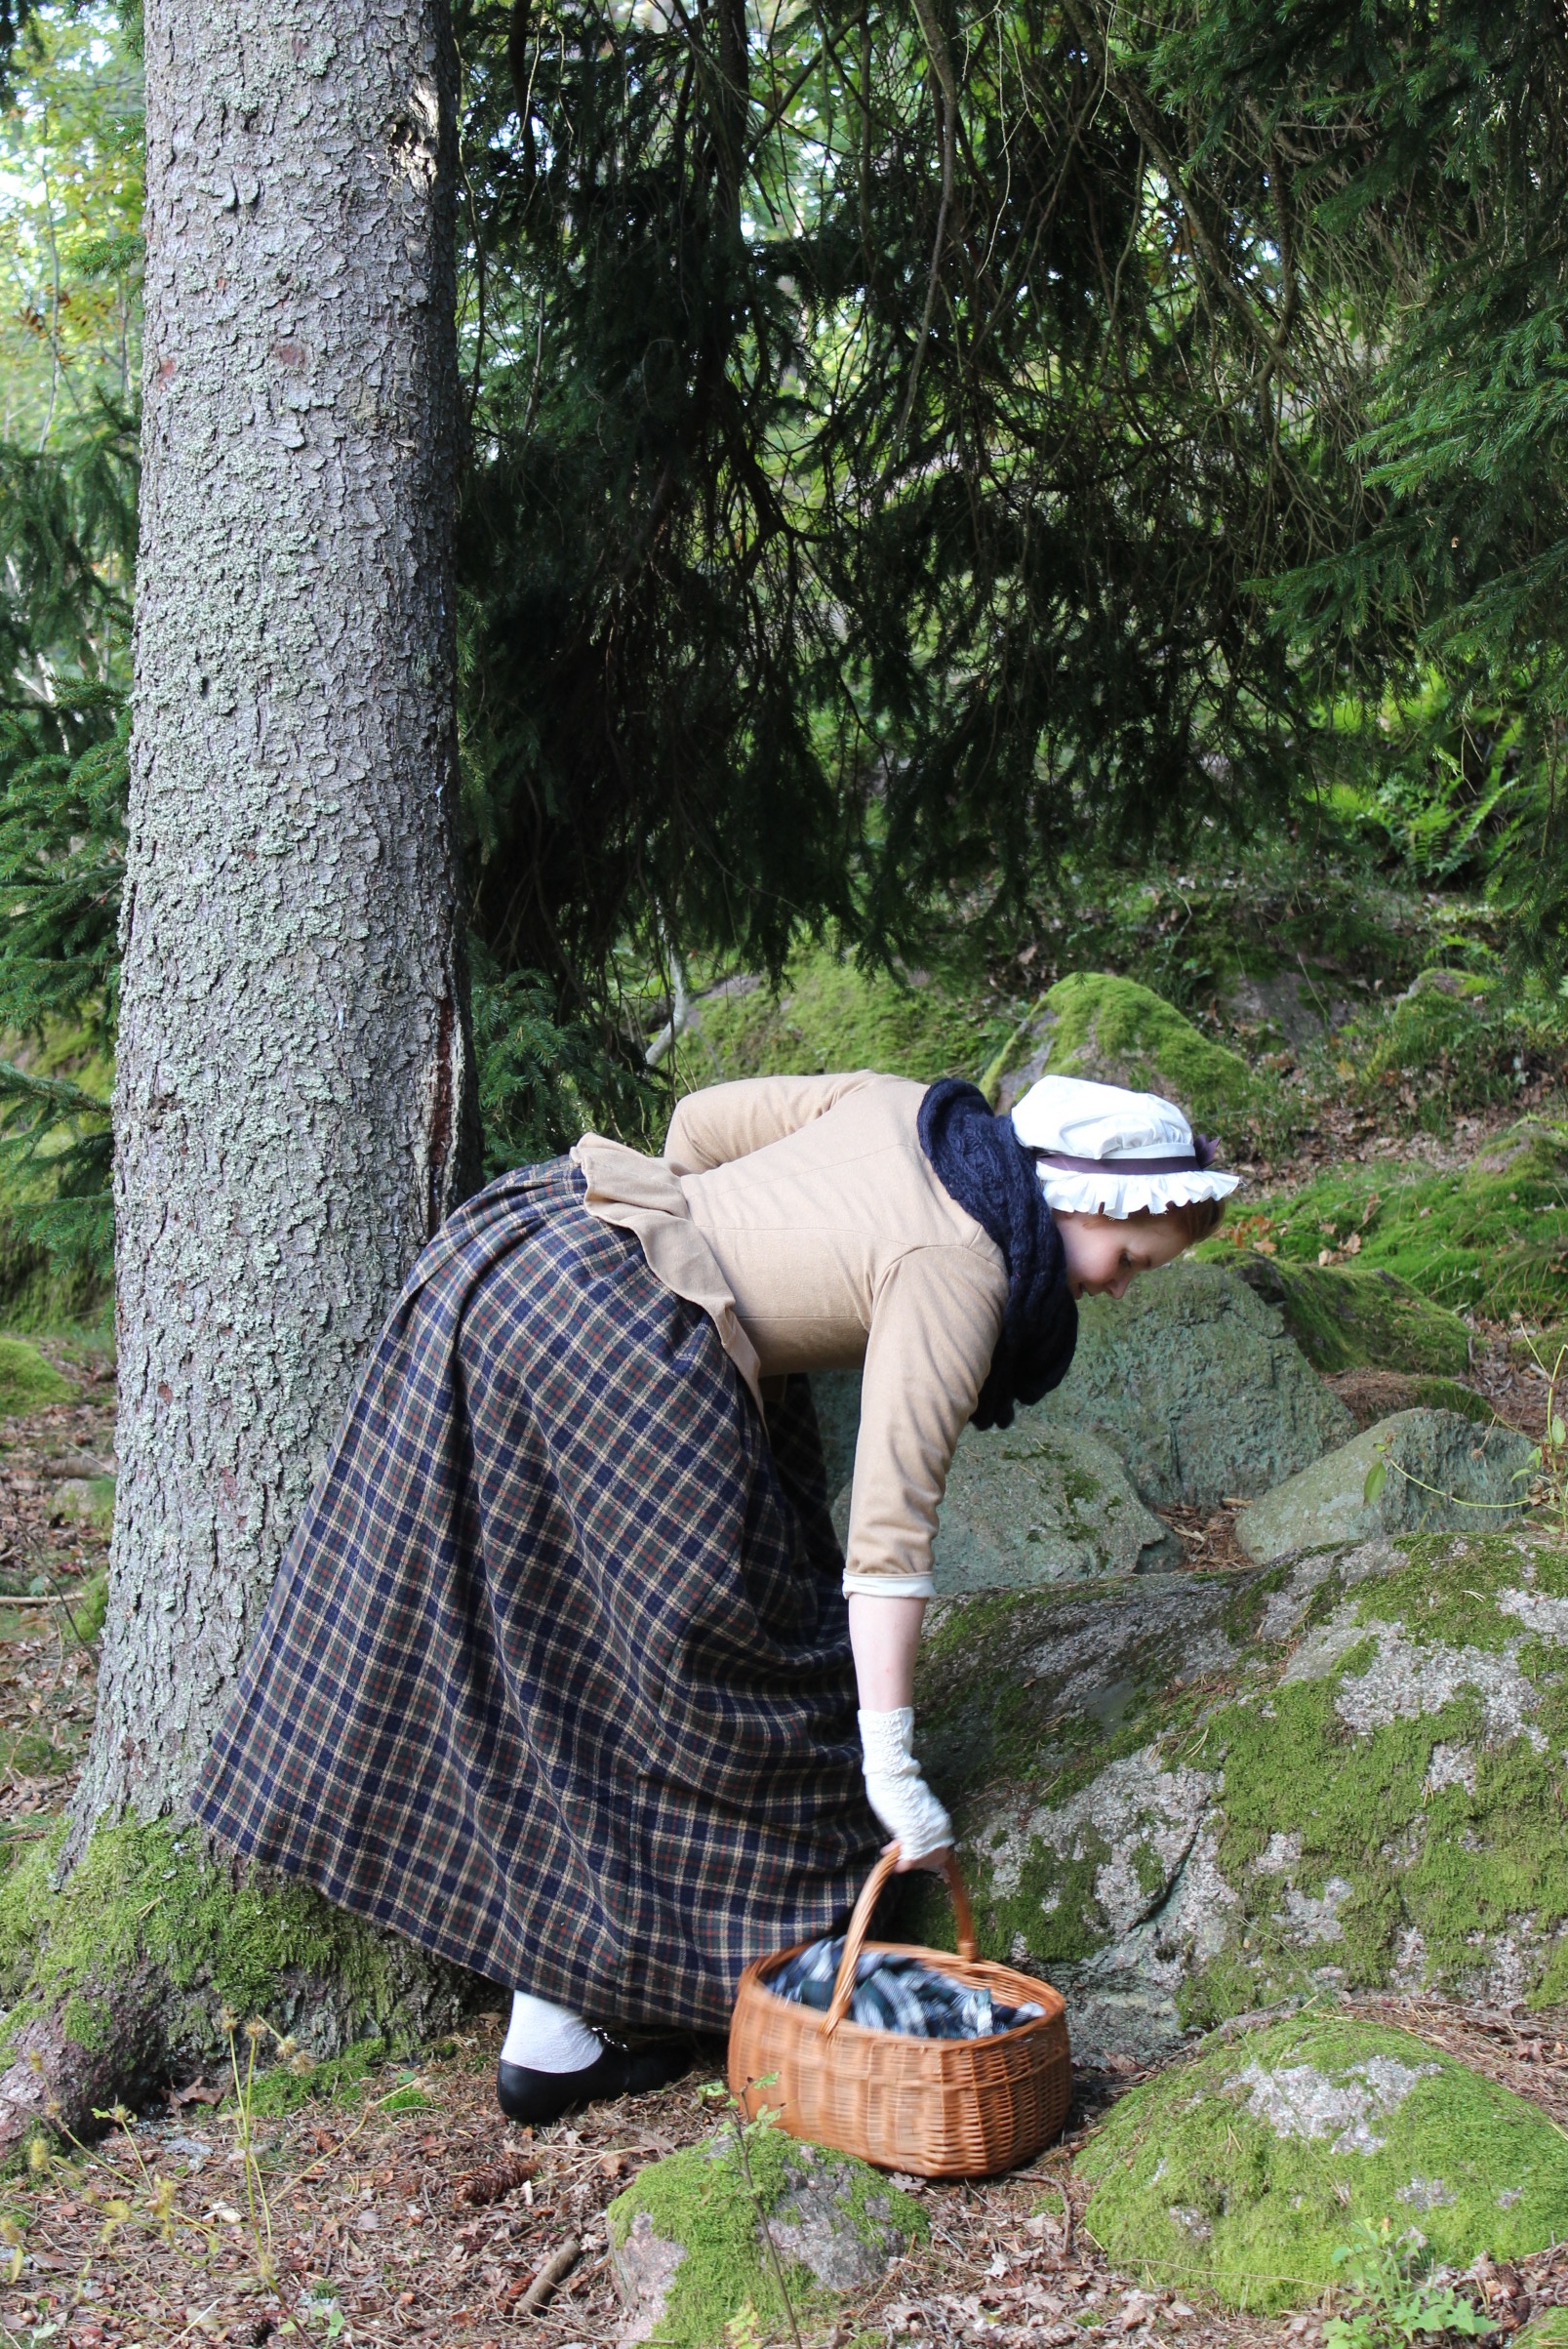
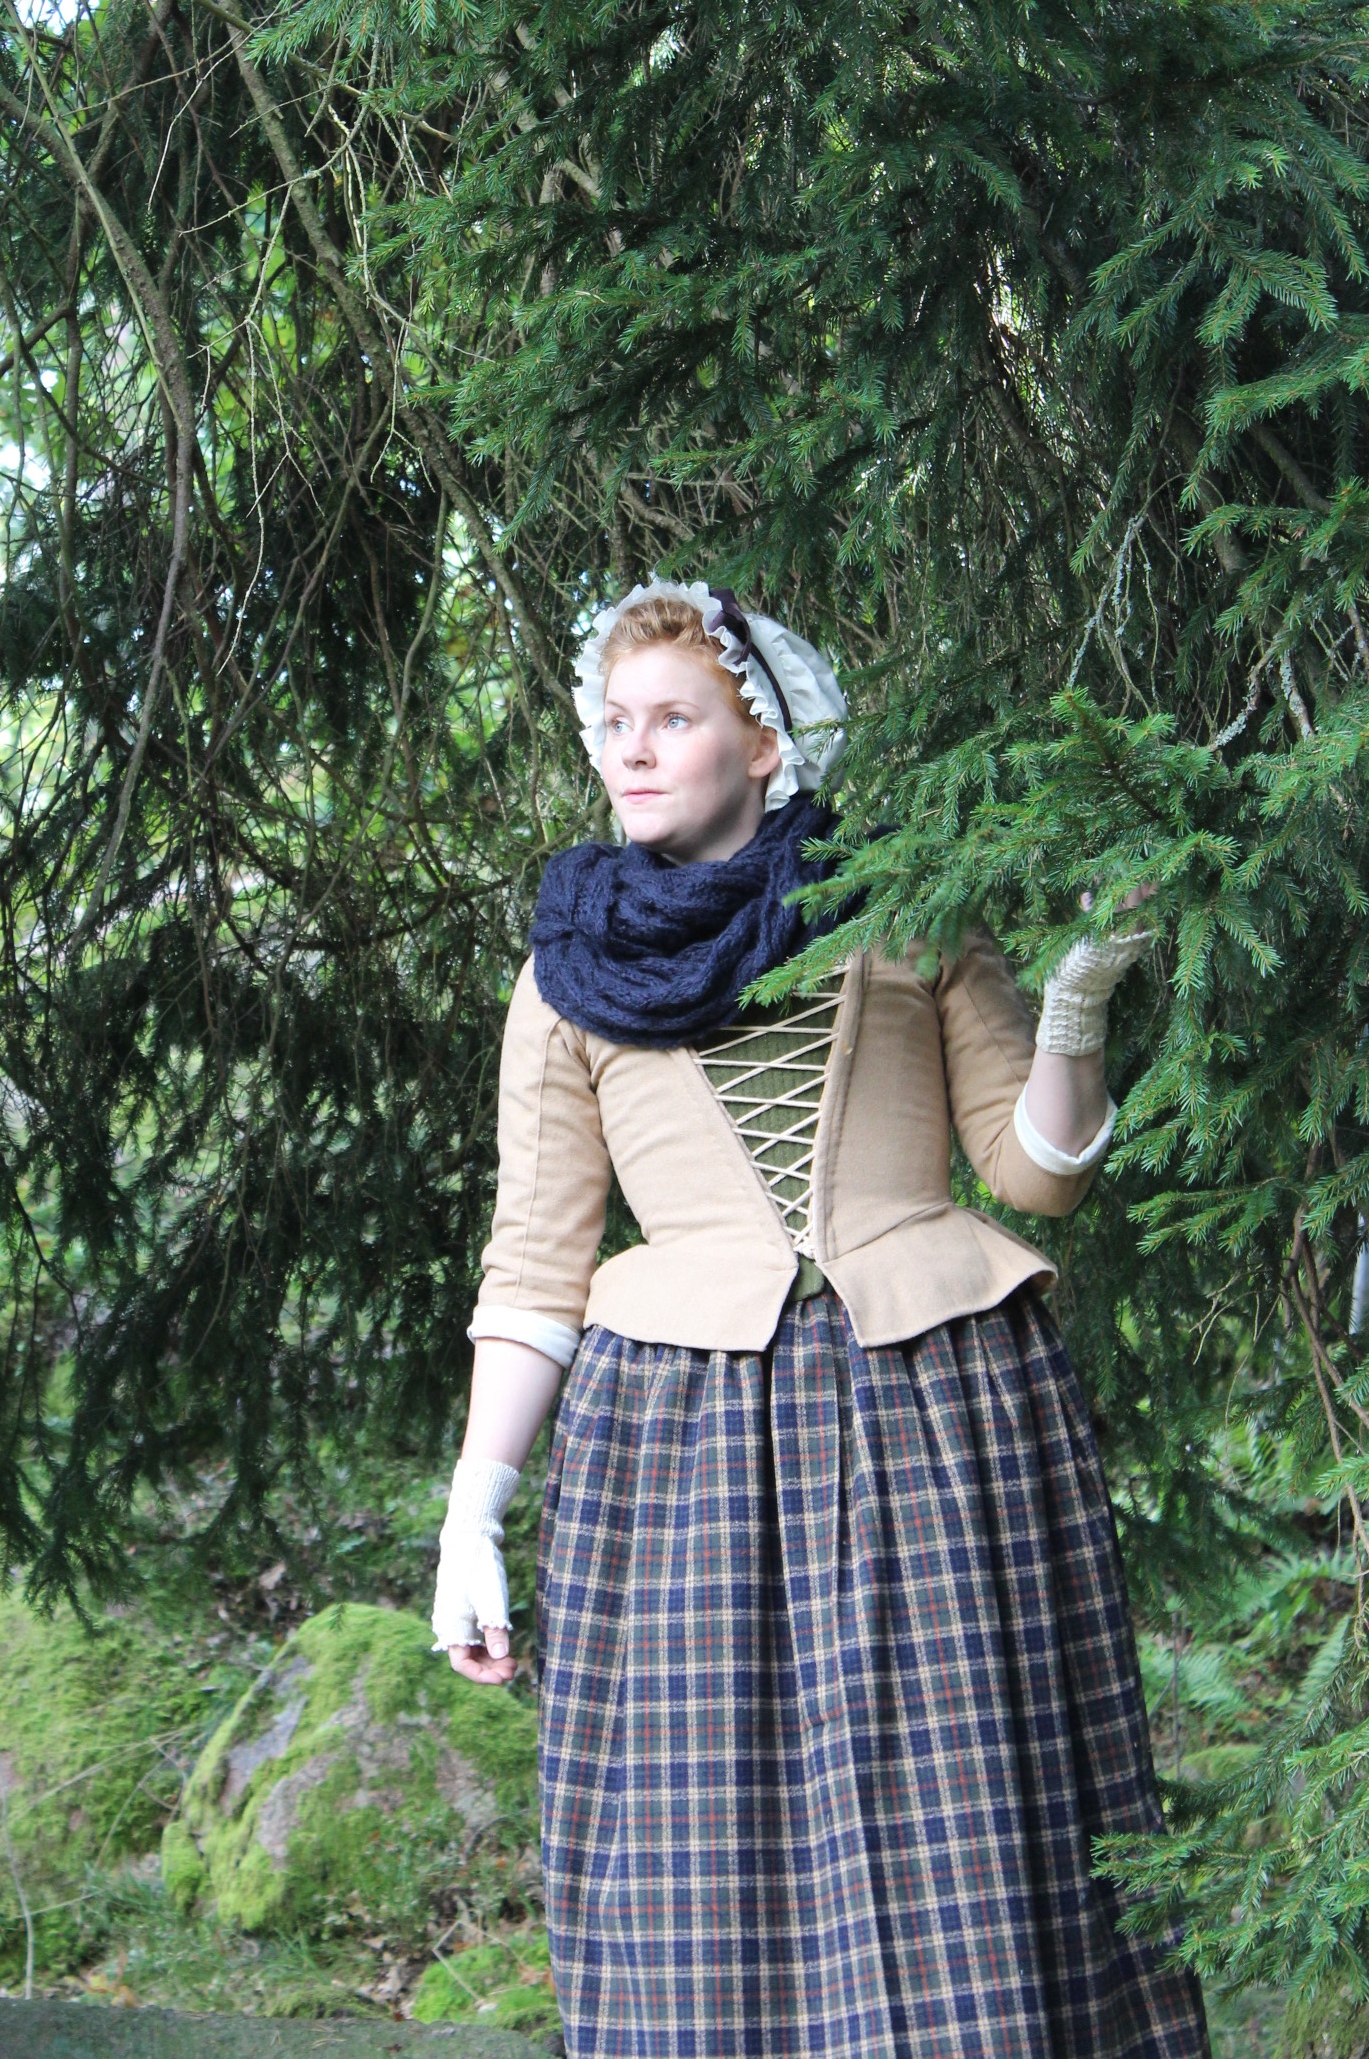
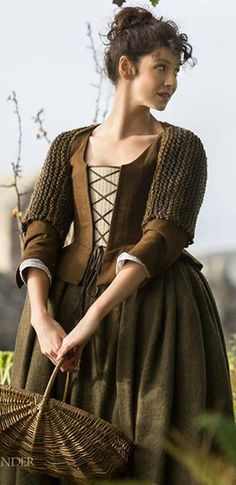
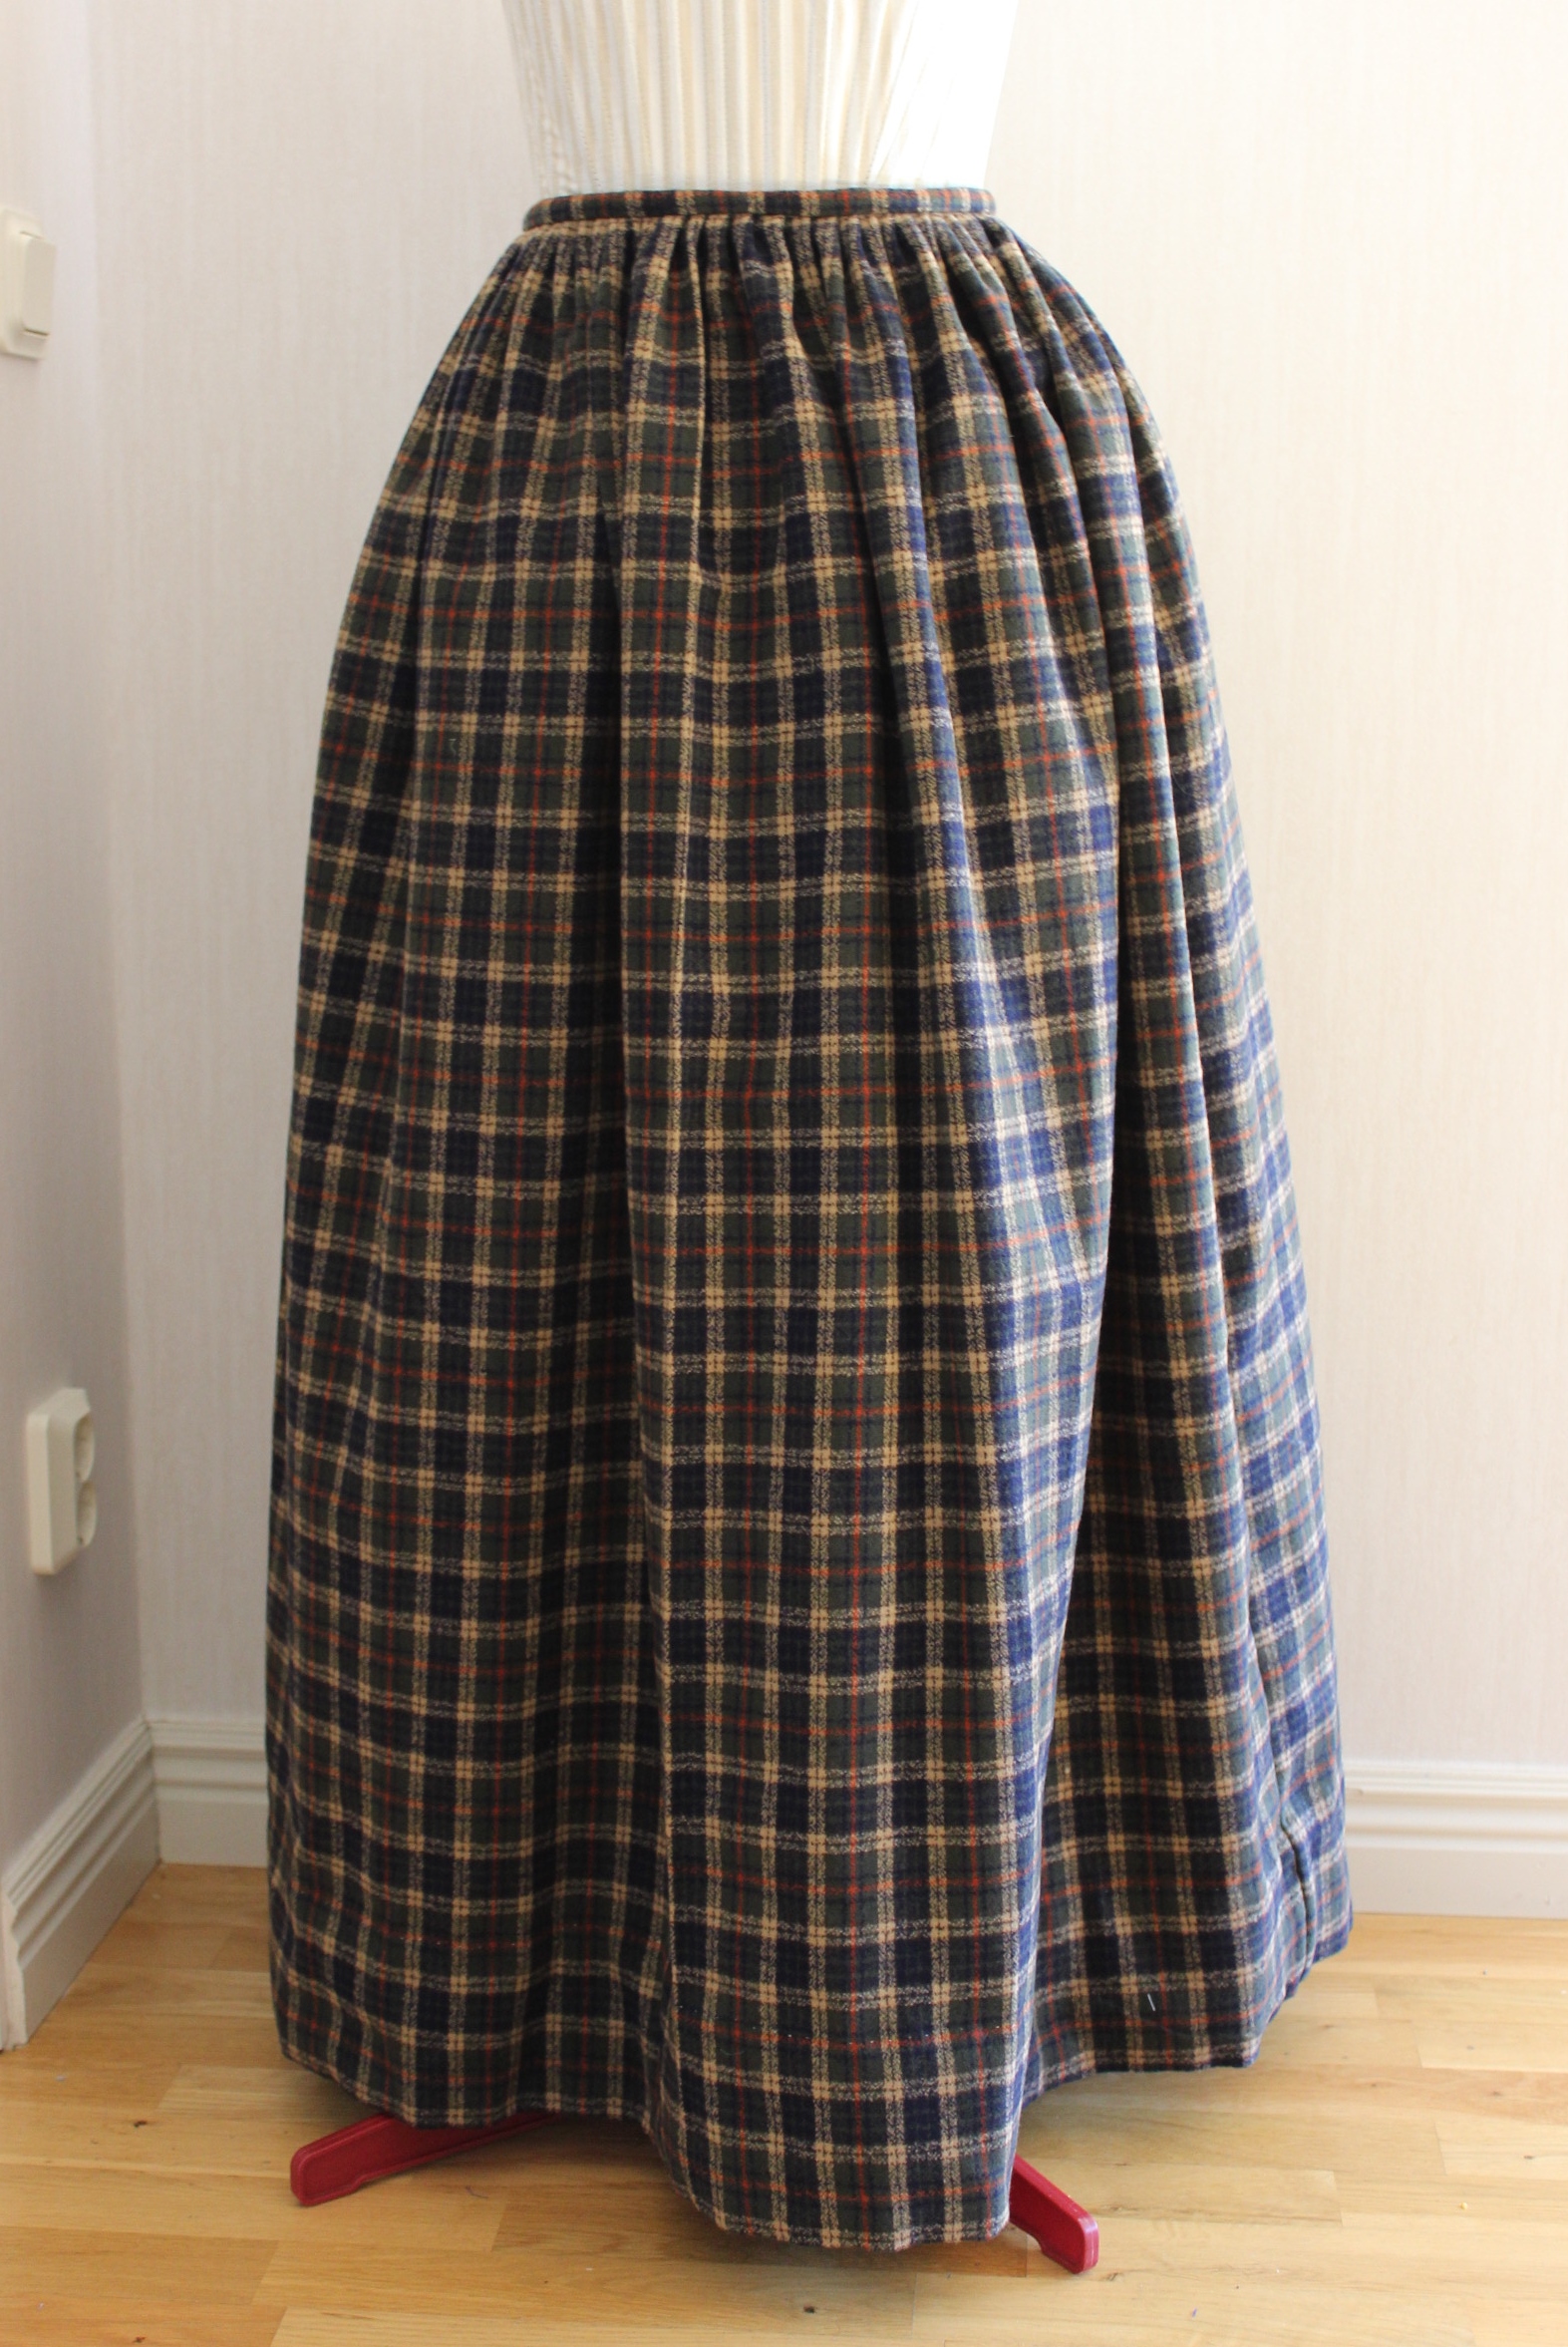
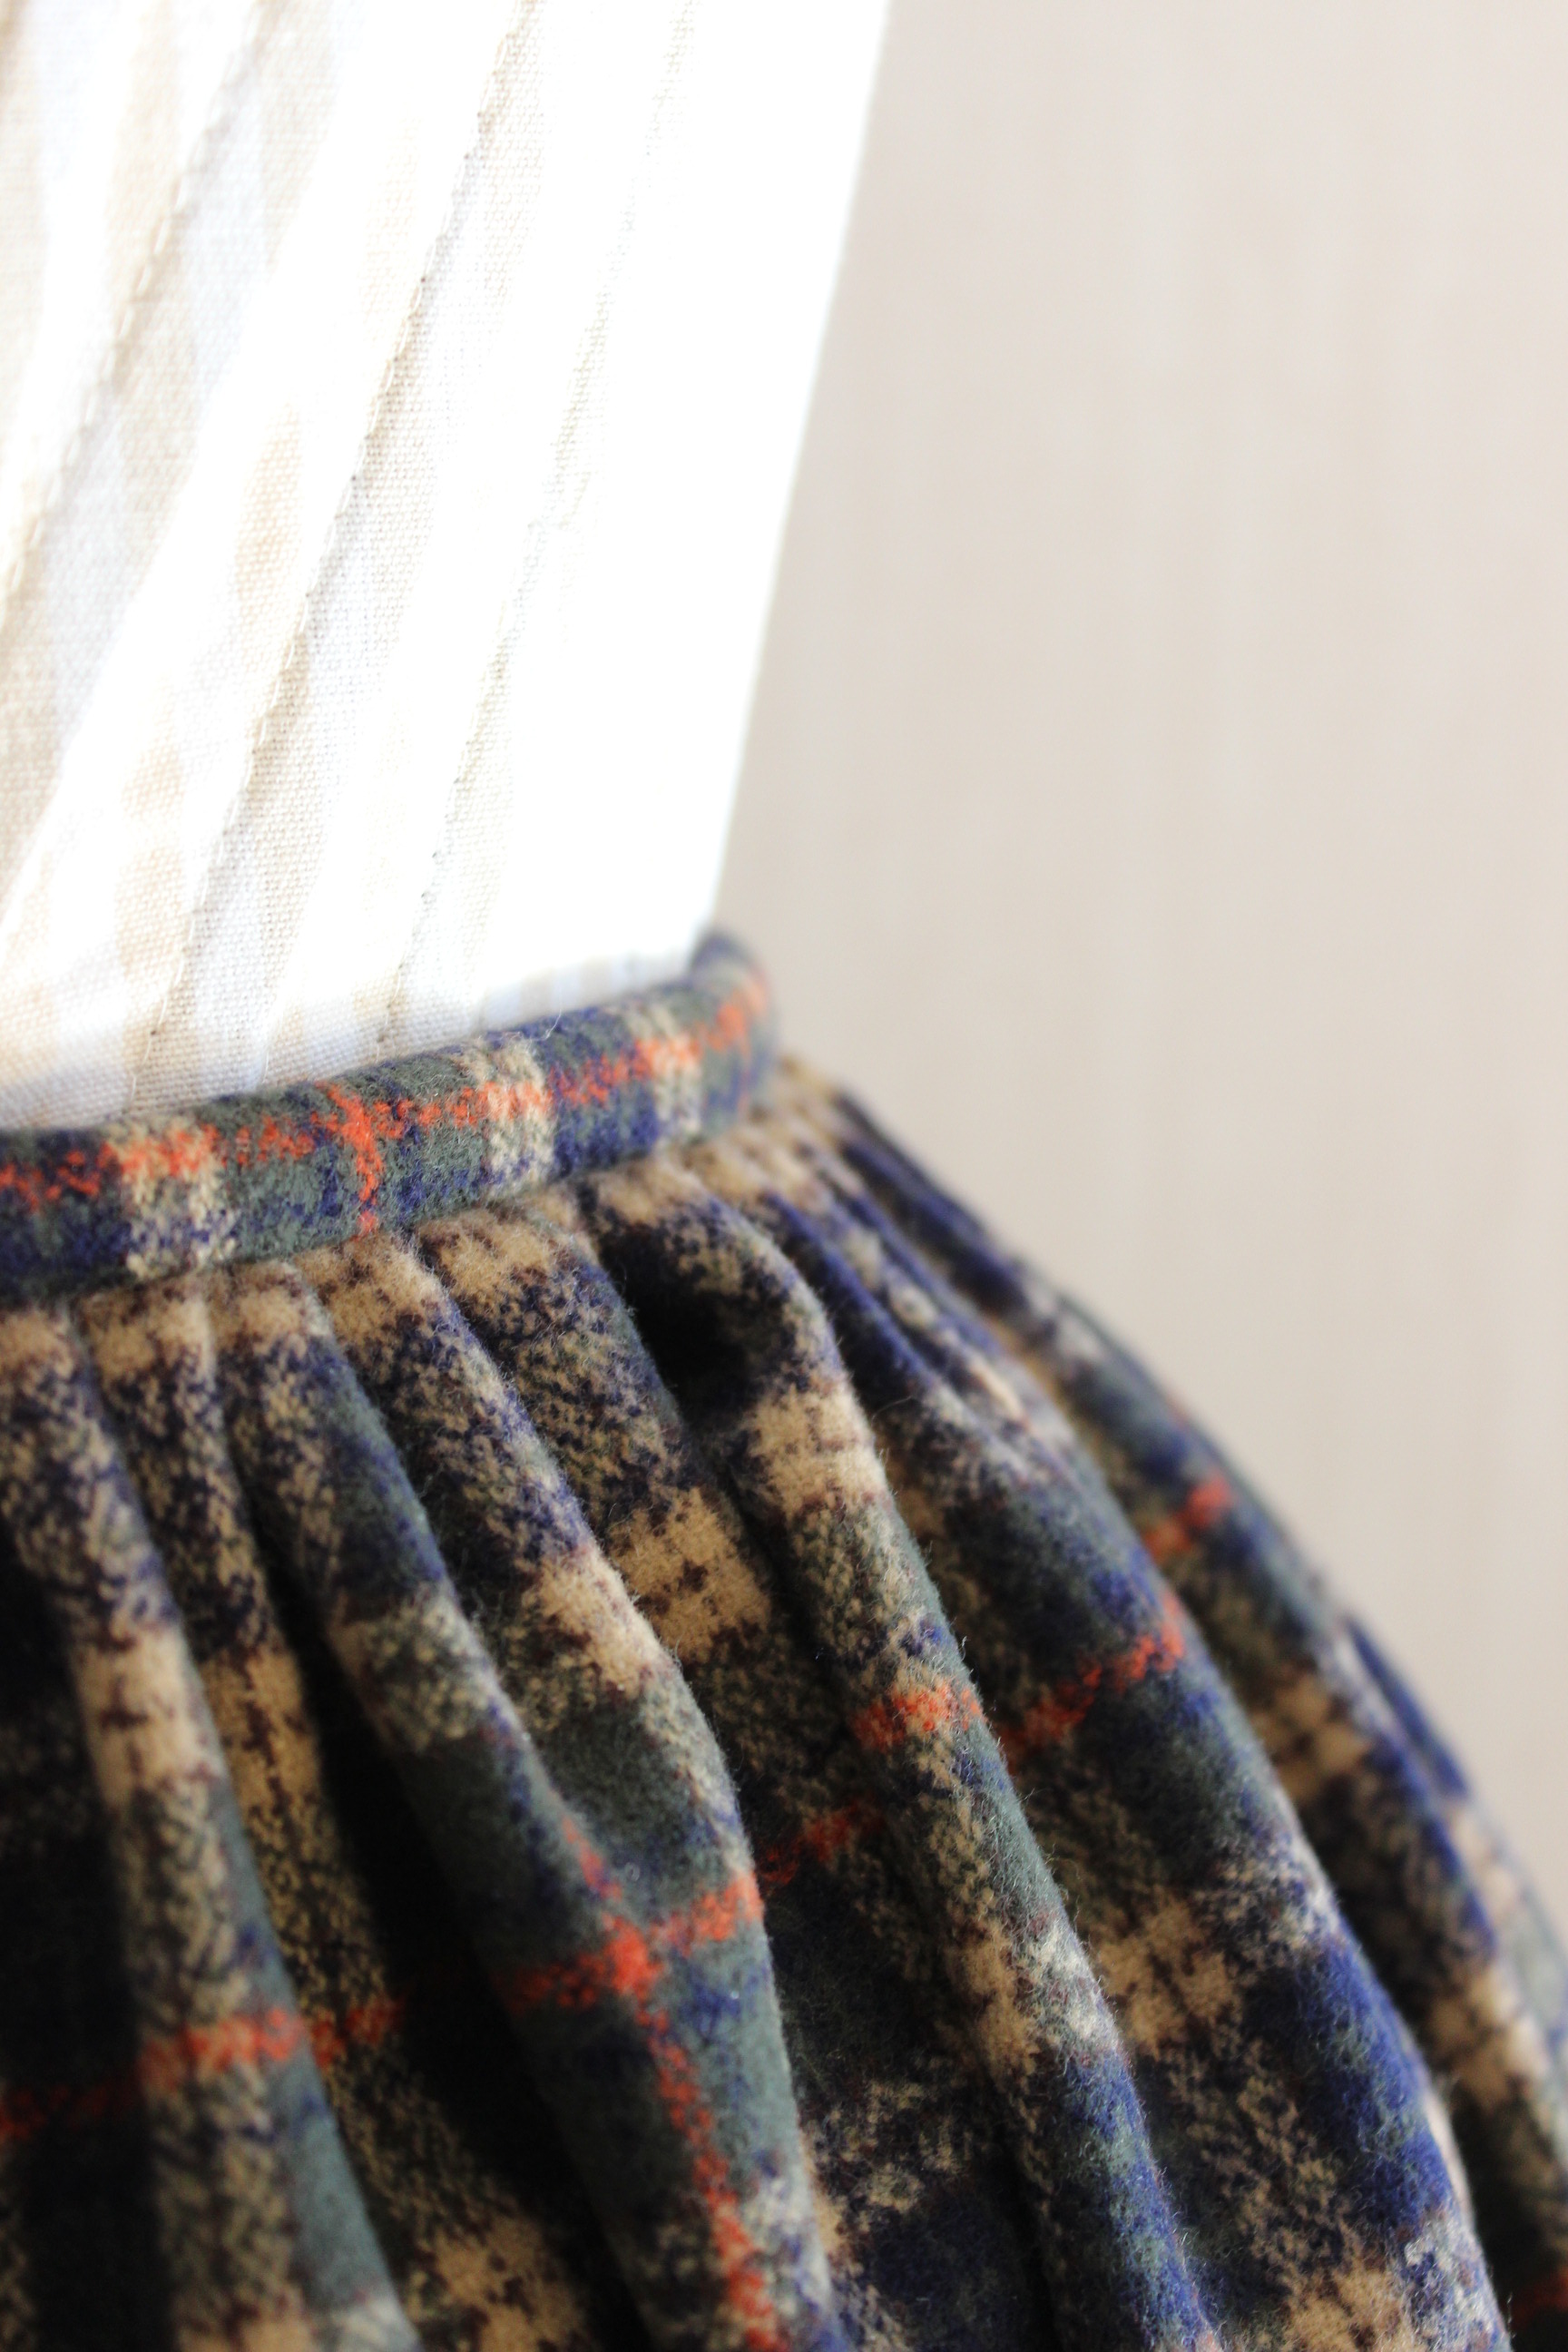
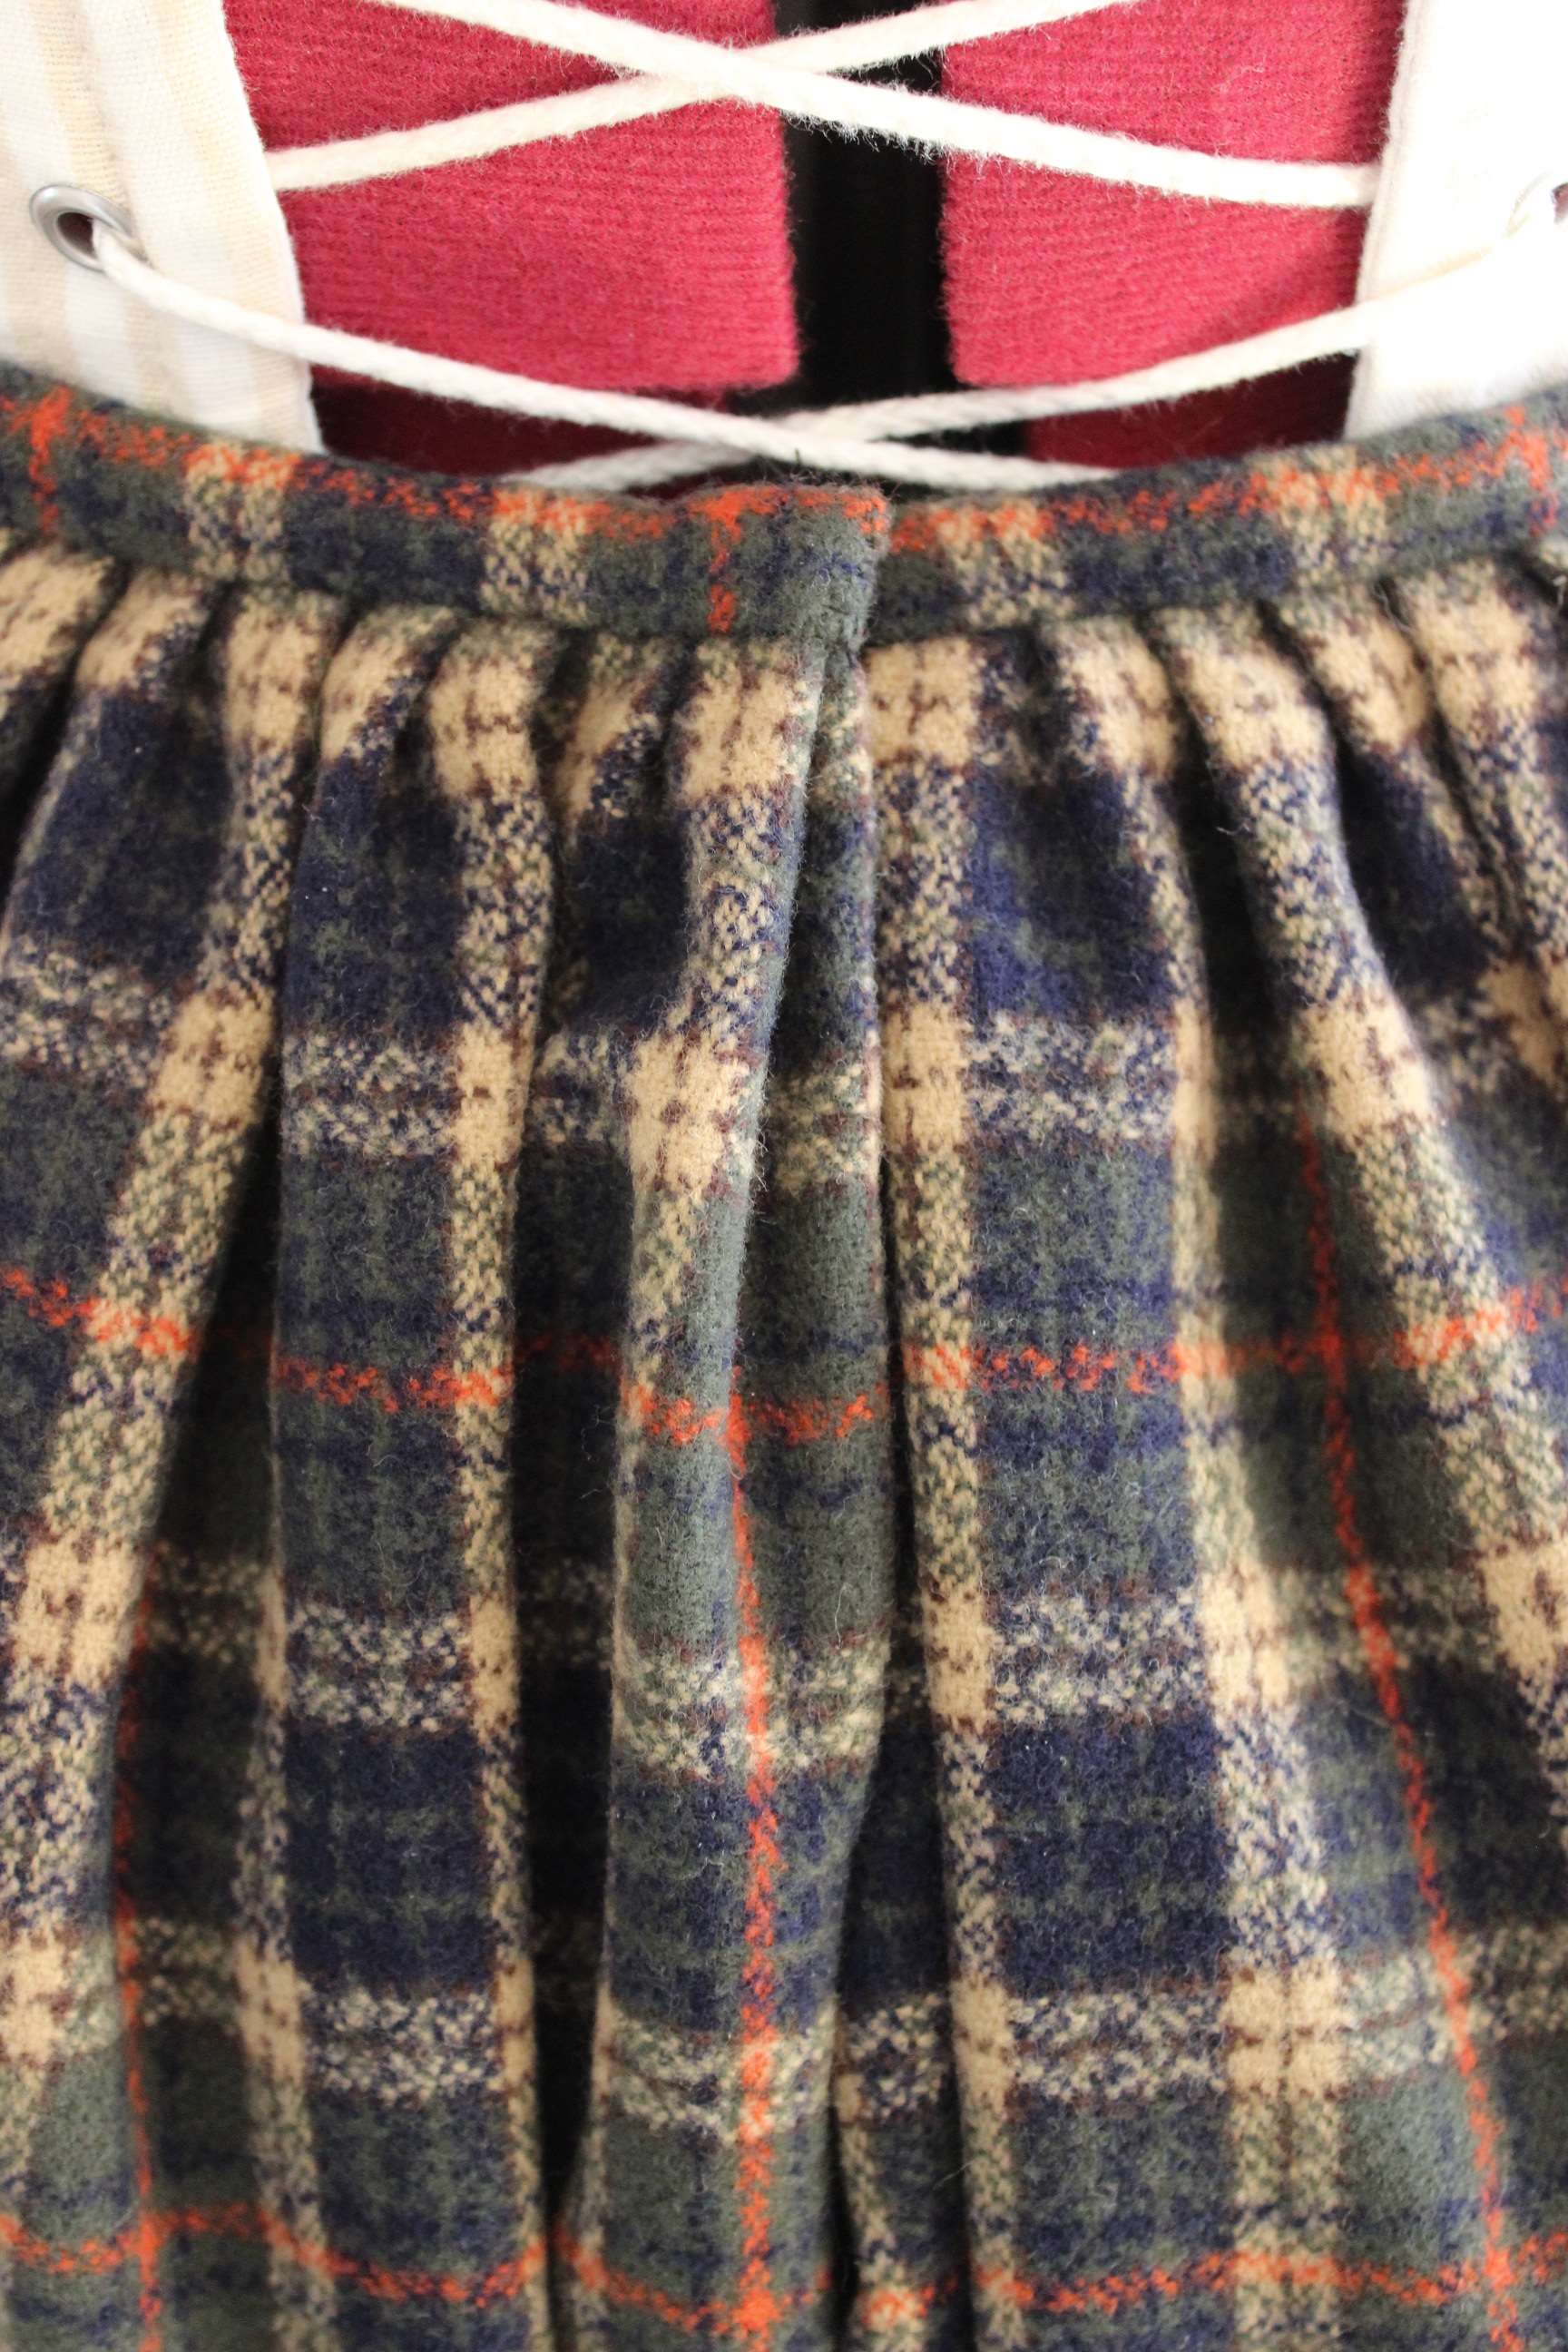
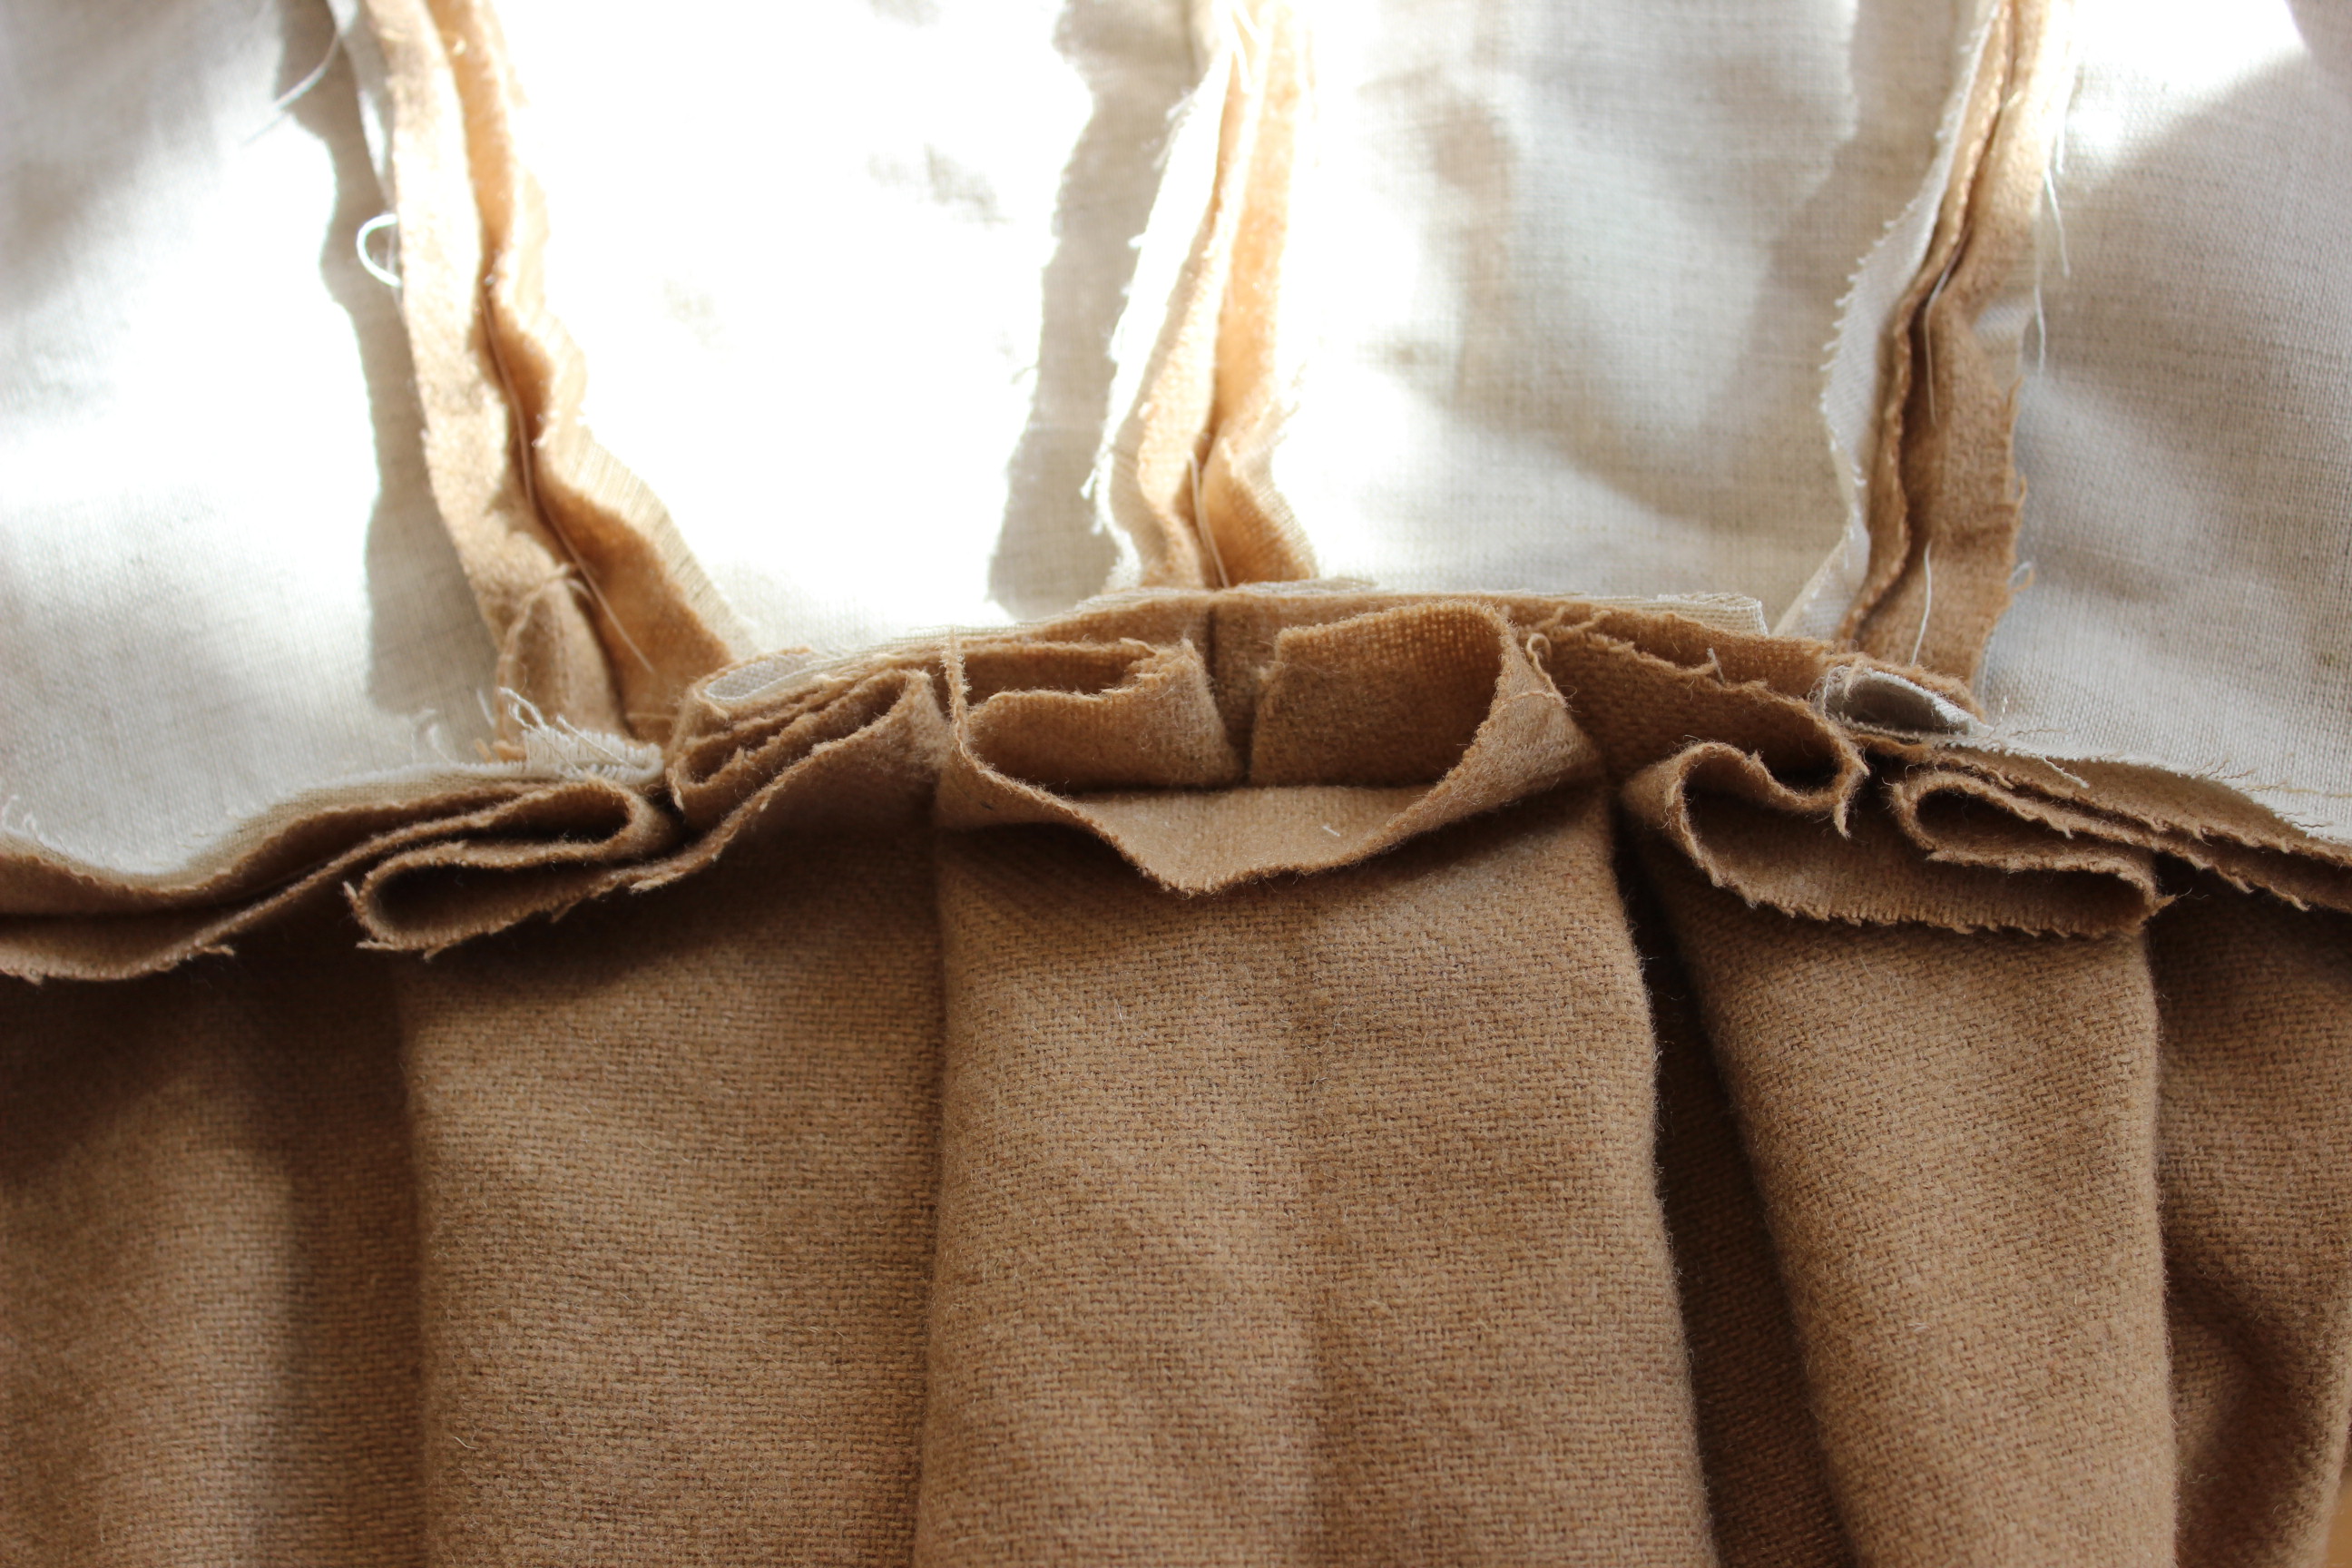
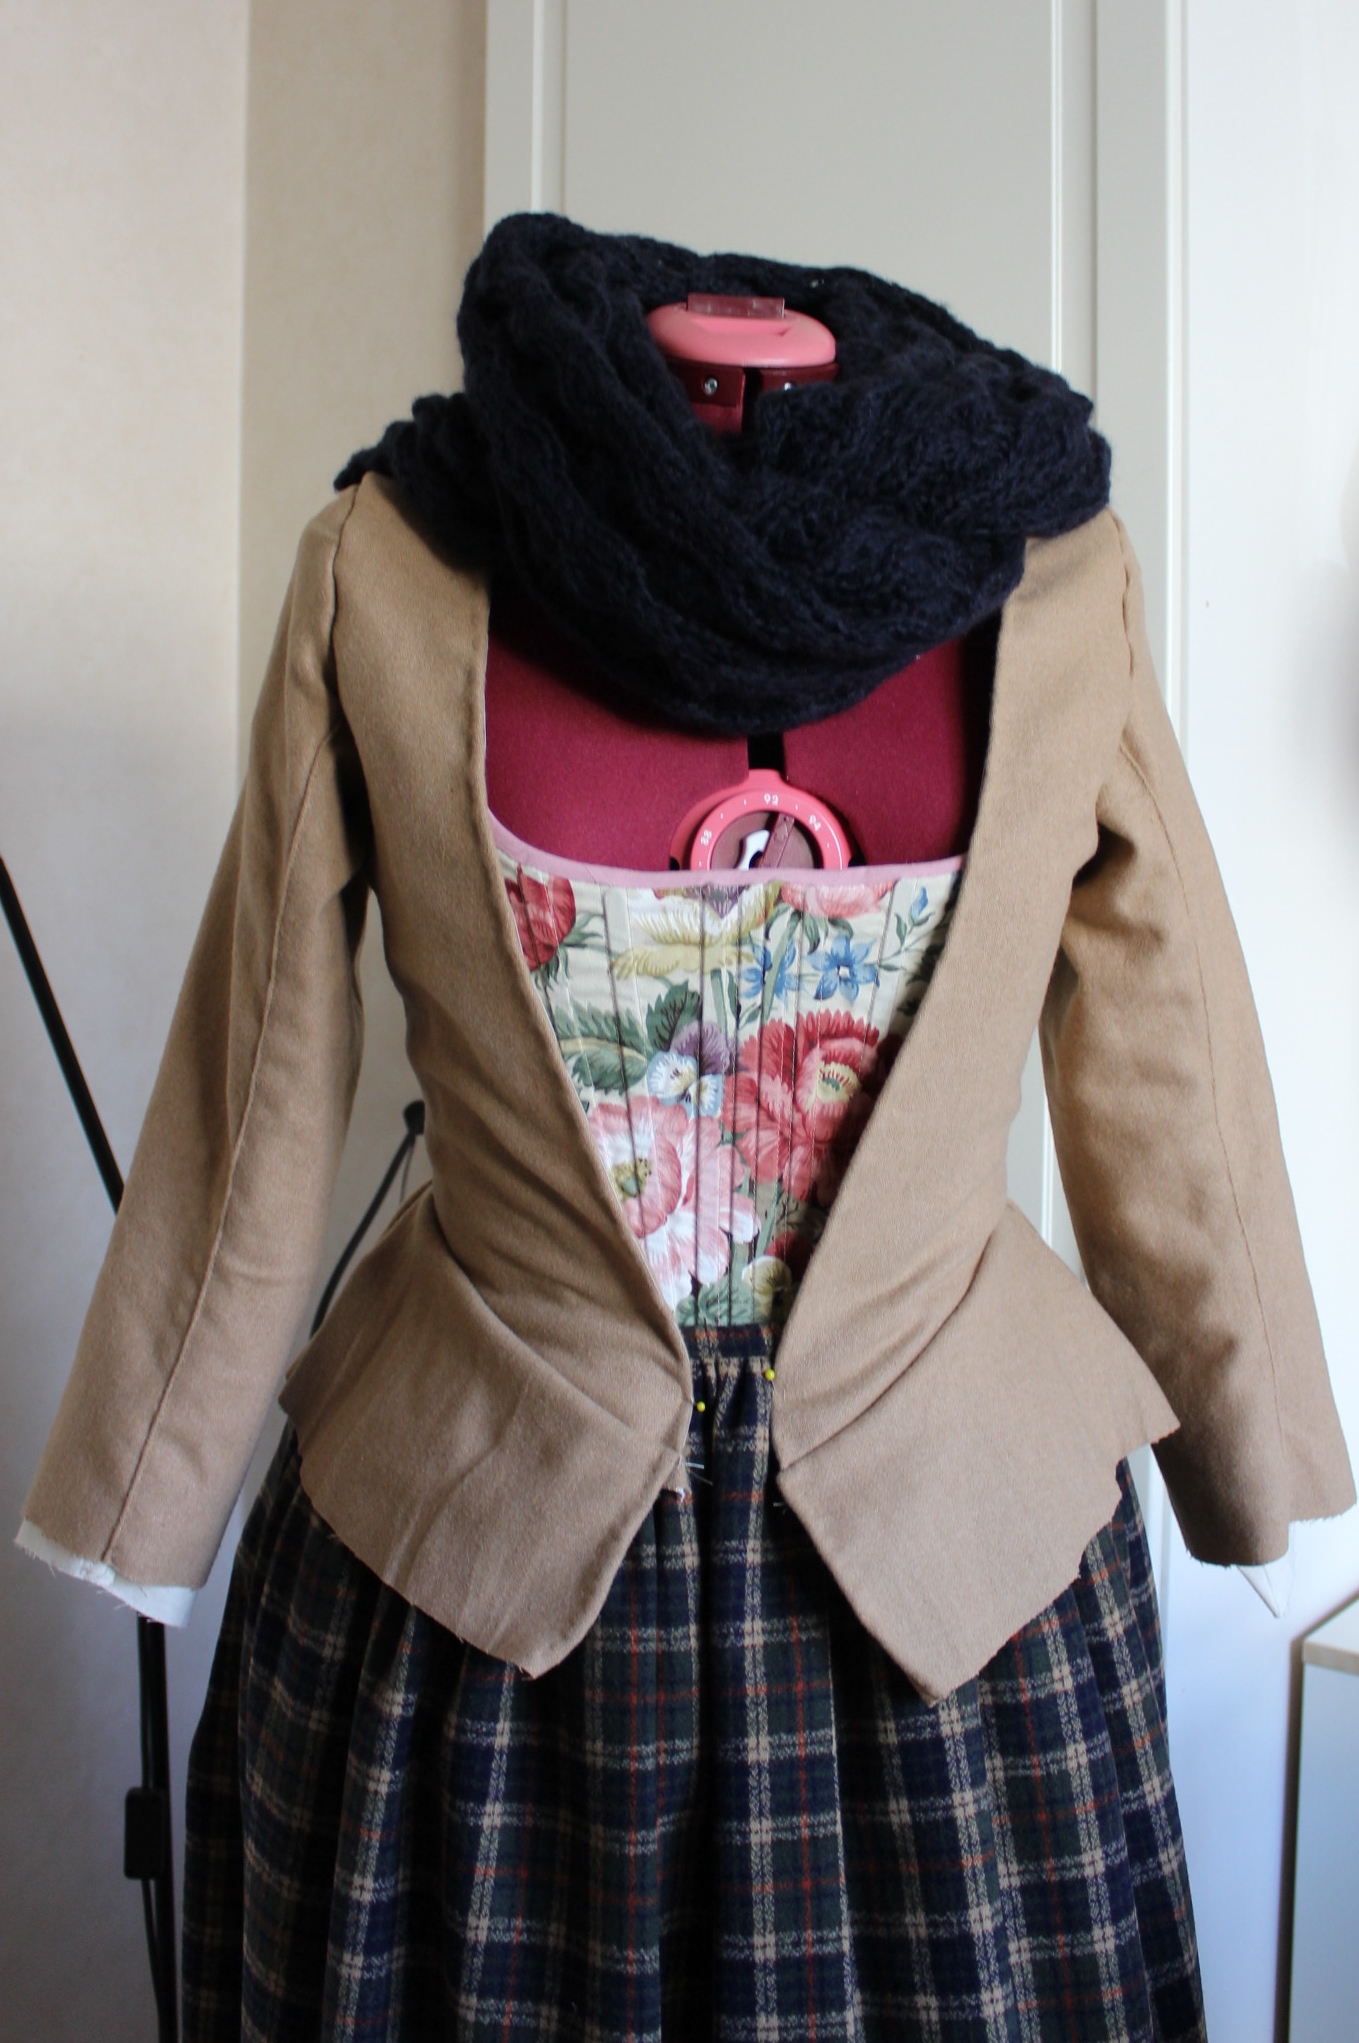
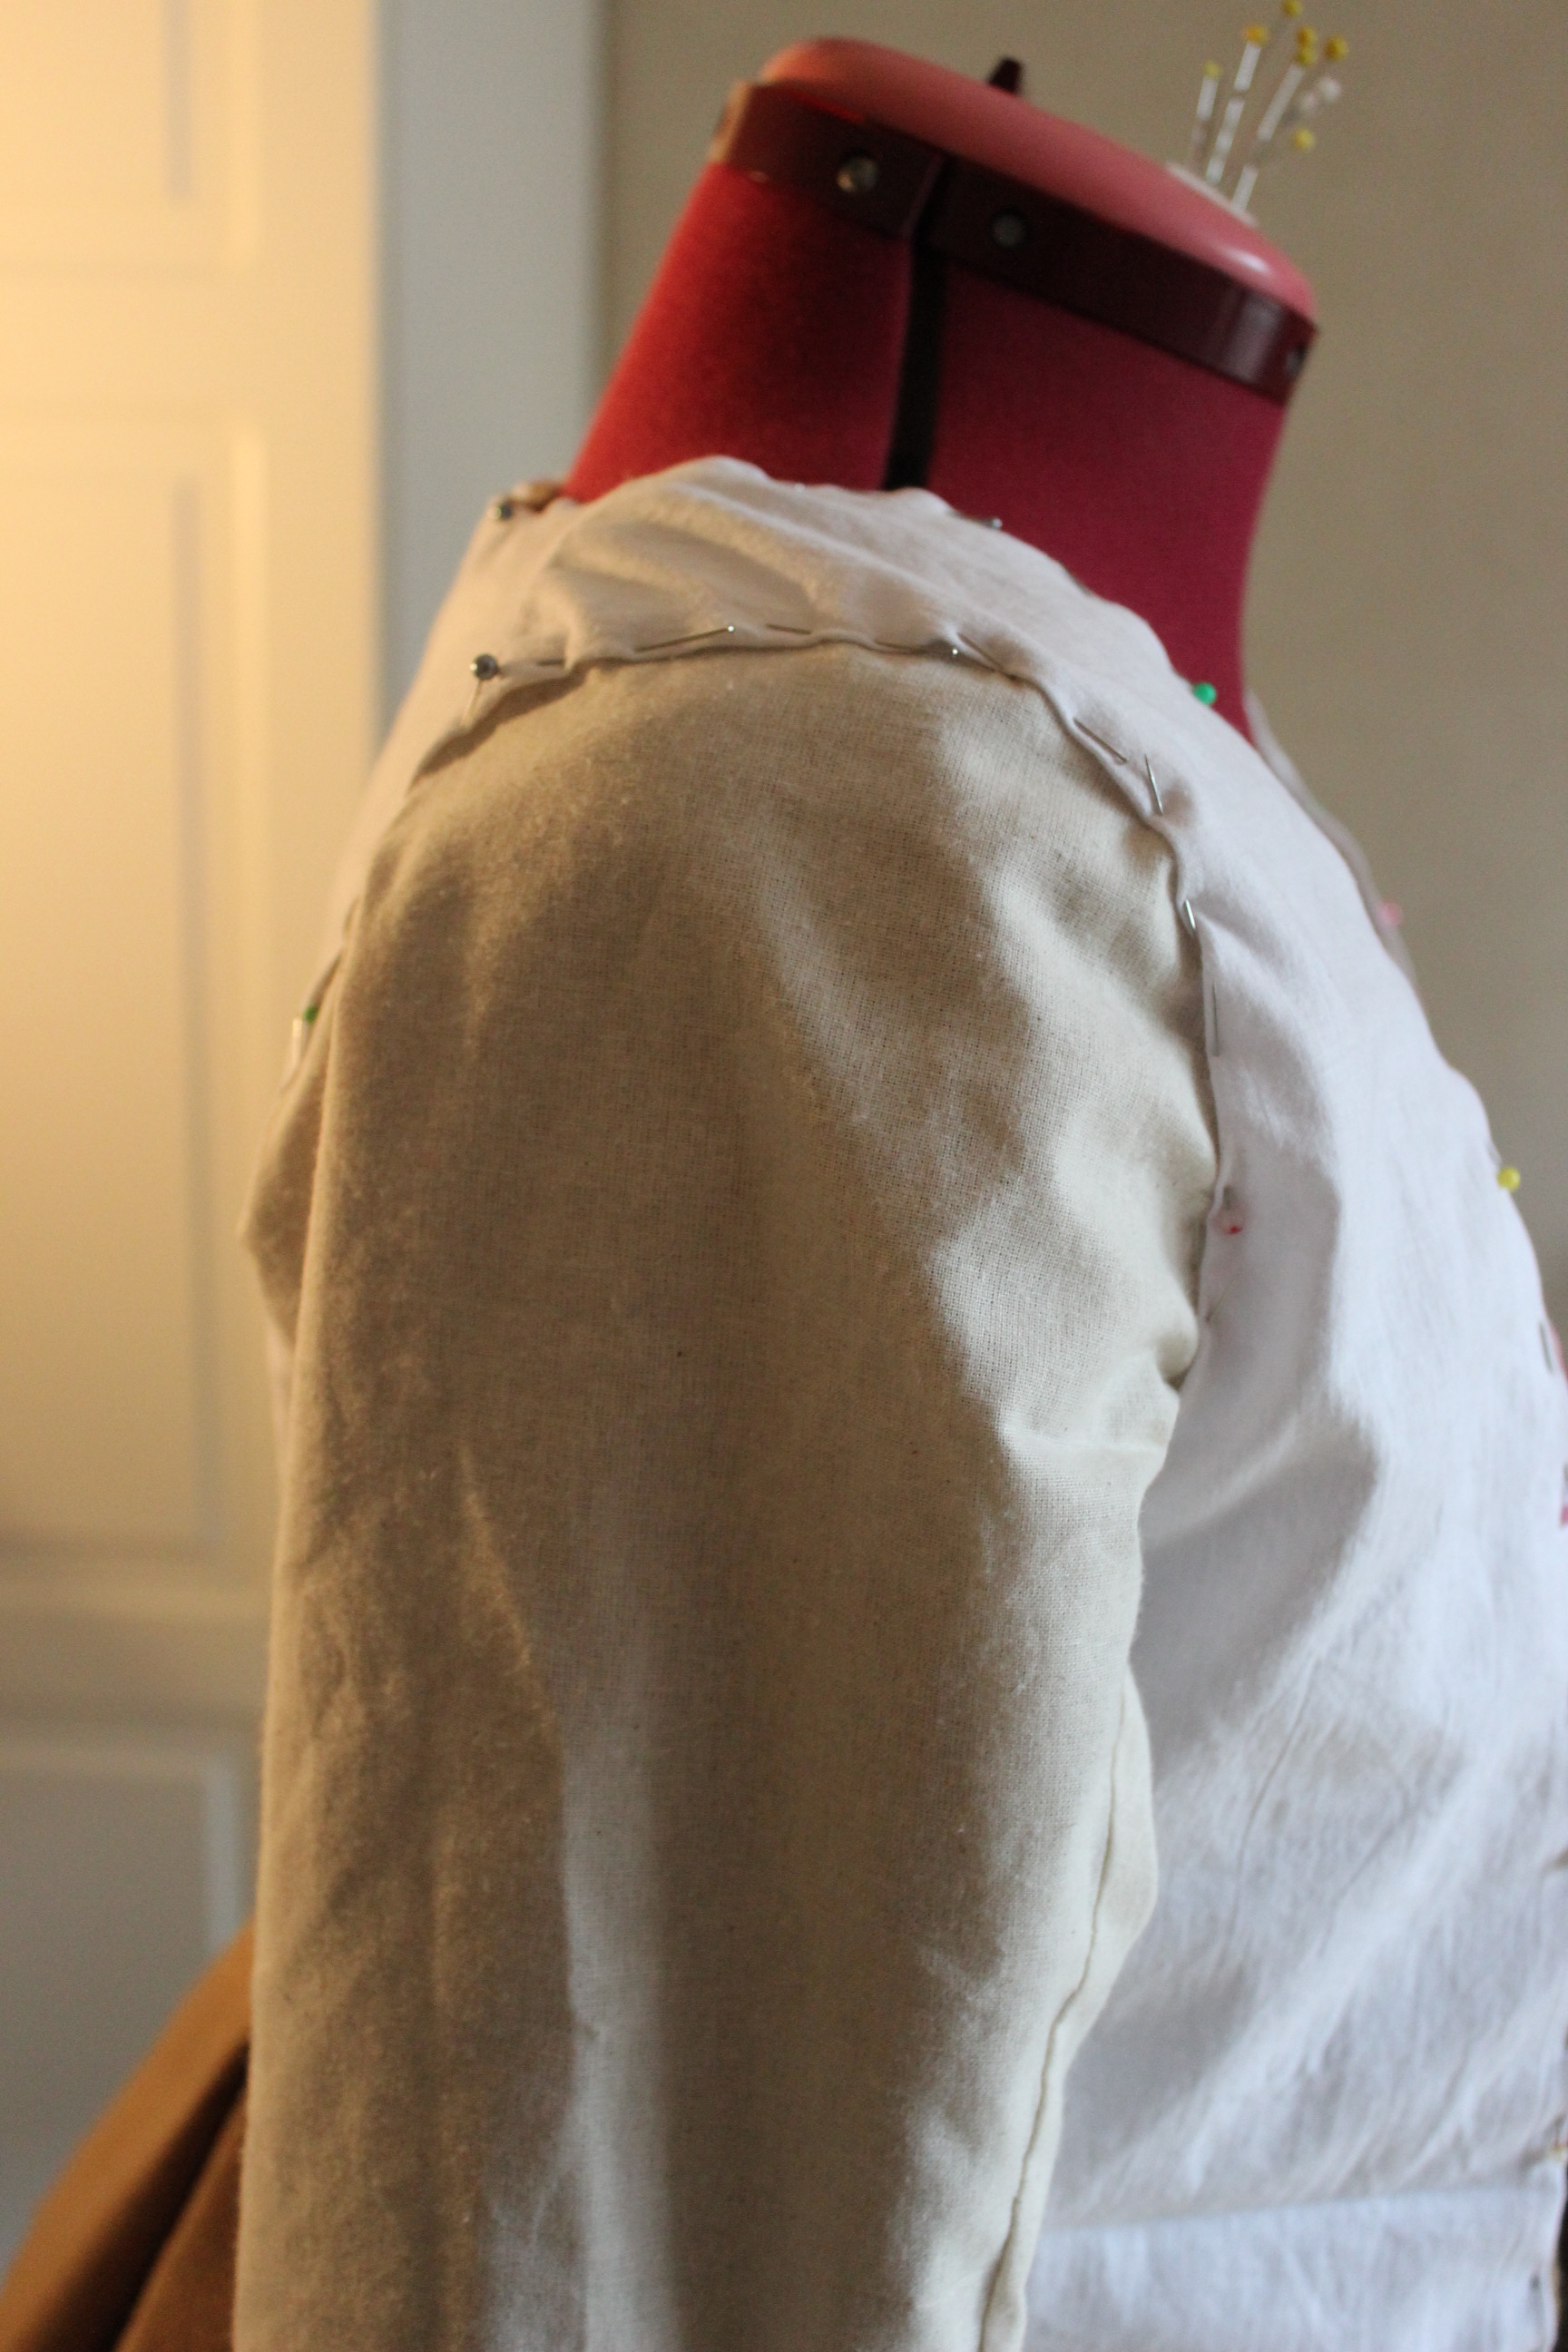
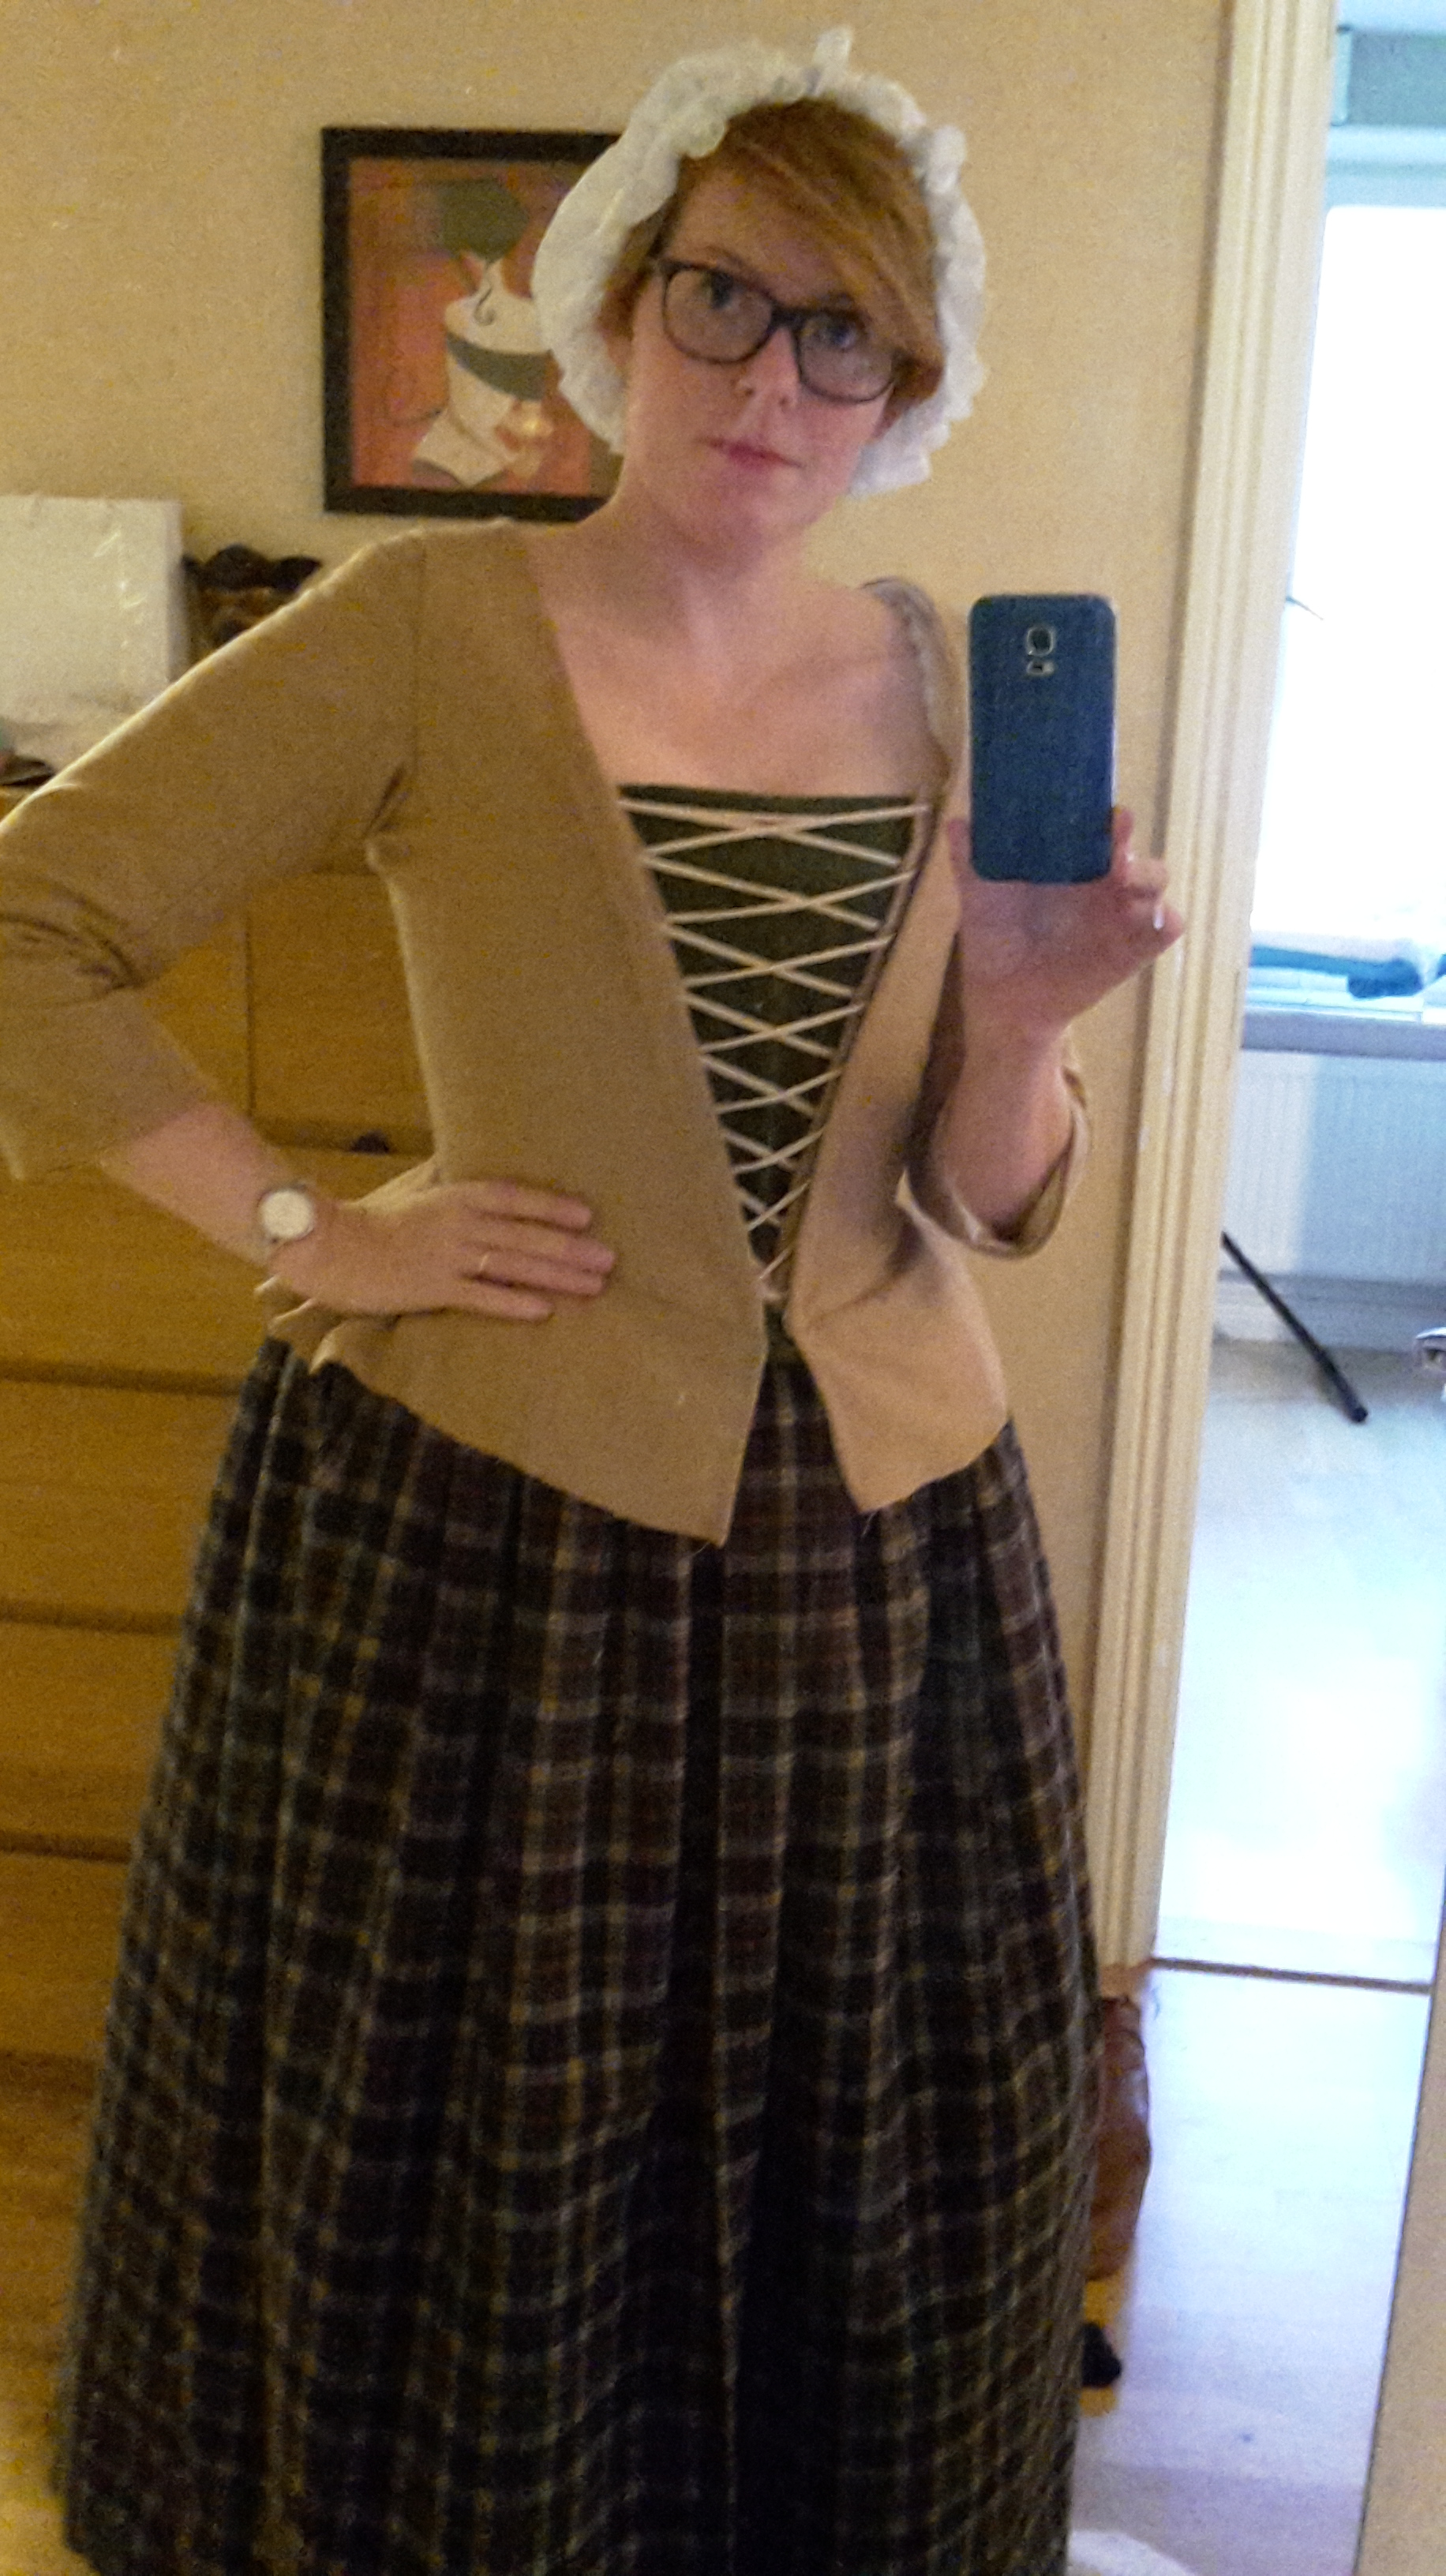
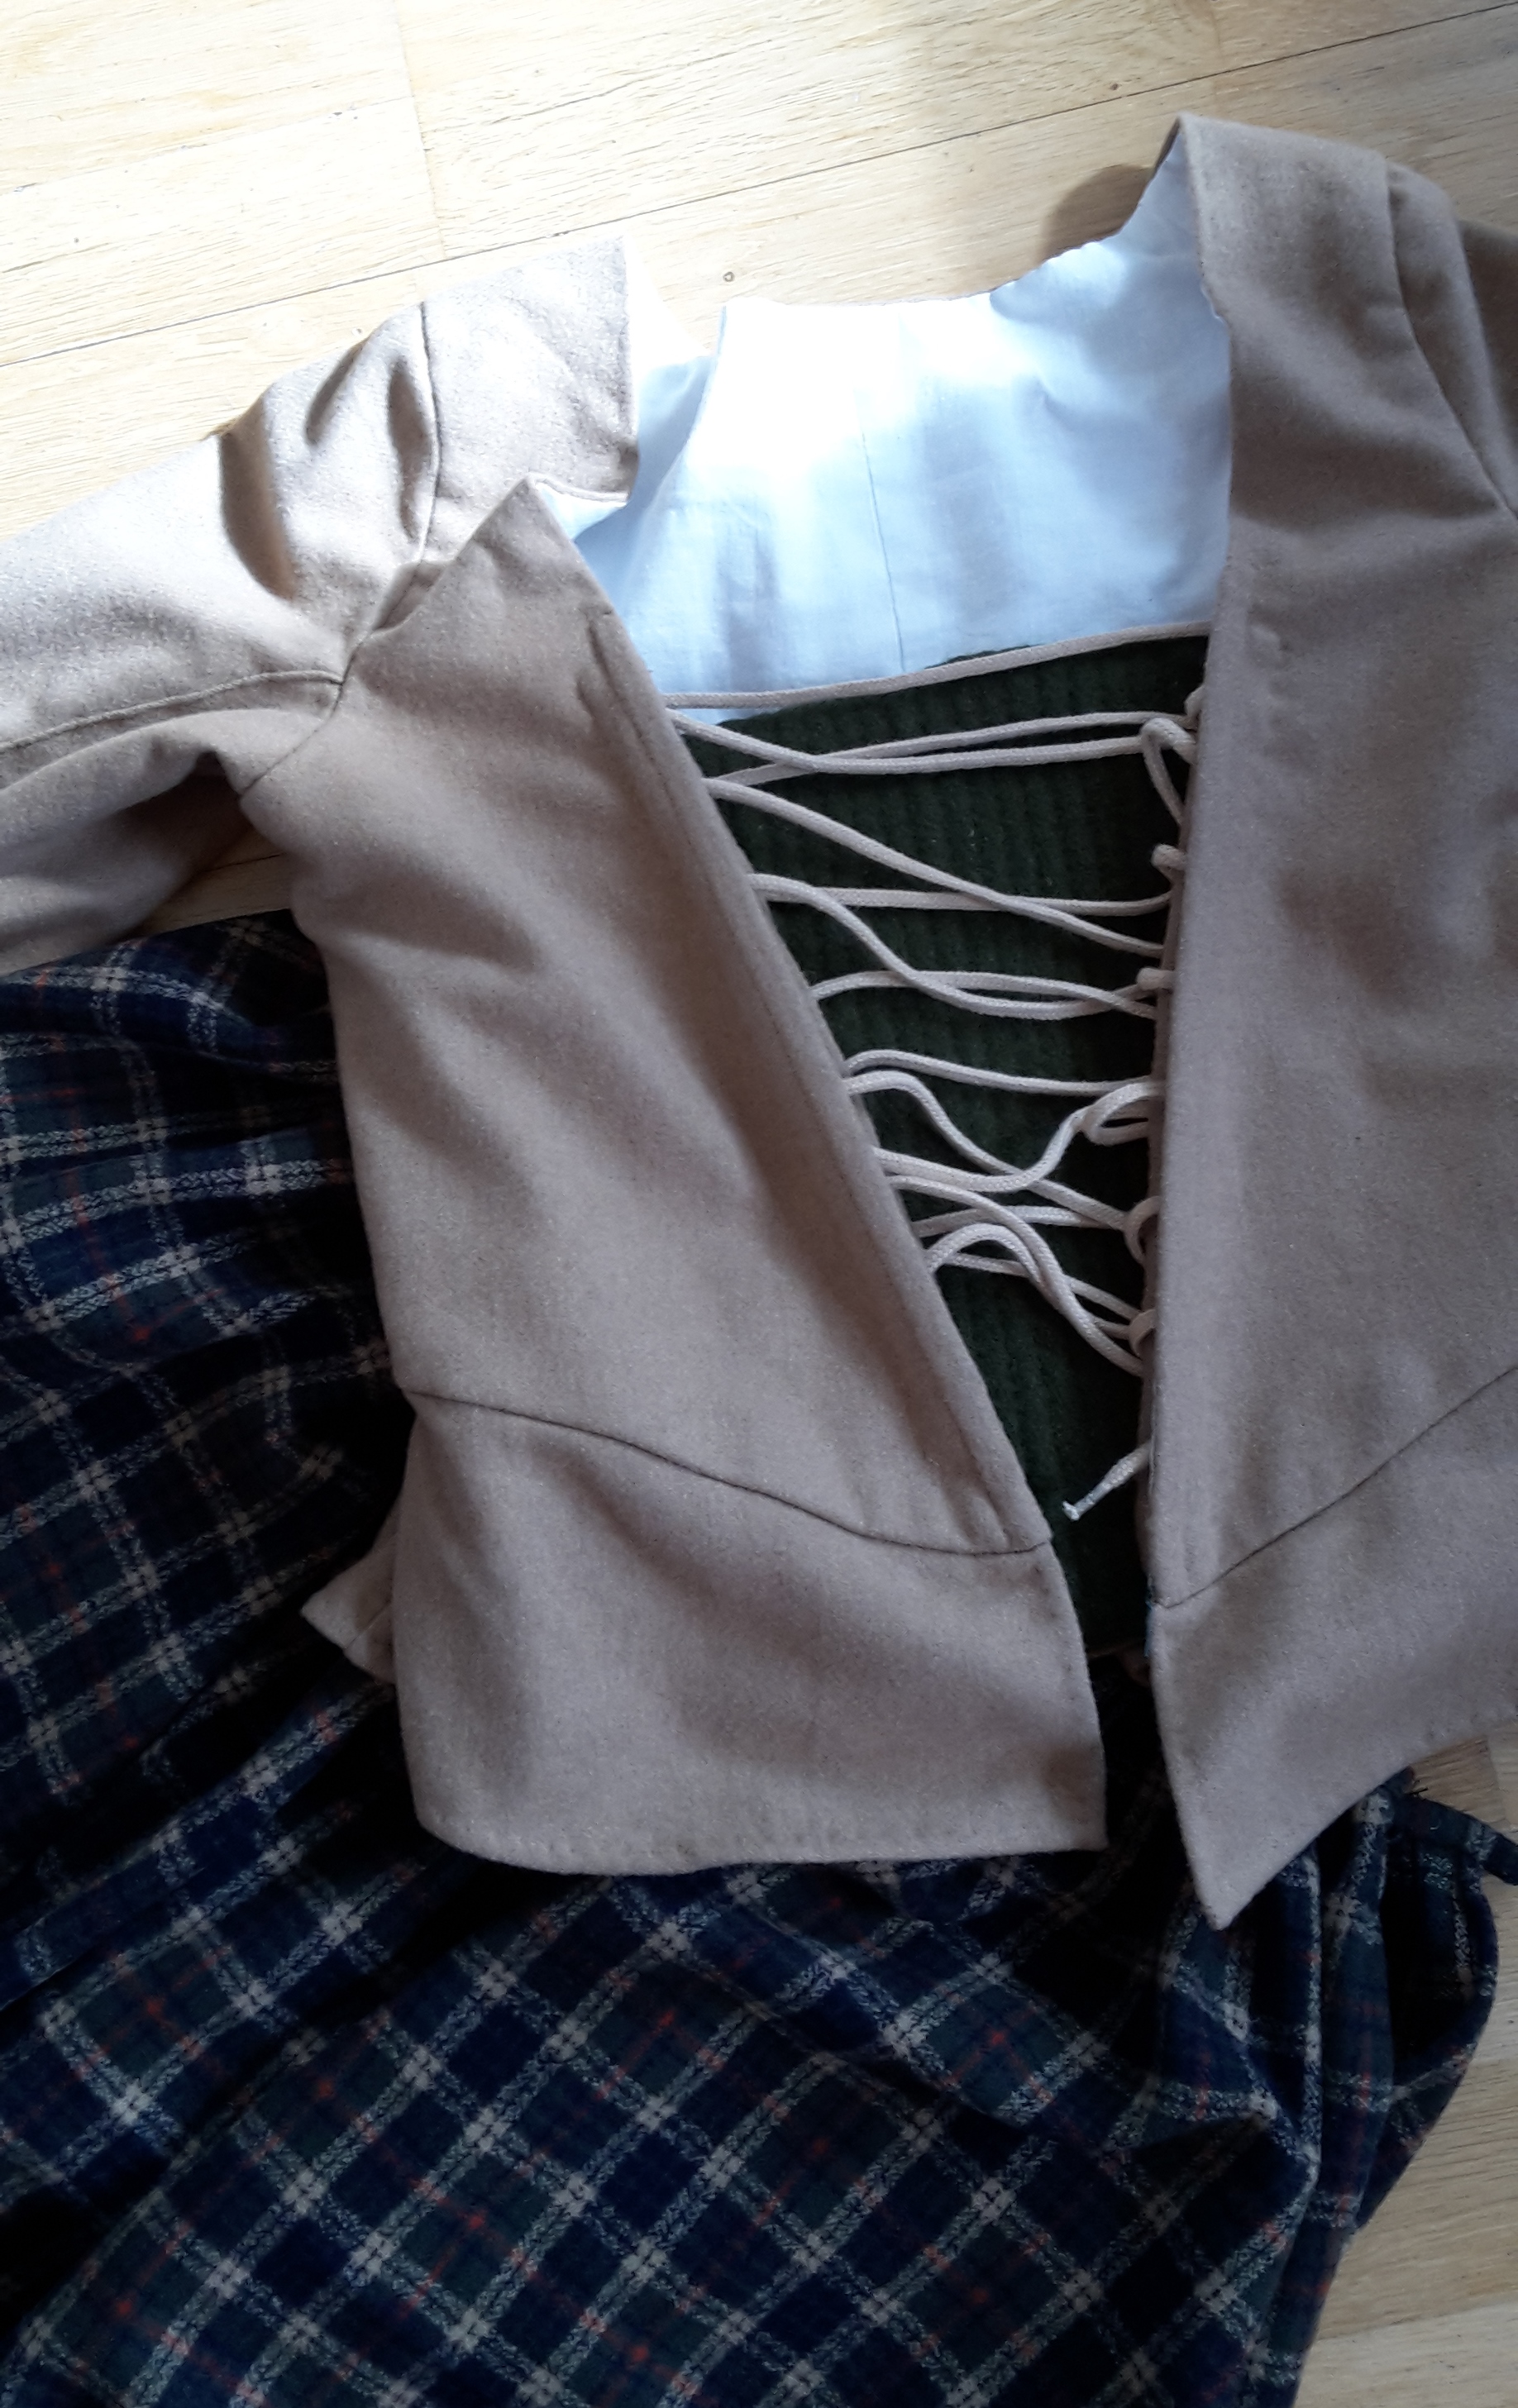
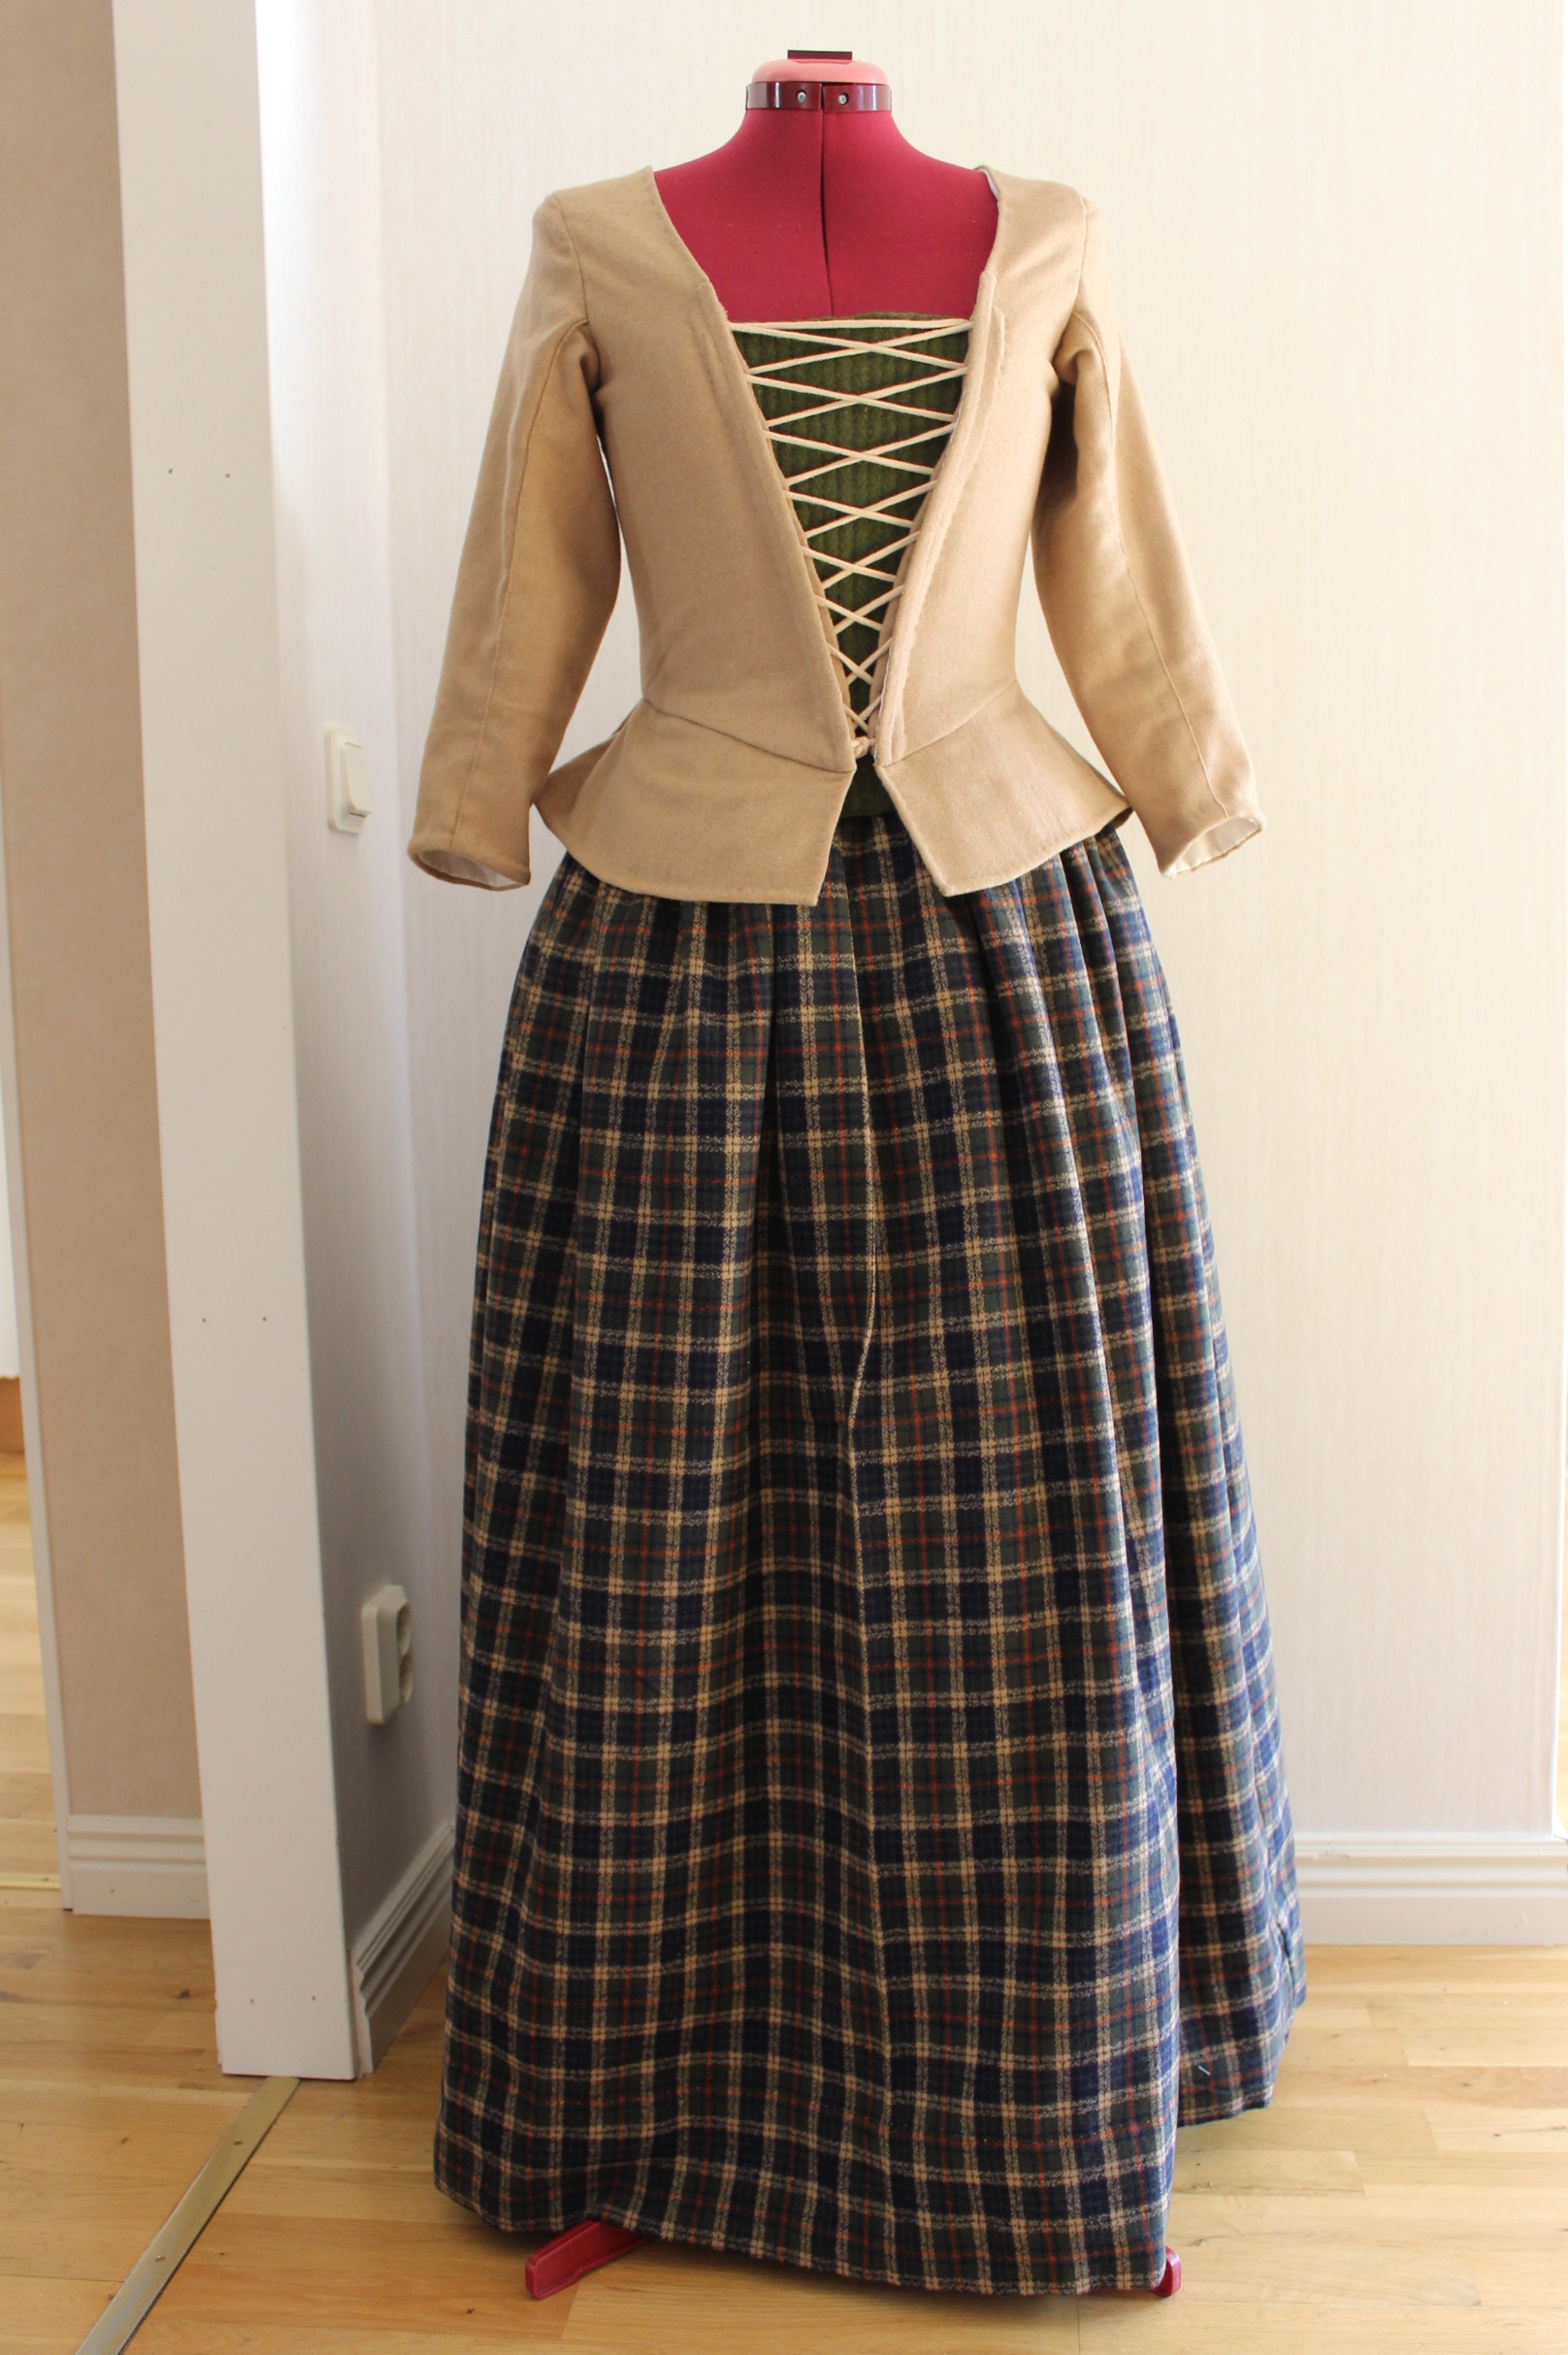
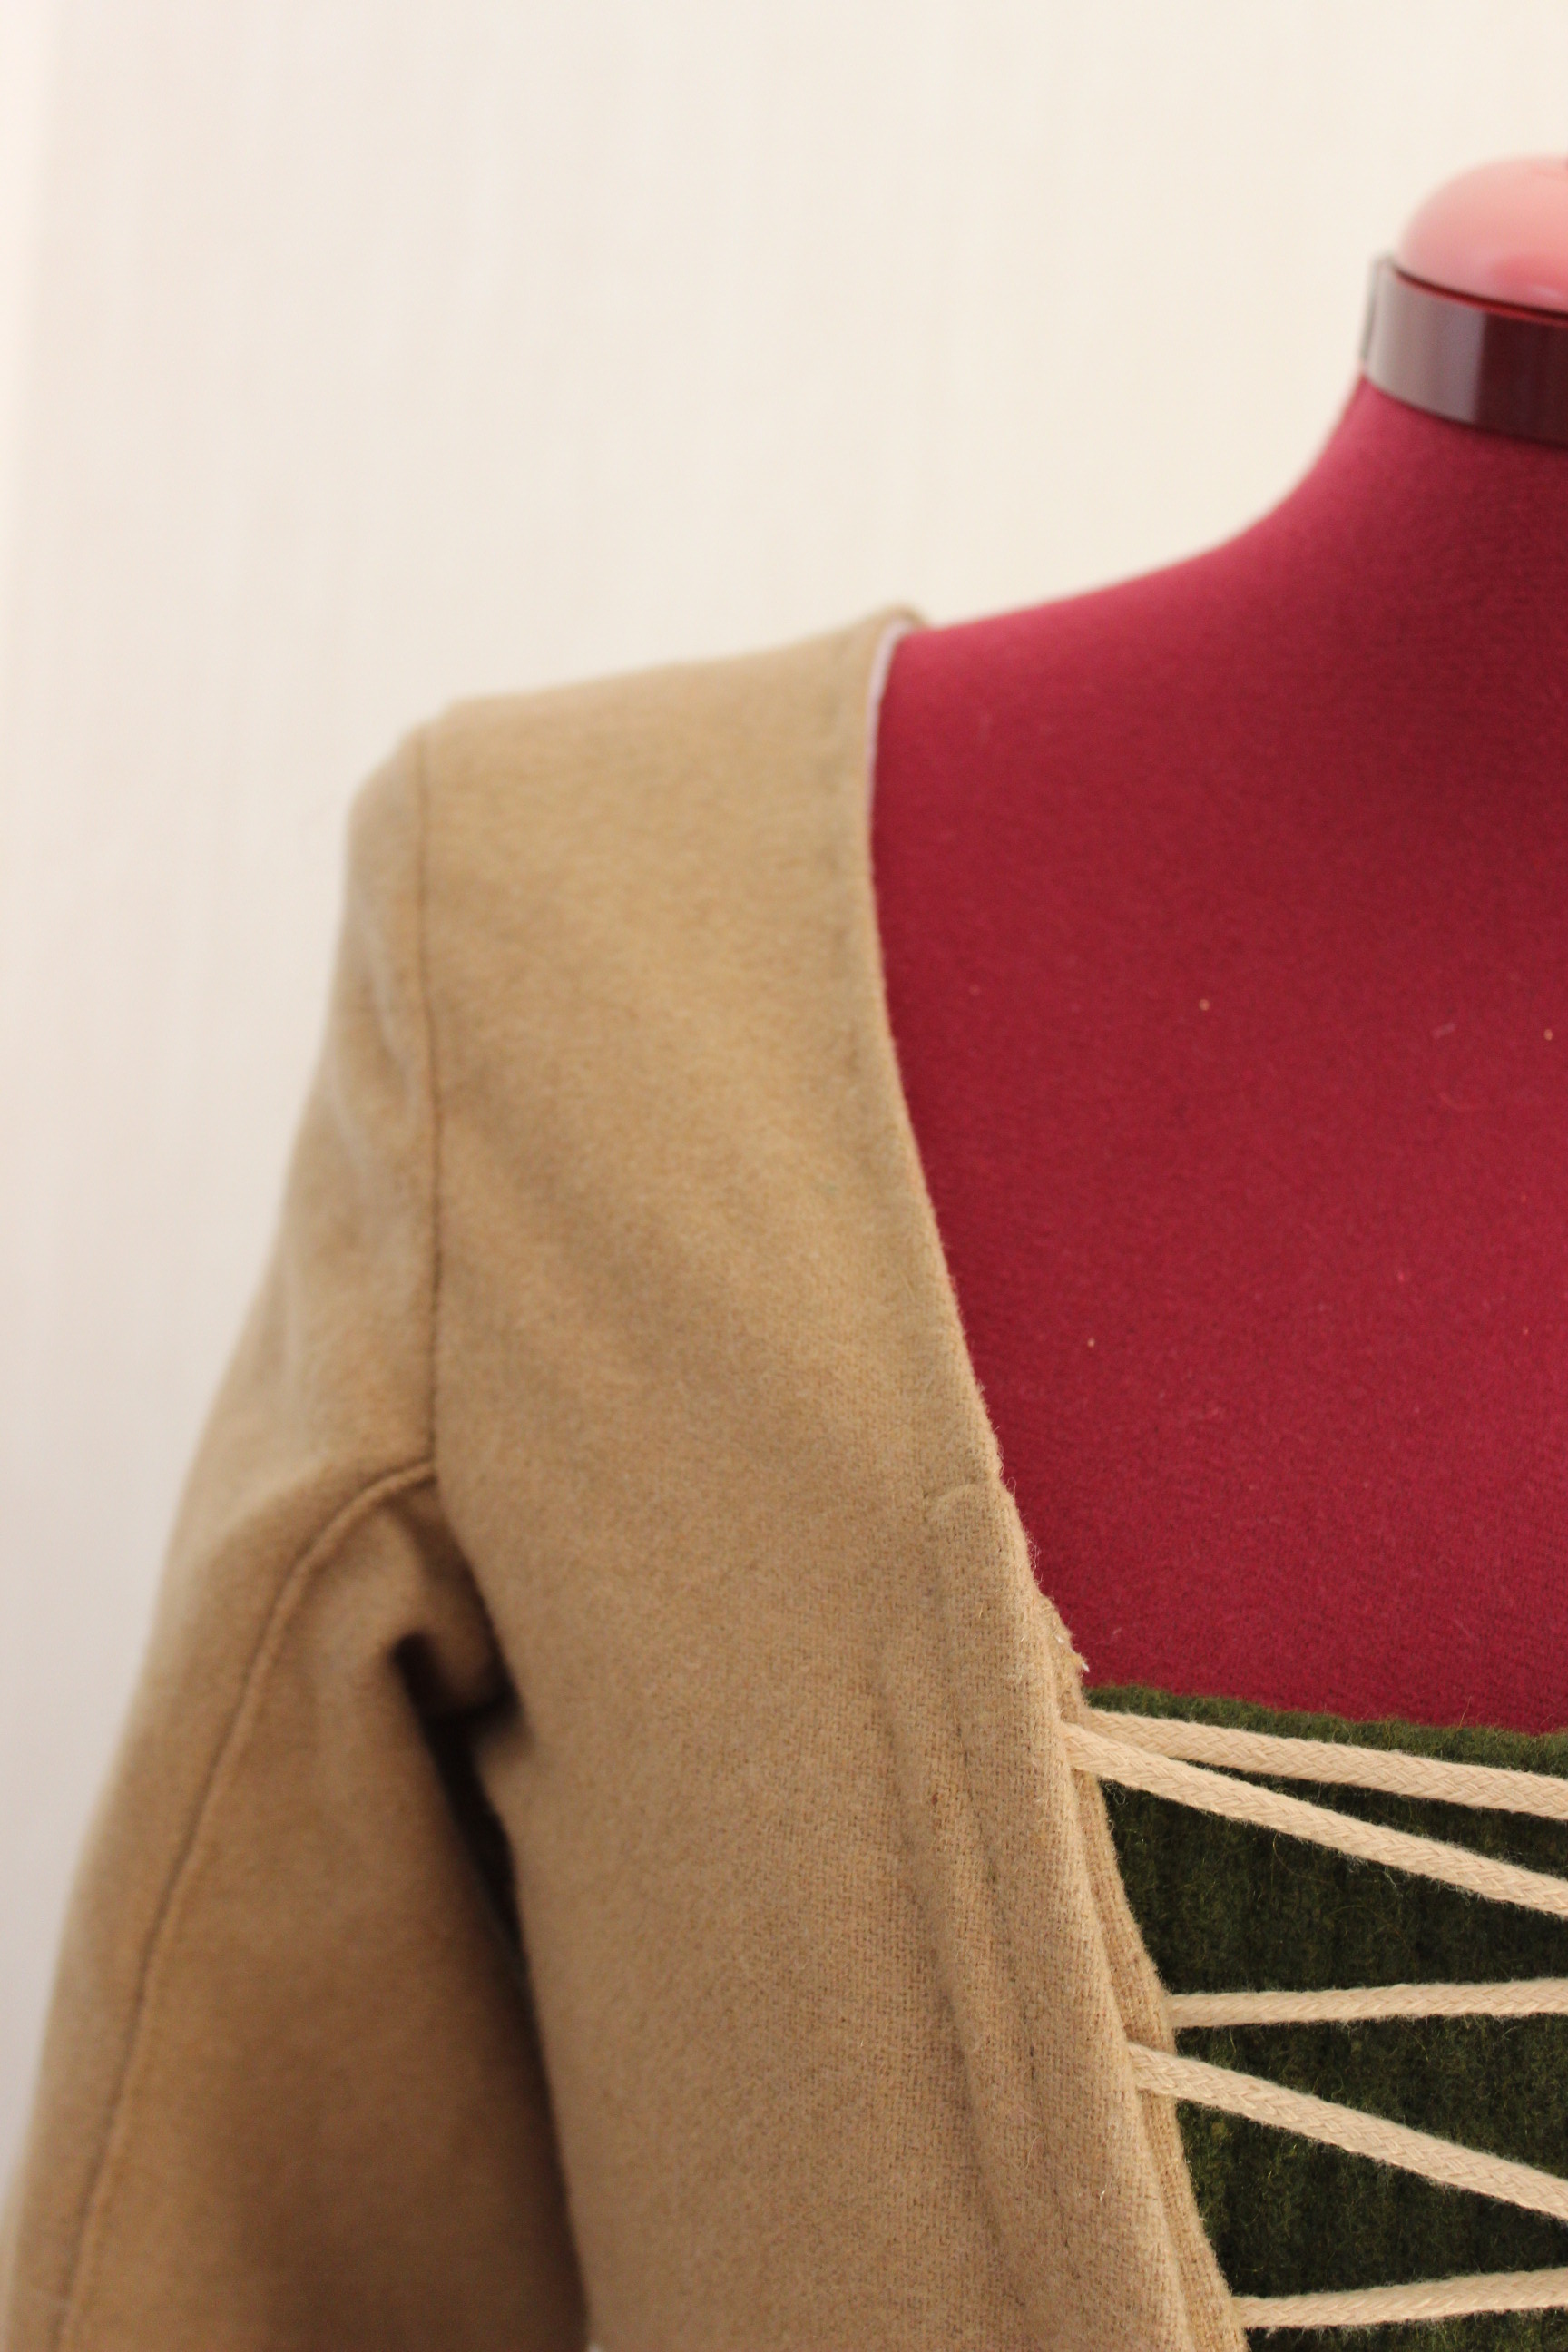
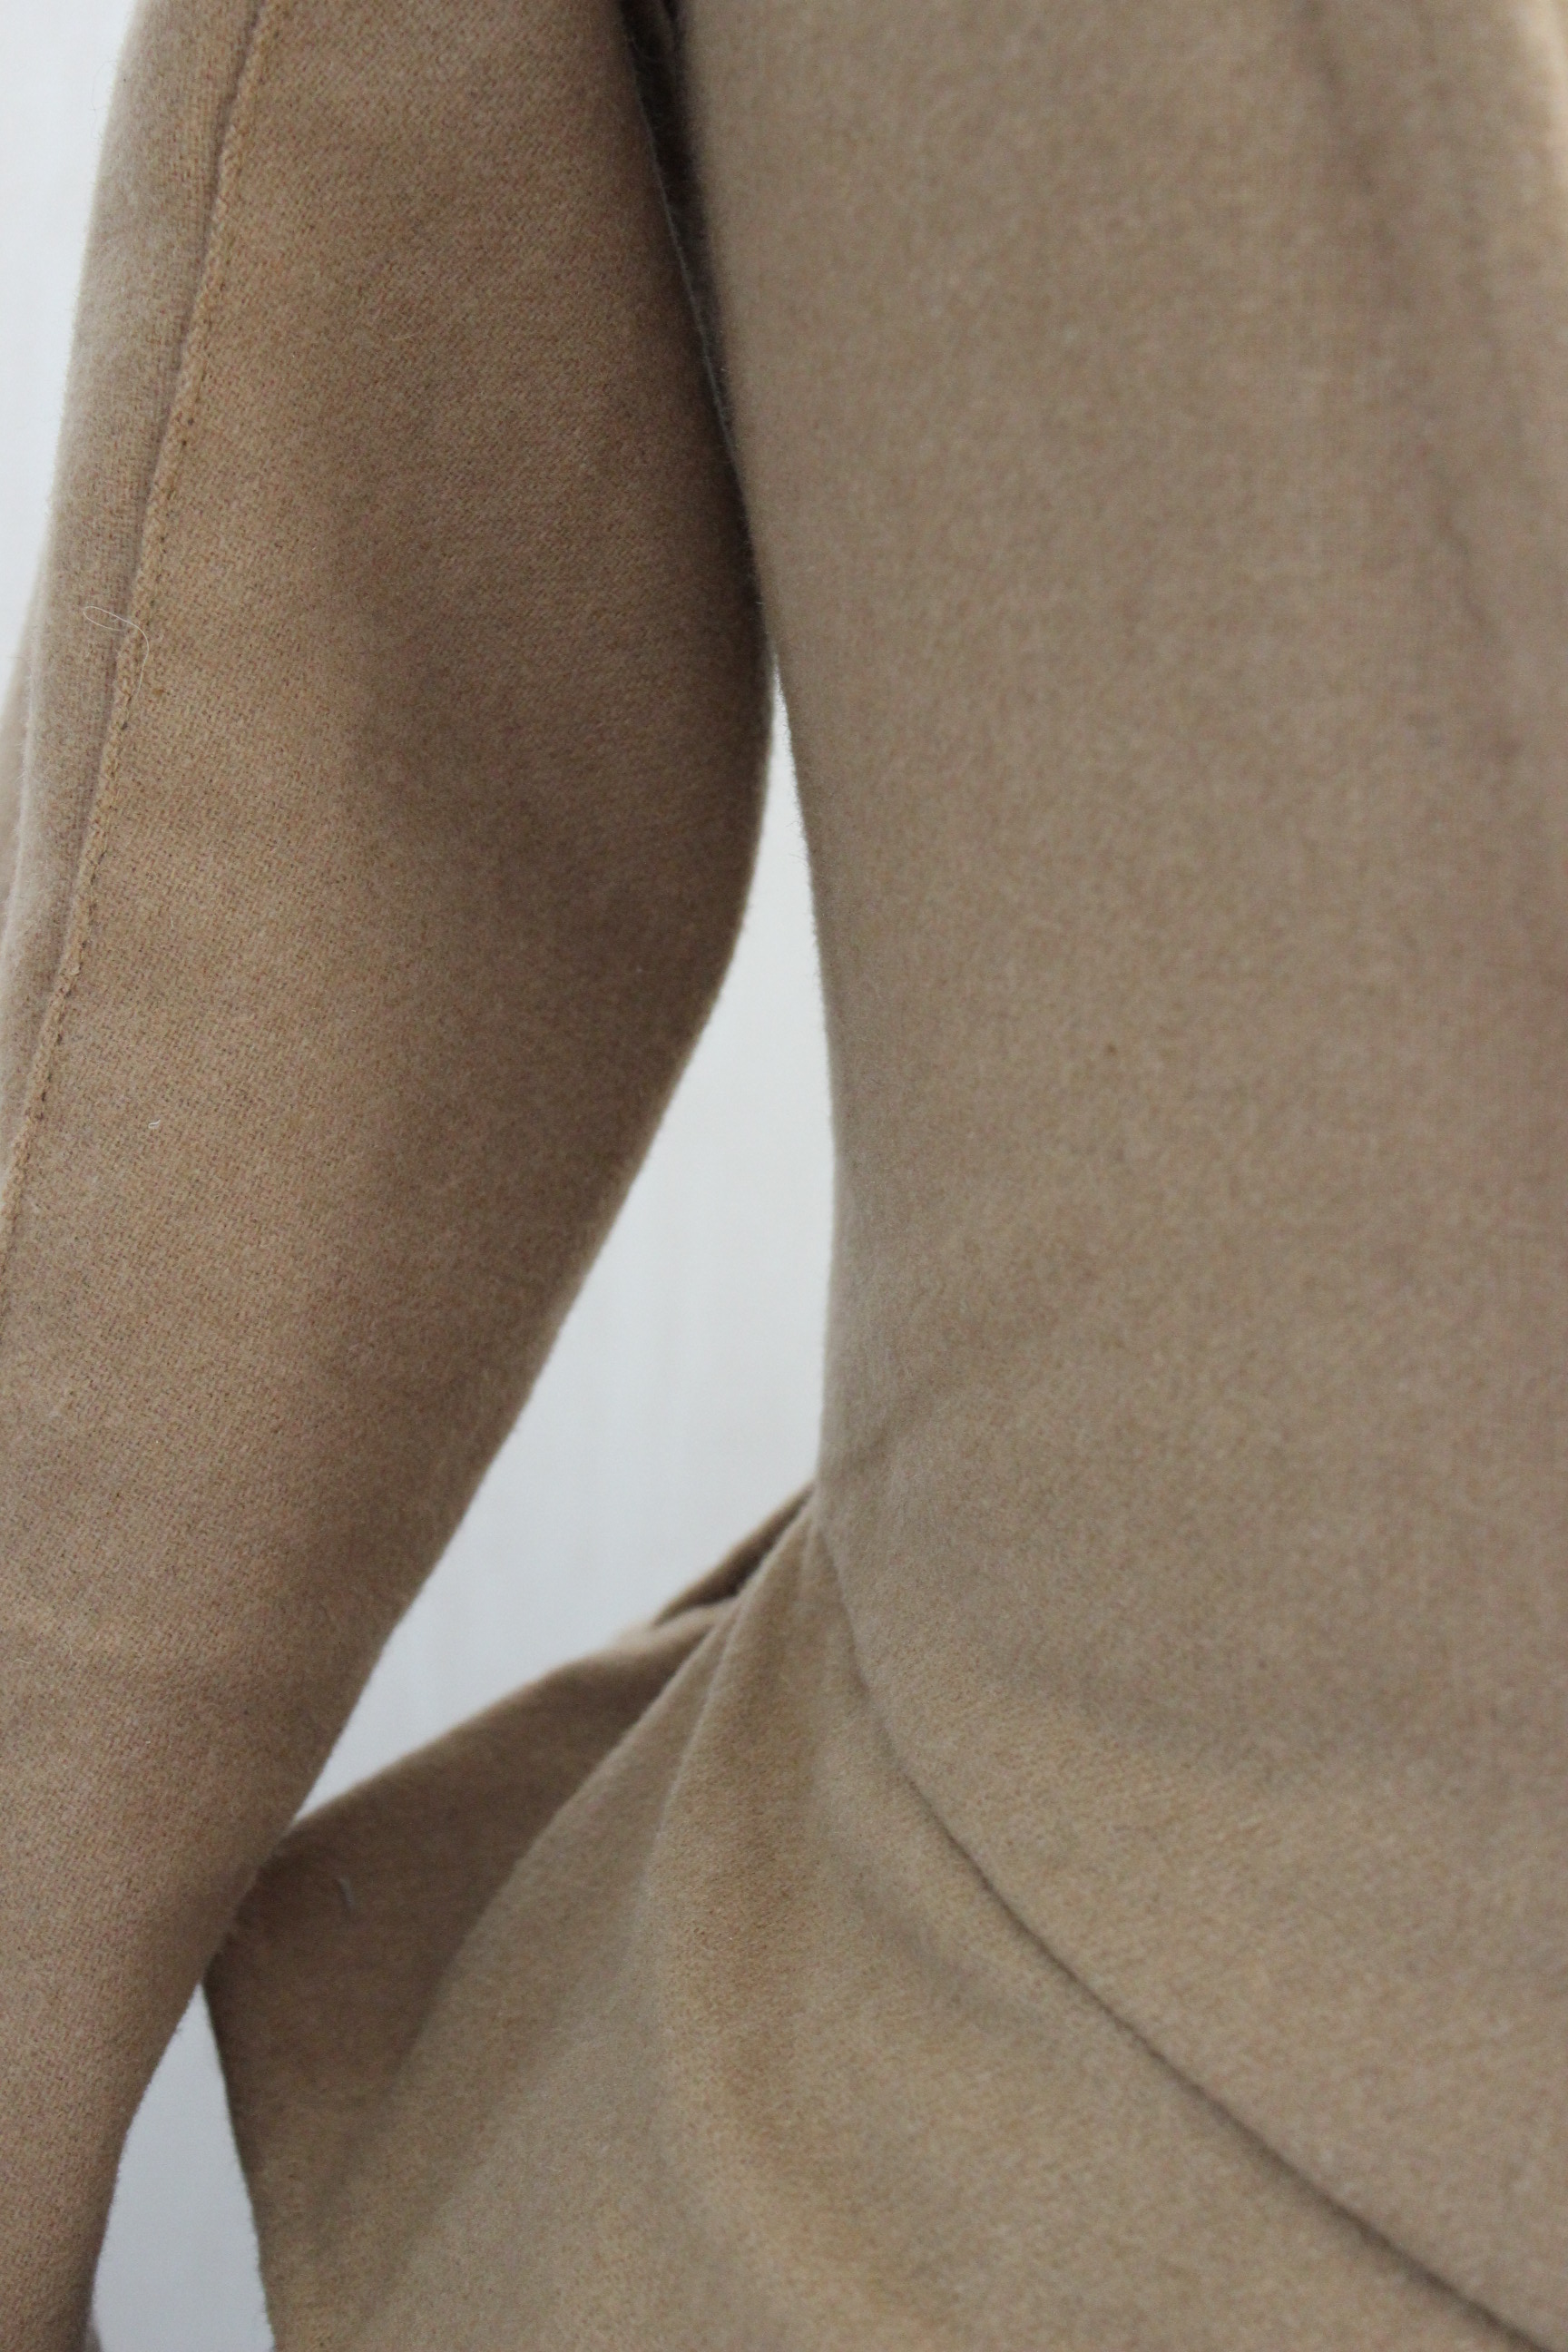
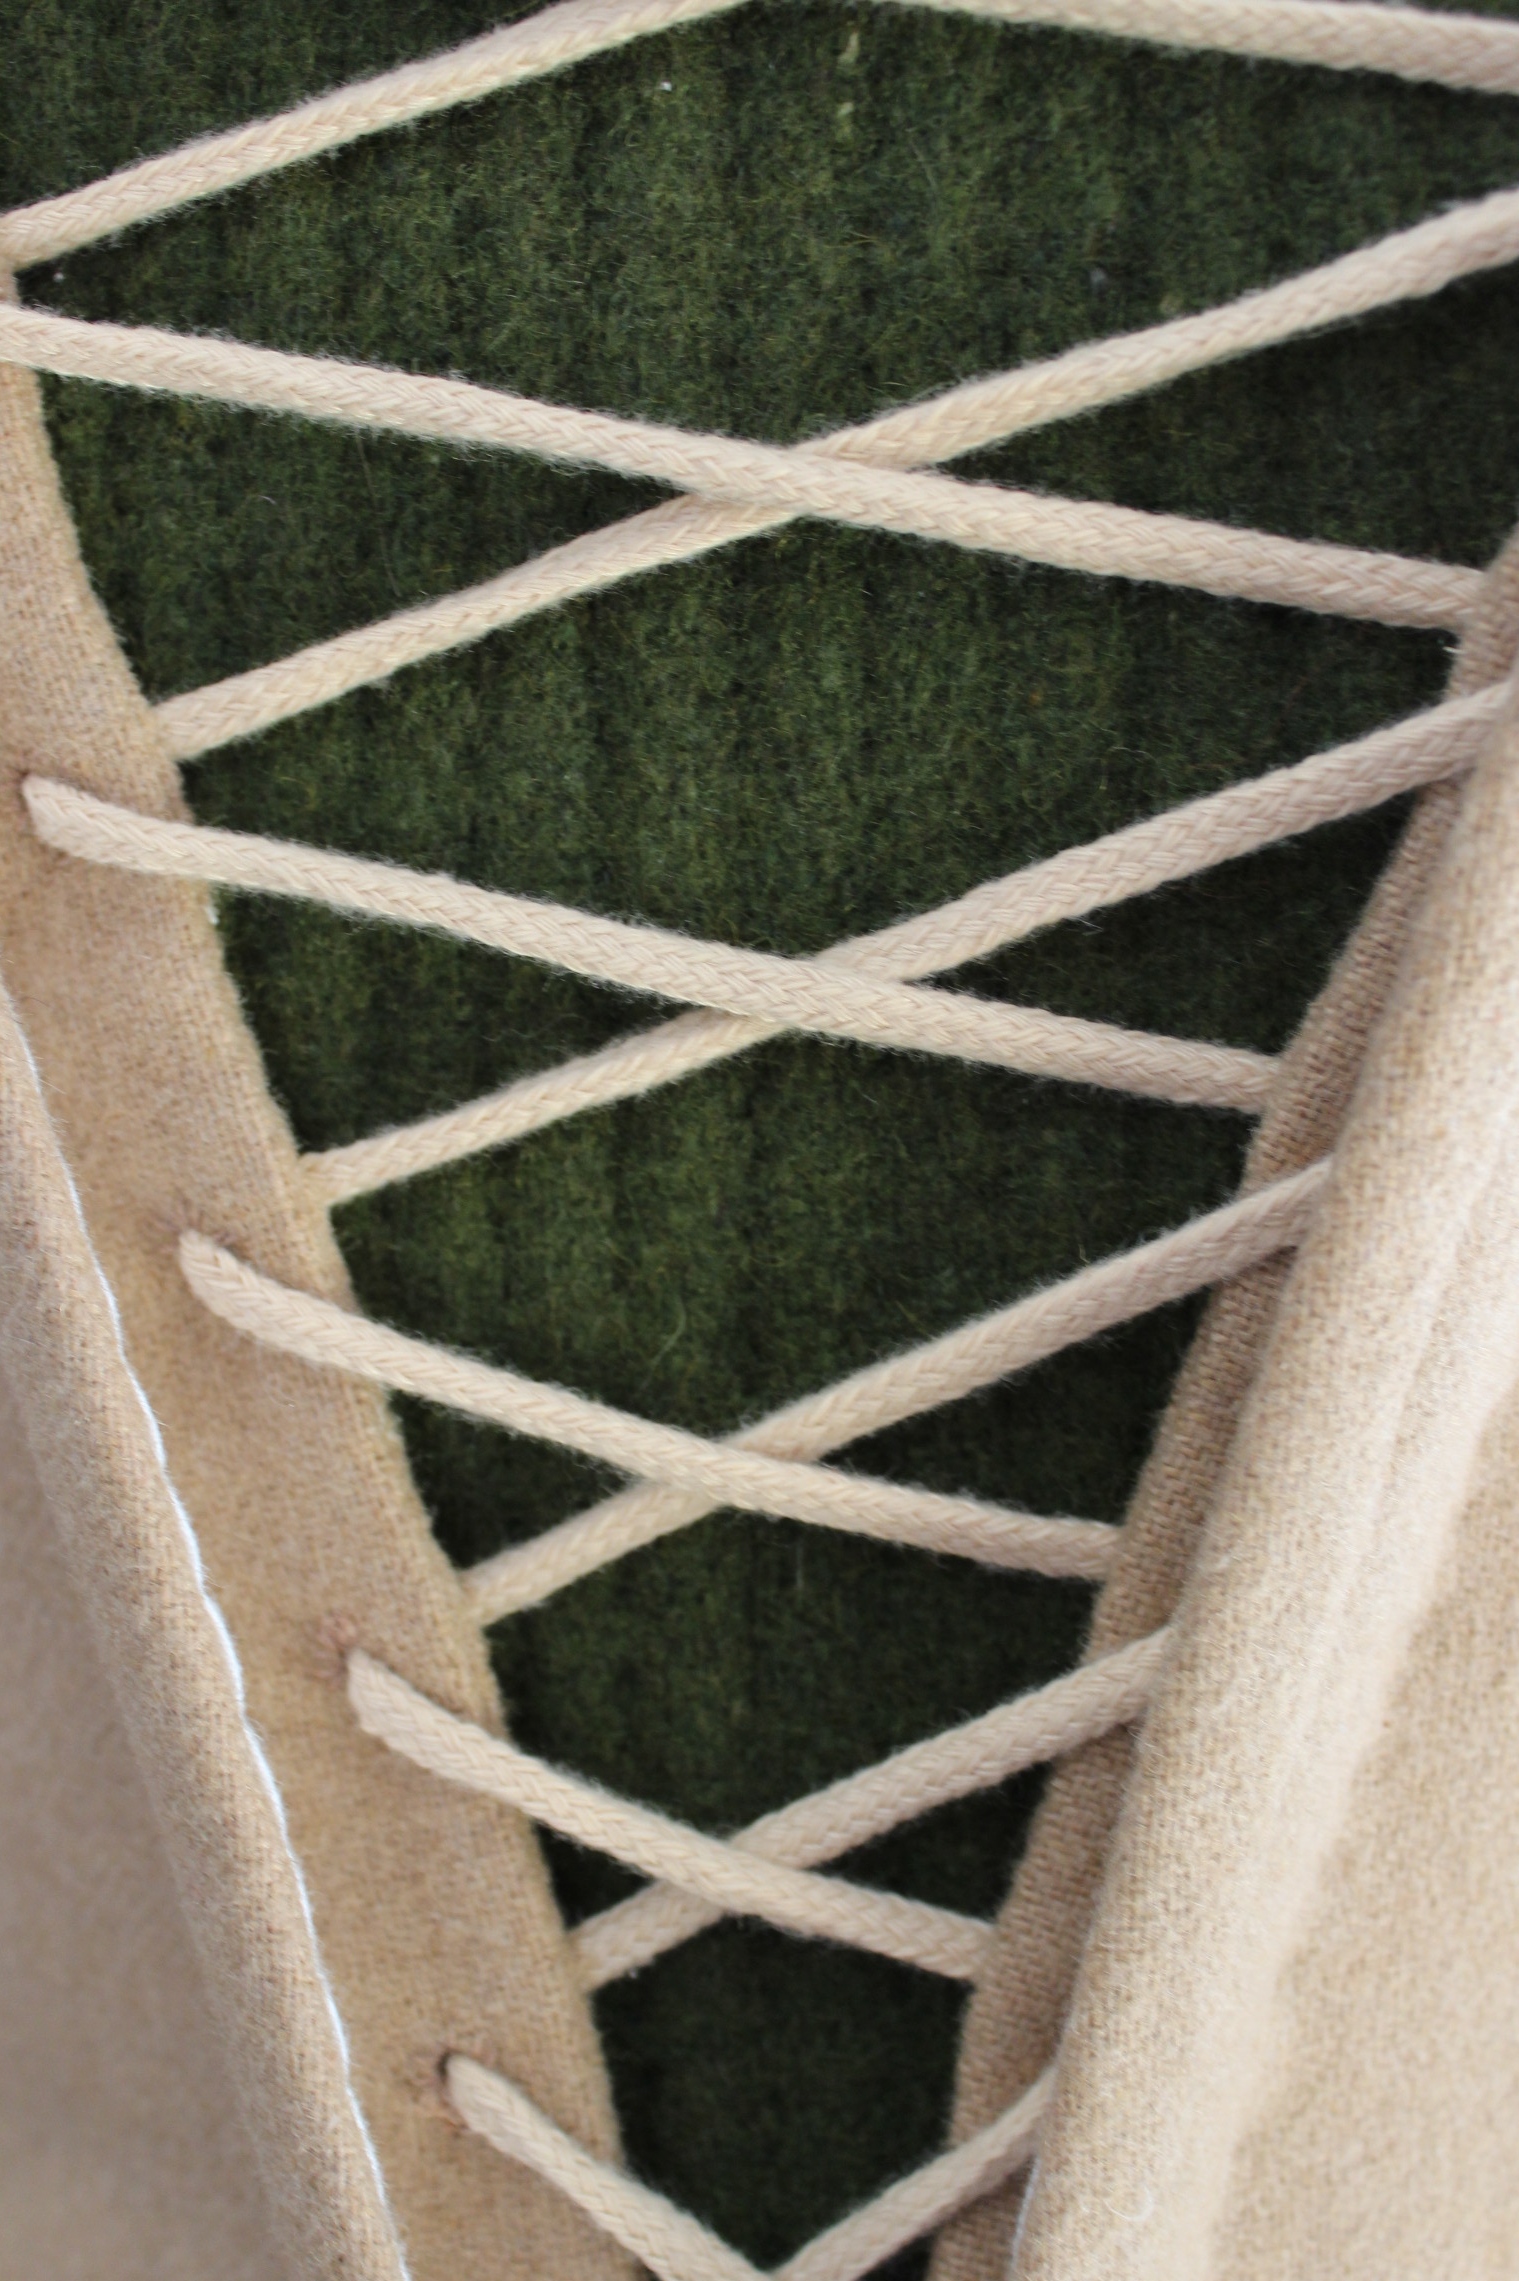
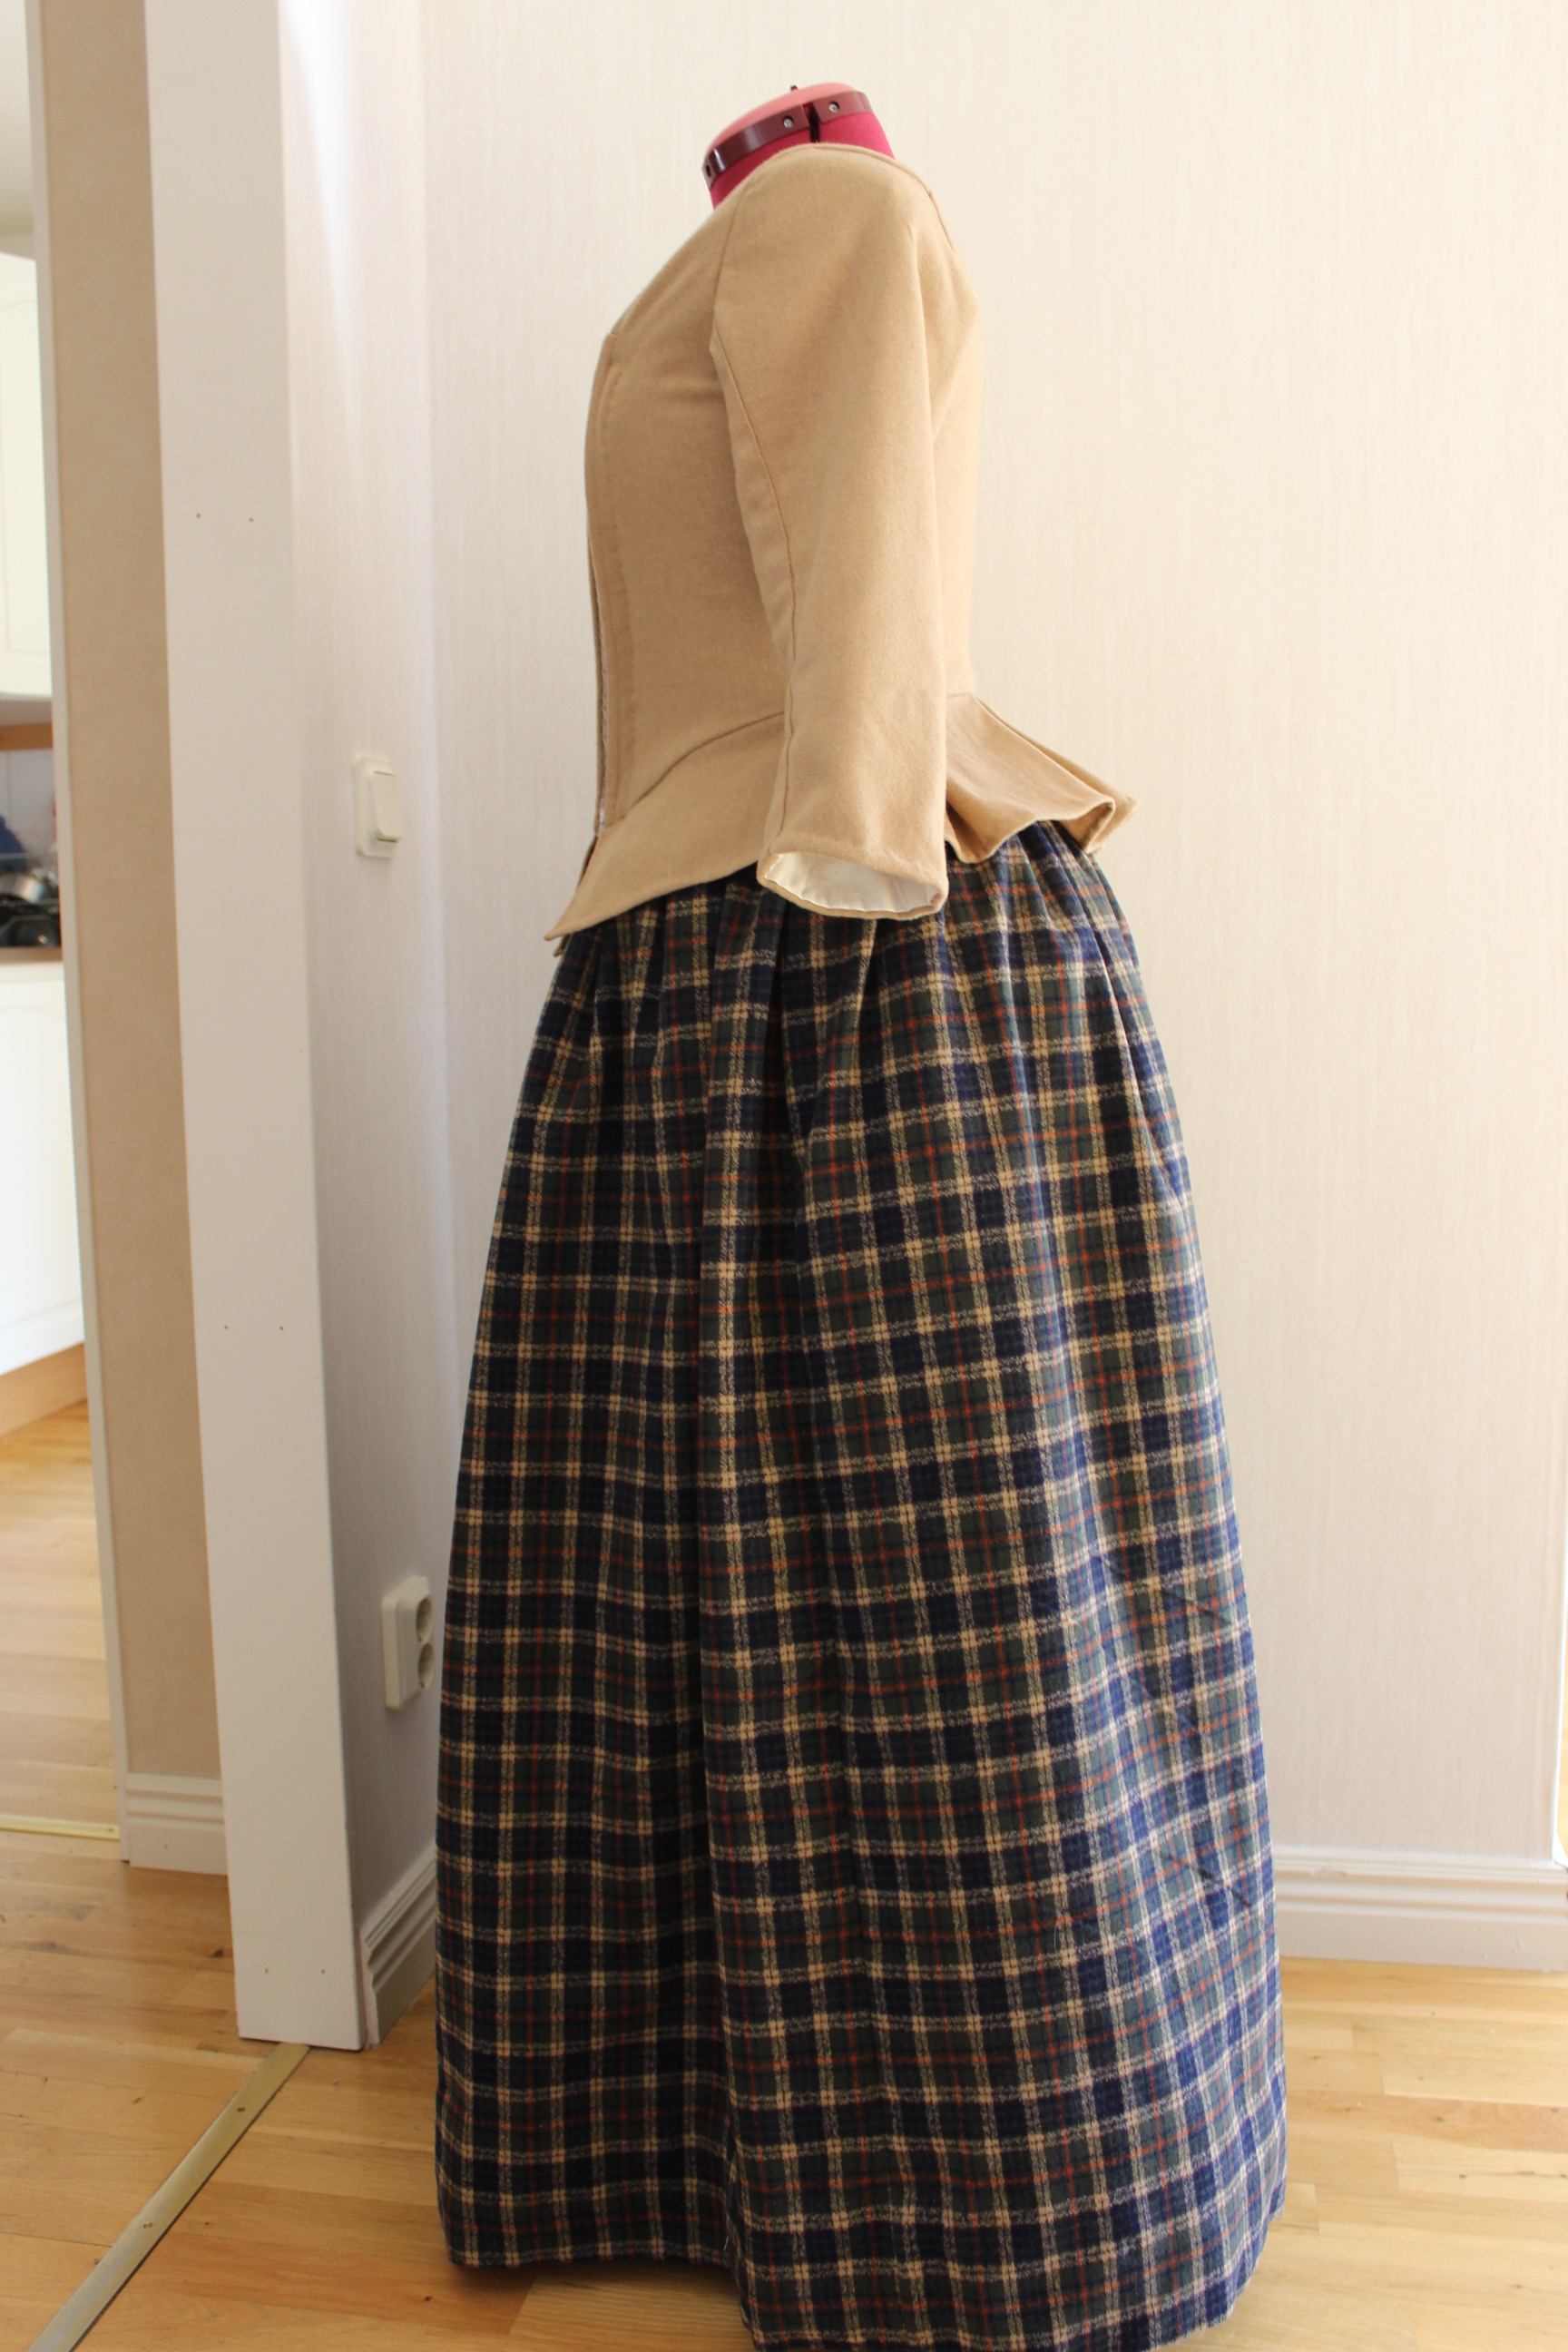
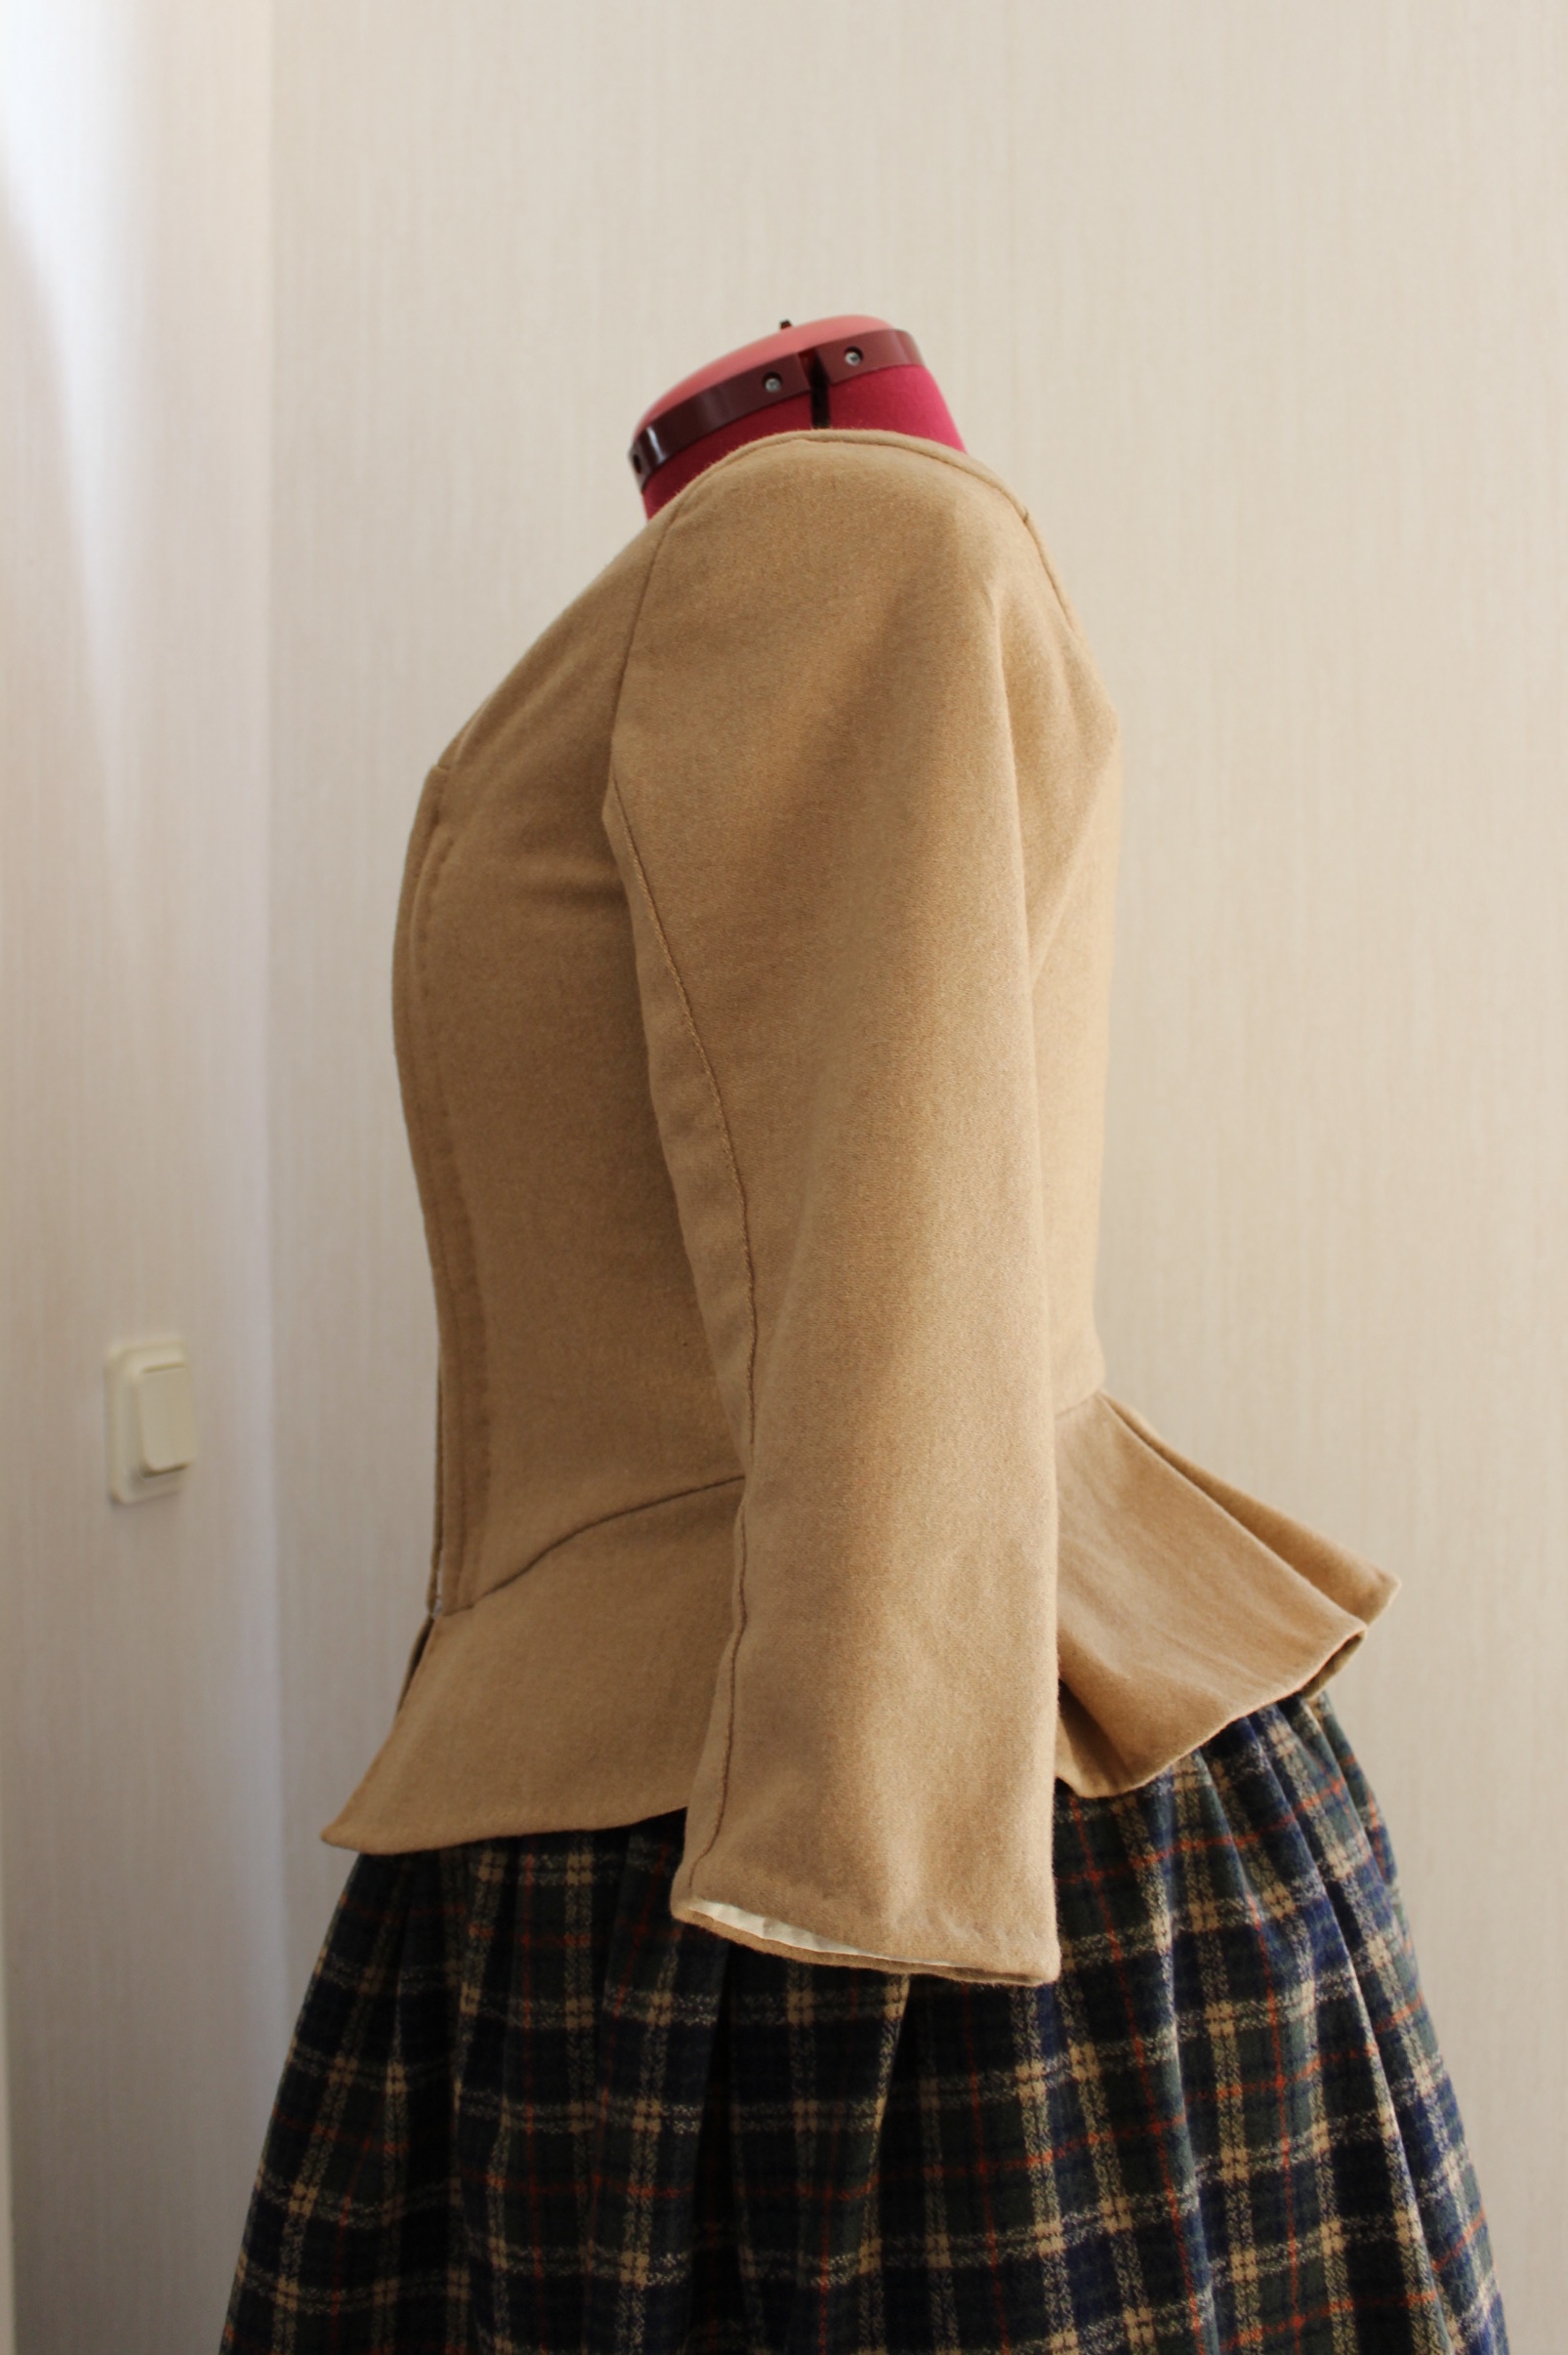
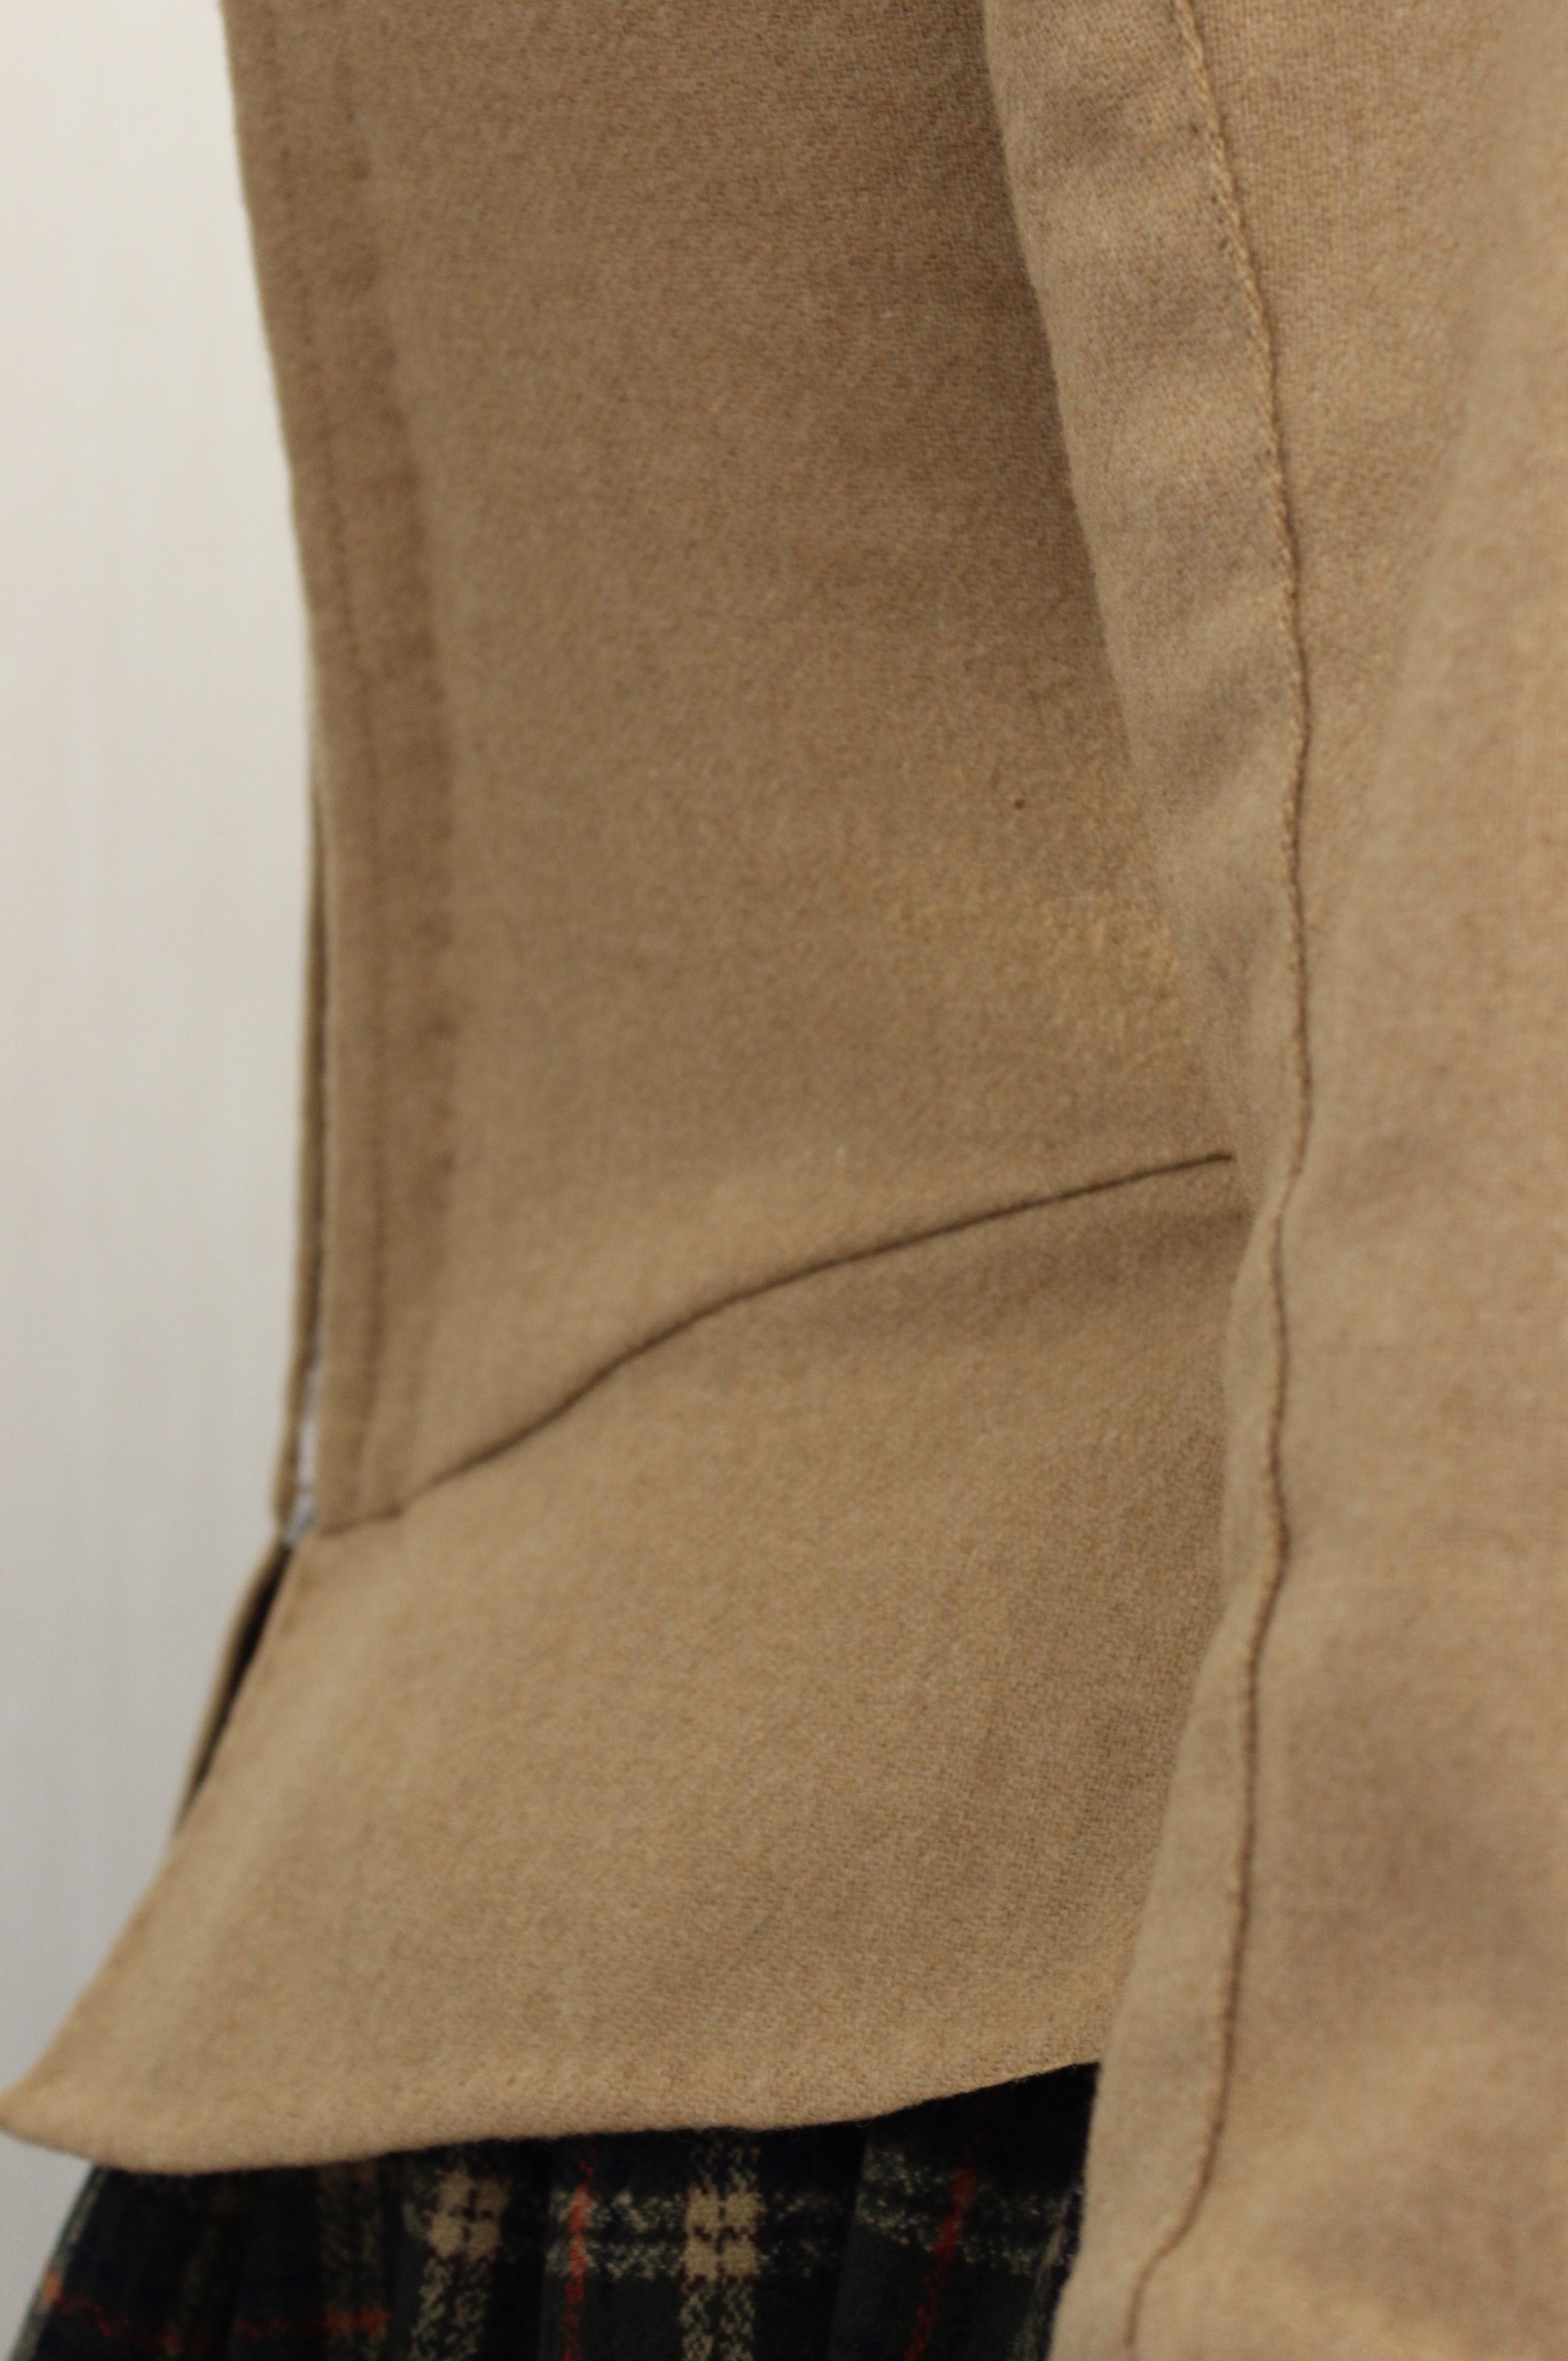
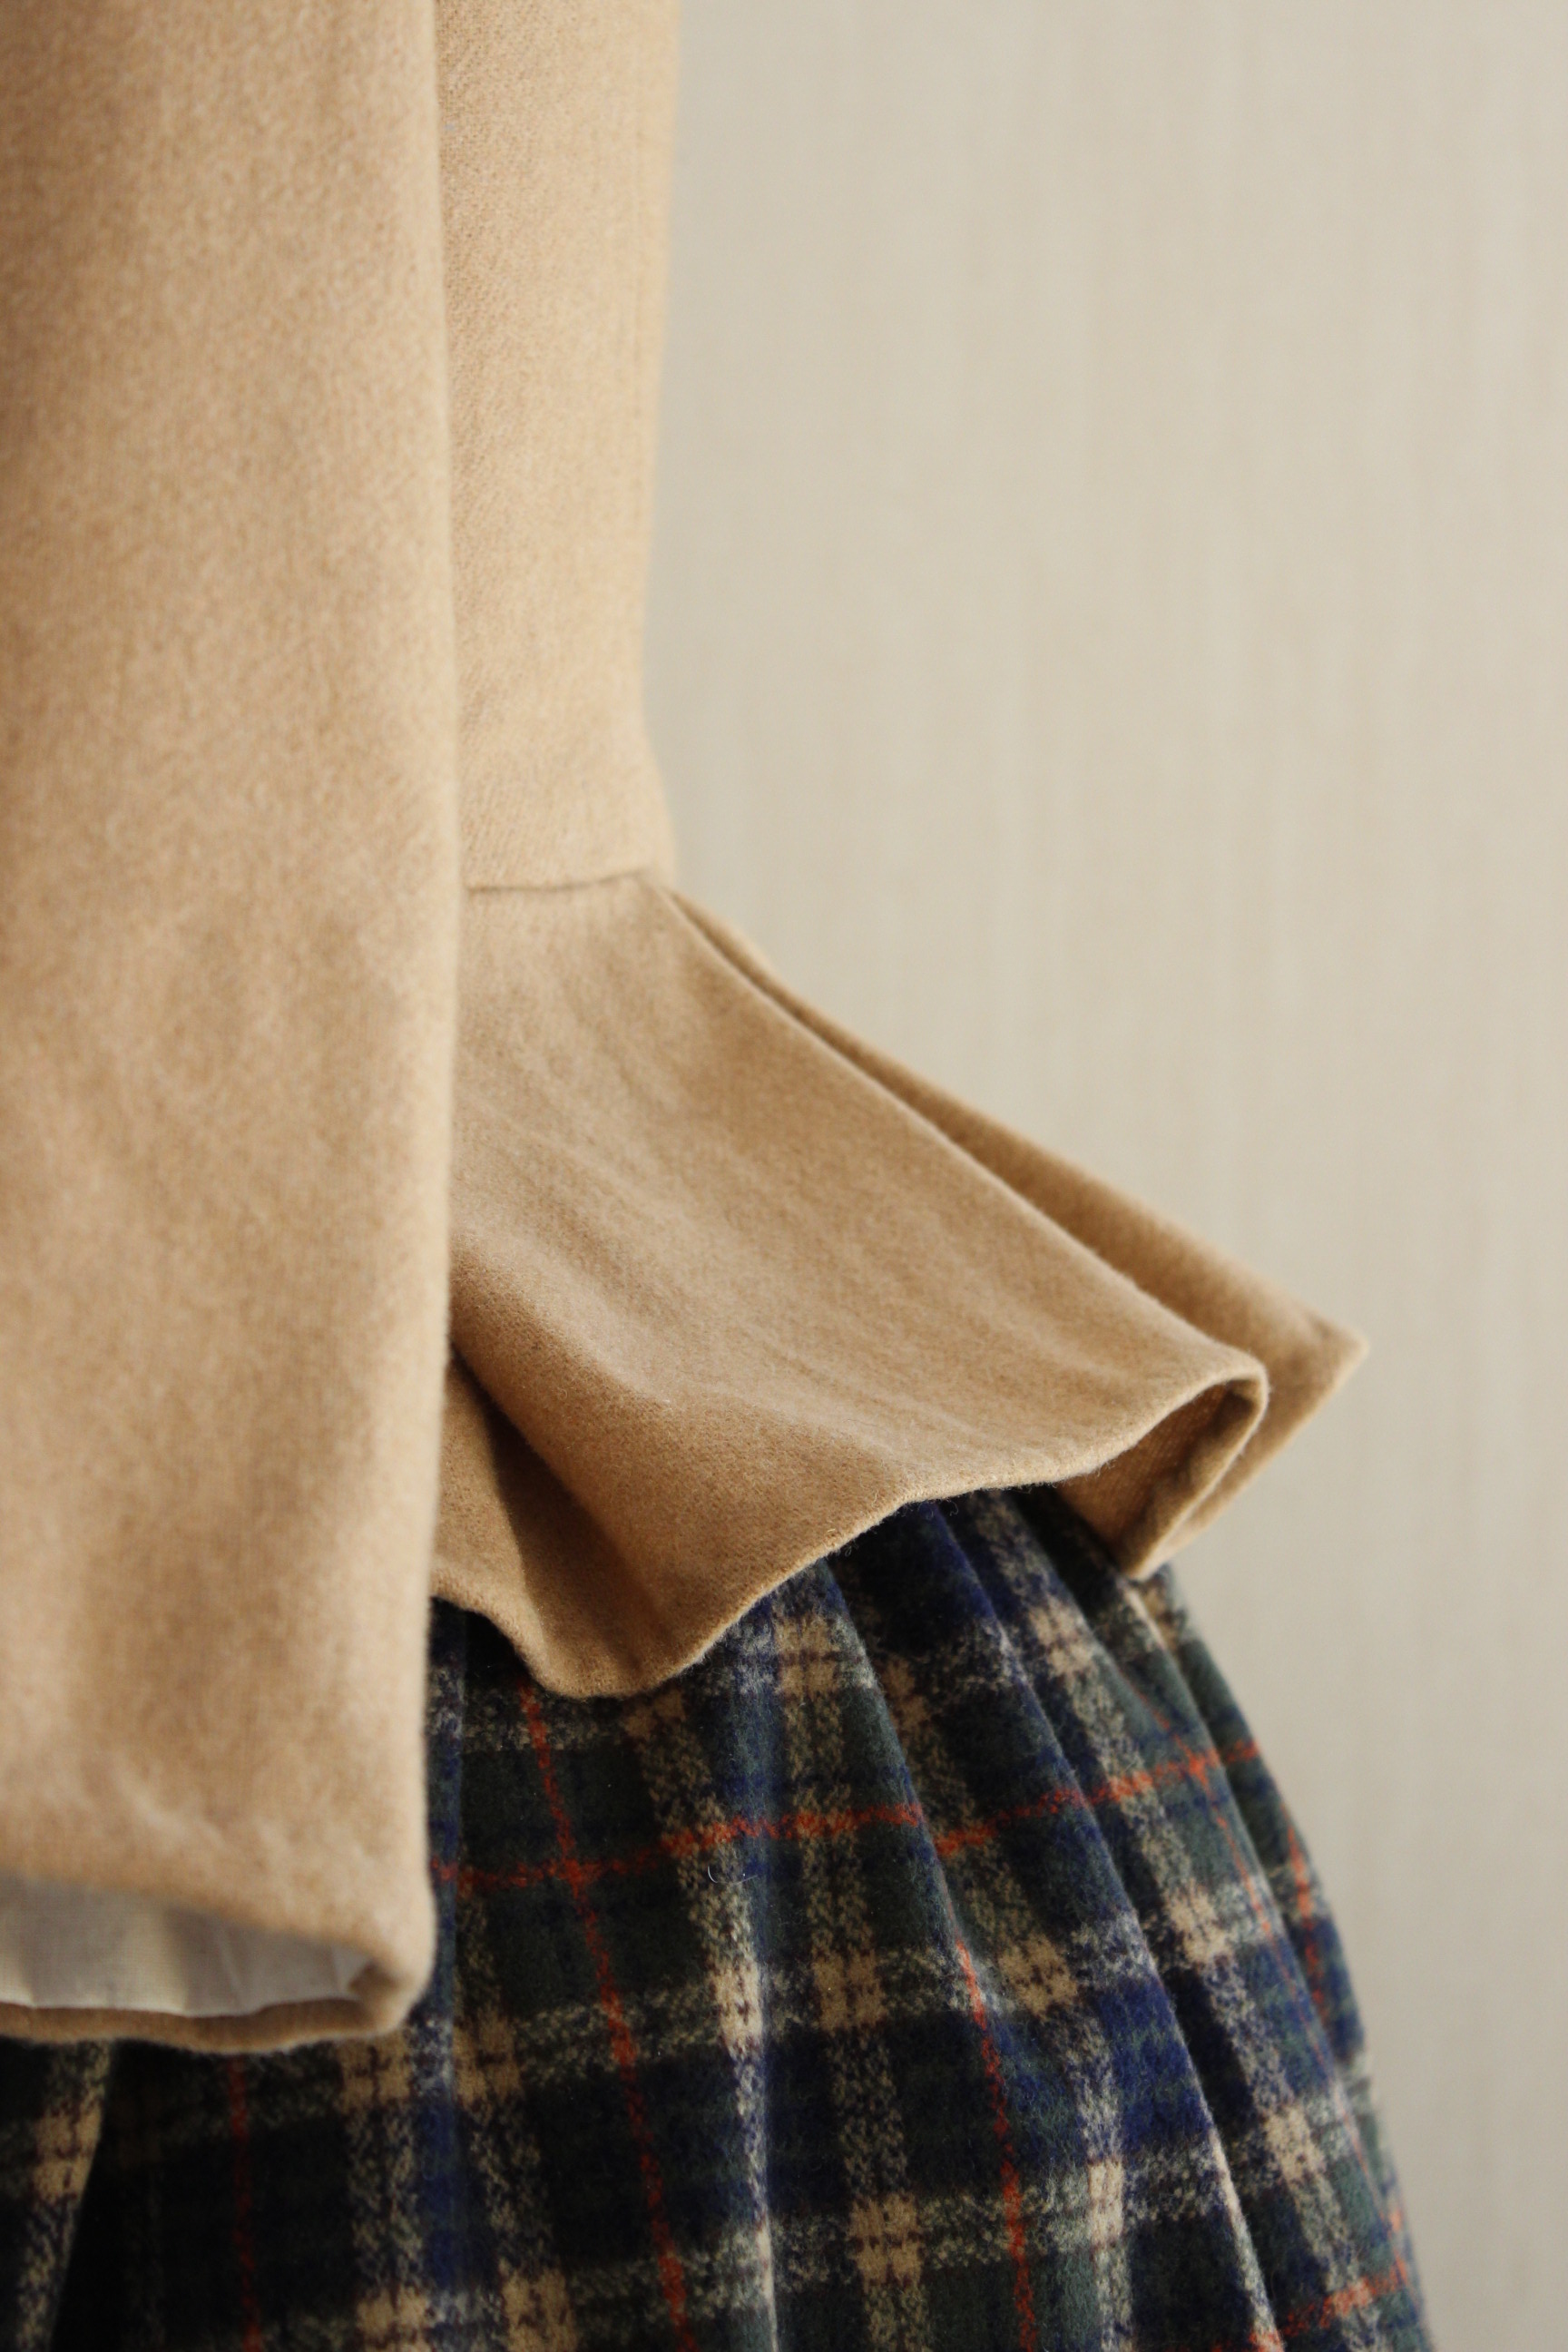
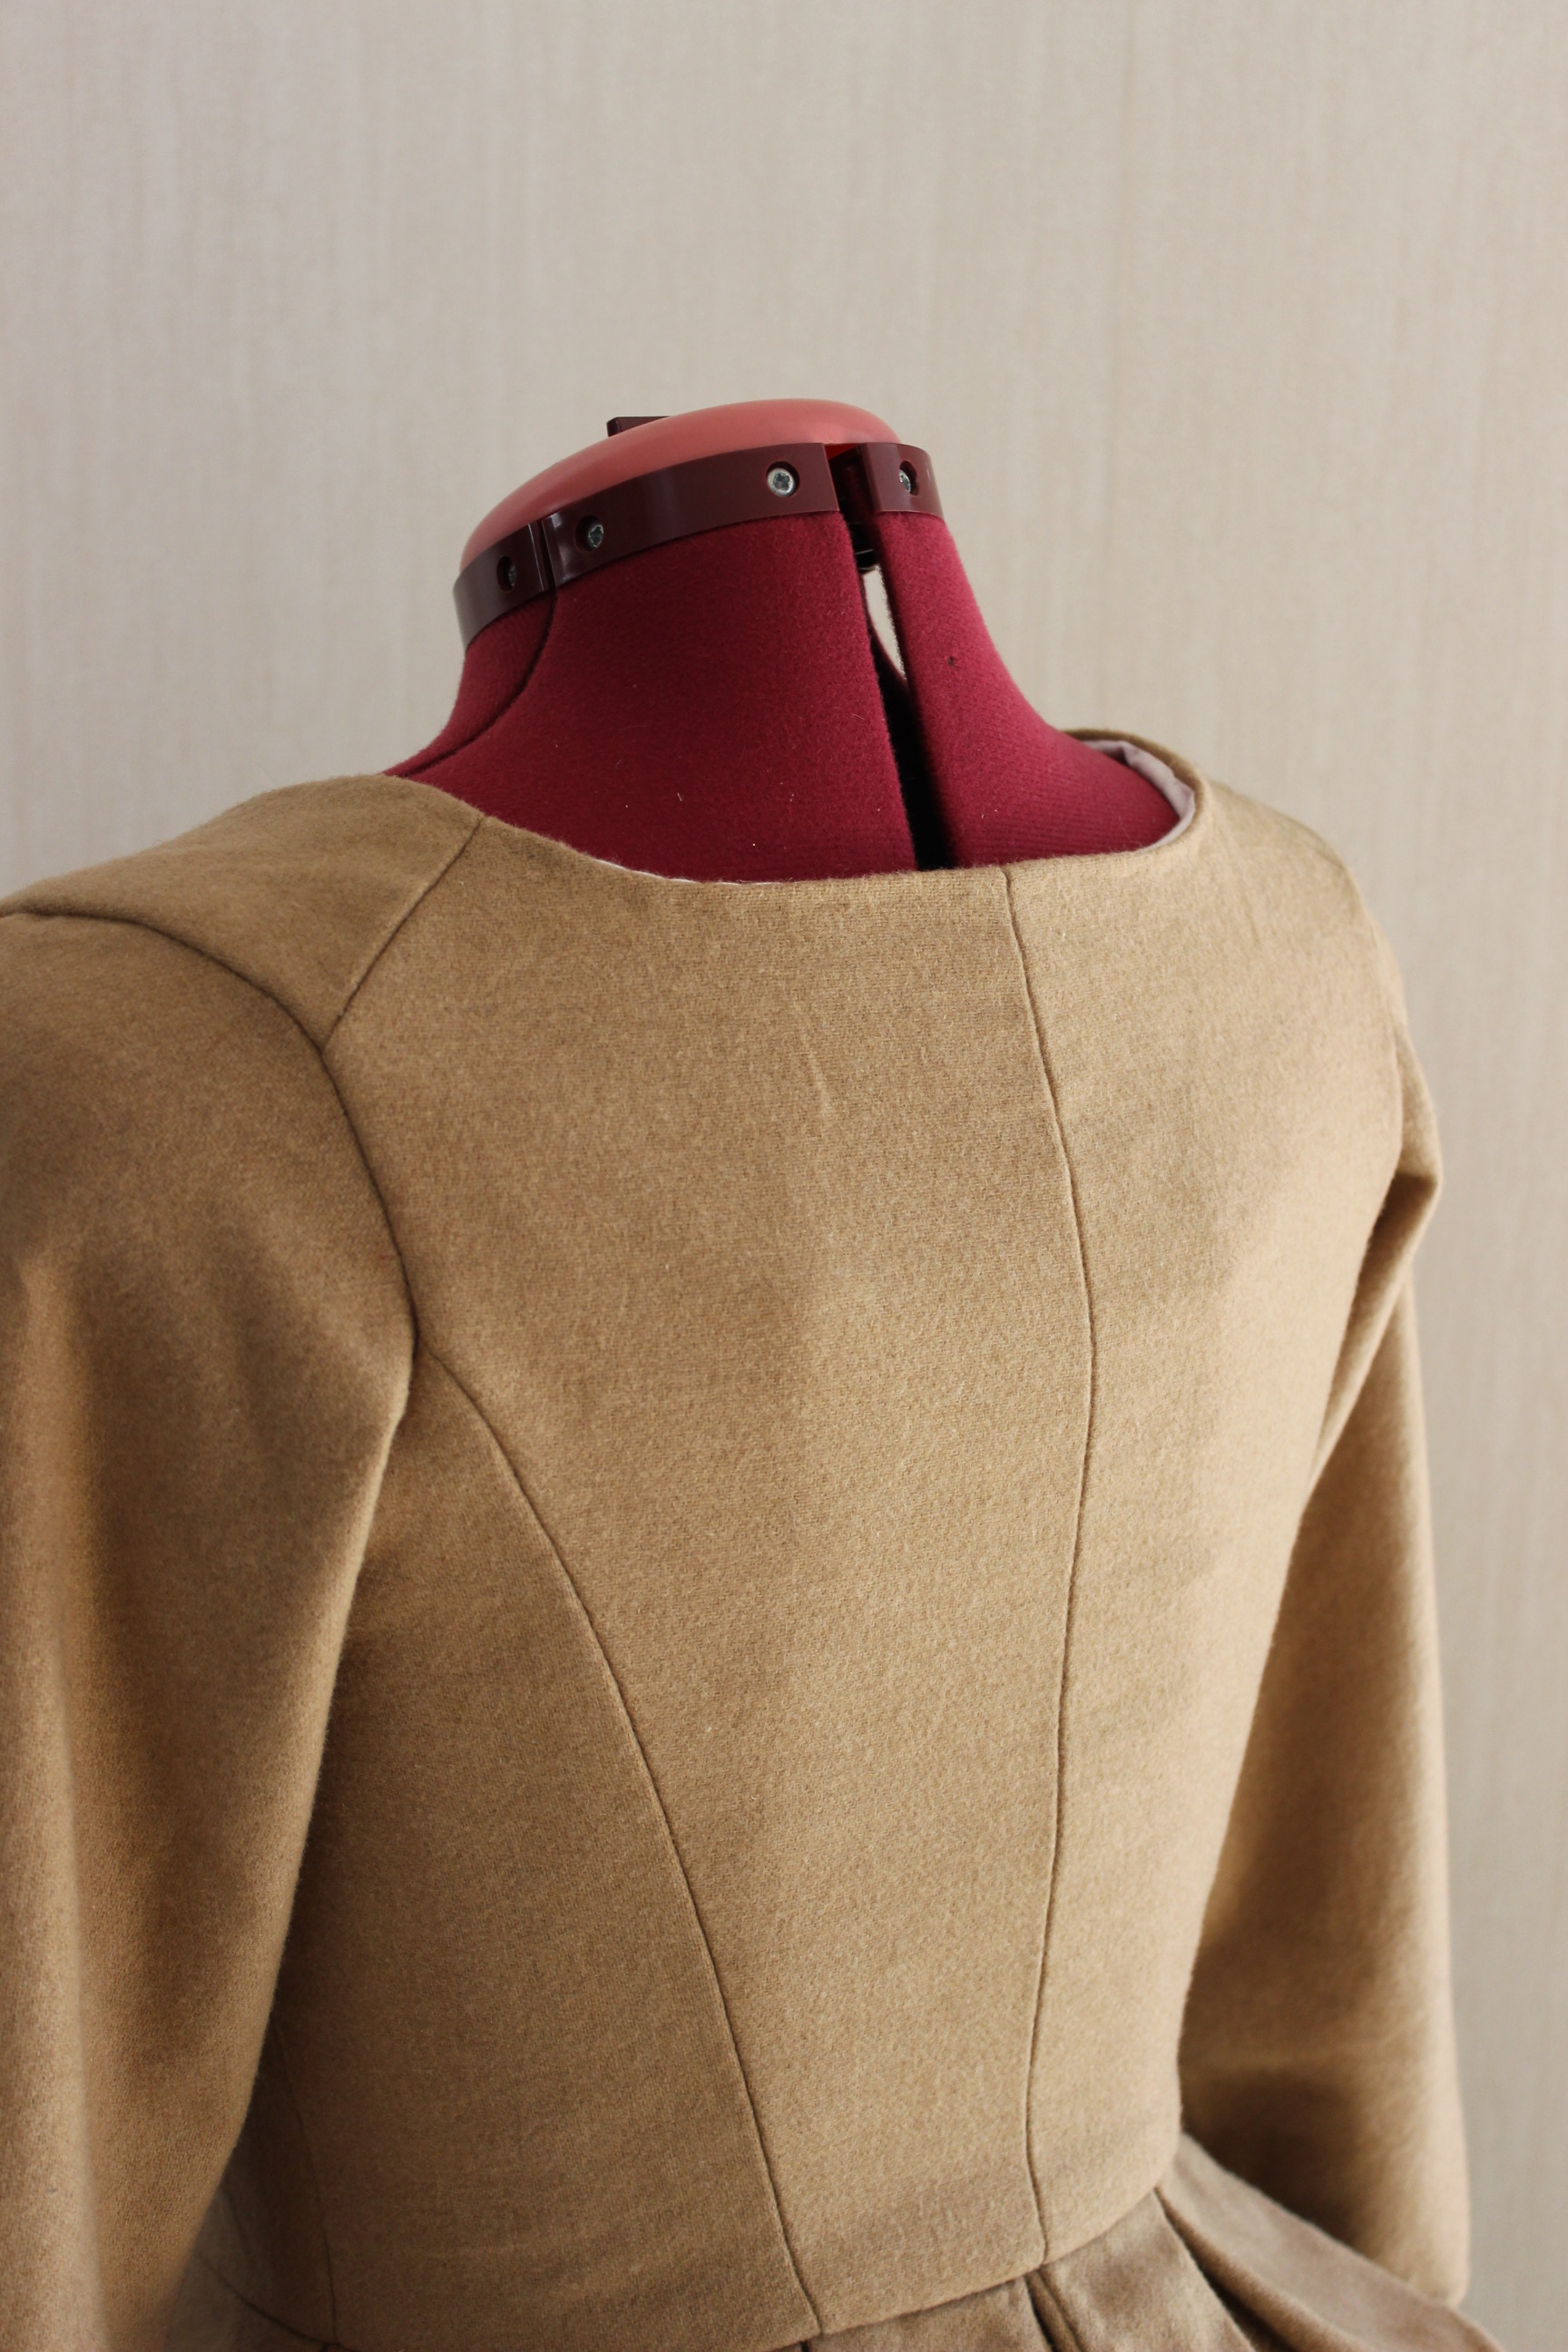
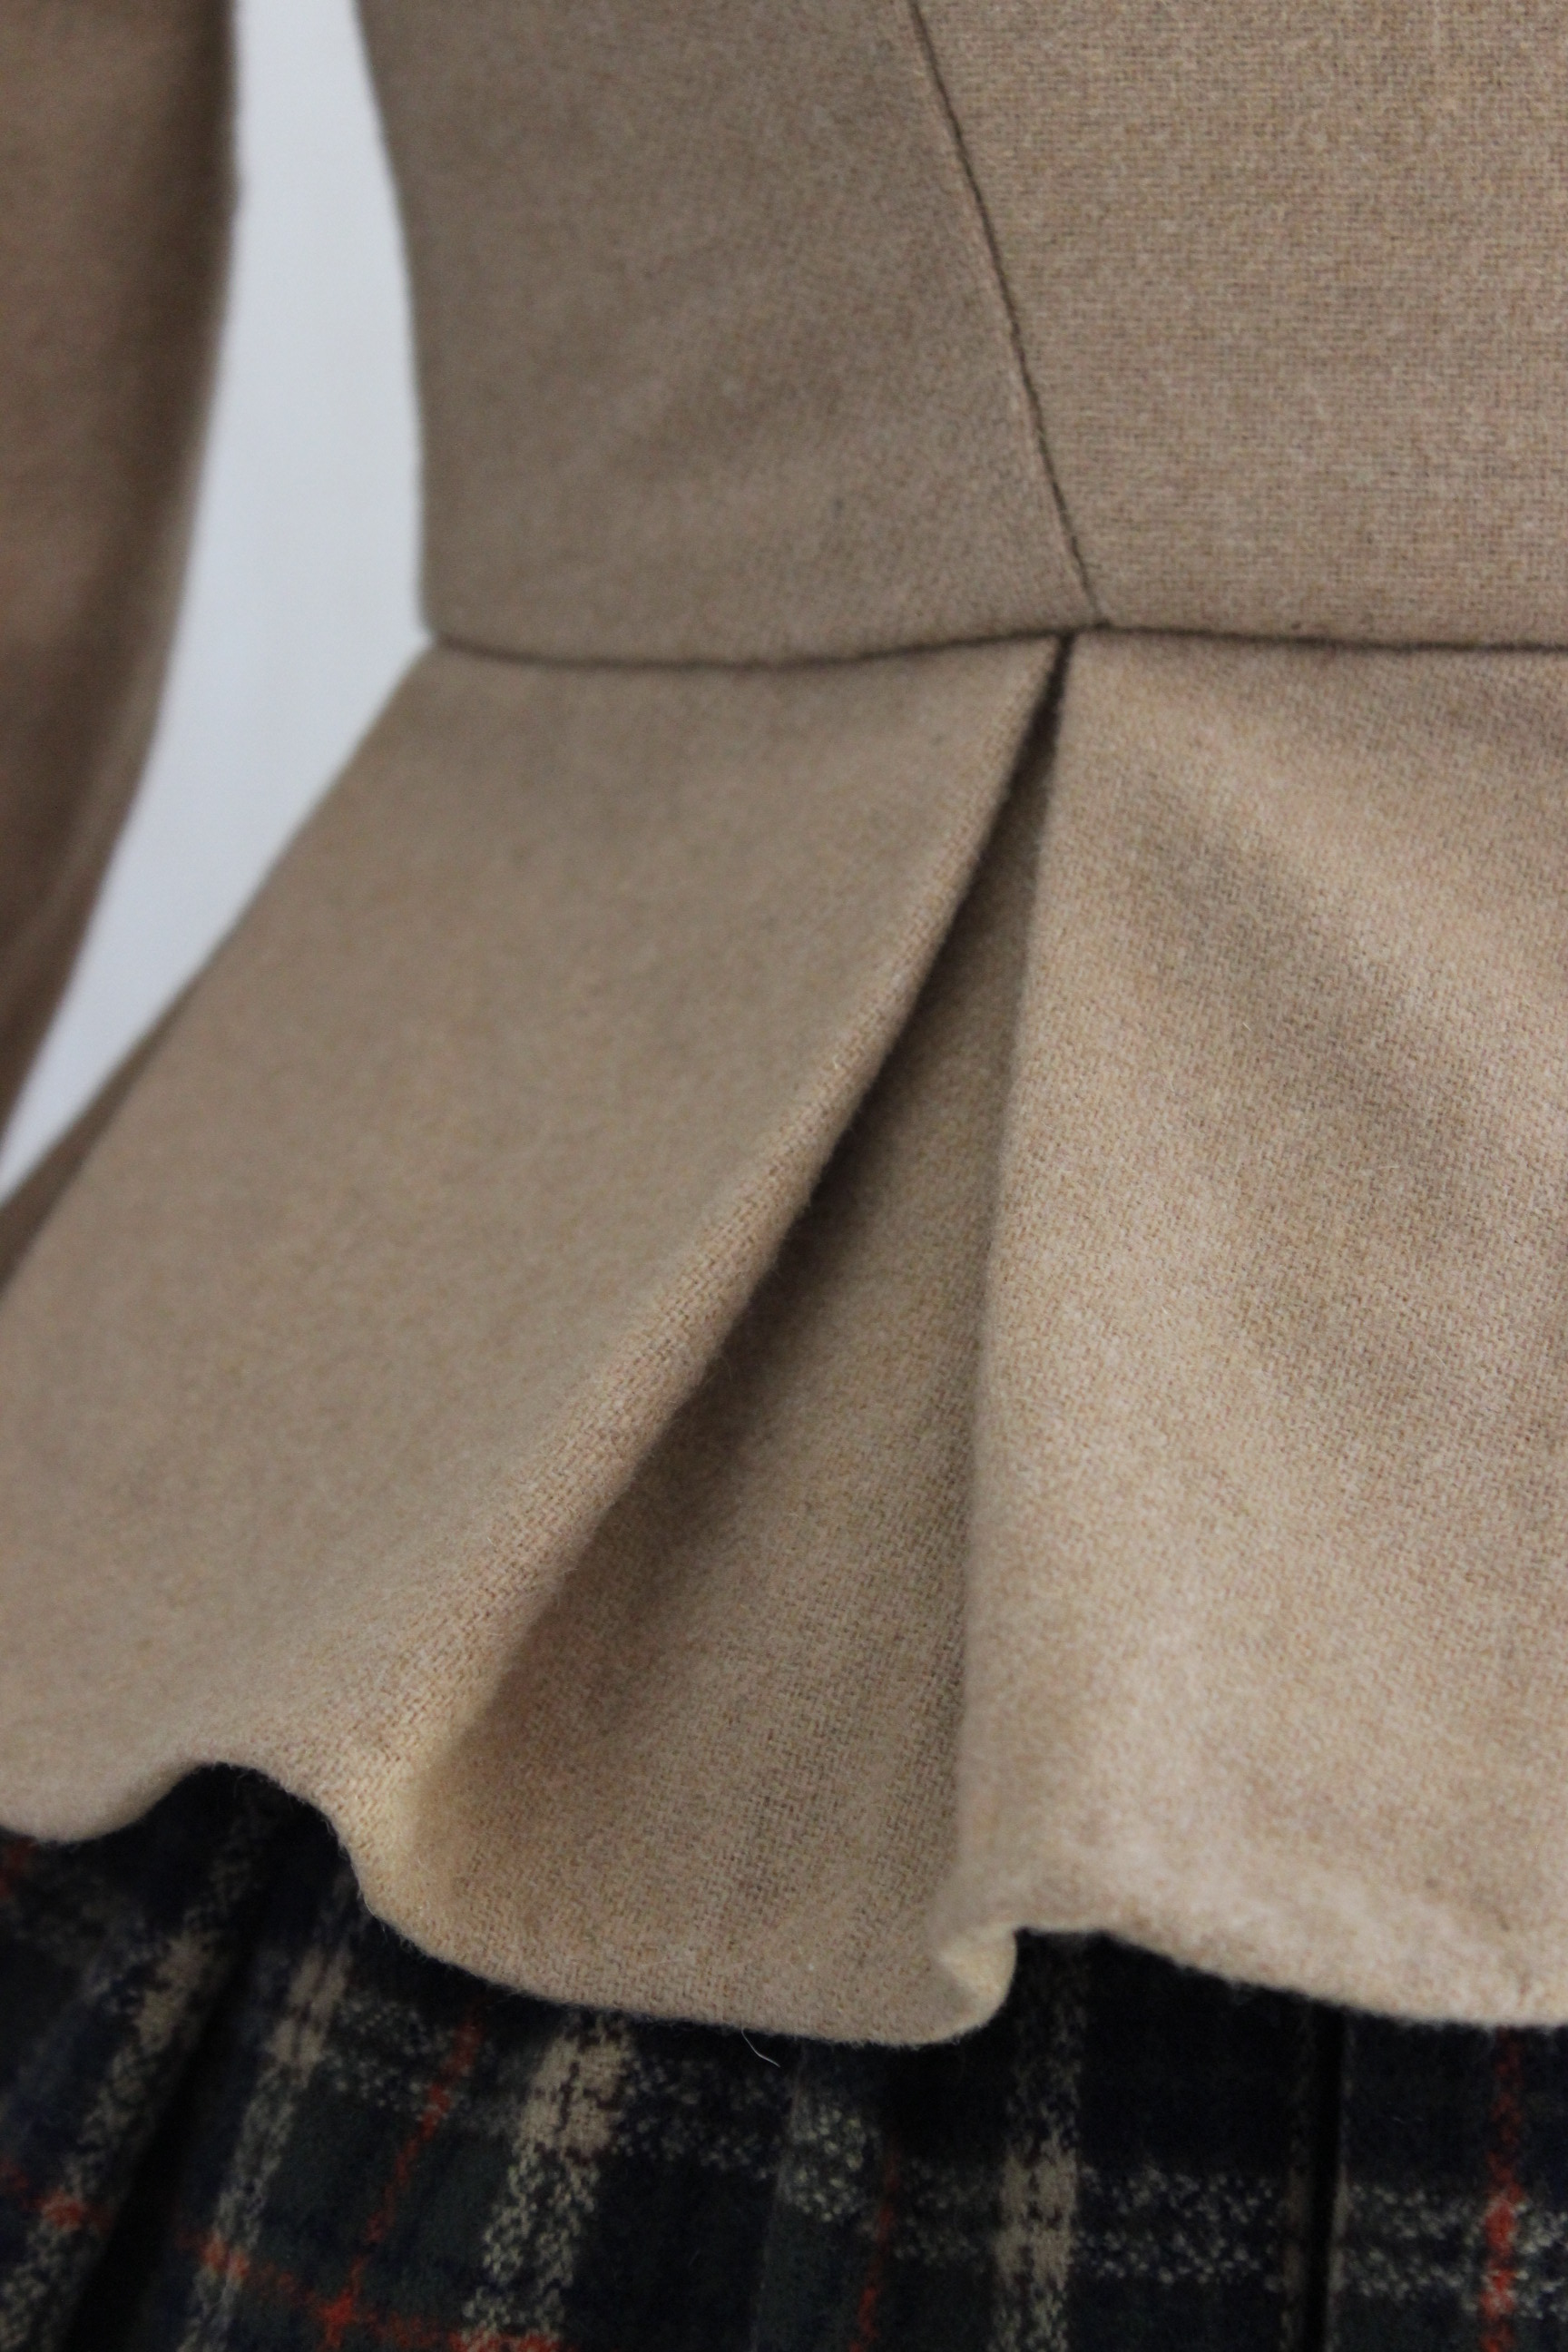
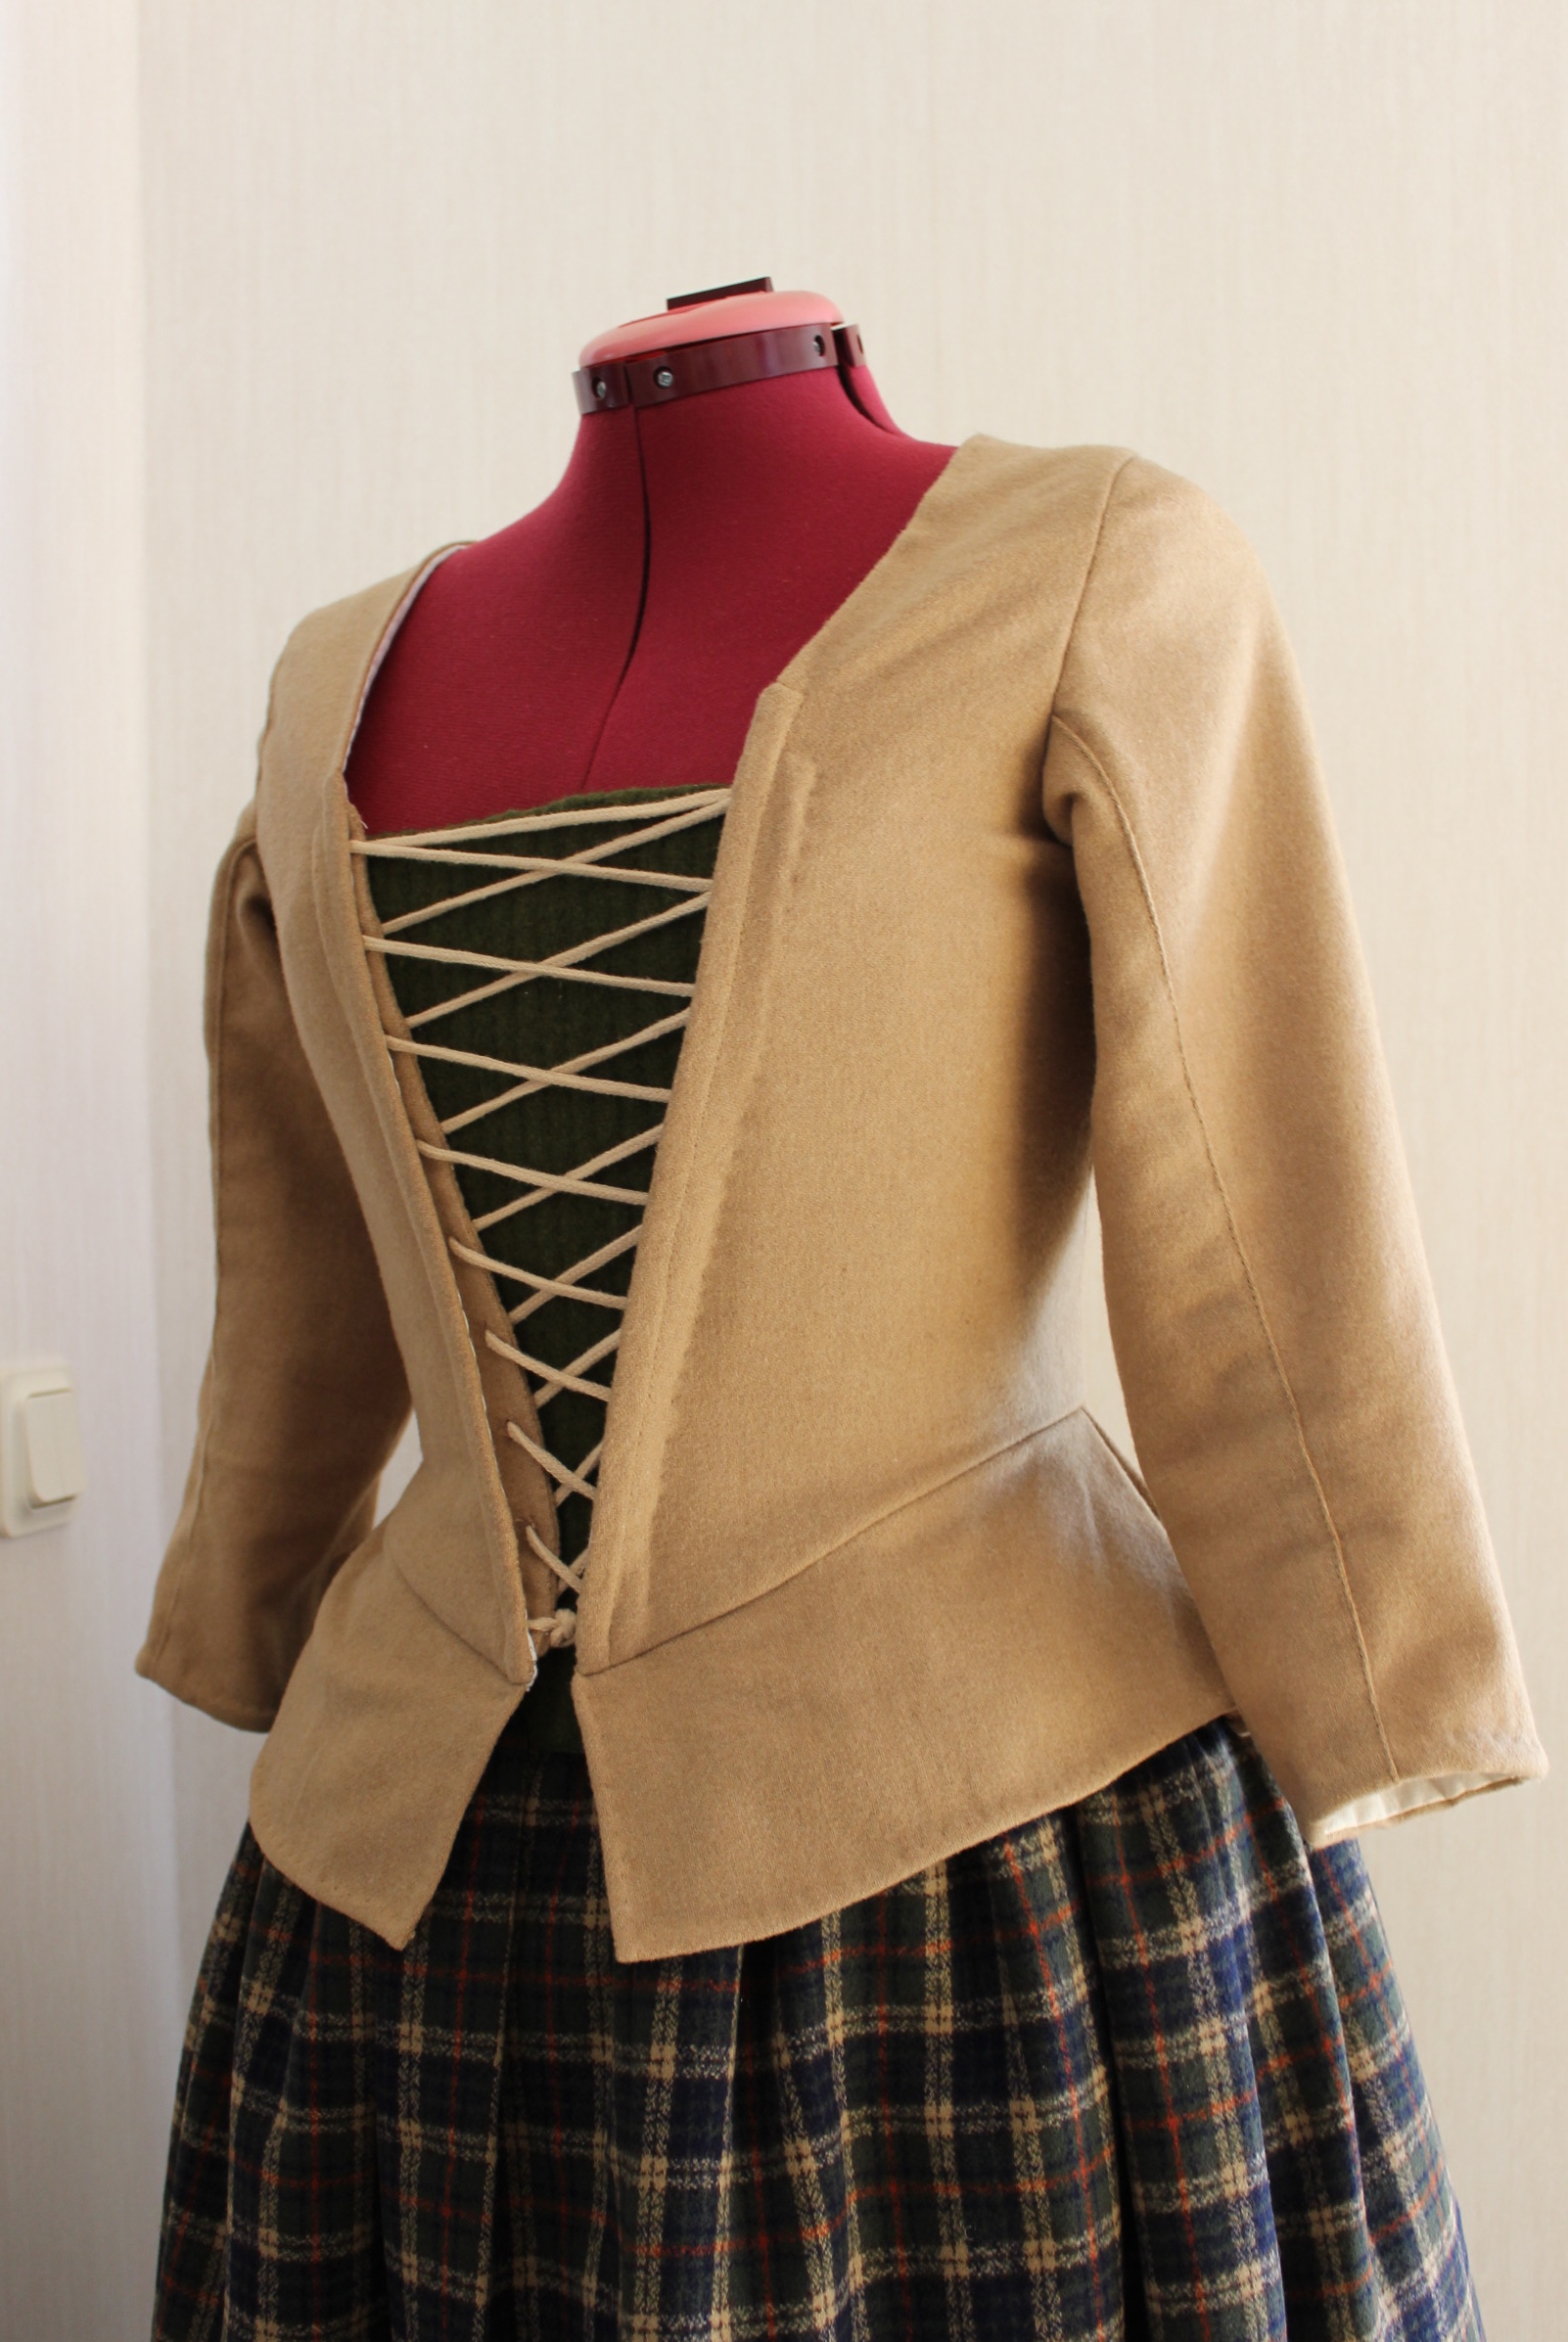
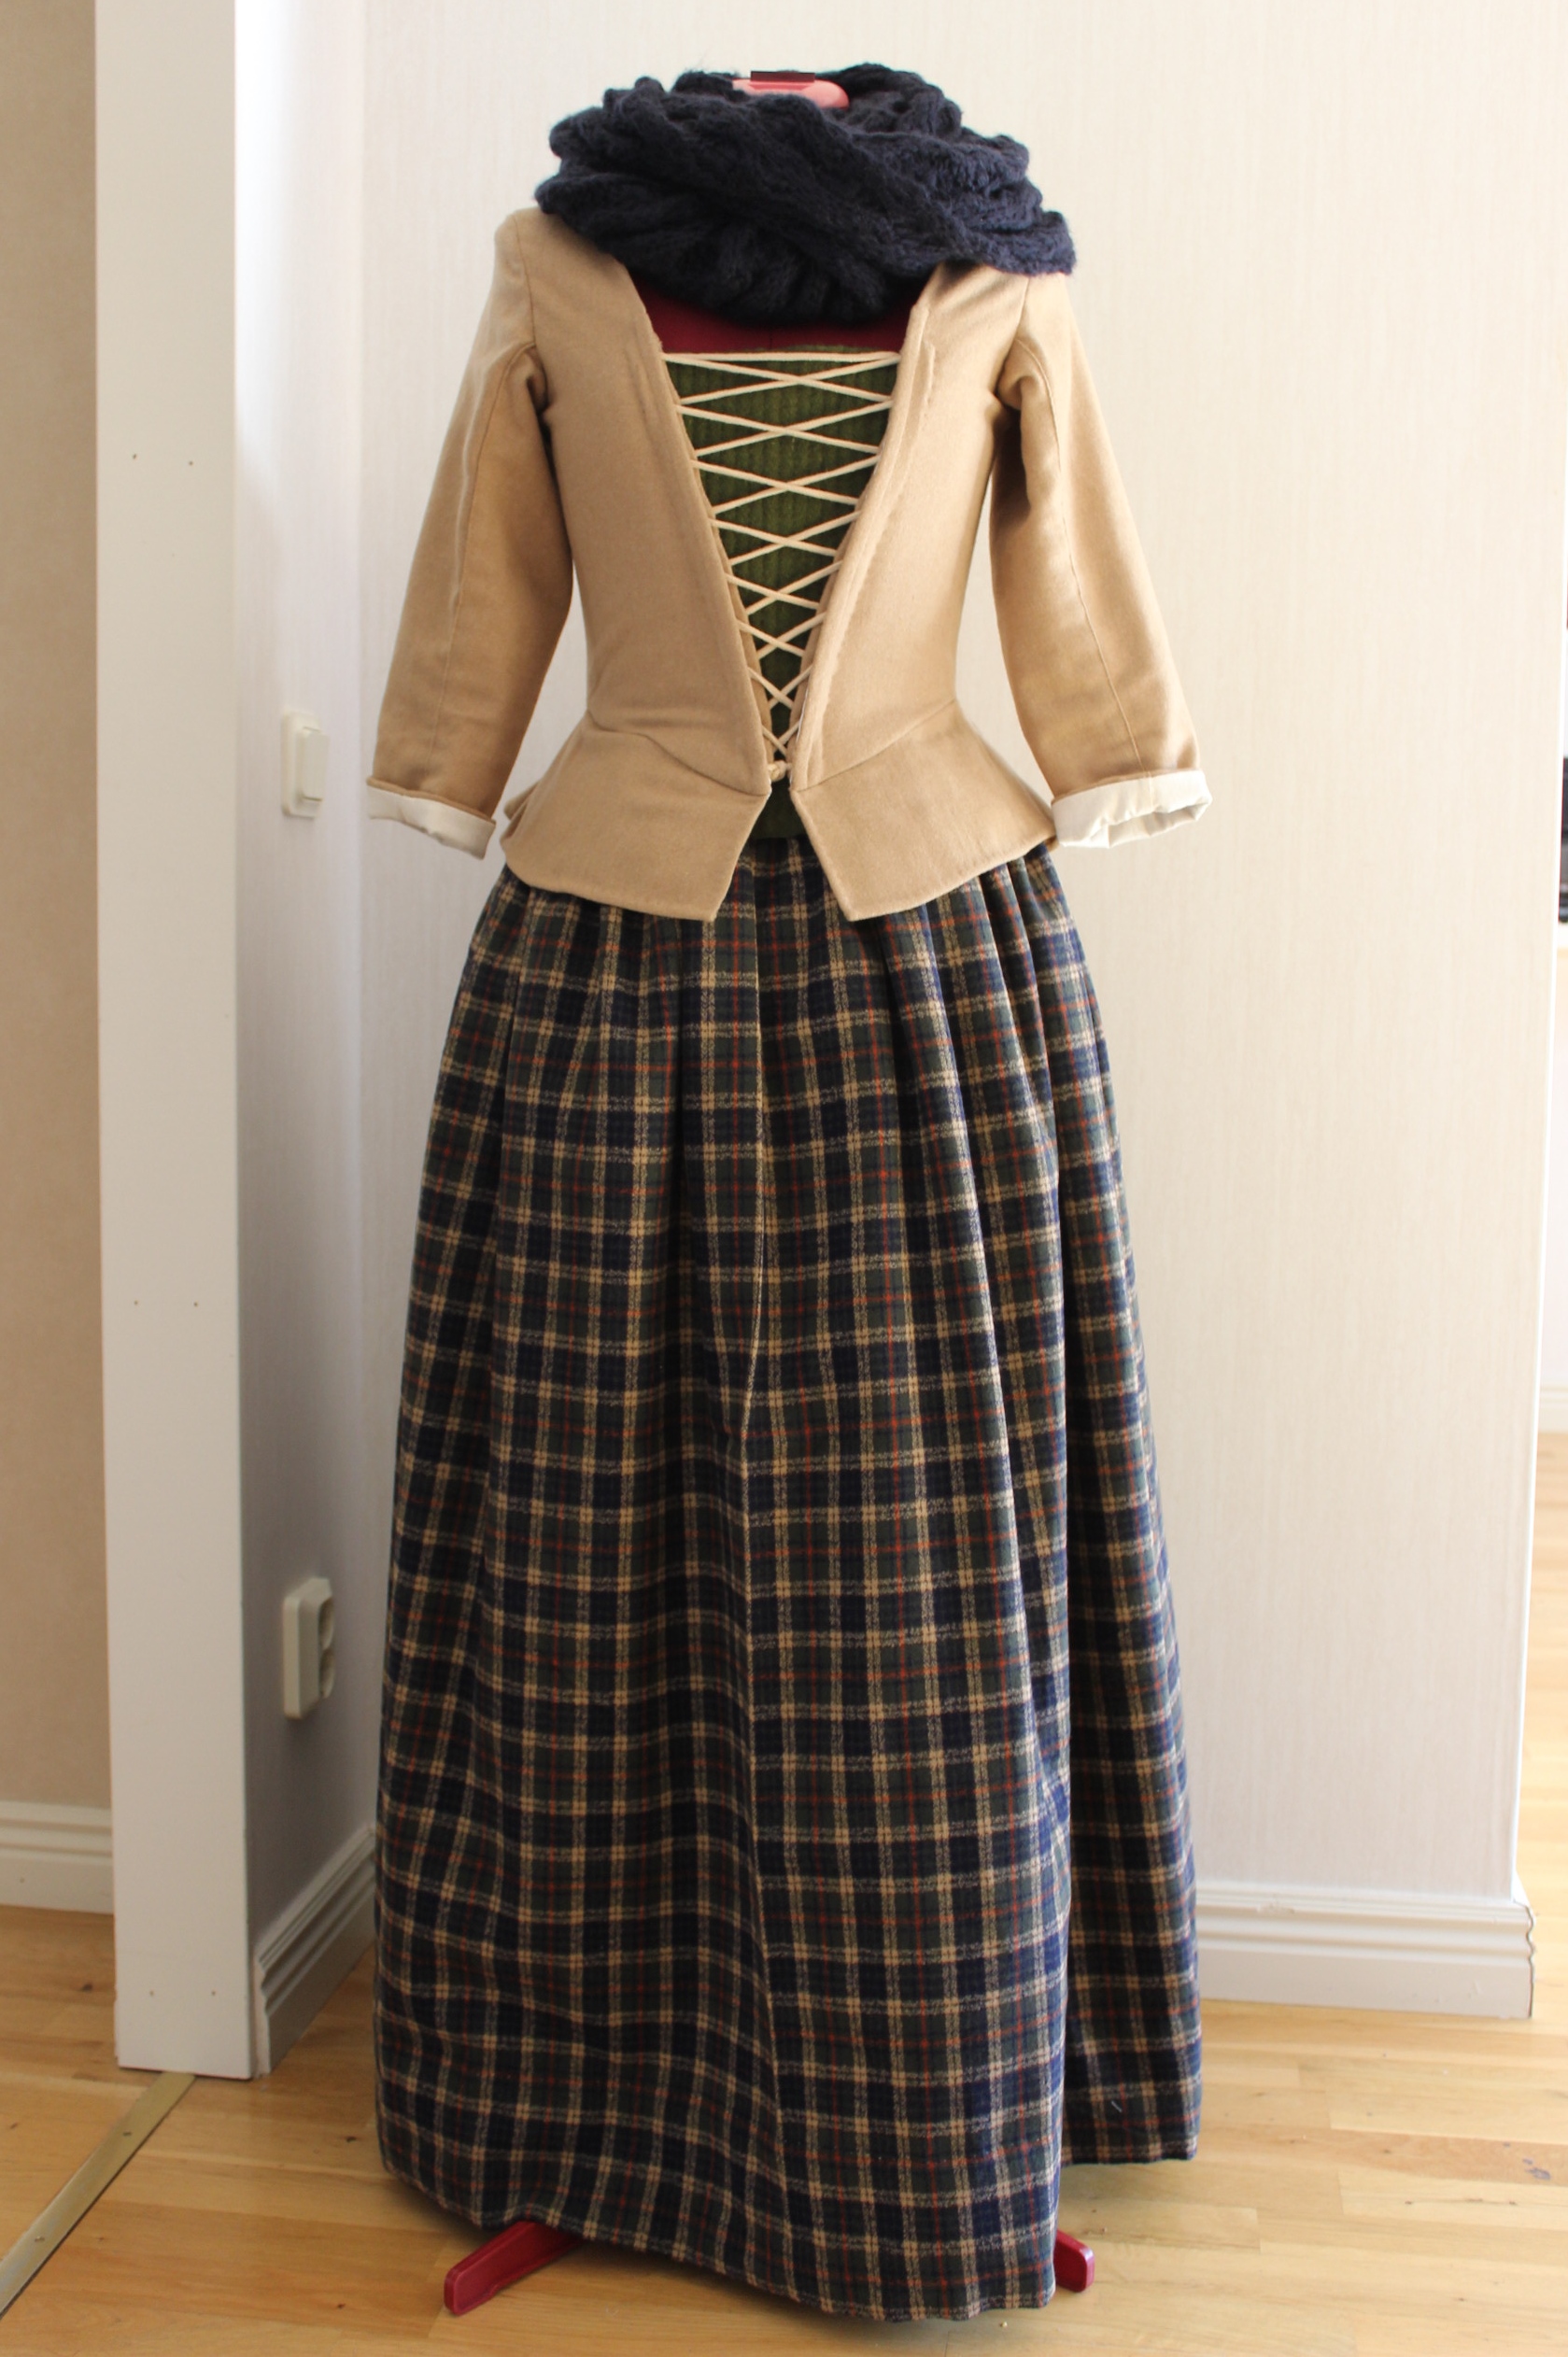
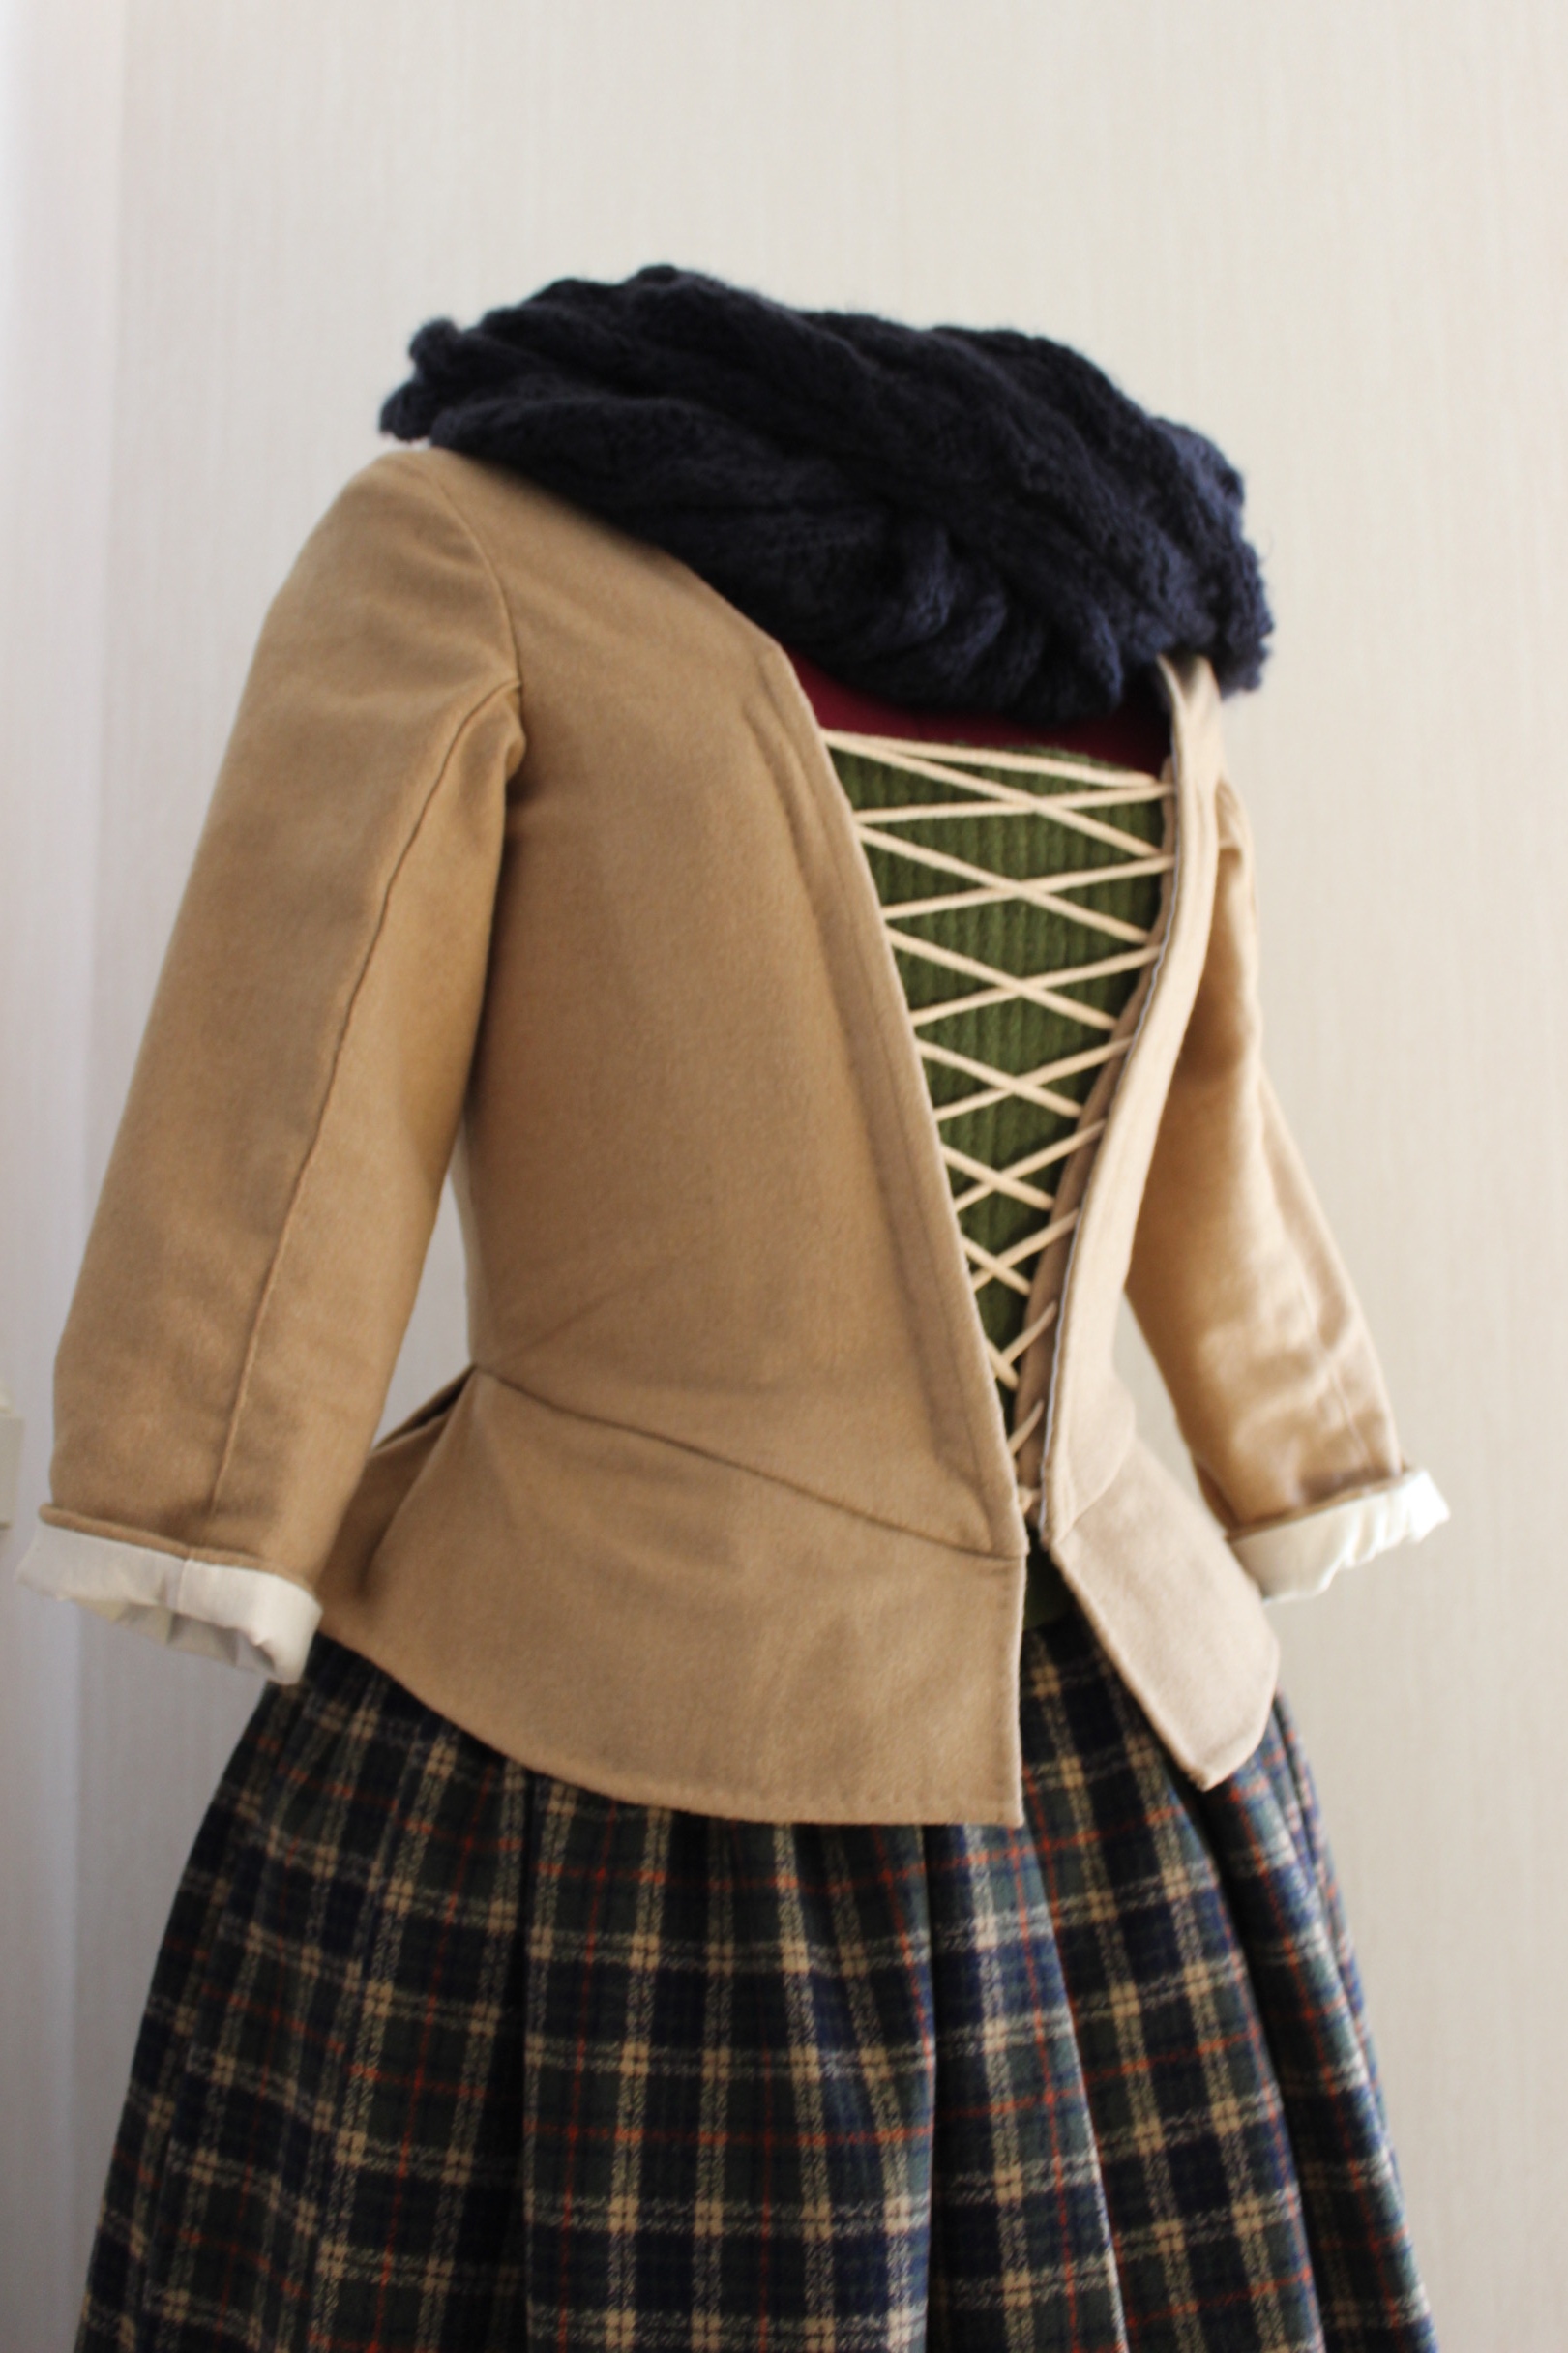
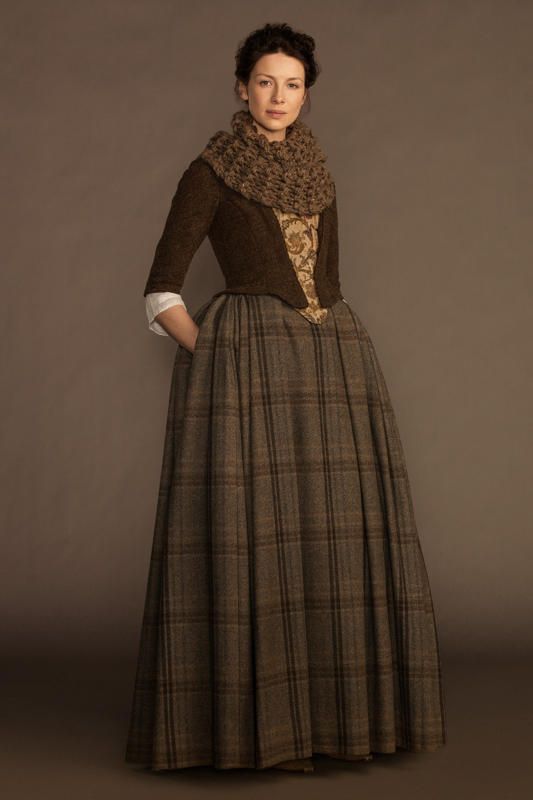
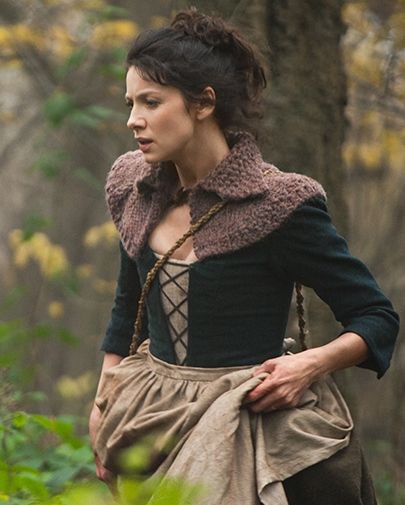
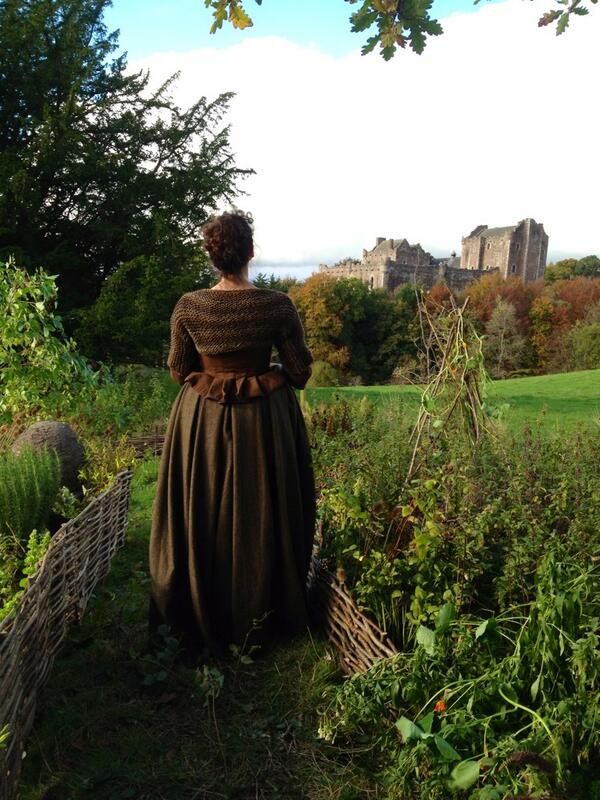
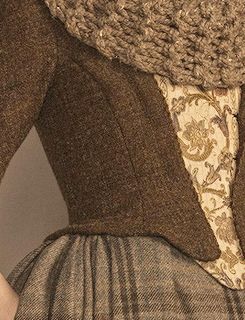
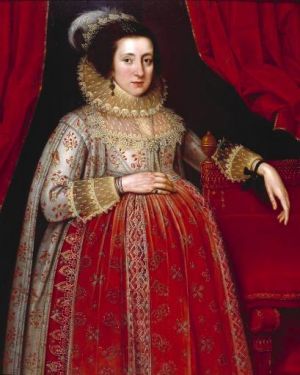
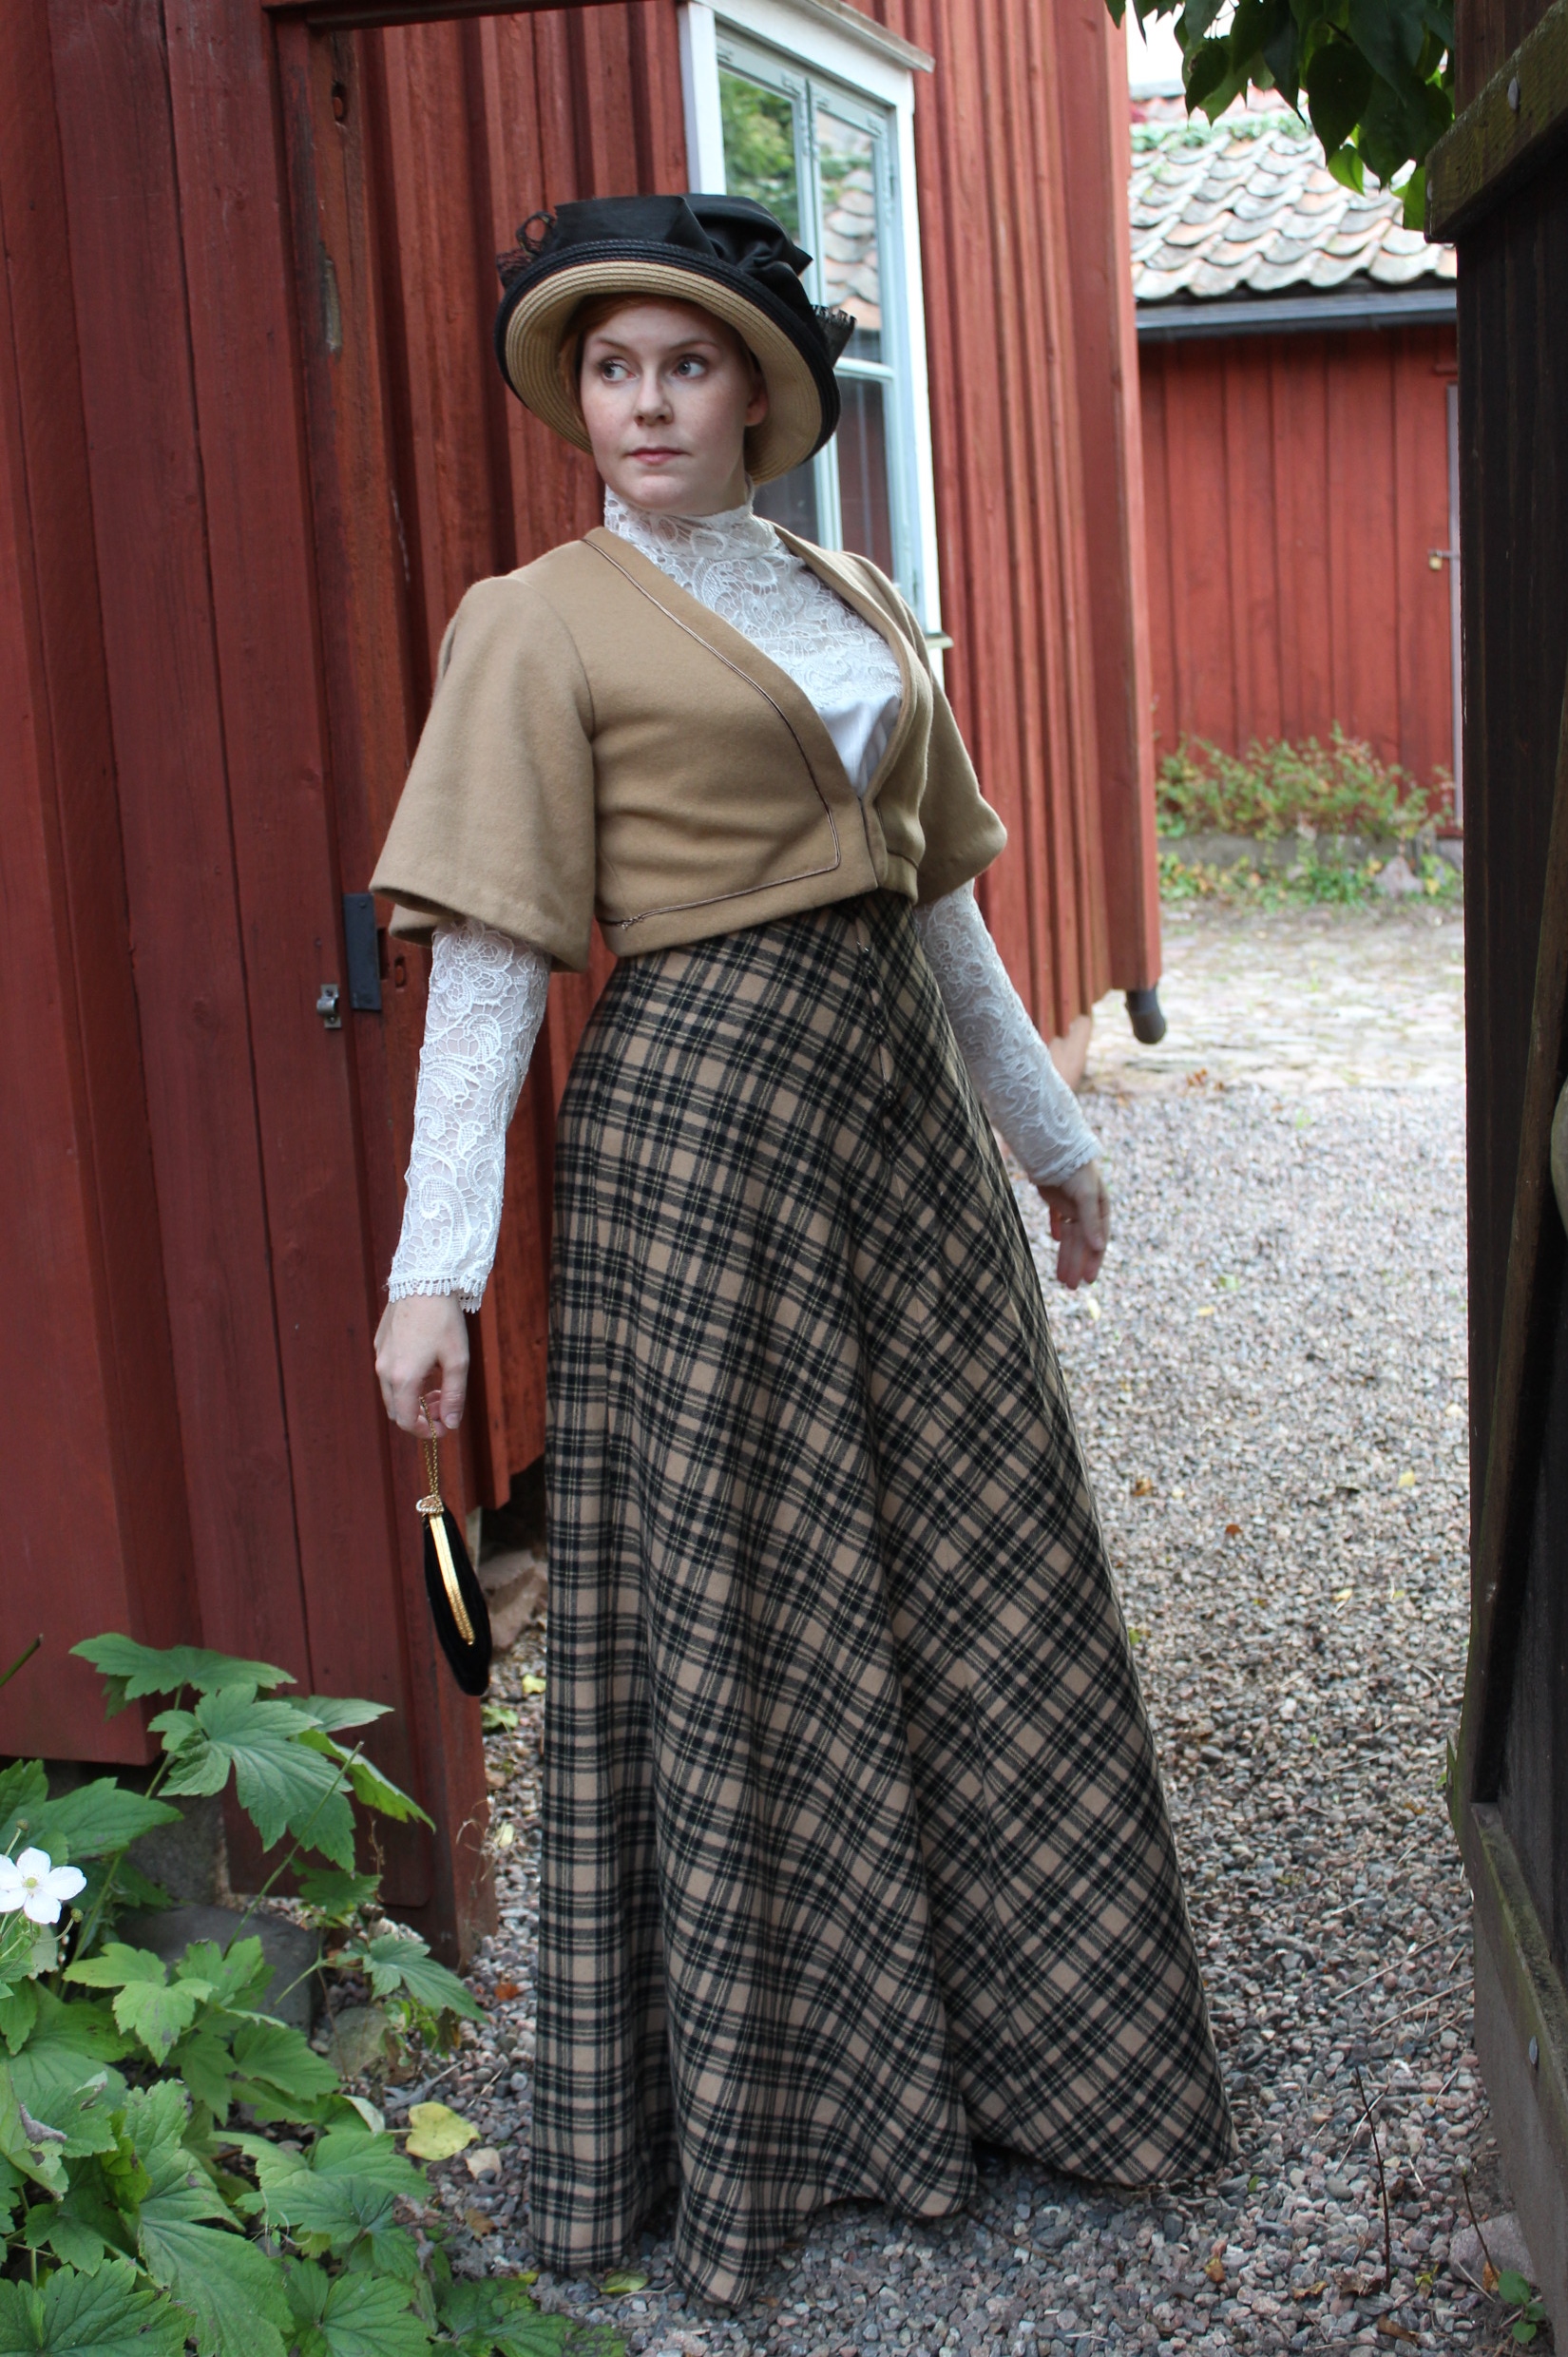
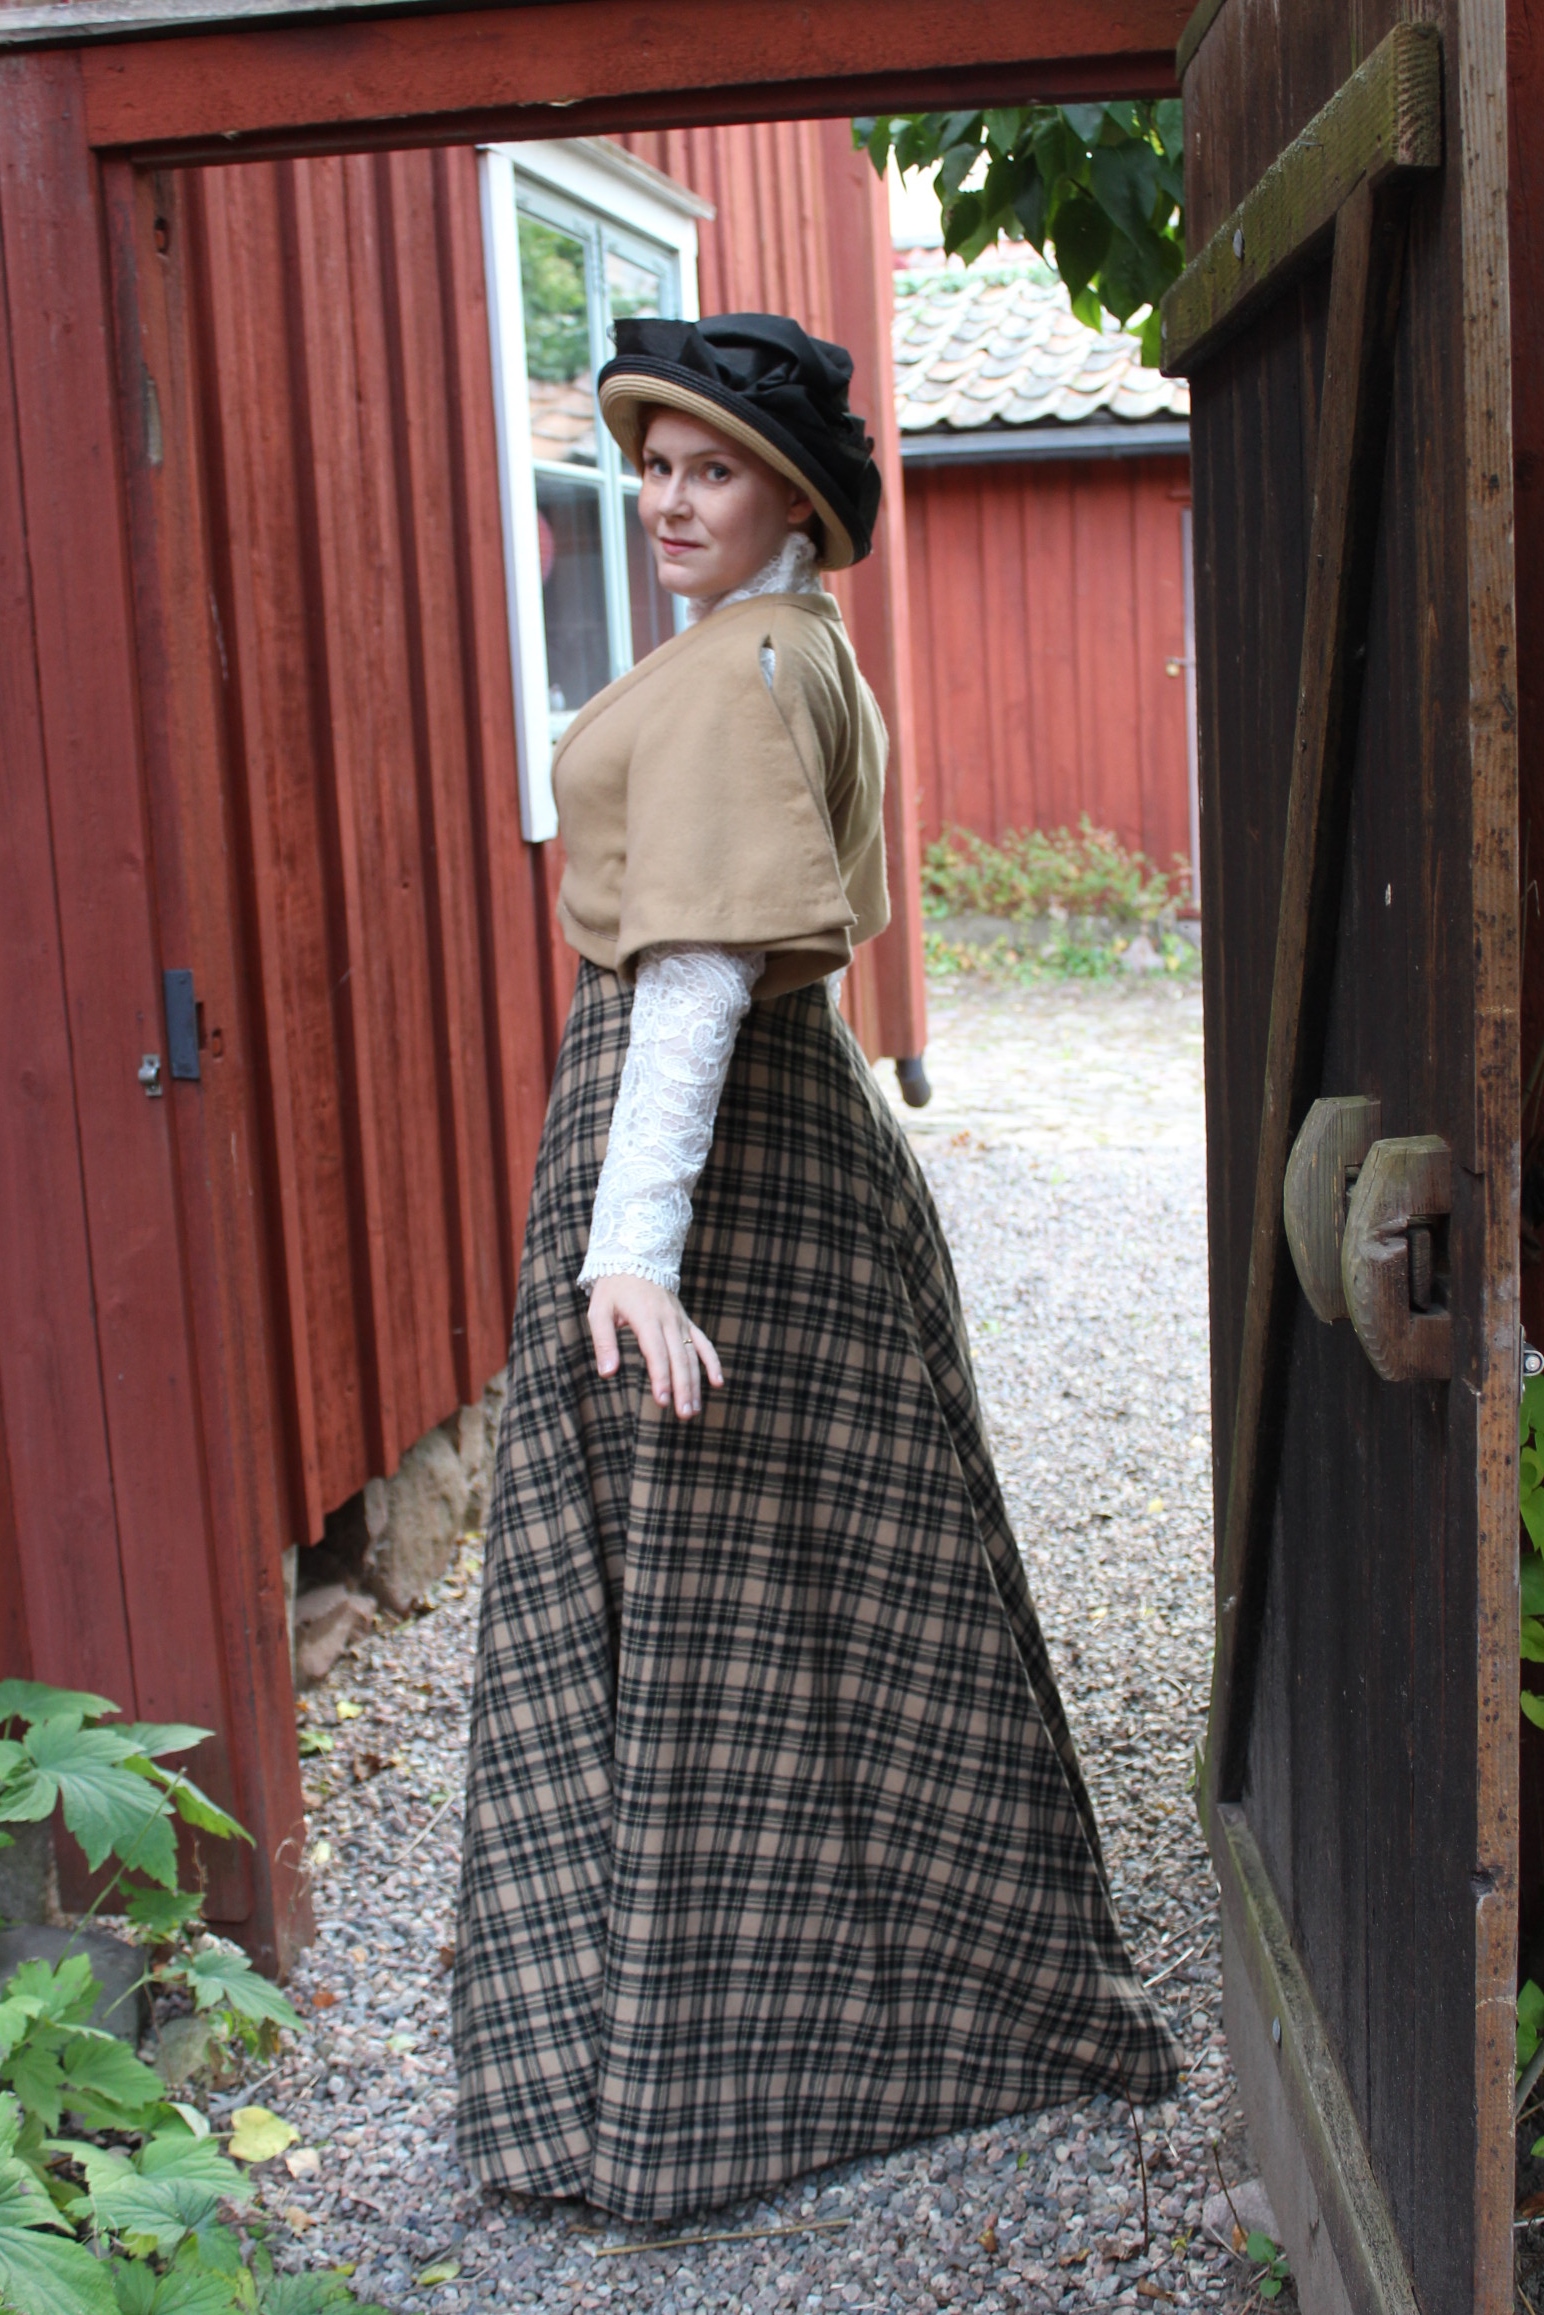
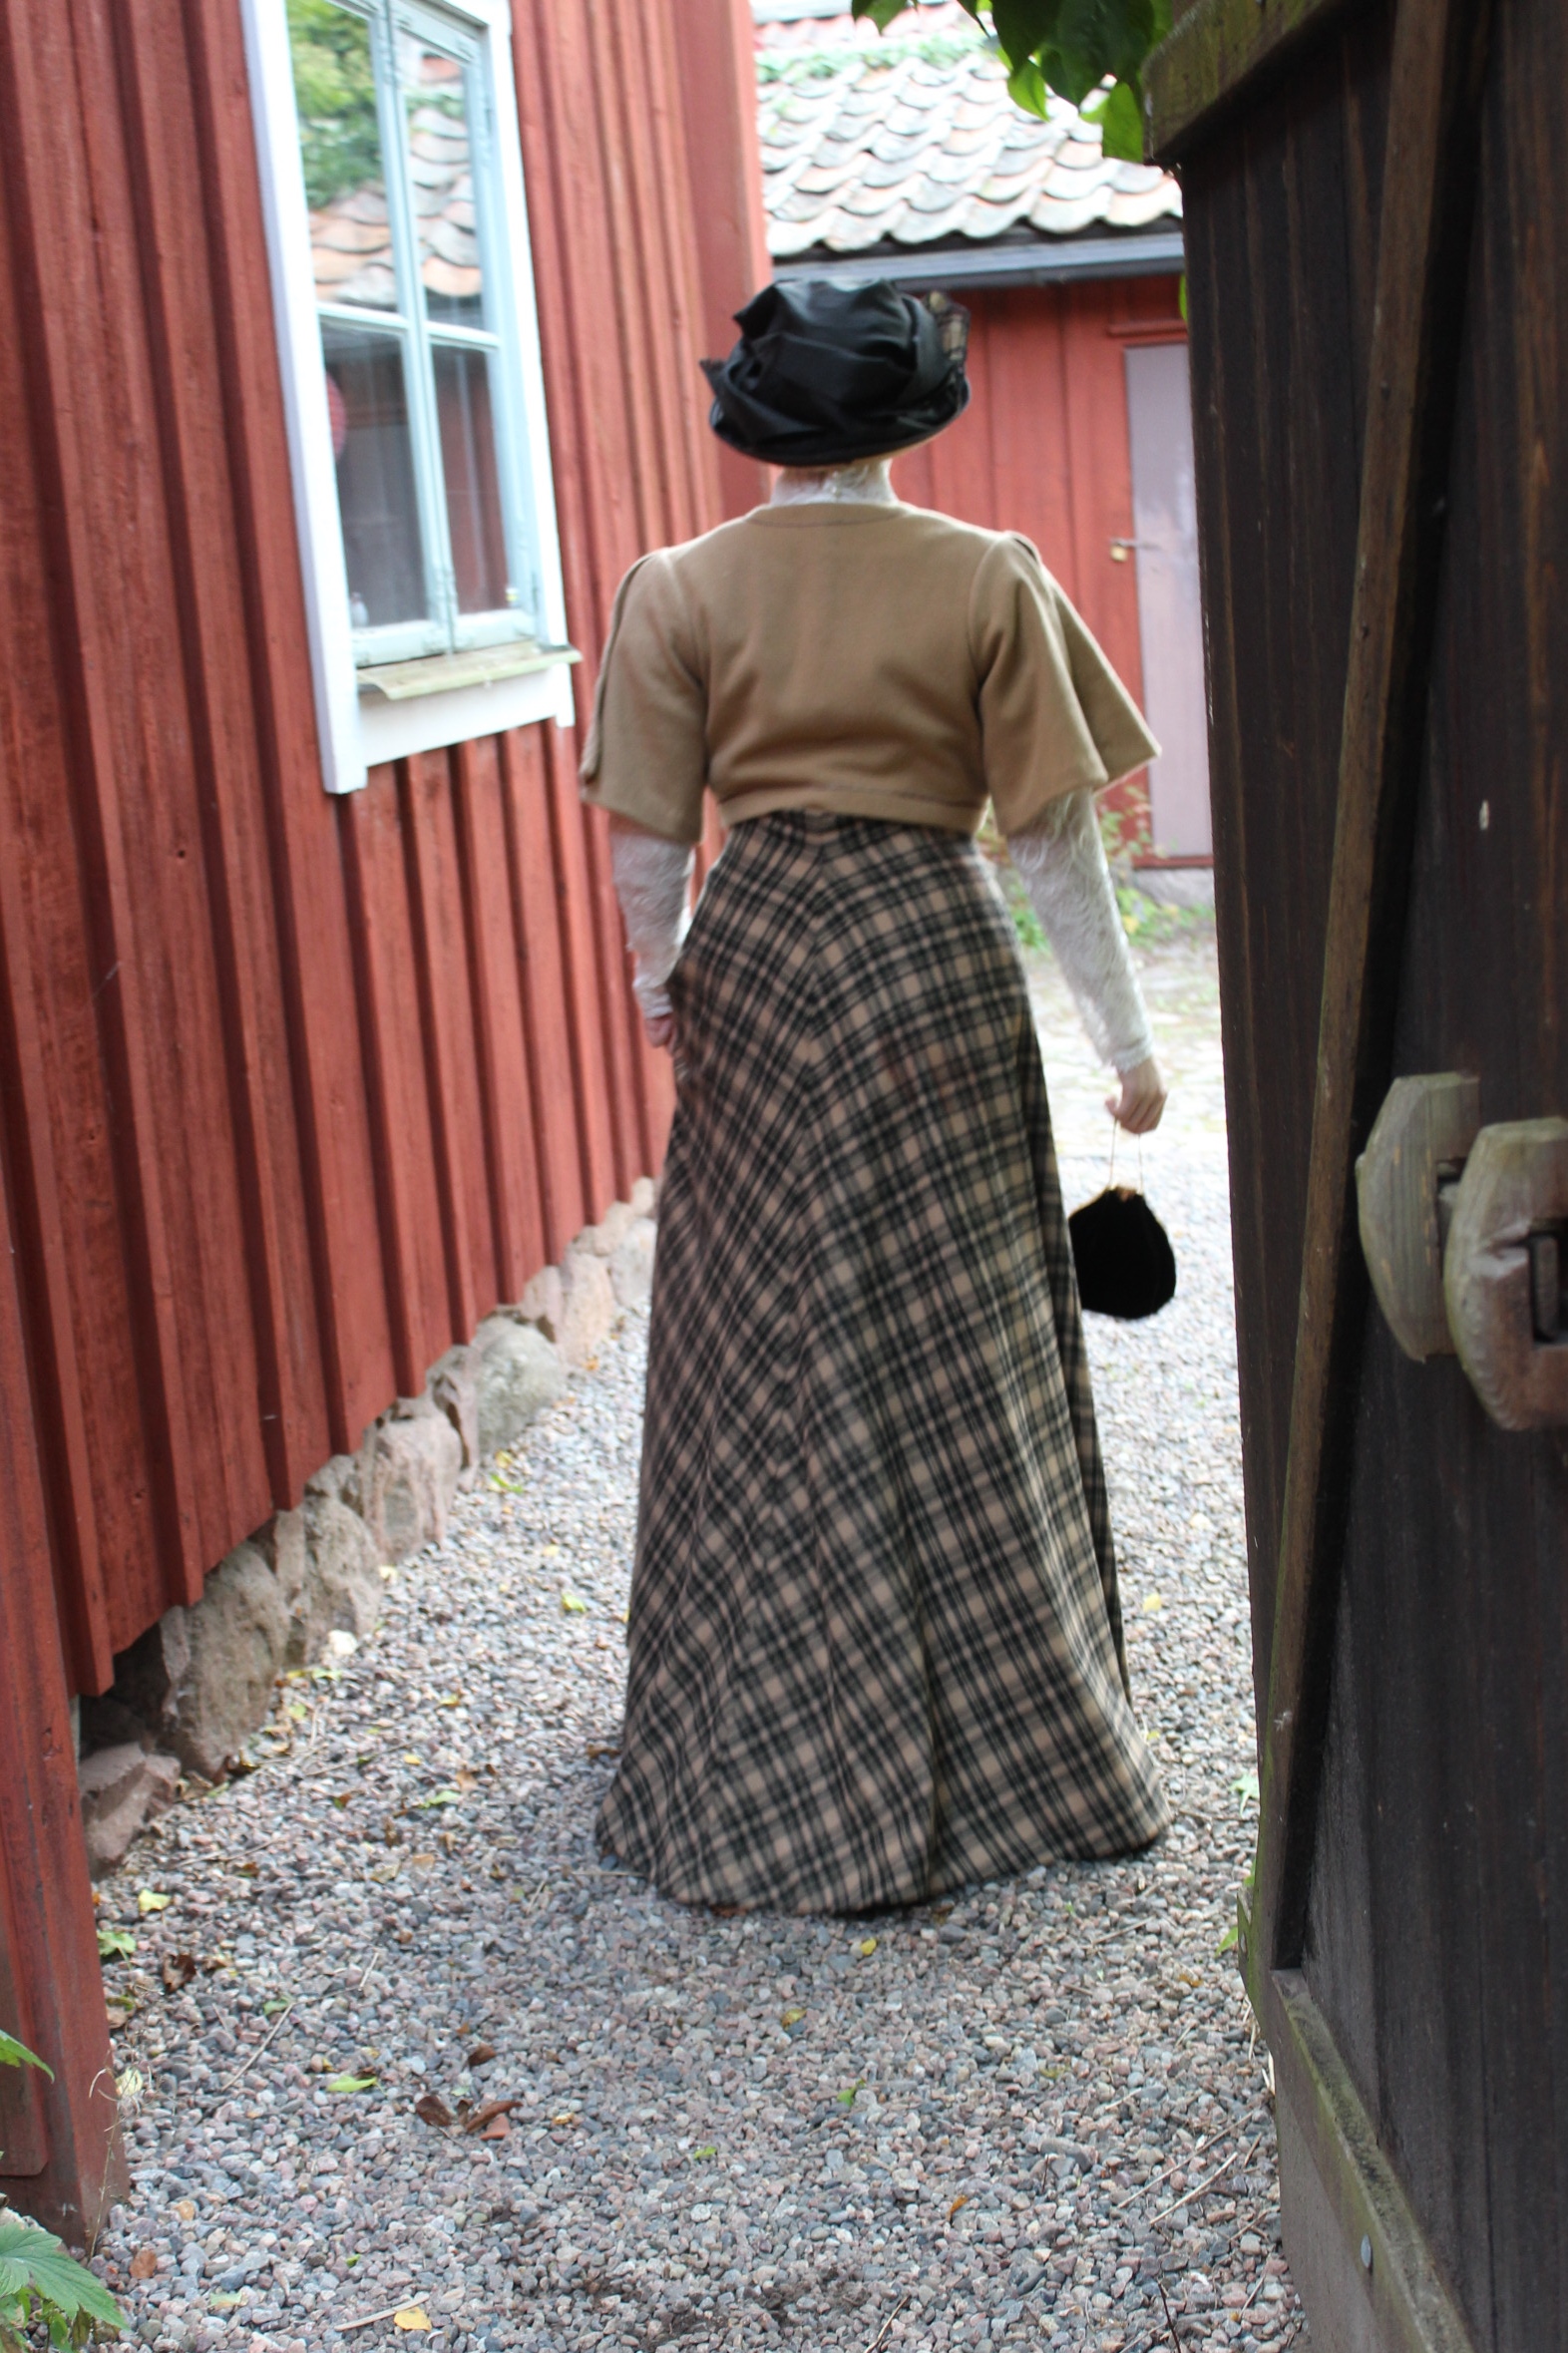
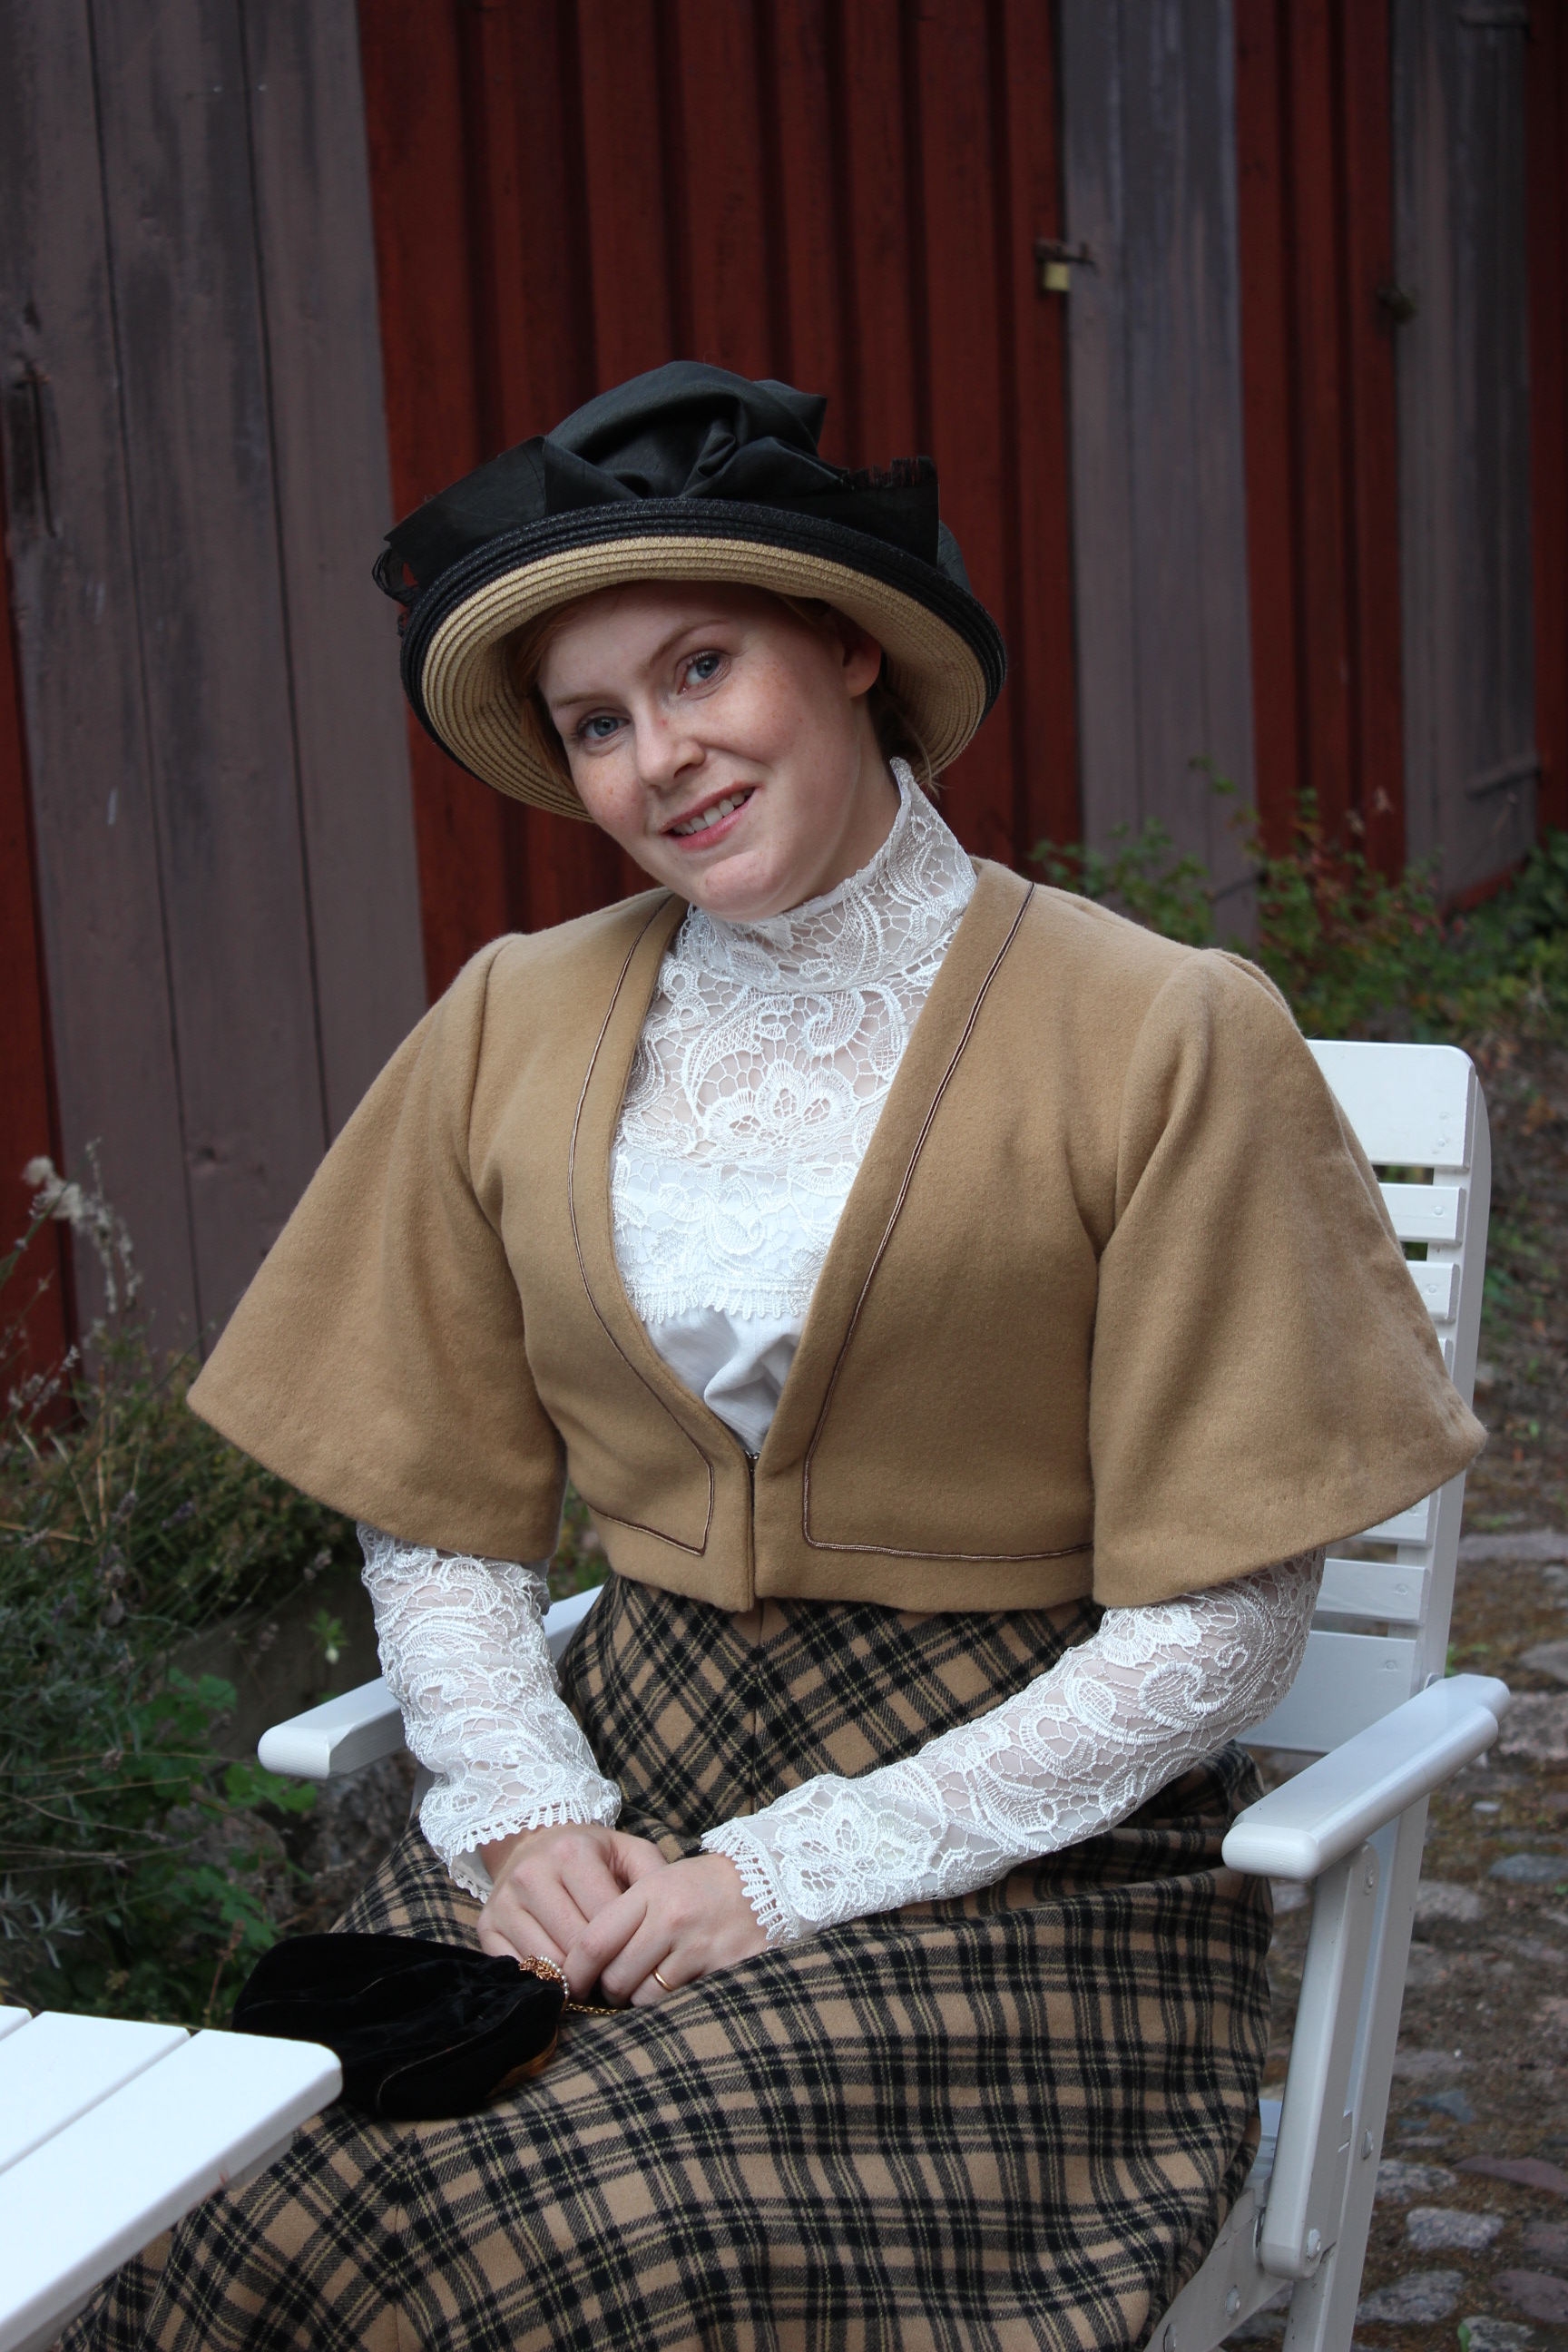
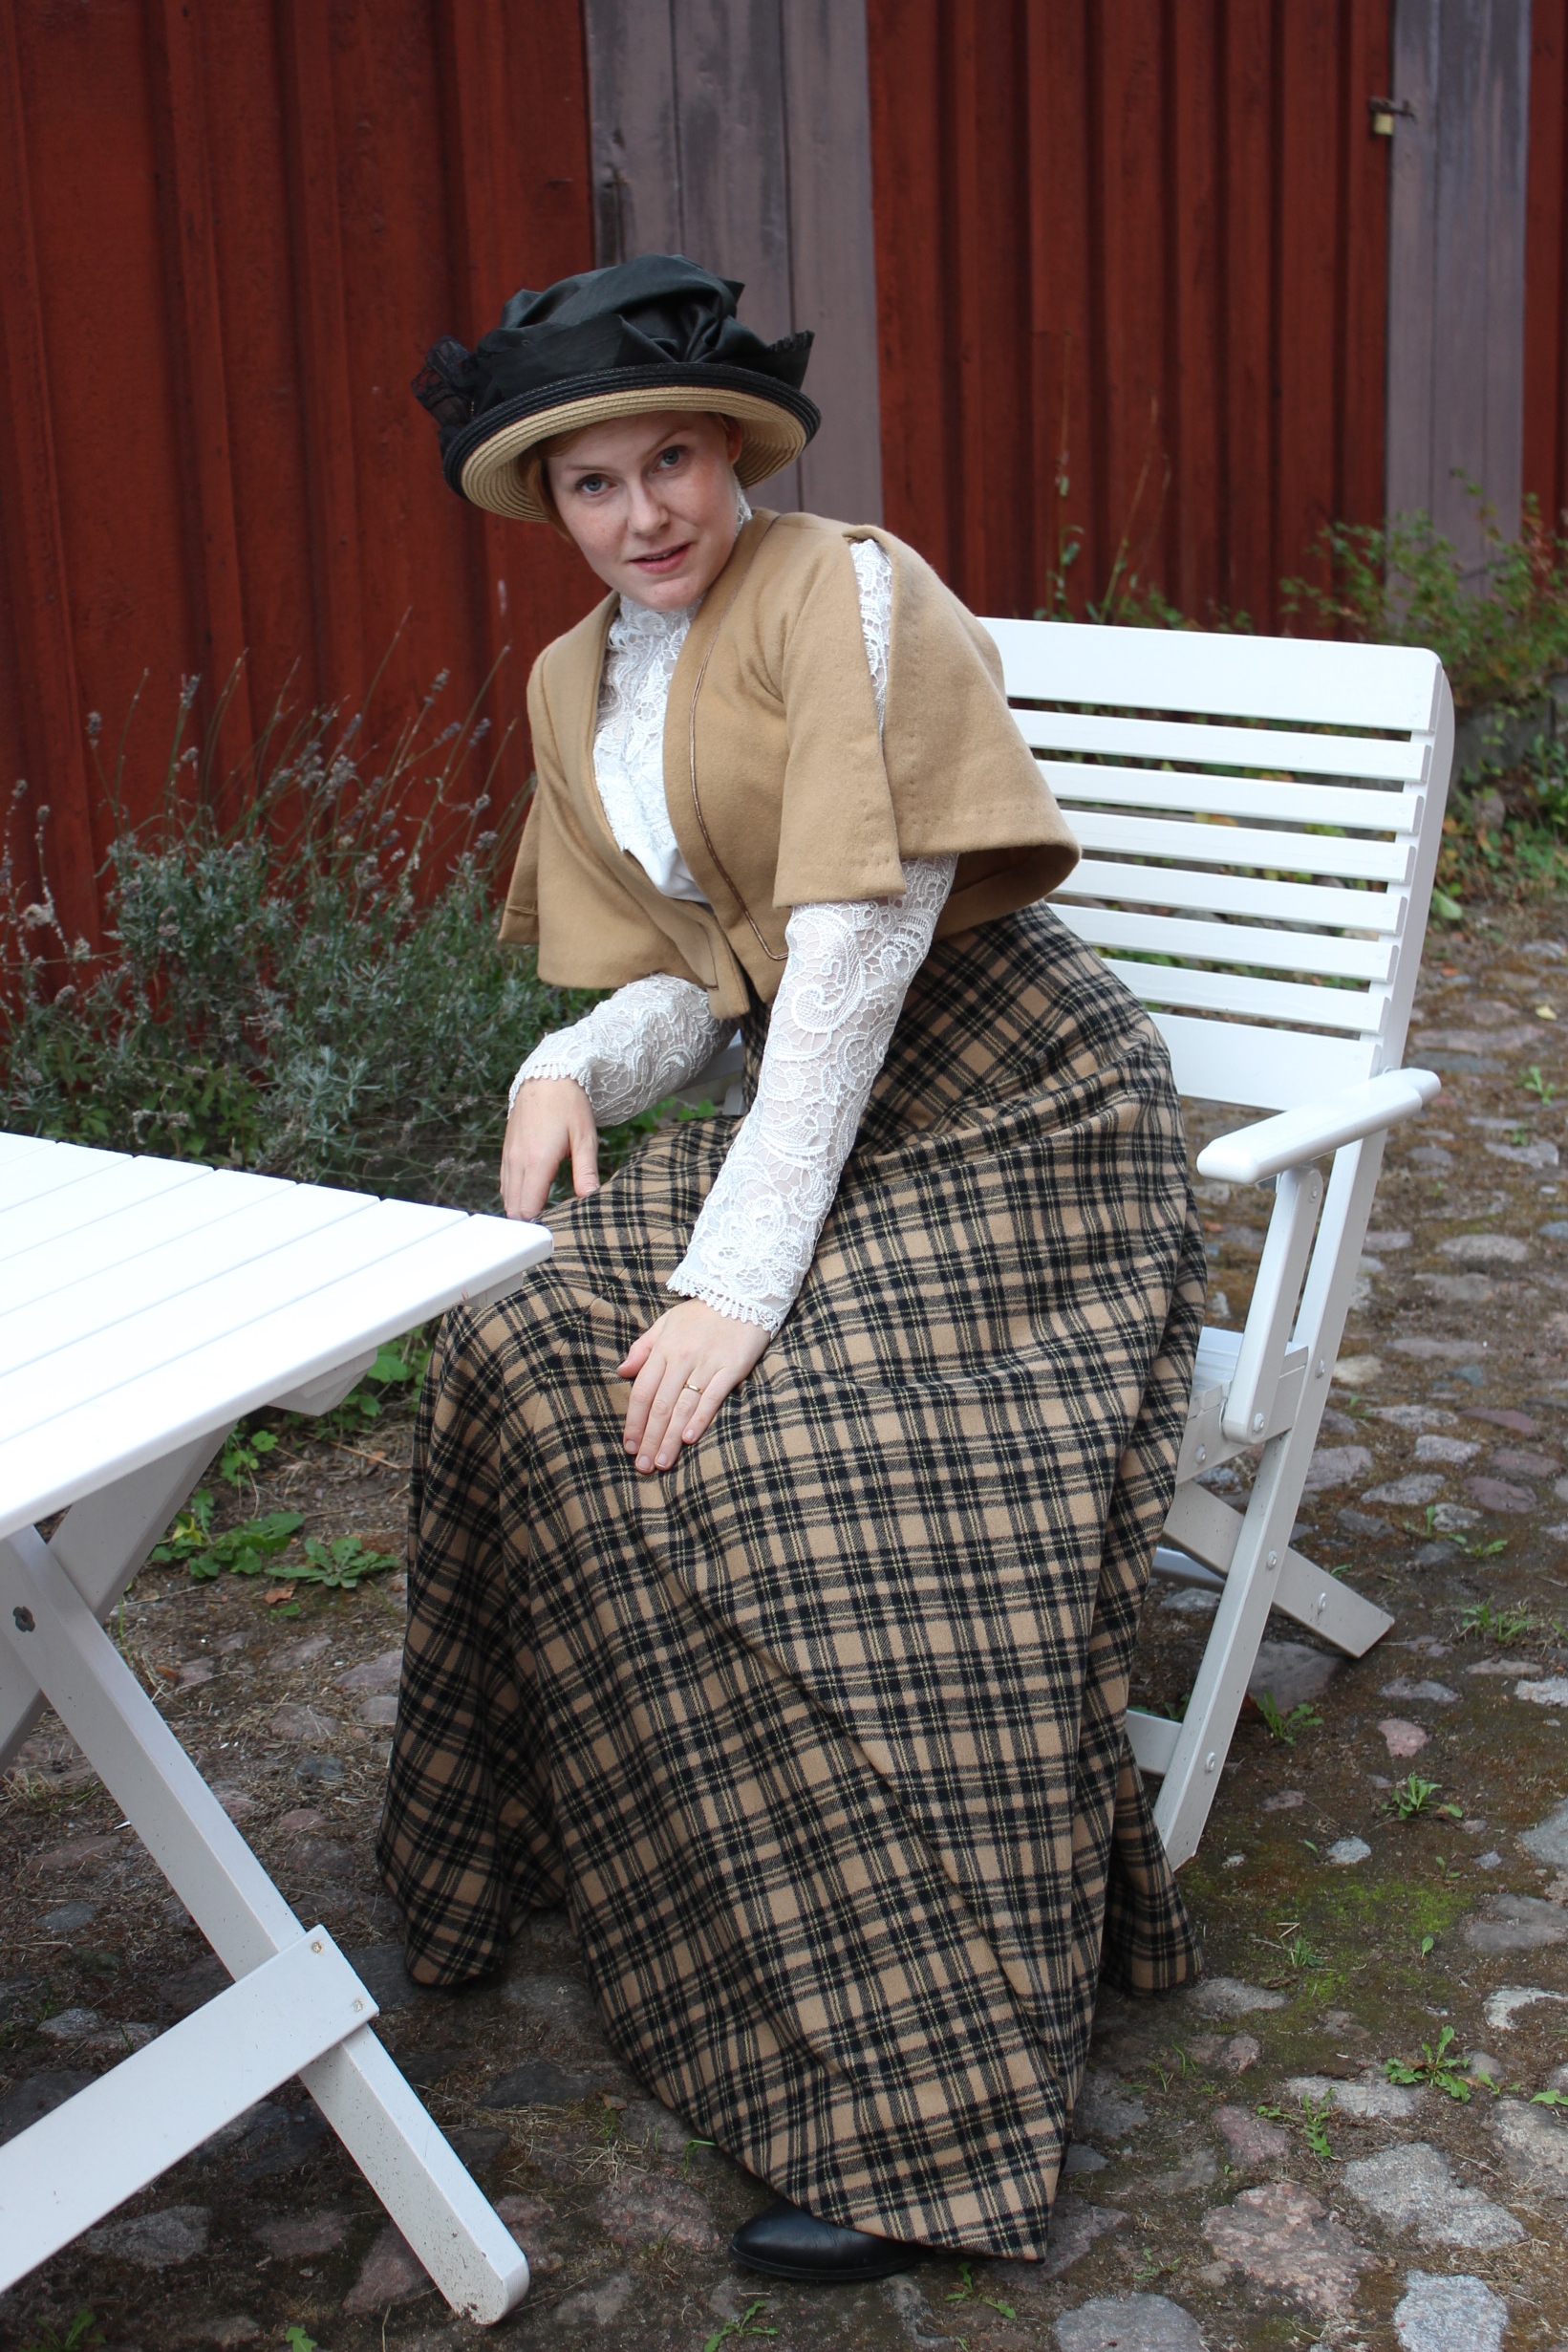
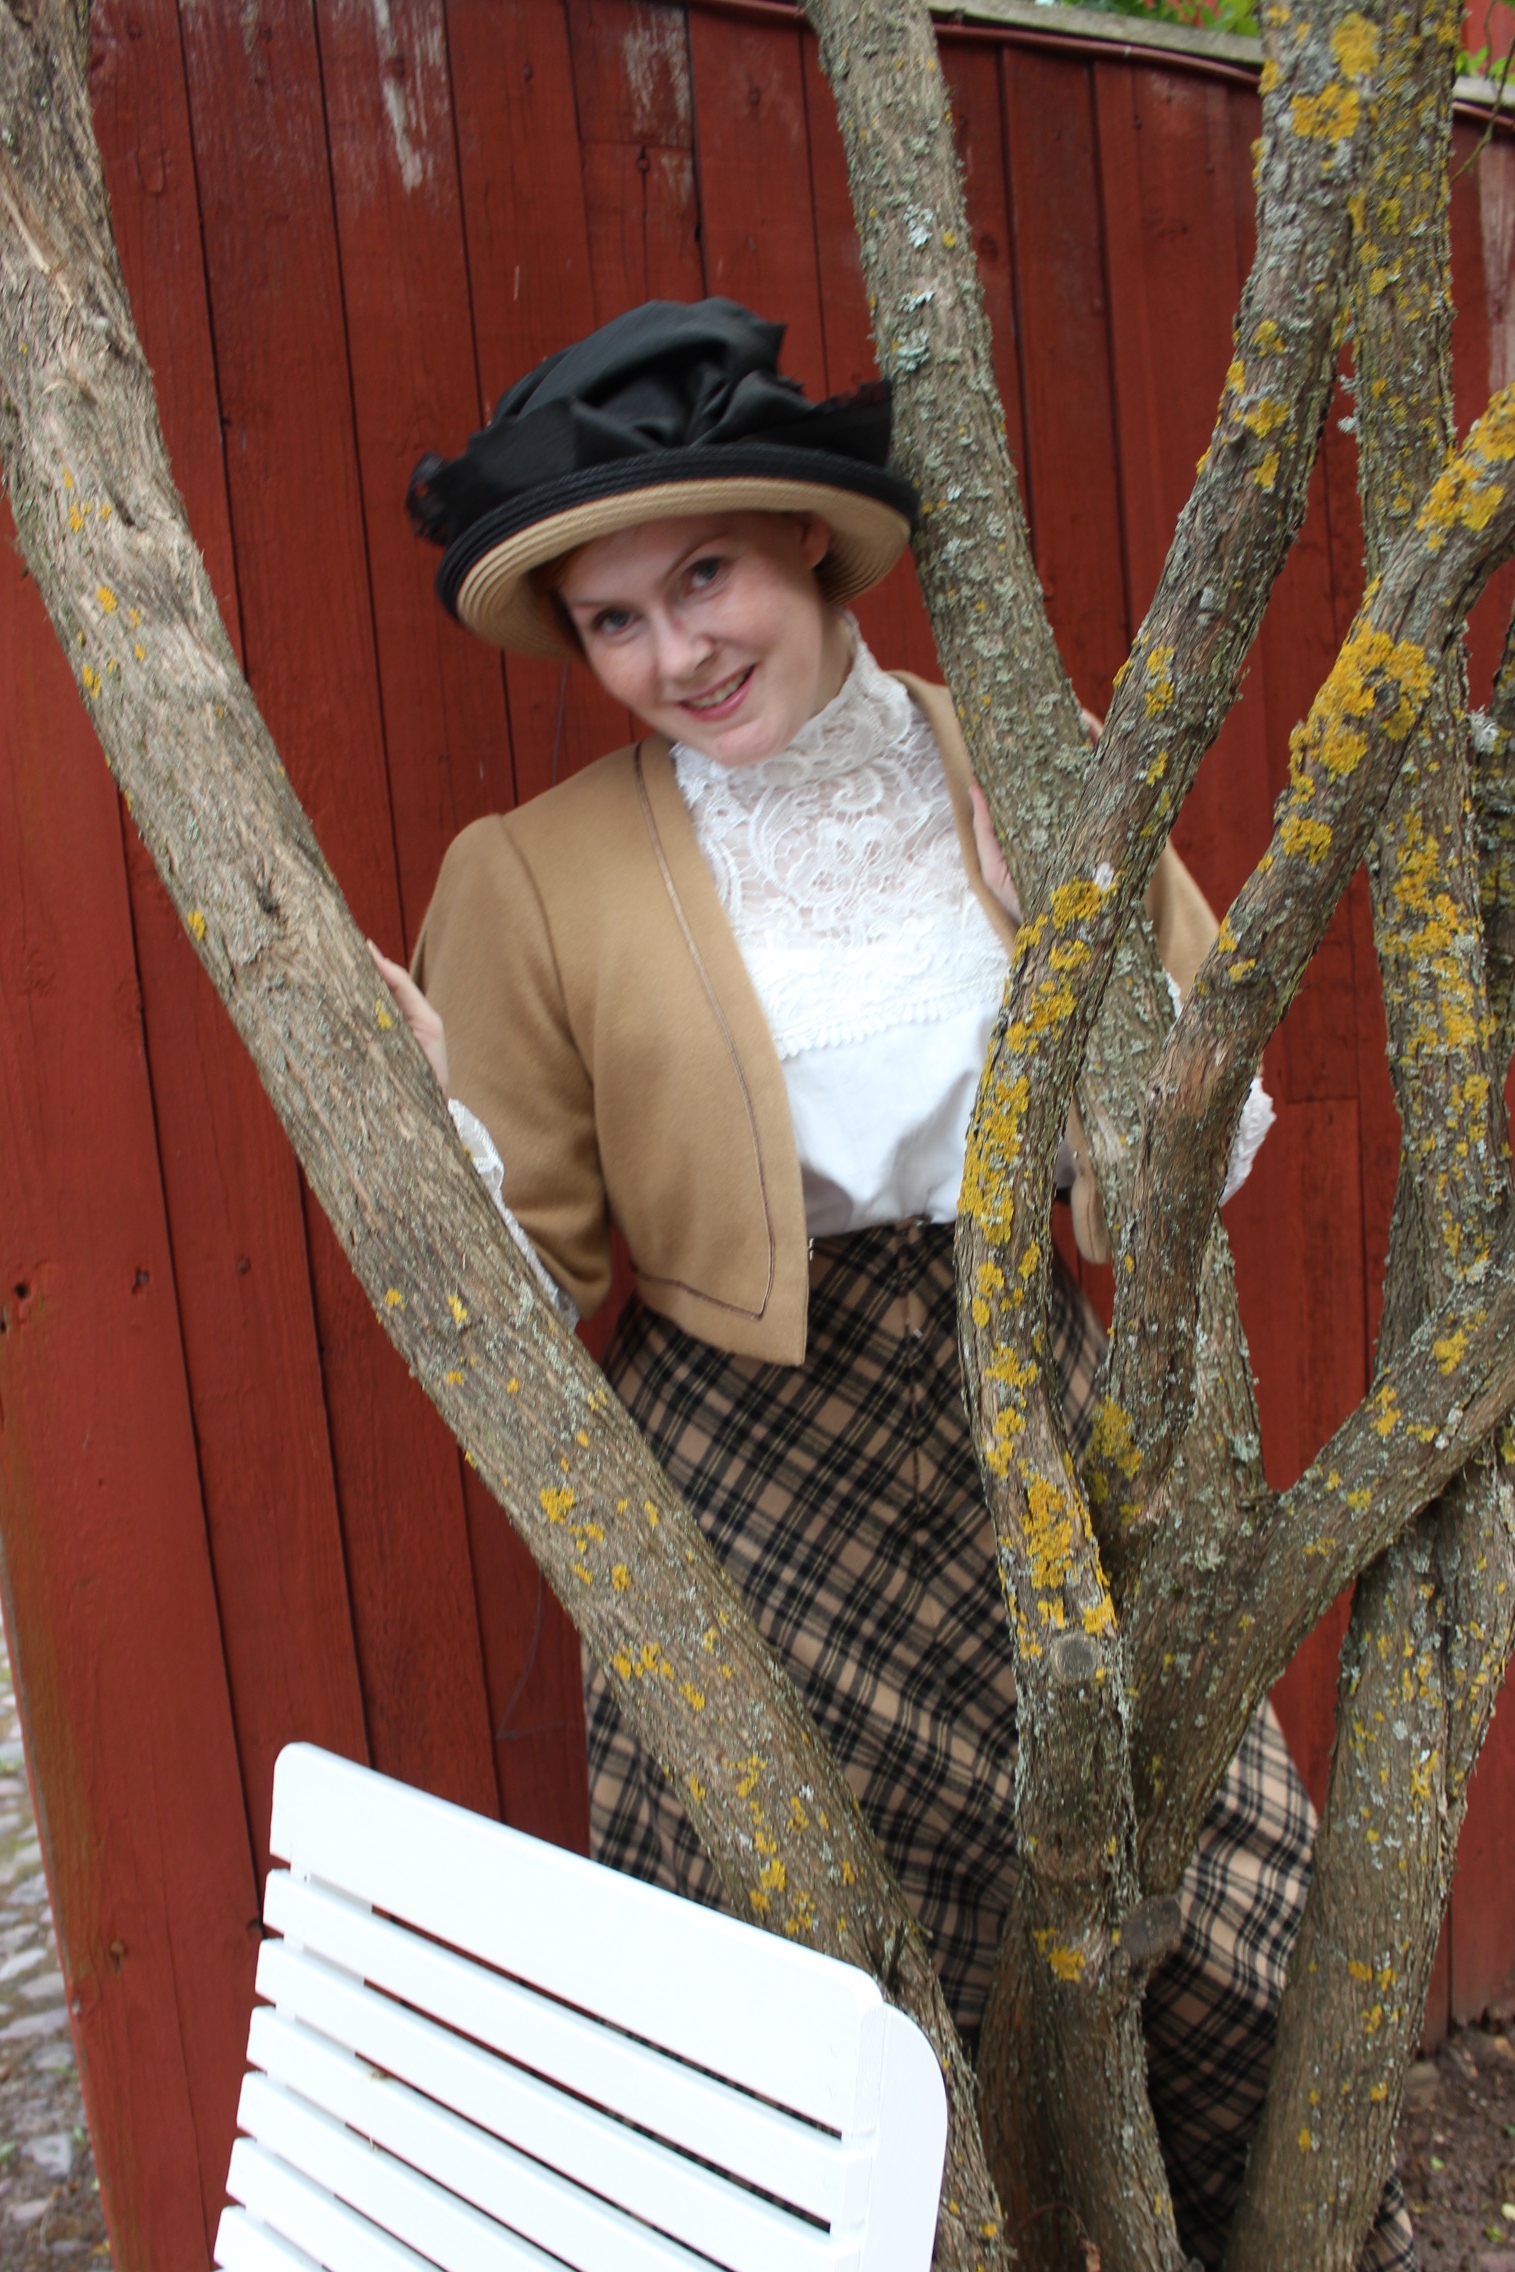
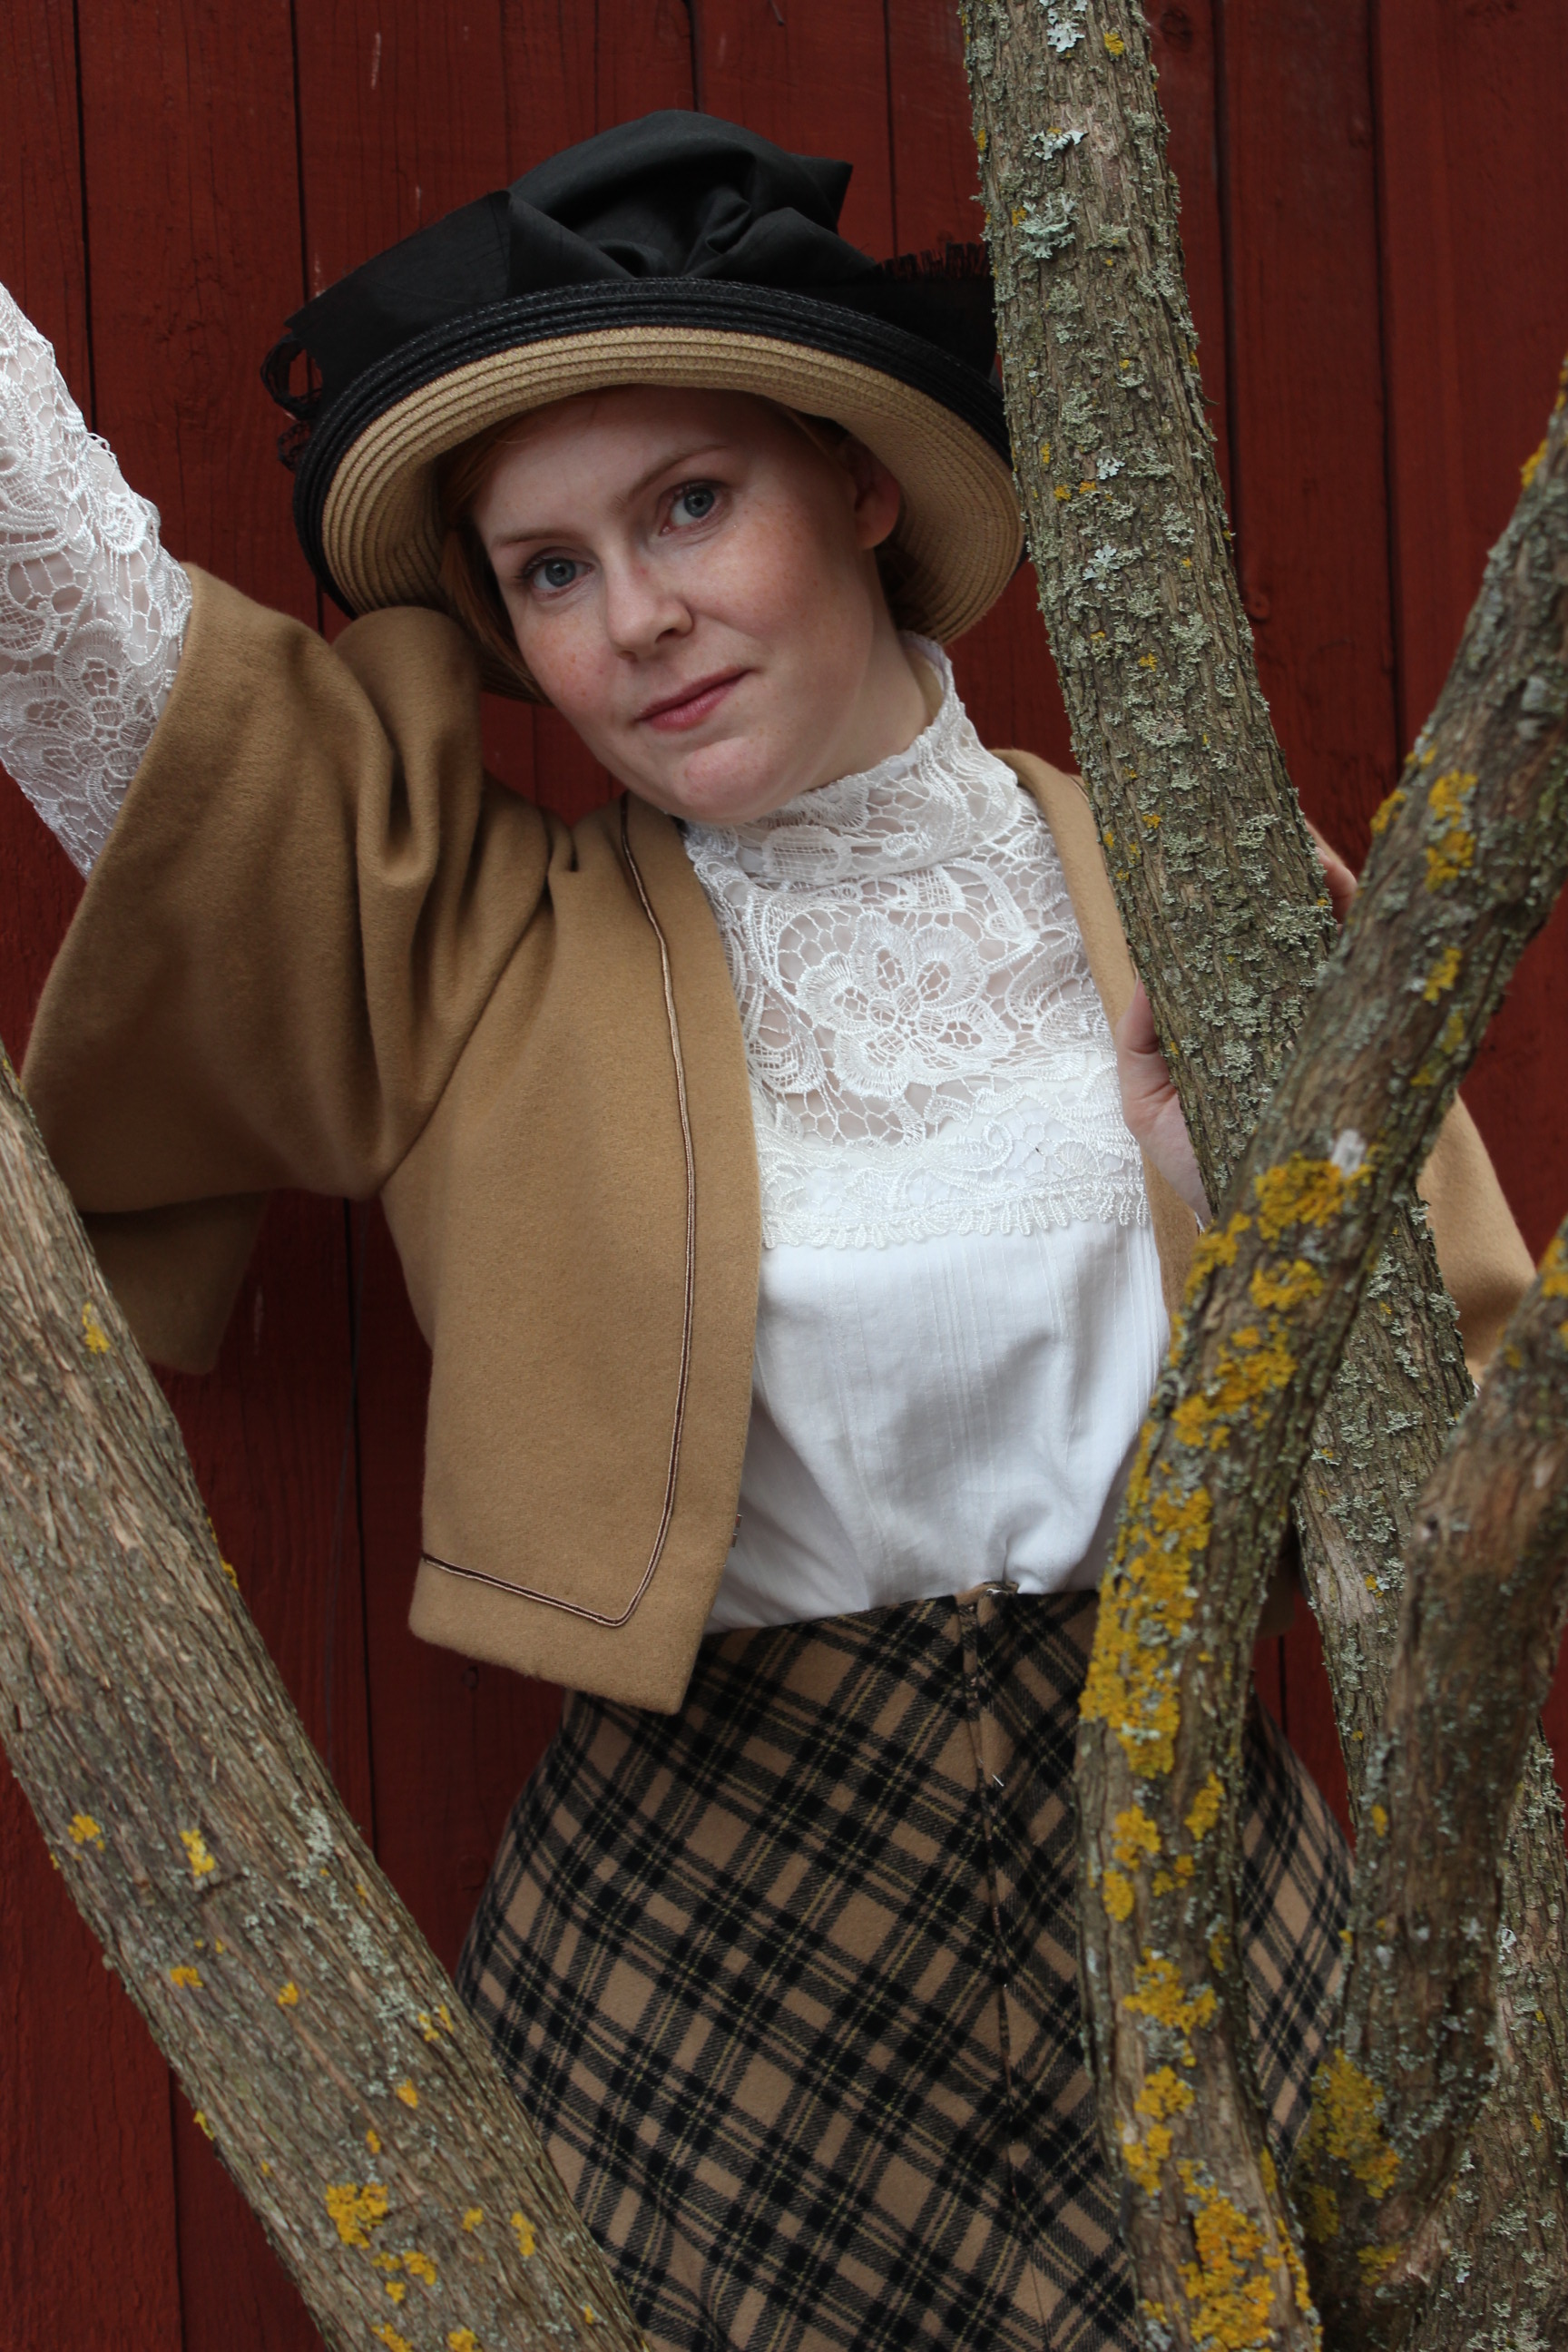
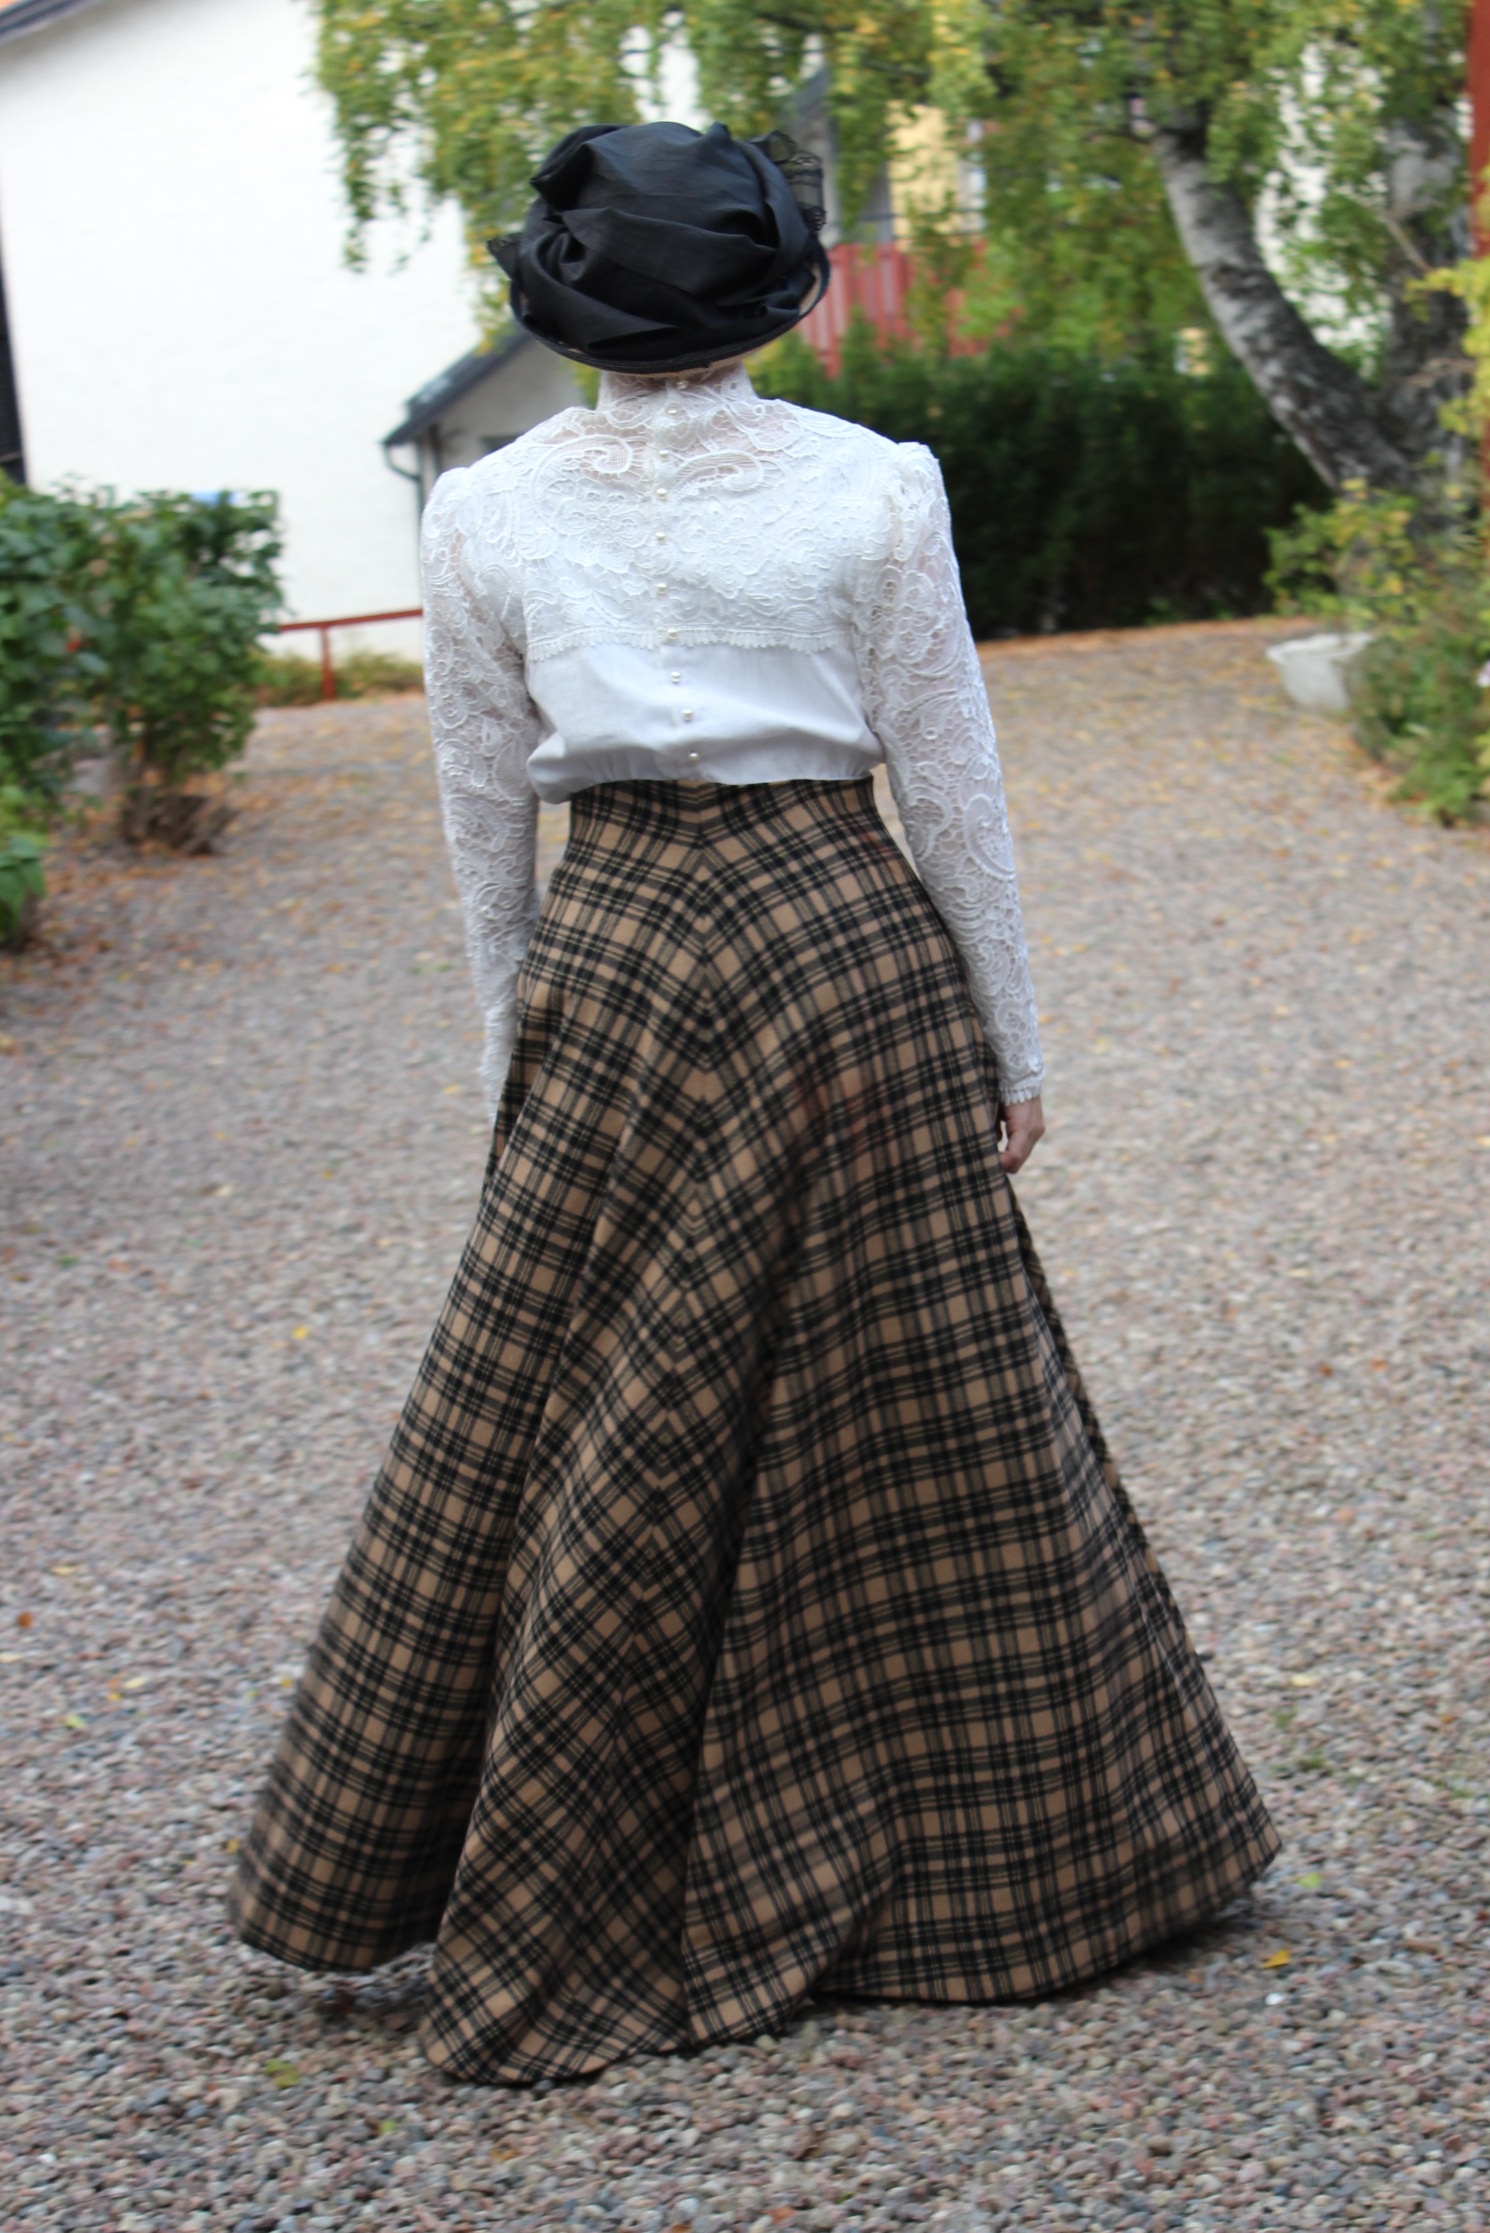
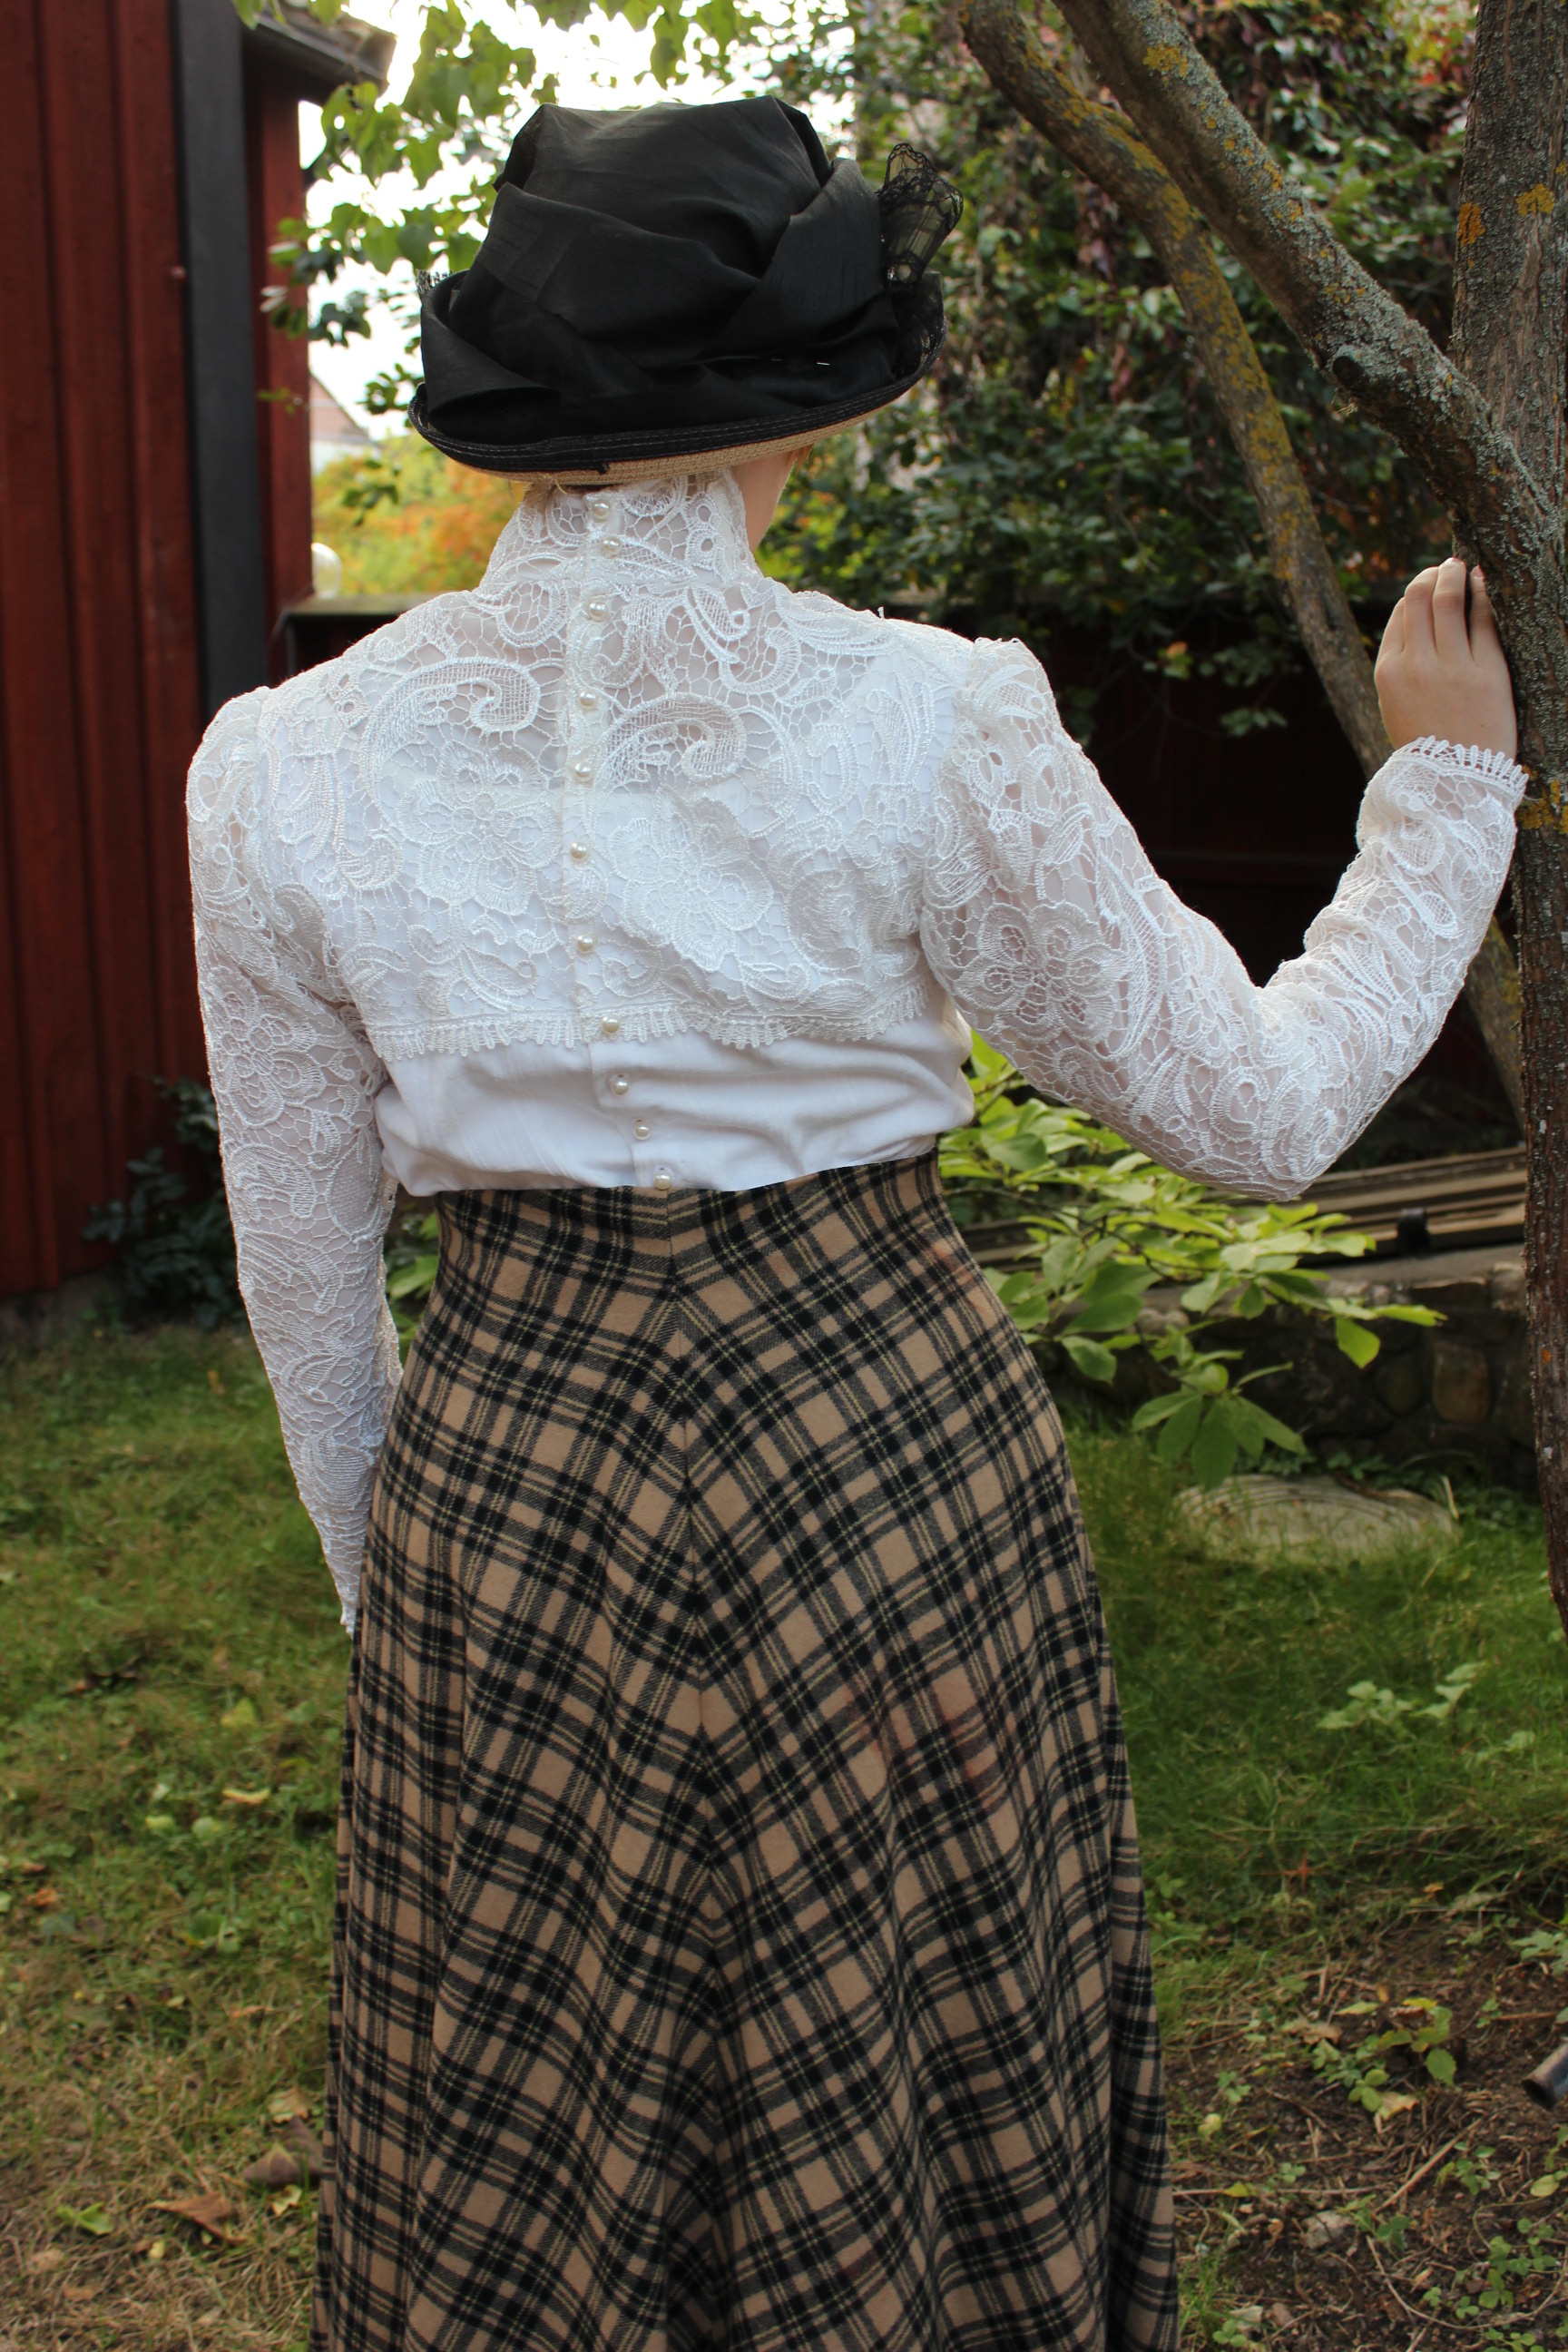
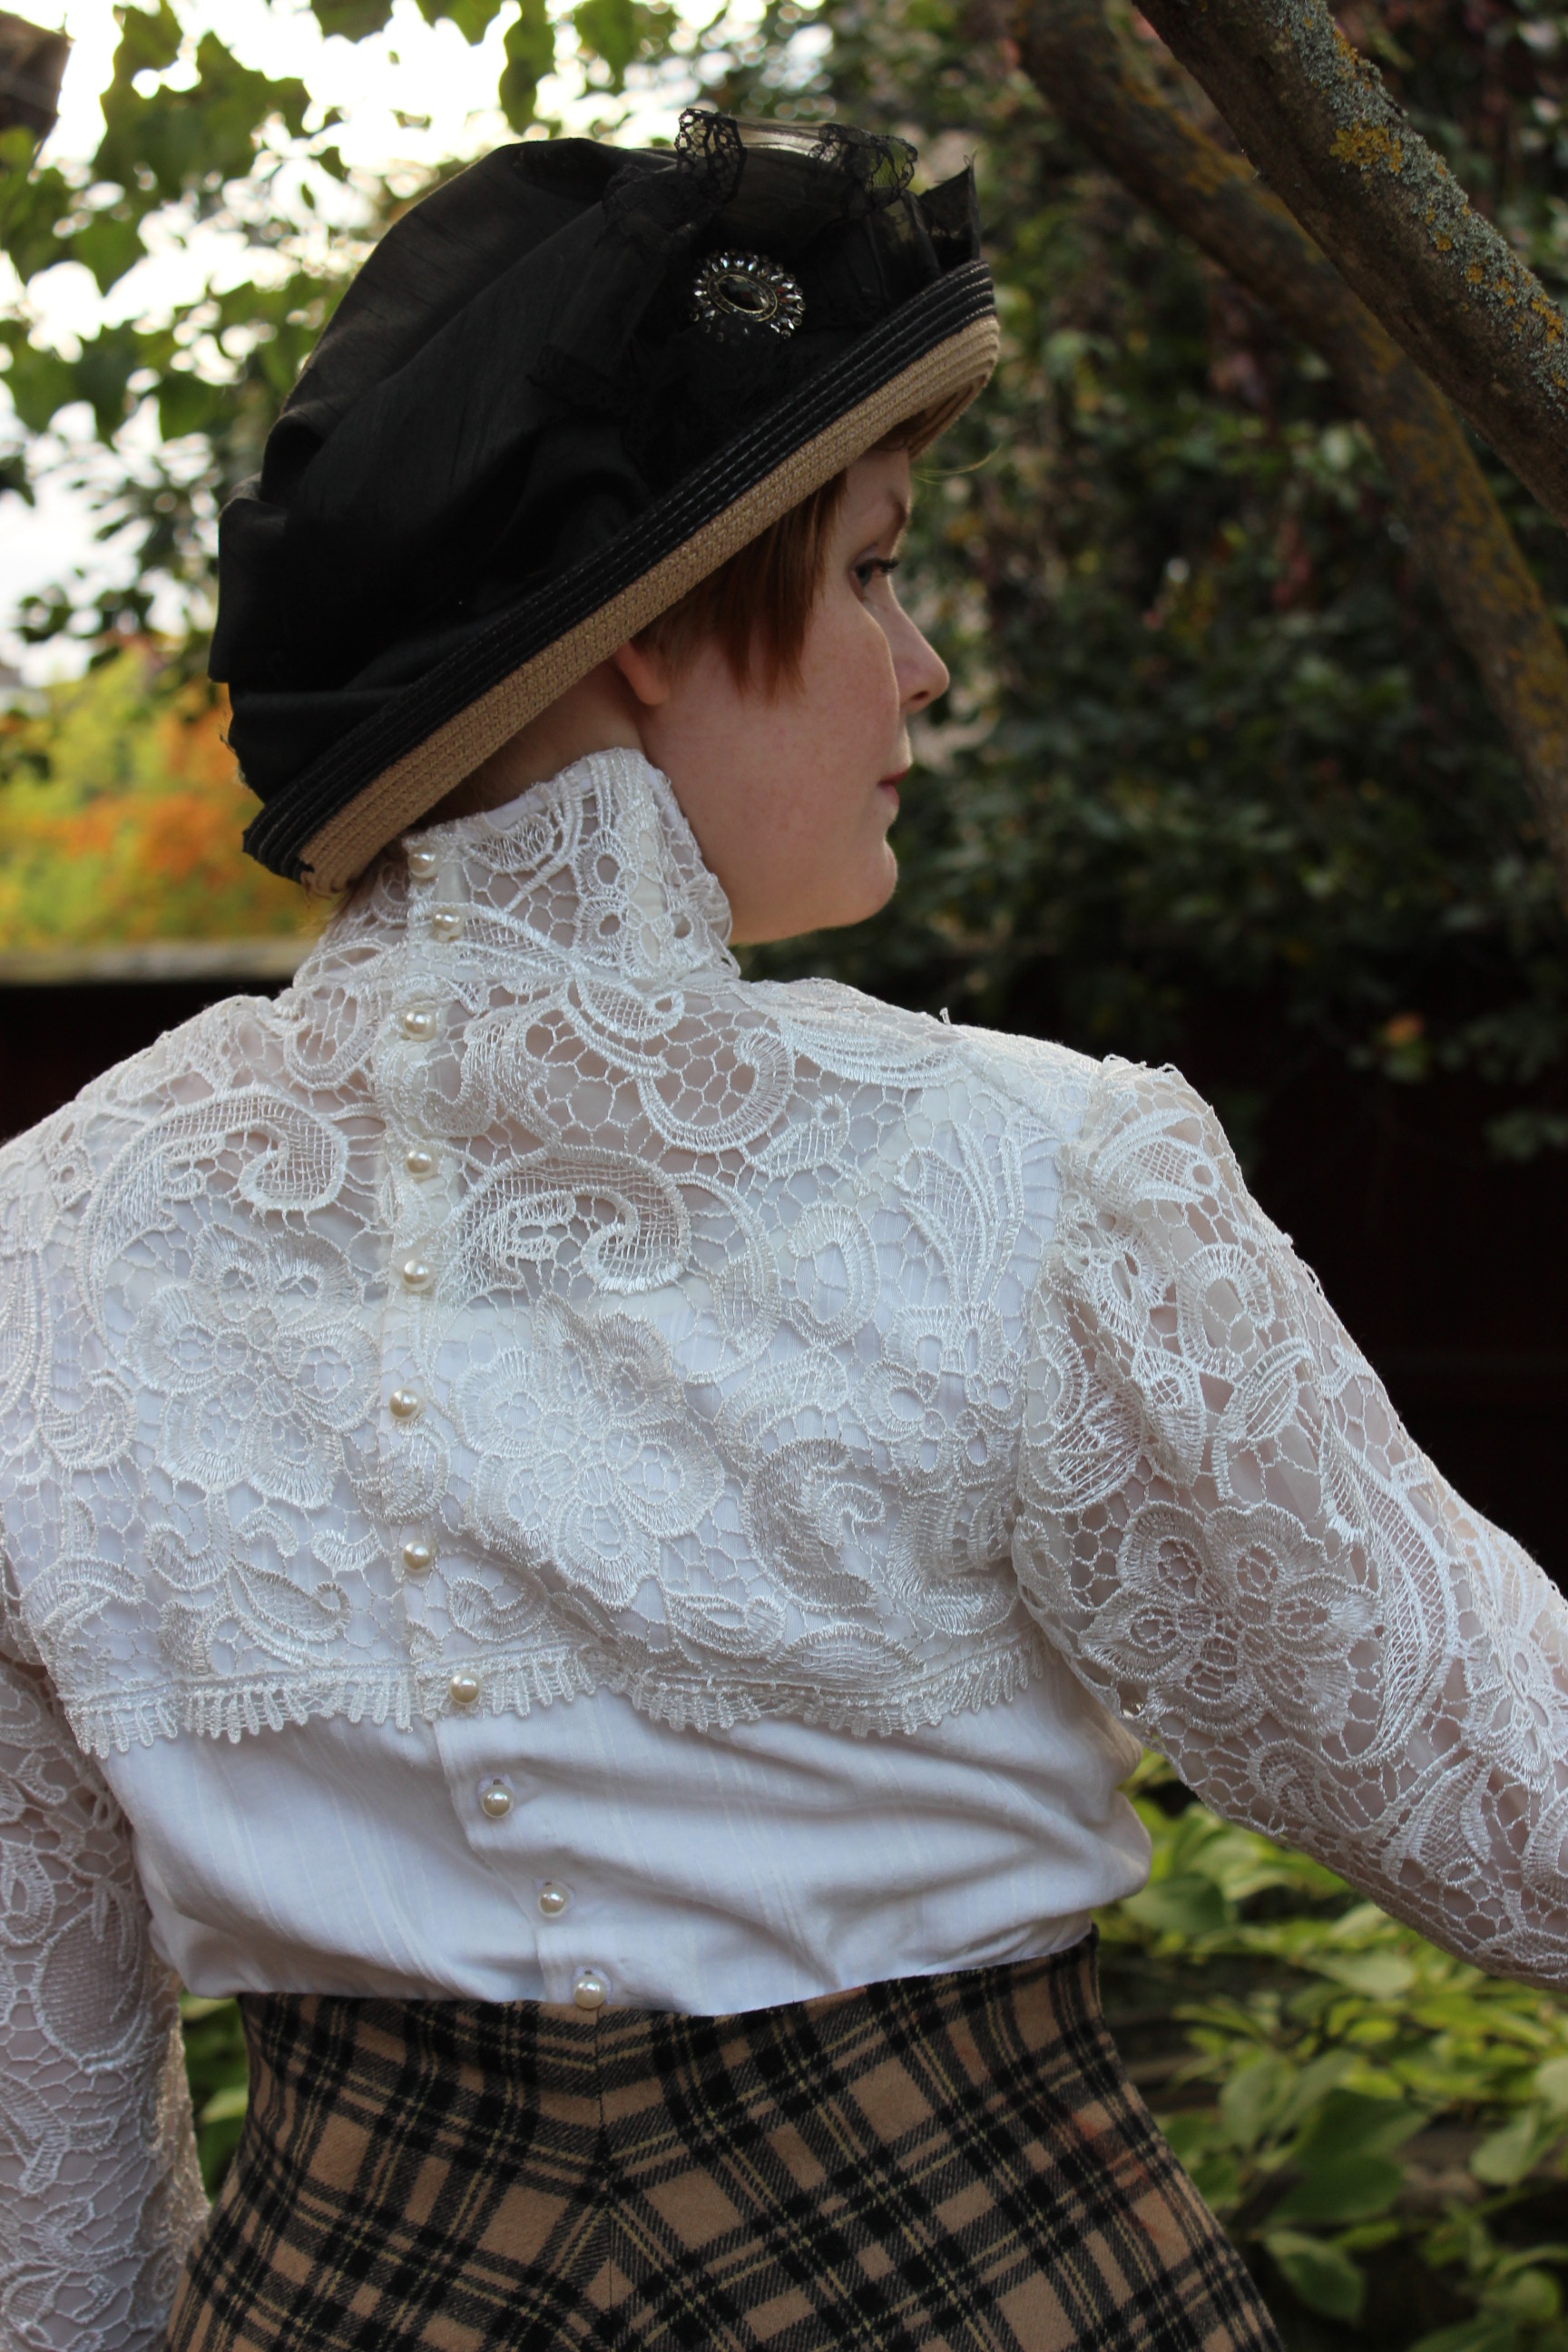
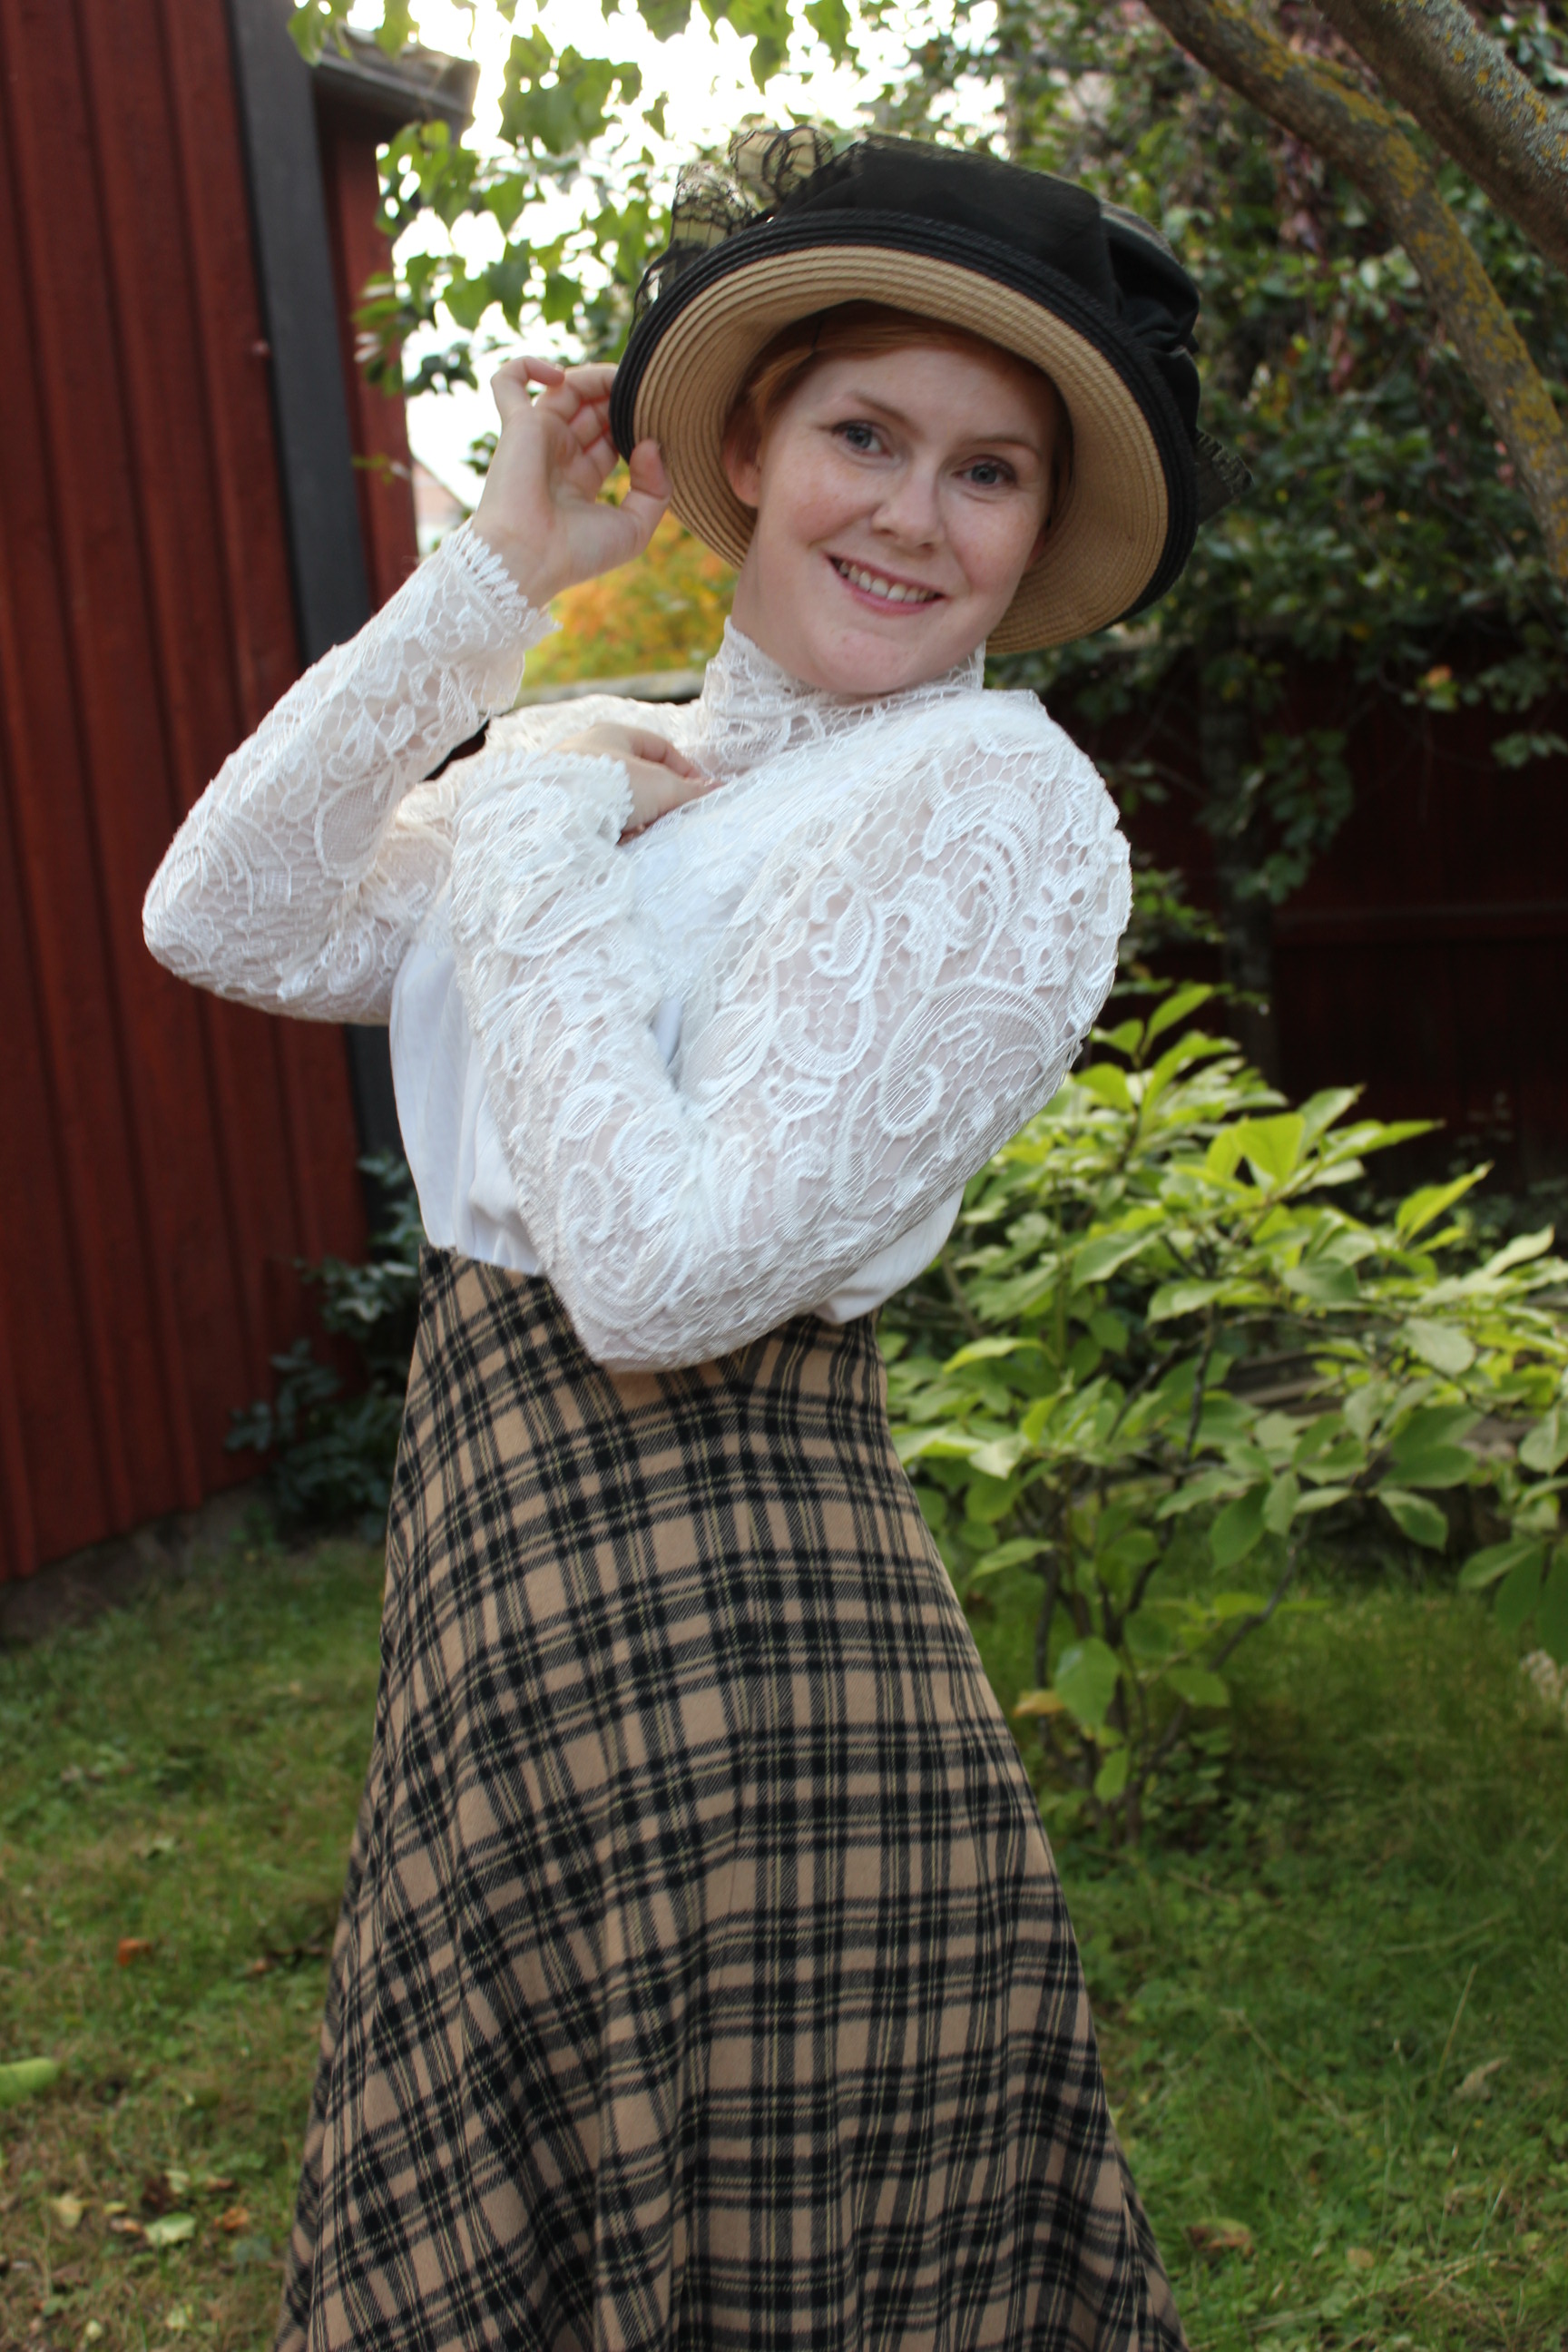
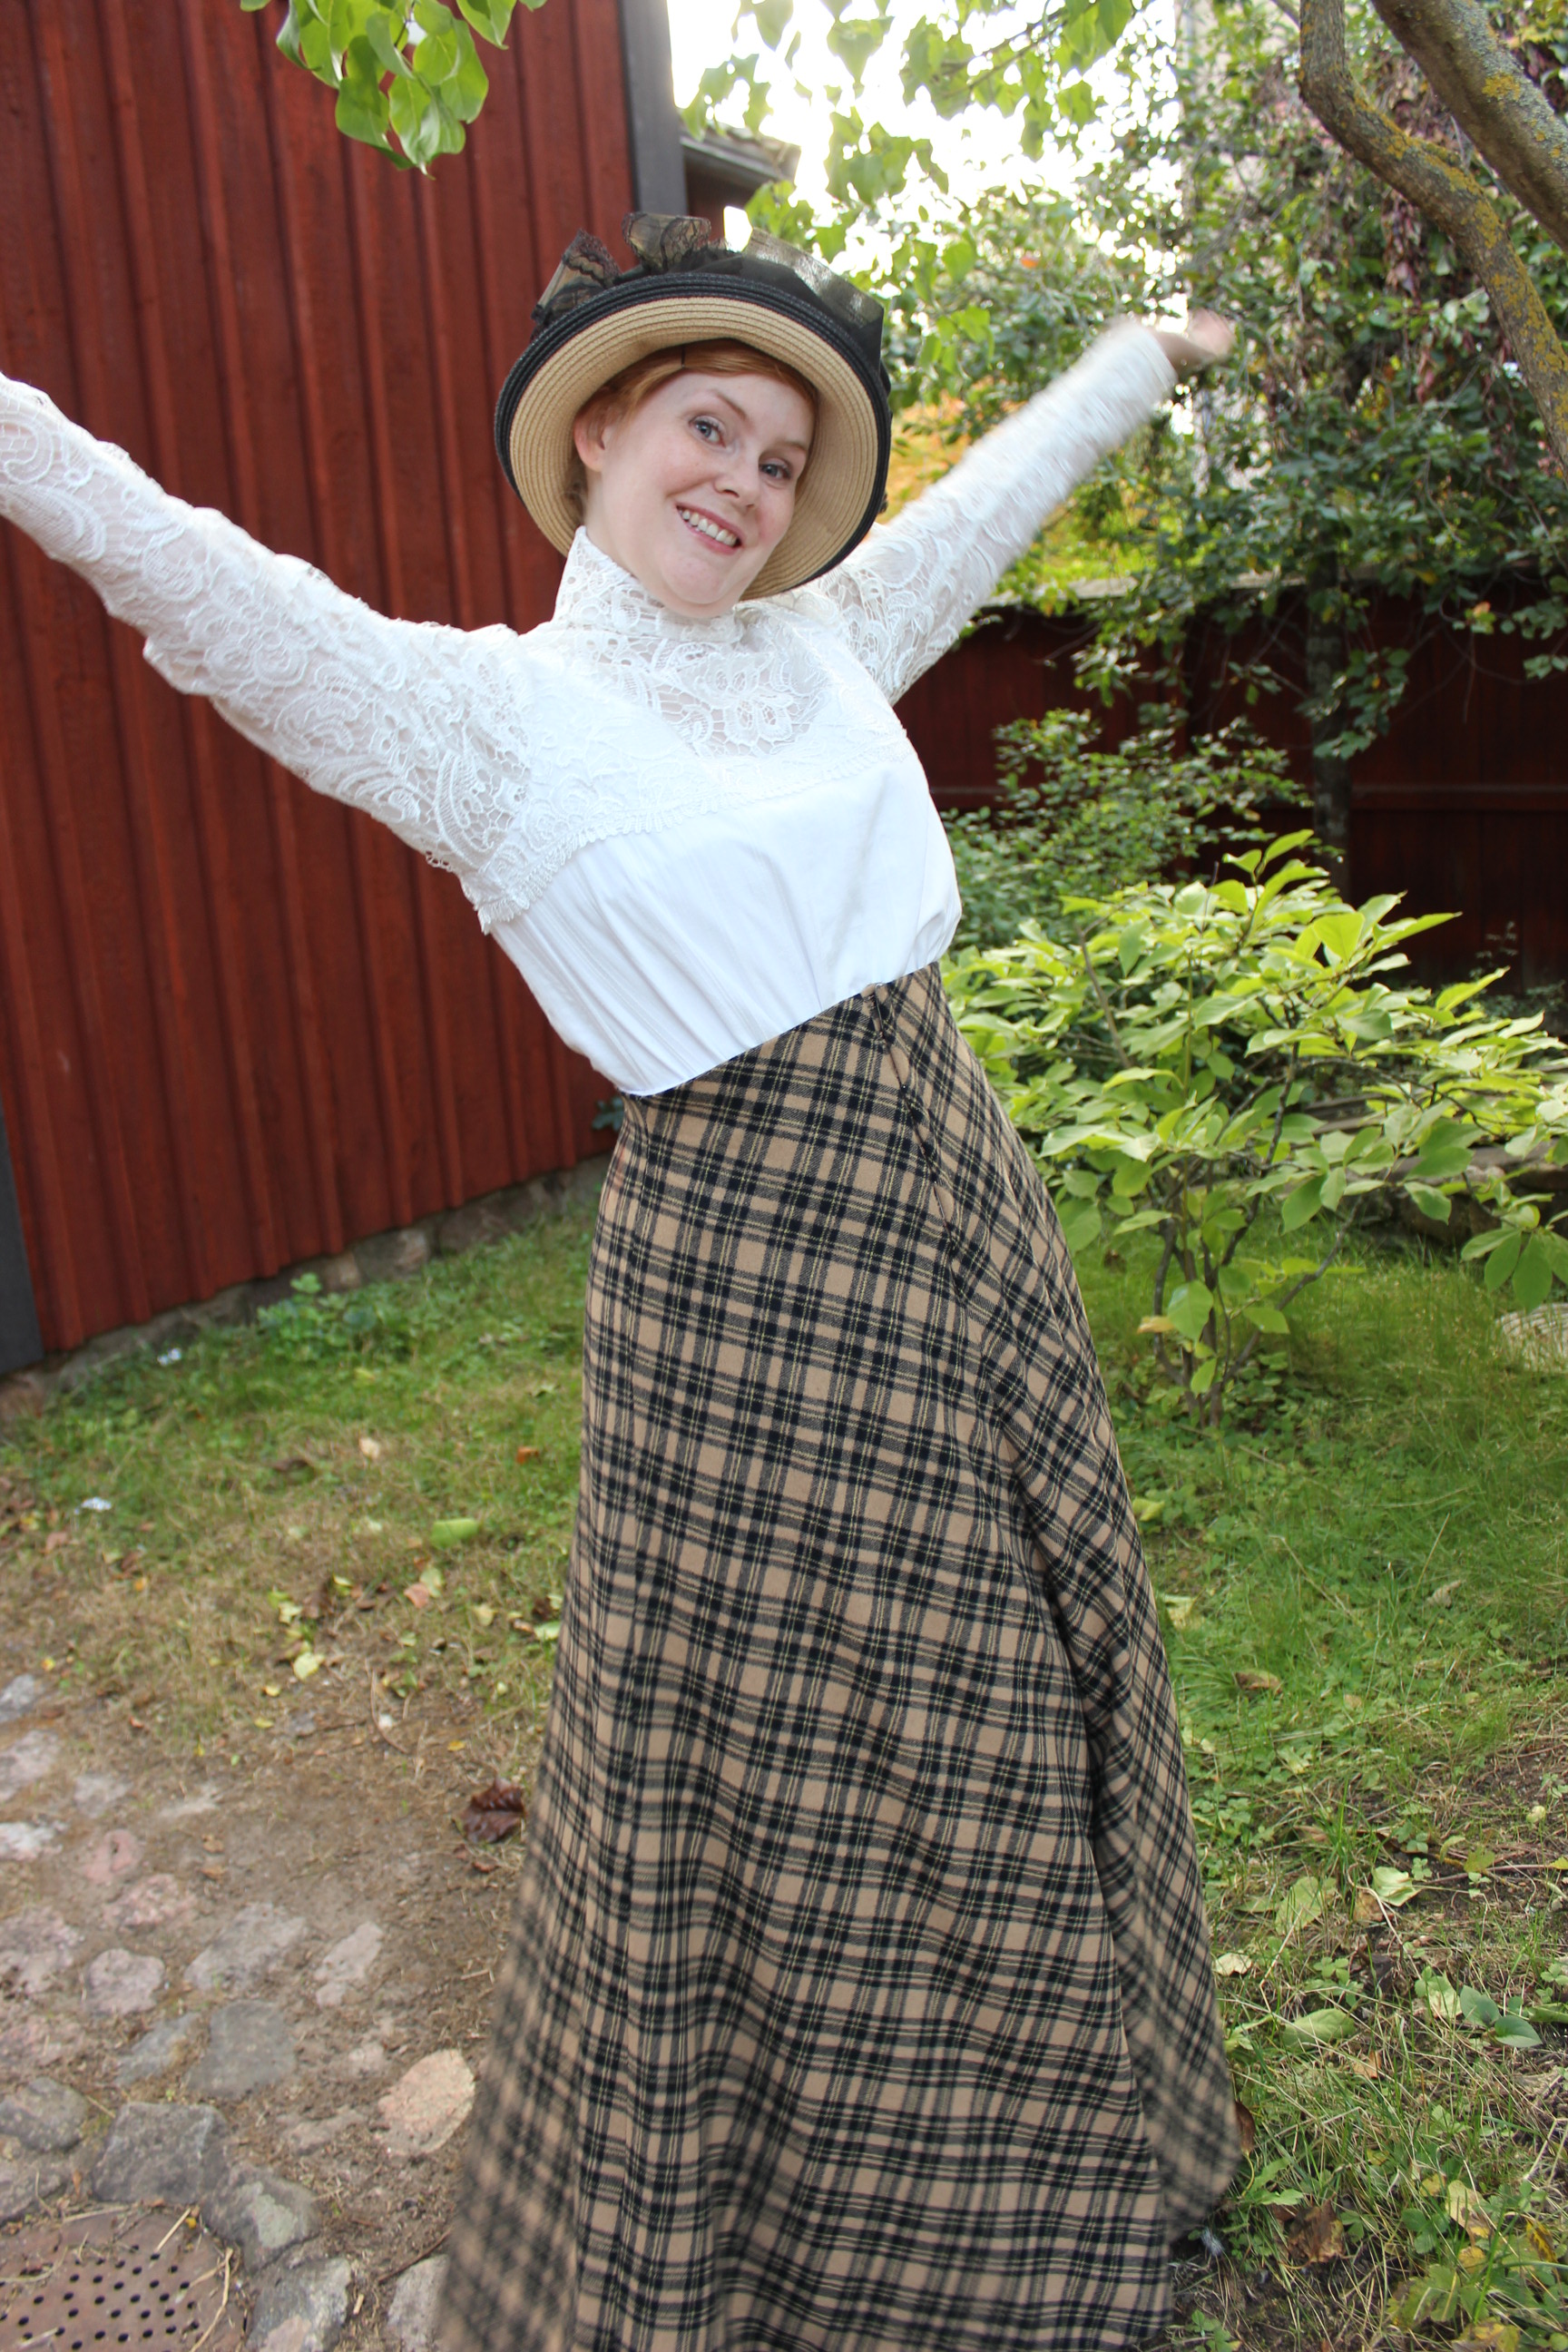
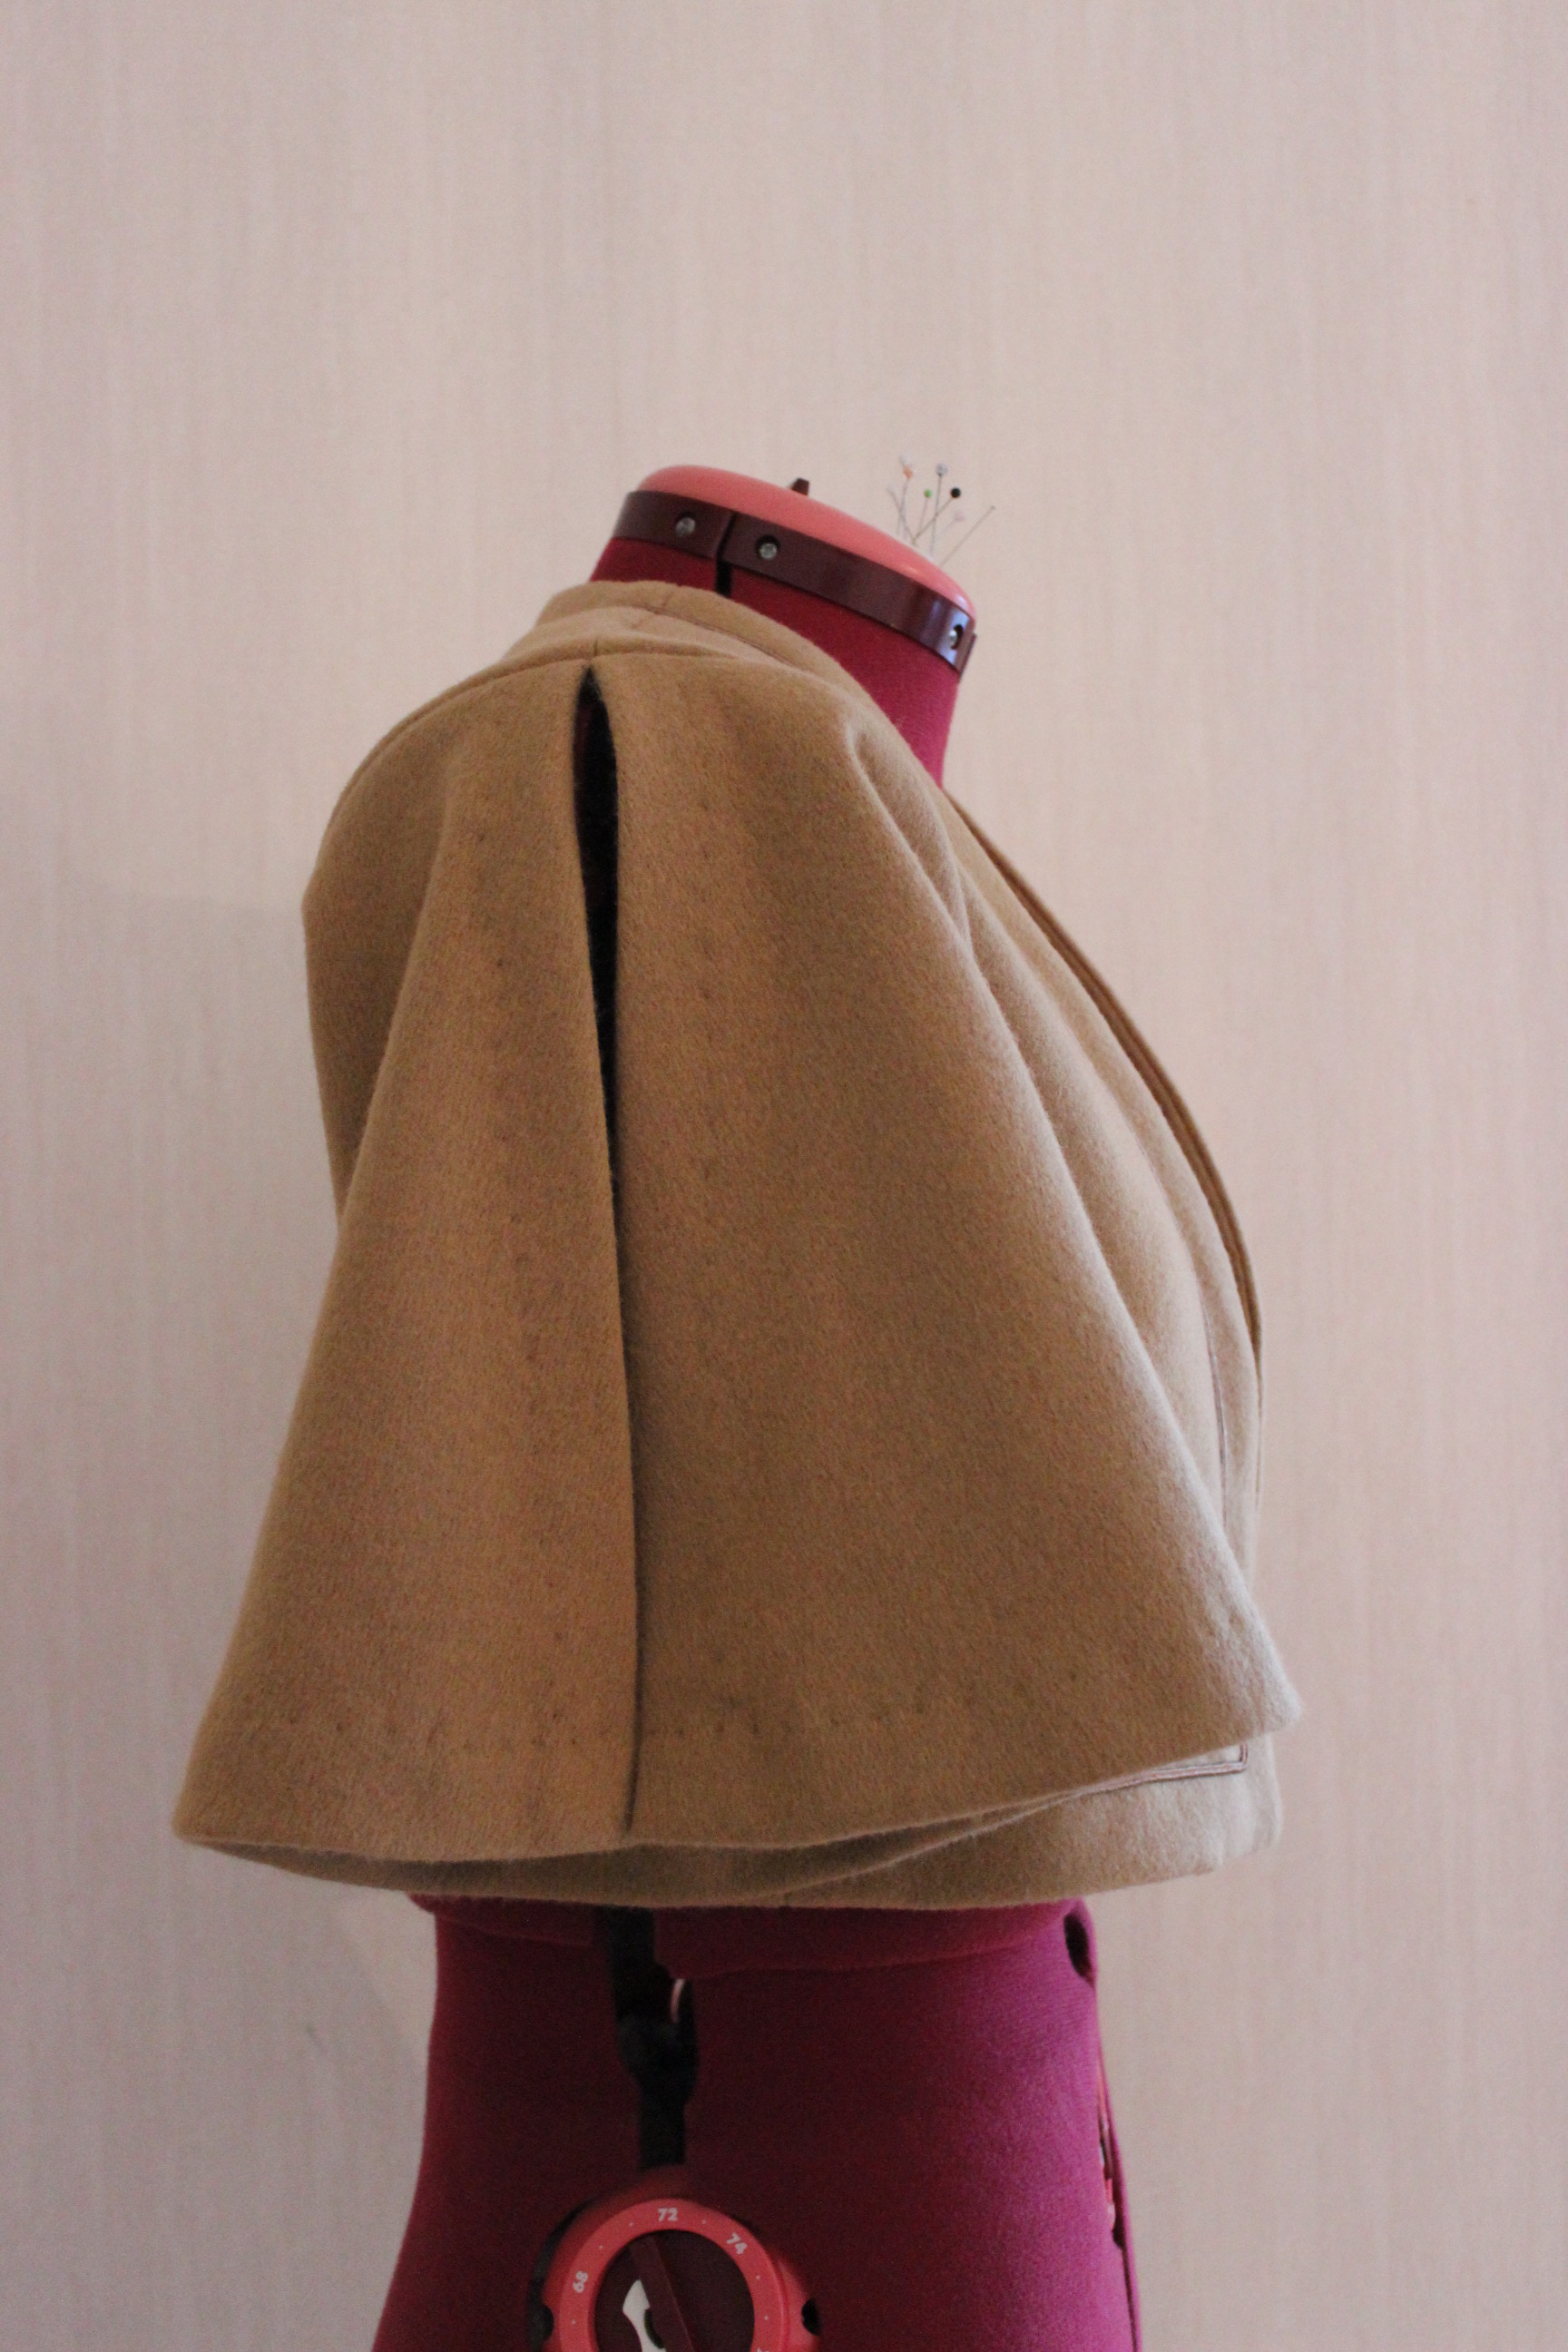
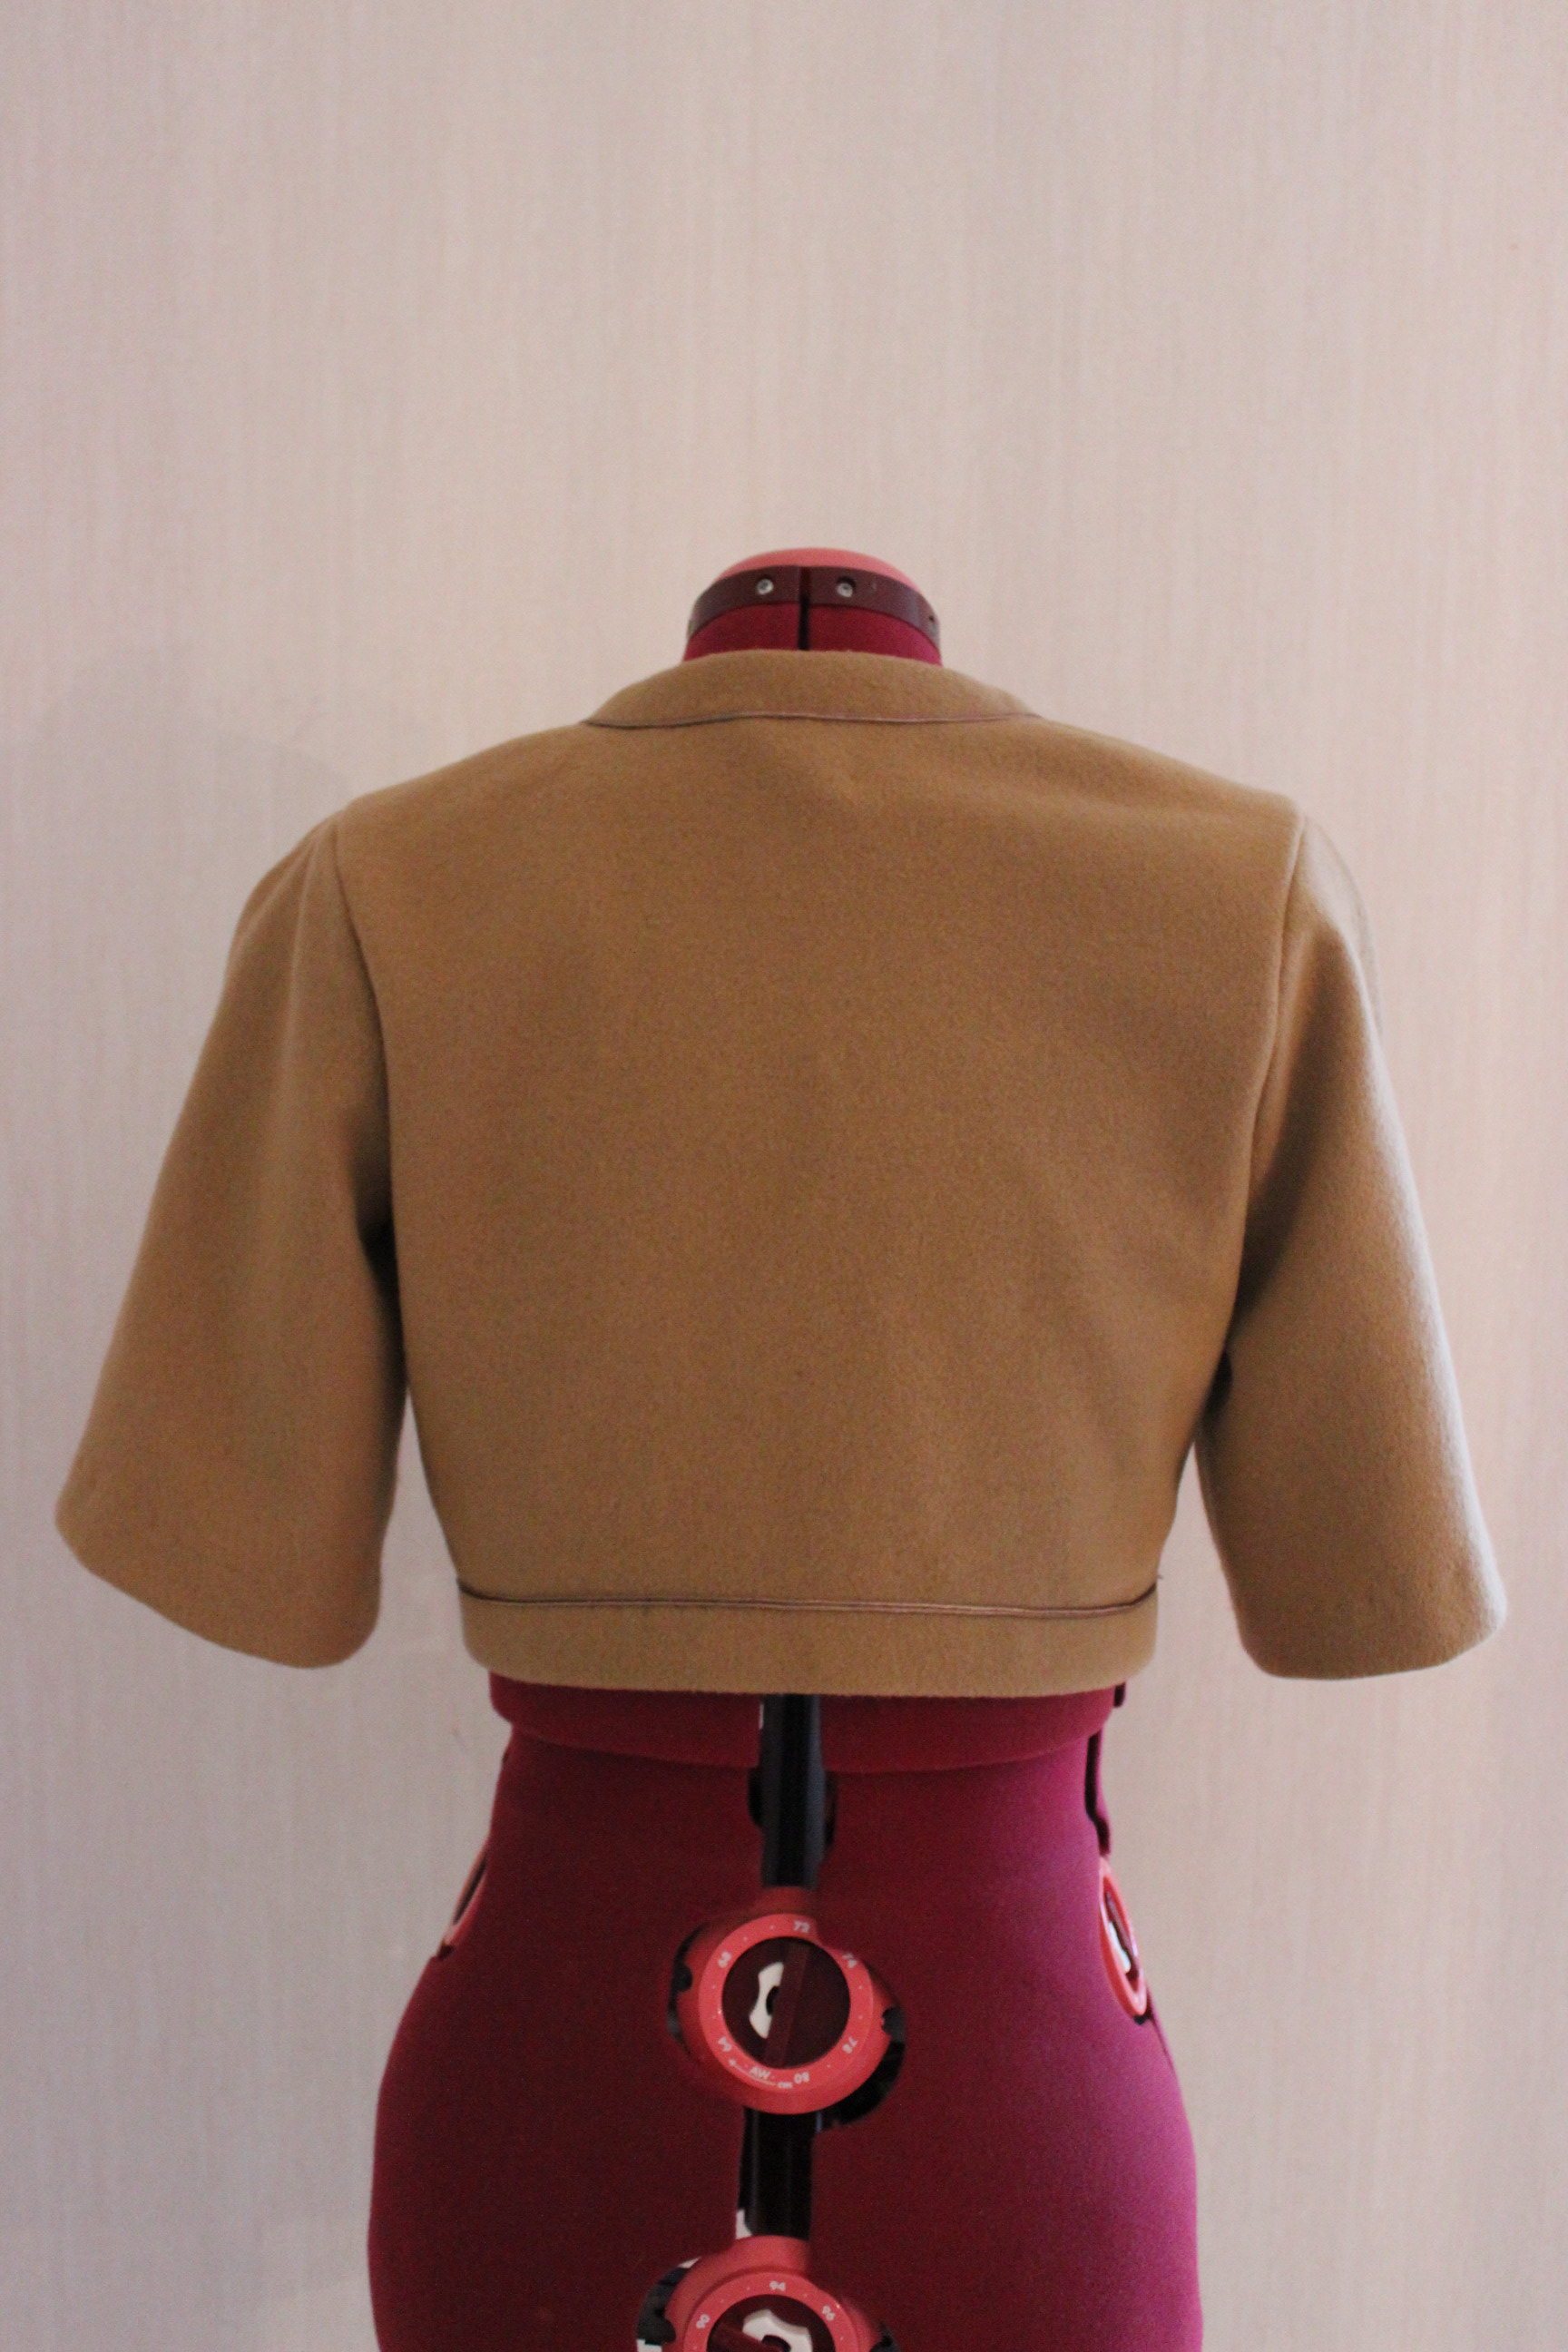
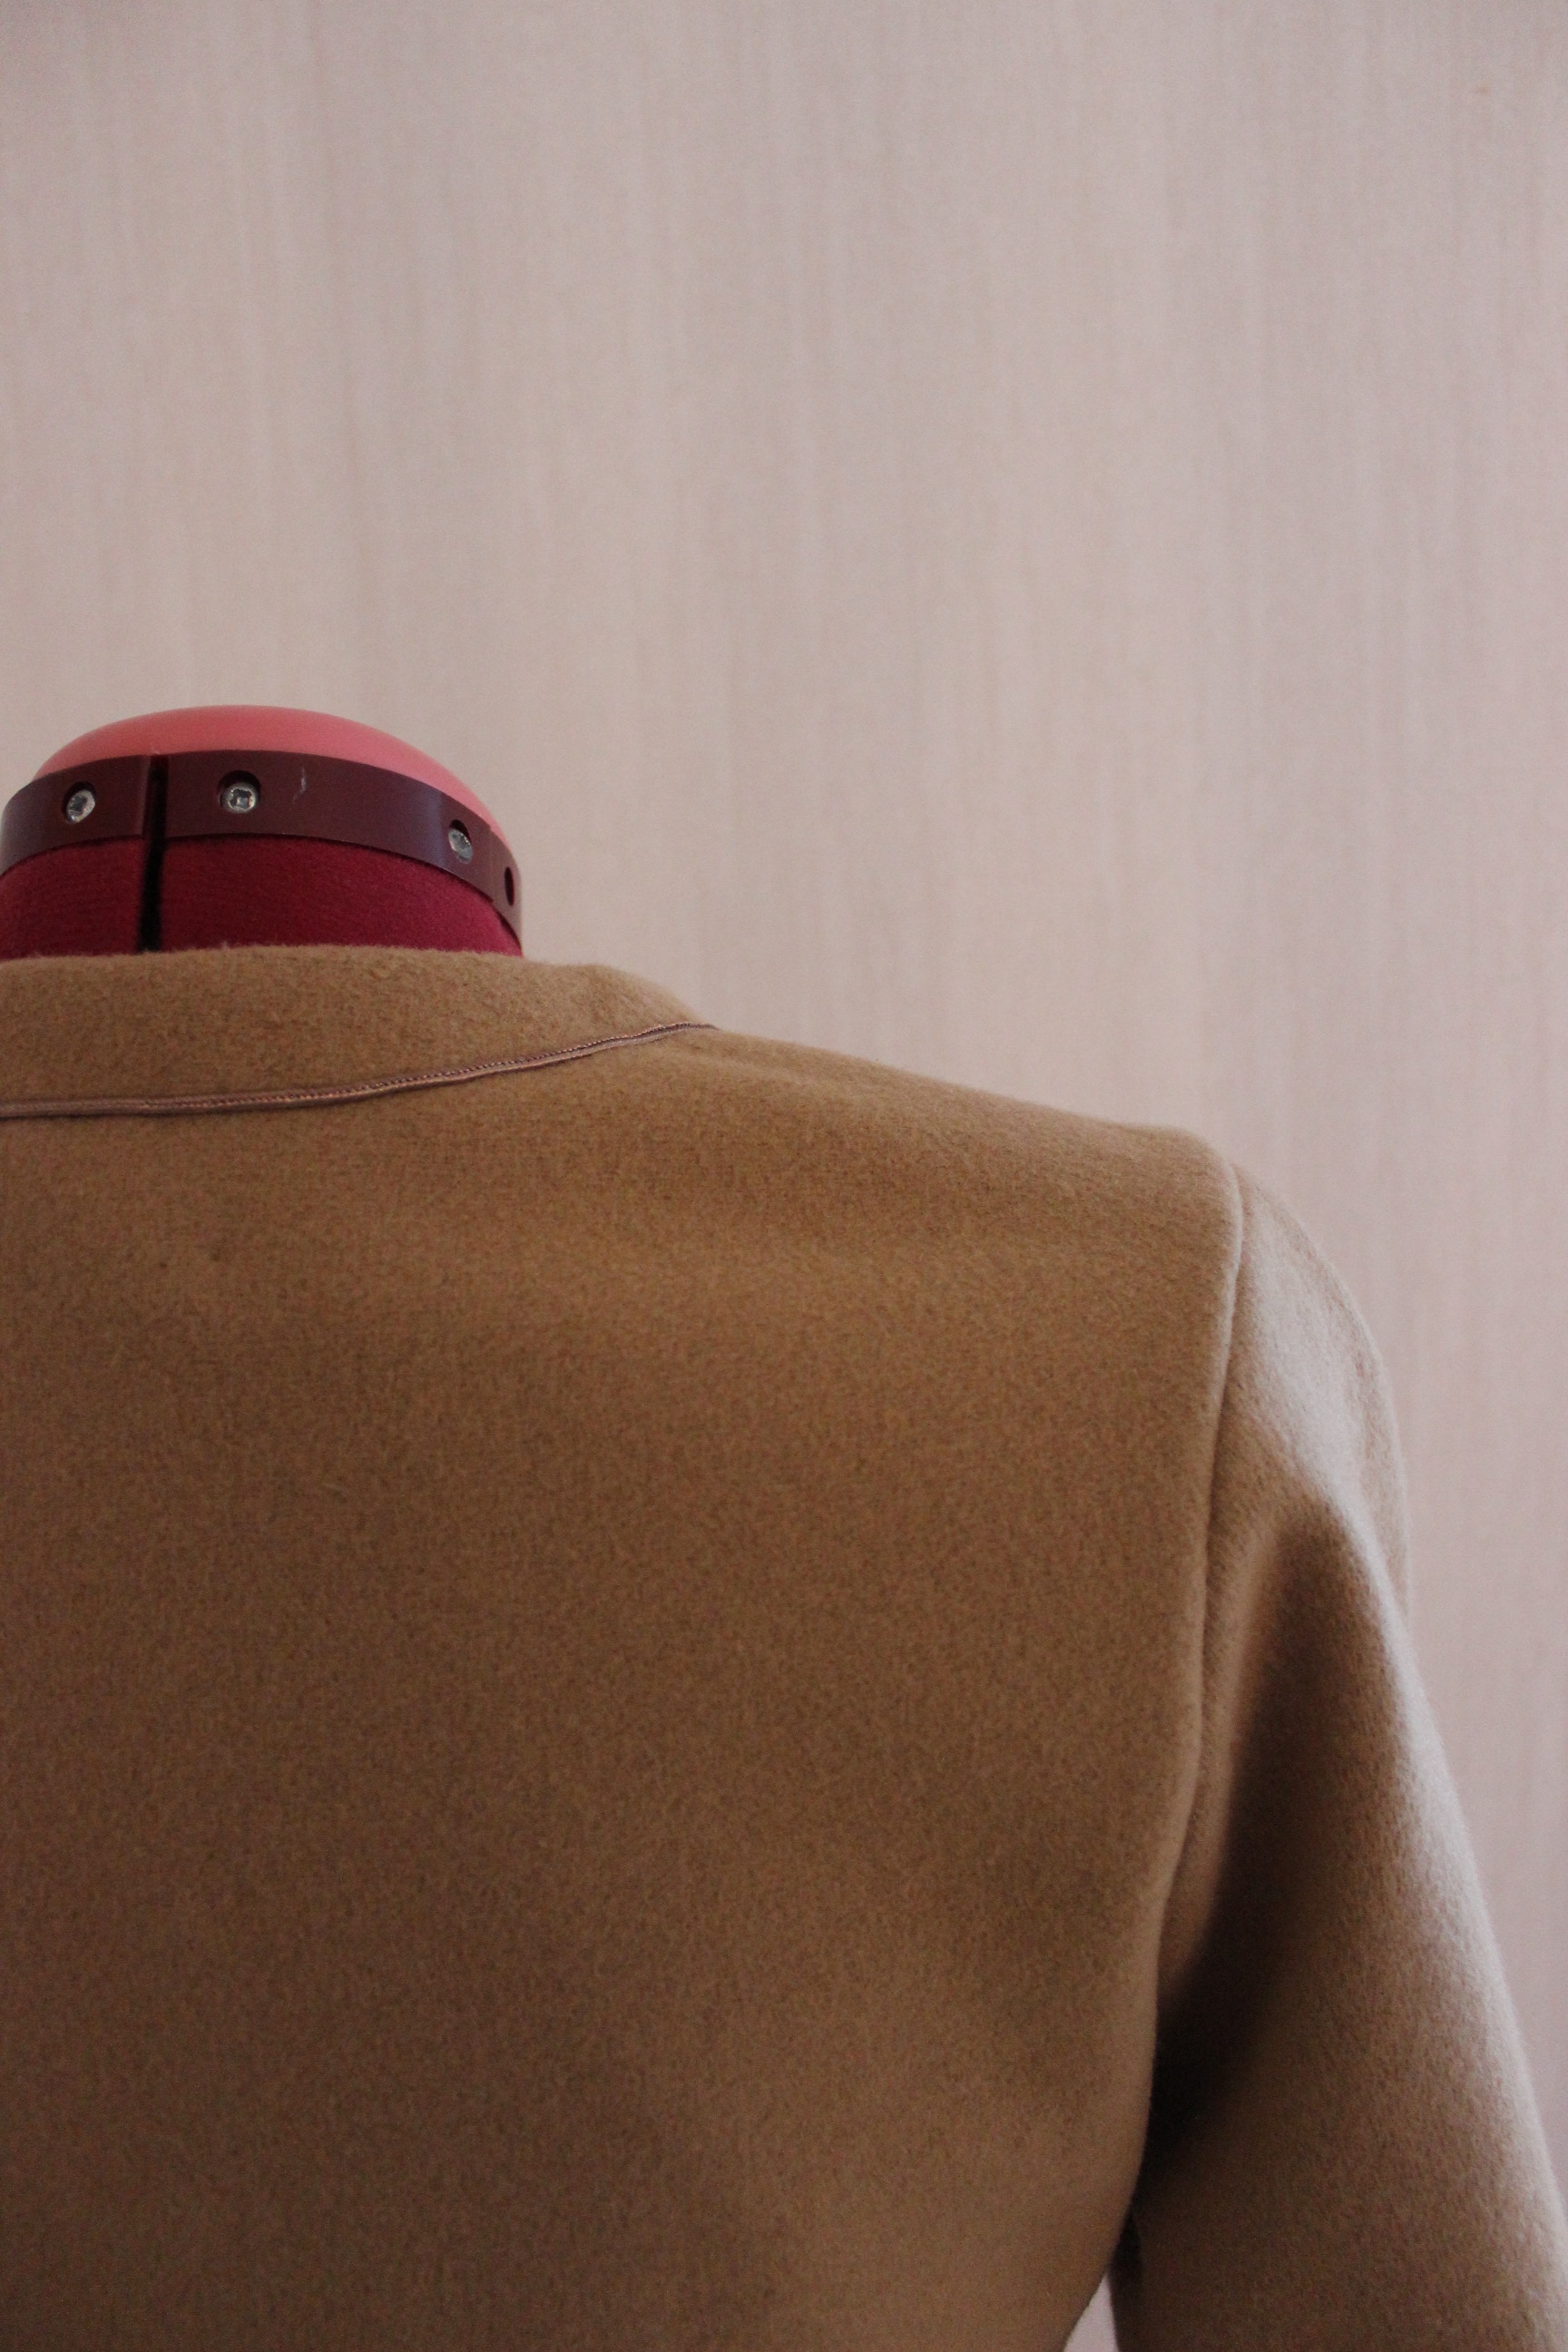
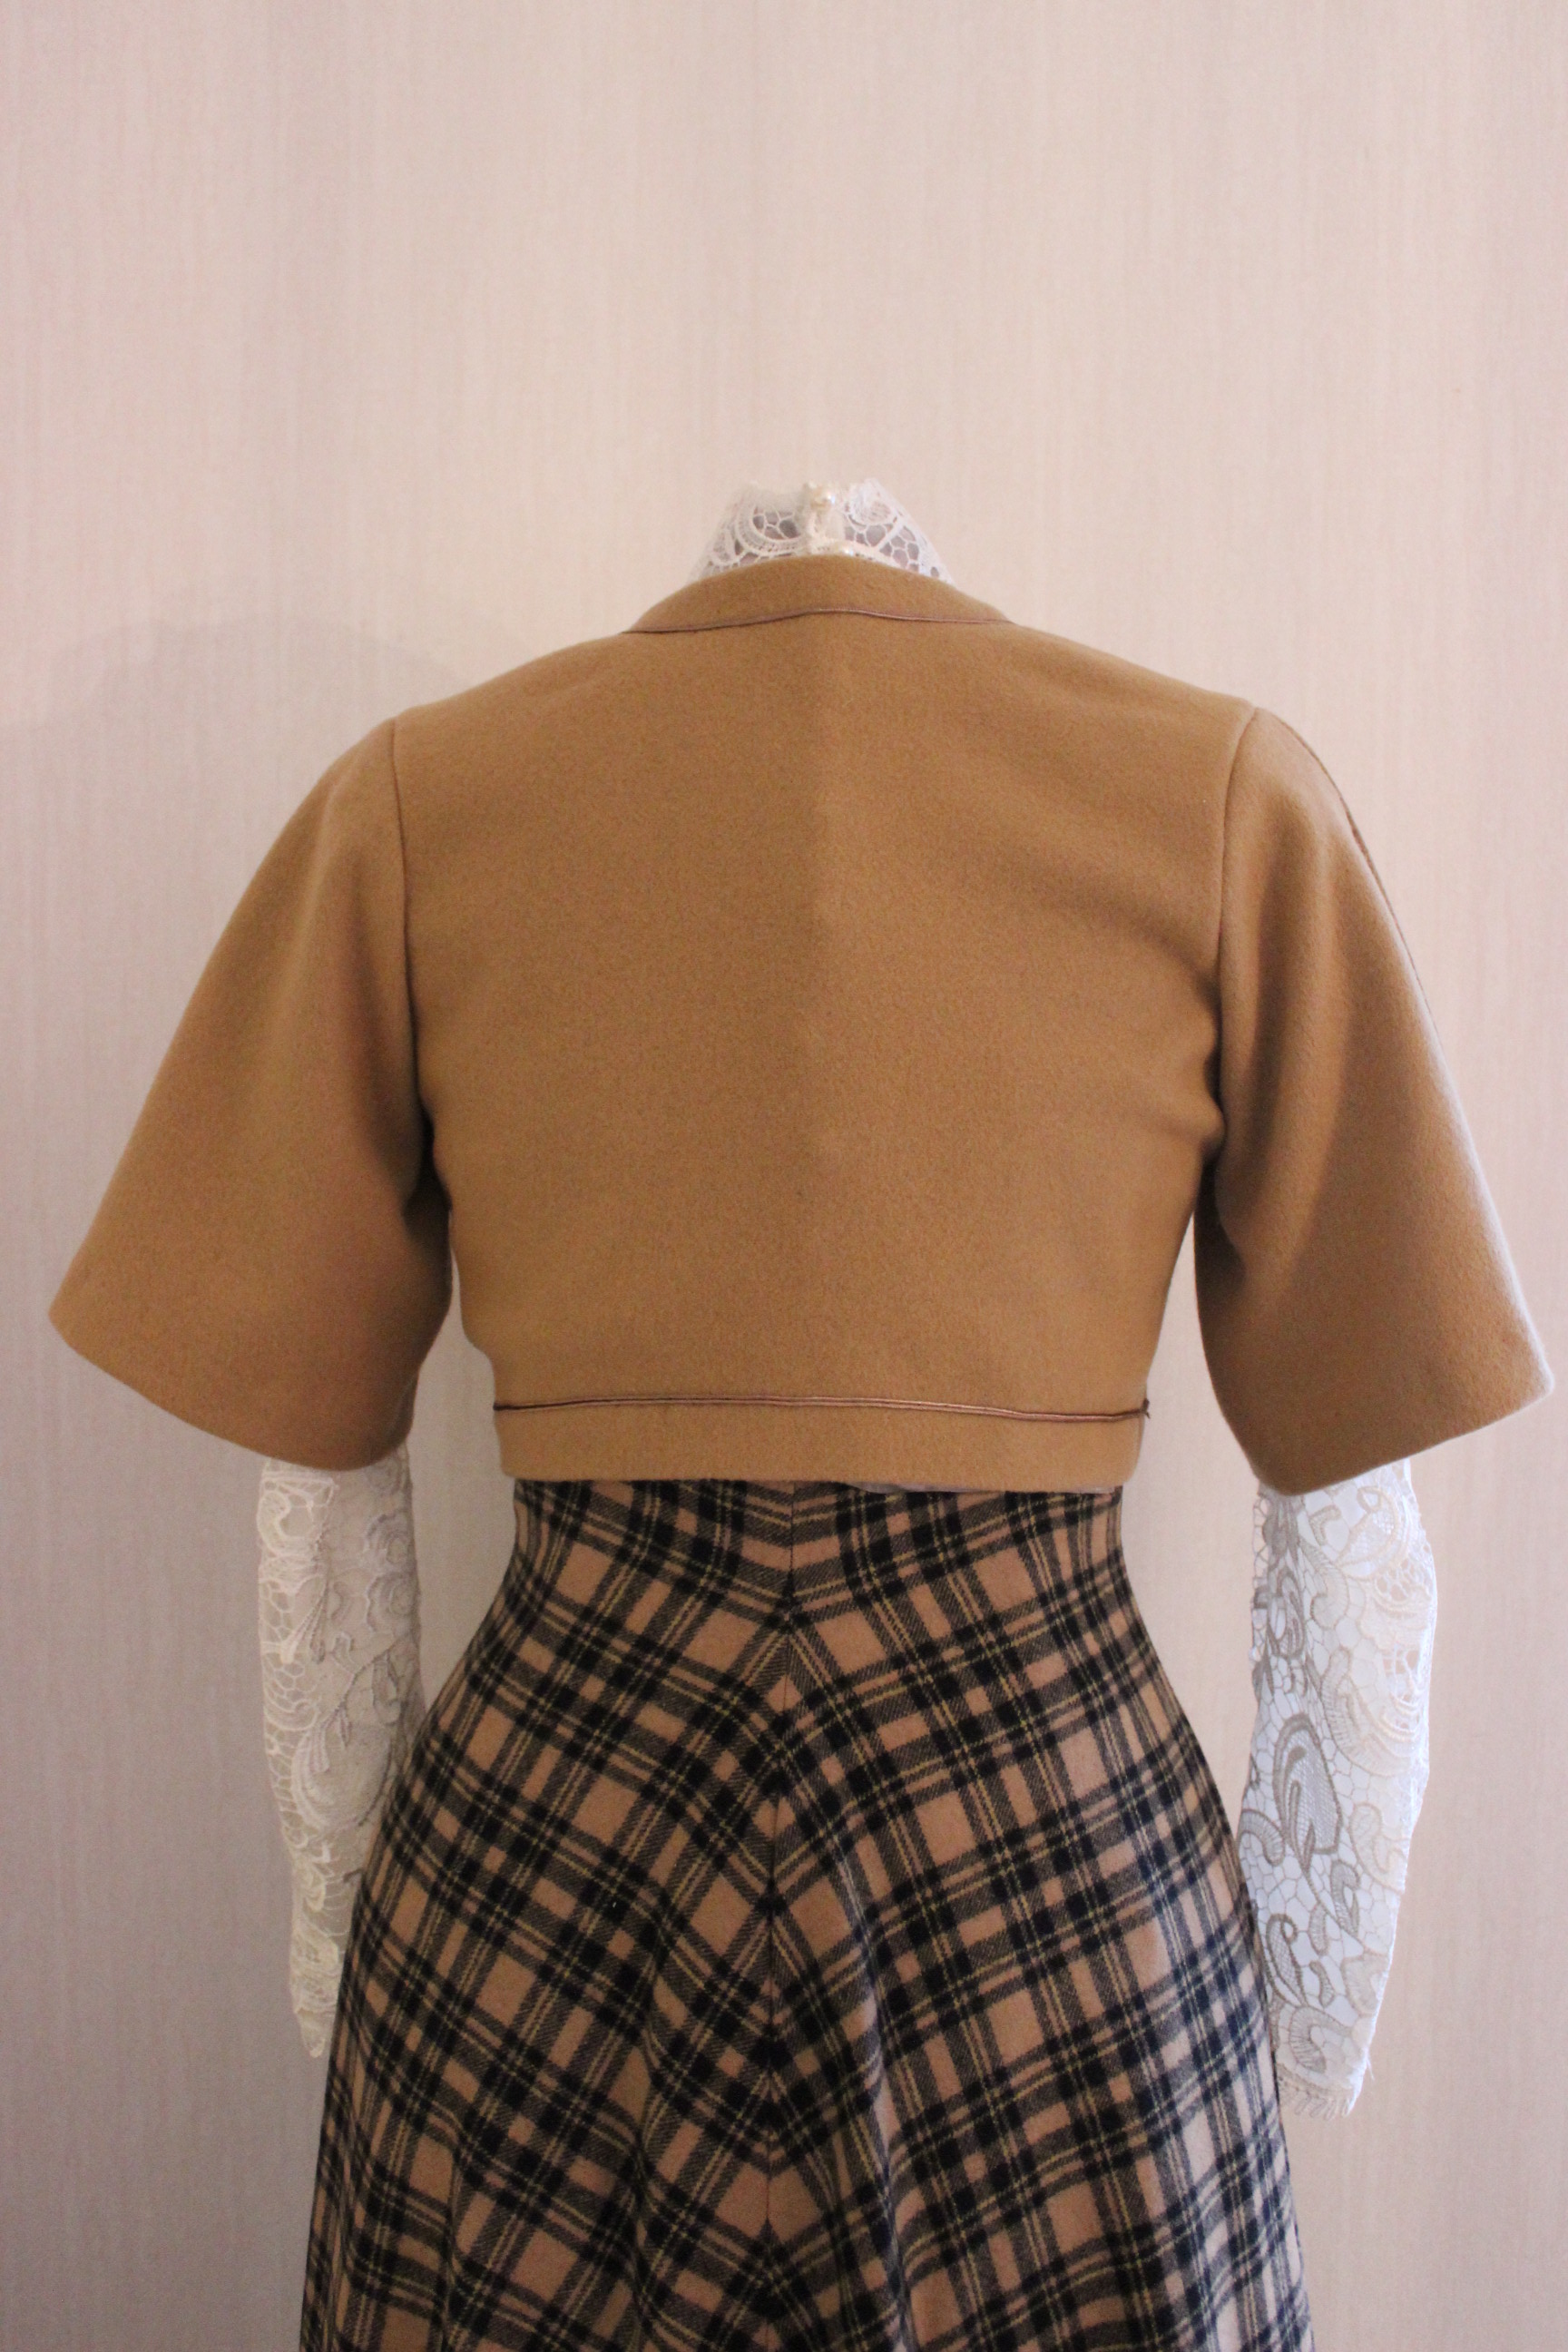
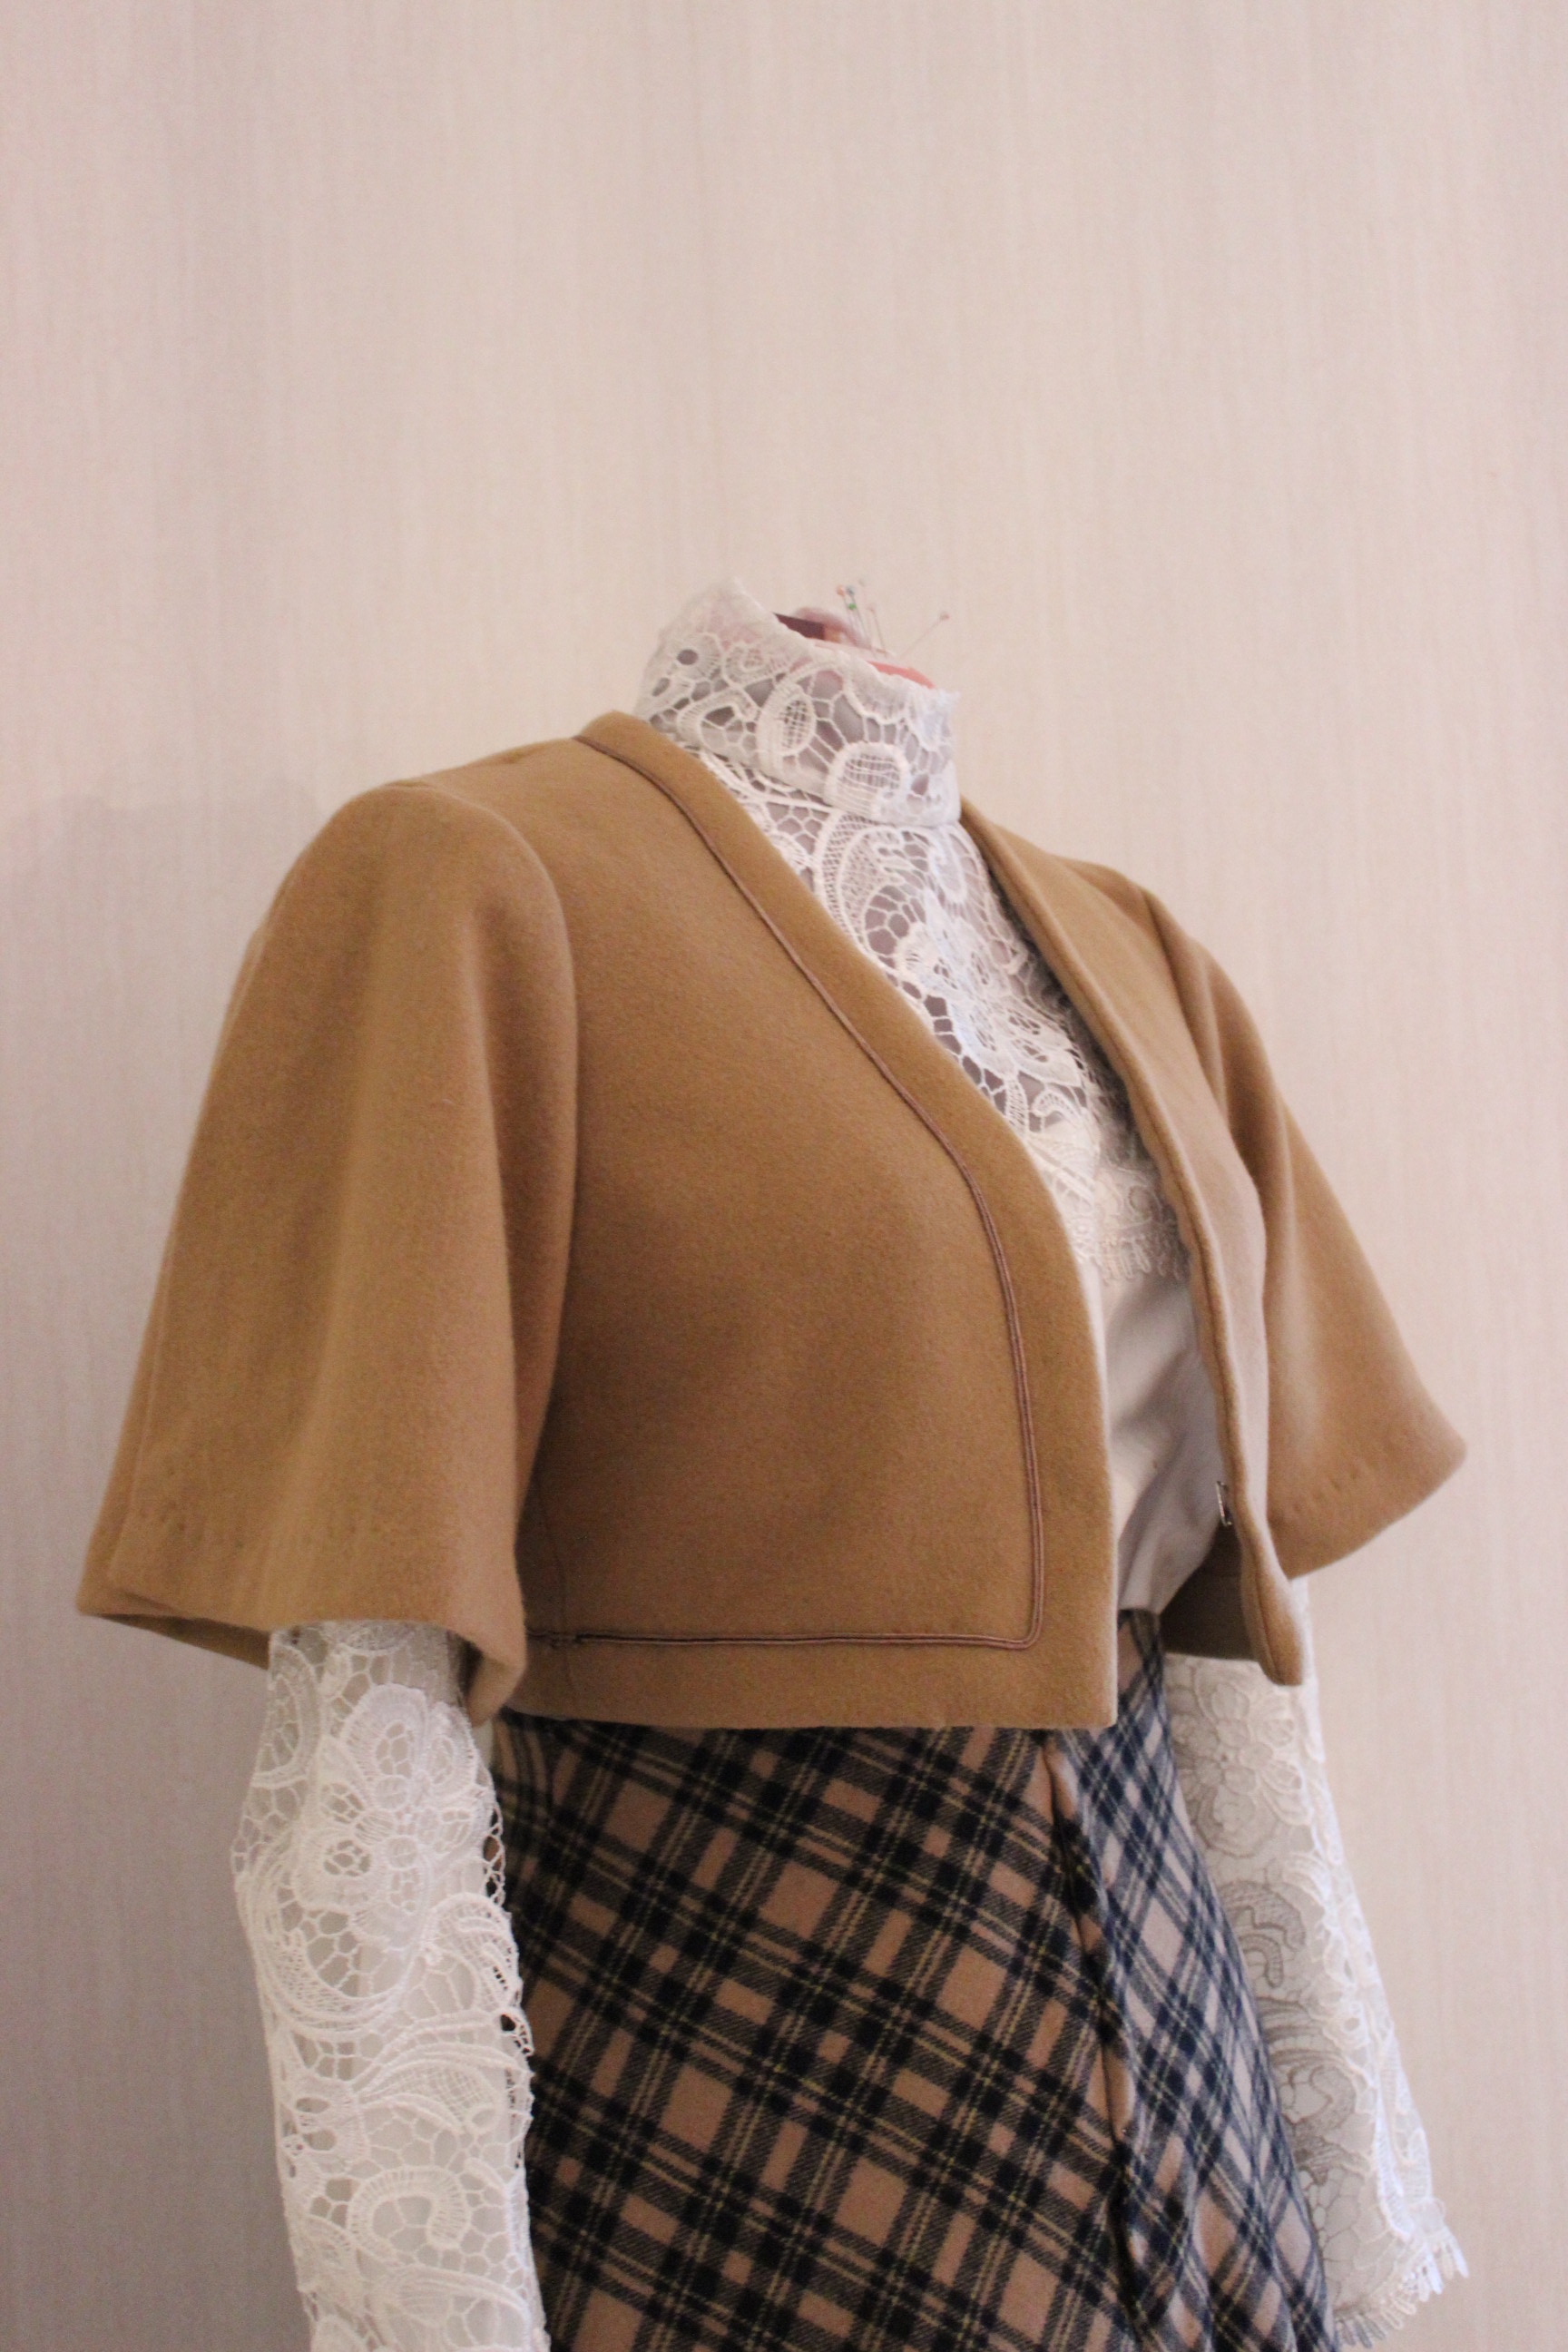
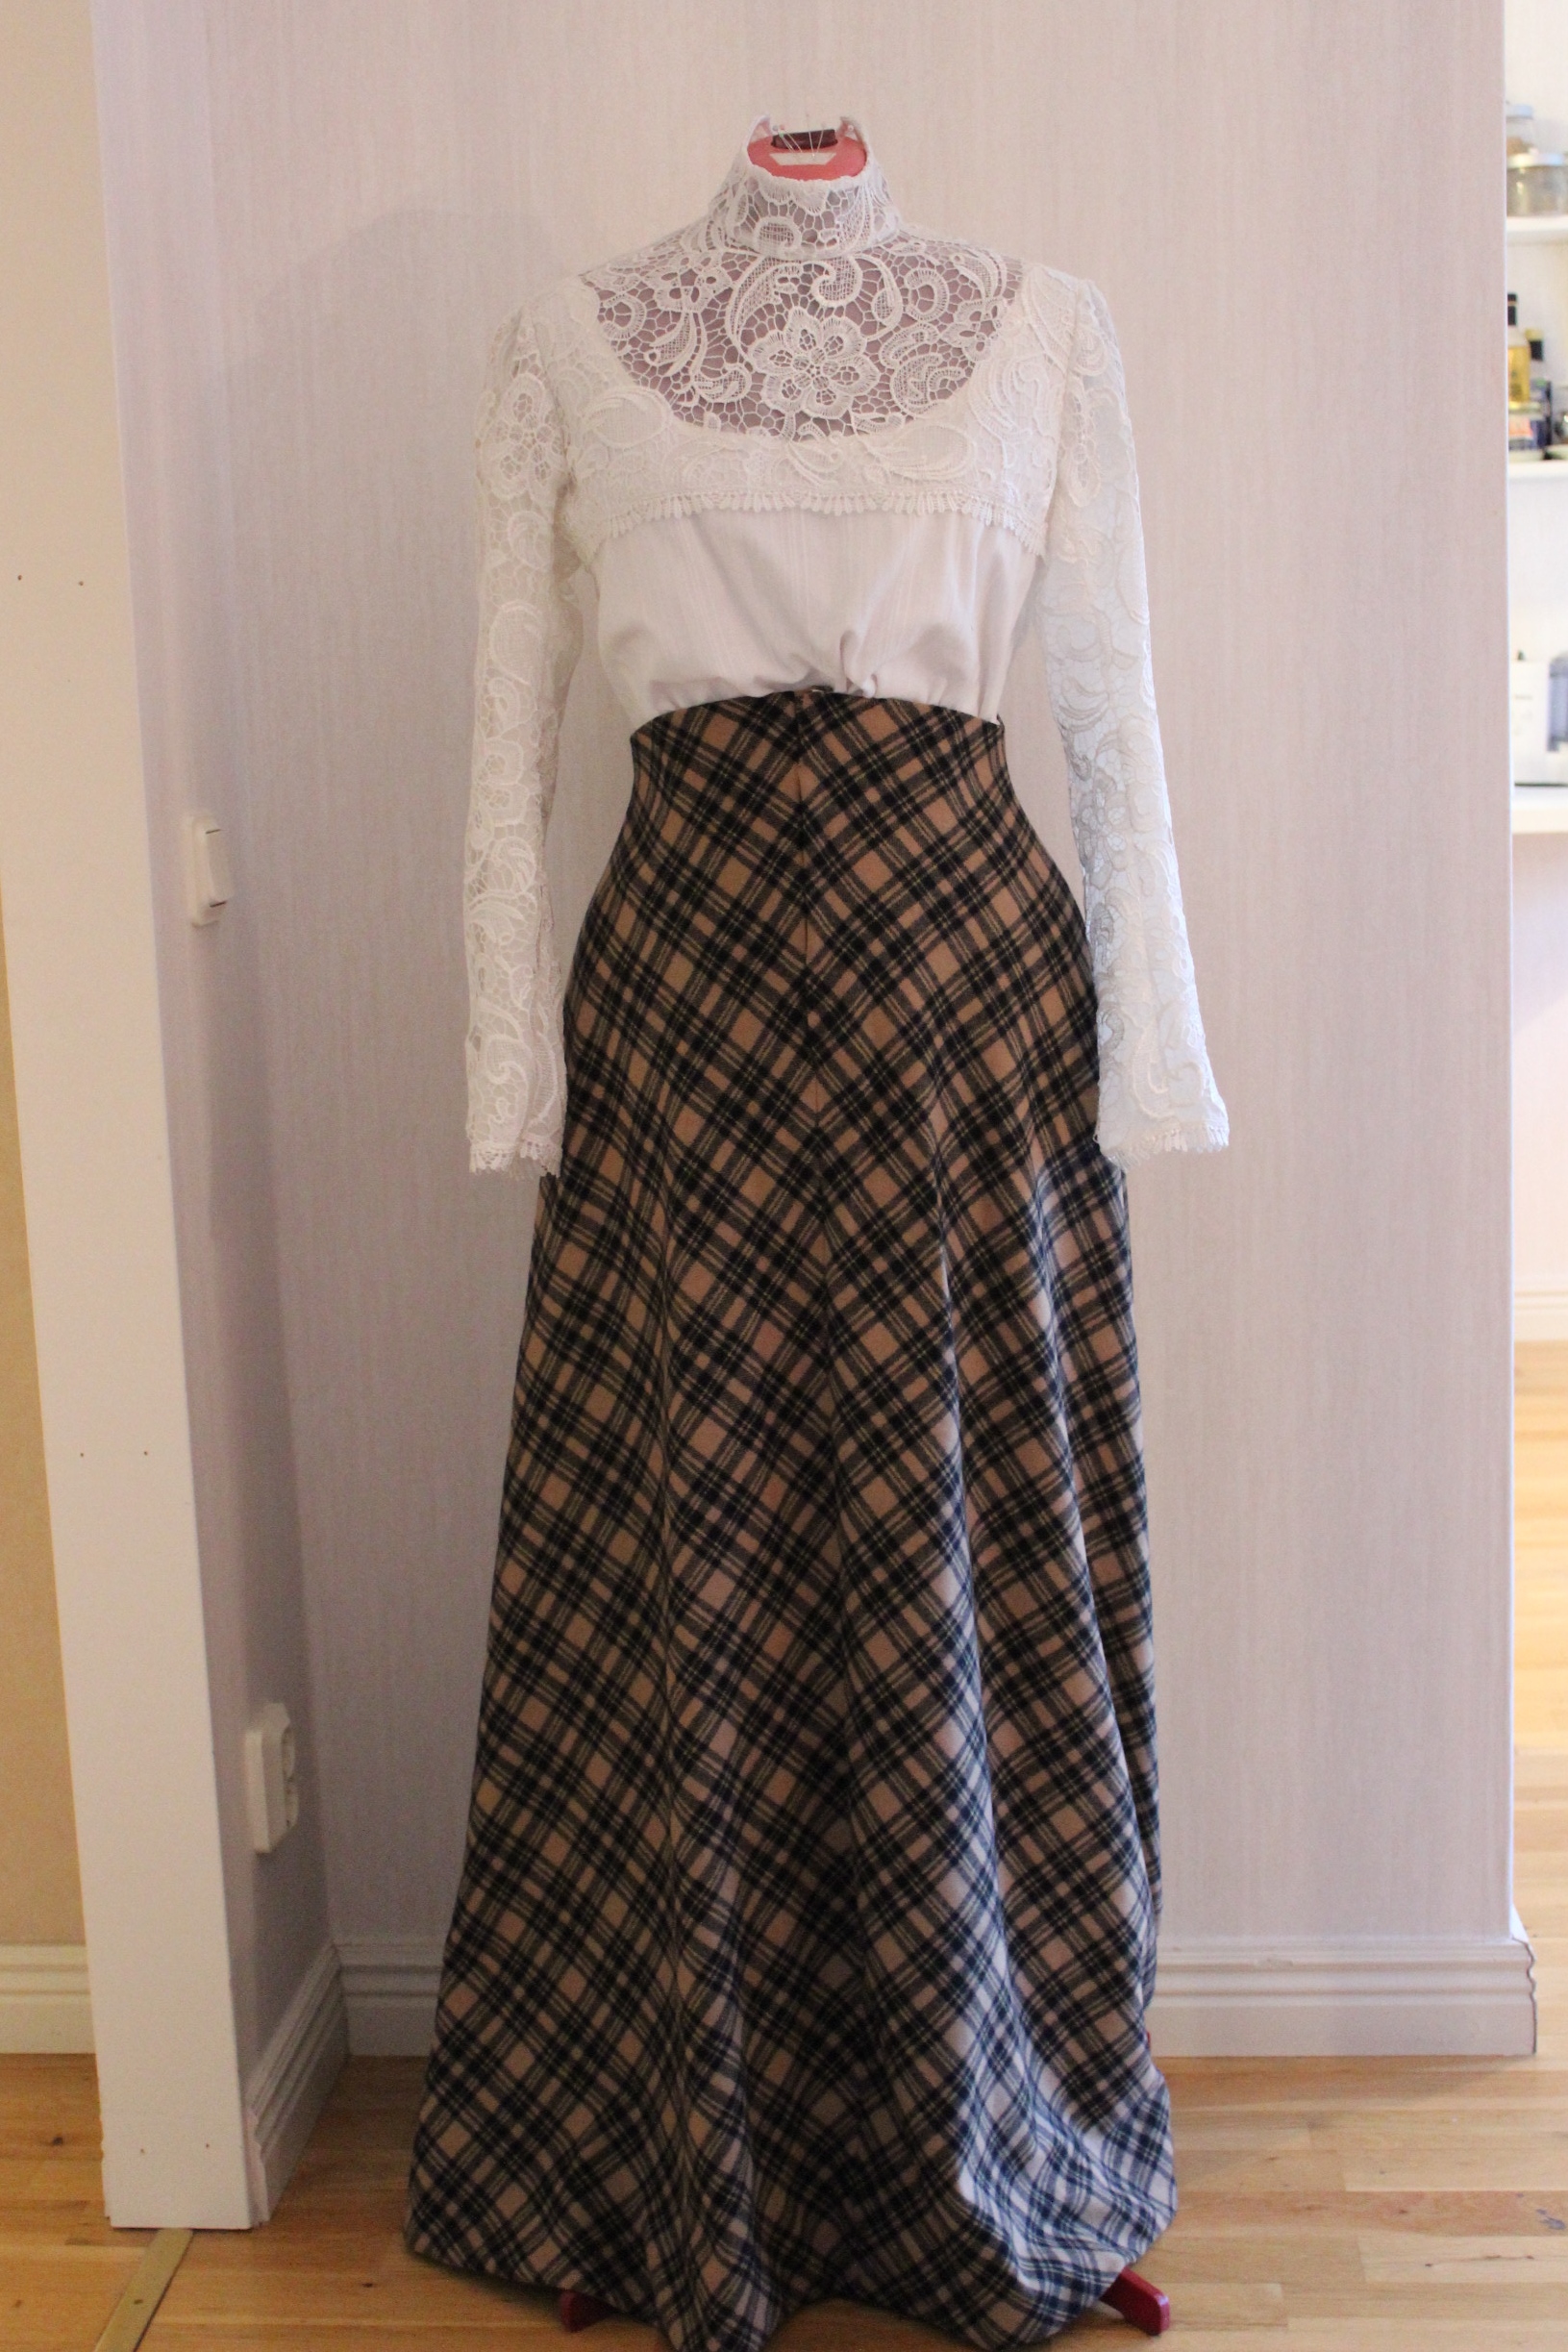
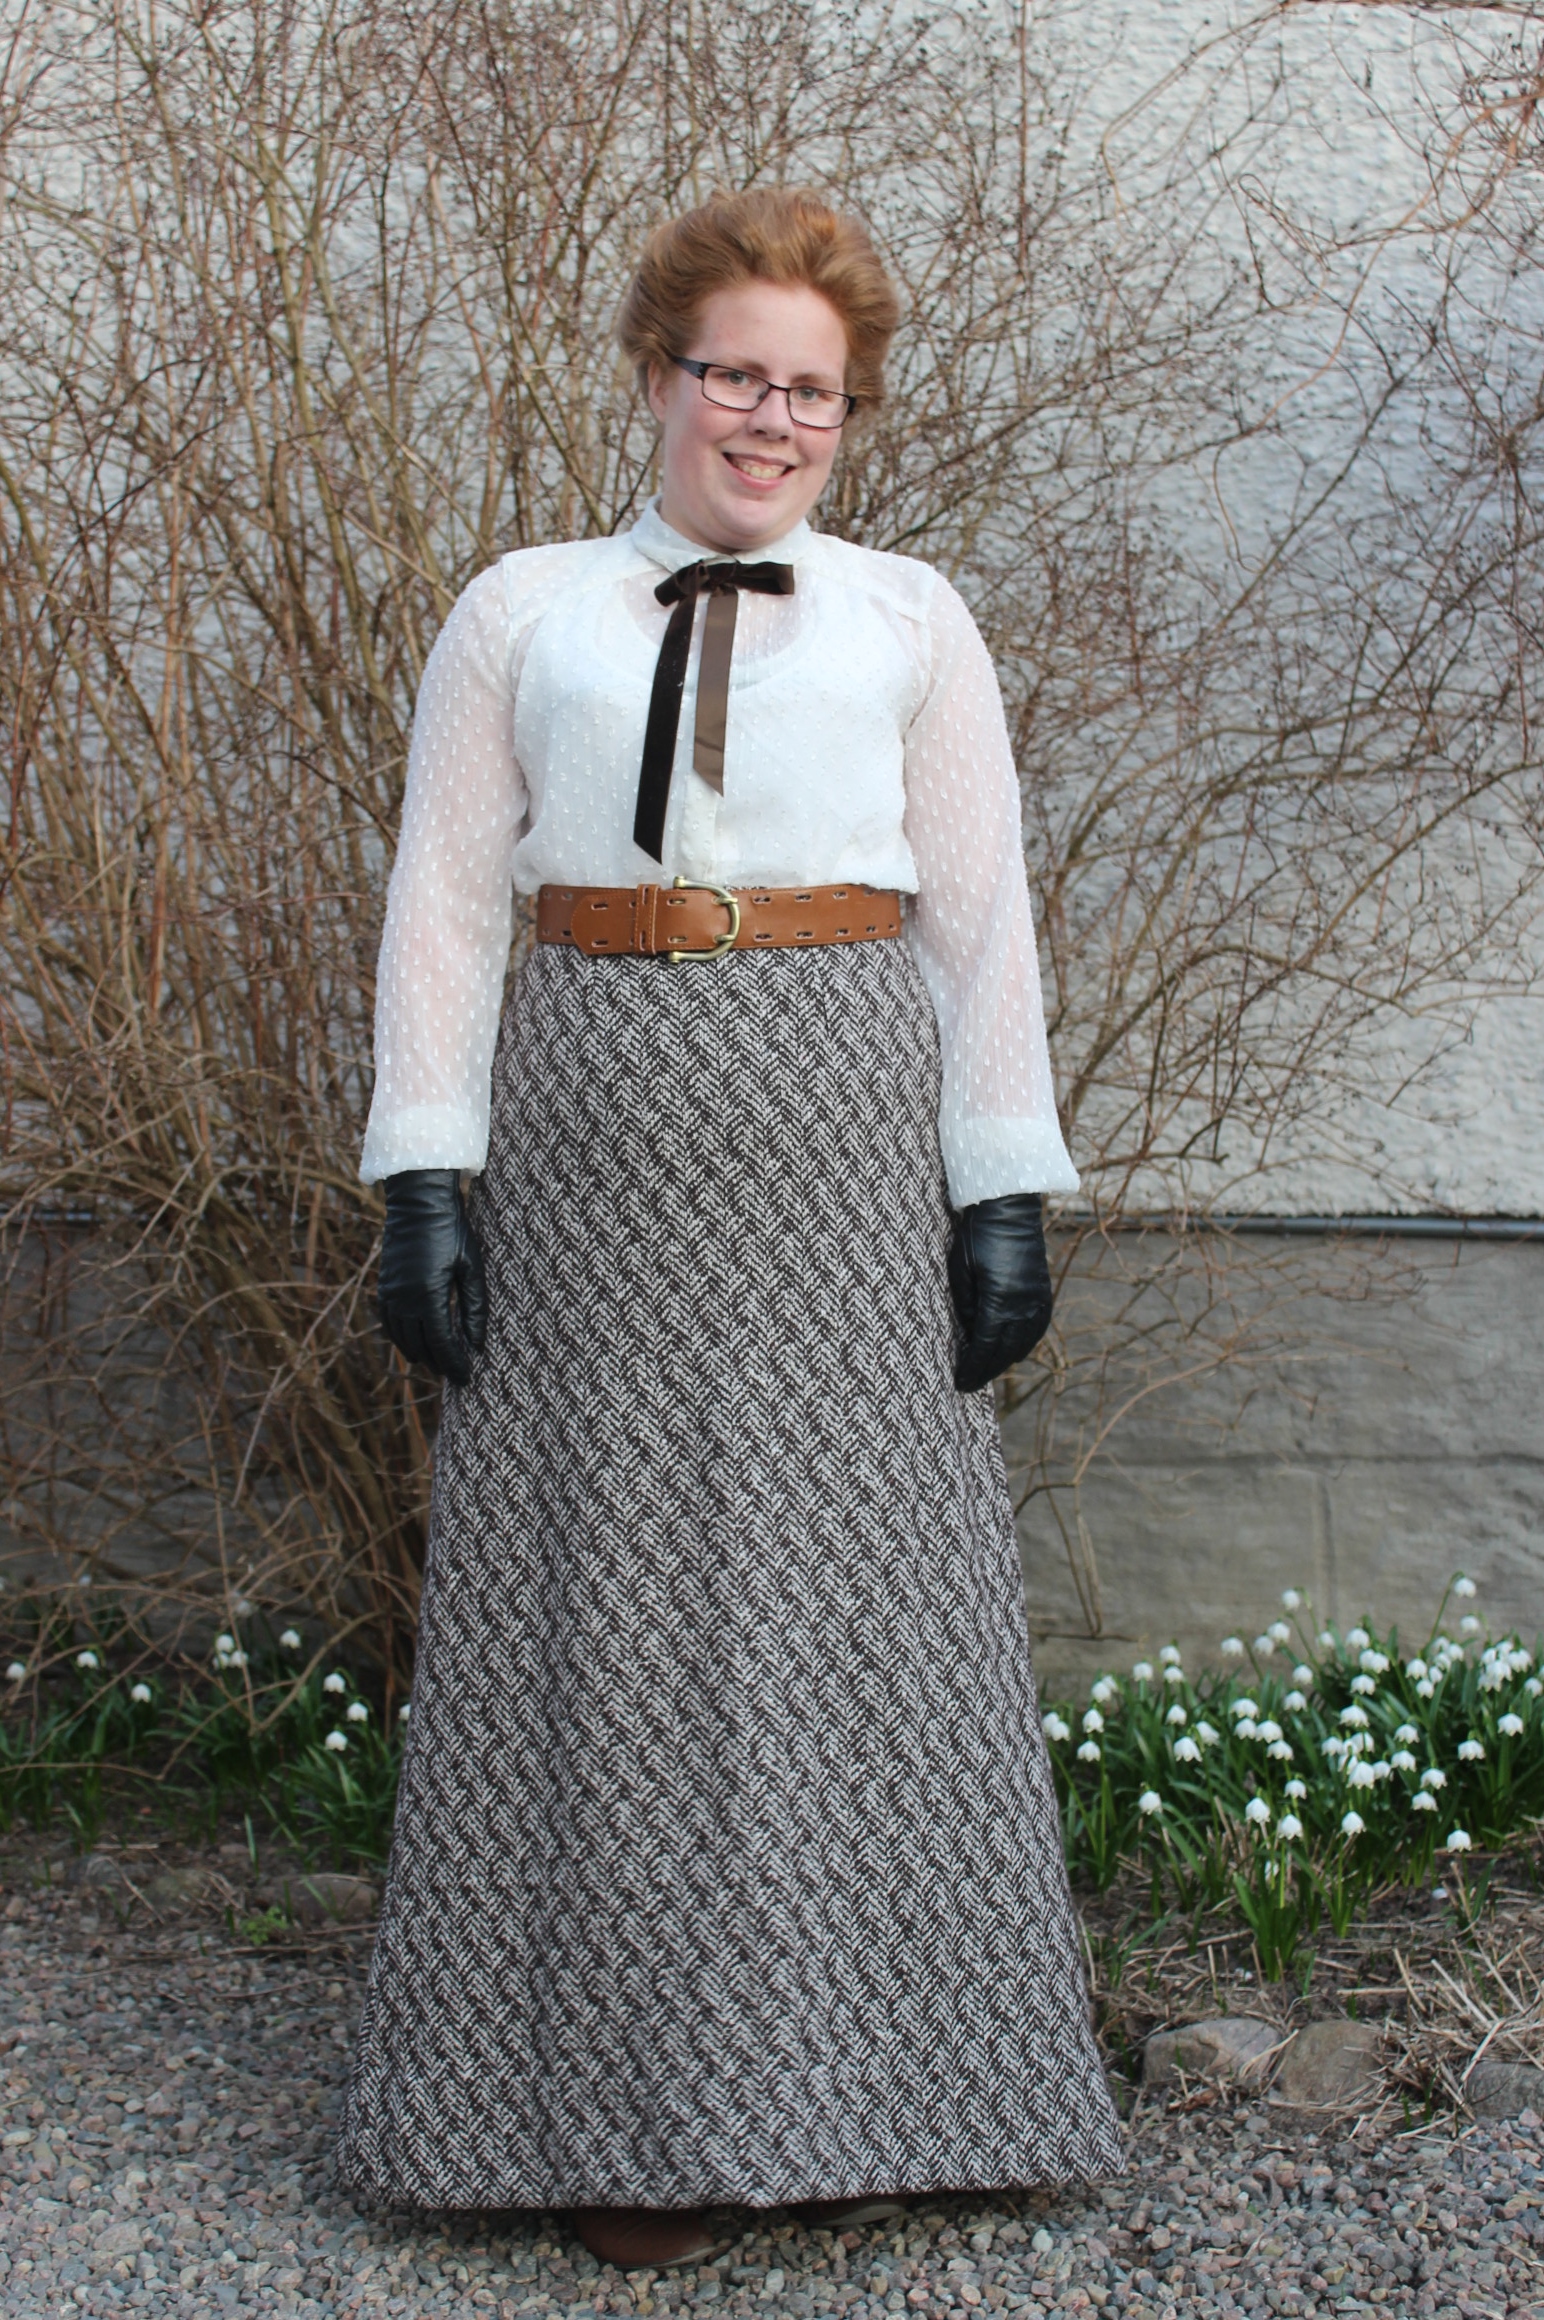
September, with its magical colors and a drawing to the forest, made me want to make an “Outlander” inspired outfitIMG_8724
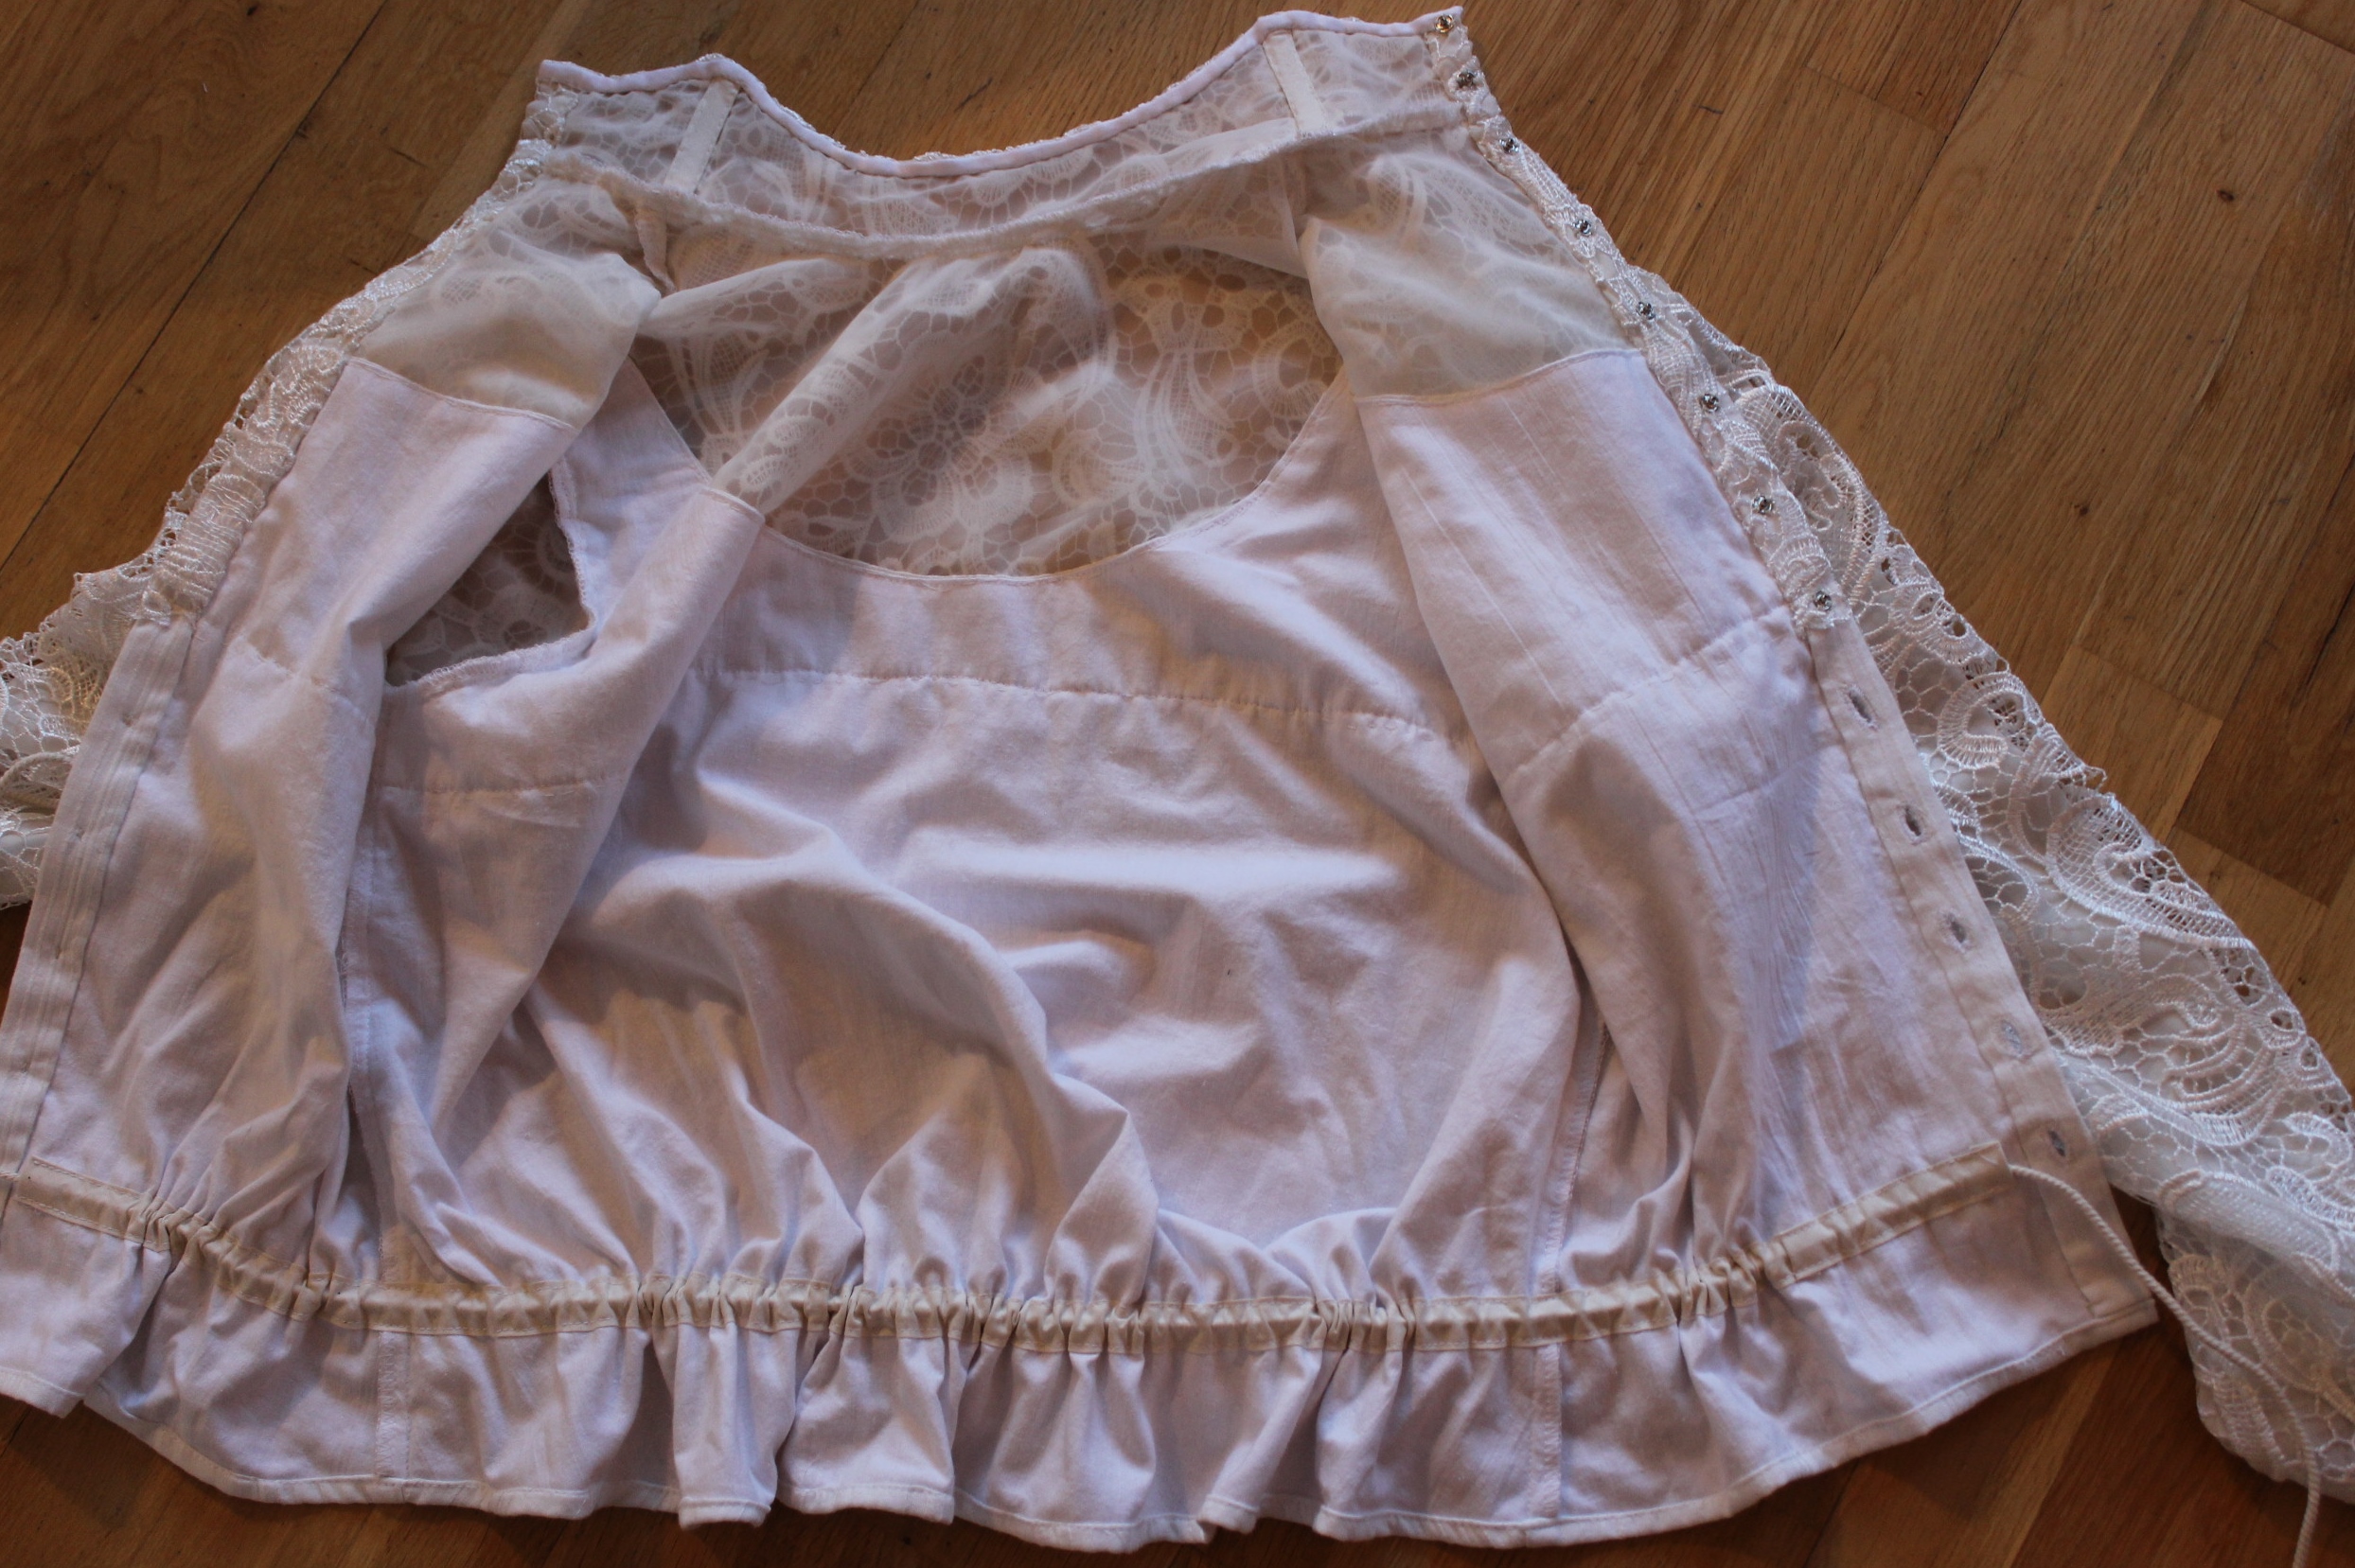
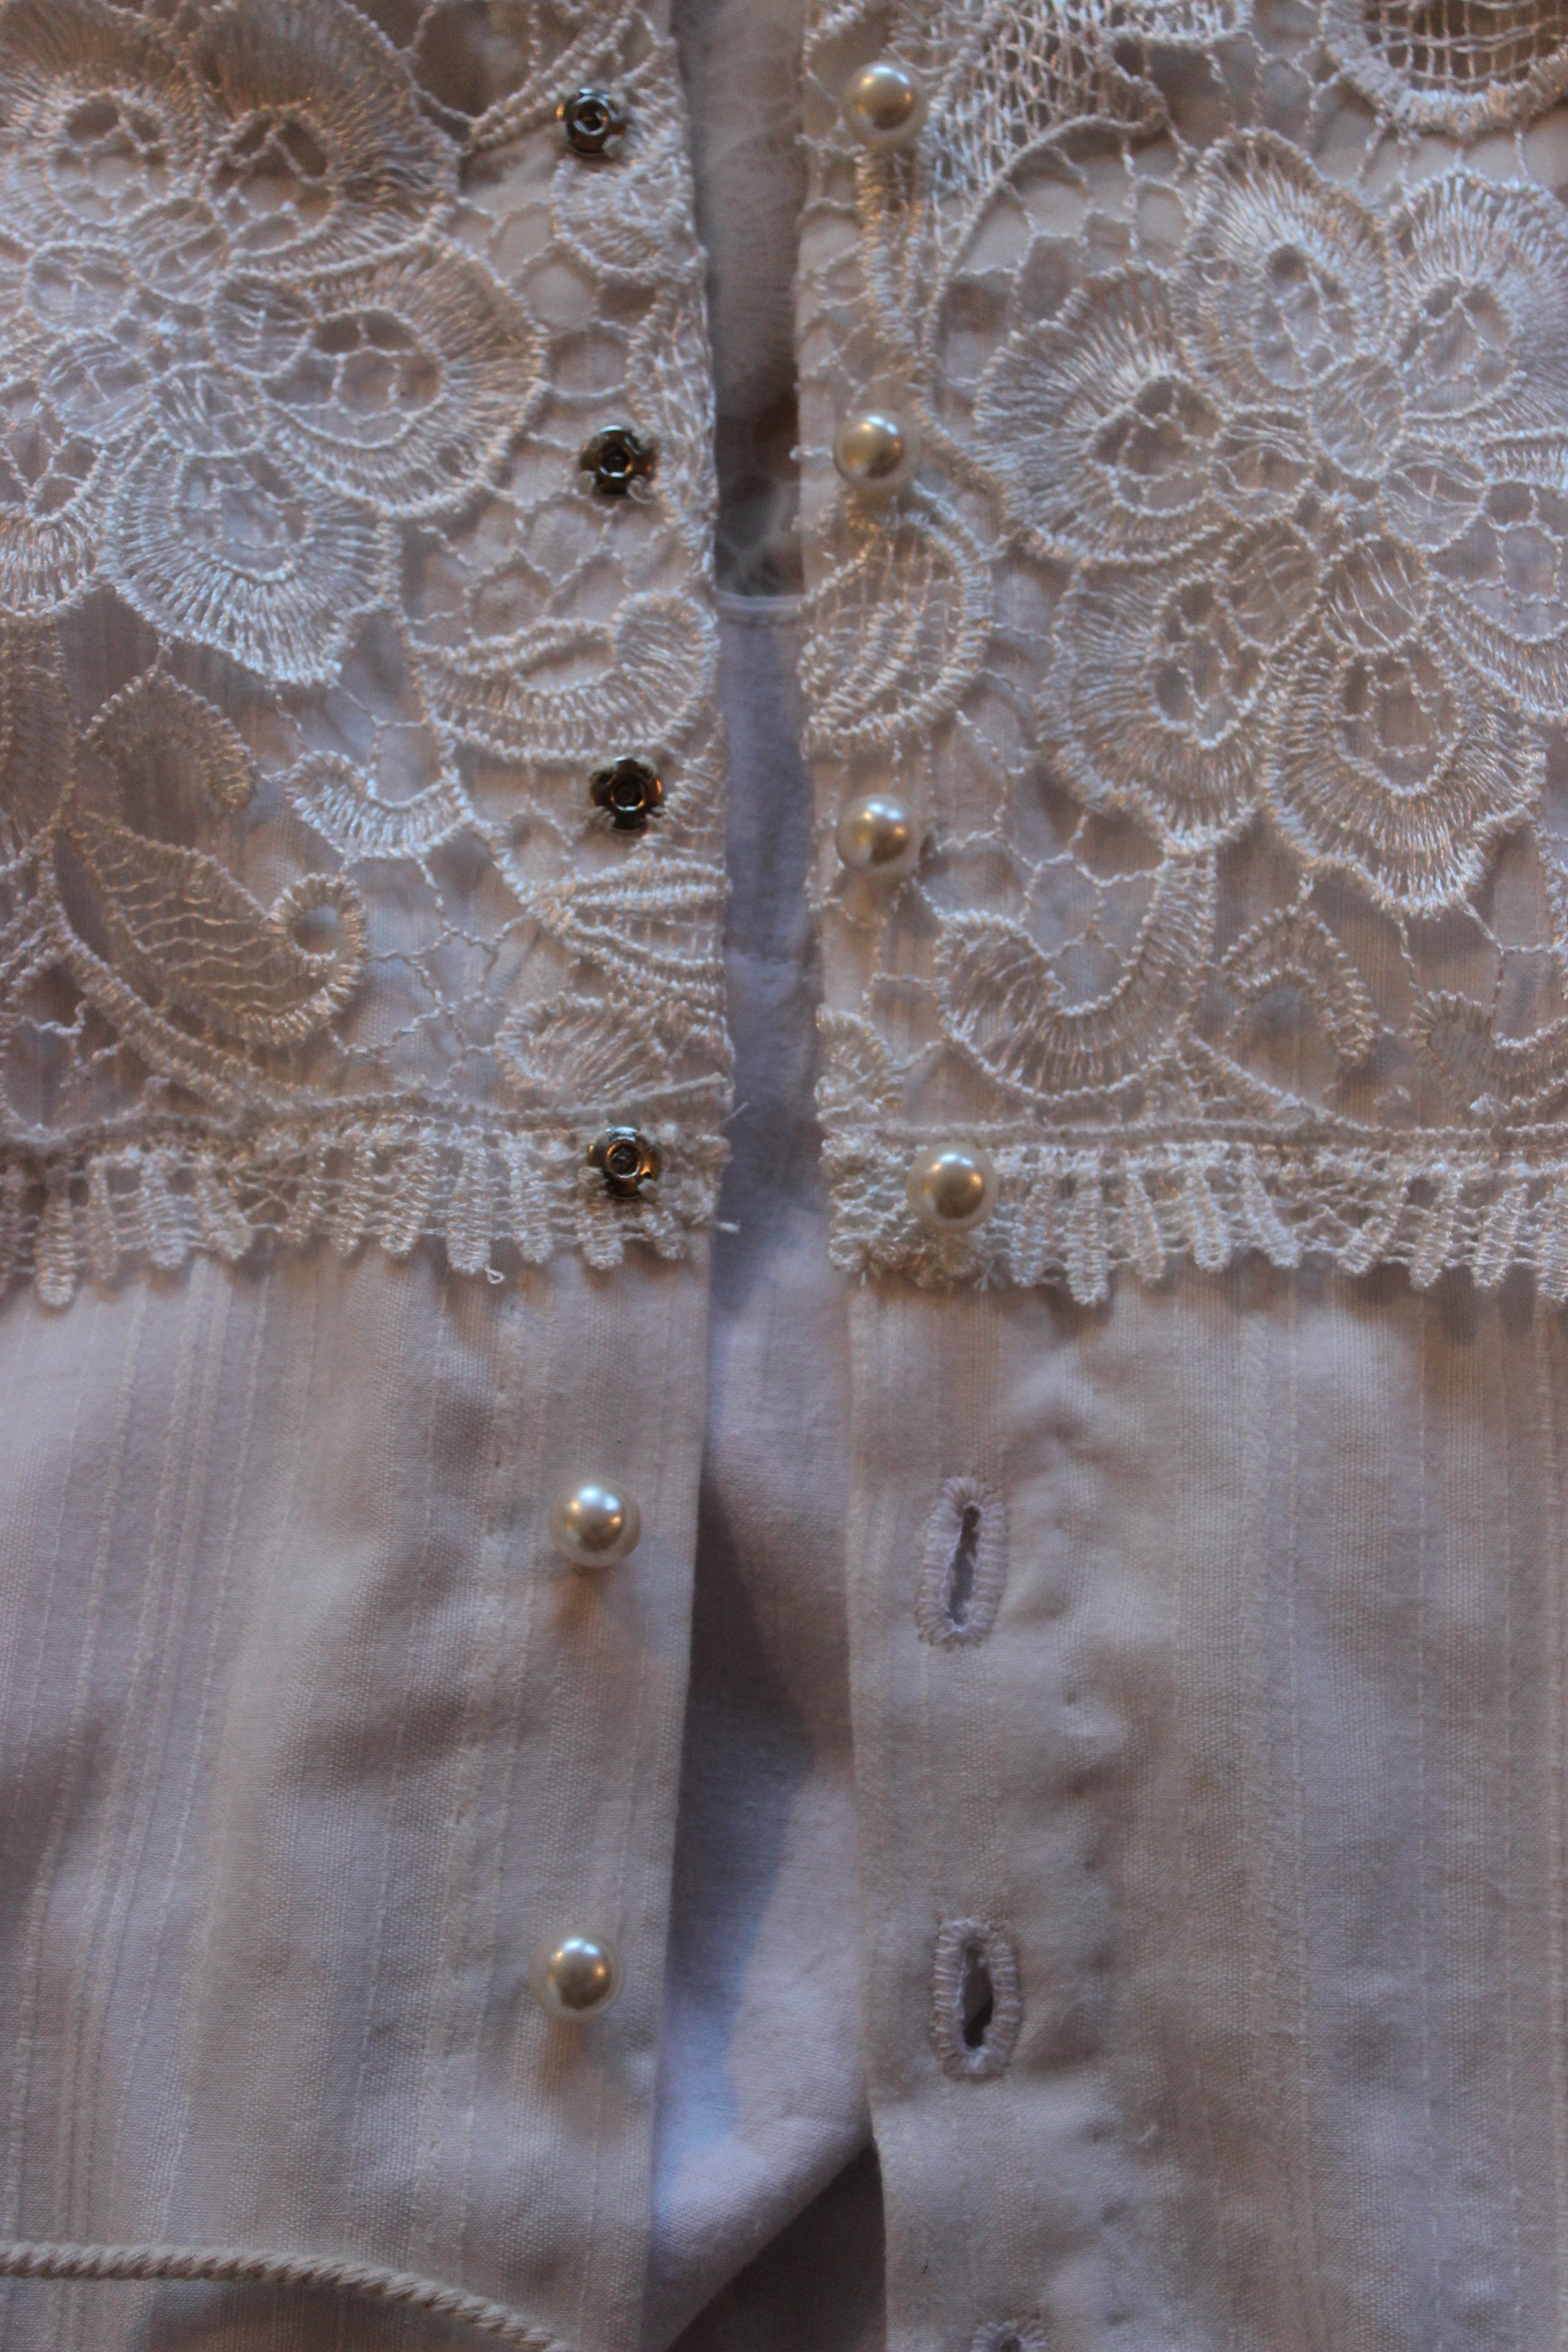
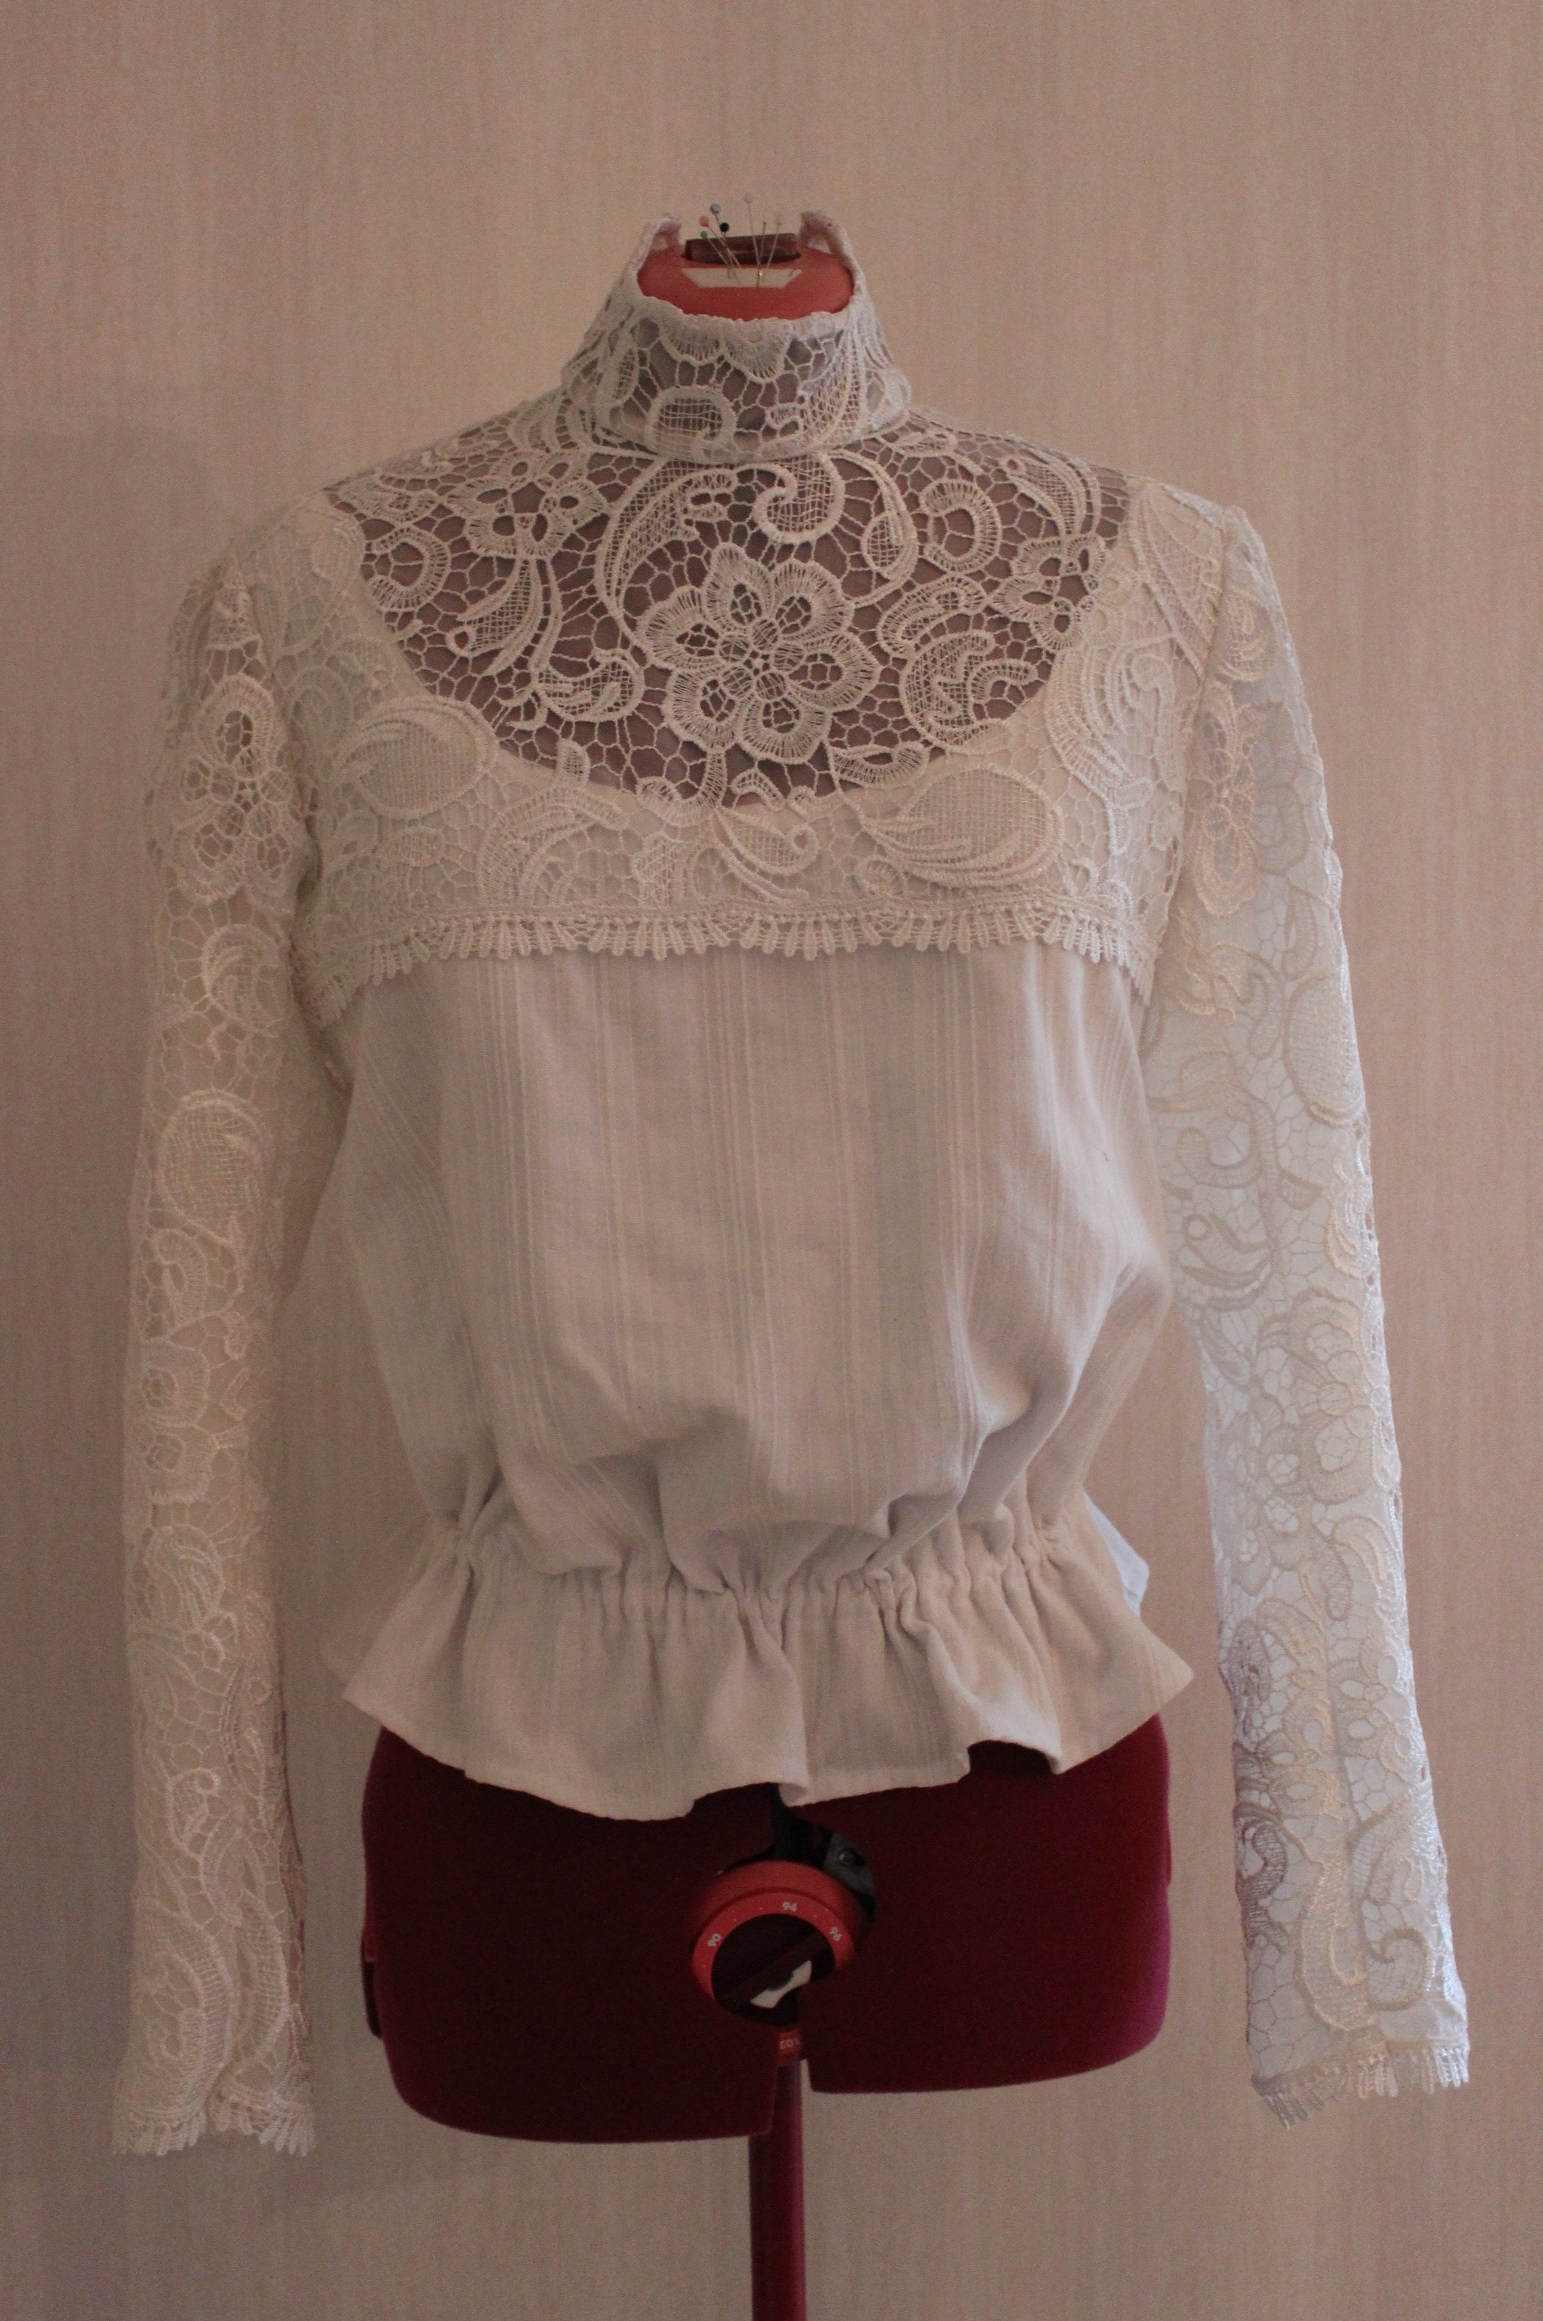
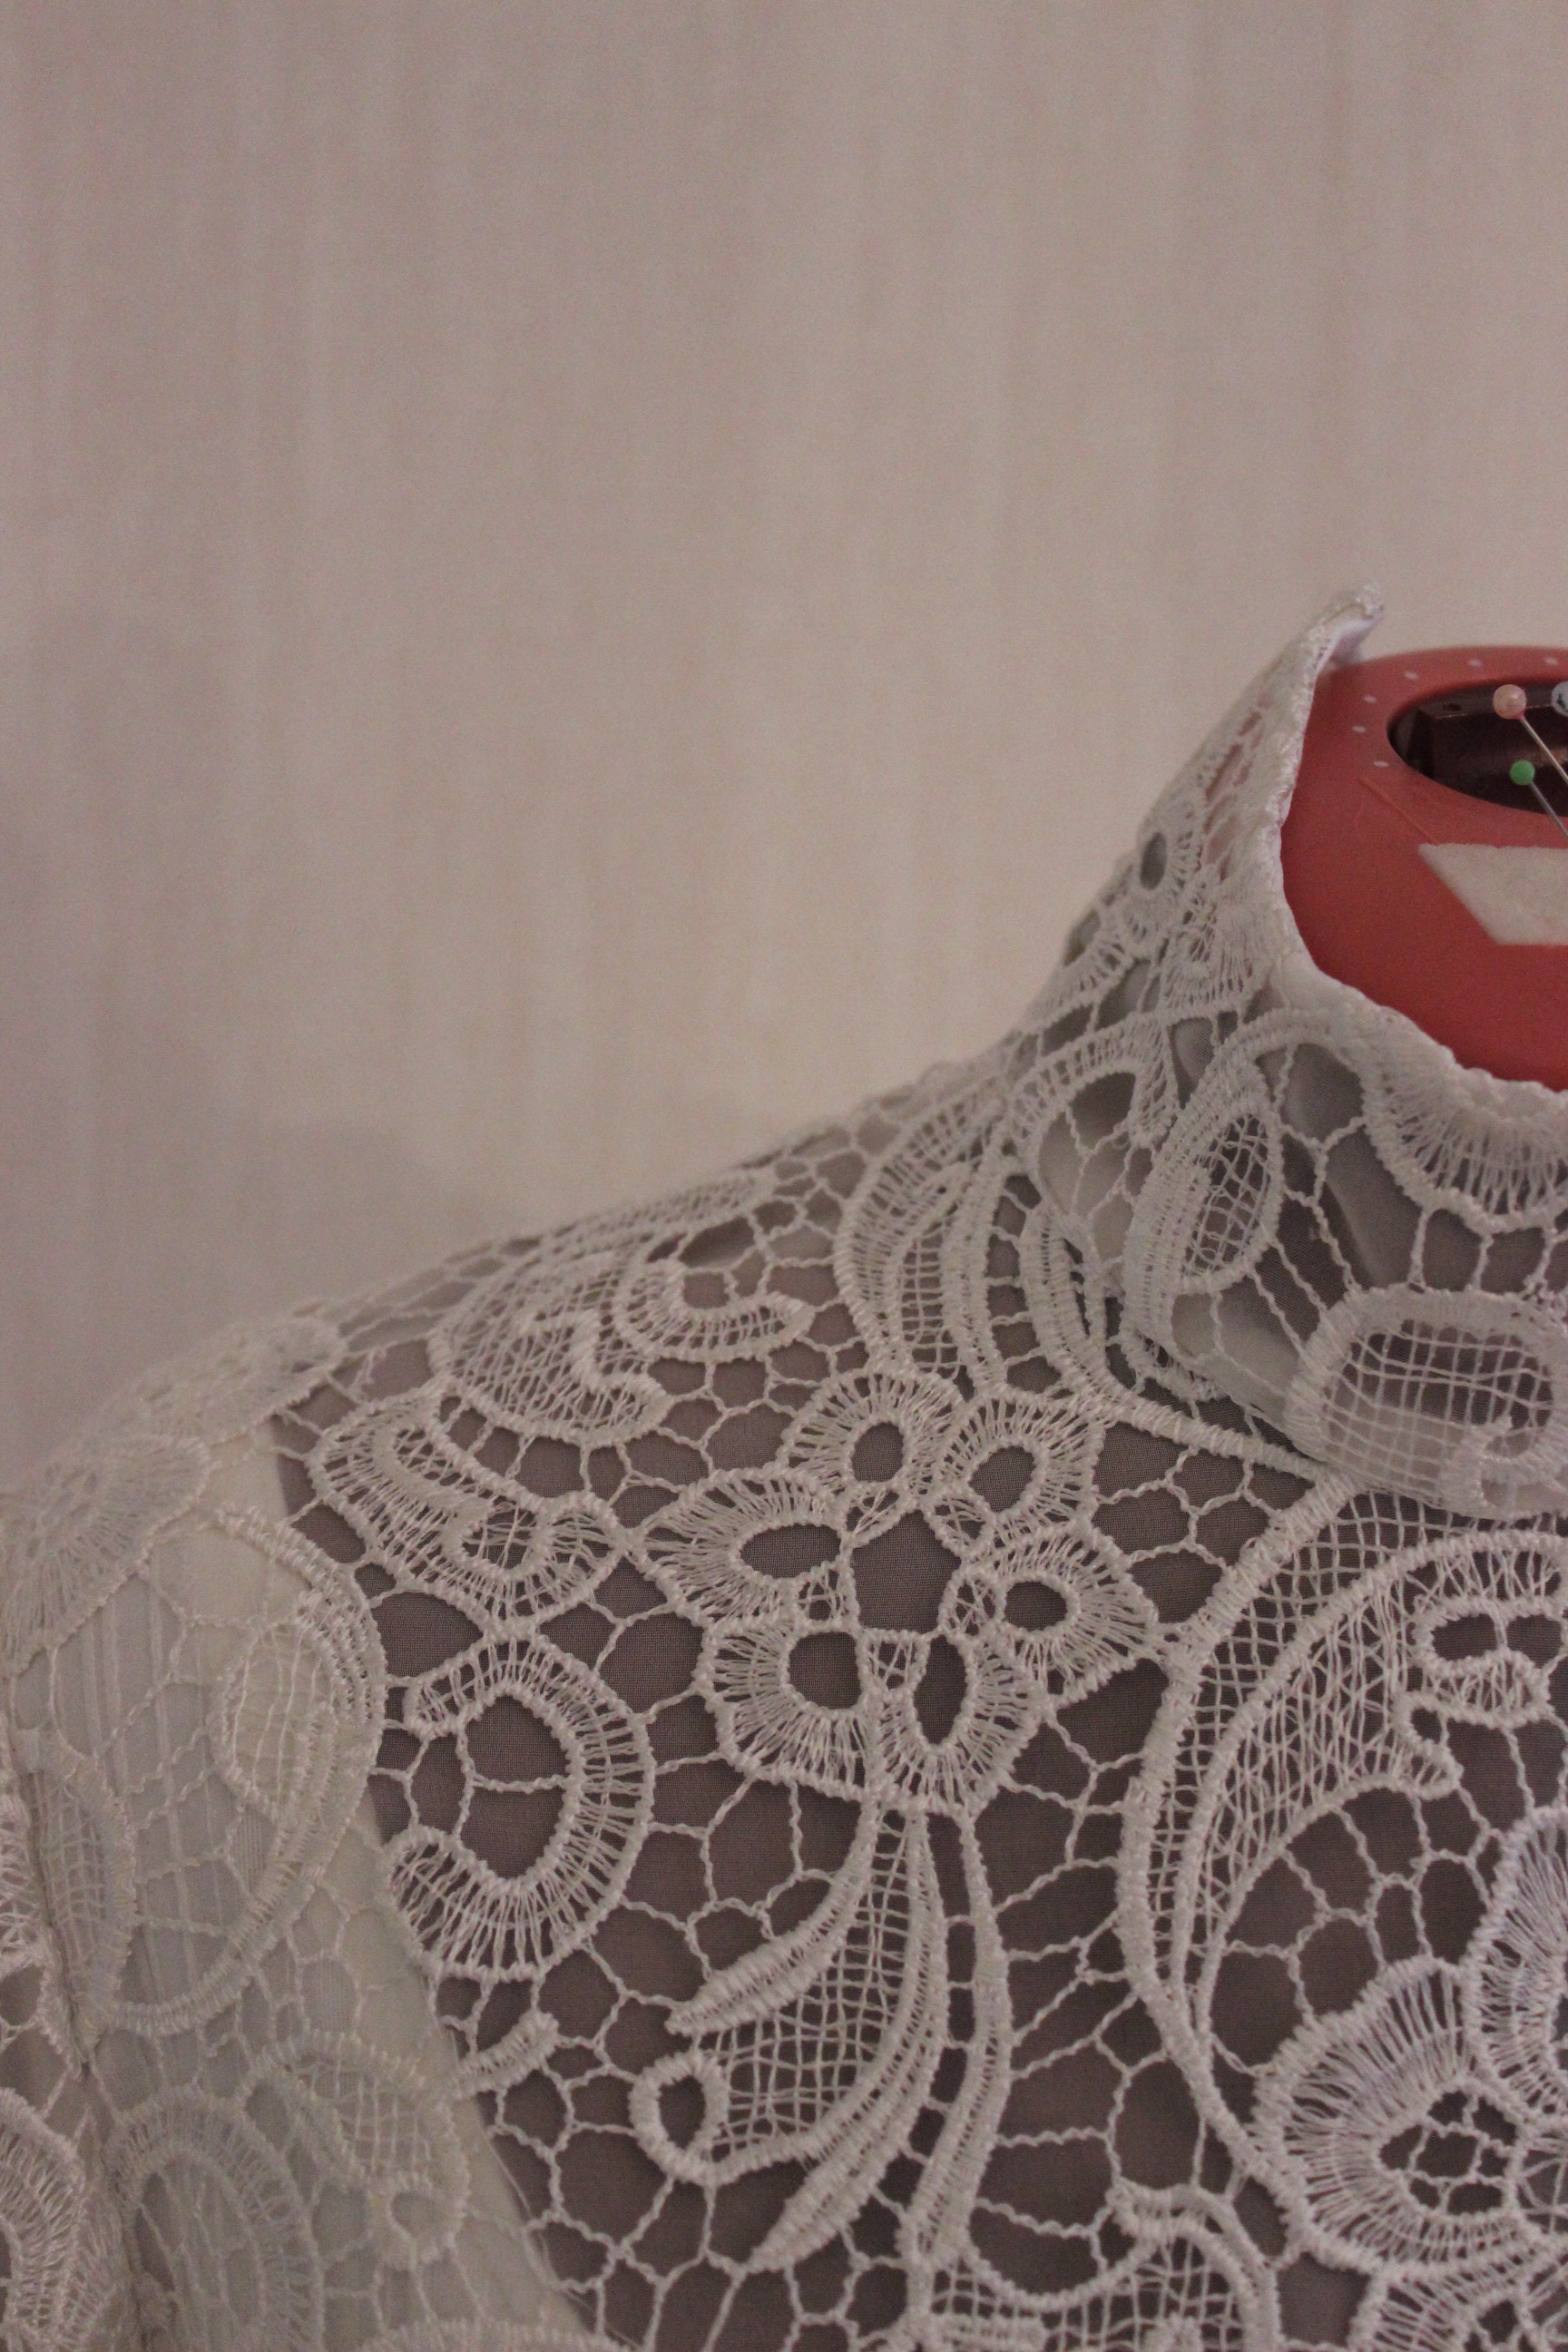
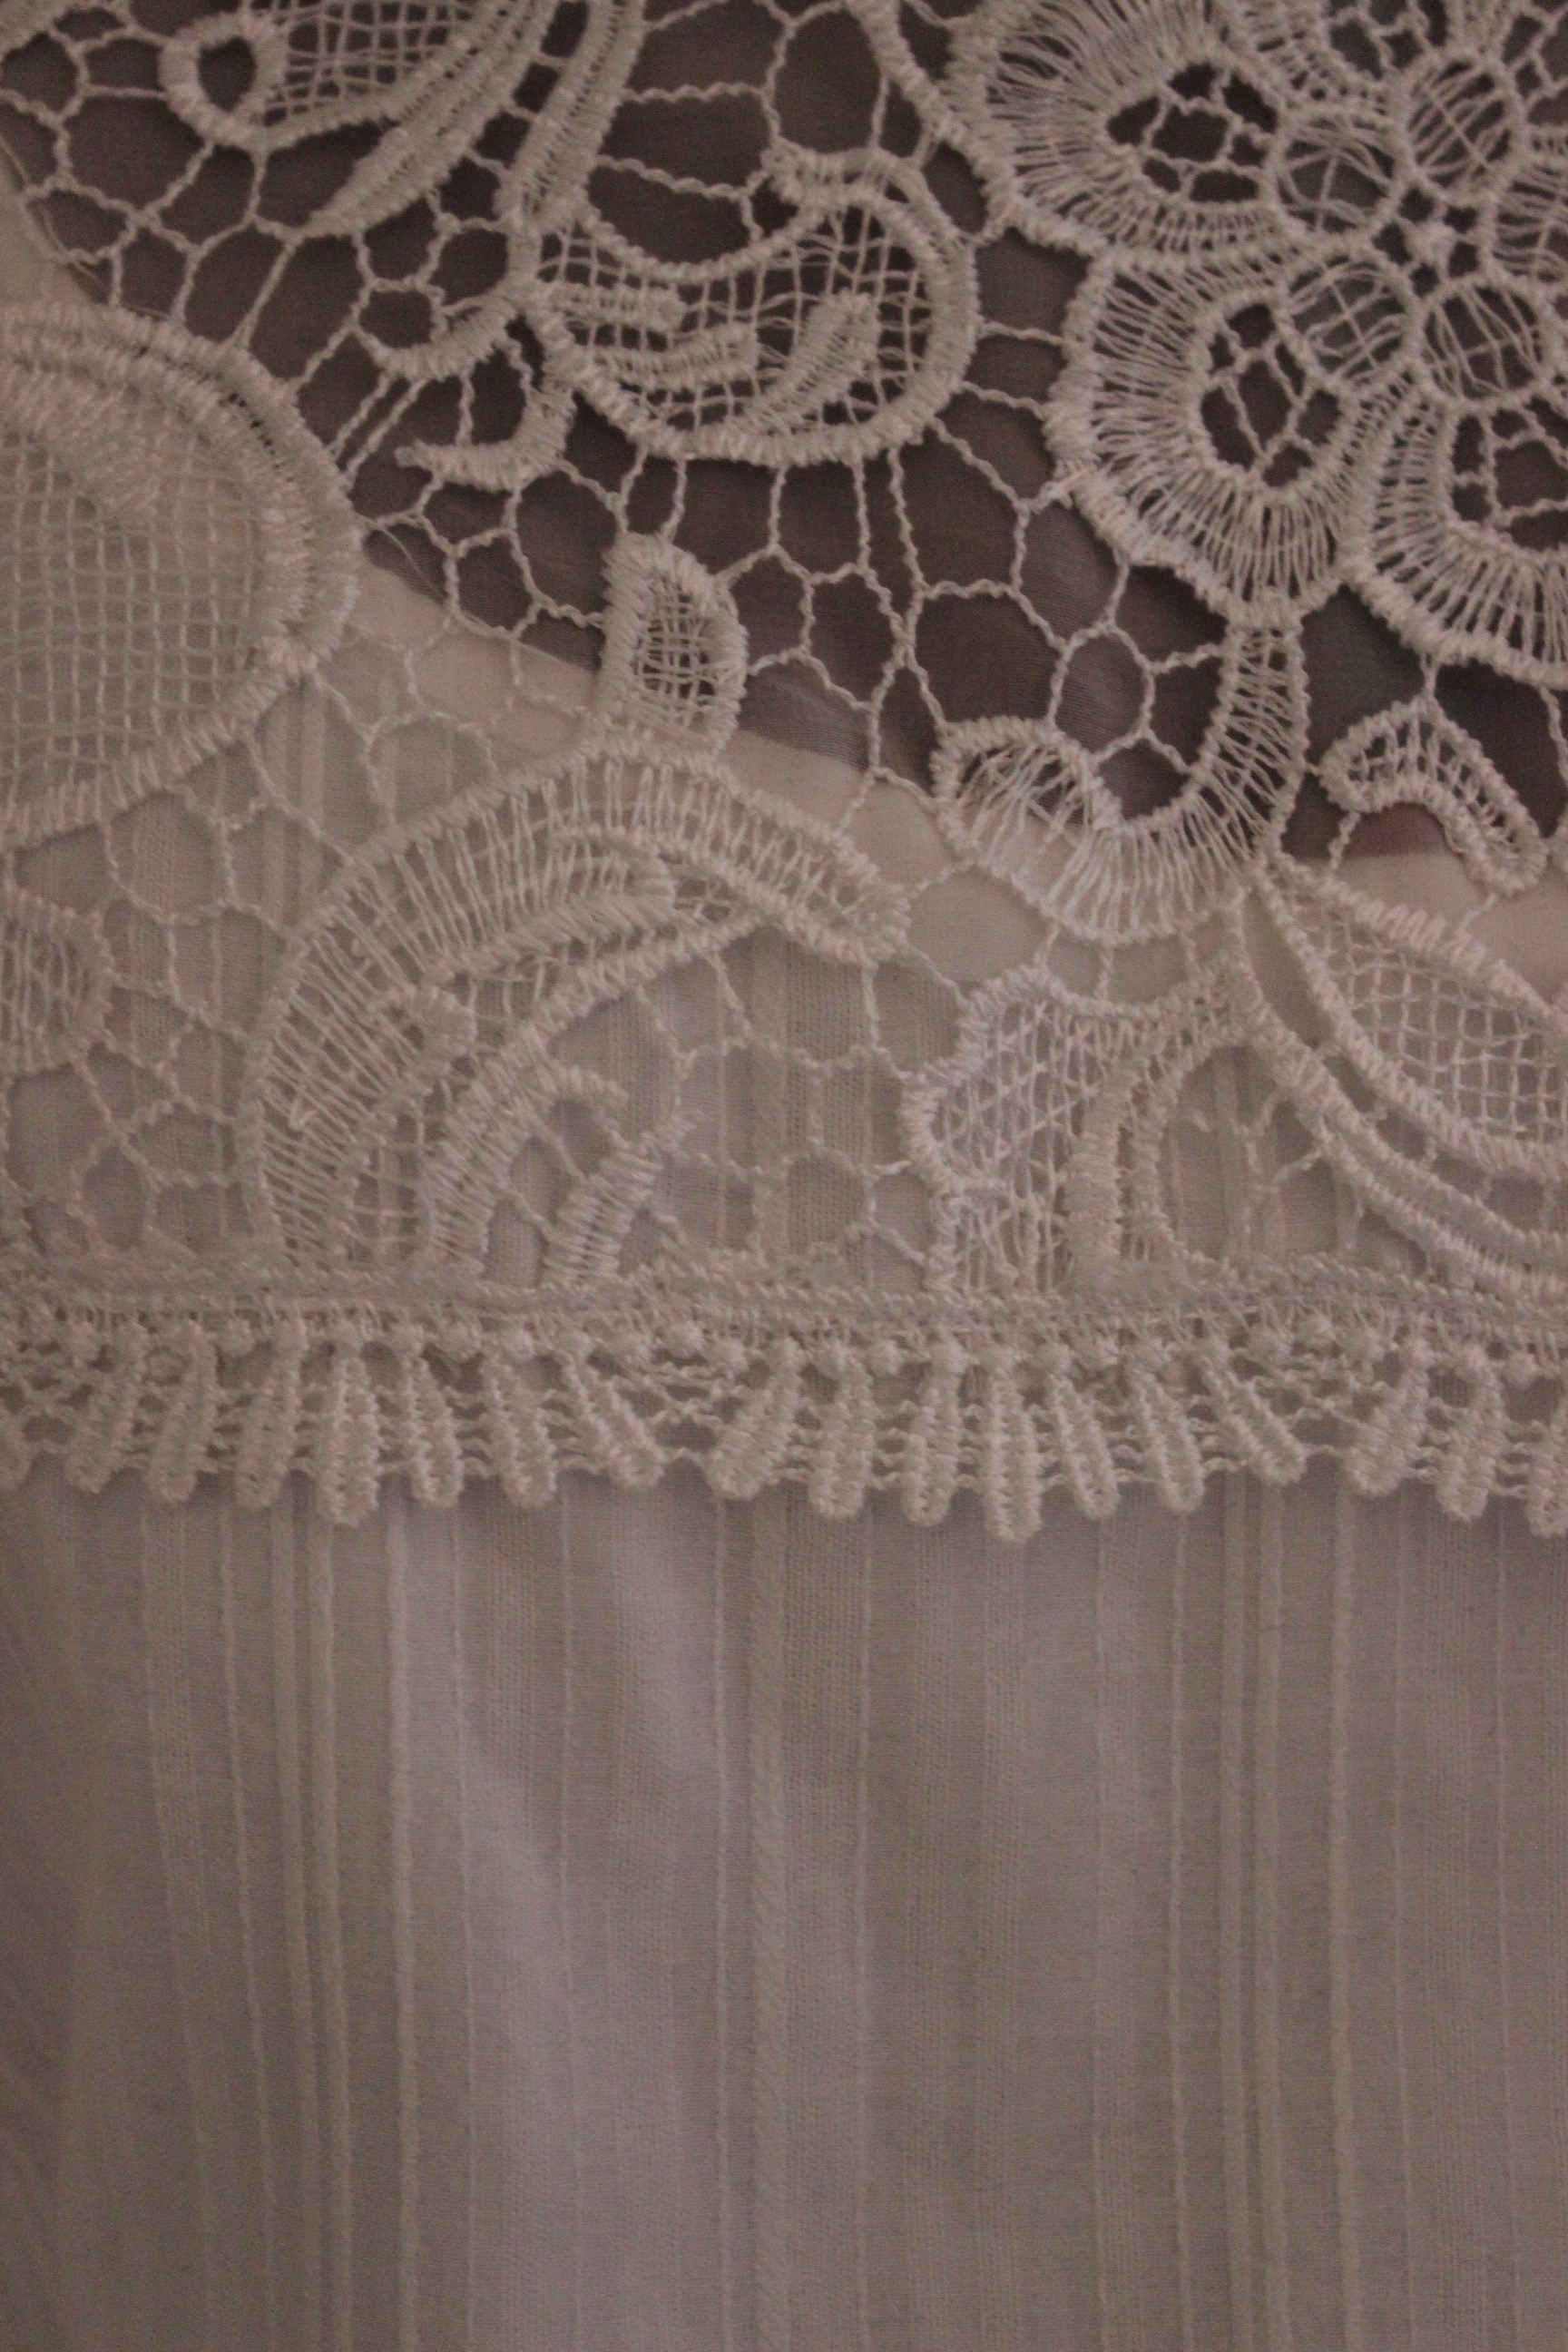
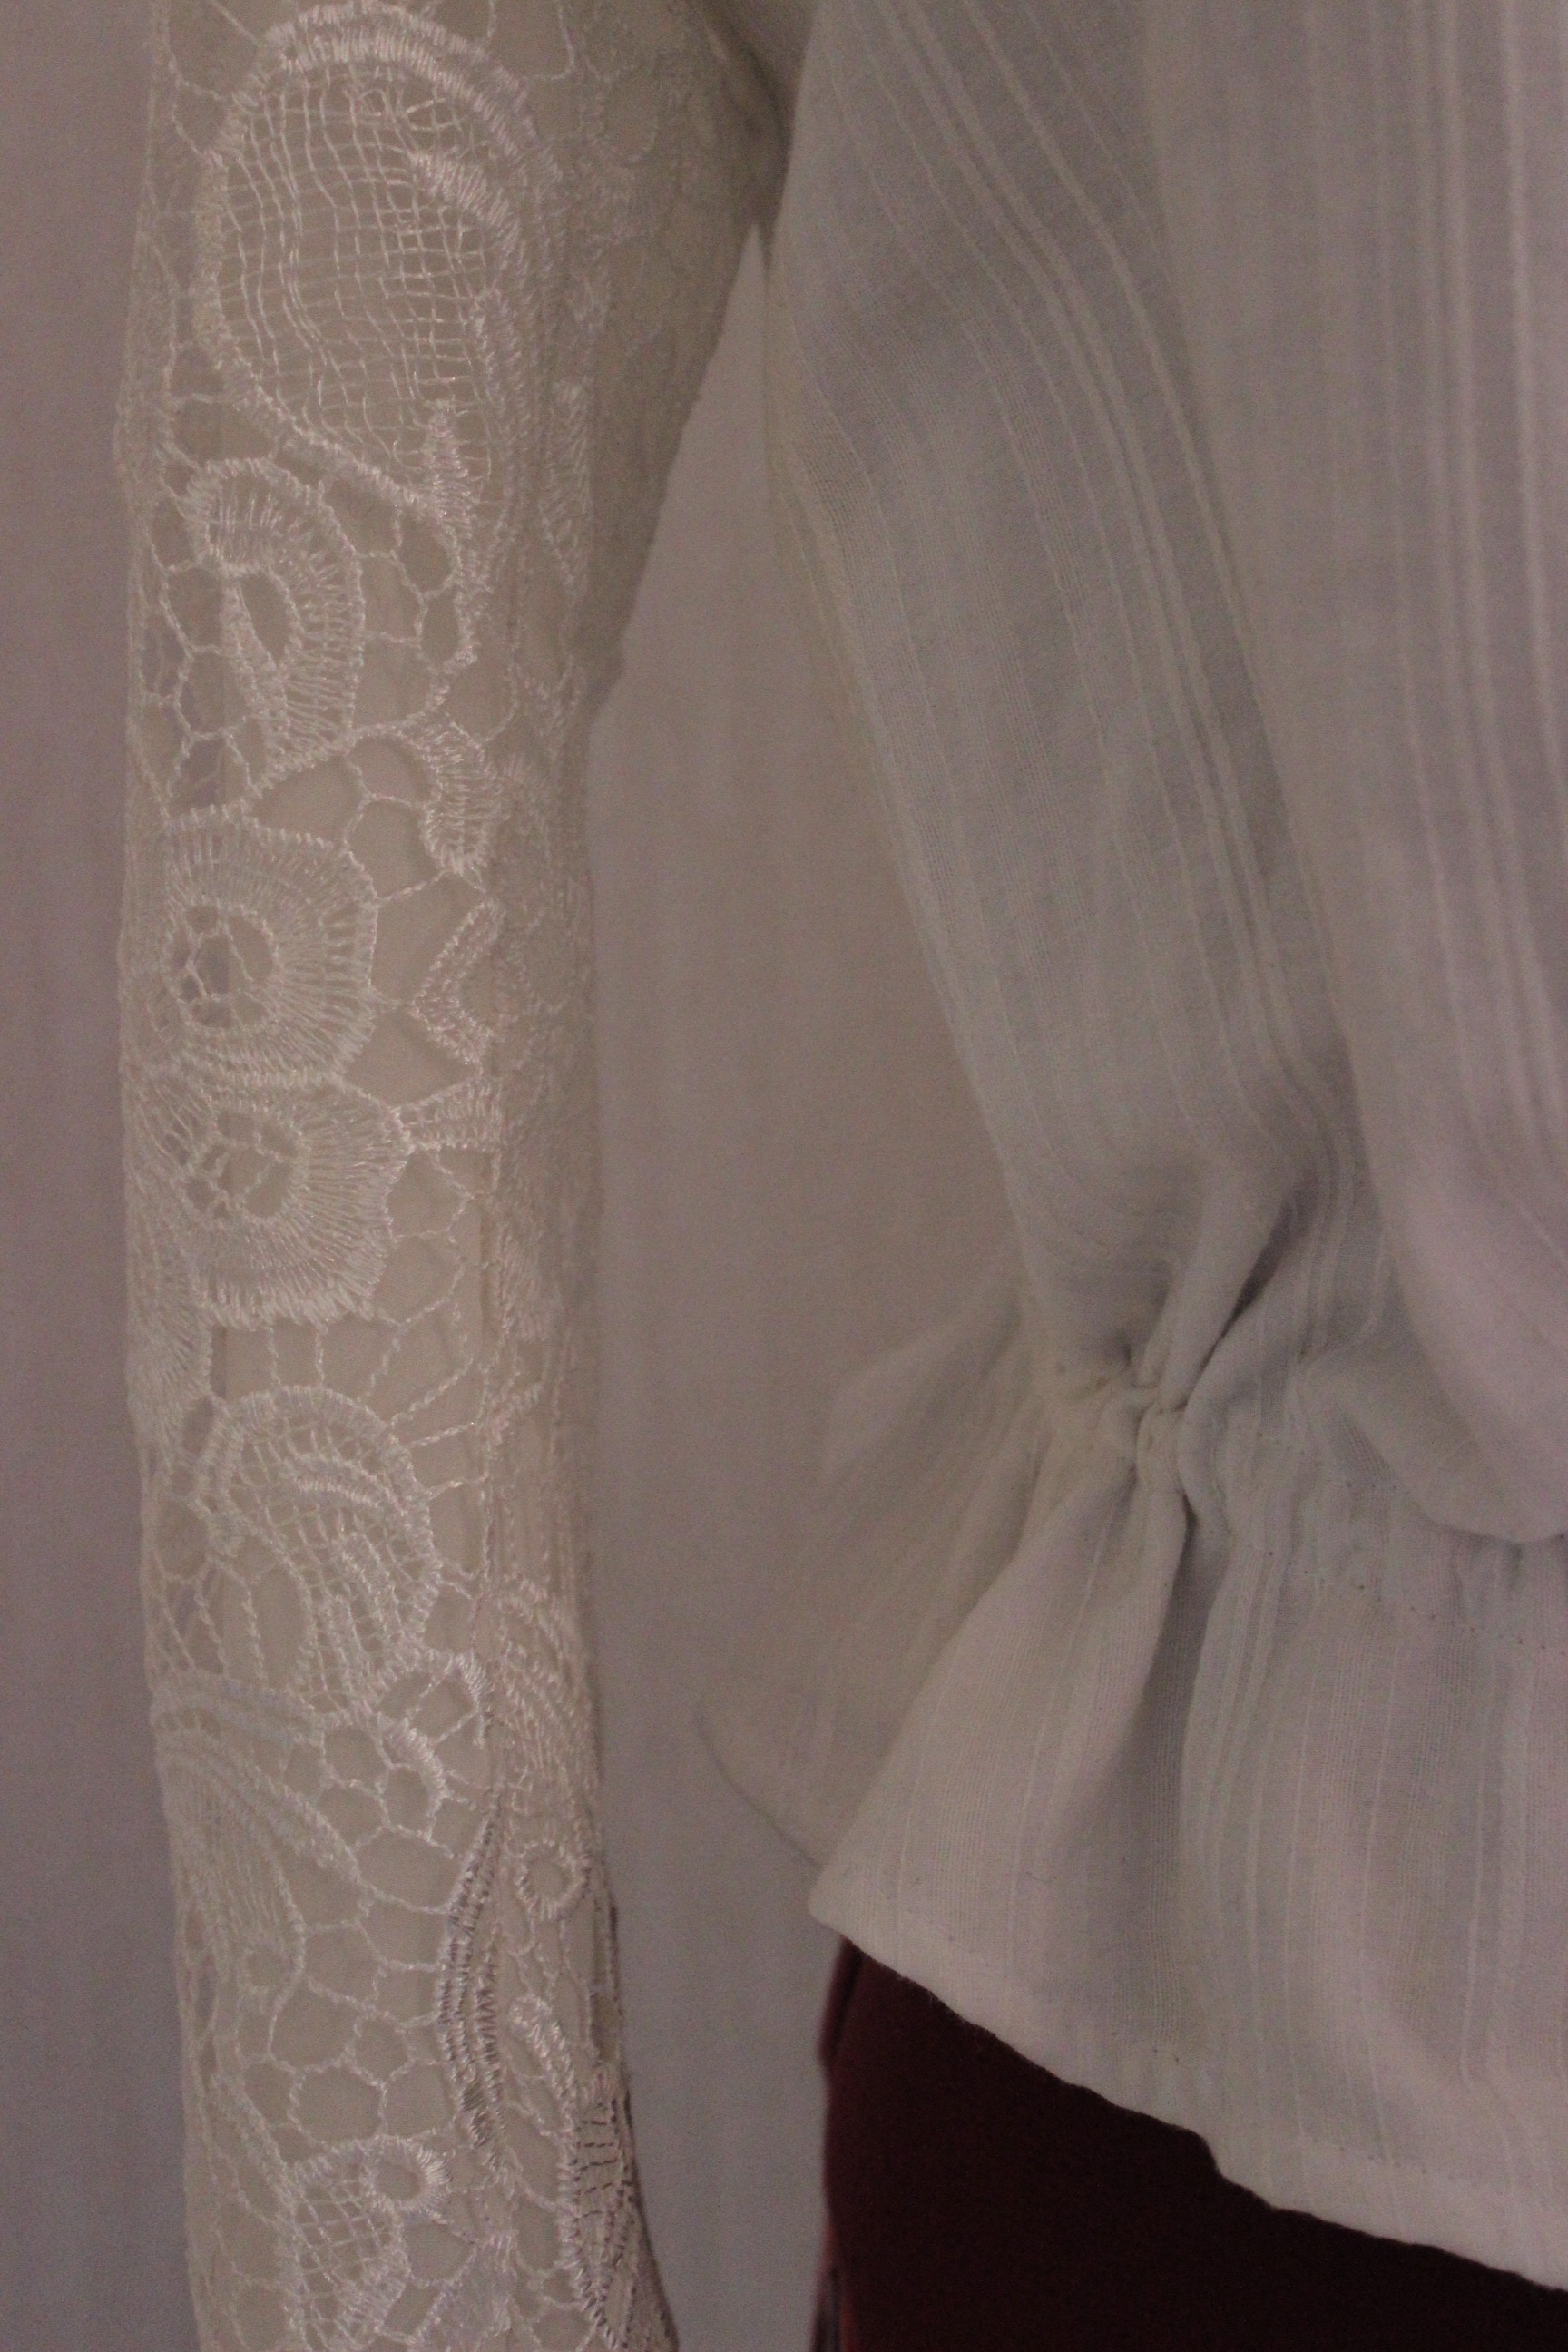
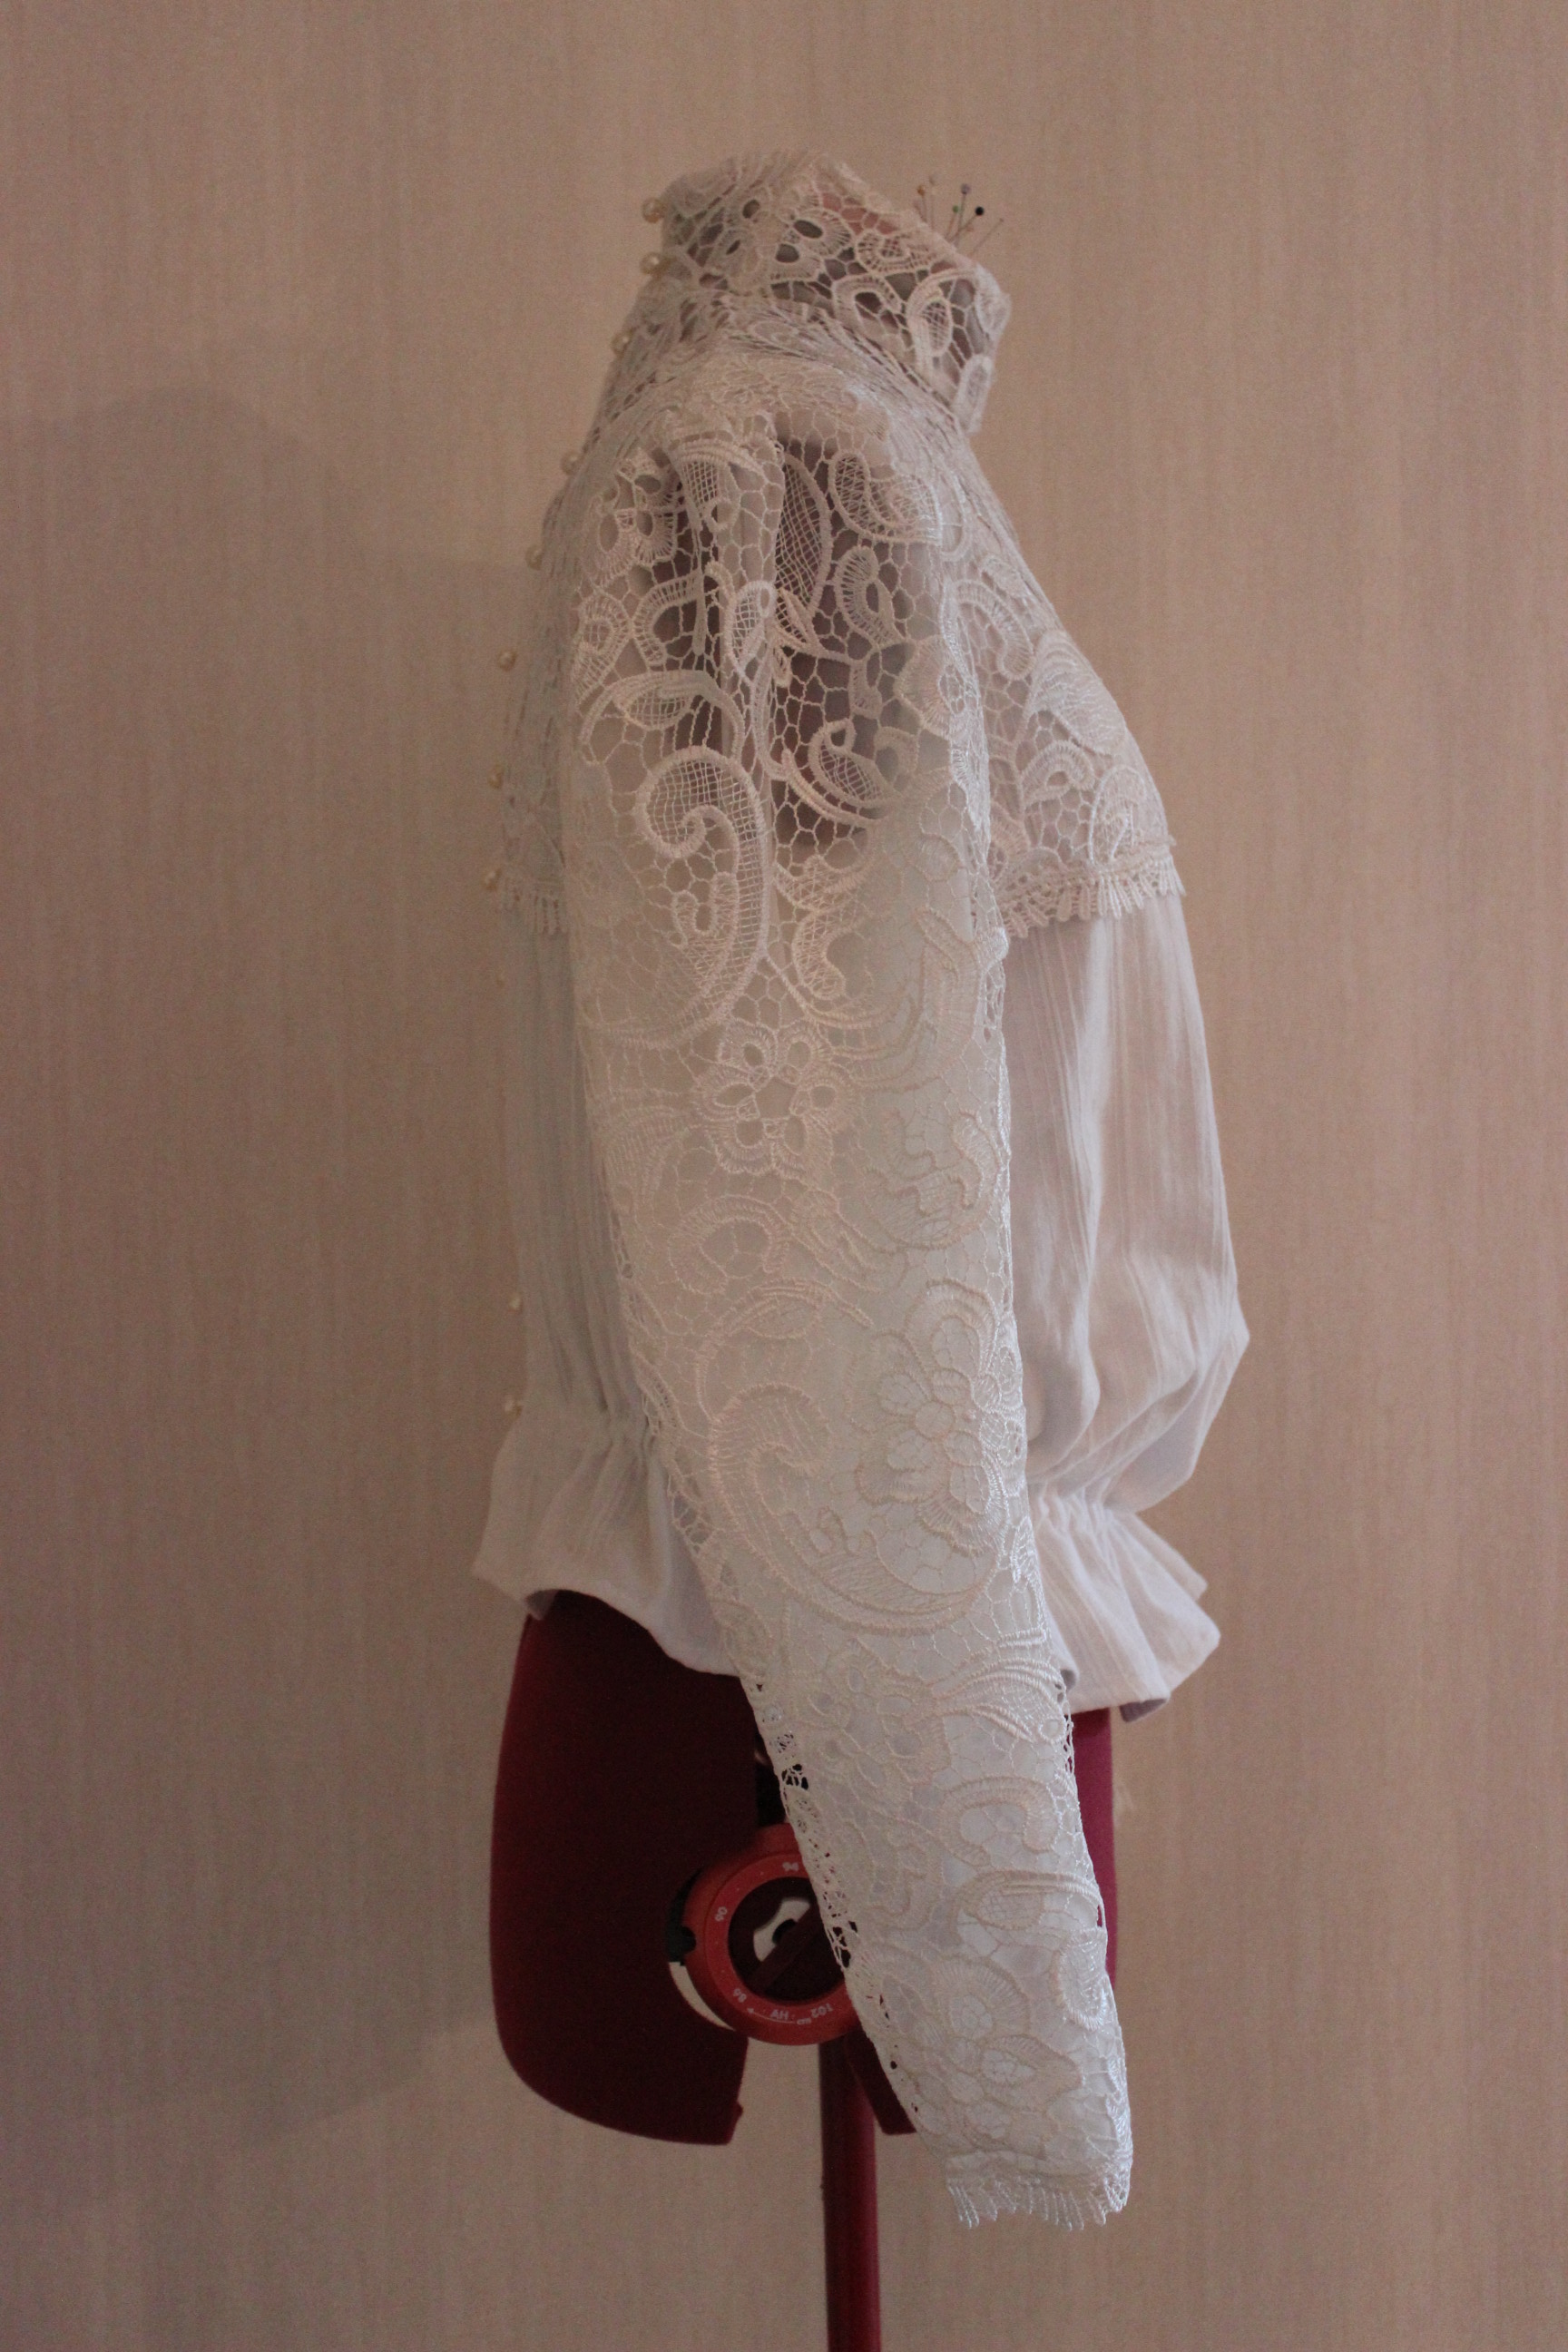
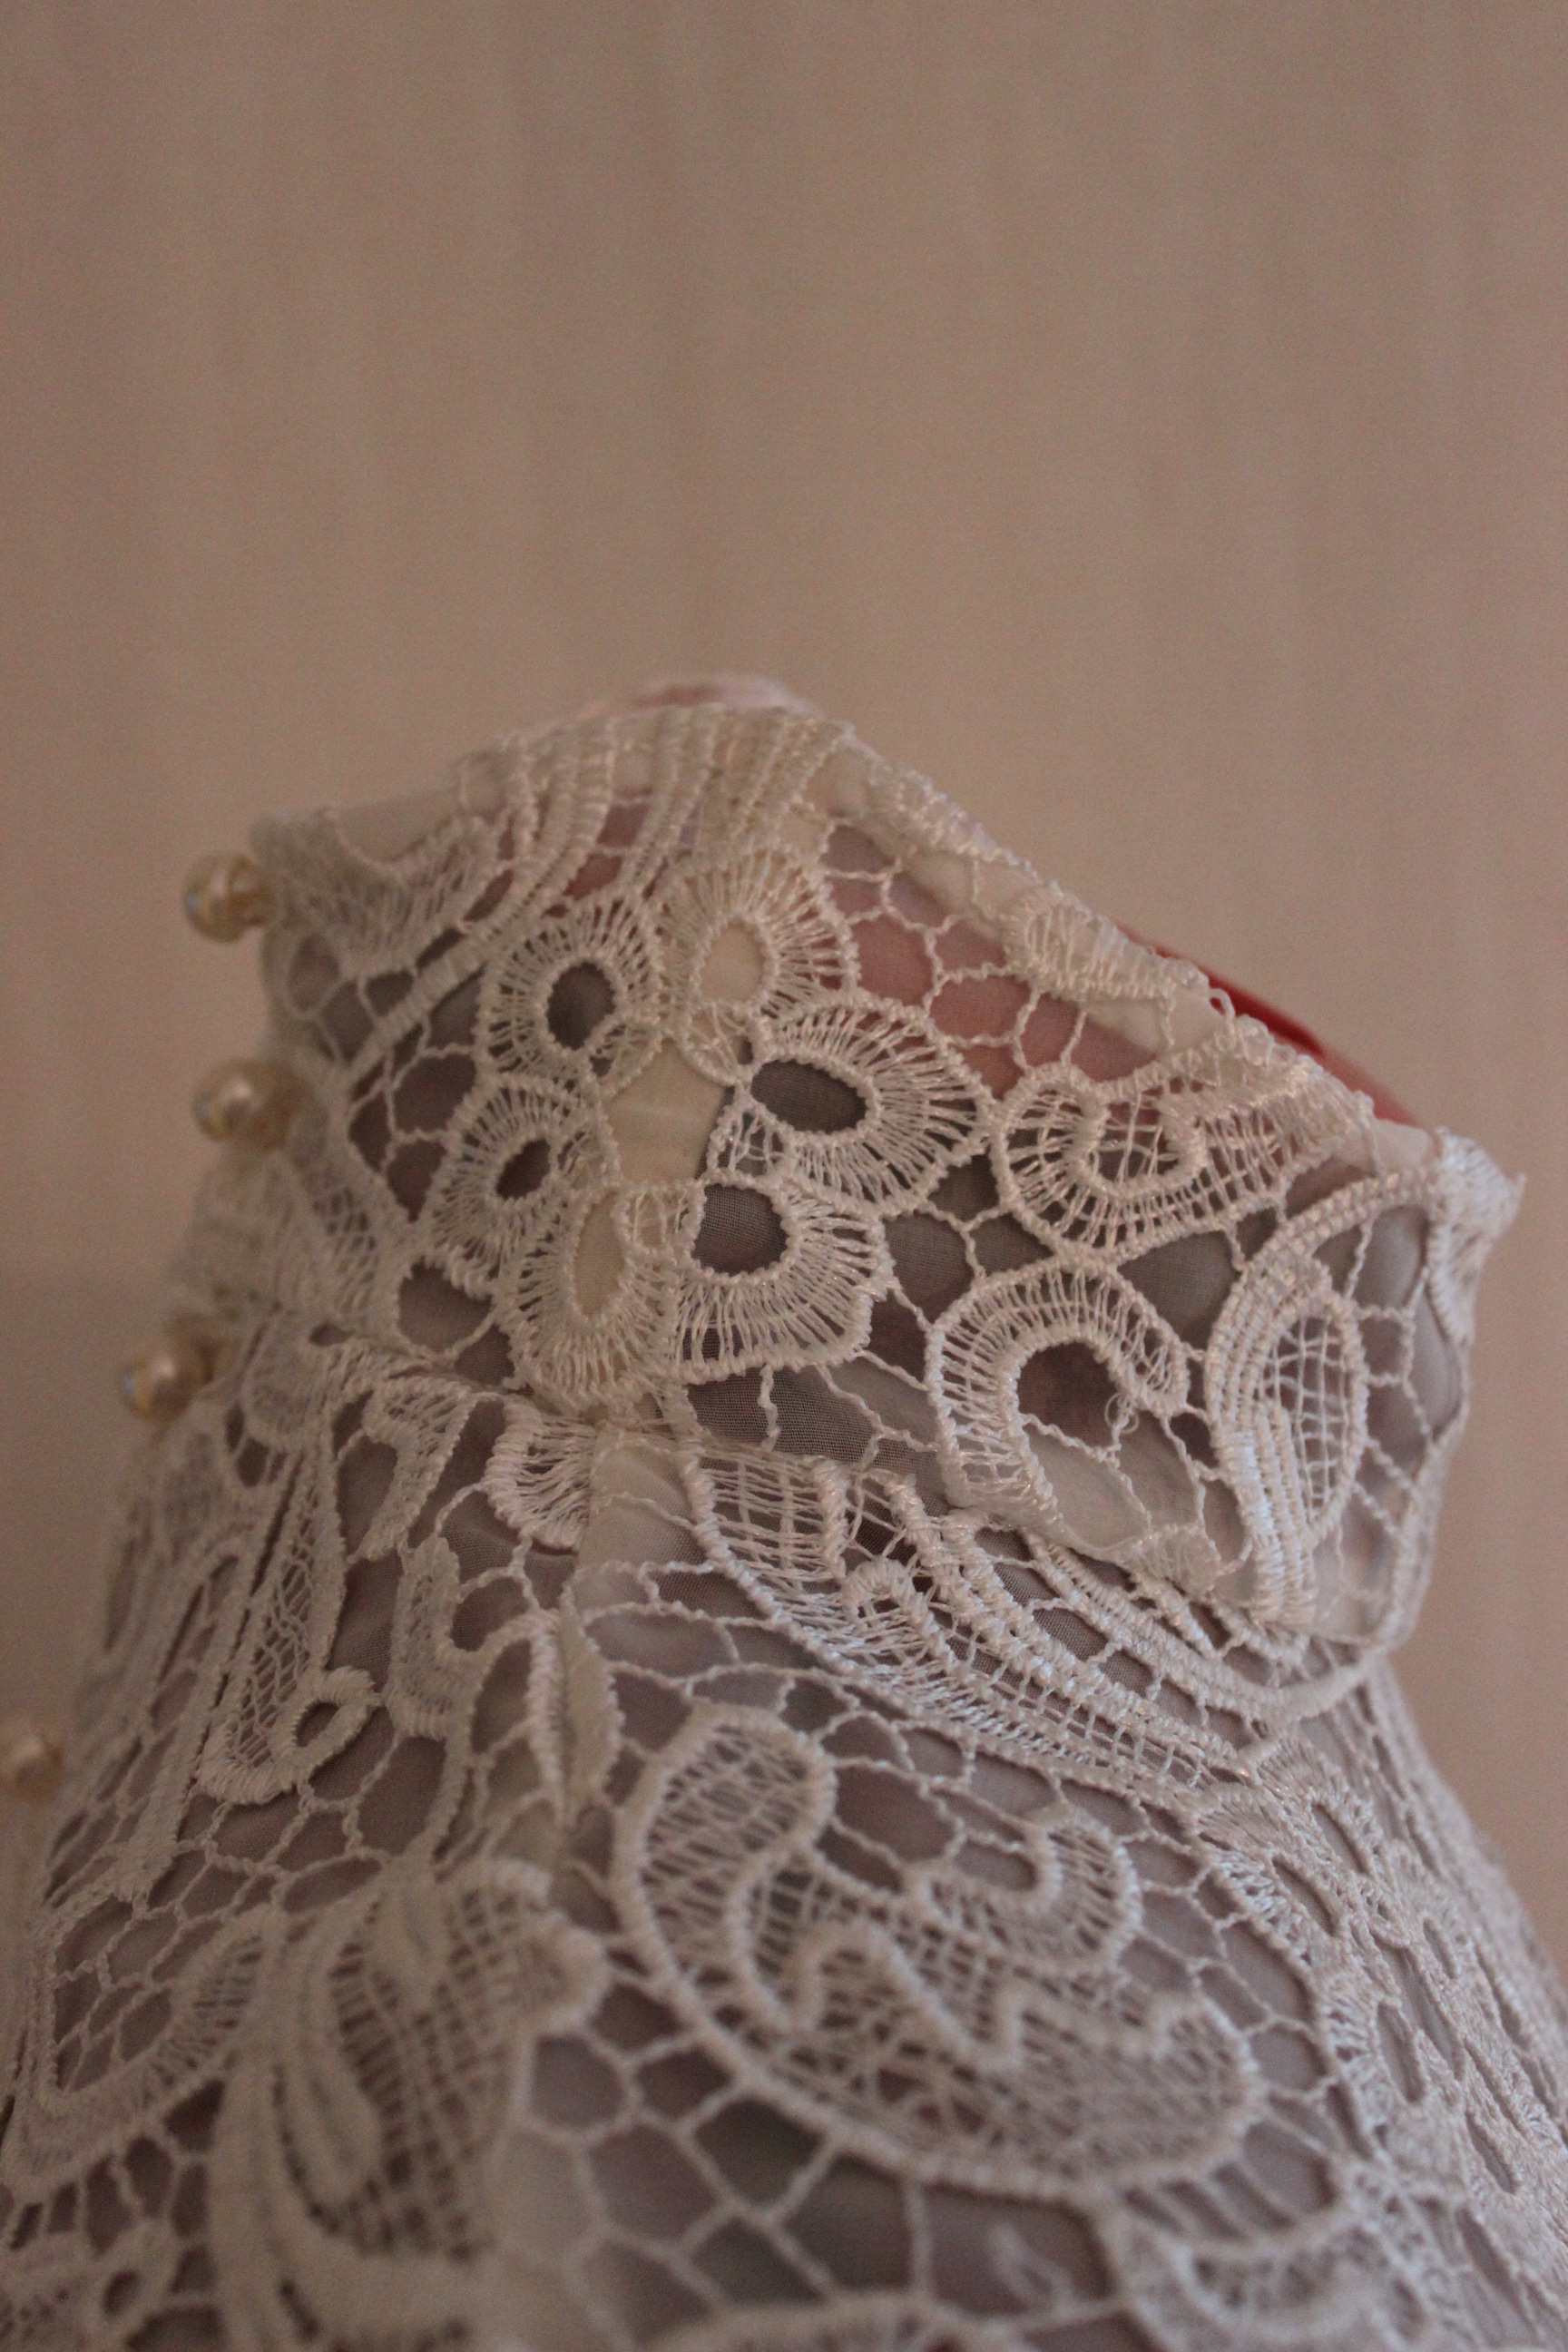
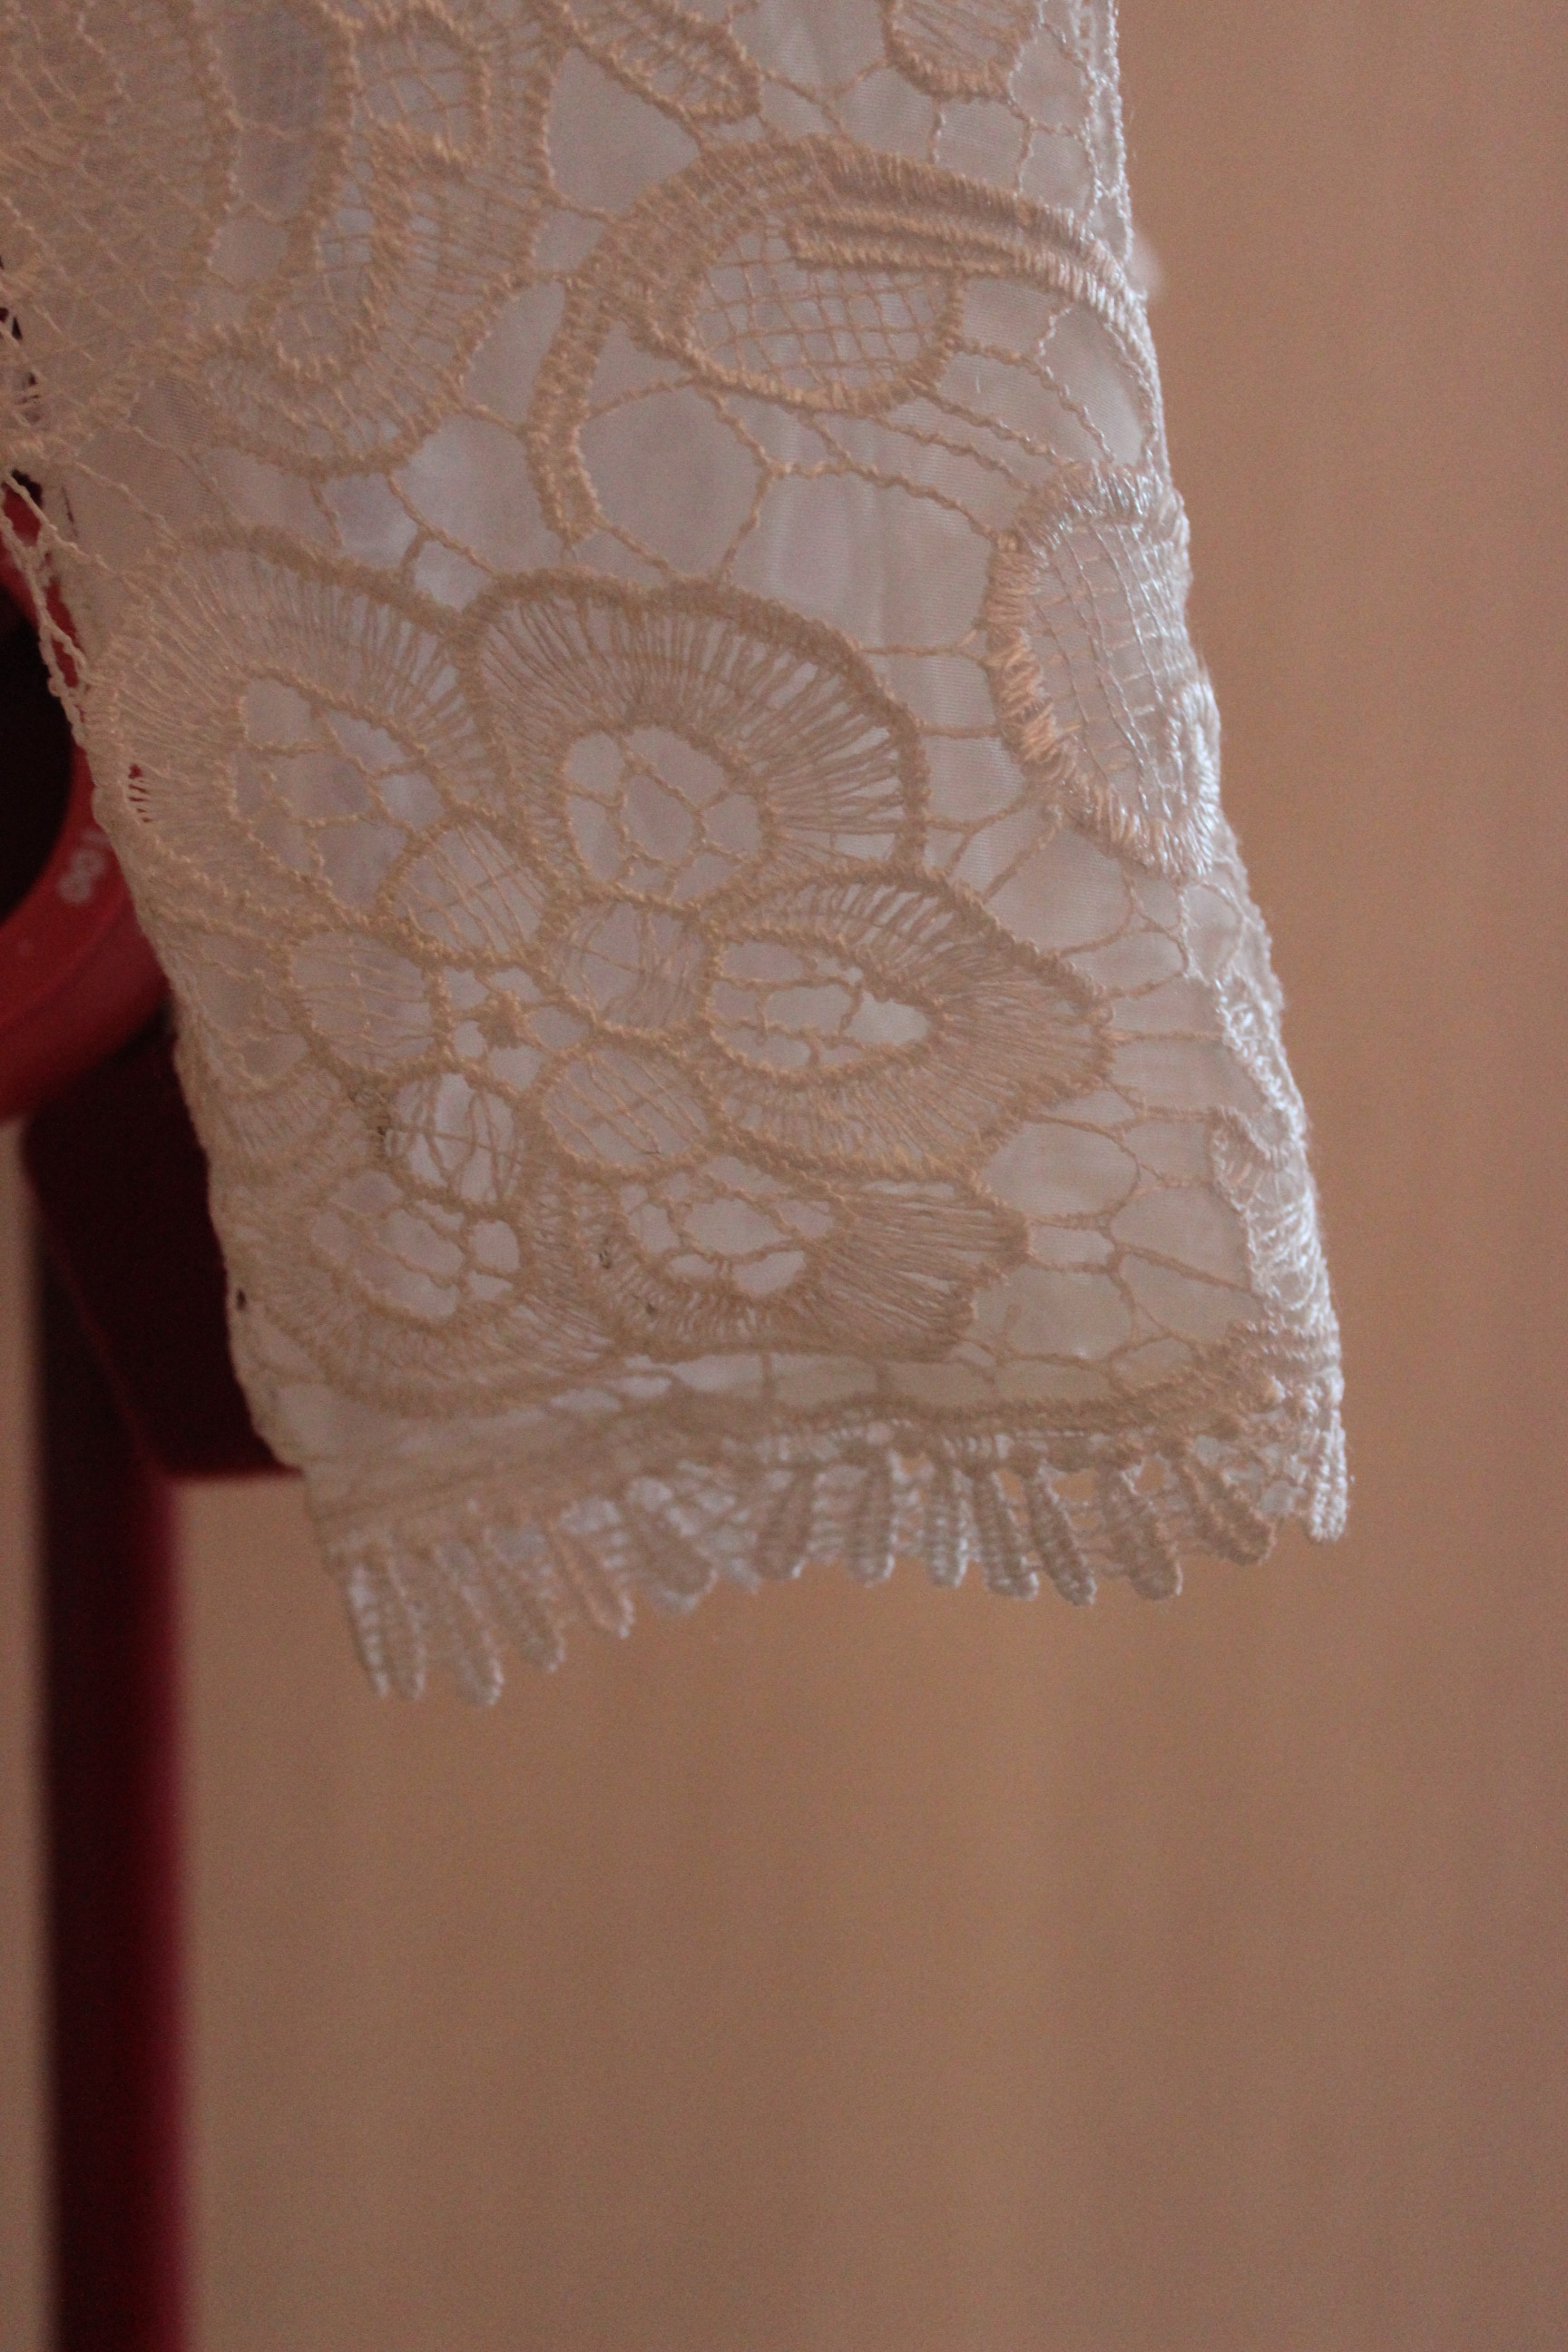
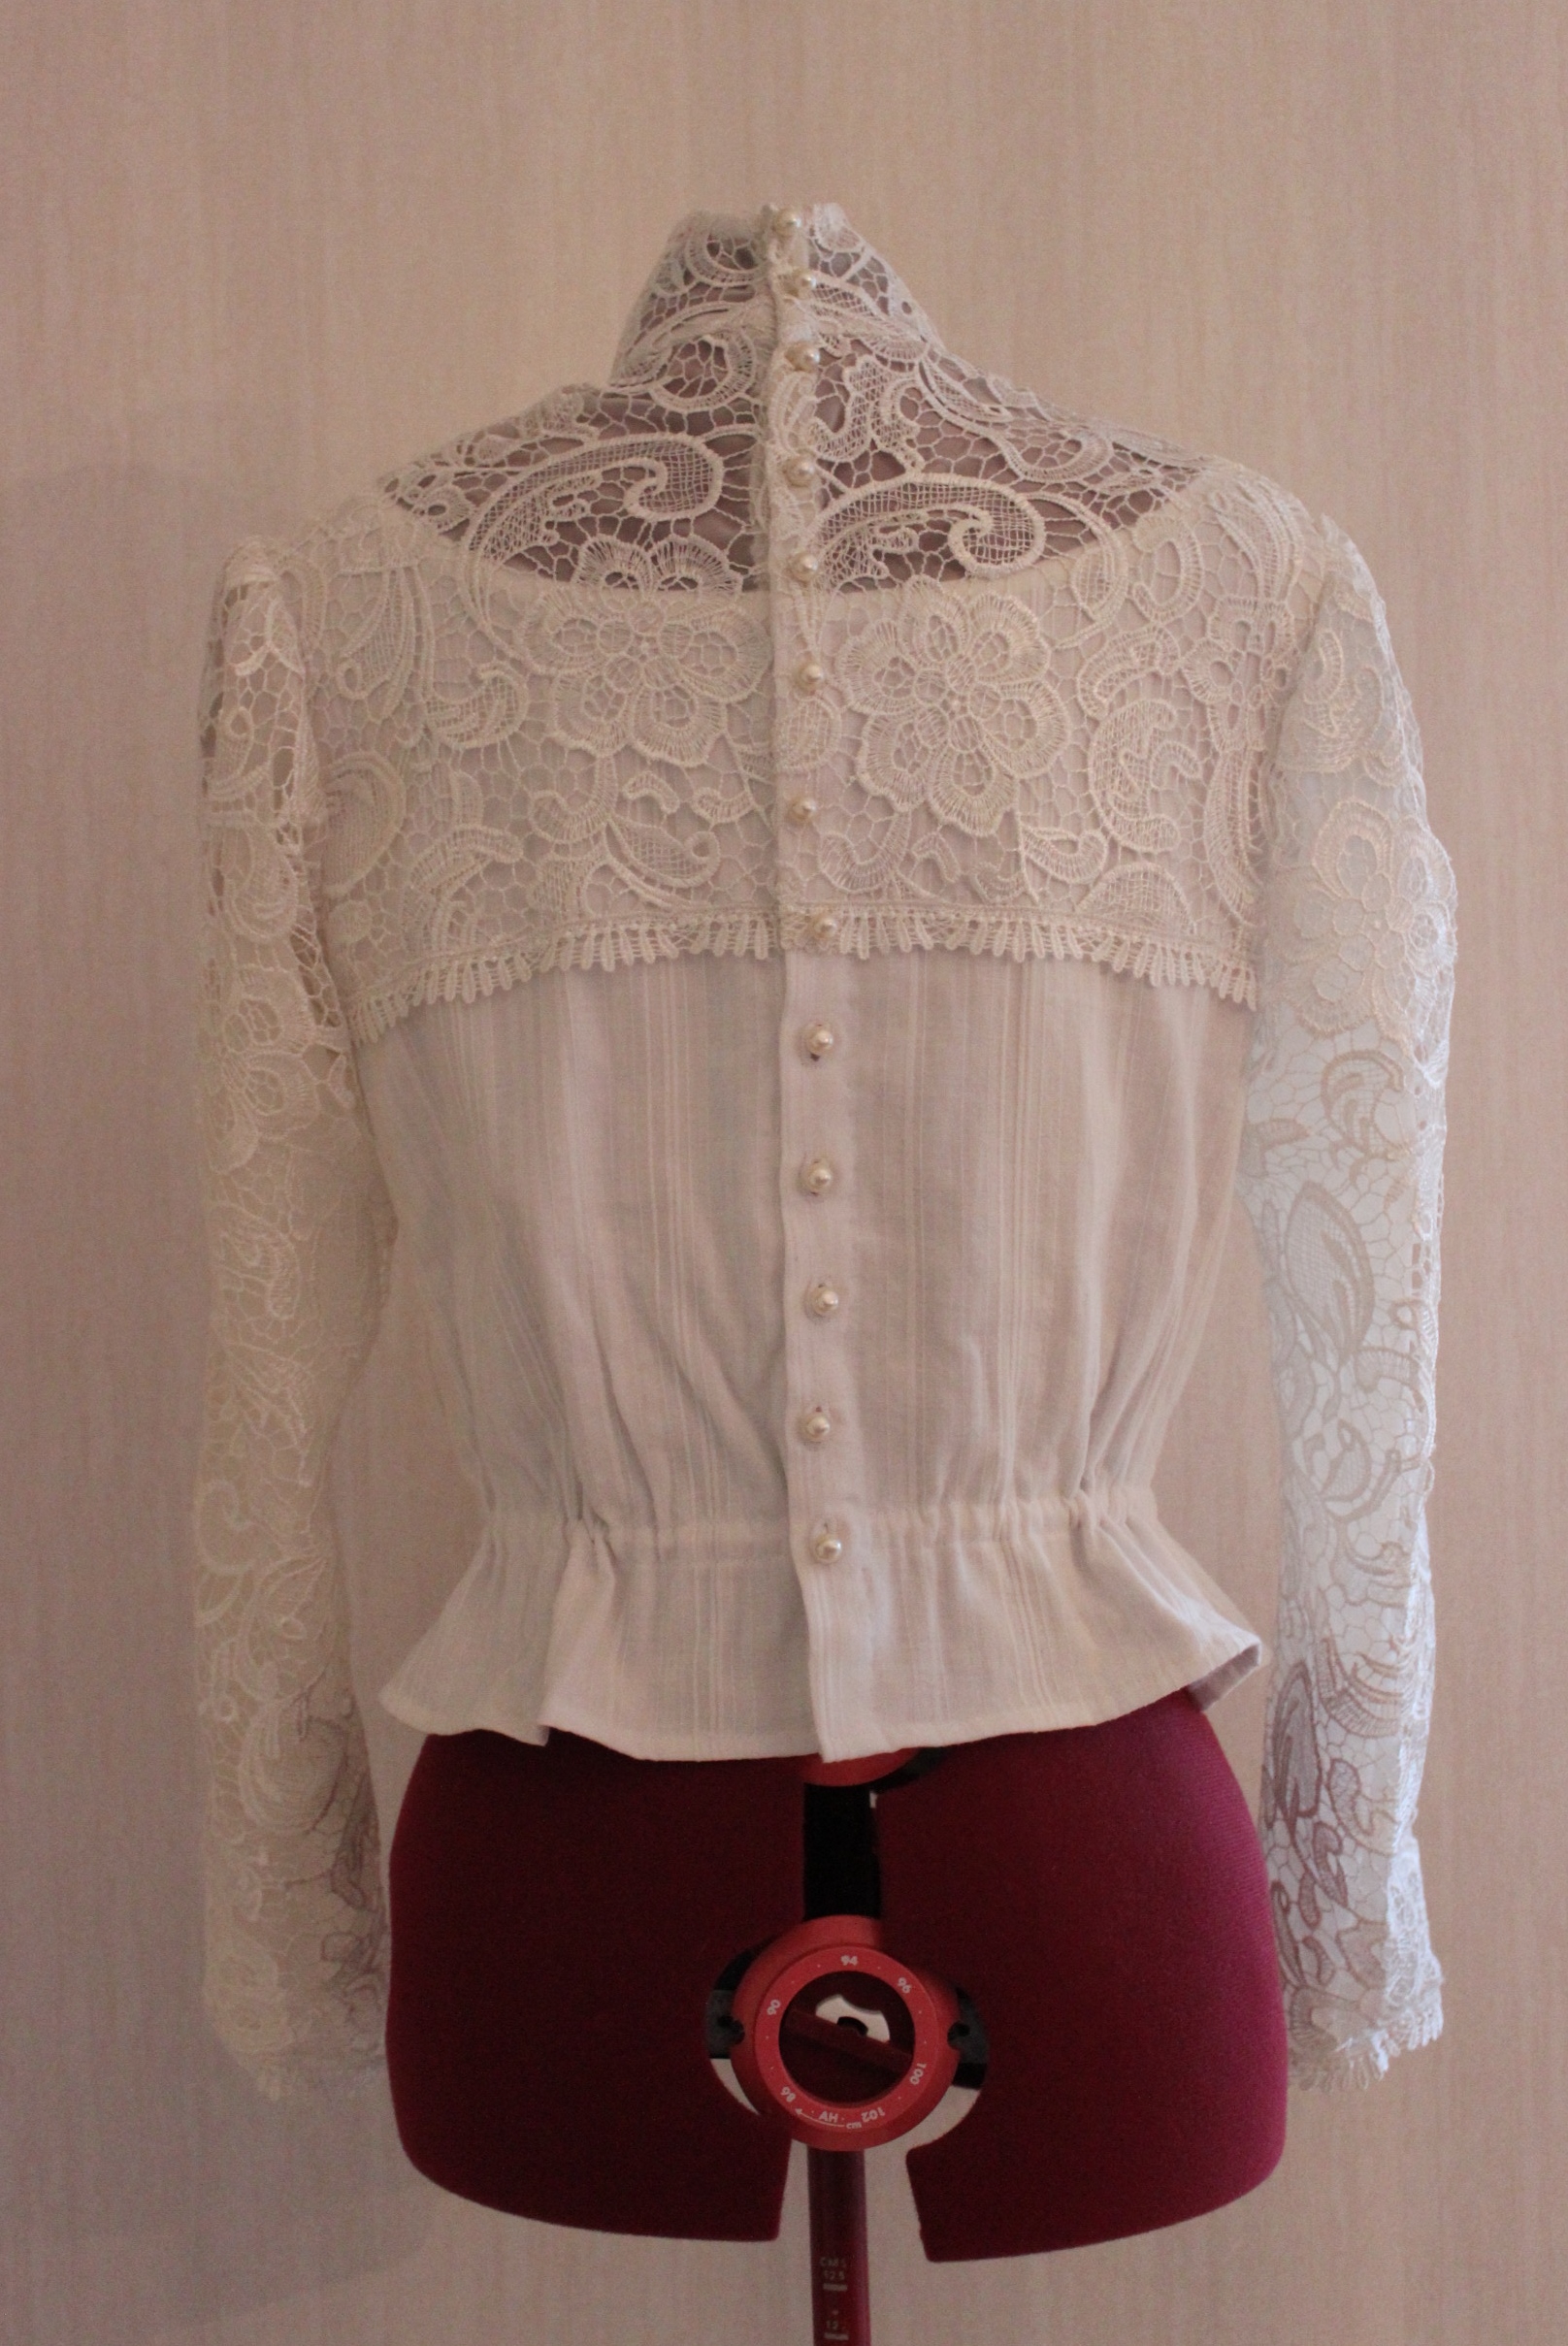
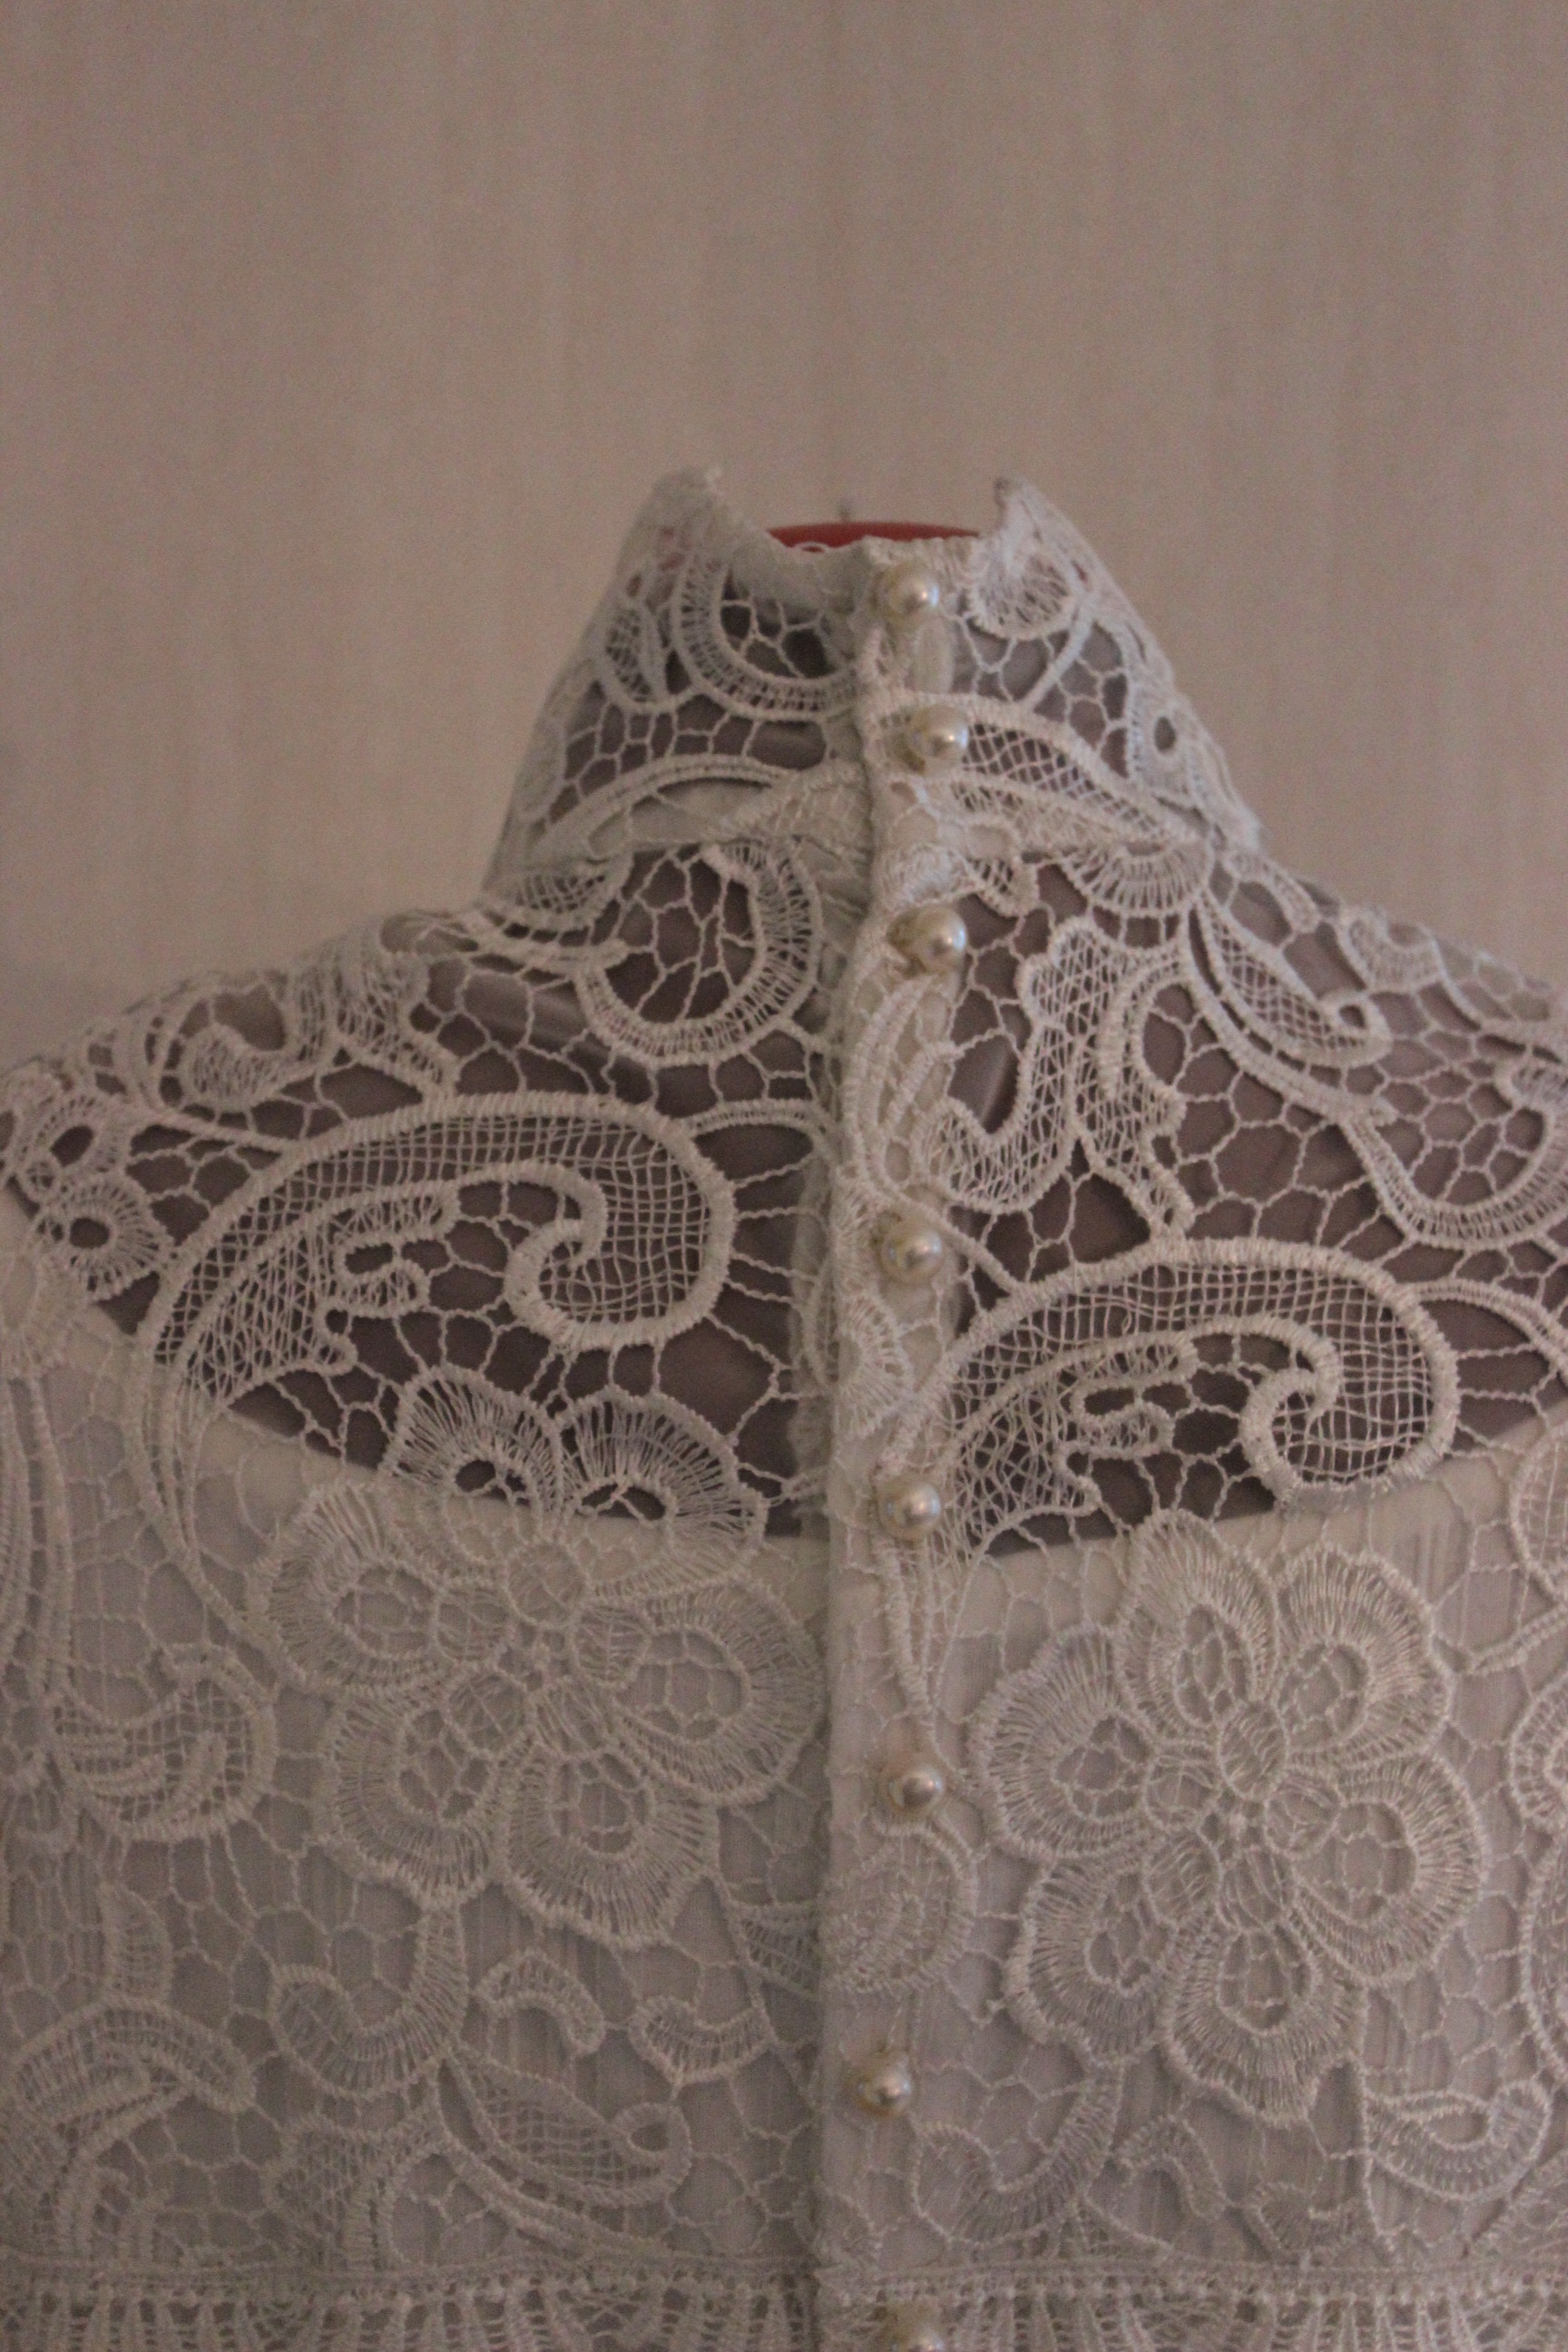
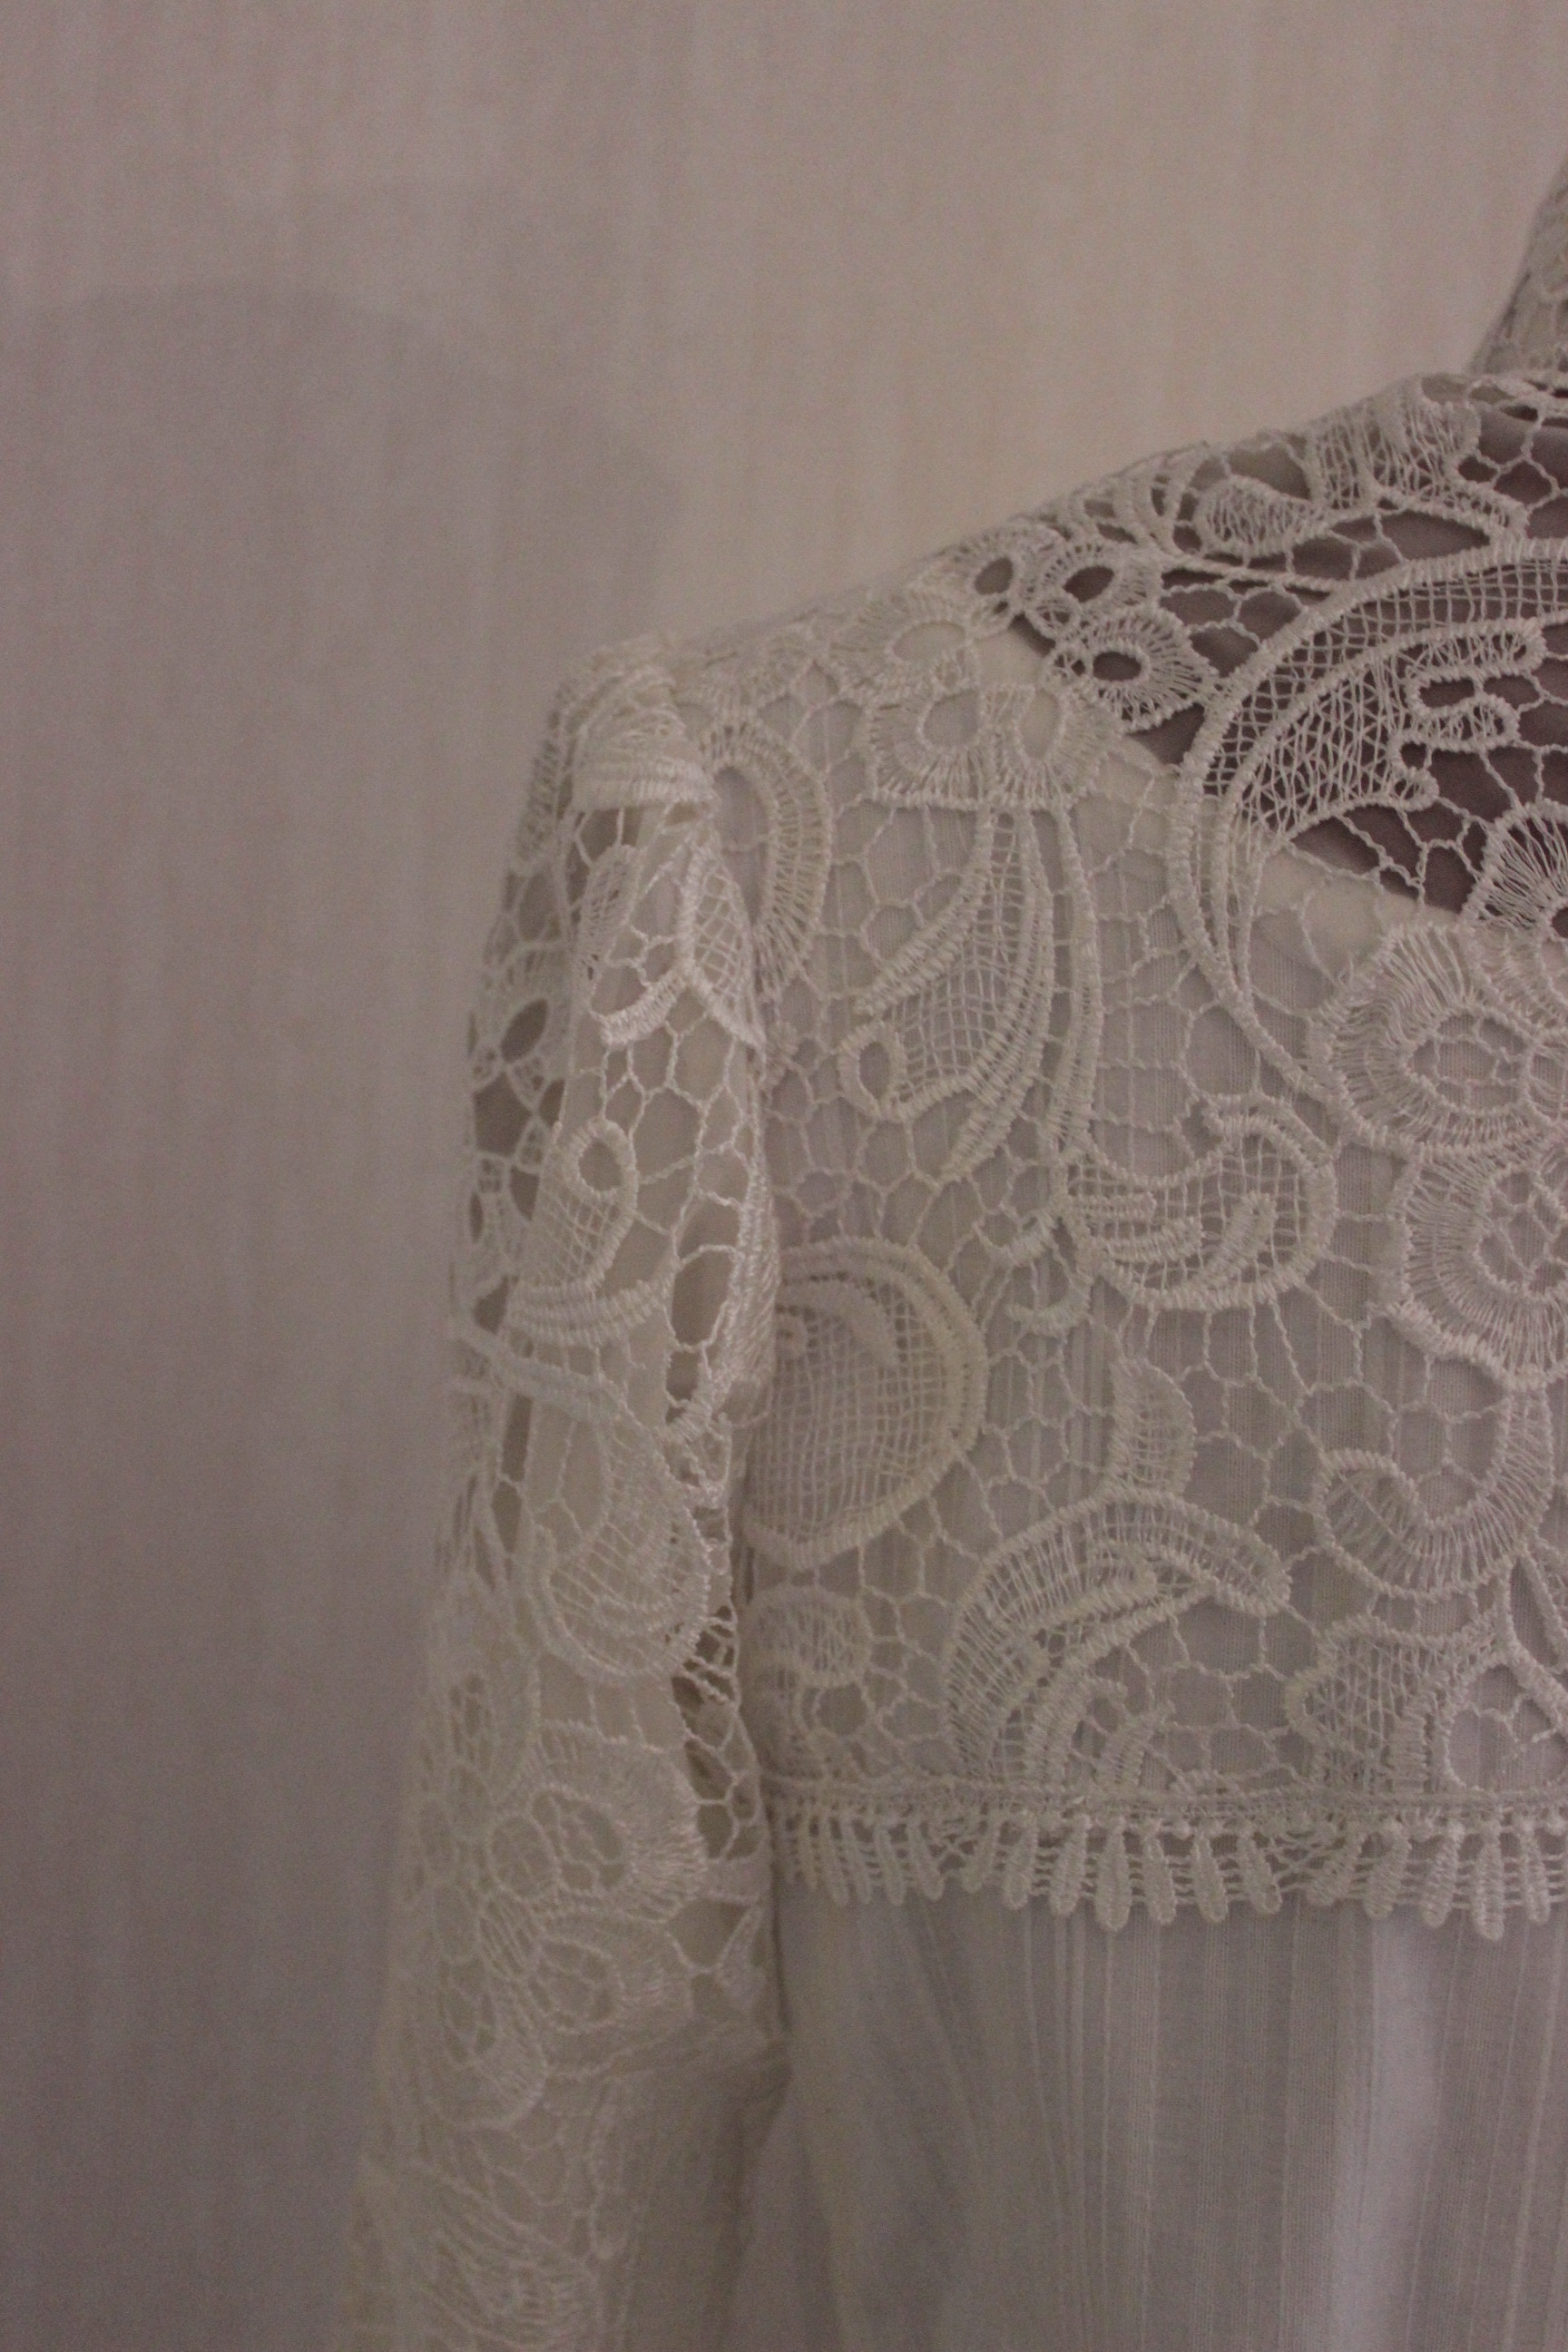
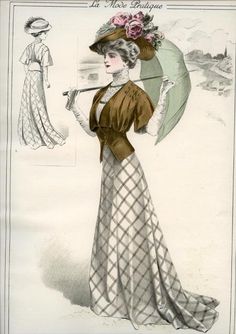
And to make a stylish (yet autumn inspired) 1900s day dress for the Brown Challenge. IMG_8890

October:

For the Sewing secrets Challenge, I made a new skirt to my 17th century bodice (not yet blogged about) IMG_9531_resized

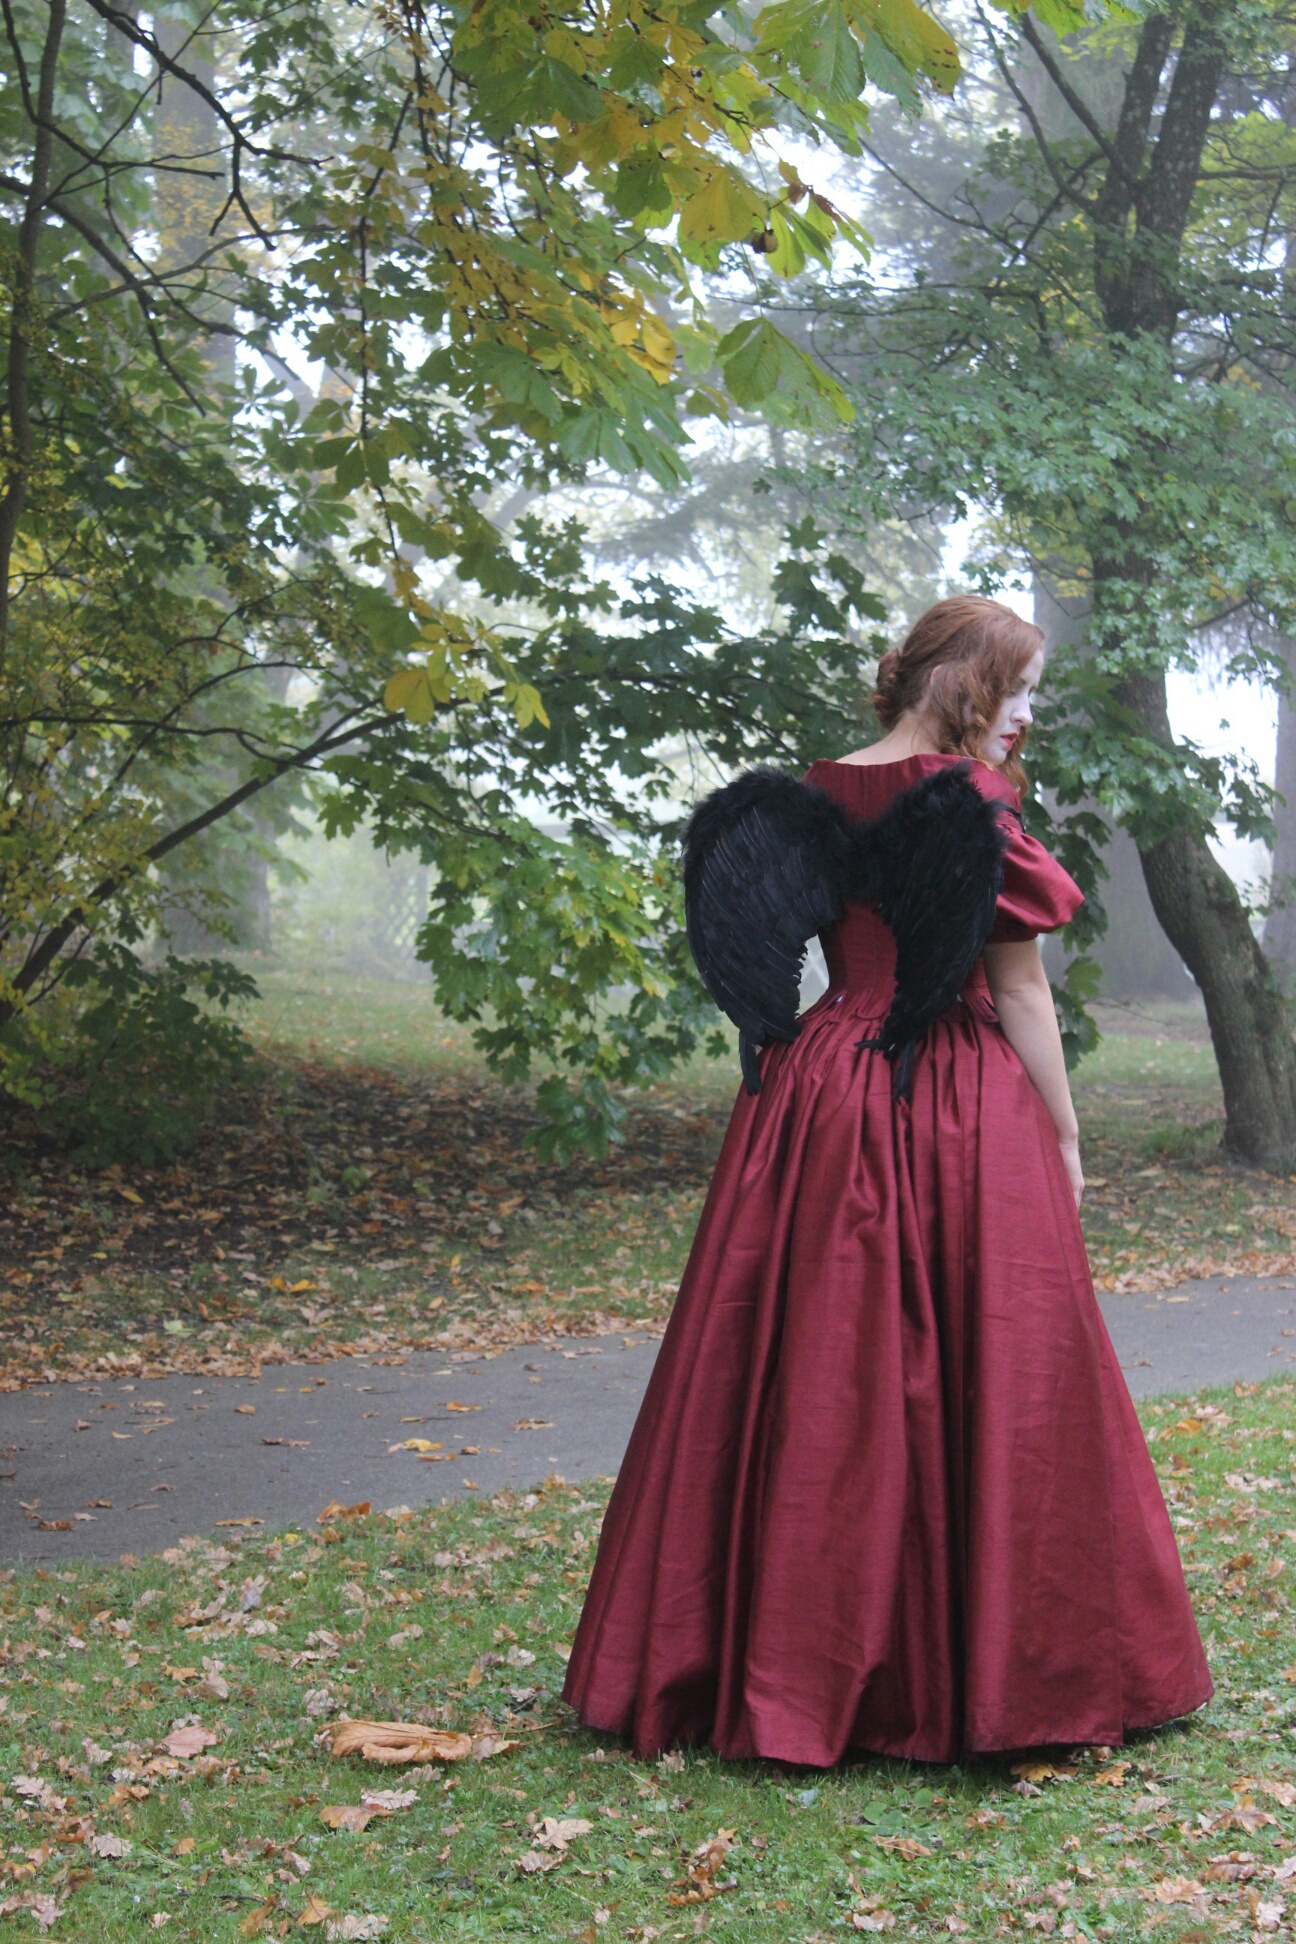
It was around this time my head finally caught up with my body and realized I was pregnant, and needed to slow the heck down.
And that´s exactly what I did – I closed the door to my sewing room, and have just now started to once again peak through the key hole.

And so my sewing year of 2015 ends in October.

I´t will be some time before I´m back to more regular posting and sewing (but I finally starting to dream of pretty dresses again) so hopefully I can show you some new stuff in not so long.


*For more pictures and construction of the pieces take a look at the “Portfolio” page.

New year – New challenges

Long time no seen.

Just wanted to stop by to to let you all know the reason for my (3 months :-O) absent from the blog.
During which some of you so kindly noted my lack of posting, and sent me loving messages.
Thank you so much again! There is no way I can tell you how much that meant to me.

The easy answer is – I´ve been to tired.

The real answer is – Yes I´ve been tired, and nauseous, and happy, and scared, and overwhelmed – Because I´m expecting a child (to be born in June). 😀

f86674a5210889457ce0791f18d4a739This will be me in a few months 🙂

Me and my fiance are so happy (and terrified), and we both try to get as much rest as we can before the baby comes.

Thanks again to all my patient readers, I will be back with more sewing (hopefully even historical) soon :-).

Love
/Åsa


1900s Autumn Suit – Photoshoot

To get some photos of my new Edwardian wool dress, I took the opportunity to use my fiancees workplace as settings and my sister as photograph.

I’m wearing: The brown/plaid wool skirt, lacy shirtwaist, wool bolero and my Titanic hat (with a quick fix-up) Underneath I have my S-shaped corset, petticoat, chemise, corset cover, stockings and black “American Duchess” Gibson shoes.

IMG_8890

IMG_8898

IMG_8900

IMG_8902

IMG_8904

IMG_8913

IMG_8916

IMG_8935

IMG_8968

IMG_8971

IMG_9041

IMG_9034

IMG_8991

IMG_8993

IMG_9000

IMG_9001

IMG_9005

IMG_9011Photo: Maria Petersson

1900s Brown Bolero Jacket

The night before the photoshoot of my new Edwardian shirtwaist and skirt, I decided I also needed a jacket
(I know – Crazy!).

So while adding buttons to the blouse, I also drafted a quick pattern from “The Edwardian Modiste” by Frances Grimble, which I’ve been eyeing for quite a while.
20150915_074642_resizedSuch a cute jacket/bolero.
Then I grabbed a piece of soft wool, which of course matched the beige in the plaid skirt perfectly, from my stash and begun cutting and sewing.

It all went so fast and within, half an hour I had a functional bolero.

Then all I needed to do was to hem the sleeves and bodice and to decorate it.
I altered between some dark pom-pom trim and the simpler soutage ribbon in soft nougat. The later won the fight, and my only regret is that I didn’t had enough to also trim the sleeves.

IMG_8882The bolero from the inside – all edges left raw.

I also added a hook and bar to wear it close if I want to.

The finished bolero:
IMG_8868

IMG_8870

IMG_8871

IMG_8873

IMG_8877

IMG_8878

Just the facts:

Challenge: HSM/15 nr 9 – Brown

What: a 1900s bolero jacket

Pattern: I drafted my own using “The Edwardian Modiste” by Frances Grimble as a guide (basically a front + back bodice and a wide sleeve cut apart at the top)

Fabric & Notions: 0.5 of soft light brown wool, thread, hook and eye and 2 m soutage ribbon for decoration.

Time: 3 hours! Such a fun and quick project.

Cost: 45 Sek (6 Usd) – a leftover scrap, to small for anything really, I bought on sale a year ago.

How historical accurate: Not sure. The pattern is based on a actual pattern, but I might have modernized both it and the construction techniques. The internal seams are machined and all the finishing are done by hand – like in the period. The fabric is plausible and the silhouette are about right so I would guess about 7/10.

Final Thoughts: I love it so much! I could wear it to the office right now (I might have to reduce the sleeves a bit first though). The fabrics so soft and the shape is just lovely. The only thing i ca think of that’s not perfect is that I didn’t considered the stiffness of the wool when drafting the sleeves – thous making them a bit to wide. They will probably look better in a more drapery fabric.
I might also add some more trim later on when I find something I like.

The whole outfit:
IMG_8831

IMG_8836

IMG_8833

And since you always need something on your head I draped some leftover fabric on an modern straw hat, to get that big Edwardian hat shape.IMG_8884

Next up: The photoshoot

1900s Lacy Shirtwaist

To have something to wear with my new plaid 1900s skirt, I wanted to make a new shirtwaist (I do love my old one but sometimes (ok, always) you want something new).

And in my stash I found this lovely pattern from “Wearing History” which I bought half a year ago when she had a Sale, and I’ve been dying to try it out.

IMG_6481

As the pattern comes as a “print at home” version, the first thing I needed to do was to cut and assemble the pieces. 20150913_114431_resized

Not sure what fabric to use, I searched through my stash and found the last piece of white striped cotton voile (from which I’ve previously made: A Chemise a la Rein, a 1900s pigeon front dress and a 1850s working woman’s shirt/waist), and a newly required of white cotton lace decorated in lovely flowers.
2013-05-29 17.38.05  Unfortunately I hadn’t enough lace to cover the whole shirt – I could either use it on the bodice and make short sleeves, or I could use it to make long/full sleeves and ad a bit of lace around the collar and shoulders.
After some thinking and experimenting with the pattern layout I decided to go with the full sleeves and then try to get as much of the upper bodice out of it as possible.IMG_8785

I realized pretty soon the lace was way to fragile and “open” for the garment I wanted to make. So I dug out some ivory chiffon from my stash and used it to back all the lacy pieces.IMG_8784
The result was perfect. The sleeves kept their lightness, while the see-thoroughness was dampened and strengthened all at the same time.

I stitched most of the blouse on machine, but all the work with the lace needed to be made by hand.

Unfortunately I’ve been really bad at taking pictures lately but besides from the fiddling to get the lace right, the construction is pretty simple.

Before finishing I did needed to make a decision about how to  end the lace on the bodice.
IMG_8791 IMG_8793
I could either cut it to the neckline and trim it with lace edgings, or I could save as much as possible of the lace and trim the bottom edge across the back and bust.

In the end I opted for the later, thinking I could always go back and change it at a later date if I want to.

To get that nice pigeon “breast effect” I used bias-tape and a cotton cord to gather the waist.IMG_8862The inside of the blouse.

I made a combination of buttons, buttonholes and metal snaps for the back clouser. IMG_8860

The finished Blouse:
IMG_8843

IMG_8845

IMG_8846

IMG_8848

IMG_8851

IMG_8857

IMG_8855

IMG_8852

IMG_8853

IMG_8854The facts:

What: A 1905s shirtwaist

Pattern: “Wearing history” 1900s shirtwaist pattern

Fabric: 1 m of striped cotton voile, 0,5 m of cotton lace, 0,5 m of cotton lining for the bodice and 0,3 m of polyester chiffon for backing of the lace.

Notions: Thread, Buttonhole-thread, bias-tape, cotton cord, 10 cm plastic boning, 13 buttons, 7 snaps.

Time: 10-15 hours.

Cost: 400 Sek if everything been bought new, but since everything came from stash and most of the fabrics was leftovers I wouldn’t say even half.

Final thought: I loved working with this pattern, and I have only myself to blame for not making a mock-up since i had a bit trouble getting the collar to fit properly. And I maybe should have skipped out on adding the second layer cotton to the bodice – It may have looked a bit nicer and softer. I also may have to reset the sleeves without the pleats at the shoulders.
But all in all, I’m pretty pleased with the blouse.

Worn with the skirt:
IMG_8841

IMG_8842

And a preview from the photoshoot:
IMG_9005

1900s Brown Plaid Skirt

As soon as I laid eyes on this fashion plate I knew I wanted it
(and of course the costume ;-))0aa238a070b160e1062e58eda9df1551

Jen at Festive Attyre made the most fabulous recreation of it a while back.auto4And even though I knew I could never match her skill or perfect Edwardian look, I really wanted a similar look.

So when the HSM challenge 9 – “Brown” approached I scouted out my stash for the perfect brown and plaid wool fabric, and got to work.
IMG_8826

I drafted the pattern using Nora Waughs “The cut of women’s clothes”
IMG_8829

I cut the pieces on the bias, carefully matched the plaid to meet at an angel at the seams.
IMG_8788 IMG_8790Matching the plaid

I used some white cotton for the foundation and stitched bias-tape to make boning channels to get that nice body-hugging look of the corseted skirt of this era.
IMG_8822
The skirt closes at the front with hooks and eyes, over a placket and secured with another pair of bones.
IMG_8821

I finished by hemming the skirt using a 10 cm wide strip of beige cotton for hem-facing.
IMG_8818

And that’s it.IMG_8823The skirt from the inside

The finished Skirt:
IMG_8795

IMG_8797

IMG_8814

IMG_8800

IMG_8805

IMG_8806

IMG_8810

Just the facts:

Challenge: HSM15 nr 9 – Brown

What: A 1900s brown/plaid walking skirt.

Pattern: I drafted my own using Nora Waugh’s “The cut of women’s clothes”

Fabric: 3 m of plaid wool an bits and scraps of cotton for interlining and hem-facing.

Notions: Thread, 2 m of bias-tape, 2m of boning, and hooks and eyes for clouser.

Time: About 10 hours – the fabric matching and hand stitched hem took more time then usual.

Cost: About 200 Sek (32Usd) – all material came from stash but I bought this fabric on sale about a year a ago with a similar project in mind.

How historical accurate: Pretty good. The fabric and pattern are all good. Even though most of the skirt is made by machine the finishing are hand-stitched, as it should be fr this period. I did use some modern techniques on the foundation piece. I’d give it a 7/10.

First worn: Will be worn for photos on October 4th.

Final thoughts: I like how it came out, both the sweep of the skirt and the pattern matching looks really nice, but I’m not completely happy with the raised waistline and I might go back to tweak it a bit later on. But a ll in all it’s a nice piece to have in the costume wardrobe.


Past Brown Creations

This months theme for HSM/15 is “Brown”.

The Dreamstress whites:
it’s not the most exciting colour by modern standards, but brown has been one of the most common, and popular, colours throughout history. Make something brown.

I actually like brown.
It’s a great color that (in my opinion) accentuates almost any other color. Its softer then black and cooler then white when making color combinations. Brown also comes in a lot of different shades from dark chocolate to golden and soft nougat. It’s also been a (more or les=) popular color throughout history.

Here are some of my brown pieces I’ve added t my historical wardrobe theses past years:

IMG_1375One of my favorite dresses is this 1780s robe a la Anglaise in a lovely flowery cotton matched with a golden petticoat and brown stockings.

IMG_02181850s lend itself great to the brown color pallet.
This walking dress in printed cotton makes an impact on everyone around.

IMG_0406The dress also comes with an evening bodice.

IMG_2004A photo from 1929 inspired this simple cotton dress, the brown boots and white collar ads perfectly to the authenticity.

IMG_5660Who knew a 1880s evening gown in brown could be so glamours. The light teal skirt, white gloves and the dark brown fringe perfectly sets of the nougat in the gown.

IMG_0657The same 1880s trained bodice, paired with leather pants and heavy duty boots, also works for a softer
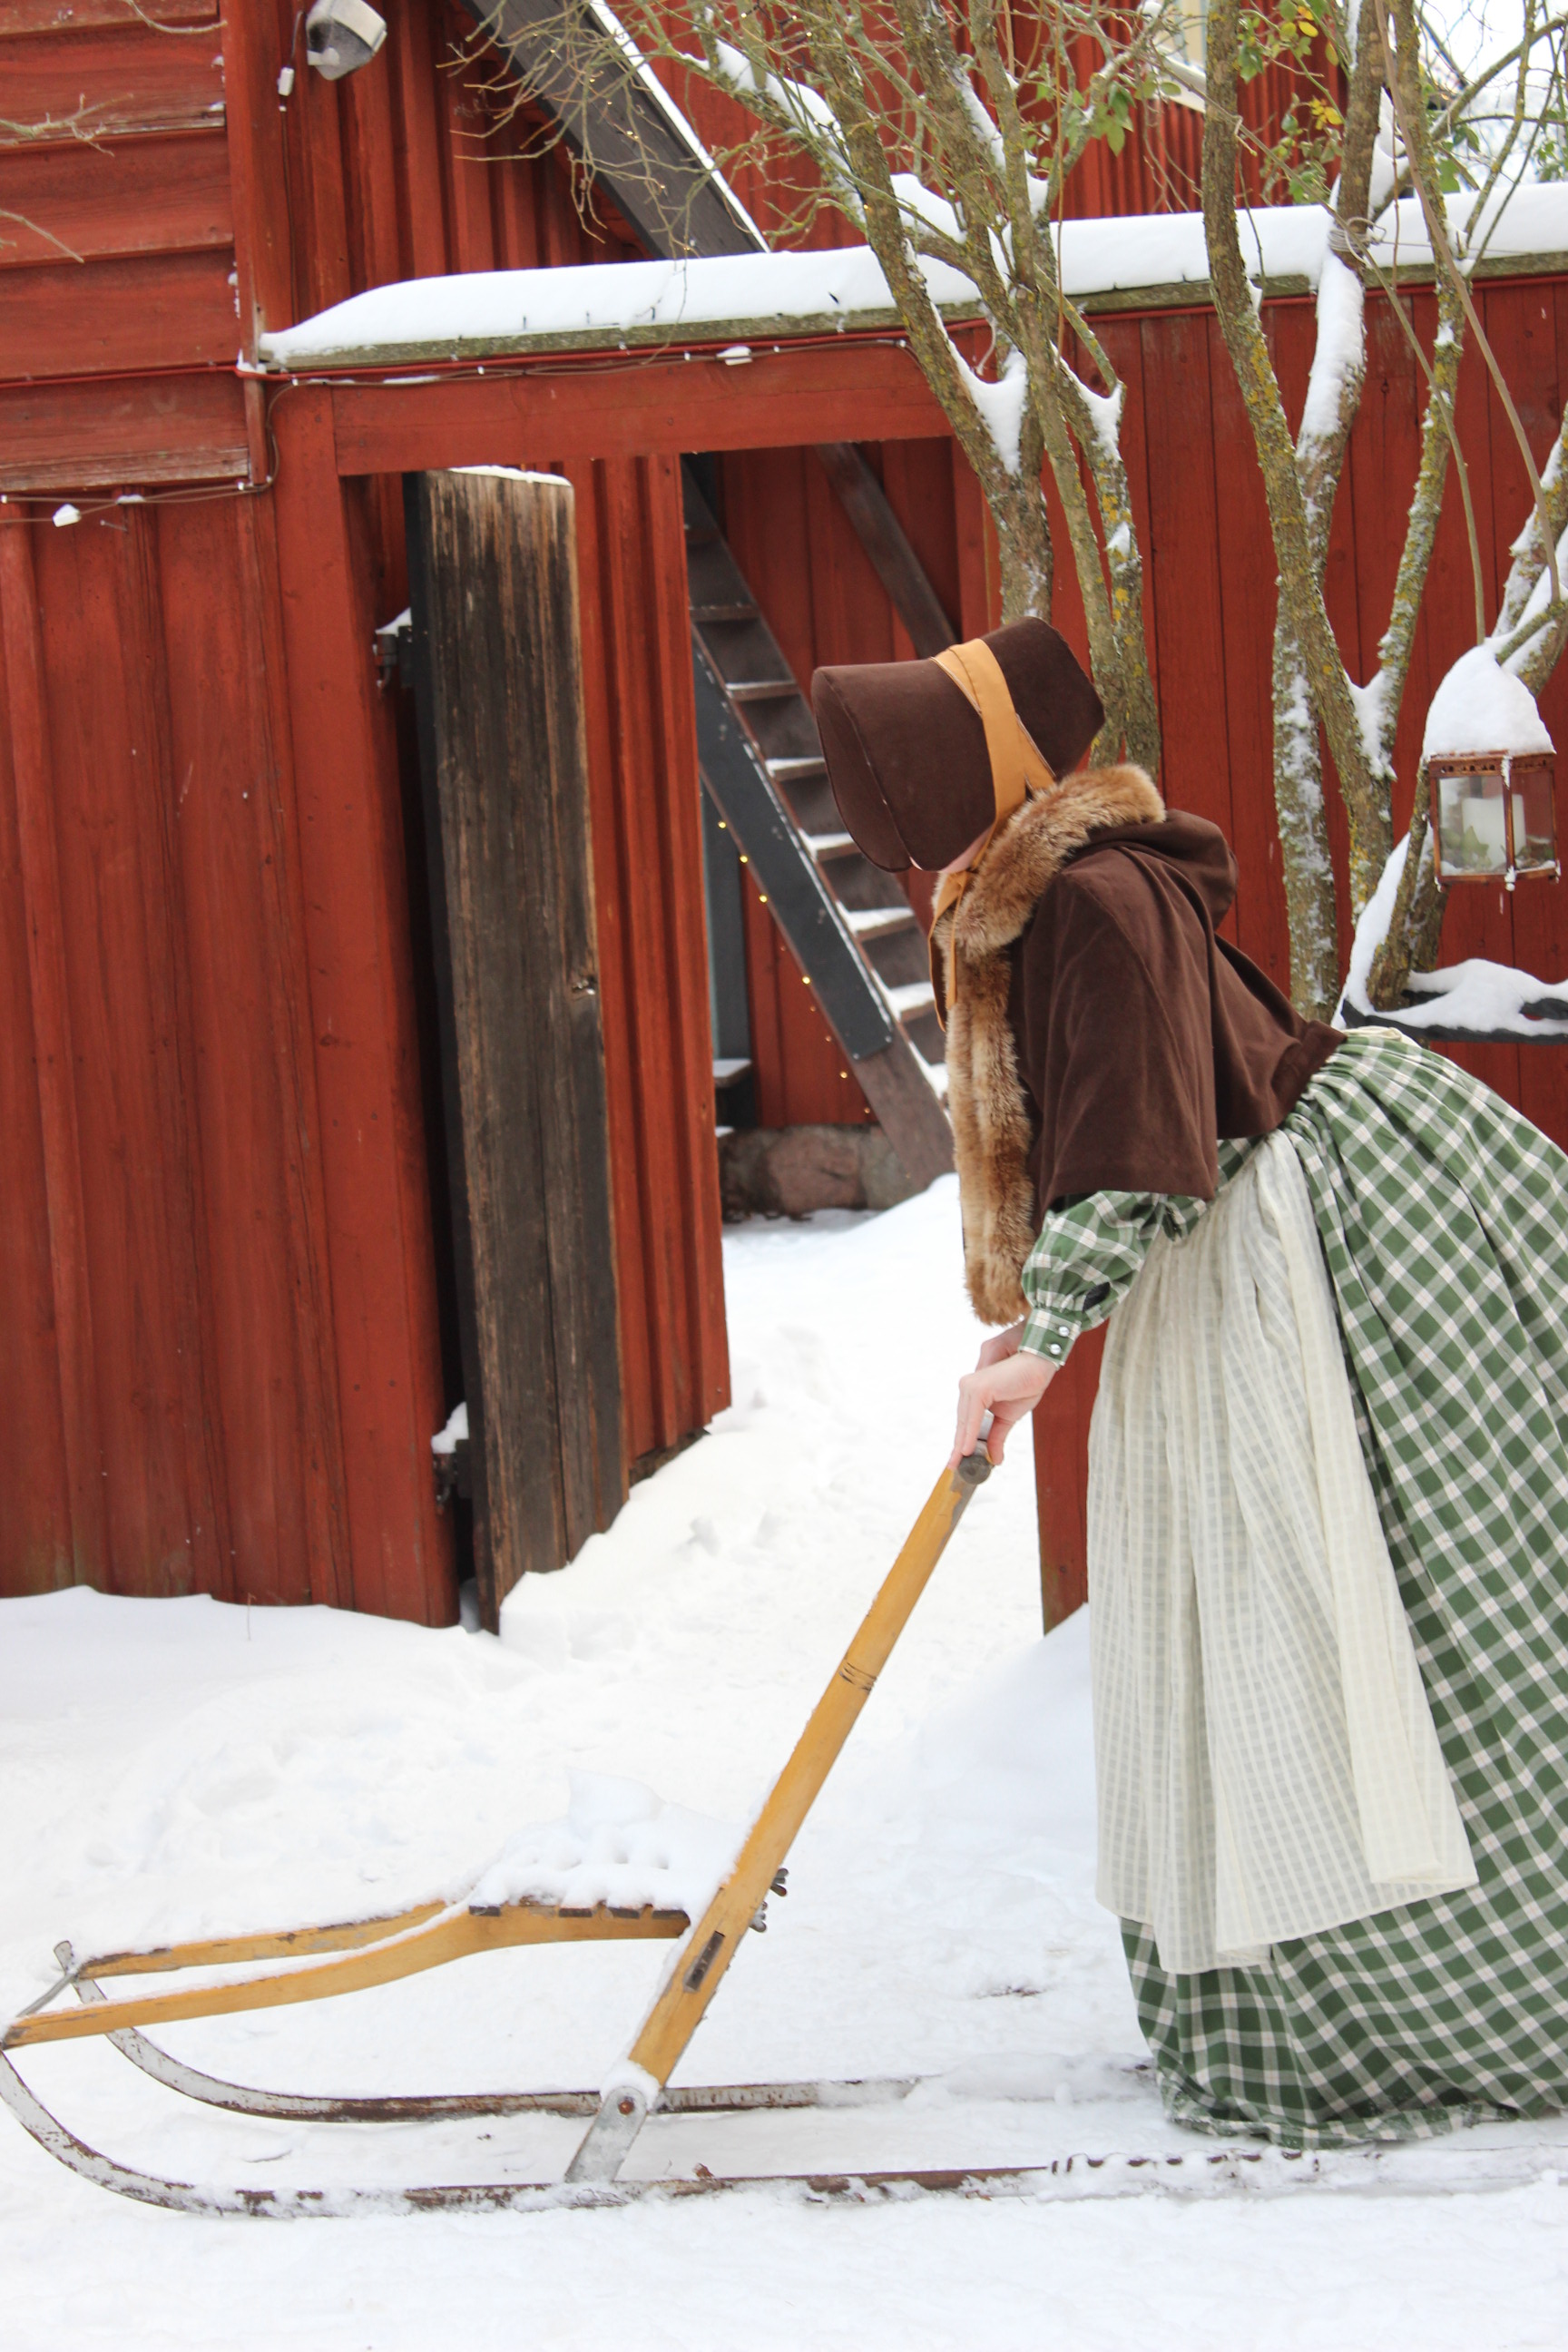
 Steampunk style.

IMG_8728Simple rural 18th century woolen bodice in light nougat/dark beige perfectly matches the plaid in the skirt and the softness in the nature all around.

IMG_1115-ok18th century menswear in a wide spectrum of brown hues, with the coat as the obvious focal point, matched with golden/brown waistcoat and beige/brown suede breeches.

IMG_6202A simple white shirt made fabulous with the help of a nice brown 1990s woolen skirt and cola colored belt.

IMG_4587This dark chocolate 18th century skirt reads as black, but makes a softer contrast to the white apron and stockings then black. The bodice is actually yellow with purple stripes, but can very well be read as brown.

IMG_3444
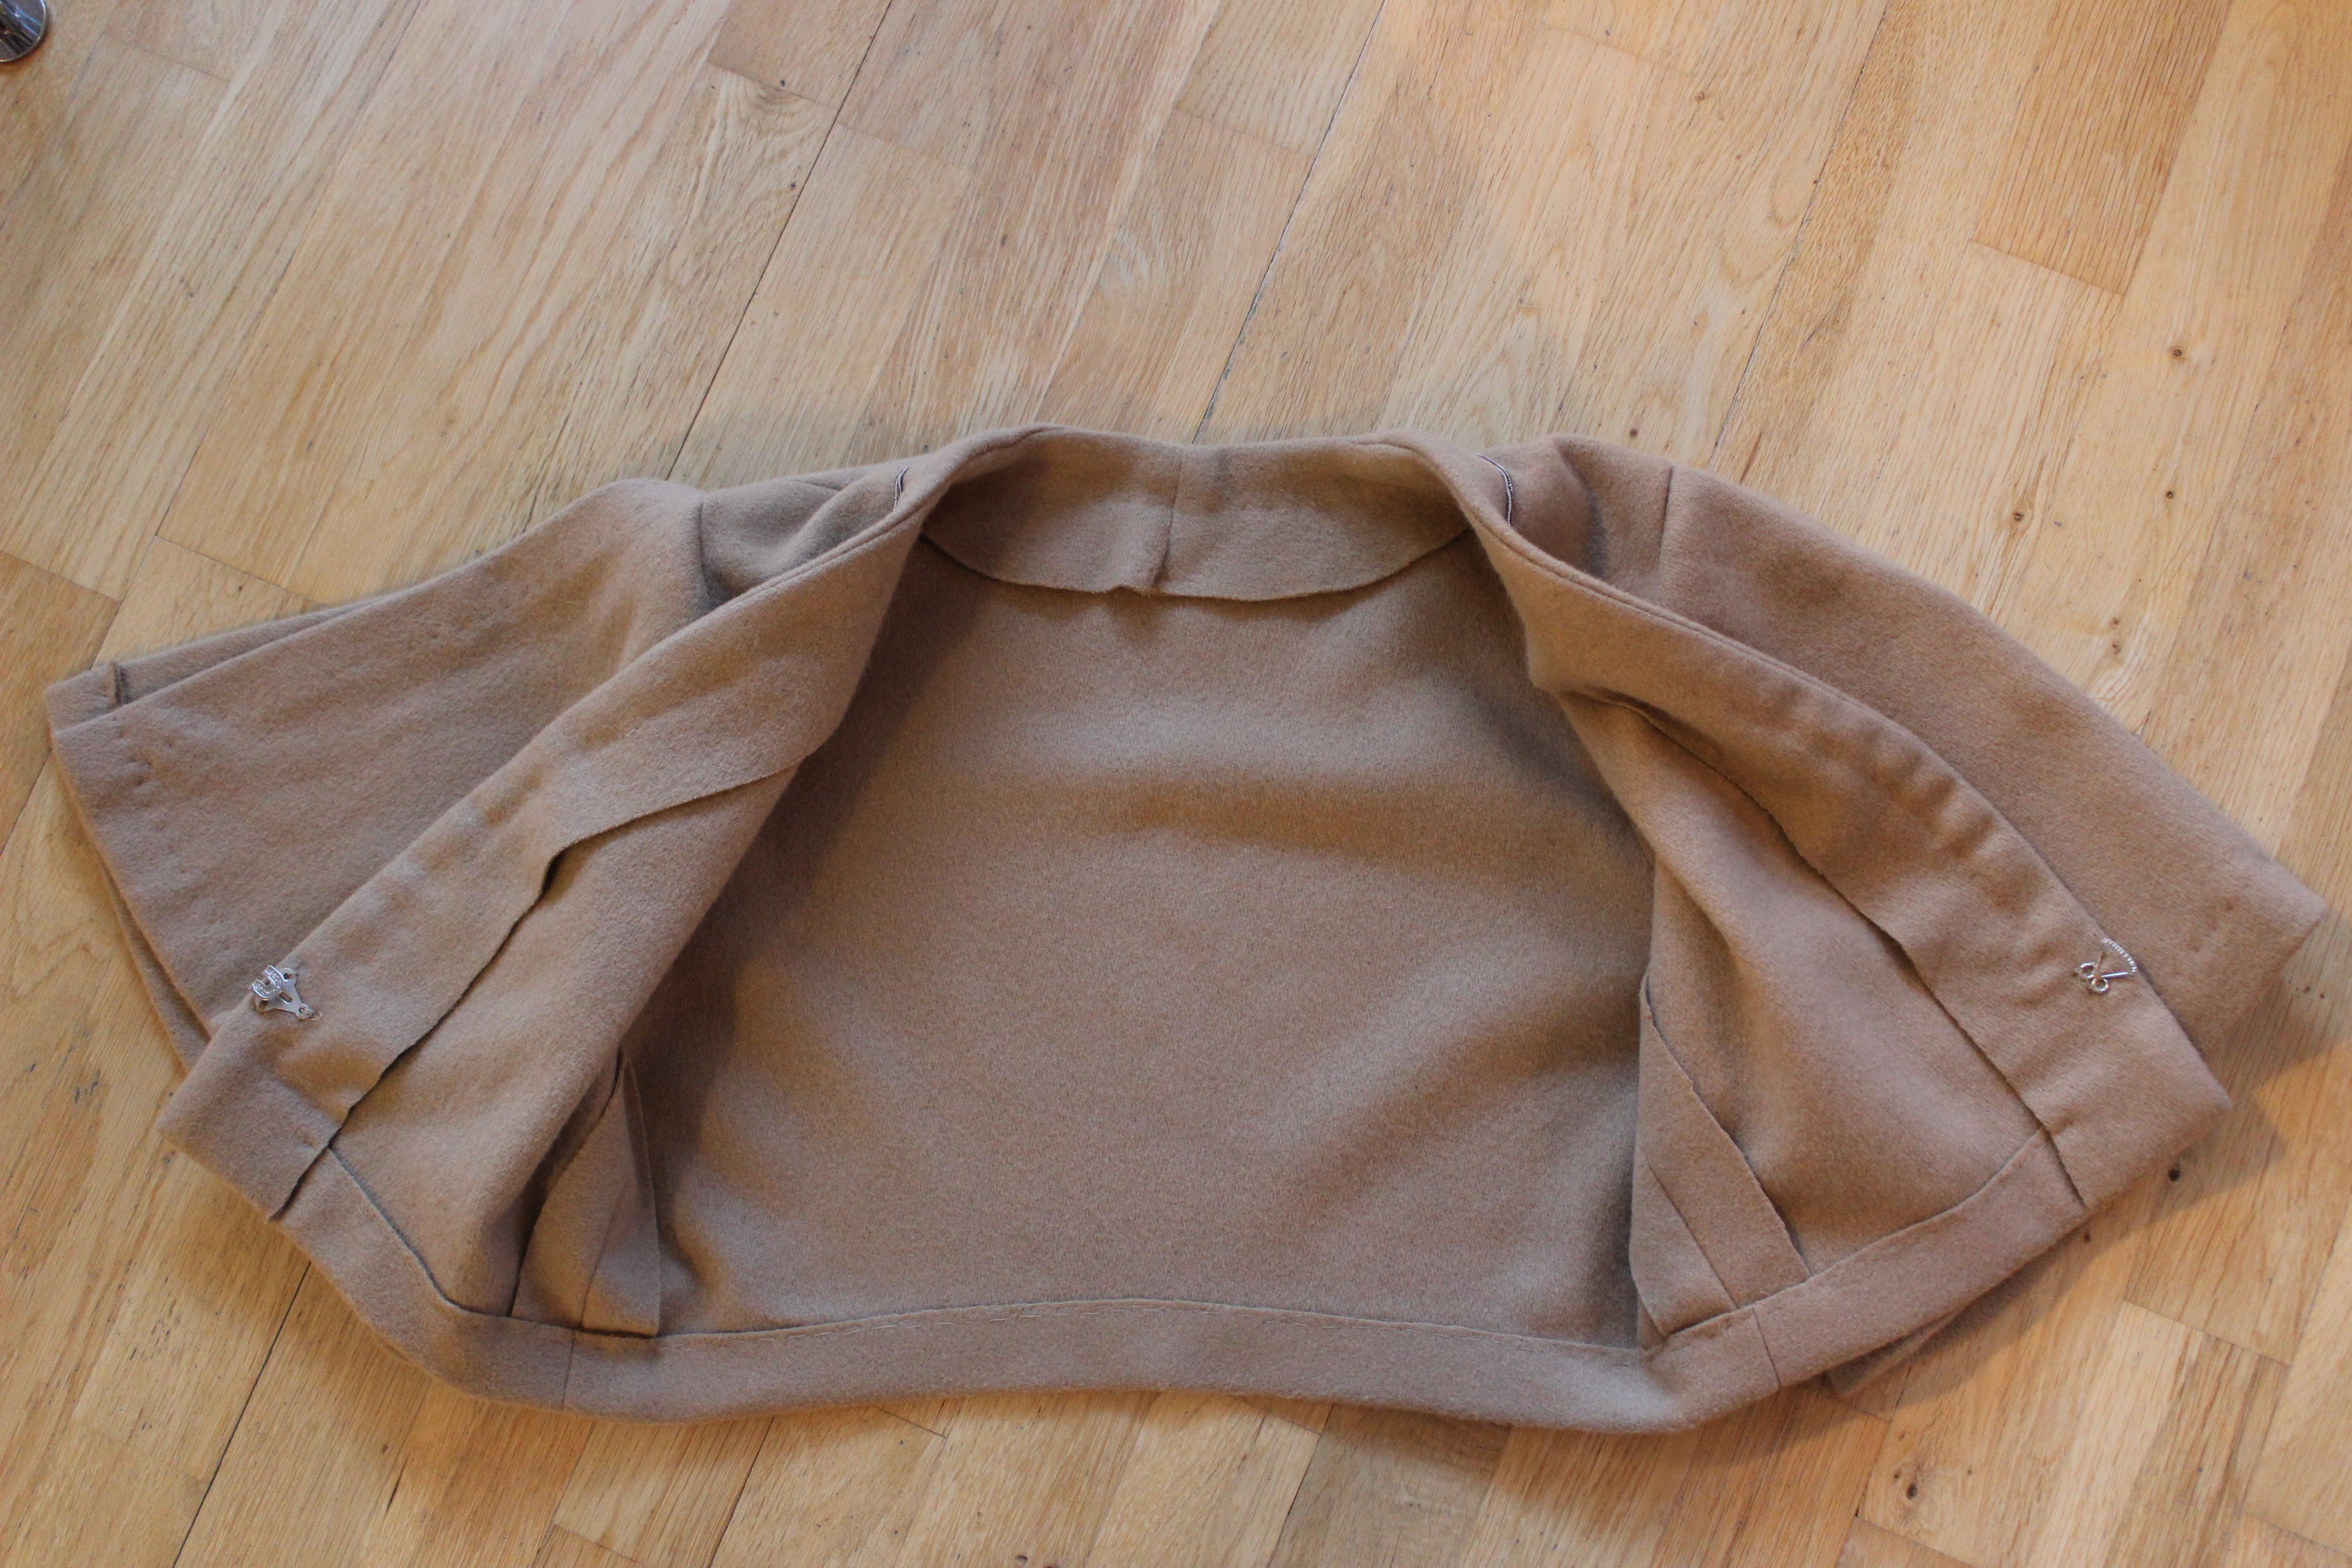
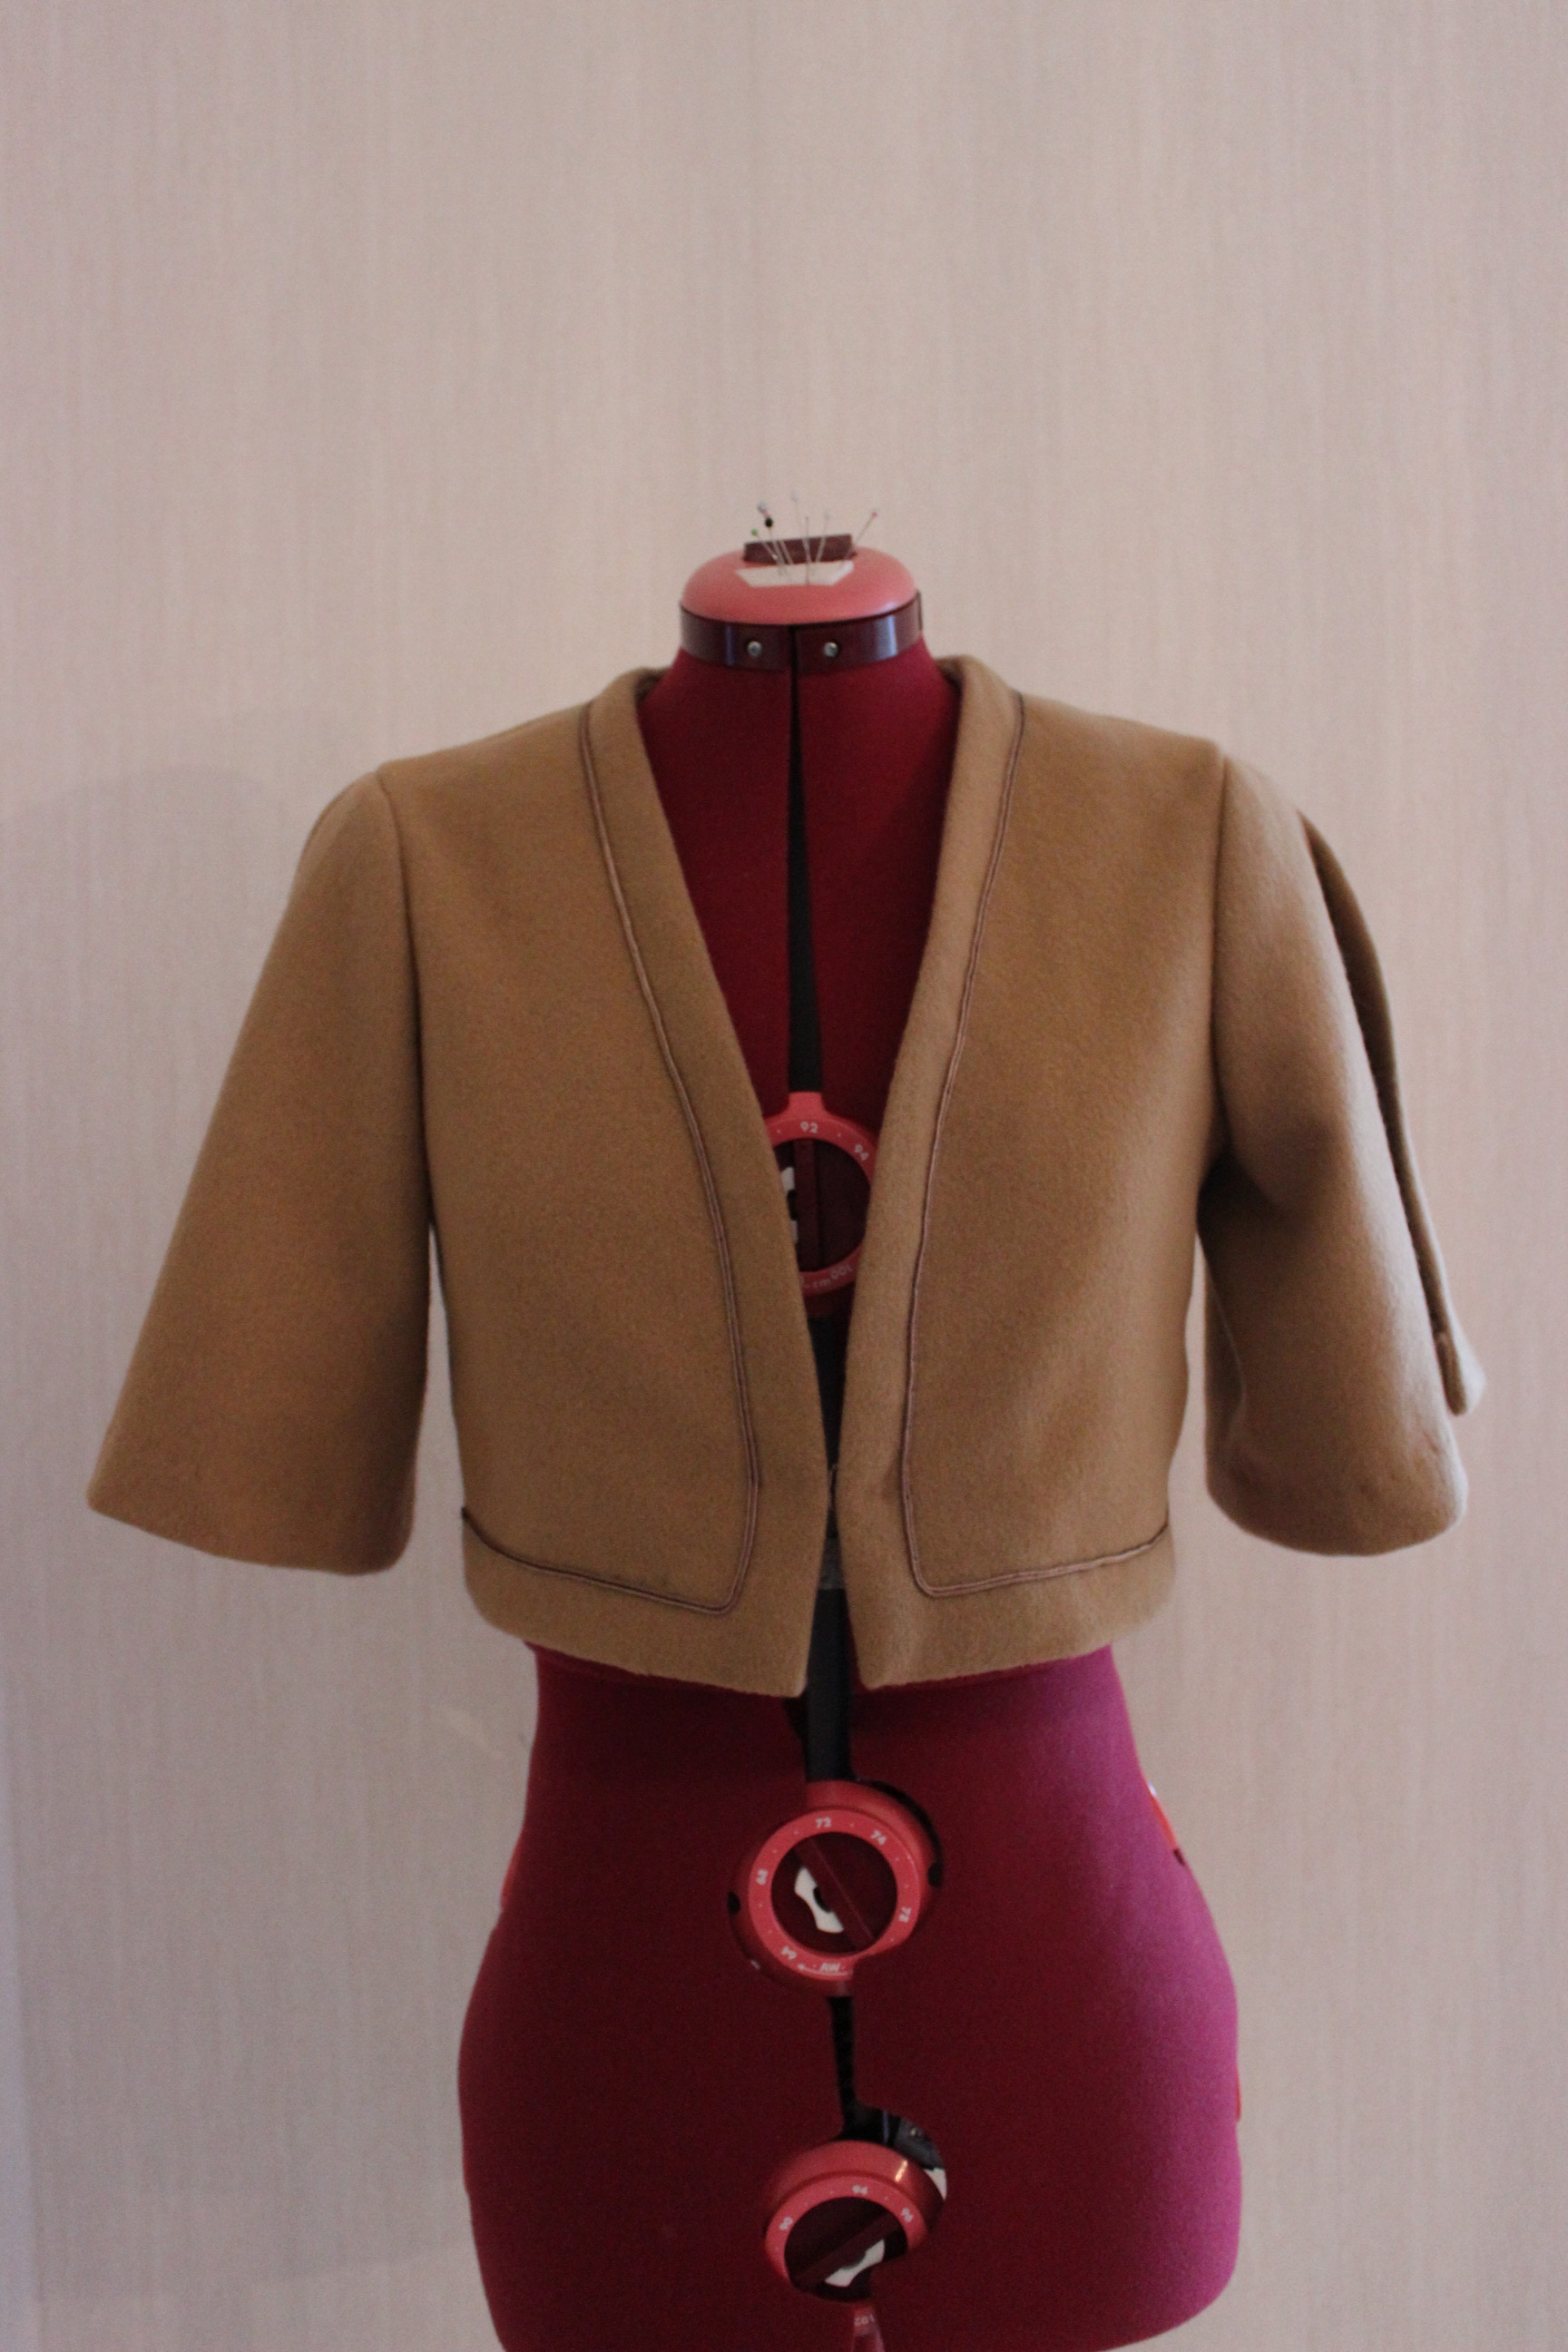
Dark wine paired with chocolate brown makes for a serene medieval picture.

DSC_0776
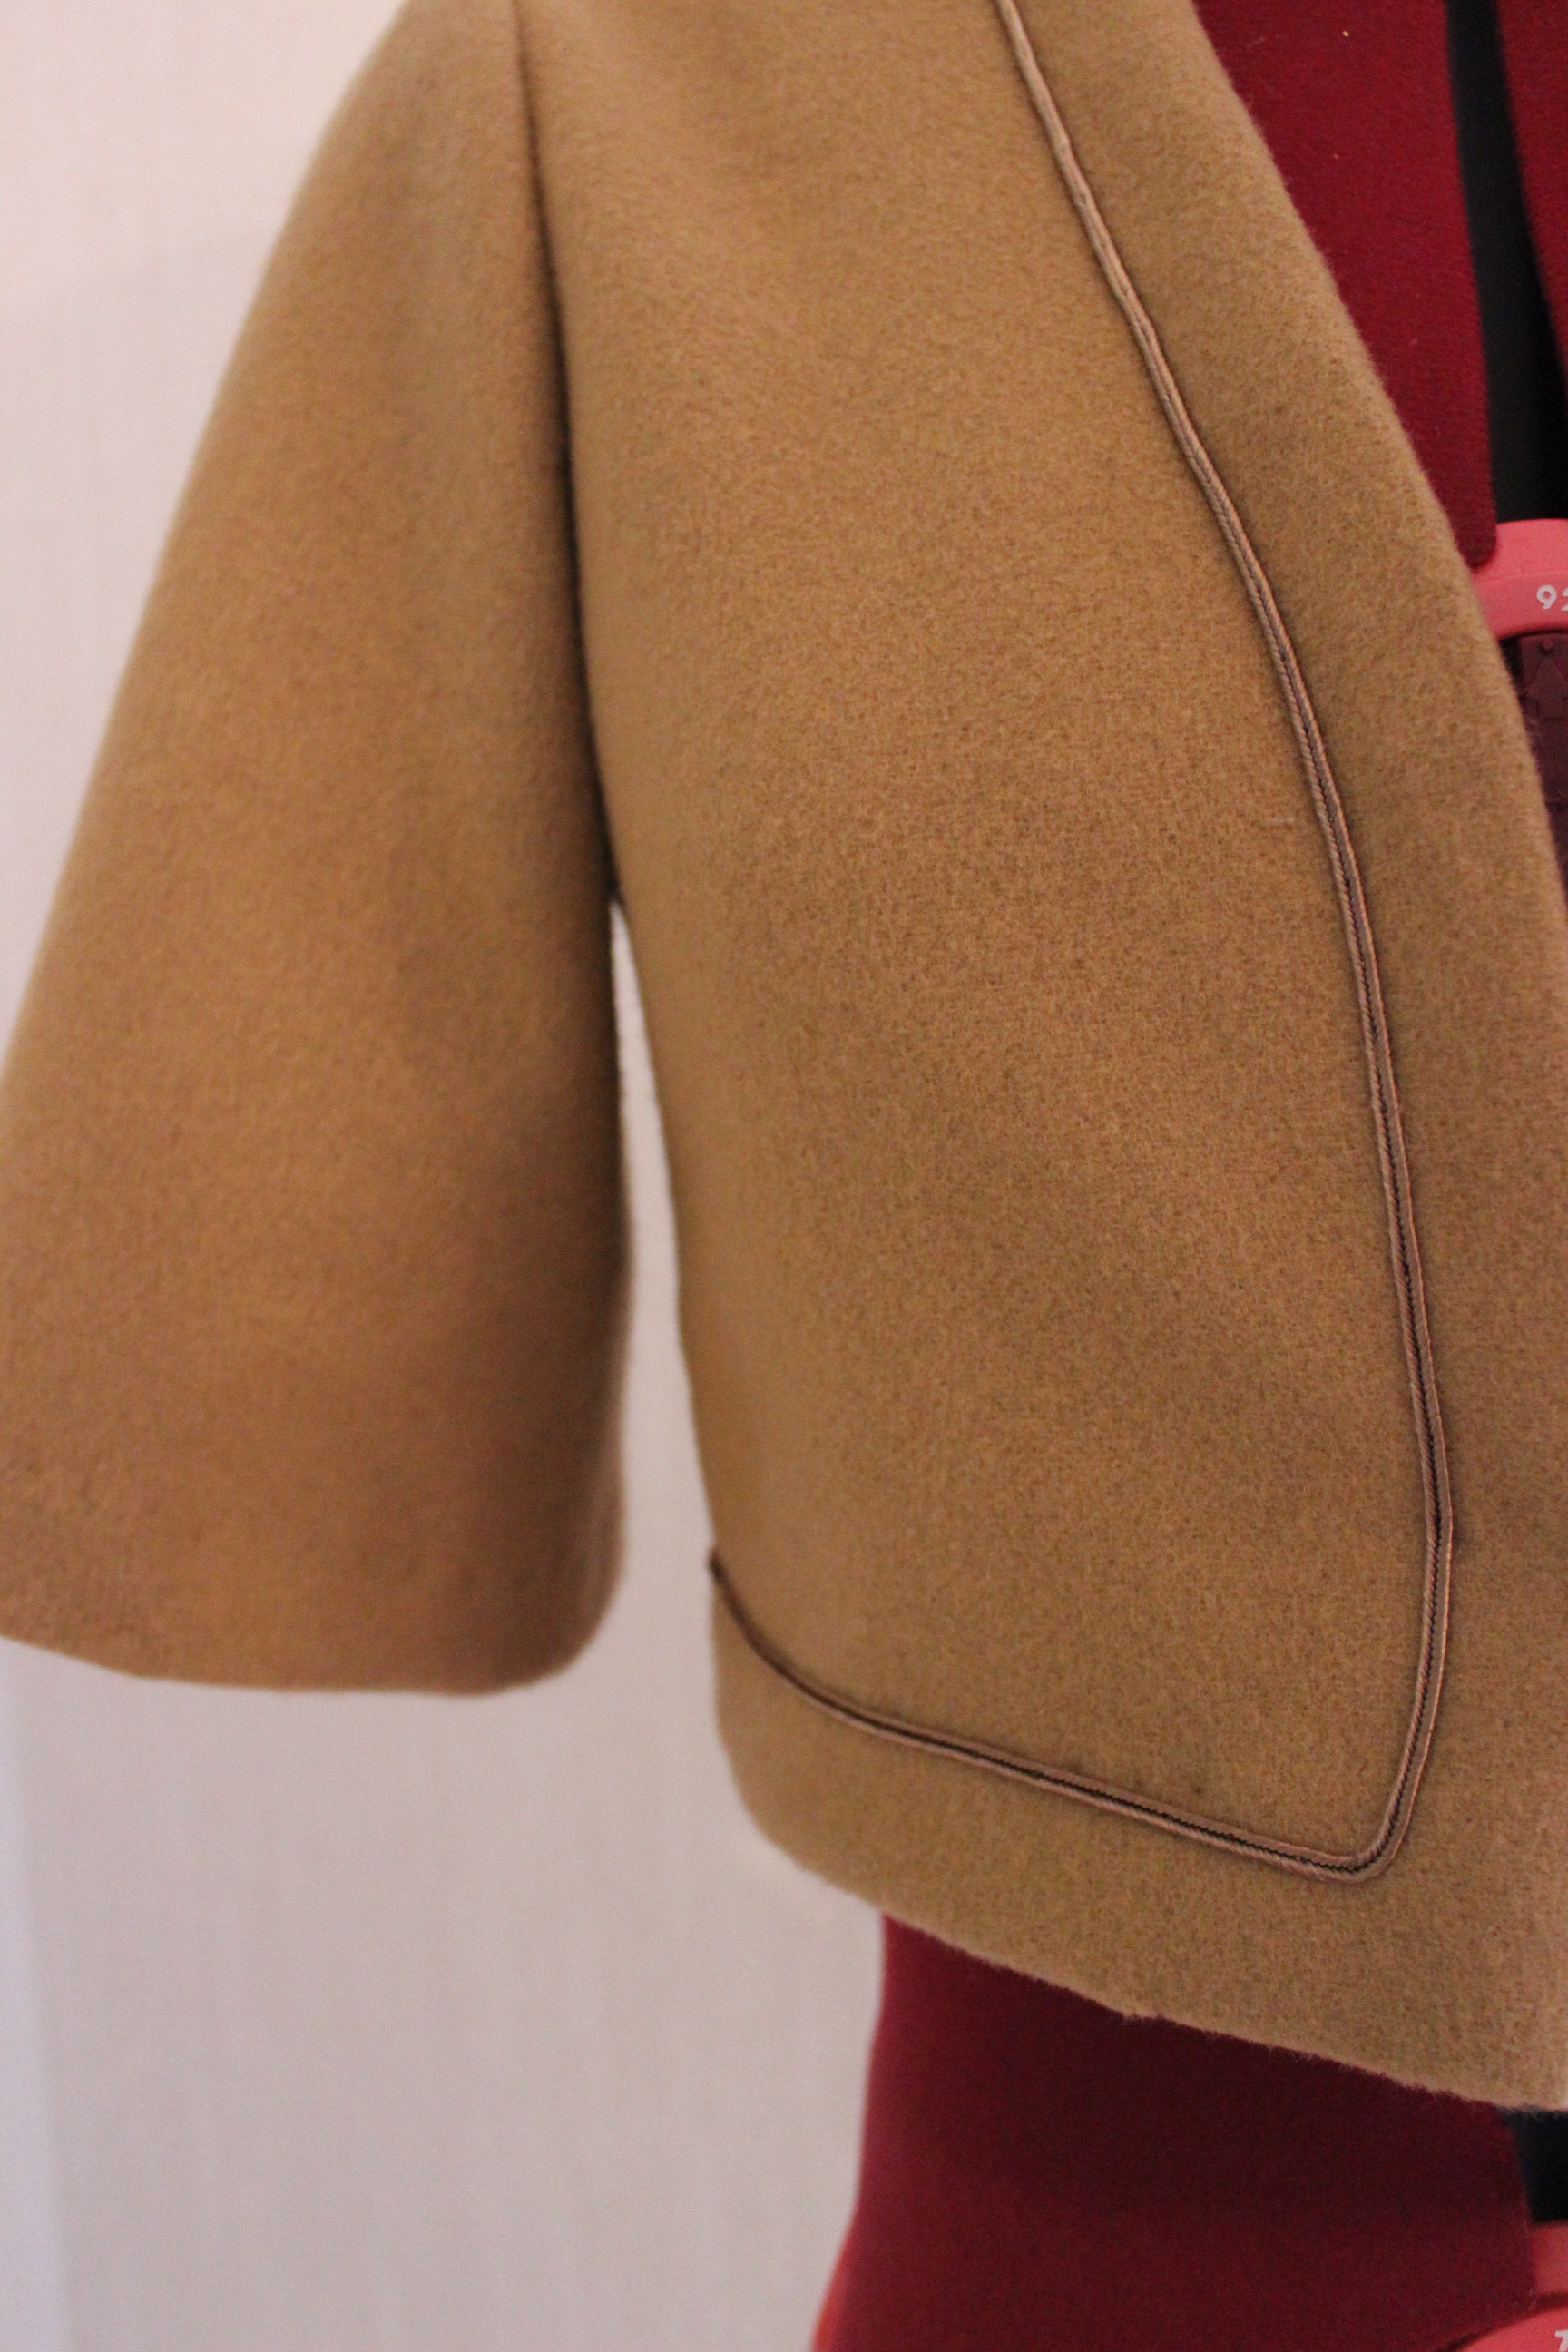
Golden poly knit makes for a nice Egyptian masquerade costume.

I’ve also made several accessories to my costumes:
IMG_5188Brown fake fur hat, matched with bought fake fur muff and fox stole, worn with my 1900s walking outfit.

IMG_8039A 1660s (or any period really) fake fur stole/shawl.

IMG_1106Chocolate velvet sleeveless spencer, made to go with my yellow regency gown.

IMG_4160Velvet cape trimmed with fake fur and 1840s velvet bonnet, make for some pretty Dickensien winter picture..

pump-ståSometimes the simplest of items make a huge different, This 1550s outfit wouldn’t be complete without the brown apron.

What do you think of the color brown?

Outlander Photoshoot

As soon as the last piece was finished, I took my new “Outlander” costume out for some photos.
My fiance helped me, and I must say he did a splendid job both photographing and keeping up the good cheer.

I’m wearing: My new 18th century woolen jacket & skirt over stays, petticoats, bumpad and chemise. And a modern knitted shawl, linen cap, knitted mittens (which where gifted to me by the lovely Helena – Thanks again, I love them) and a basket for accessorizes.

IMG_8724

IMG_8728

IMG_8689

IMG_8691

IMG_8704

IMG_8707

IMG_8737

IMG_8700

IMG_8720

IMG_8745

IMG_8762

IMG_8761

IMG_8758

IMG_8764

IMG_8767

IMG_8768

18th century Outlander Garb

After studying the various looks of the character Clare in the series “Outlander”, comparing them to the fabrics from my stash I decided to go for the simple laced up jacket and skirt that’s became symbolic with the series.4714dc59393b6c63c5000f447531e4c3

I started by making a skirt out of some plaid wool I found in my stash (which I’ve bought on sale about a year ago).IMG_8618

The construction is really simple, since it’s basically two widths of the fabric sewn together and gathered to a waistband.IMG_8623I used some linen scraps for he hem facing and hooks and bars to close the waistband.

The finished skirt: IMG_8646

IMG_8650

IMG_8647

IMG_8651

Then I started on the bodice.
Using the pattern from the yellow caraco jacket, only changing the front to accommodate a stomacher instead of button closer, and adding a peplum at the bottom edge.

I used some leftover beige wool for the jacket, interlining it with some linen scraps and dark green wool for the stomacher – all made to match the plaid of the skirt.20150906_105227_resized

It went together pretty fast even though I made it completely by hand.IMG_8629

IMG_8628The peplum being attached.

IMG_8630IMG_8633
Trying the jacket on my dressform.

I attached the lining made from two different pieces f left over cotton sheets. IMG_8640

Then it was time for the eyelets to be made, using a separate fabric strip attached hidden under the boned front edge.20150919_183851

The finial thing to make was to ad channels and boning to the stomacher.IMG_8685

The skirt and jacket ready to be packed for the photoshoot. 20150920_125242

The finished outfit/jacket:IMG_8657

IMG_8658

IMG_8665

IMG_8667

IMG_8660

IMG_8662

IMG_8671

IMG_8670

IMG_8672

IMG_8674

IMG_8675

IMG_8680

IMG_8678

IMG_8659

Just the facts:

What: A 18th century jacket and skirt.

Pattern: The jacket is my own draft (yellow Caraco jacket), and the skirt is just two rectangles stitched together.

Fabric & Notions: Skirt – 2,2 m plaid wool, thread and hook & bar.
The bodice: 1 m beige(left over) wool, 1,5 m white cotton for lining and interning, m cotton cord, thread, buttonhole thread, 60 cm plastic boning.

Cost: Everything came from stash but 300 sek would be a fair calculation.

Time: Pretty fast for a complete hand made costume – about 20-25 hours for the whole outfit.

Final thoughts: I really like this outfit. It’s warm and cosy and I really enjoyed wearing it for the photoshoot.

The “Outlander” outfit:IMG_8652

IMG_8655

Outlander dress inspiration

This past year I’ve followed the fenomen of “Outlander” with interest.

I’ve watched the series, read the analysis and discussions about the costumes, and smiled at the world wide drooling over Sam Heughan.
And of course admired all the fabulous recreations of the clothing’s from the show.

But it wasn’t until recently I found myself dreaming of my very own highlander/Clare costume.
It started late august.
I was going through my fabric stash for some creative impulses, when I found a piece of lovely plaid wool, in shades of dark green and navy, that might be just enough for a full skirt.
And there, right beside, a piece of perfectly matching left over beige wool that wouldn’t be enough for anything more then a small jacket, perhaps 18th century…
Yep, you see where I’m going here.

So onto Pinterest I went:

75a7323912e4de7107946380a830928a

cb93913f6ddc3adbef19657f55ebcb87

992a16cec391166827d7cfeadaf8ee1e

510e3ad8a7aa6af75e207b7f05fceccc

10ecaeb7ed33b3ab4d5918ed0ec2efac

4e6ae8e3049bfa54c904ba928273d8c1

b9acc980b609c9baeba2b23e70ca7cfc

fb68ea339c32e29bdb66e9f0090e1c0e

4714dc59393b6c63c5000f447531e4c3

355cff34b471477934399d8c8a14a566One of few back views

113df6a2fa677ee4eb31bb5ccaf5f374Close-up showing the hooks and bars that keeps the stomacher in place.

c26db7014bdcad3b3995e84fc3b1a71bAnd you got to love the cosy knitwear.