As I mentioned in my last post I’ve been really busy working as a costume designer for the upcoming Swedish movie ”Huldra”.
I originally got the job as costume assistant one week before the shooting started. So I putt all my other work and tasks aside, and traveled to Stockholm to work for a month.
But when I got there, I realized two things:
First -There was no pre-production period, and the first shots where to be taken in less than two days…
Second – The costume designer had no intention on doing any work what so ever, help us or even visit us and the production on set. So I and the other costume assistant (who had no more experiance than me) was left totally on our own.
So with two days to: read the script, brake it down to figure out what was needed for each character, do a budget and collect all the things in time – We didn’t even had the time to panic…
We arranged to meet the actors one by one in the nearest shopping mall, and managed to dress and fit them all in one hour each. And as soon as the stores closed we went back to the studio (or base-camp) and altered clothes, wrote more shopping lists, calculated budgets and tried to figure out who was to wear what when.
In those two days we bought, collected and borrowed almost all the clothing and jewelery that was needed for the whole production.
We both worked so hard, and stupidly thought that the worst was over when the shooting started. But then we learnt the hard way what it meant to work with costumes on a movie set. There was so many things we didn’t know and never would have thought about until someone asked us why we had/hadn’t done this or that.
Thank god the whole team are so wounderful, and once some of them realized we actually had no idea on what we were suposed to do, they explained everything and thereby helped us tremendously.
Stressful as it’s been I learnt so much about both the art of movie making, and about myself and what I can accomplish when I really want and need to.
Now I will stop babbling, and show you some pictures of the behind the camera work going on on set. (un-credited pictures are taken by me).
 Our costume and makeup trailer.
 And inside we find (from left to right) Kristin – costume, Jessica – script and Hanna – props and set designer.
 Some of our costumes sorted by character.
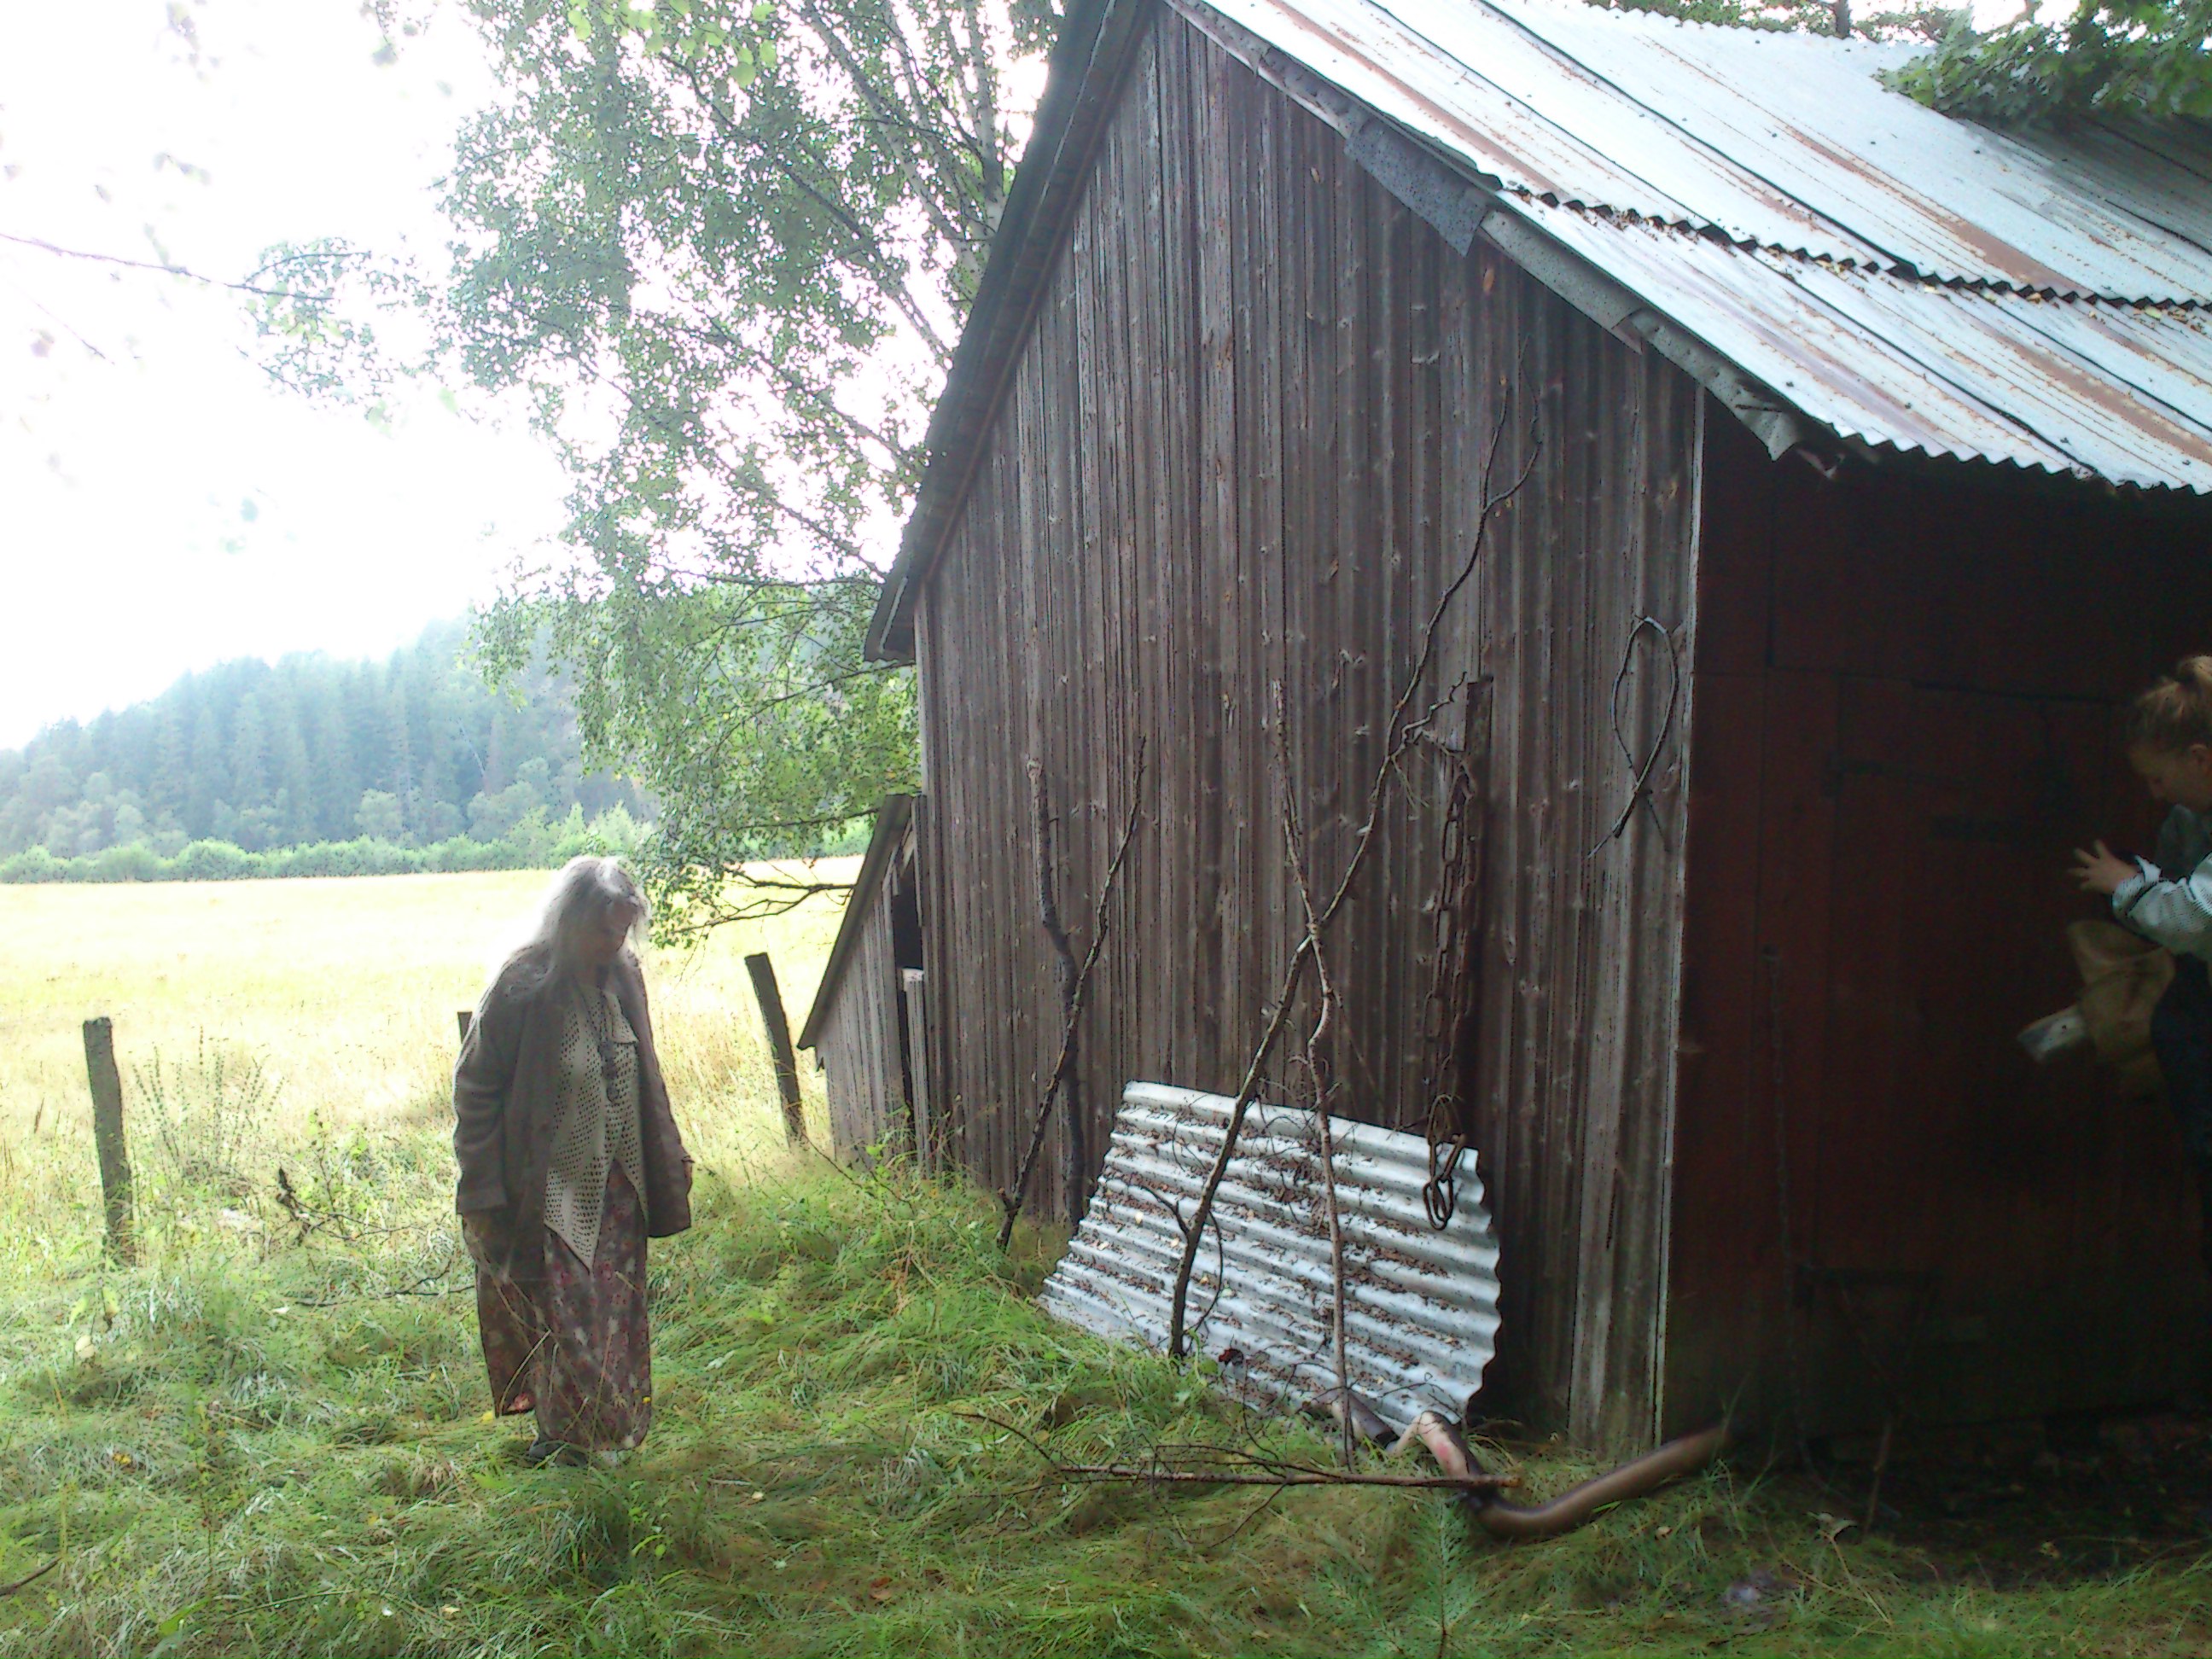
 The luxurious location and workspace in the middle of the woods.
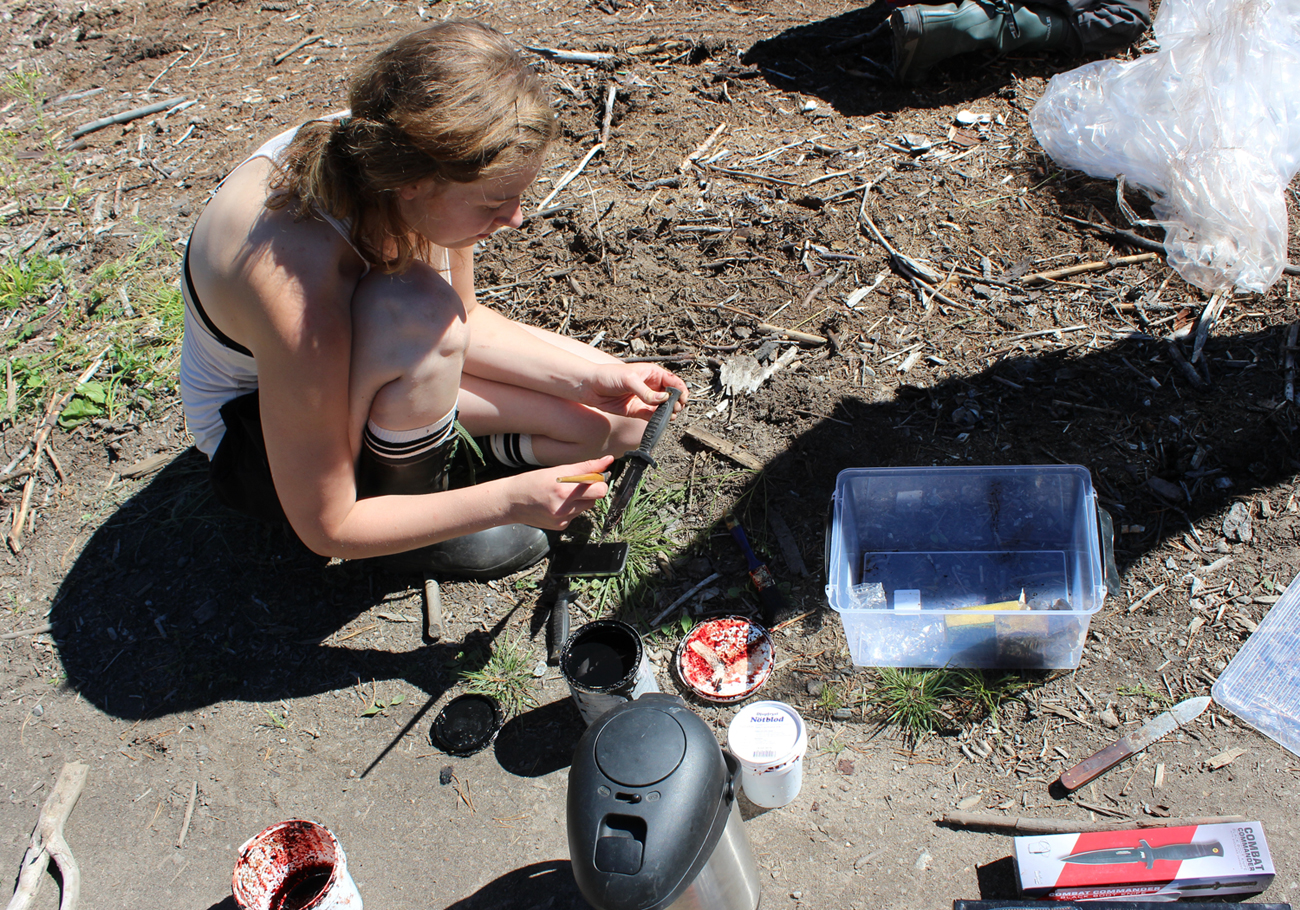
 Hanna covering the knives in pigs-blood.
 Wather scenes.
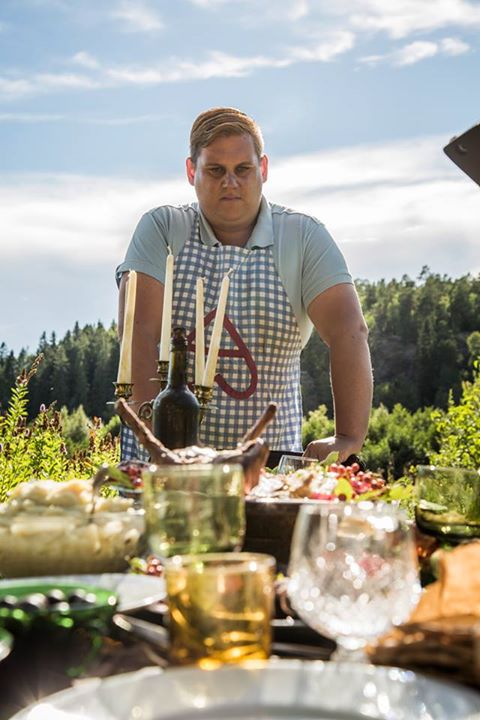
 On set working
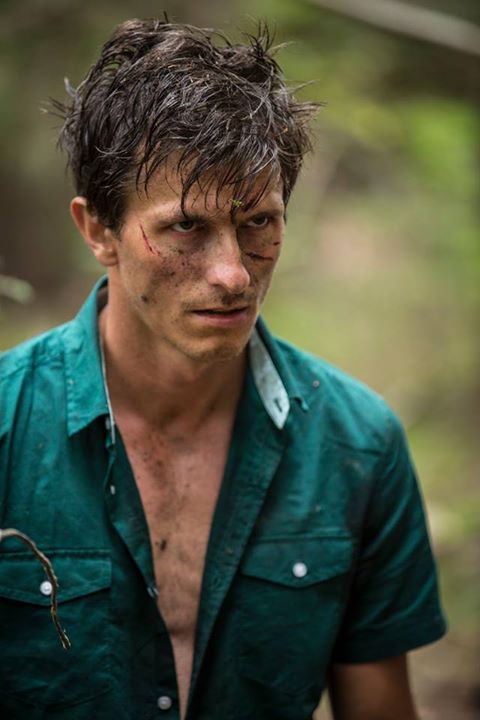
 Spraying some sweat on our actors.
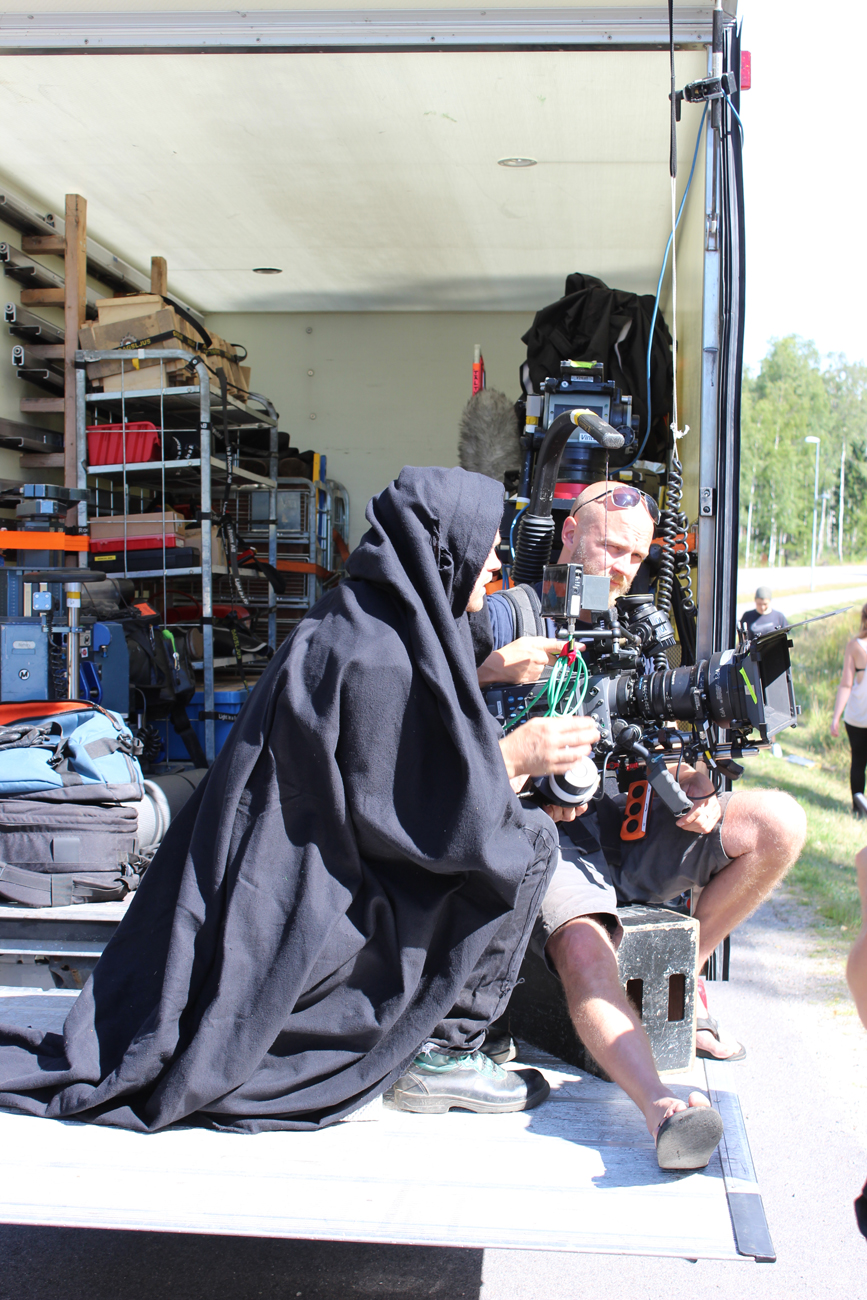
 Camera crew
 And some more camera crew Sofia, Eddie and camera man Staffan.
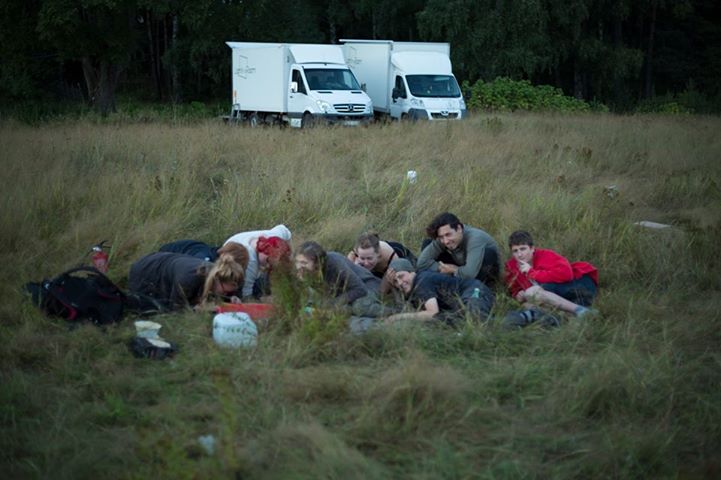
 When the camera points at you – you duck (no one even realized the trucks in the back probably destroyed the shoot even more).
 Actors having a repetition of the scene while make-up, costume and sound-tech works on them. (By Marcus Möller)
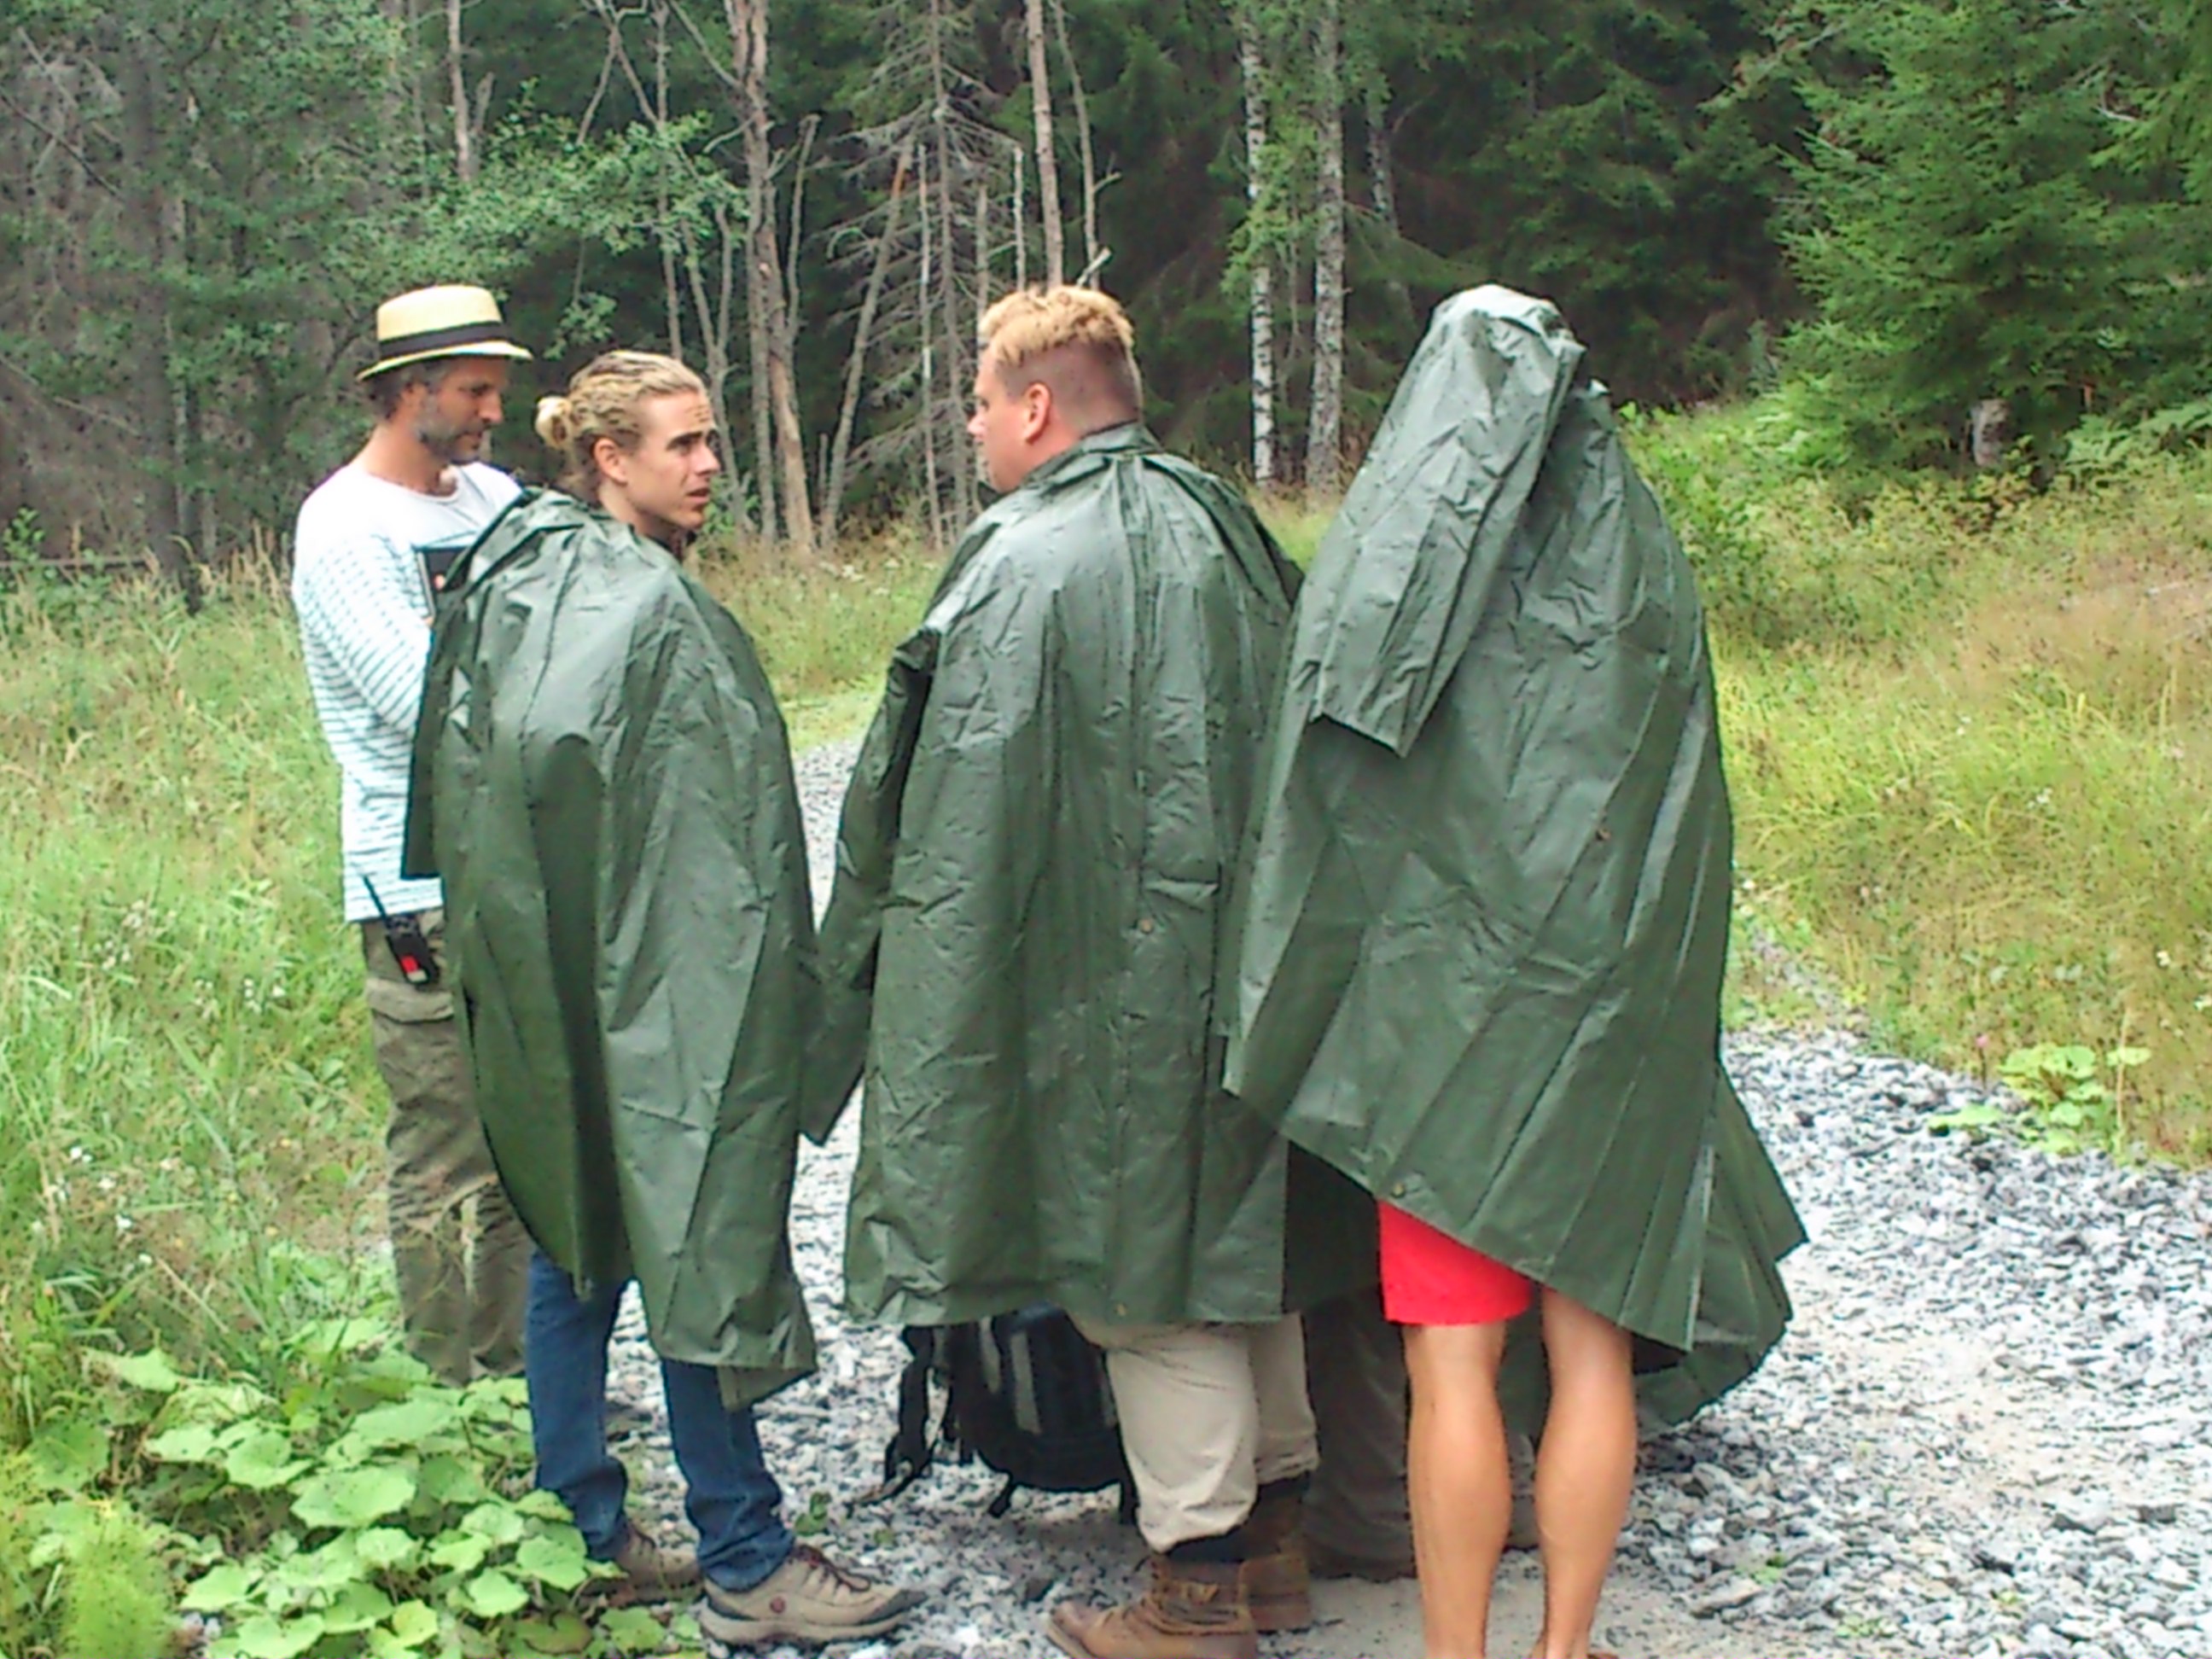
 The Swedish summer is not always sunny…
 Dave Leon and Rebecca Labbé get directions by Ove Valeskog. (by Marcus Möller)
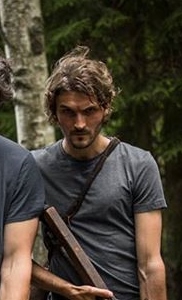
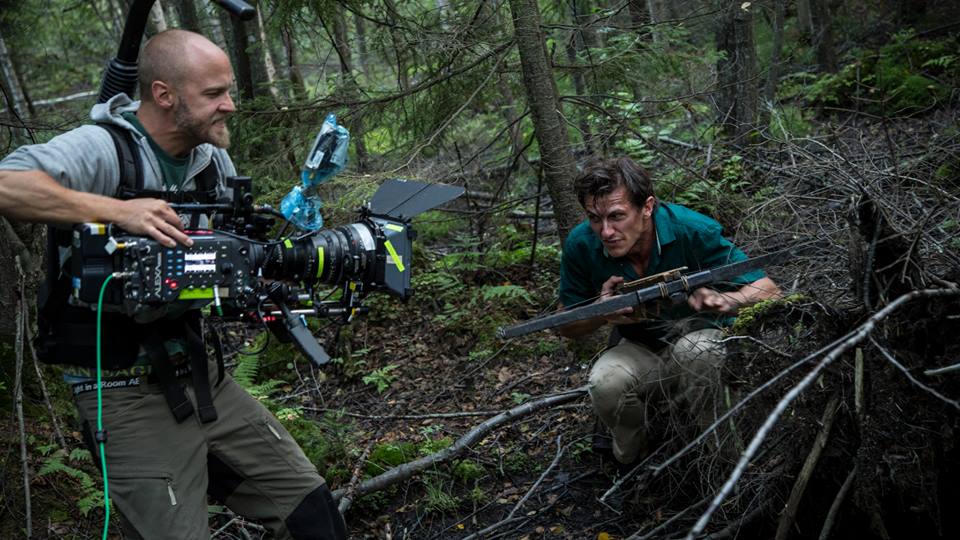
 Viktor Åkerblom and Staffan Övegård on a hunt. (By Marcus Möller)
 Ove Valeskog och Nikola Ruzicic looks like twins (not intentionly). (By Marcus Möller)
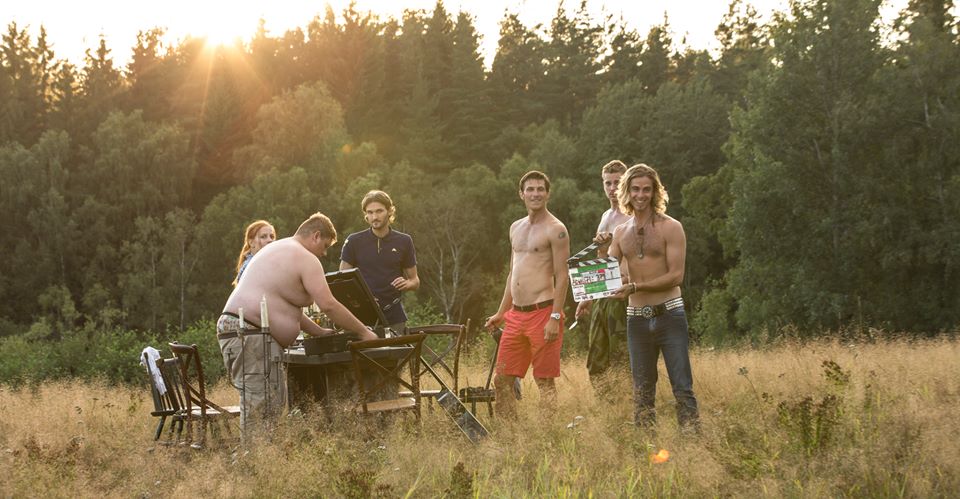
 The cool gang (Kristin Sundberg, Dave León, Mirja Mira Steen, Viktor von Schirach, Christoffer l Johnsson and Viktor Åkerblom).
Next time I will tell you more about the movie and the characters.