
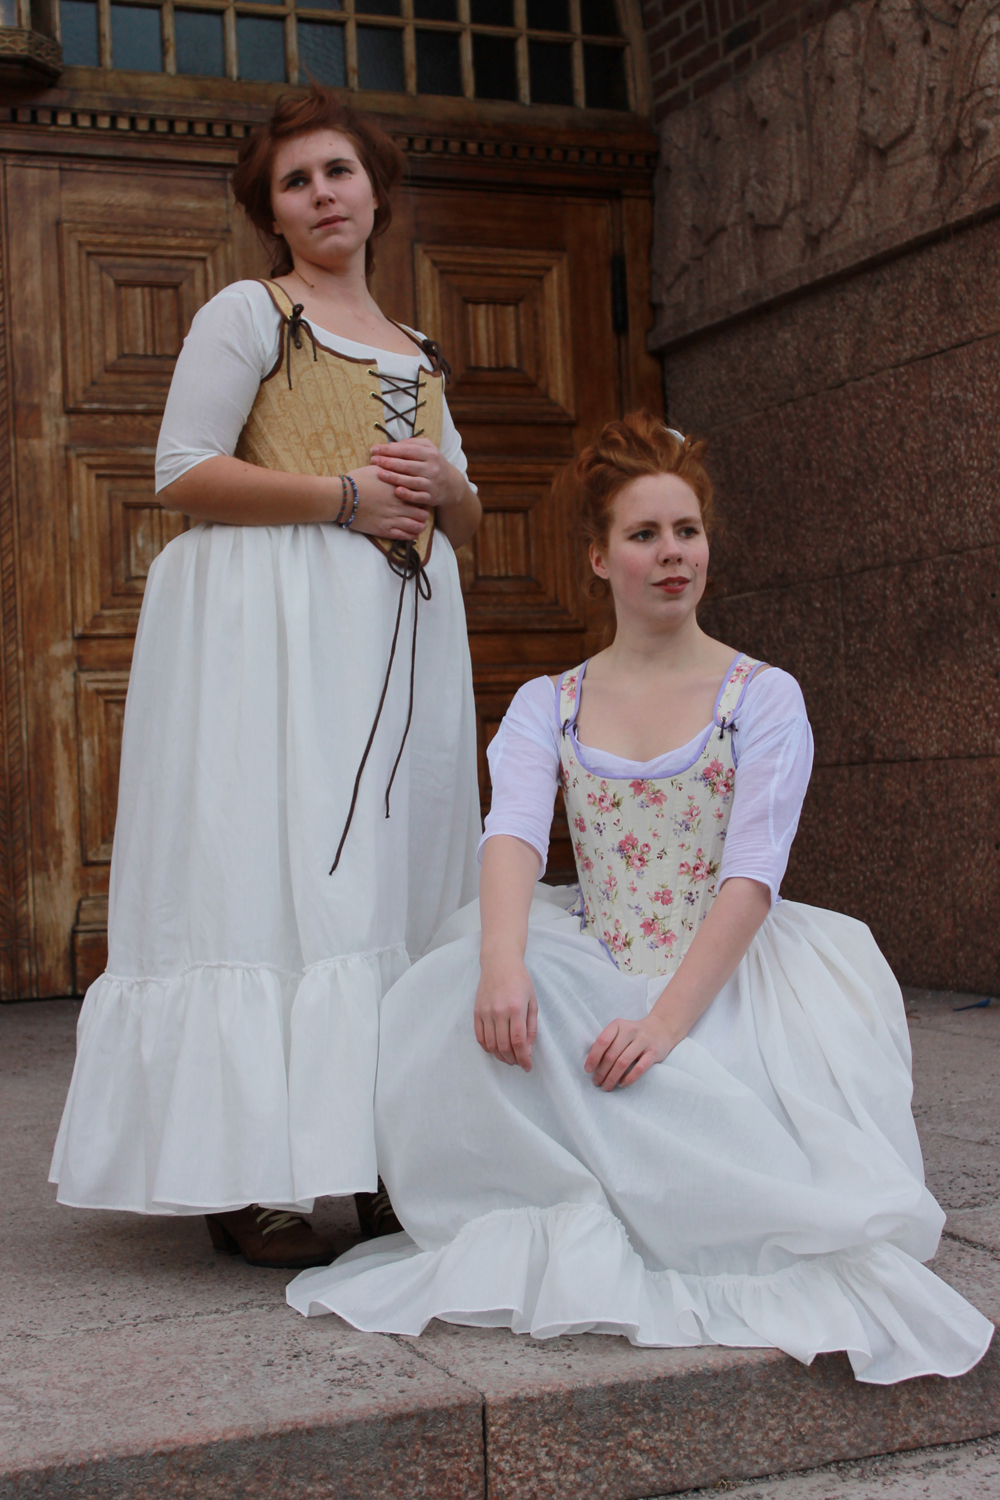
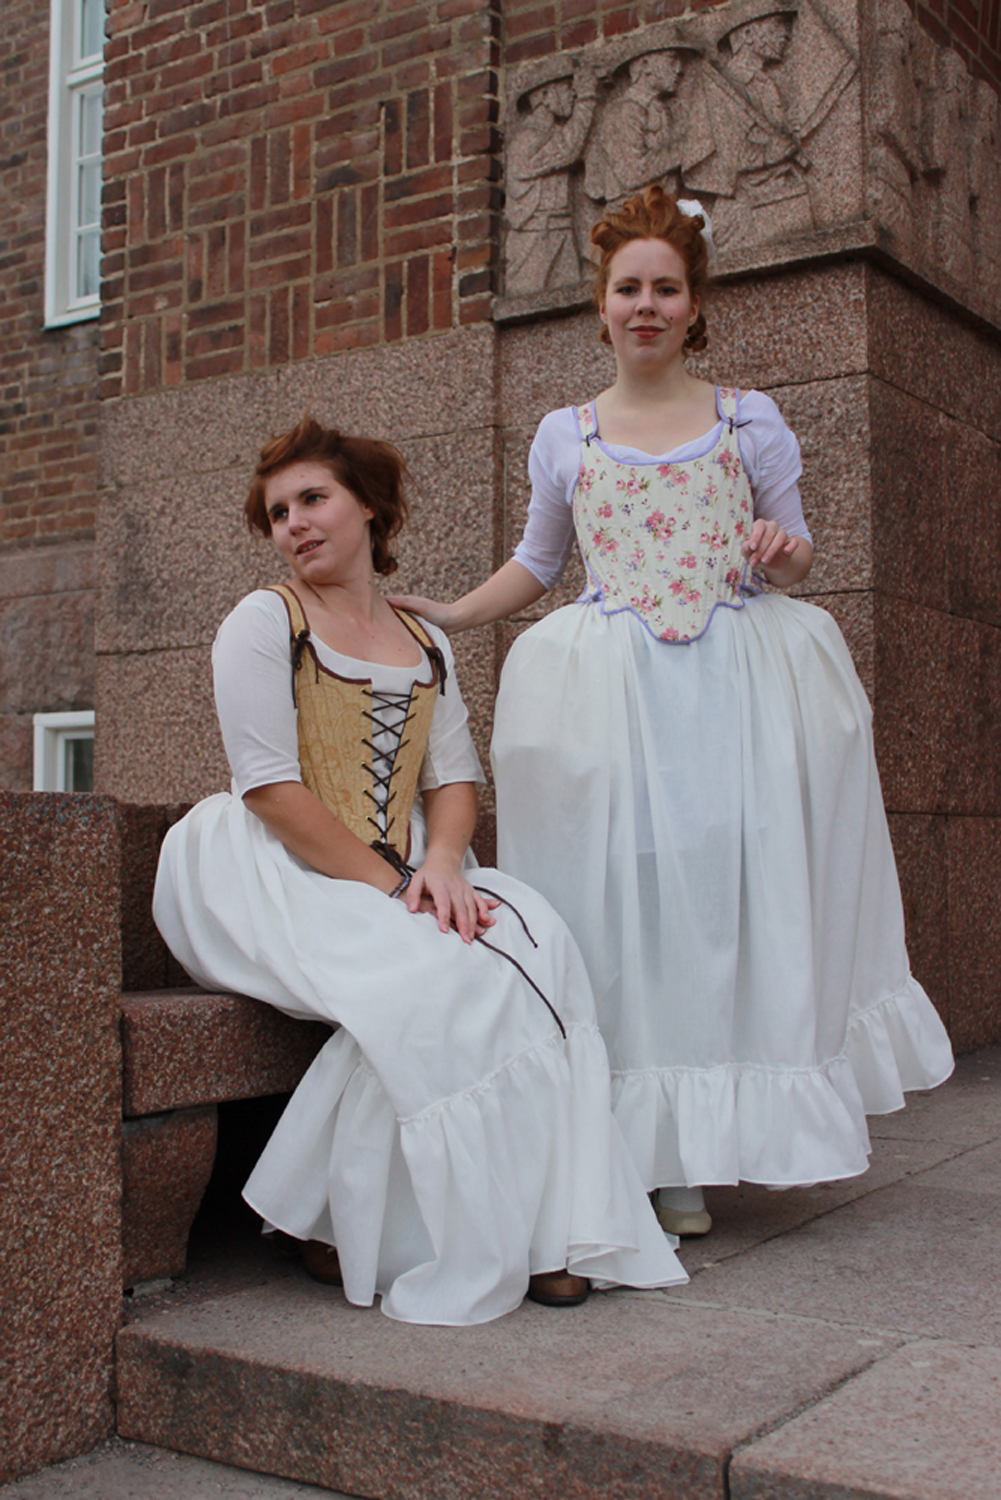
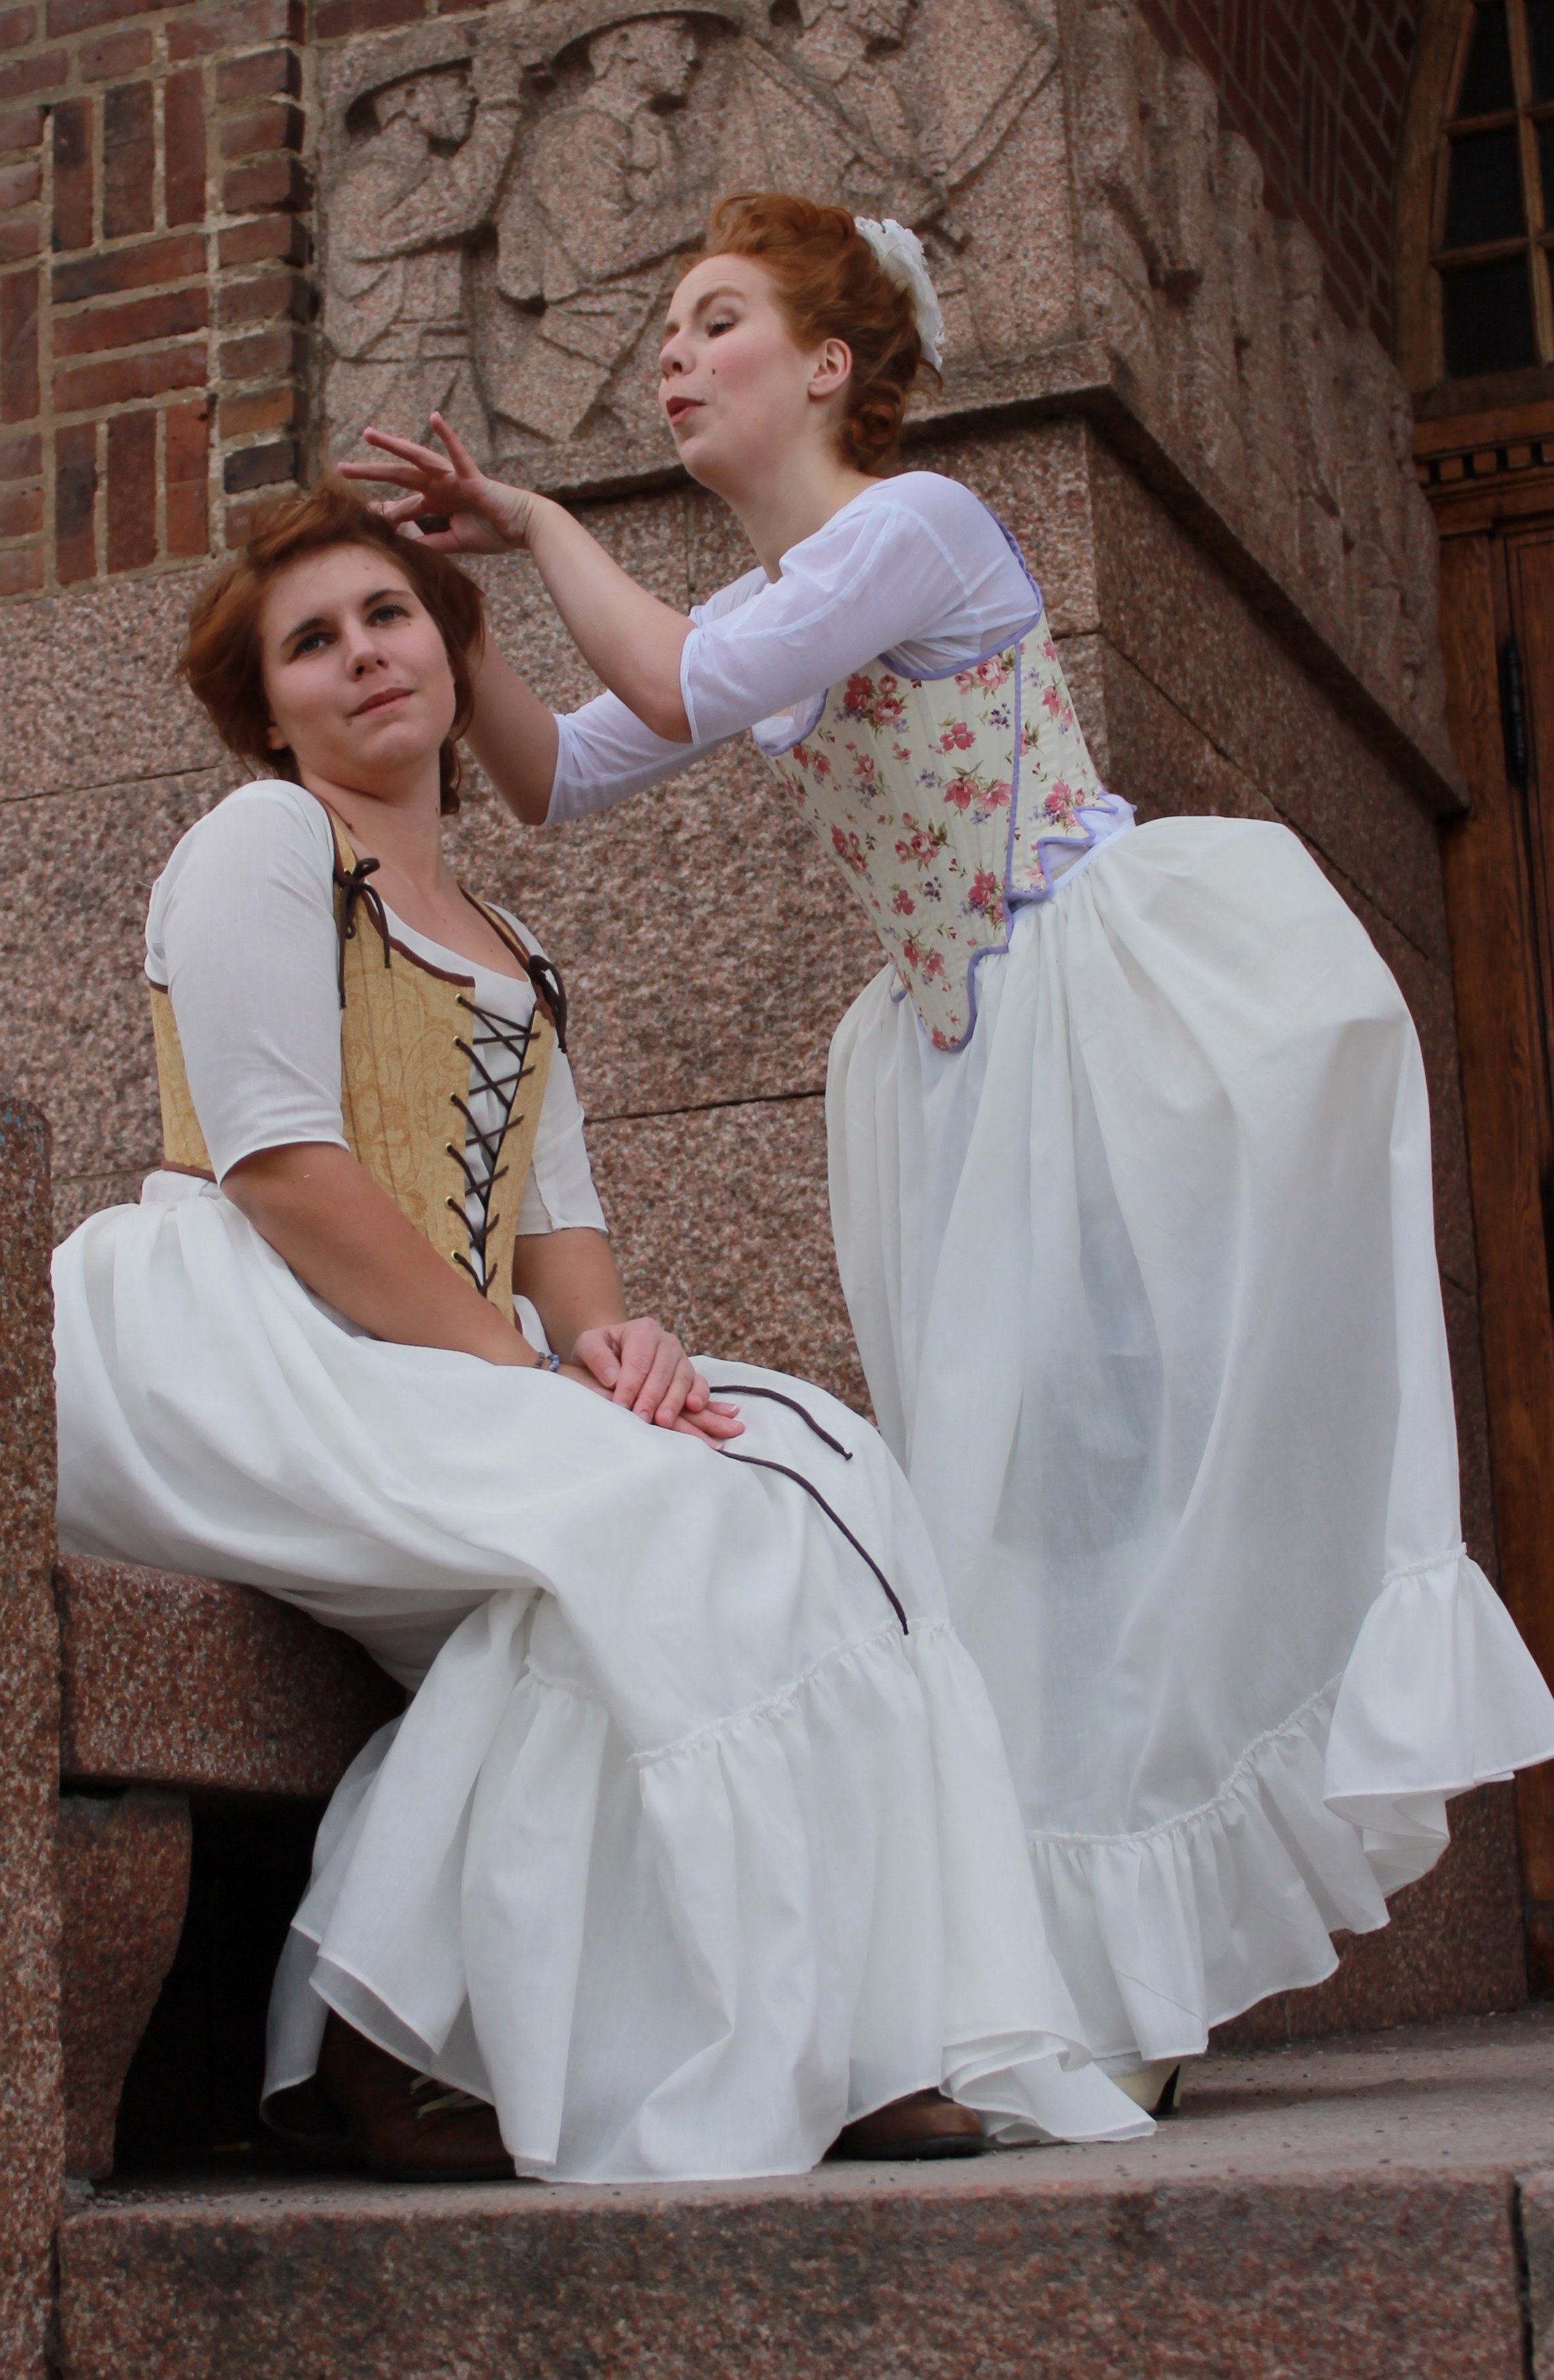
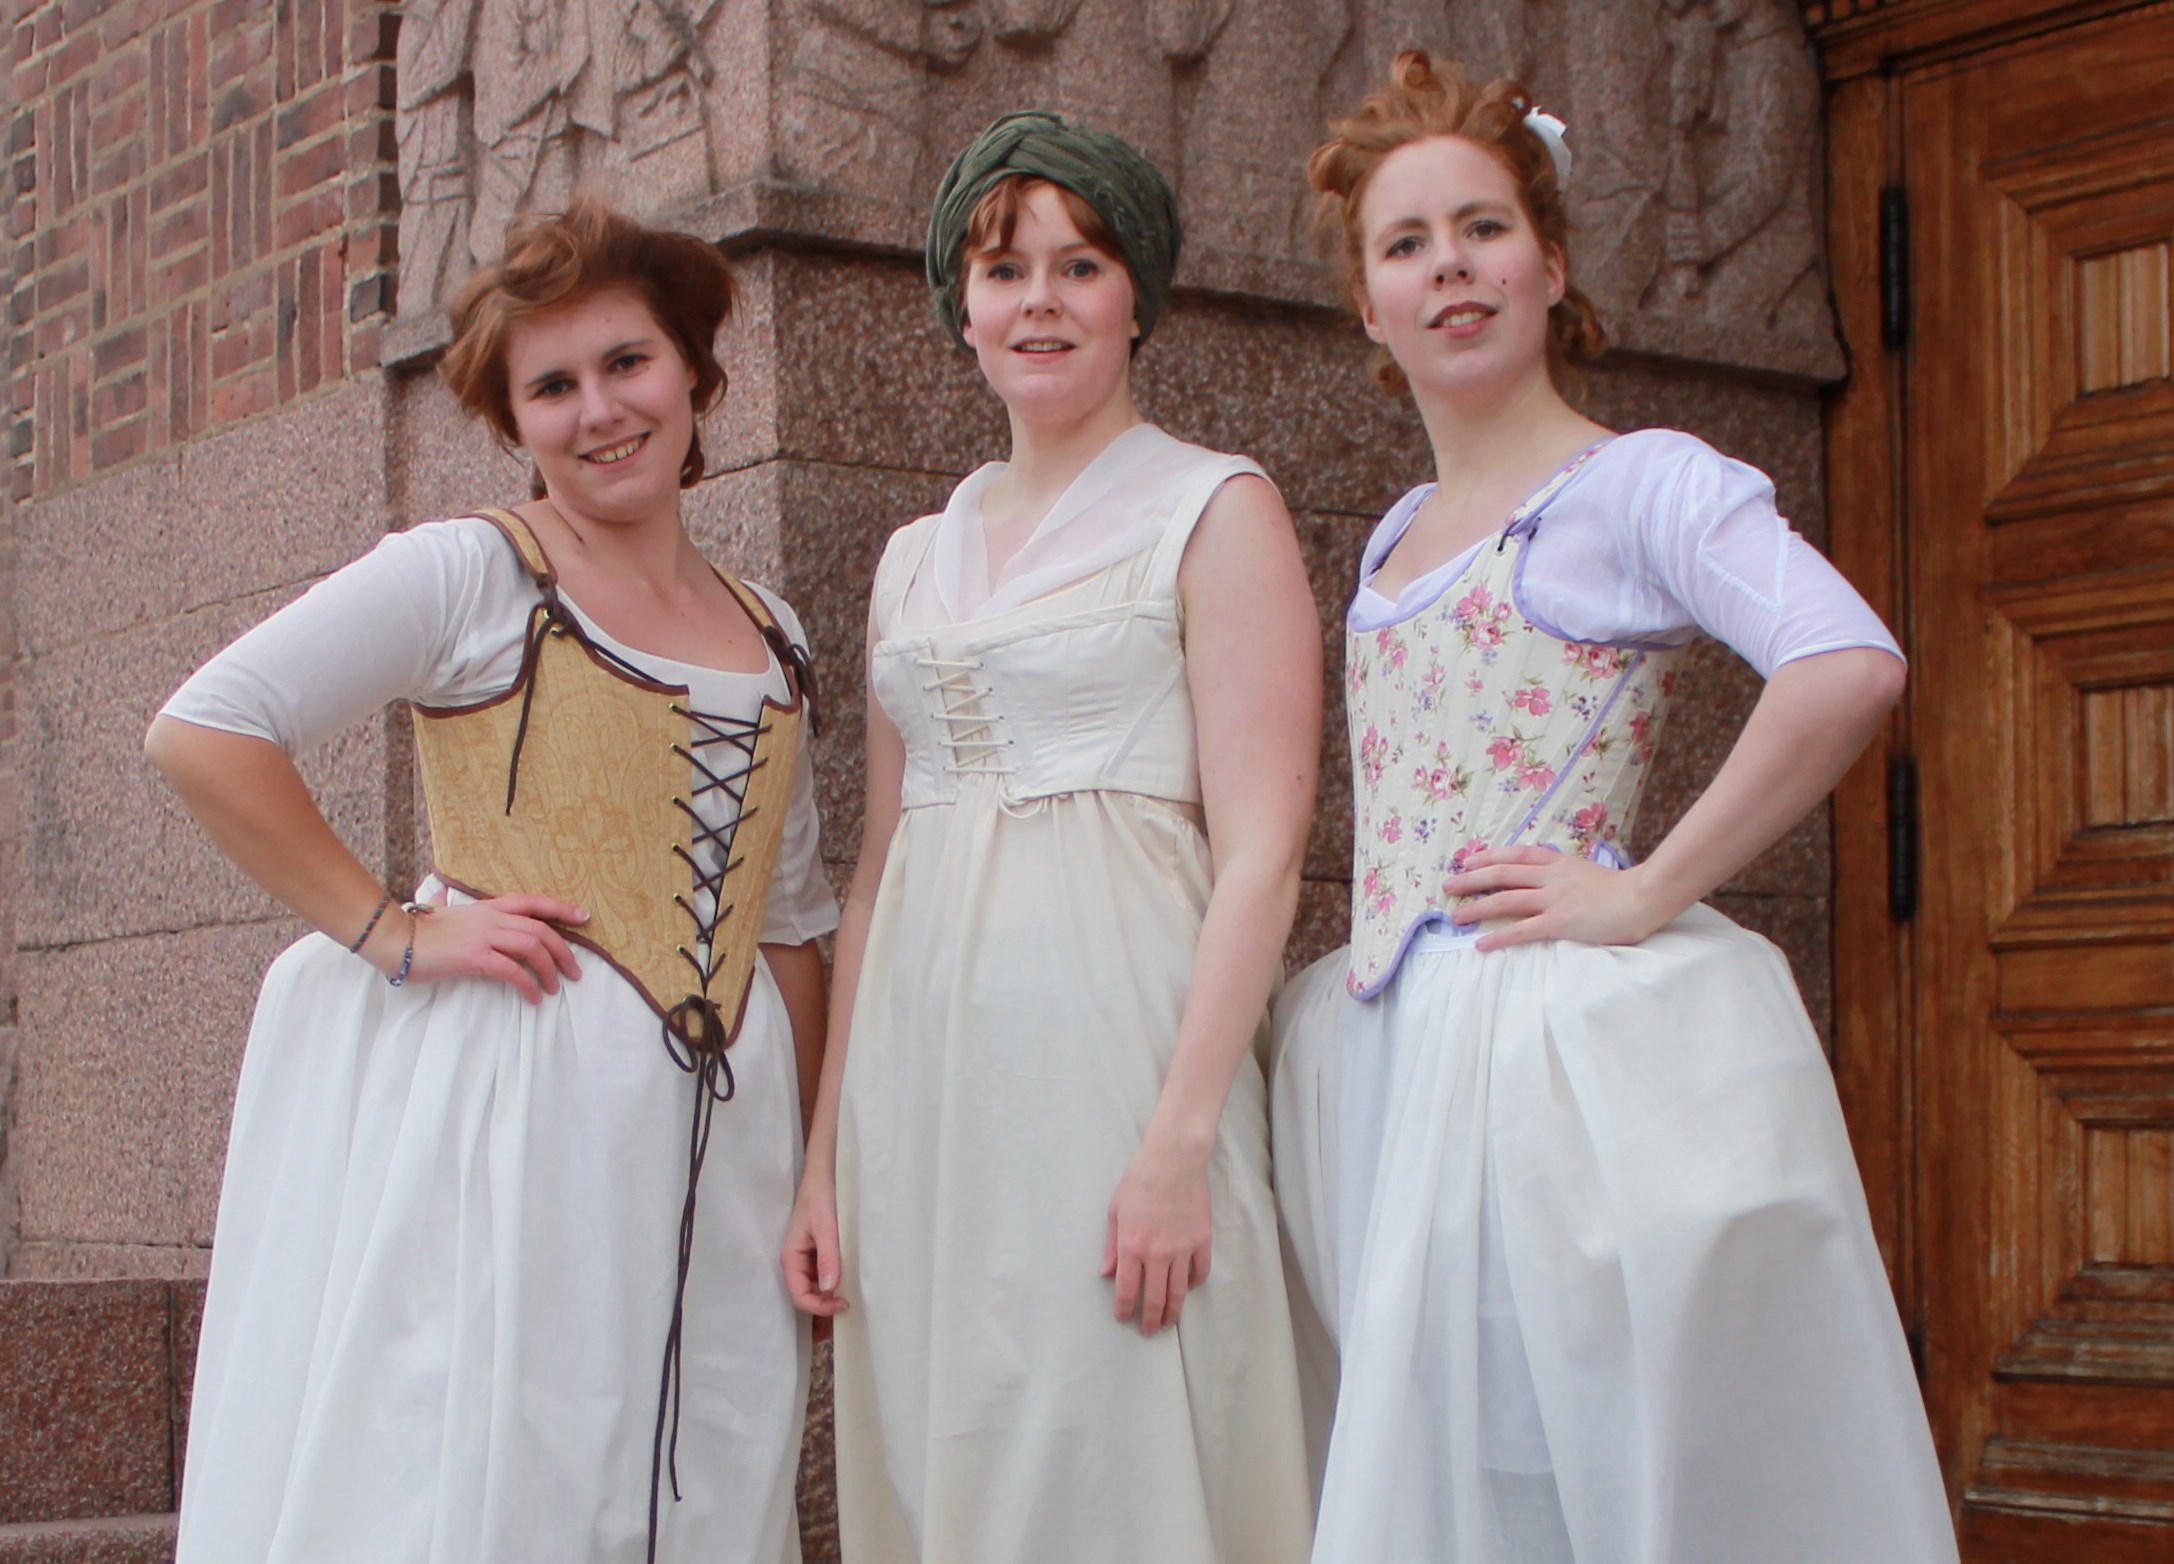
Here are some pictures which me and my sister took last spring.
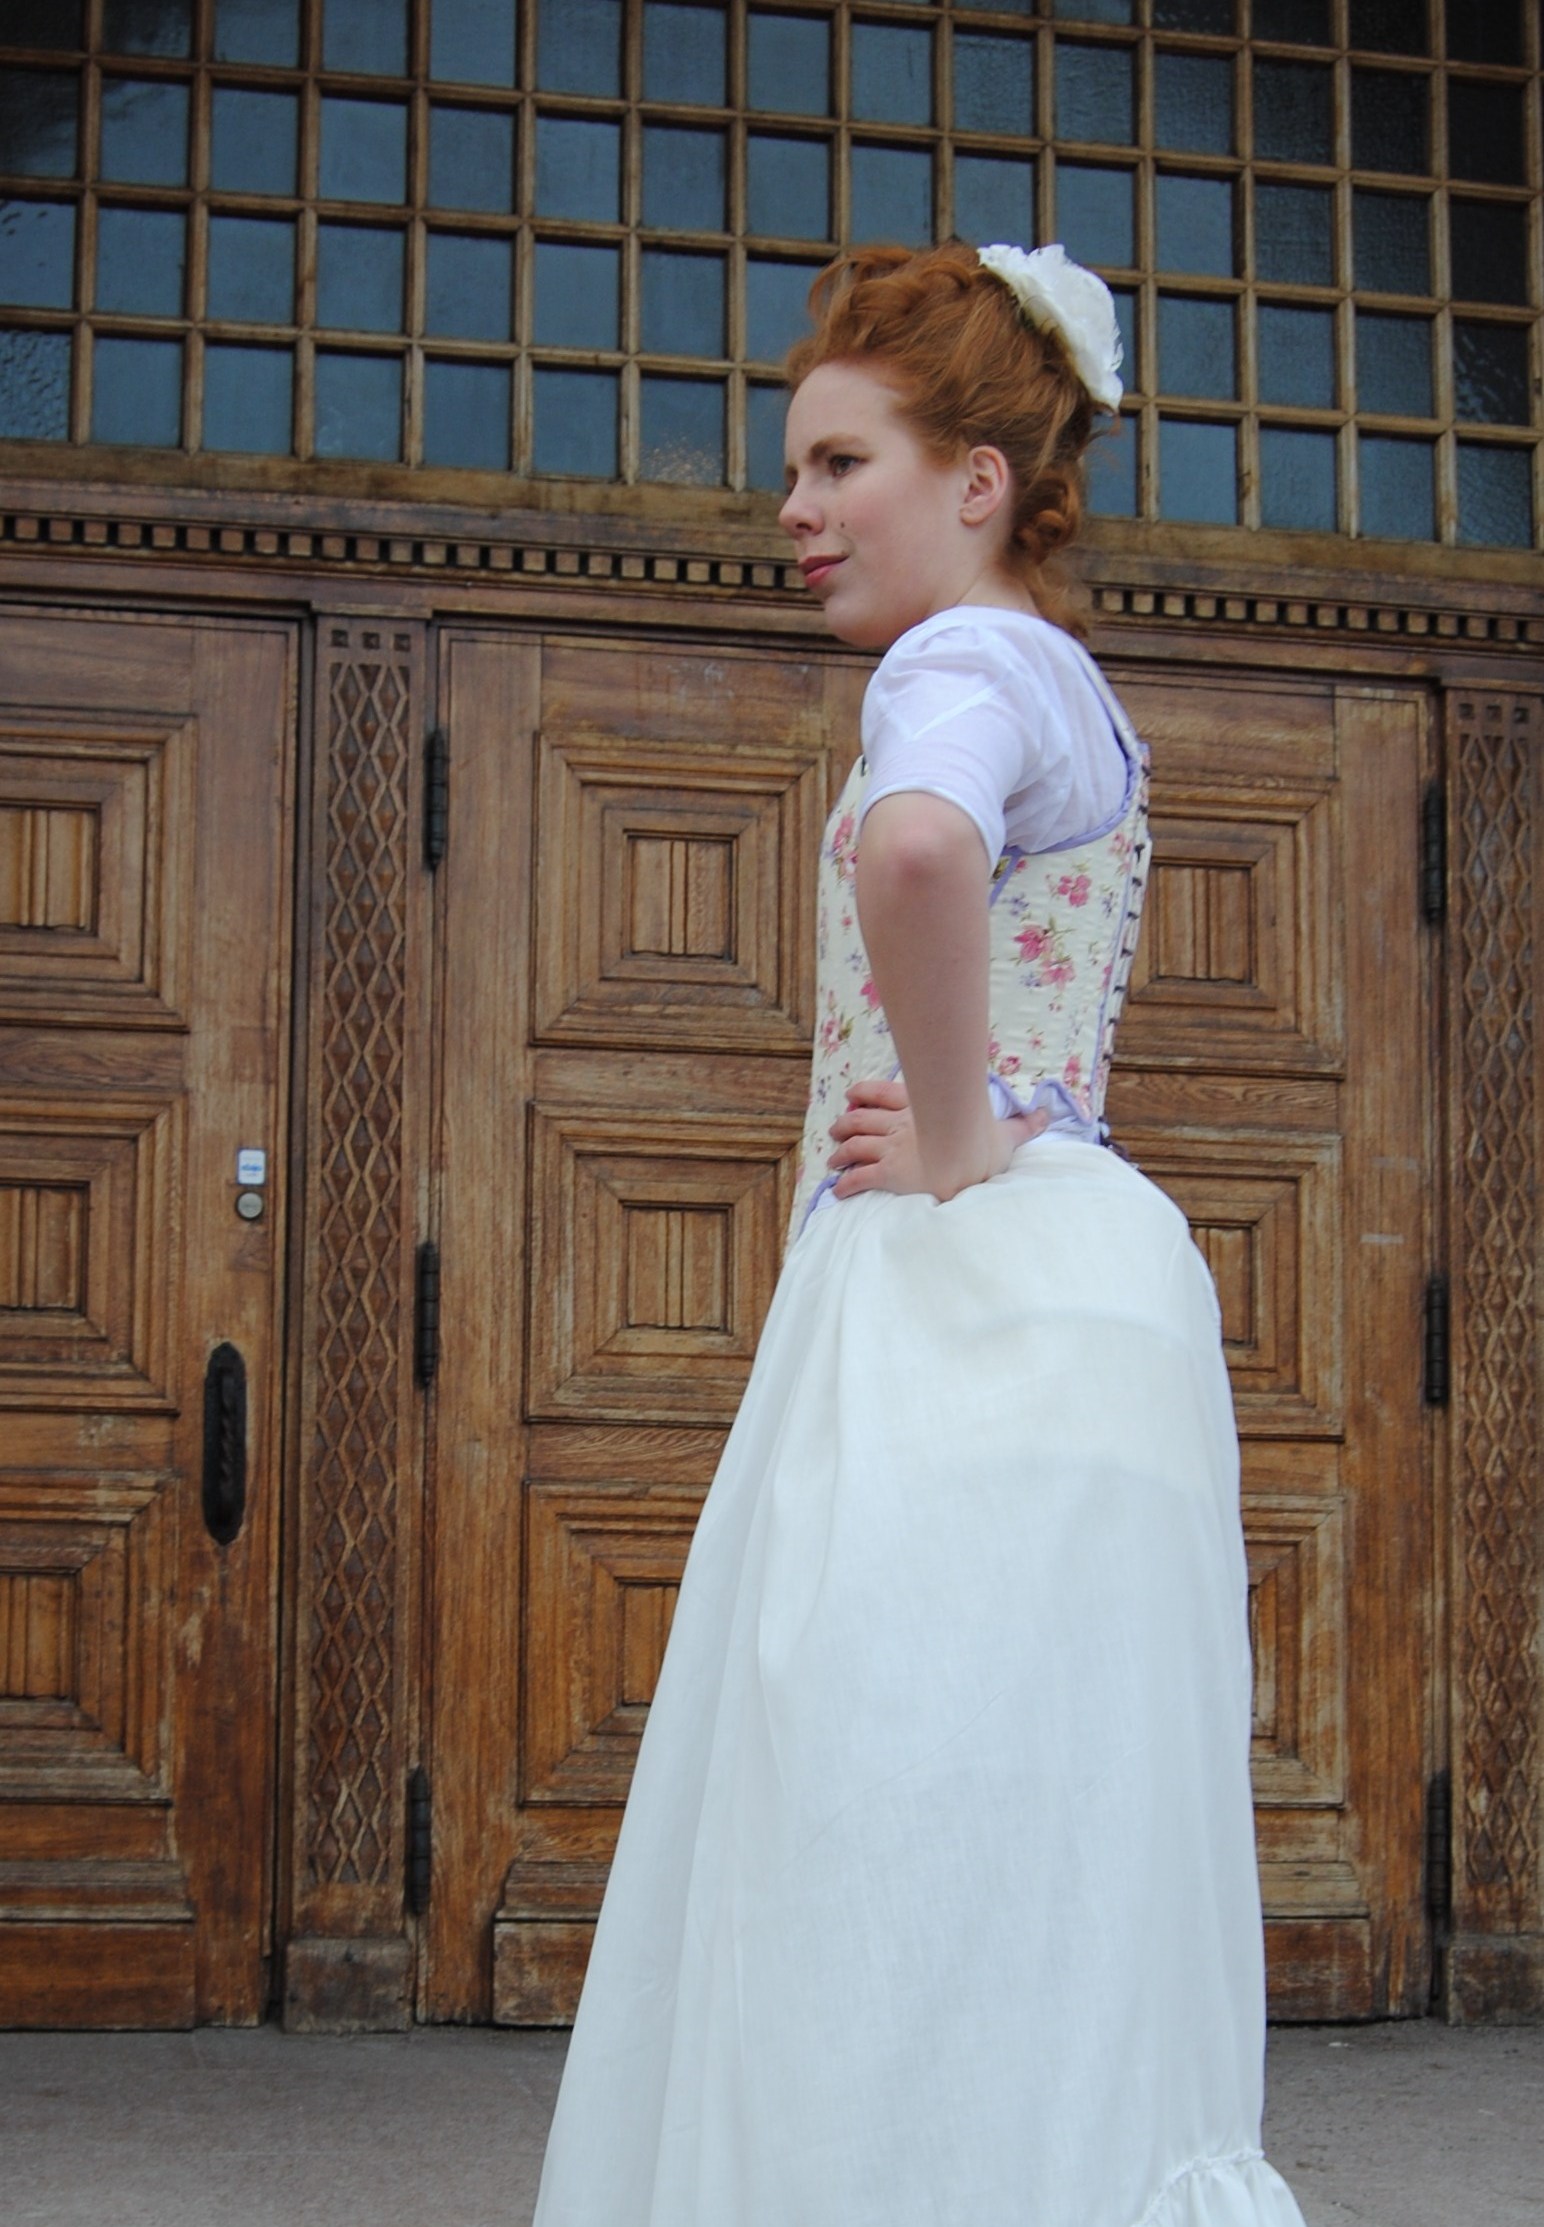
We dressed up in 18th century underwear (1750s, 1780s & 1790s) and posed in front of the beautiful building next to my home.


Here are some pictures which me and my sister took last spring.
We dressed up in 18th century underwear (1750s, 1780s & 1790s) and posed in front of the beautiful building next to my home.
And so it’s time to present the last (of my old, prevously compleated) HSF entrys. The Challenge nr 2: UFO – Un Finished Object.
As a novice in costuming I didn’t had many UFOs laying around. But I did however have a costuming piece, not yet started but, promised to my sister.
A 1700s corset.
I’ve already made her one in the previuos year, but it was noting but a mess. Lets take a look at my very first atempt at historic corset making.
I used a pattern from Jill Salens book “Corsets”.


The fabric is a lovely cotton print (which I still love, by the way).
I even made her a design sketch.
Then I started to sew.
And this is what I came up with.
Ok, its not that bad for a first try- if you ignore the gromets.
It acctualy look pretty decent…
Until you realises how extremly smal it is.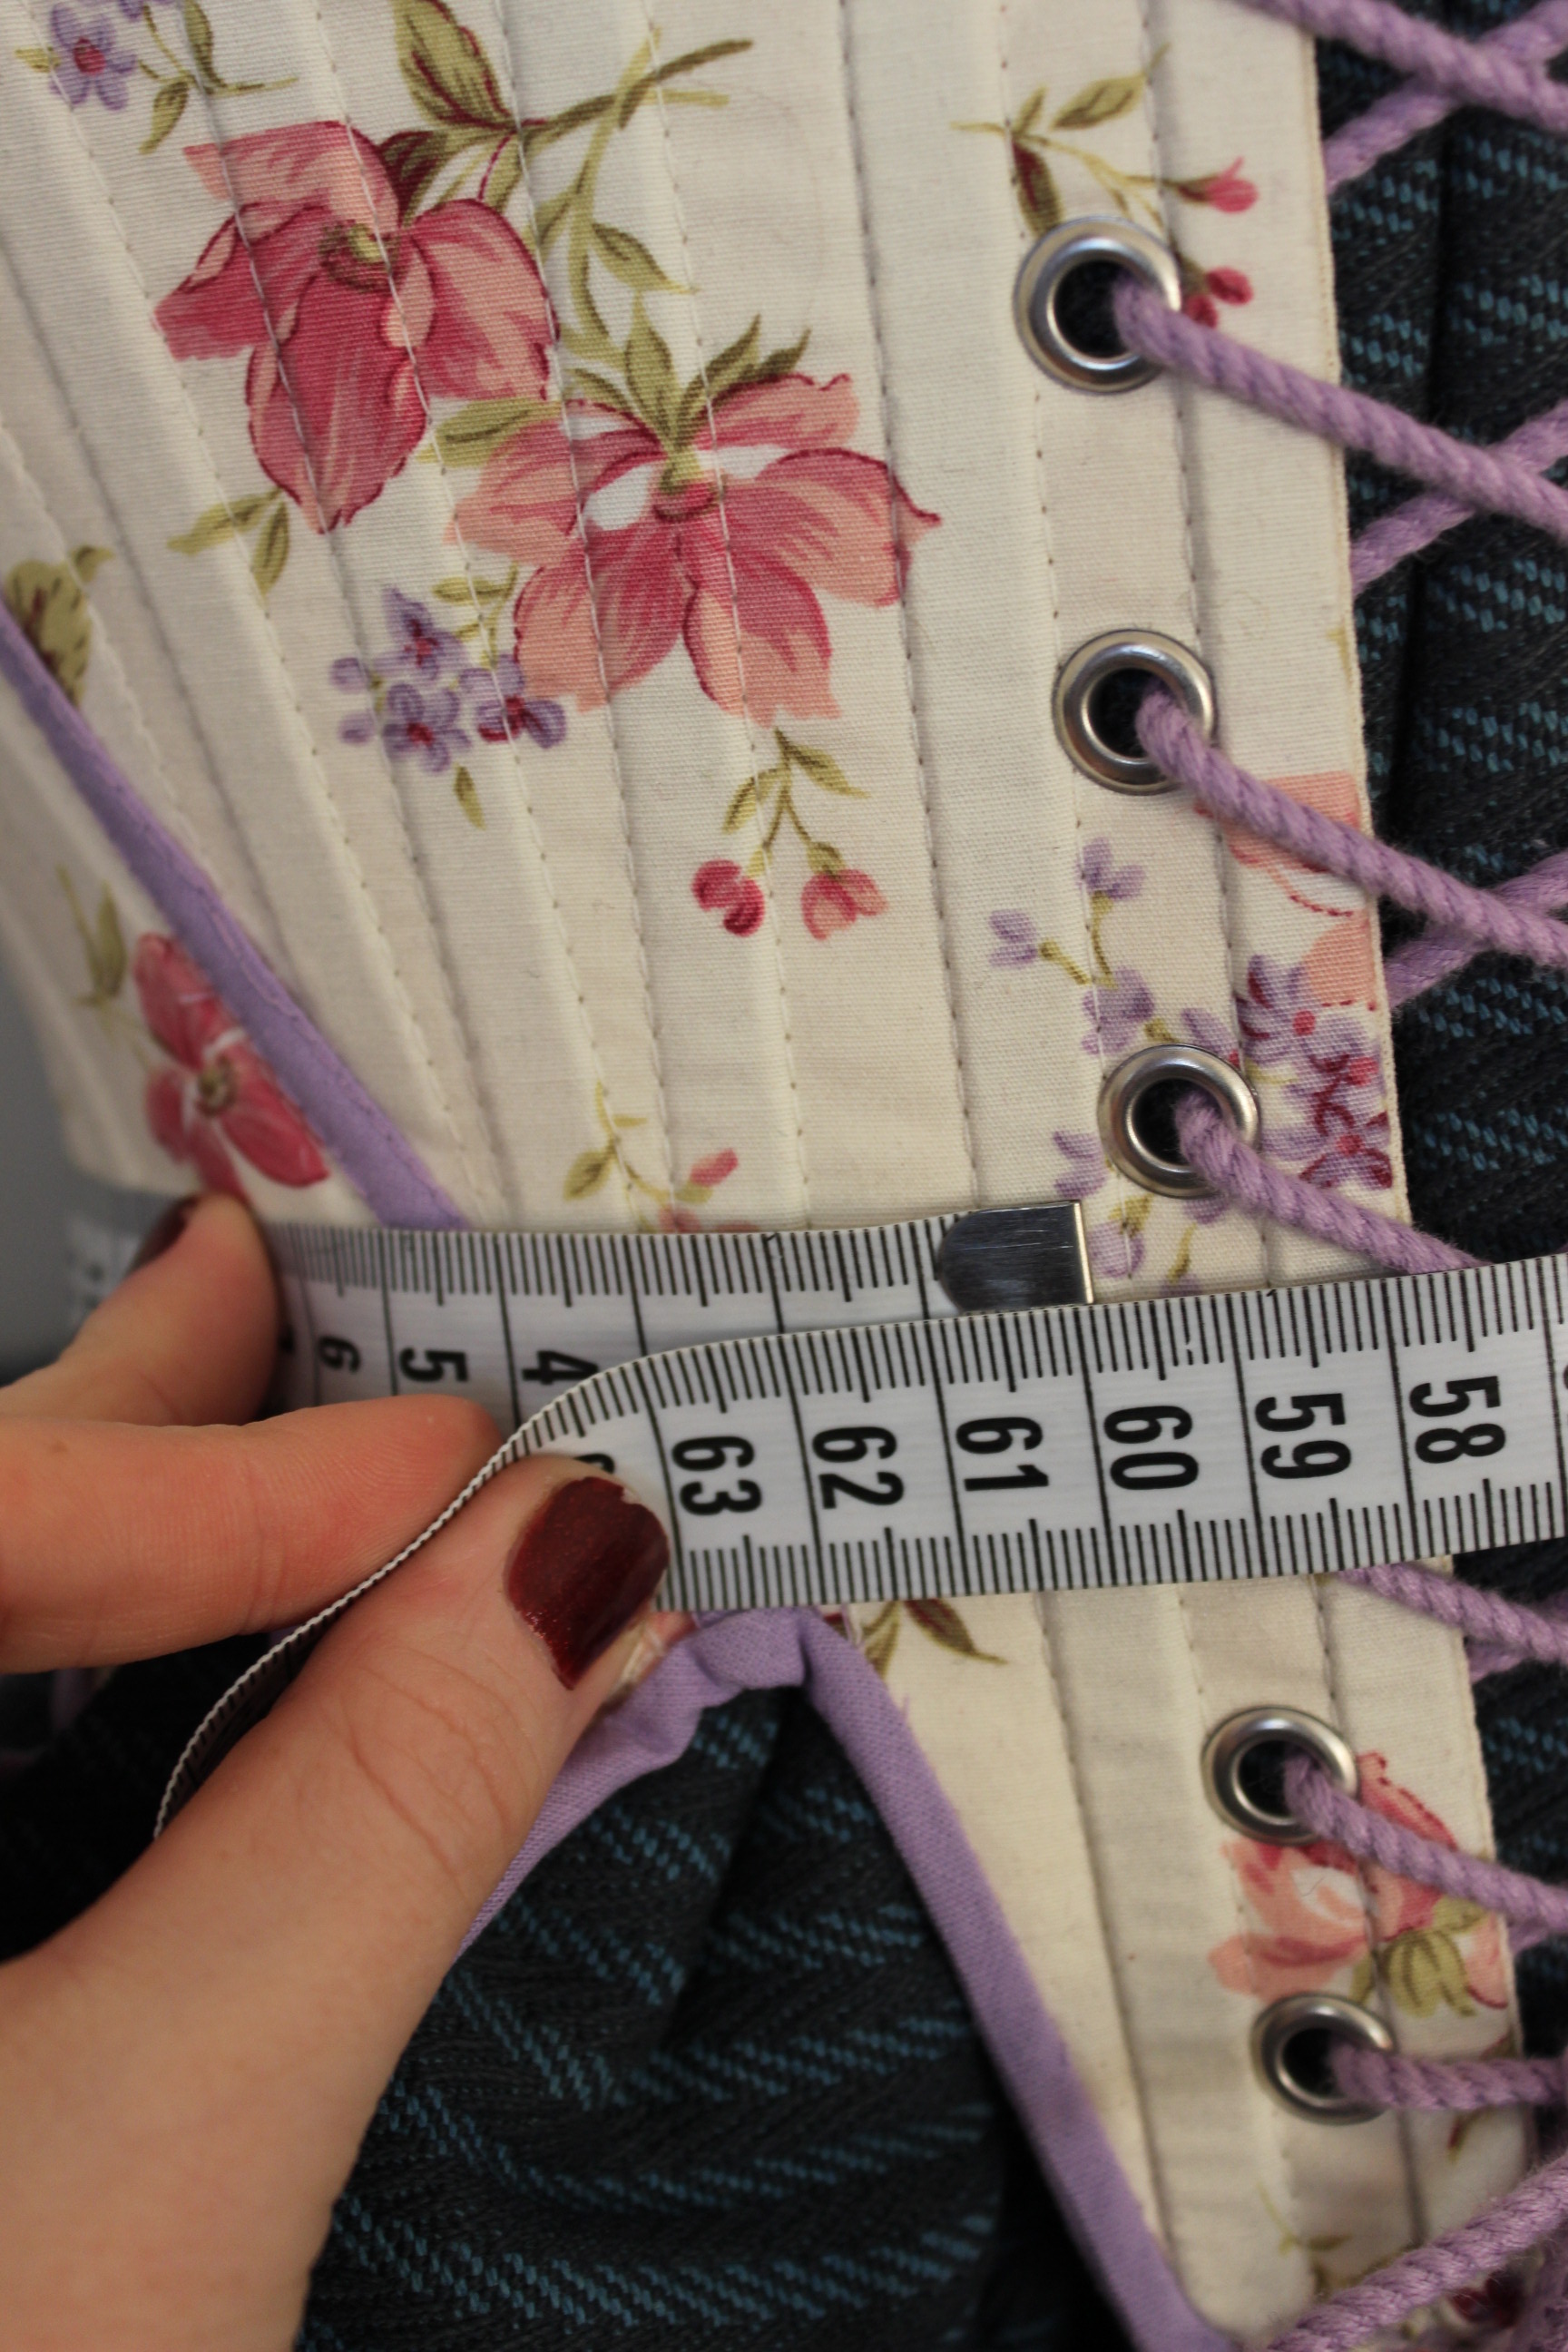 It wouldn’t even fit my size 36 dressform.
My sister is not particular big, and even after some serious skwezing the darn thing still didn’t fit her.
We did get some pretty picture though.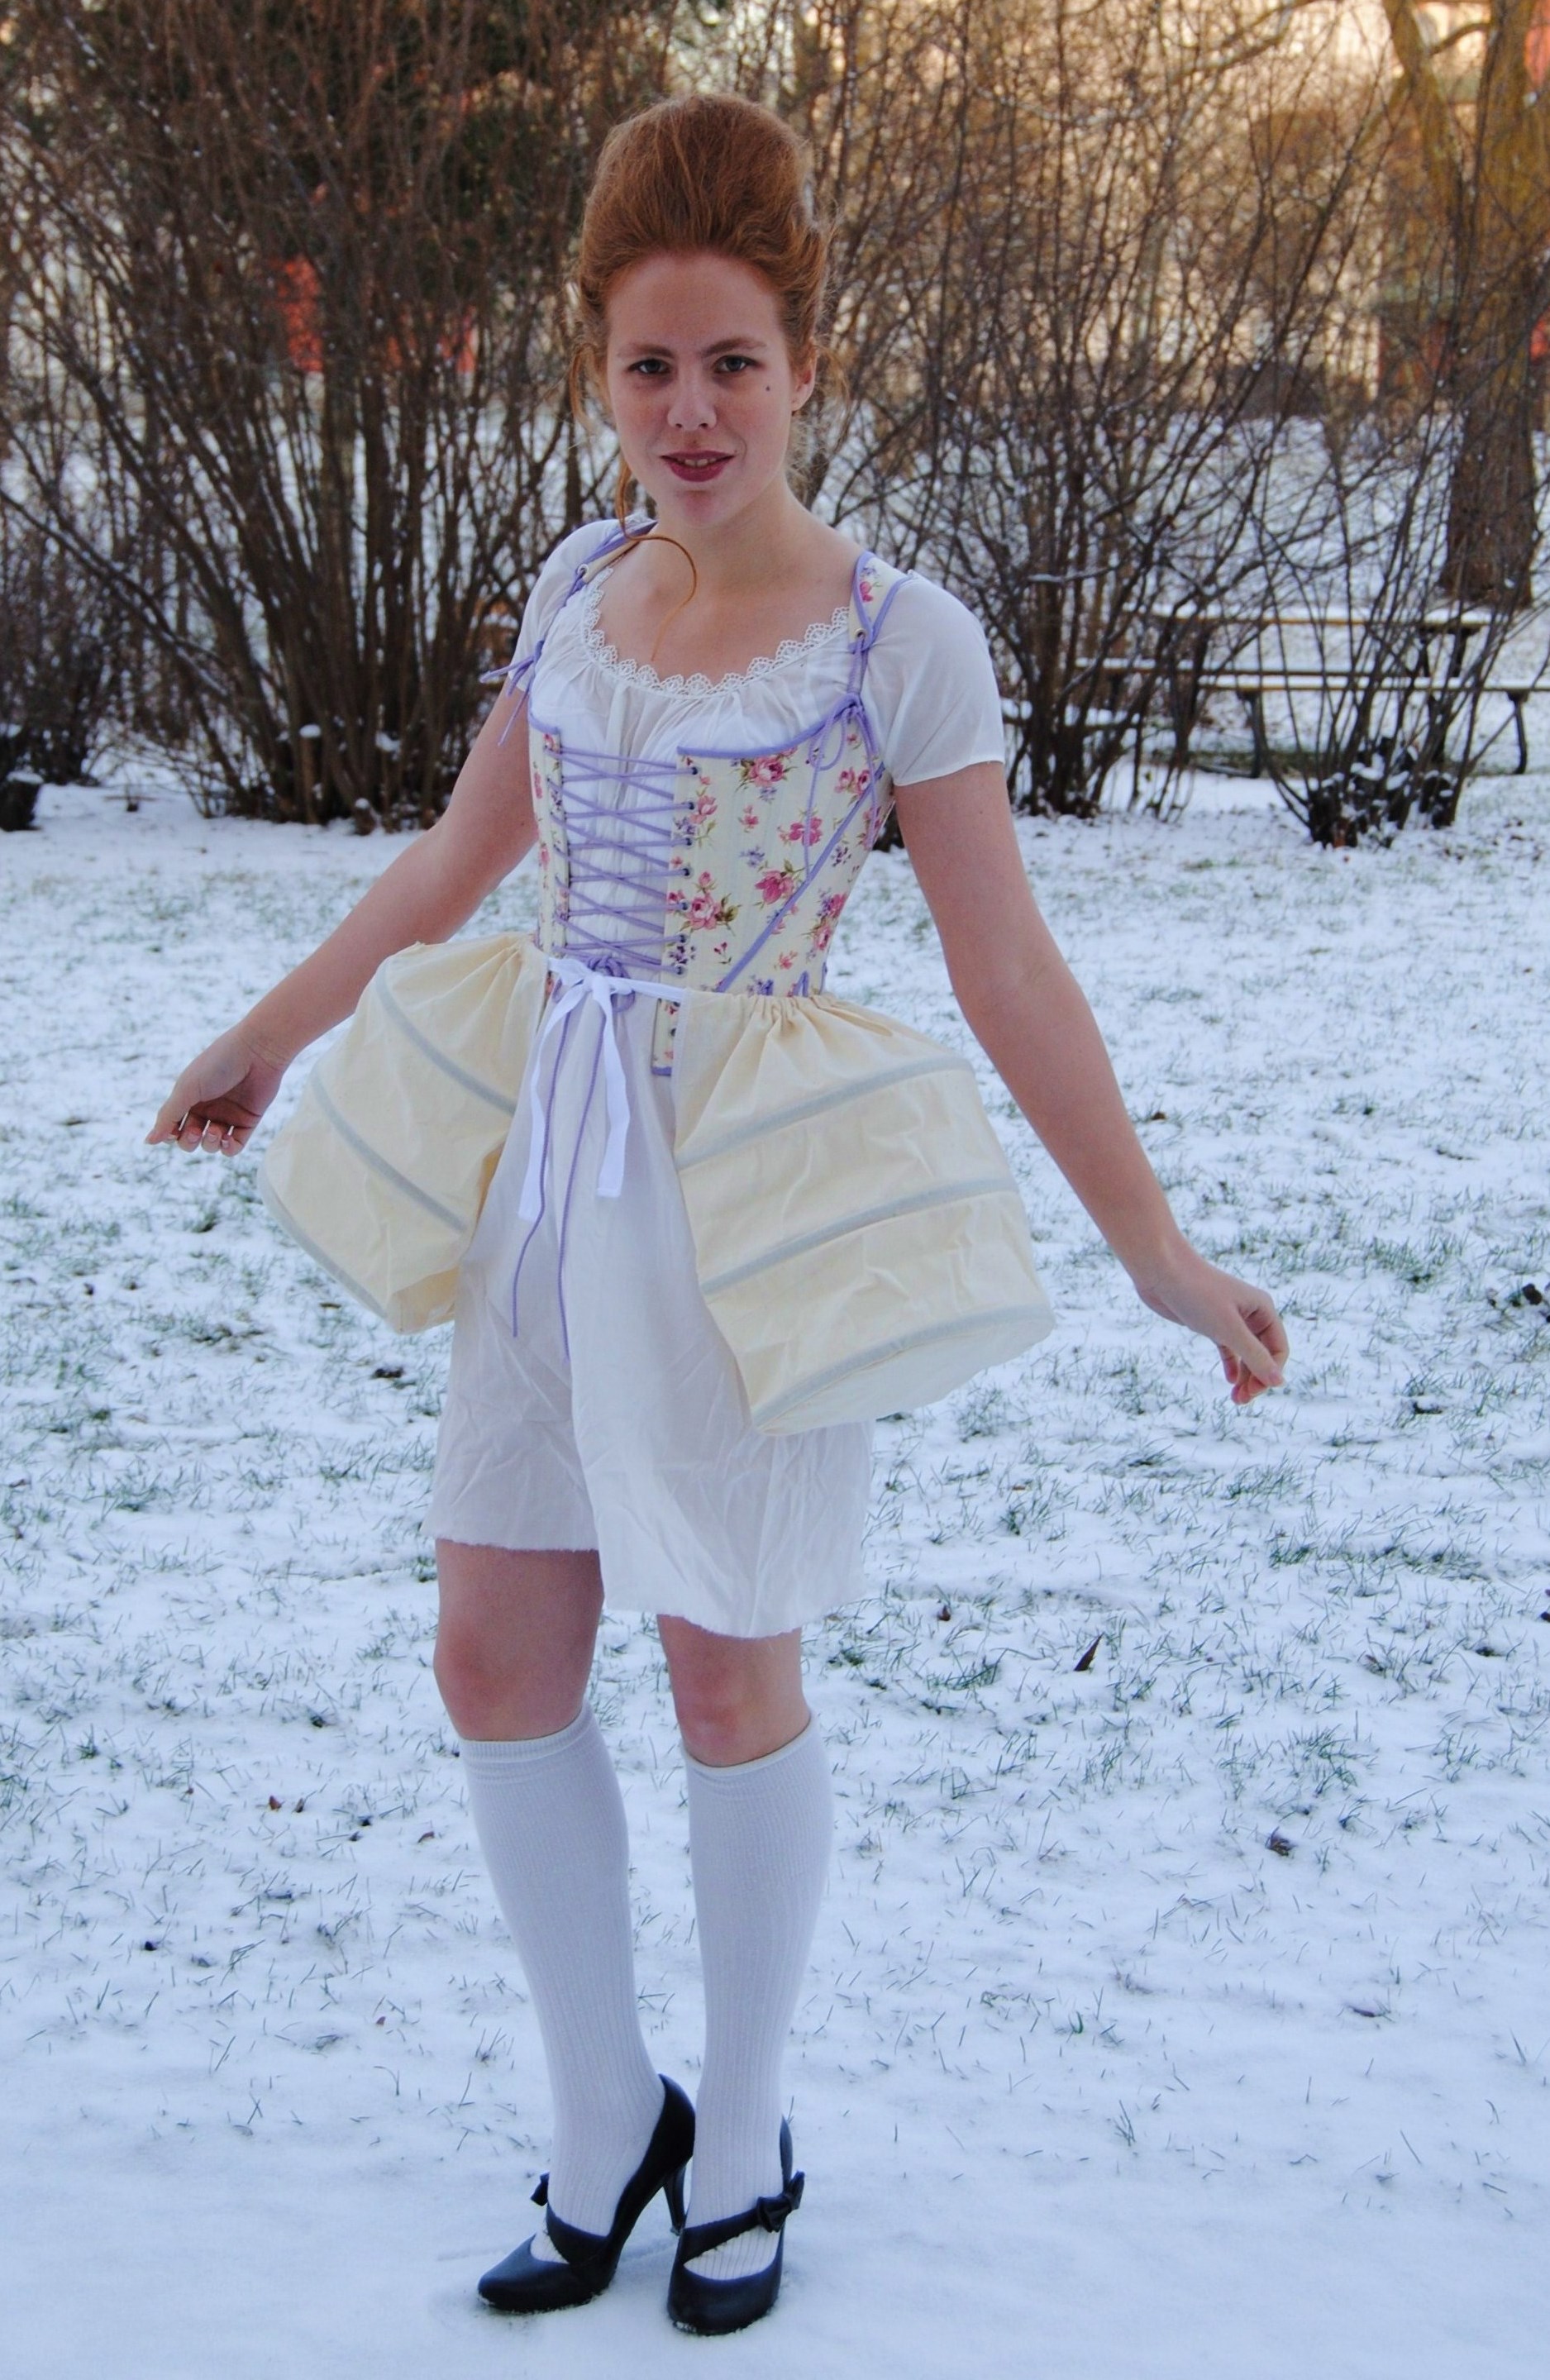
 And the minute we where done photograping, the whole thing whent straight into a box in the basement.
The pocket hoops are made from Waughs pattern and still works perfectly.
***
Now back to the UFO.
After I’ve promised my sister to make her an other corset, that would actualy fit her.
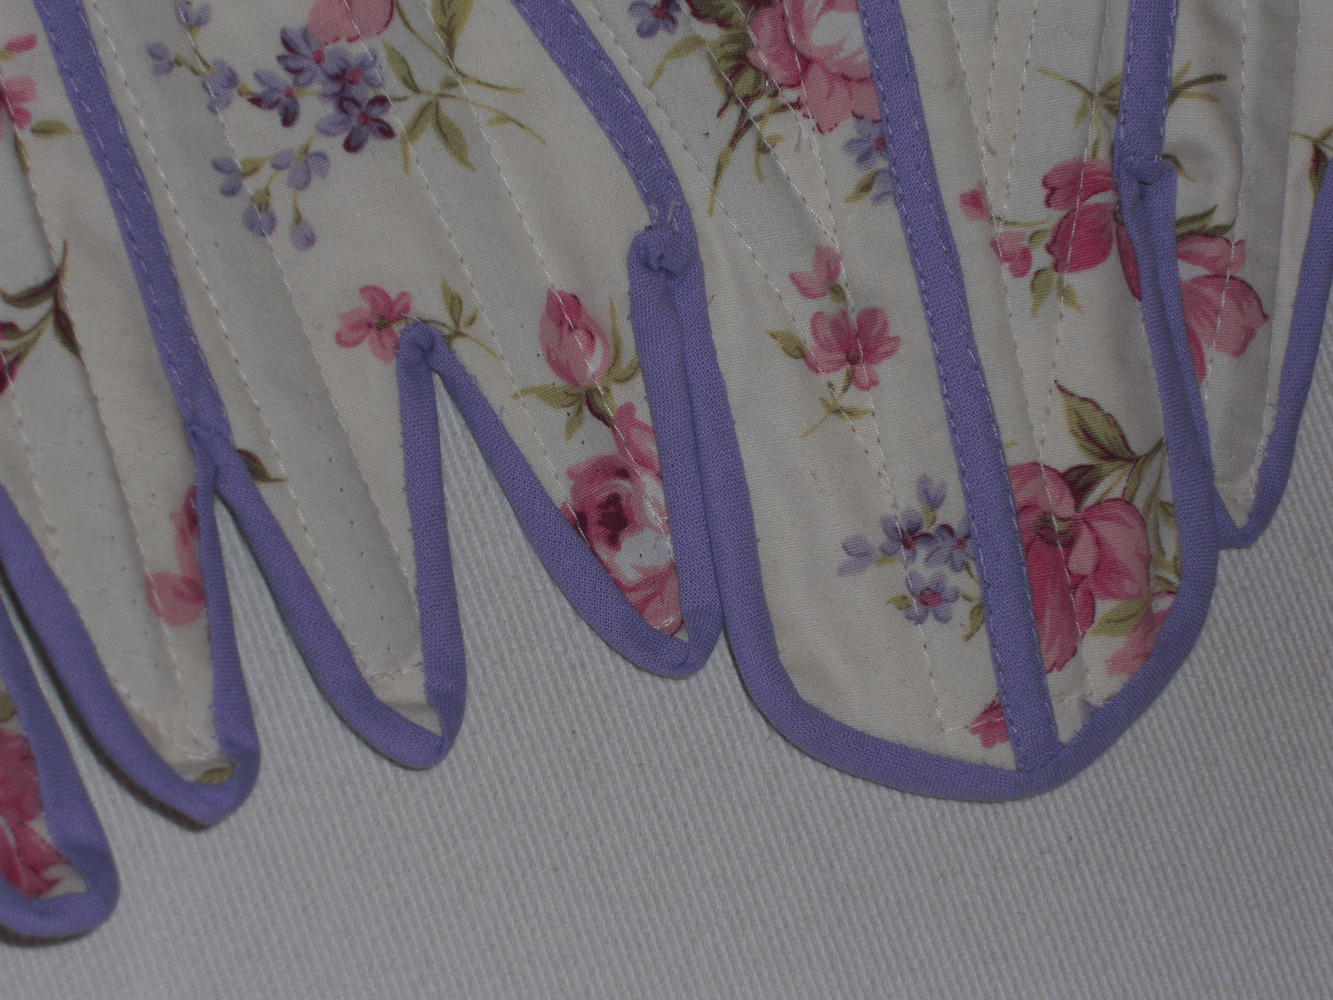
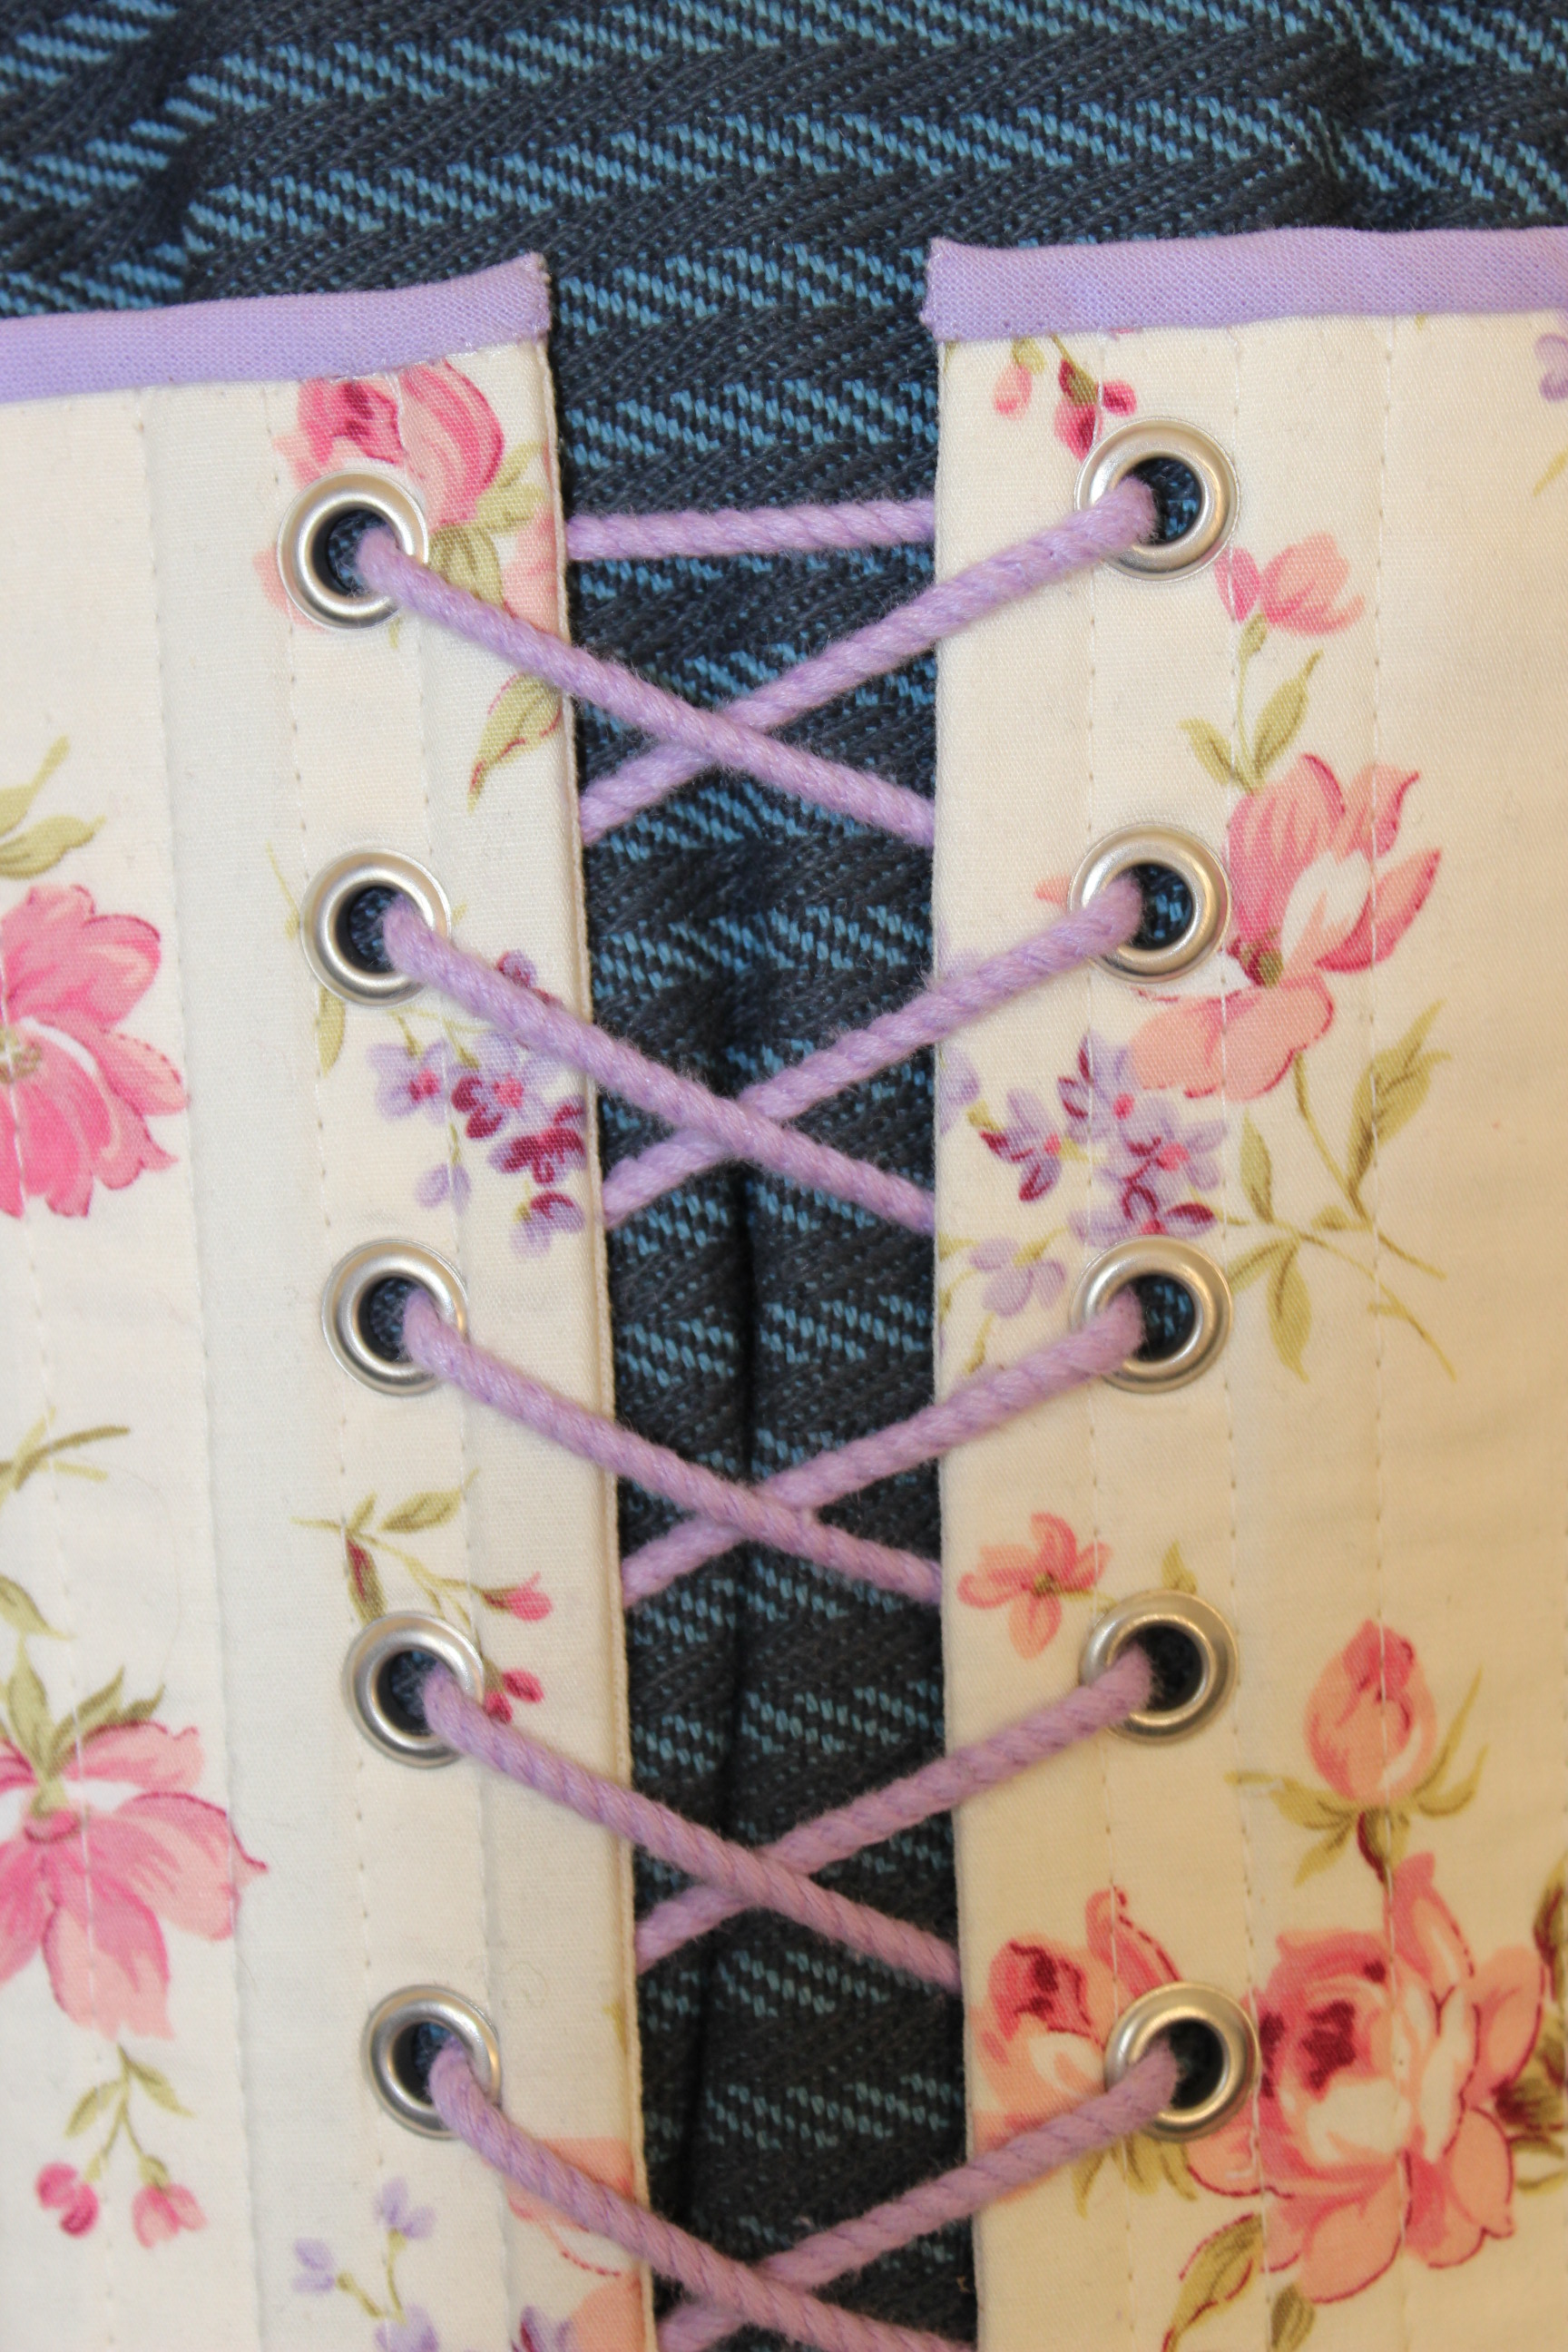
We trashed the old pattern, starting from skratch, and drew her a new one using Waugs “Corset and Crinolines” – 1790s corset pattern, and modified to fit my sister. I also took away the front lacing, and added tabs at the waist.
So I made a toile, fitted it and started on the corset itself. Since me and my sister lives in oposite sides of the country I didn’t have the chans to try it on her until it was finished.
Looking much better.
But it is still to smal!
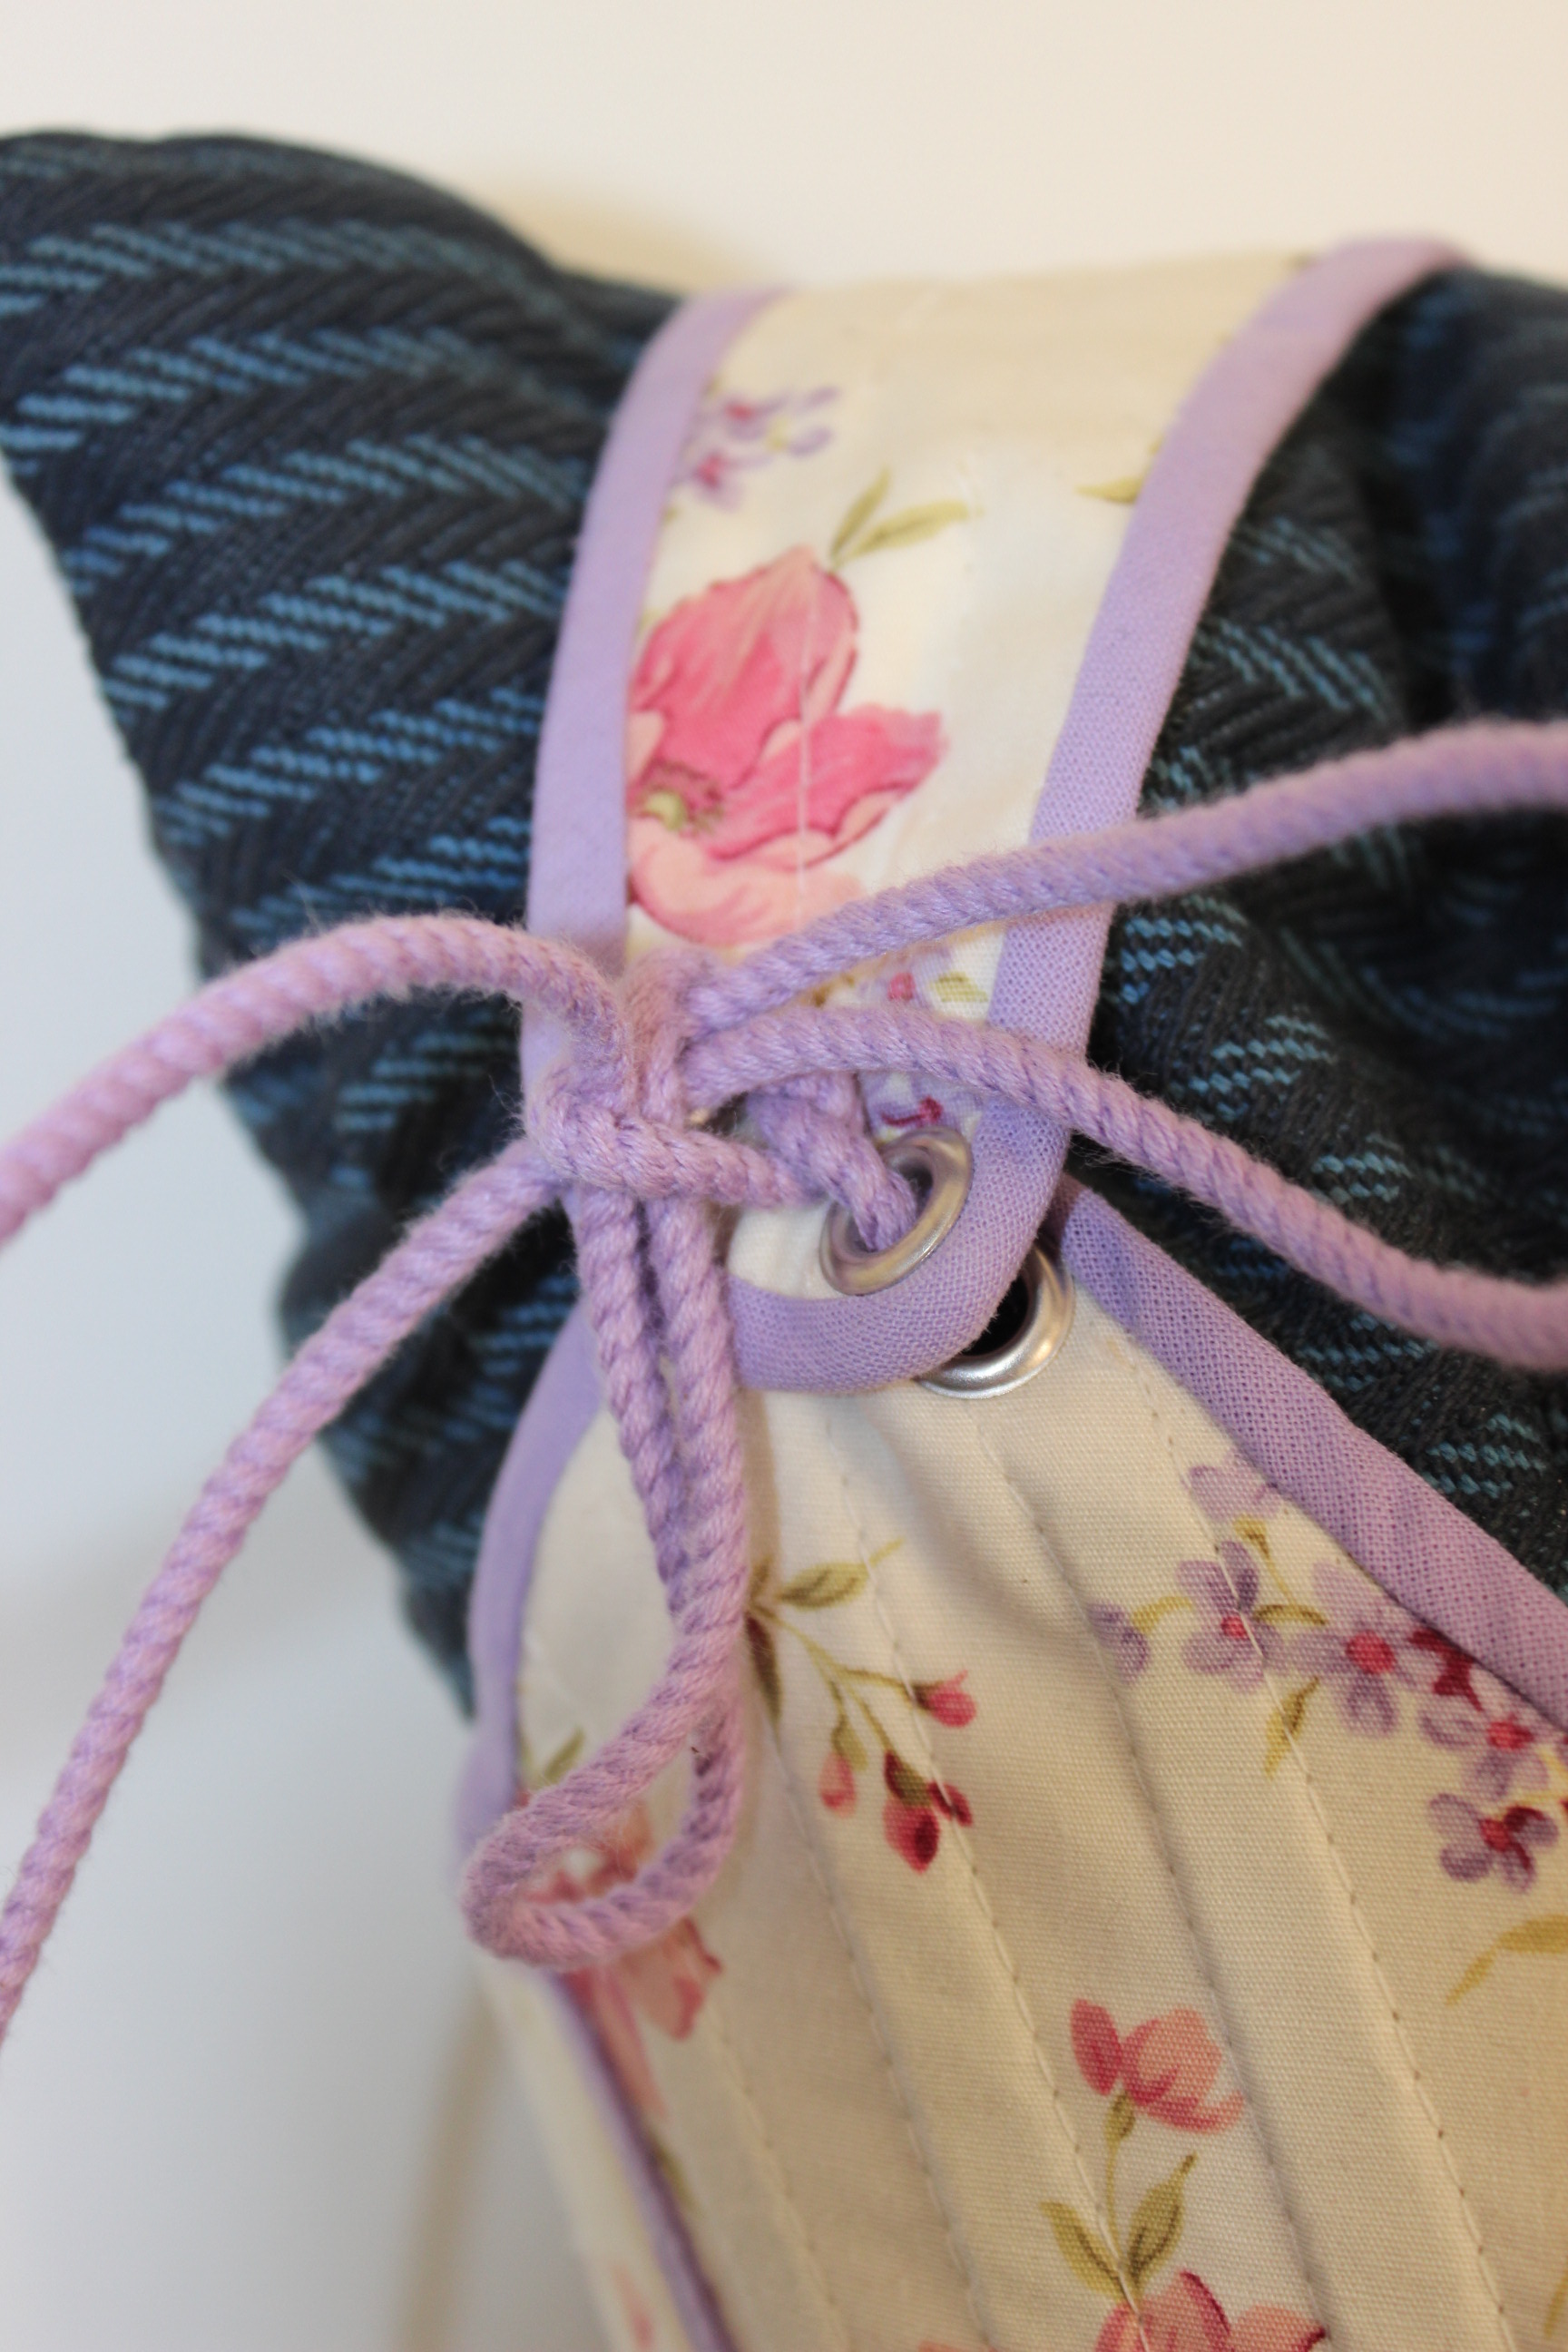
This time I fixed it by ripping it open and inserting some godgets at the back seams.

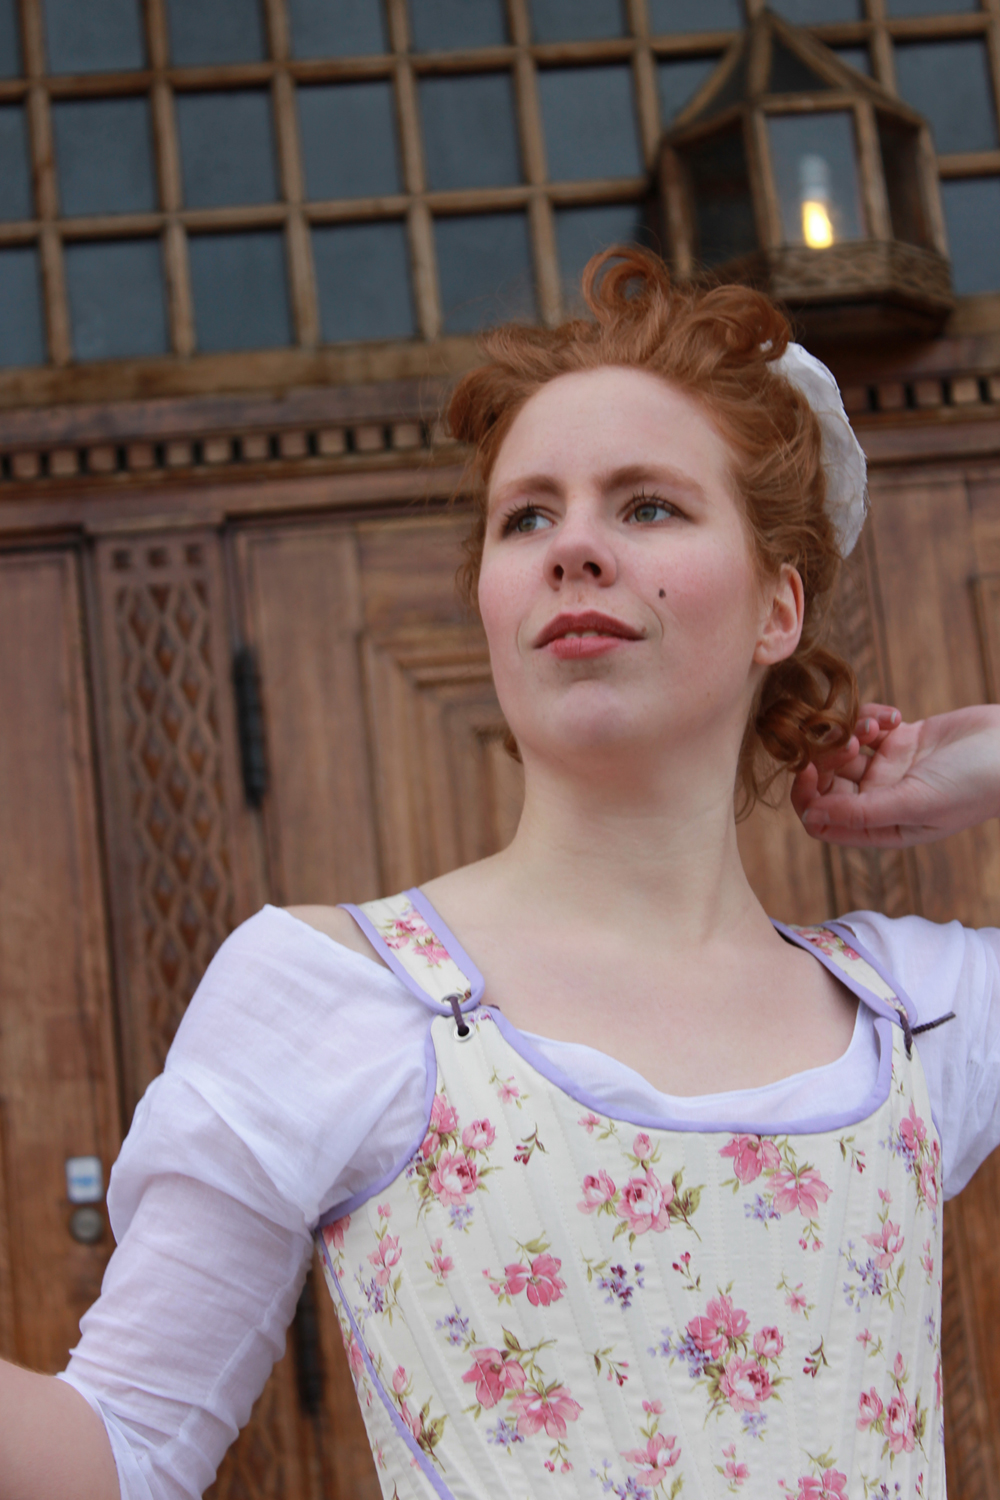
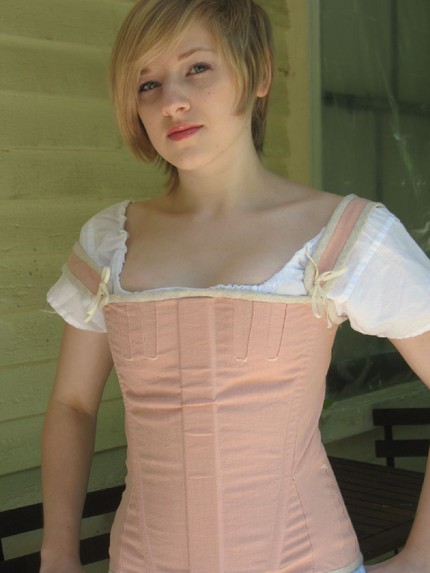
The finished corset.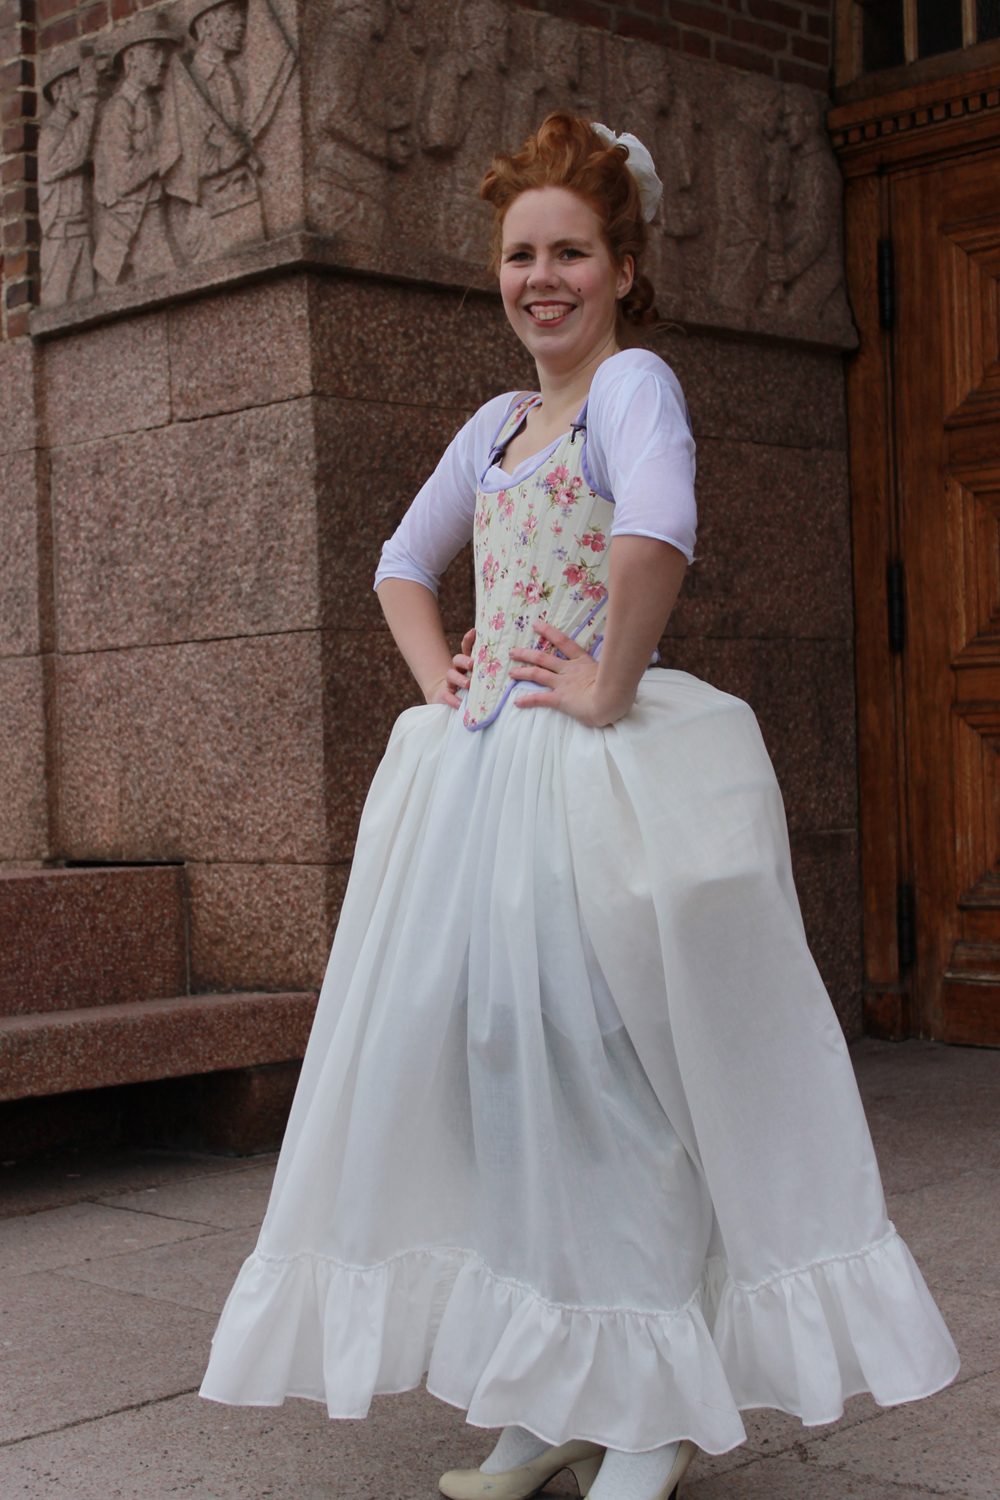


Just the facts:
Challenge: nr 2 – UFO
What: A 1740-1780s corset
Pattern: Jill Salen “Corsets – 1780s corset” re-worked.
Fabric: 0,5 m of cotton print and 1m of white cotton lawn.
Notions: gromets, thread, lacing cord, cable ties and purple bias tape.
How Historical Accurate: Not really. The decorative printed corsets didn’t exist until 200 years later, and the sewing and construction are all modern. It does however give her the desired body shape. So maybe 2/10.
Time: 25 hours.
Cost: 200 Sek
First worn: At the photoshoot in february 2013.
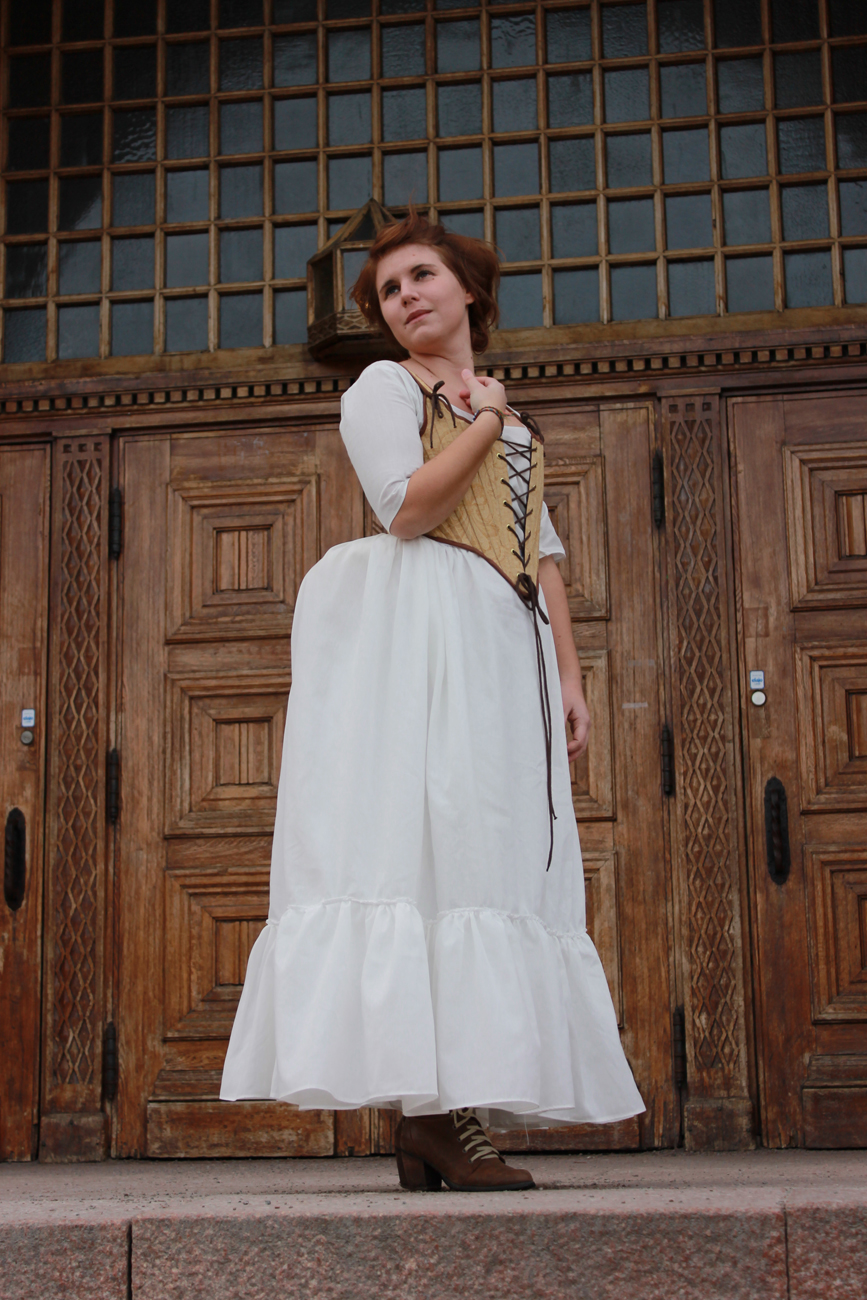
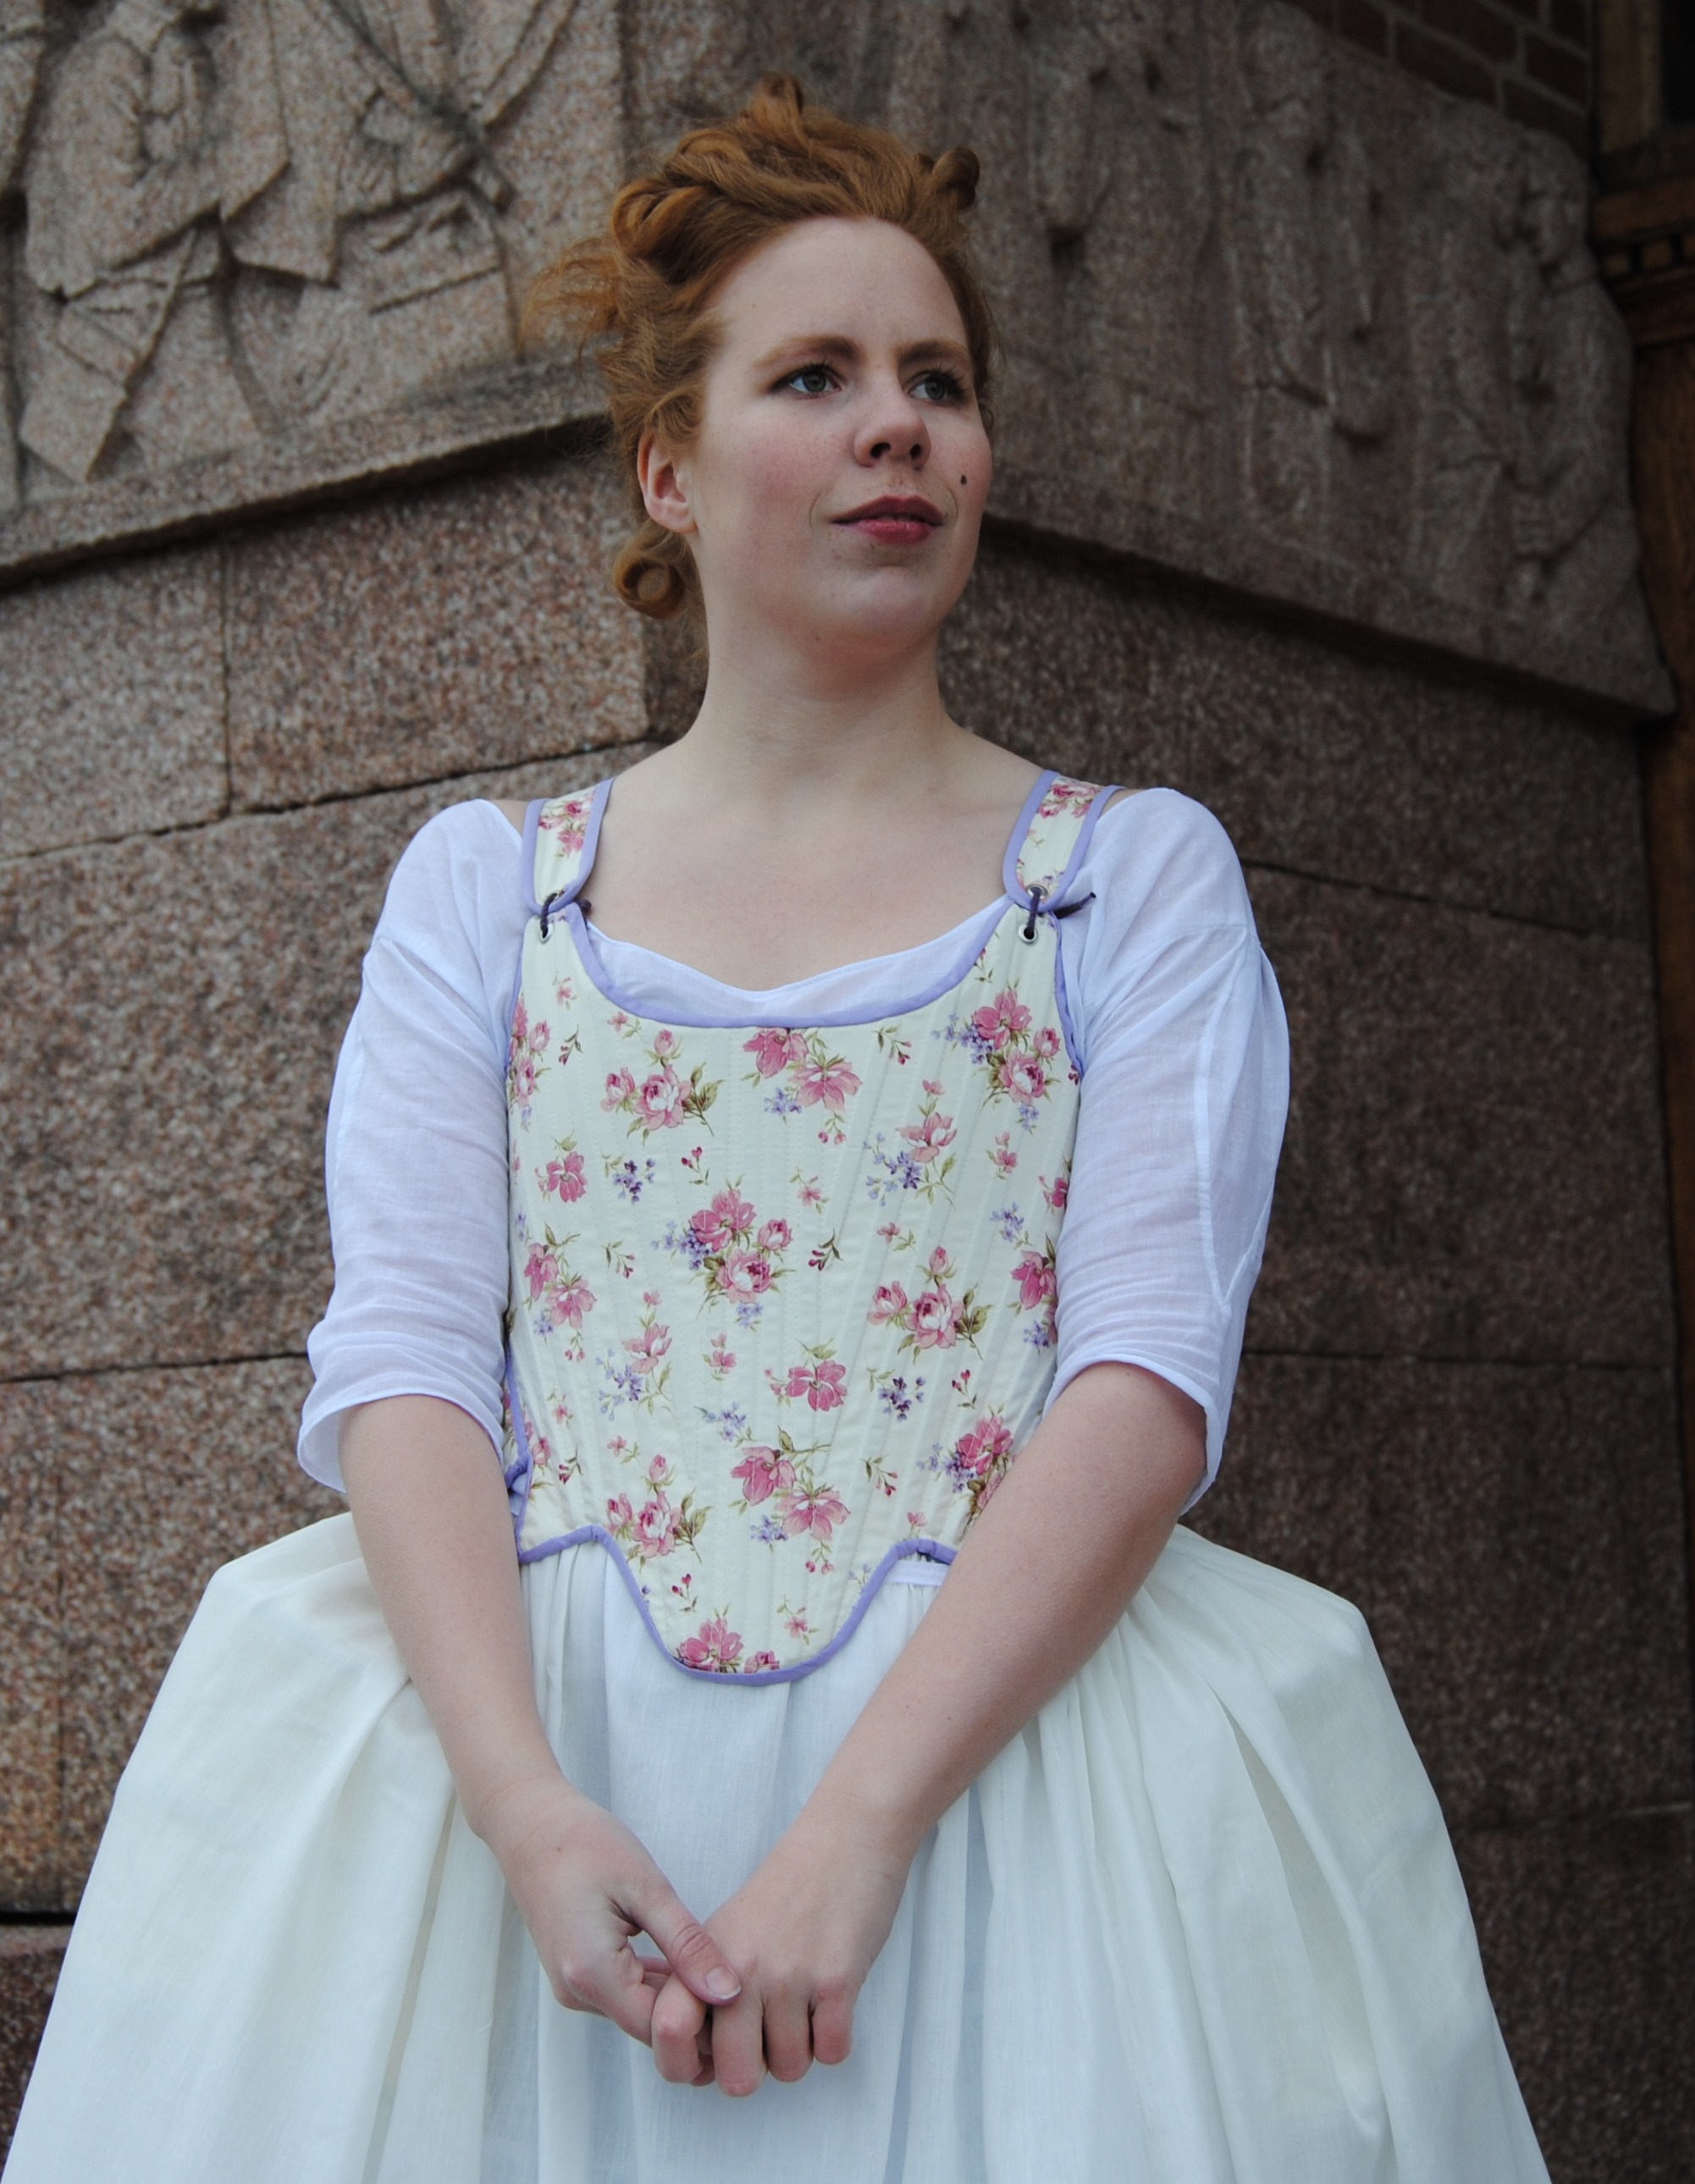
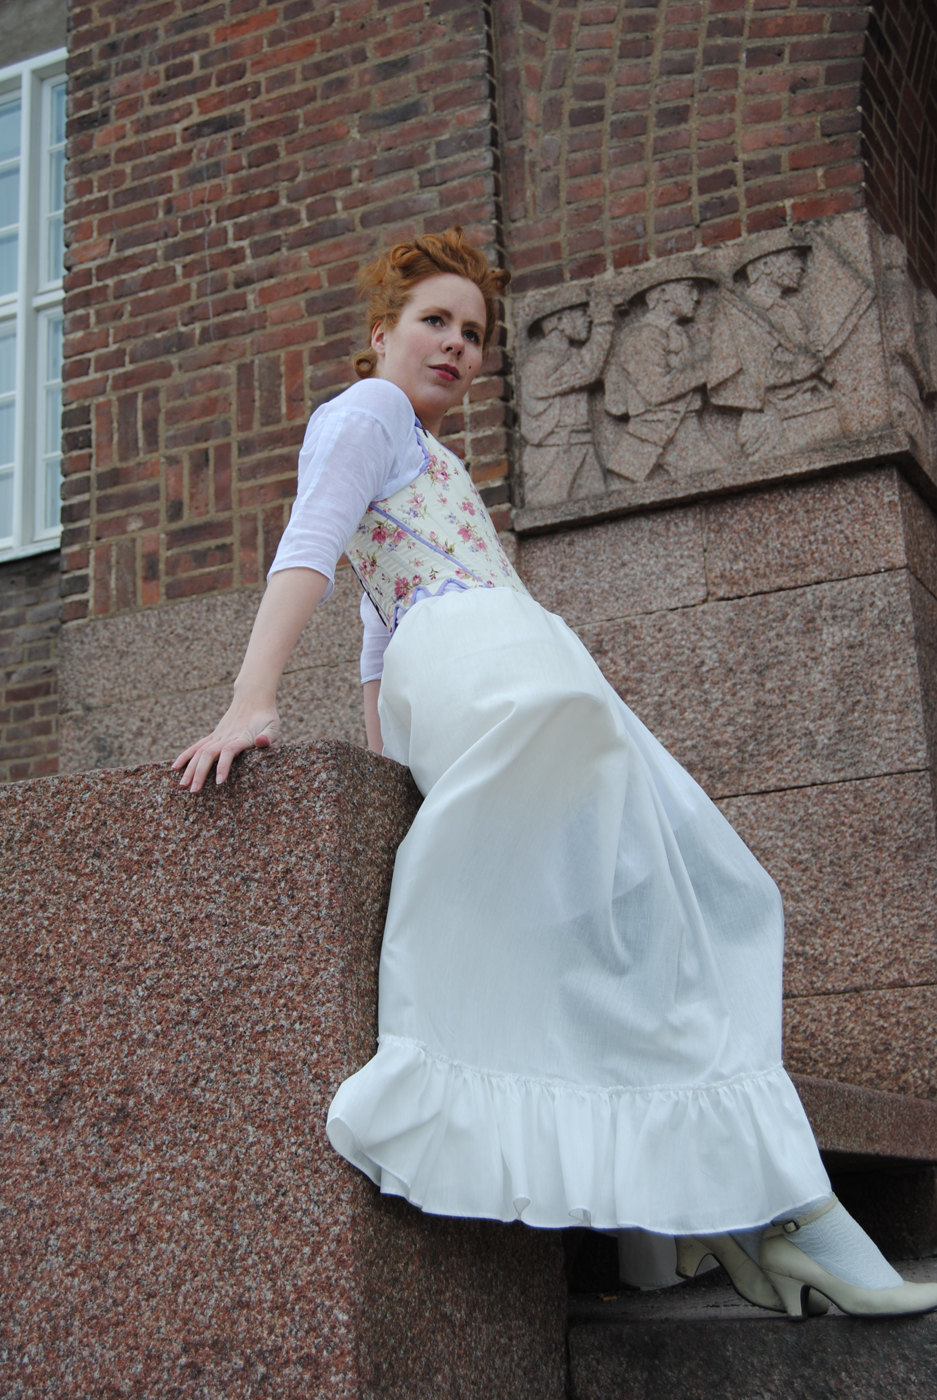
For the HSF Challenge 3: Under It All, back in february, I decided to start the foundation on my planed 1550s dress (which I still haven’t gotten around to make).
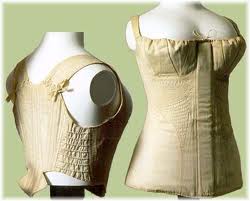
So I decided to make a corset similar to theese two.
Using the corset pattern from “The Tudor Tailor”. I printed the pattern and made some changes to match my mesurments.

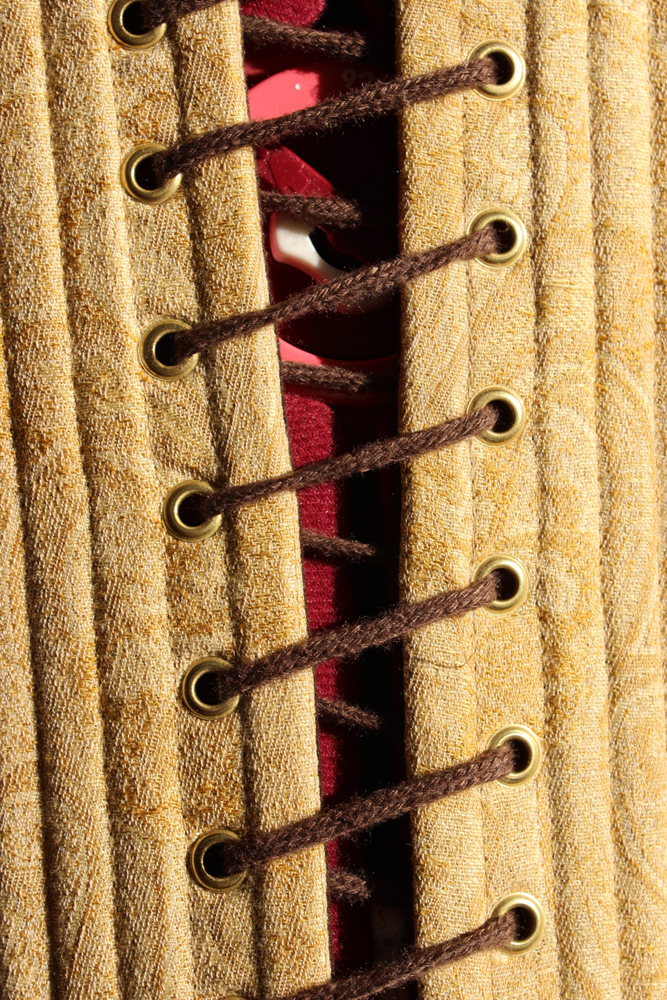
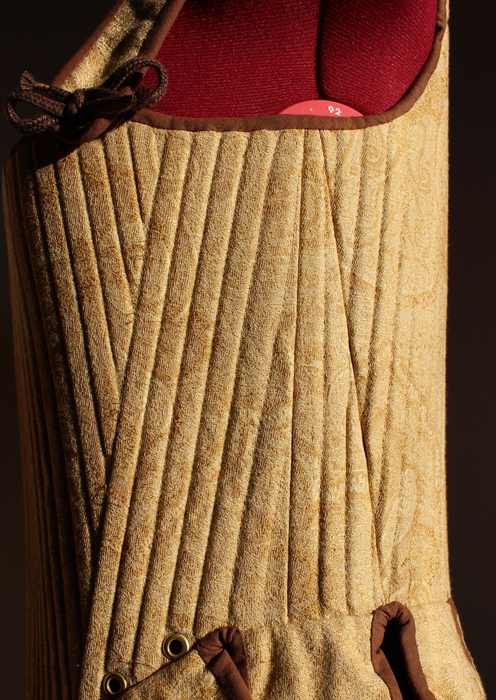
Then I cut the fabric, interlined it, and stiched the corset compleatly on the machine. I inserted the bonning, set the gromets and sewed on the bias-tape.
Unfortanly I didn’t think of documenting the steps while sewing (this was before my bloging days) so there are no construction photos.
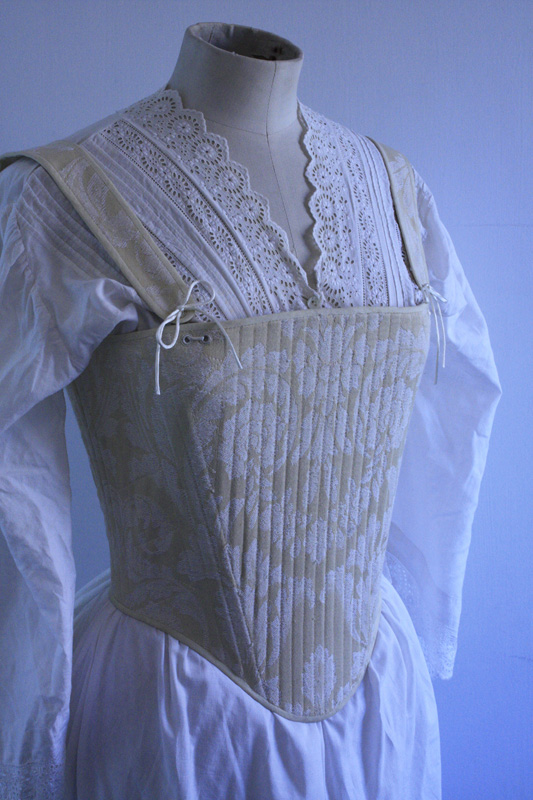
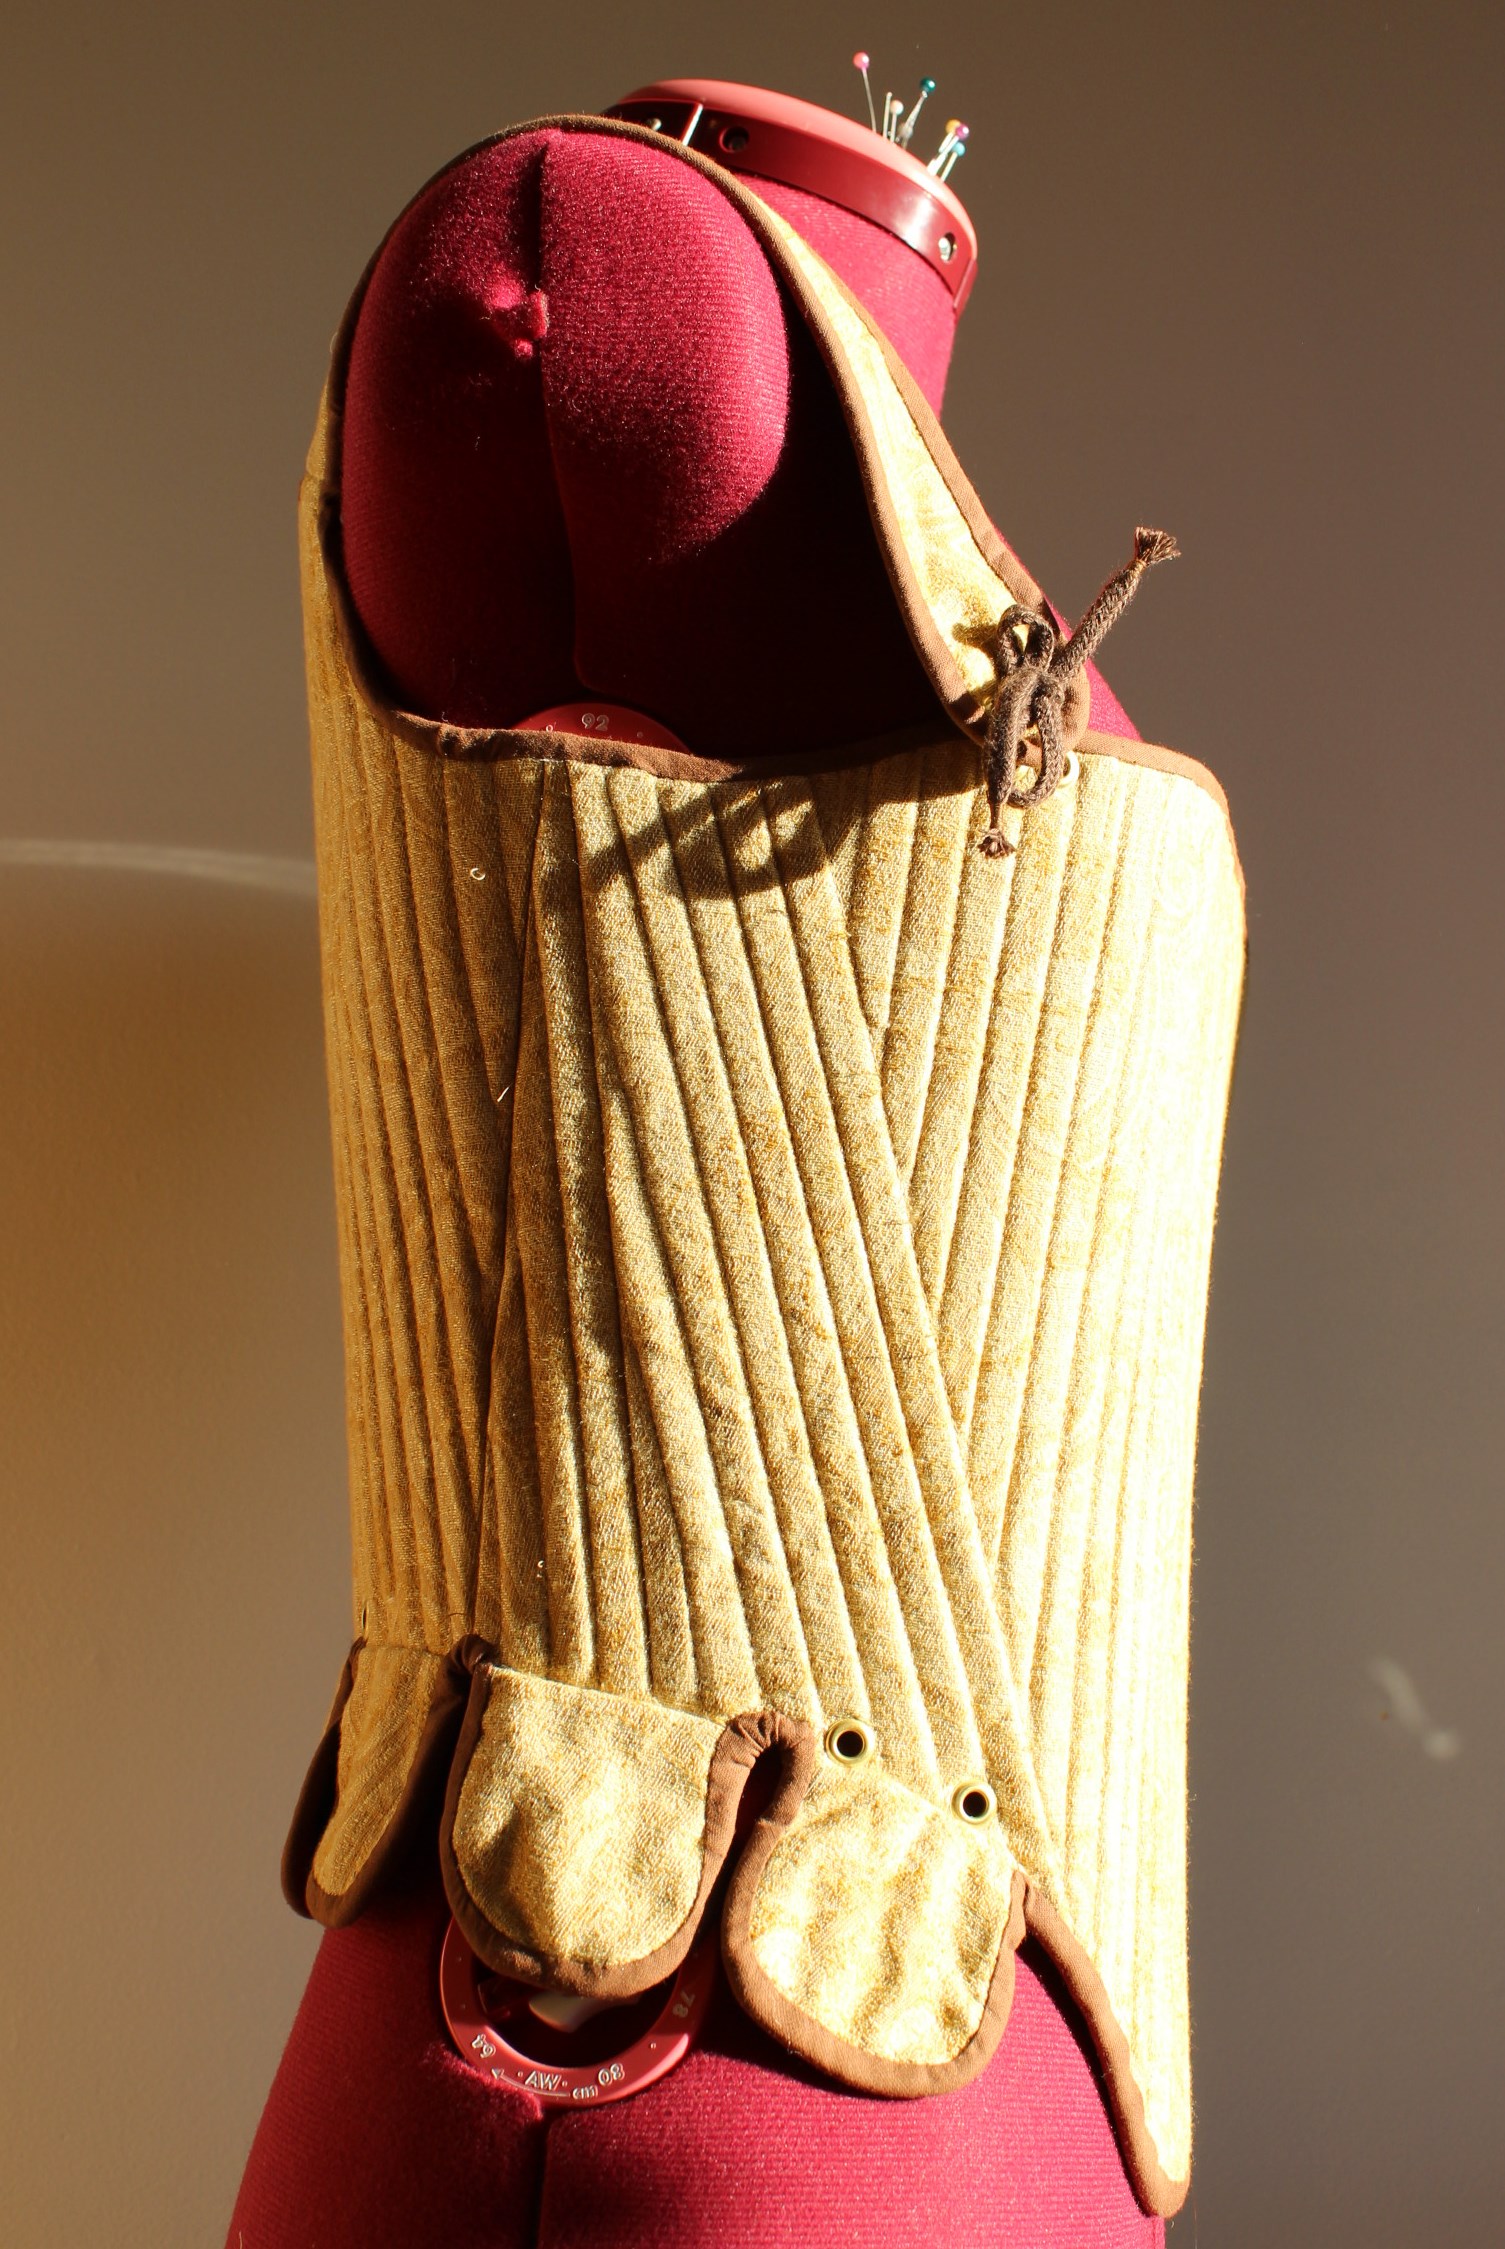
But there are finished ones.


One thing I didn’t accounted for was the amount of fabric the bonning would “eat”. While inserting the bonning the corset shrunk quite a bit, and I ended up needing to do some piecing to make it fit properly.
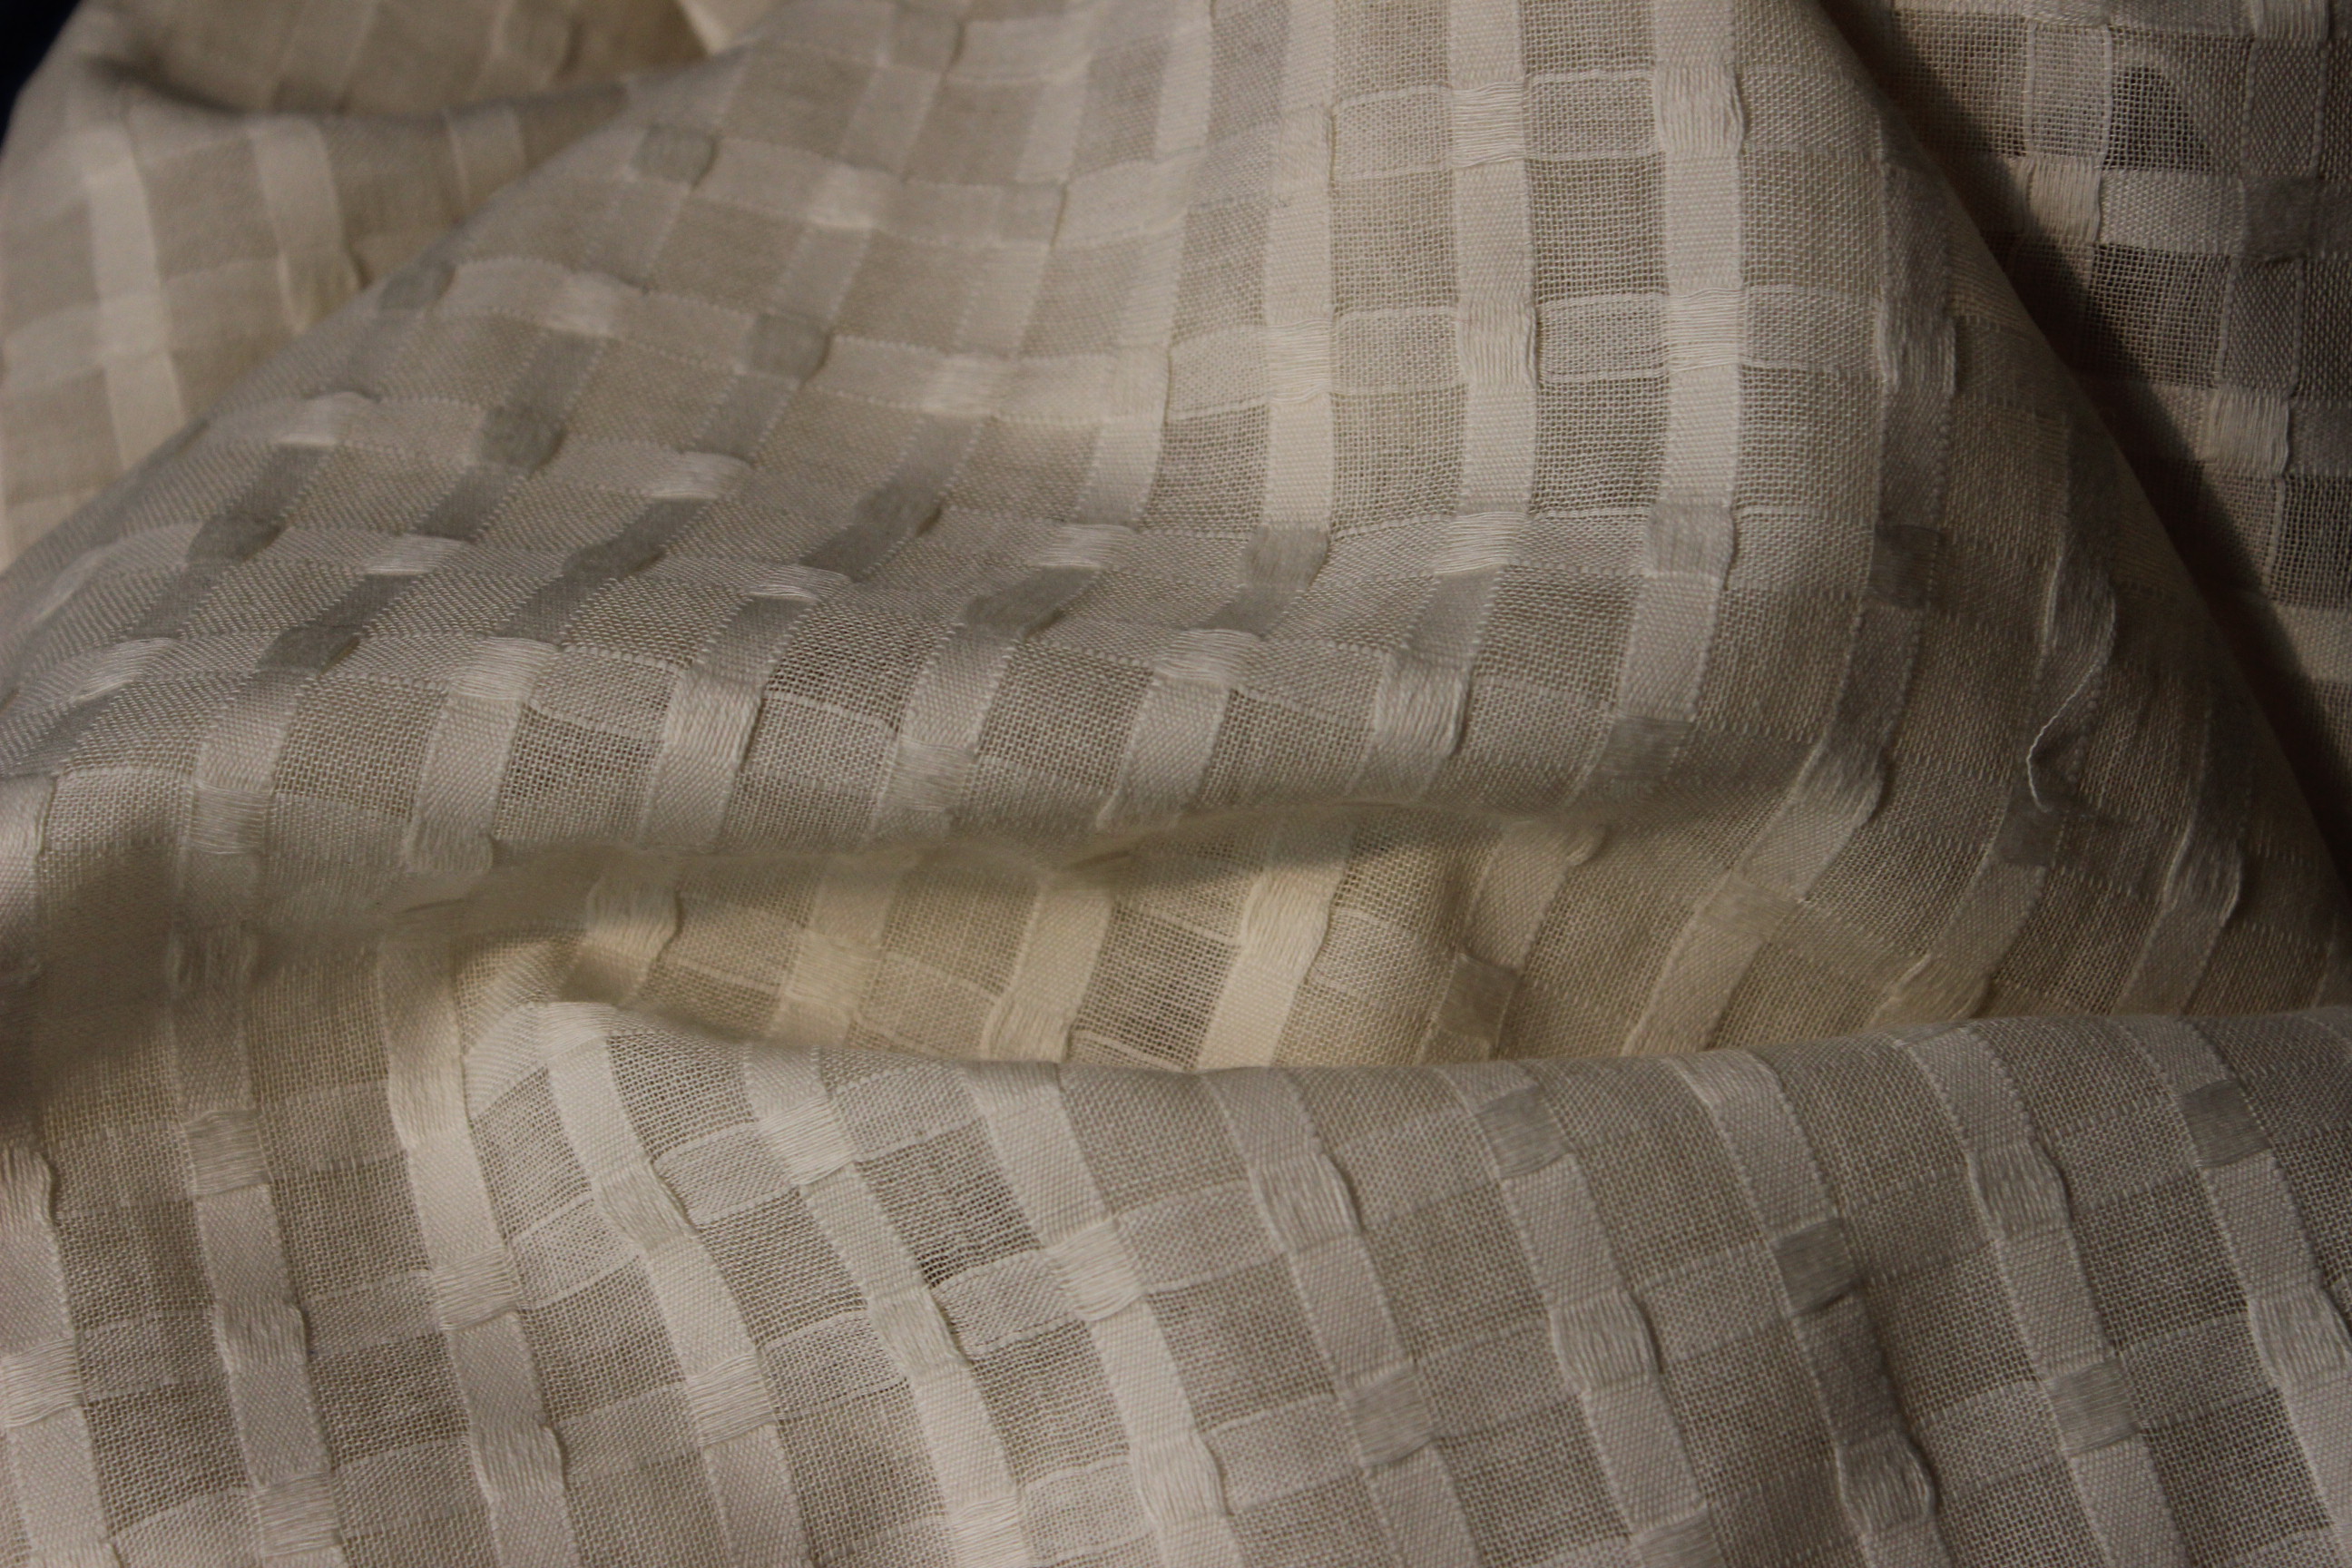
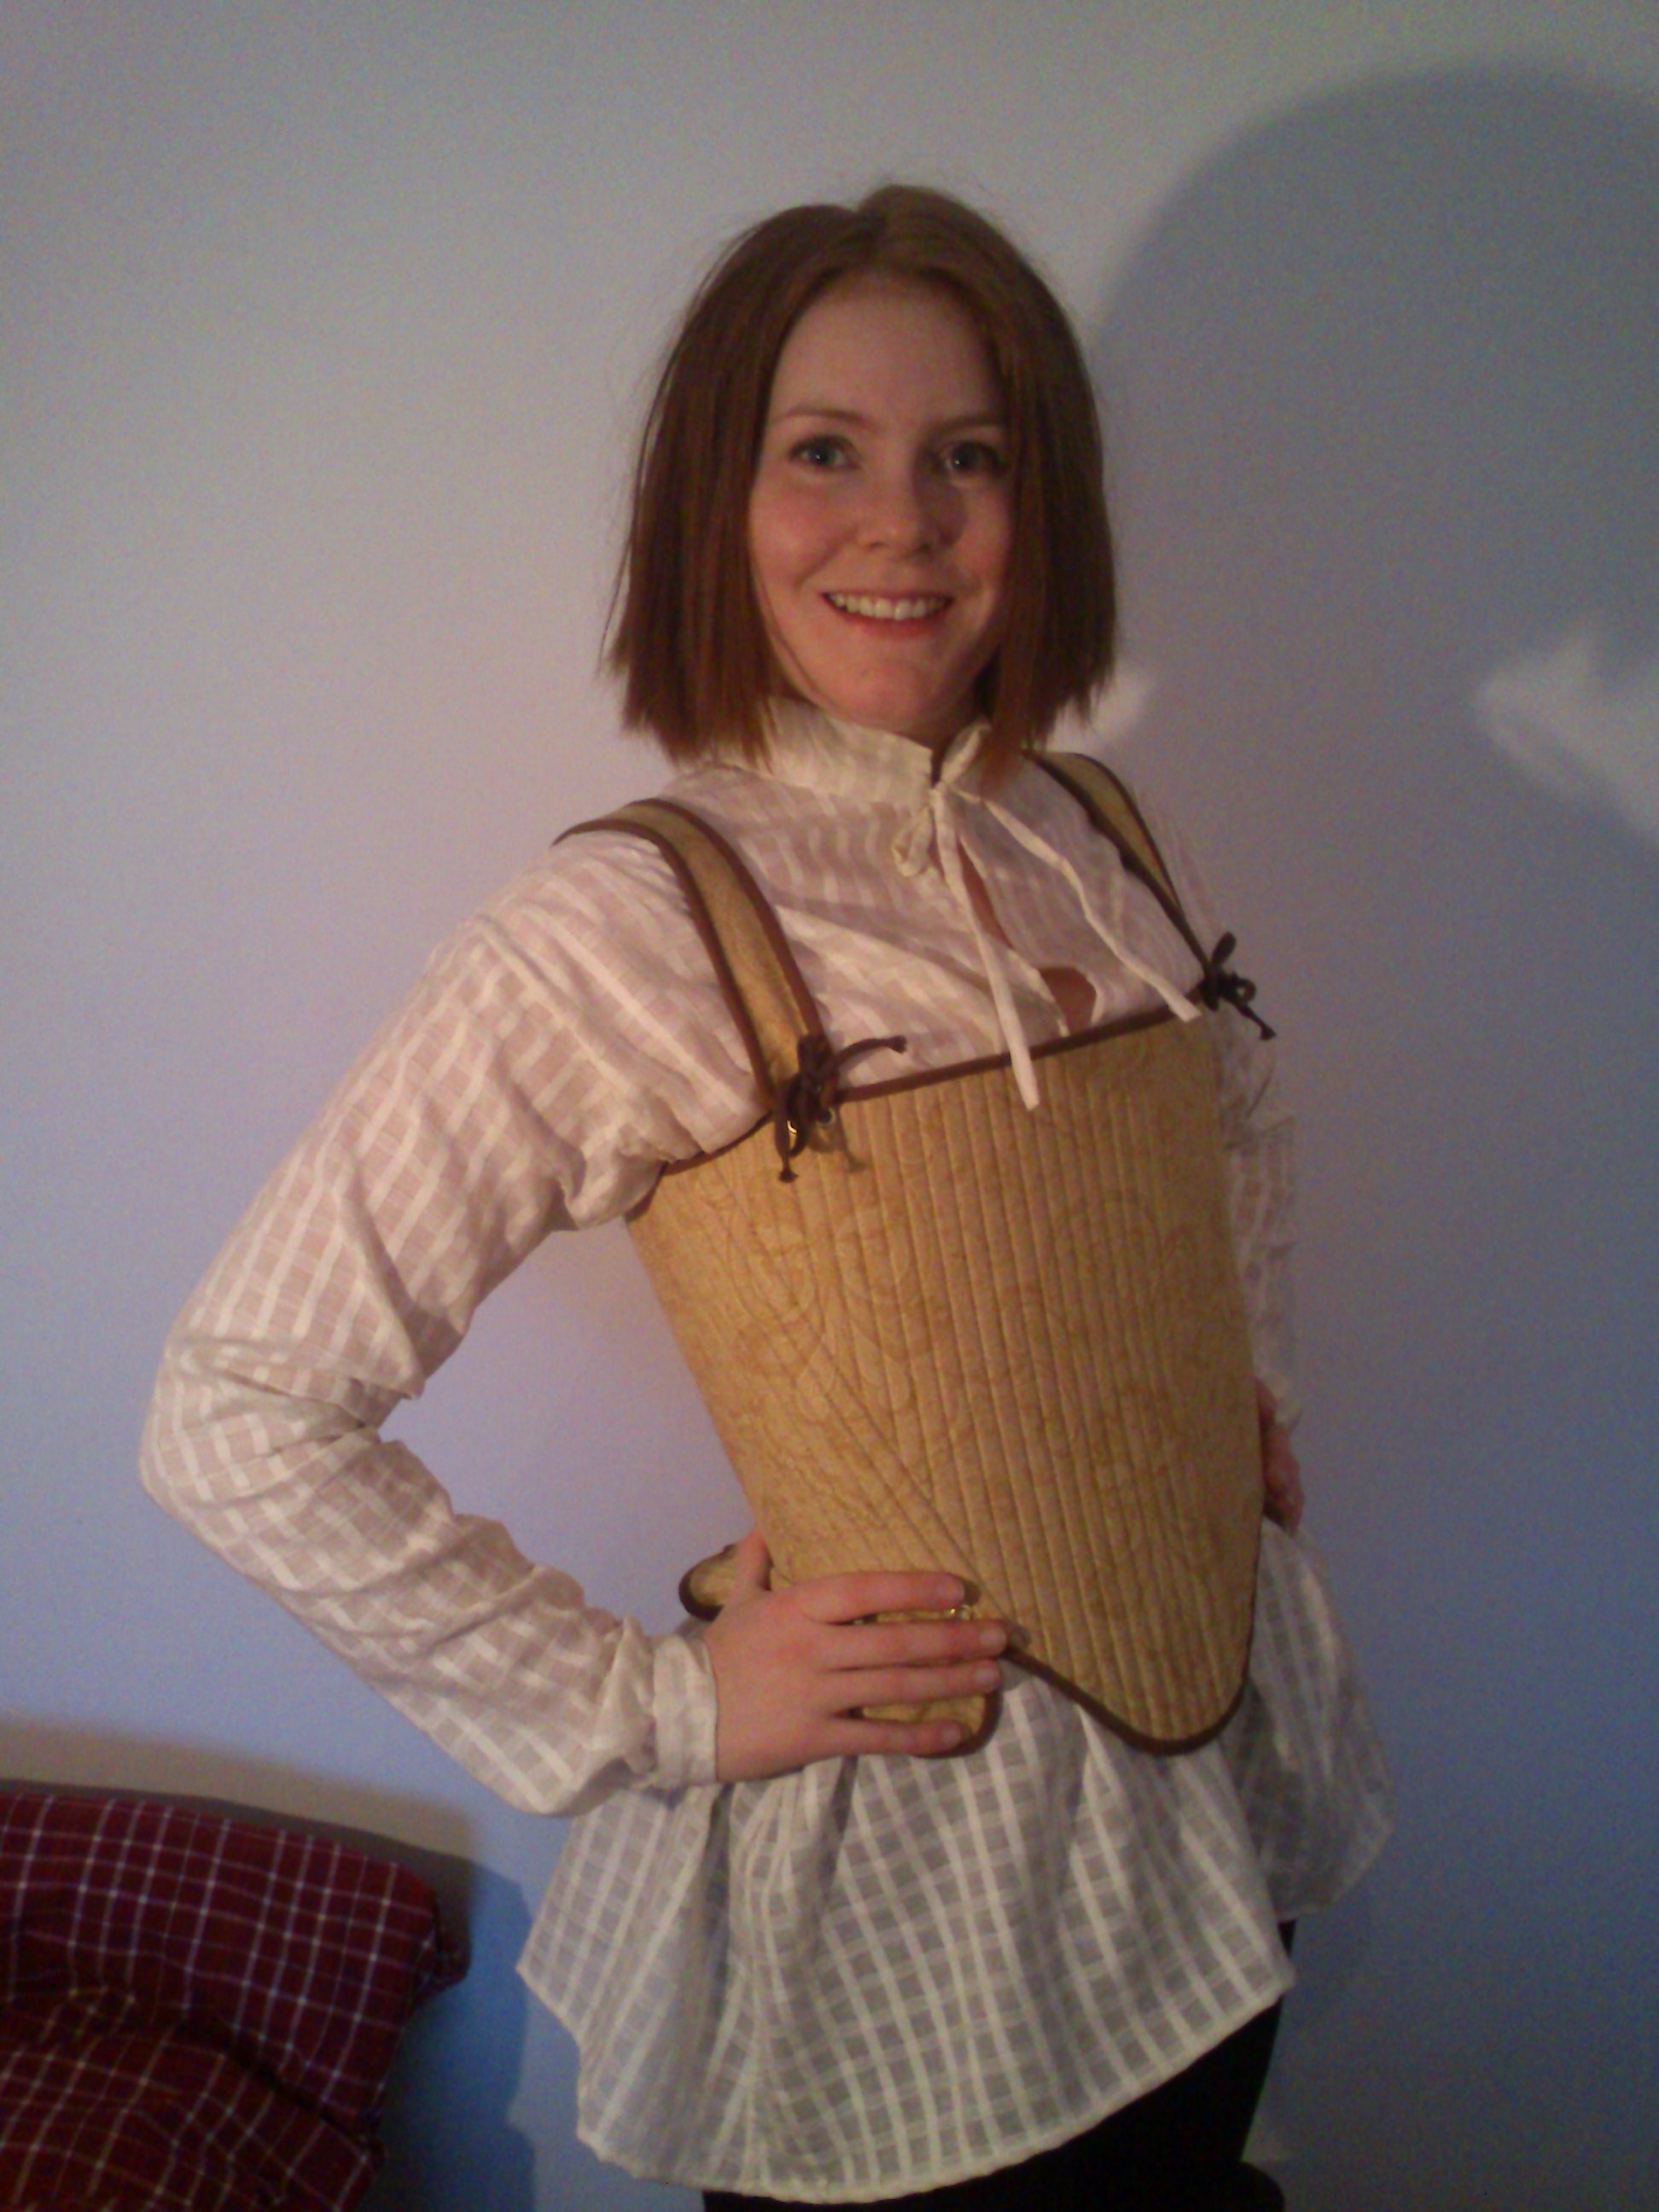
When the corset was finished I decided to also make a shirt to wear underneath.
![images[4]](https://fashionthroughherstory.com/wp-content/uploads/2013/11/images4.jpg)
I used a lovely cotton voile, and sewed the shirt compleatly by hand (and still didn’t take any construction photos).
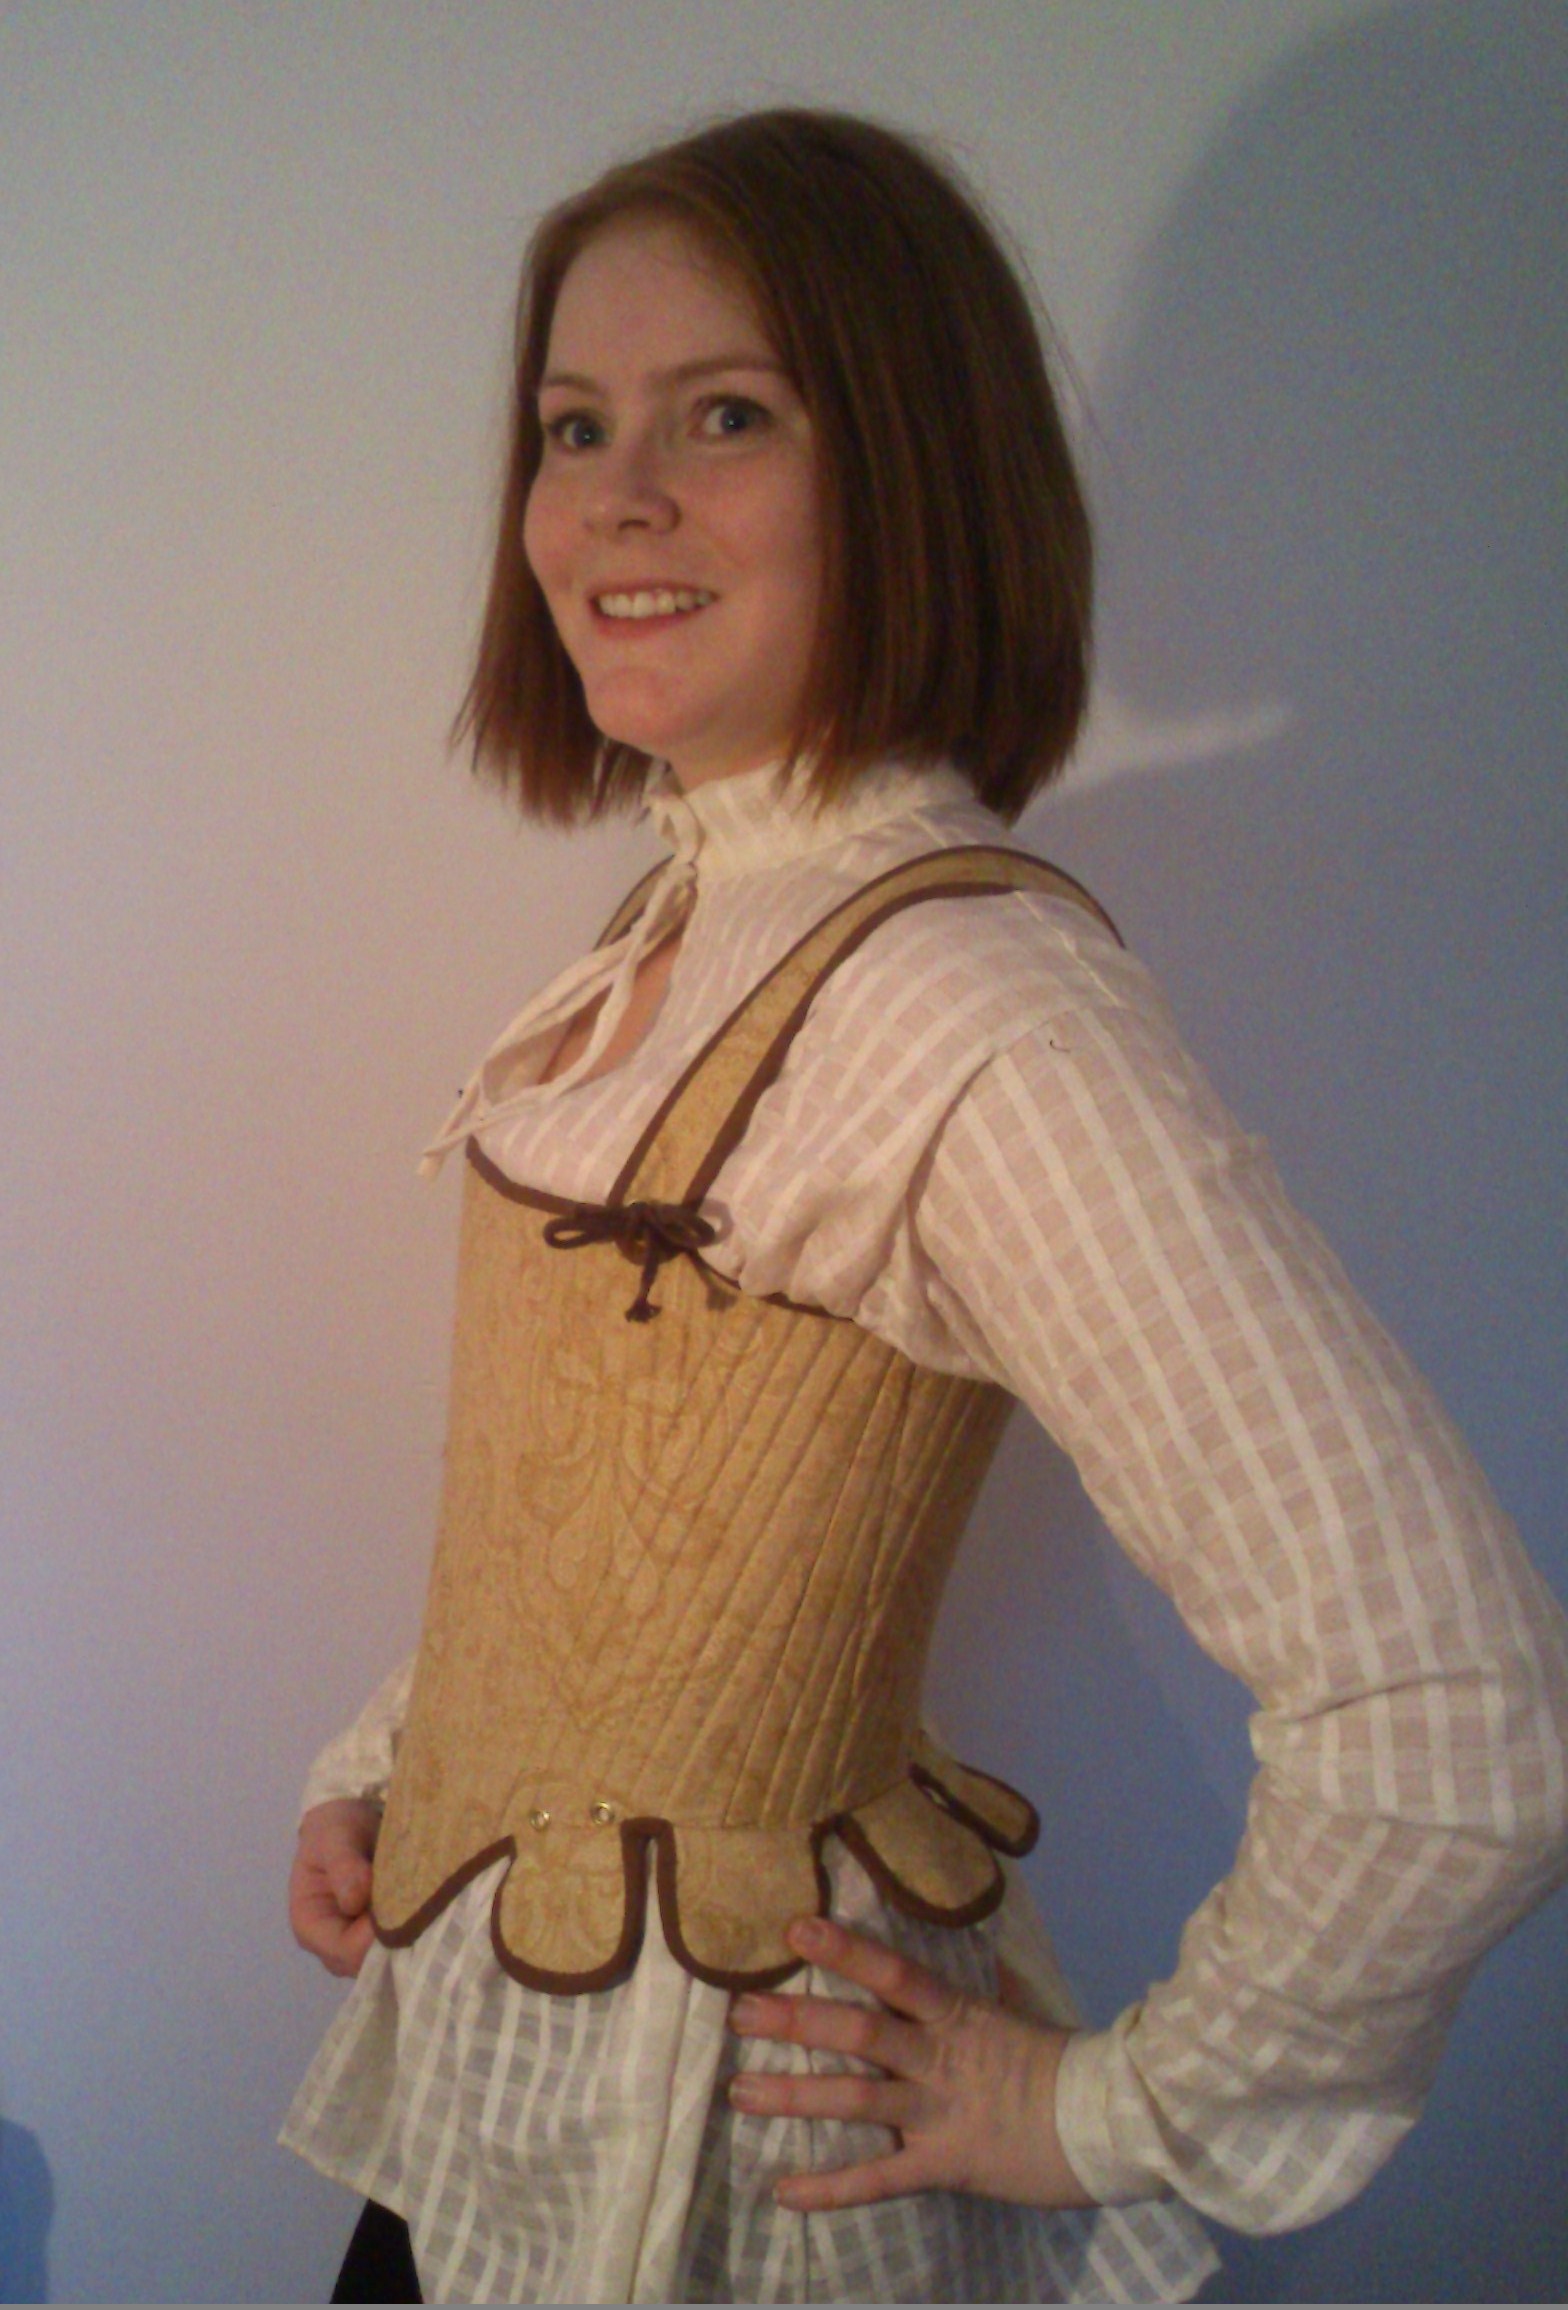
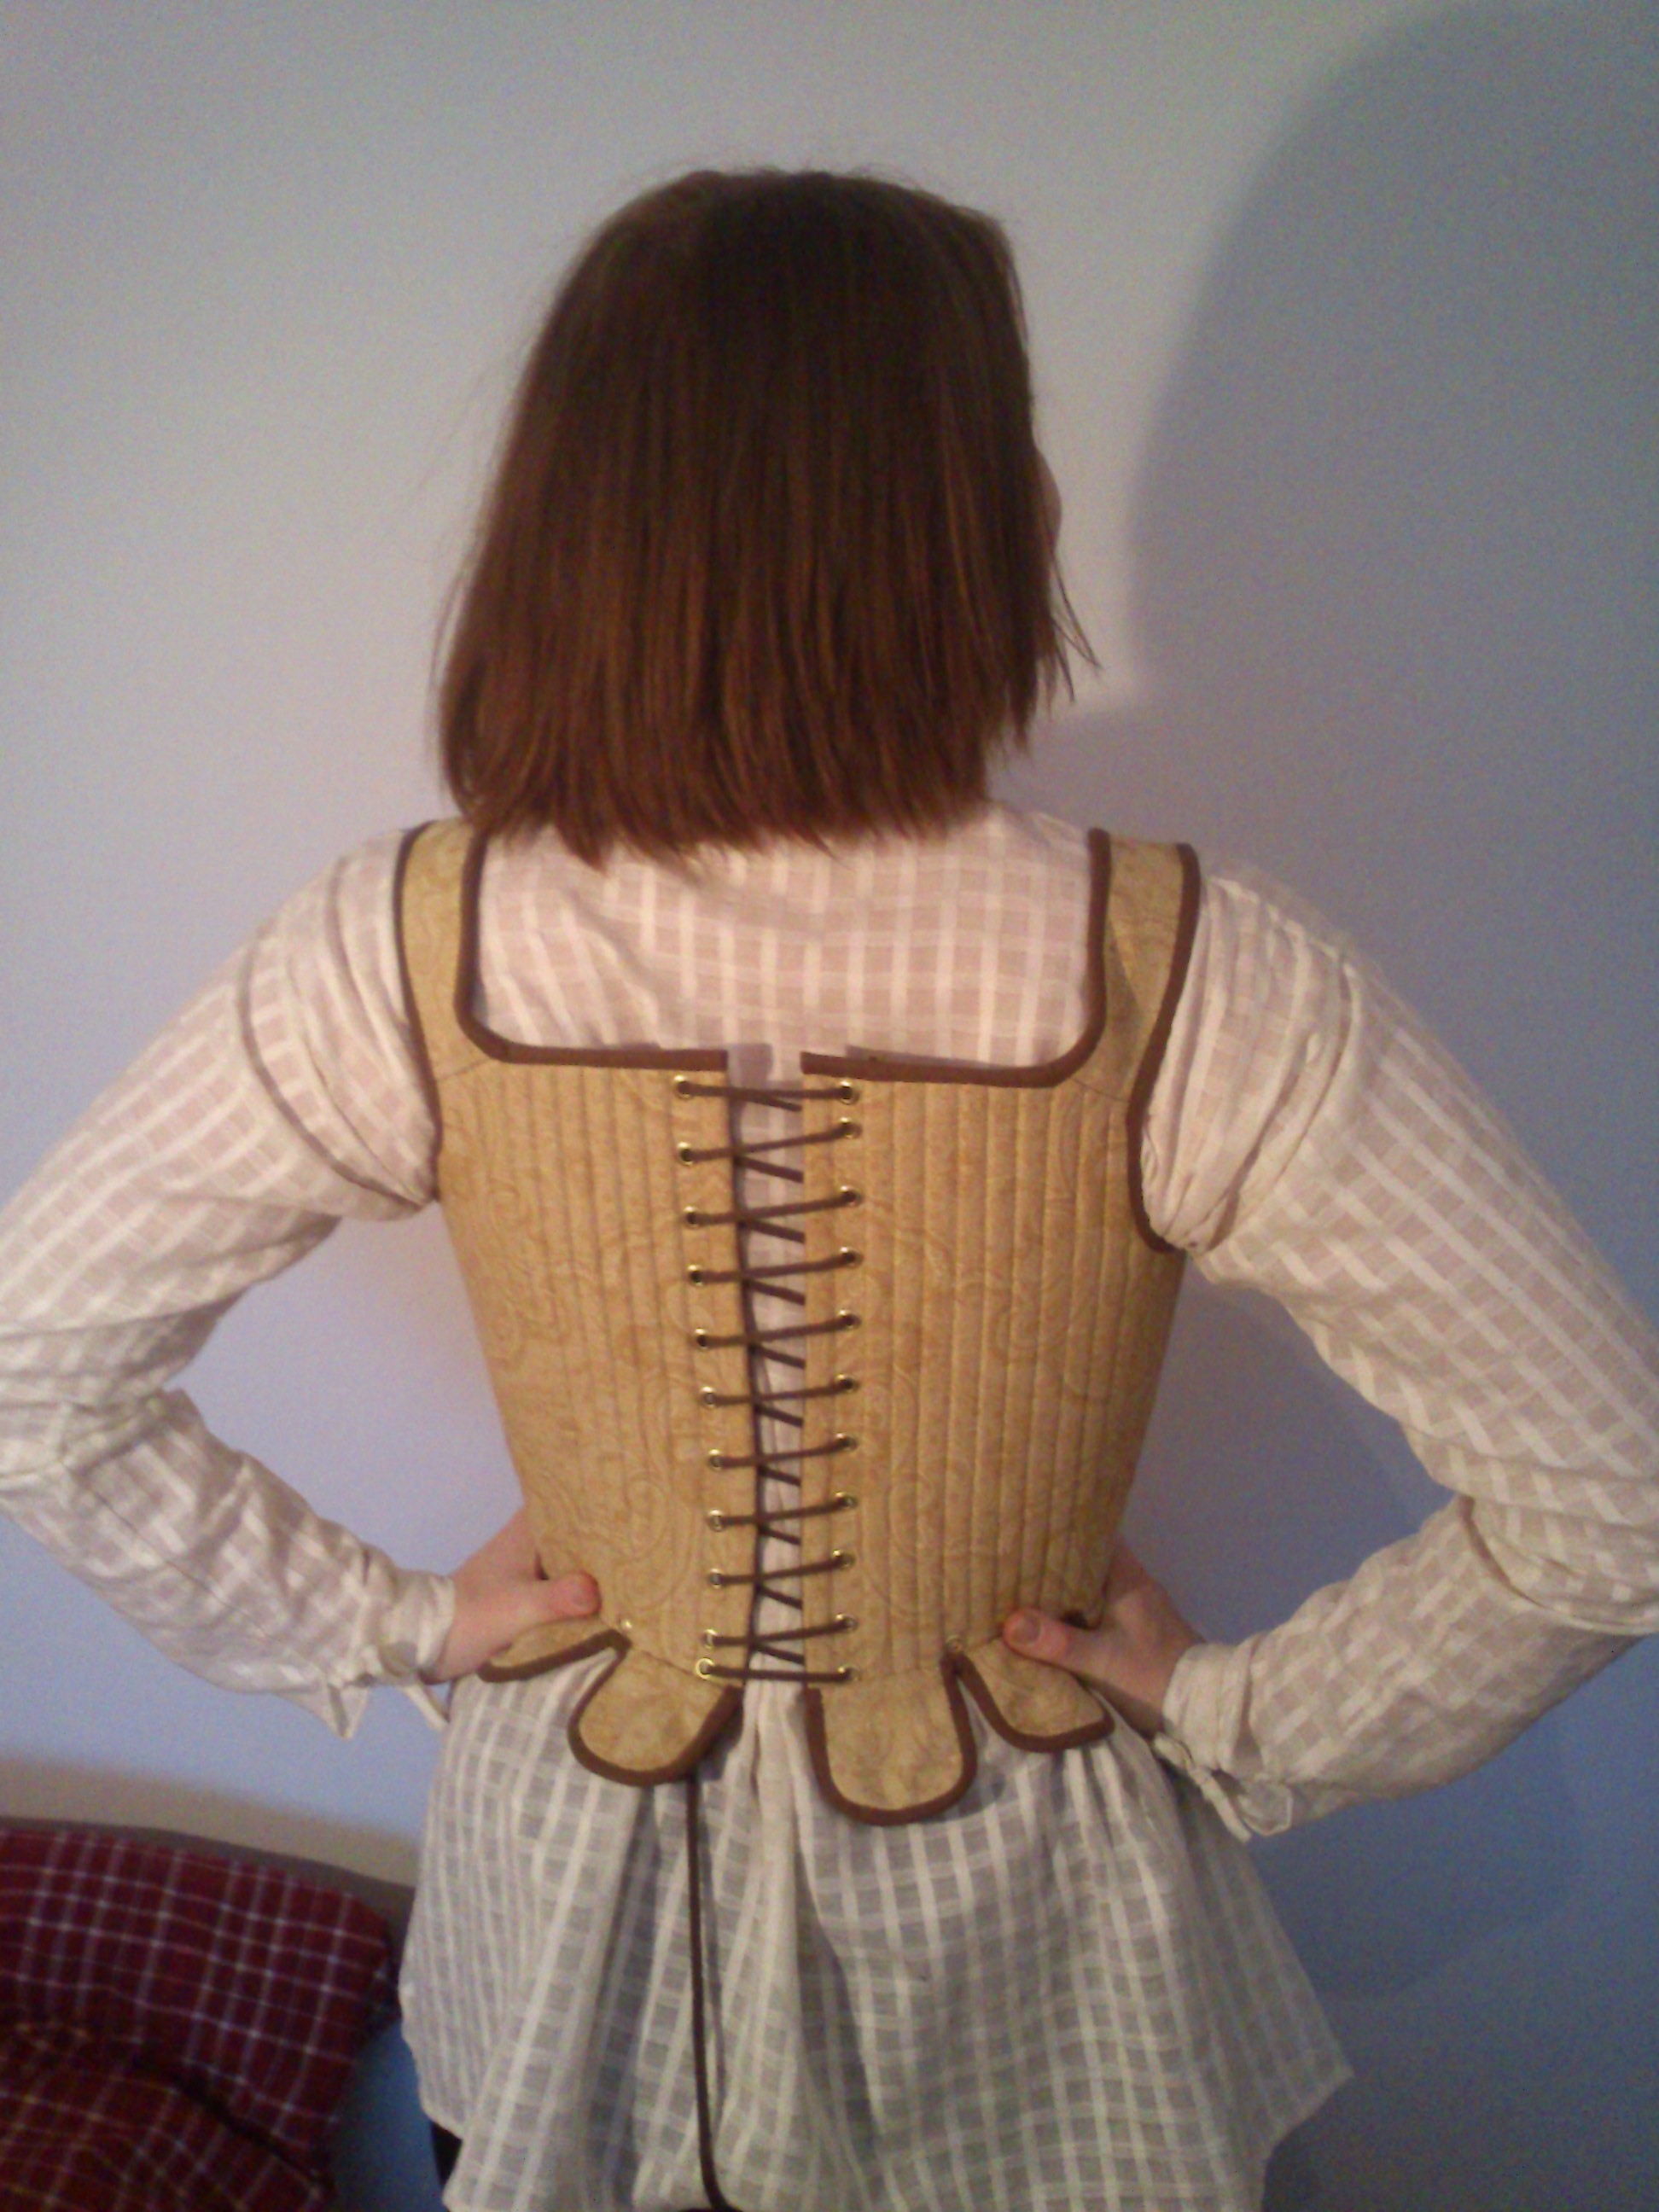
Finished Shirt and Corset.

Just the facts:
Challenge: Nr 3 Under it All
What: A 1550s Corset and Shirt
Pattern: Shirt – Janet Arnold “Patterns of Fashion 4 – c.1600-1610 smock. Corset – “The Tudor tailor” Dorothean bodies.
Fabric: Shirt – 2 m of checkered cotton voile. Corset – 0,5 m of leftover golden/yellow curtan-fabric, 1 m brown cotton for lining and interlining.
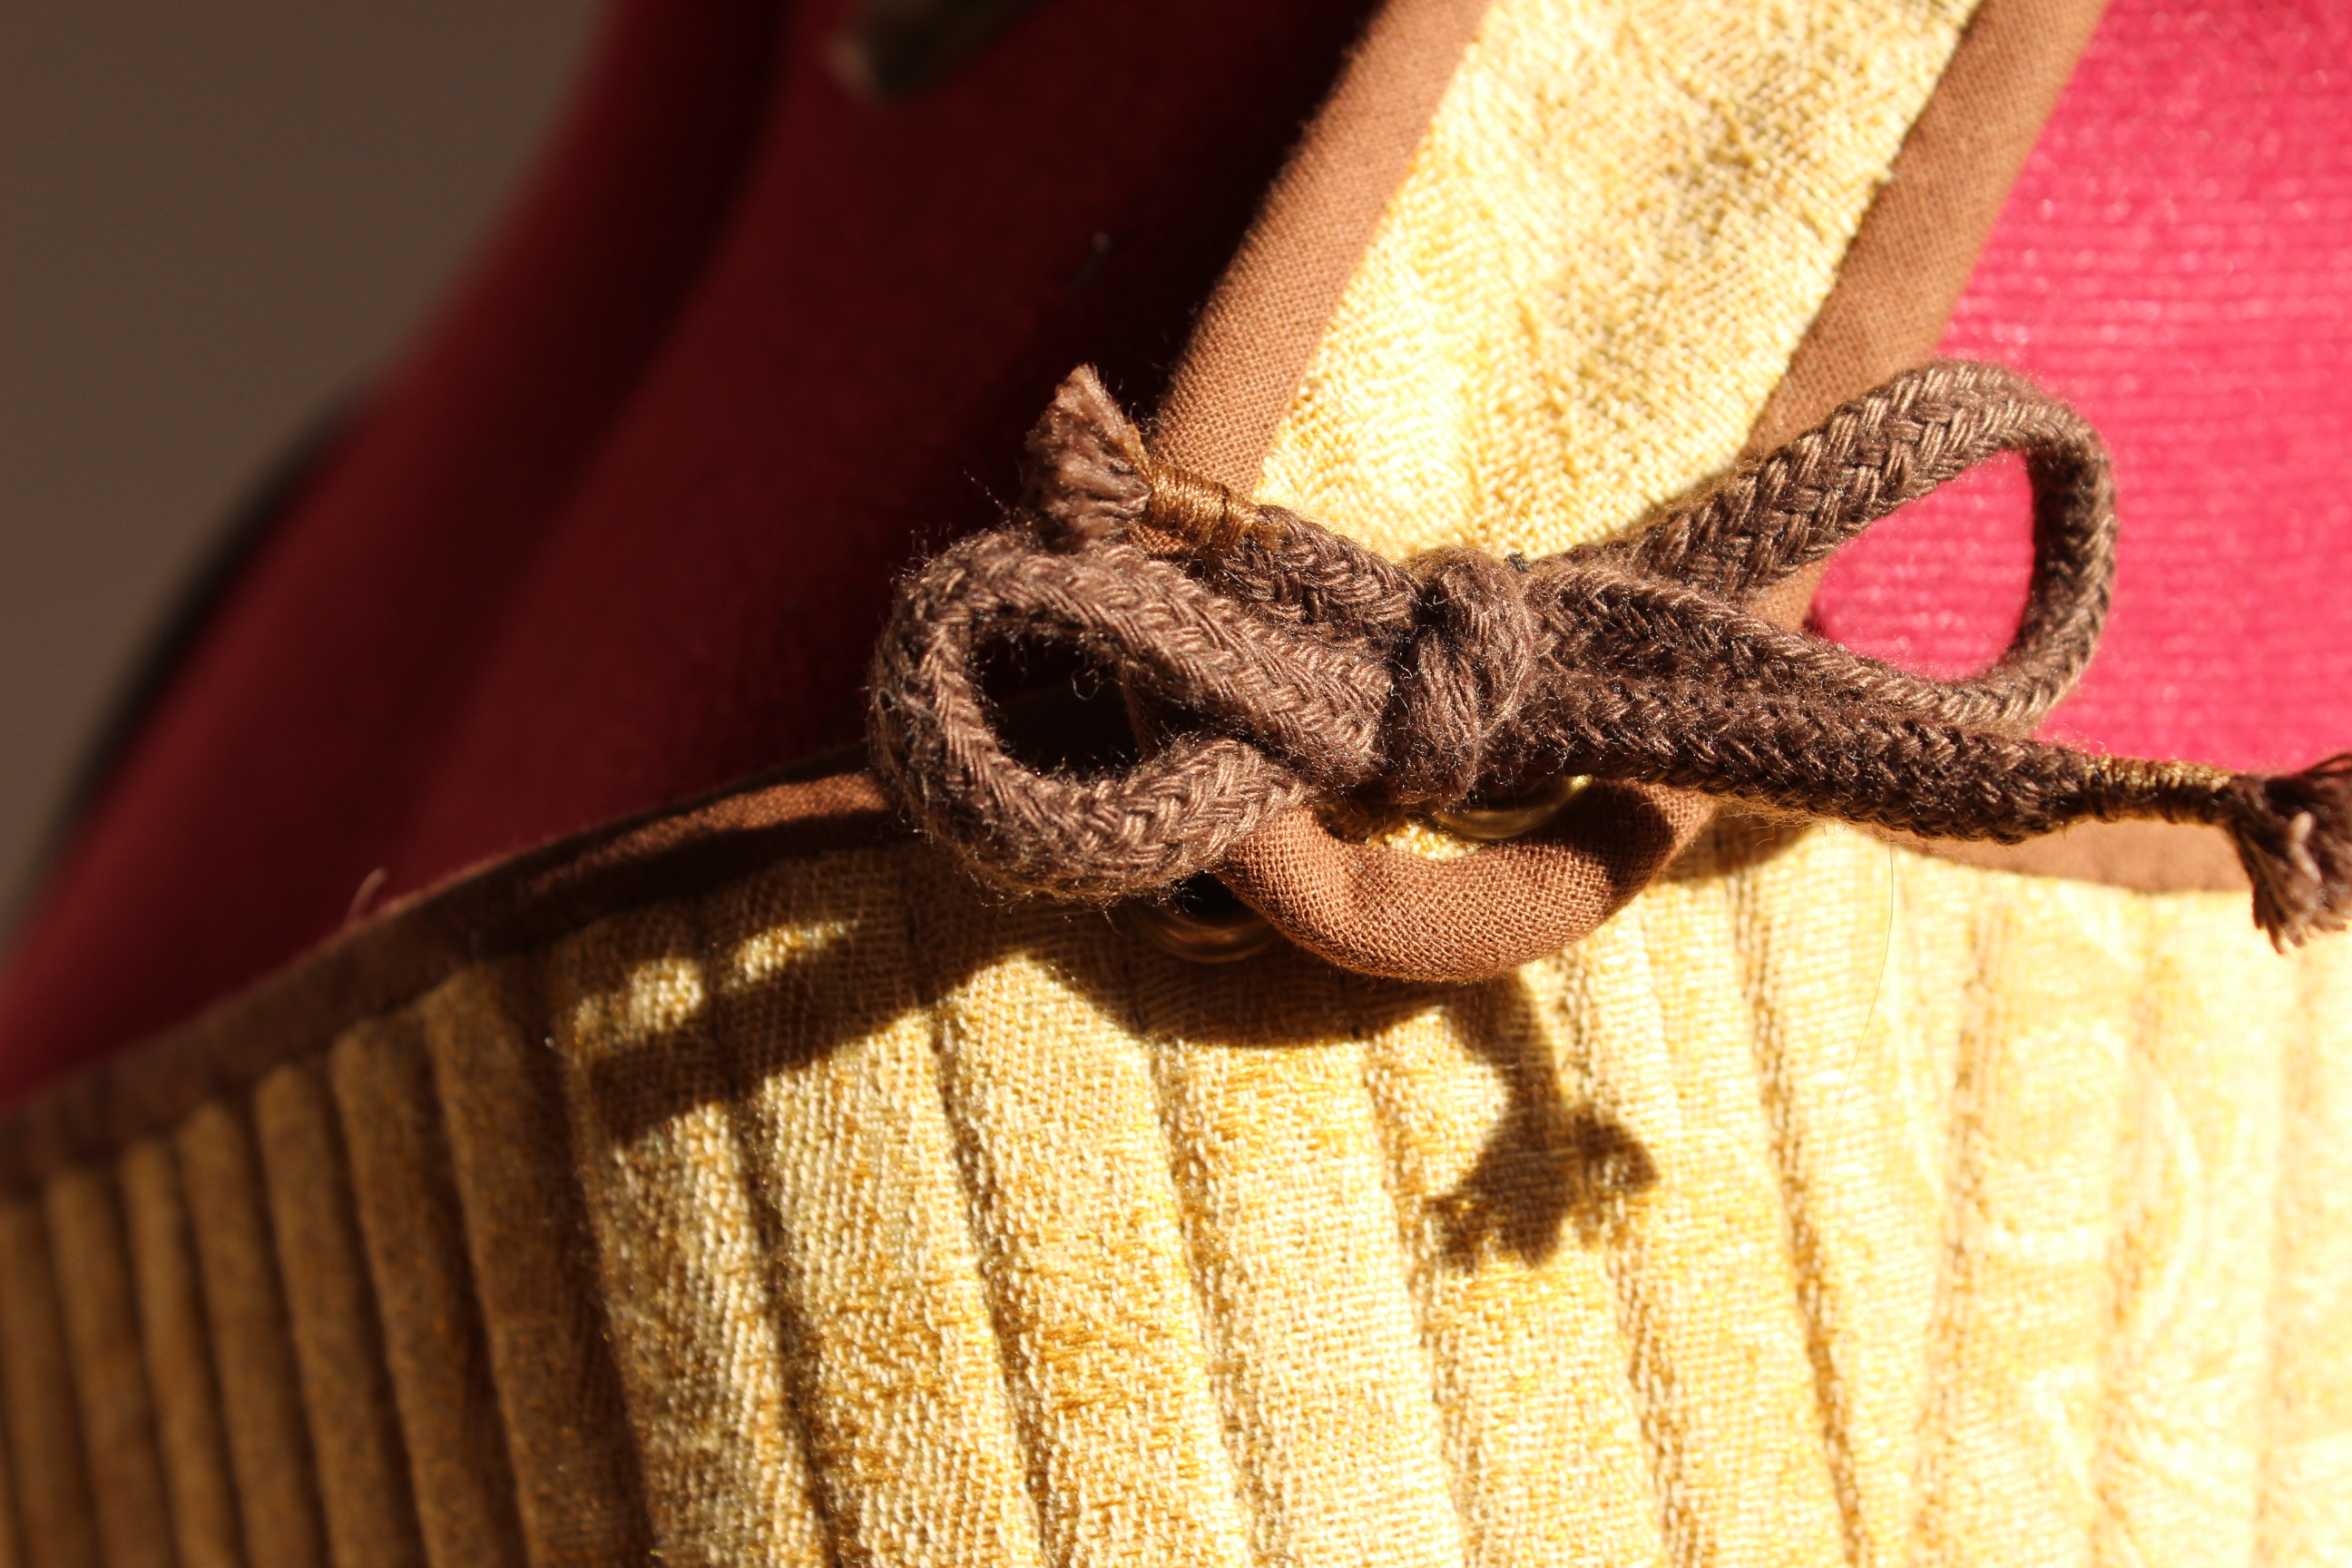
Notions: Shirt – Thread. Corset – Thread, Bias-tape, gromets, boning and lacing cord.
How Historical Accurate: Shirt – Completly hand sewn, but the cotton tread and fabric is not correct for the period. Corset – Not realy. The achived shape is just about right, but all the sewing and material is modern.
Time: Shirt – about 8 hours. Corset – 3 Days of work.
Cost: Shirt – 150Sek (16Usd). Corset – 300 Sek (40Usd).
First worn: Only at photoshoots so far.
Last weekend when dressing for the “Mikelsmäss” I spent 1 hour on my hair (curling, styling and tying the turban) and the remaining 10 minutes to get the rest of the costume on.
This was not a good way to do it, since I usally count at least 30 minutes for the dressing. So I ended up going “half dressed” to the event, and needed help with getting the fichu right and to close the dress when I arriwed.
The reason why it takes so long getting dressed, are of course the many different layers of clothing you need to get the right look of your costume. And tying a back laced corset on your own takes both skills and time.
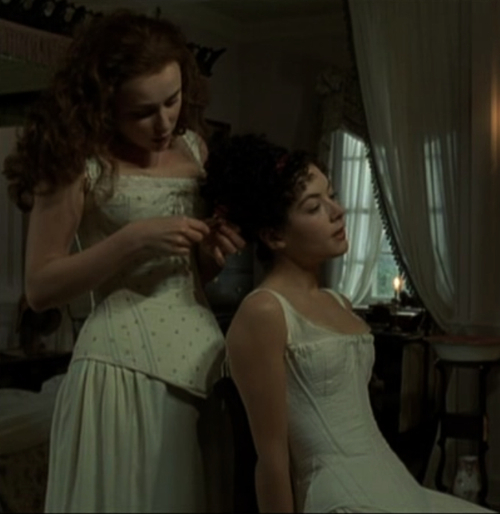
So here is an other “un-dressing” post – Regency style.
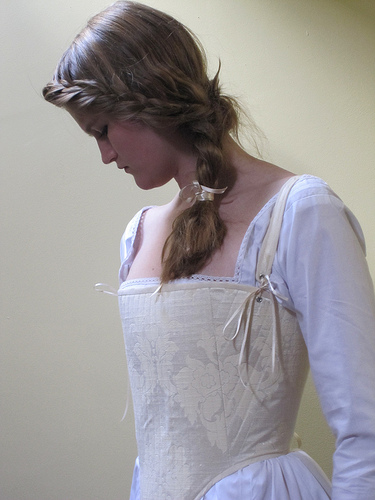
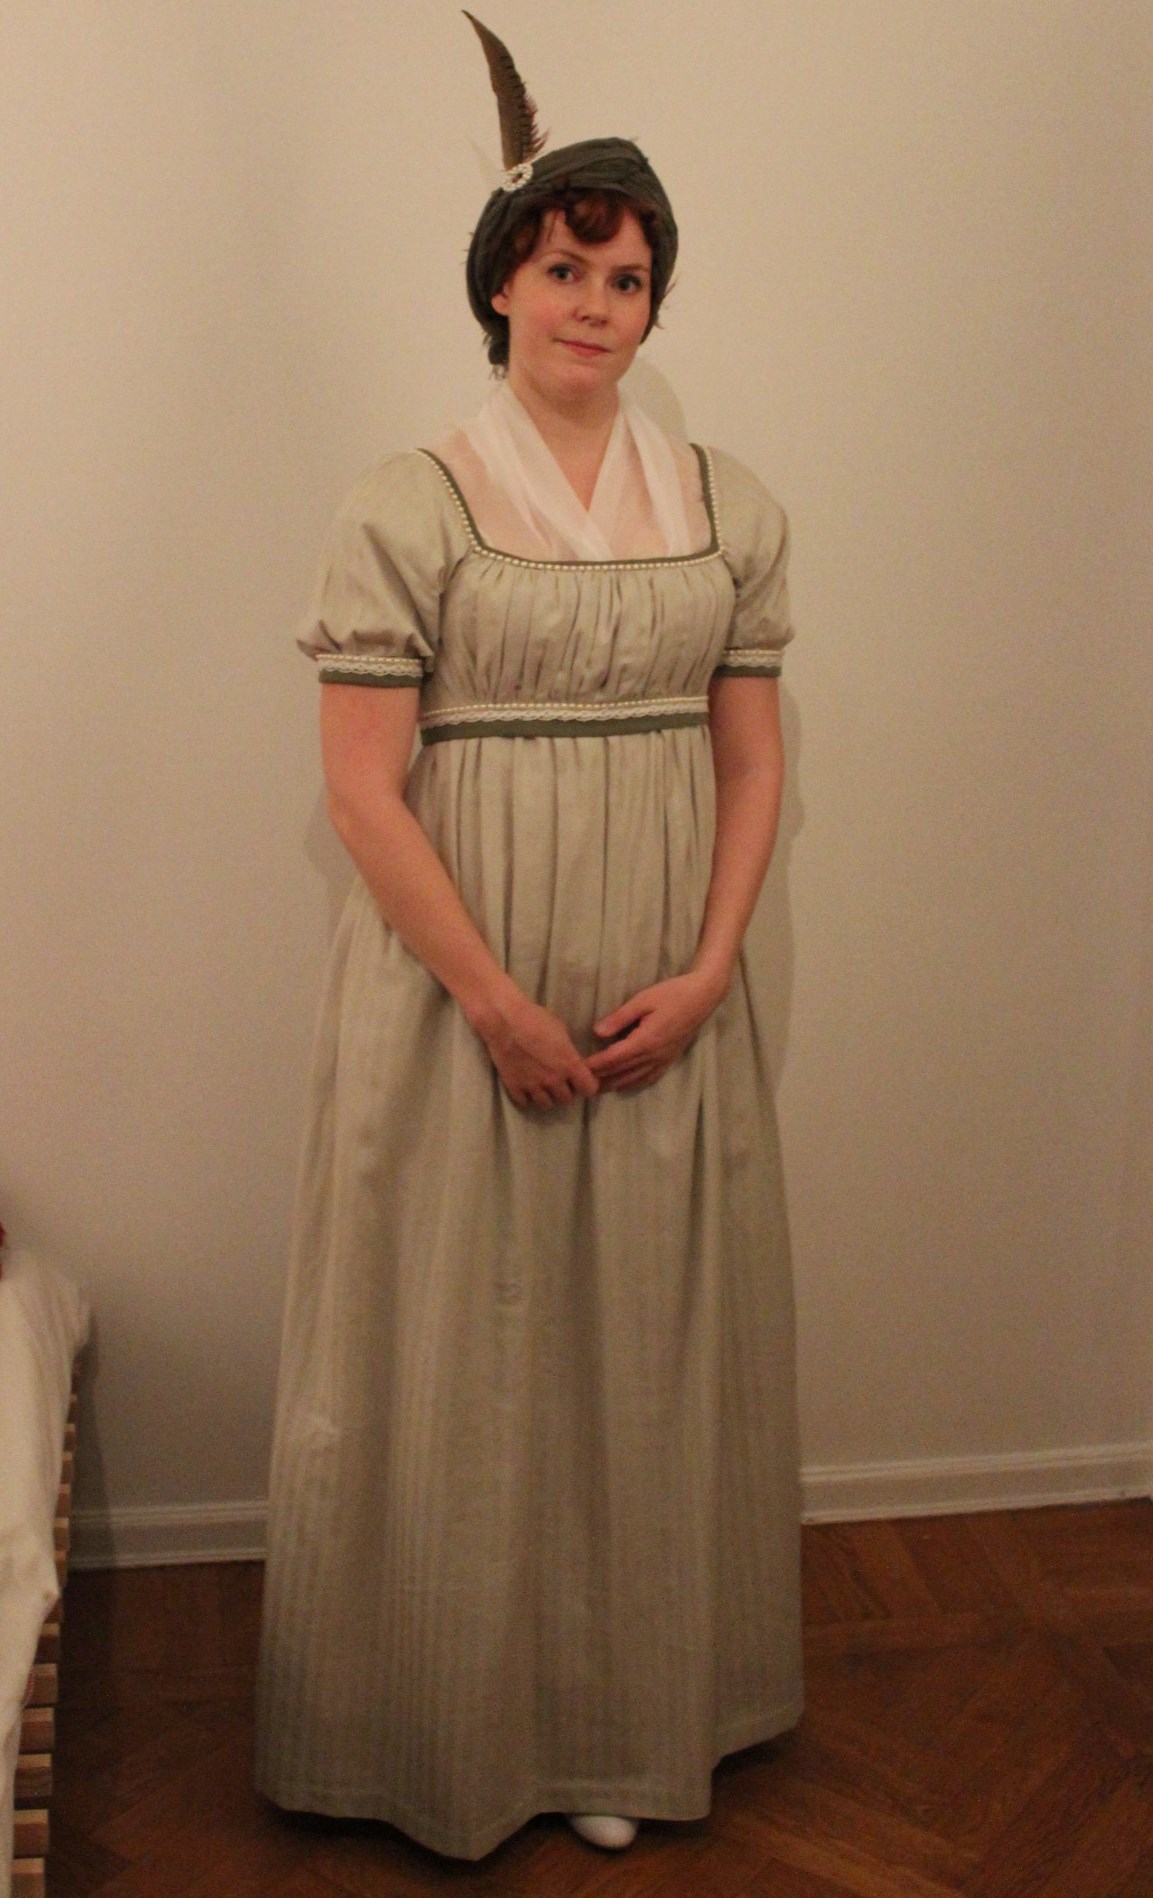
 Lets start fully dressed in: Gown and fichu, whit a headress (turban) and some accessoares like mittens and a shawl.
You could also wear a open robe or a spencer over the dress, and a few more accessoares like a riddicule (bag), muff, fan or a parasol.
 Lets take away the accessories.
By now you could call yourself dressed and be on your way. But you would need some small items/accessoares to compleate the look of your costume.
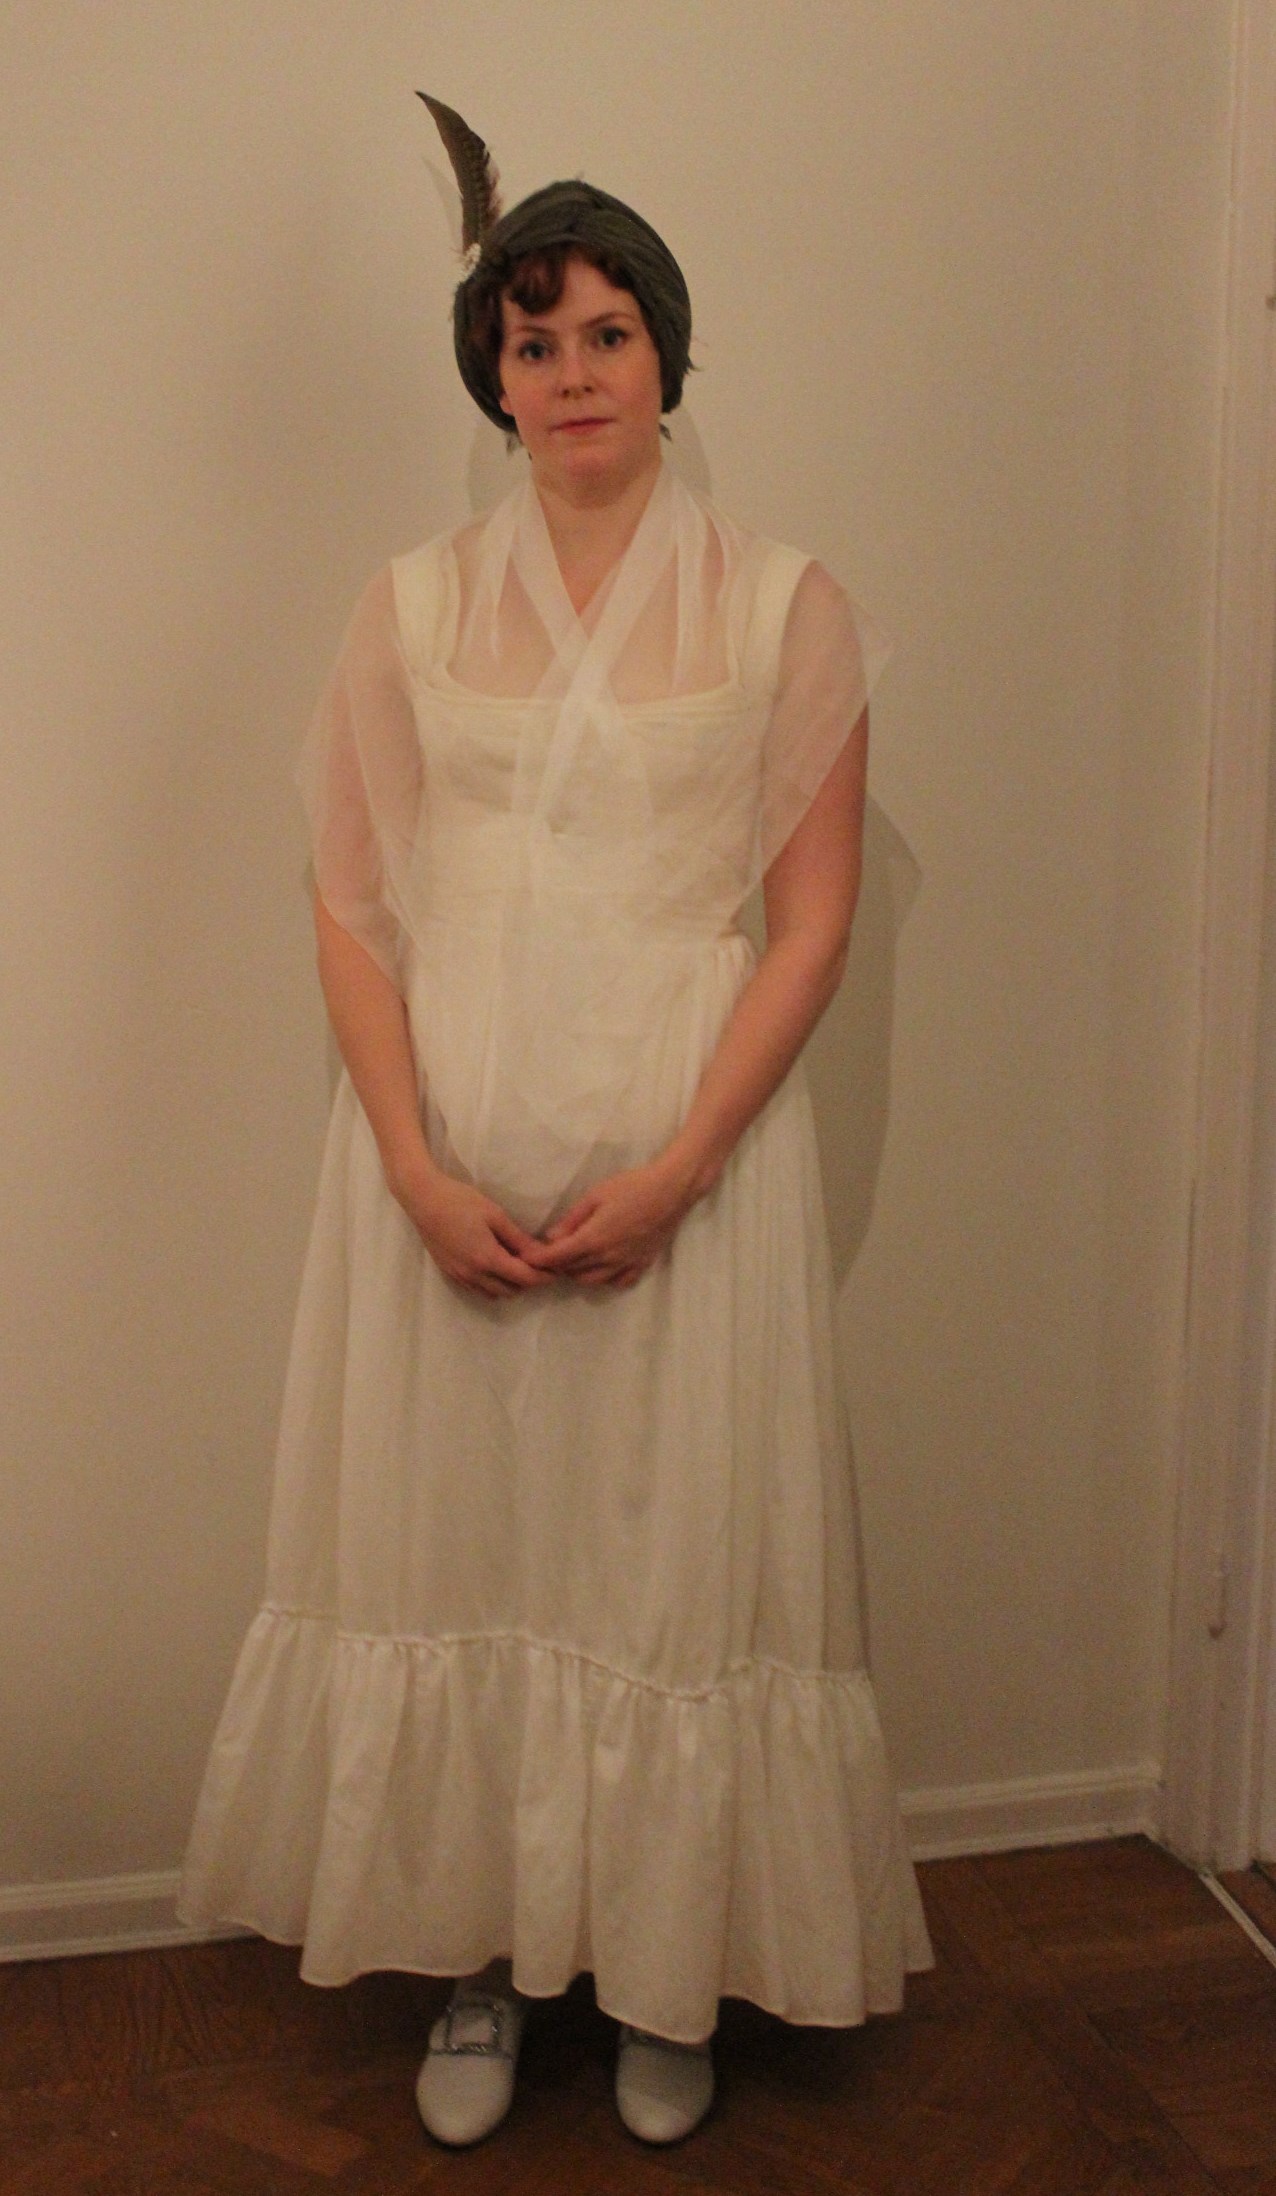 Once we take the gown of, we reveal the complete fichu, the petticoat and the some of the corset.
The fichu is a pice of sheer fabric shaped as a rectangel or a tiangel. Ladies used it to cover the neck and bust, and pined it on before putting on the gown.
 Removing the fichu we now view the top part of the corset and the petticoat.
The regency lady could also have worn an extra under-dress on top of the undergarmnents, to prevent see-througness in verry sheer gowns.
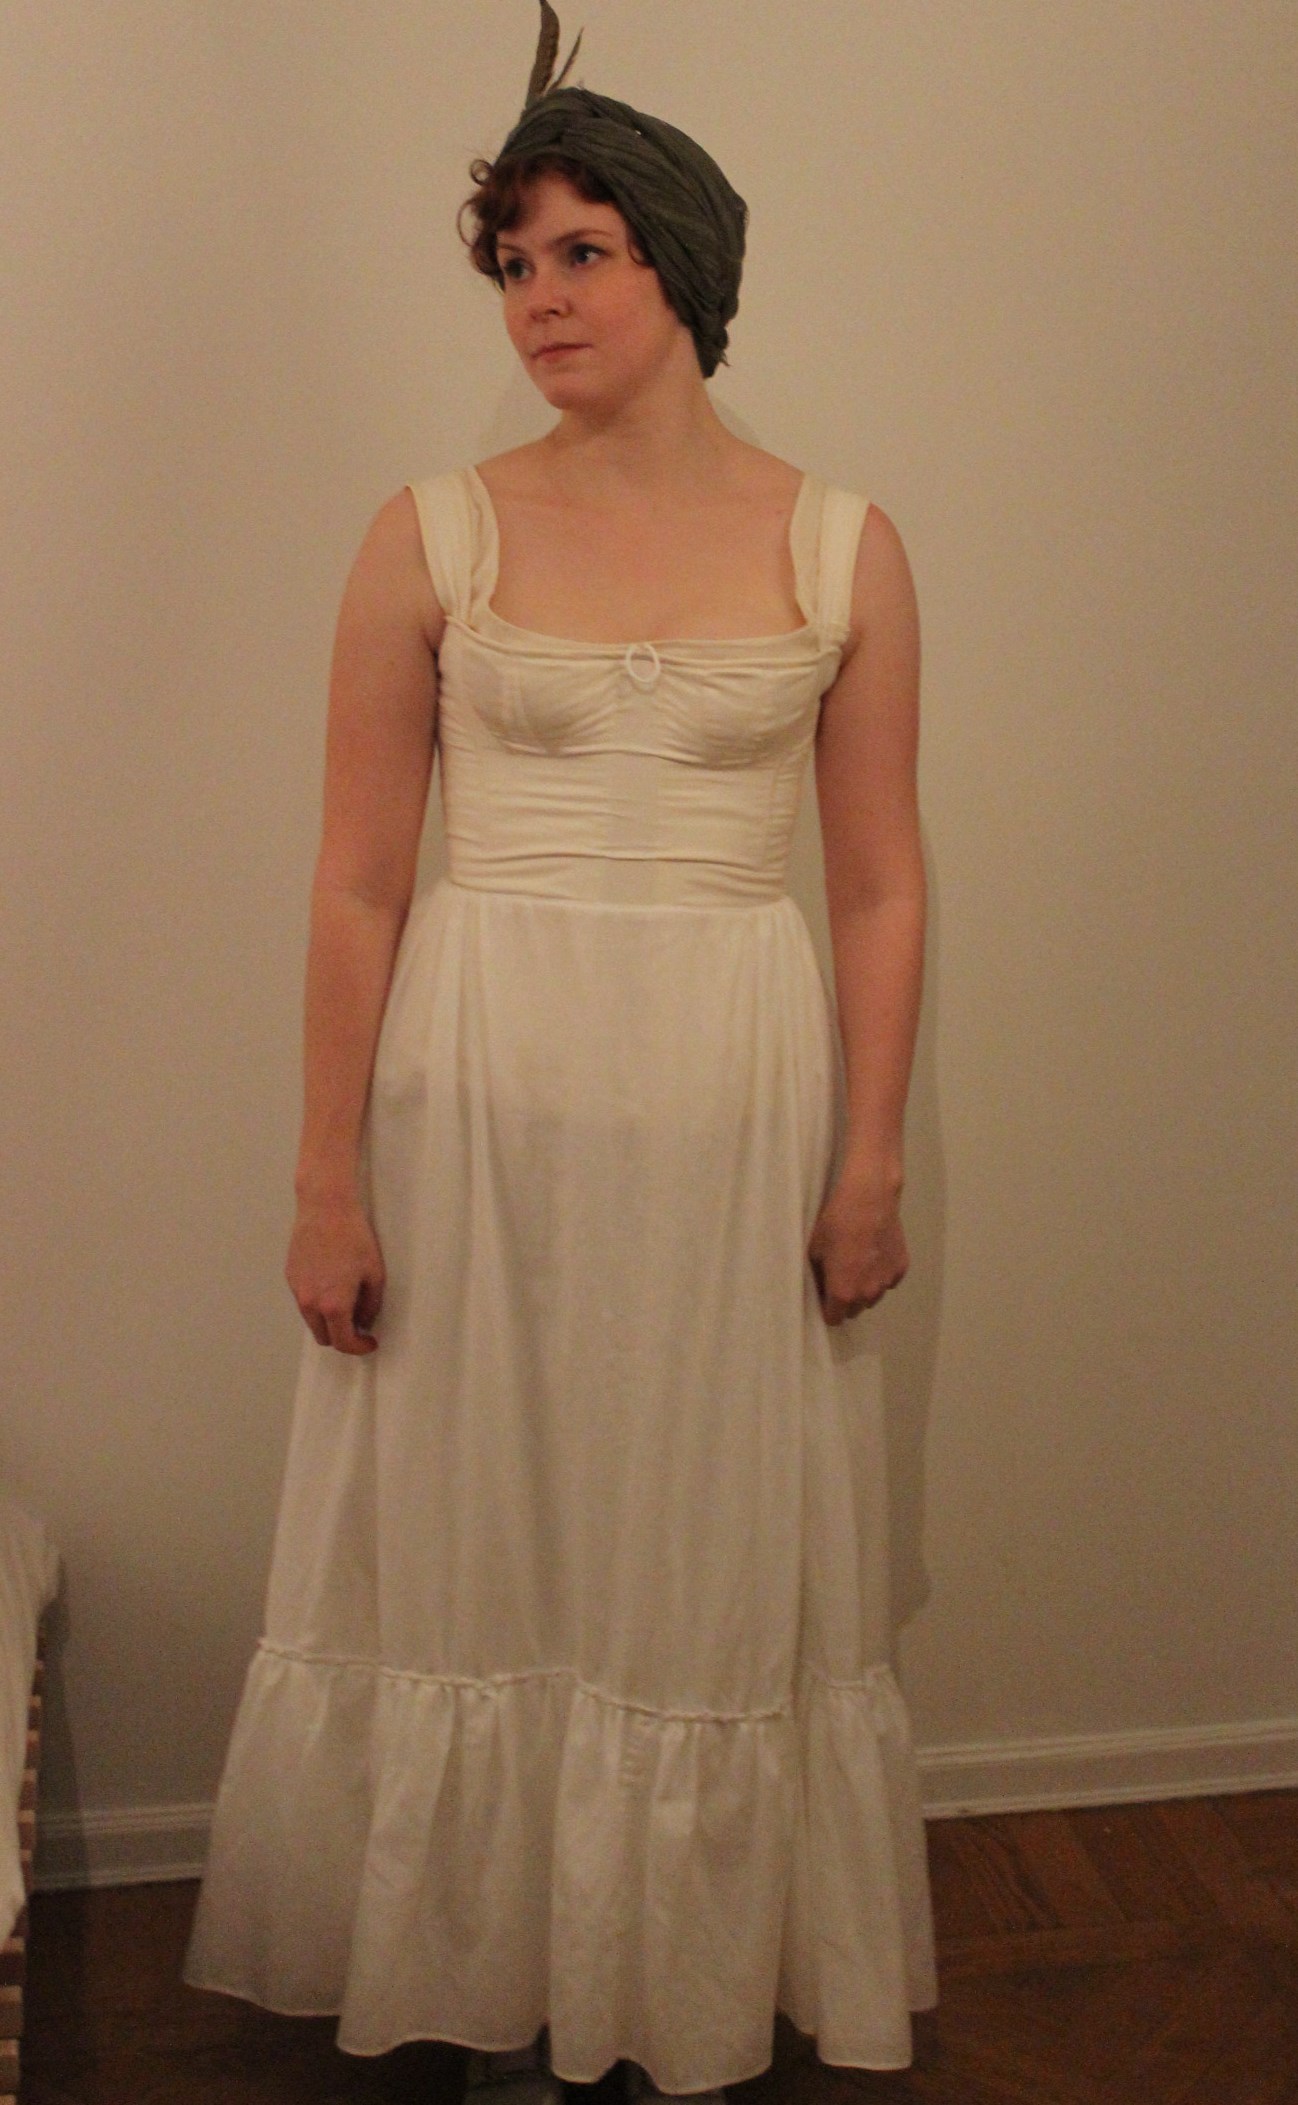
 And then we are down to the underpinings with the corset, chemise, stockings and shoes.
The chemise are worn to keep the swett and dirt from the body away from the corset.
The corset could also be in a short style (ending right below the bust), or in a wraping style.
It is important to remember to put the shoes on before the corset – since it is very difficult to lace or attach buckles while fully corsetted.
As the 19th HSF challenge Wood, Metal and Bone past by I feelt I needed to make something a bit more challenging then the Suffragett brosches I finished just in time.
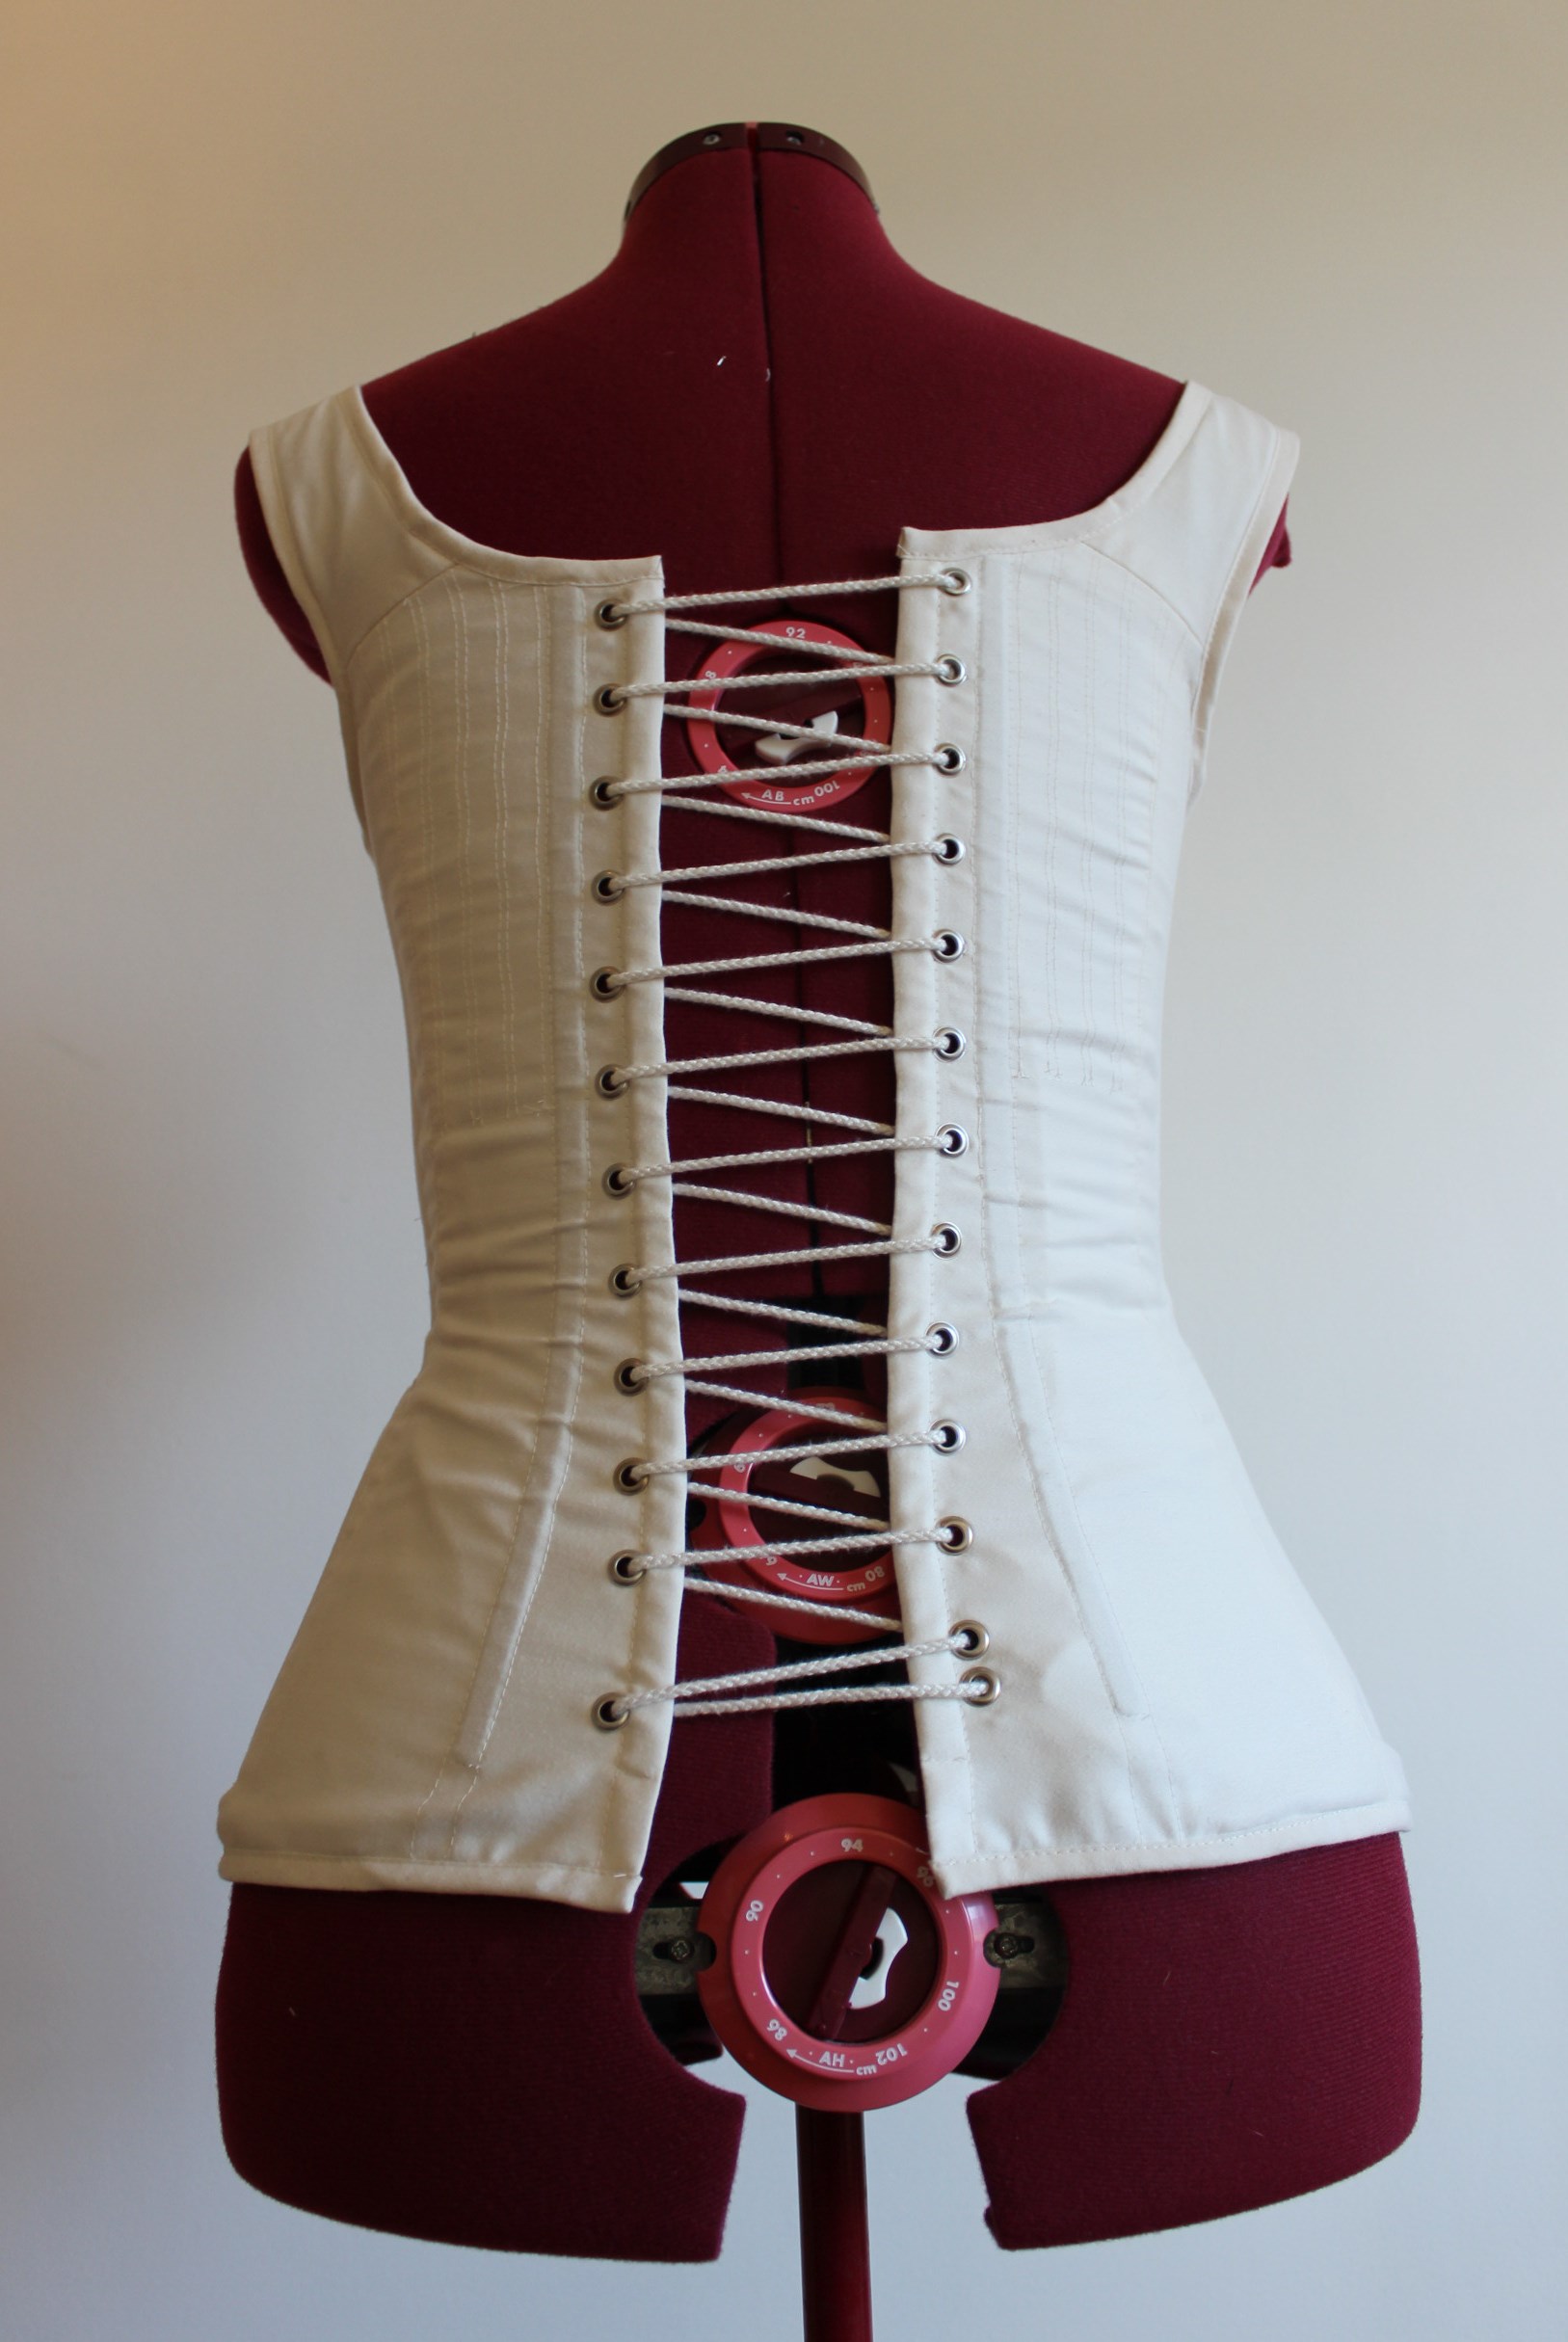
An with a regency event coming up swifty, I decided it was time to make myself the 1820s corset I’ve been wanting since I bought a wooden busk half a year ago.
Here are some inspiration pictures:

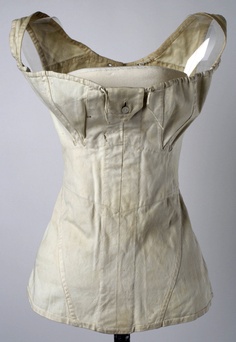


And the pattern comes from the trusted Norah Waughs “Corset and Crinolines” – A 1820s corset.

I bought 0,5m of cream colored cotton sateen, and found some plain cotton sheet for the linnig and interlinning in my stash.
I dafted the patten, made some changes to the sizing and made a mock-up.

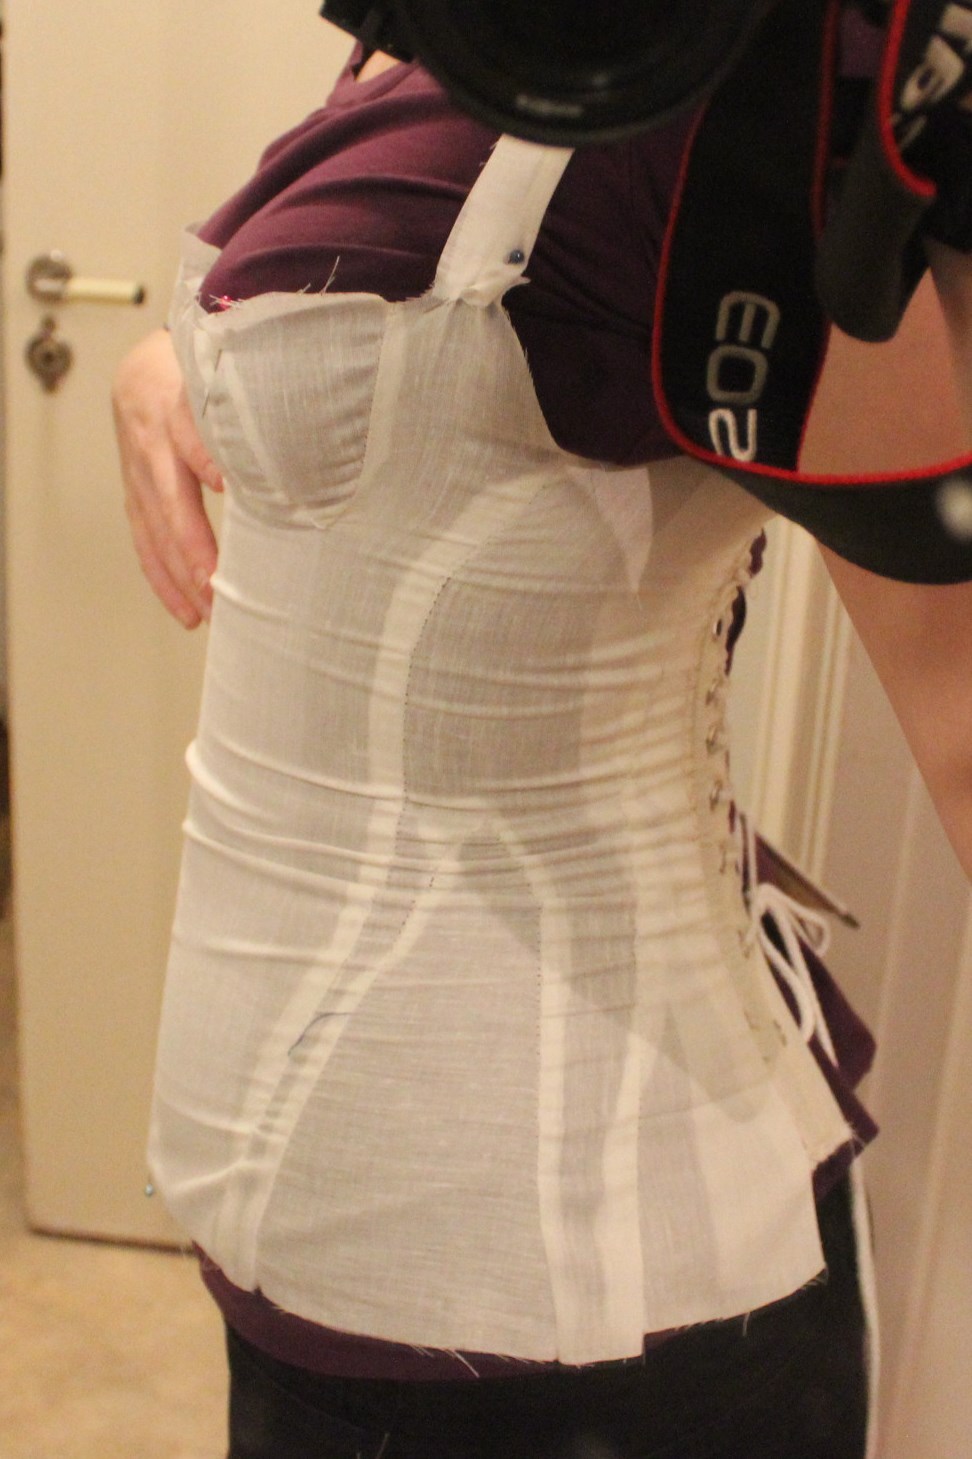
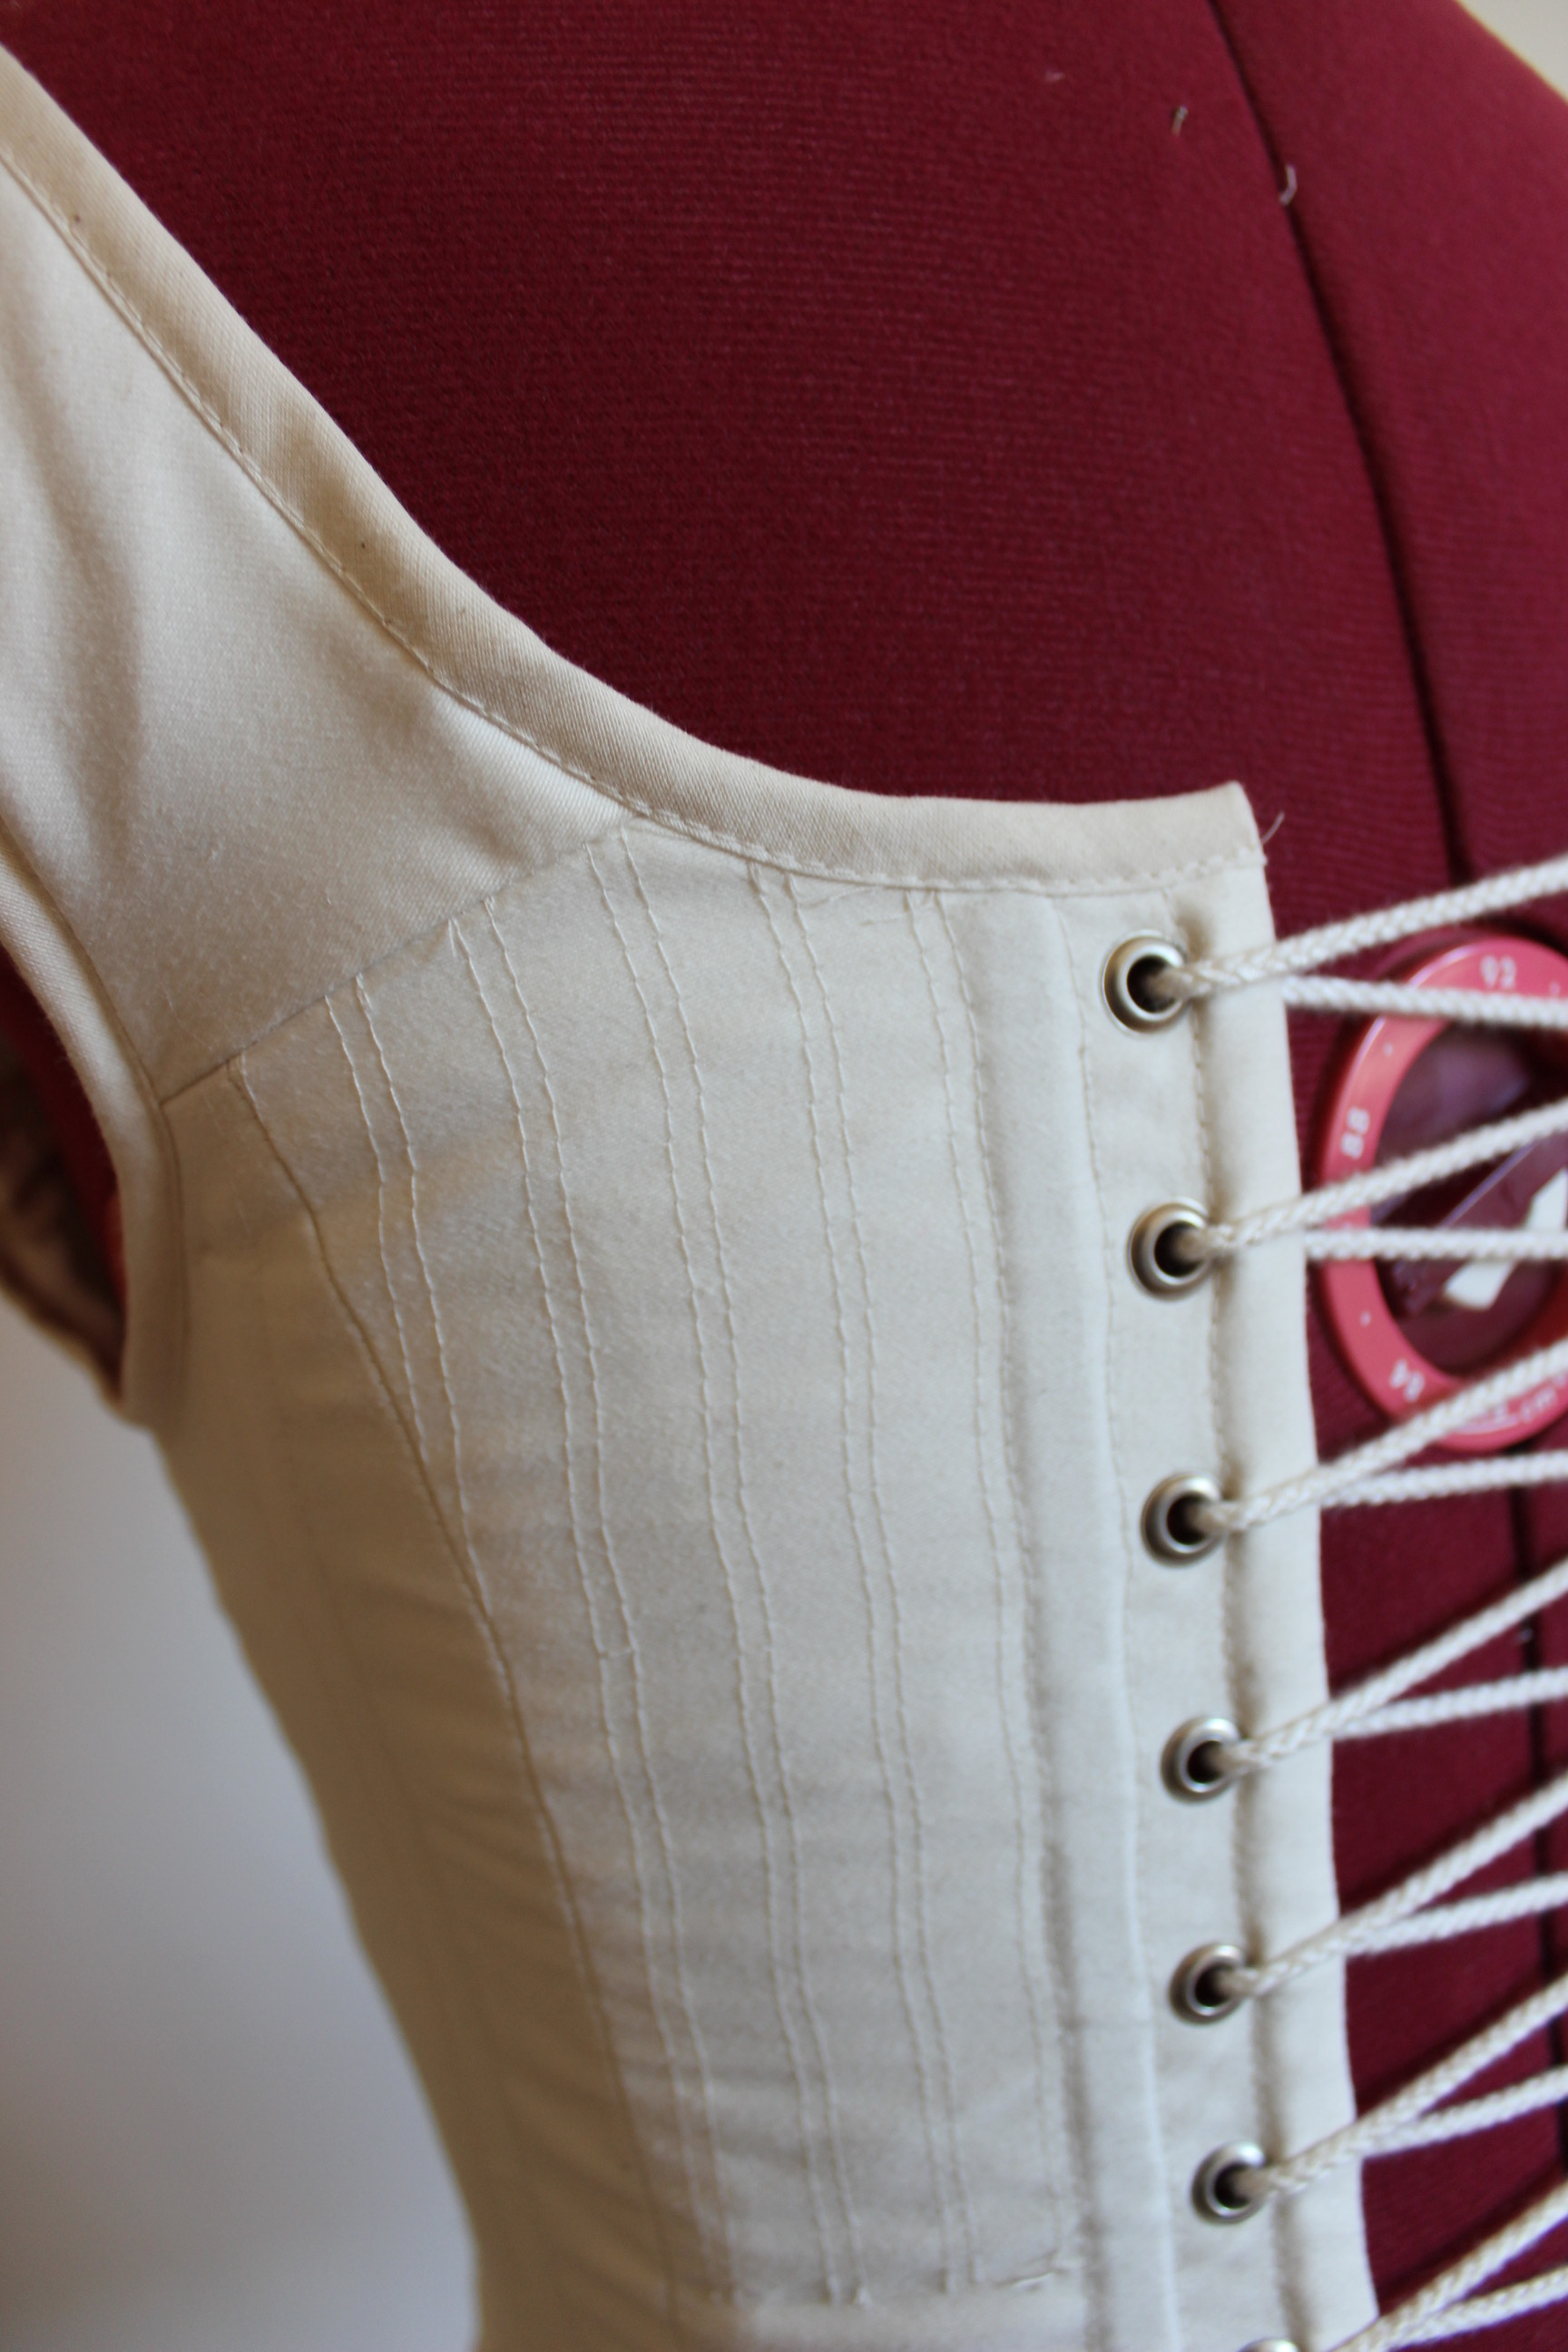
I needed to raise the cups 1,5 cm and take them in 2cm a the top. And lenghten the shoulder straps.
 I also needed to add 4-5 cm to the back pieces.
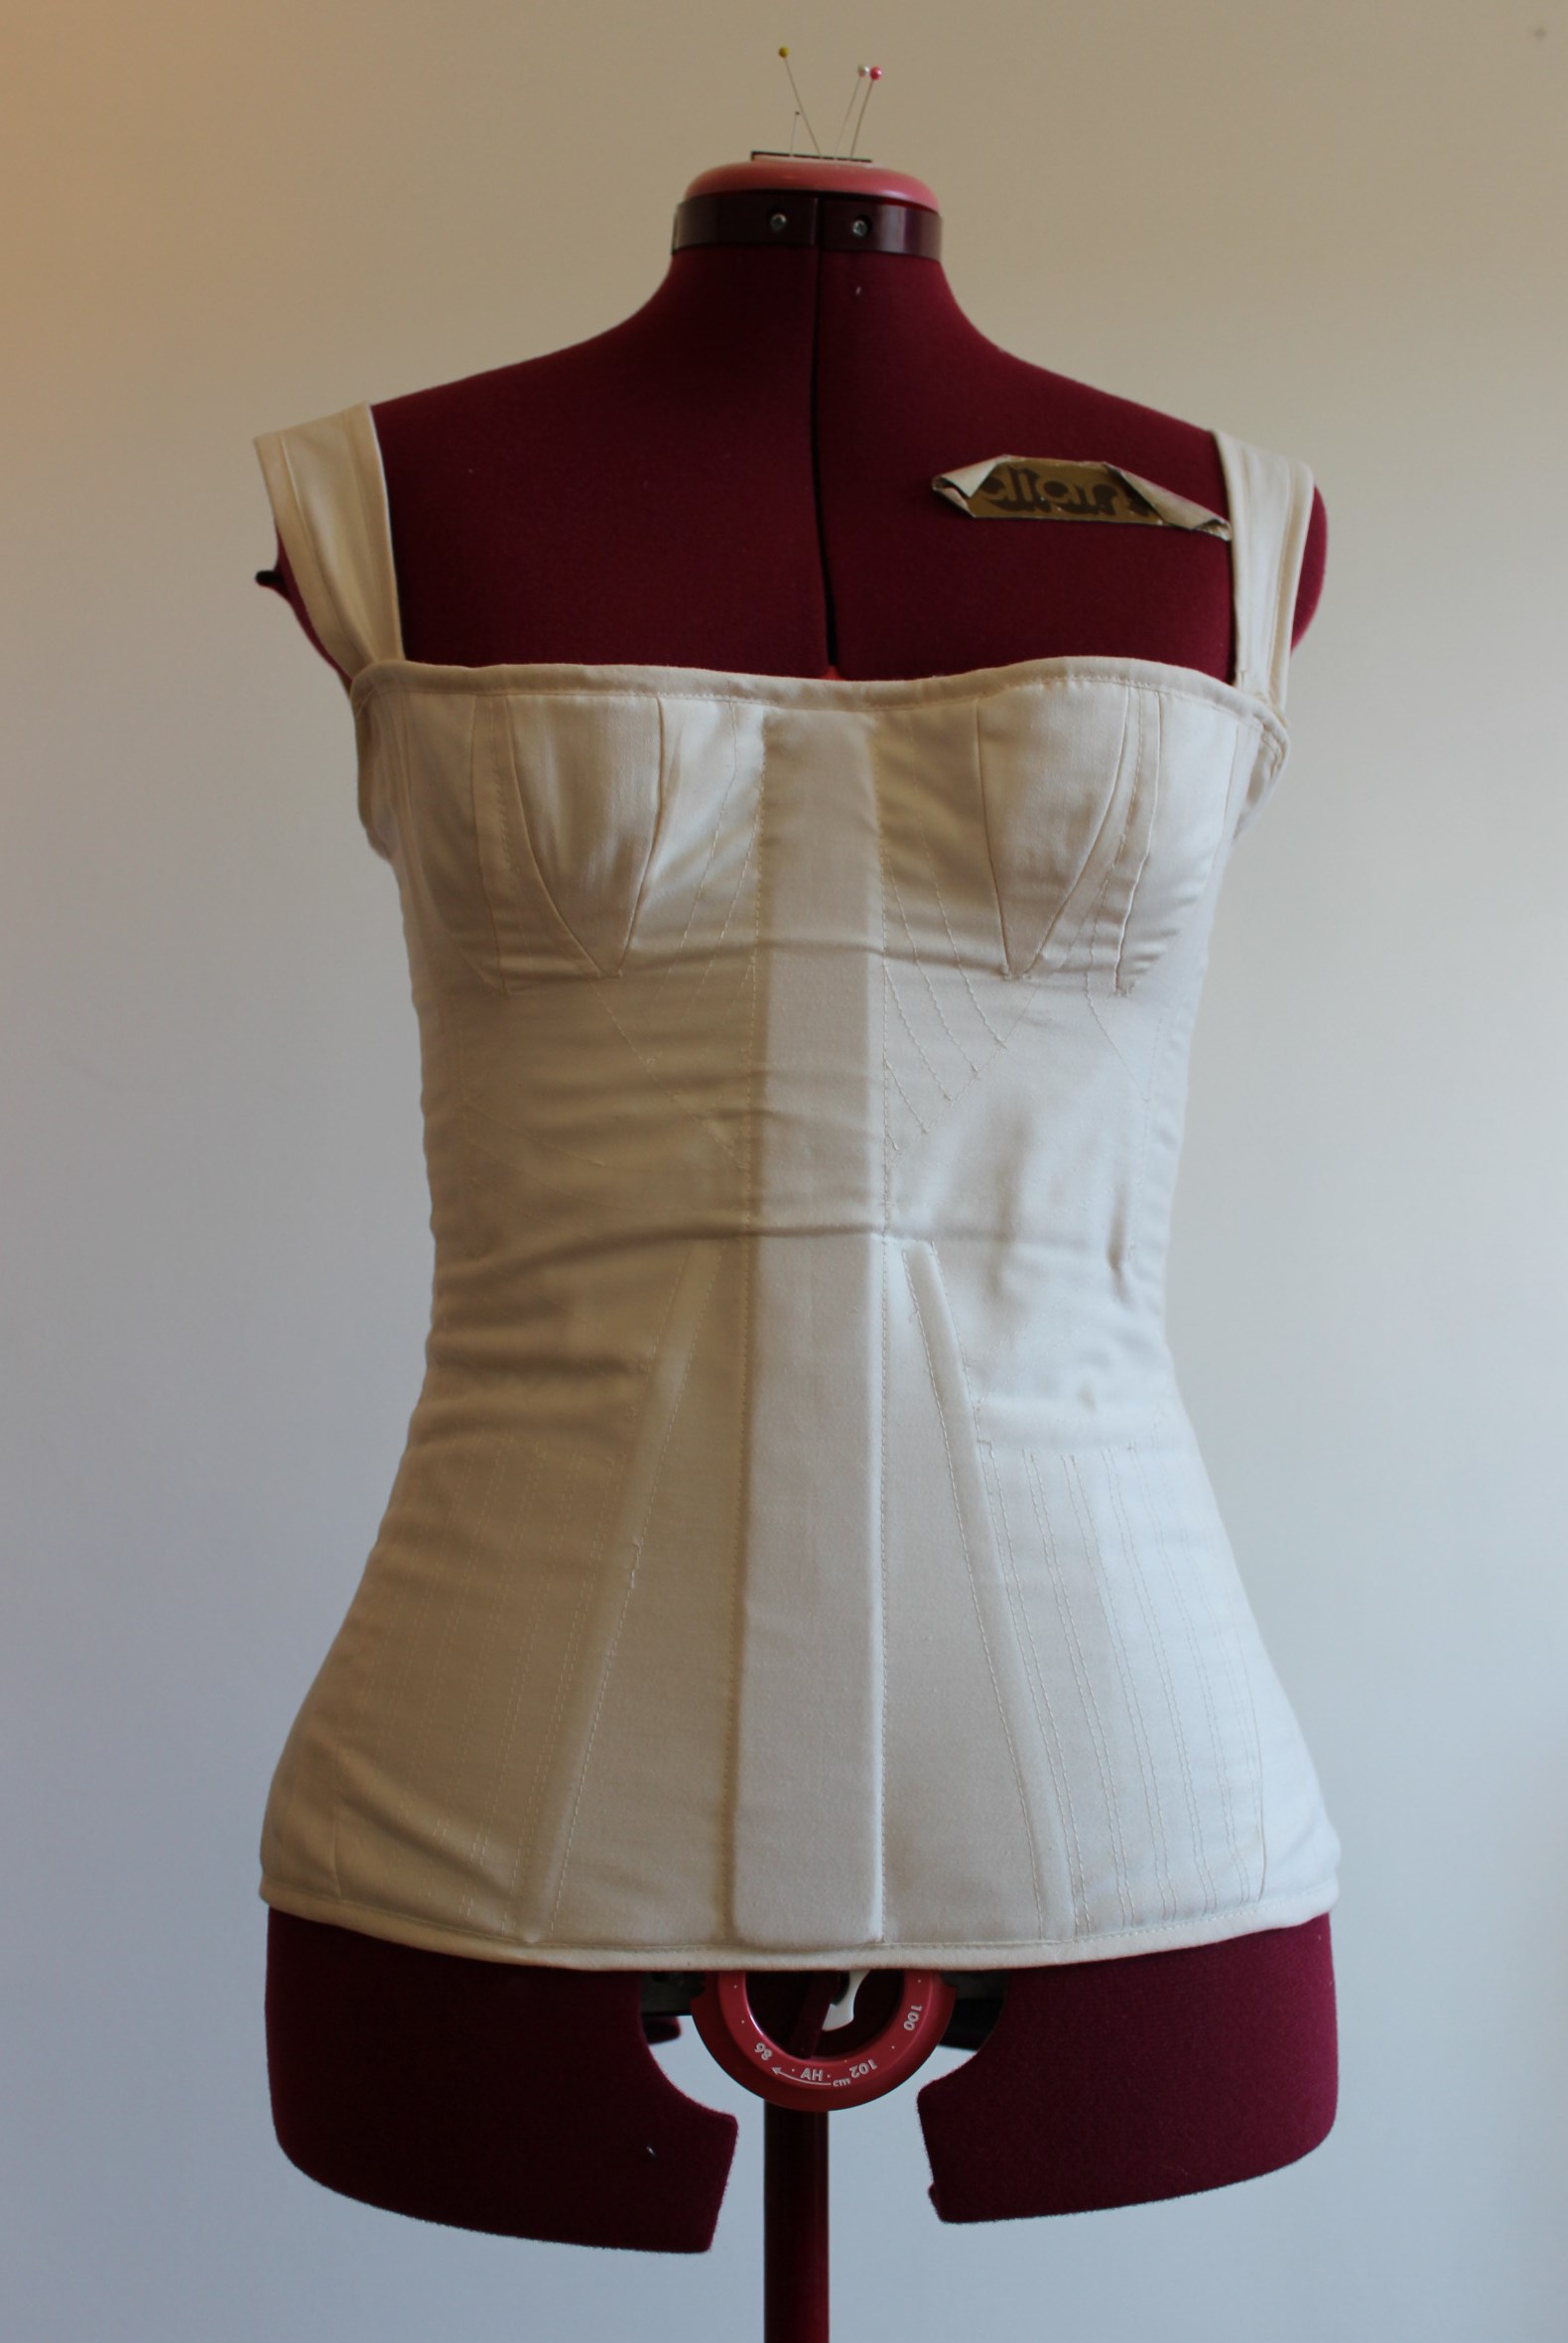
After drafting the alterations on the pattern, I cut and interlined all of the pieces.
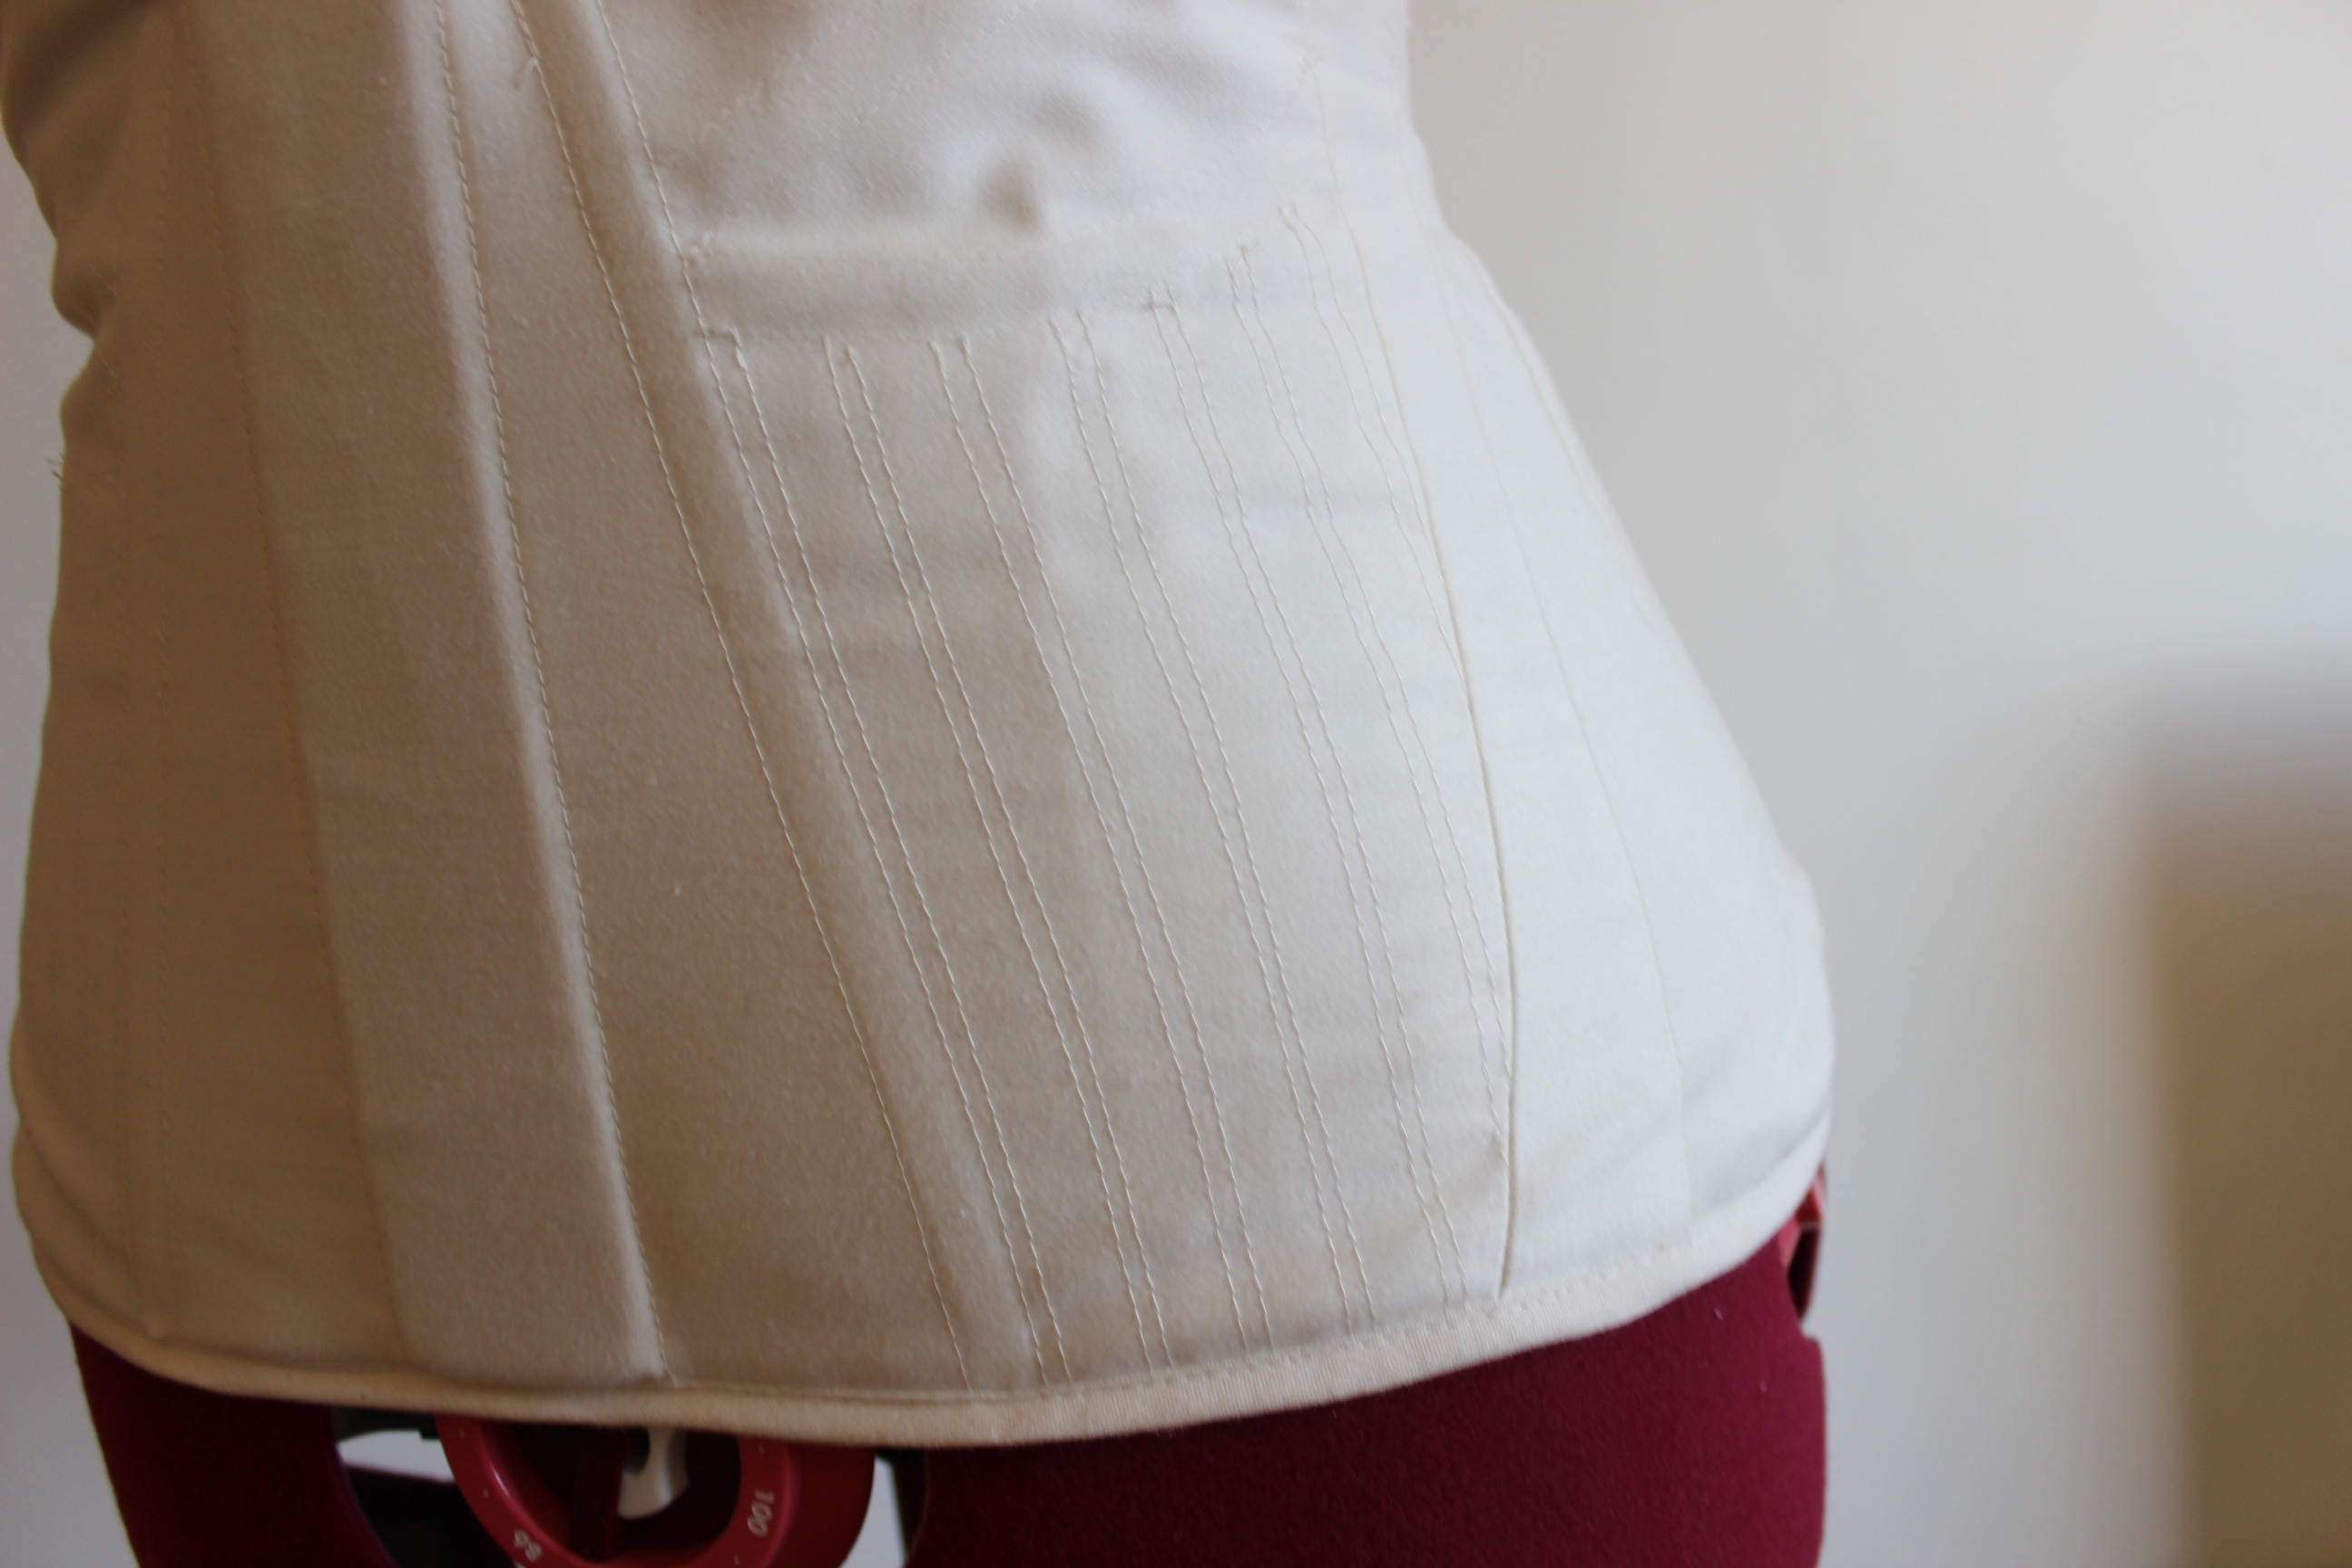
I sewed the bust and hip gores, the boning chanels and set the gromets on the back pieces.

Then I started on the decoration.
By now I feelt I was running out of time (this was just a couple of hours before the event) and I needed to decide which ones of the decoration seams was the most neccessary – regarding both prettynes and function, though to the strengtening quality of the stiching.

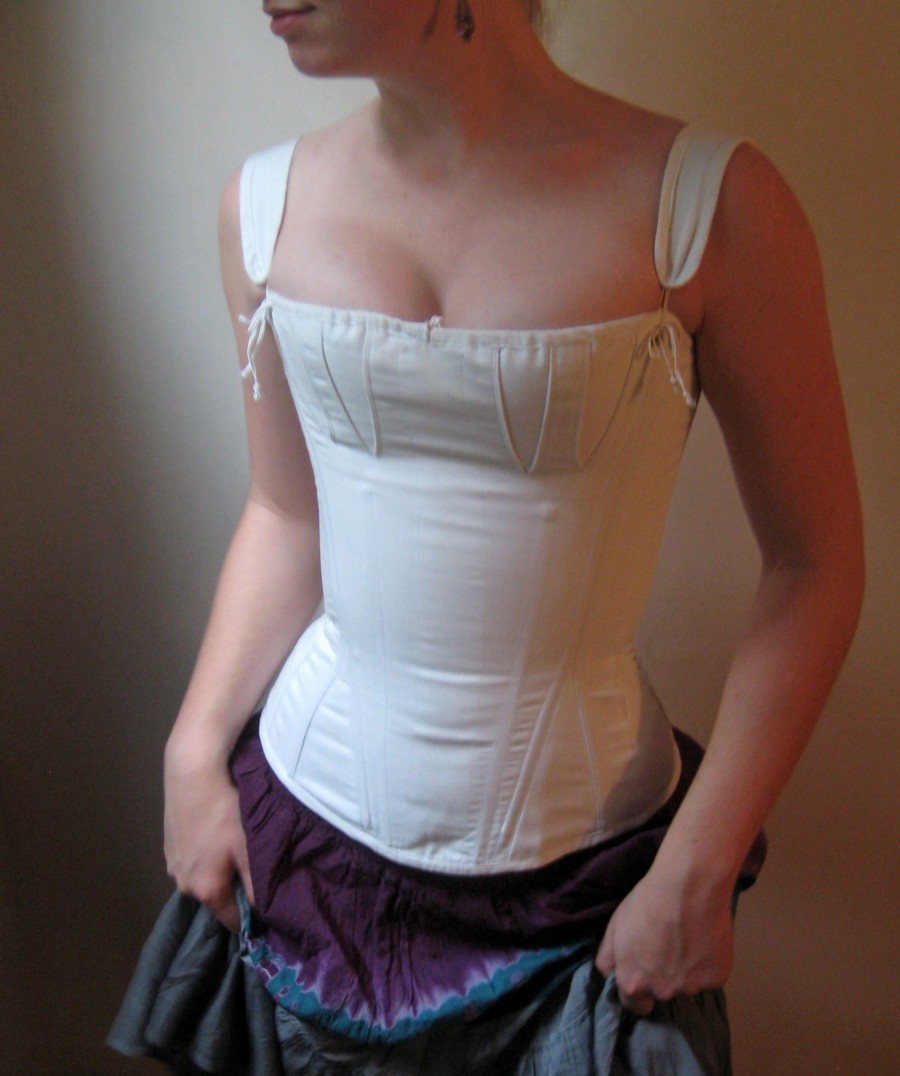
Then I made and attached the lining and putt the boning in to the chanels. I used bias-tape to bind the edges, and put a drawstring into the bias-casing in the front of the corset. Making it adjustable over the bust.
I finished sewing just in time, since I straight away needed to hurry to get dressed and on my way.


Just the facts:
Challenge: 19 – Wood, Metal and Bone.
What: A regency corset
Year: 1800 – 1830s
Pattern: Nora Waughs “Corset and Crinolines” – a 1920s corset.
Fabrics: 0,5 m of cream cotton sateen, 1 m of white cotton sheet.
Notions: One wooden busk, bias tape, thread, gromets, boning (cable-tie and plastic whalebone), lacing-cord and ribbon.
How historical accurate: Machine made with gromets and polyester thread. Butt the pattern, shape and the color are correct. Mabye 5/10.
Time: 10 hours (the evening before and the same morning as the event).
Cost: 200 Sek (22 Usd)(50 Sek, not counting stash).
First worn: On 28 sep “Mickelsmäss” (celebration of the harwest) where I was part of the dancing entertainment.
Final toughts: The corset do what it is supposed to (bust-wise), but I’ts not that comfortable. I almost got a cramp in my side/waist sitting in it for two hours. Mabye I need to change the fit.
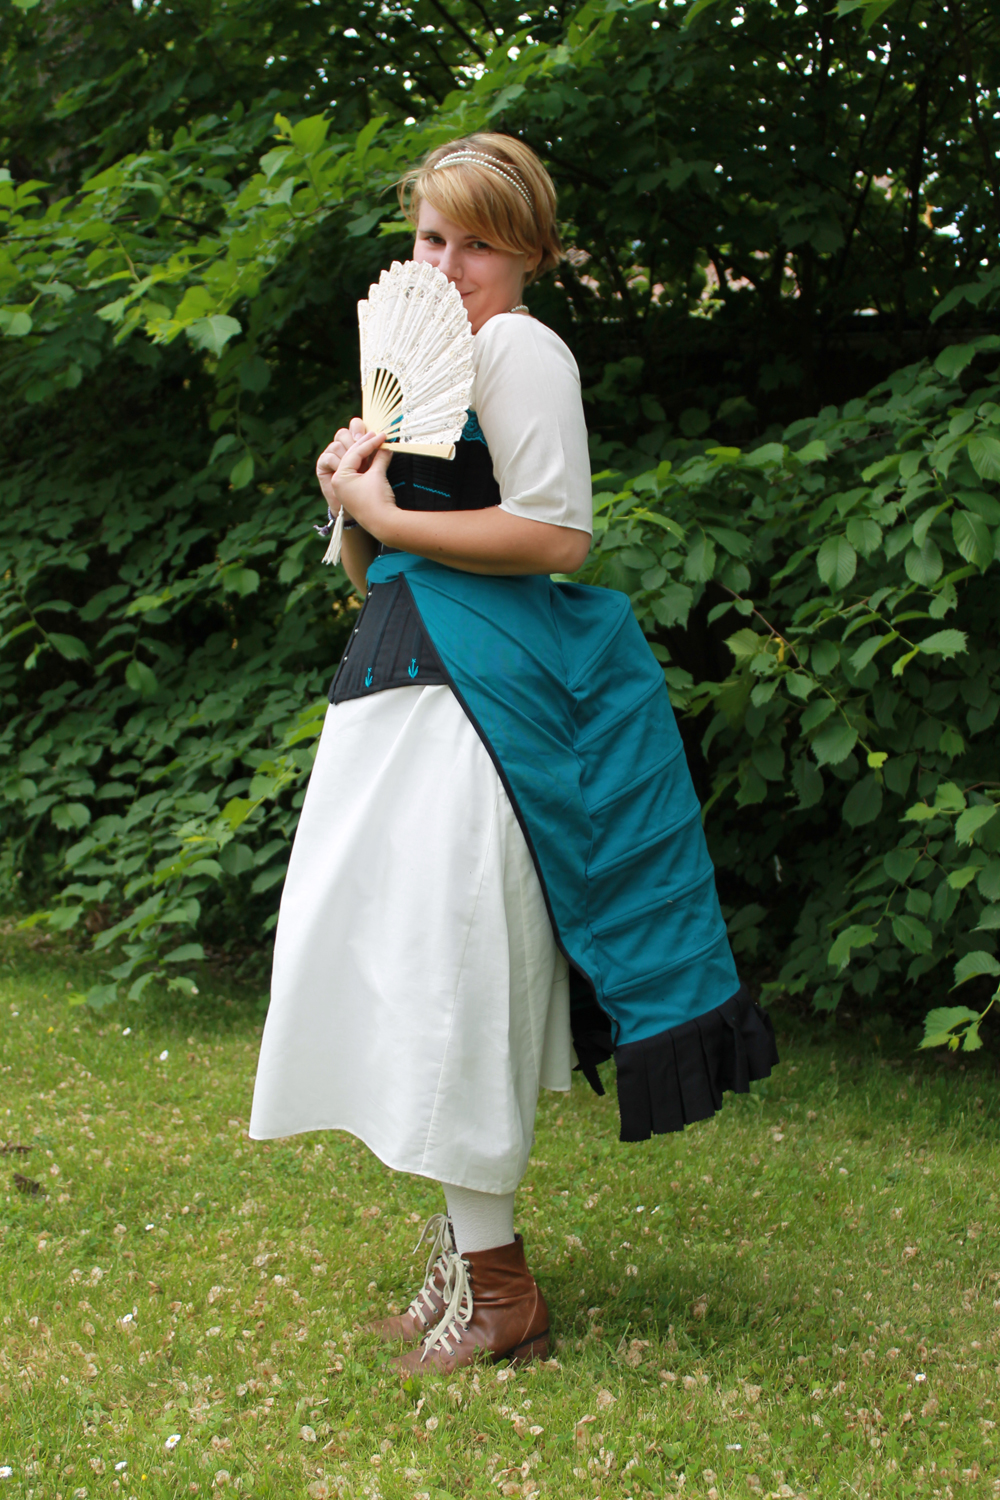
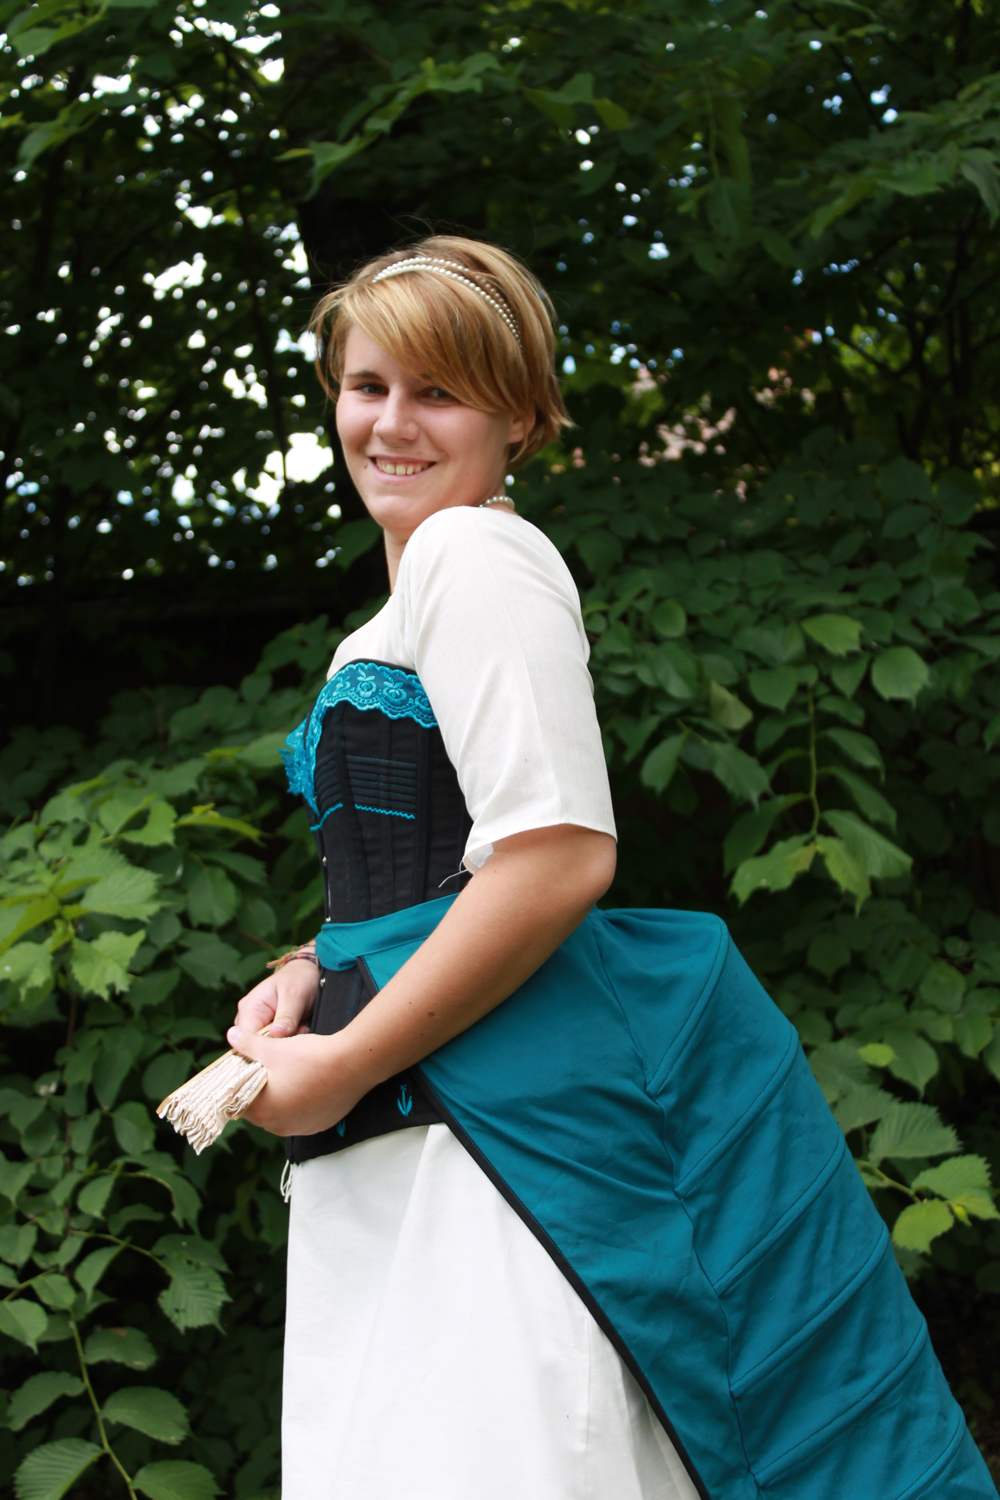
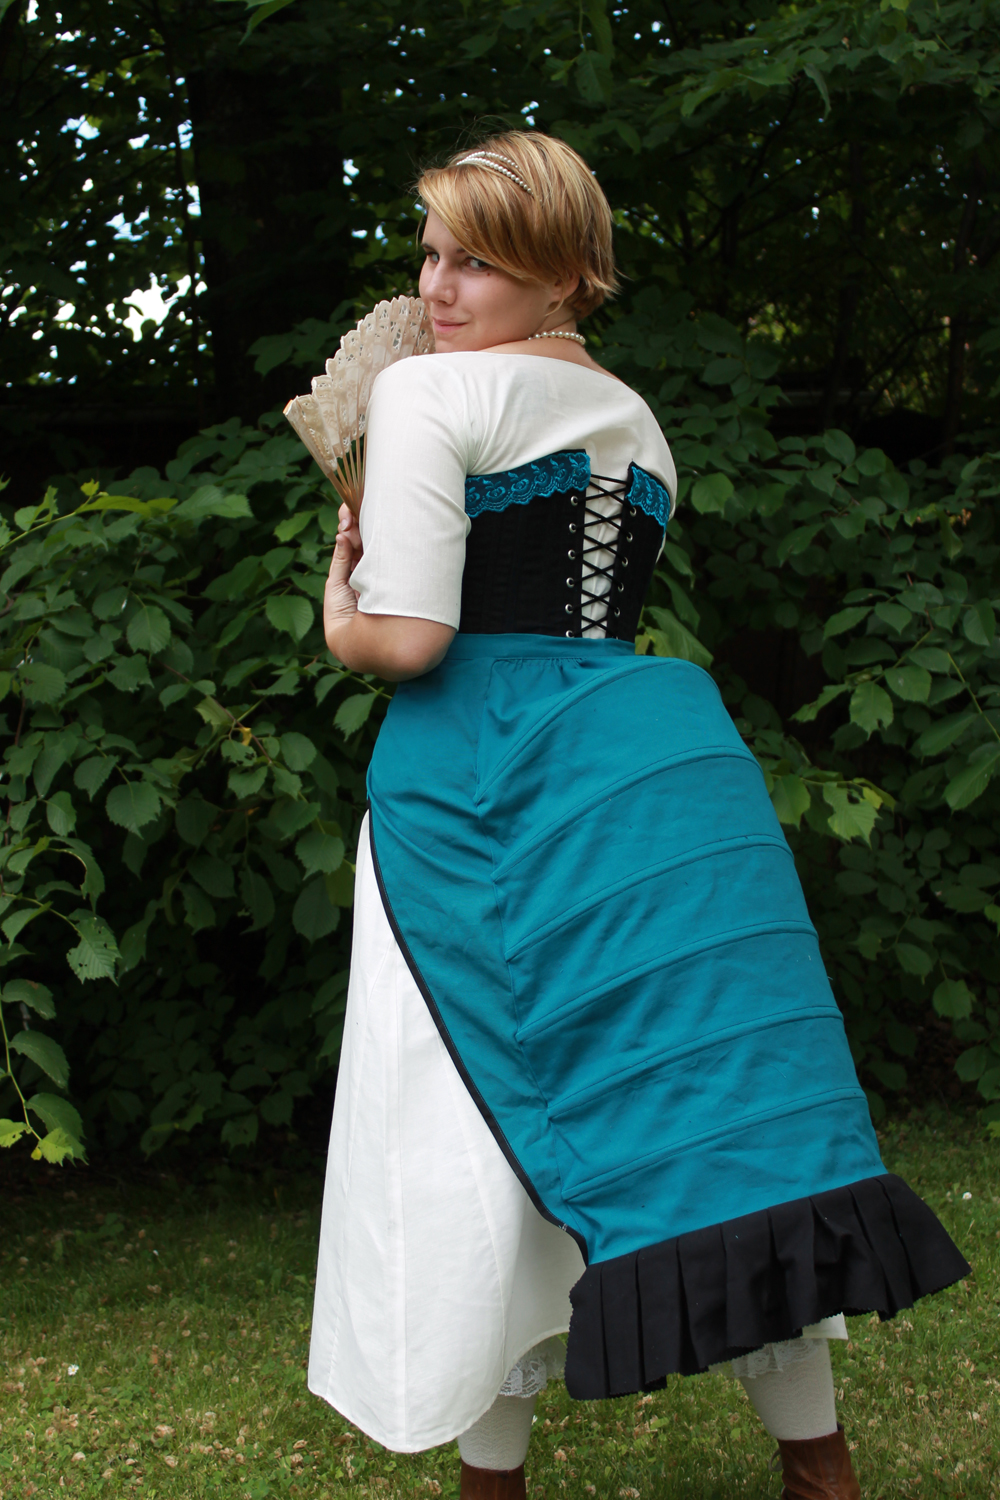
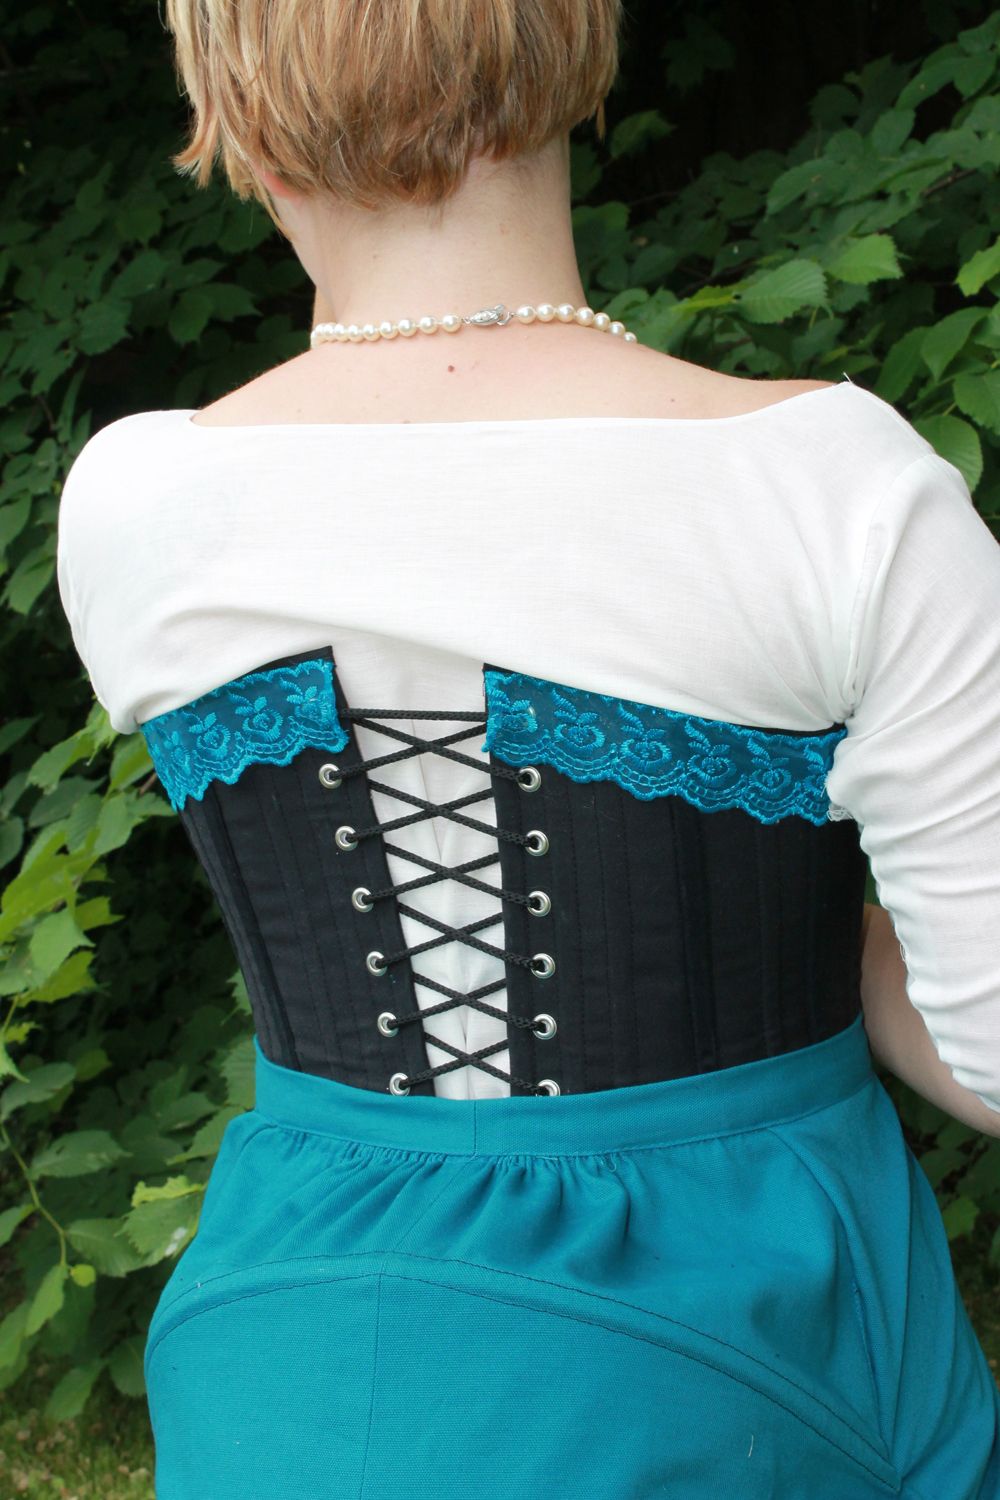
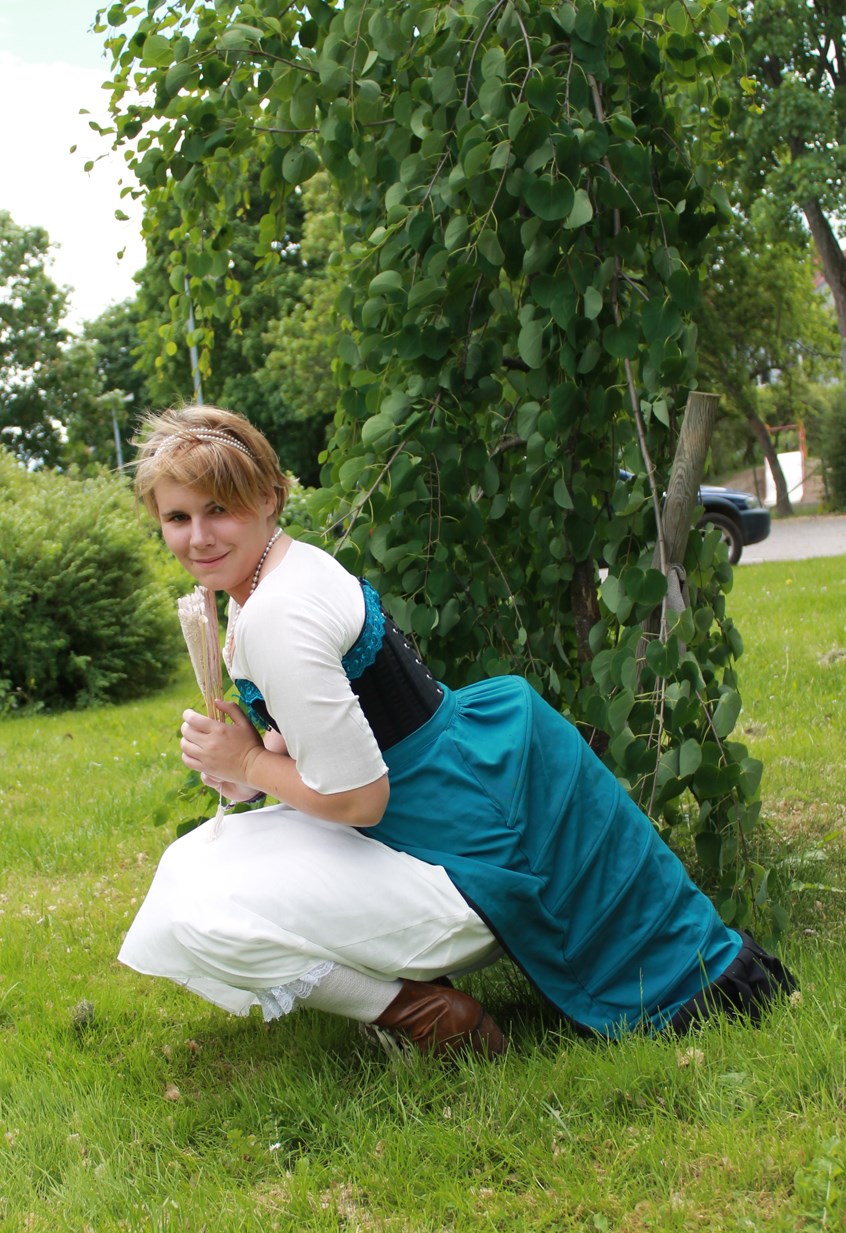
Here are some of the photos me and my sister took of her new corset and bustle.
She is wearing: Shift, blommers, stockings, corset, bustle, boots, pearl jewelry and a fan.
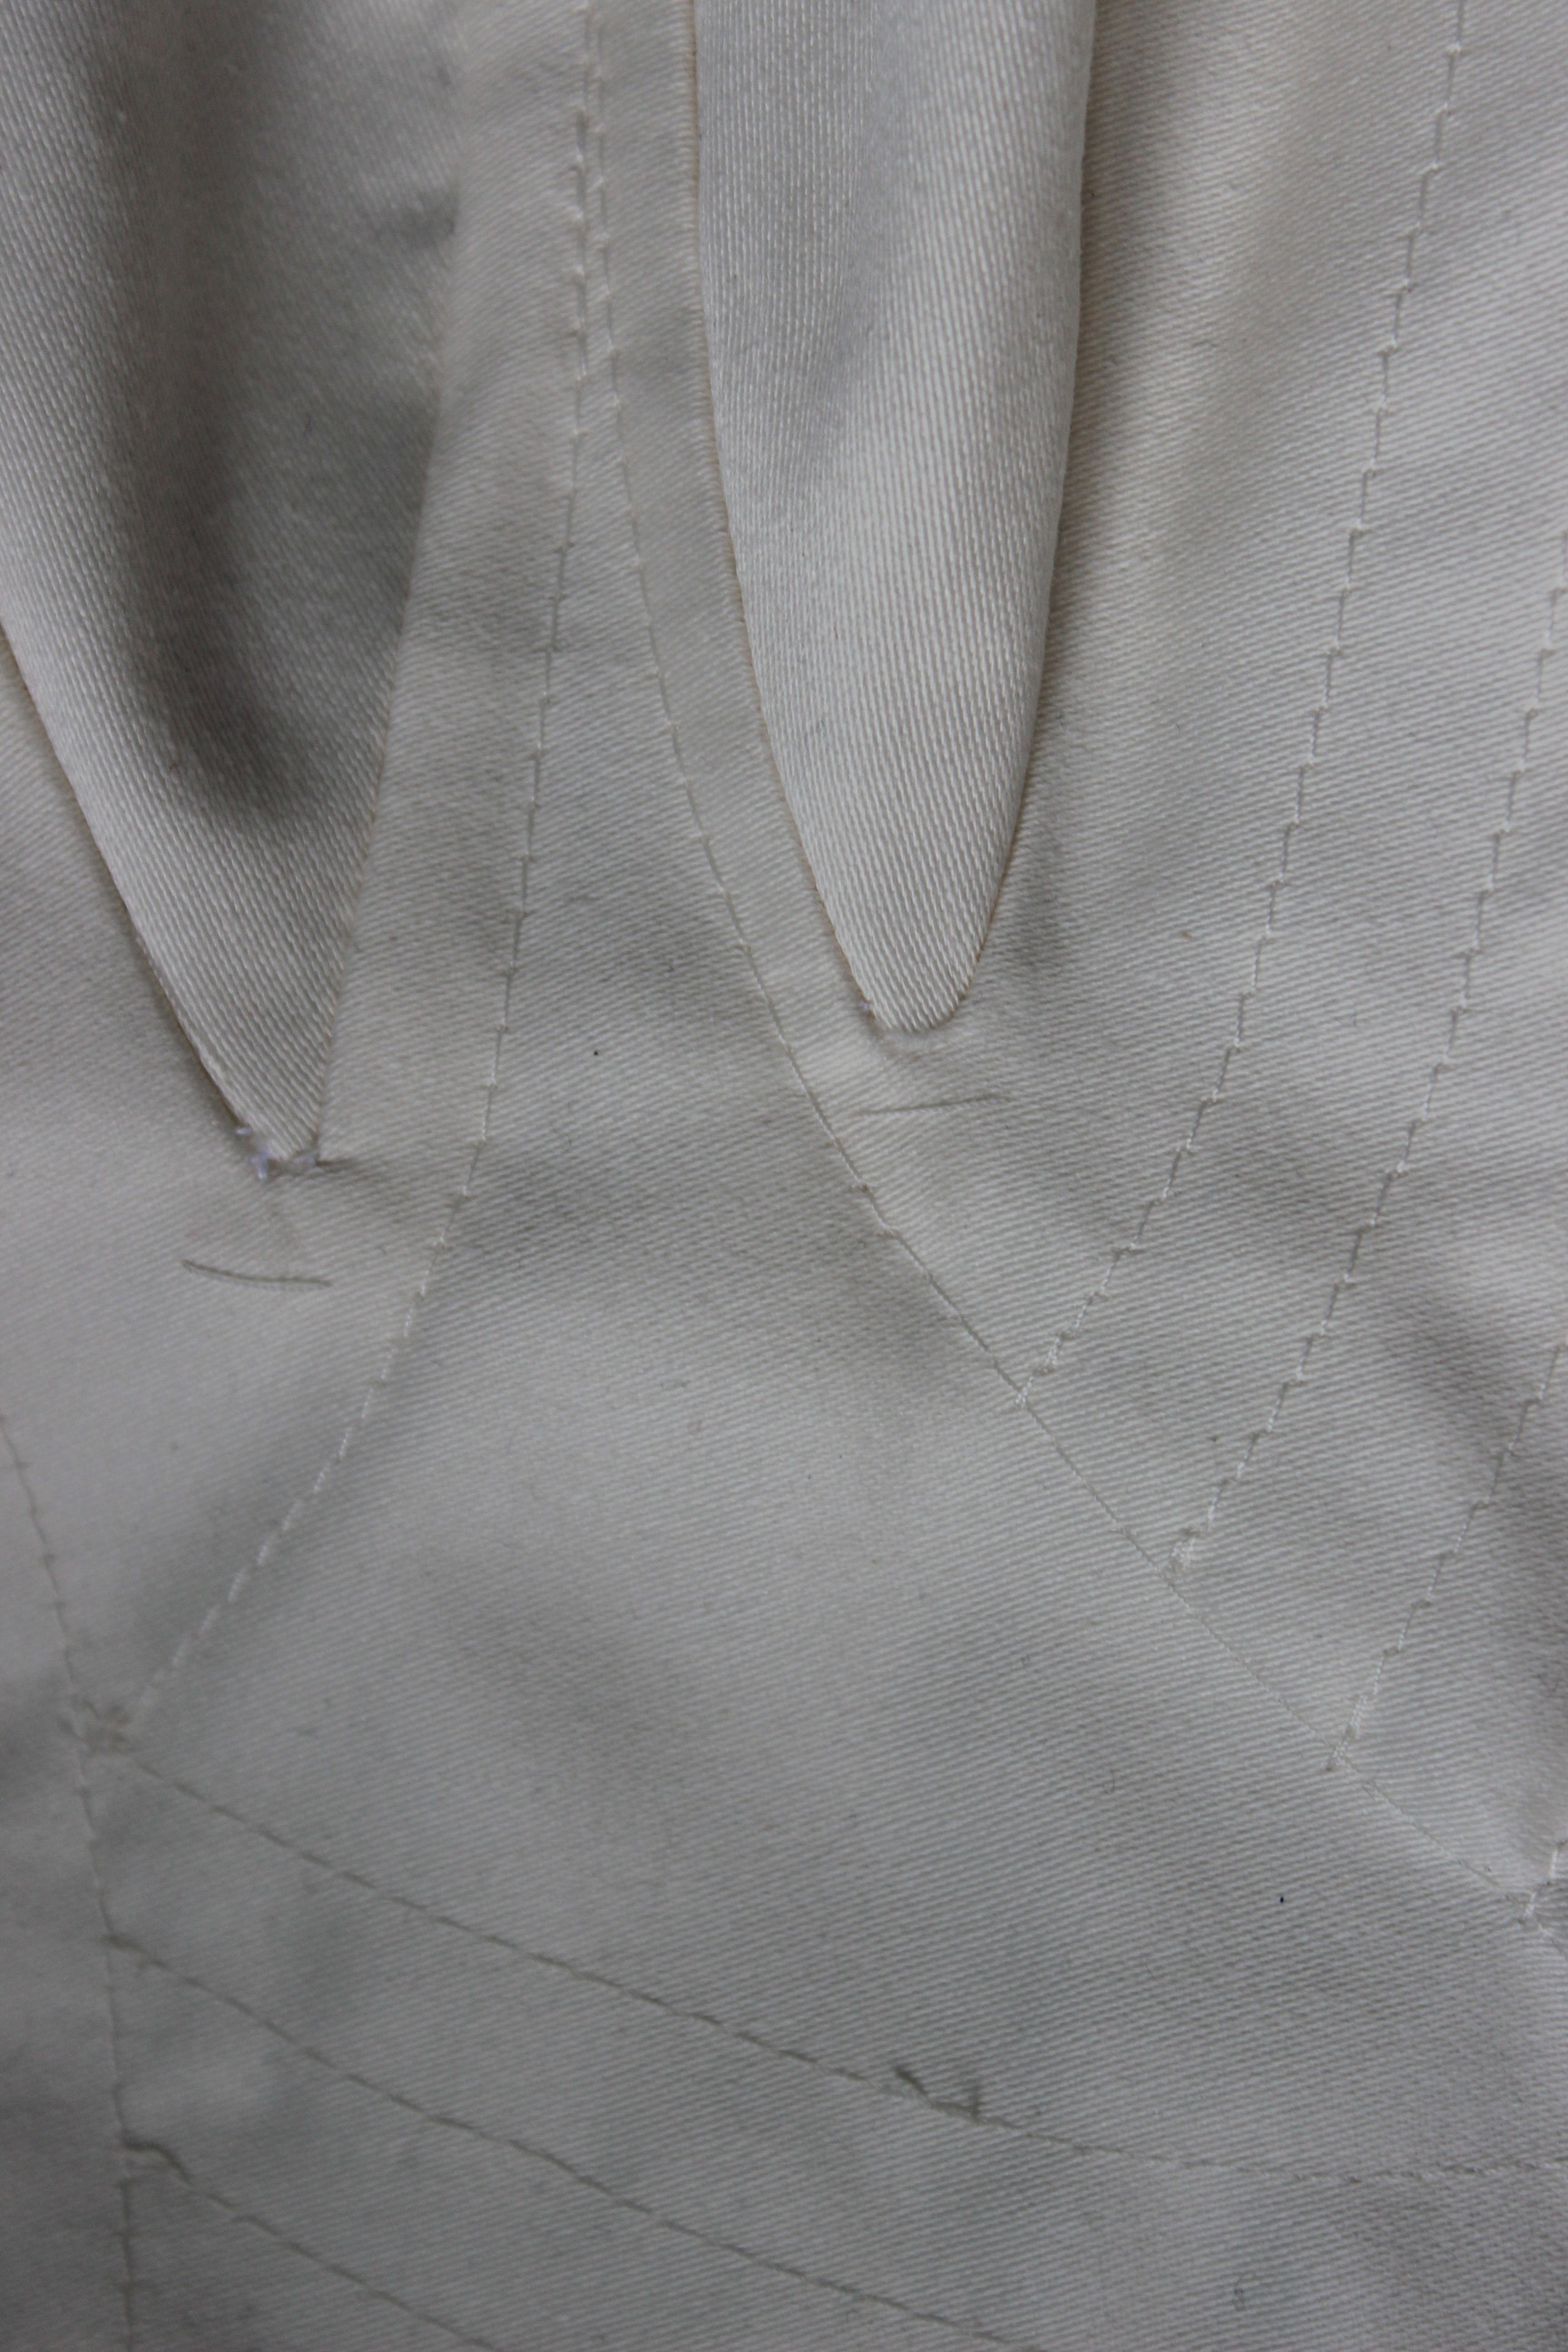
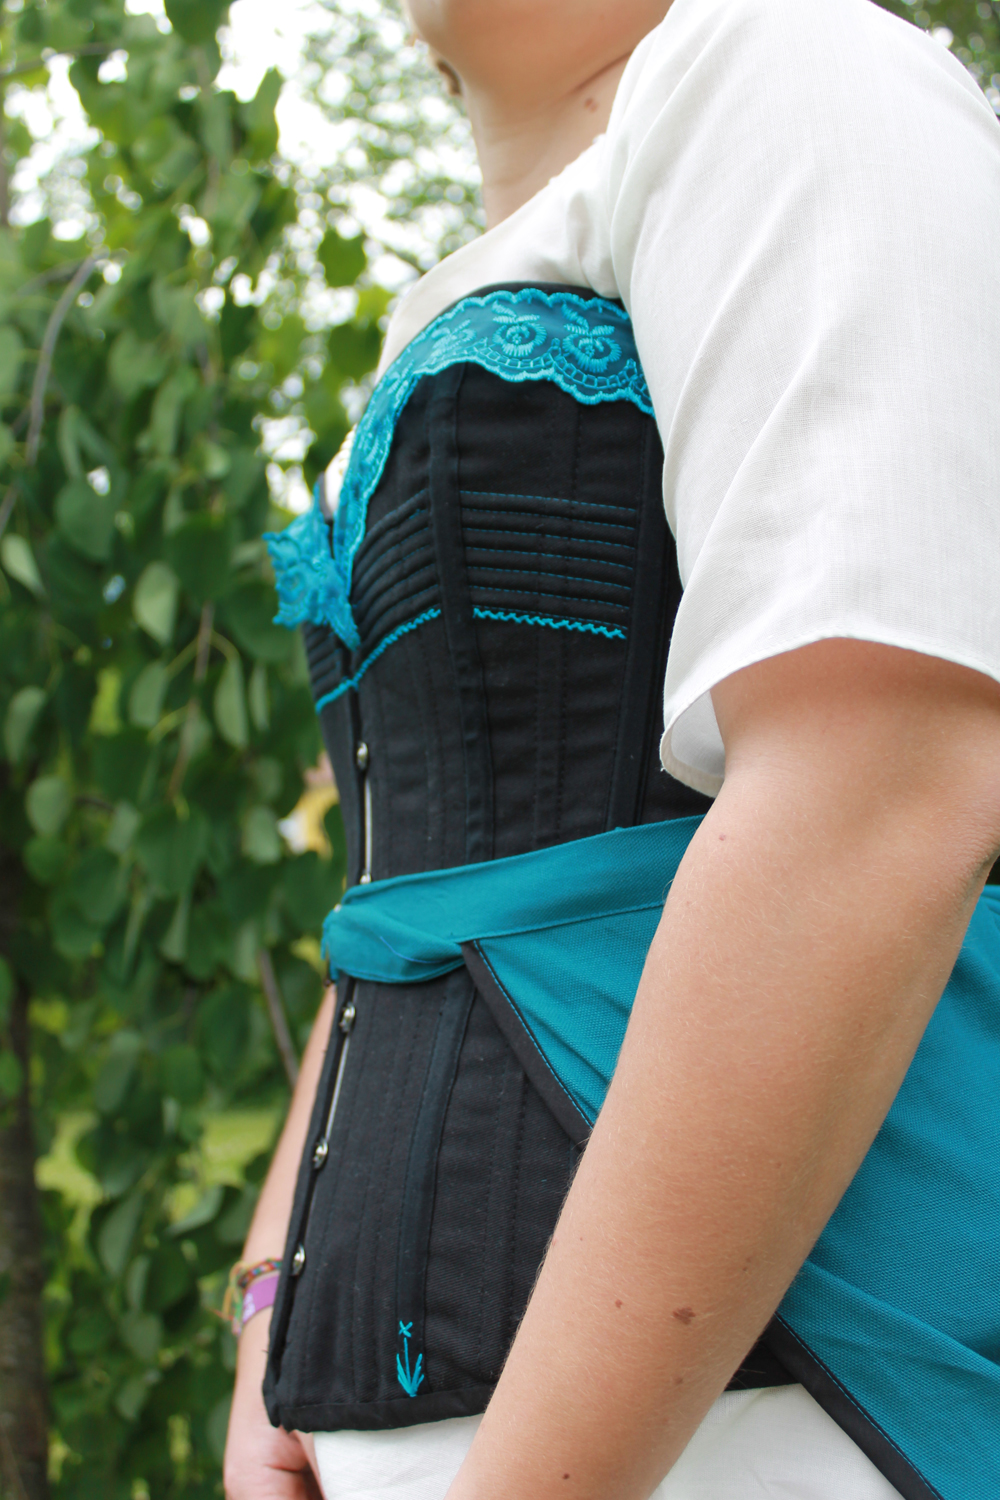 Close-up
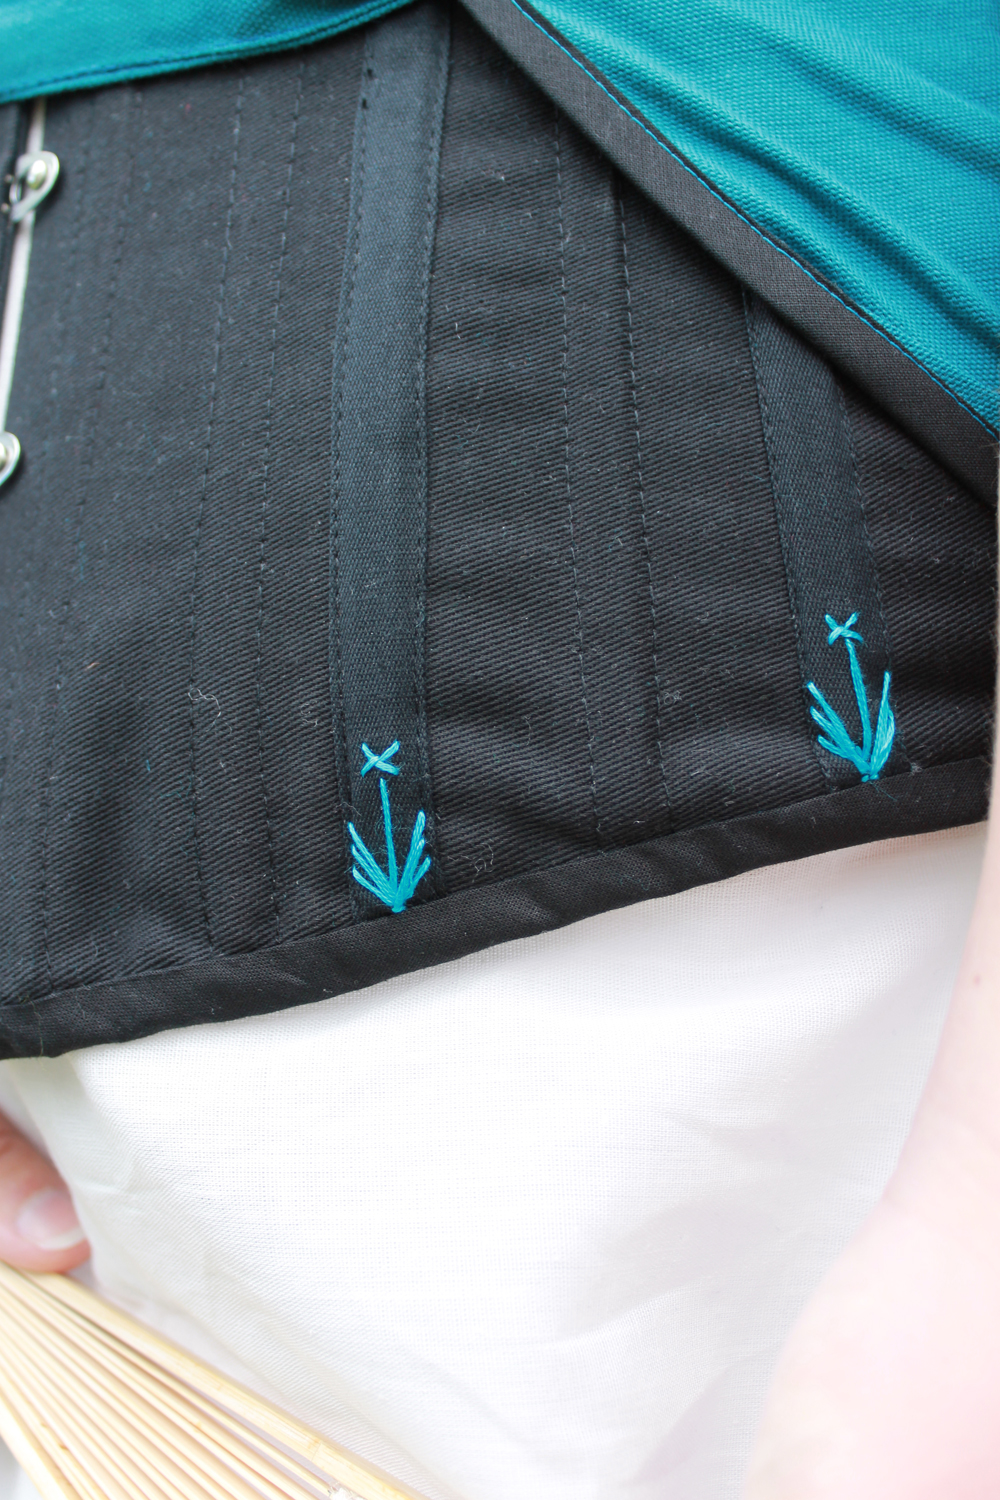 Flowery shaped flossing
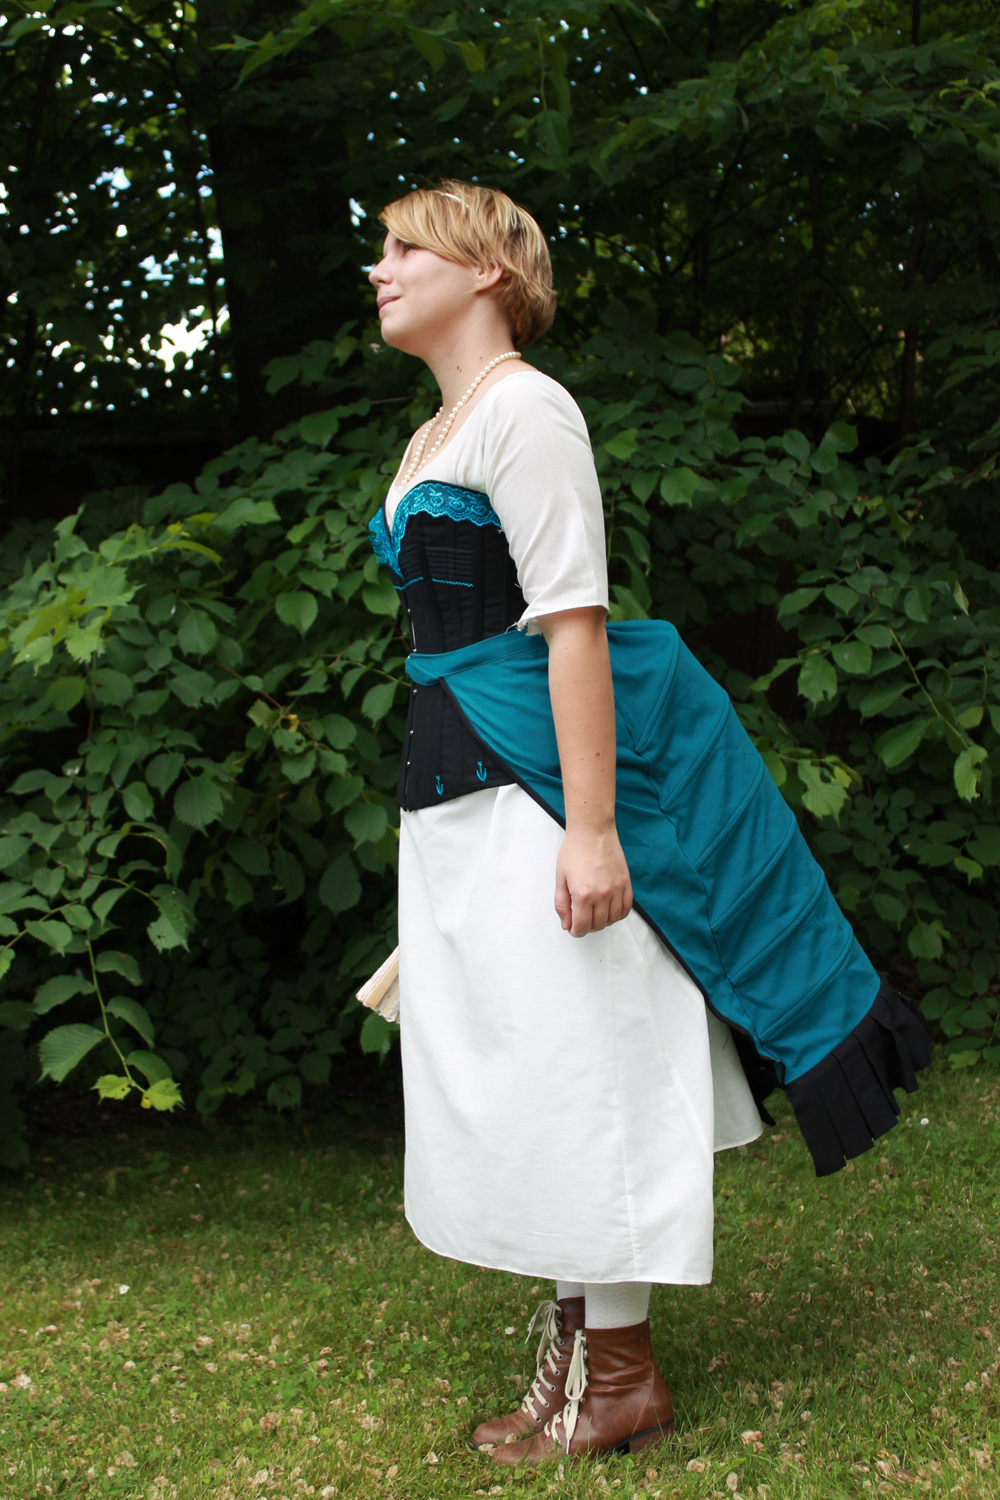
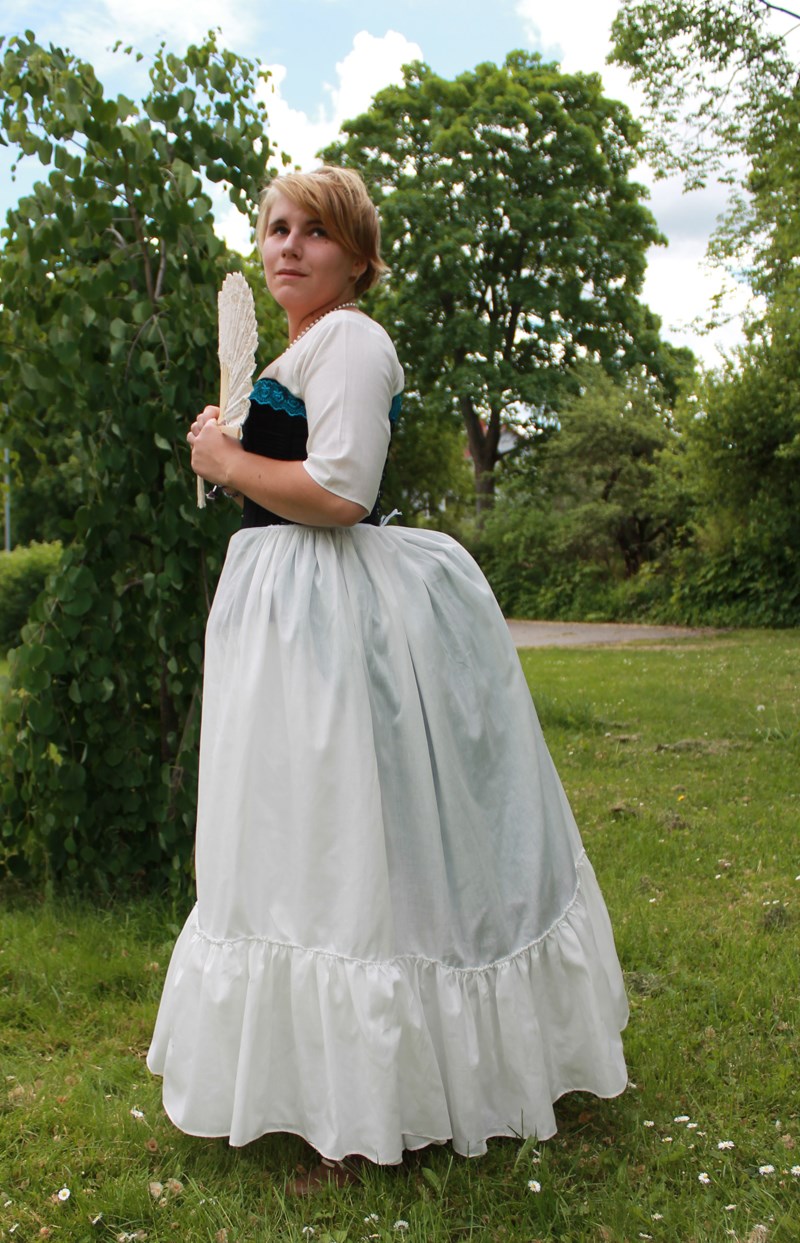 With a petticoat
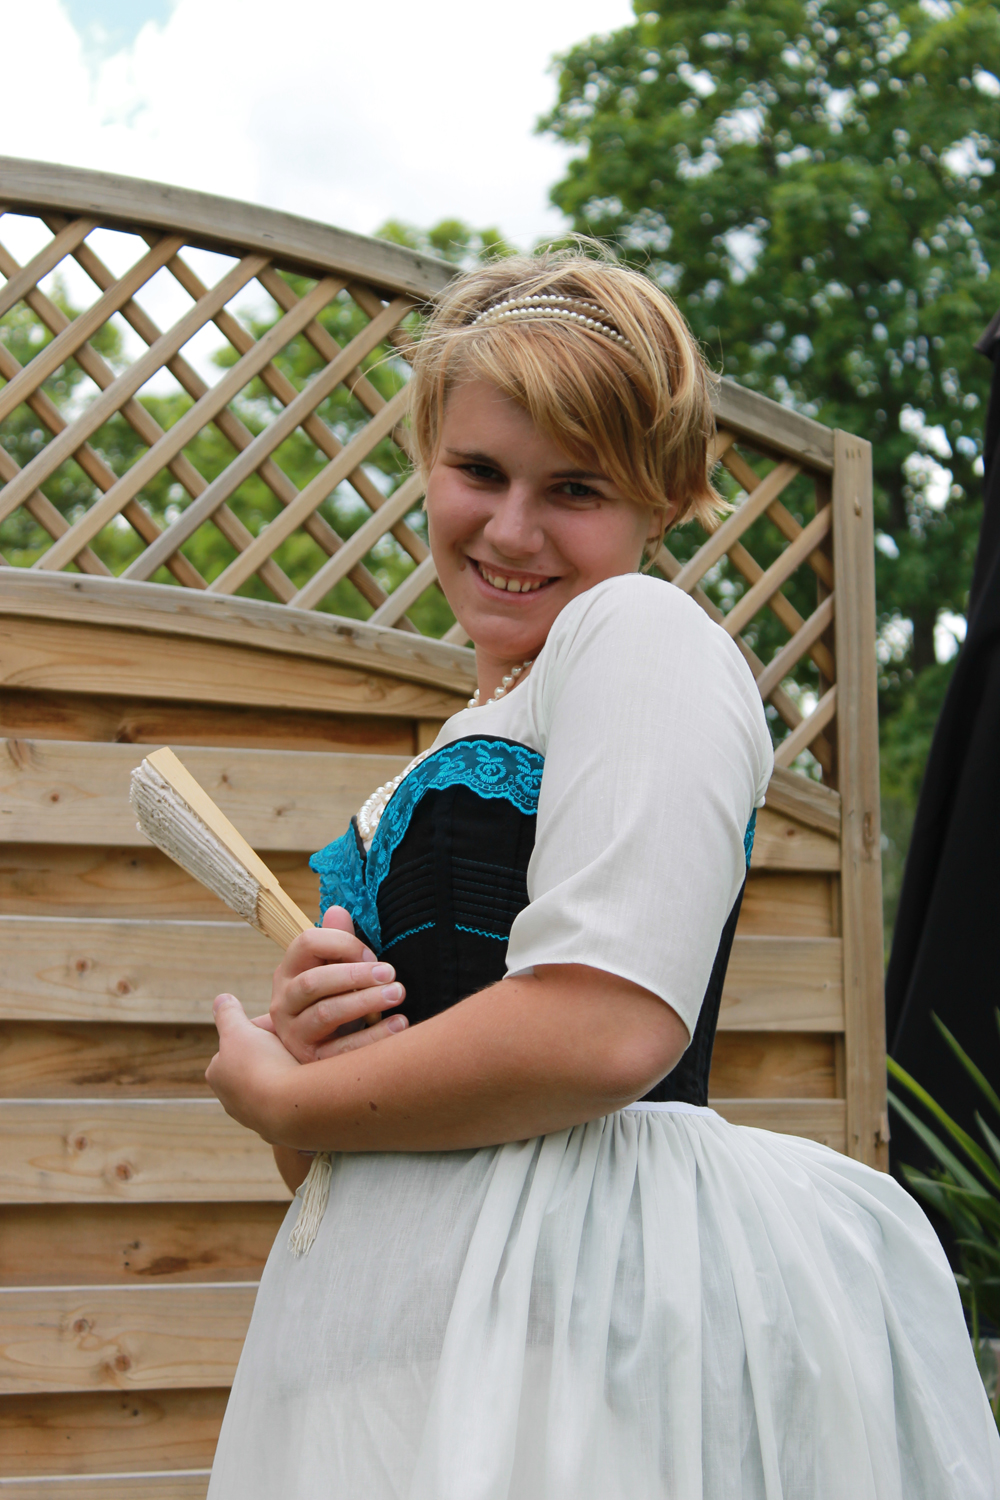 Model: Elin Petersson
