For the HSF challenge nr 12, I decided to make an “light” entry as well as my original (which I will tell you about next time).
I’ve been pondering some different ways to get my upcoming steampunk outfit to bustle out nicely without the use of petticoats and big bustle cages. I’ve tried it on using my relativly smal “Lobster buste“, but that didn’t work since the bustle showed to much – I needed a smaler one.
So I decided to make a taveling mini-bustle to use for this costume, and since you can never have to many underthingies it’s a go.
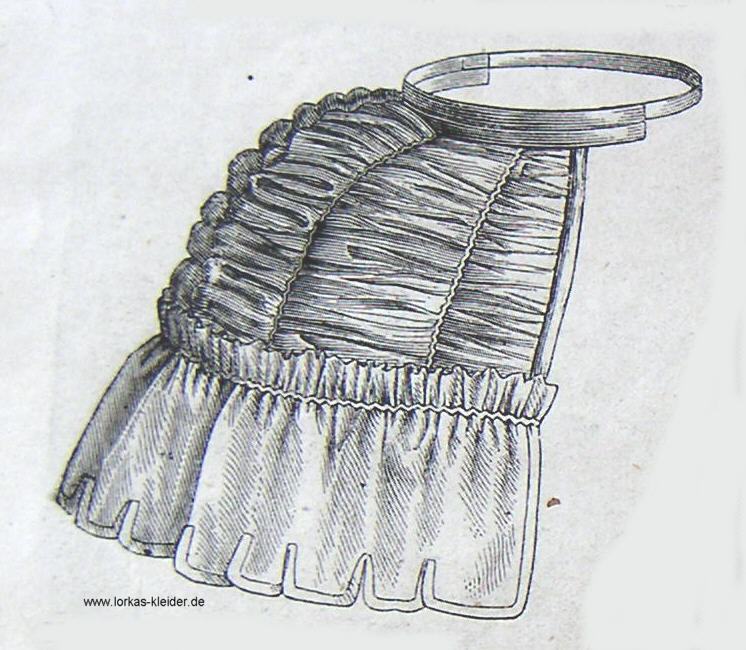
I looked at some inspiration on the internet and liked this one. Only I couldn’t figure out how to get the bones to attached without drilling hole through the metal (more on the tomorrow).
I also like this one. Making those ruffels shouldn’t be so hard, and as long as you have a regular bustle foundation beneath I think I could pull it of.
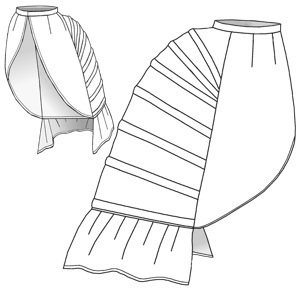
But in the end I decided to skip the ruffels and just concentarte on the foundation – much like this one, but shorter and without the side panels.
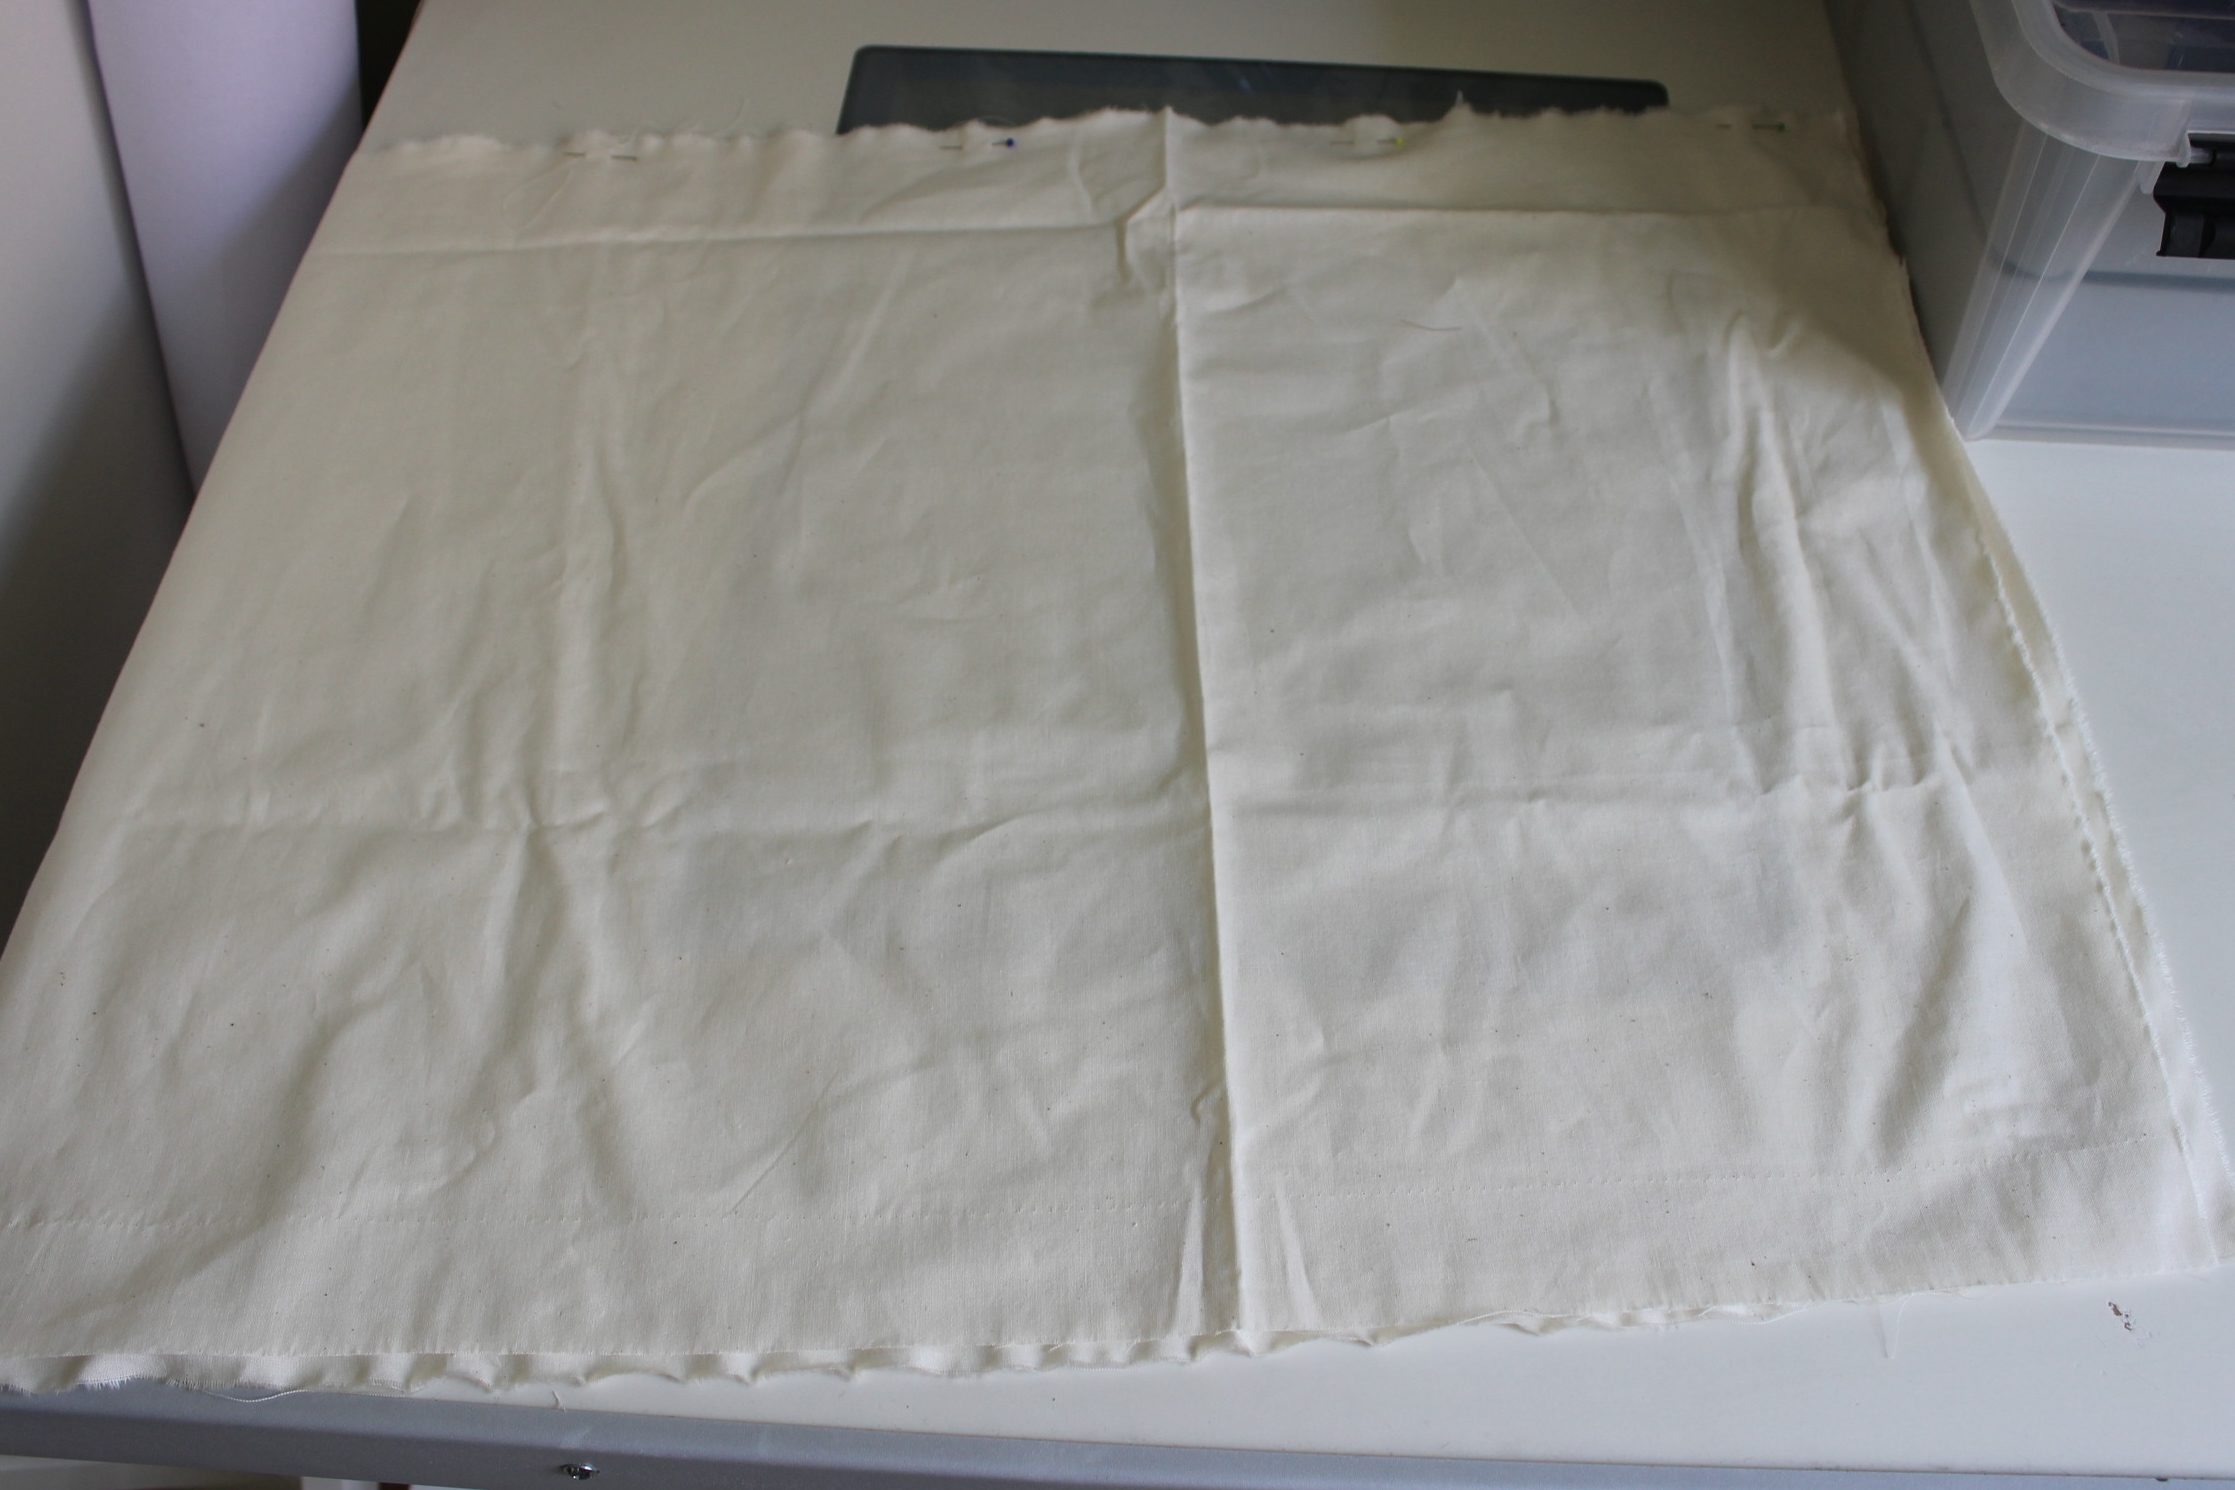
So I pulled out an old sheet and got to work.
I didn use any pattern, but just cut two rectangels the lenght x the width of the finished bustle.
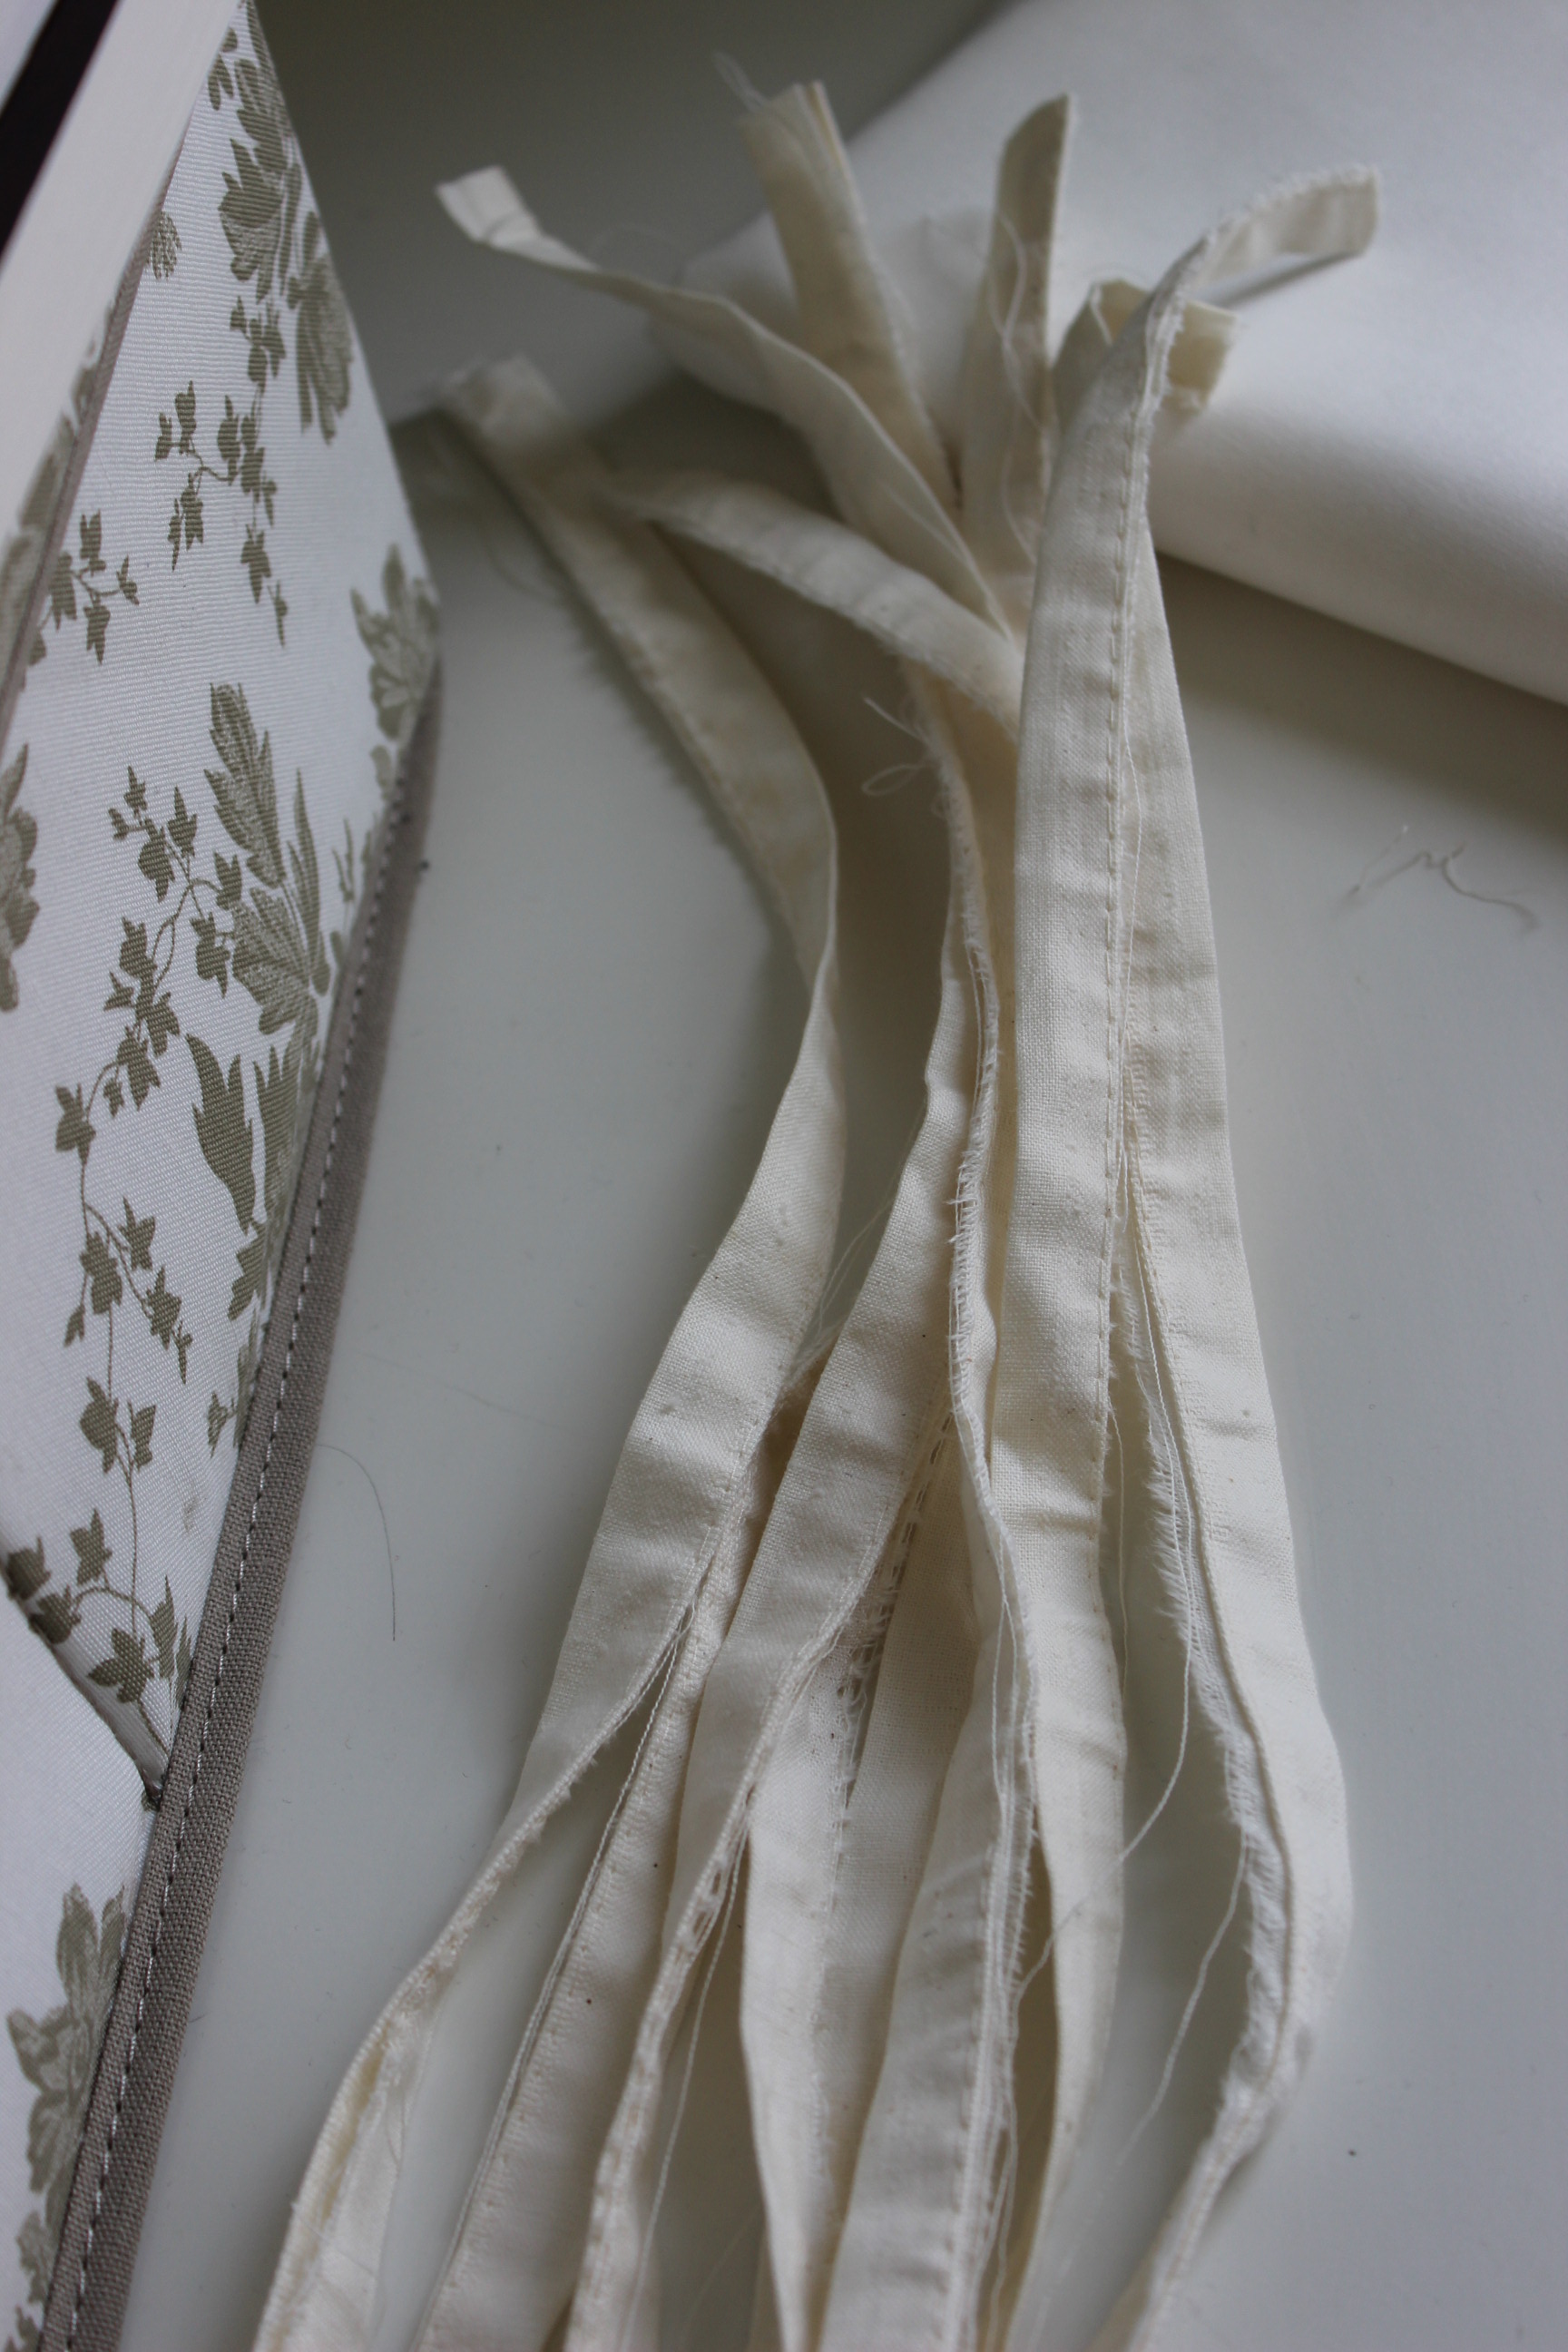
I also saved, and cut the sewn selvages on the sheet to use as ties.
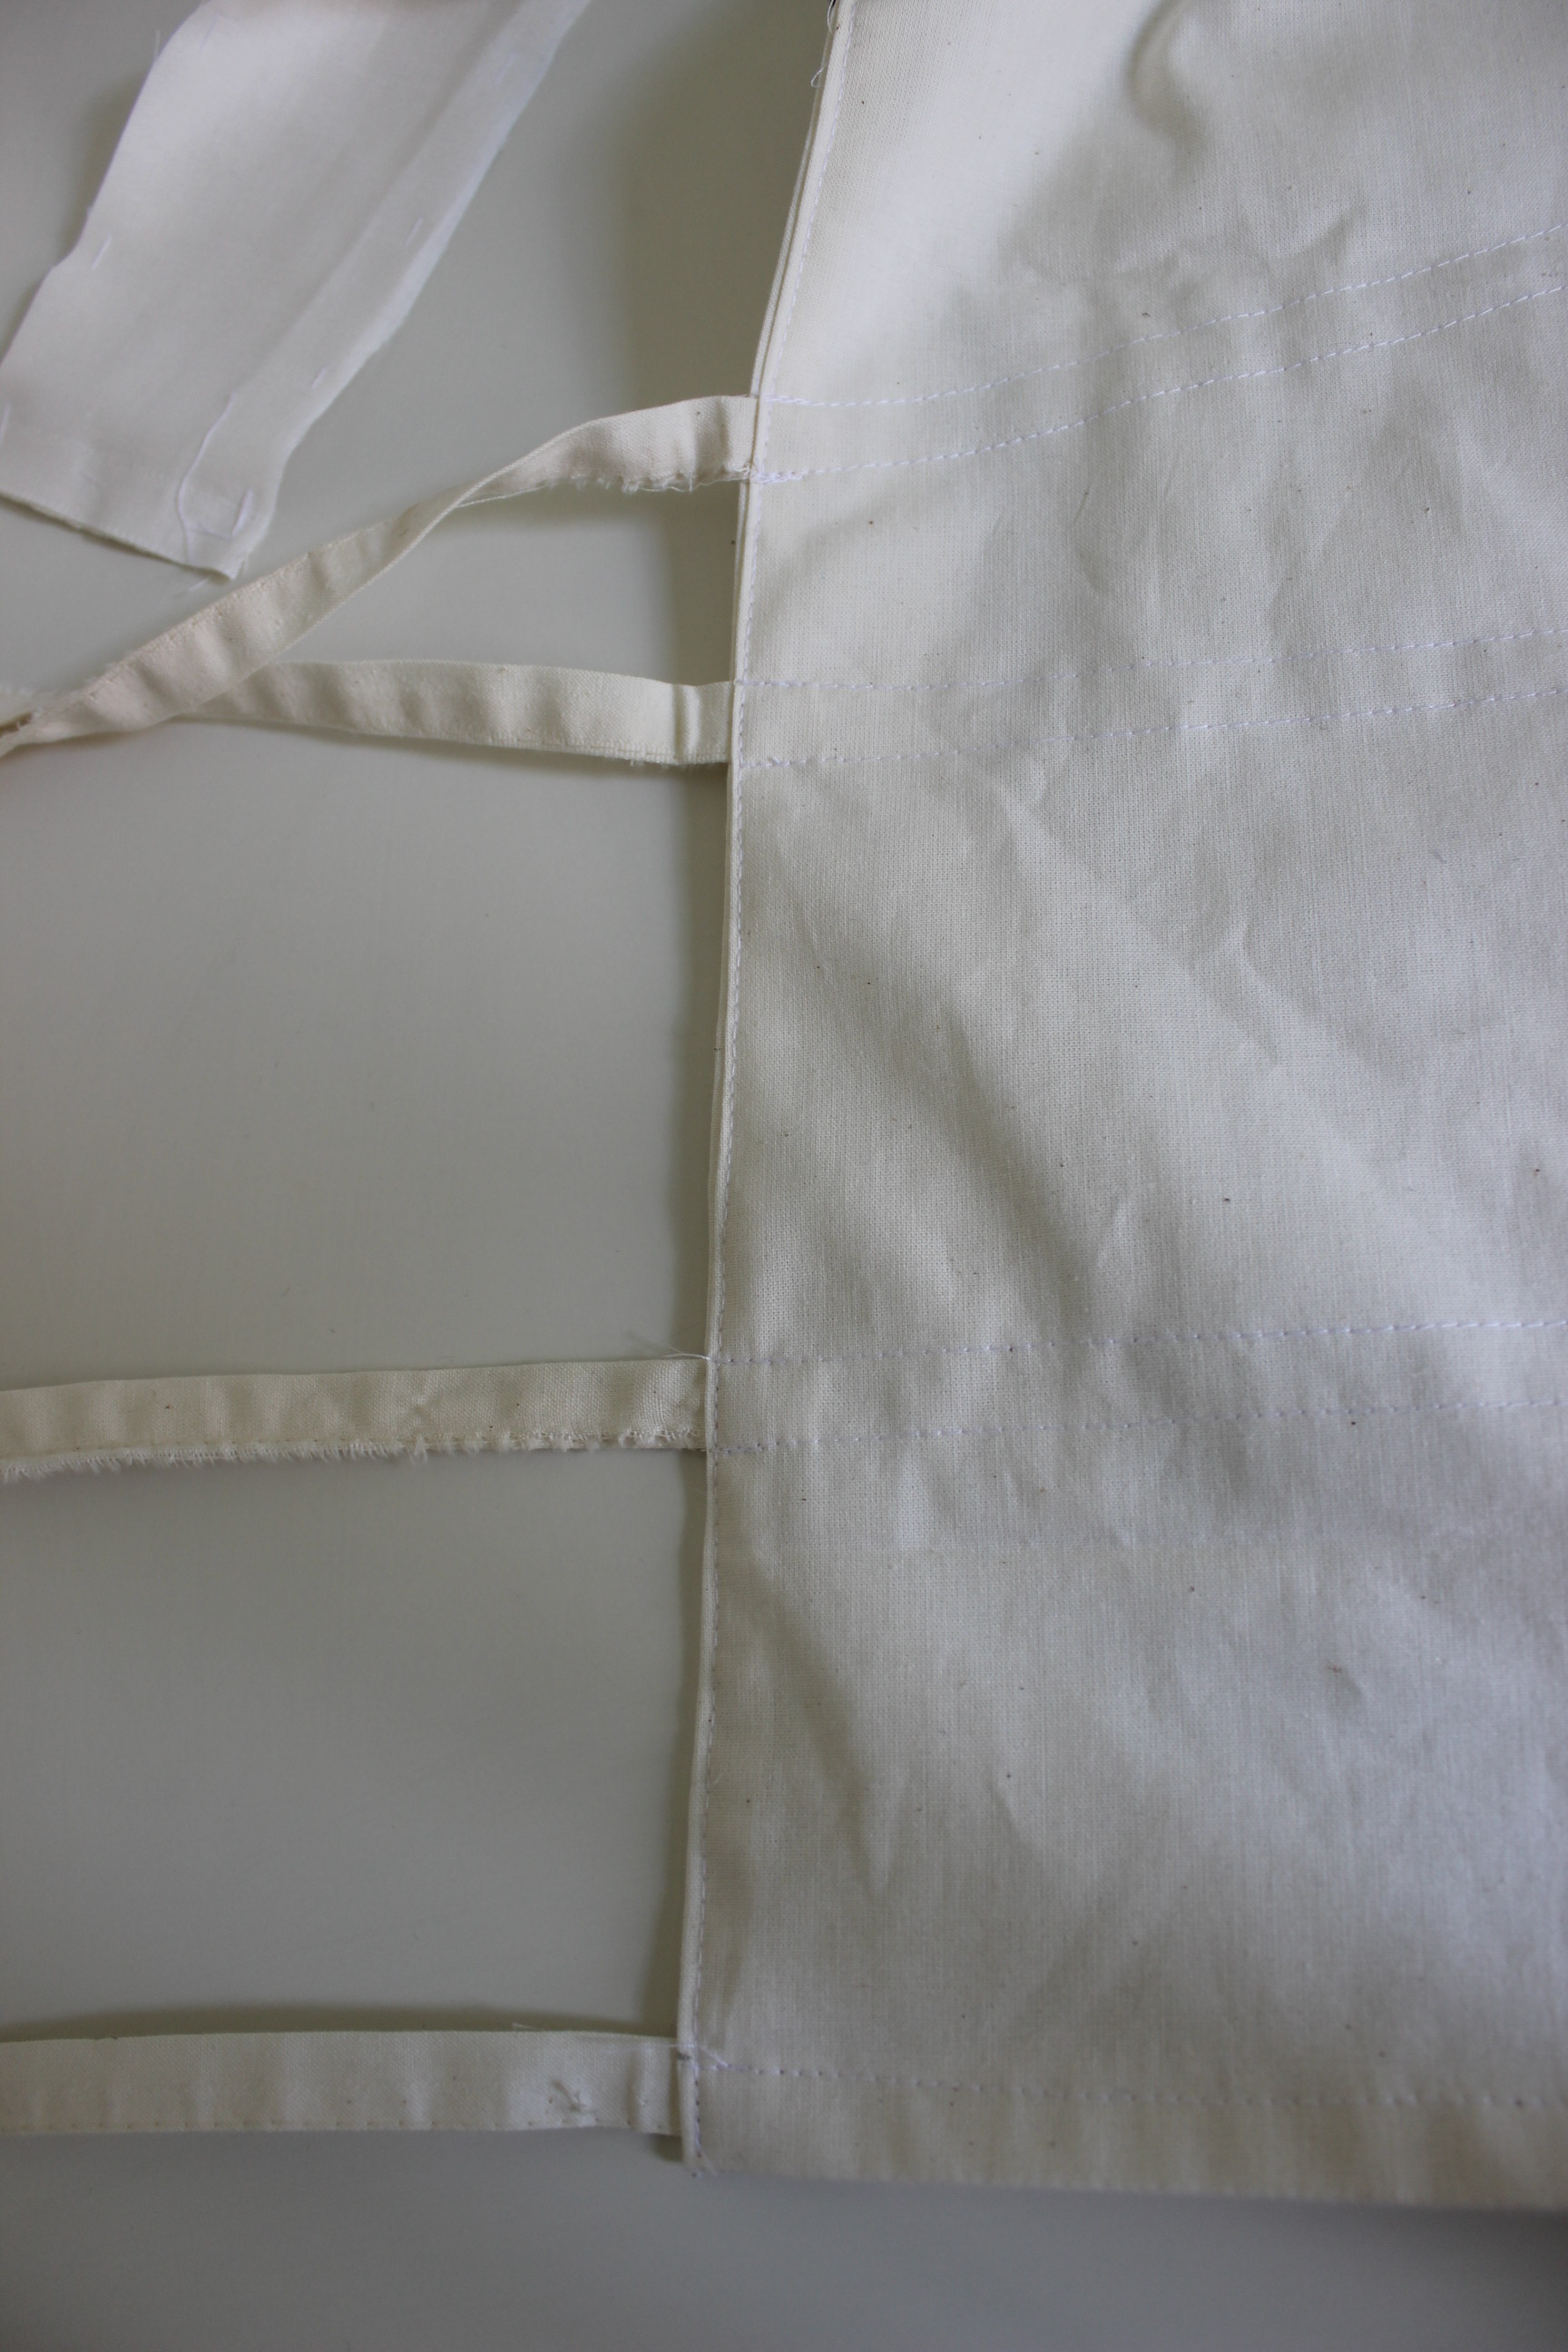
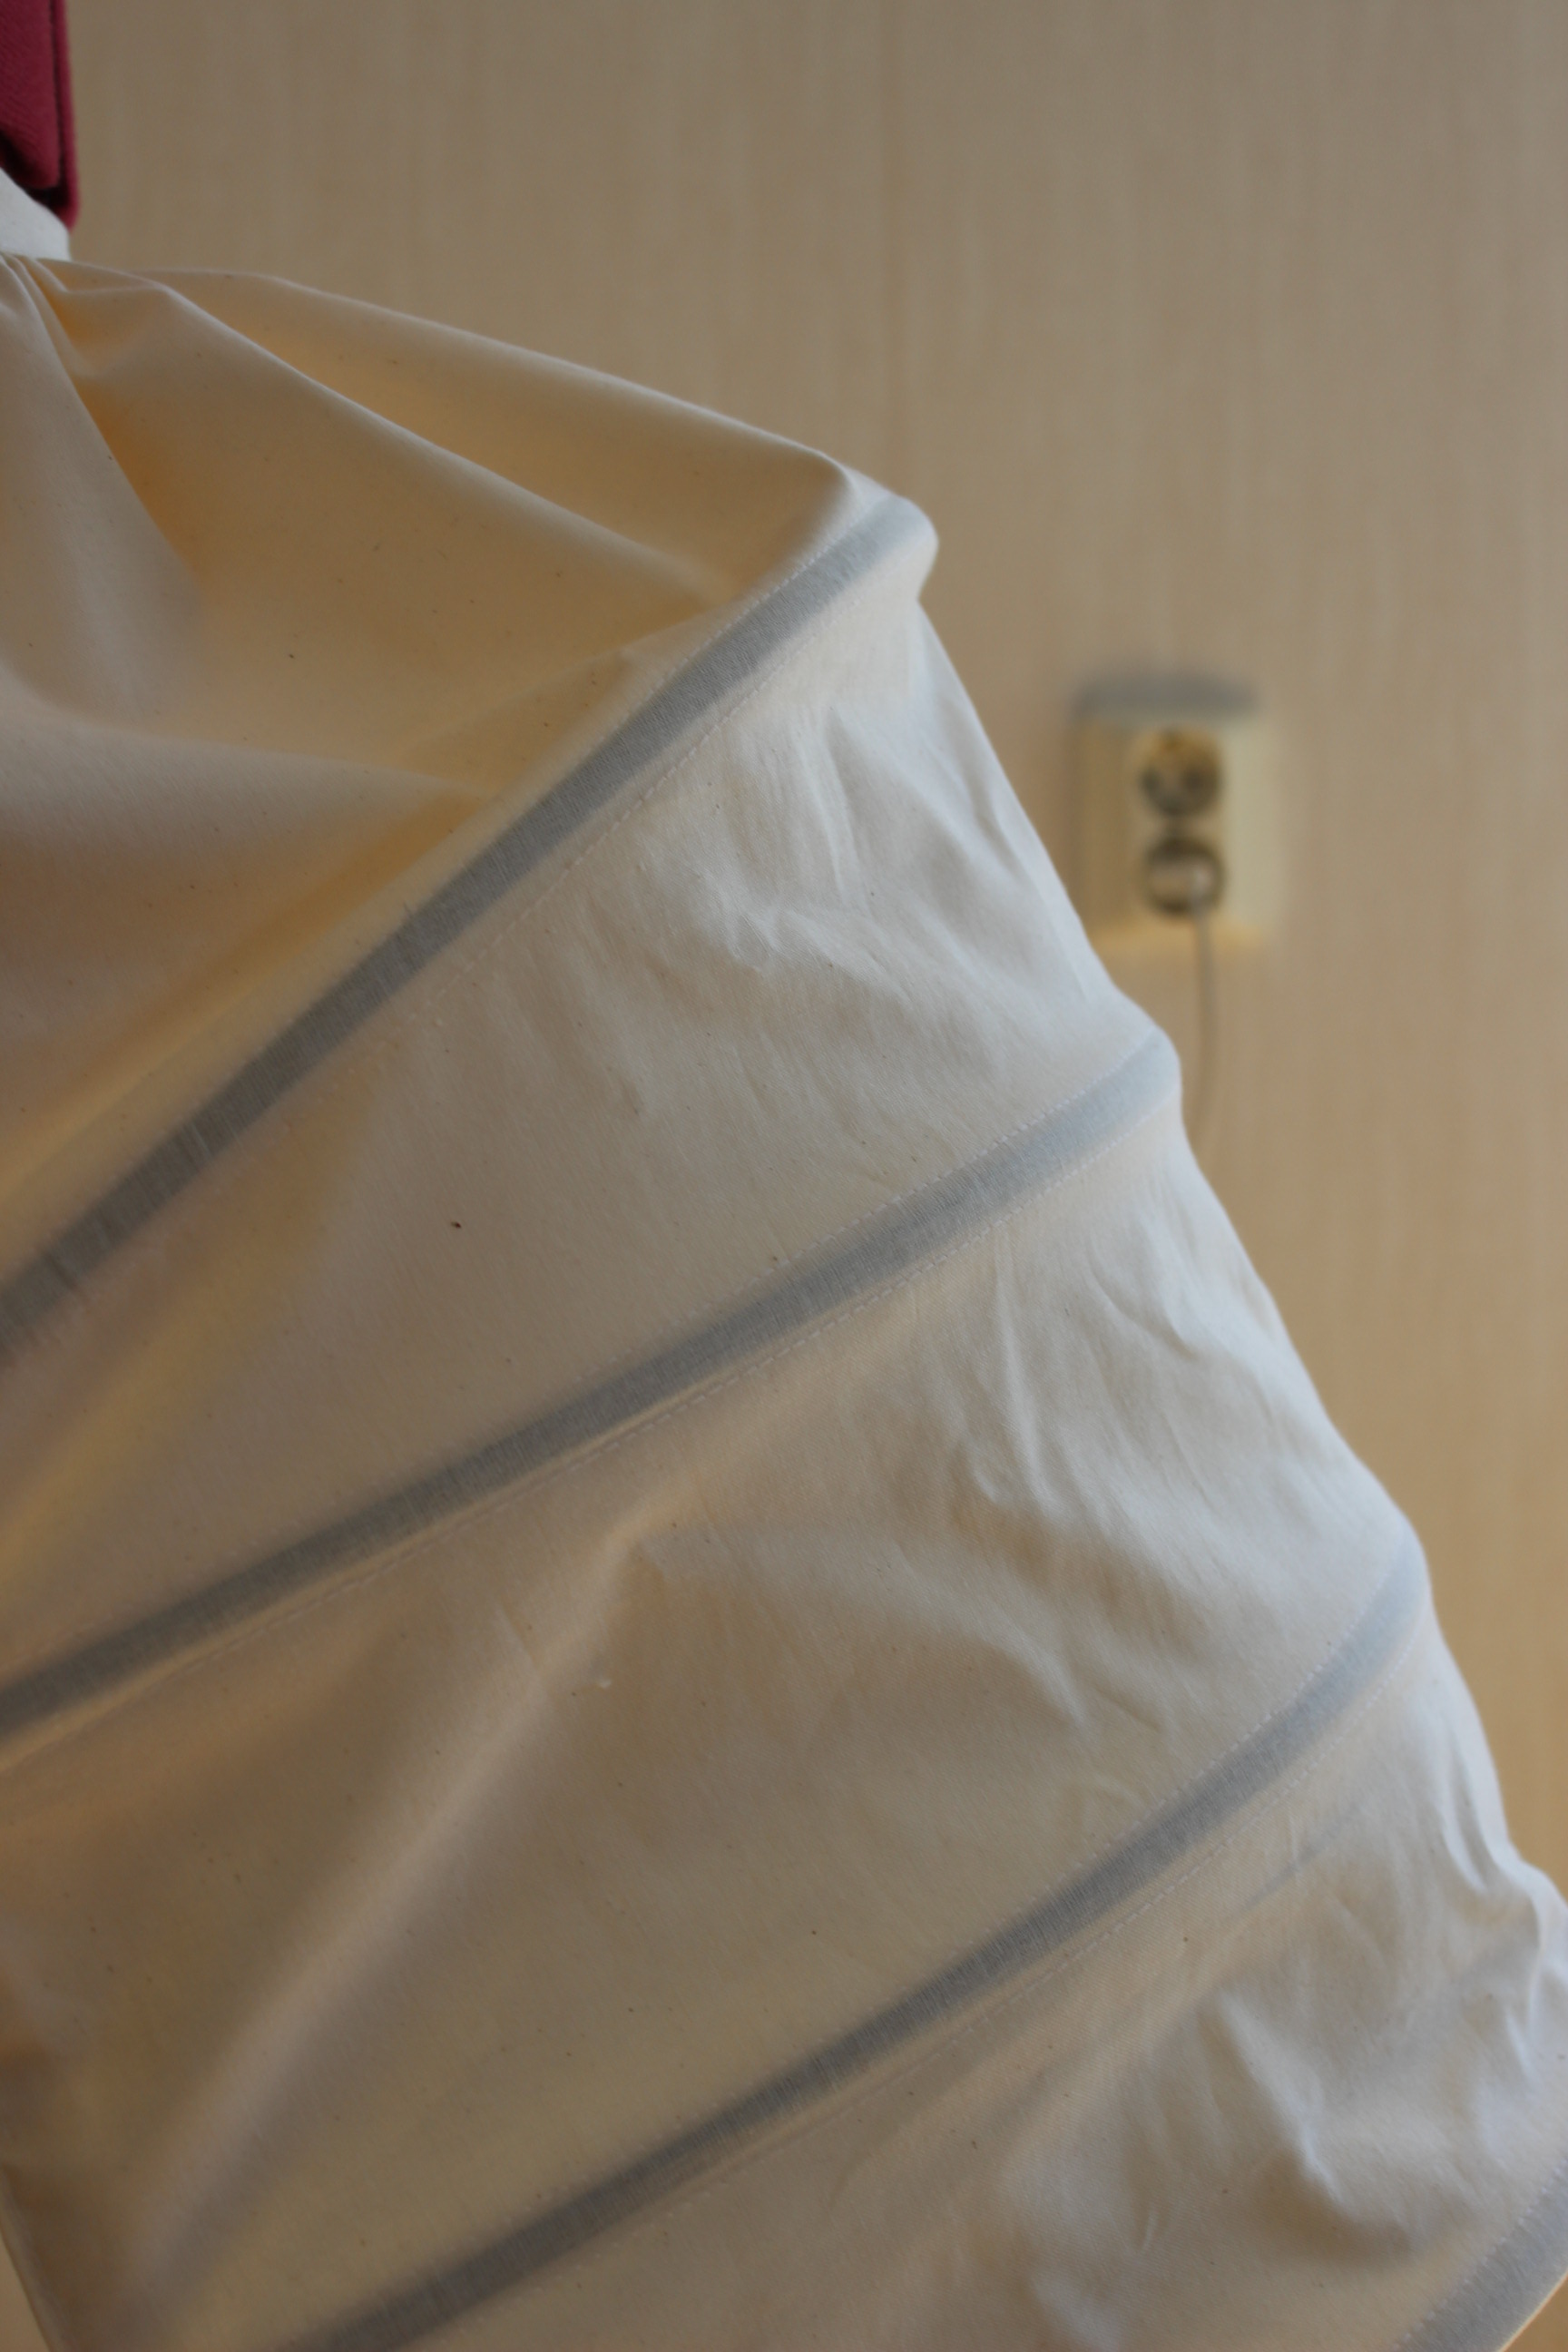
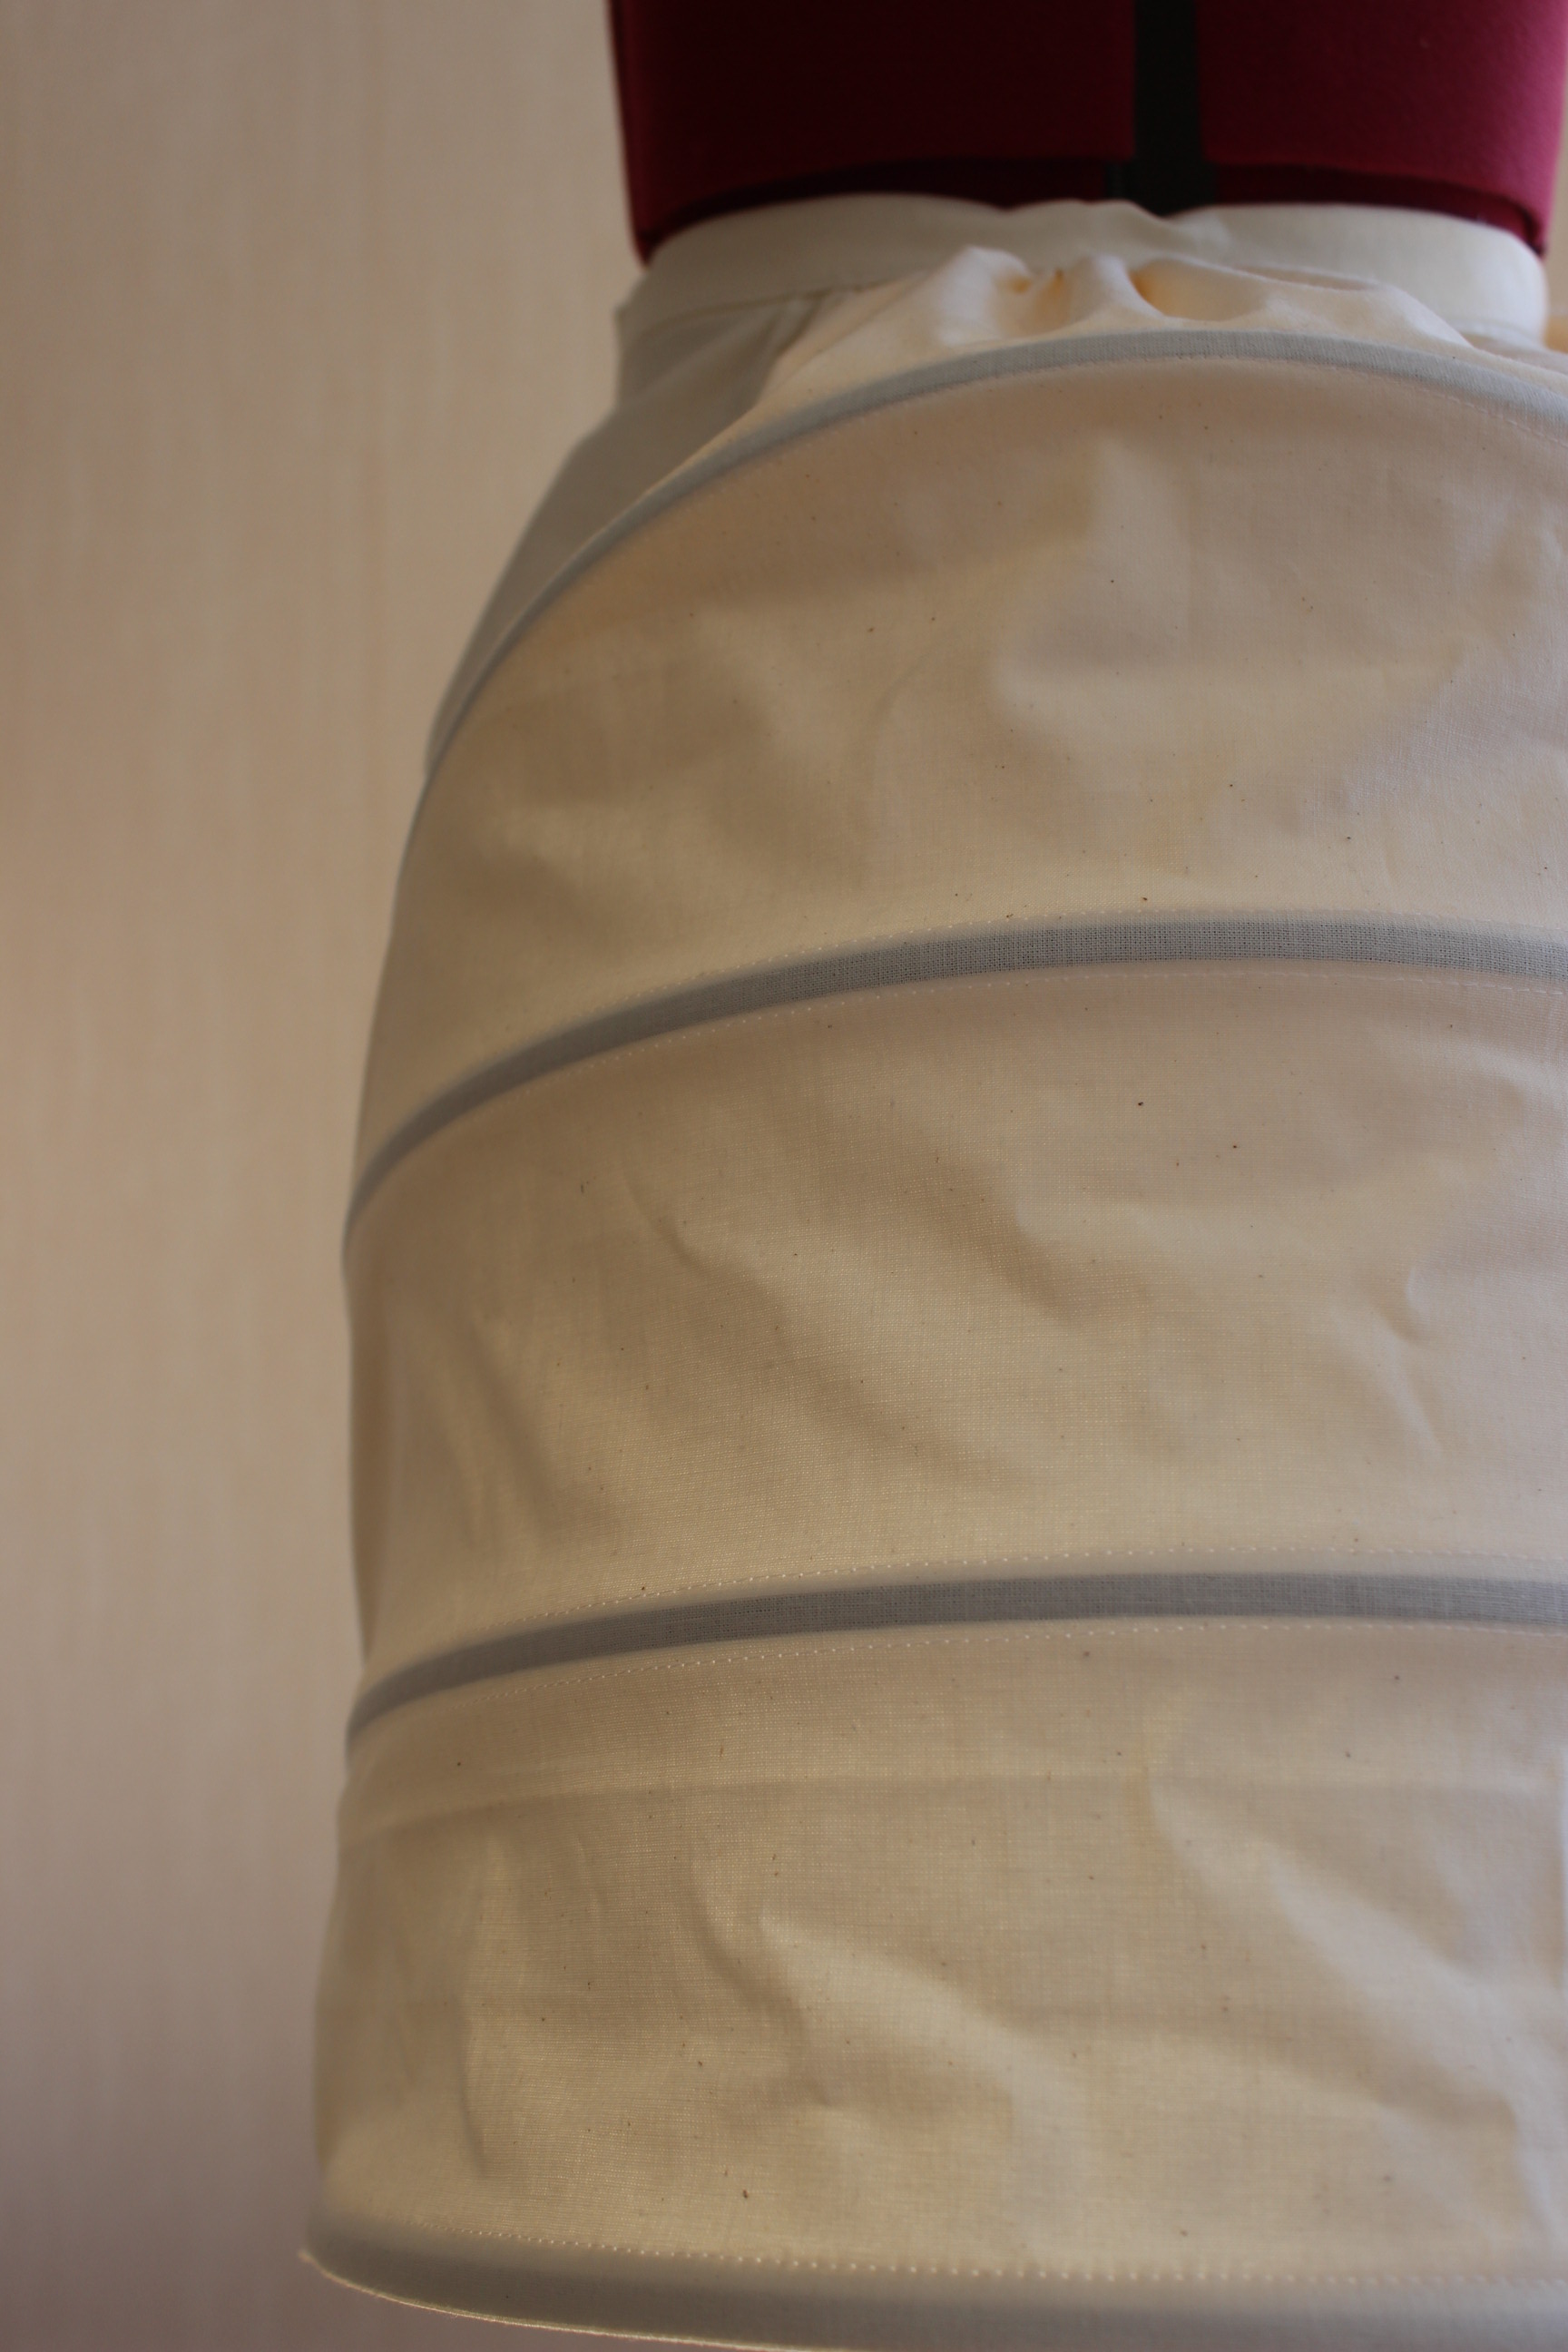
I then stiched the main pieces (right sides togeter, at the bottom) turned it over and sewed the boning chanels.  At the same time I folded the edges under, and attached the ribbons. Making sure one side was open for the bones to go in.
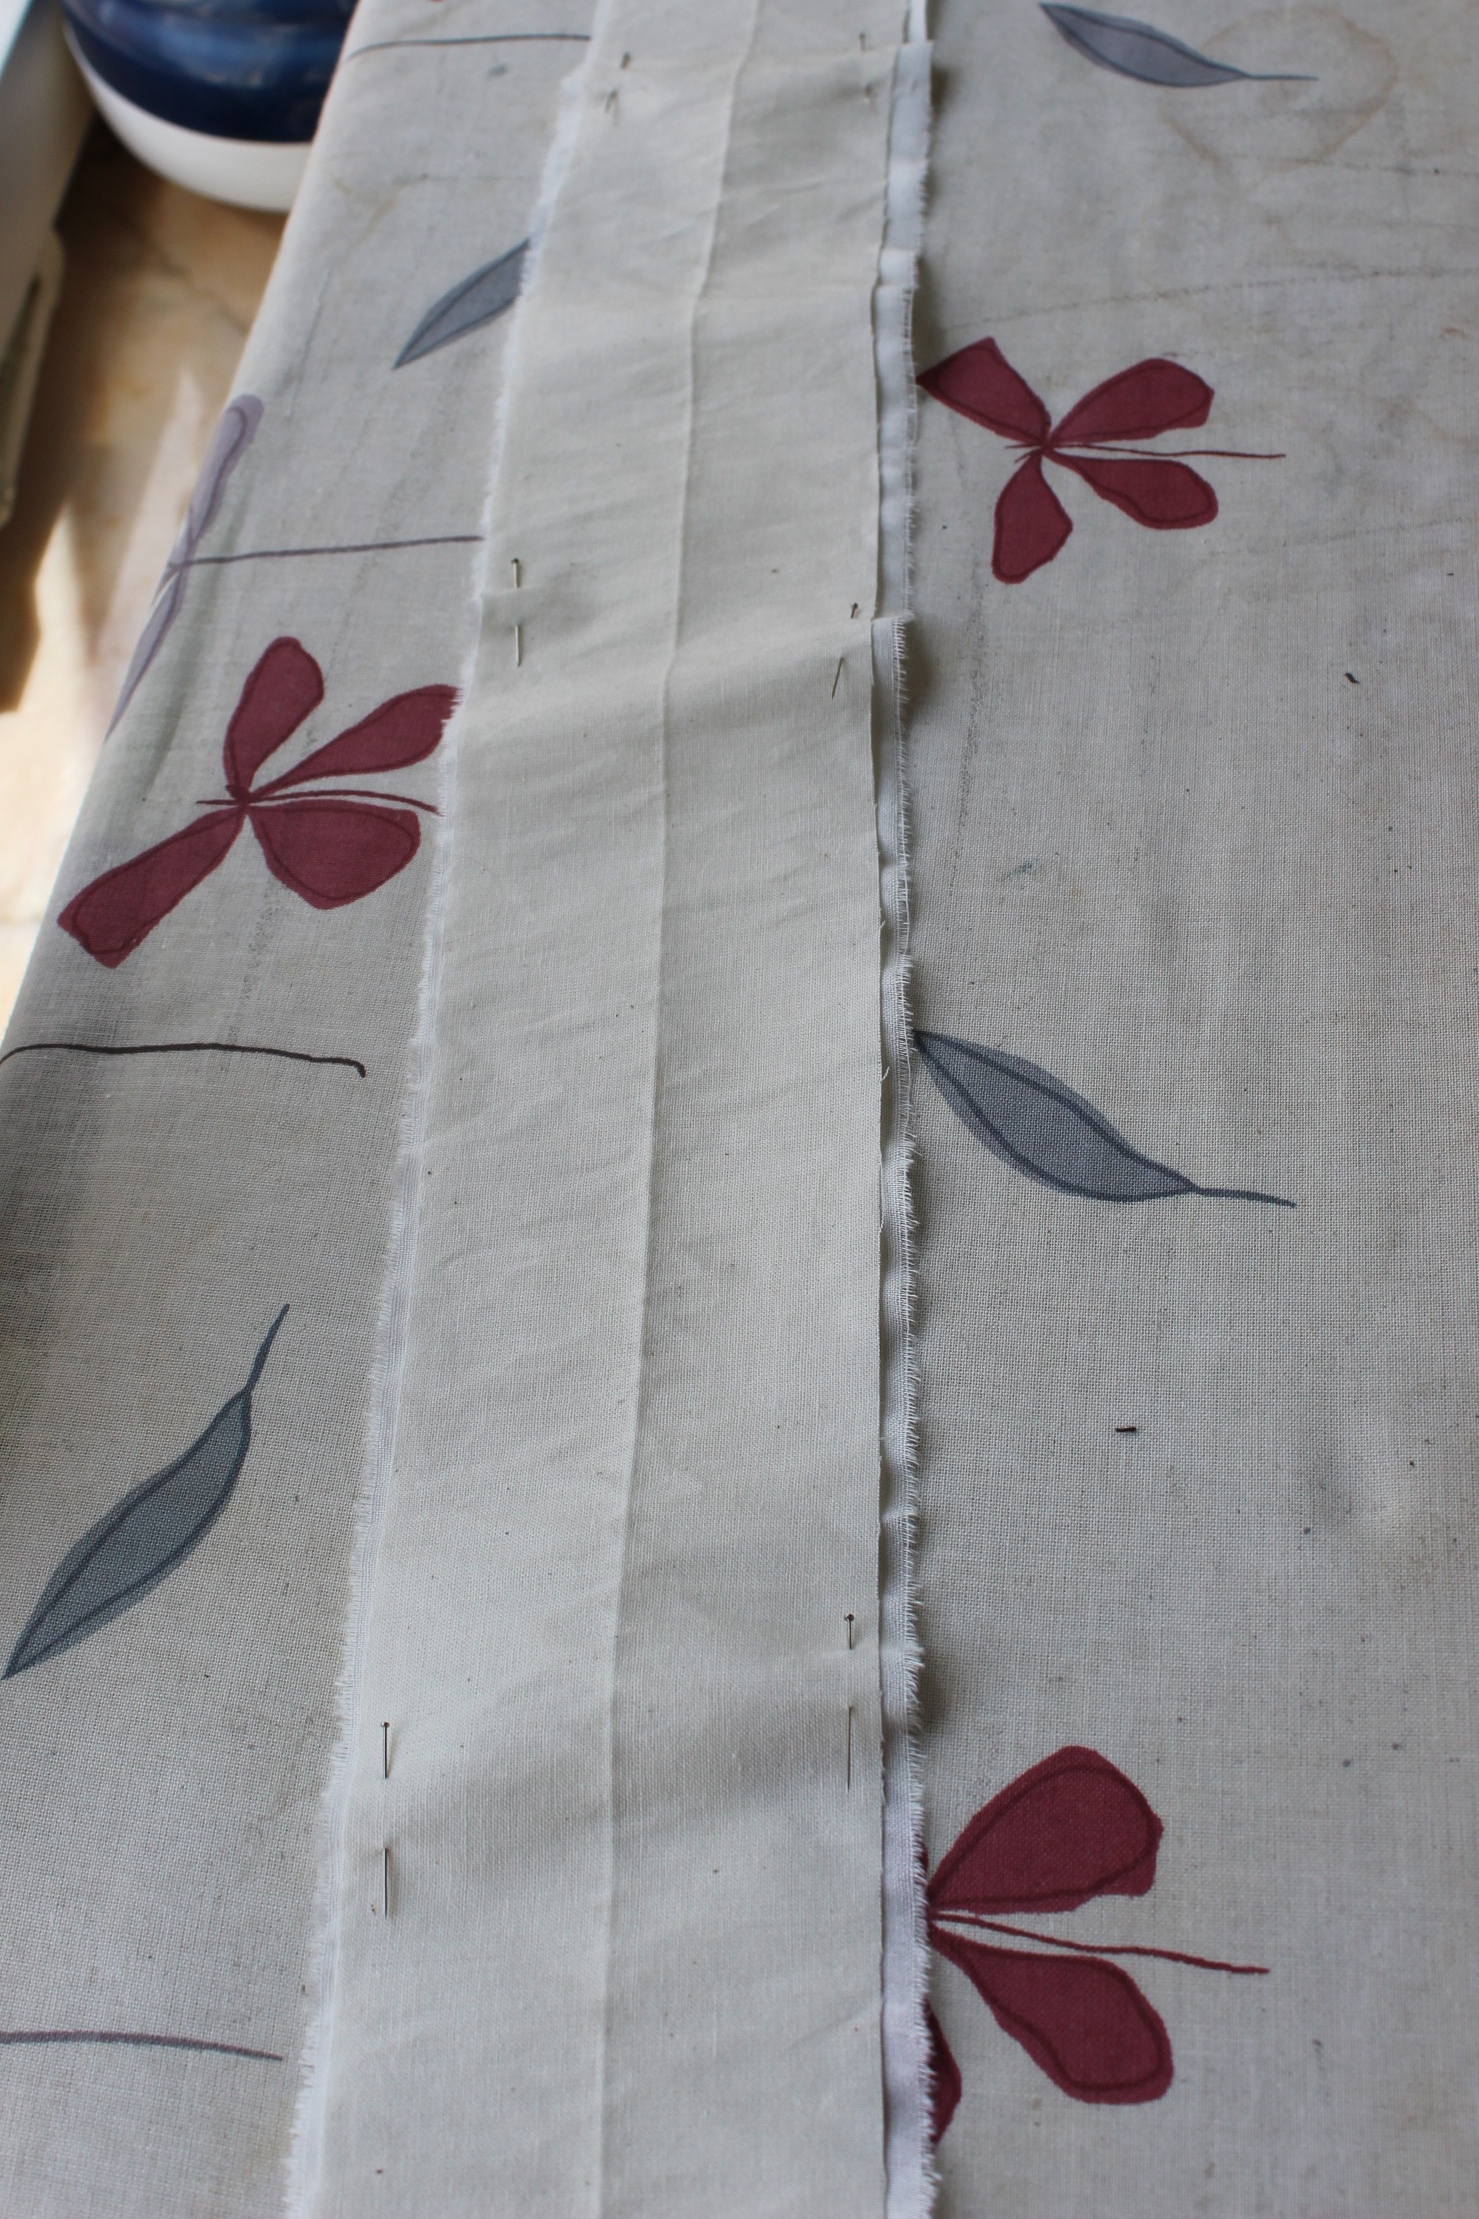
Then I cut and basted the waistband.
I sewed a gathering thread to the top edge, working the two layers as one. And gathered the center part to get the desired width, leaving about 10 cm at each side un touched.
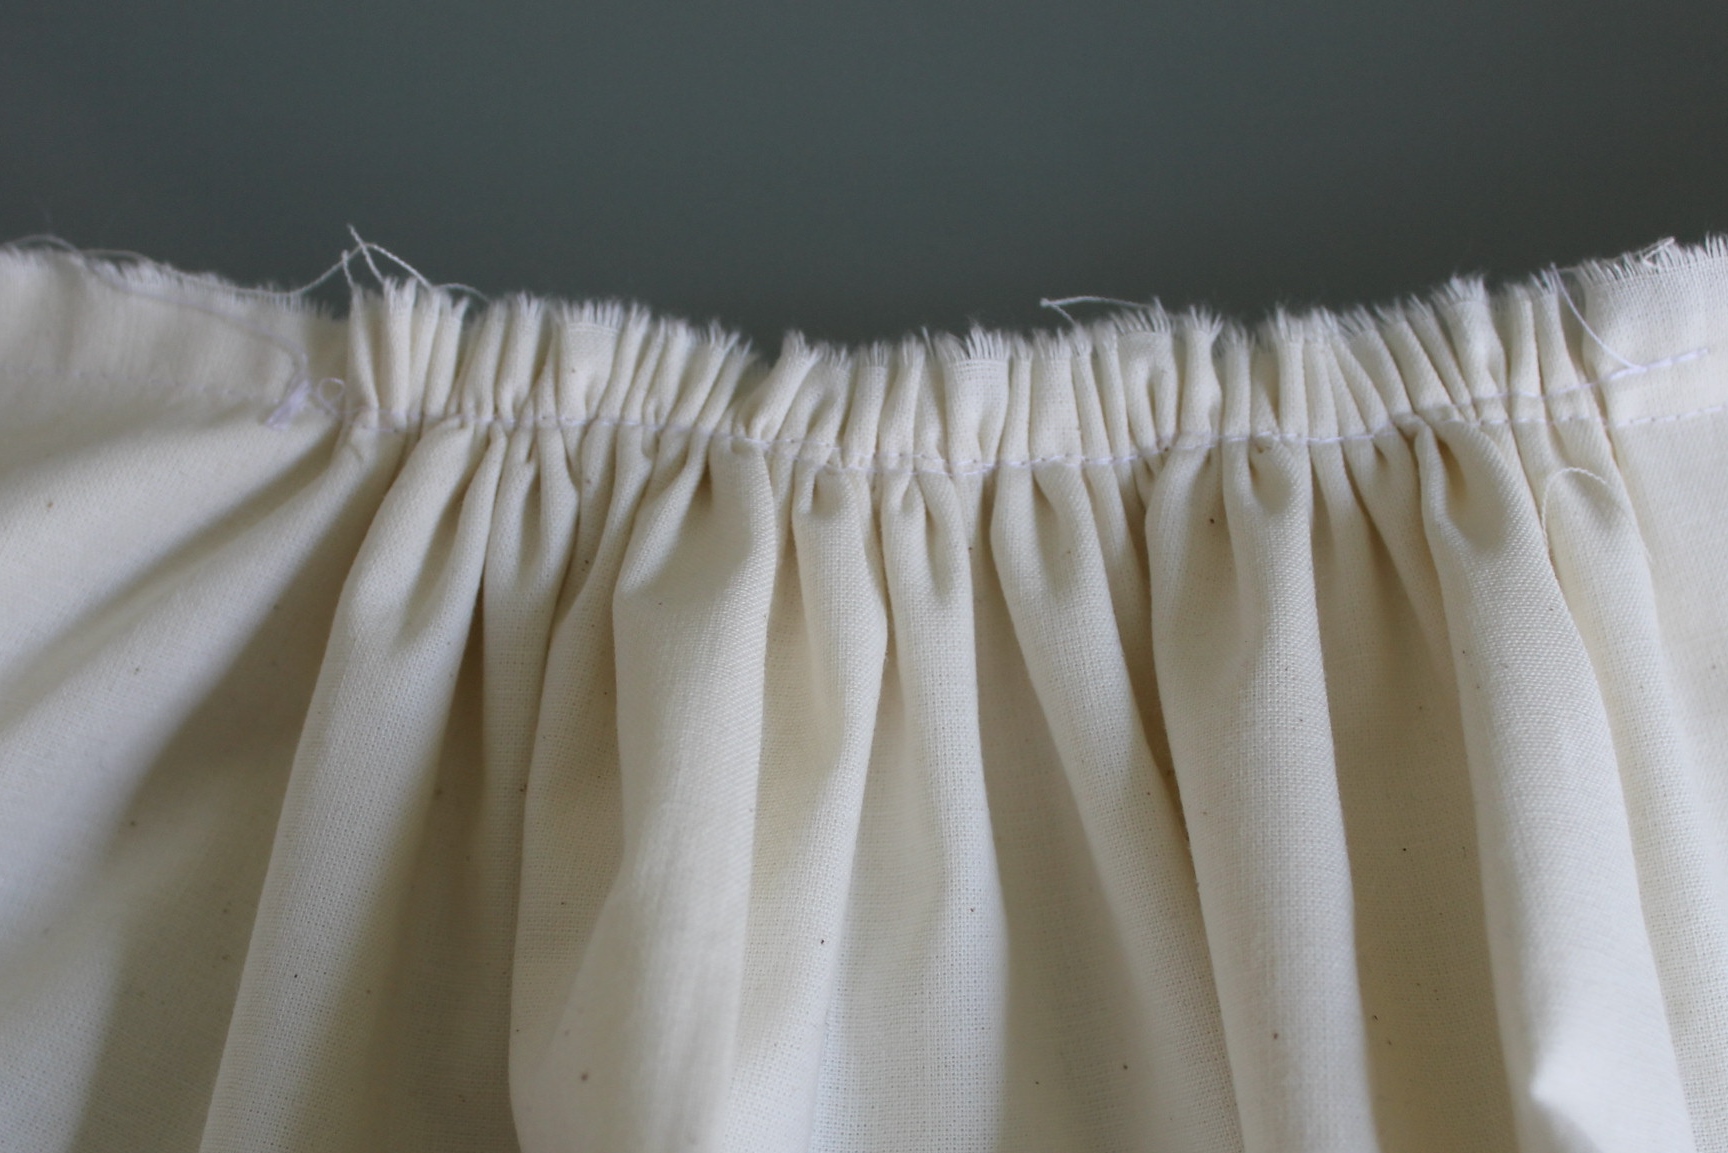
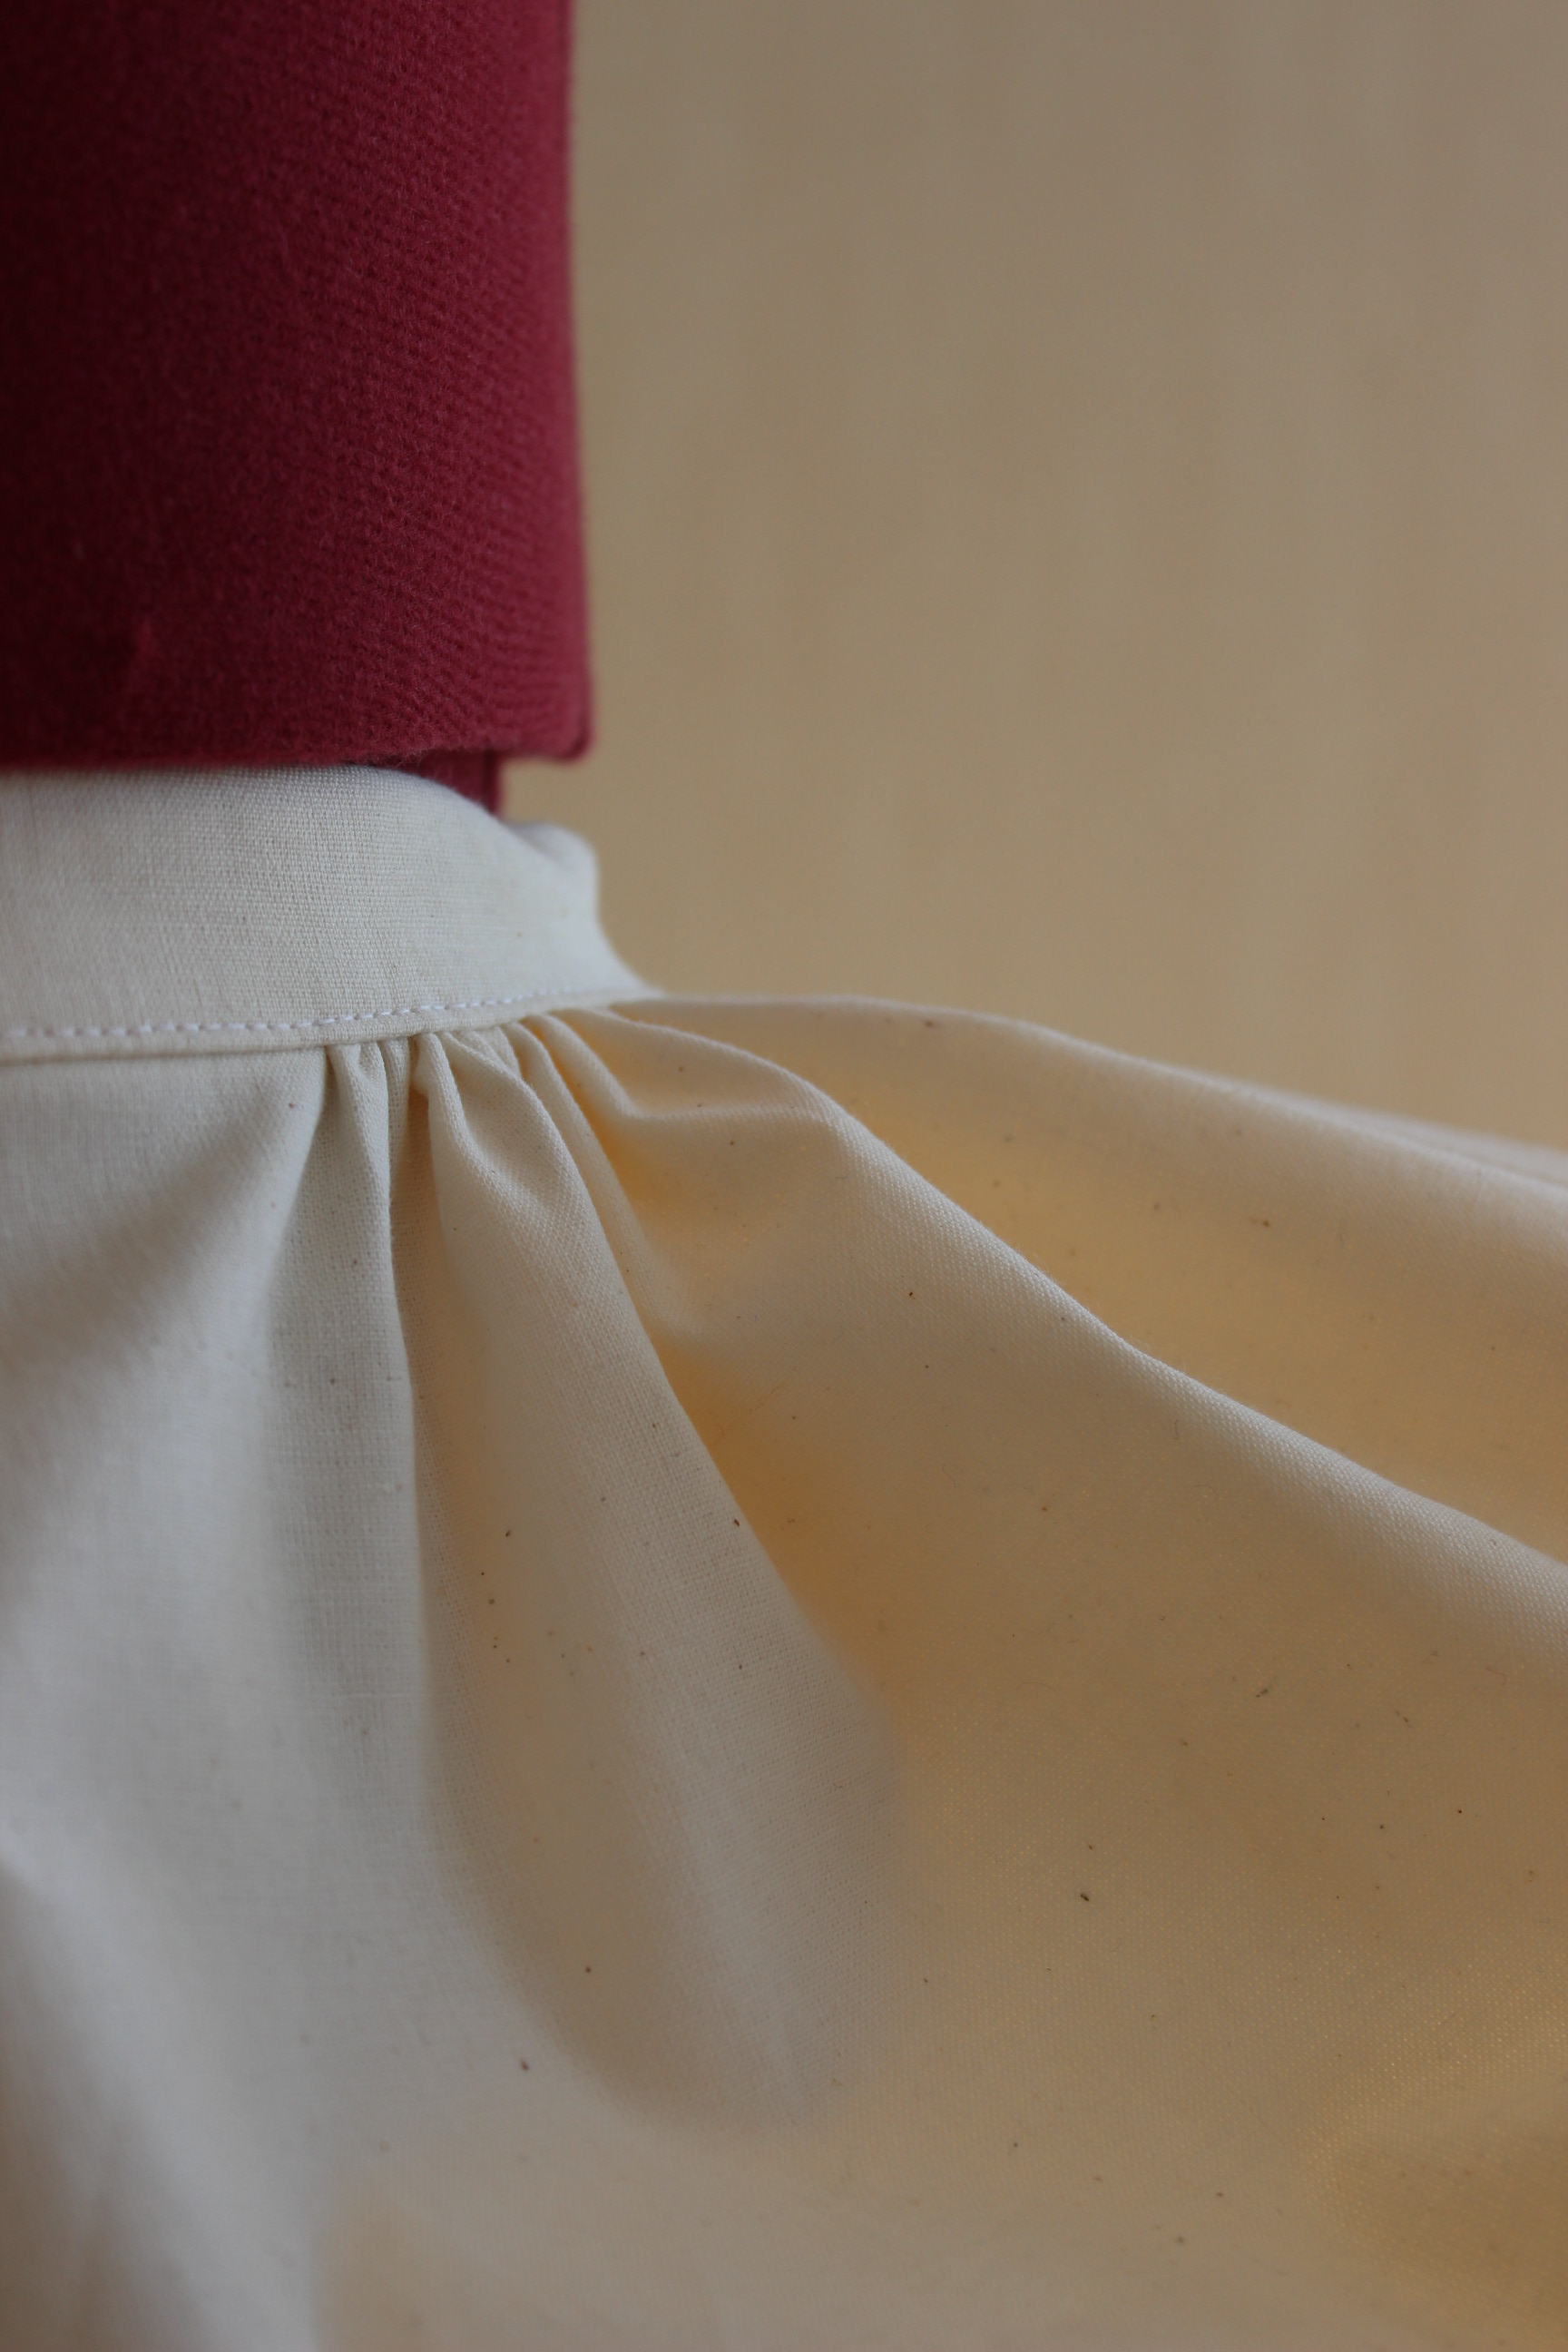
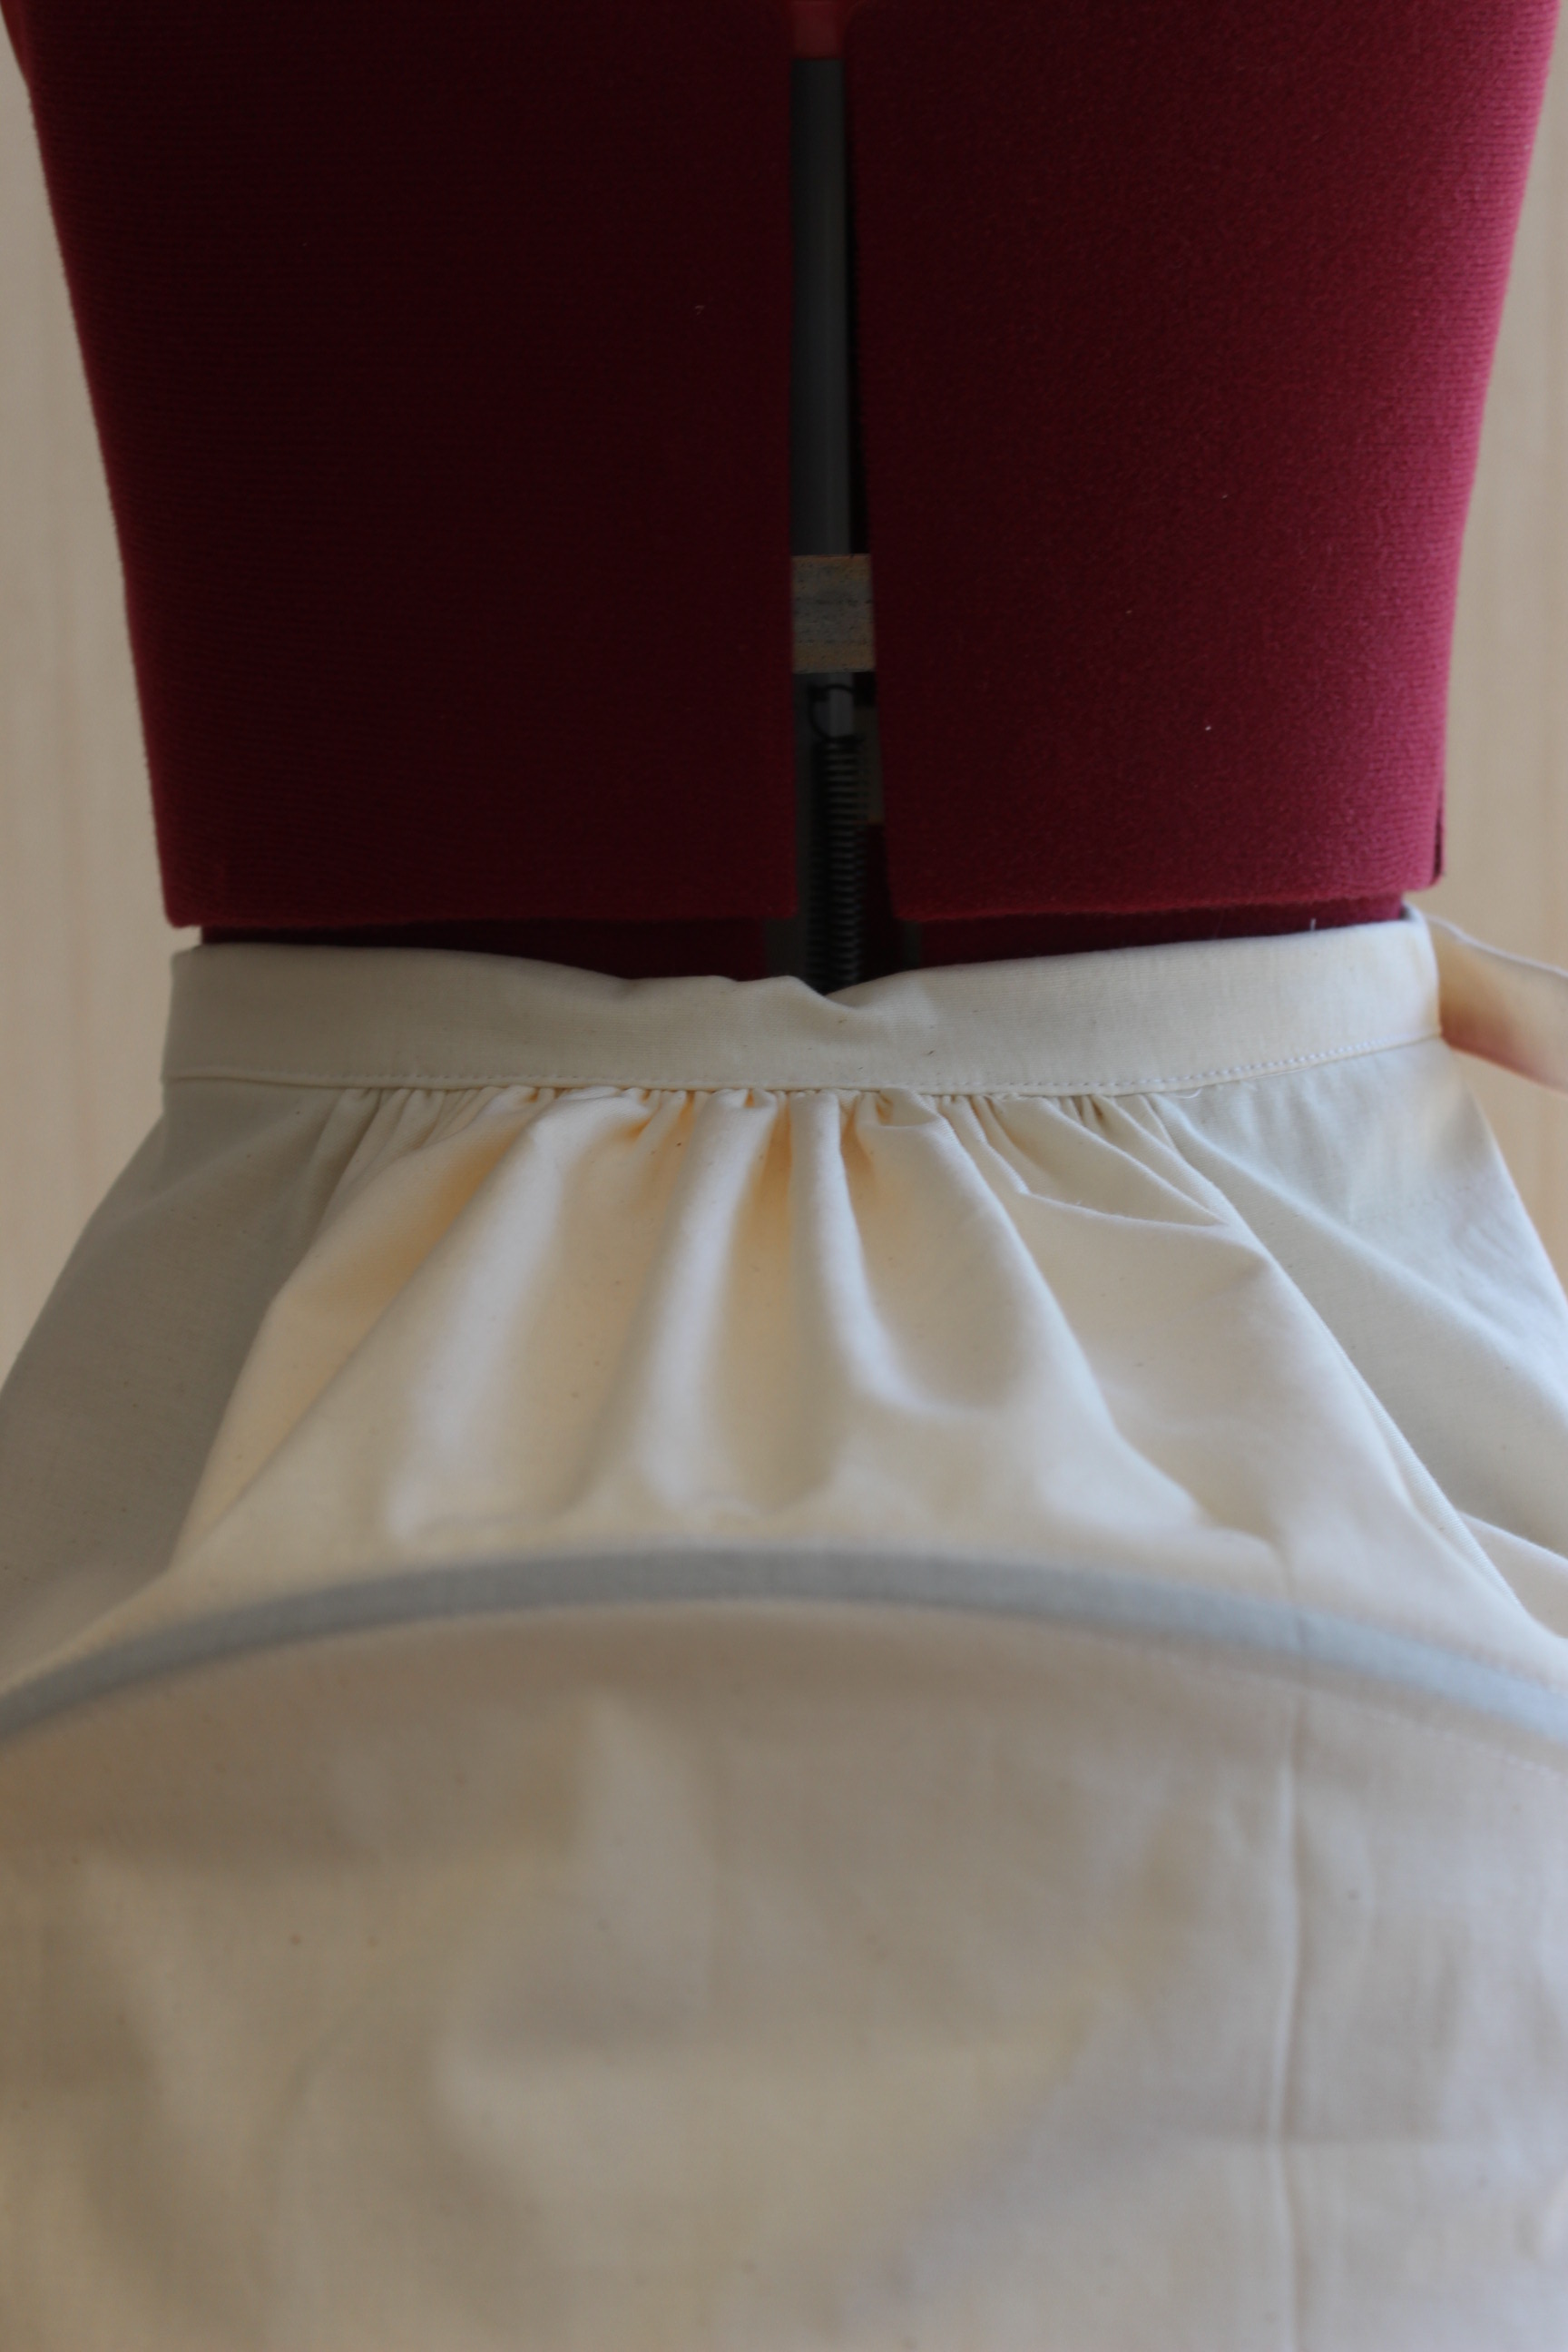
 Close up of the gathers.
Then I attached the wasitband, folded it over and stiched it down.
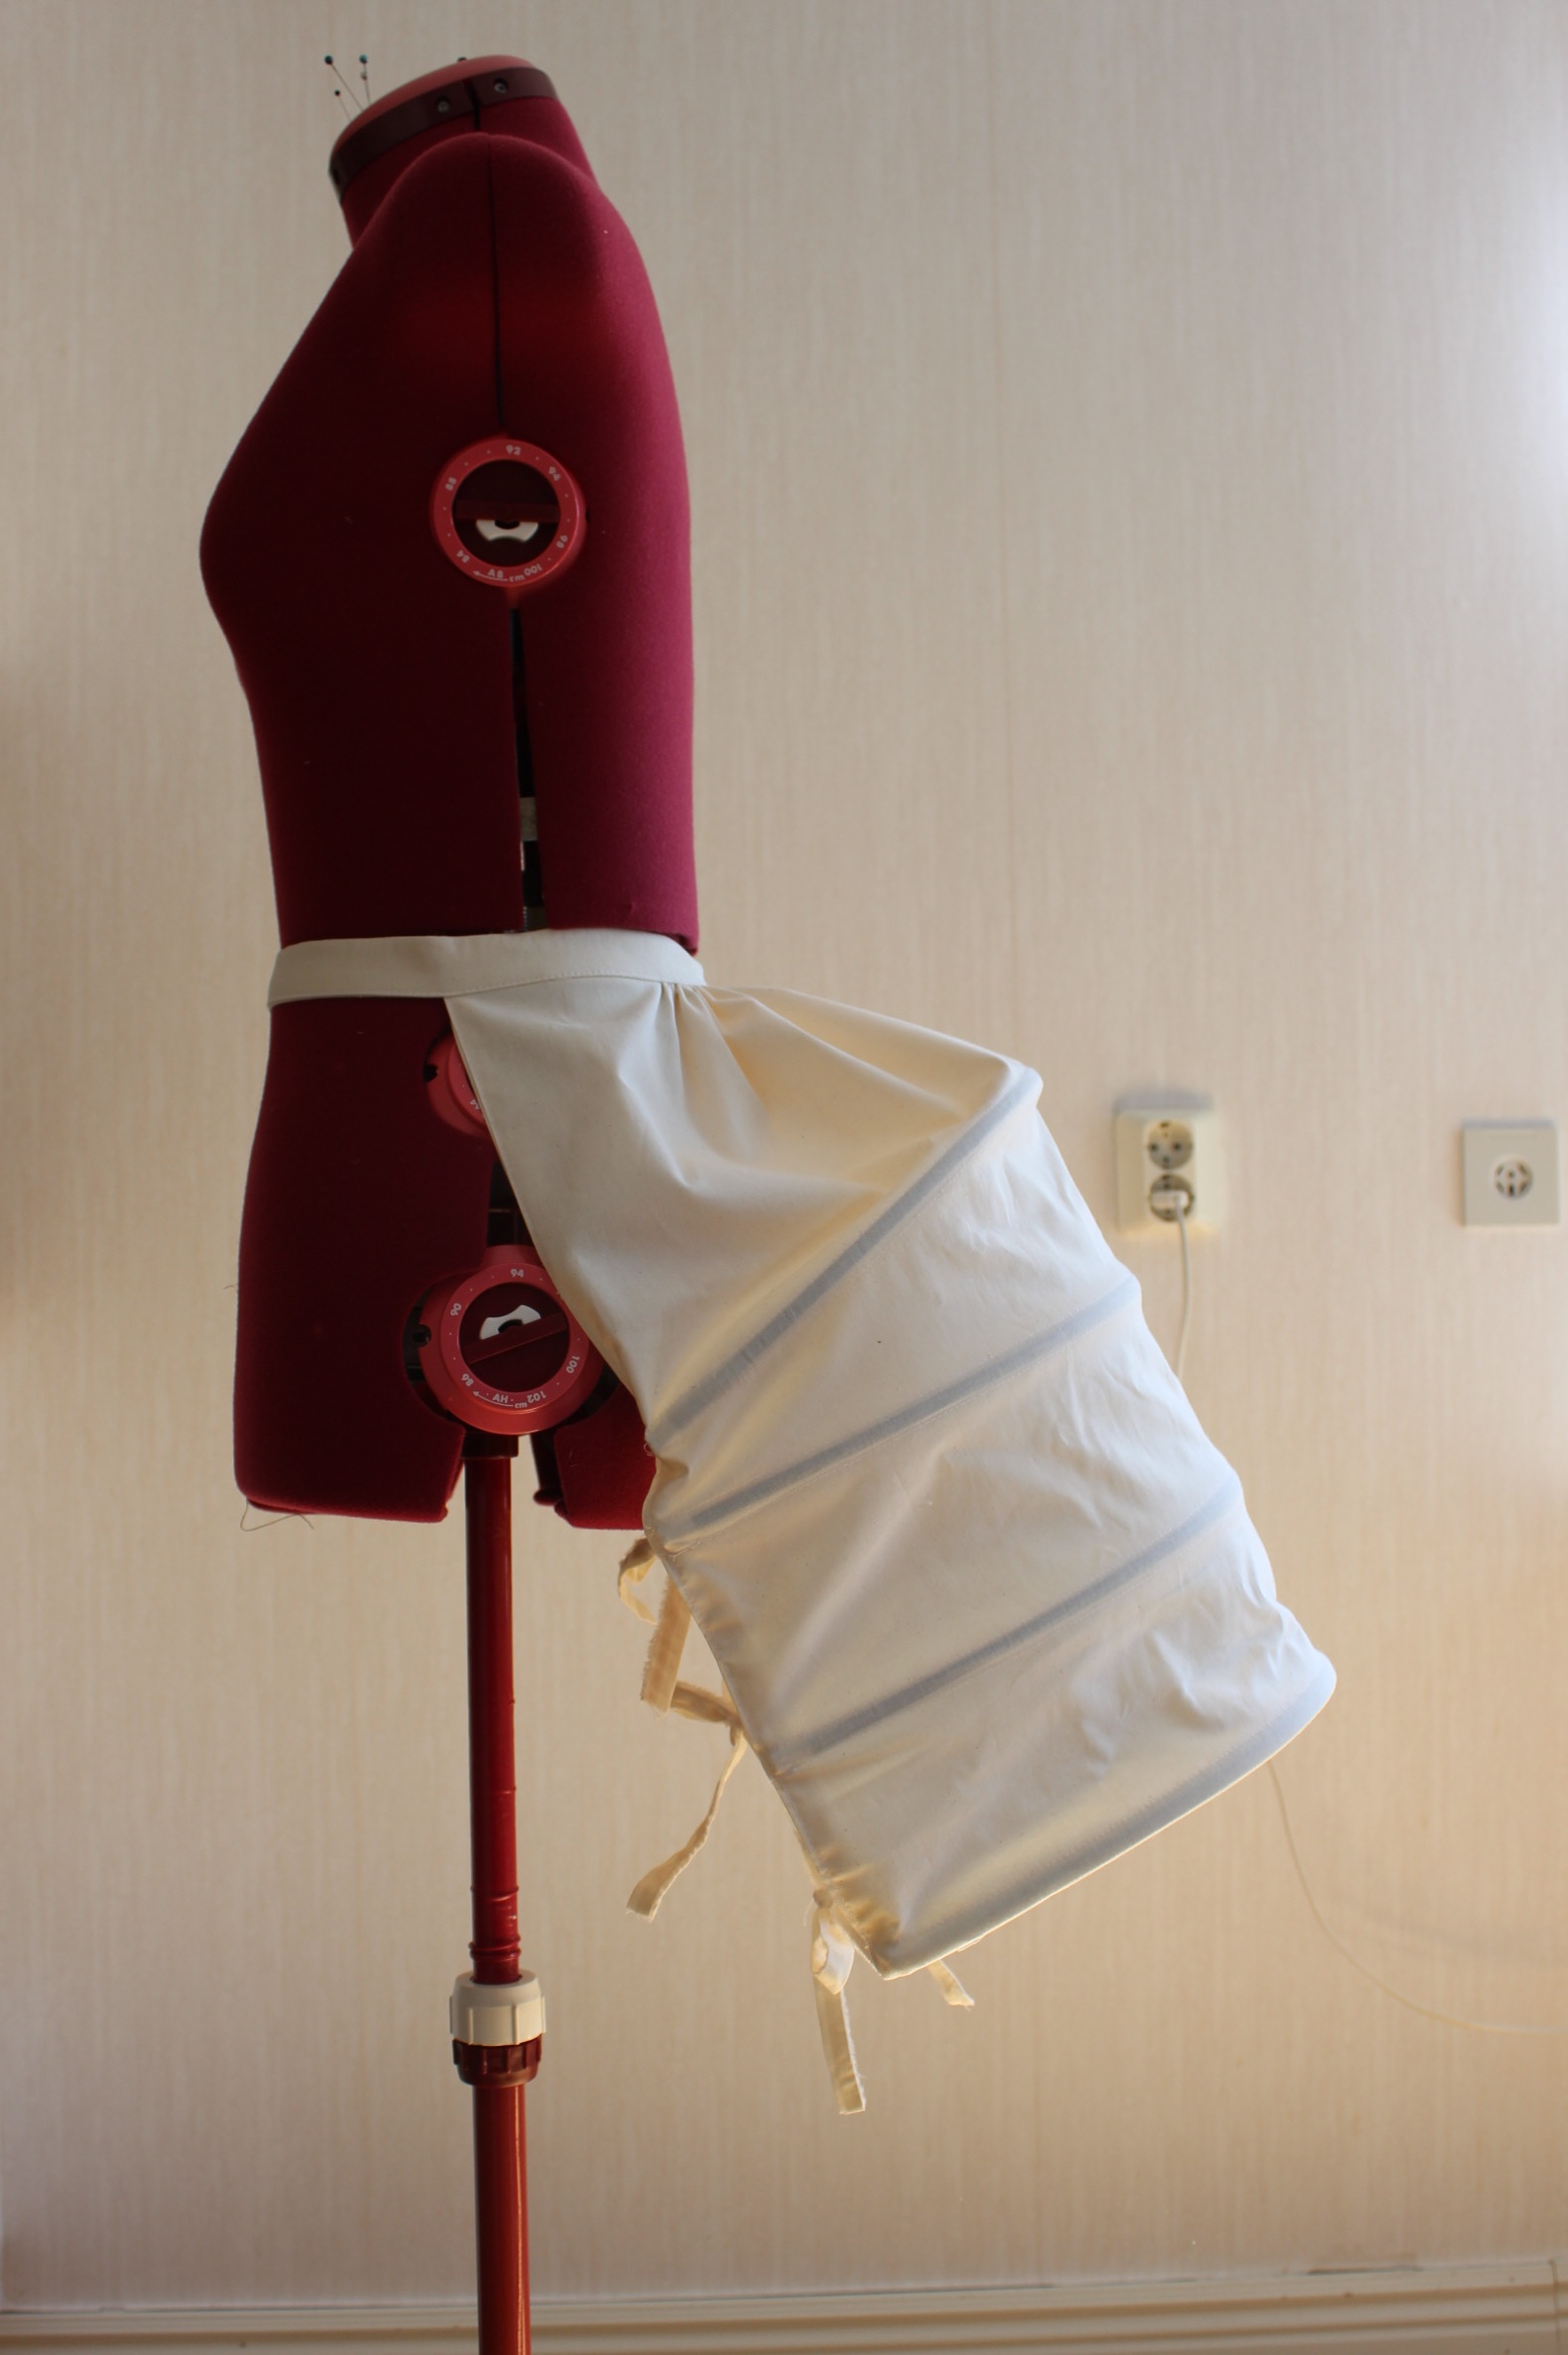
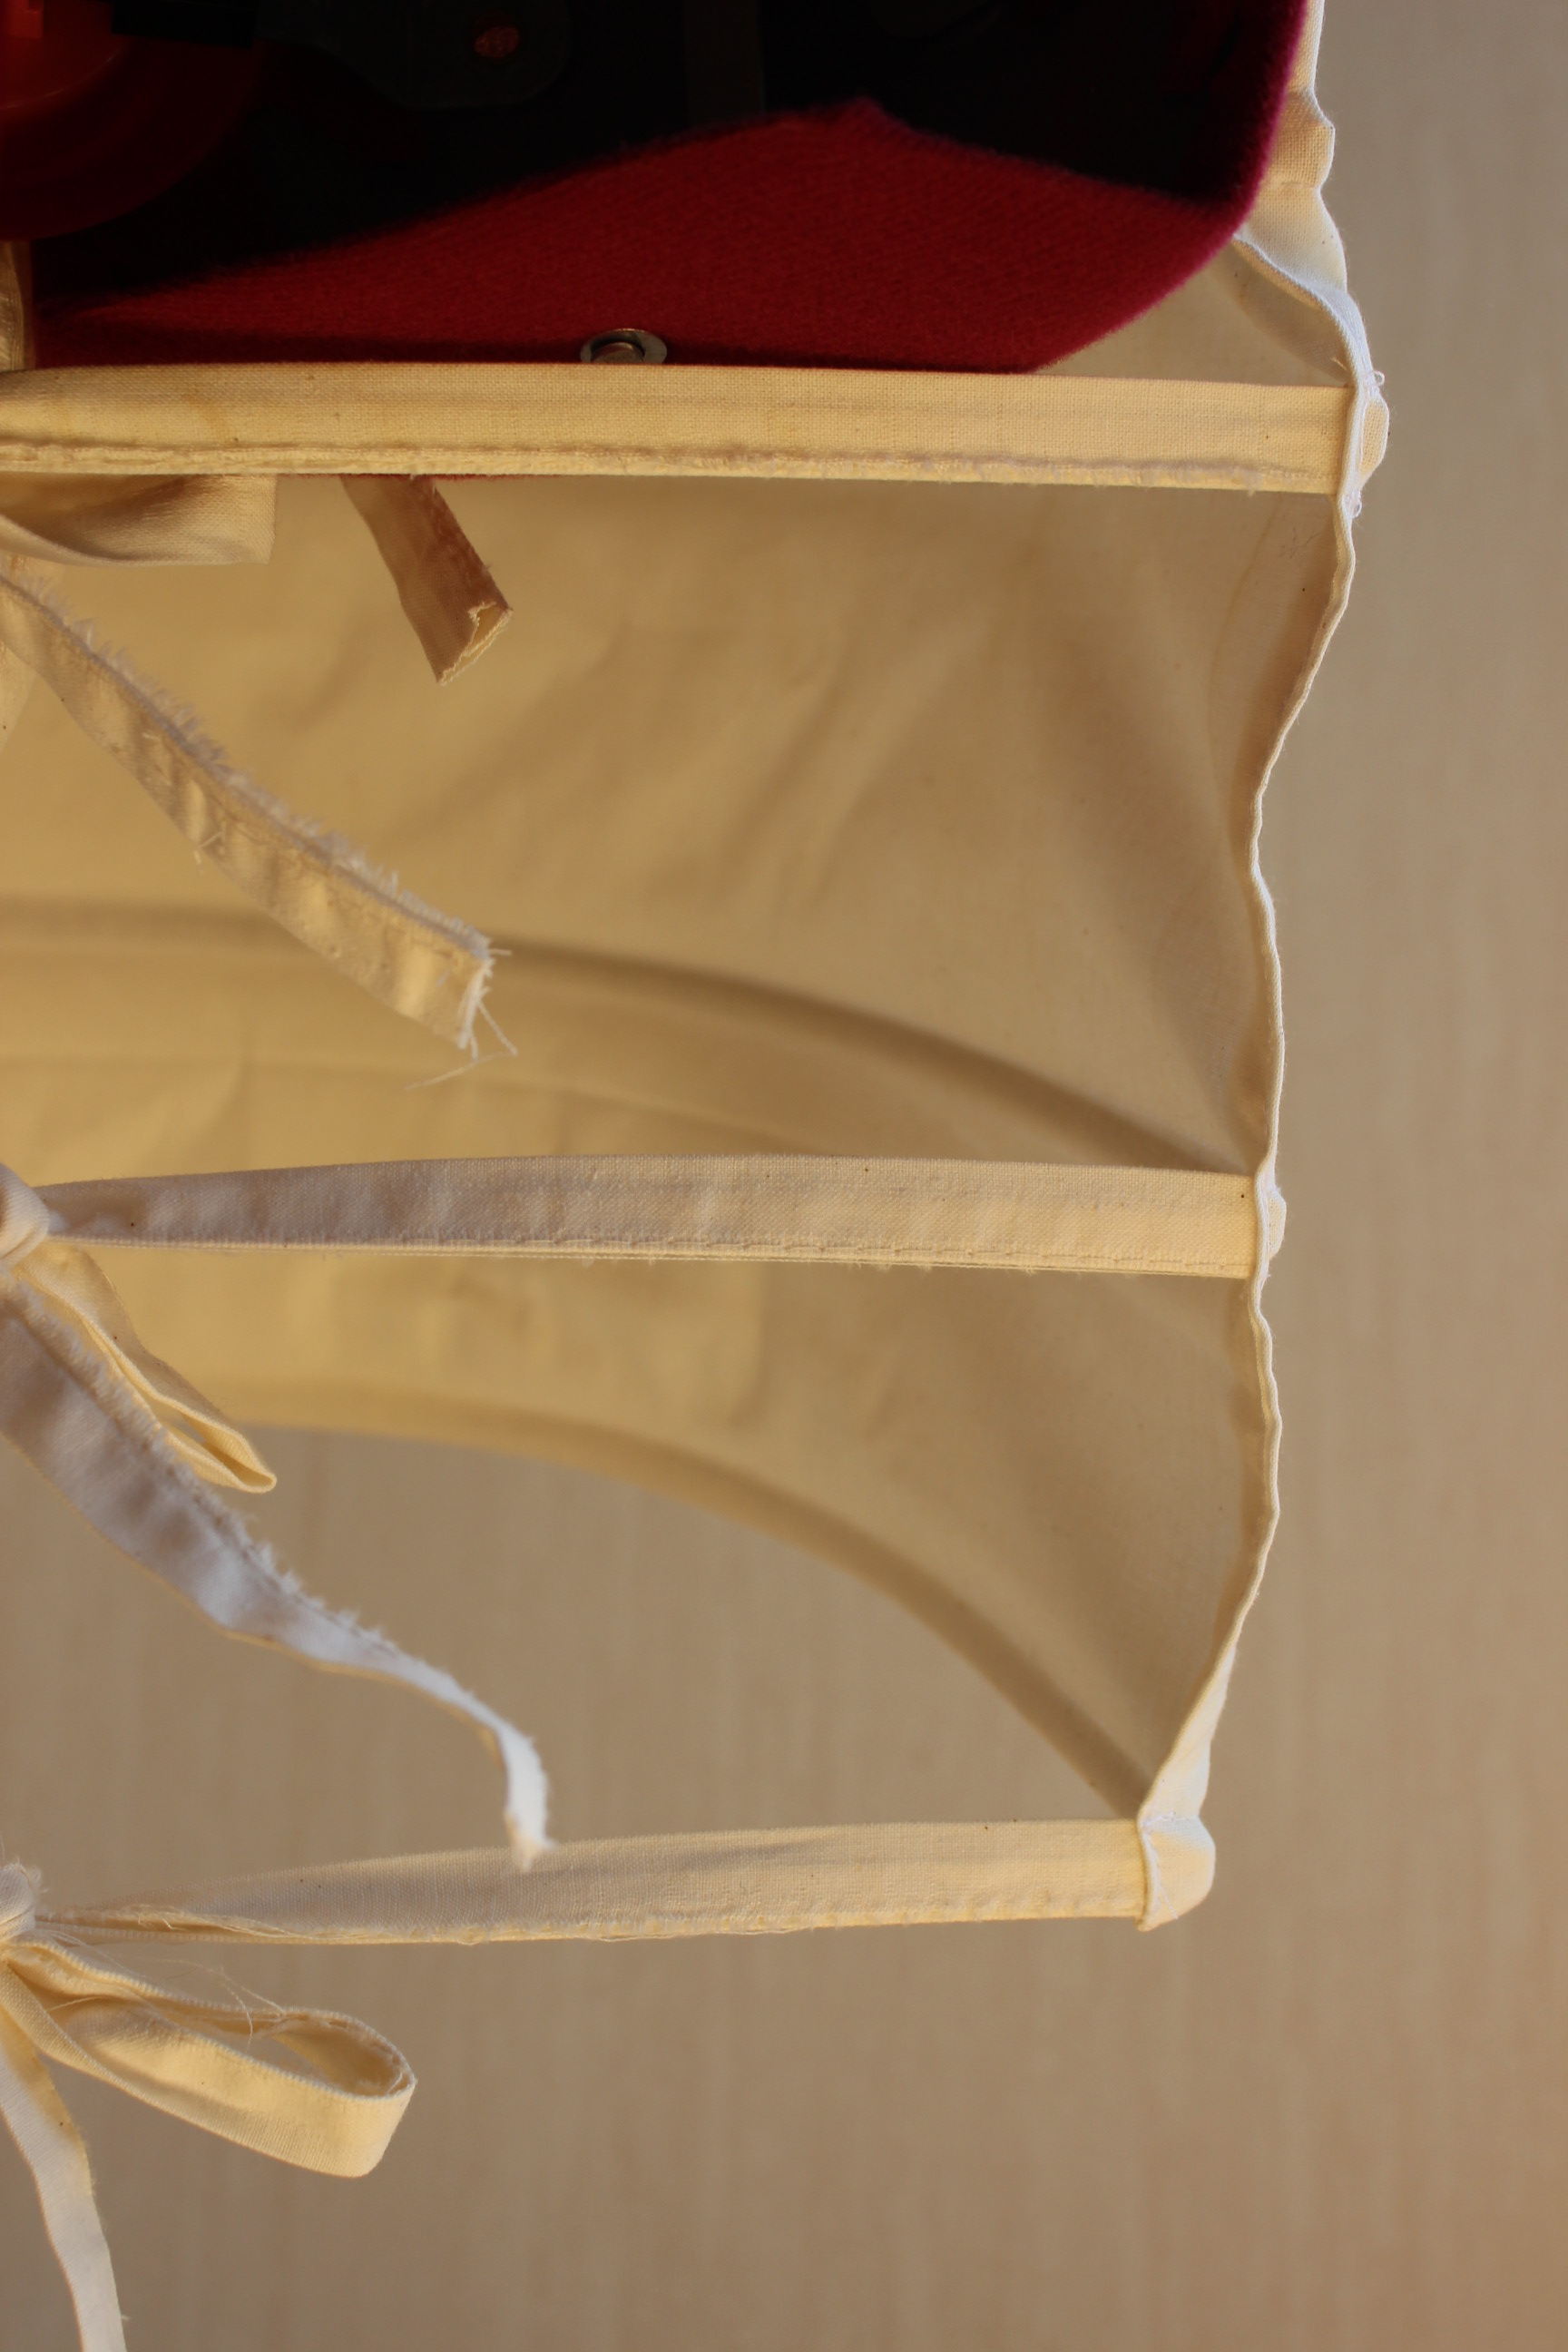
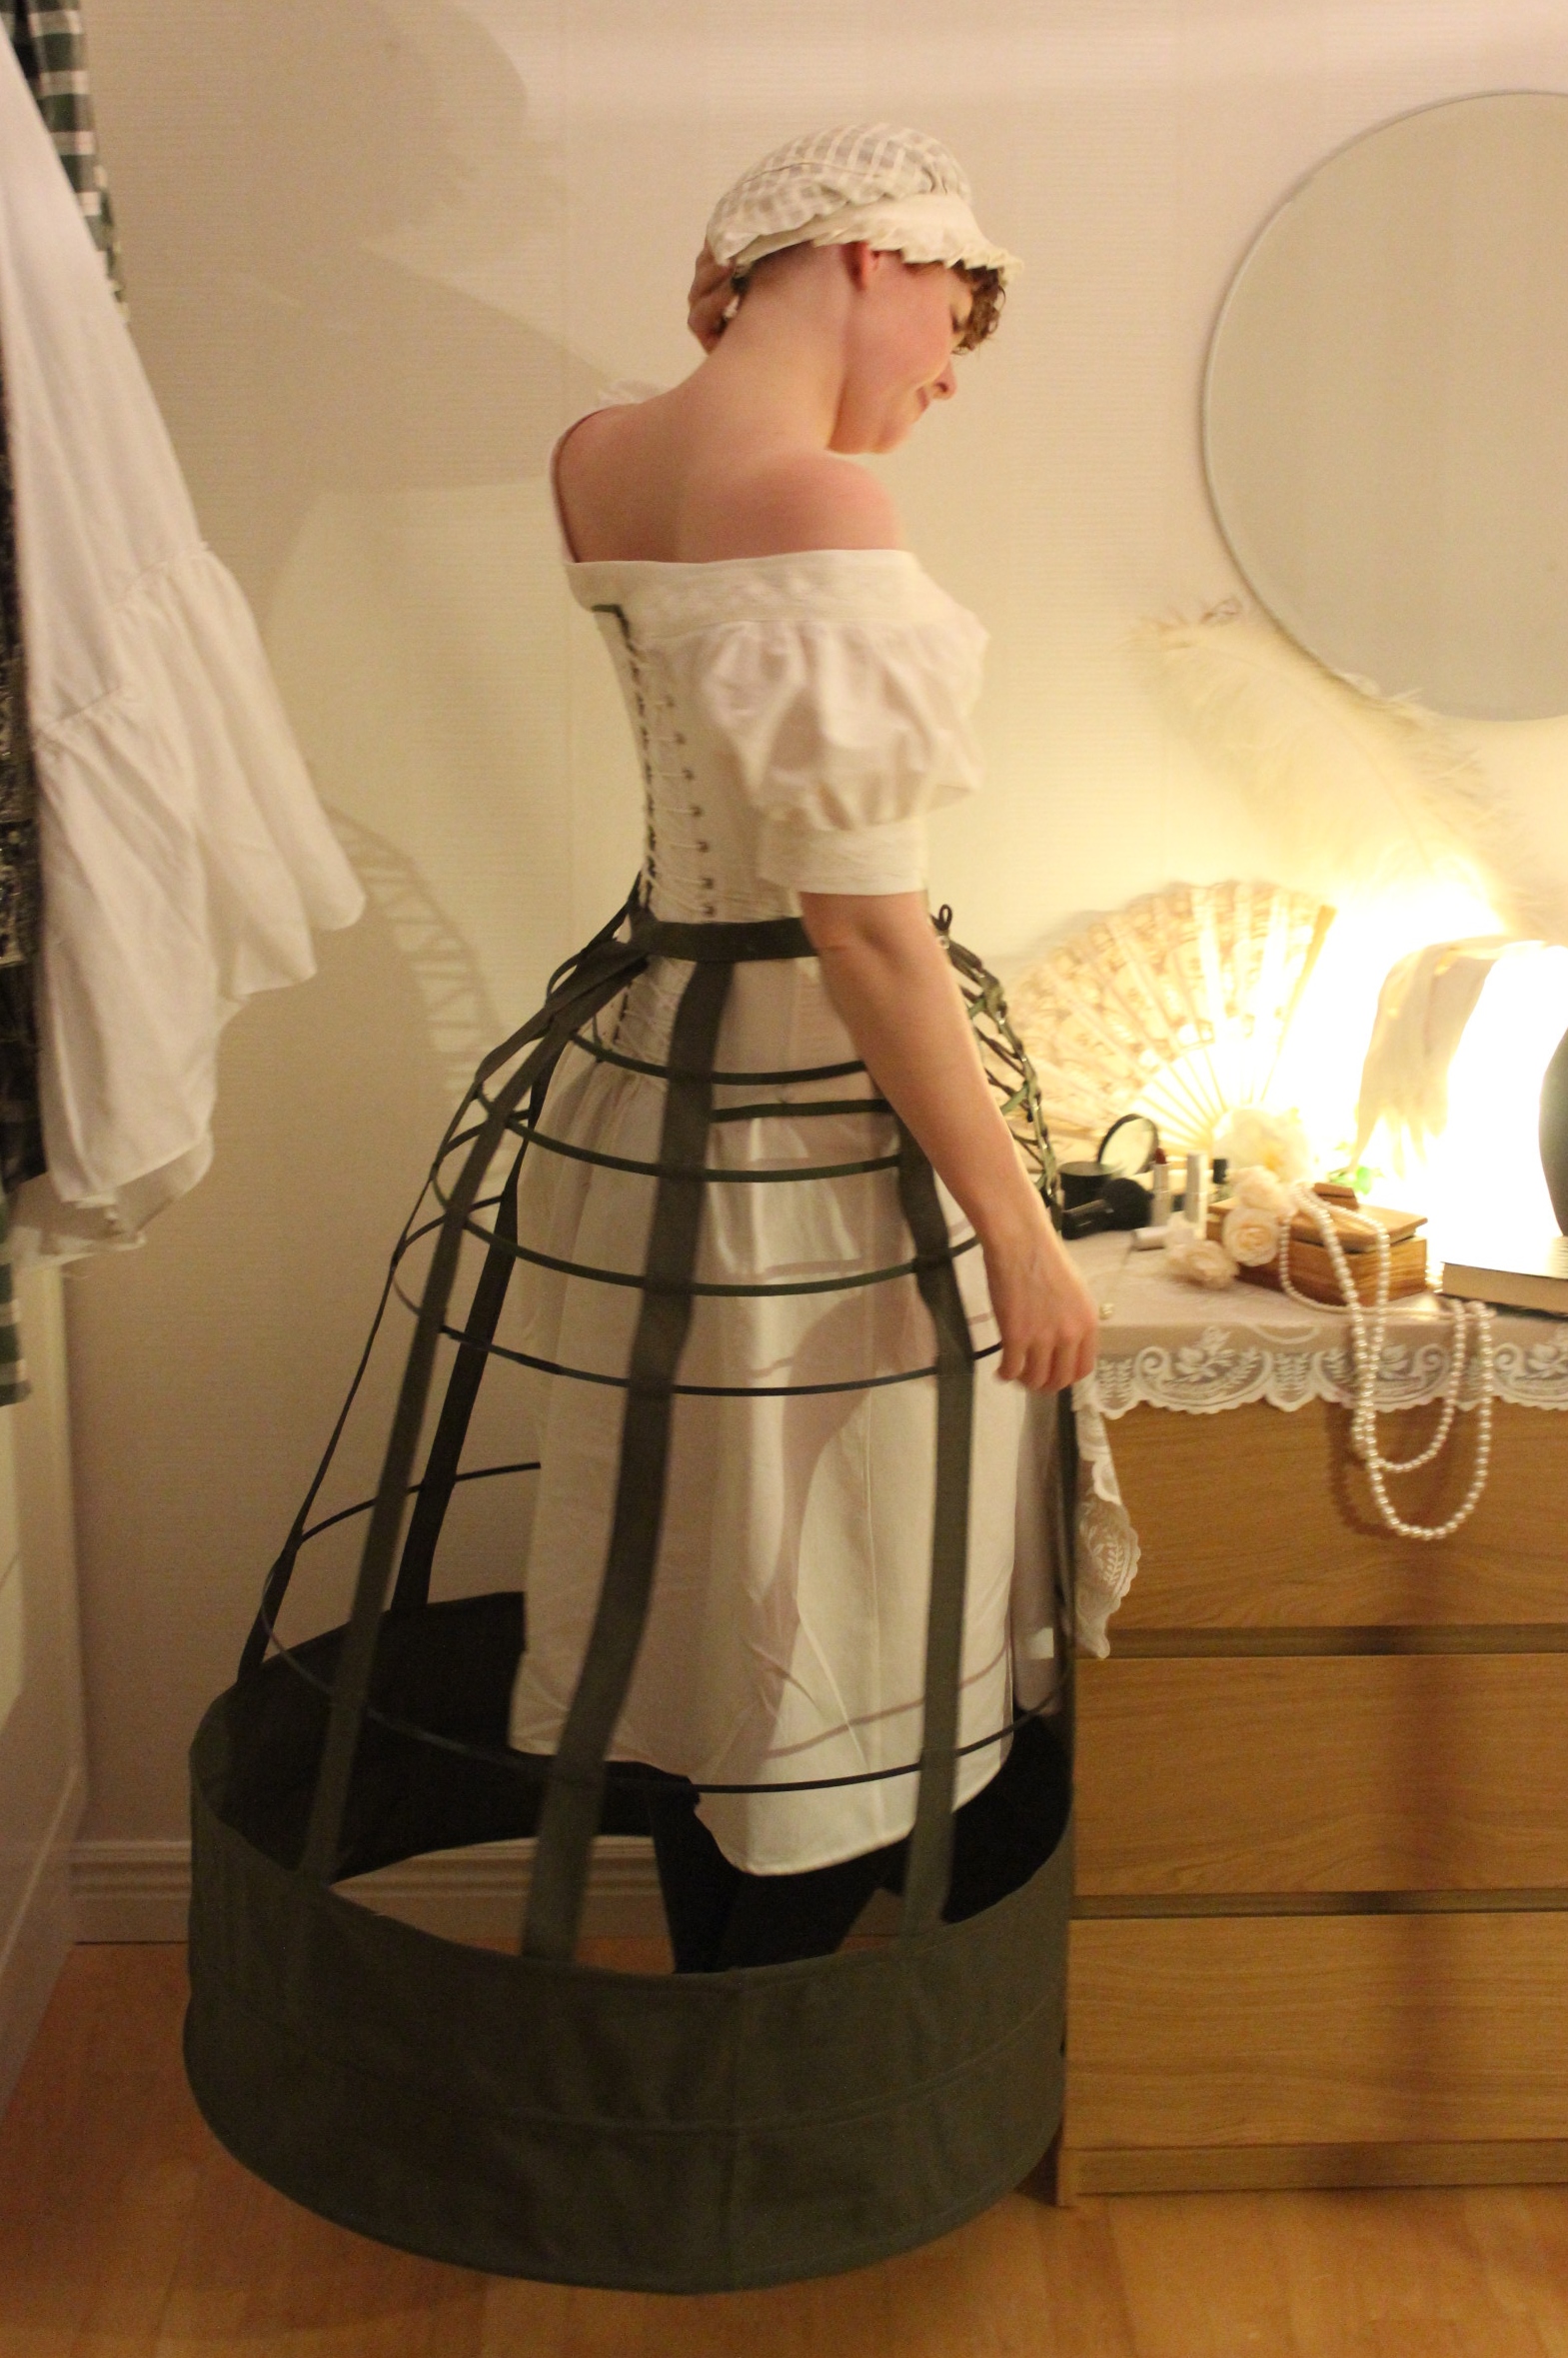
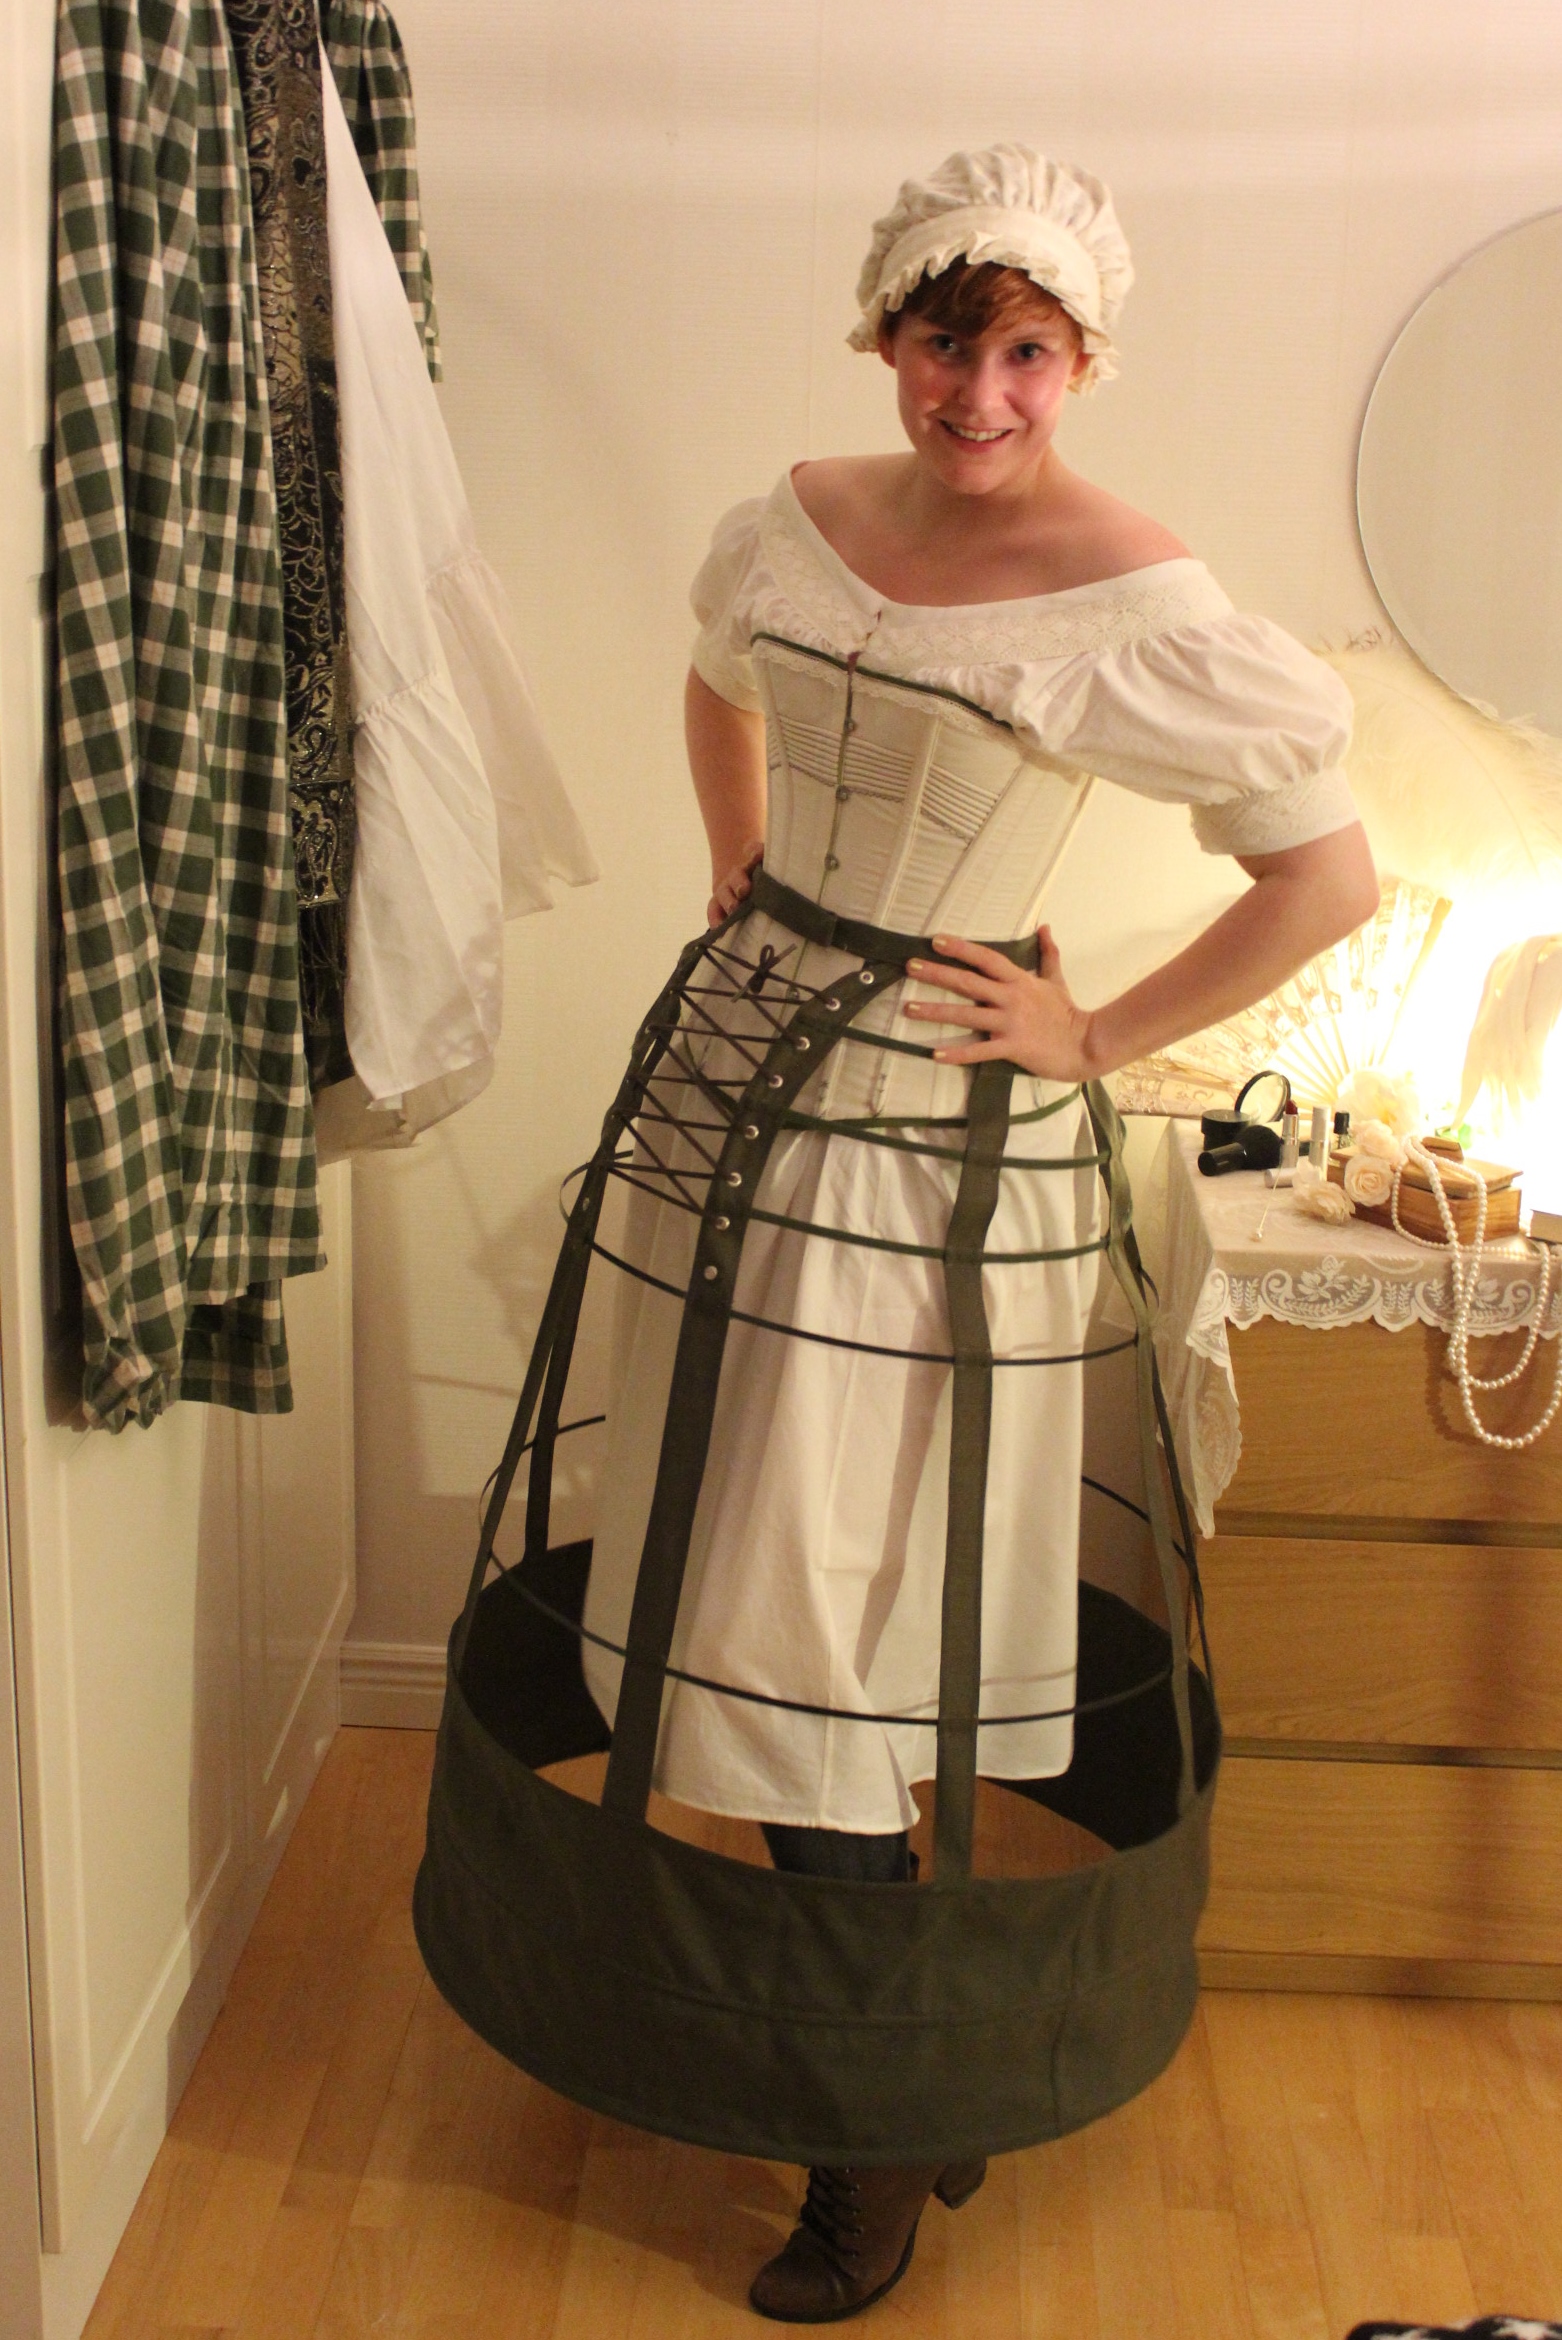
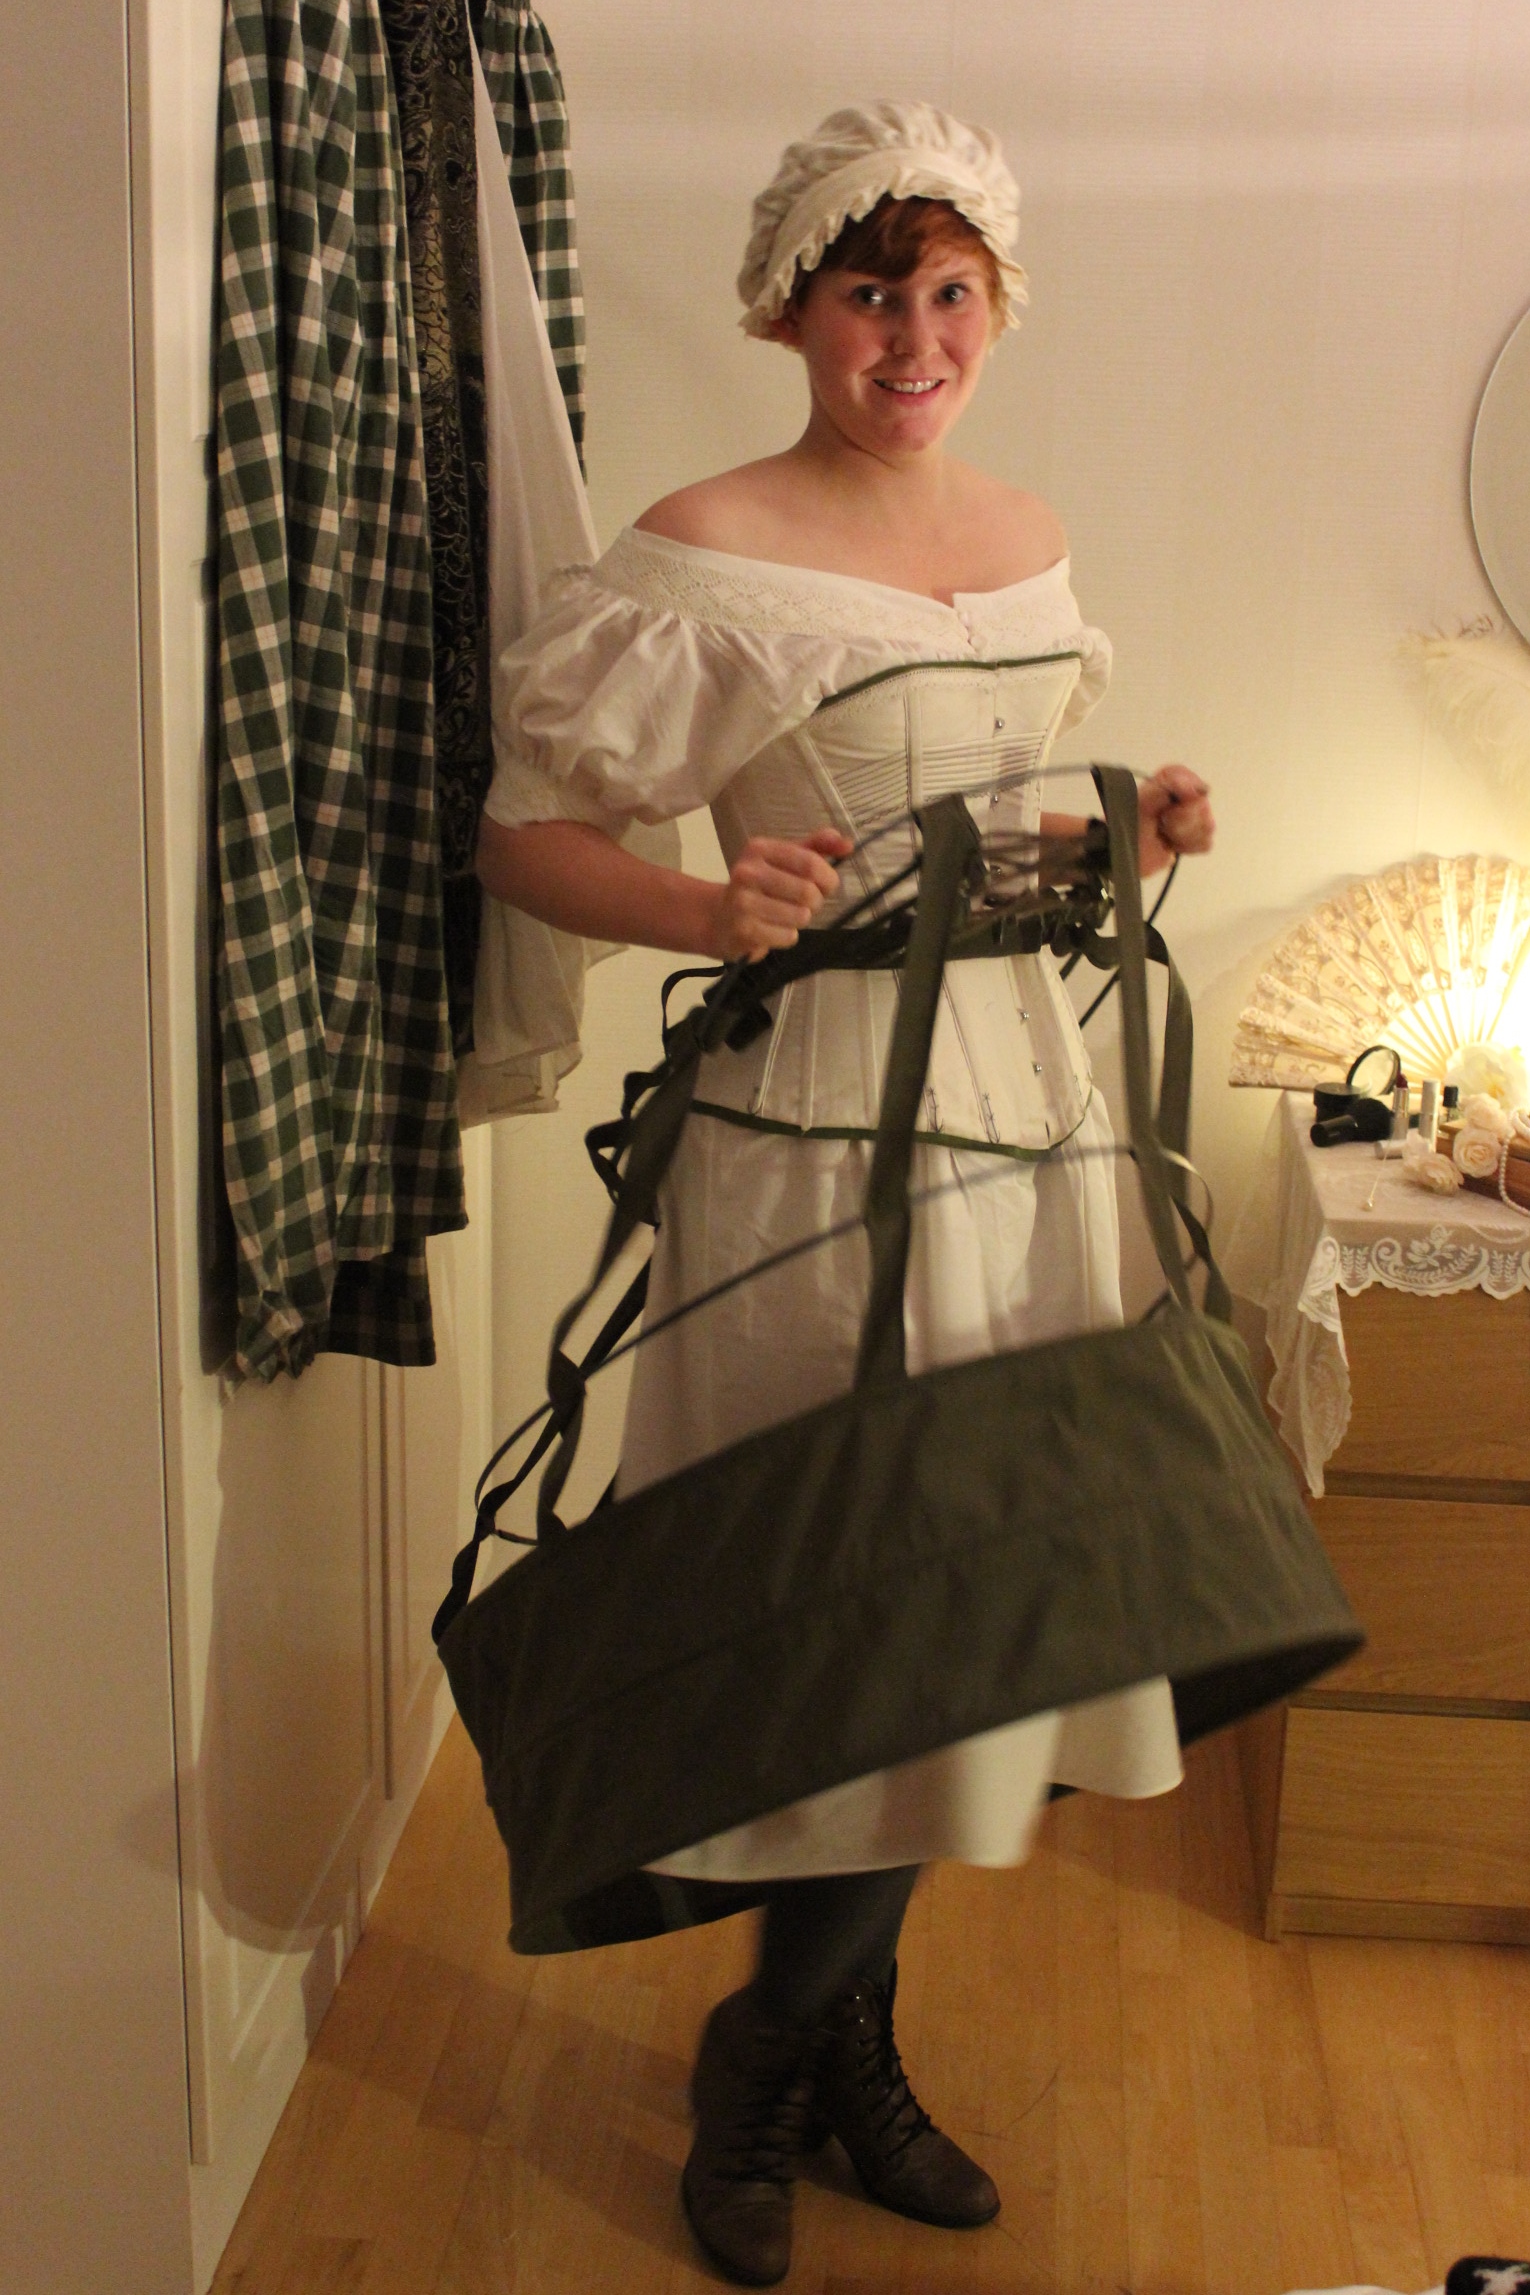
Lastly I inserted the boning, sewed the chanels shut and attached the metal rings for clouser to the wasitband. Then I tied the ribbons into rosets and had a finished worka ble mini bustle.
All in all this project took me about two hours to make, and it was so simple and fun.
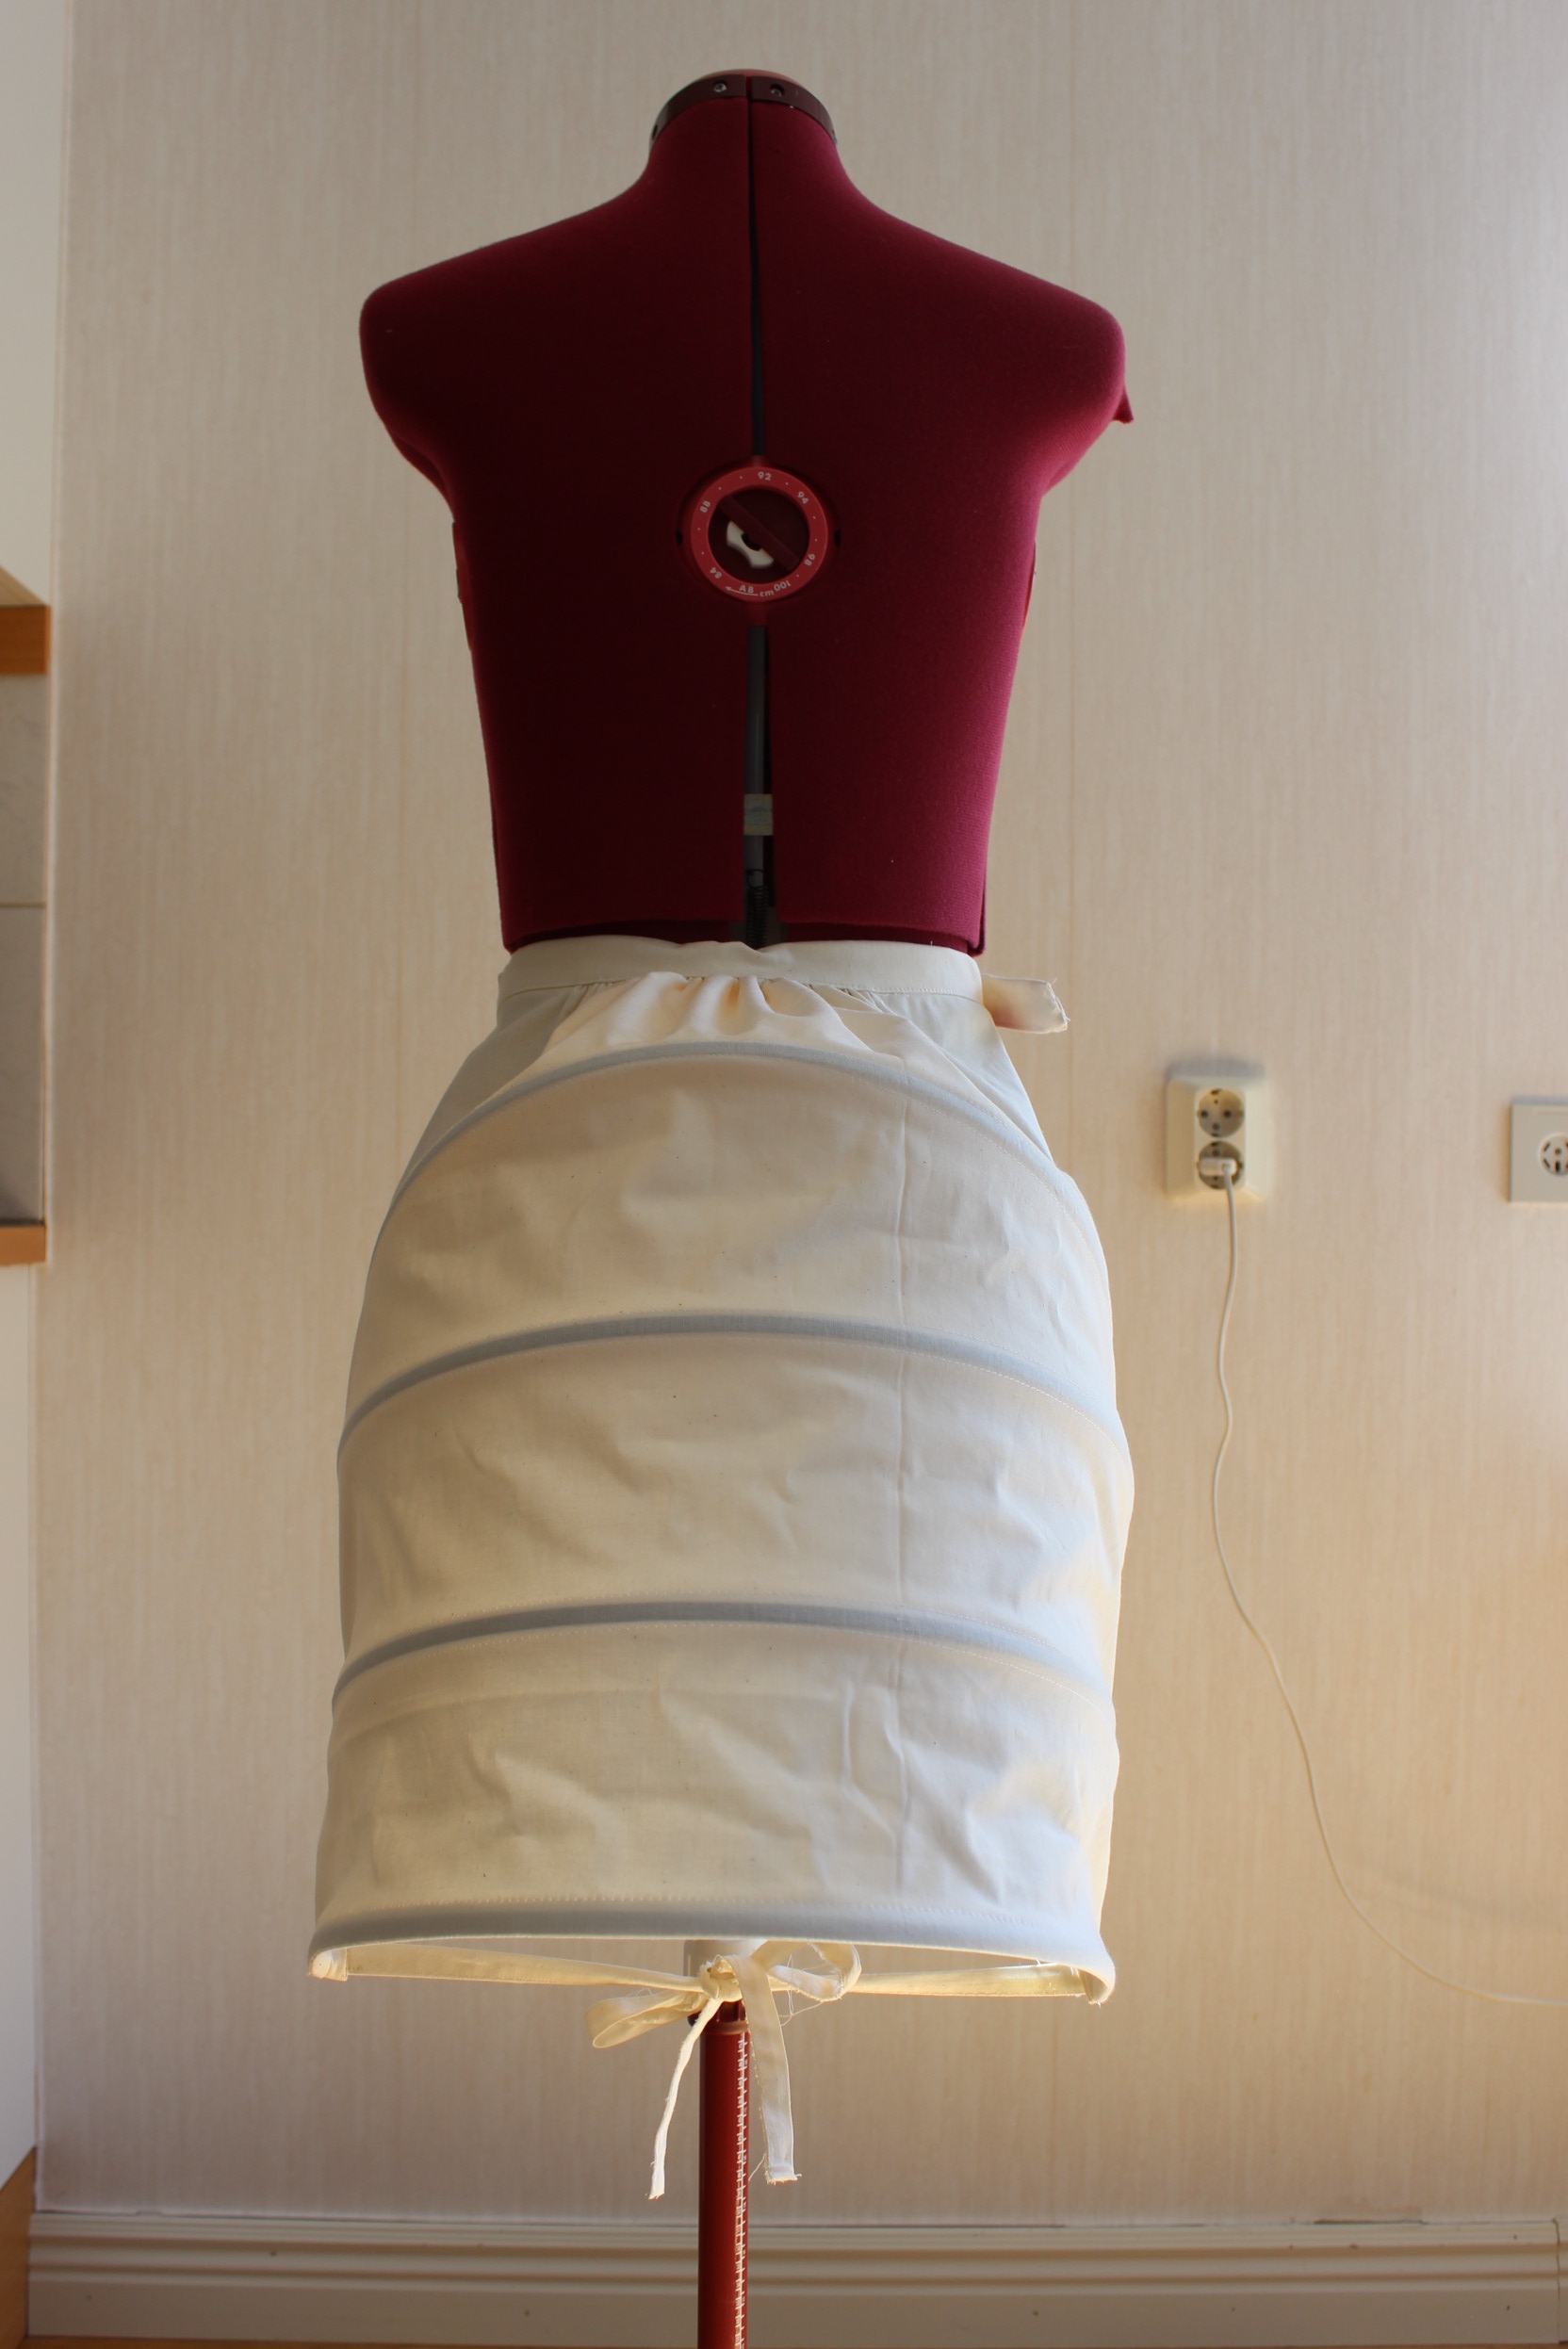
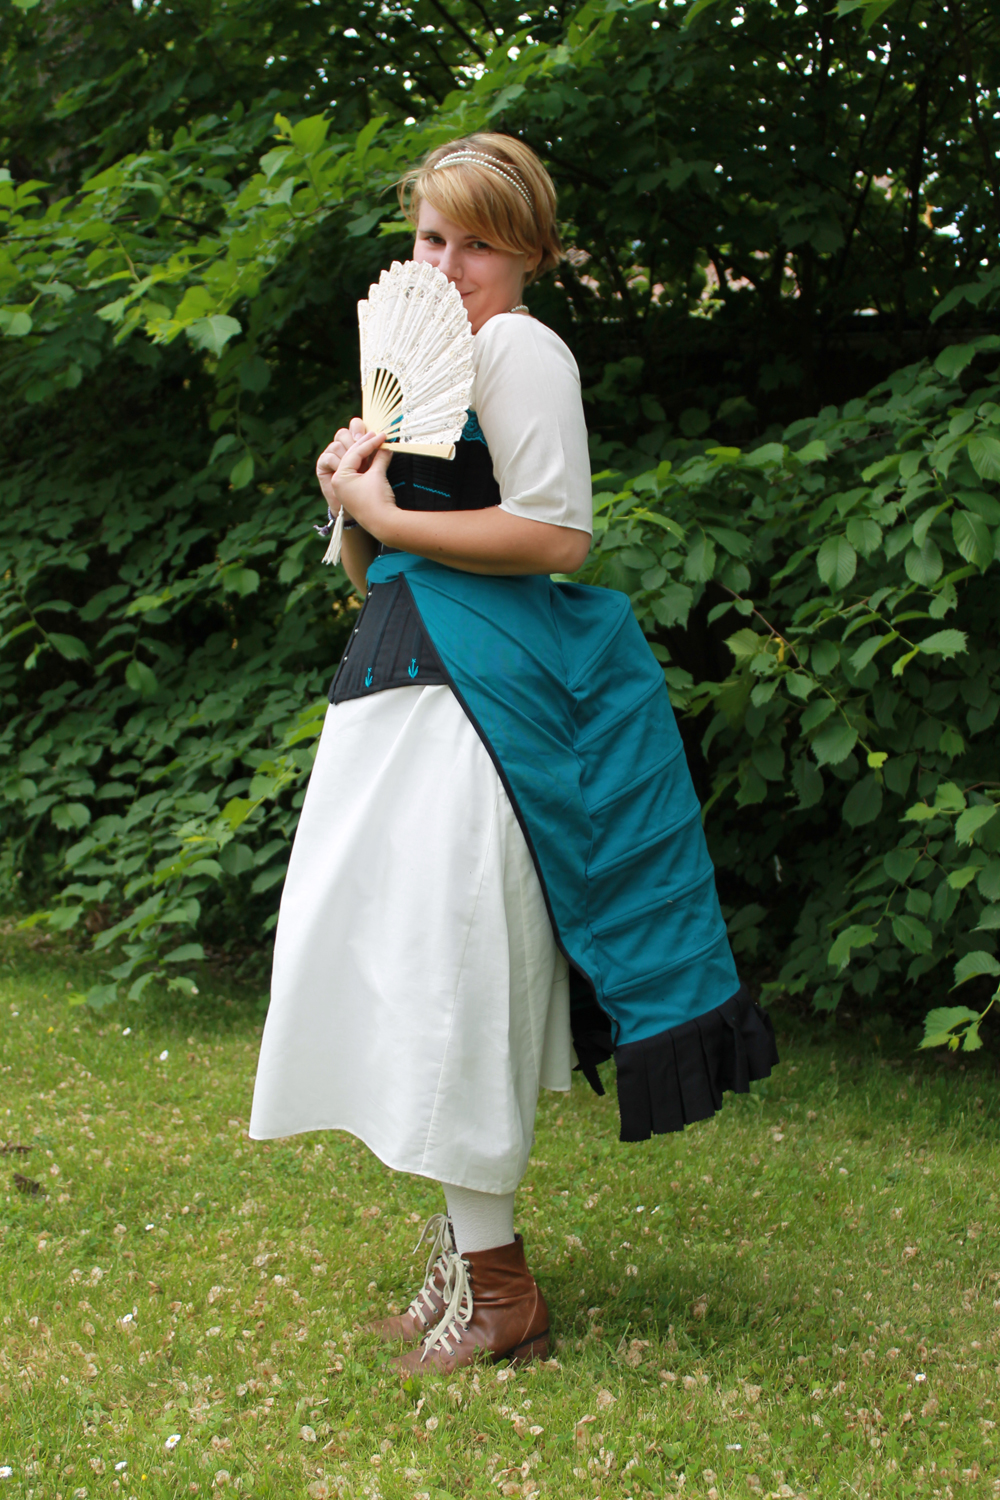
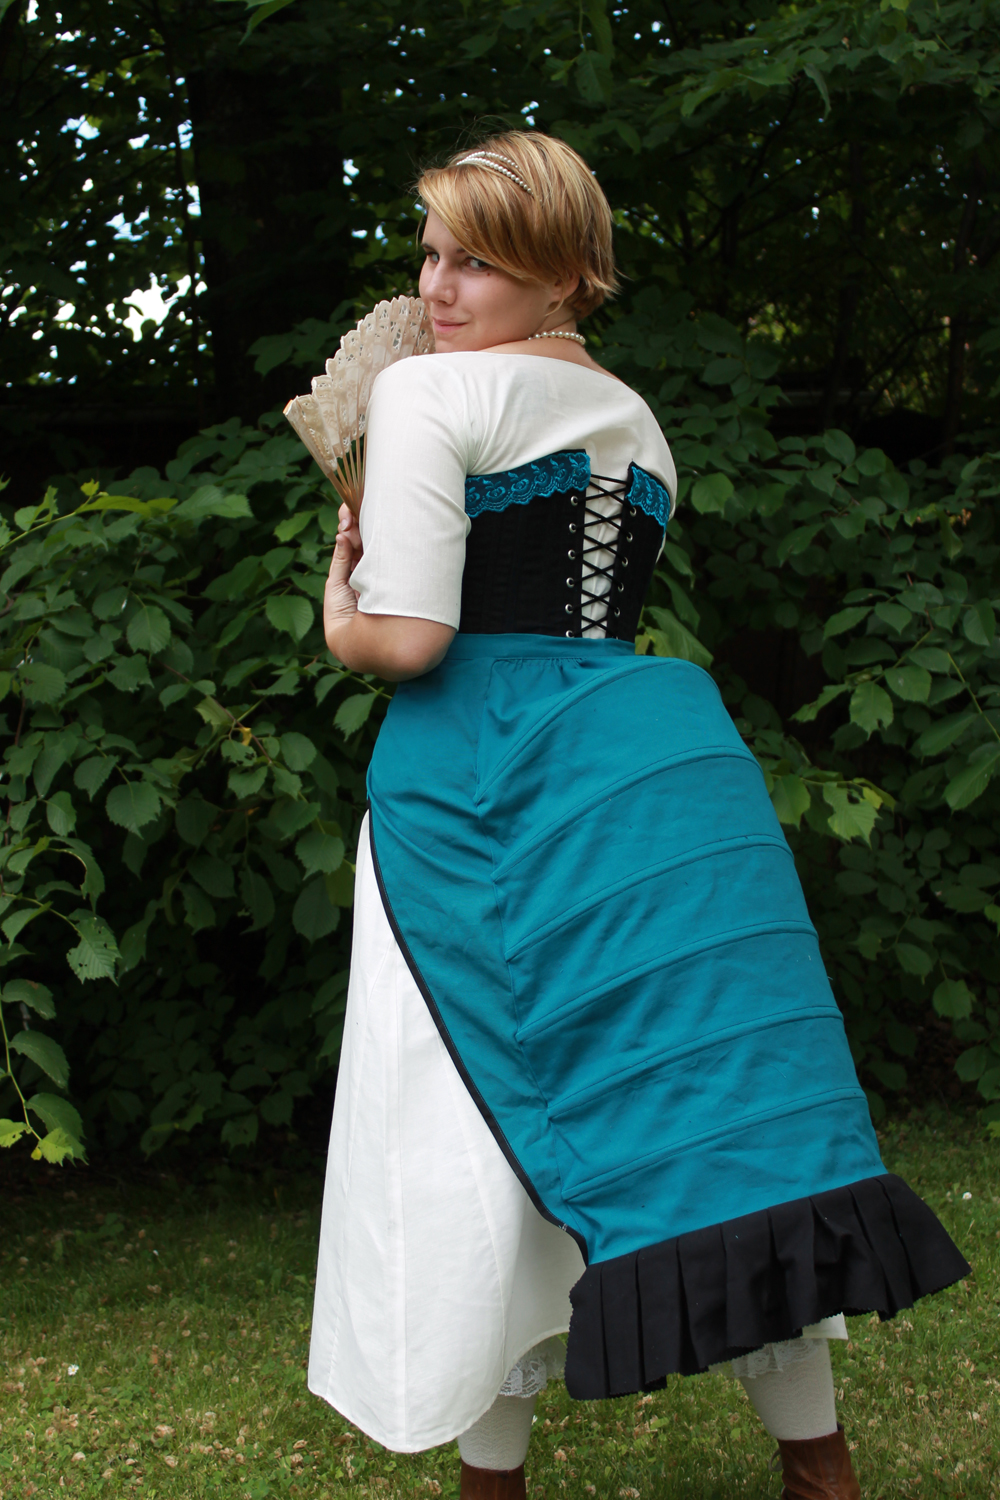
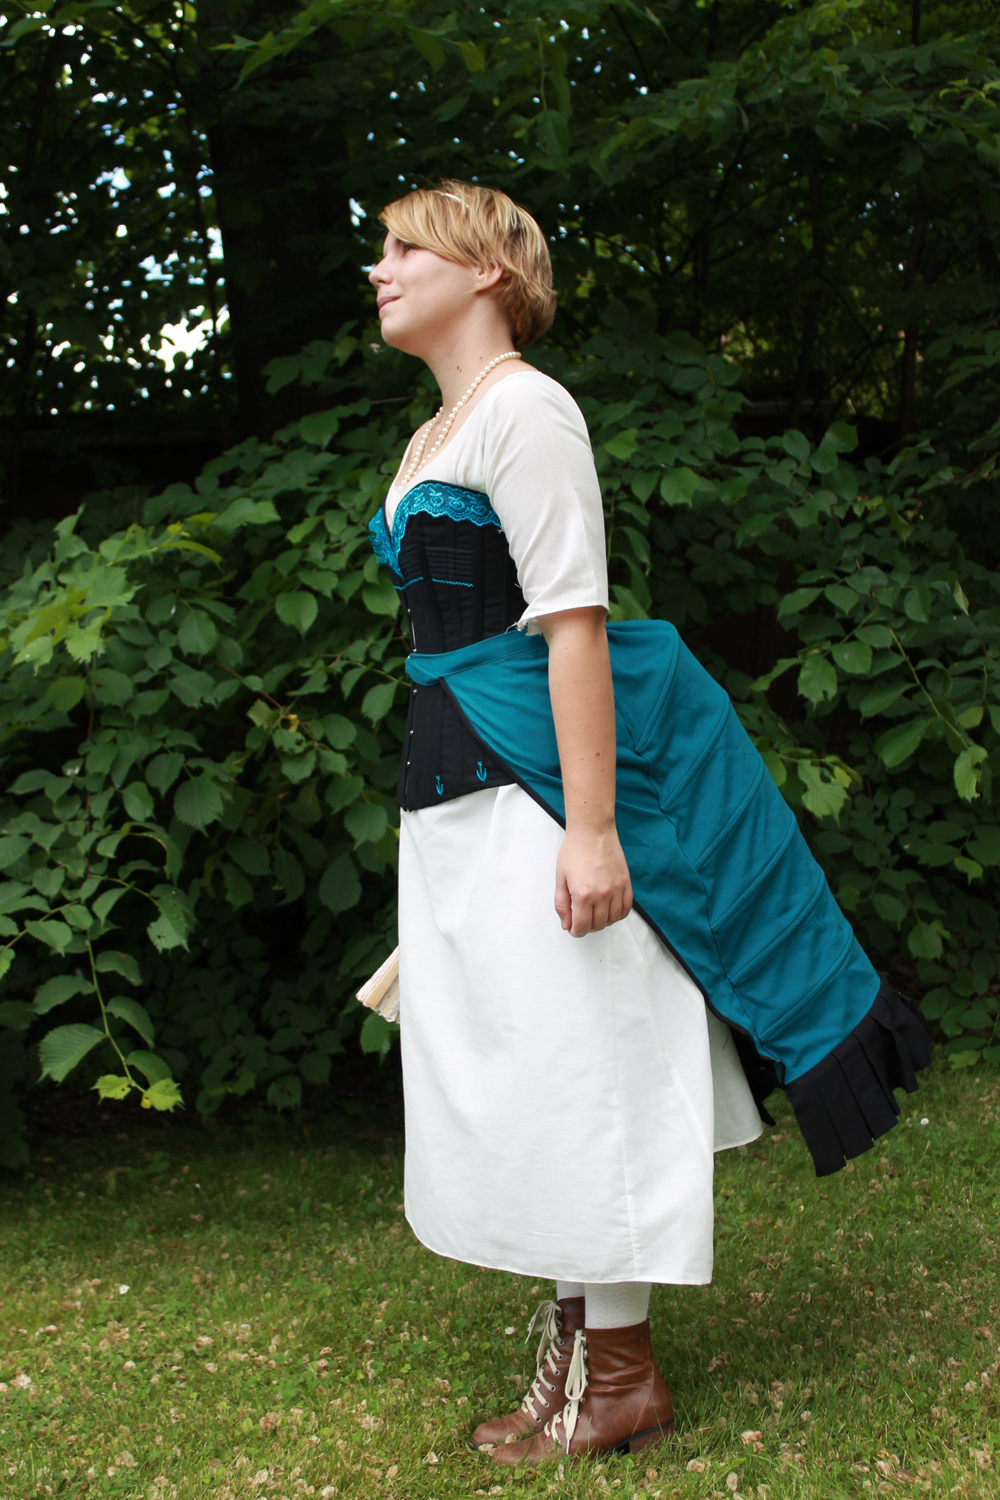
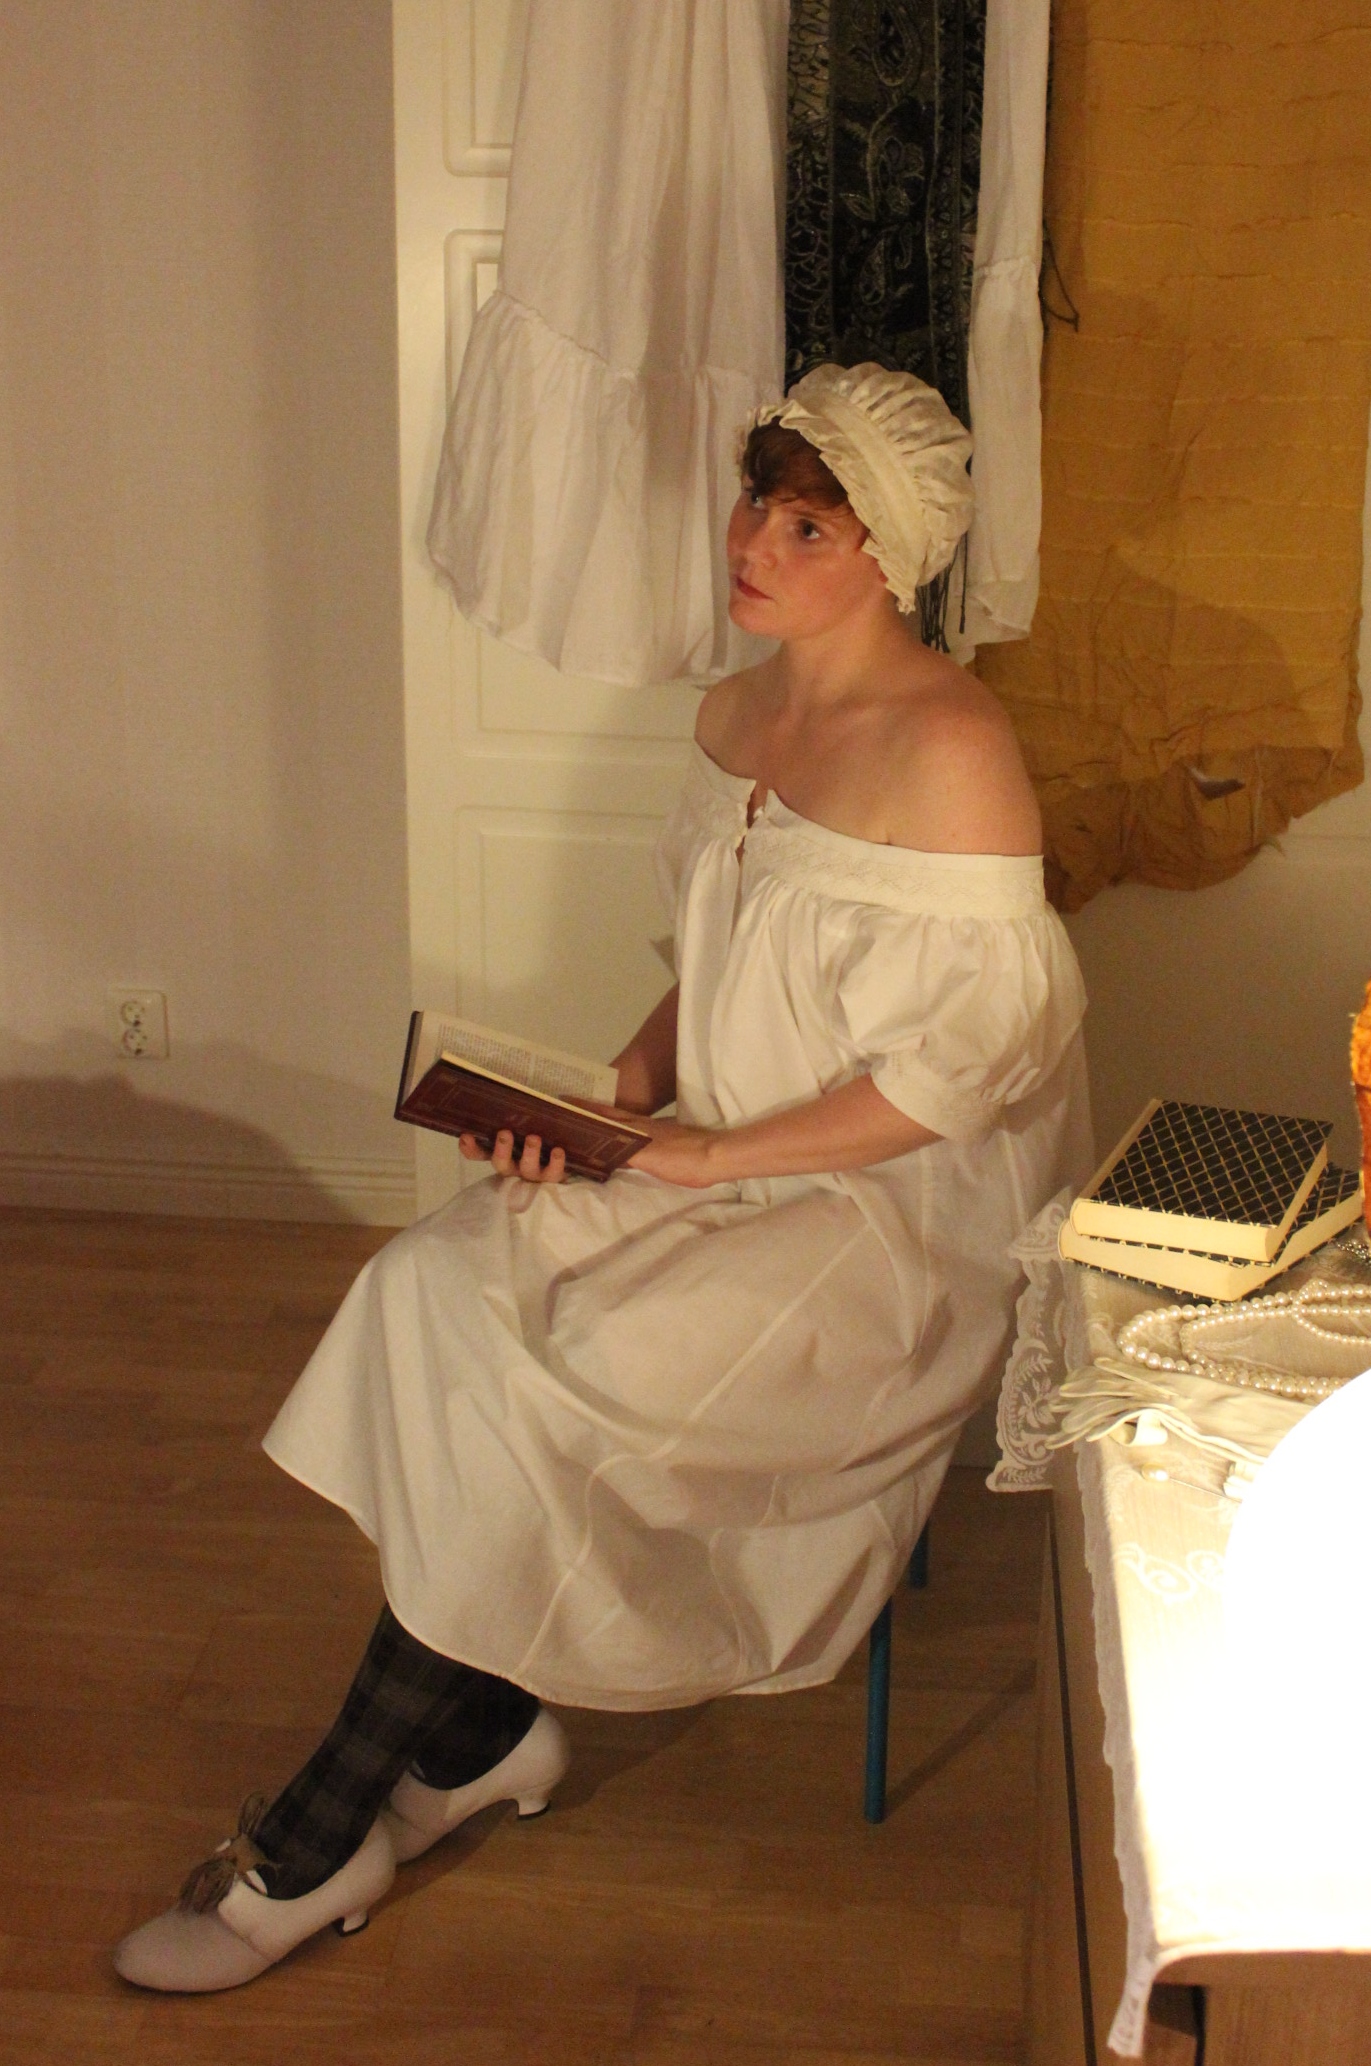
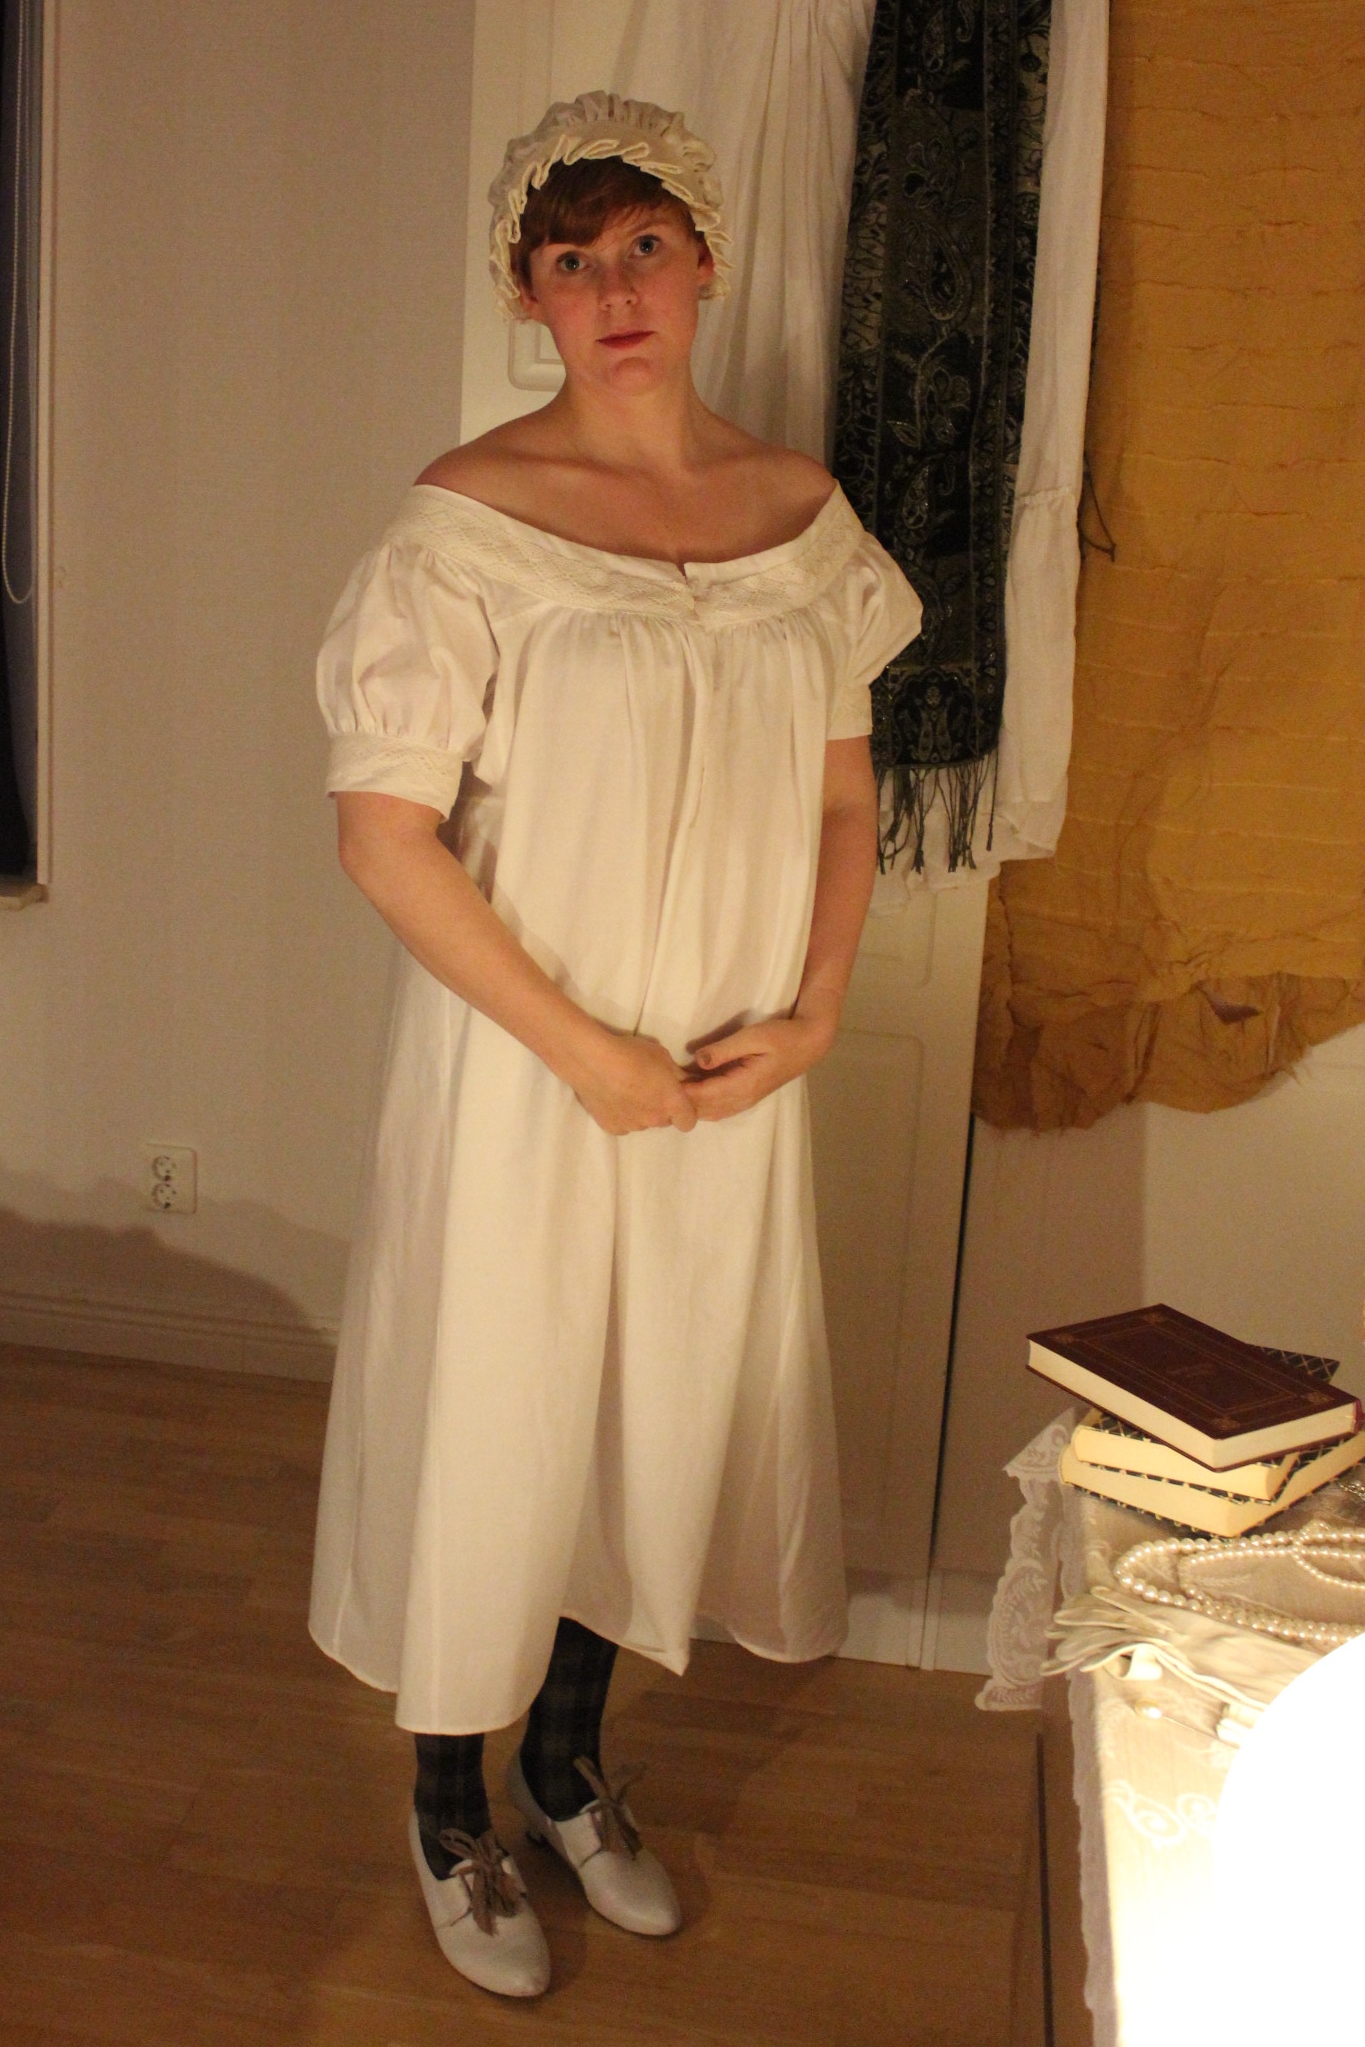
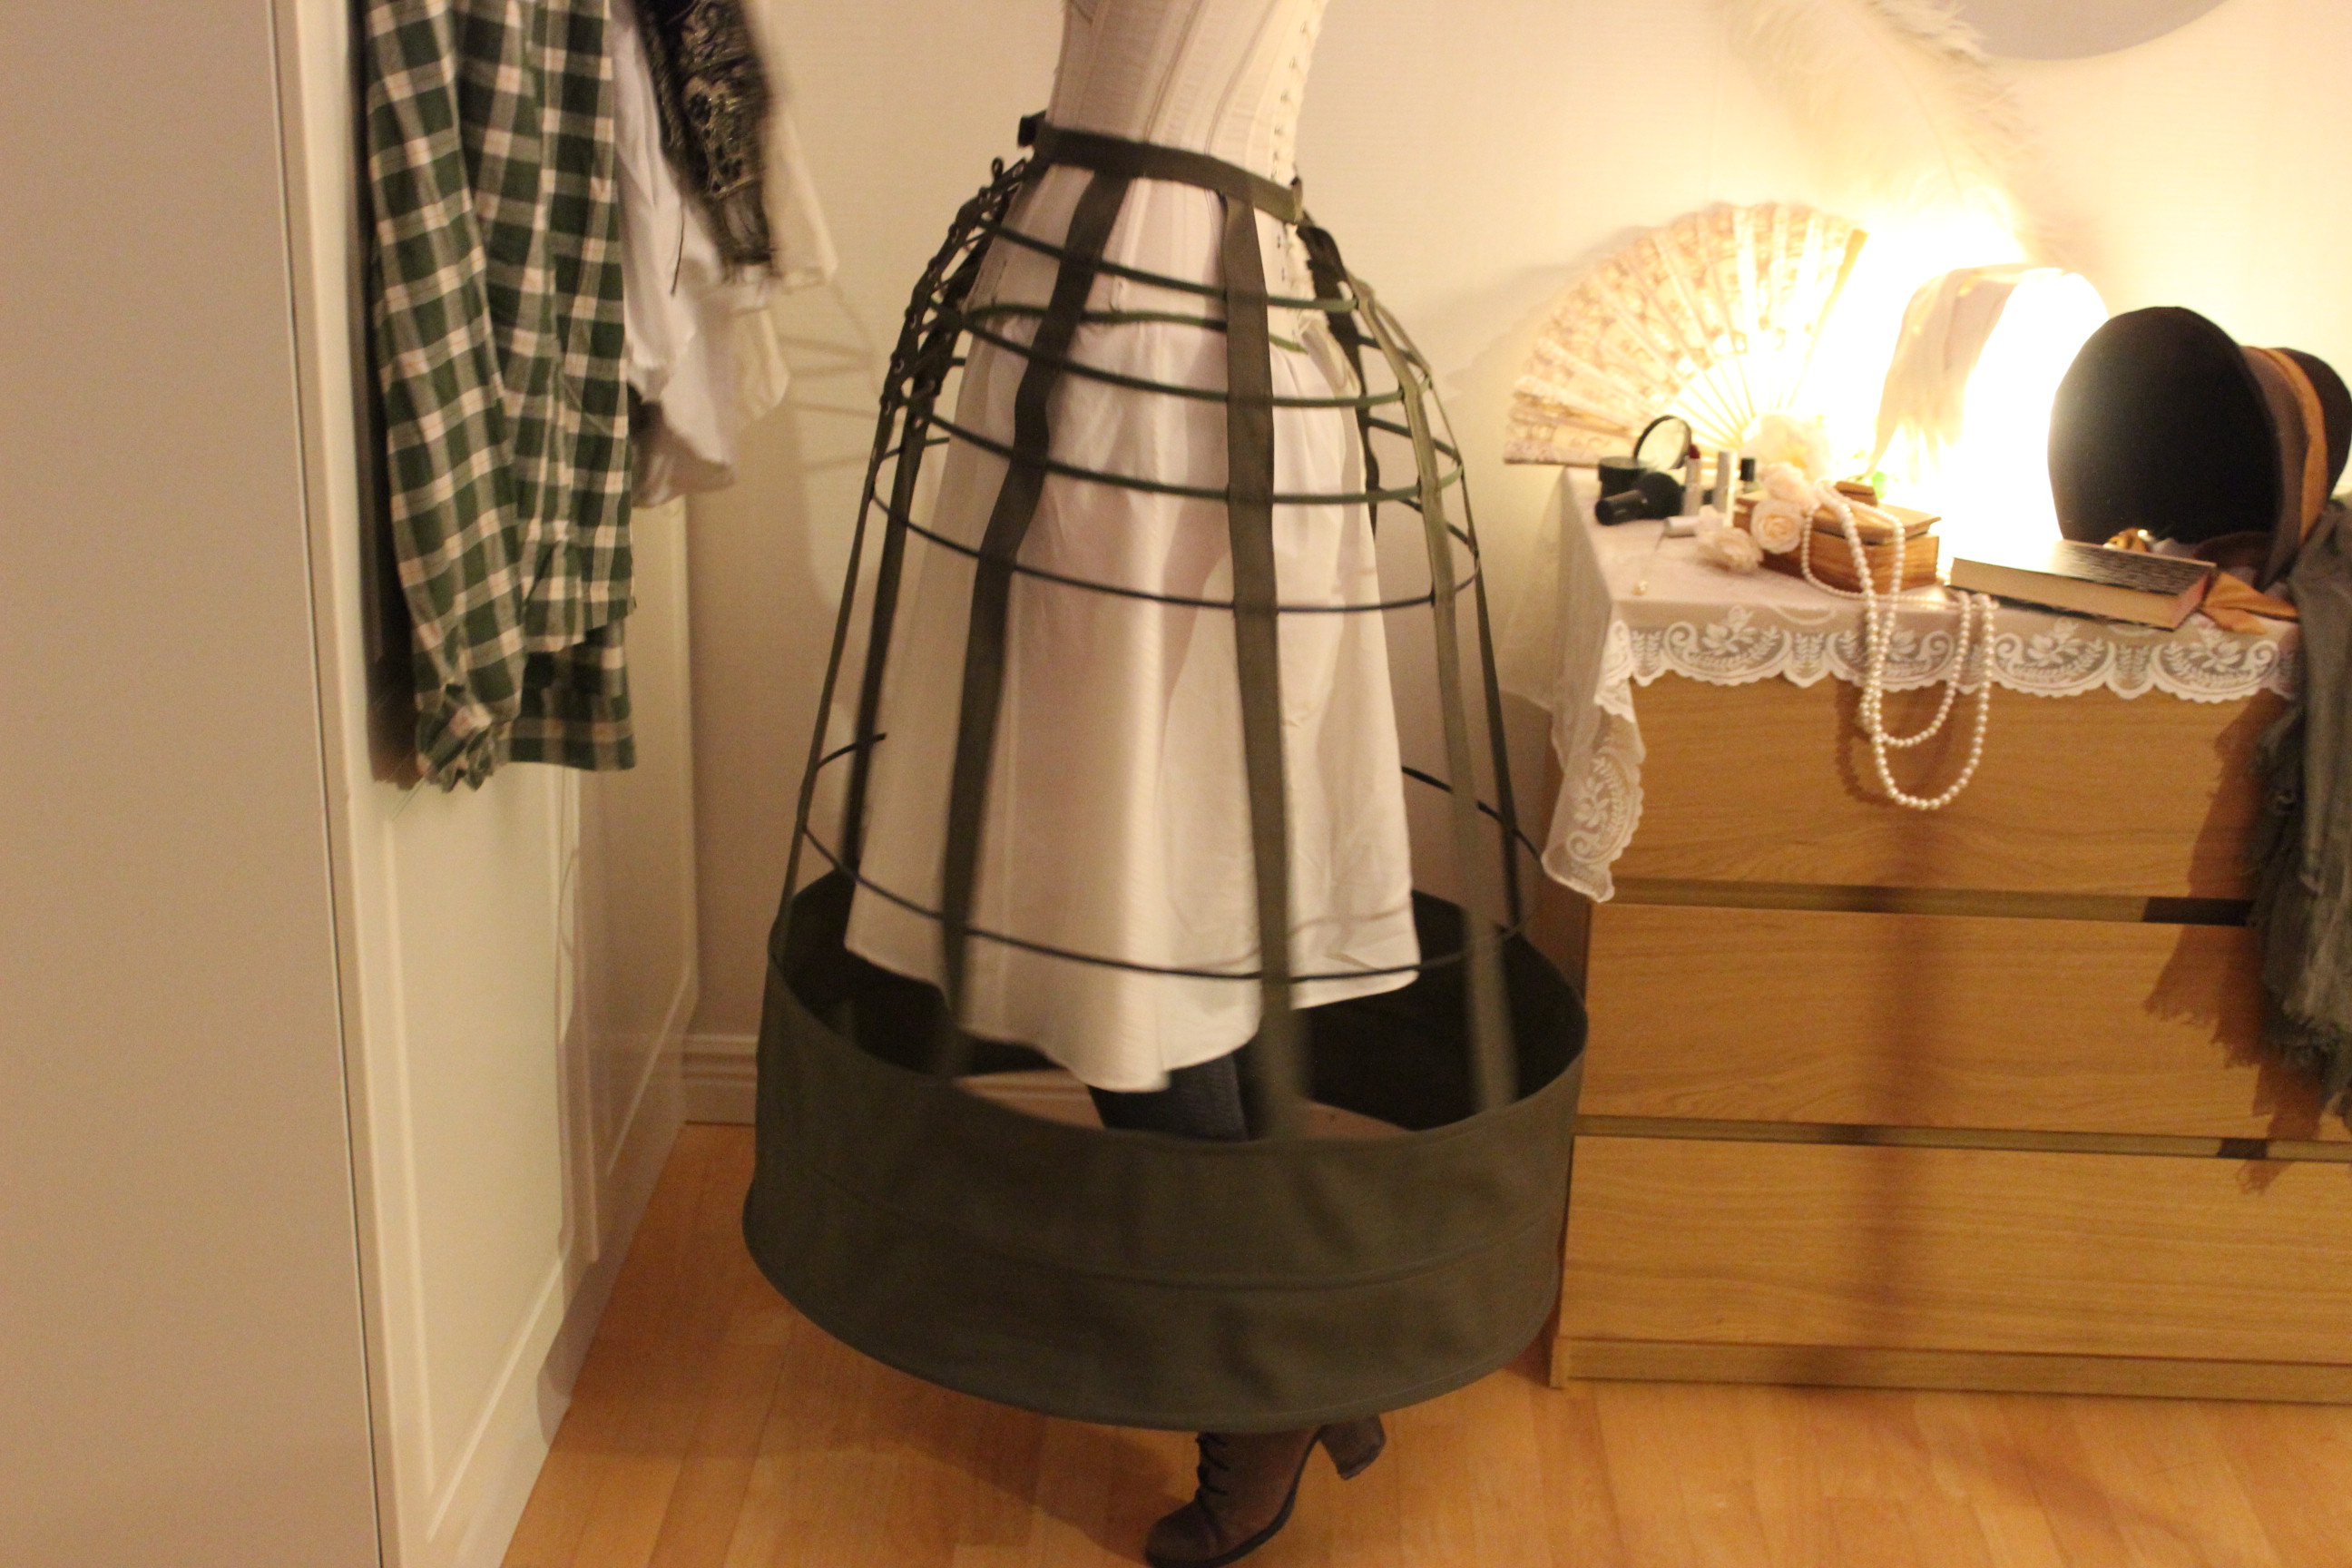
Finished photos:


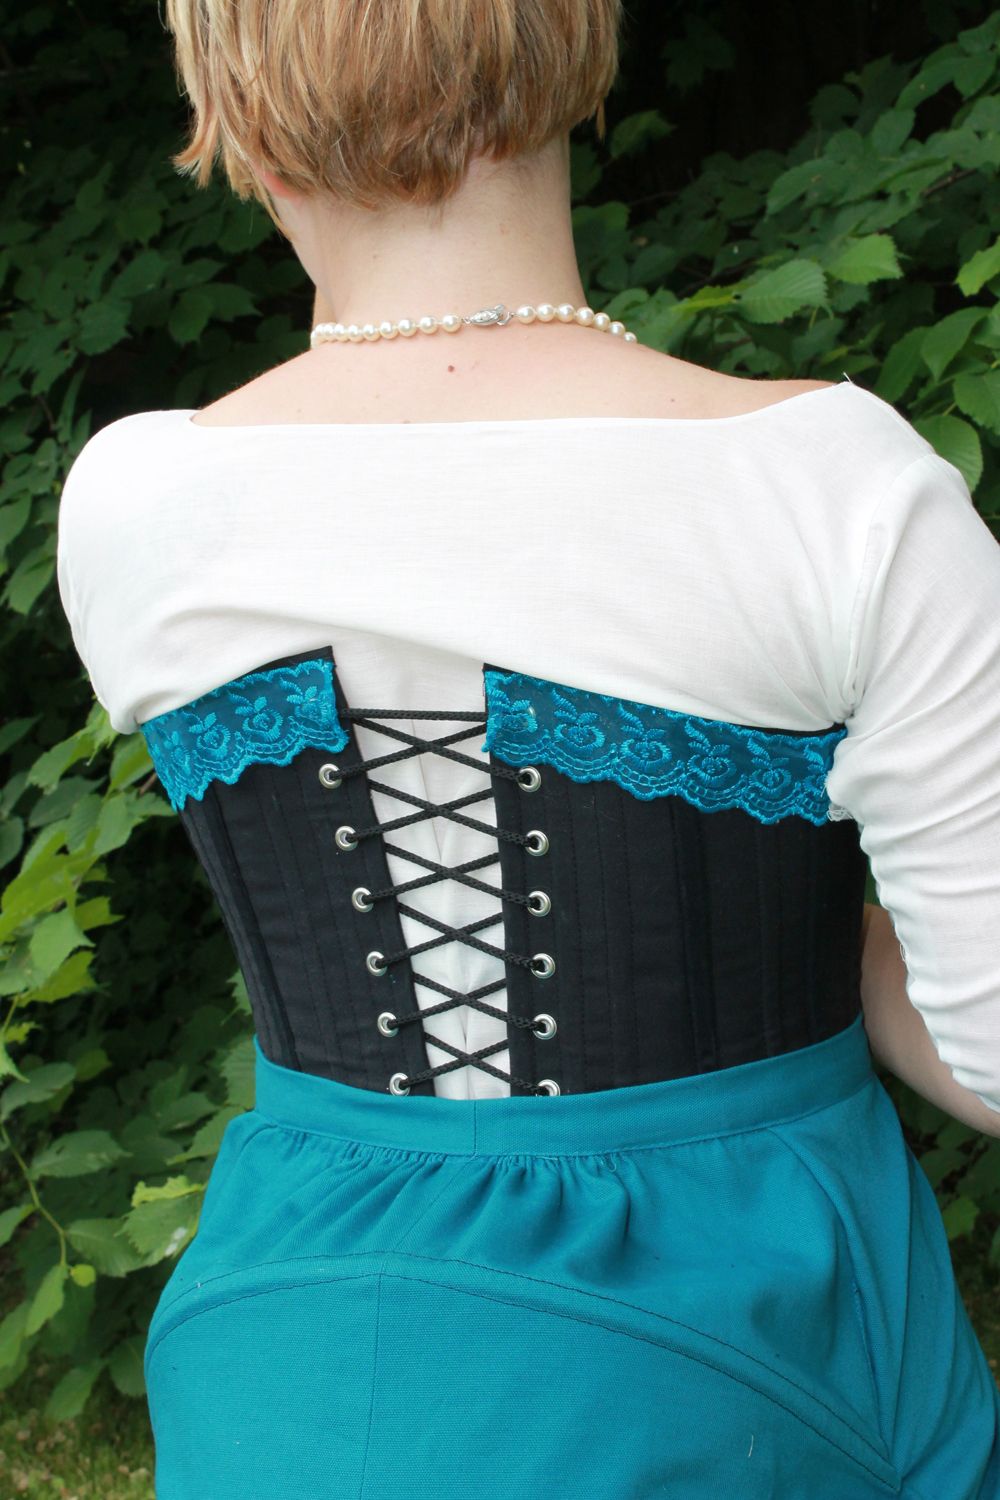
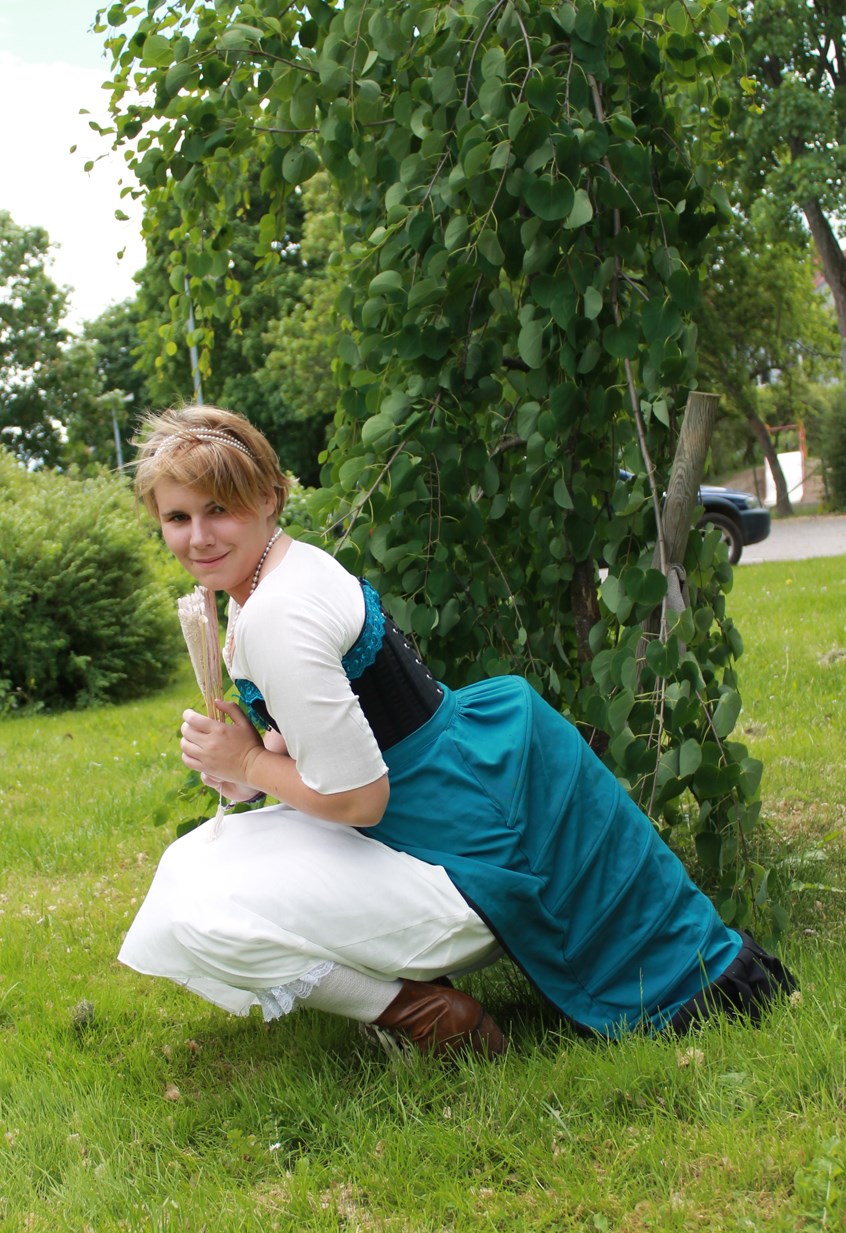
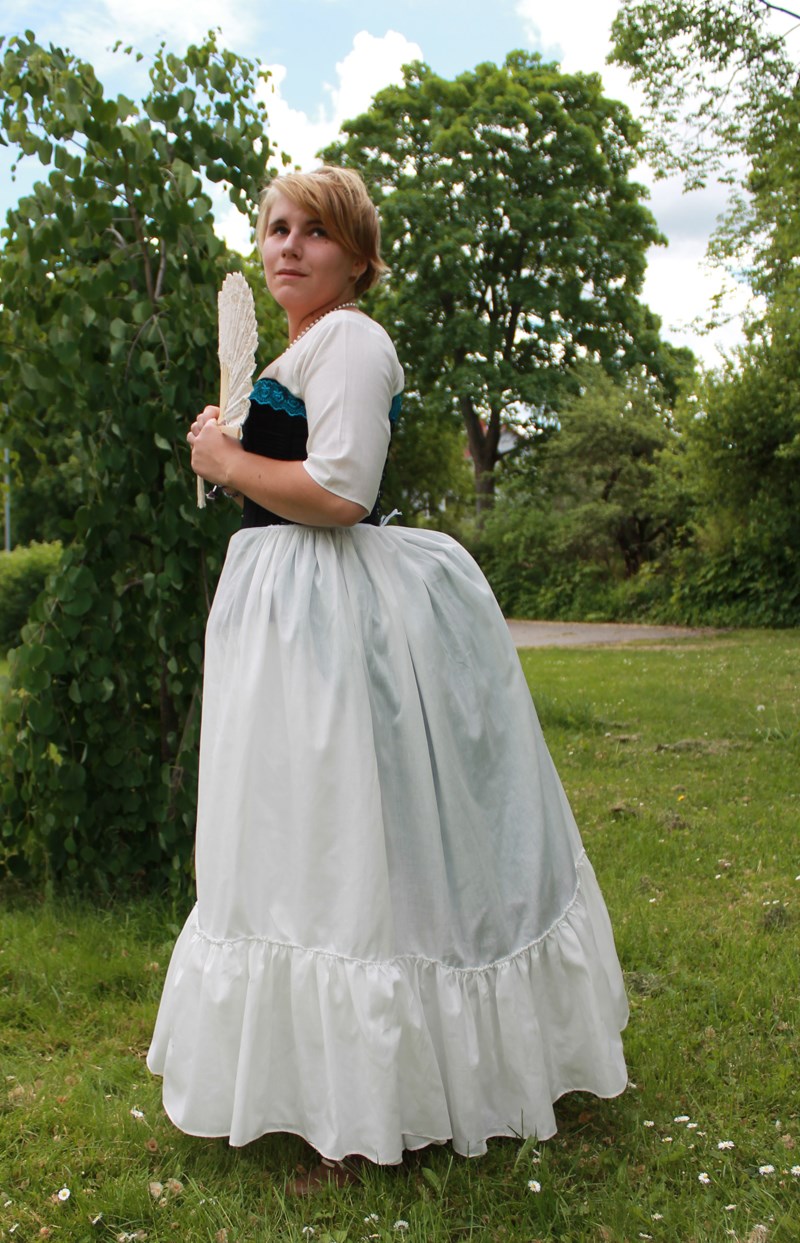
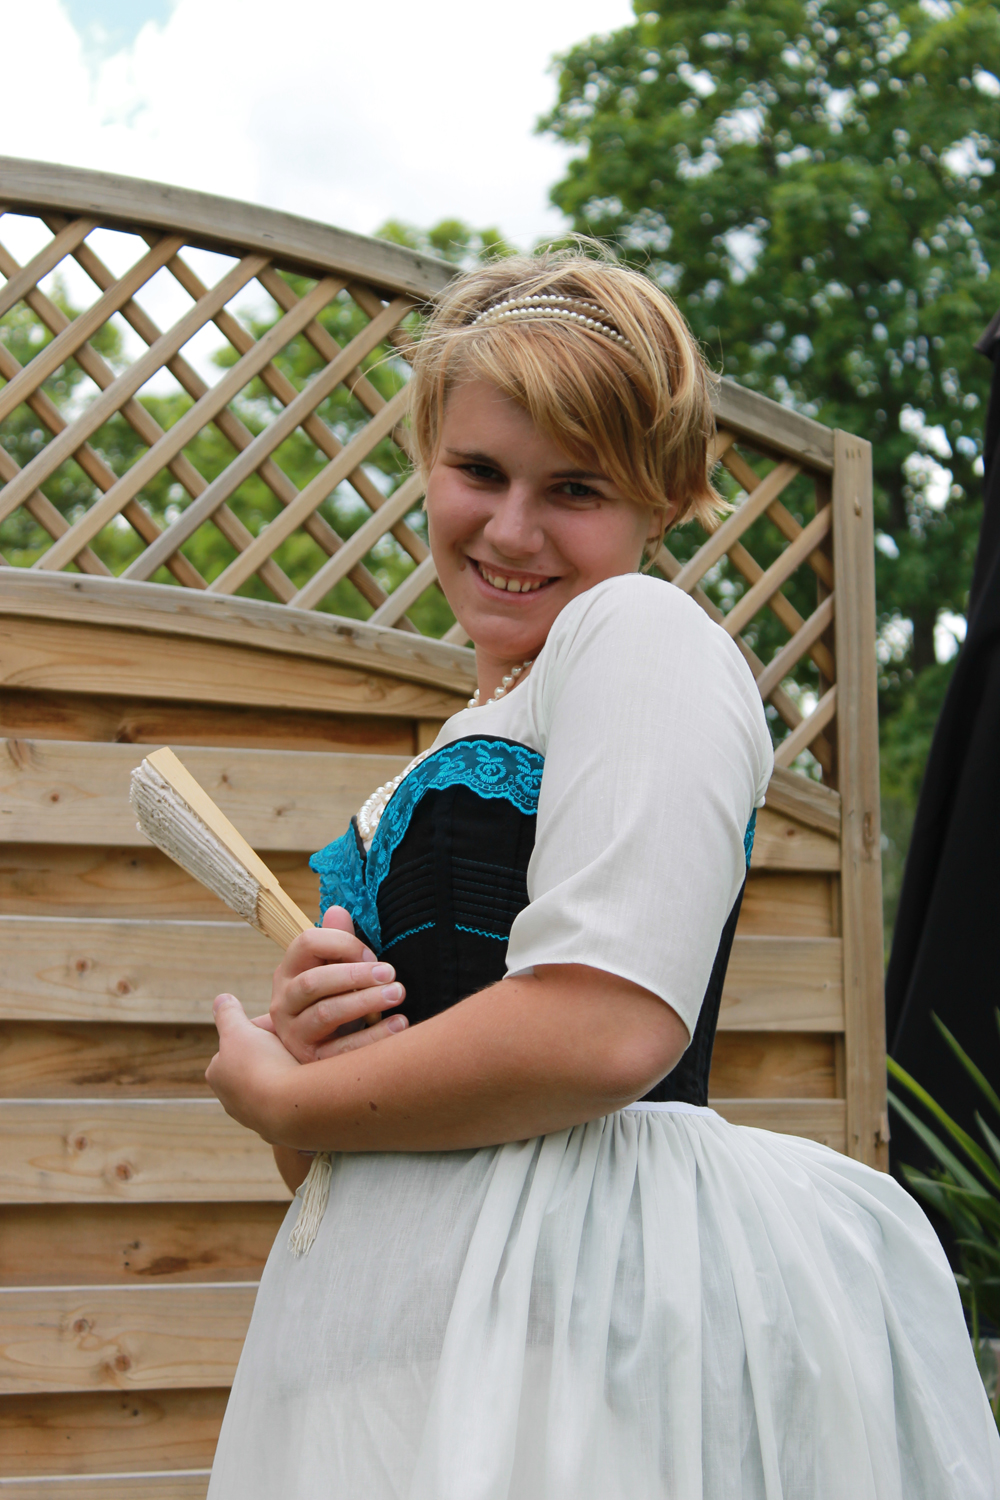
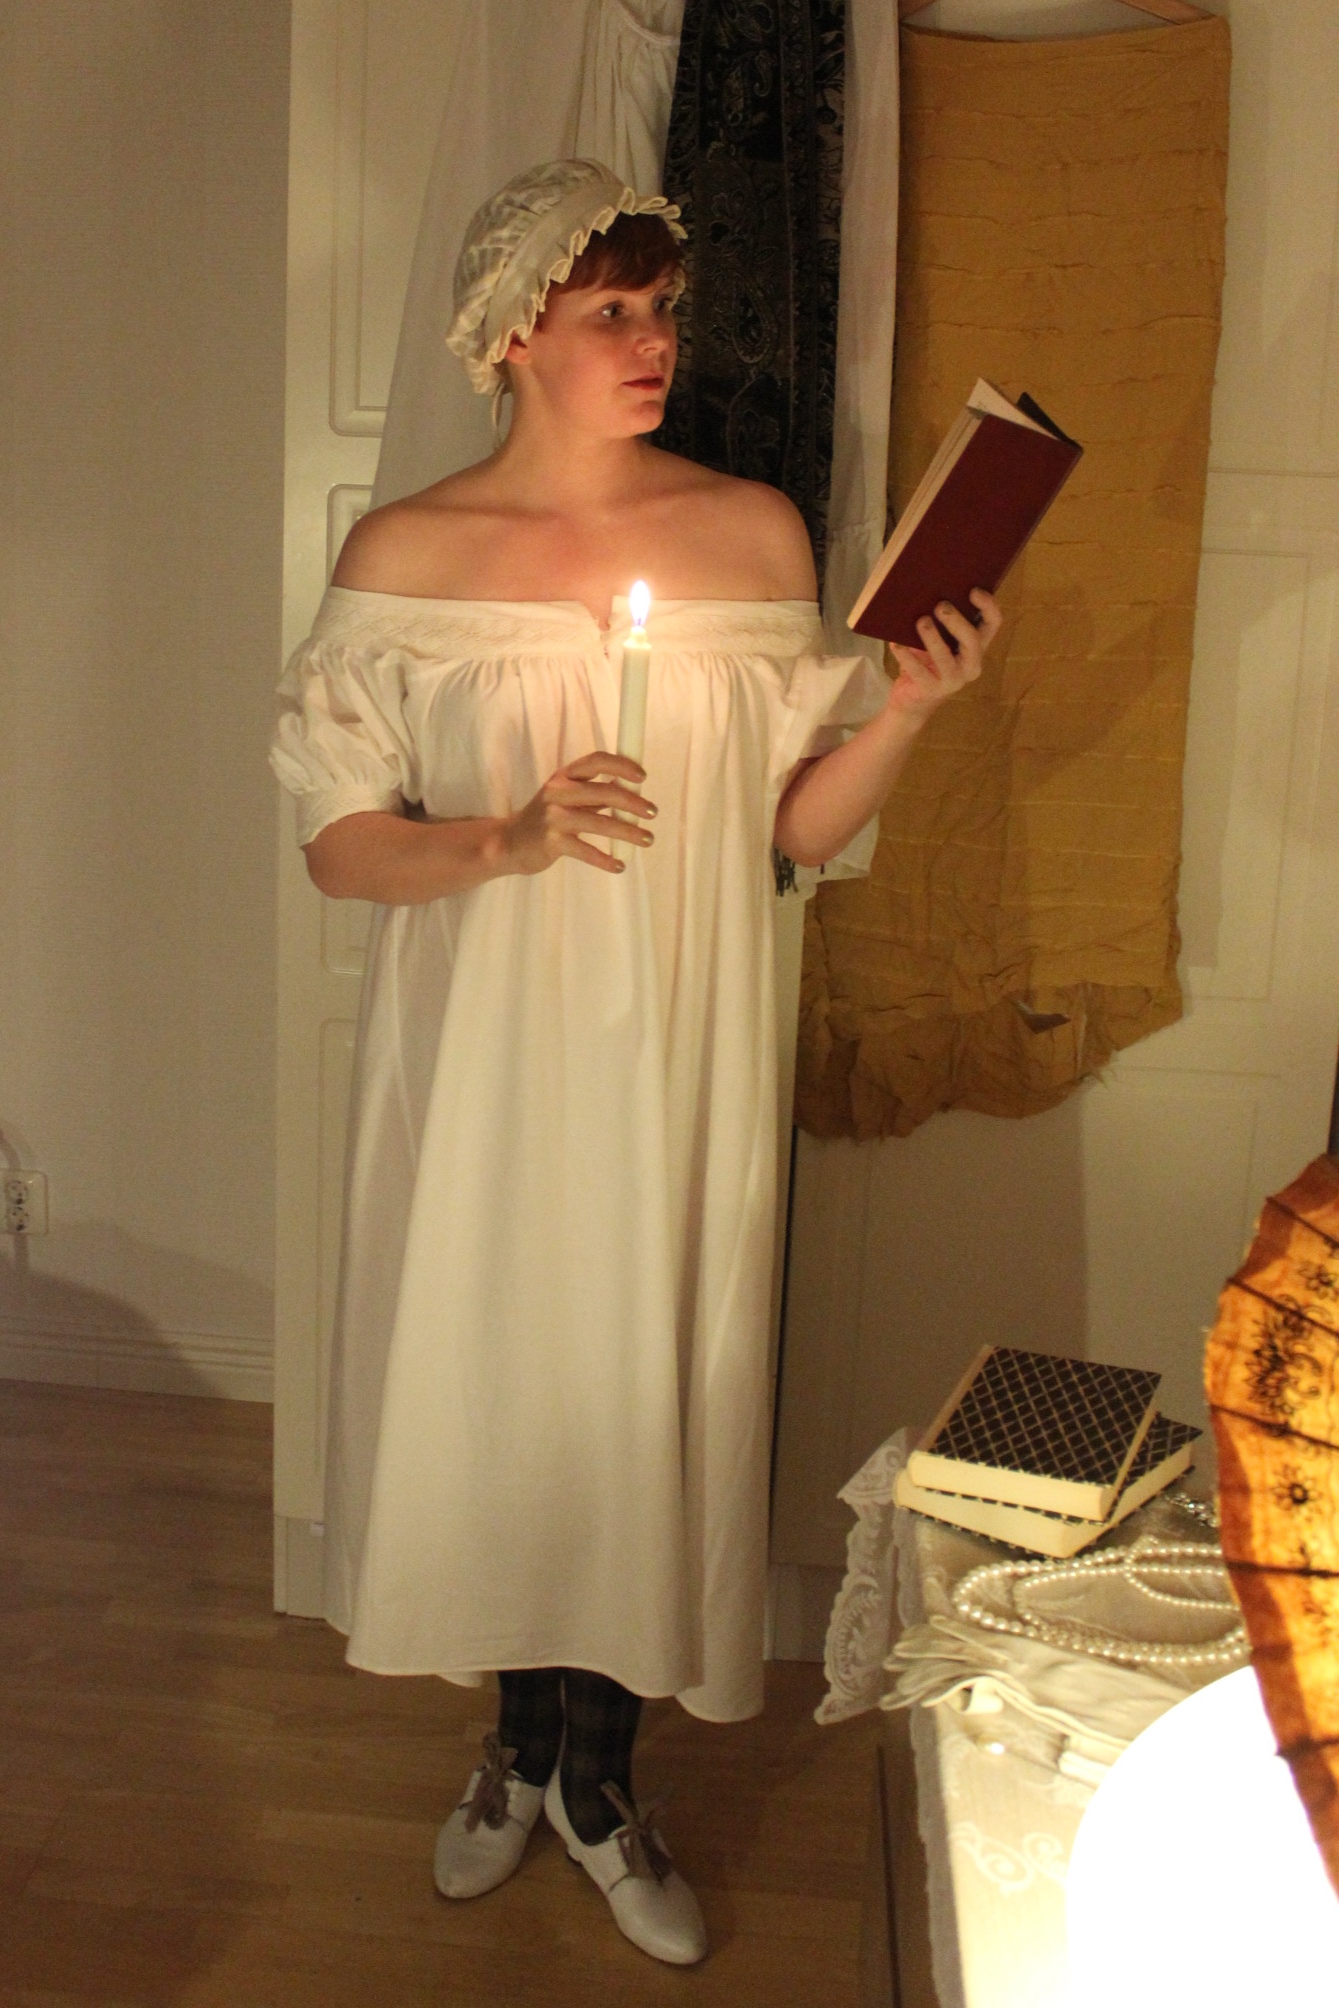
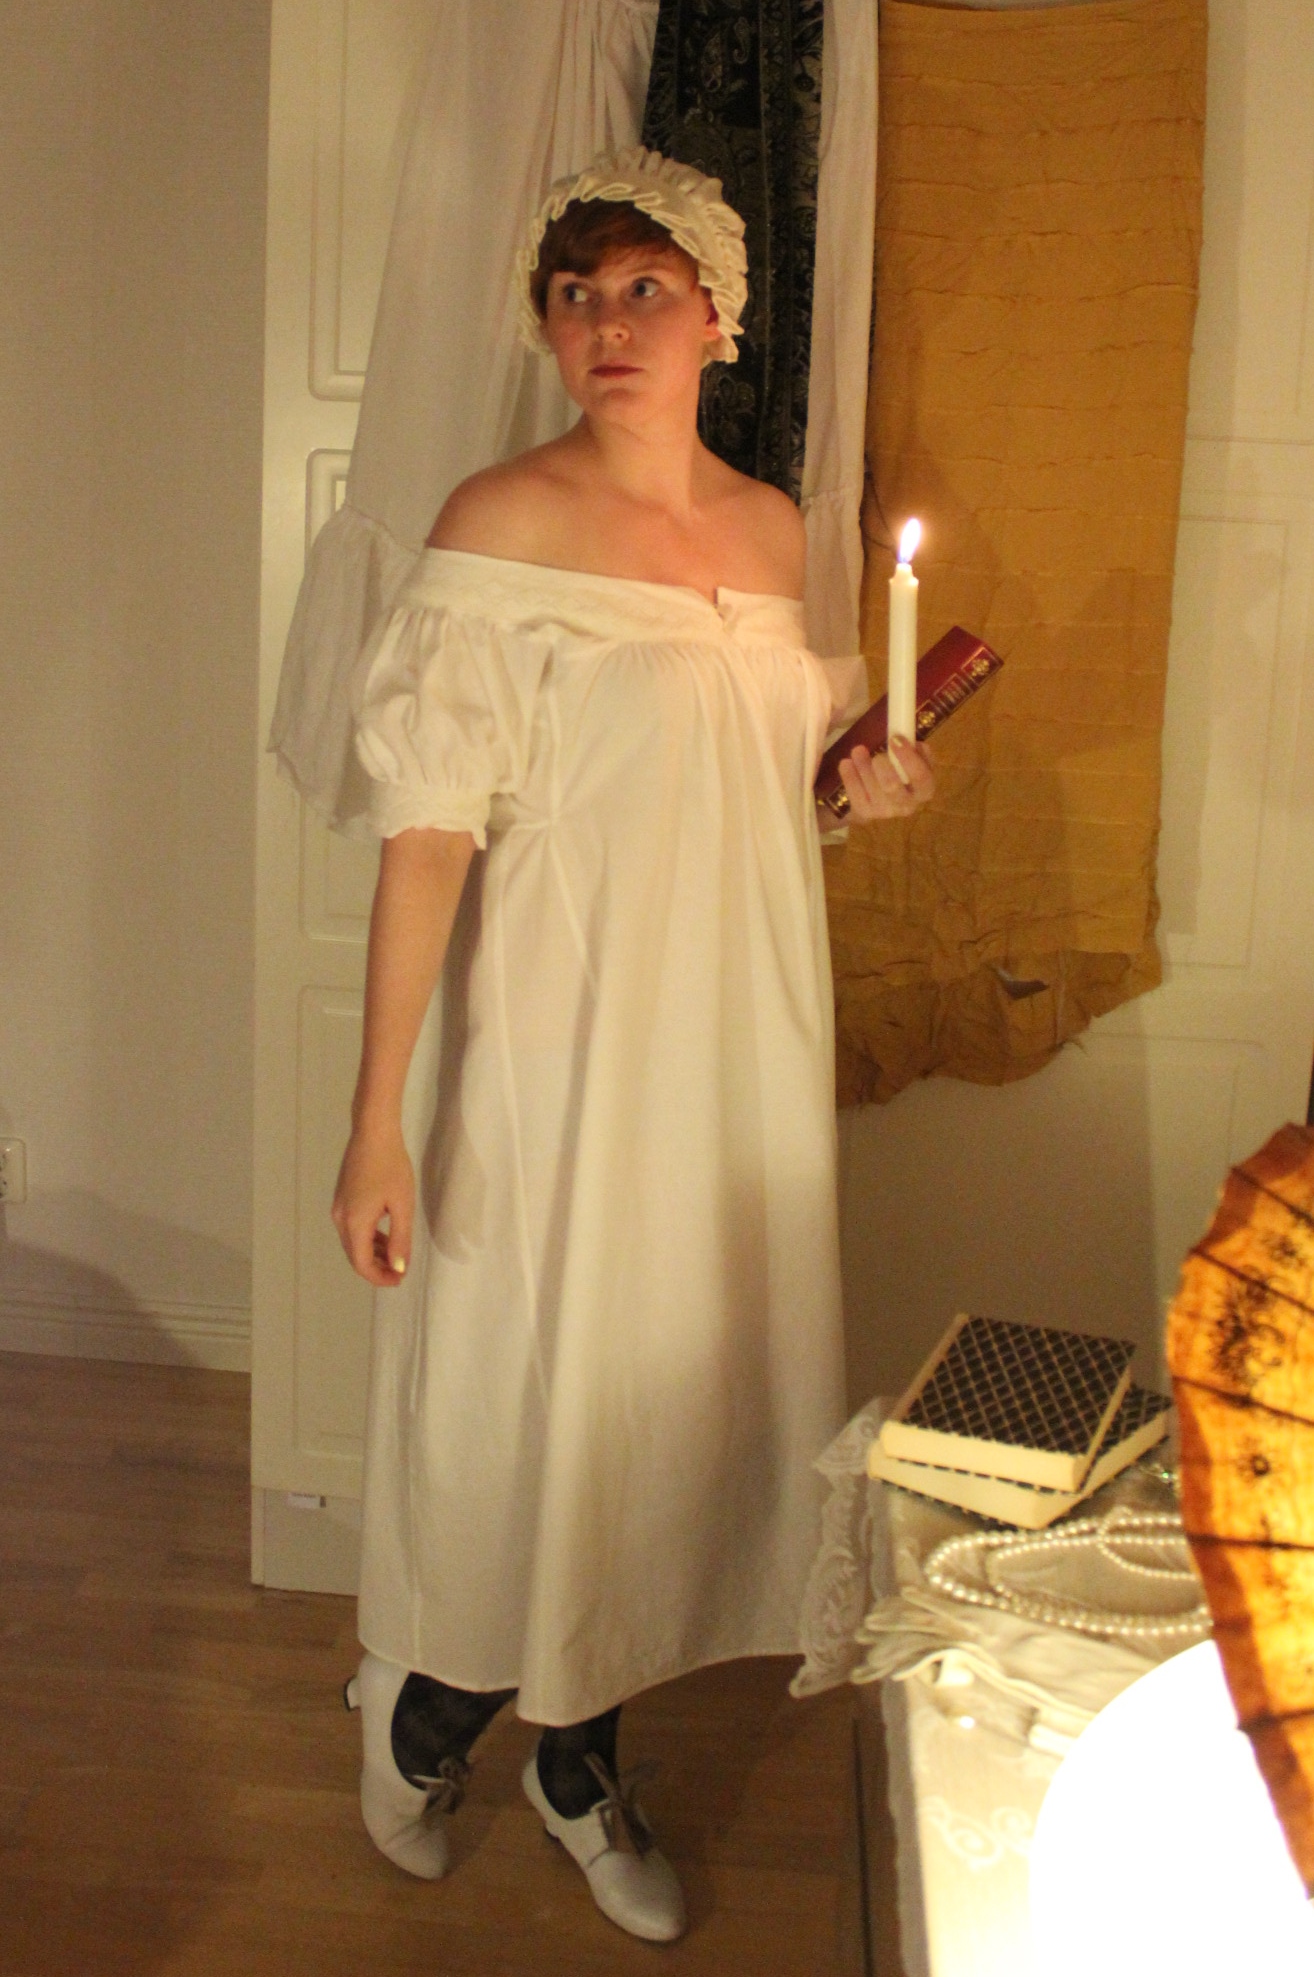
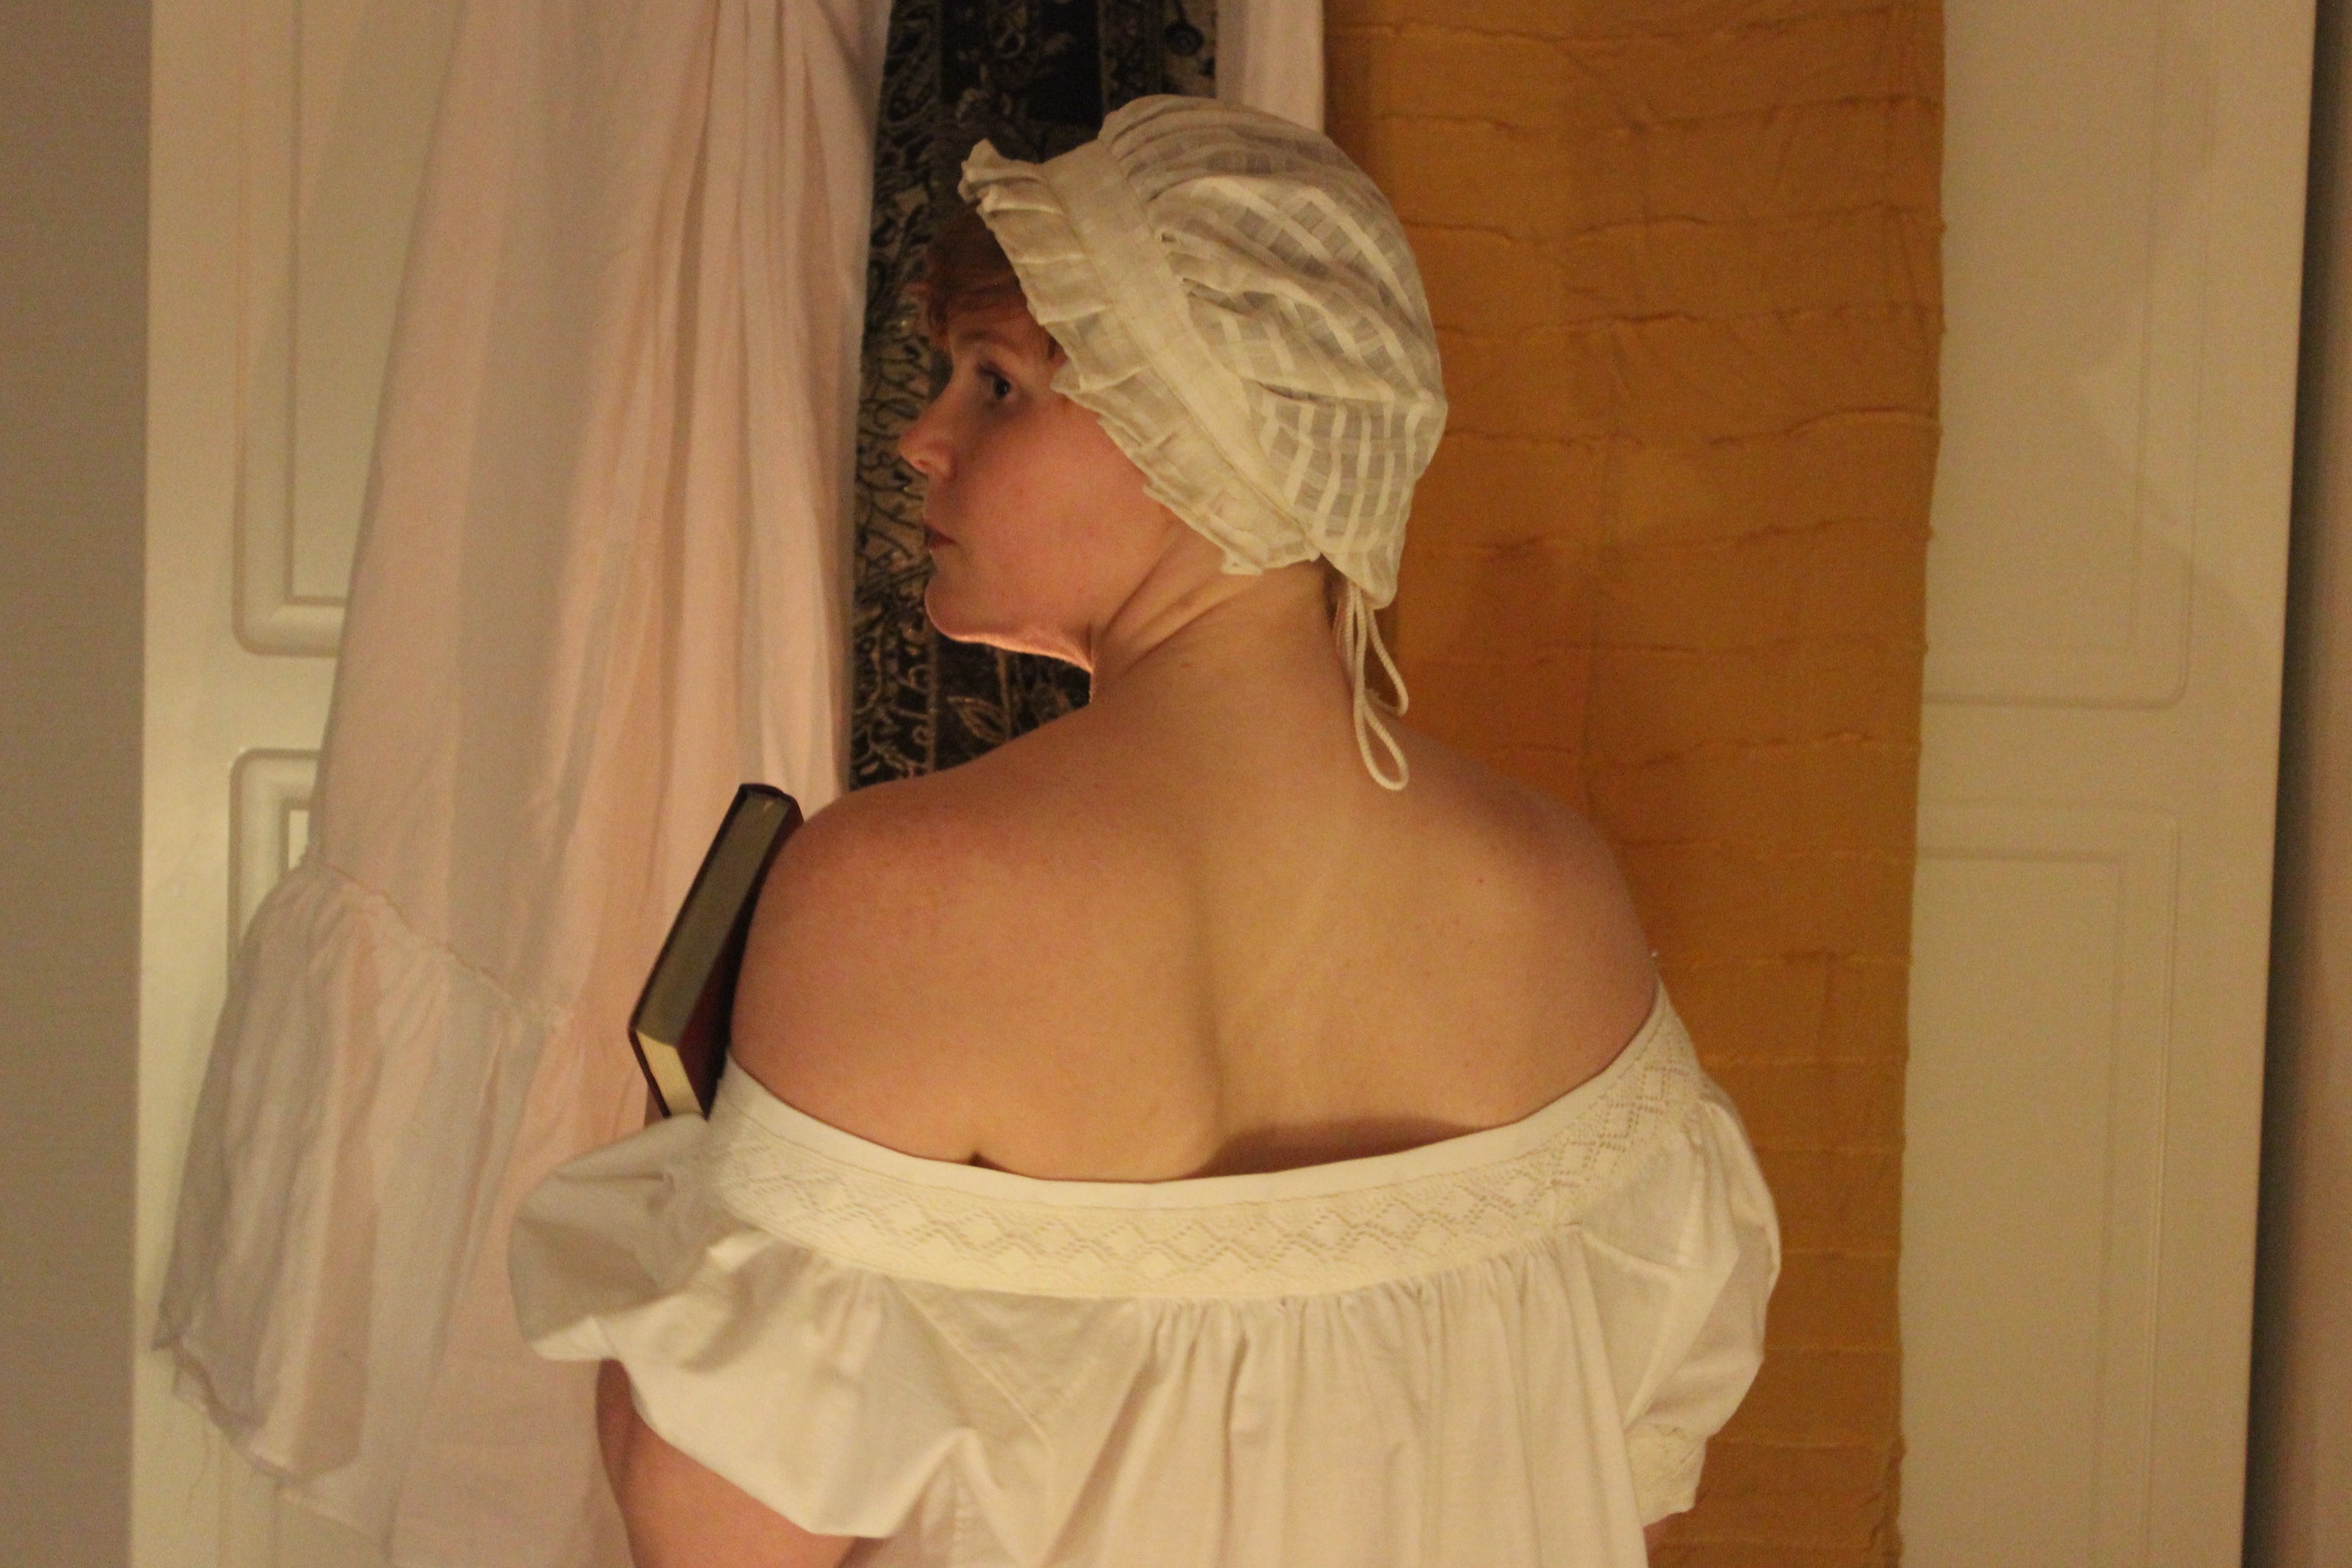
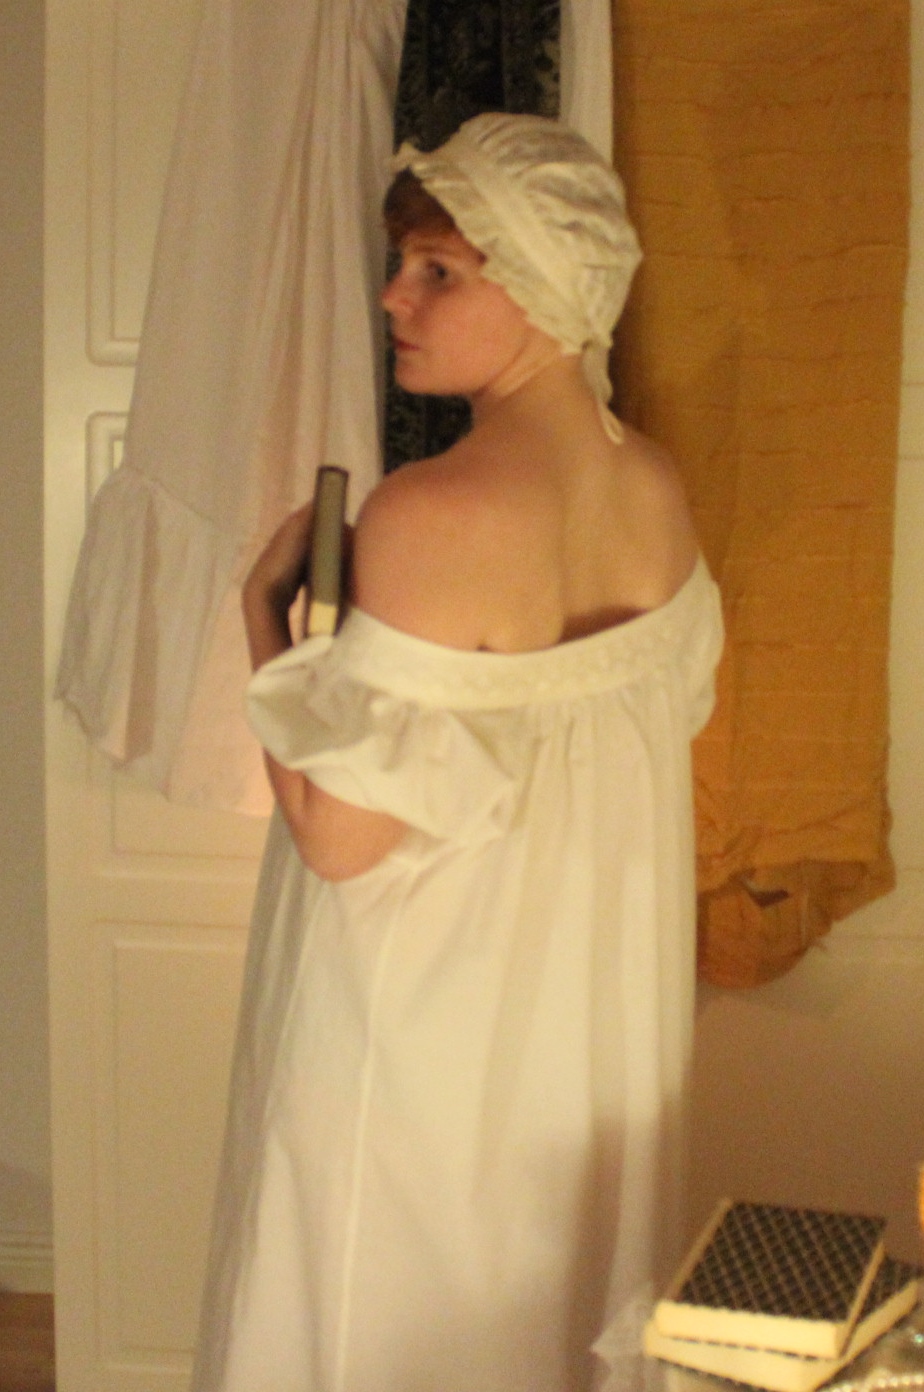
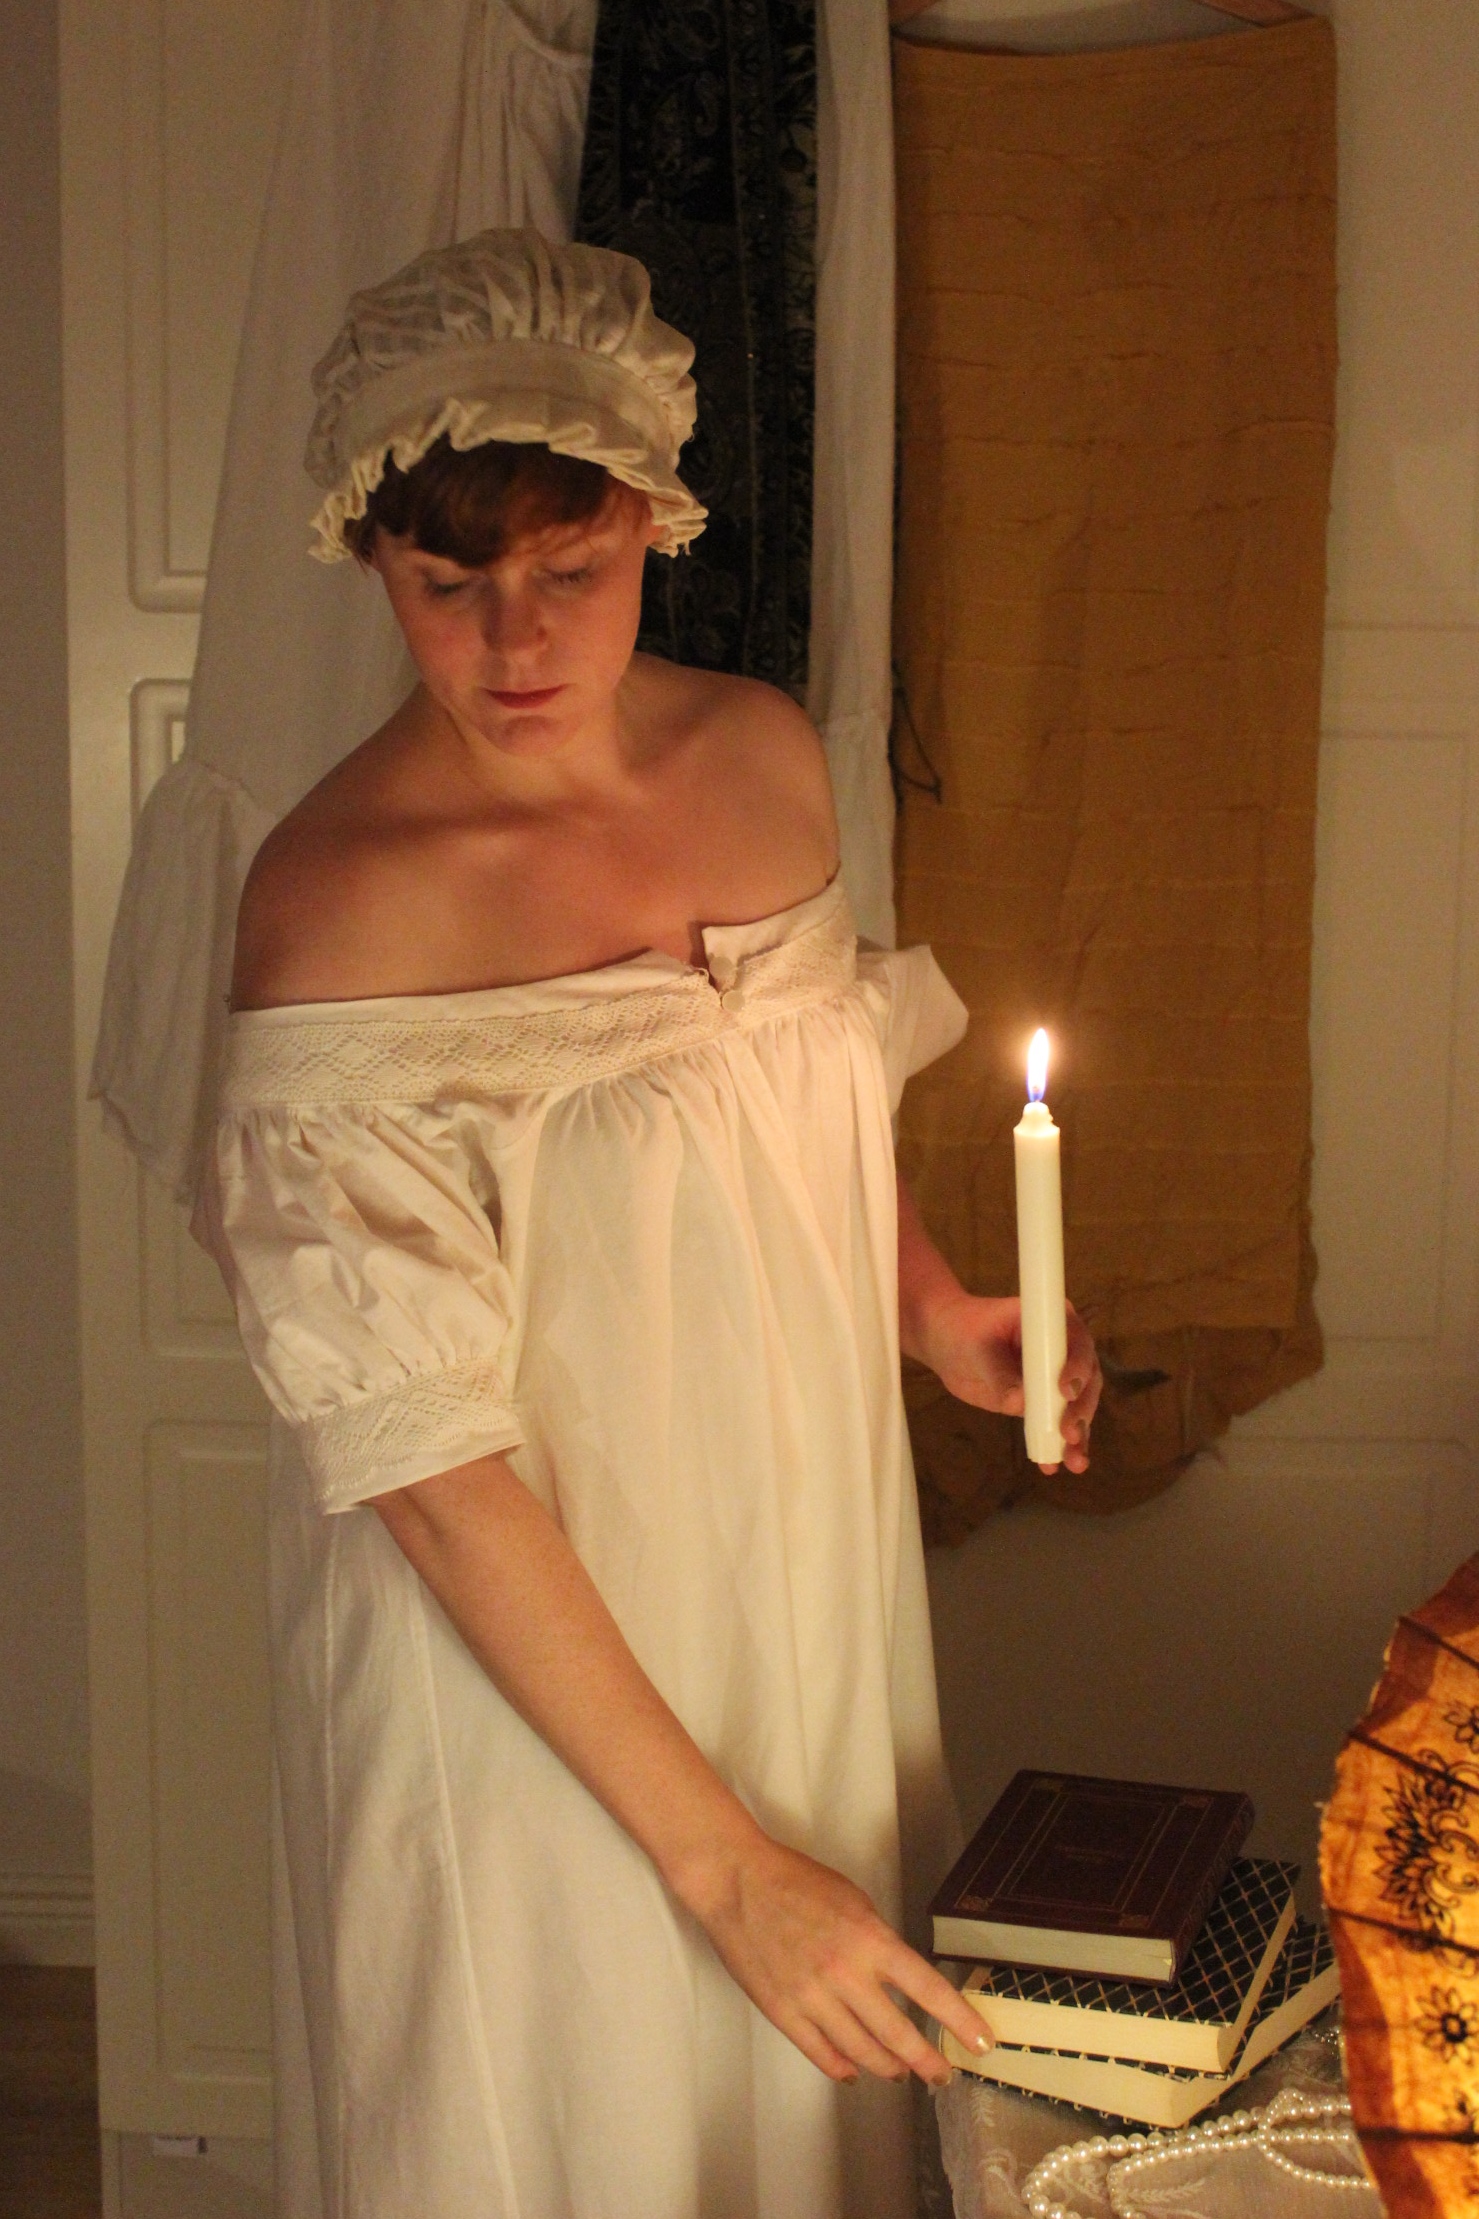
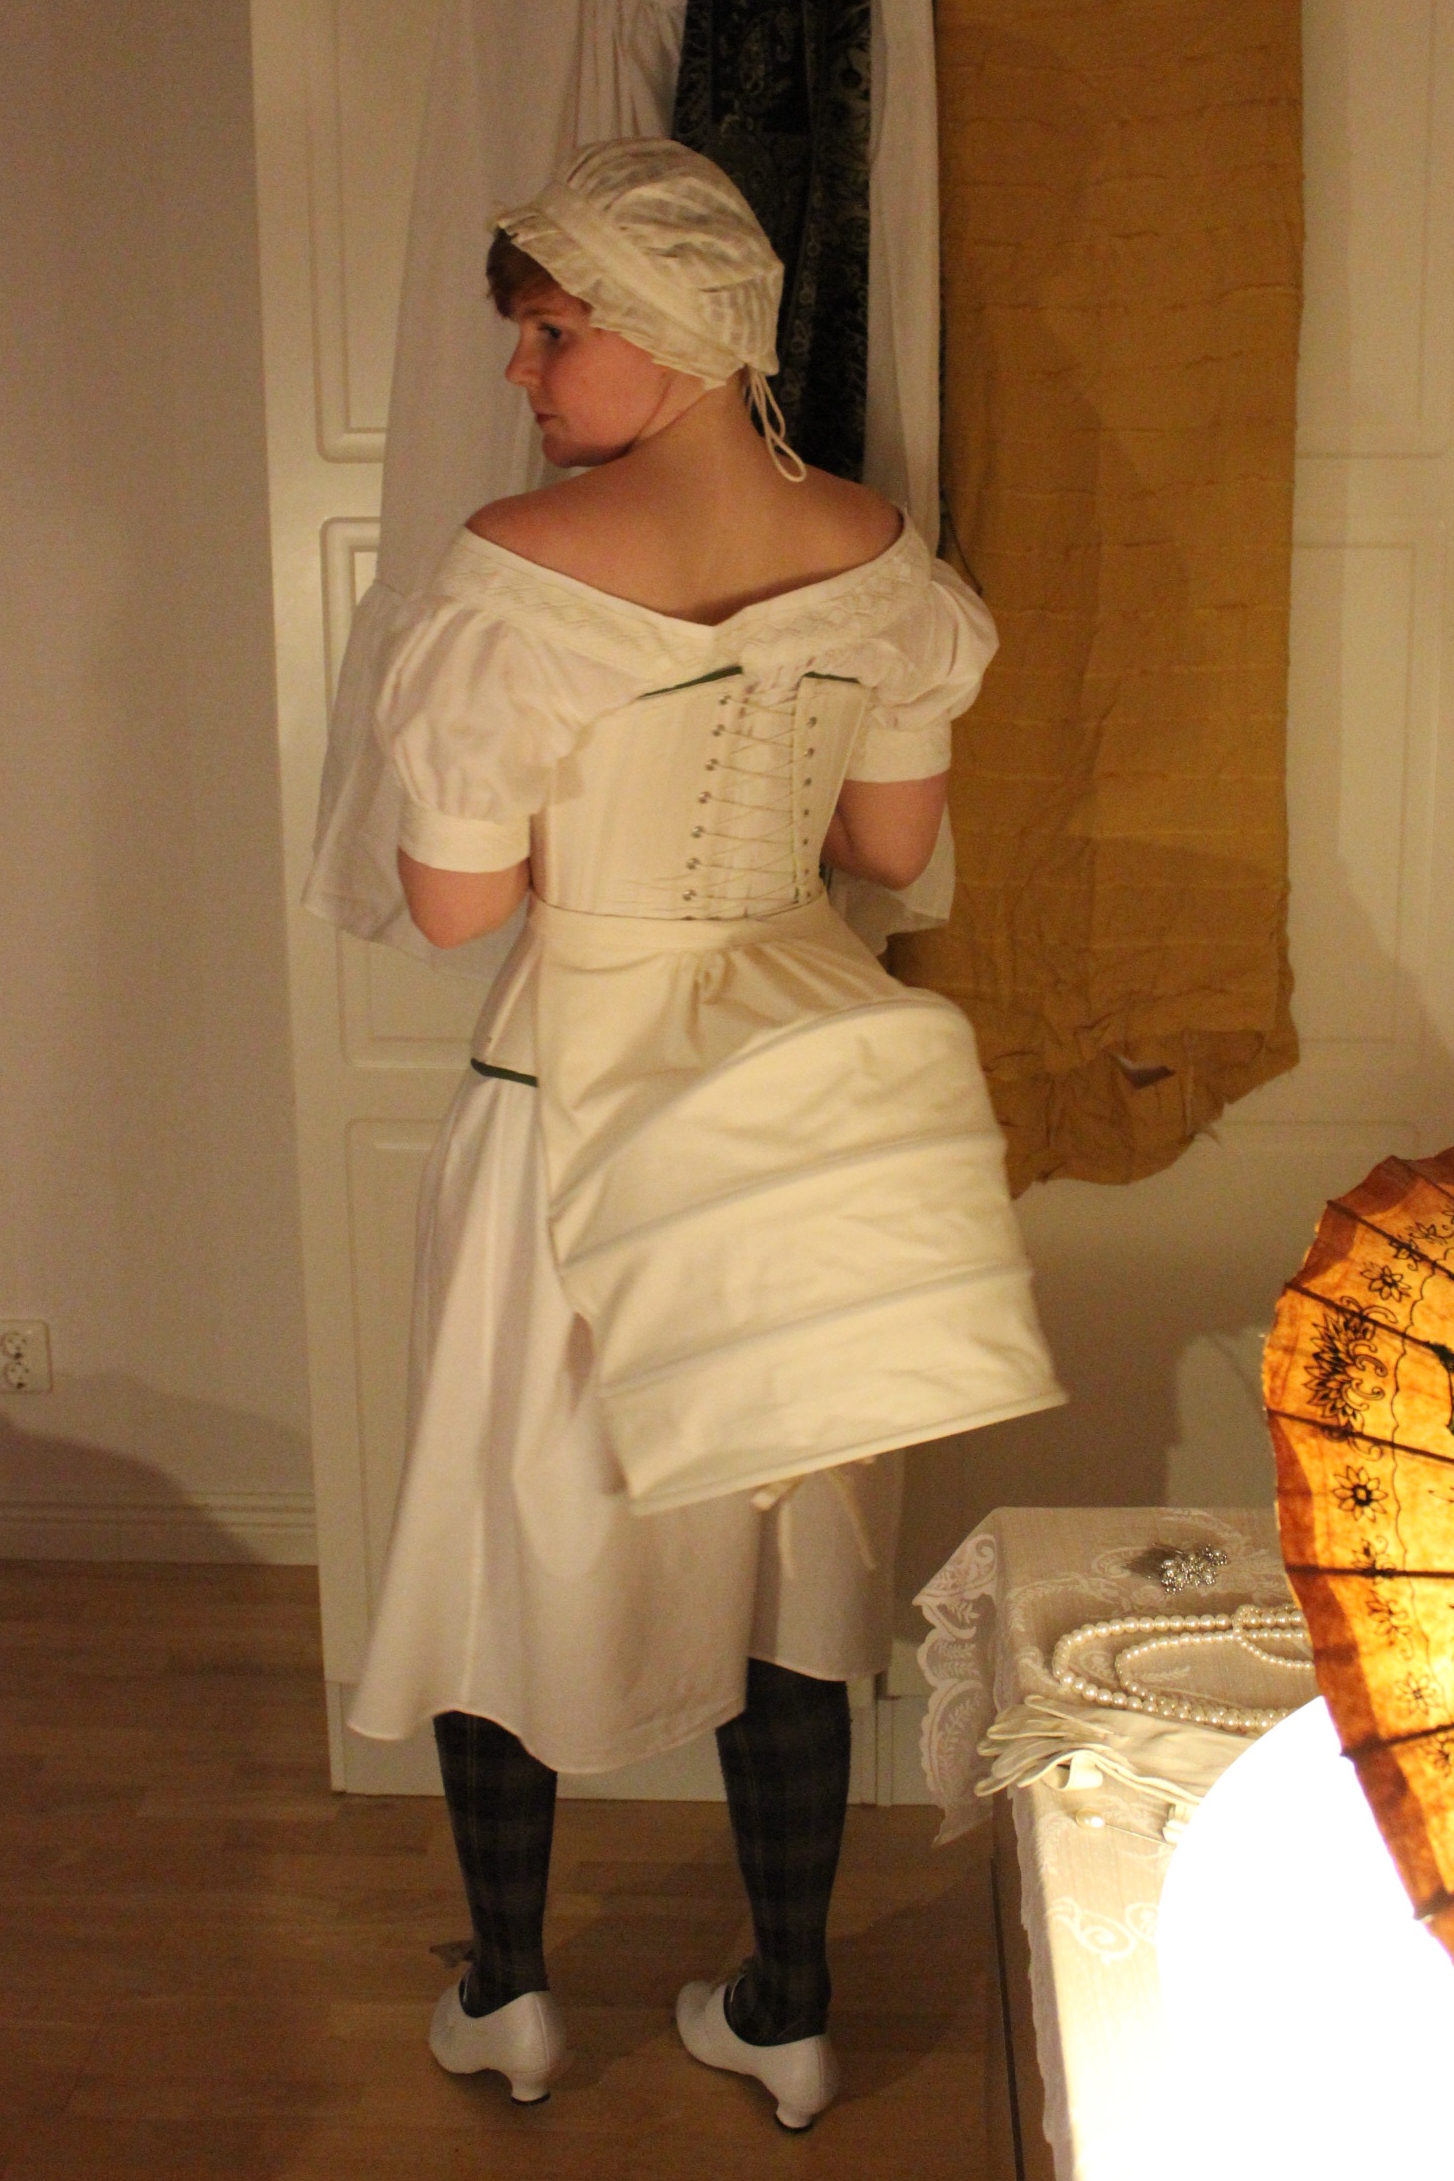
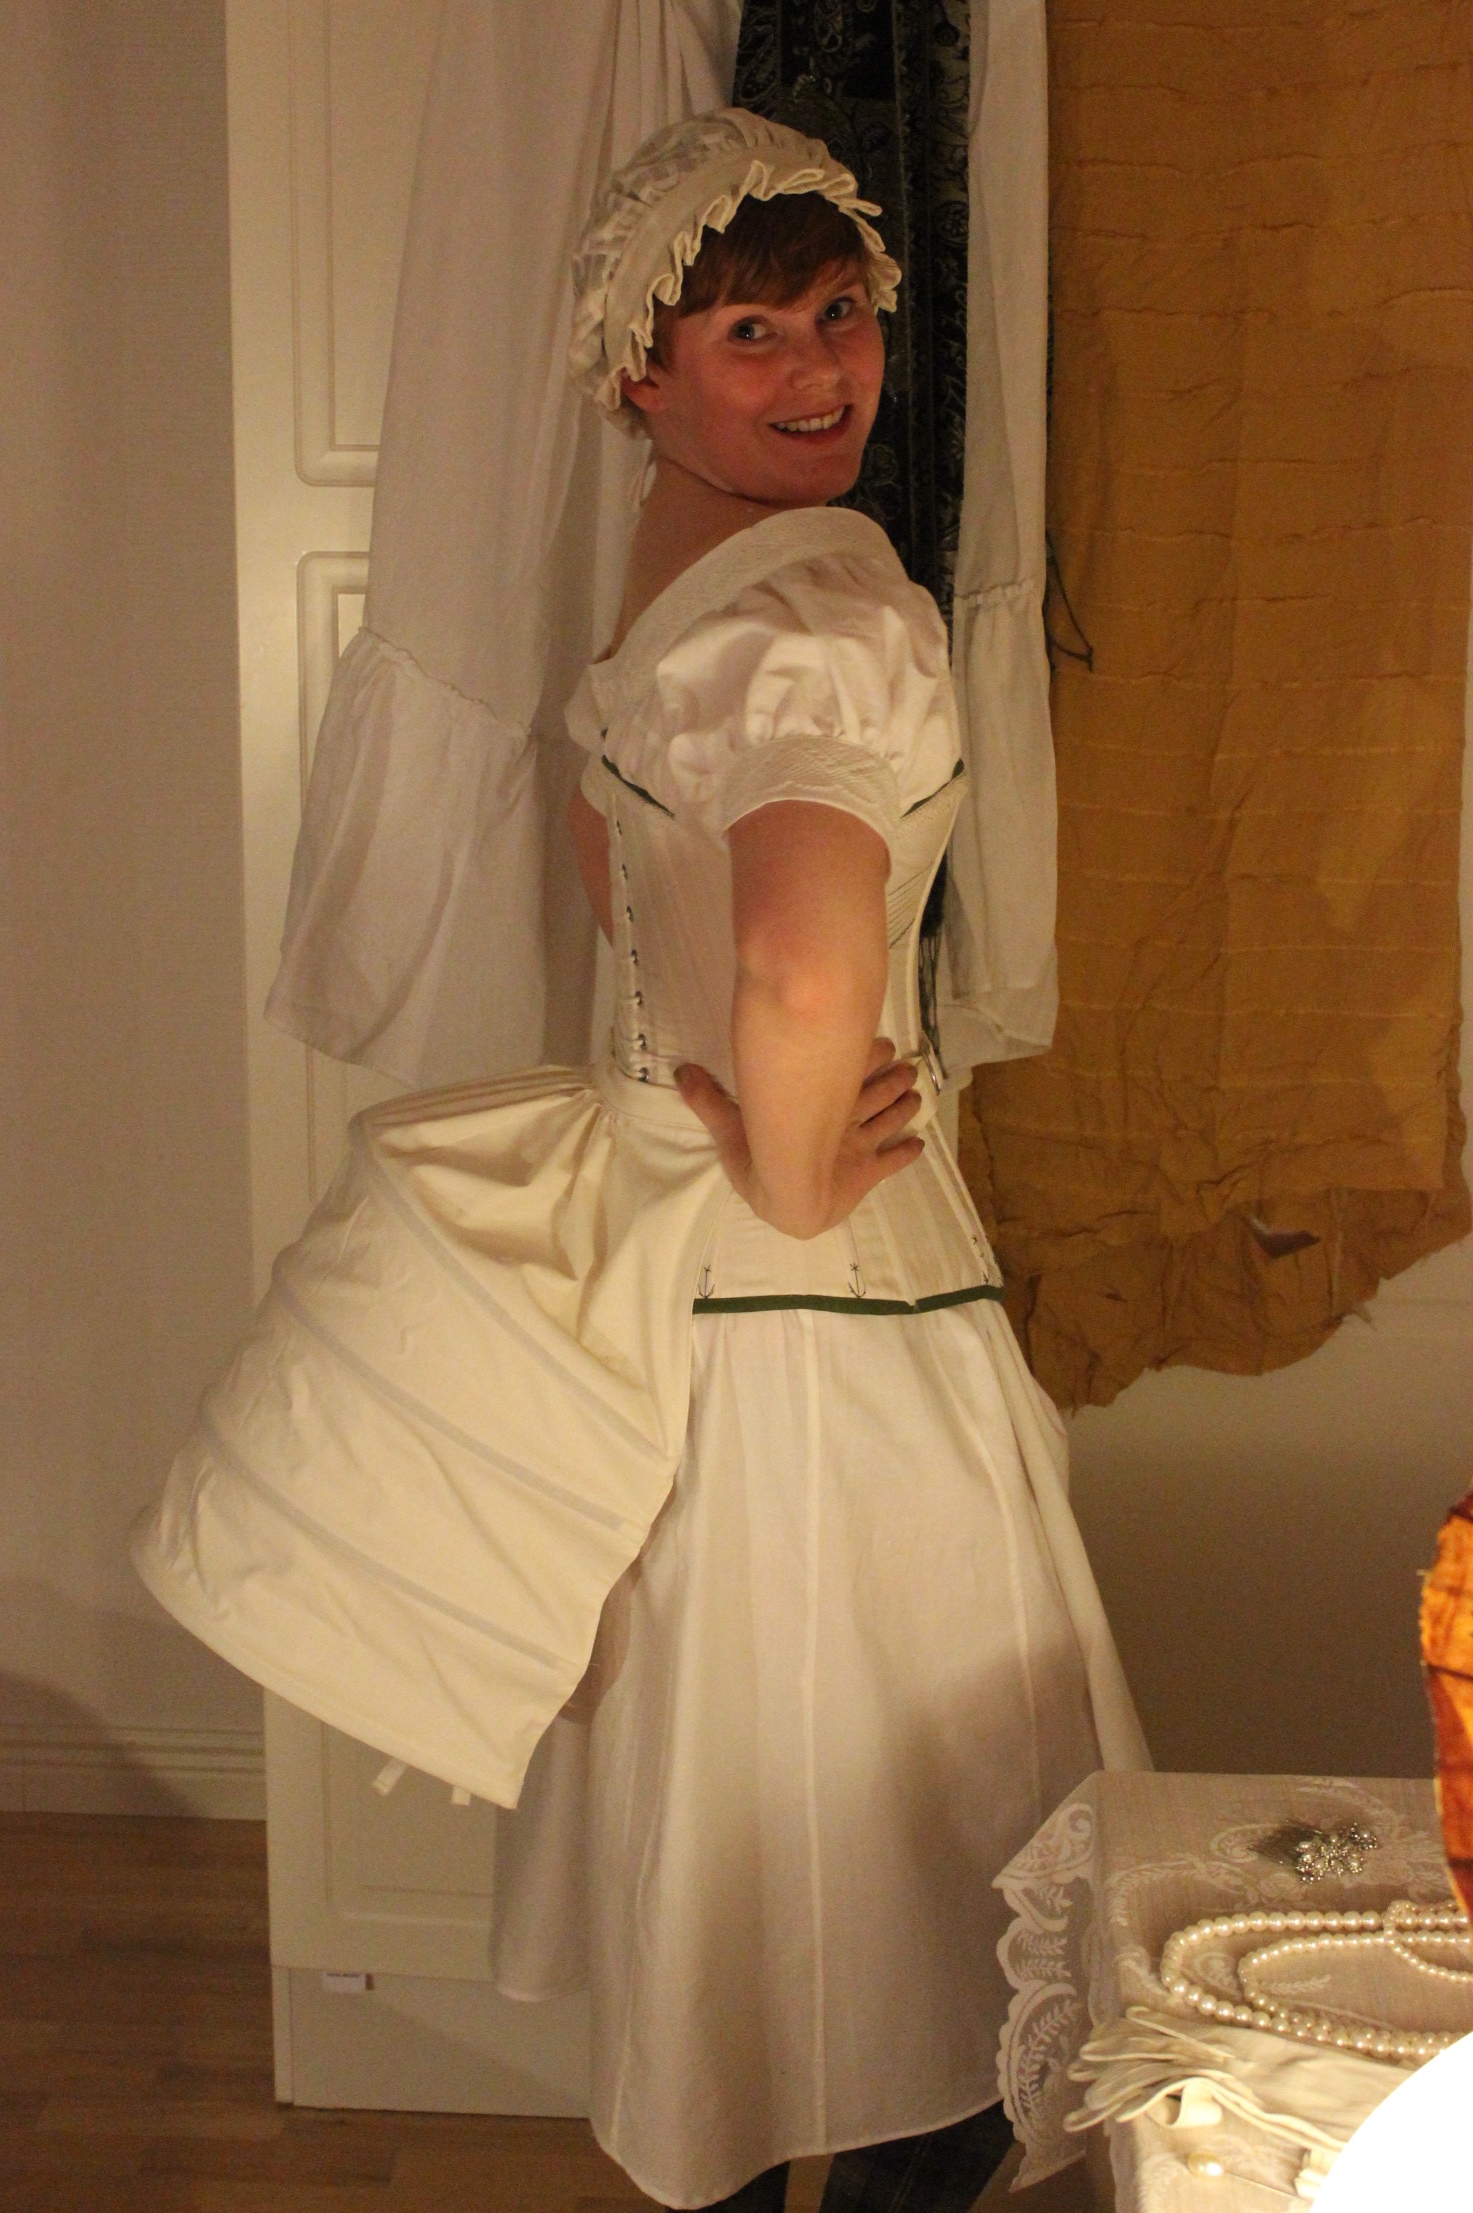
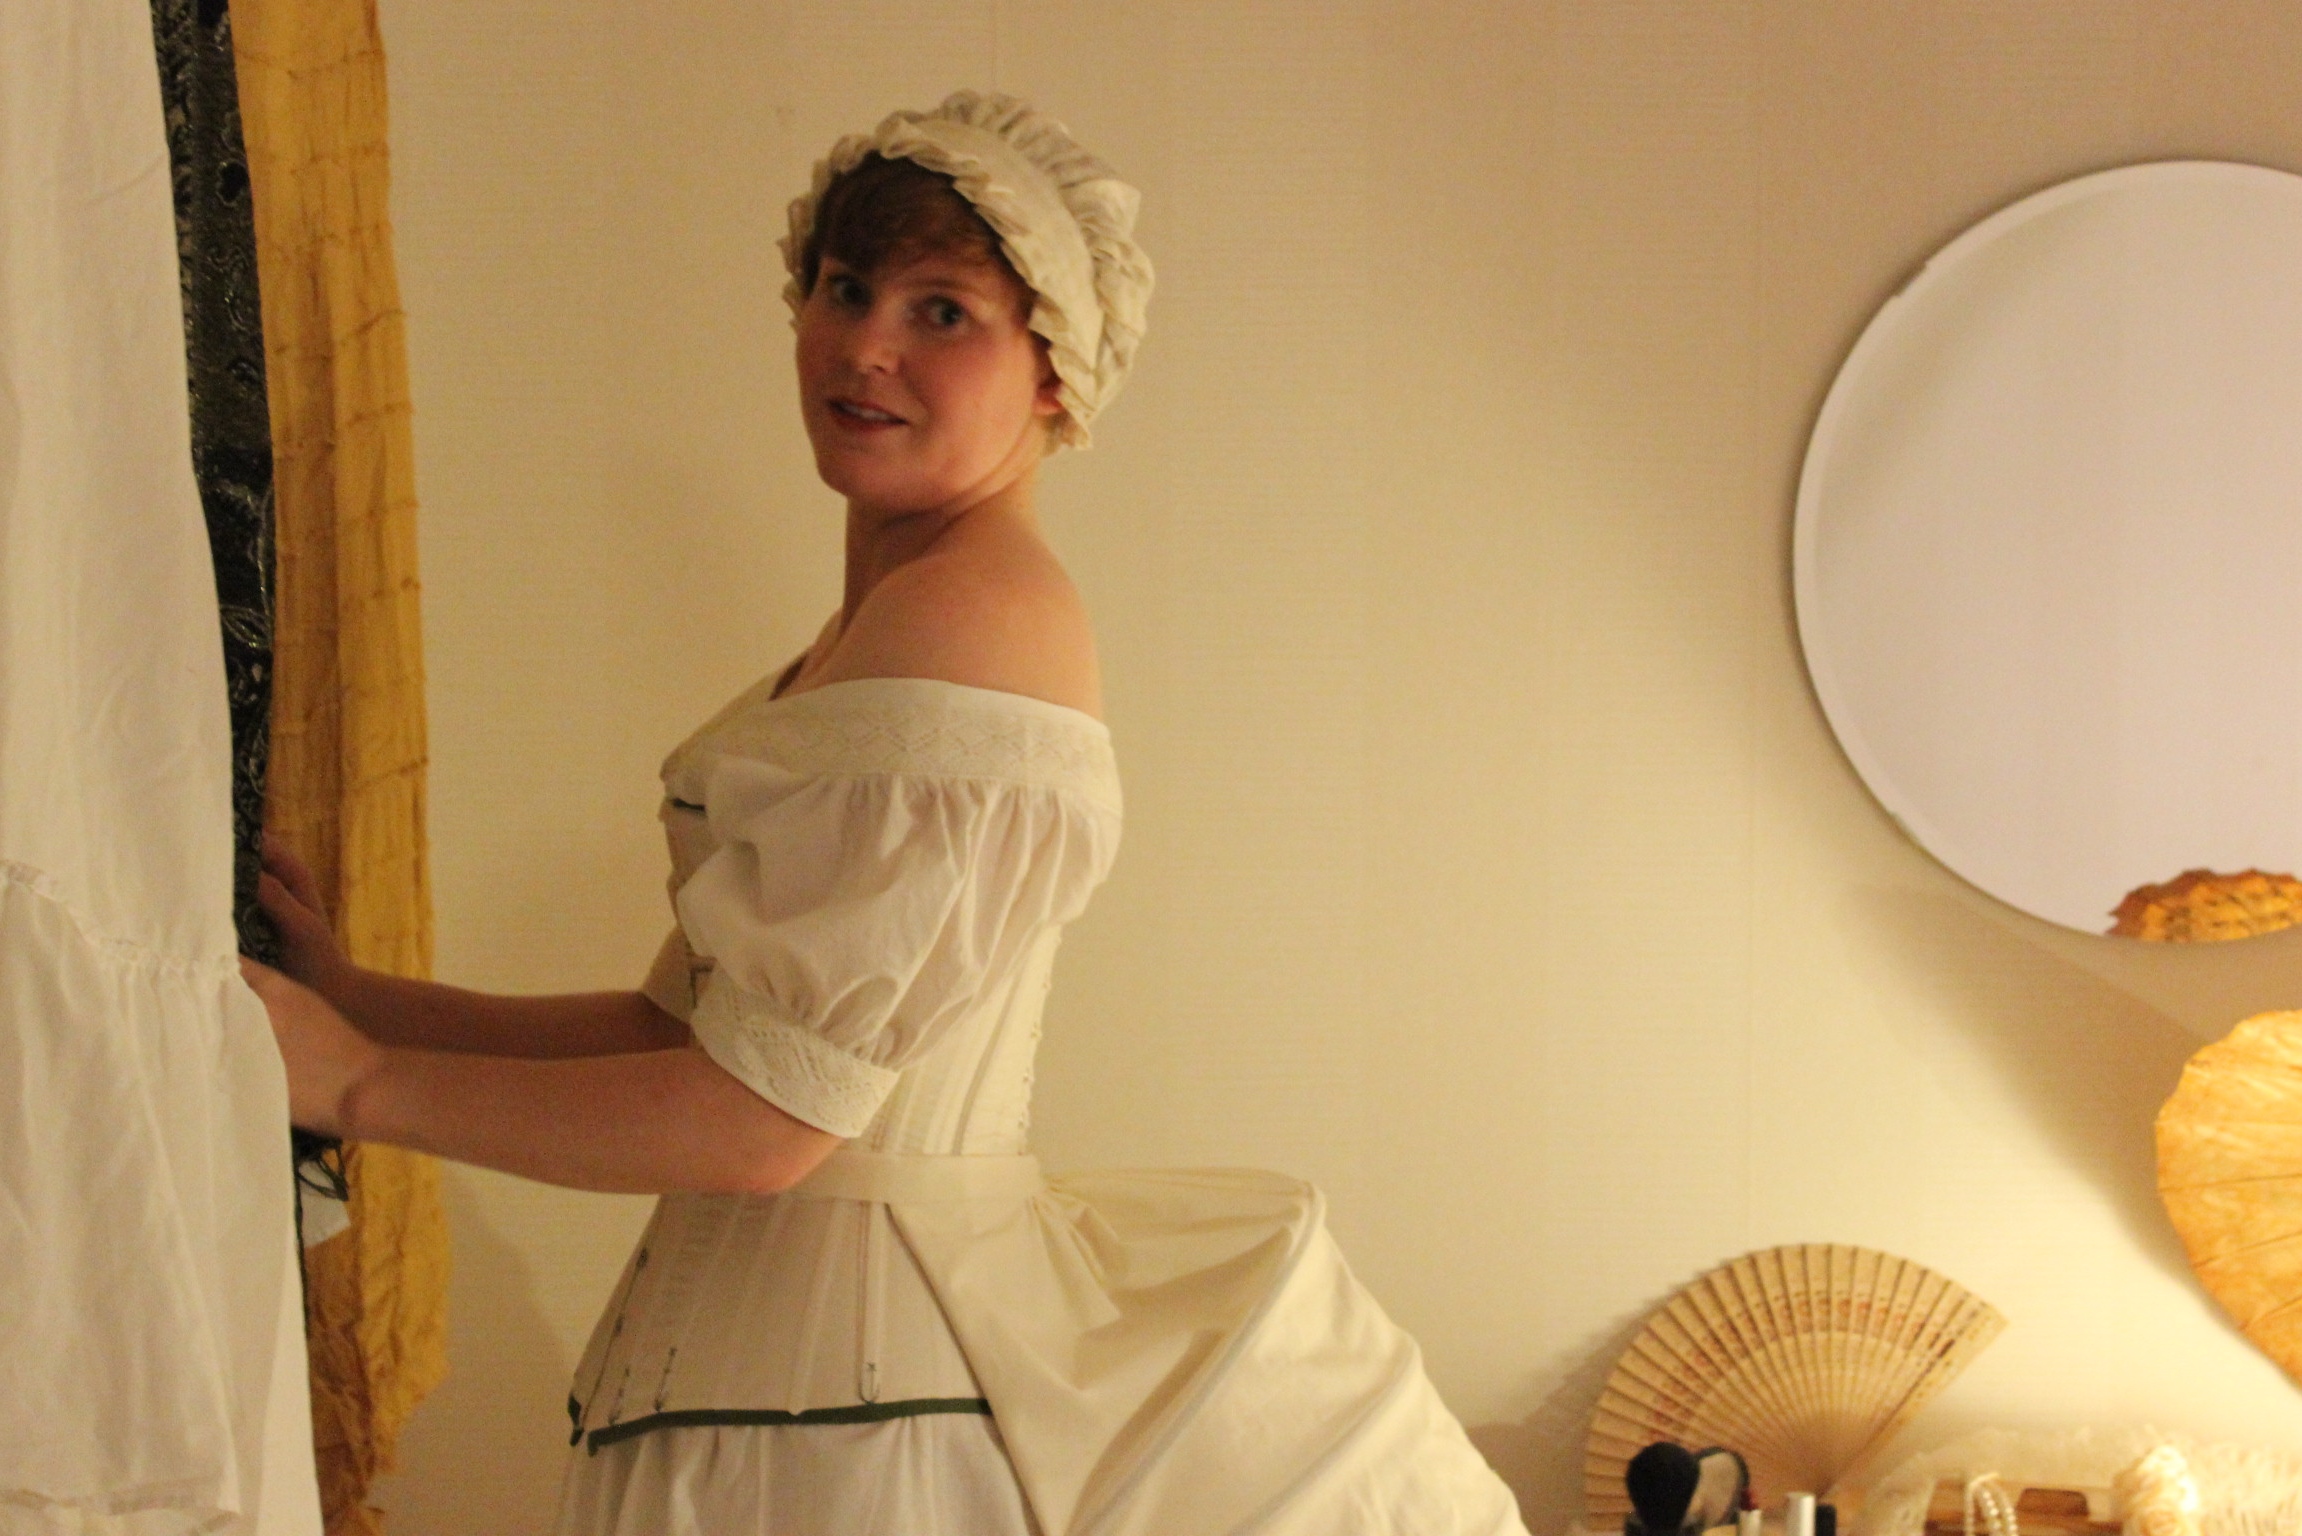
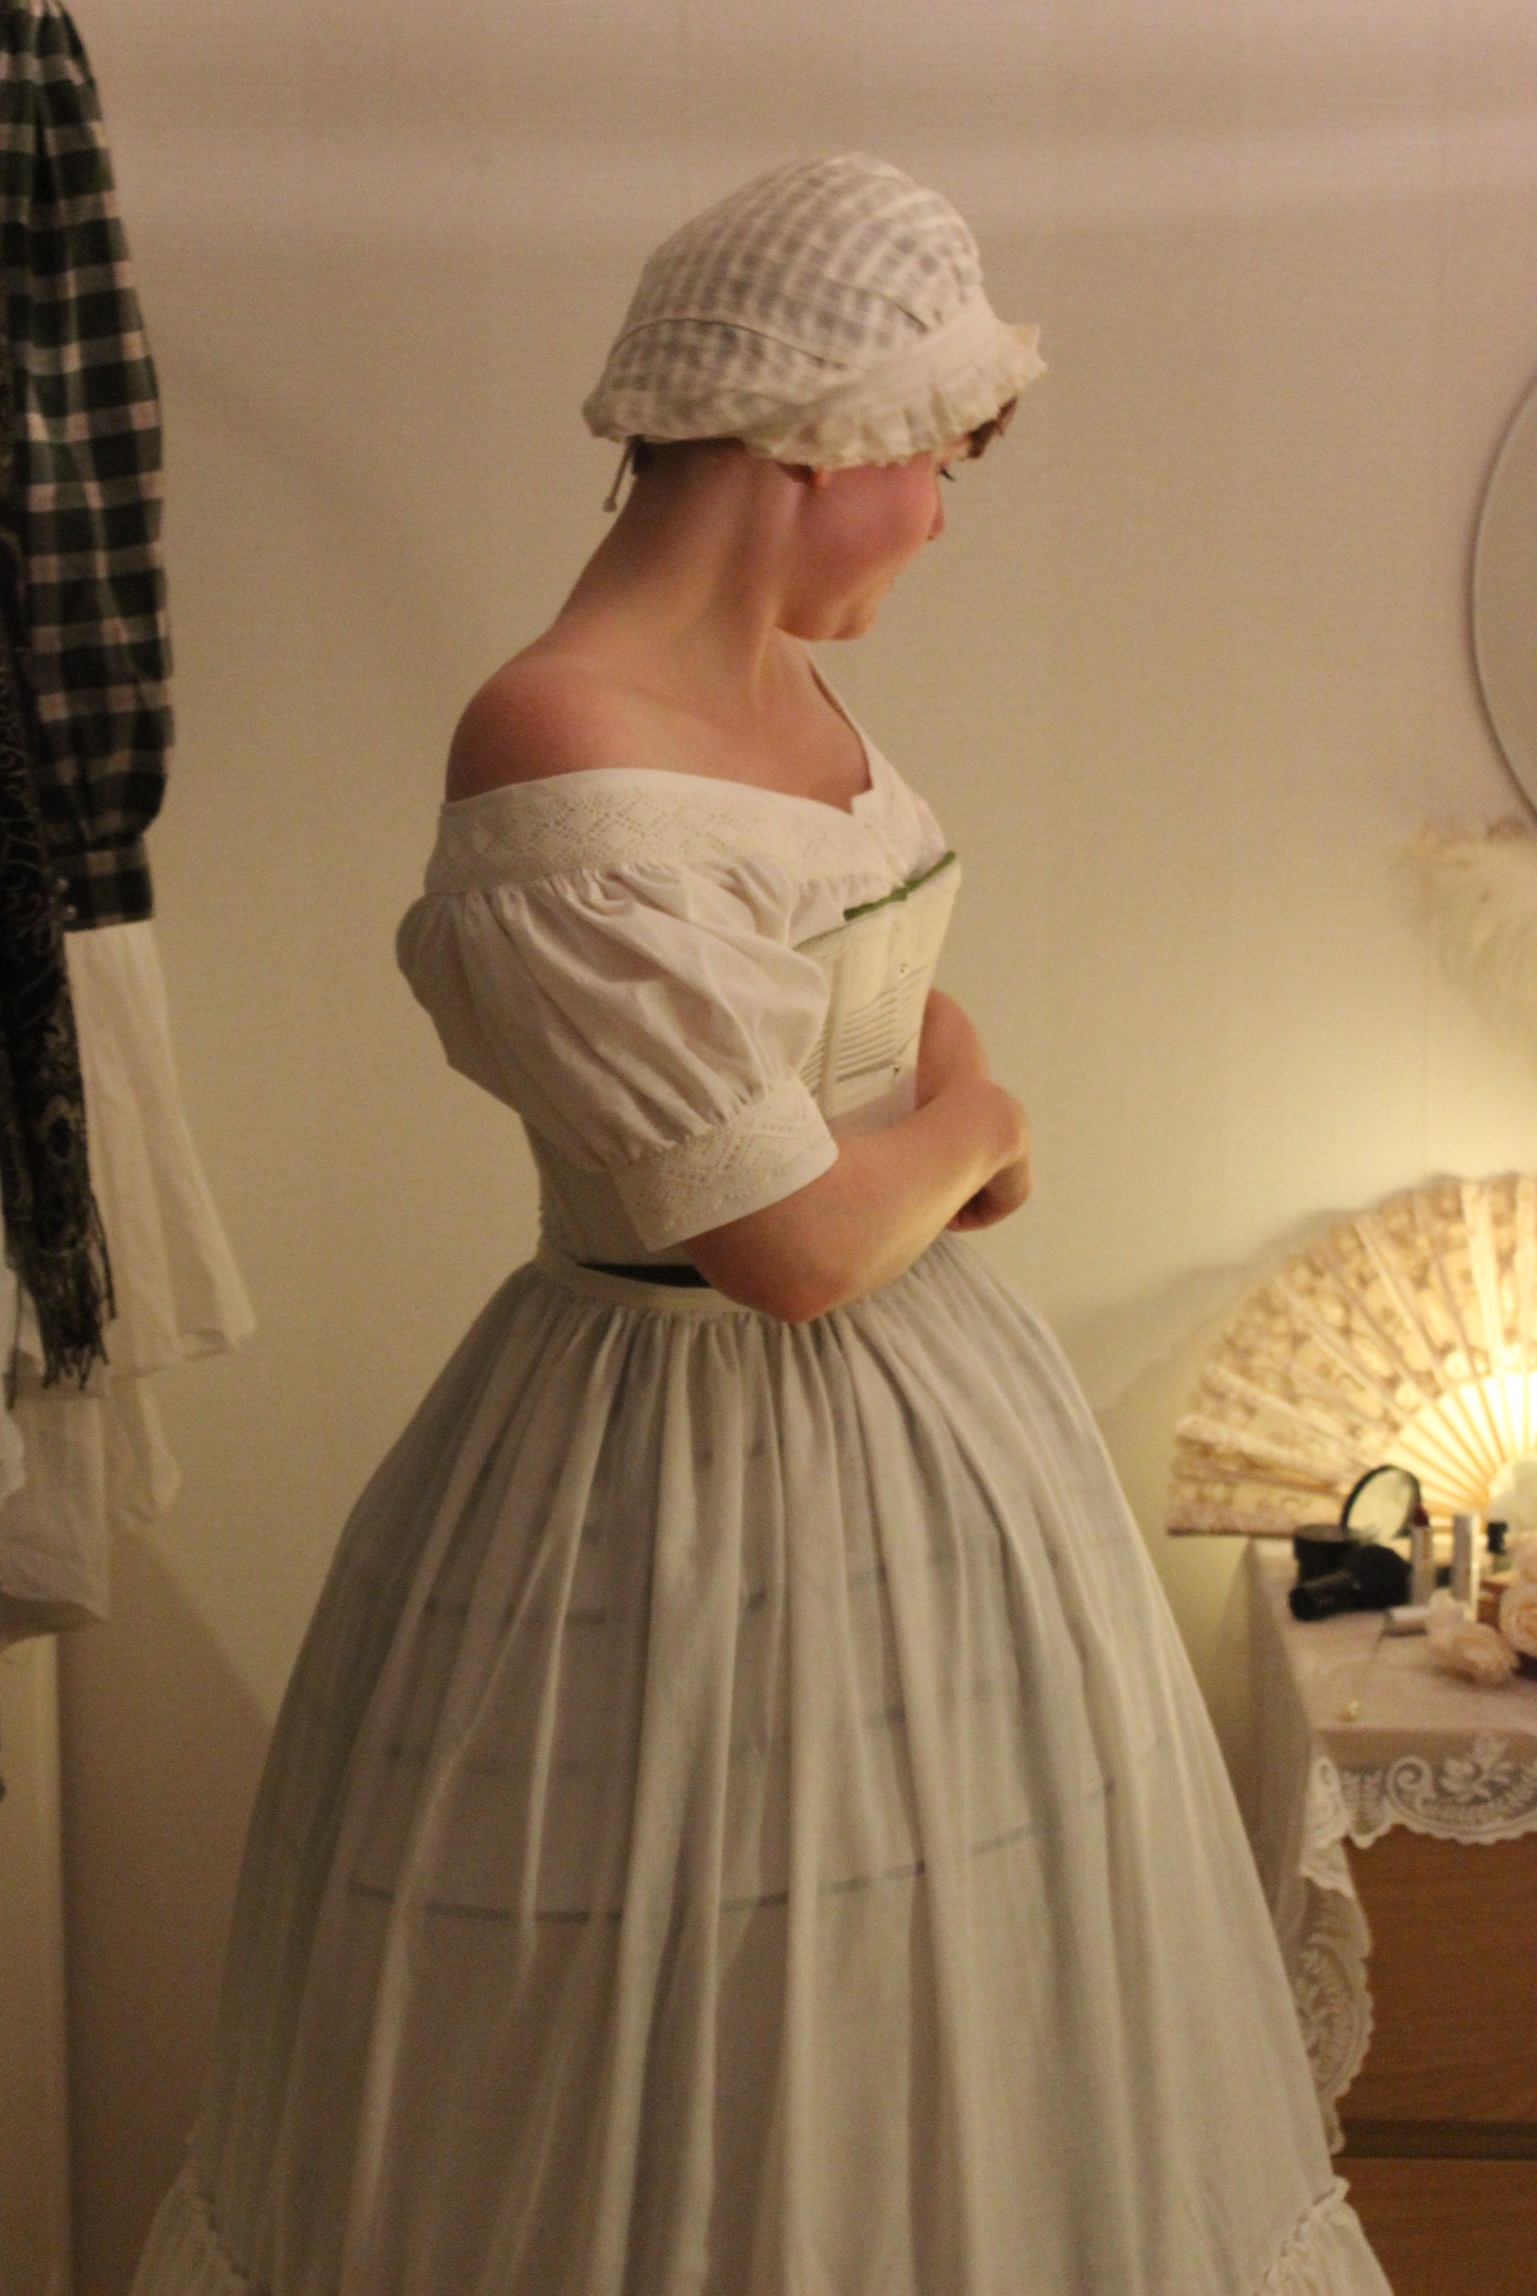
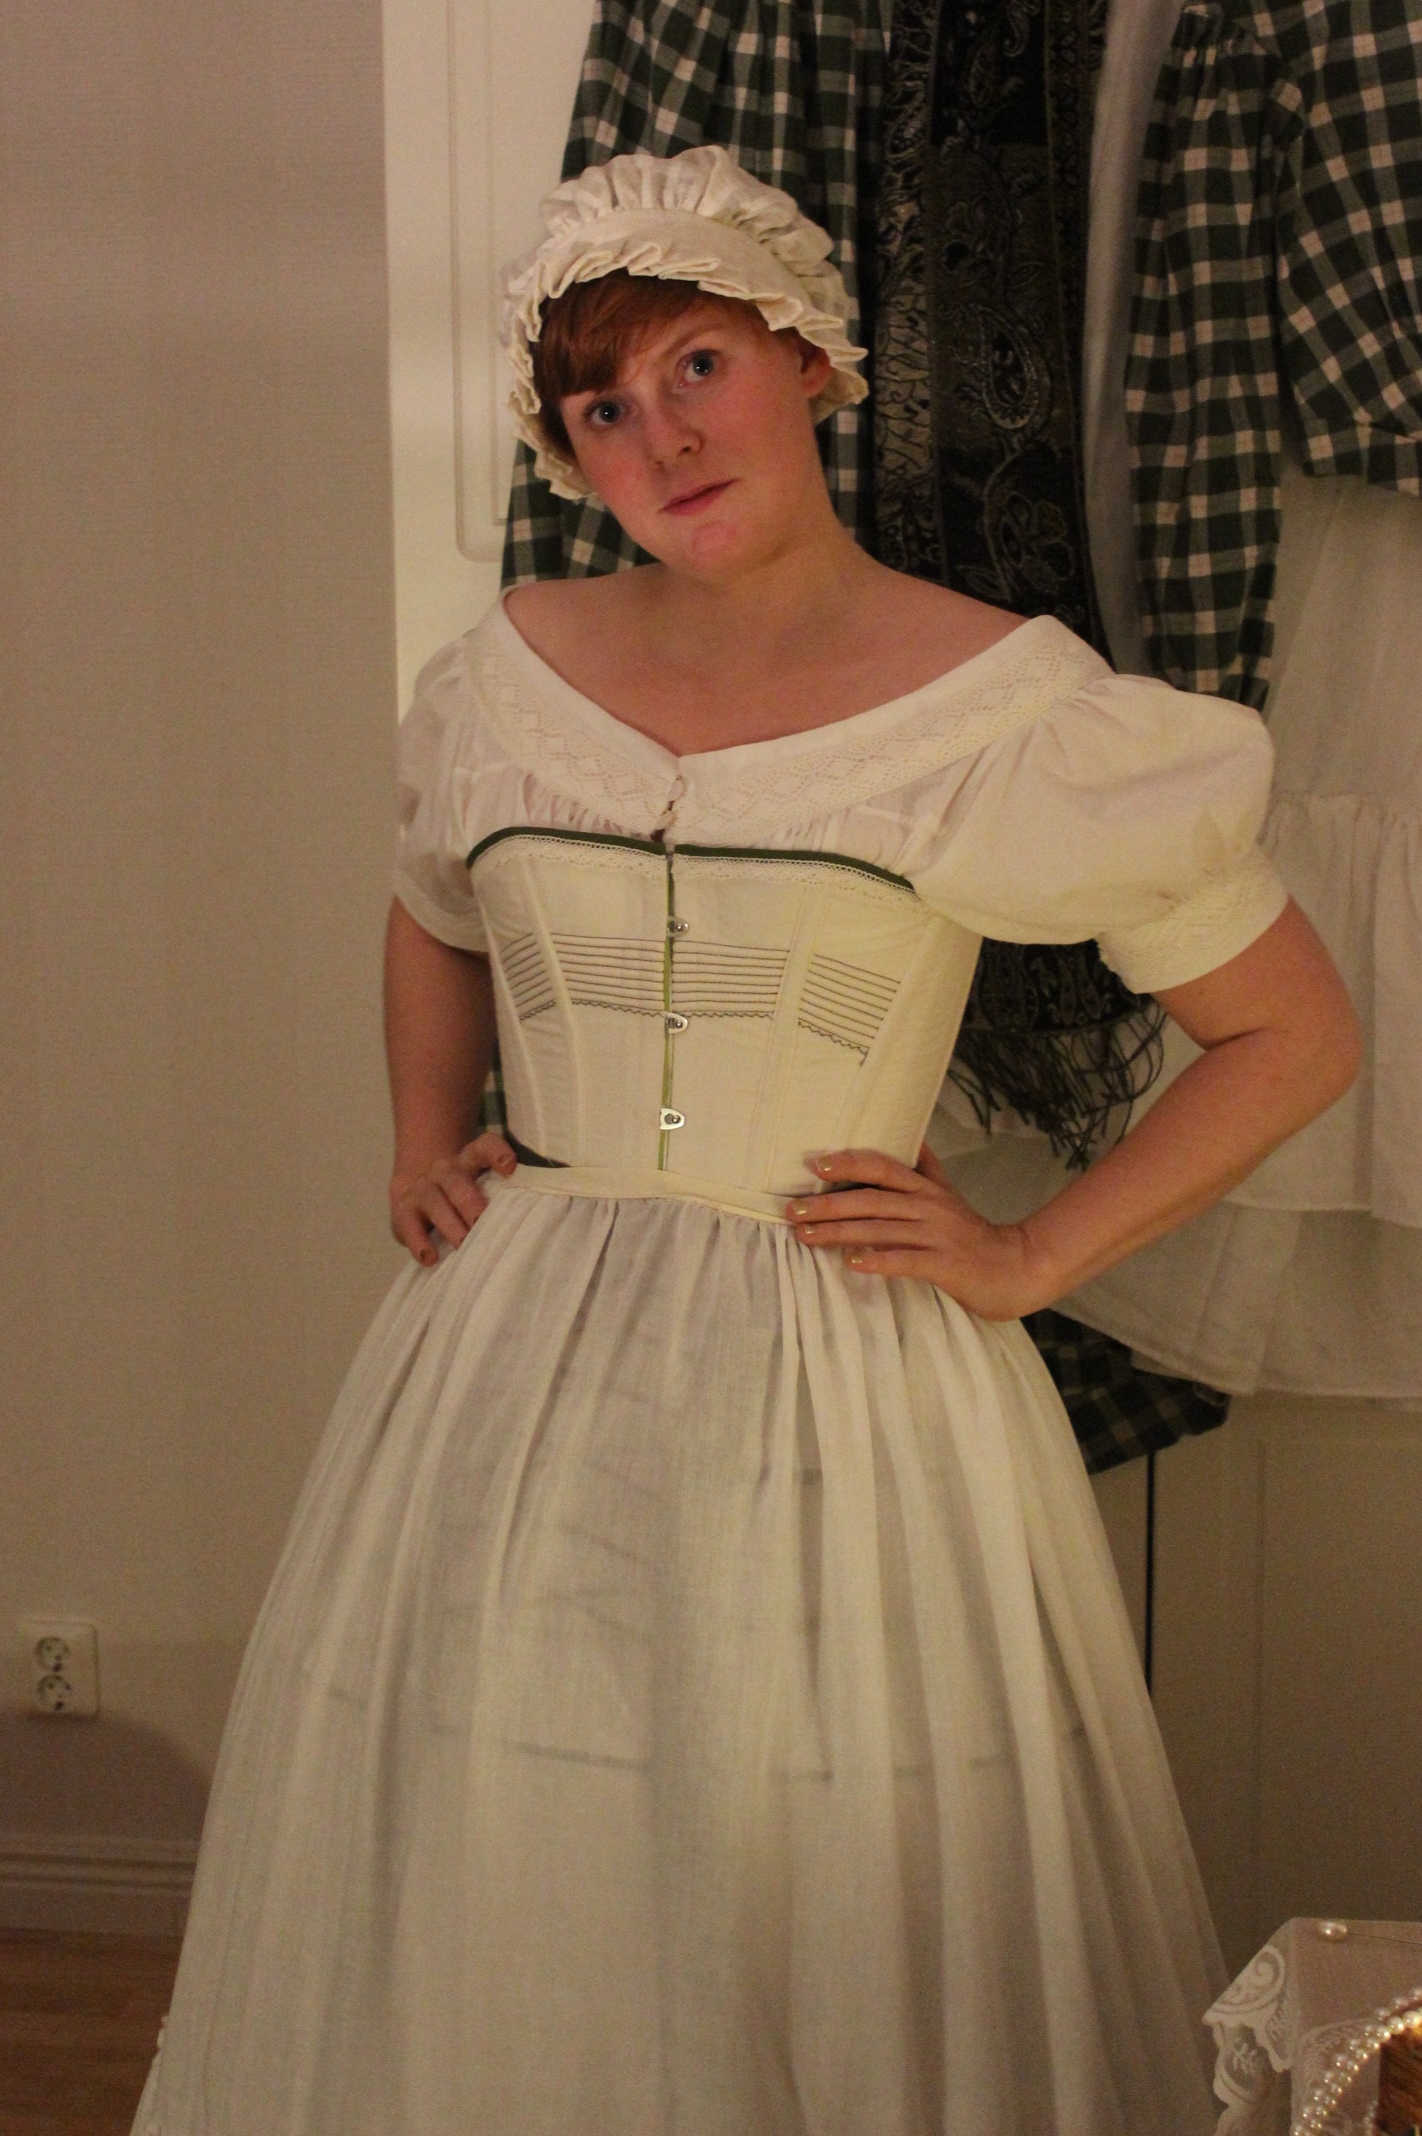
And a sneak a peak of todays photoshoot:
Just the Facts:
Challenge: 12 Shape and Support (Light Entry)
What: A smal traveling bustle ca 1880s.
Pattern: None. Just one rectangel shaped piece and a waistband.
Fabric: 1 m of cotton sheet (donated to me a long time ago).
Notions: Thread, Belt hooks, 3,5 m of steel wire.
How historical accurate: Not sure but I think it is pretty good. Both the material and the sewing tecniques was used during he period. And since this seems to be the simplest and most straight forward way of making a bustle, I’m sure some peolple back then must have done so.
Time: 2 hours.
Cost: 50 Sek (8Usd) at the most. (Guess it fits into next weeks challenge to ;-))
First worn: only for photos around the house so far. But I’m planing to use it as part of my upcoming steampunk outfit.
Final thoughts: lookin at the pictures now I se that I should have made the top edge shorter, to bring thewhole thing up a bit thous making the top chanal sit a bit higher.
But all in all this was such a cheap and quick project. I loved how easy it went togeter, and it really helped me get past my recent sewing block.

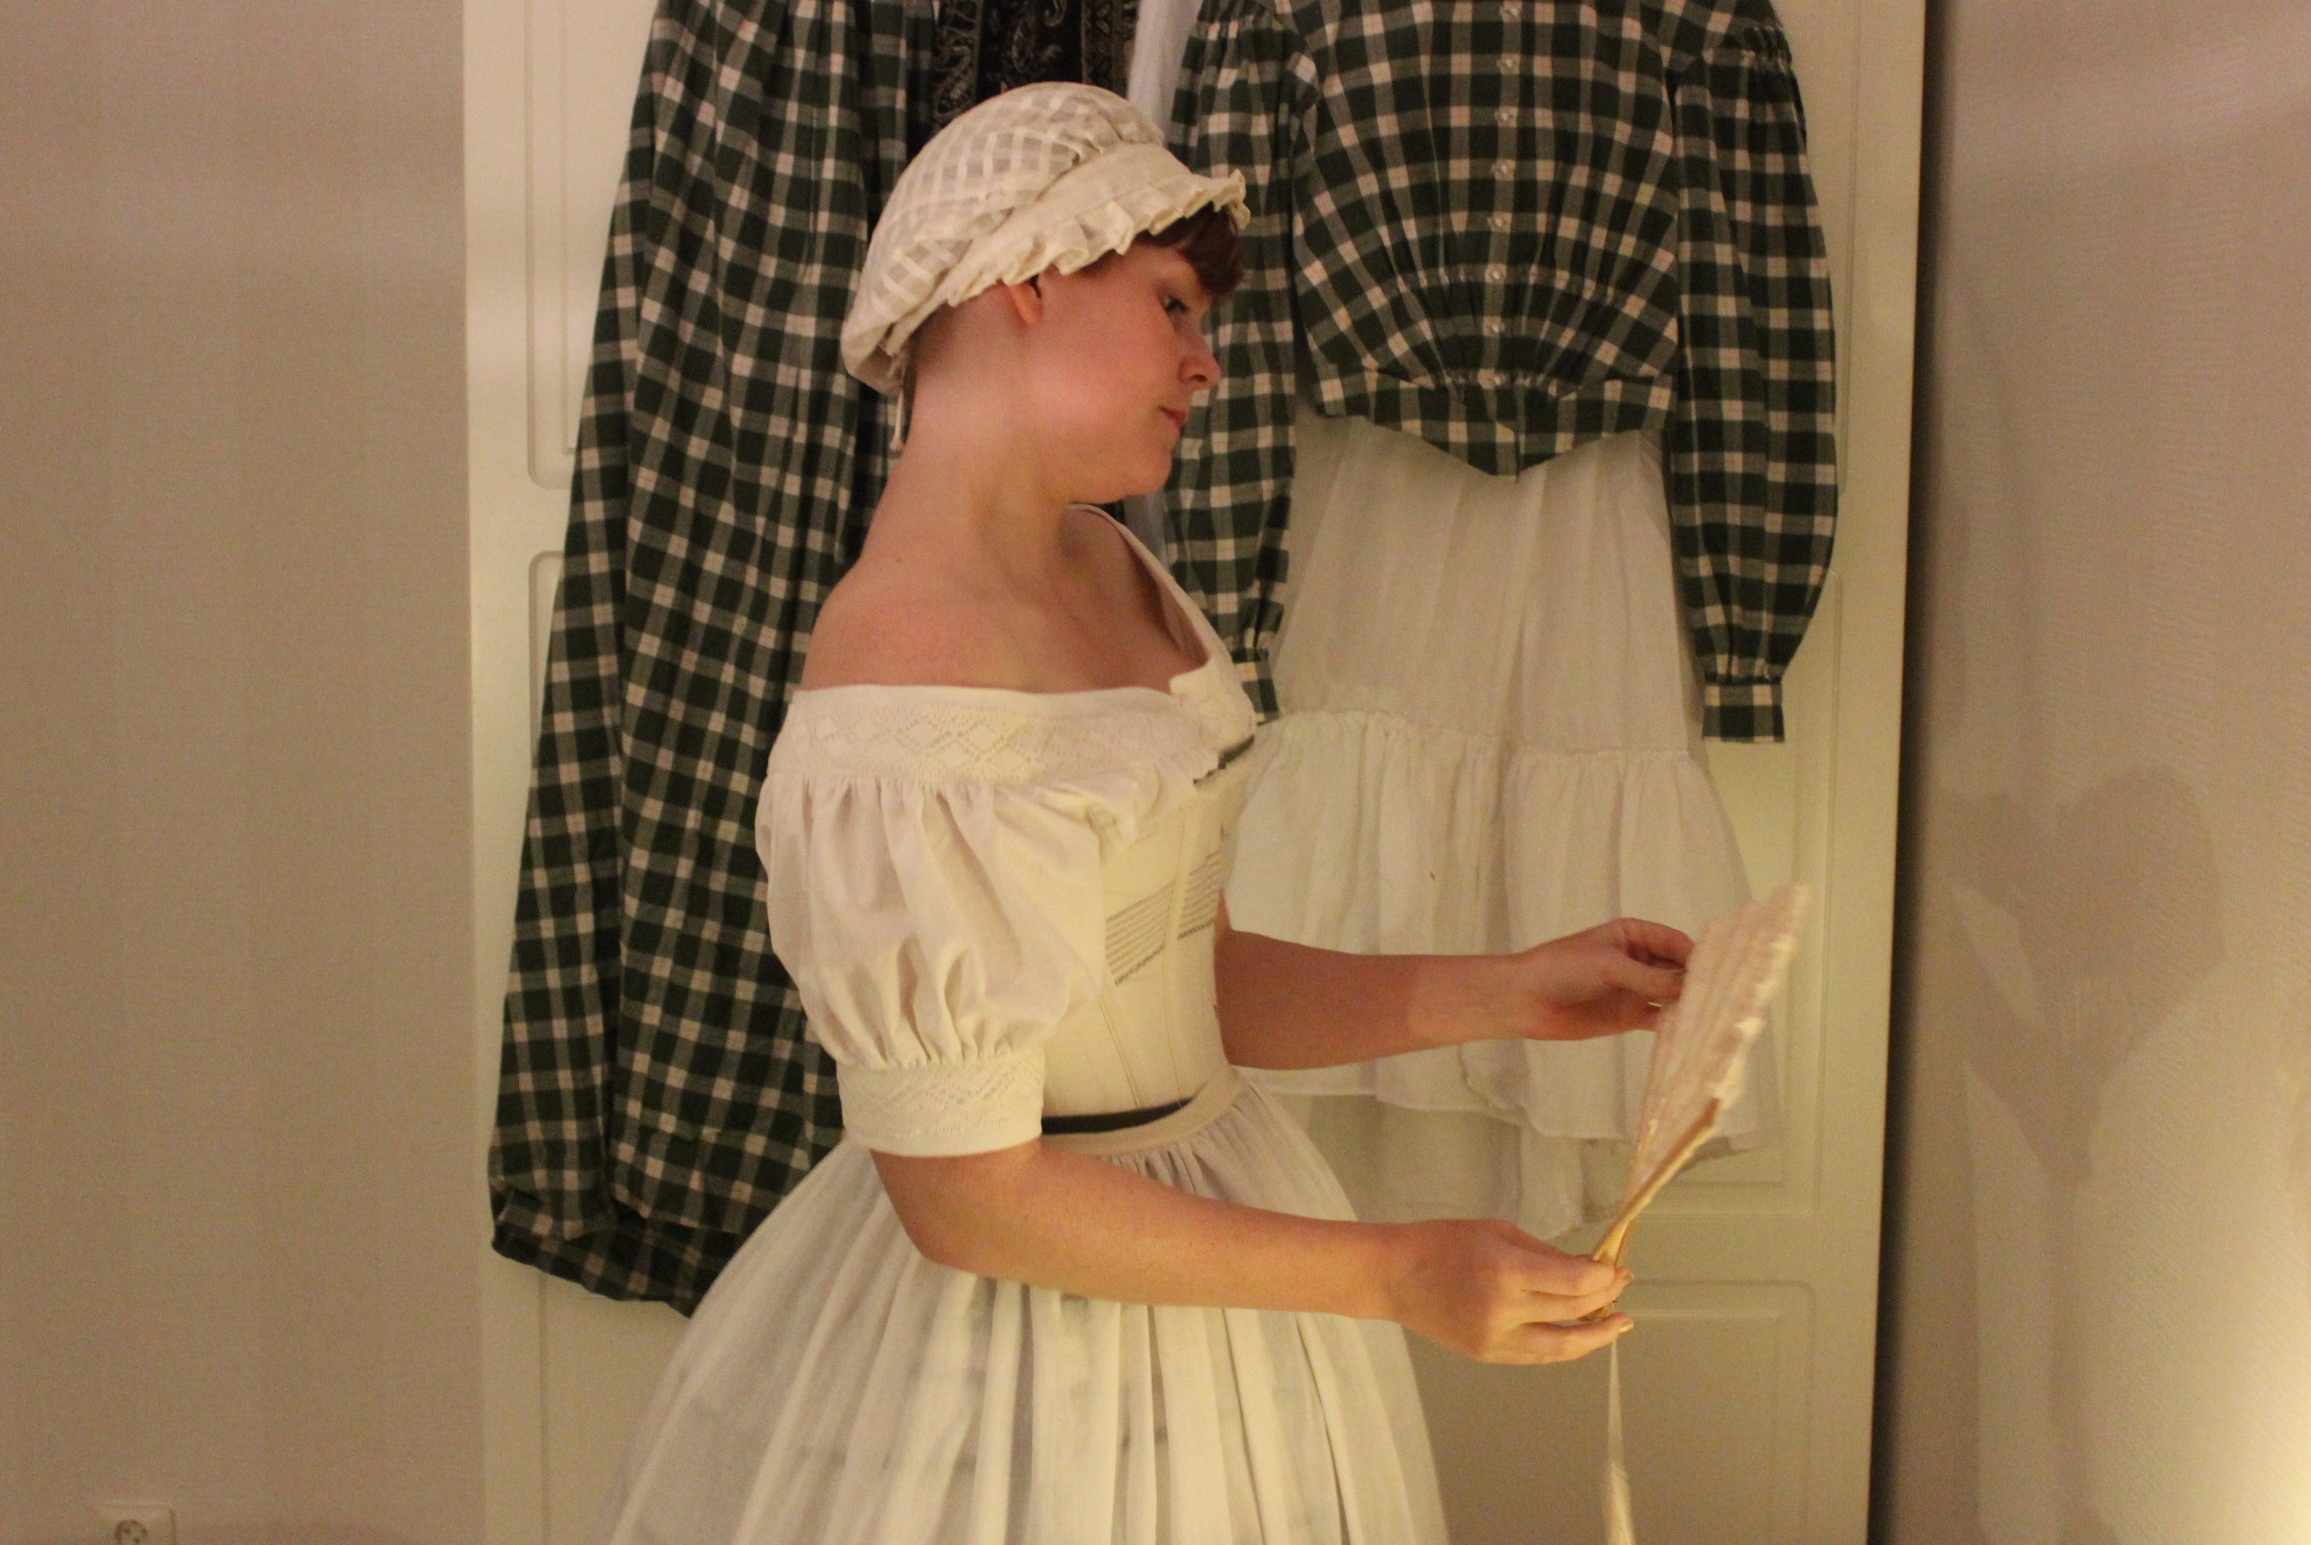
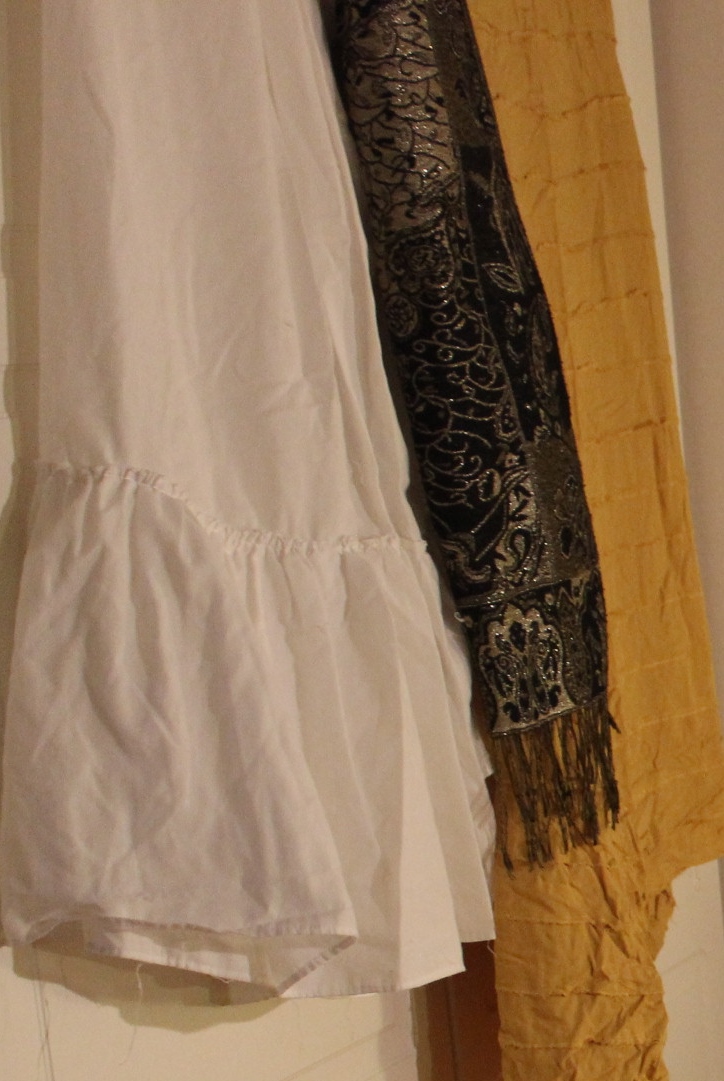 Shawl, petticoat and skirt.
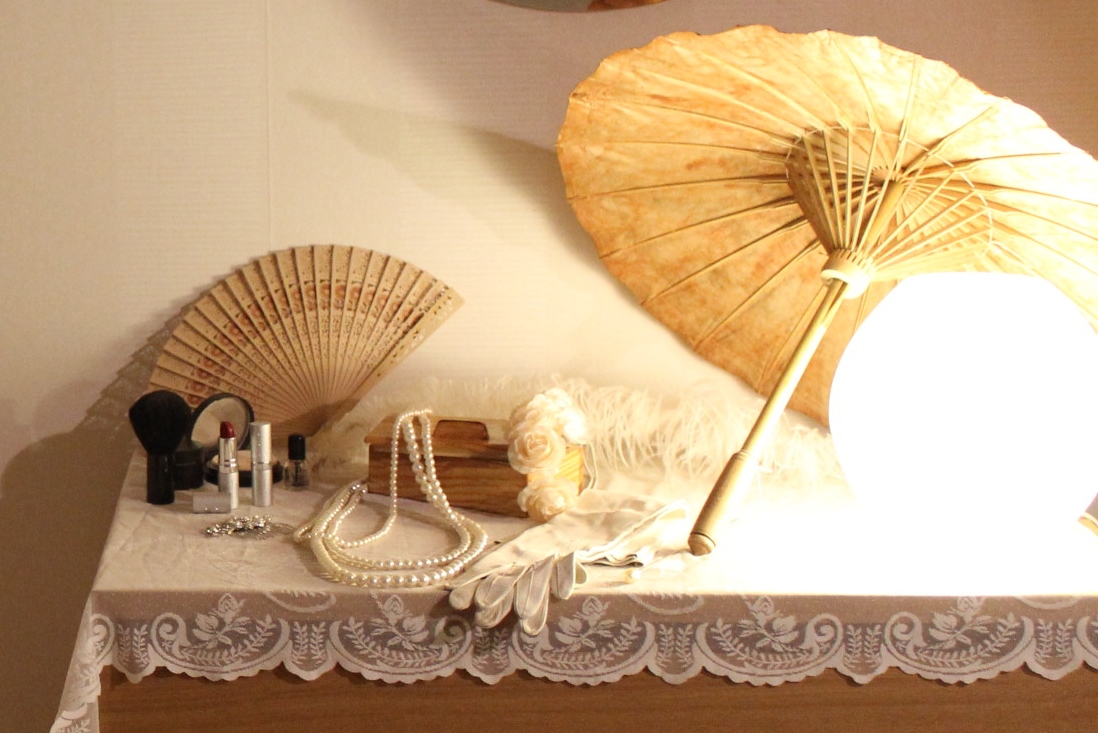 Then we were ready.
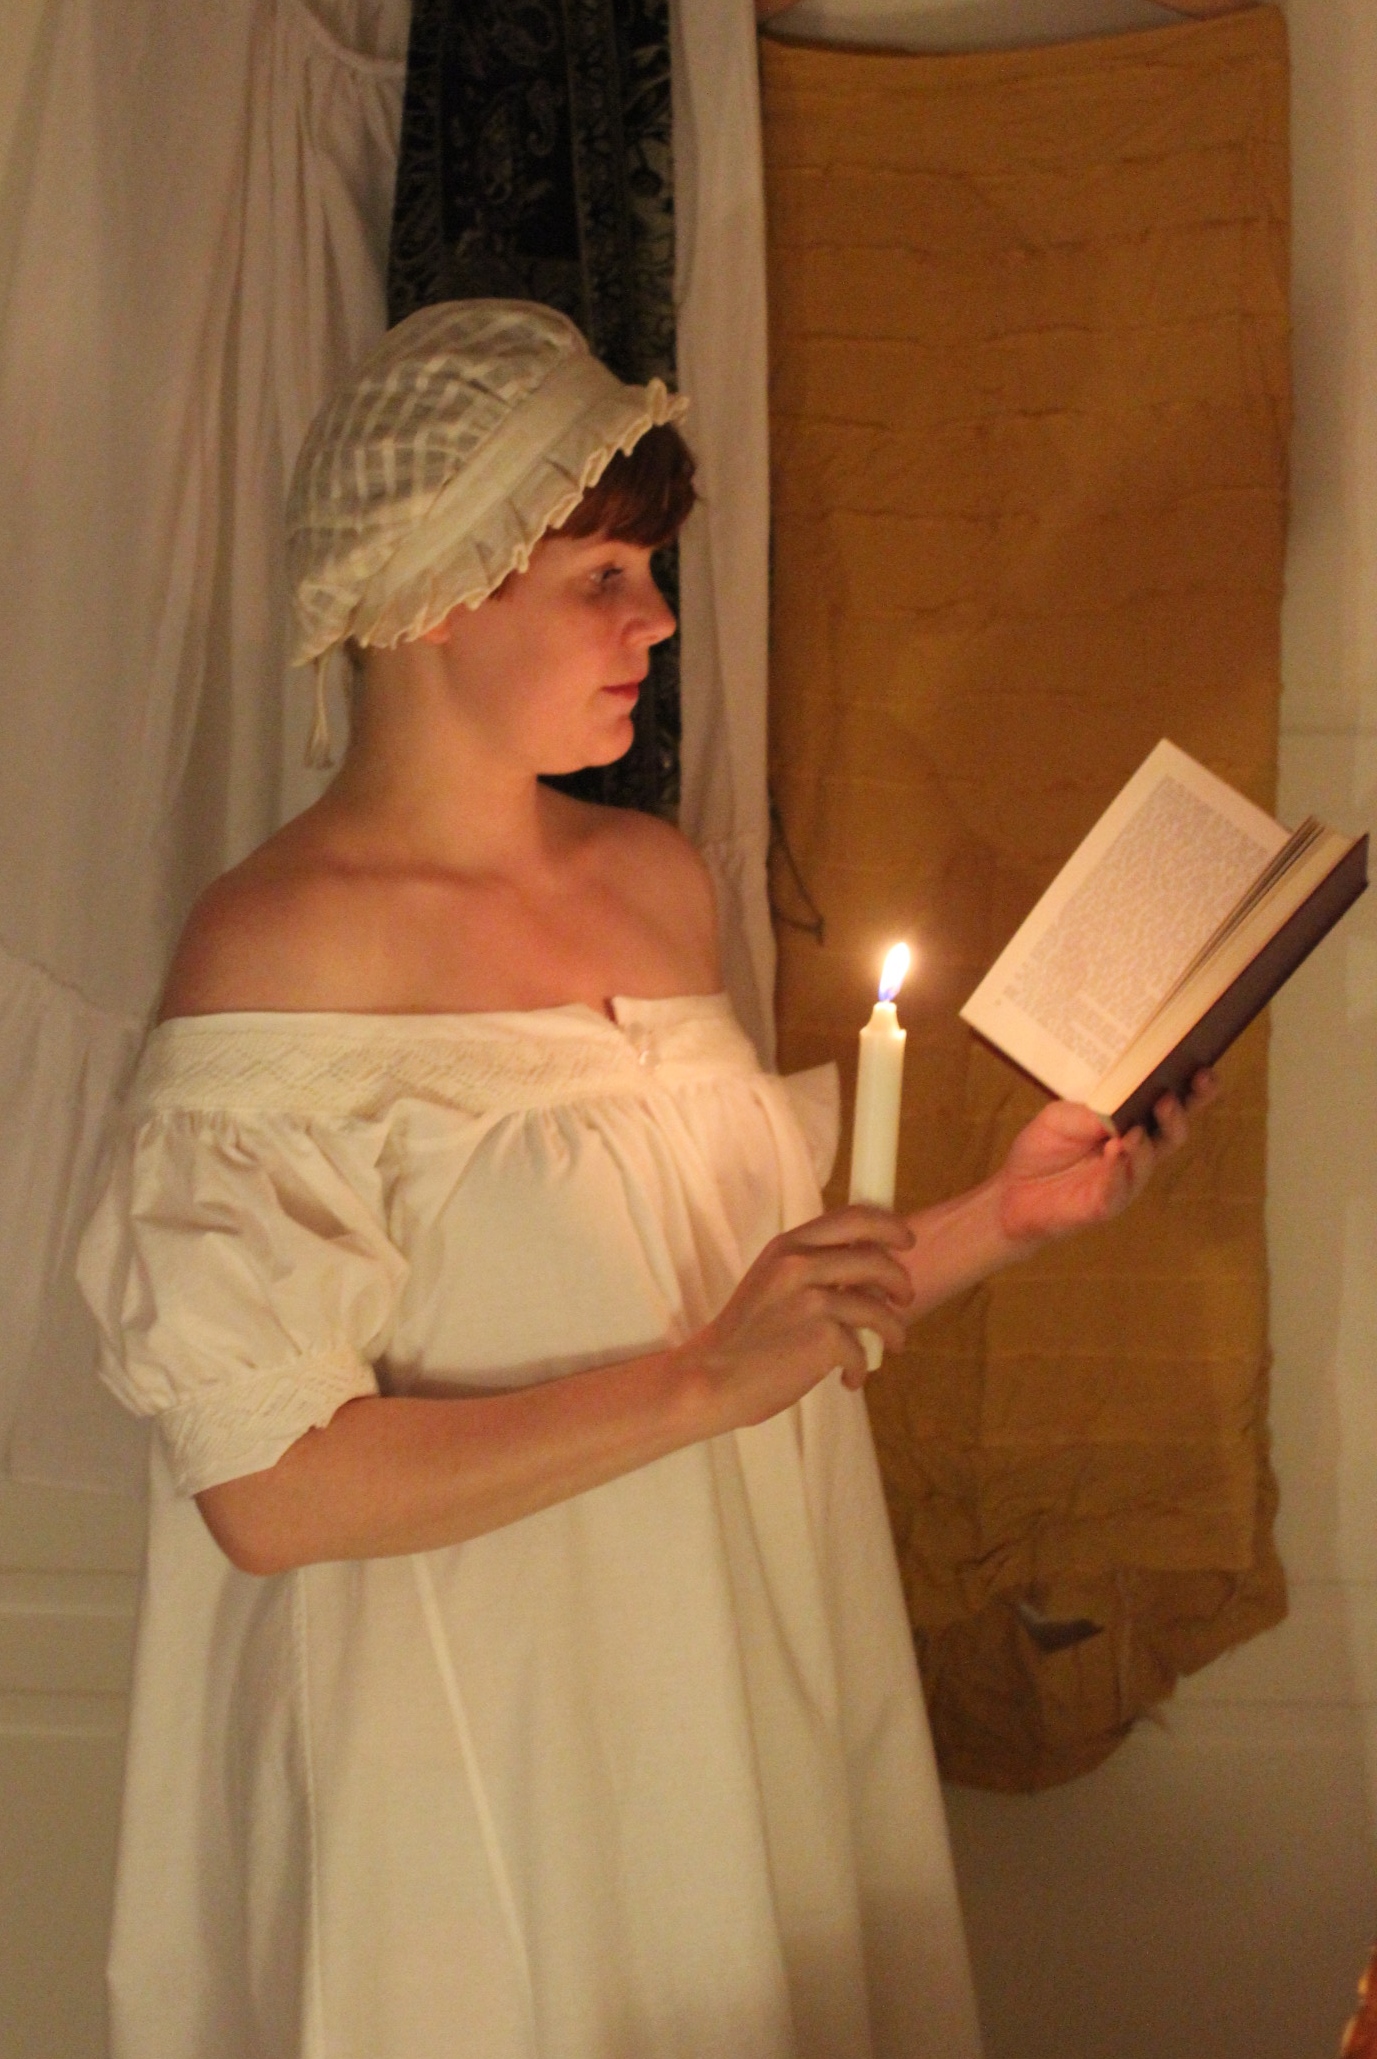

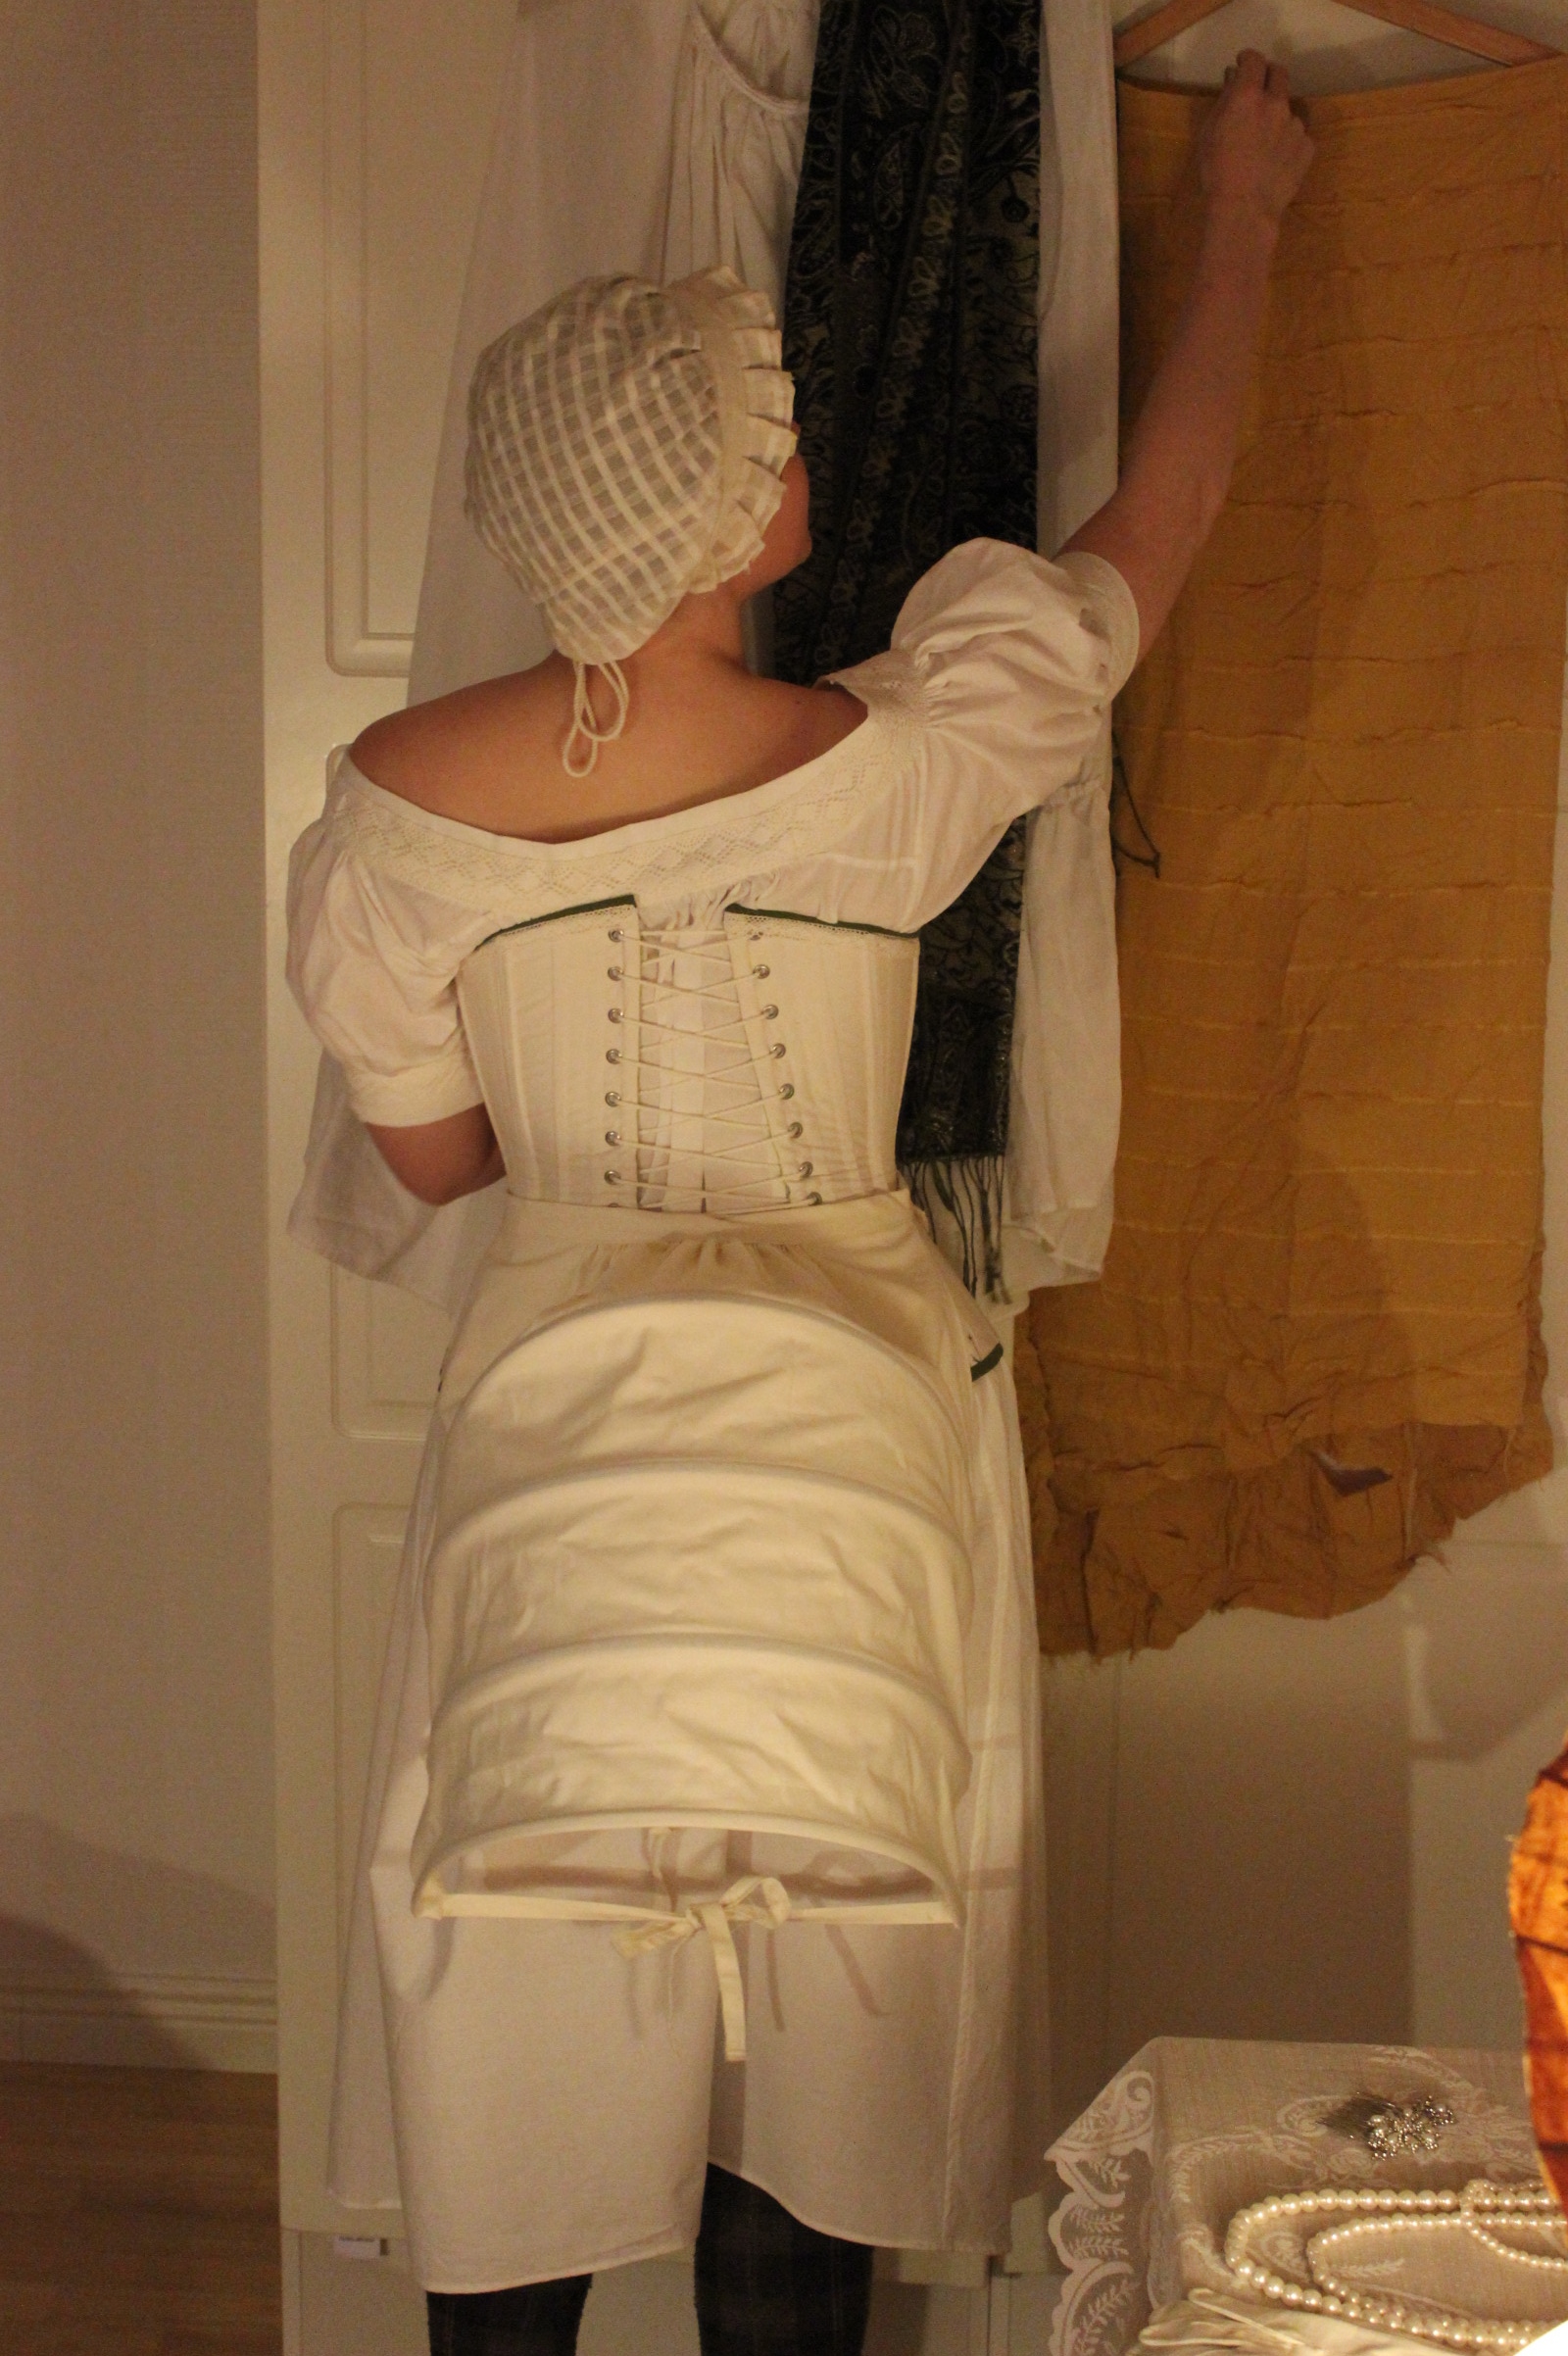


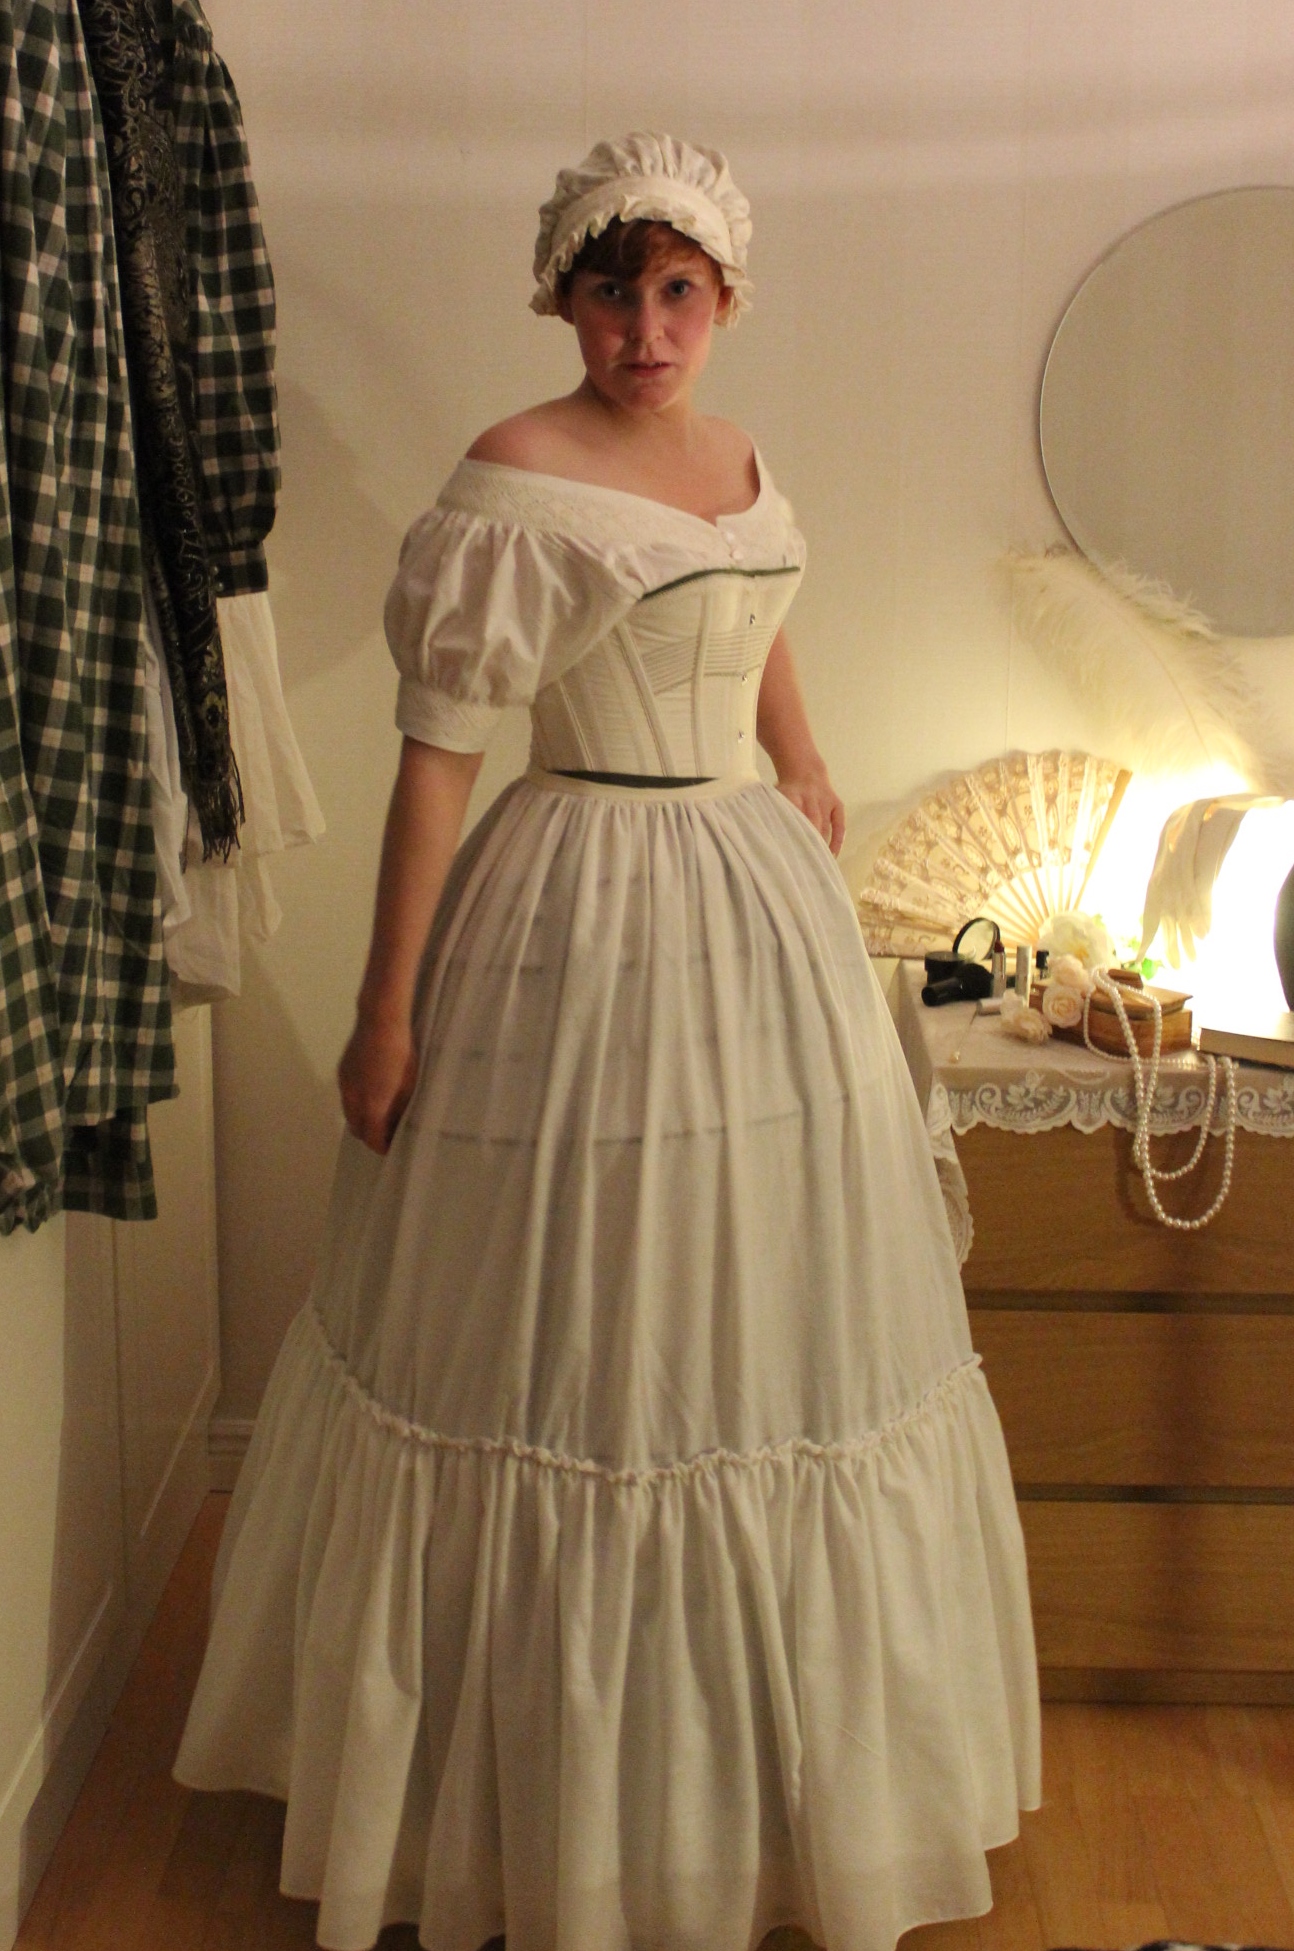
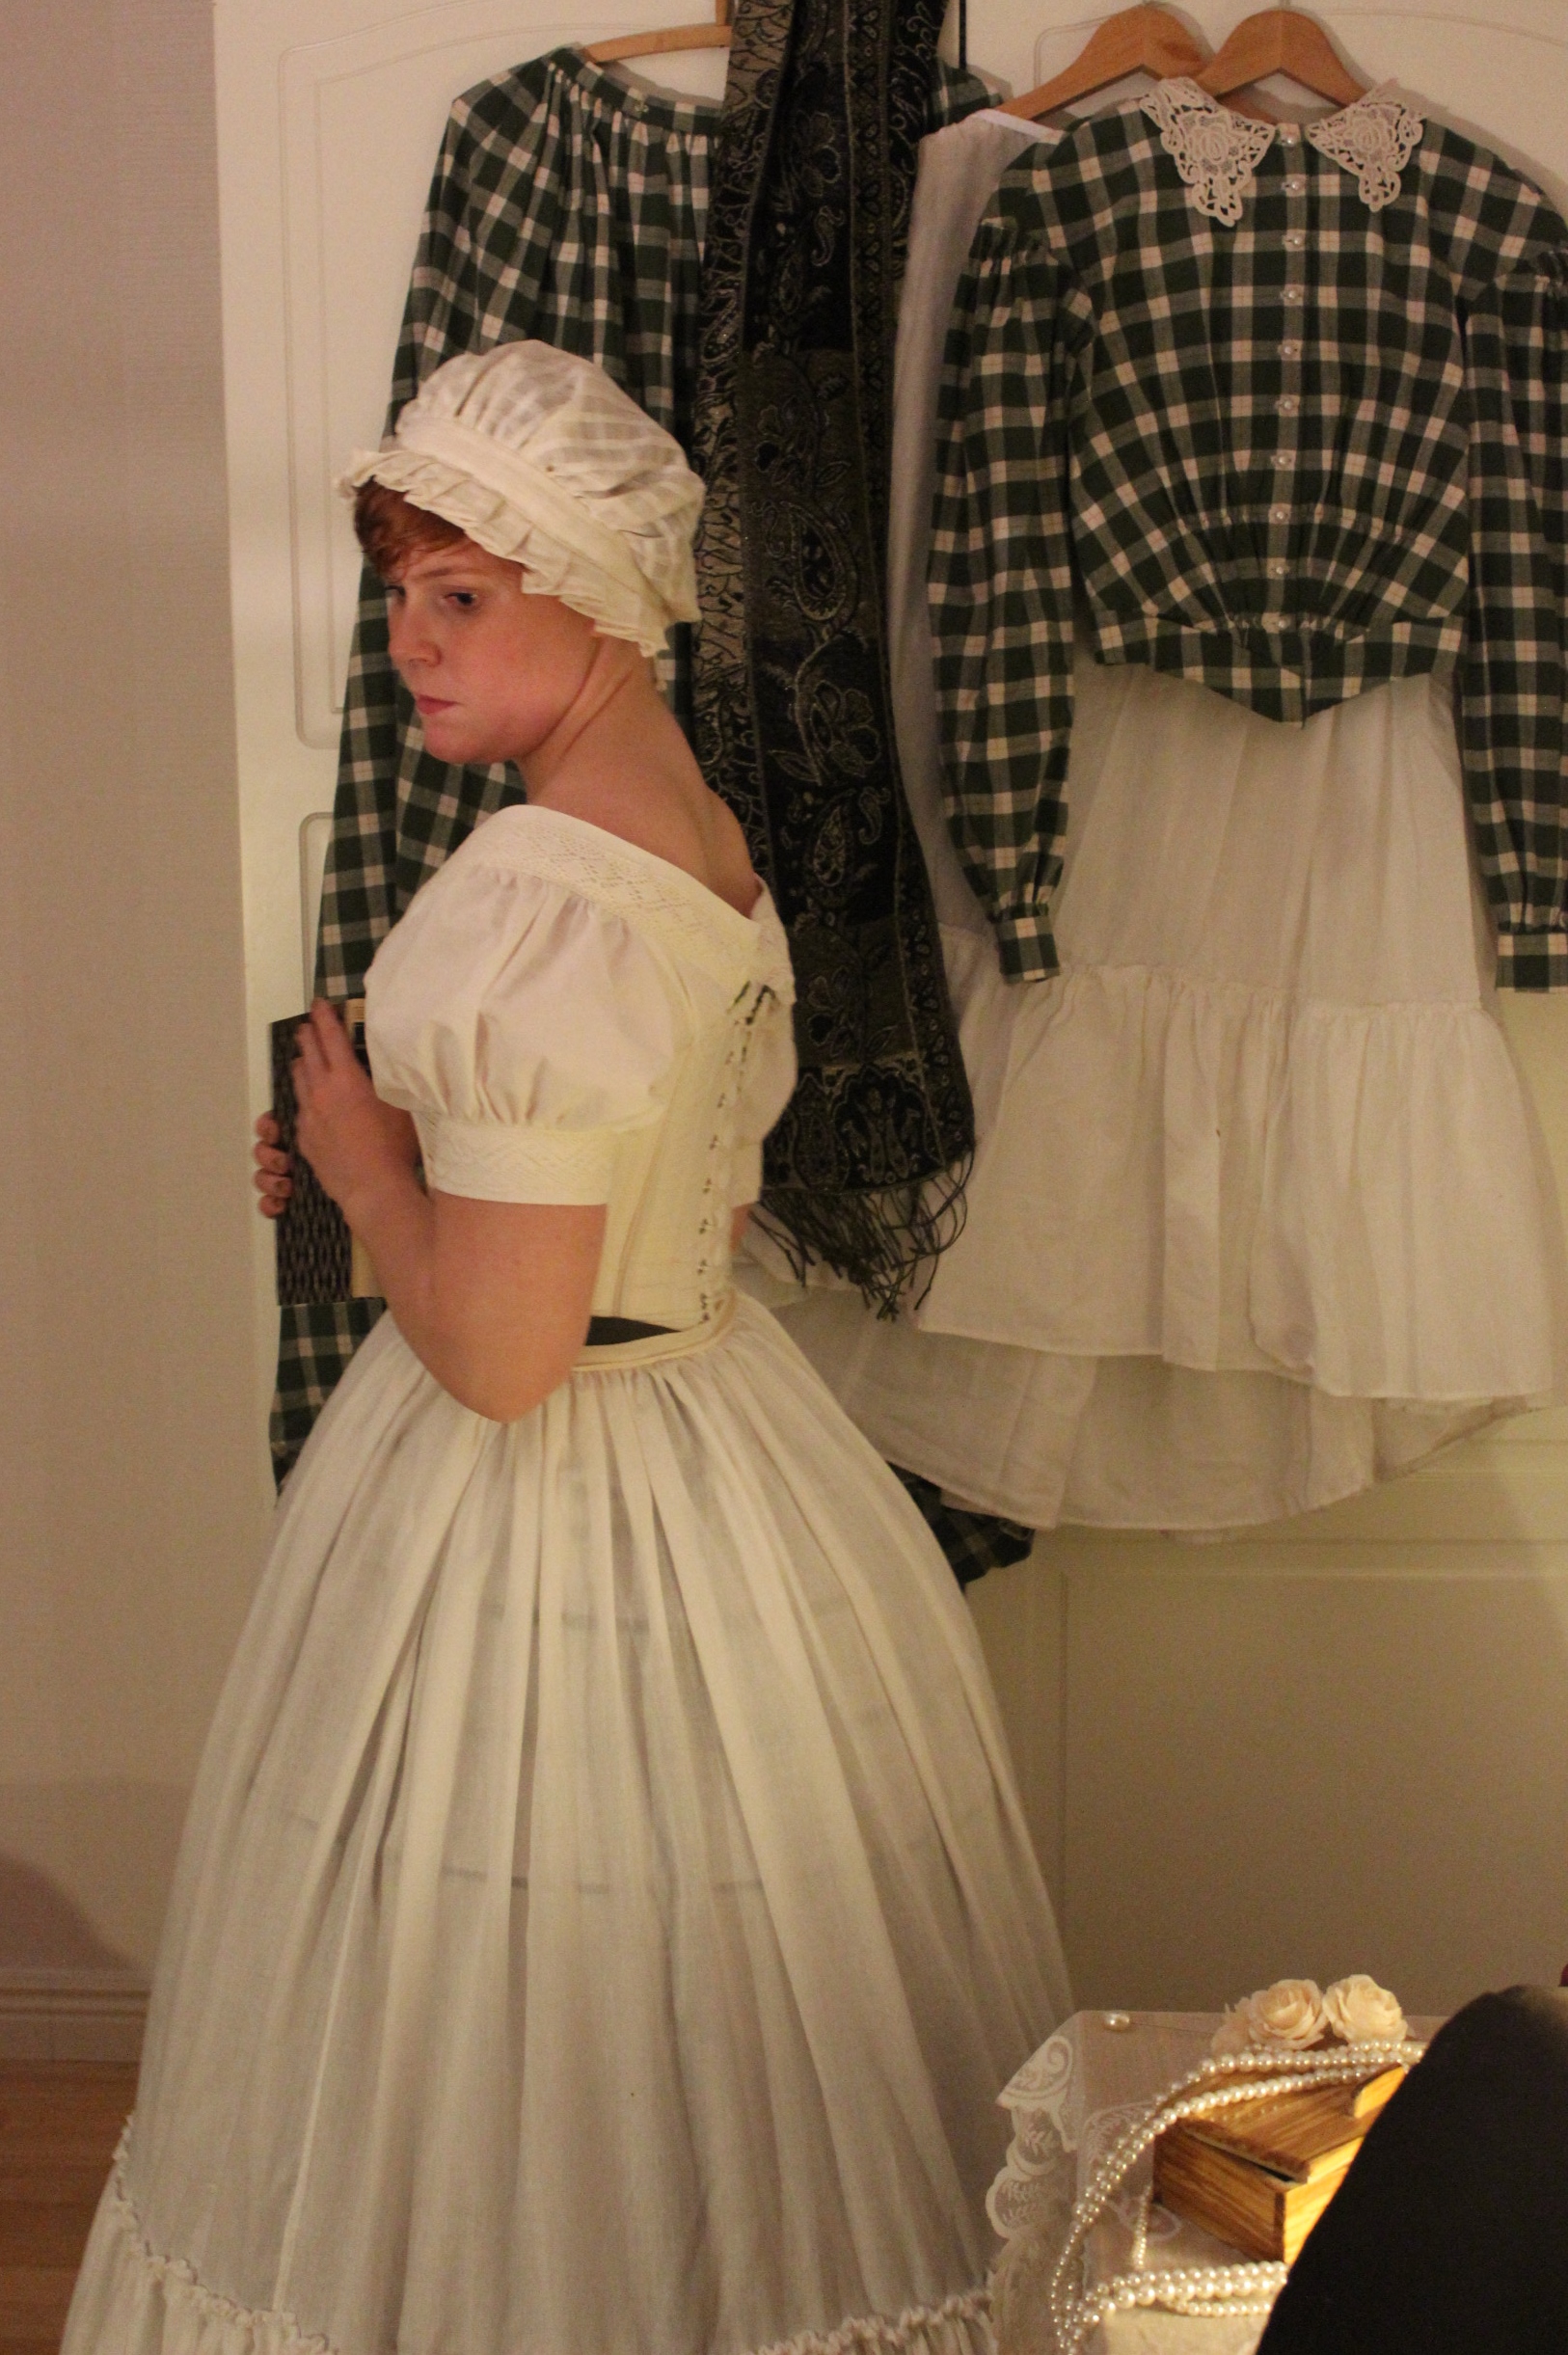
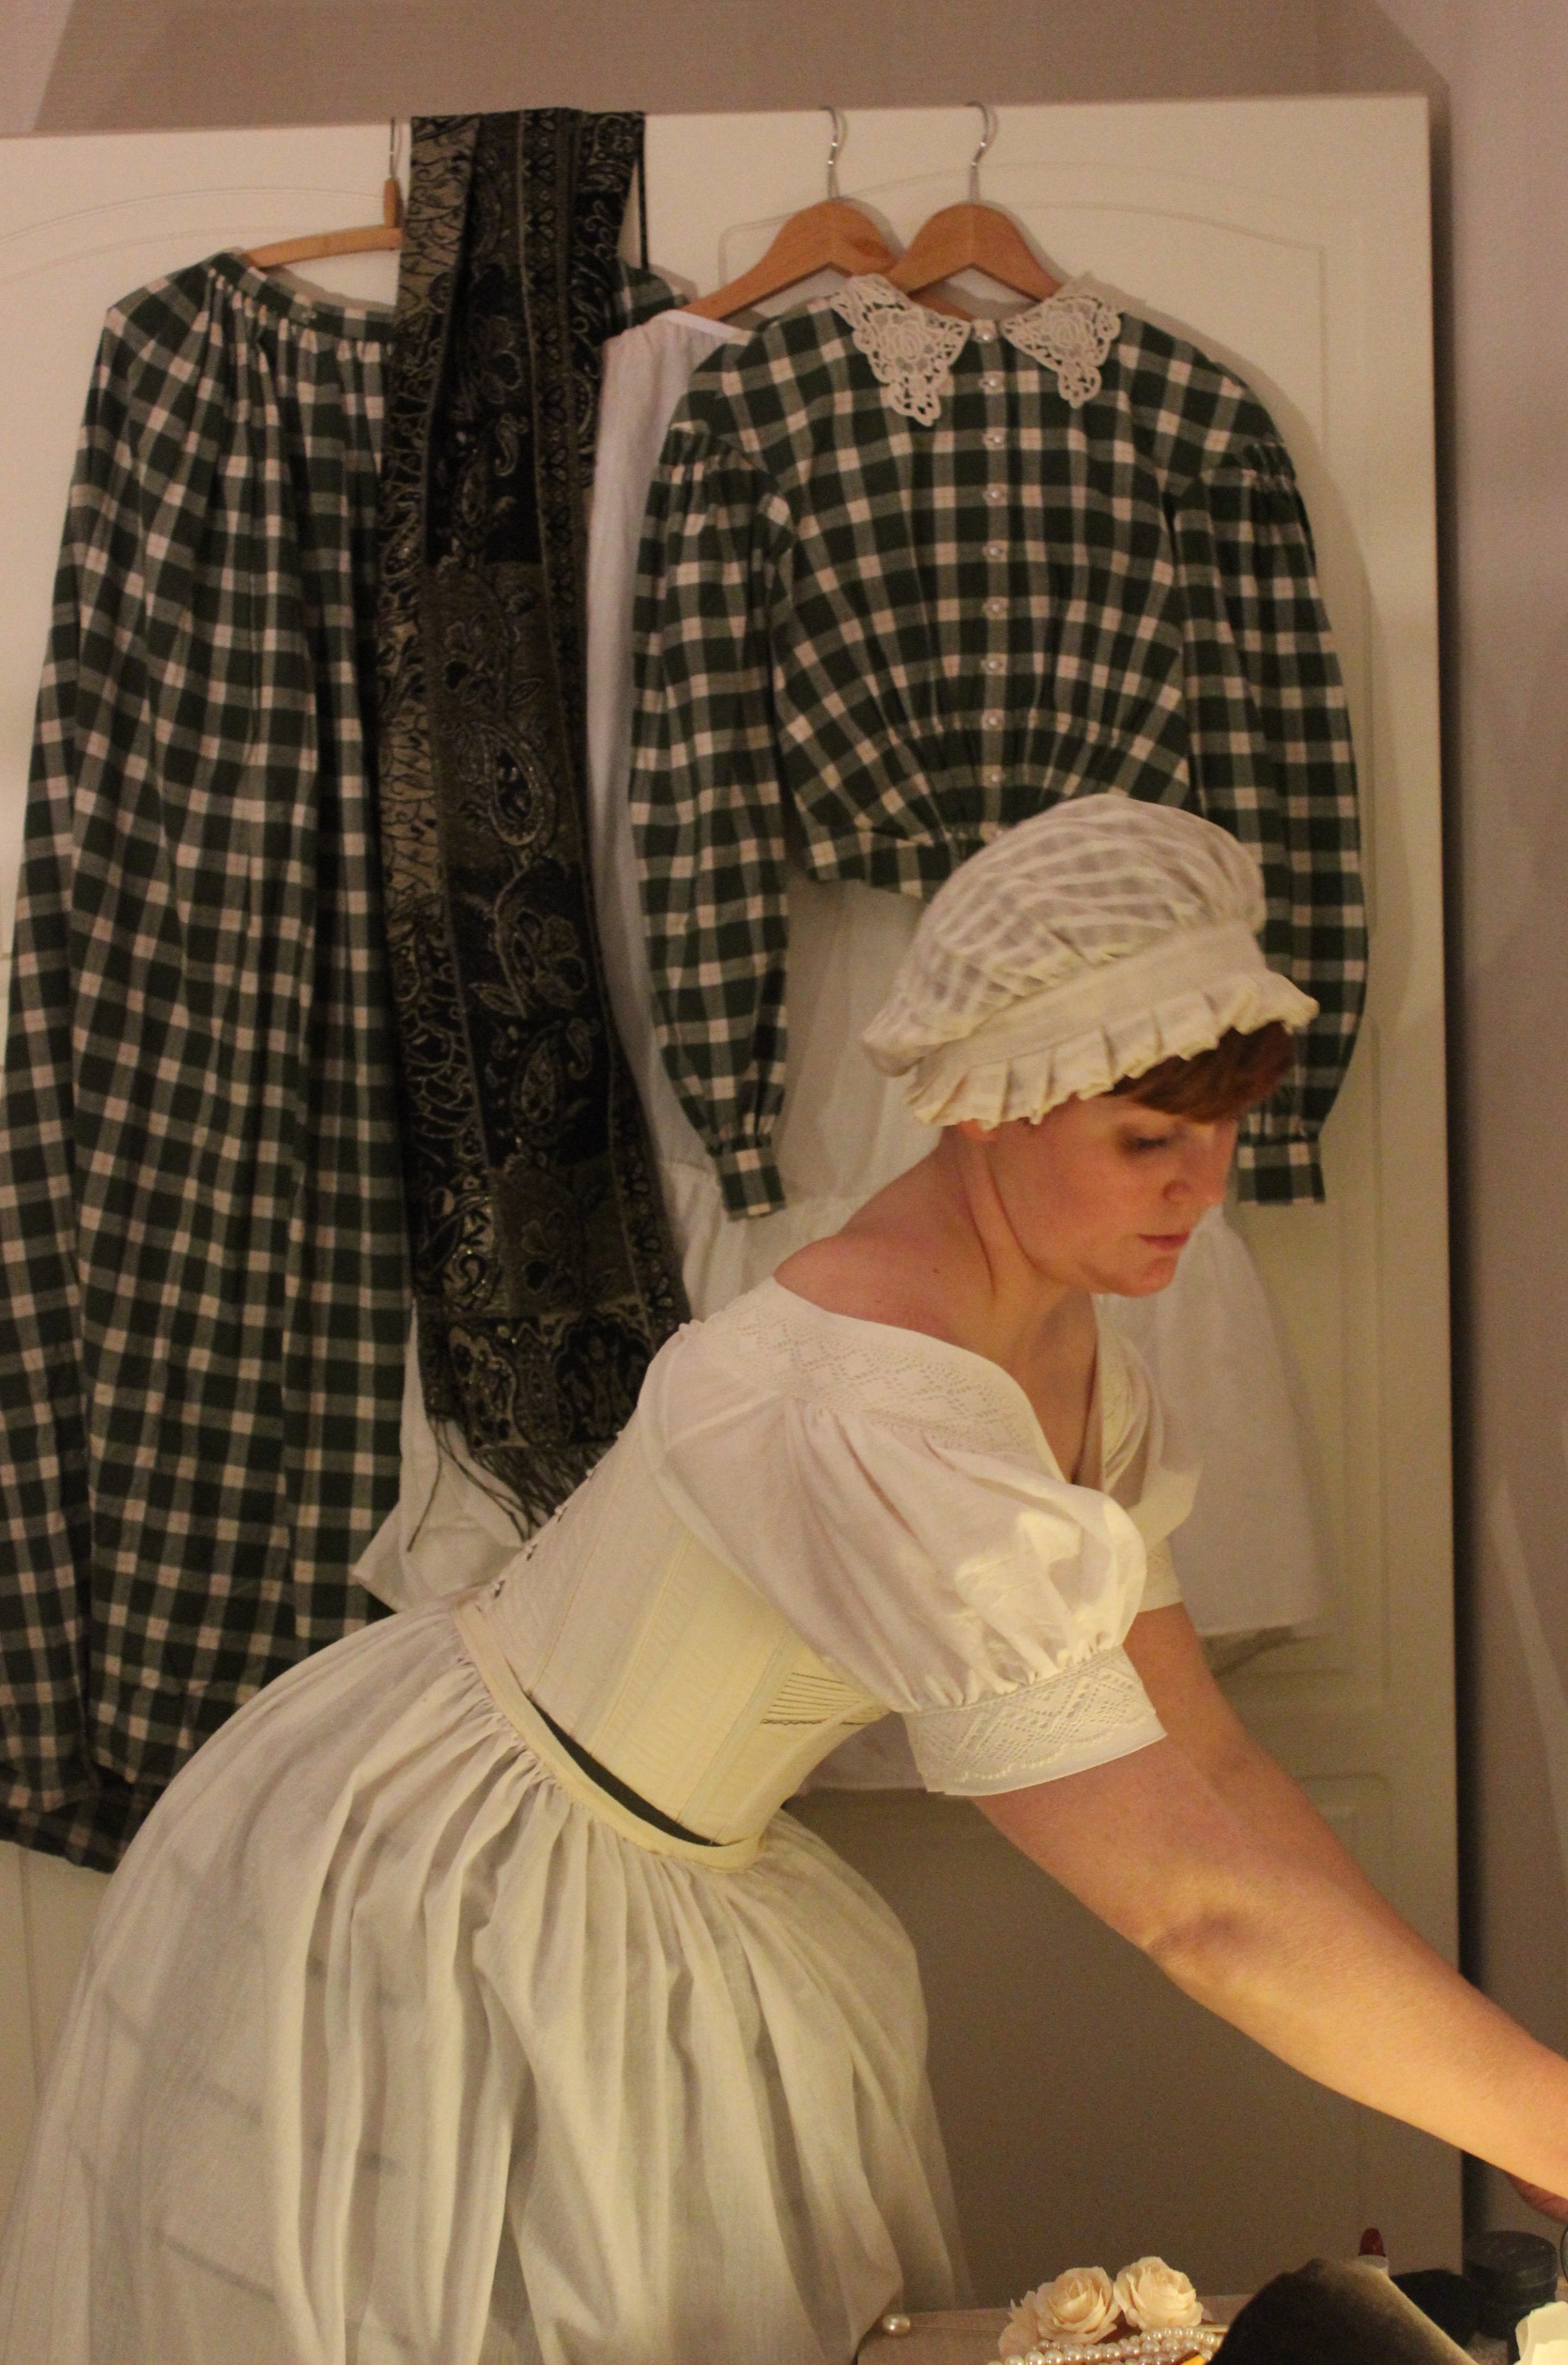
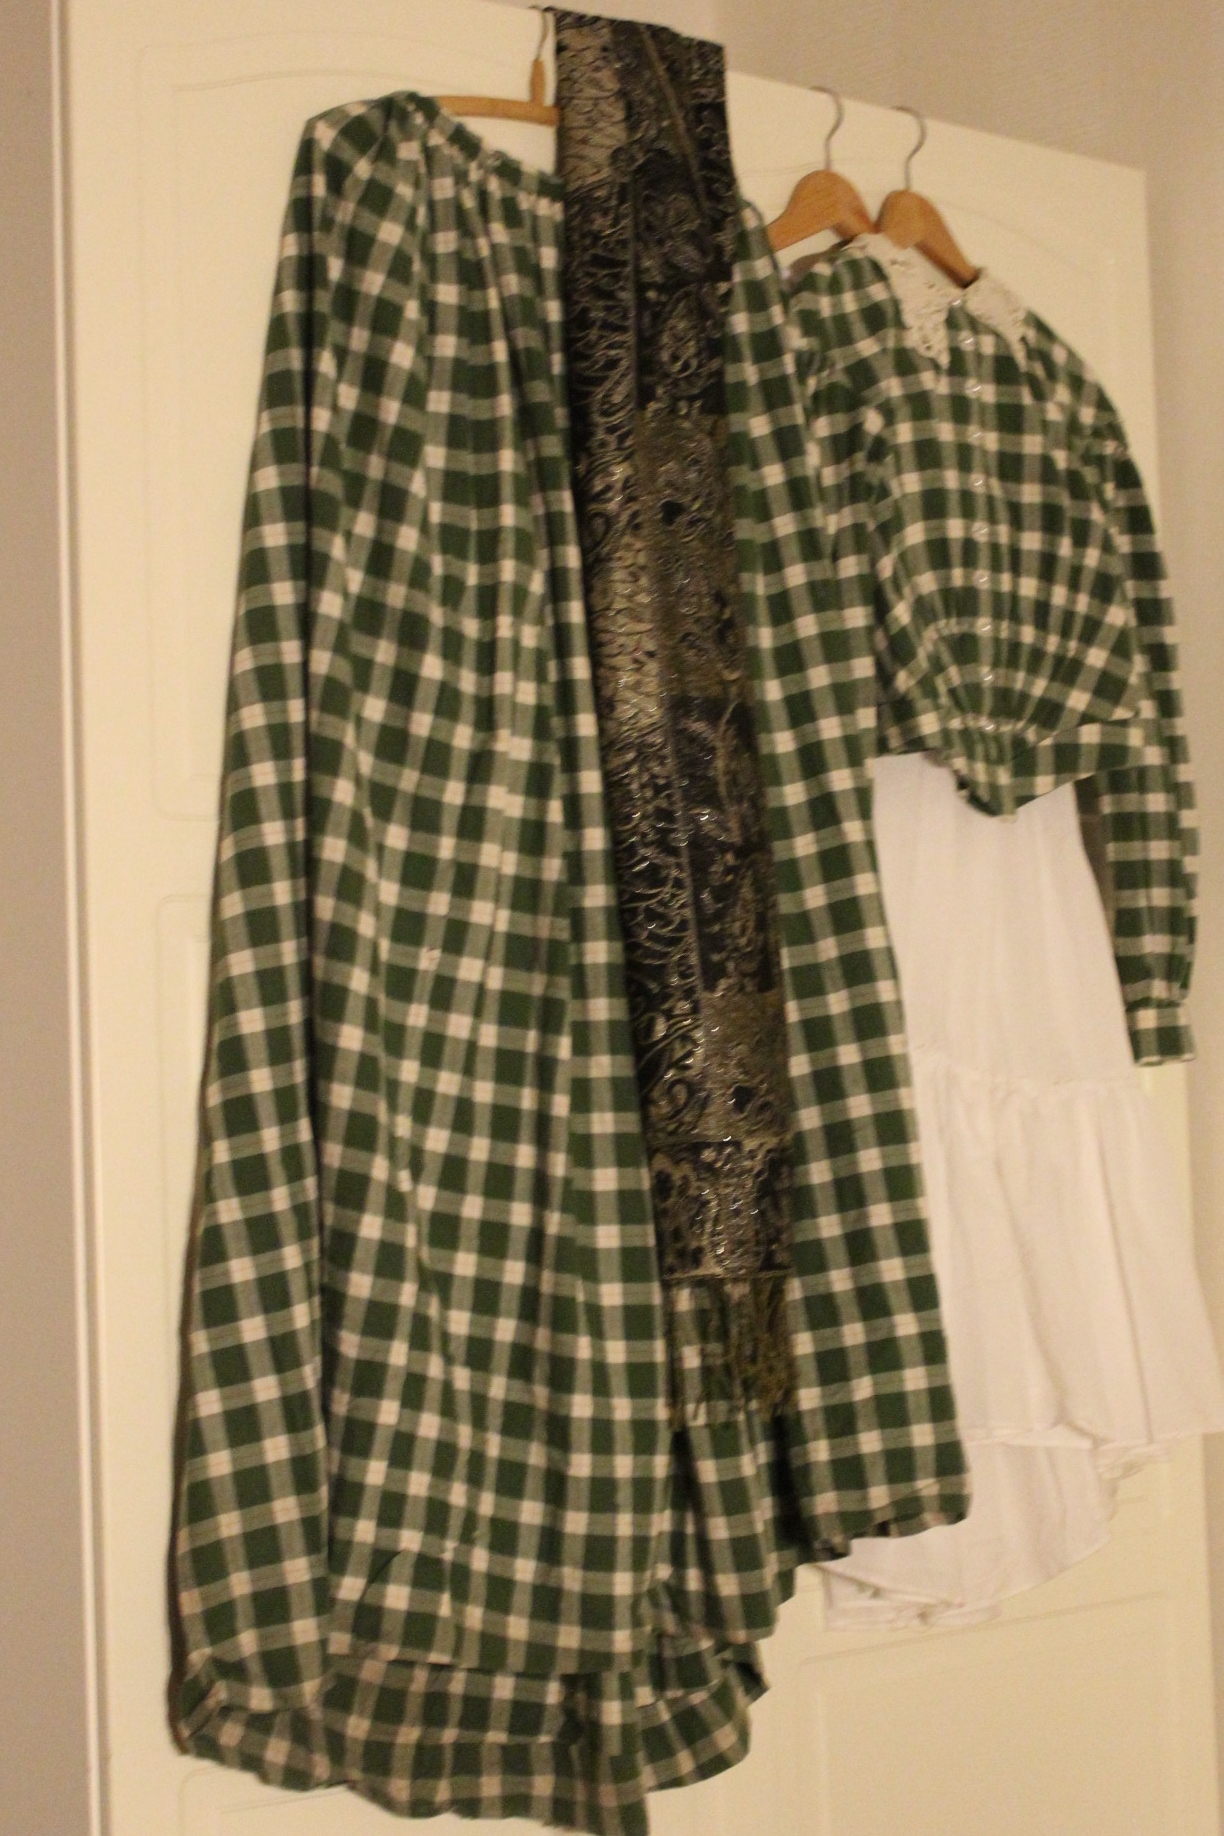 I hung my plaid green 1840s dress combined with a shawl and petticoat on the wardrobe door.
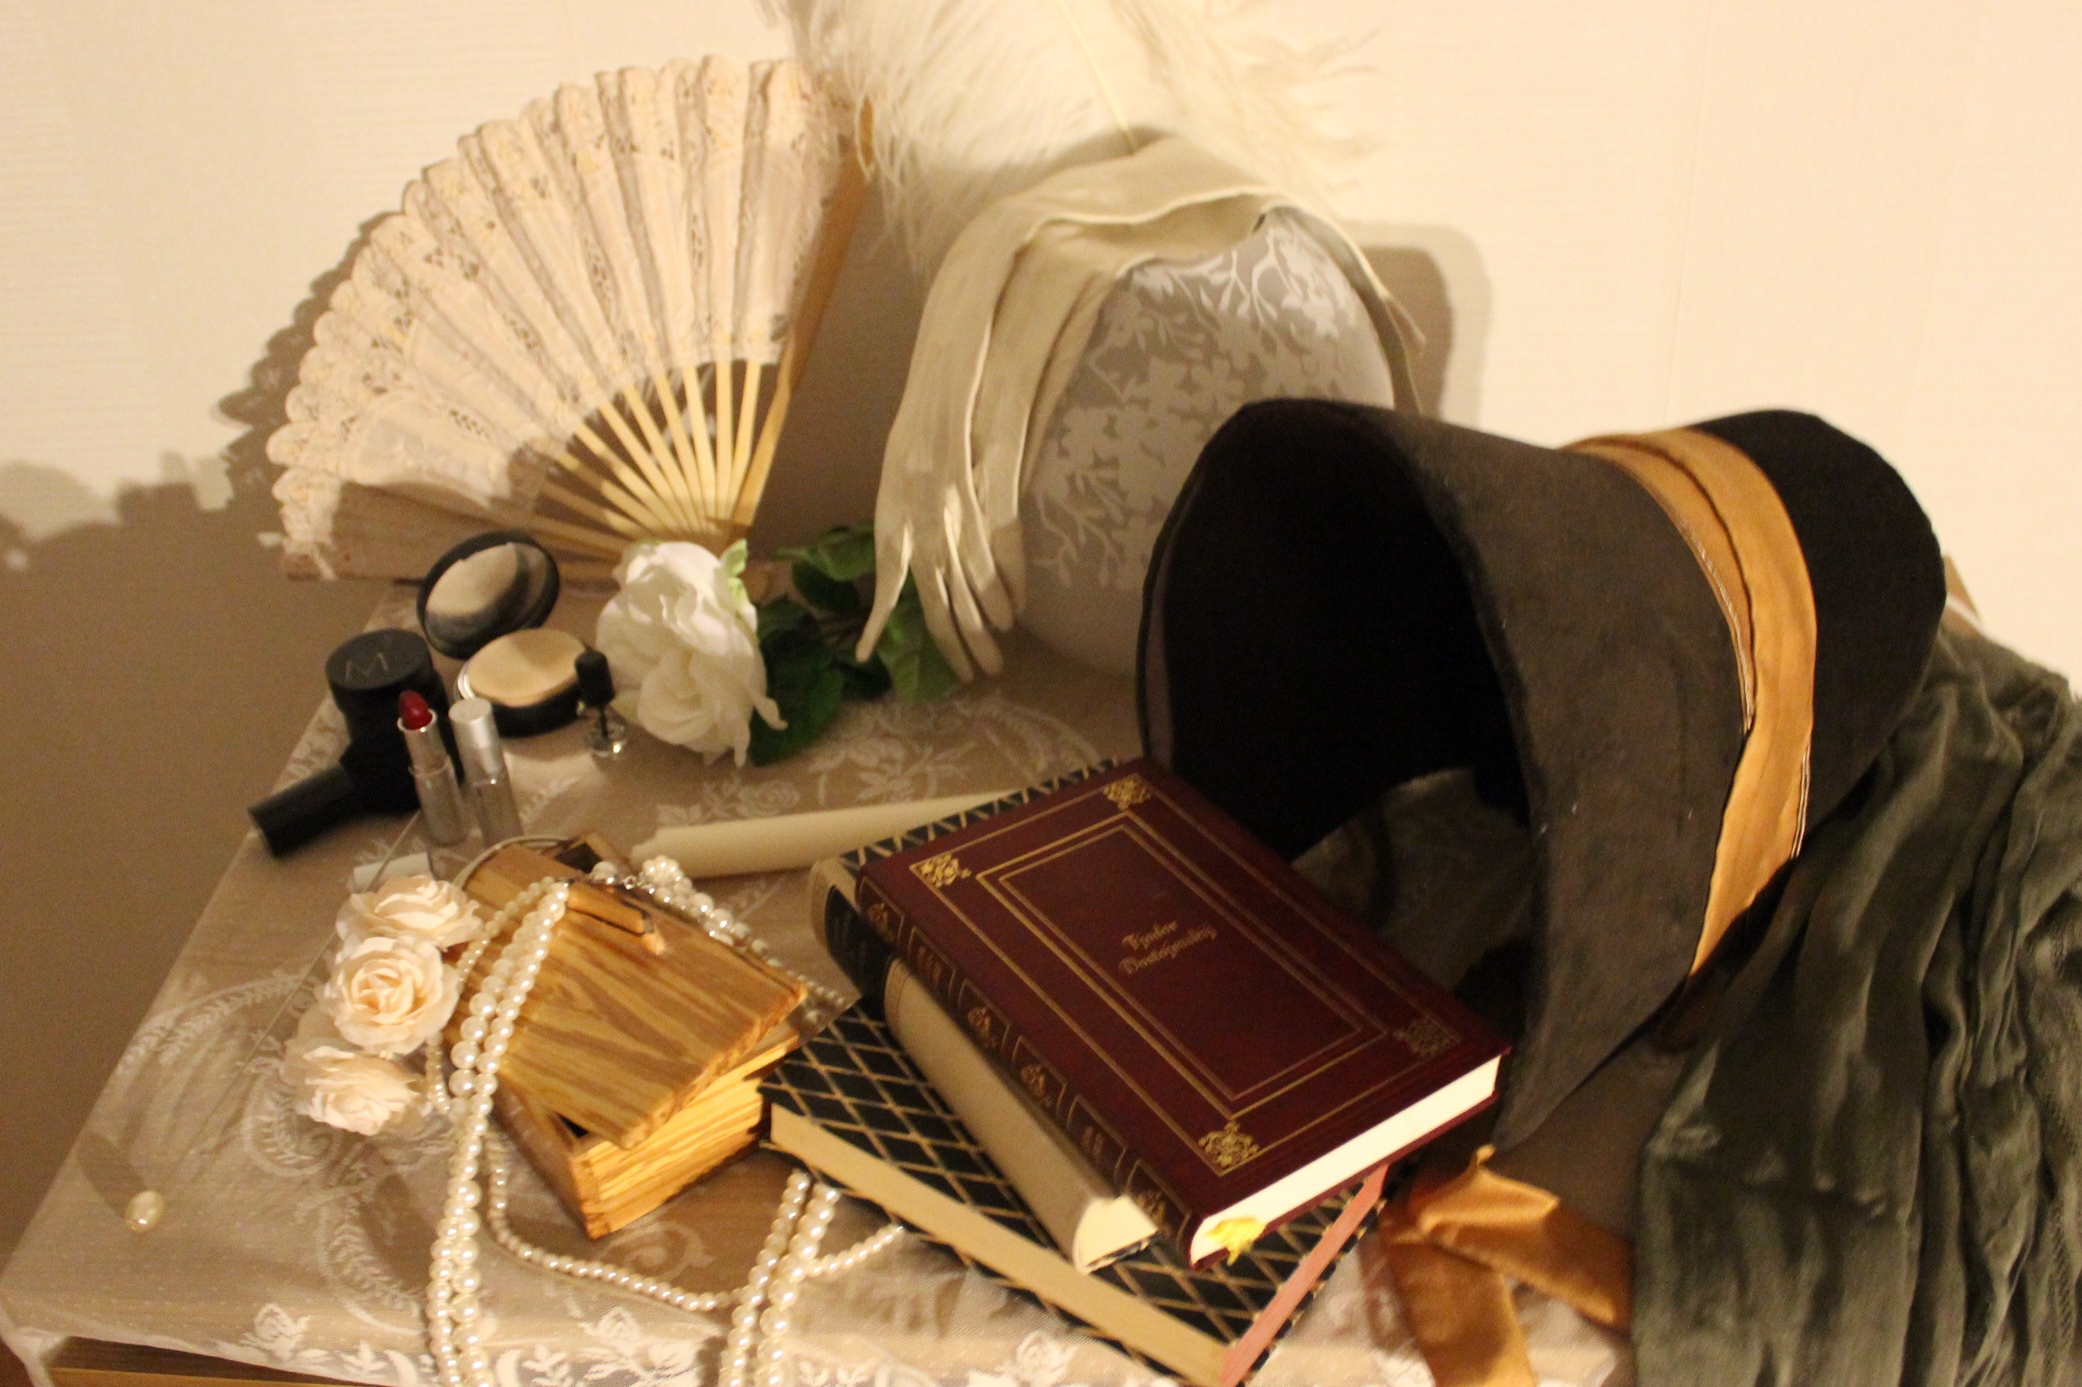

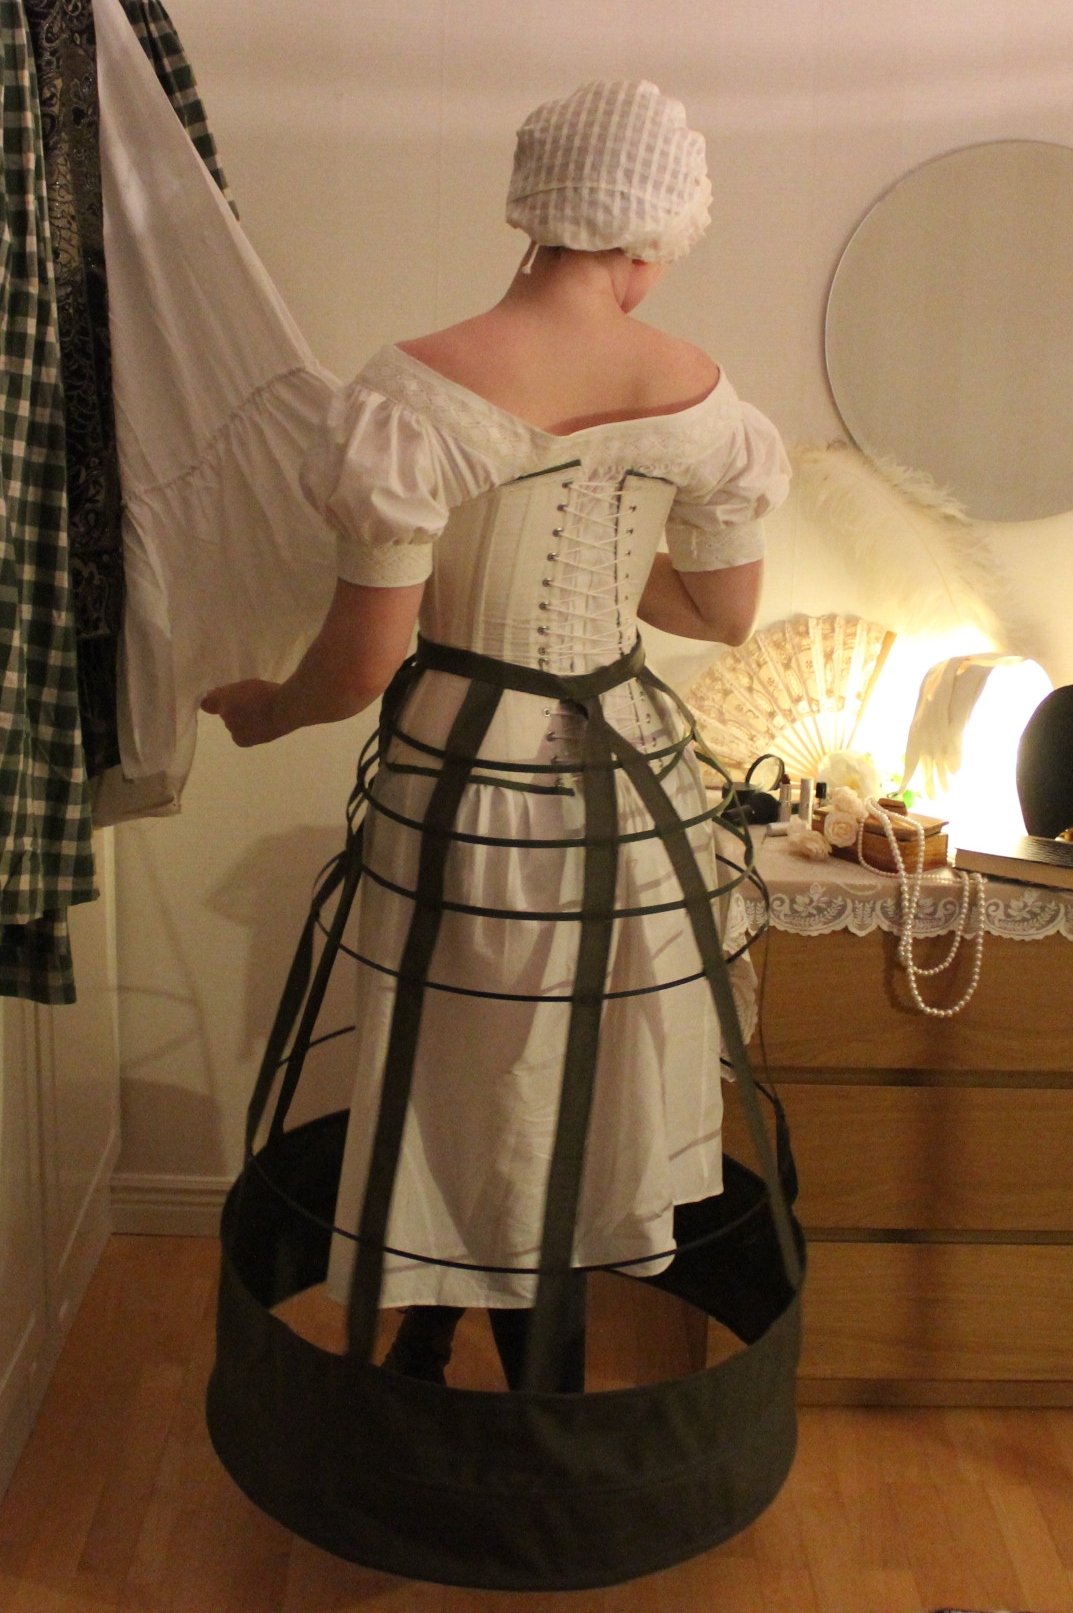

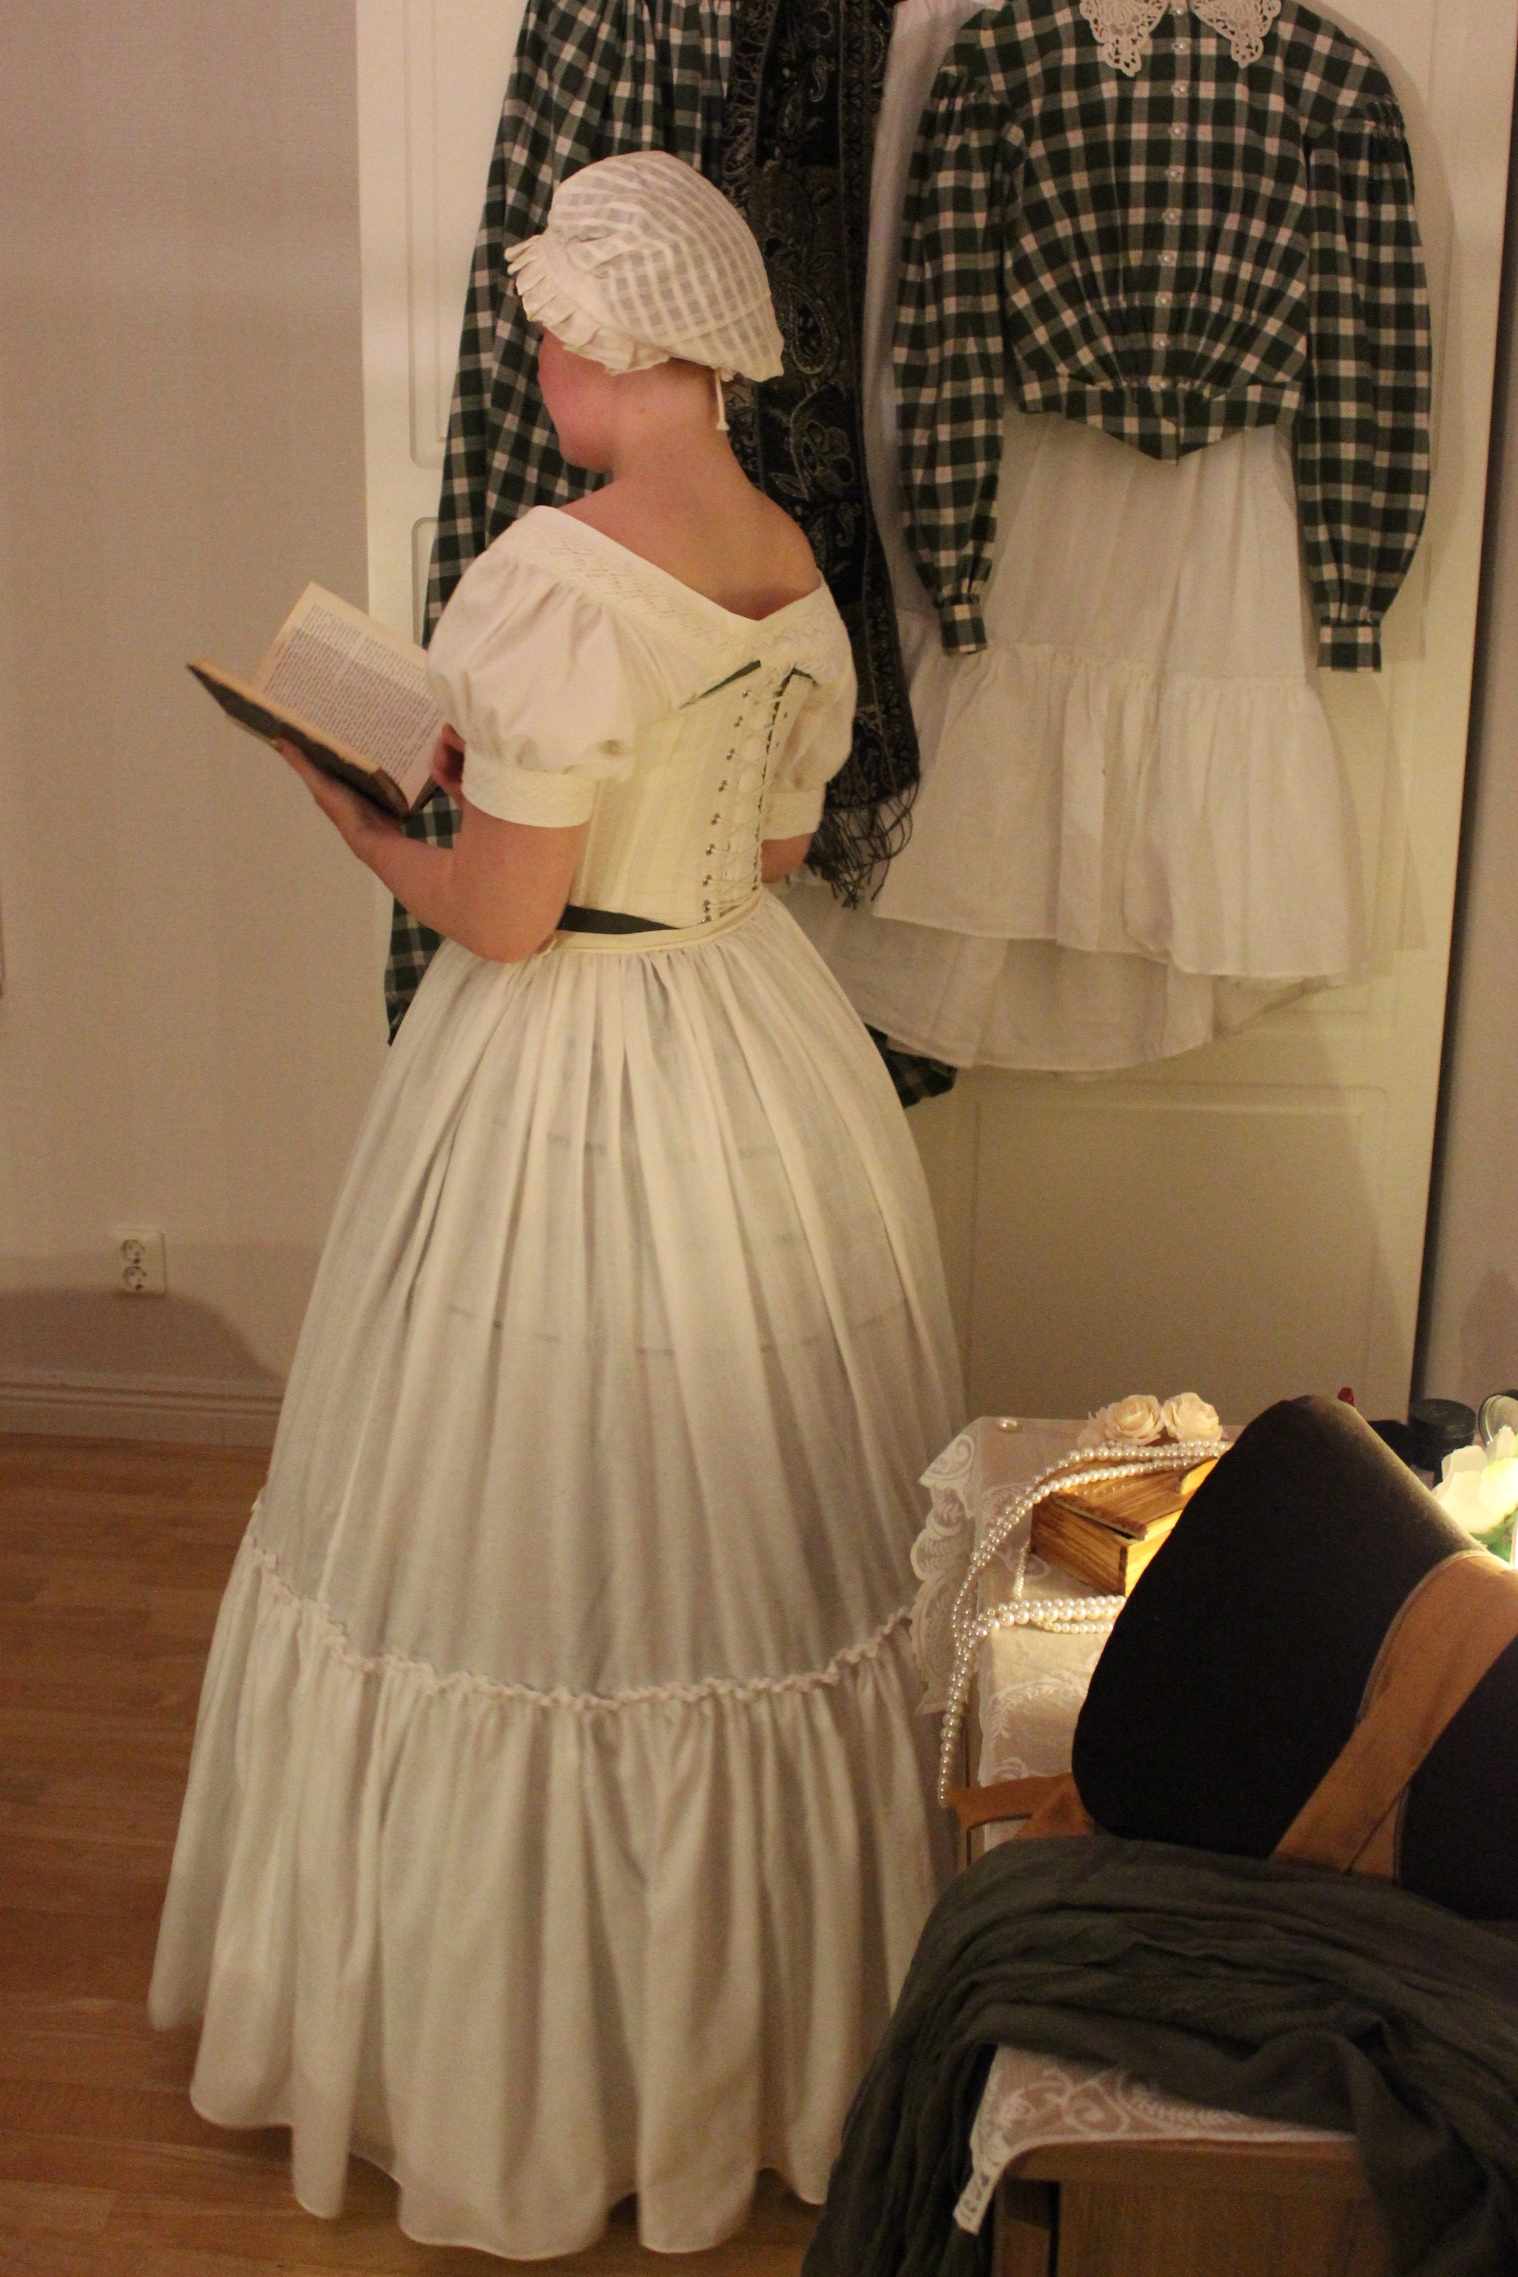
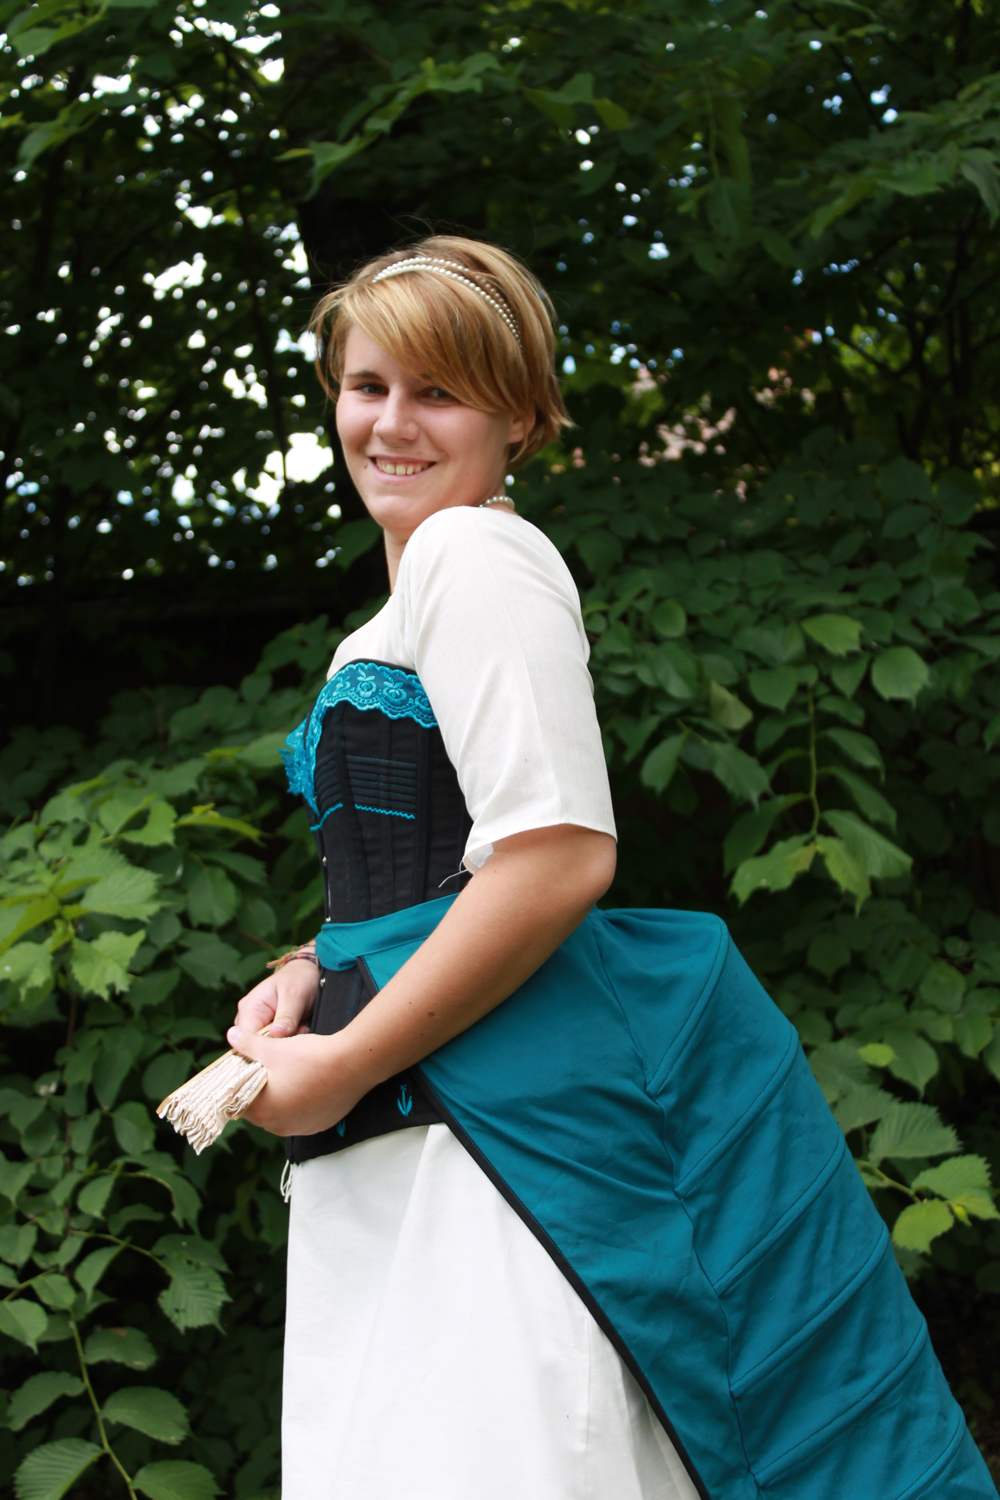
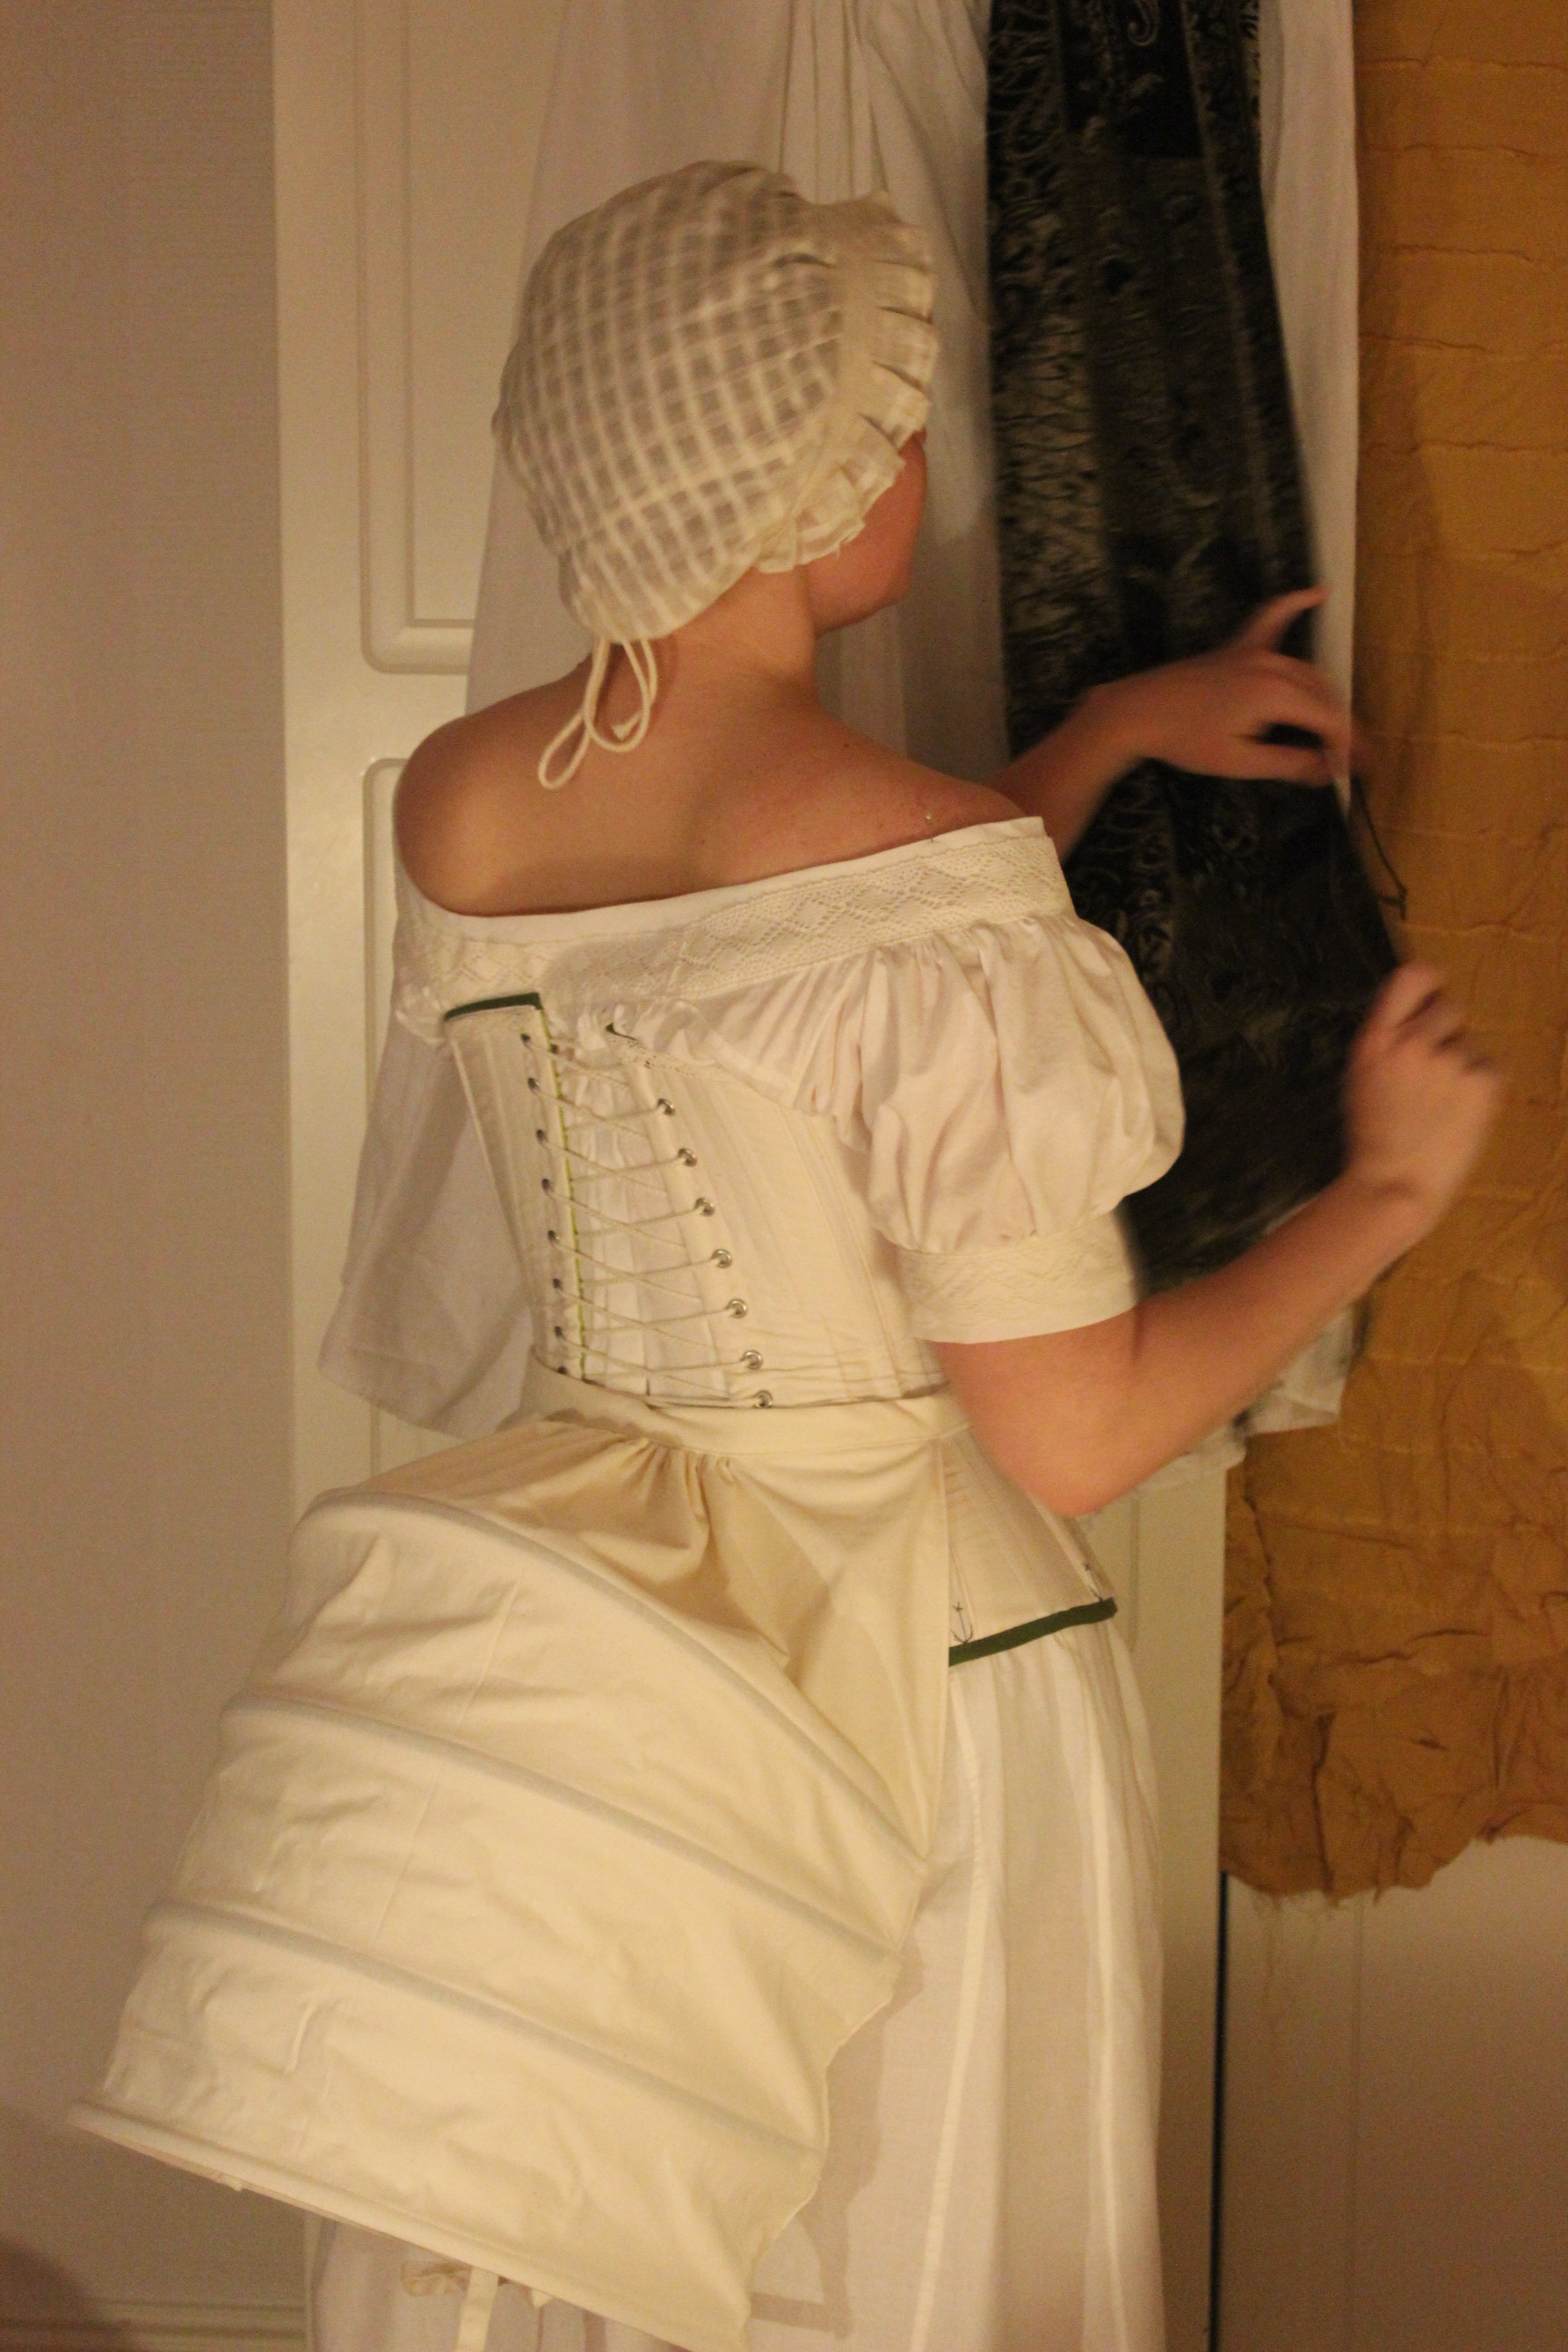
 Bouncy buttom.
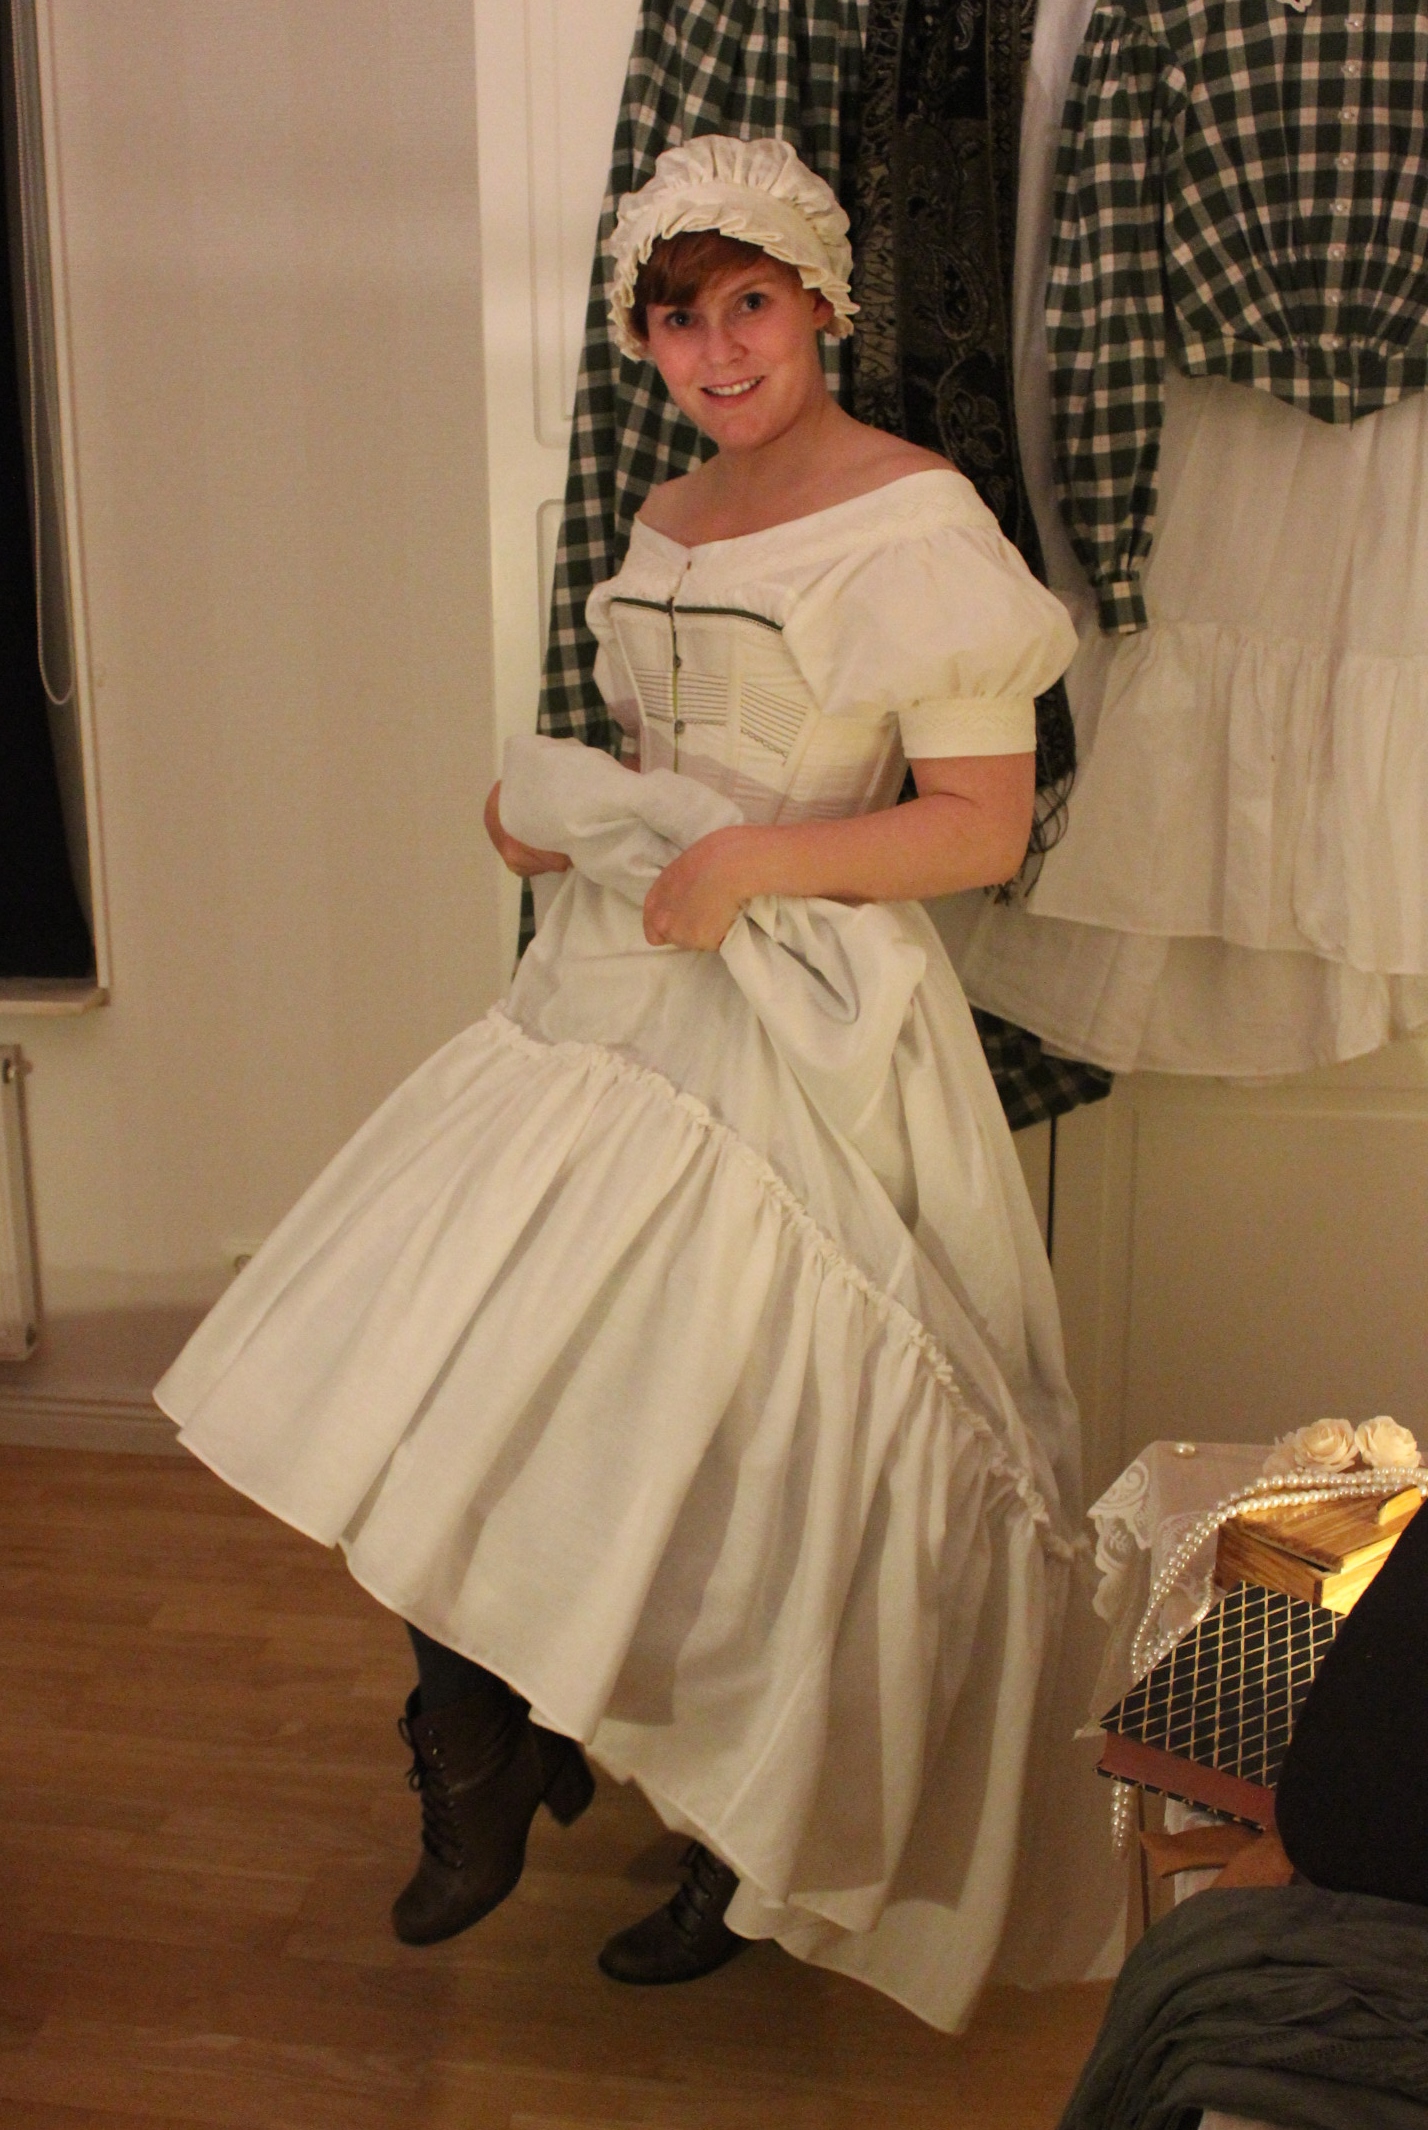 So there you have it, 4 HSF items in one photoshoot.