1860s blue/white hat

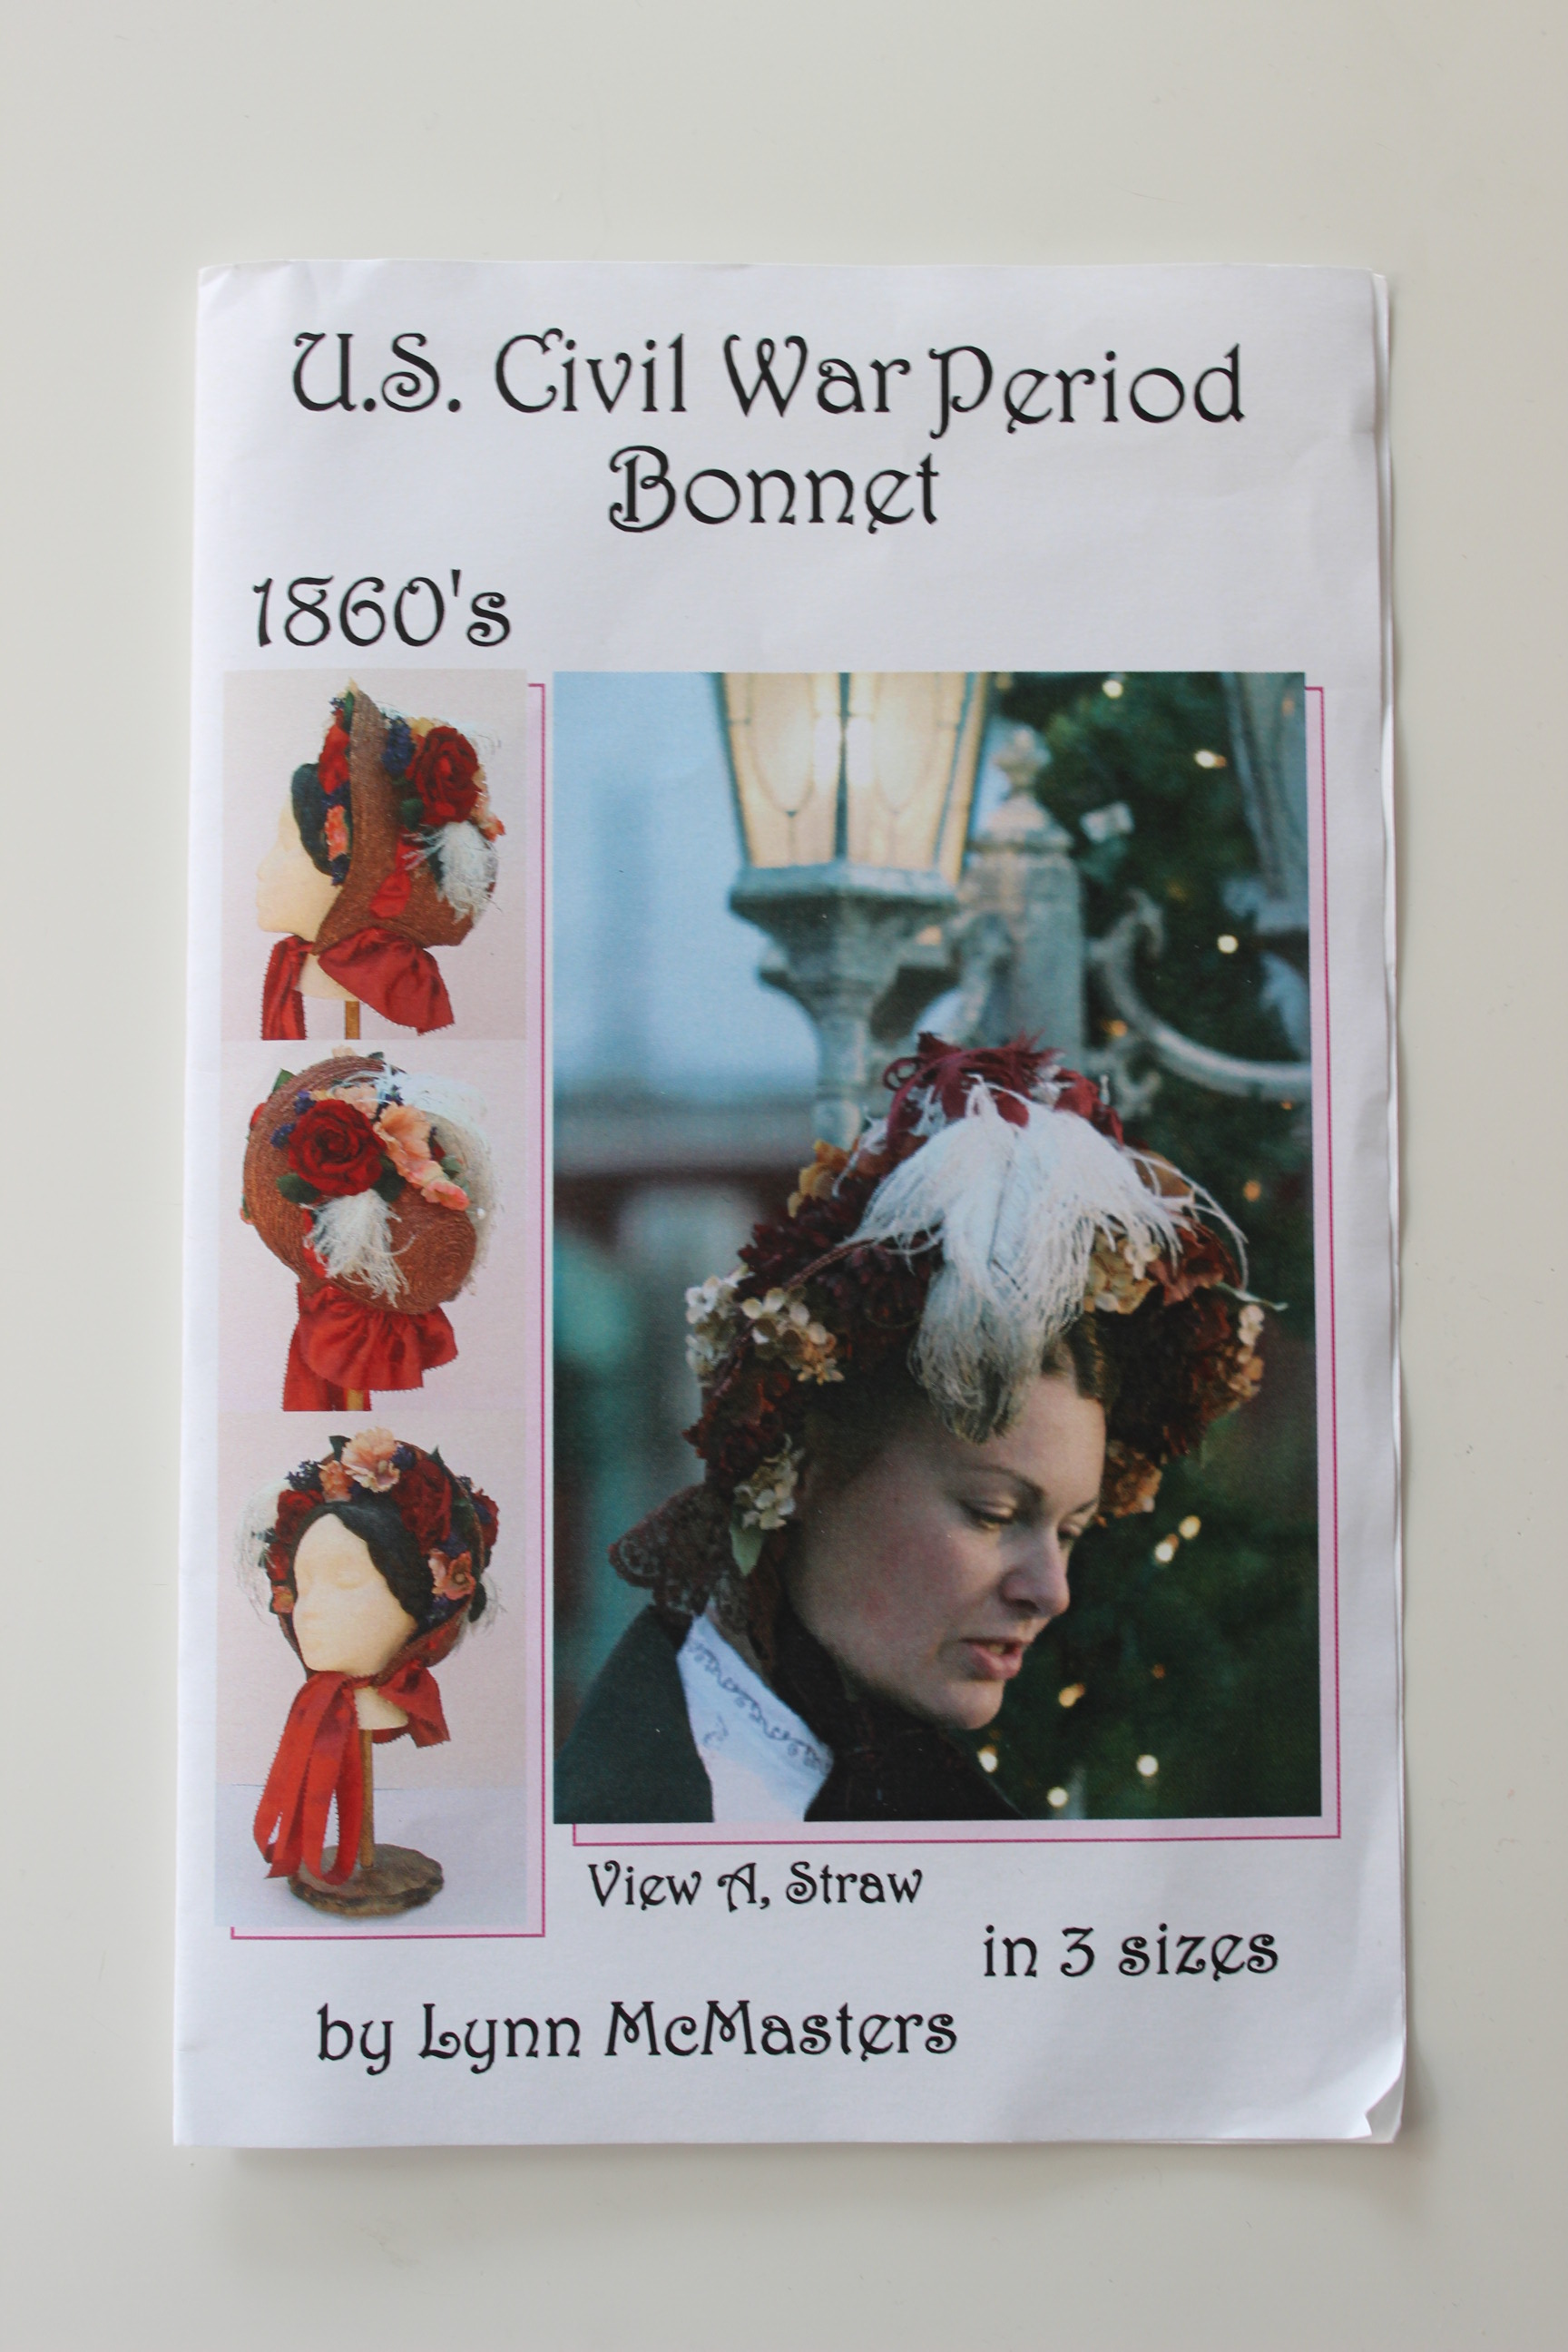
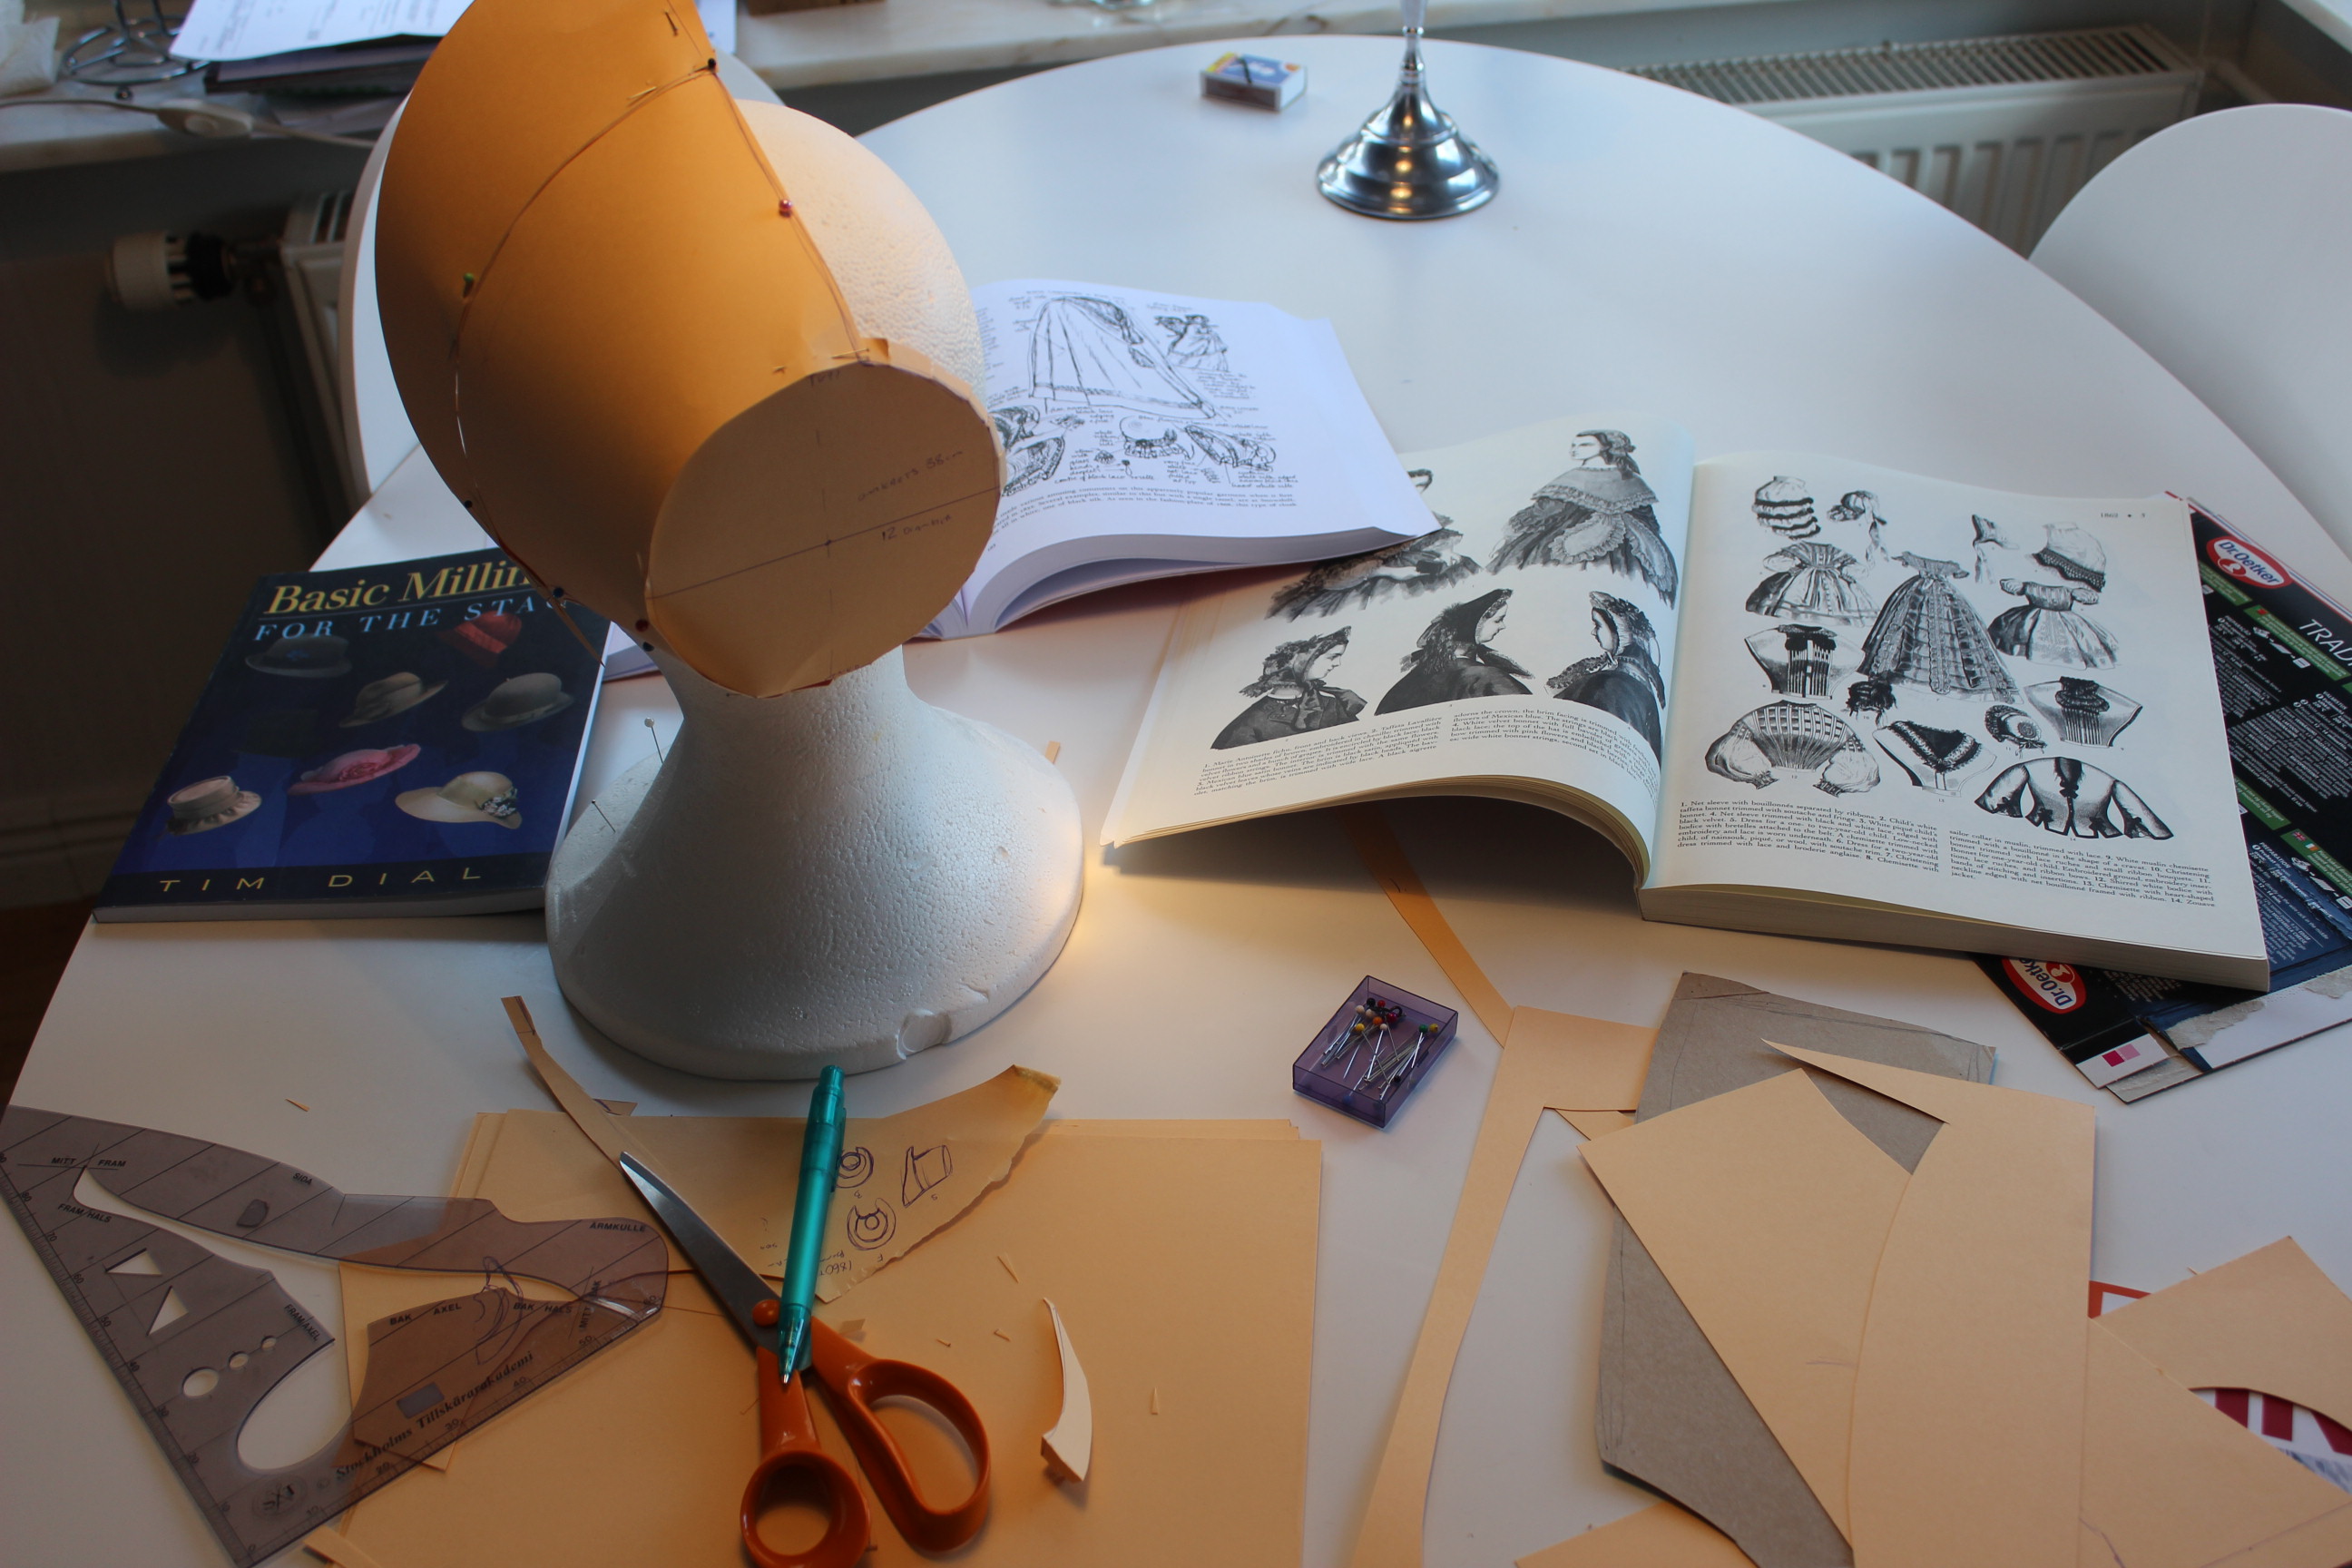
Wise from my previous try at millinery, I ordered a pattern without even trying to draft my own for my sister 1860s hat.  IMG_6343Lynn McMasters “1860s summer hat”

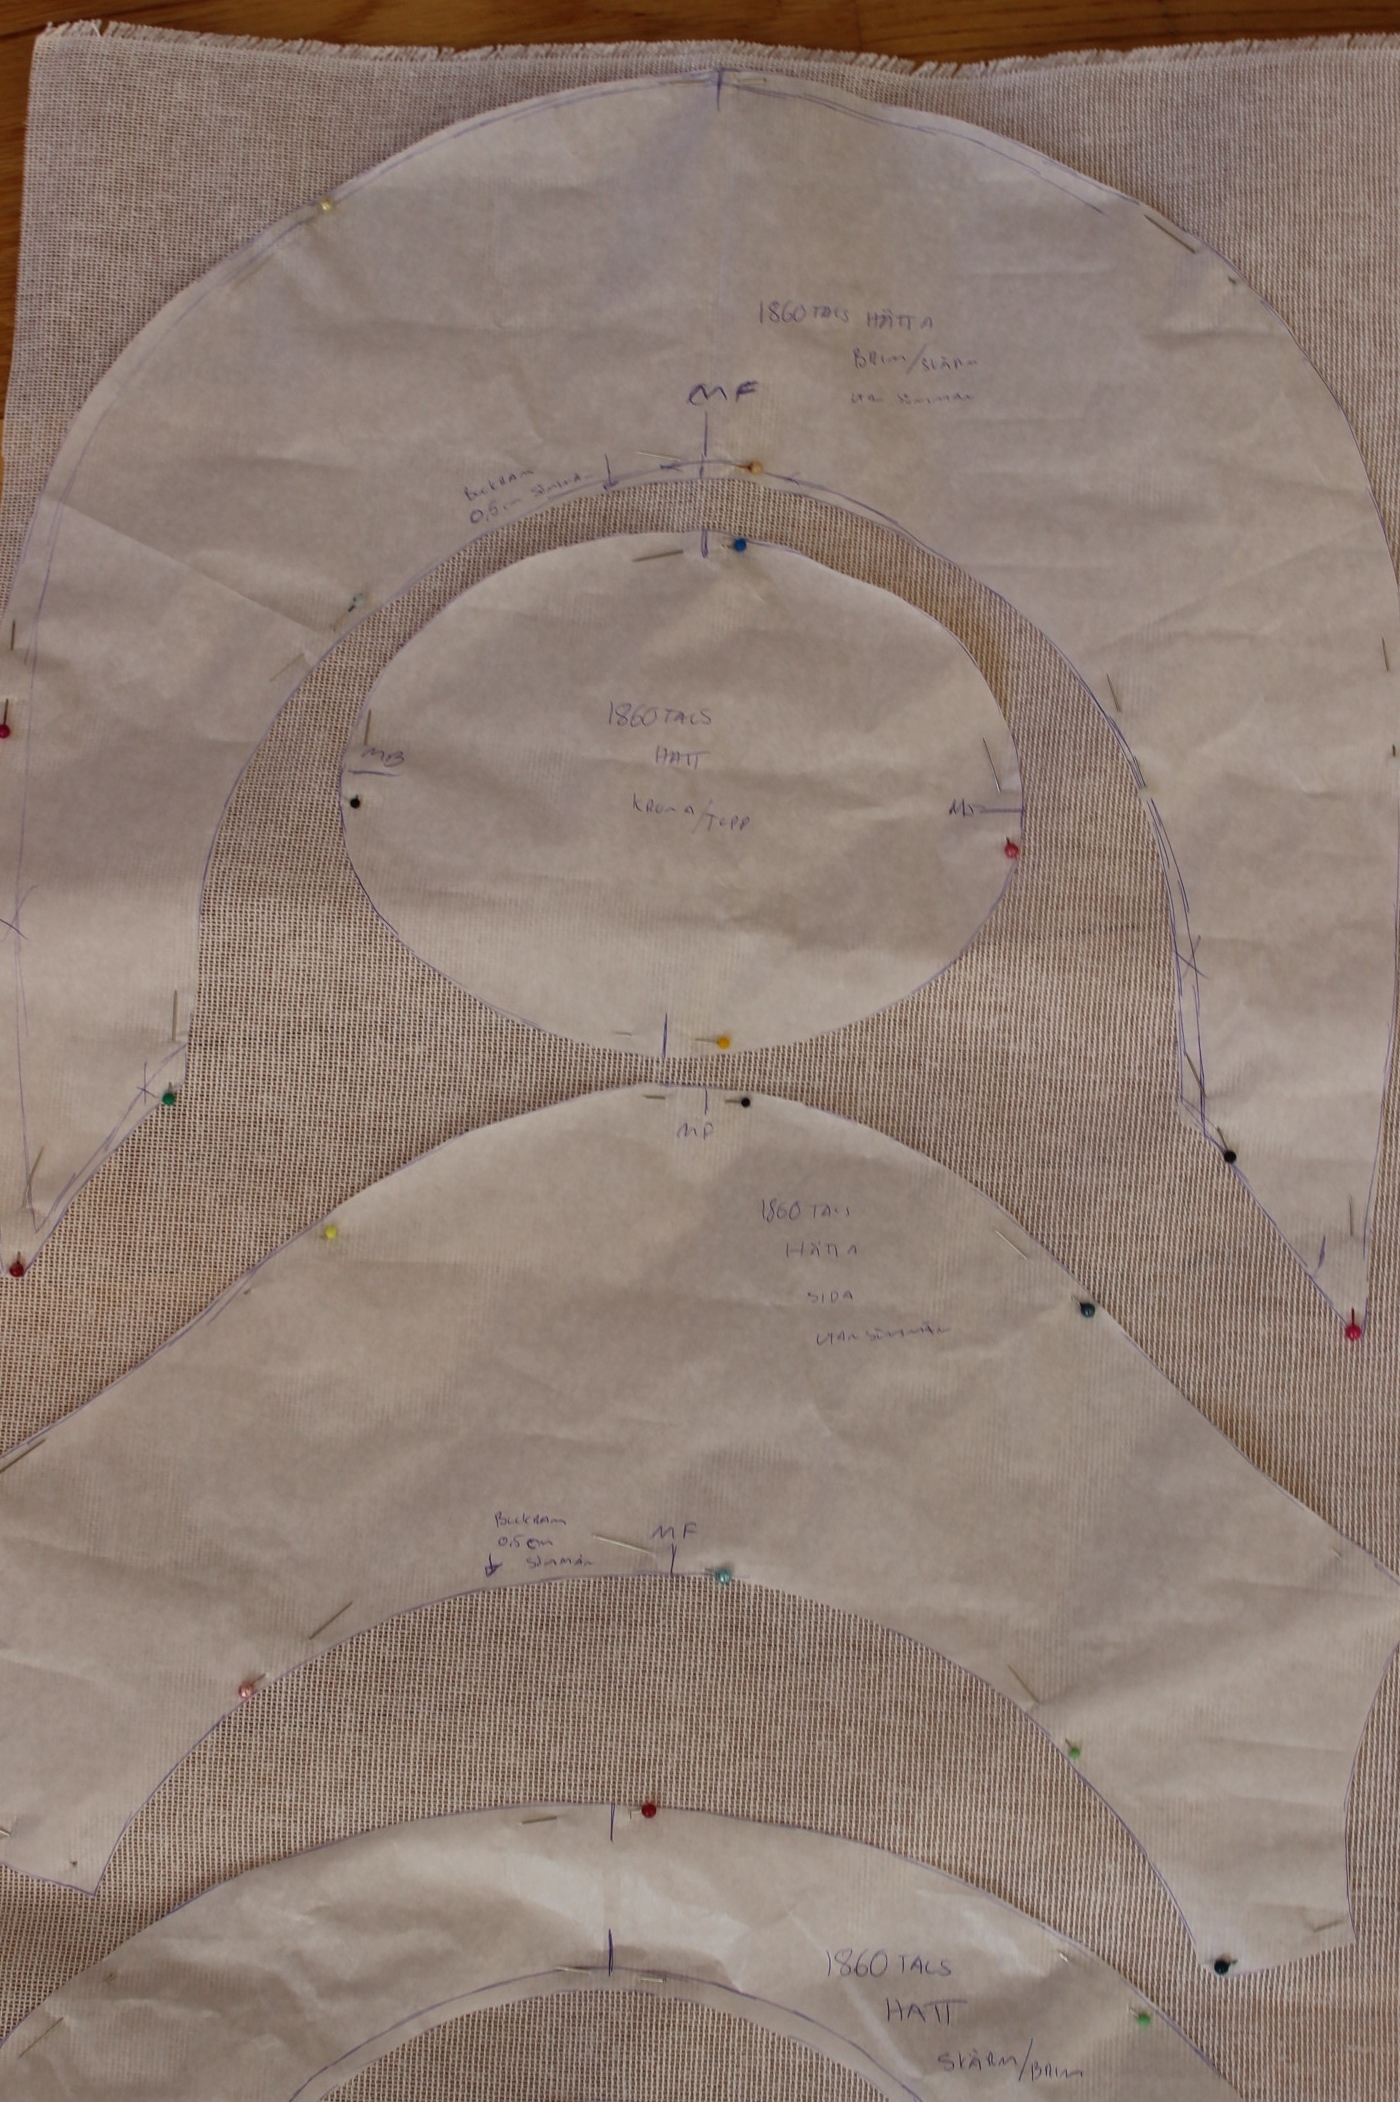
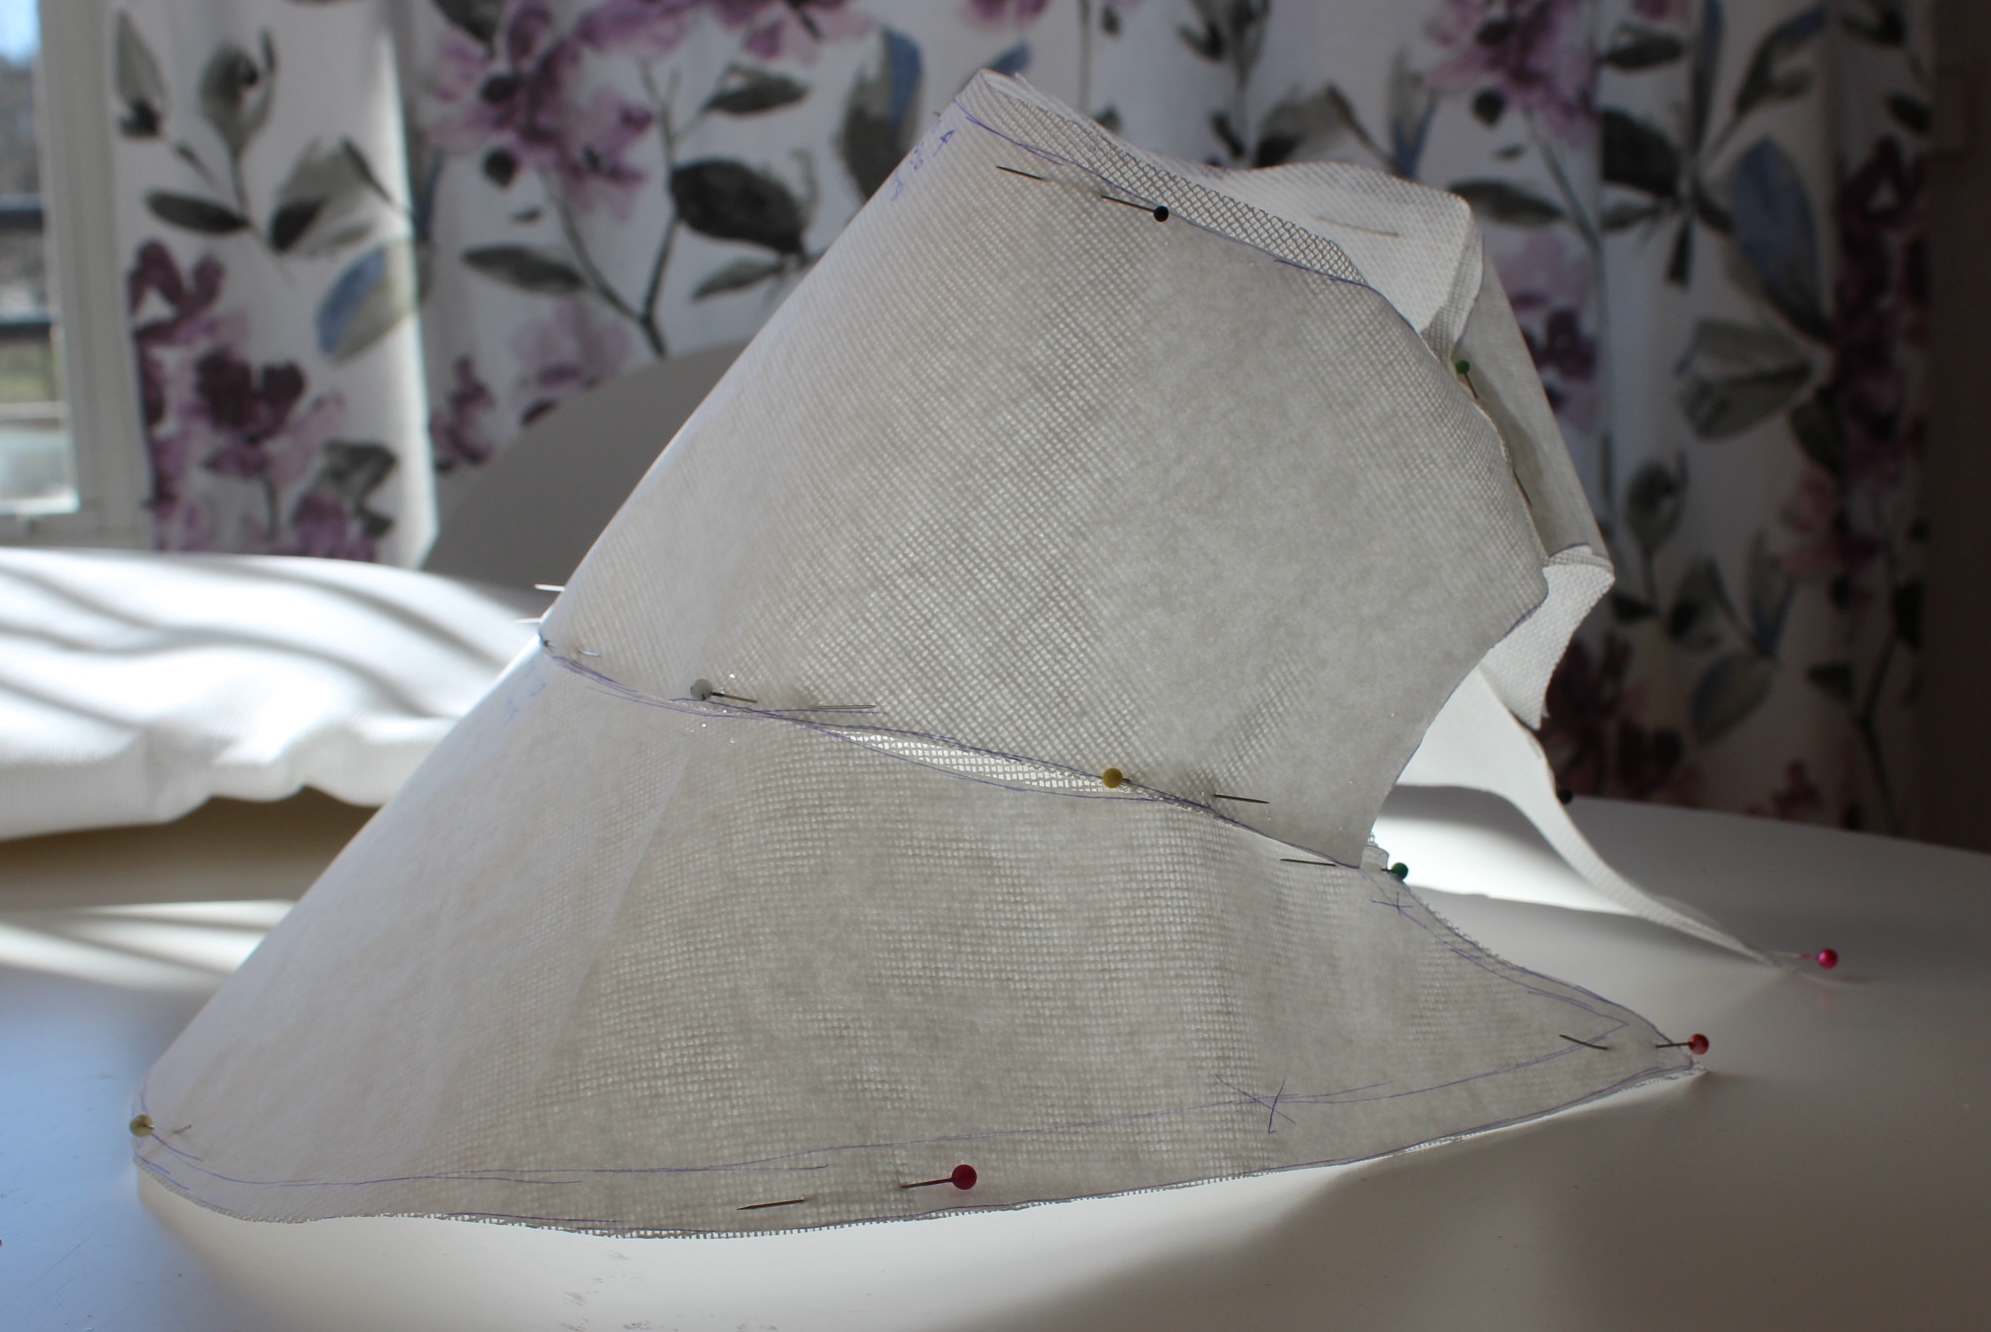
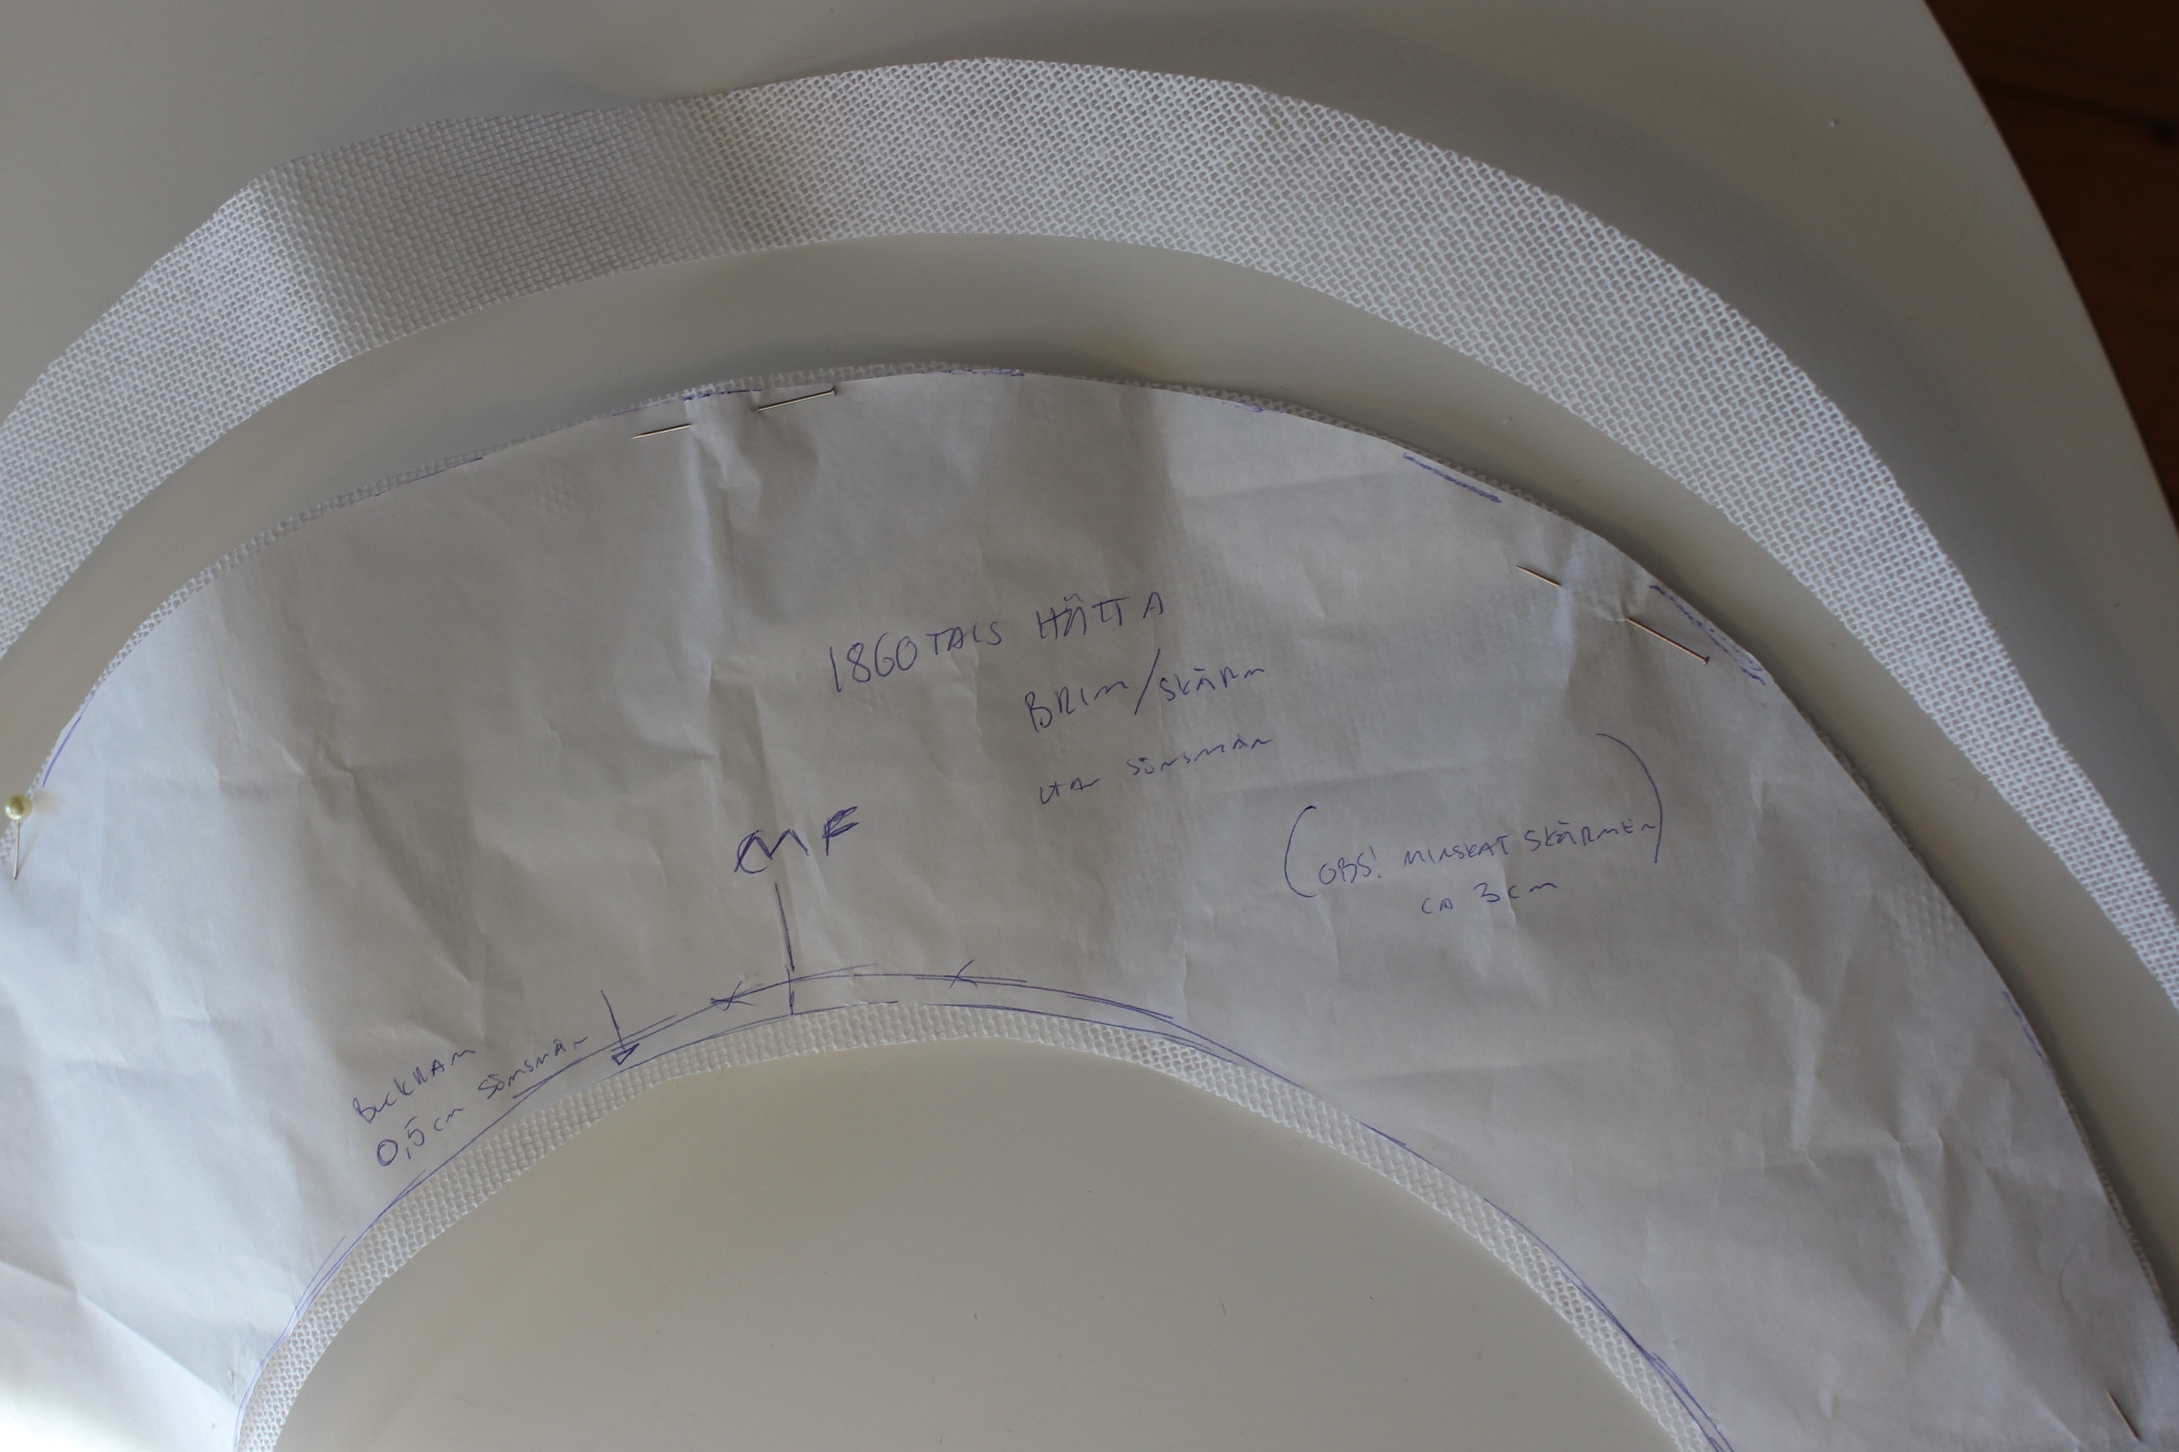
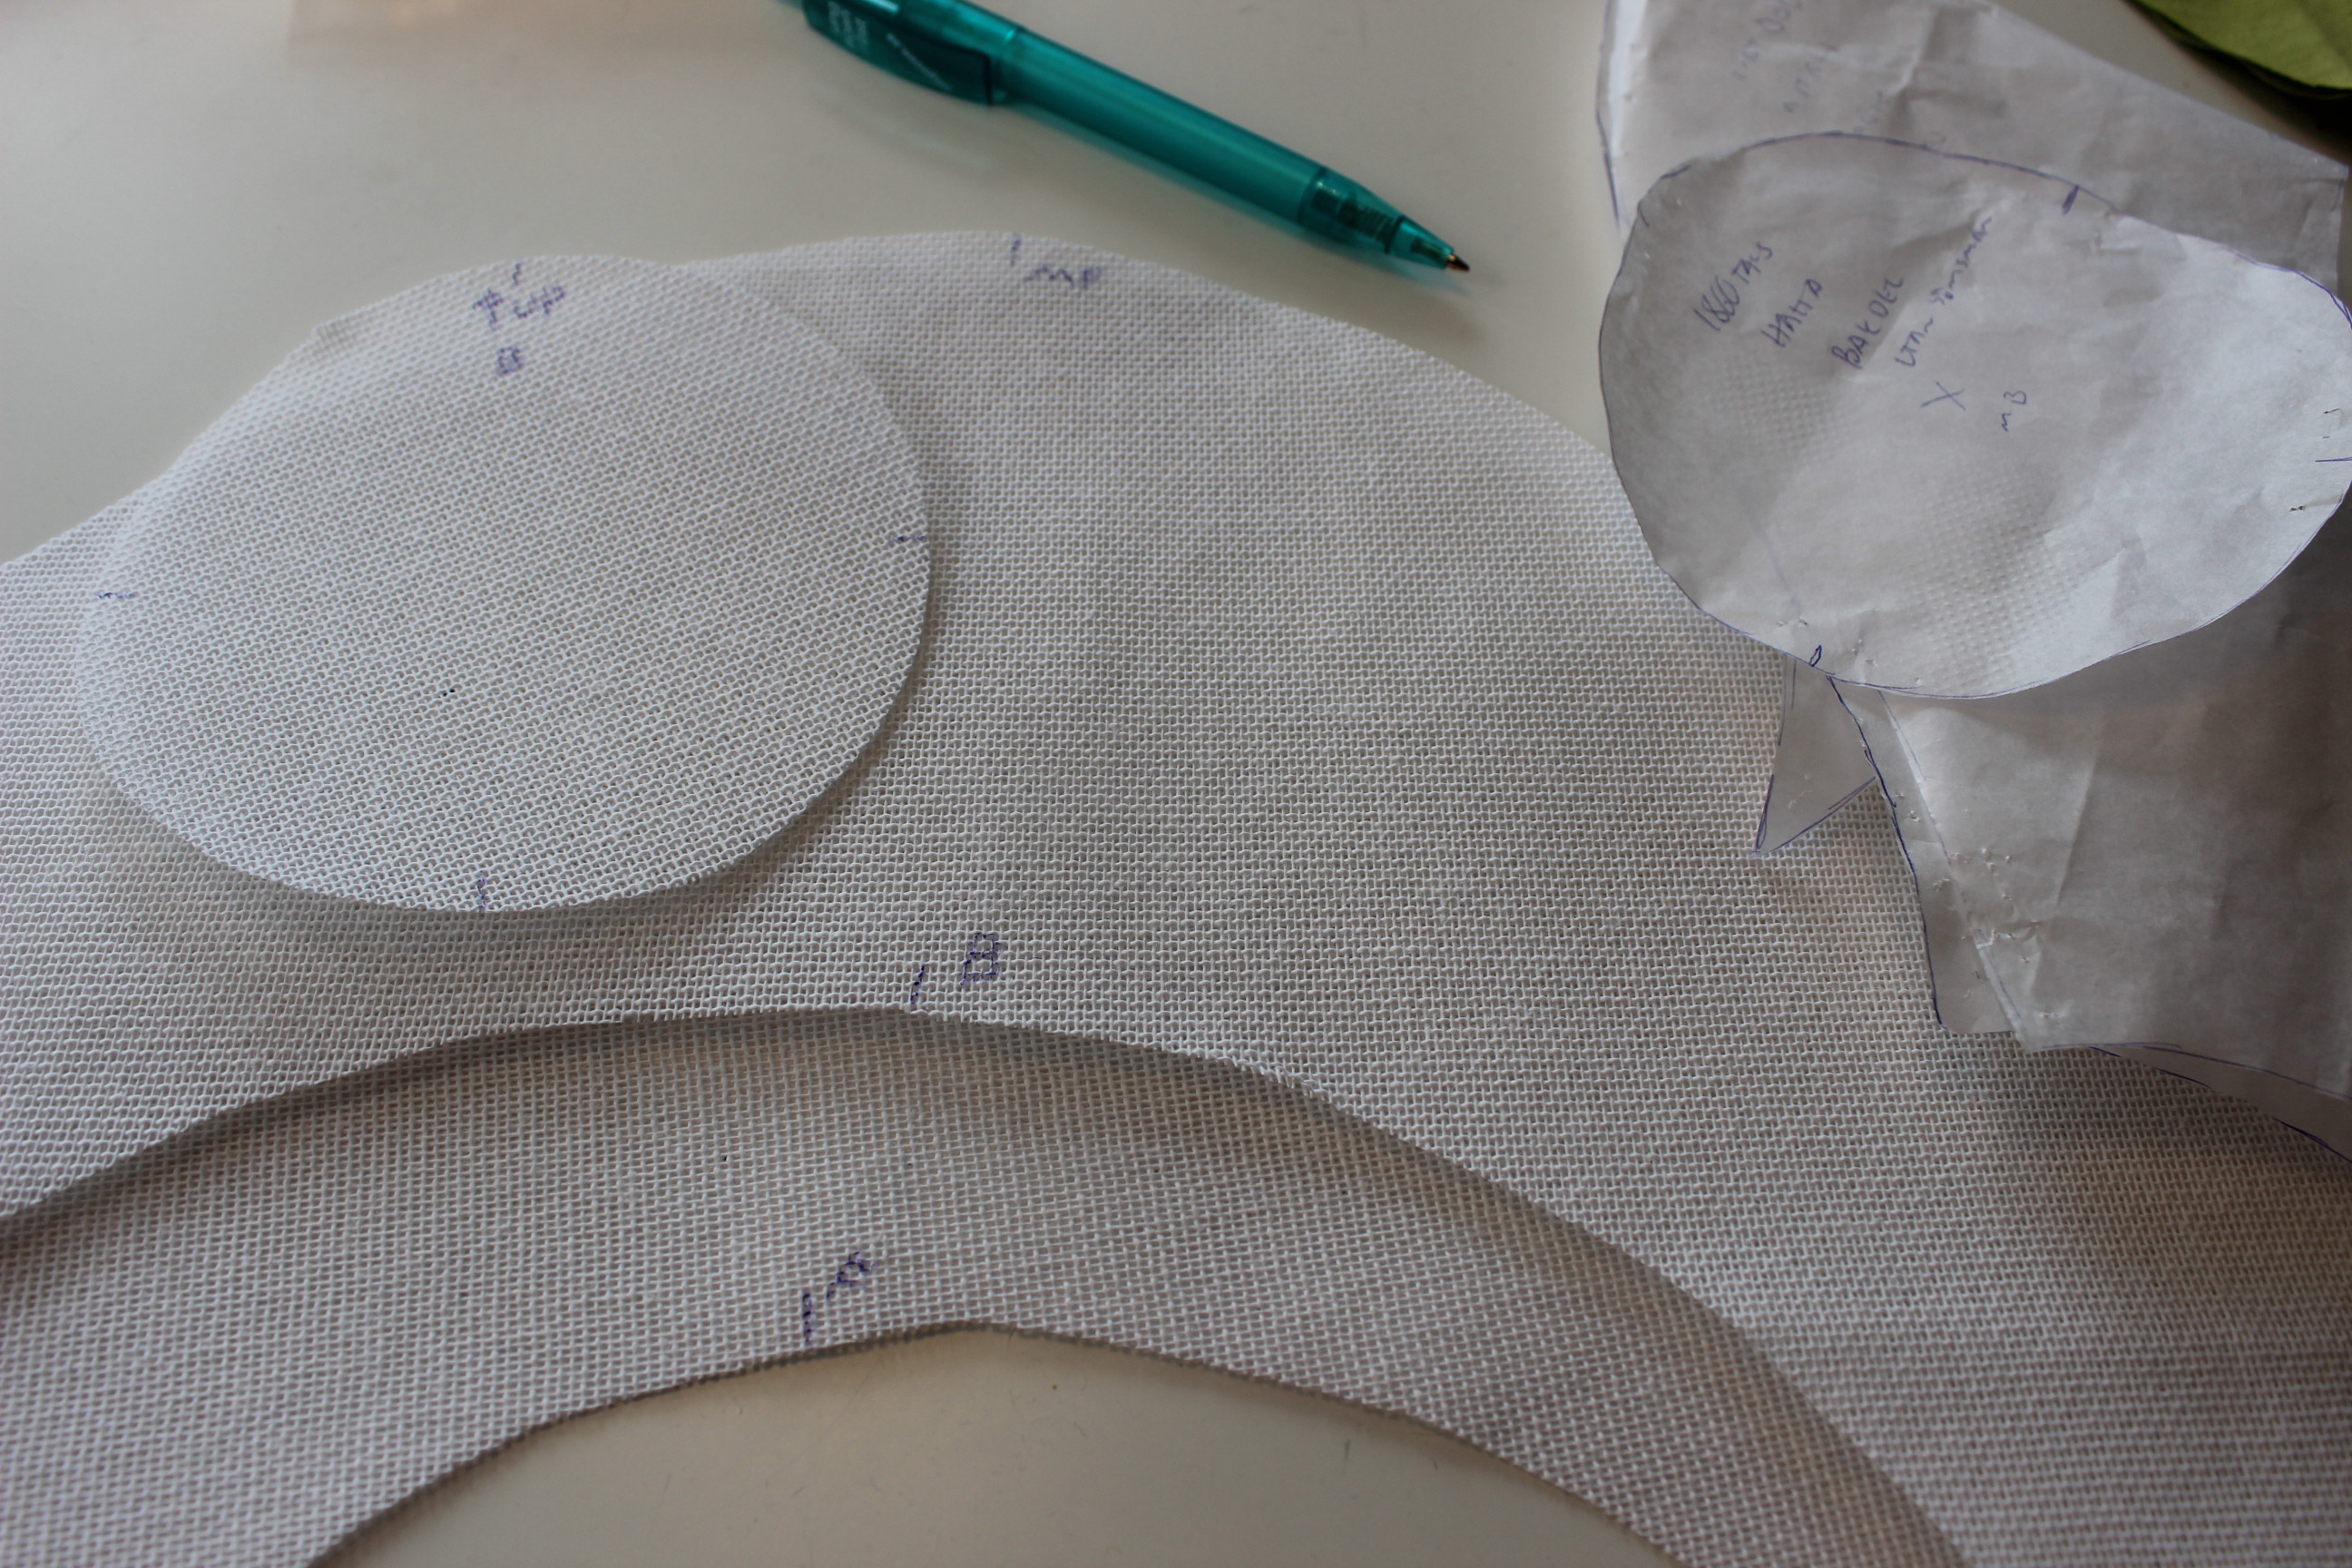
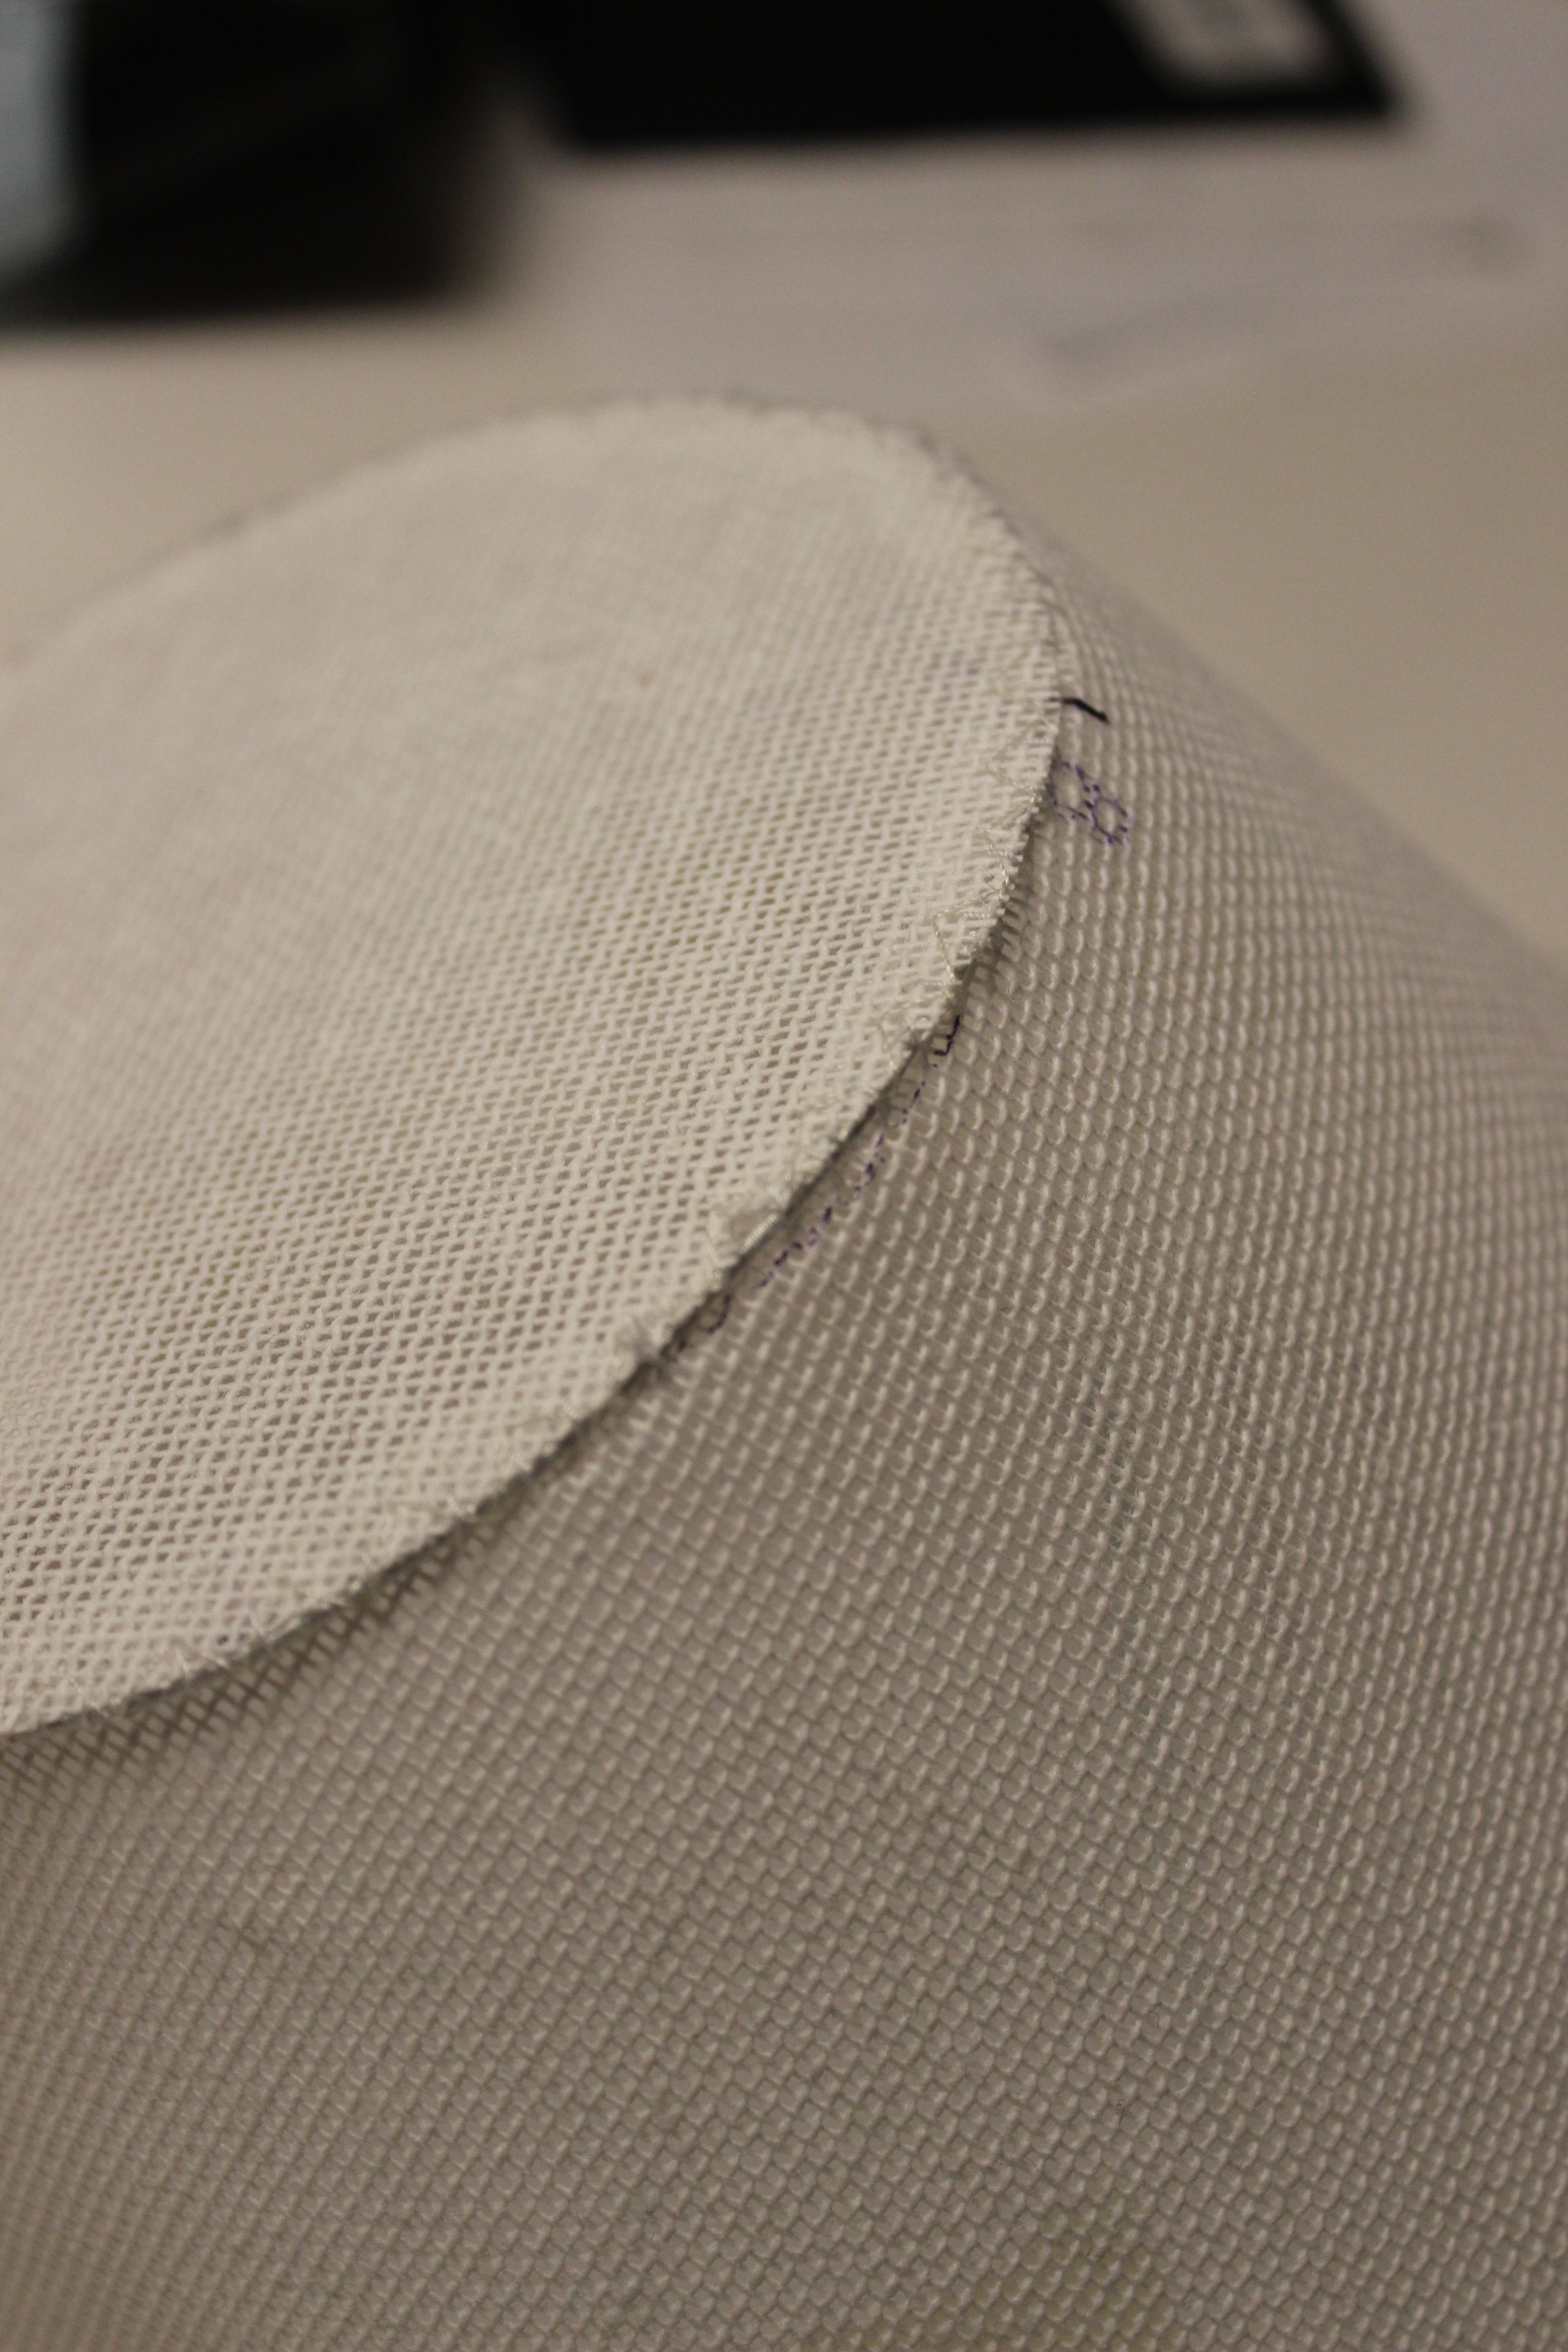
I drafted and cut the pattern for a medium sized hat and got to work on the buckram.IMG_6372

IMG_6373
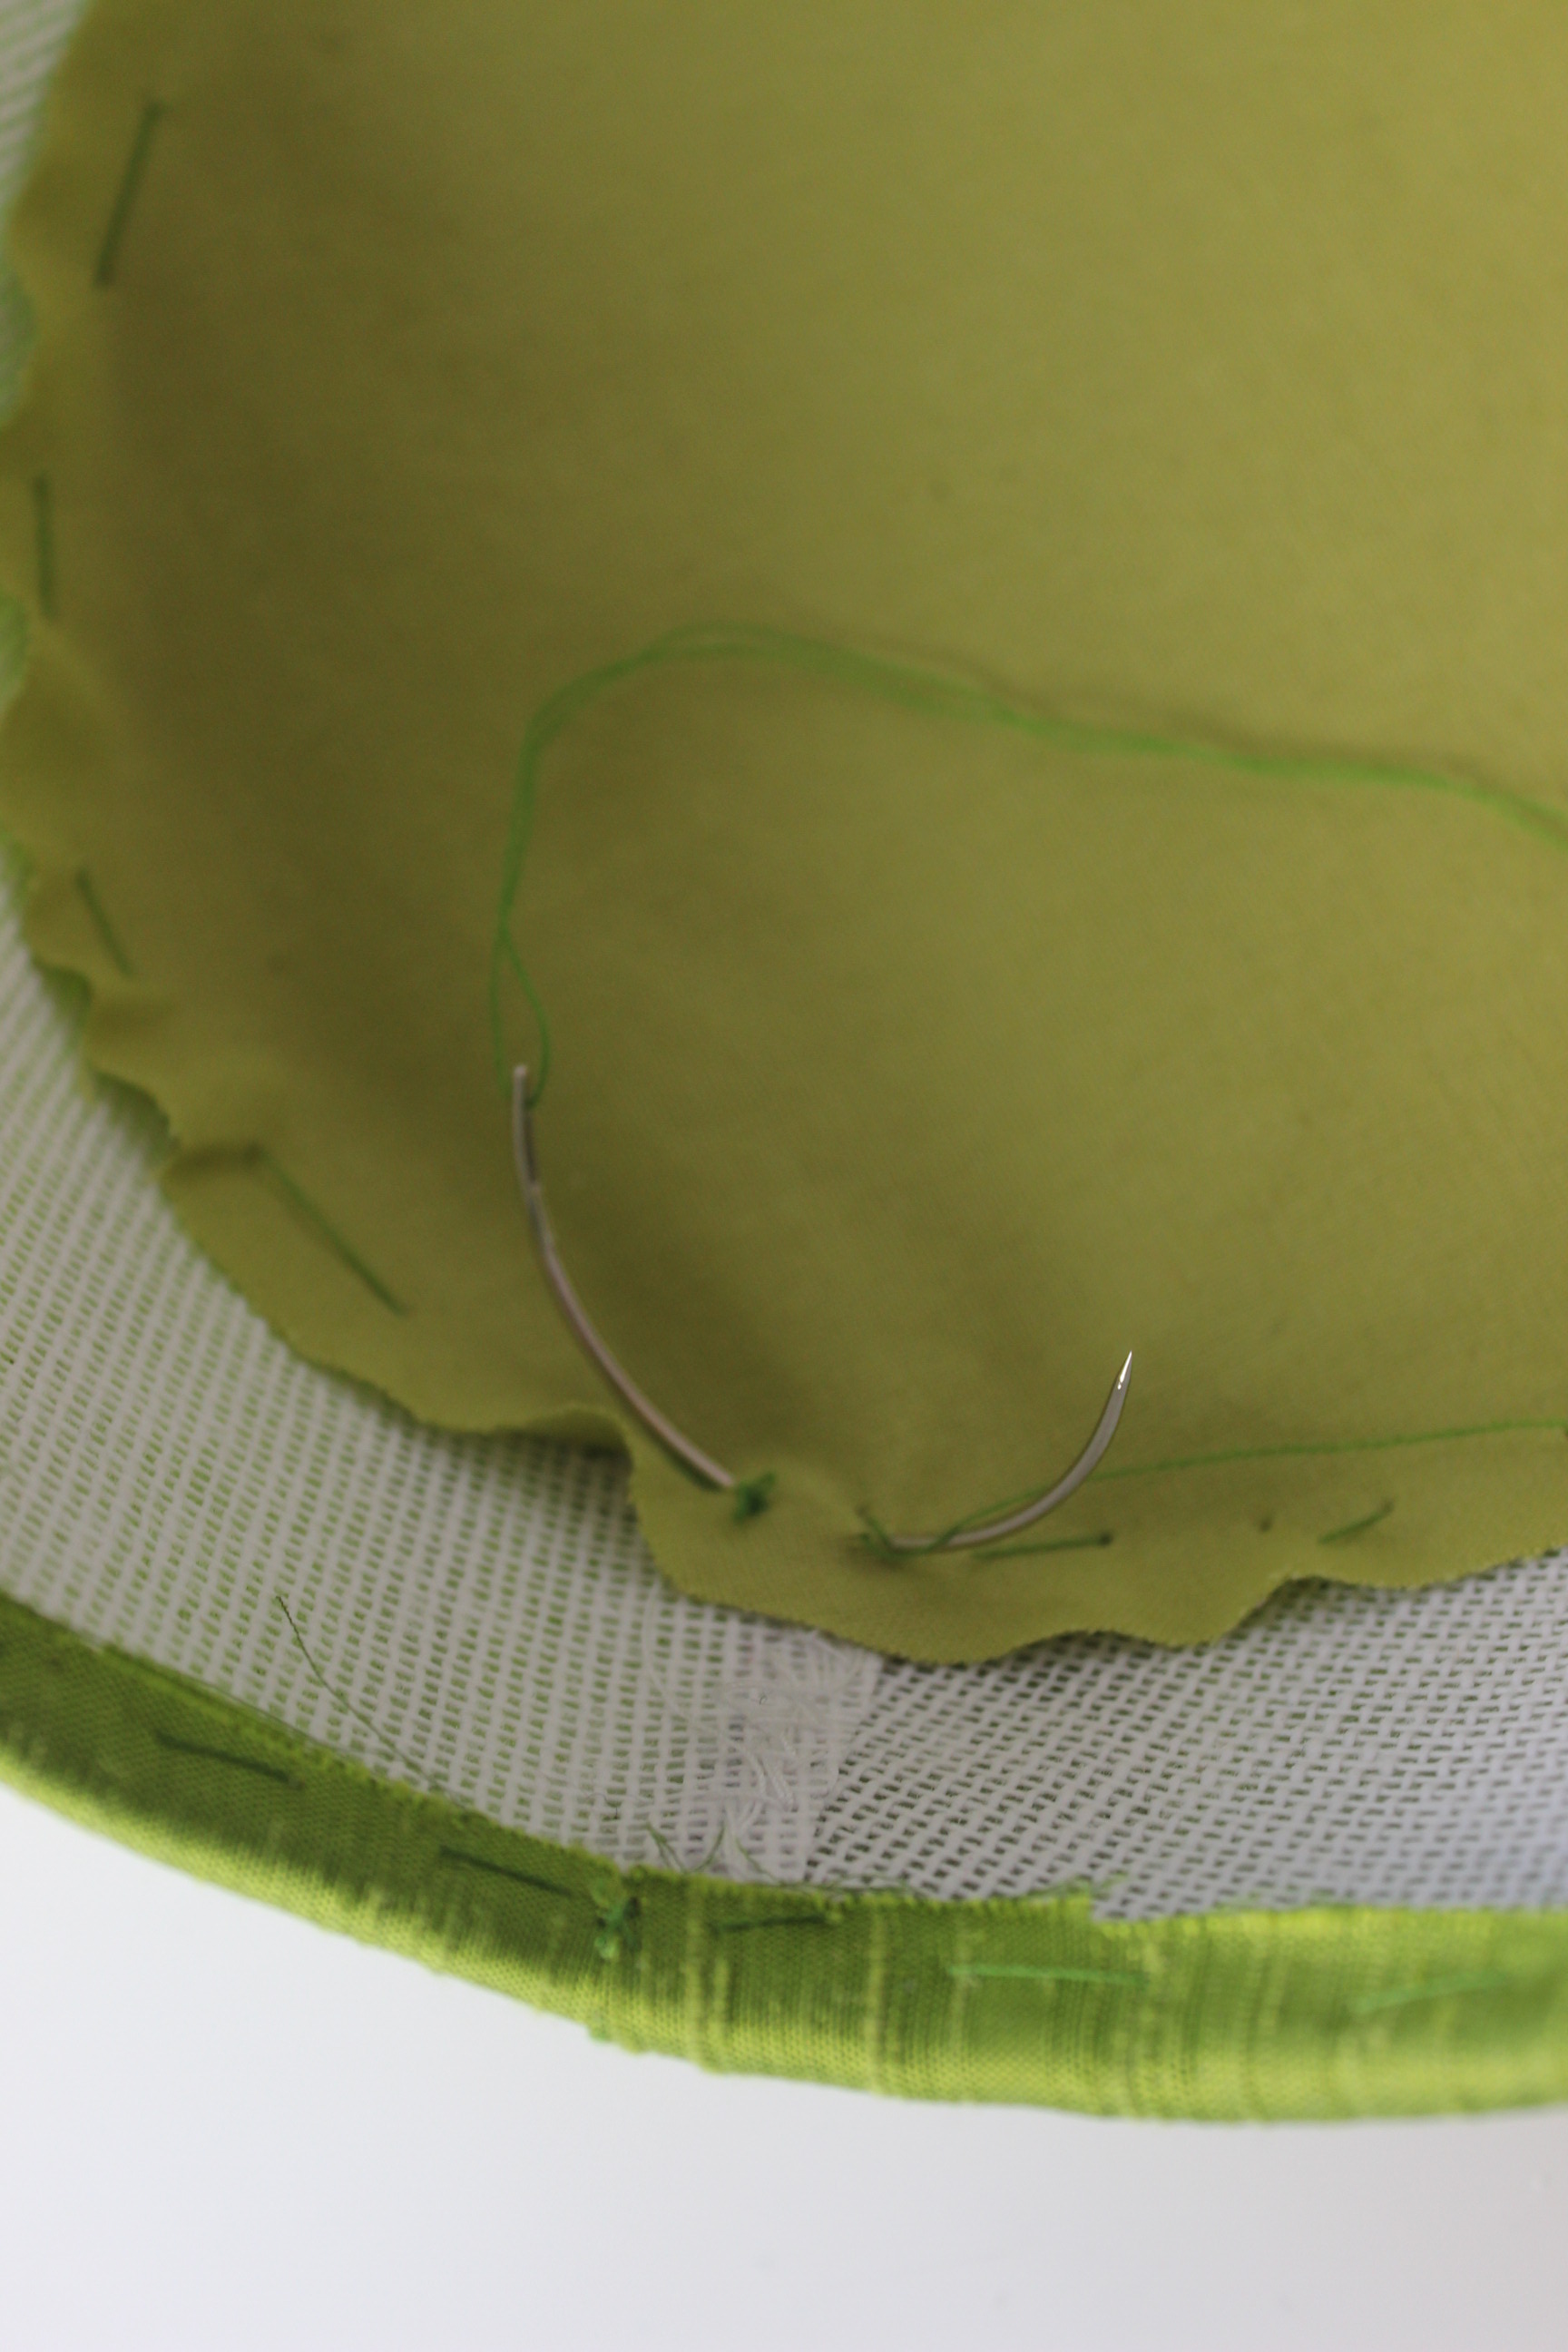
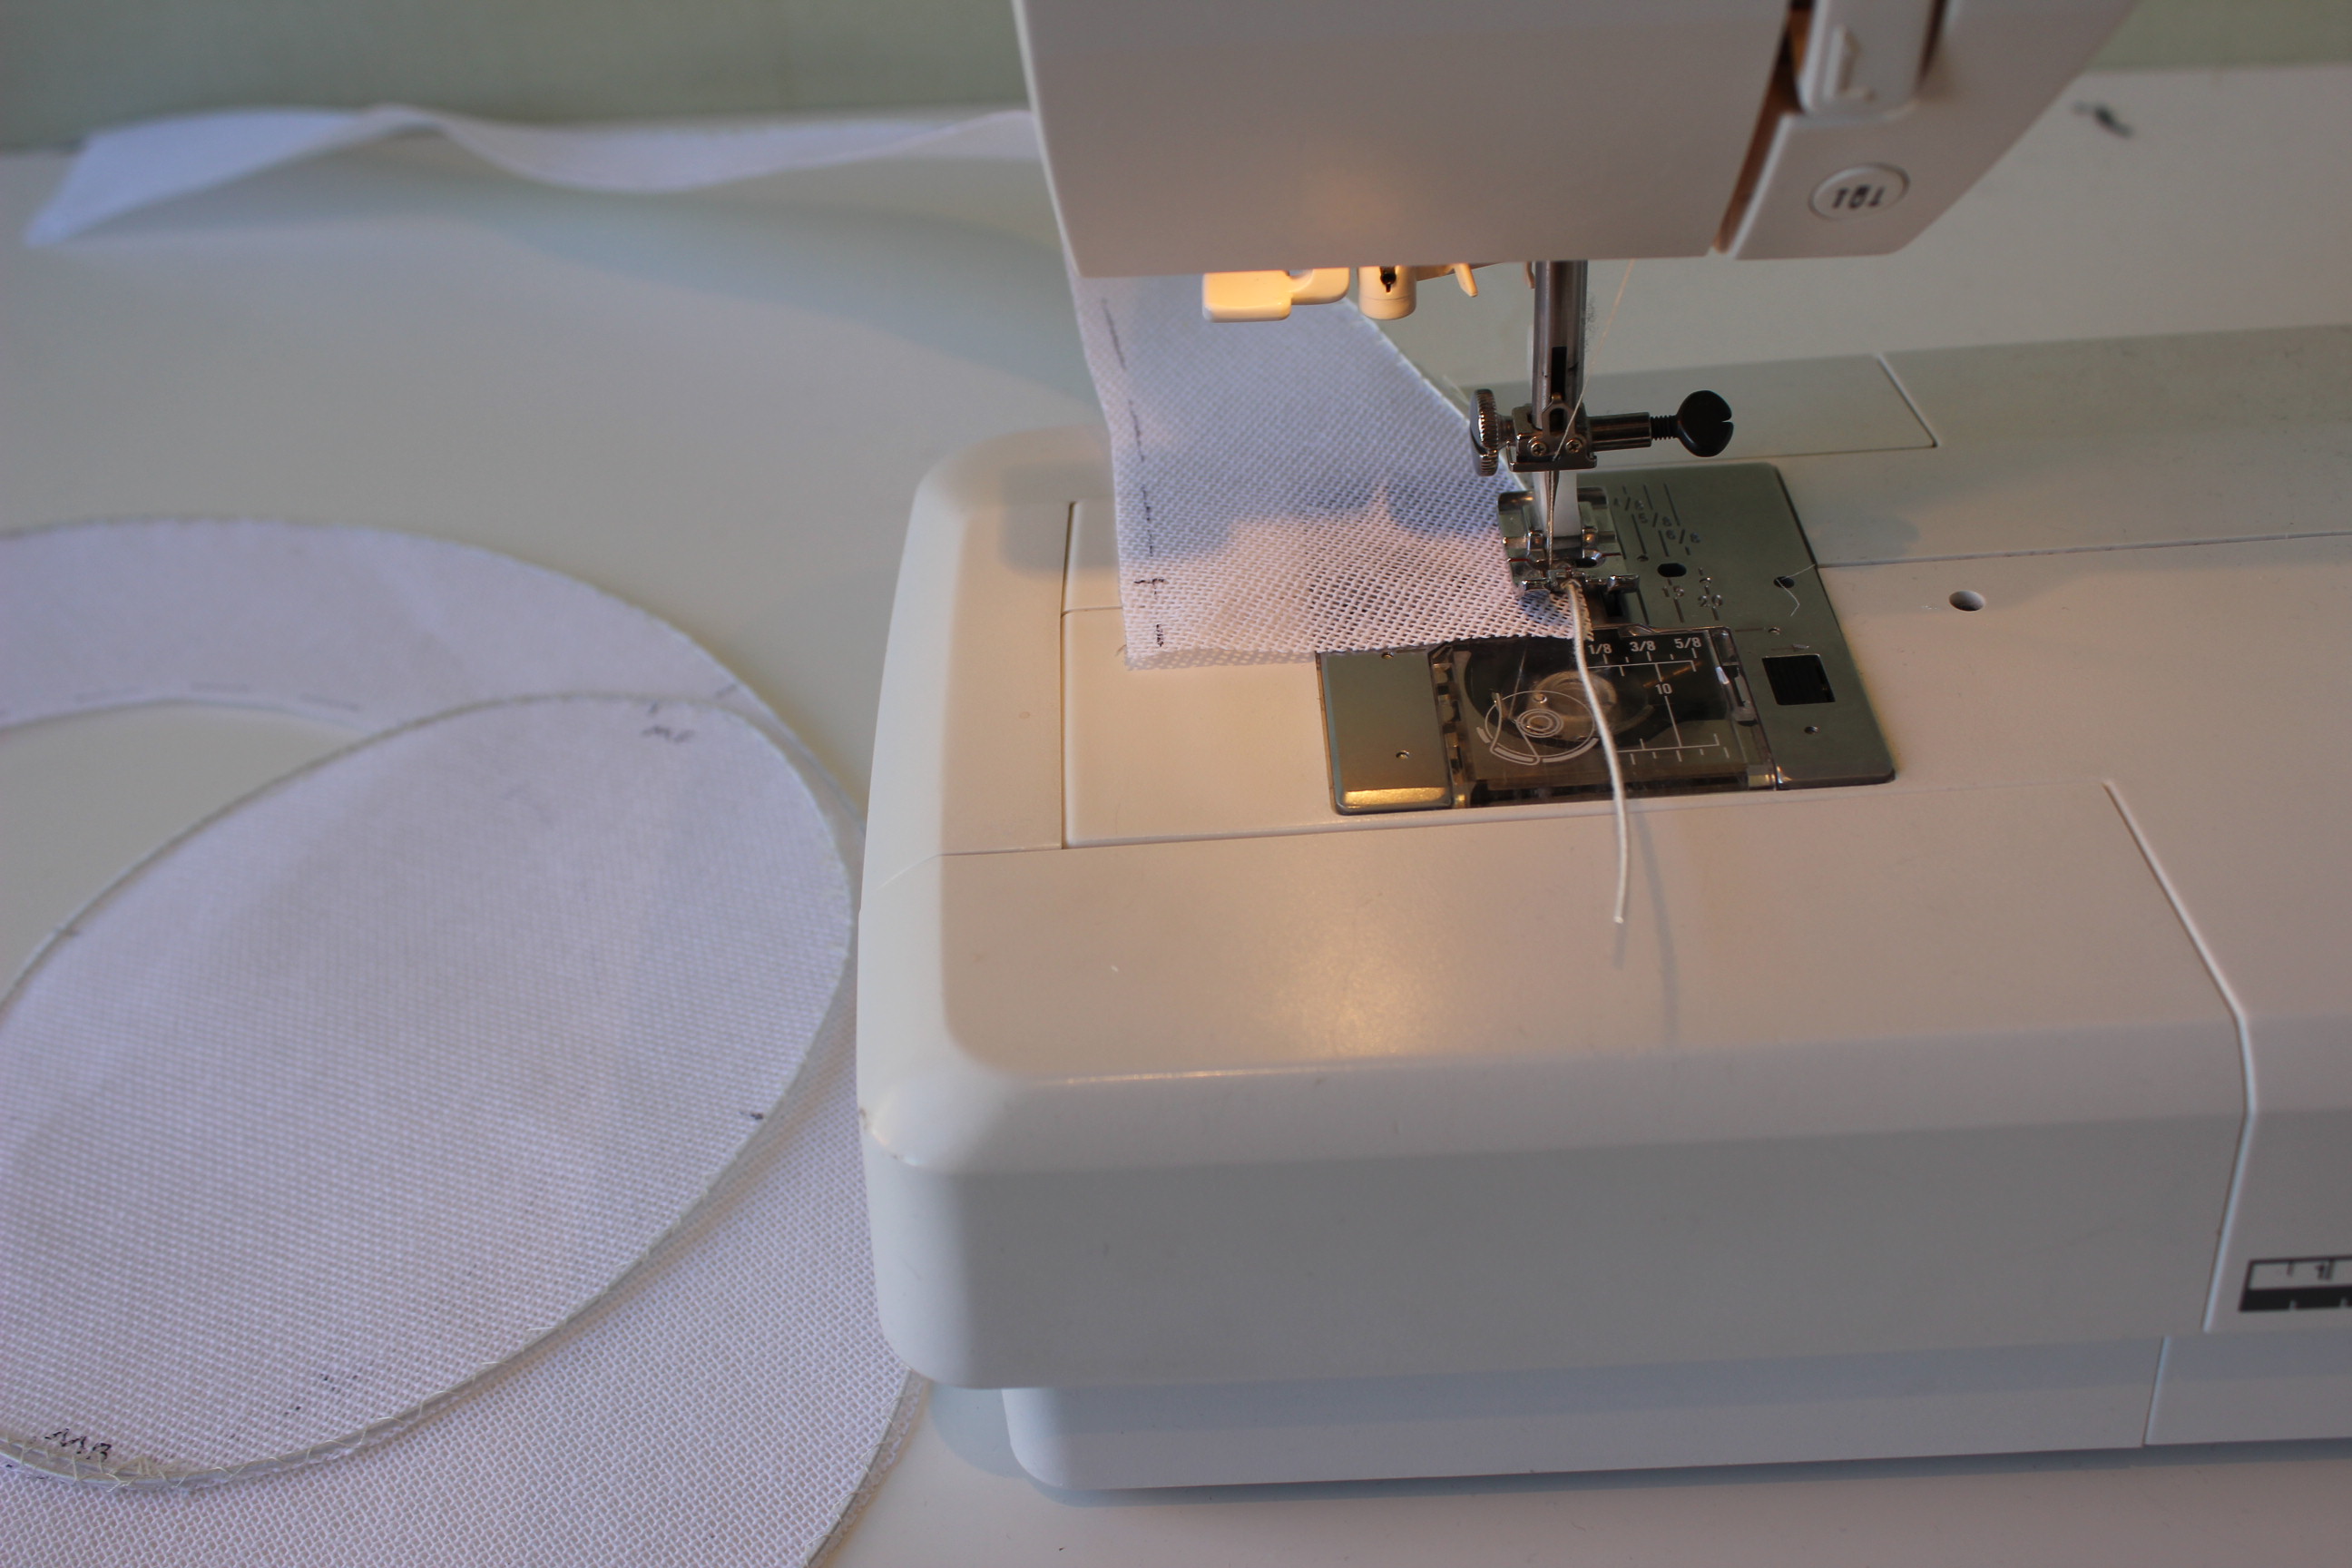
Stitching the millinery wire to the buckram.

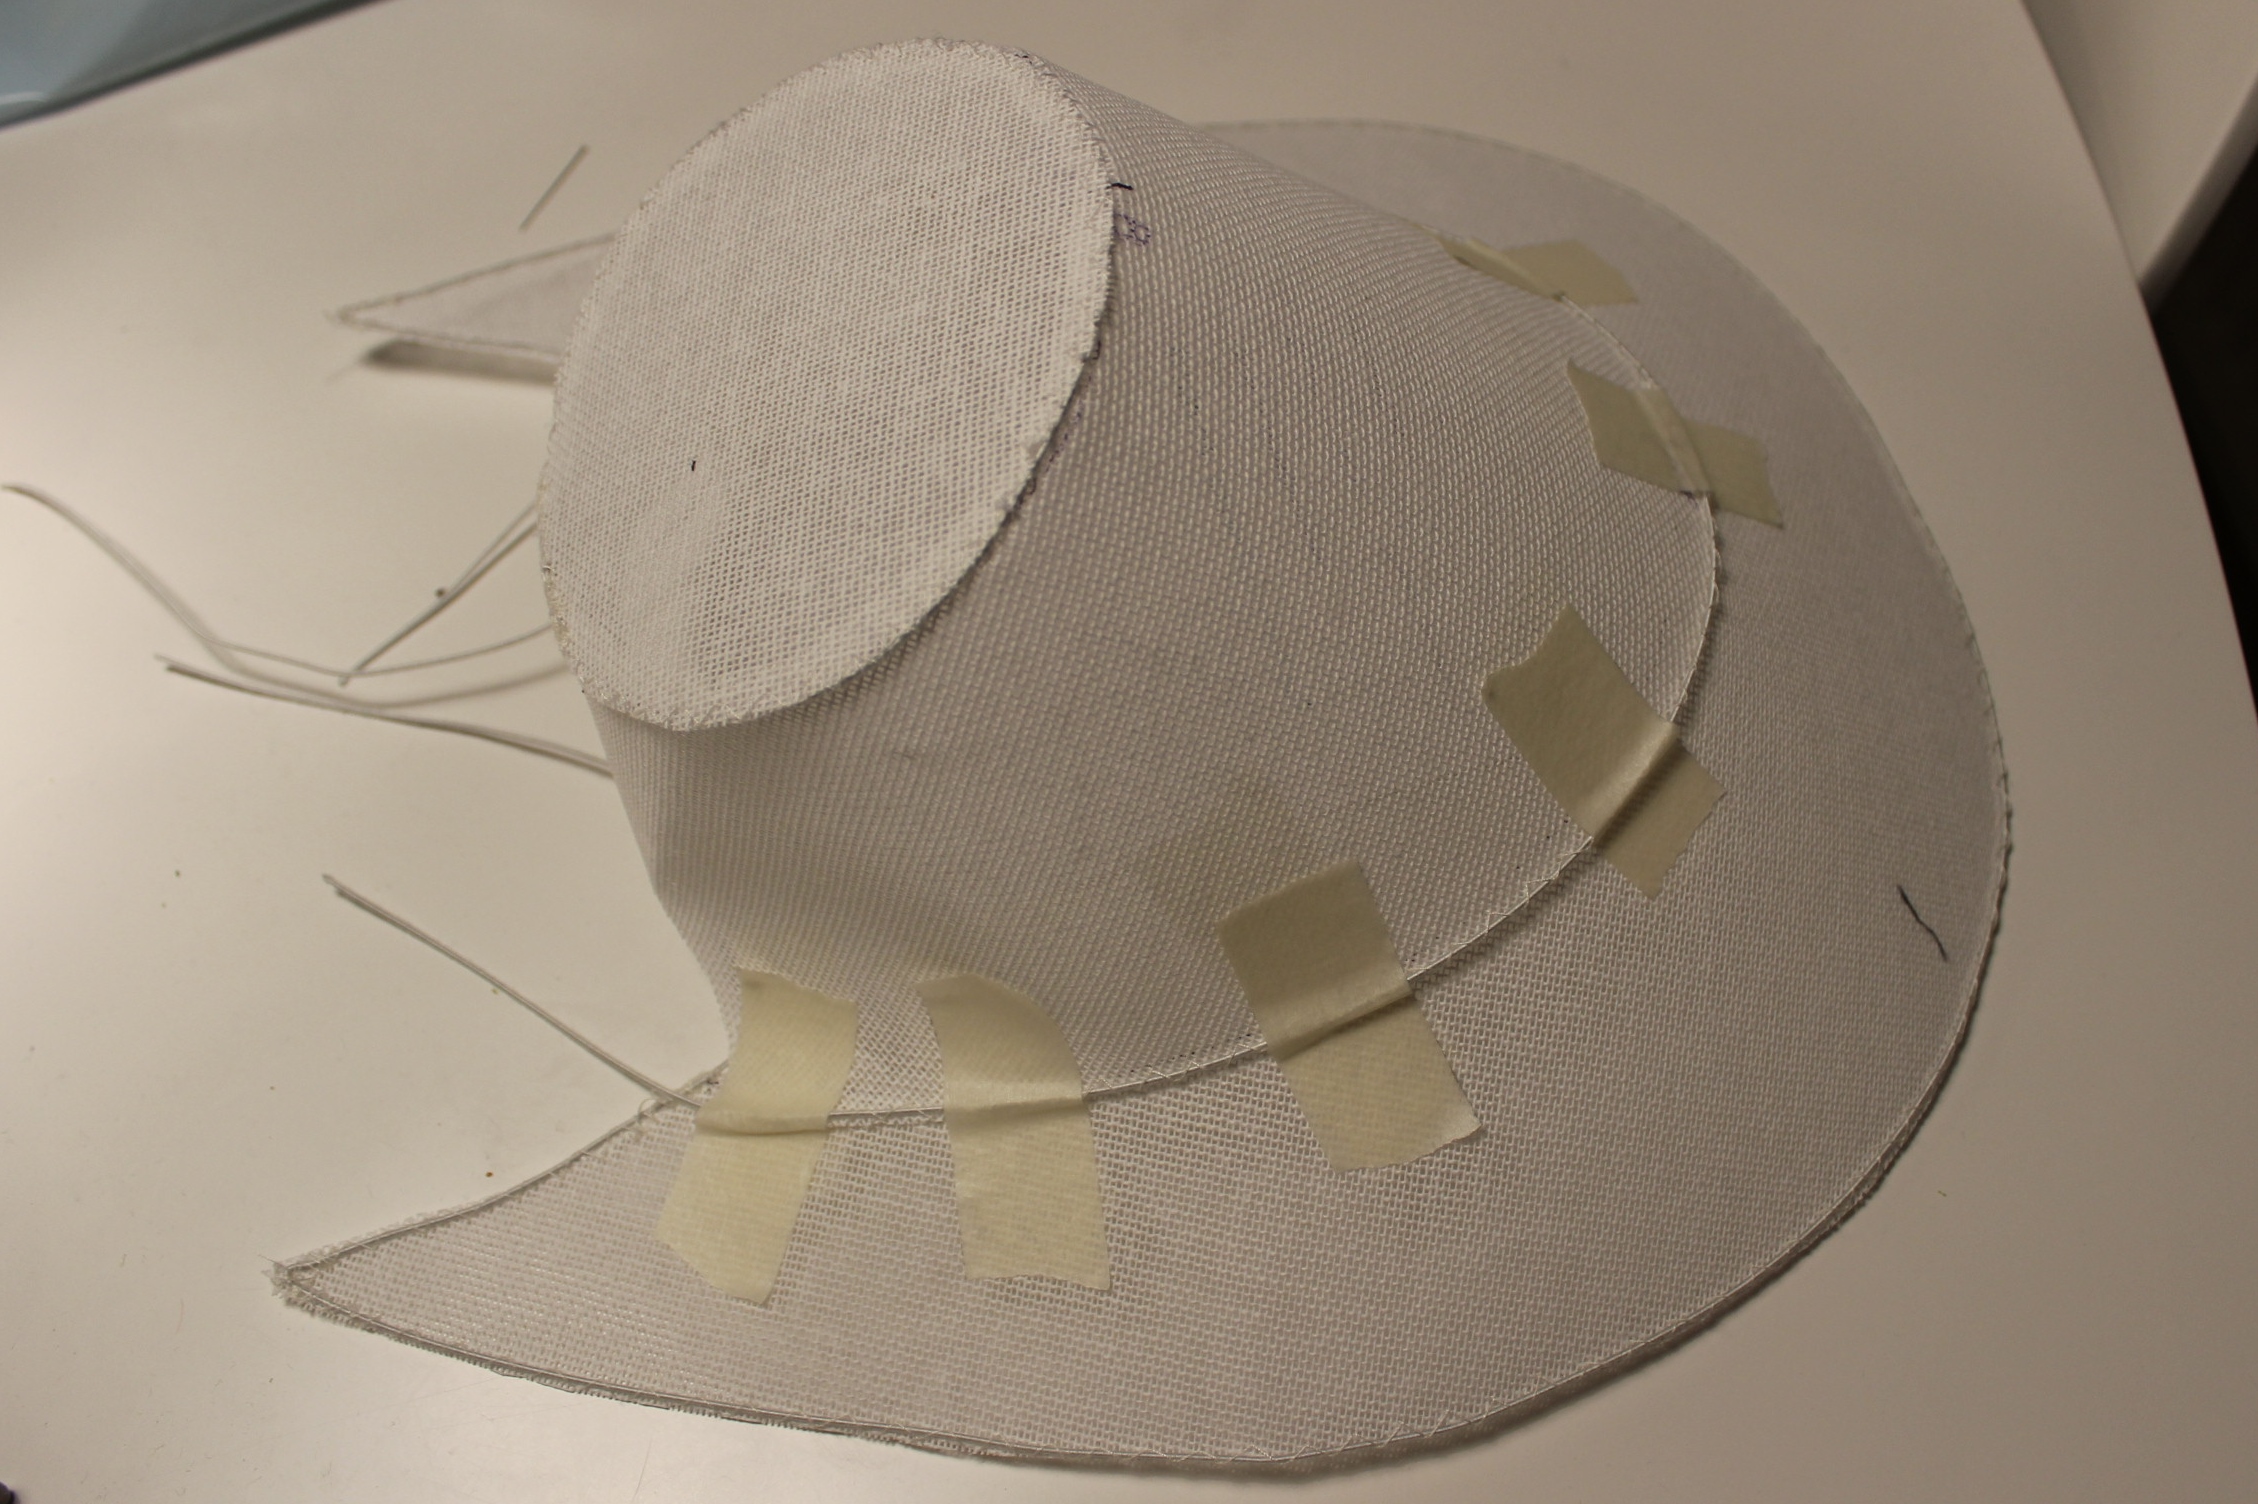
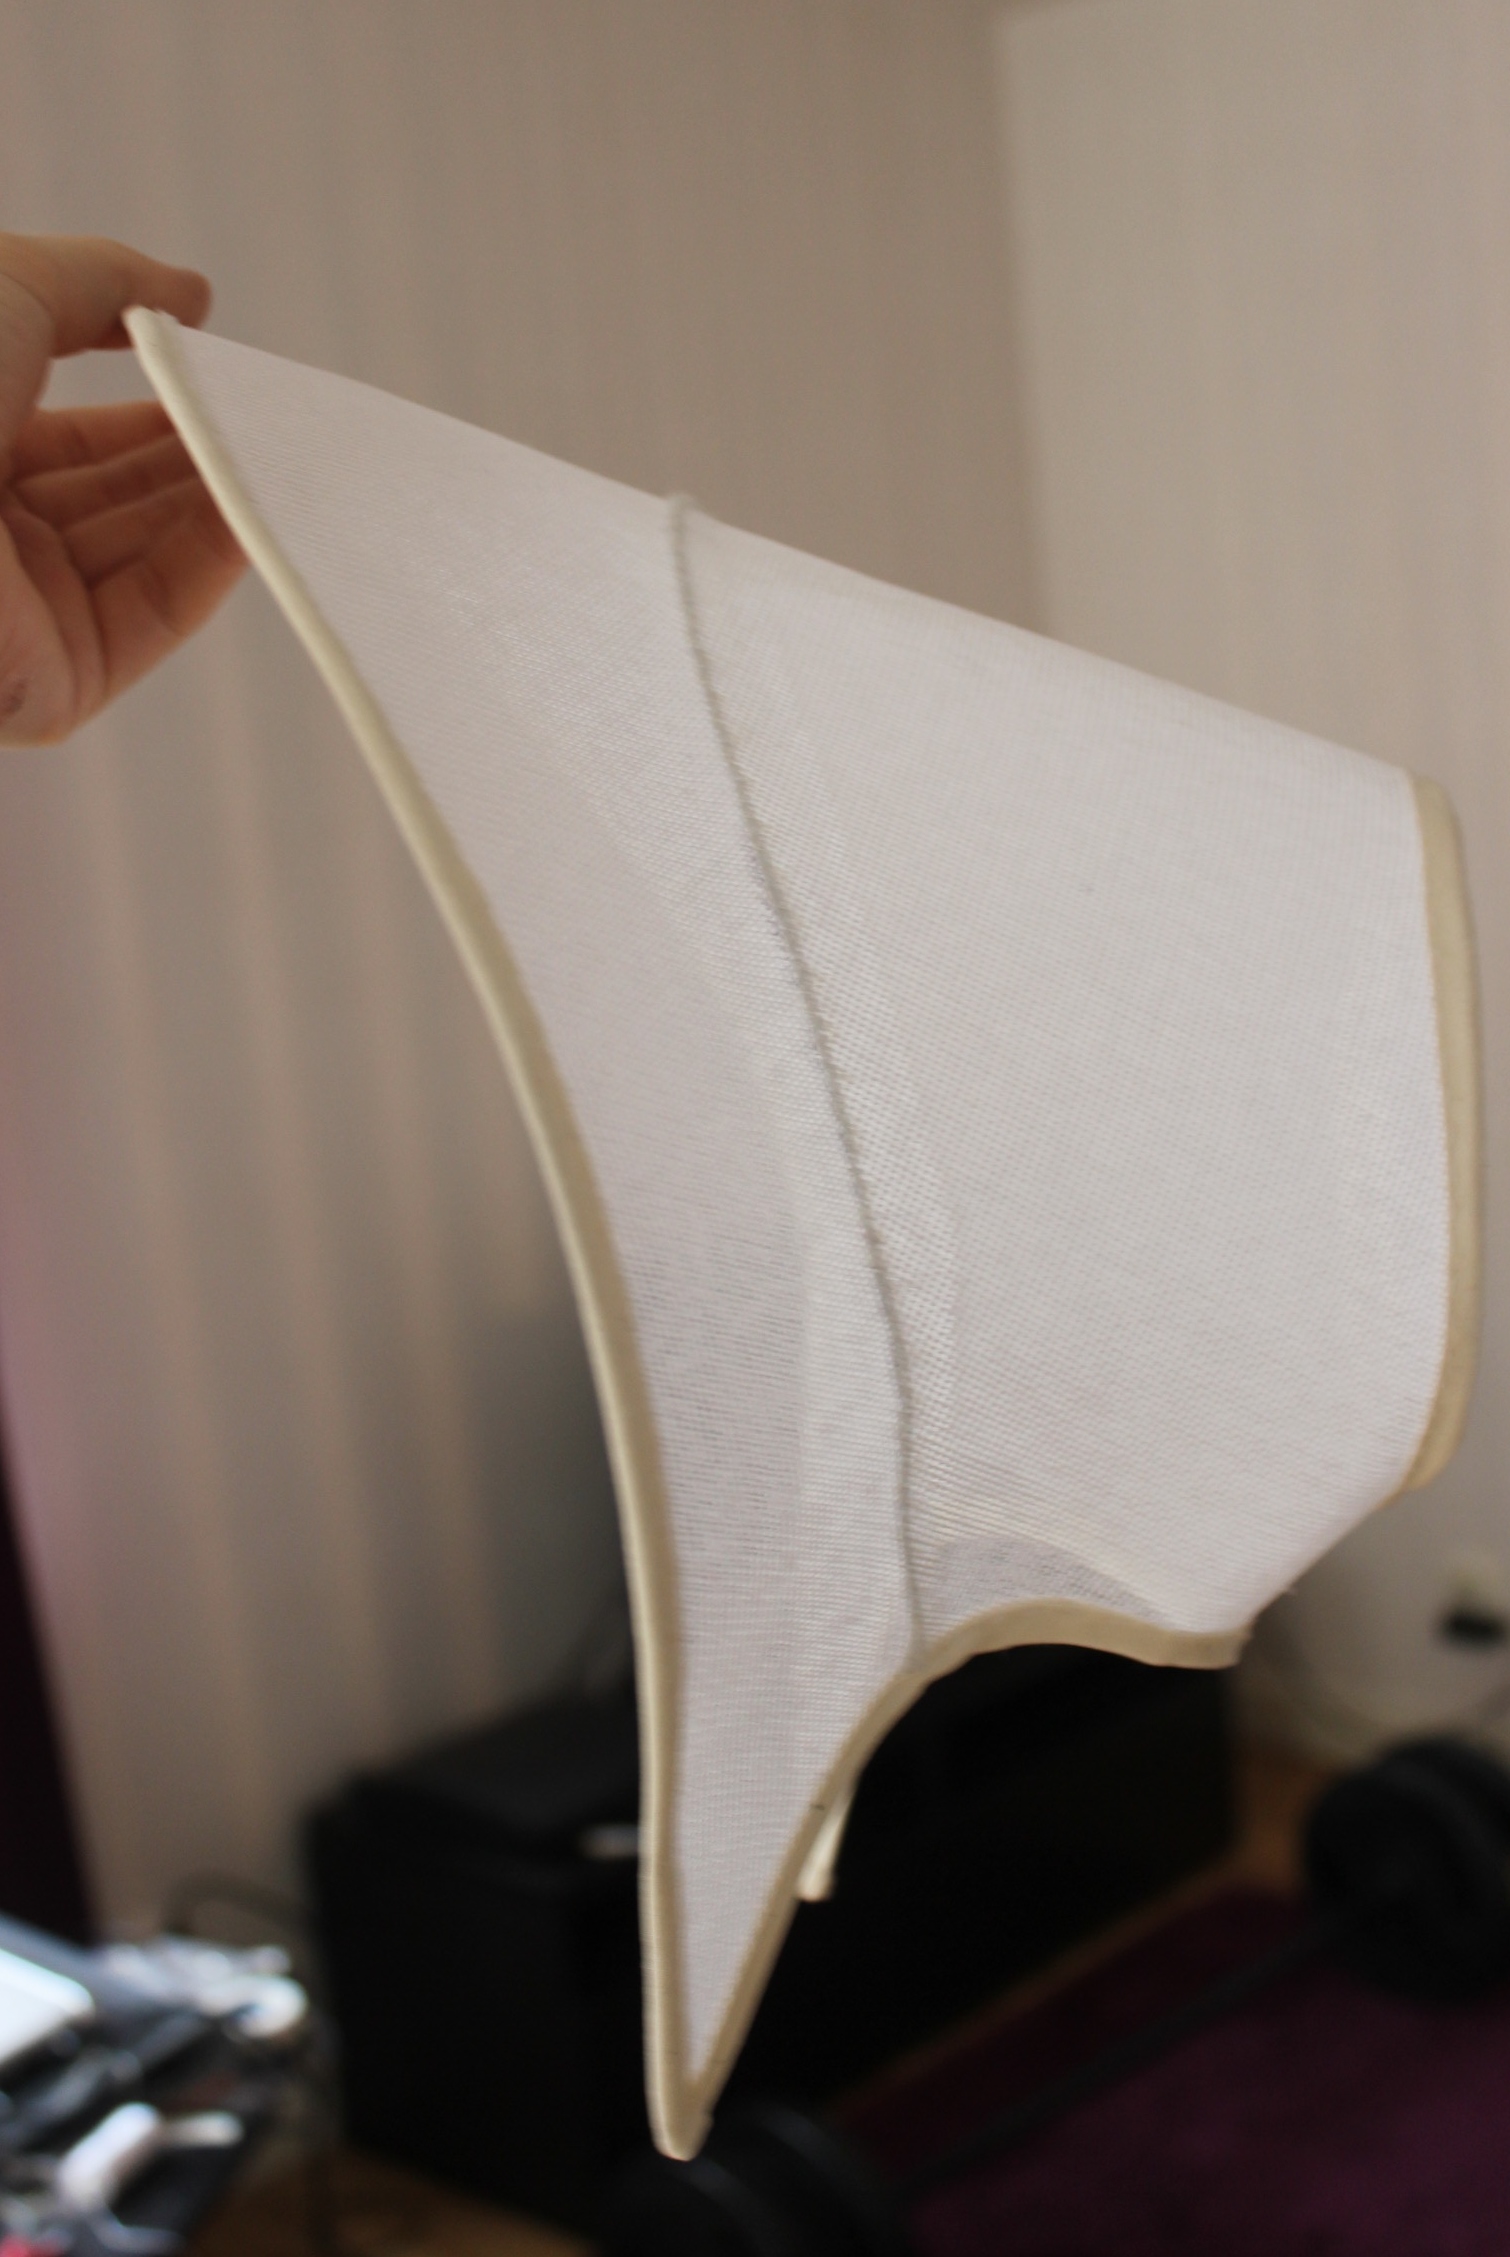
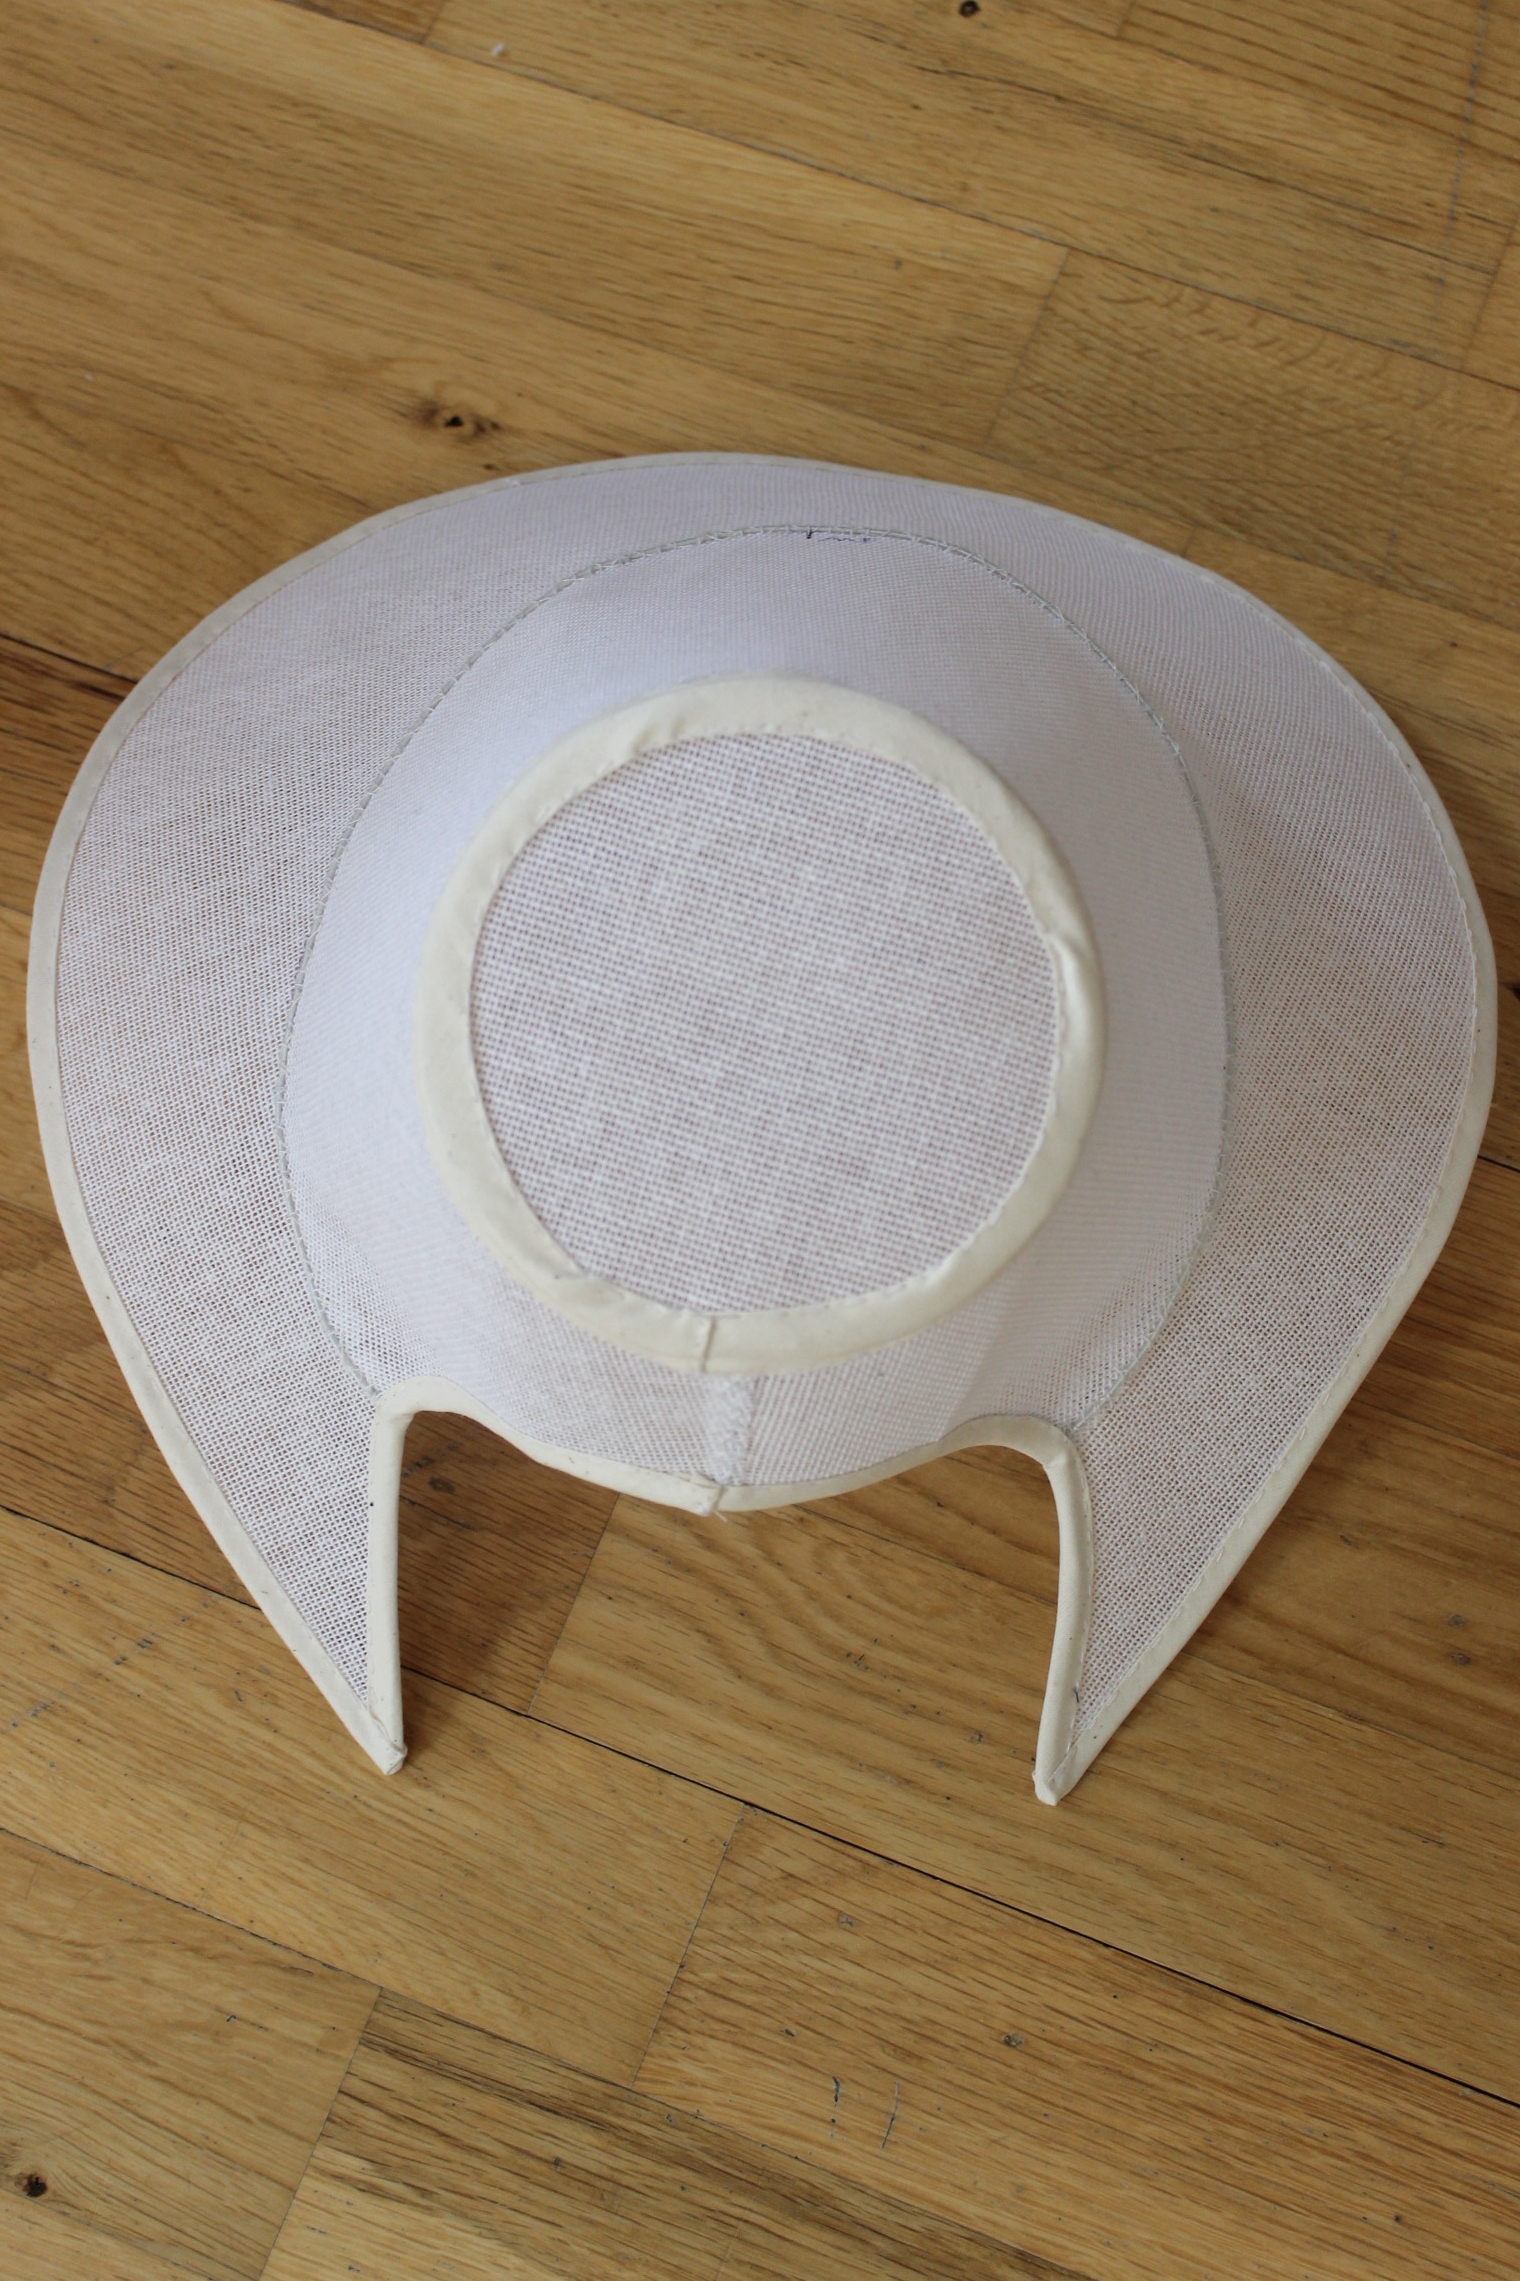
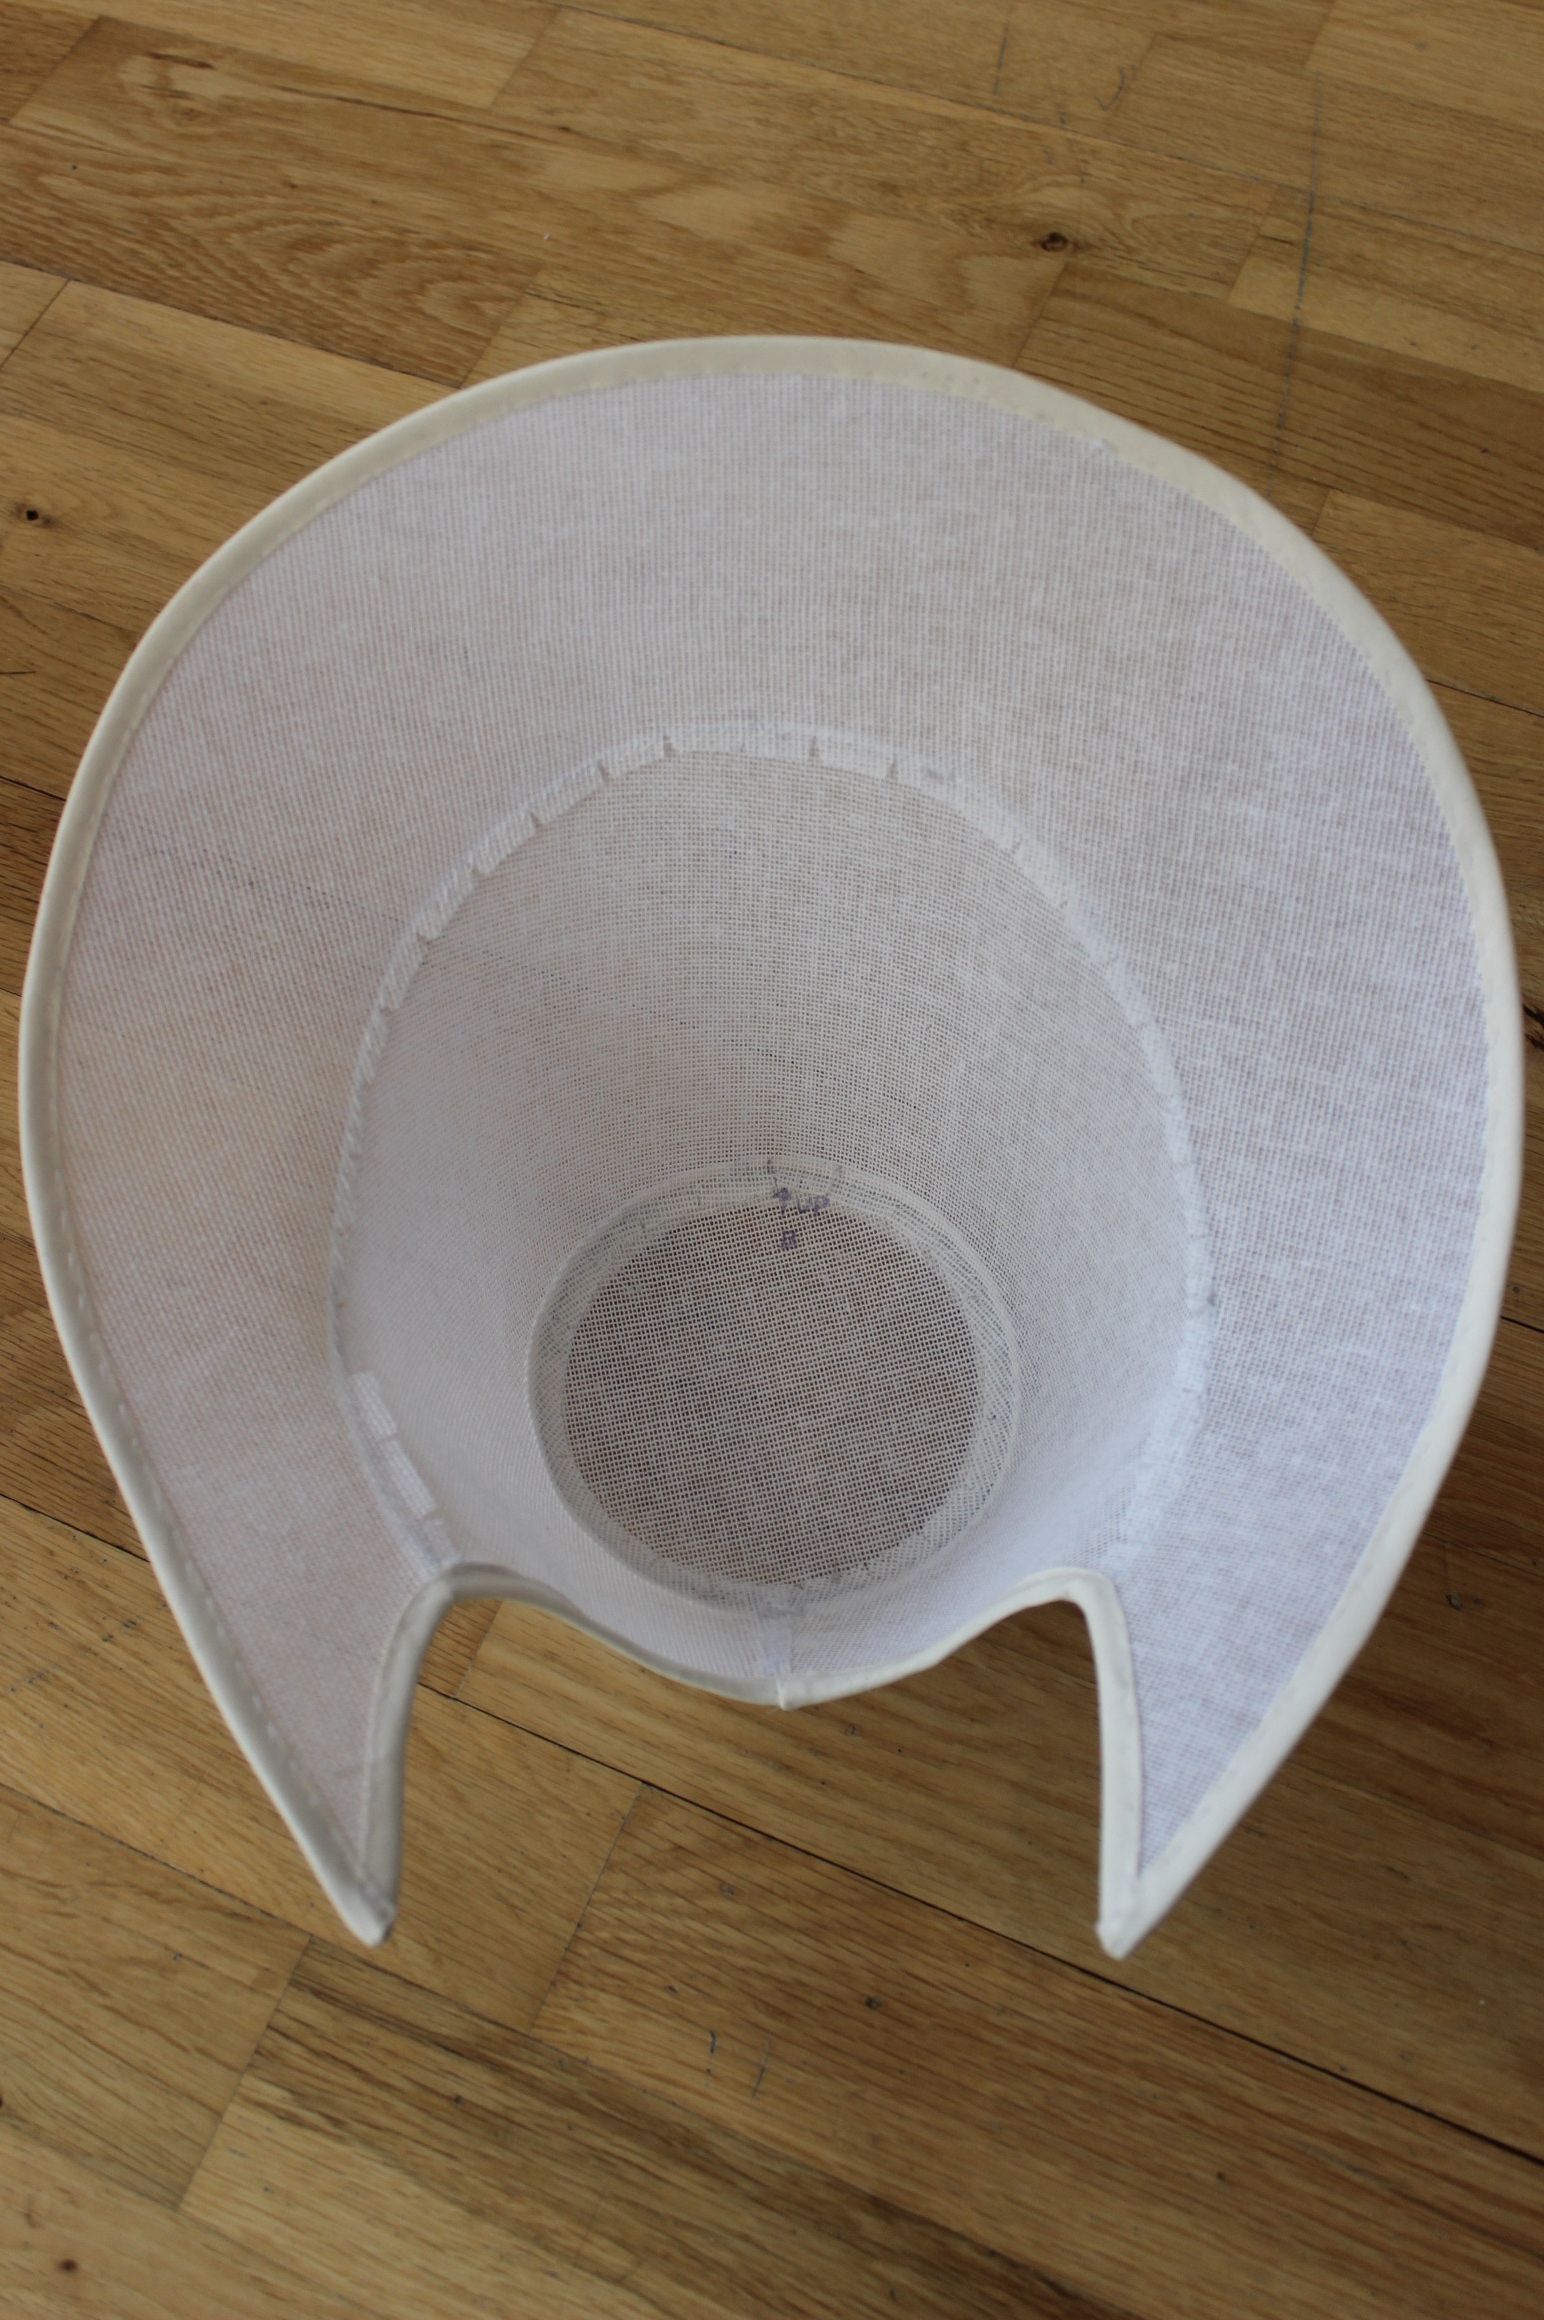
Then I taped and sewed the top and side piece together by hand.IMG_6427

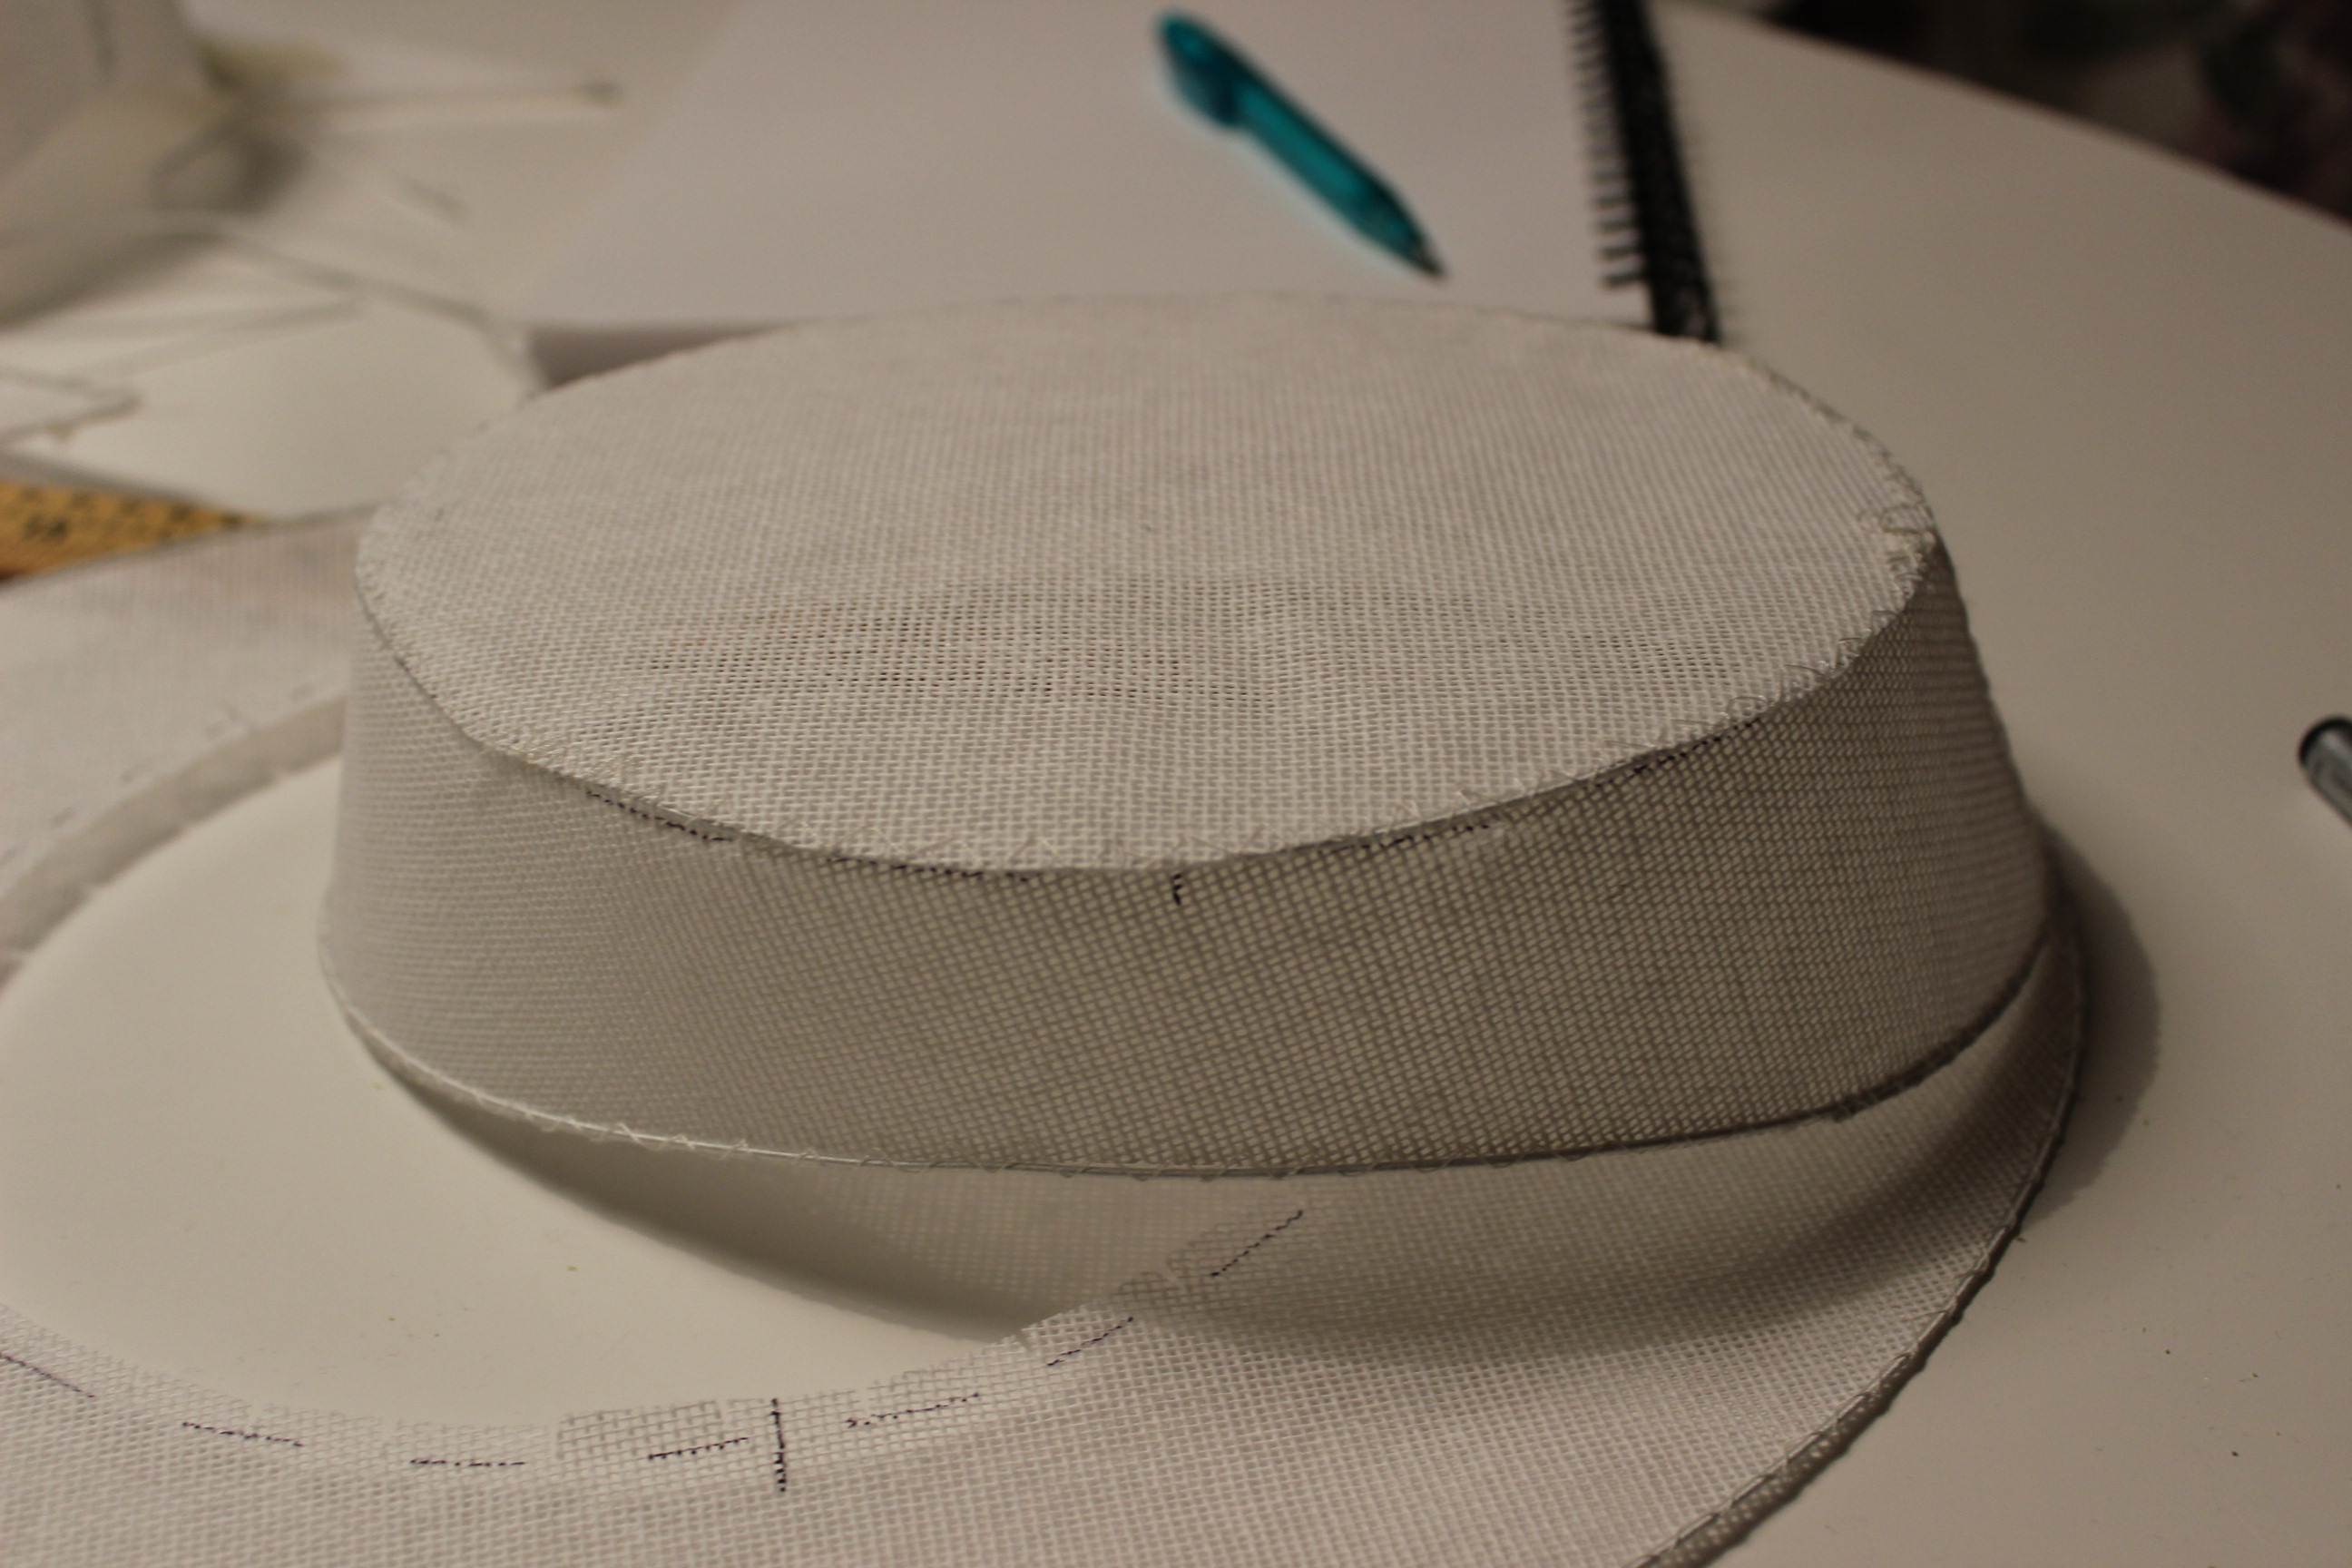
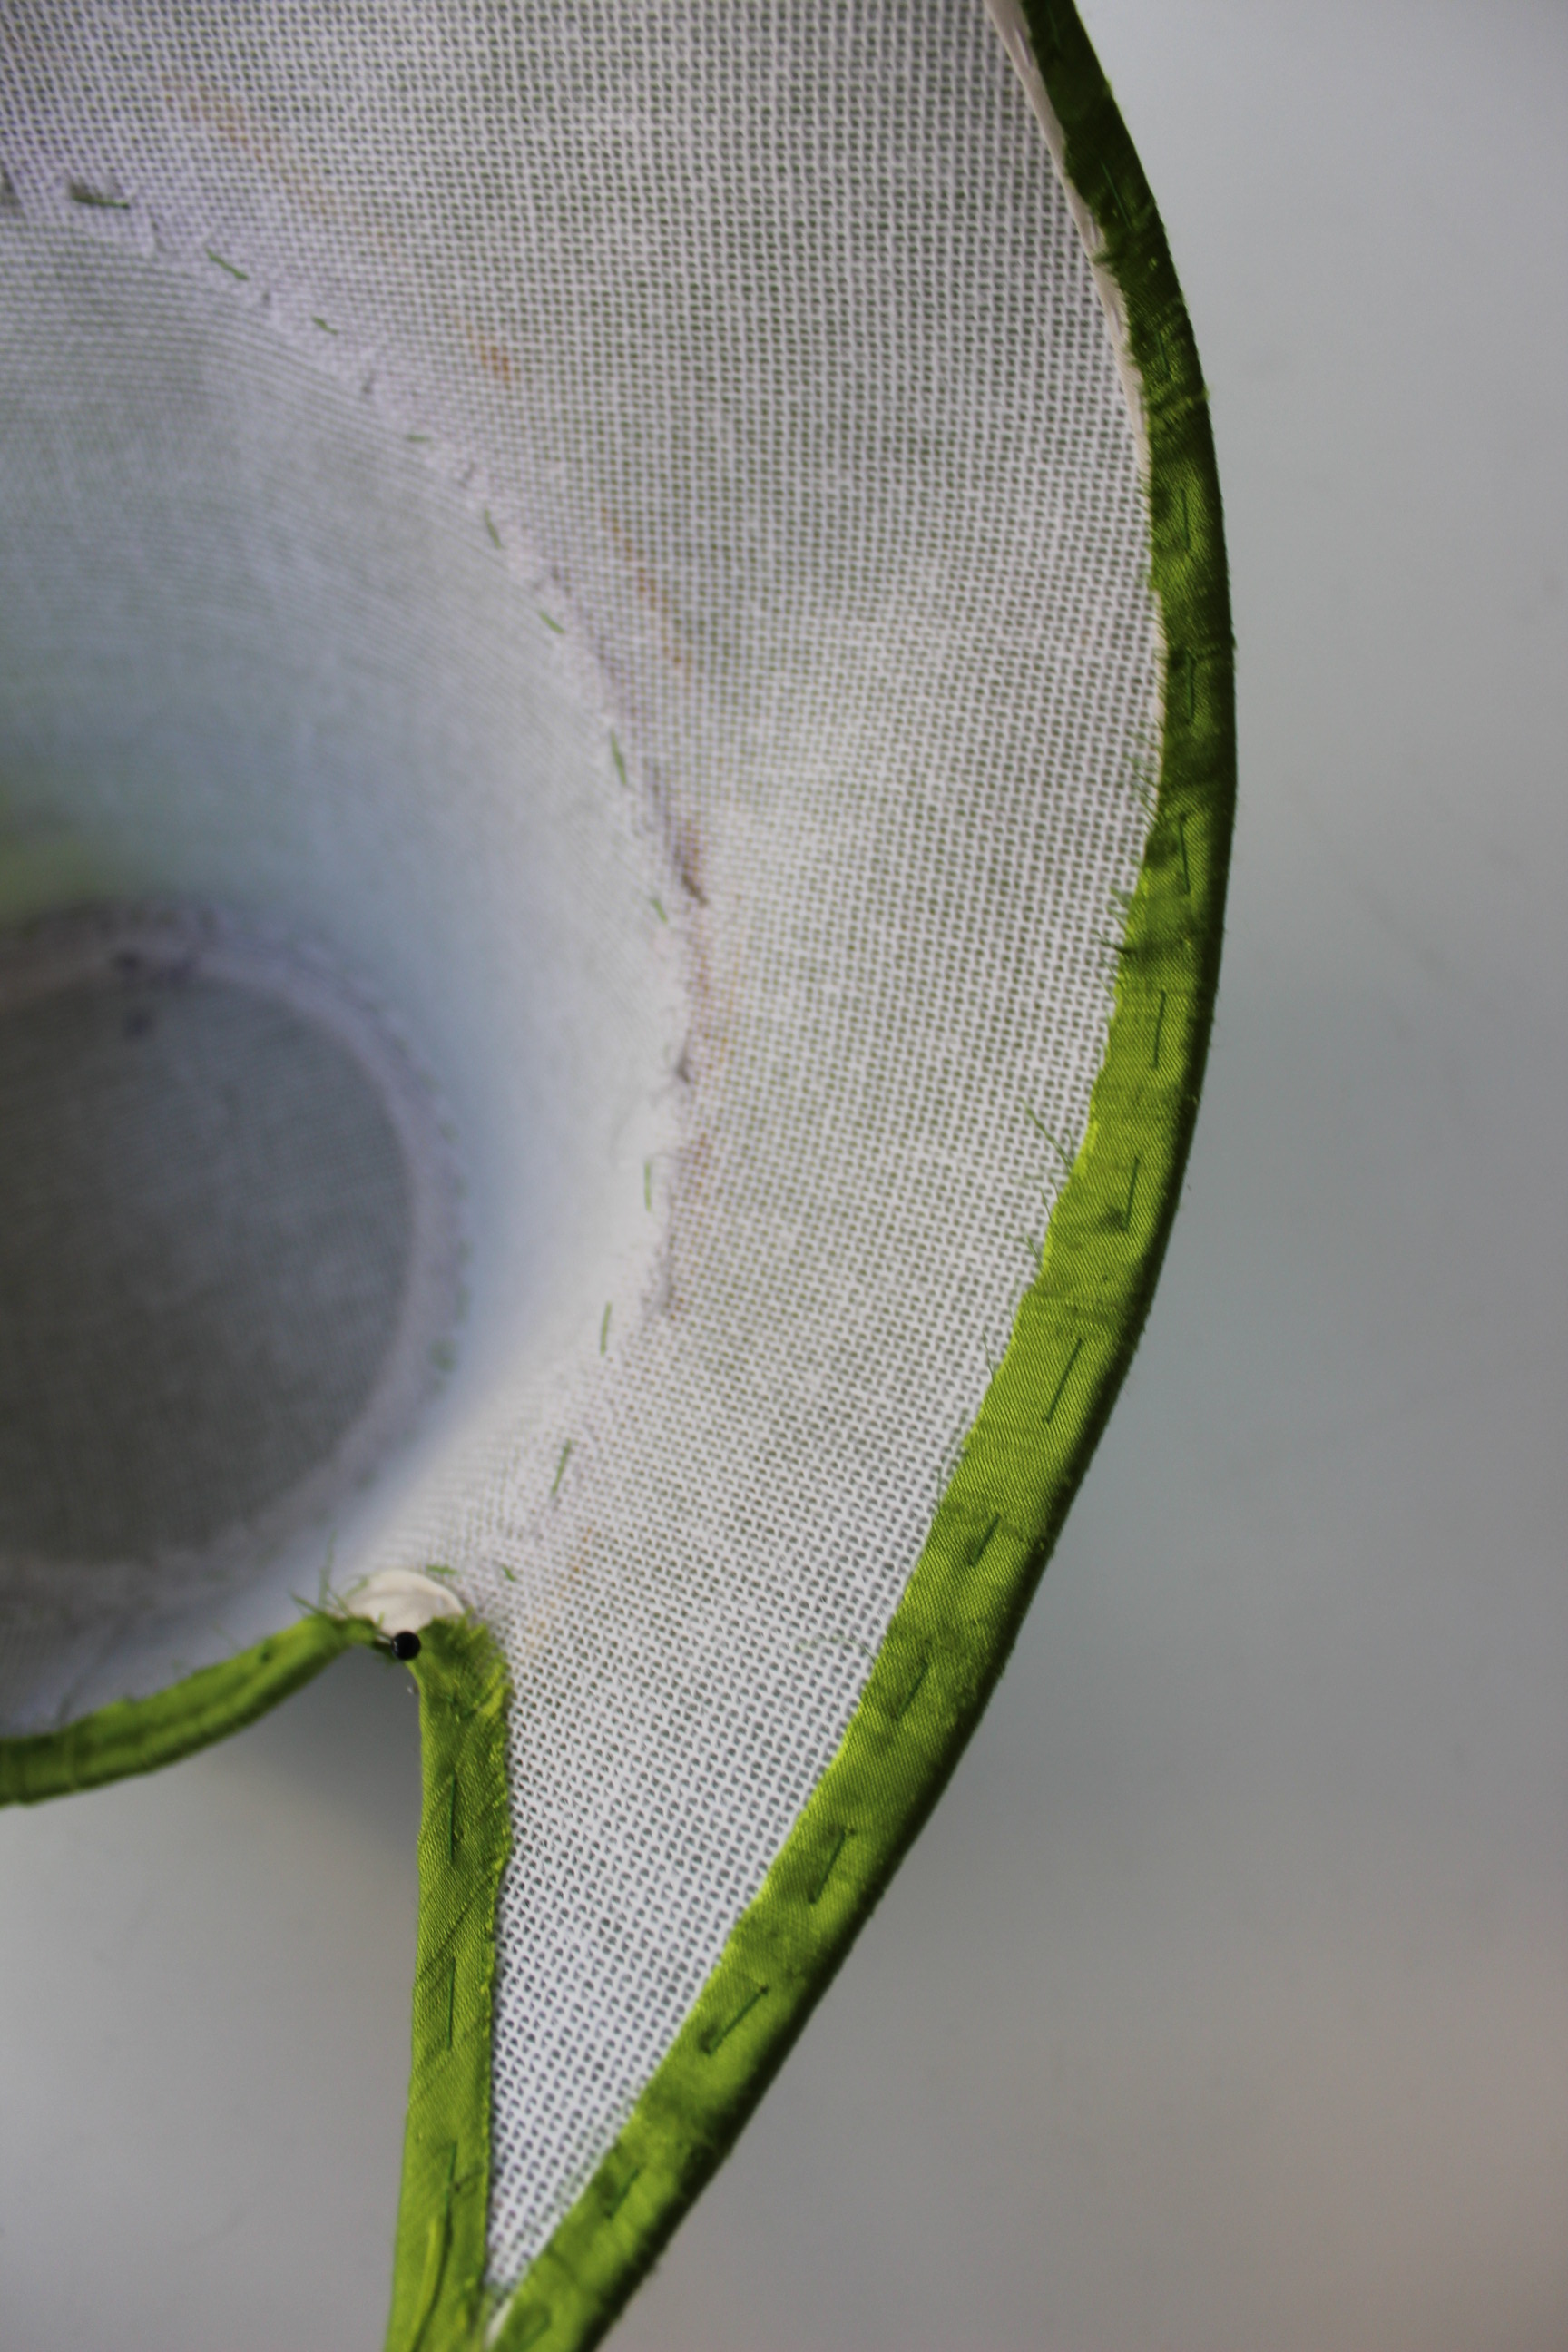
I covered the edges with bias tape.IMG_6434

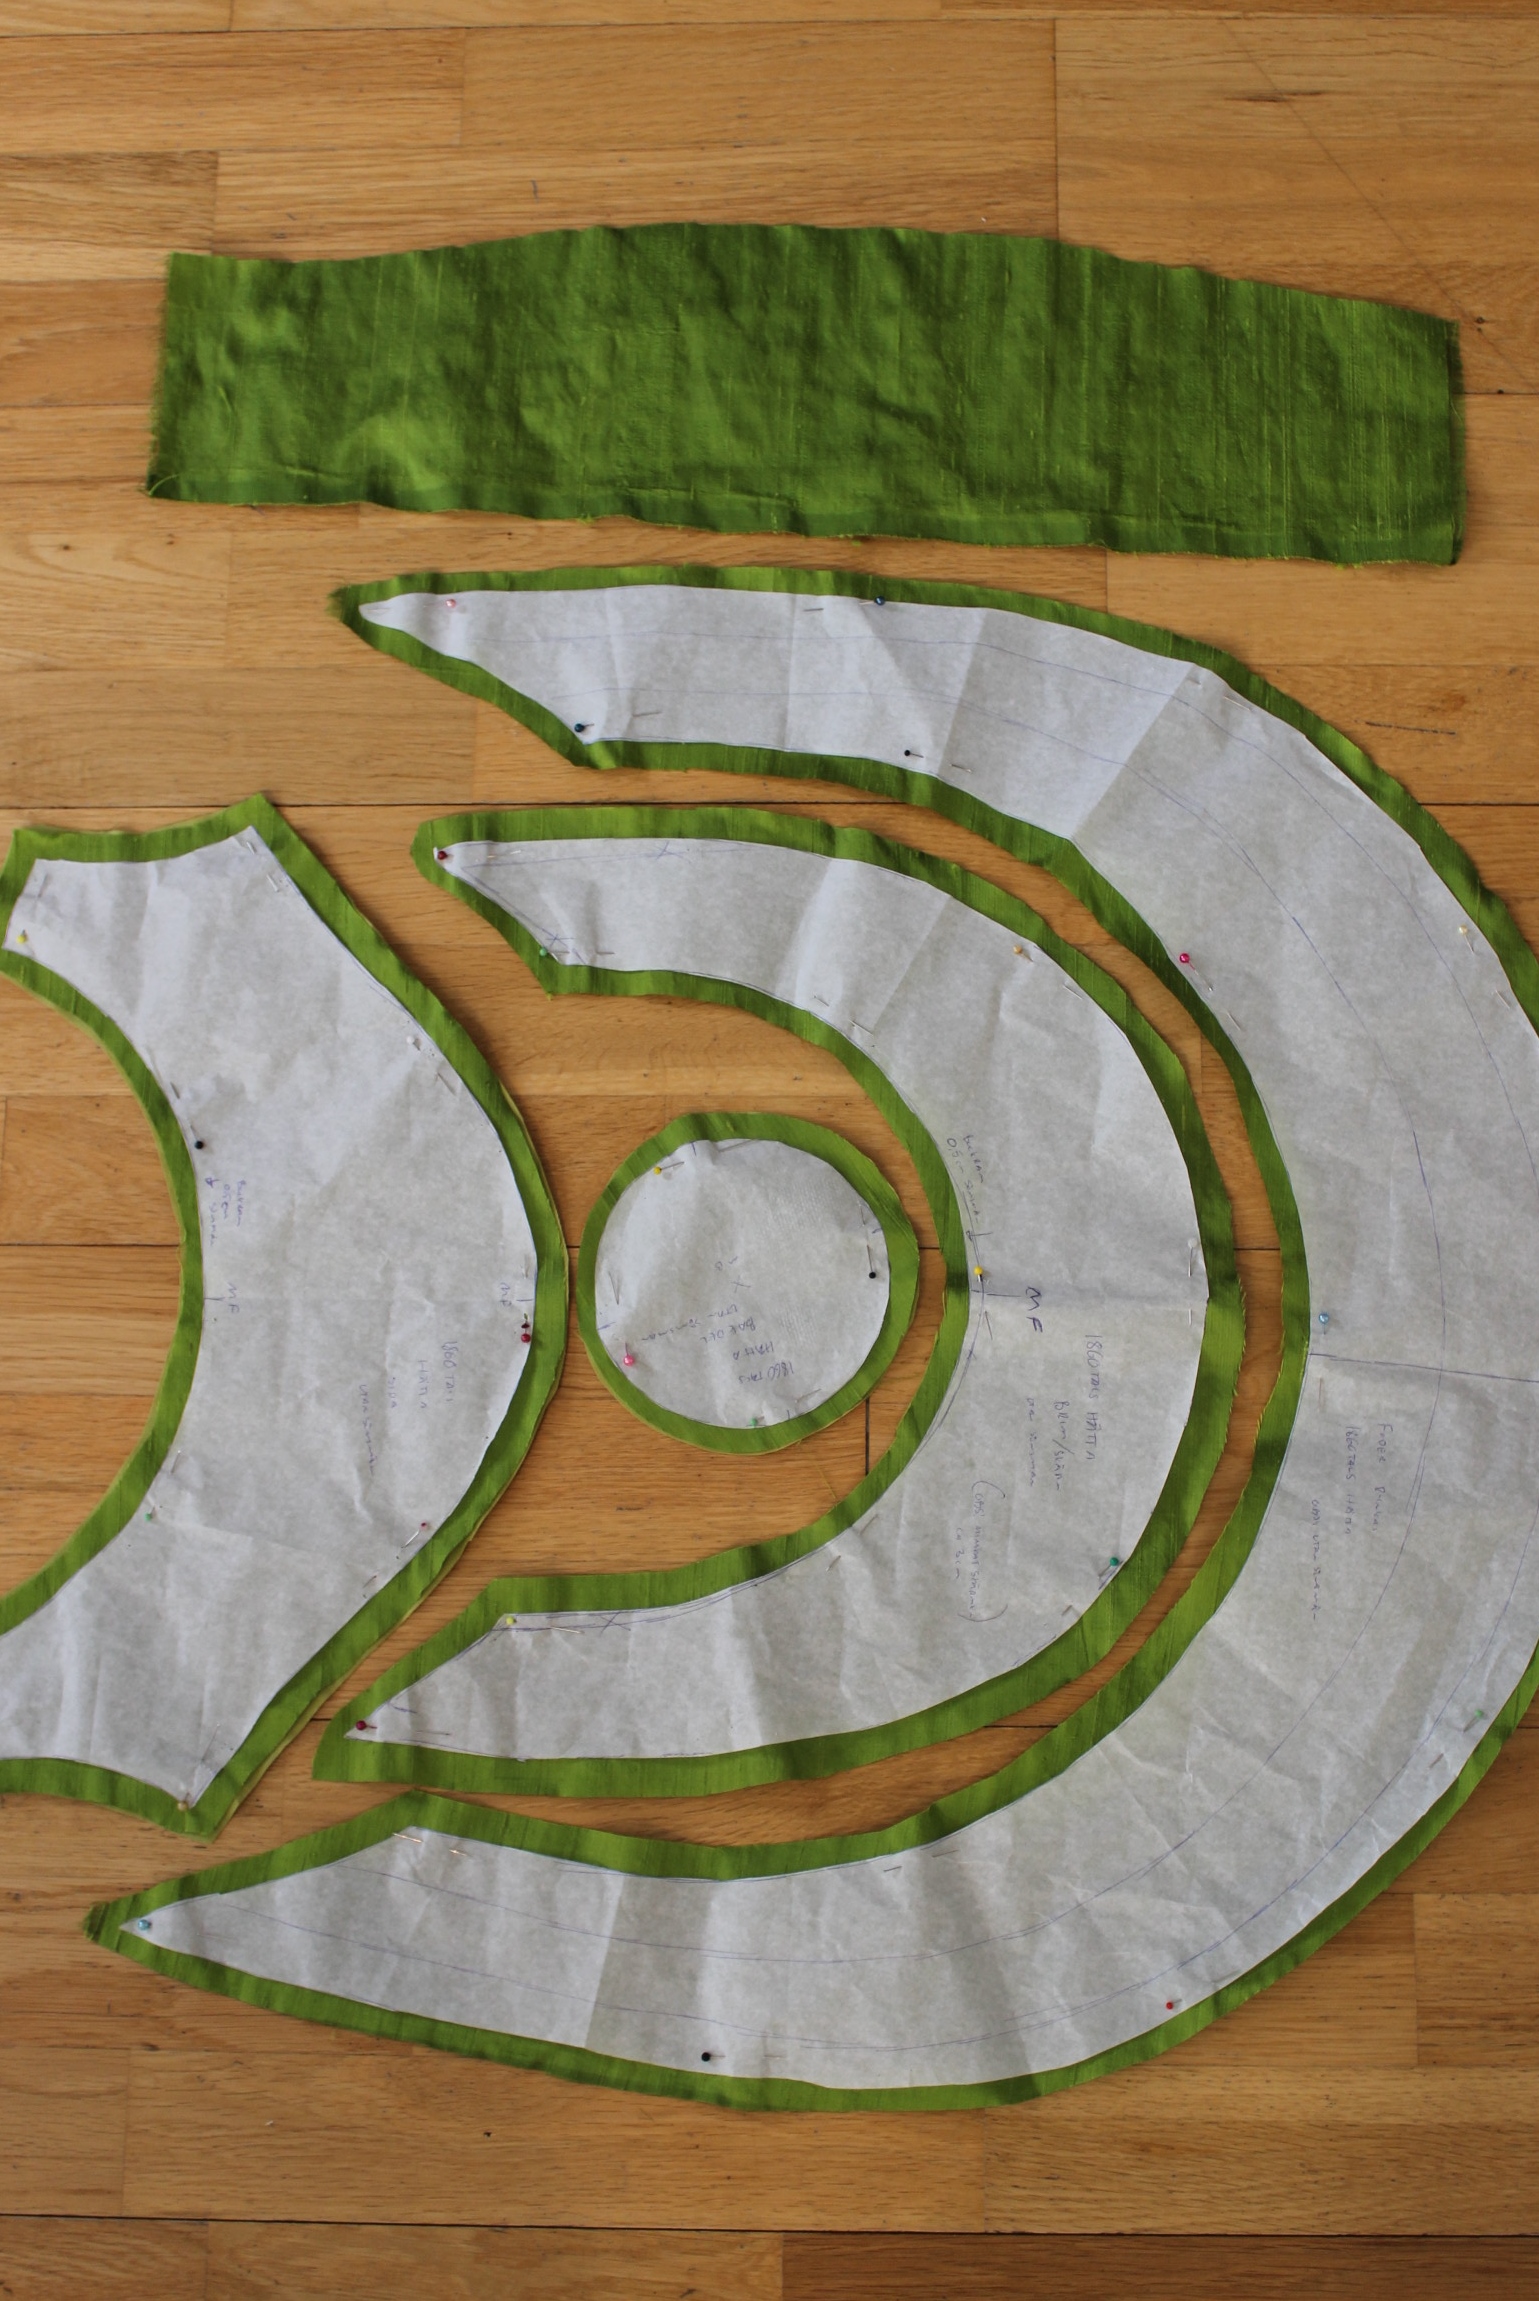
Then it was time to cut the fabric.
Knowing my sisters fondness for blue, and having just recently finished my 18th century Redingote in a lovely blue wool, I decided to use the scraps for her hat.
IMG_6352Cutting the wool.

I also cut the pieces in cotton thin bathing for interlining, and white linen for lining.IMG_6354left to right: Buckram, bathing, blue wool, pattern piece and linen lining.

I carefully covered the buckram base with first bathing and then wool.IMG_6570

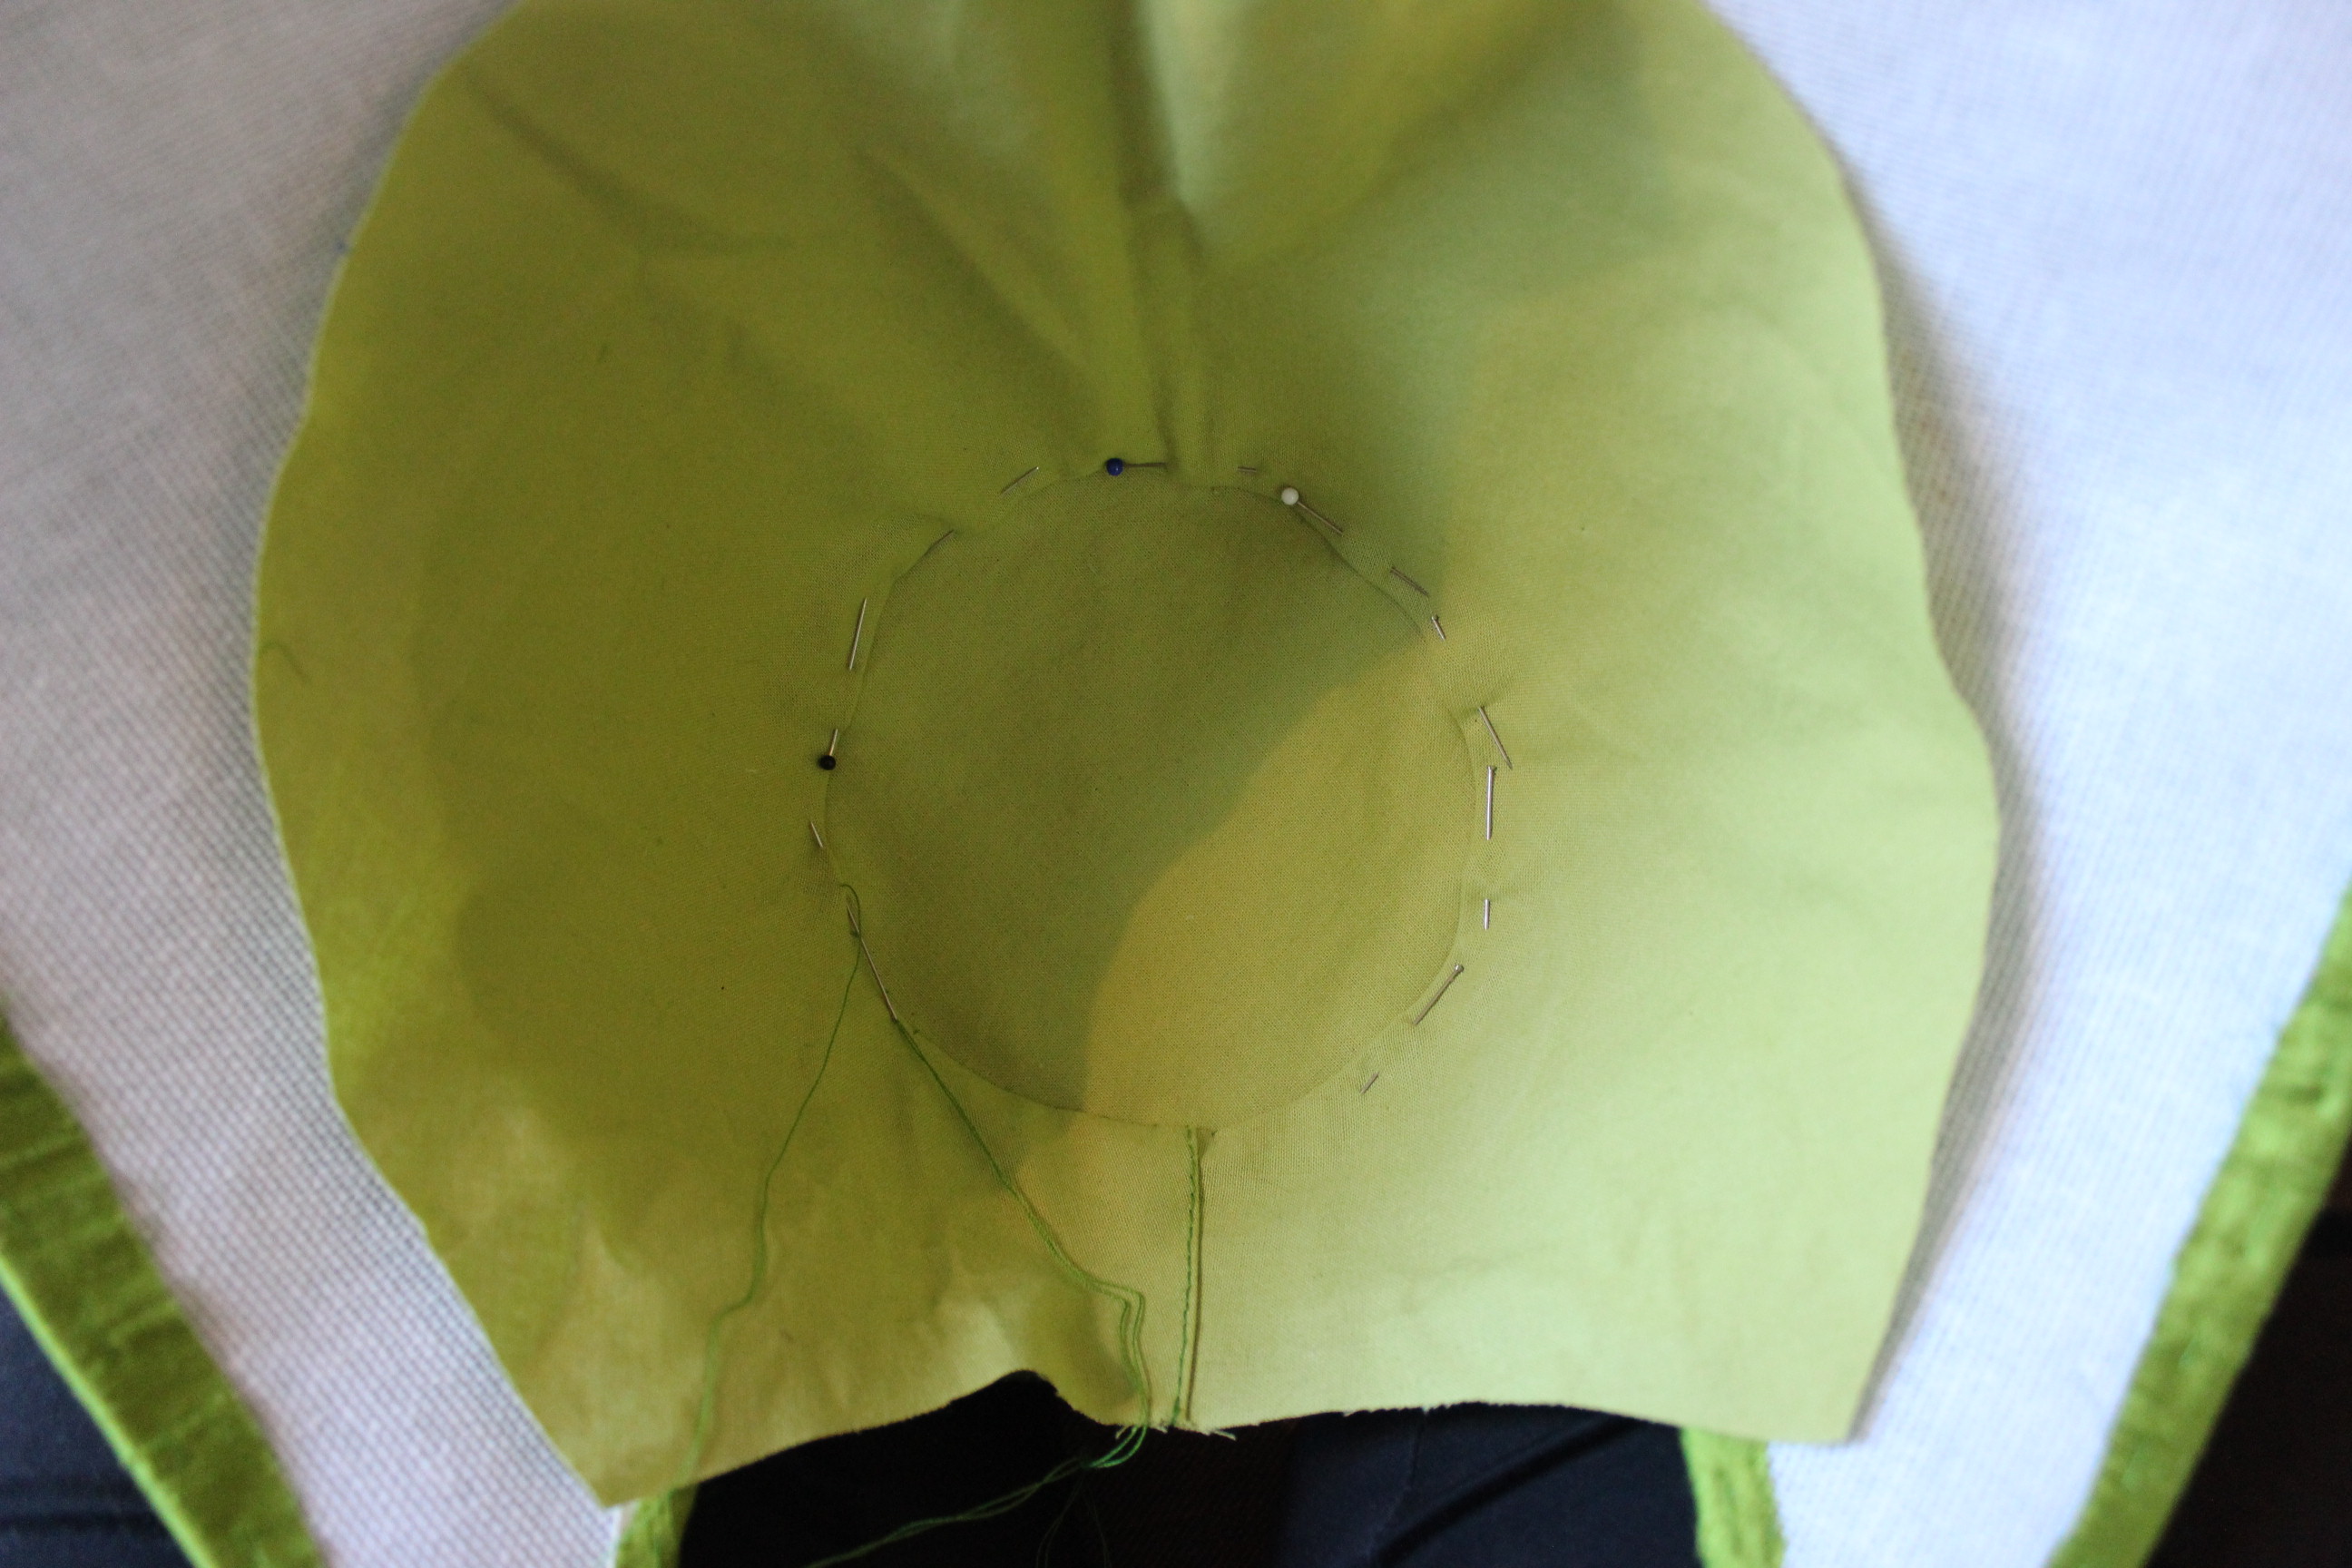
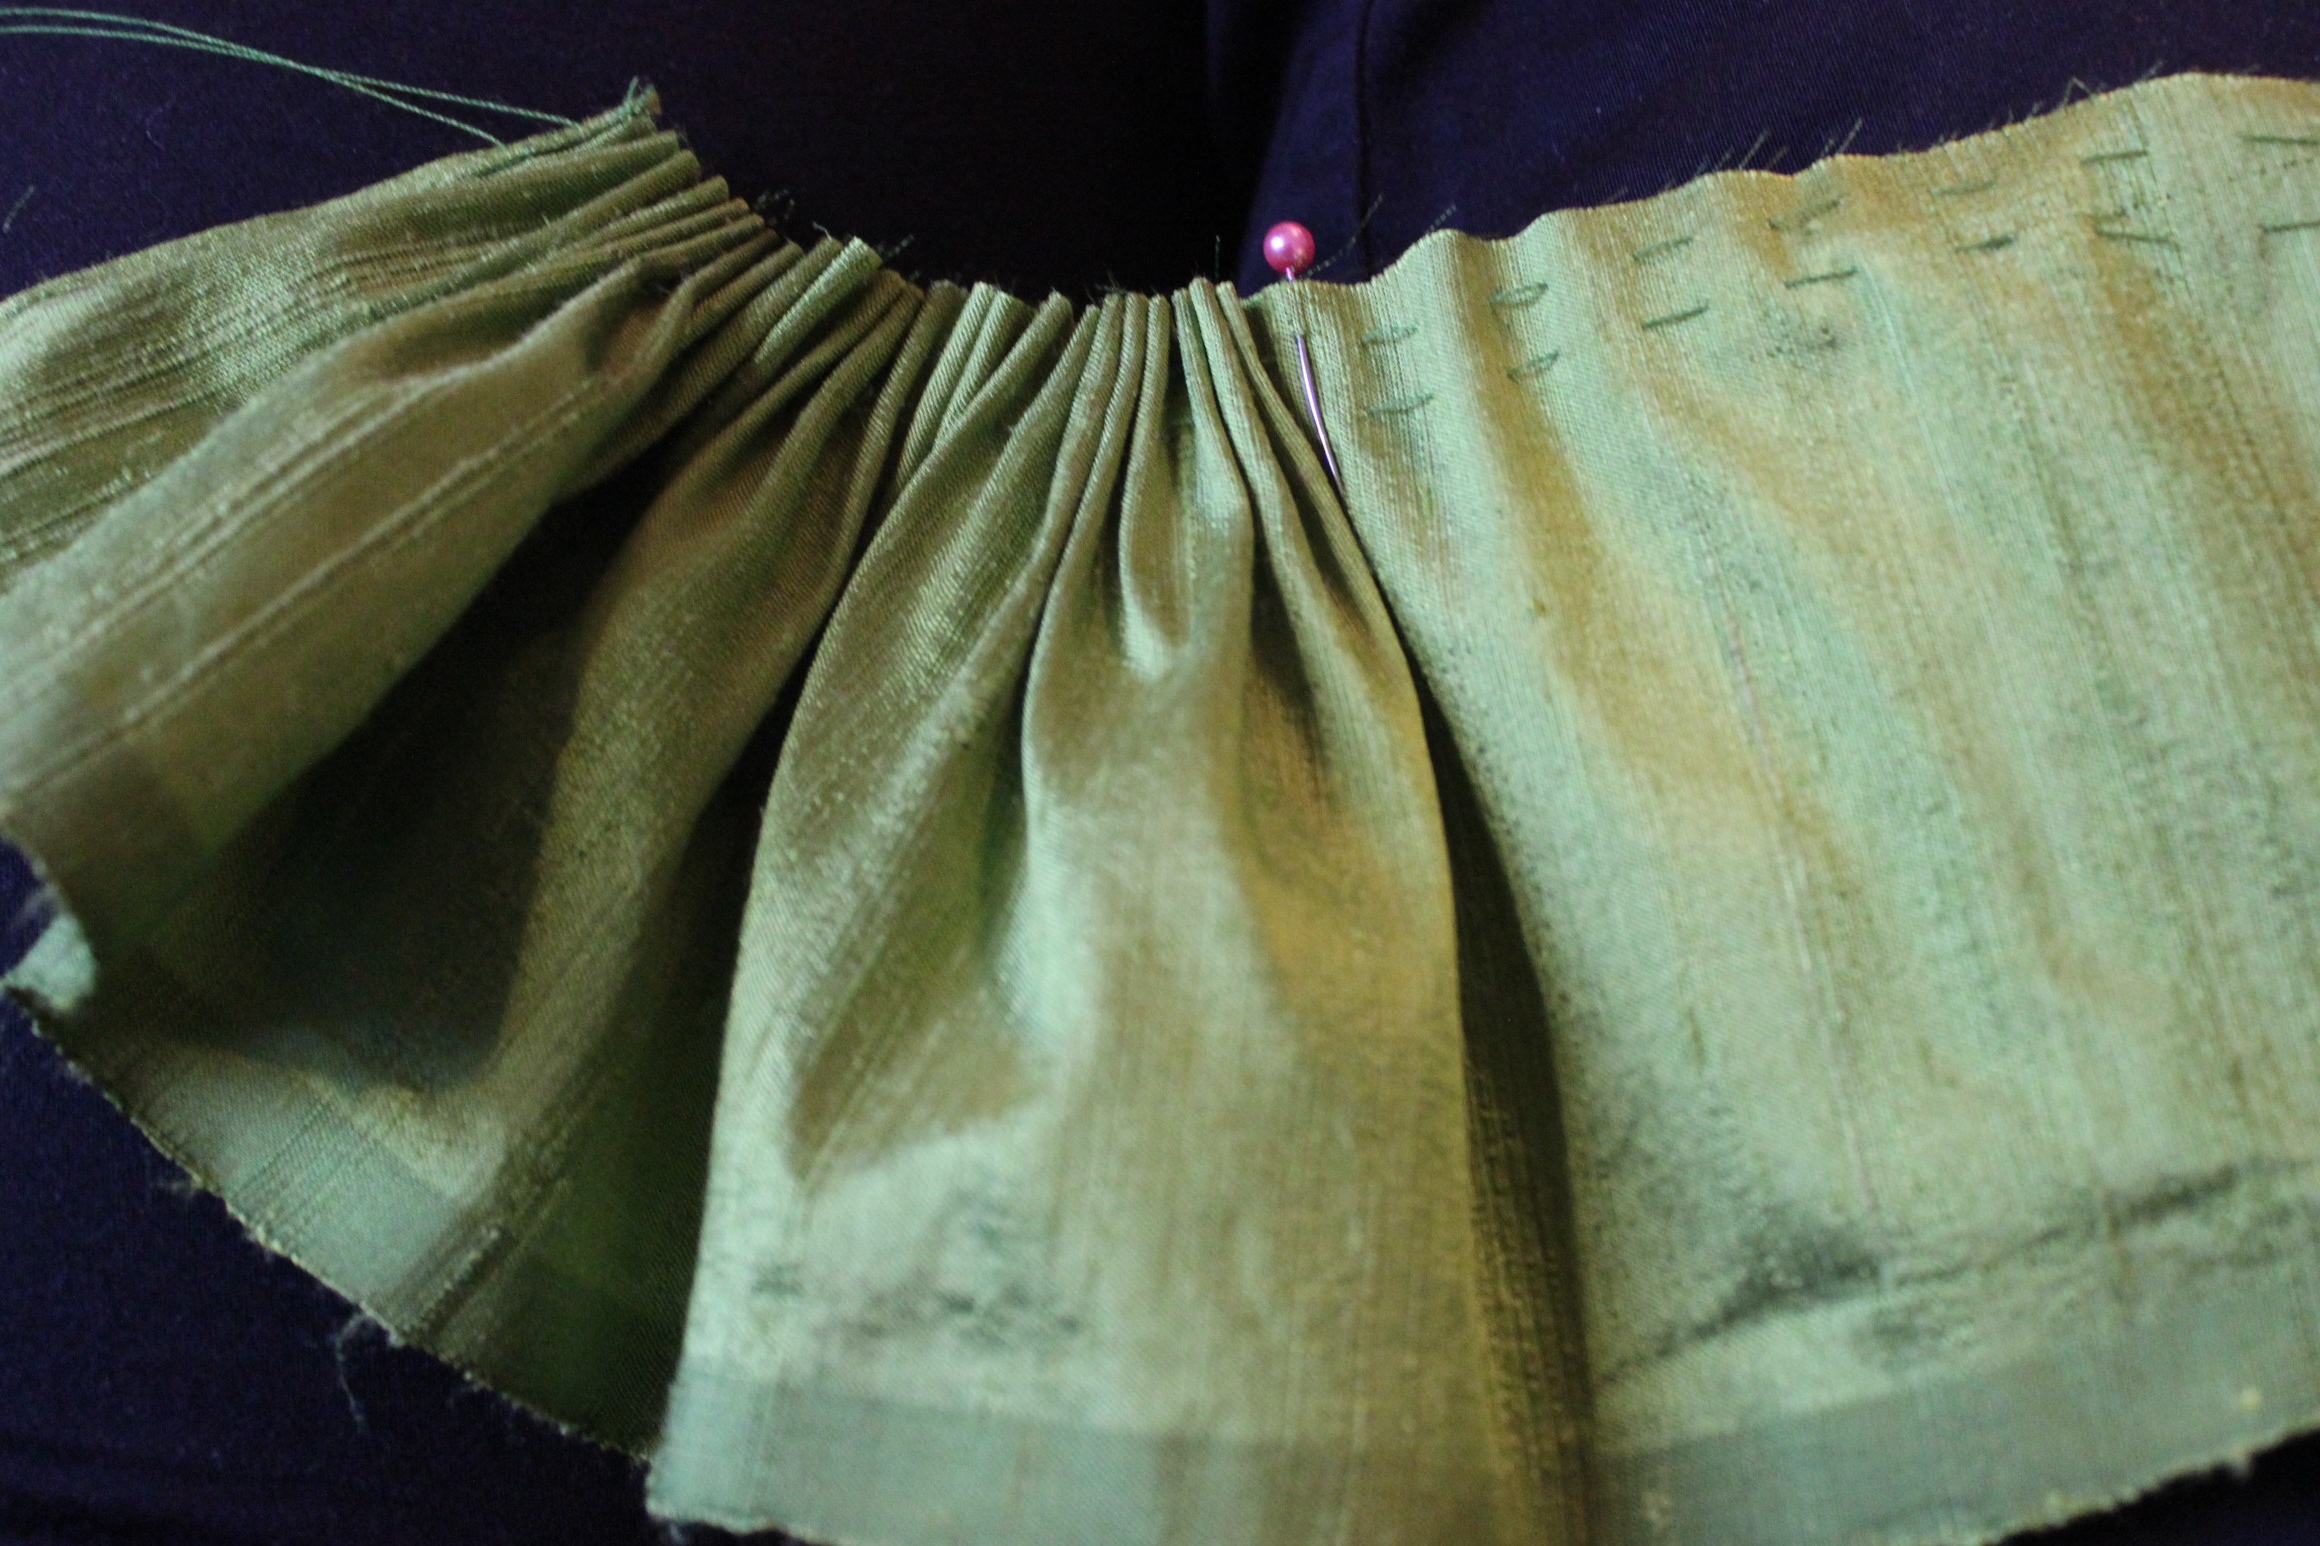
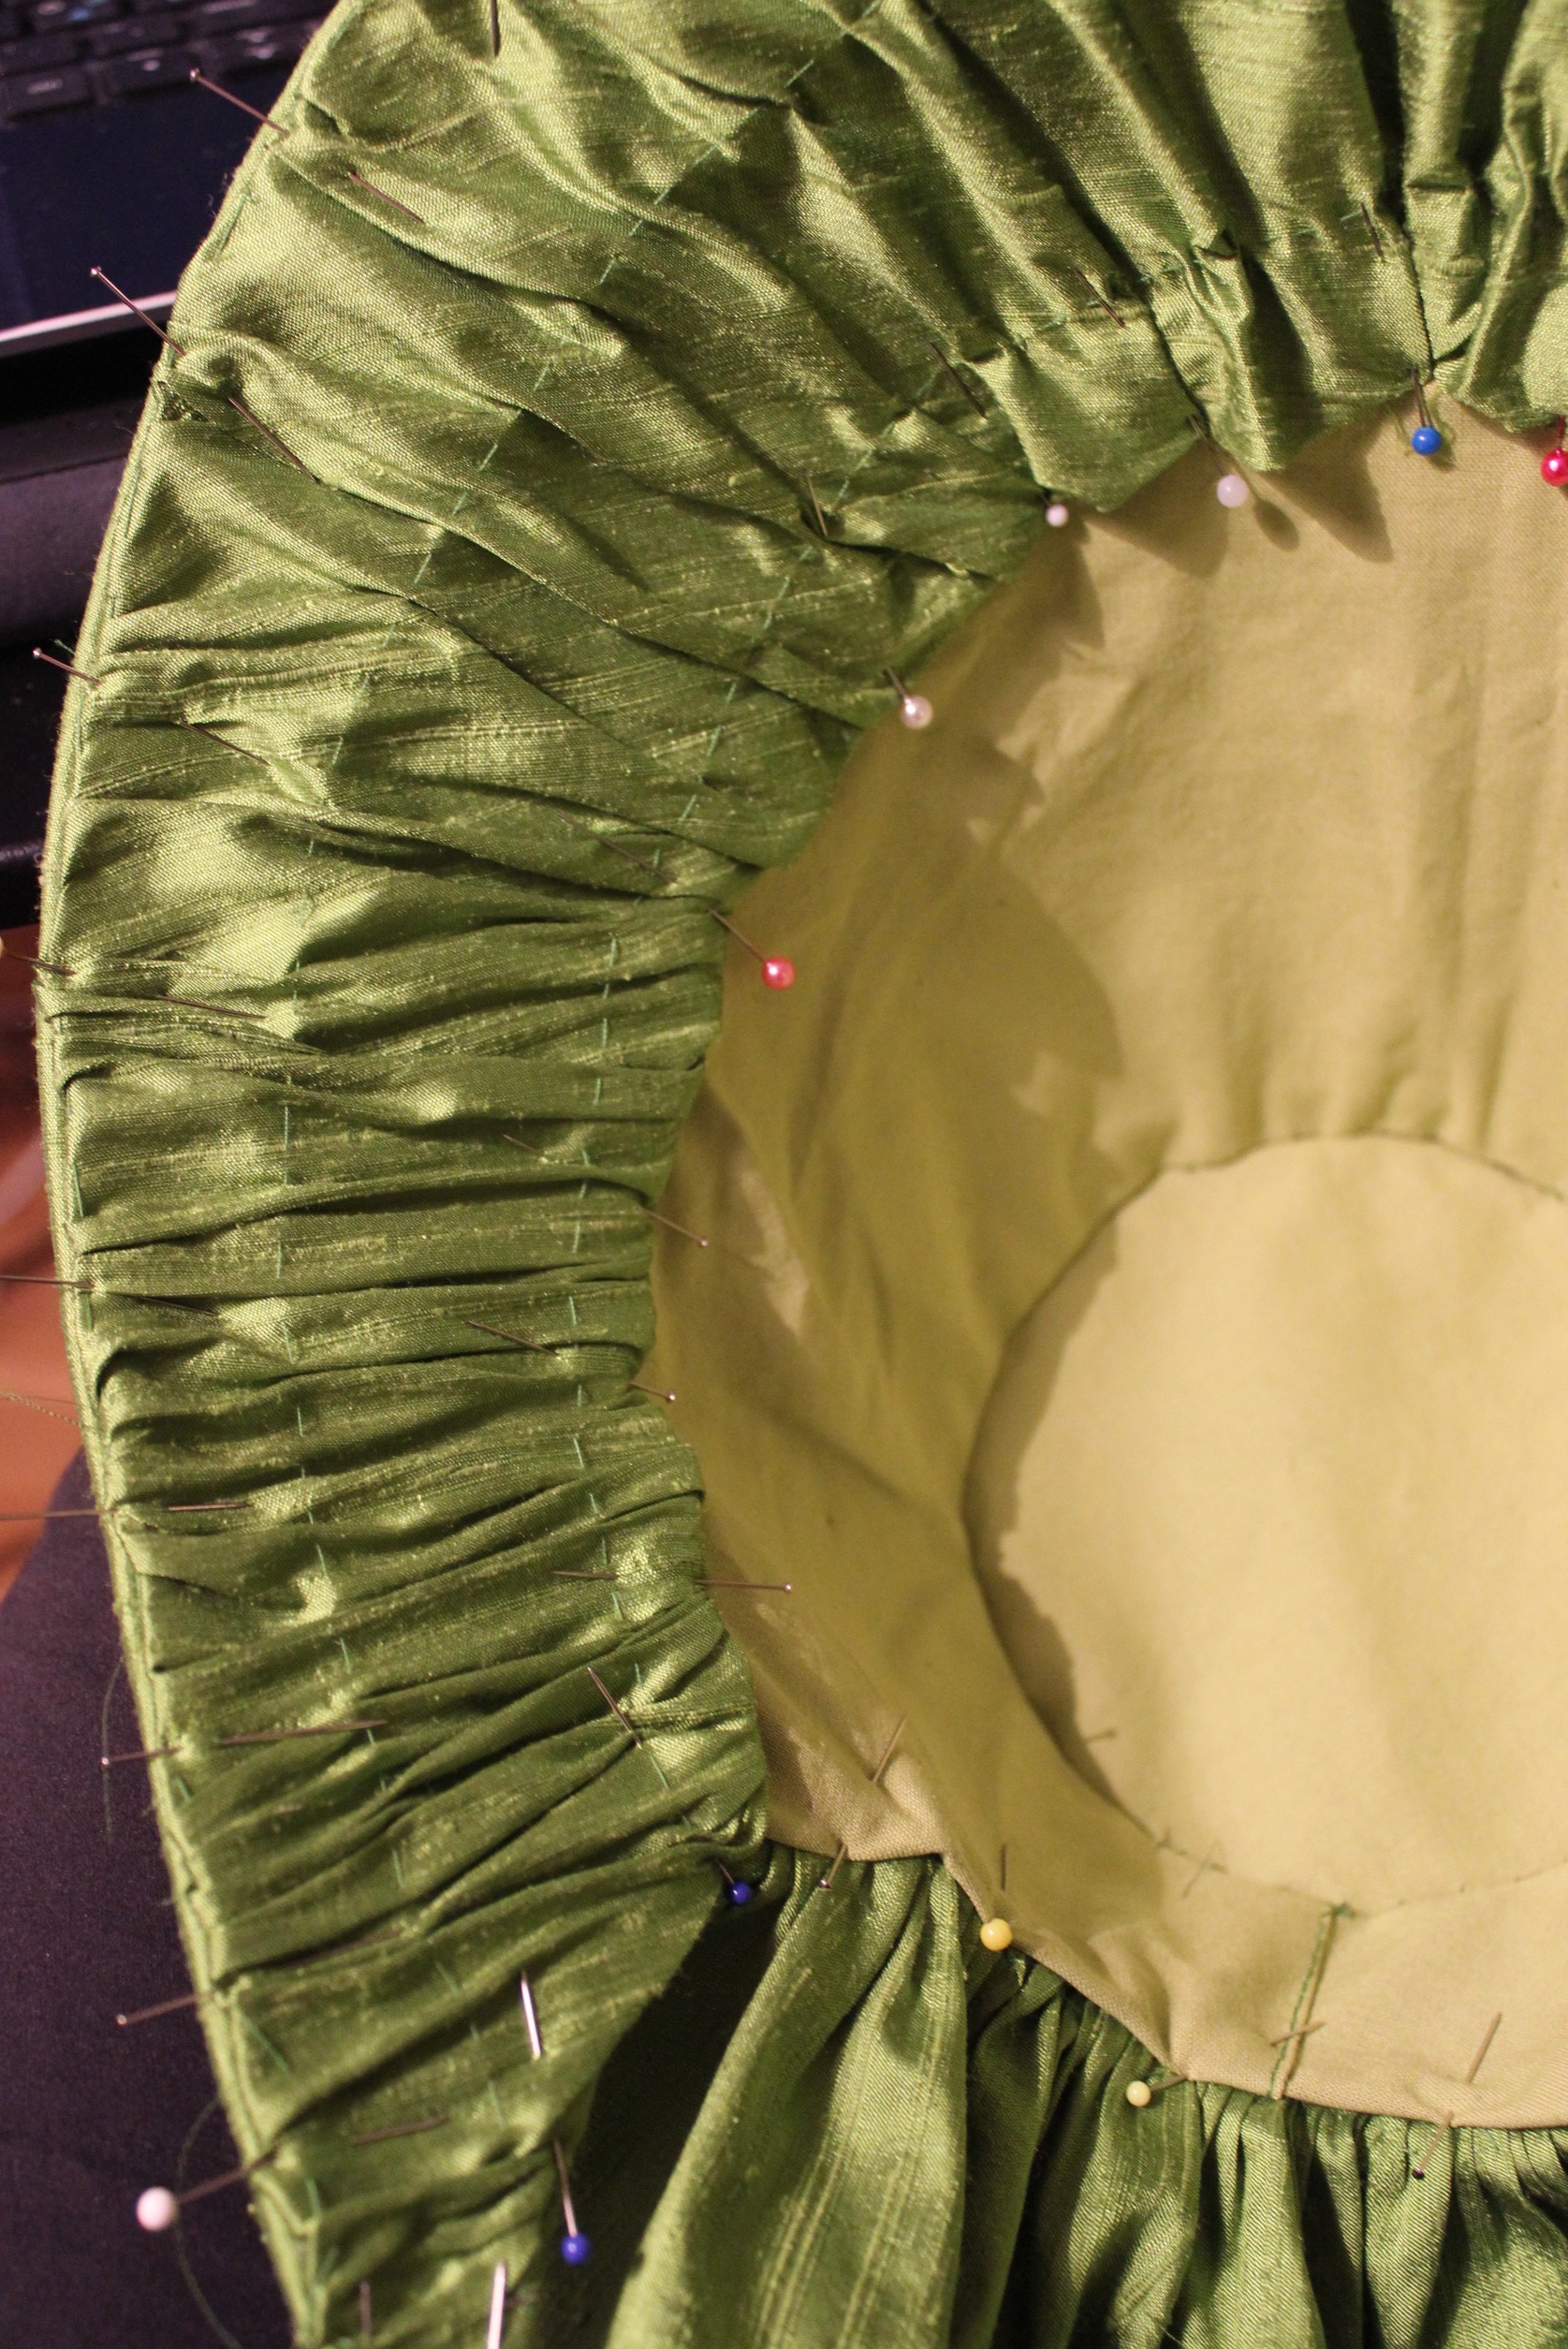
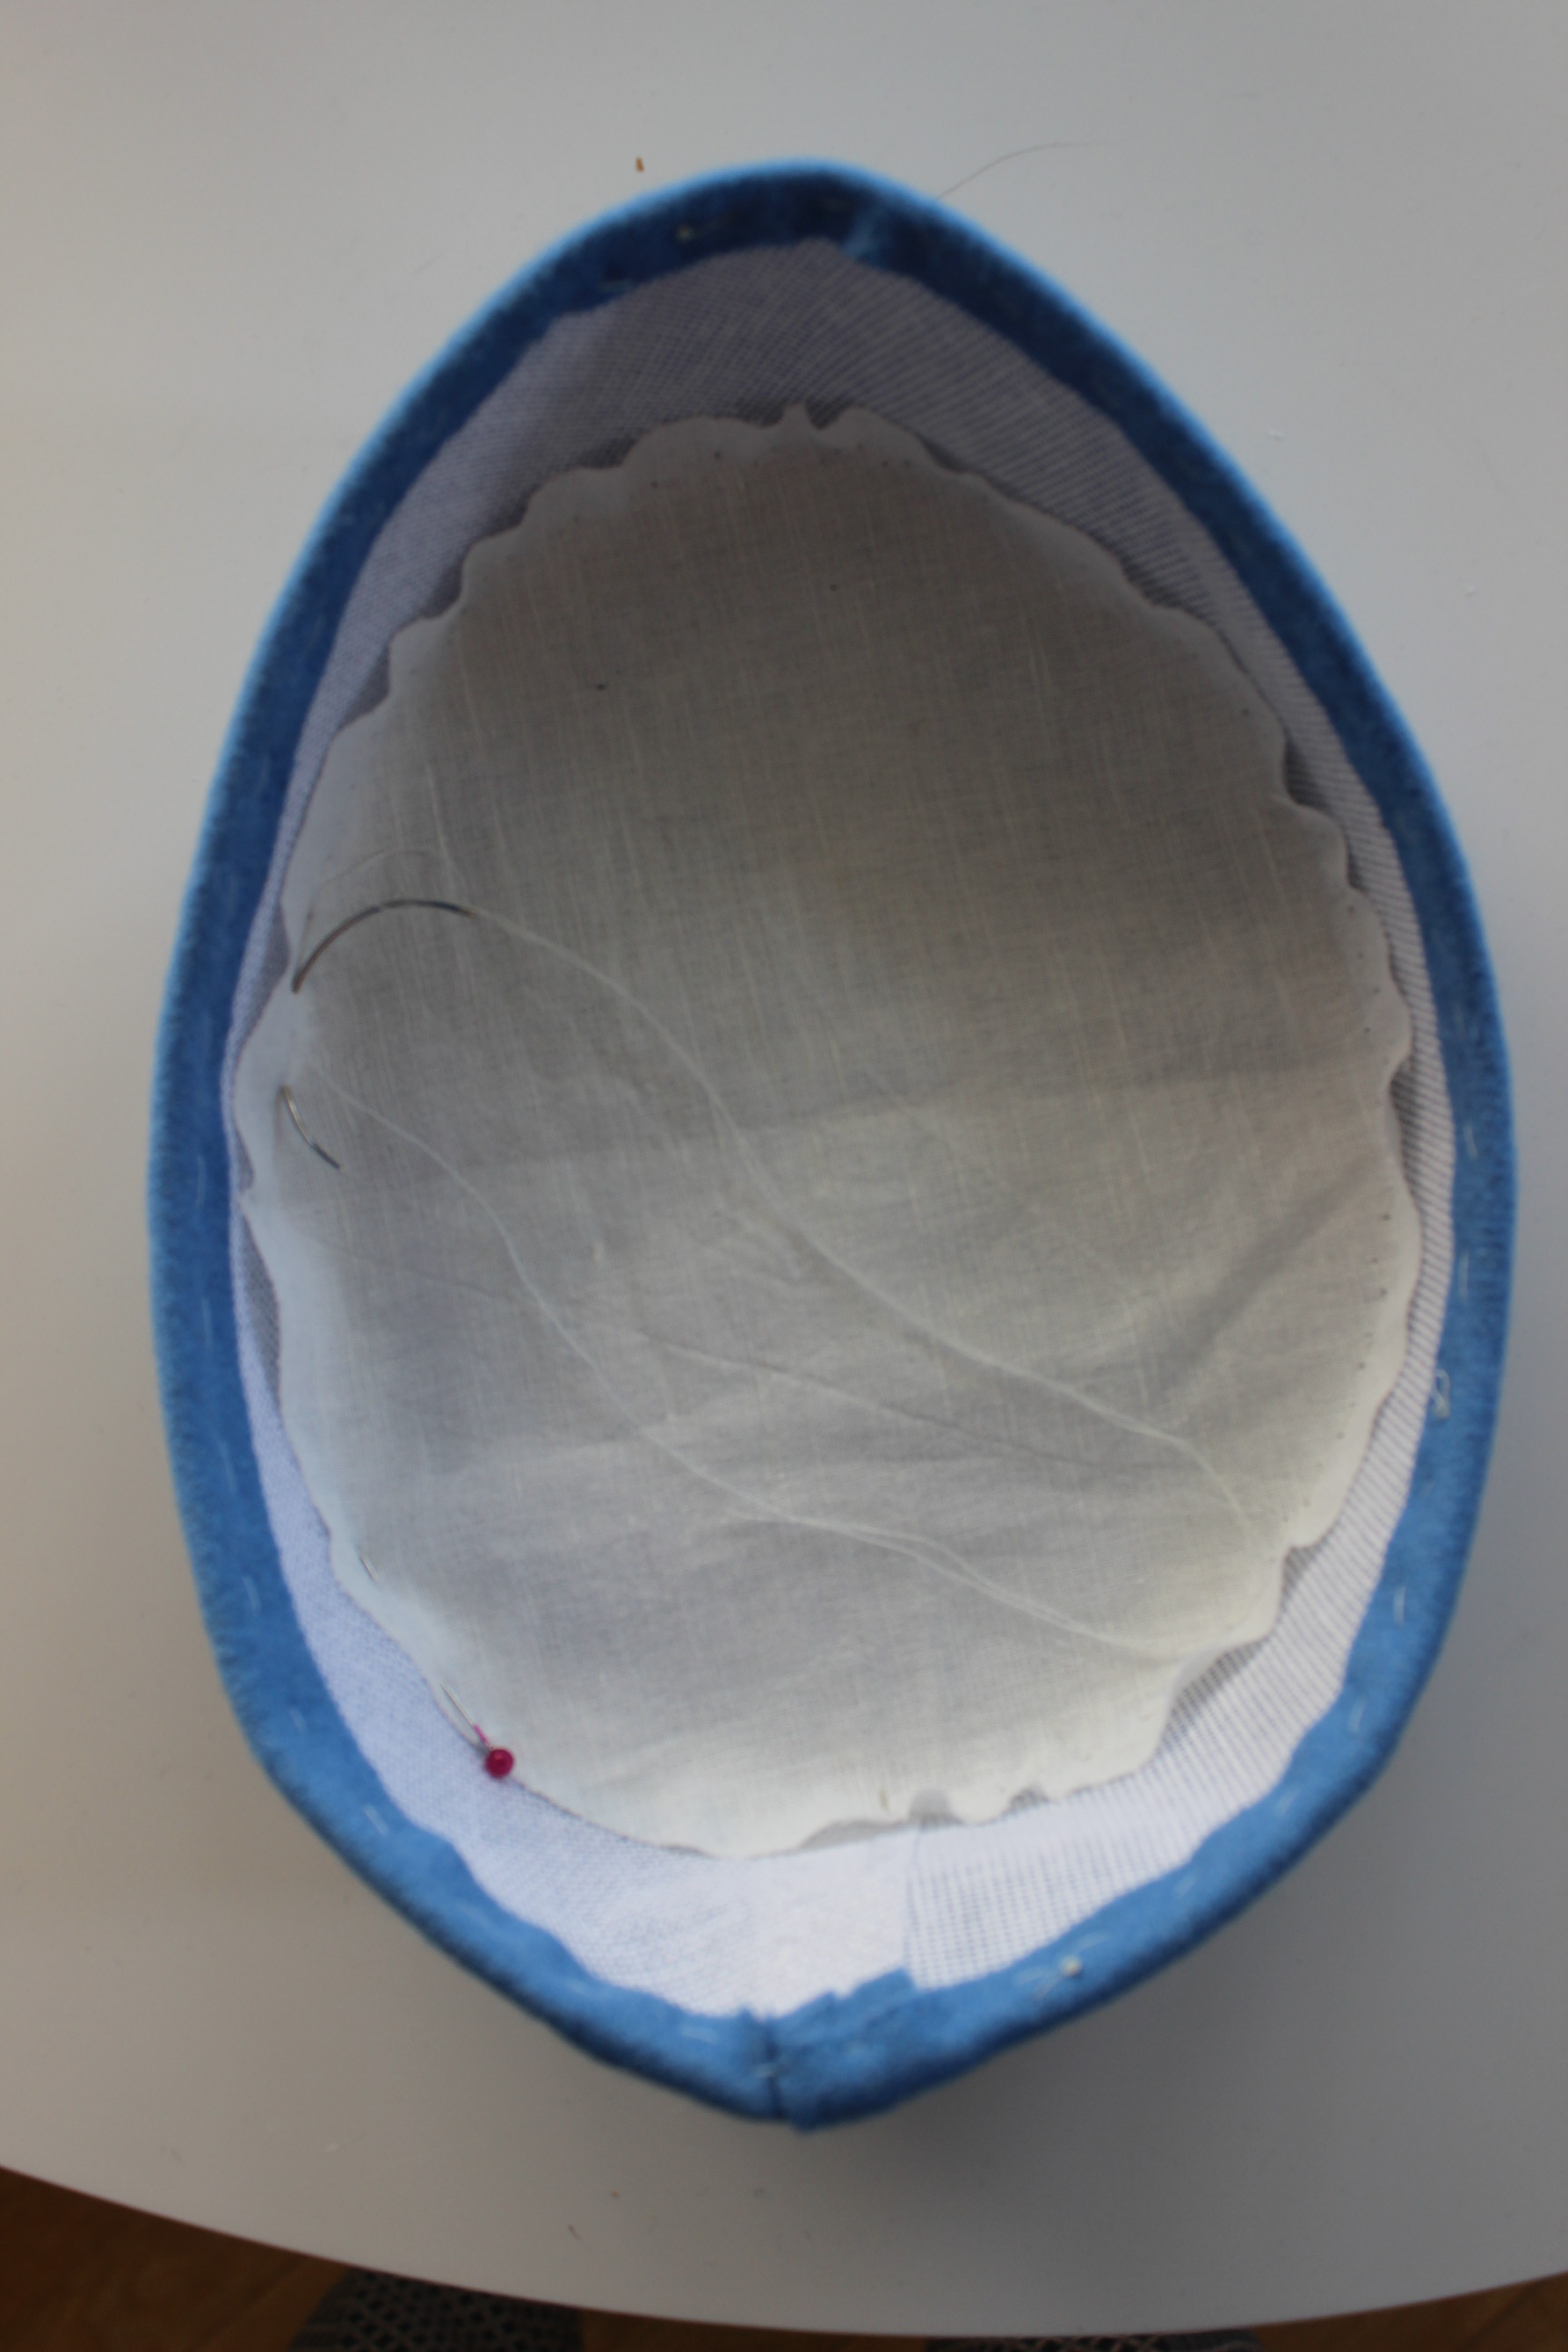
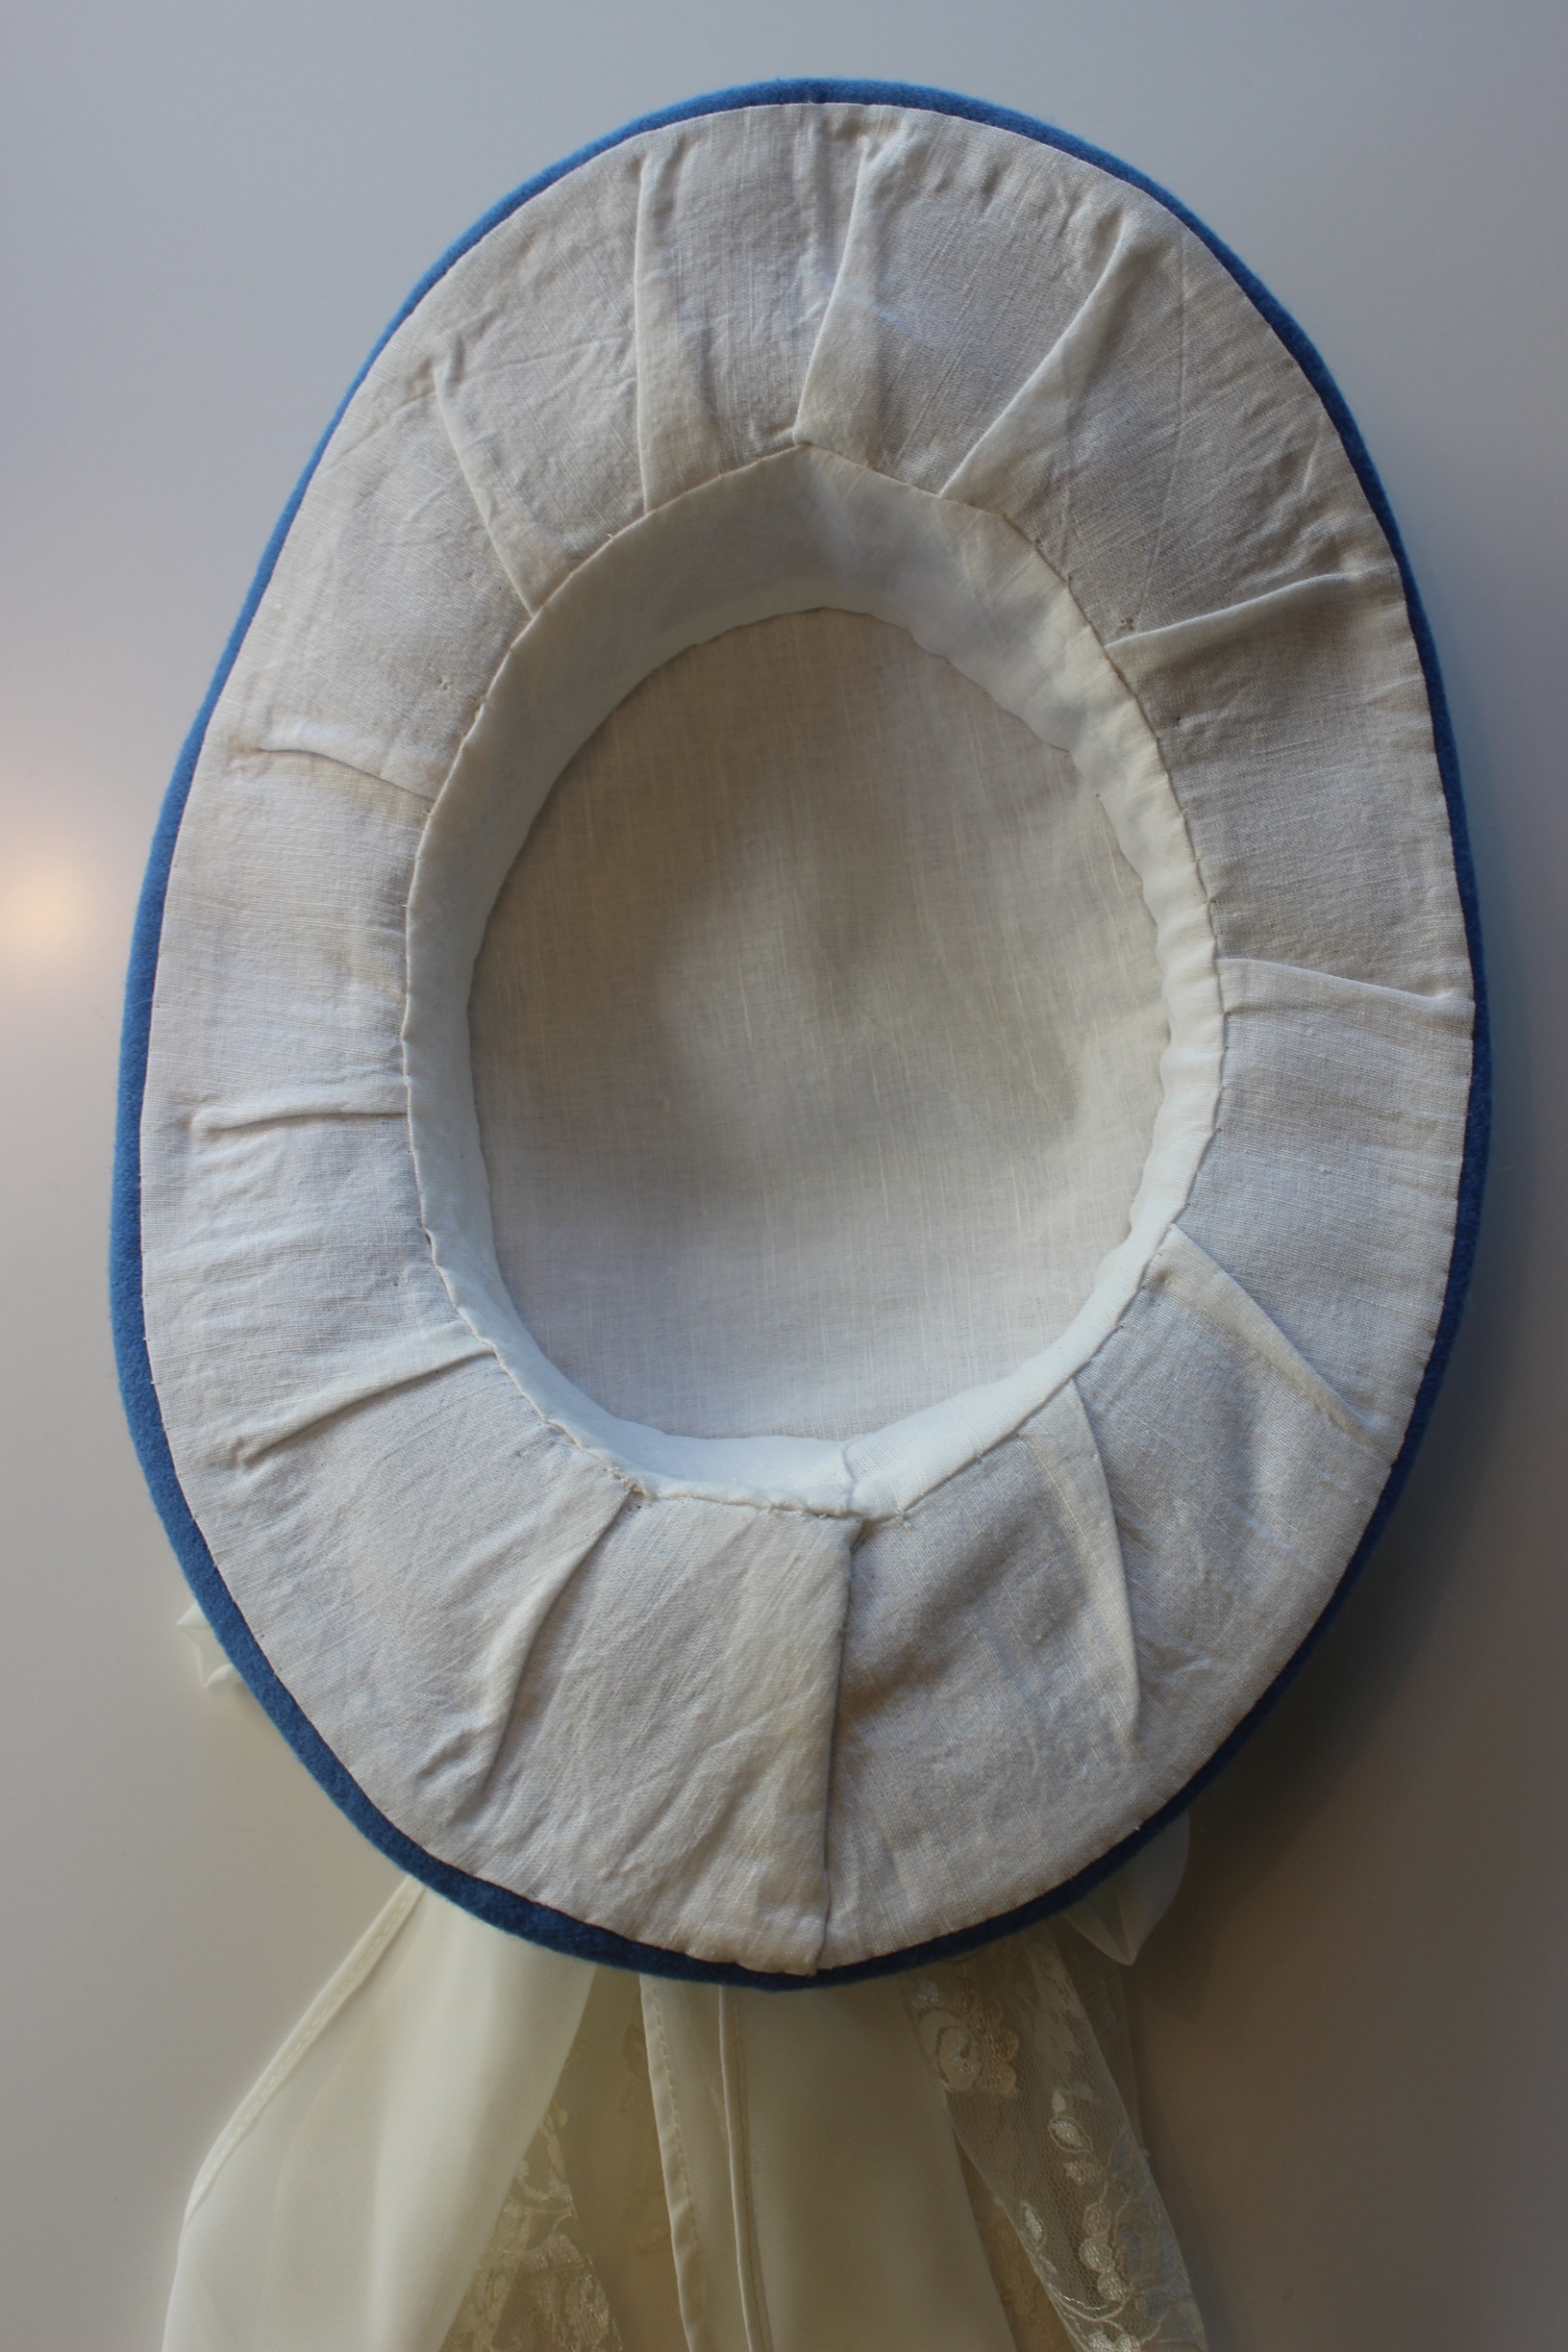
Then it was time for the lining. The piece underneath the brim was pleated, pinned and stitched on.IMG_6564

And the crown part was covered in two steps – first the top, and then the sides.
IMG_6621 IMG_6626

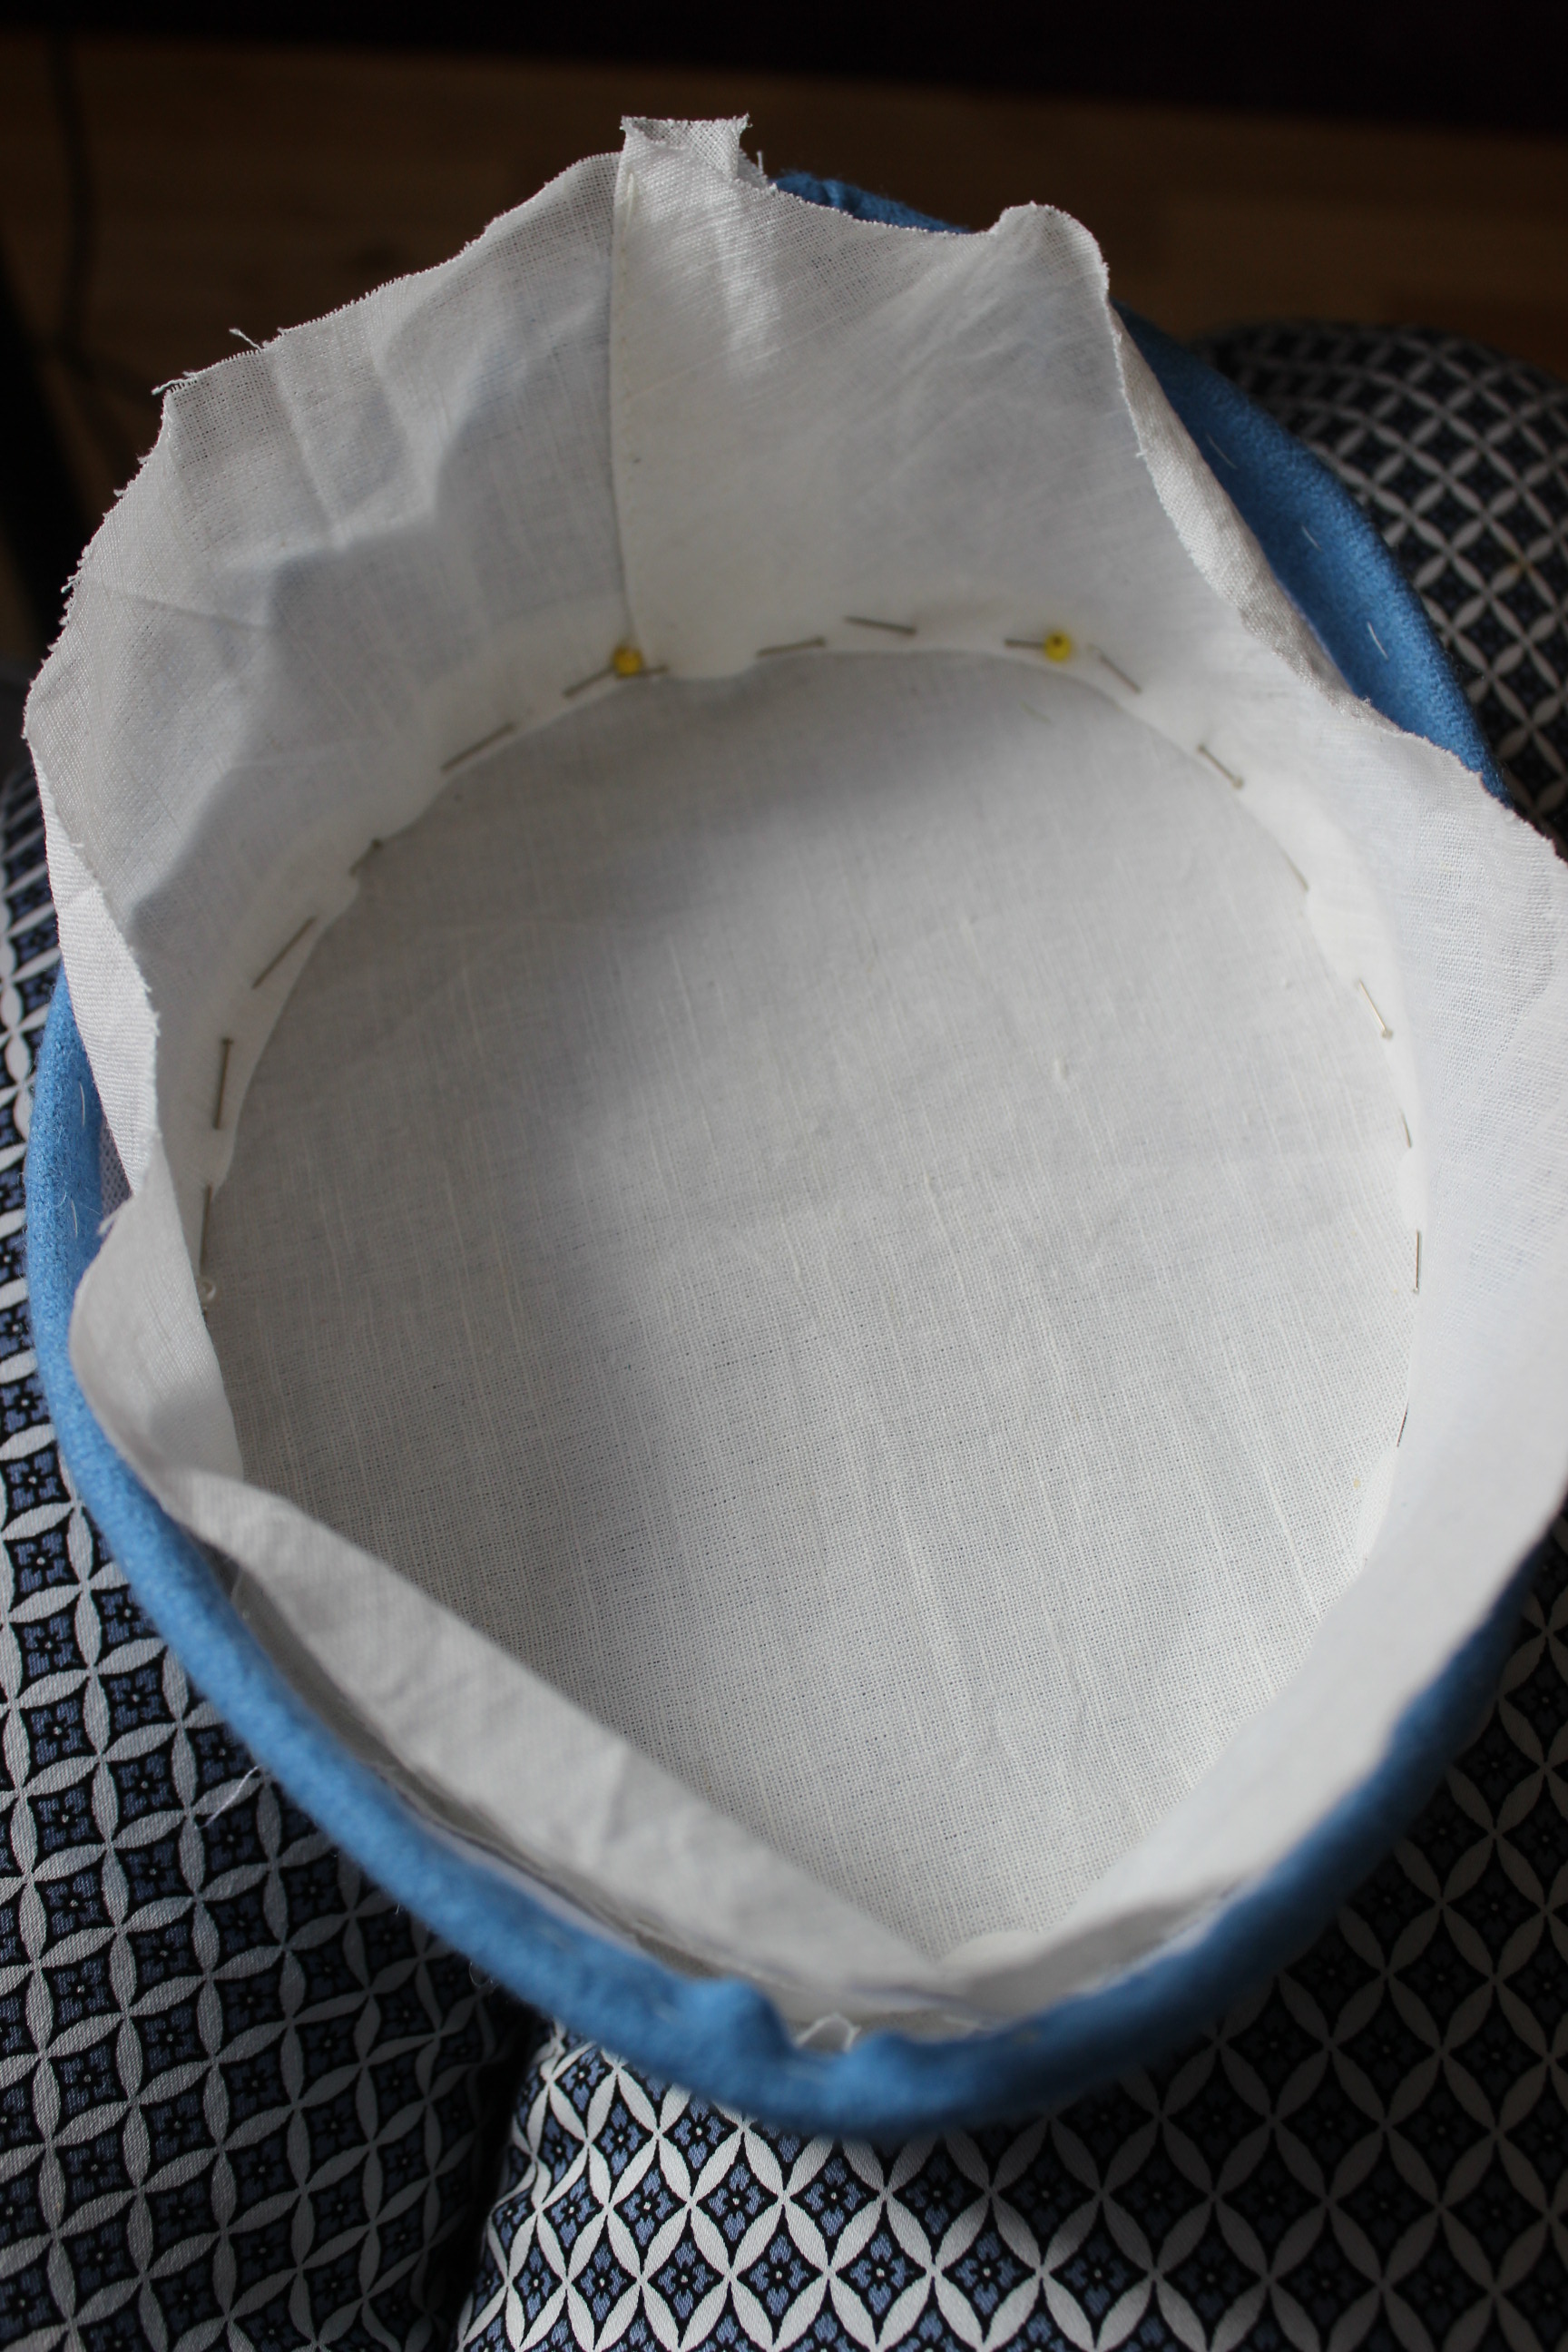
Then I stitched the brim and the crown part together.IMG_6630

And flipped it over to sew the lining together.IMG_6629

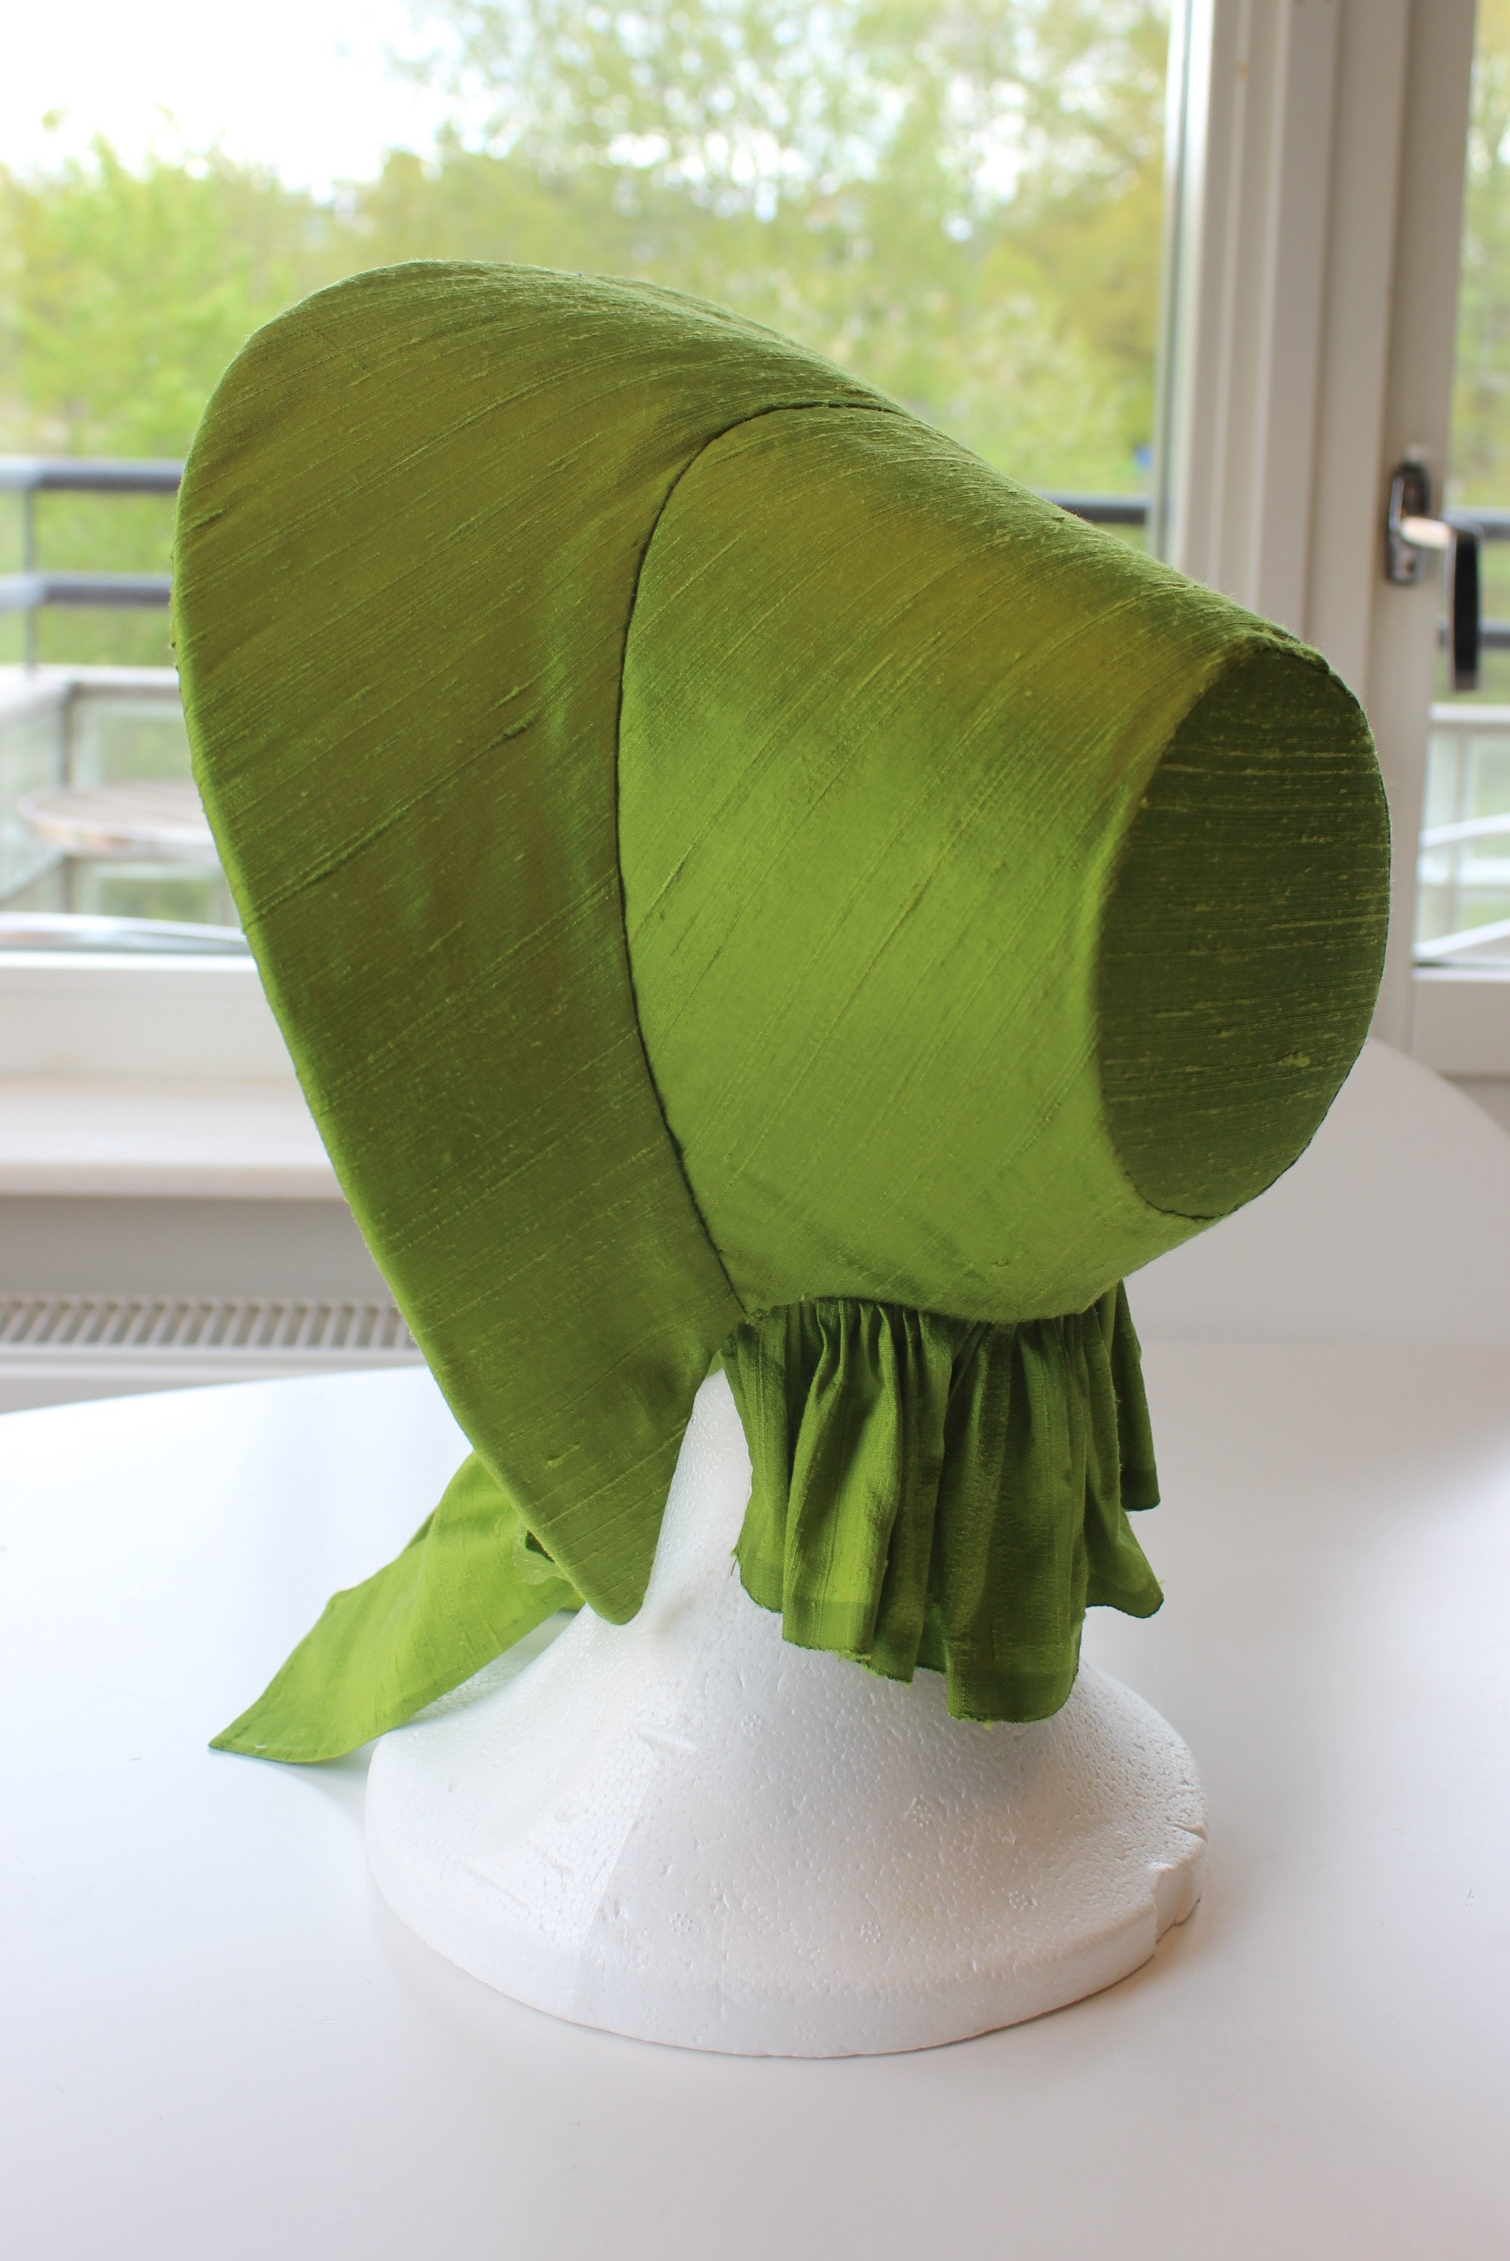
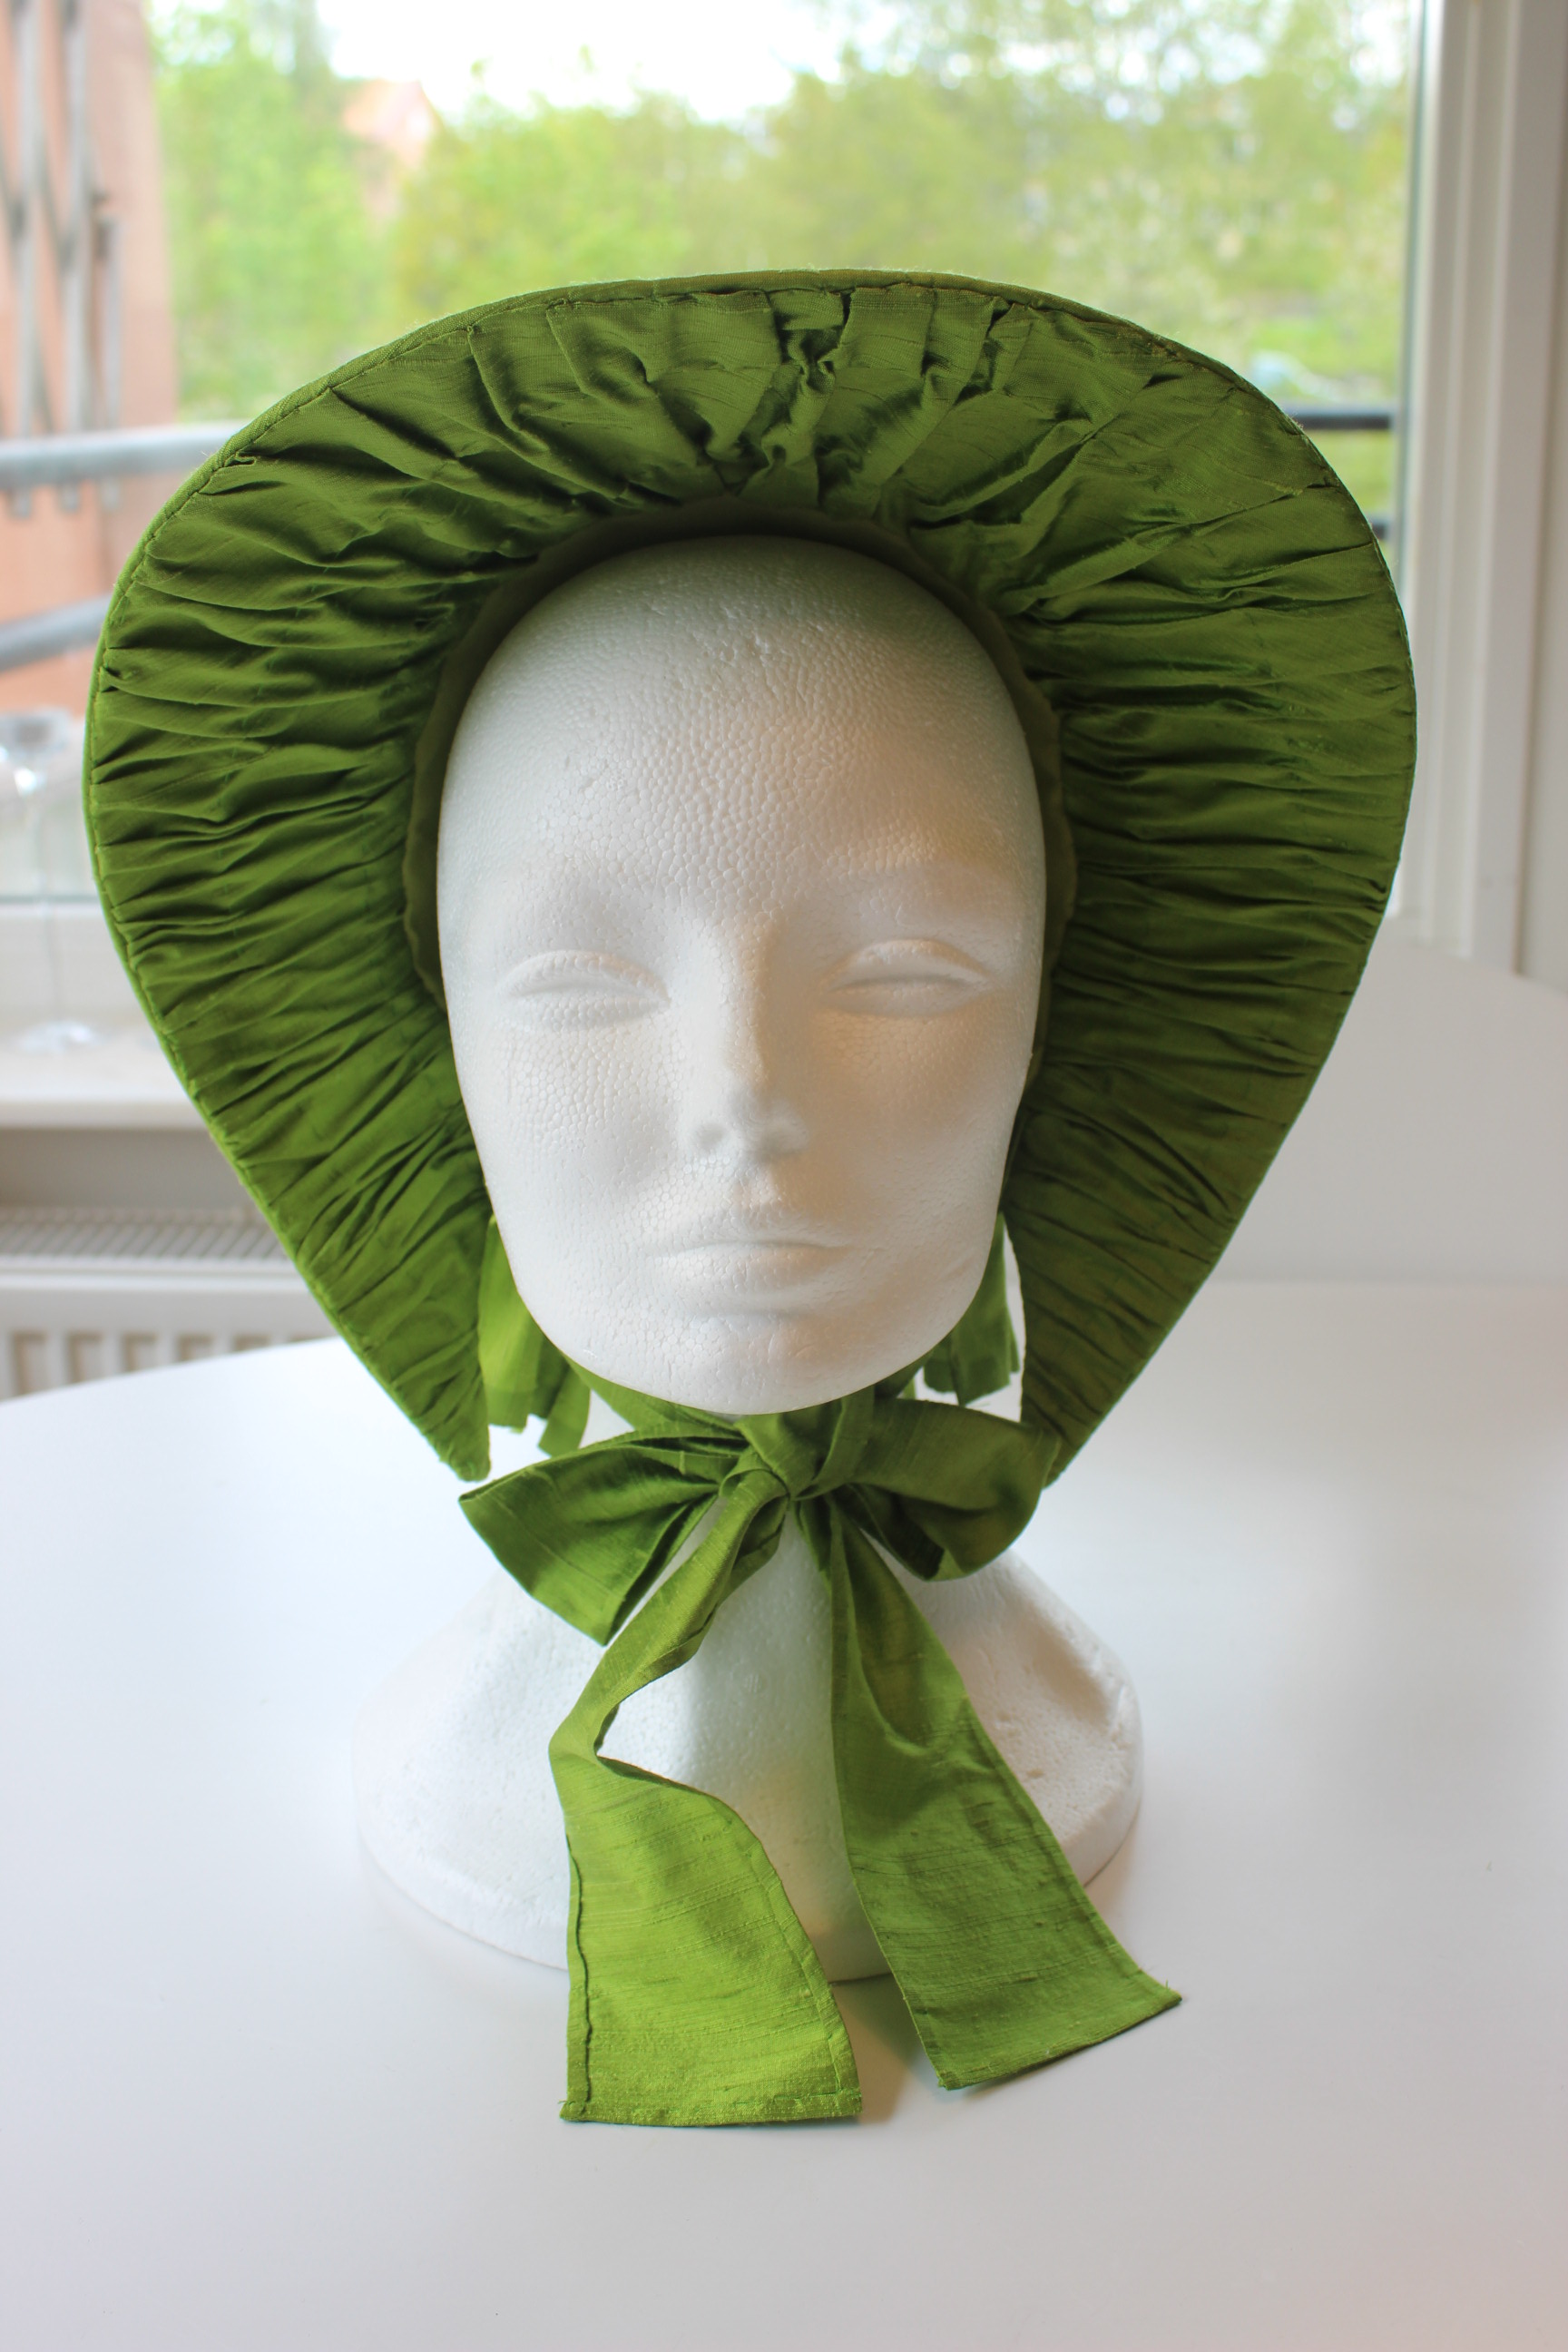
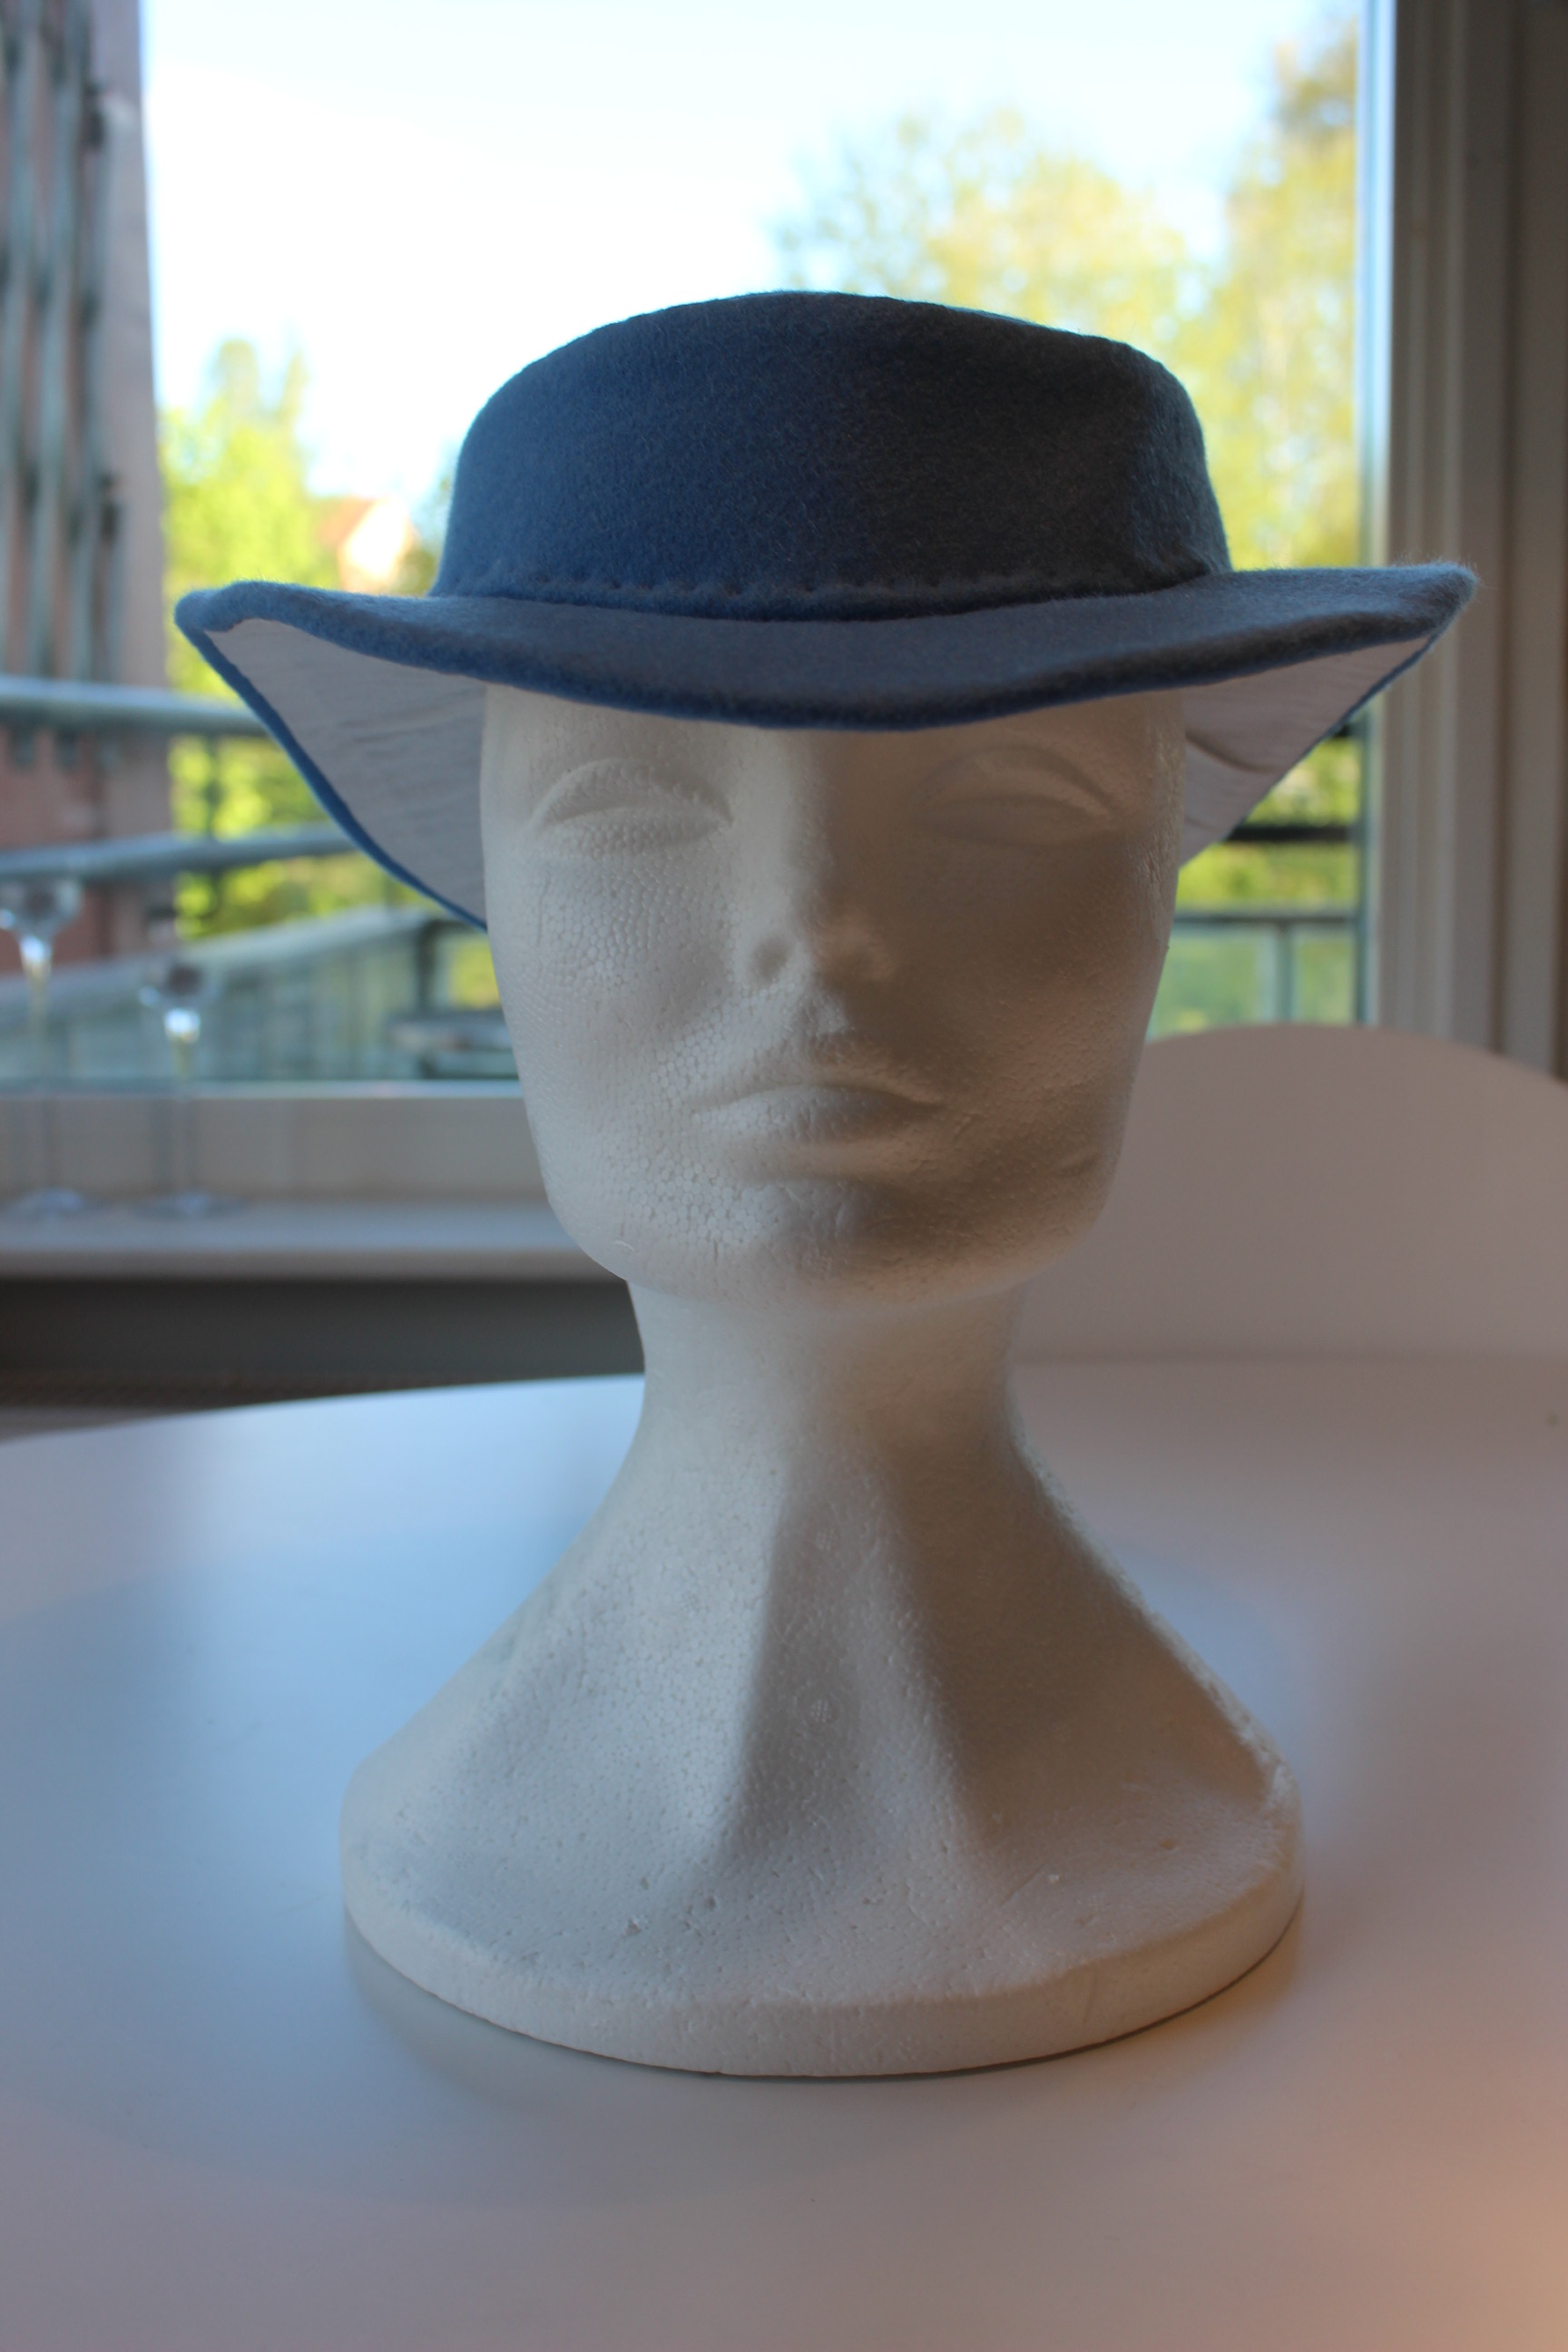
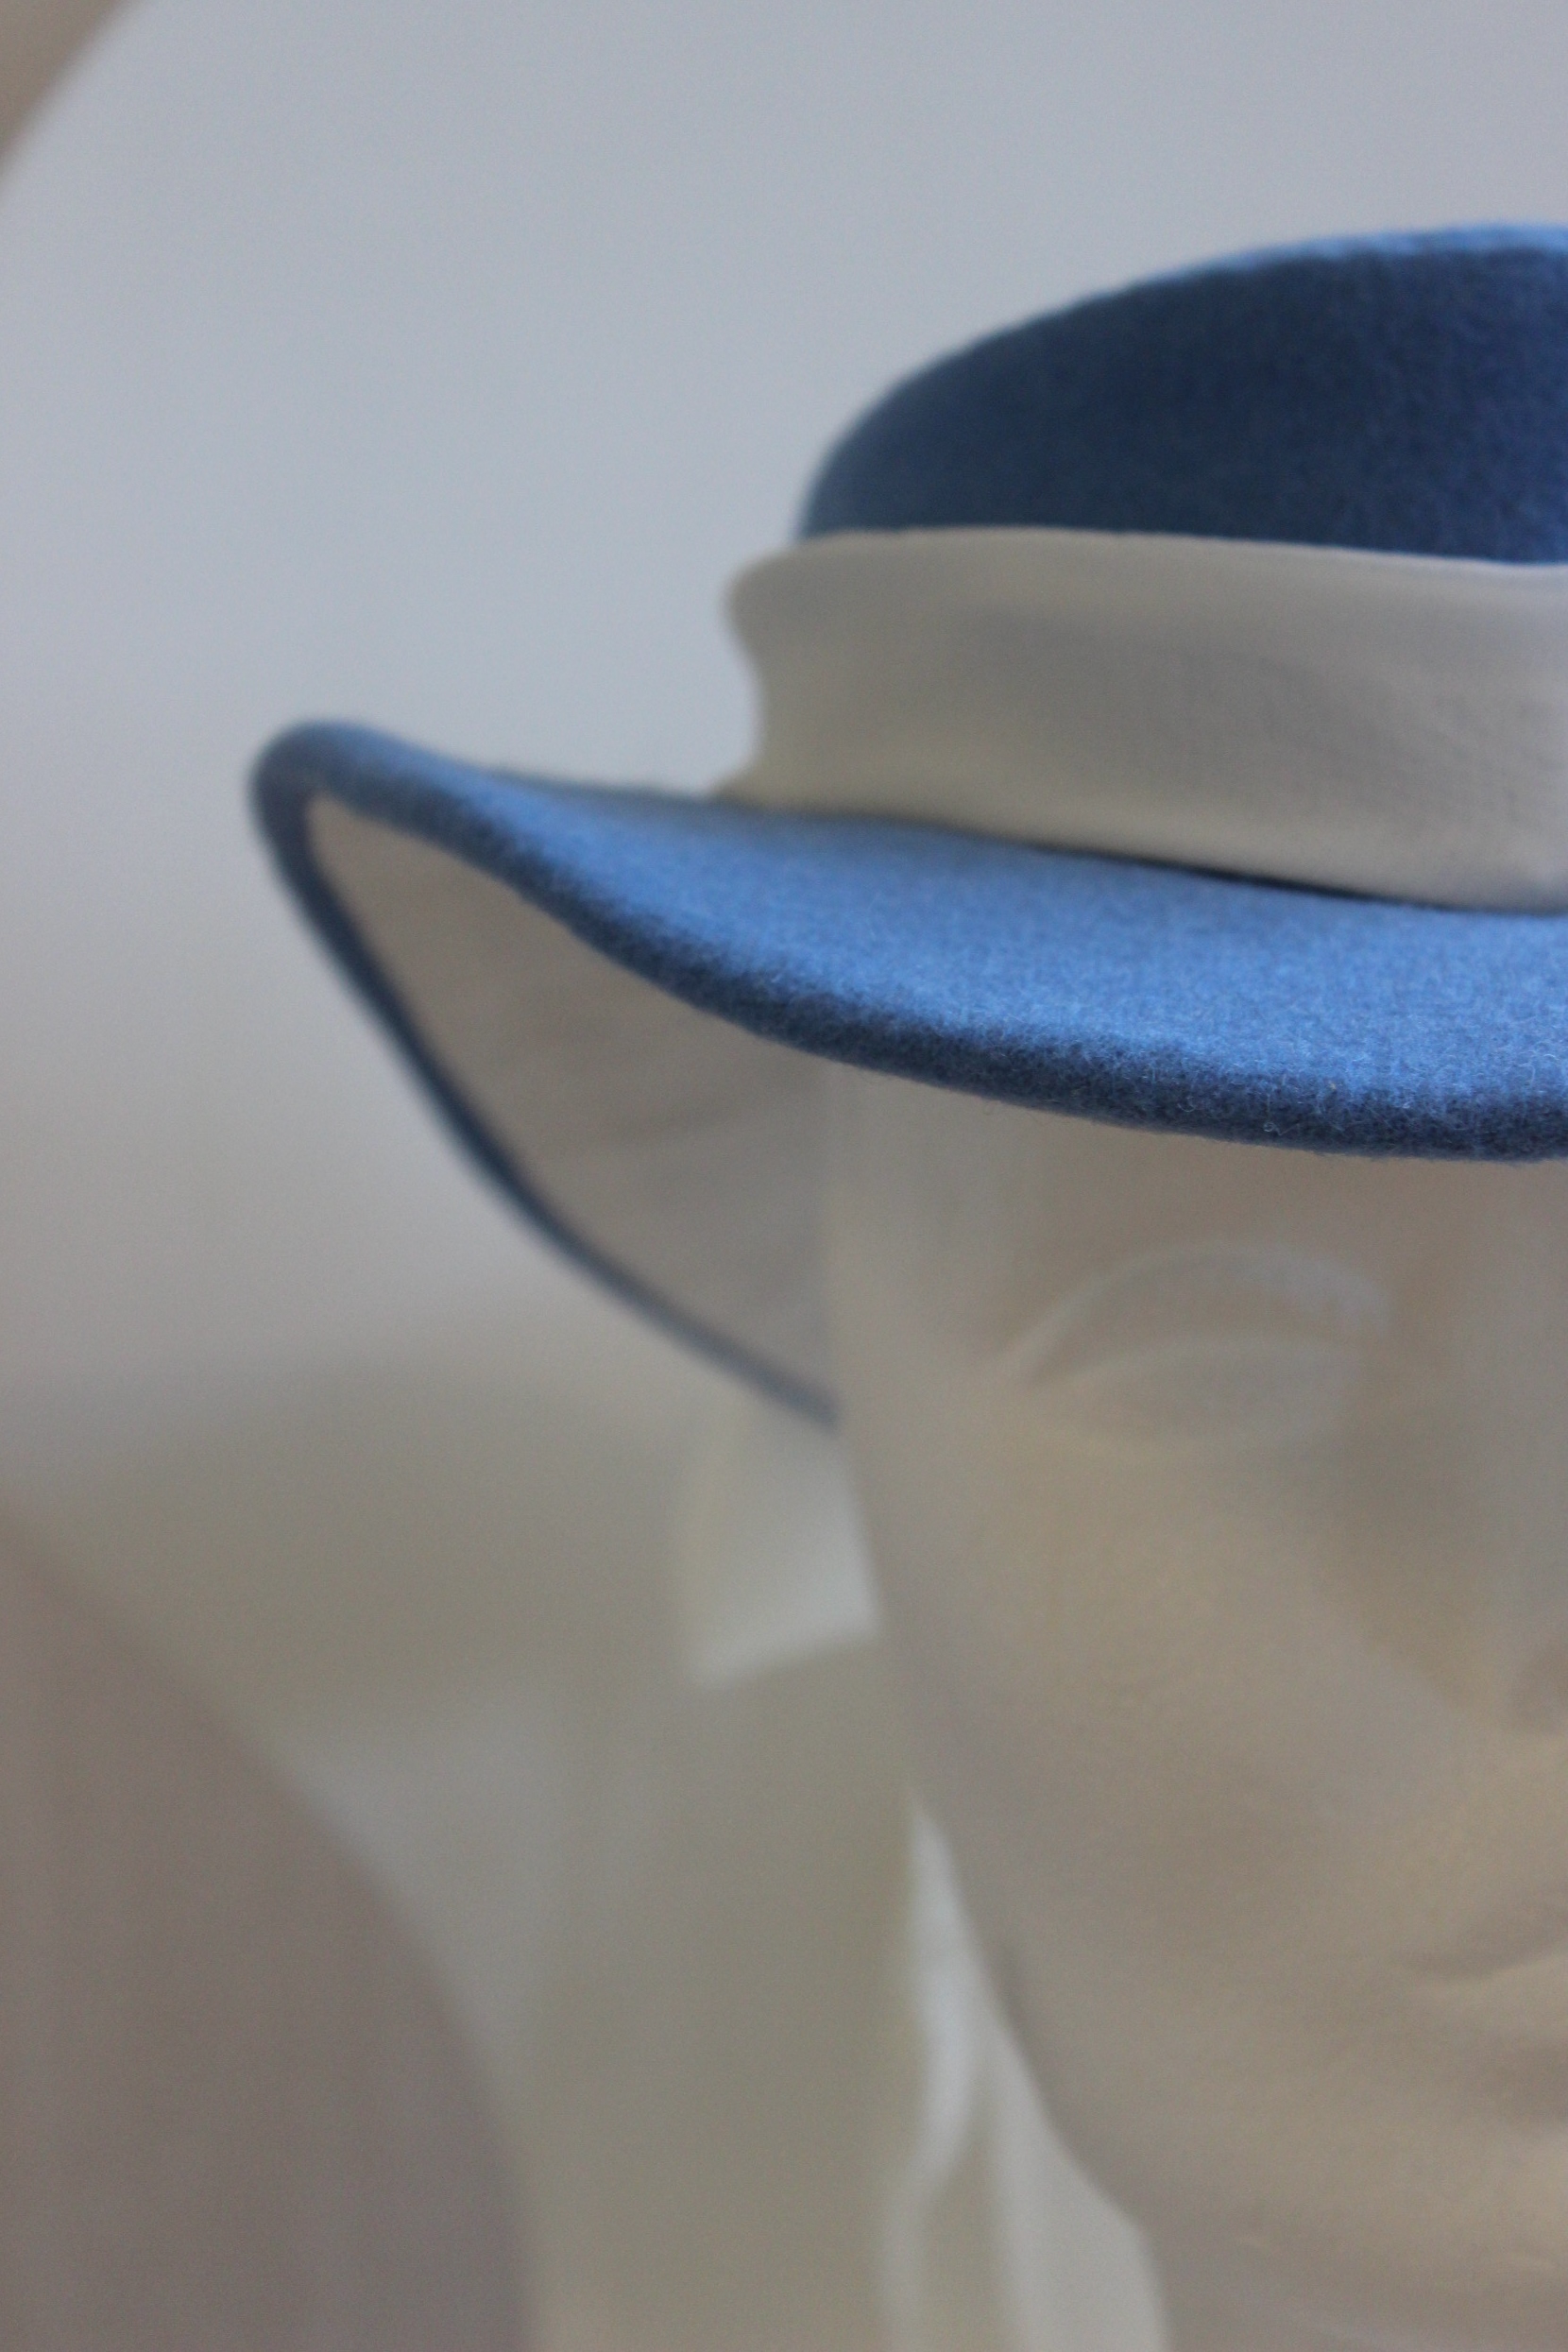
The finished (un-trimmed) hat:
IMG_6636IMG_6641
 IMG_6638IMG_6645

But no hat is complete without some decoration…

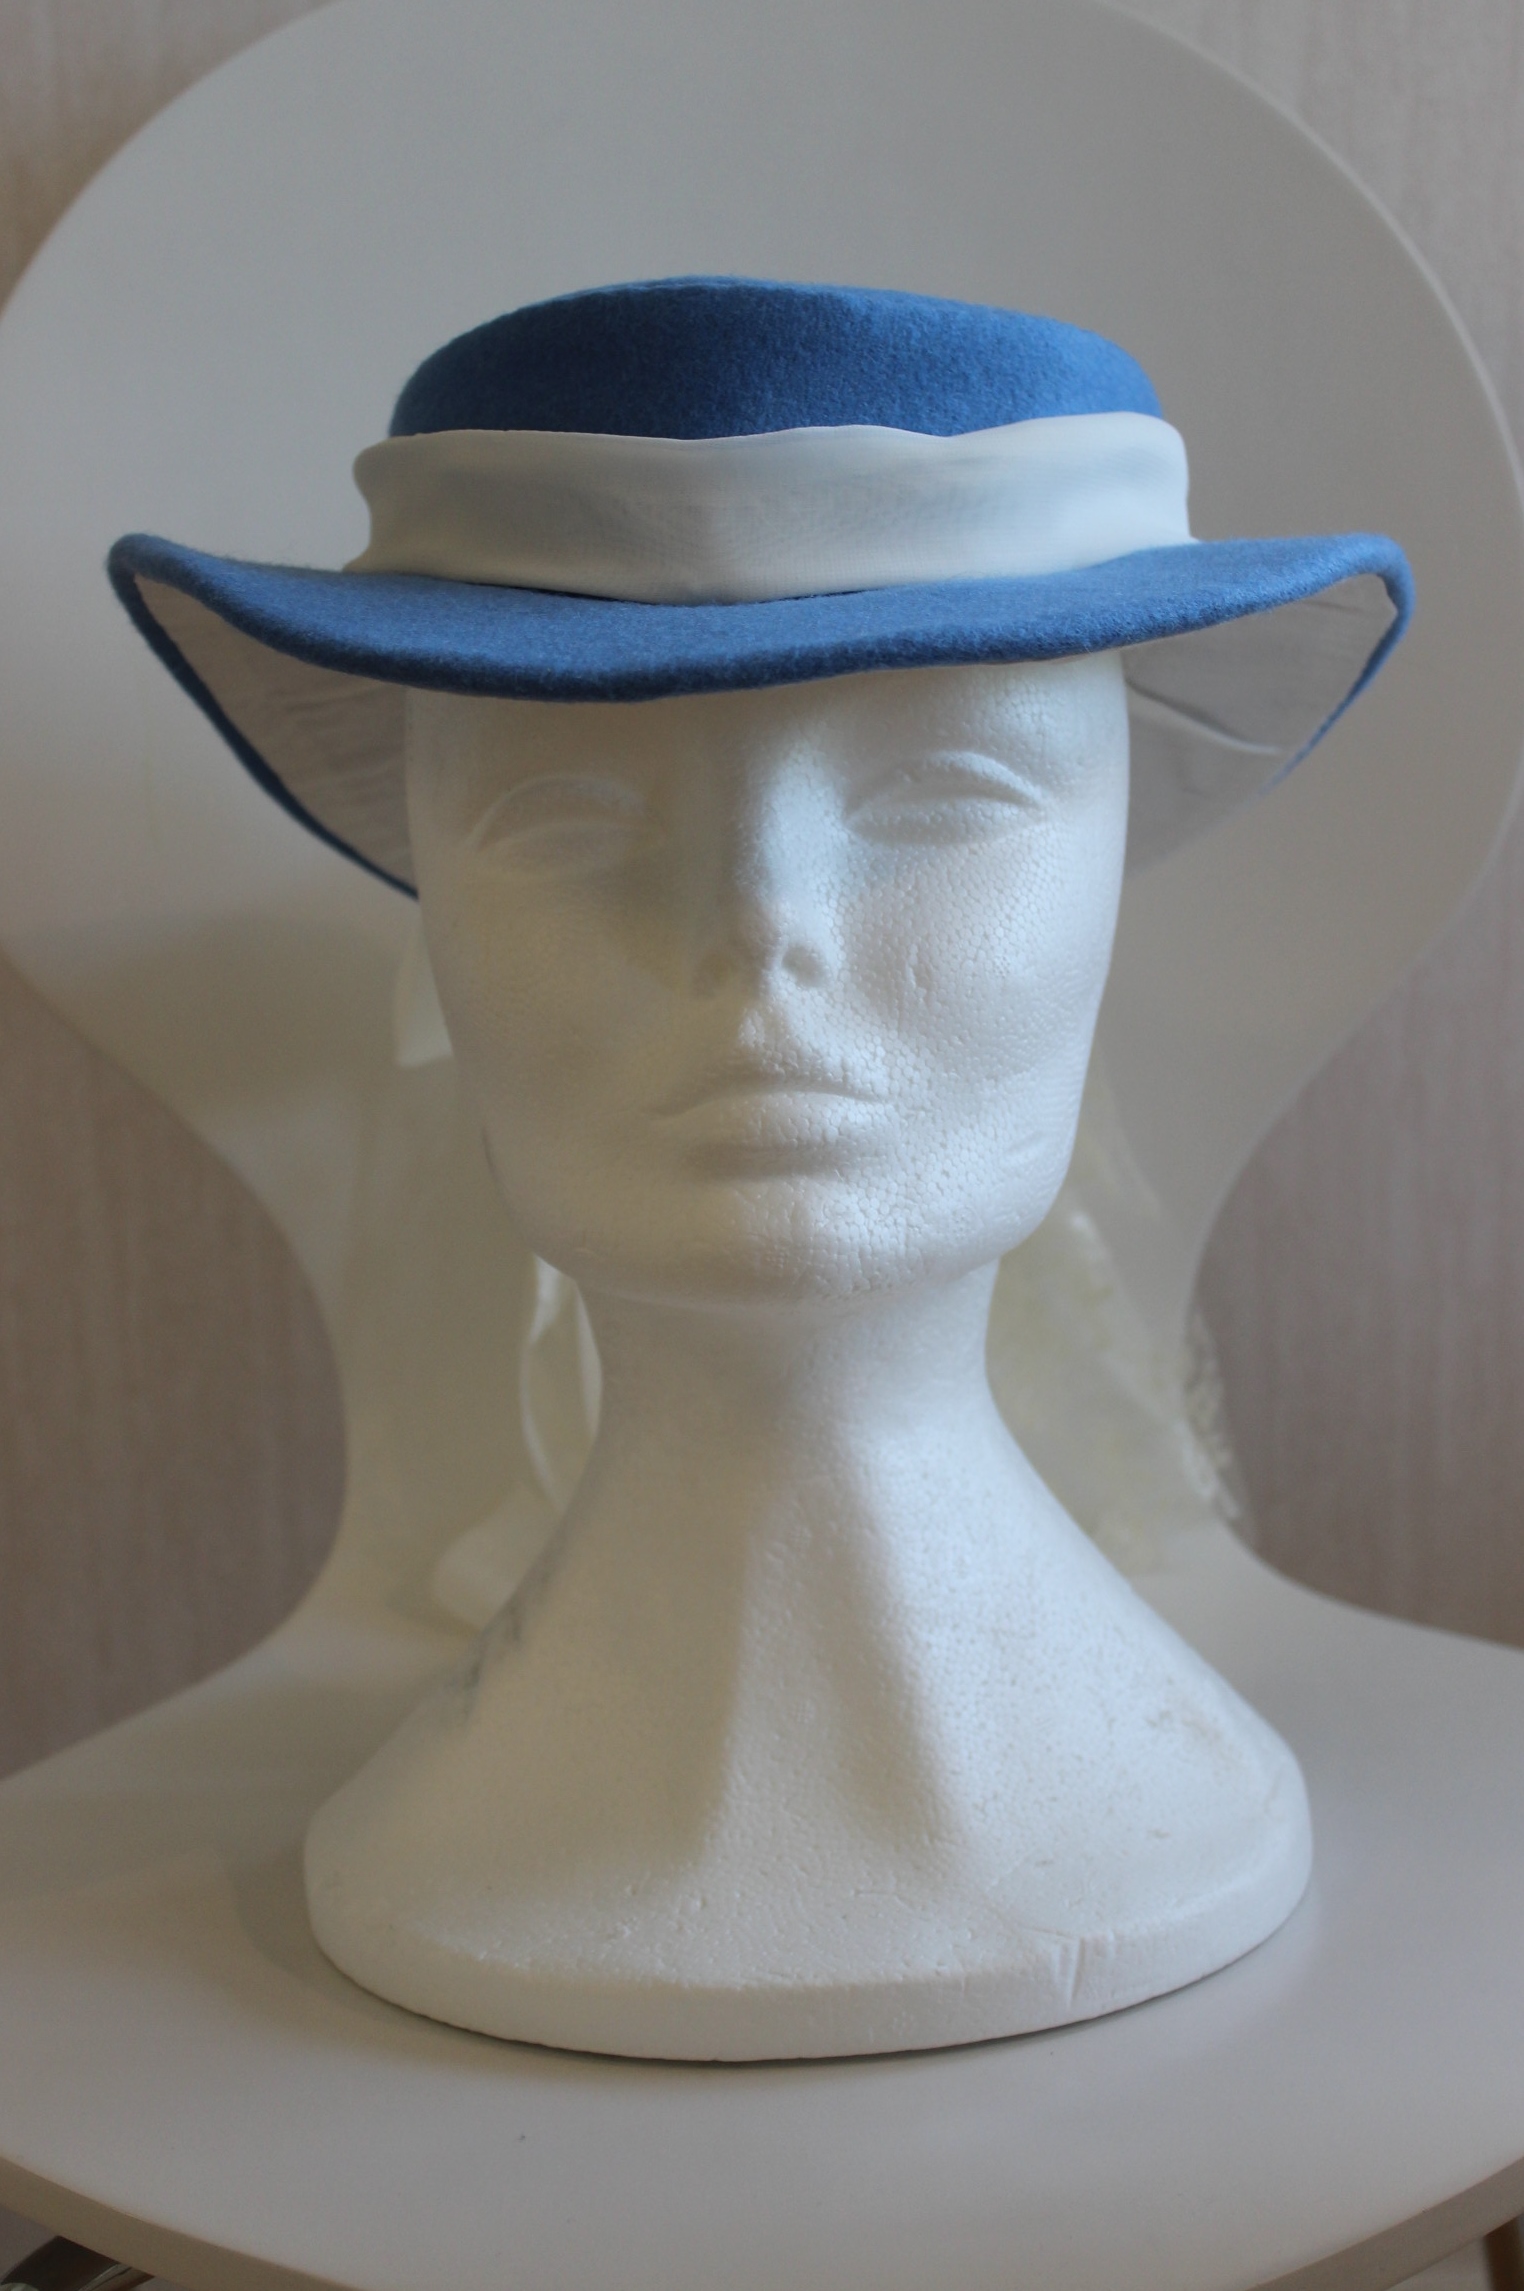
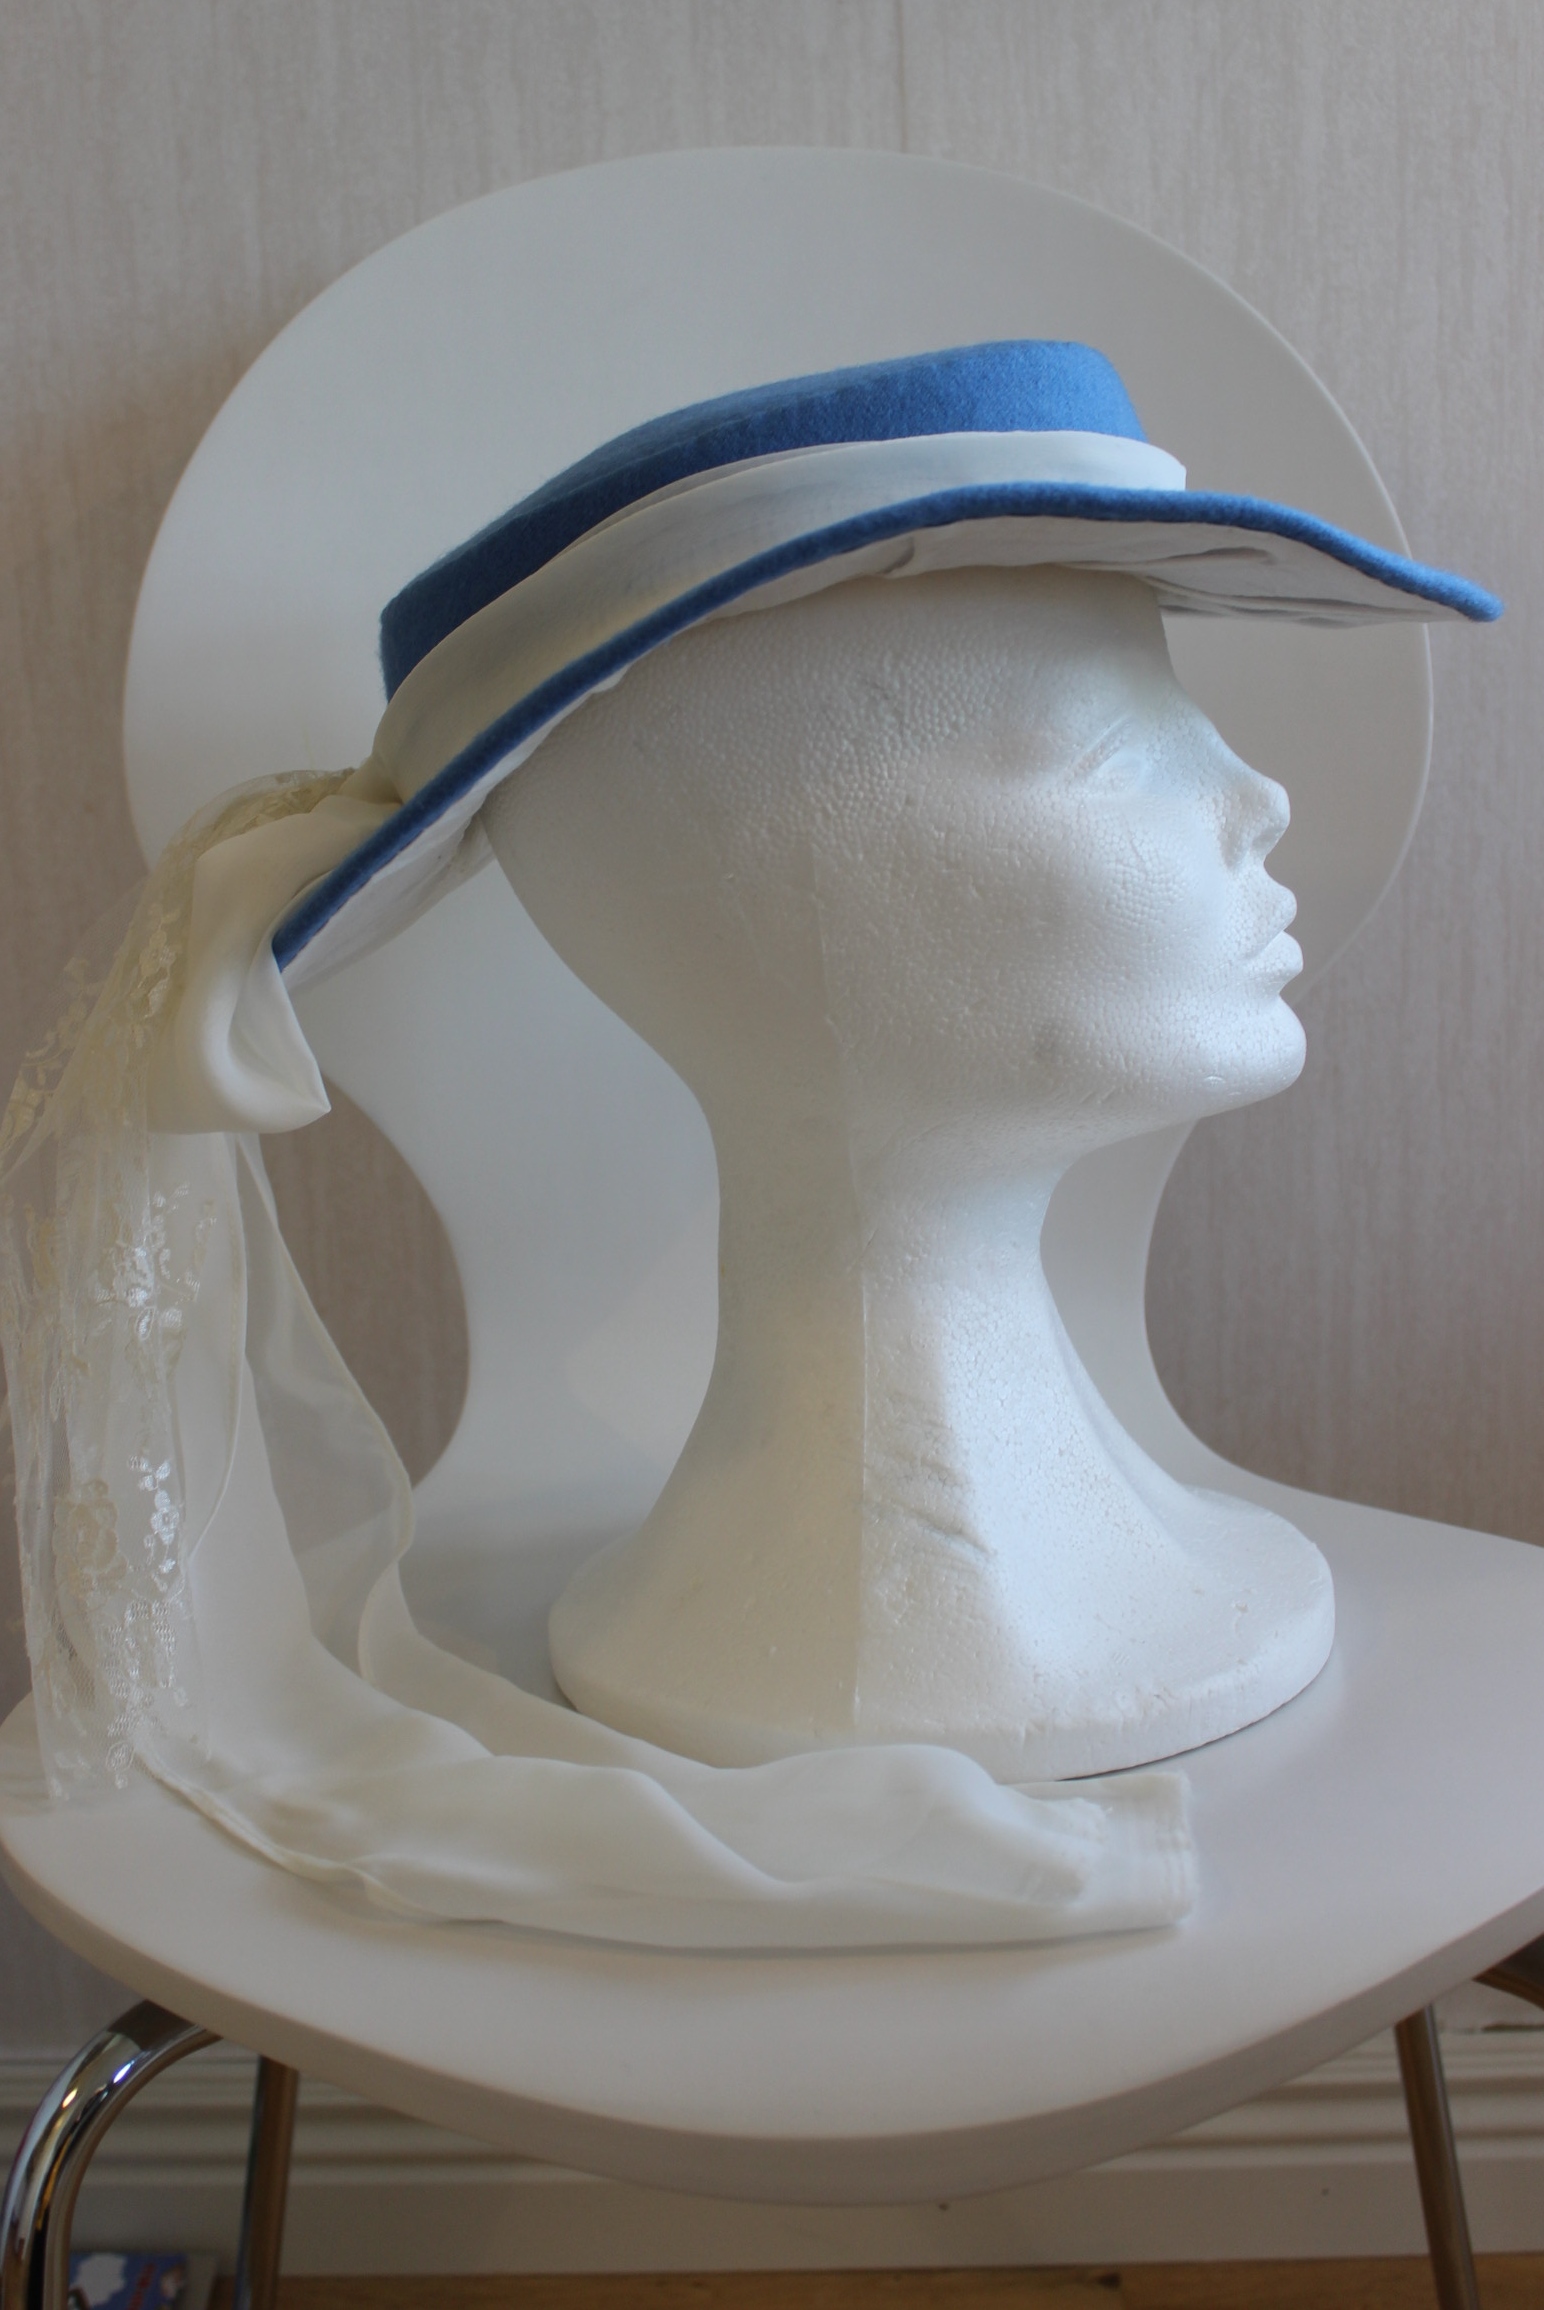
I cut stripes of white chiffon to put on the hat. IMG_6653Looking pretty good.

I also wanted to ad a lace veil… IMG_6652..But decided not to since it looked so stupid, and I doubt my sister would want to wear it like that.

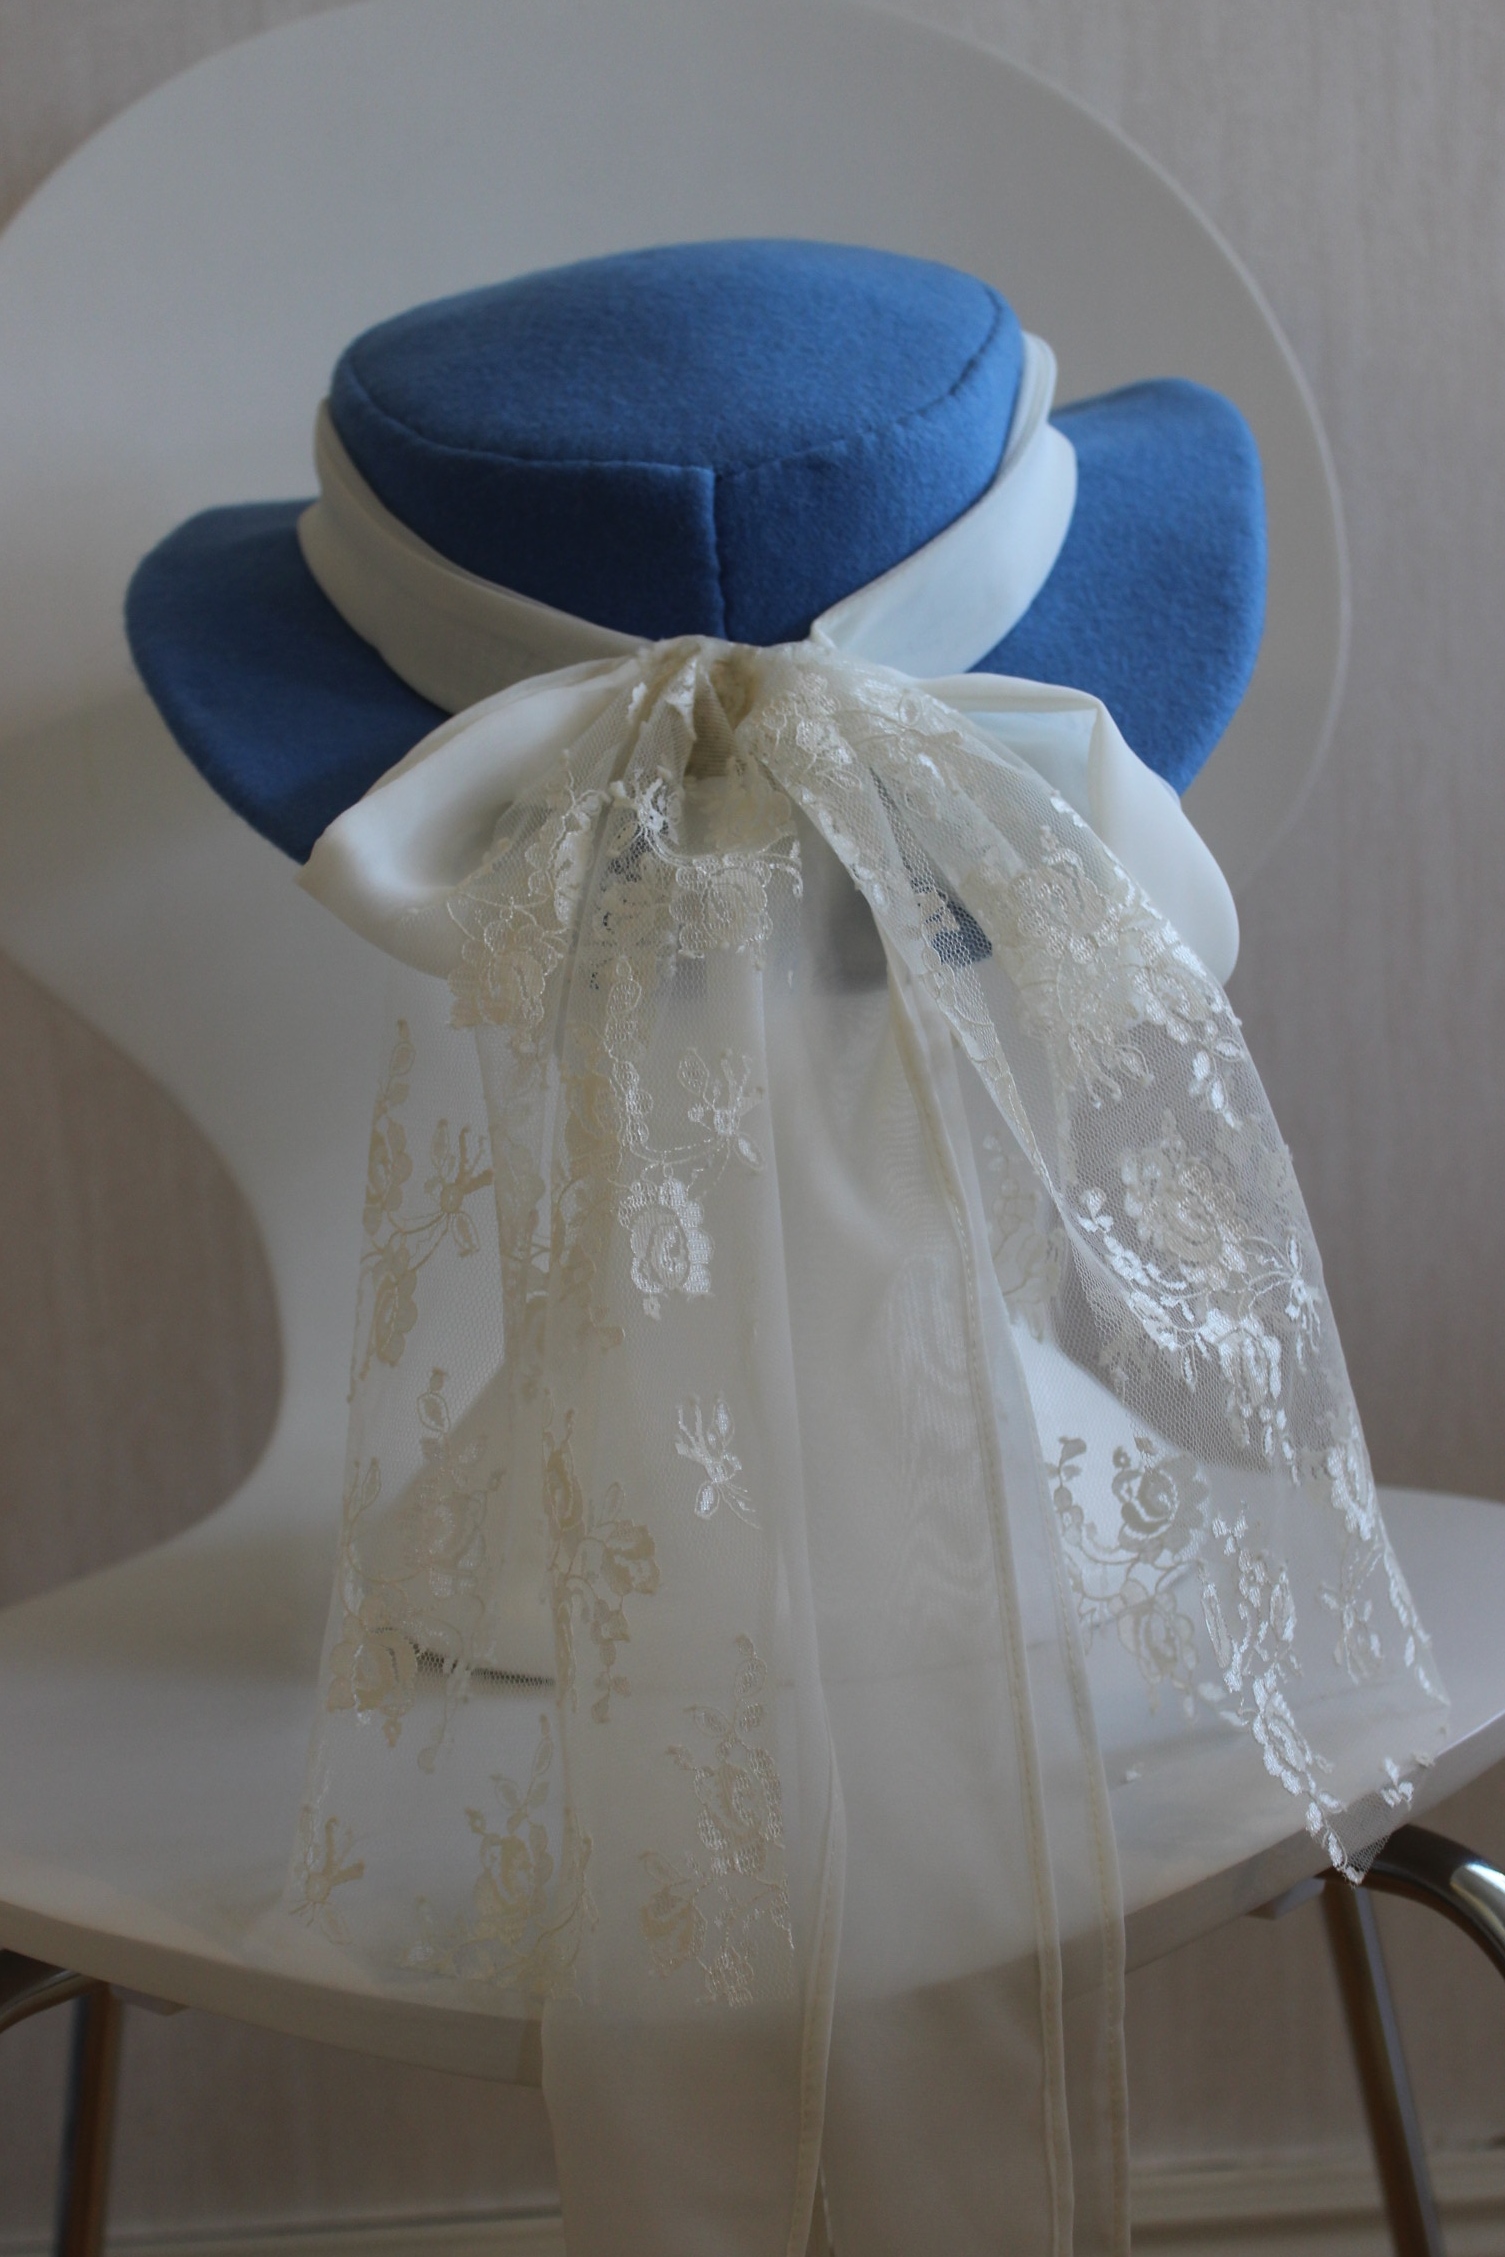
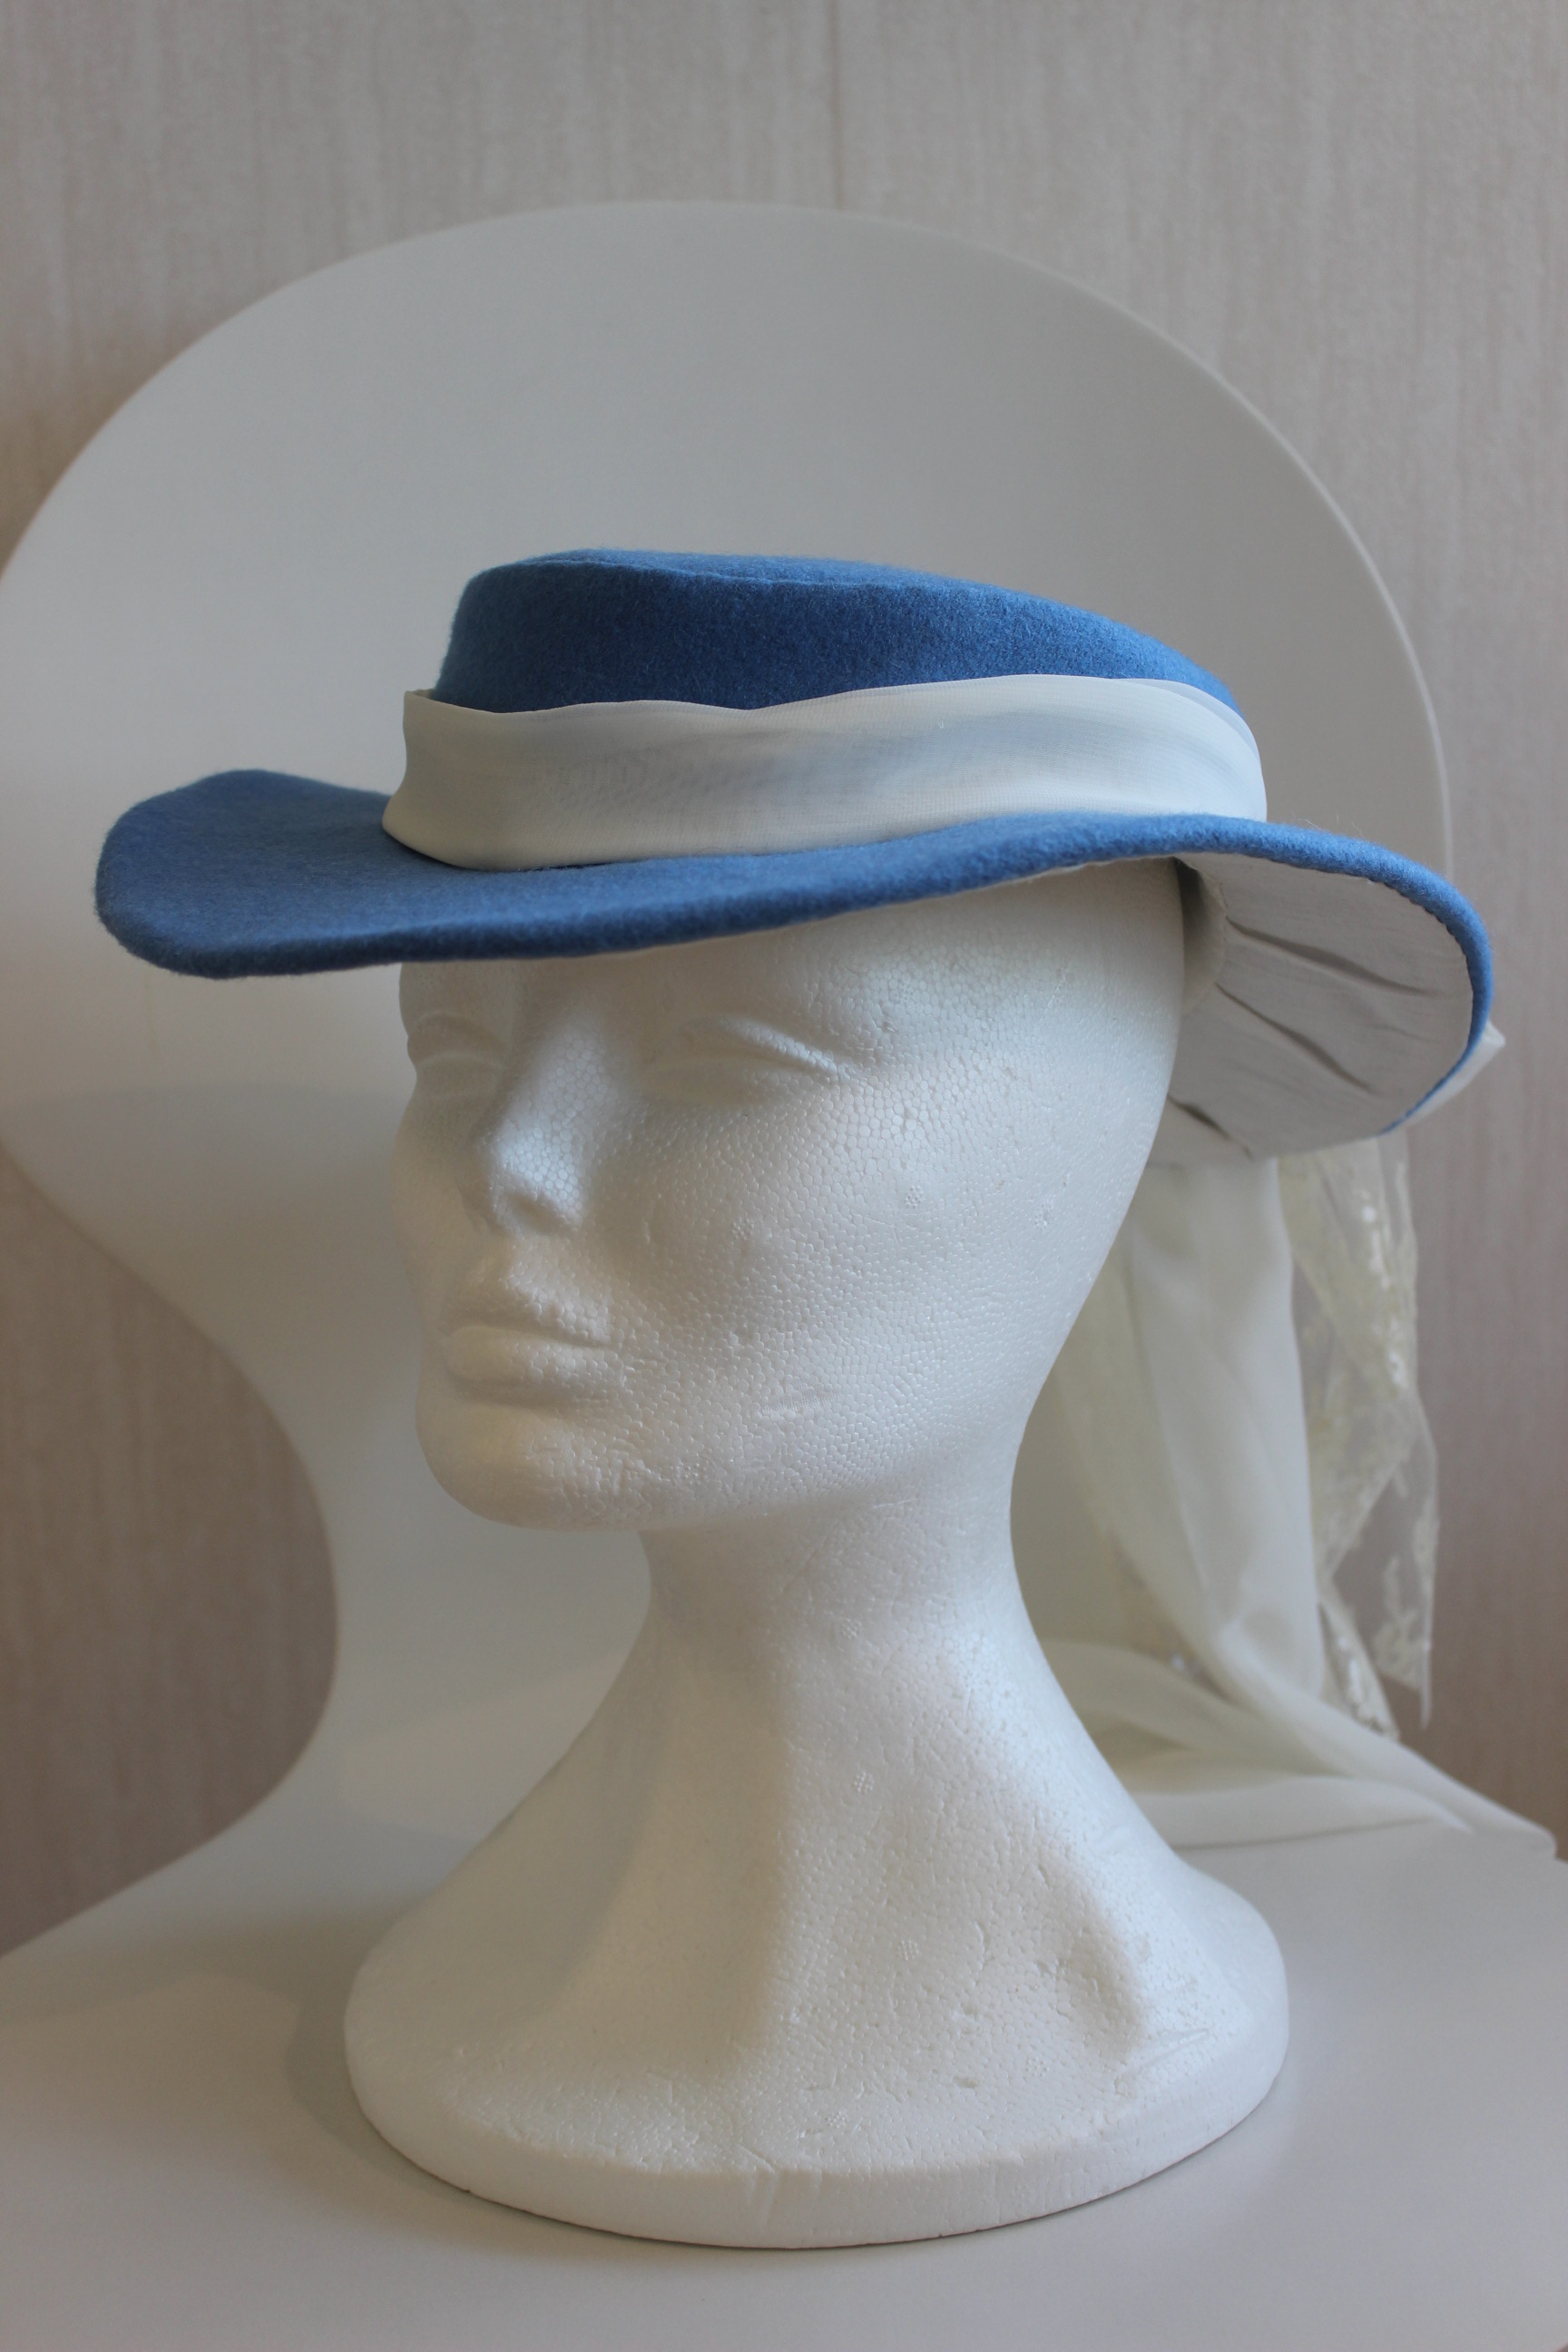
I pinned and sewed the chiffon to the hat in a shape of a bow with long tails.
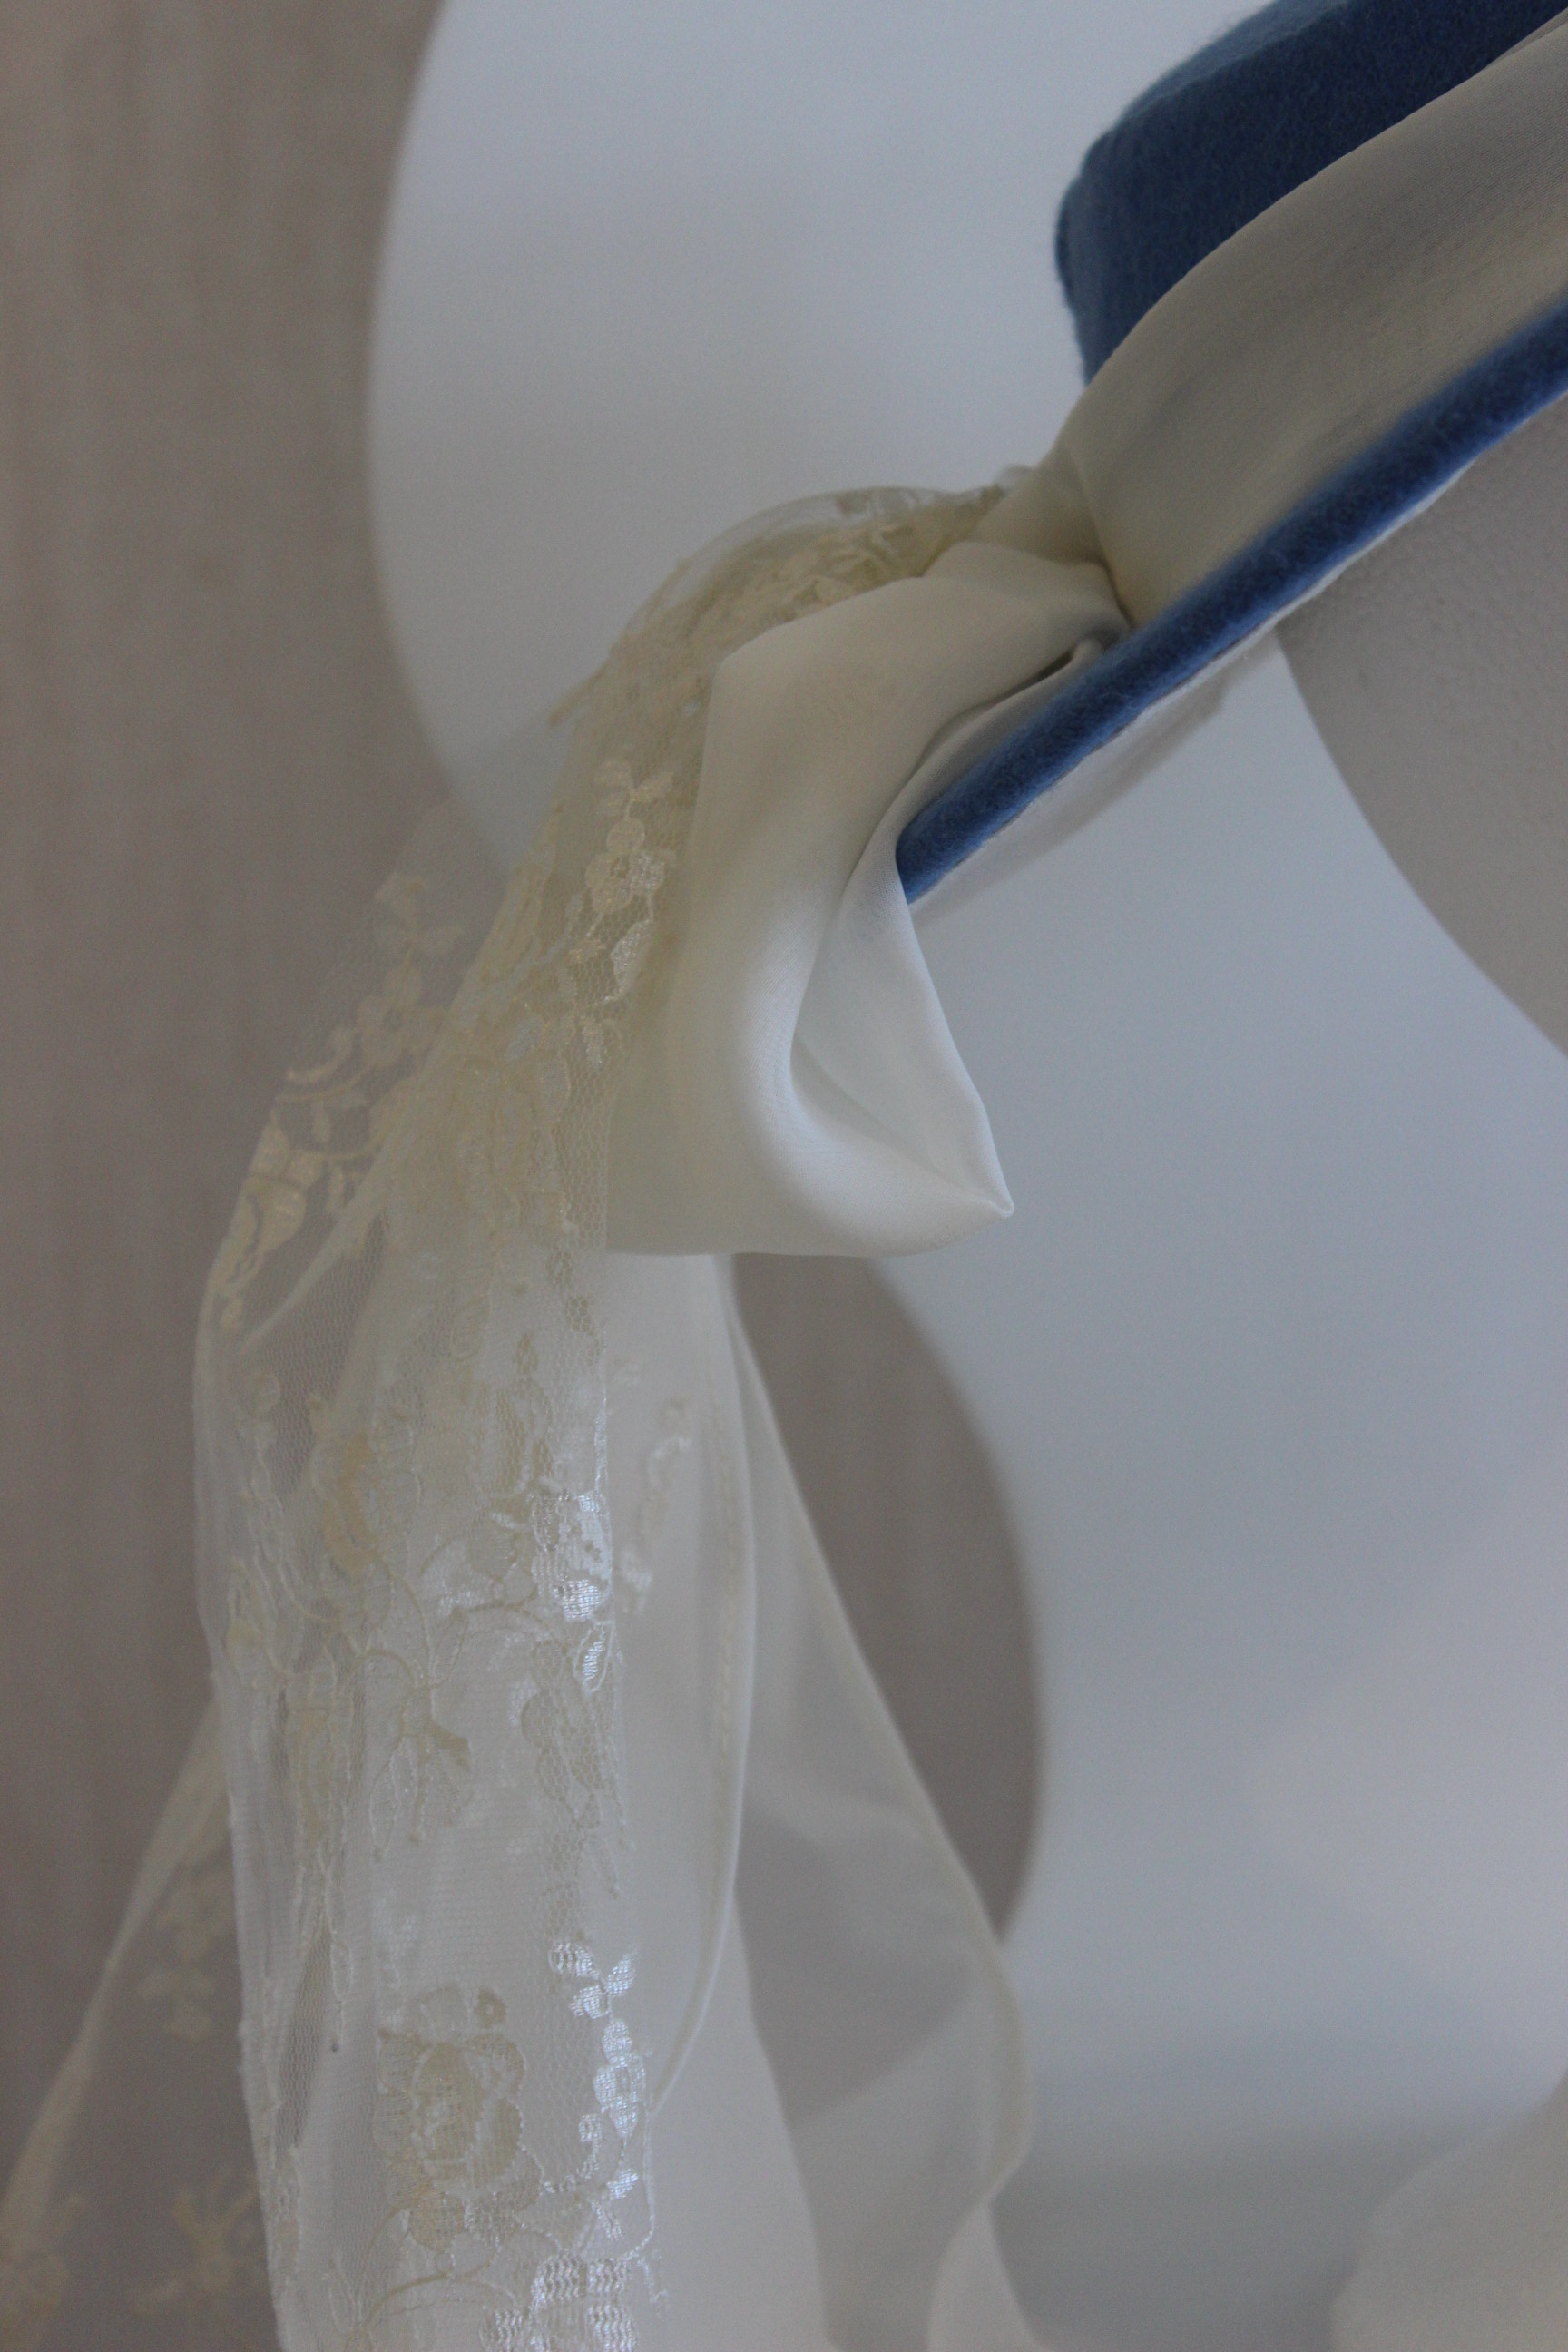
To get some more interest to the look, I also added a bit of lace to the bow.
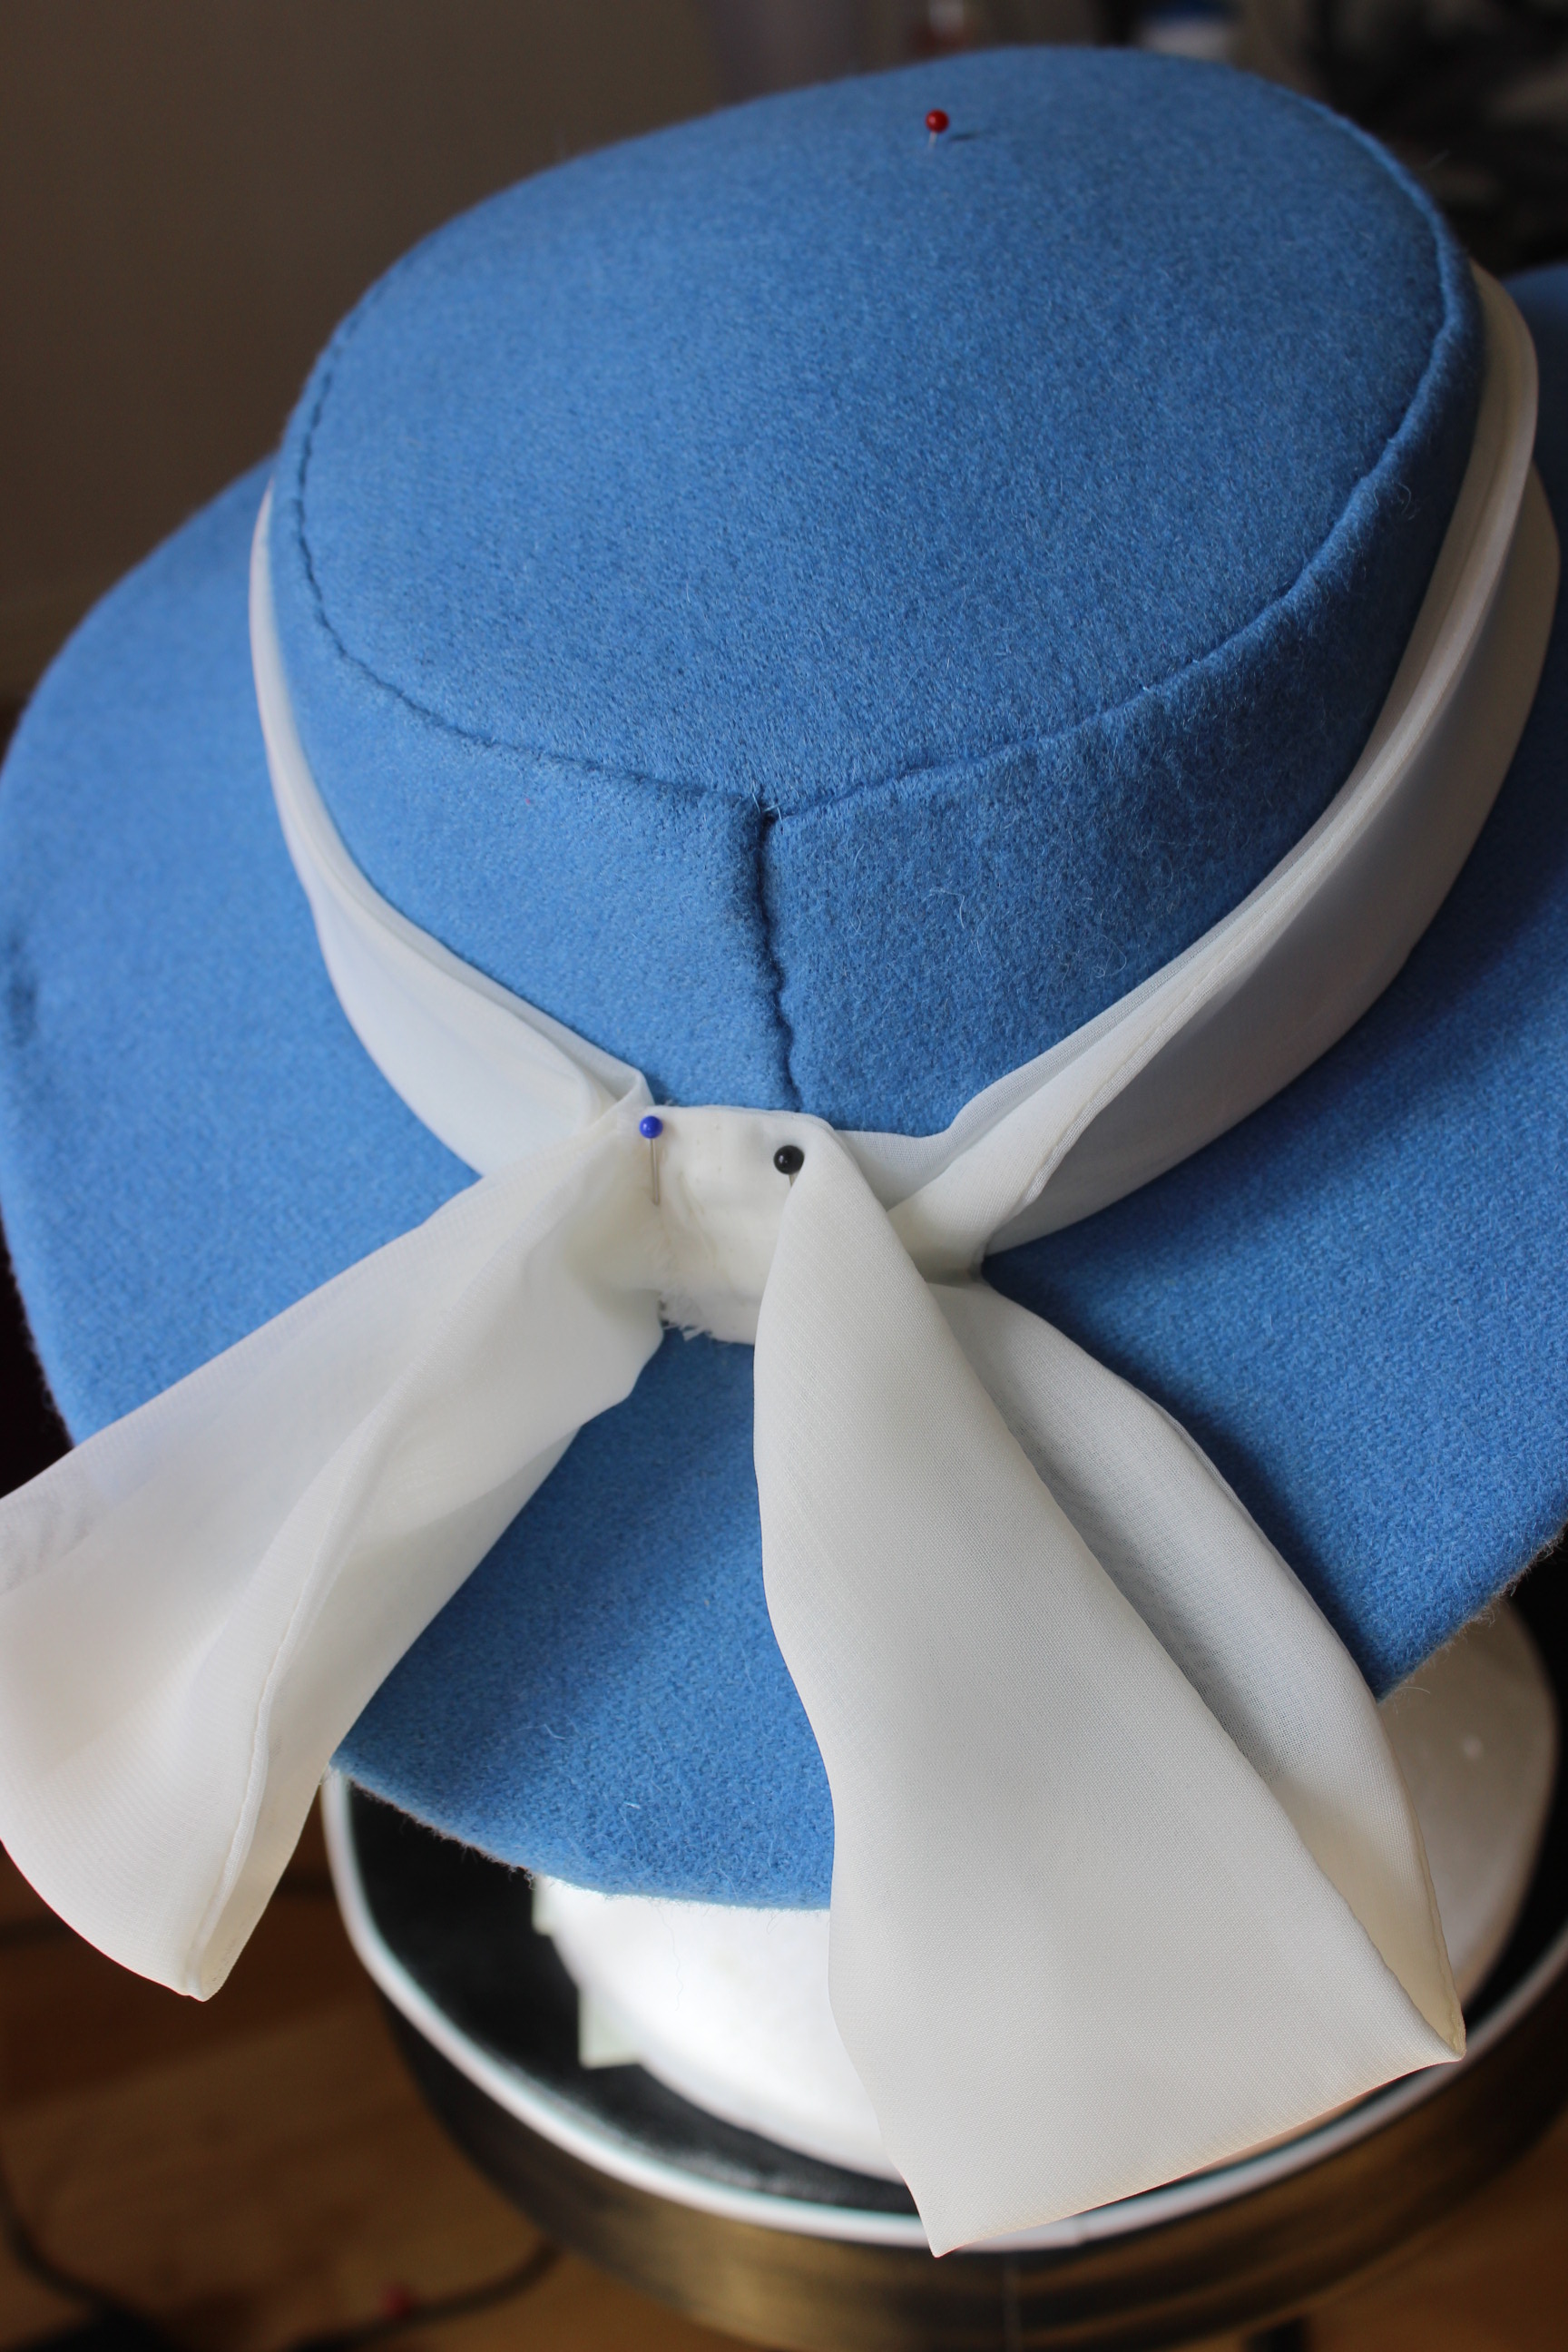
IMG_6700

And that was that.
IMG_6736 IMG_6738

The finished hat
IMG_6739

IMG_6742

IMG_6743

IMG_6744

IMG_6746

IMG_6747

IMG_6749

IMG_6750

IMG_6752

The facts:

What: a 1860s hat

Pattern: Lynn McMasters 1860s summer hat

Fabric & Notions: scraps of blue wool, white linnen and cotton bathing, 30cm buckram, 2m millenery wire, thread, 30cm polyester chiffong and 10cm polyester lace for decoration.

Time: About 20 hours.

Cost: ca 200 Sek (32 Usd) – all fabric from stash.

Final thoughts: I think it look really good and I hope my sister likes it – because I do.

1860s – silk bonnet (part 1) – making the bonnet

After the mandatory inspiration searching, were I decided on a style of bonnet to make, I got to work,

7a42b6b21b6ade8740f6dc978540db72Inspiration

I decided to drape my own pattern using thin cardboard, pictures and millinery books.IMG_6244

After some fiddling and pinning I got a pattern for a bonnet…IMG_6233Which looked like a total disaster…

No, this would not do, time for plan B.

I ordered Lynn McMasters “1860s bonnet pattern” and started all over again.IMG_6342

After copying the pattern I cut it out in buckram.     IMG_6339

To get a better view of how the bonnets shape, I pinned the pieces together for a better look.IMG_6346

After trying it on, I decided to cut a few cm of of the brim.IMG_6349

IMG_6370Marking the pieces

IMG_6373Sewing the millinery wire to the buckram pieces.

Then the pieces was ready to be stitched together.

To get them to line up perfectly I taped the together before I sewed.IMG_6429

IMG_6433Back piece stitched to side piece.

IMG_6468A pretty nice buckram frame

Then I stitched bias-tape round every edge to keep the corners smooth underneath the fabric.IMG_6472

Finished frames:
IMG_6469 IMG_6470

Then It was time to buy some fabric – deciding on green since that was one of the few colors in the store that would work with my dress (plaid white/blue) without being to obviously matching. IMG_6364

IMG_6366The cut pattern pieces.

As directed in the pattern I also cut cotton bating and some scraps of light green cotton for lining. IMG_6358

Before the fabric was to go on I needed to glue/stitch the batting on te frame to get an even smoother under layer for the silk.

Sadly I forgot to take pictures of this step, but basically I just glued around the edges of the frame pieces and carefully attached the batting to it.

Then it was time for the outer fabric.

(bad at photographing here too – I was working late at night, and didn’t had the camera on hand)

But I started with the crown, working downwards, basting all the edges and the carefully stitching the fabric pieces together.IMG_6580

IMG_6577 IMG_6585

IMG_6574
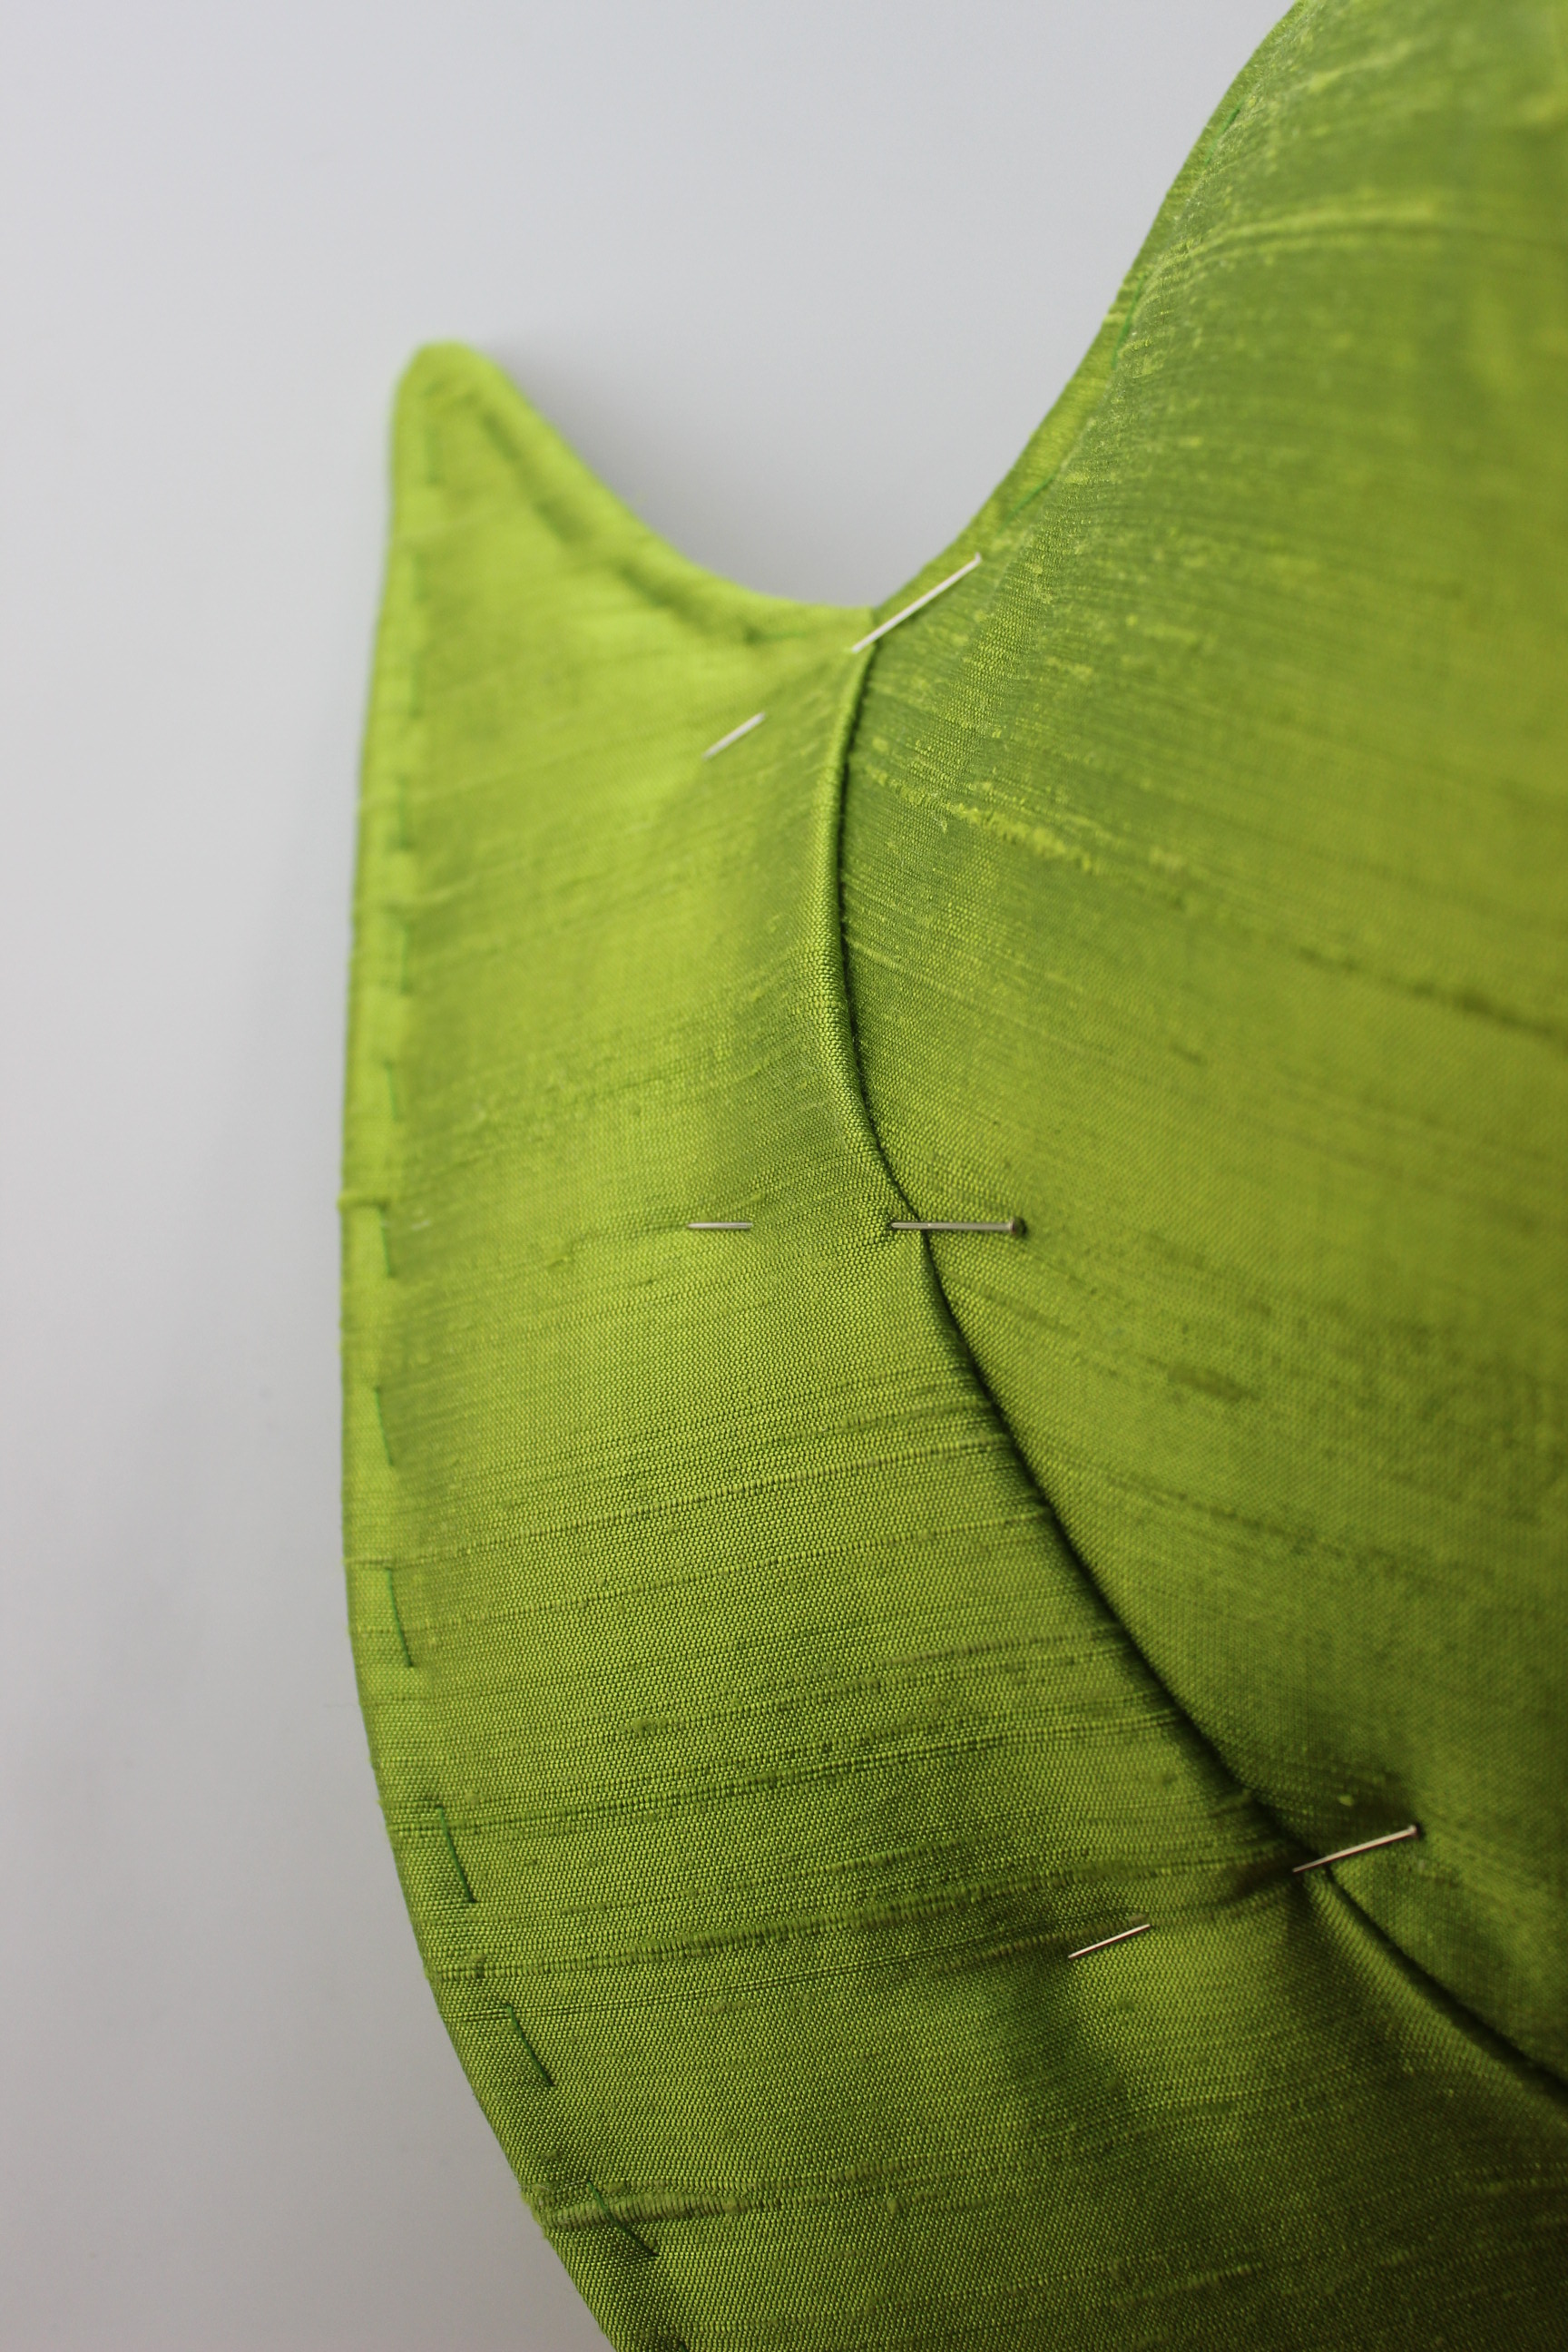
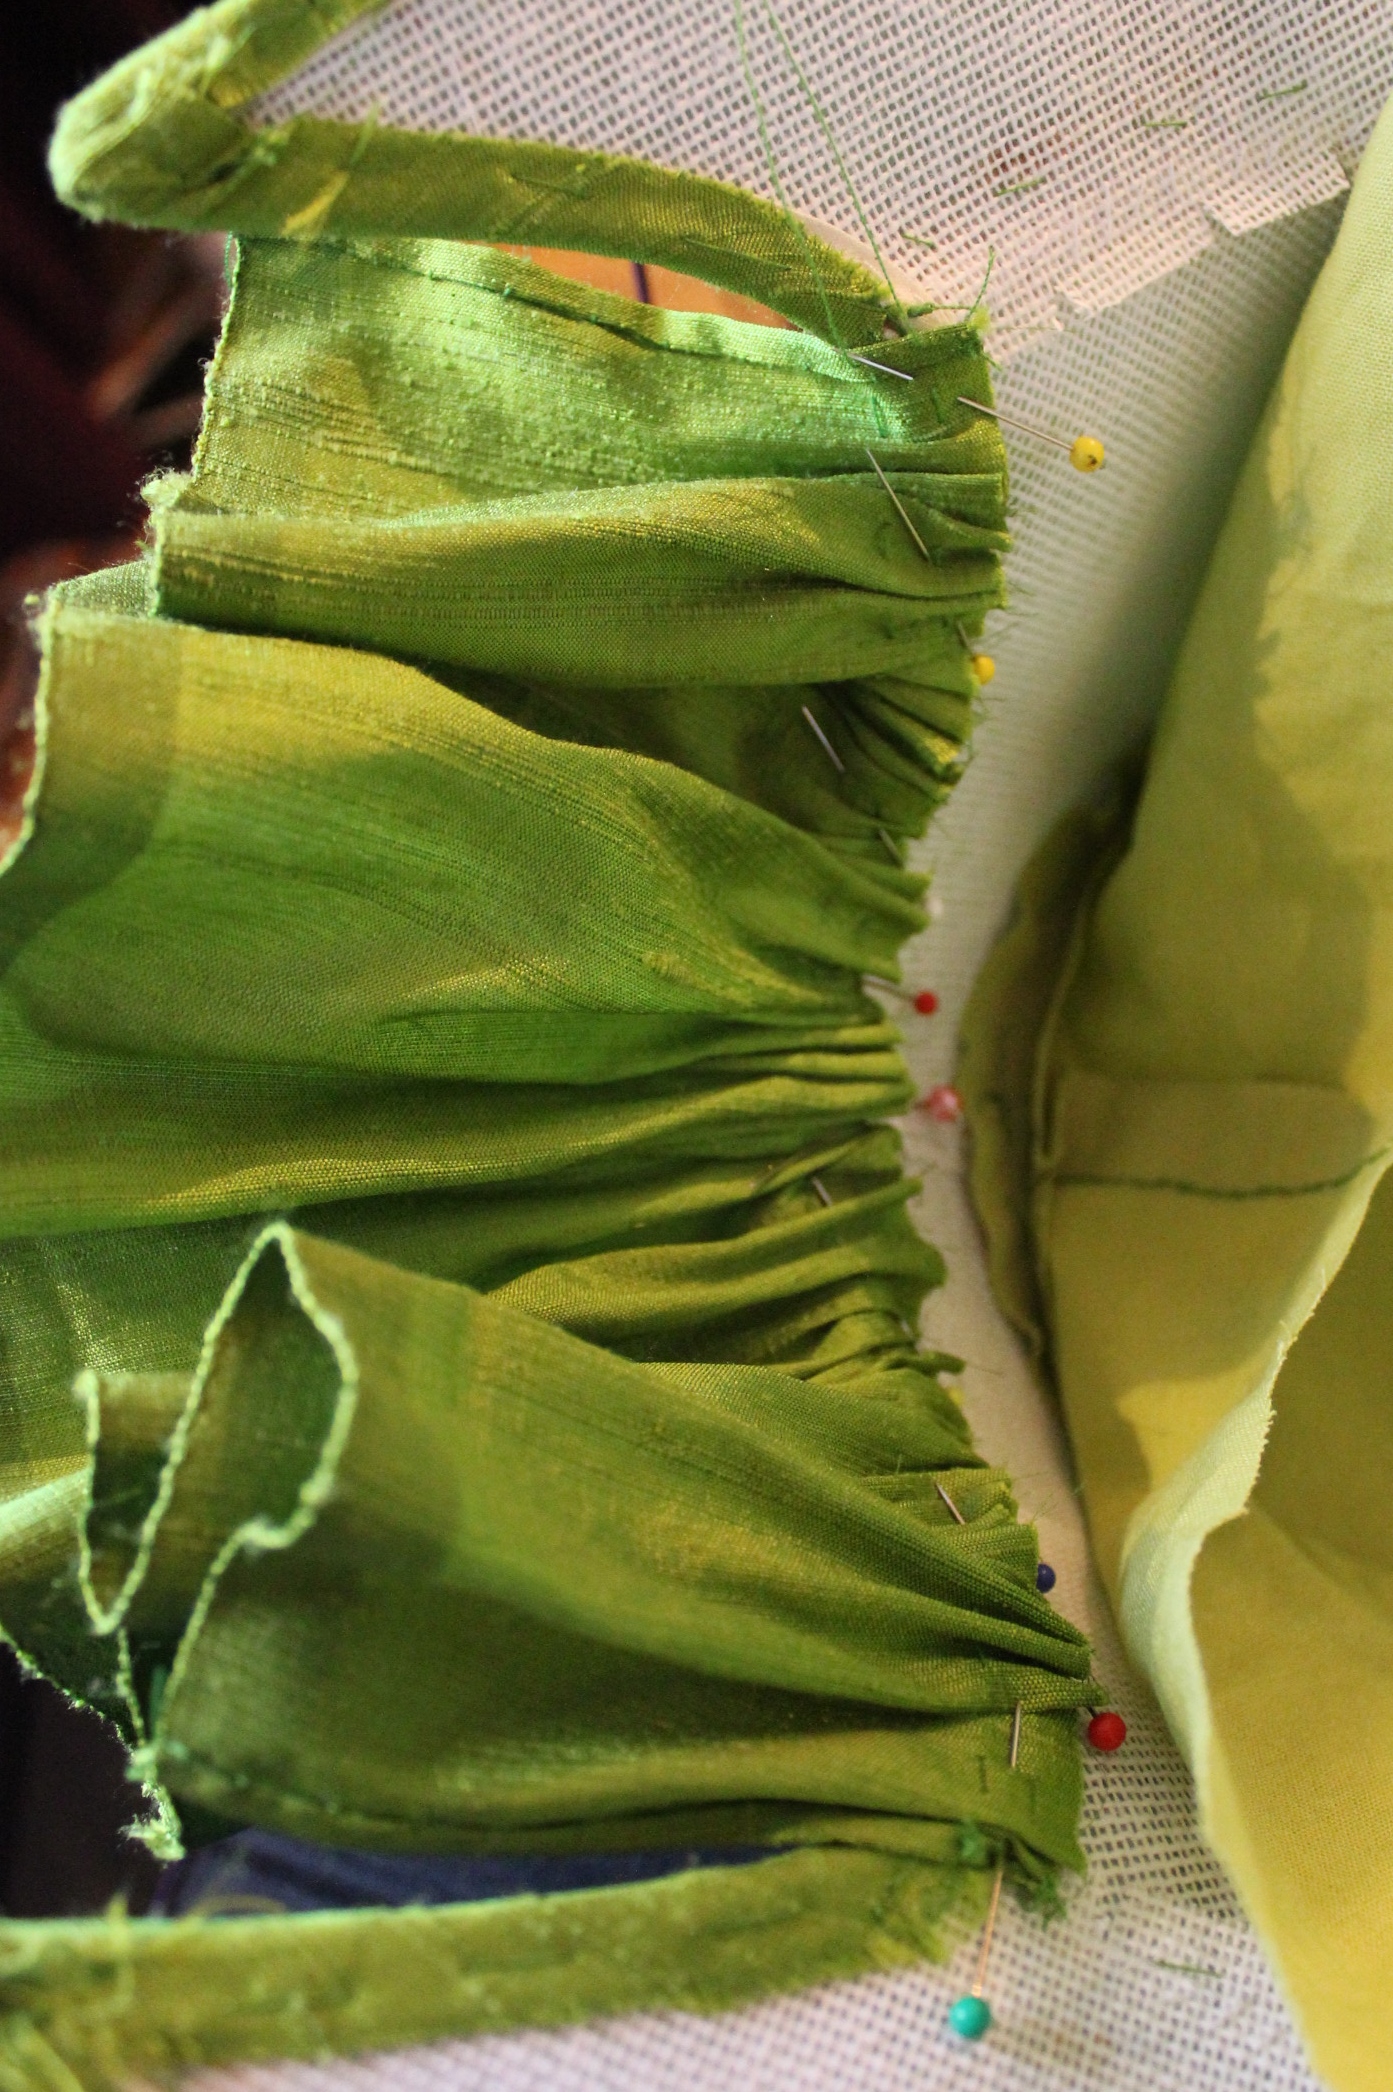
Silk all stitched on.

Then it was time for the lining.IMG_6589Using a curved needle to baste the crown to the inner corners.

Stitching the fabrics together using small invisible stitches.IMG_6591

Before finishing the last piece (the gathered front) of the lining, It was time for the “curtain”/neckpiece.IMG_6593I basically just gathered a straight piece of silk and pinned it to the curved neck of the bonnet.IMG_6596Then I stitched it on.

Then I gathered, pinned and stitched the last piece of lining to the inner brim of the bonnet, and added some silk ties.IMG_6598

The base for the bonnet was now finished, and all that’s needed was the decoration.
IMG_6609 IMG_6611

IMG_6613I think it looks stunning and was a bit hesitant of even adding trimmings and decorations.

To be continued…

New patterns

My wove not to purchase so much fabric this year, are going according to plan (I’ve only cheated once (or twice if you count Buckram as fabric)).

What I didn’t take into account was the ever growing temptation to splurge on patterns instead…

Since I mostly make my own pattern (draft or drape) I just recently discovered the allure of already tested, well researched beautiful historical patterns. Who can resist them?

And into the rabbit hole we go…

Lynn McMasters 1850-1860s summer hatIMG_6474

Lynn McMasters 1860s BonnetIMG_6475Yep, I got some serious millinery planed.

Past Patterns mid 19th century staysIMG_6476By now you’d probably guest my next big project…

Truly Victorian 1865 Eliptical Cage CrinolineIMG_6477Yes, 1860s costume (followed by at least two crinoline appropiet events) coming this spring/summer.

Laughing Moon Wrapping front Spencer IMG_6478This wil be the year I make one of these (I hope)

Truly Victorian 1880s Hat Frame IMG_6479

Truly Victorian 1887 Alexandra BodiceIMG_6480Hopefully I can squeeze in (out?) an 1880s bustle outfit as well this summer.

Wearing History Edwardian BlouseIMG_6481

Wearing History 1910s suitIMG_6482

Wearing History 1879 Pompadour Dinner BodiceIMG_6483

Wearing History Smooth Sailing Pants and BlouseSmoothSailingPatternCover(Apparently I forgot to take a picture of this one, so here are one I stole from google)

Another of my recent buys are a drawing/Inspiration book which hopefully will keep all my costuming sketches in order – instead of on random scraps of paper and receipt.IMG_6487

IMG_6486

Here I can penn down both my sketches/ideas and fabric recommendation, event dates and what I will need to complete the outfit (shoes, glows, petticoats ect. IMG_6484

IMG_6485I even started on a sewing diary for each costume.

Now it’s back to sewing.