“Sew 17th century Challenge” – The Bodice (part 2 – foundation)

Lets continue on with the bodice:
(read the previous posts in this series here: costume analysis, skirt, coif, fur shawl, bodice part 1)

12312767024_07604ef369_h

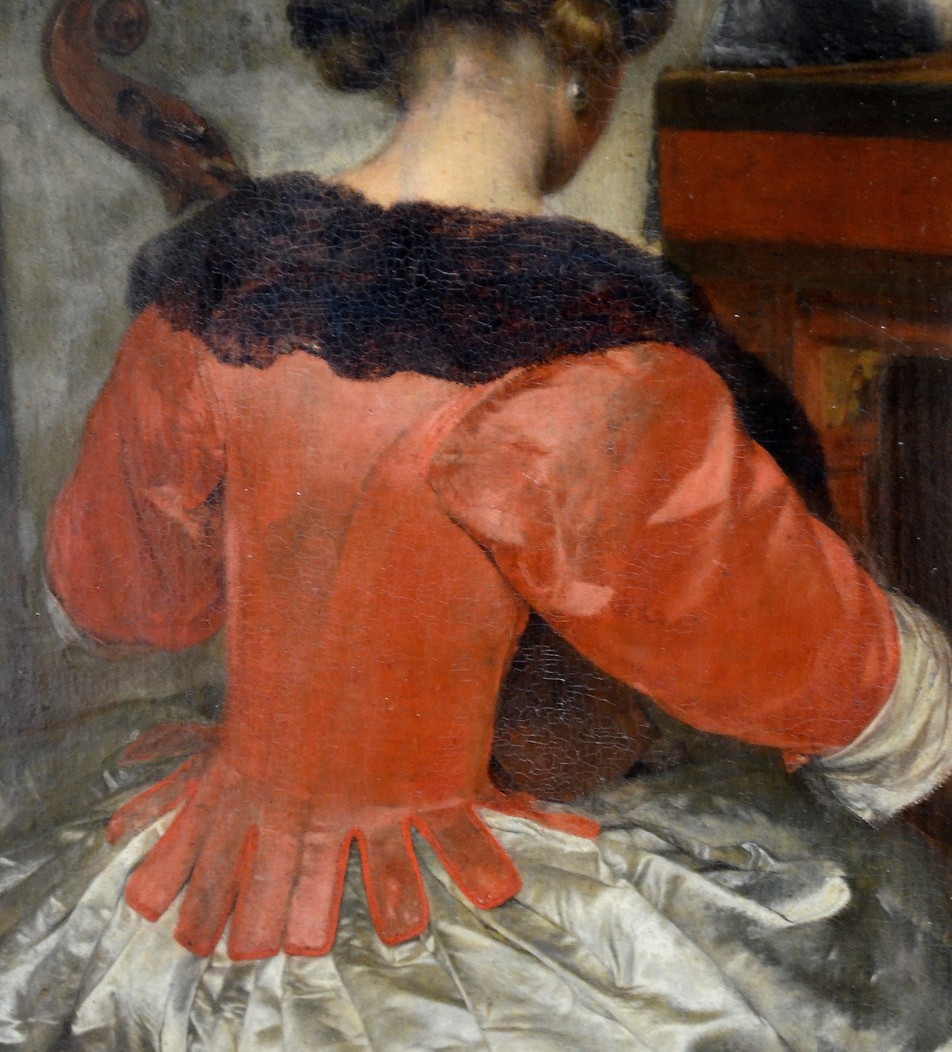
The first thing to do (once I had a working pattern) was to make the foundation for the bodice.IMG_7433
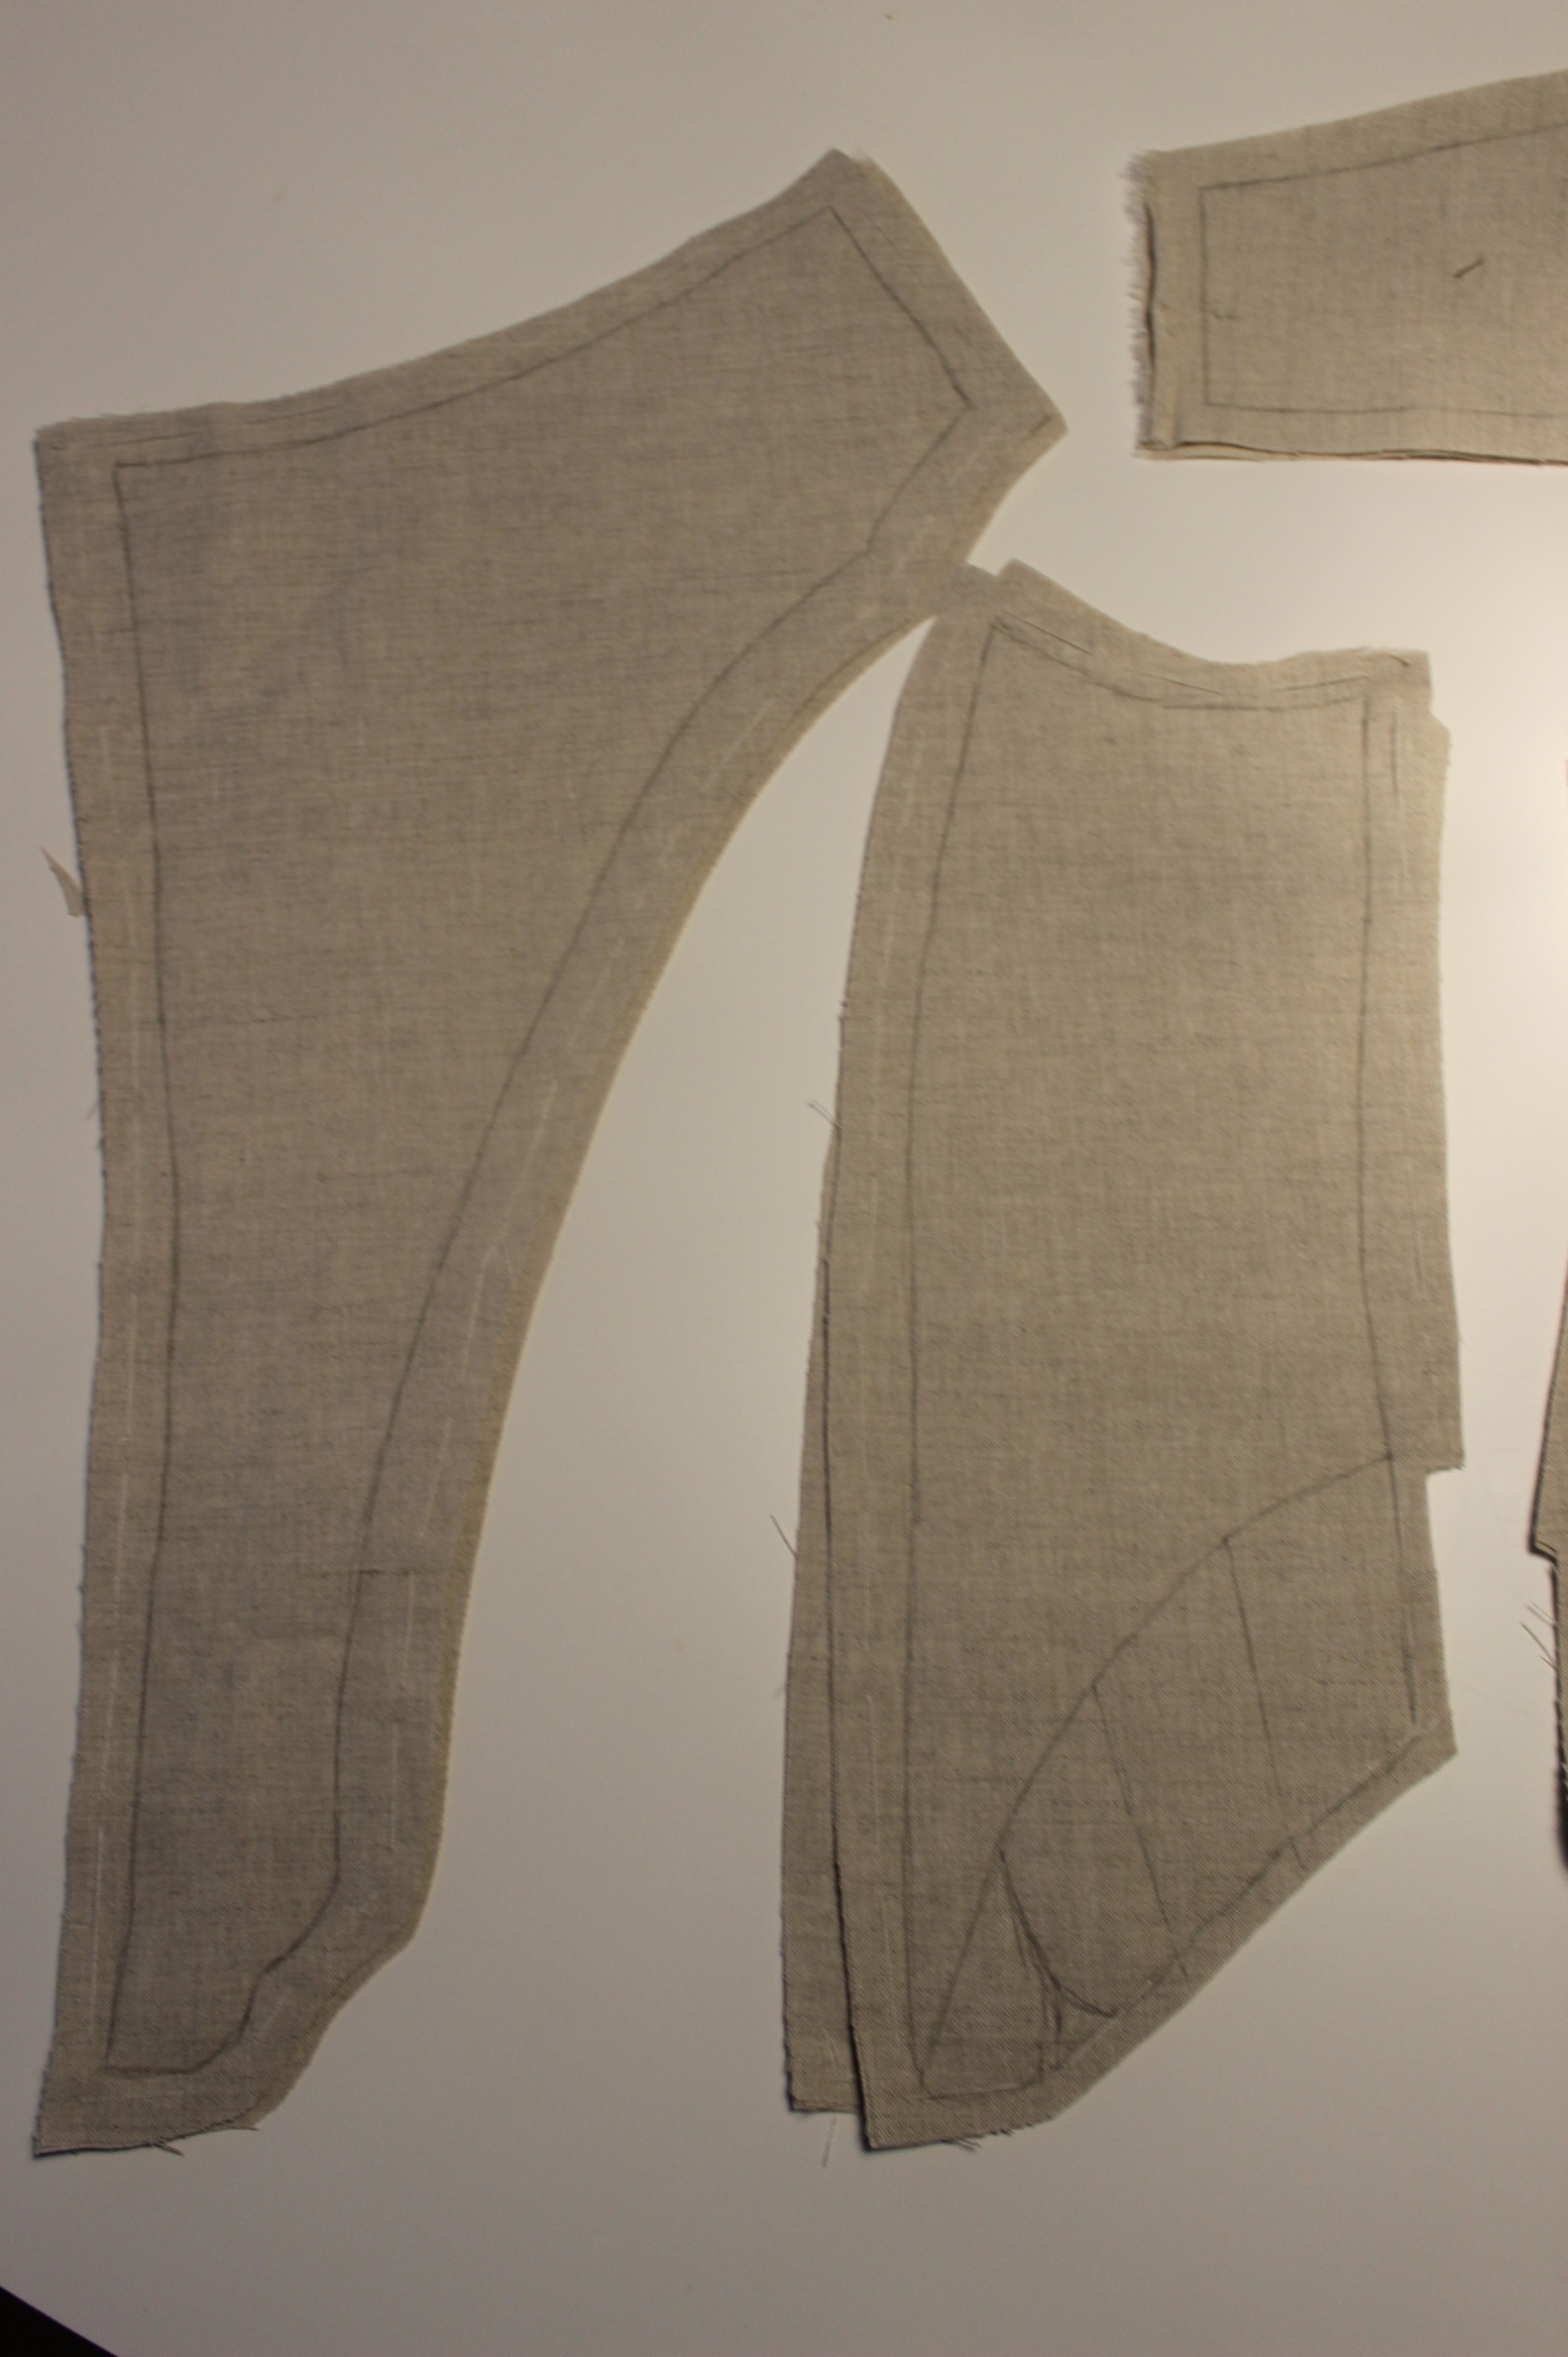
So I cut two of every piece in a sturdy unbleached linen, and basted them togeter.

Then I penned the boning channels (using some of my books as guides).IMG_7435

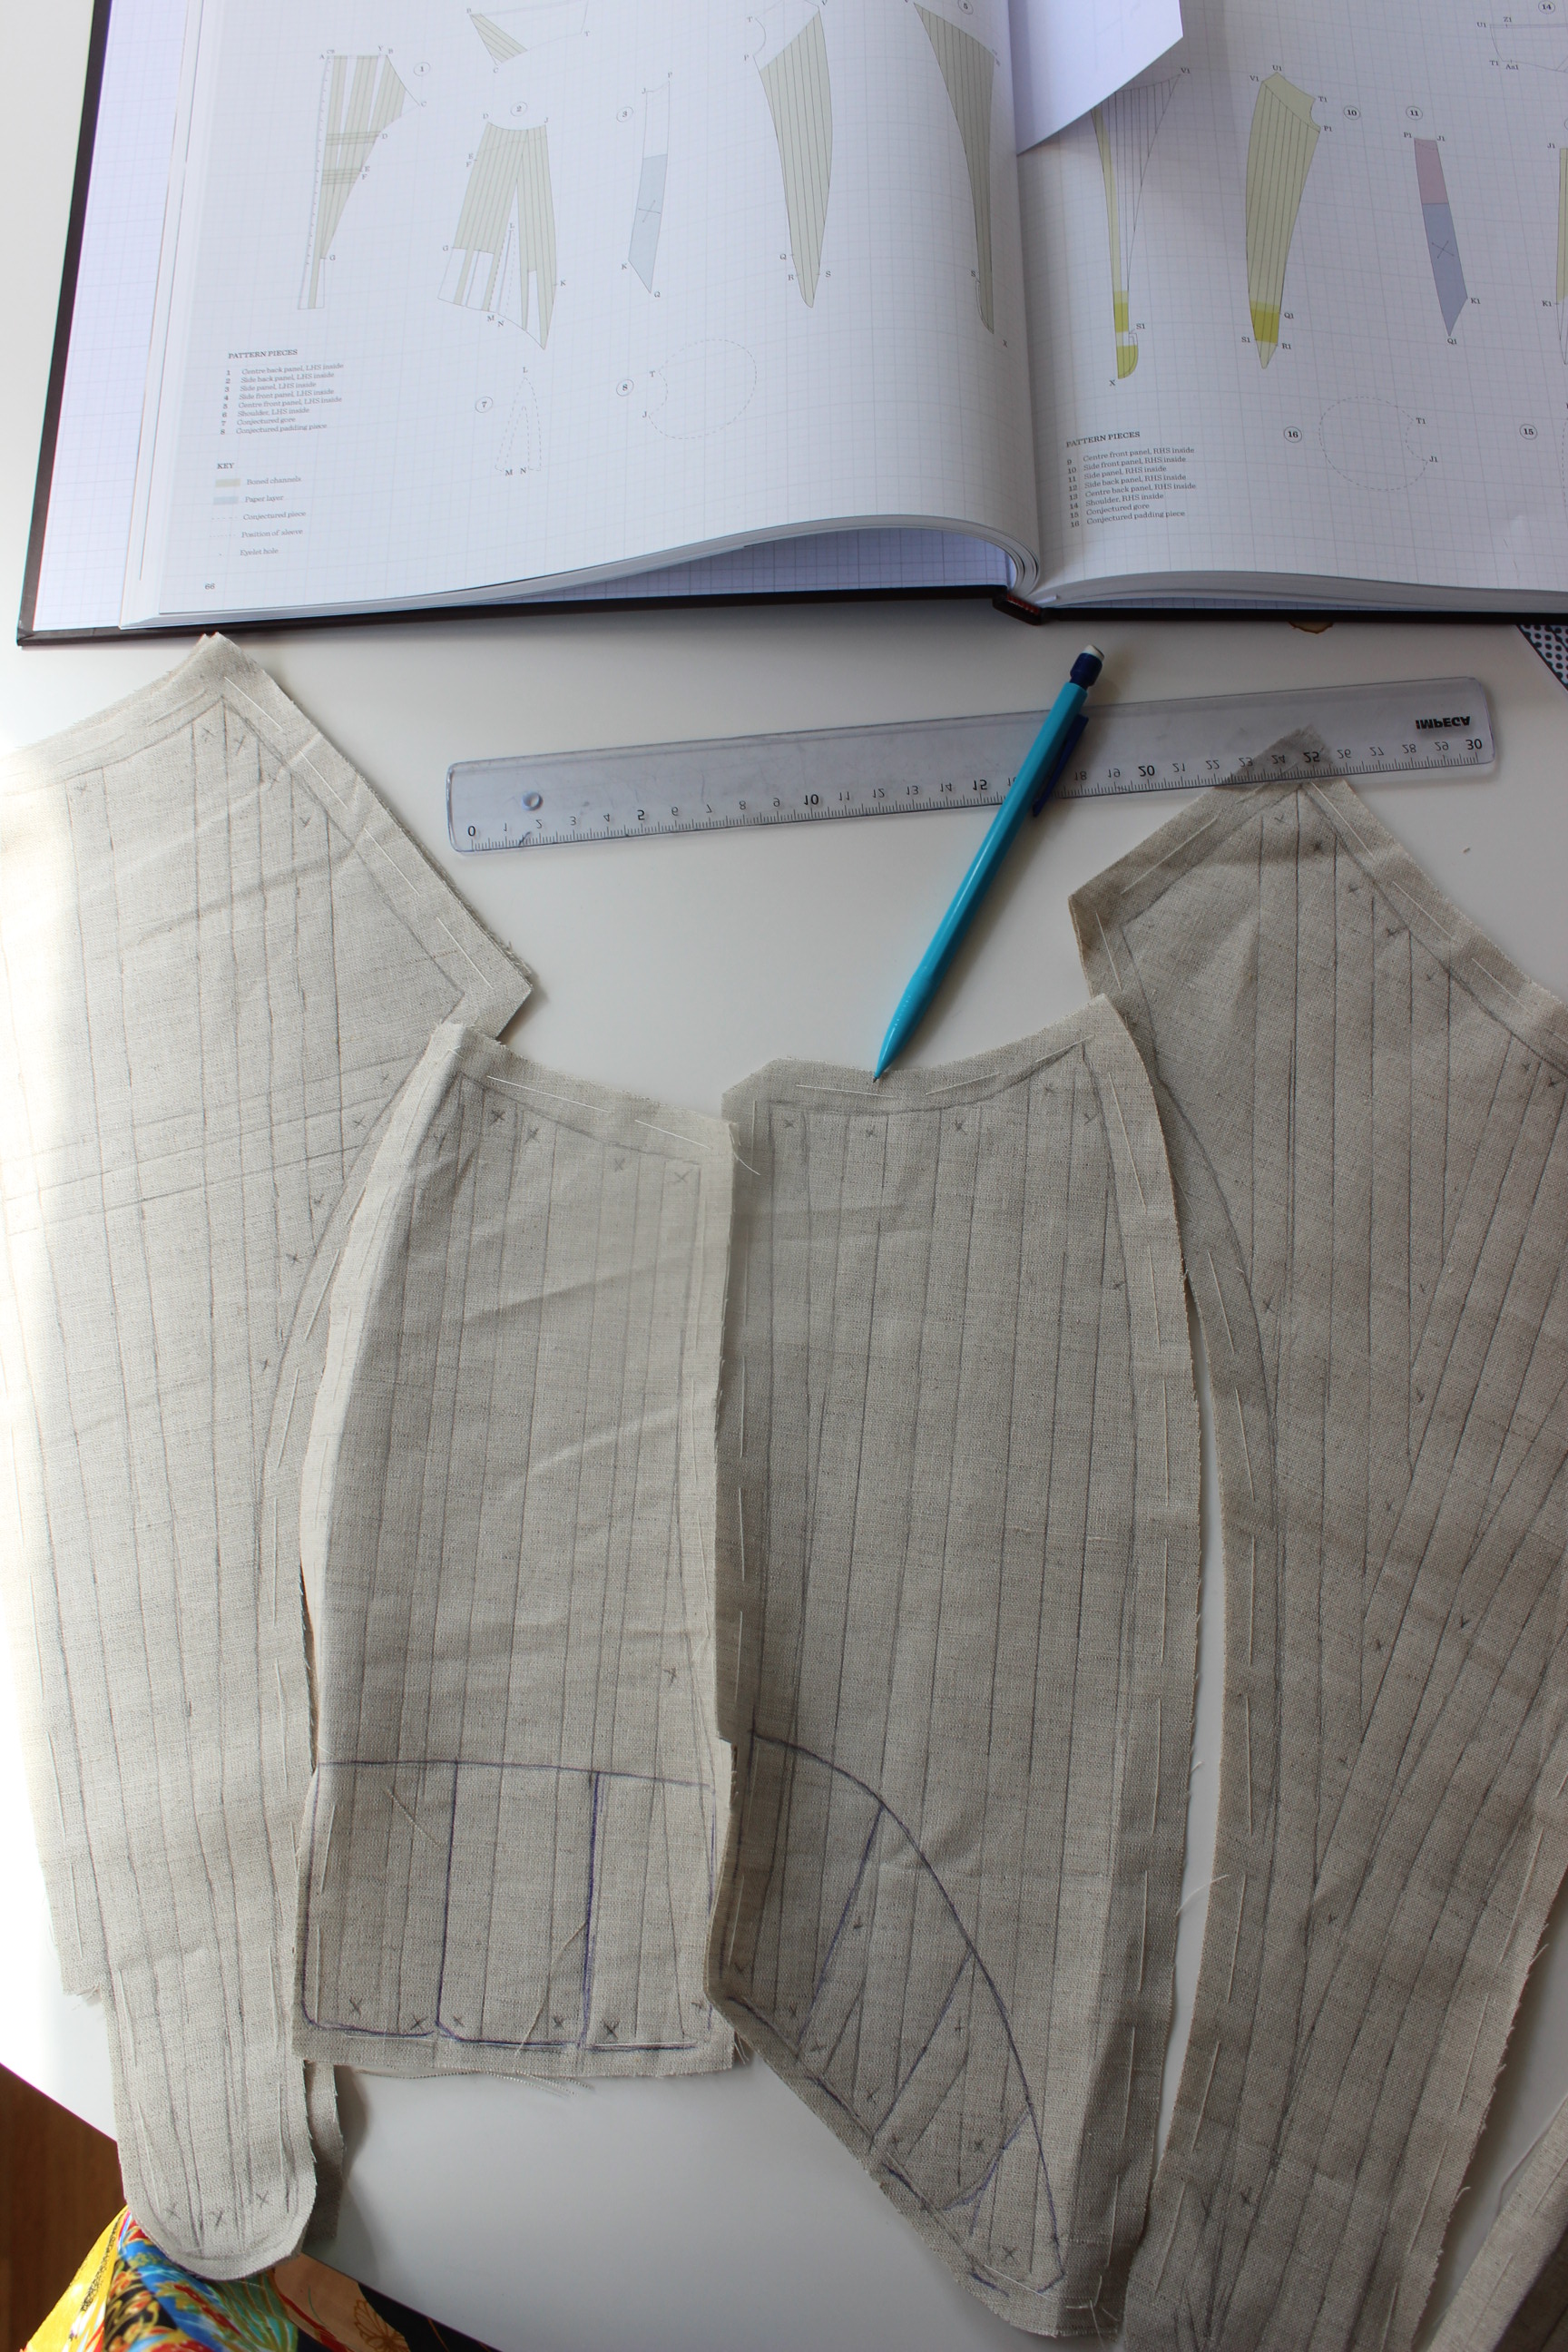
I stitched all the channels and then attached the pieces to each-other.IMG_7488

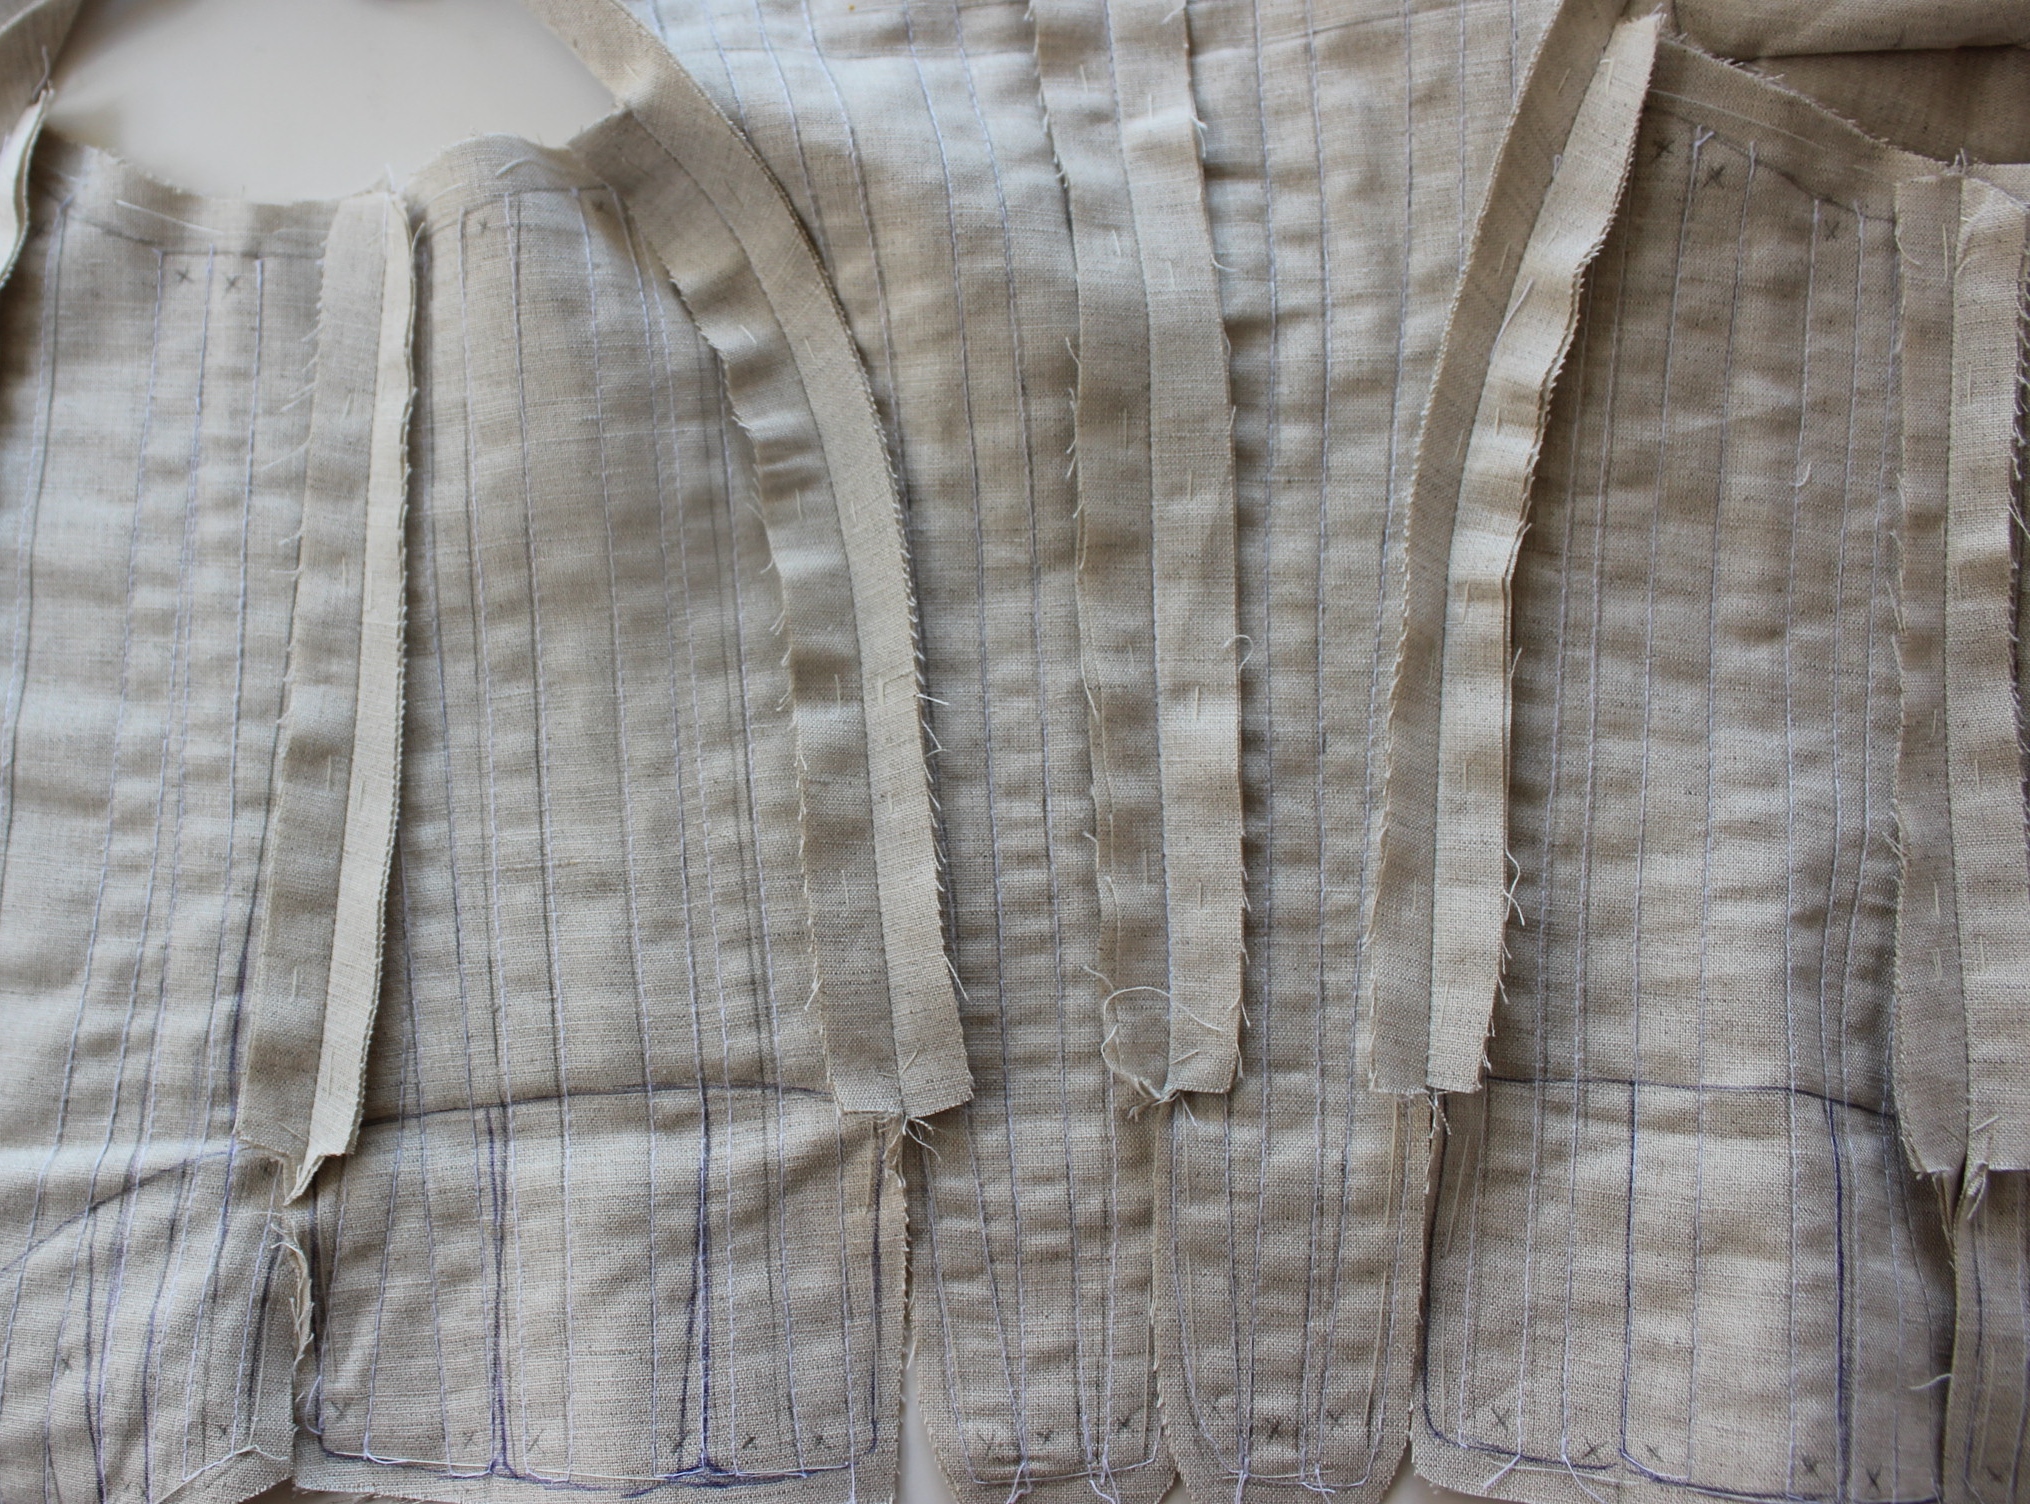
Then it was time to ad the boning.IMG_7507
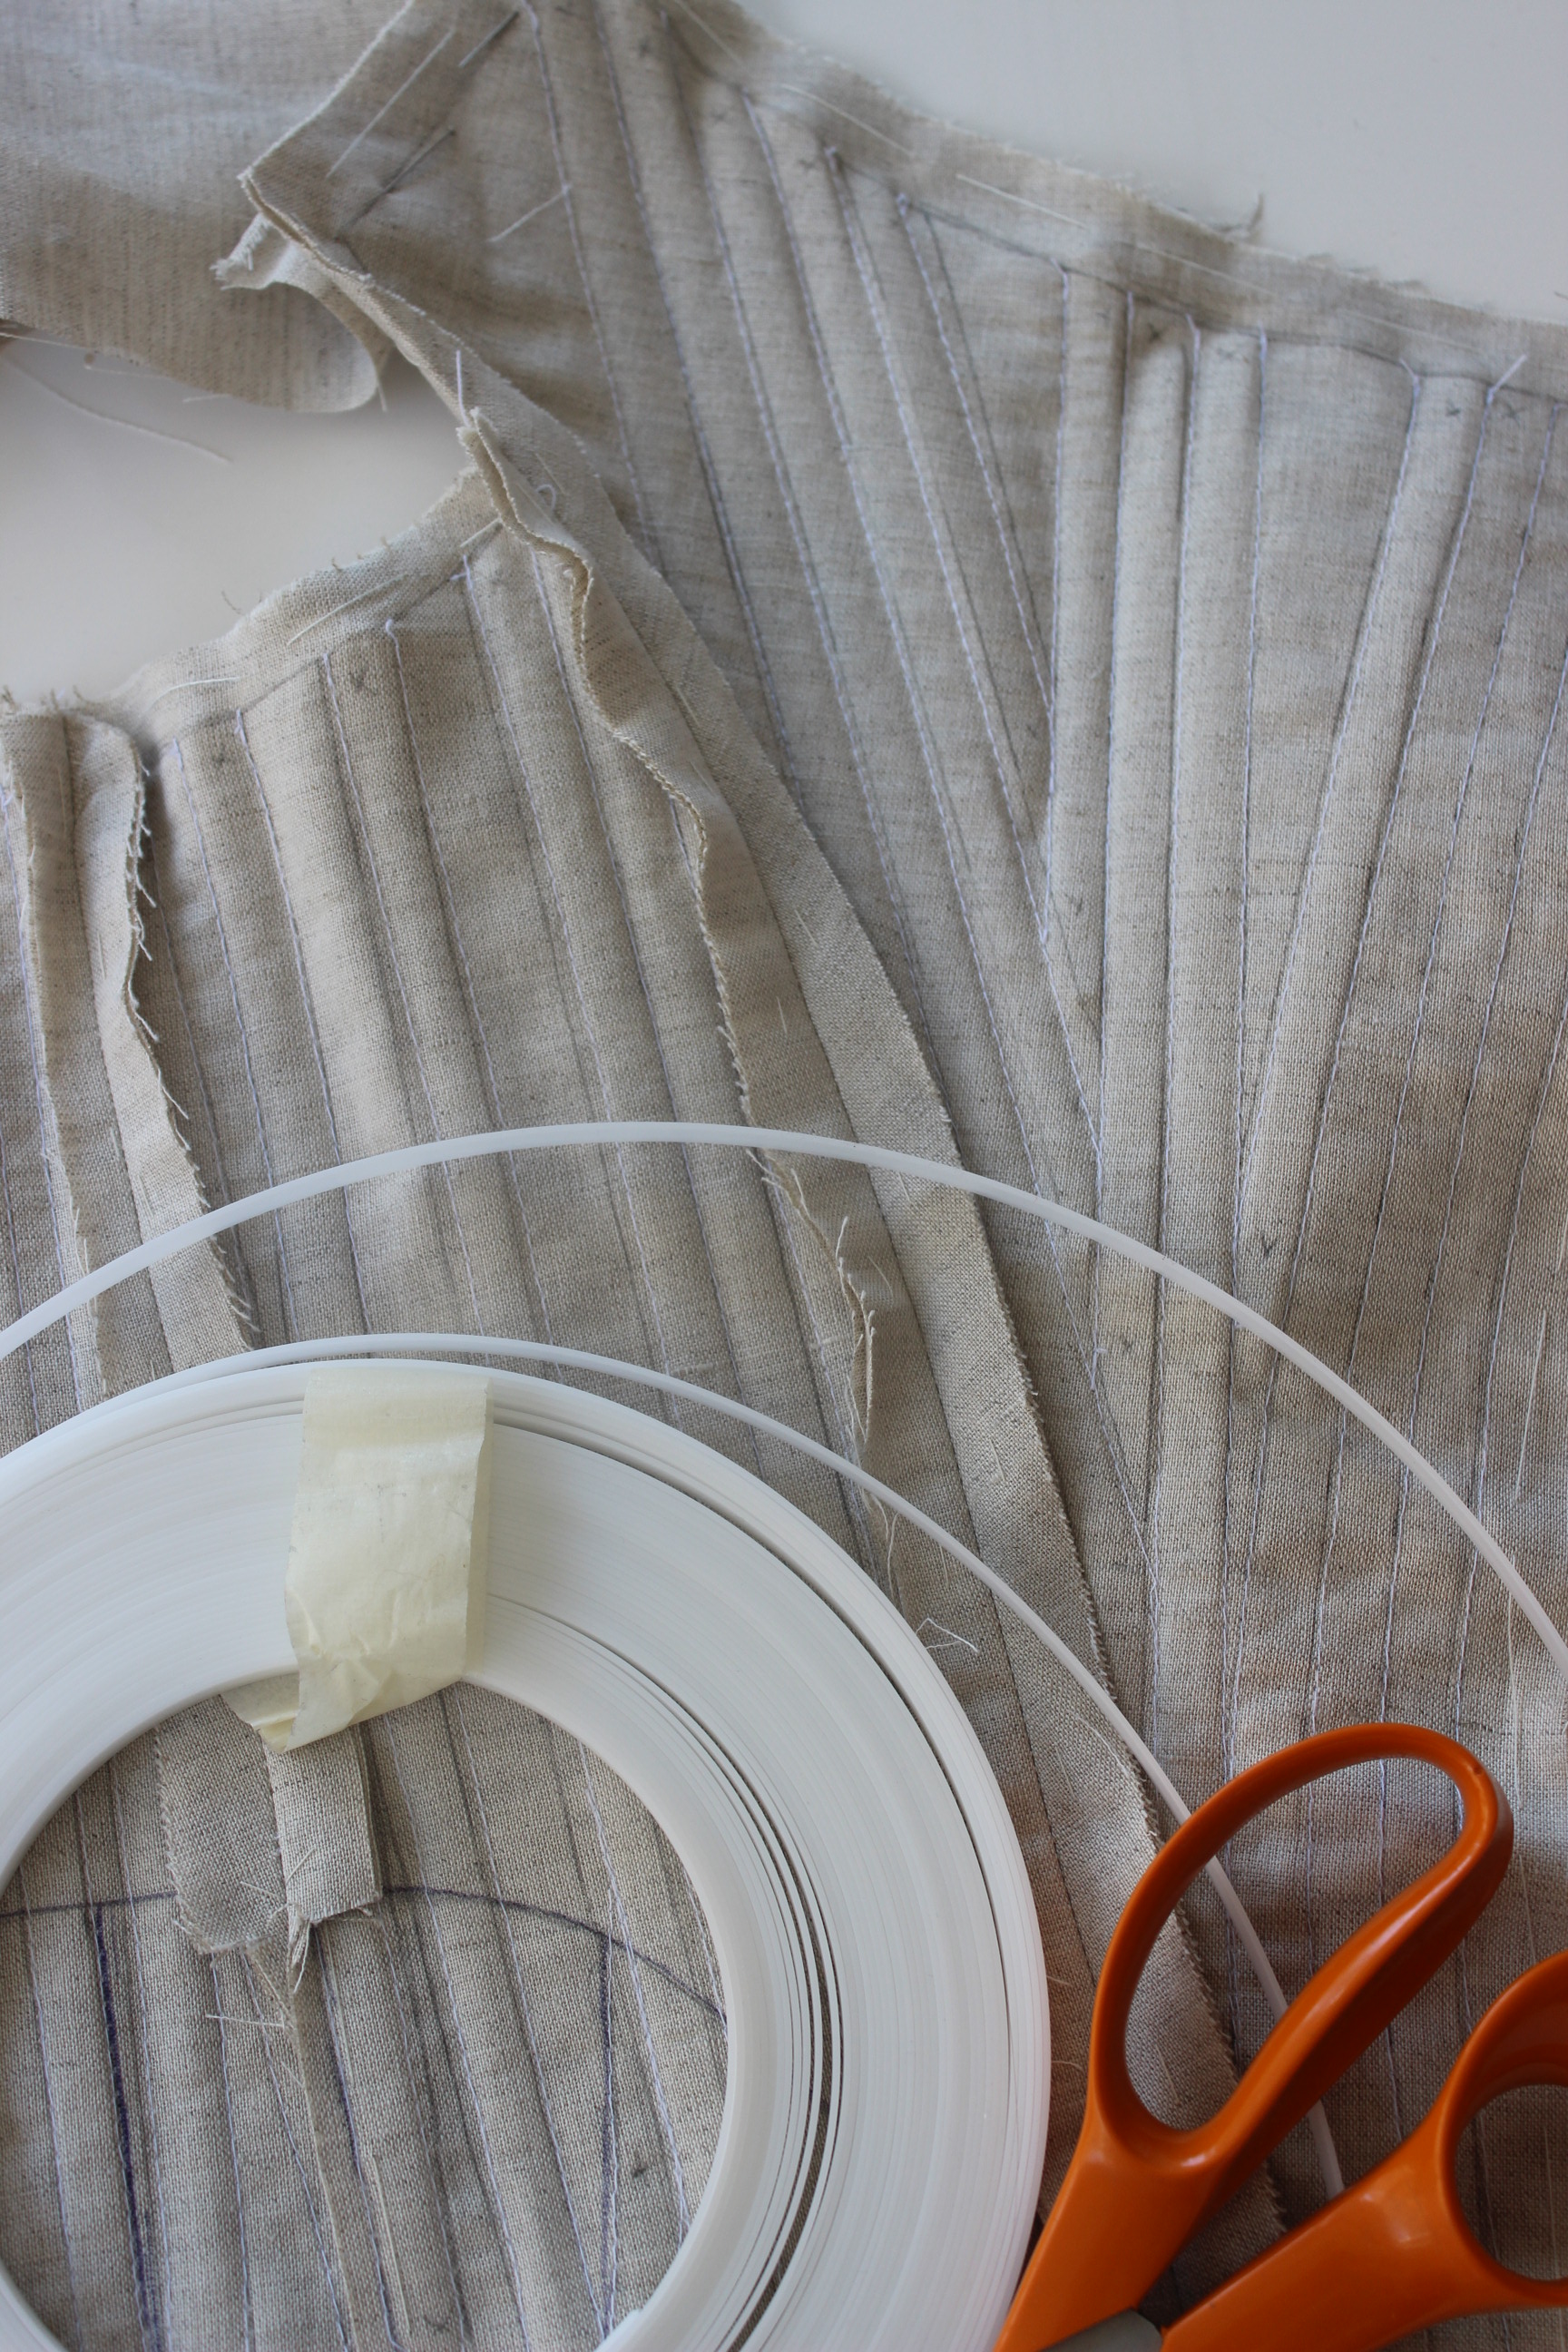
I used synthetic whalebone, and cut each piece to match the channels.
The whalebone itself is not as strong as metal or reed, but it is lightweight and in a fully boned bodice like this the thin quality is to prefer (in my opinion)

The one thing that worried me most was the “shrinkage” almost always caused by adding boning.
The thinness of the whalebone was really necessary to keep the difference in size as small as possible (the thicker the bones the bigger the size difference).IMG_7508
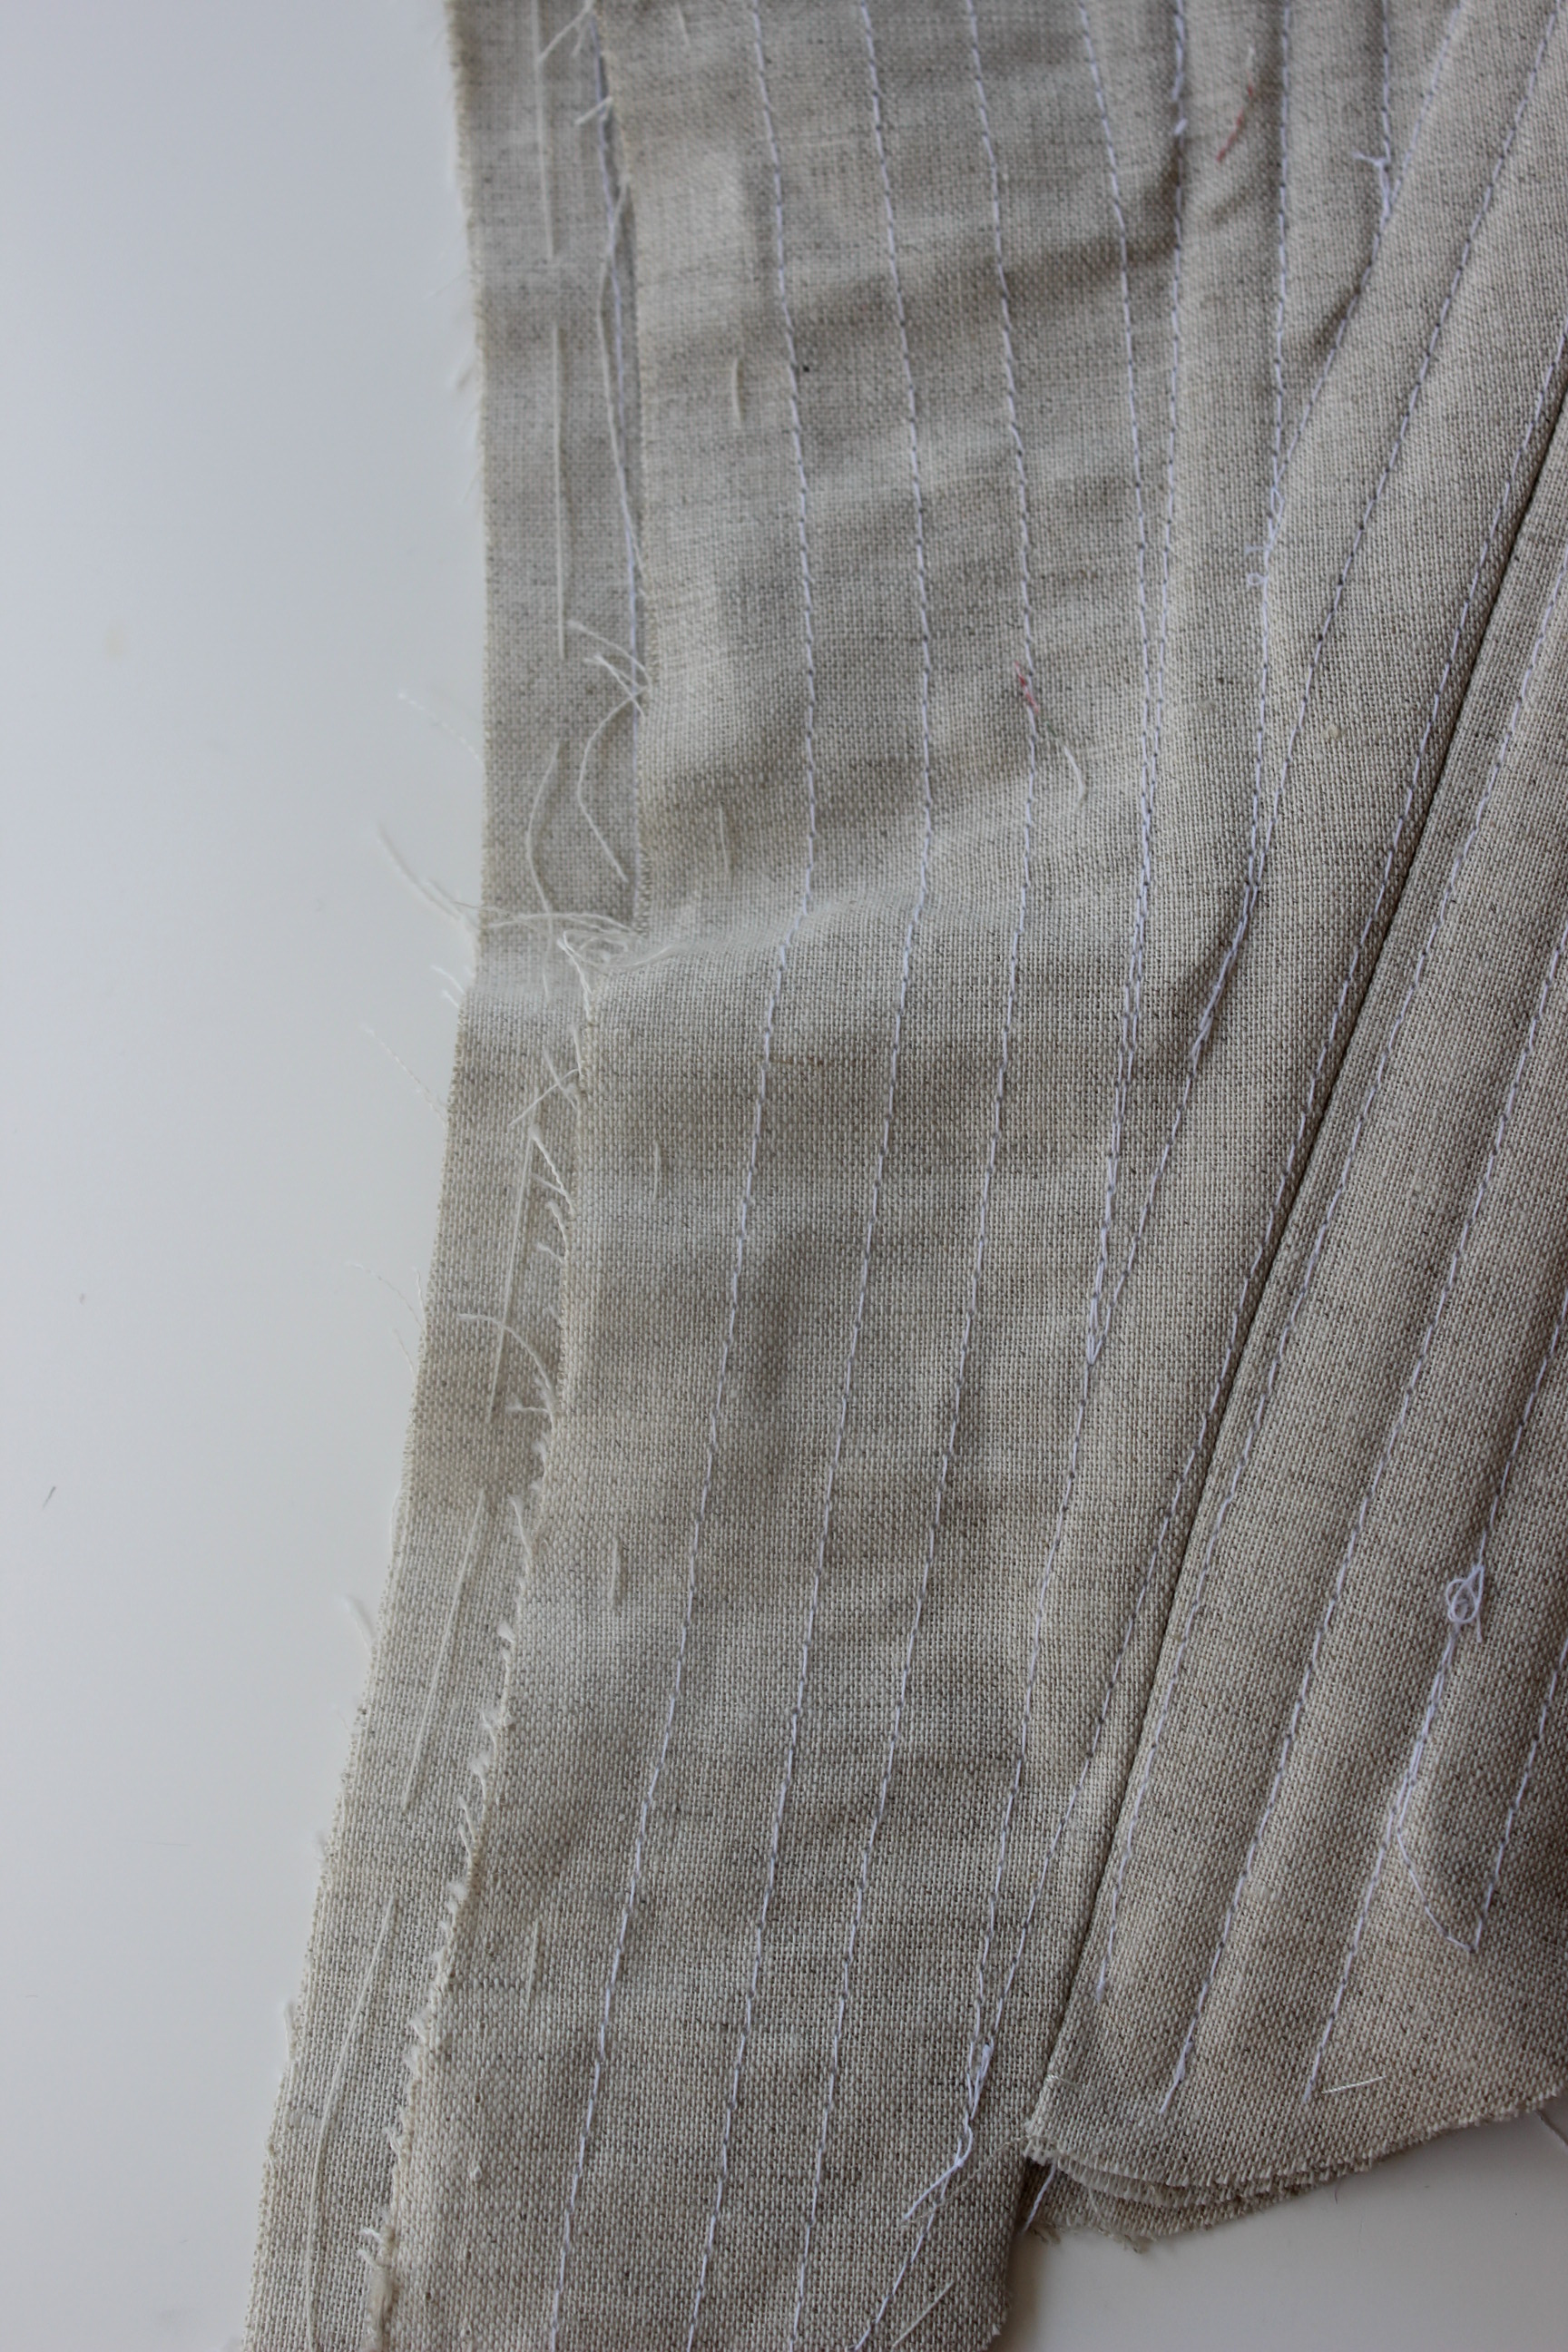
You can clearly see the difference from left side (boned) to right side (un-boned) in this picture.

Once all the bones was inserted, I put it on for a try.
IMG_7518 IMG_7513

IMG_7524
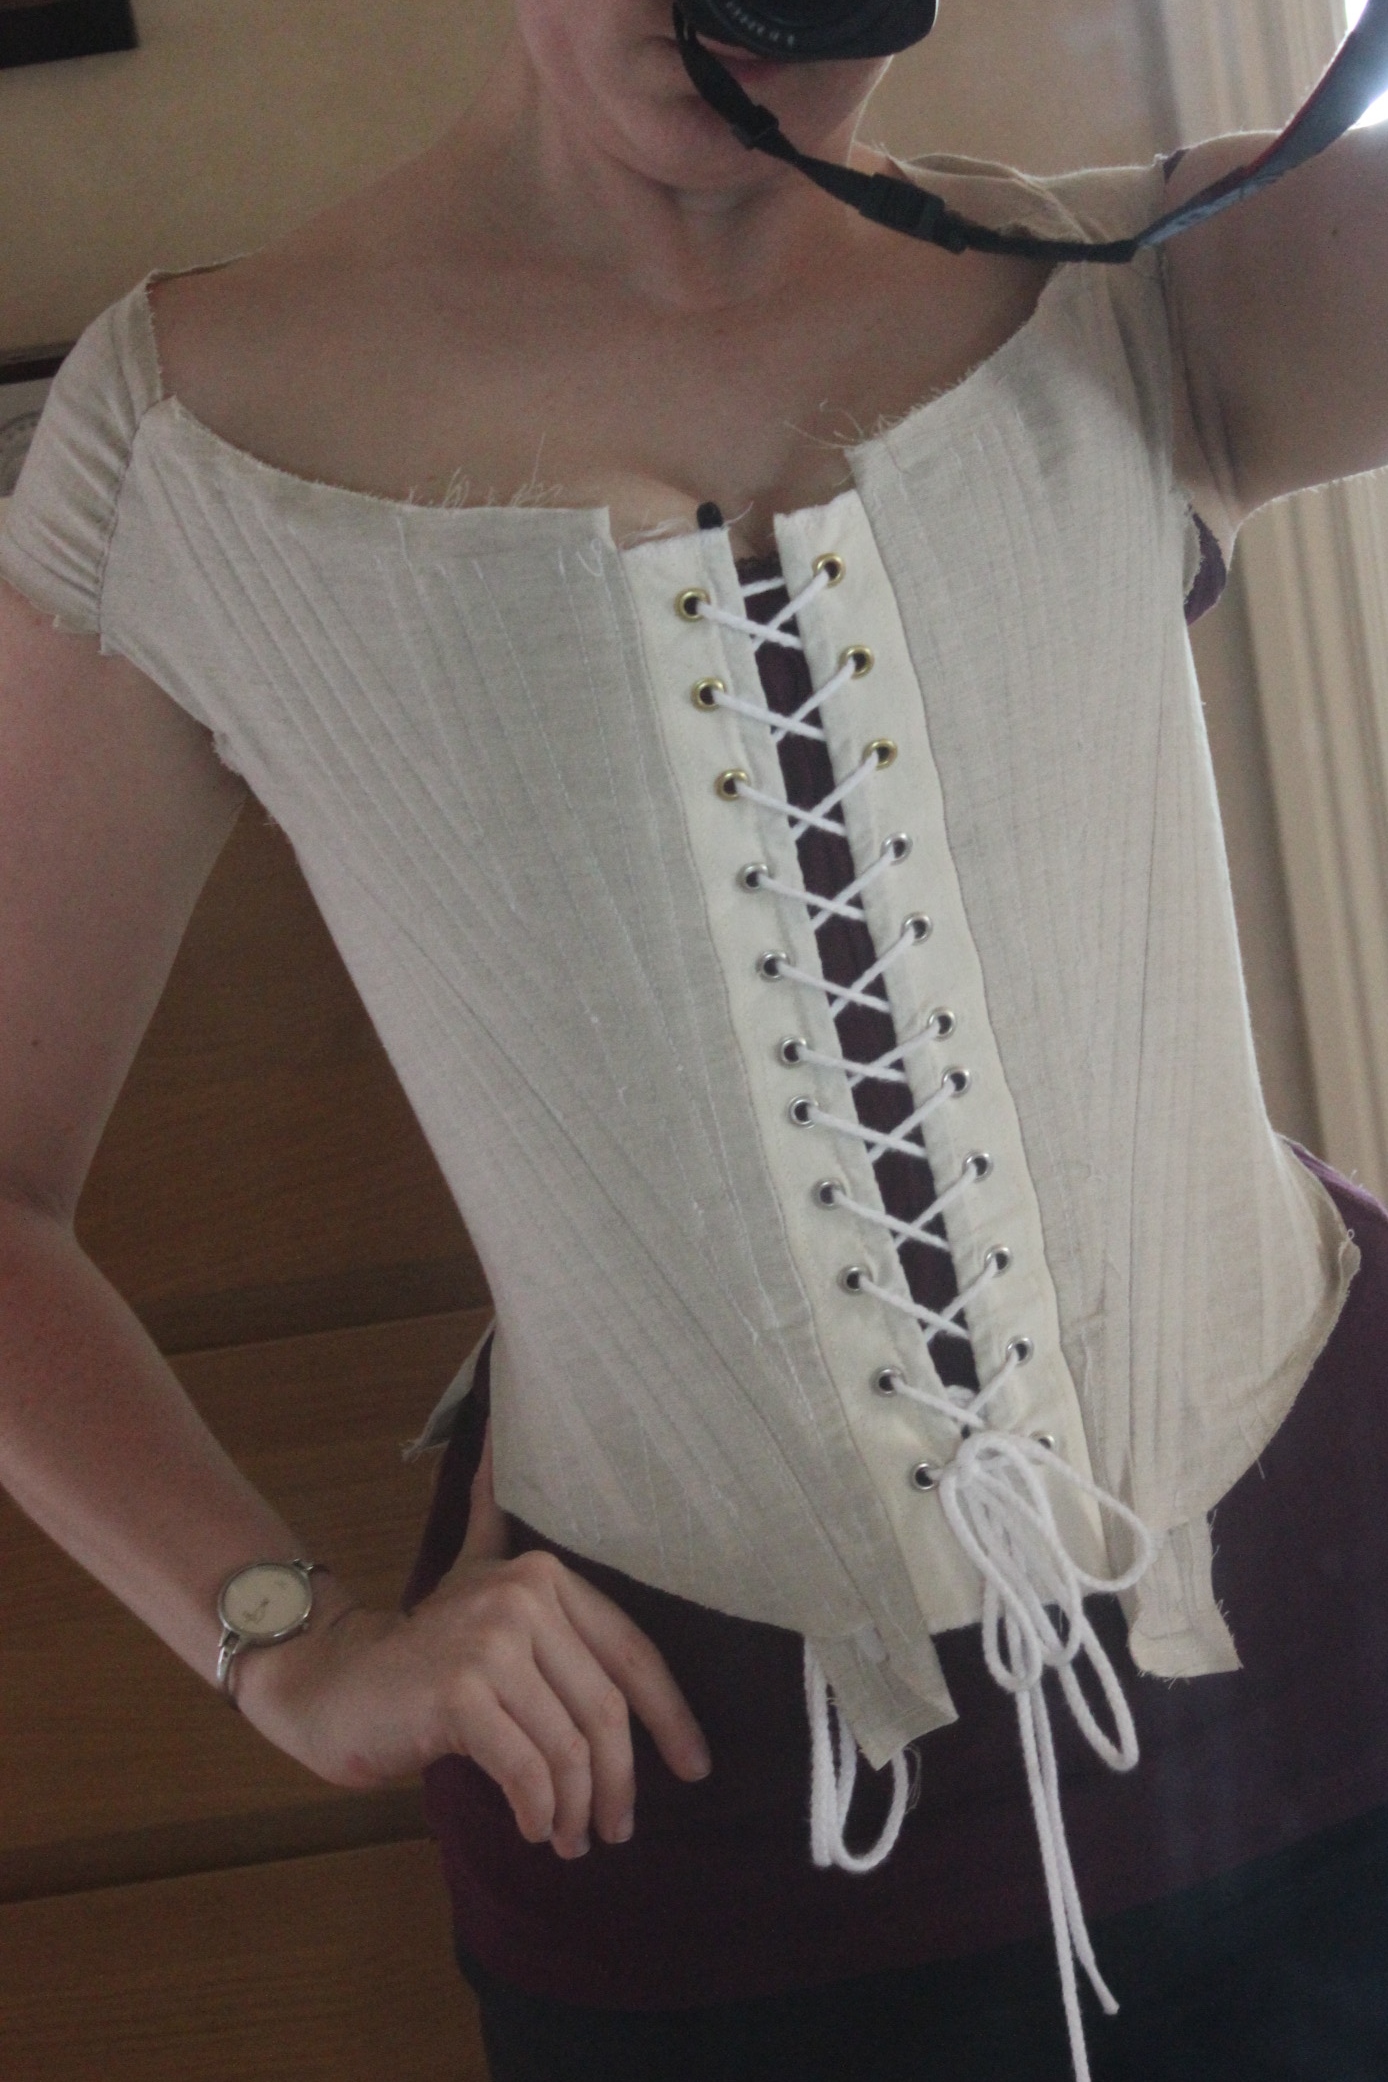
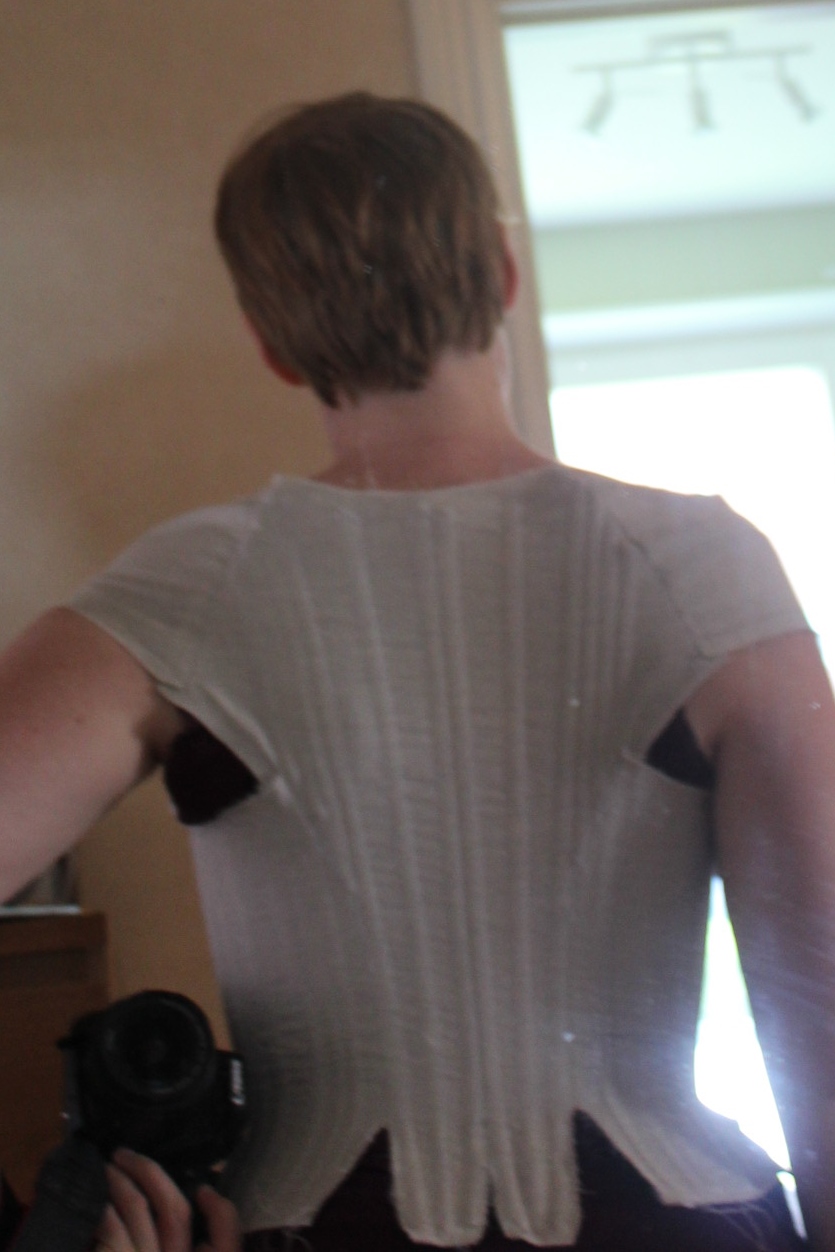
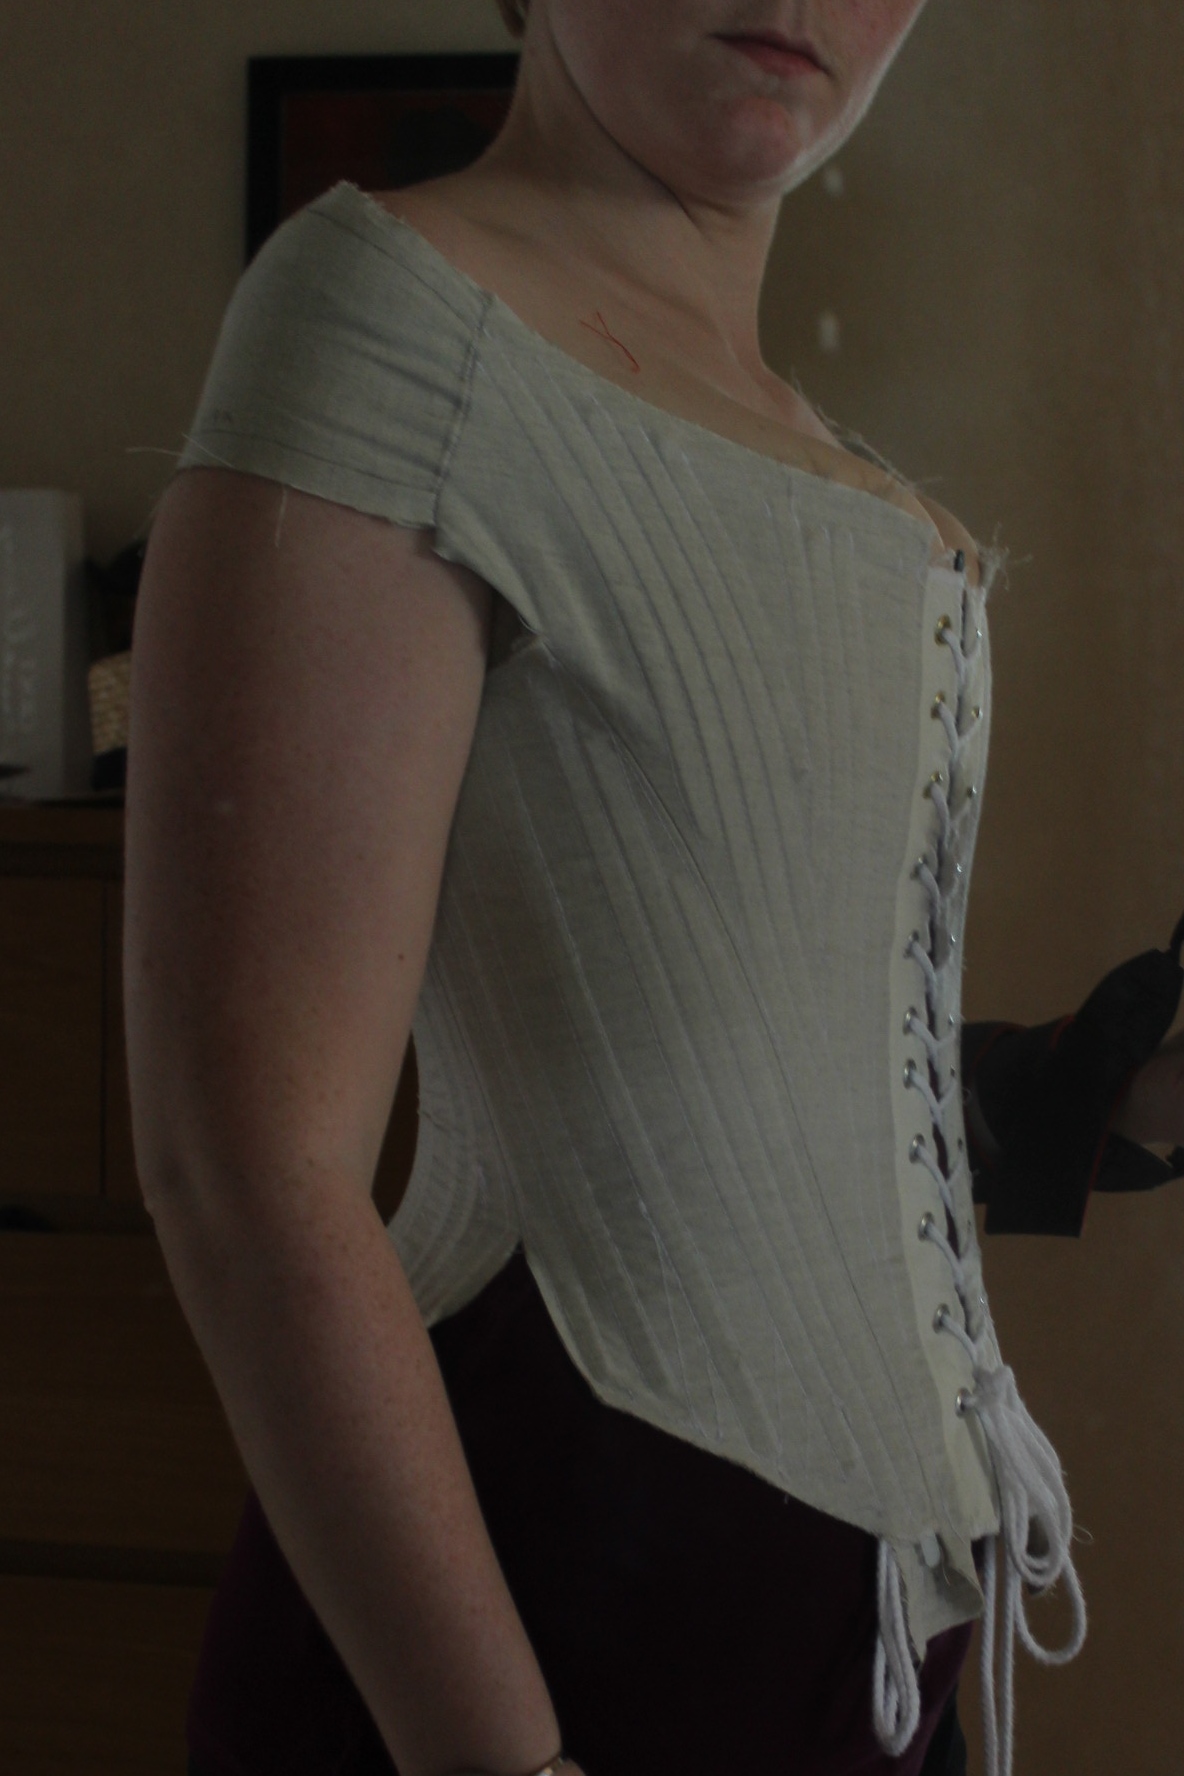
It looks awesome, and with some minor adjustments (like adding a few more bones to the front and back) I was good to go.

I love how beautiful the interior is before being covered up.  IMG_7786

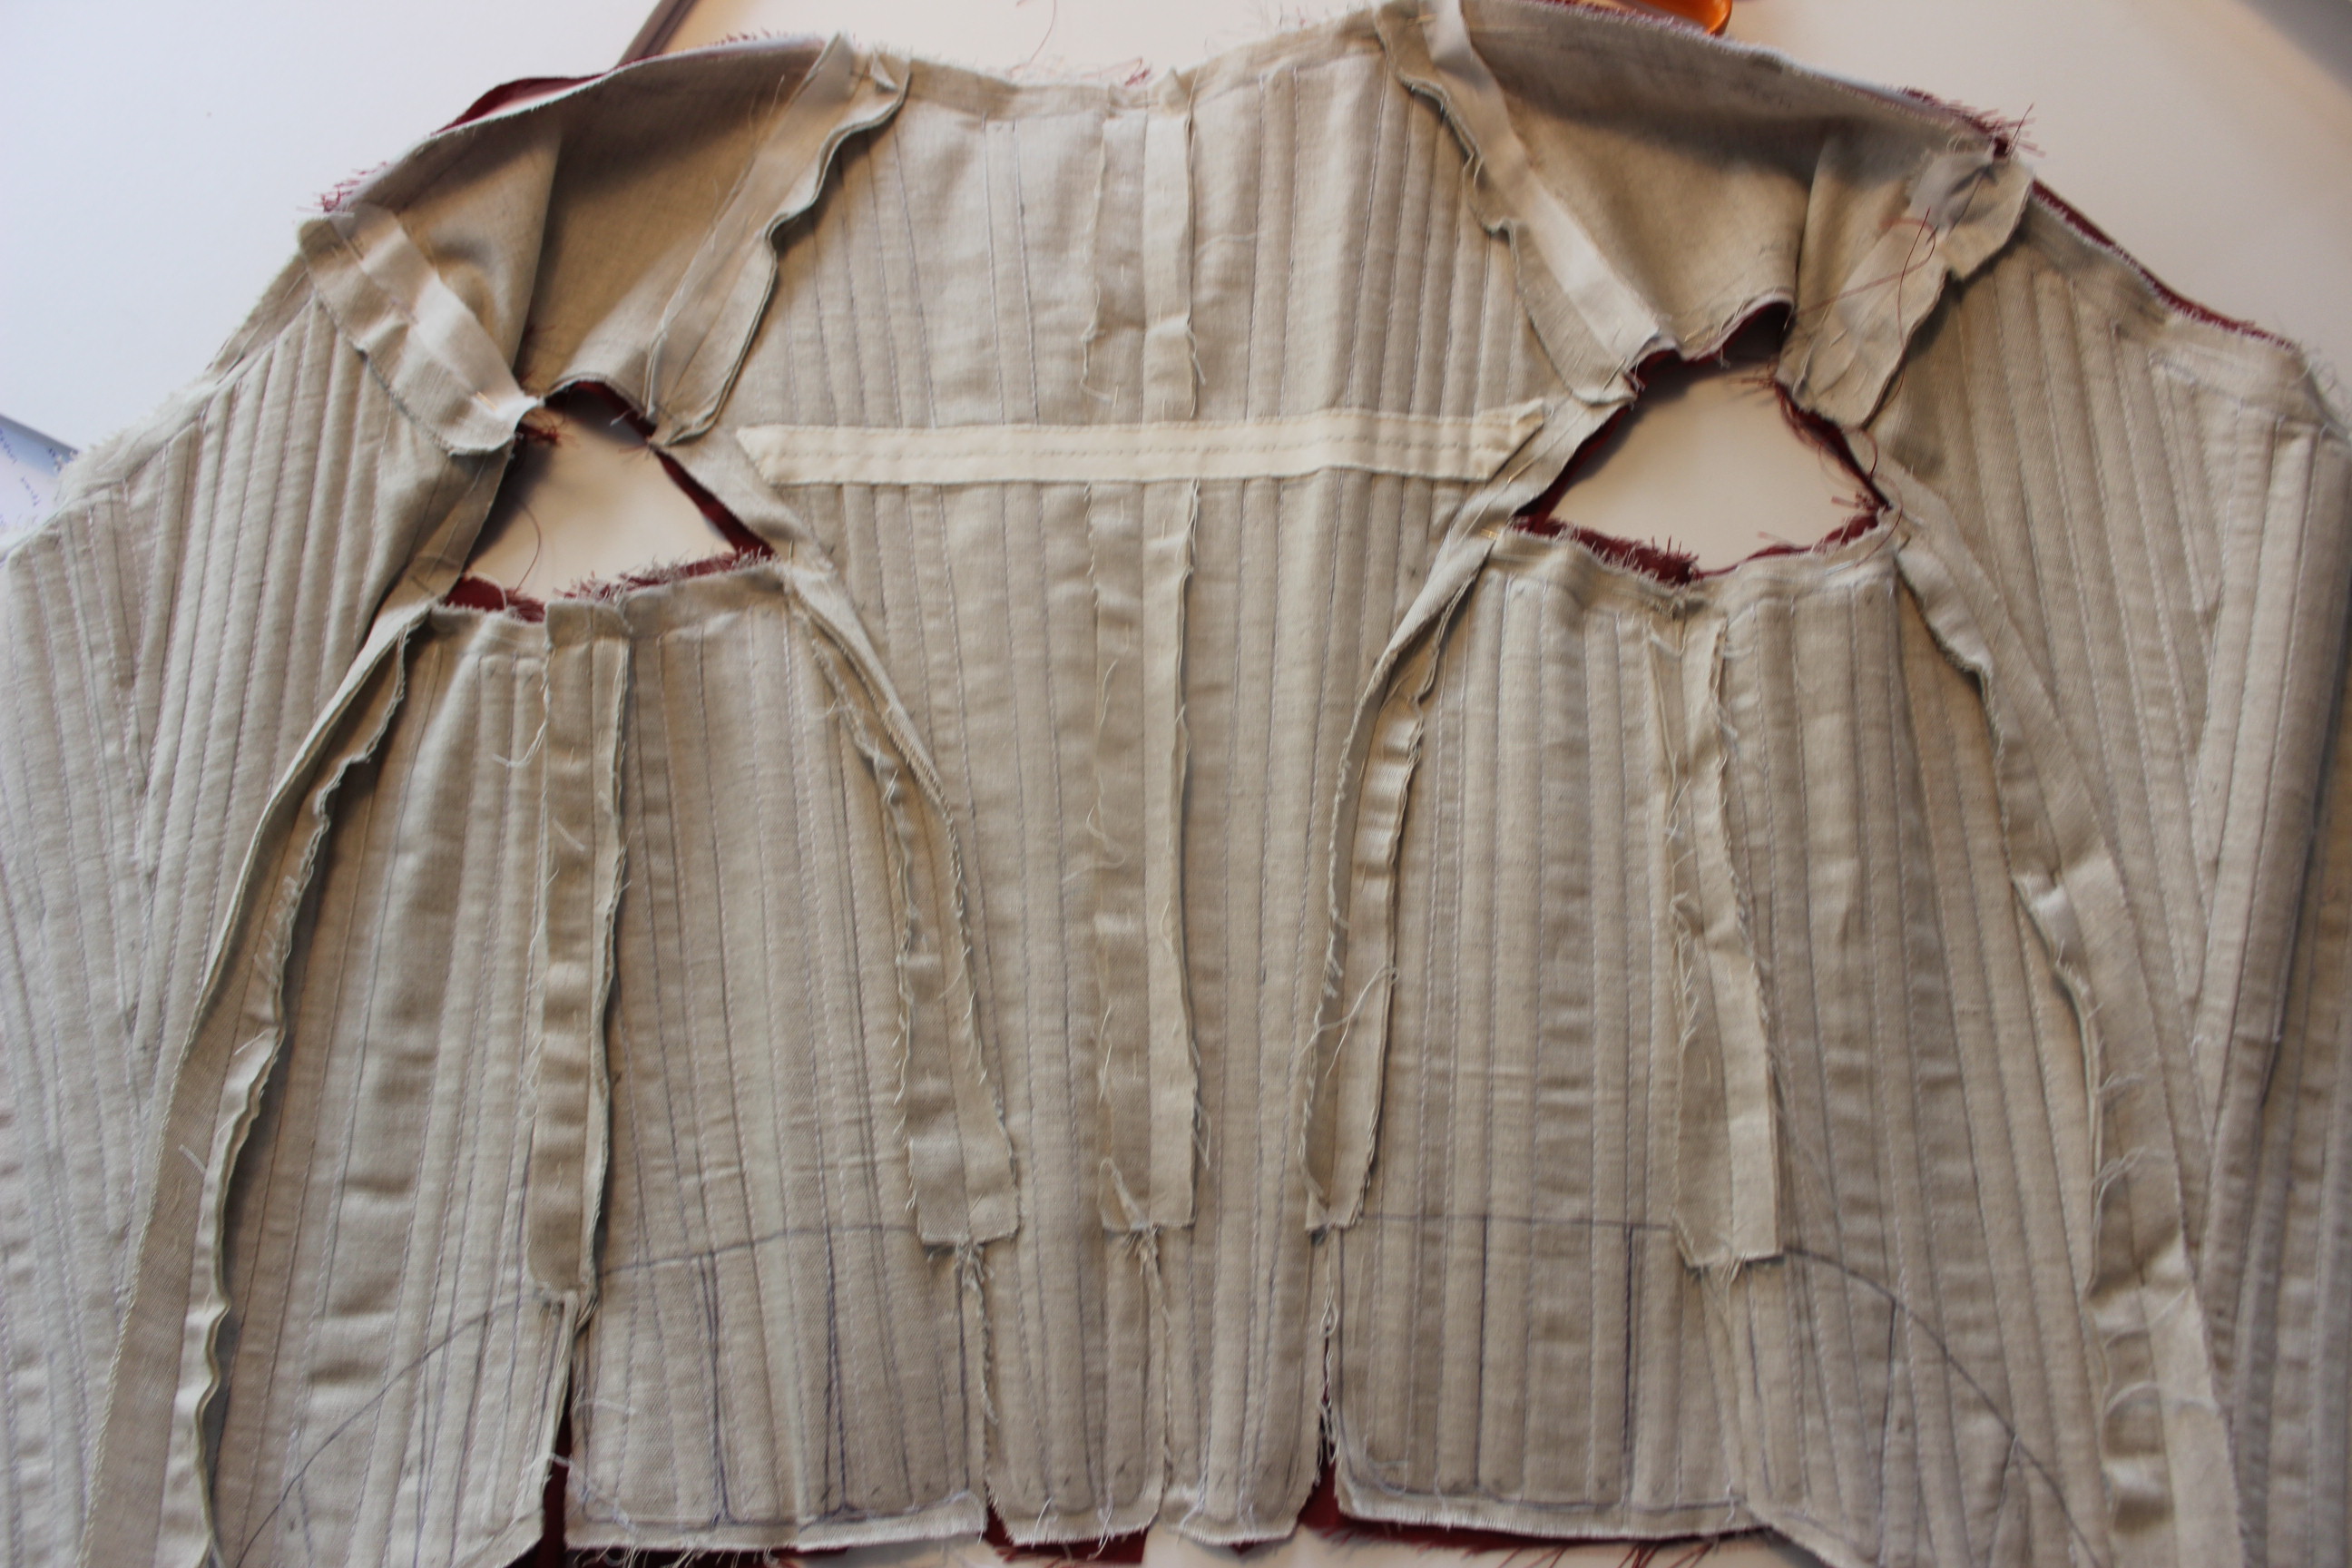
Then it was time to start on the exterior fabric.

After keeping my eyes open in my local fabric store since January, in June, I finally decided to take the 1 hour trip to the next towns fabric store (which is awesome by the way).
And I did not regret it.

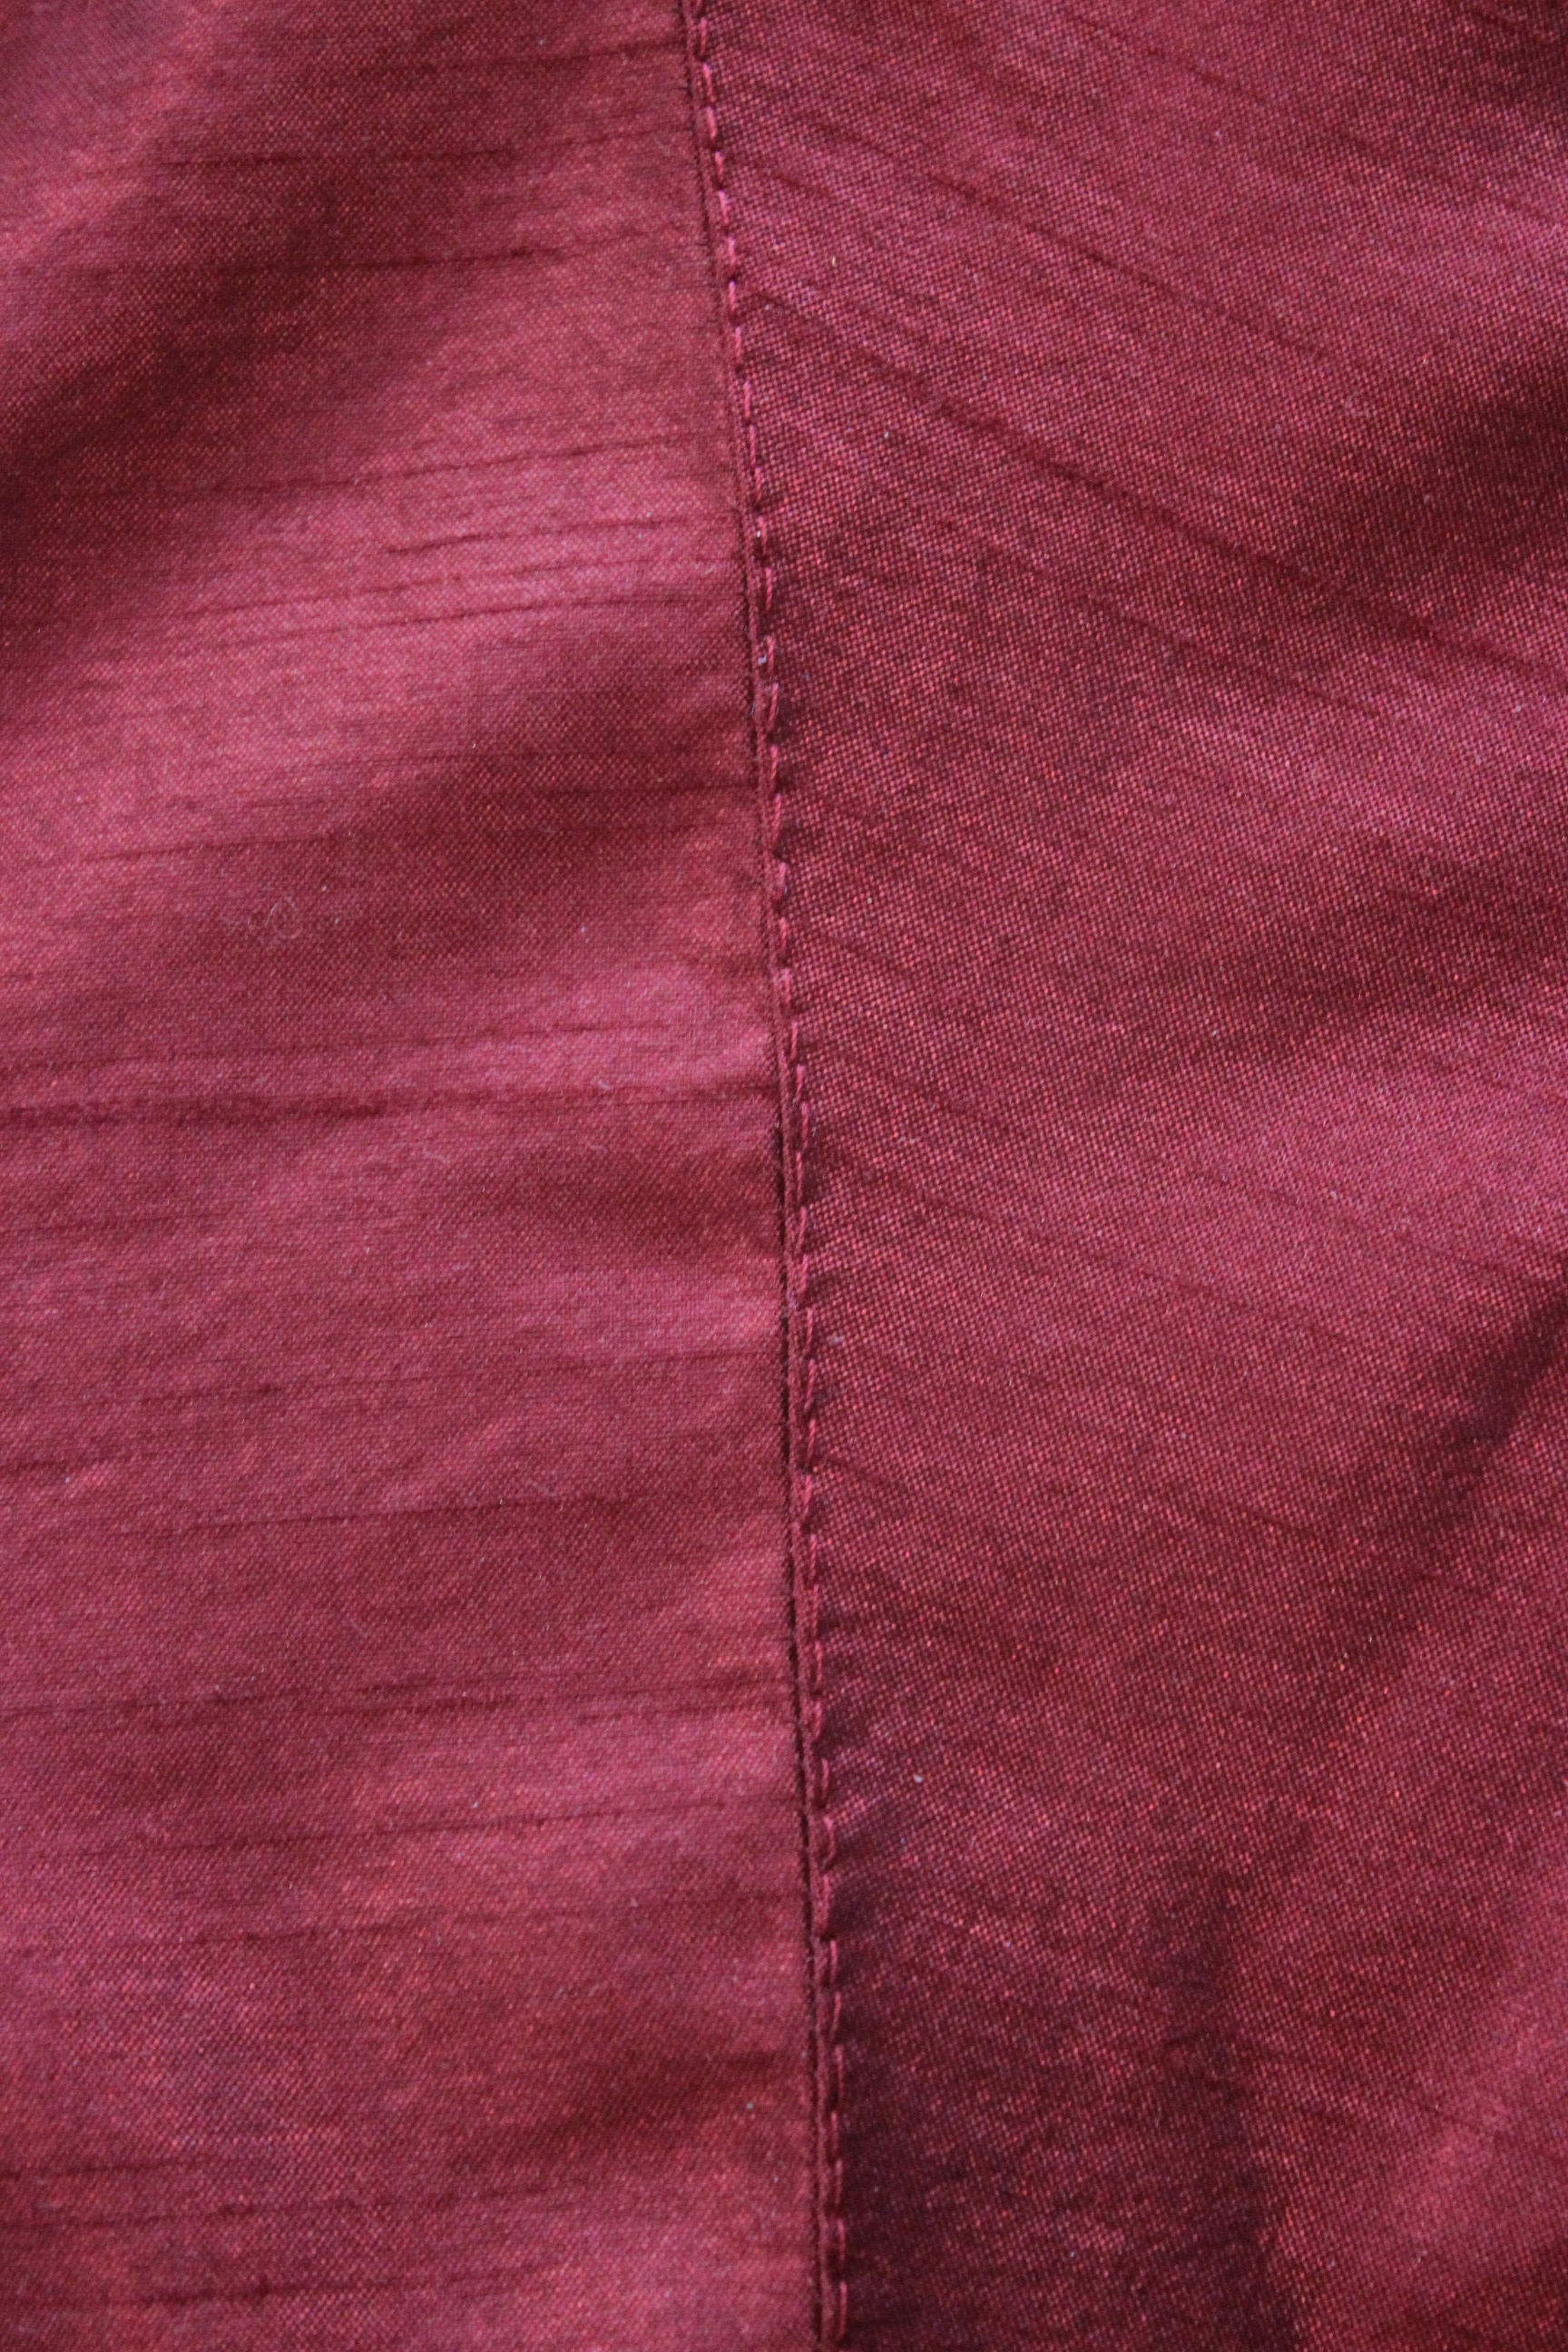
Not only did I find lots of delicious taffeta’s and viscose, I also found this perfect dark red synthetic silk. 20150808_121343_resizedIt’s a bit darker in real life

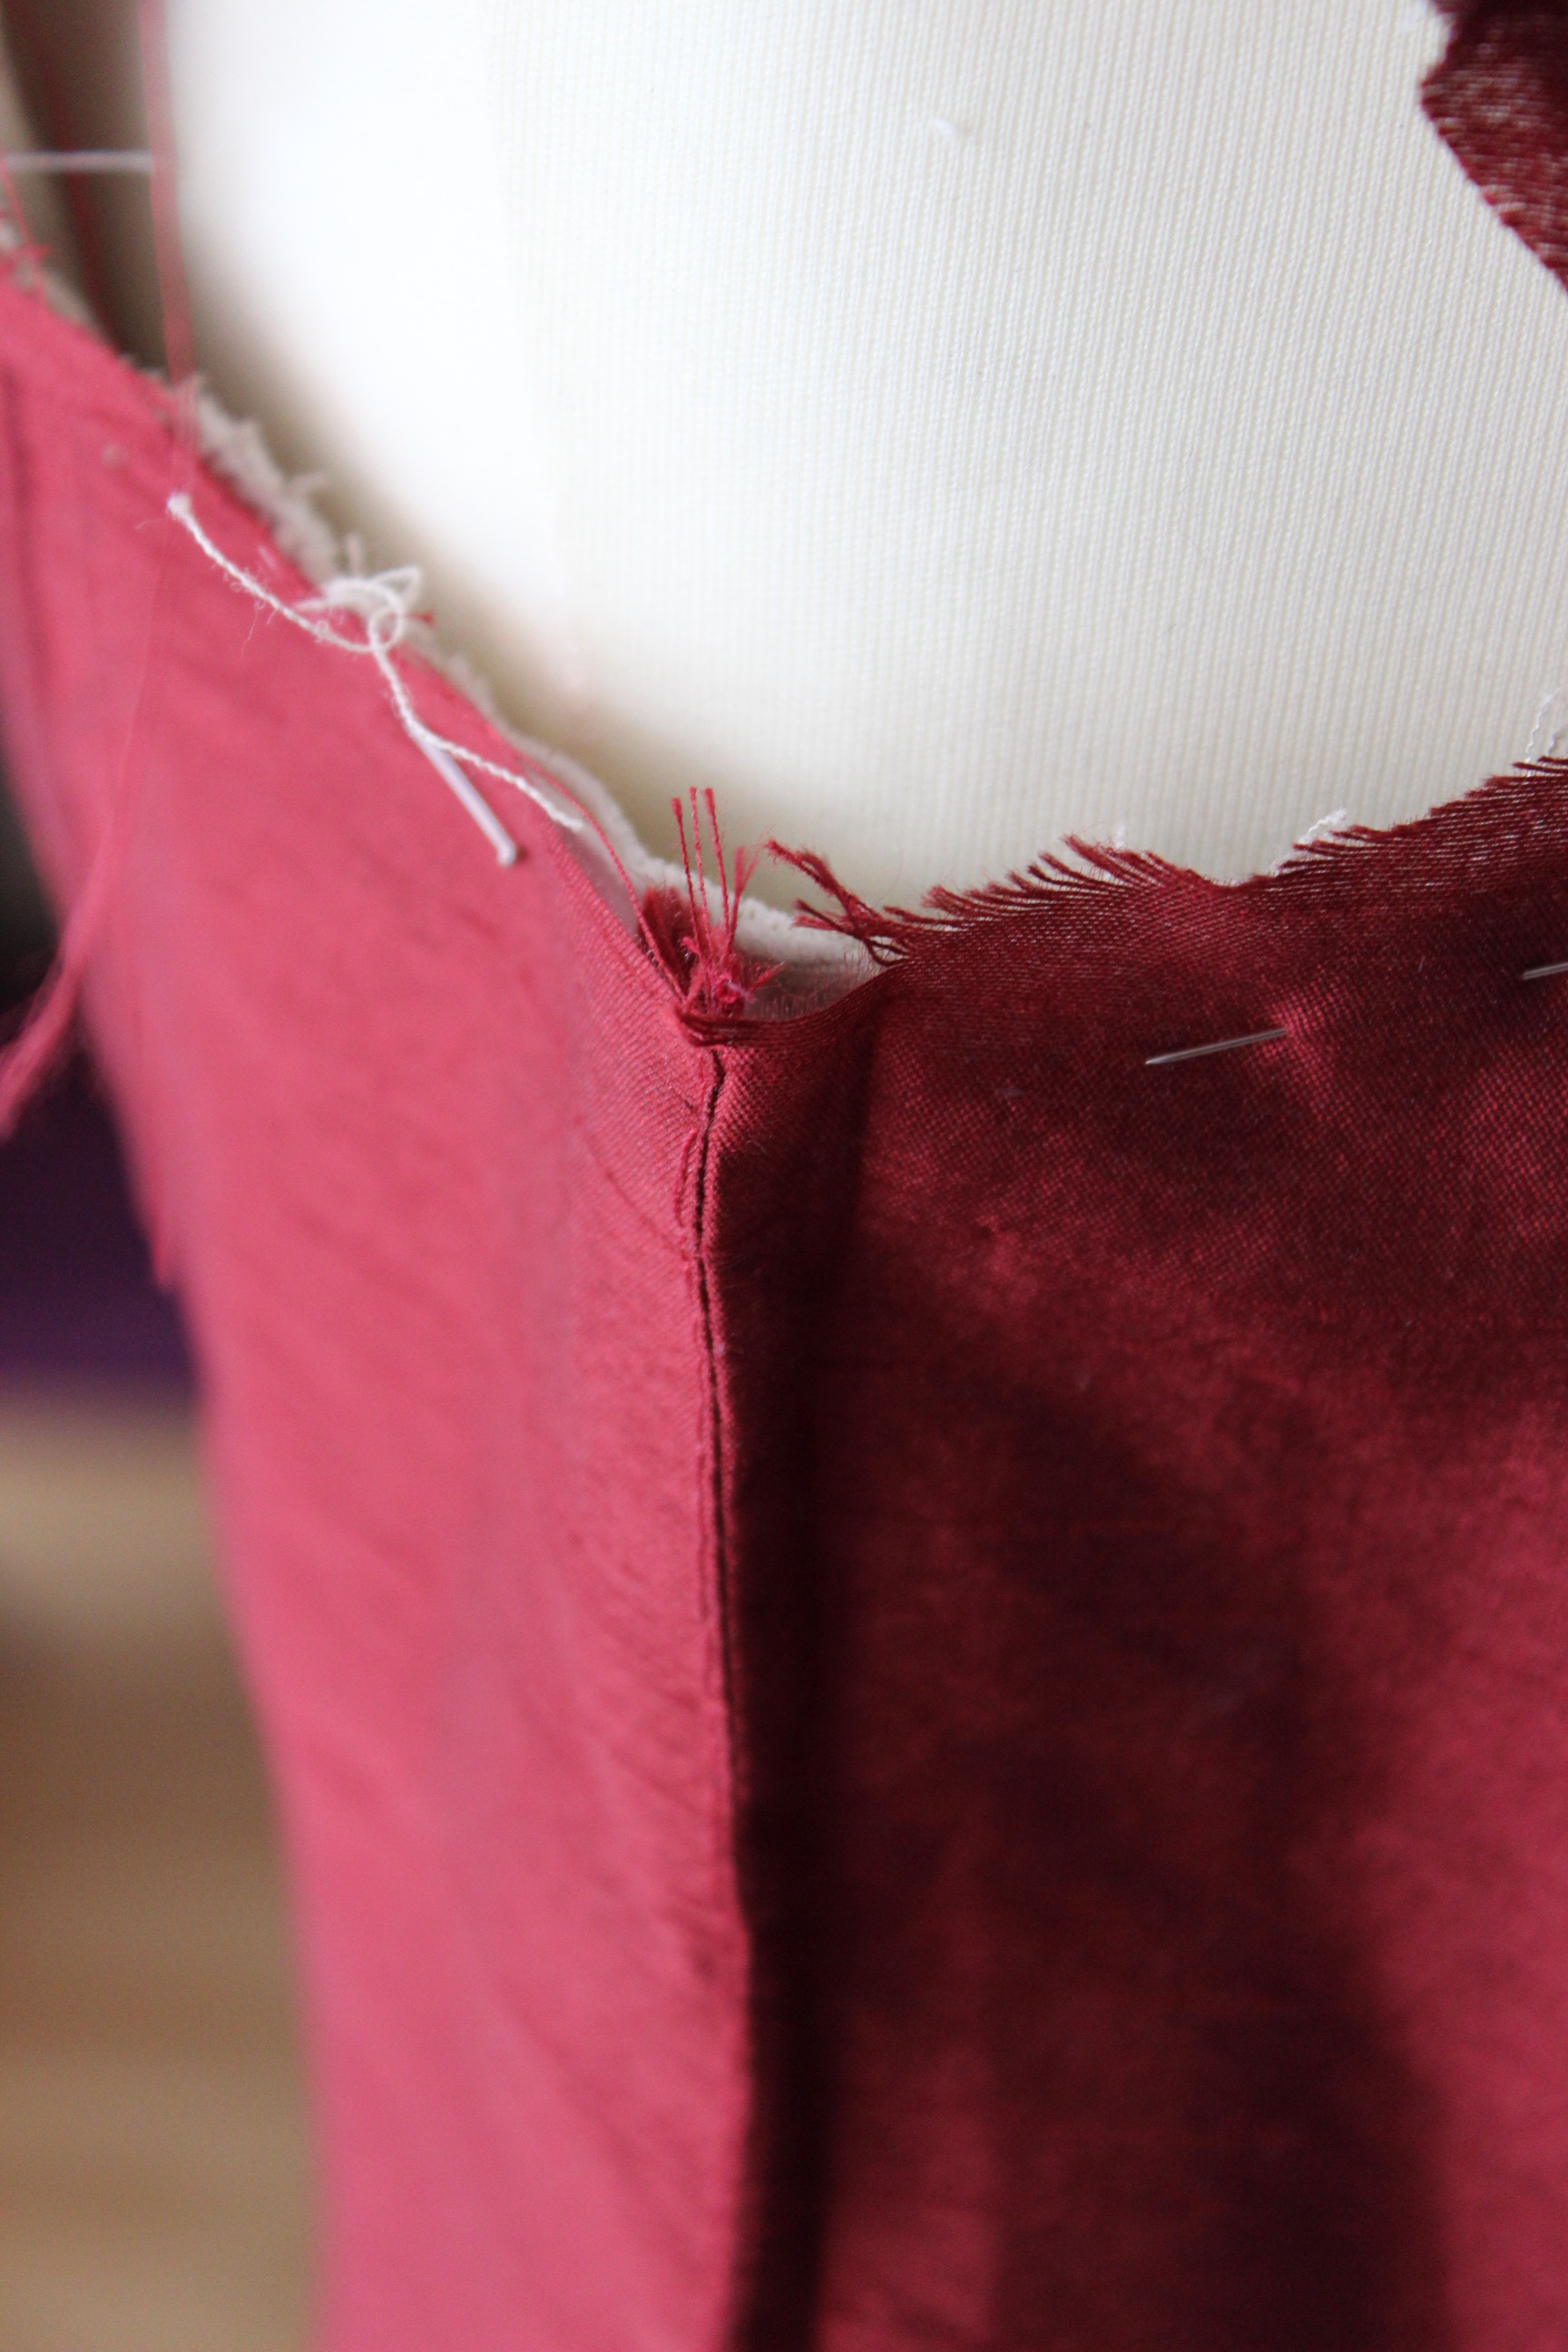
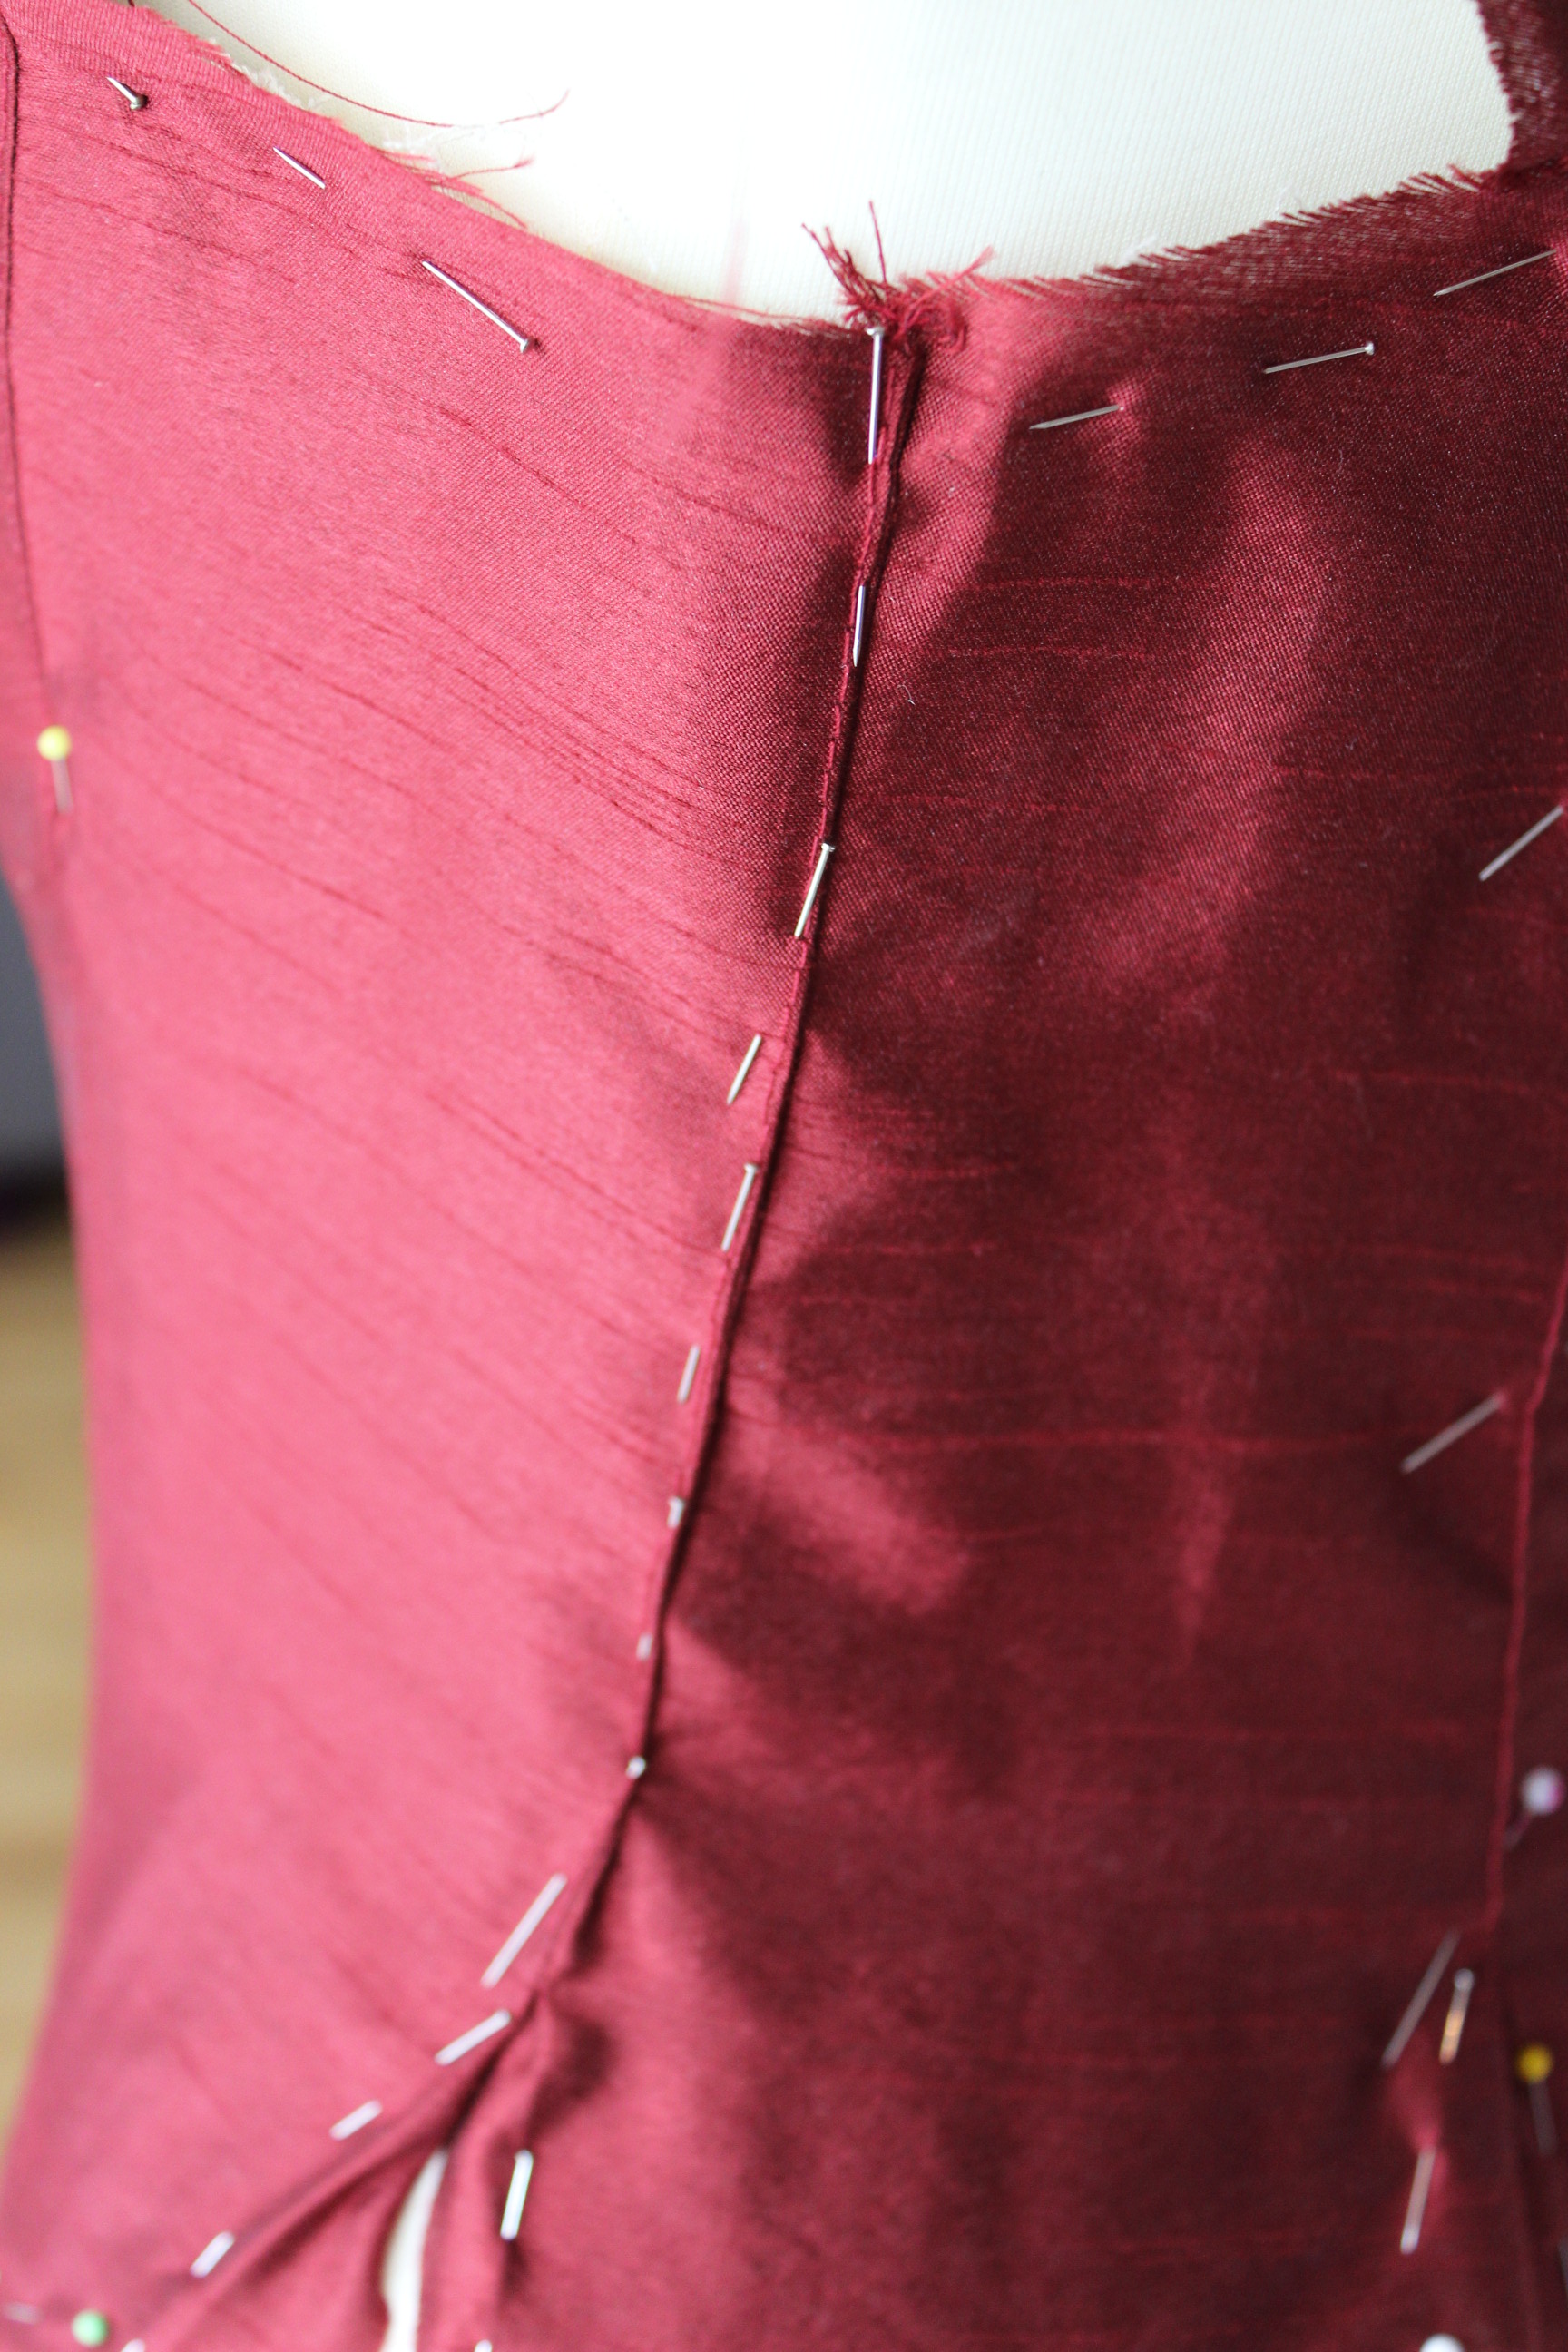
Since the fabric was a bit slippery and thin, I decided to stitch it together using my sewing machine before adding the strengthening and decoration hand finishing on top.
IMG_7789

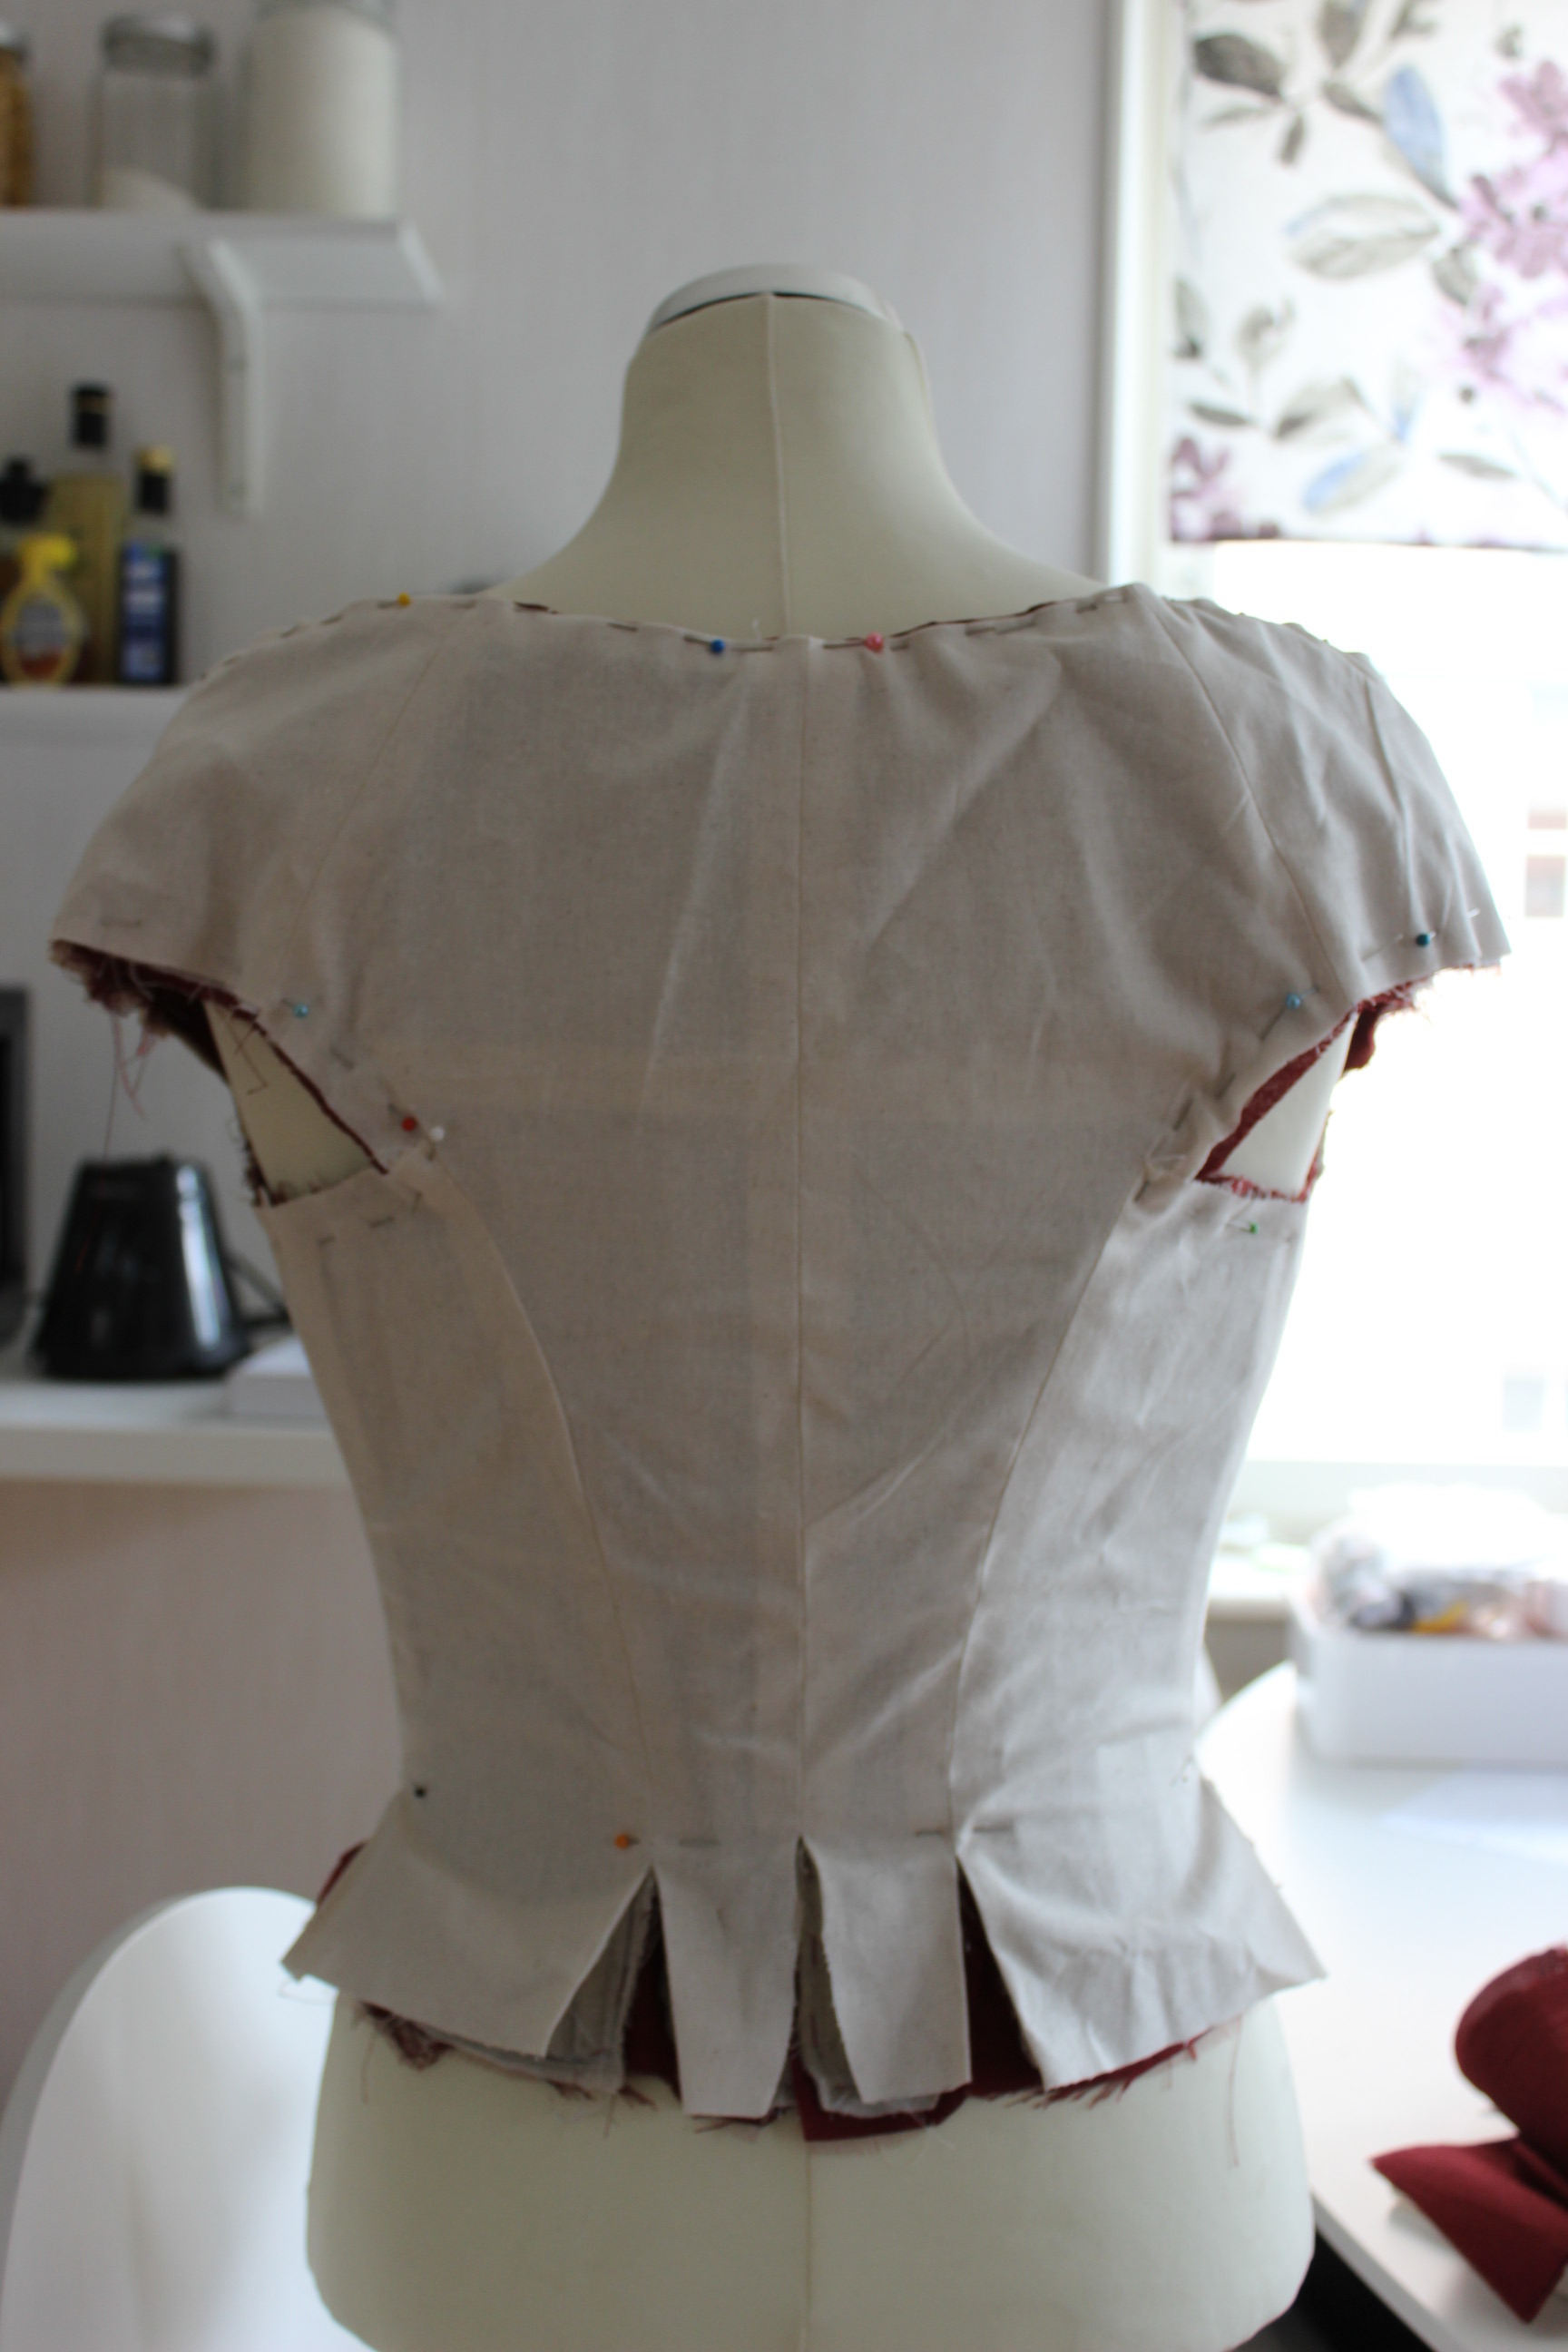
Then it was time to cover the foundation in red faux silk.
IMG_7802 IMG_7800

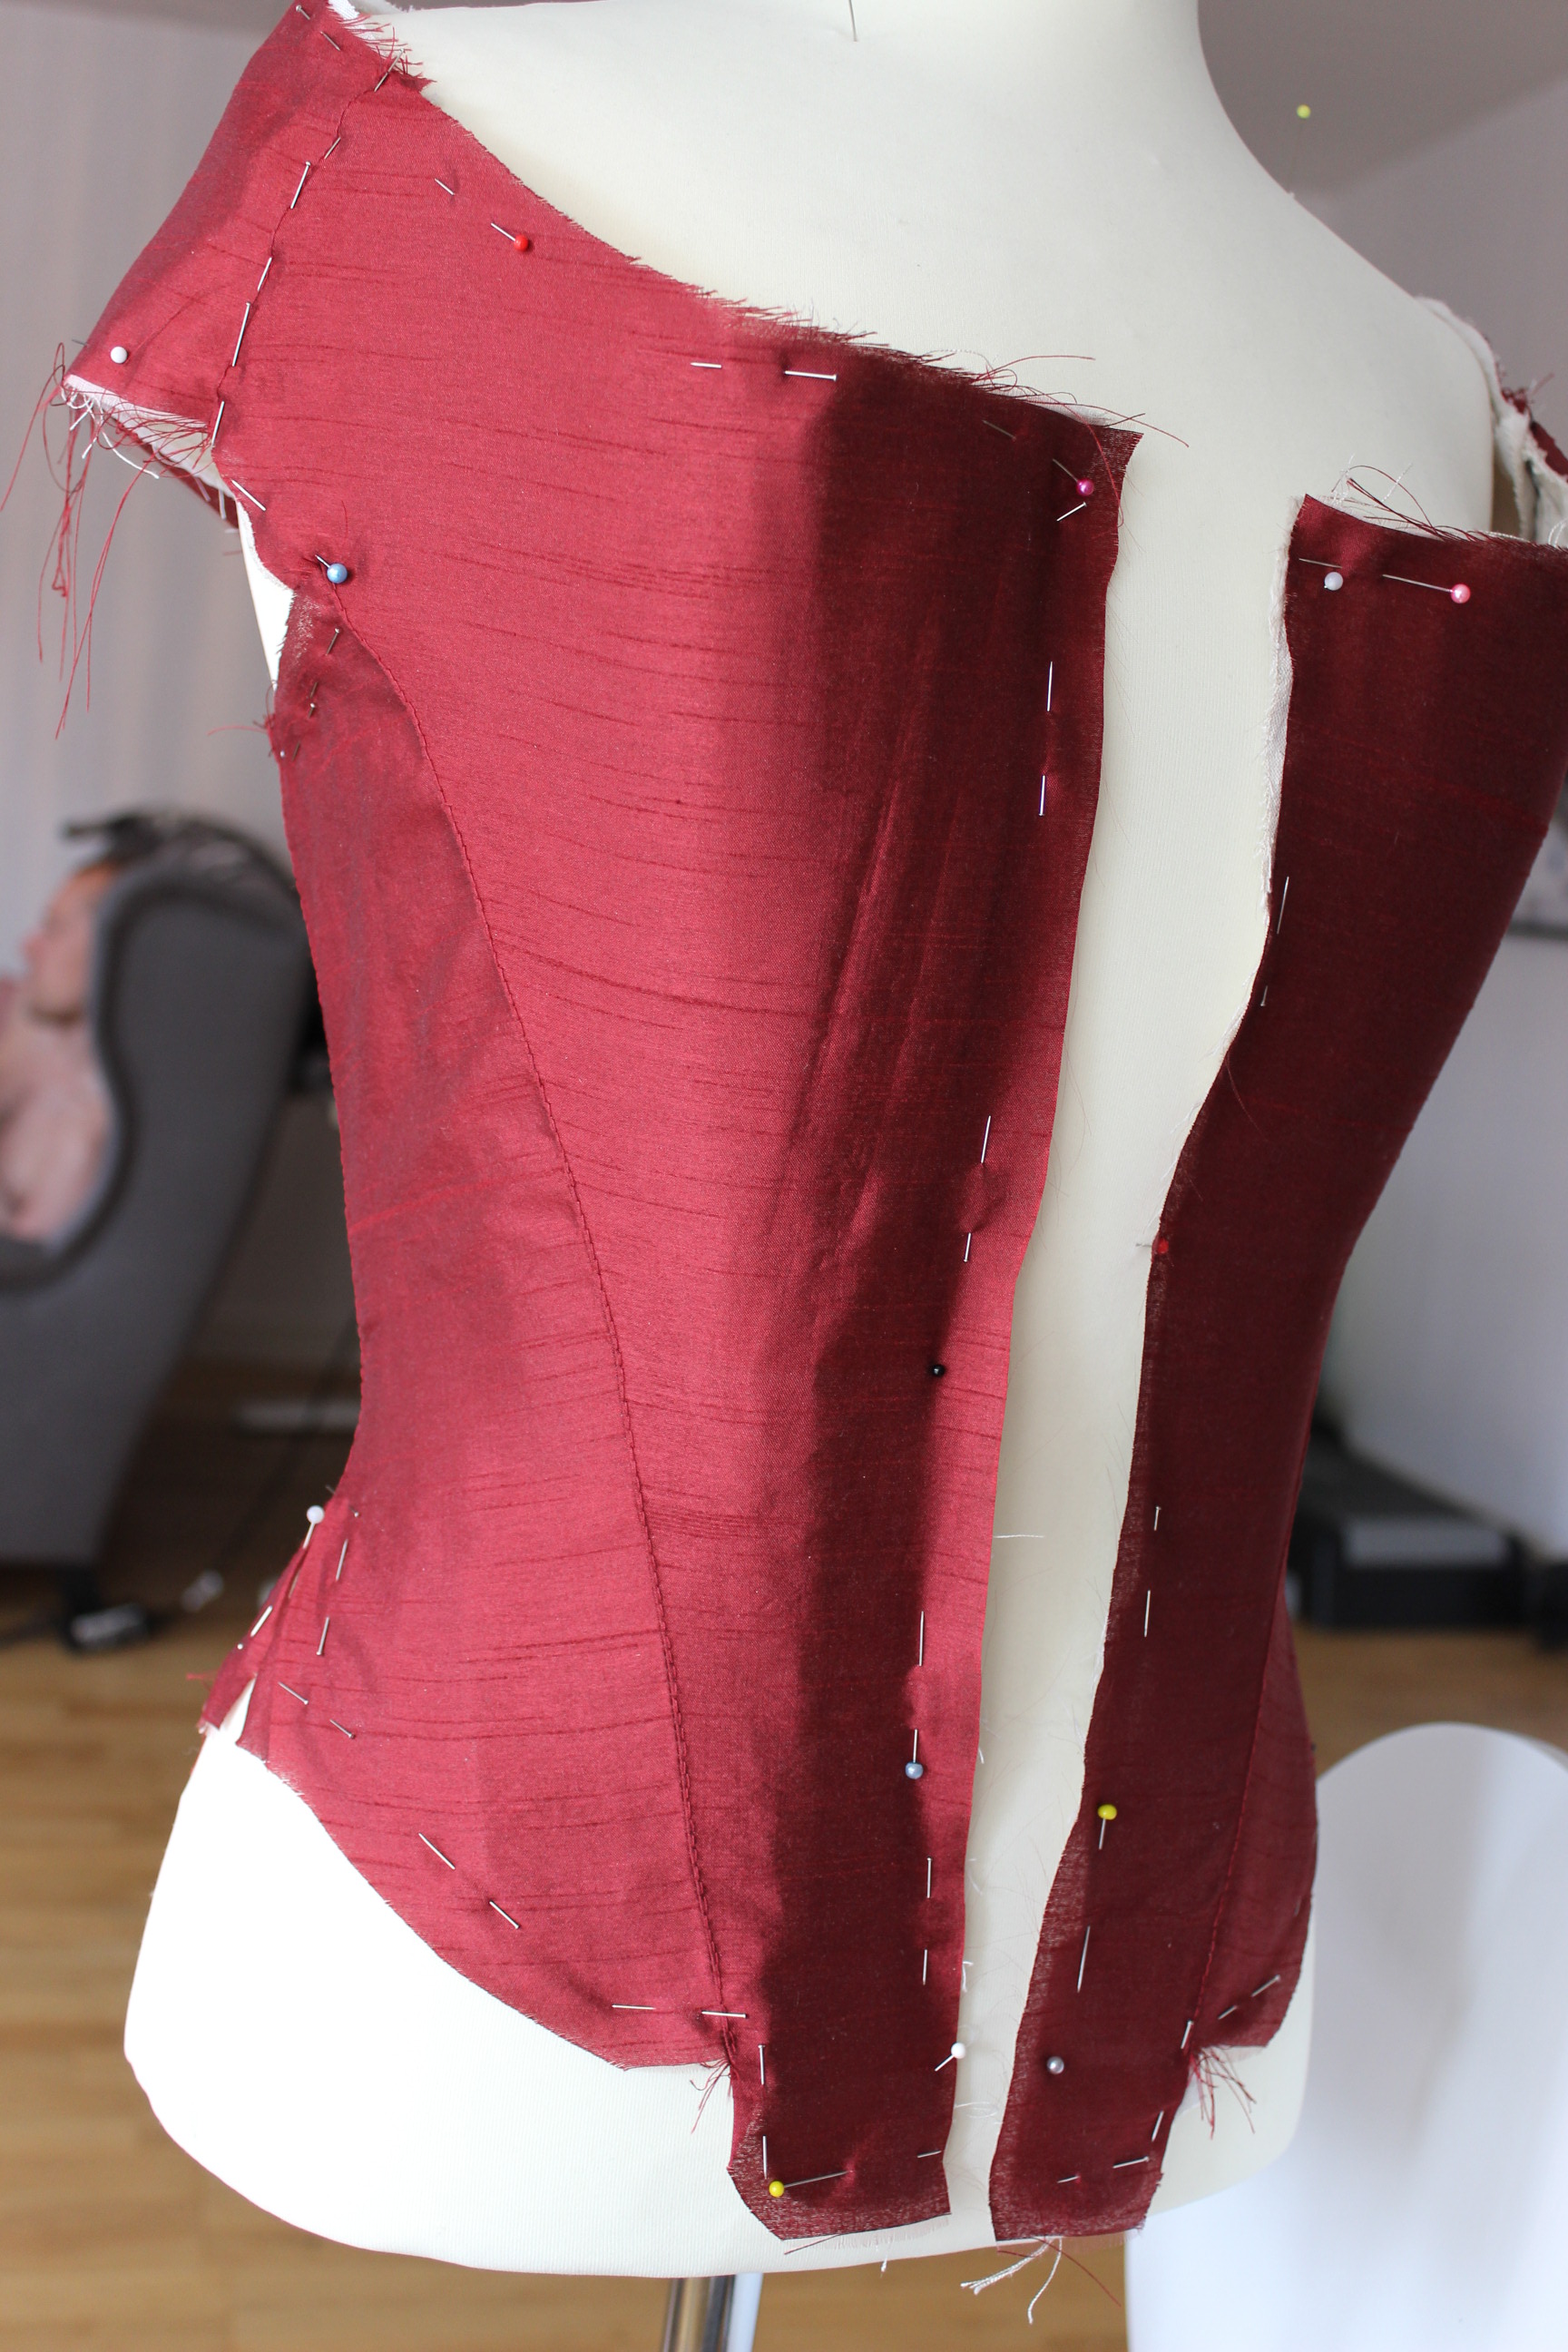
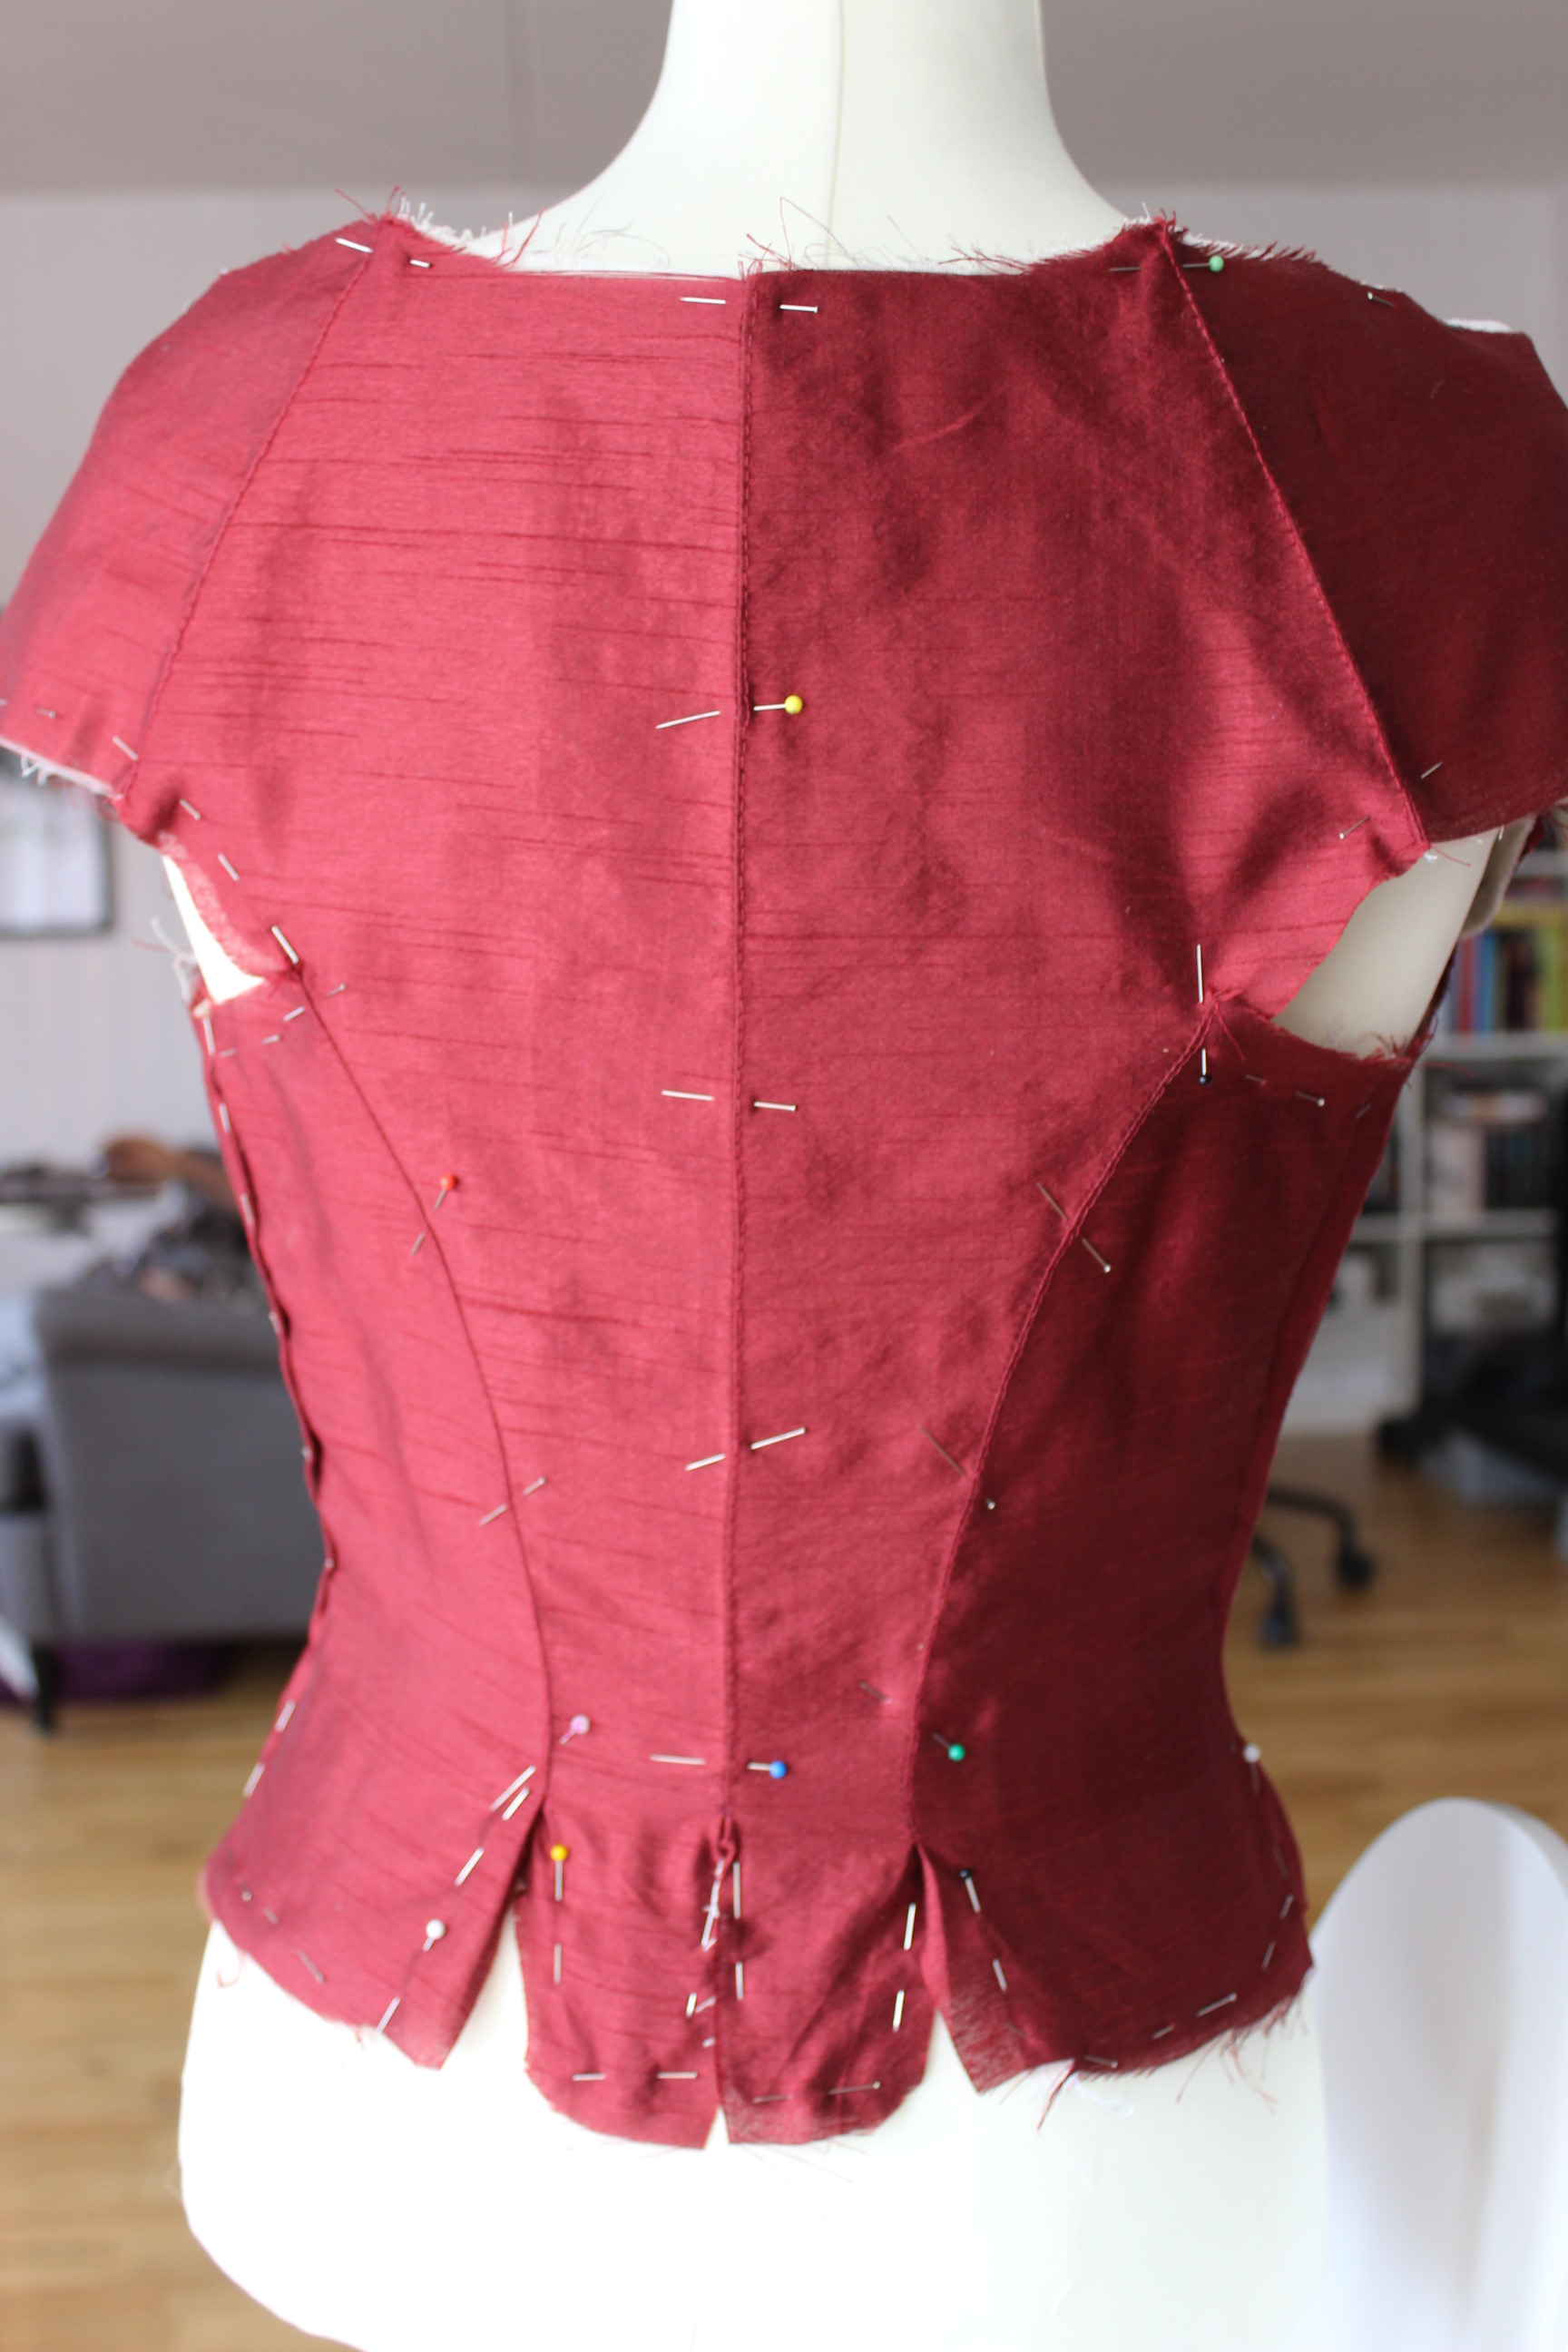
I’d accidentally made the outer layer a bit to big at the side seam, and tried to pin it down to fit.
IMG_7798 IMG_7799
After some fiddling I decided to let it be for now, and to take the excess in later if needs be – better to big then to small.
(a very wise choice as it proves later on)

The linen lining was a bit easier to fit into the bodice.
IMG_7812 IMG_7810

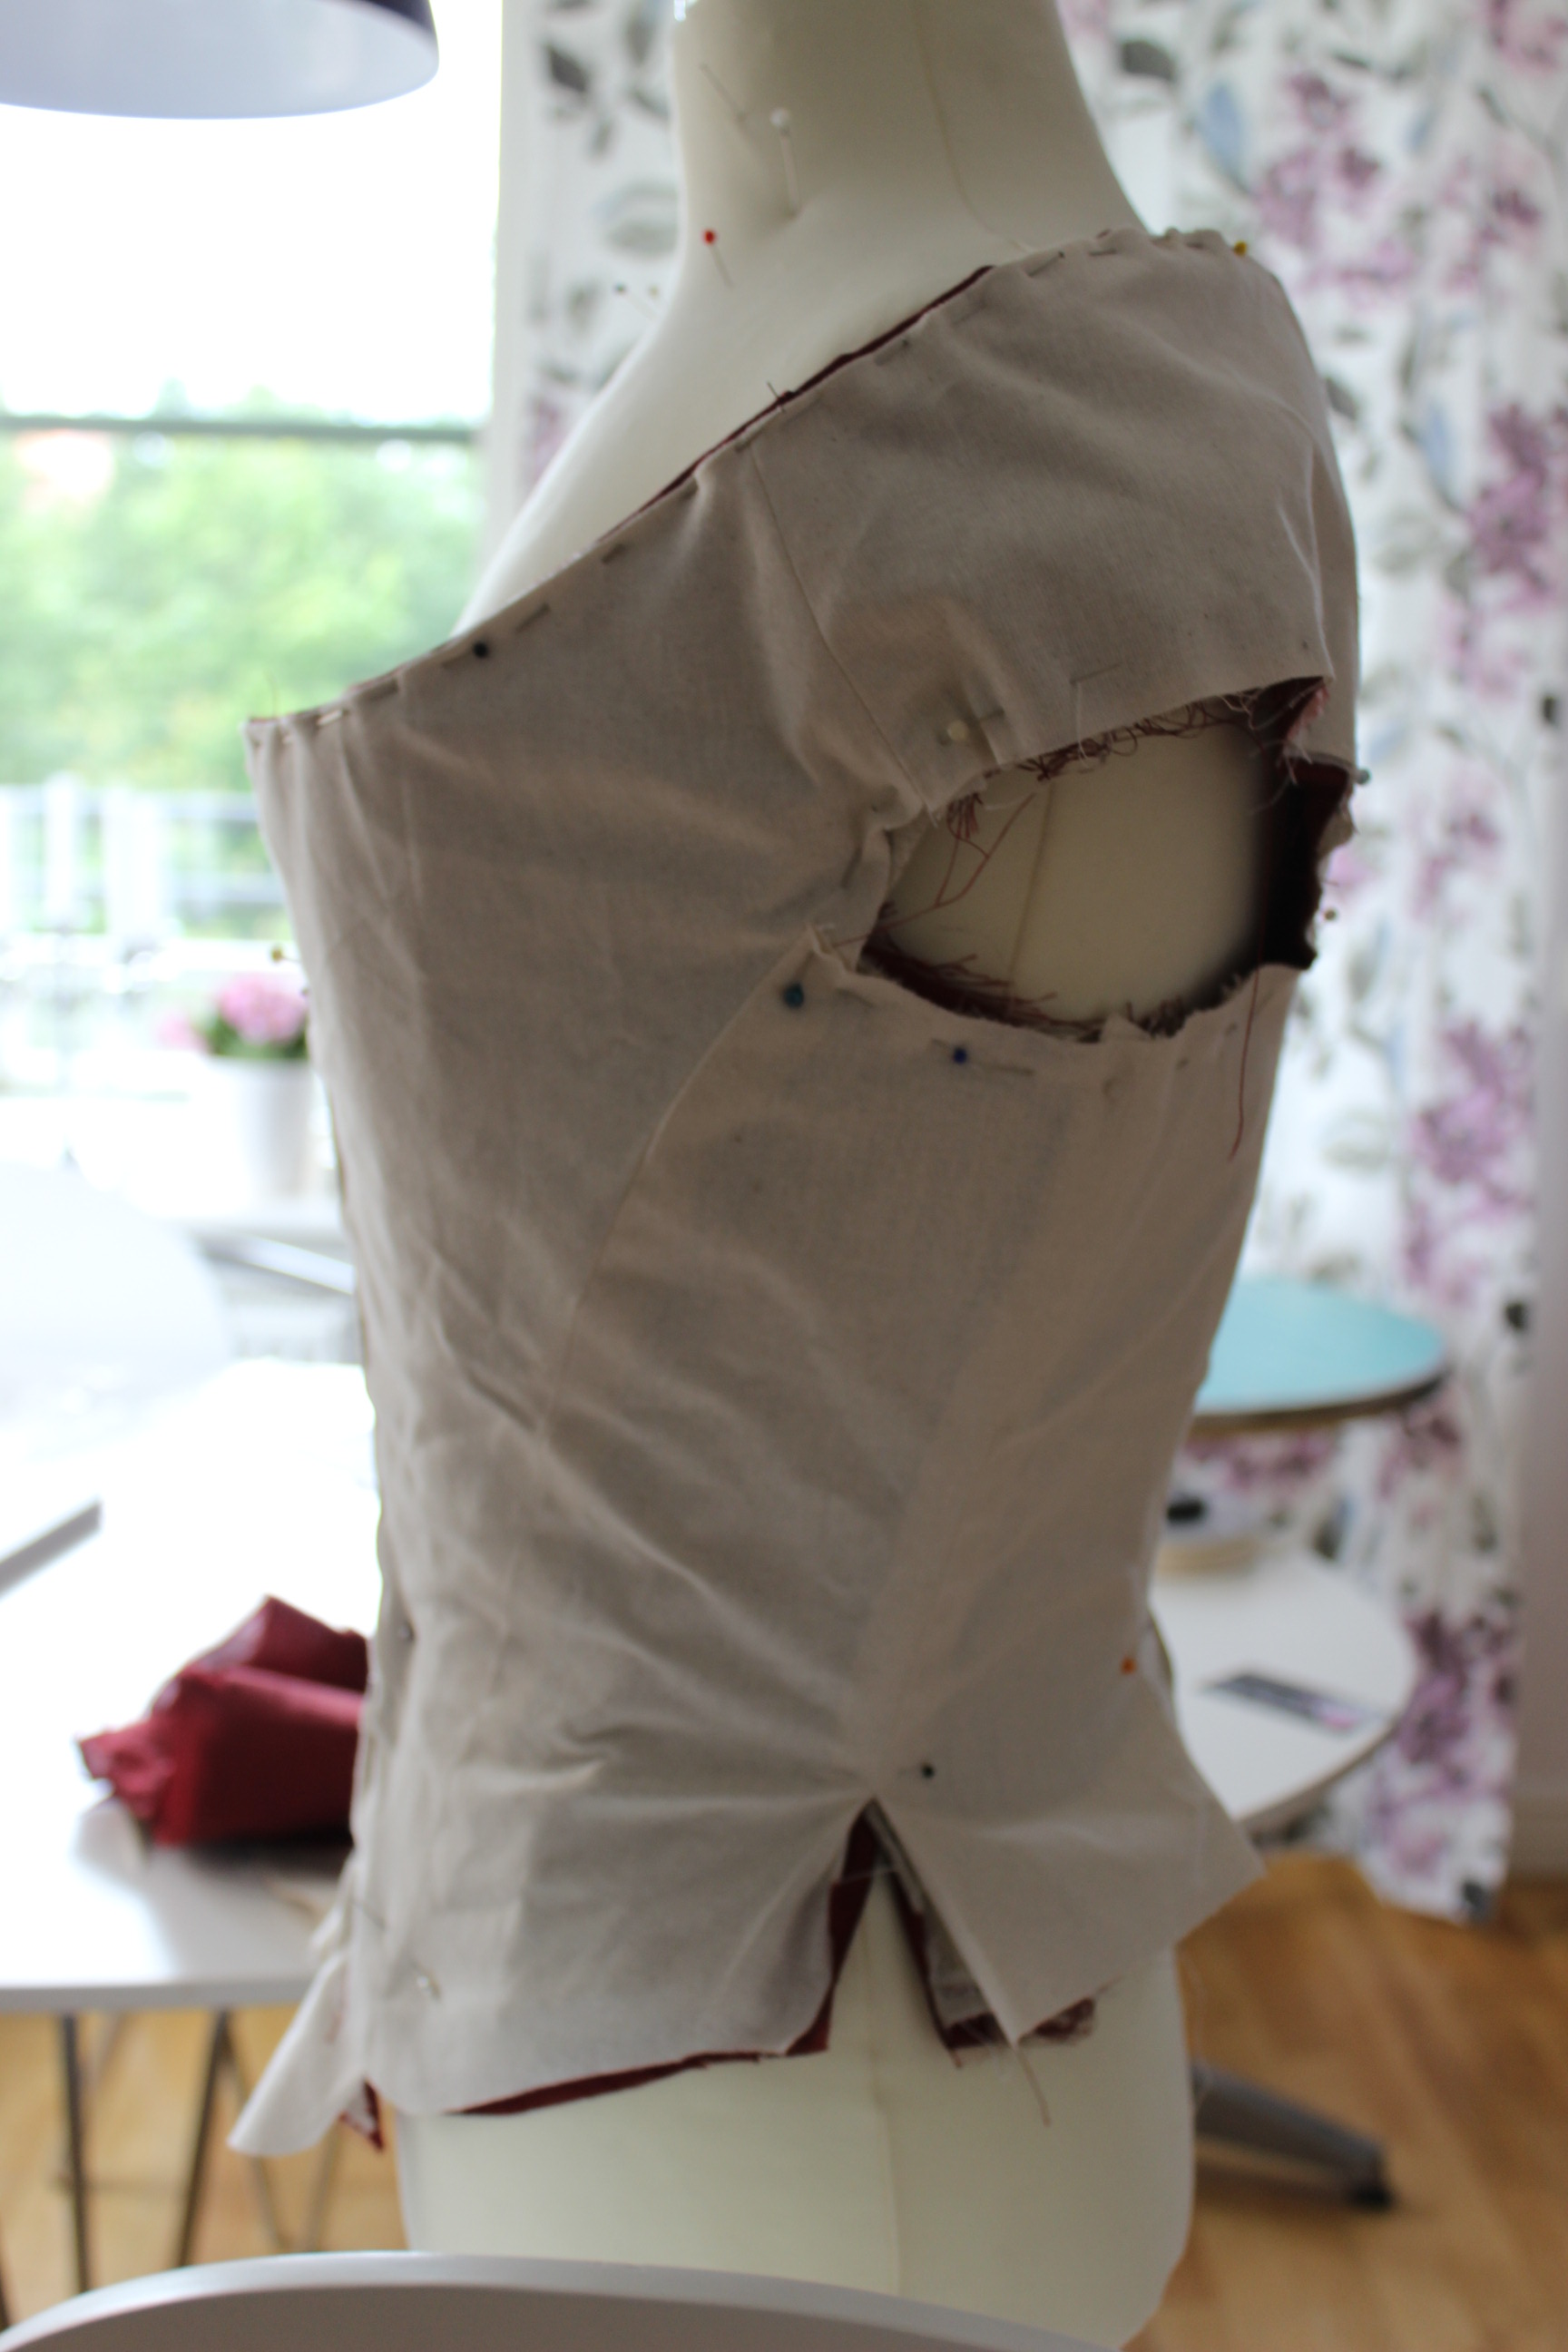
Once the main bodice pieces was basted down I started working on the sleeves.
Drafting the pattern using my books as a guide.
IMG_7542

Then I just basted the red fabric to the interning (aka lining), stitched the seam together  and pinned the pleats.
IMG_7805

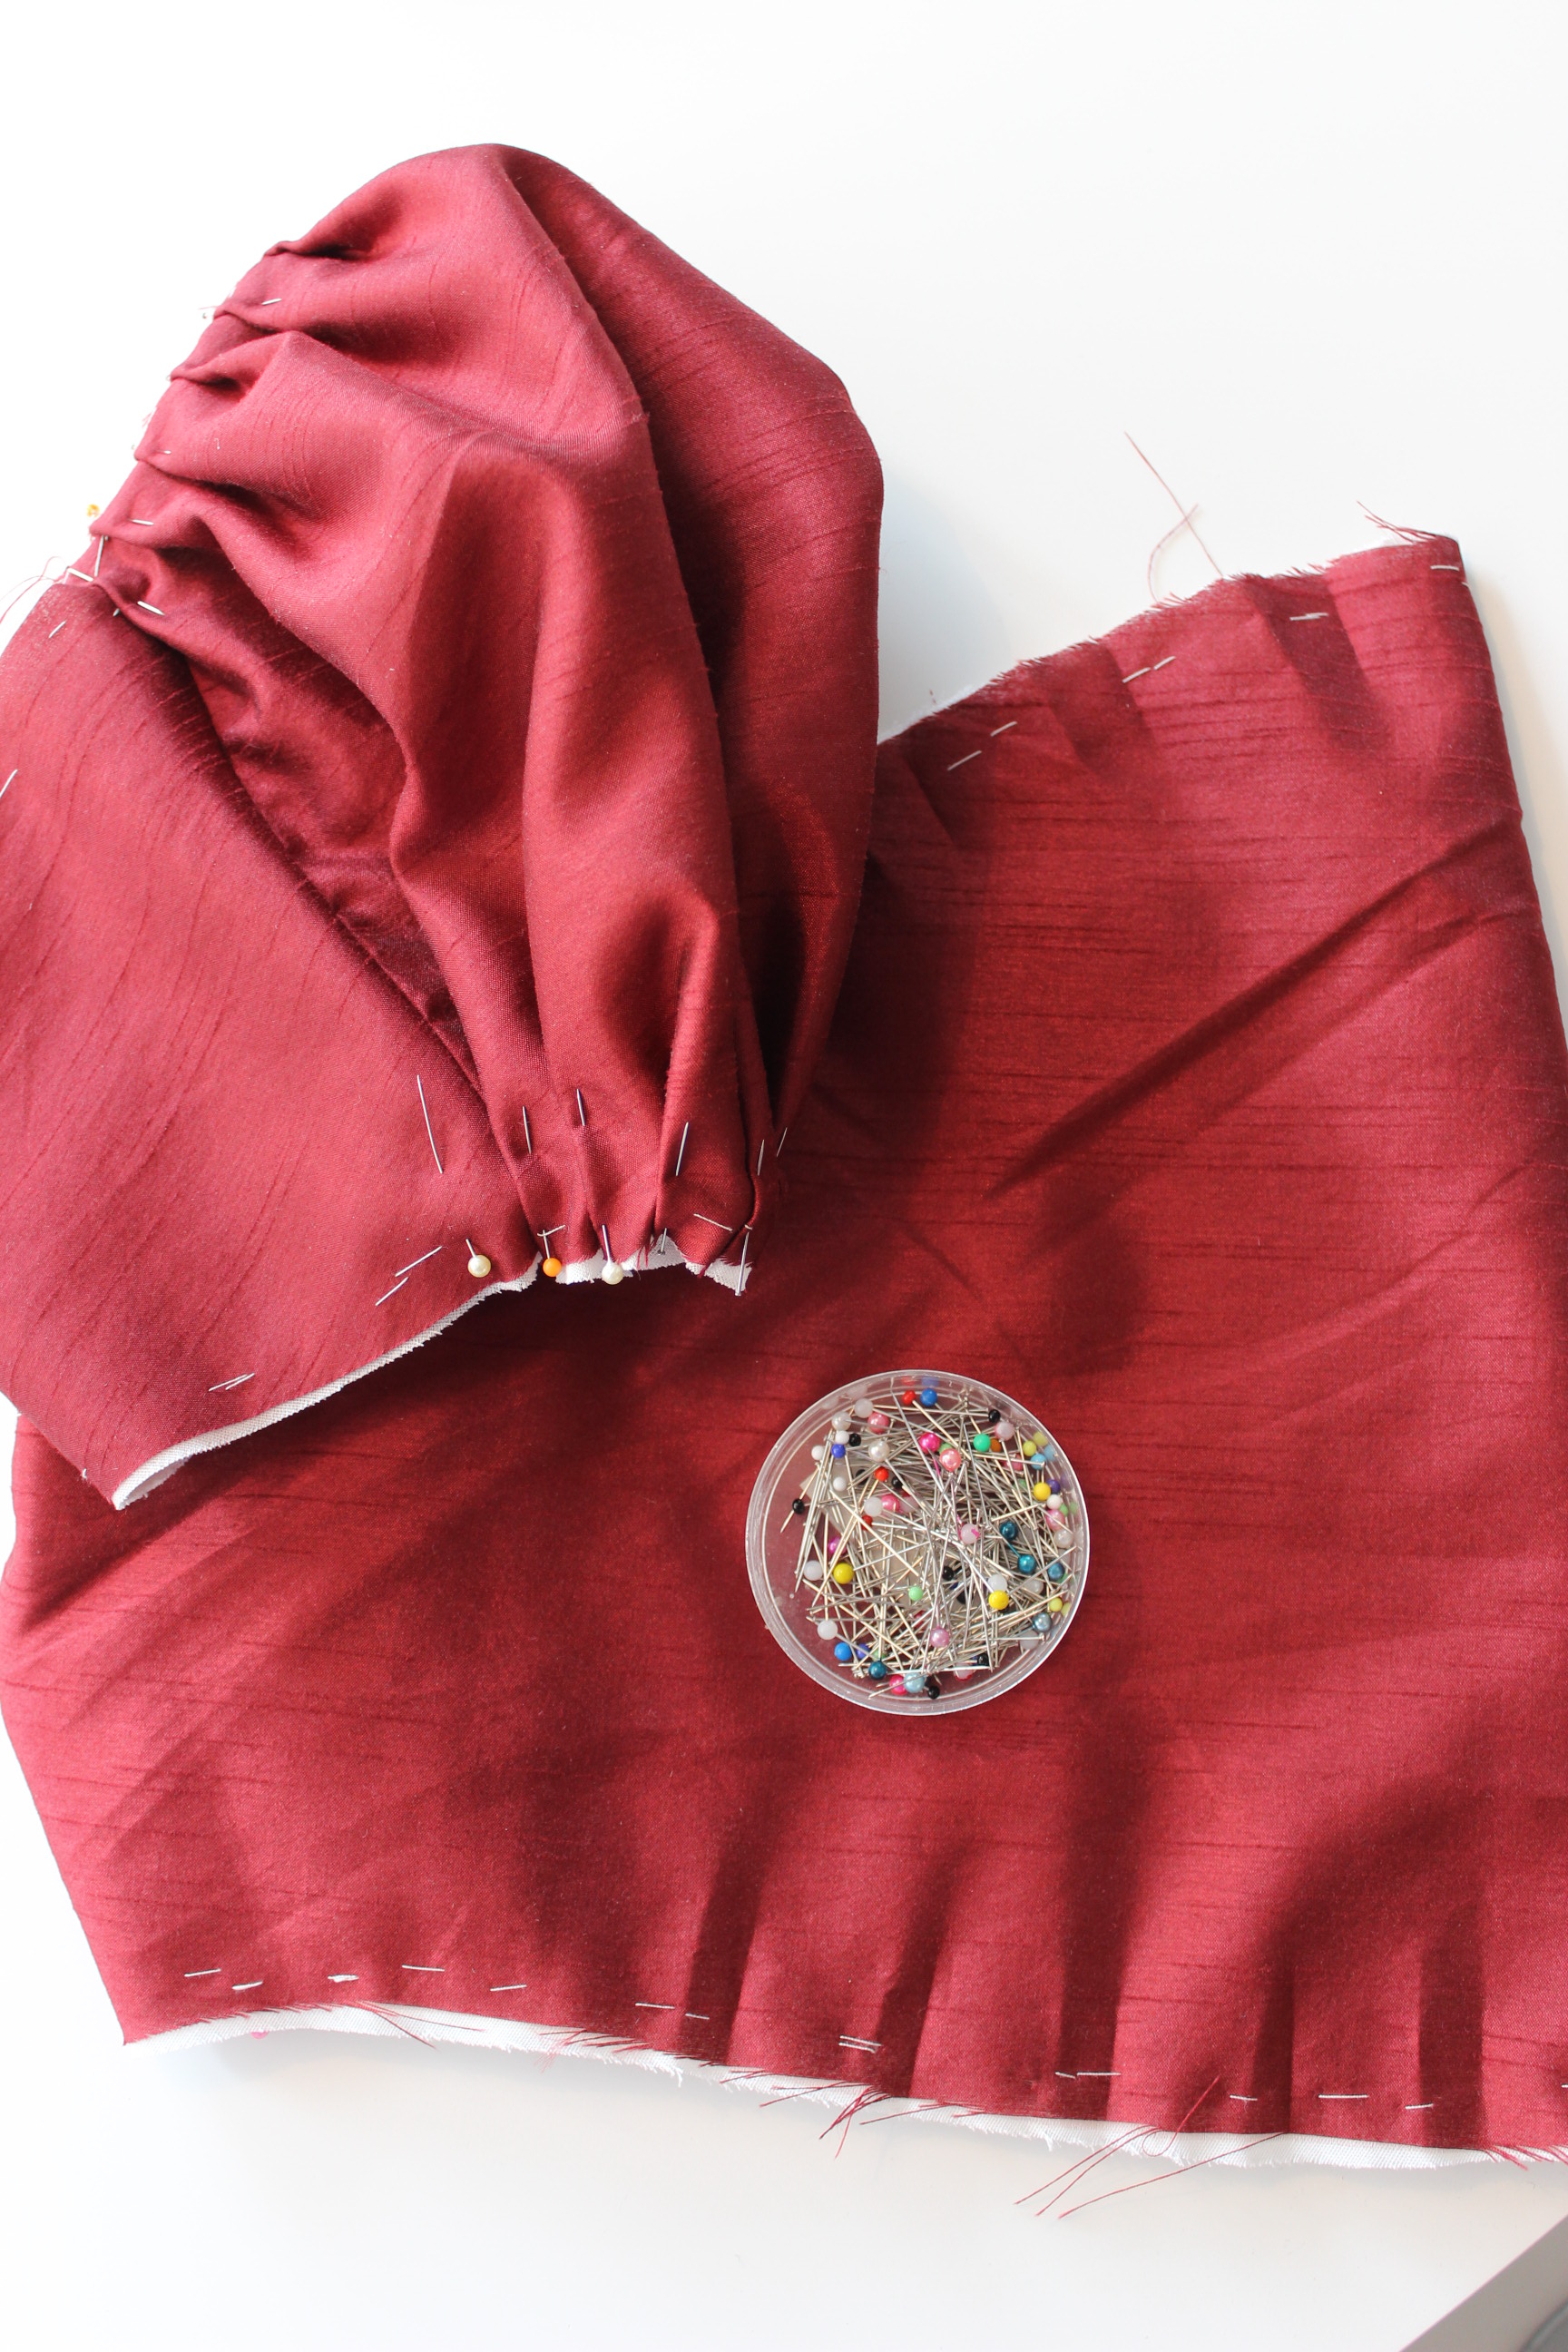
I pleated the sleeves by hand, and sewed chains of thread to keep the pleats in place.
And finished them of by folding some self fabric trim round the lower edge. IMG_7815The sleeves ready to be set.

Then I set the sleeves to the bodice and finished by binding the arm holes using bias tape.IMG_7833

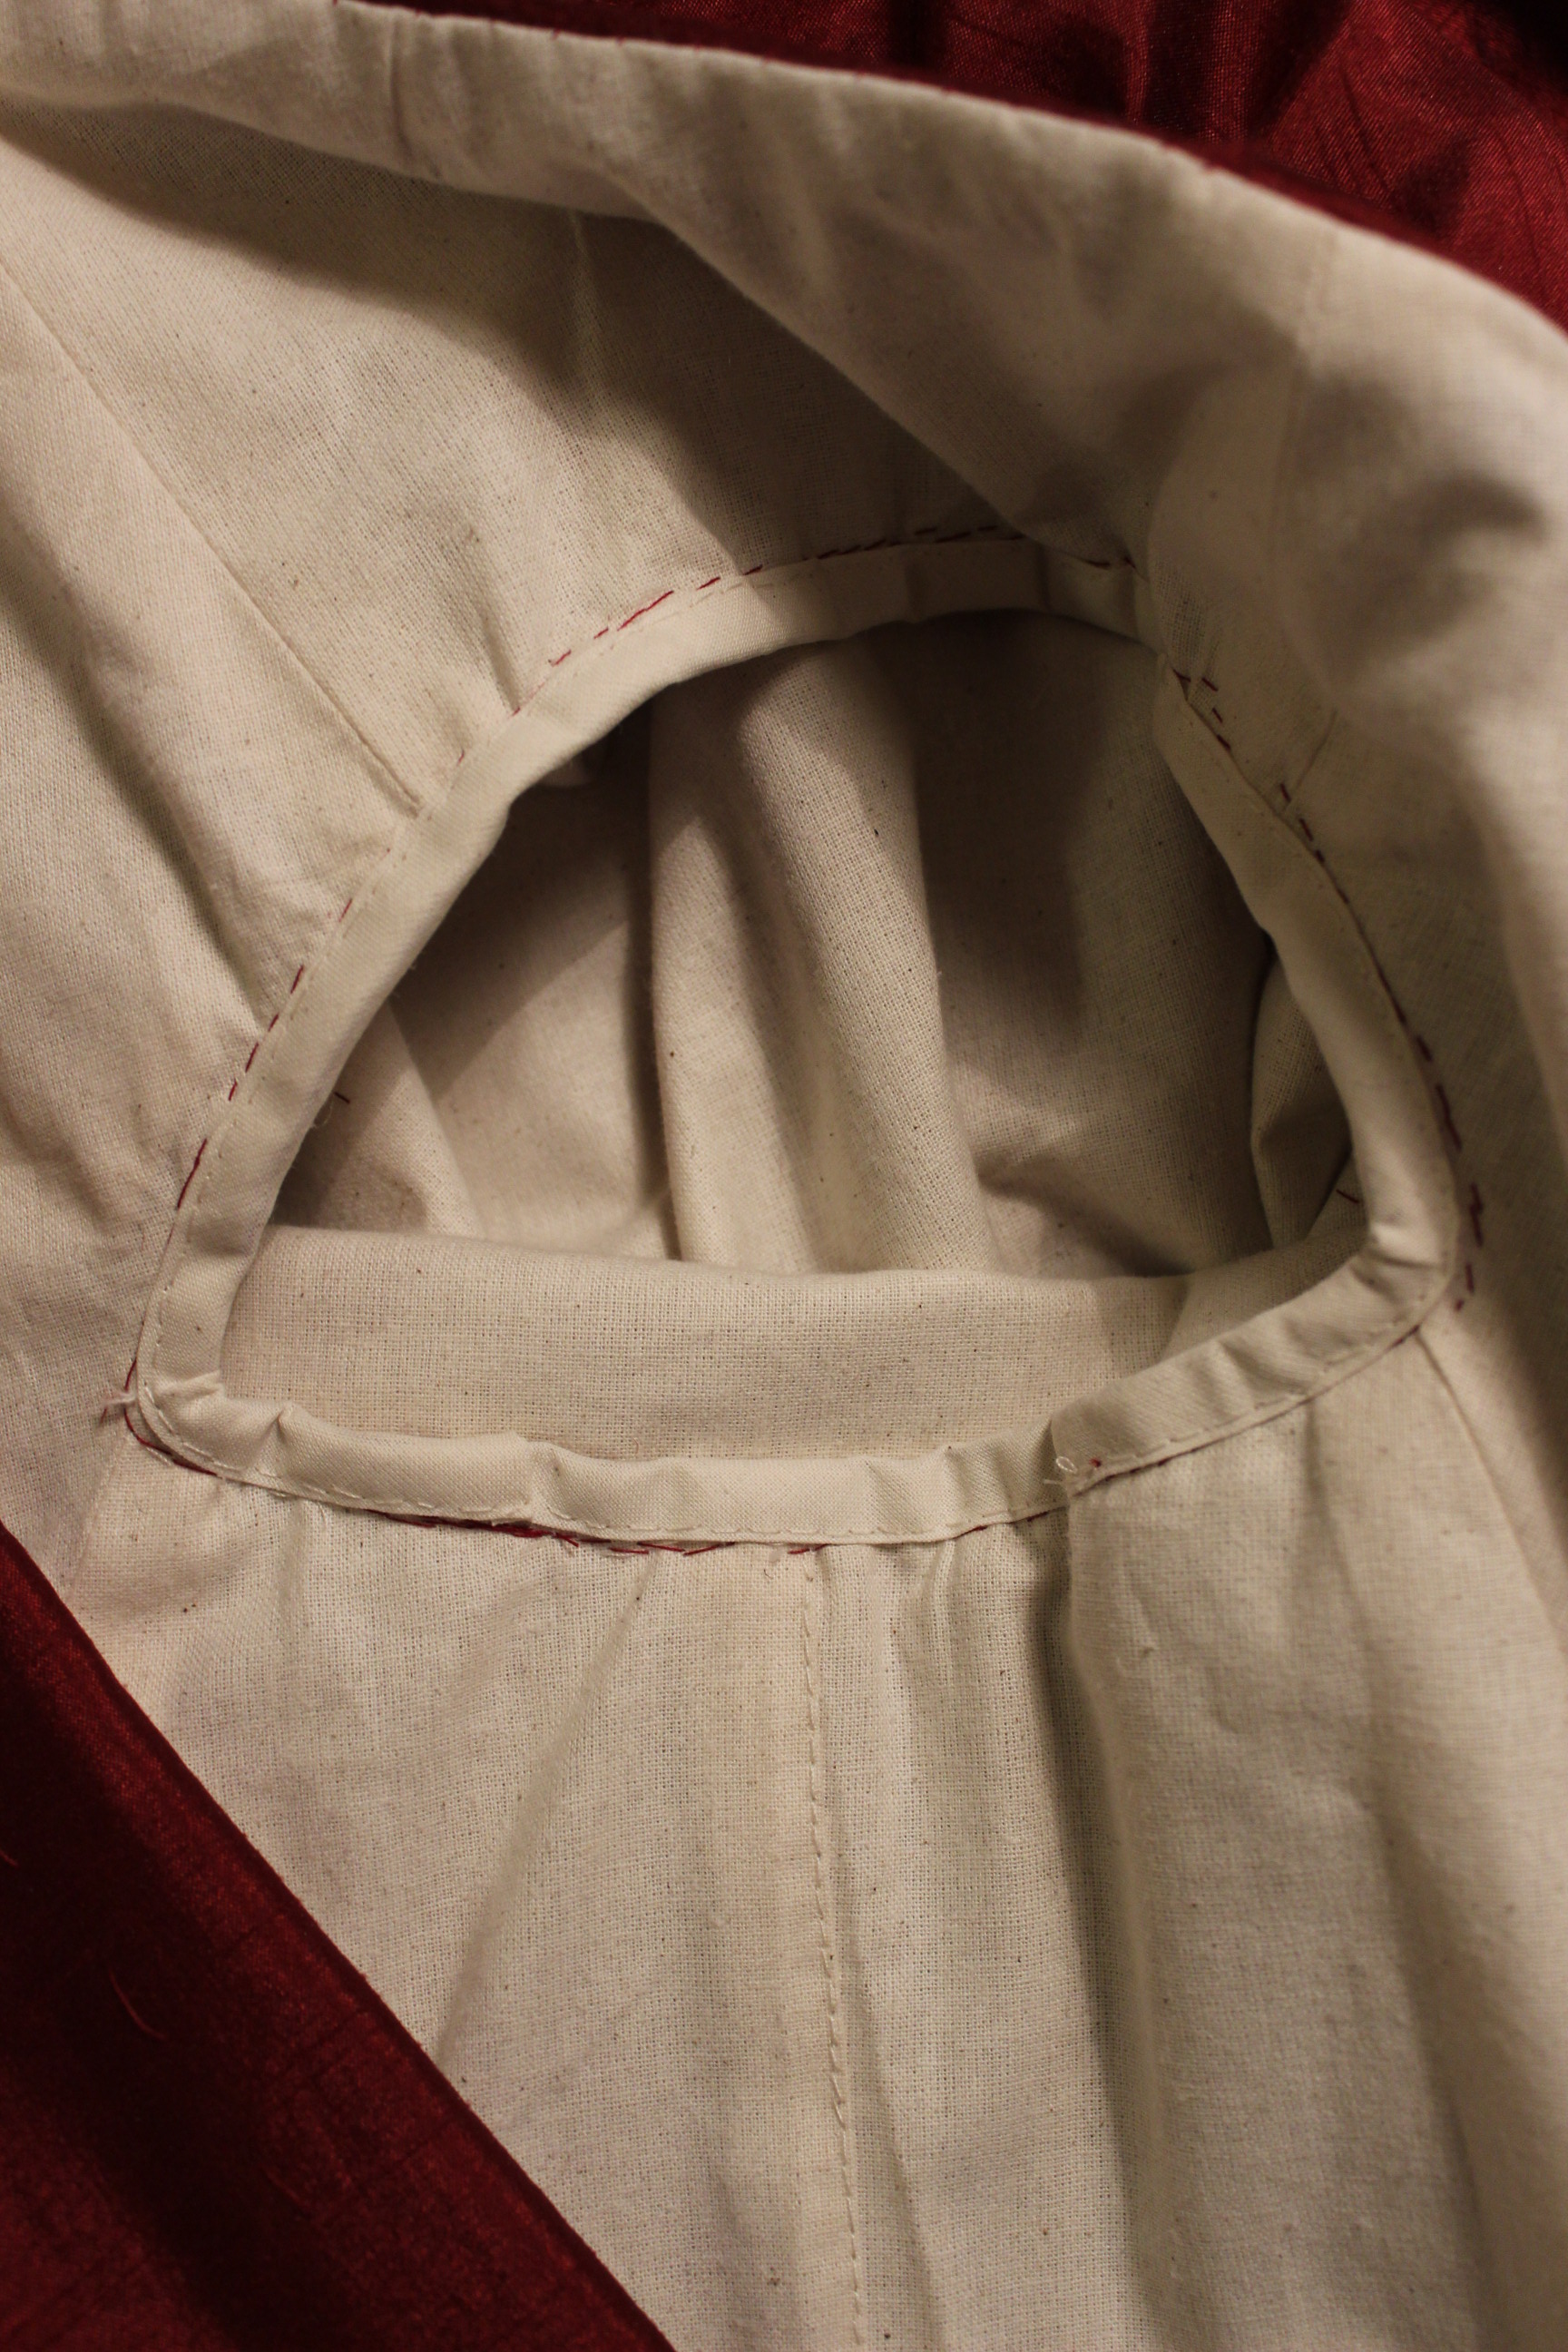
Next up – the finishing touches

1850s Shaped Crinoline

When planing the HSF items earlier this year, I decided to try to make a mid 19th century Crinoline for nr 12 Shape & Support.8715_424_249-1850-crinoline

I’ve wanted one for about a year, and now there was no exuse not to make one.

I searched the internet and came up with two variations I liked. b20654dea73bc720bf10f76a2d708280

2d5b6a491e65c5ca91789ec49eee6b3b1860s, so a bit late but you get the idea.

I decided to do a mash-up of the two – keeping the first ones shape, but adding the fabric of the lower section in the second one.IMG_9251I didin’t use any pattern but made some calculations of the size and amount of rectangles I would need.

I found this thick green polyester in my stash, and figured why not. I cut the pieces letting the widht of the fabric decide the size of the bottom of the finished crinoline (220 cm). IMG_9252From left: Vertical ribbons, bone casings, bottom part, smal pieces of chanels and a waistband at the right.

Then I pressed the long ribbons to turn them in to bone-casings.IMG_9254About 6,5 m or so.

Then I sewed the boning chanels to the pieces to create the bottom part of the crinoline.
IMG_9255 IMG_9257
The chanels shown from the wrong side and the right side.

Then I hemmed the pieces creating the vertical support ribbons.IMG_9262 There are eight of them at 1 m a piece = about 16 m of hemming (its a good thing I decided to make this one on the machine).

Then I lay it out on the floor to decide the size and placement of he ribbons.IMG_9261

I put it on my dressform to make sure everything looked even.IMG_9265And stitched the ribbons down to the wasitband and lower section of the crinoline.

IMG_9266Looks kind of stupid without the boning.

Then I pressed the smaler pieces to boning chanels about 3 cm long.IMG_9271I then stiched these on to the vertical ribbons, making places for the bones to conect to the foundation.

Then it was time for the boning. IMG_9253I used about 11 m of steel wire, originaly ment to be used to un-plug stop in the drain.

I used some electrical tape to cover the sharp edges, and taped the ends togeter inside the chanels in the bottom part of the crinoline.IMG_9272

IMG_9369Here you can se the places in which I taped the wires togeter. I then stiched the holes back up.

Working my way up from the bottom I inserted the boning and closed each hoop before moving on to the next.IMG_9273Three bones inserted.

When I got to the “free” bones I inserted them into the smal chanels at each vertical ribbon, and taped the hoop shut at the end.IMG_9370

Then I tried it on to get a better look of how it would look.IMG_9280Pretty cool, but still 4 more bones to go.

I left the top front open and free of bones to be able to get in and out of the skirt.IMG_9283

I inserted some gromes to make the skirt lace up the front.IMG_9375You can also see where the boning stops at the front ribbon.

IMG_9285Looking pretty on my dressform.

But one problem remaind.IMG_9392The bones very easyerly left the casings, and wandered away in other directions.

To solve the problem I decided to make holes in the boning and casing, to tie them togeter at the ends.

IMG_9612I borrowed my fathers elecric drill, but alas, not even a notch on the steel boning. Dead end.

My other solution worked better.IMG_9390I bought bias-tape, aproxemently the same colour as the fabric, and made them into boning casings.

Insering the boning and sewing of the ends, left me with three grren fabric covered lenghts of steel.IMG_9394

I then inserted the fabric covered boning in the chanels and stiched the ends down inside the chanel ends.IMG_9411And that was that.

Finished photos:IMG_9395

IMG_9398

IMG_9401

IMG_9405

IMG_9399

IMG_9371

IMG_9404

IMG_9406

IMG_9408


And a sneak a peak of the photoshoot:IMG_9572

Just the facts:

Challenge: 12 Shape and Support

What: A 1880s cage crinoline

Pattern: None – Just measured and cut stipes in desired lenght.

Fabric: 1 m of green cotton.

Notions: 11 m of steel bone, 1 spool of thread, 16 gromets, 2 m of green biastape (I didn’t had enough fabric to make my own), black duck tape, 3 m brown cotton cord and hook and eye for closuer at the wasitband.

How historical accurate: I don’t really know. Not that good I supose. The type of metal is wrong and I’m sure they did’n use biastape for bone-casings back then. I do think the over all look is ok, and worn with several layers of petticoats I think it will look very period. Maybe a 4/10

Time: About 8 hours.

Cost: Almost everything was from stash, but I have bought it at some point. I think it ads up to about 200 Sek (32Usd) all in all.

First worn: Just around the house for photos so far. But I would love to wear it out on a picknick this summer.

Final thoughts: I’m pretty happy about it. The hoopskirt went togeter more easy then I thougt an dit ws great fun watching it take form. I liked wearing it and strutted around the house a long time after finishing it. The size is really nice – not to big or to smal, and hopefull I can use this for both 1850s, Tudor and bridal wear.