To Re-do a Green 1840s dress

This december I will attend a 19th century christmas party and since I don’t own anything remotley chrismasy I needed to make myself something to wear. After thinking long and hard, I decided to try my hands at mid century 1840-1860s dressmaking.

I found this image and imediatly fell in love with the simplicity and elegance of the dress. I also liked the fact that is wasn’t a “Pretty Princes dress” but something a lady of my age and income wold have worn back in the days.

107101297358915514_aCE87gwt_c

I already had the perfect fabric for it.

IMG_2832

It is a bedsheet I bougt for 50 Sek (5 Usd) at goodwill a while ago. I’ve picked it up thinking it would be perfect for some les fancy dress. And since the bedsheet was so big, when I ripped the seams open and ironed it out, I got 1,5 x 4m of soft cotton fabric. That means I pay about 12 Sek per metre. Yay!

Then I remembered the 24th HSF Challenge: Re-do. You should Re-do any of the prevous challenge from the HSF 2013. So wich one would suit my dress the best – Green of course!

Then I got to work.

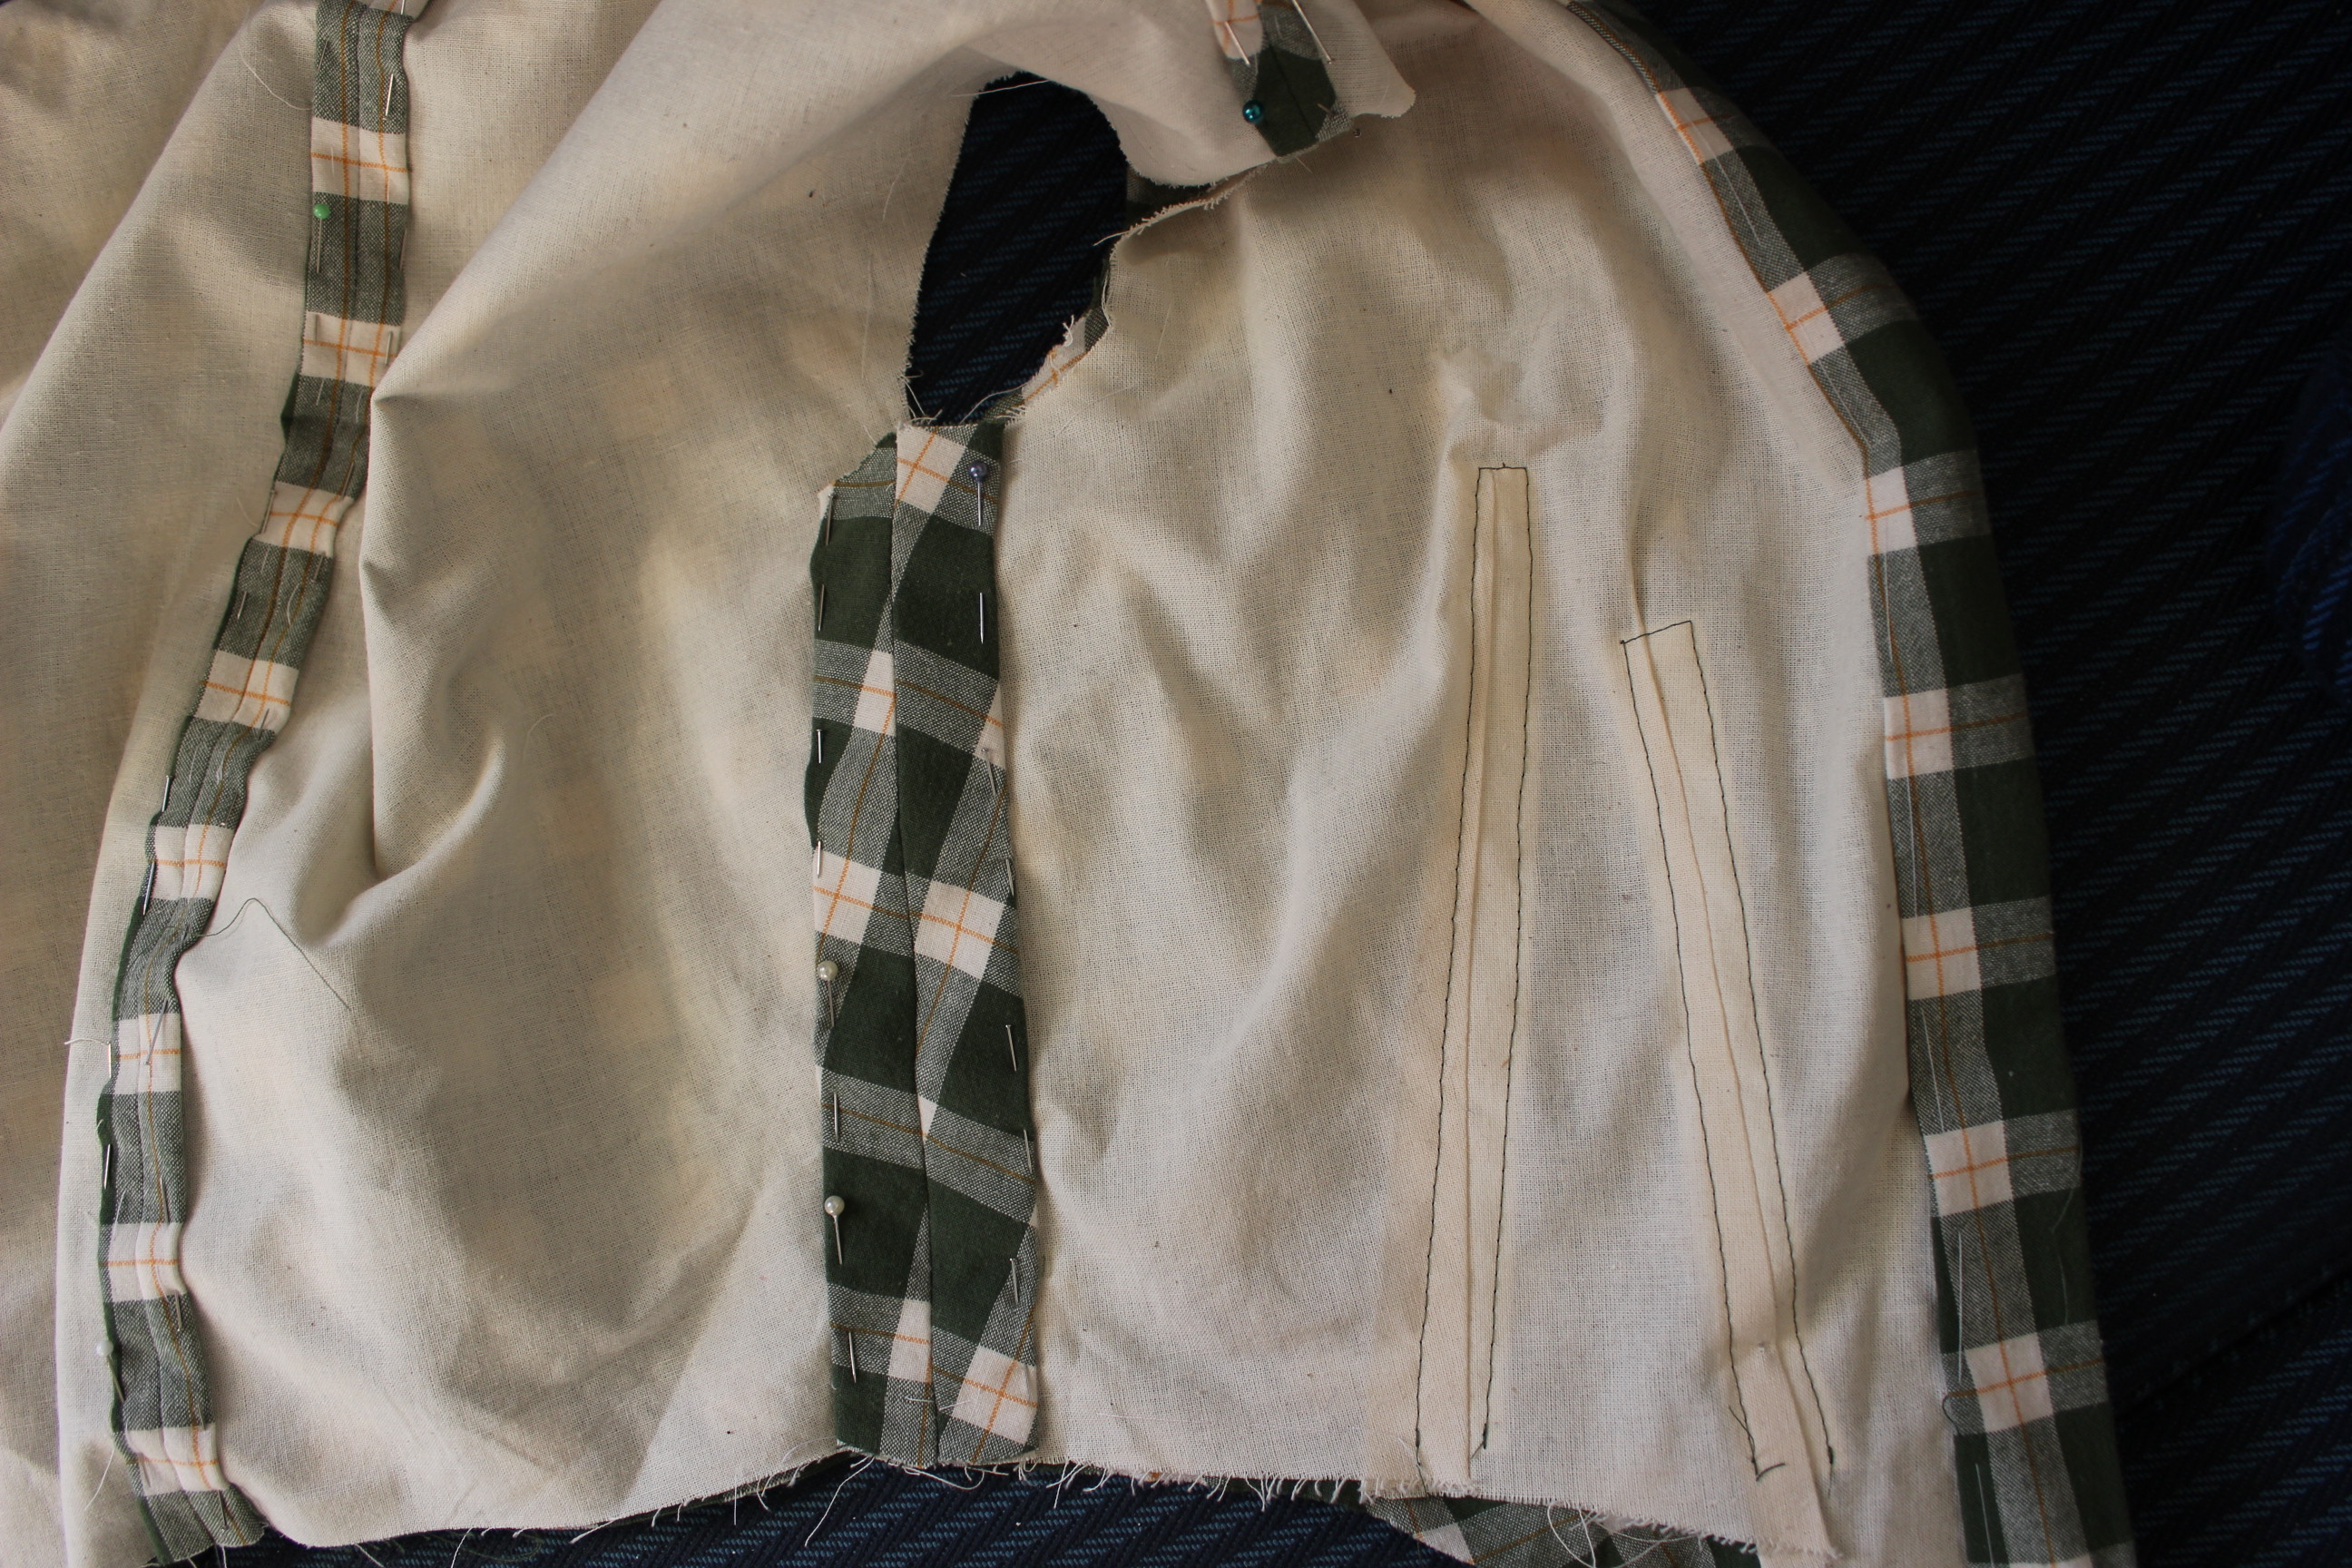
Draping the bodice lining on the dressform. Pinning and cuting away the excess fabric.

2013-10-13 15.08.502013-10-13 15.16.49

2013-10-13 15.17.052013-10-13 15.16.56

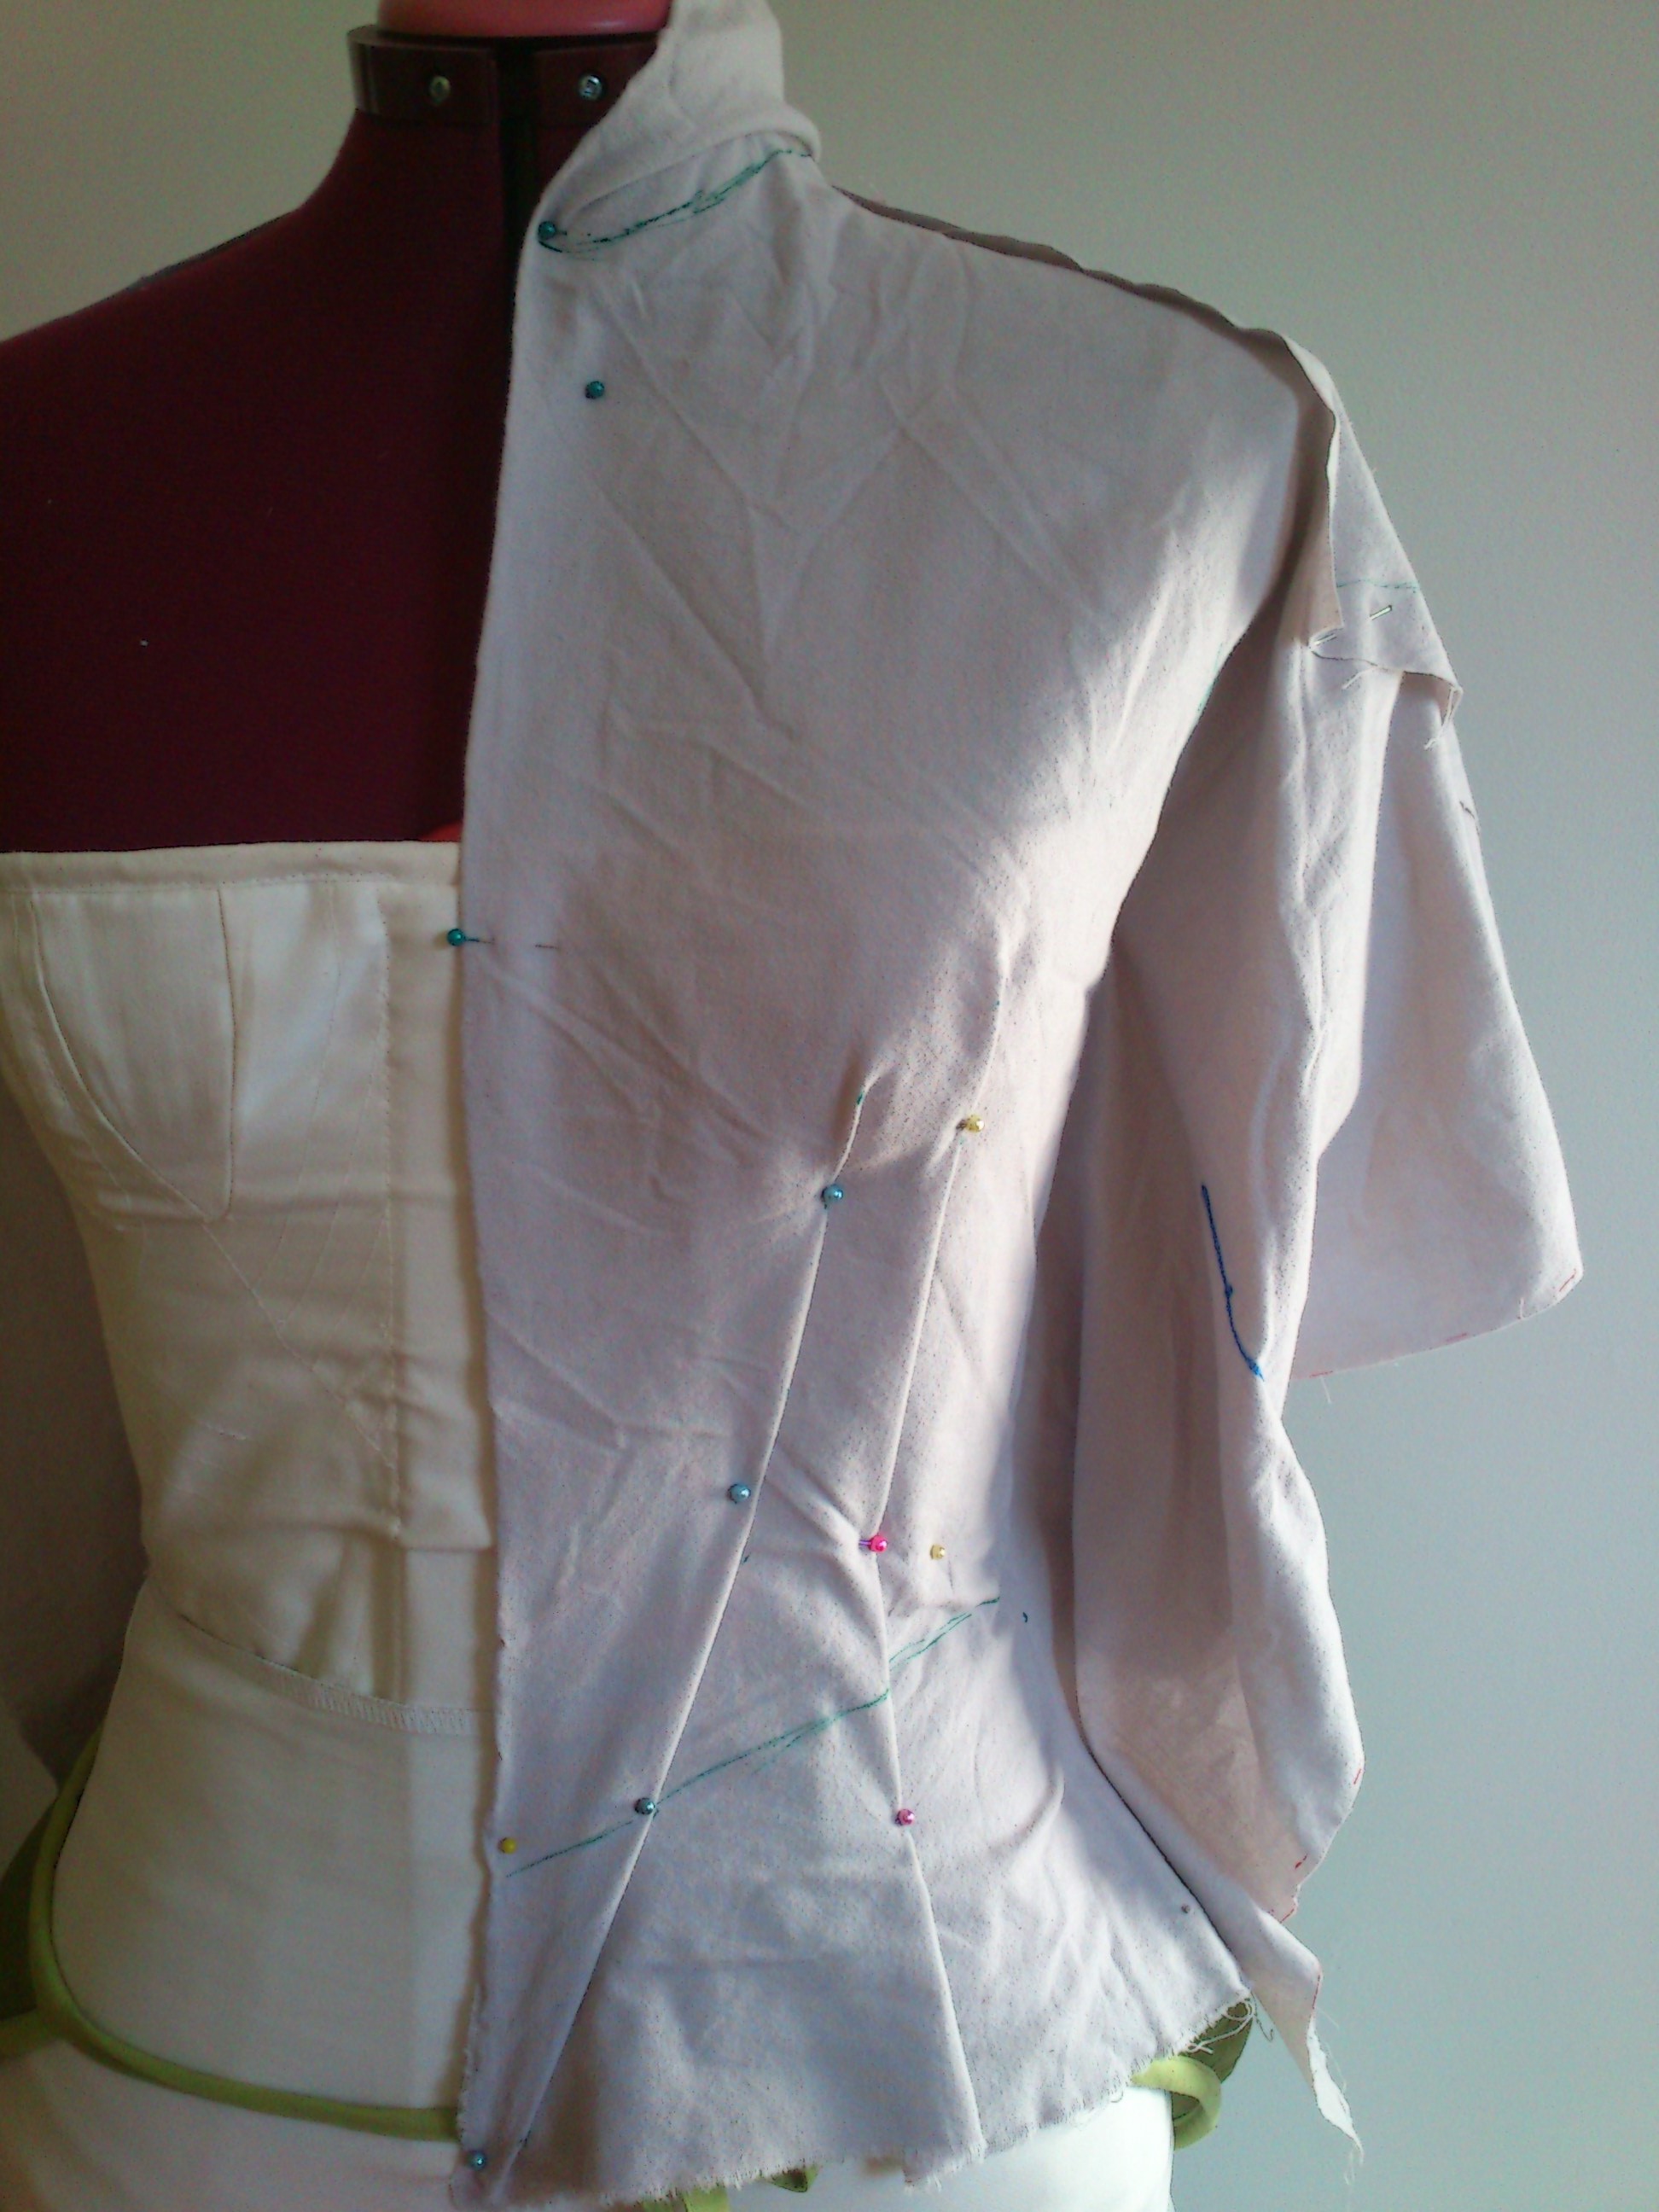
Then I draped the outer fabric of the bodice.

2013-10-13 15.40.30

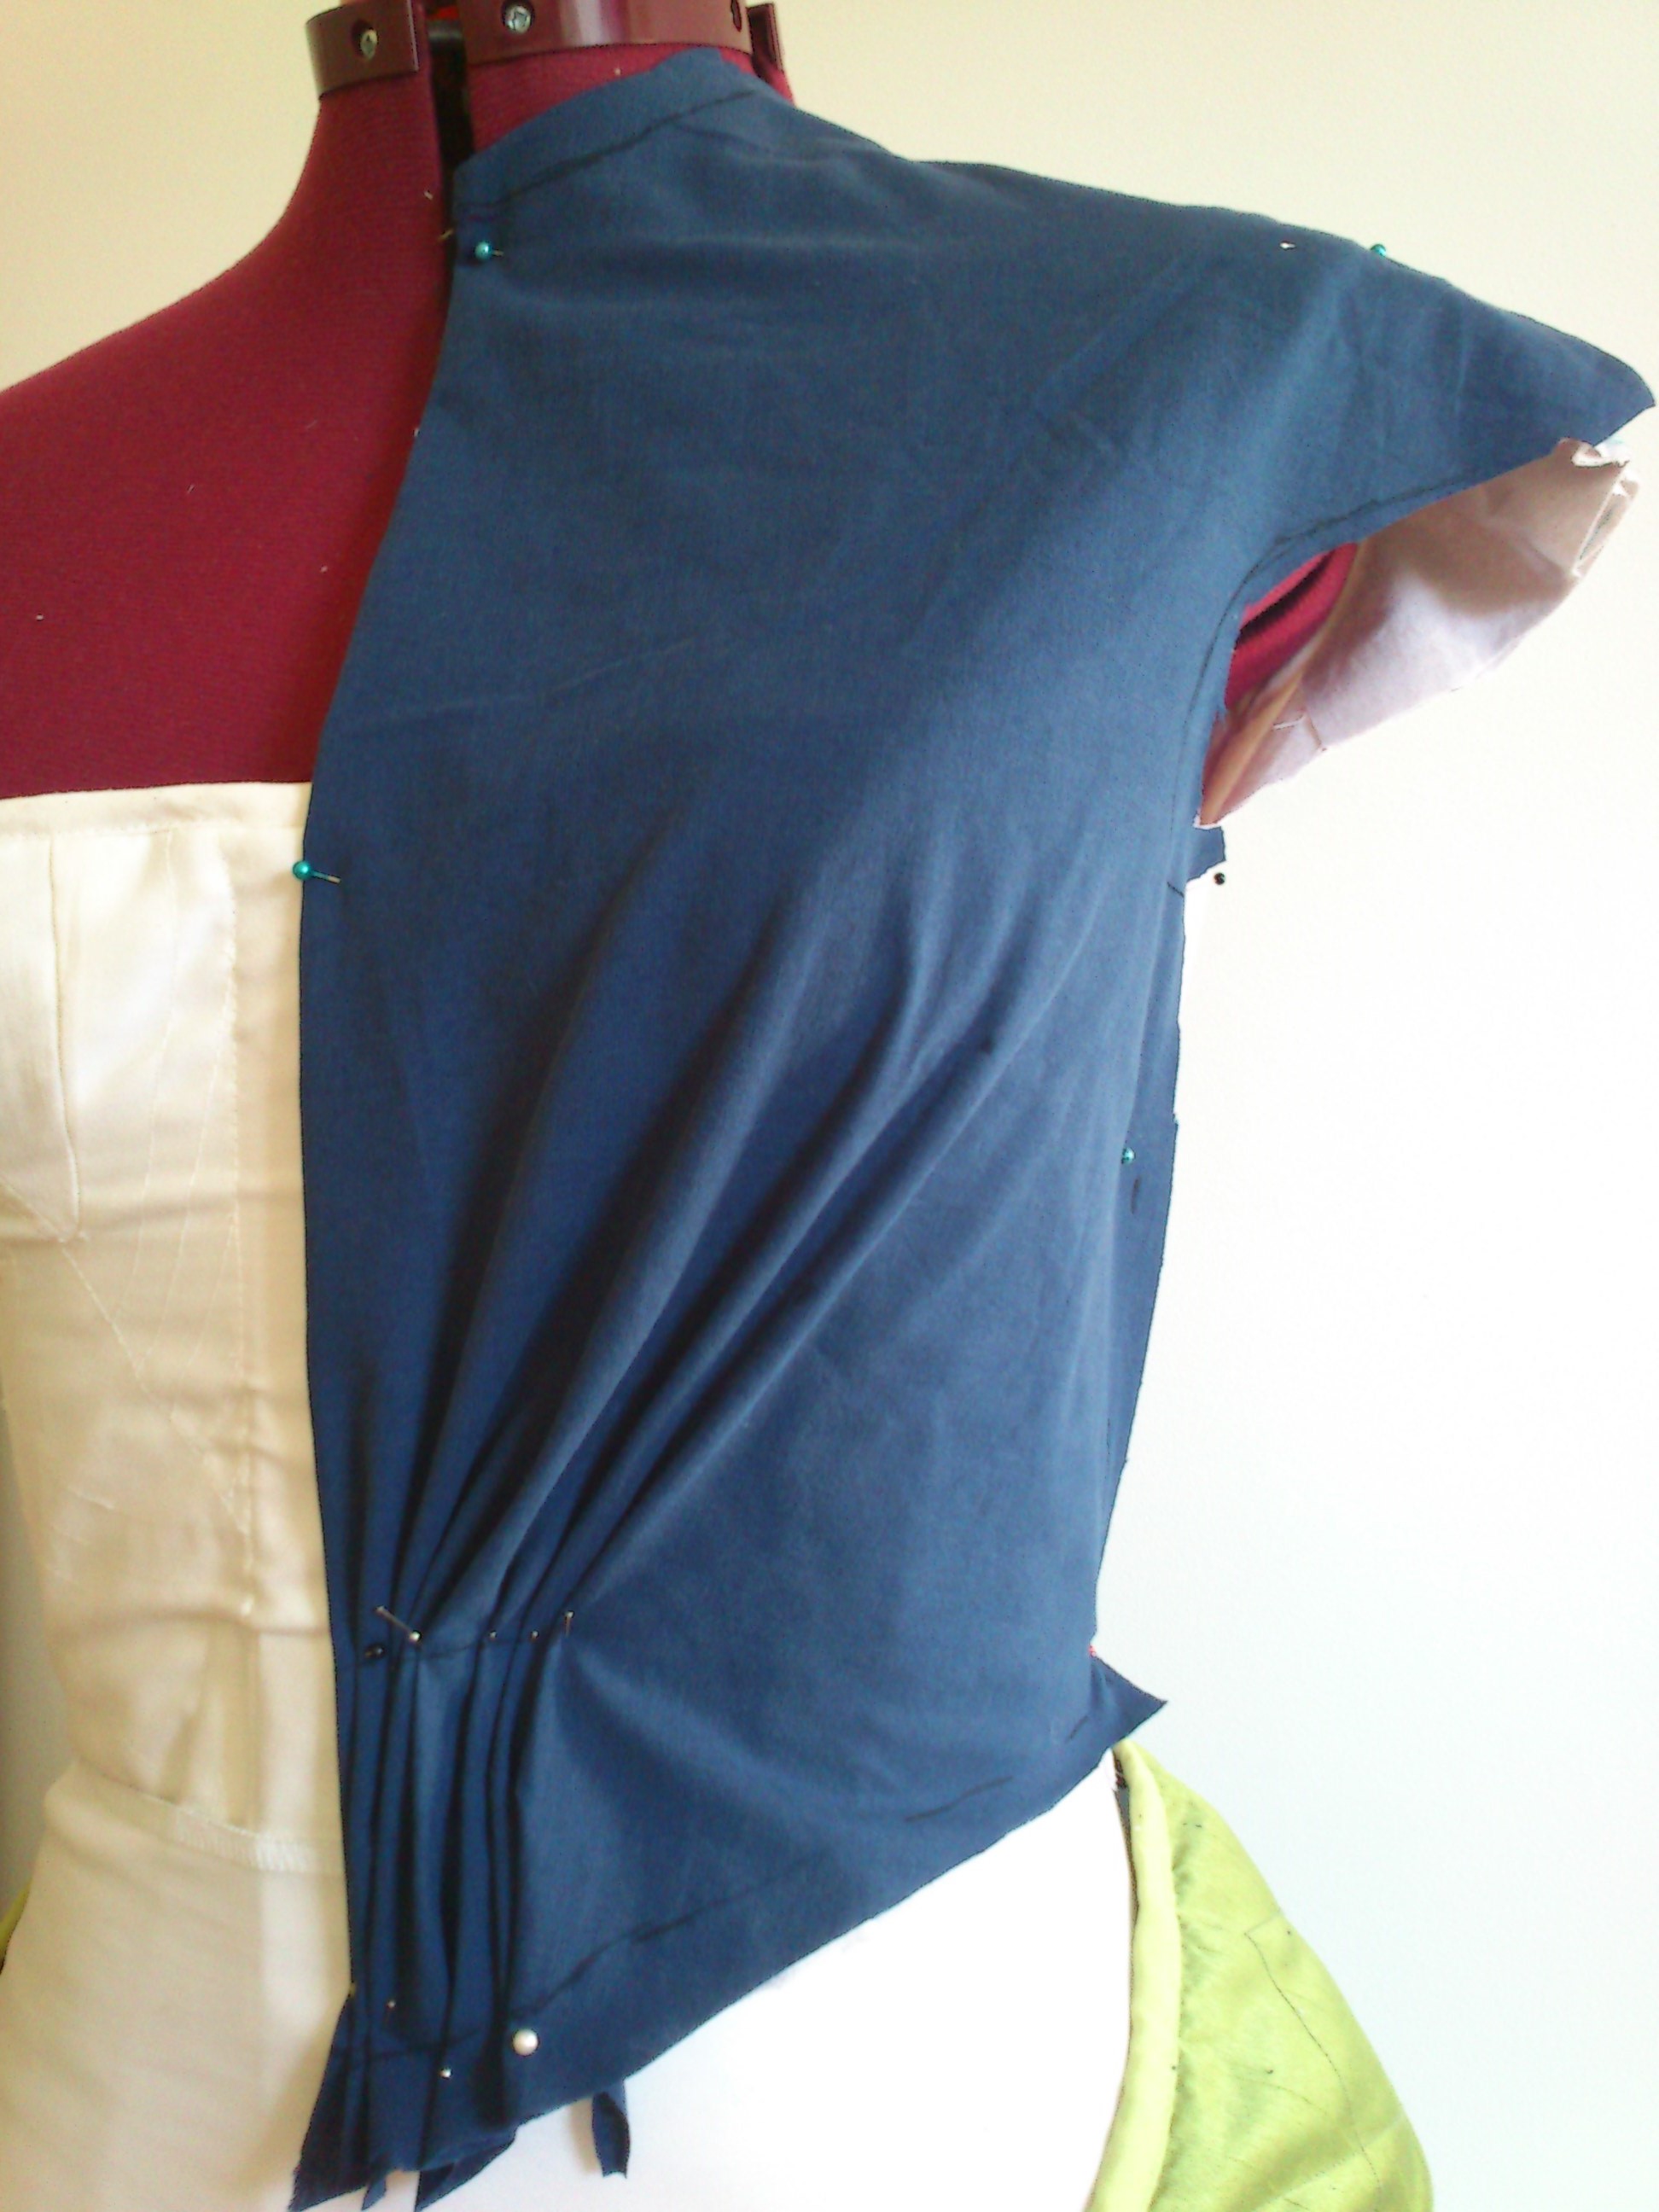
I cut and made a mock-up, which I then tried on.

IMG_3915

It did need some alterations like moving the shoulder seam, and spreeding the front piece to get some more drape.

IMG_3921IMG_3923

Then I cut the fashion fabric and got to work interlining and sewing boning chanels to the bodice, basting it togeter to get a idea of how the draping would look.

IMG_3964IMG_3972
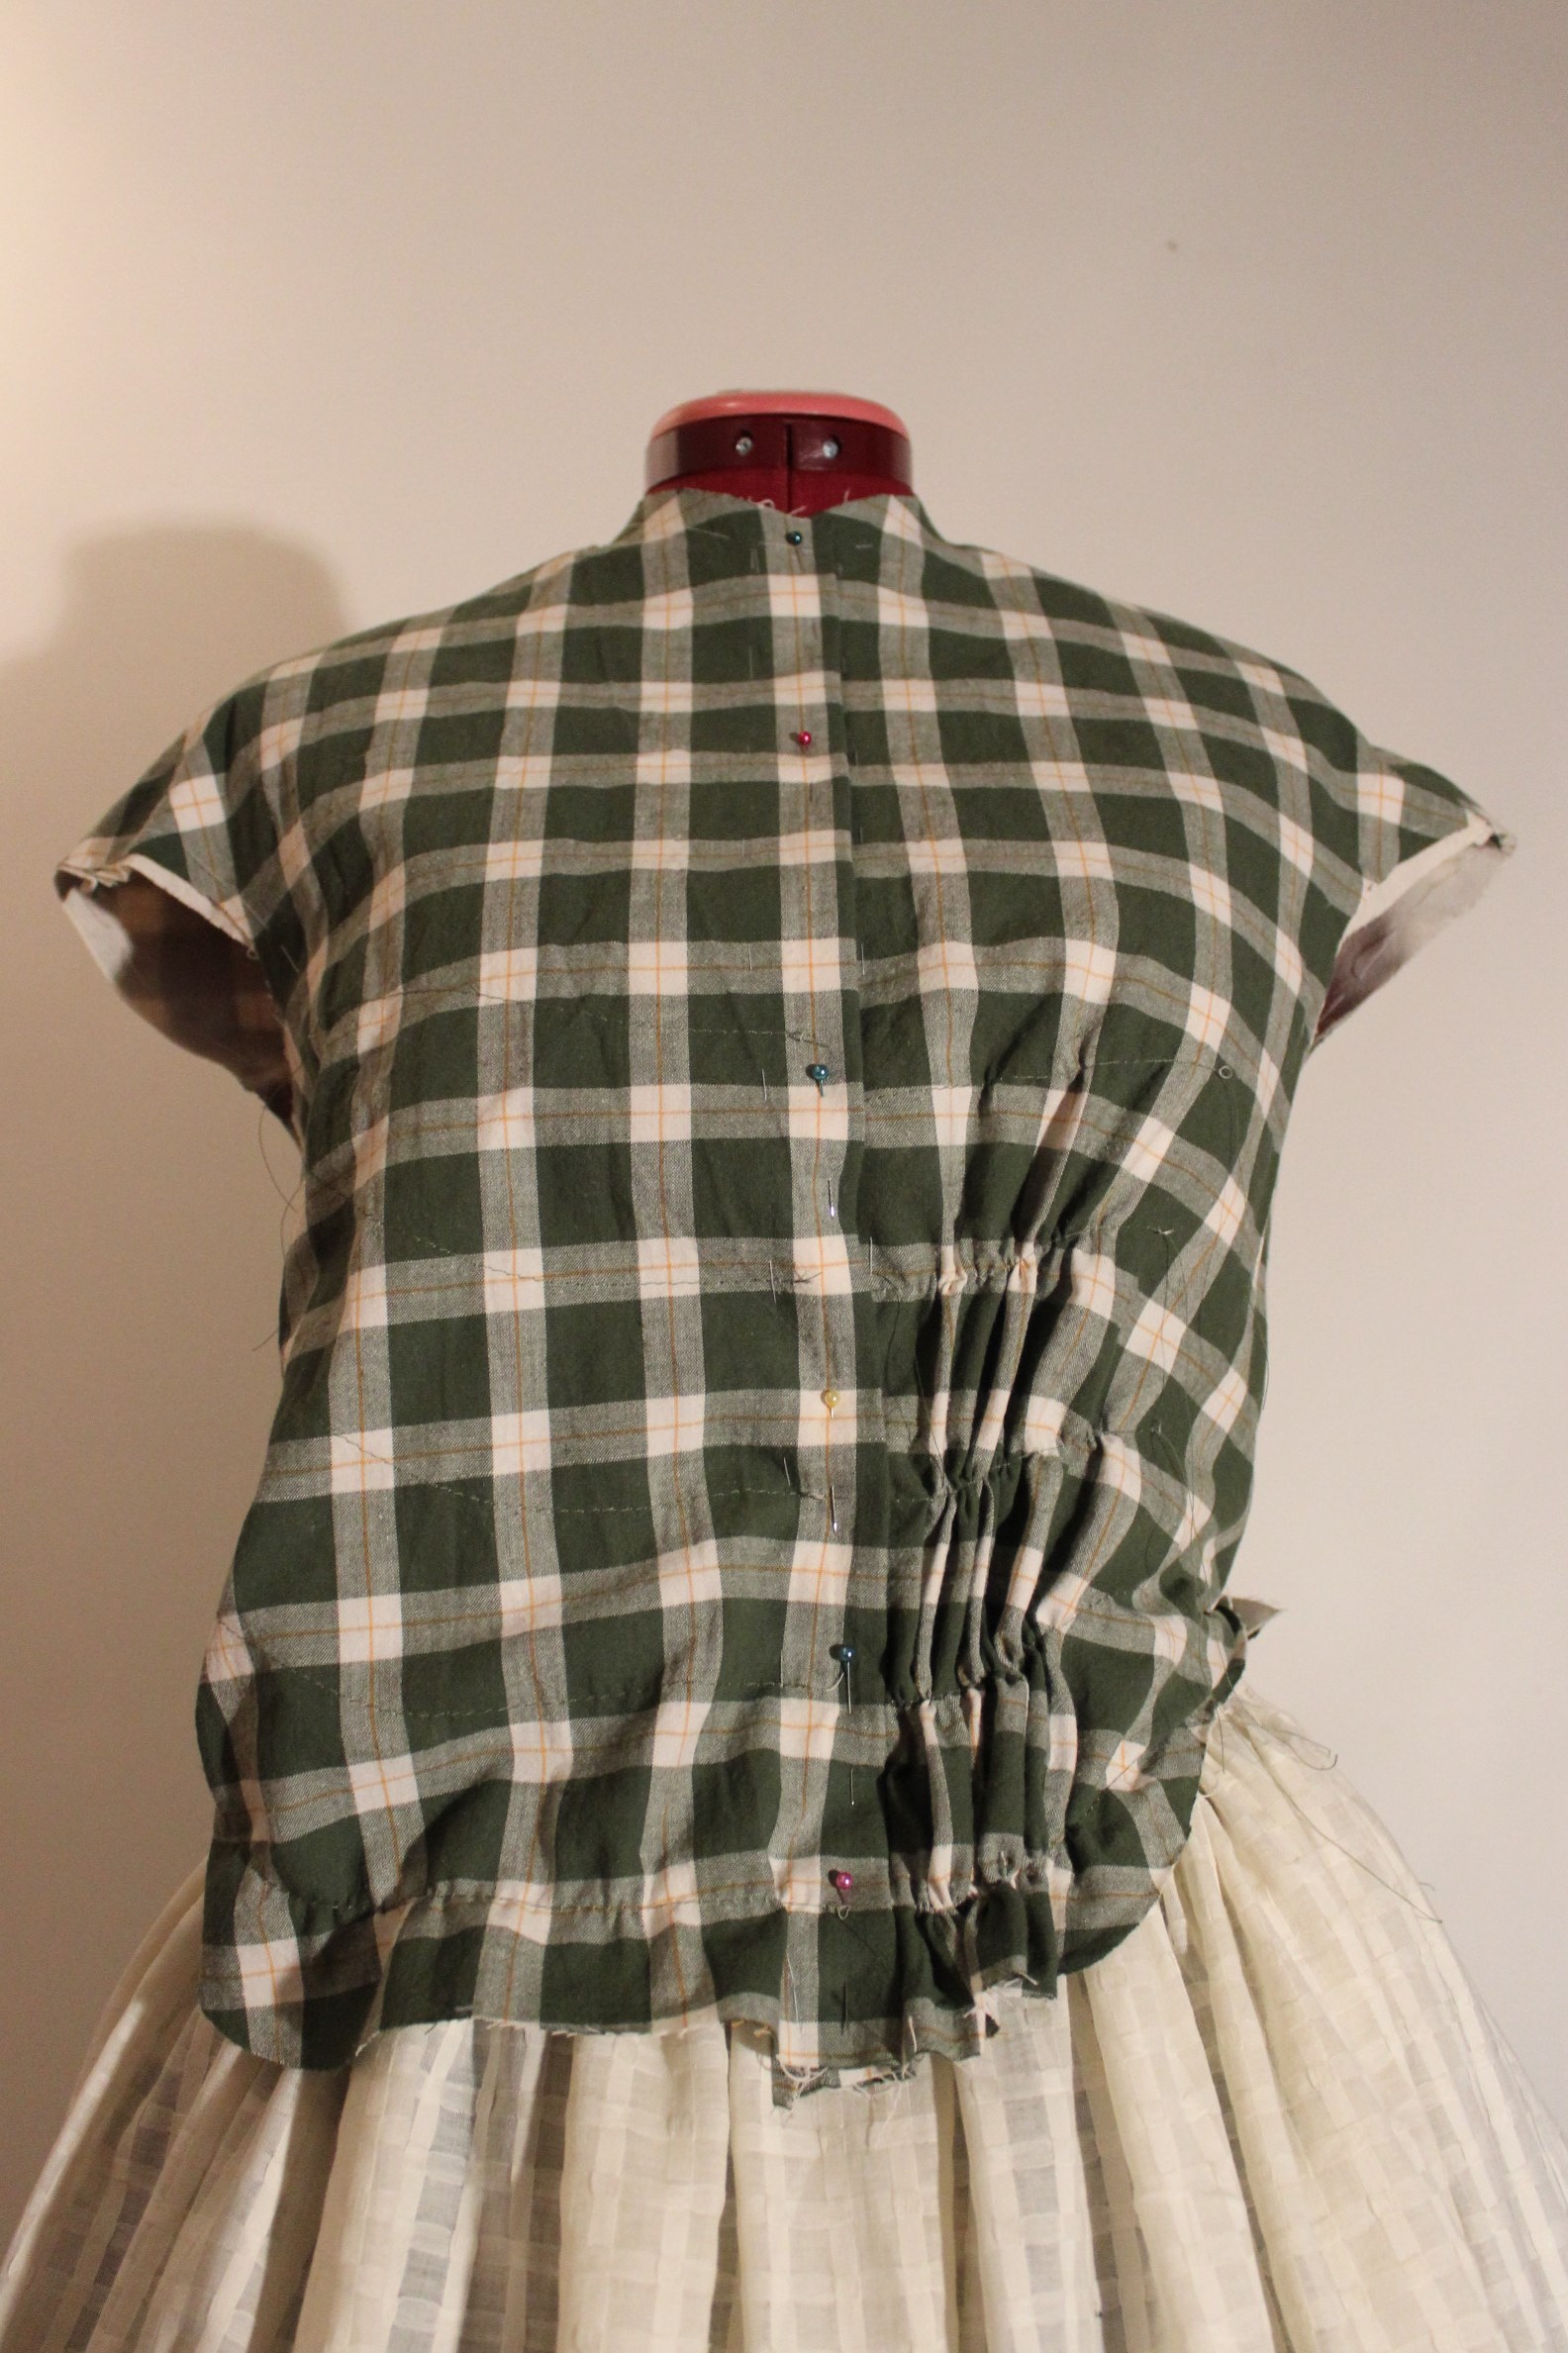
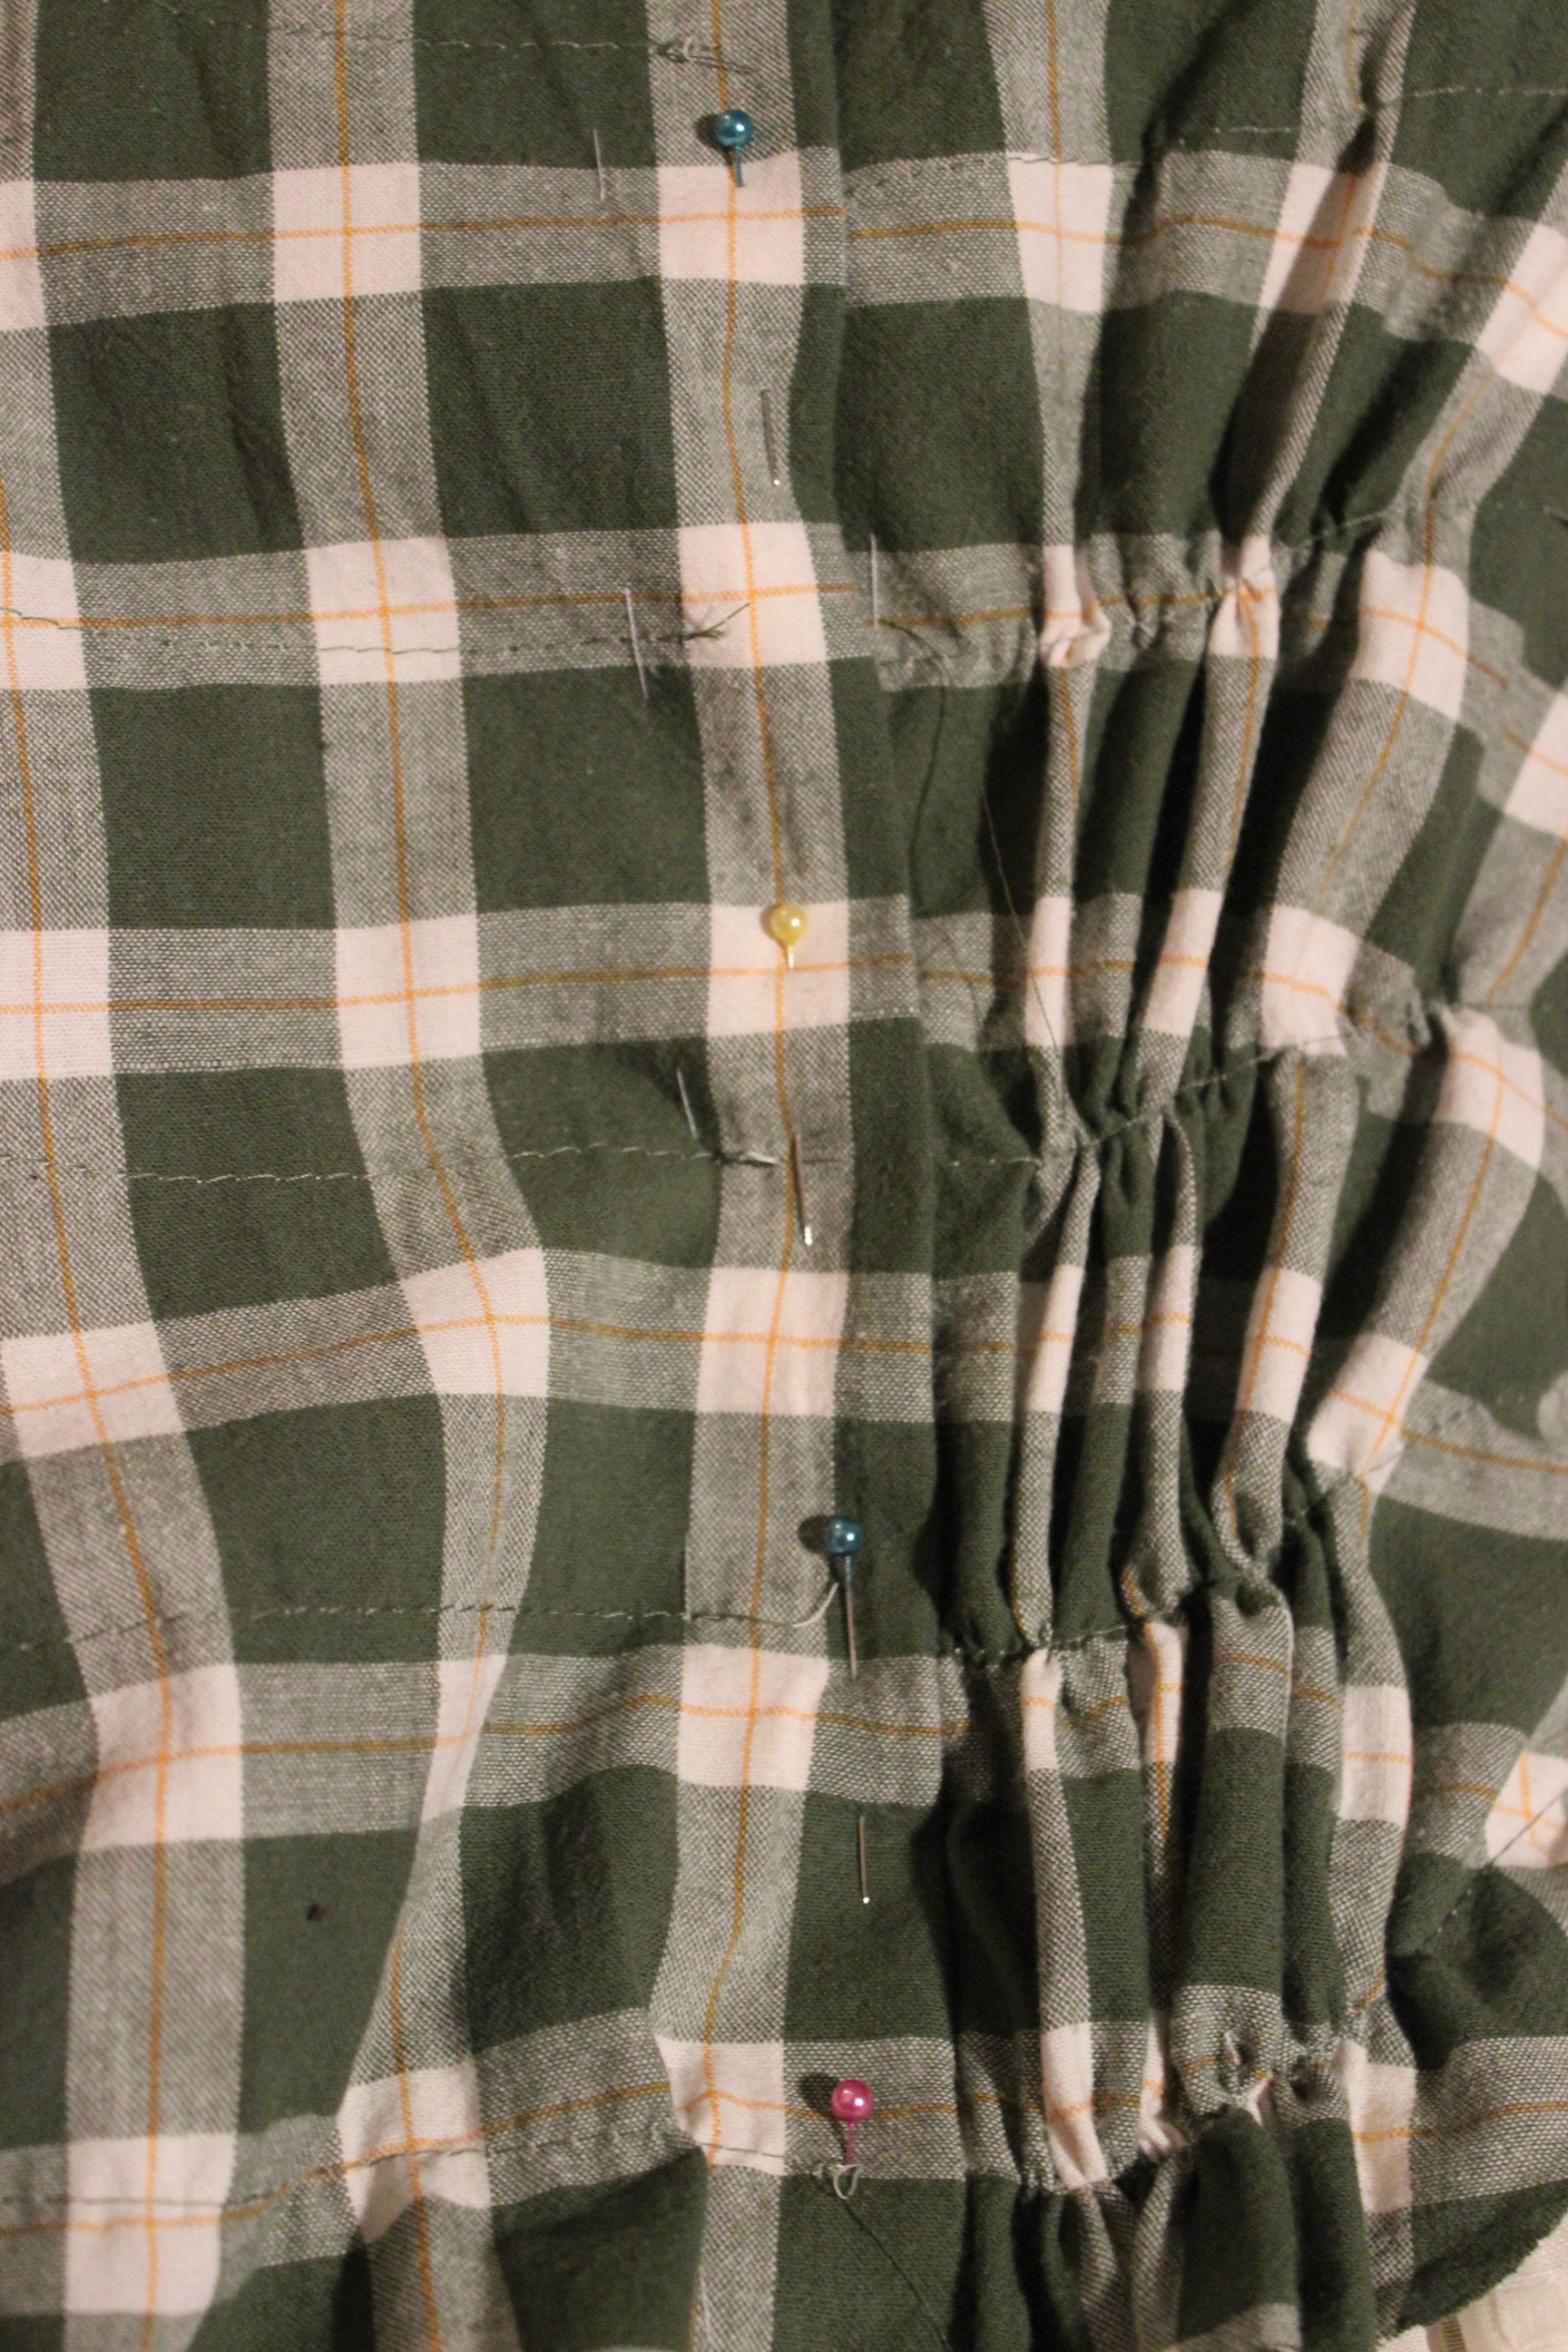
Draping left side, using 4 rows of gathered thread.

IMG_3977IMG_3978
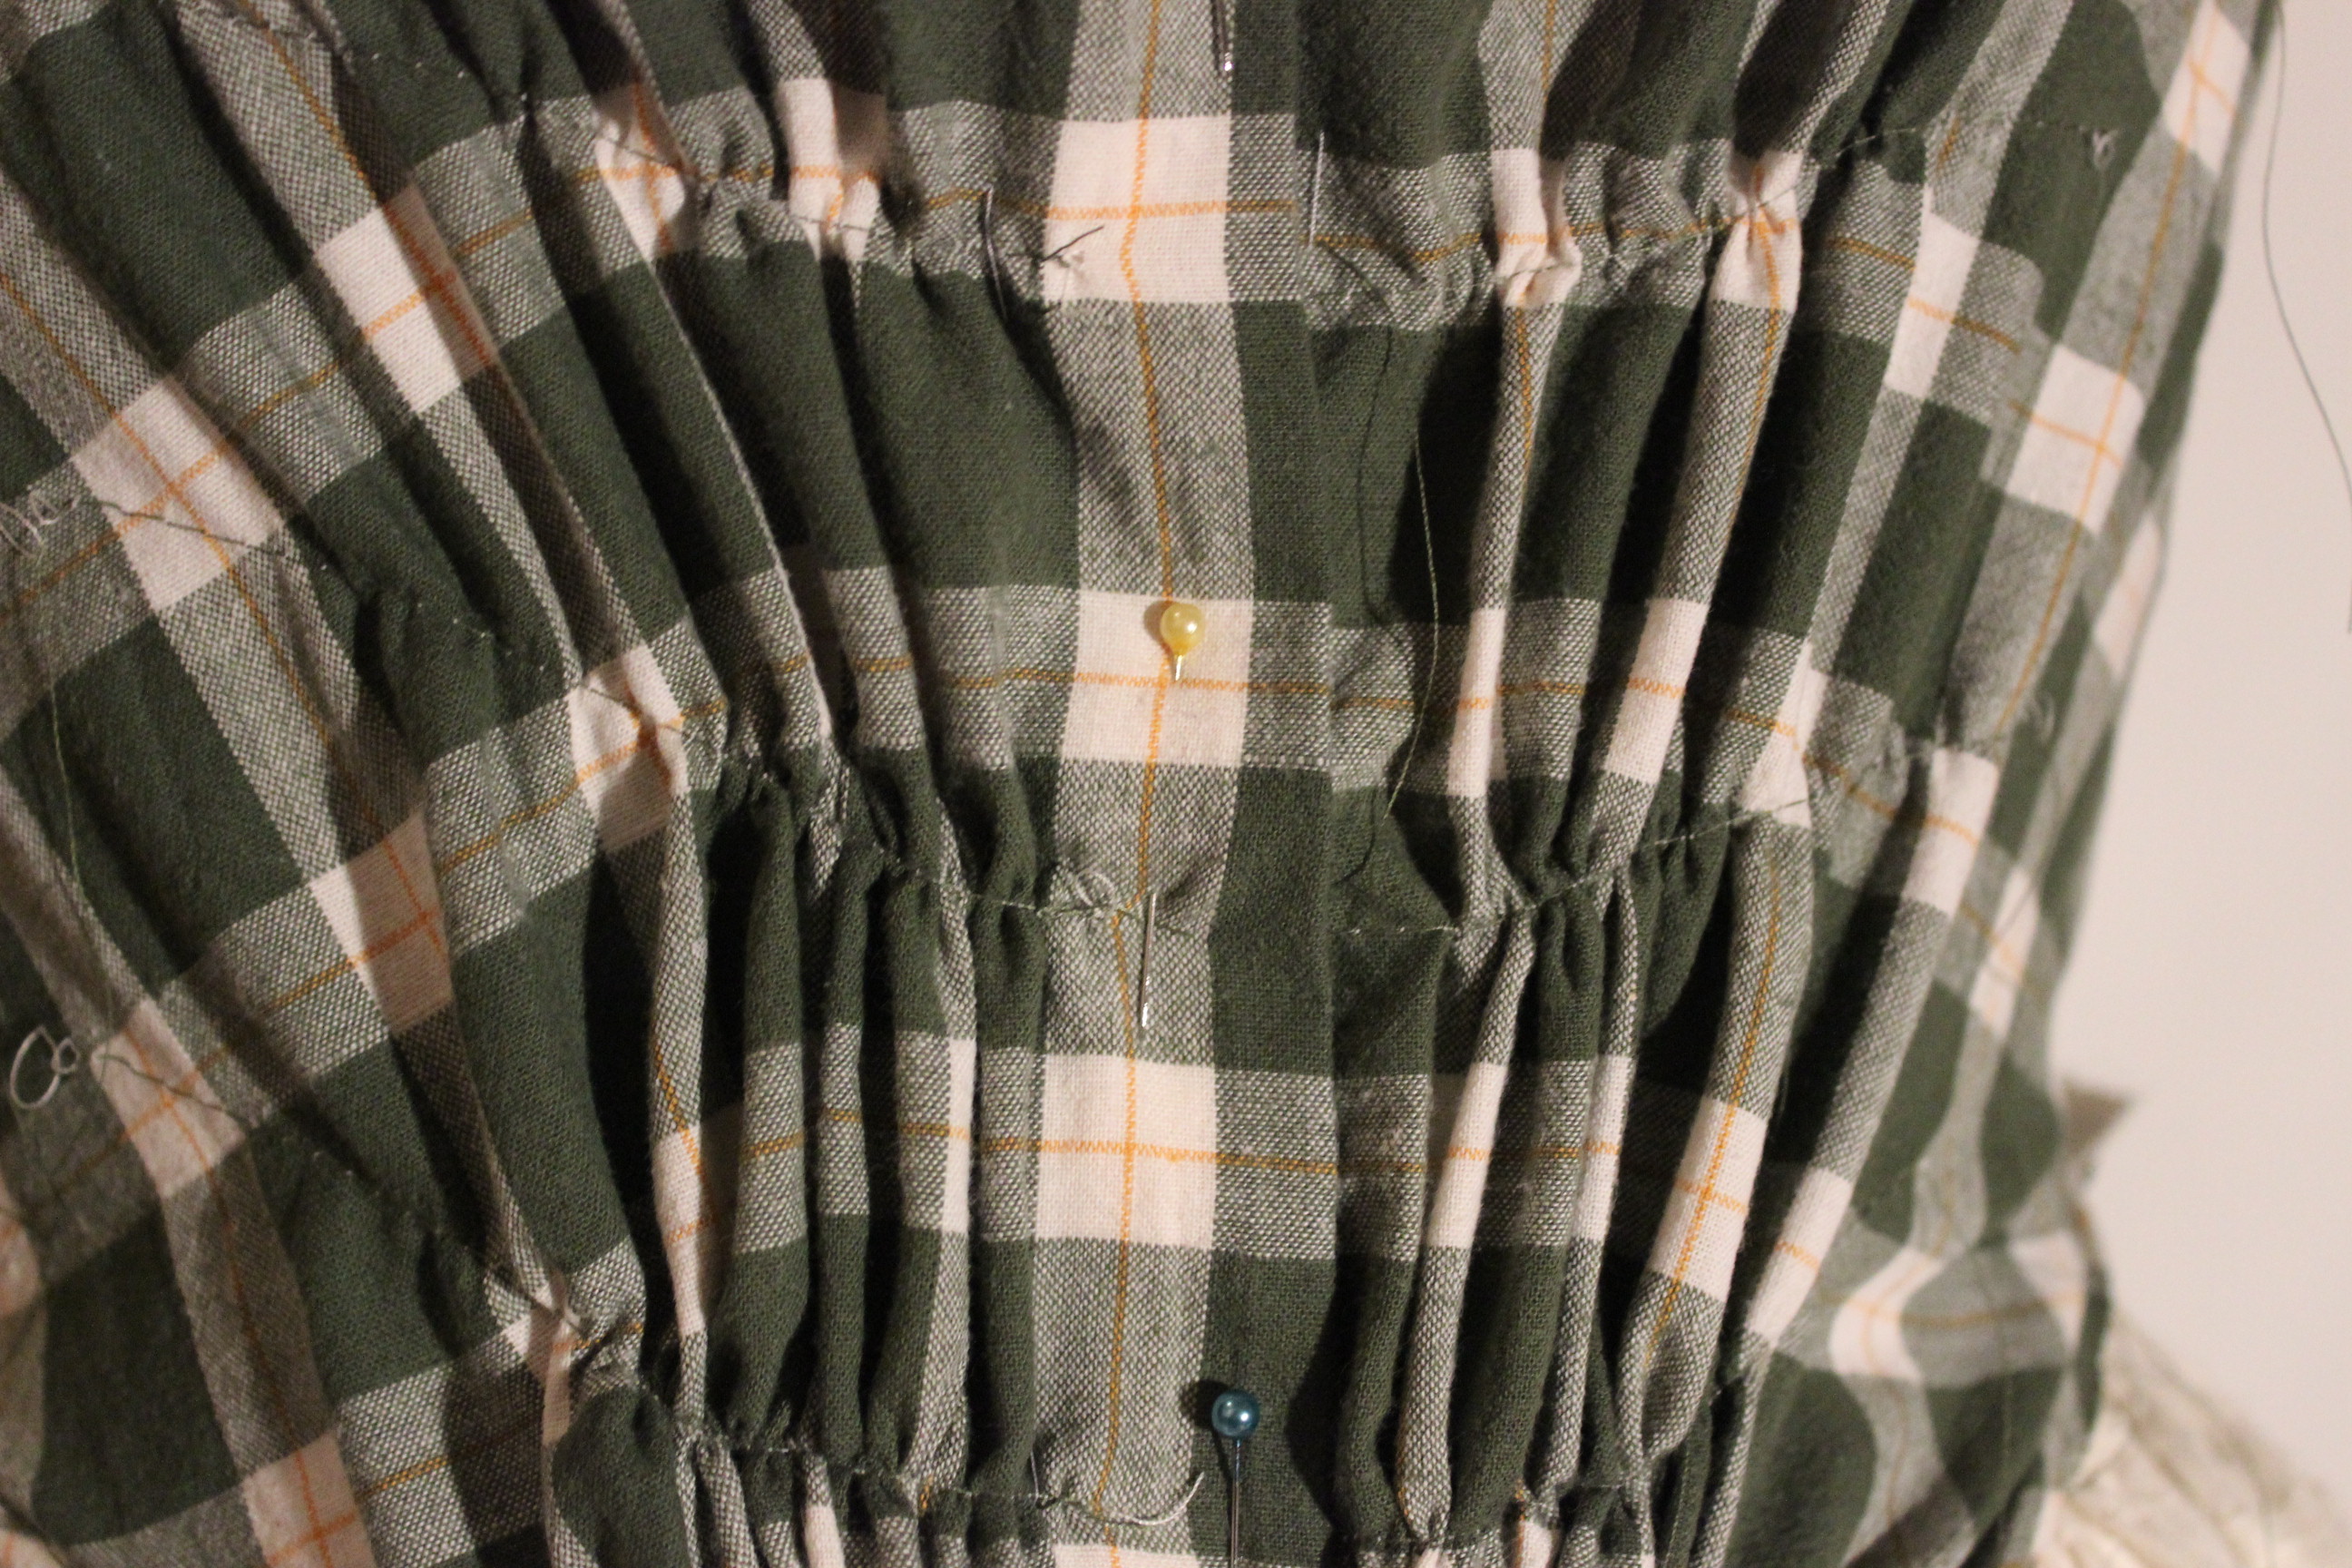
And both sides gathered.

Then I did a second fitting.

IMG_4013IMG_4011

The bodice needed some changing in the neck and shoulders. I also needed to shorten the waist a bit in the back.

After making the adjustments I continued the asembeling of the sleeves and bodice. Tucking all the raw edges and sewing on some boning channels.

IMG_4043

IMG_4100

IMG_4108

I decided to make the skirt seperate to make the fitting and closing of the dress esier.

The skirt is made out of two widhts of fabric sewn together and gattered at the waist, closed by a hook and eye at the left side.

IMG_4094

IMG_4095

I gattered the sleeves into the sleevecap and made 3 decorative rows of gattering on each sleeve.

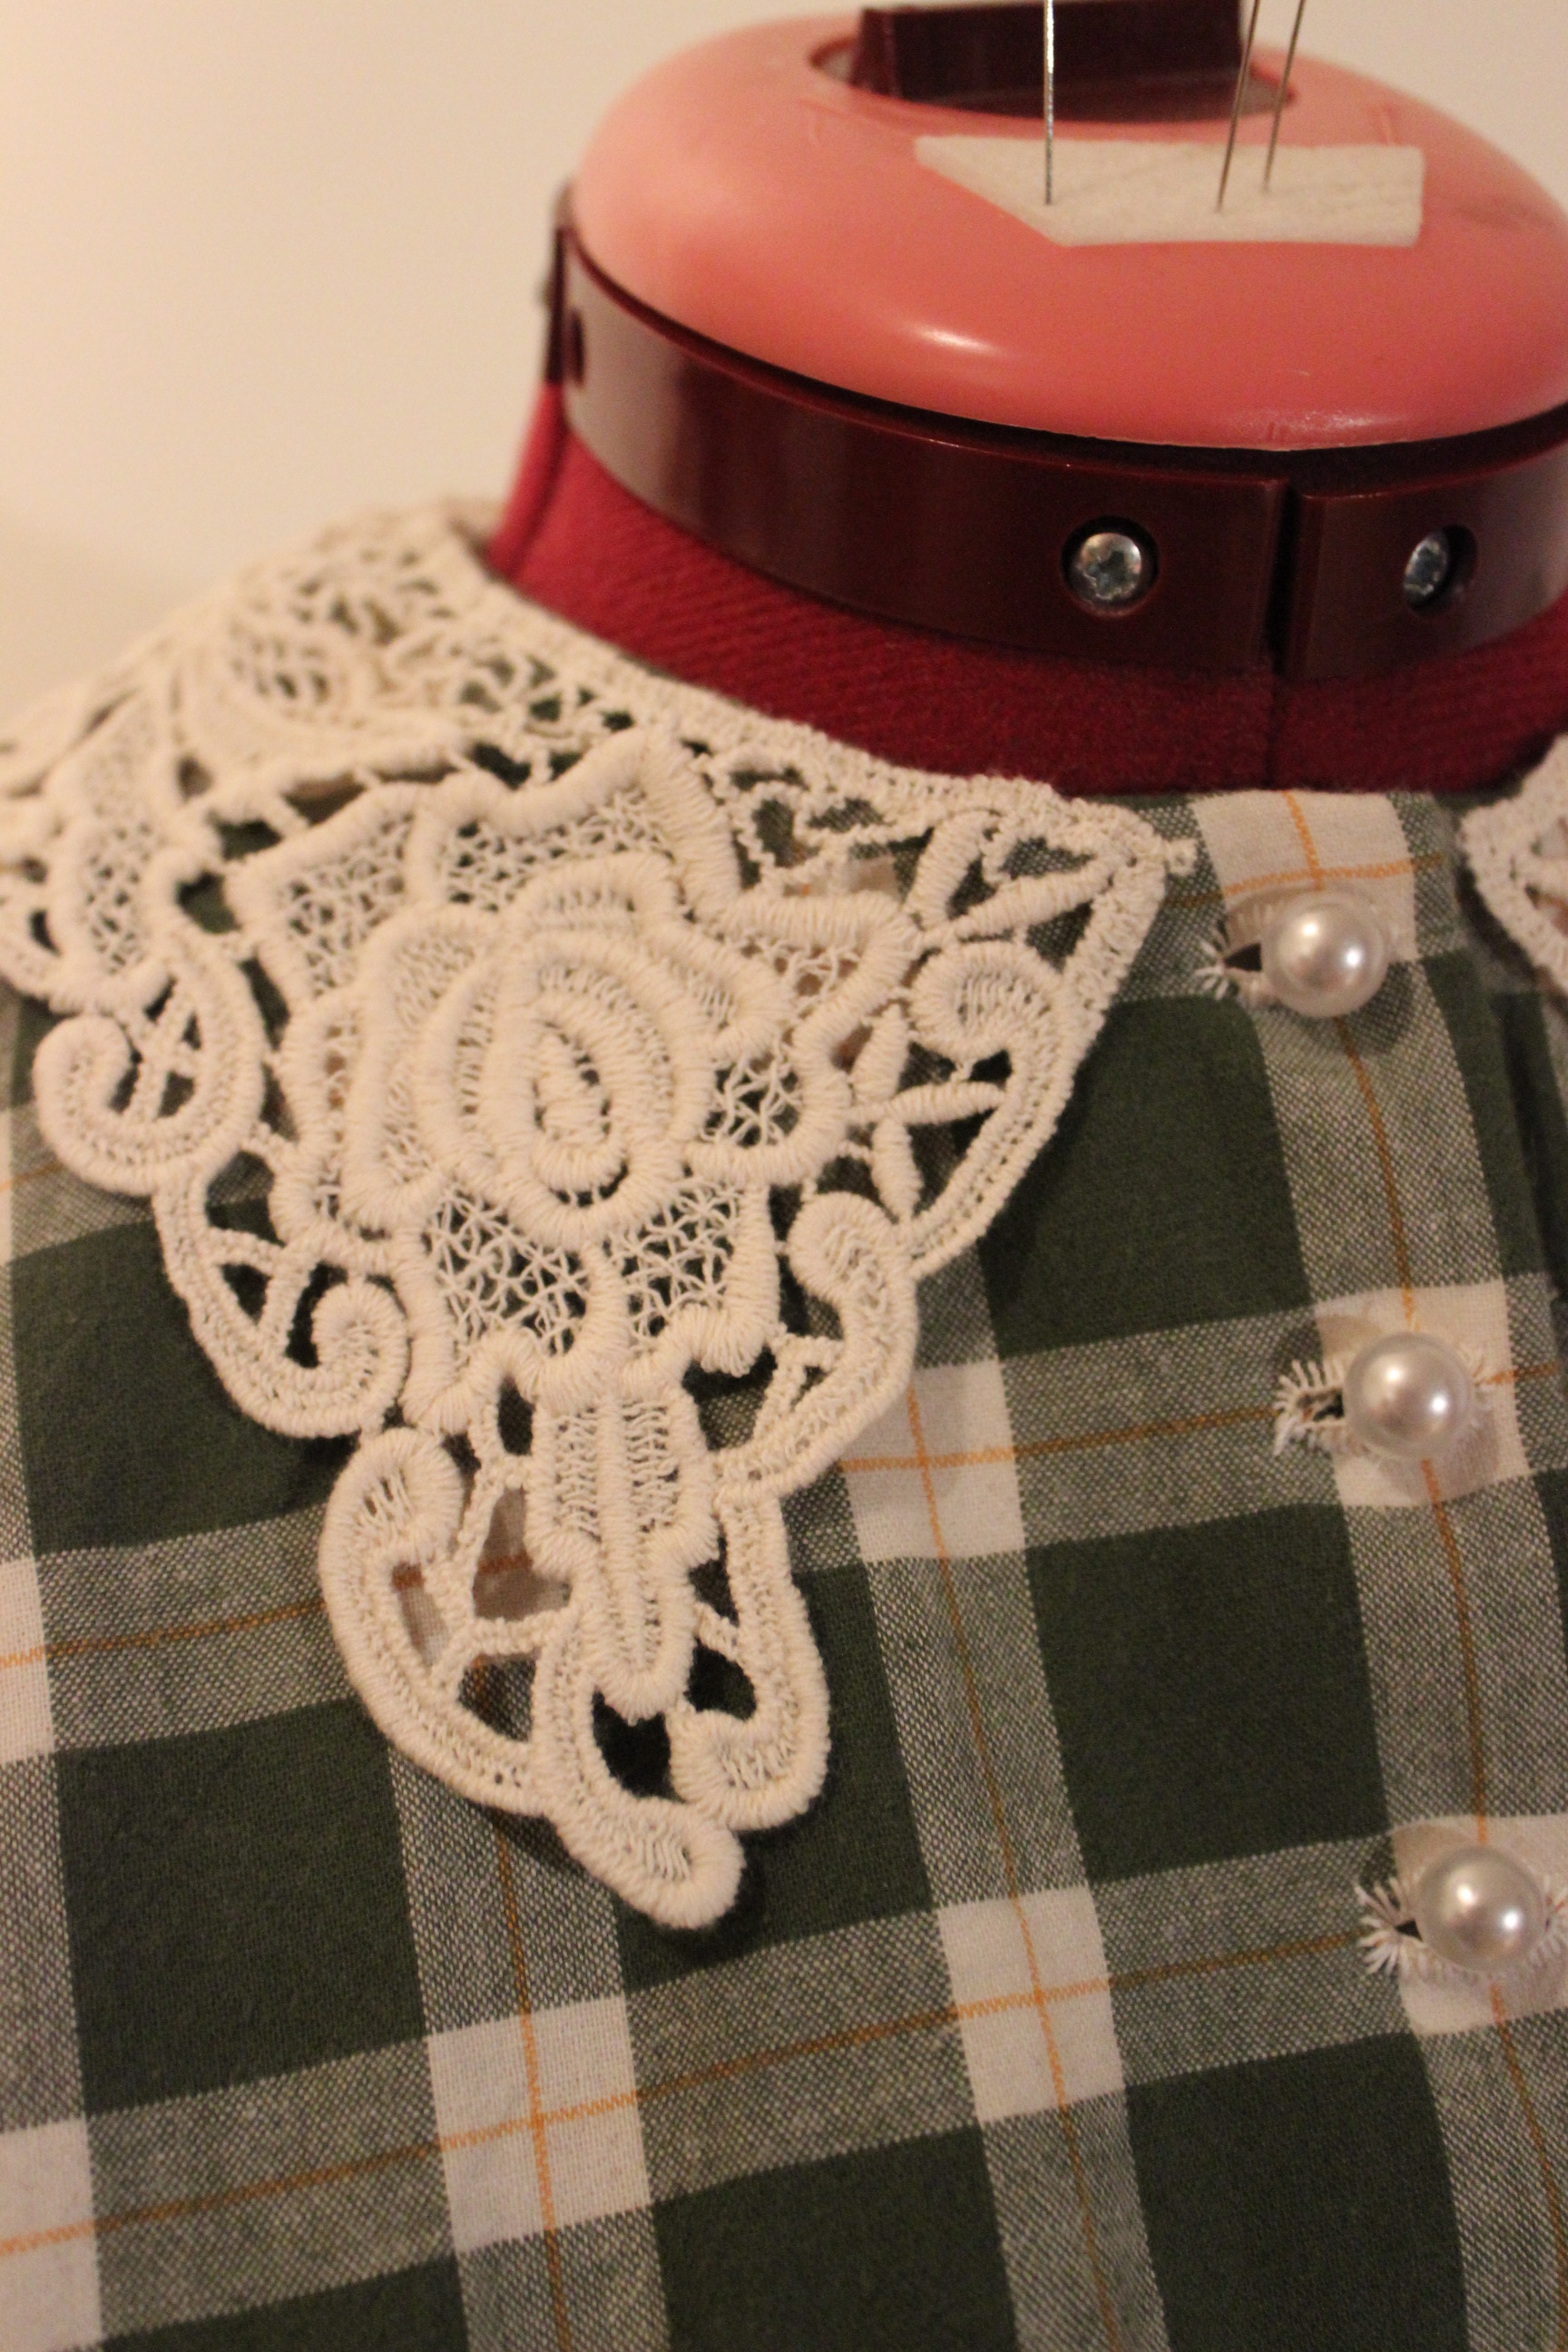
Then I bought some pearl butttons and worked the button holes by hand, placing them (as on the inspirational dress) only on the white parts of the center front.

IMG_4104

I also decided to put on a crocketed lace collar I’ve had in my stash for ages.

IMG_4116

I’m so happy with how it turned out, and think I manadged to use the inspiration to its fullest yet put my own touch to it.

Can’t wait until I got to wear it…
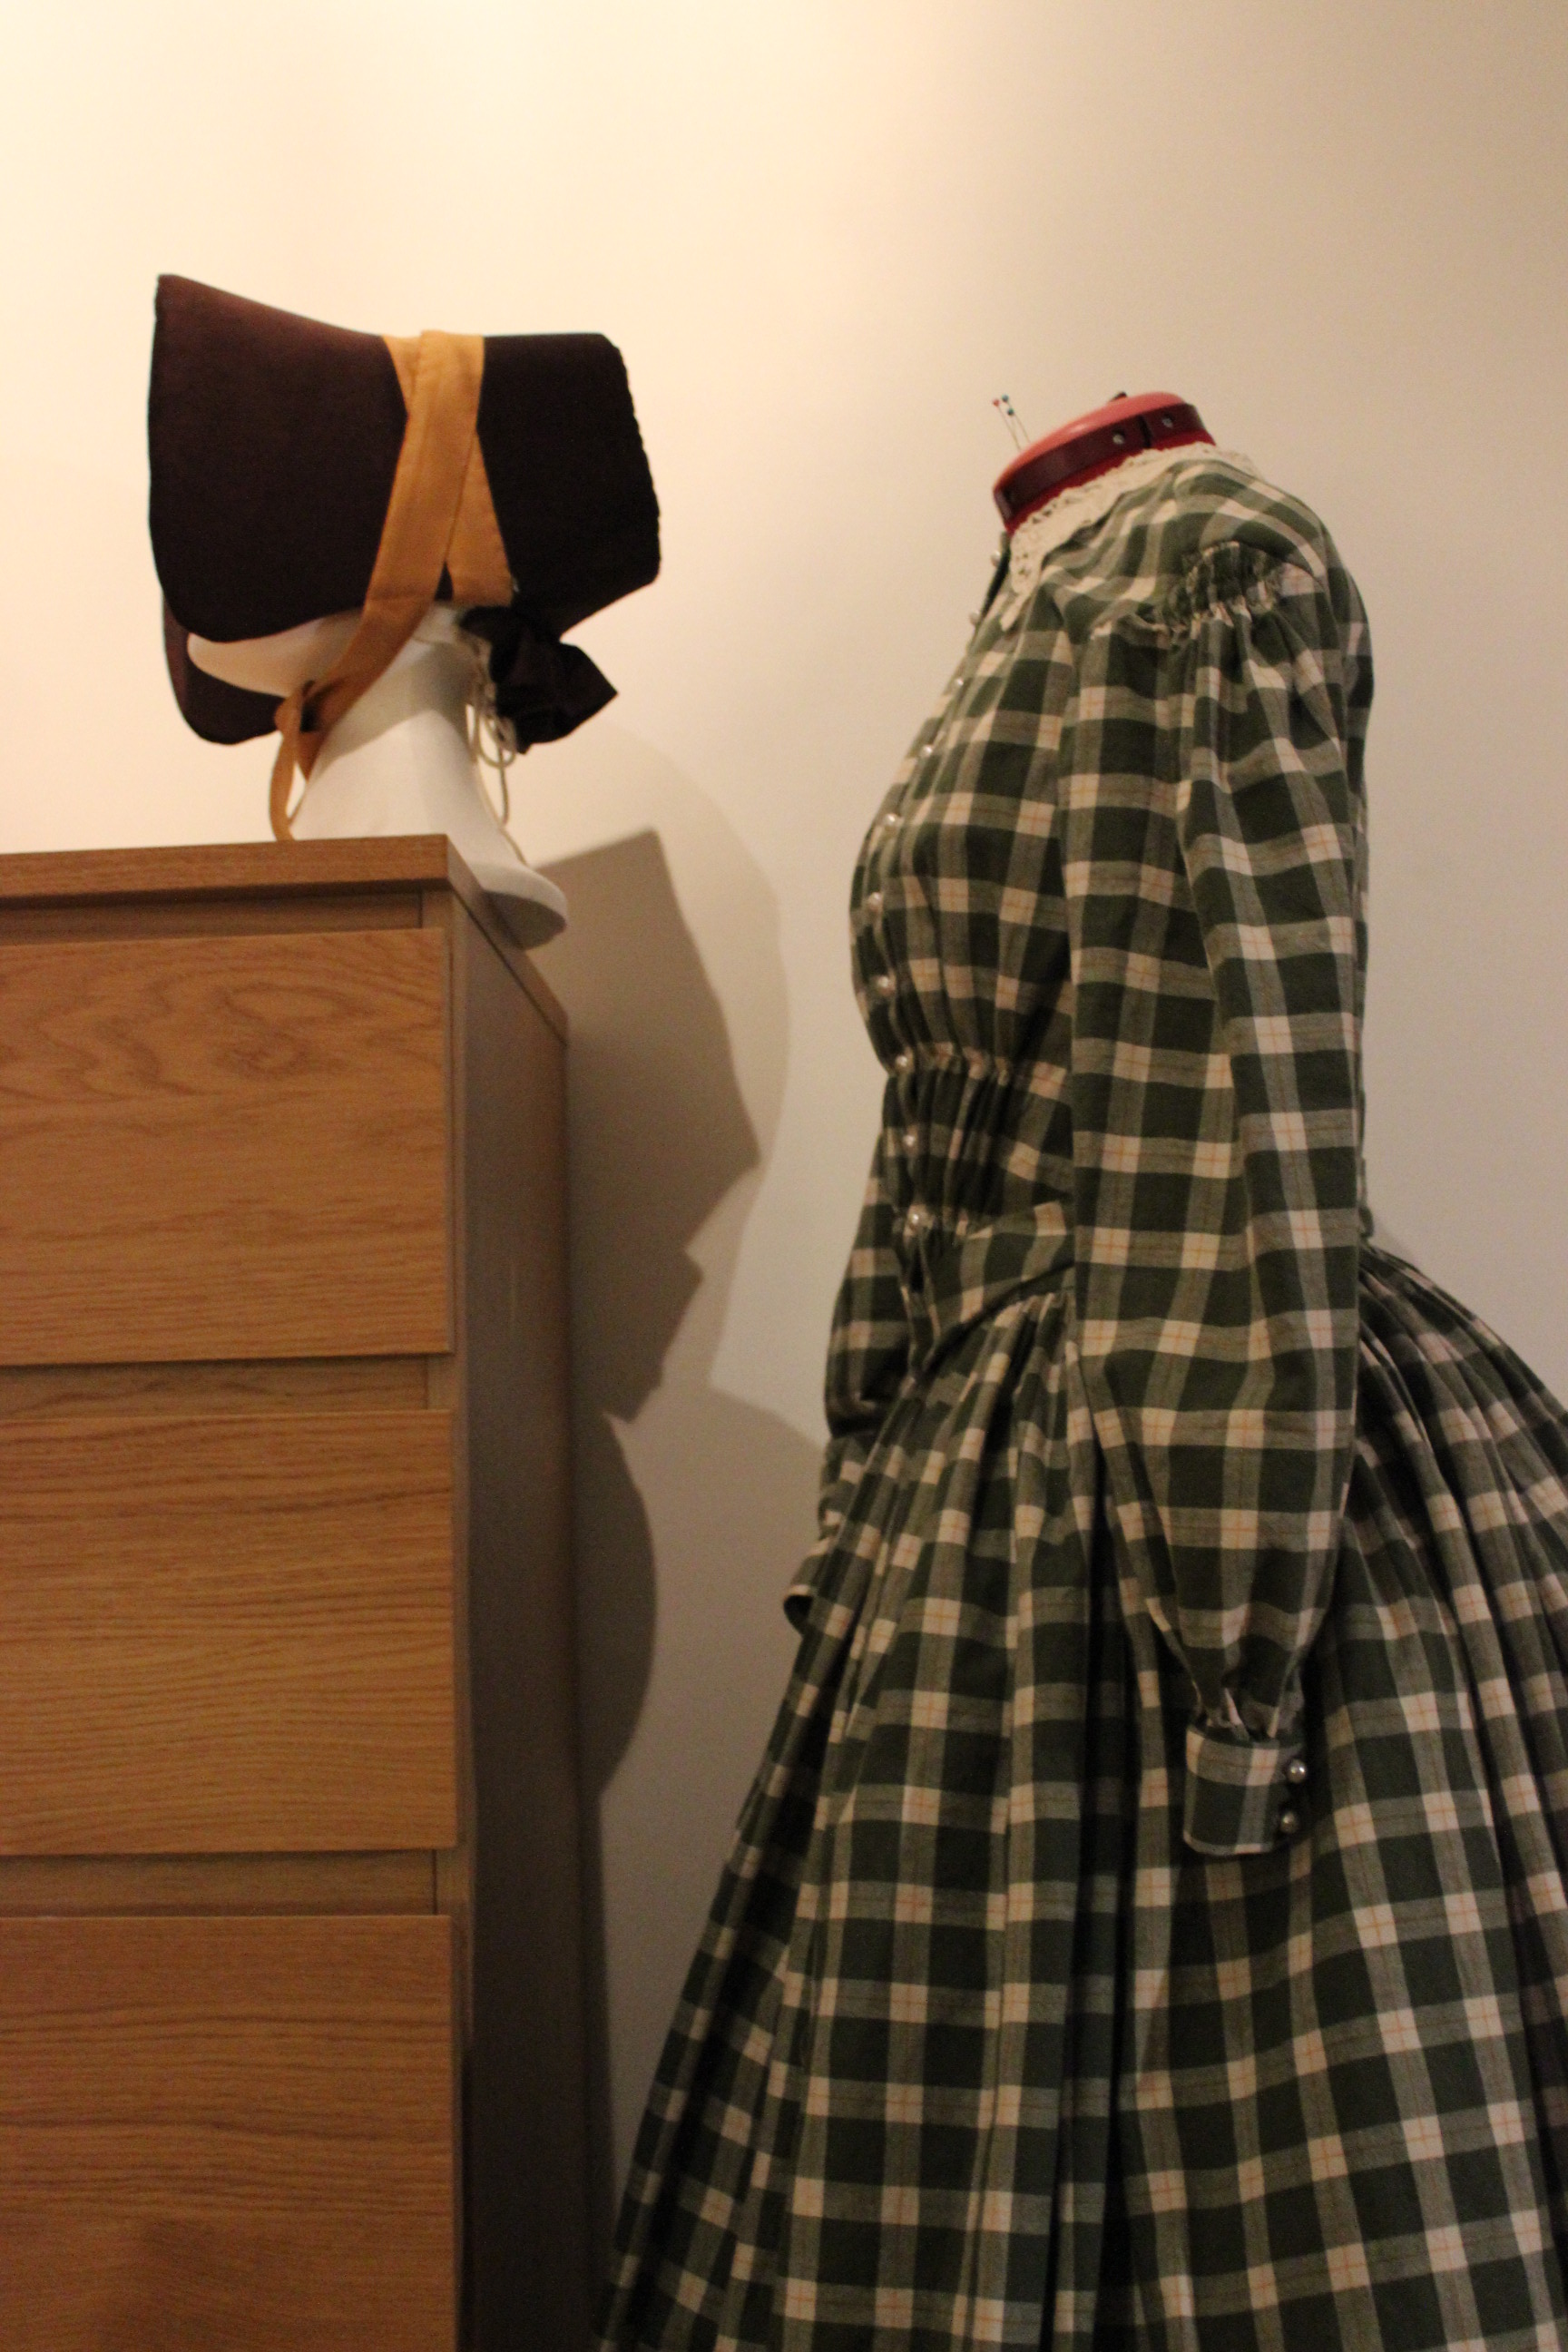
The finished dress:

IMG_4109

IMG_4118

IMG_4132

IMG_4125

IMG_4117

IMG_4131

IMG_4112

IMG_4121

Just the facts:

Challenge: nr 24 Re-do – Challenge 21 Green

What: A green/white checkerd dress

Year: 1840-1850s

Pattern: I draped my own.

Fabric: 1 checkered bed-sheet (1,5 x 4 m) and 0,5 m cotton for interlining.

Notions: Thread, 14 buttons, hooks and eyes and a lace collar.

How Historical Accurate: The dress is mostly done by machine and with modern techniques, but the fabric and the look of it is about right. Maybe 6/10

Time: About 15 hours.

Cost: 200 Sek (22 Usd) (150 for the buttons, ouch!).

First worn: Will be on dec 14th at a 19th century christmas party.

***

And as it will be worn on the event, with apron, bonnet and shawl.

IMG_4115

IMG_4133

16th century Peasant

One of the challenges in the HSF I found the most interesting was the nr 5 Peasants and Pioneres back in Mars. Since I’m obviosly a “princess” when it comes to historical costuming, I found it verry educative to force myself down the heraldic scale to the common people.

I serced my books and the internet, and pretty soon found the pictures to use as my inspiration.

peasant

It is a painting of dancing towns-people in the 16th century England, from the book “The Tudor Tailor”. A book who also had some suiting patter for the costumes.

img302

I decided on the pattern for the Kirtle (or underdress) with a front lacing and room for a smal bumroll. The fabric used where a red cotton twill.

The Kirtle went together pretty easy and I boned the bodice with some cable-ties, and handsewed all the lacing holes with brown button-hole thread. I pleated the skirt to the bodice and left an open slit in the front for size adjustments.

2013-03-03 18.37.38Pay no attention to the white sick-sack thread – For some reason I started to gather the skirt. But then I came to my sences and pleated it, as is the proper 16 th century way of doing this.

For the apron I used a brown cotton sheet from my stash and made the pattern as a rektangel gathered to a waistband.

I also needed to make some headwear, both out of decency and to cover my own short hairdo. I used the pattern for a Henrican coif in the same book. And made it out of some pieces of white cotton and some wire.

img301

When finished, me and one of my sisters went to my favourite location to shoot some nice pictures. I’m wearing the kirtle, a bumroll, the coif and apron, and an embroided shirt from a previous challenge.

Some finished Pictures.

pump-stå

IMG_1339

IMG_1340

IMG_1350

IMG_1414

IMG_1418

IMG_1361

IMG_1406

IMG_1397

pump-sitt

sidan-solPhoto: Elin Petersson

Just the facts:

Challenge nr 5: Peasent and Pioneer

What: Early 16th century handmaiden, – Kirtle, apron and coif.

Fabric: Kirtle – 3m of red cotton twill. Apron – 1m of brown cotton. Coif – 40 cm of white/ivory cotton.

Pattern: Kirtle – “The Tudor Tailor” Basic women´s clothing – kirtle and petticoats. Apron – none. Coife – “The Tudor Tailor” Hats and headwear – Henrician coif with plane brim.

Notion: Kirtle – brown buttonhole-thread for the handmade eyelets, plastic bonning in the front, and brown cord for the front clouser. Apron – Brown thread. Coif – White thread, thin steal wire(?) for the shaping.

Historical accurate: Pretty good (exept for the cotton fabrics, which should have been wool and linnen). Lots of handsewing and historical methodes where used. The Apron and Coif are totaly handmade, and so are all the visual seams on the Kirtle.

Hours: About 20 for everything (3 hours each on the apron and coif).

Total cost: About 35 USD.First worn: On this photoshoot. But I would love too wear it again on some event, or even whitout one…

Floral anglaise of satin trouble – construction part 2

When I first realised I needed to cut away the beautiful part of the back, i refused to listen to that part of my brain. But after tedius atempts to fix the back of the bodice and to pleat and re-pleat the skirt in the right way, I grabbed the sissors.

Two cuts and it was done, and I was relieved to find that the pleating of the skirt went so much easier.

I pleated the skirt to the bodice and left two pocket slits at the sides when I sewed the skirt together. Once again things seemed to run on wheels, so I decided to cut out the petticoat after all. The sewing and pleating went so fast and easy that I finished it in no time.

Then it was time for another try-on.

I got help from my sister Elin to put the sleeves in the right position and to check the lenght of the skirt and petticoat.

2013-04-28 15.45.06

This time the back looked pretty good – I just needed to rise the waist a little more (I will have to live with the remaning wrinkles).

We decided that the skirt needed to be lengthen in the back – this meant I would have to piece the hem with stripes of fabric to get some extra length. And this was when the problem started again…

Of course I was out of fabric – all I had left was some small pieces for decoration and trimming.

2013-04-28 15.44.39

The only way to fix the 8 centimeters too short skirt was to take some fabric from the petticoat. I already had a 50 cm “patch” in the back, due to lack of fabric. So this time I had to cut away two 10 cm pieces on the horisontal of the skirt, and then re-pleat the petticoat to the waistband.

Then it was time to deal with the sleaves. To get the right 18th century look, and to save myself some trouble with getting the sleeve-cap in the sewing machine, I decided to handstitch the sleeves in place. When that was done all I needed to do was to put the shoulder piece over the sleeve-cap and hand stitch them down.

The only thing left to finish the dress was to put some trimming on it.

This proved more difficult and time consuming then I had anticipated. I cut stripes of the few pieces of fabric I had left and sewed them together in to one 4 m stripe. Then I had to hem the stripes both sides by hand (all 8 m), and then go on to pleat and baste it all down. Then at last I could attach the trim to the gown.

Well here it is – the finished dress. After all the trouble and setbacks I still really like this dress and feel pretty comfortable wearing it. I may even have to invent a reason to wear it.

2013-05-07 11.41.312013-05-07 11.42.01

2013-05-07 11.42.18