
While working on the Paisley skirt I had trouble deciding what kind of bodice I would make to go with it, a daytime or a evening bodice. And with a long vacation from work ahead of me, I thought “why not make both?” And so I did.
Starting by drapeing the low-cut, of the shoulder, evening bodice.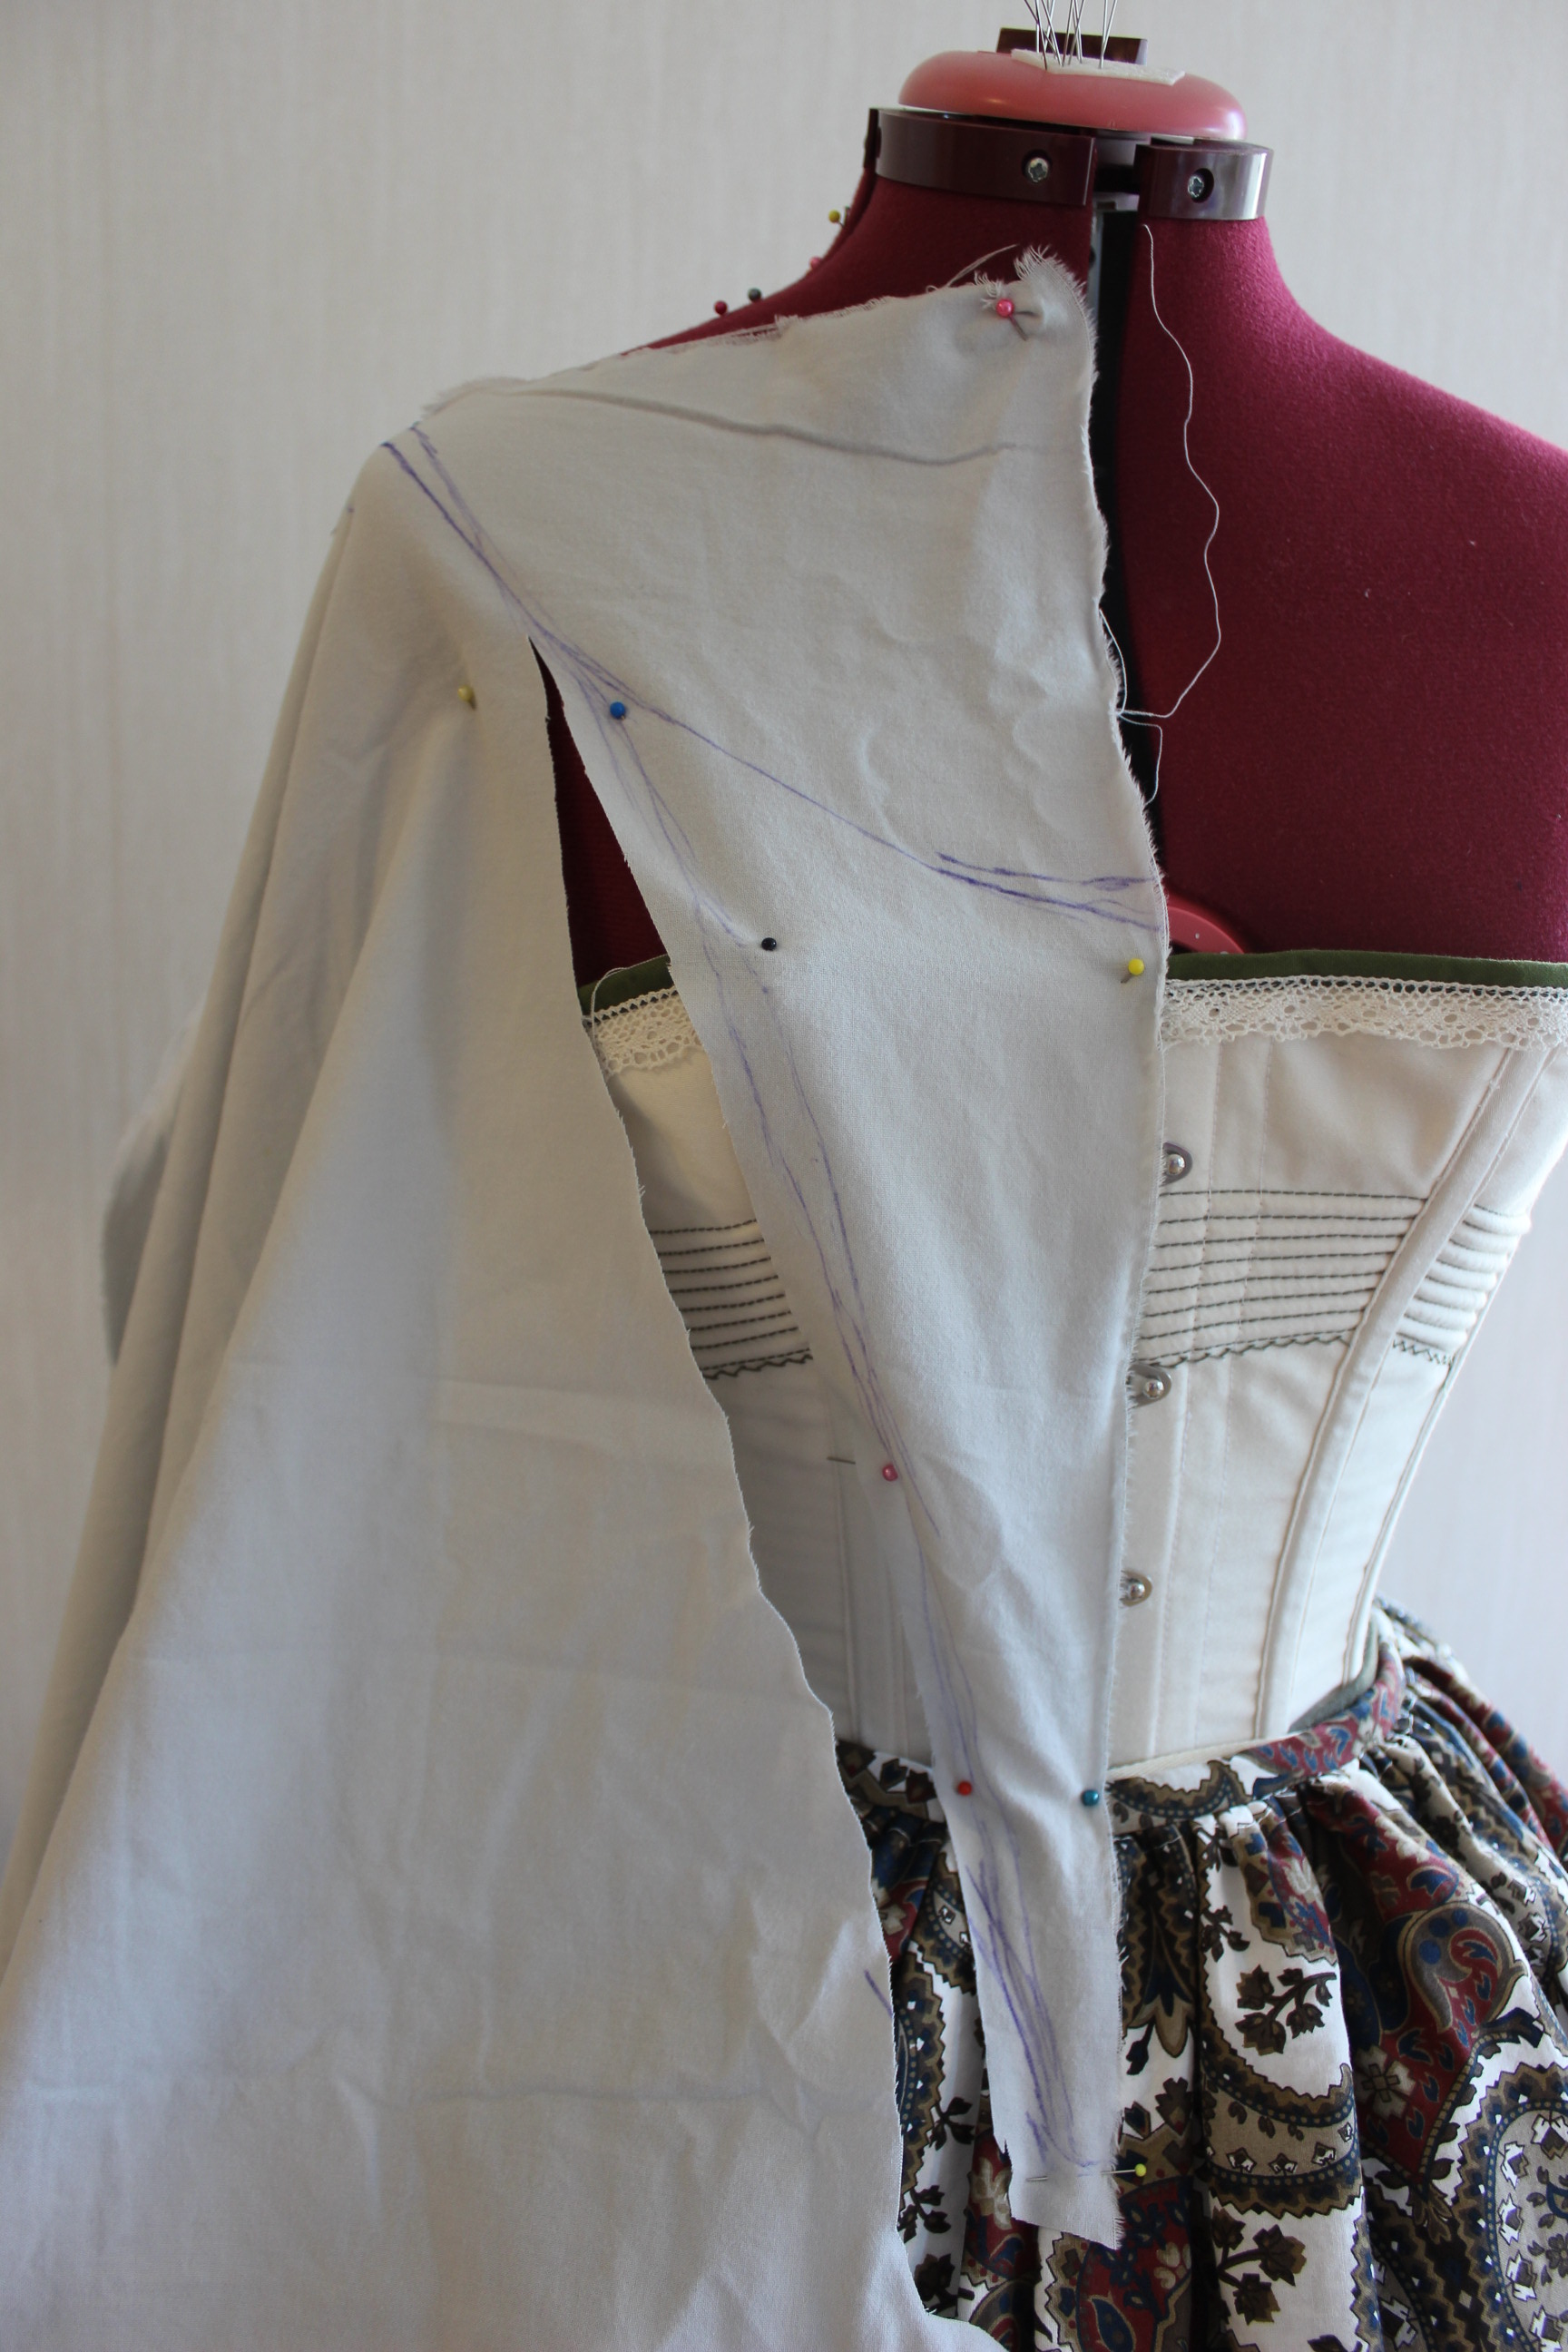
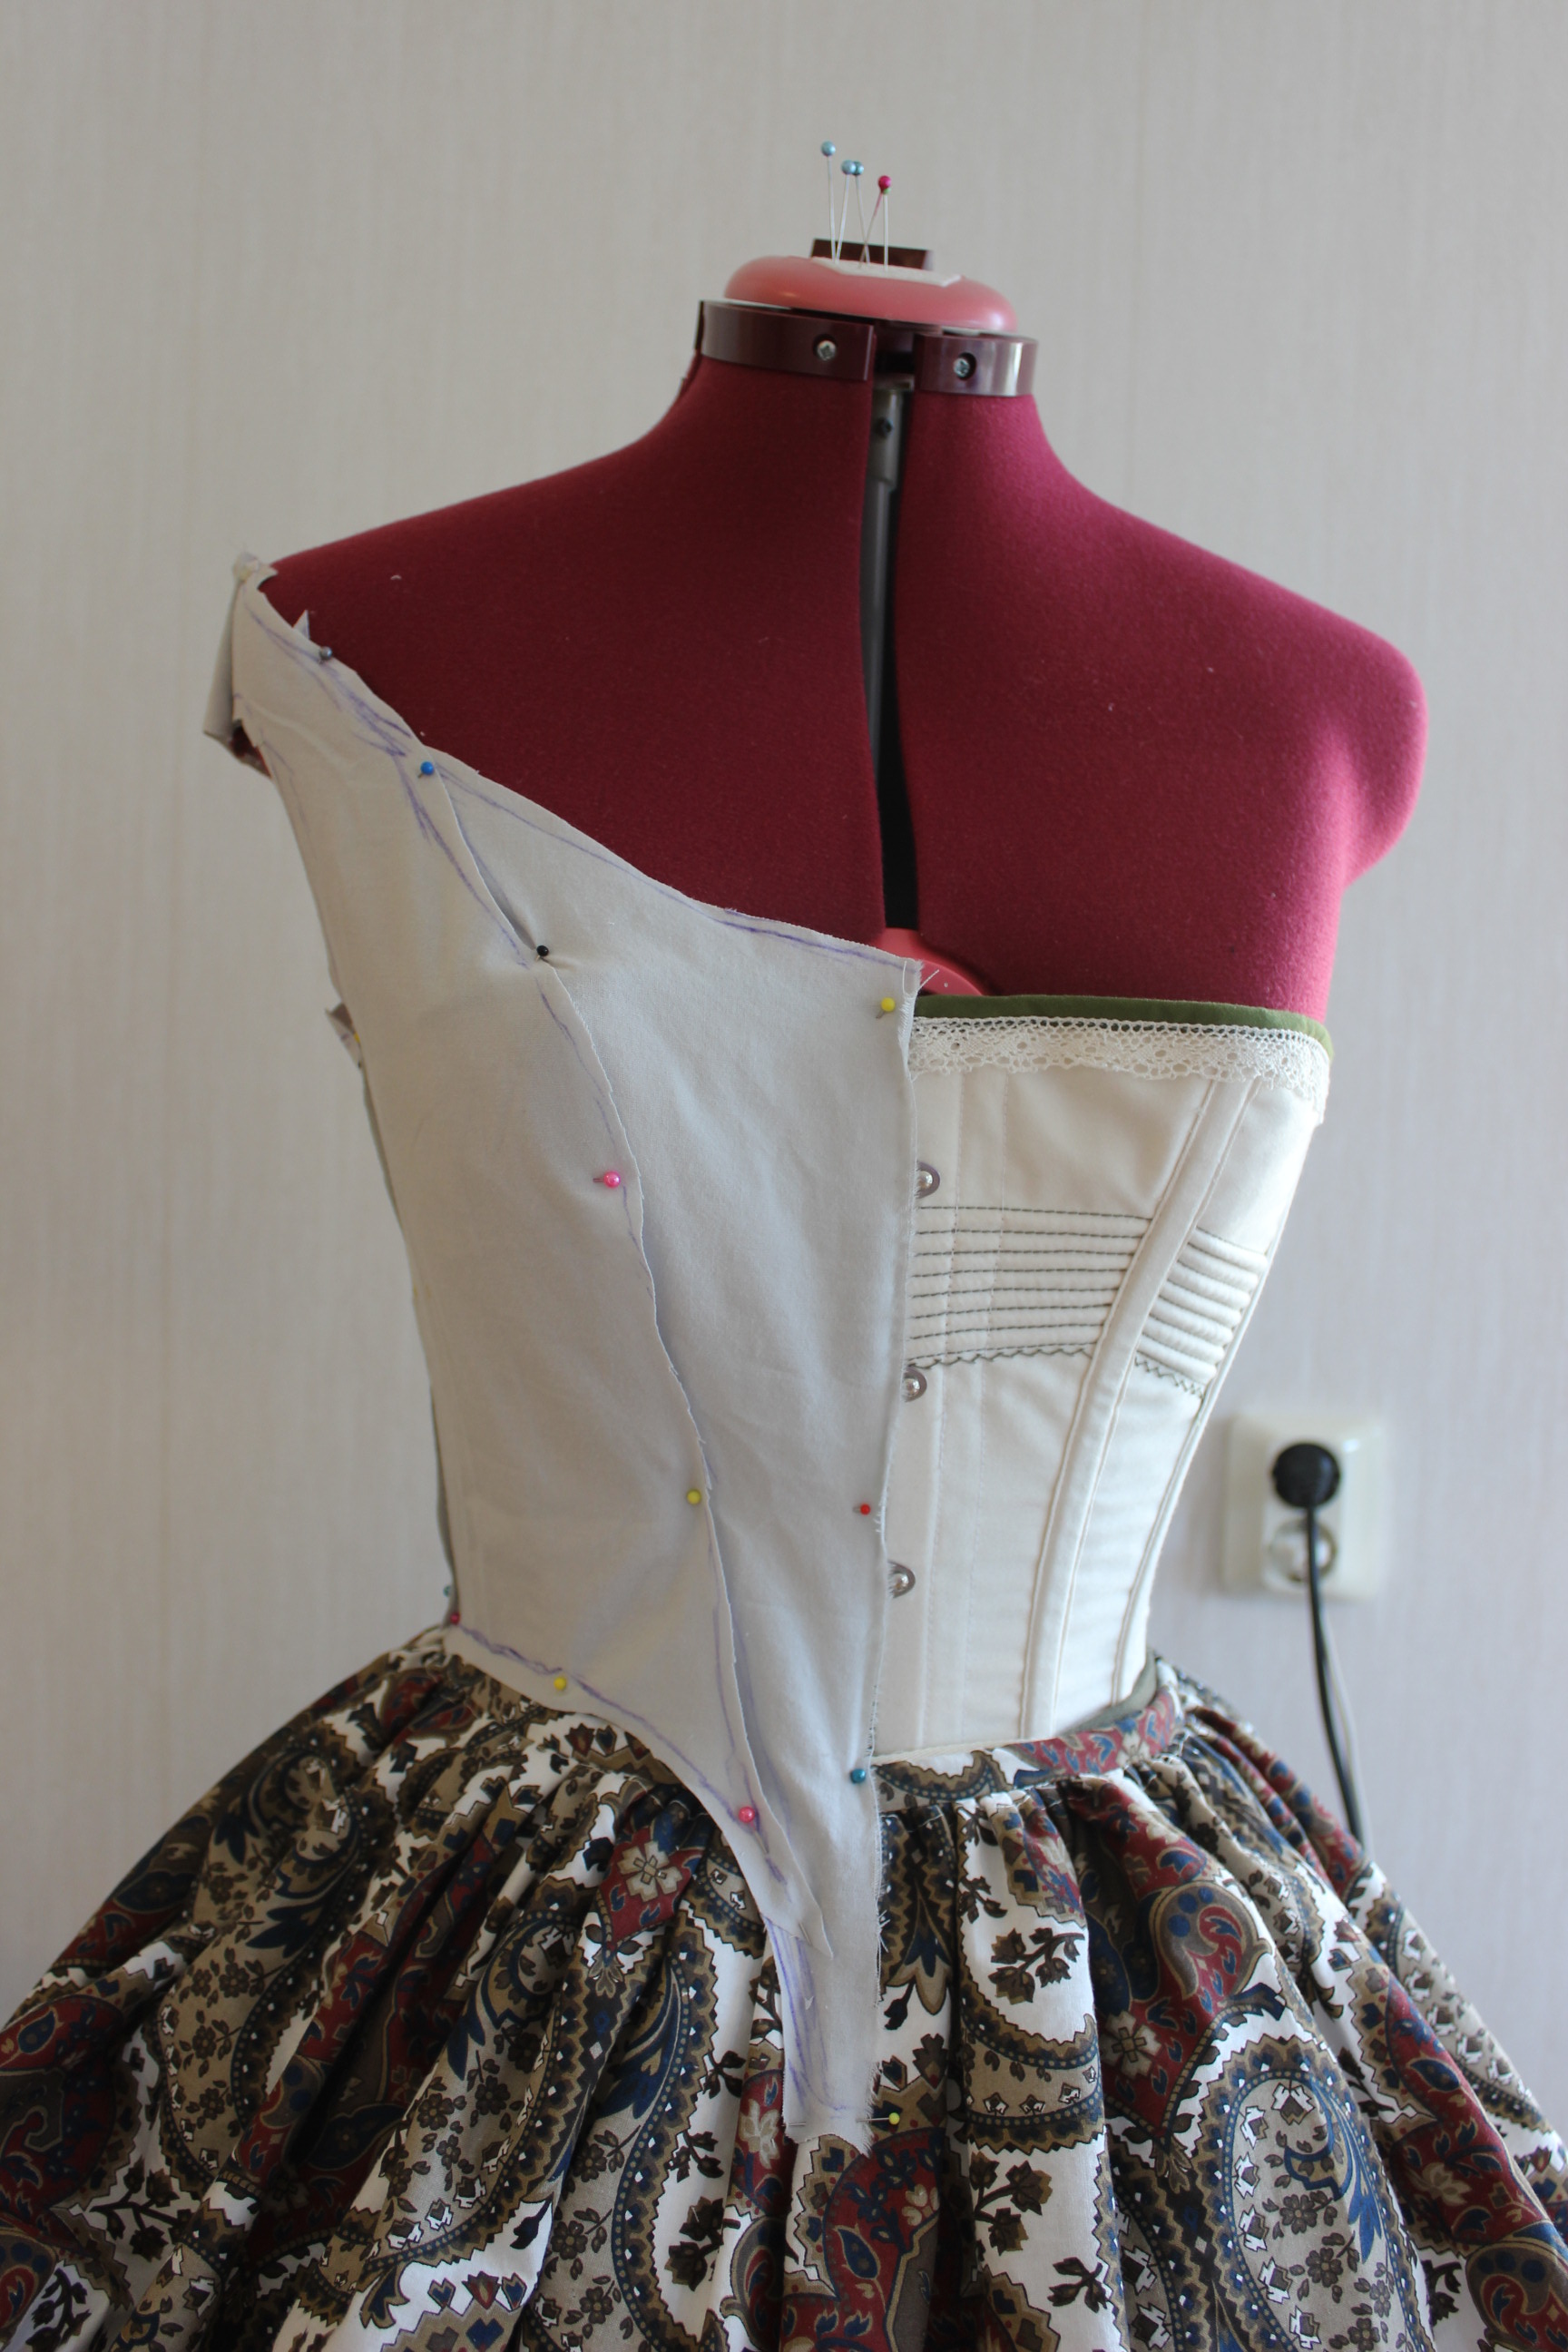
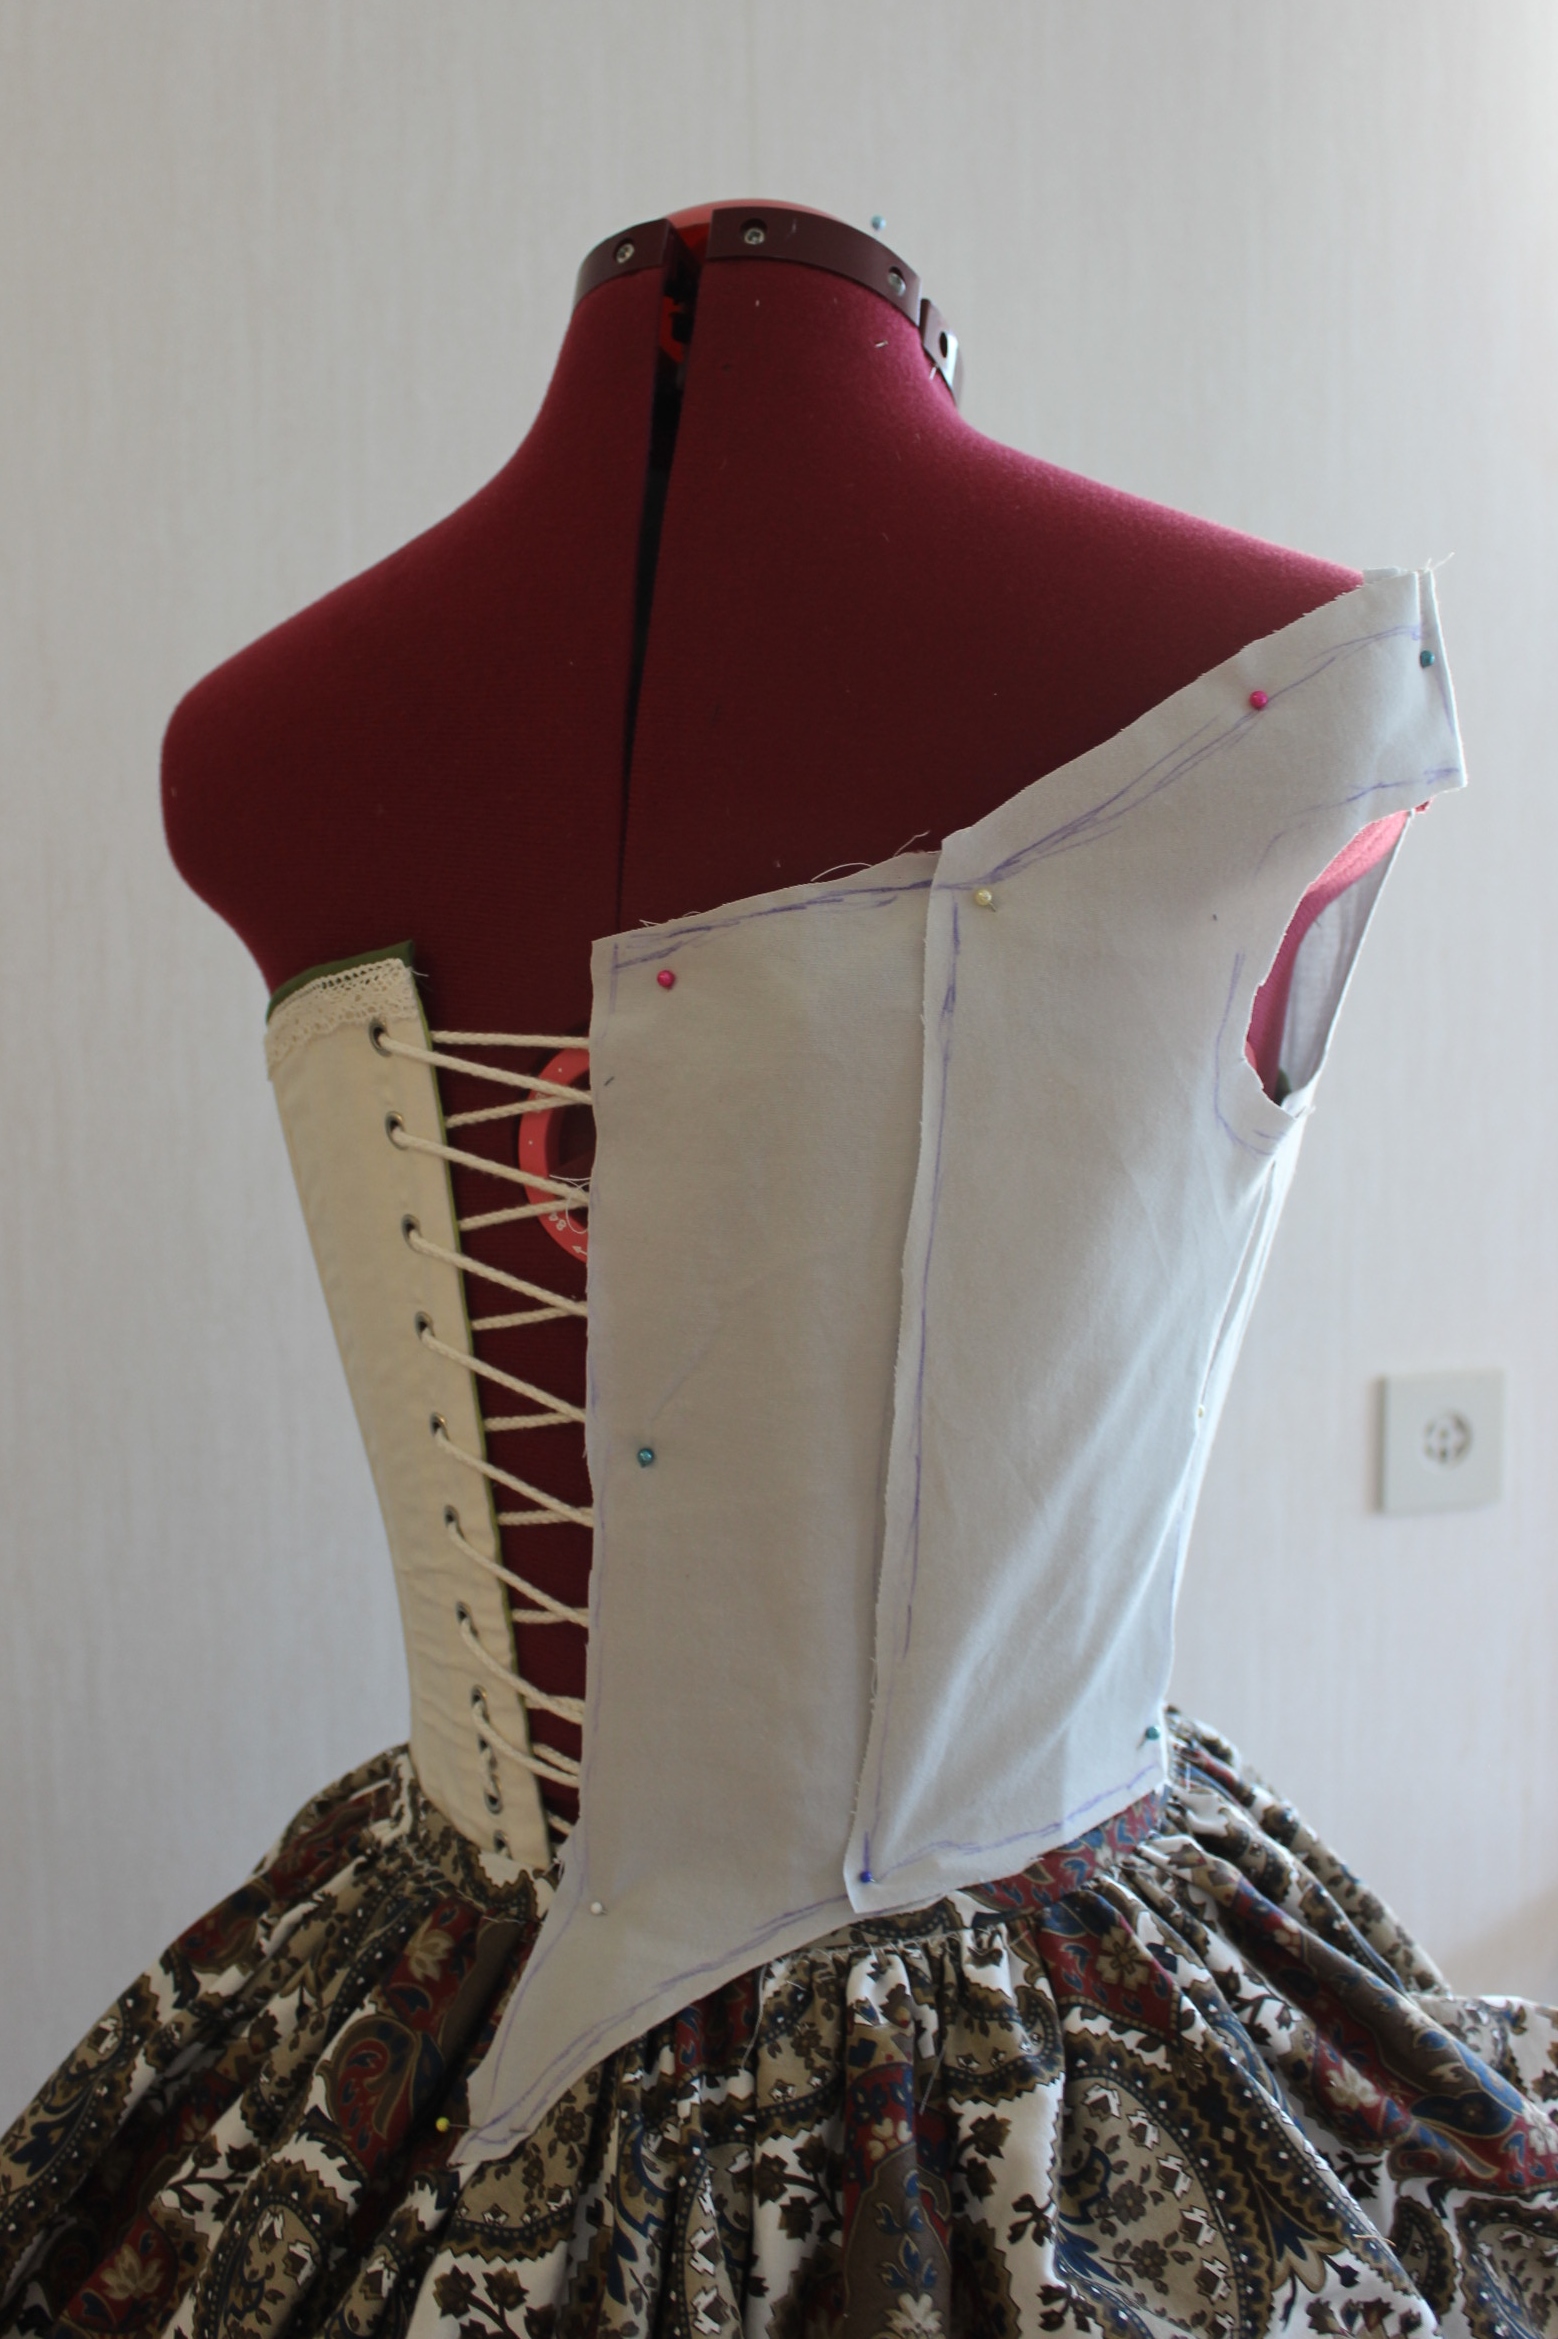
Working on the daybodice and evening bodice at the same time, I made pretty good speed, cutting and sewing the mock-ups. I also minimized the amount of times I needed to put on the corset by trying on both of the mock-ups at the same time.

The fit was a bit underwhelming, and I ended up lenghten the bodice at the waist by 3 cm, re-shaping the shoulder, changing tha bust seam and adding another 5 cm to the front tab.
A pic to get a sence of how it would look.
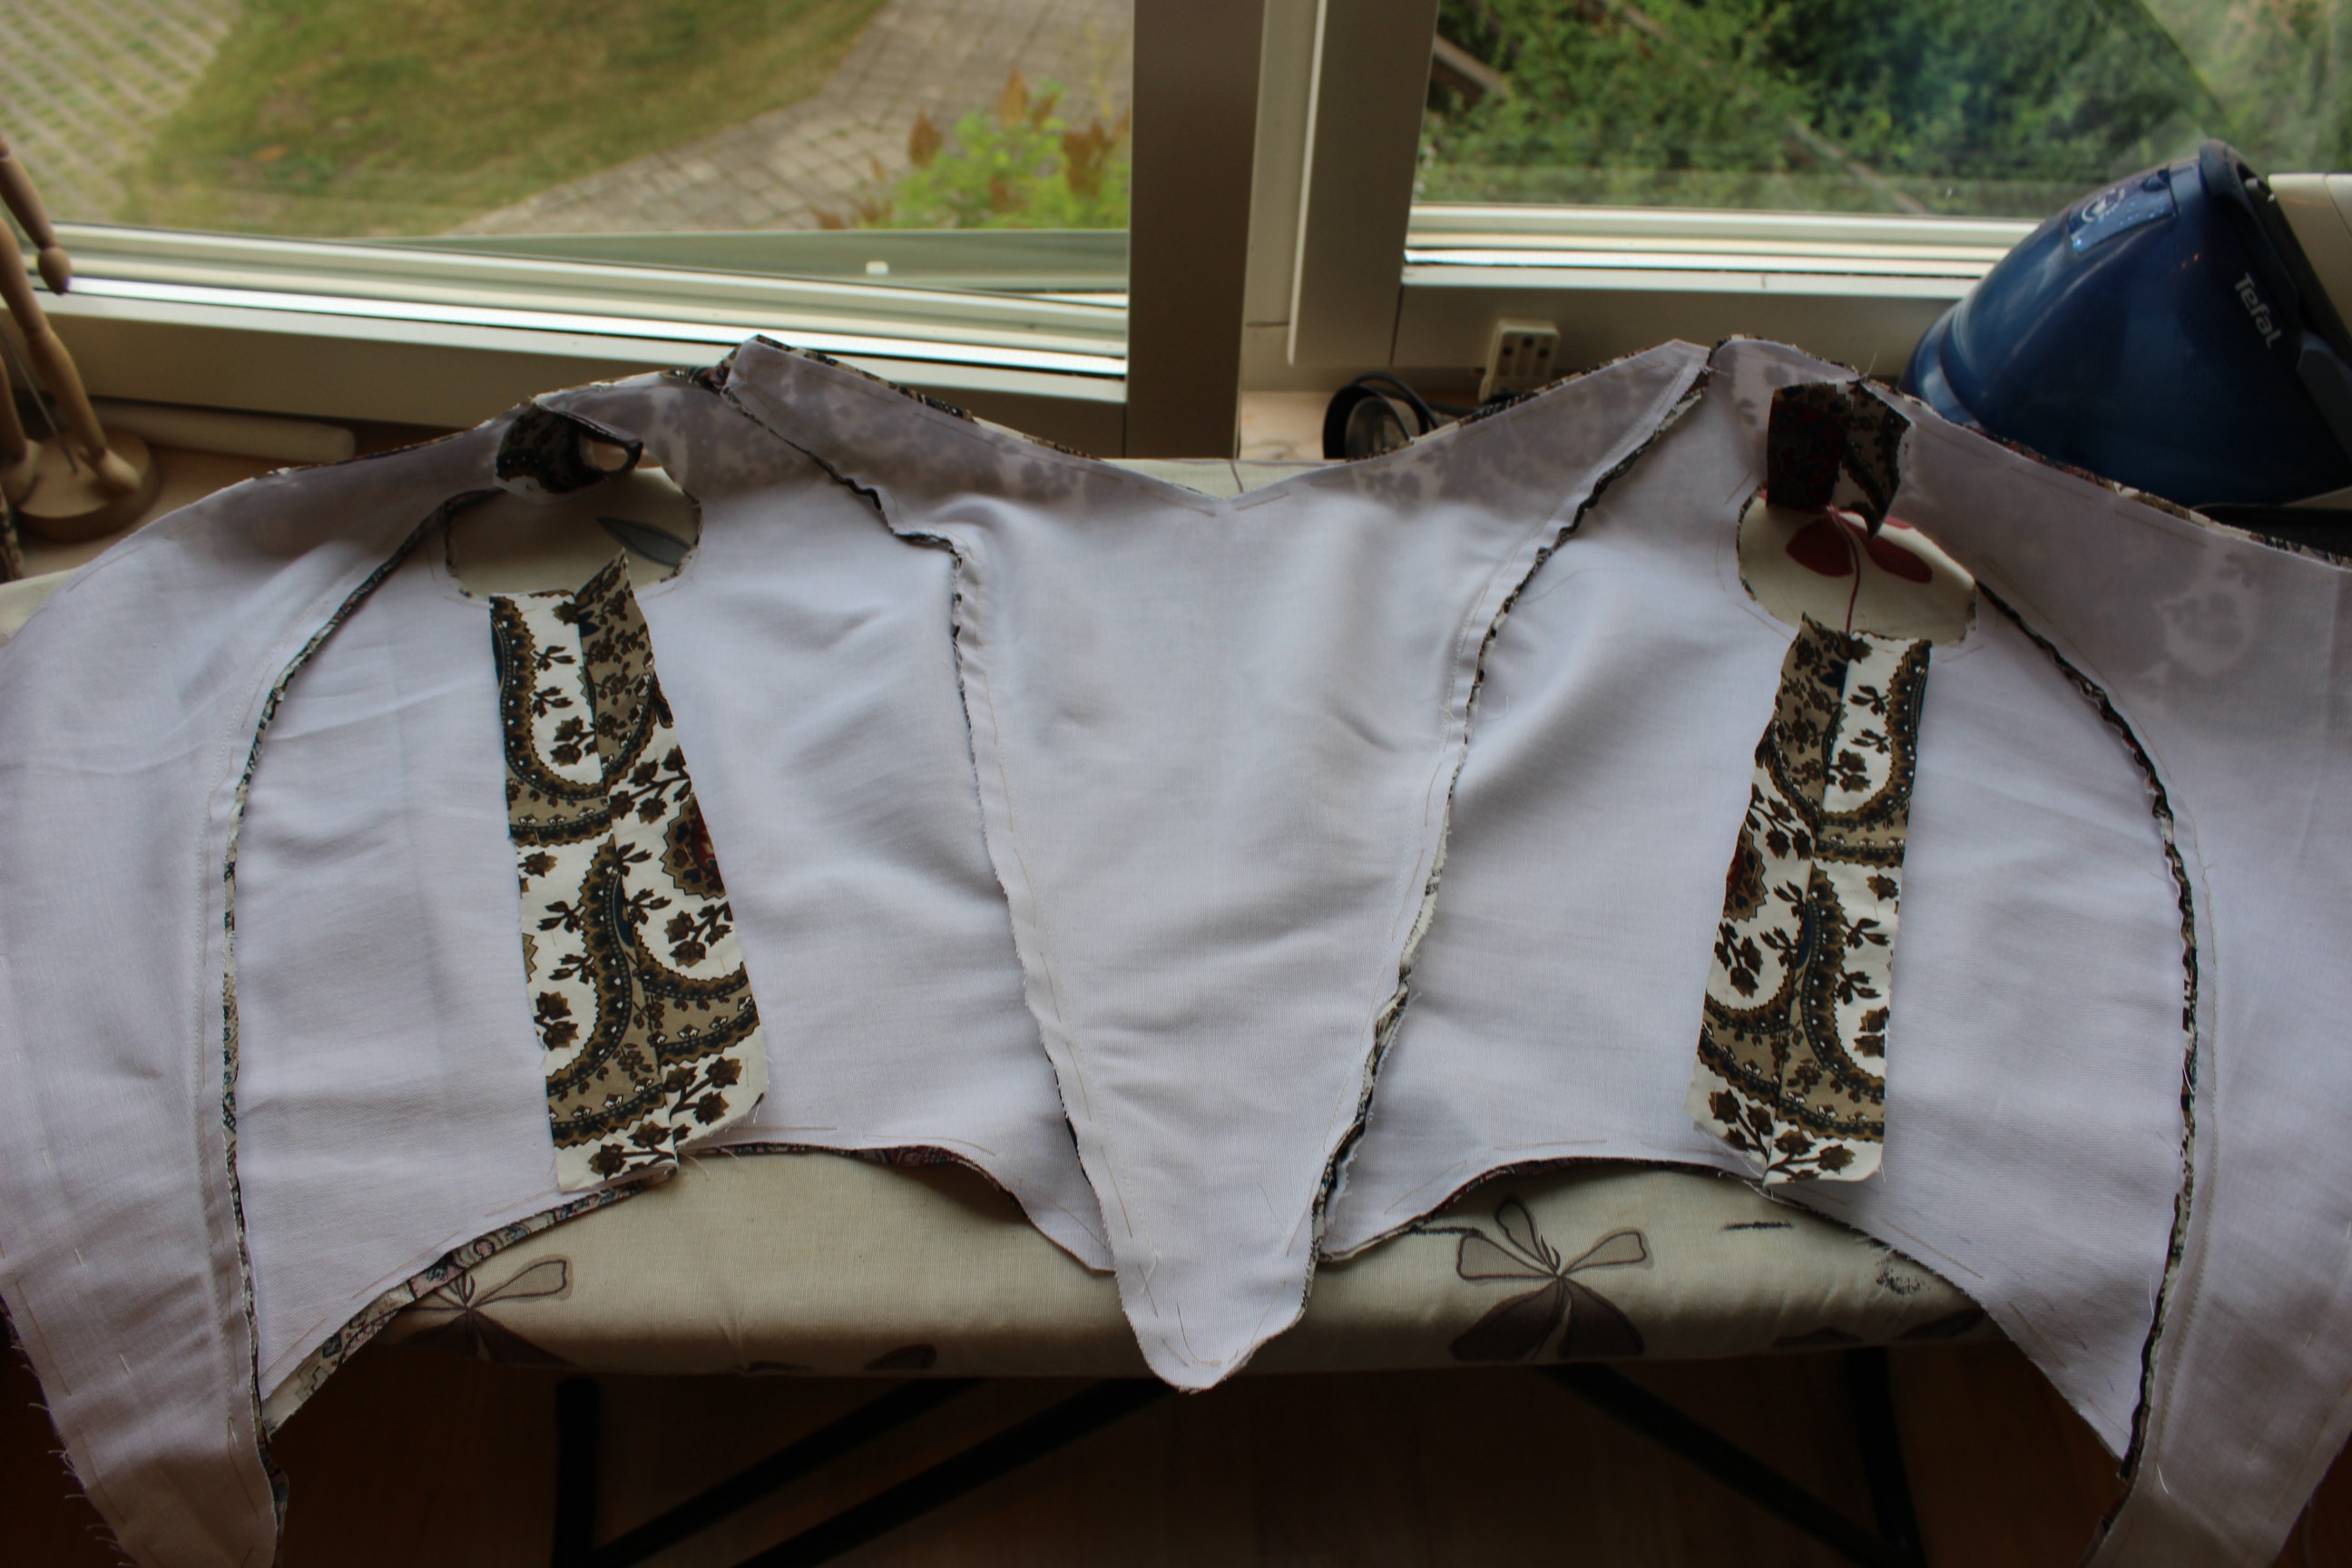
After cutting all the layers out, I basted the twill to the paisley, and started to sew the pieces togeter.
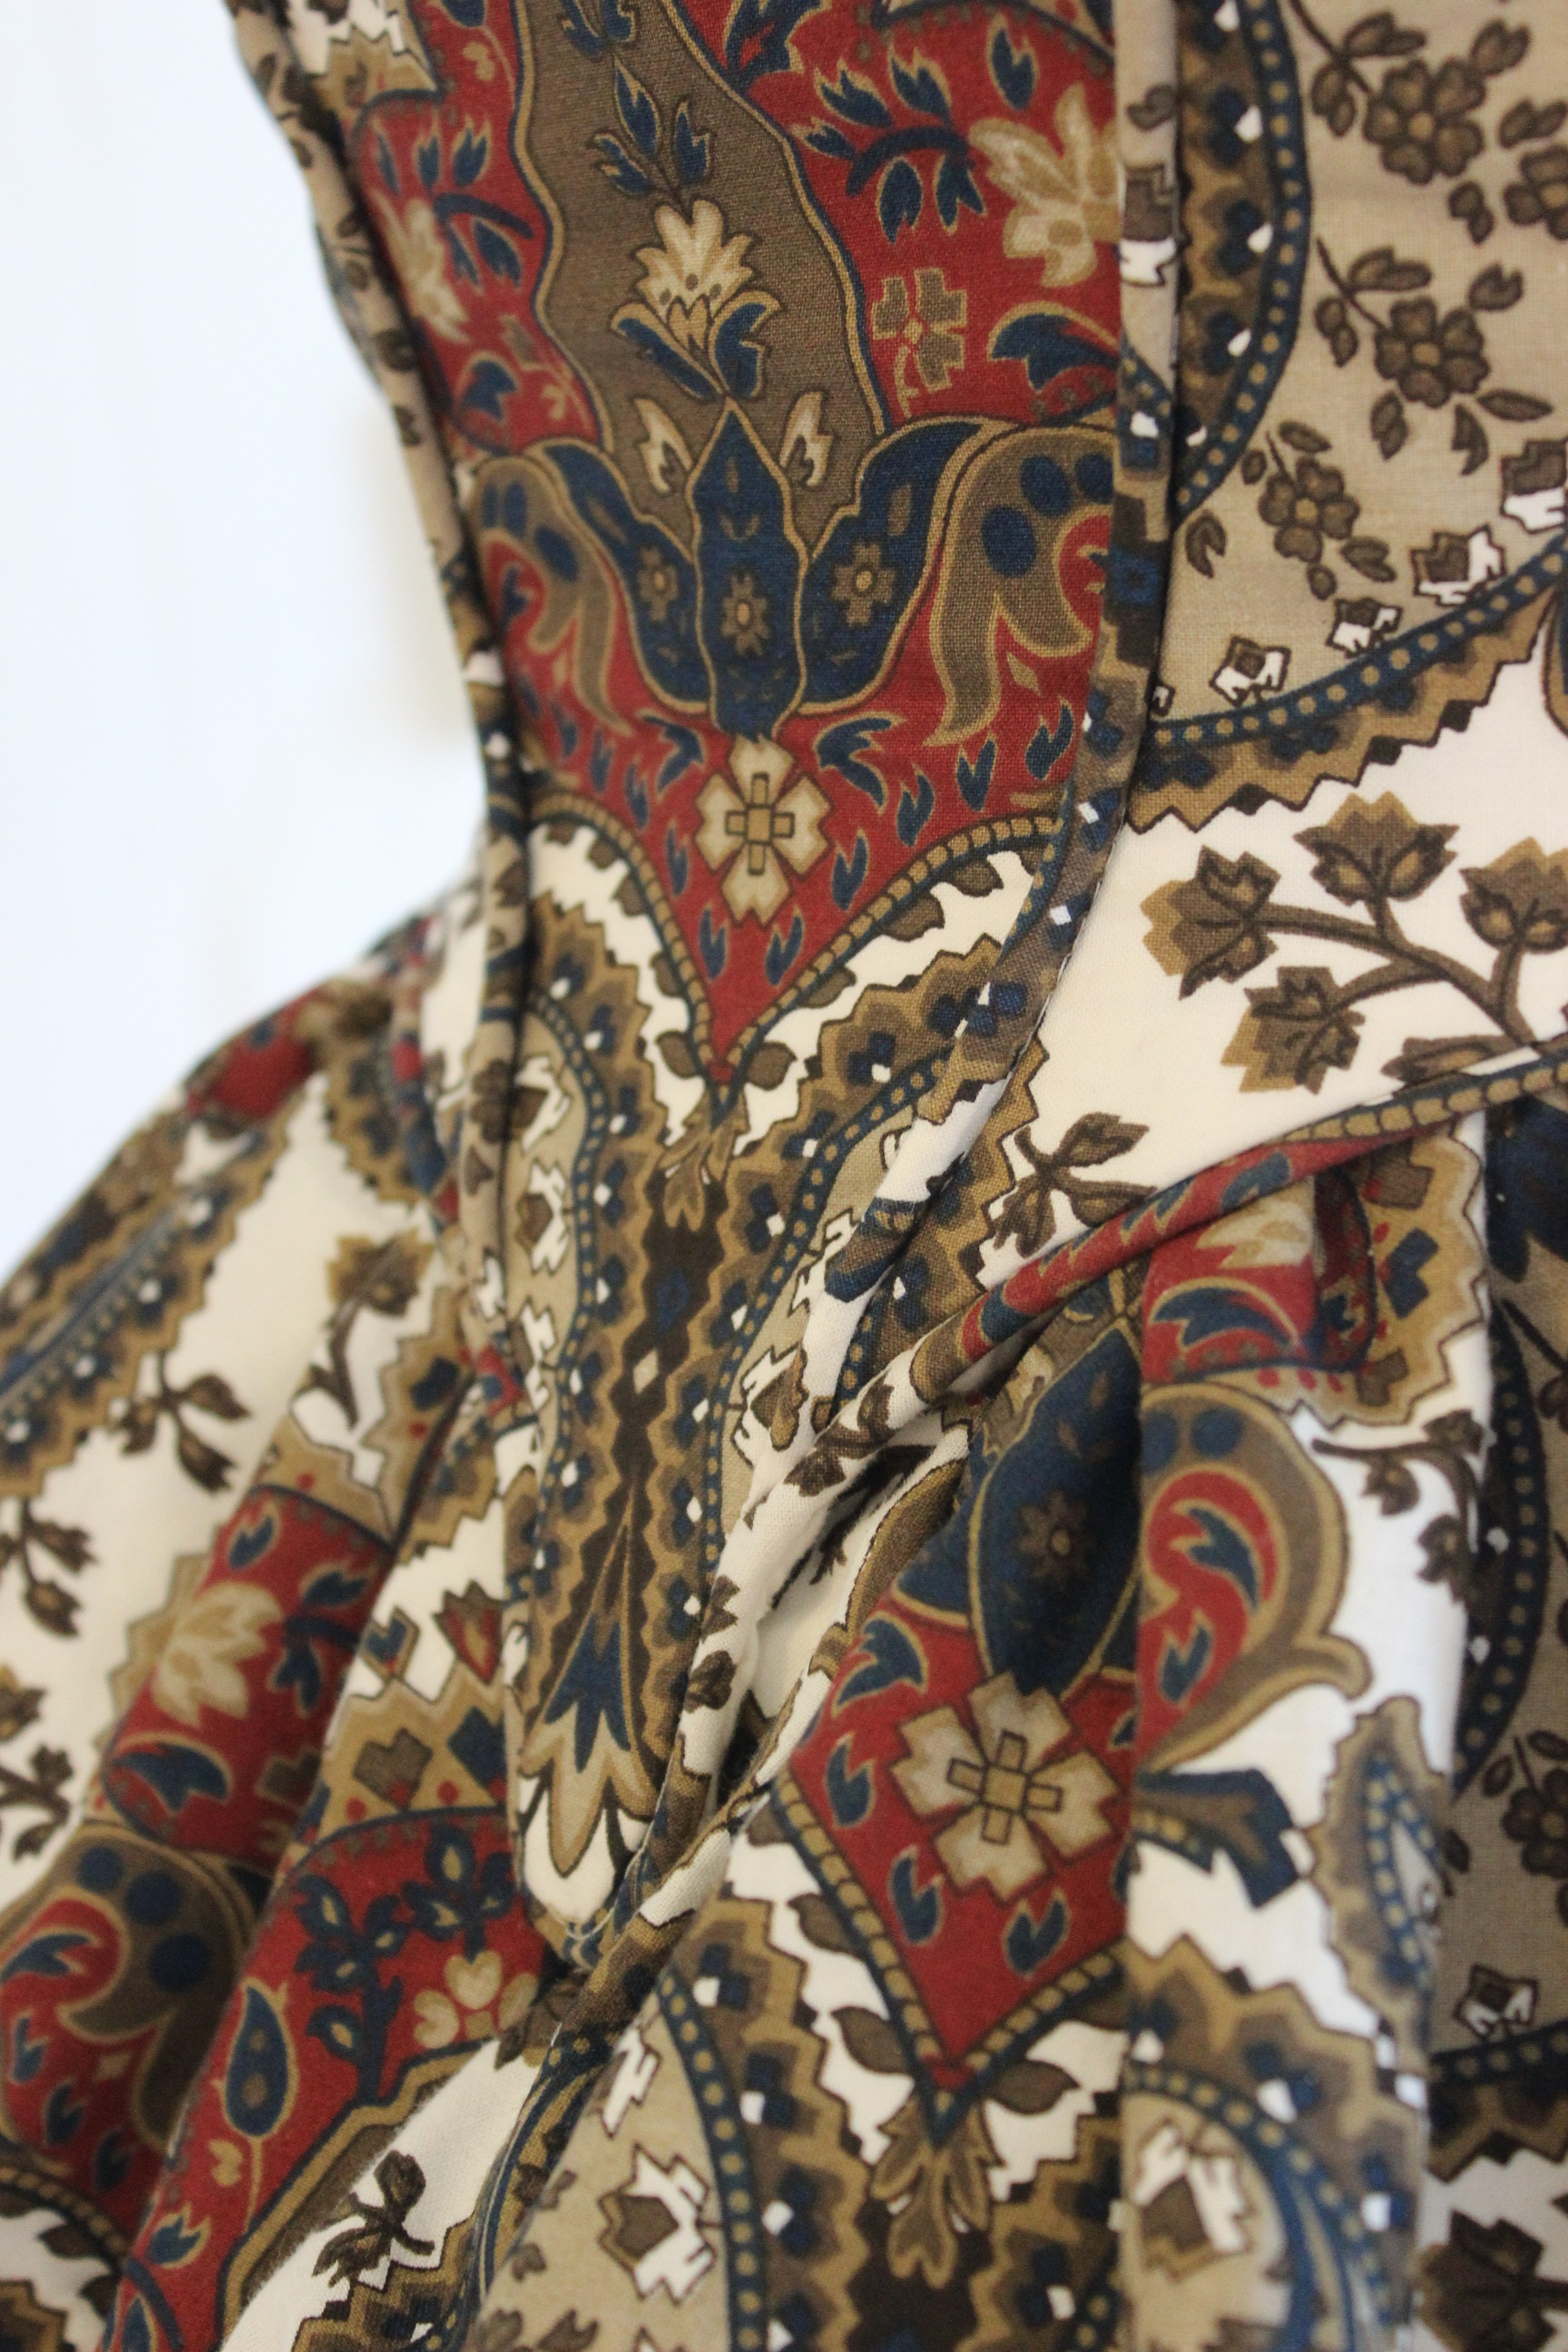
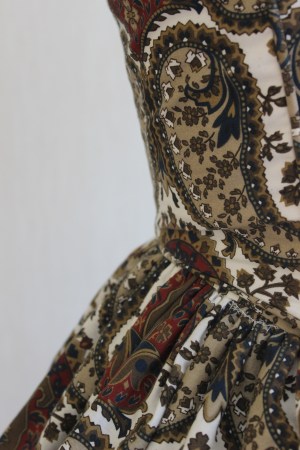
For the evening bodice I decided to use piping in the seams. I made my own using cut bias-strips and cotton cord. The piping serves to give the garmnent a more finished and historical look, and at the same time makes the eye accept the breaks in the print better. So apart from the extra work making and putting them in, it’s a win win situation.
 Piping basted to the seam-allowence.
 Bodice from the inside with piping in all but the side seams.
Then I tried it on, to test the fit.


As you can se it dosen’t really close in the back. That was fixed by letting the bodice out a bit at the sides, and re-arranging the back edges.
I then started on the lining, sewing boning chanels in the seam allowence.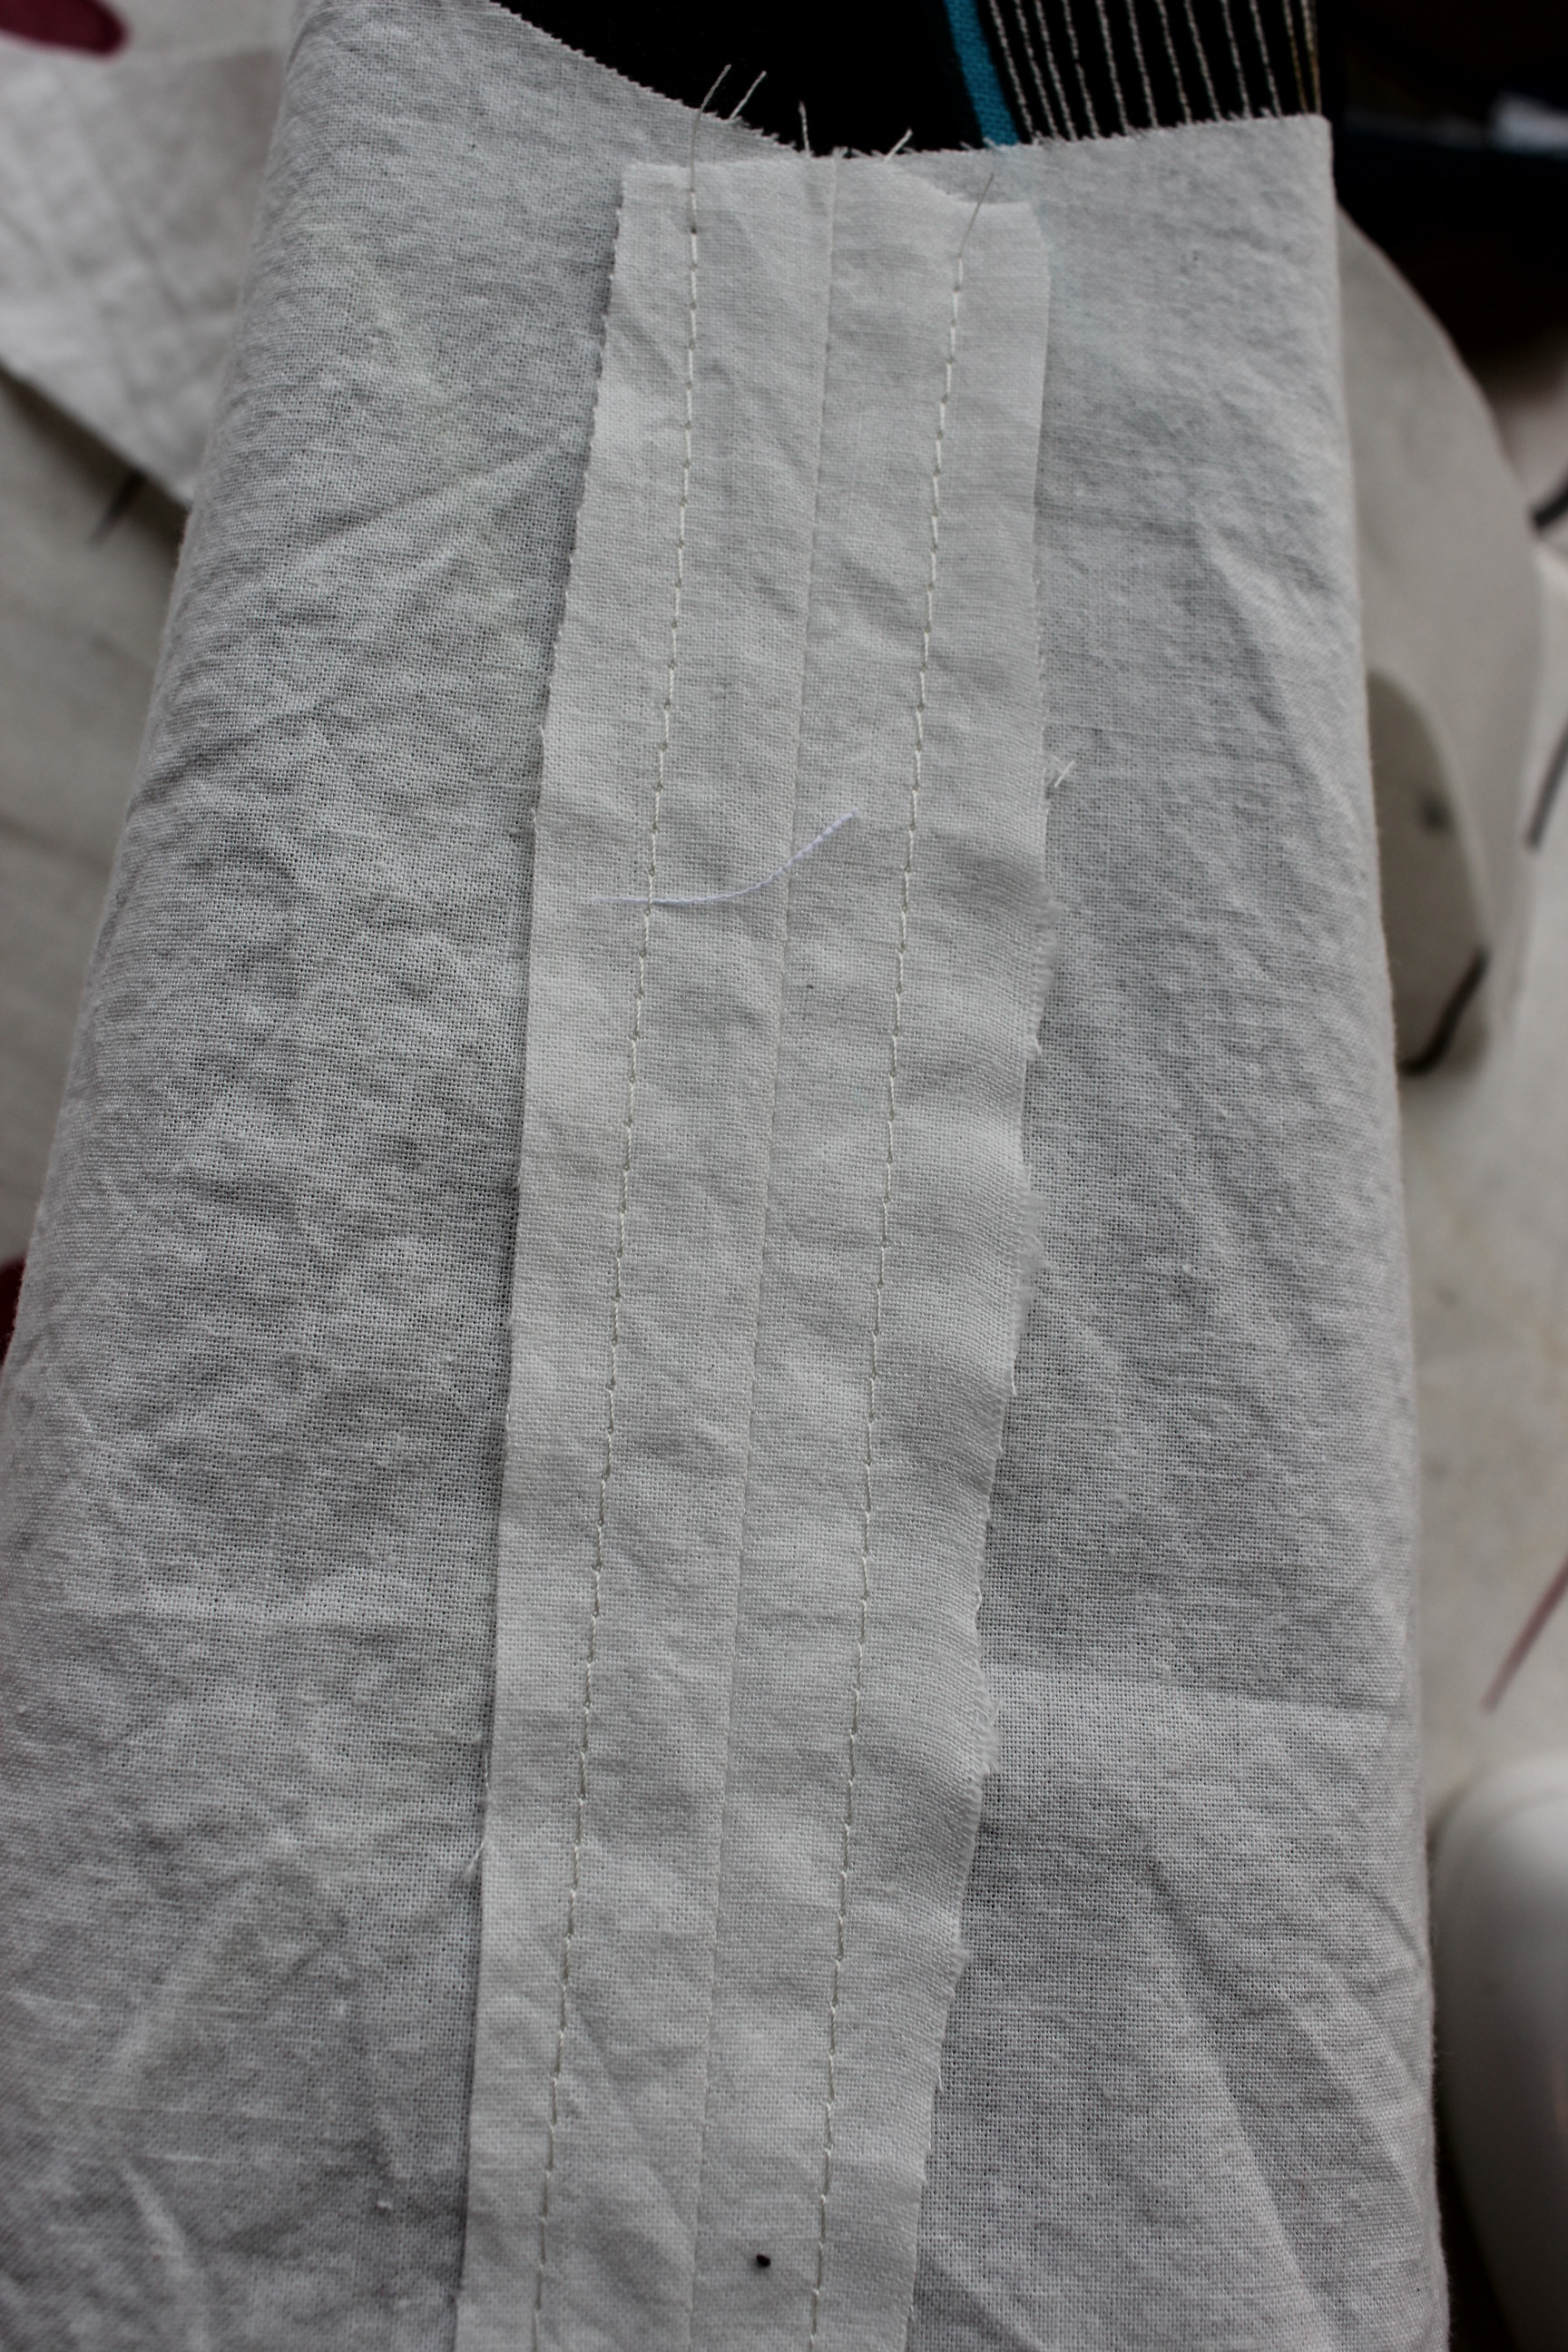
And then I sewed the lining to the bodice, turning the whole thing inside out. 
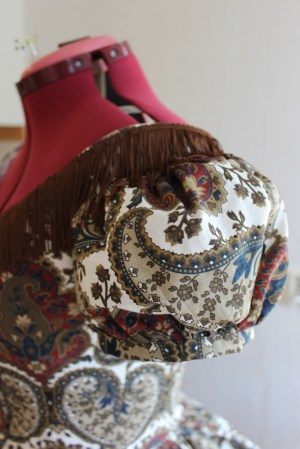
Then it was time for the sleeves.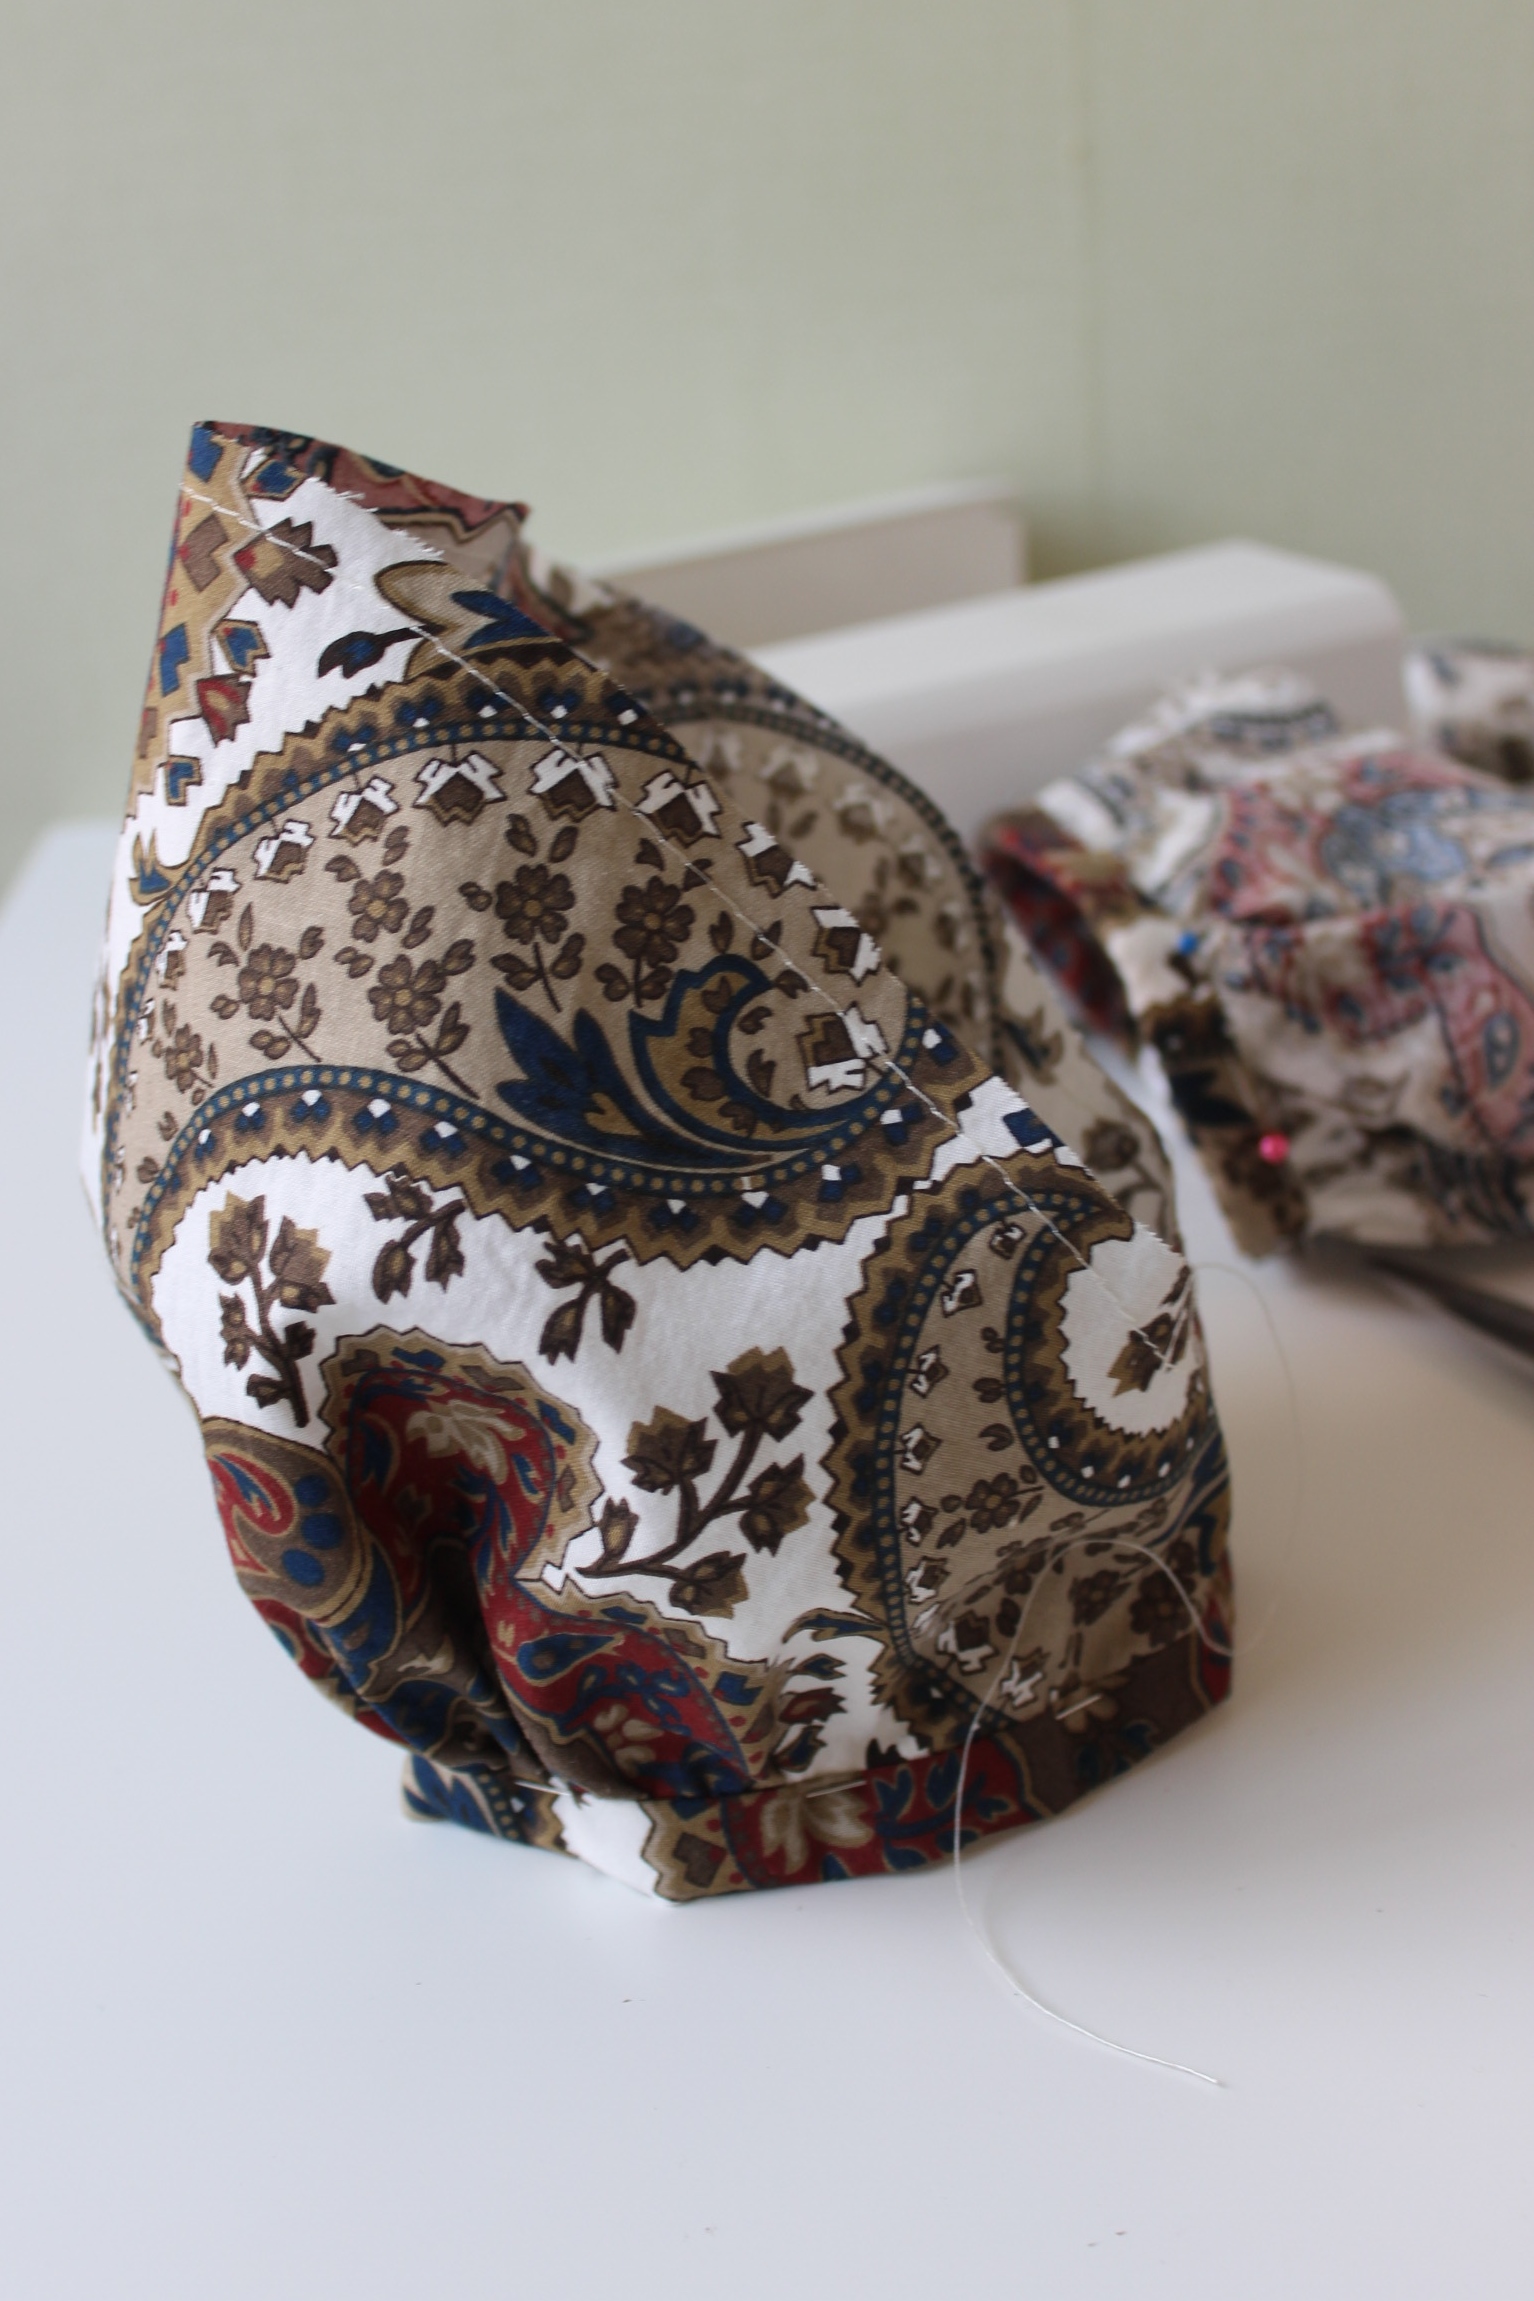 I gathered the bottom into smal cuffs, and stitched a gatering thread at the top, to make it easy to insert into the arm hole.
Then I cut the seam allowences down and covered the edges with a bias-strip.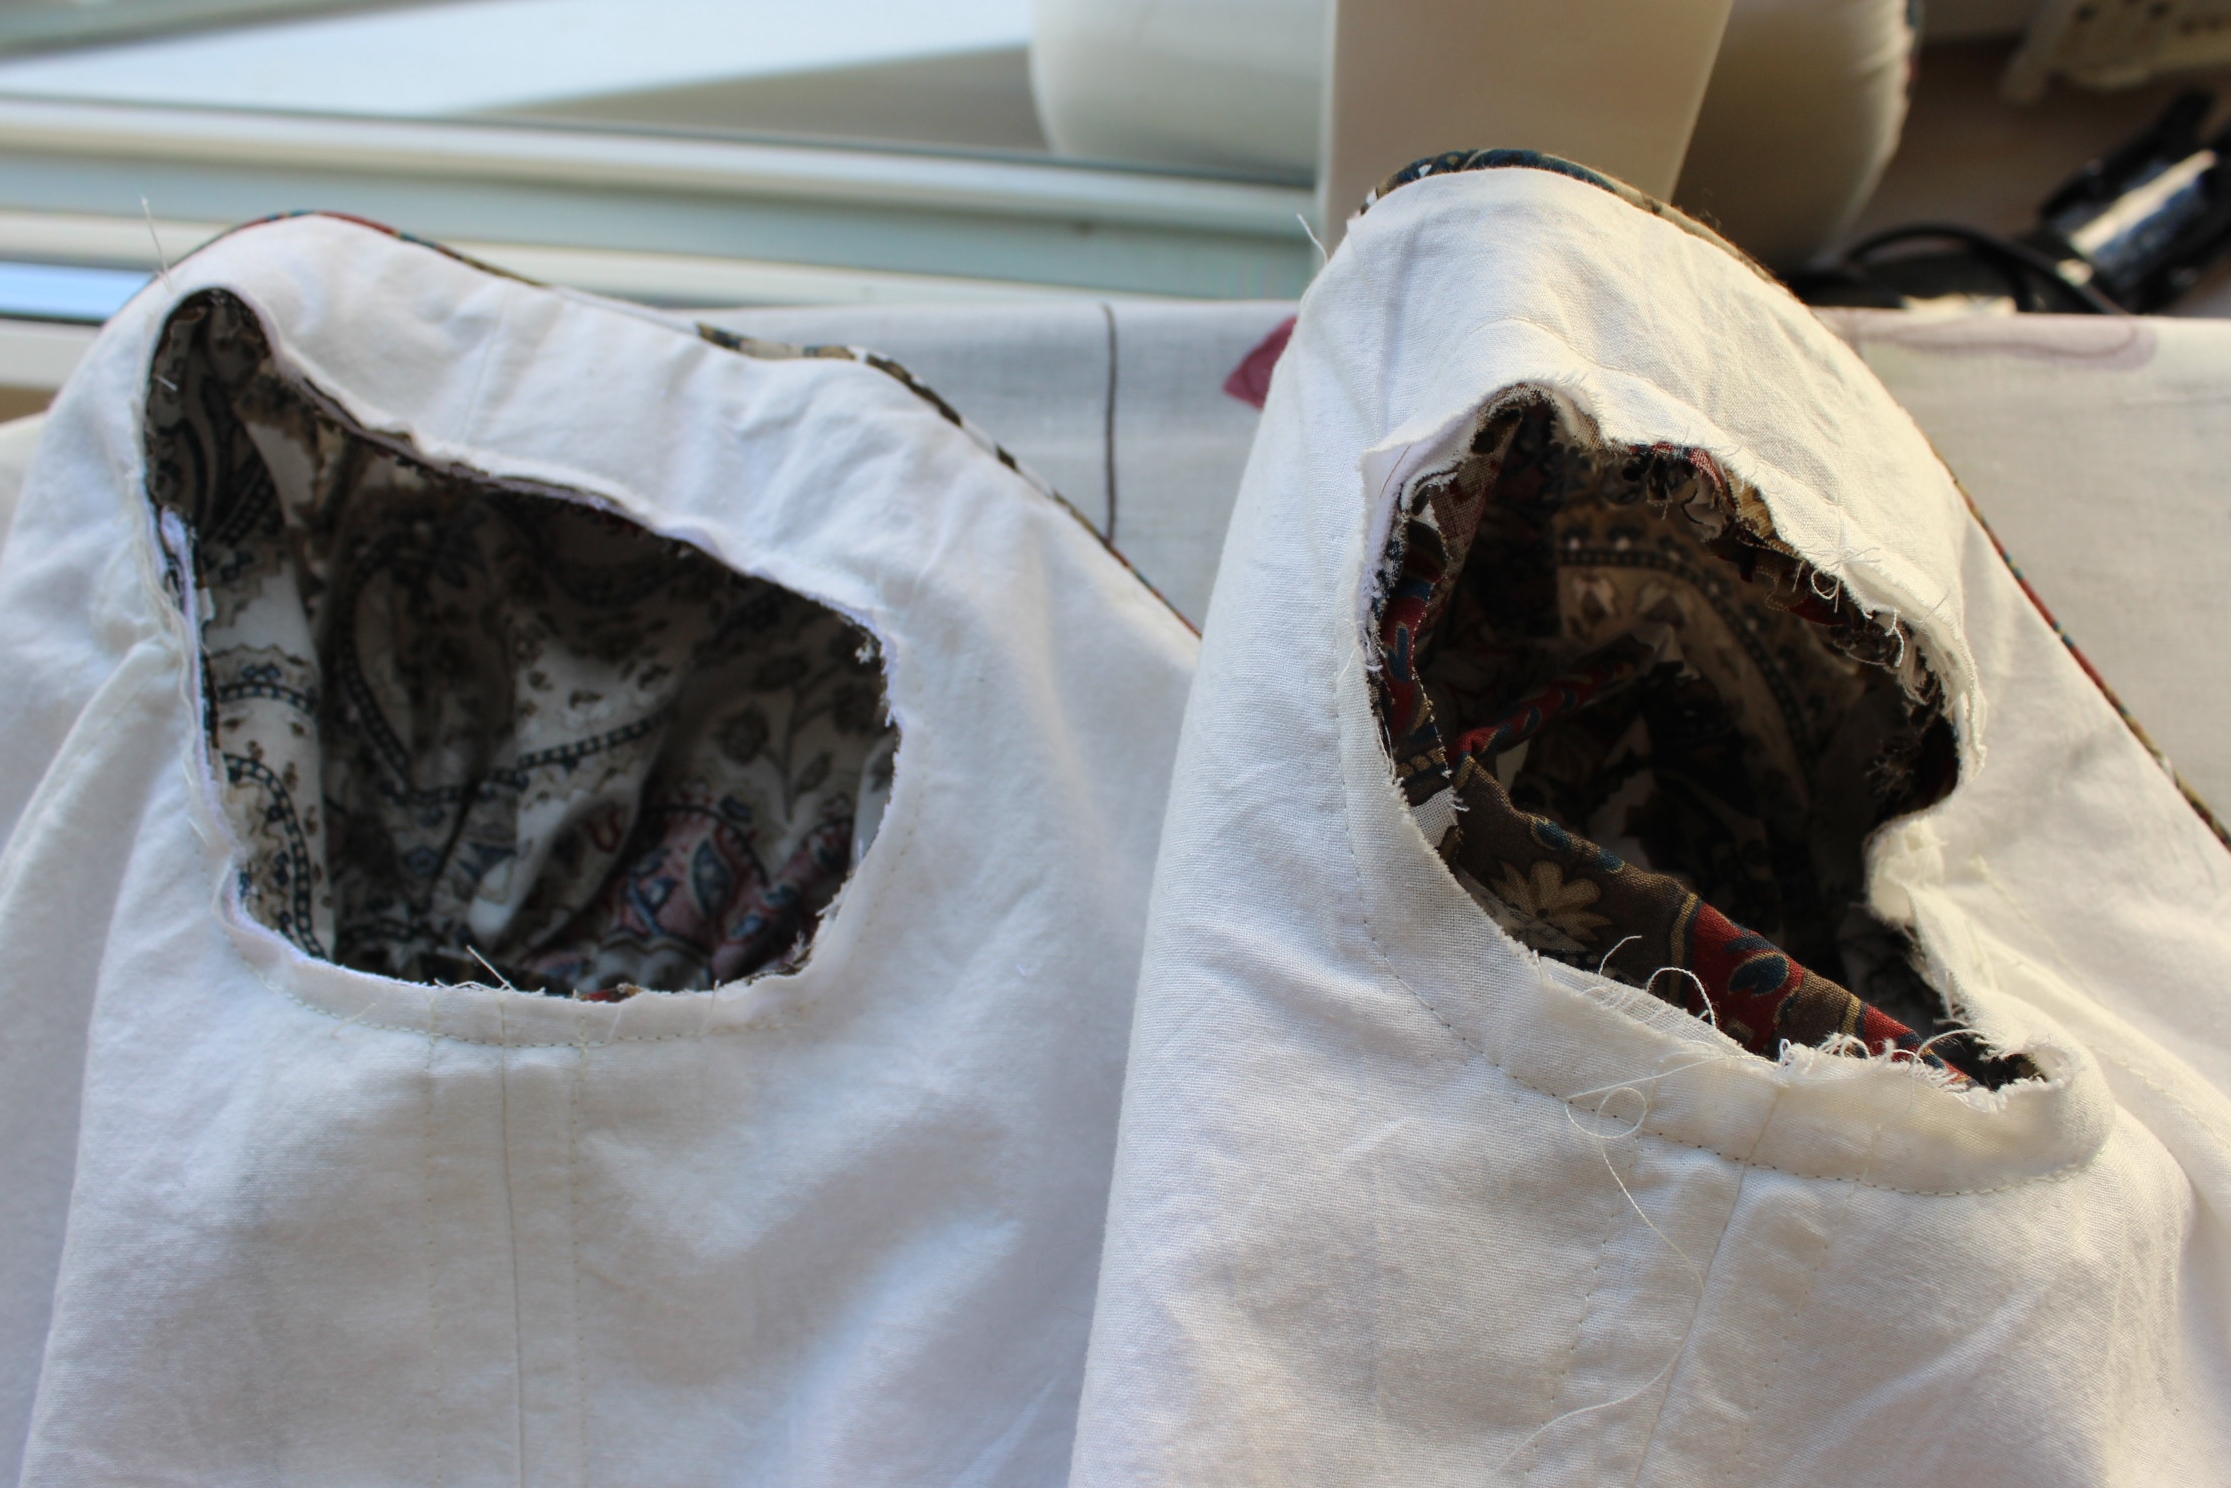
And as you all know, if you don’t have enough to do already, you make sure to give youself some more work…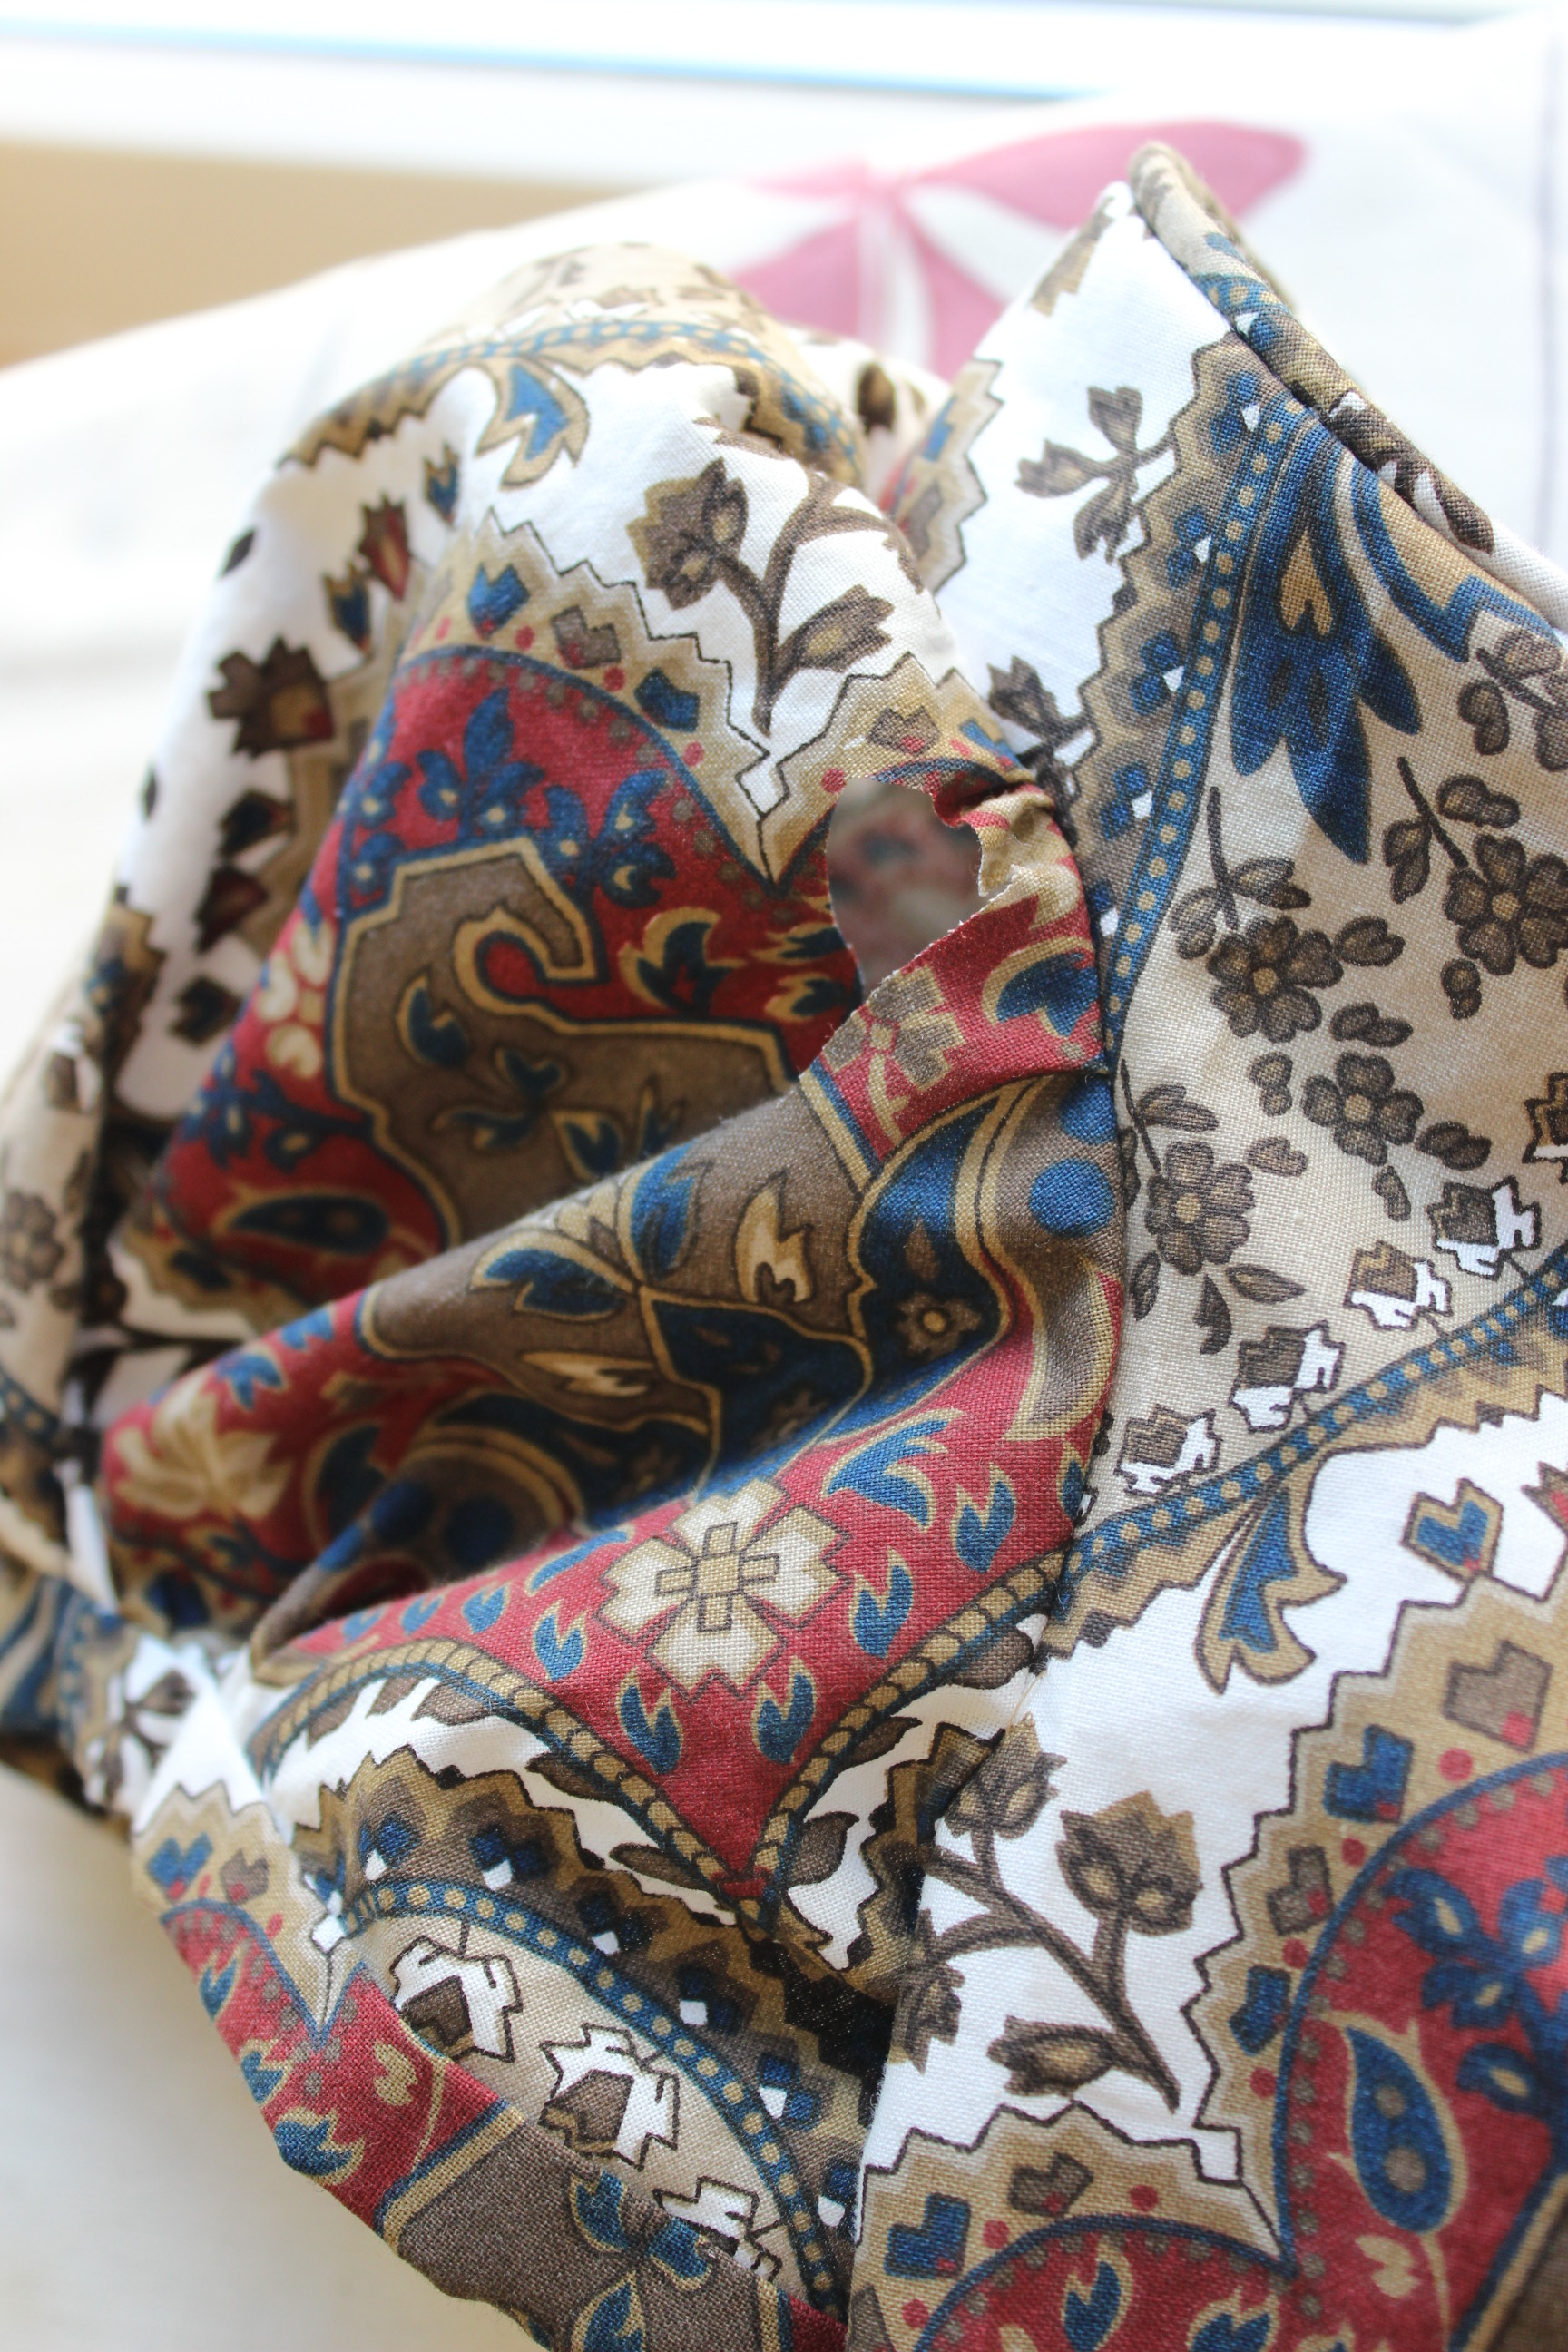 While cutting the sleeve allownece I accidently manadged to cut a piece of the sleeve away. (if you look closely you can se the hole (big as a thumb) right by the seam about half way up the sleeve.
Crap!
I had not enough fabric to cut another sleeve, and I was almost finished with it anyway, so I decided to mend it.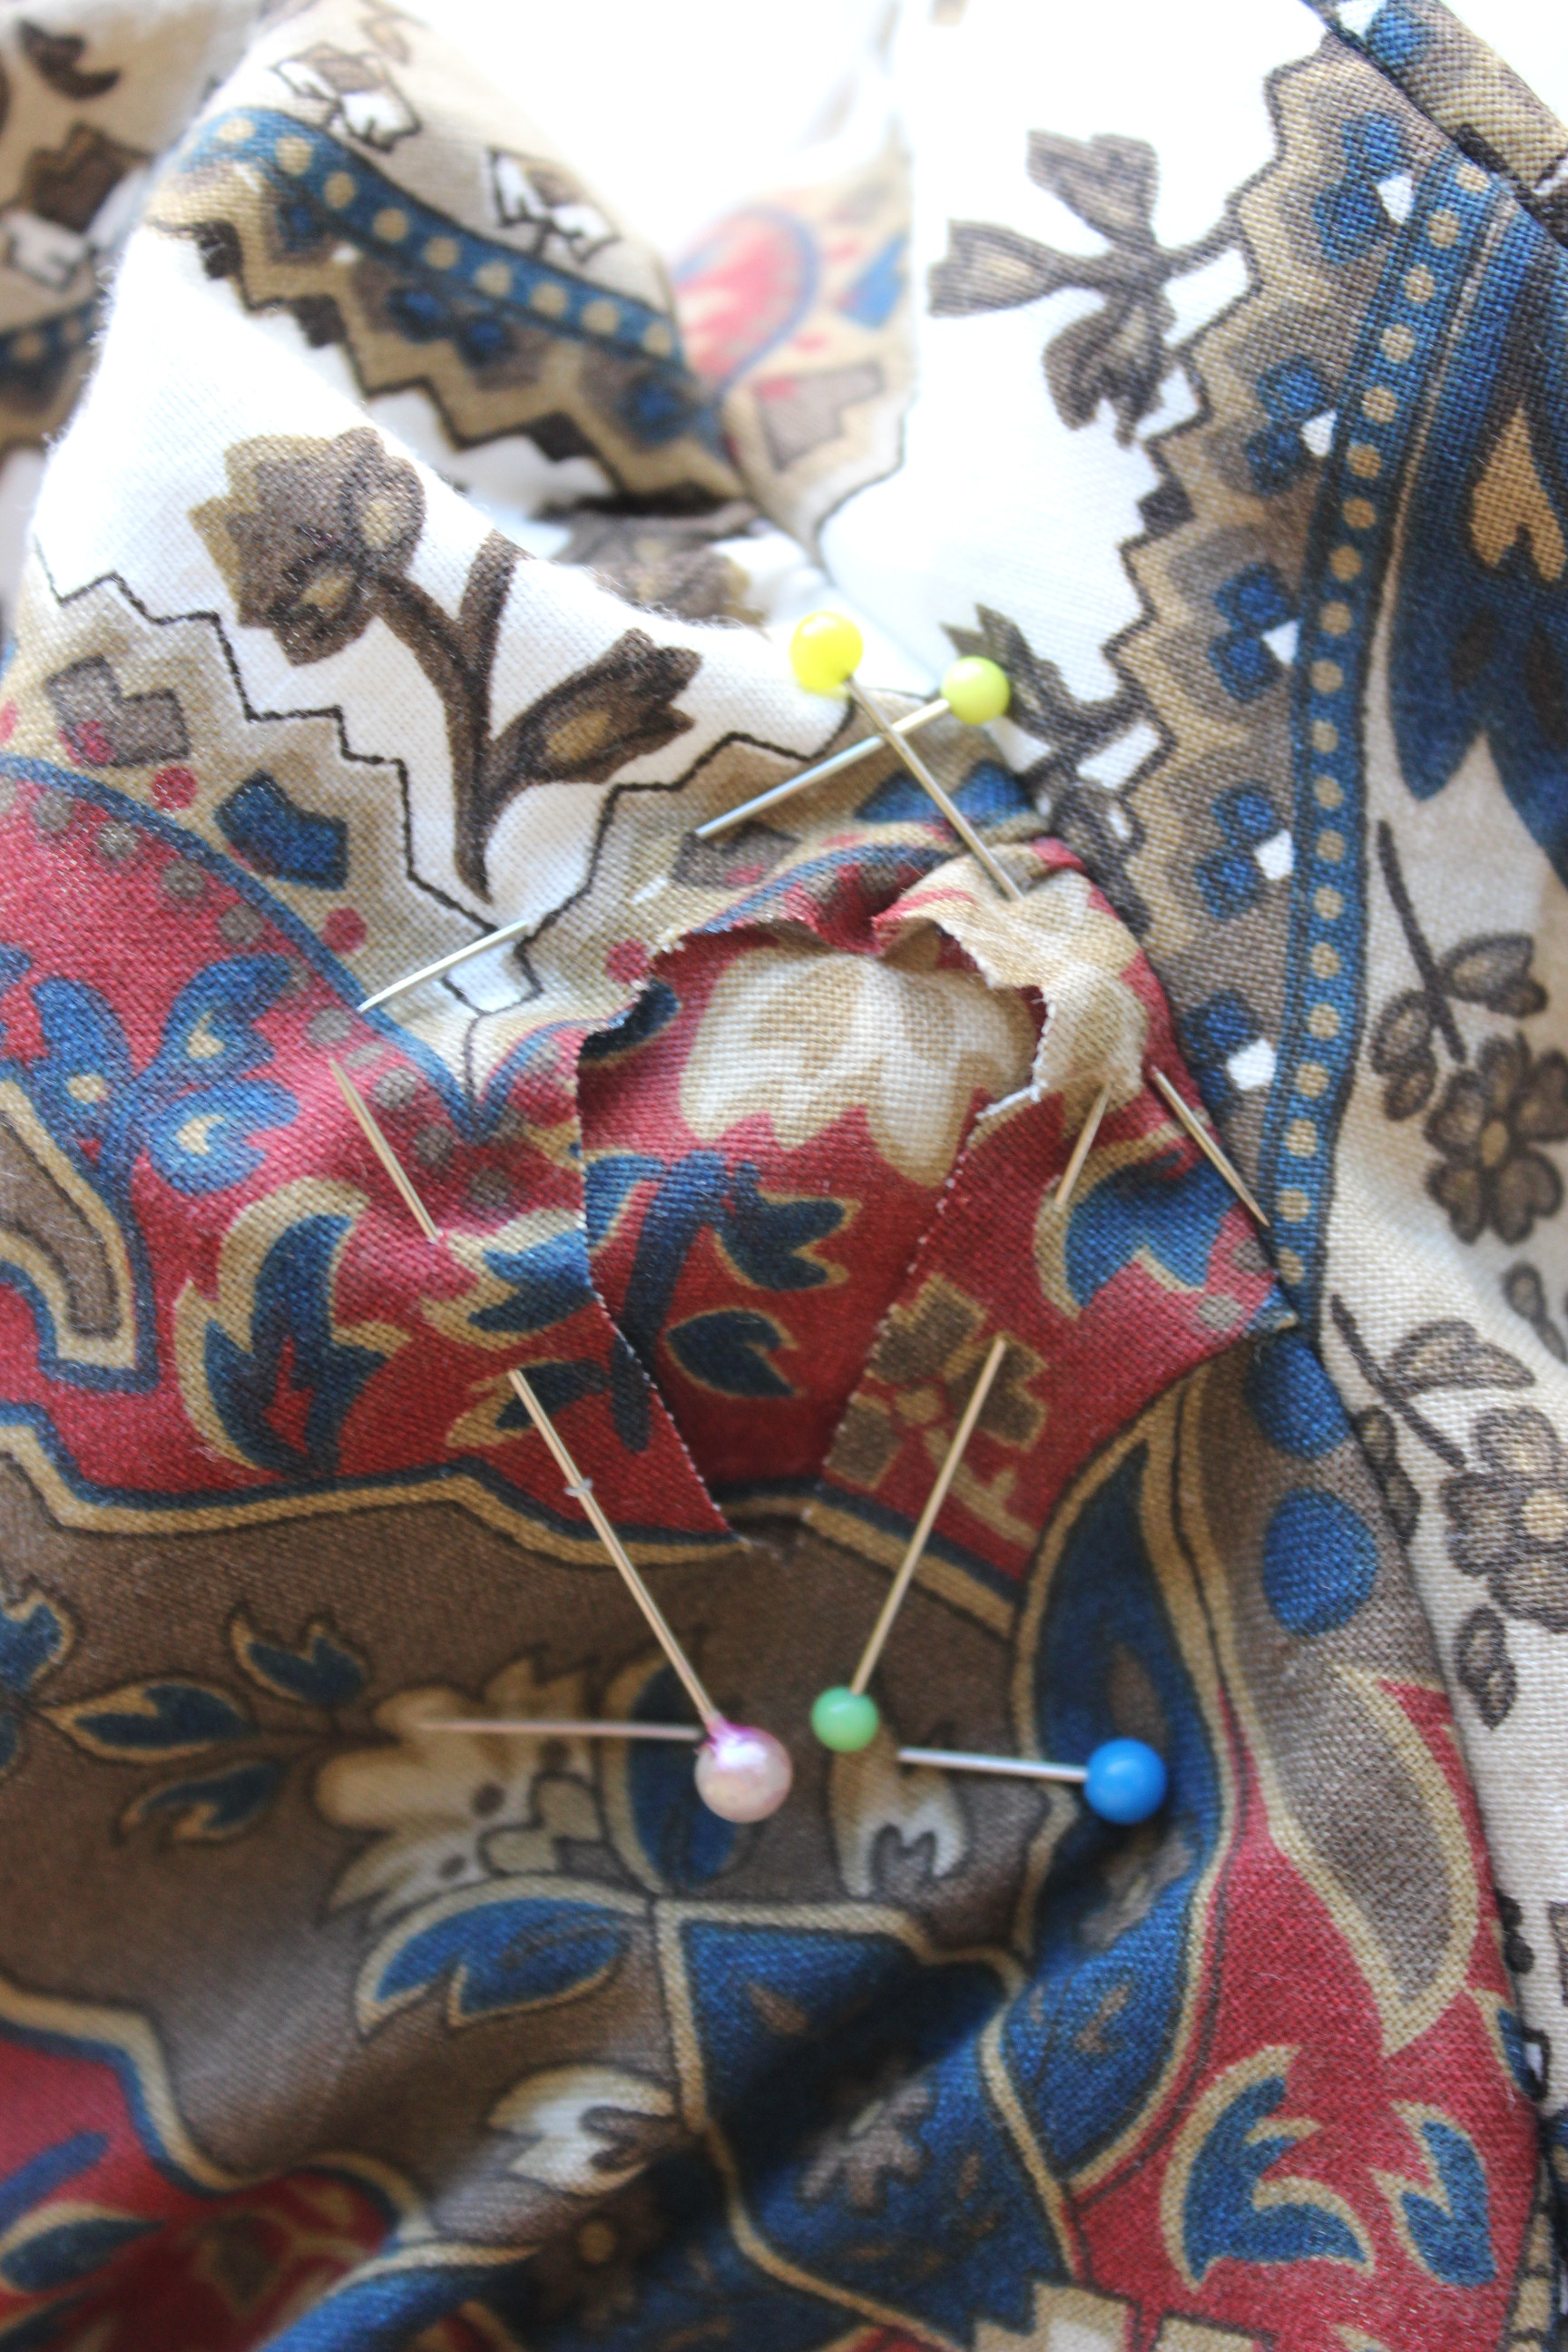 Using a smal scrap of fabric, matching the print, I stiched the hole up. Turning the edges over both on the outside and the inside. And now it hardly shows at all.
Phew.
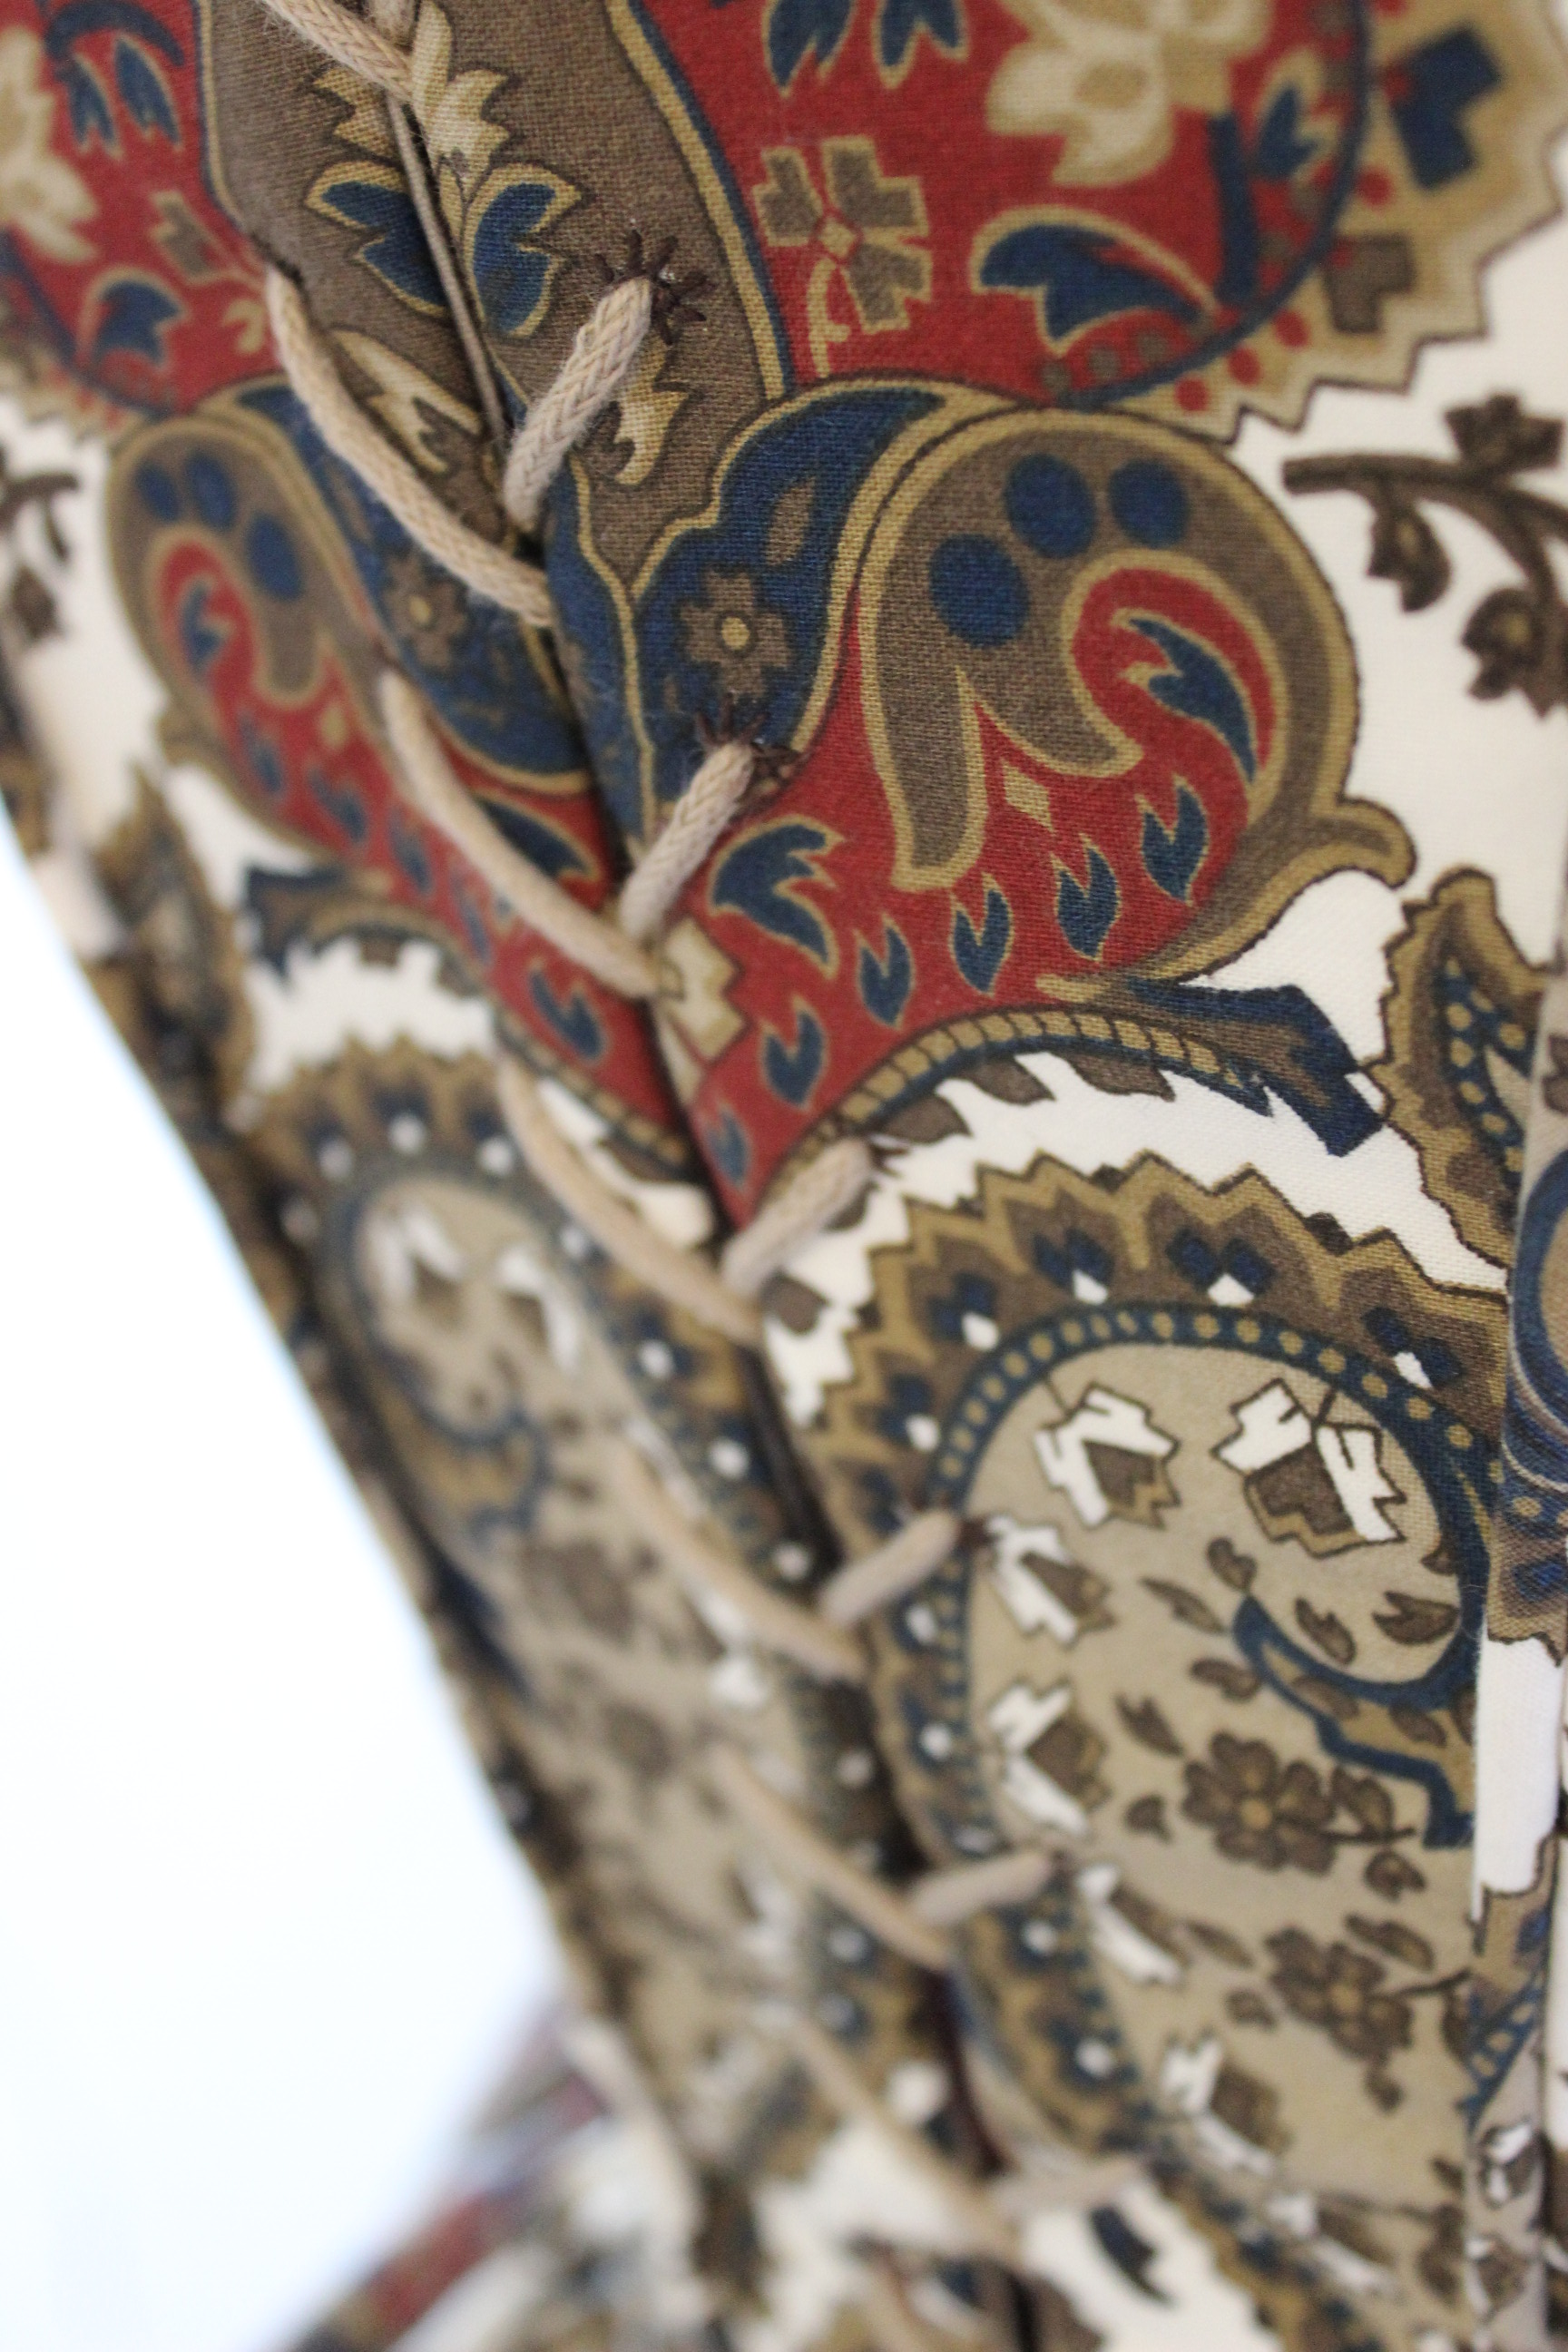
Then I continued on with the eyelets. Lots of maked eyelets to sew…
I worked on them, one at the time, while waching series on tv. I must be getting better at this, since several of the holes actually look pretty decent.
I then put in the bones, and stitched the lining shut.
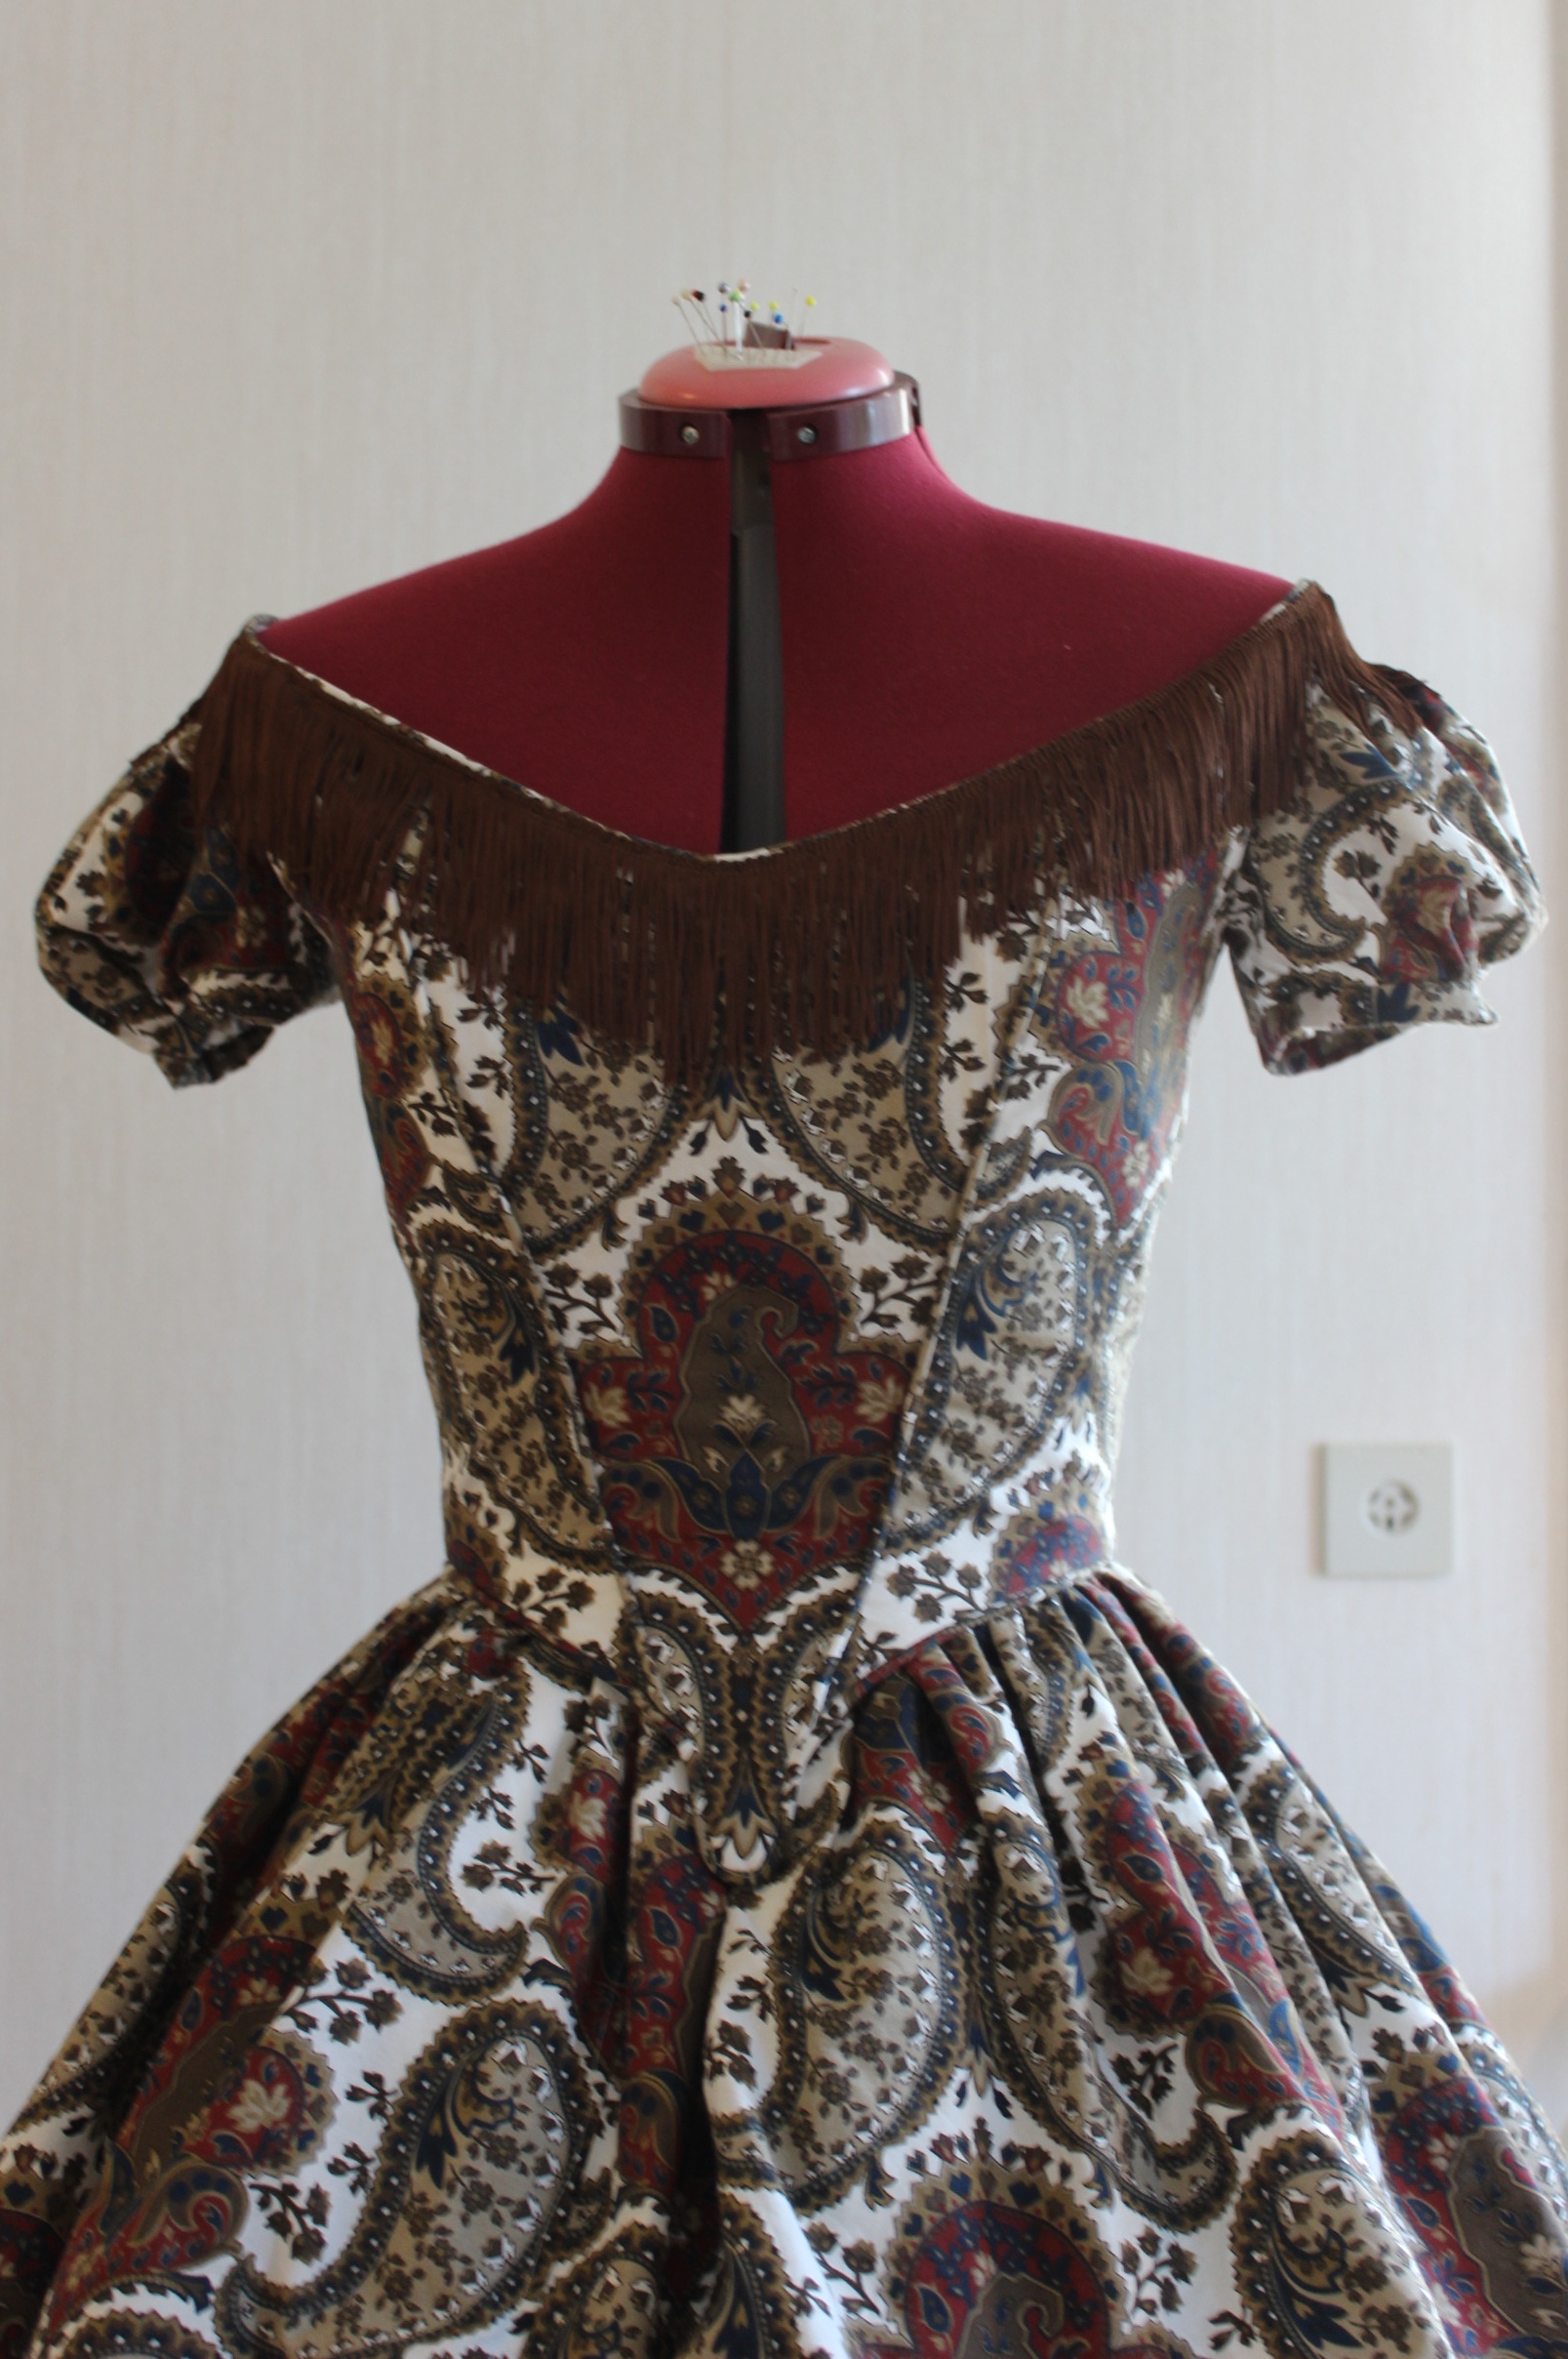
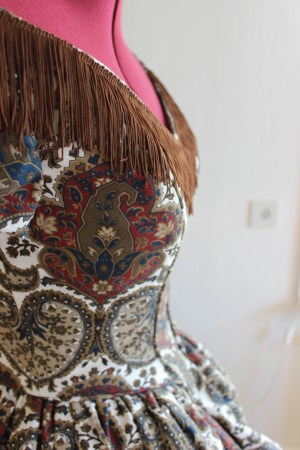
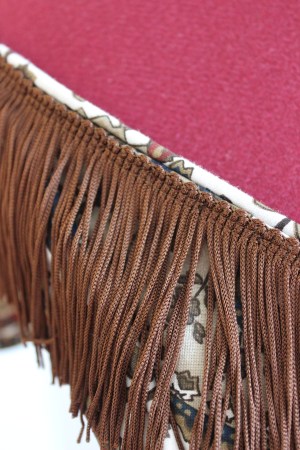
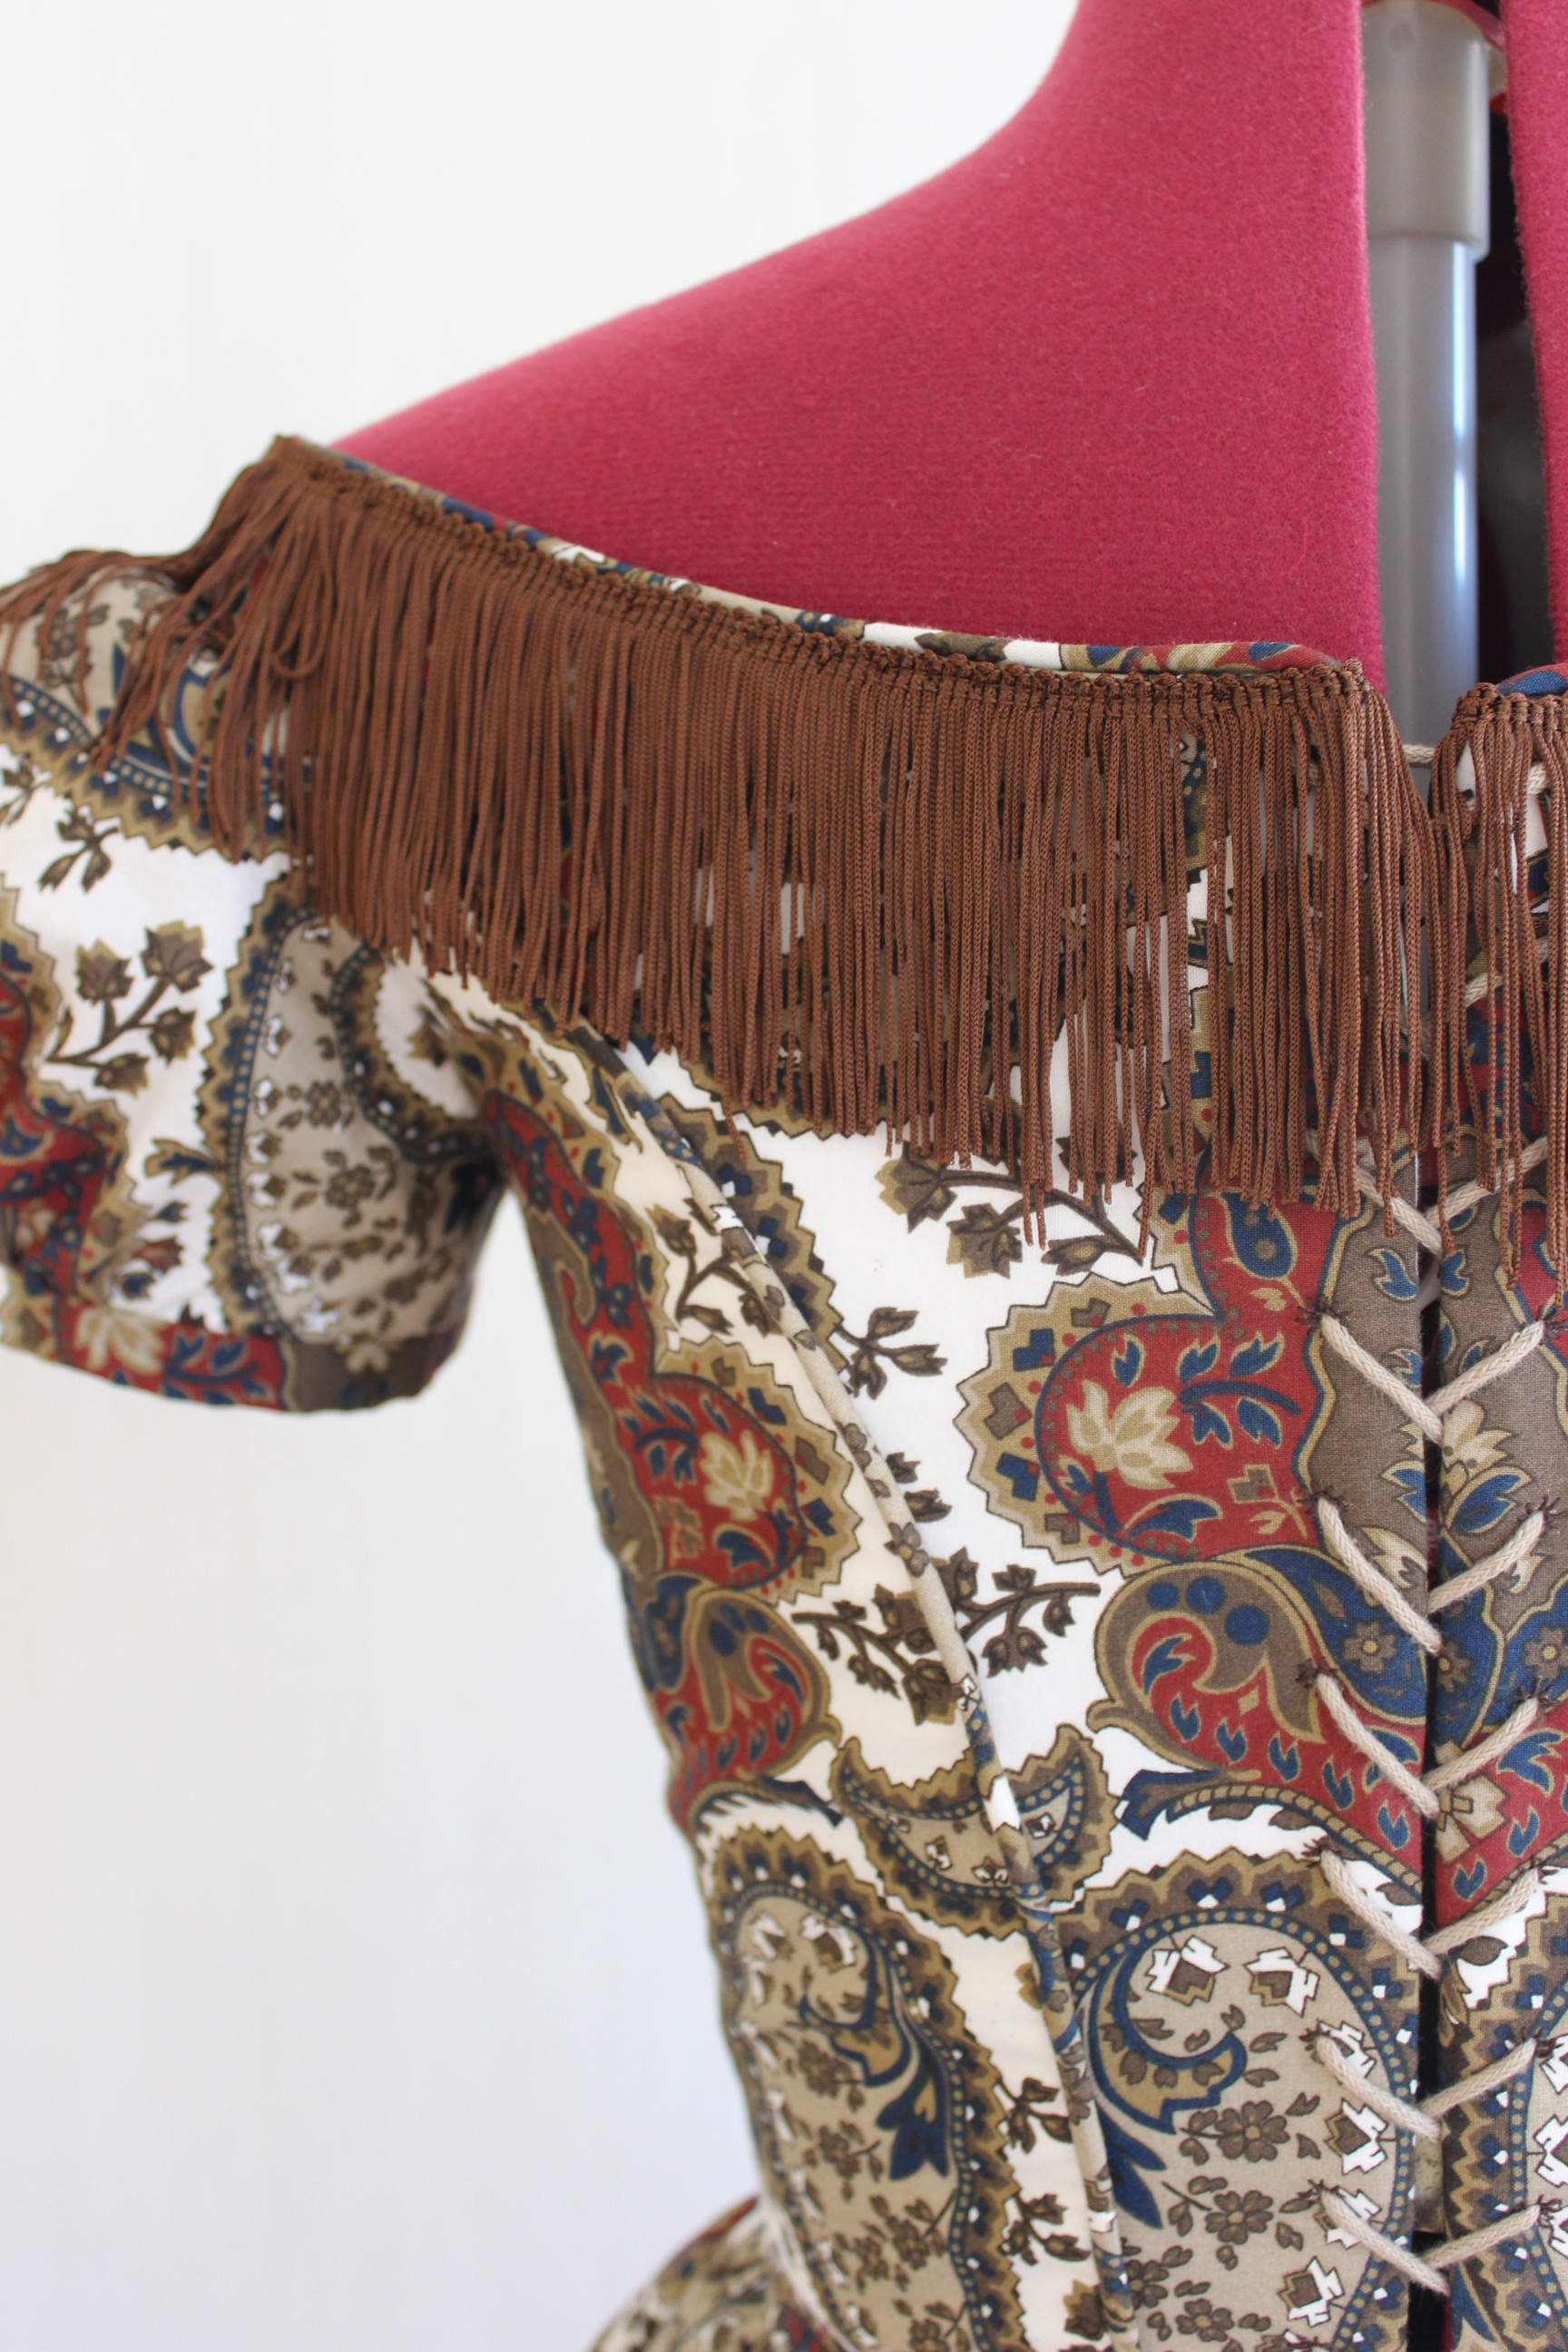
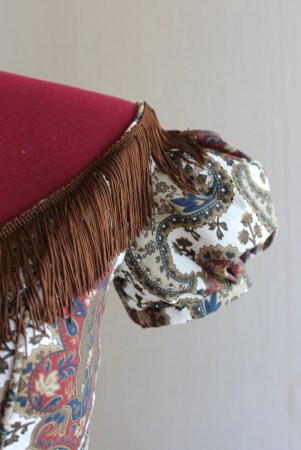
The final thing I had to decide was which trim to use. I had several metres of a golden fringe, and a smal piece of the brown fringe left. I like the brown the best – which ment I could’t make another row of fringe on the jacket :-(.
Well I can always buy more later, if I decide I whant some more.
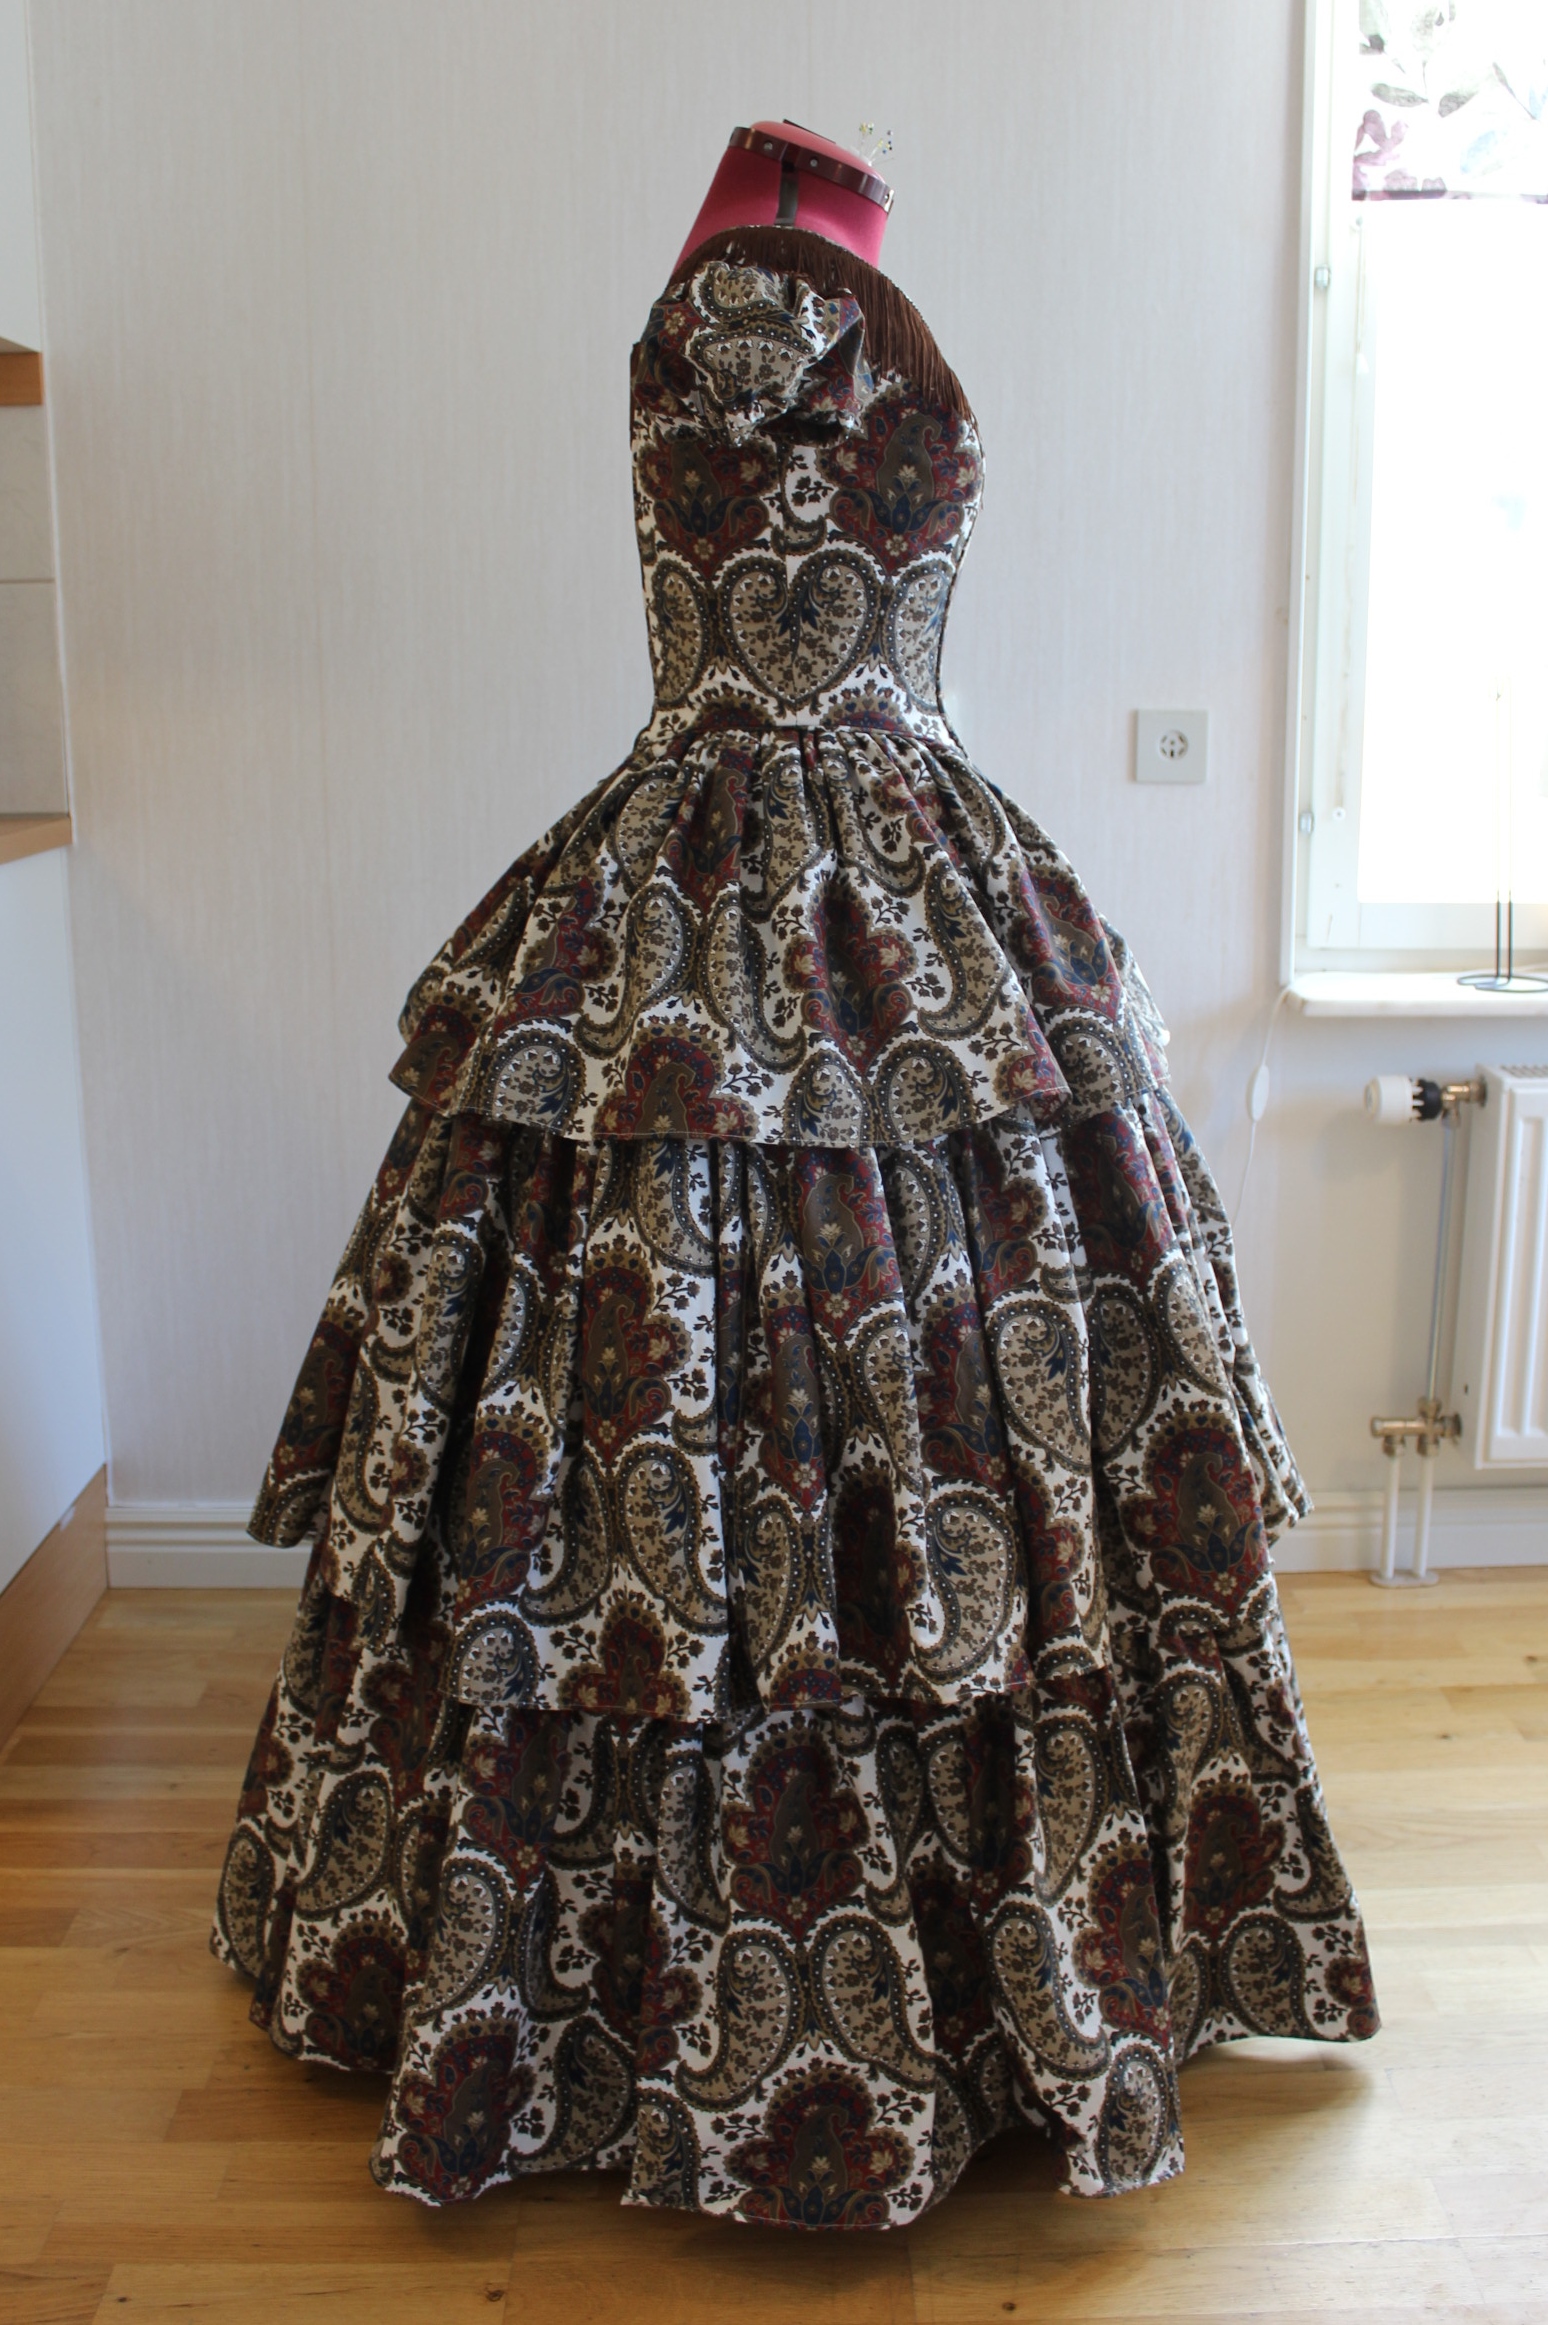
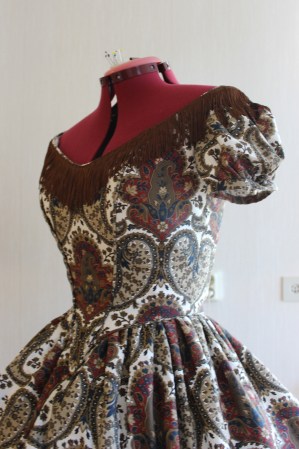
The finished dress:

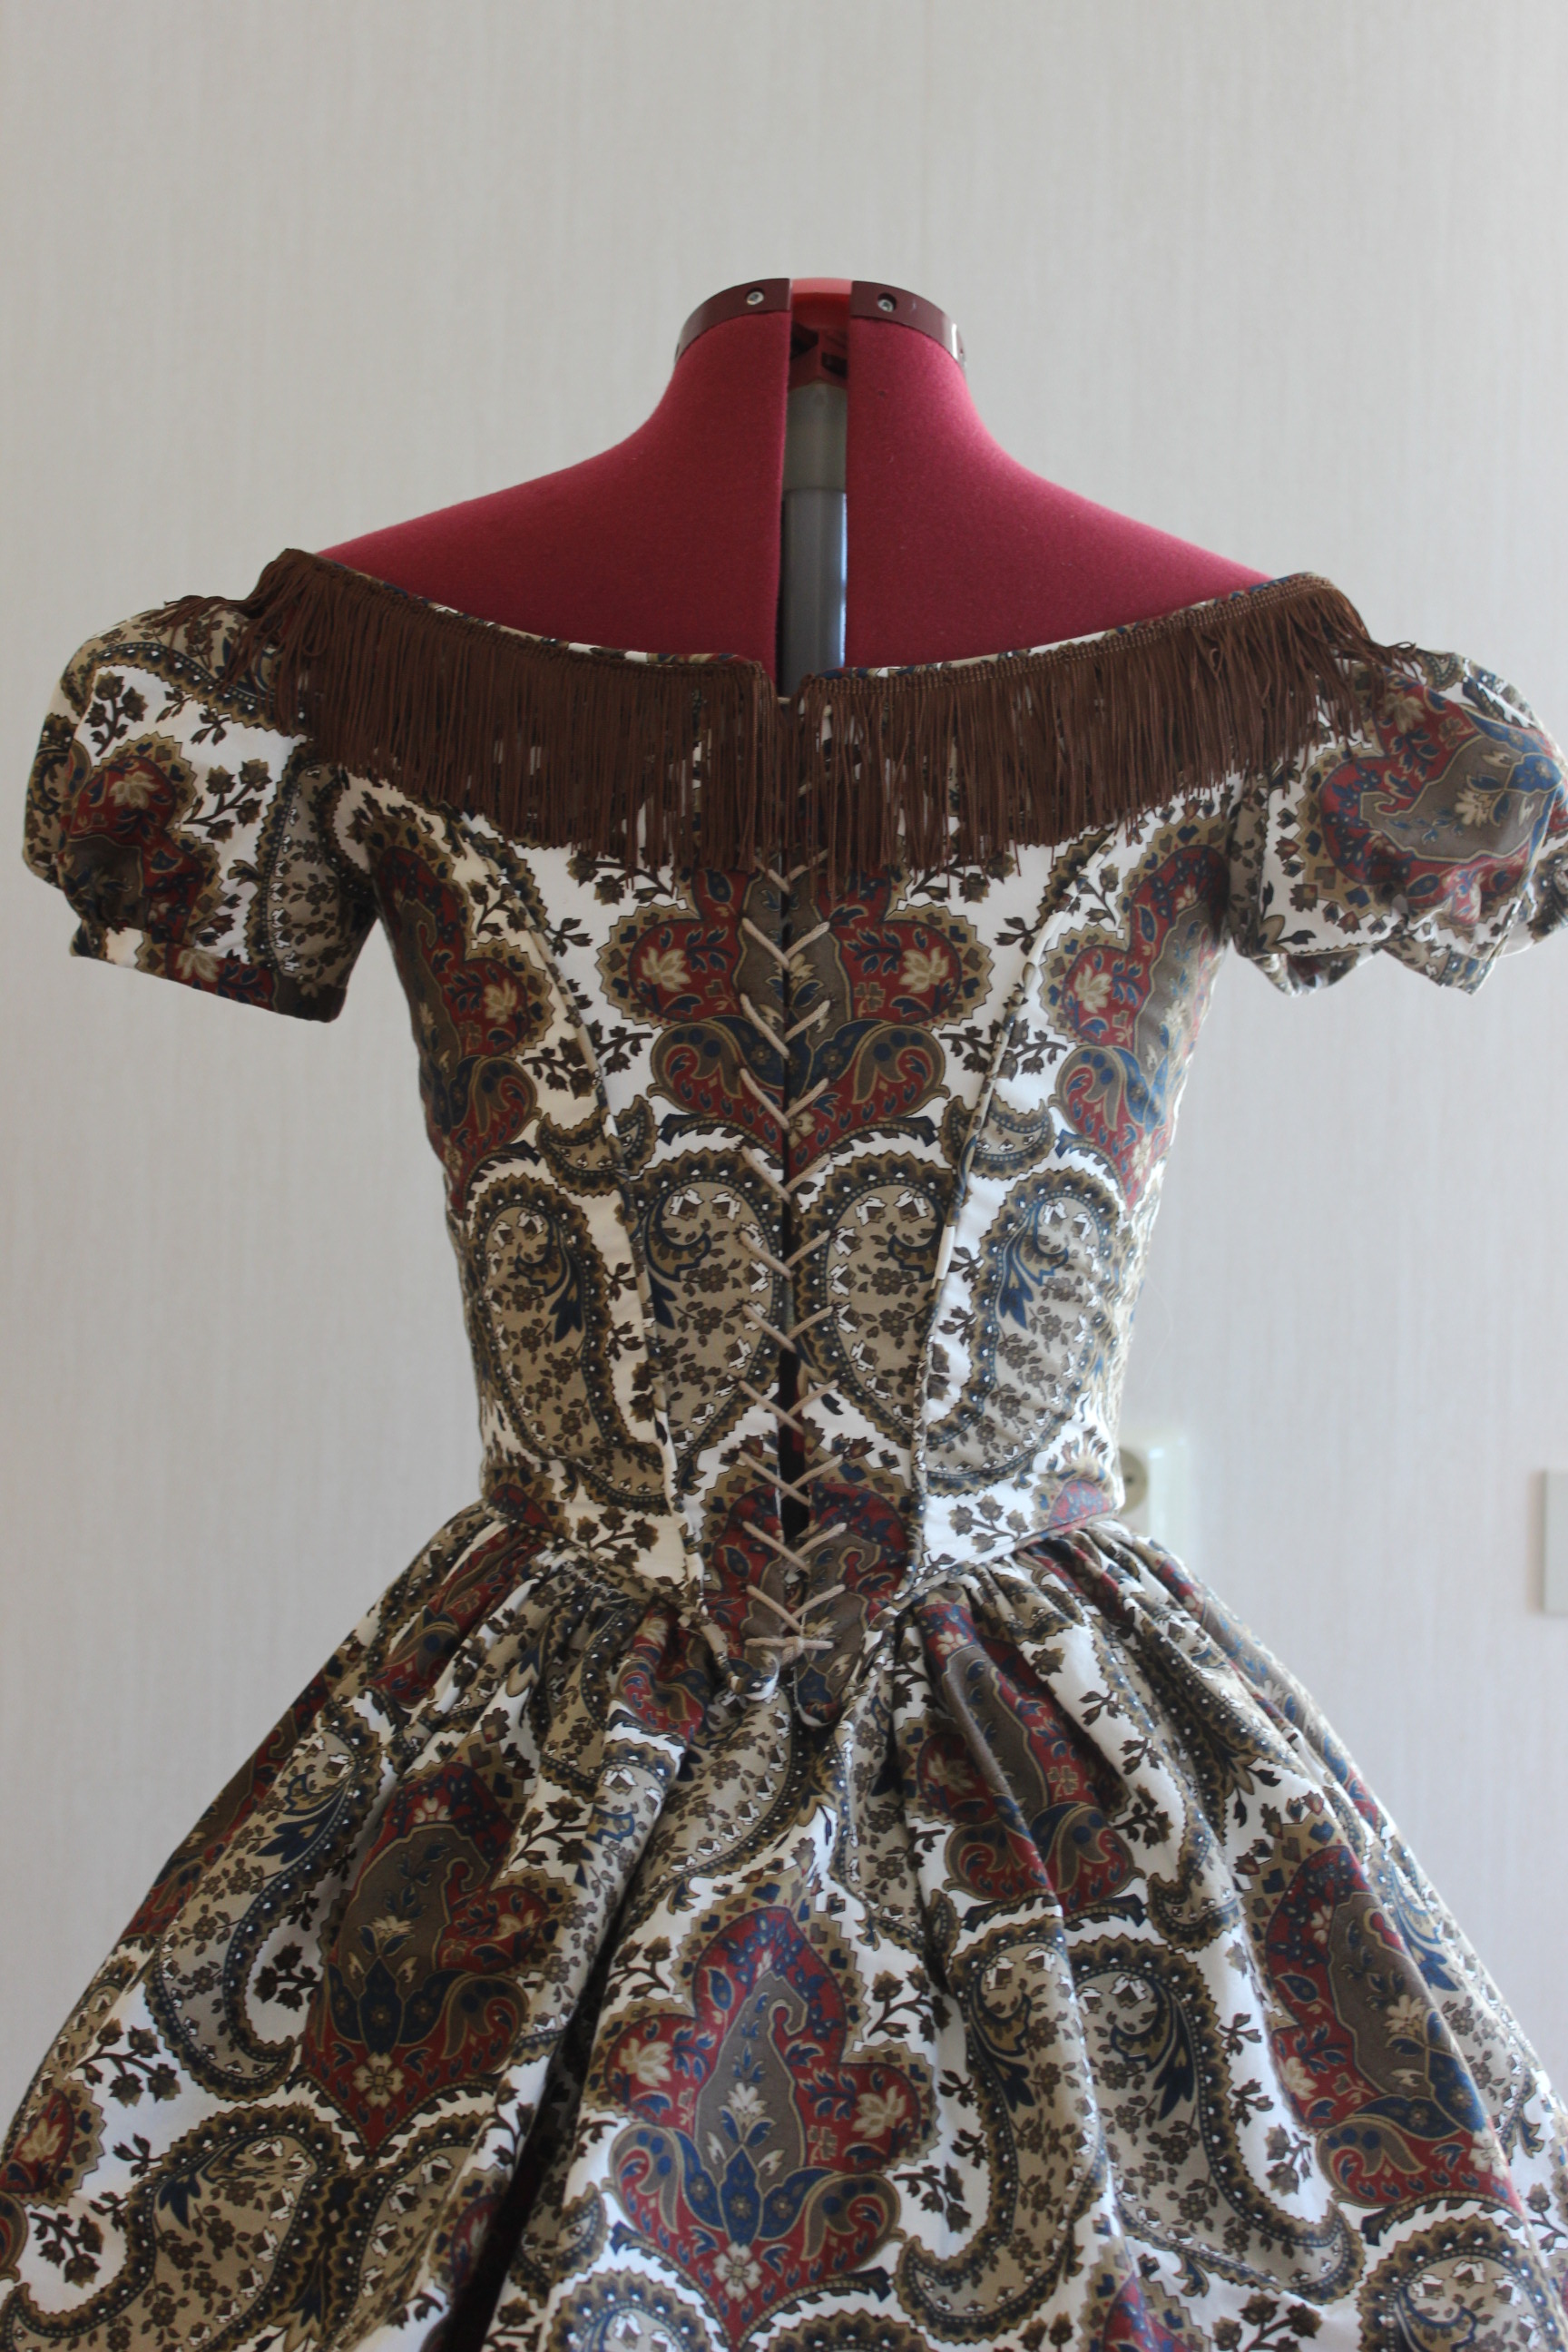
Just the facts:
Challenge: 14 – Paisley & Plaids
What: A 1850s cotton evening bodice.
Pattern: None, draped my own.
Fabric: Hard to tell, since I cut the skirt and daybodice from the same fabric at the same time. But if I had to guess I’d say 0,5 m of paisley, twill and lining.
Notions: Thread, buttonhole- thread, 5 m cotton cord for lacing, 5 m cotton cord for piping, 4 m syntetic whalebone, and 1 m of brown syntetic fringe.
How historical accurate: I don’t know – I made it to look the part. But it is made using modern techniques and material. Even though a cotton evening bodice was probably what the les whealty women wore, I’m not sure she would have chosen such a loud print.
Time: Same as above – not sure, but my best guess is about 10 hours (the eyelets took a great deal of time).
Cost: I estimate the cost to about 100 Sek since everything was from stash.
First worn: Only for photos. But I do hope I get the chance to attend a Dickens teamed bal of some sort…
Final thougts: I like the bodice and it fits quite well, even though the eylets are a bit smal and needs an awl for lacing.
And I could not wear my new chemise with it since it bulked and showed to much. Did they use special evening chemises in the 1850s?
