When planing the HSF items earlier this year, I decided to try to make a mid 19th century Crinoline for nr 12 Shape & Support.
I’ve wanted one for about a year, and now there was no exuse not to make one.
I searched the internet and came up with two variations I liked. 
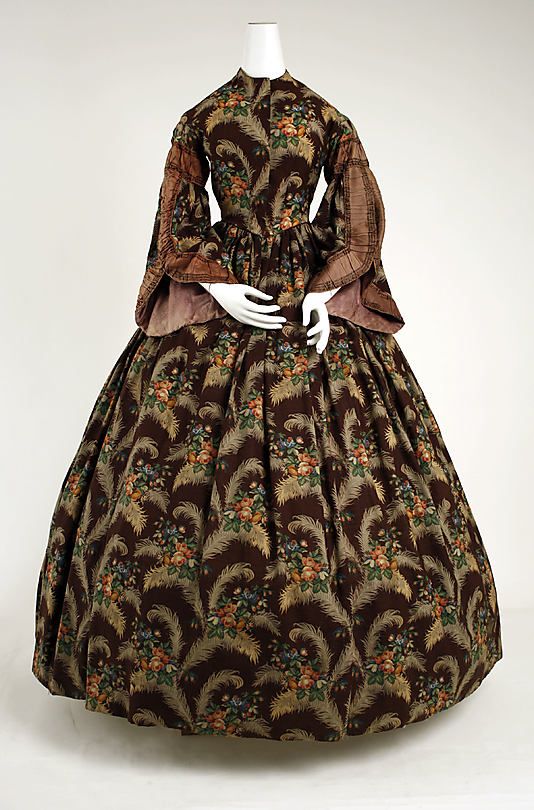
 1860s, so a bit late but you get the idea.
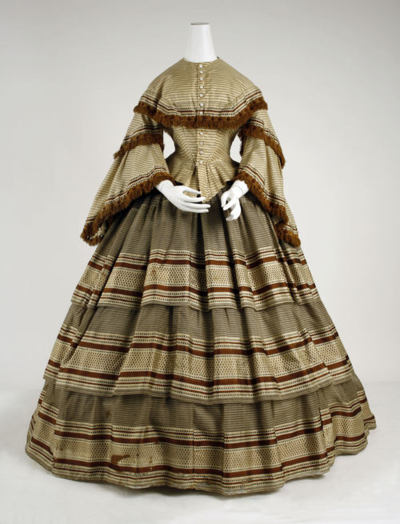
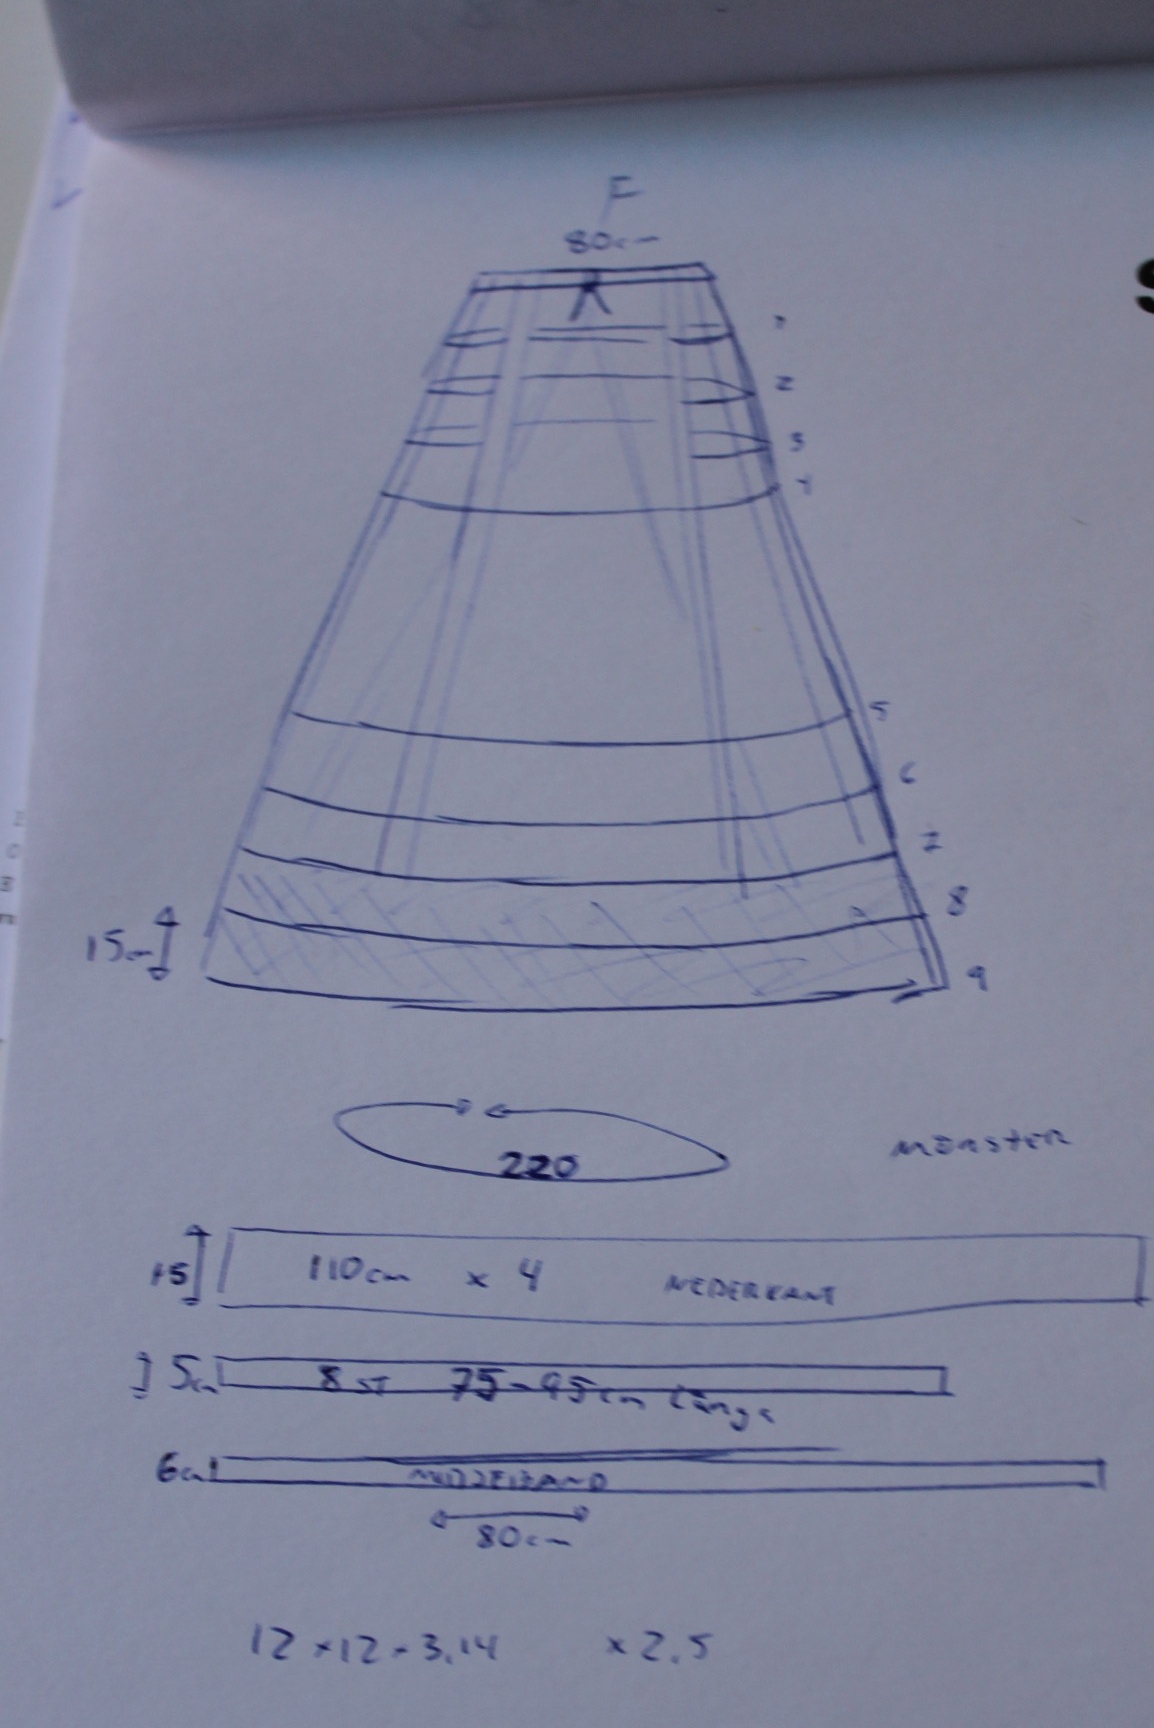
I decided to do a mash-up of the two – keeping the first ones shape, but adding the fabric of the lower section in the second one. I didin’t use any pattern but made some calculations of the size and amount of rectangles I would need.
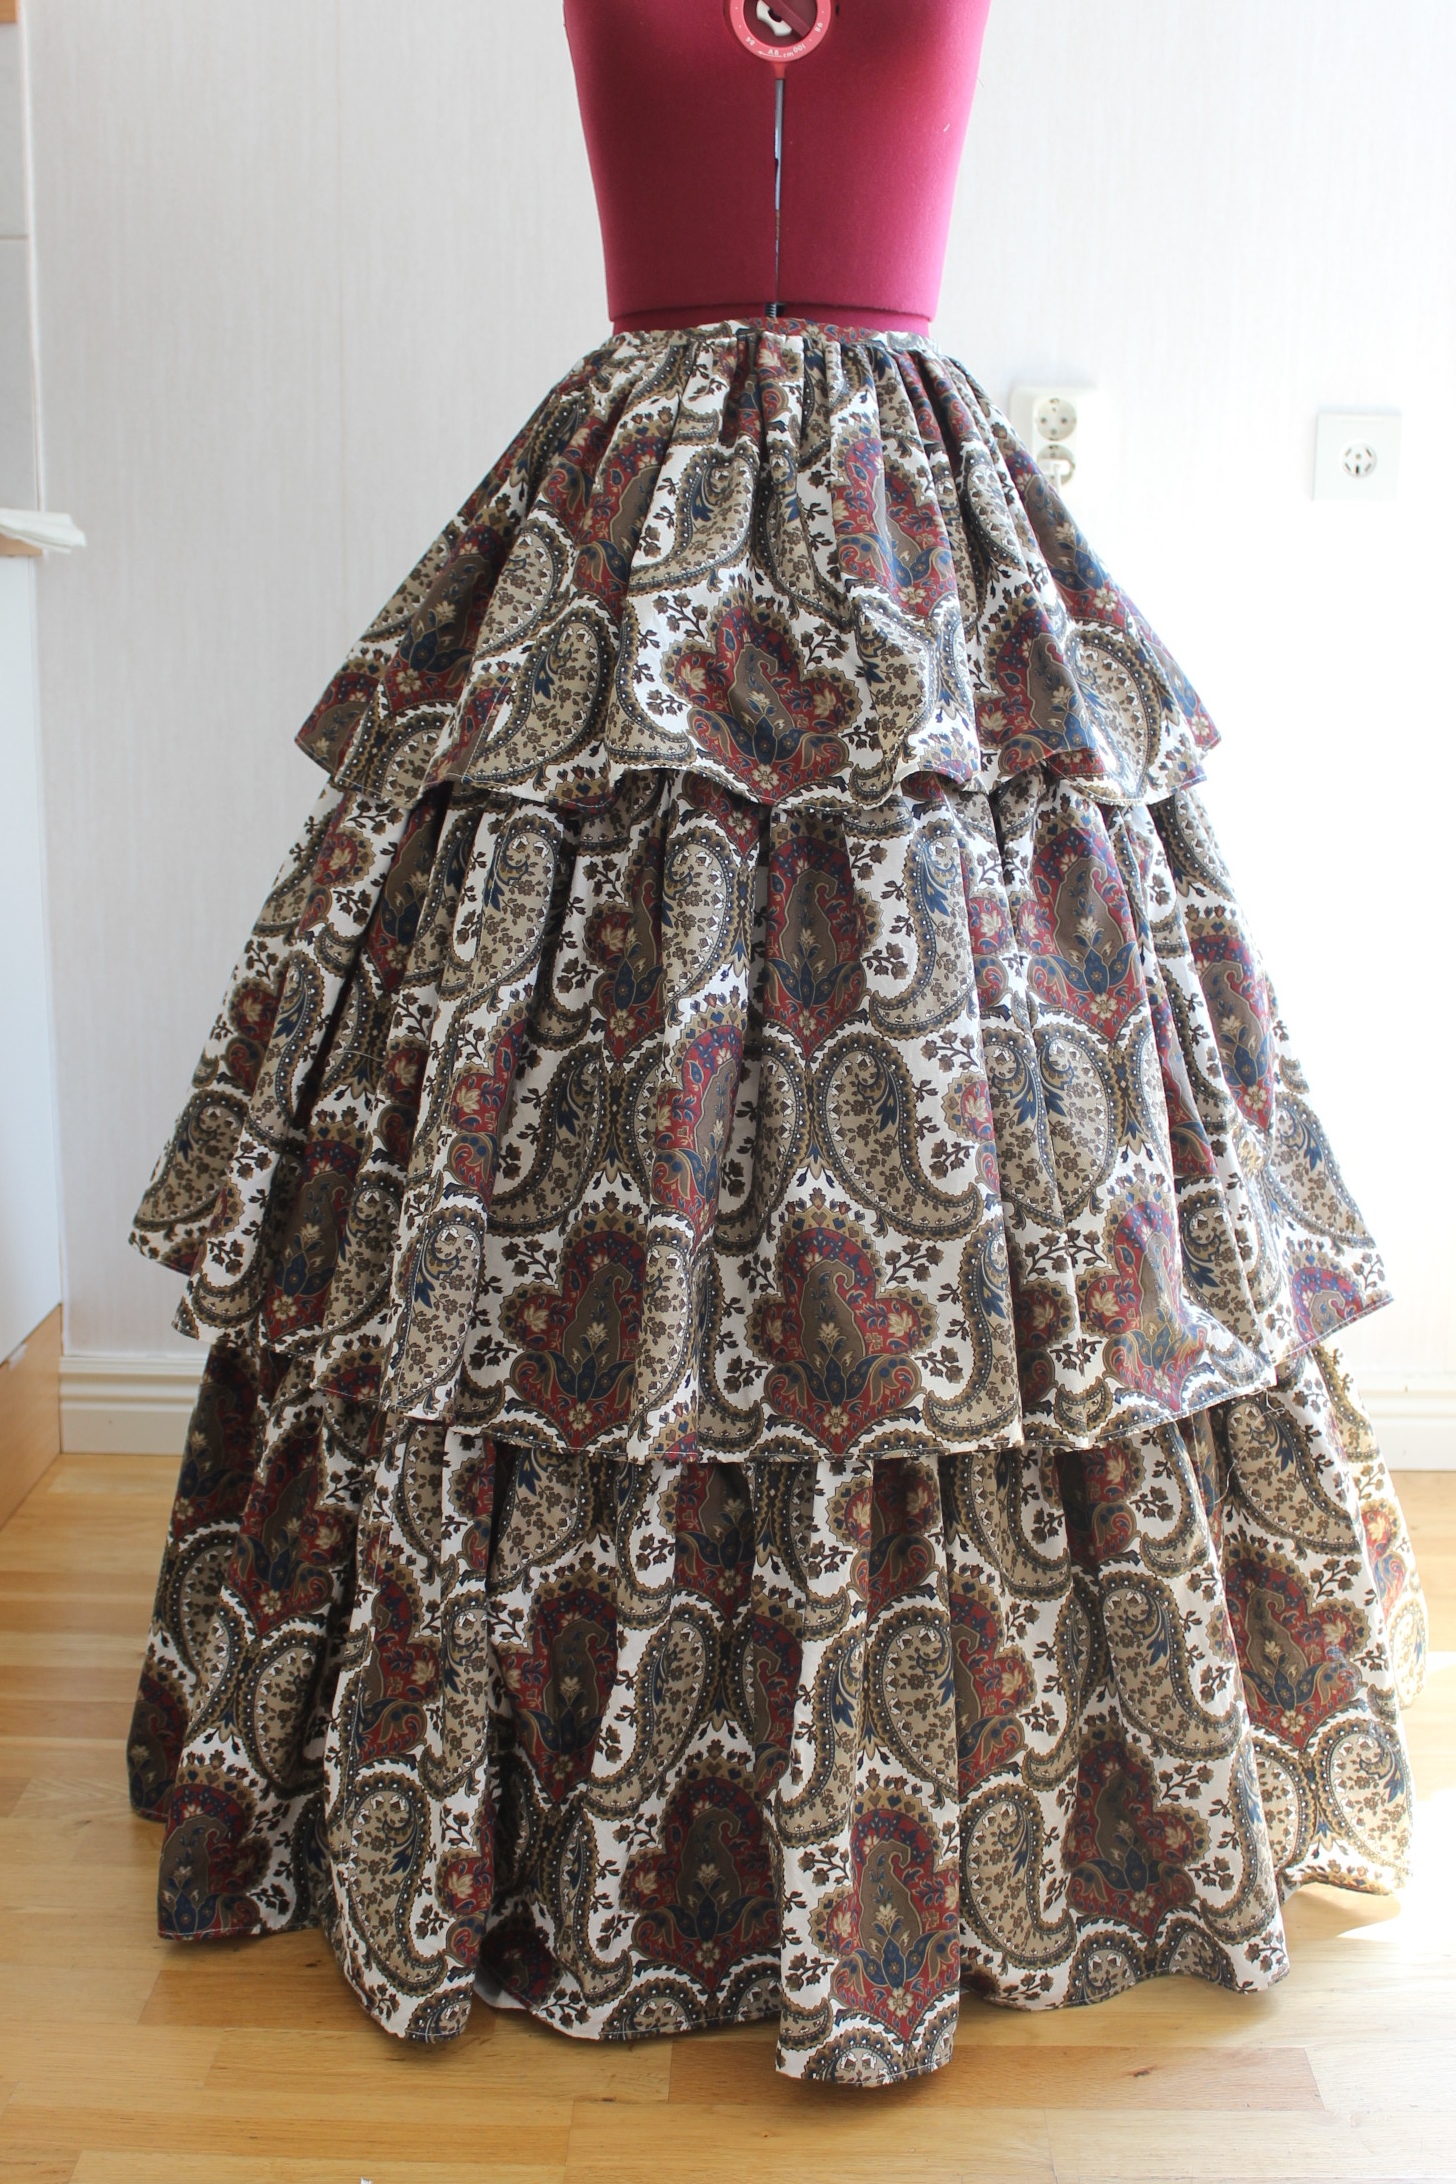
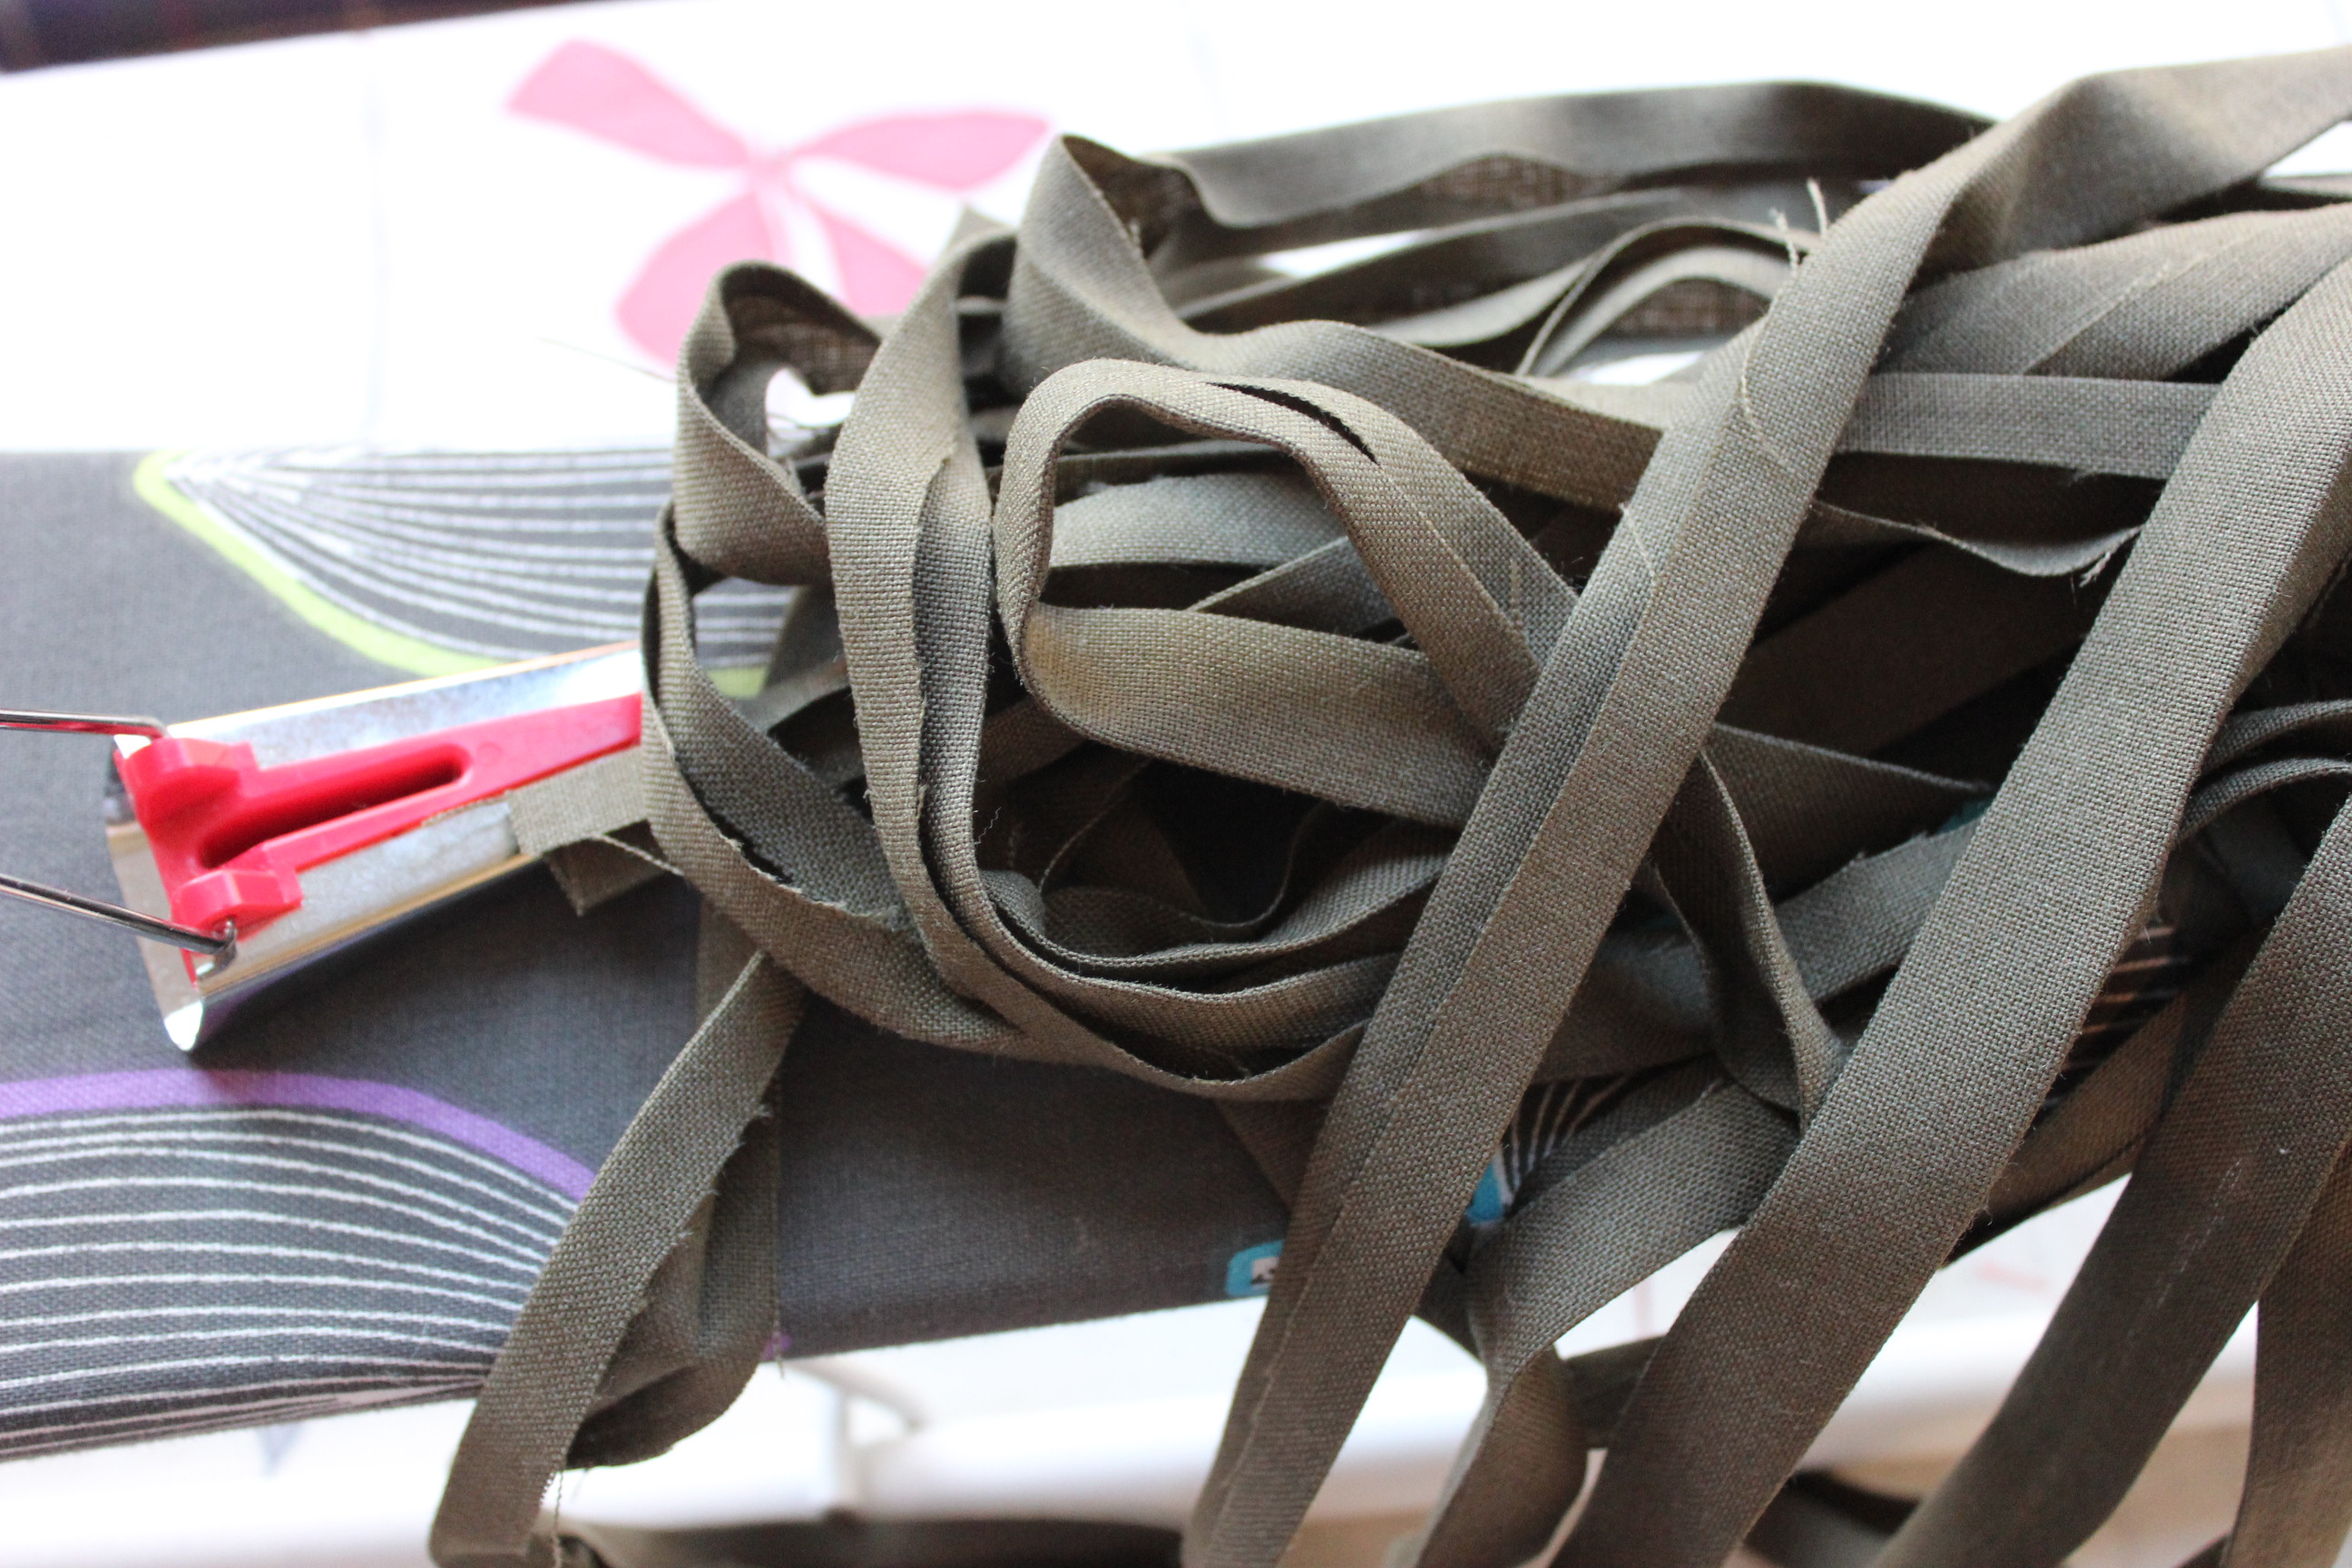
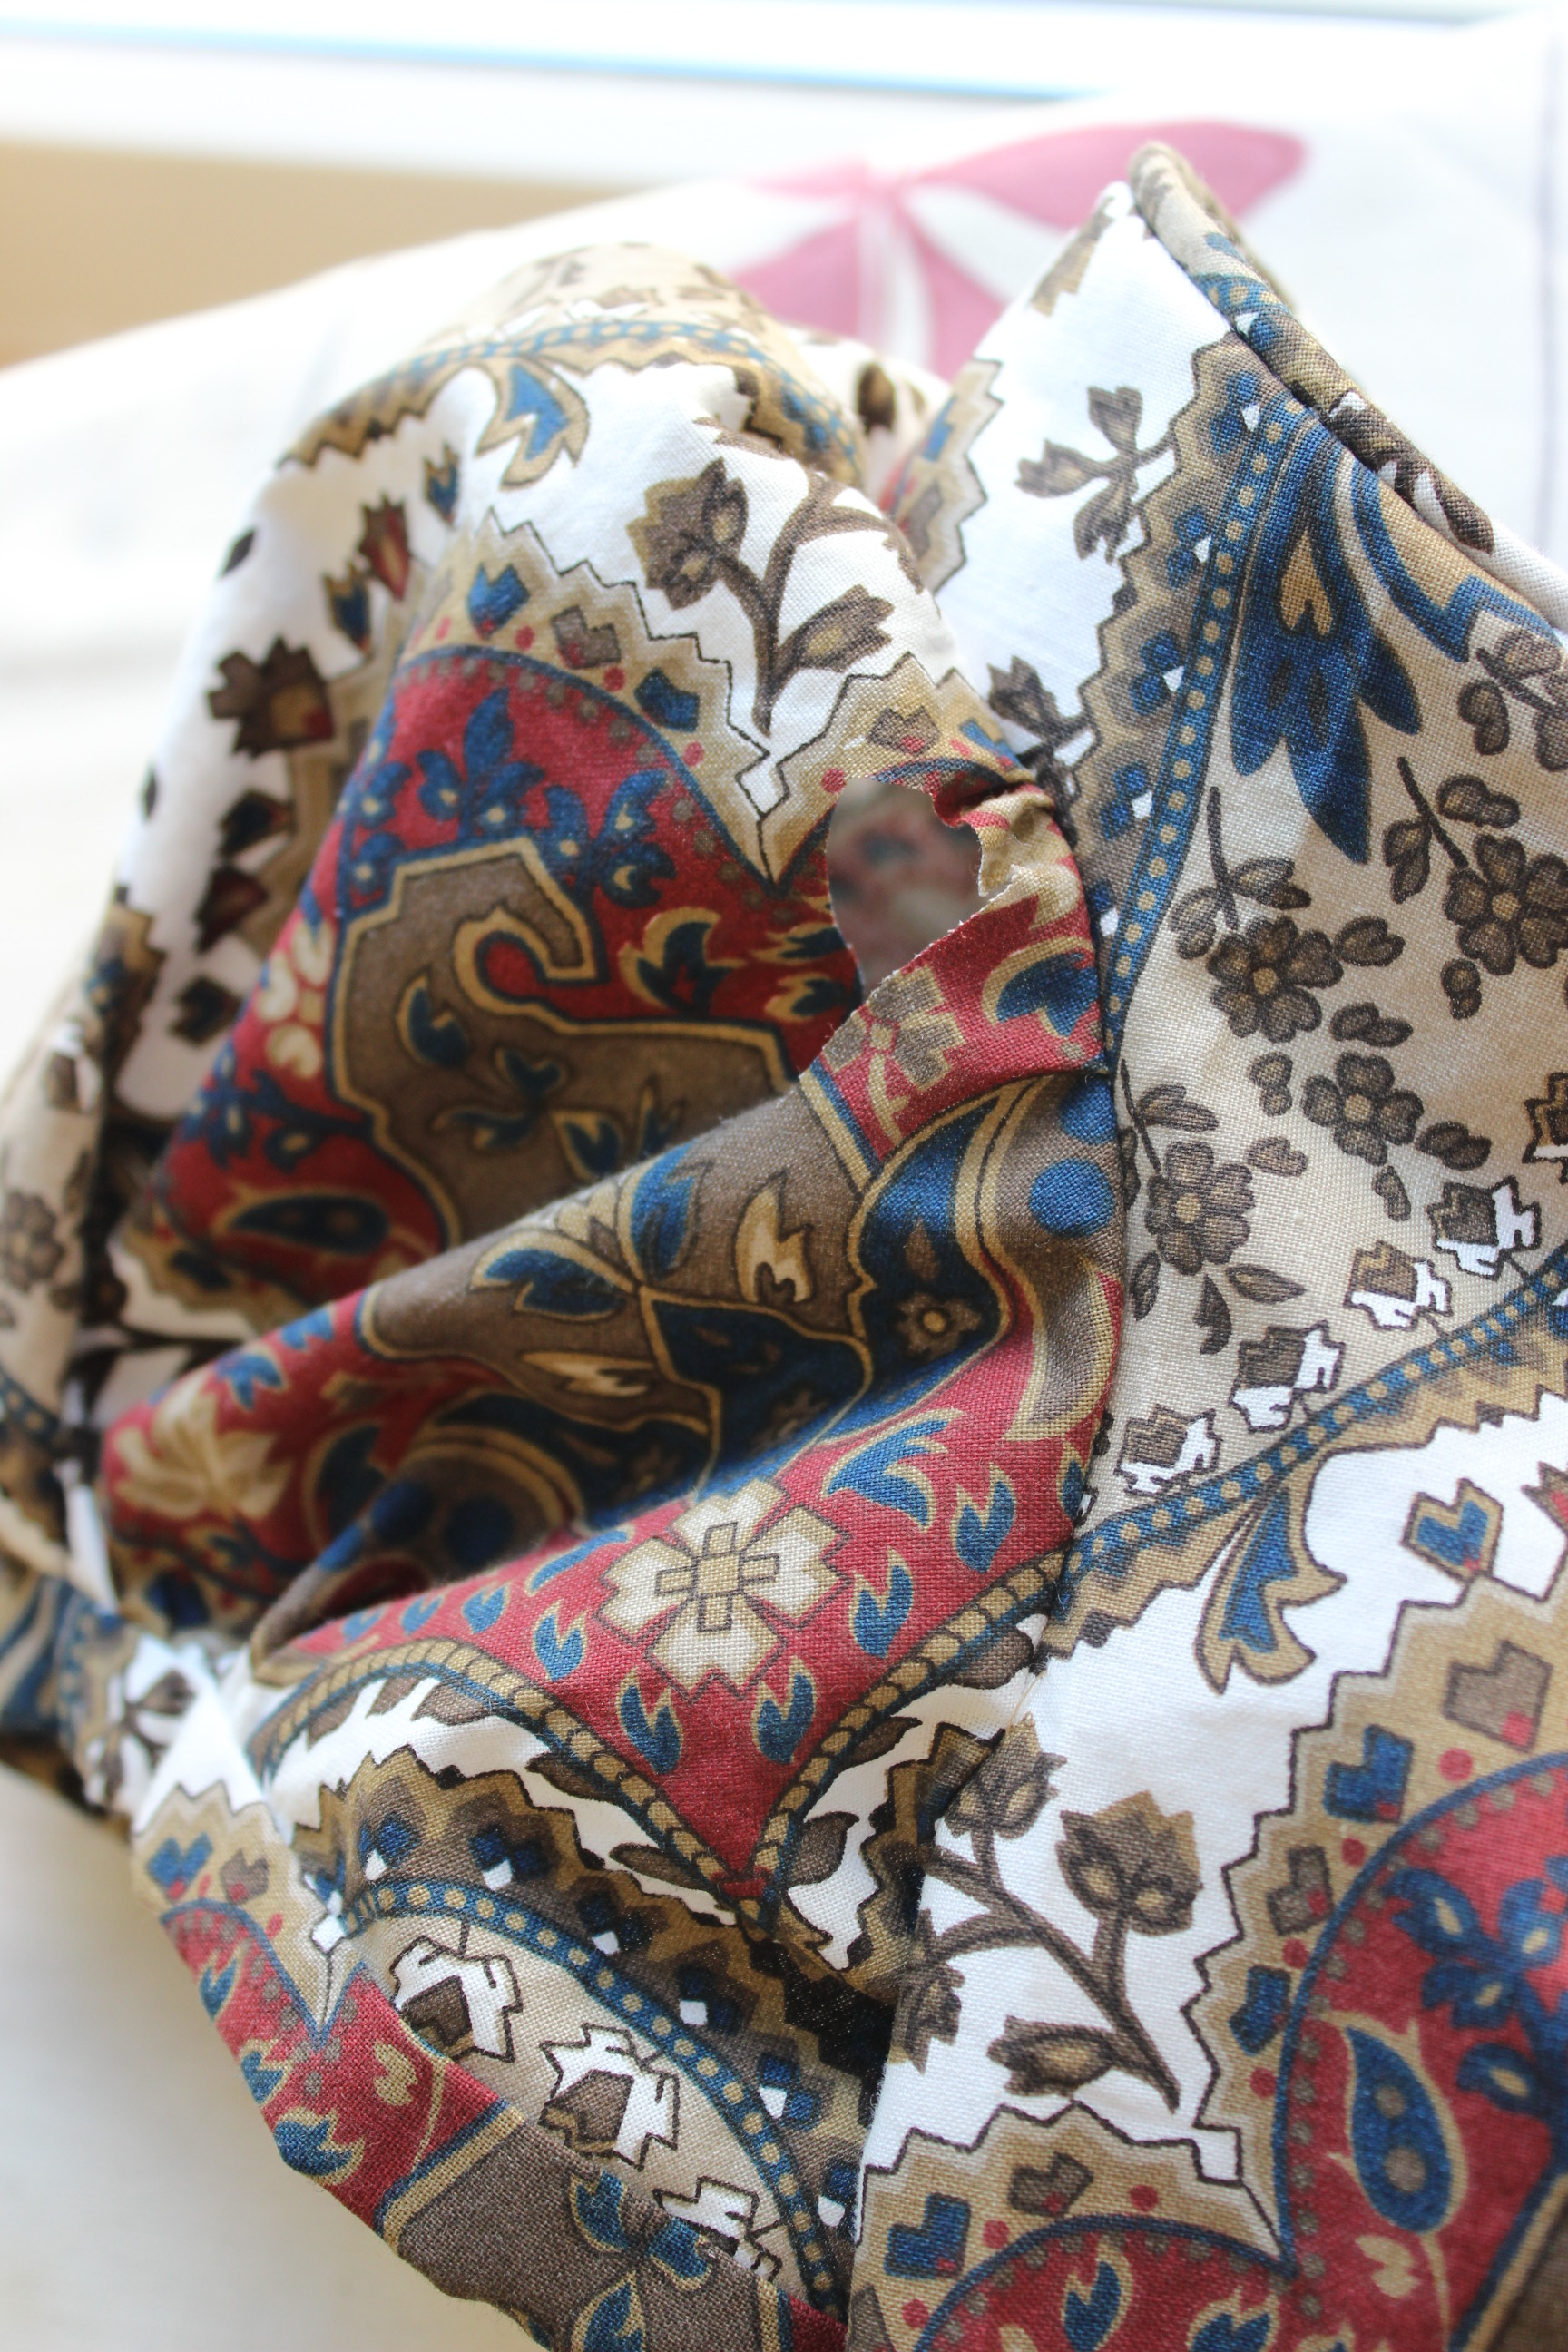
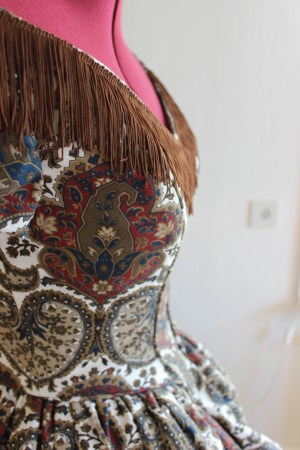
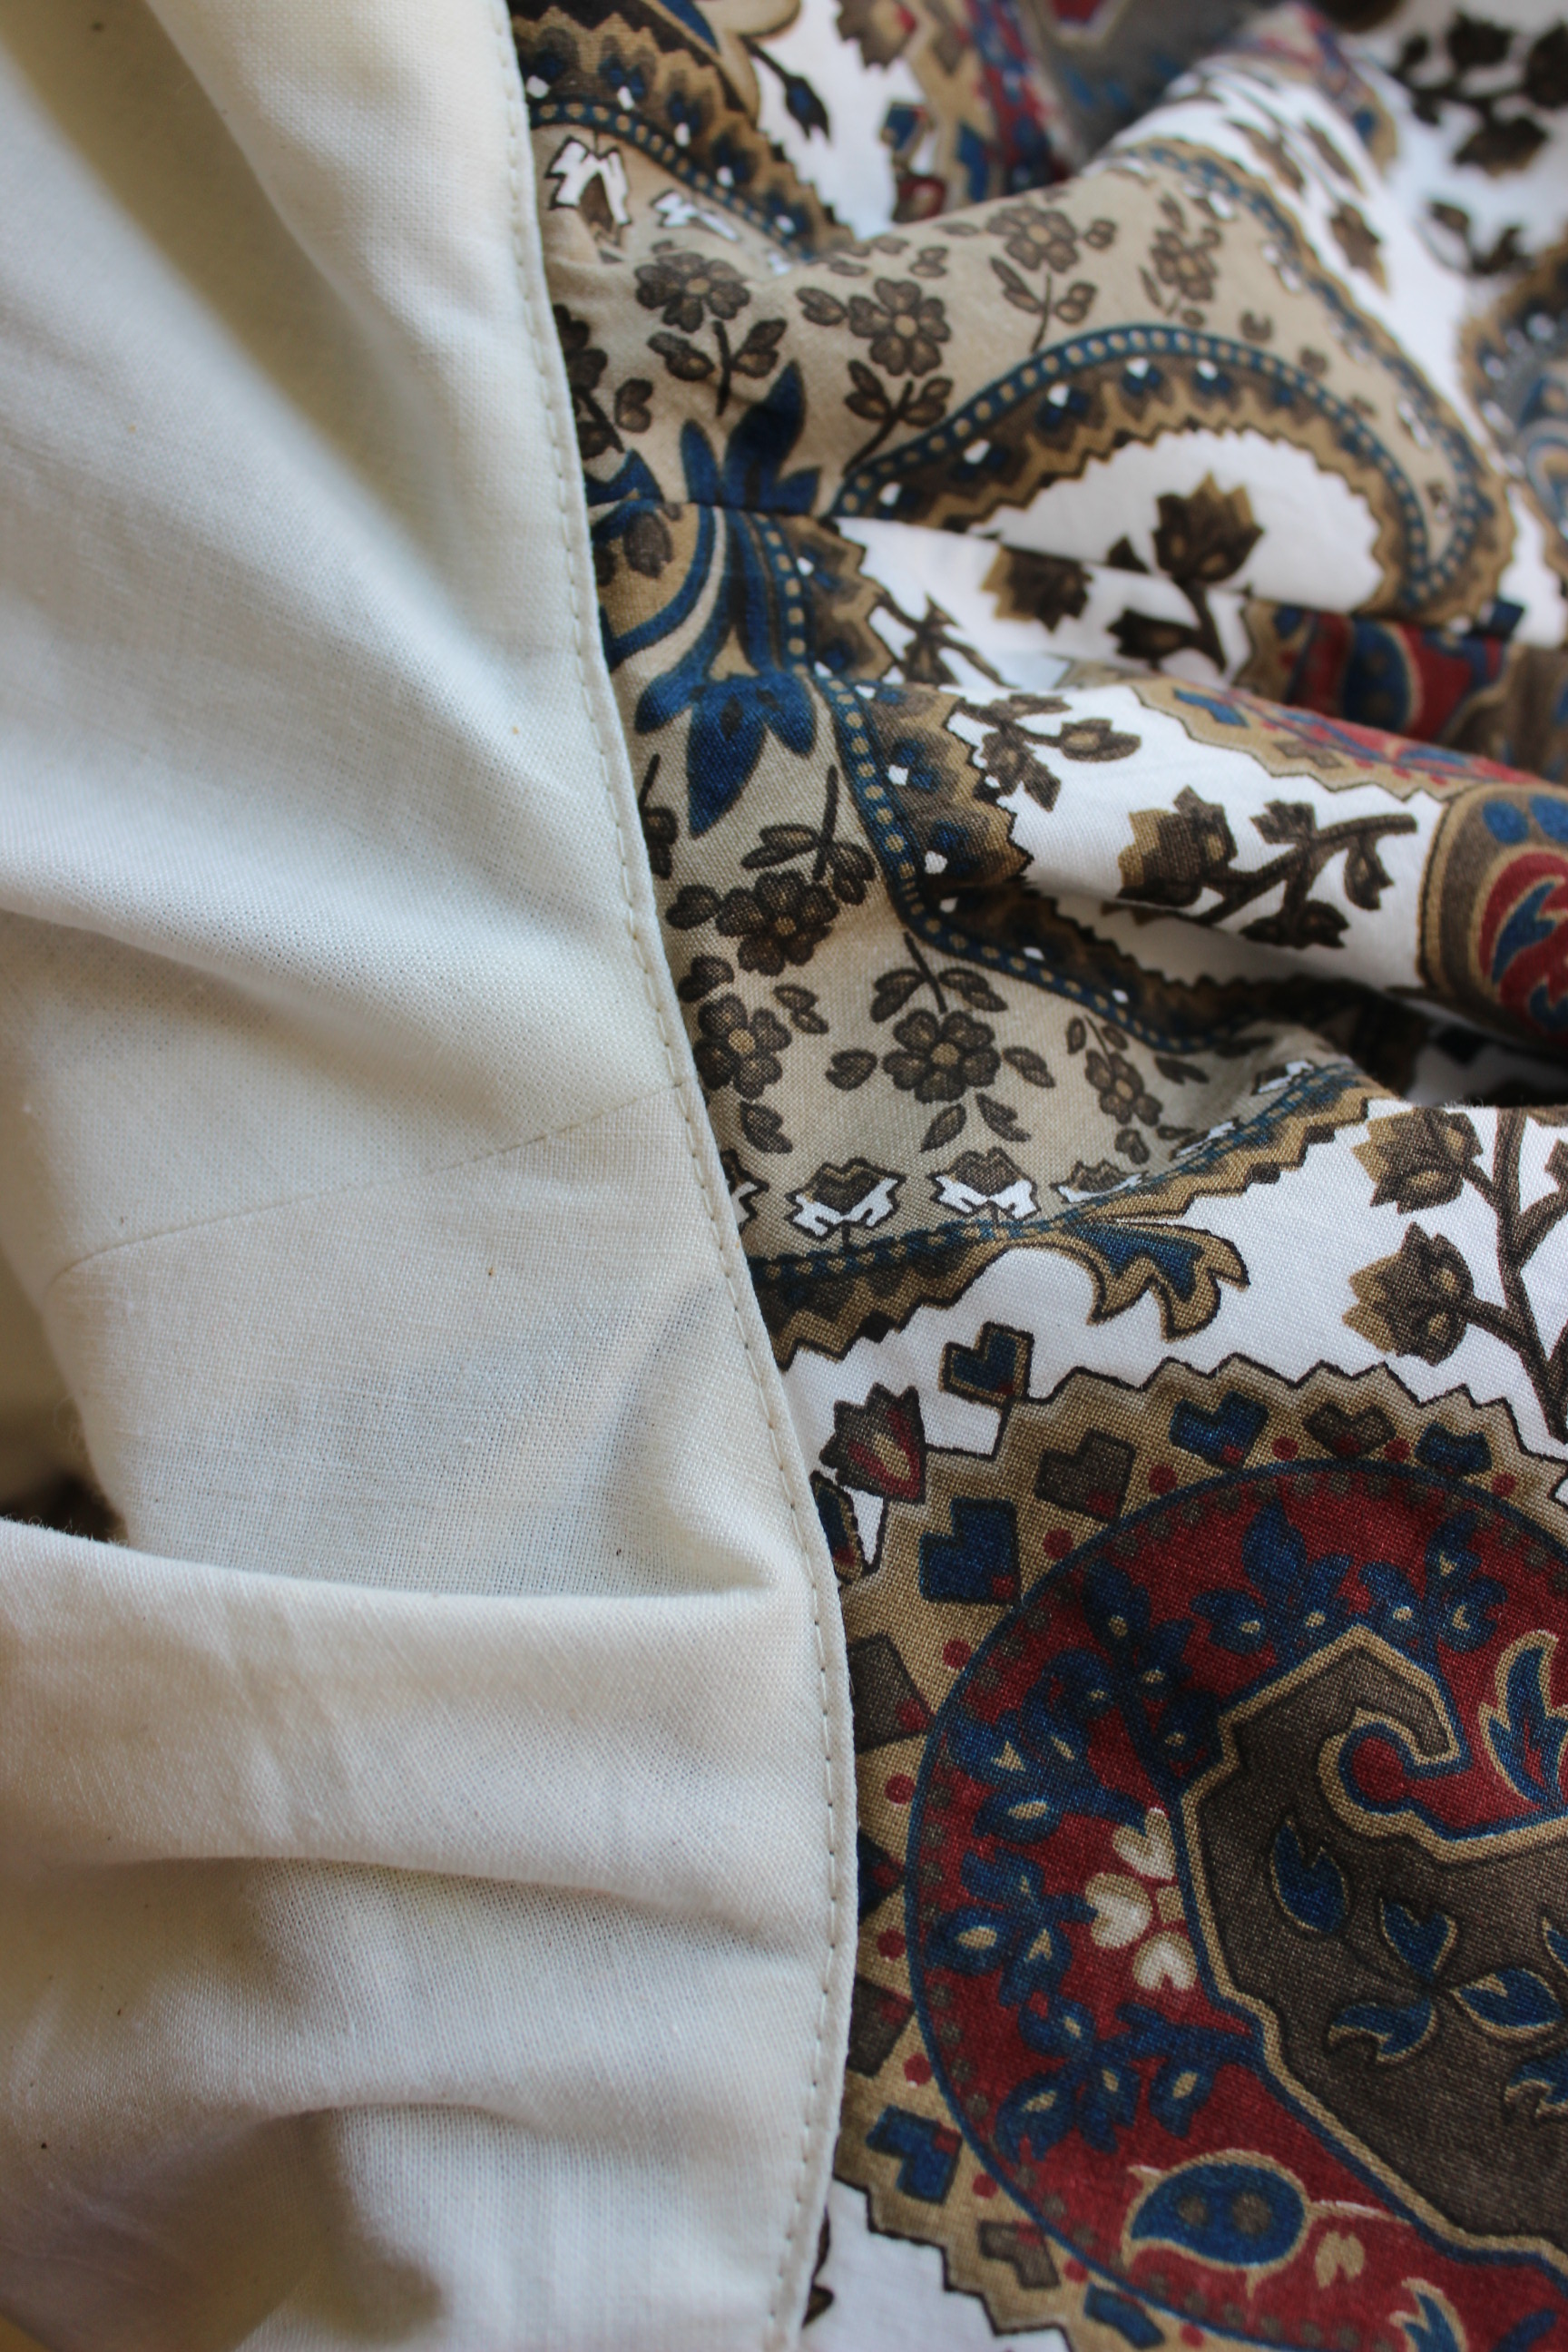
I found this thick green polyester in my stash, and figured why not. I cut the pieces letting the widht of the fabric decide the size of the bottom of the finished crinoline (220 cm).  From left: Vertical ribbons, bone casings, bottom part, smal pieces of chanels and a waistband at the right.
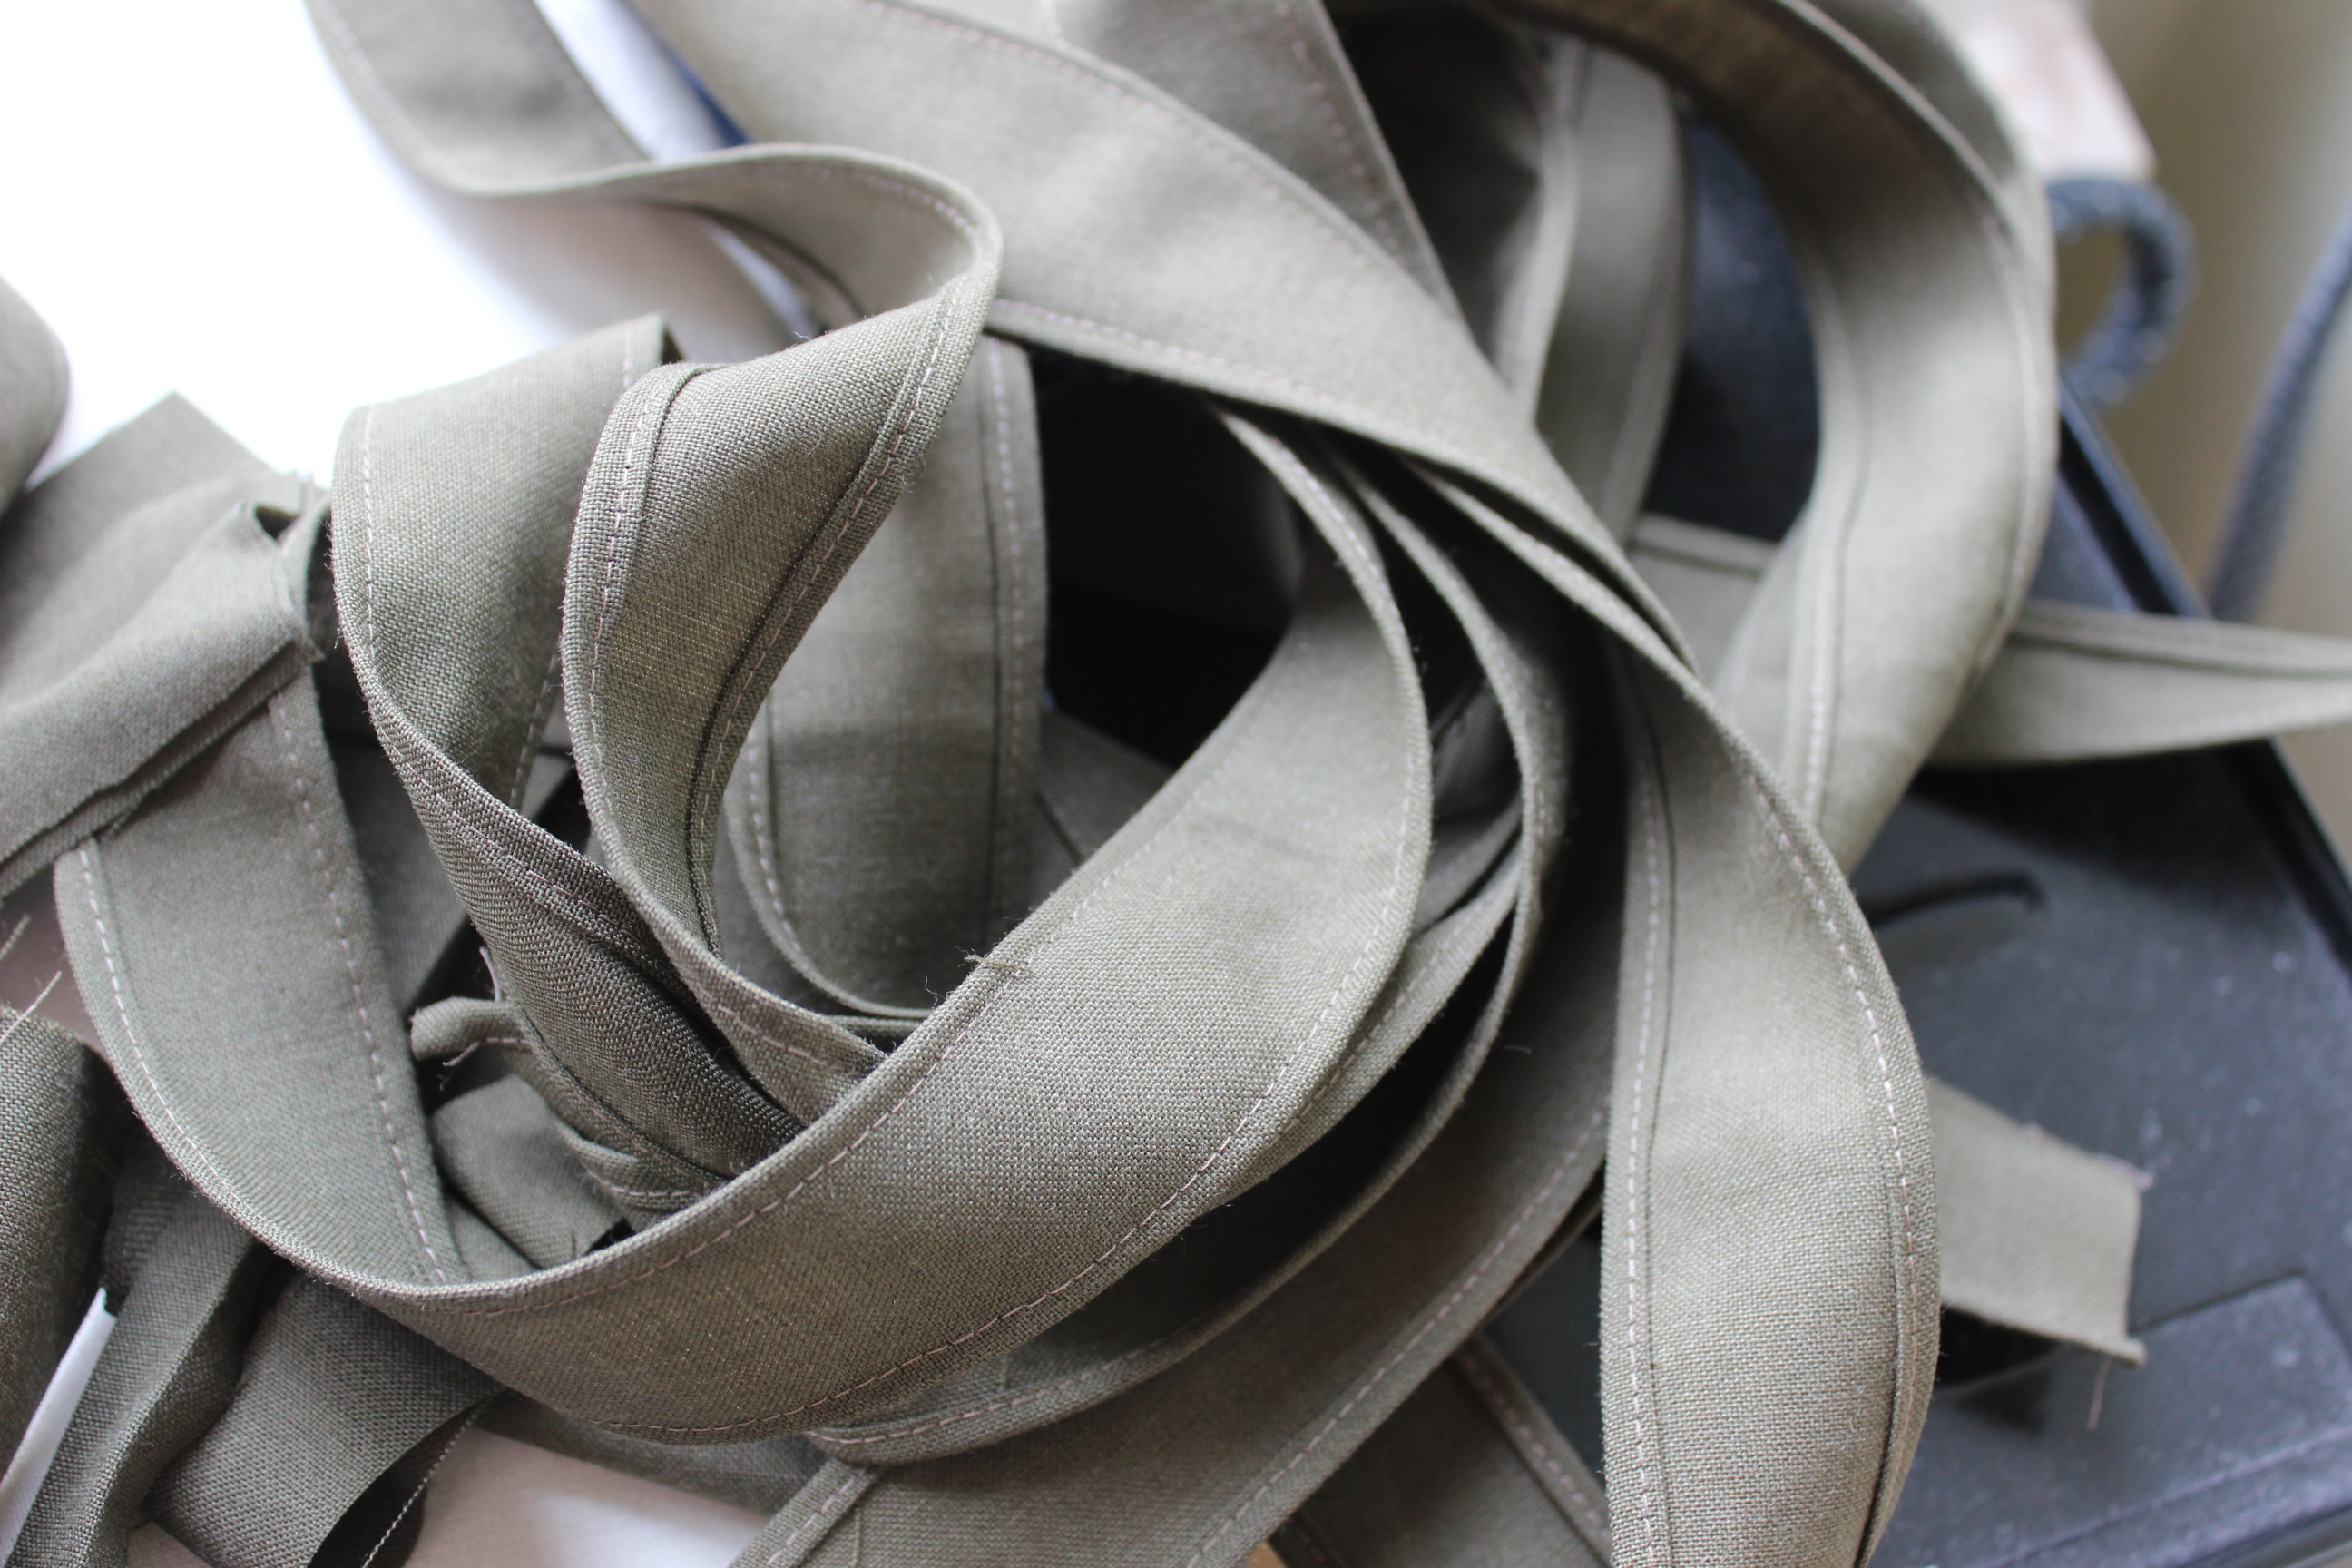
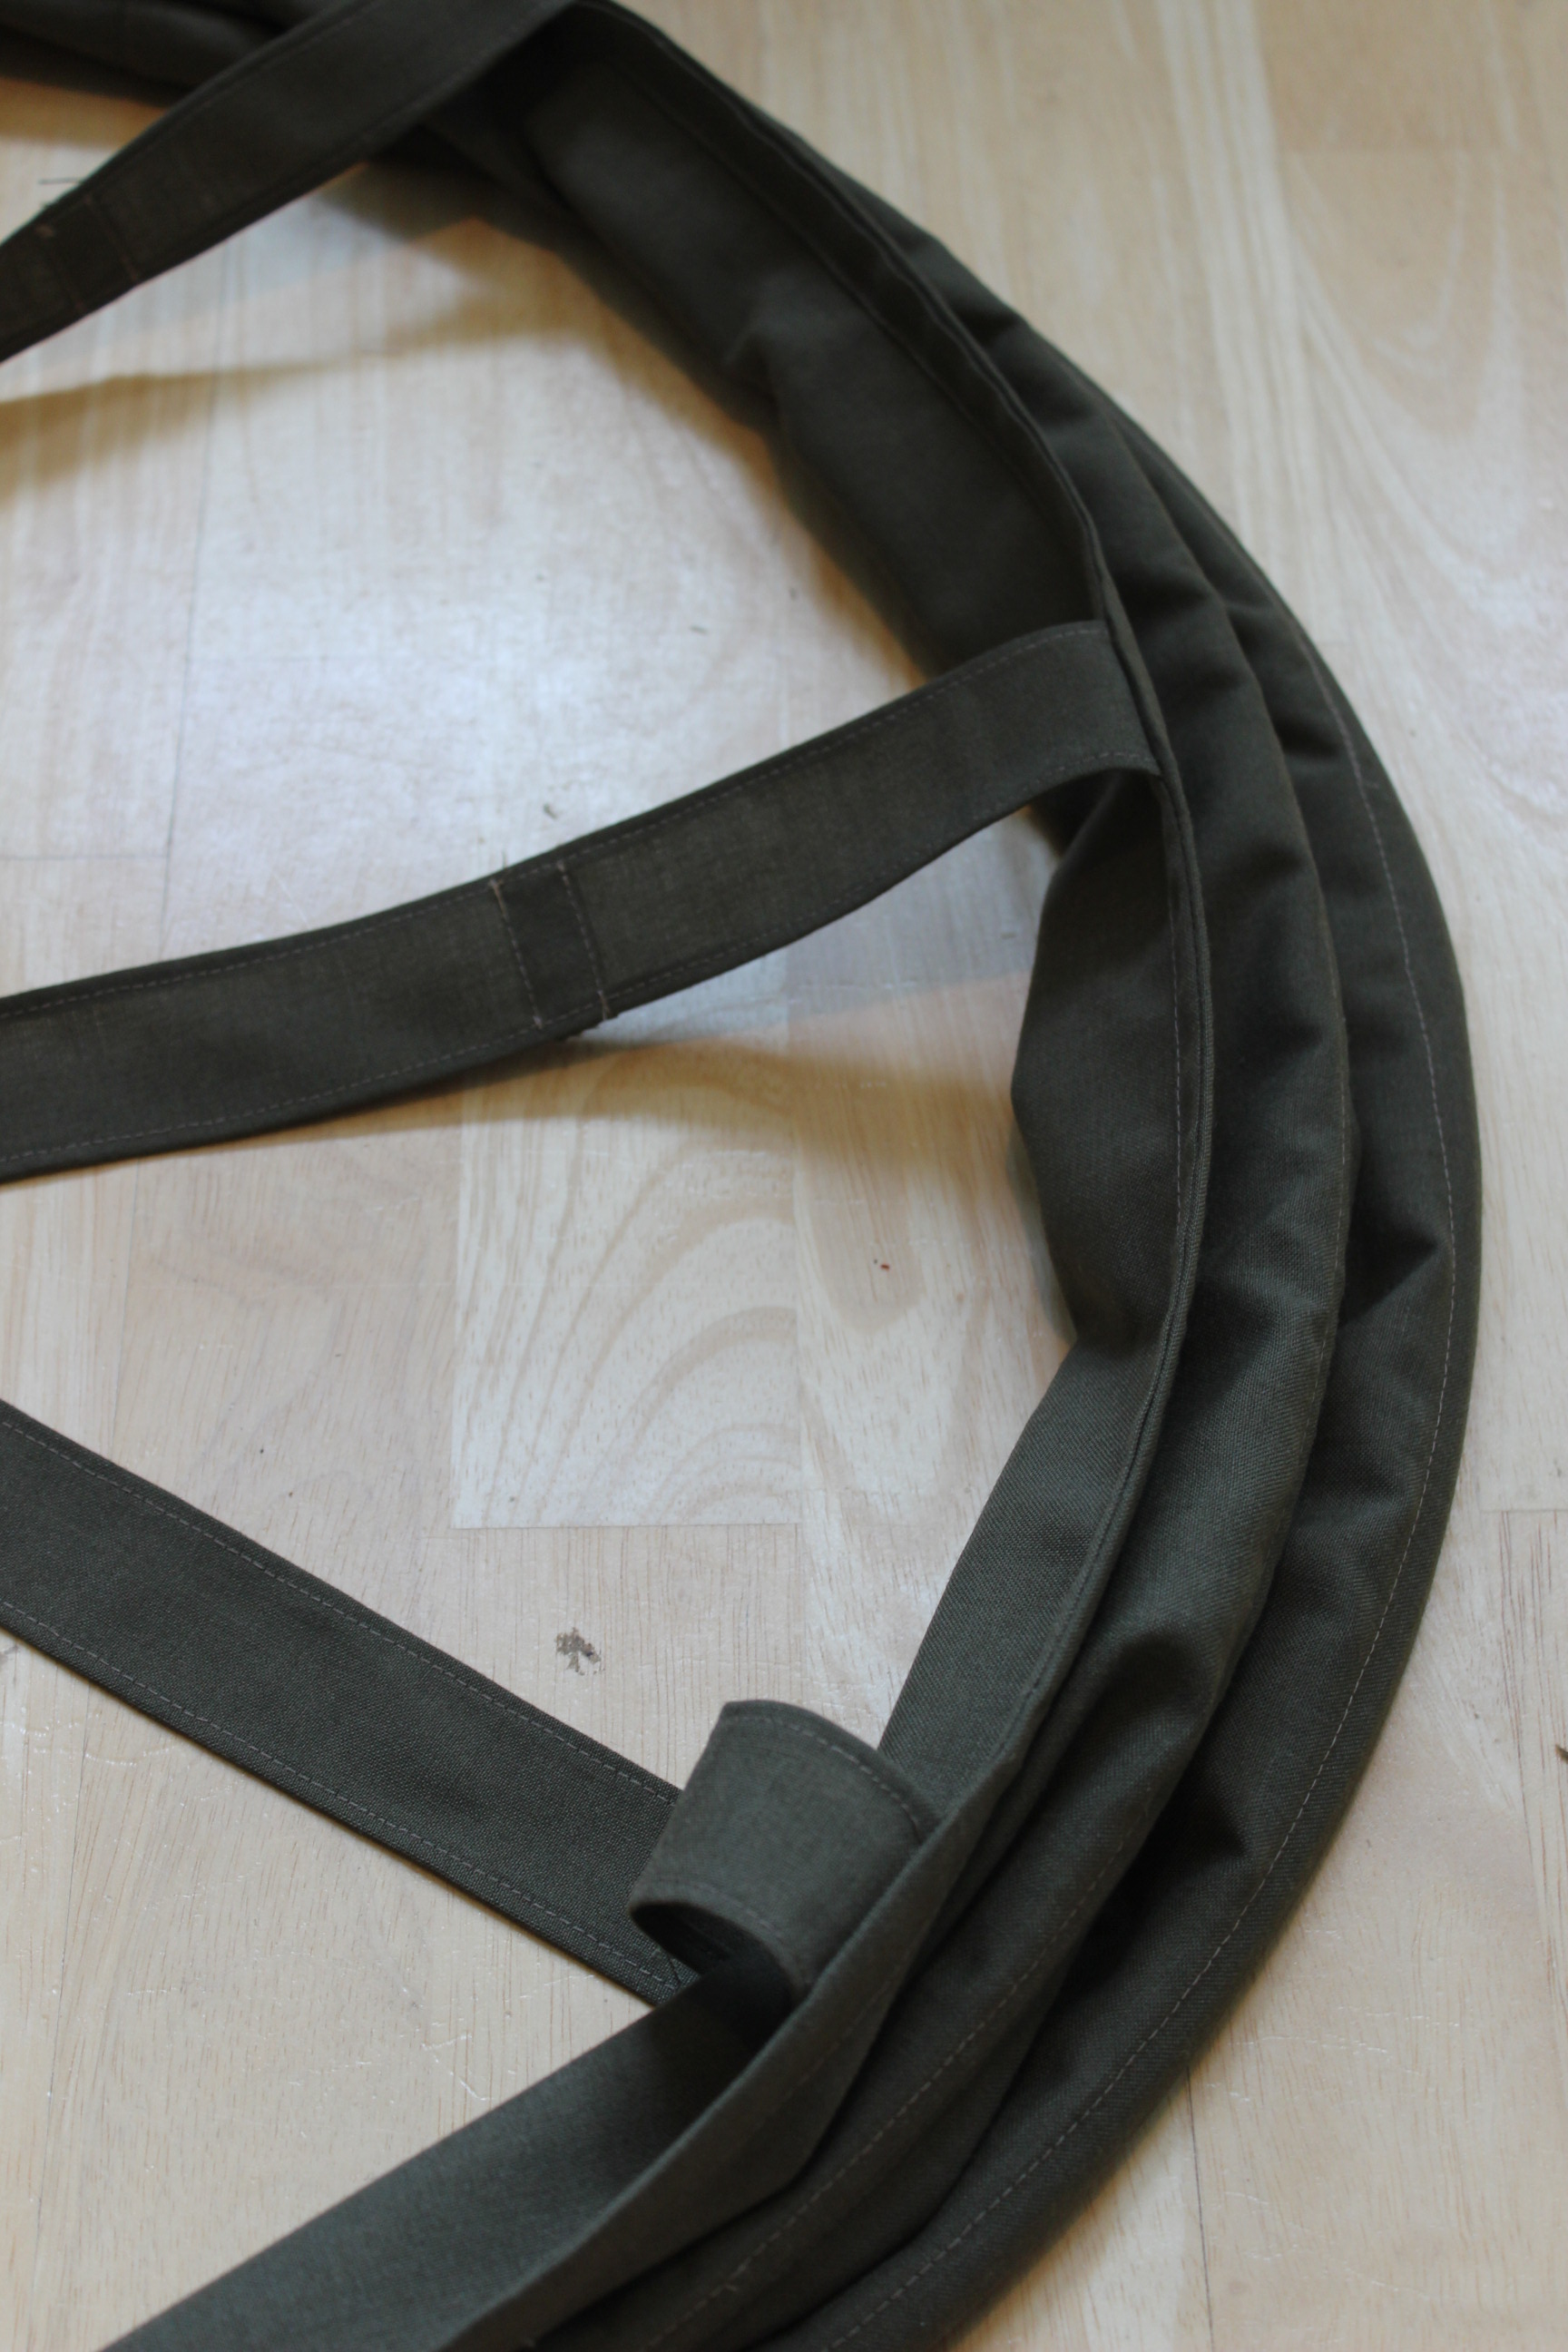
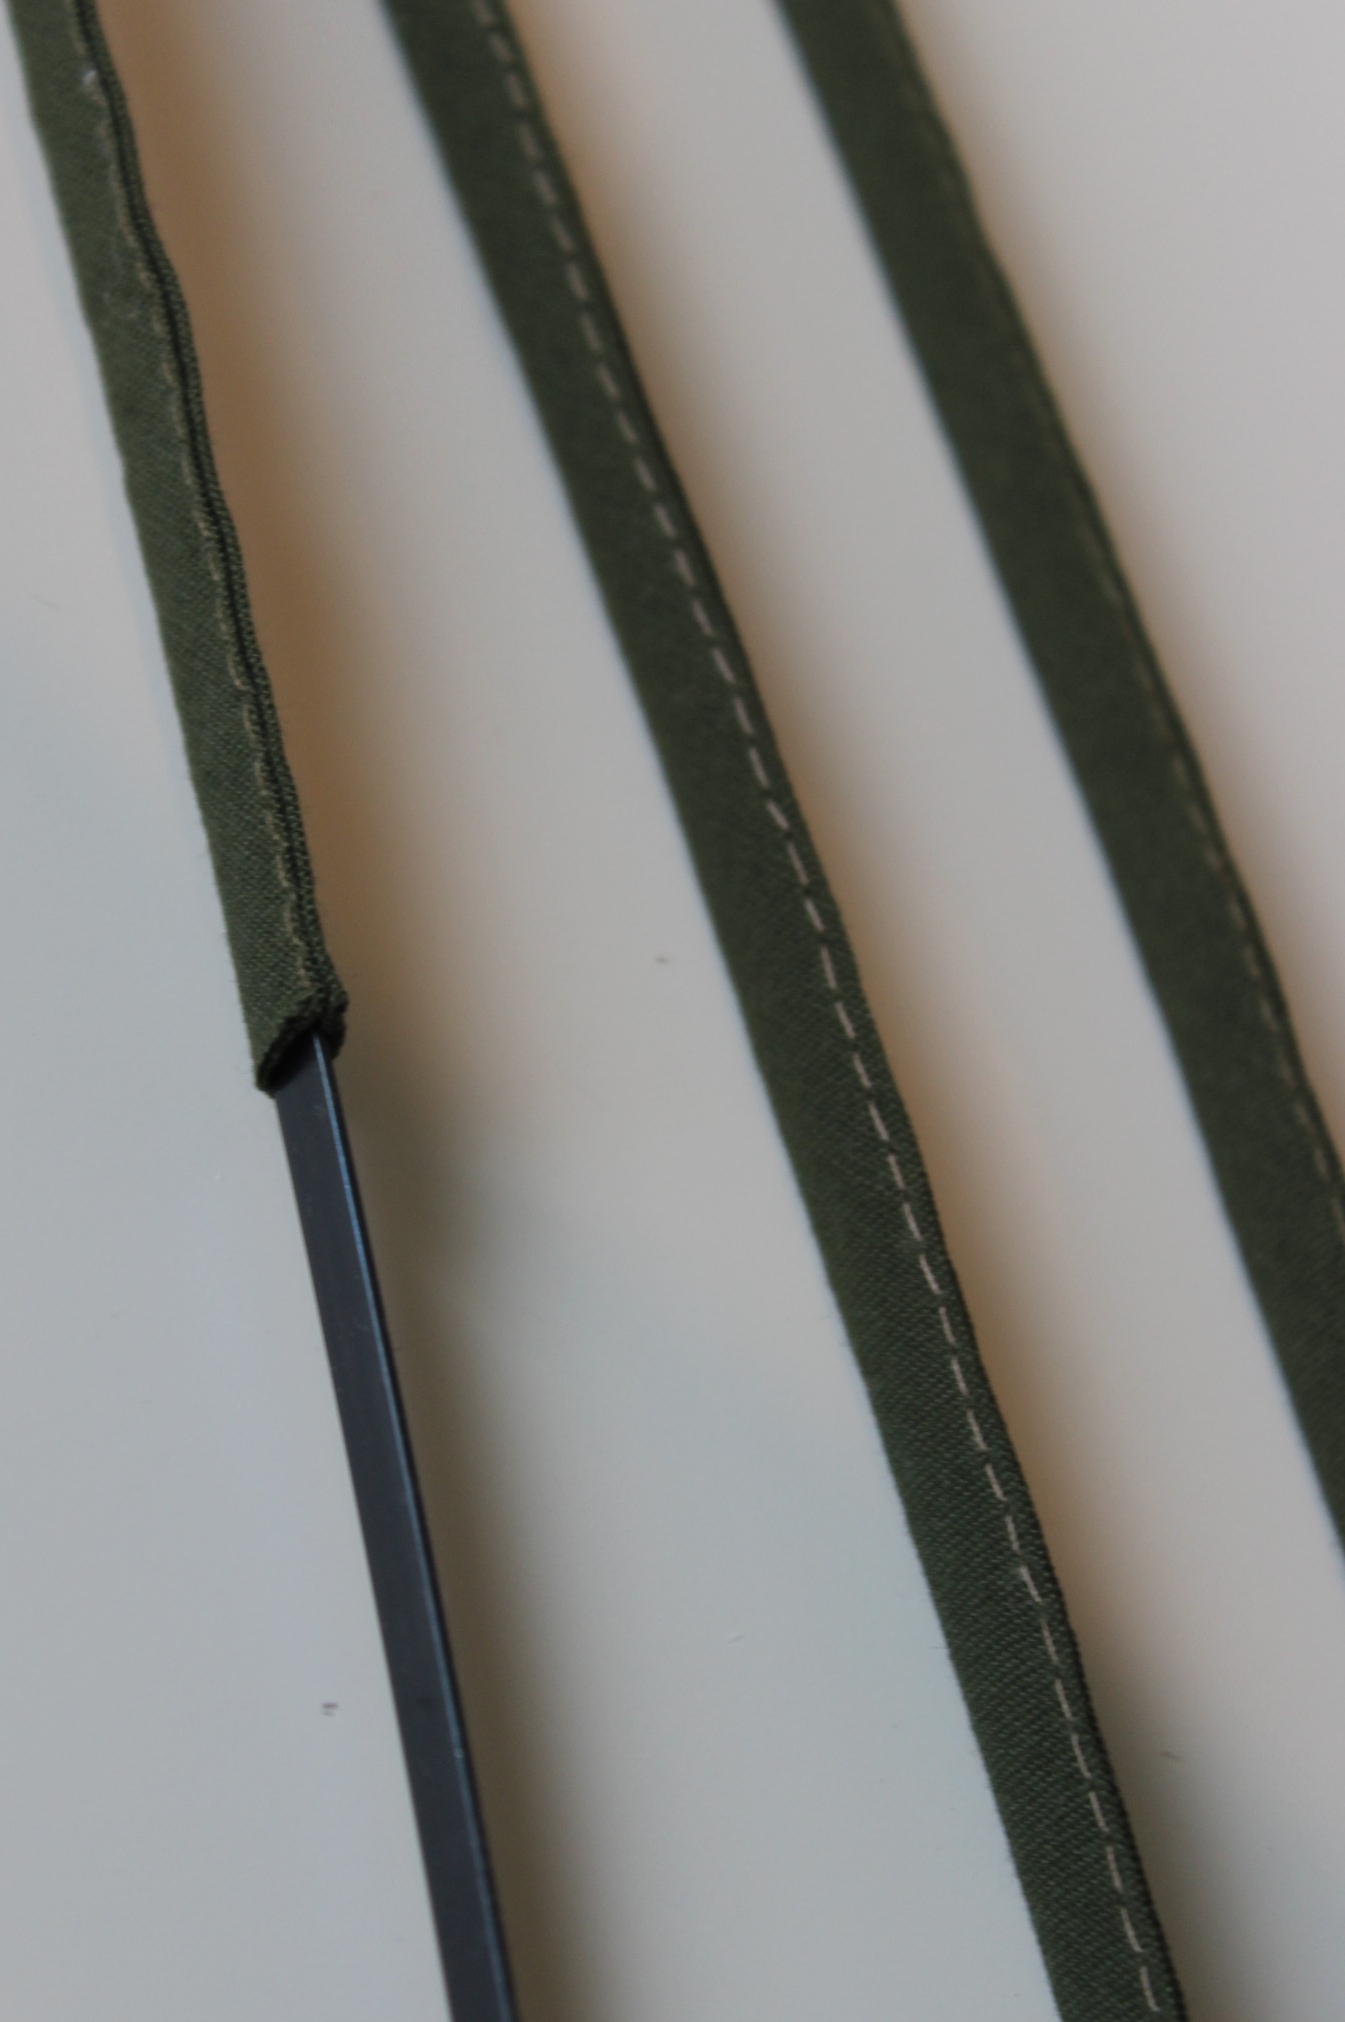
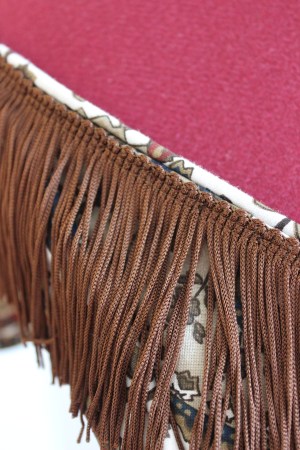
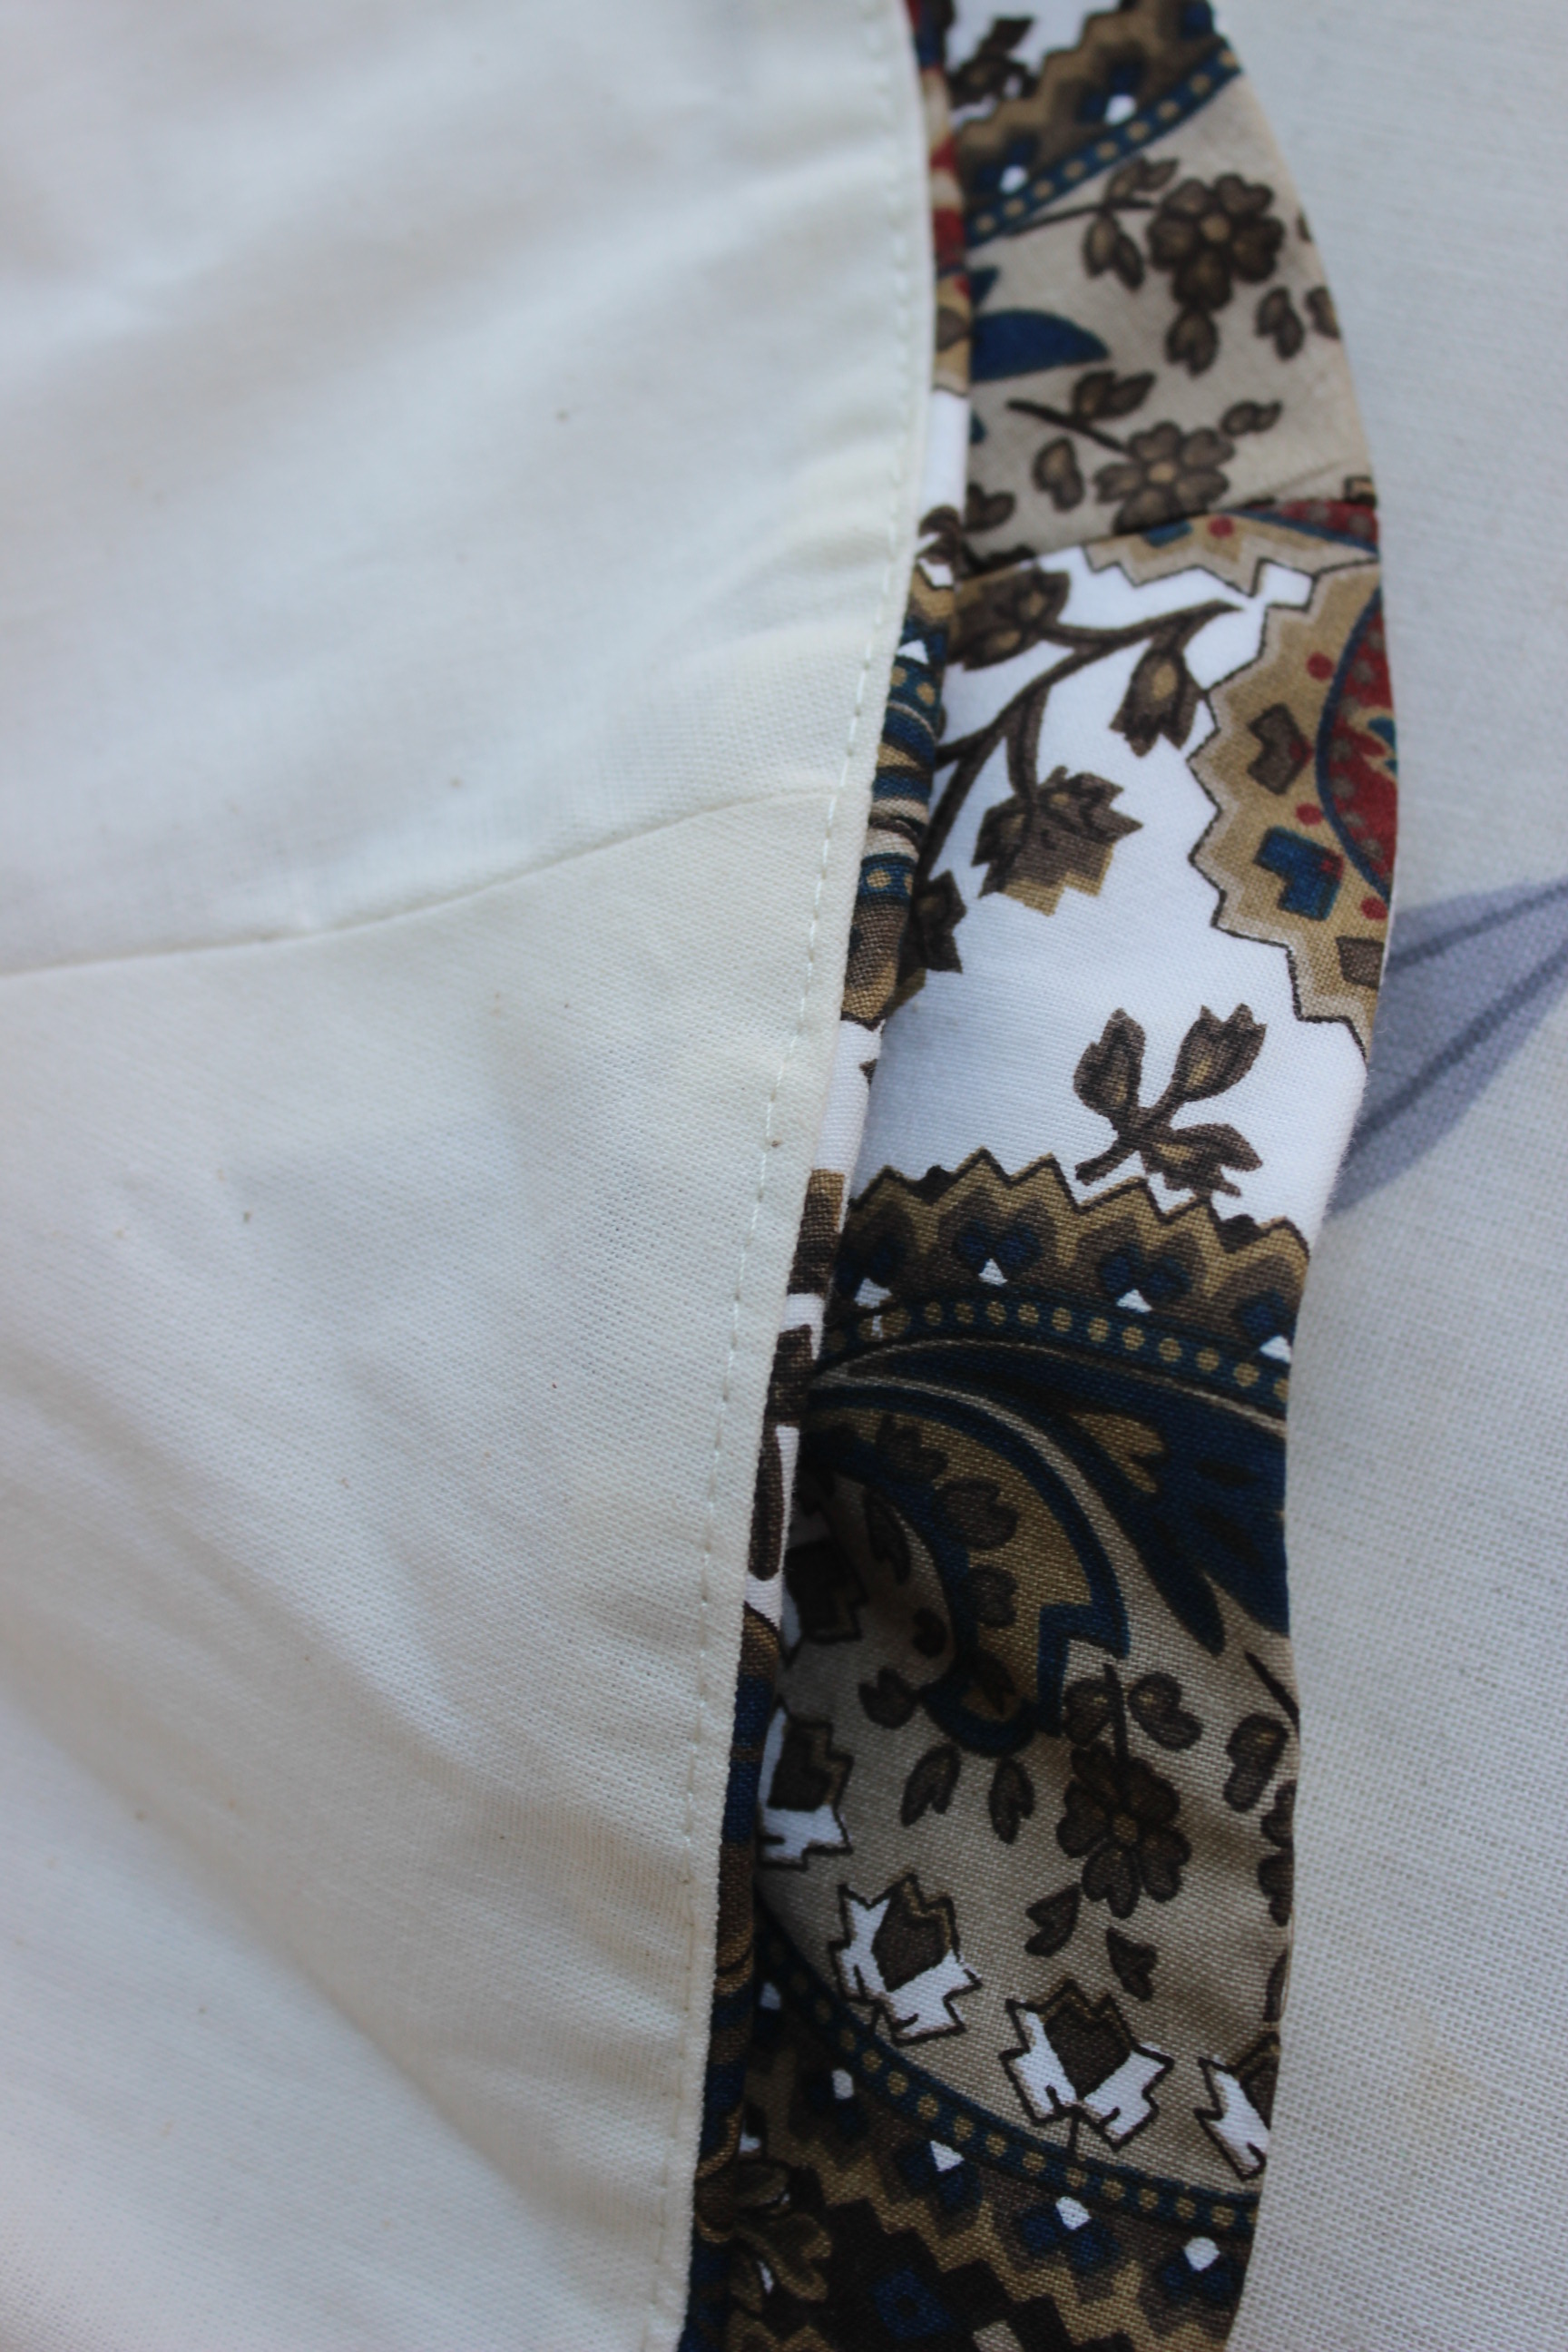
Then I pressed the long ribbons to turn them in to bone-casings. About 6,5 m or so.
Then I sewed the boning chanels to the pieces to create the bottom part of the crinoline.


The chanels shown from the wrong side and the right side.
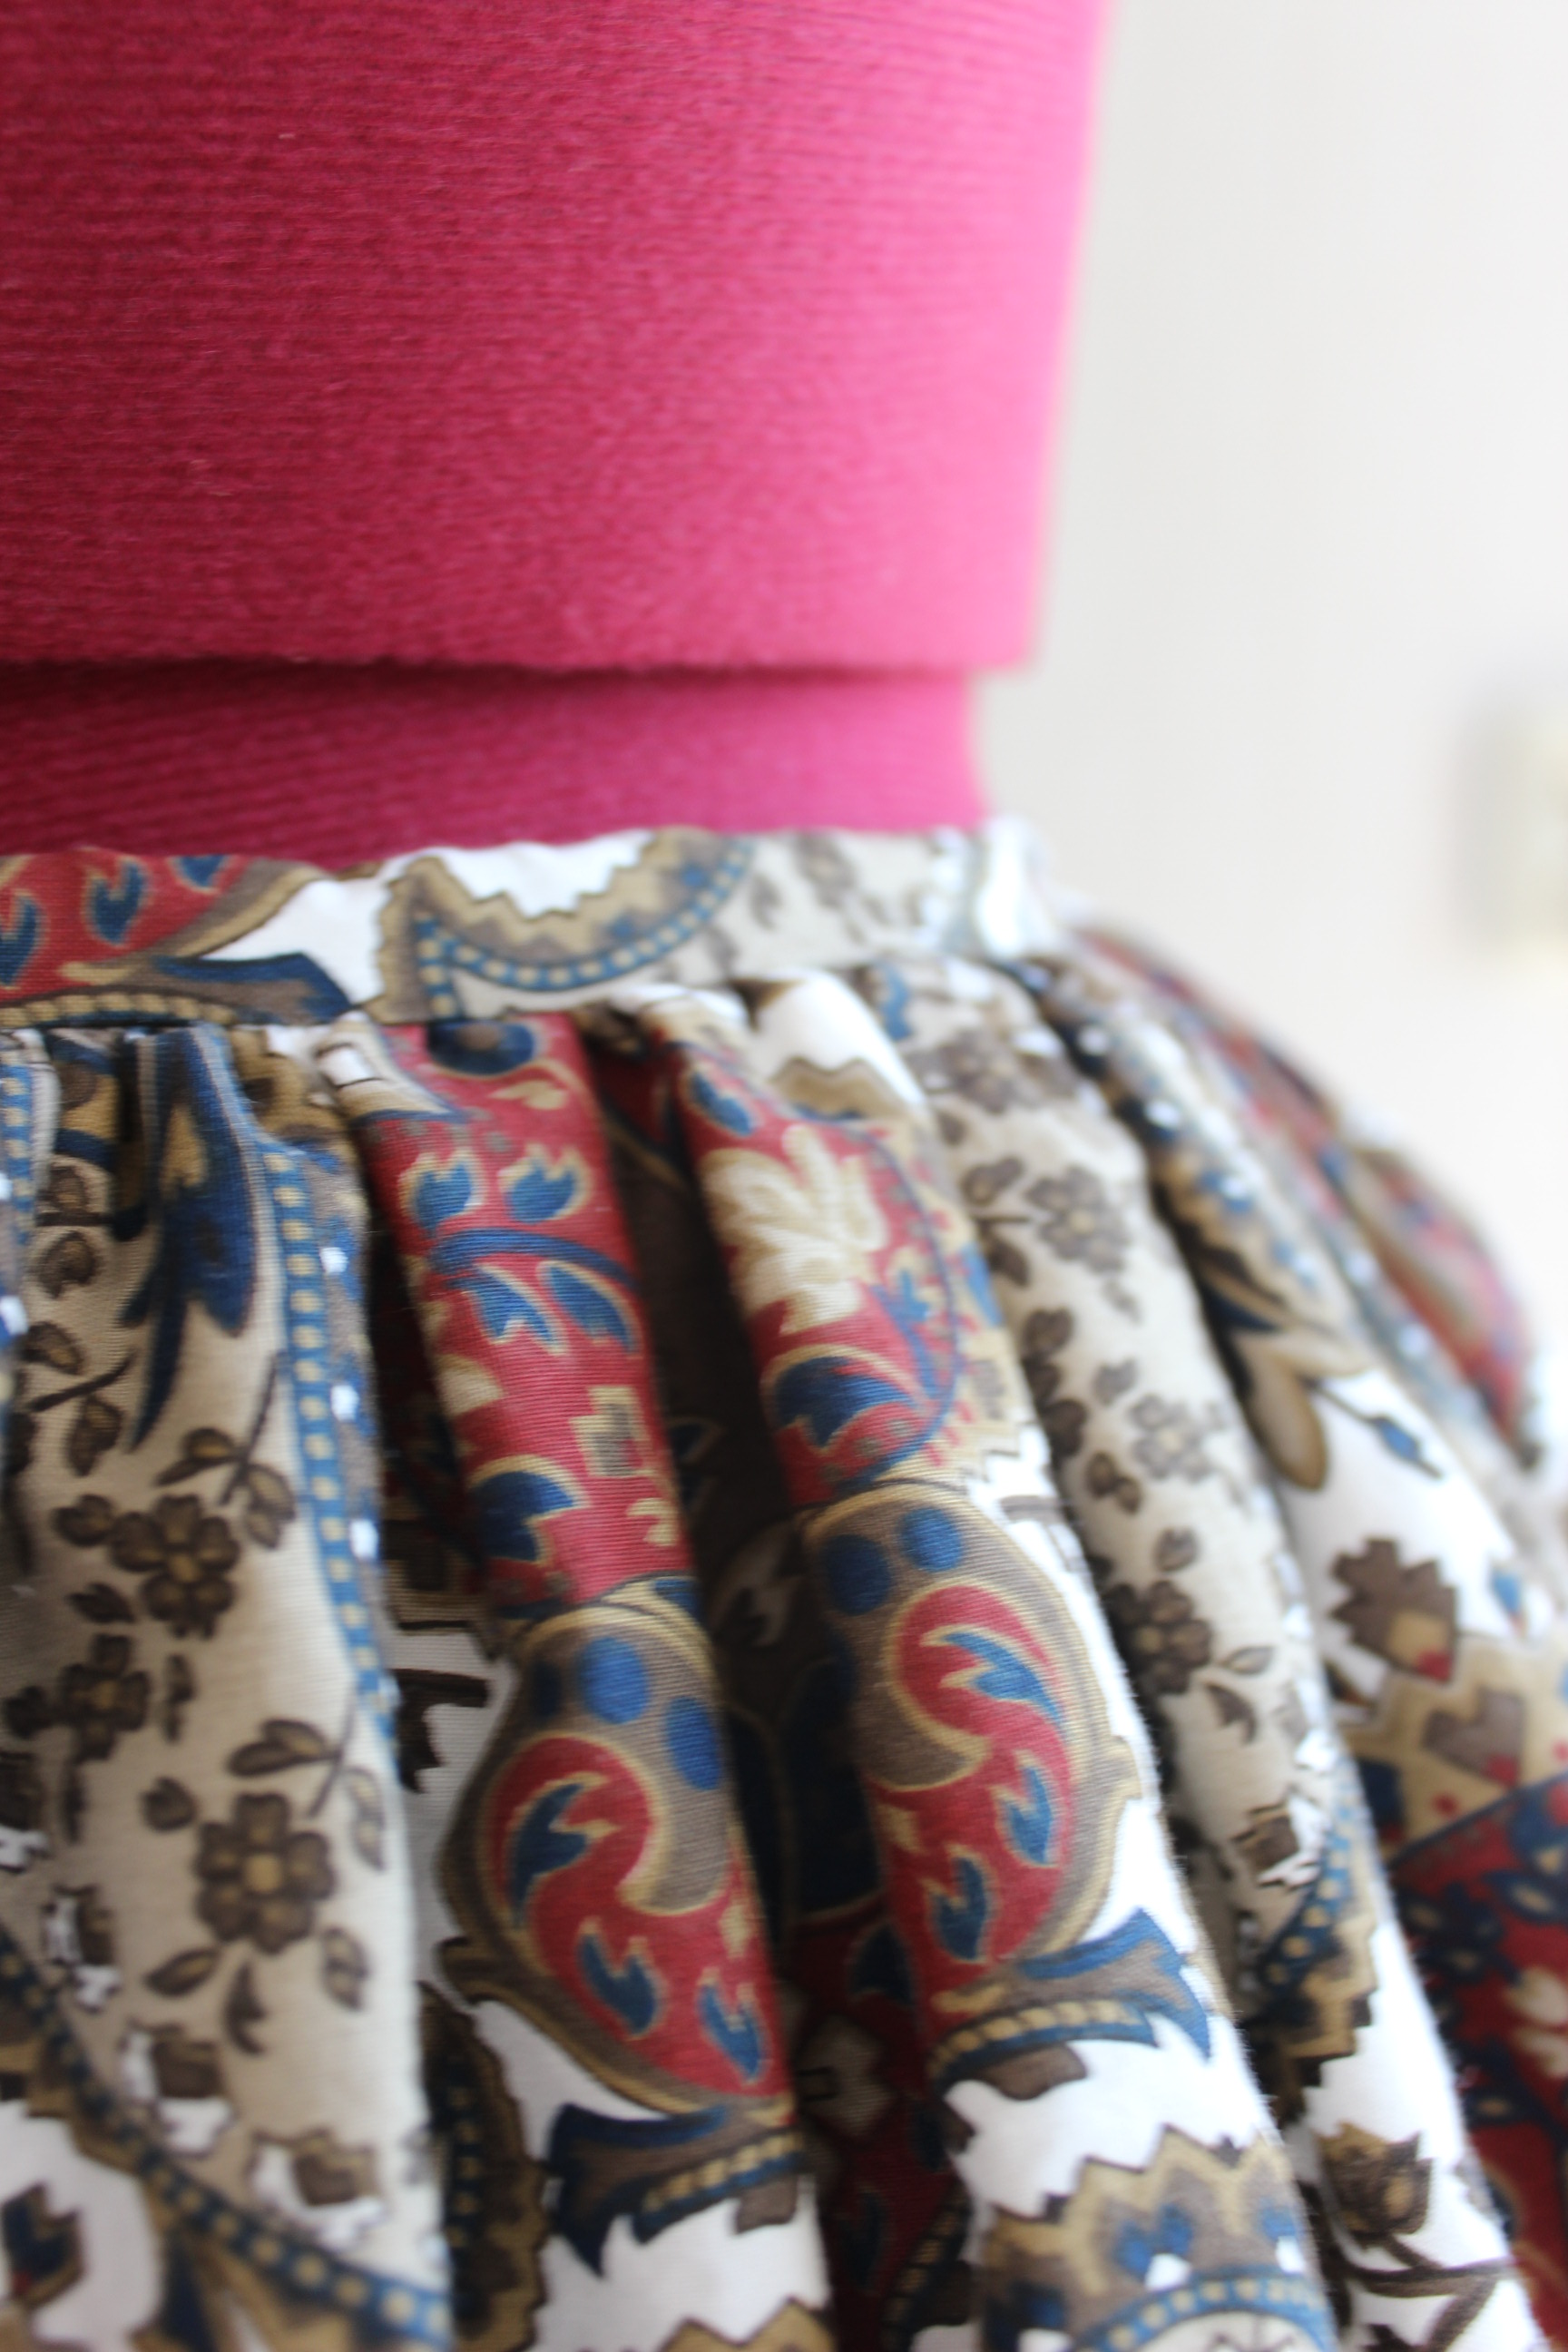
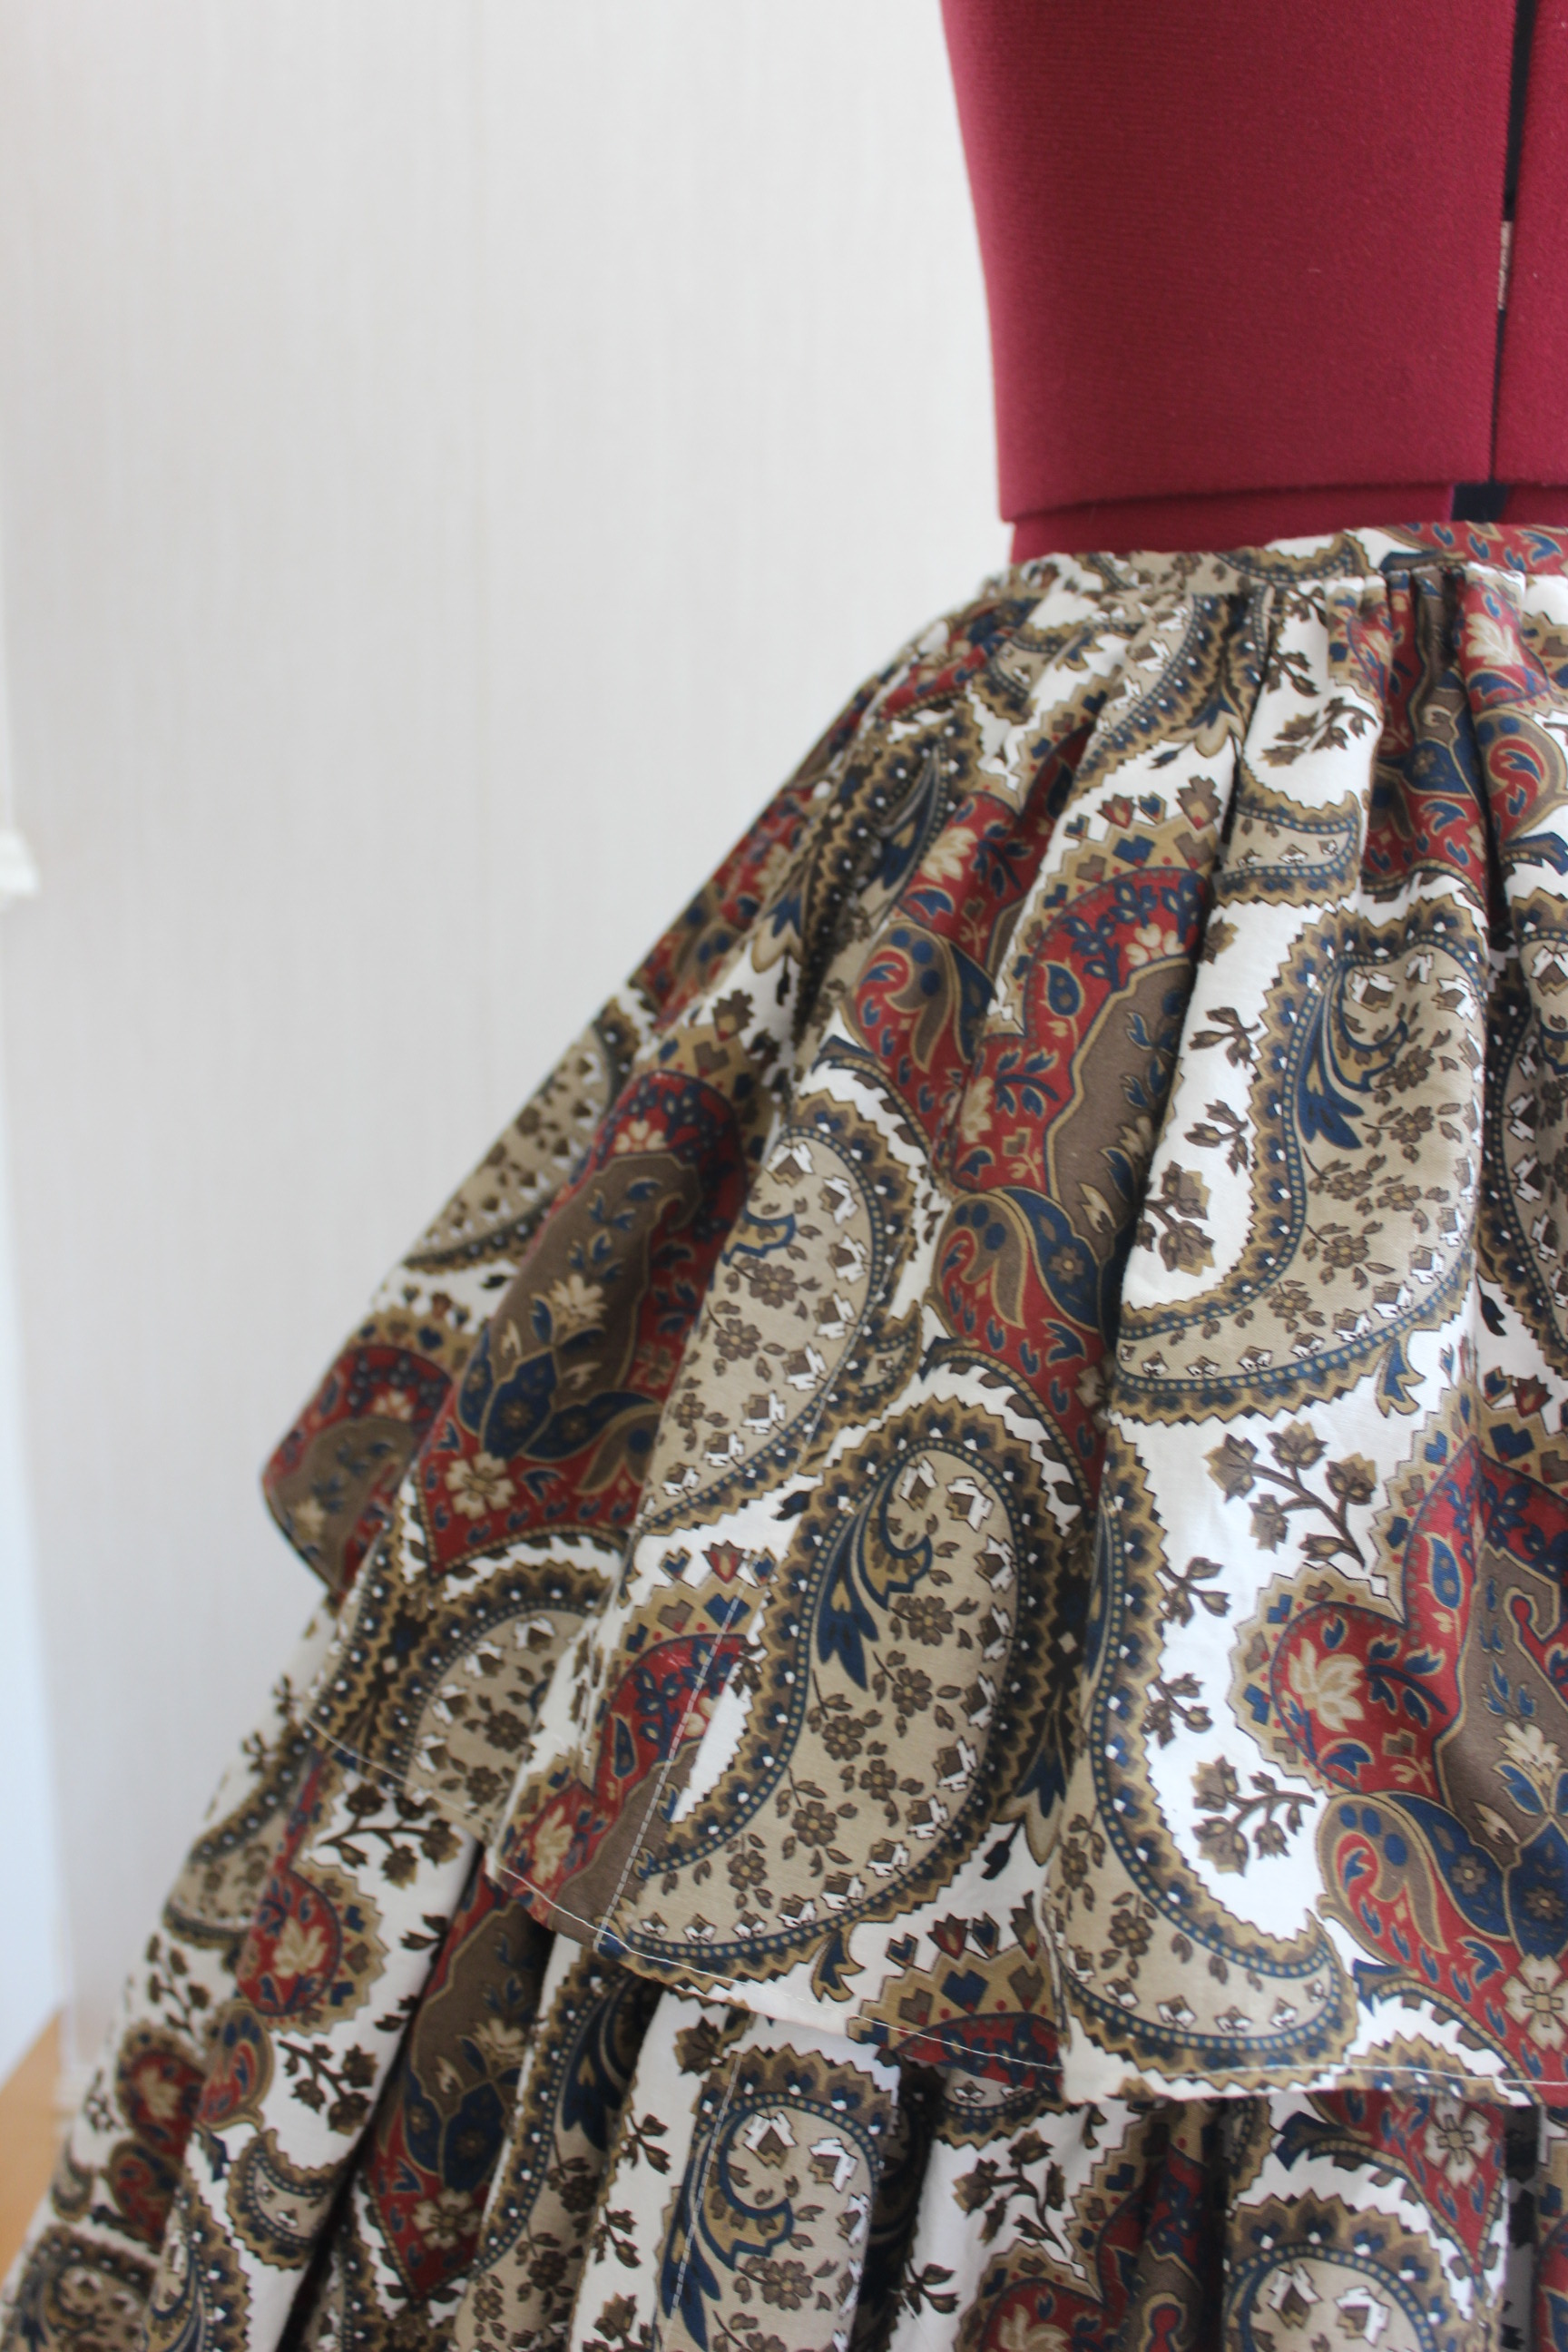
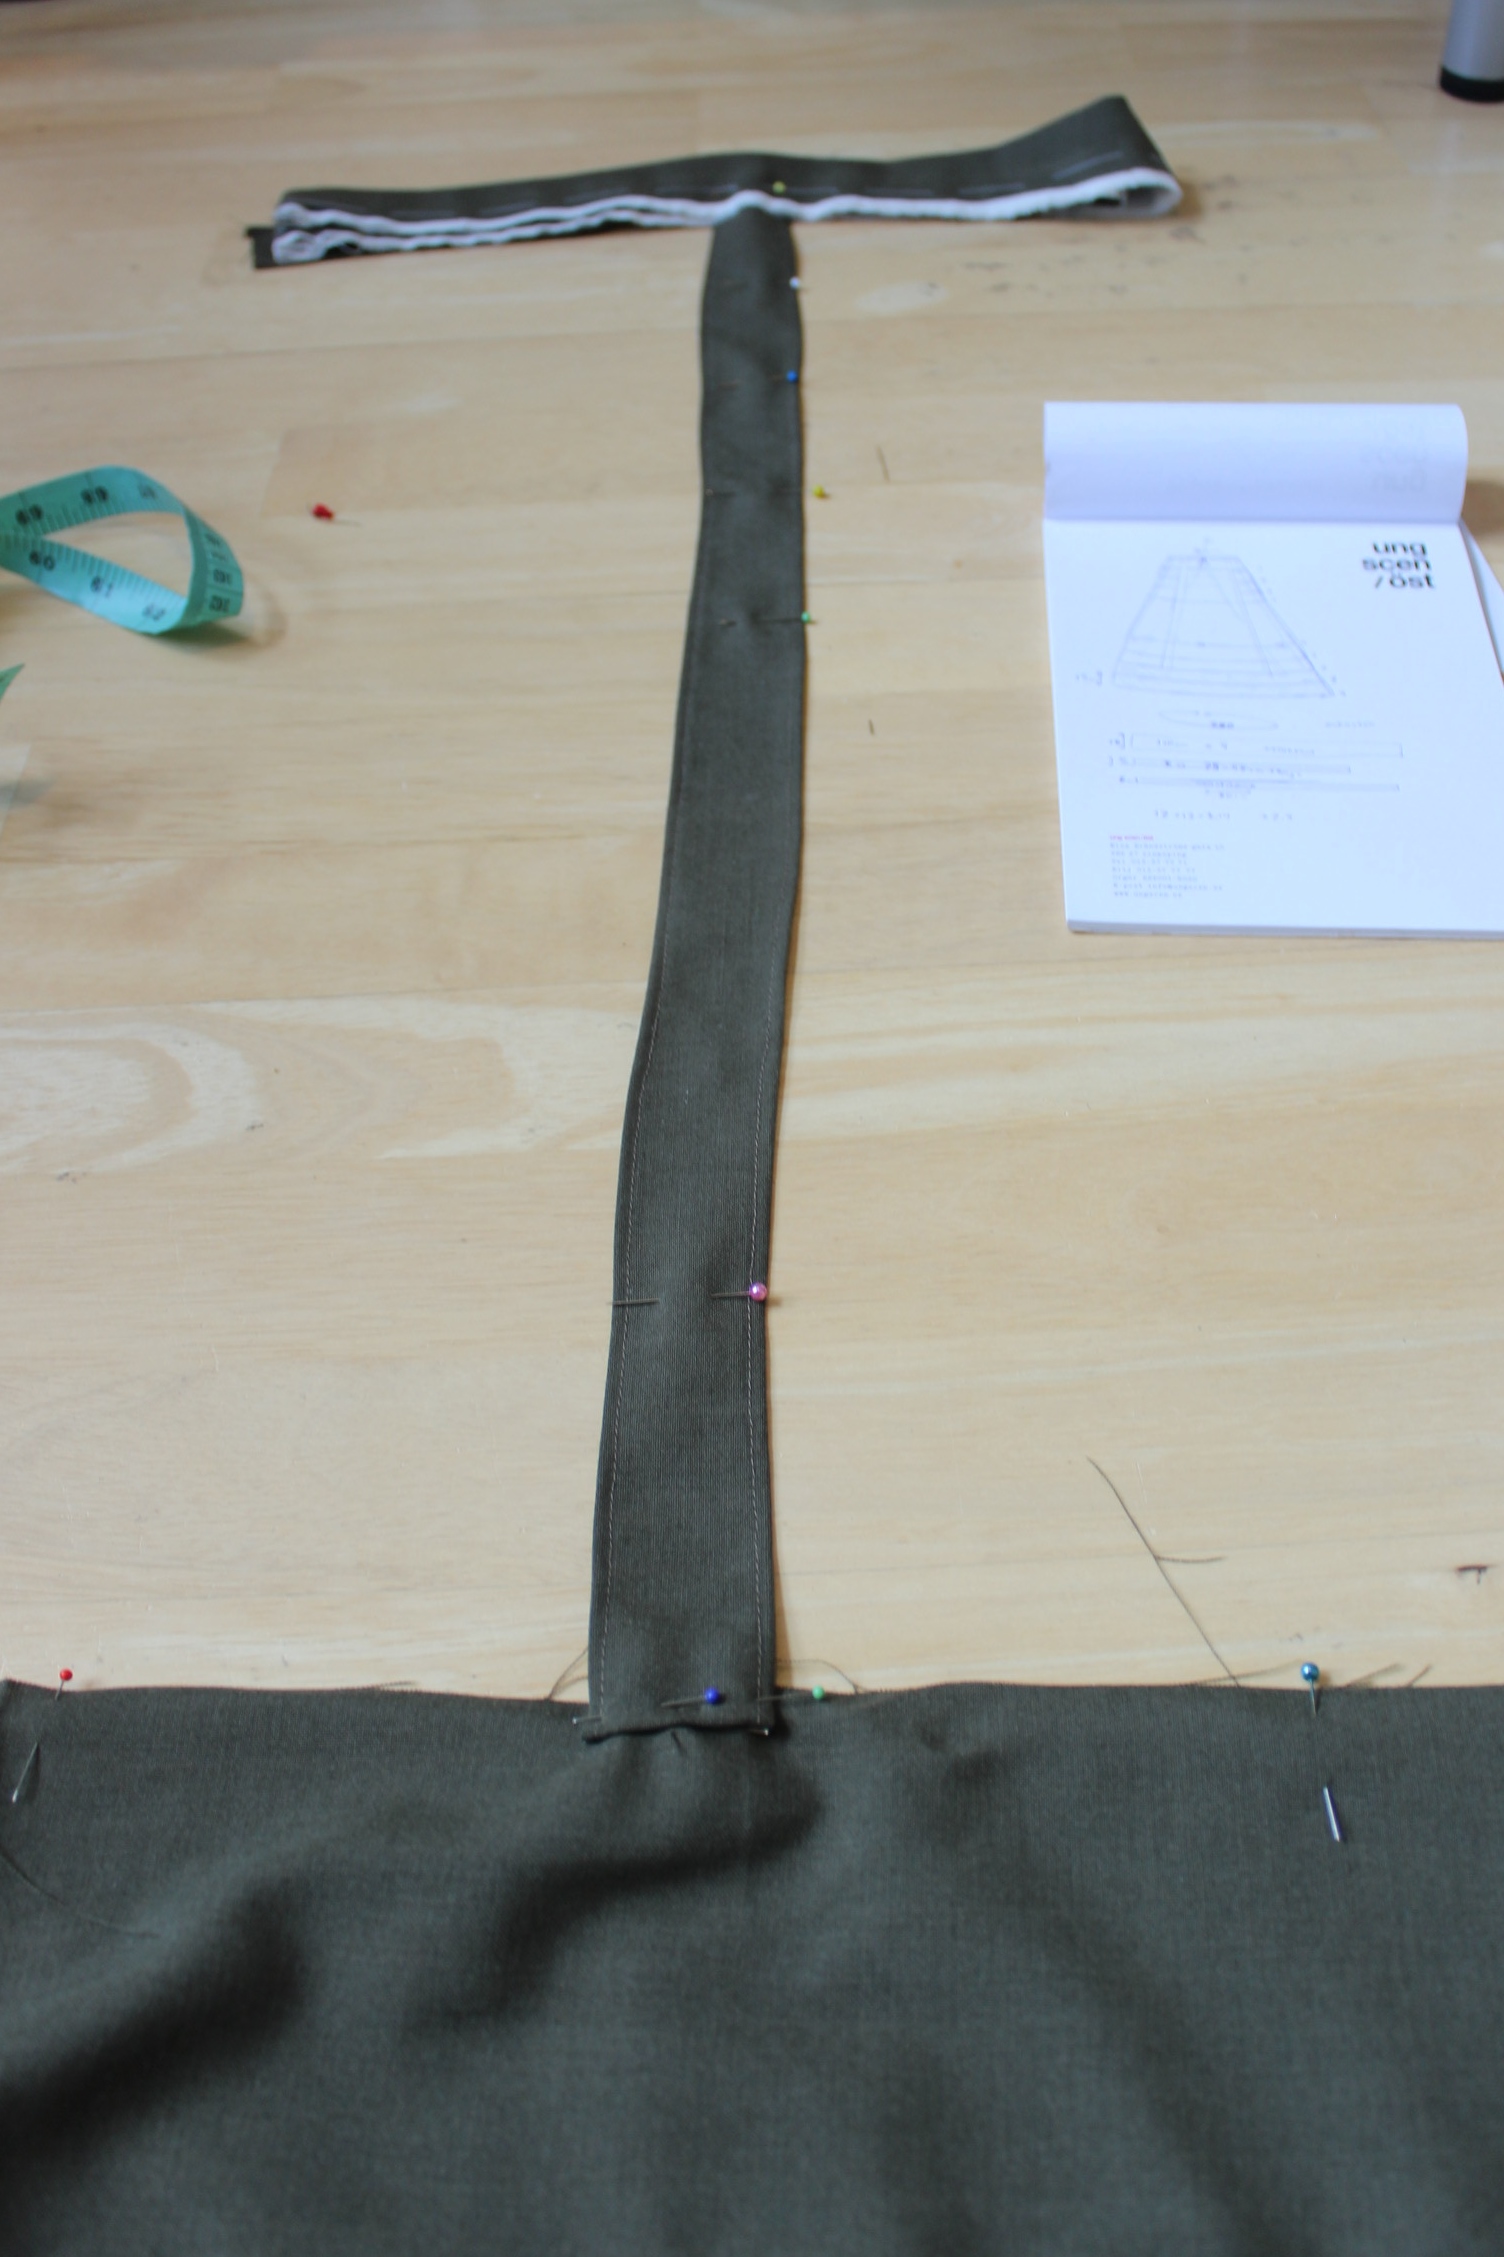
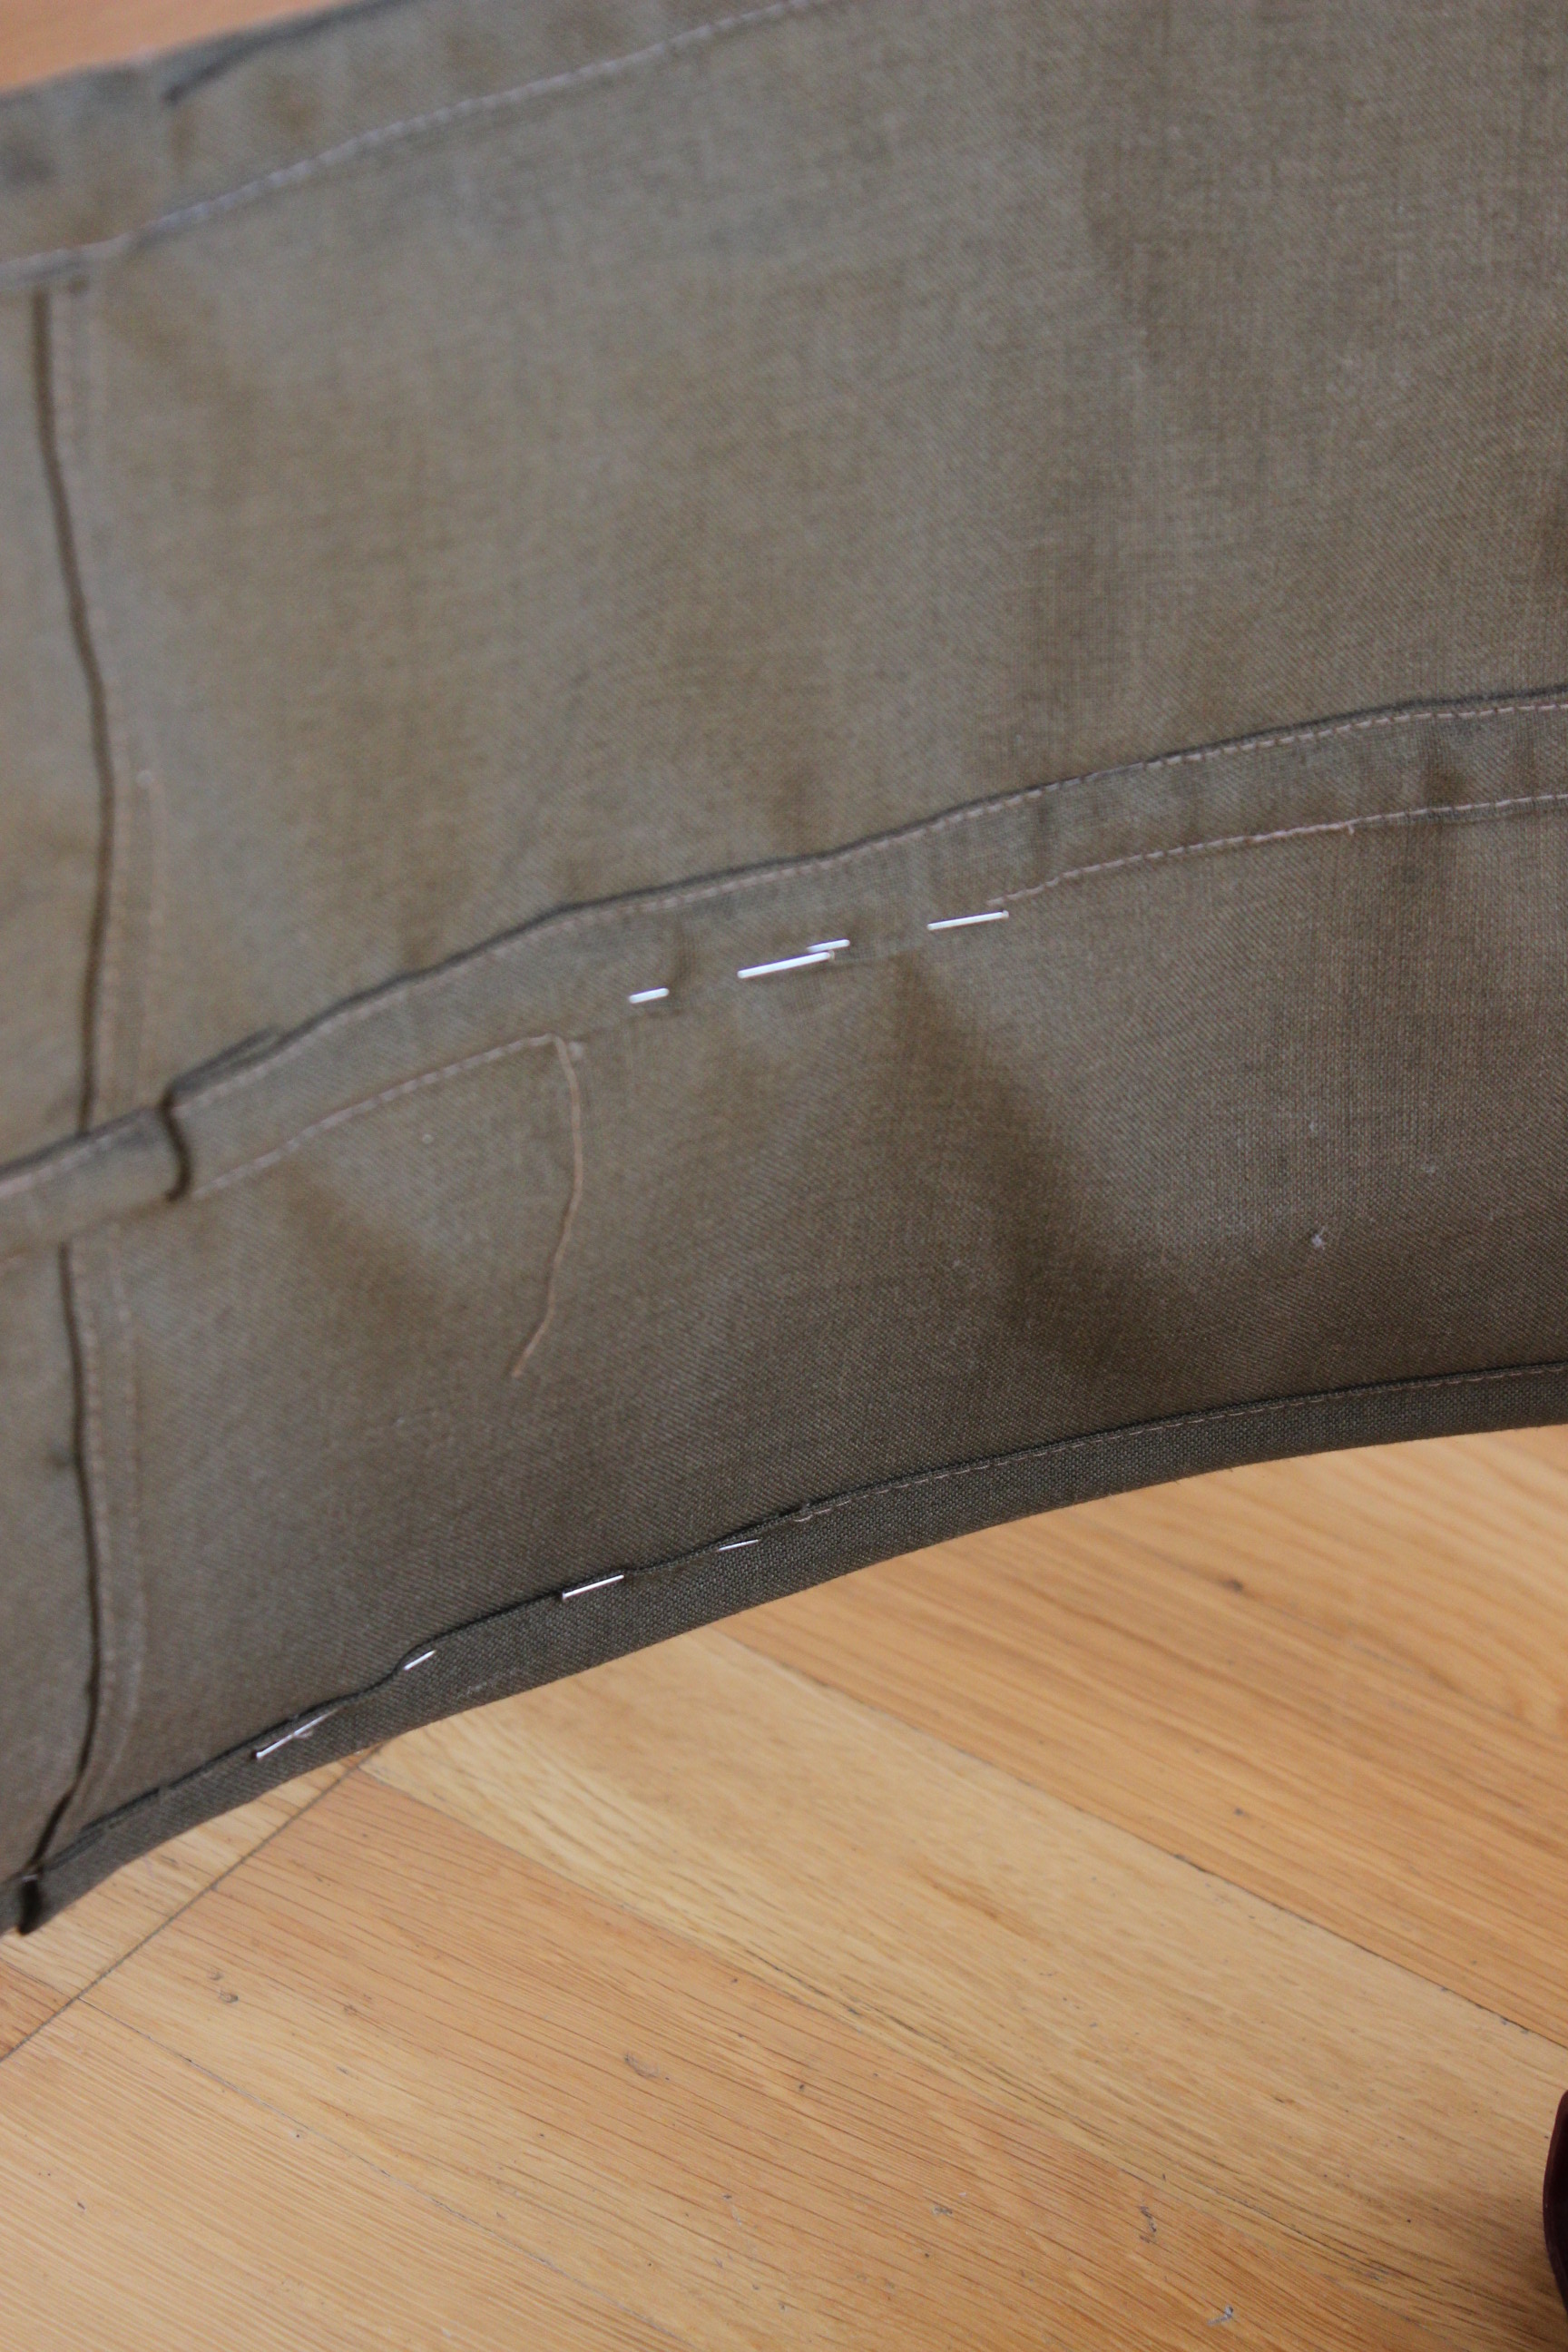
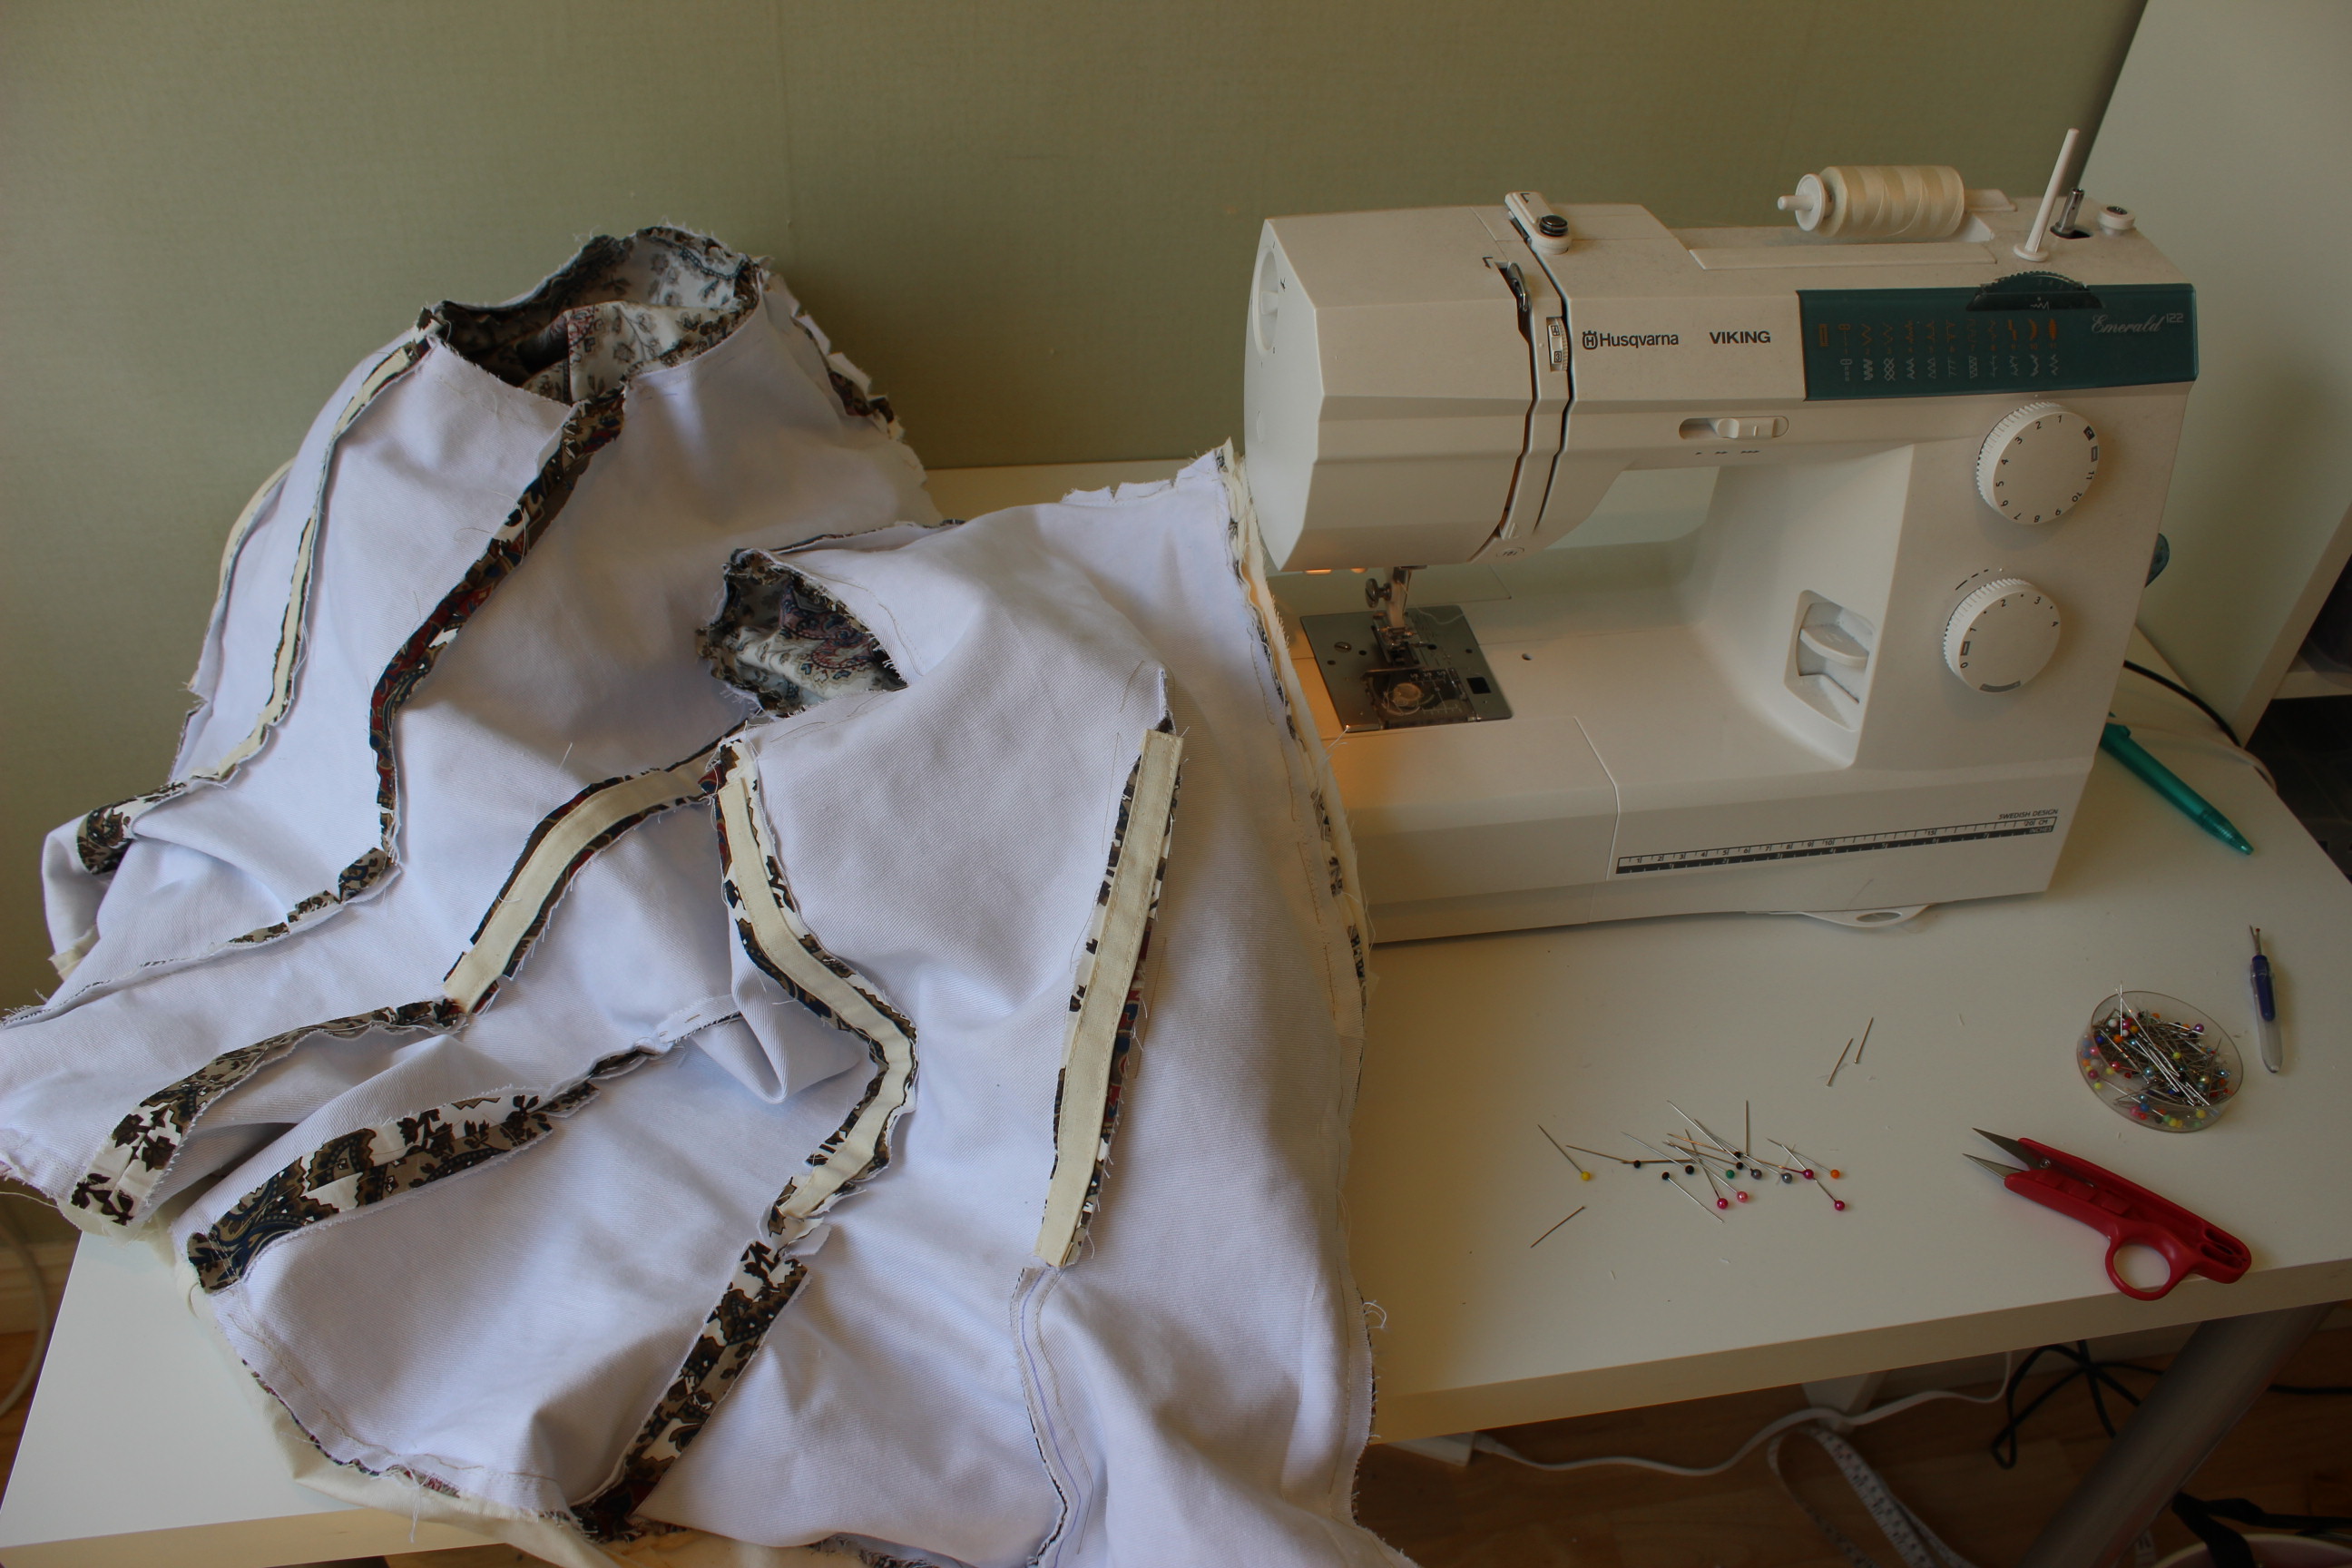
Then I hemmed the pieces creating the vertical support ribbons. There are eight of them at 1 m a piece = about 16 m of hemming (its a good thing I decided to make this one on the machine).
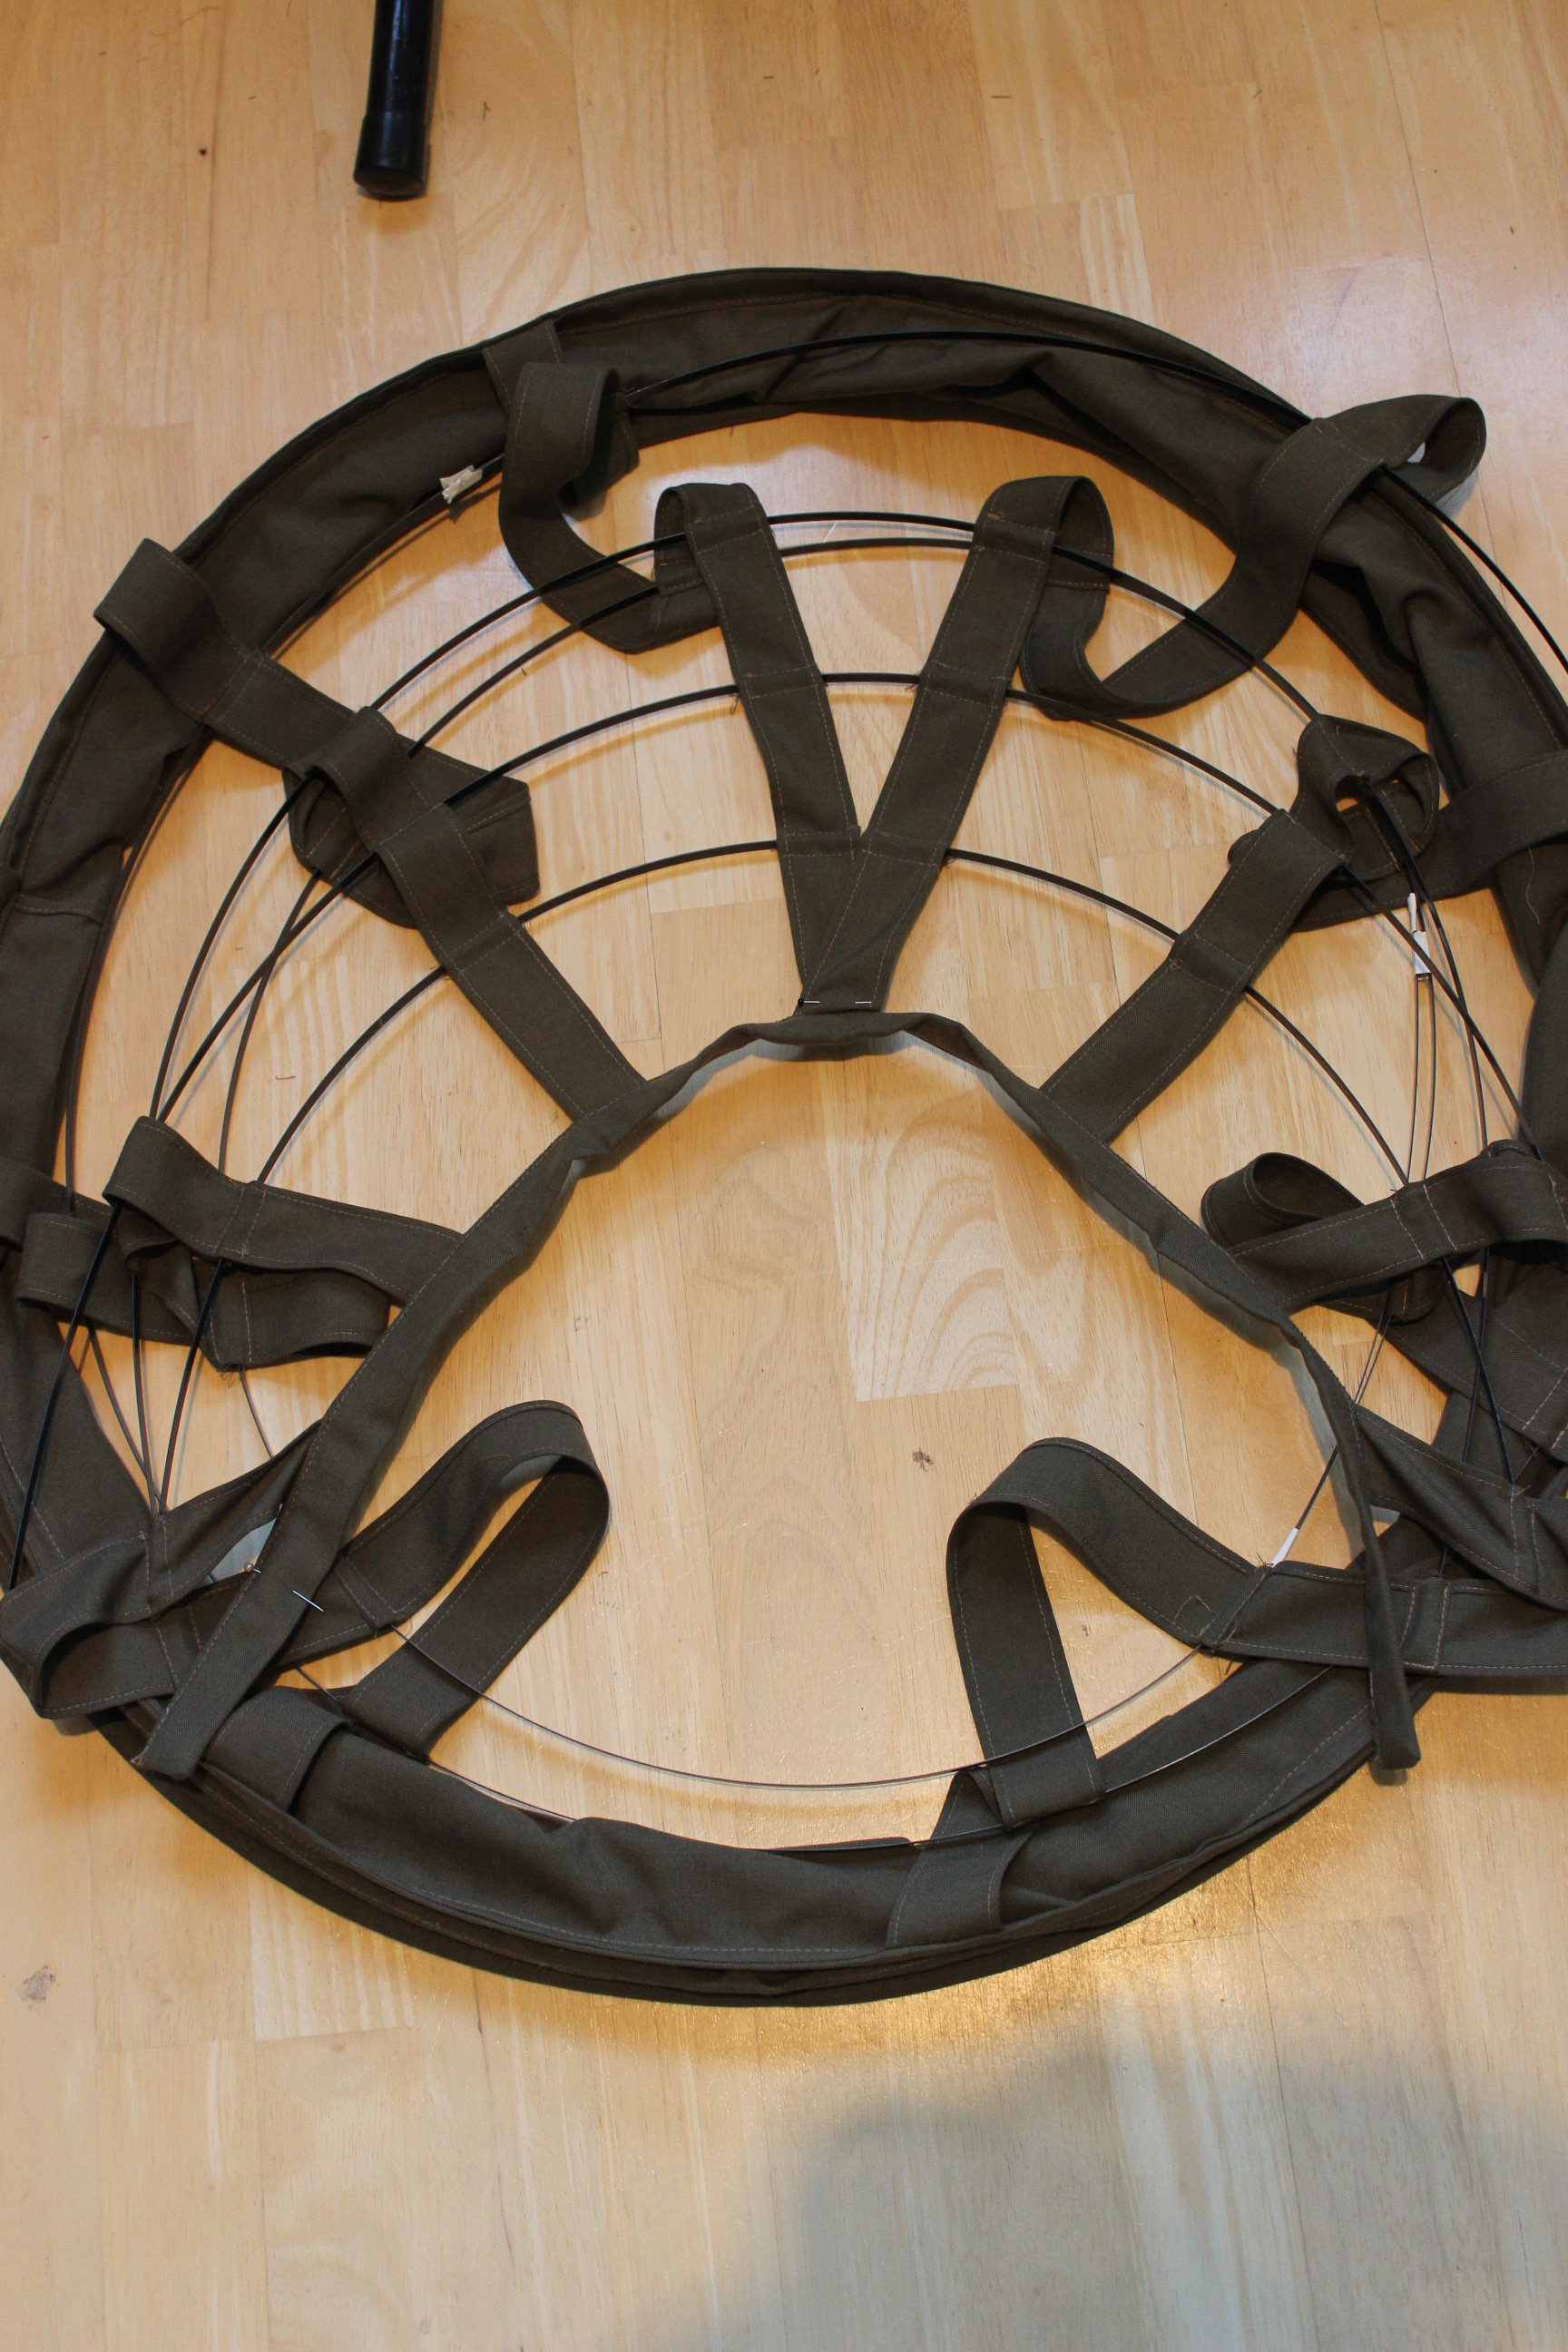
Then I lay it out on the floor to decide the size and placement of he ribbons.
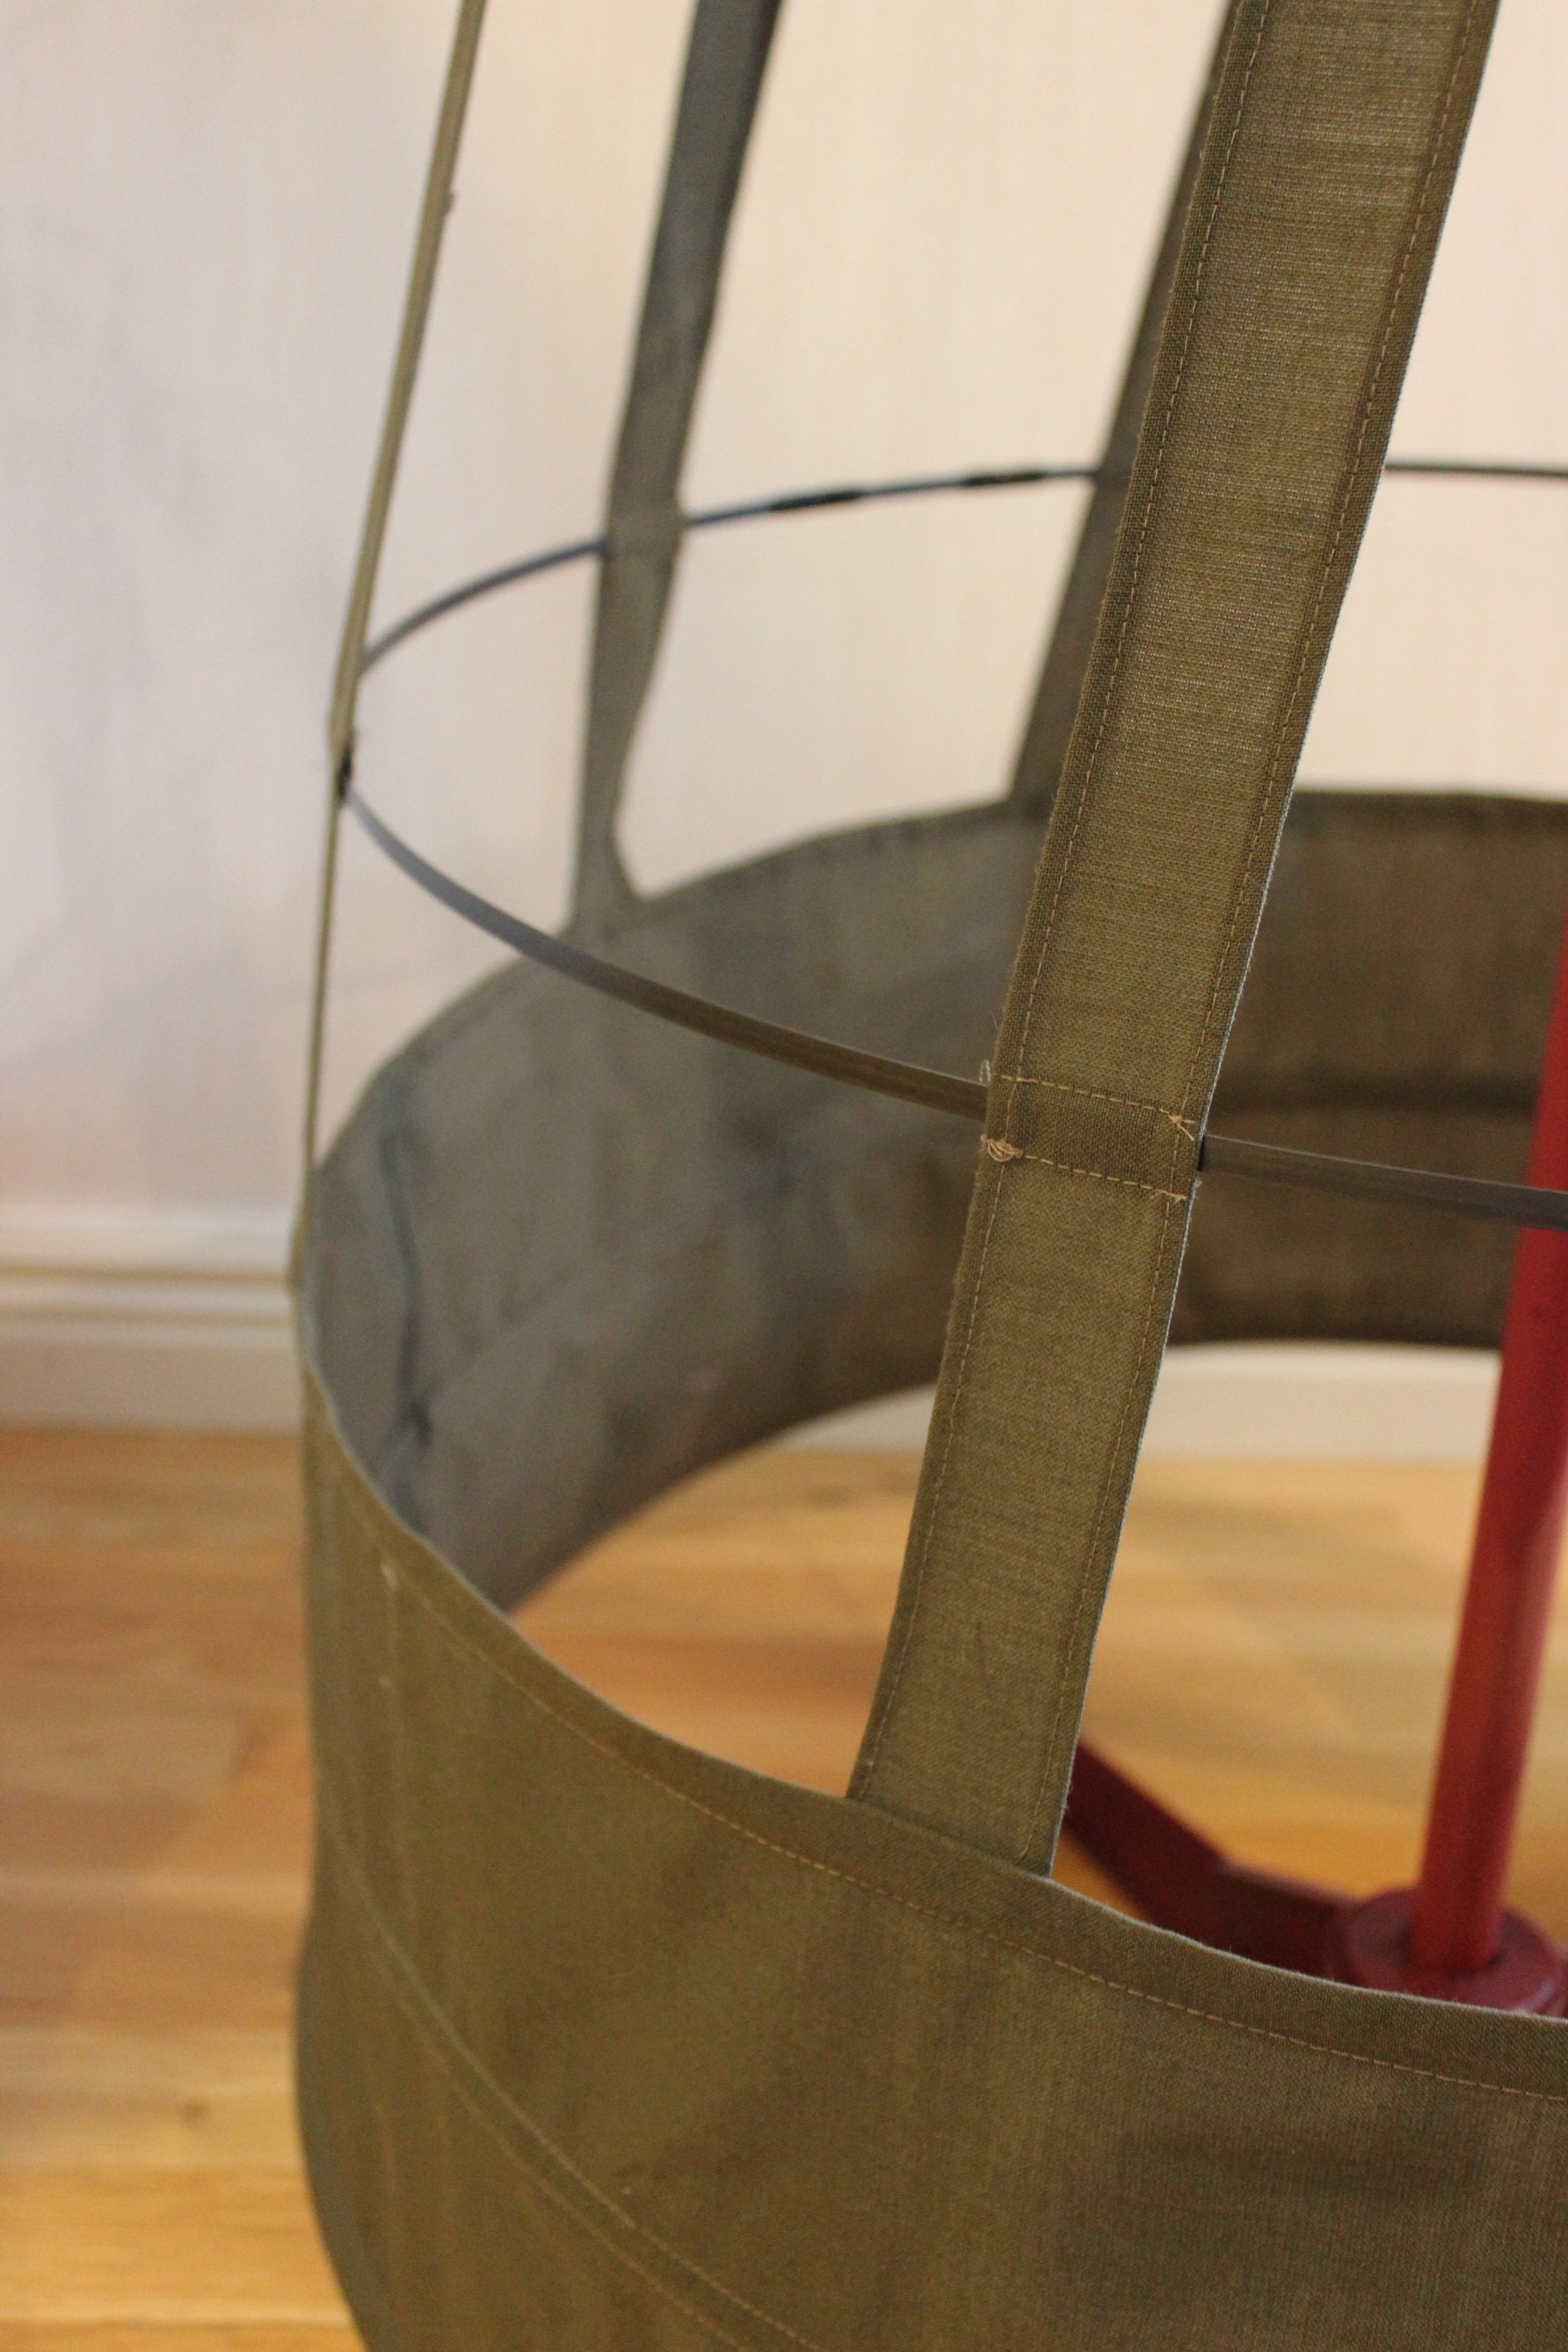
I put it on my dressform to make sure everything looked even. And stitched the ribbons down to the wasitband and lower section of the crinoline.
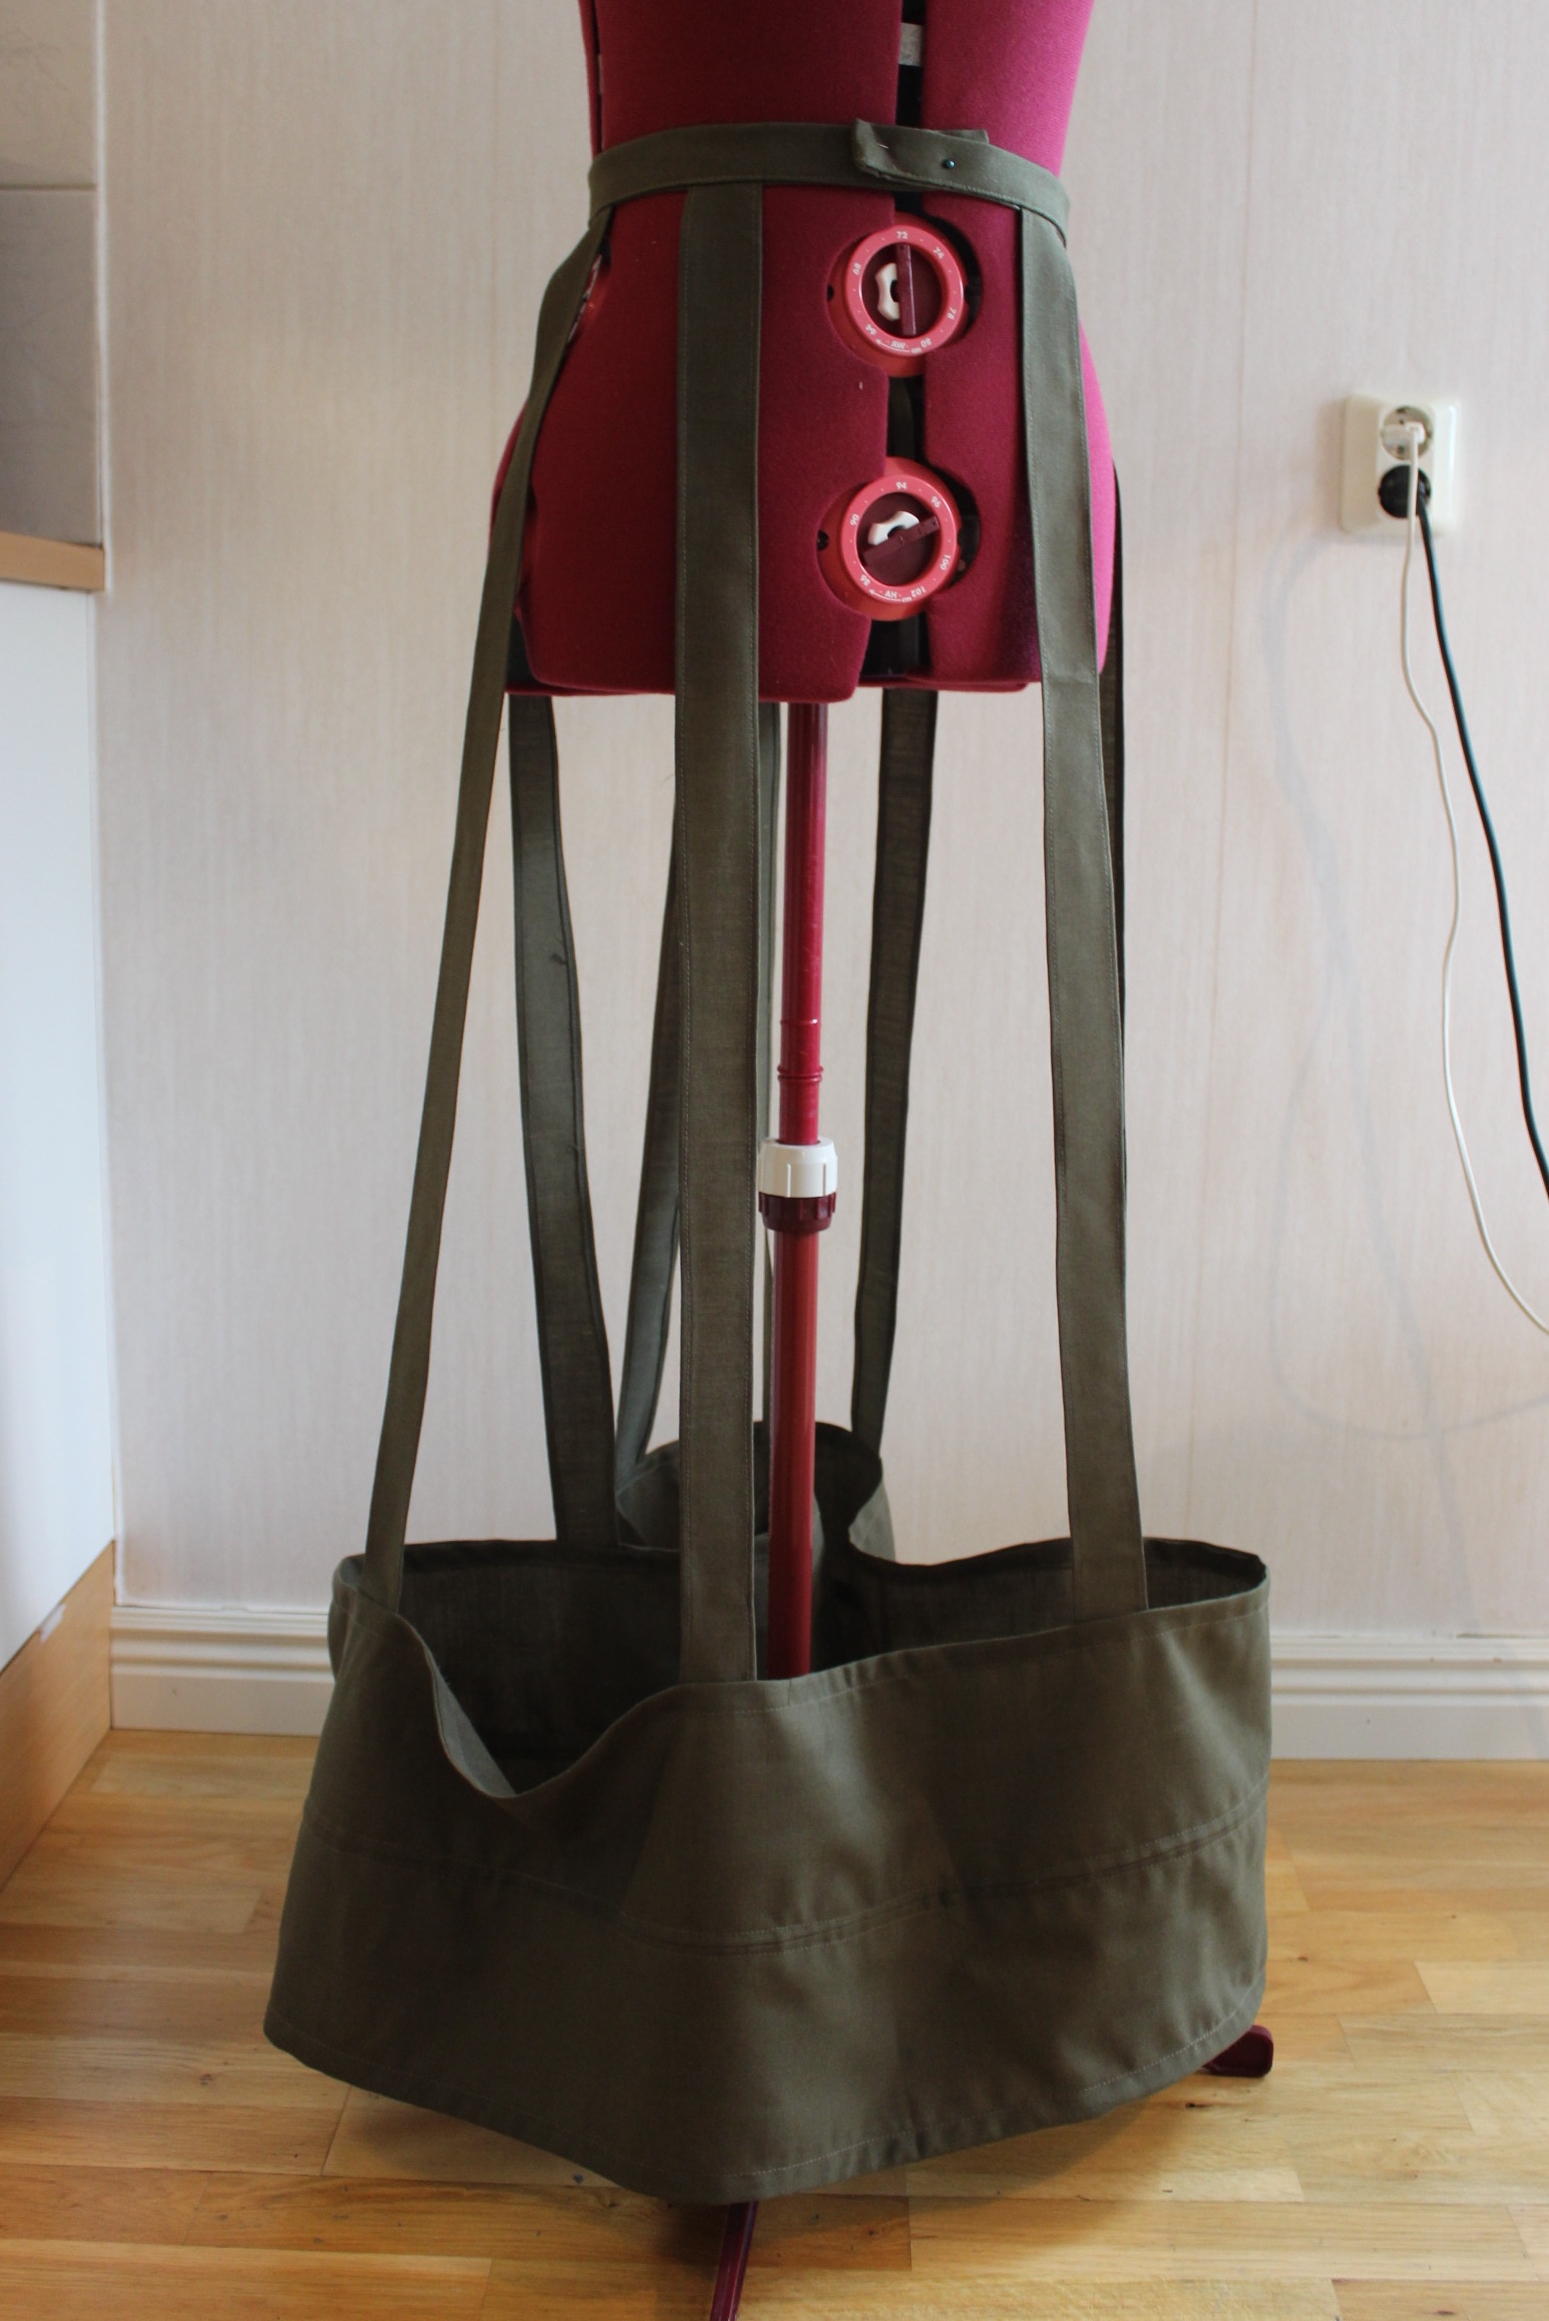
 Looks kind of stupid without the boning.
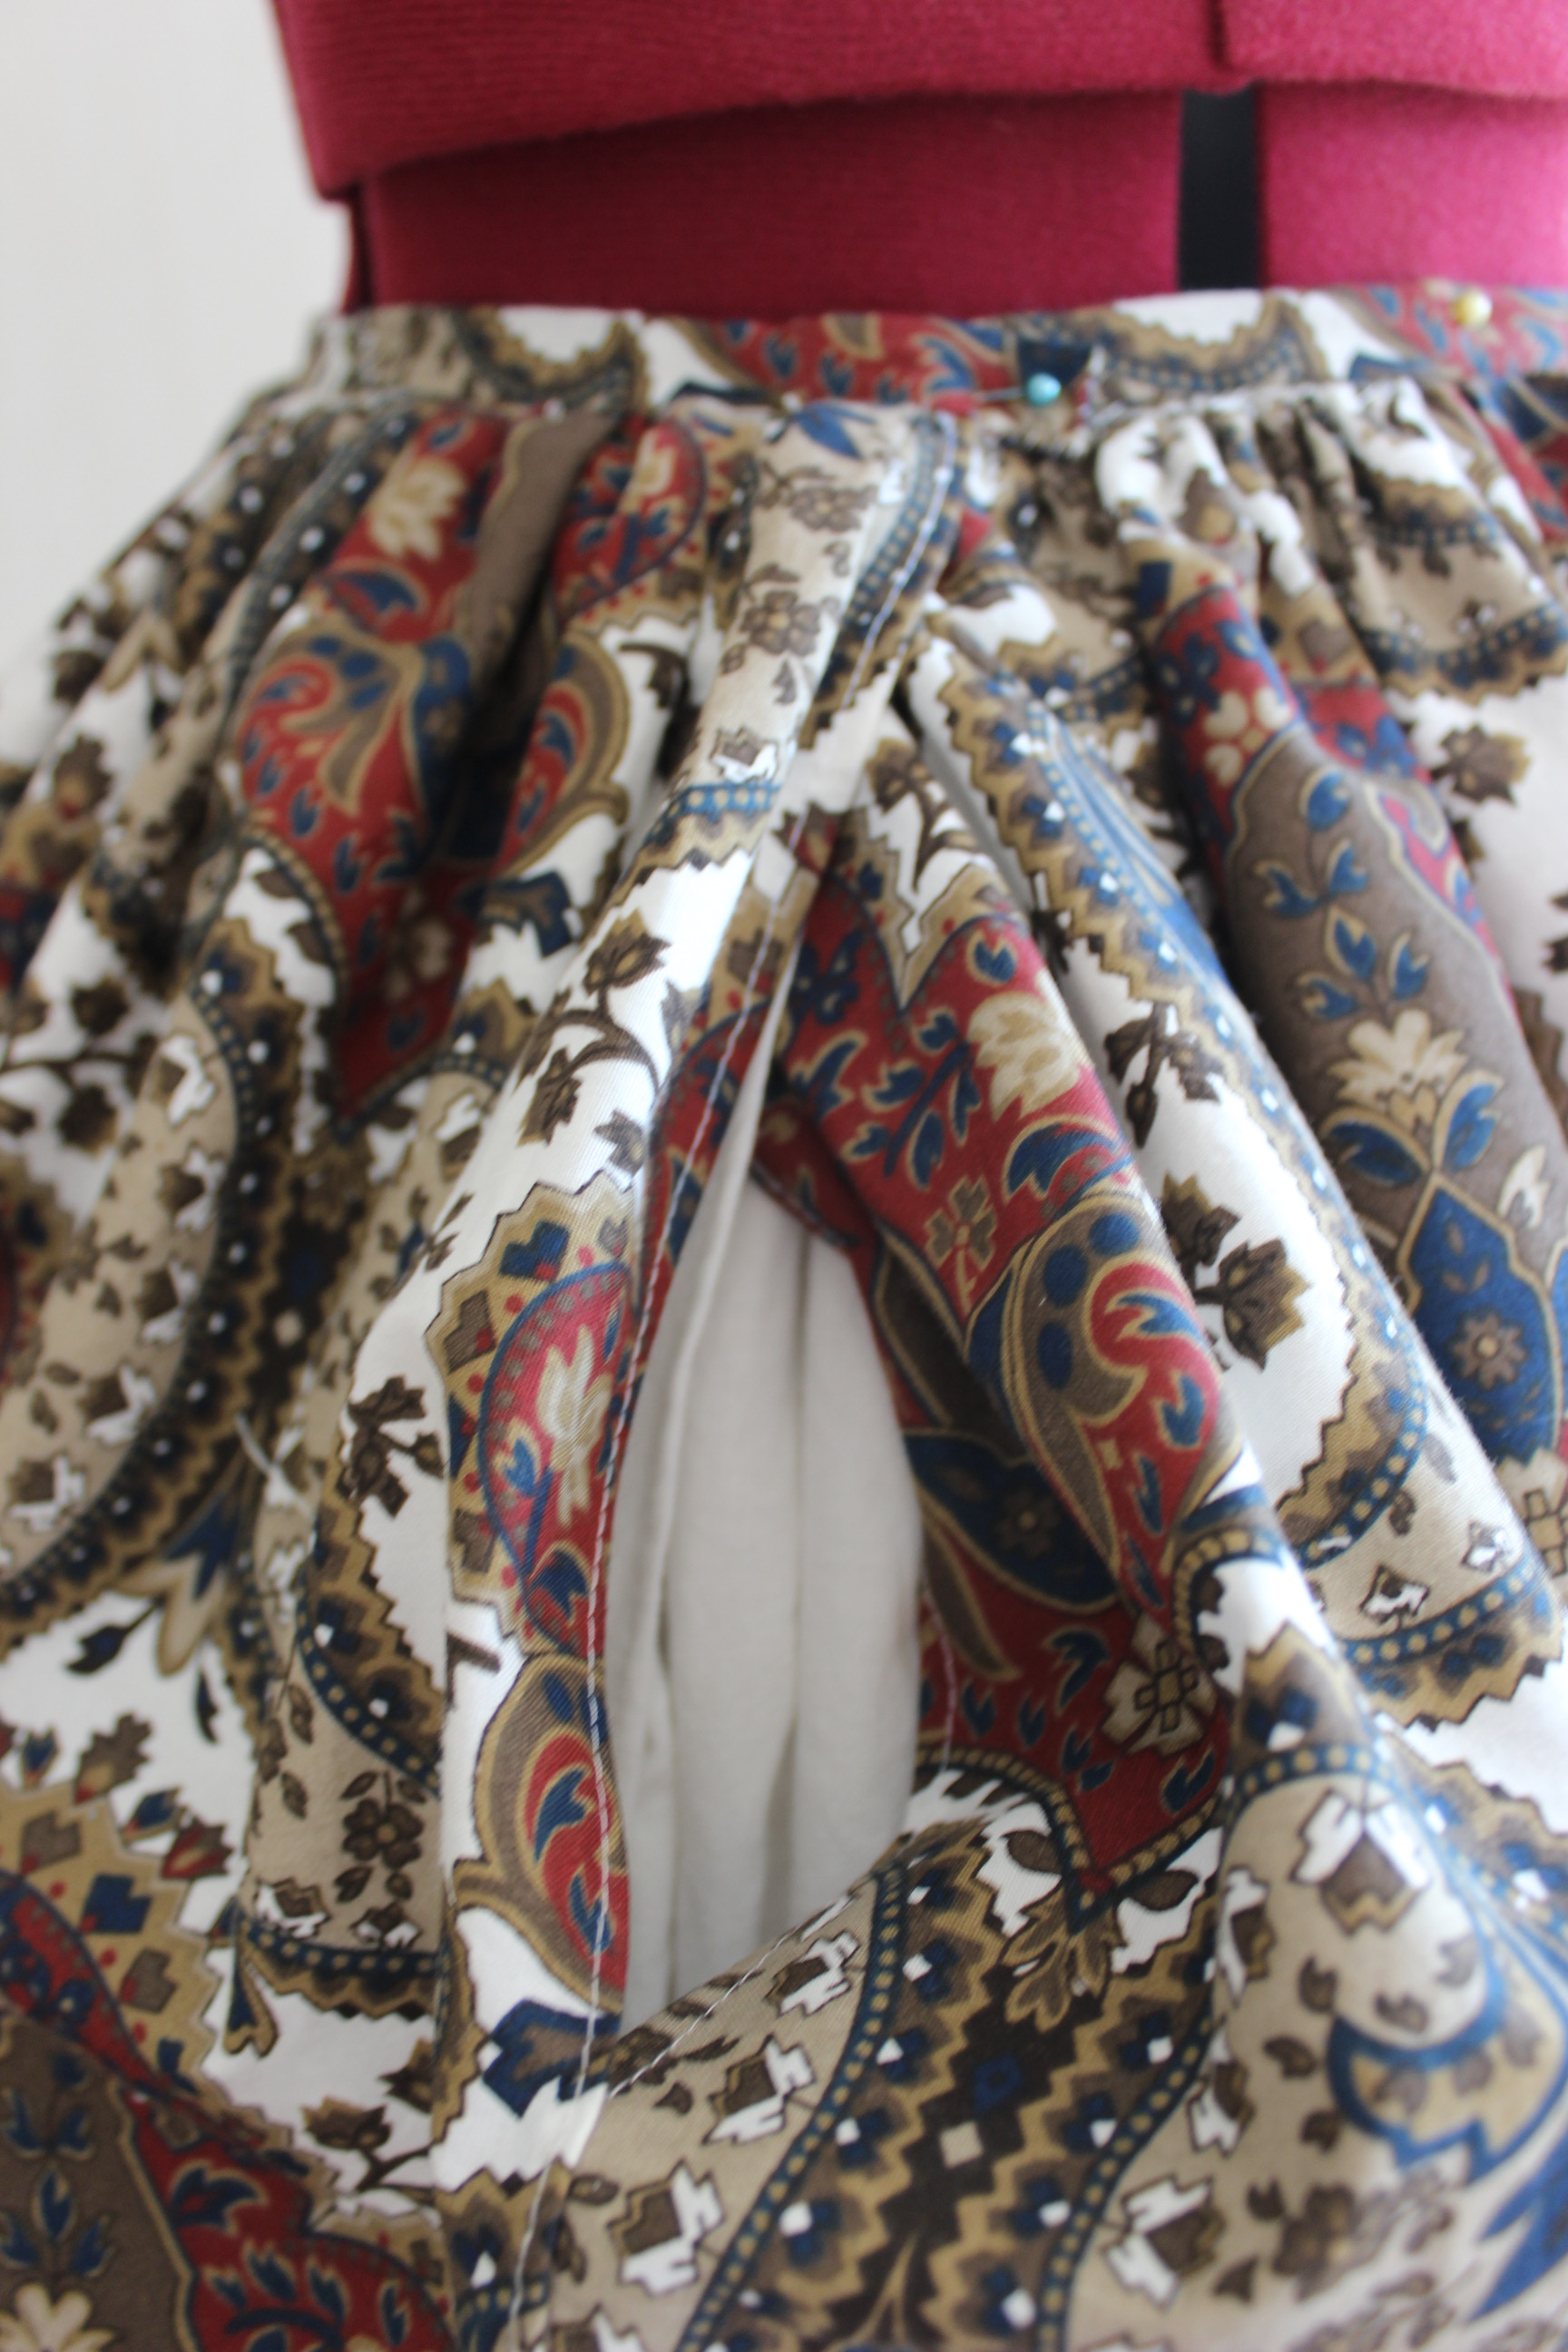
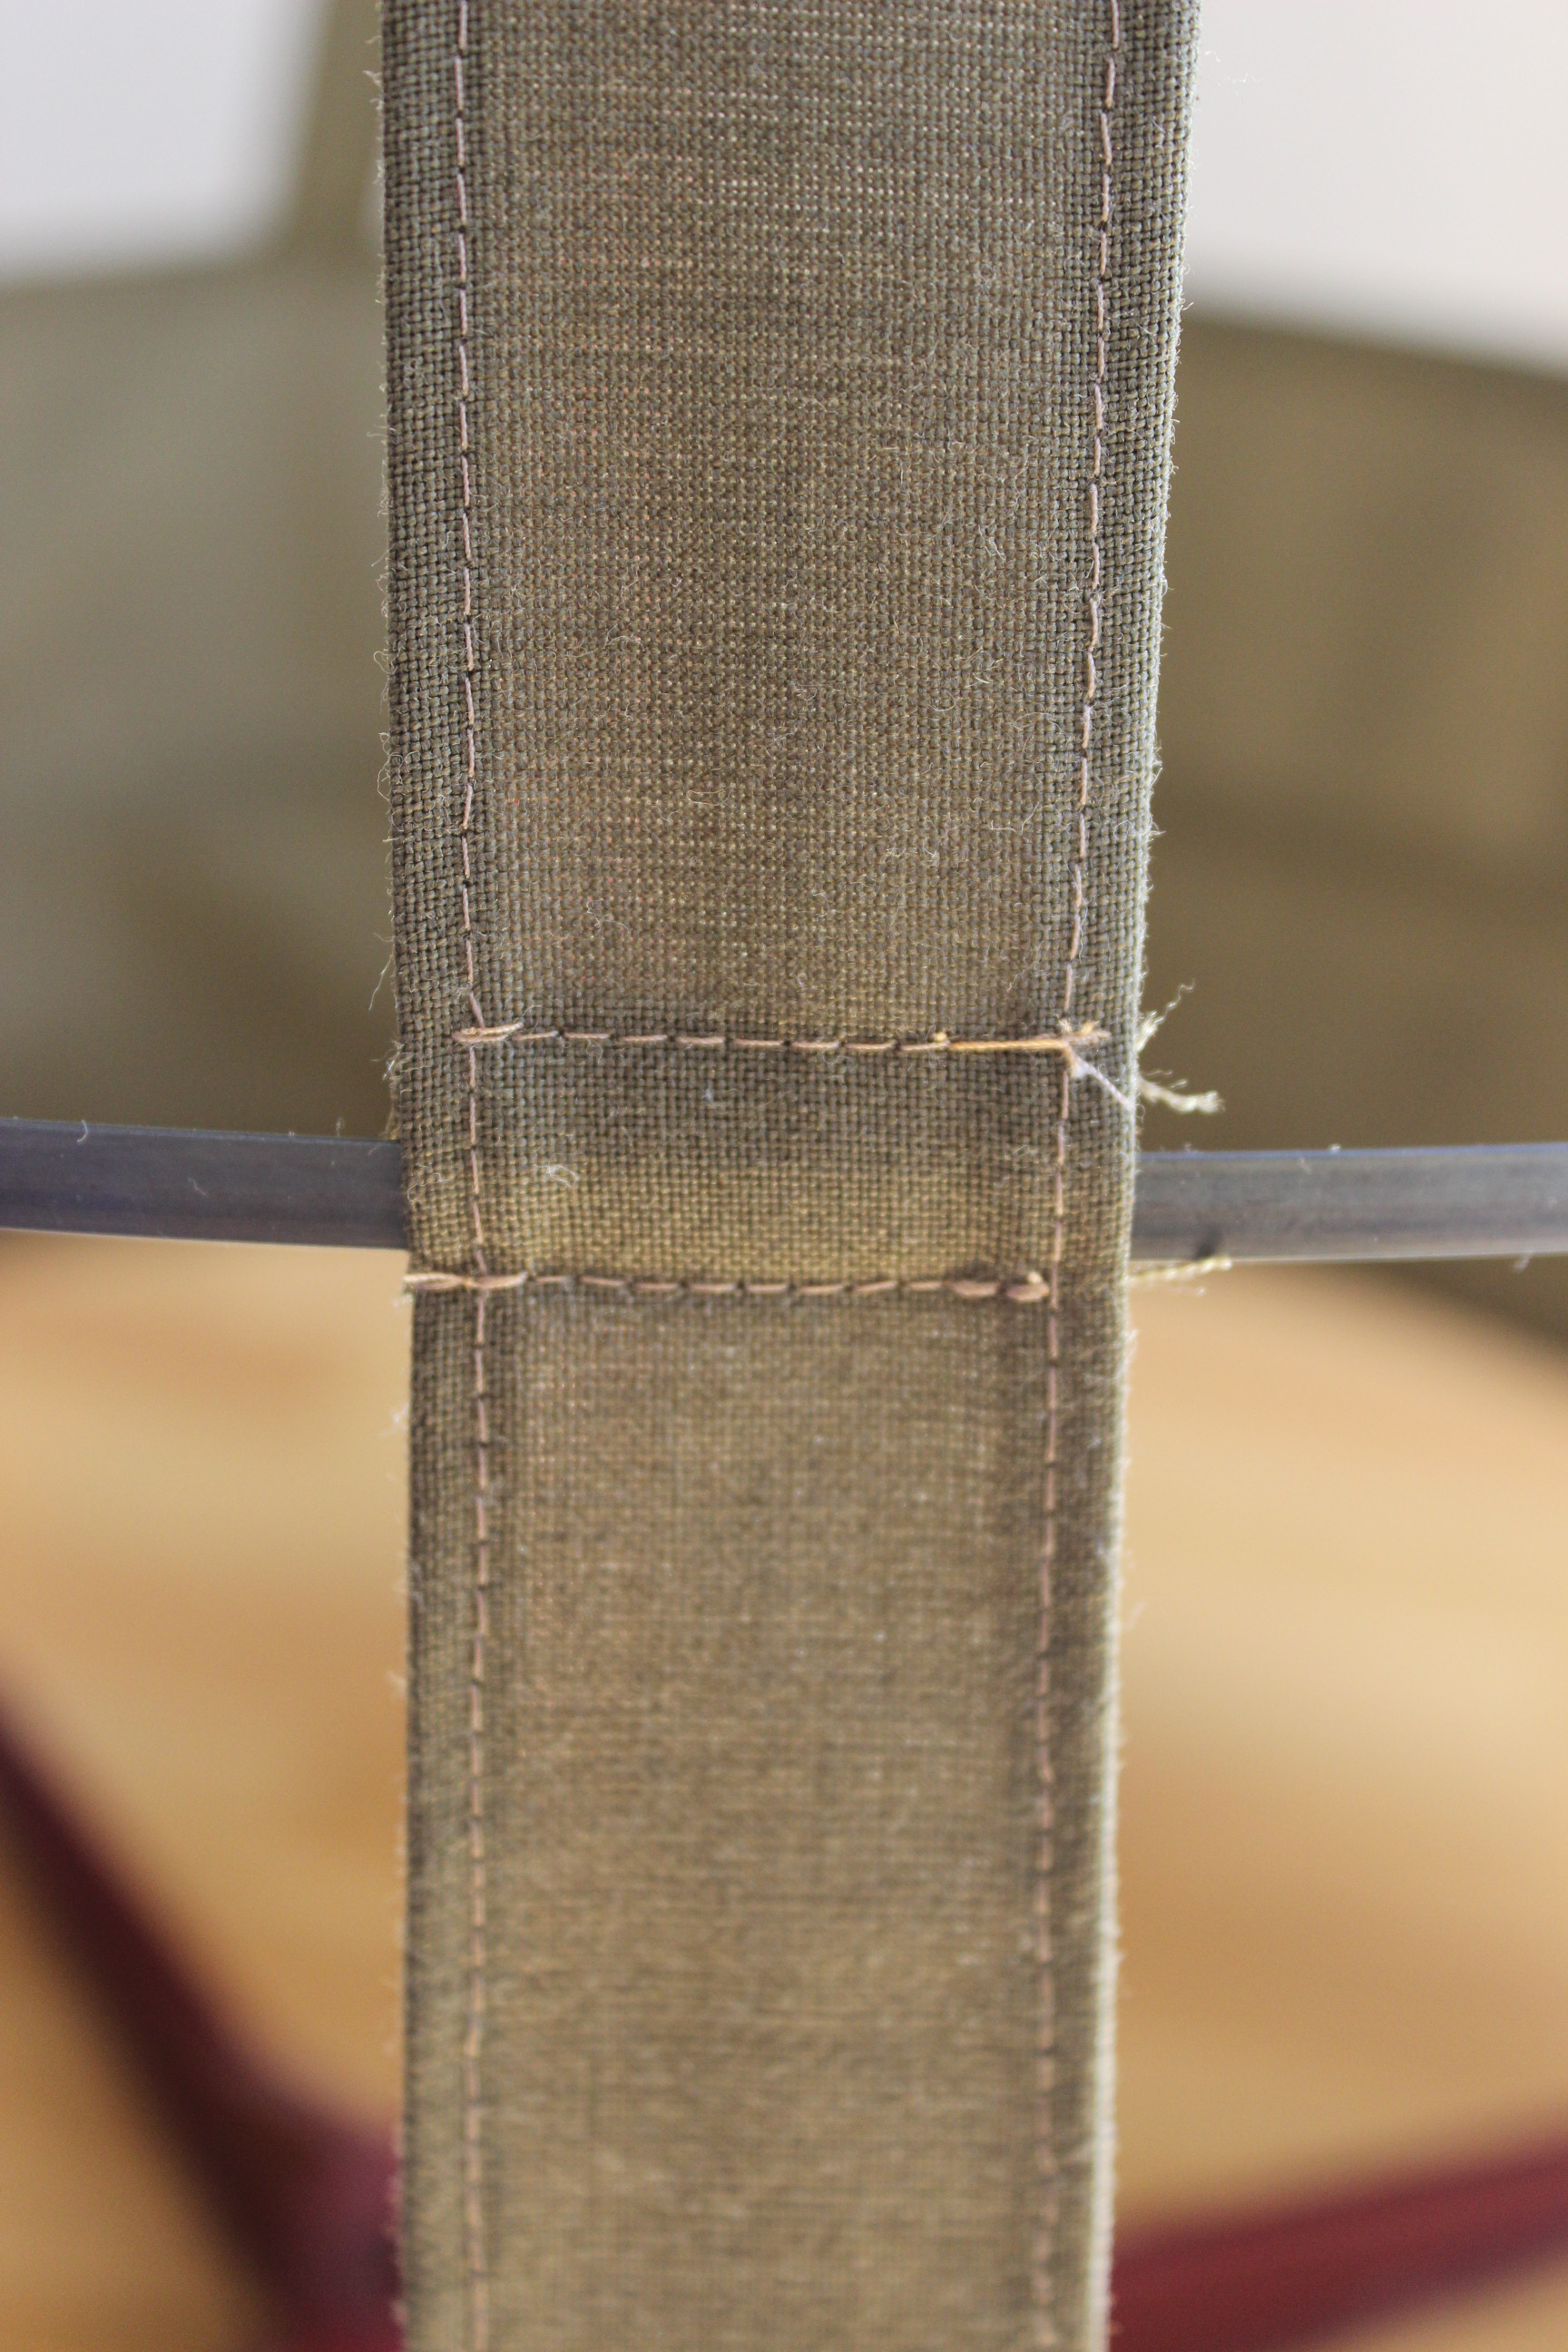
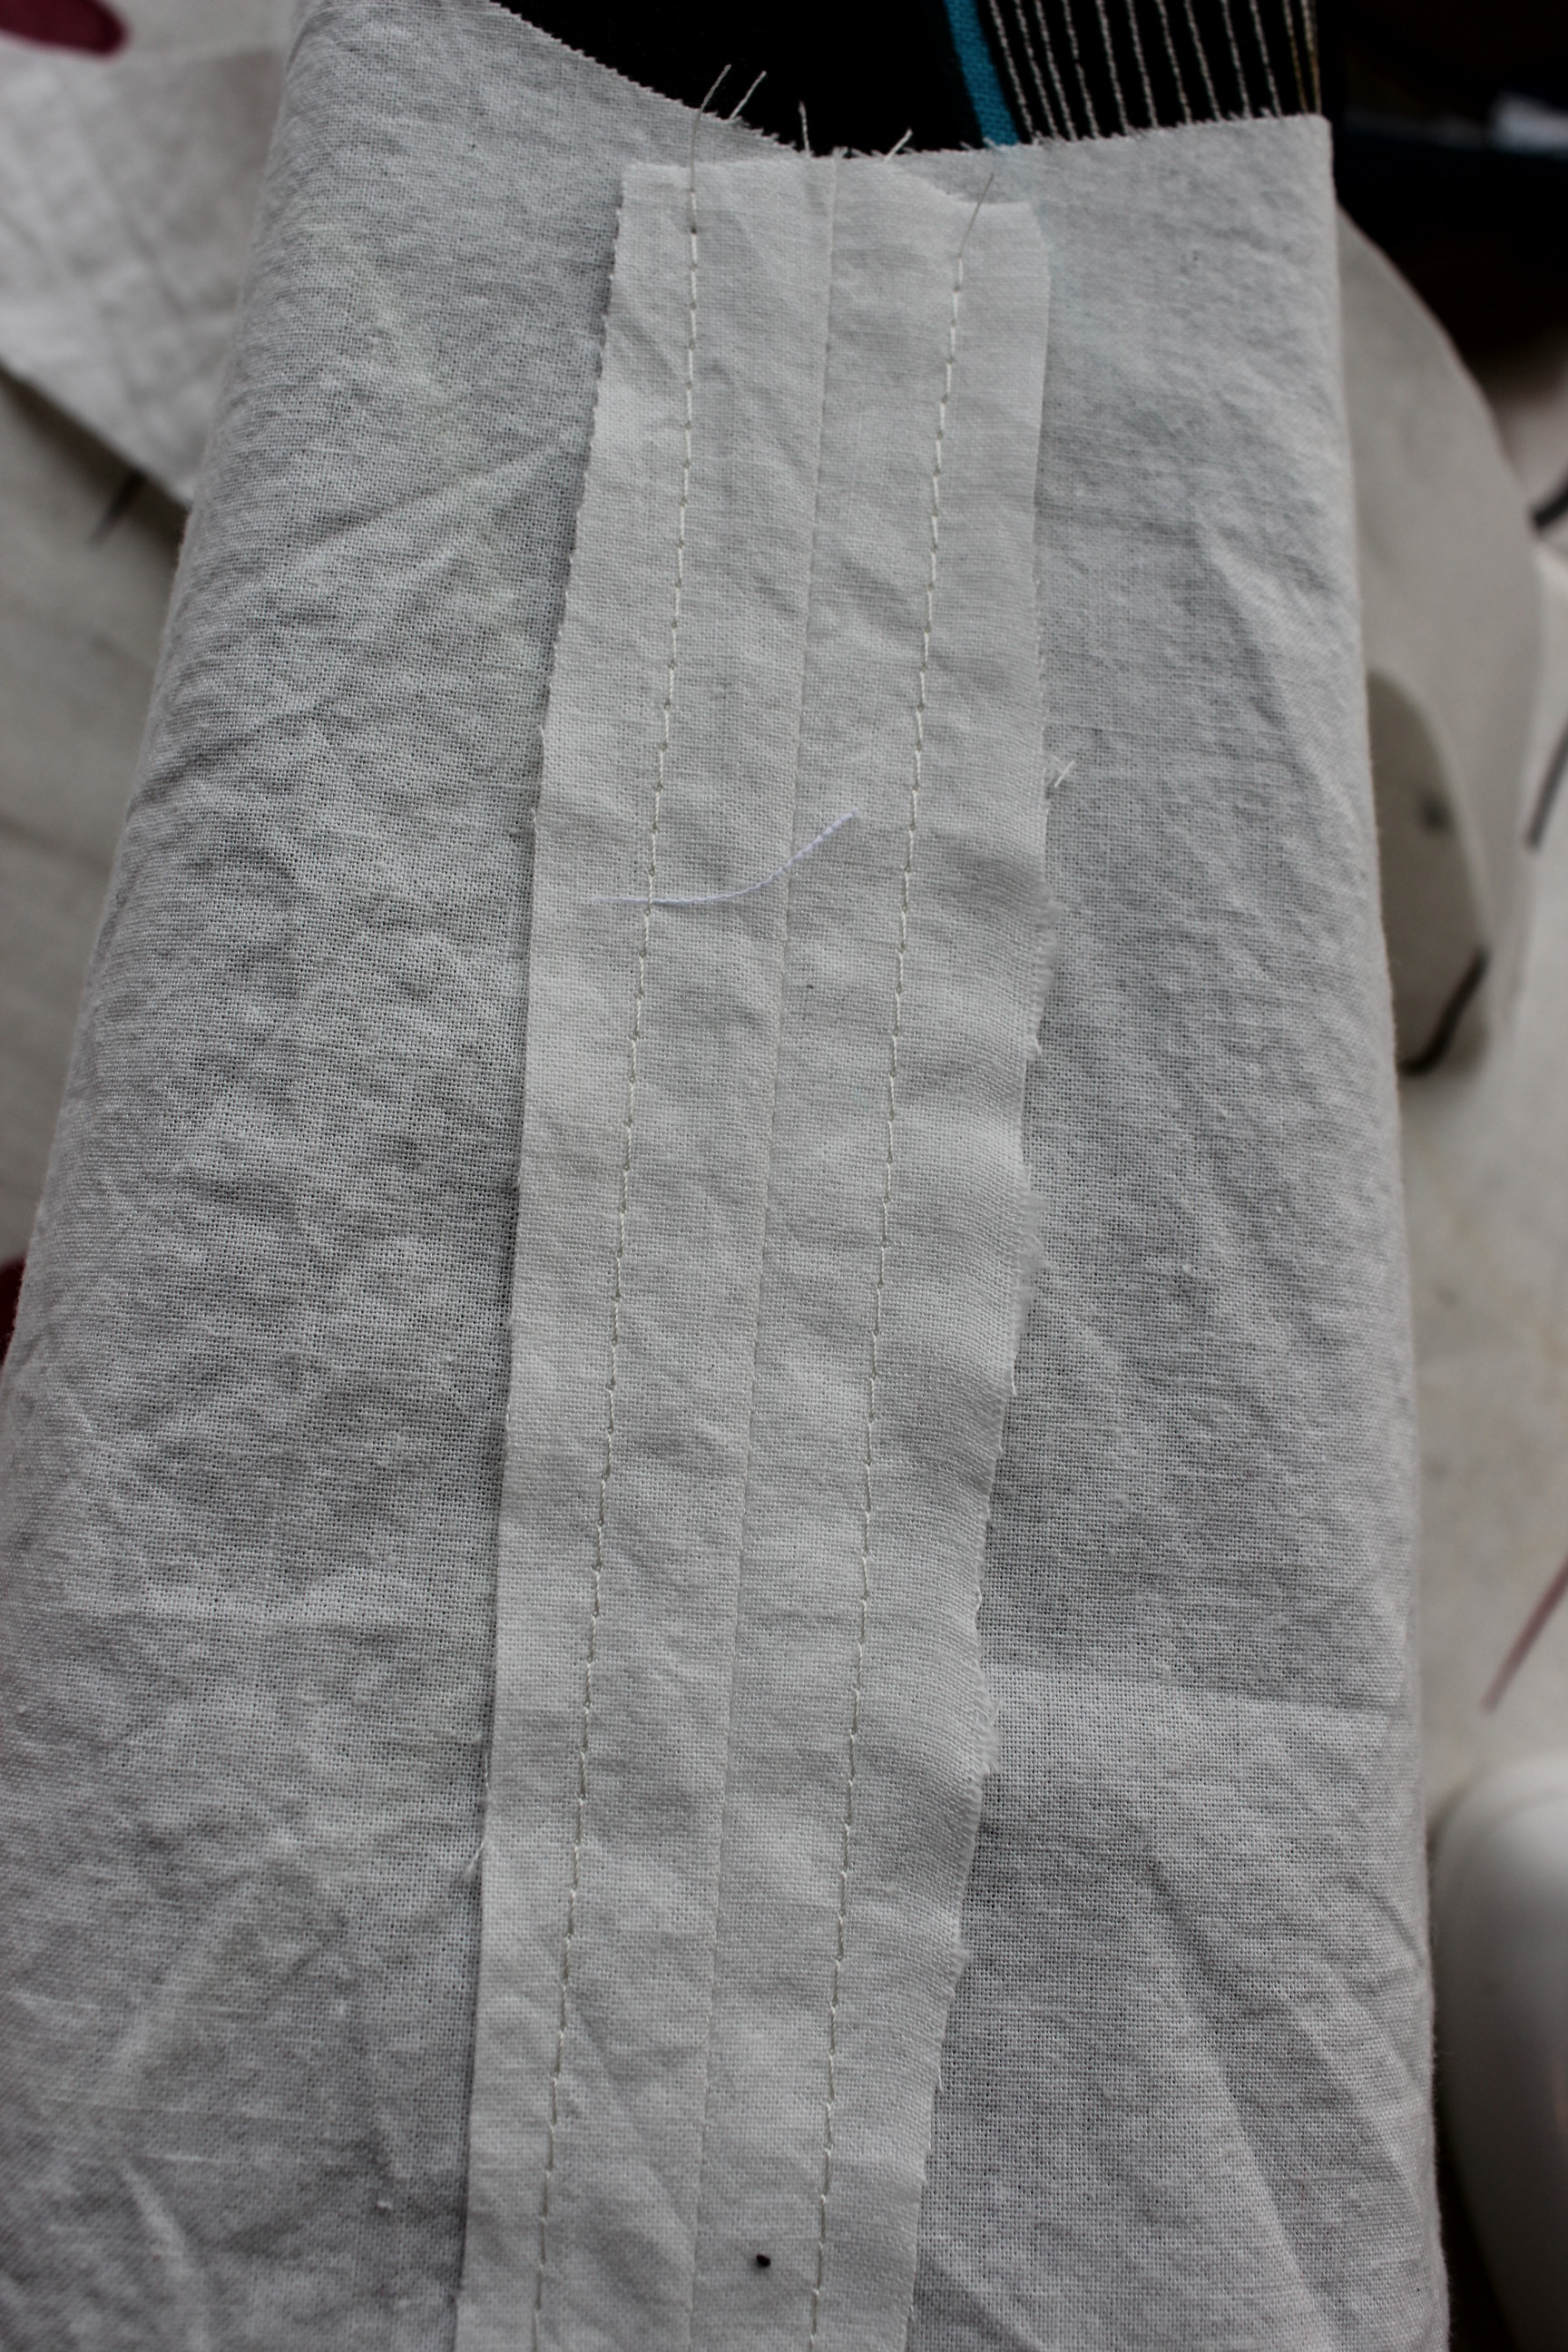
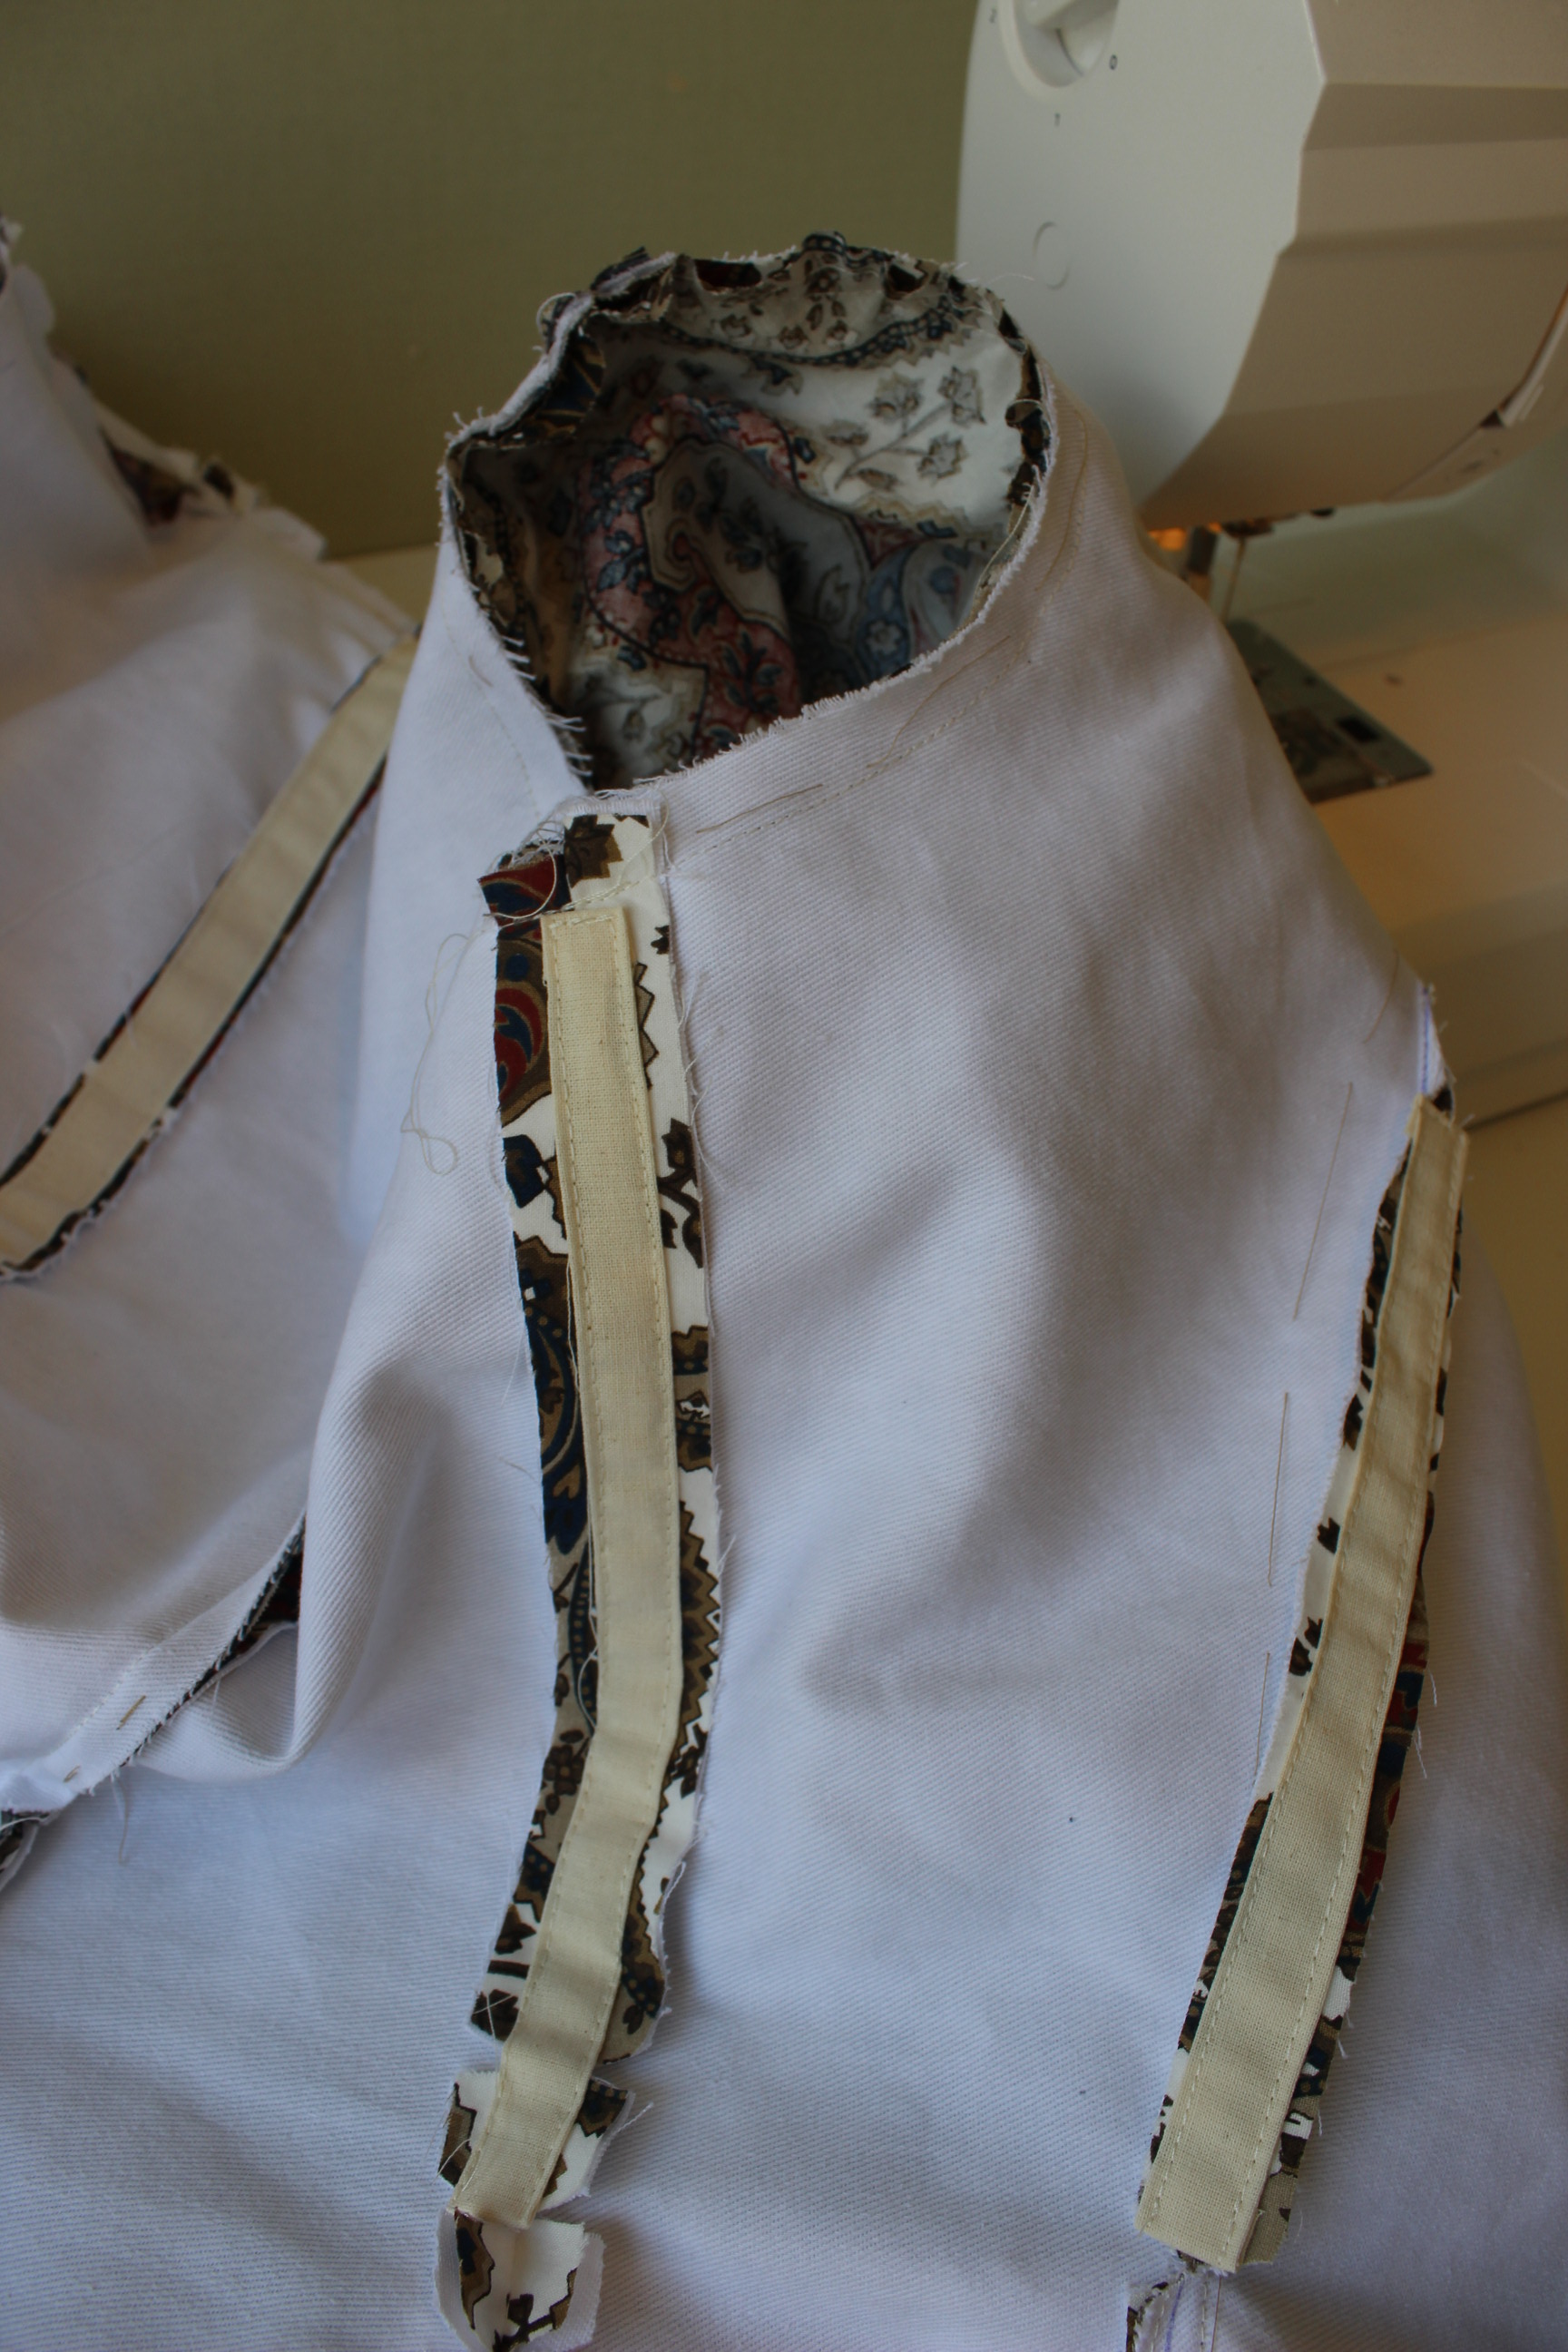
Then I pressed the smaler pieces to boning chanels about 3 cm long. I then stiched these on to the vertical ribbons, making places for the bones to conect to the foundation.
Then it was time for the boning.  I used about 11 m of steel wire, originaly ment to be used to un-plug stop in the drain.
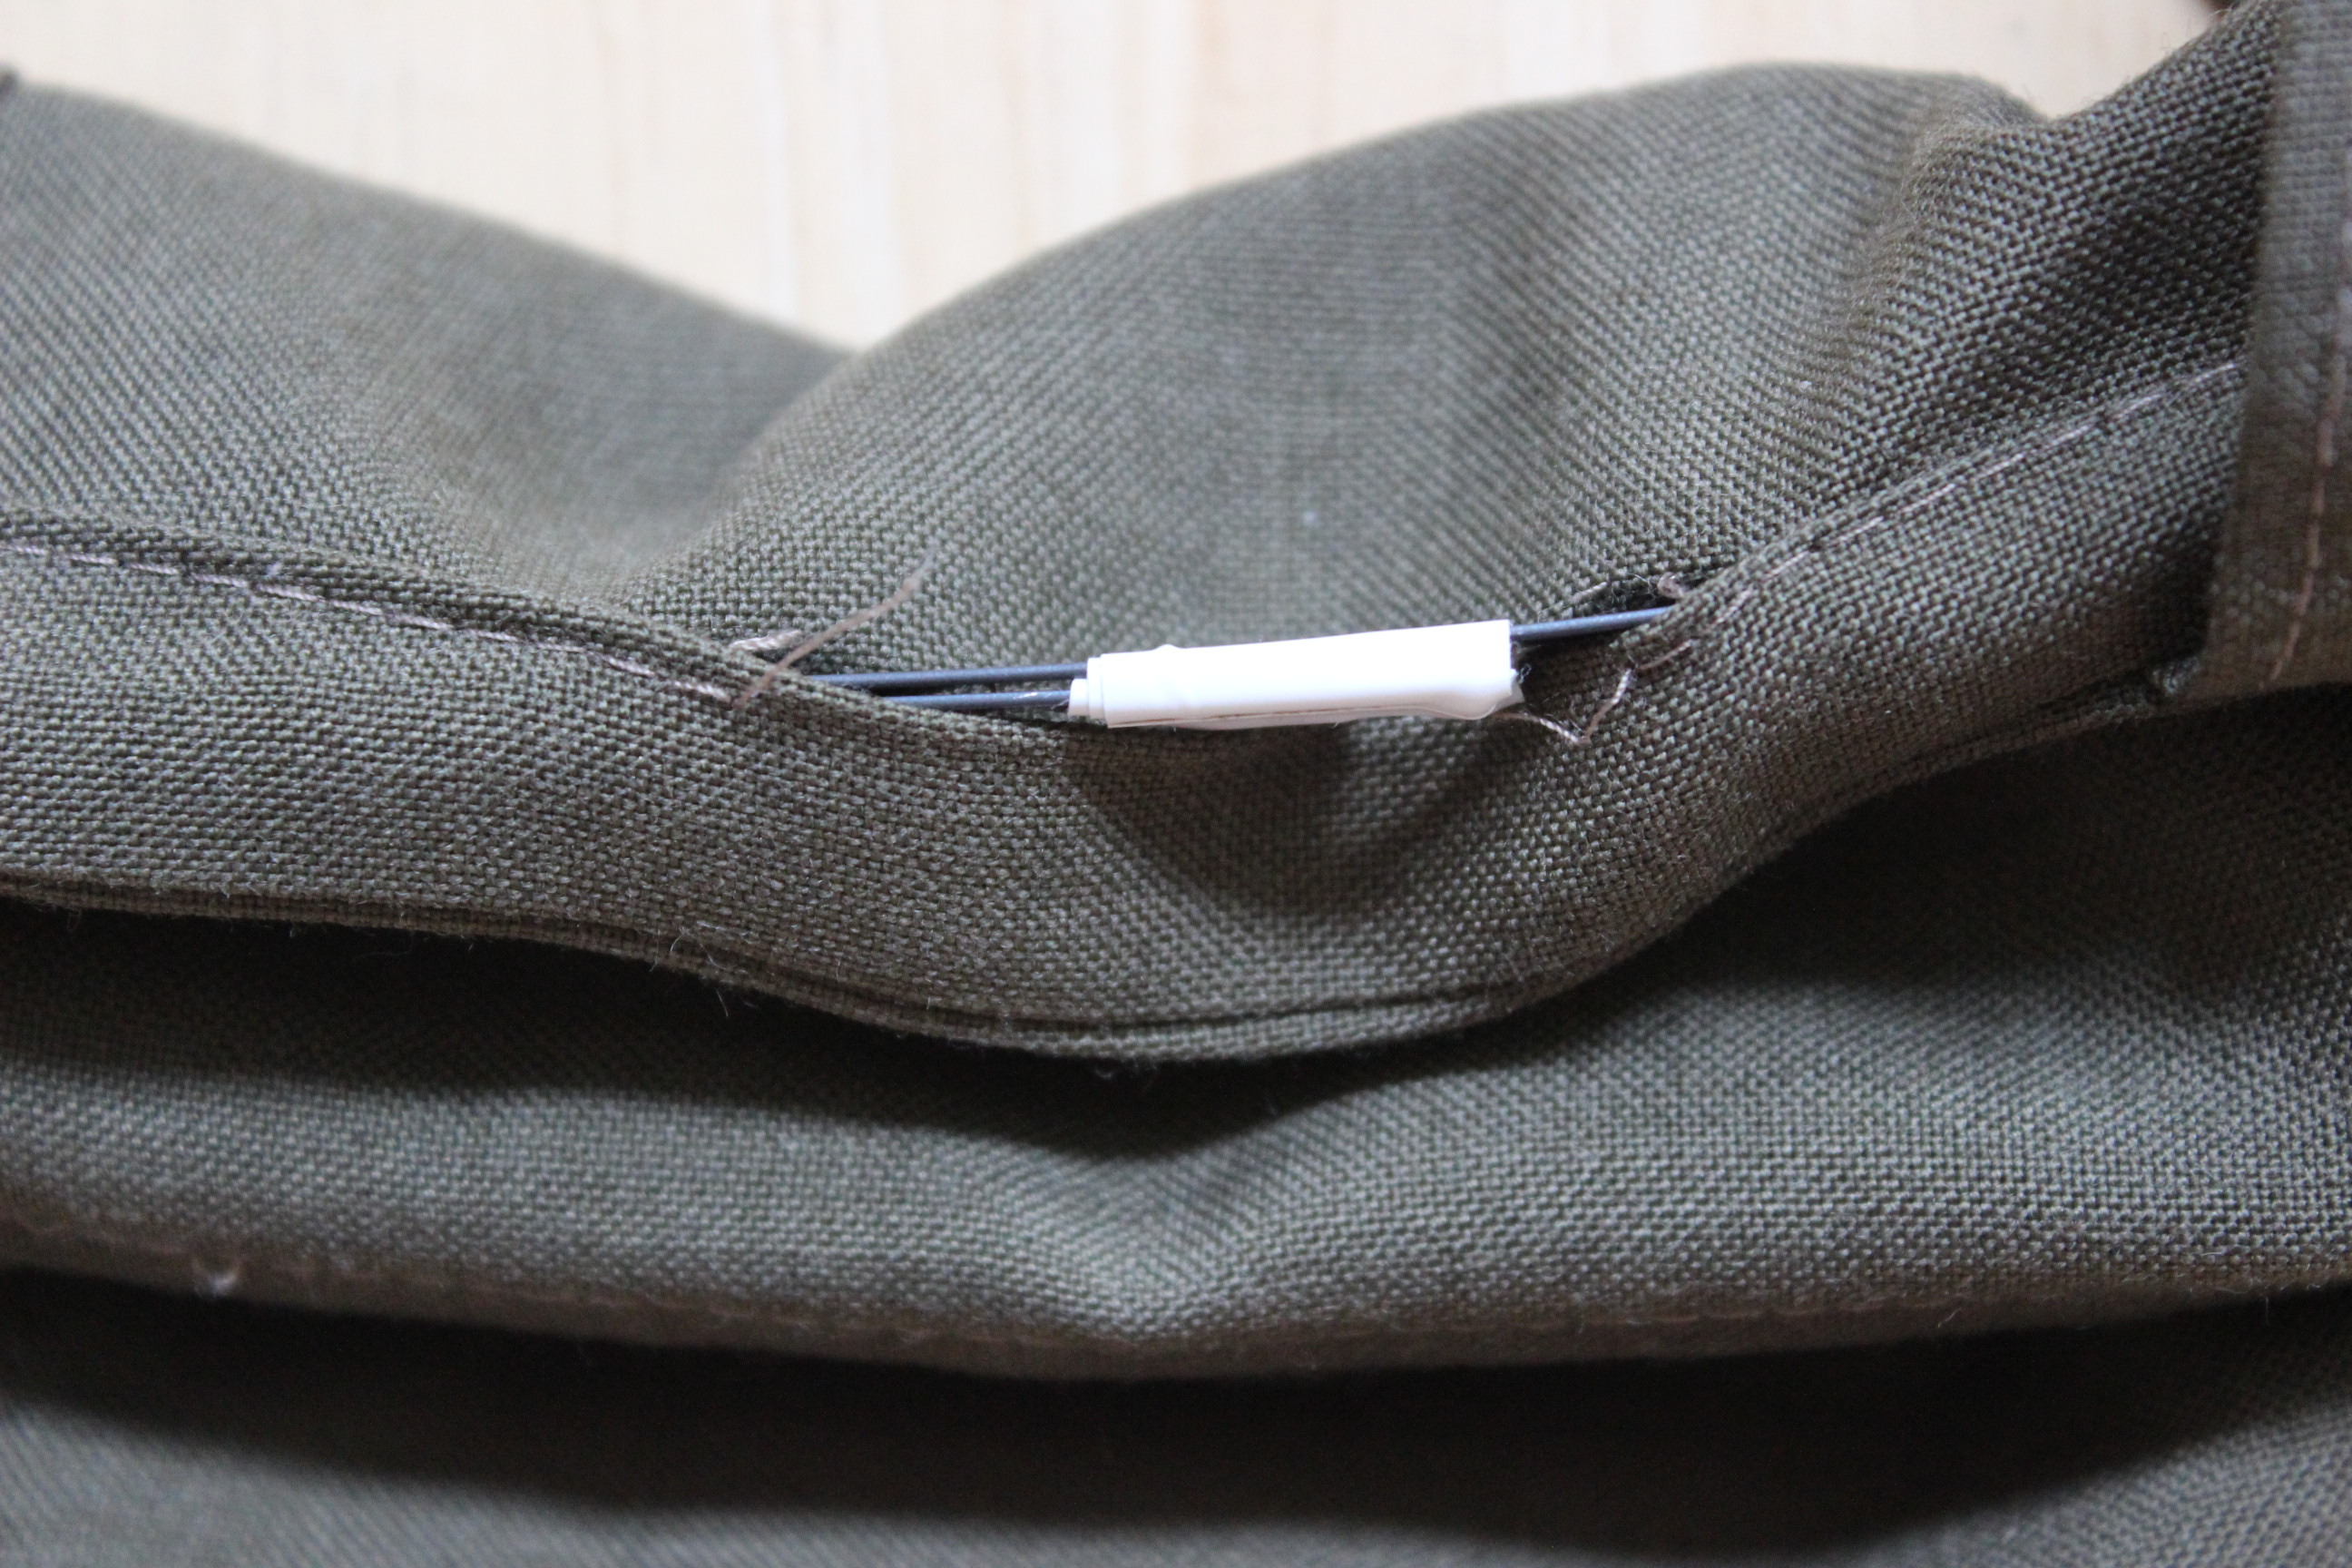
I used some electrical tape to cover the sharp edges, and taped the ends togeter inside the chanels in the bottom part of the crinoline.
 Here you can se the places in which I taped the wires togeter. I then stiched the holes back up.
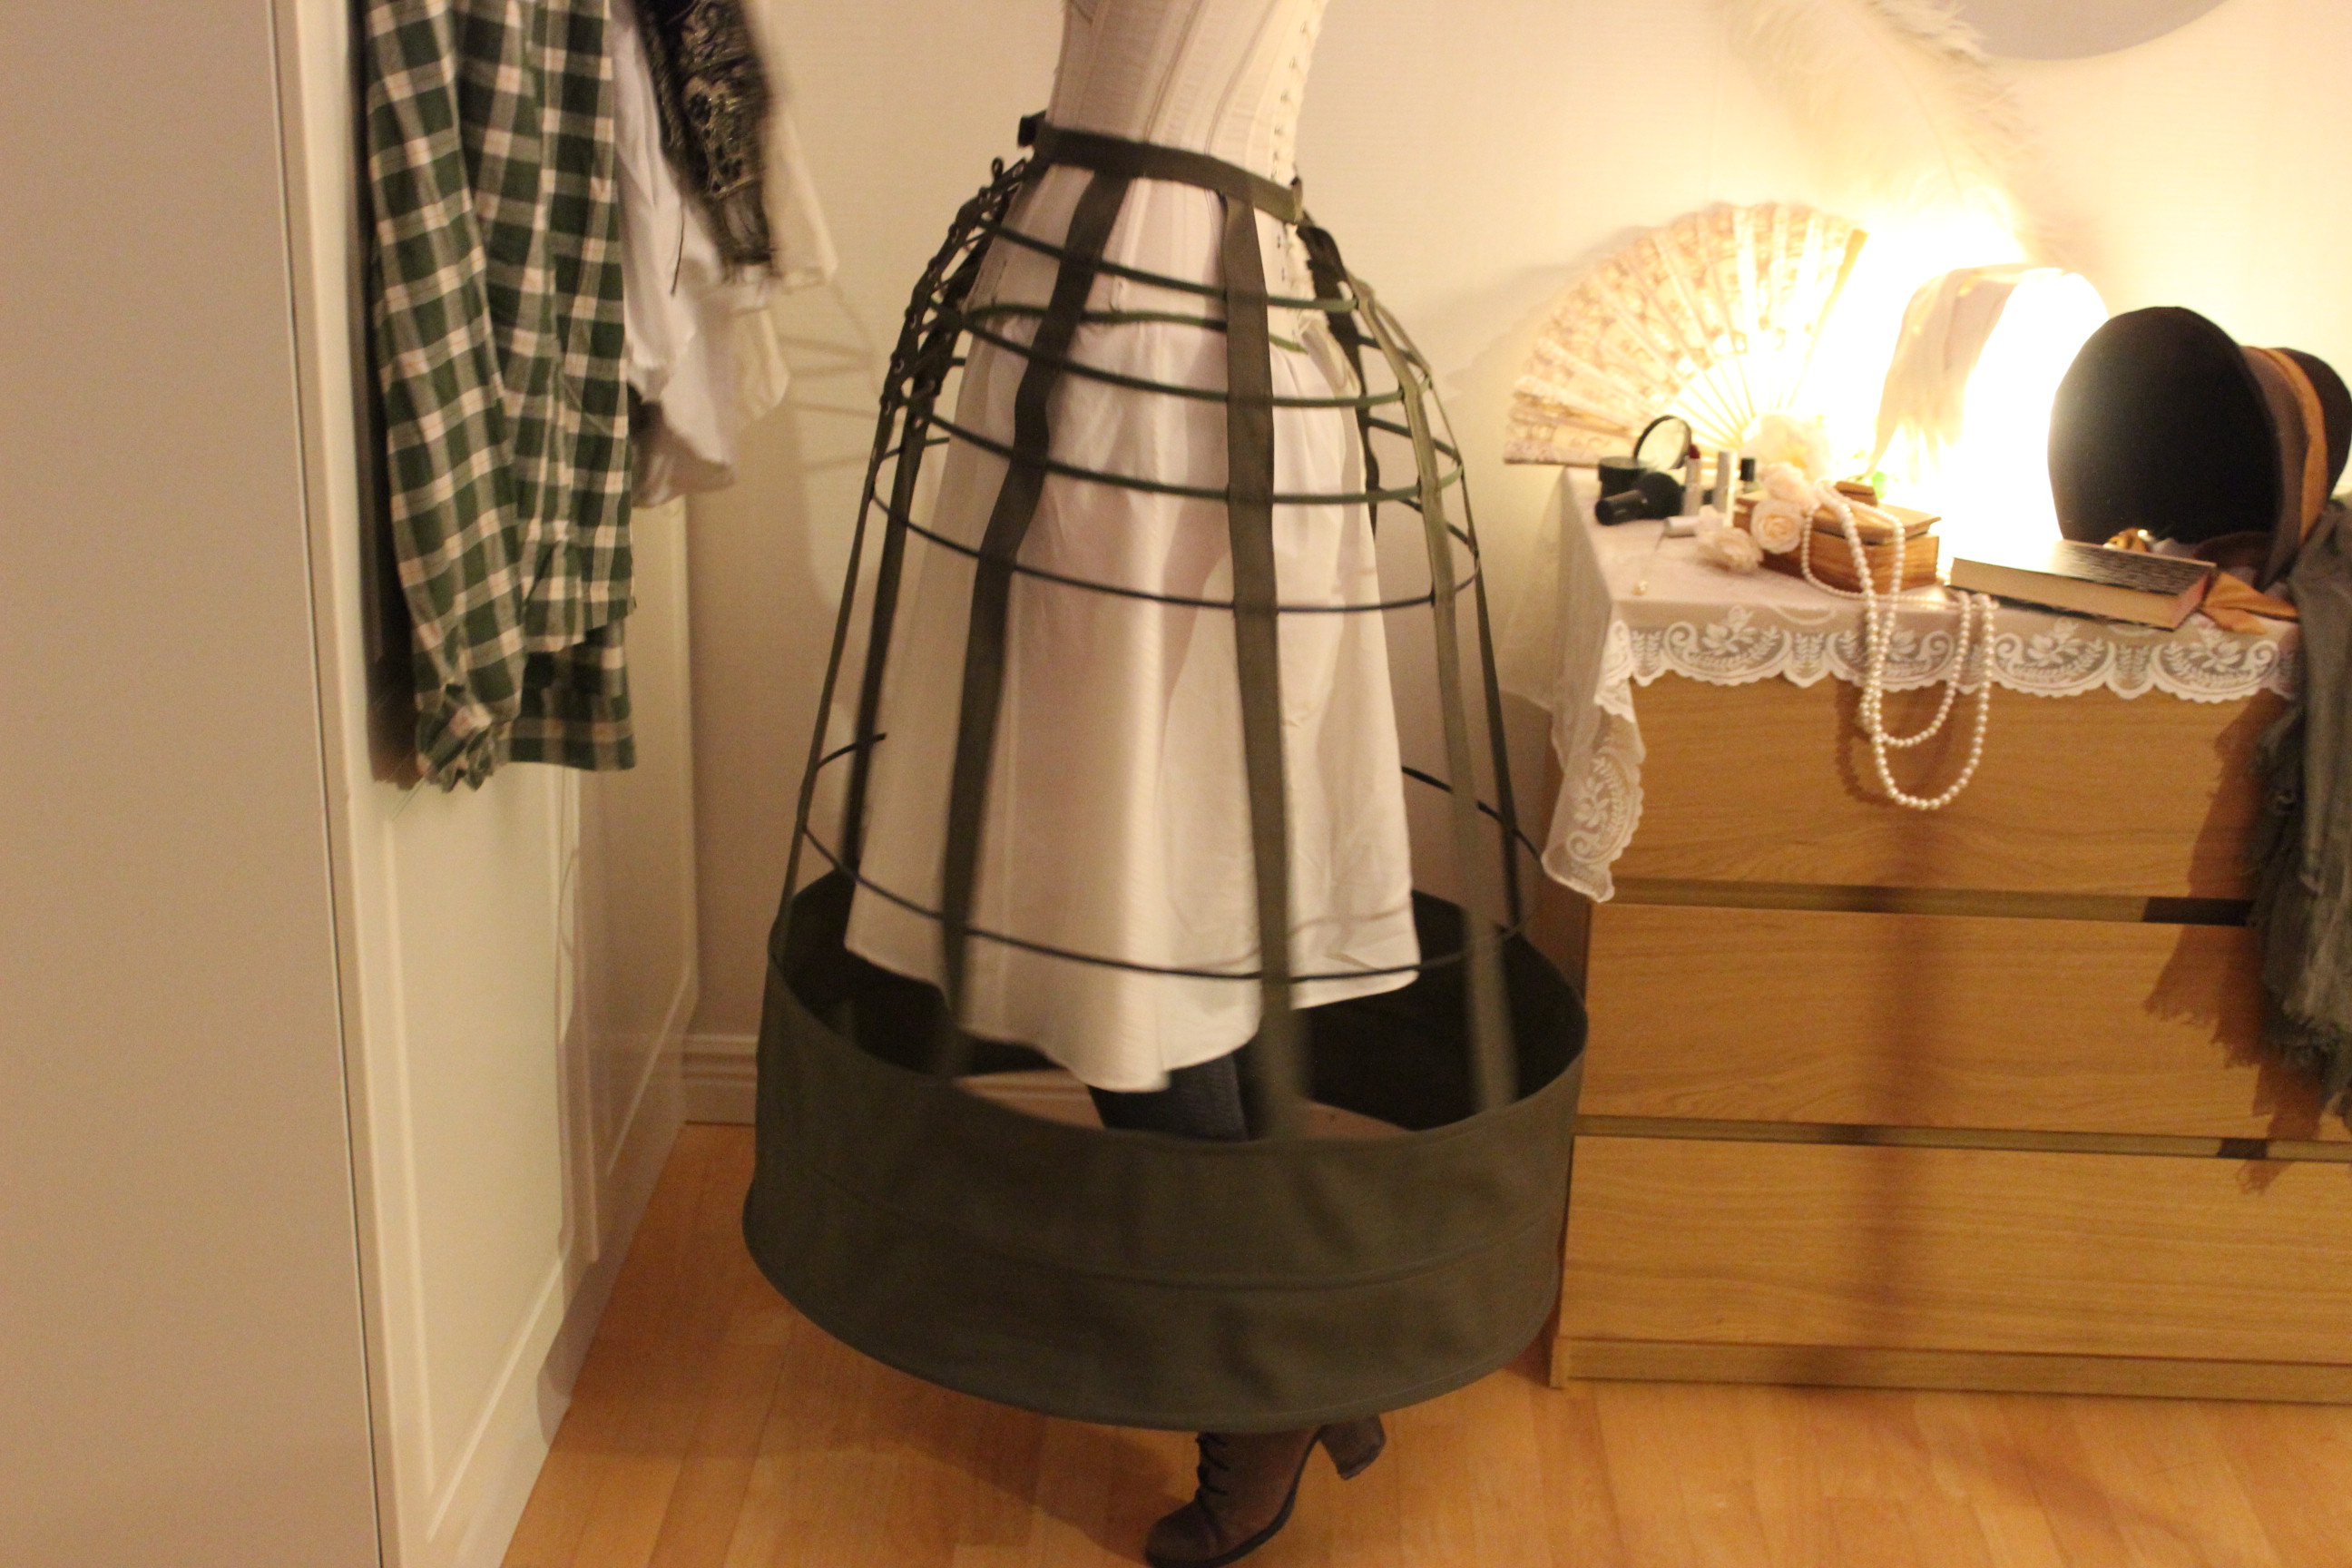
Working my way up from the bottom I inserted the boning and closed each hoop before moving on to the next. Three bones inserted.
When I got to the “free” bones I inserted them into the smal chanels at each vertical ribbon, and taped the hoop shut at the end.
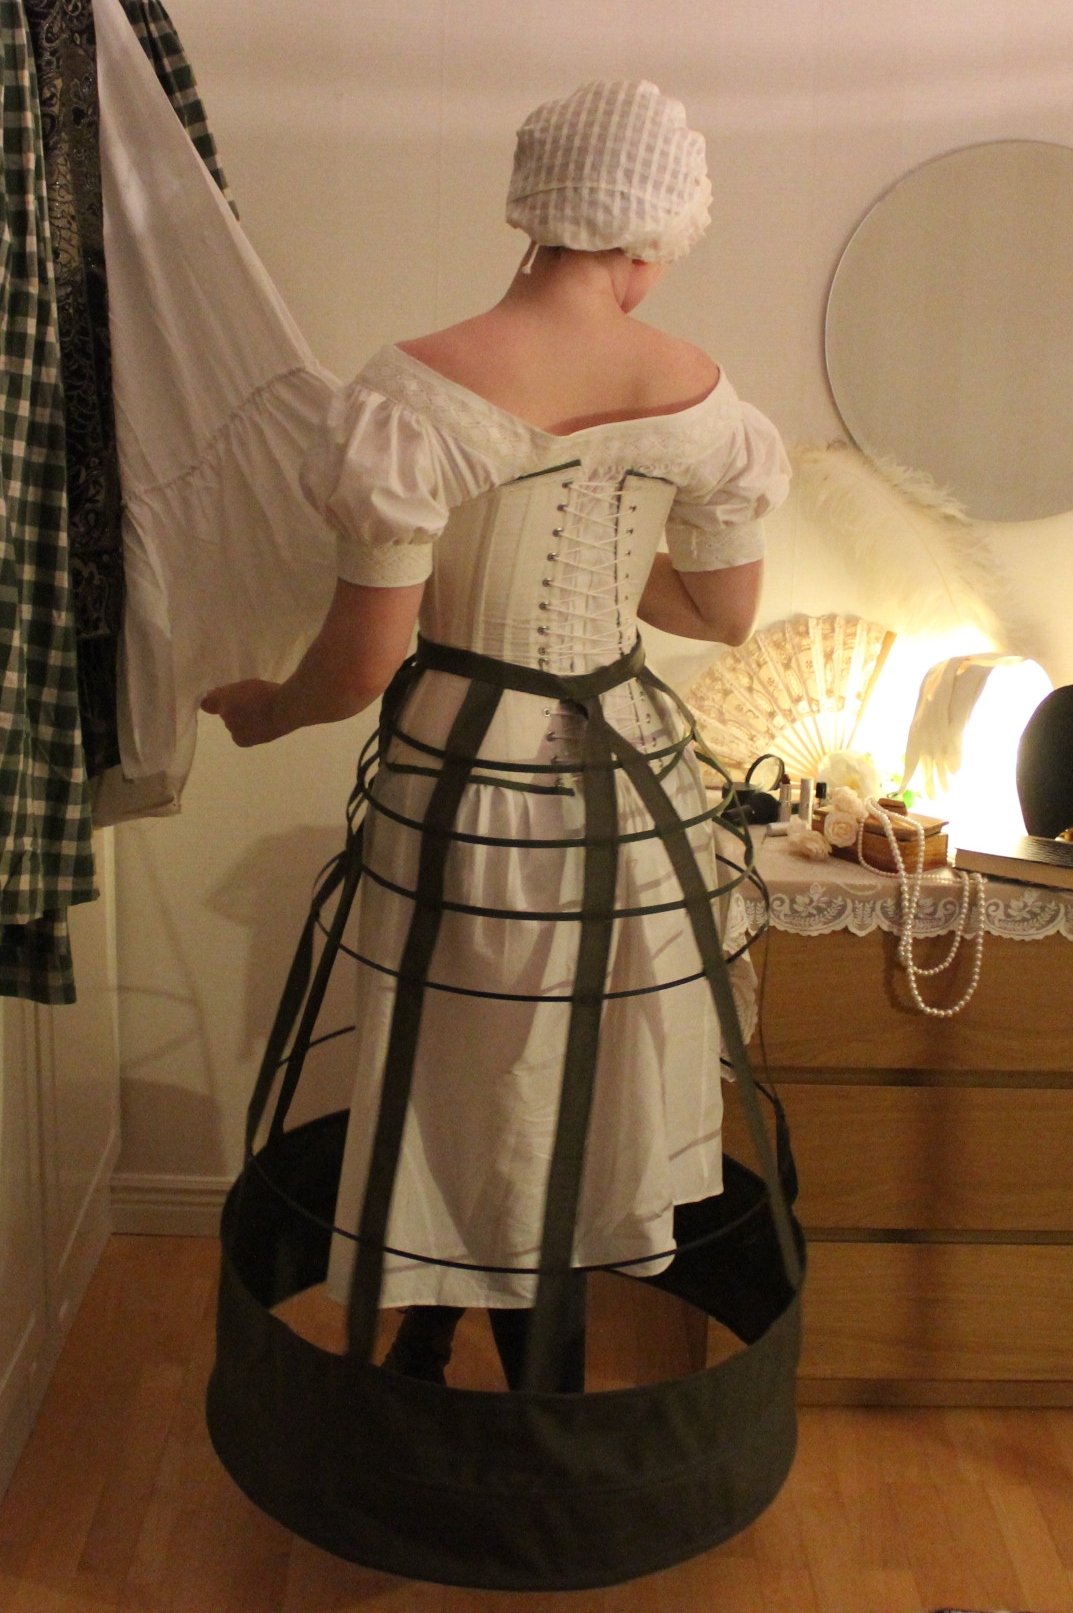
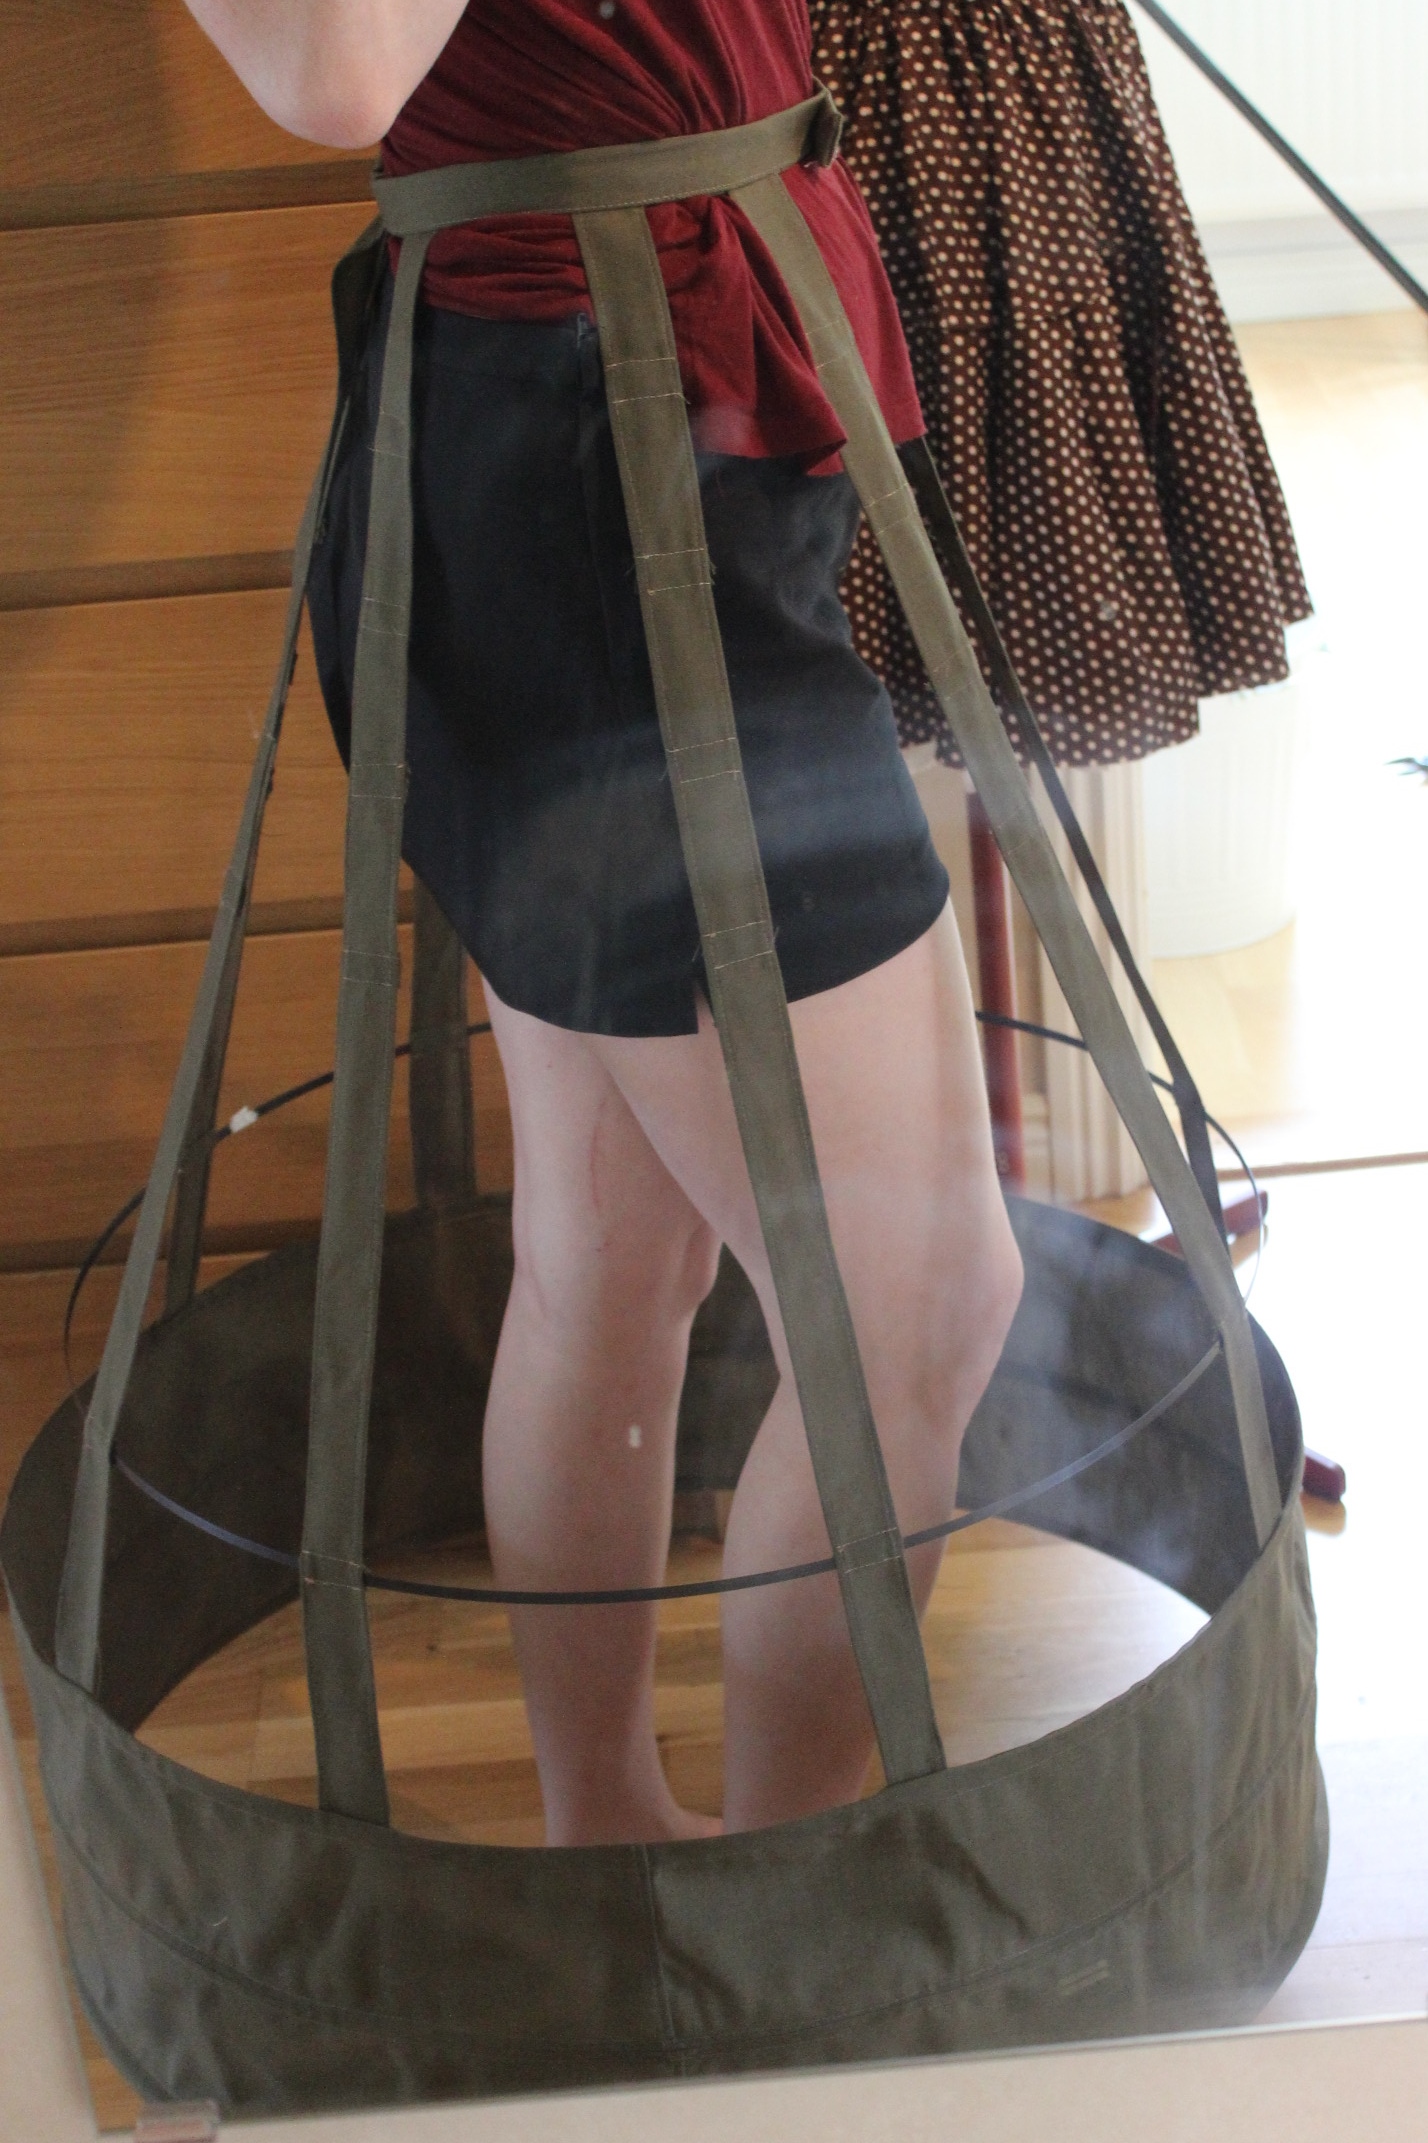
Then I tried it on to get a better look of how it would look. Pretty cool, but still 4 more bones to go.
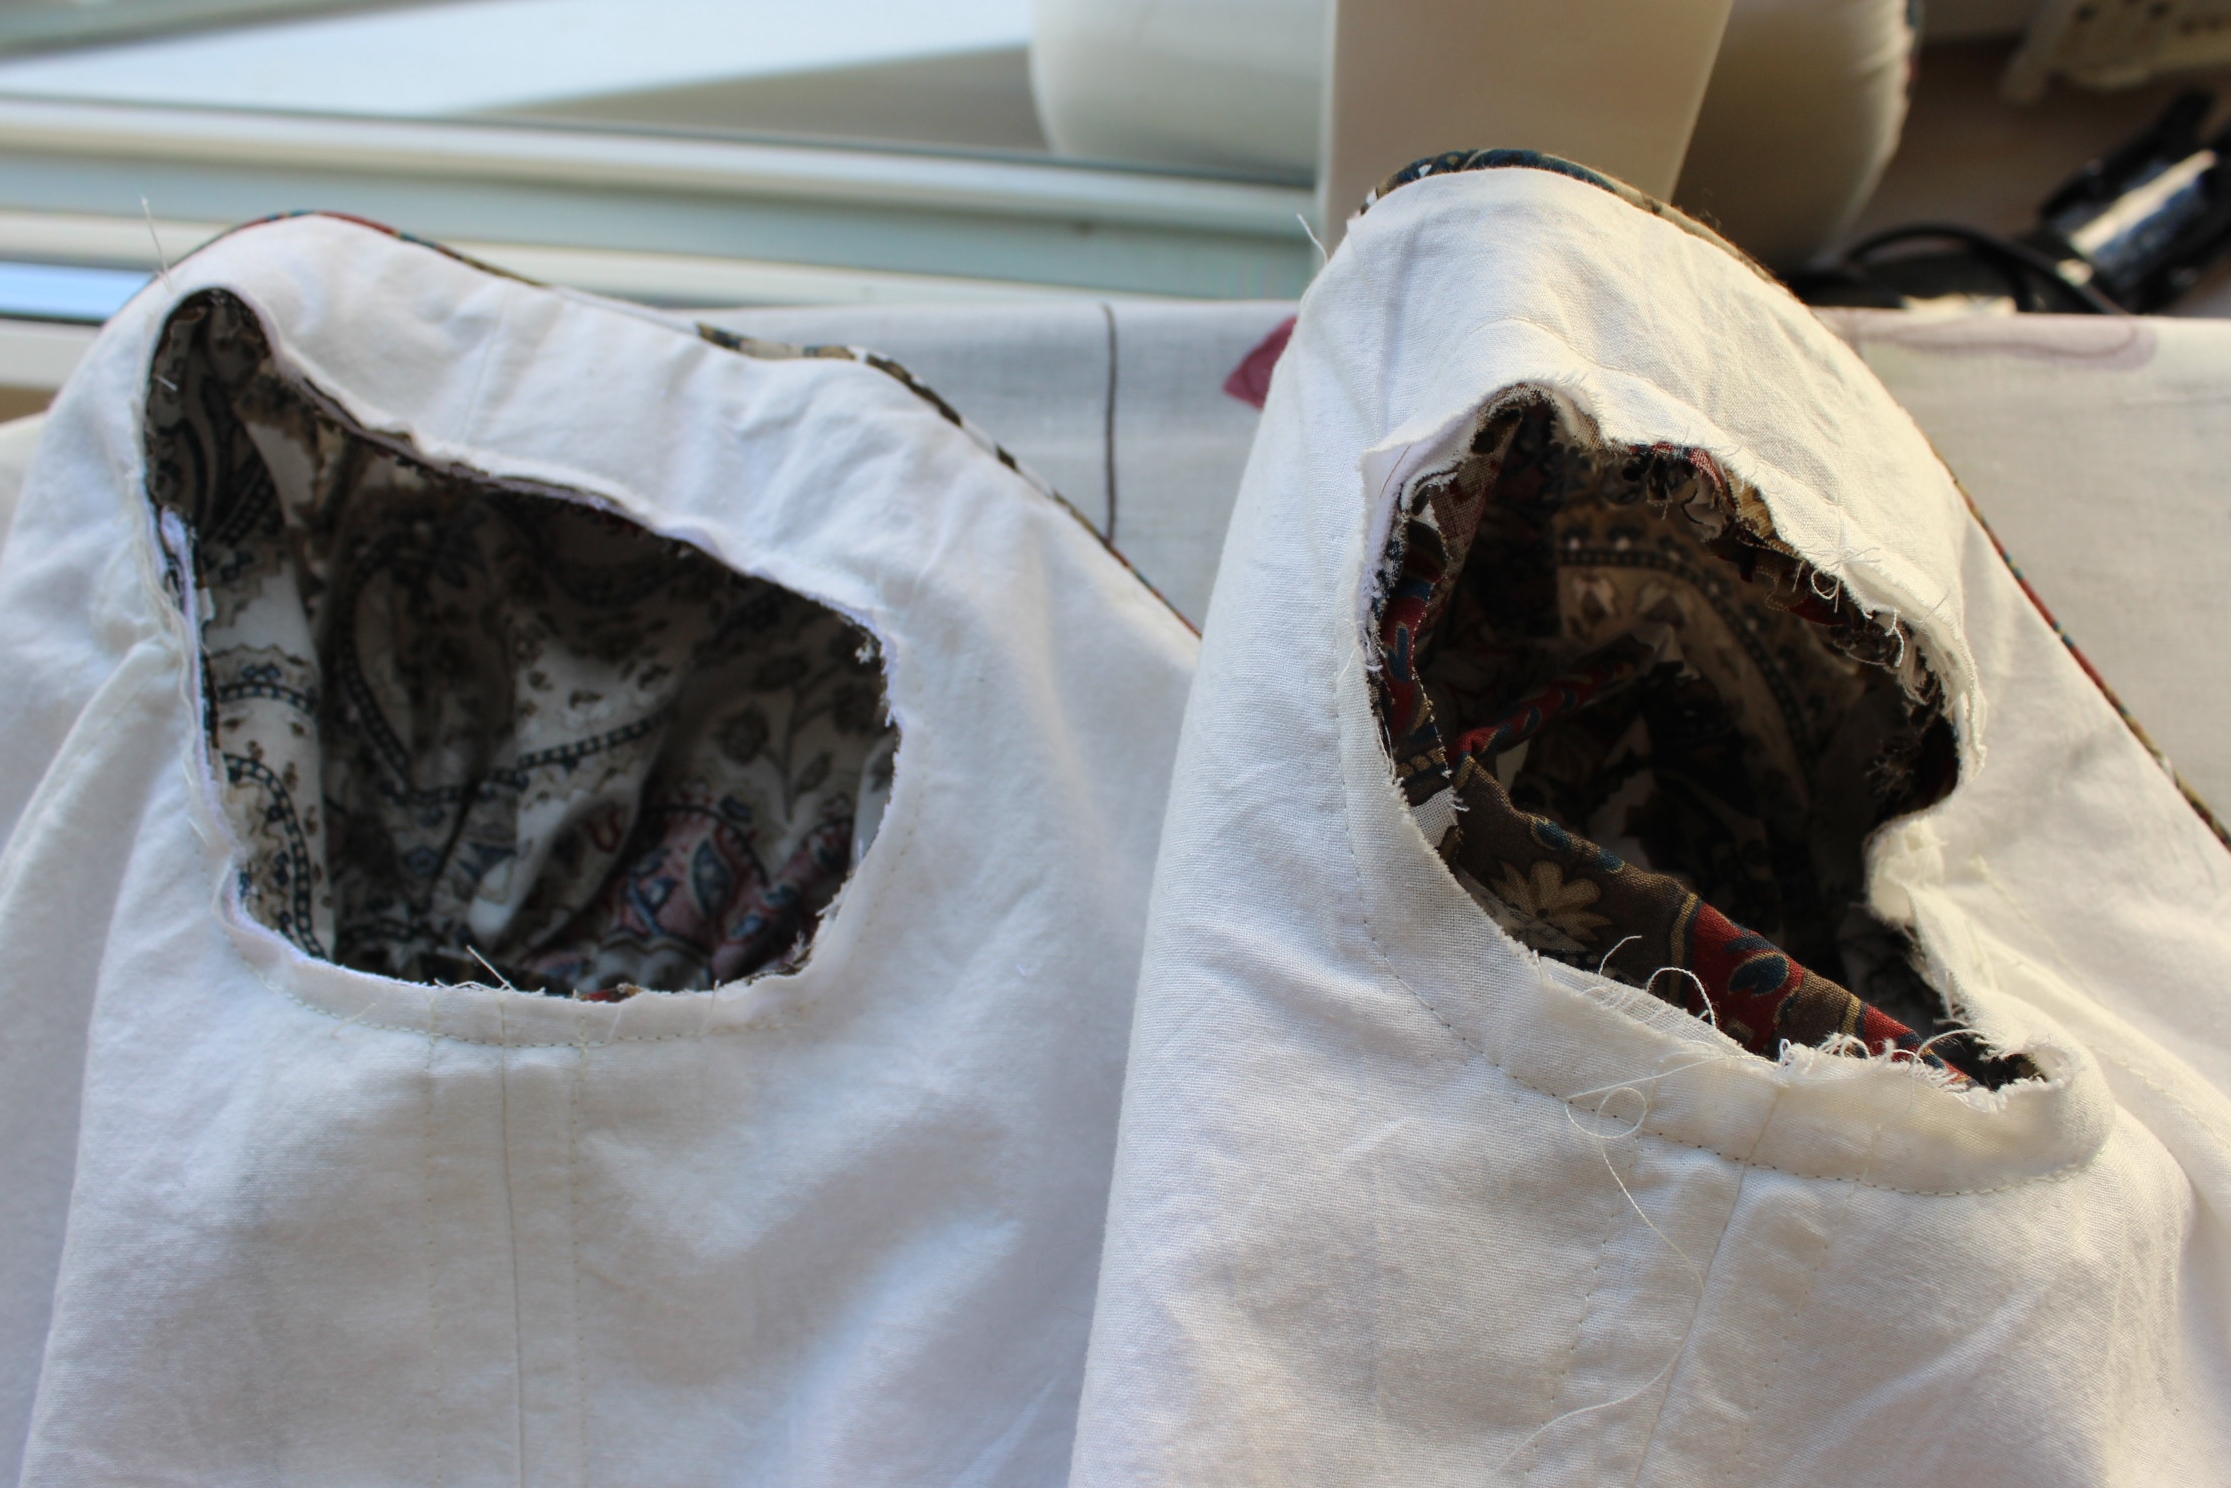
I left the top front open and free of bones to be able to get in and out of the skirt.
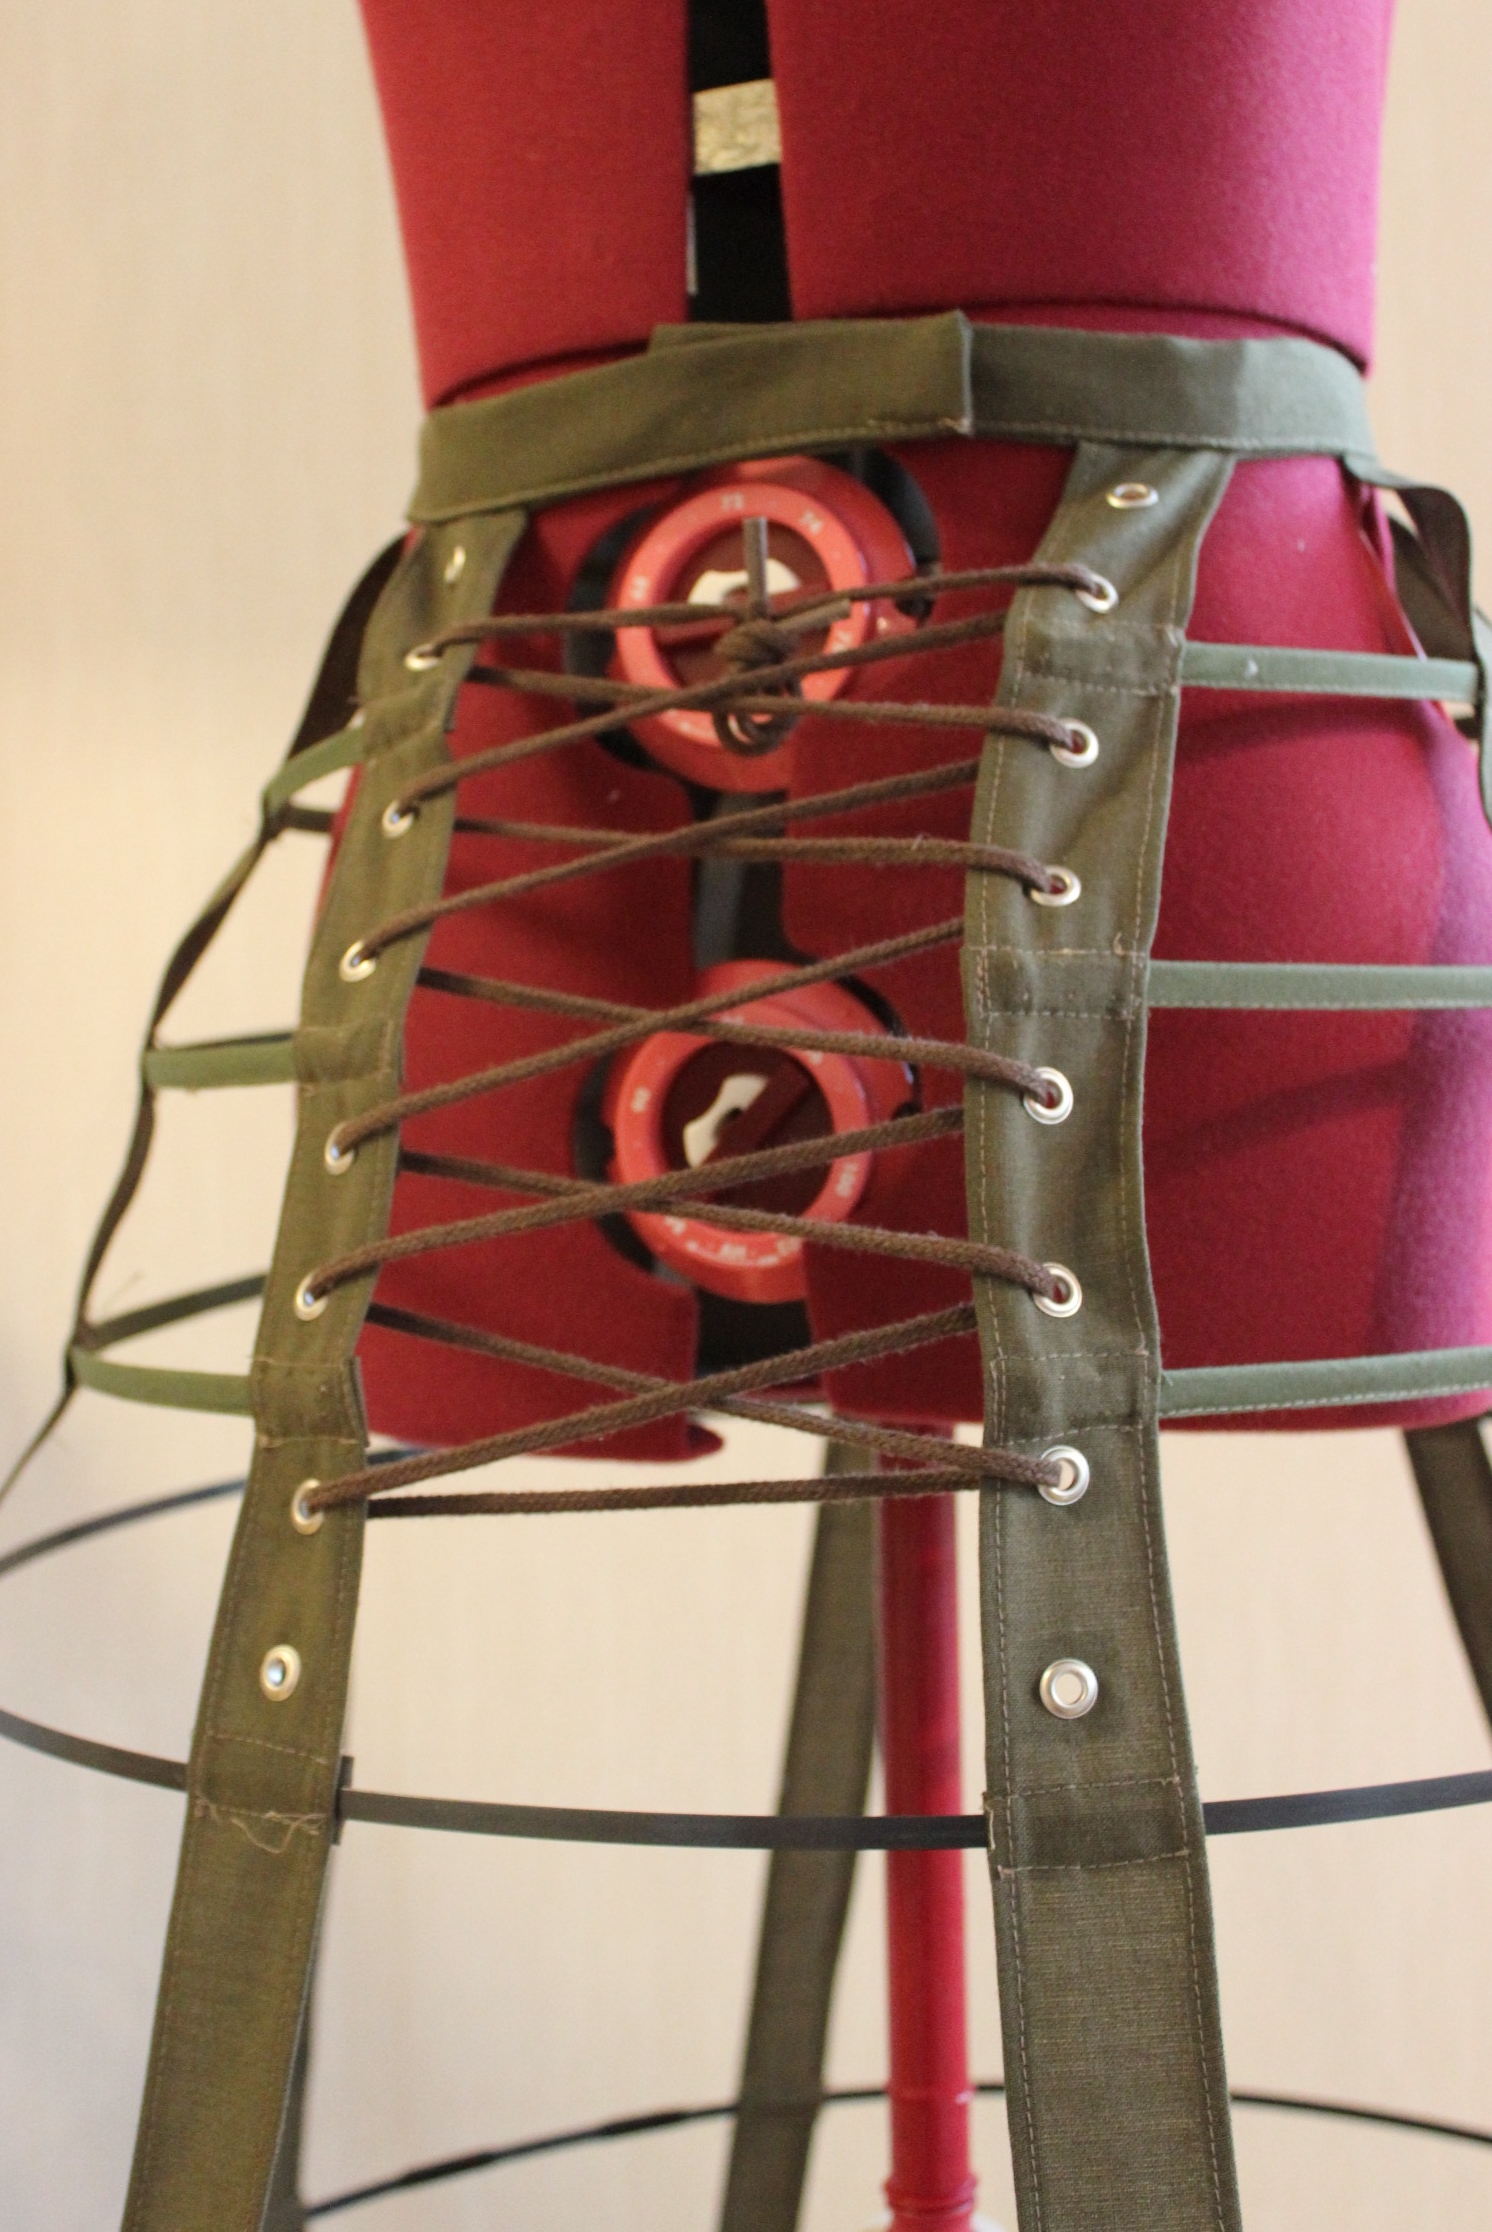
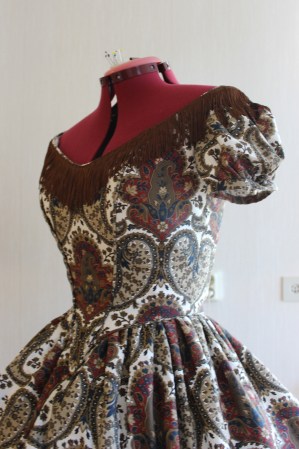
I inserted some gromes to make the skirt lace up the front. You can also see where the boning stops at the front ribbon.
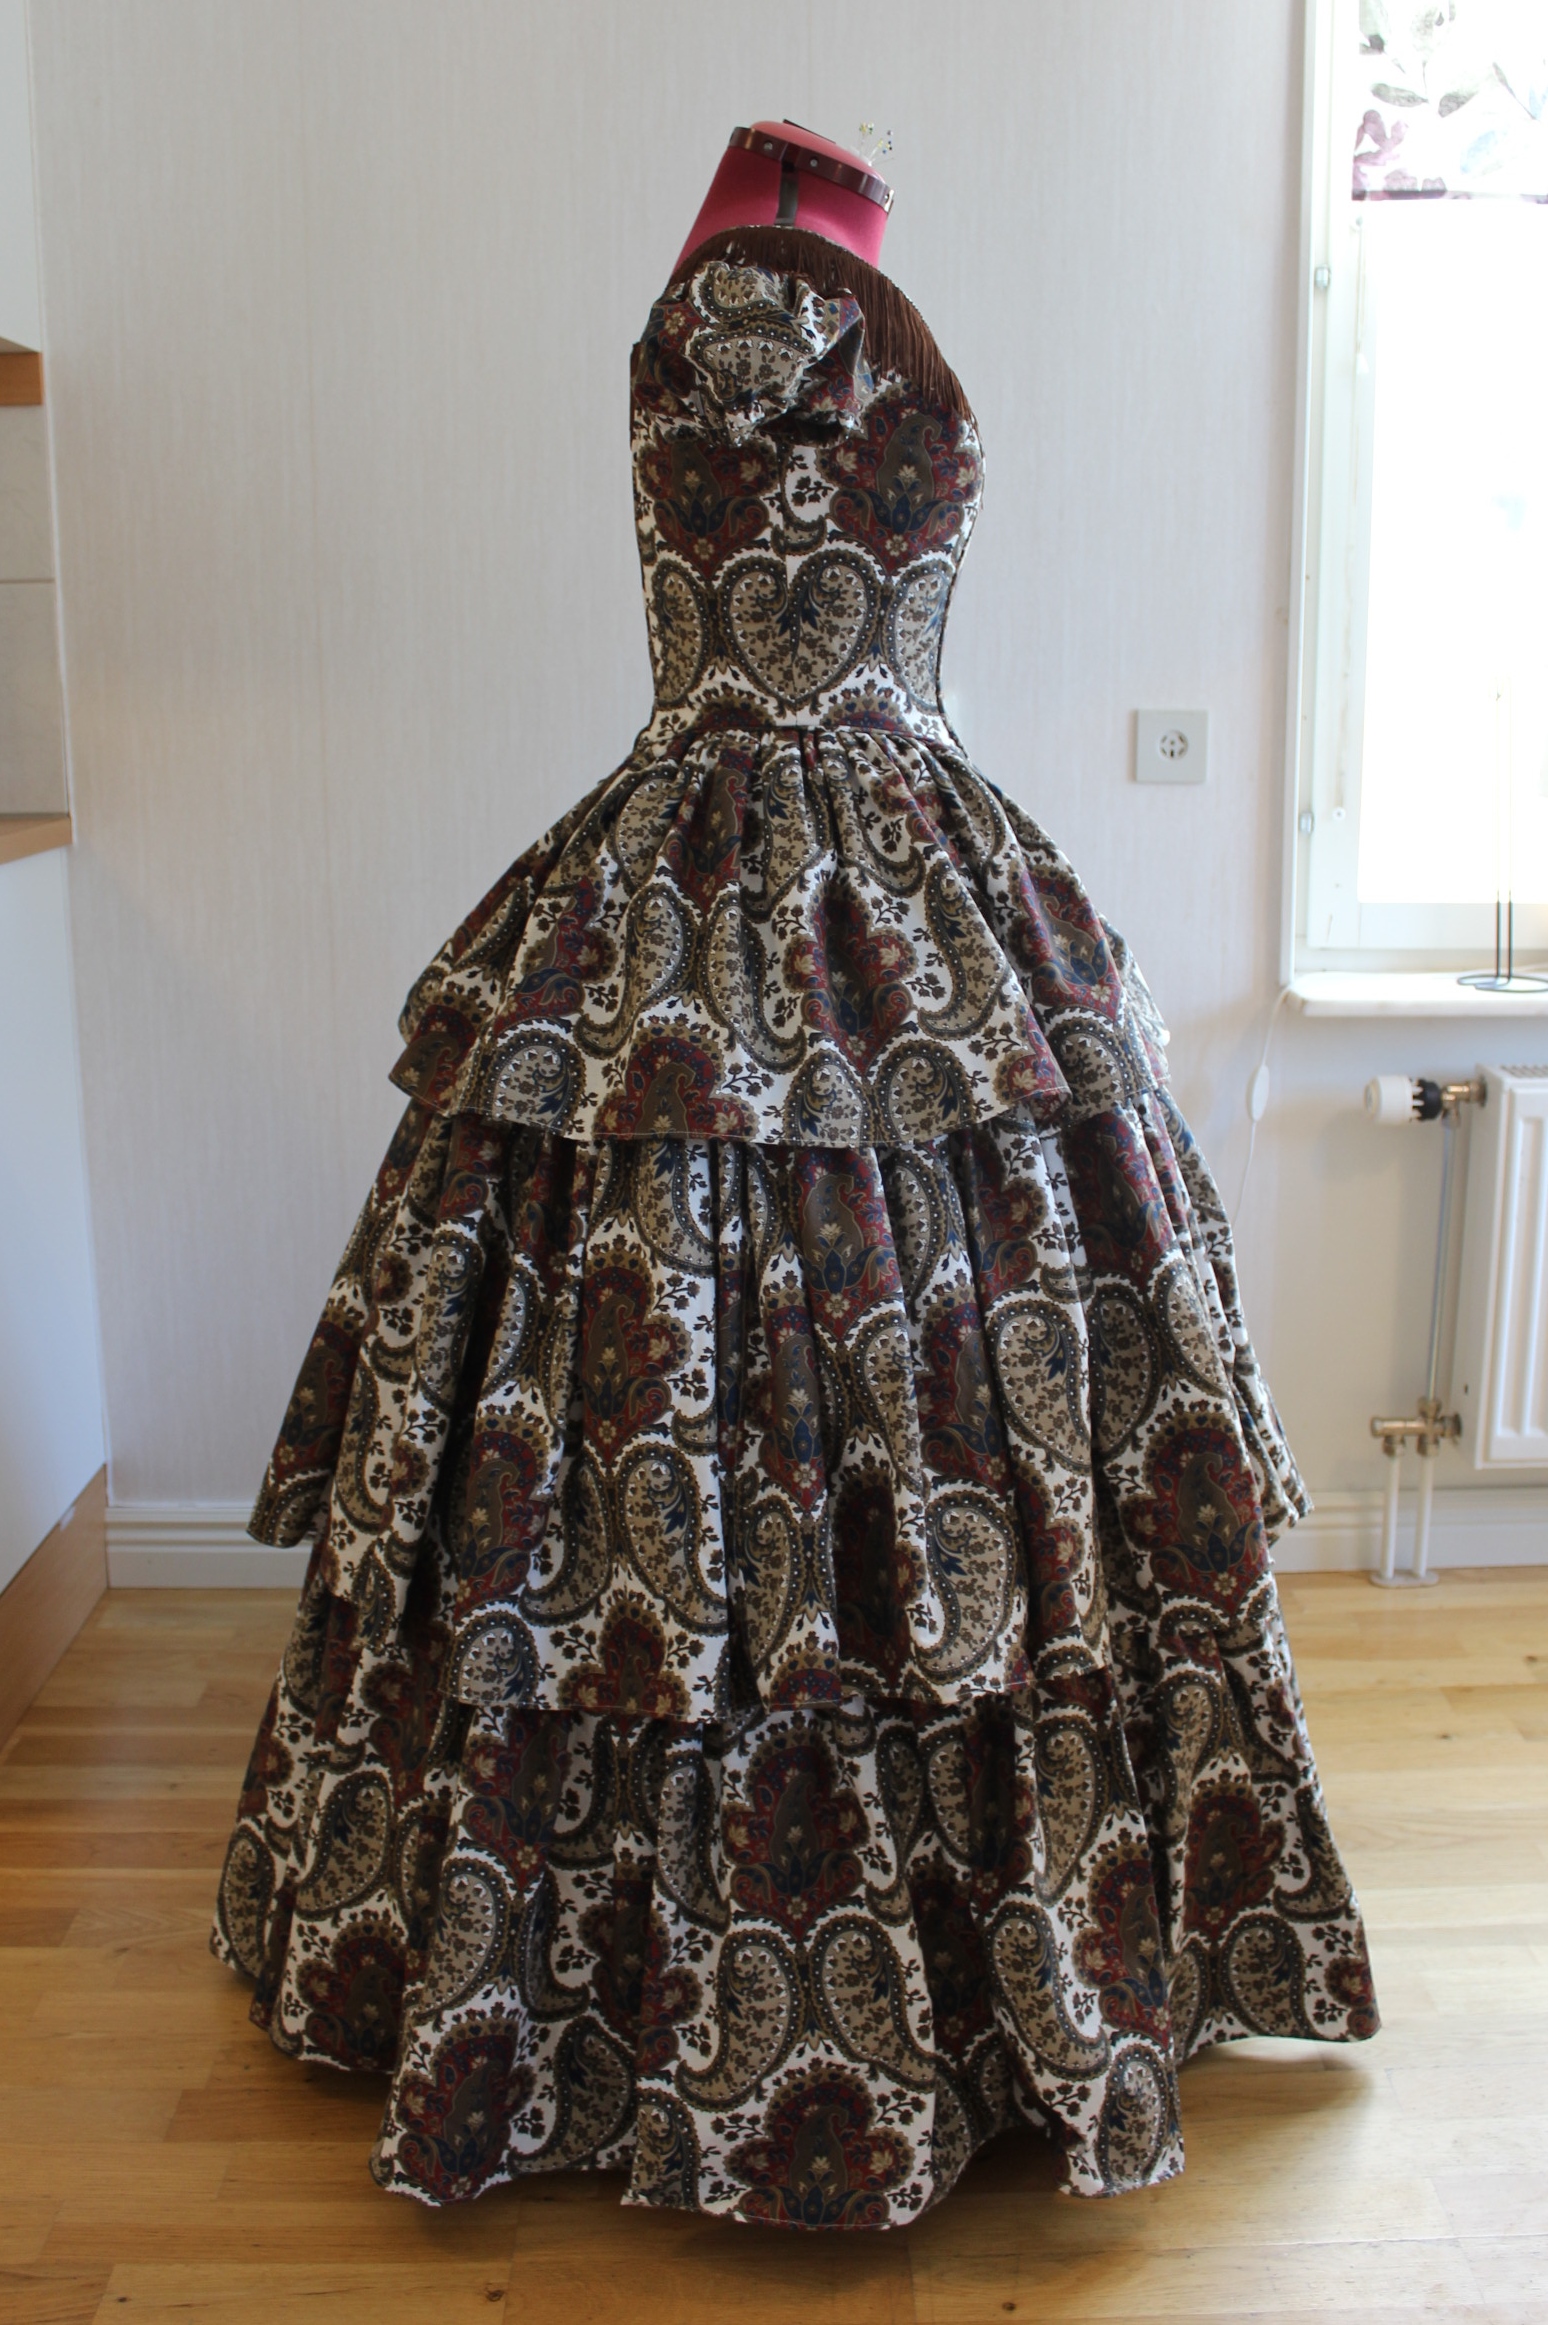
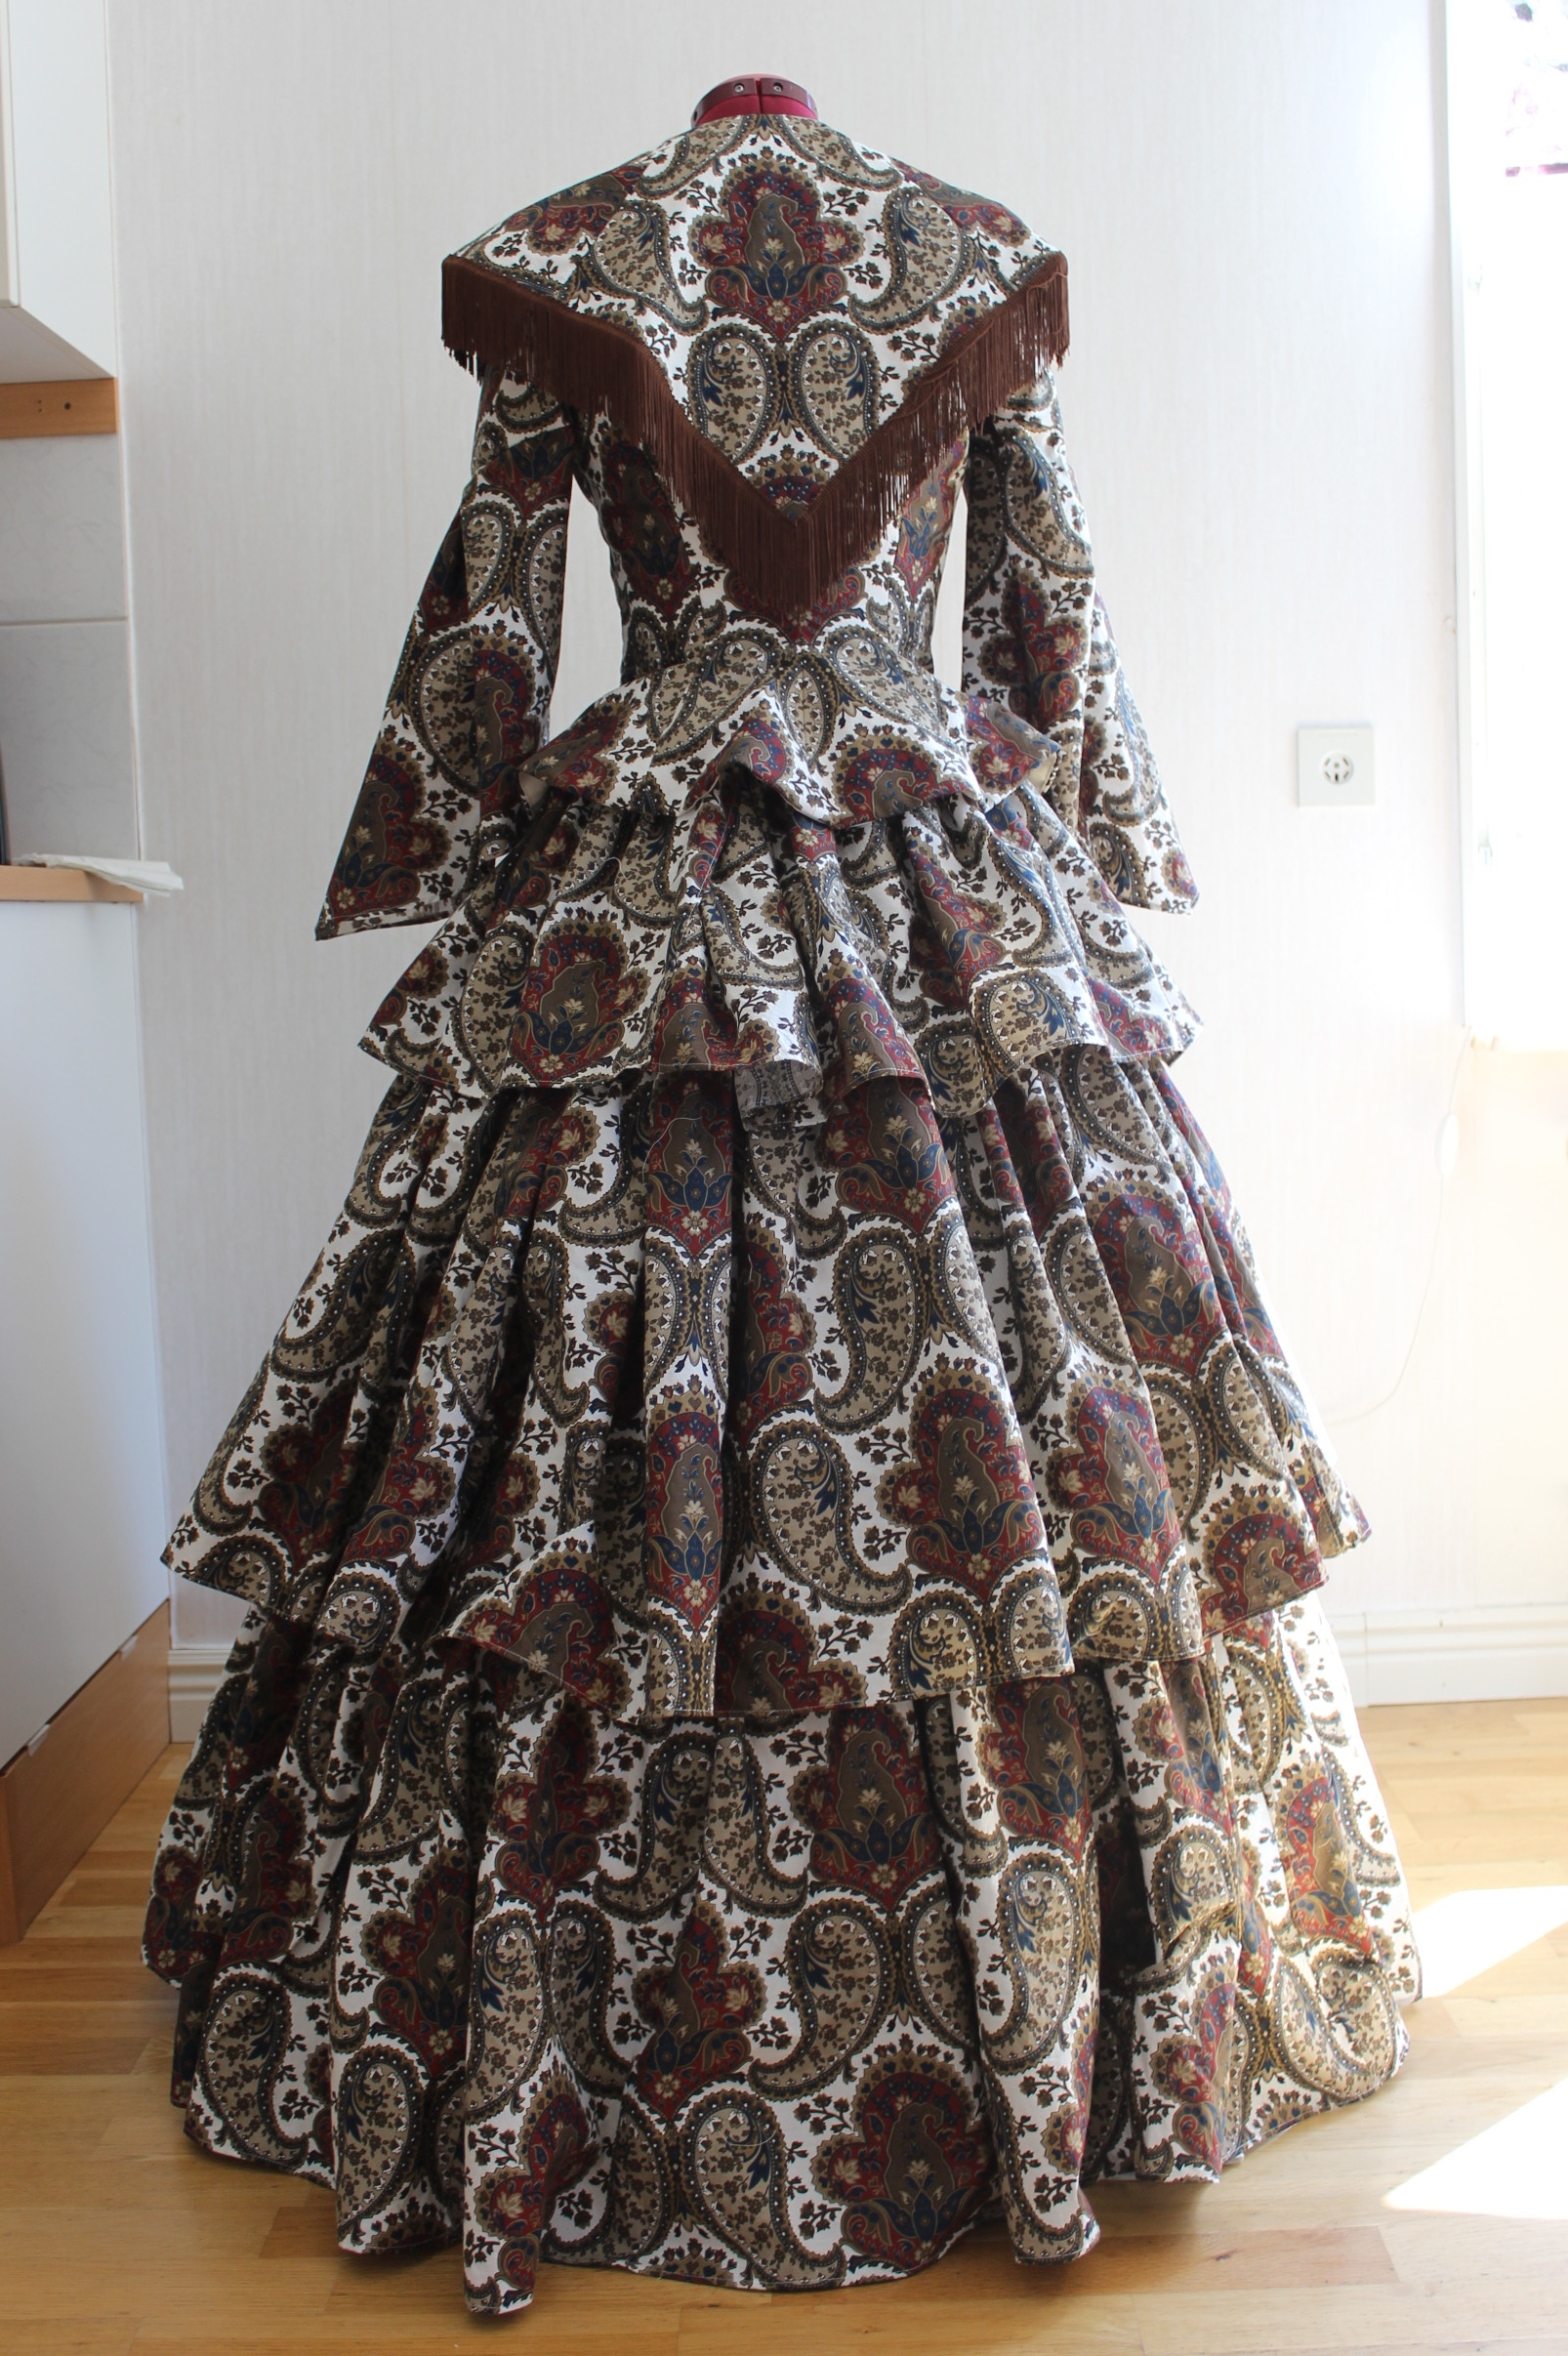
 Looking pretty on my dressform.
But one problem remaind. The bones very easyerly left the casings, and wandered away in other directions.
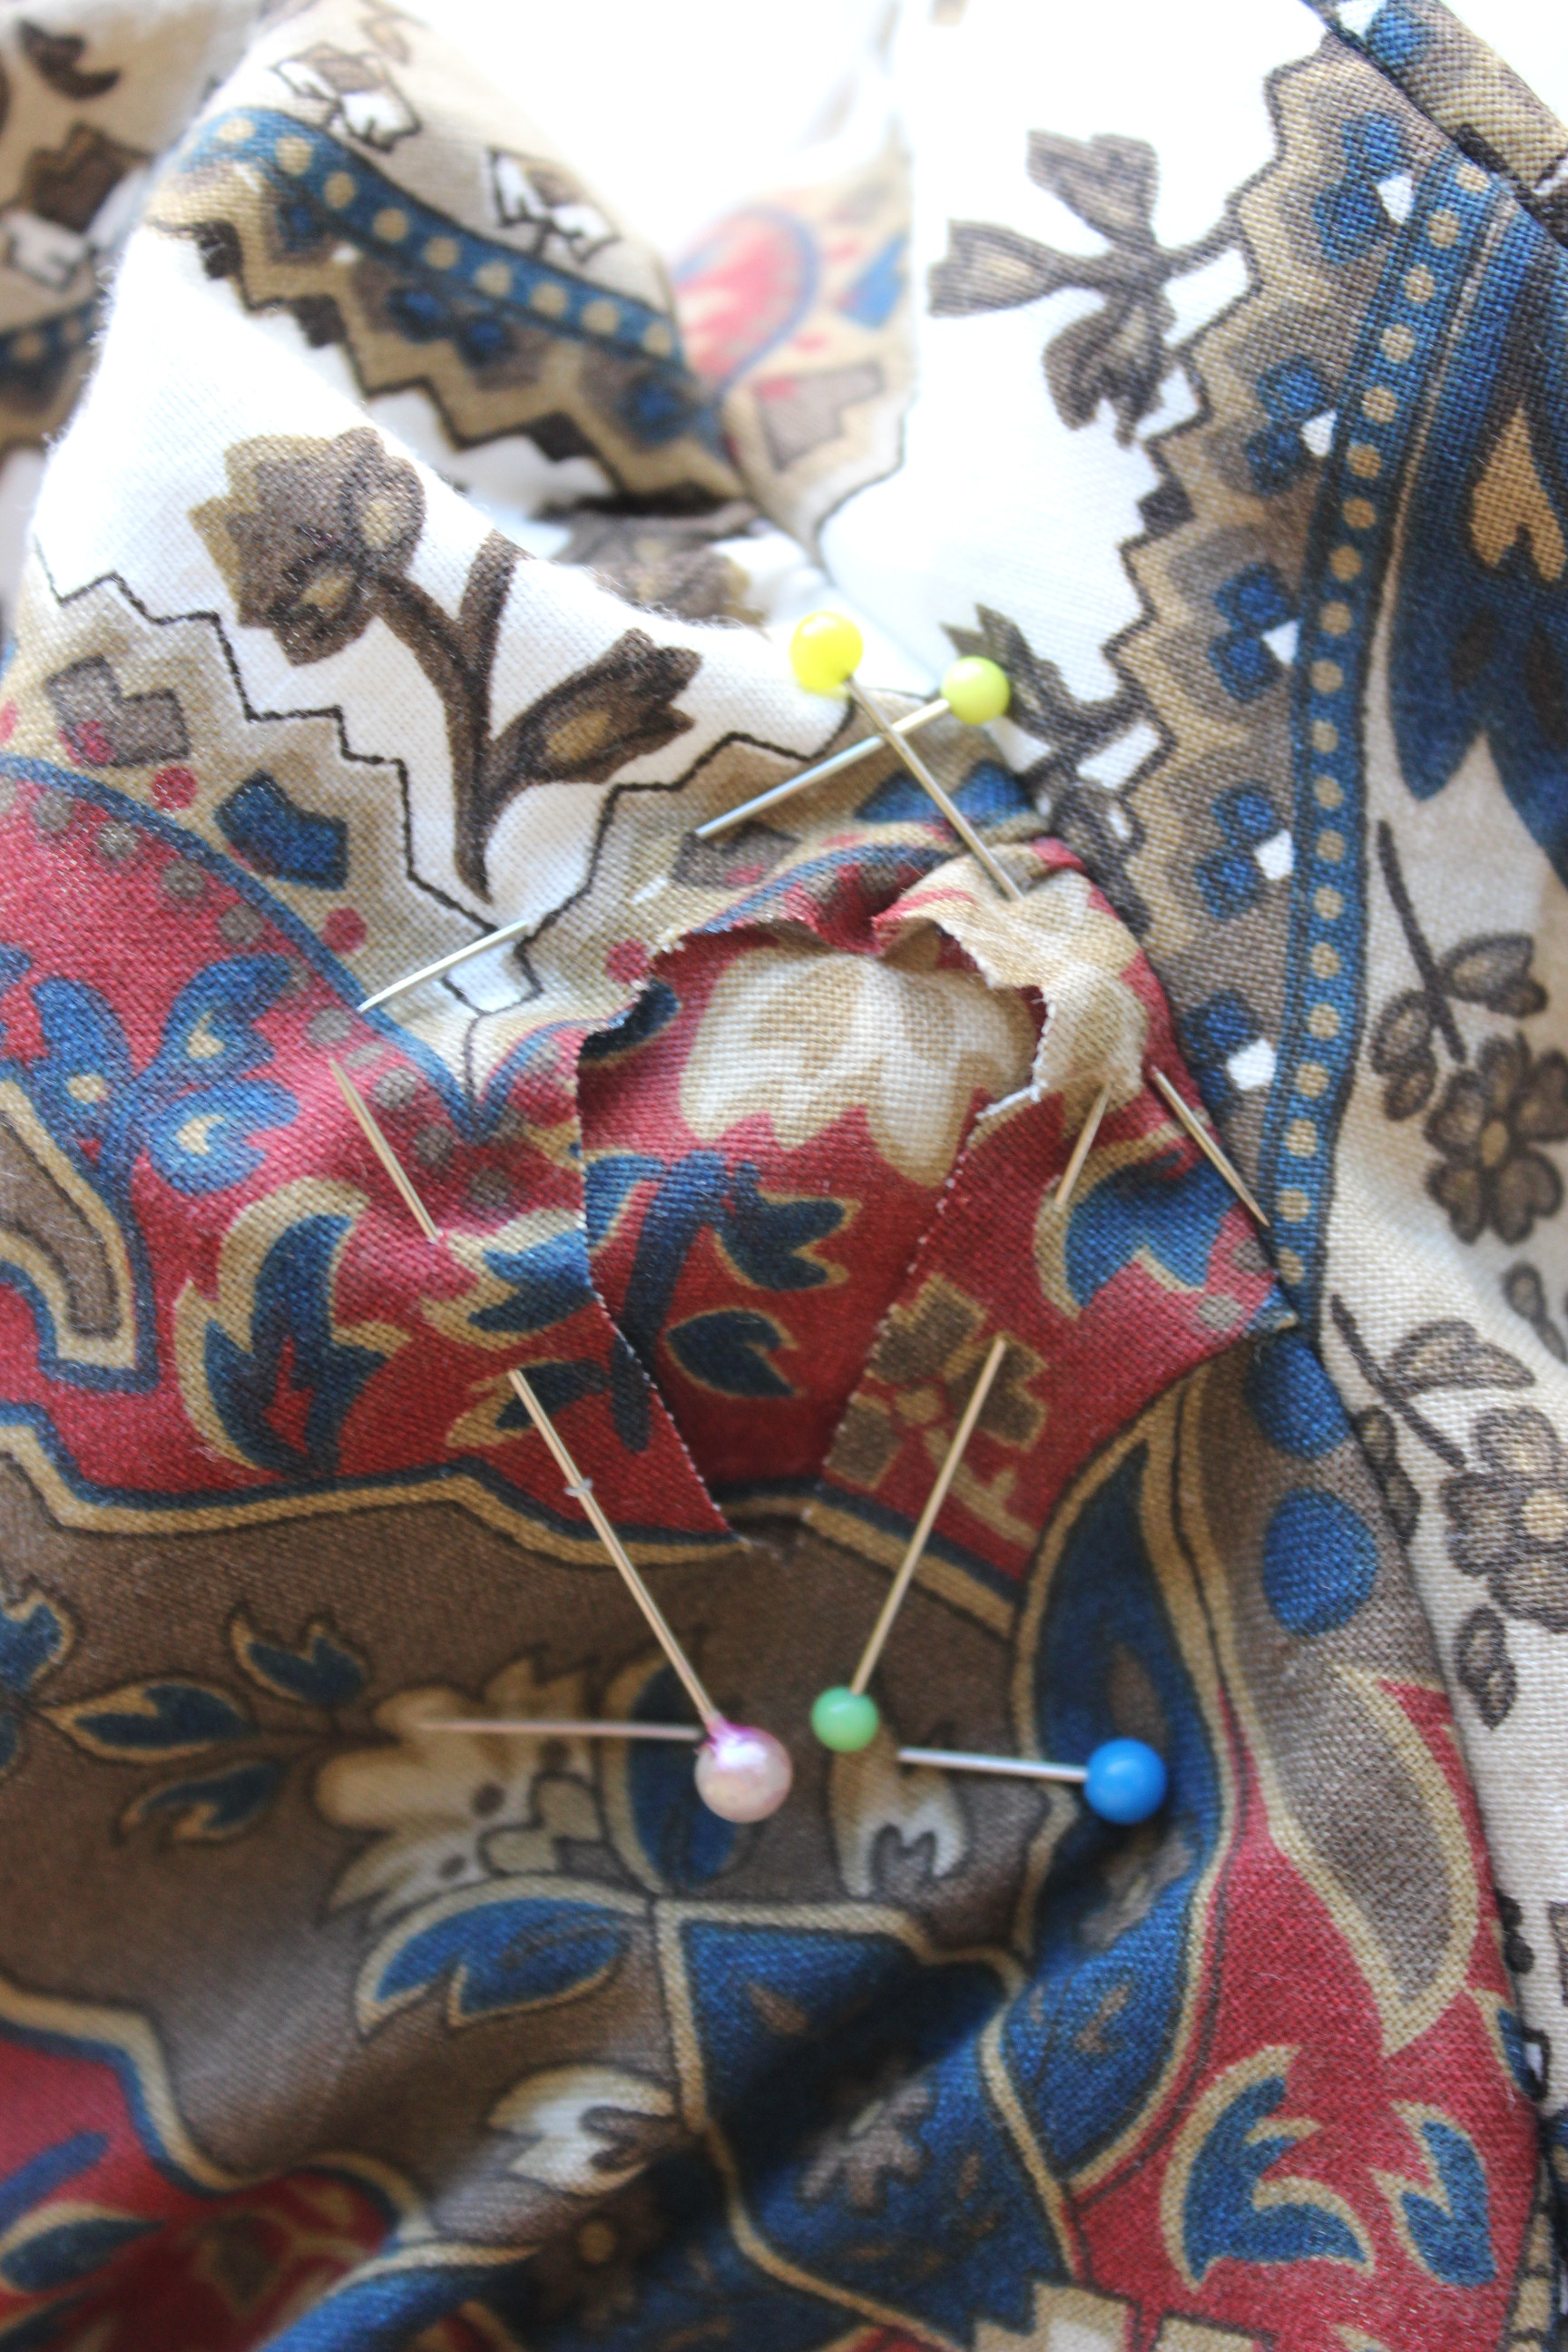
To solve the problem I decided to make holes in the boning and casing, to tie them togeter at the ends.
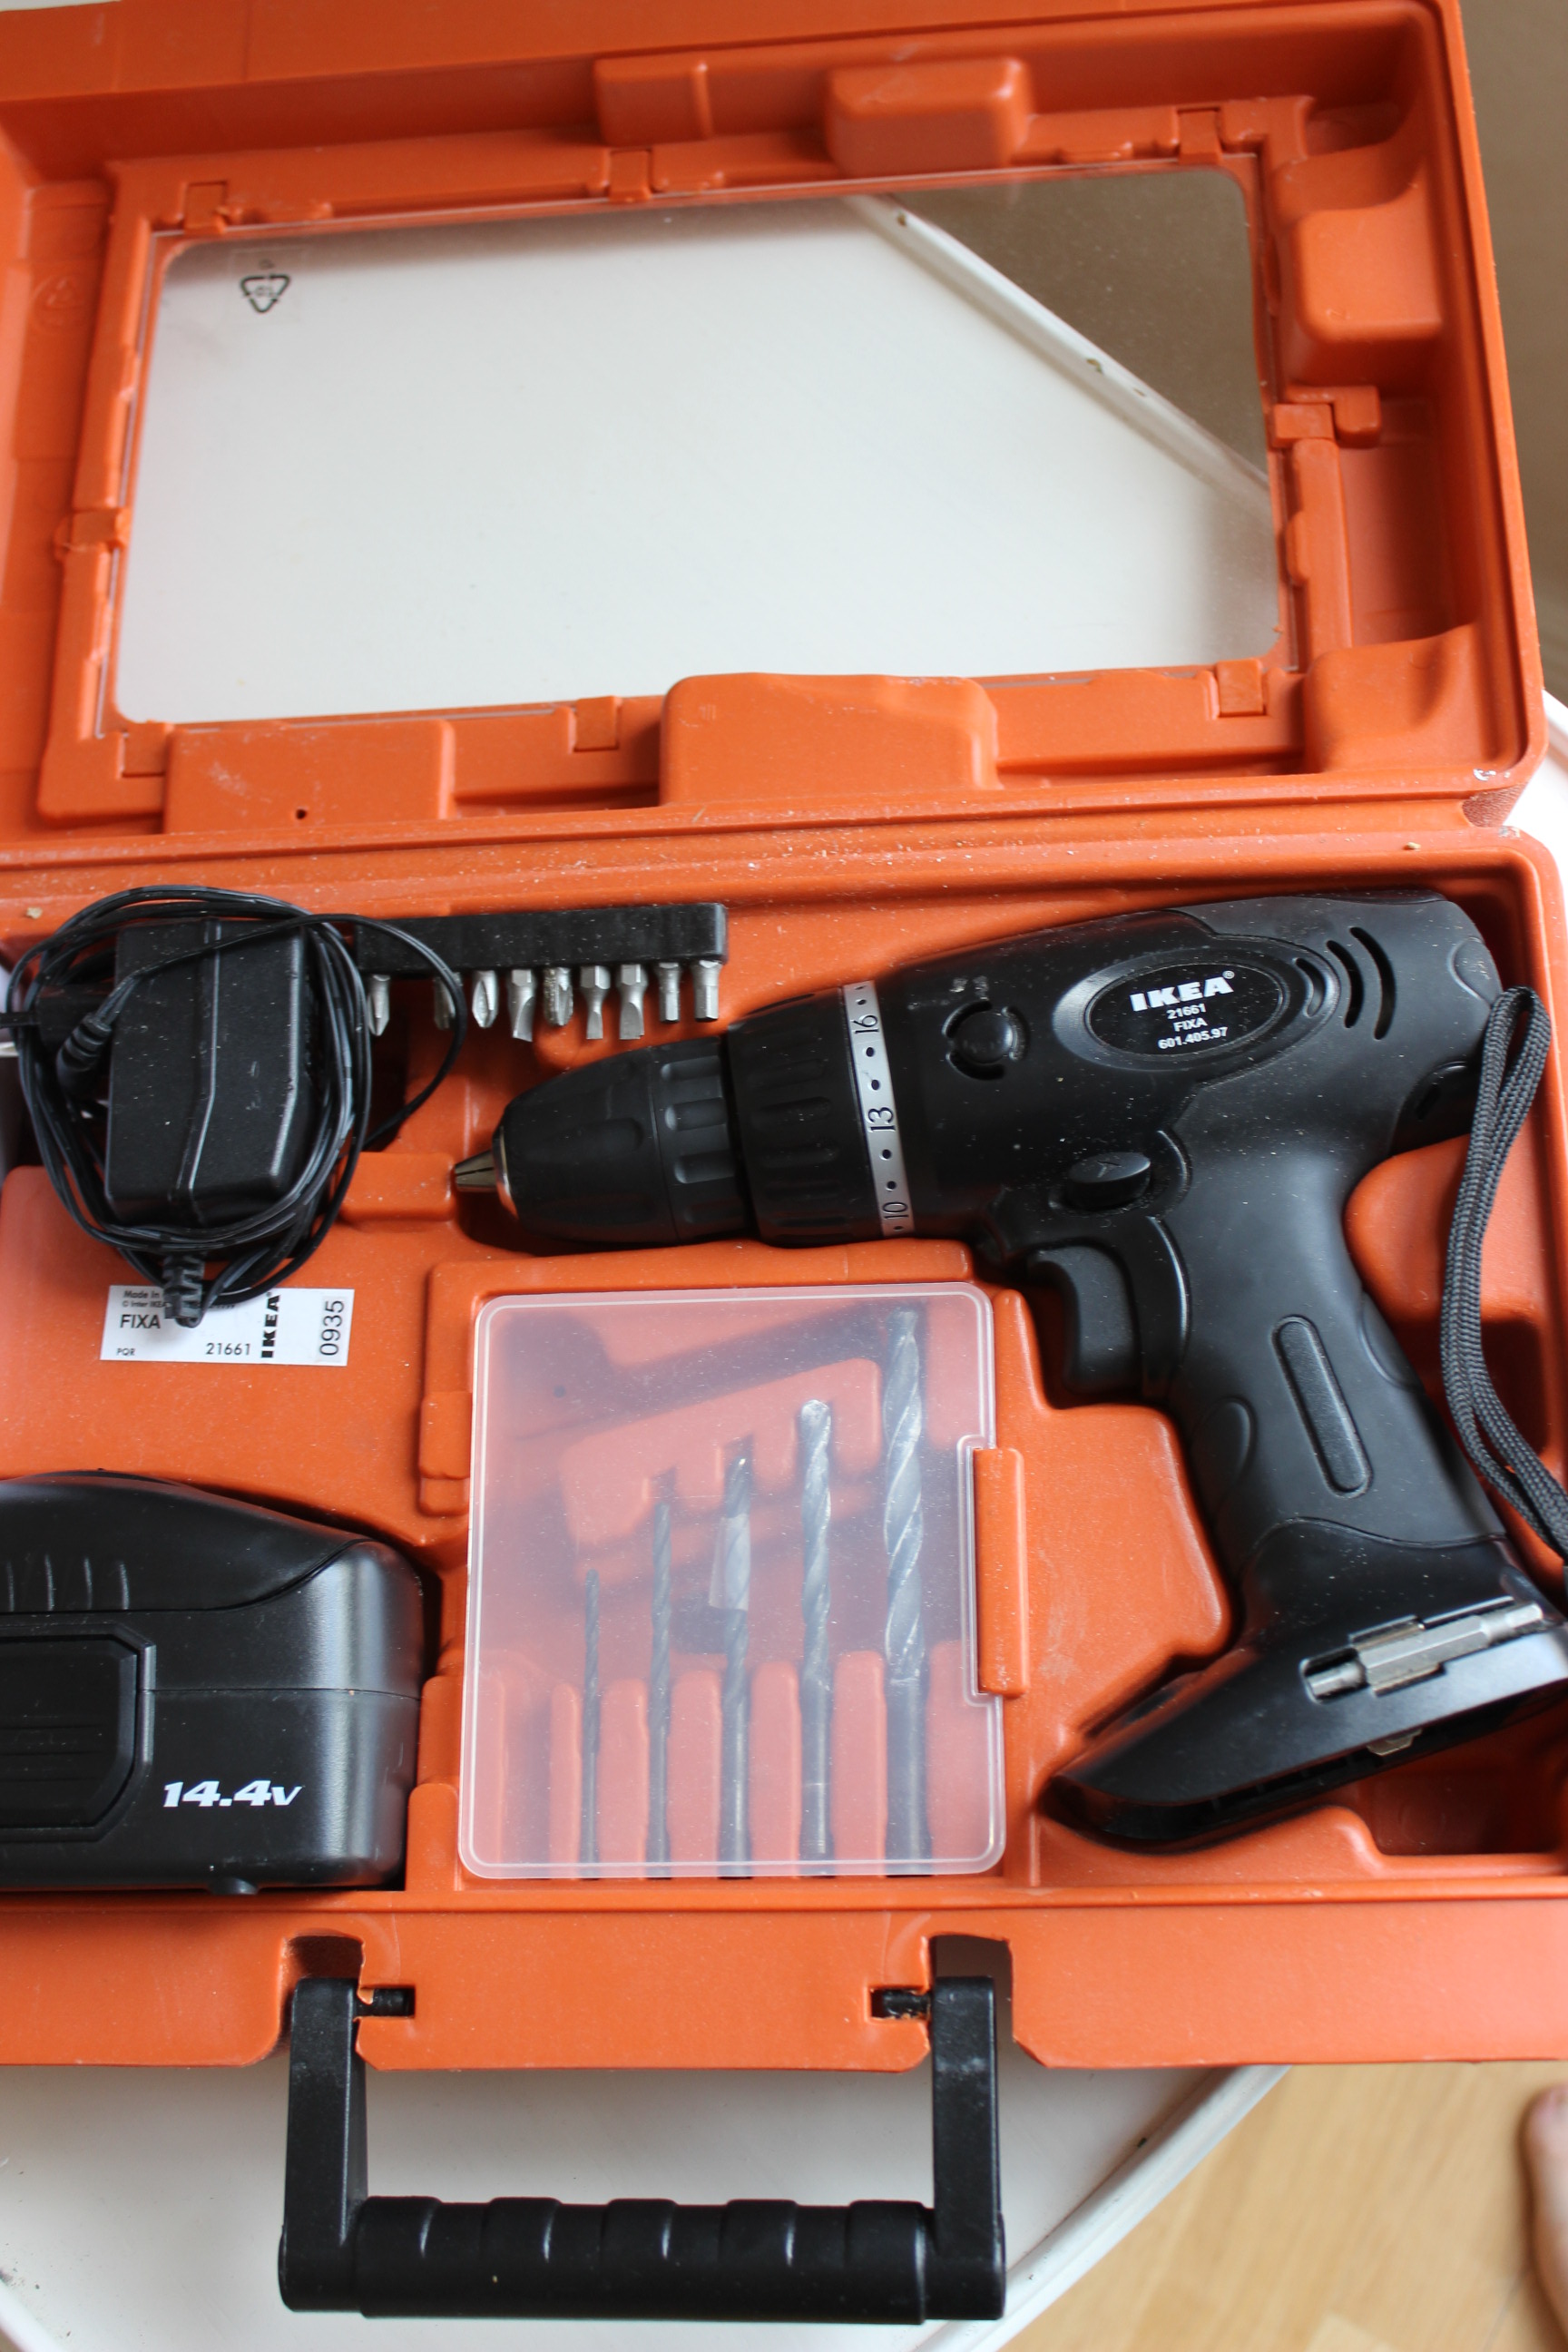
 I borrowed my fathers elecric drill, but alas, not even a notch on the steel boning. Dead end.
My other solution worked better. I bought bias-tape, aproxemently the same colour as the fabric, and made them into boning casings.
Insering the boning and sewing of the ends, left me with three grren fabric covered lenghts of steel.
I then inserted the fabric covered boning in the chanels and stiched the ends down inside the chanel ends. And that was that.
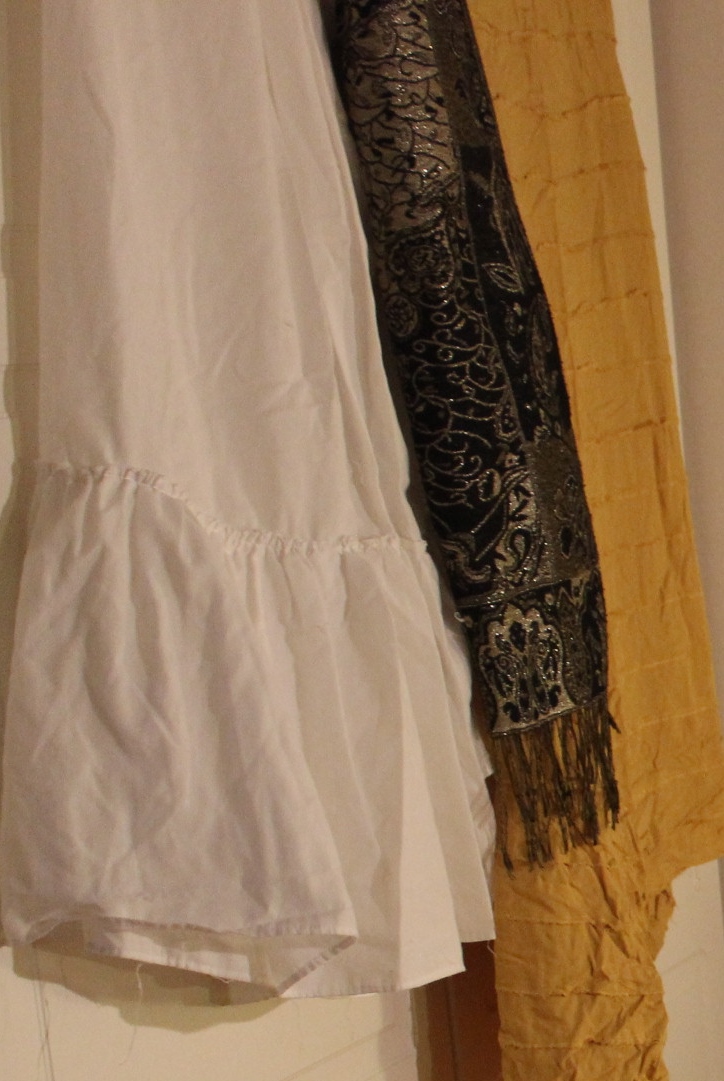
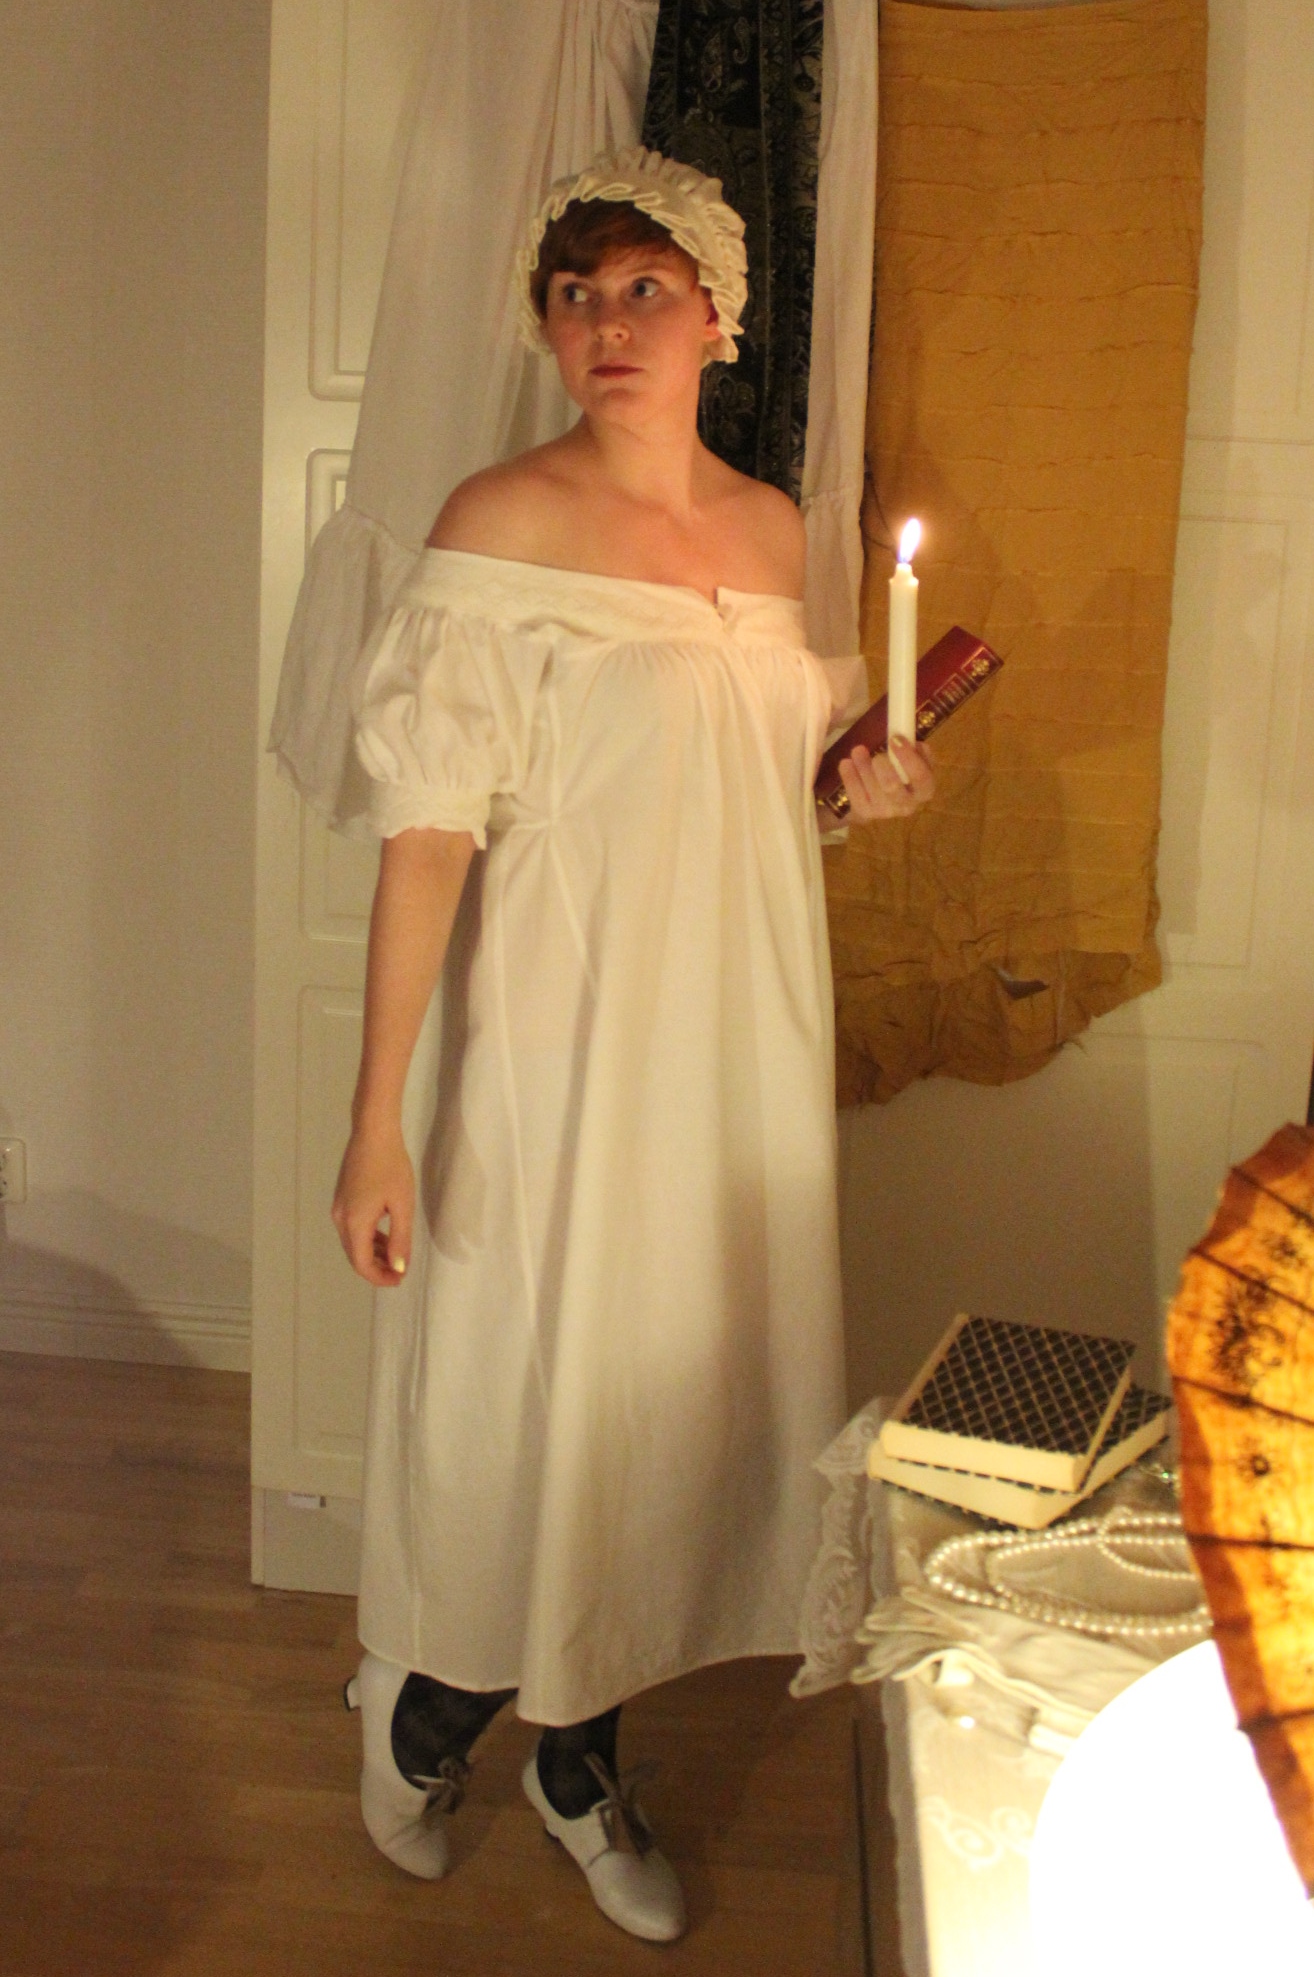
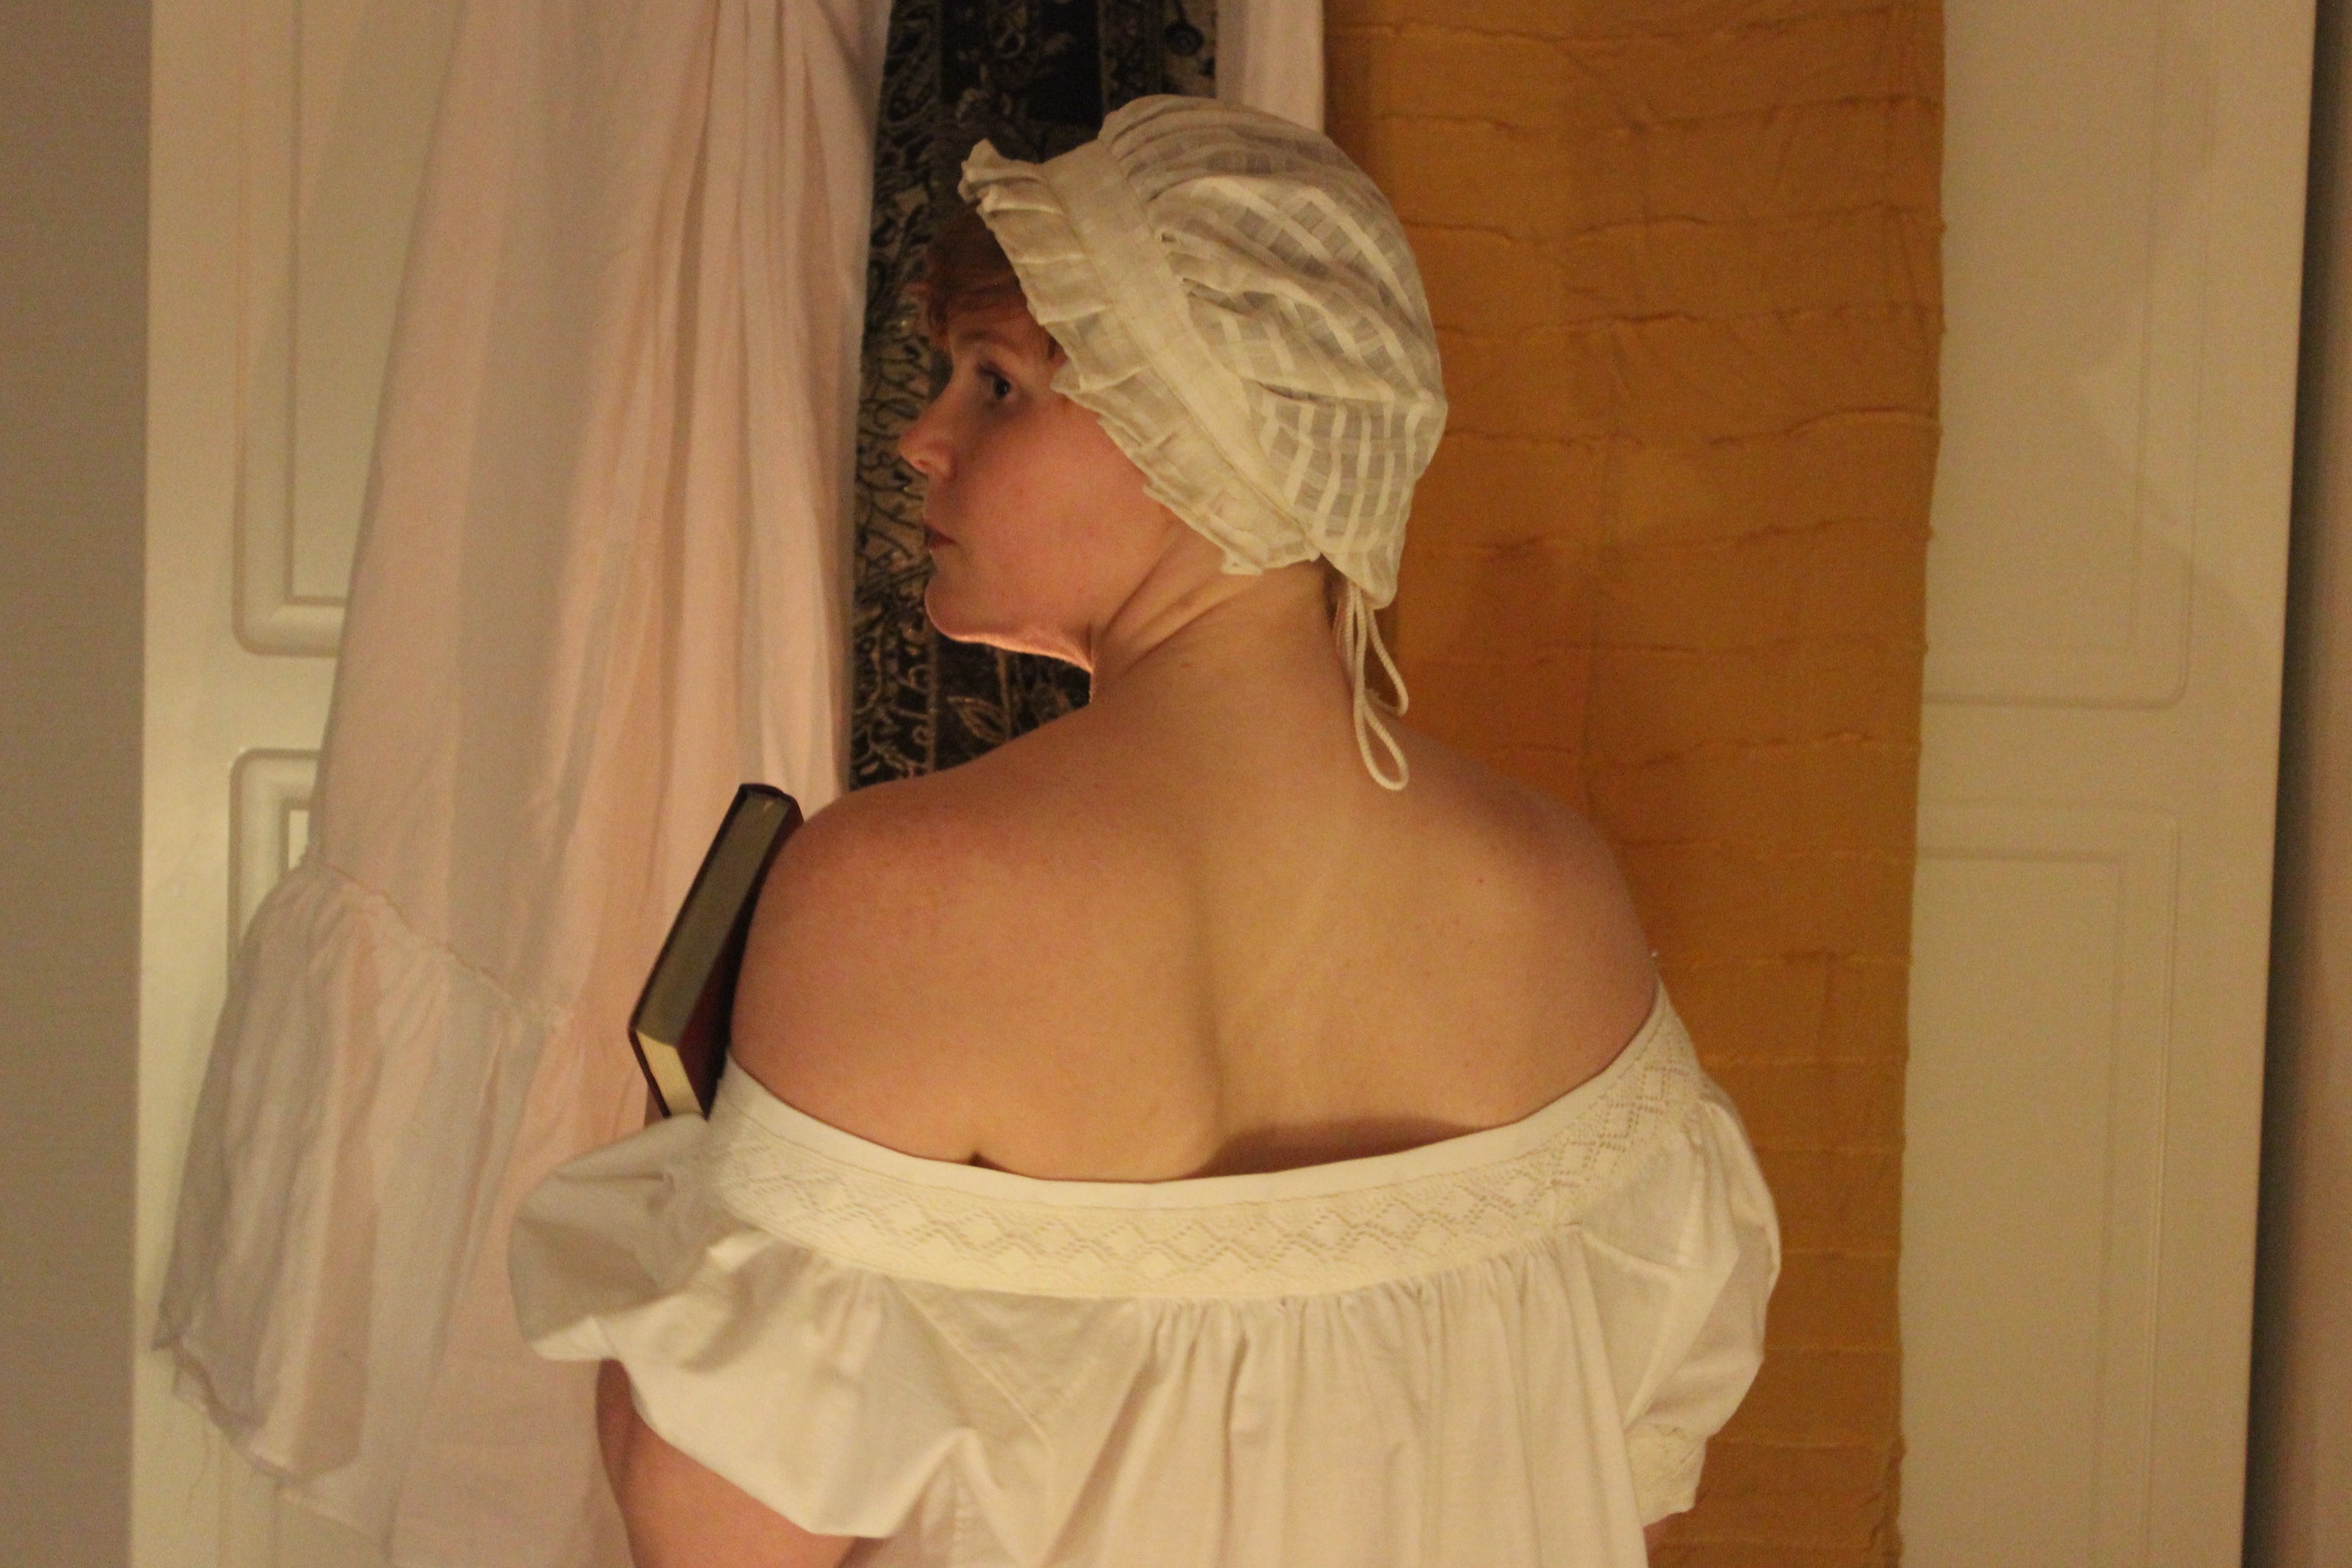
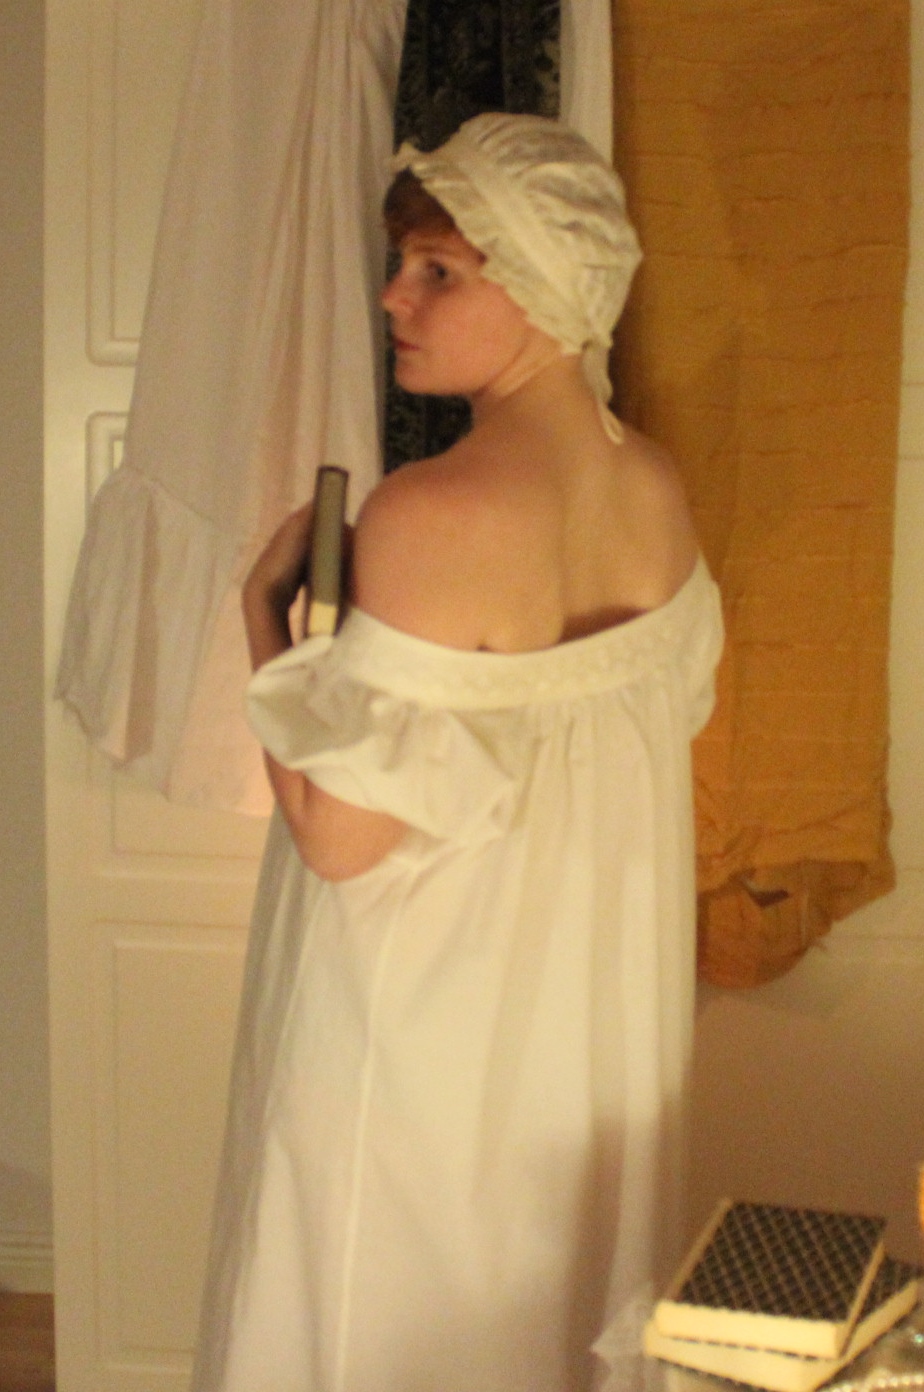
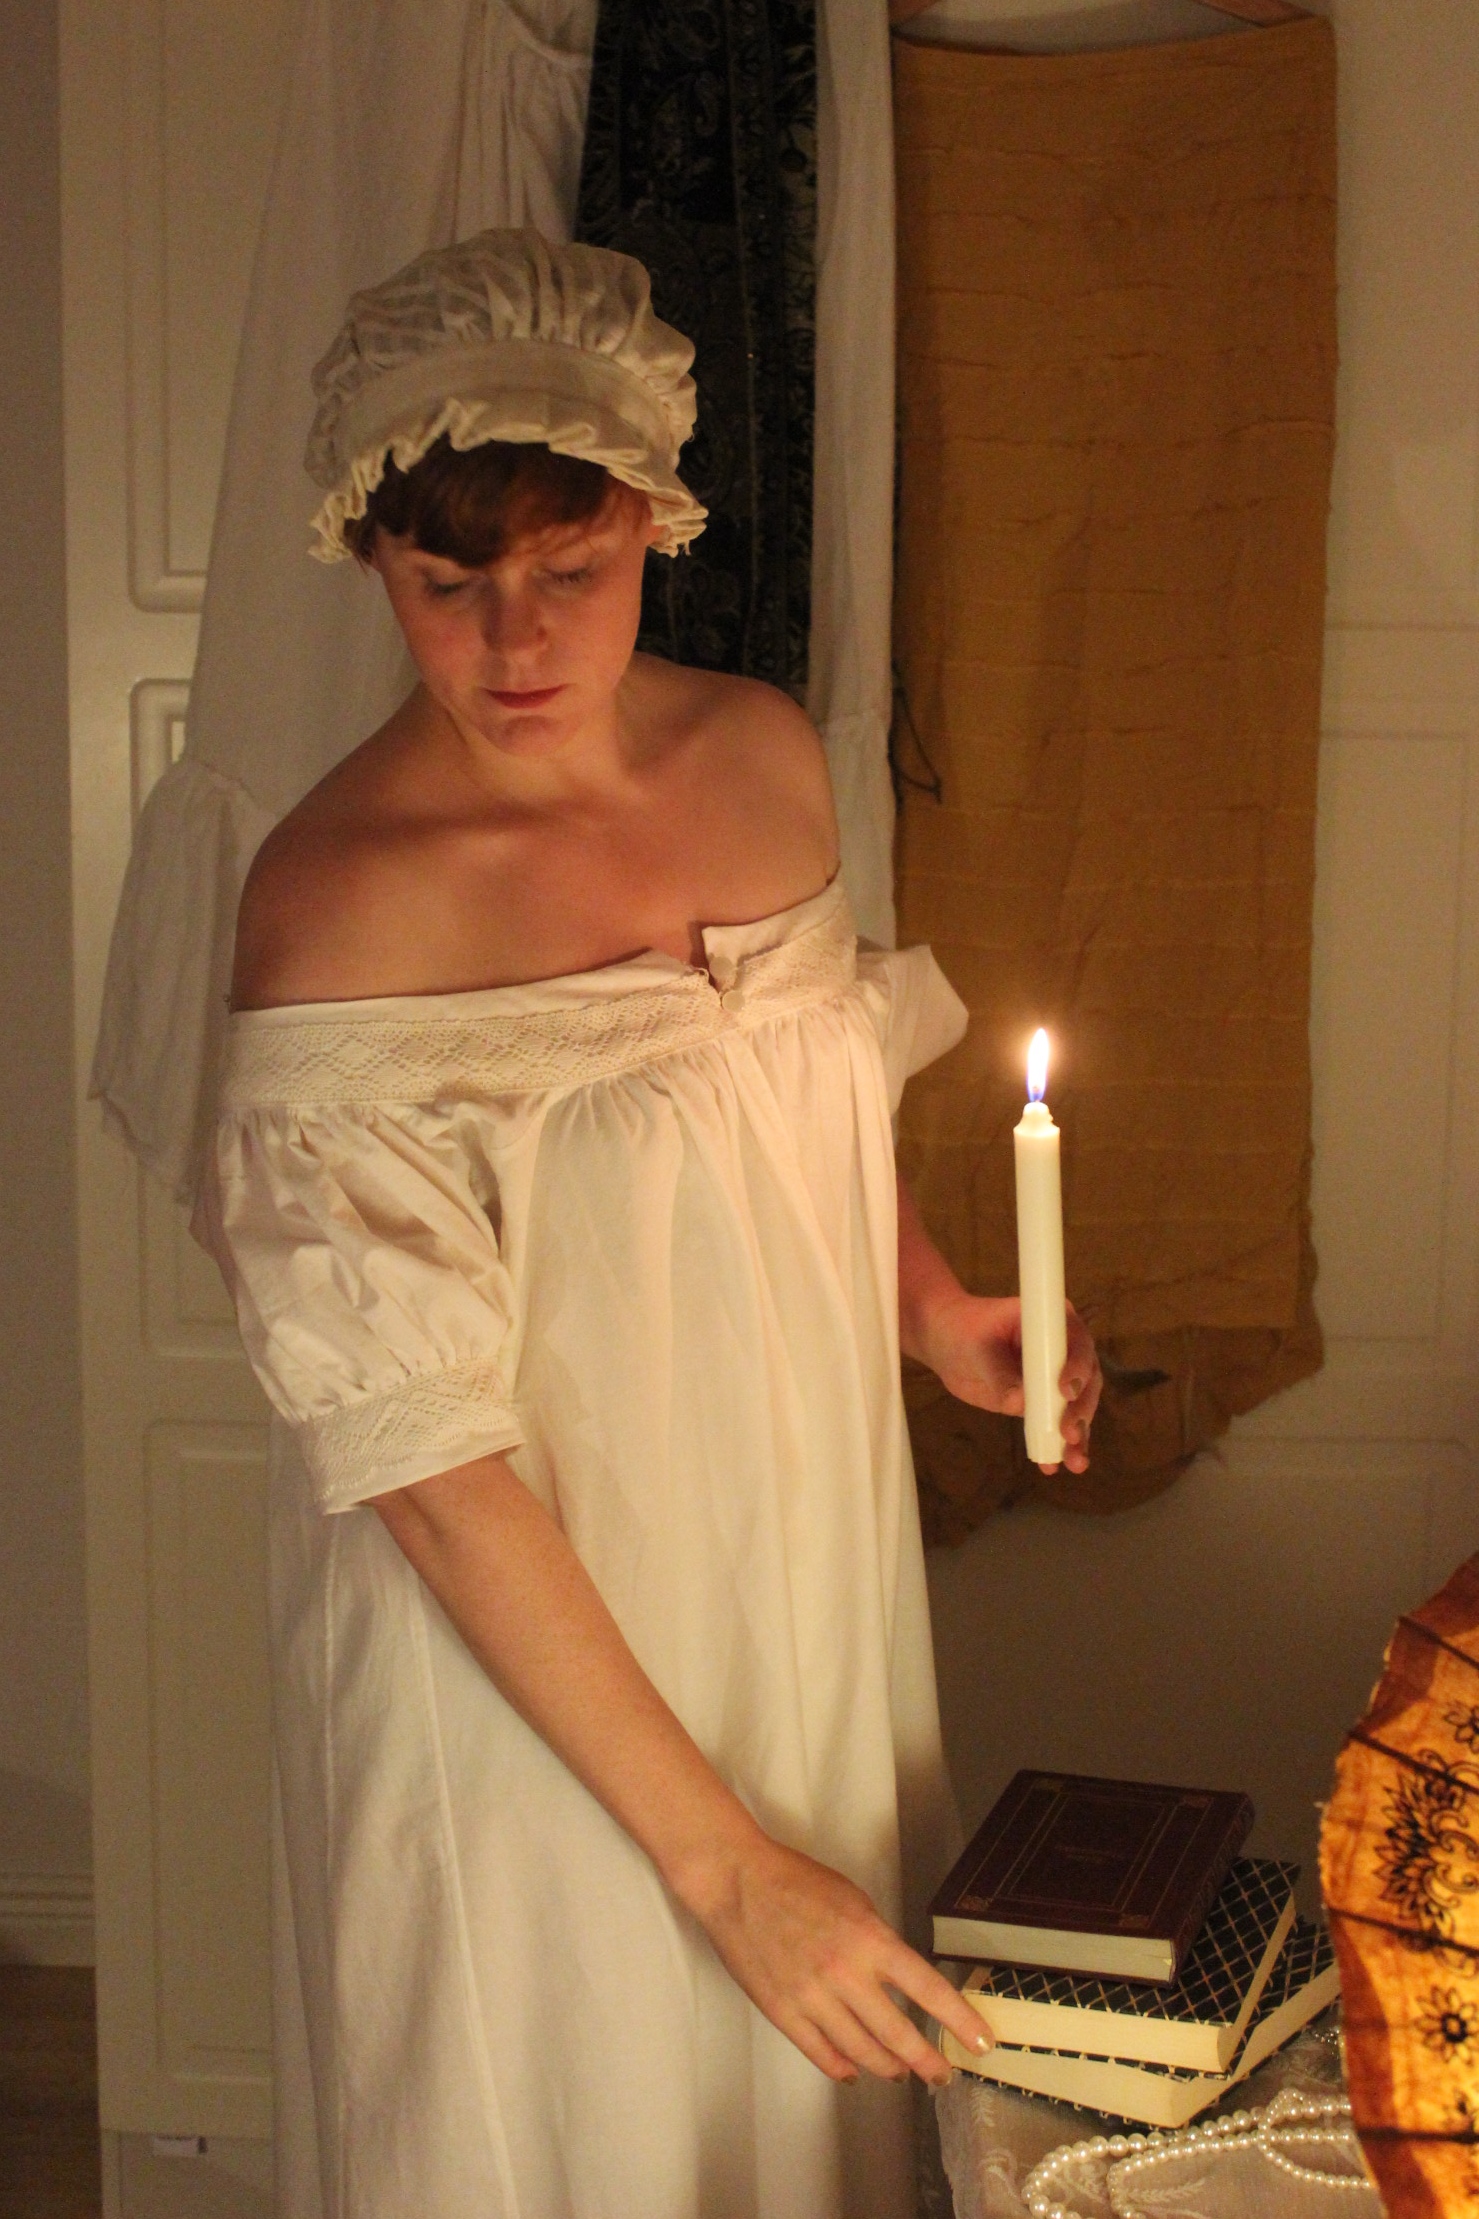
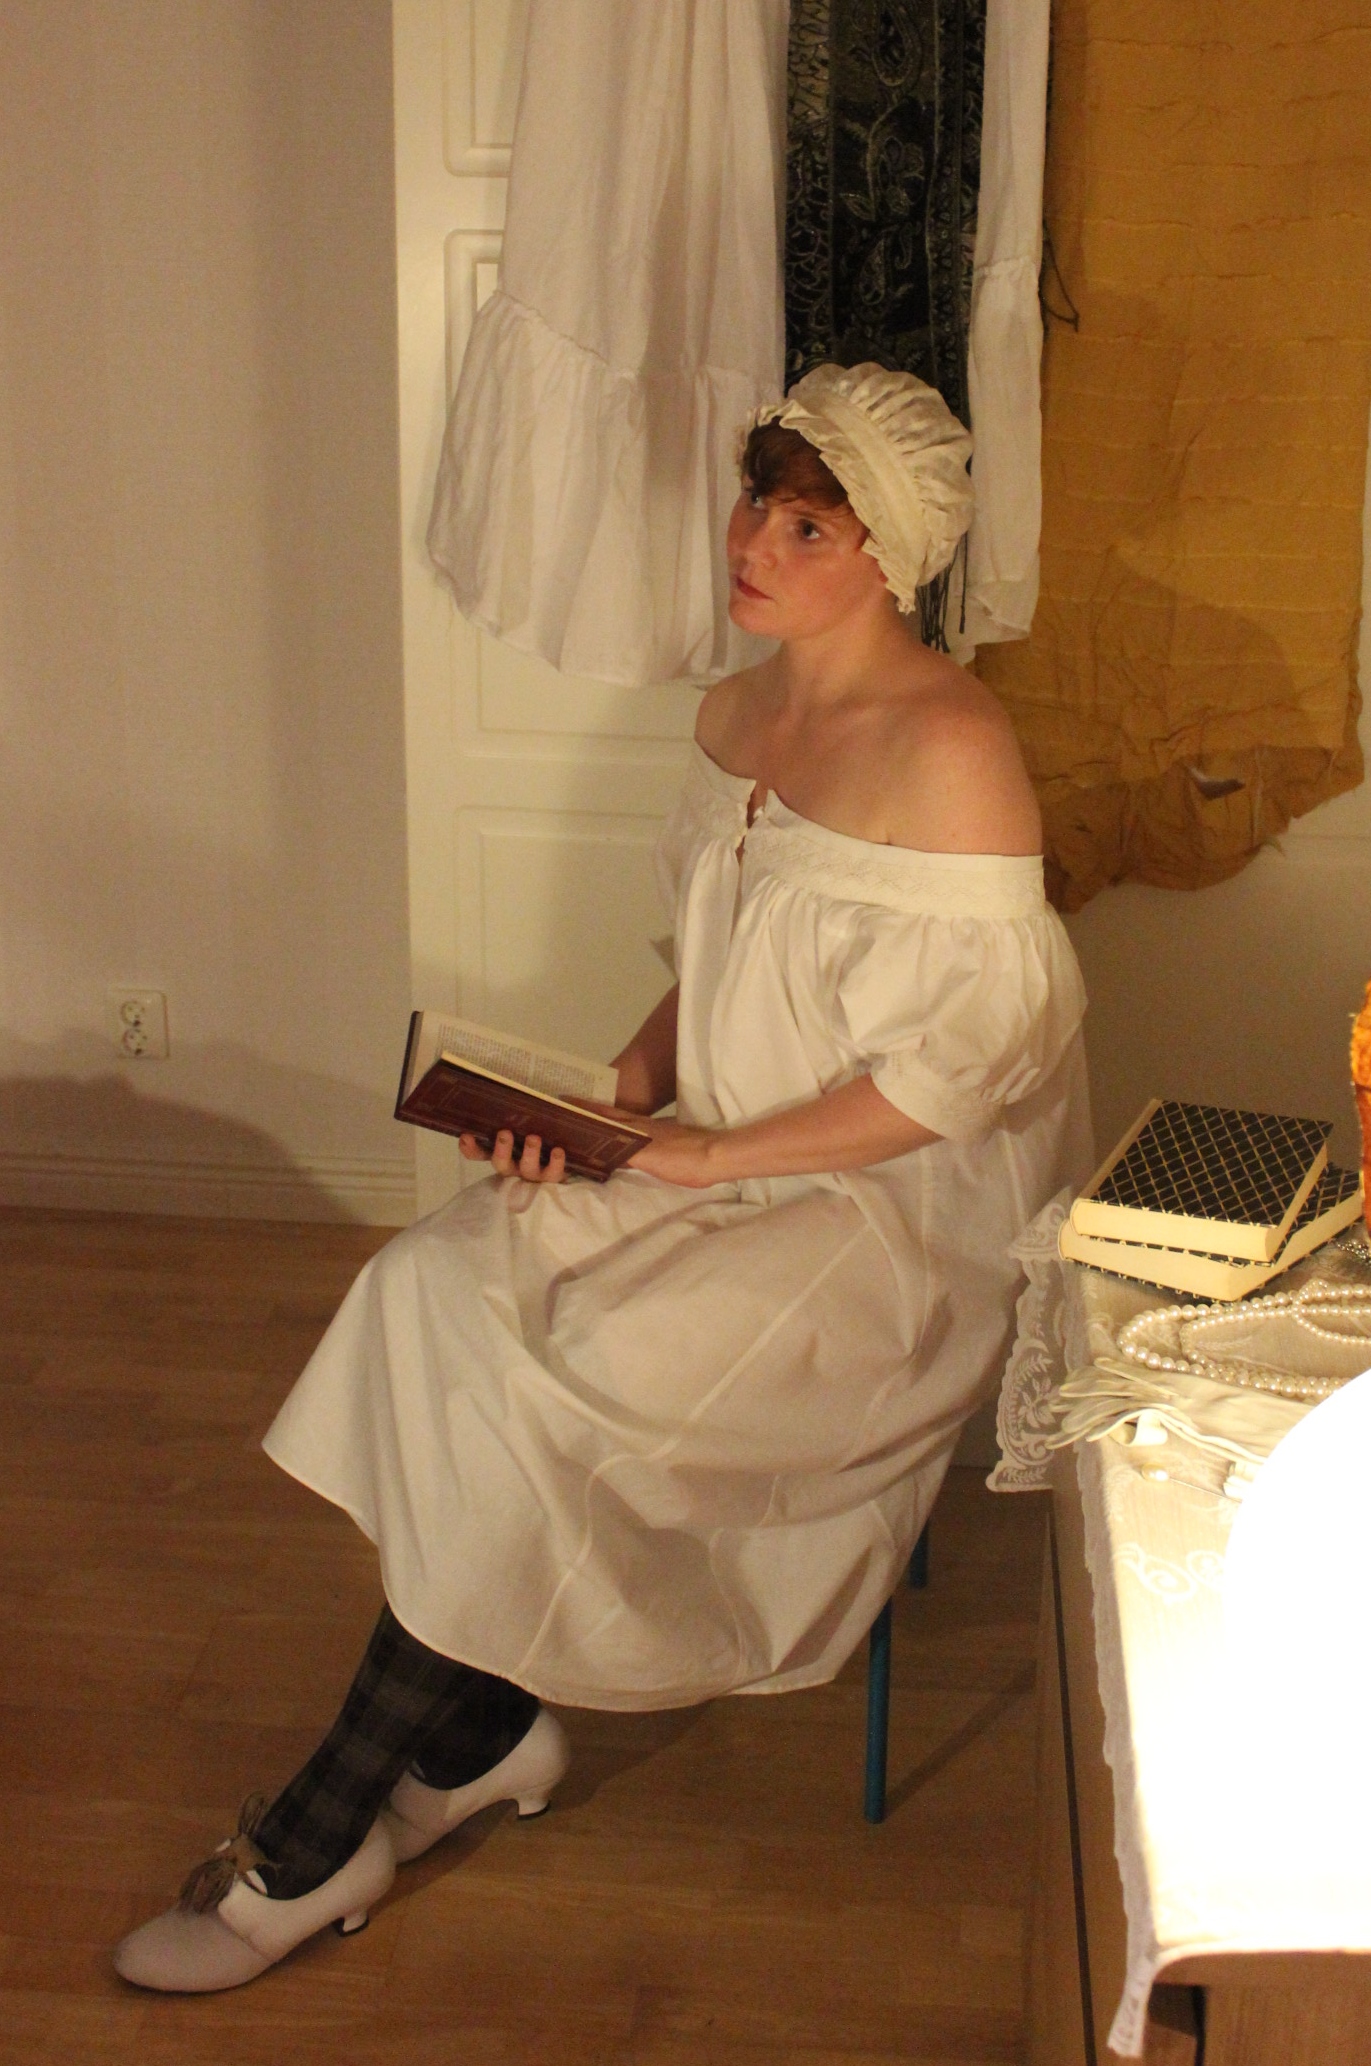
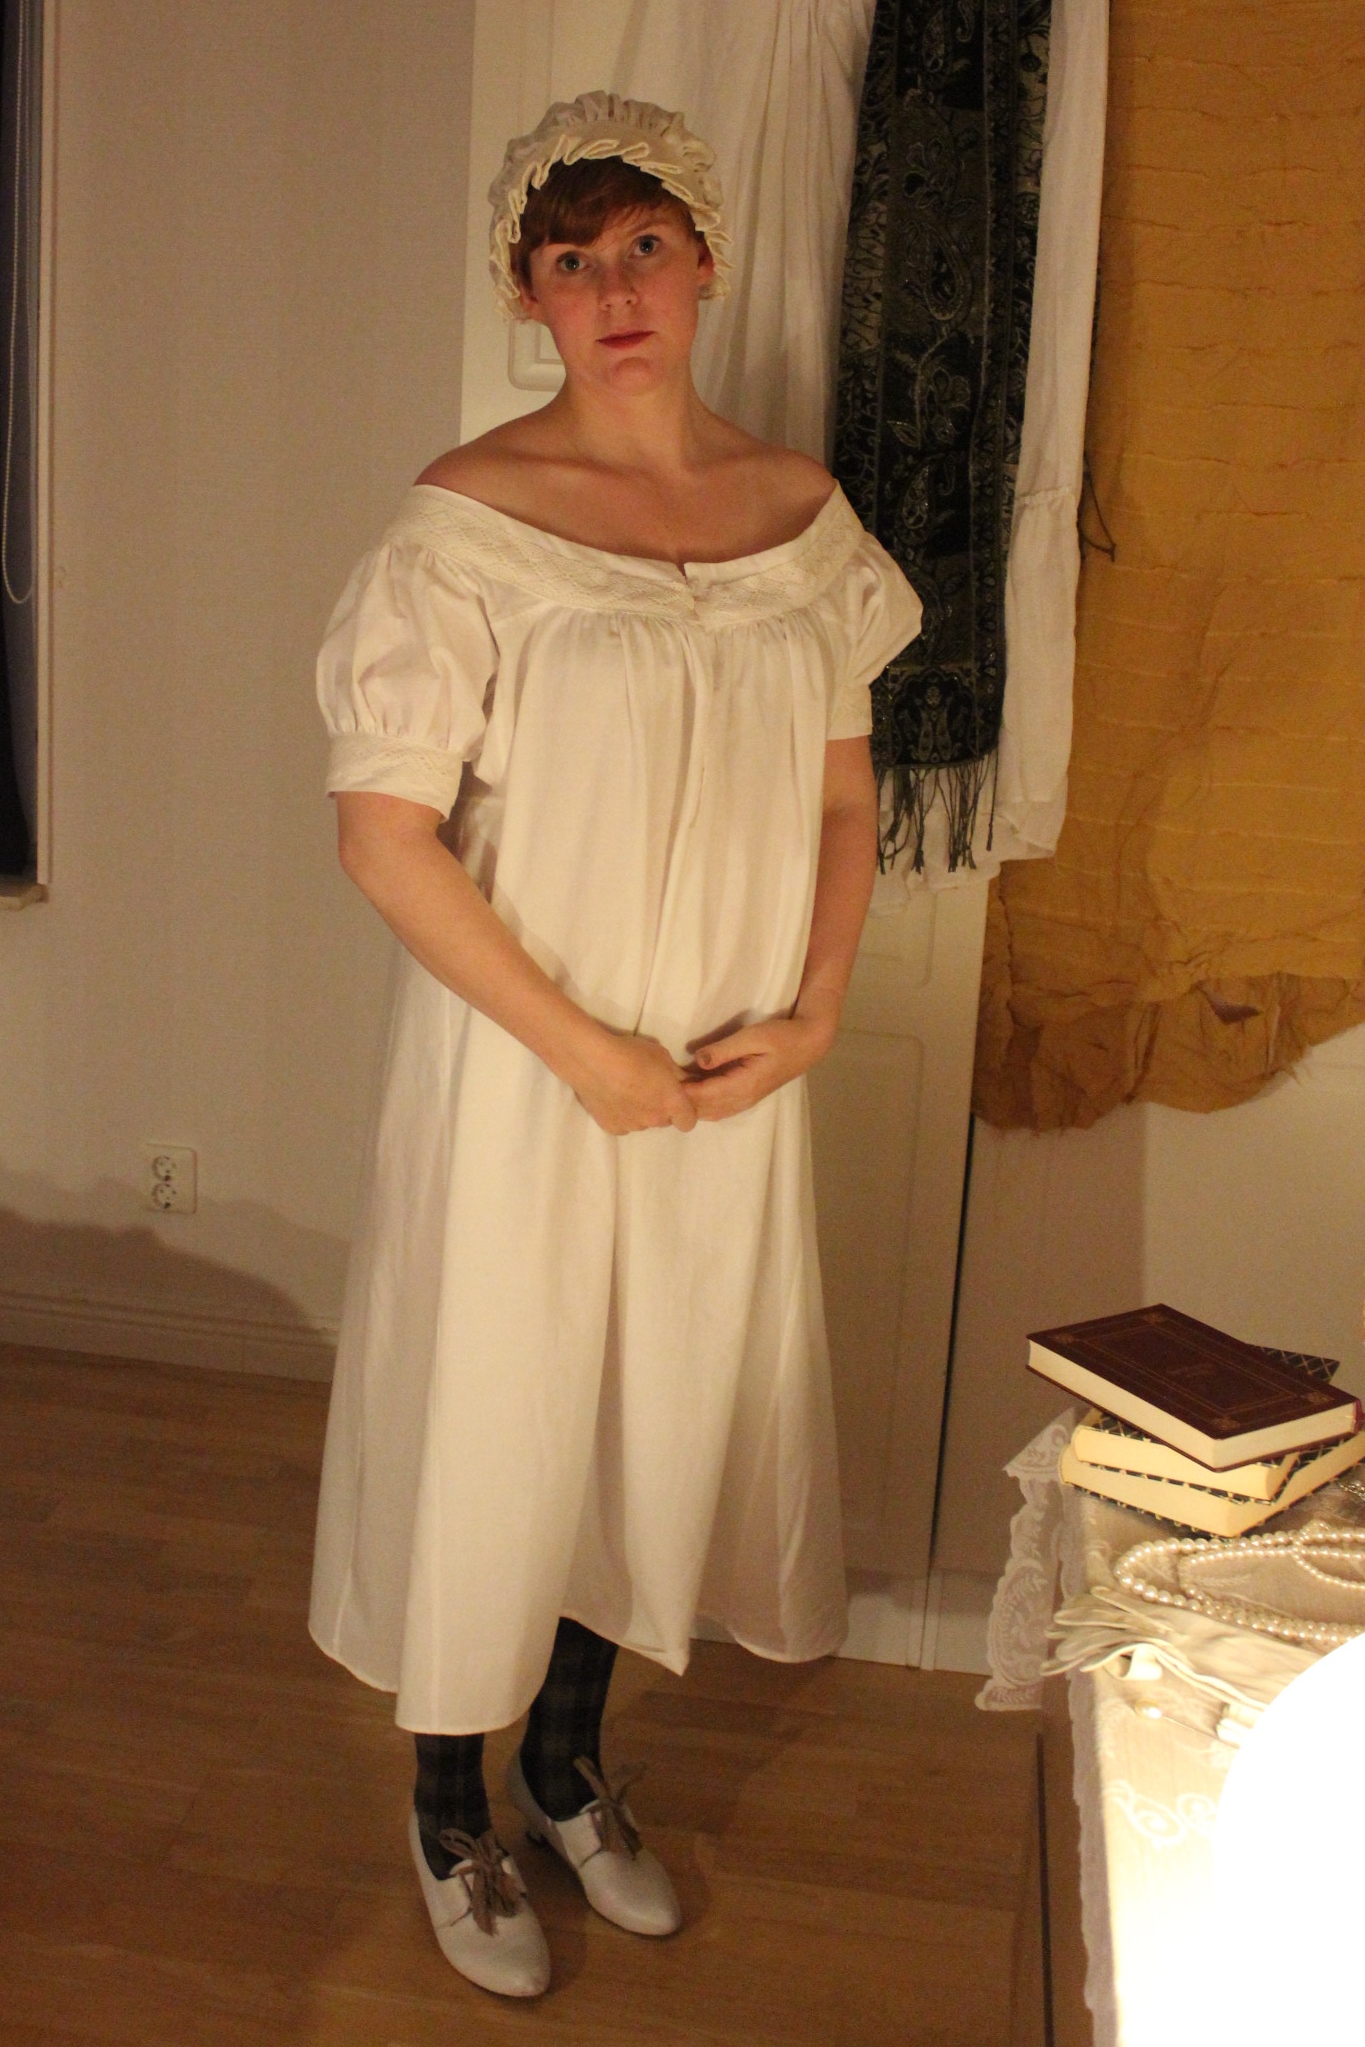
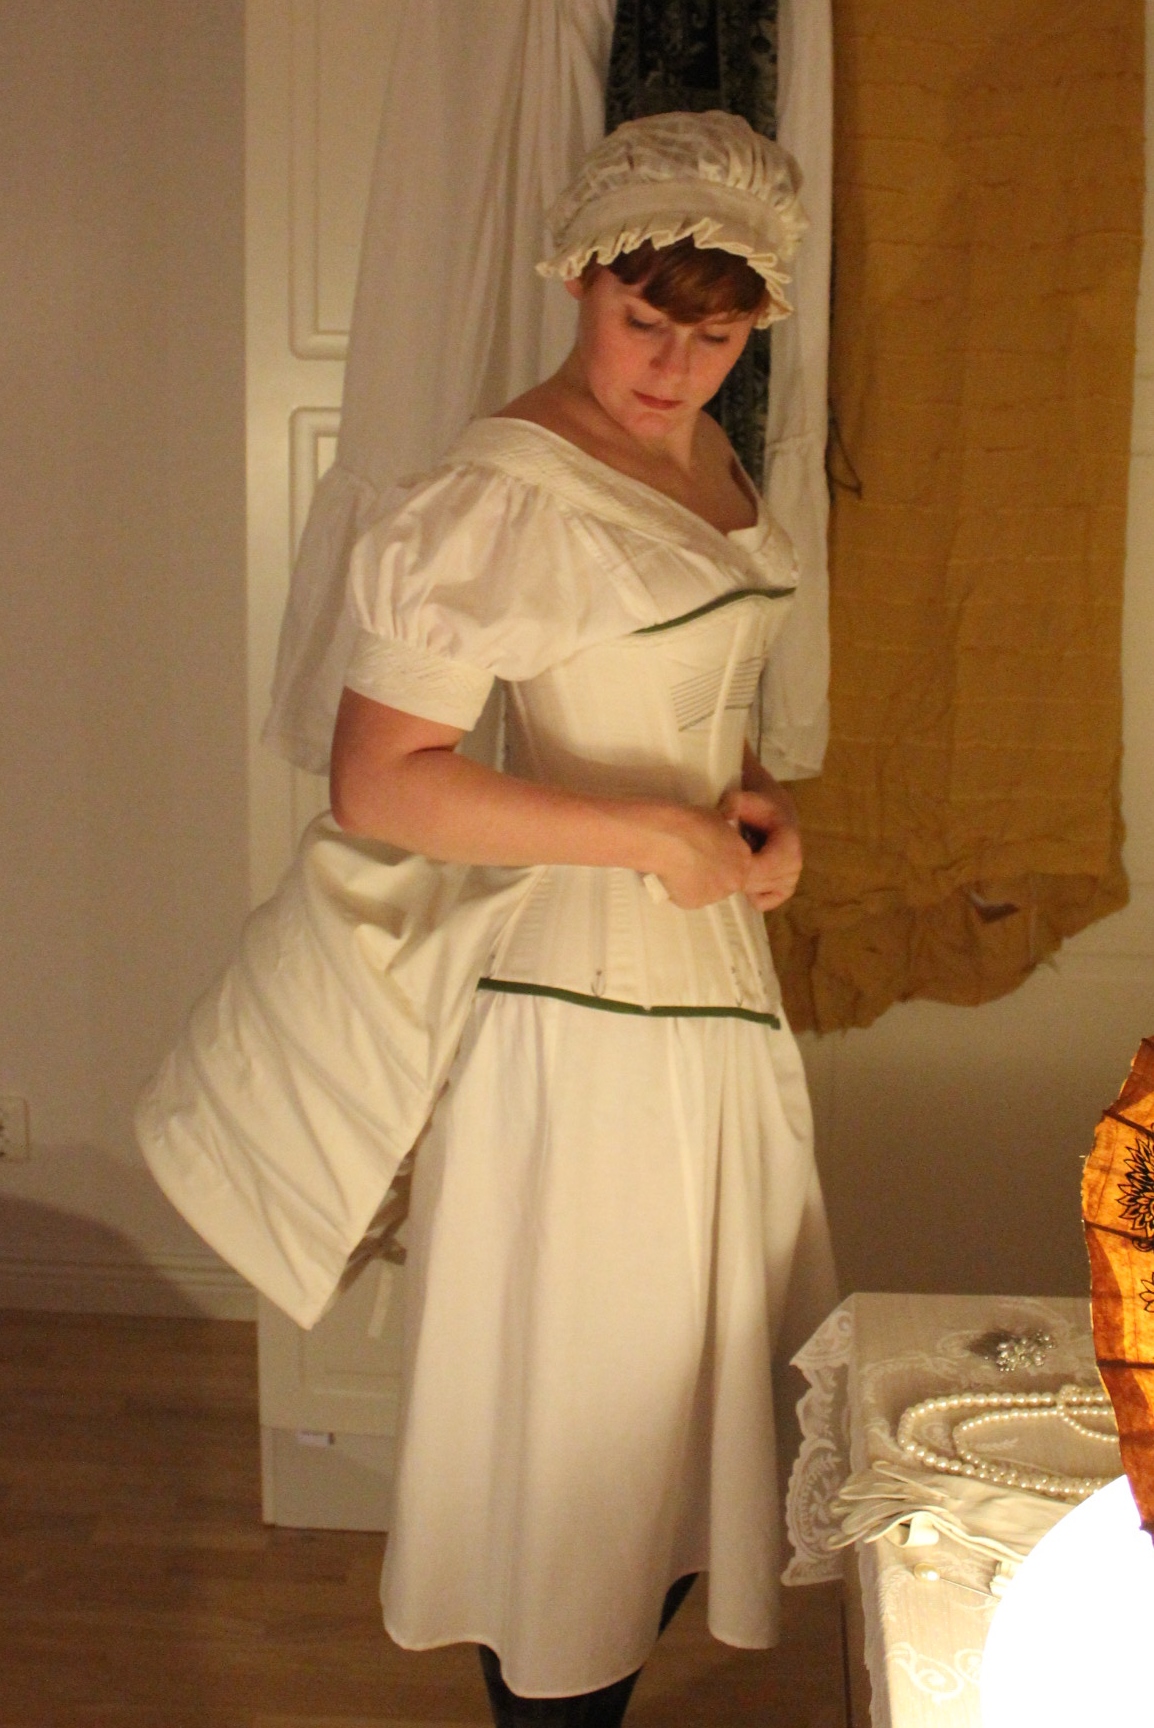
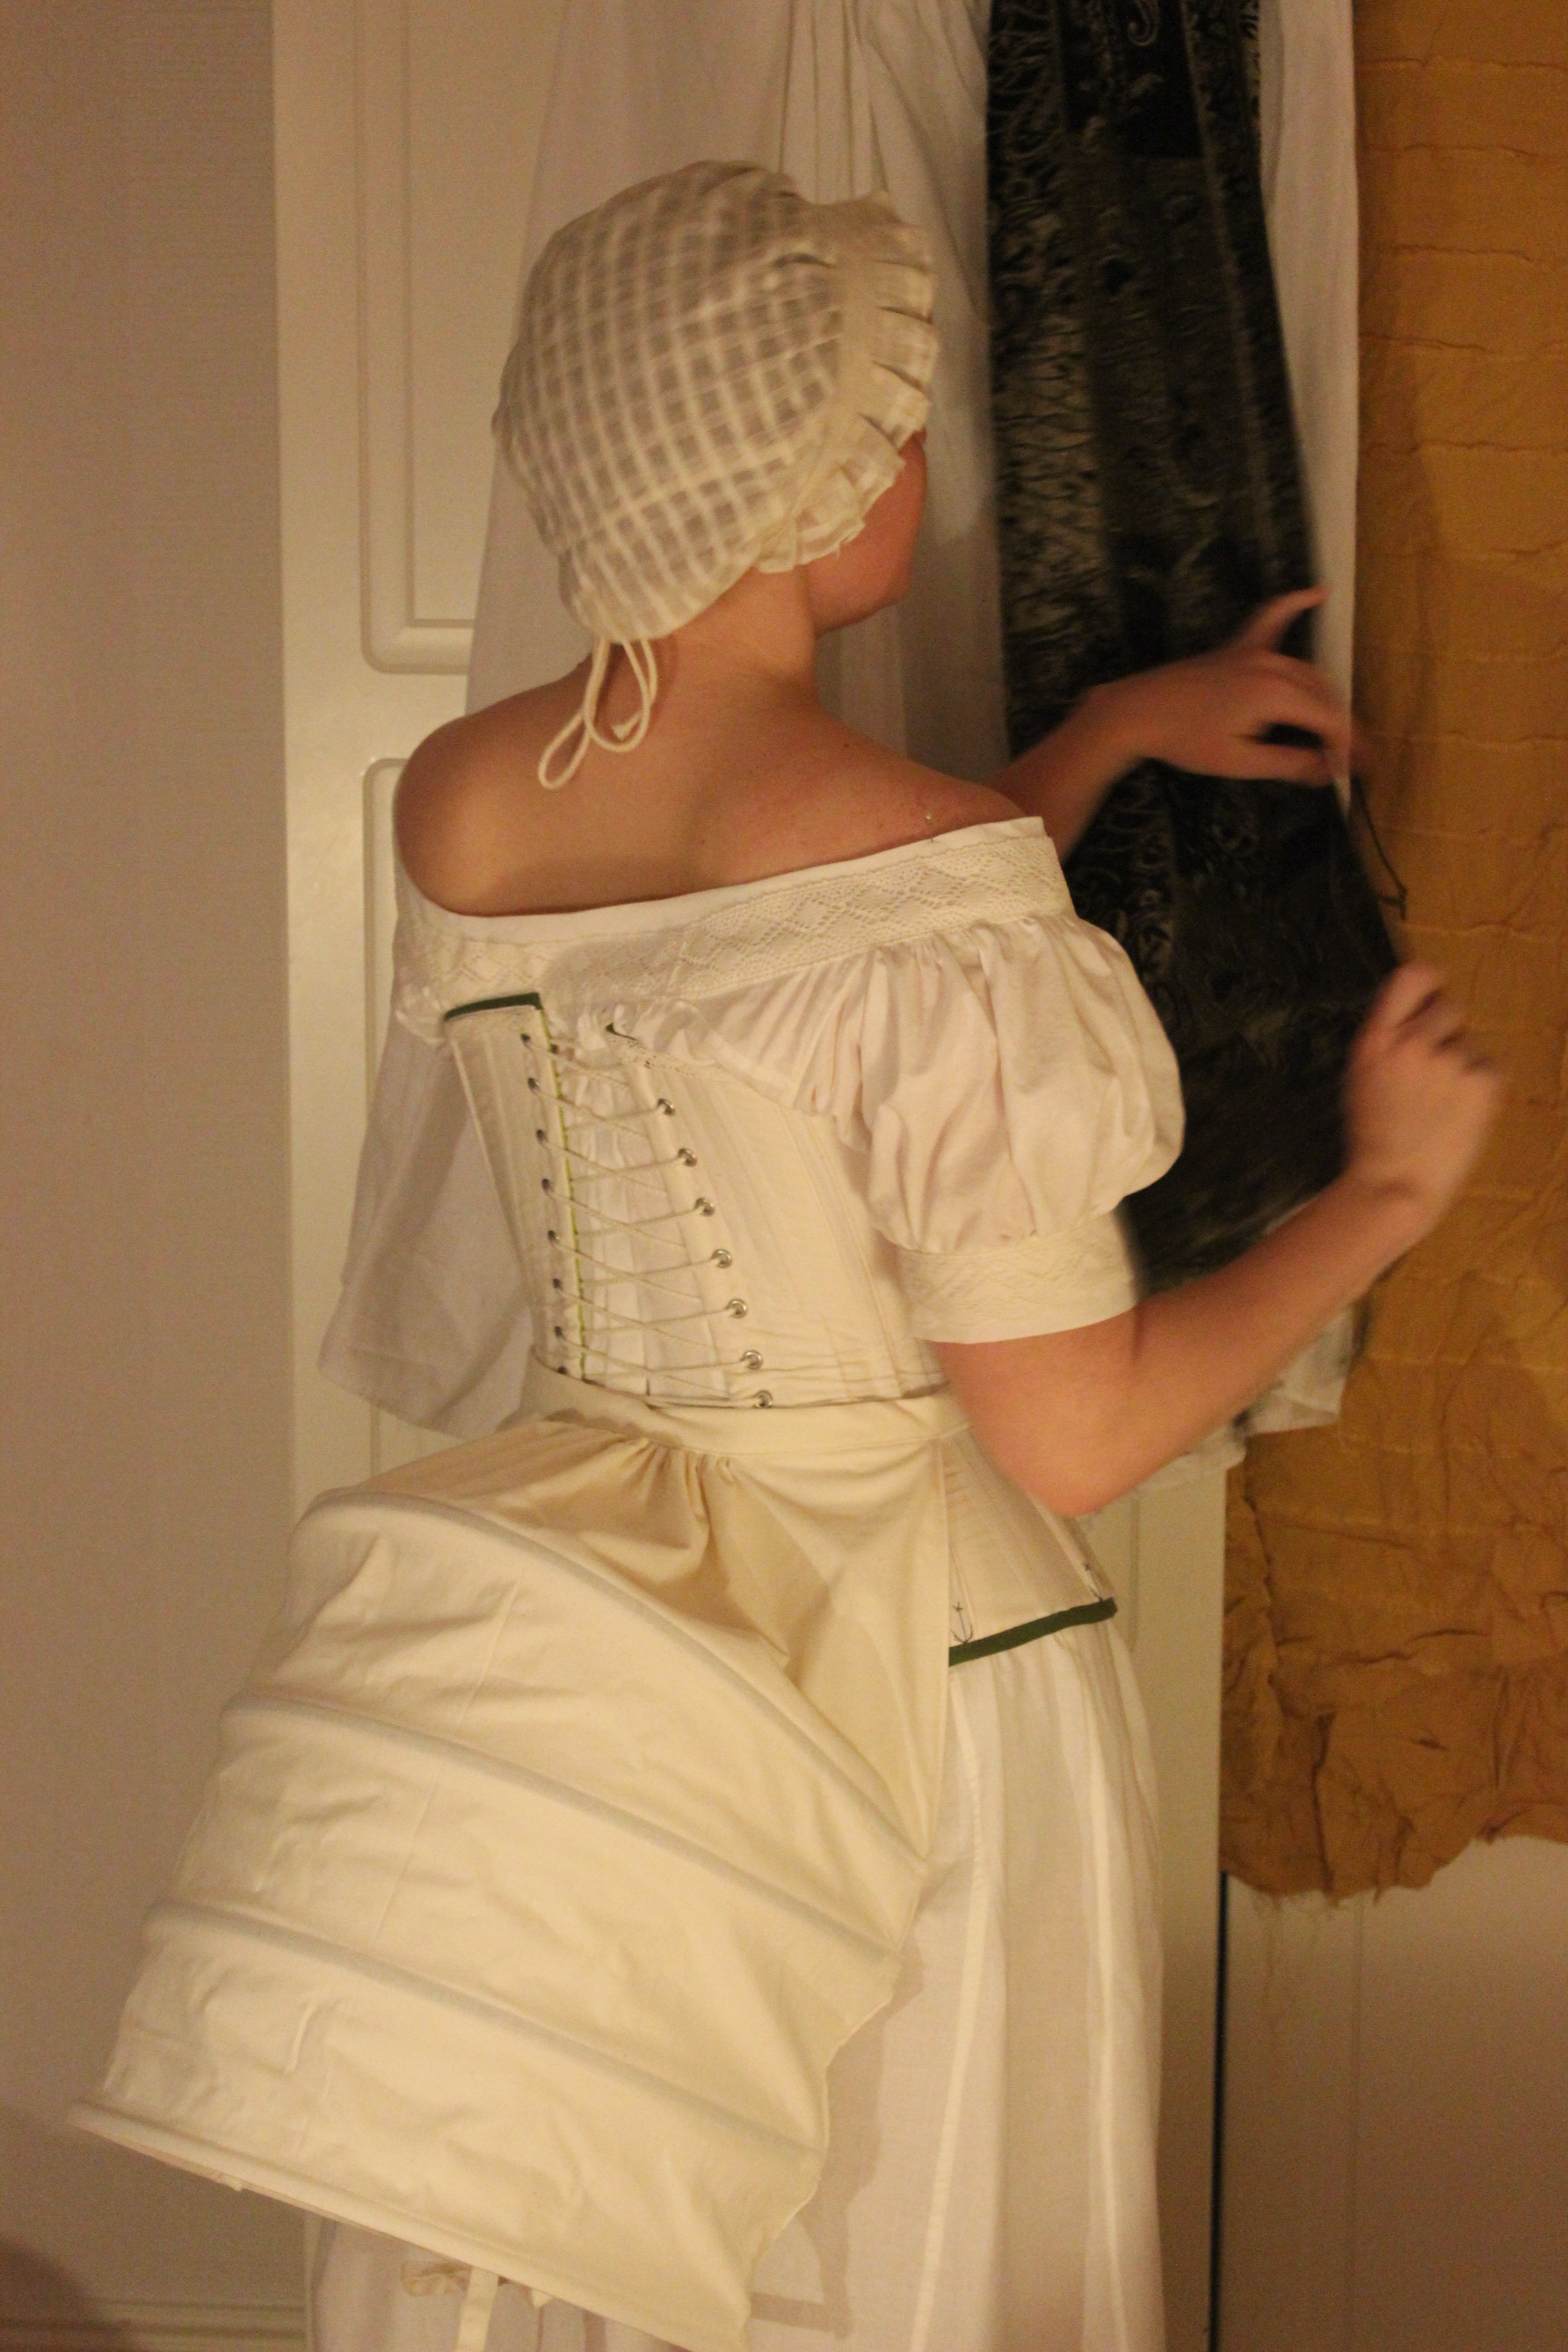
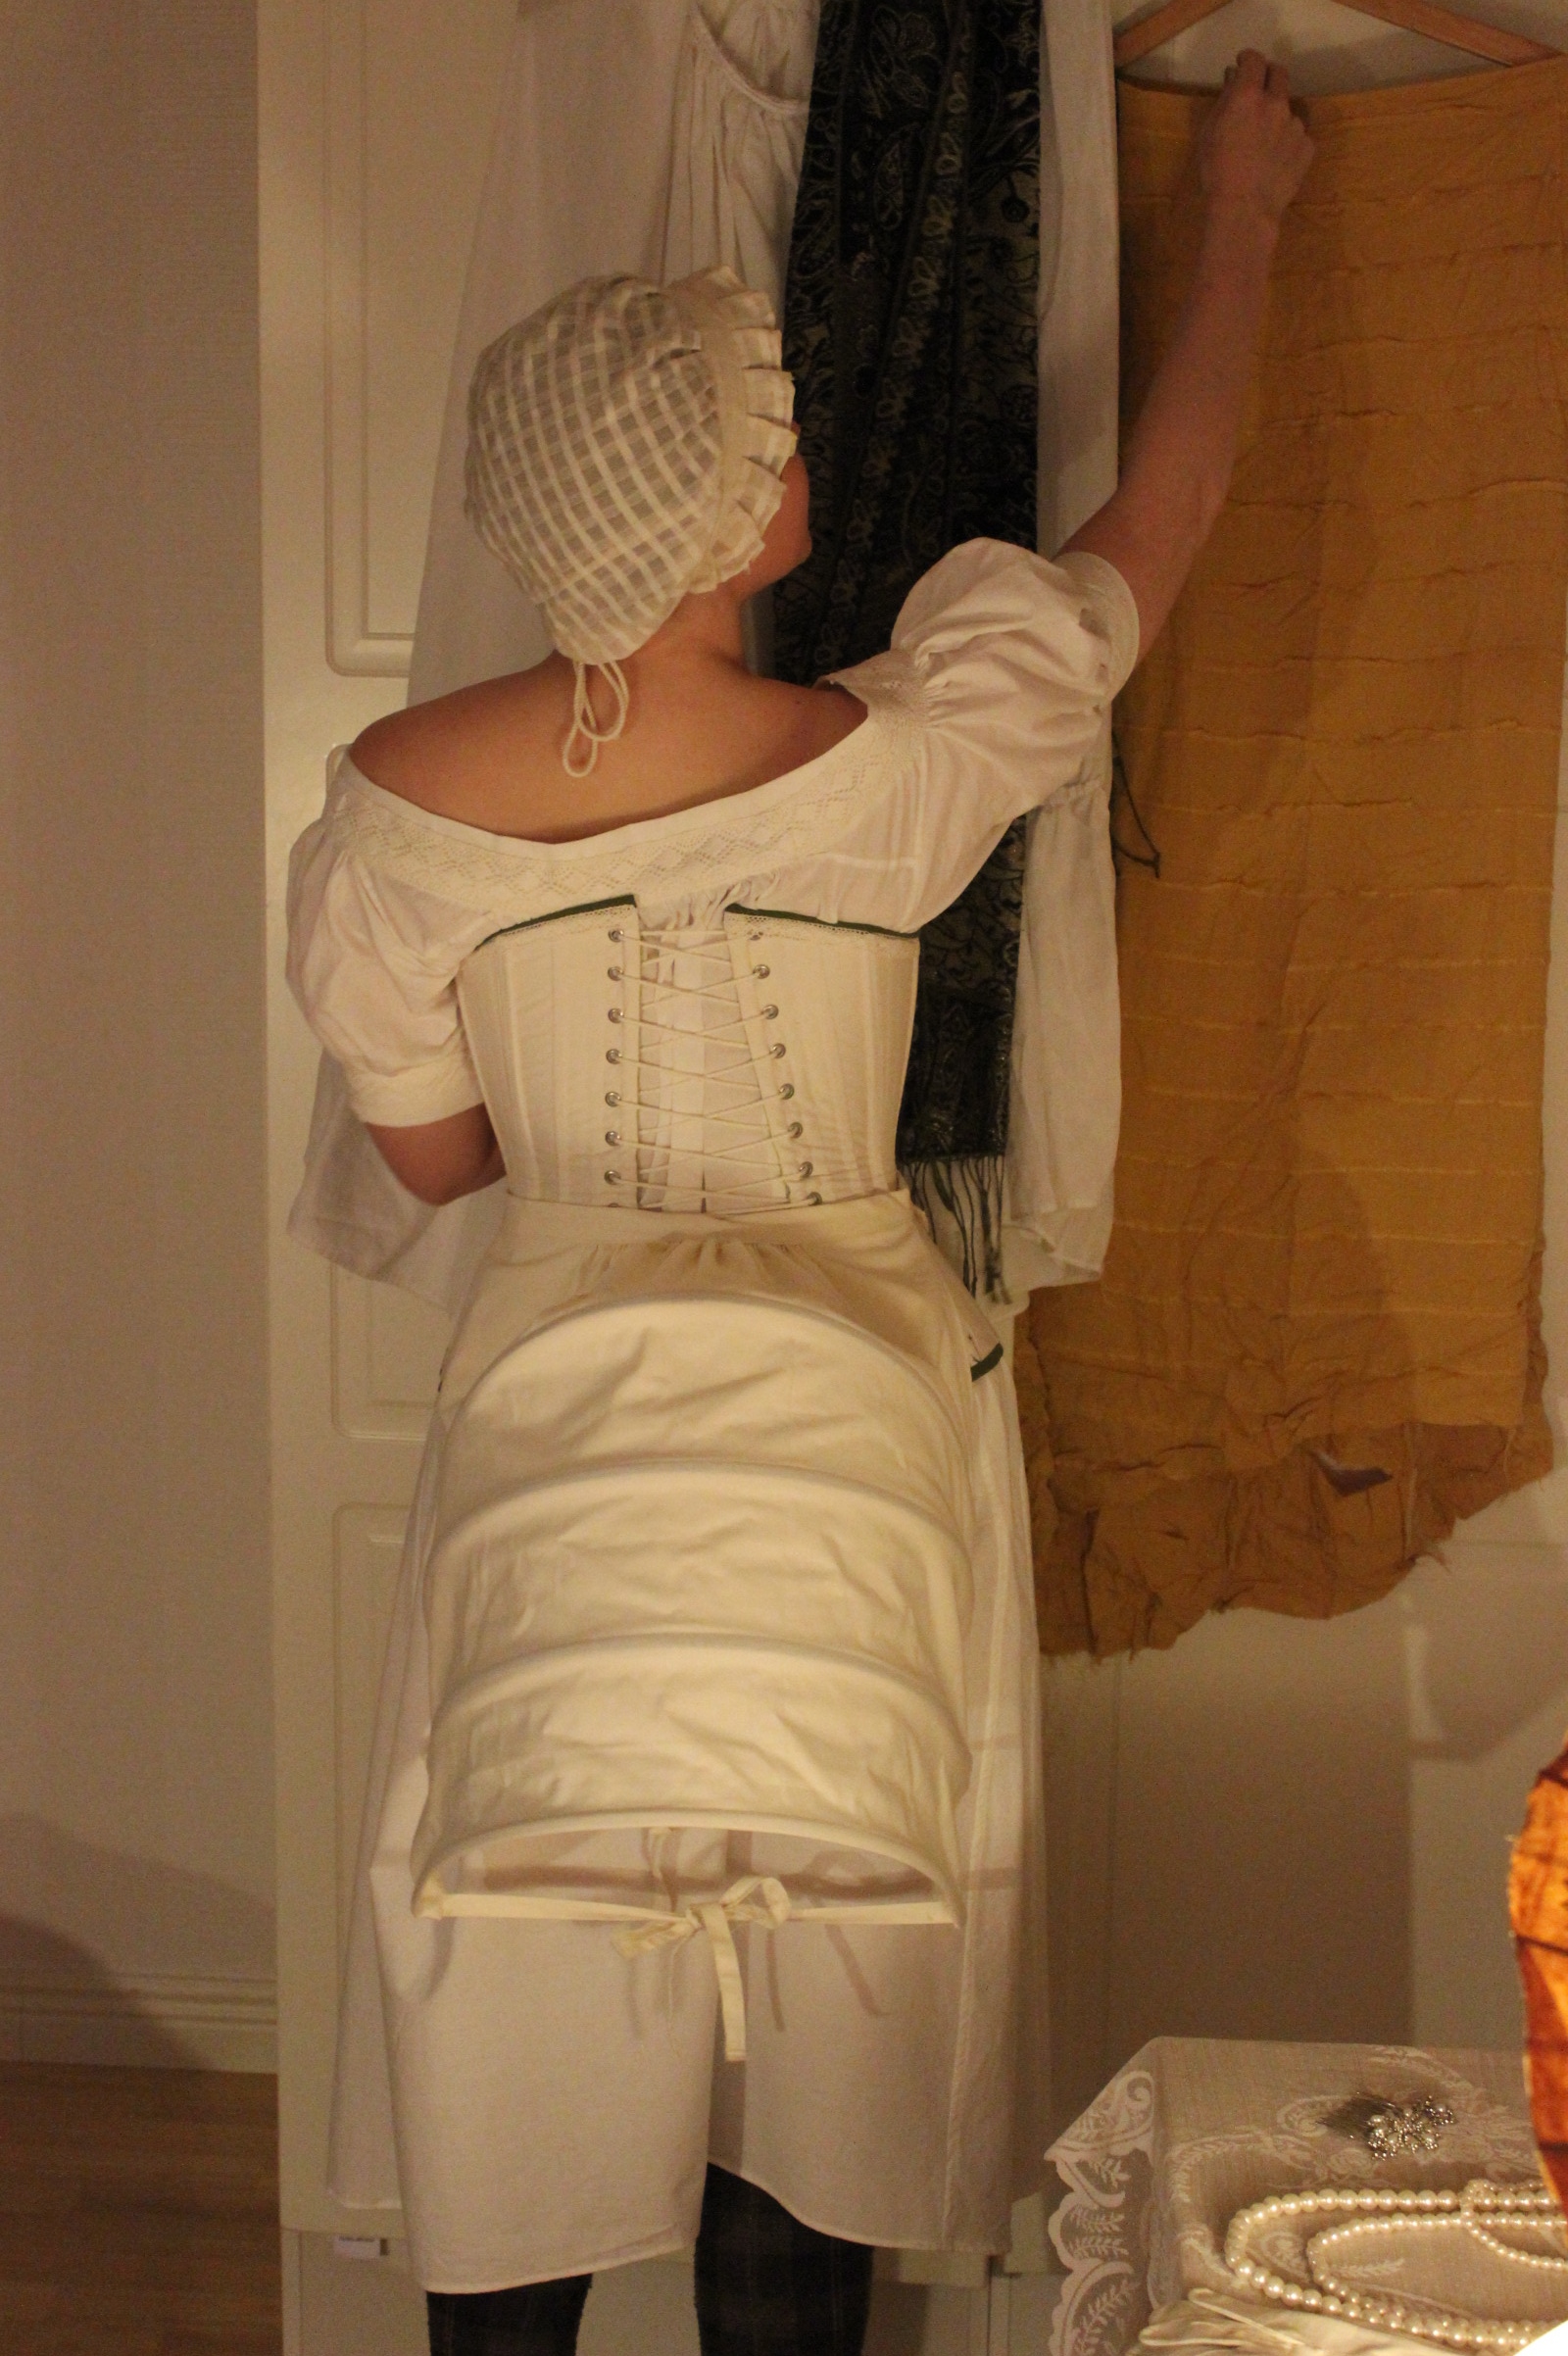
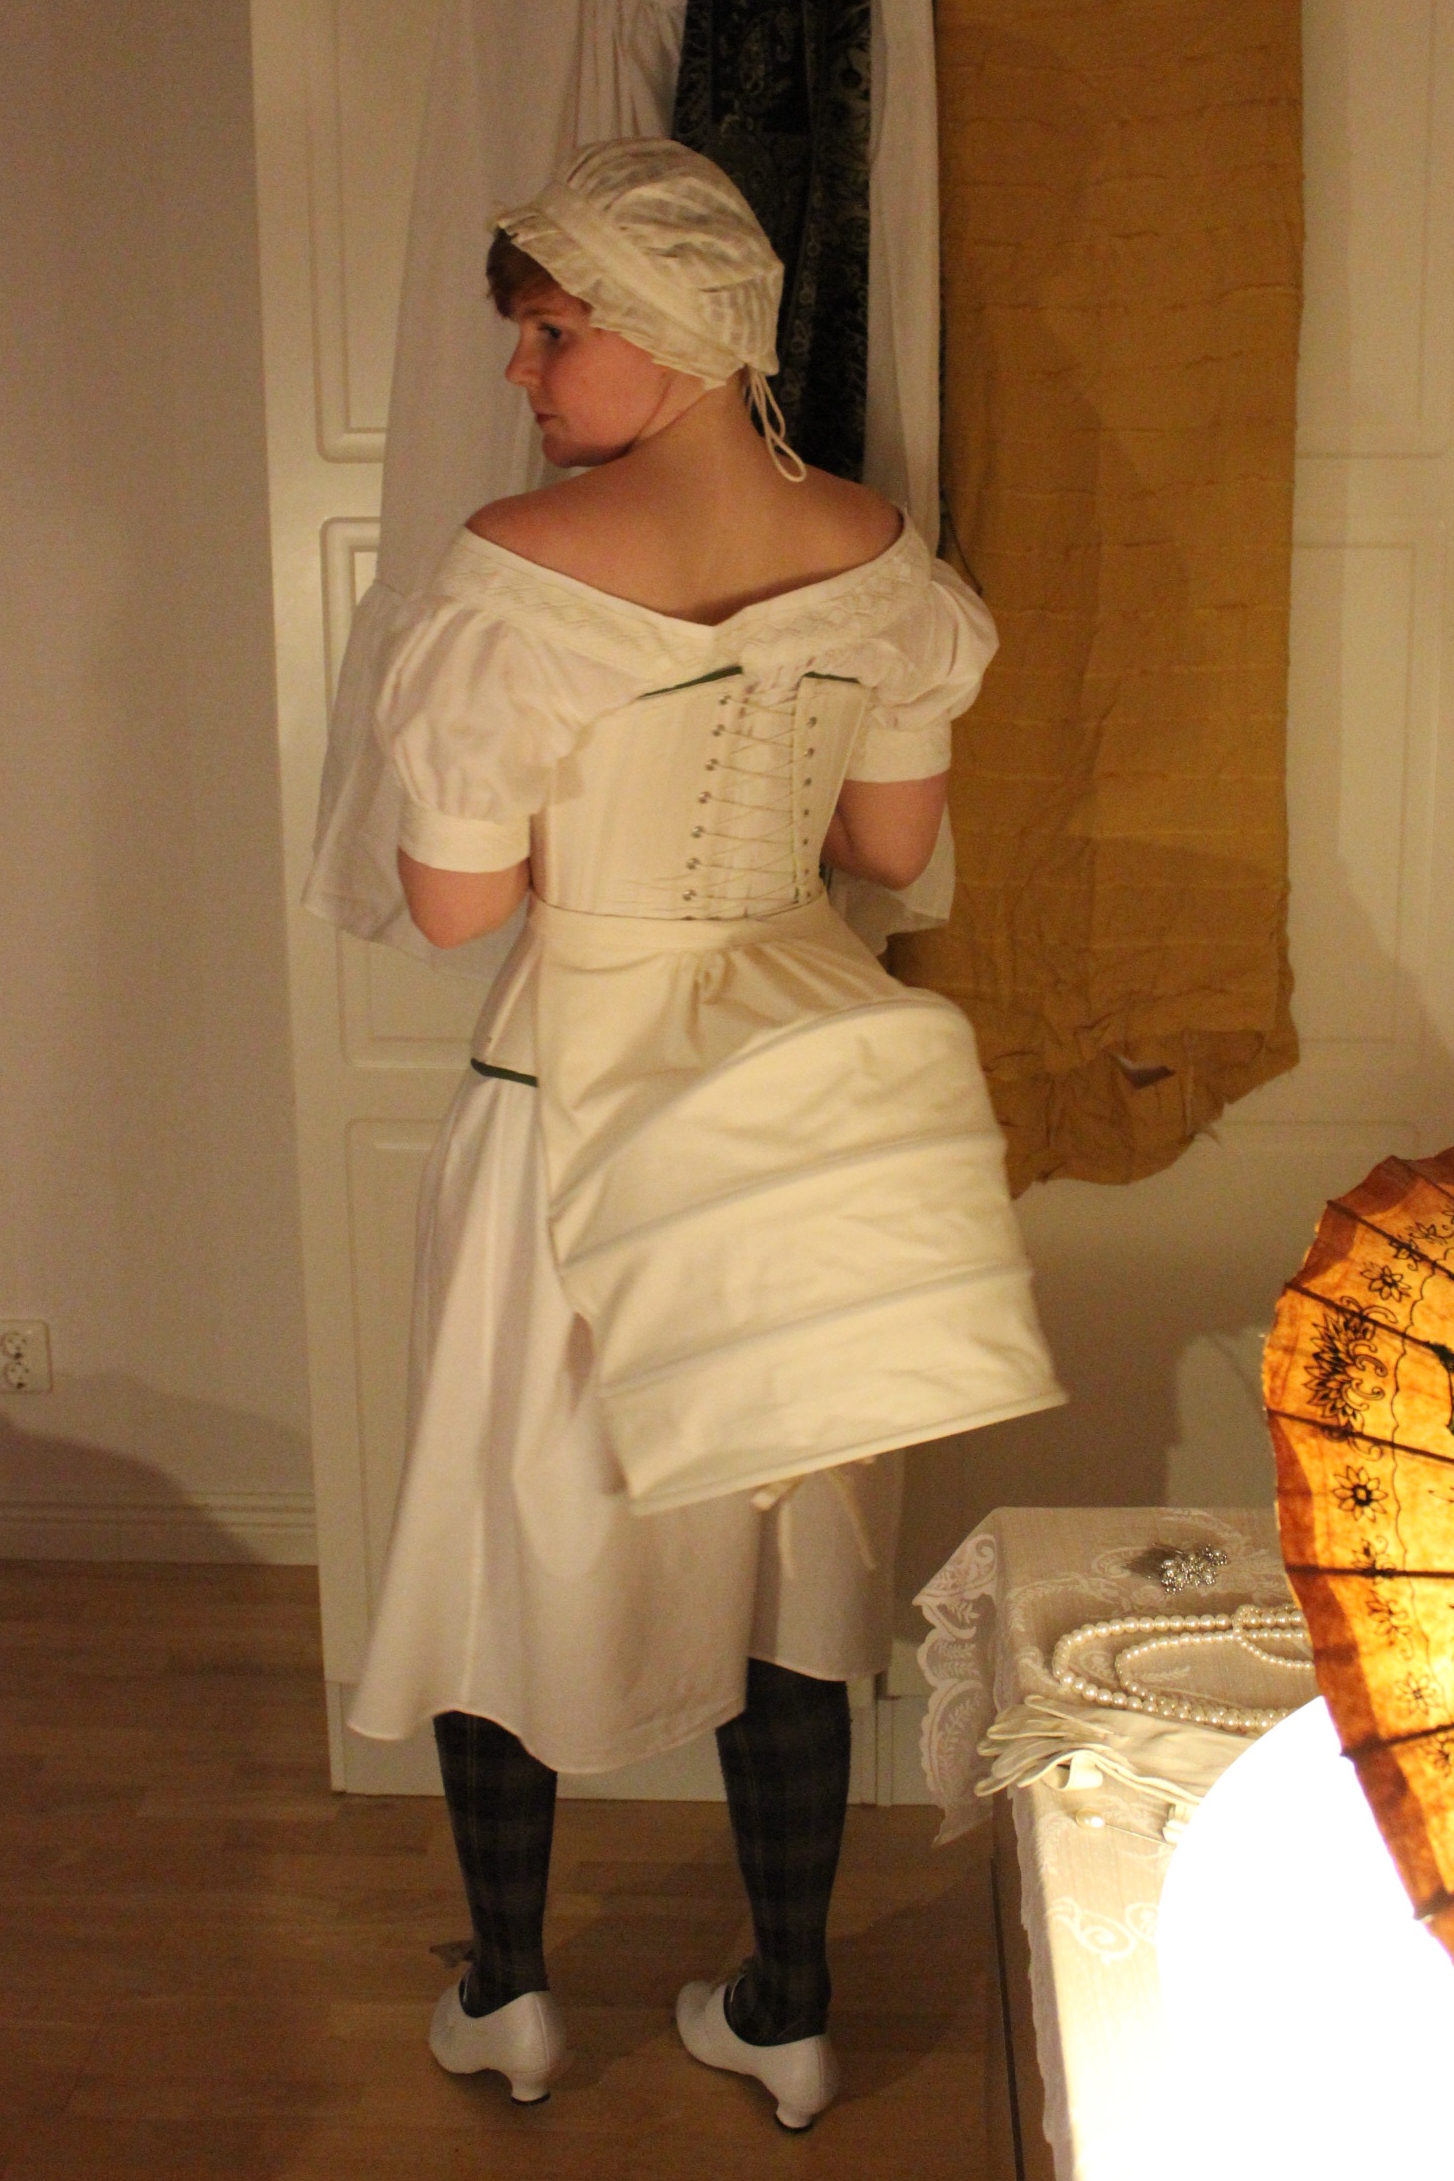
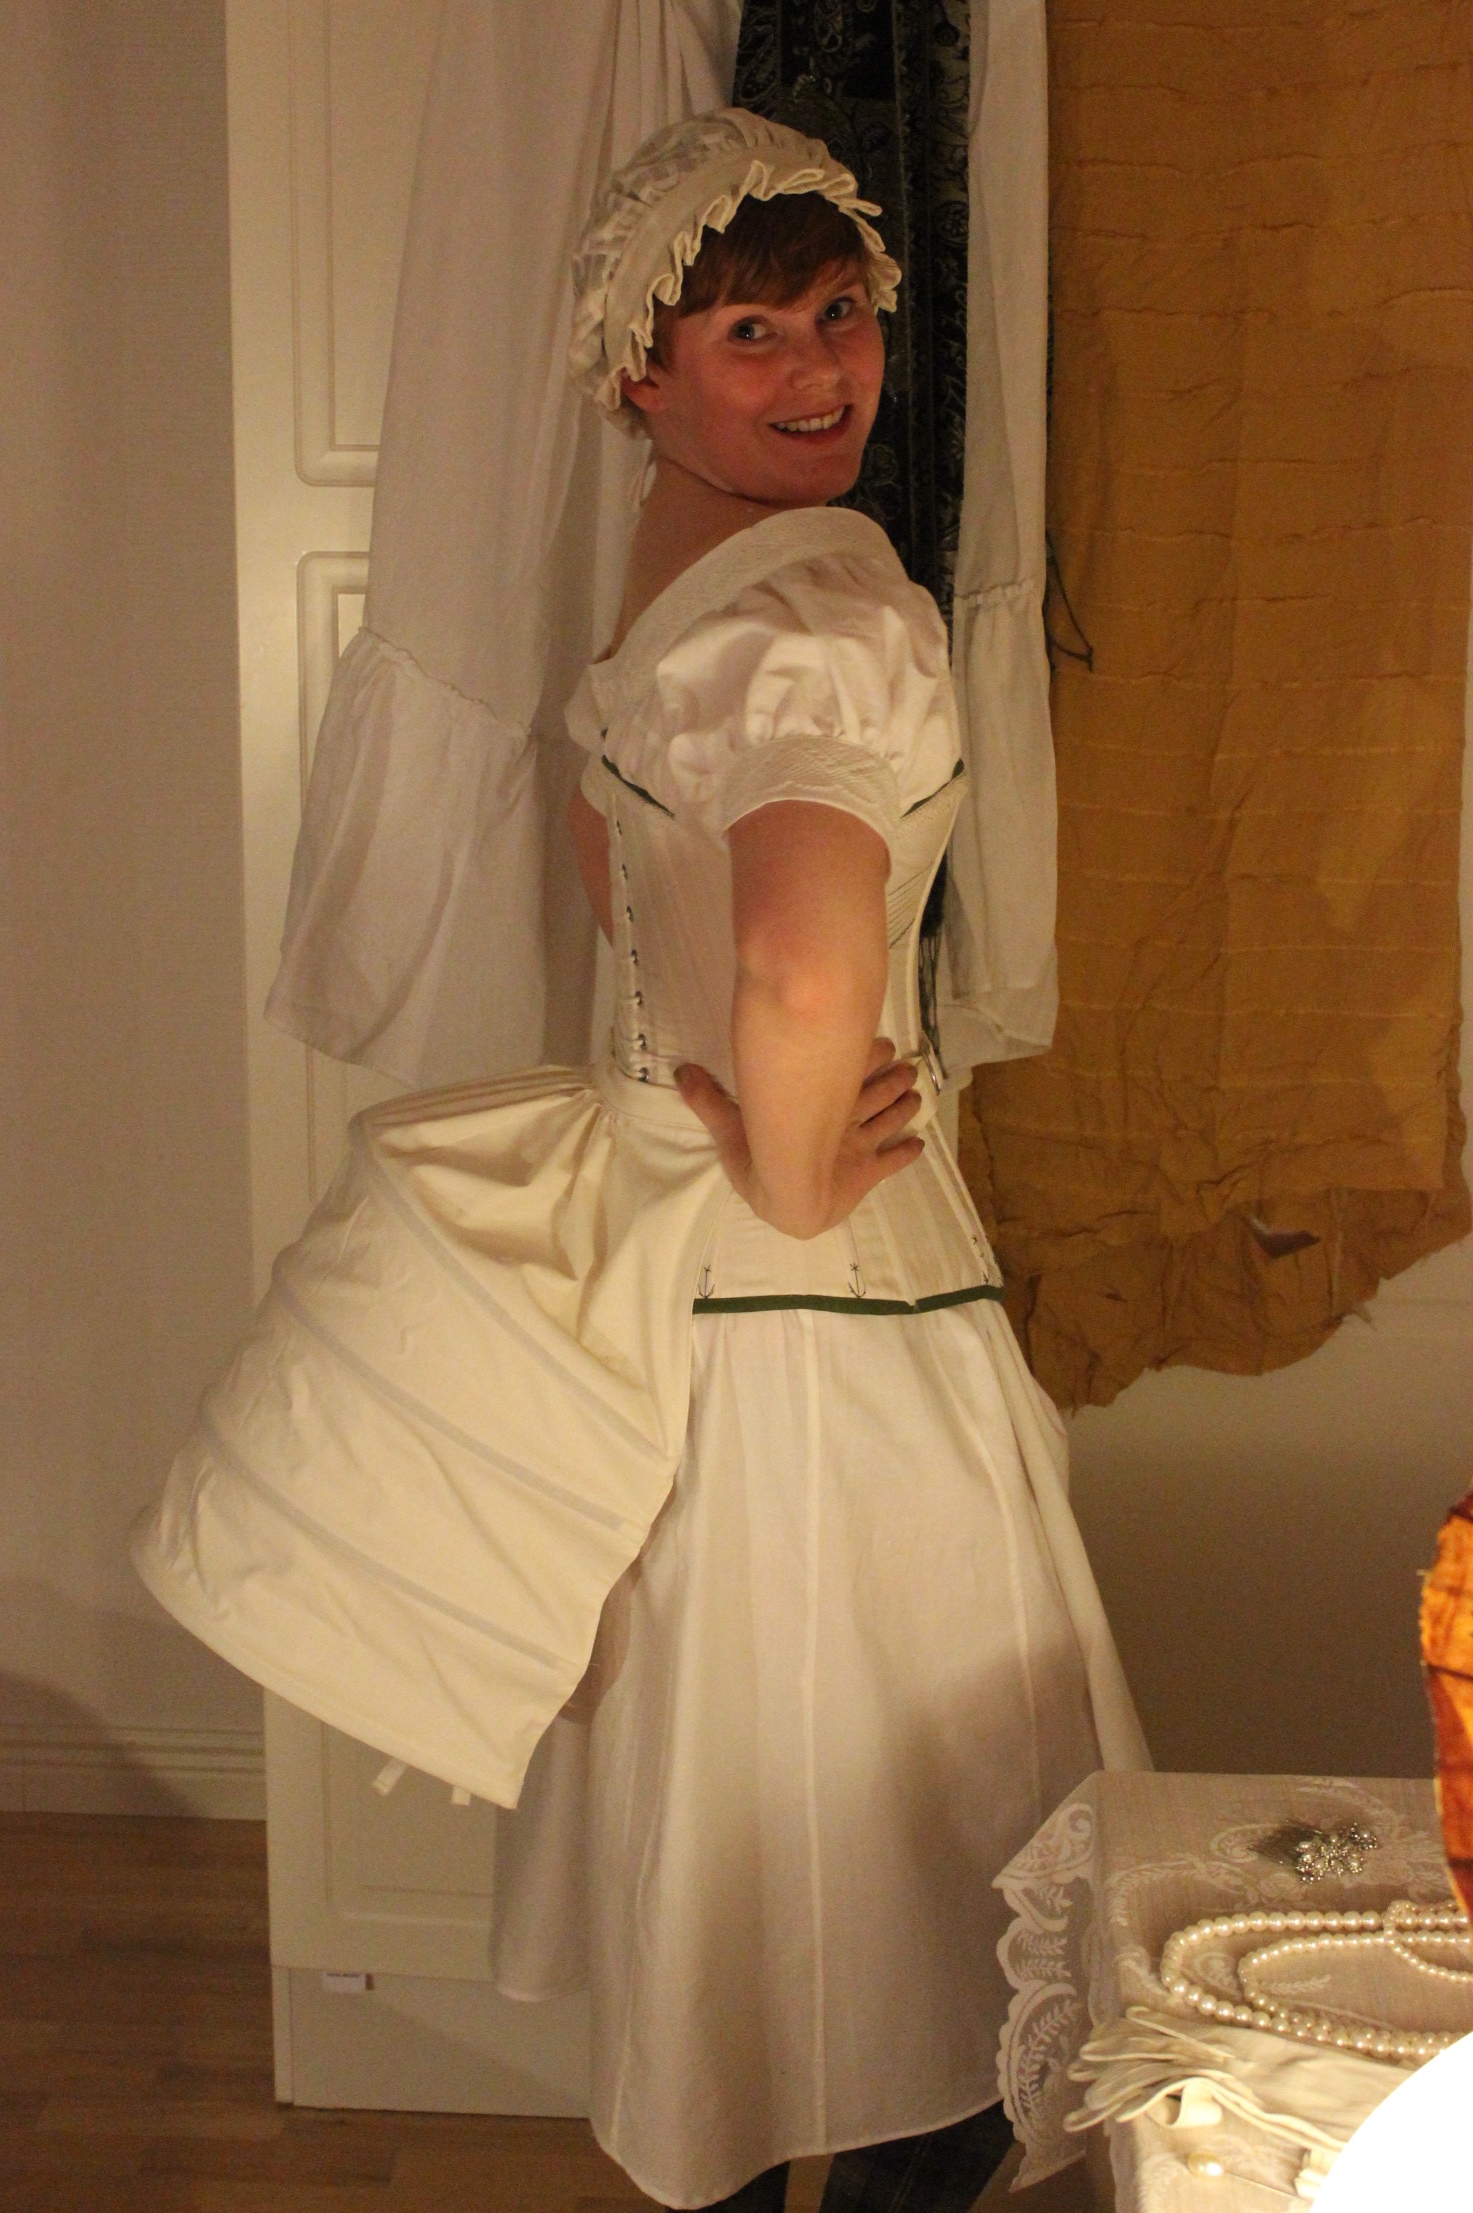
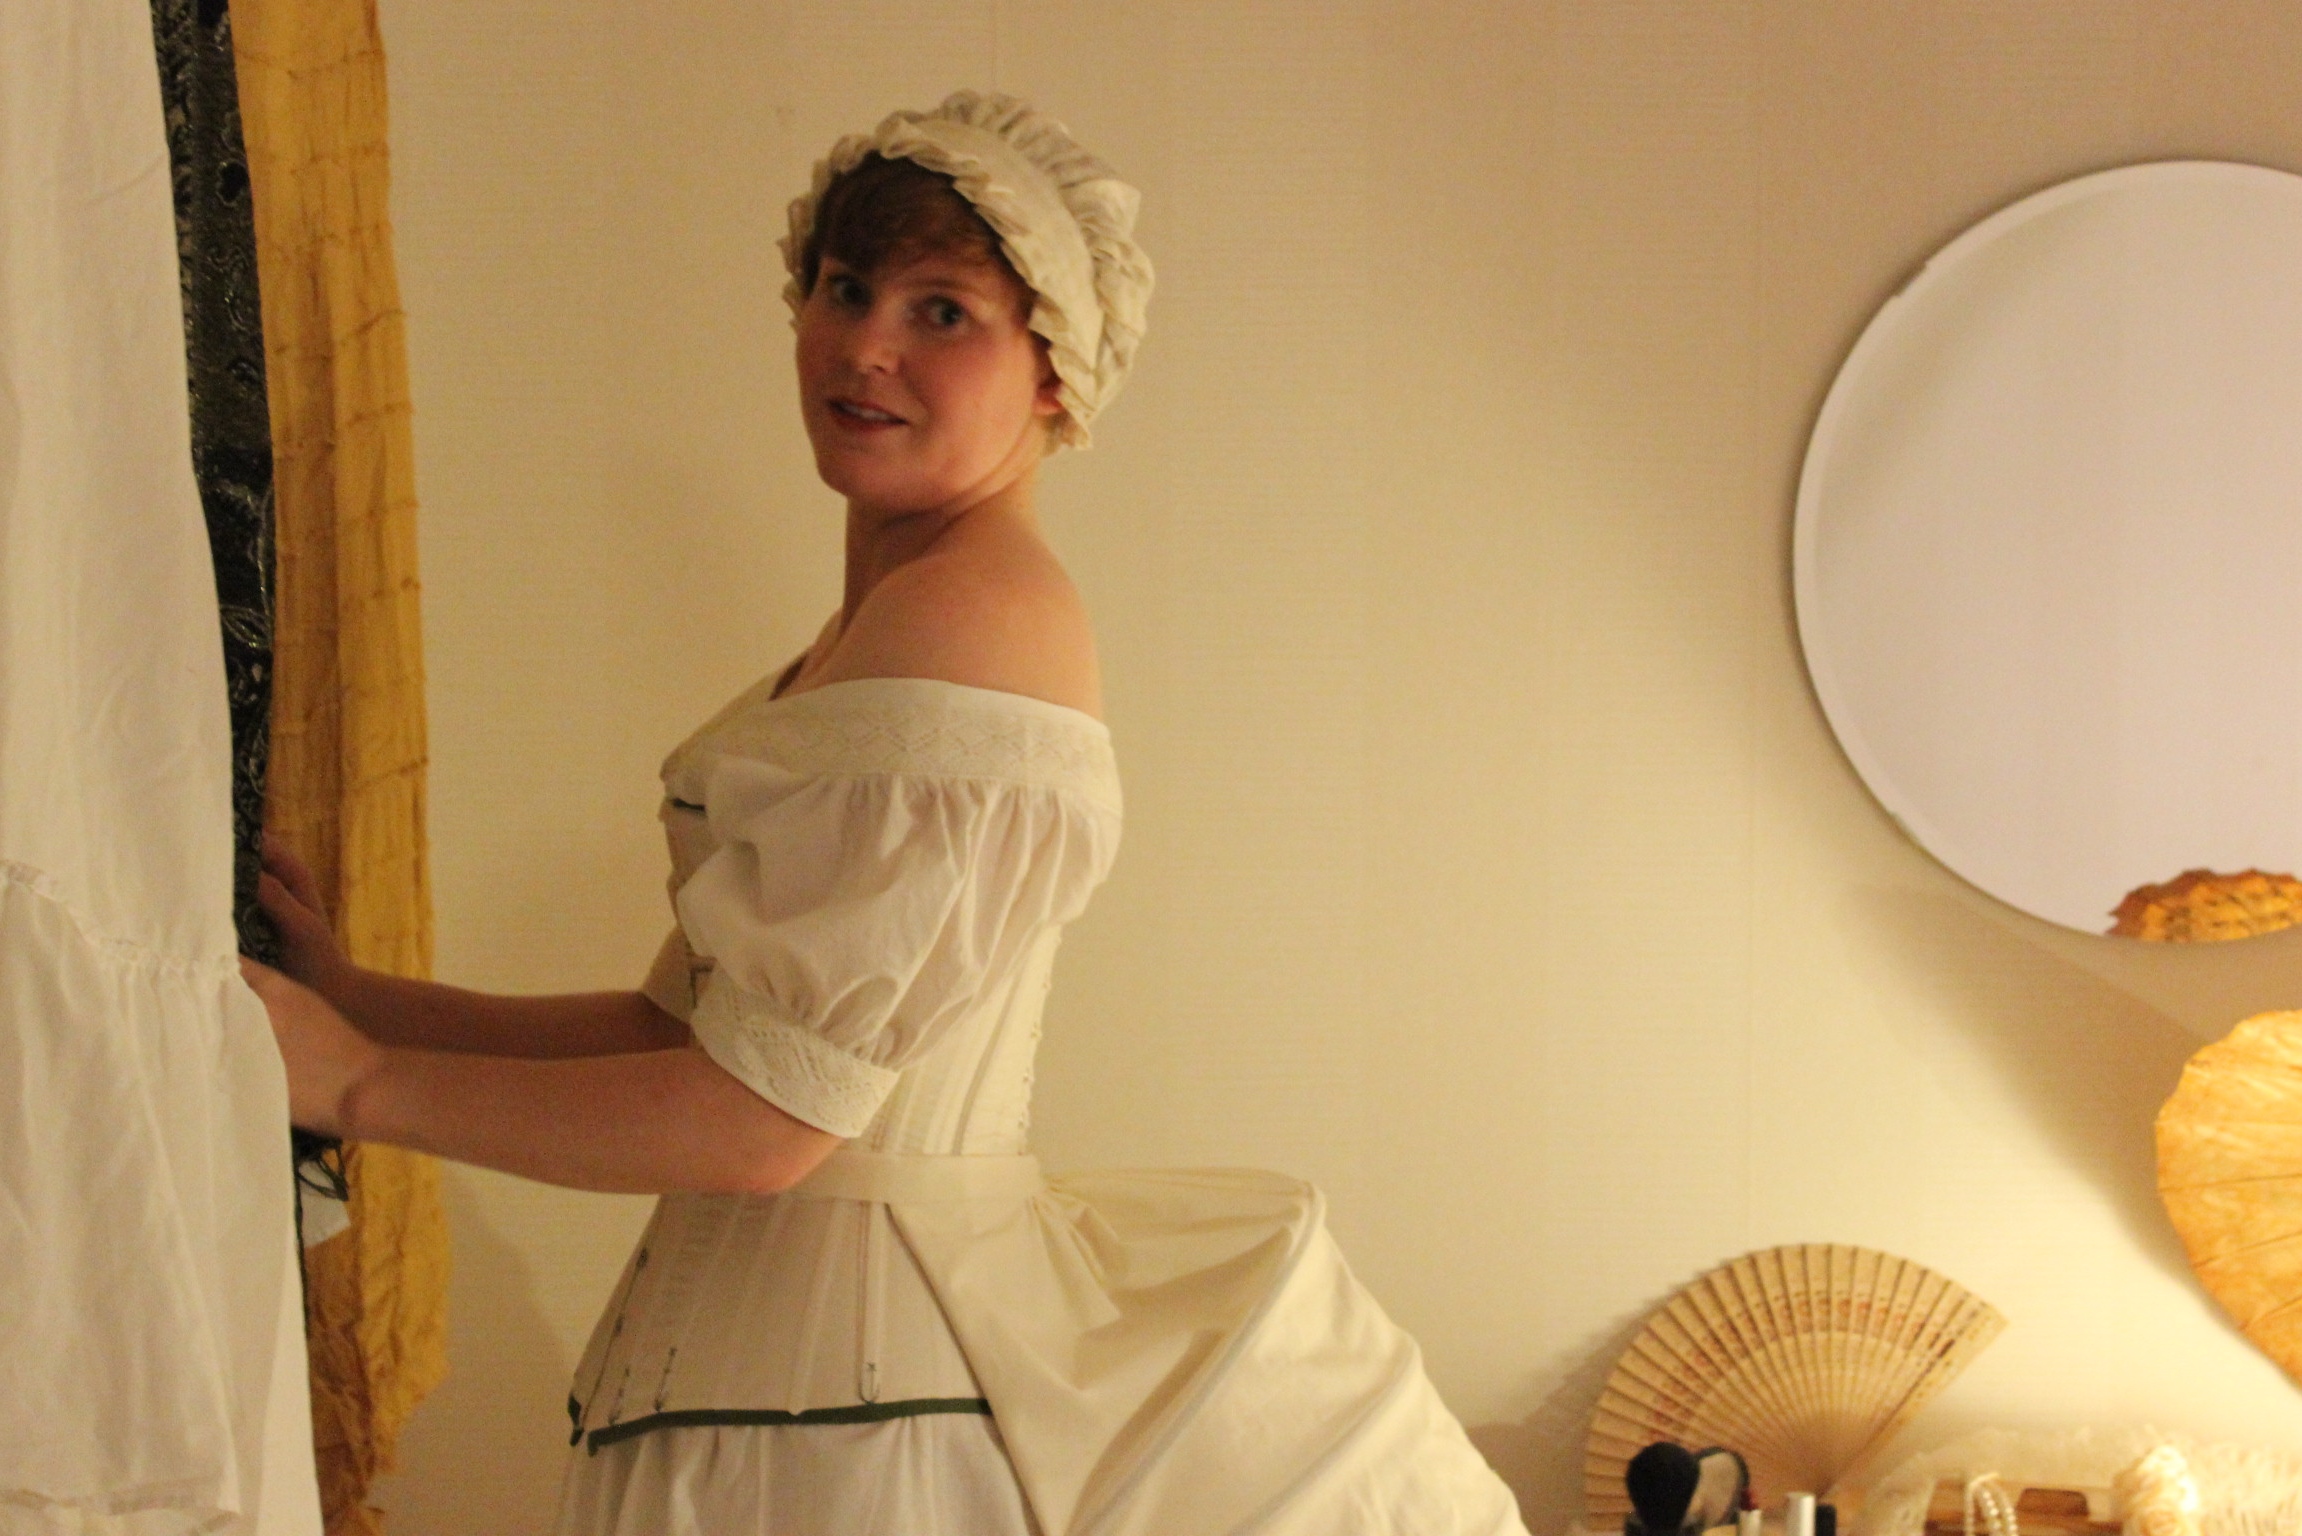
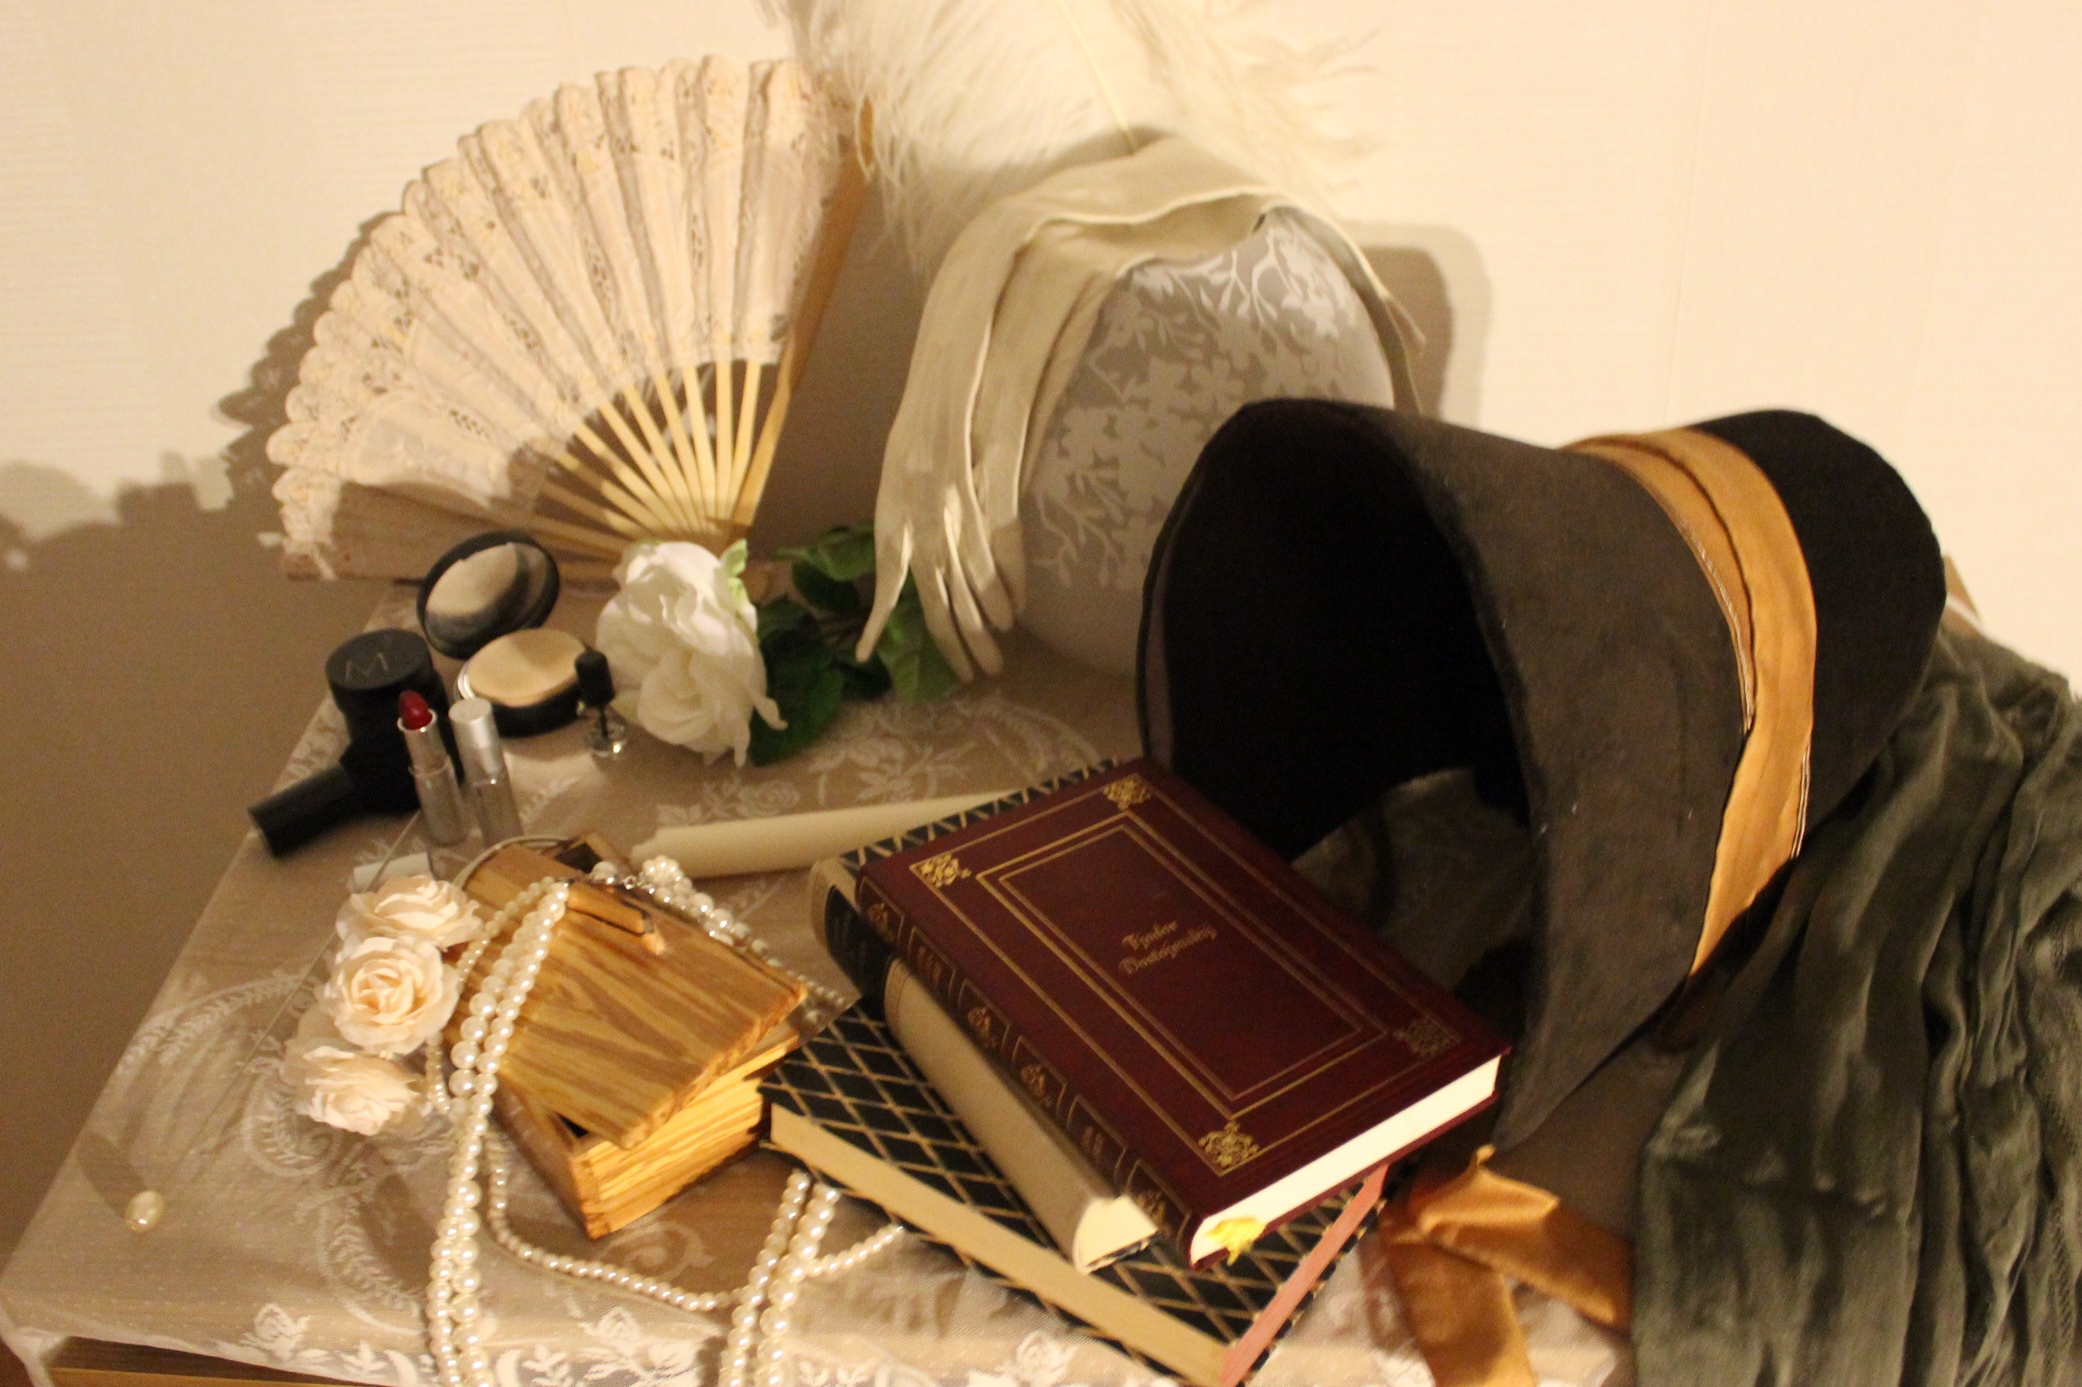
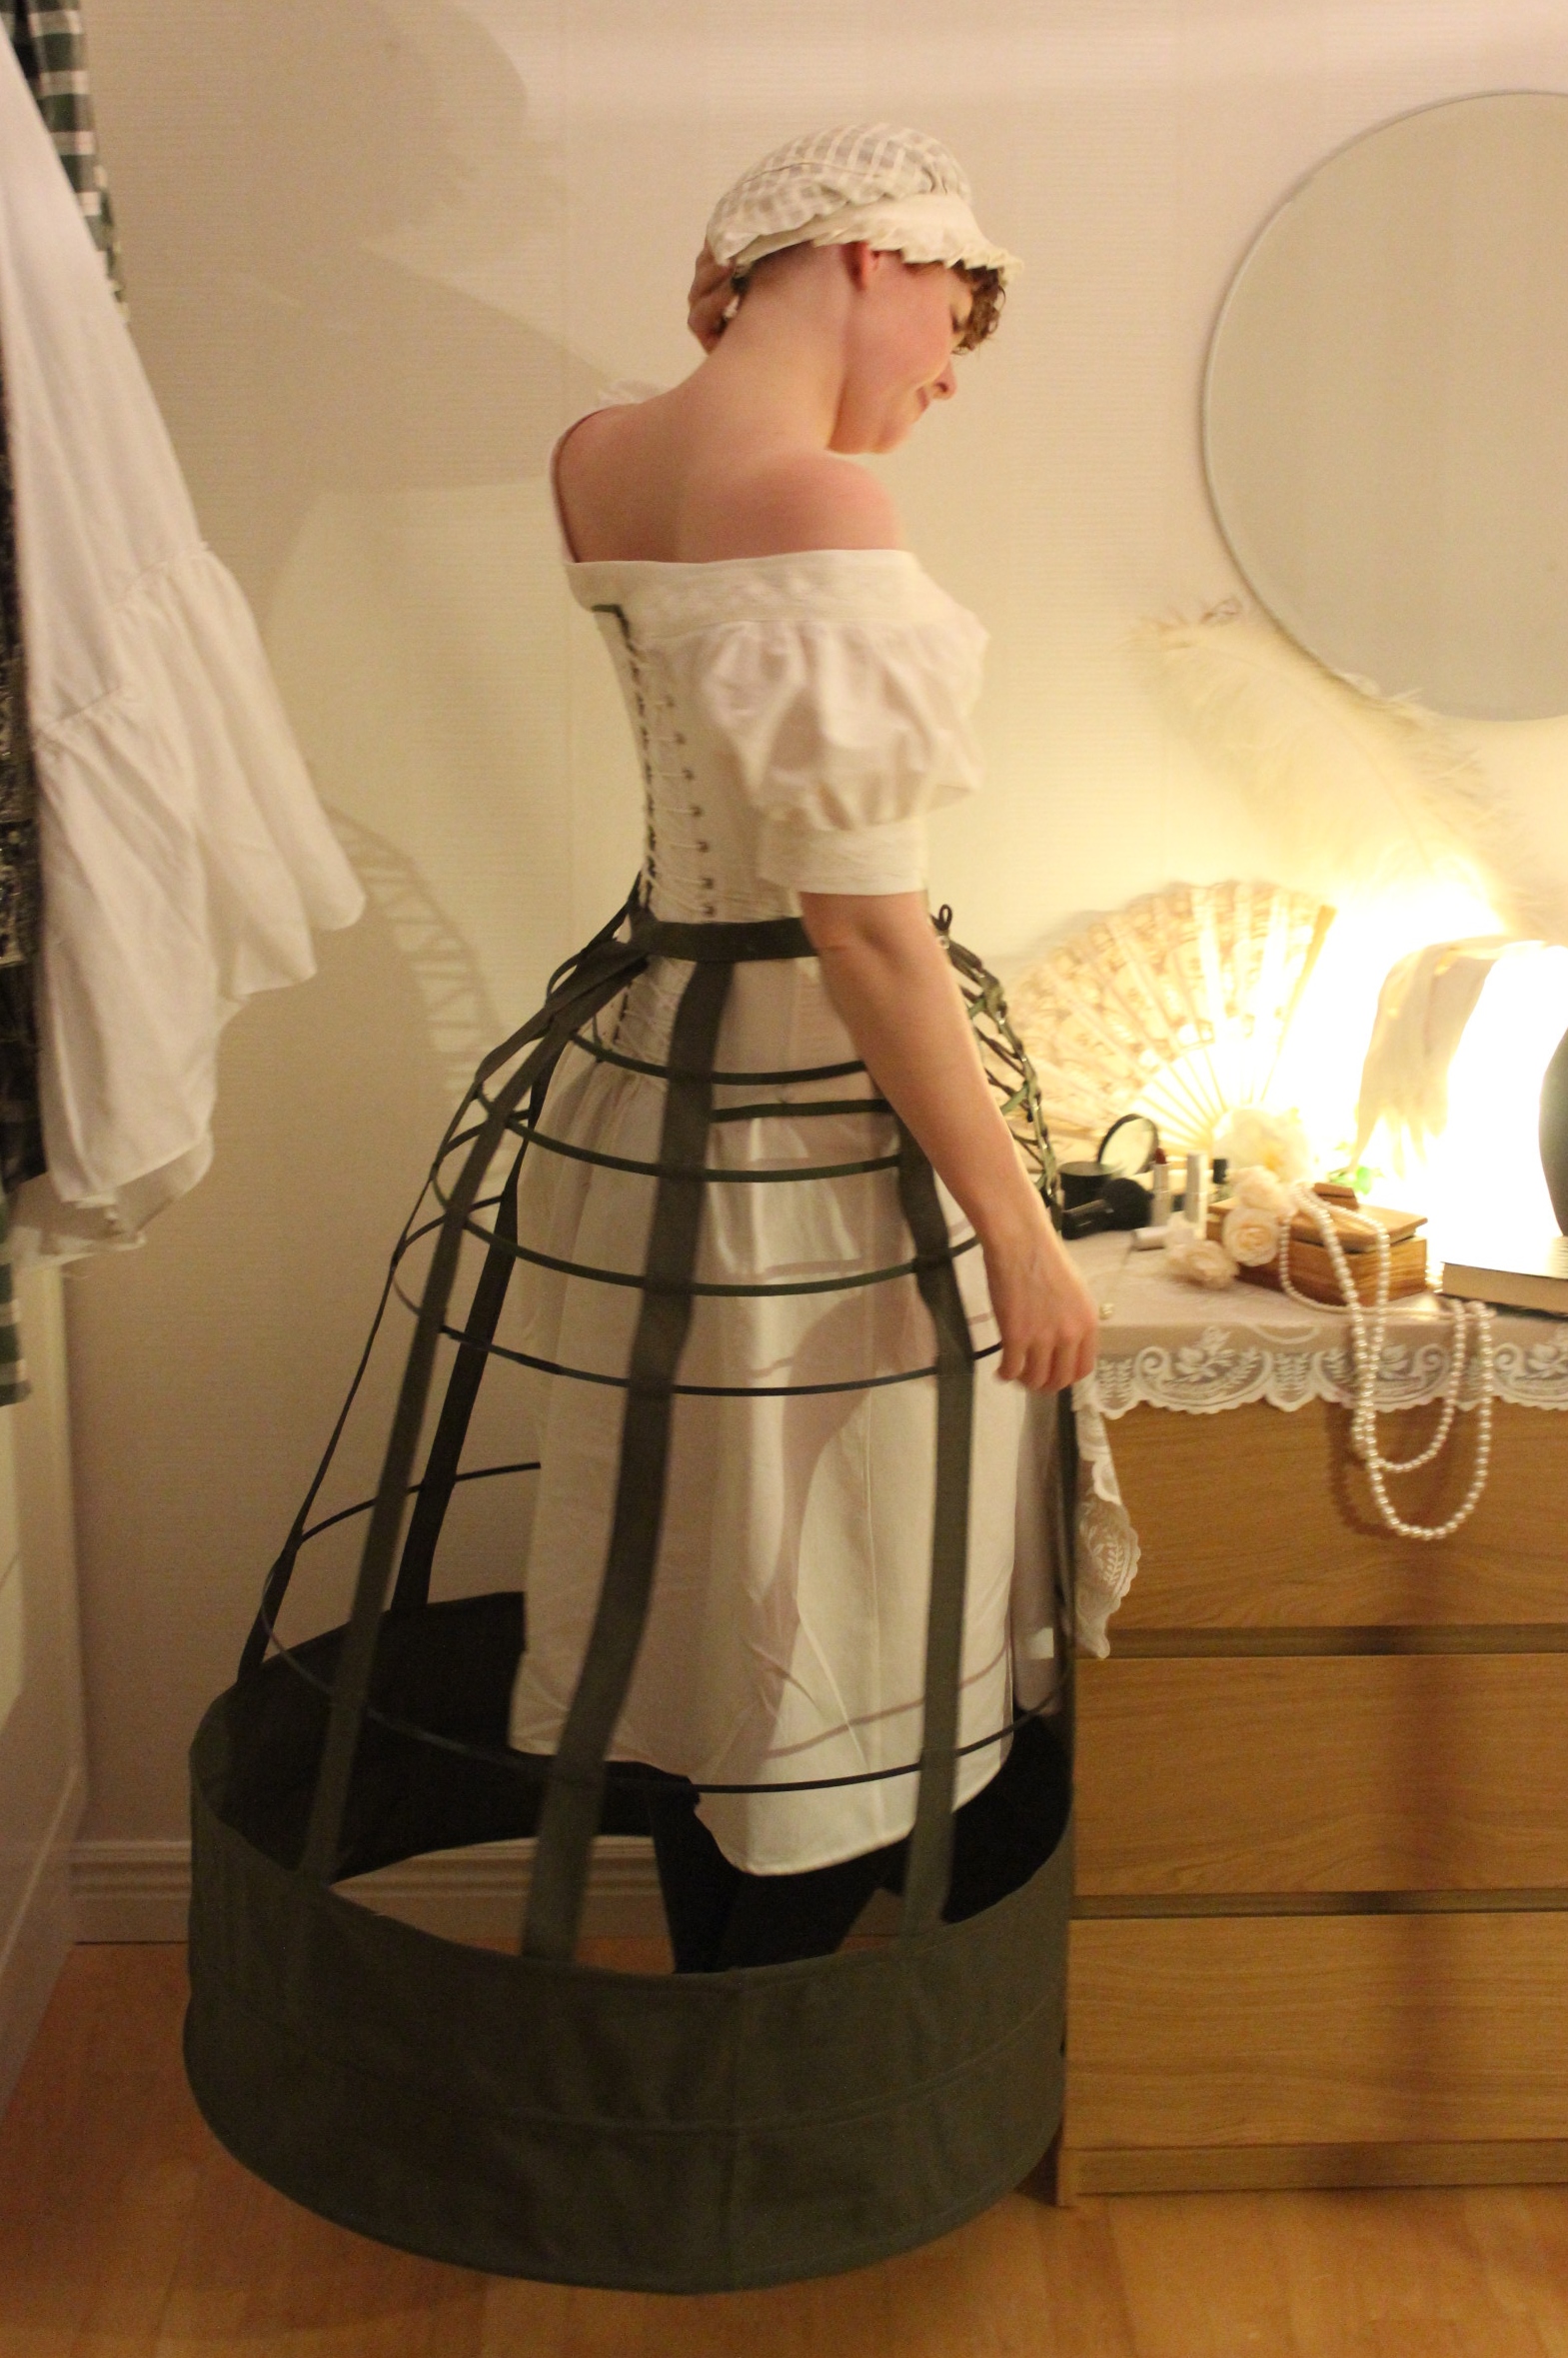
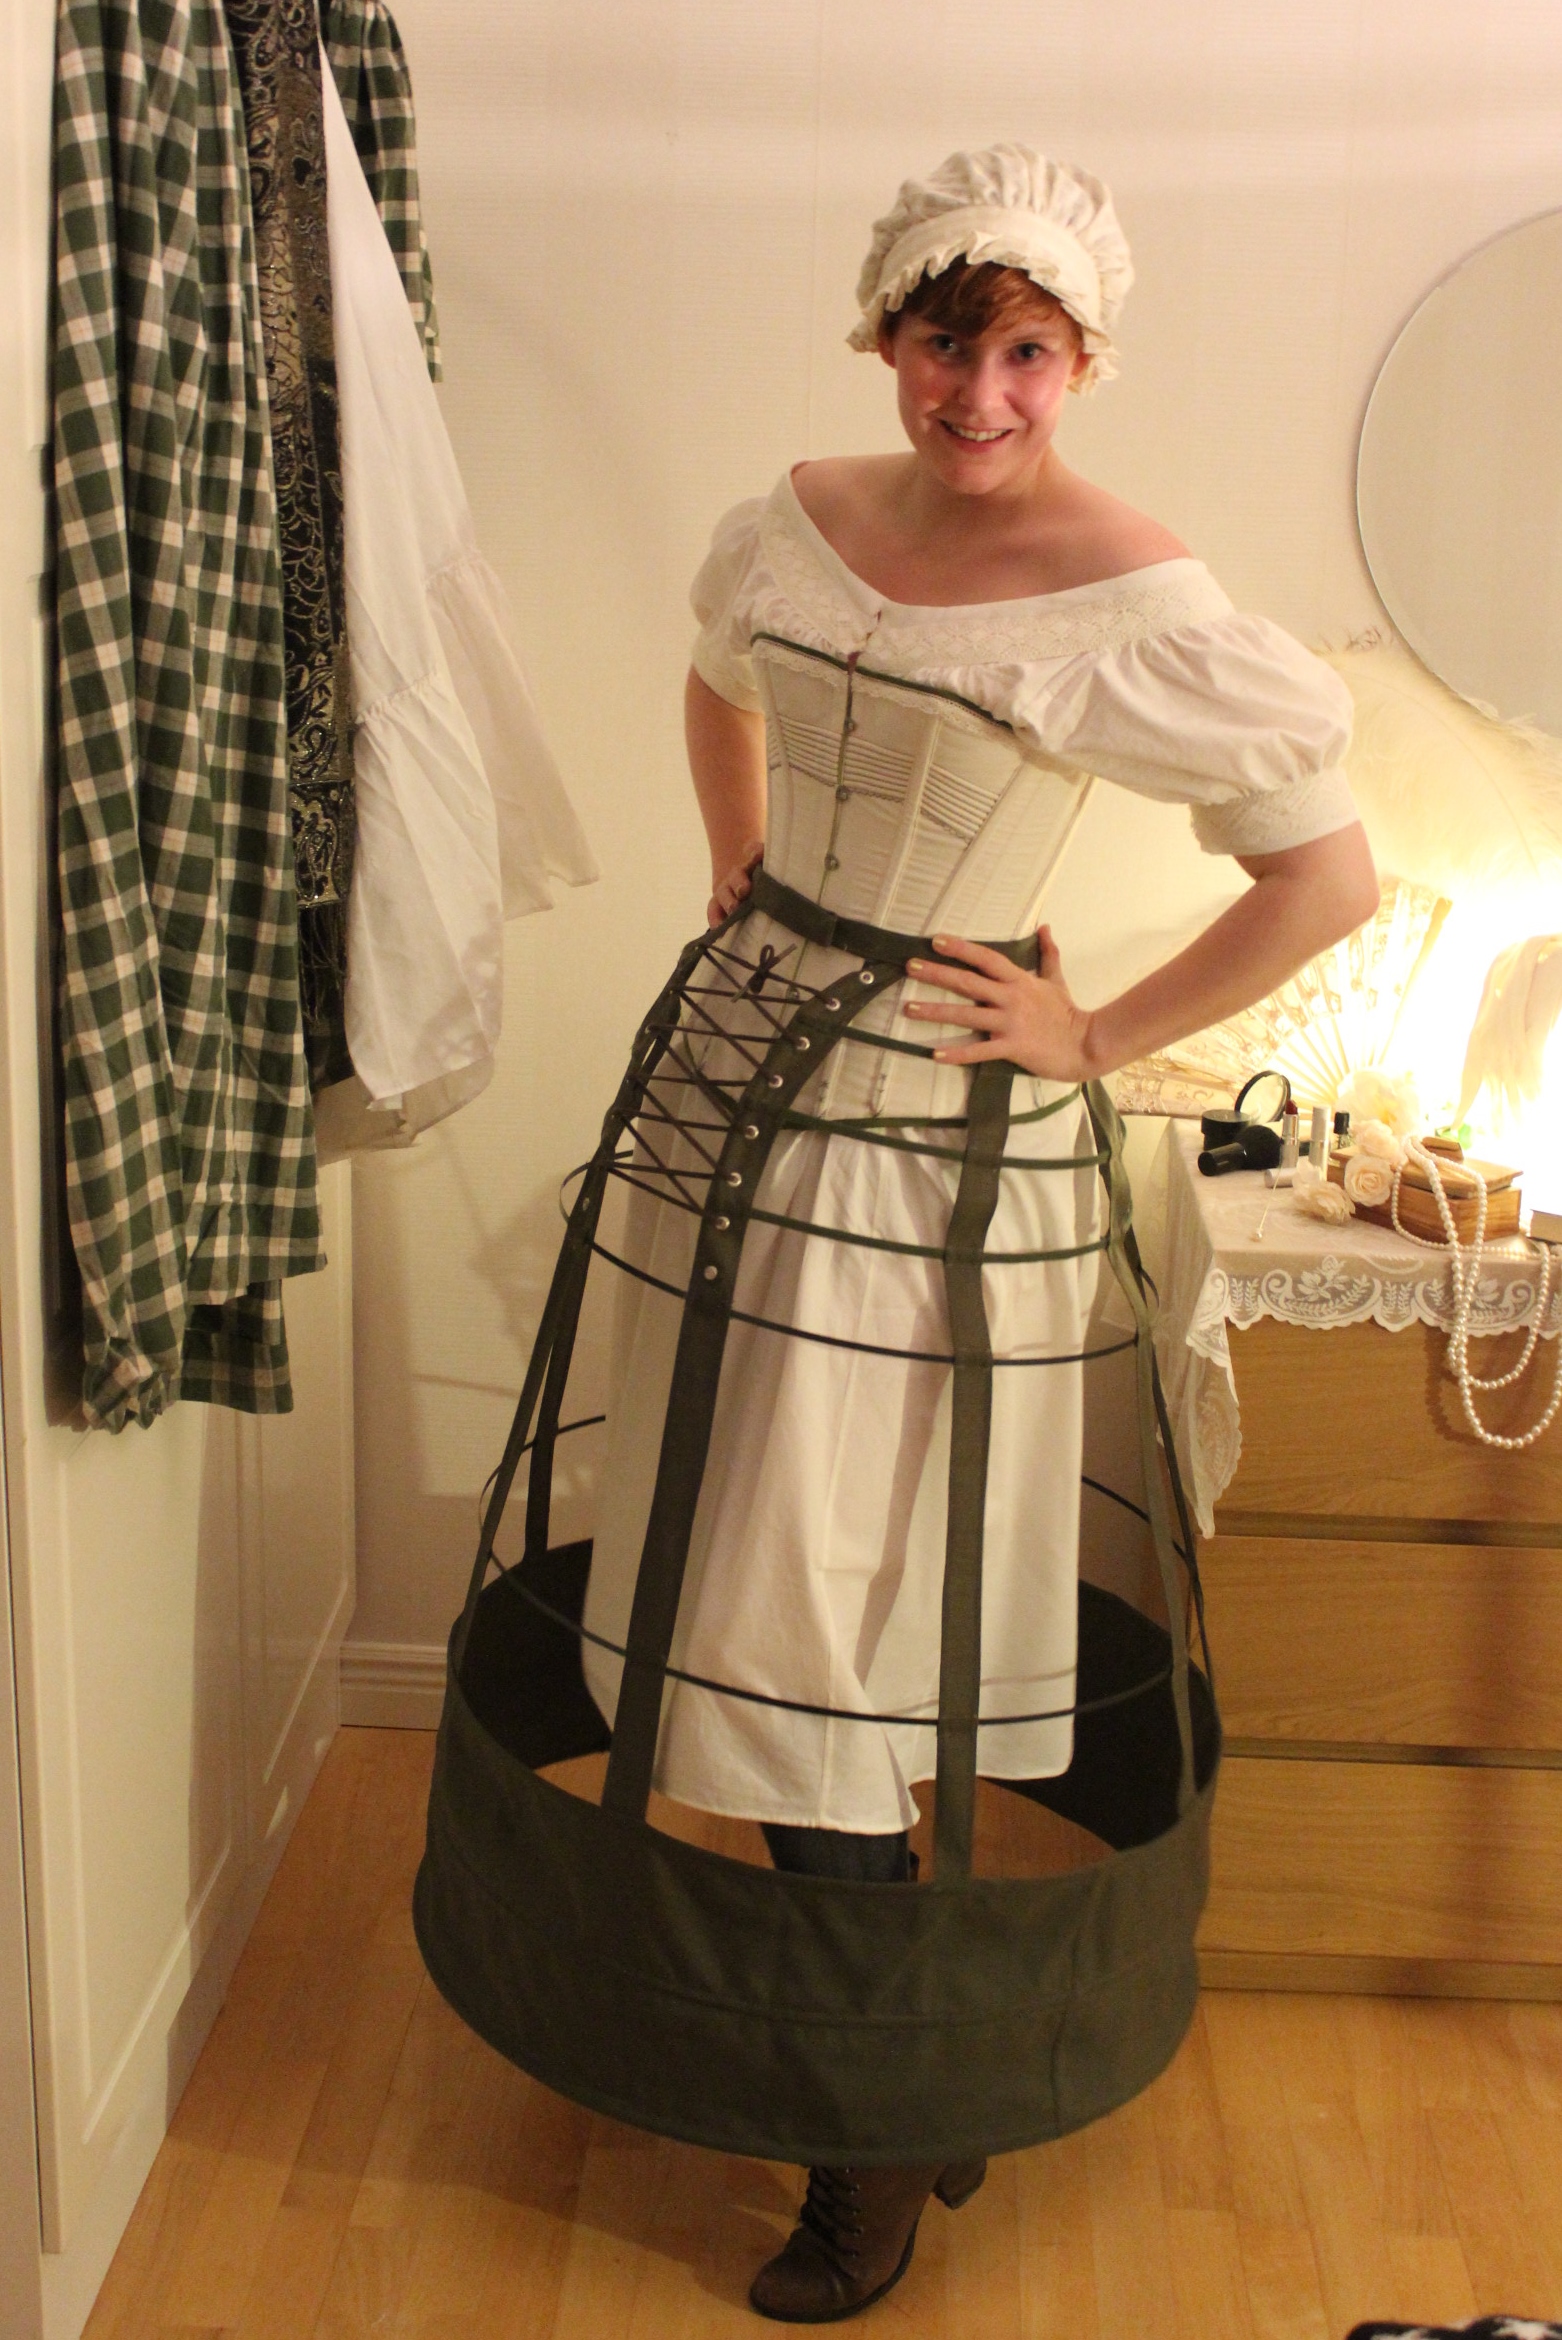
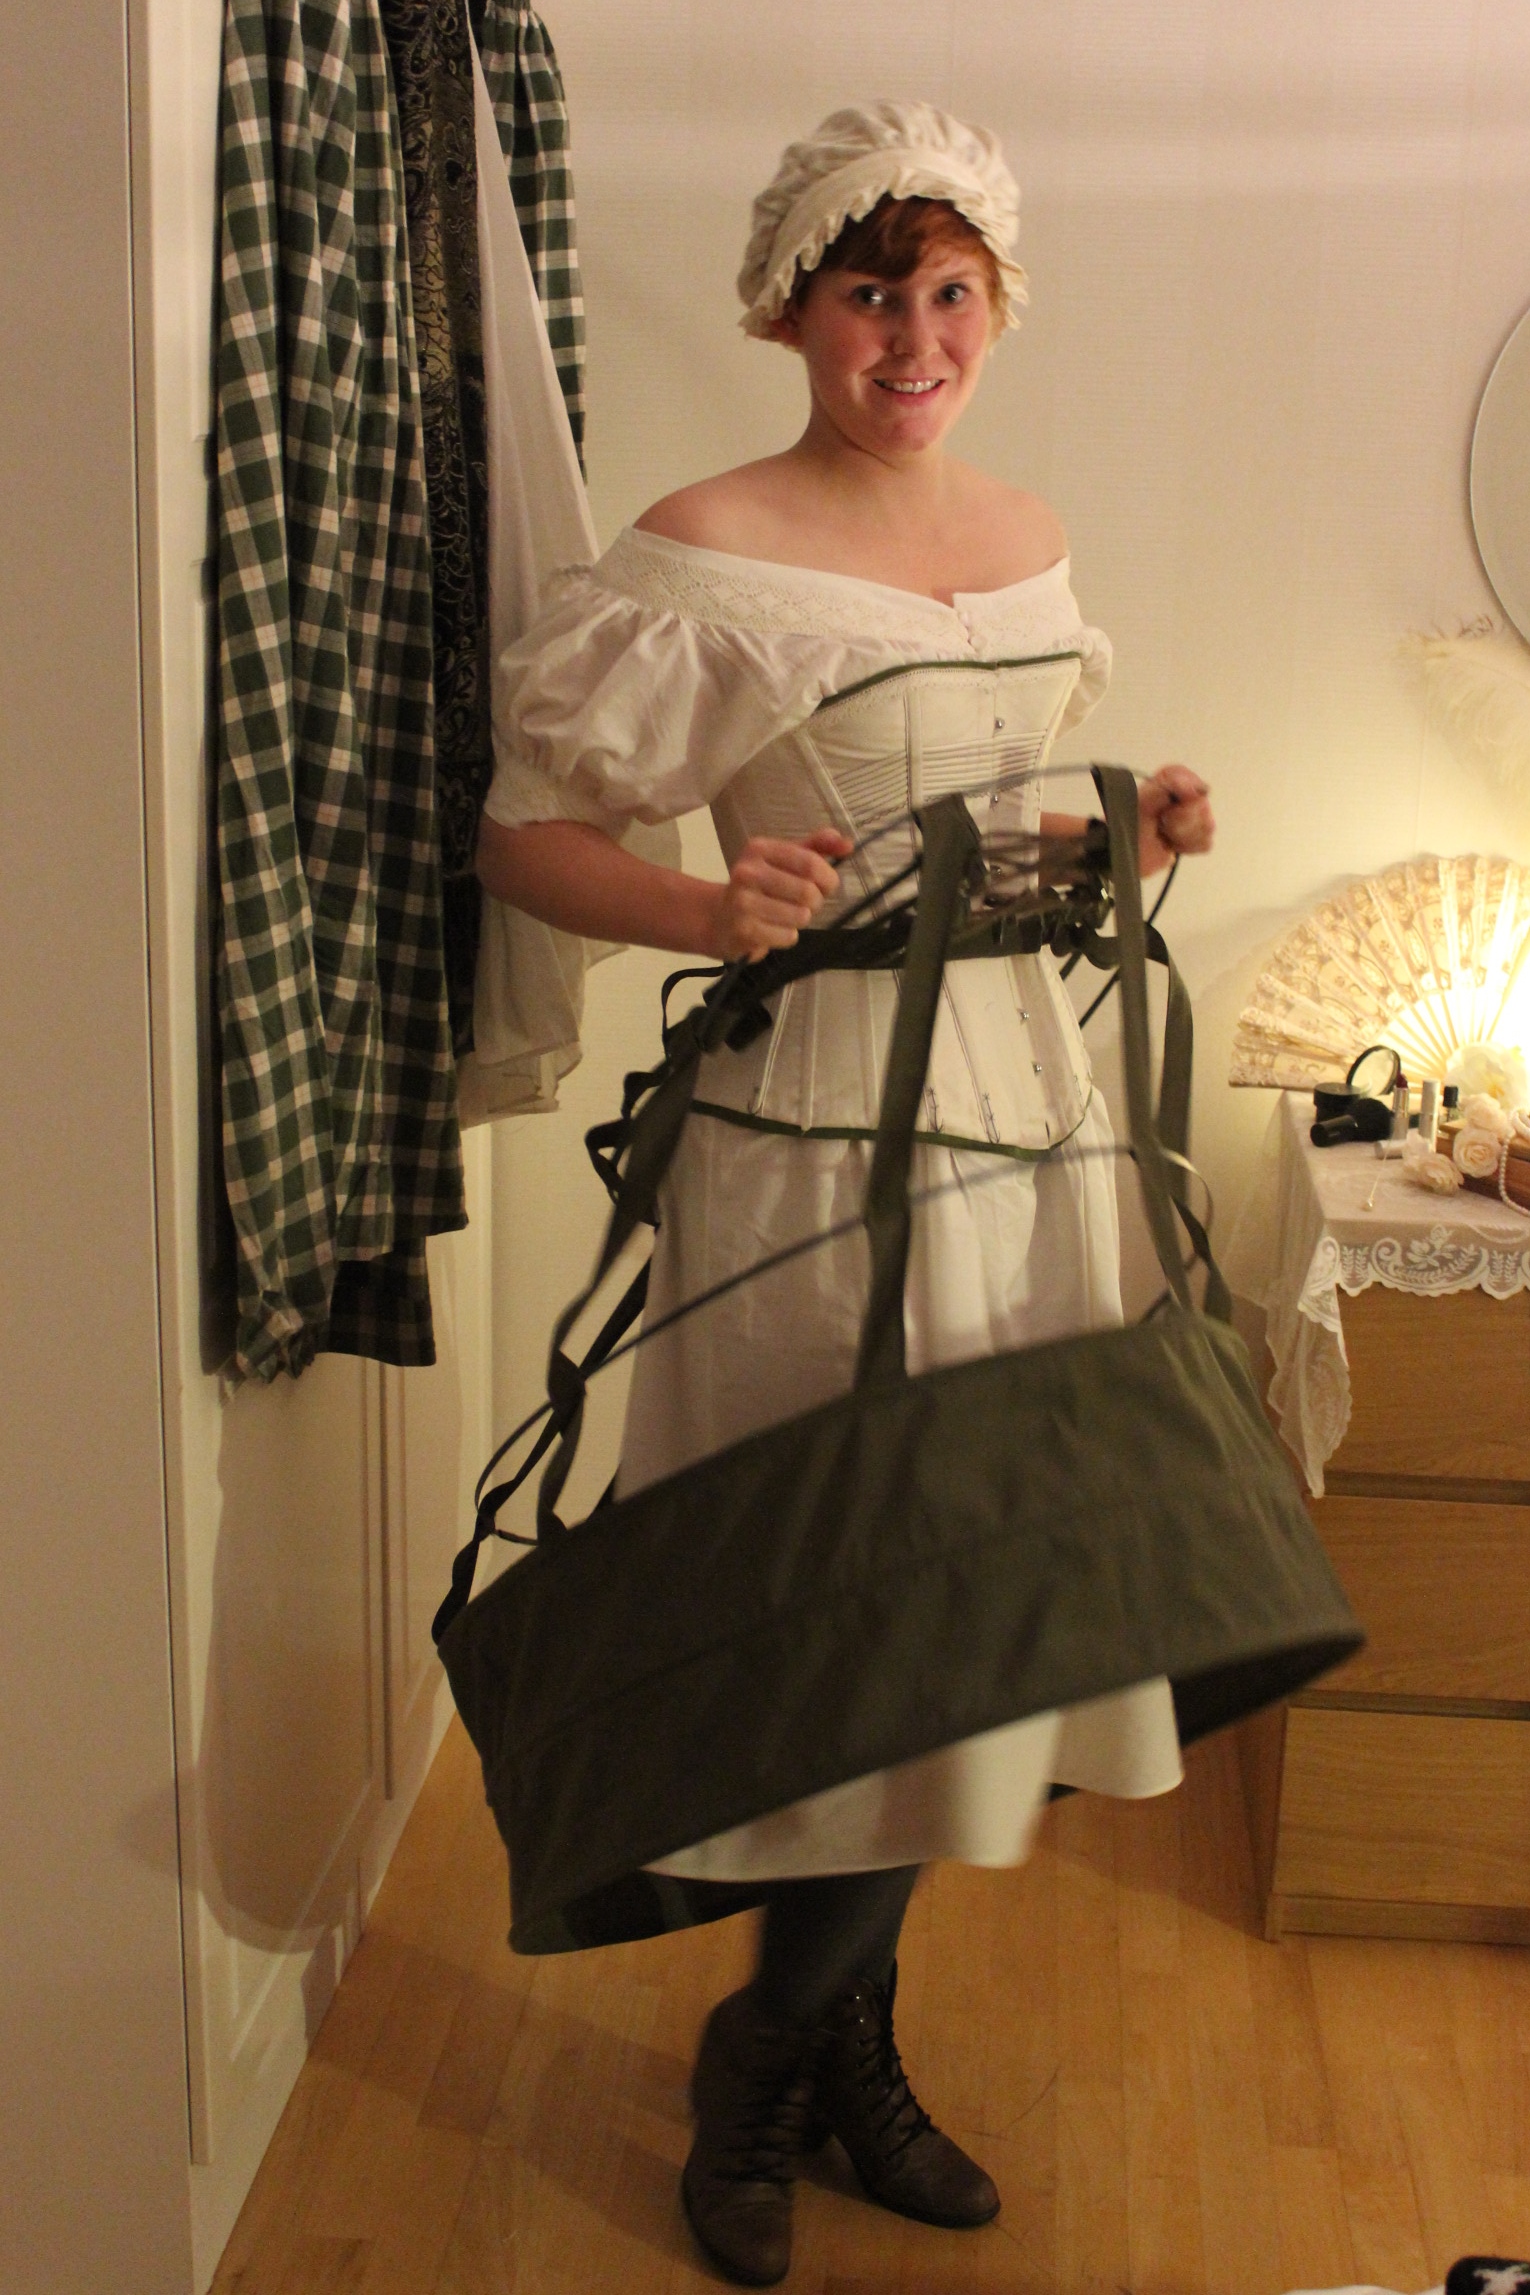
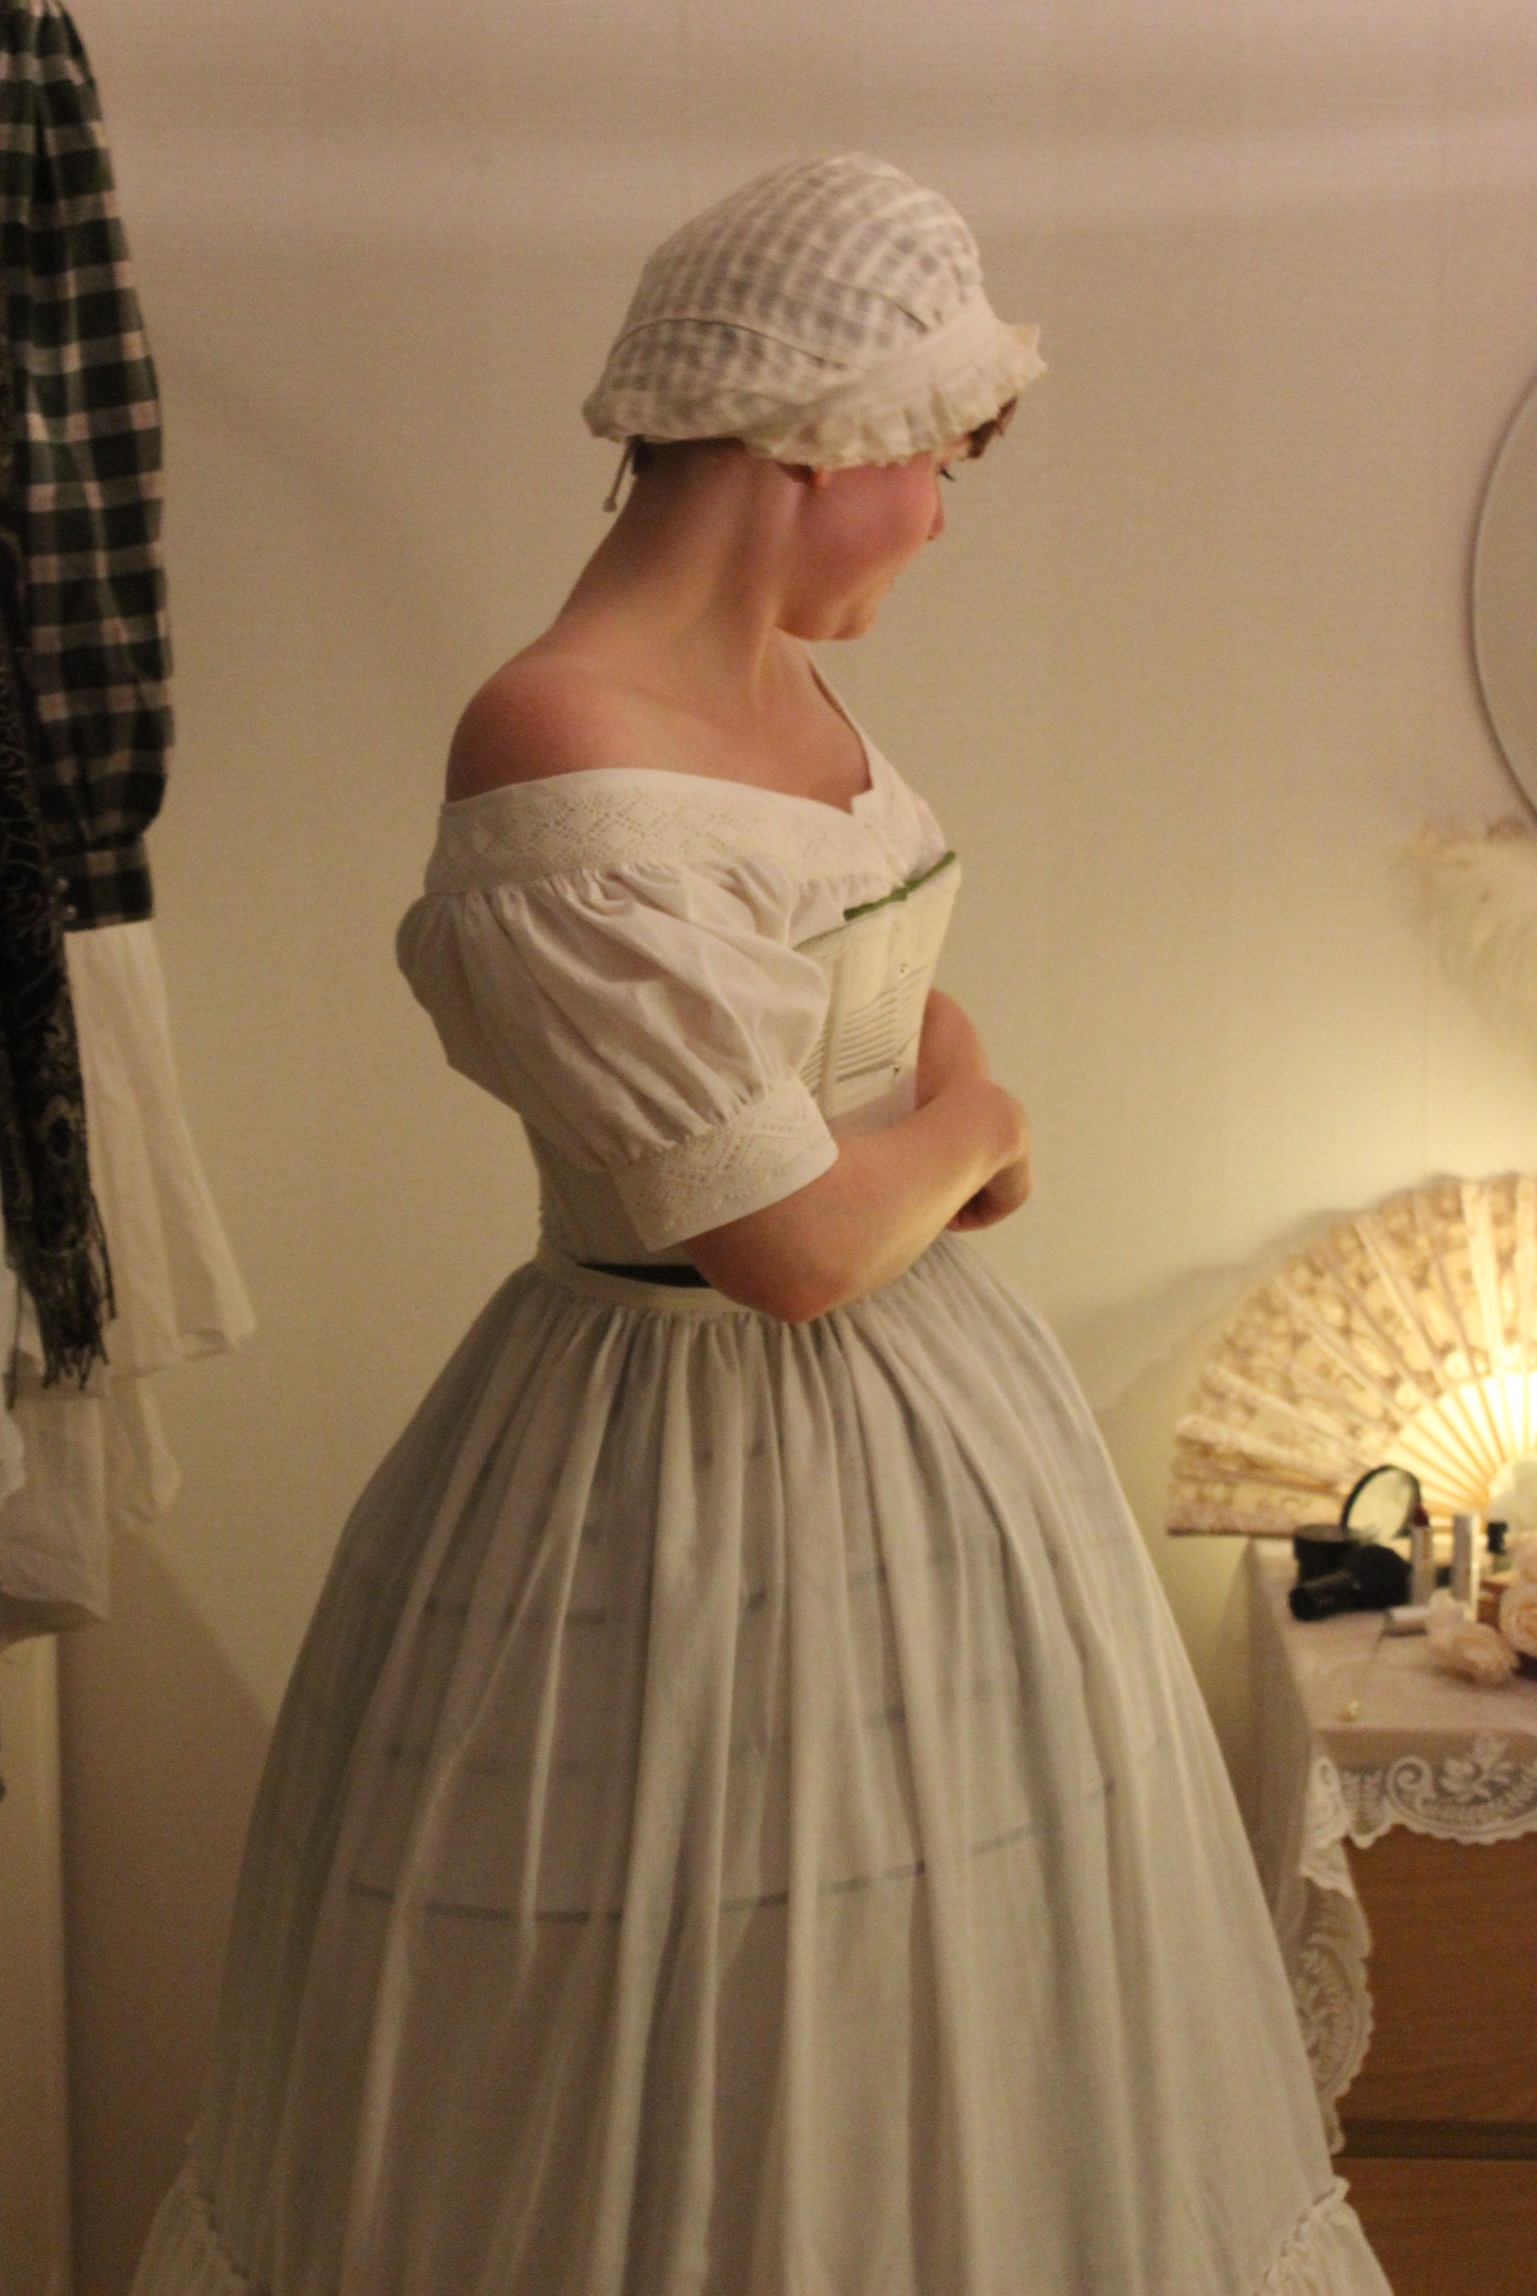
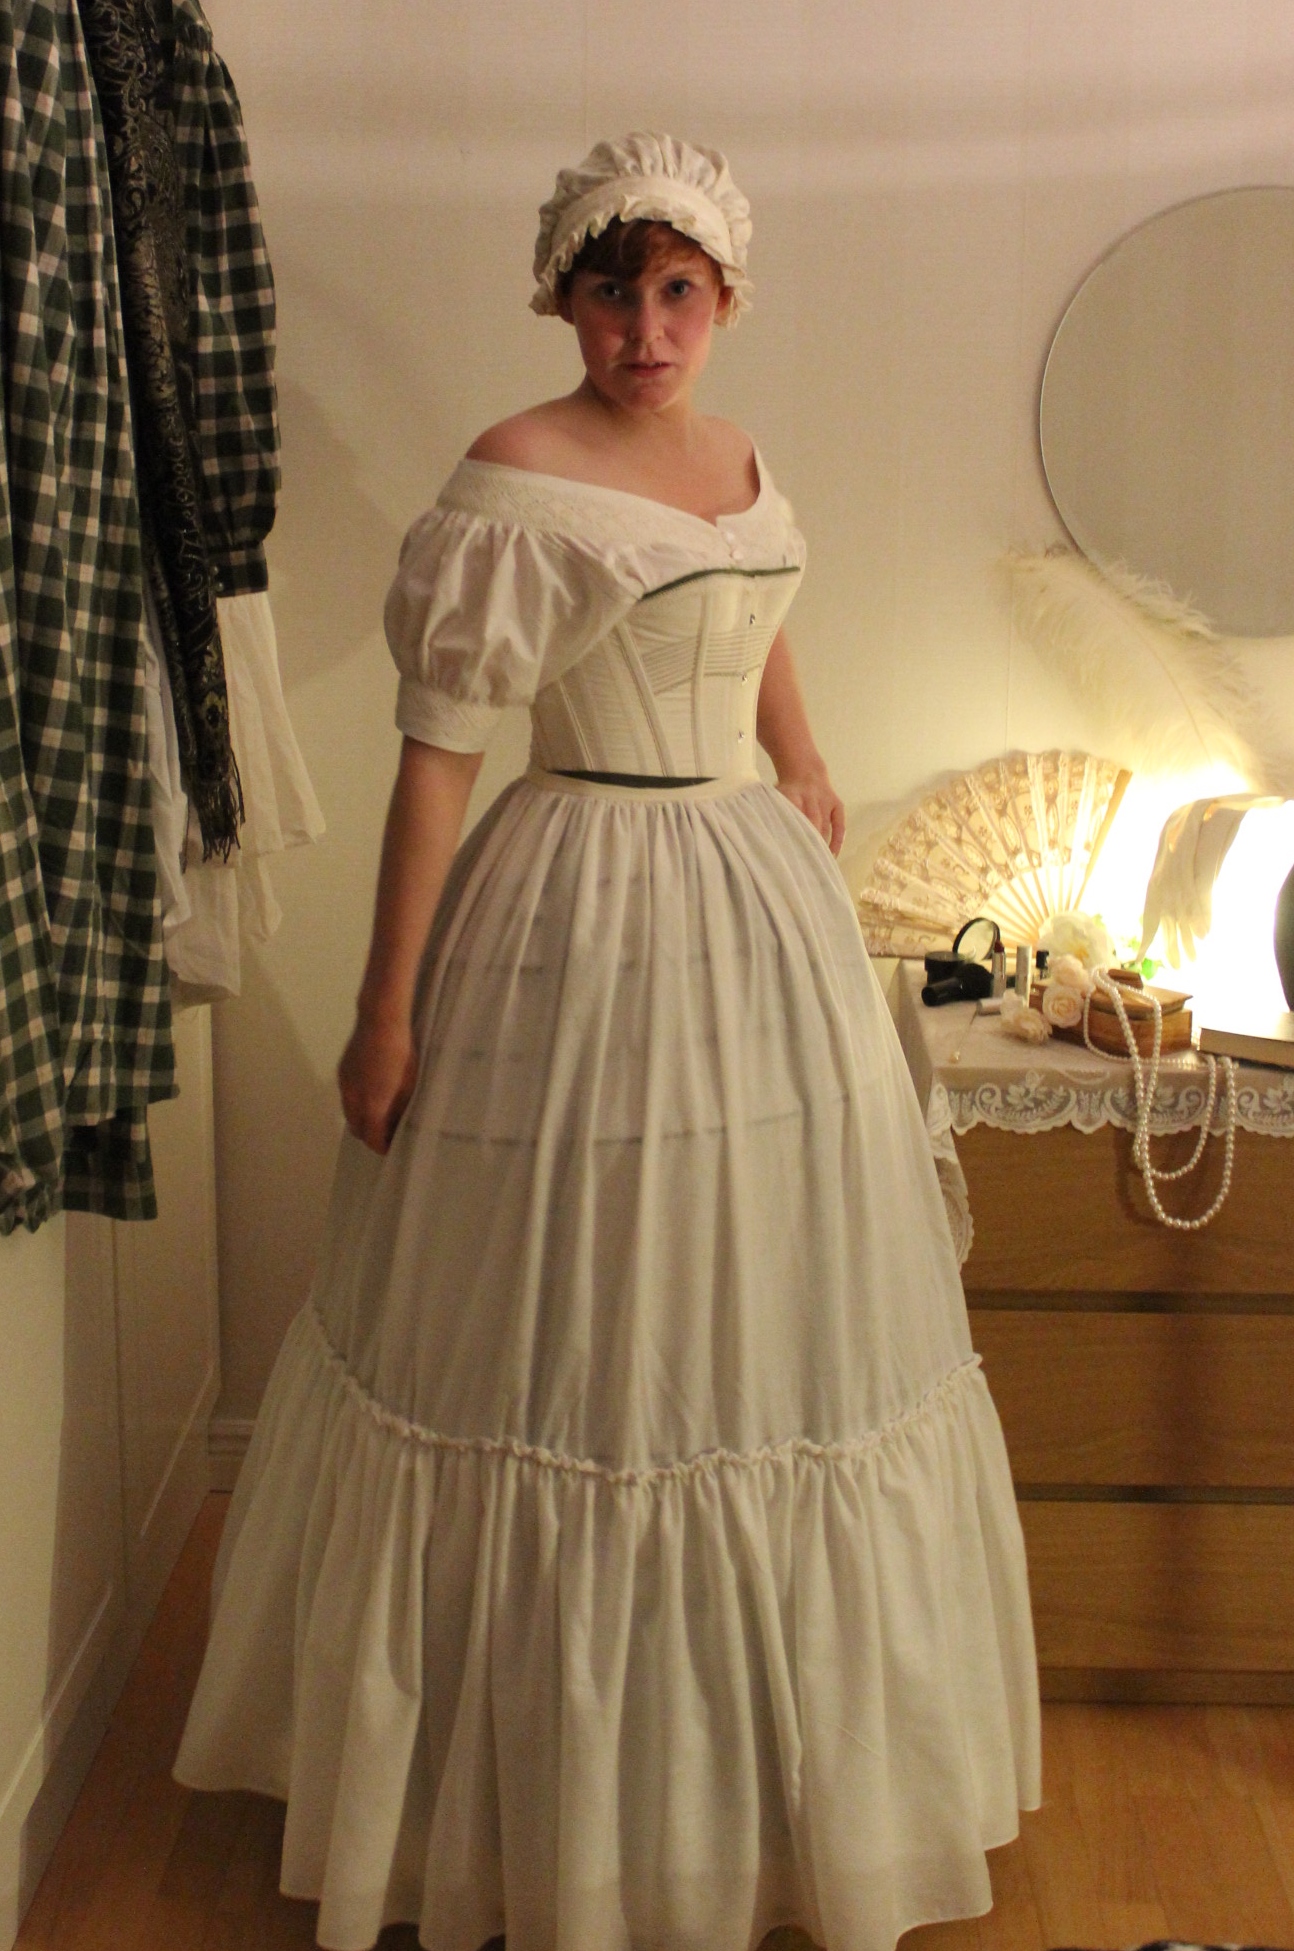
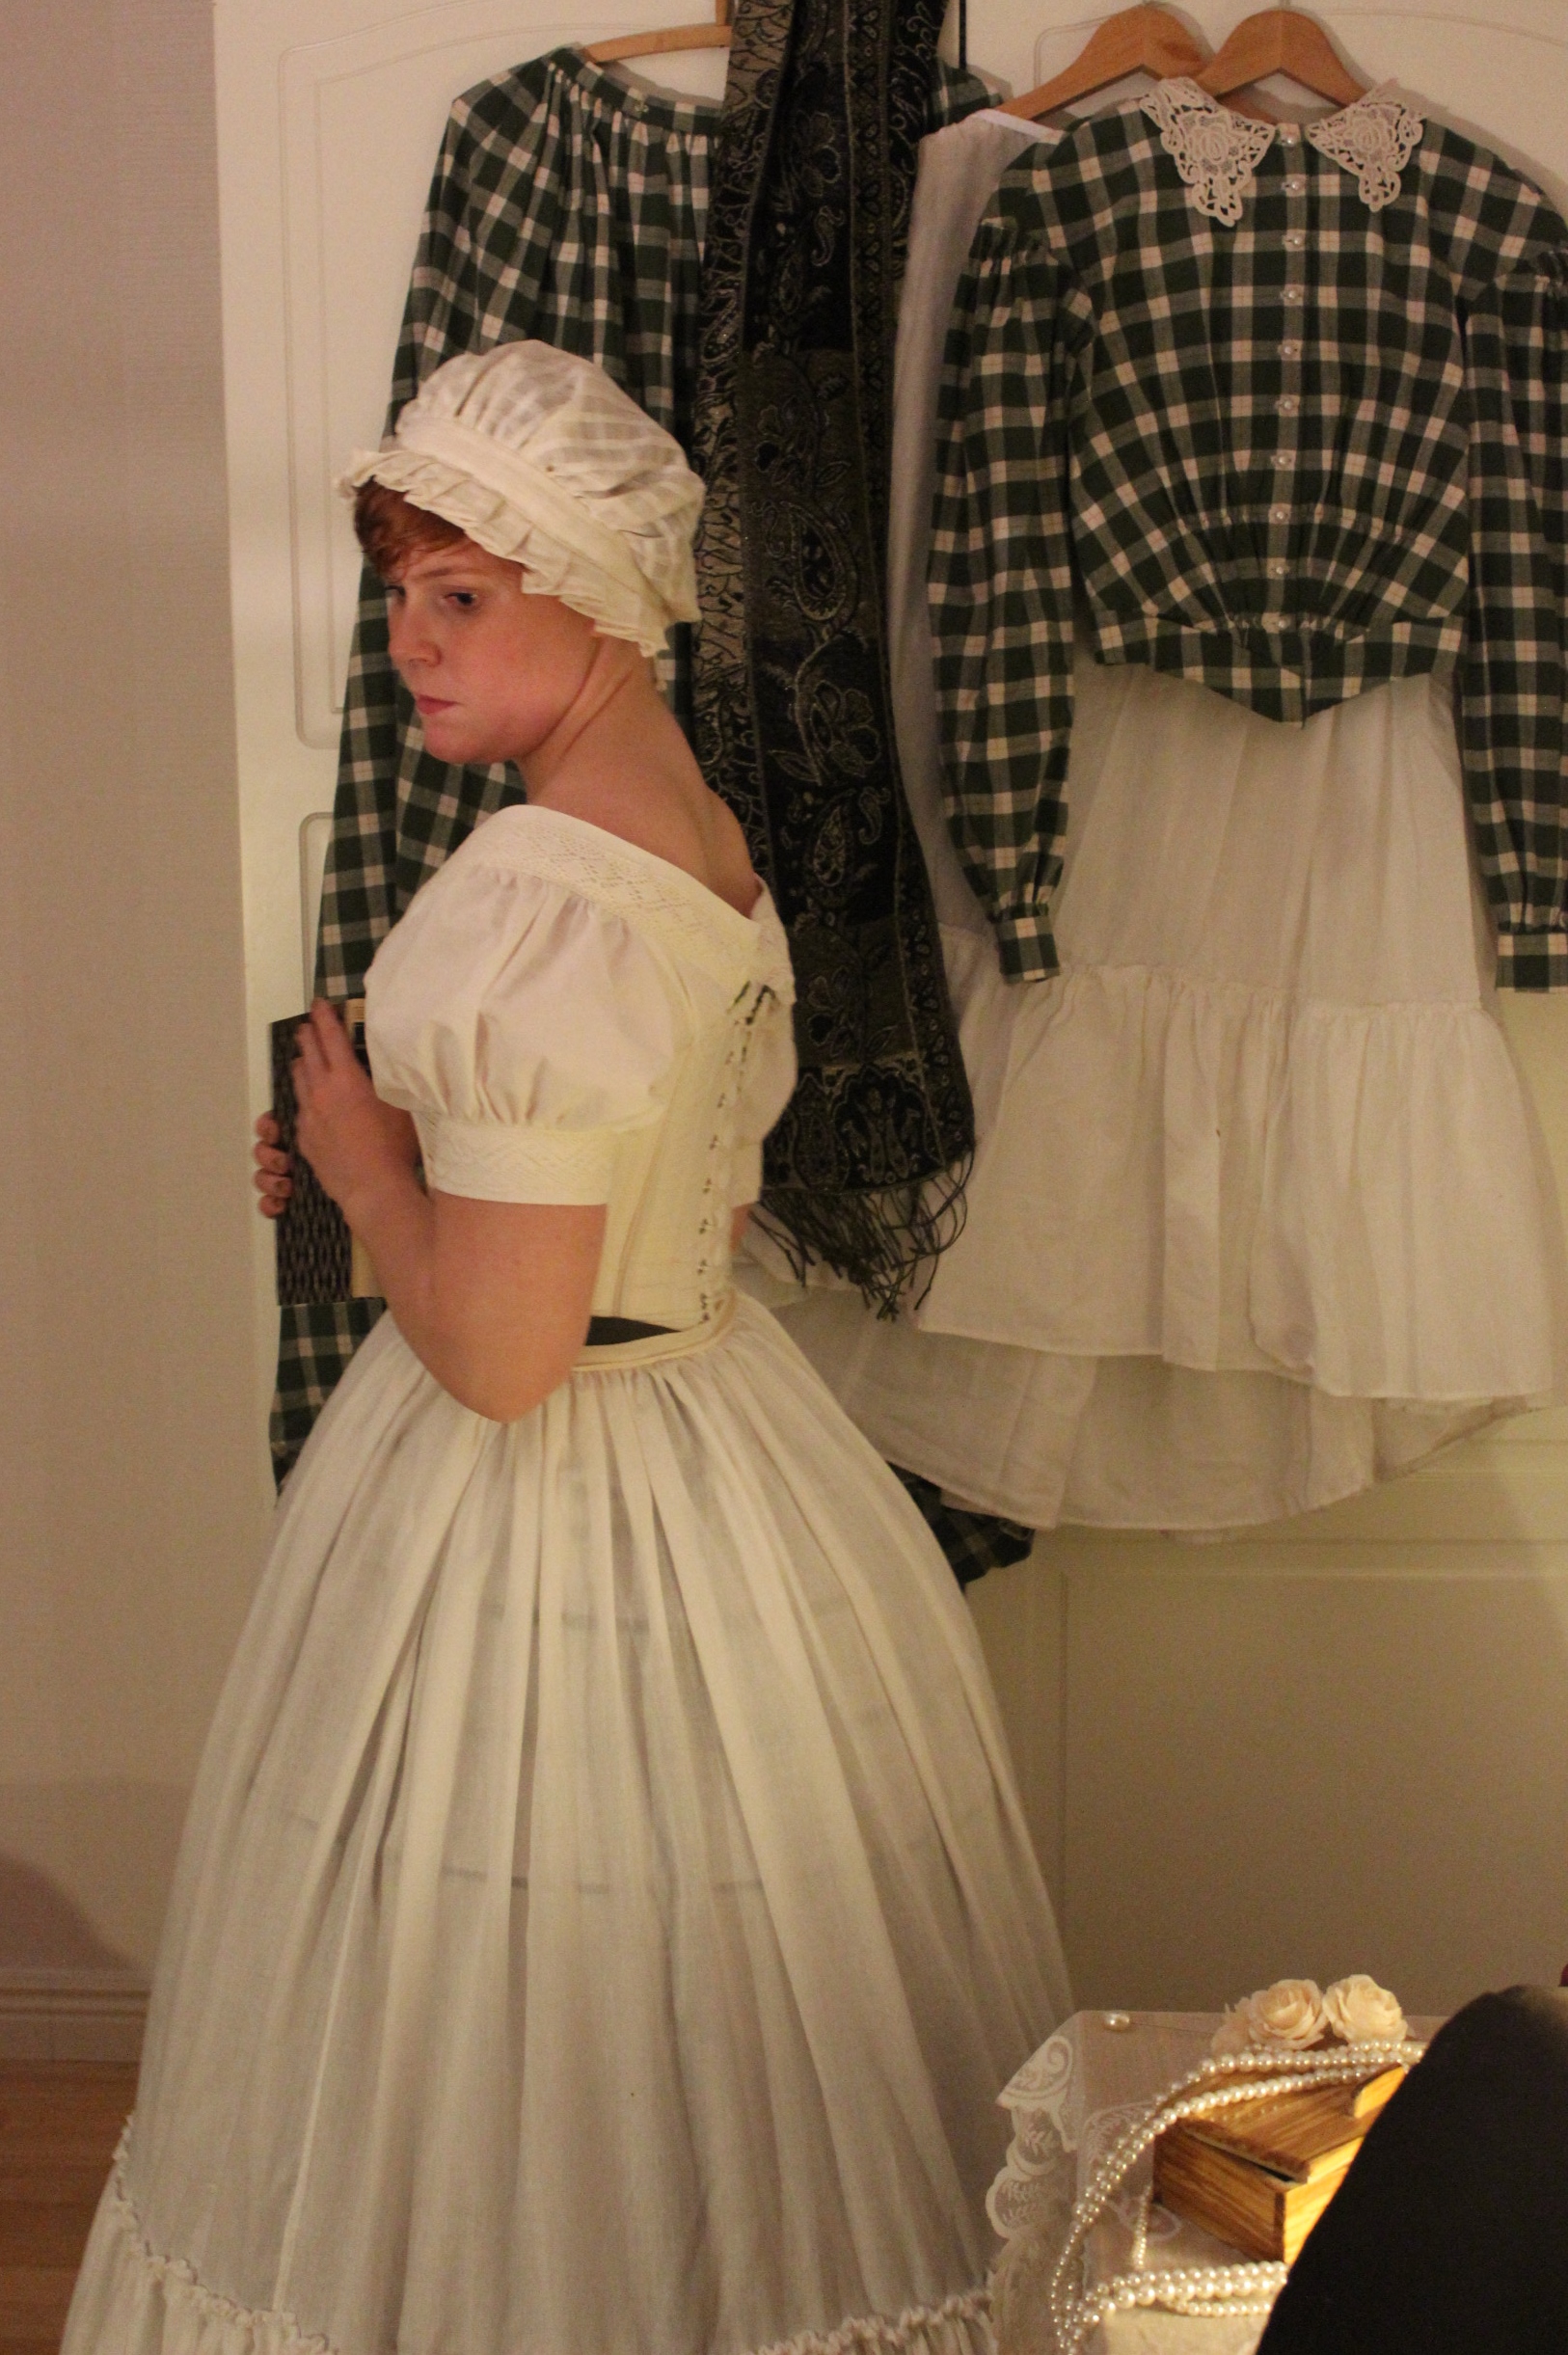
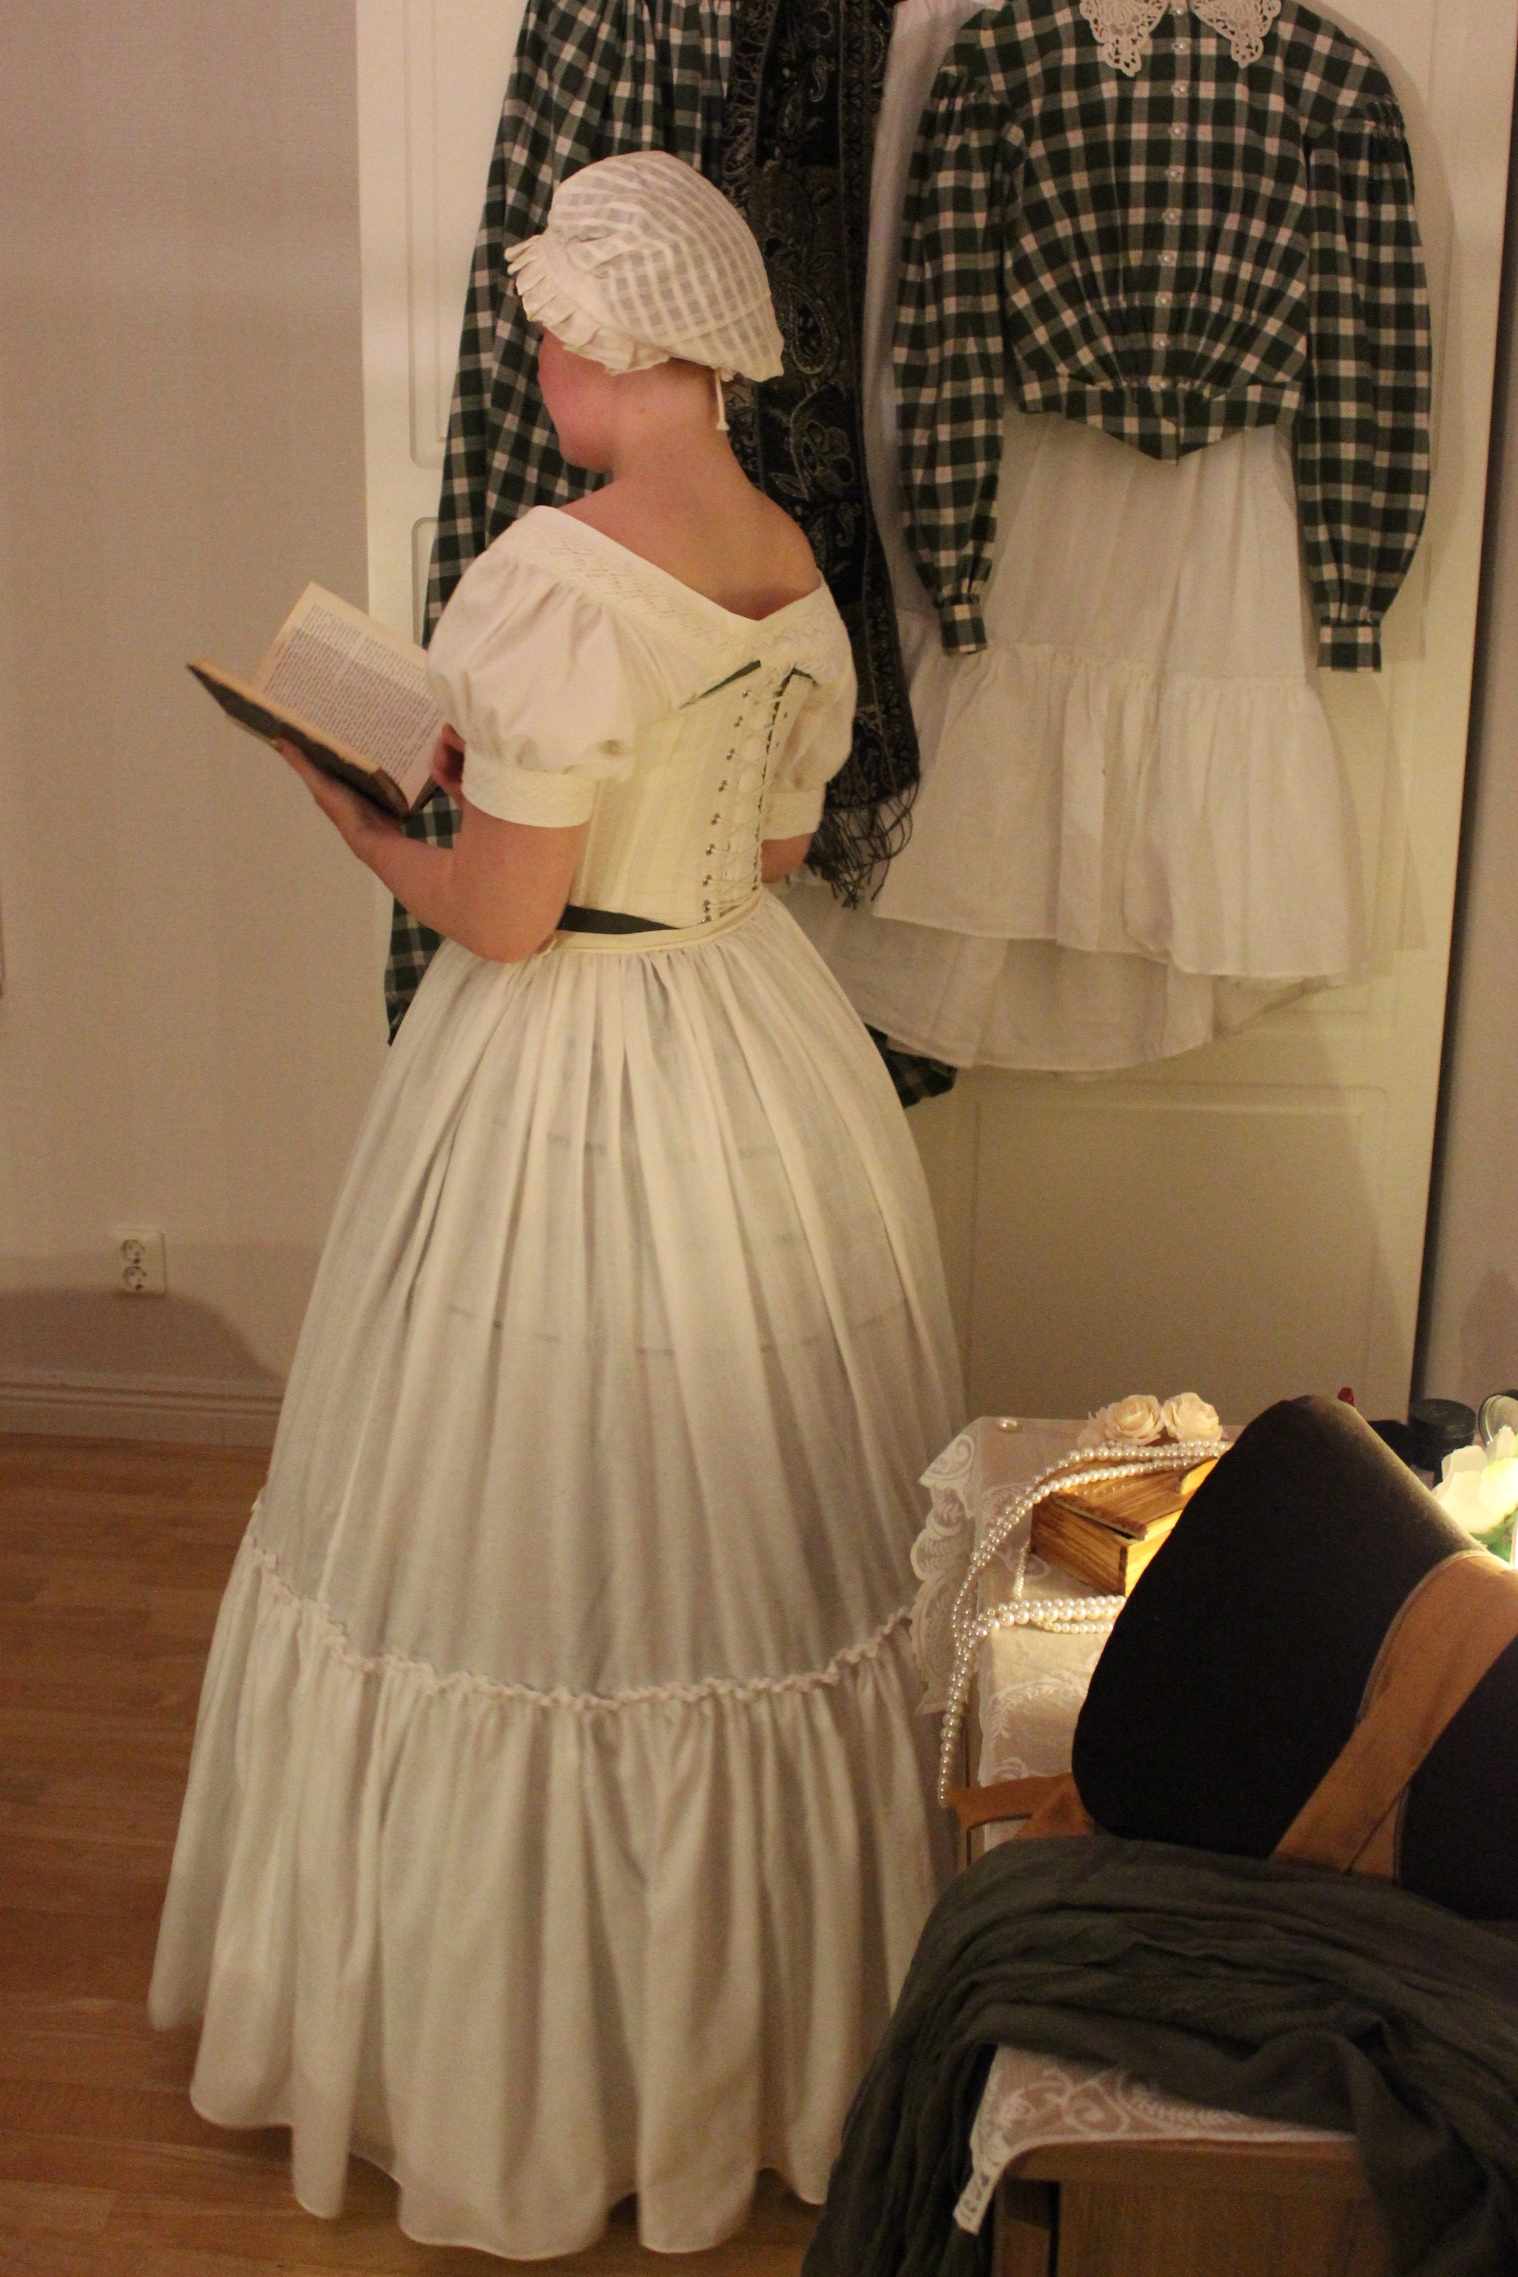
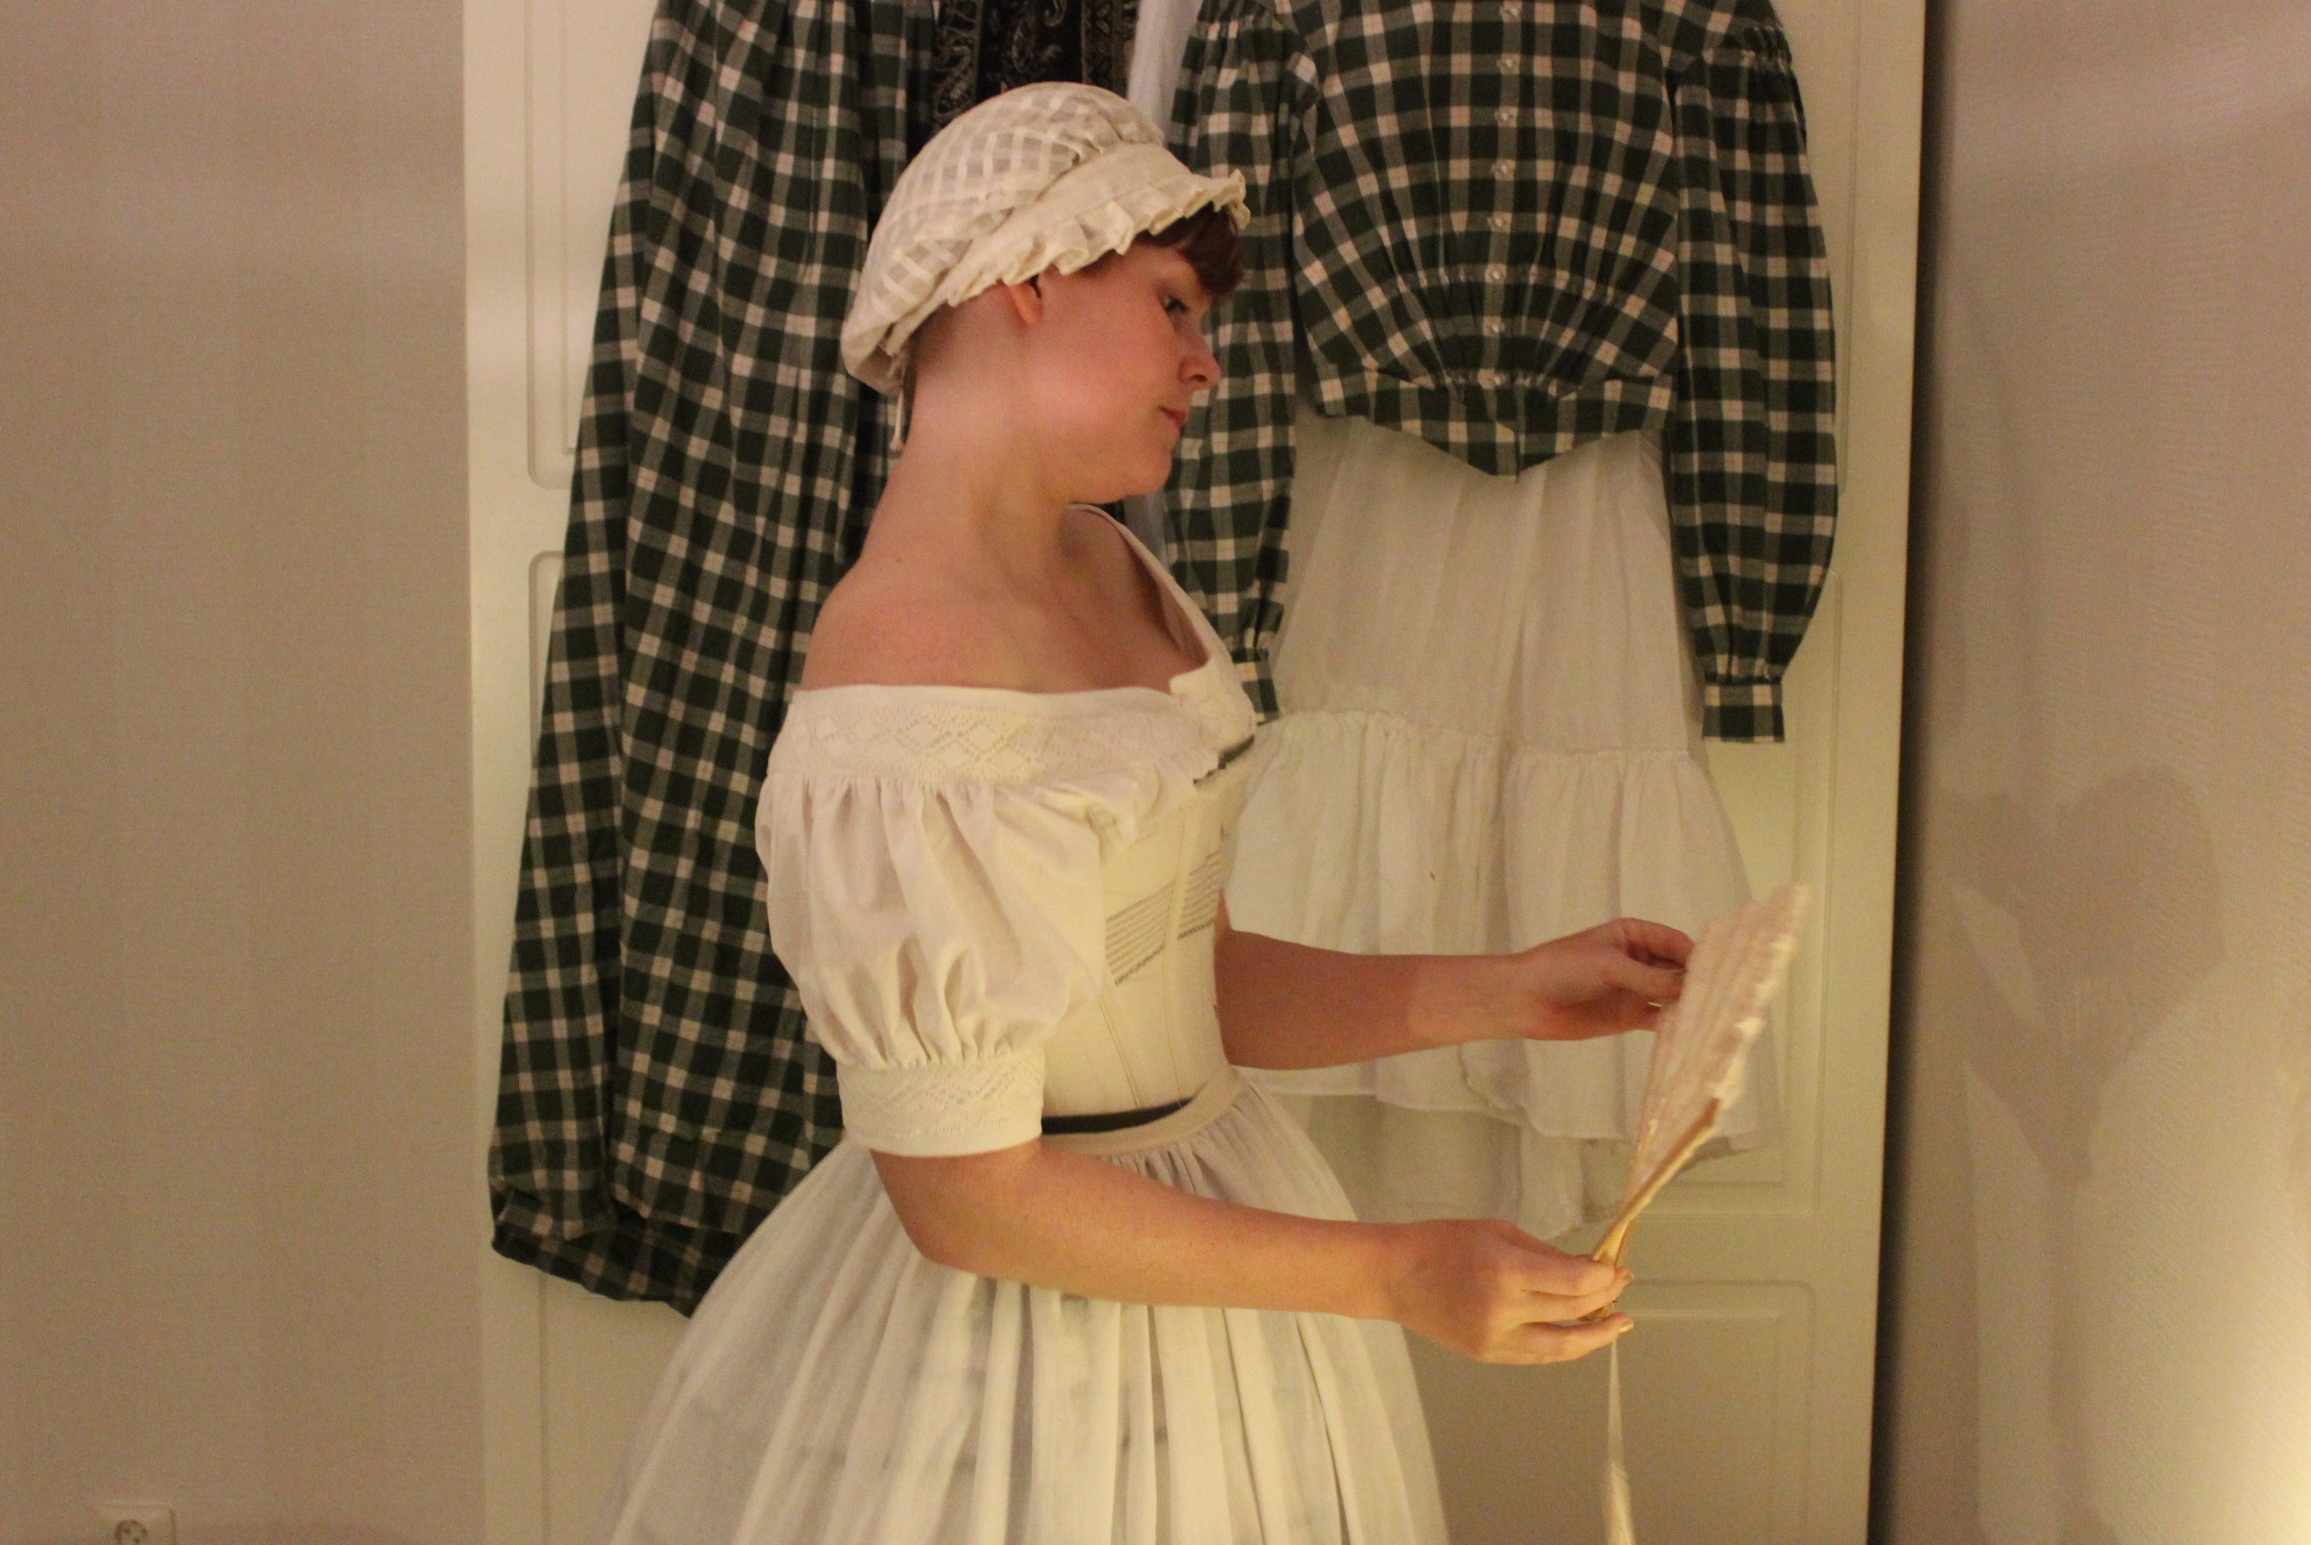
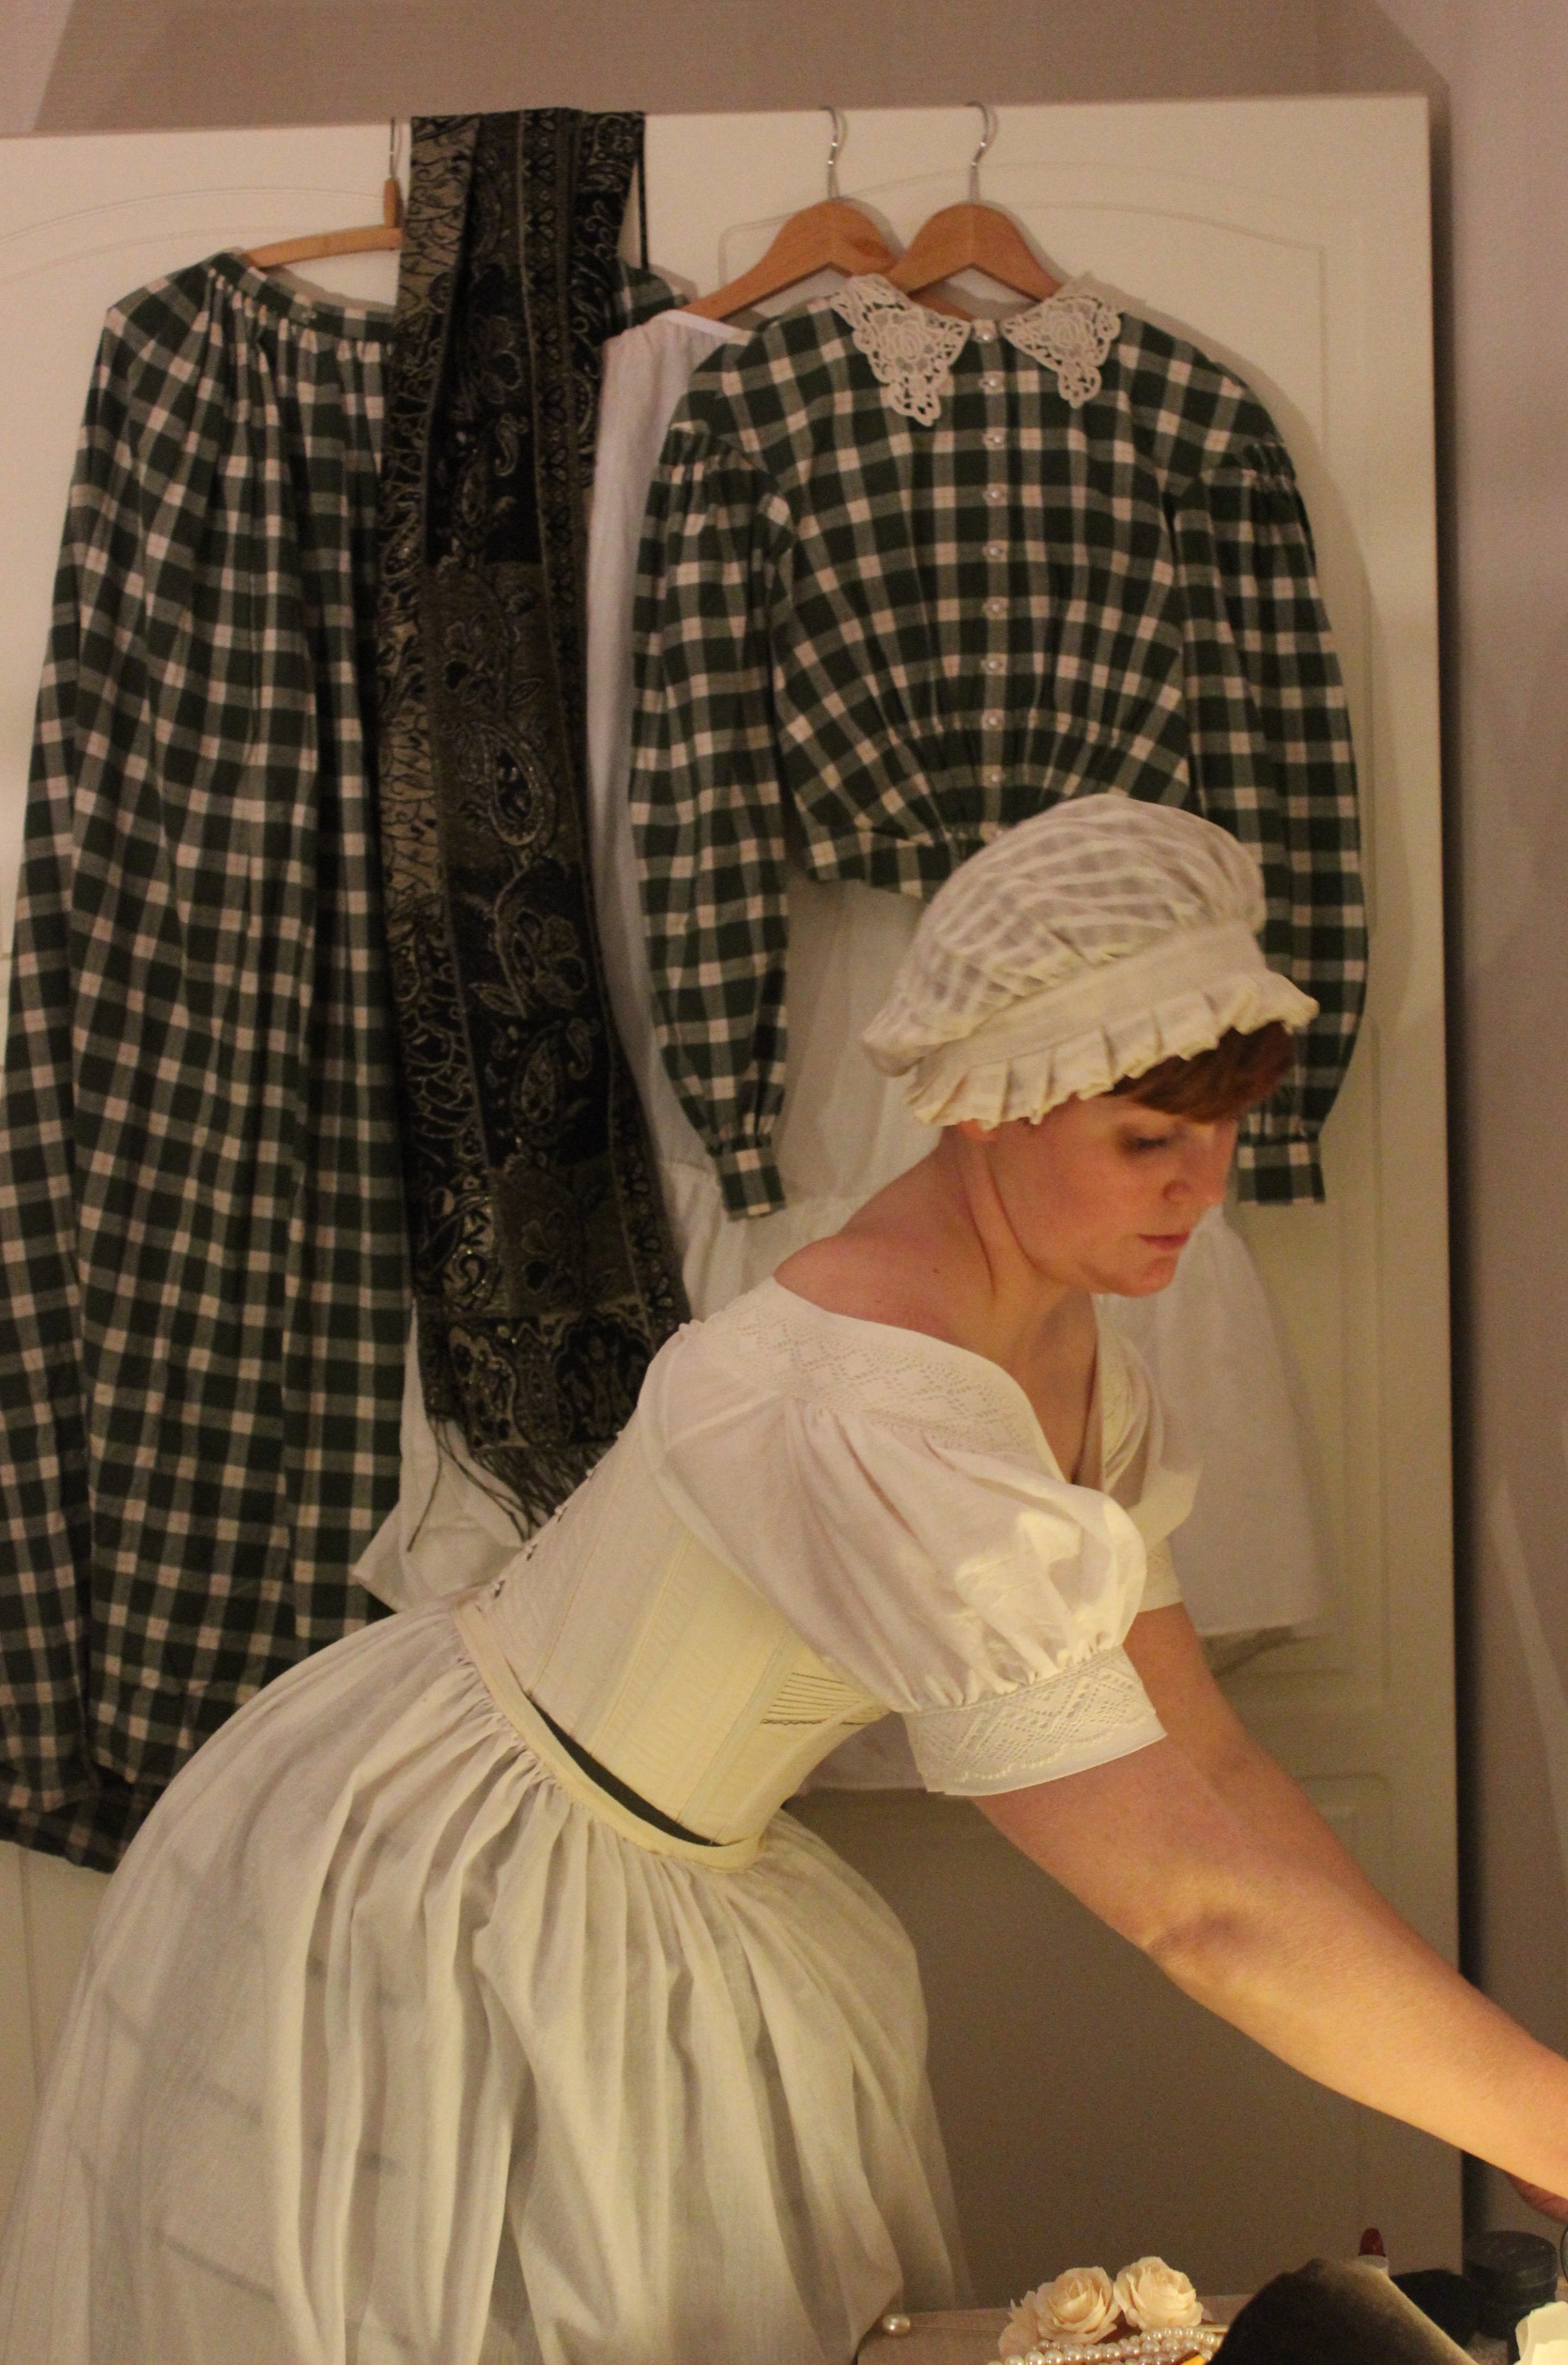
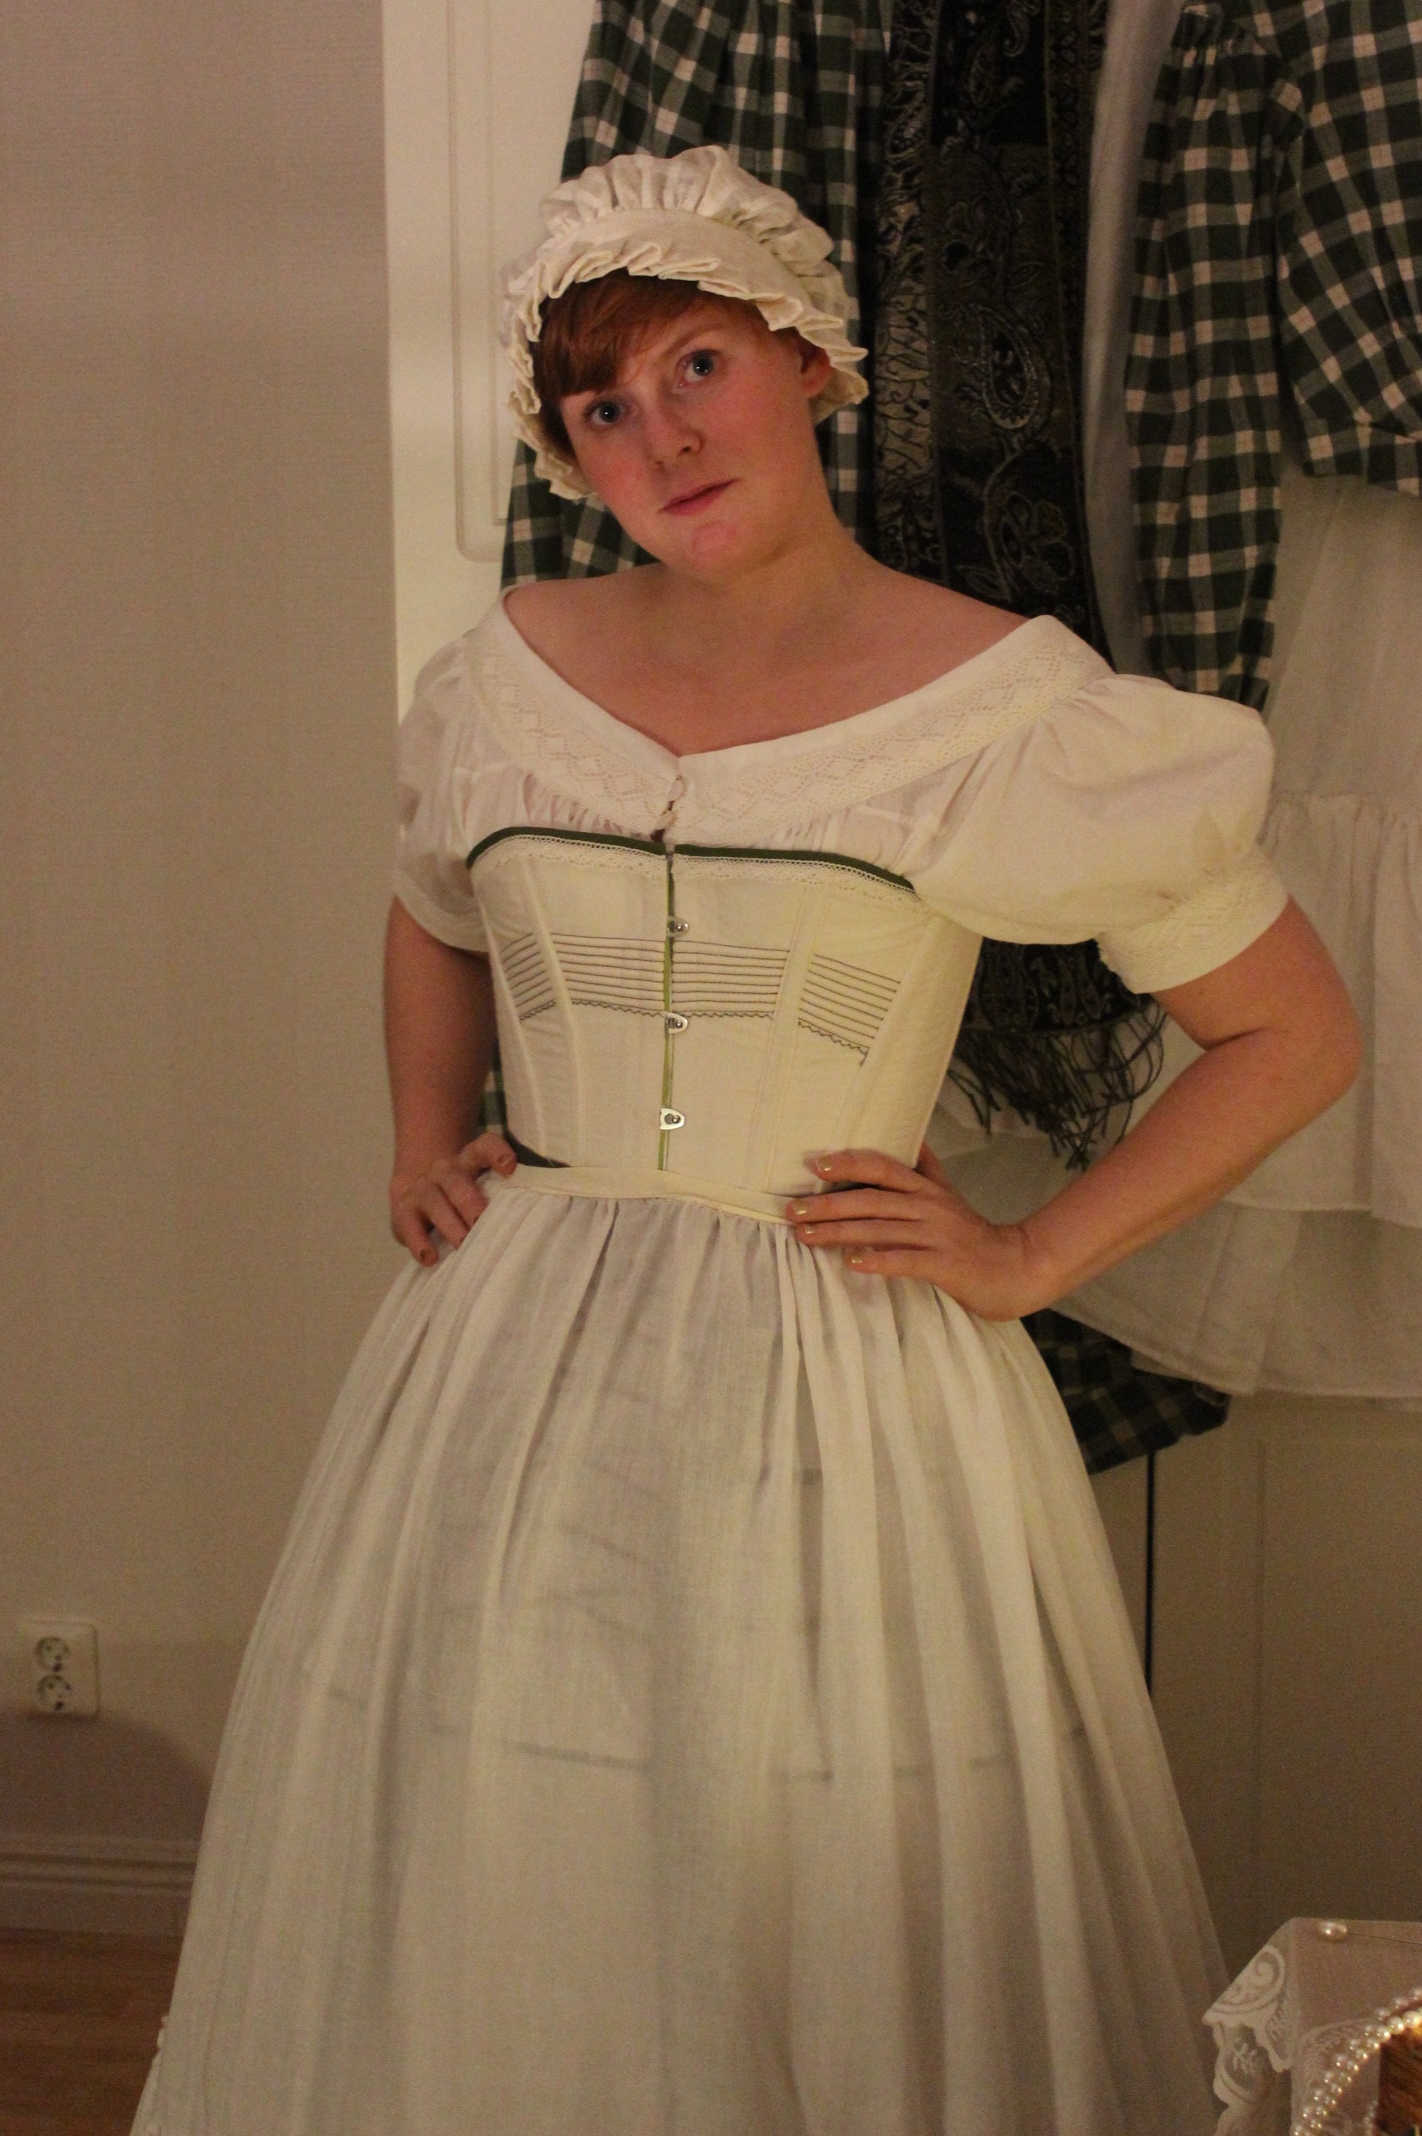
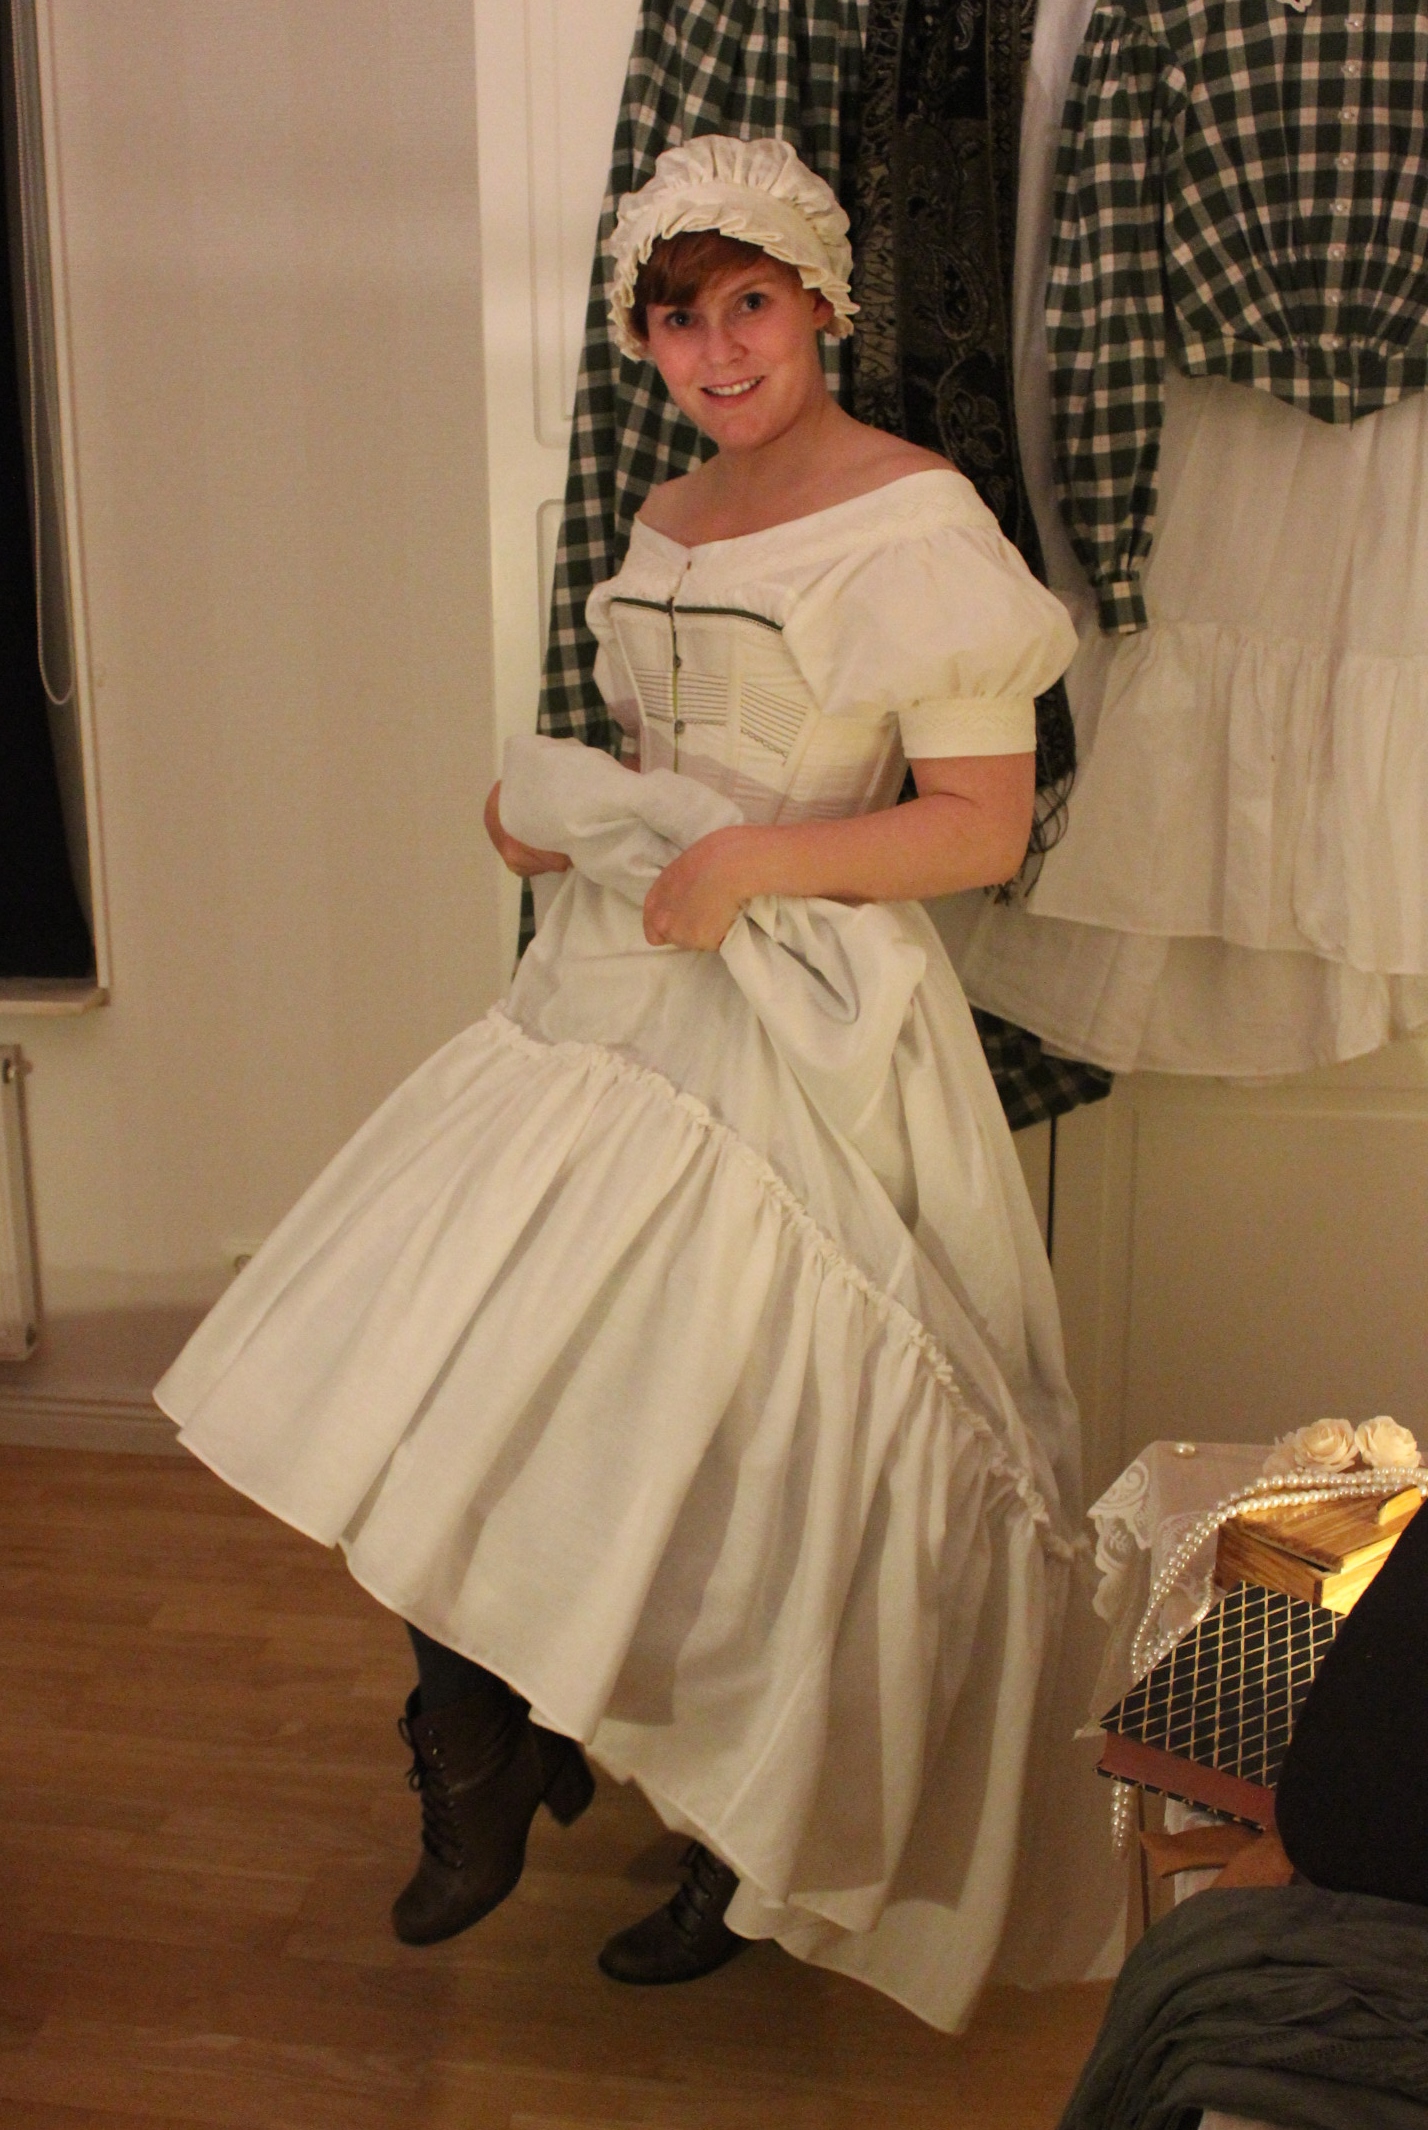
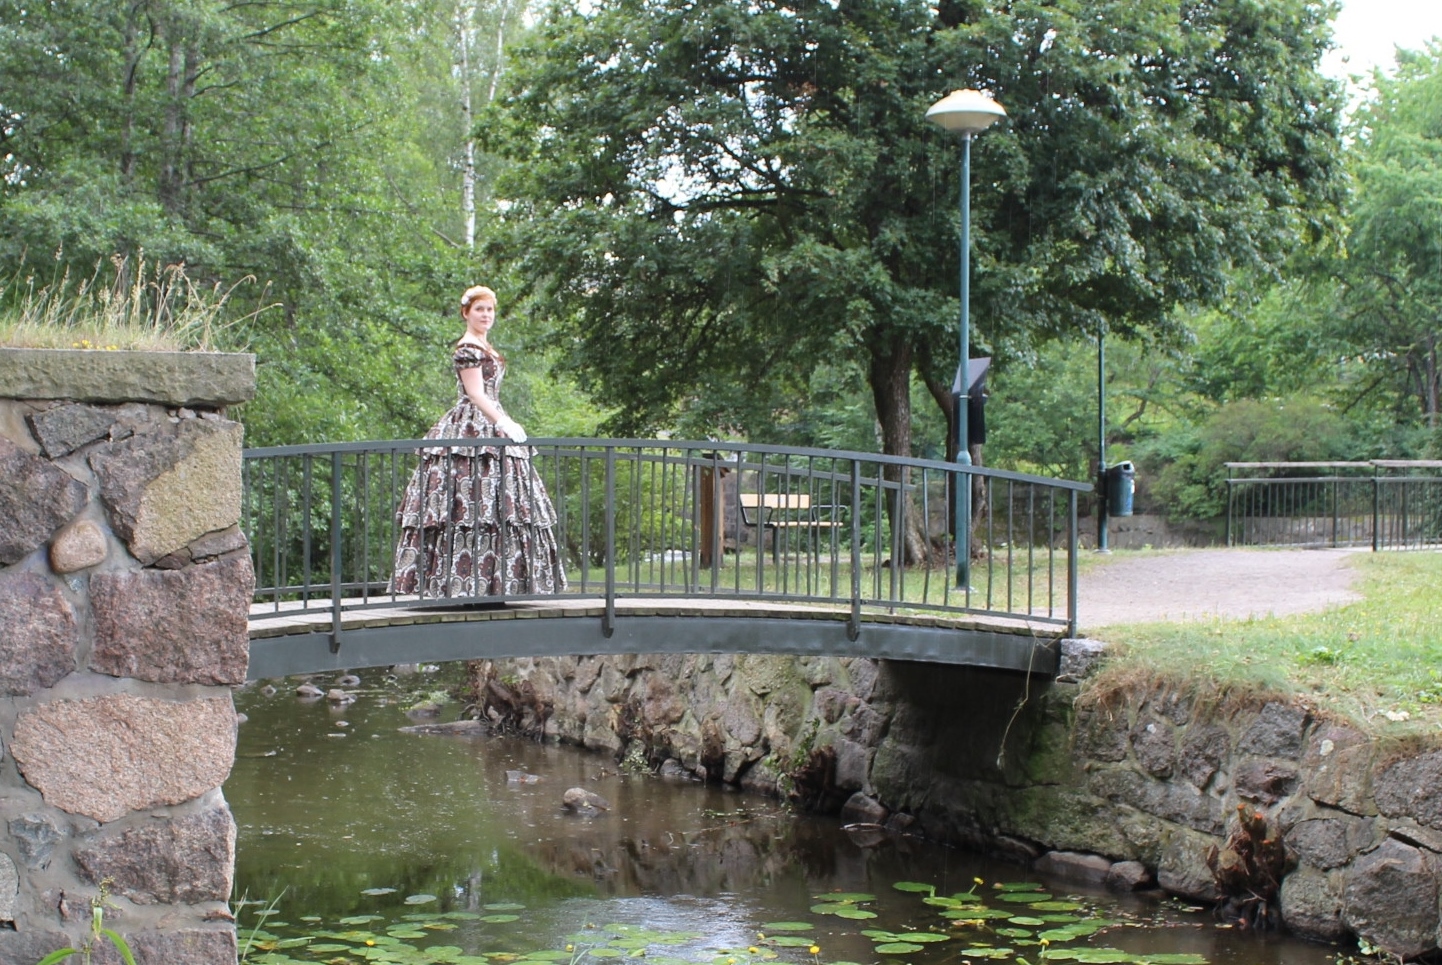
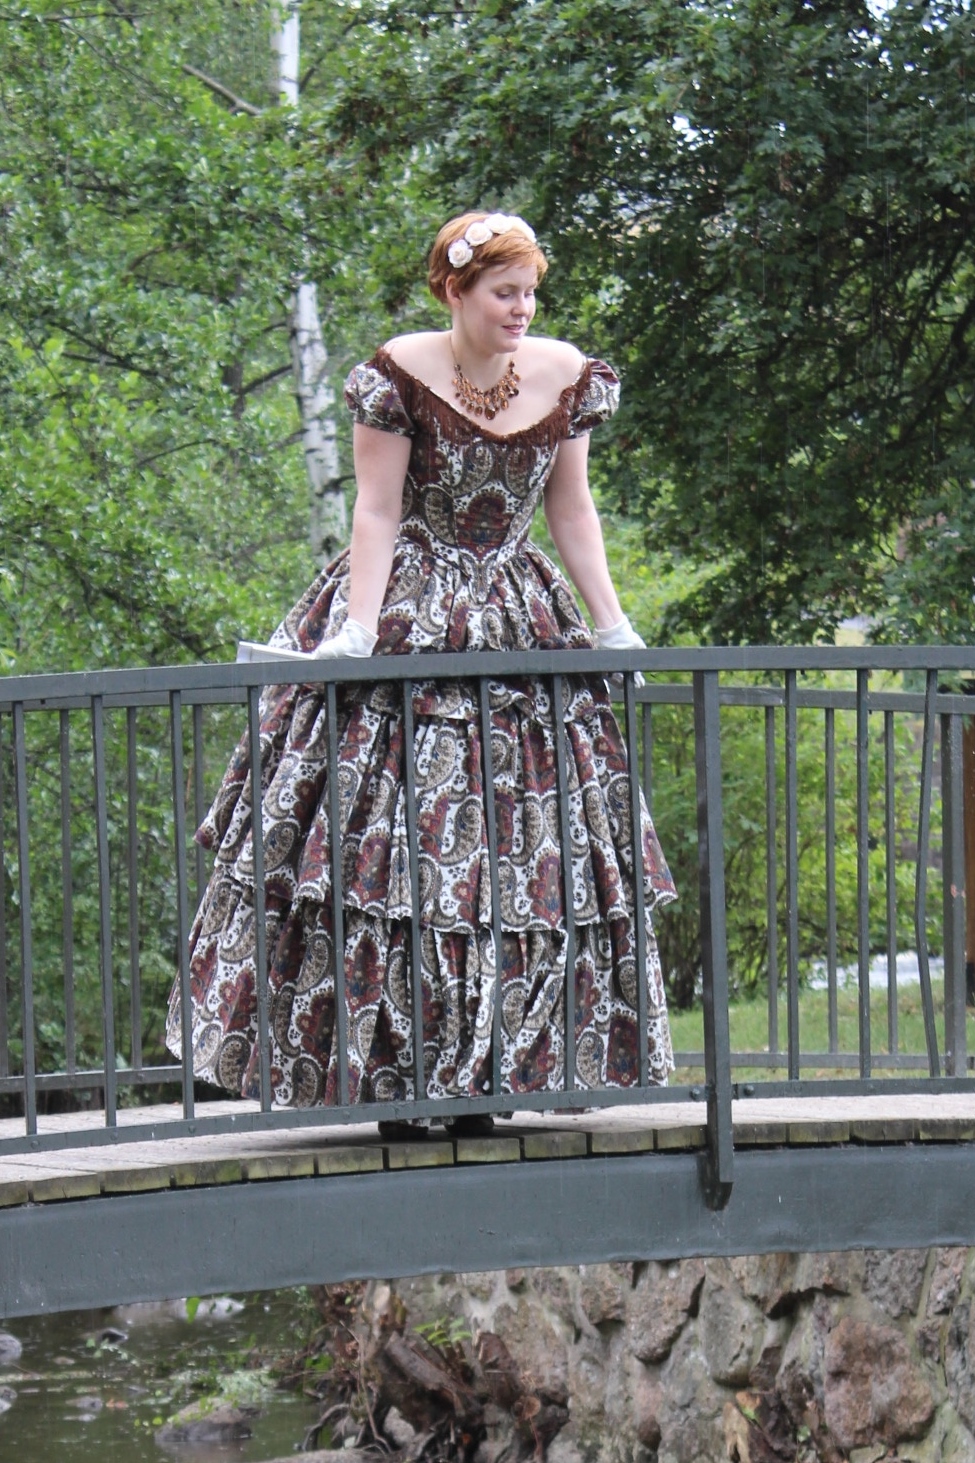
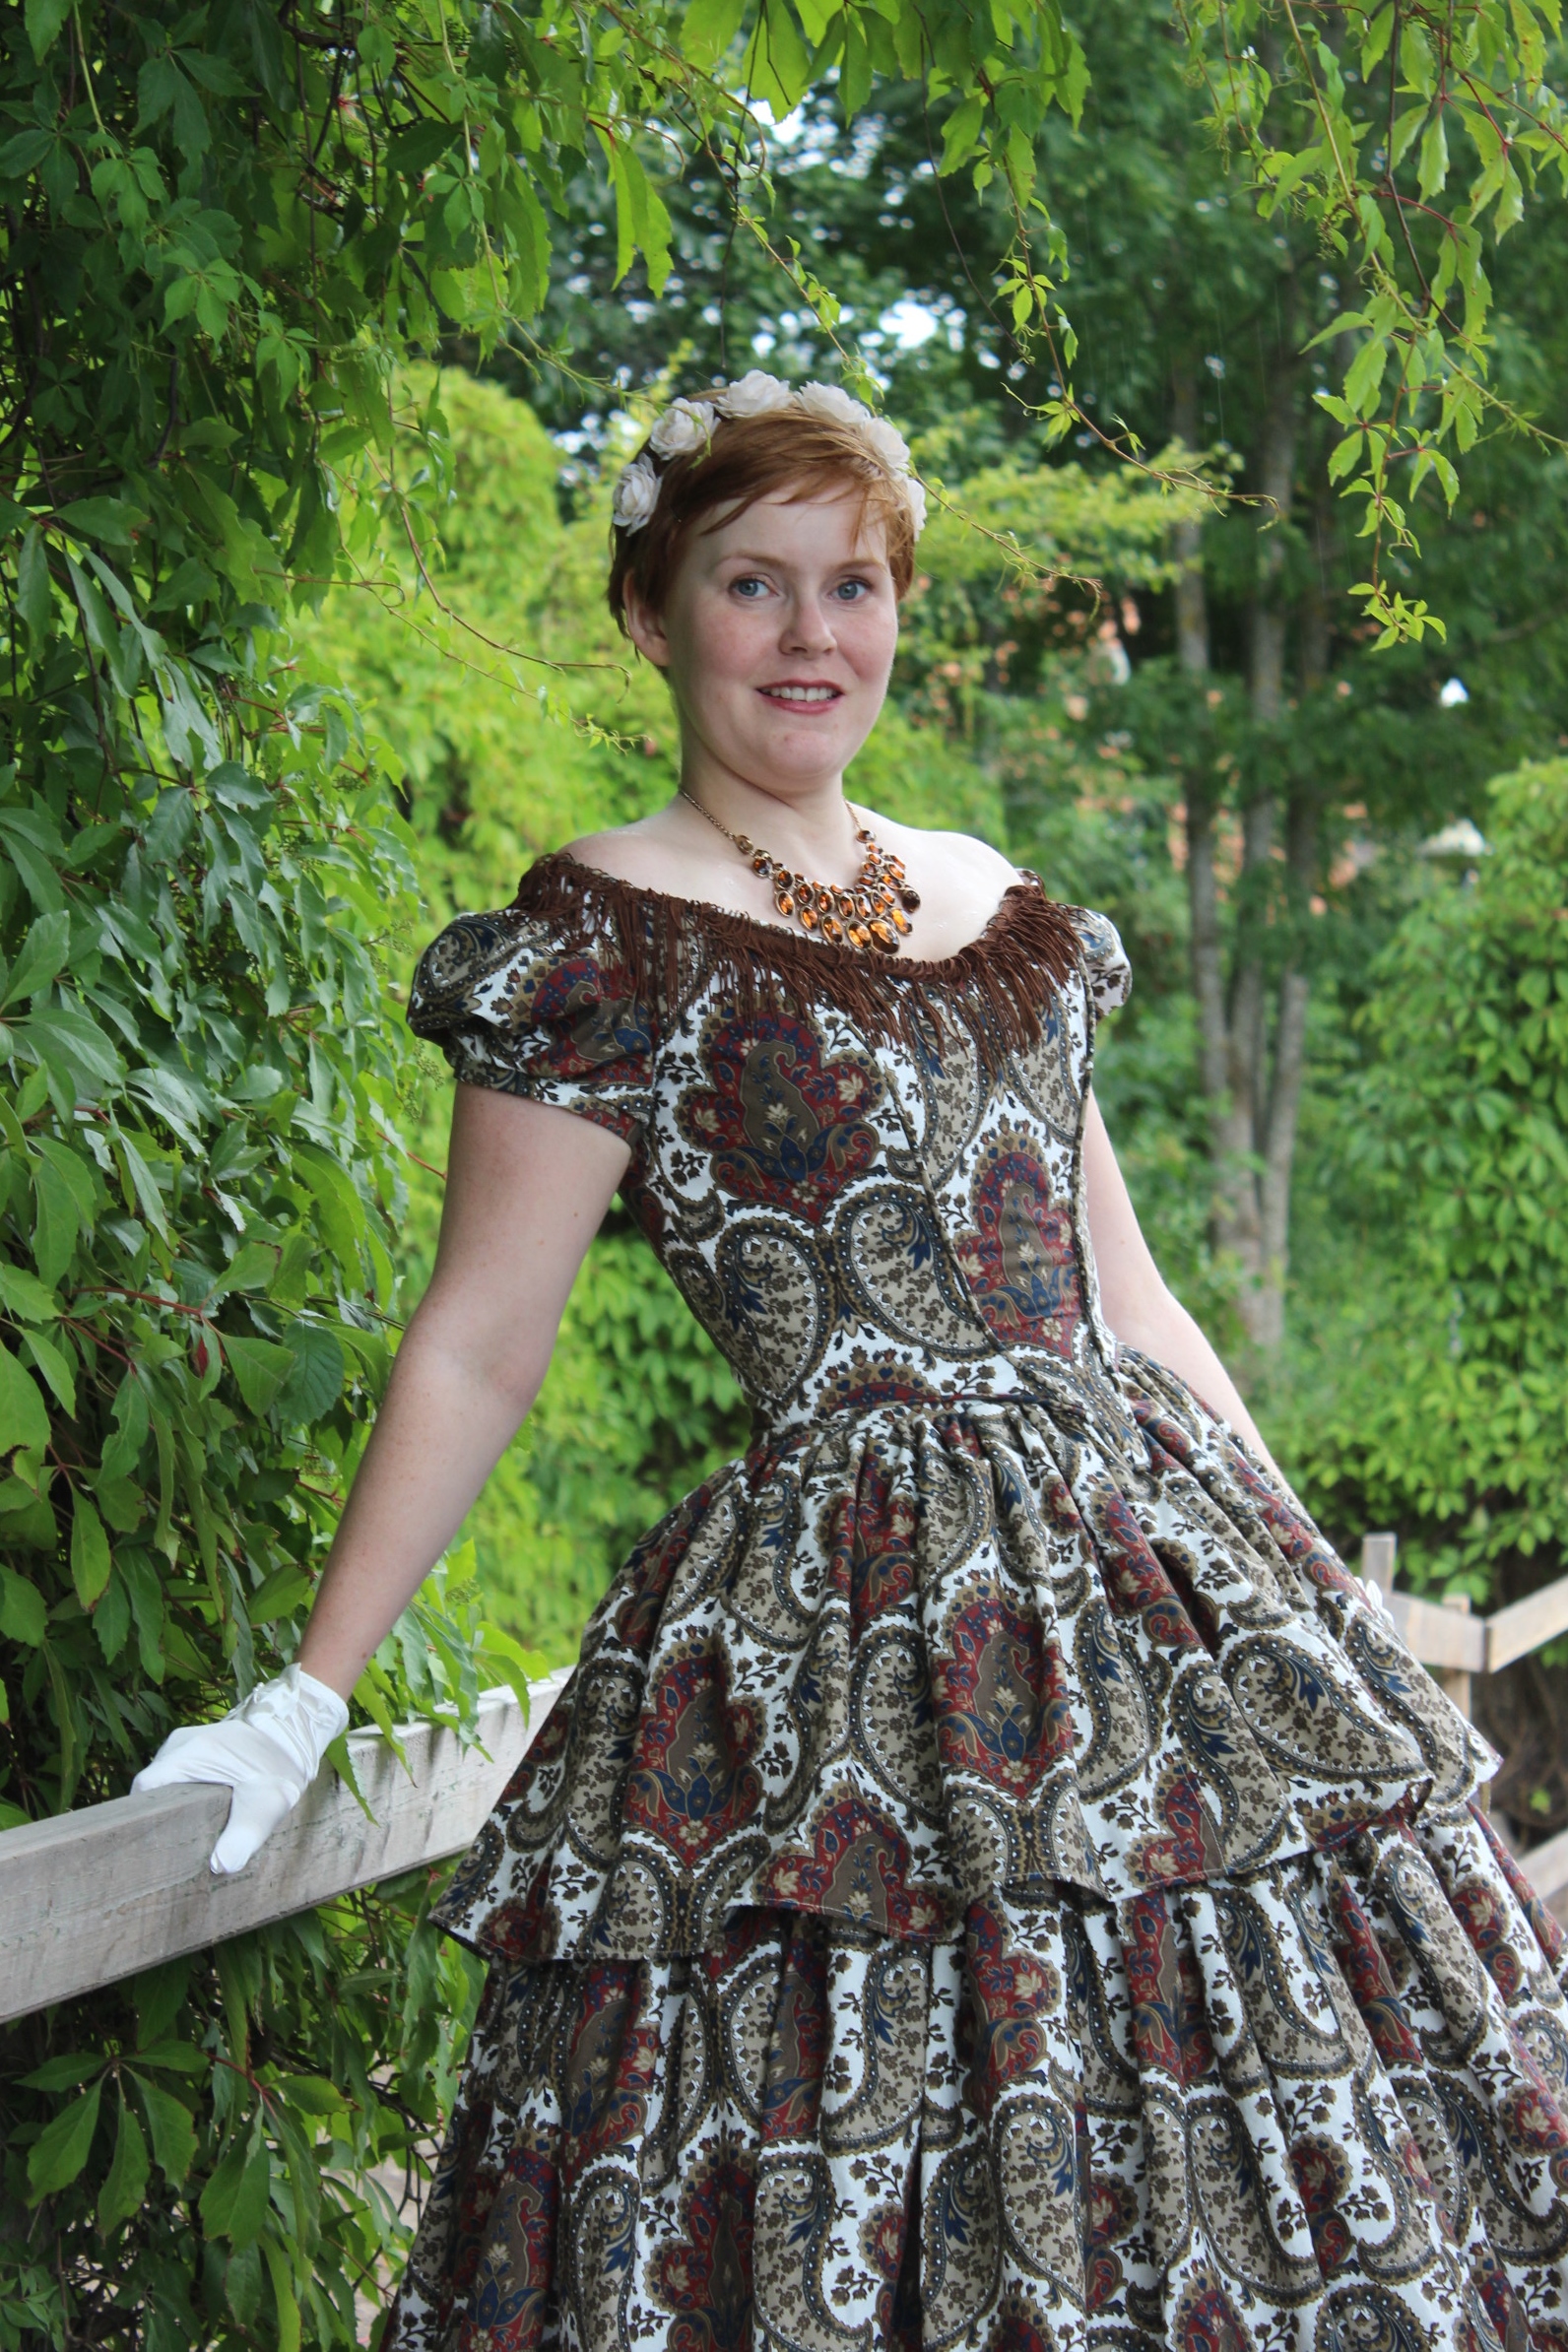
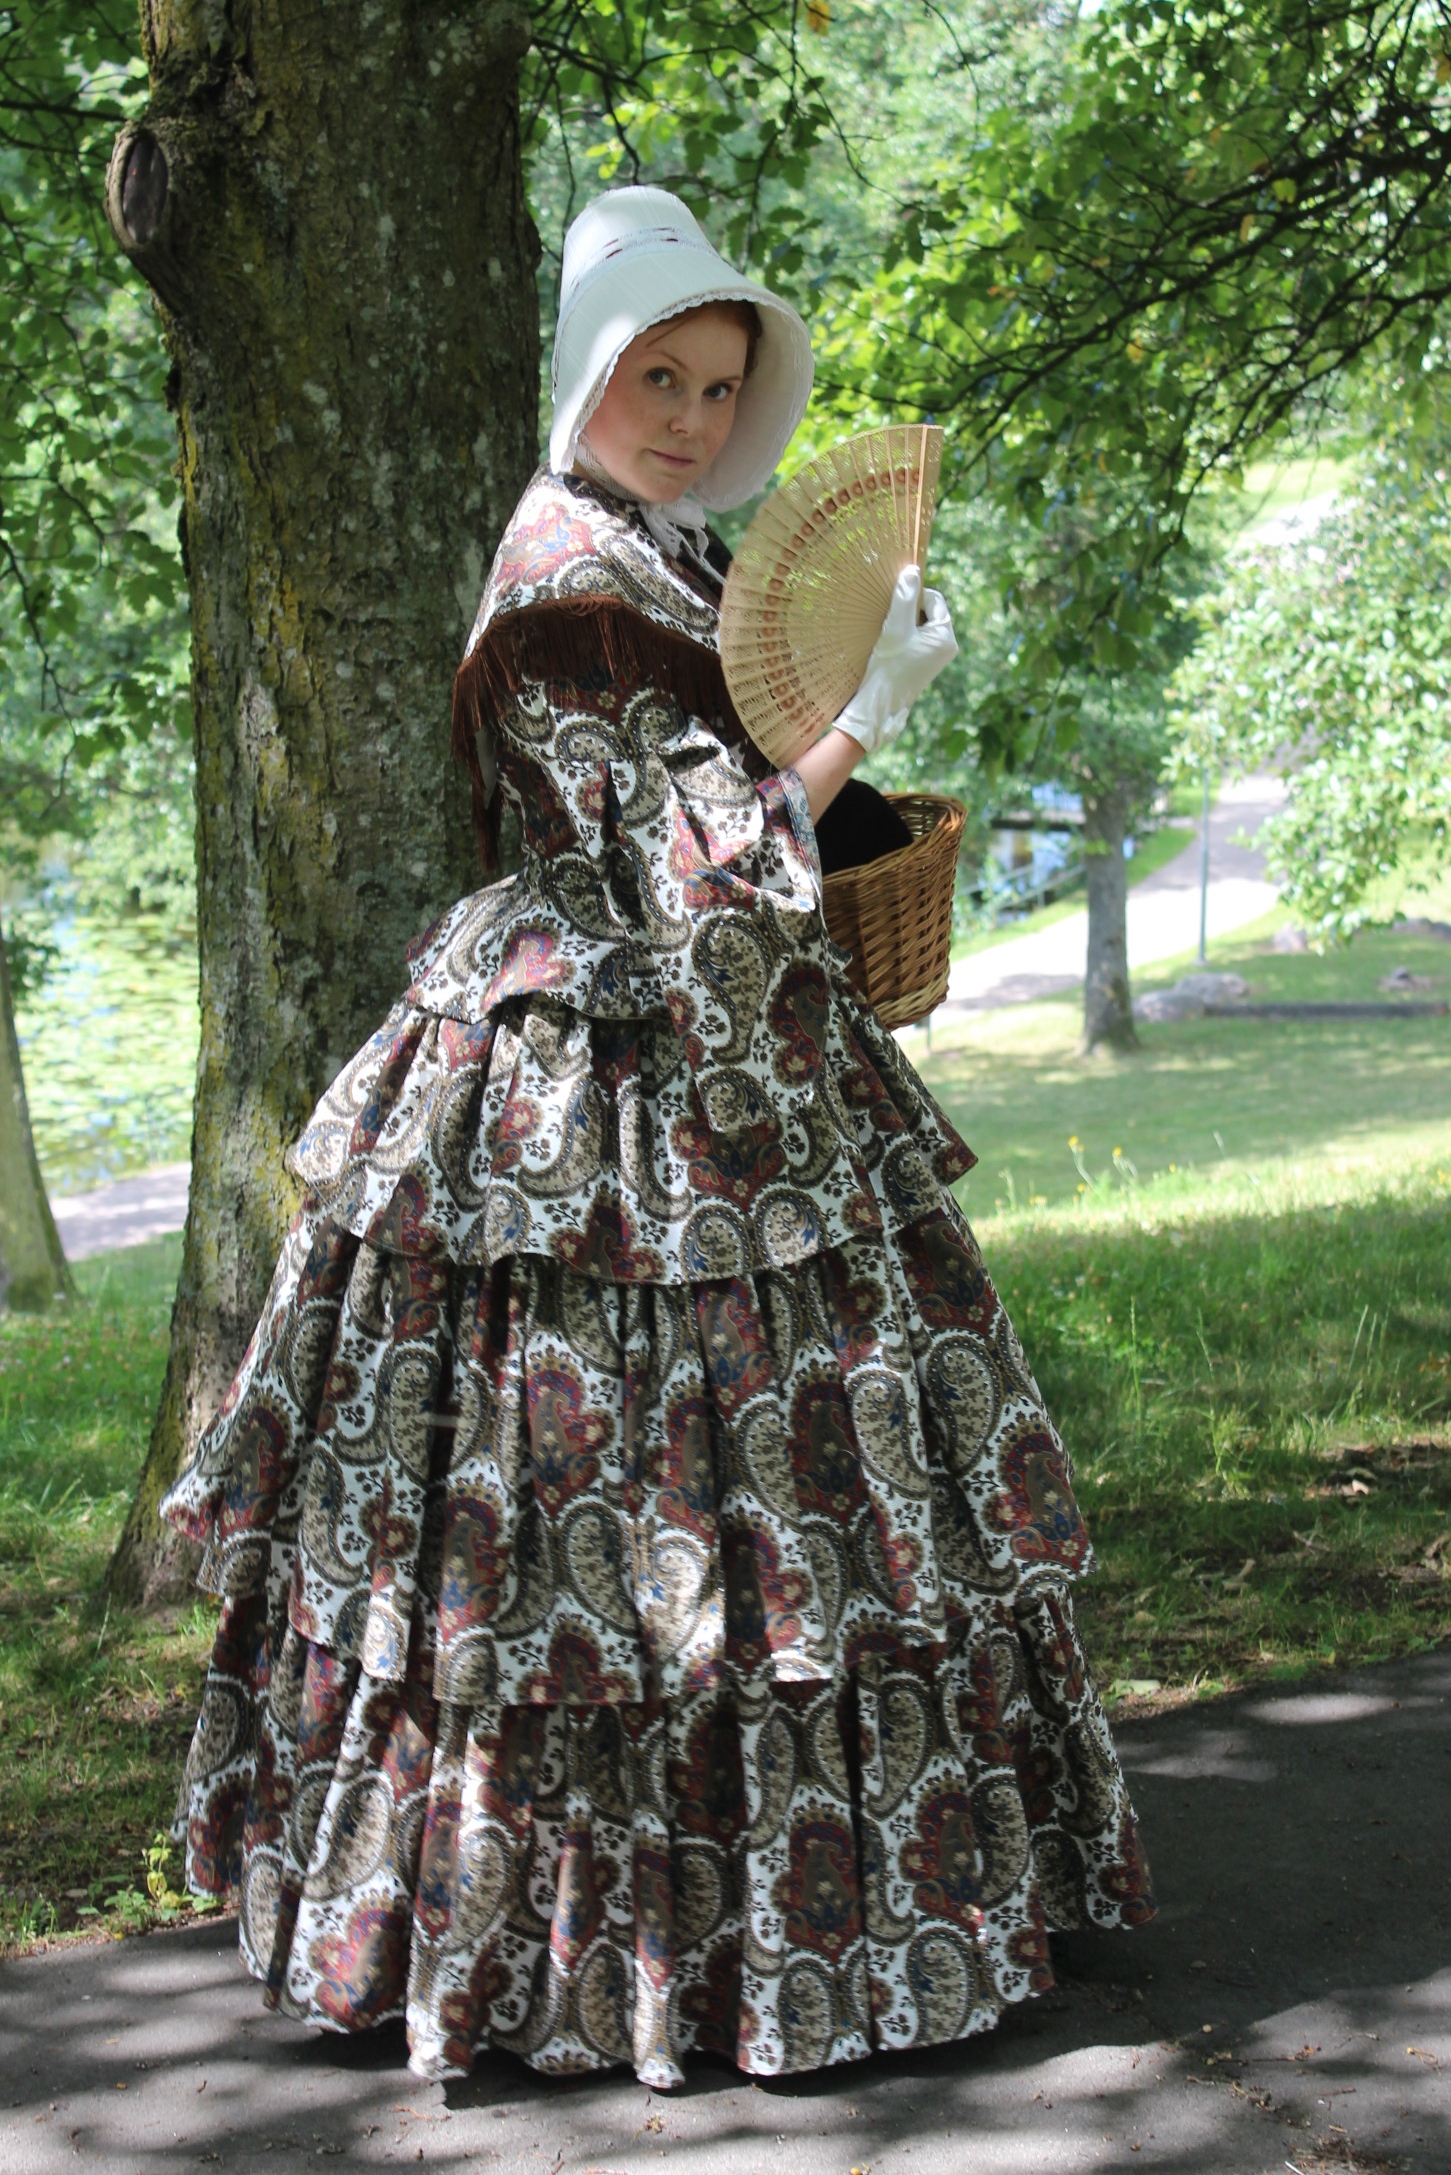
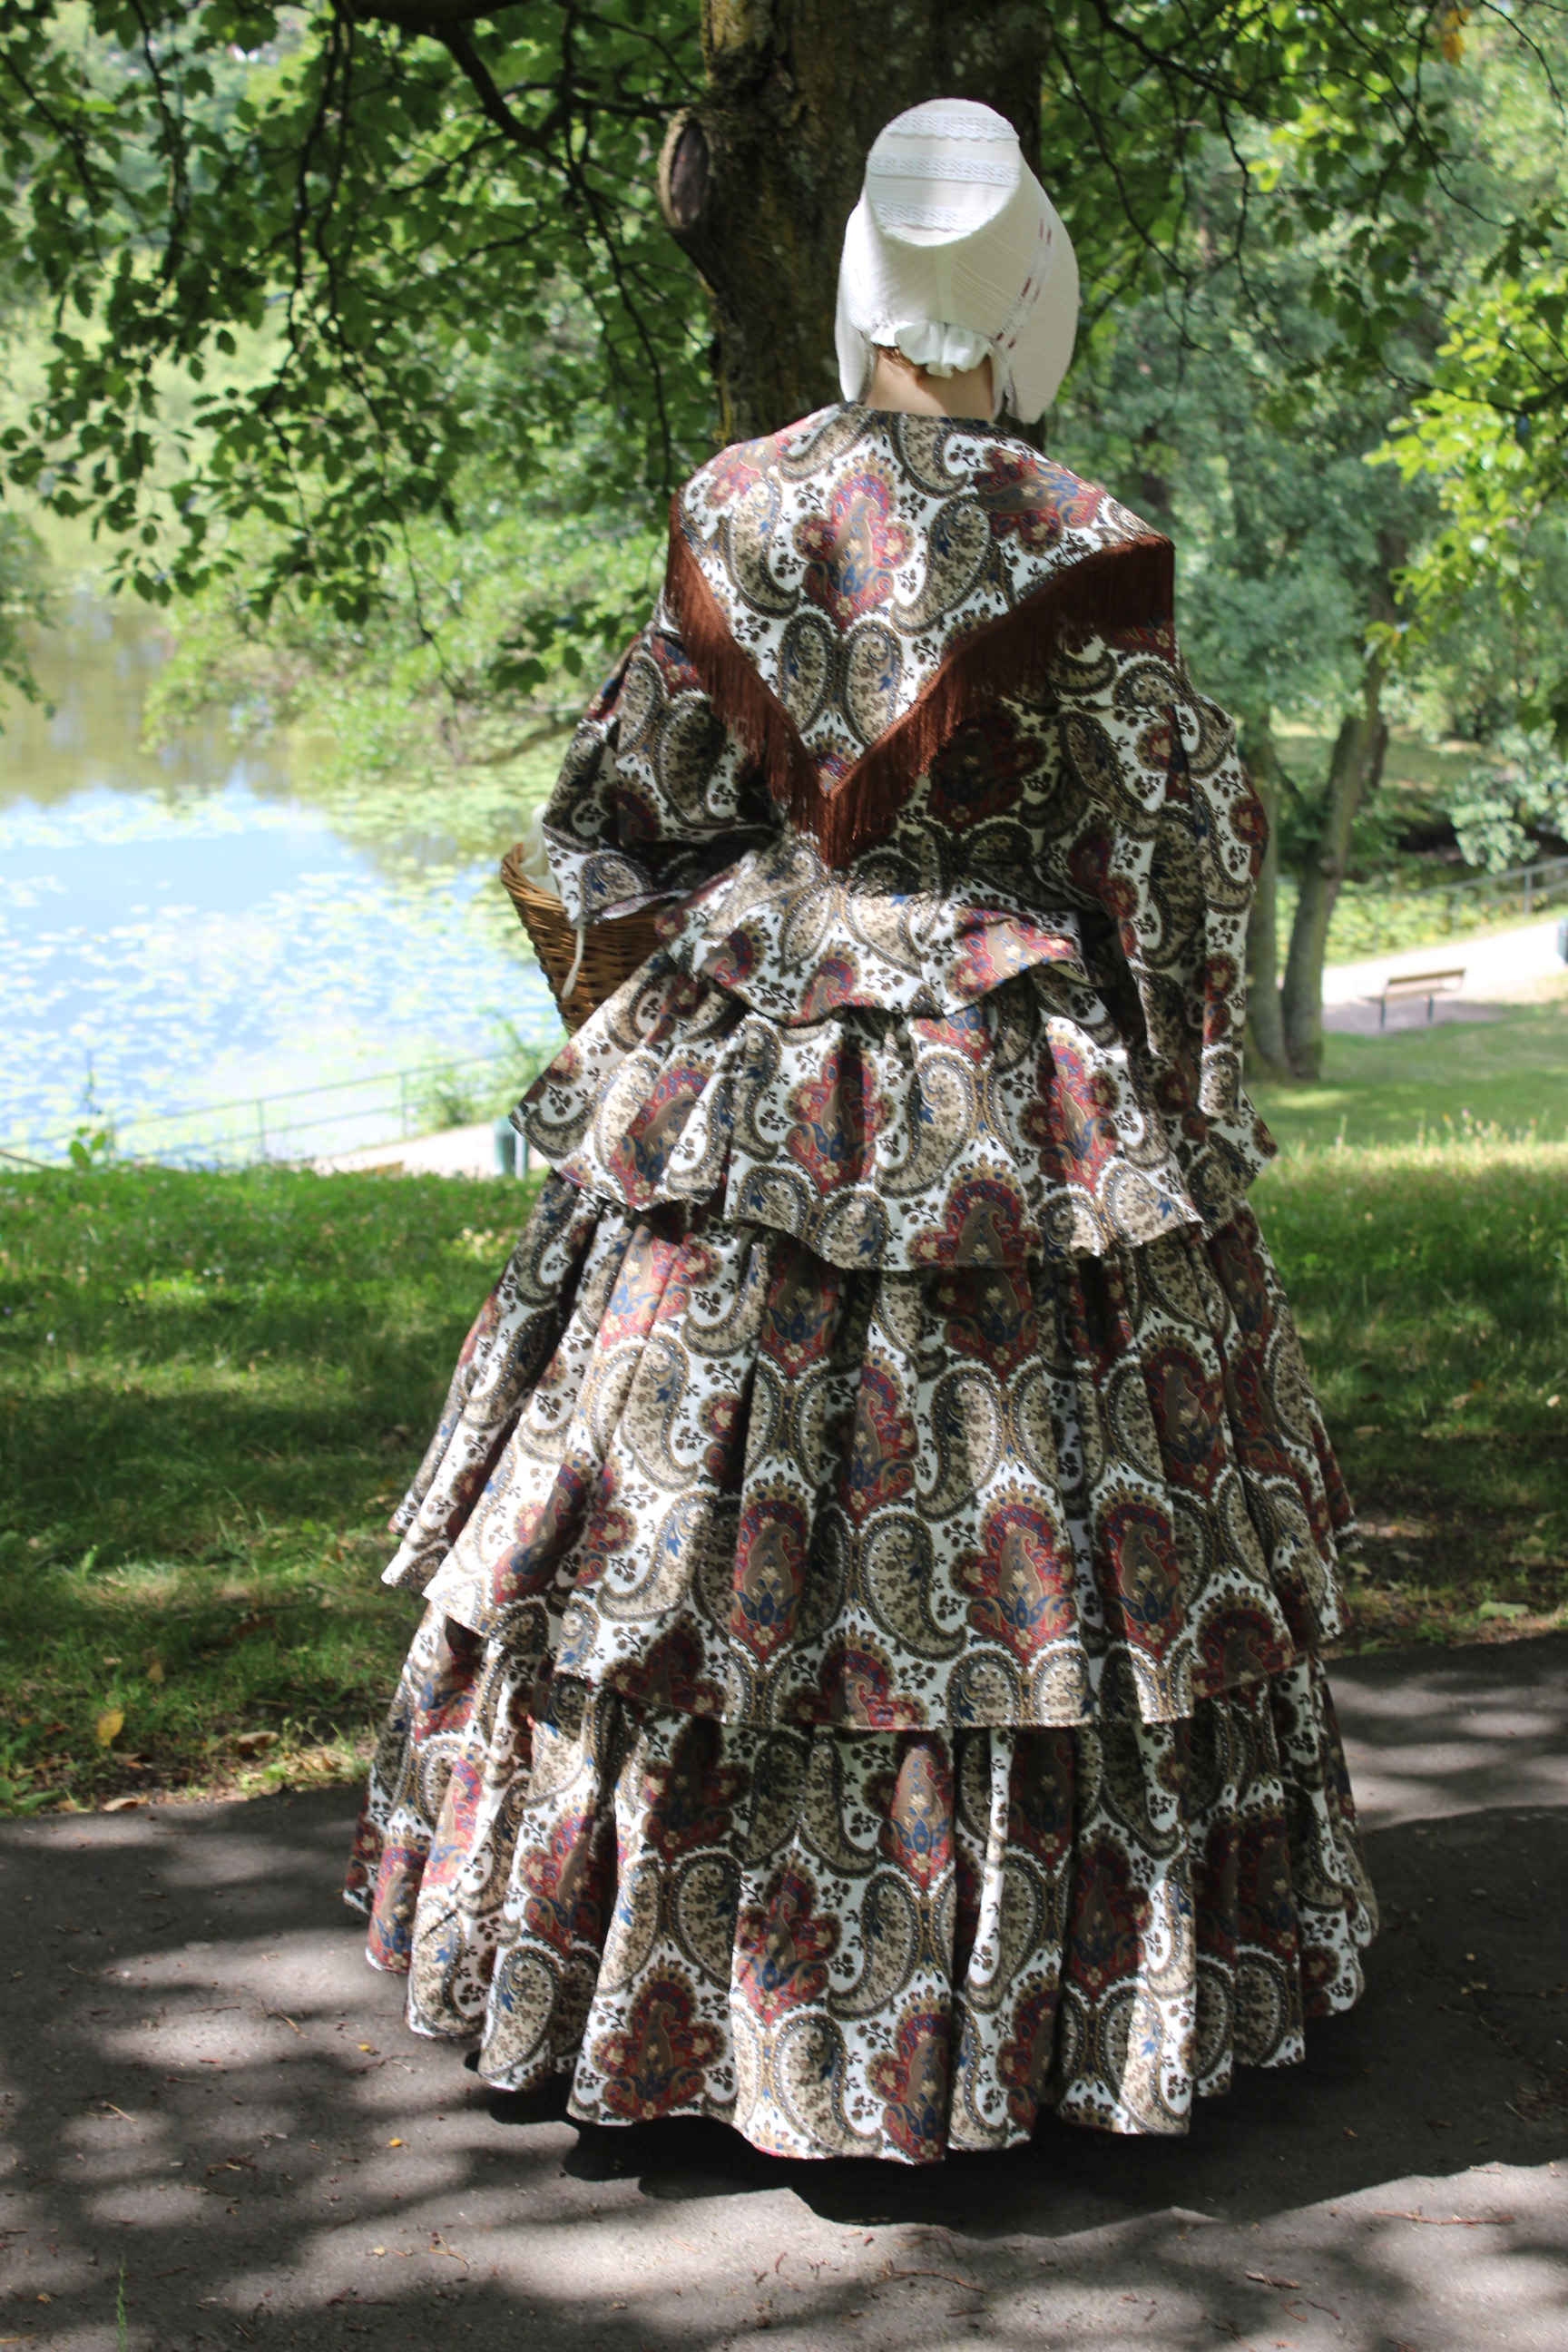
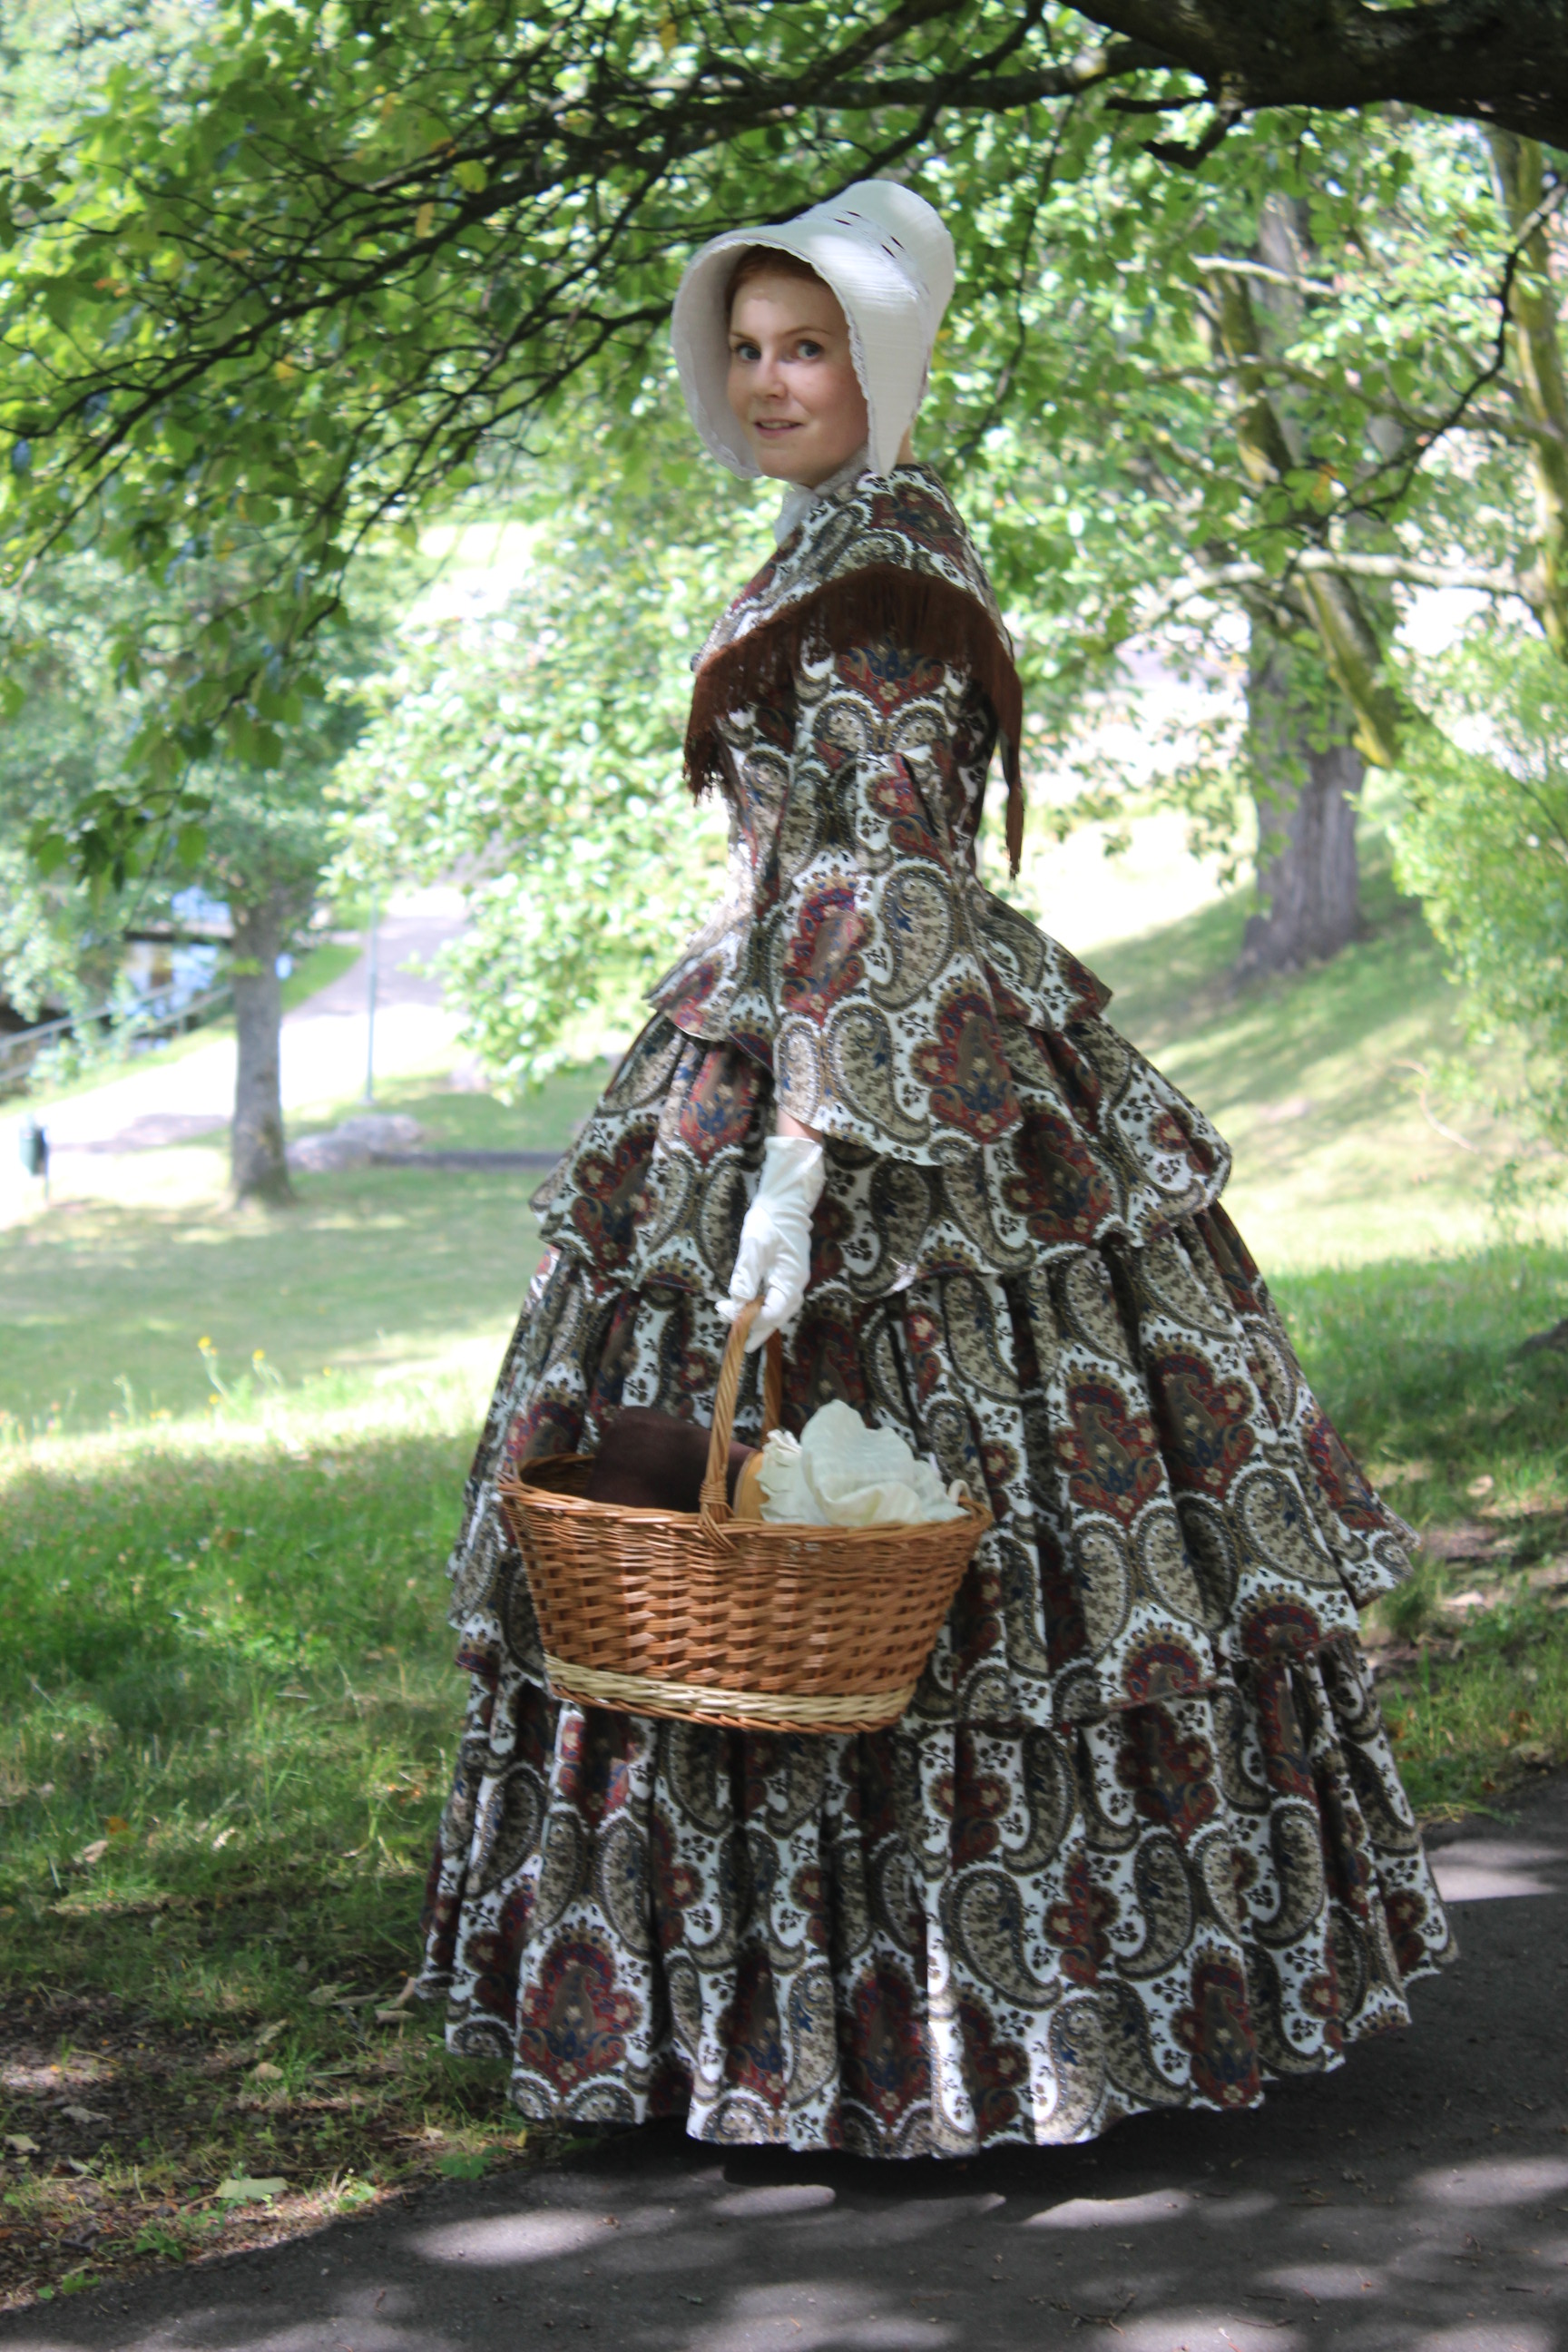
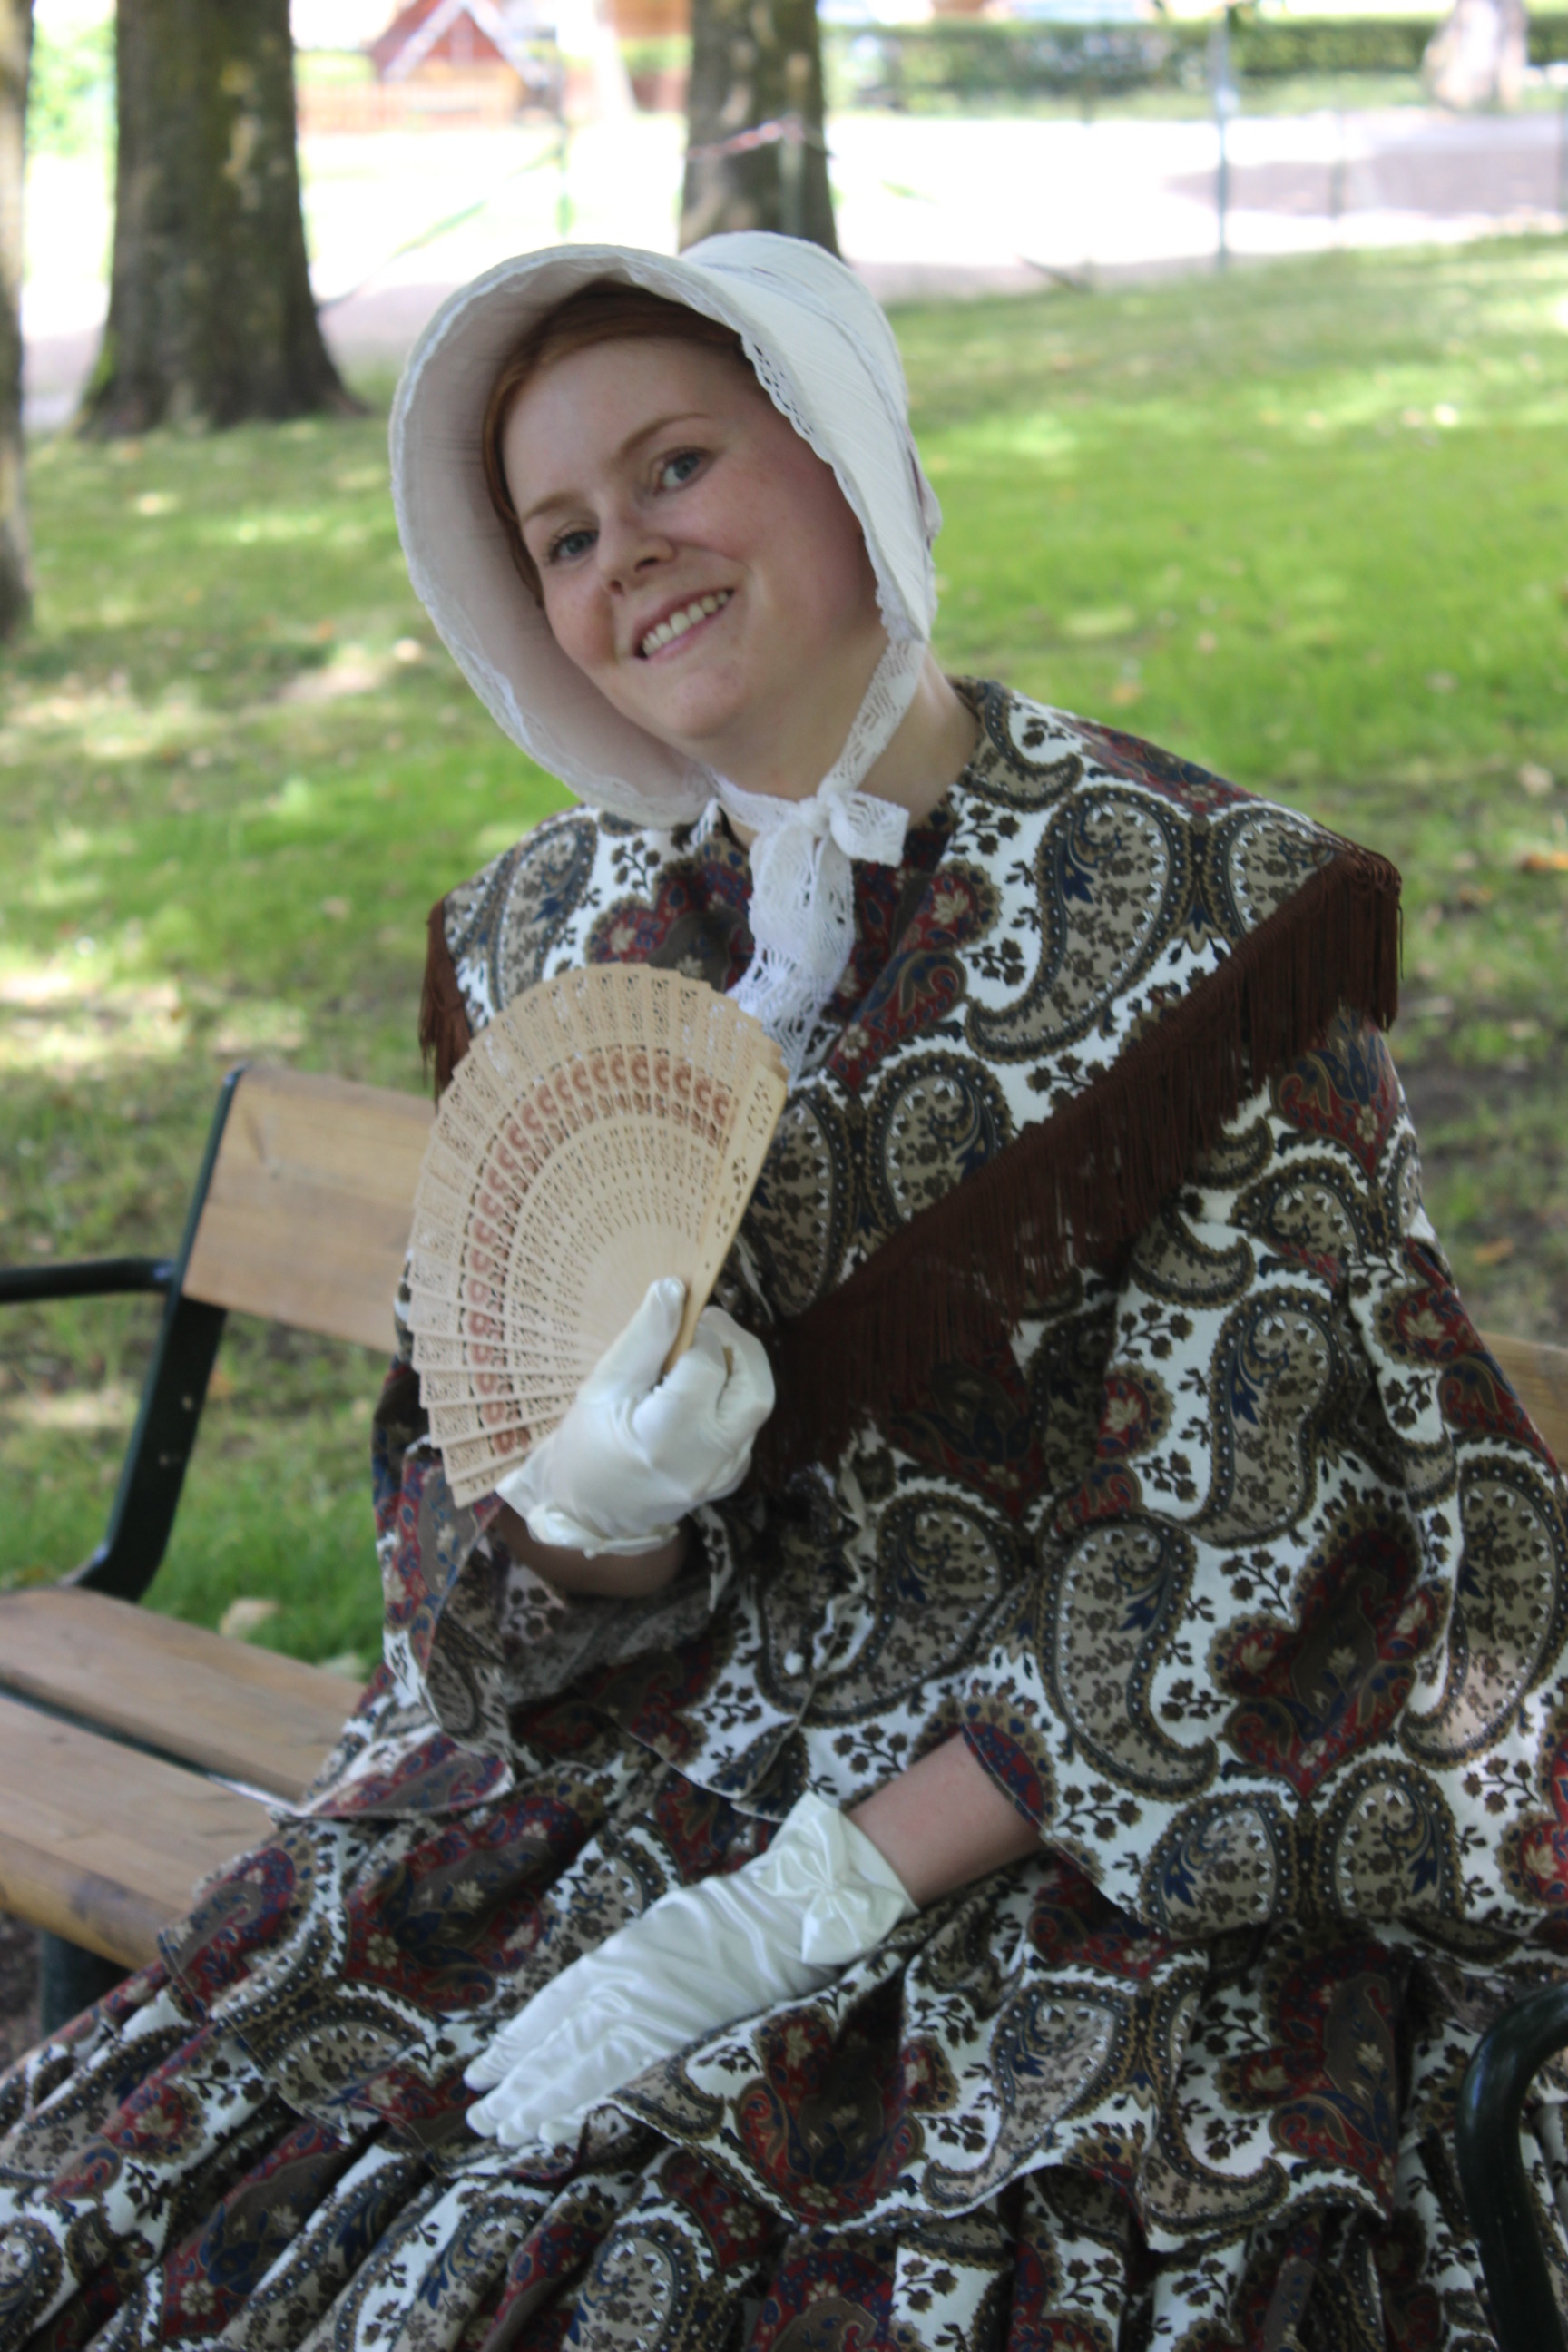
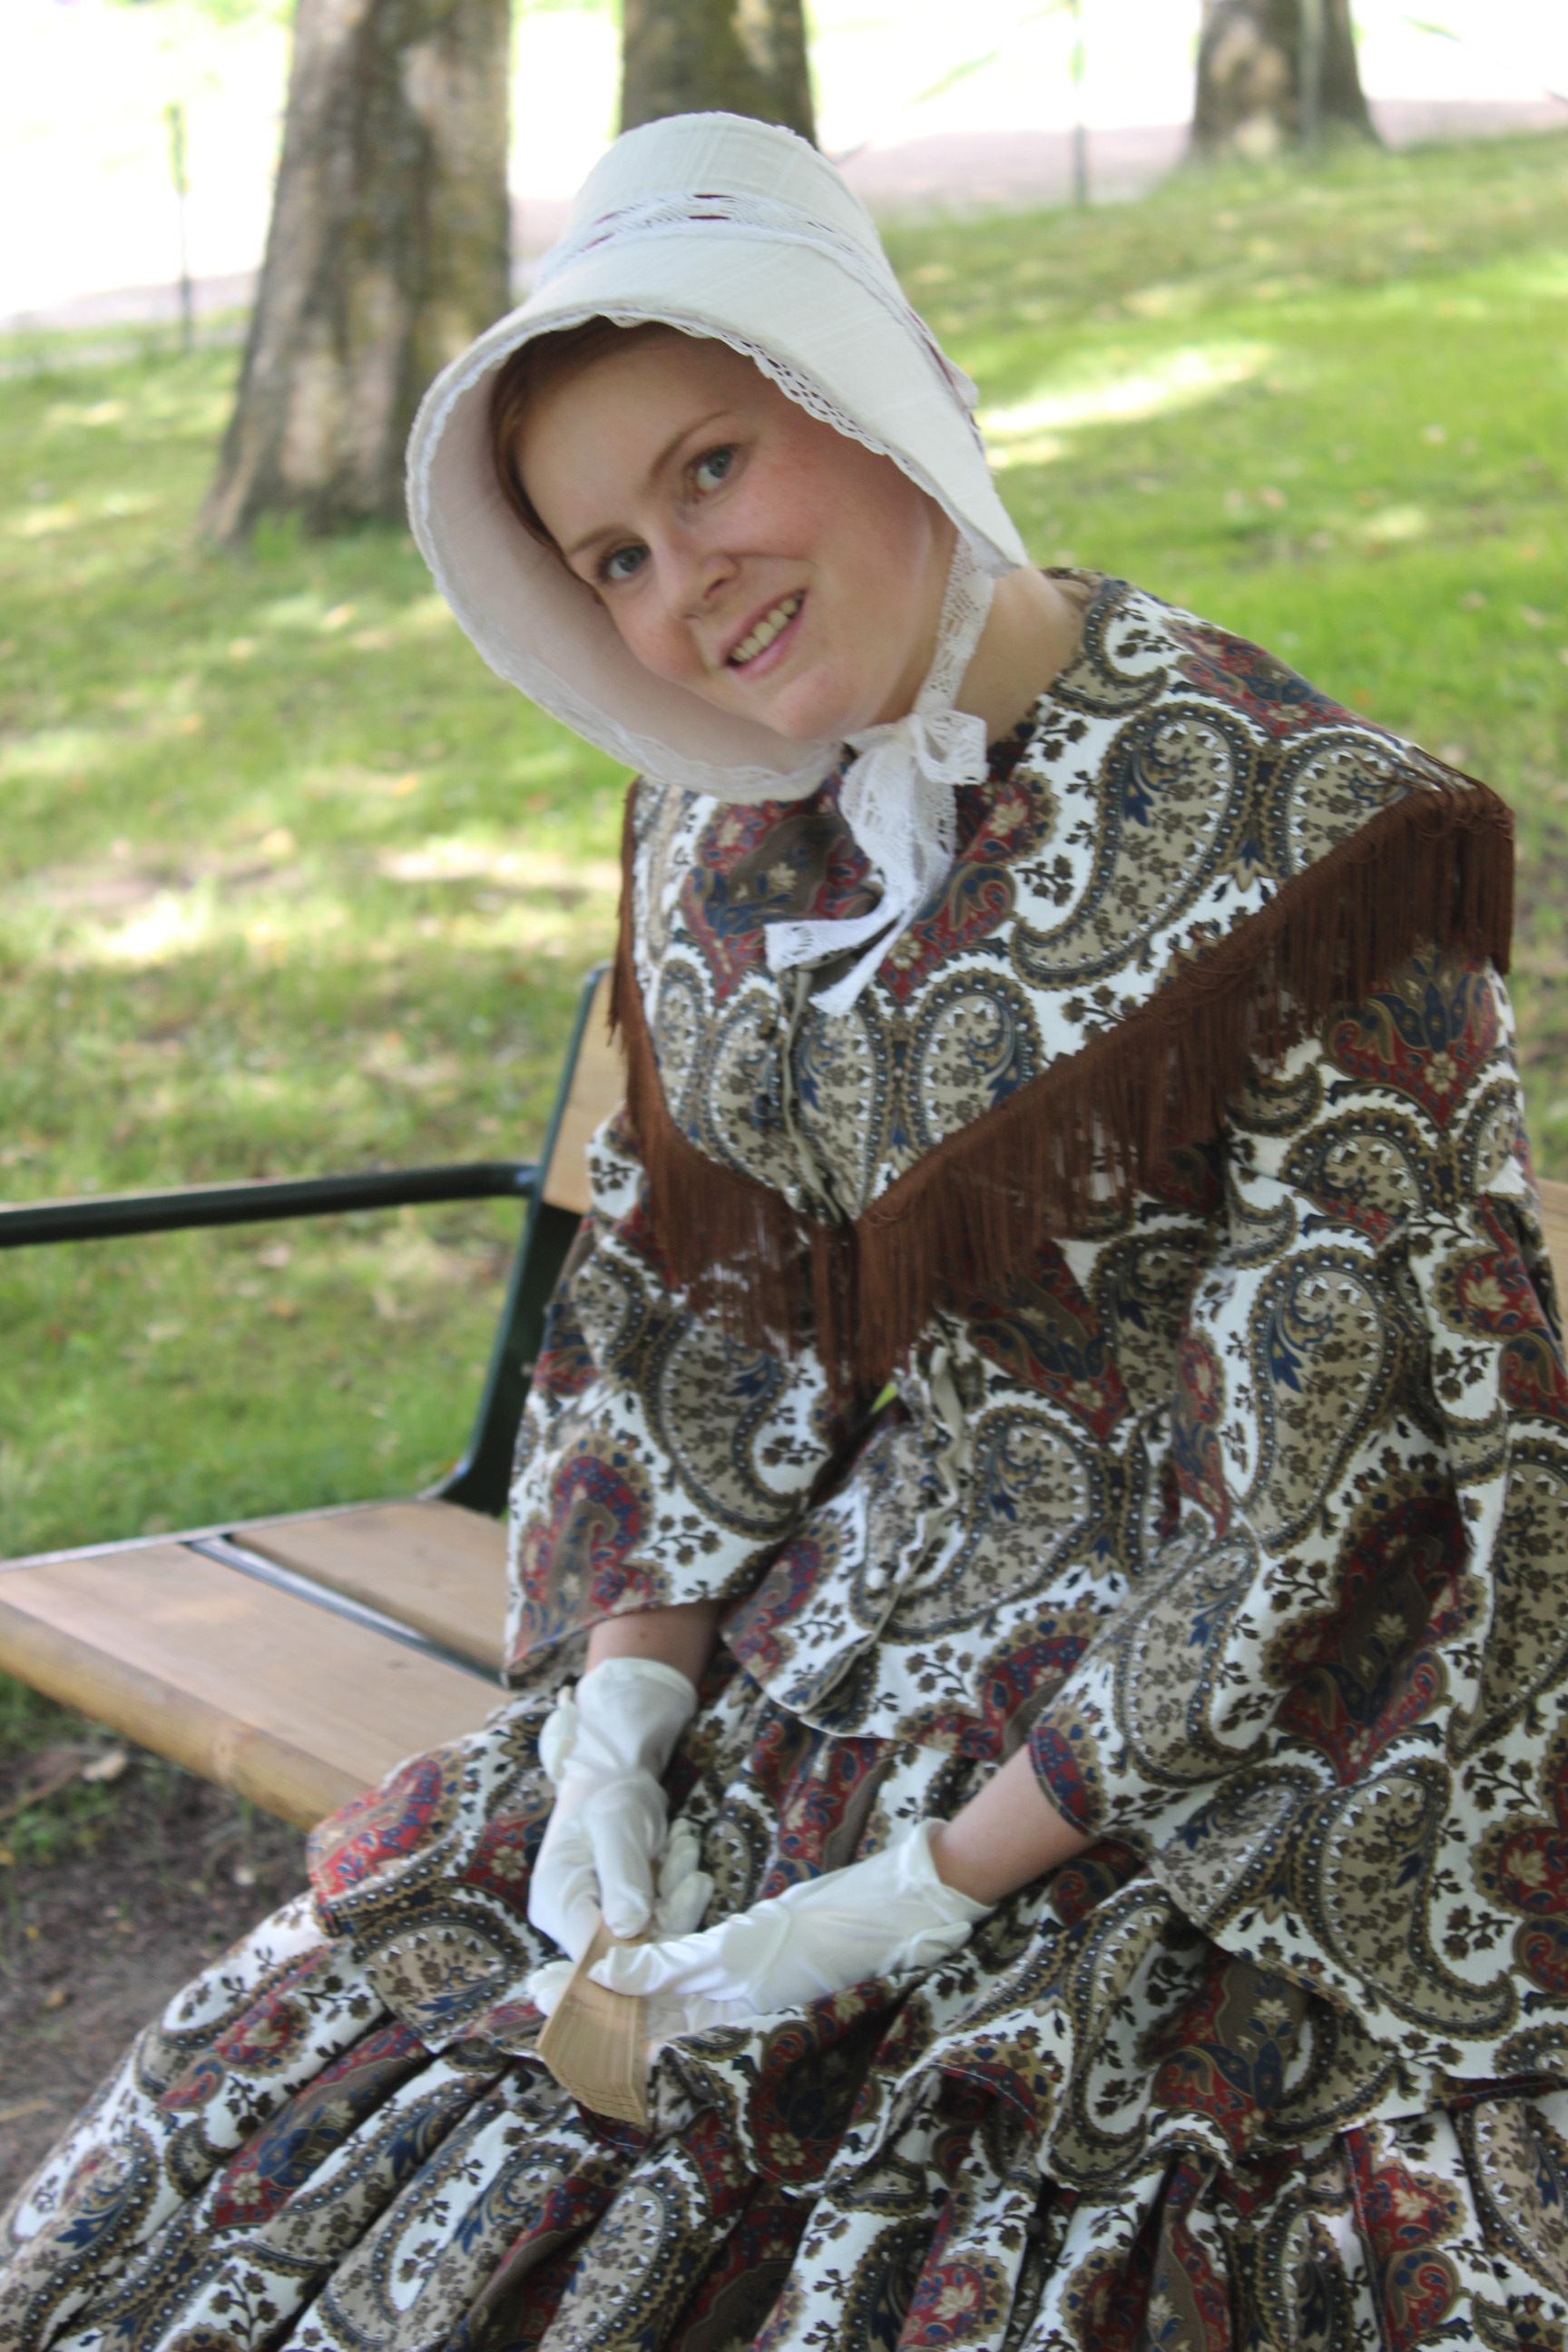
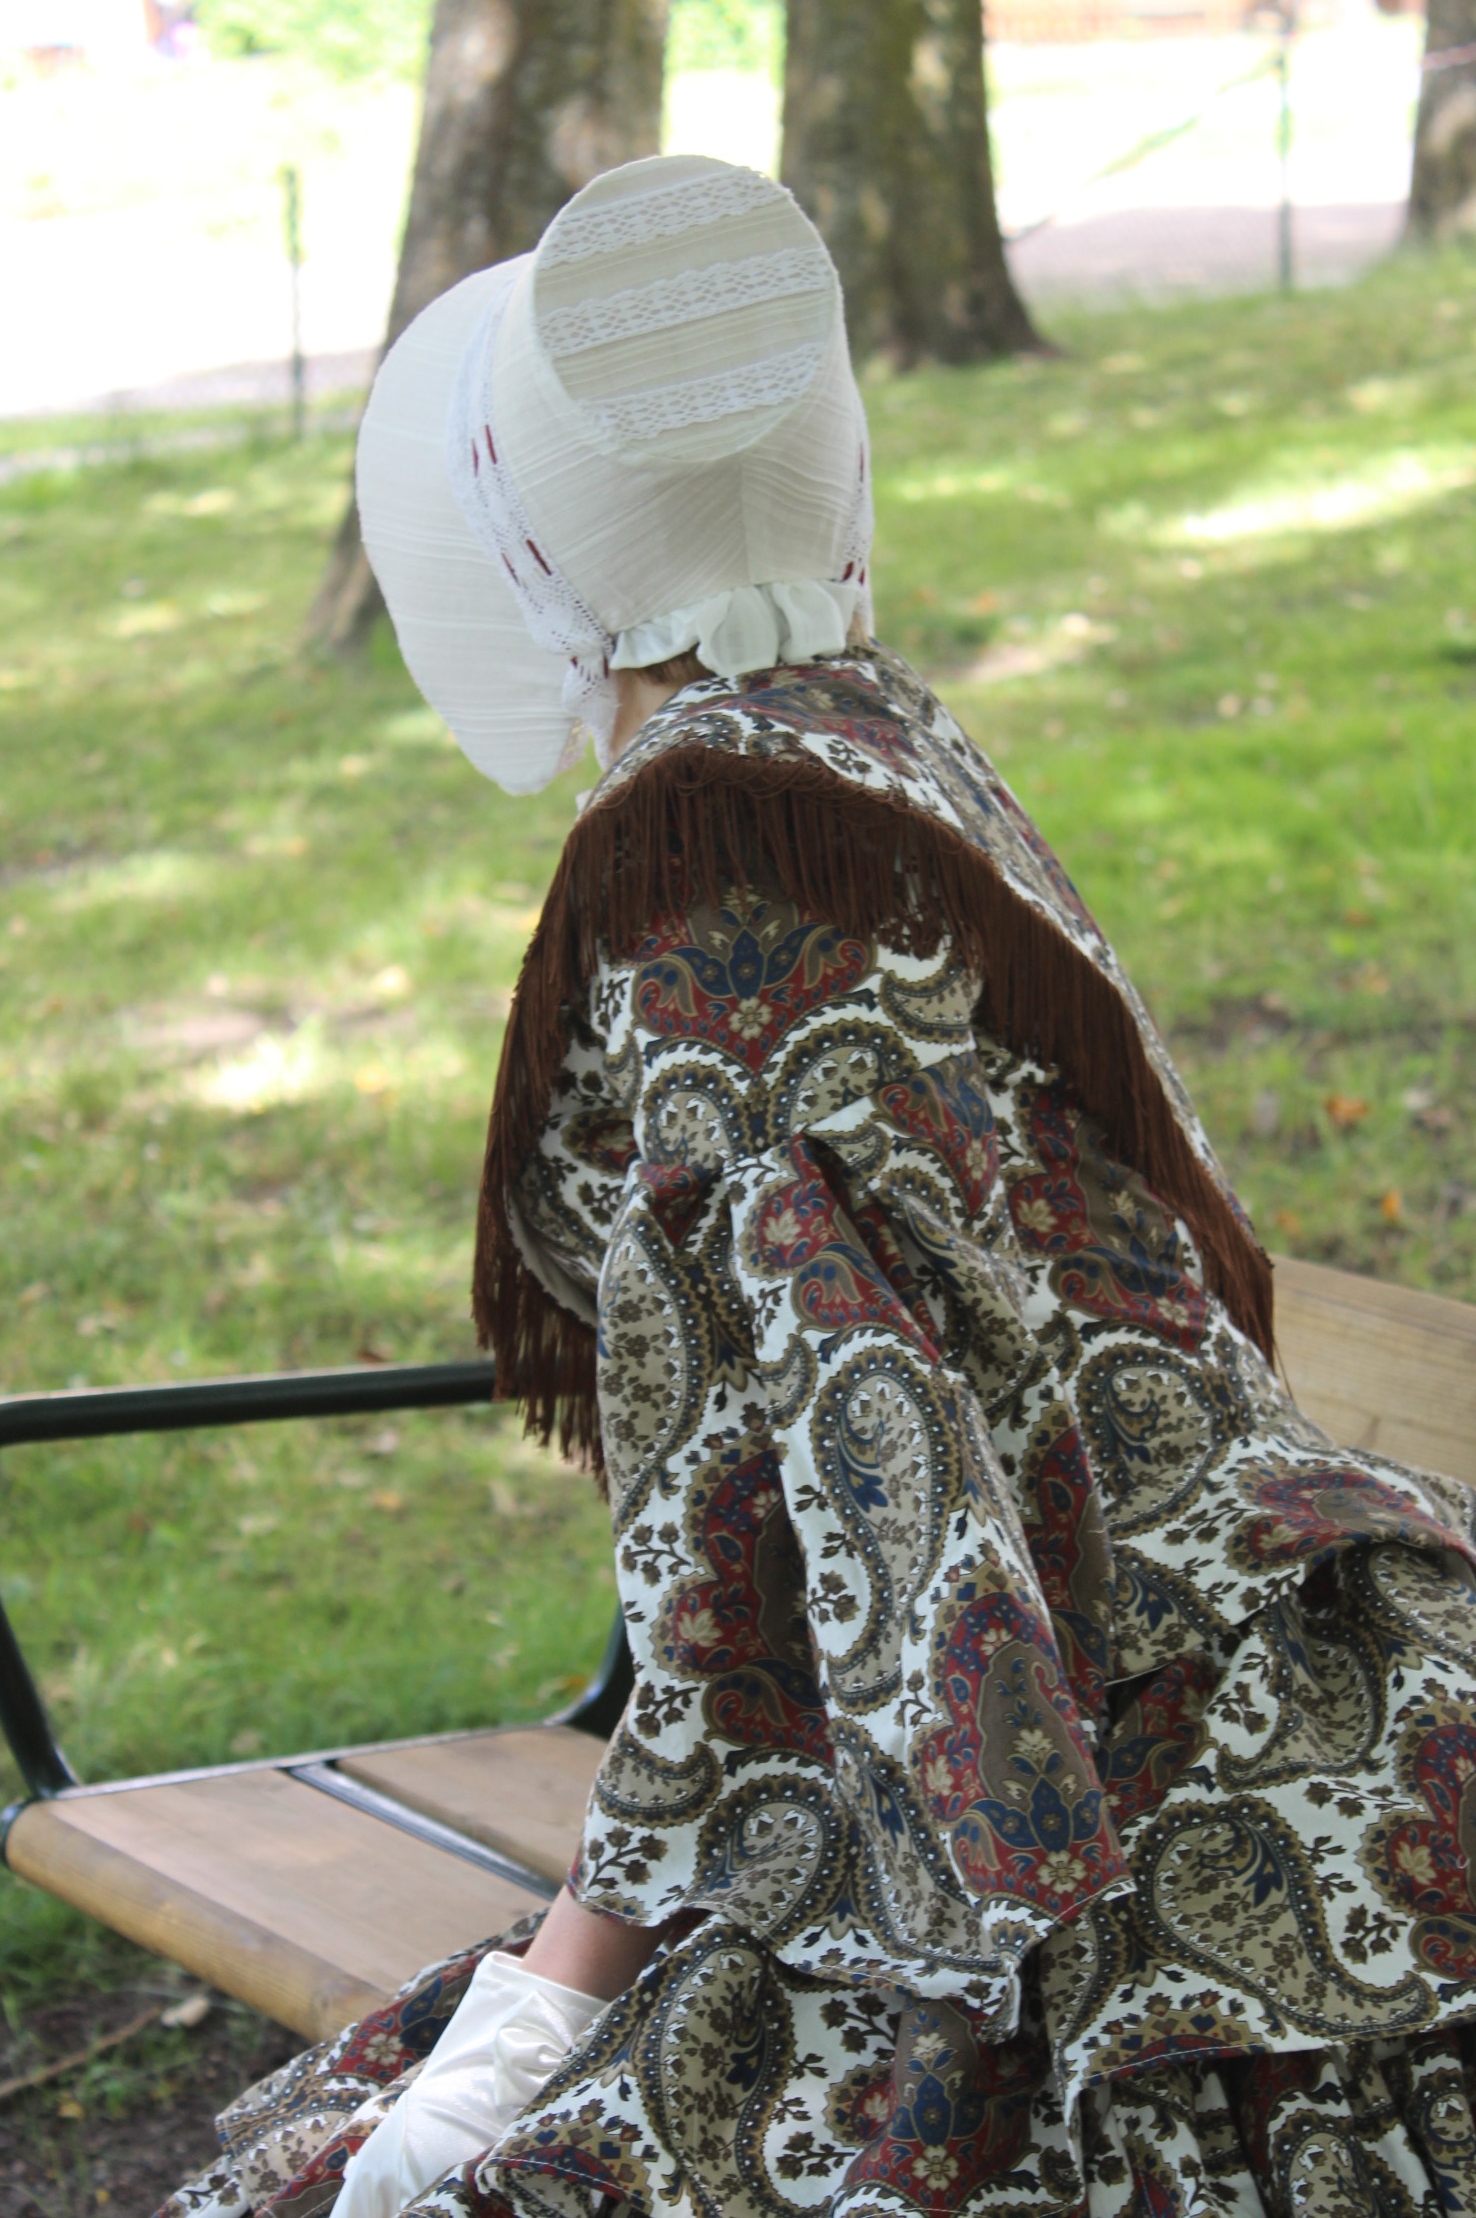
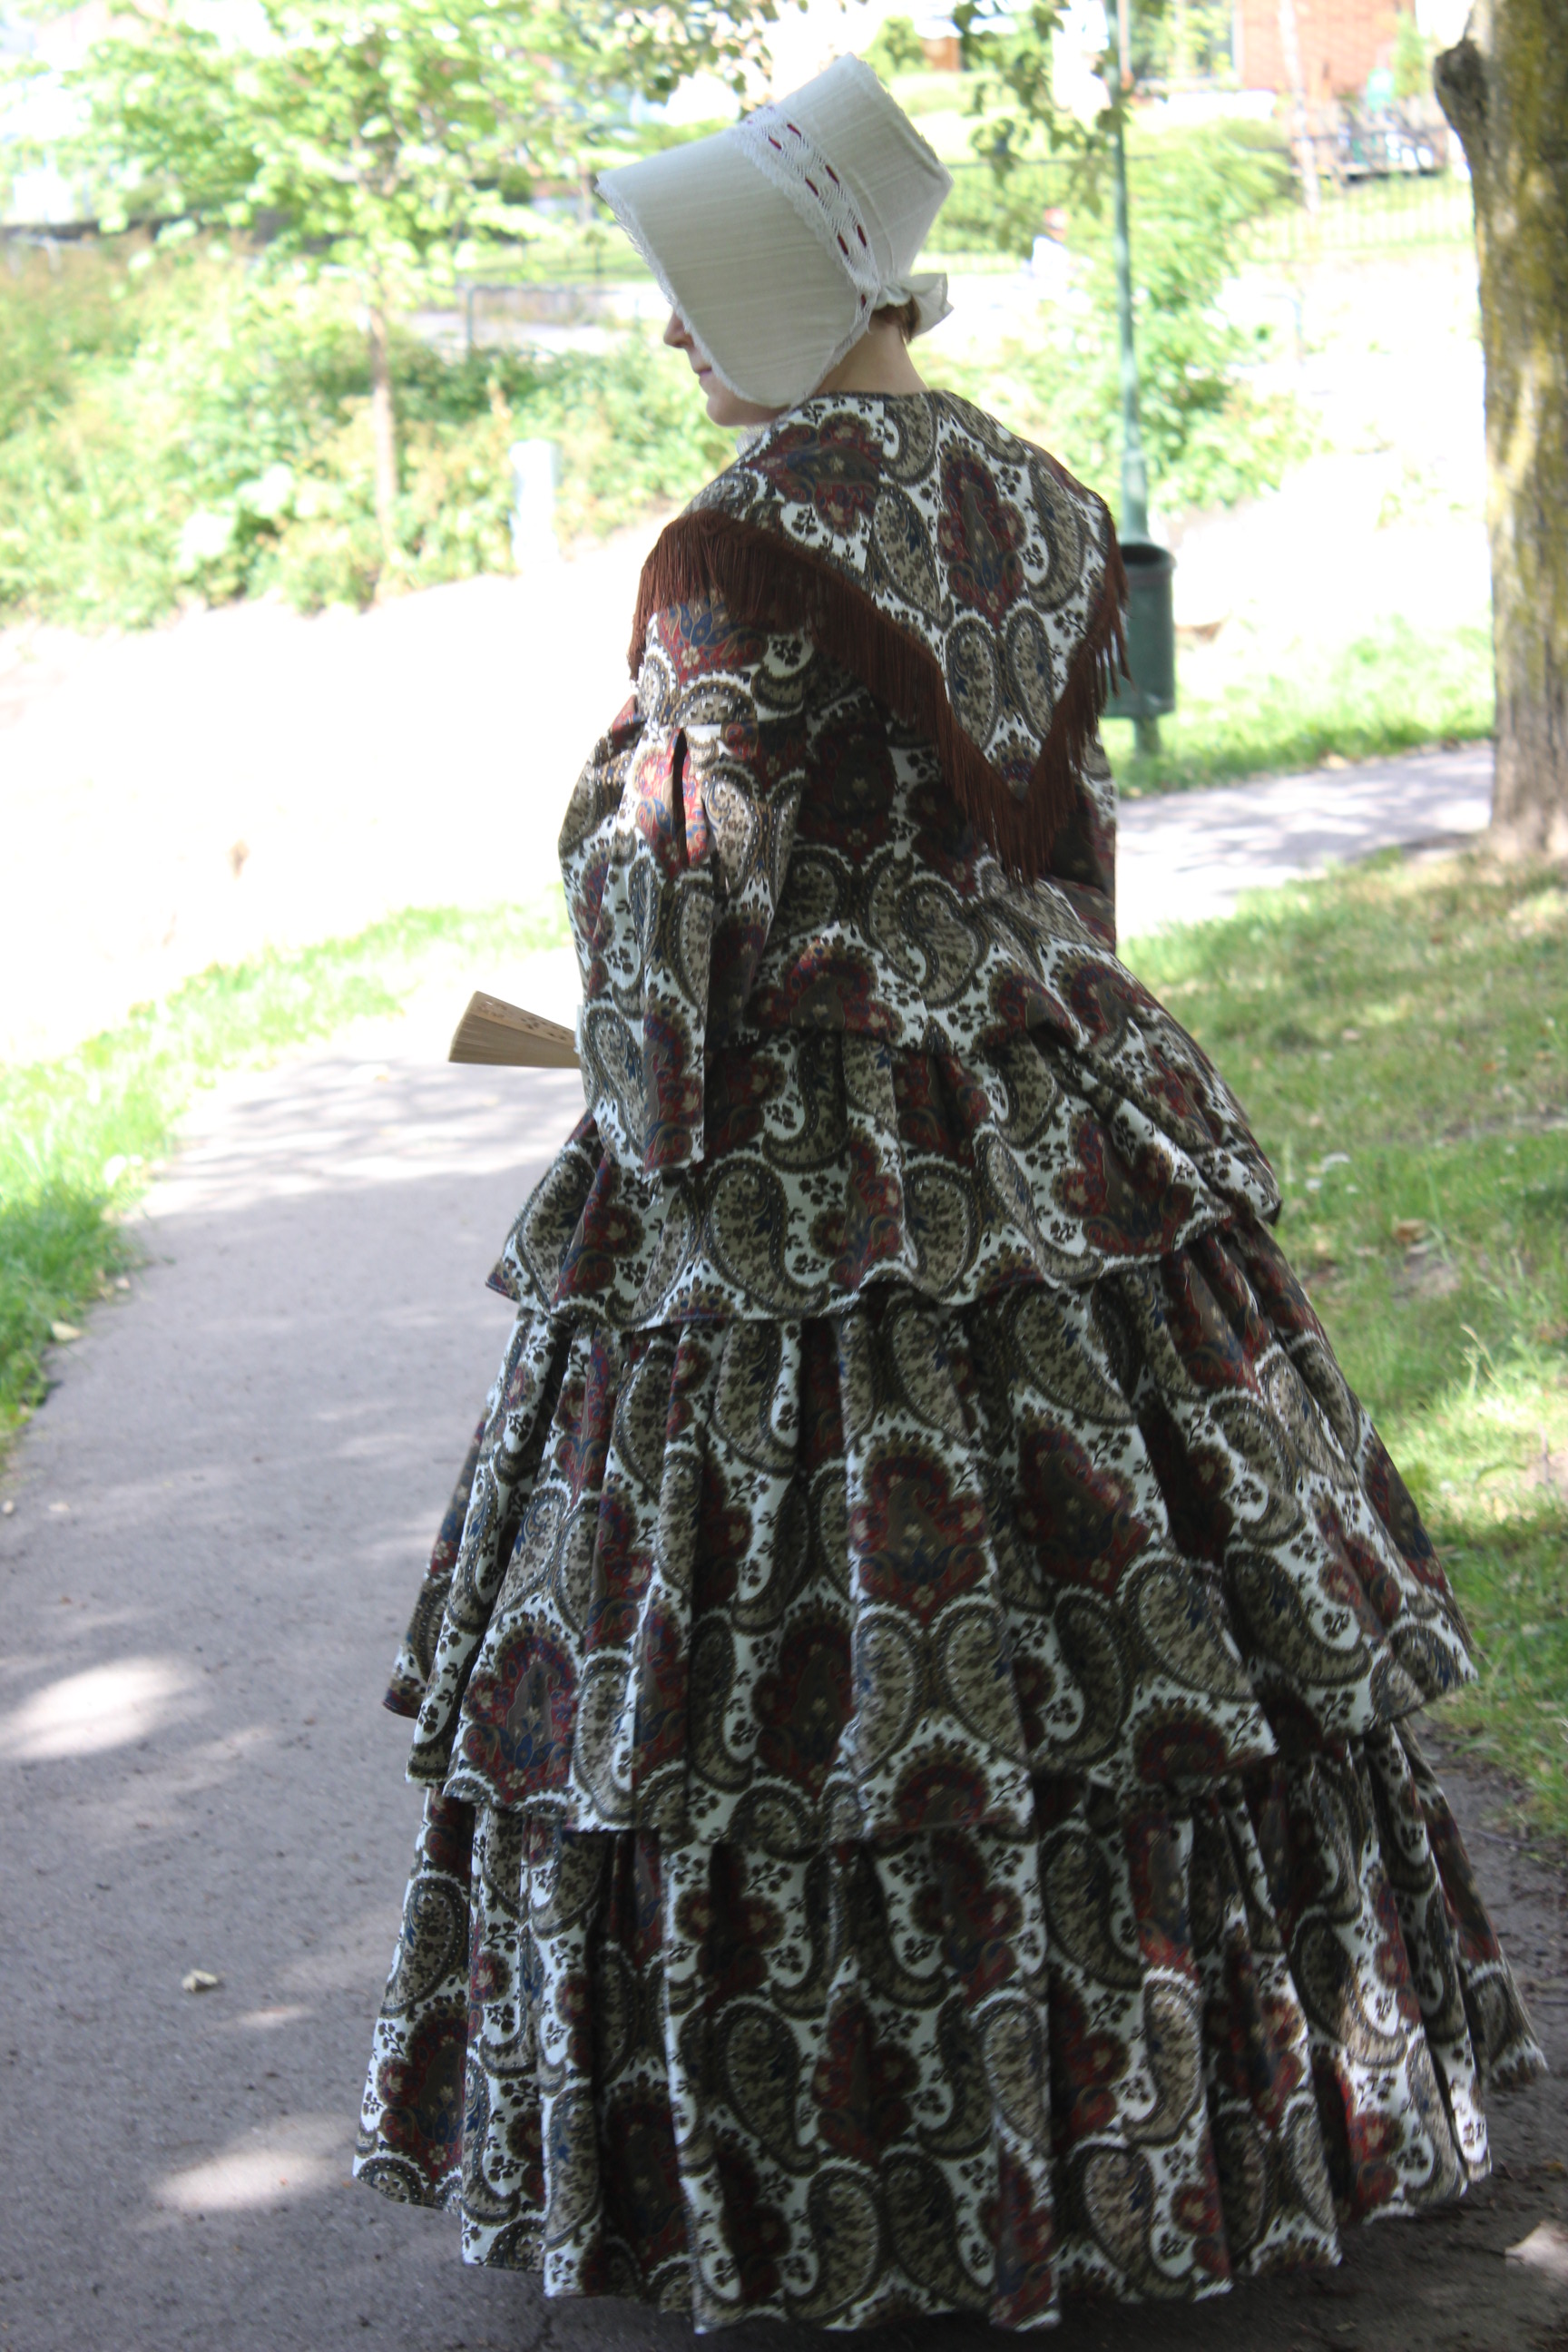
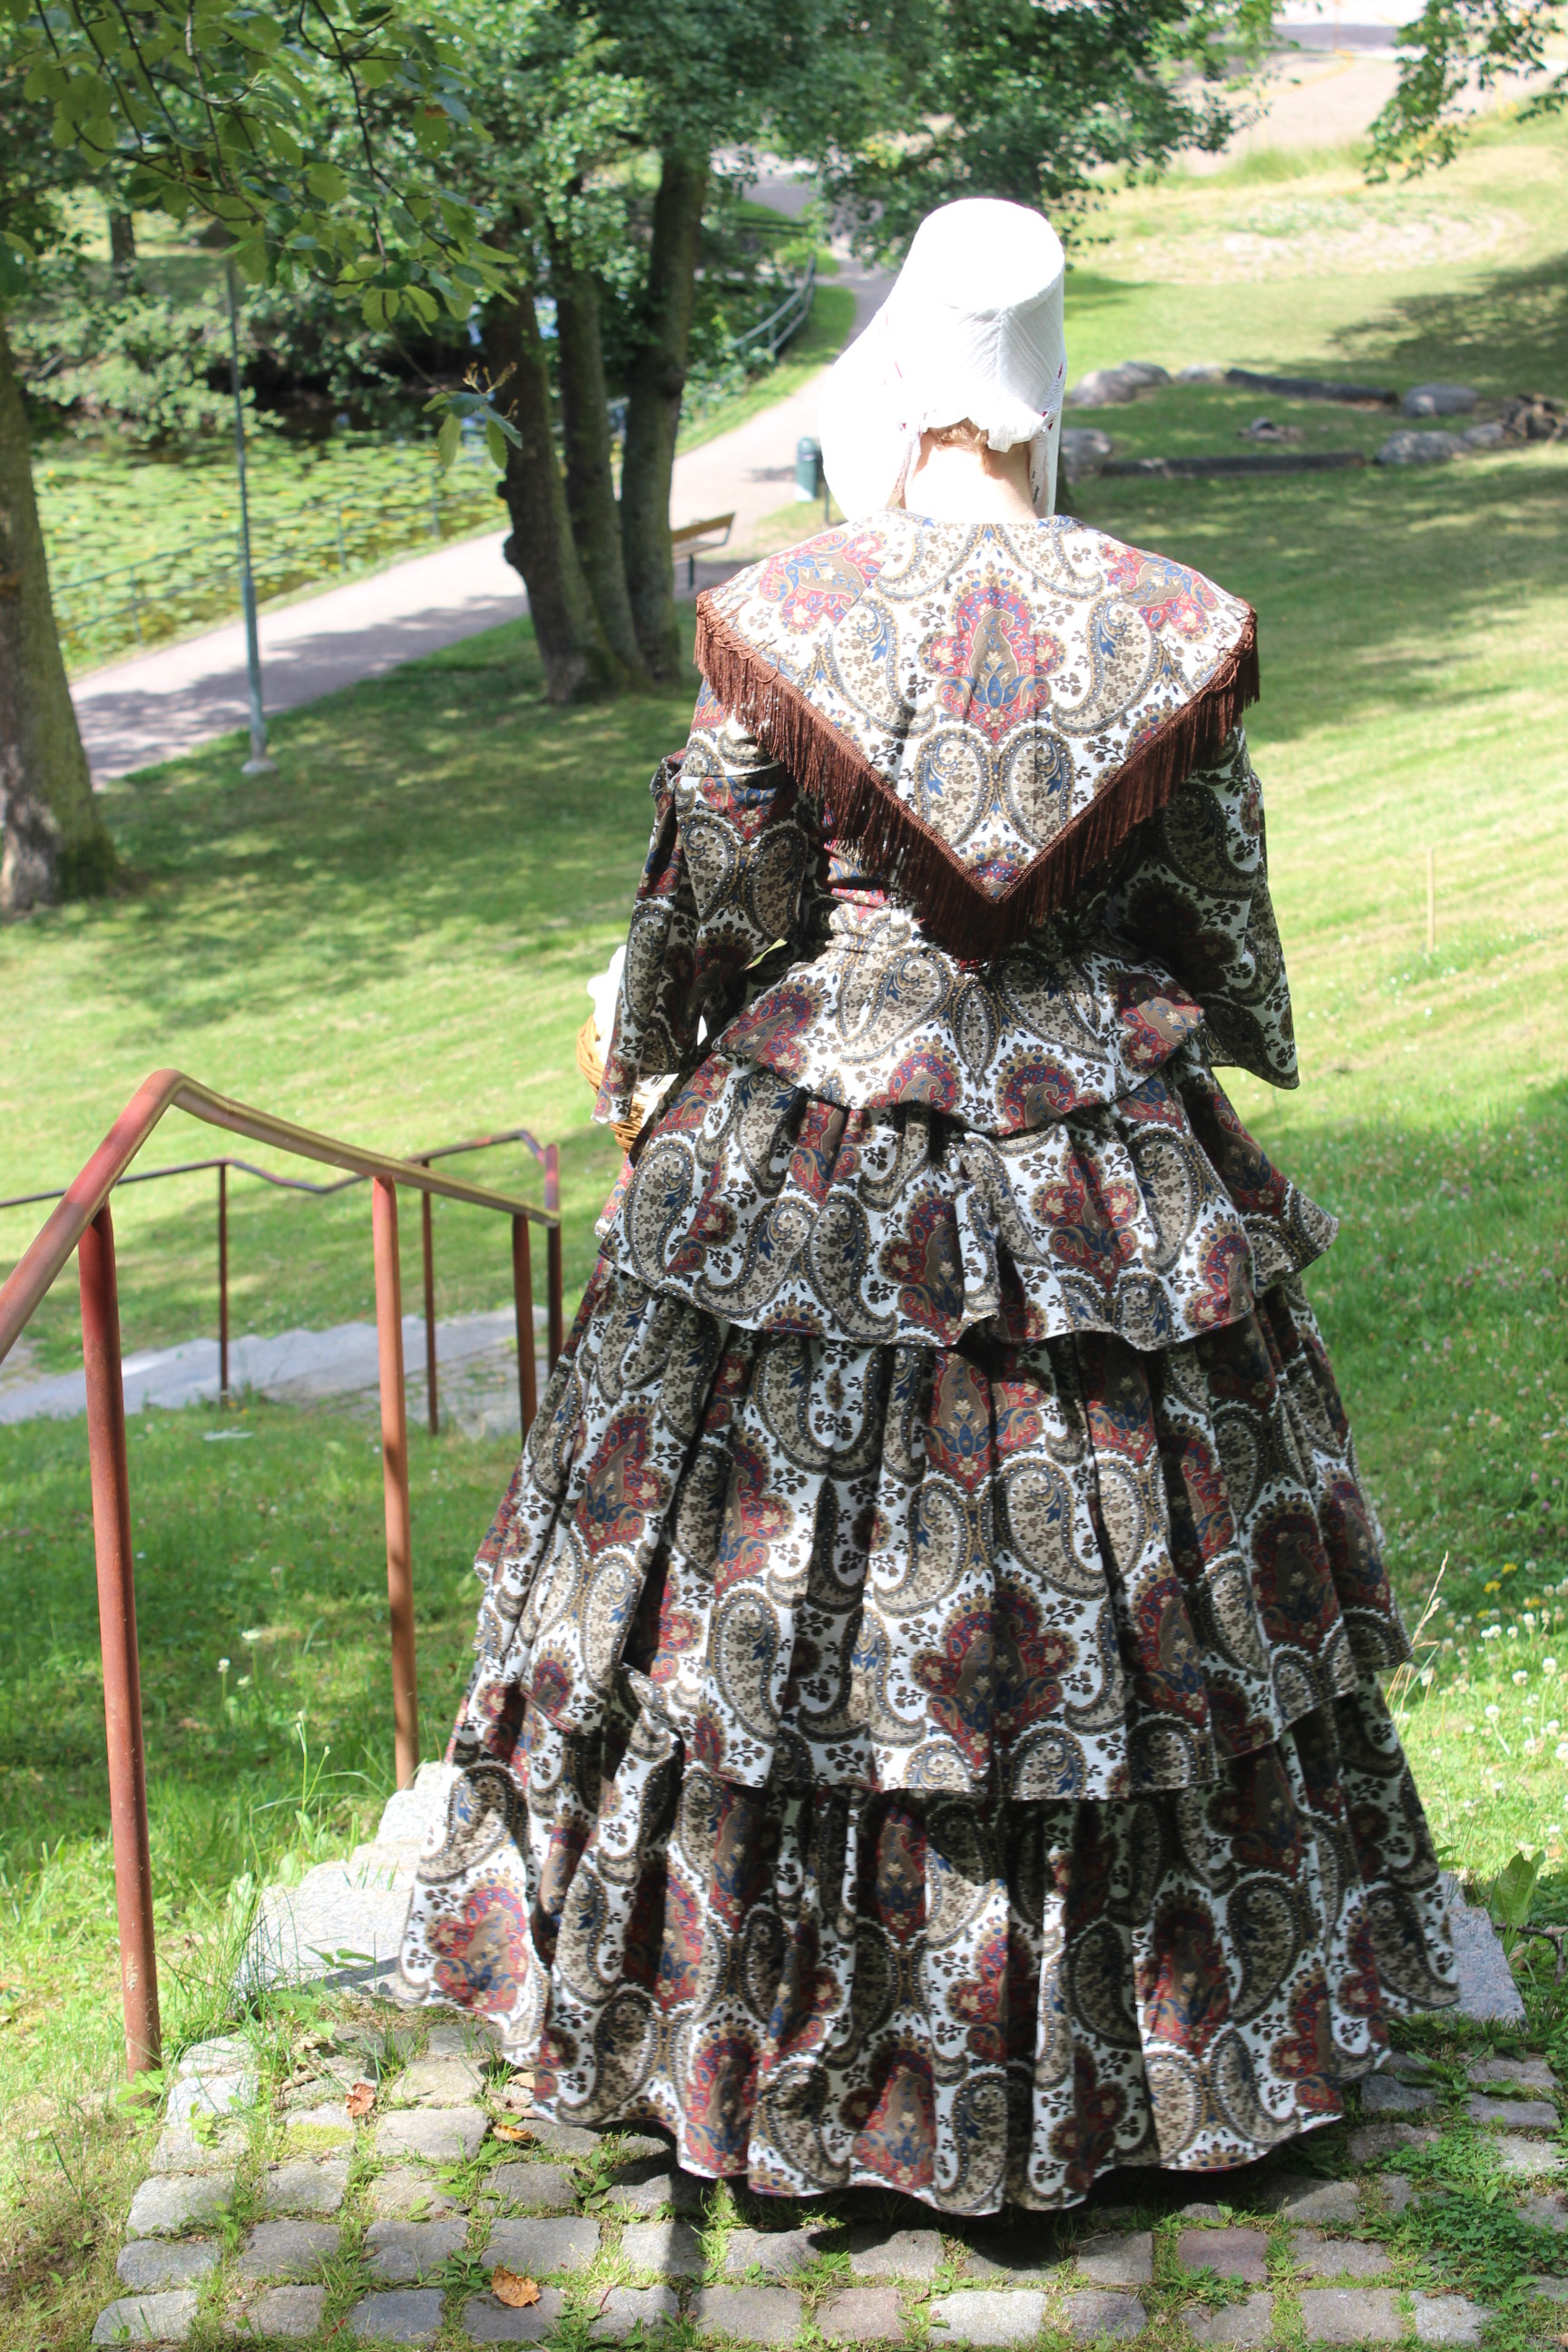
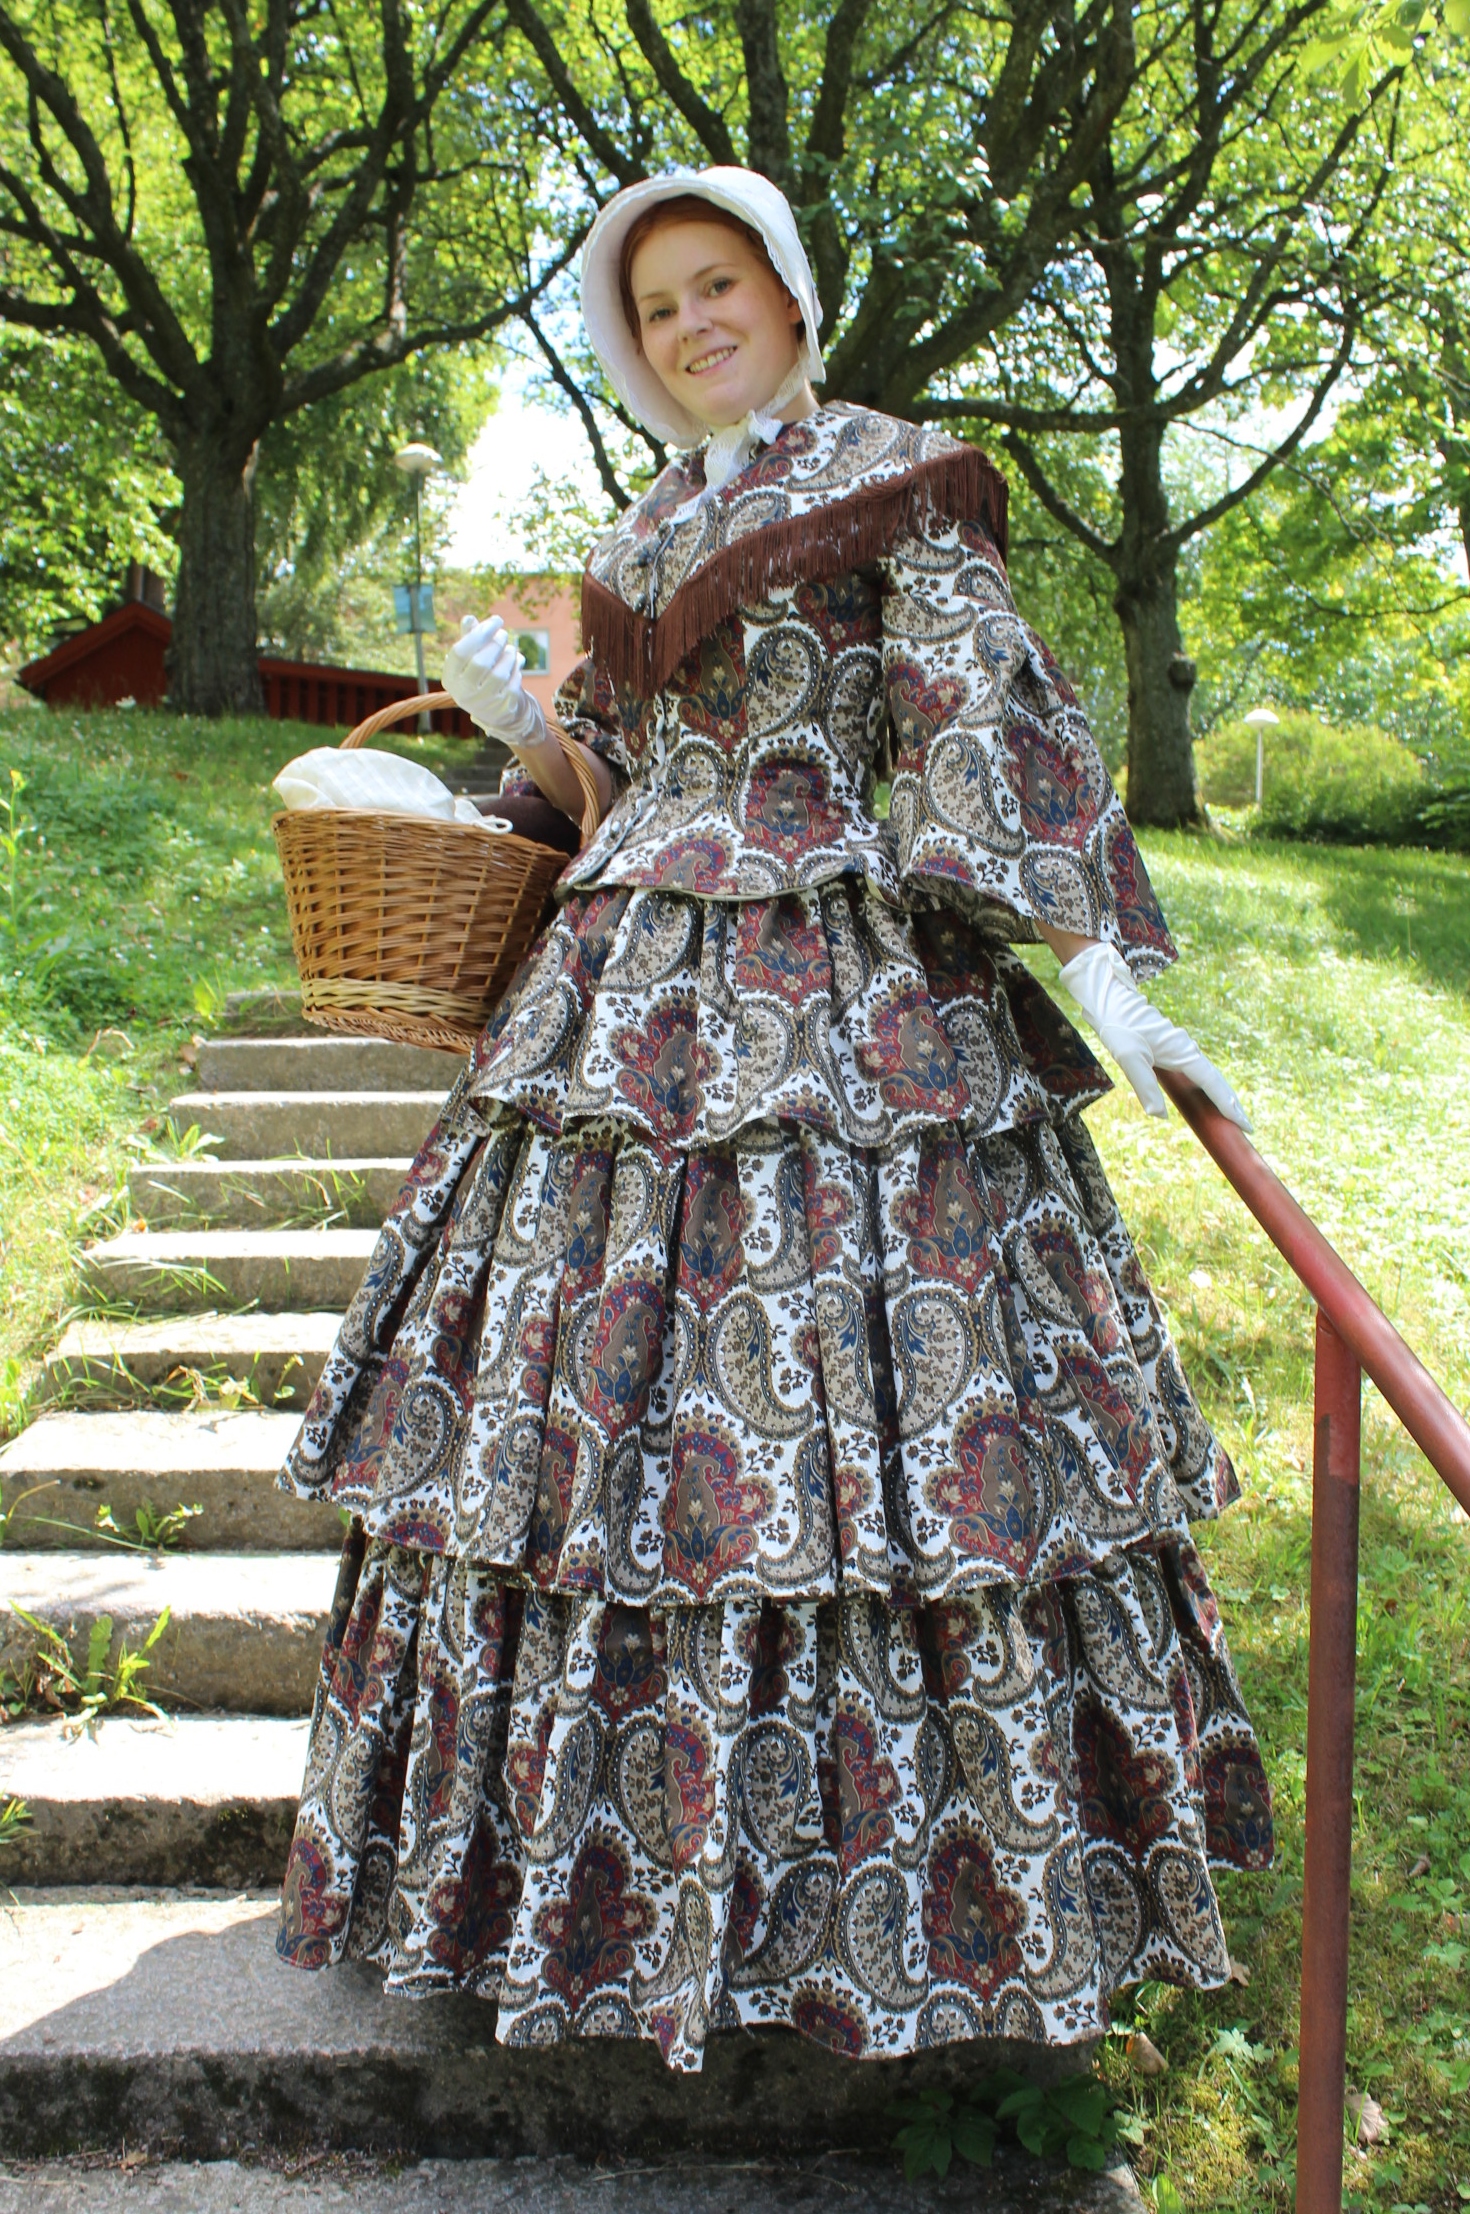
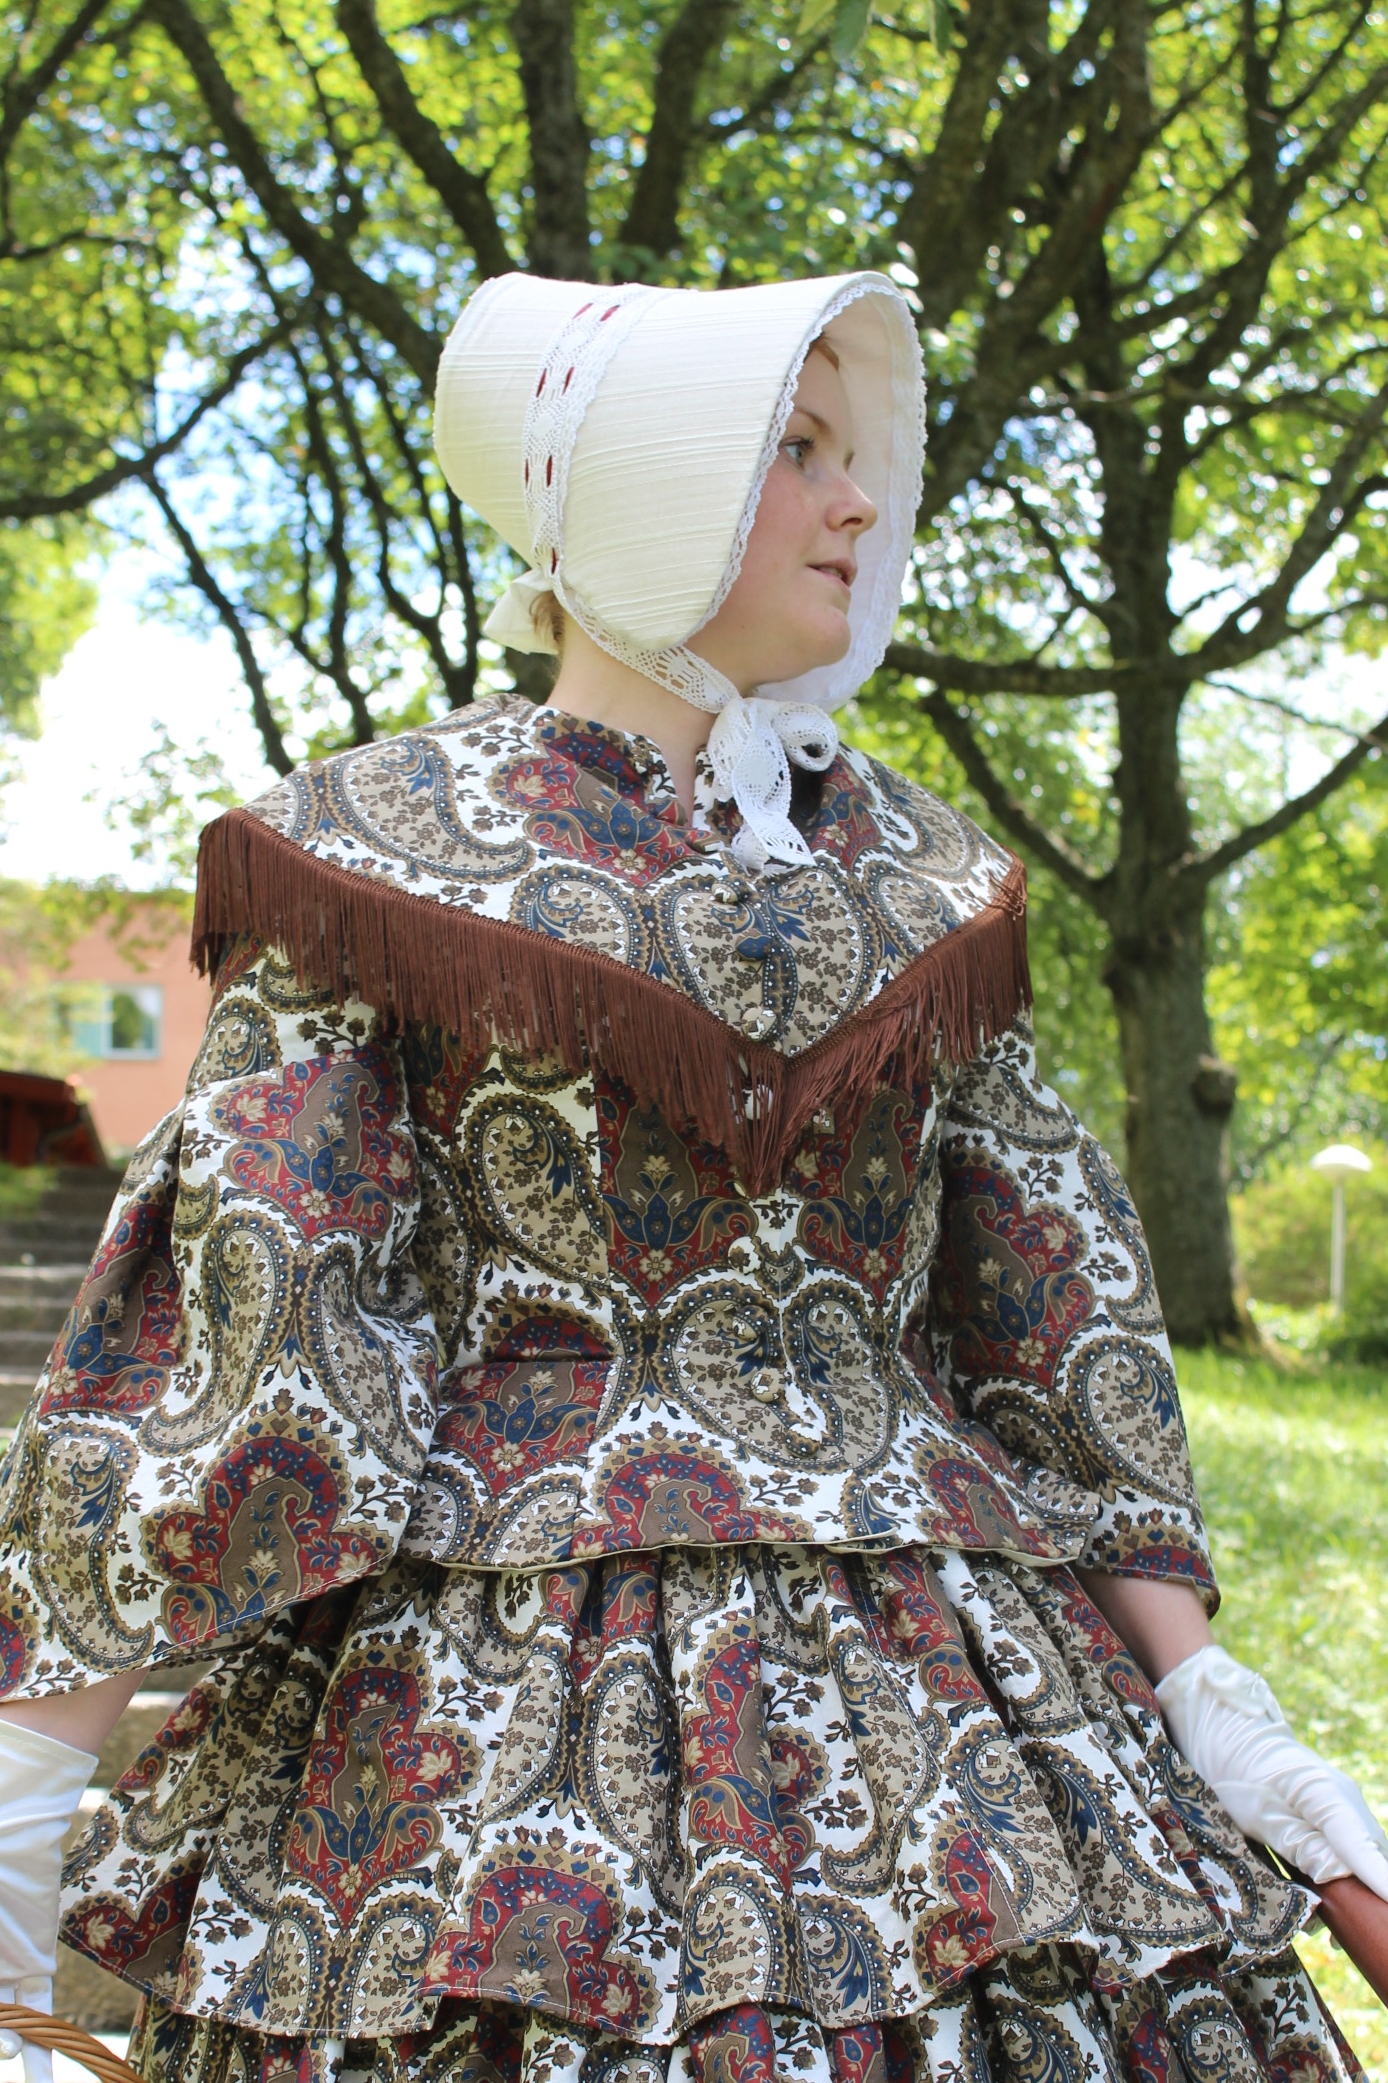
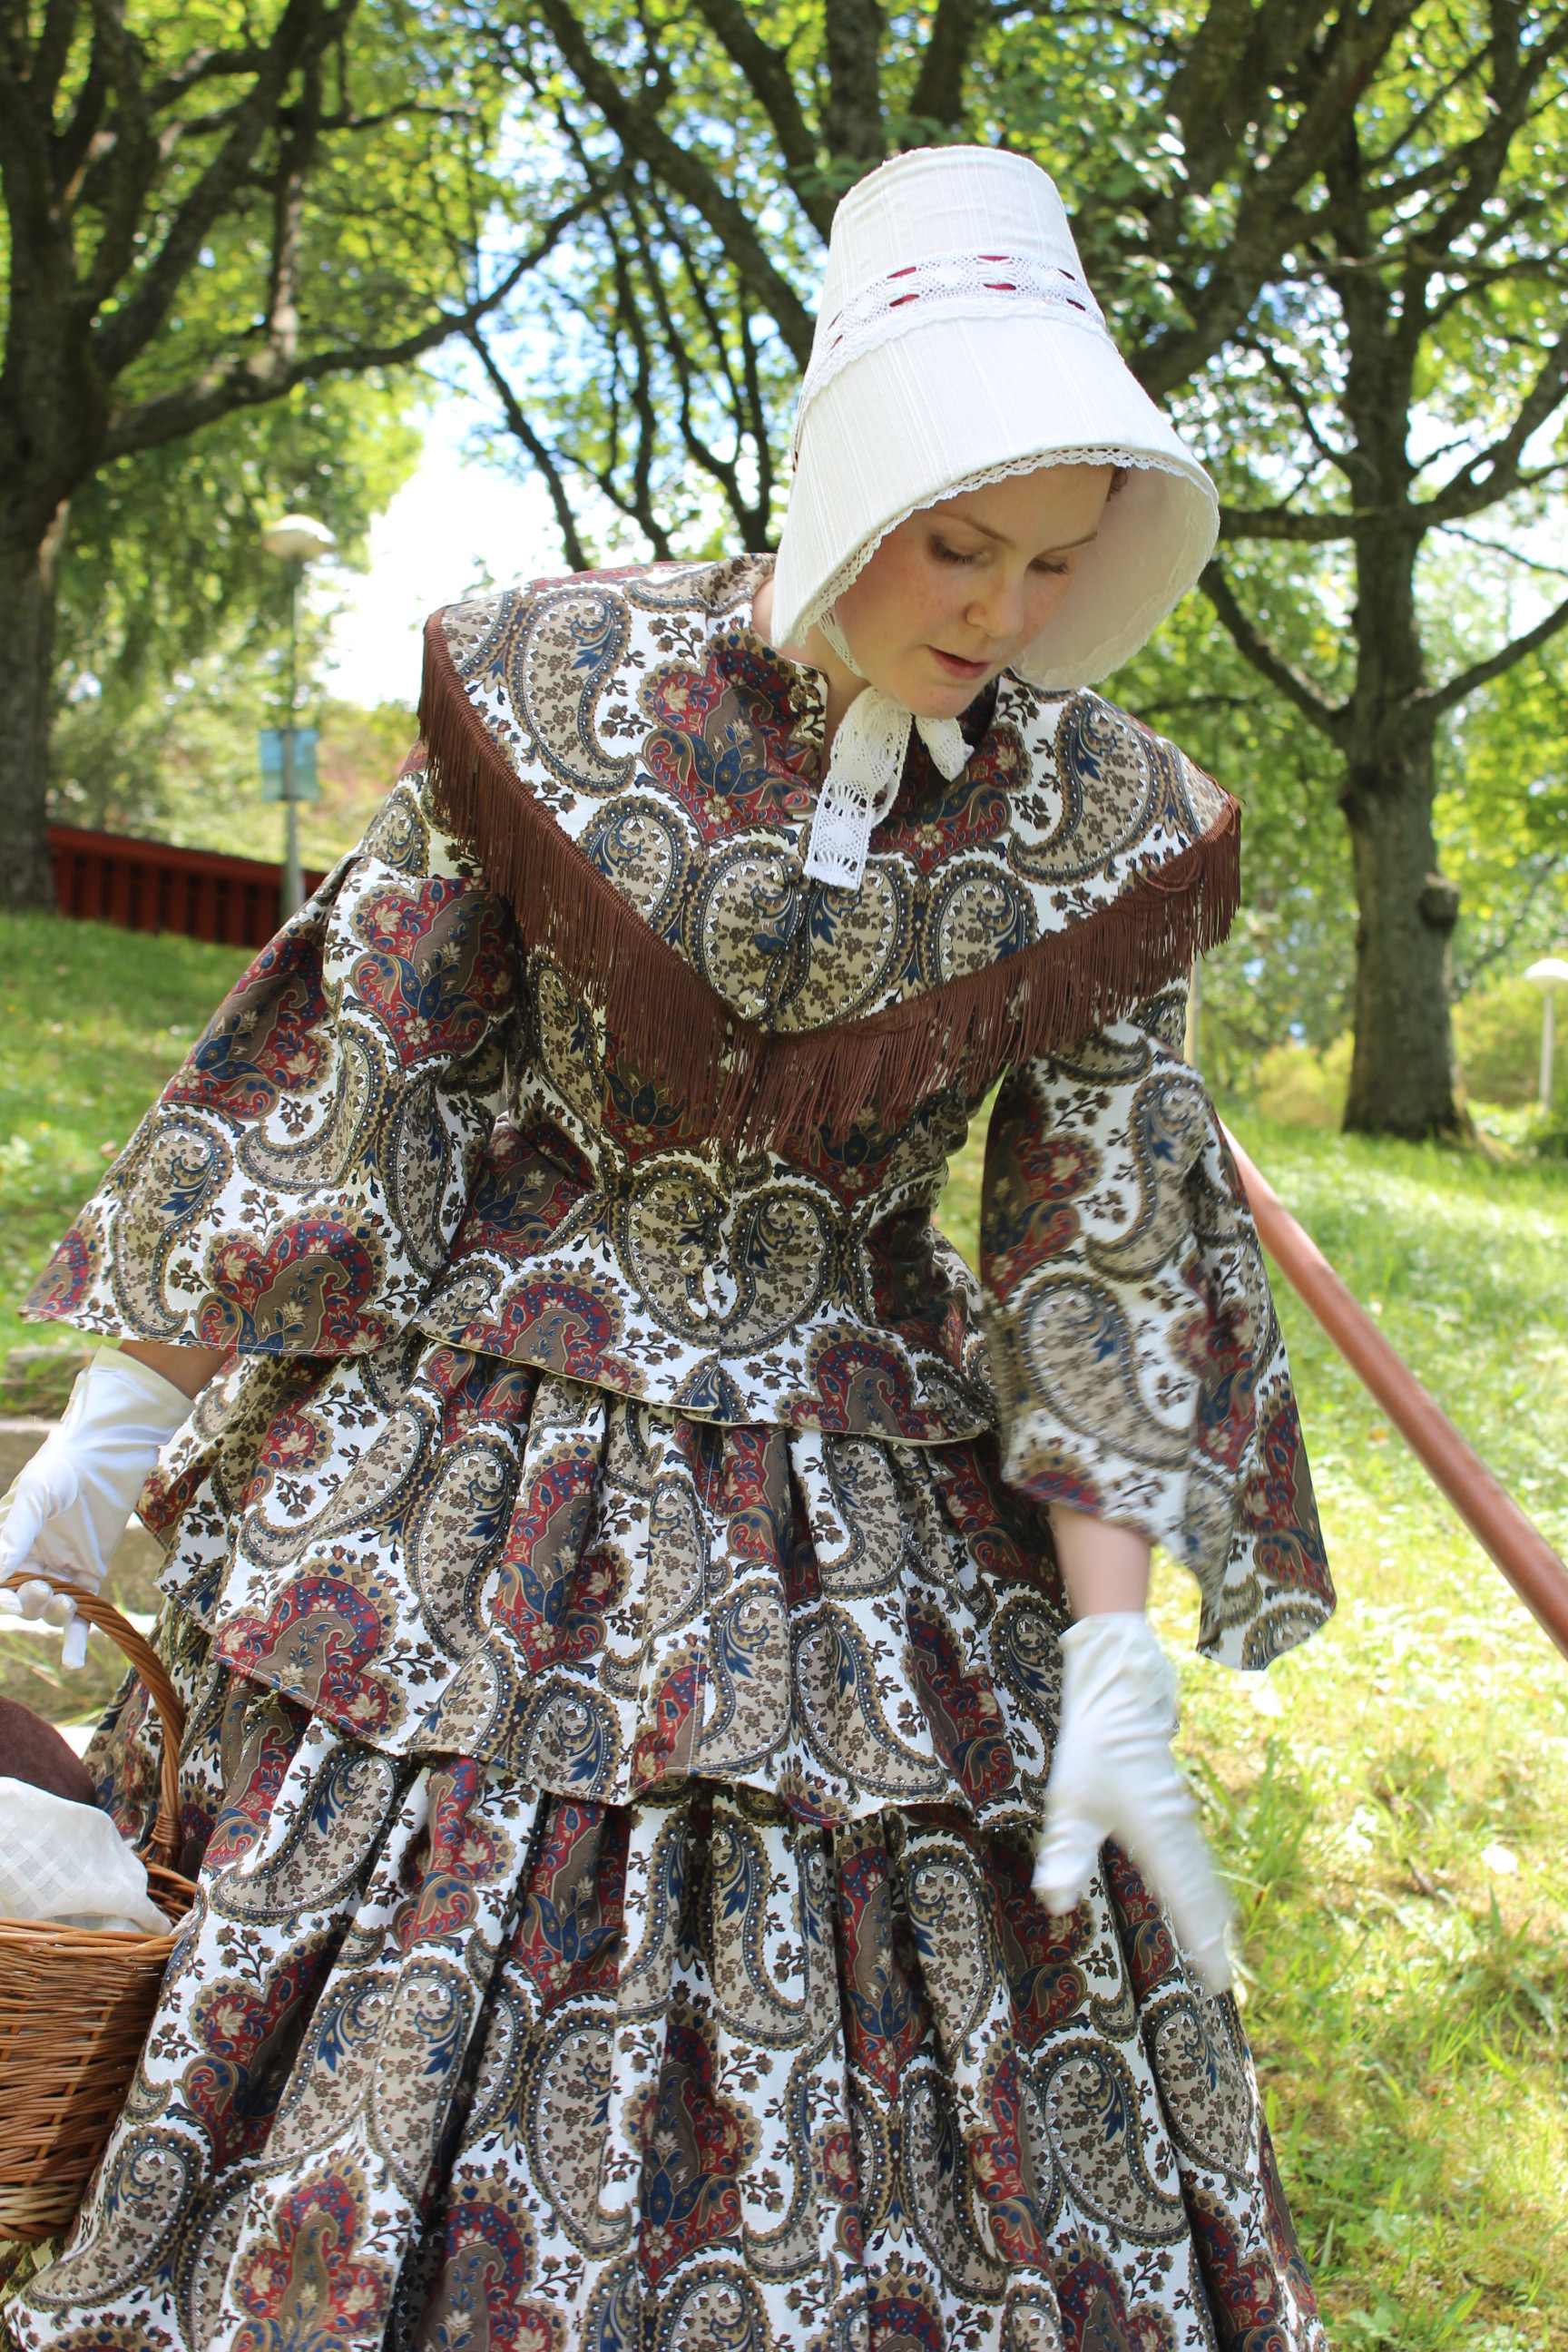
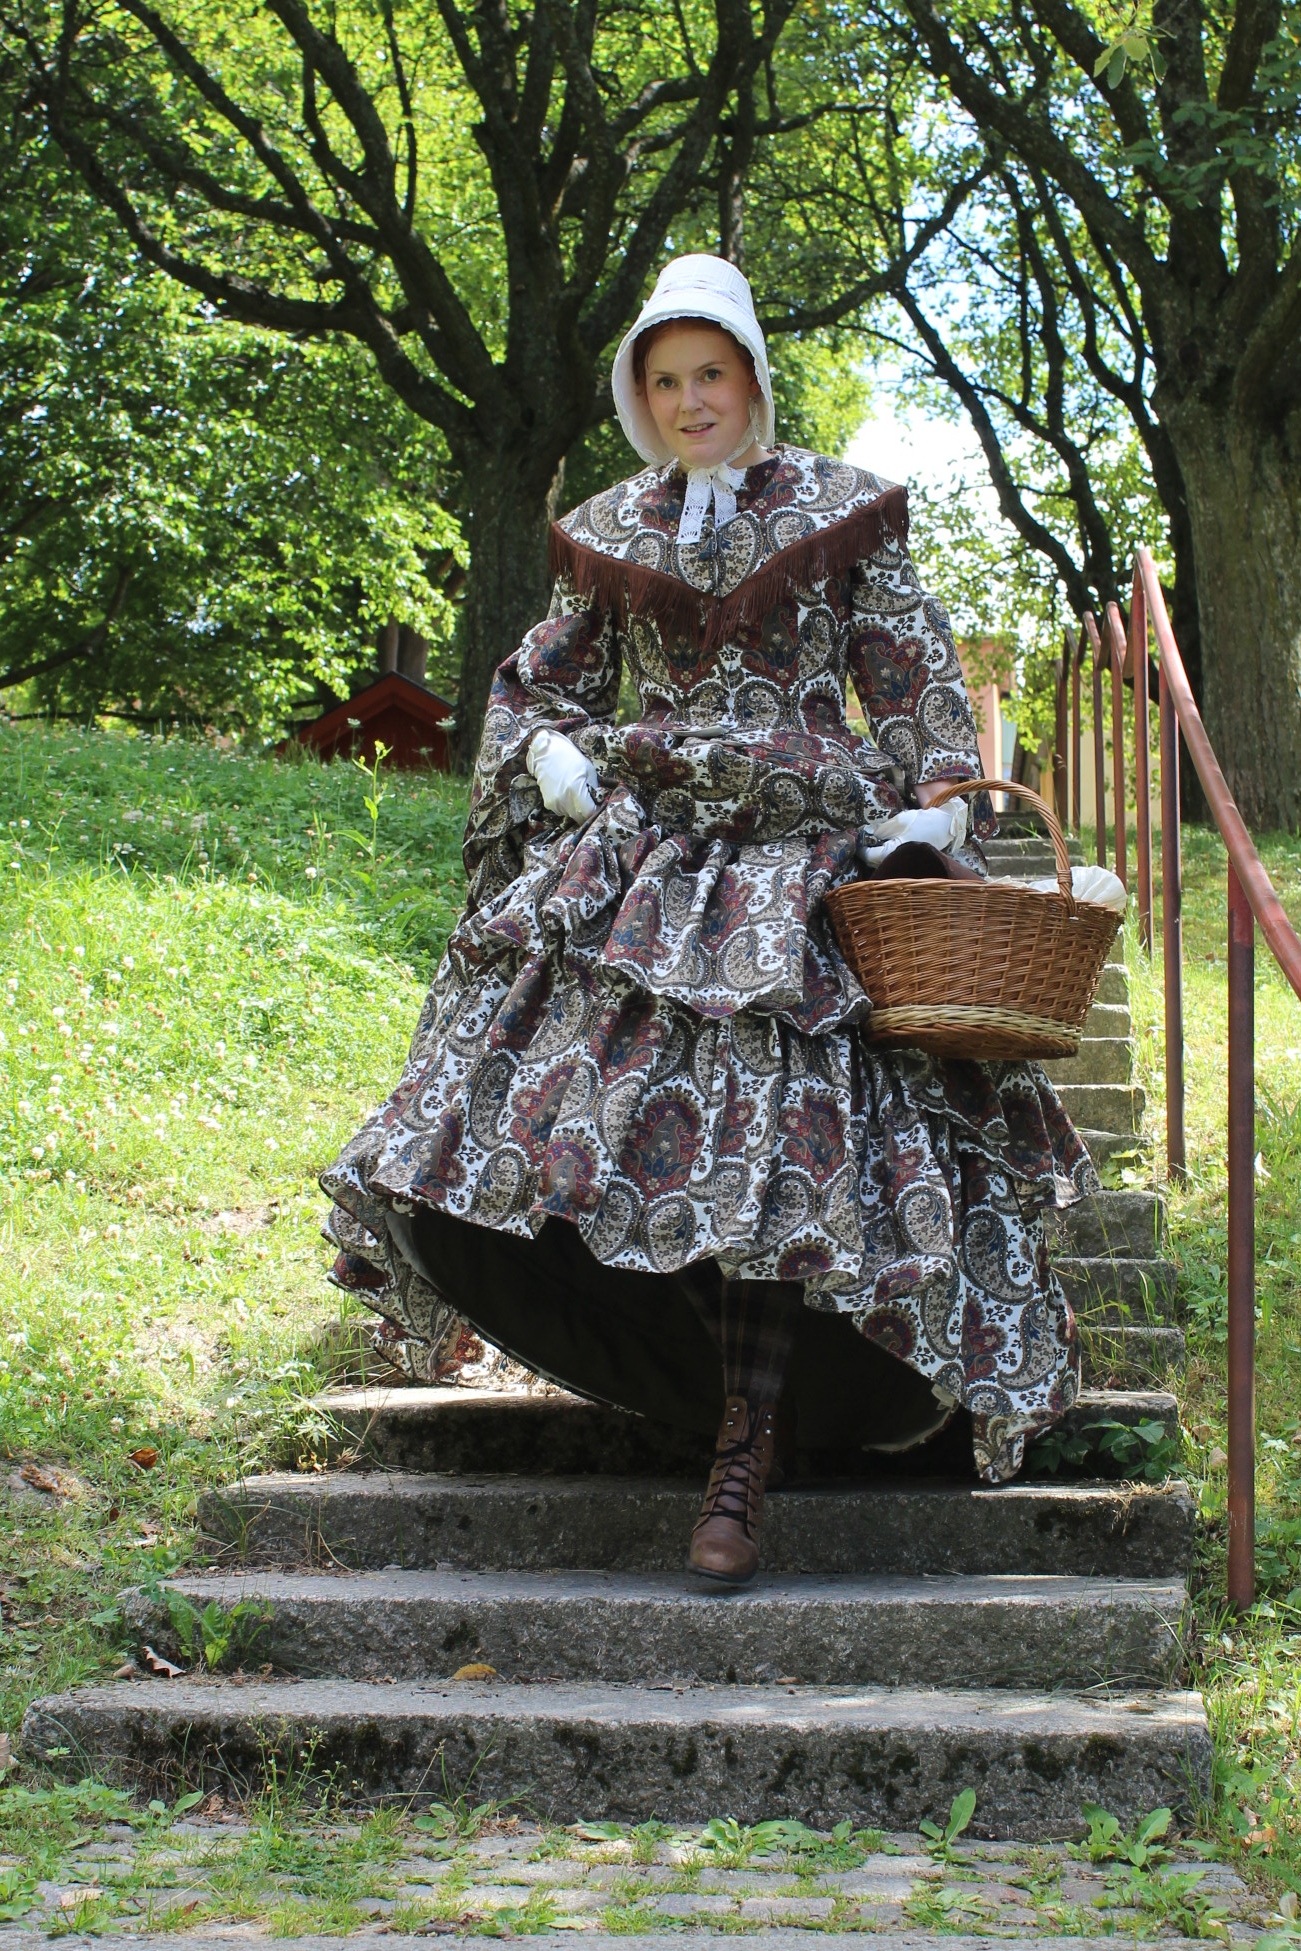
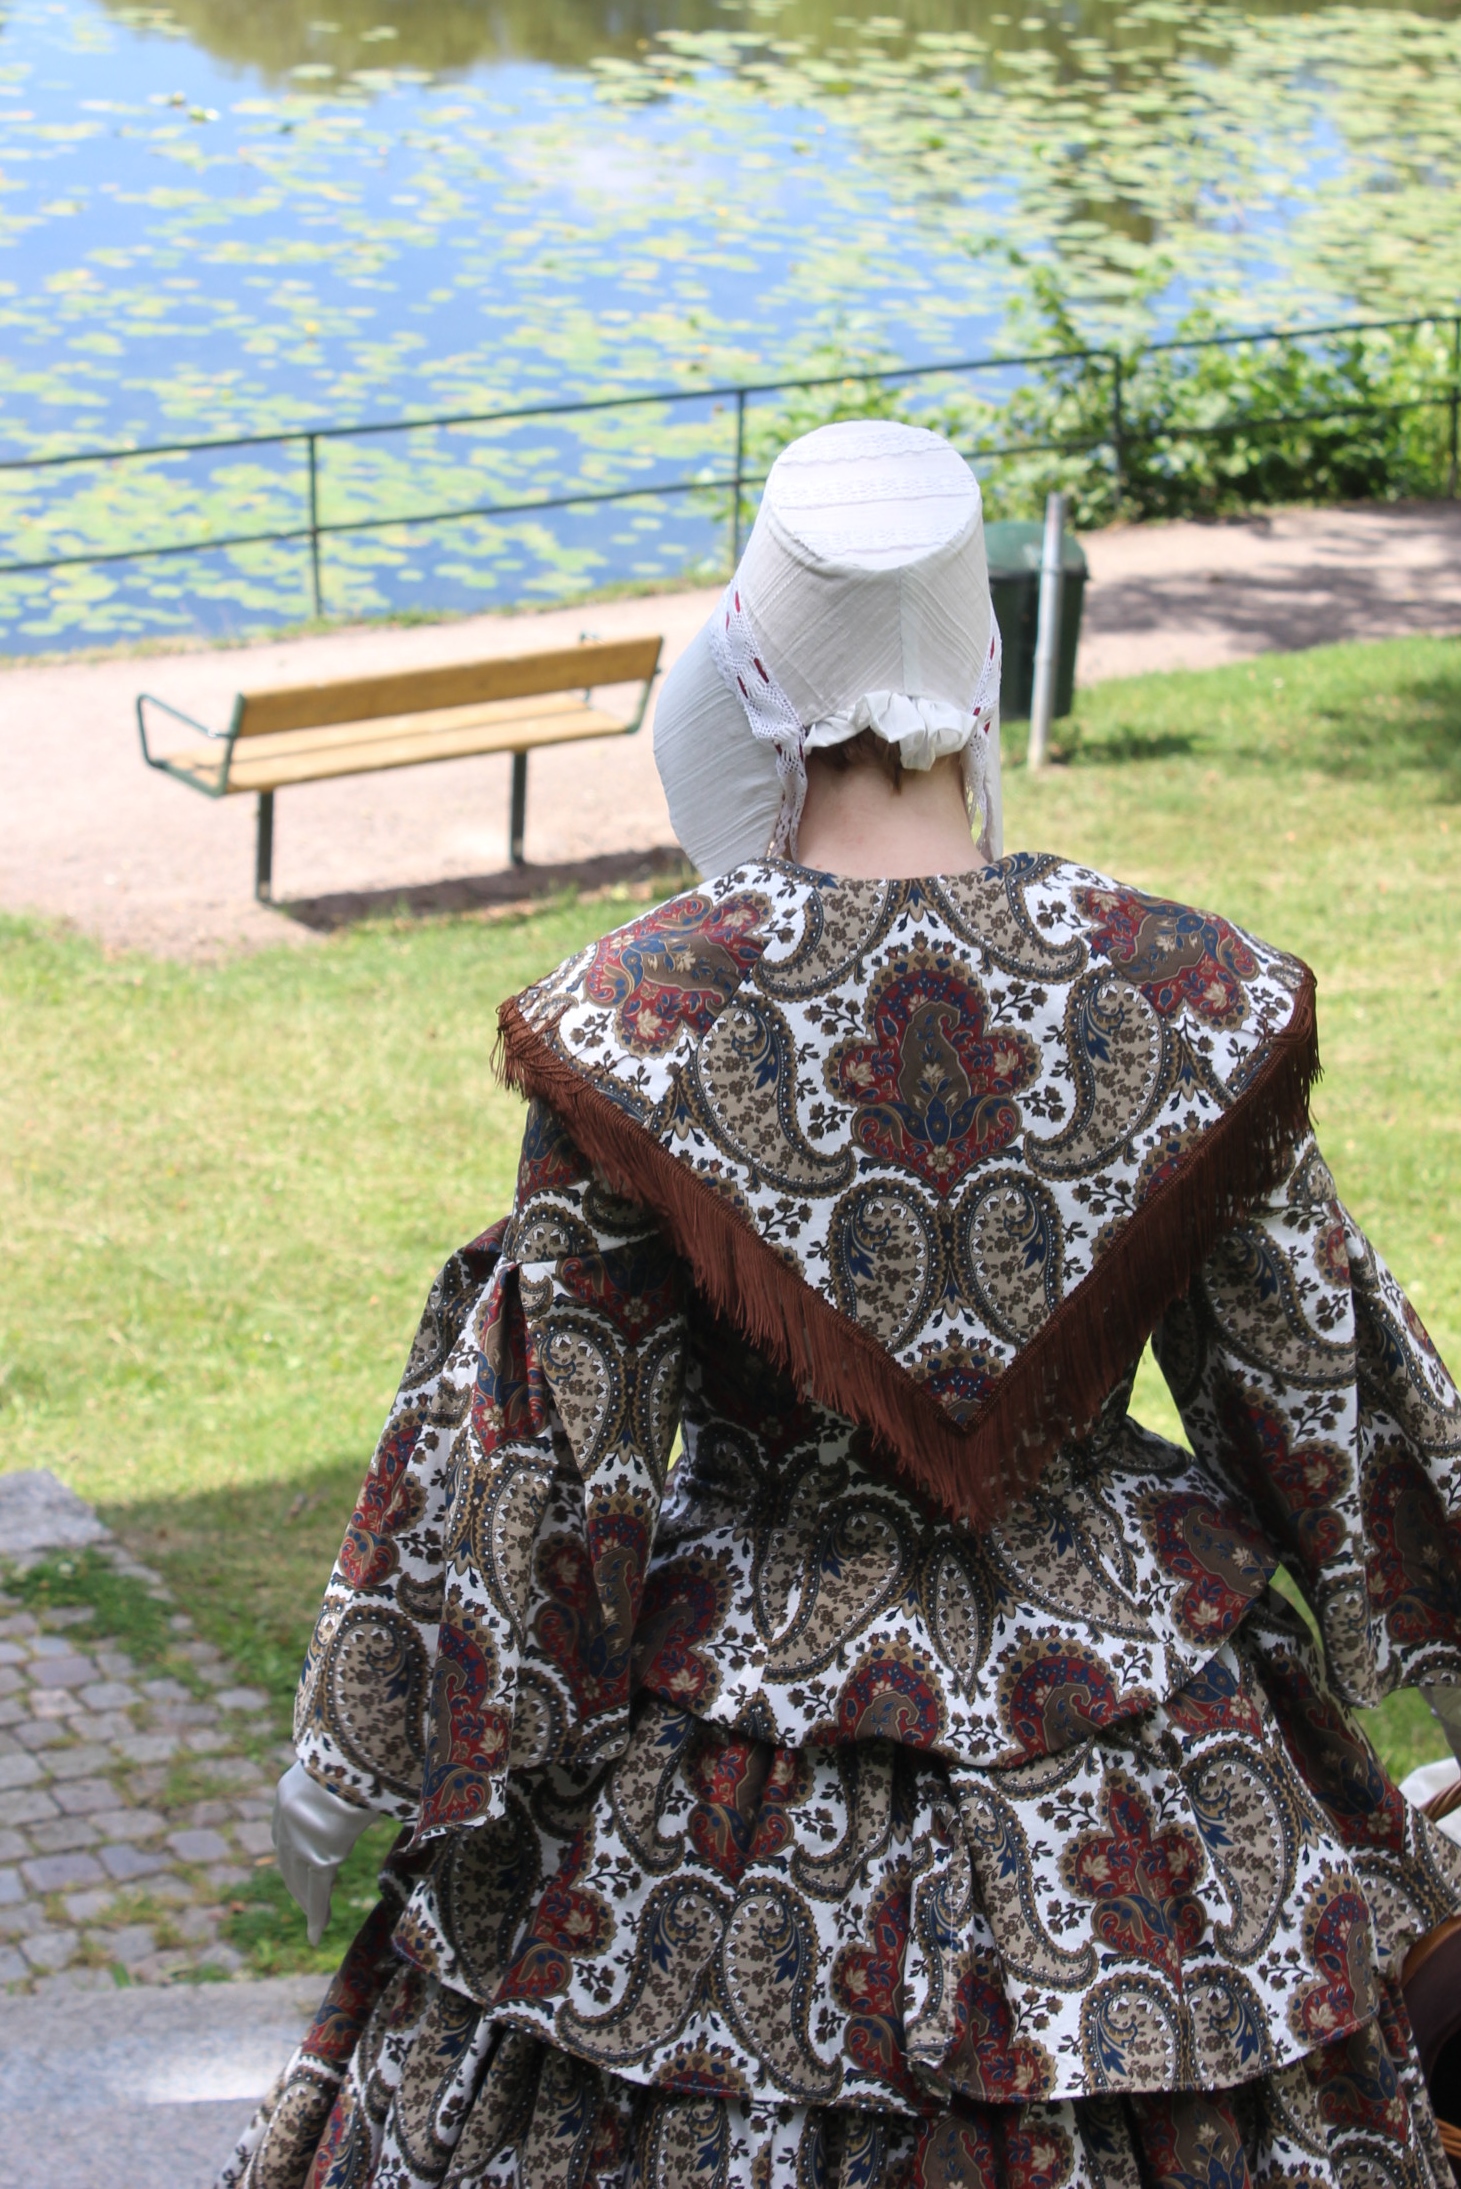
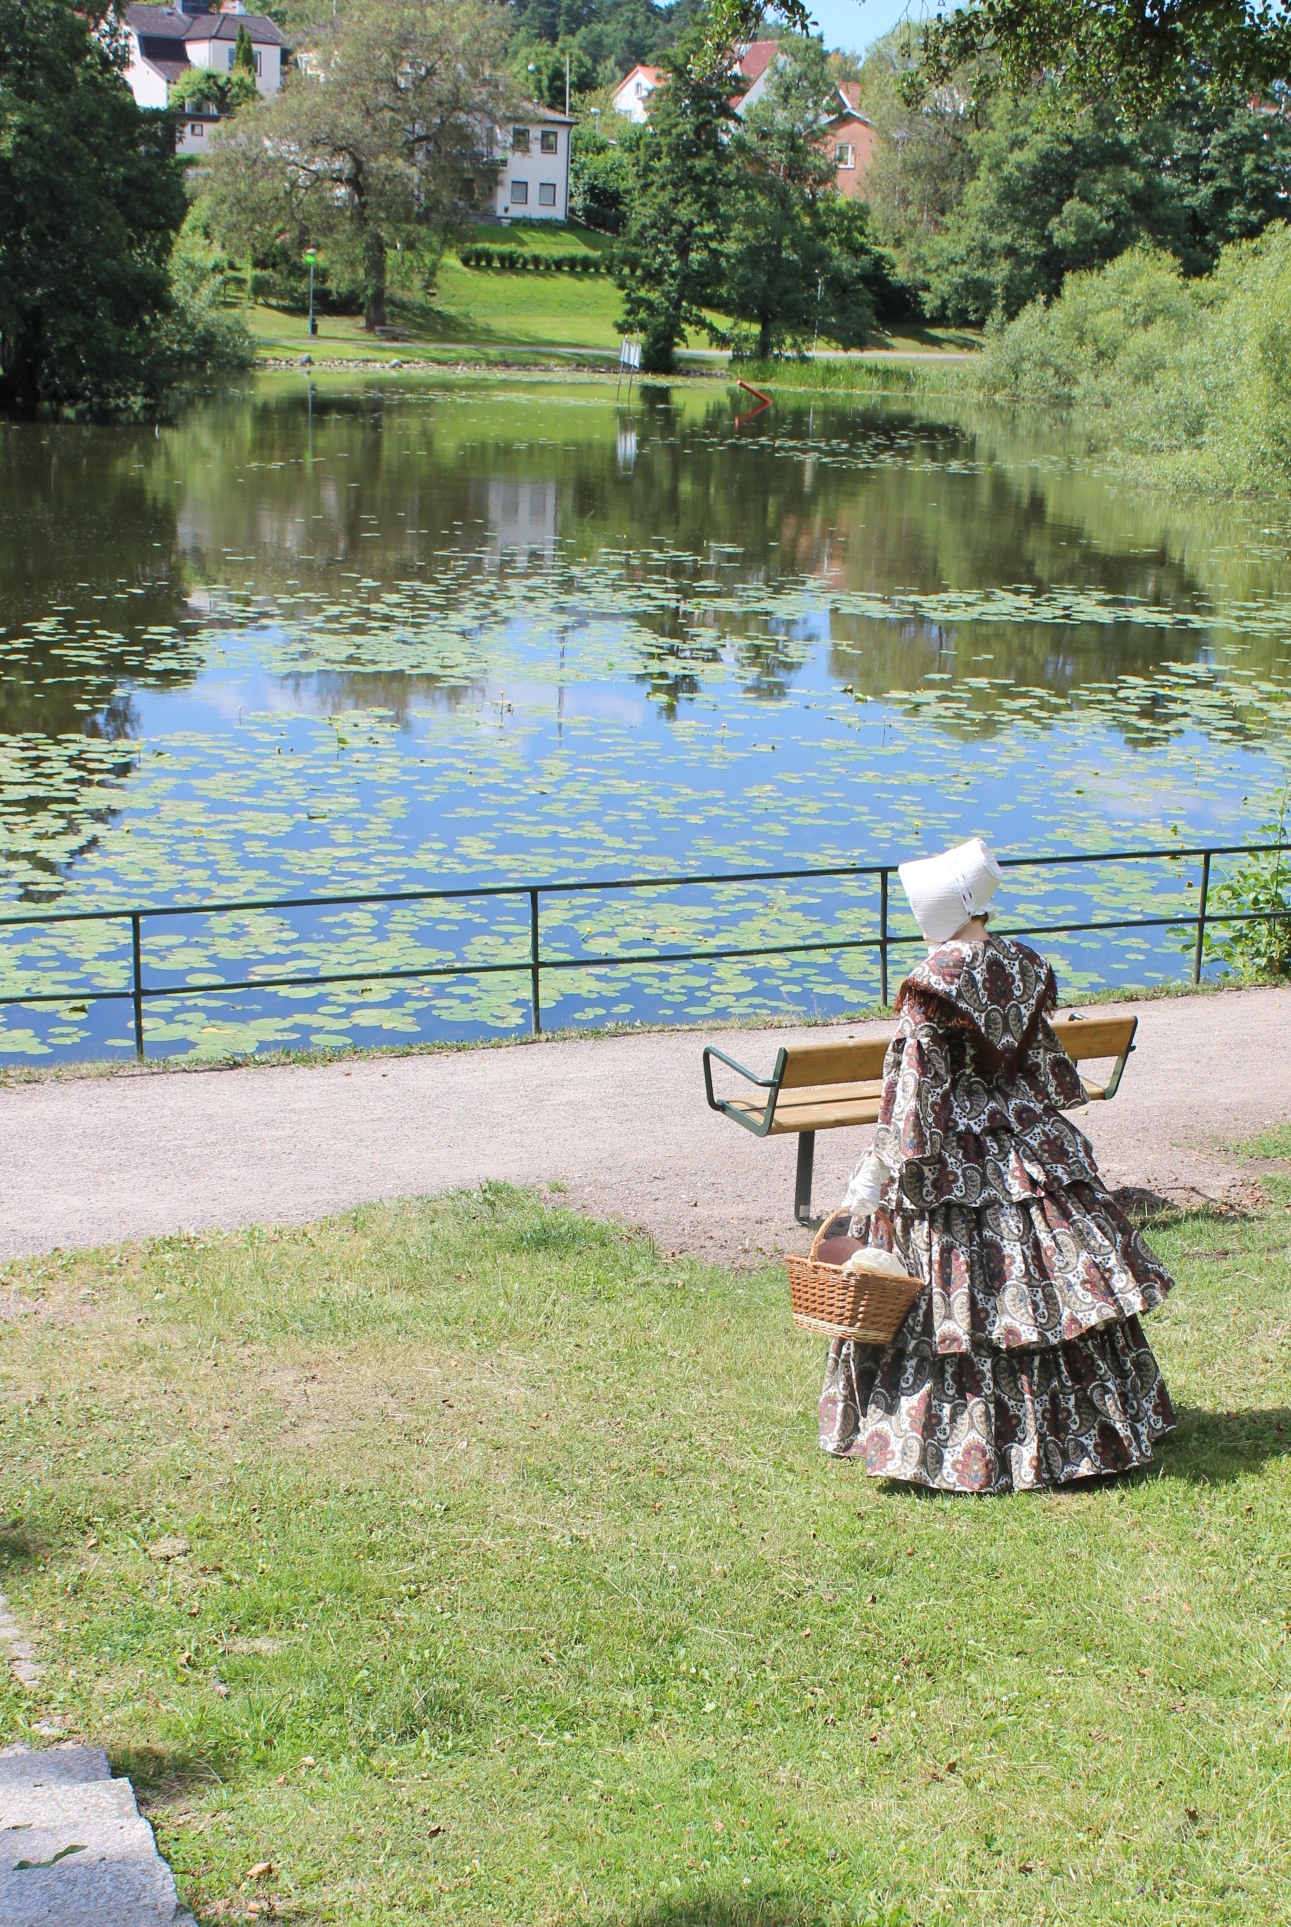
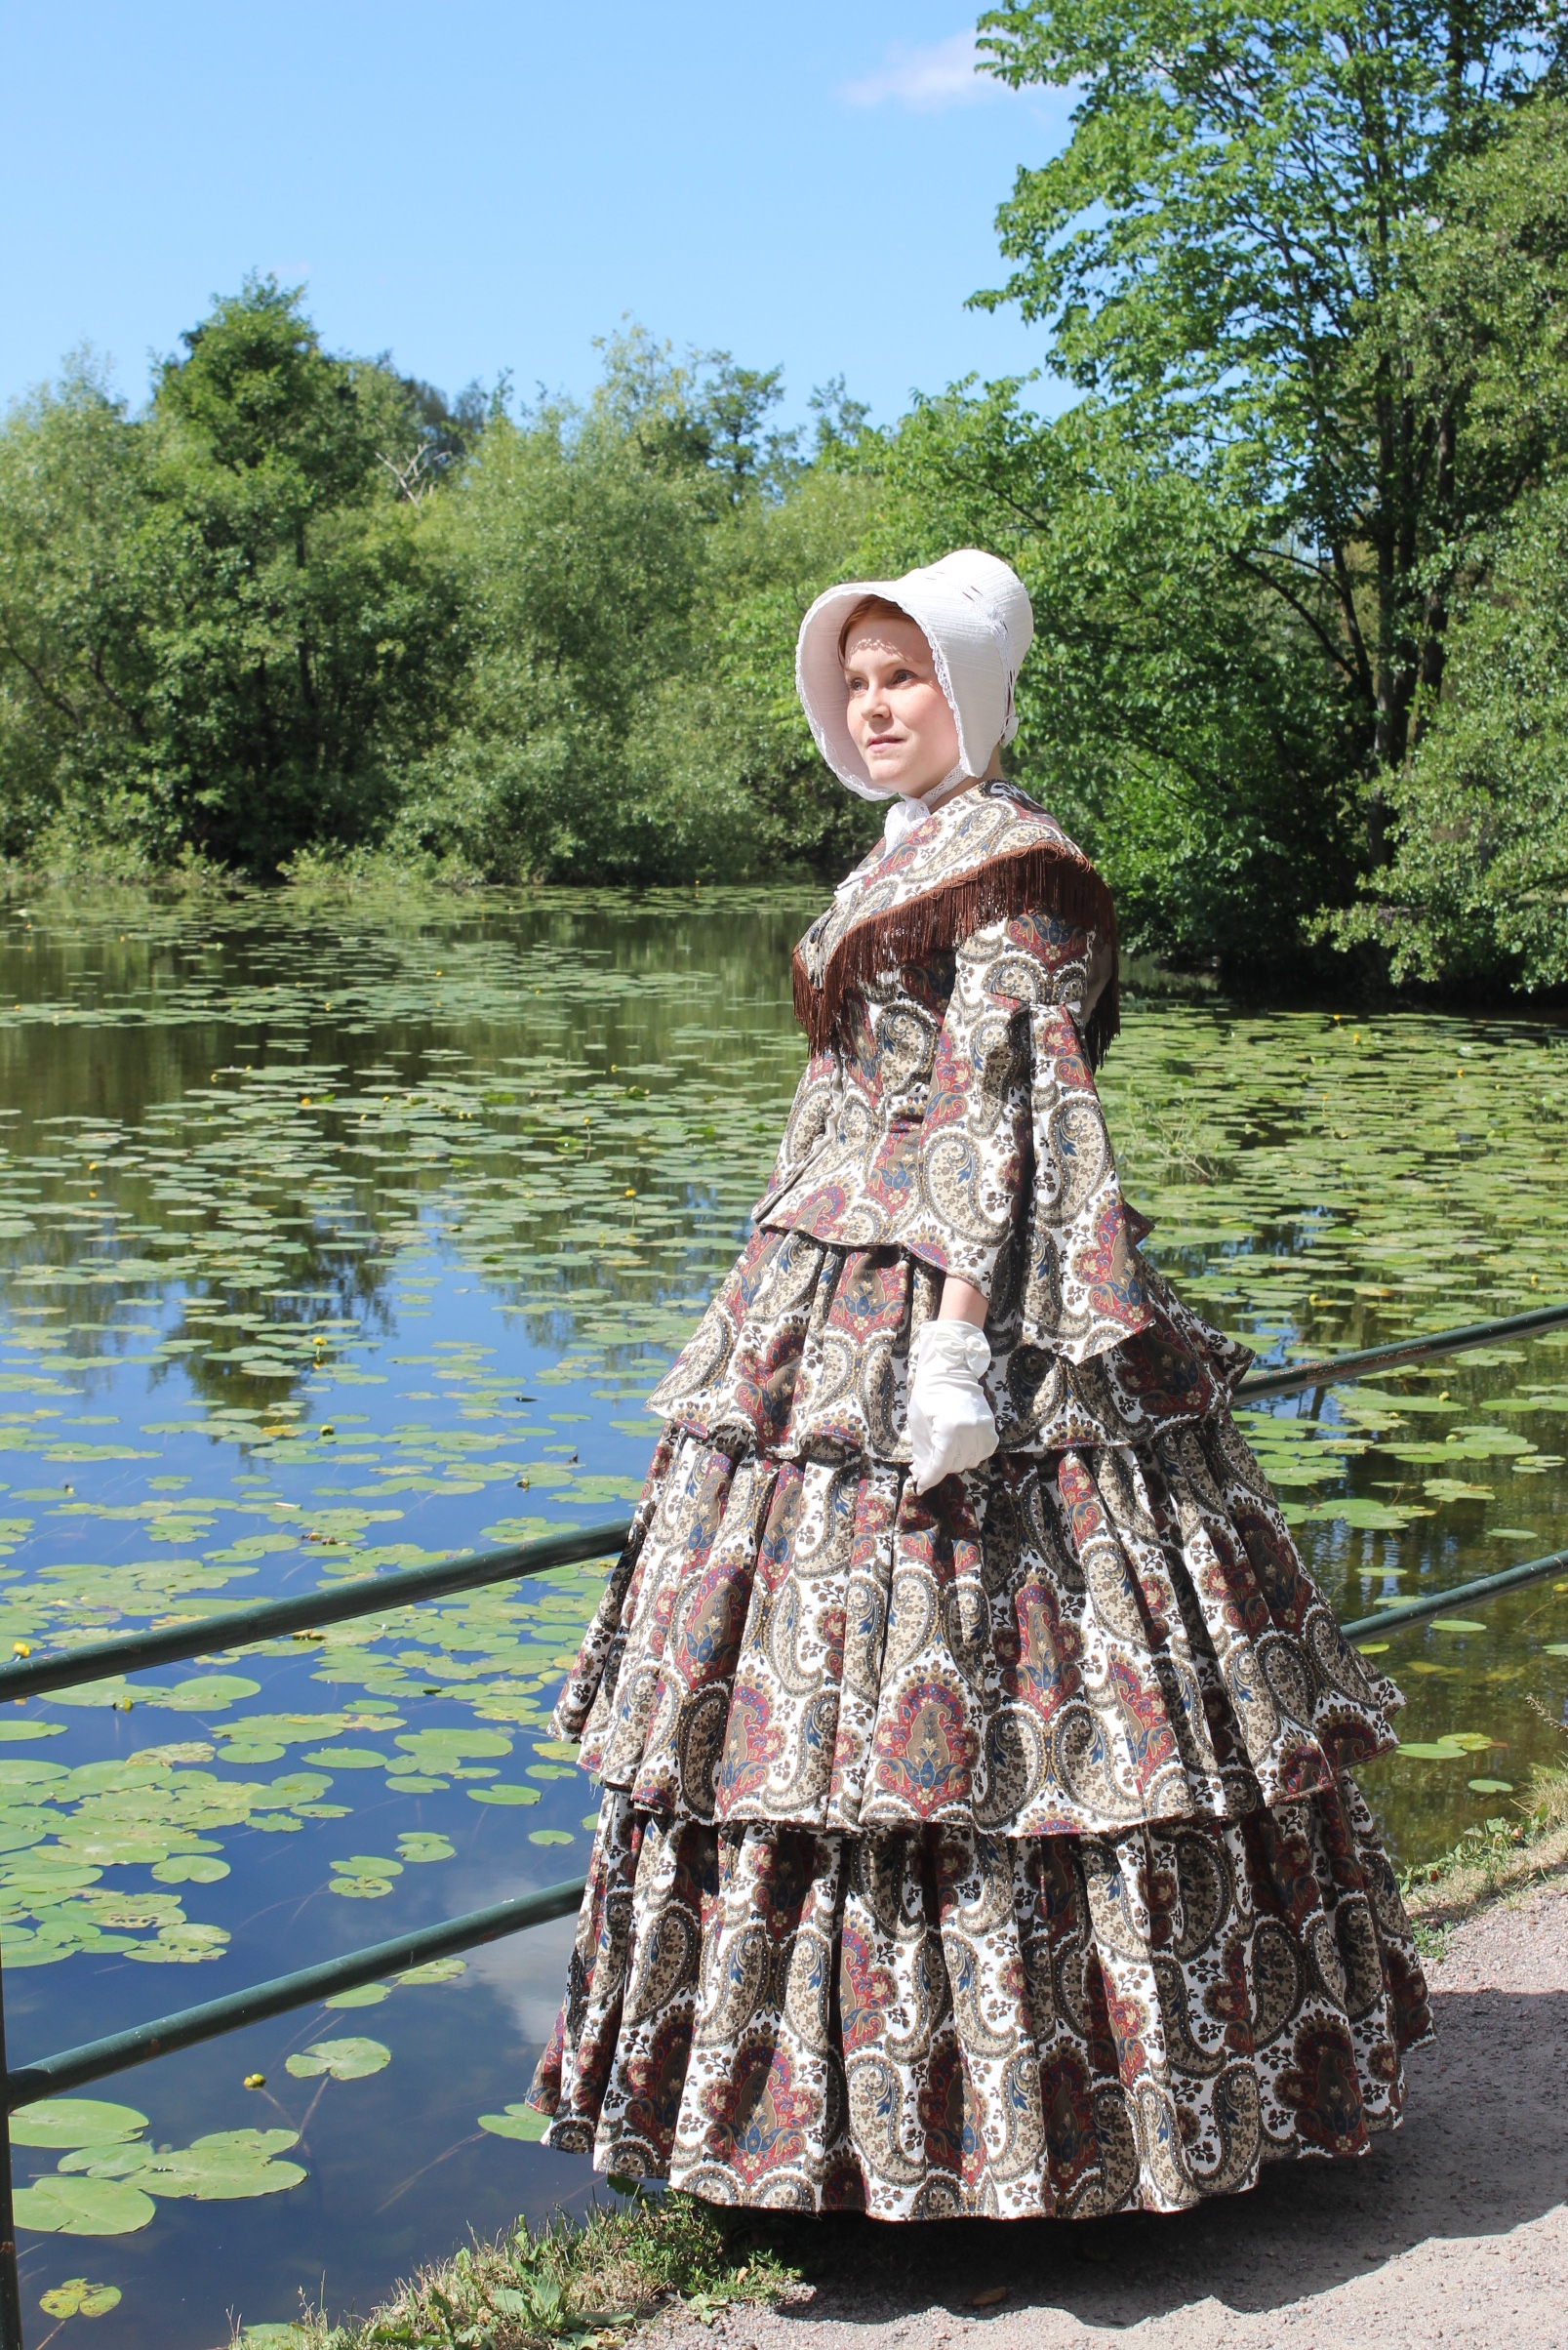
Finished photos:


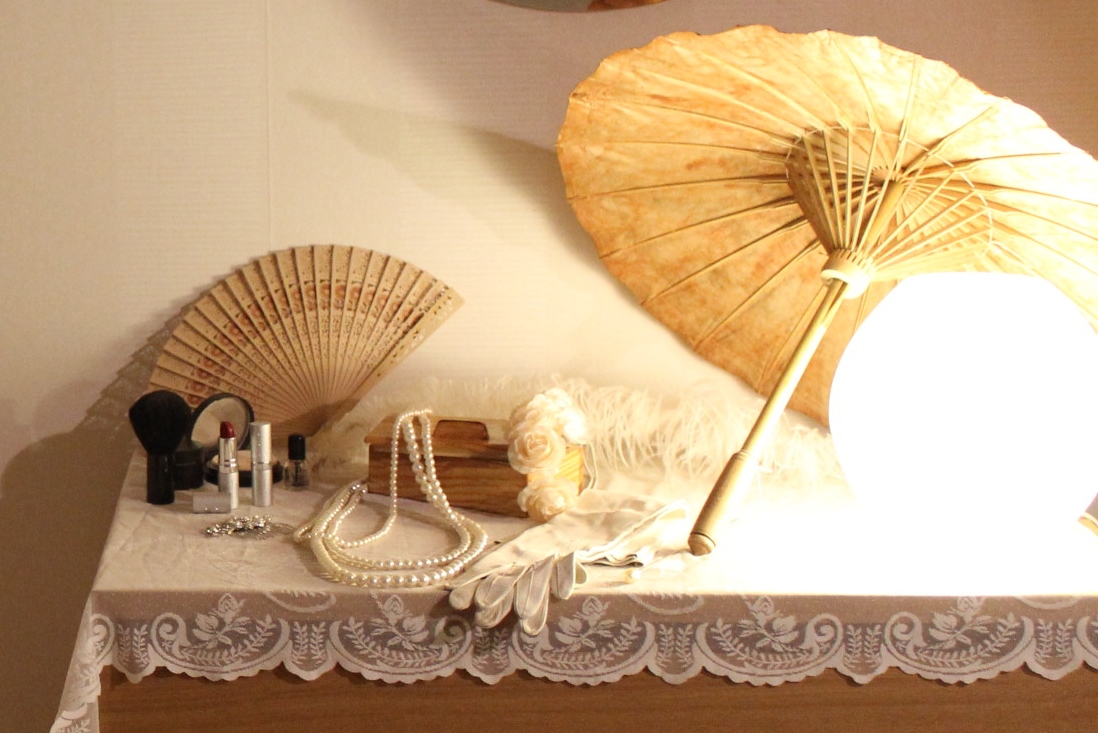
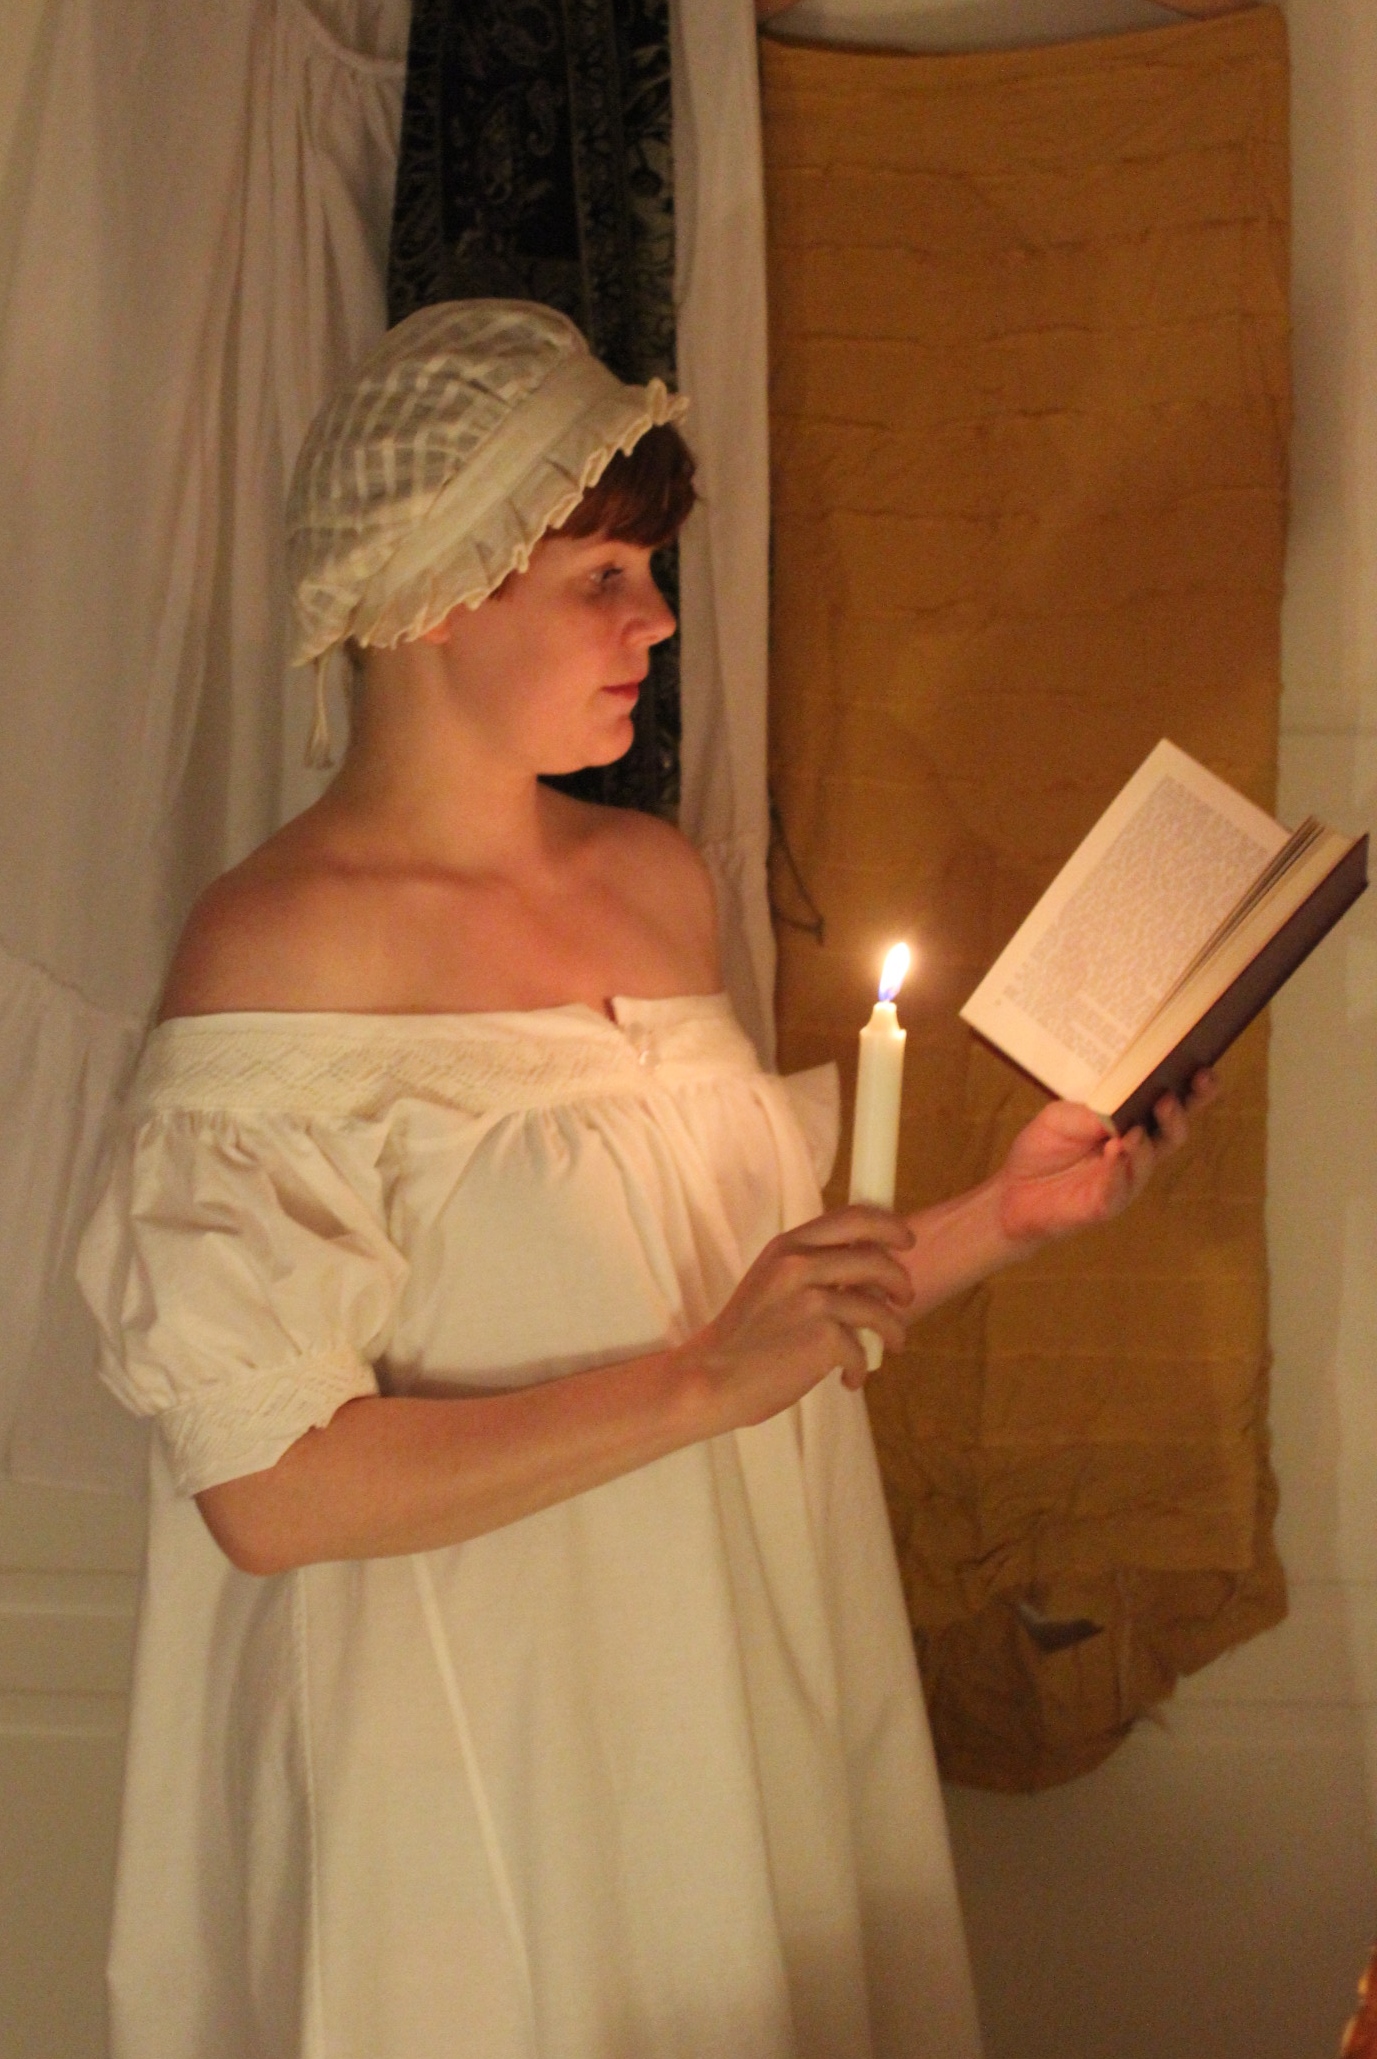
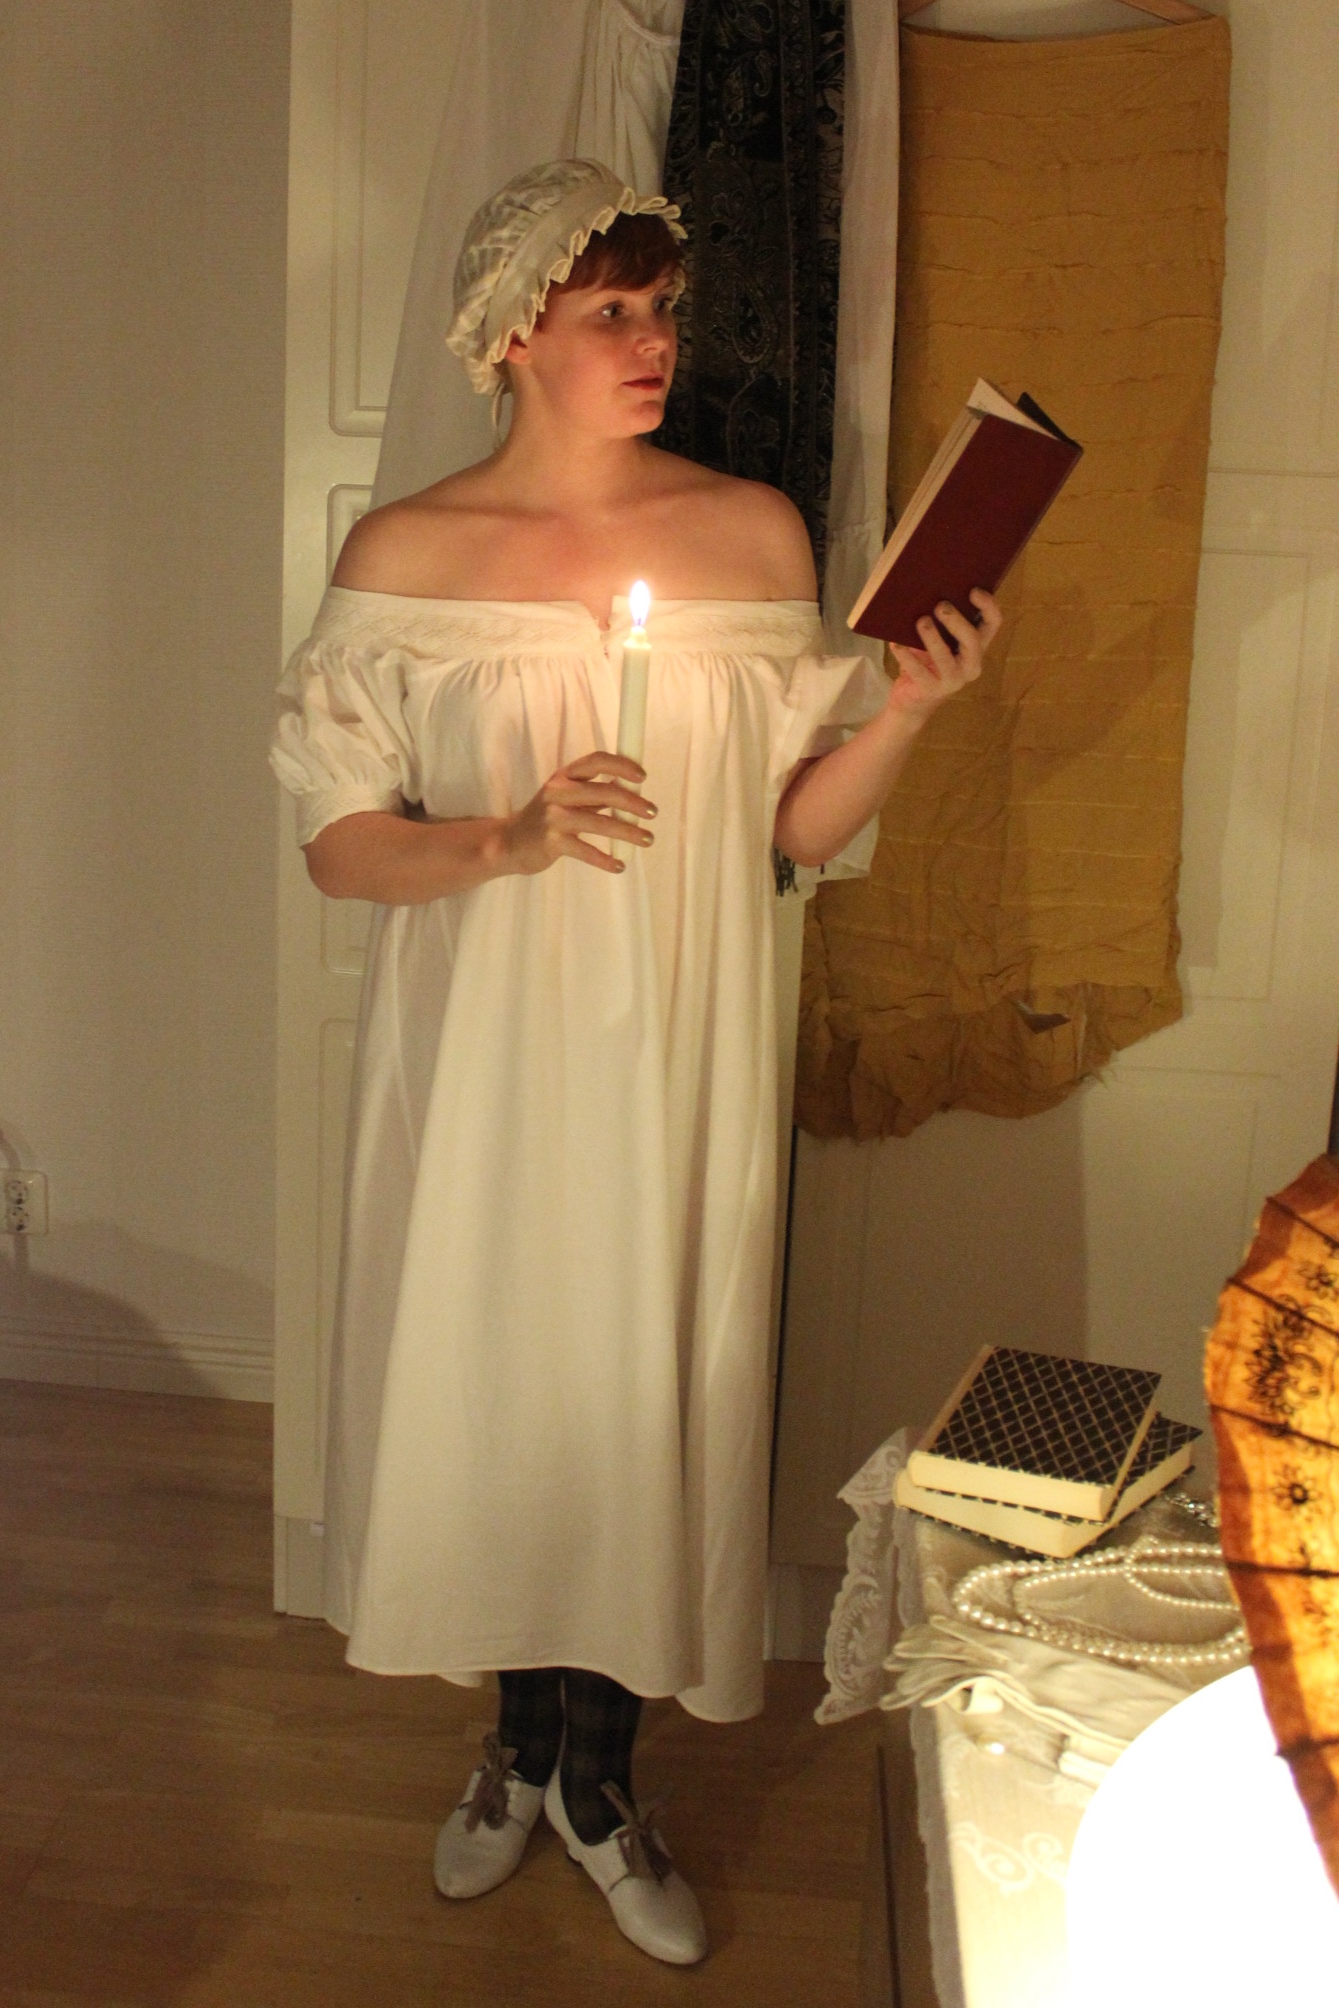
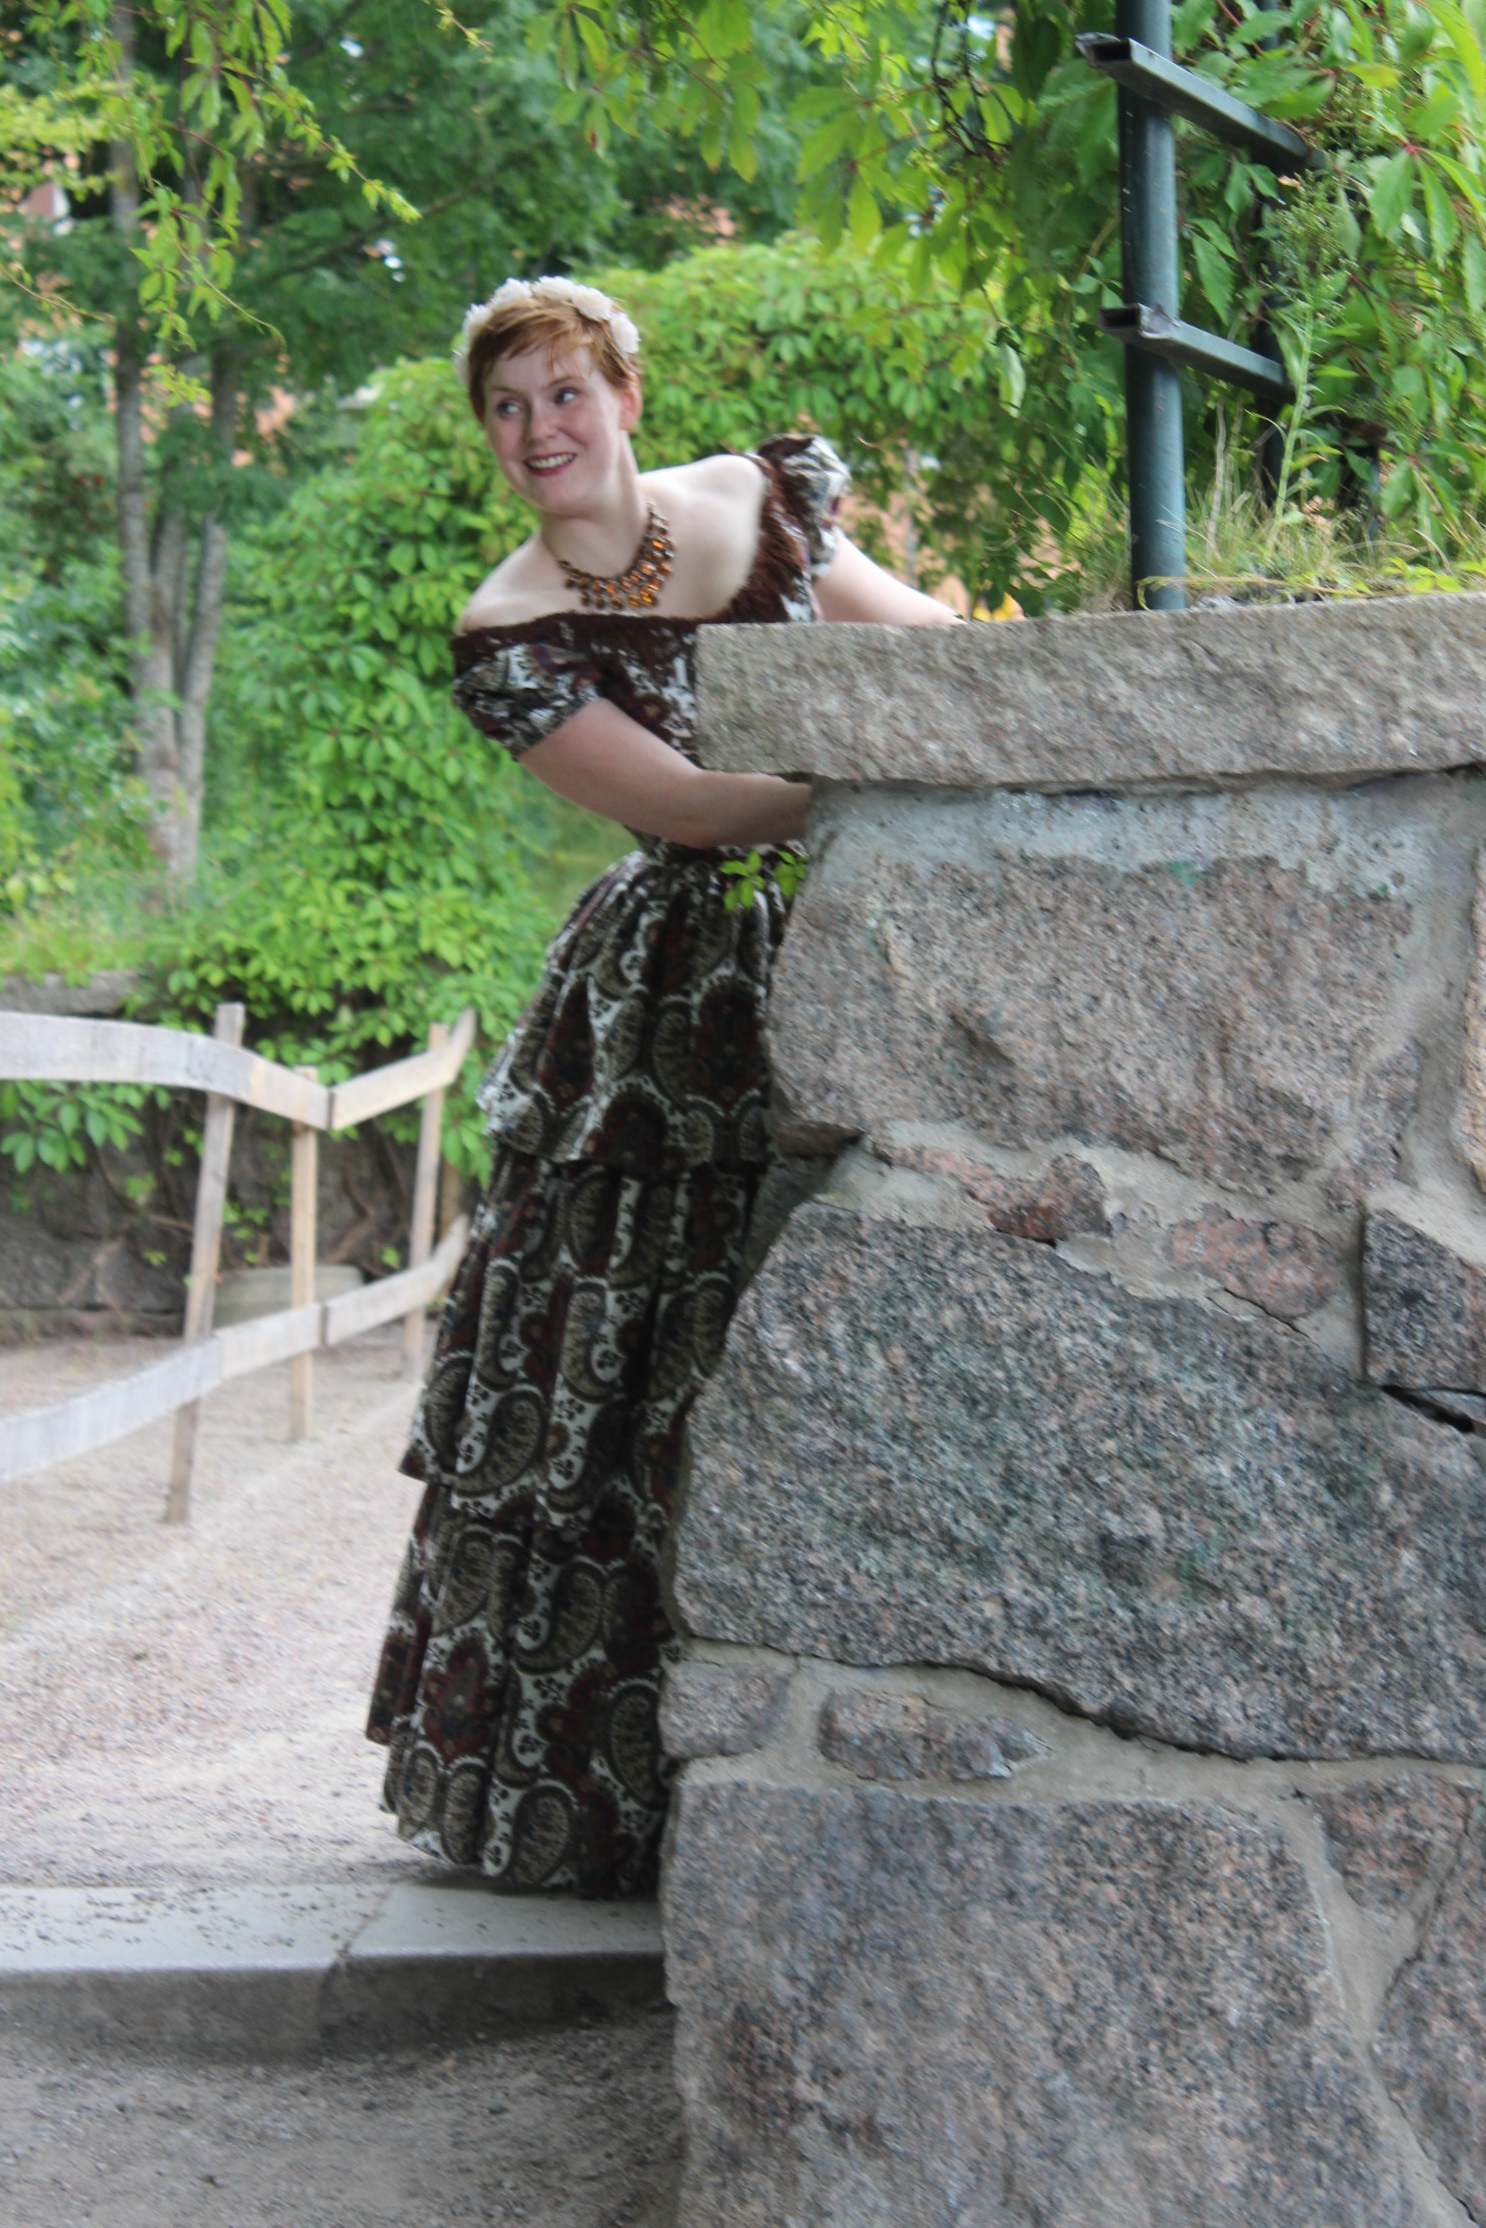
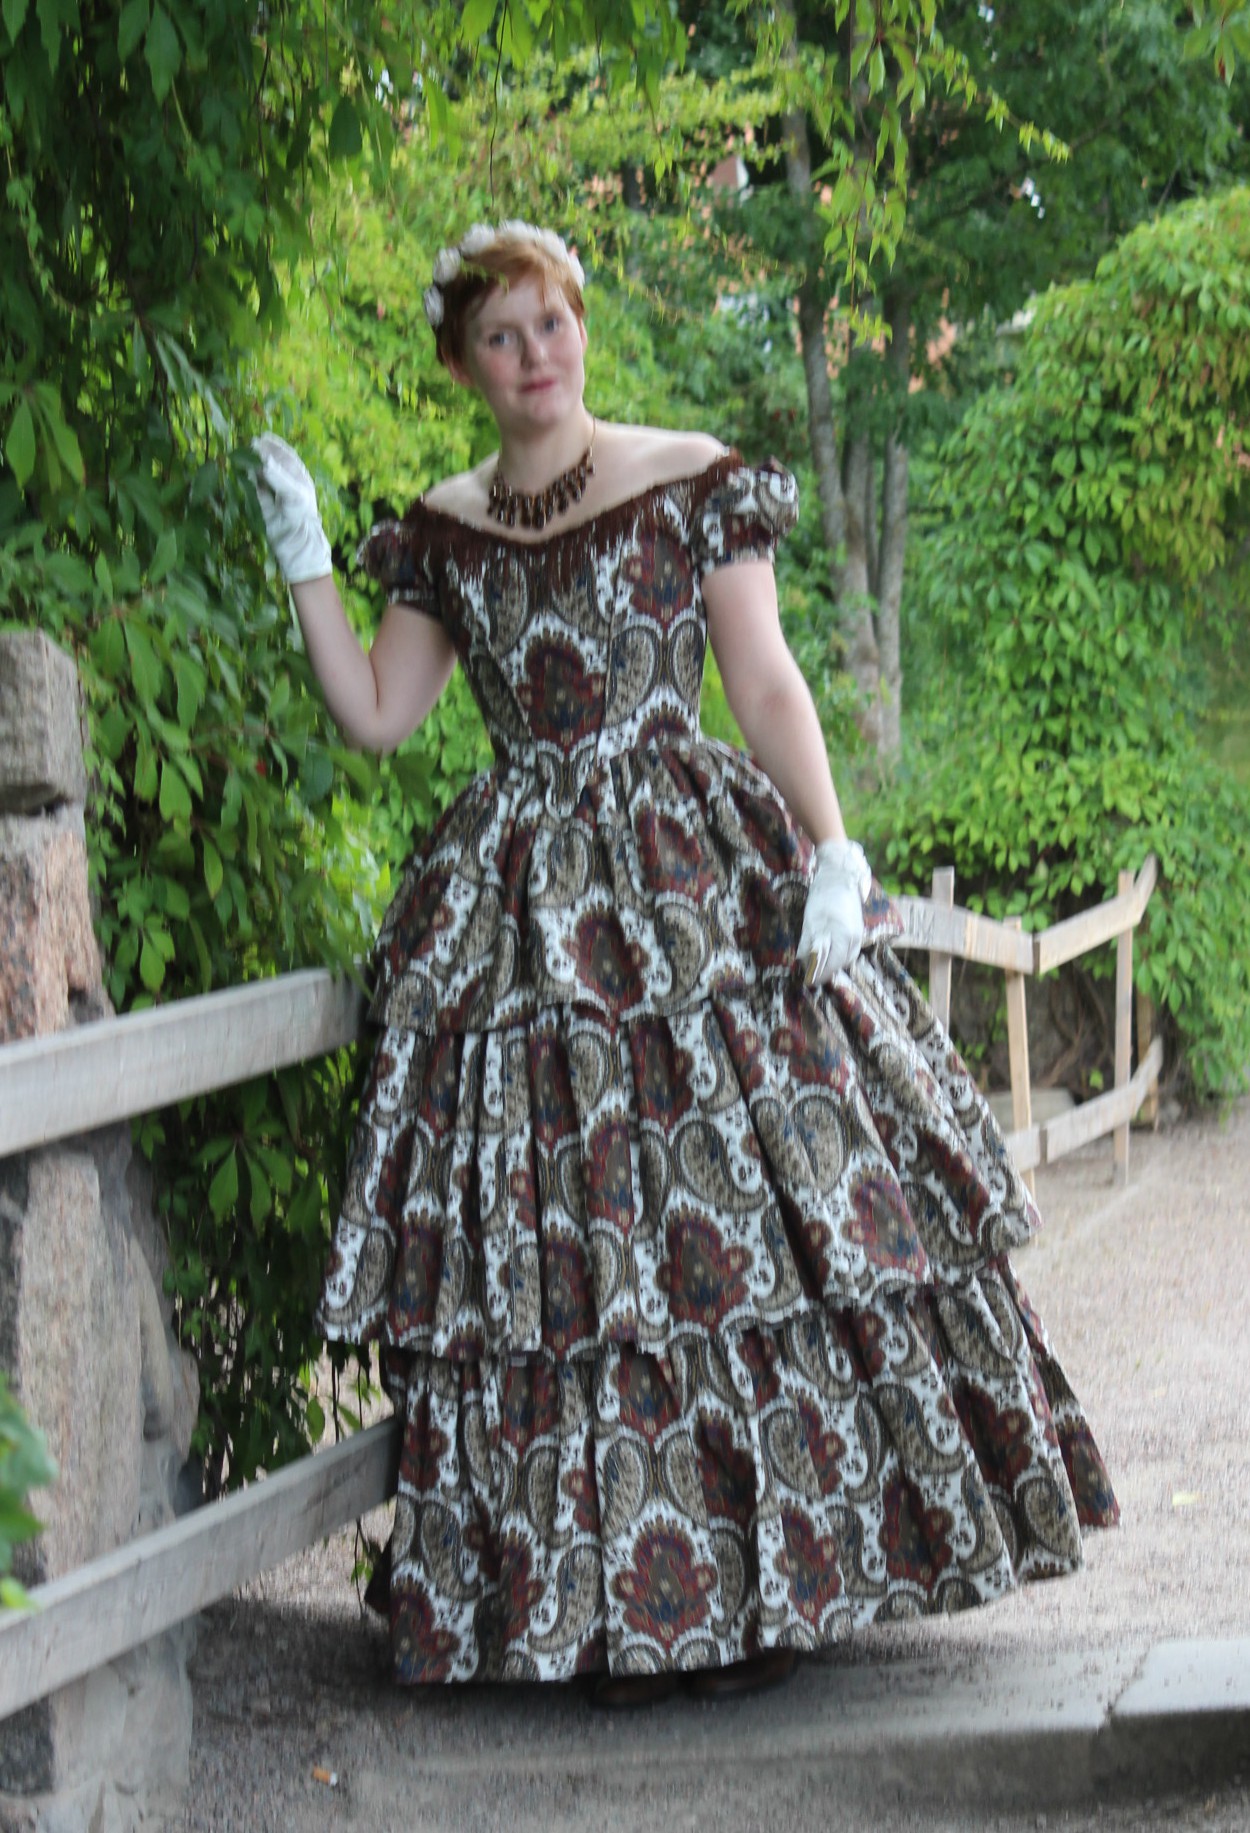
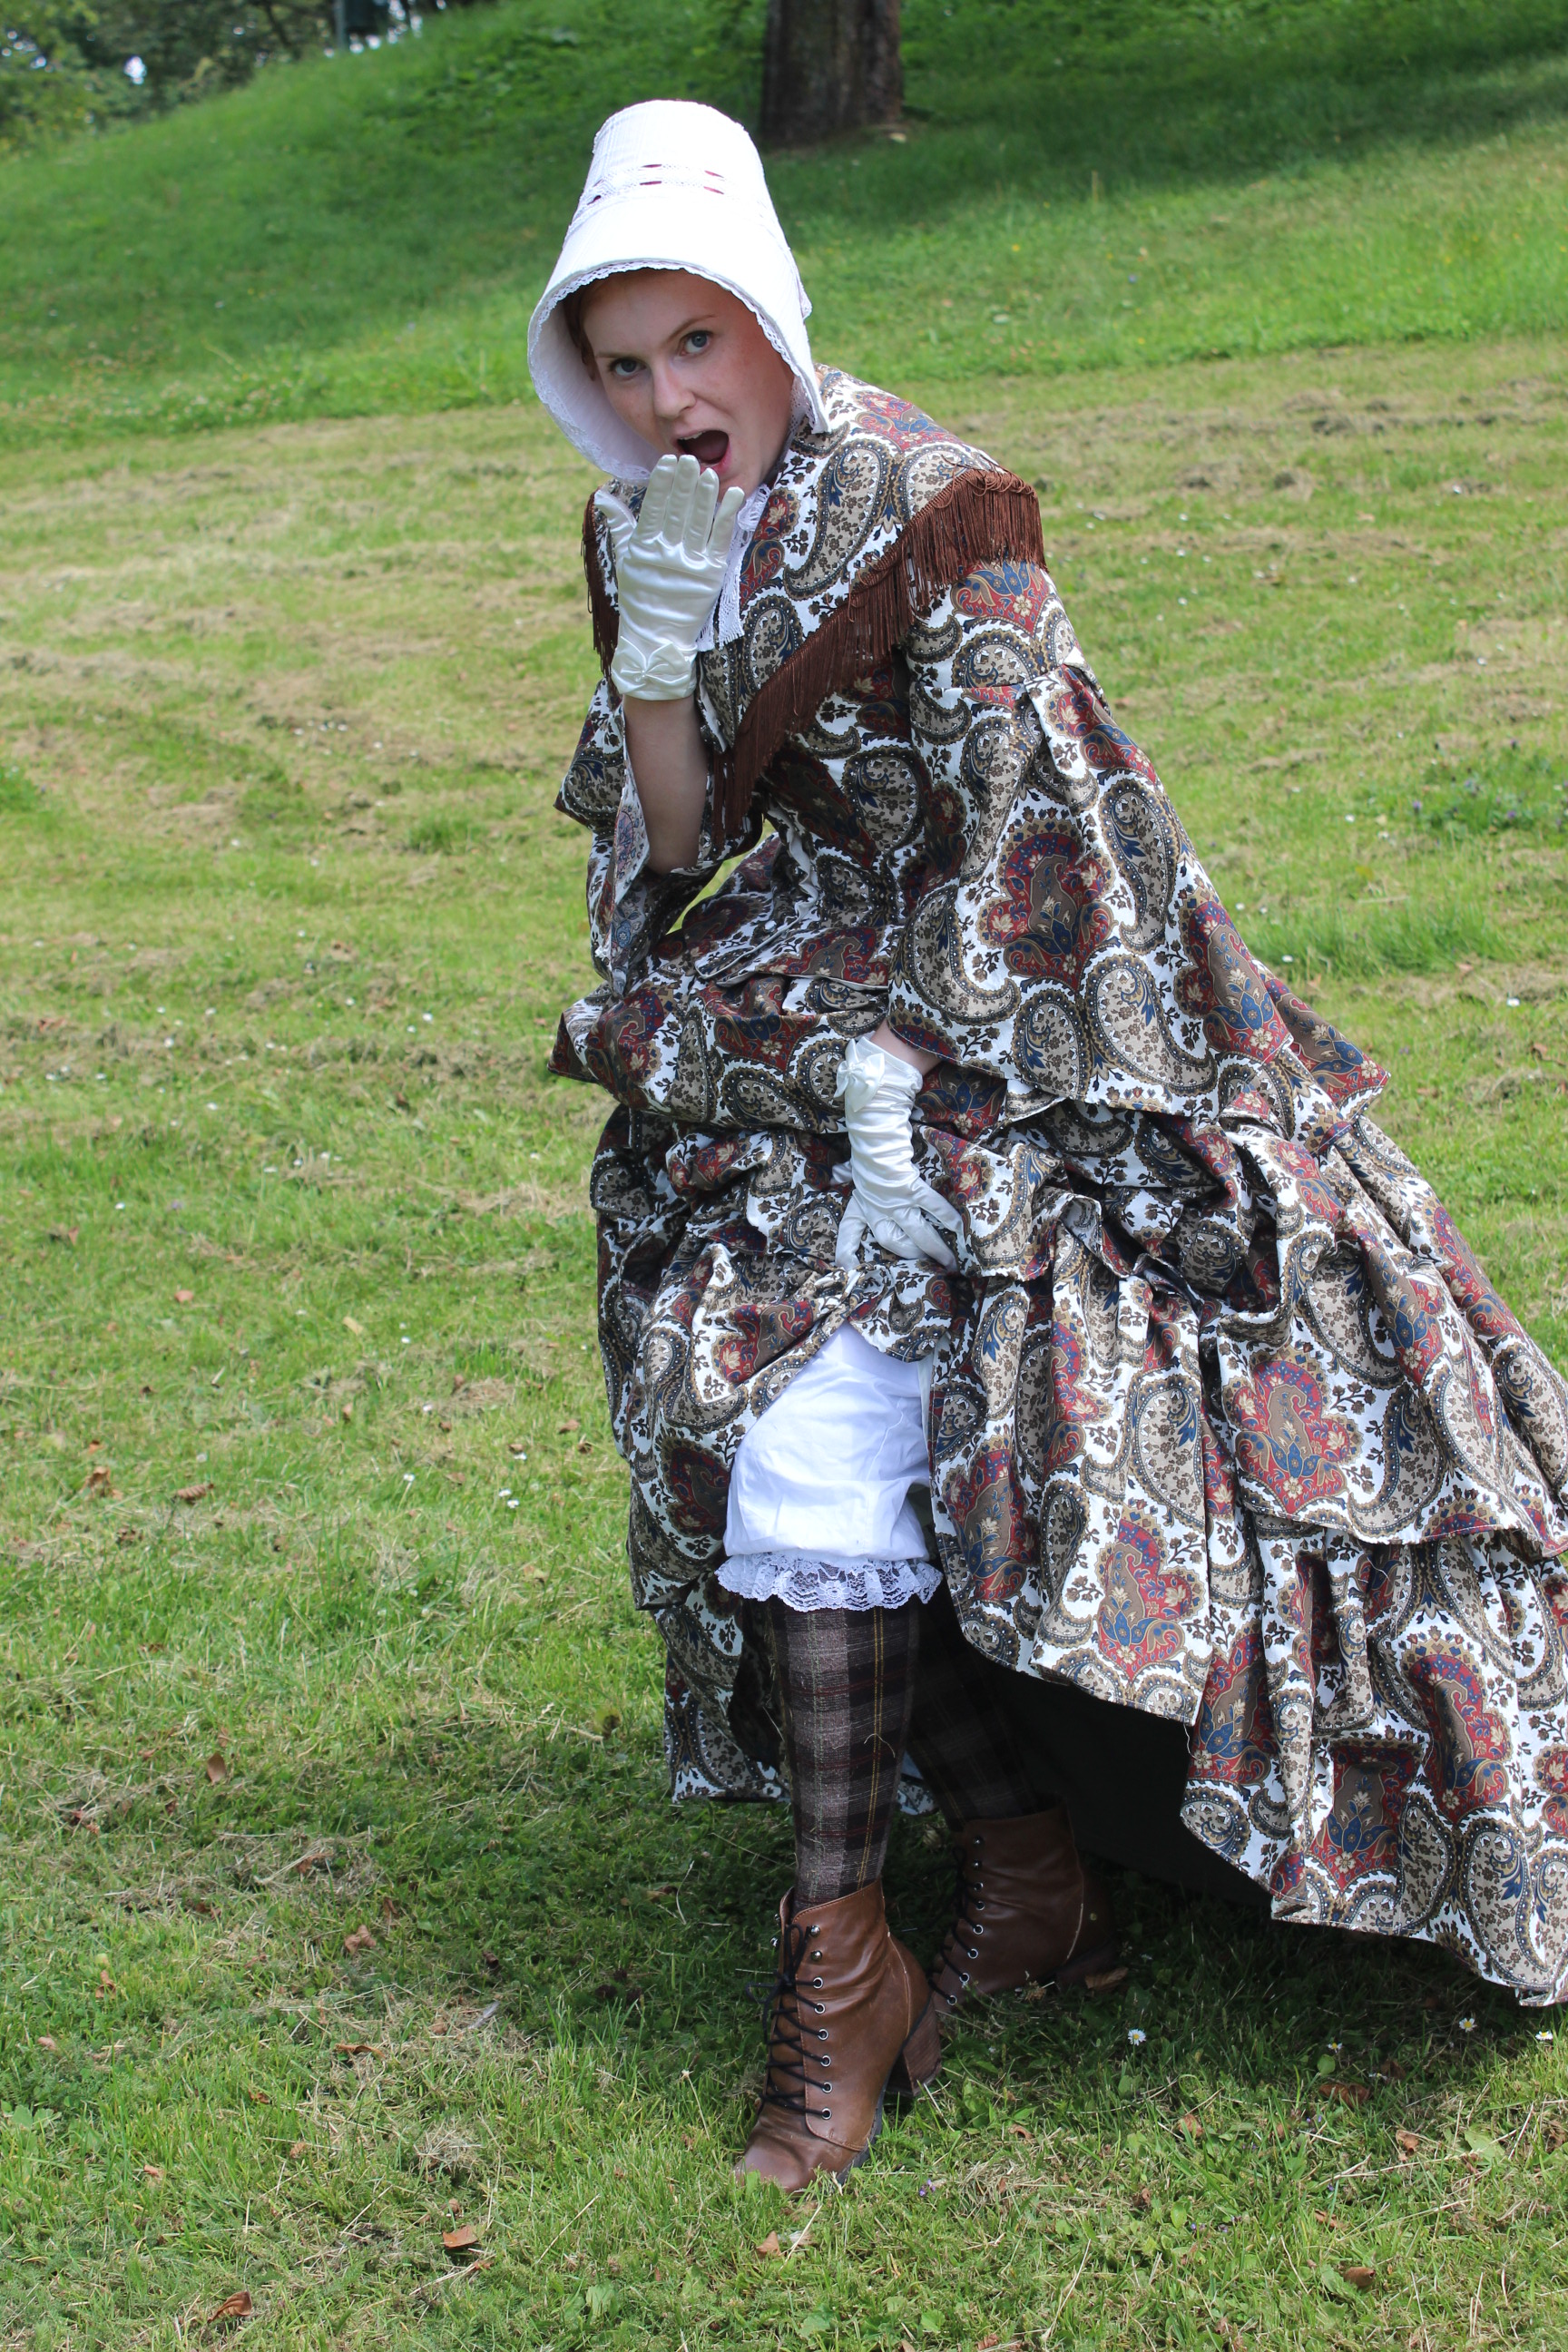
And a sneak a peak of the photoshoot:
Just the facts:
Challenge: 12 Shape and Support
What: A 1880s cage crinoline
Pattern: None – Just measured and cut stipes in desired lenght.
Fabric: 1 m of green cotton.
Notions: 11 m of steel bone, 1 spool of thread, 16 gromets, 2 m of green biastape (I didn’t had enough fabric to make my own), black duck tape, 3 m brown cotton cord and hook and eye for closuer at the wasitband.
How historical accurate: I don’t really know. Not that good I supose. The type of metal is wrong and I’m sure they did’n use biastape for bone-casings back then. I do think the over all look is ok, and worn with several layers of petticoats I think it will look very period. Maybe a 4/10
Time: About 8 hours.
Cost: Almost everything was from stash, but I have bought it at some point. I think it ads up to about 200 Sek (32Usd) all in all.
First worn: Just around the house for photos so far. But I would love to wear it out on a picknick this summer.
Final thoughts: I’m pretty happy about it. The hoopskirt went togeter more easy then I thougt an dit ws great fun watching it take form. I liked wearing it and strutted around the house a long time after finishing it. The size is really nice – not to big or to smal, and hopefull I can use this for both 1850s, Tudor and bridal wear.

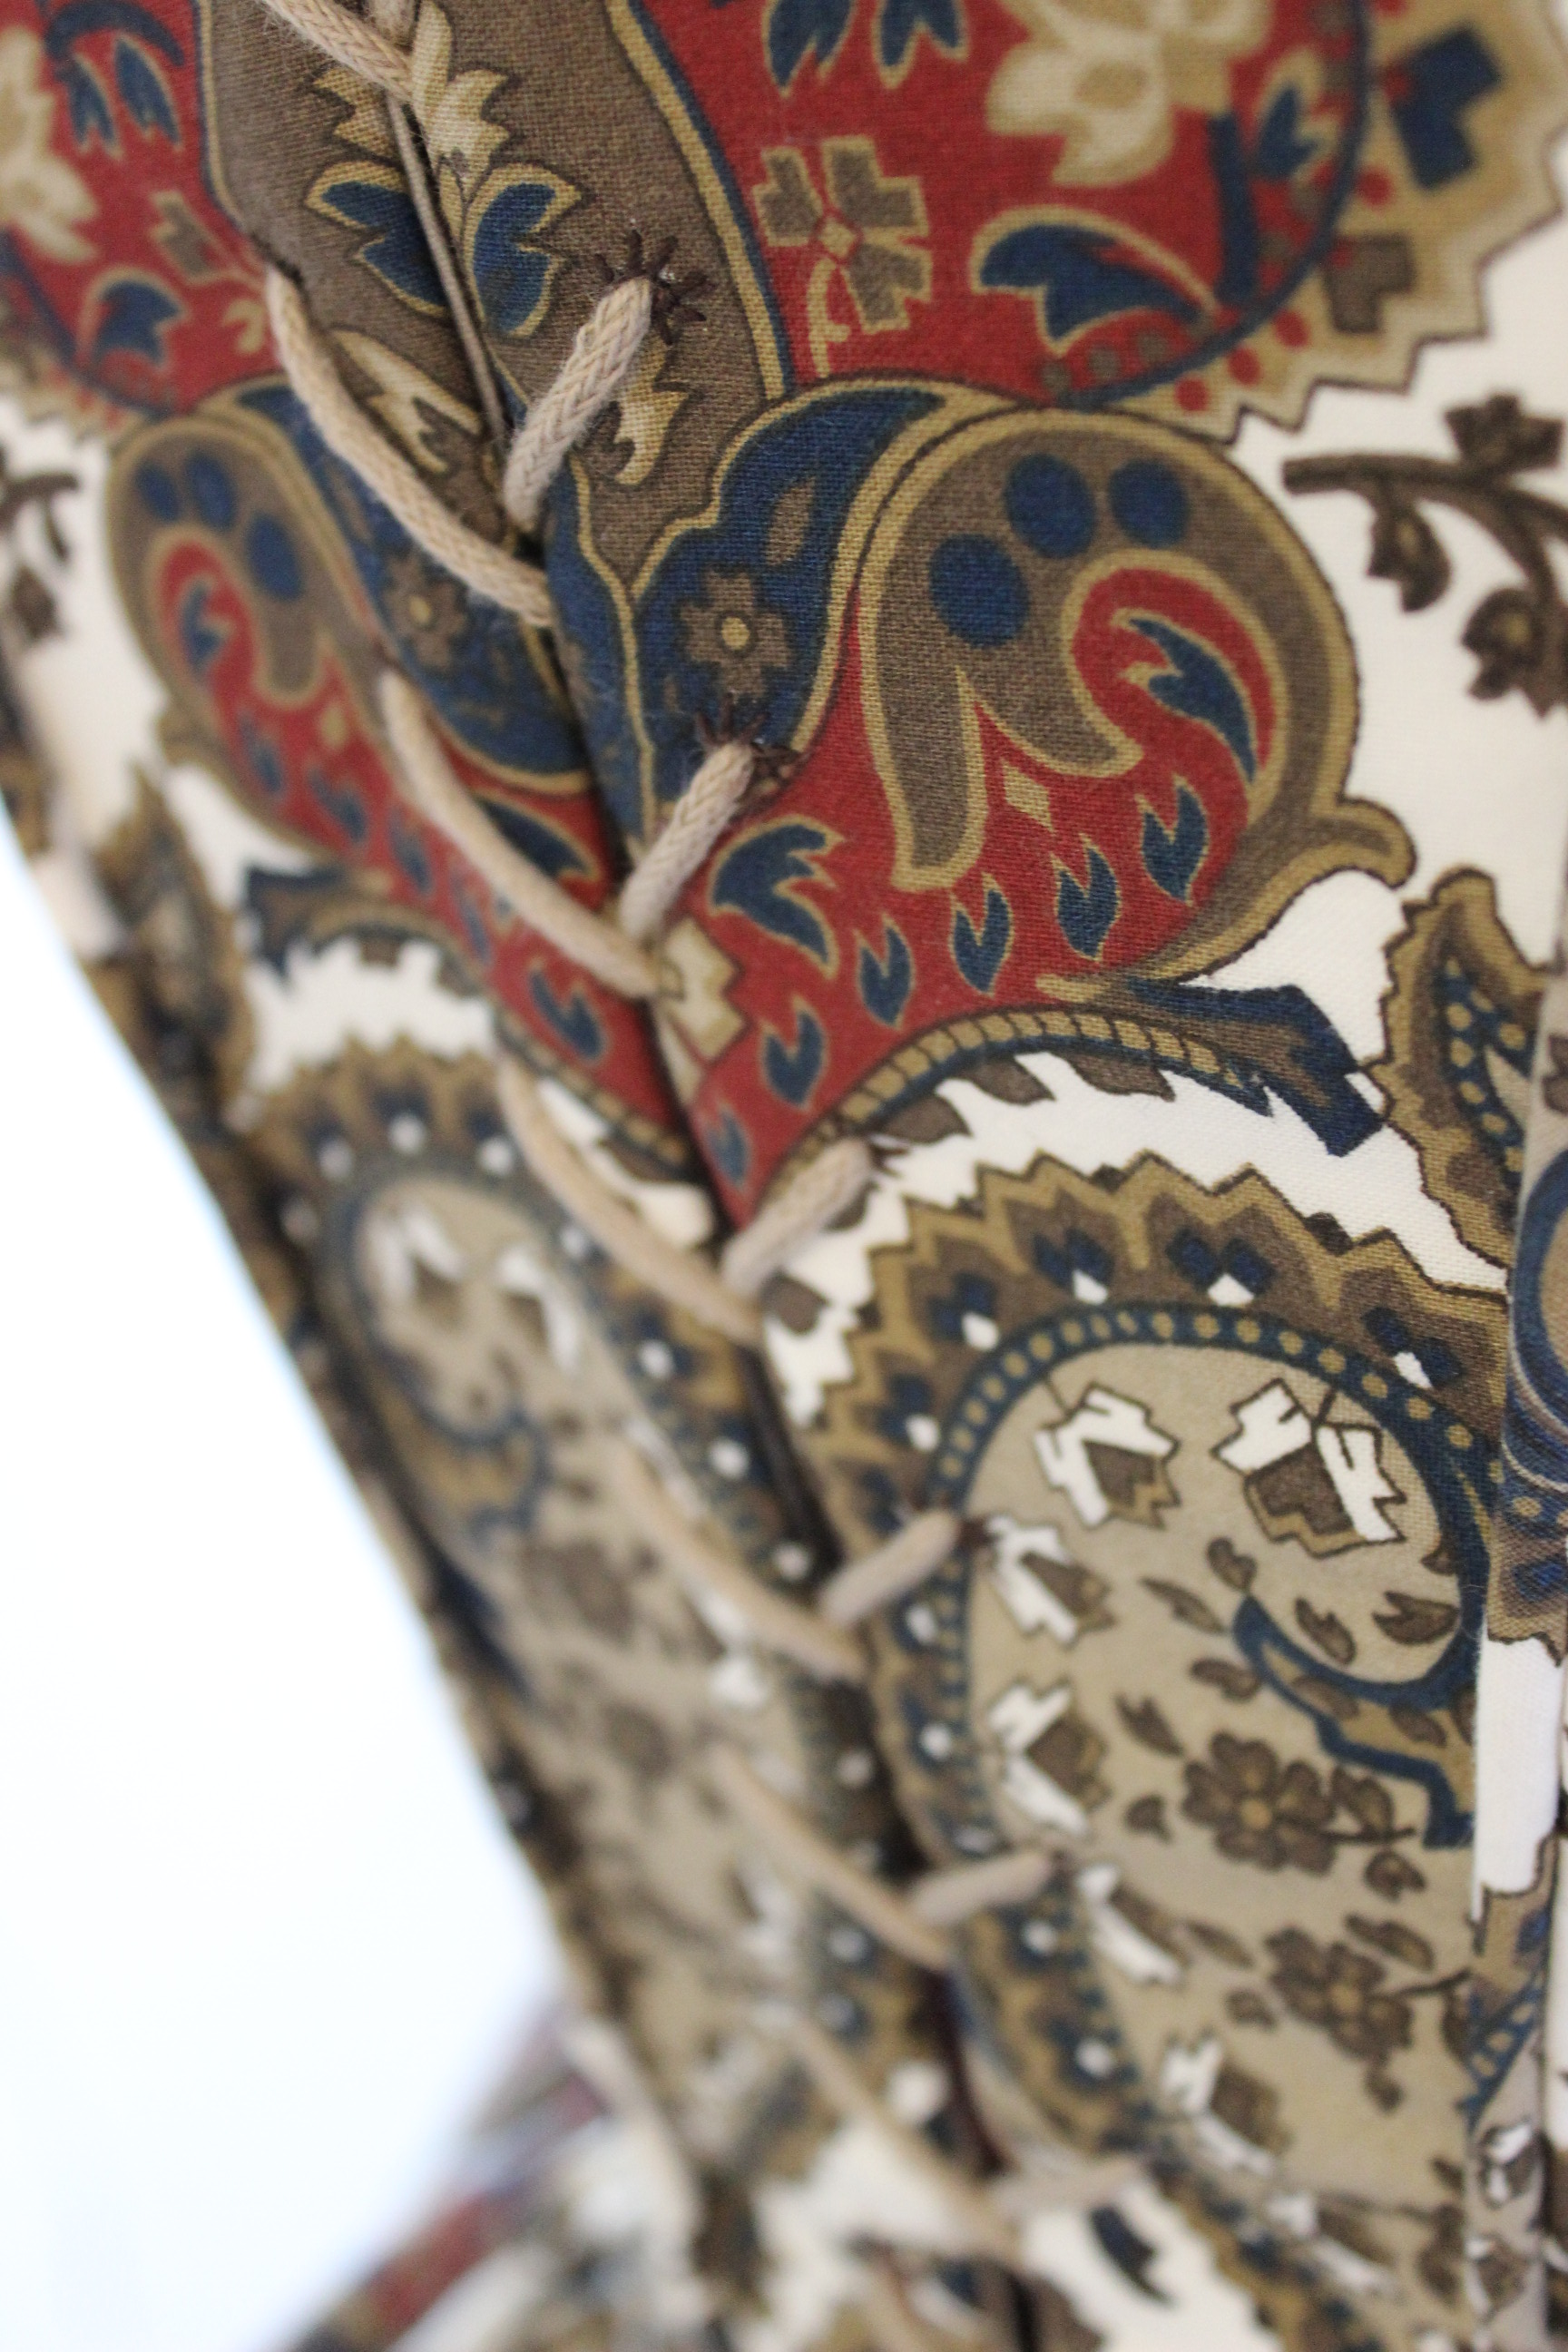
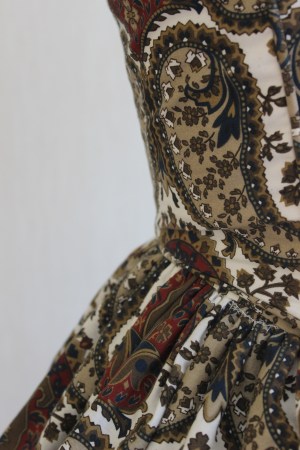
 Main inspiration
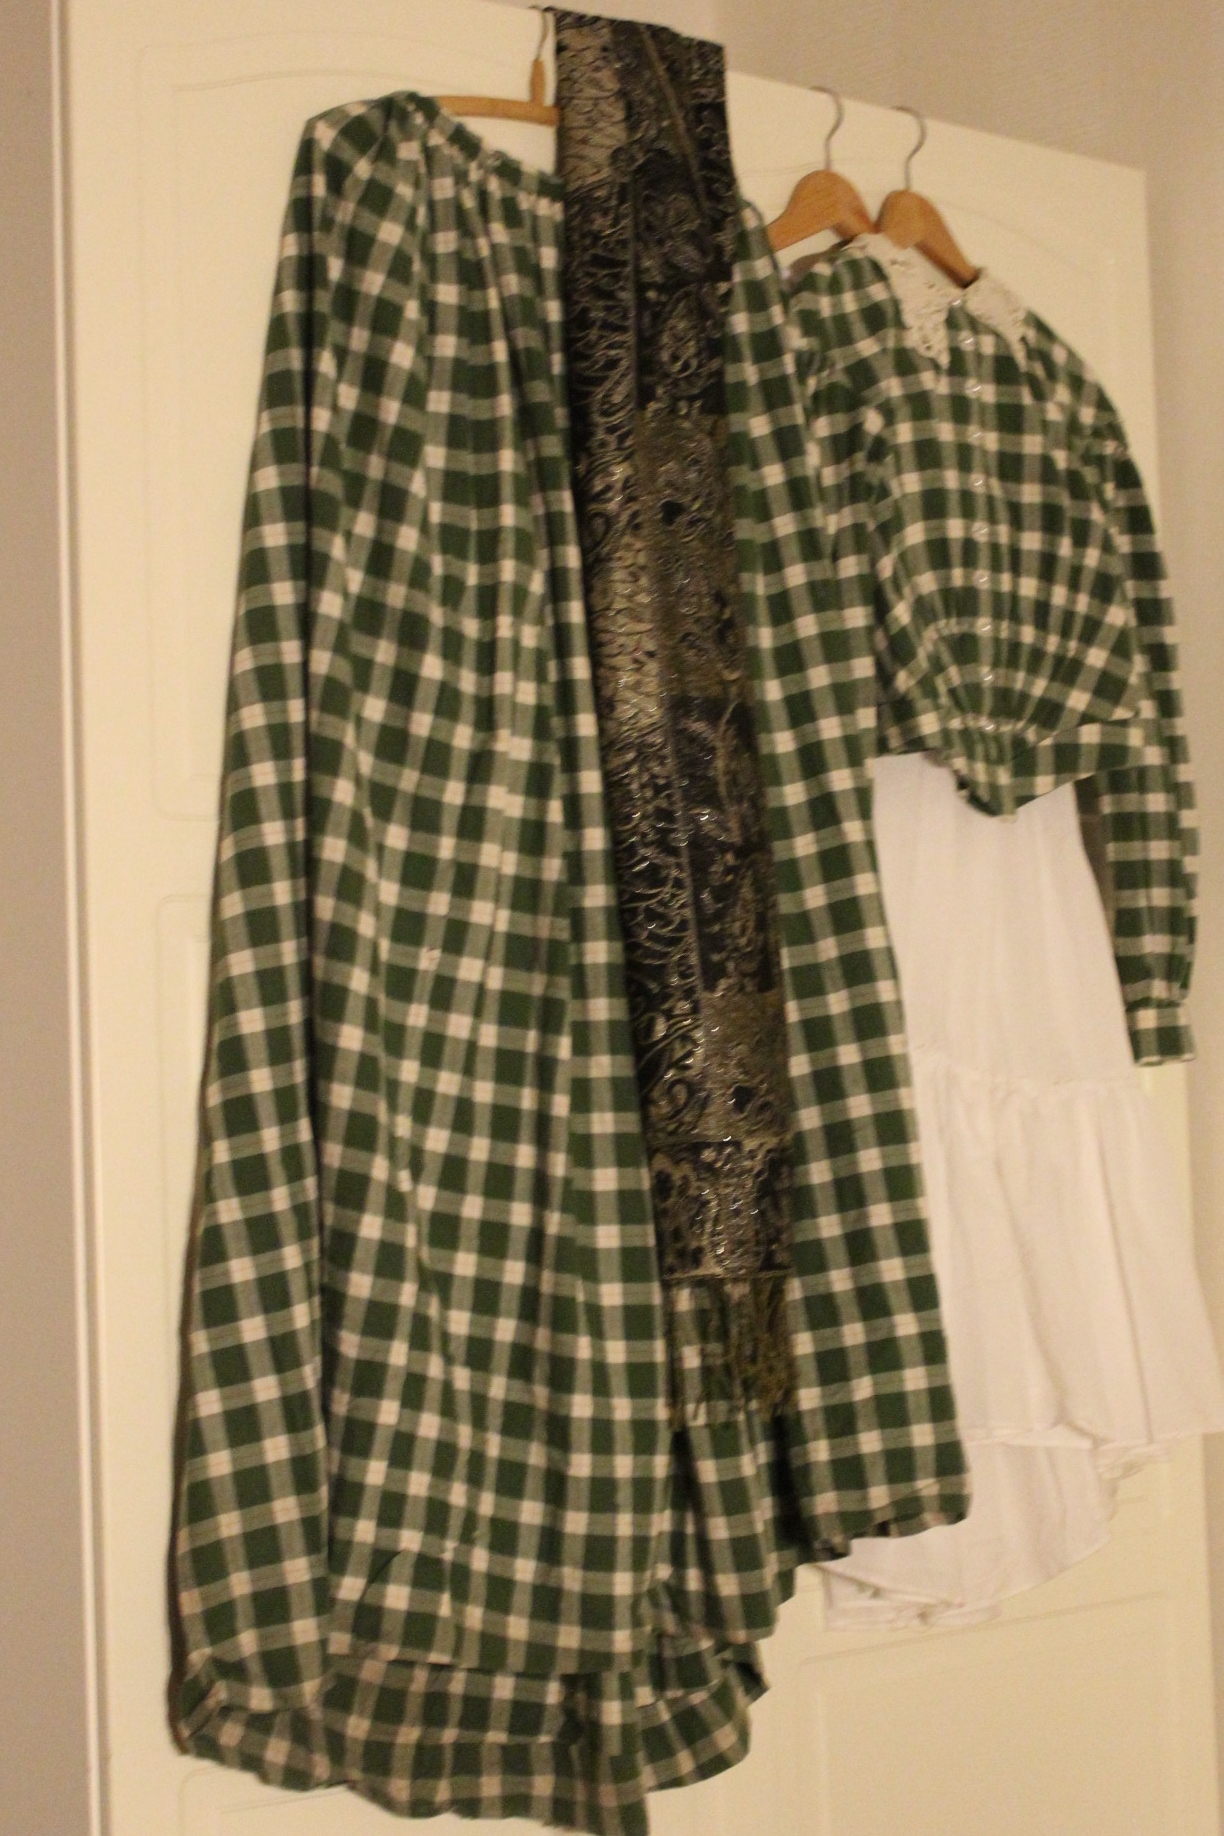
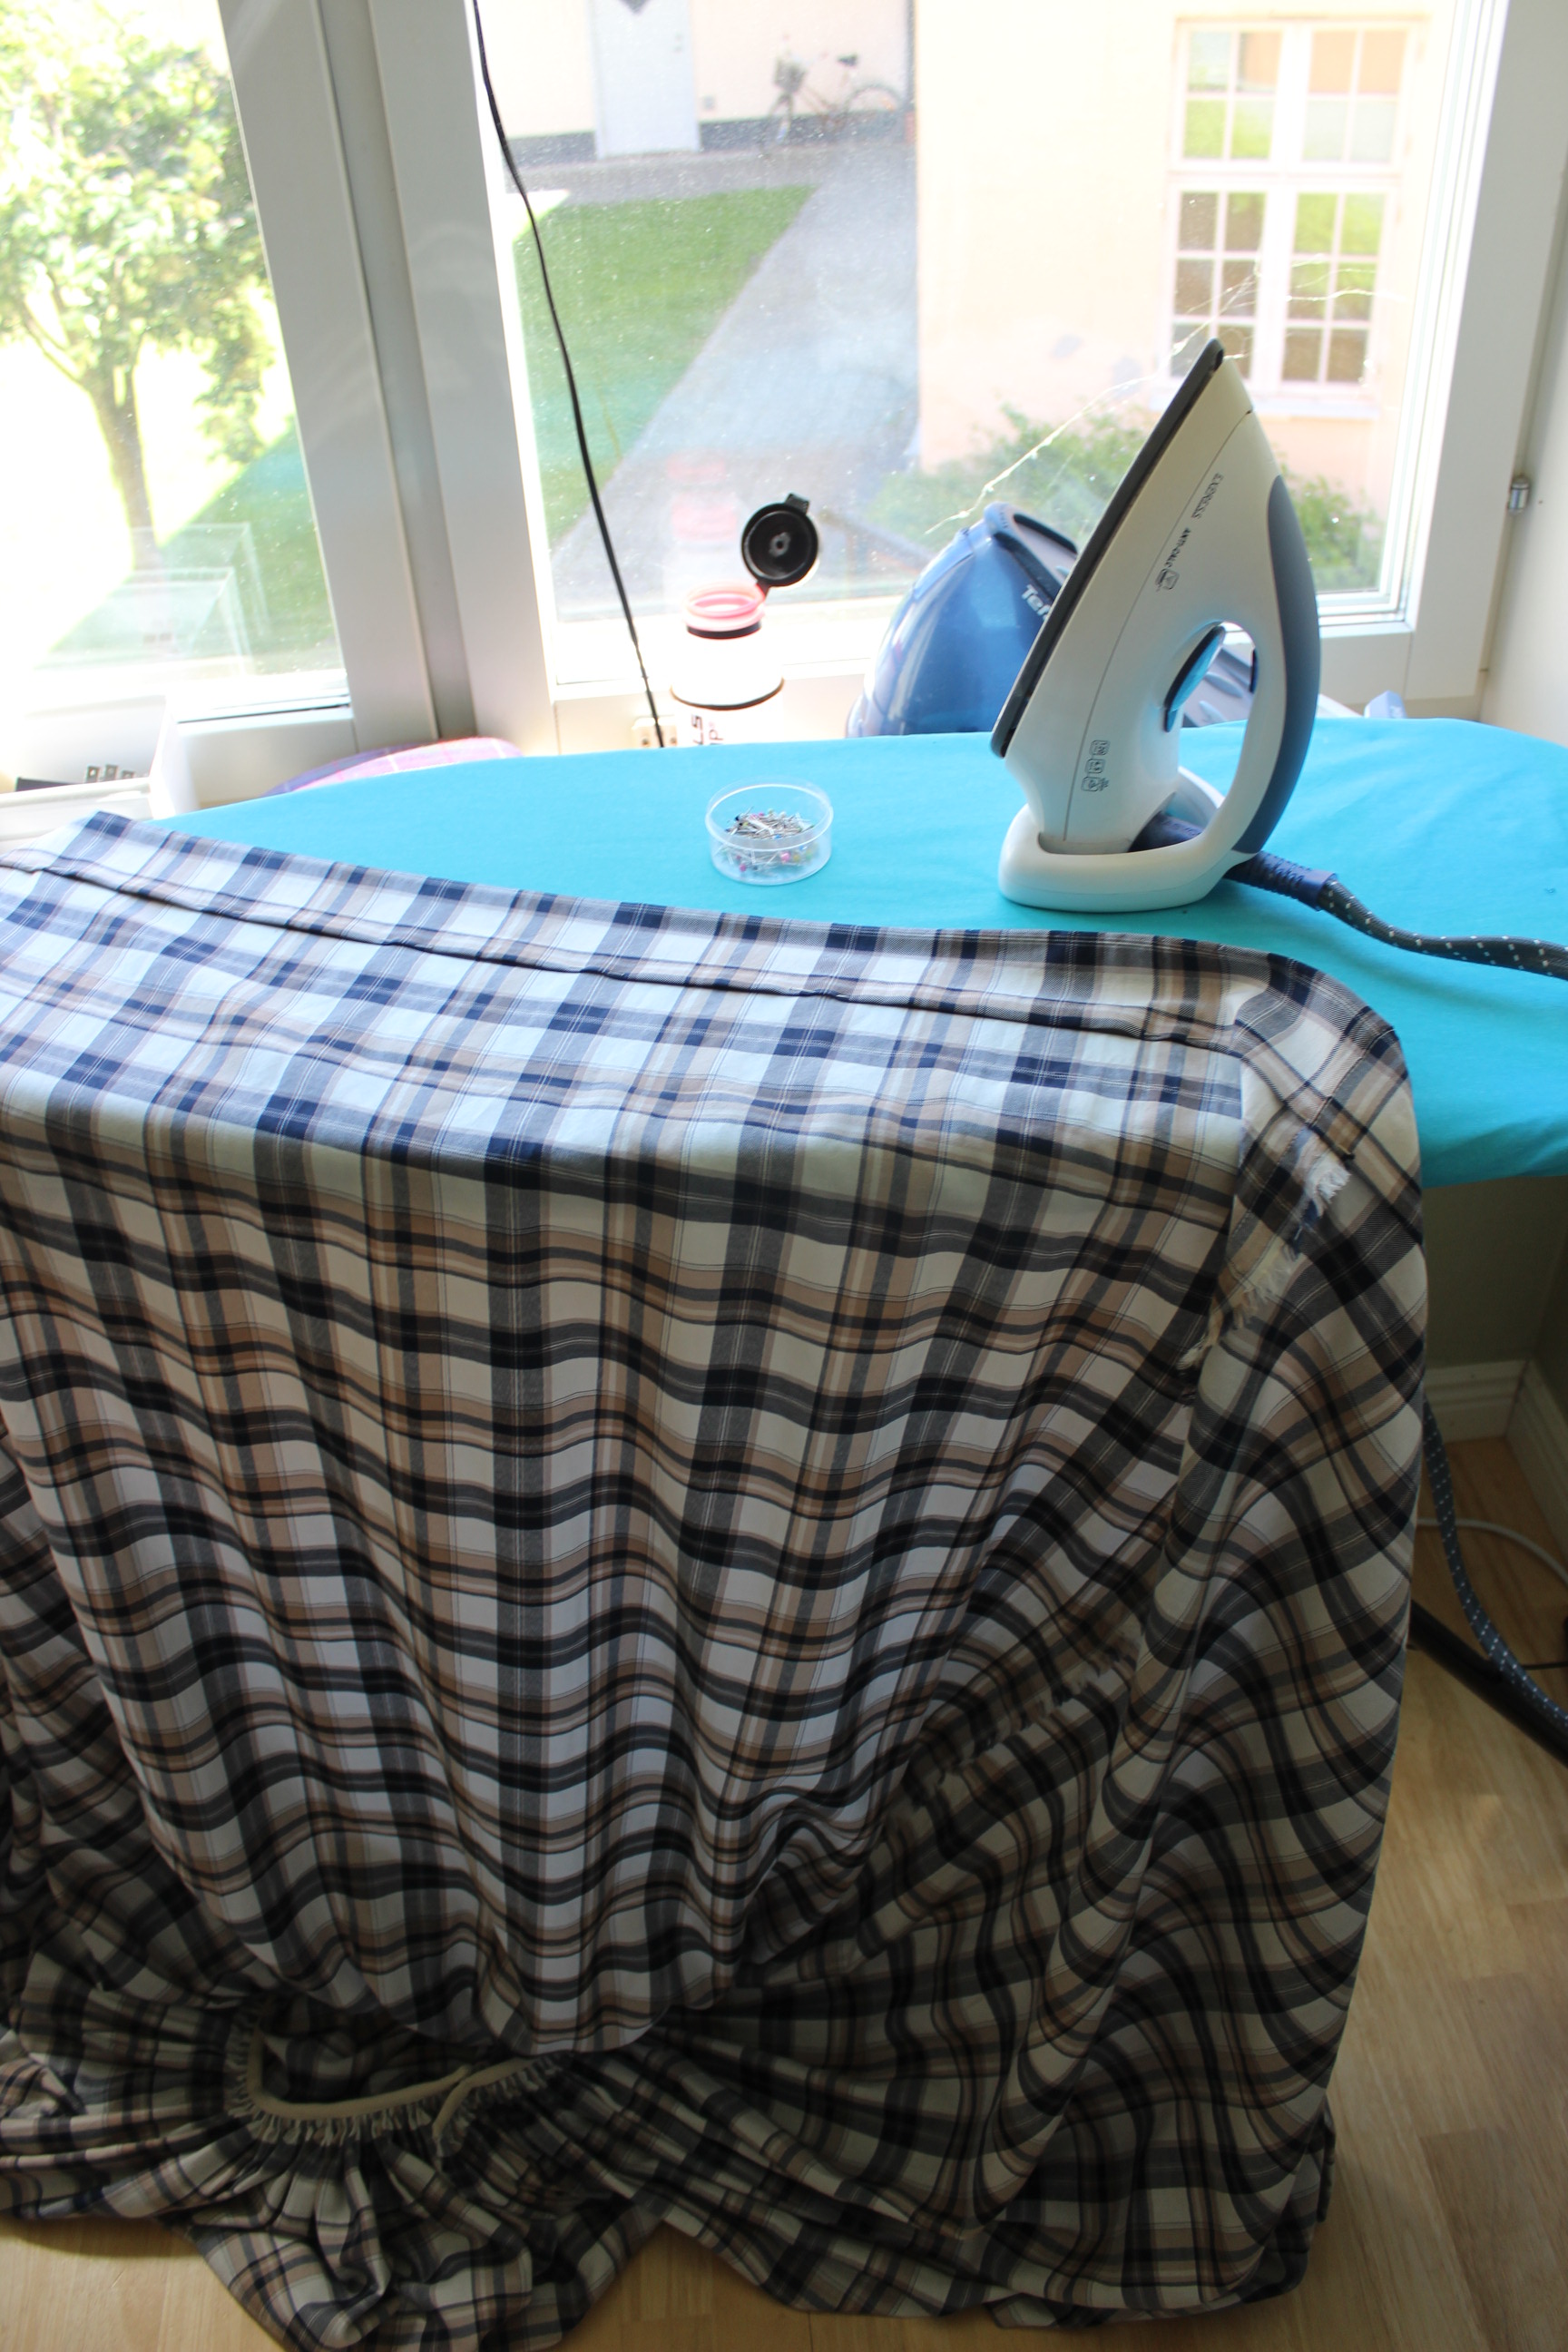
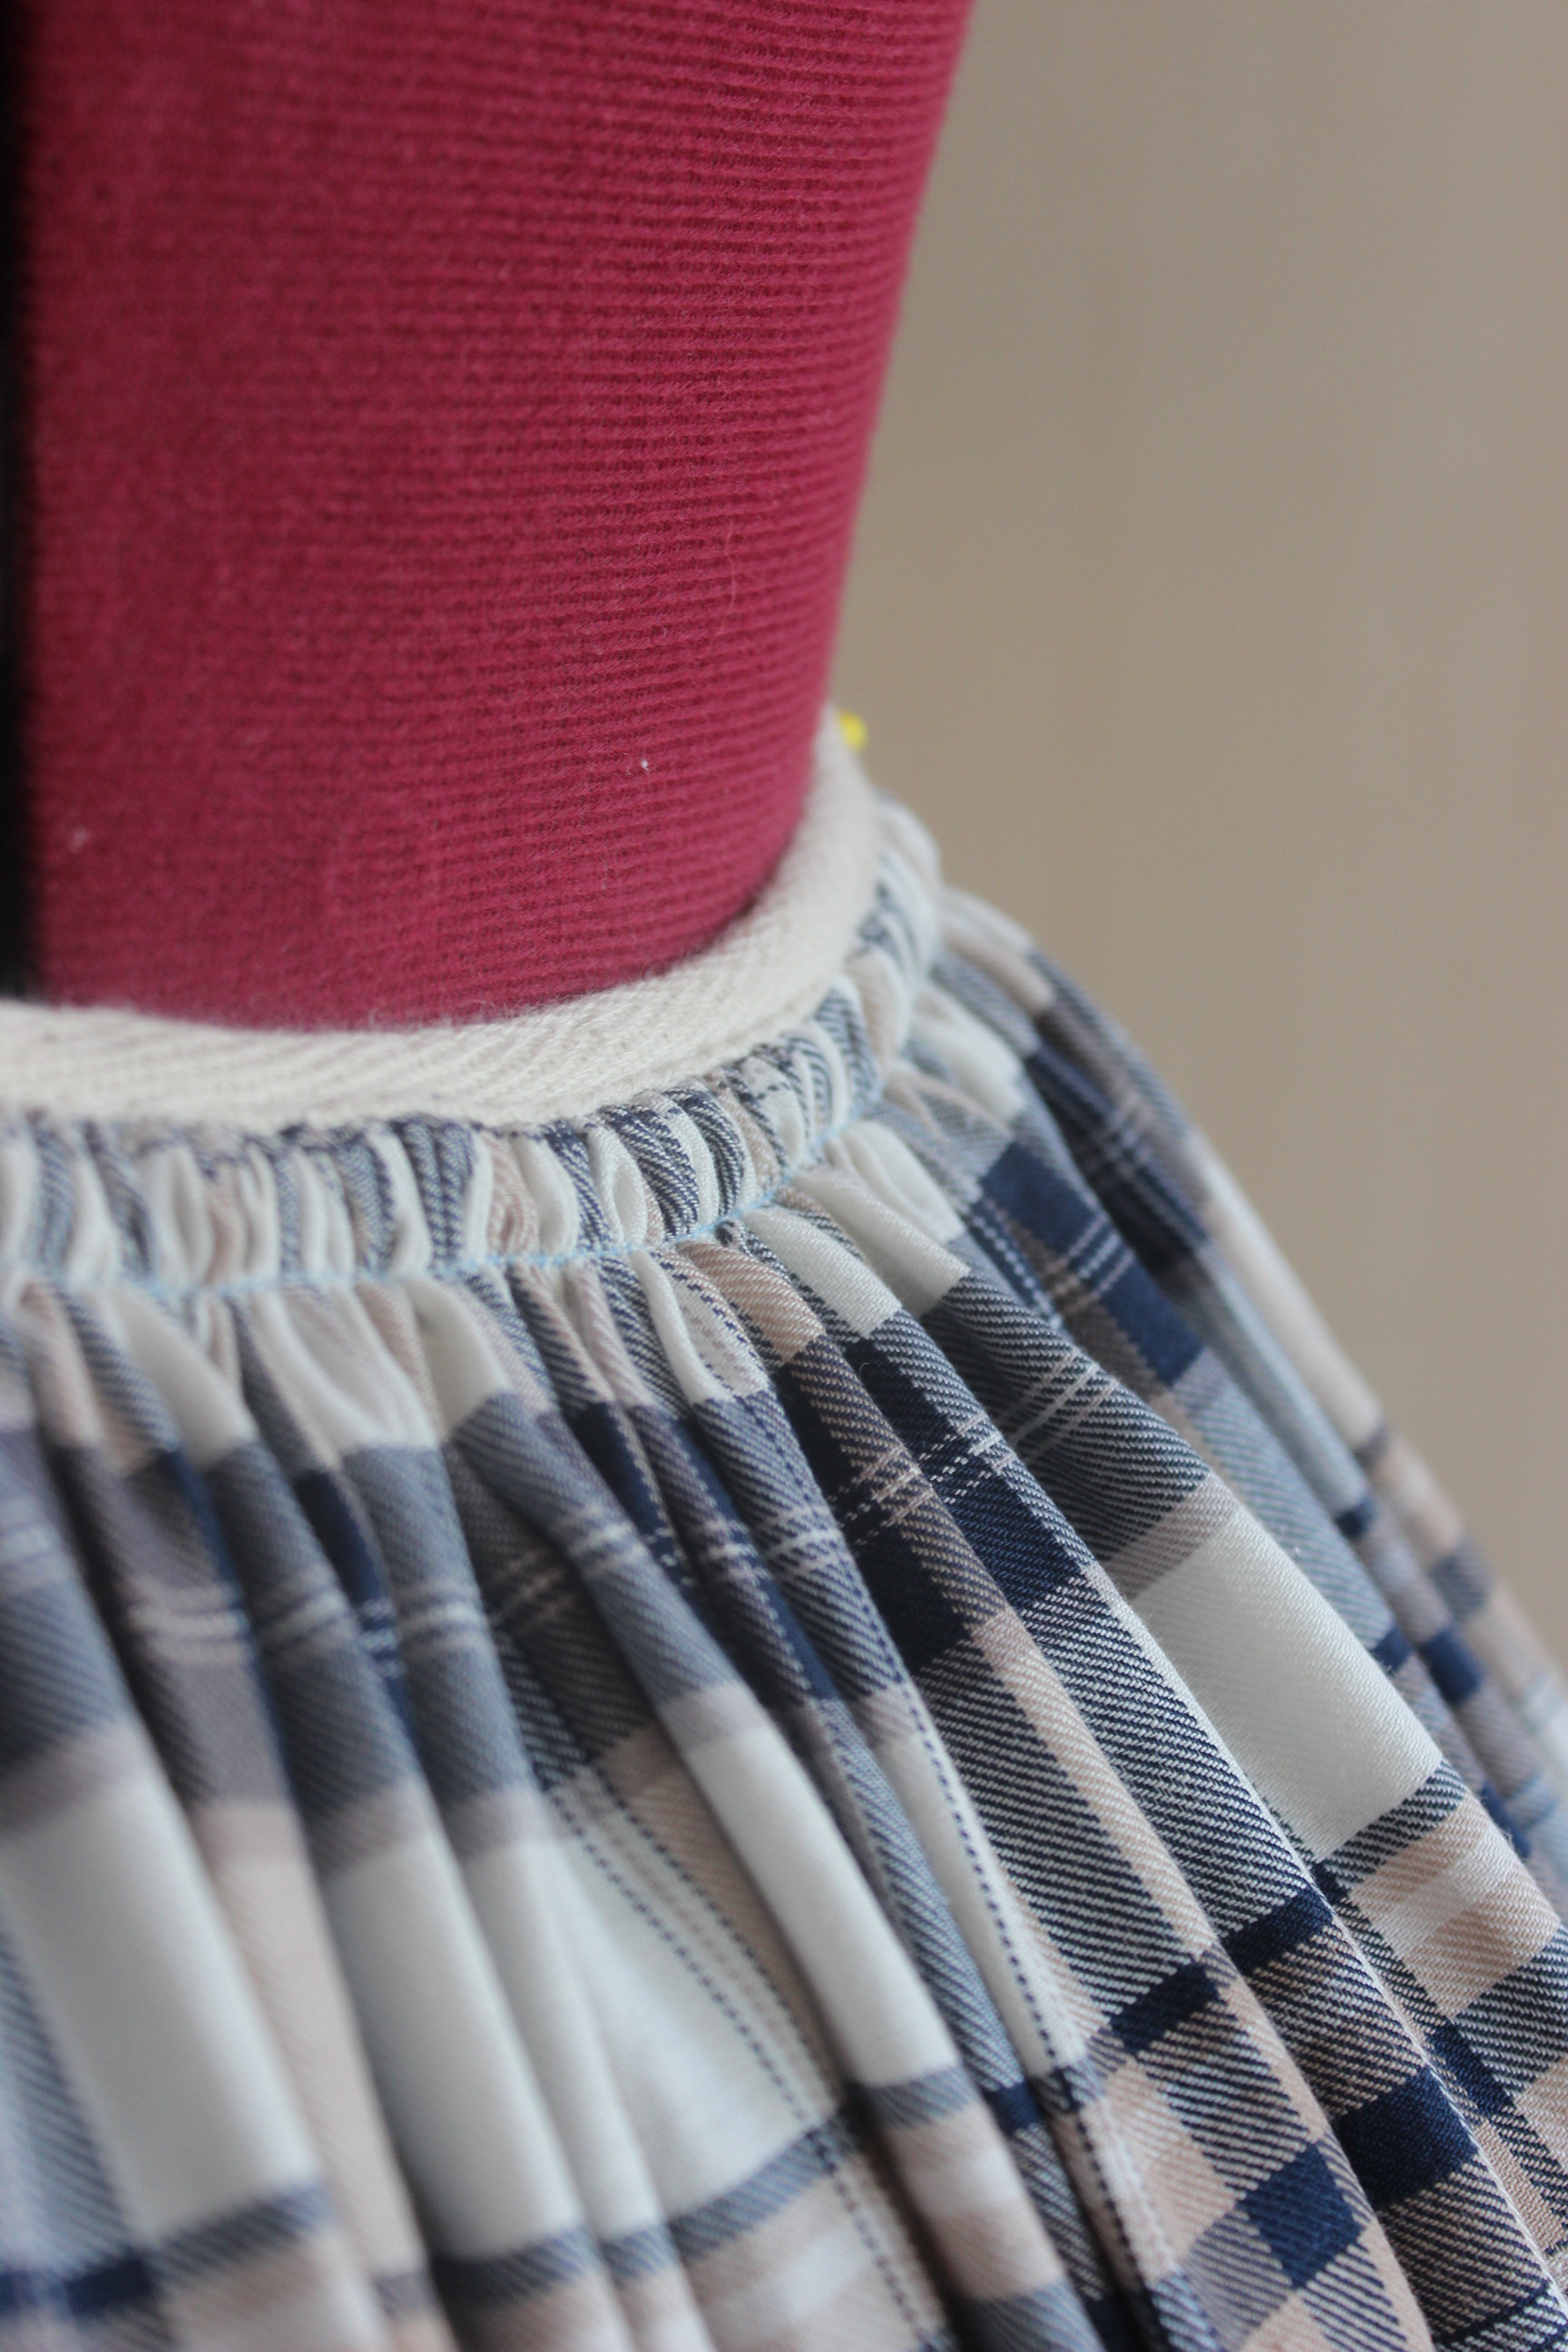
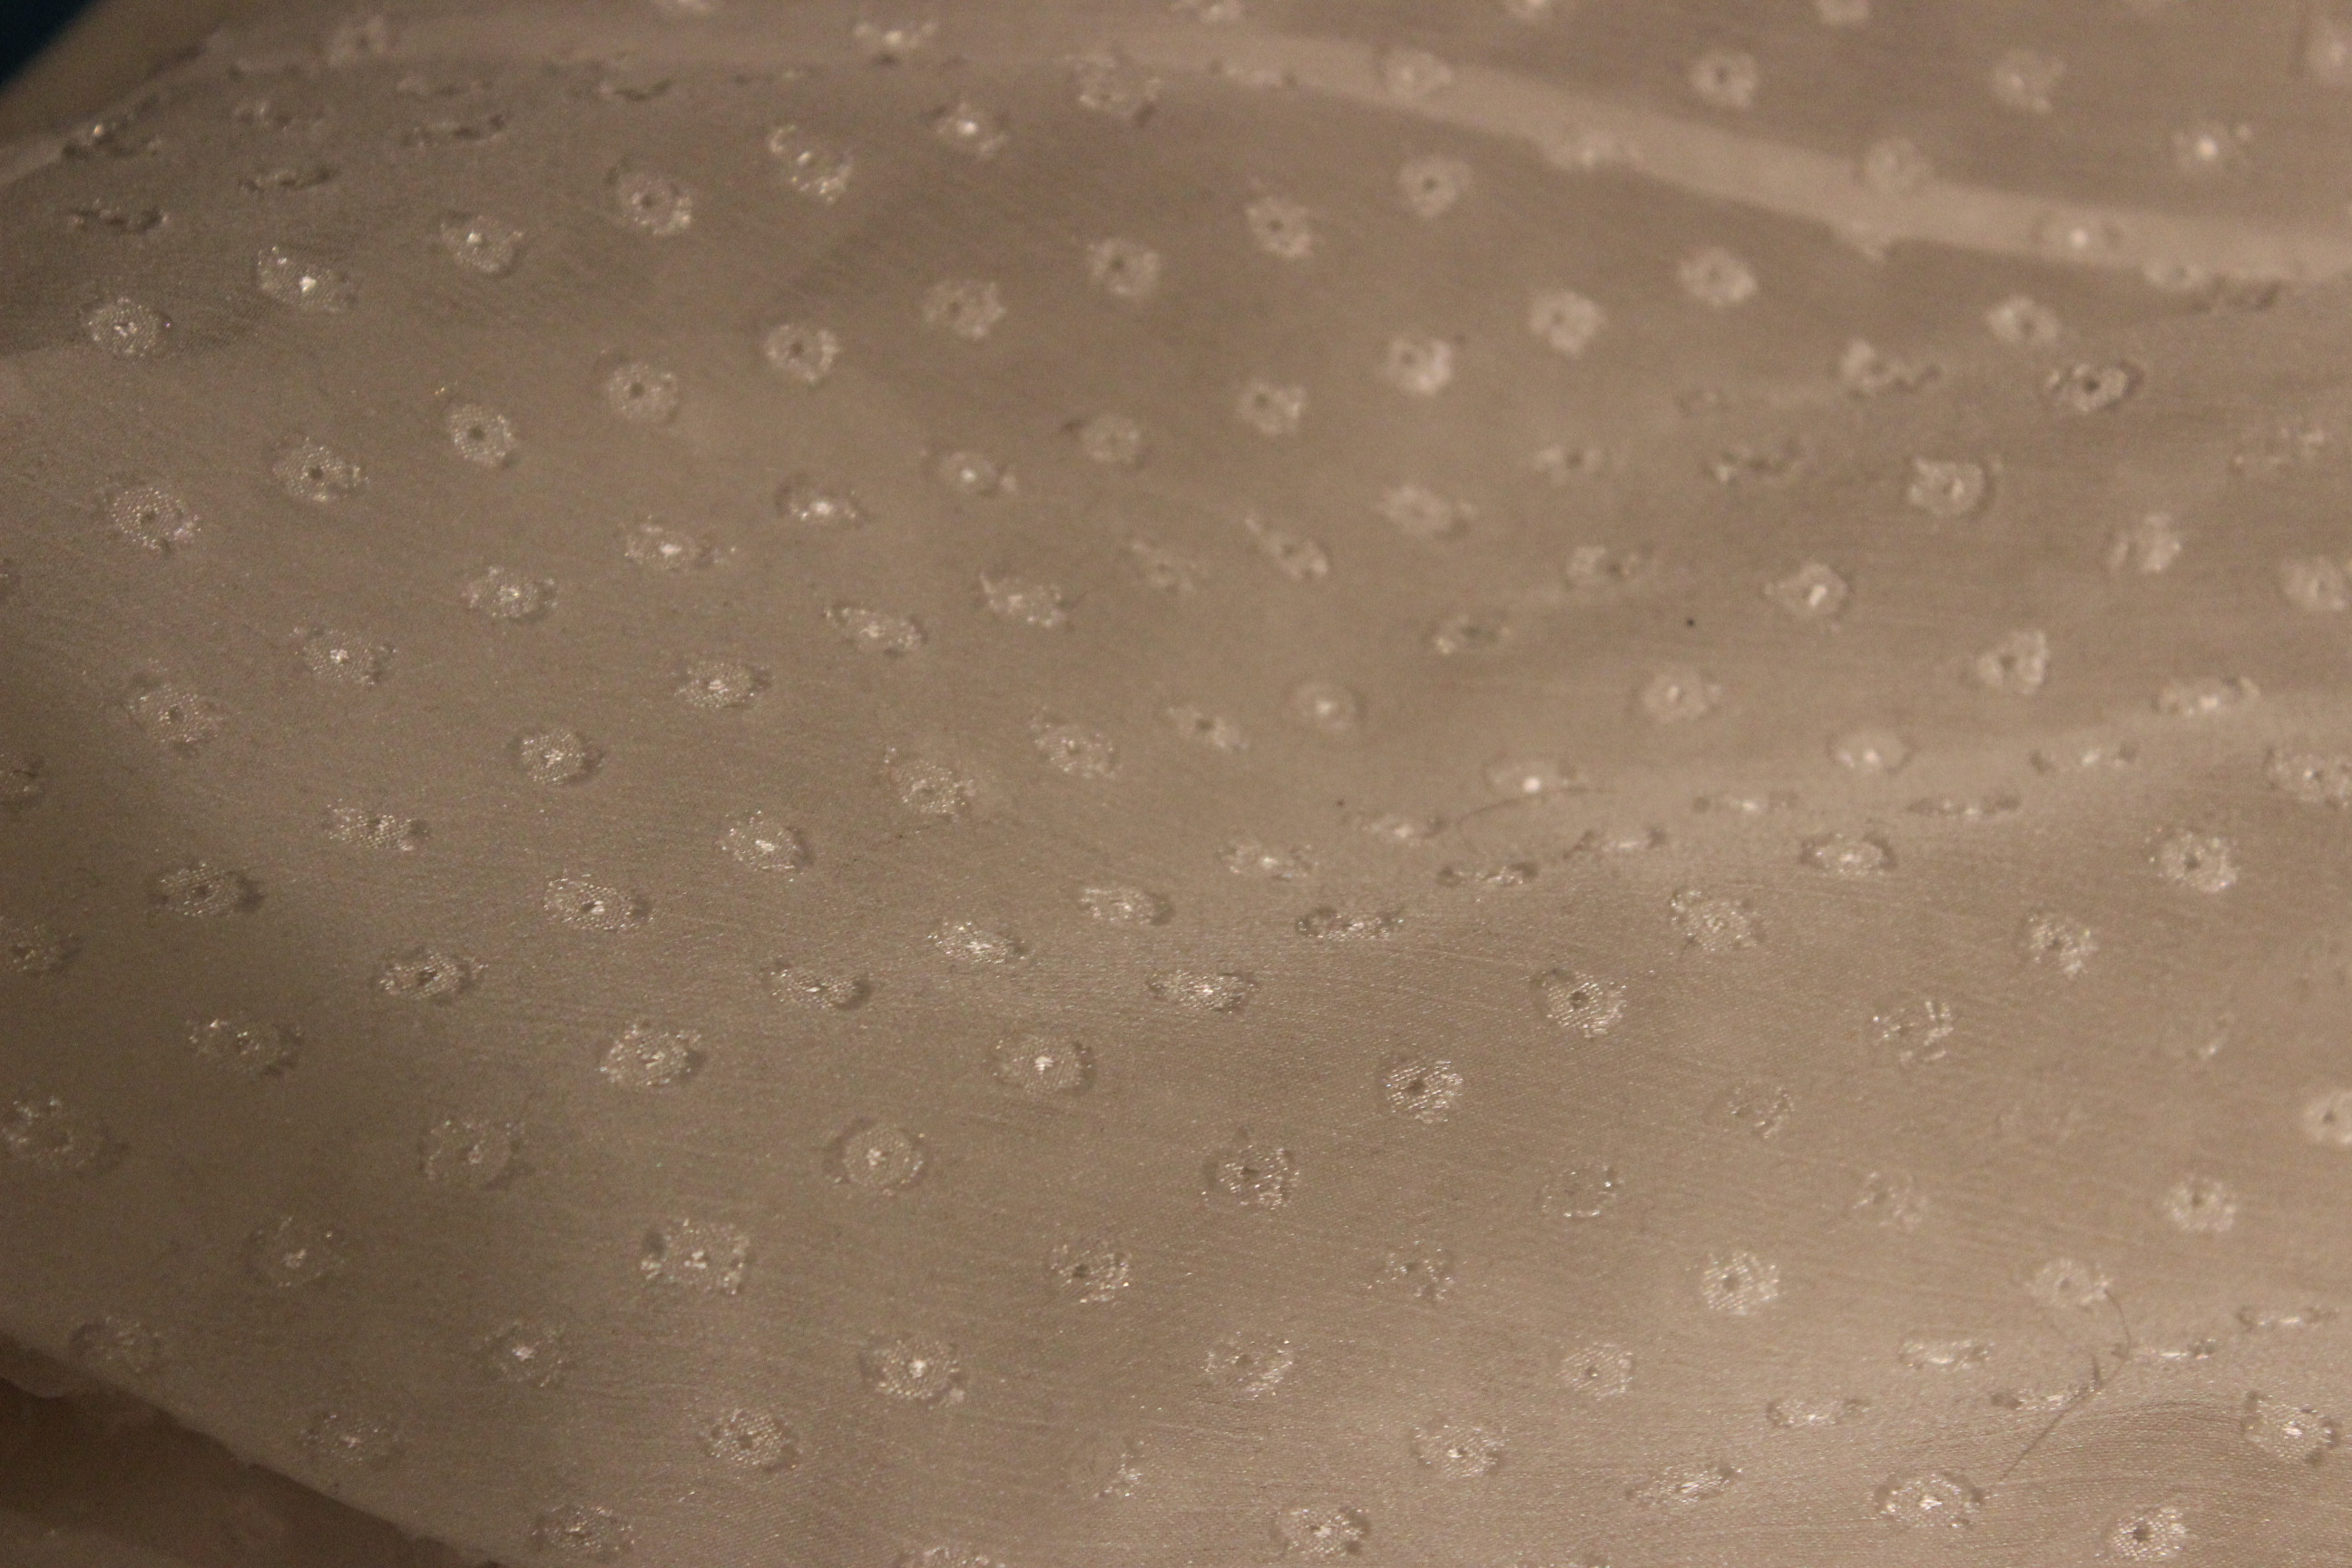
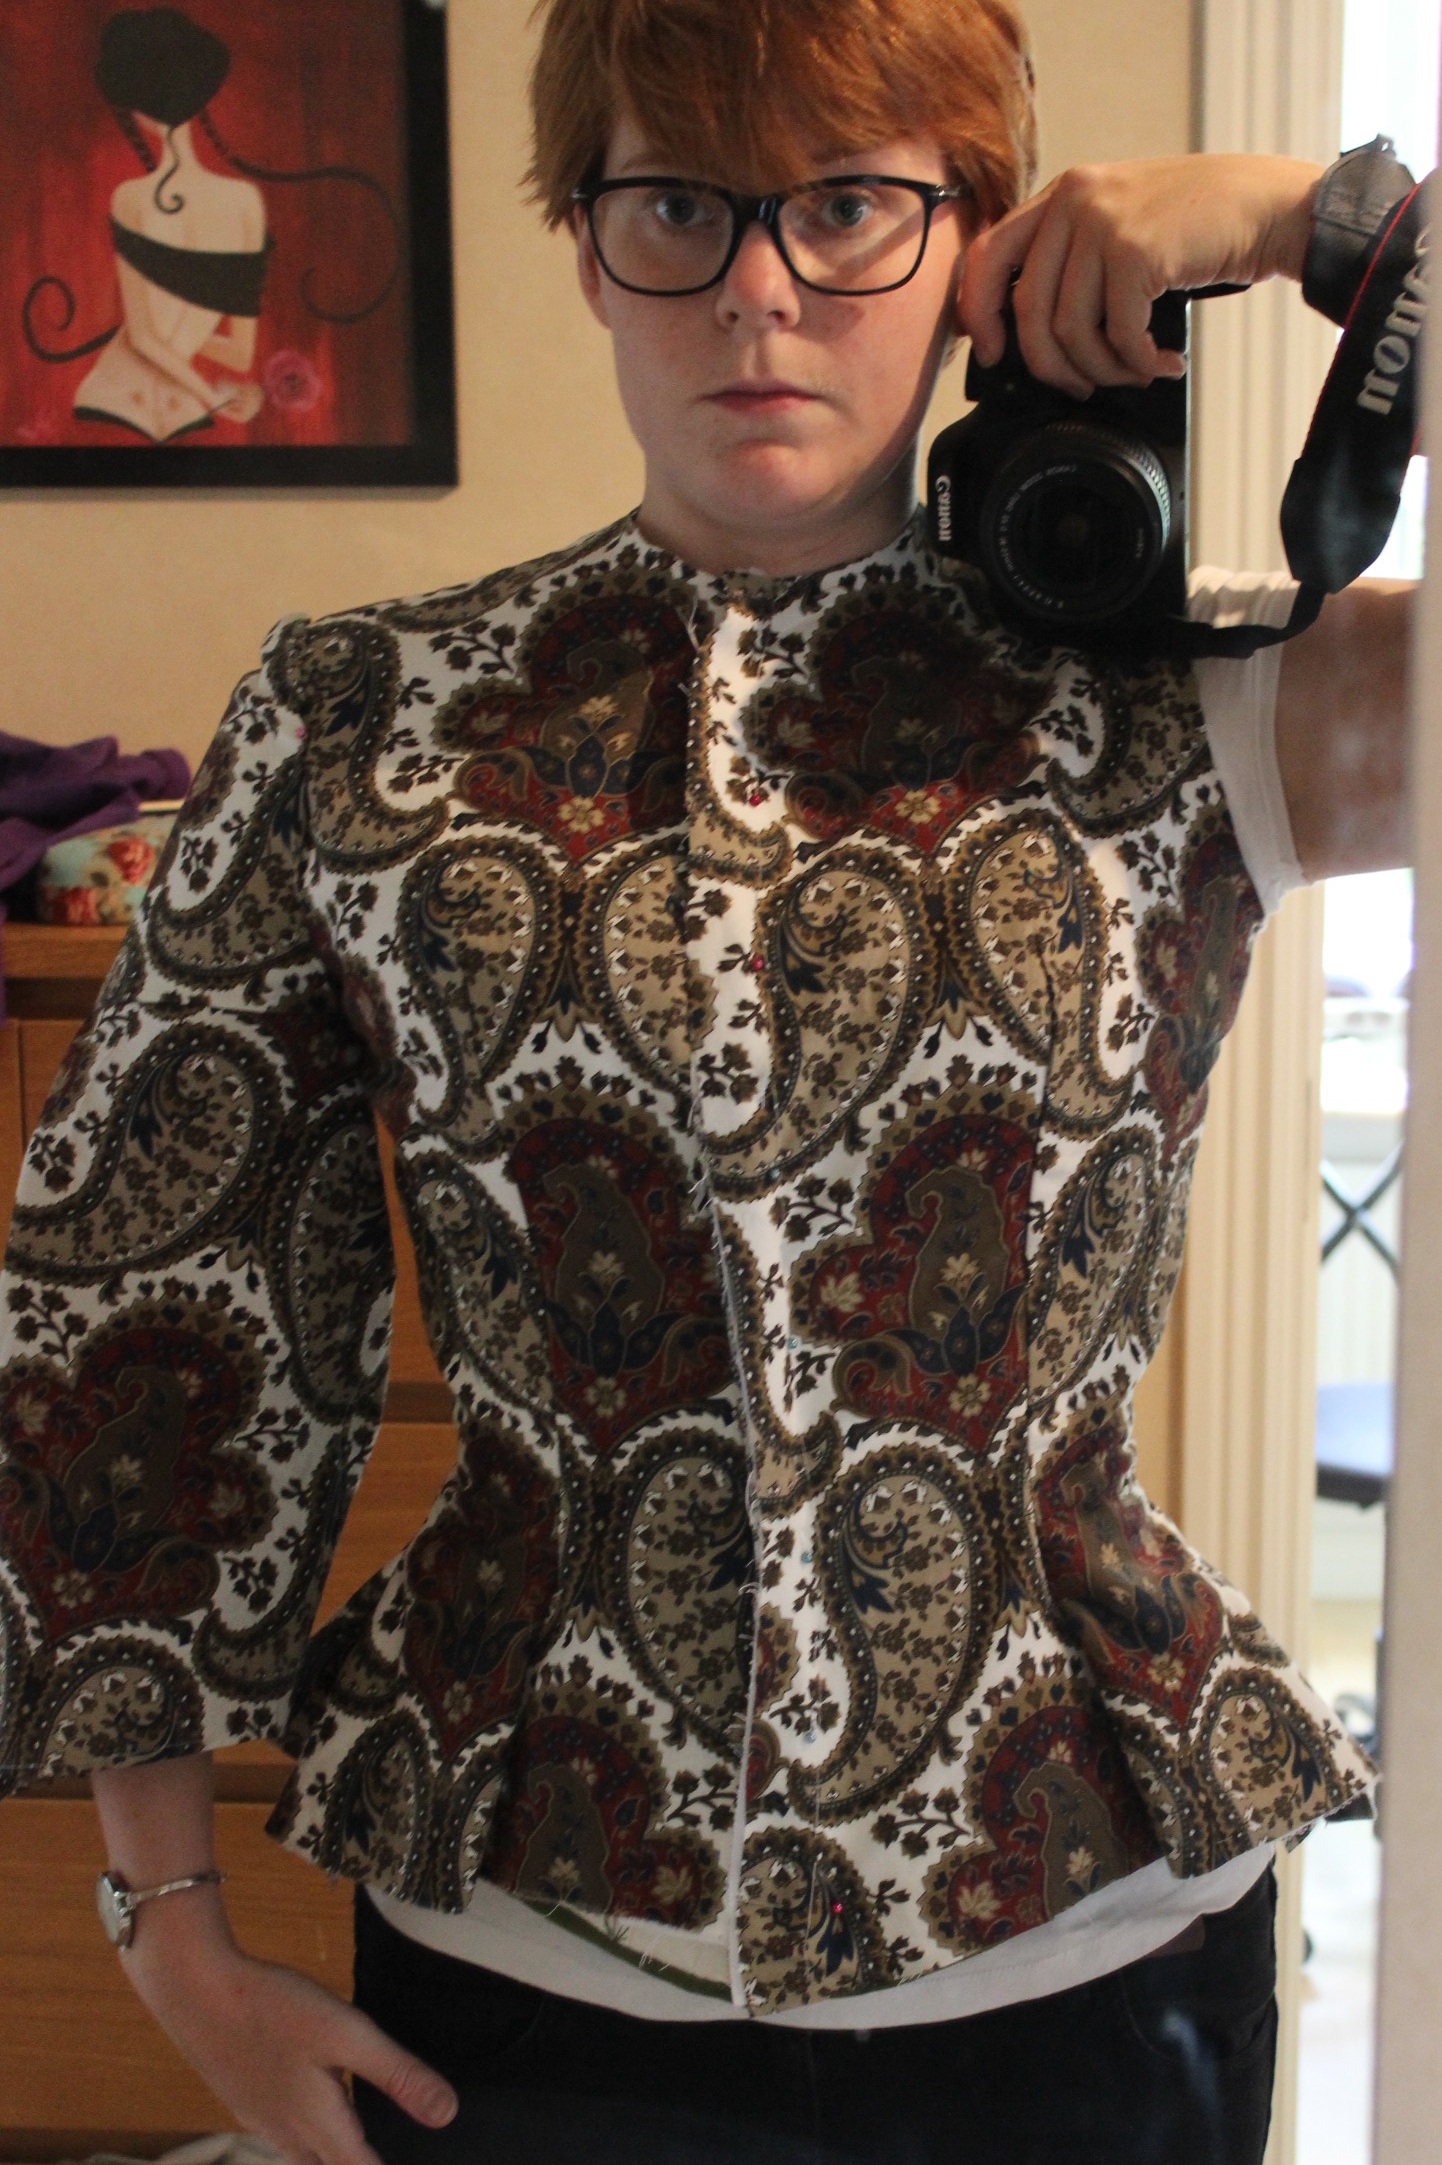
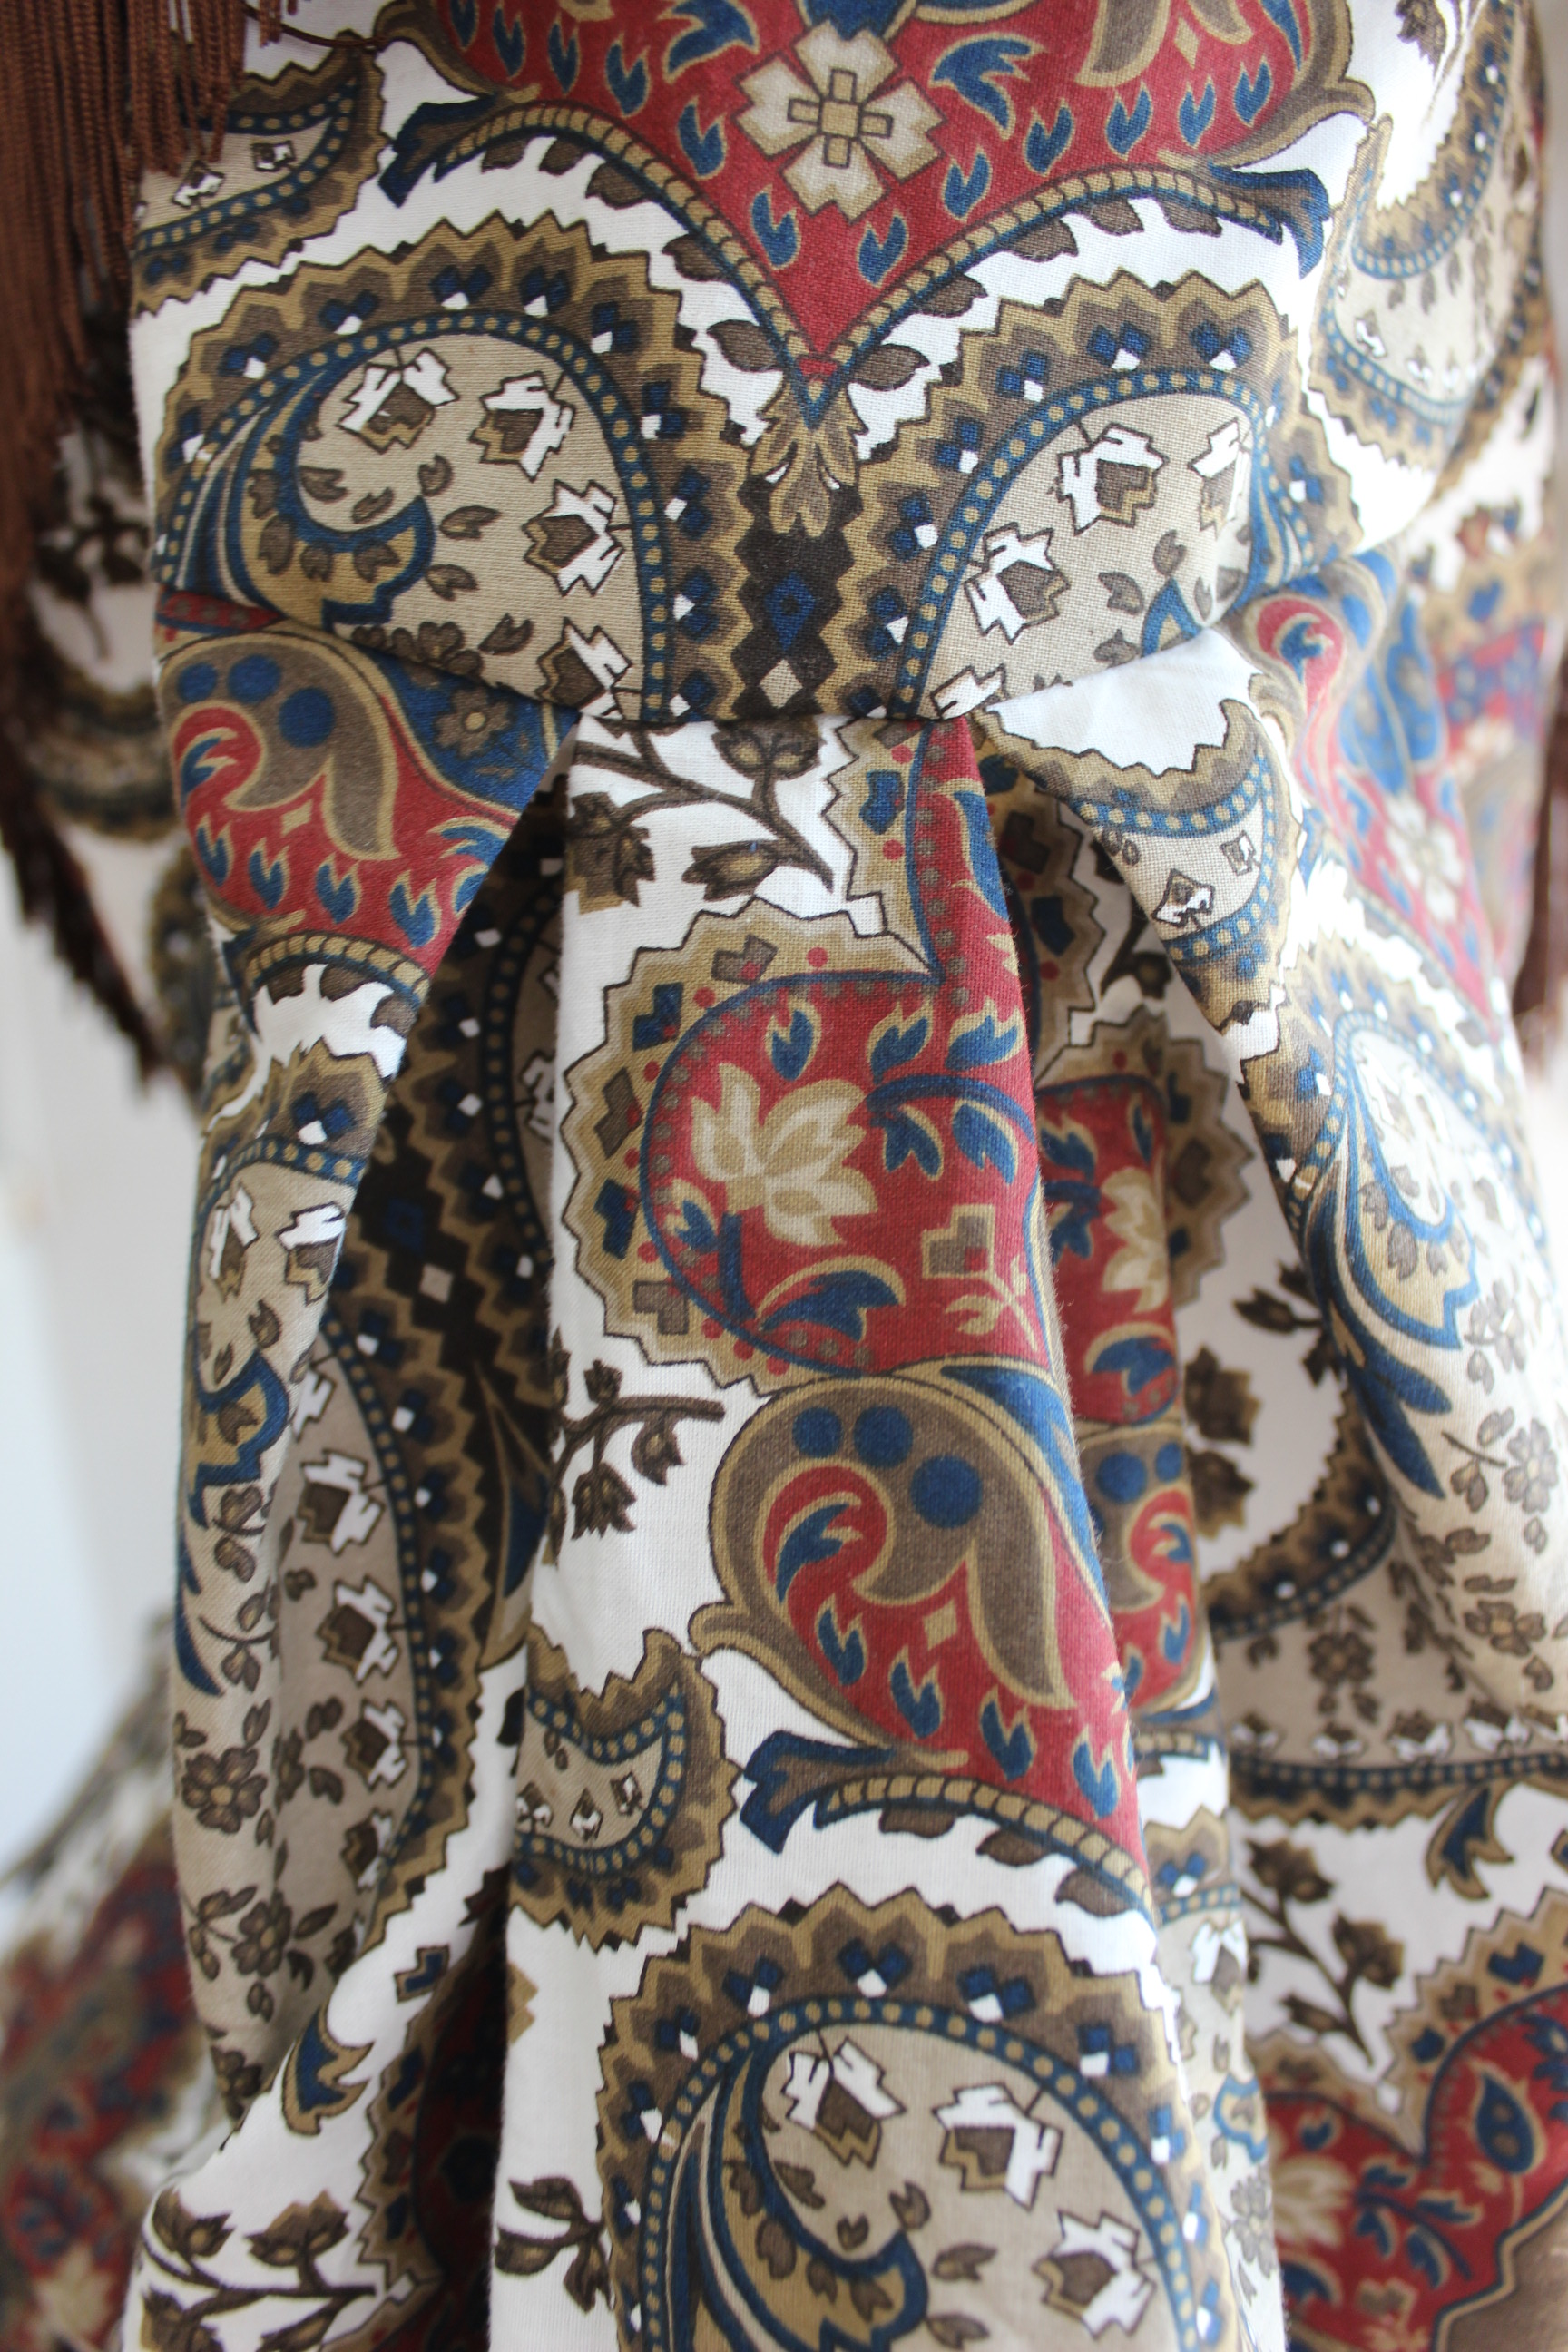
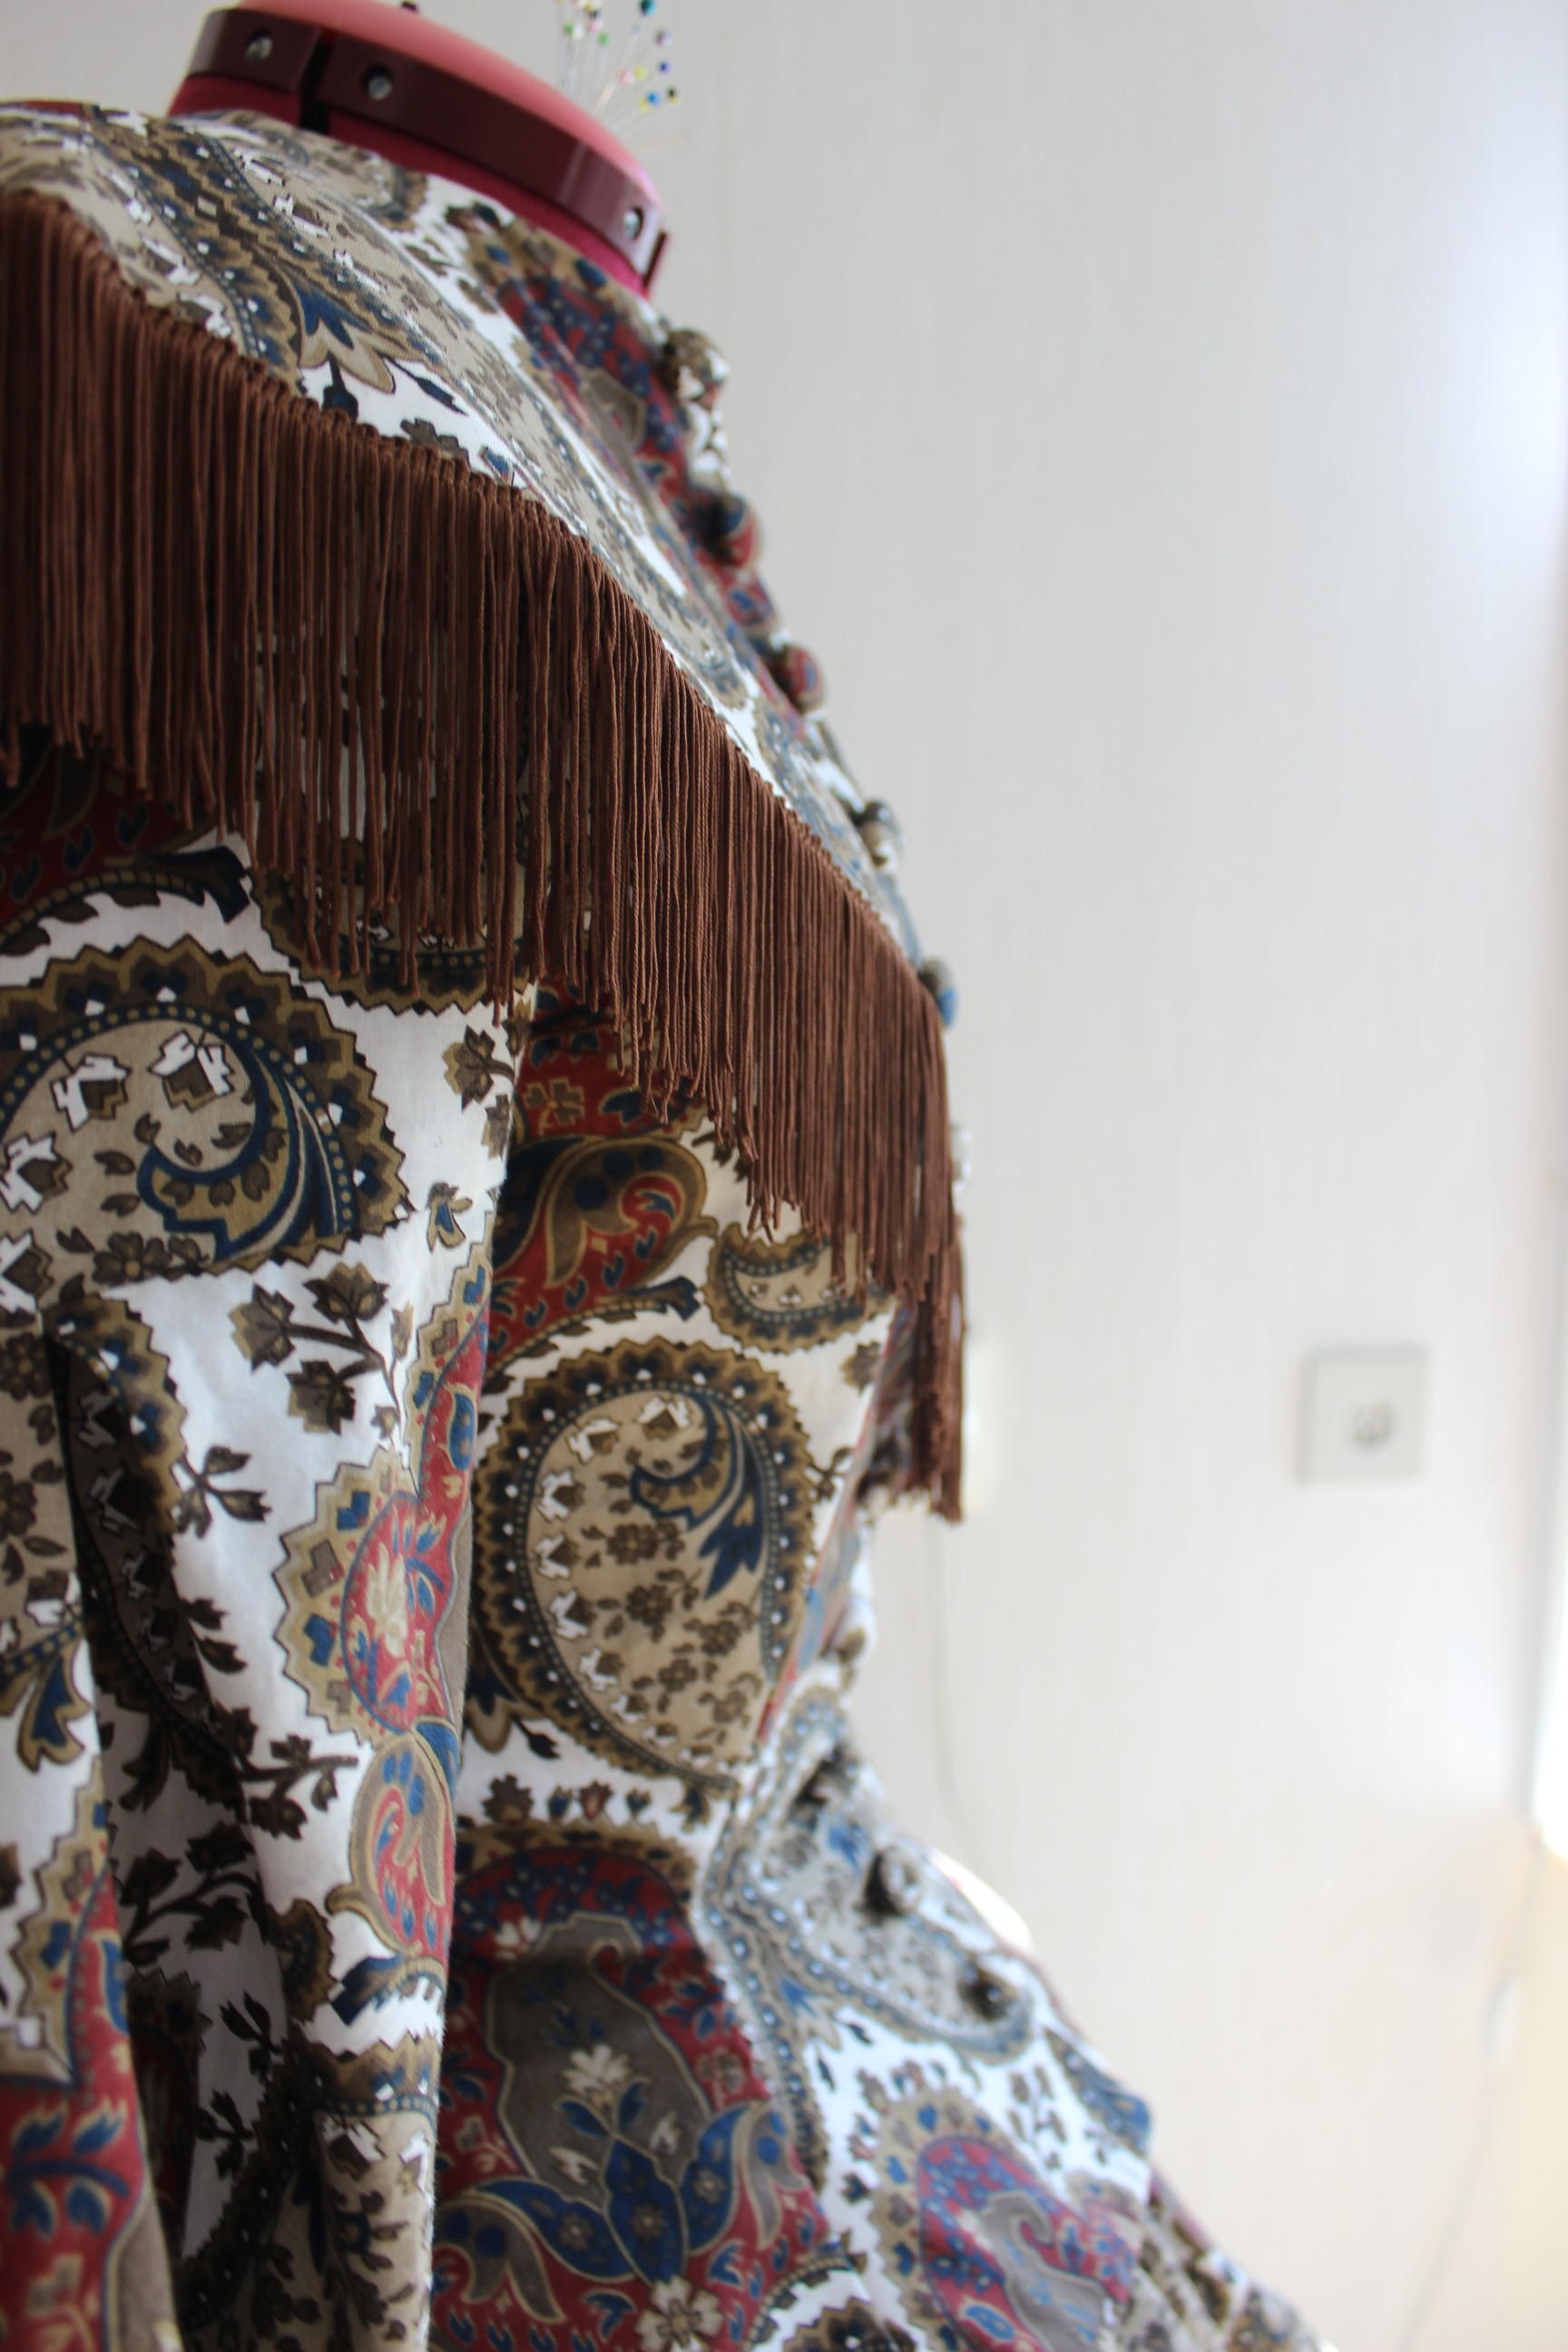
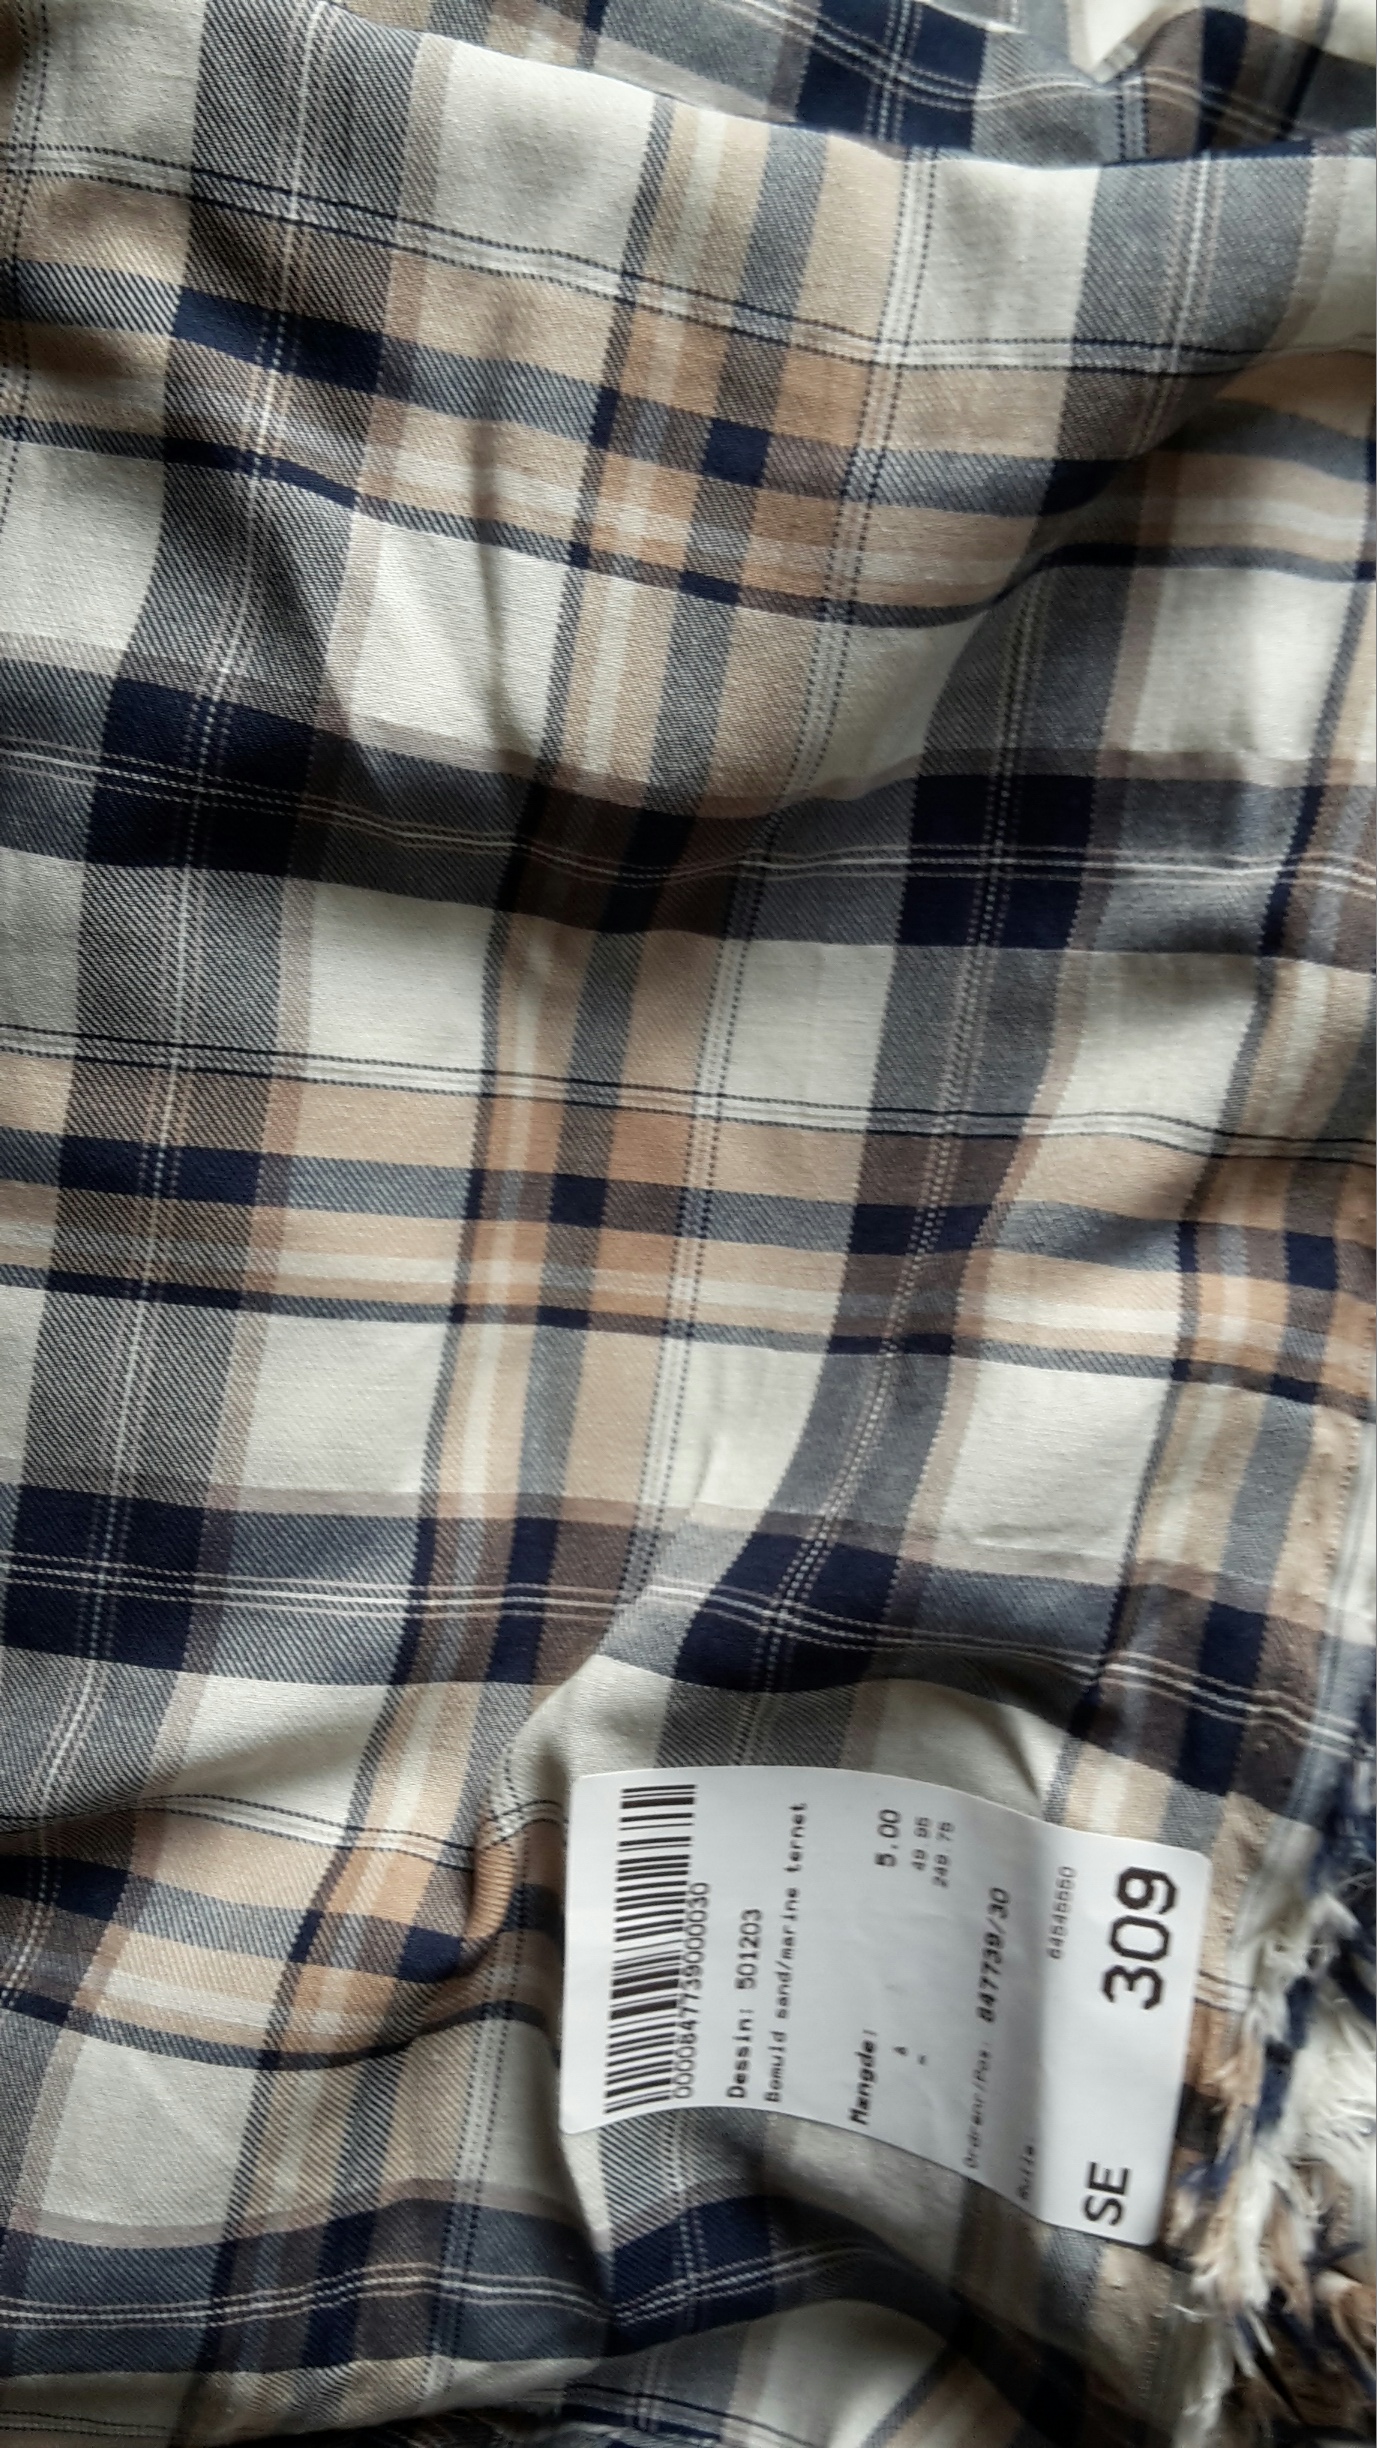 It’s a sheer cotton with the light feel of voile, and a pretty, light plaid pattern with lots of white to make the dress fit for summer.
 and turn it under by hand to get a small but sturdy waistband.
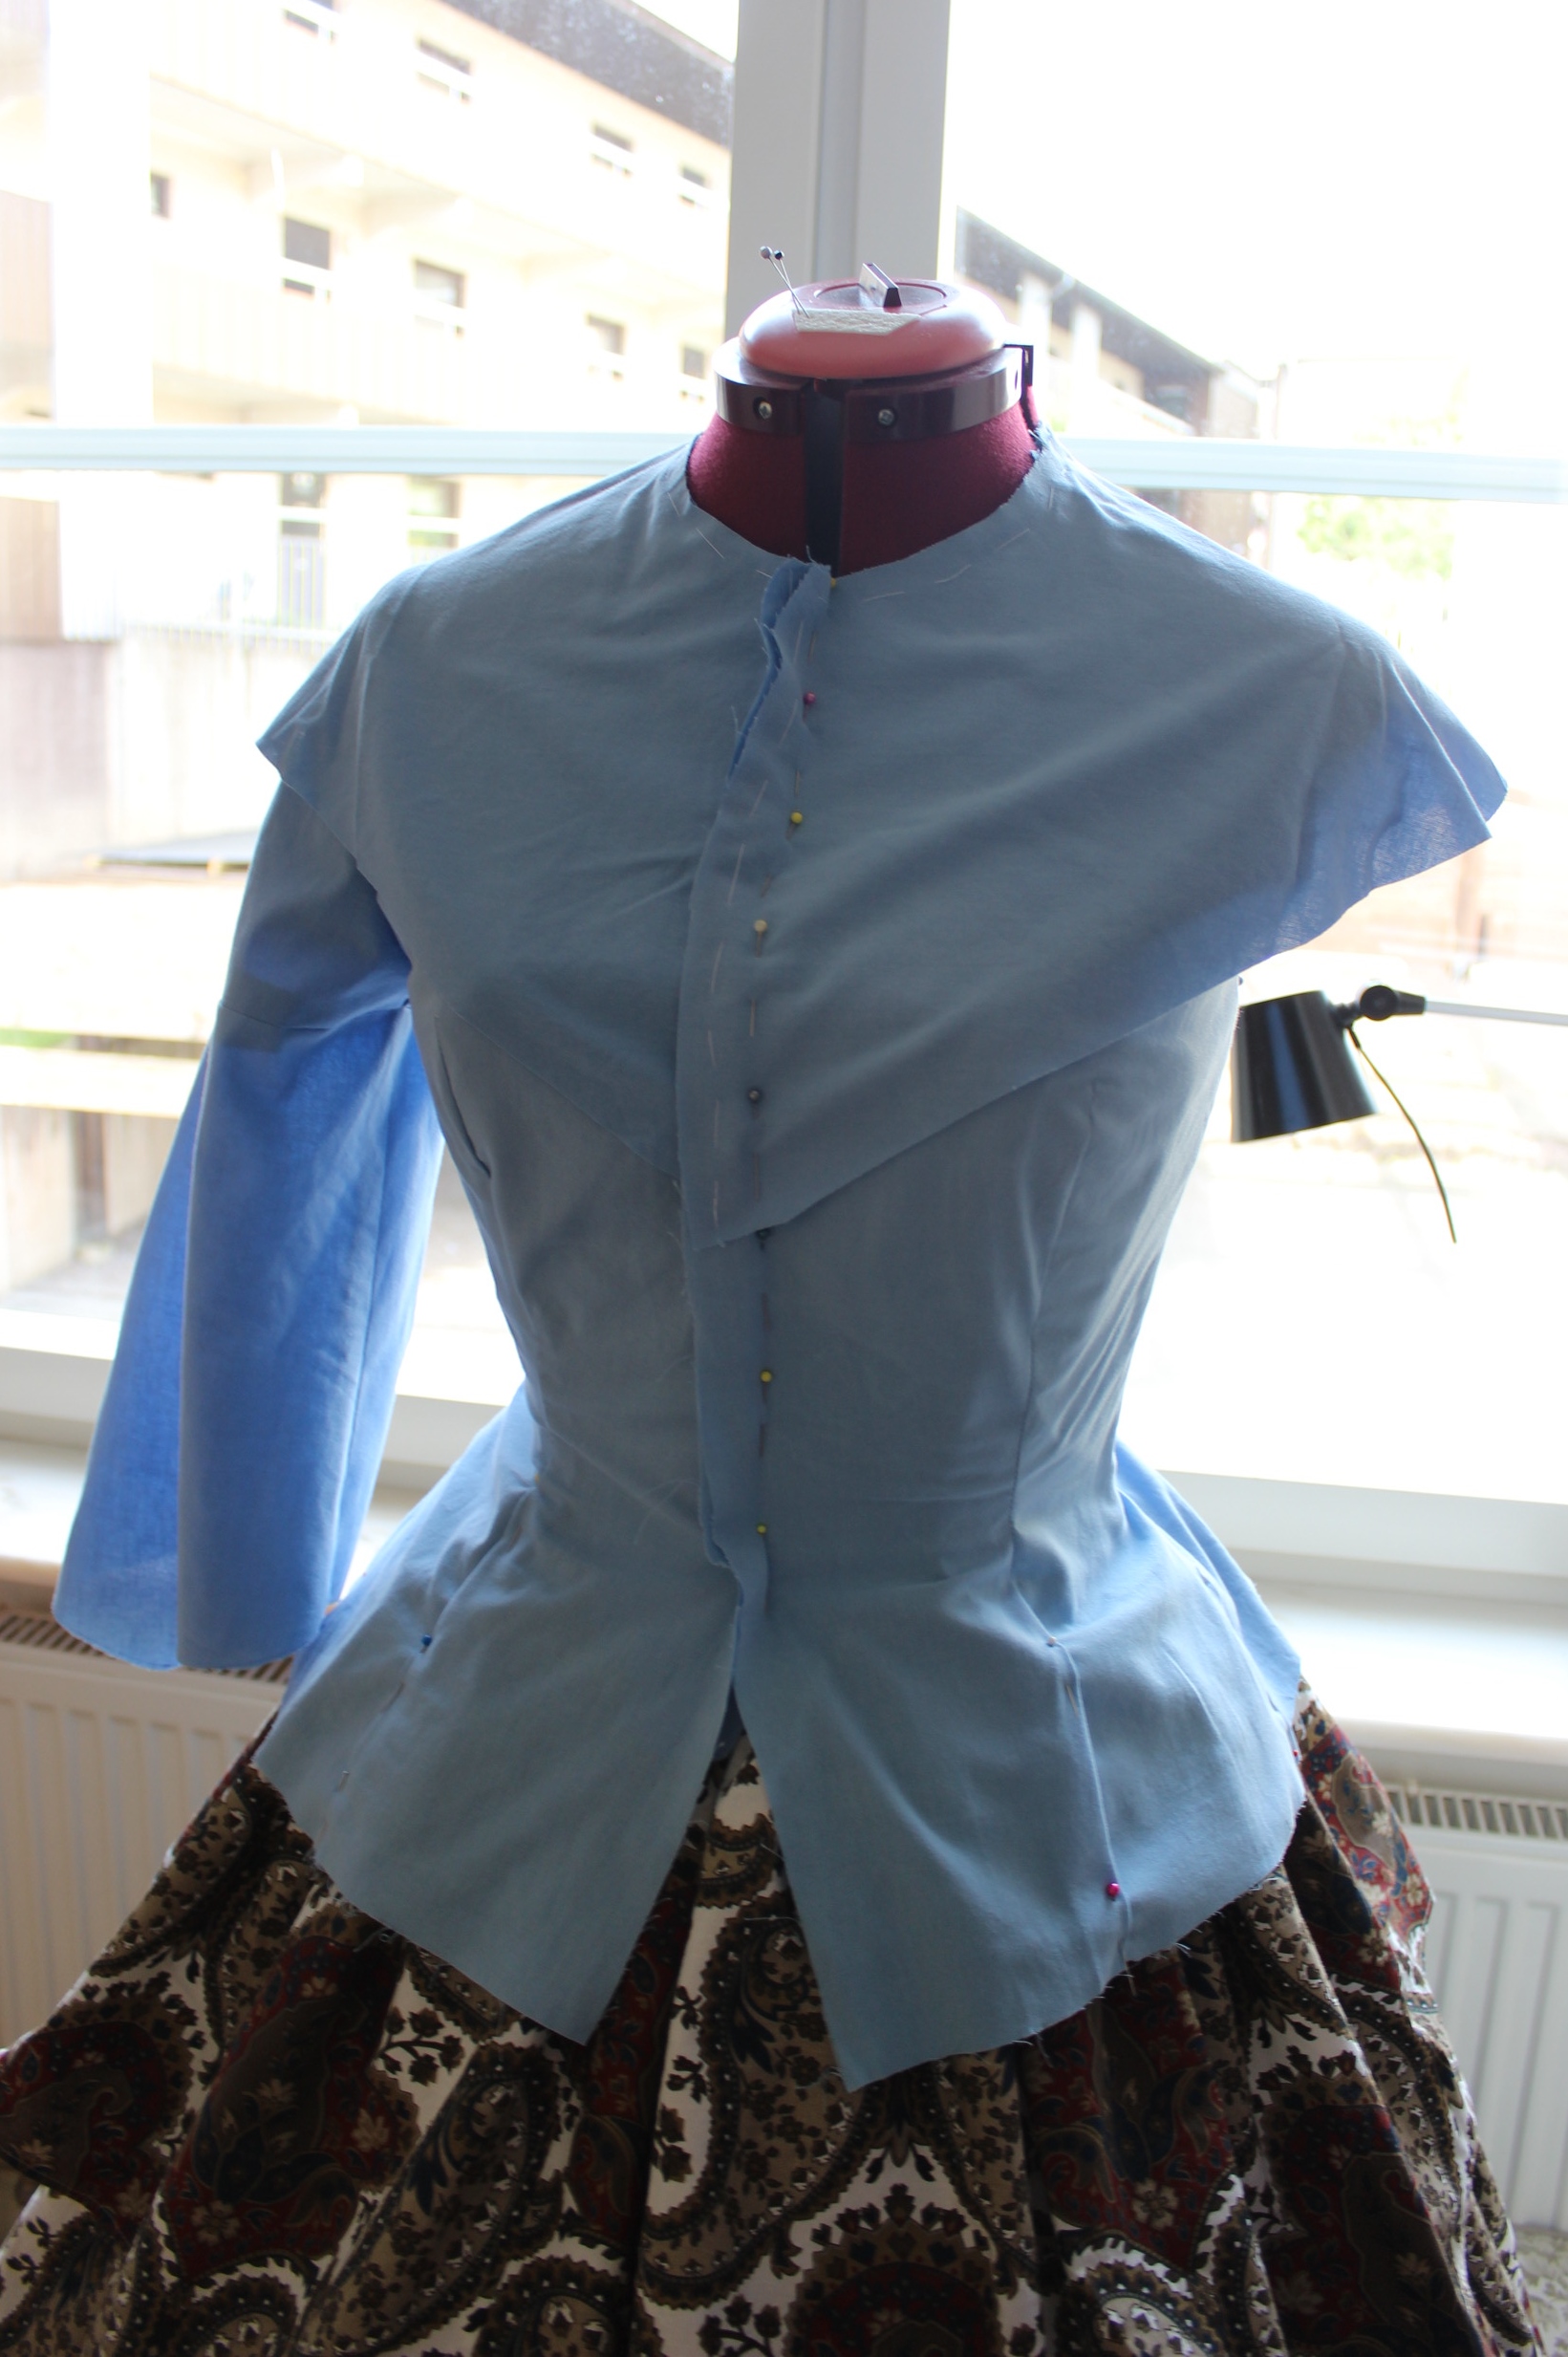
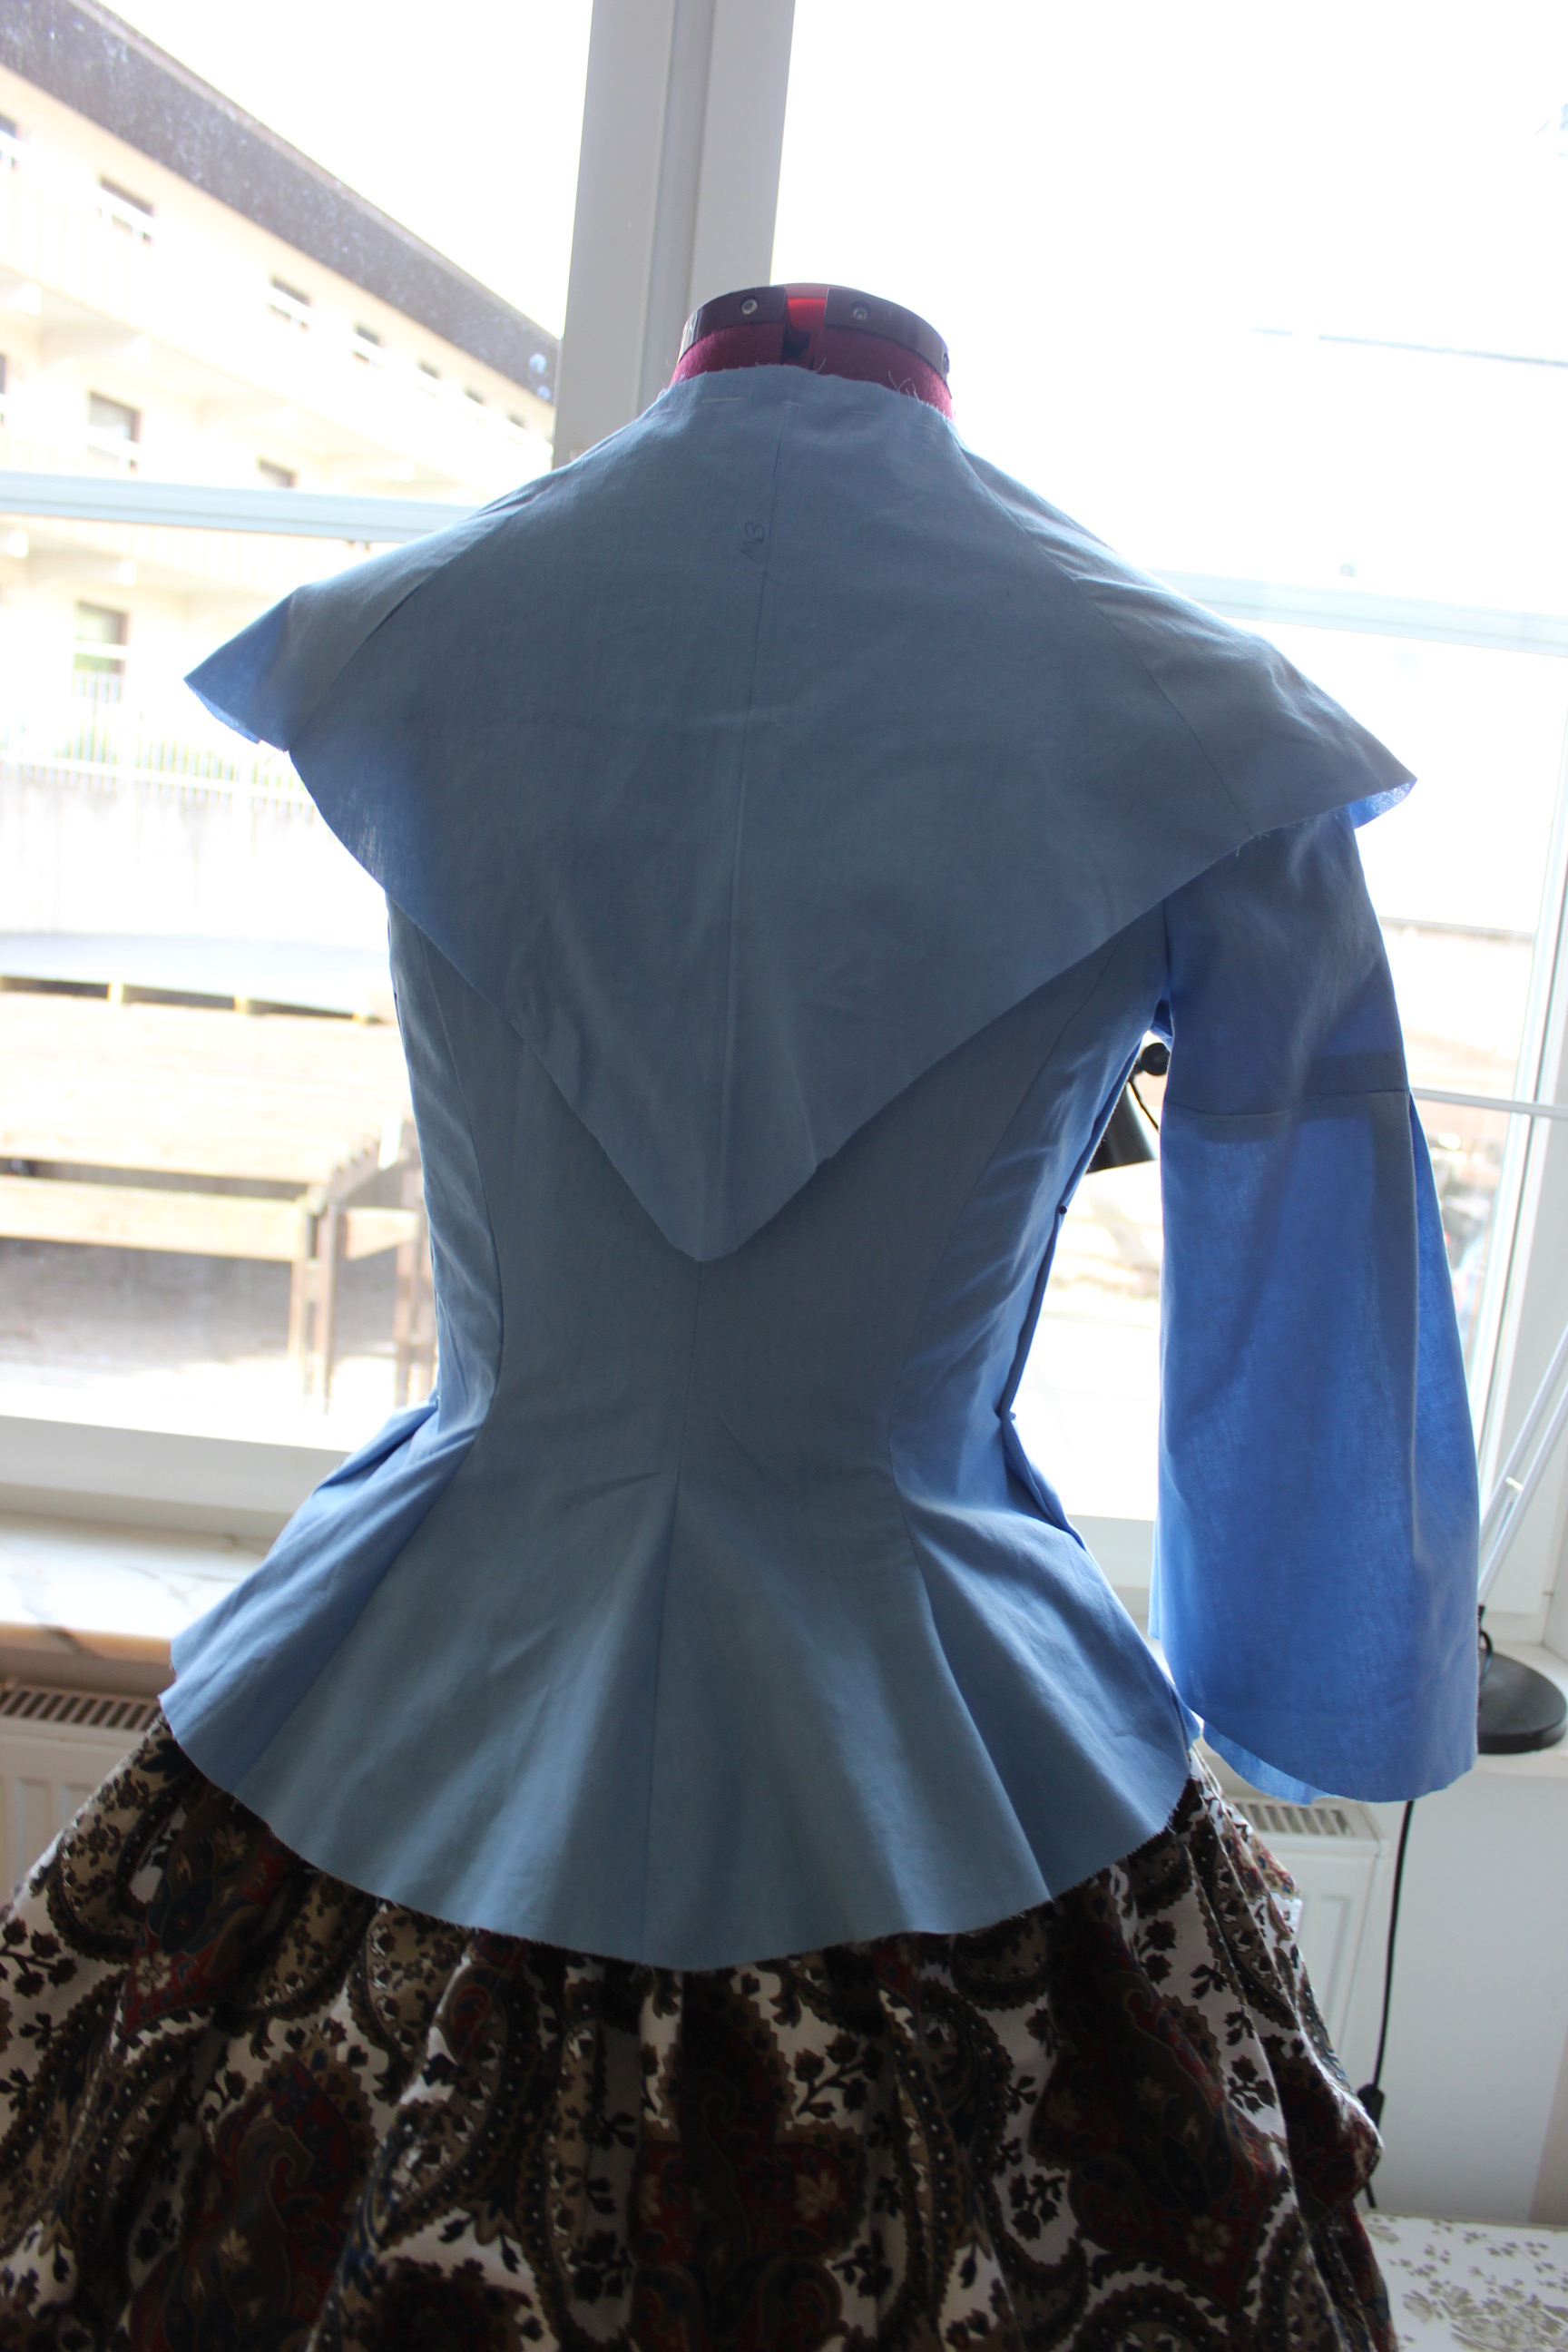
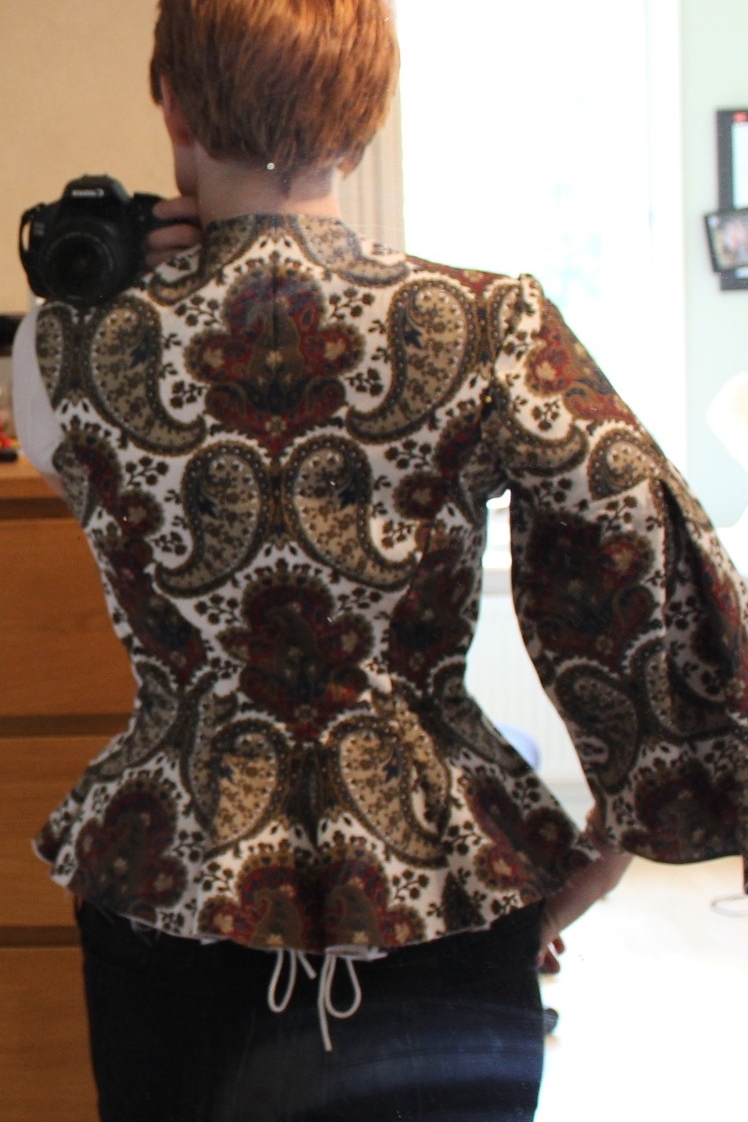
 Trying it out on my dressform
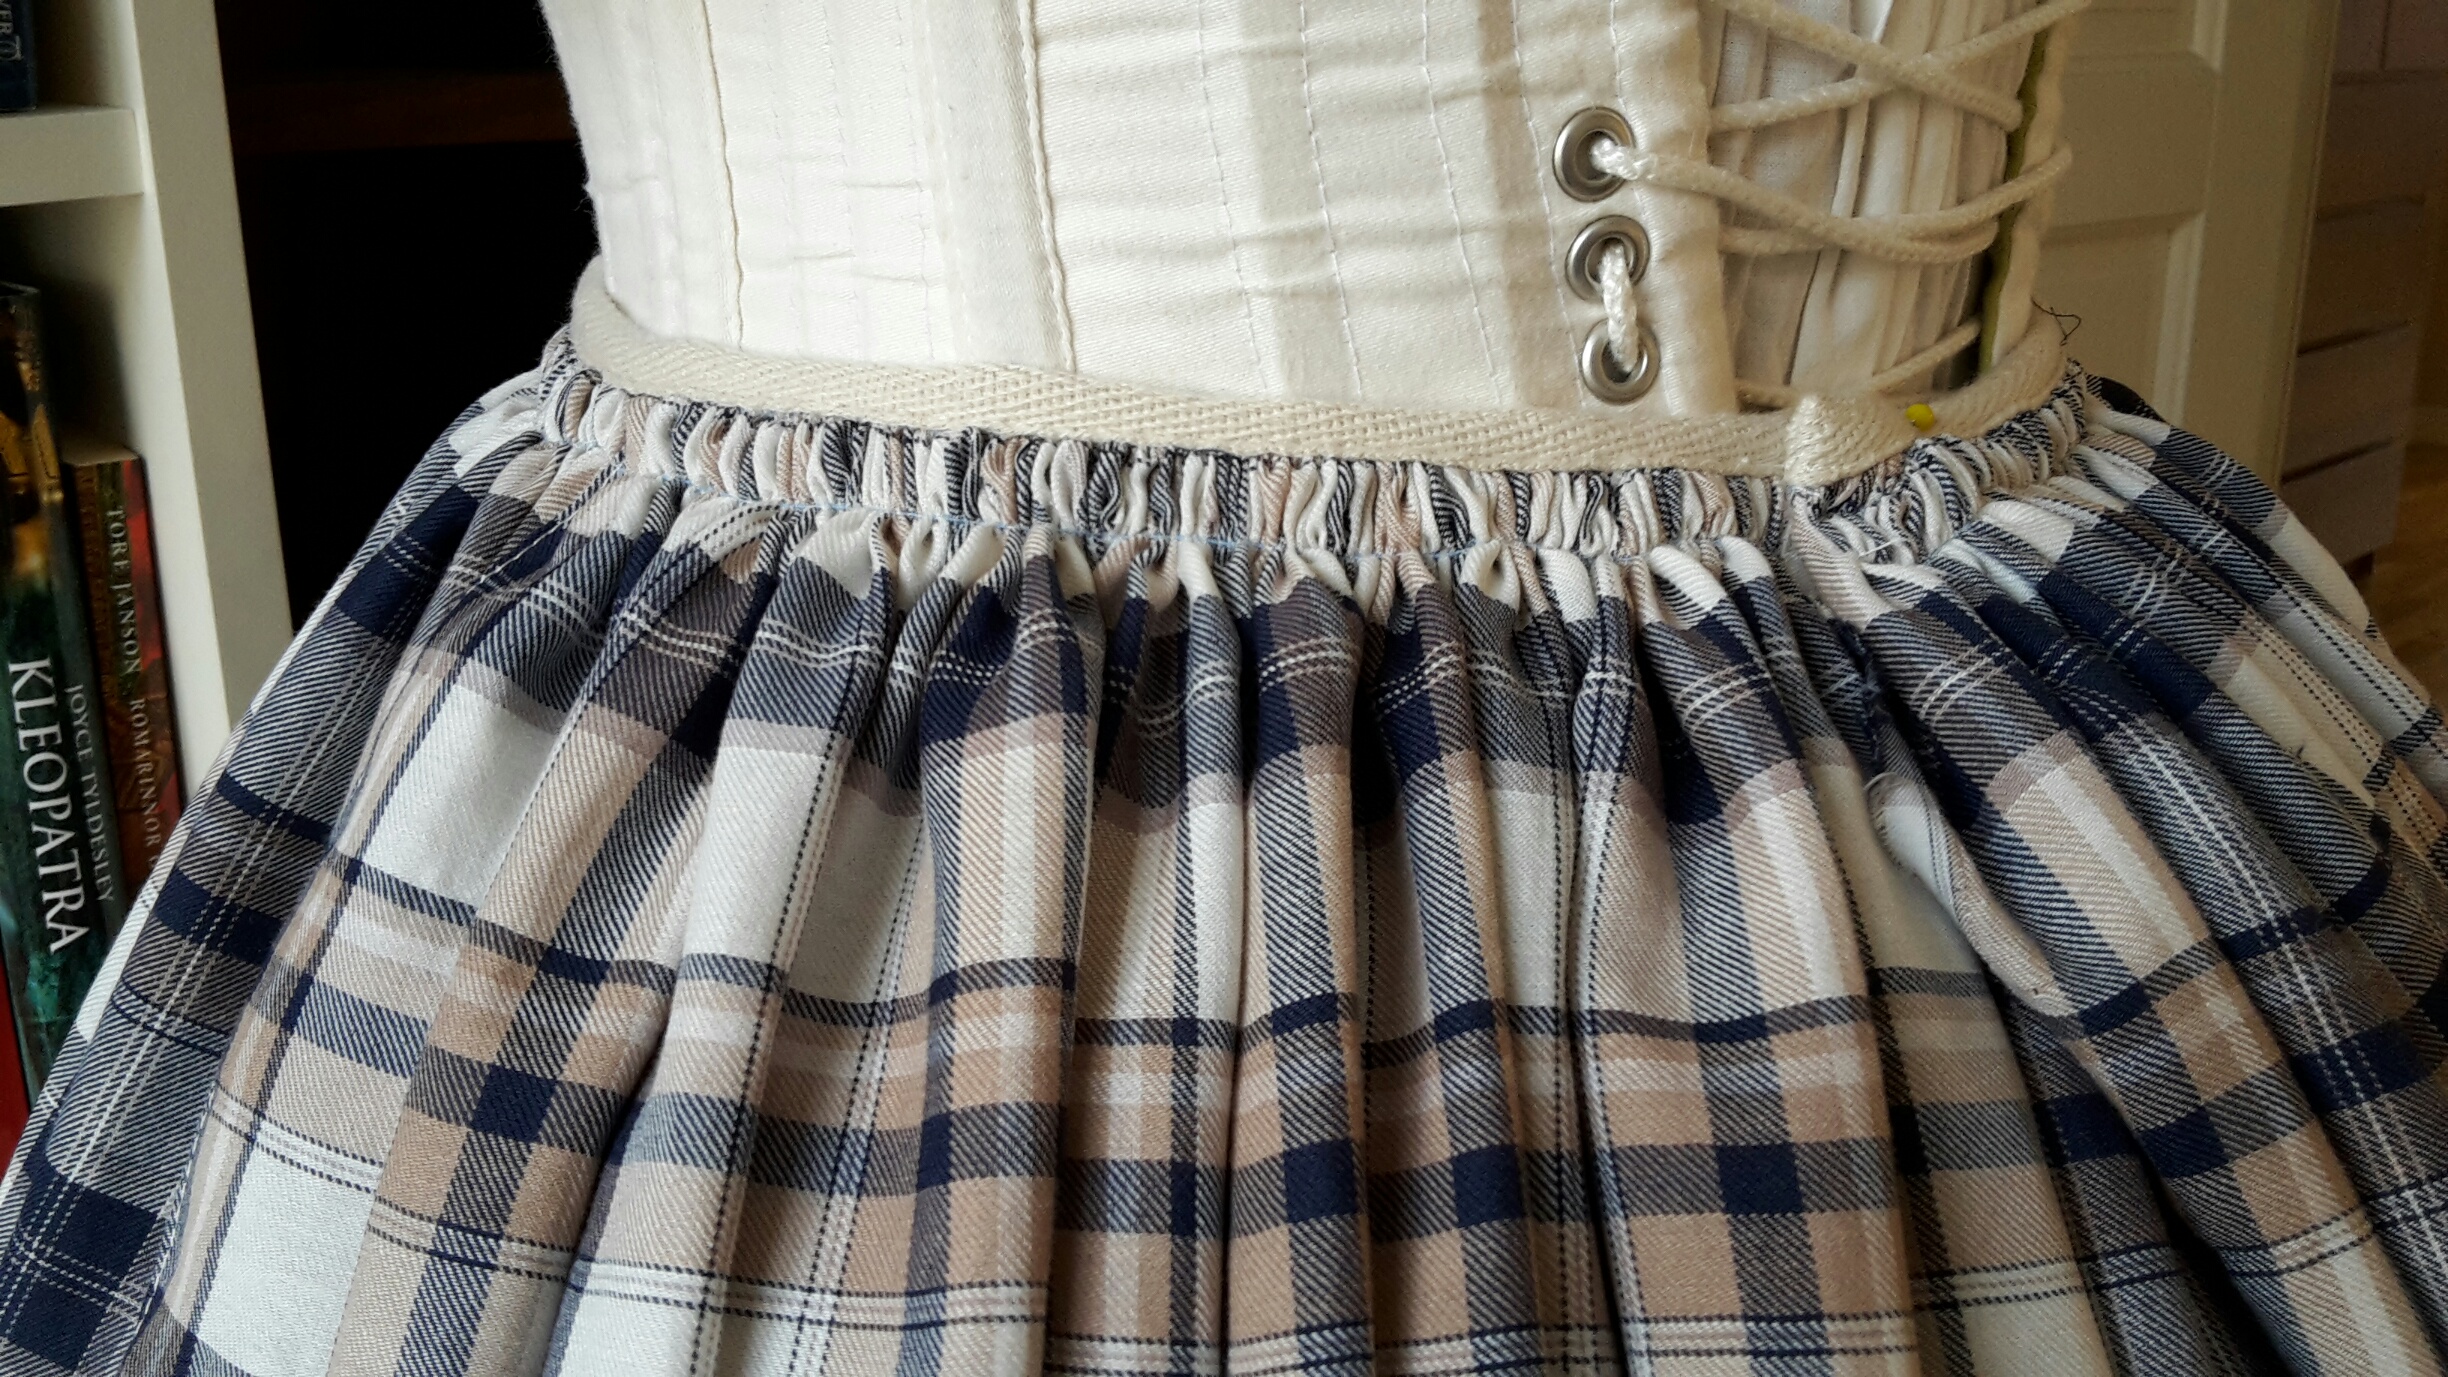


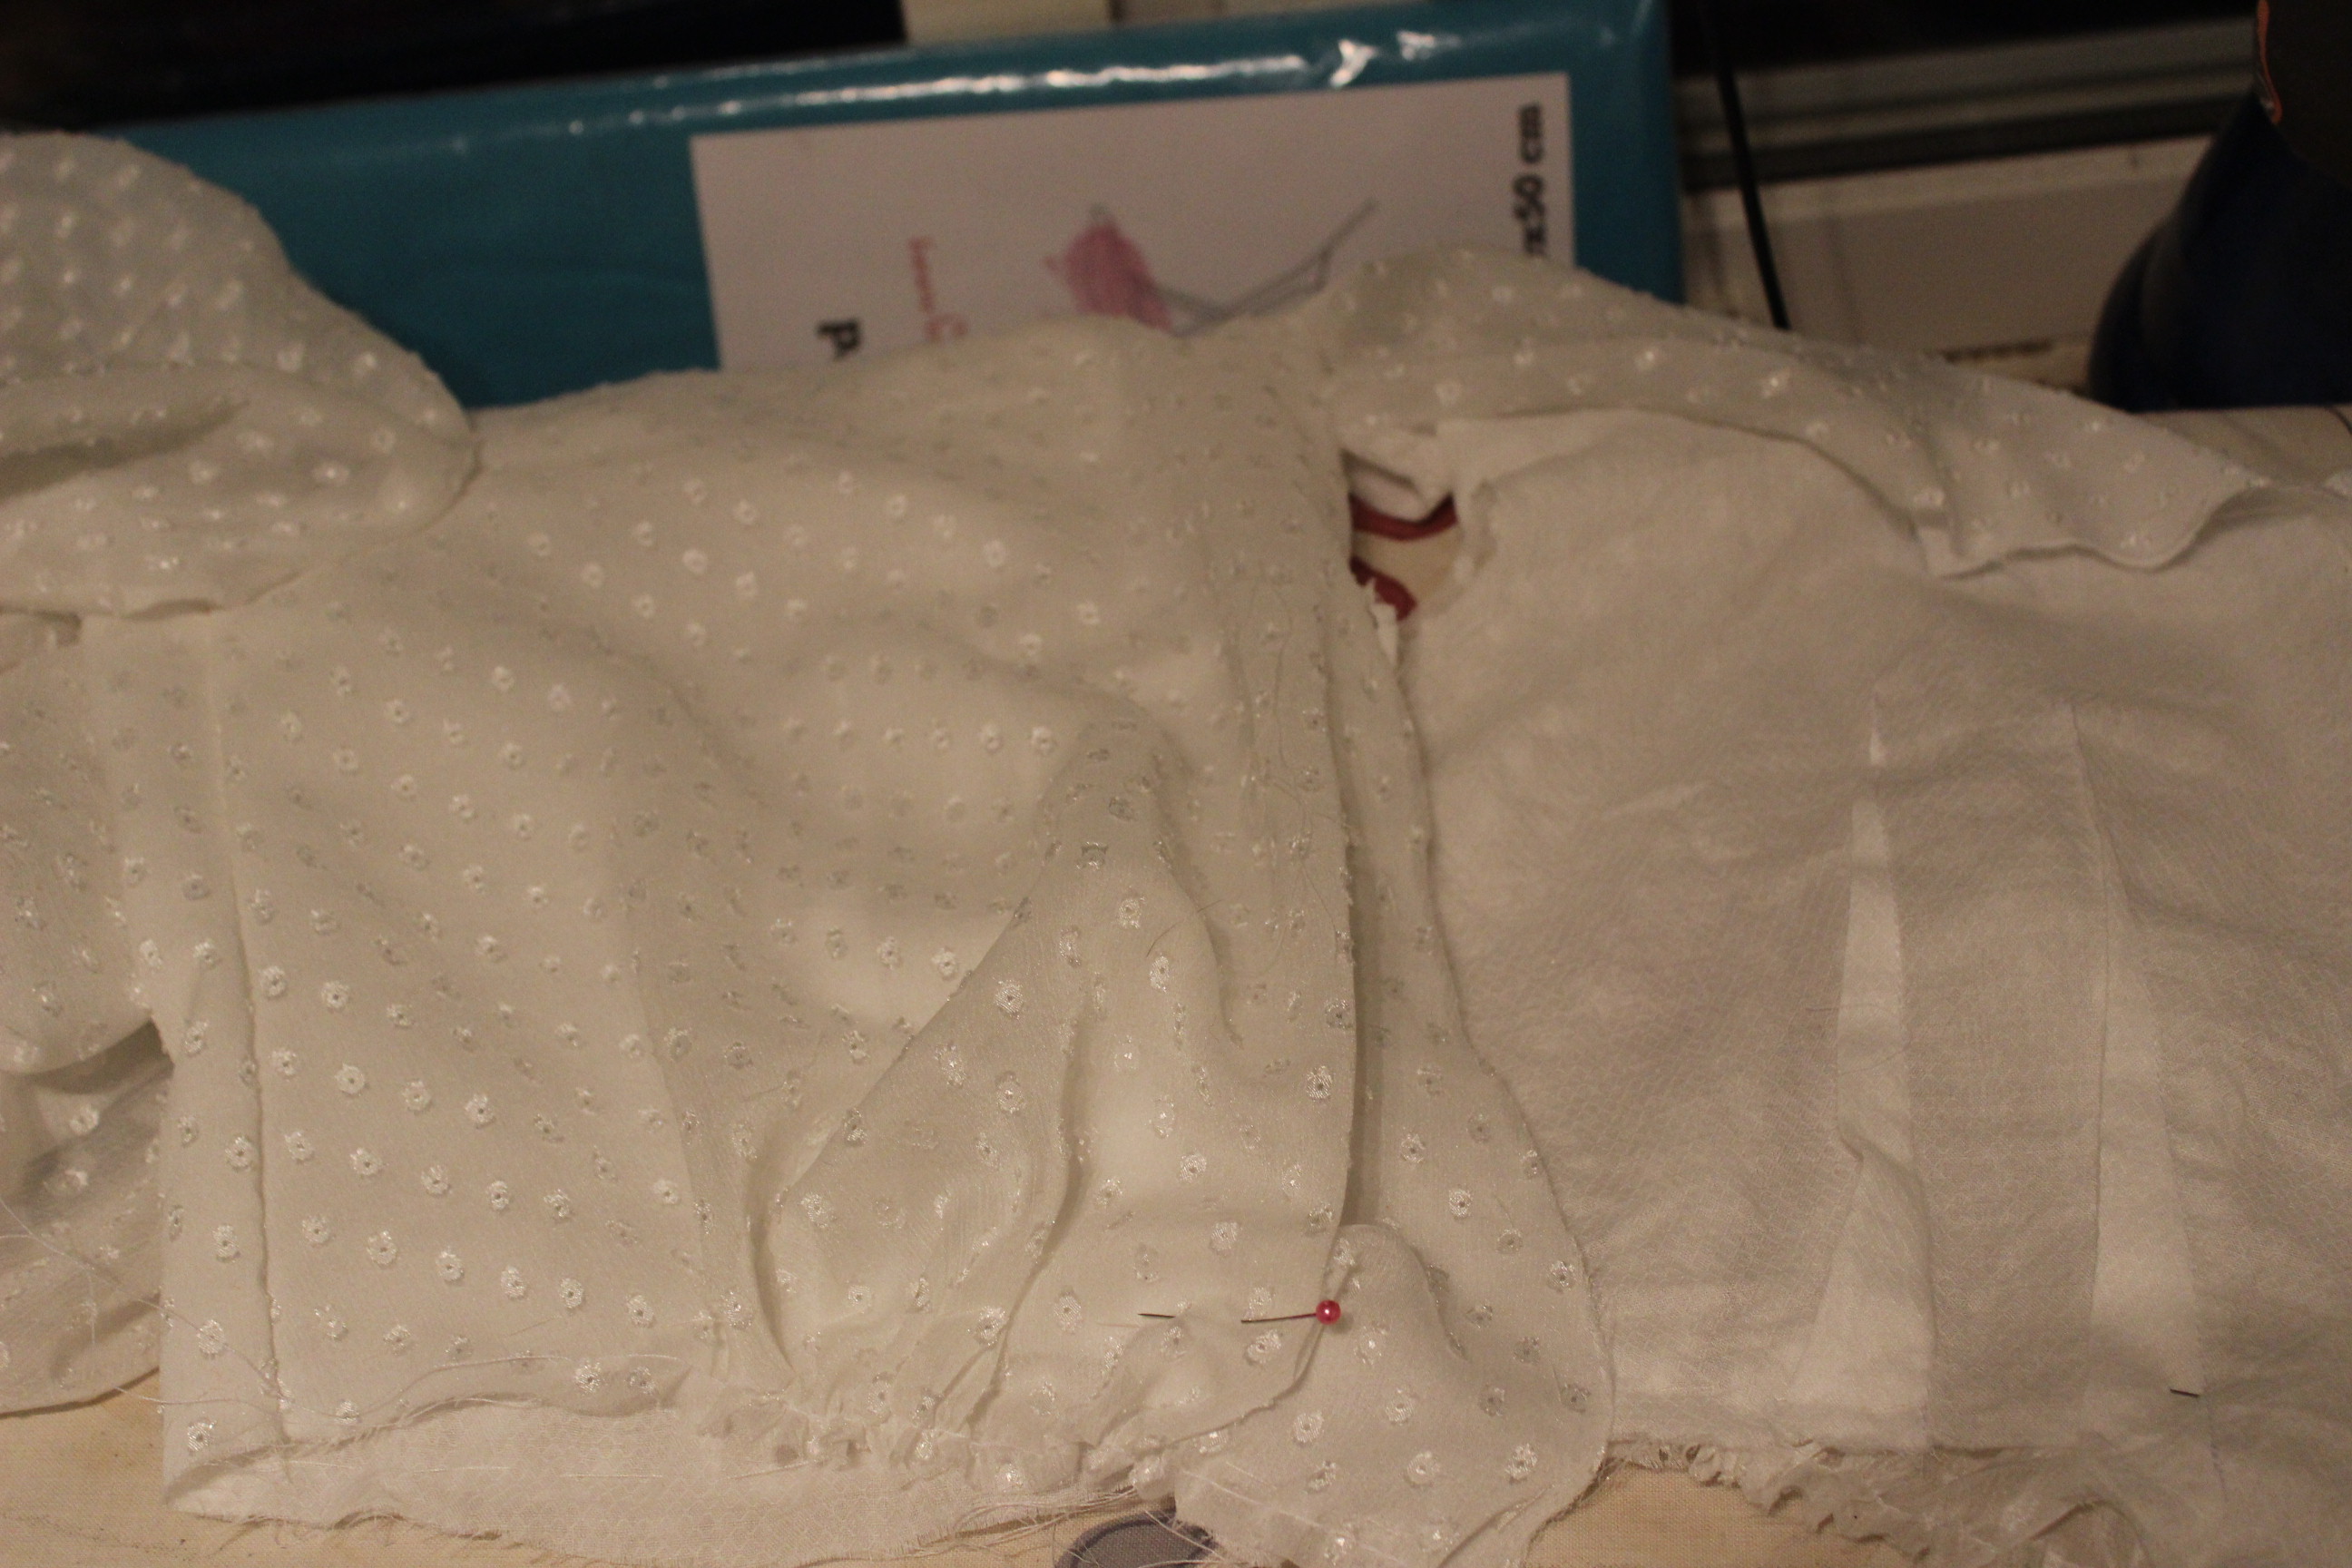


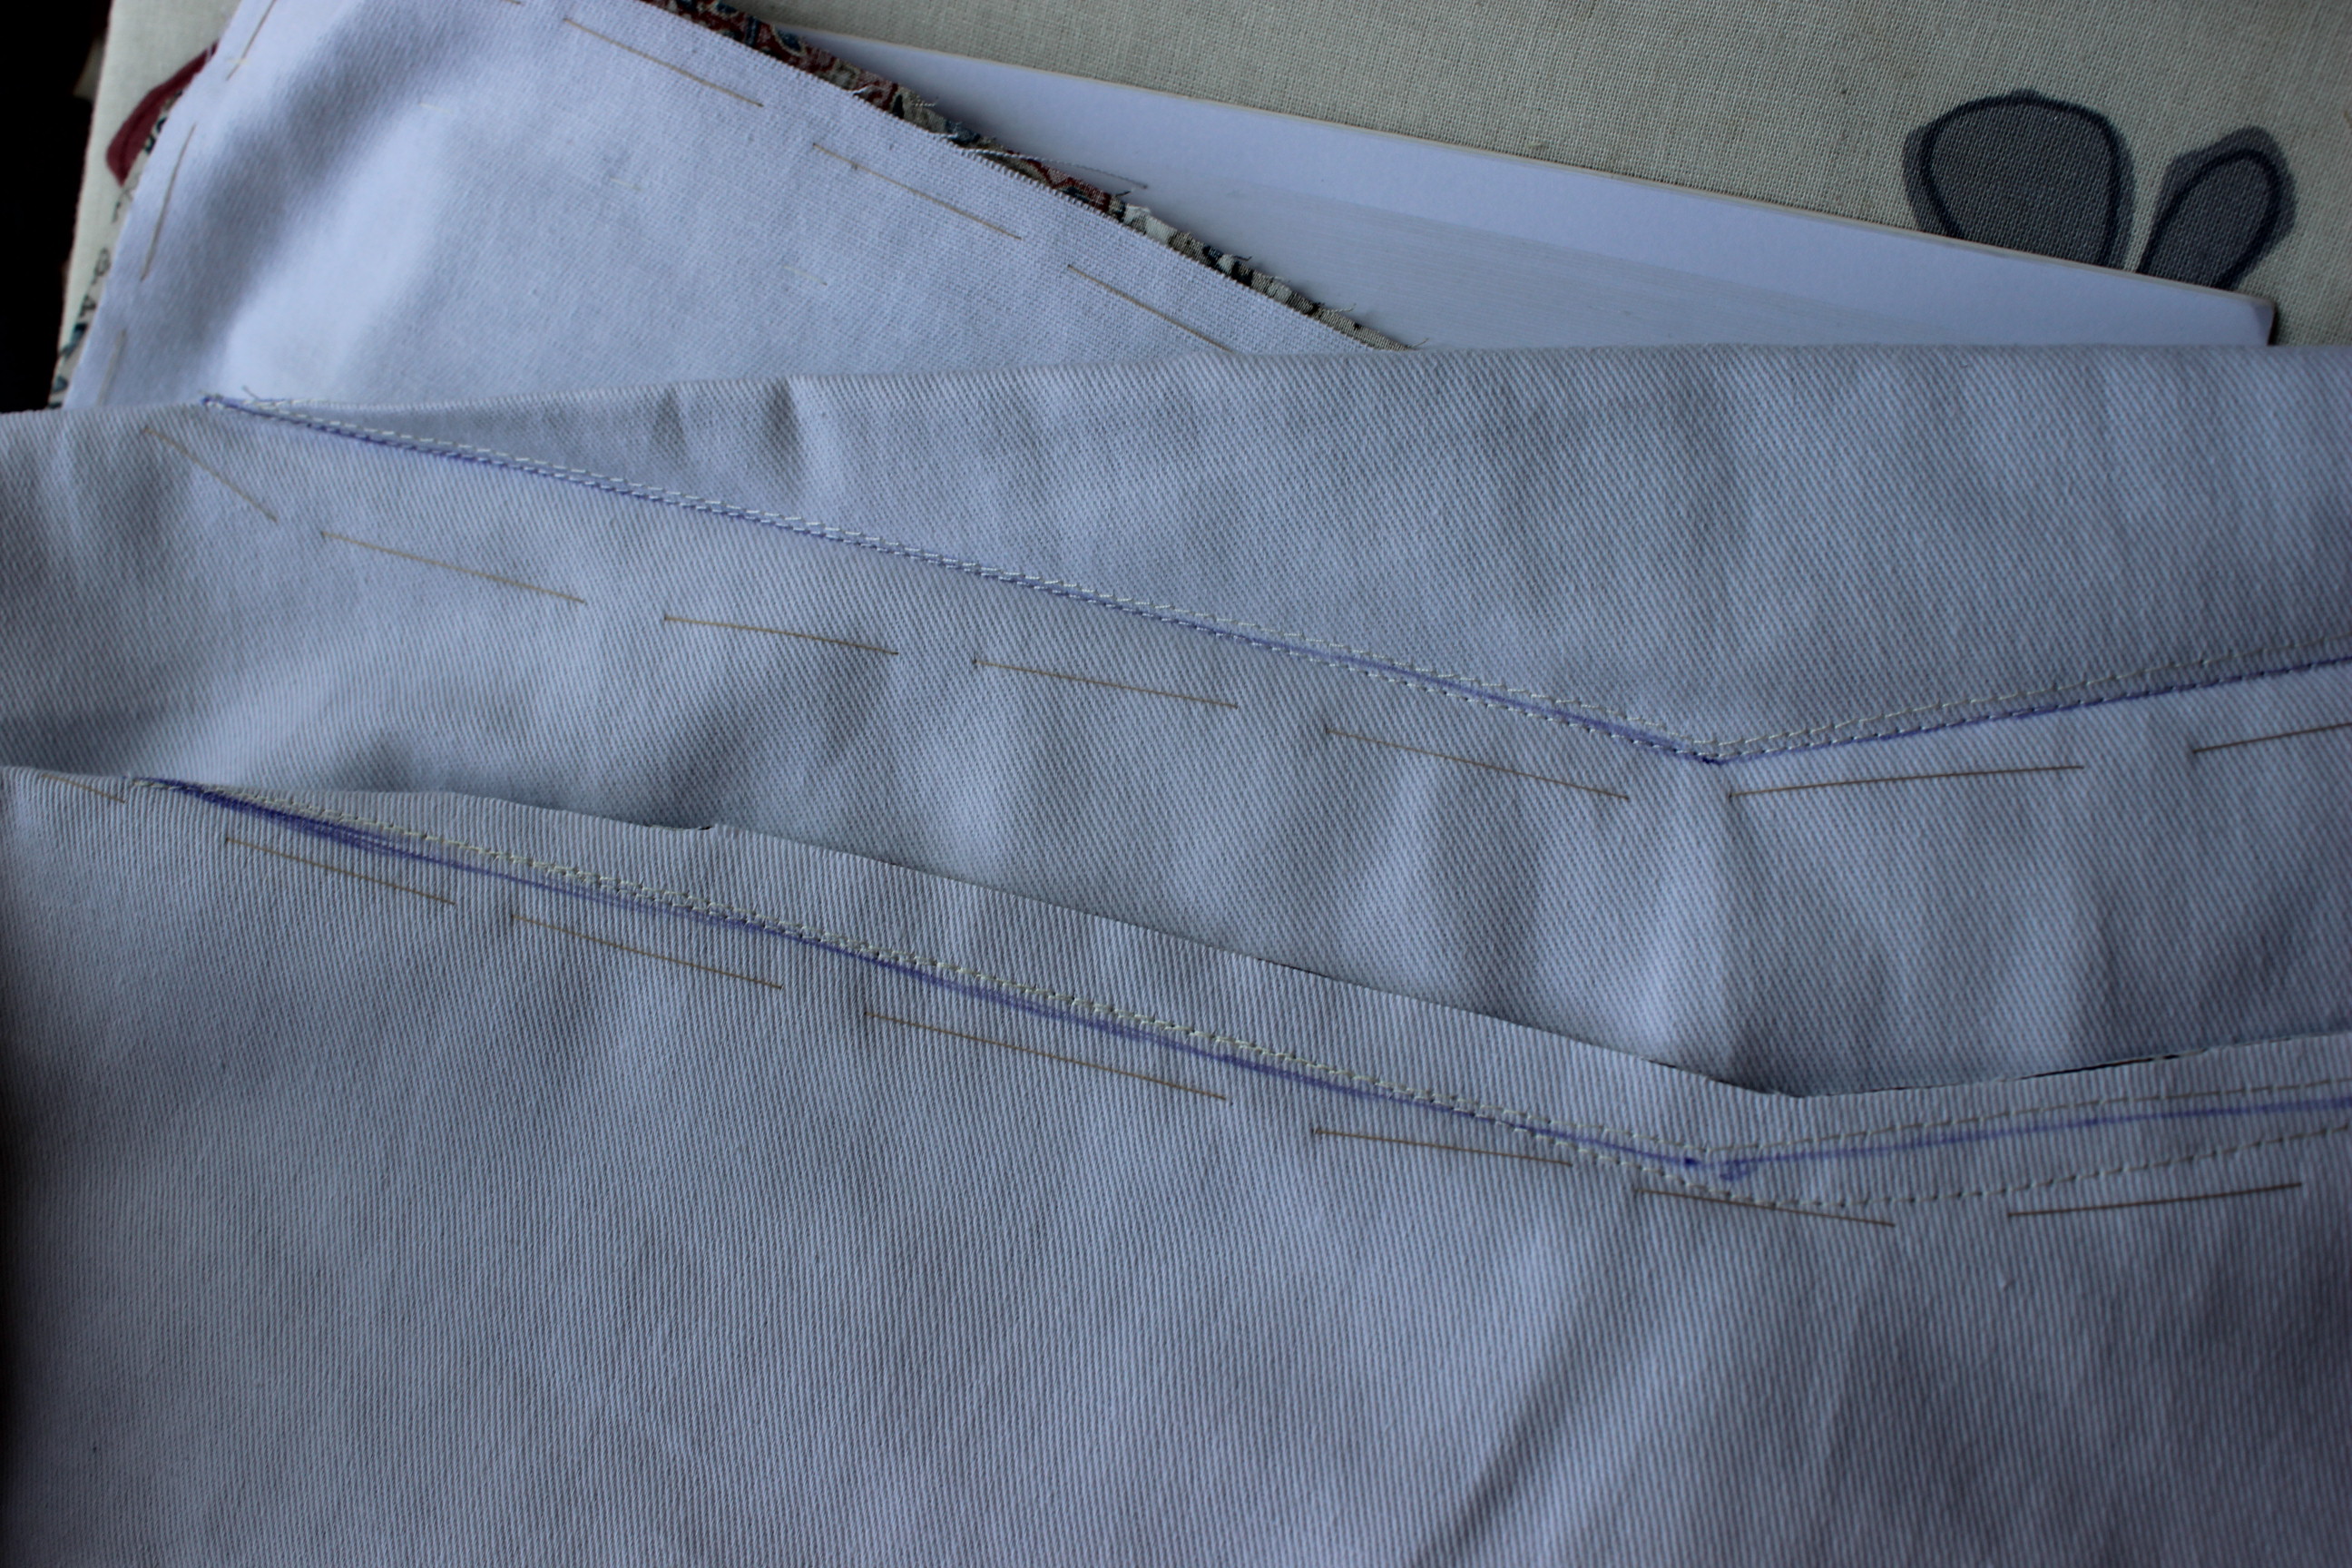
 Then I made all the button holes by hand, added the pearl buttons and sewed on a piece of bias tap to make a casing for the cotton cord used to control the fullness and size at the waist.
 Looking neat from the outside…
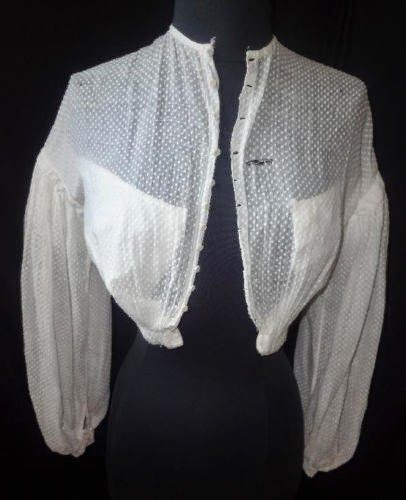
 …And just as neat from the inside.
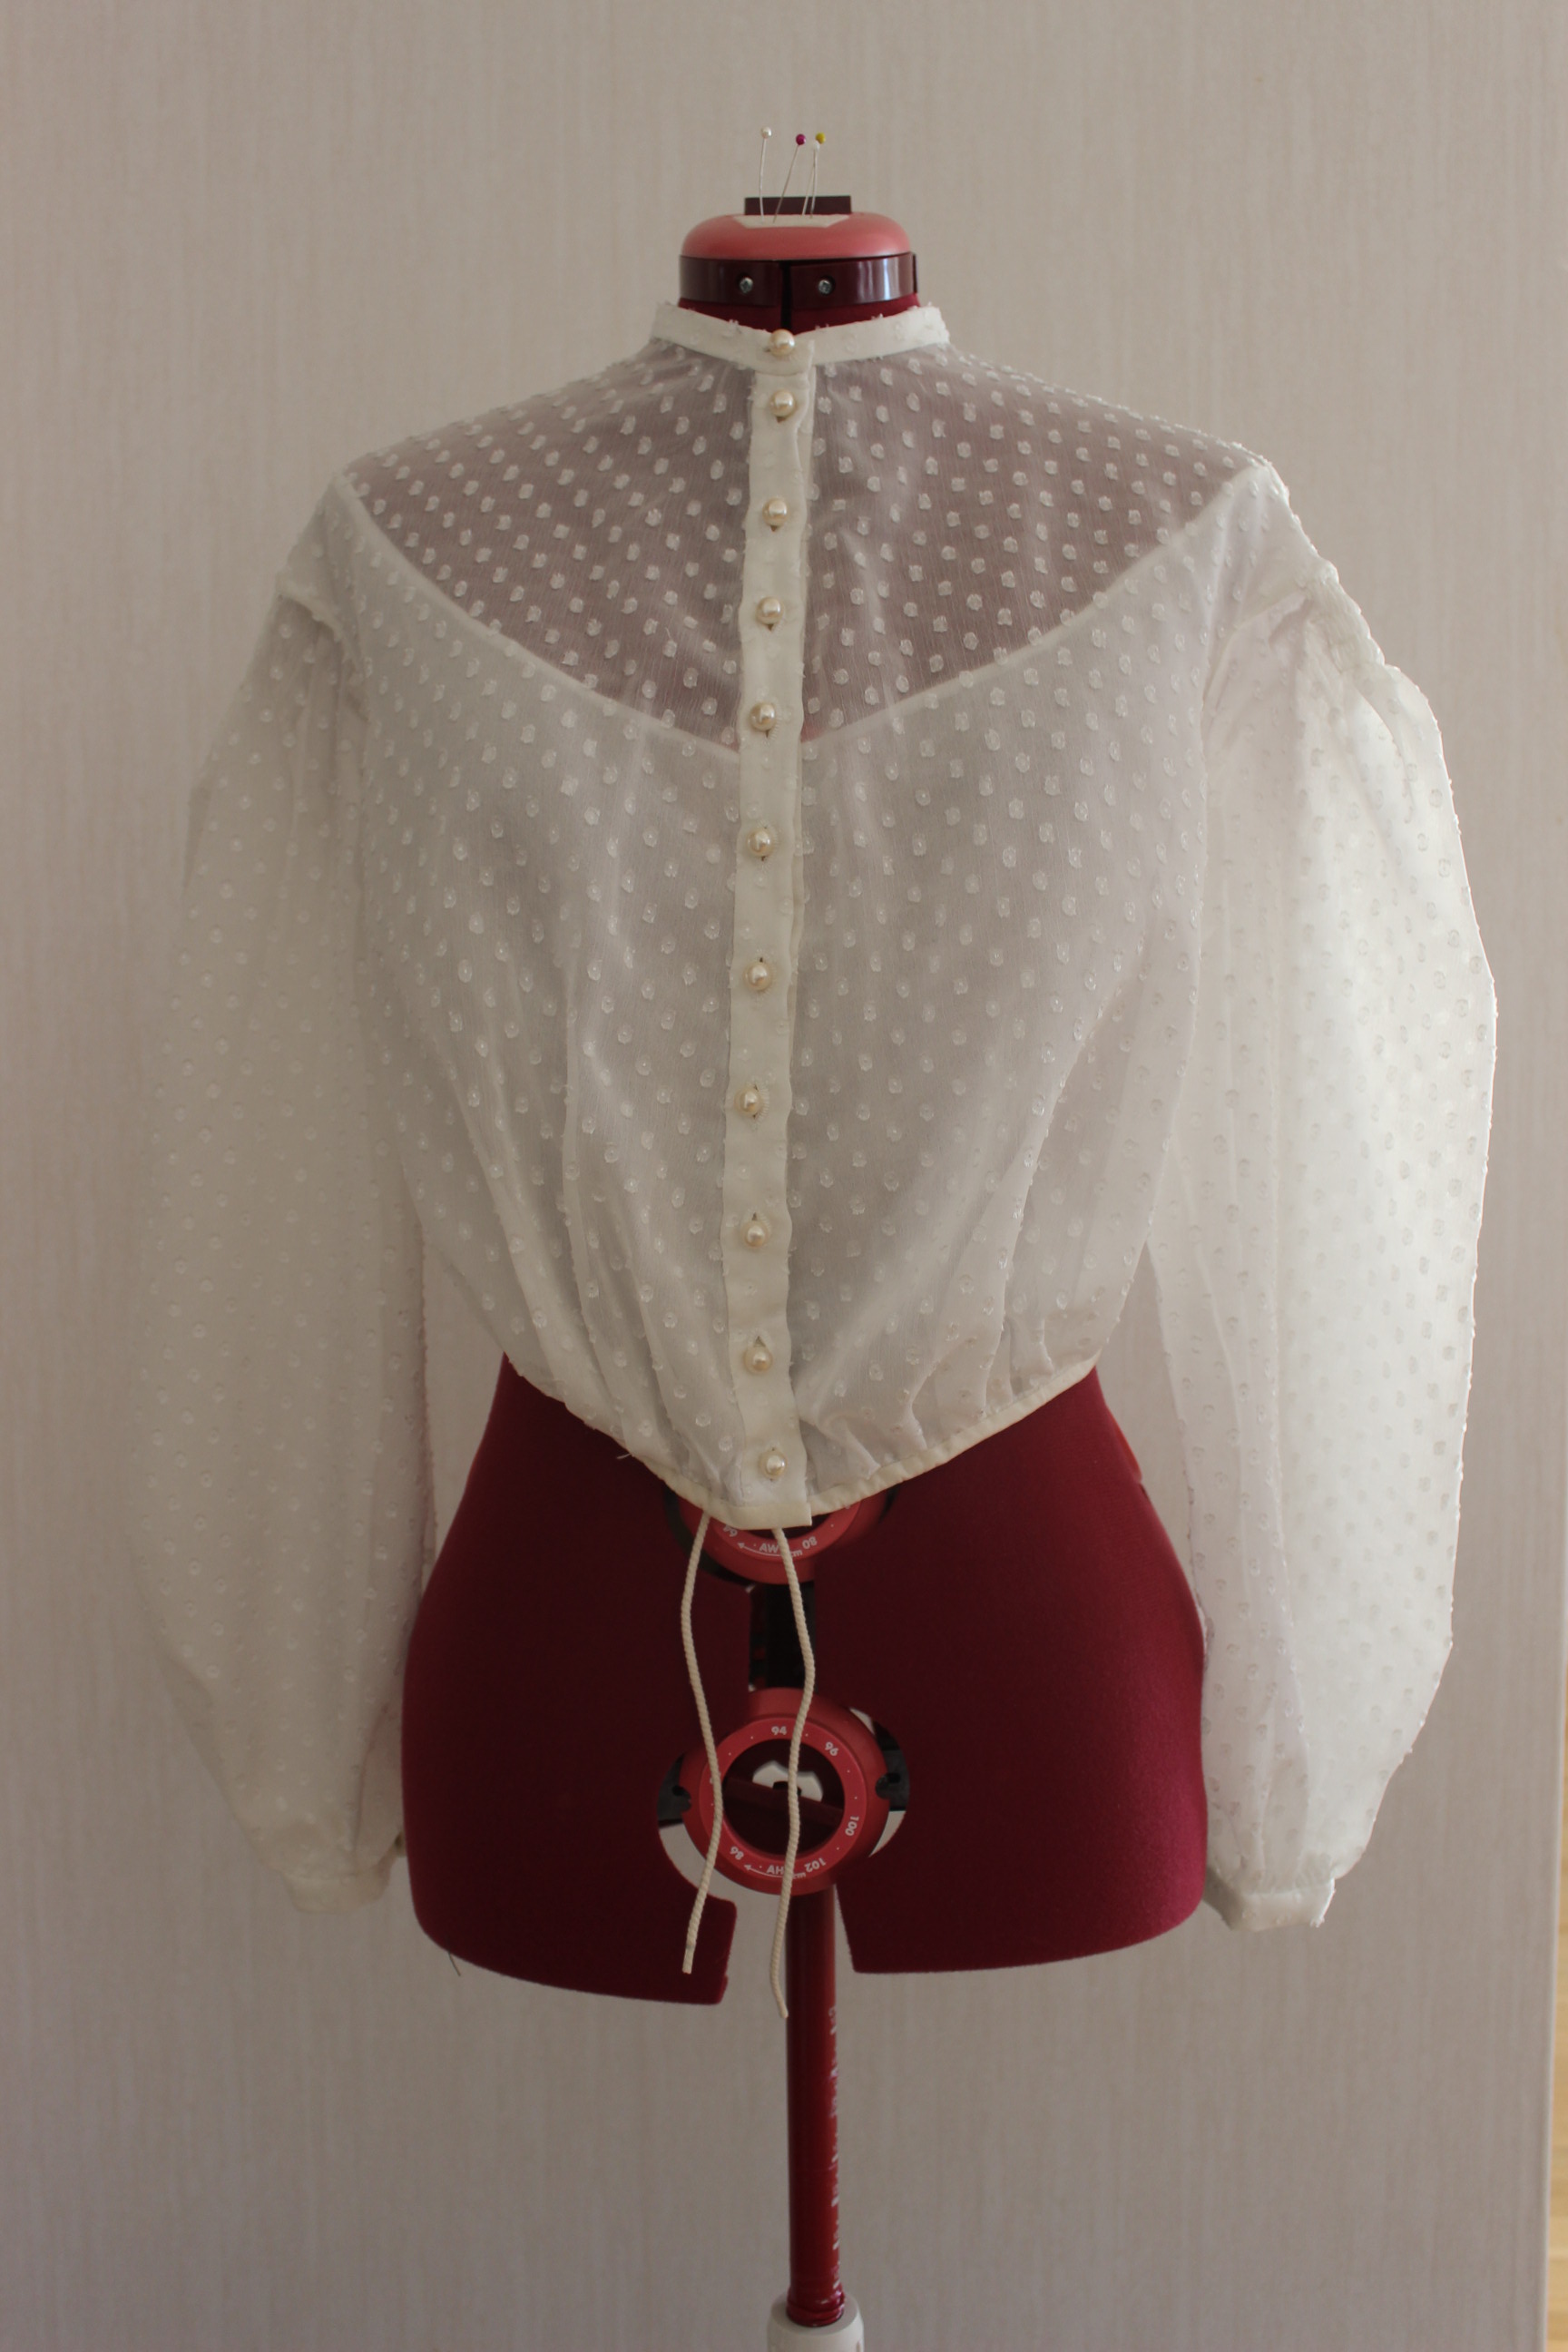


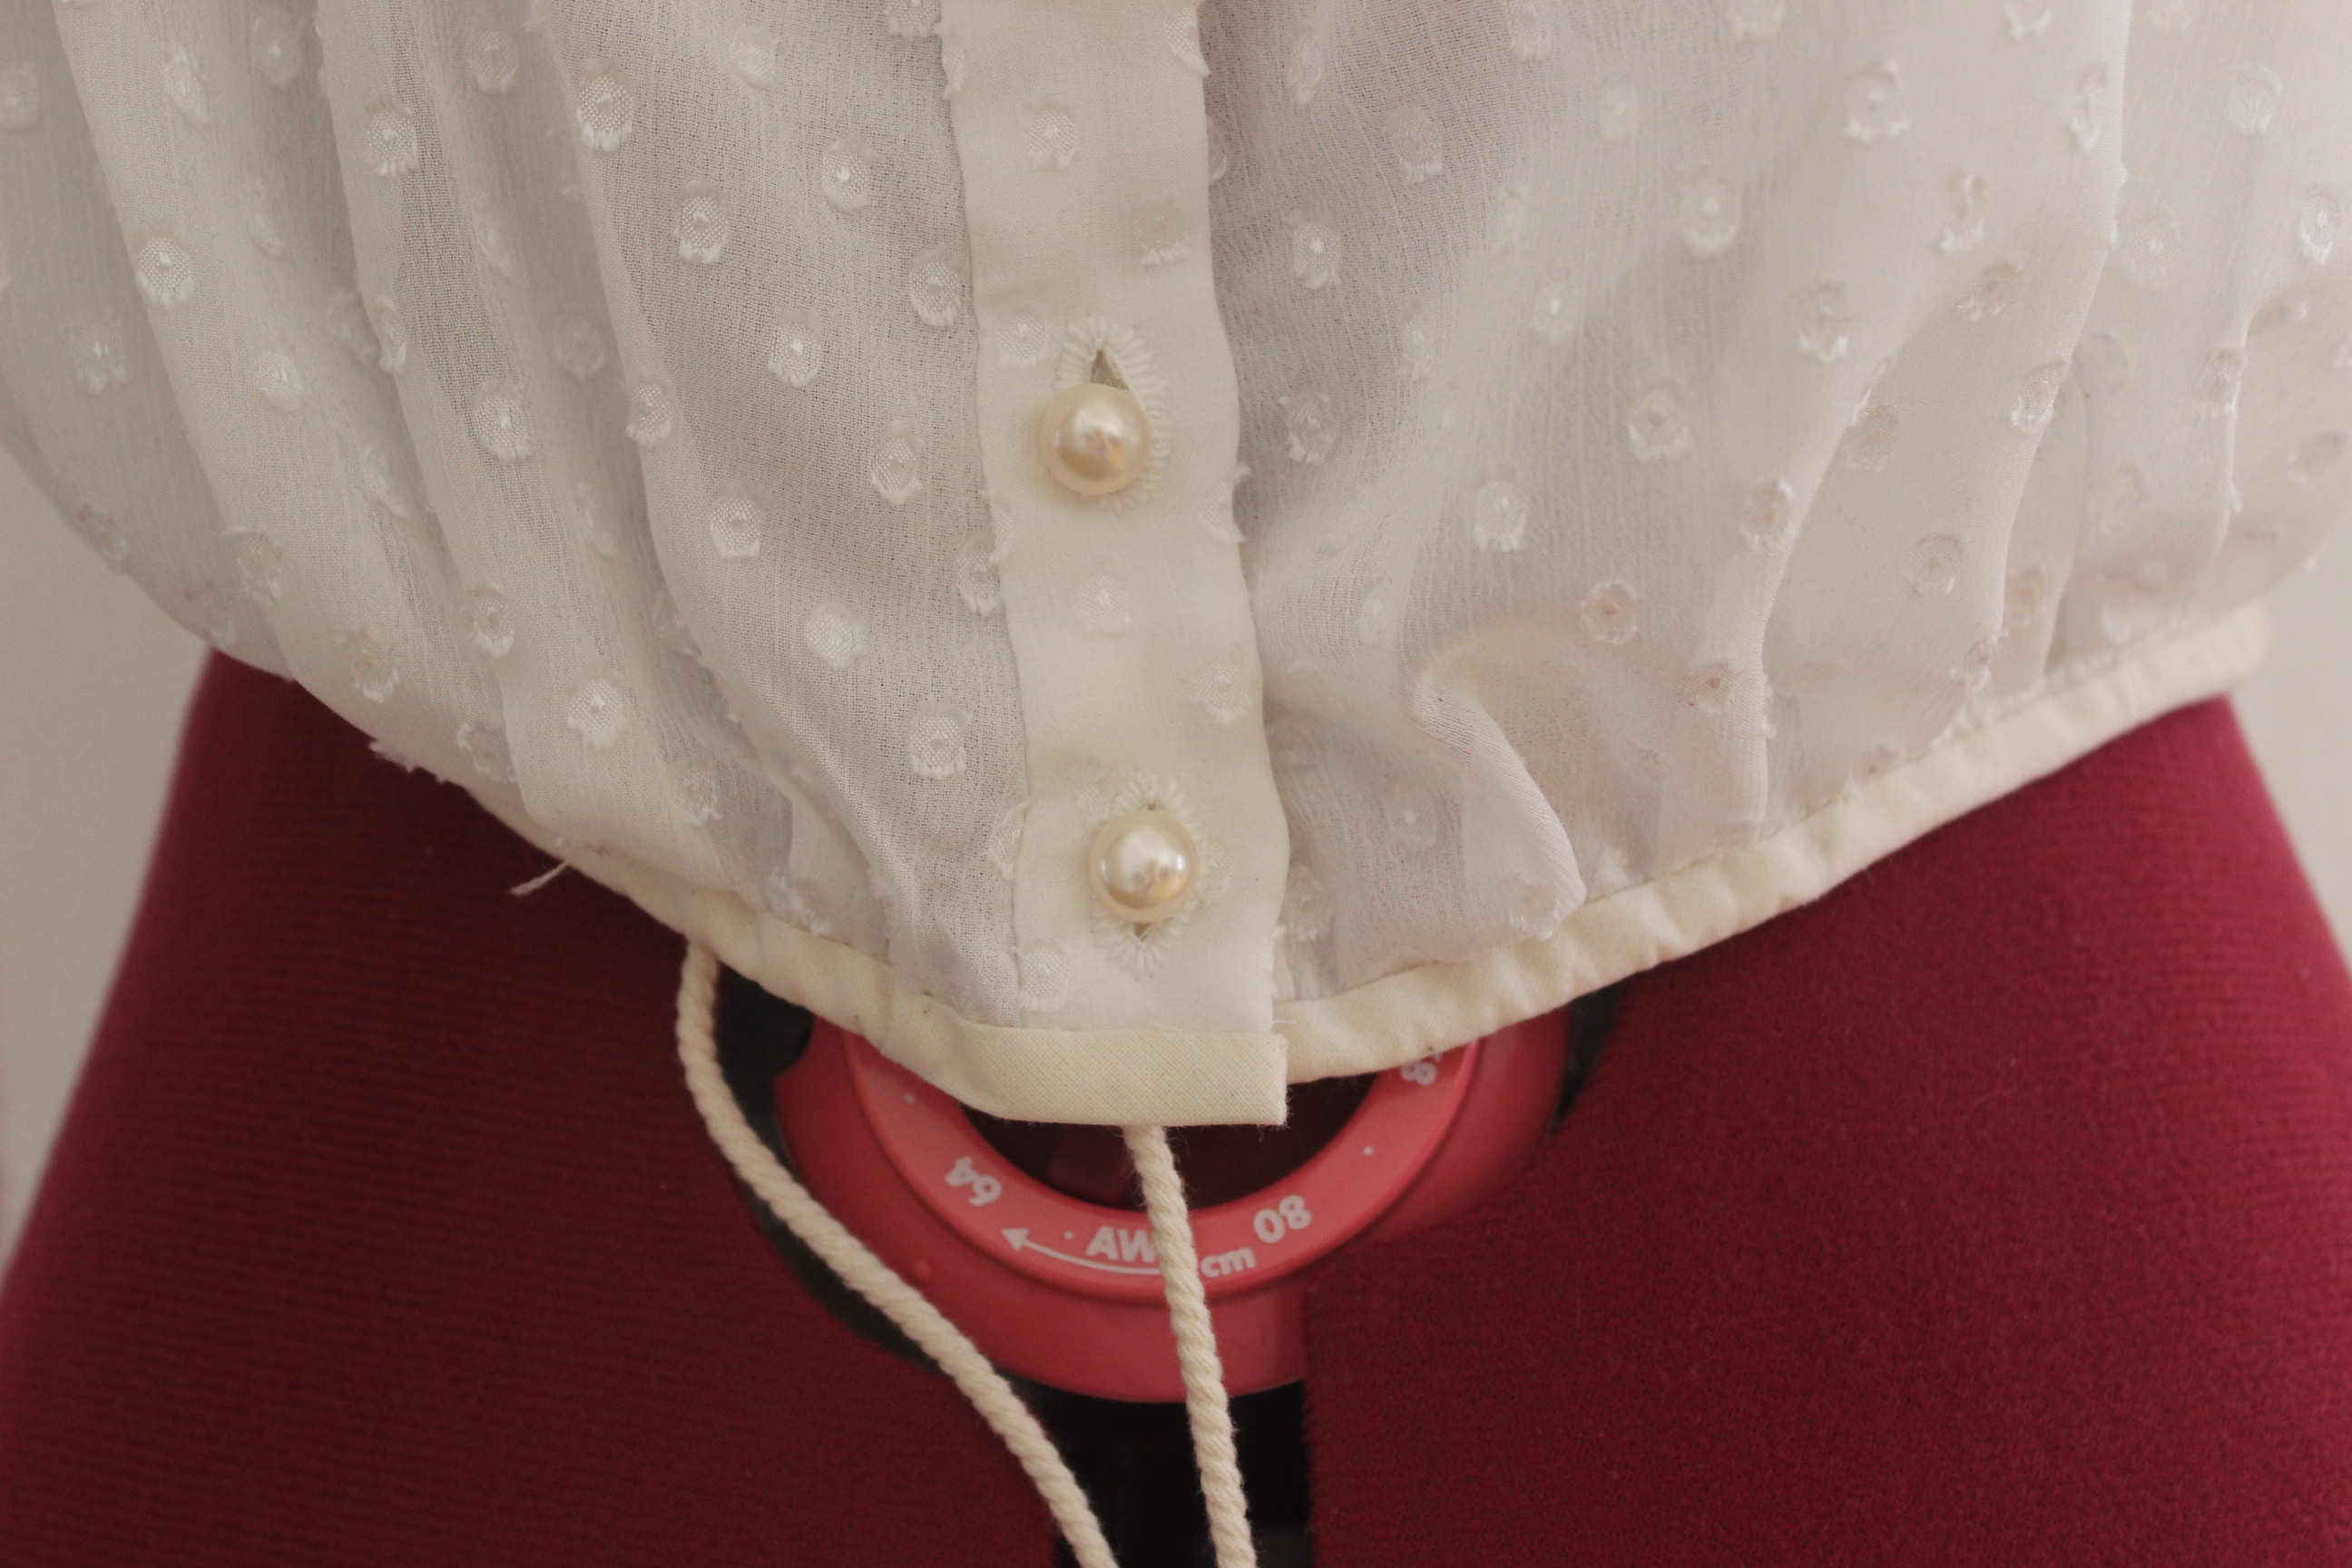


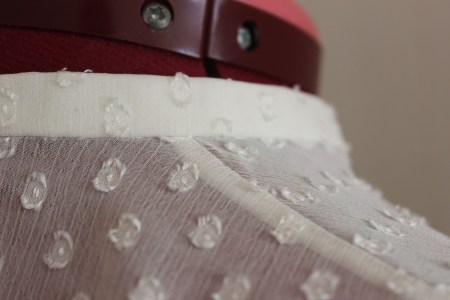
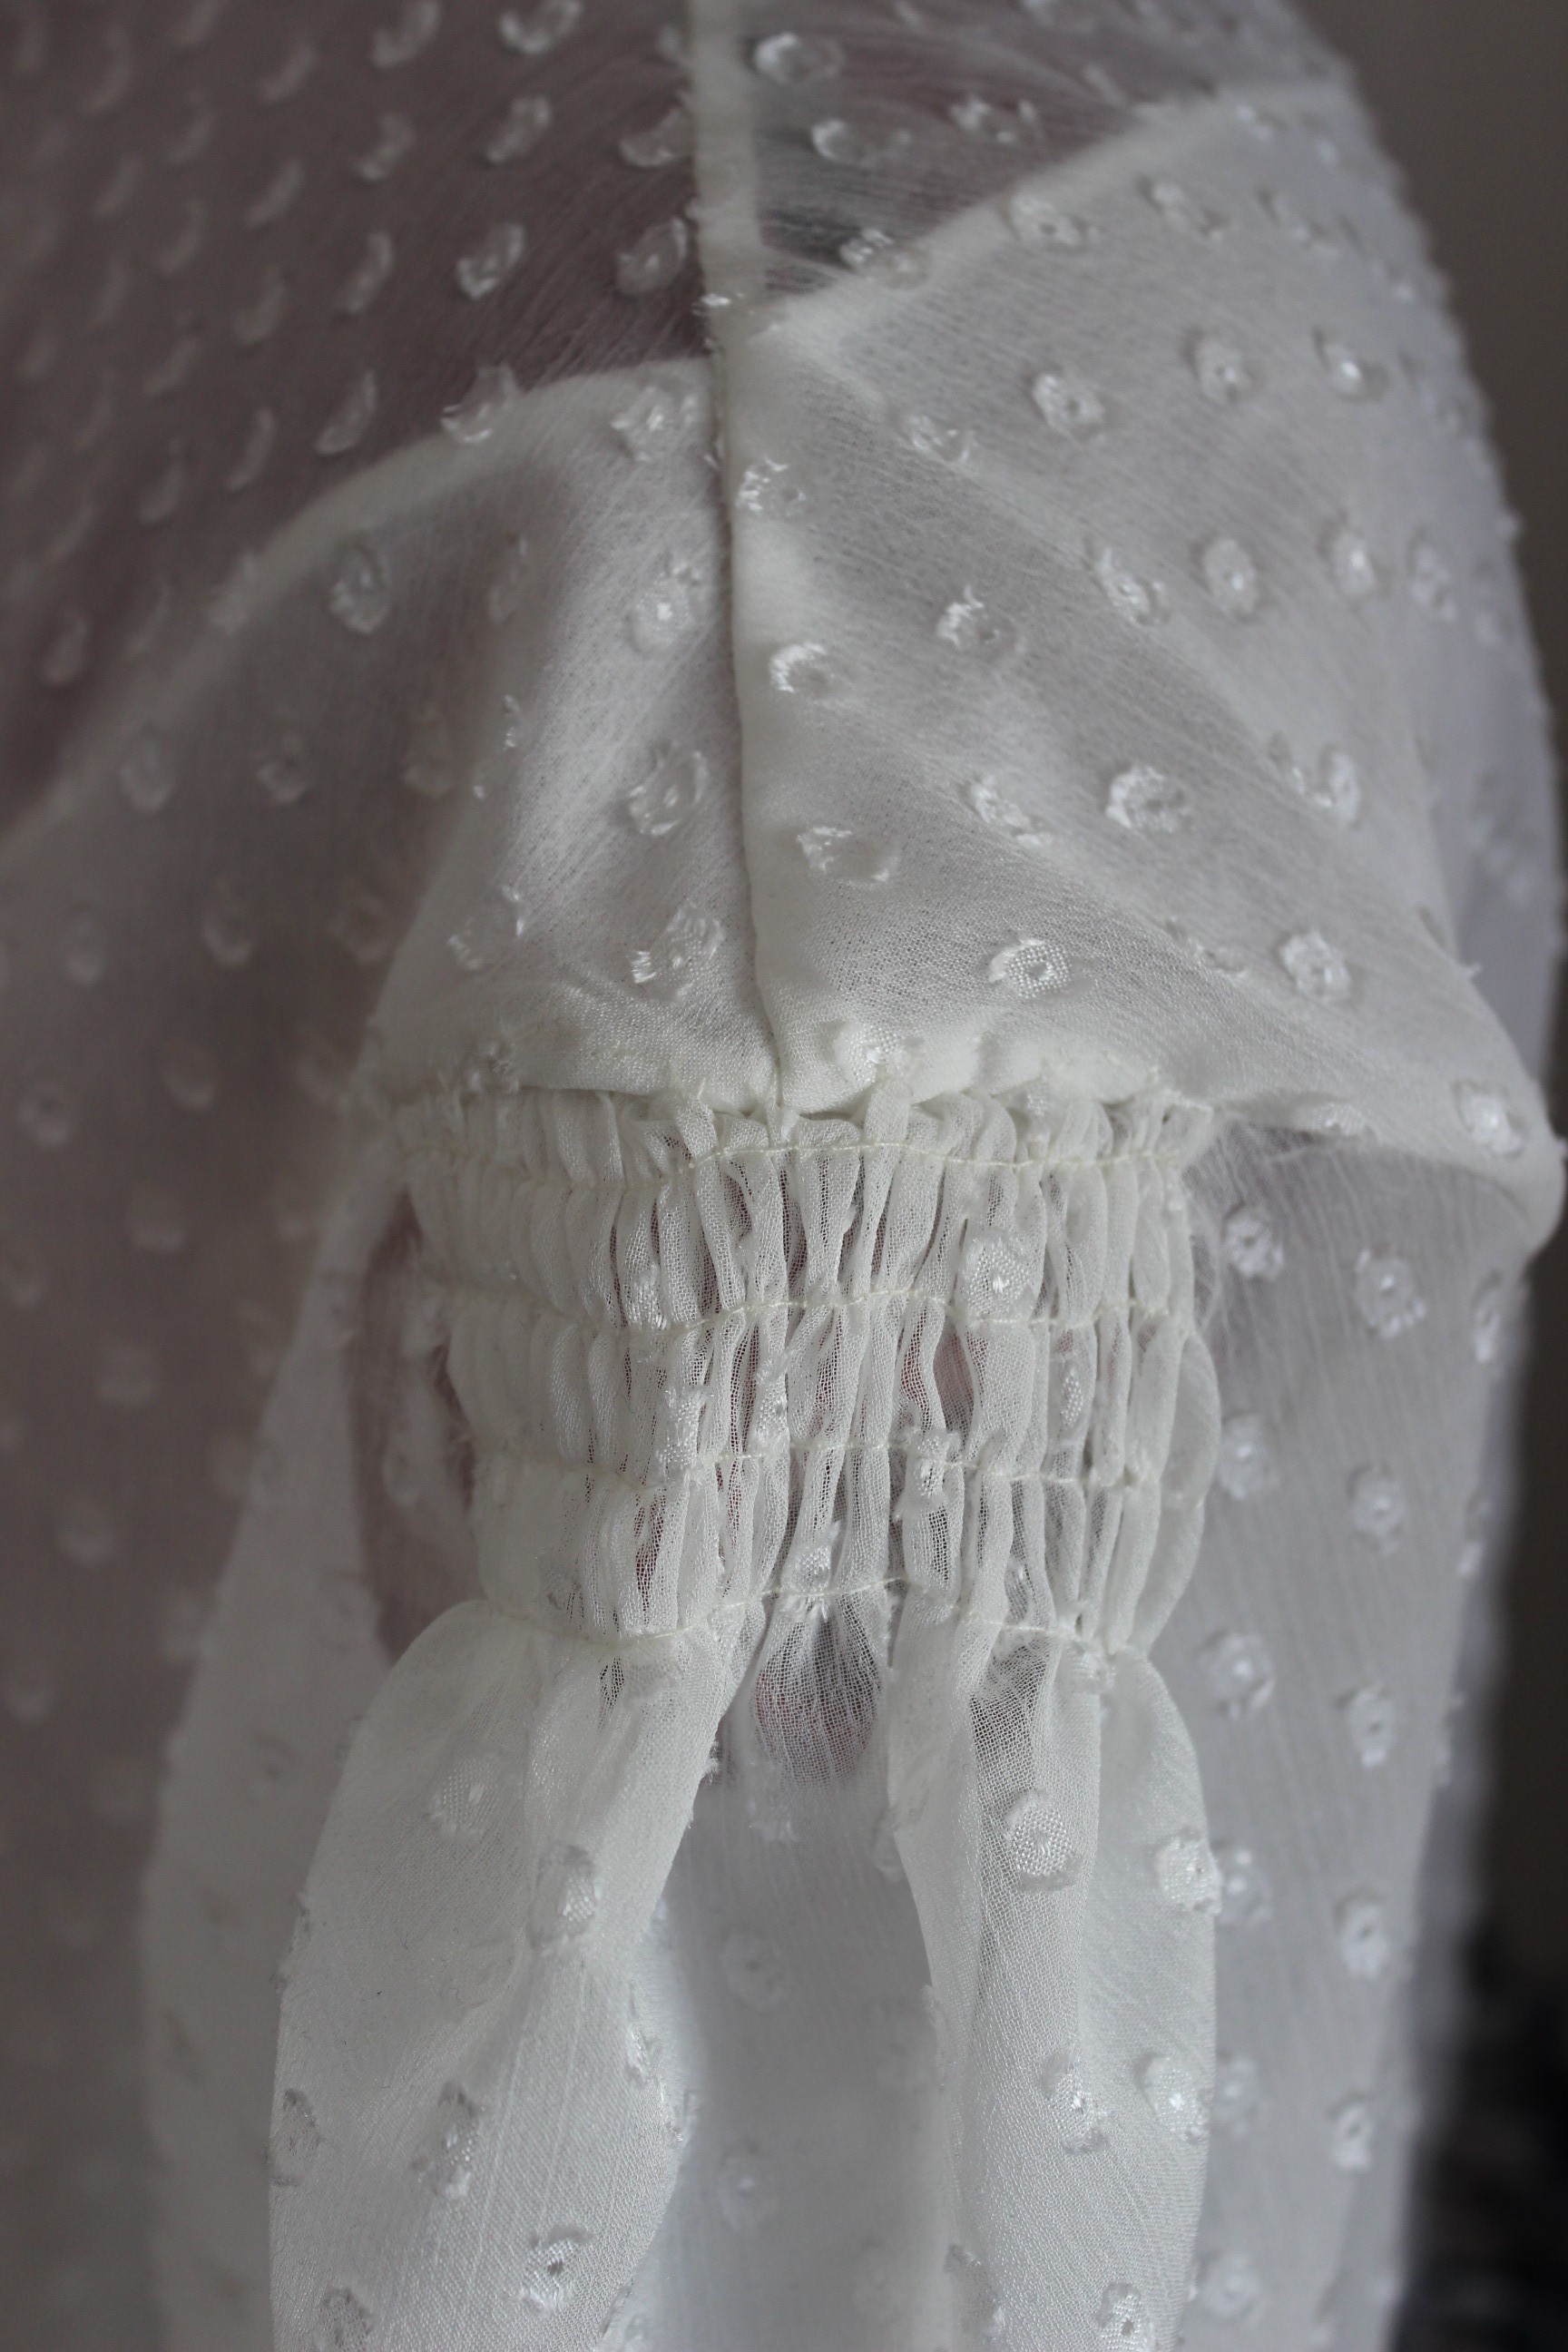
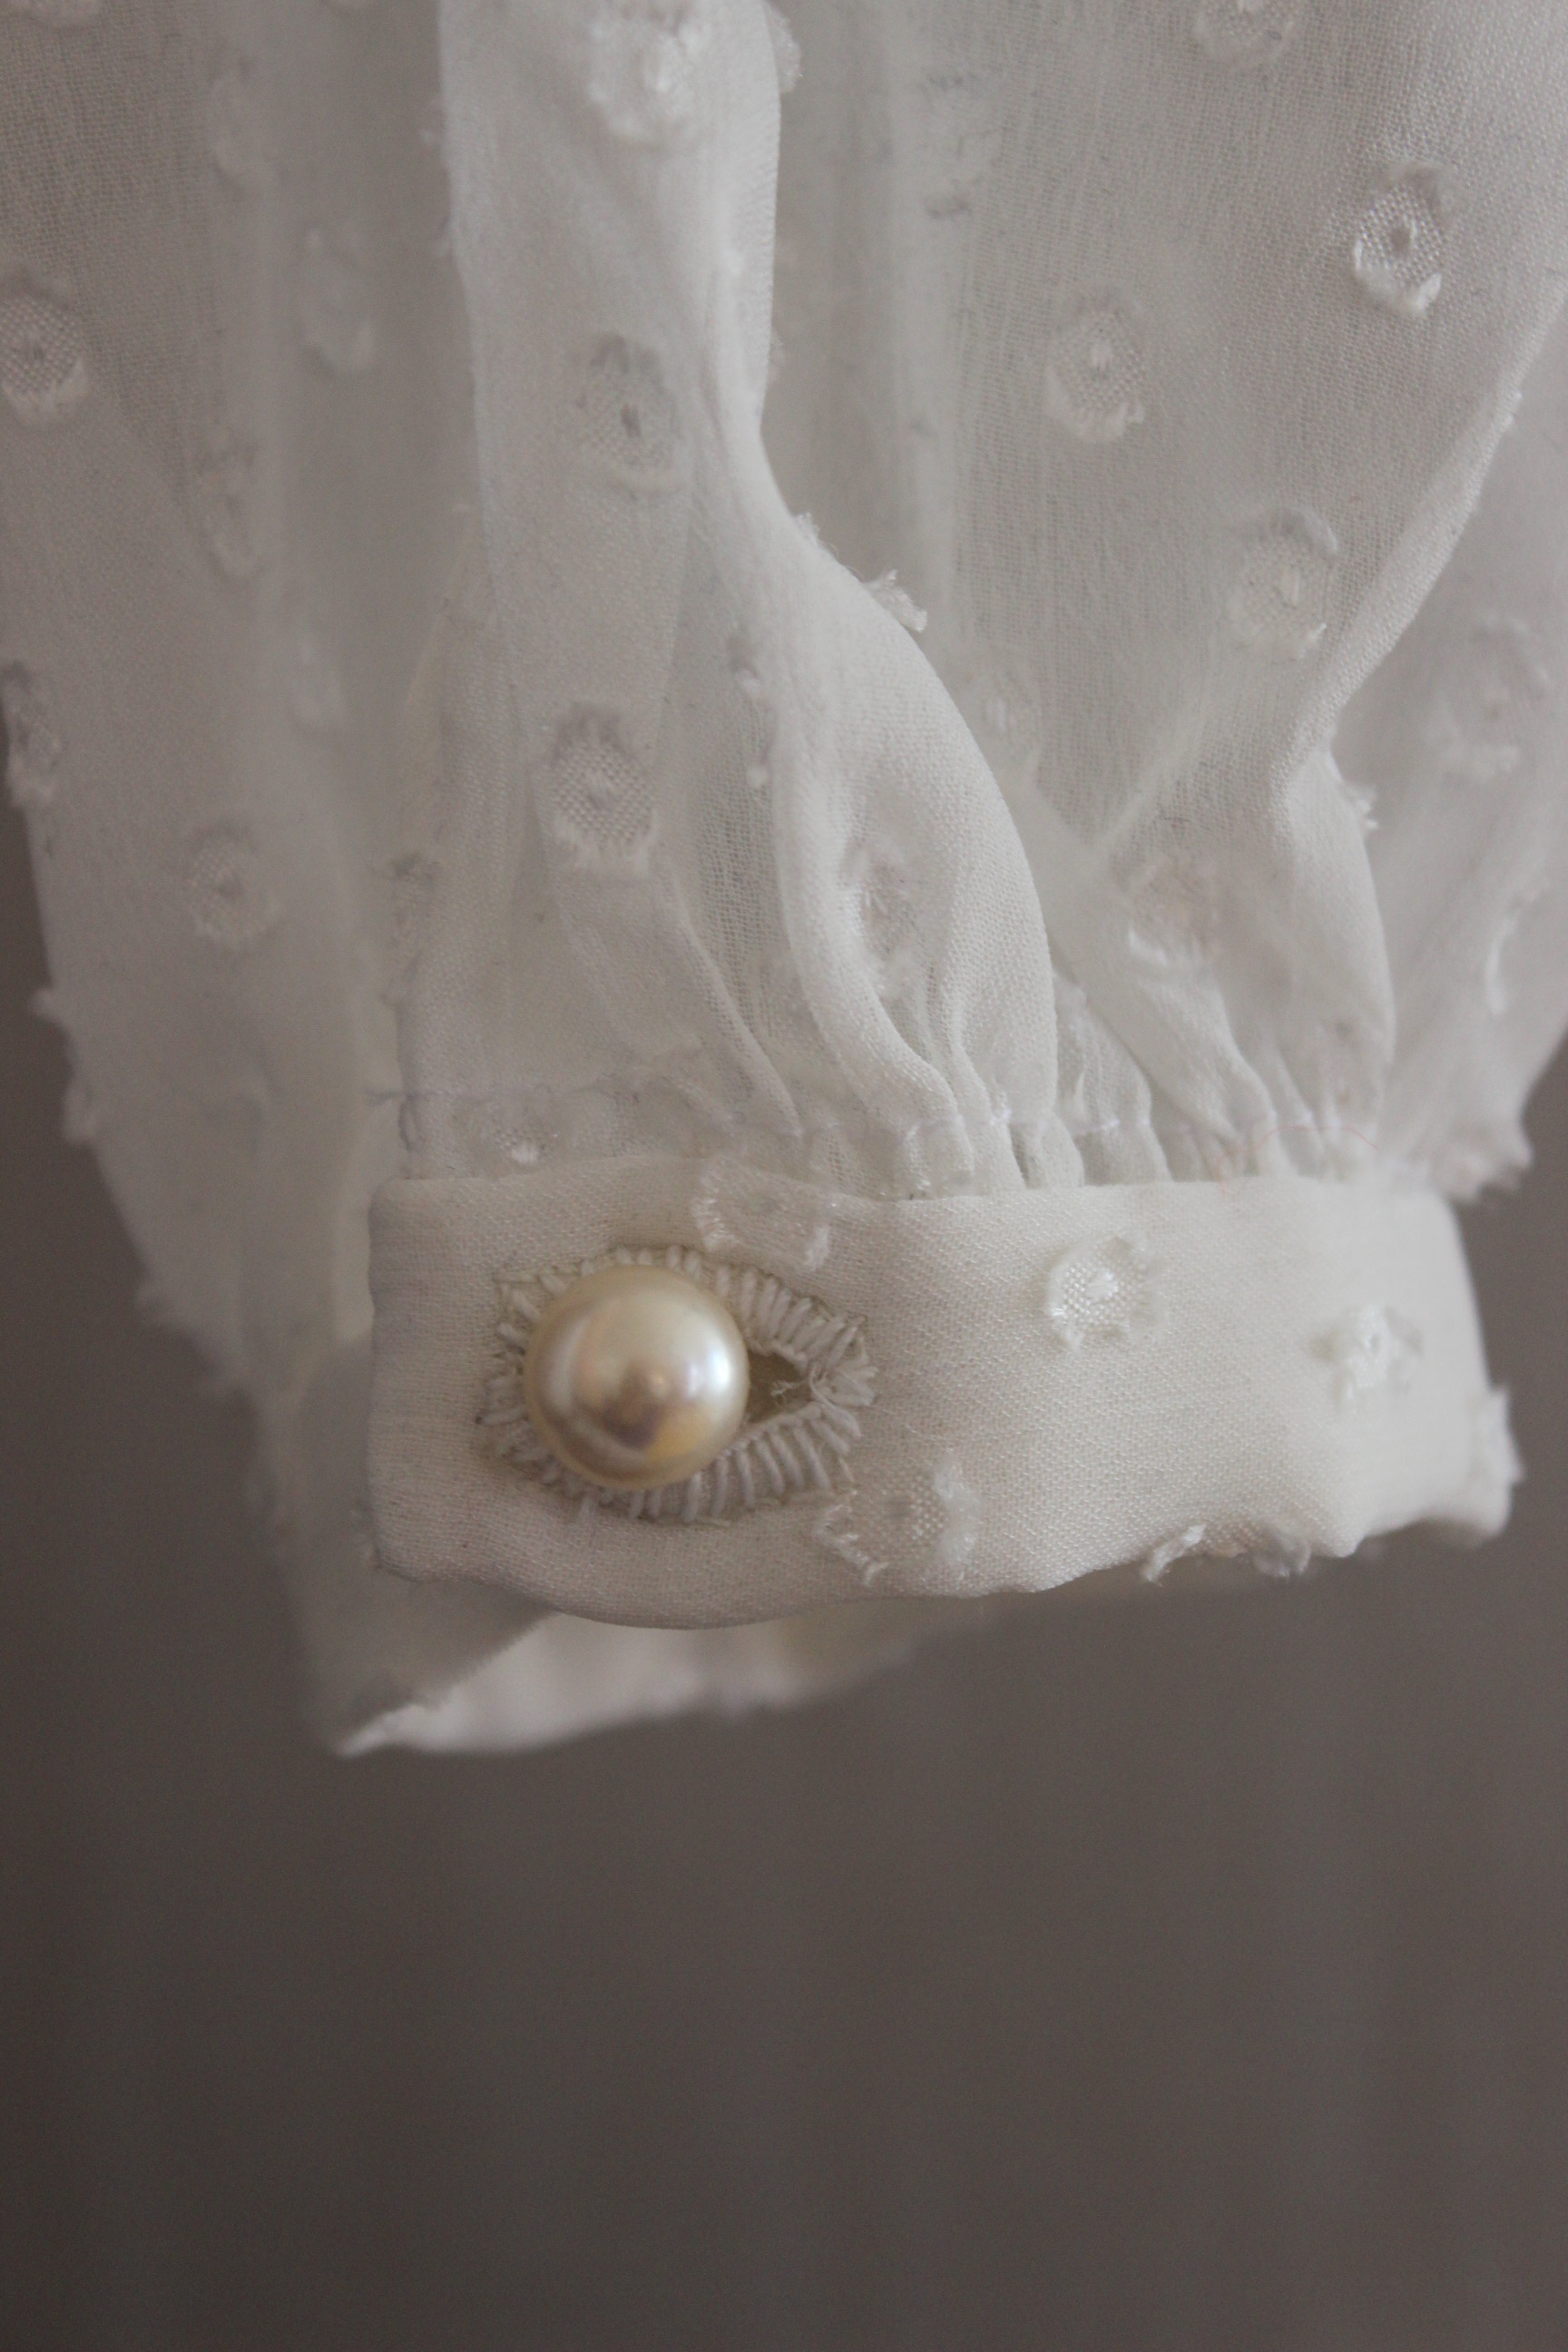
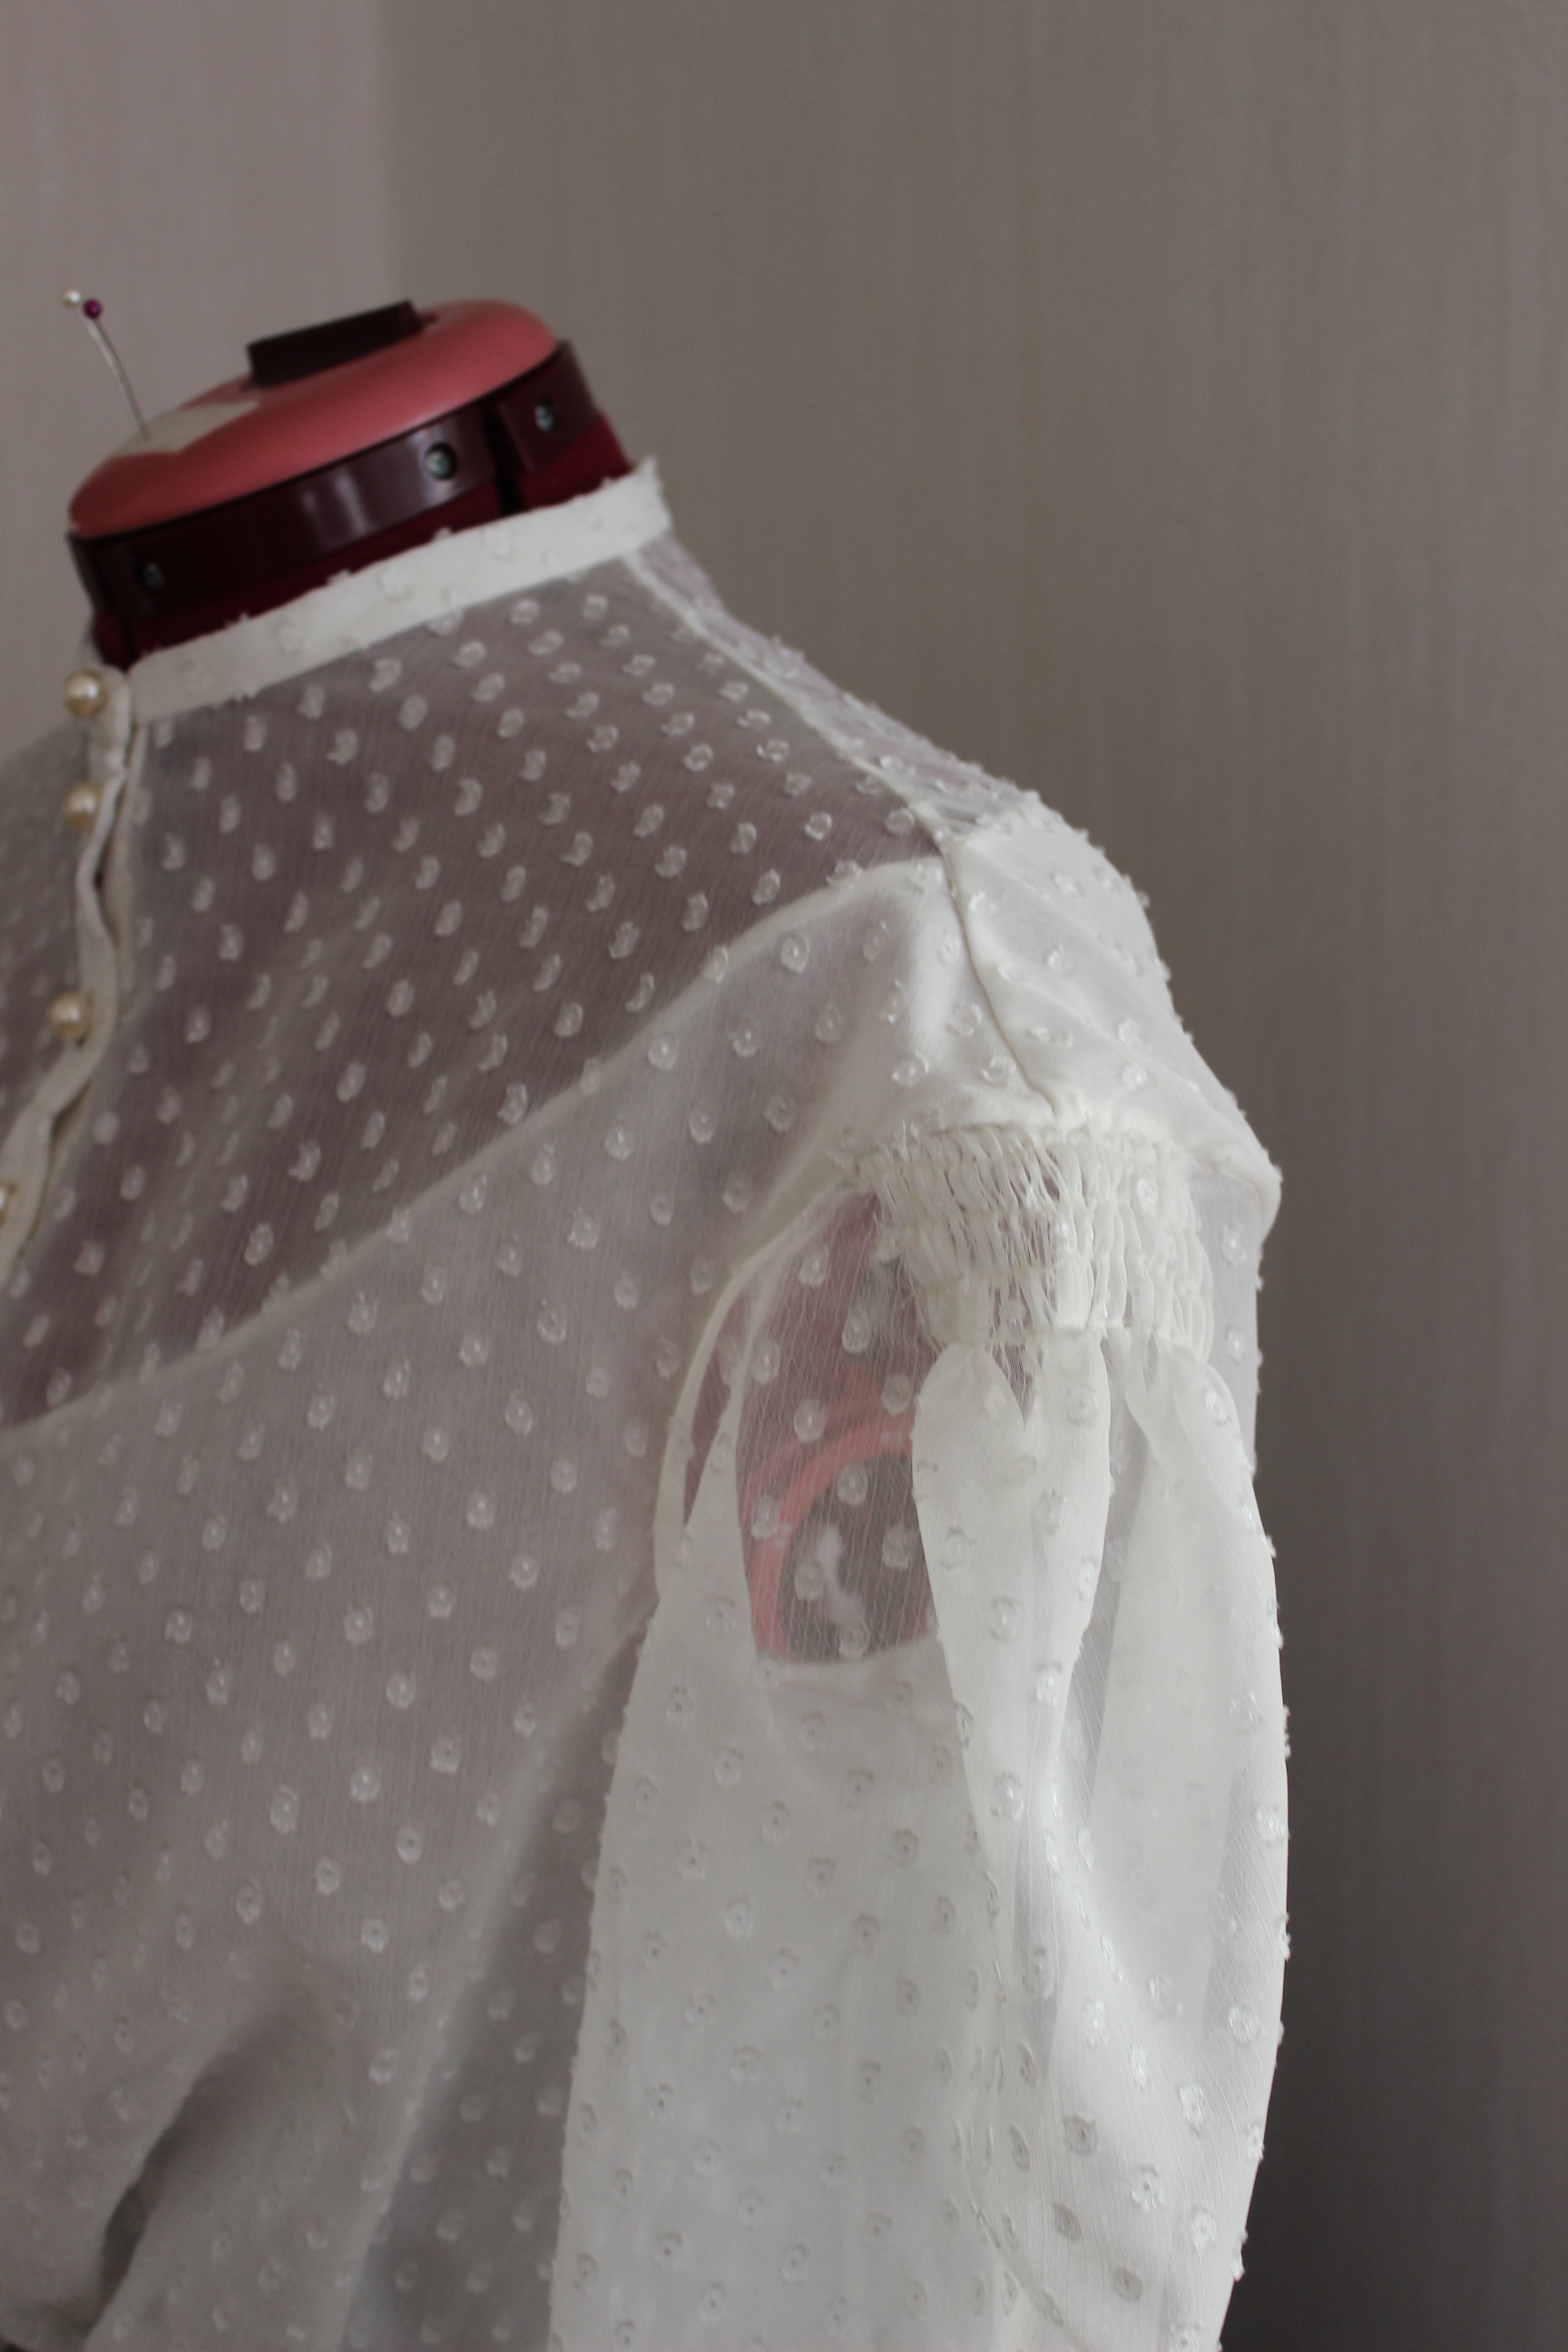
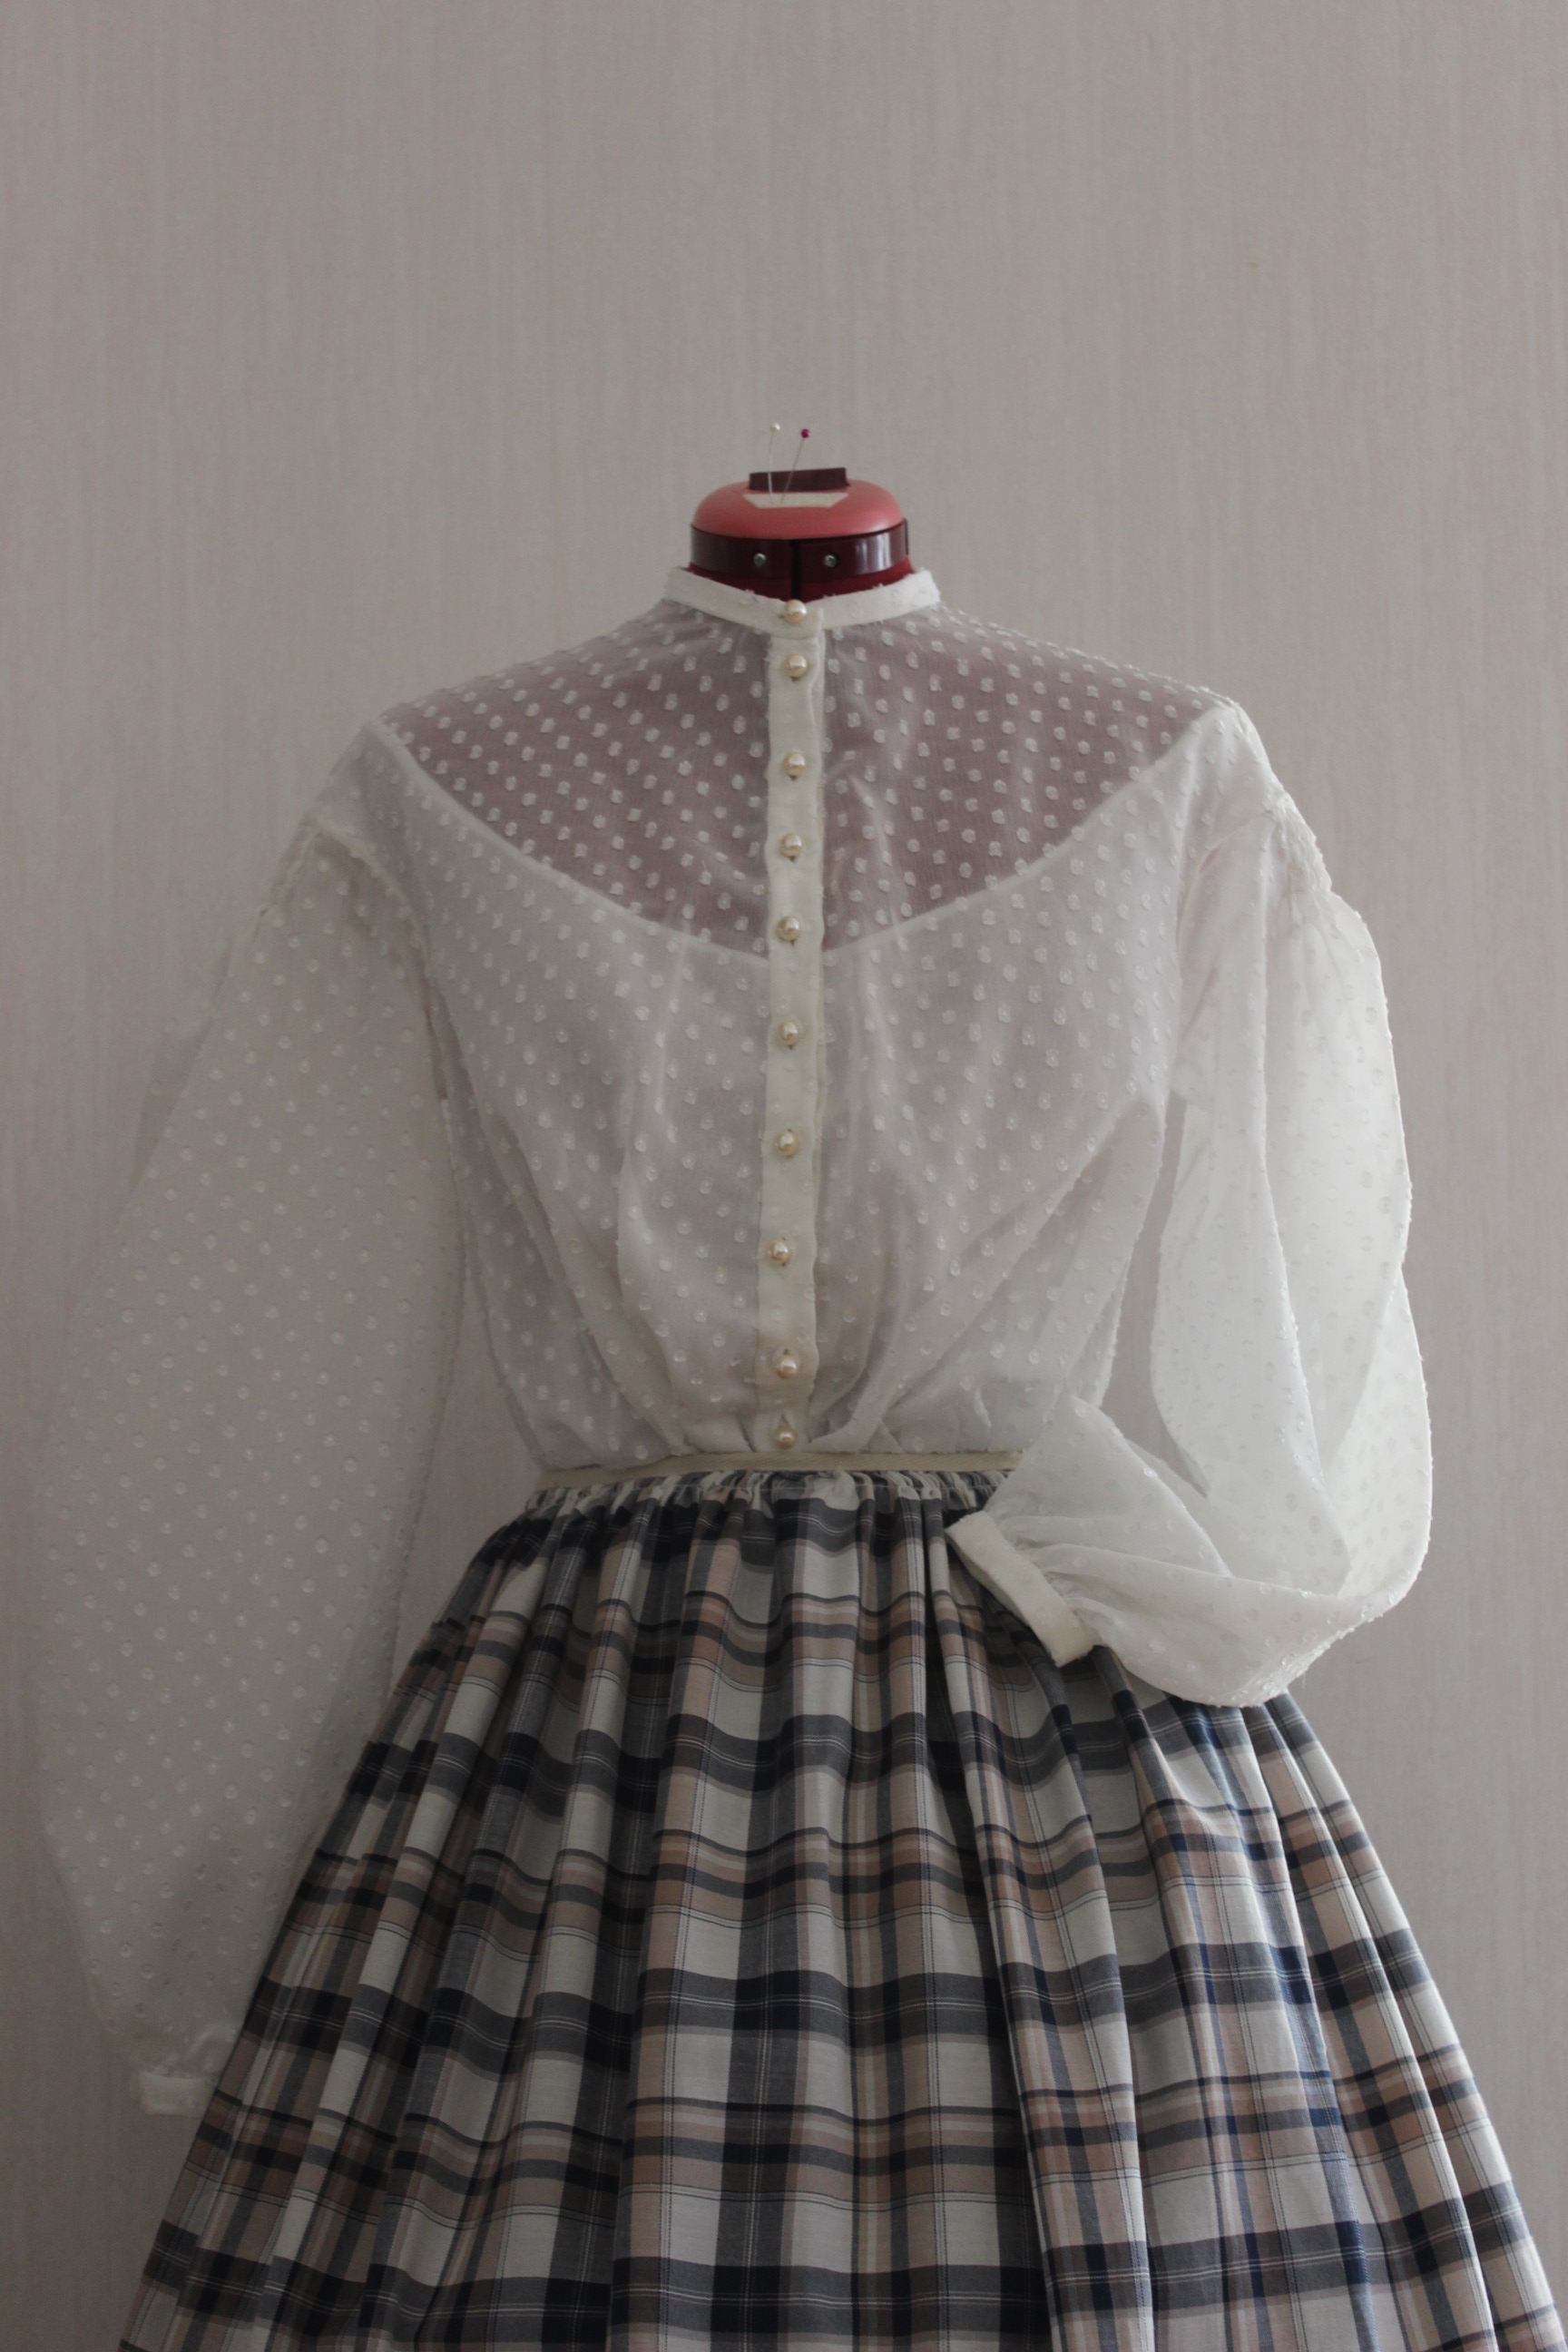


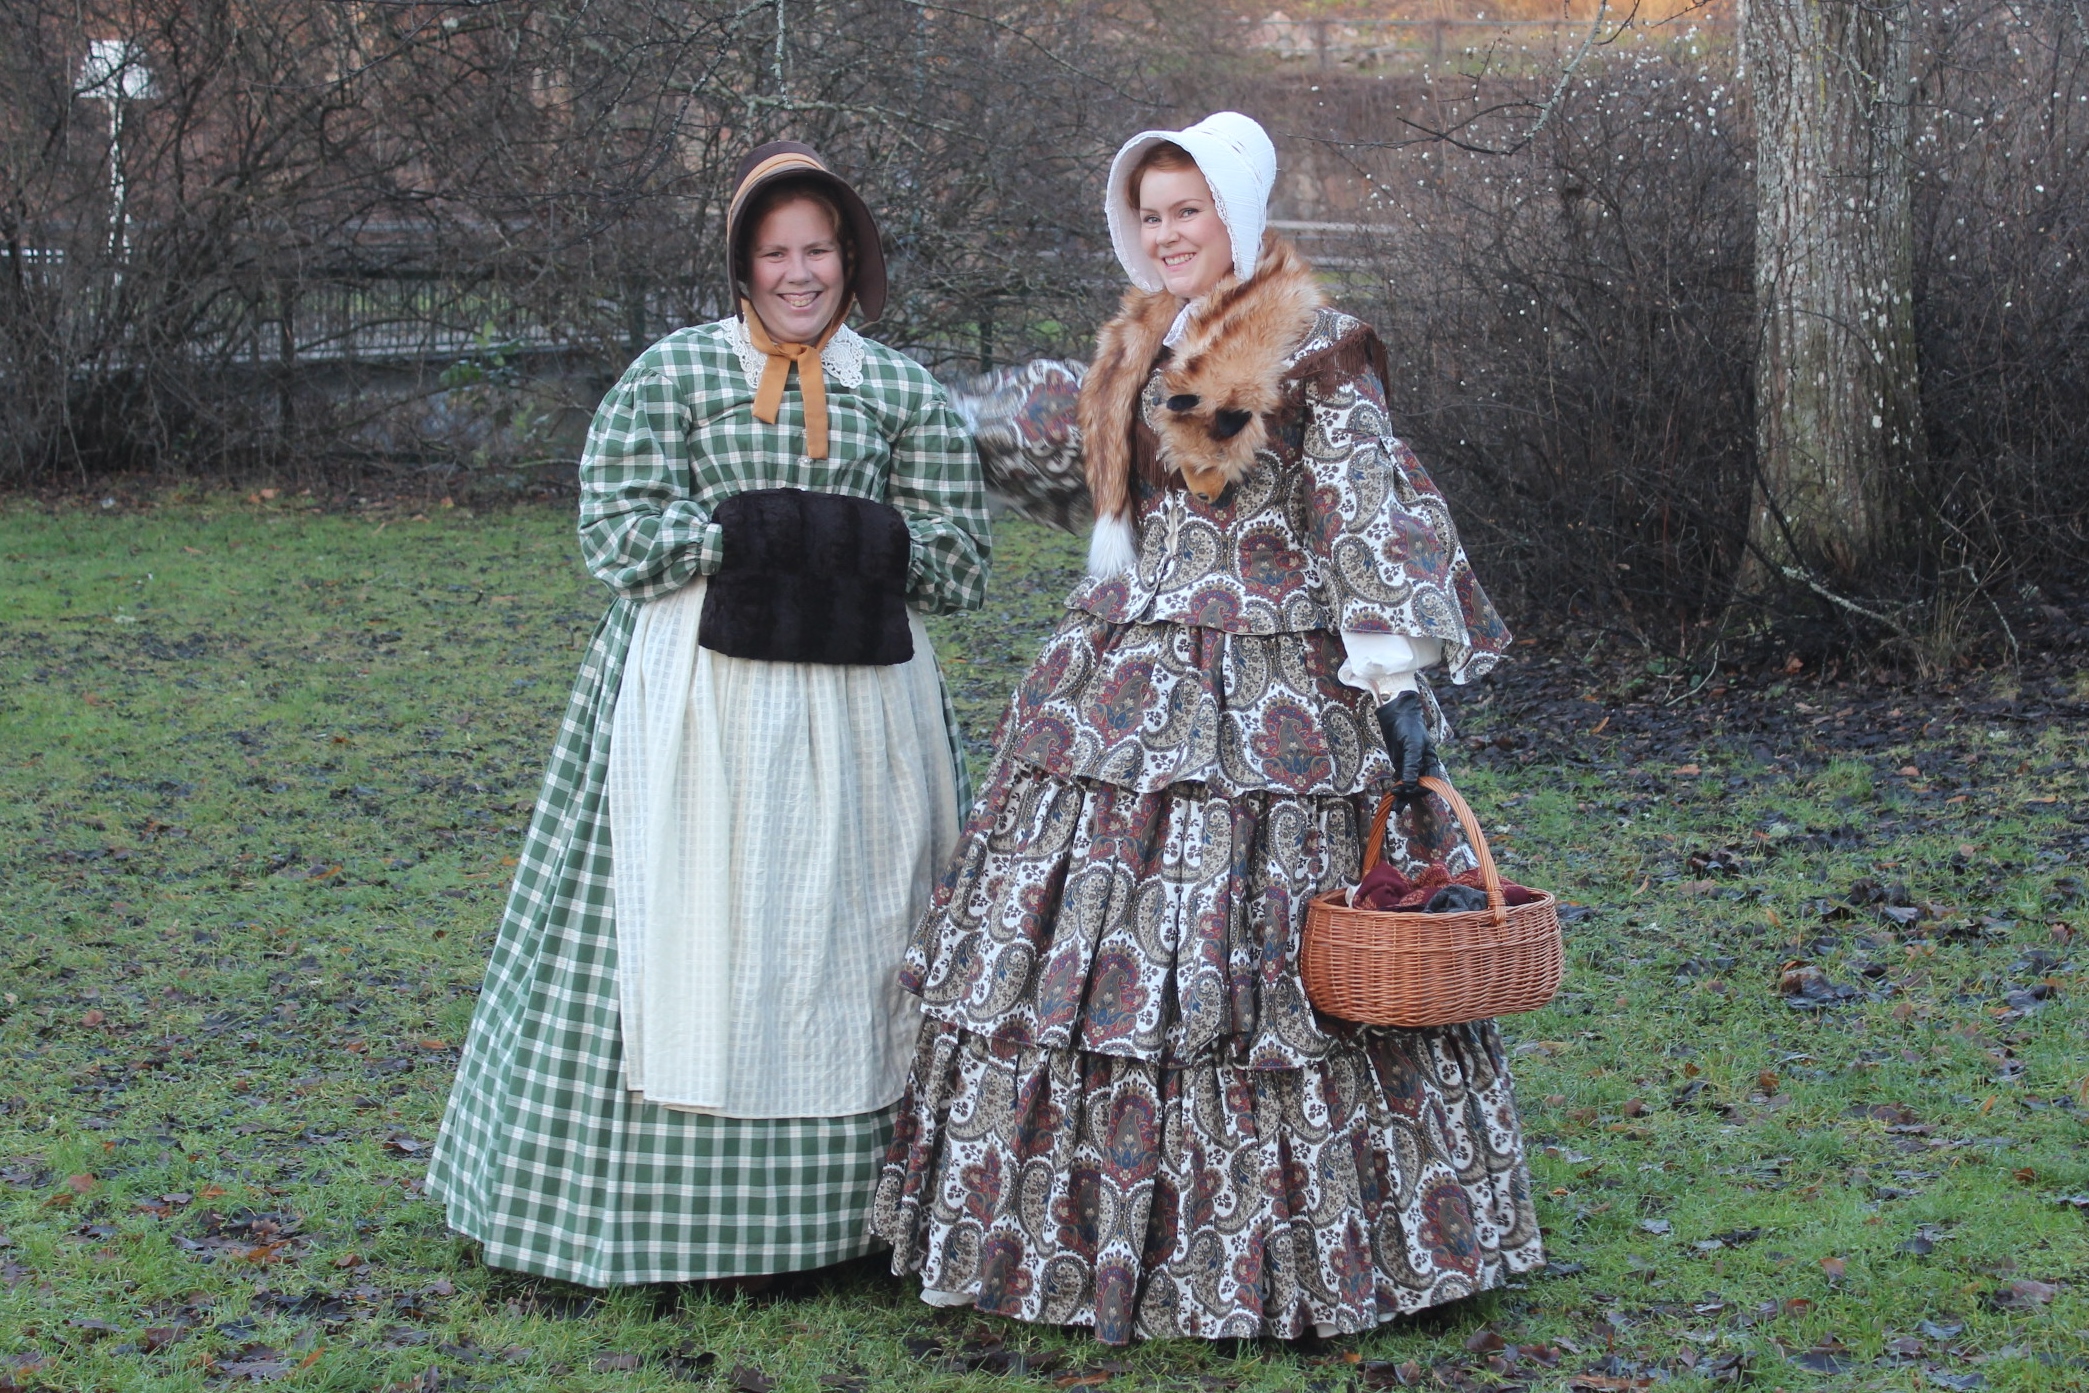


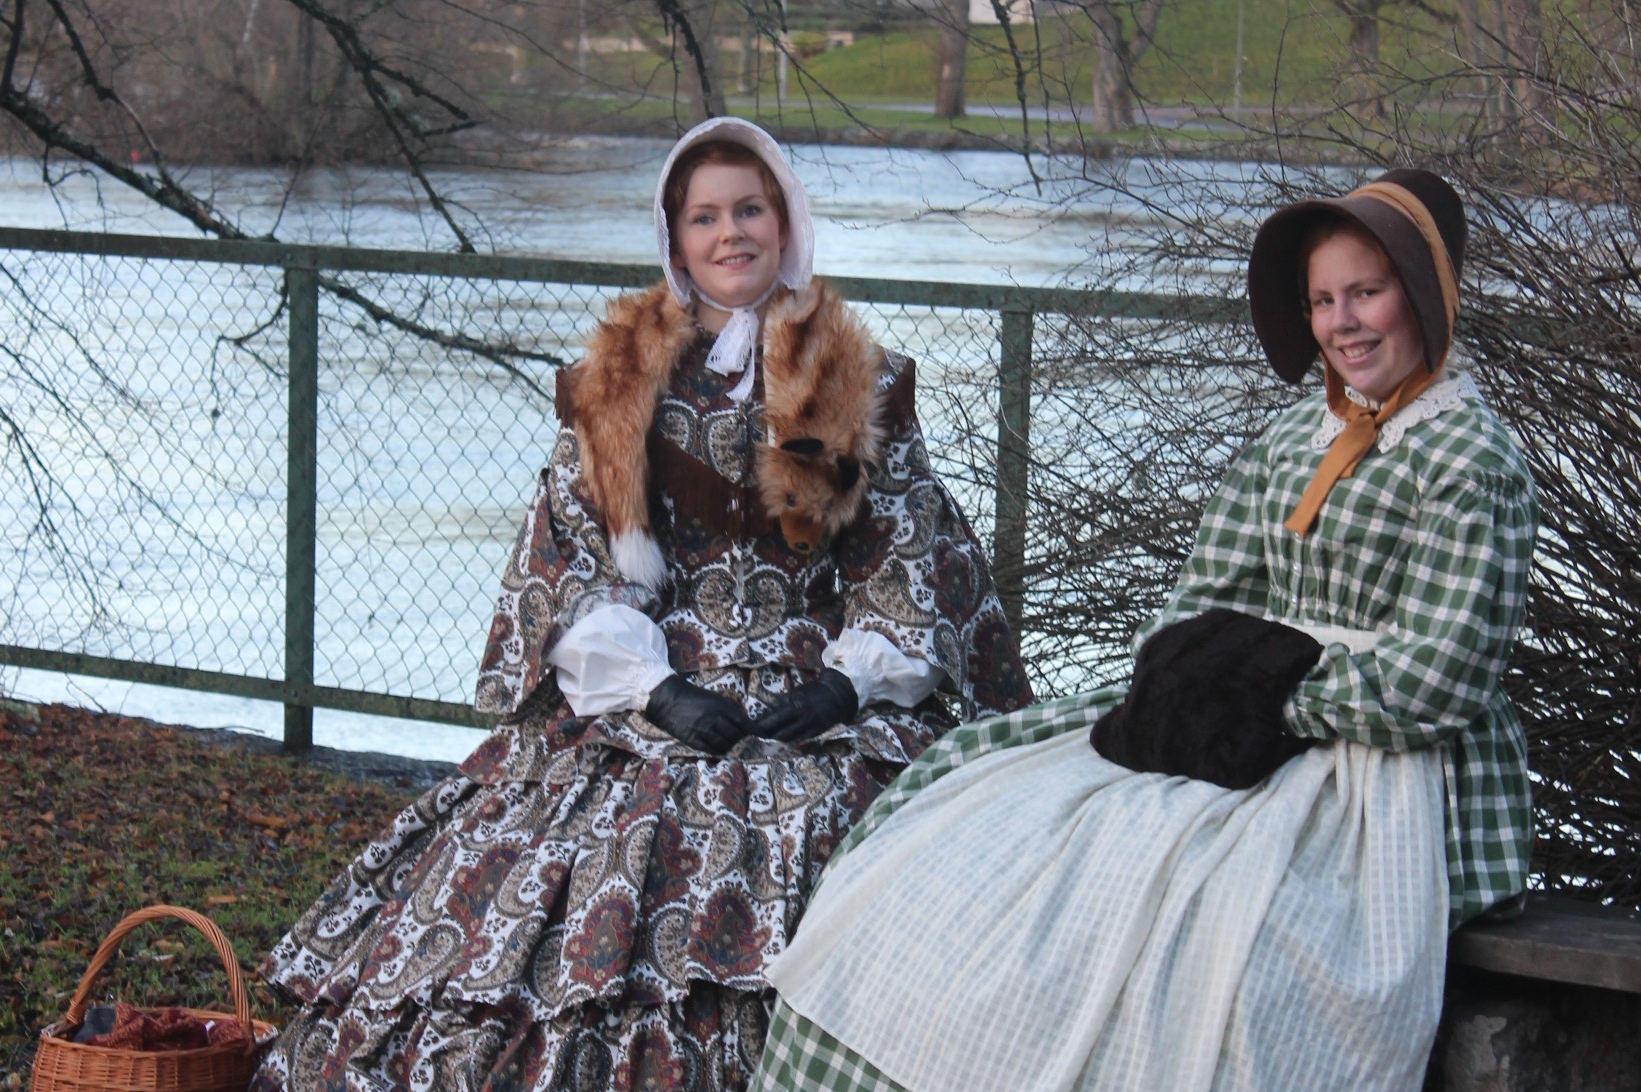
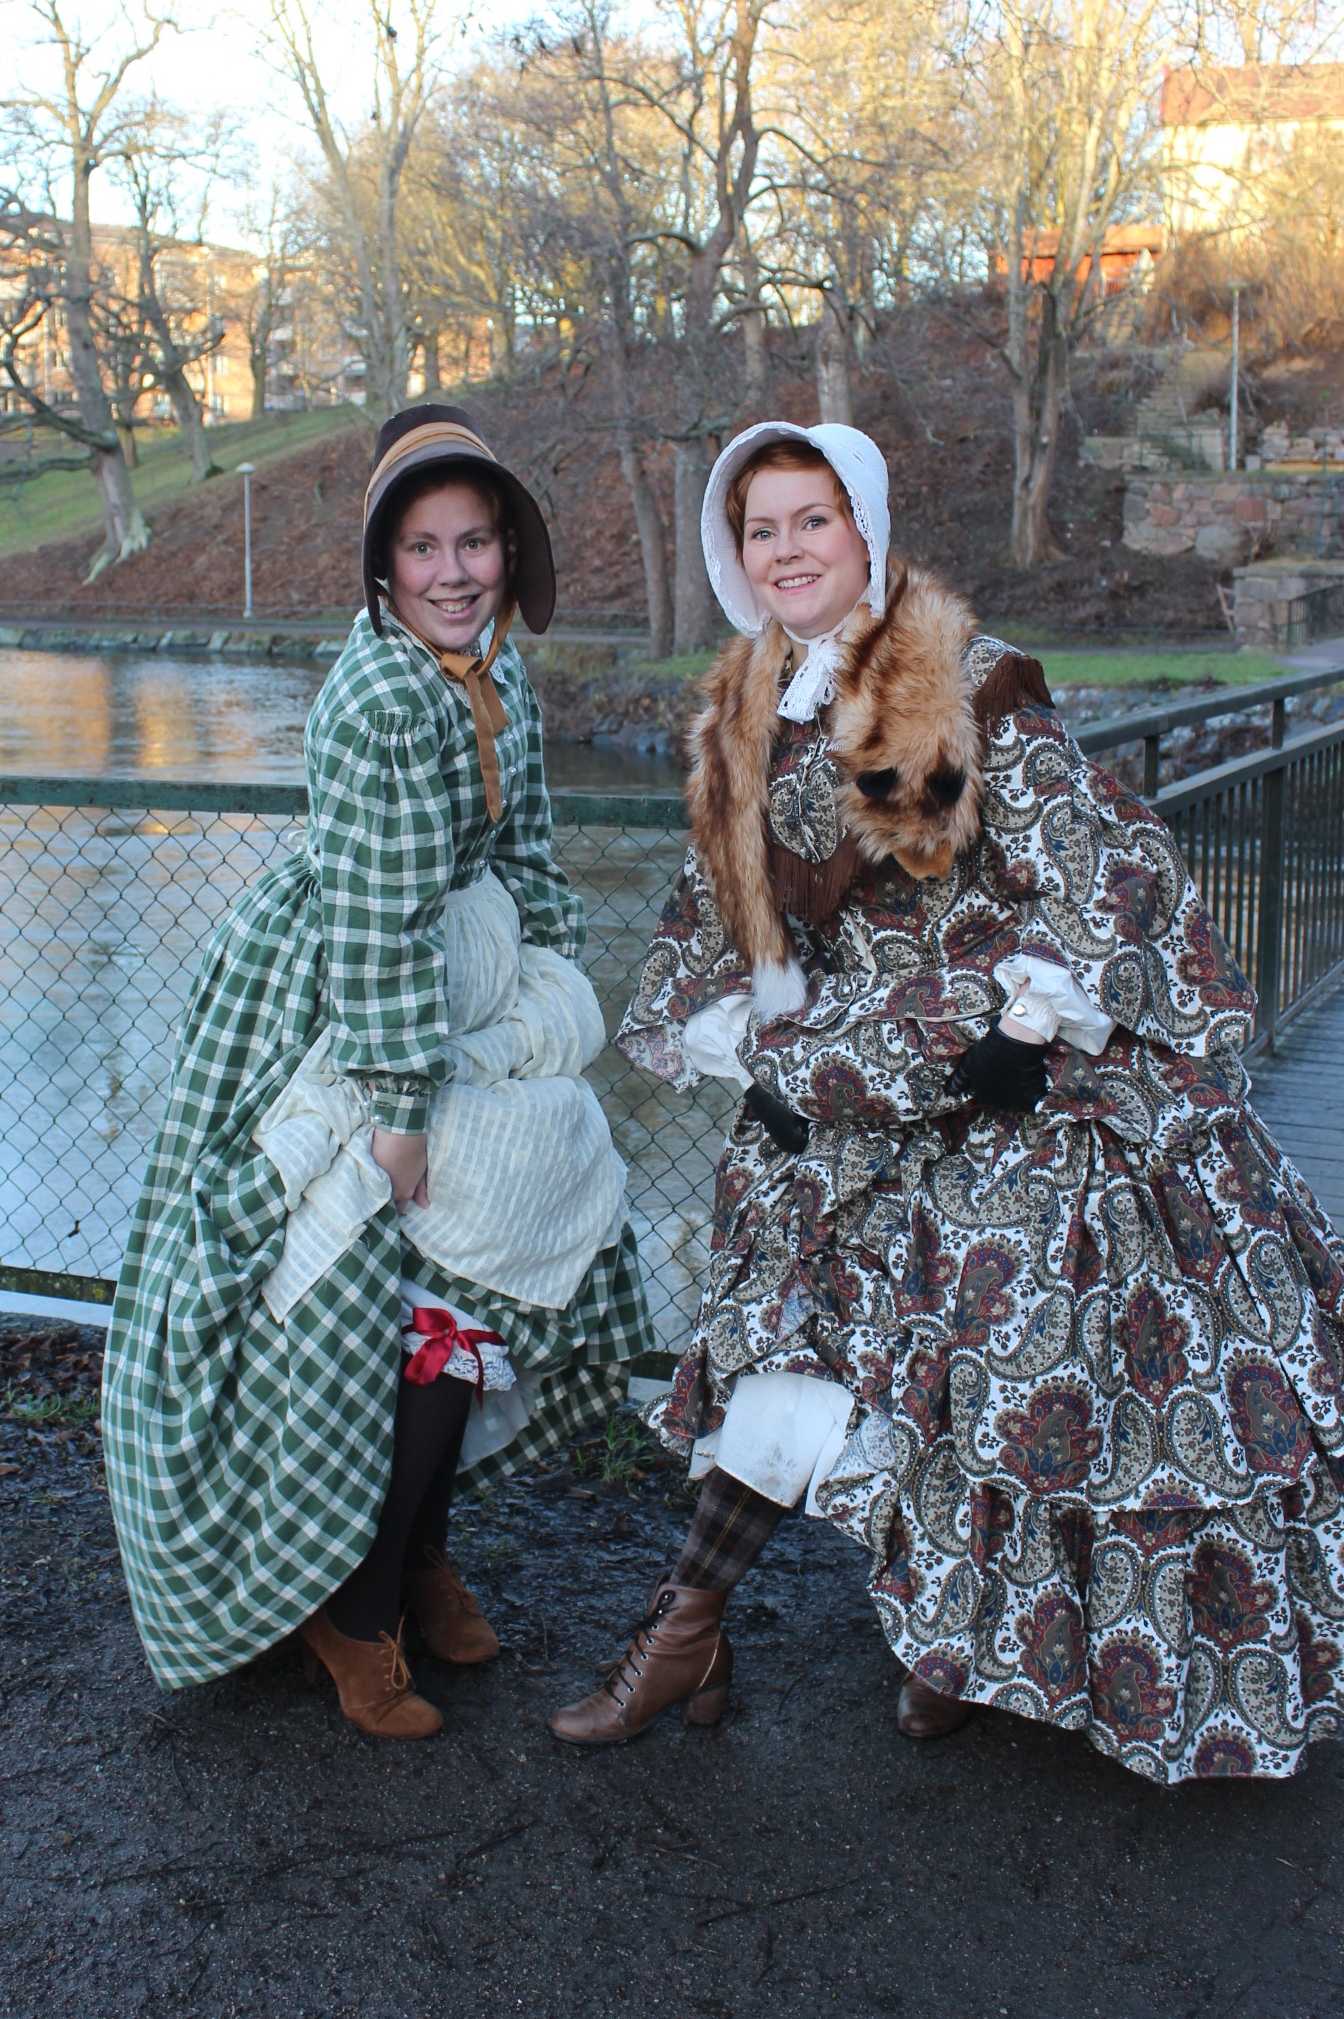

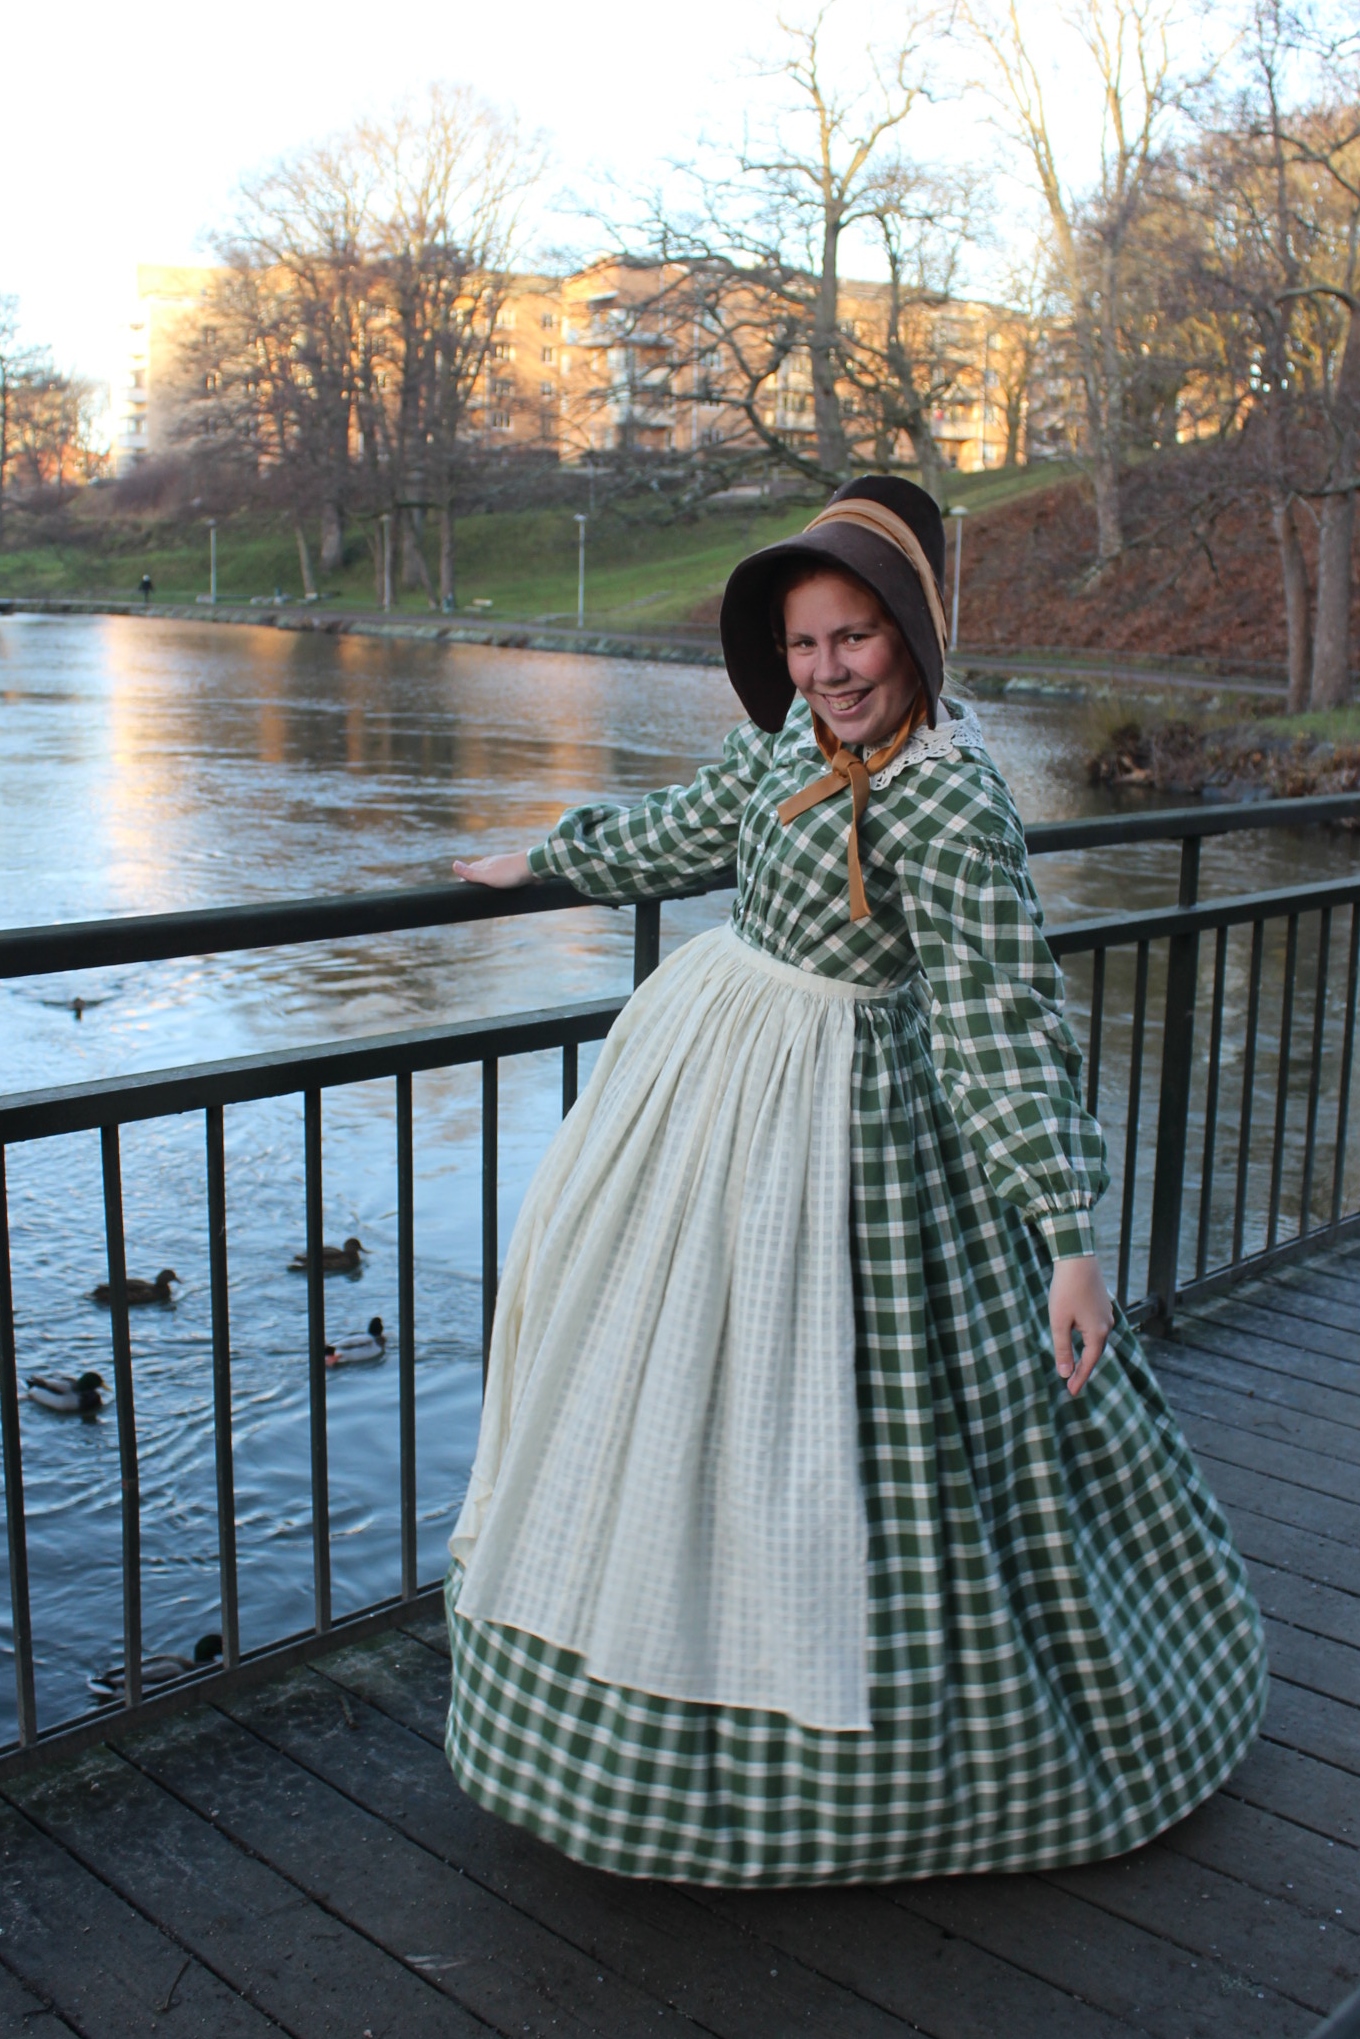
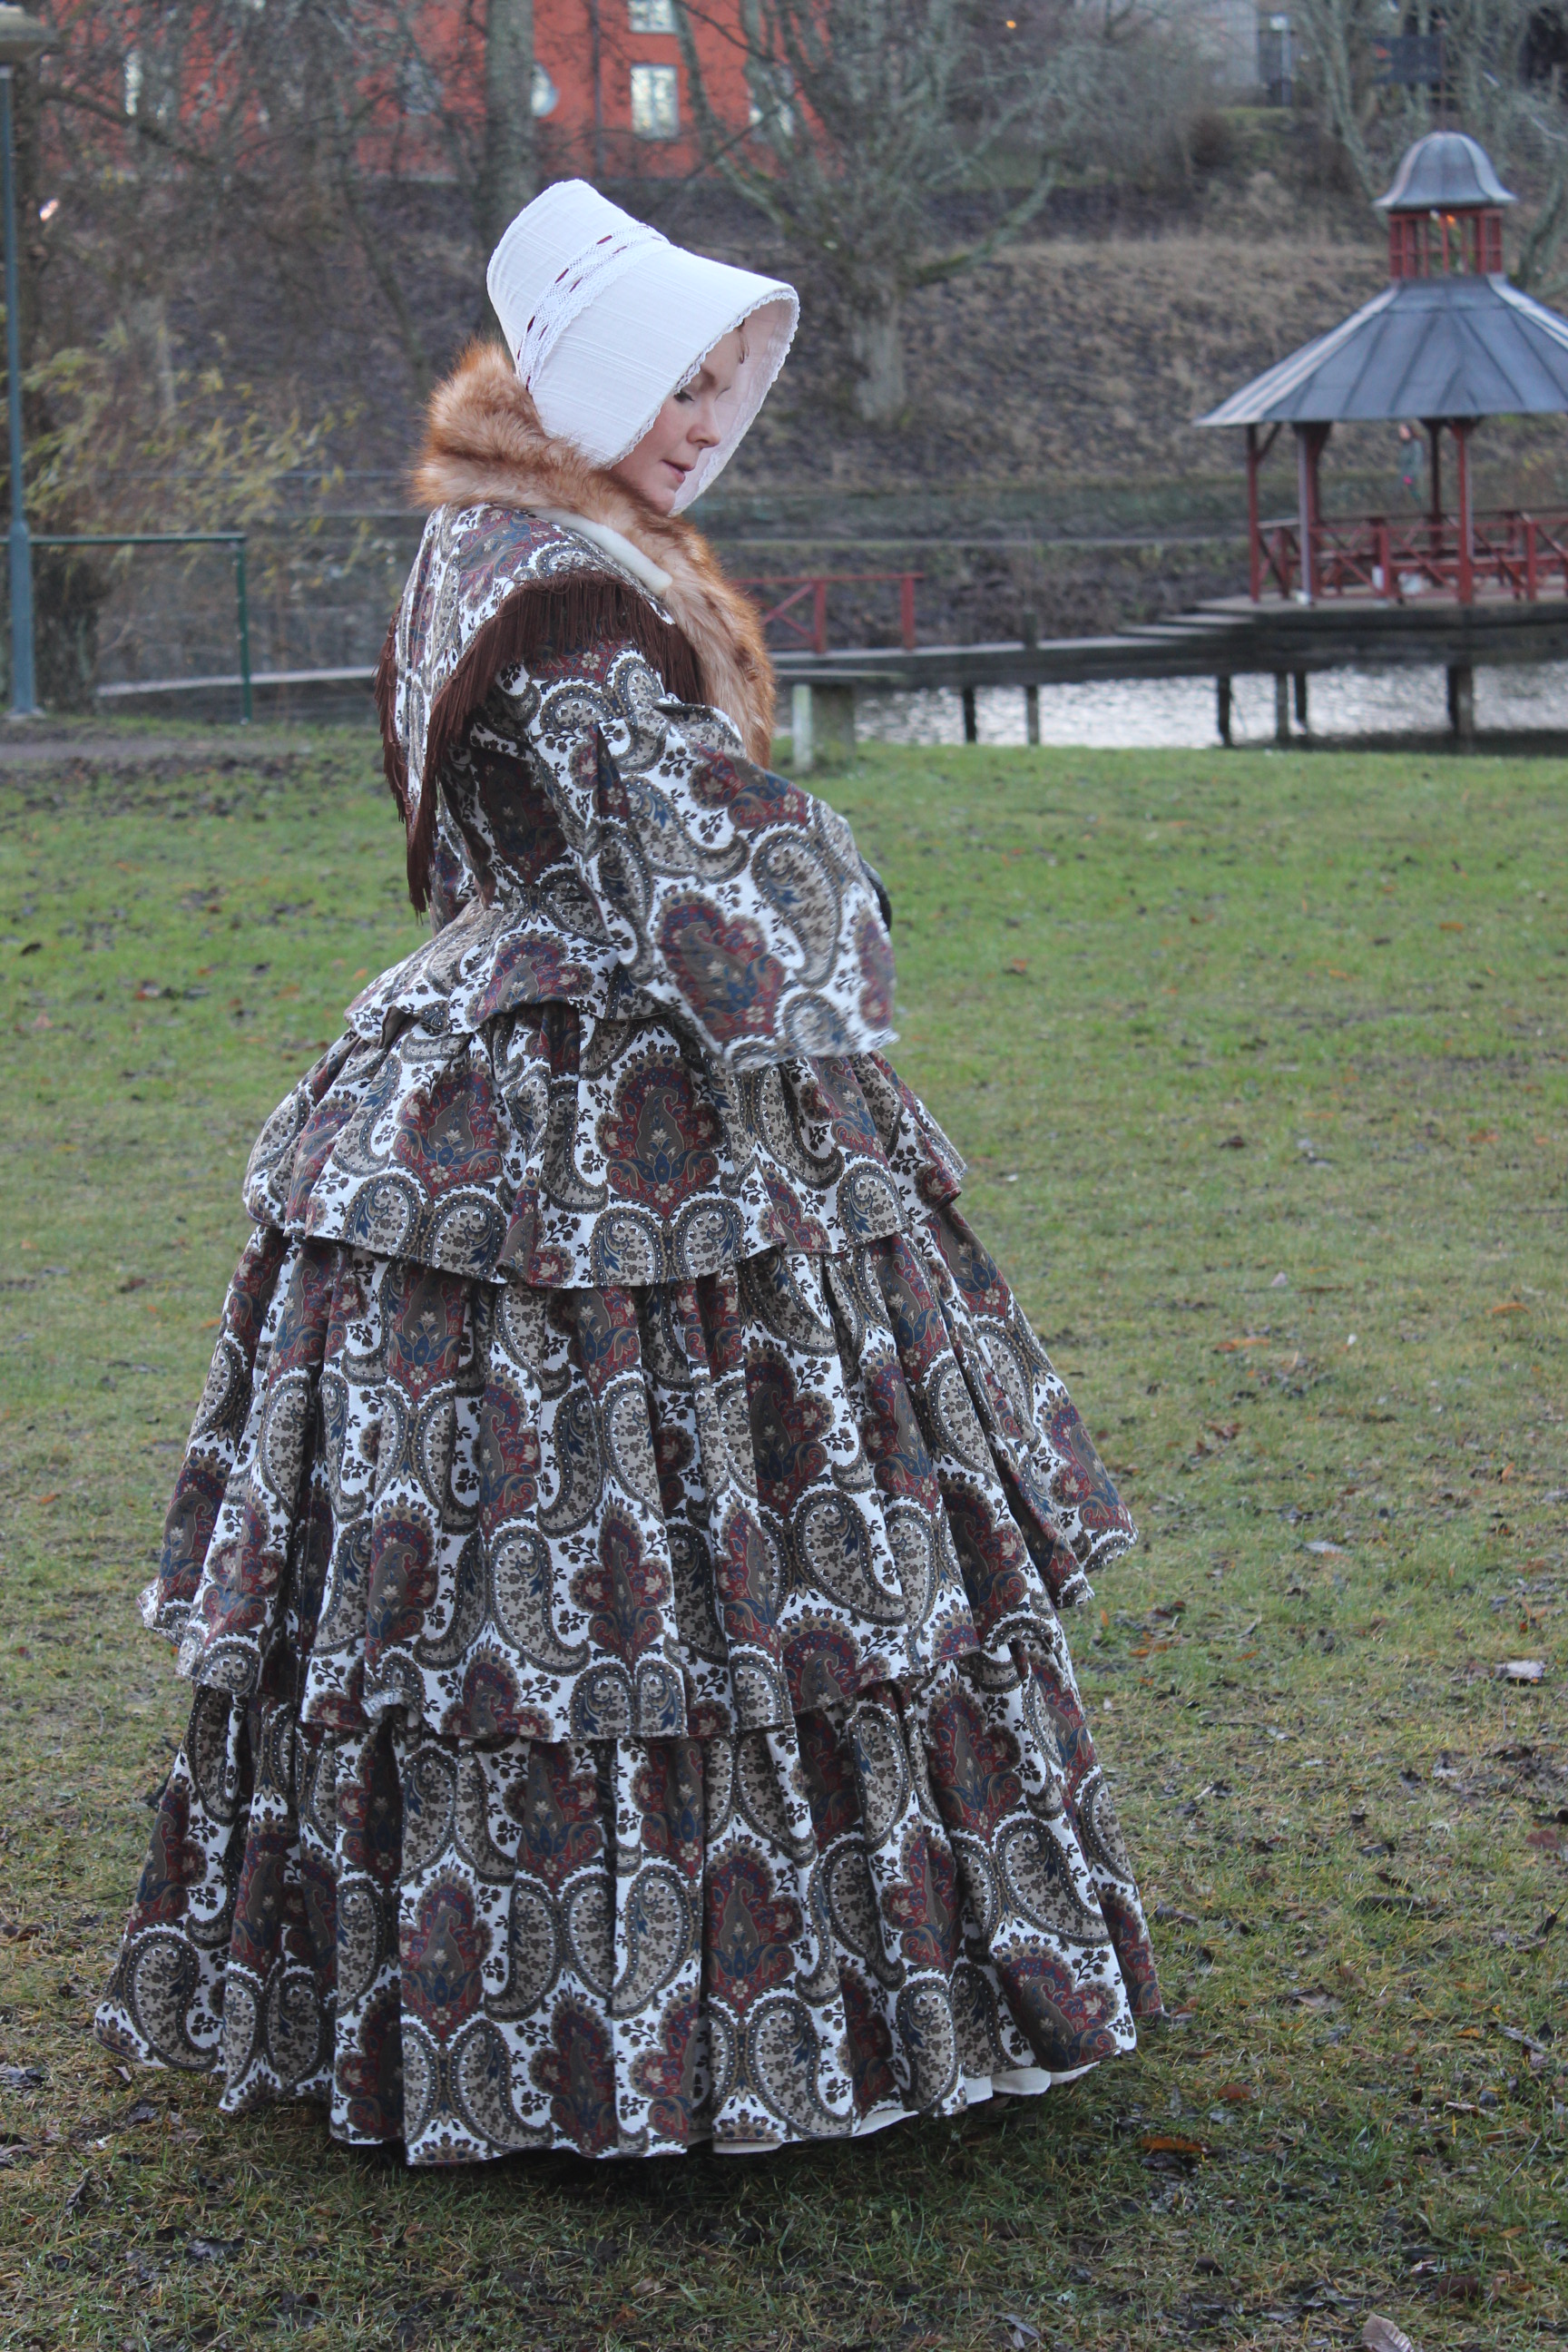

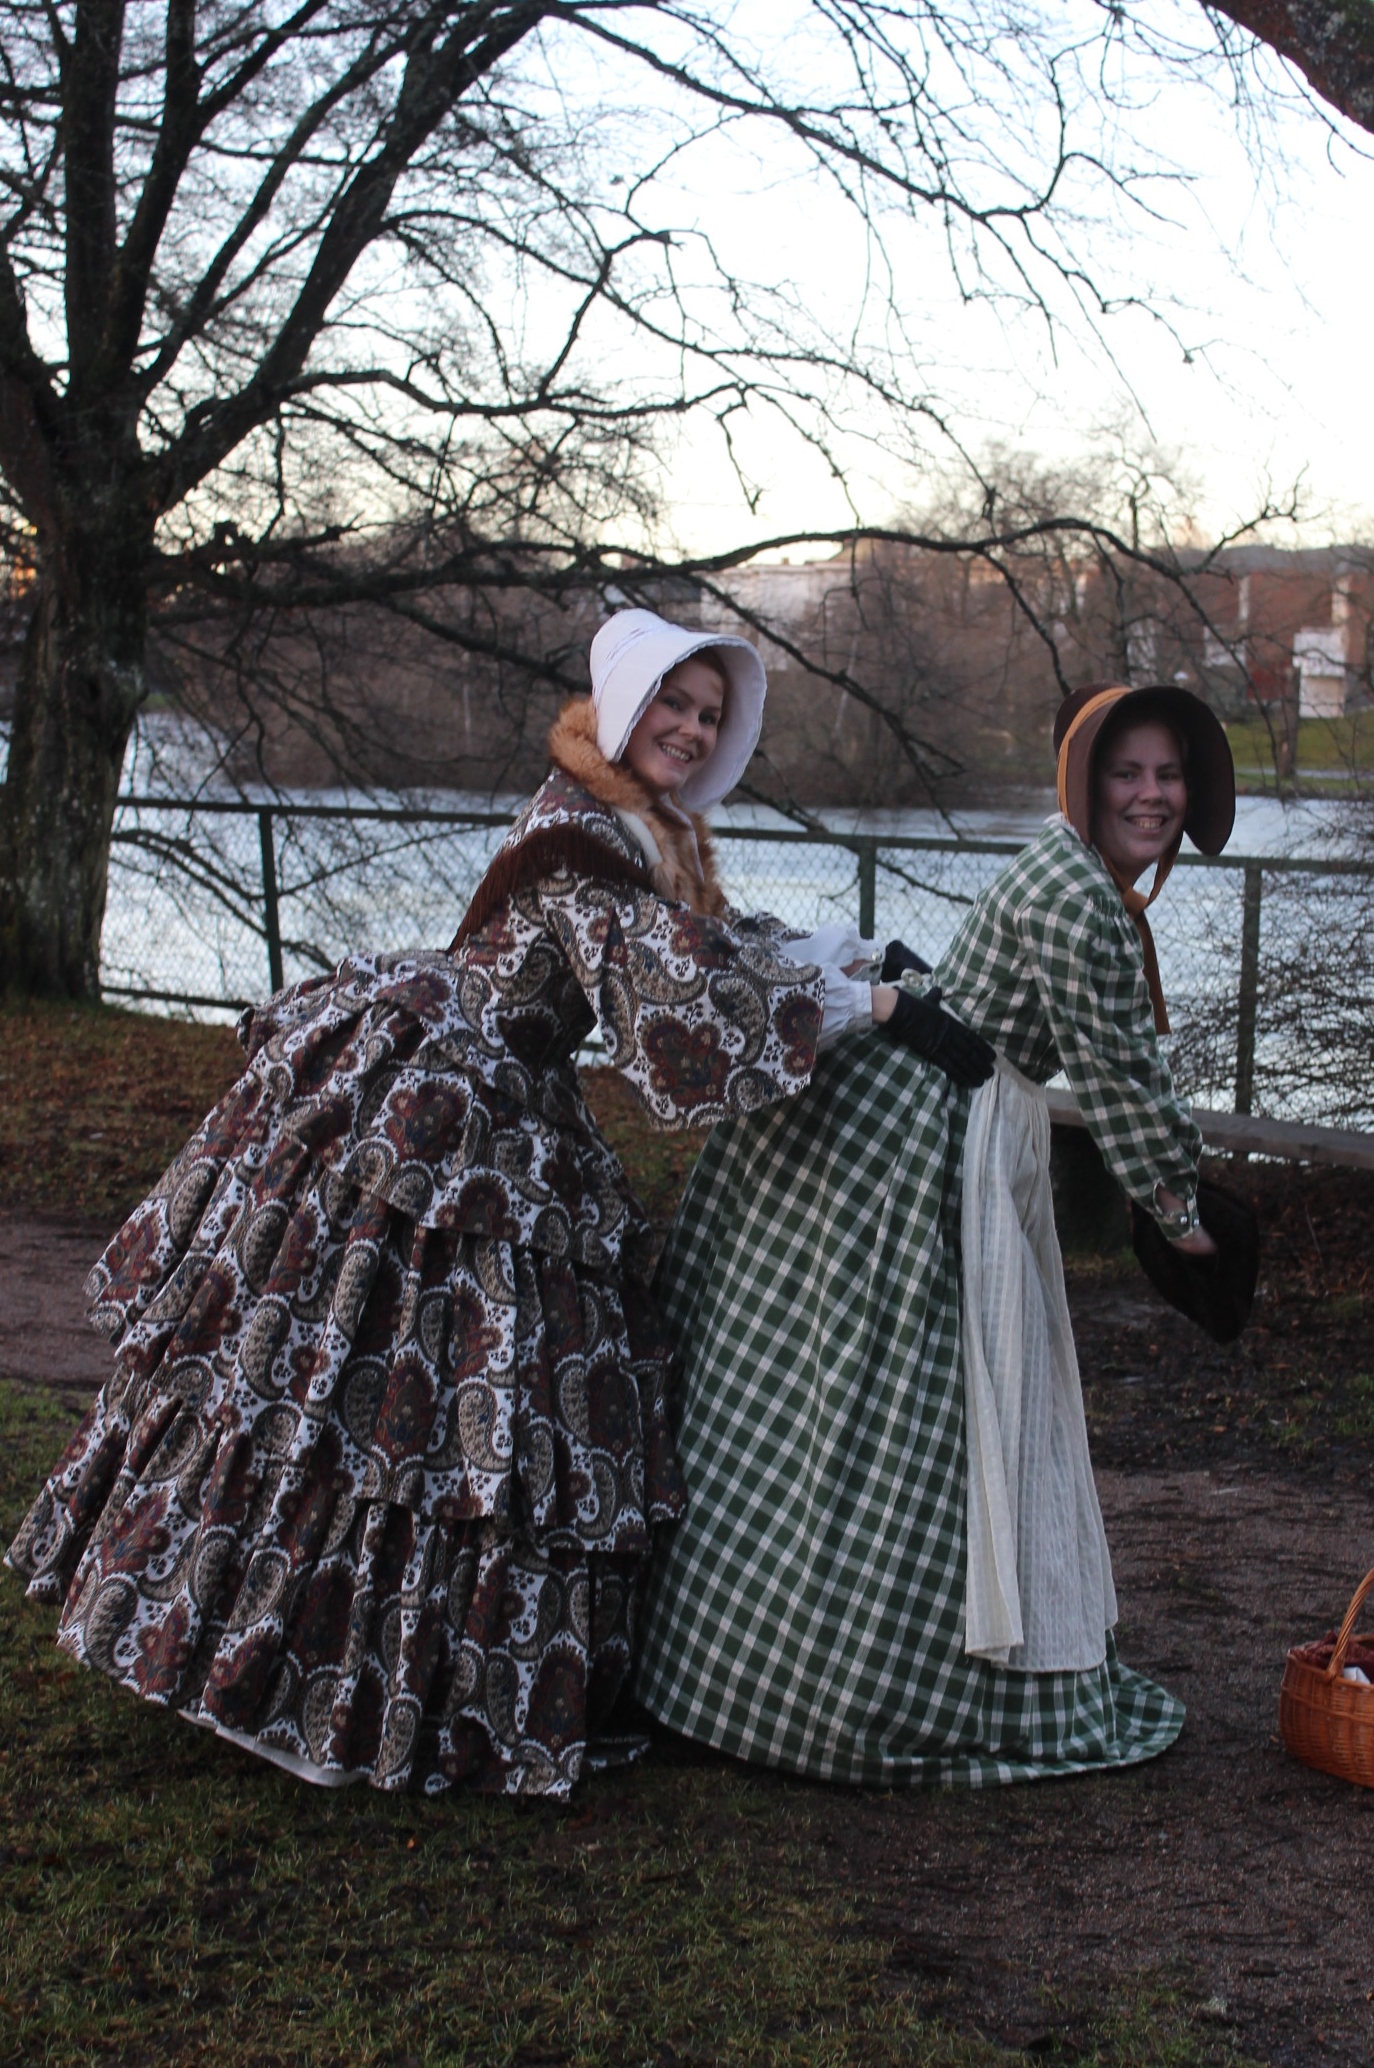
 Photo: Helen Eriksson


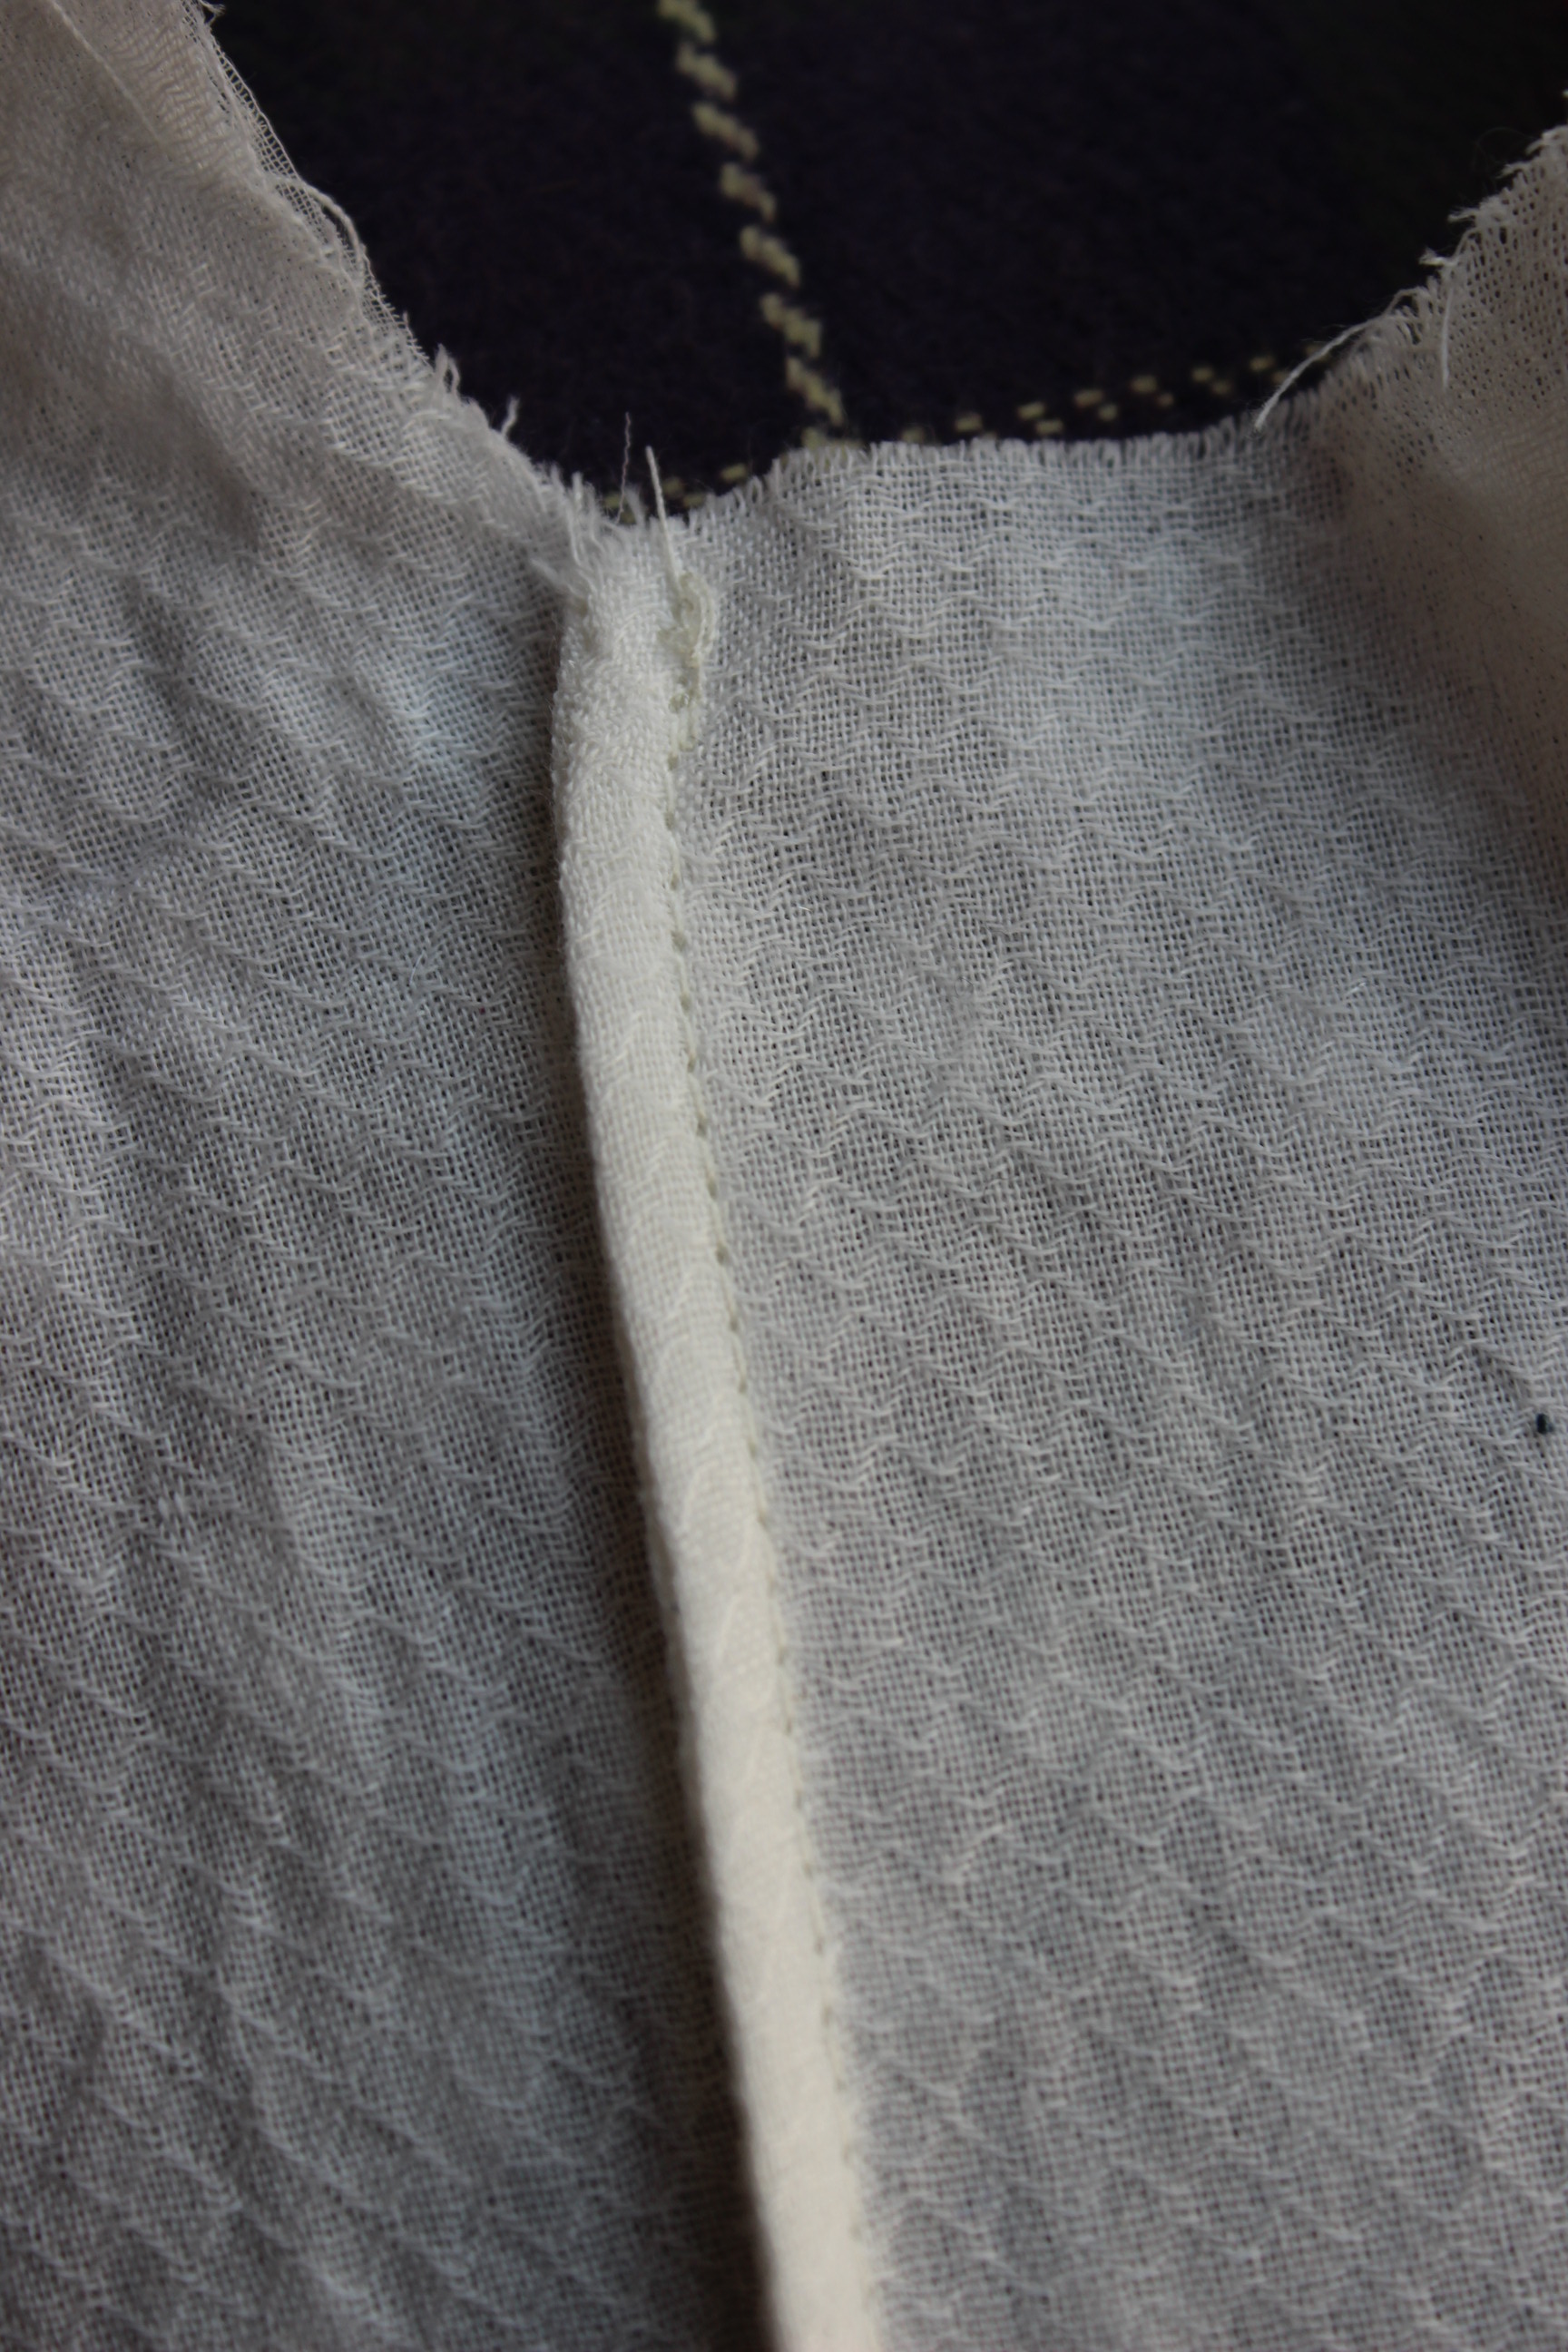
 Piping basted to the seam-allowence.
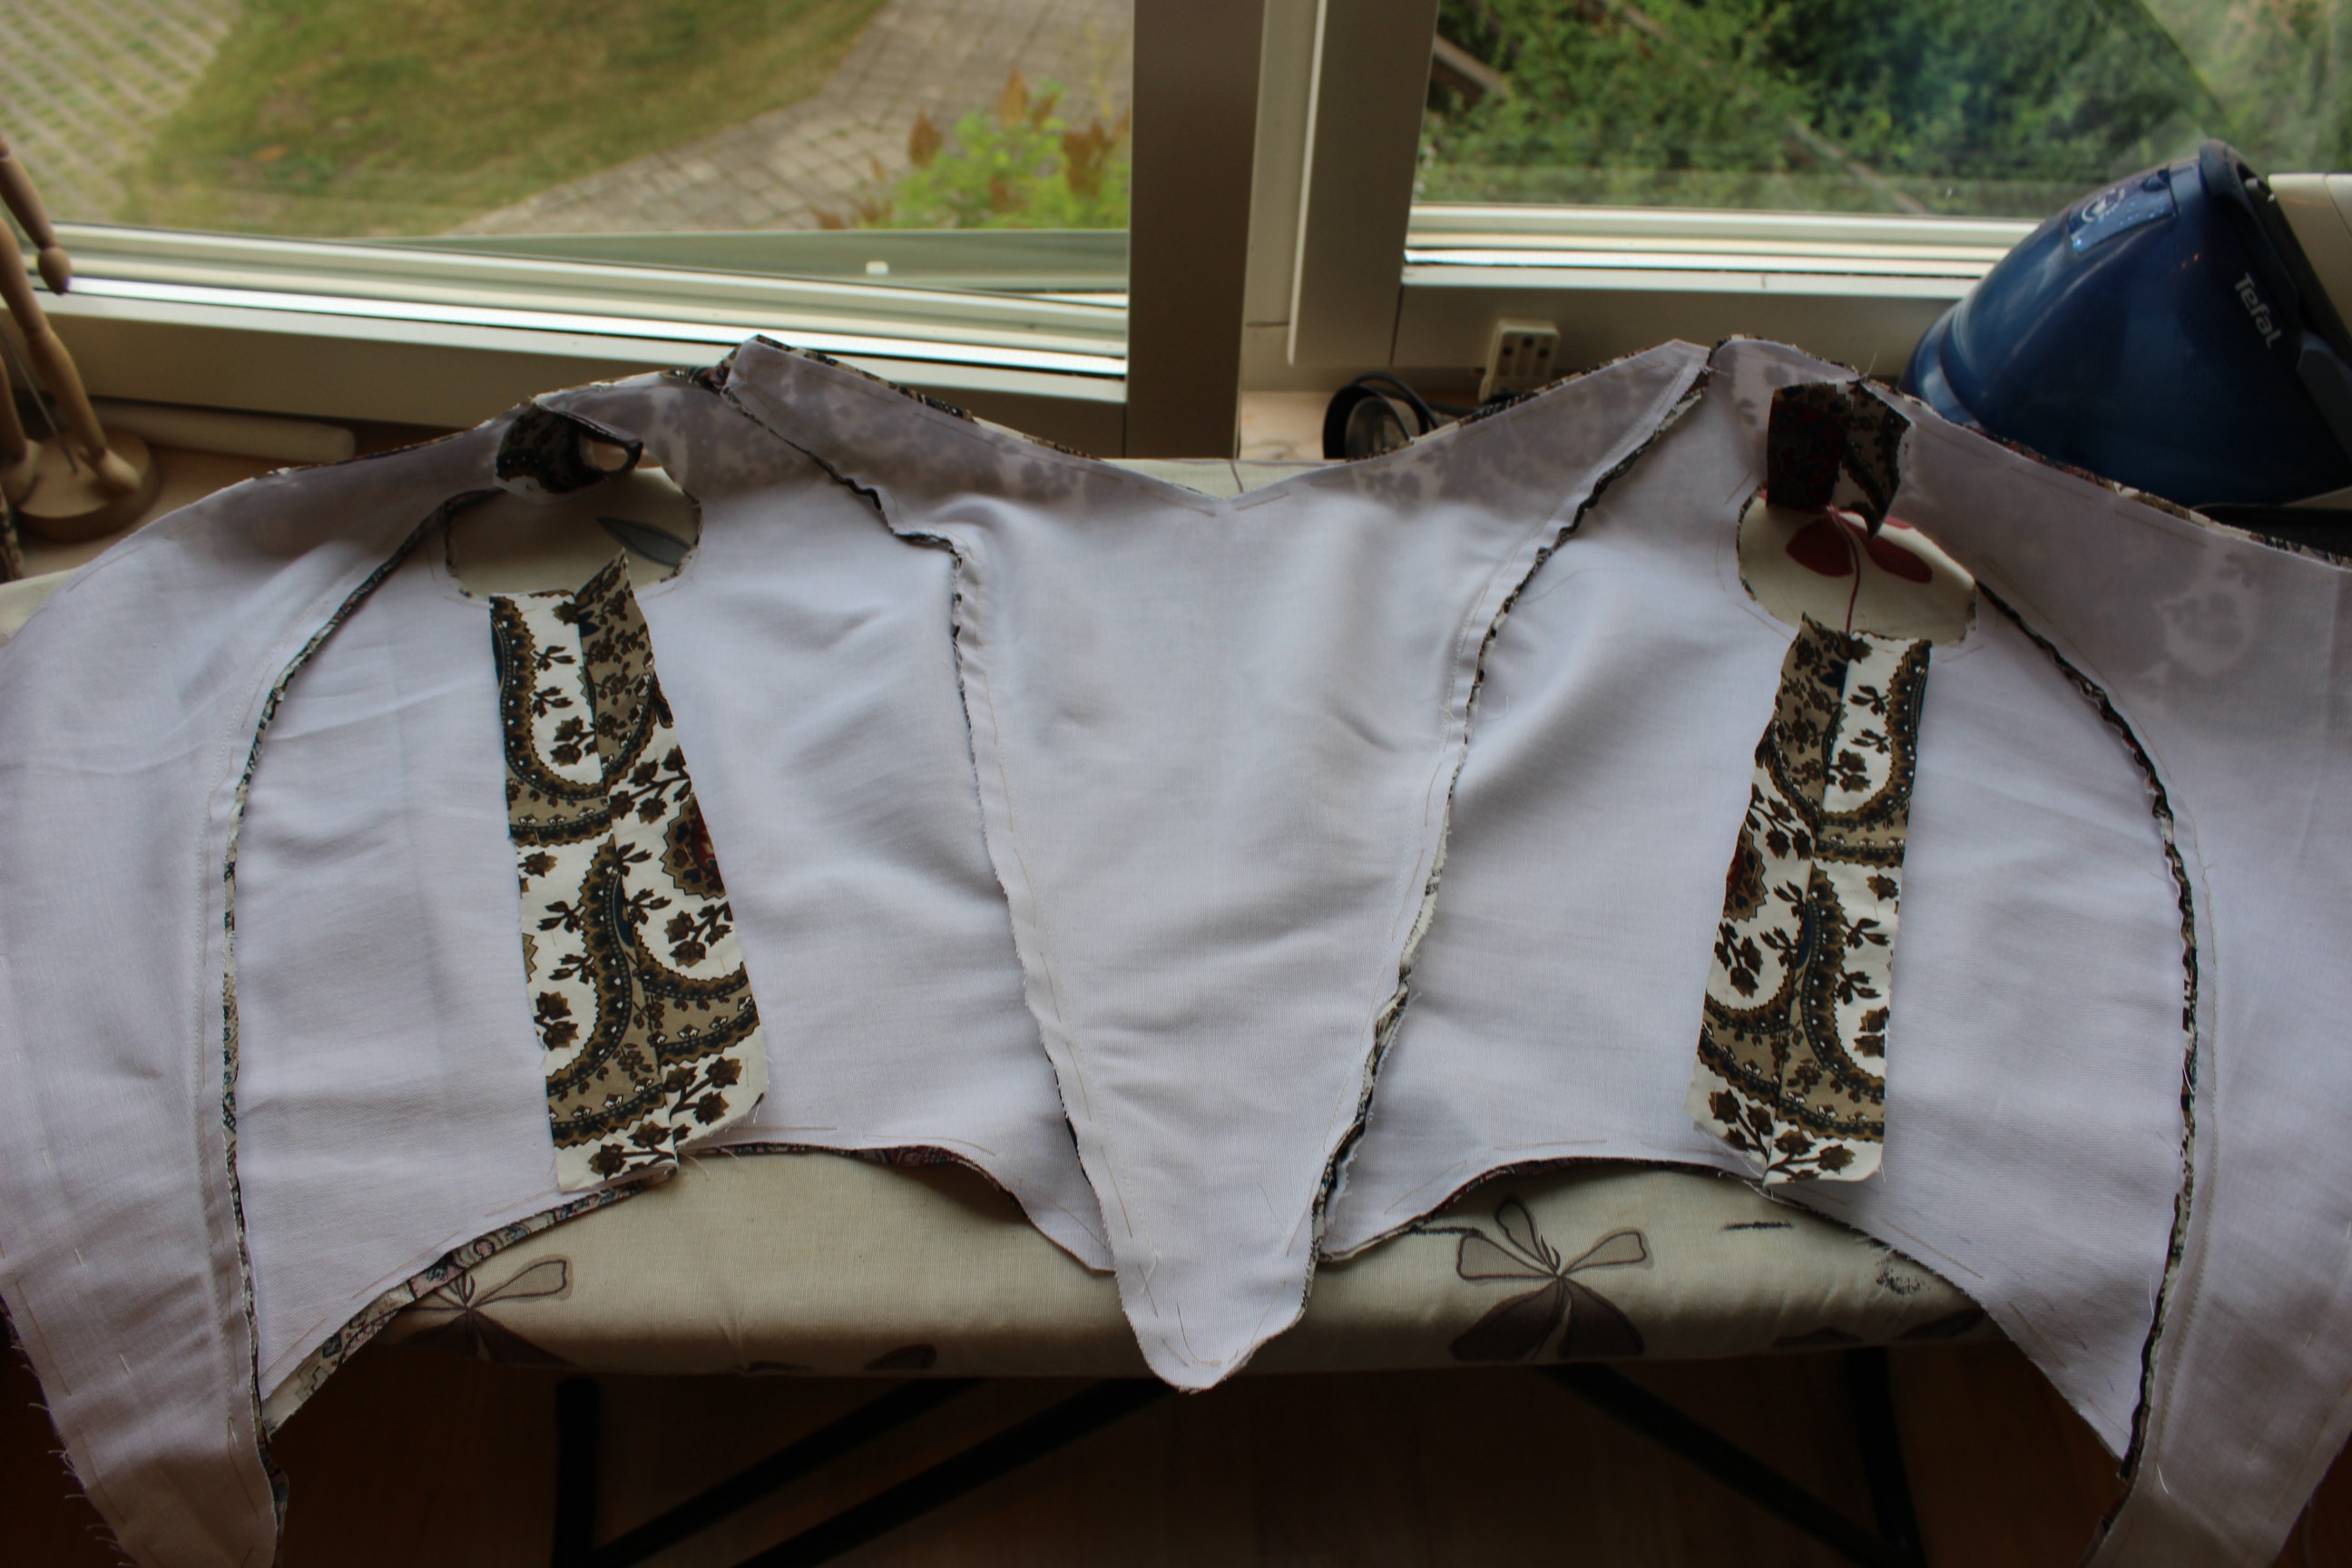


 My original inspiration.