
Once I’ve decided to make a blouse for some upcoming mid 19th century events this summer it all went pretty fast.
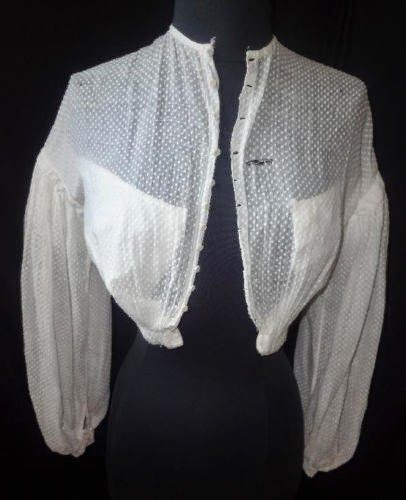
I selected an inspiration pic to base my design upon.

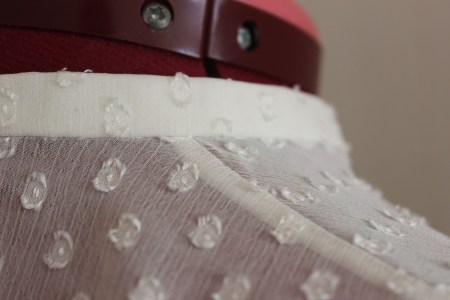
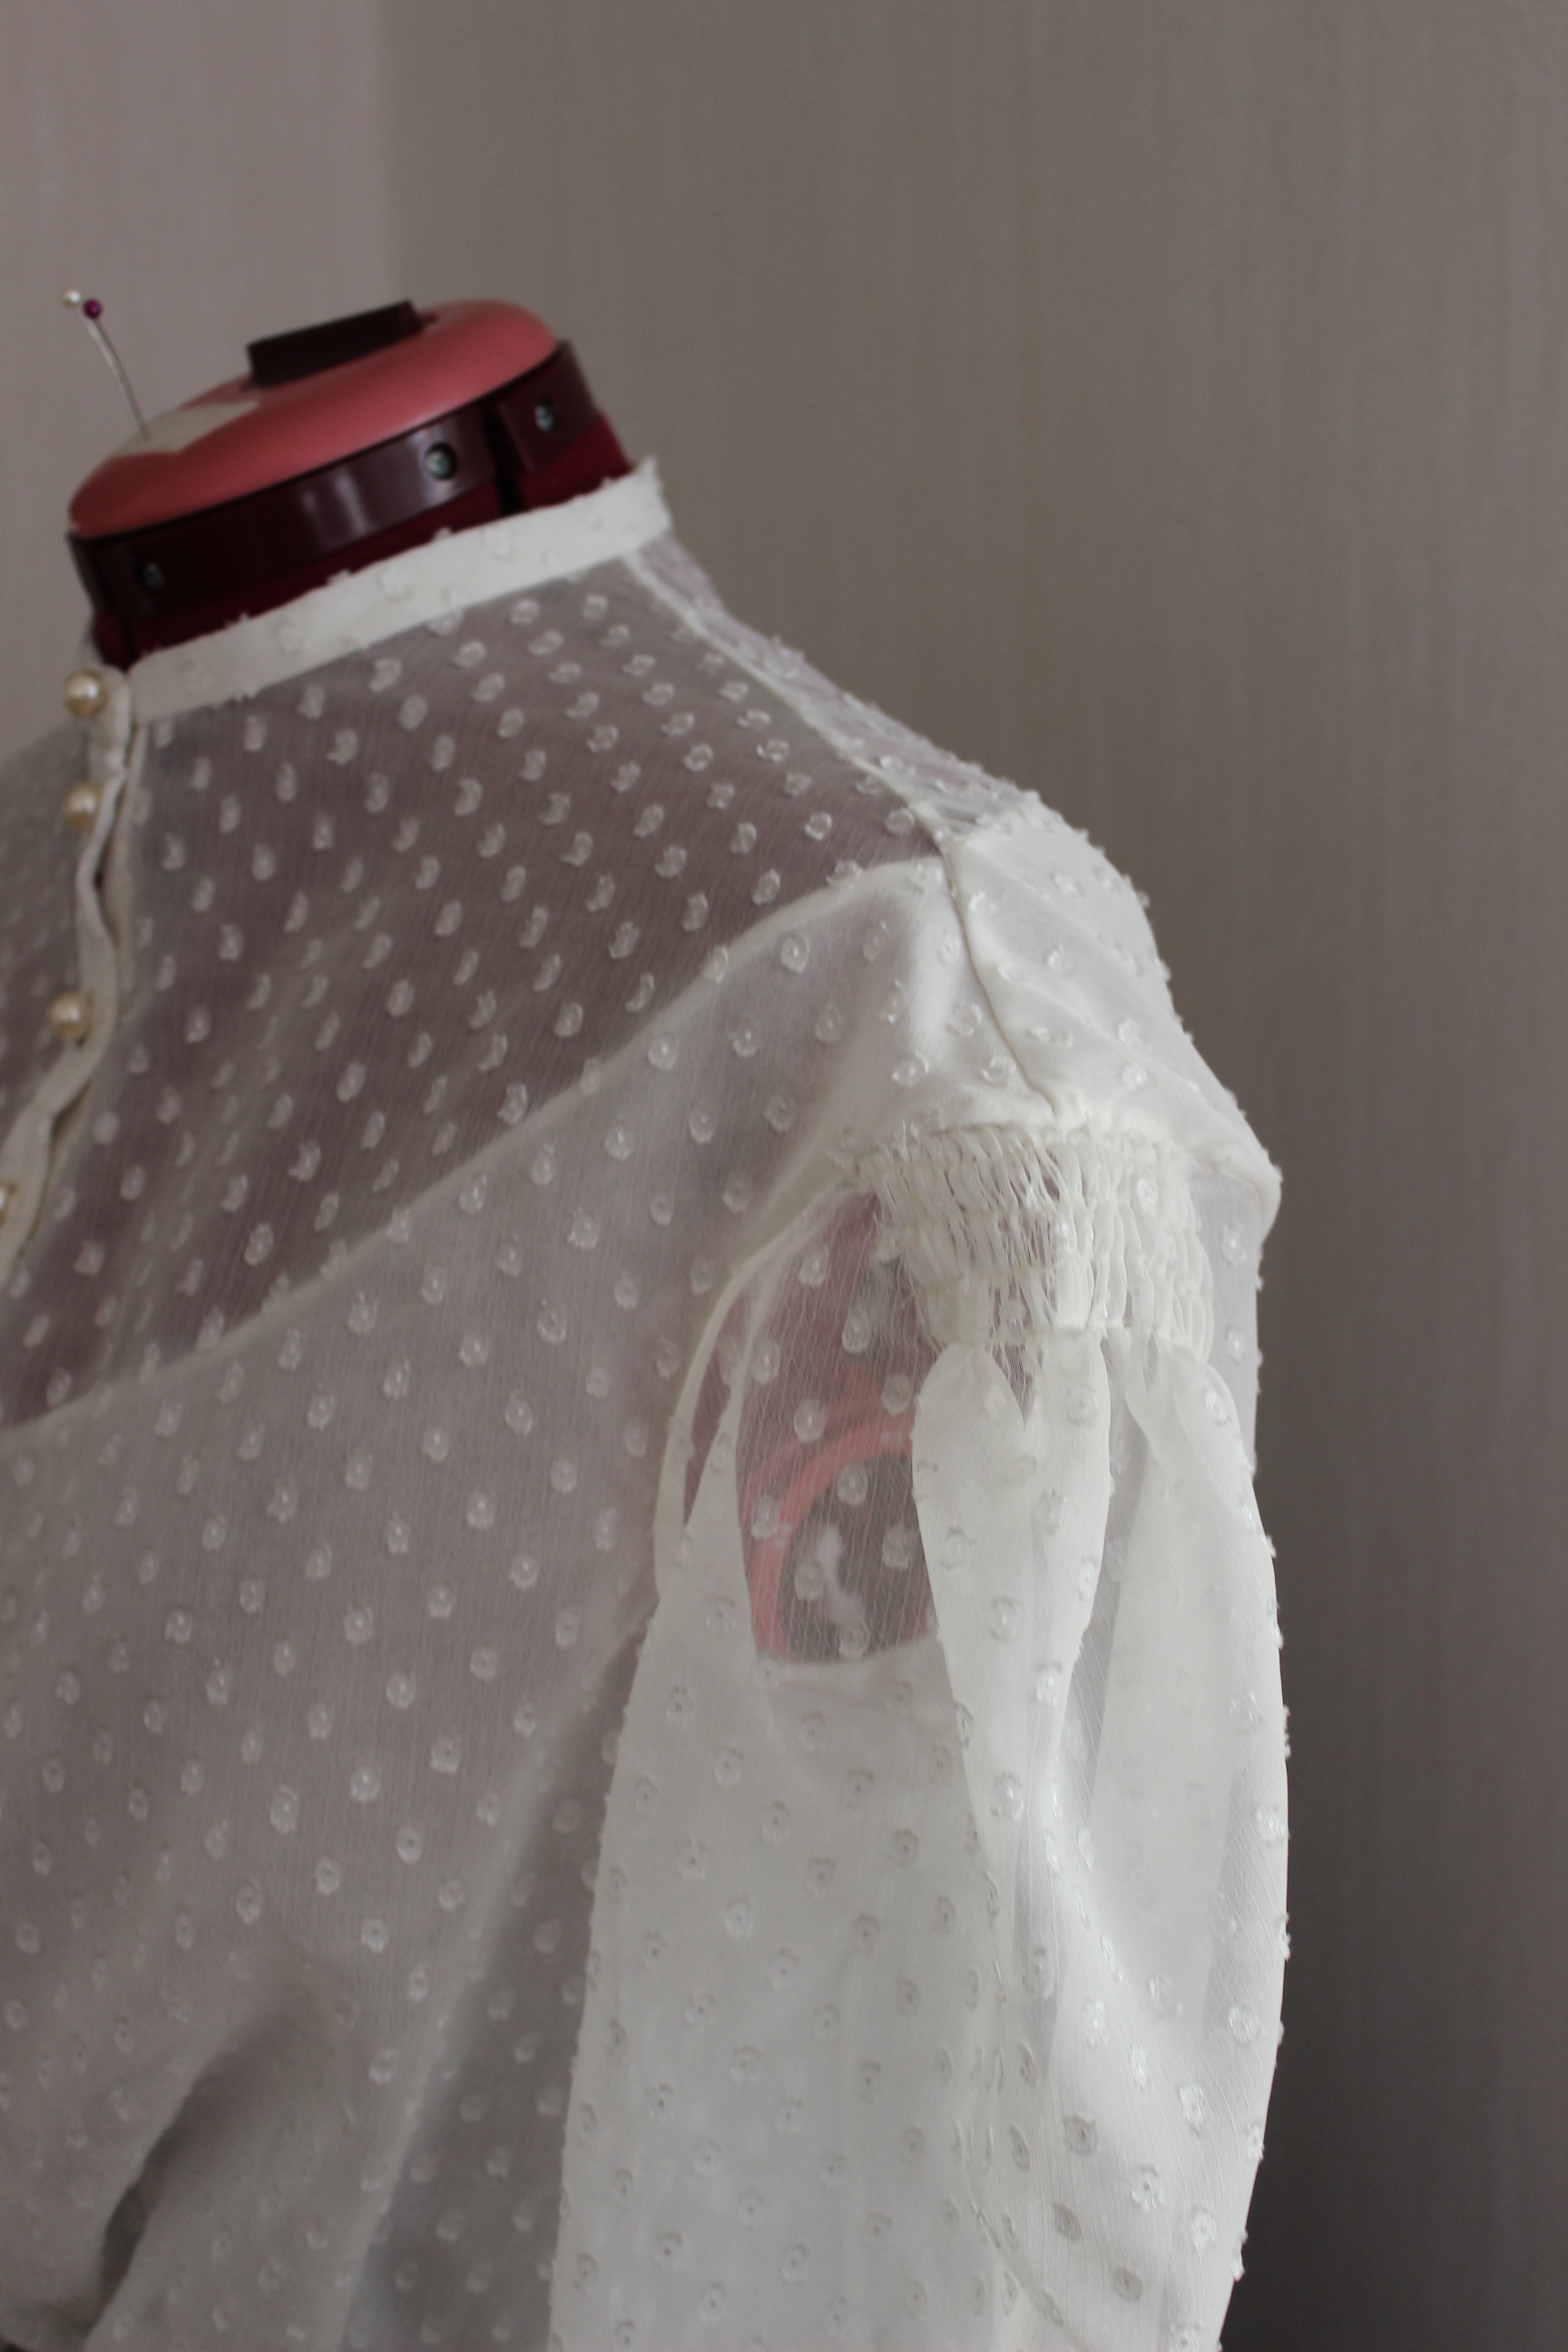
 Shoulder and sleeve detail.
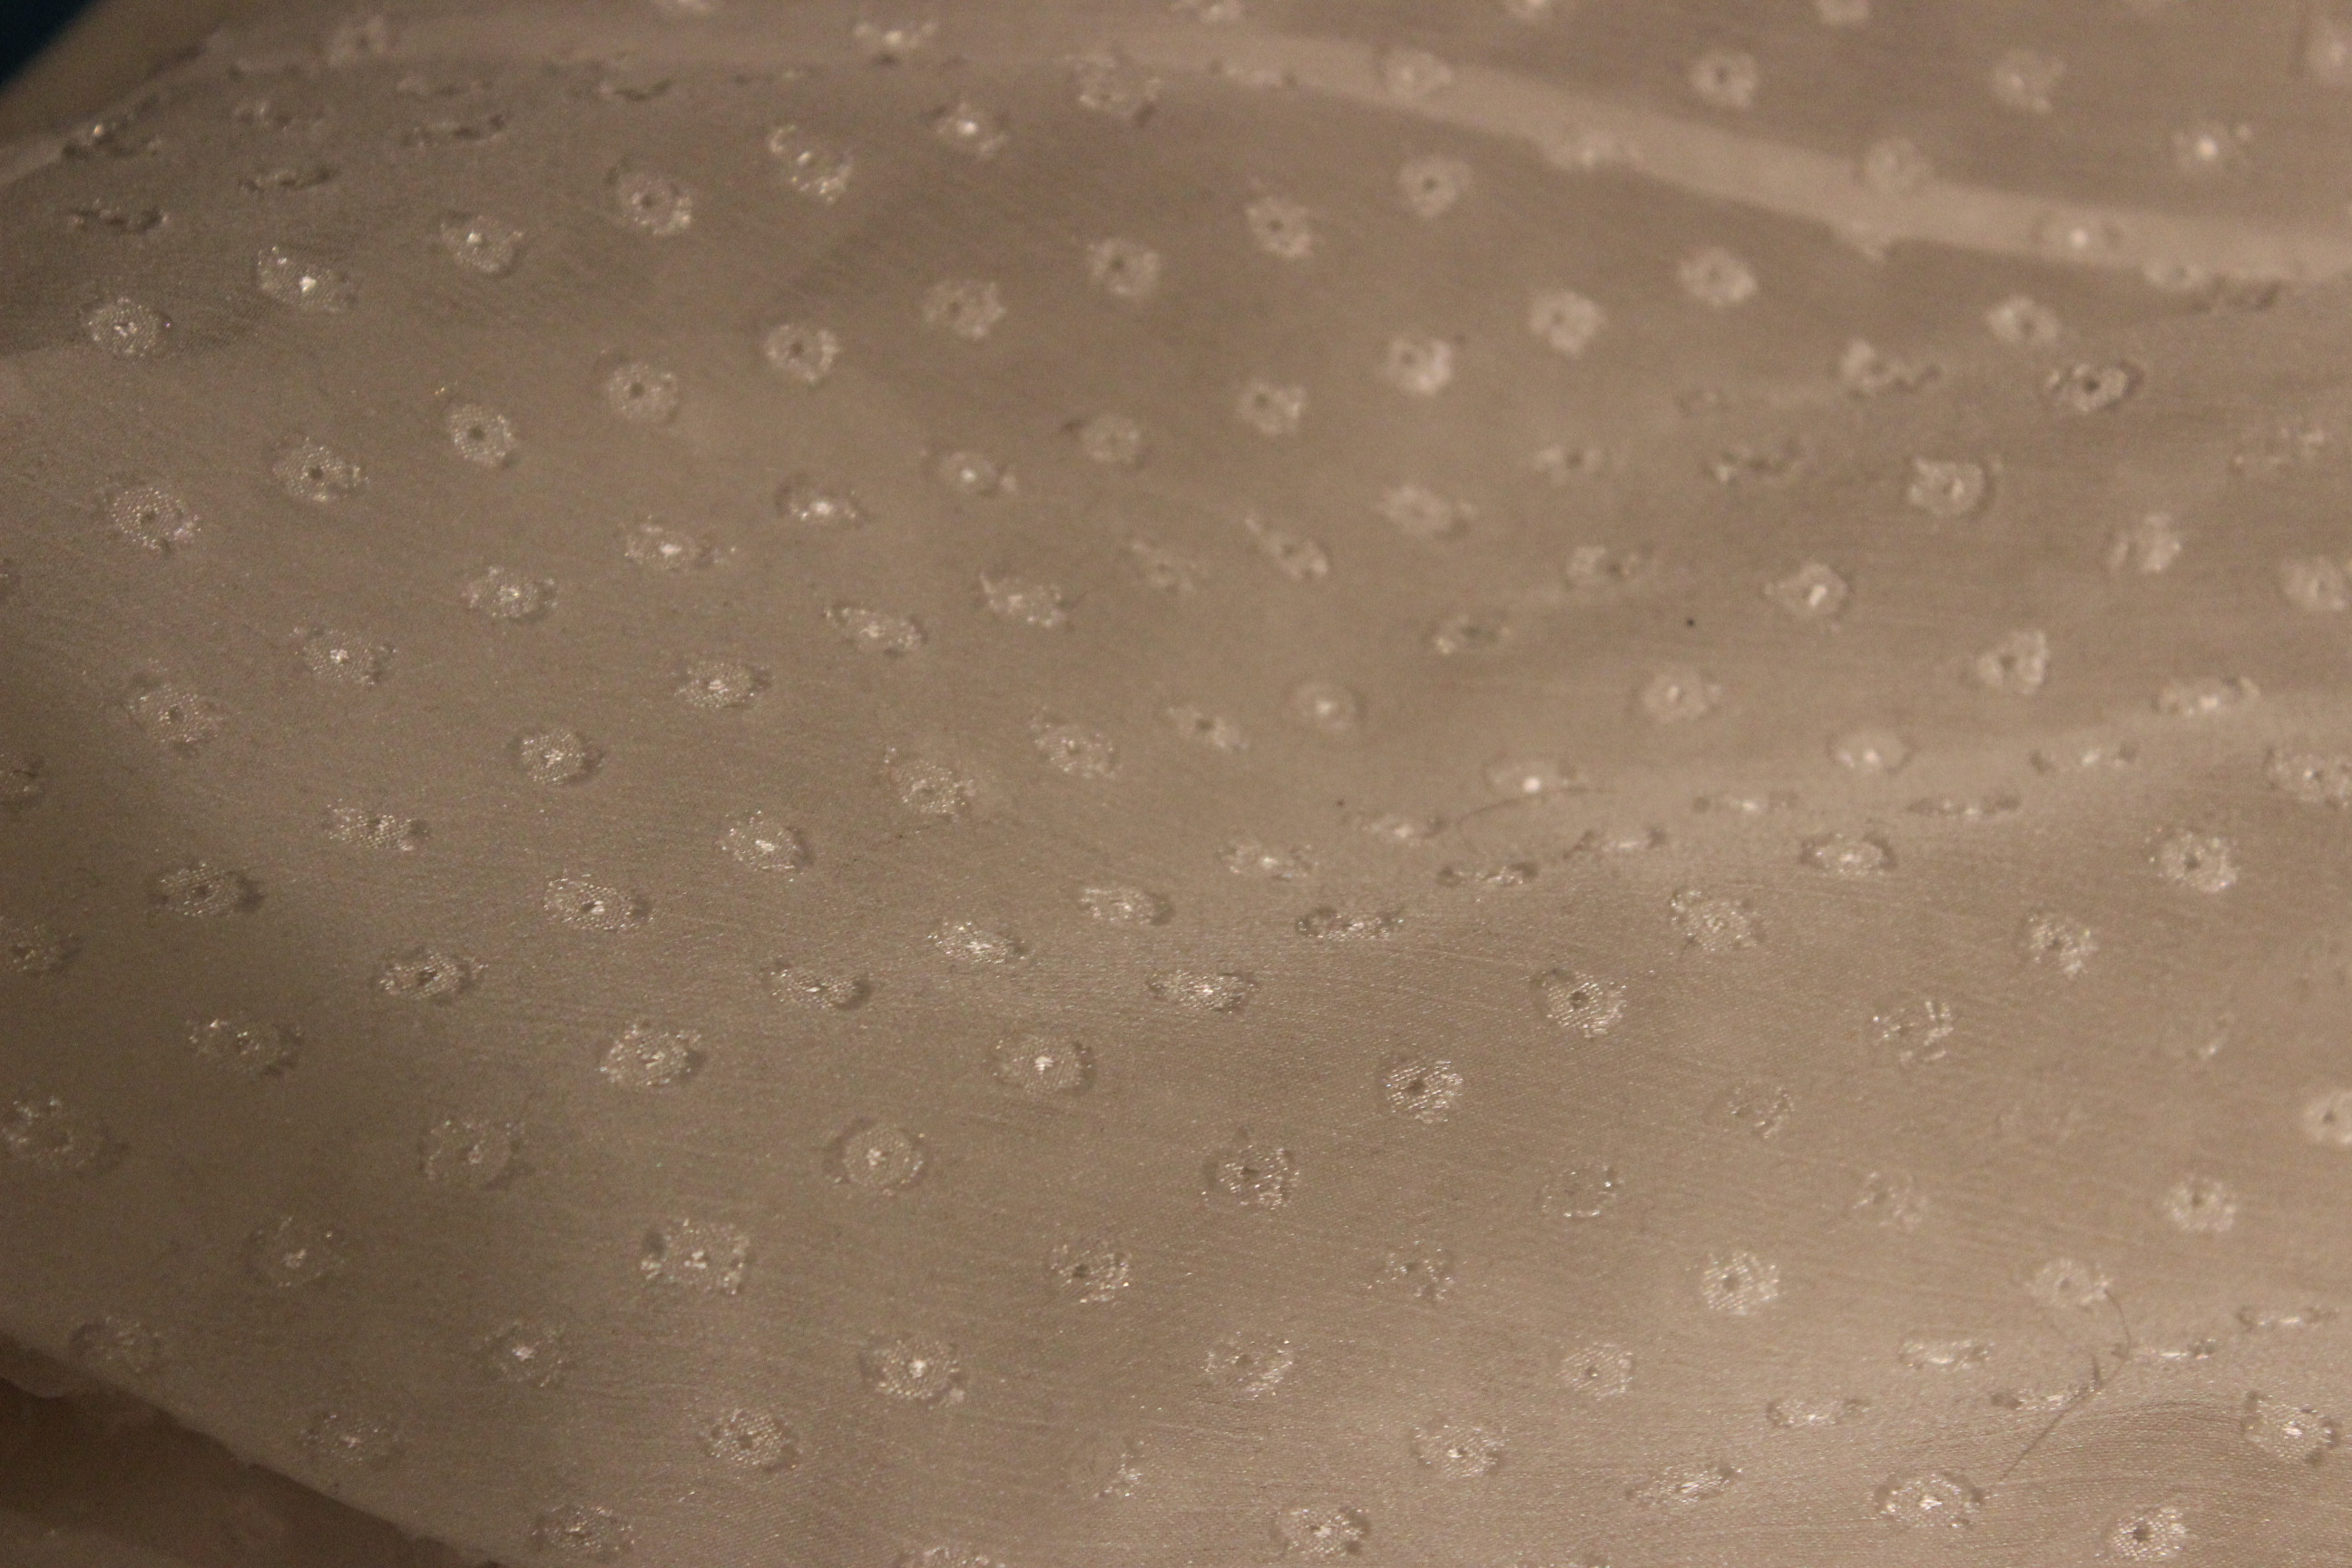
I decided to use the white dotted organza I’ve bought on sale a year ago (which I also used as contrast in my Ariel/Camille dress)
 Sorry for the dark photo – I was working late at night
I made a pattern using my green 1840s dress bodice as a base.
To keep the blouse from being totally see through I made a lining in a soft loosely woven cotton fabric. 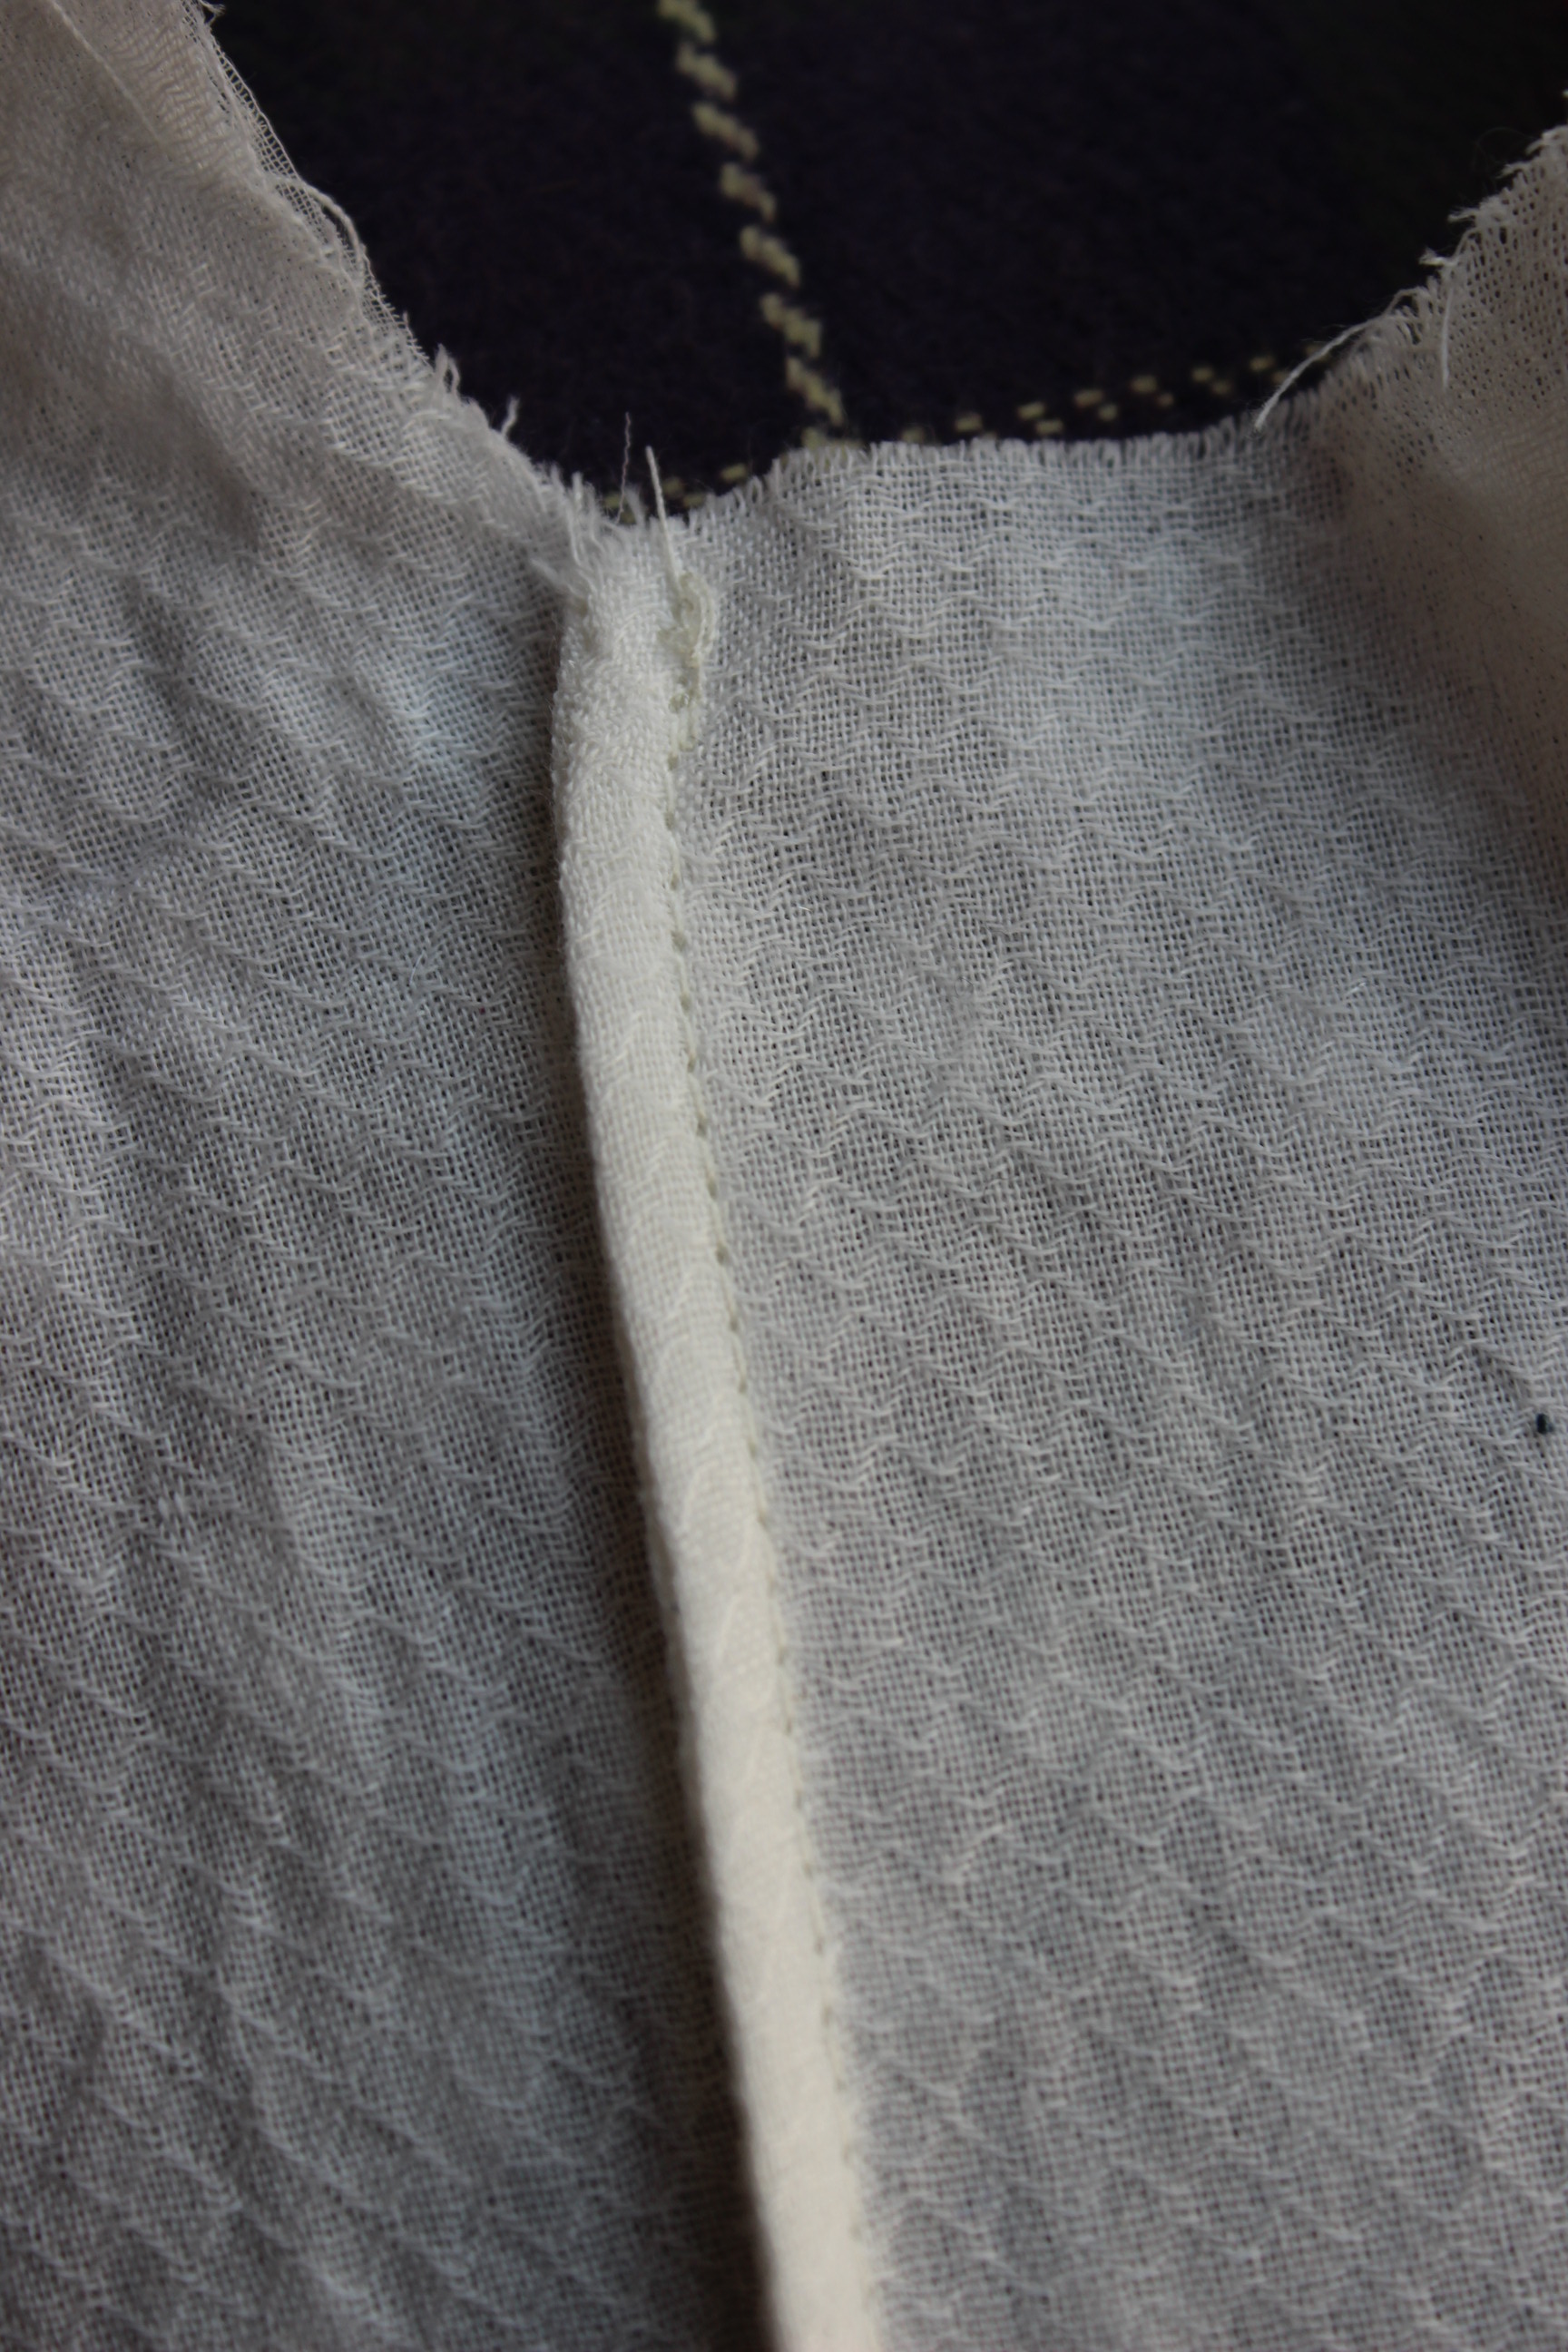 Thin french seams on the lining.
I basted the blouse together, combining darts (in the lining) and gathers (in the organza) to get the right look for the bloused waist. 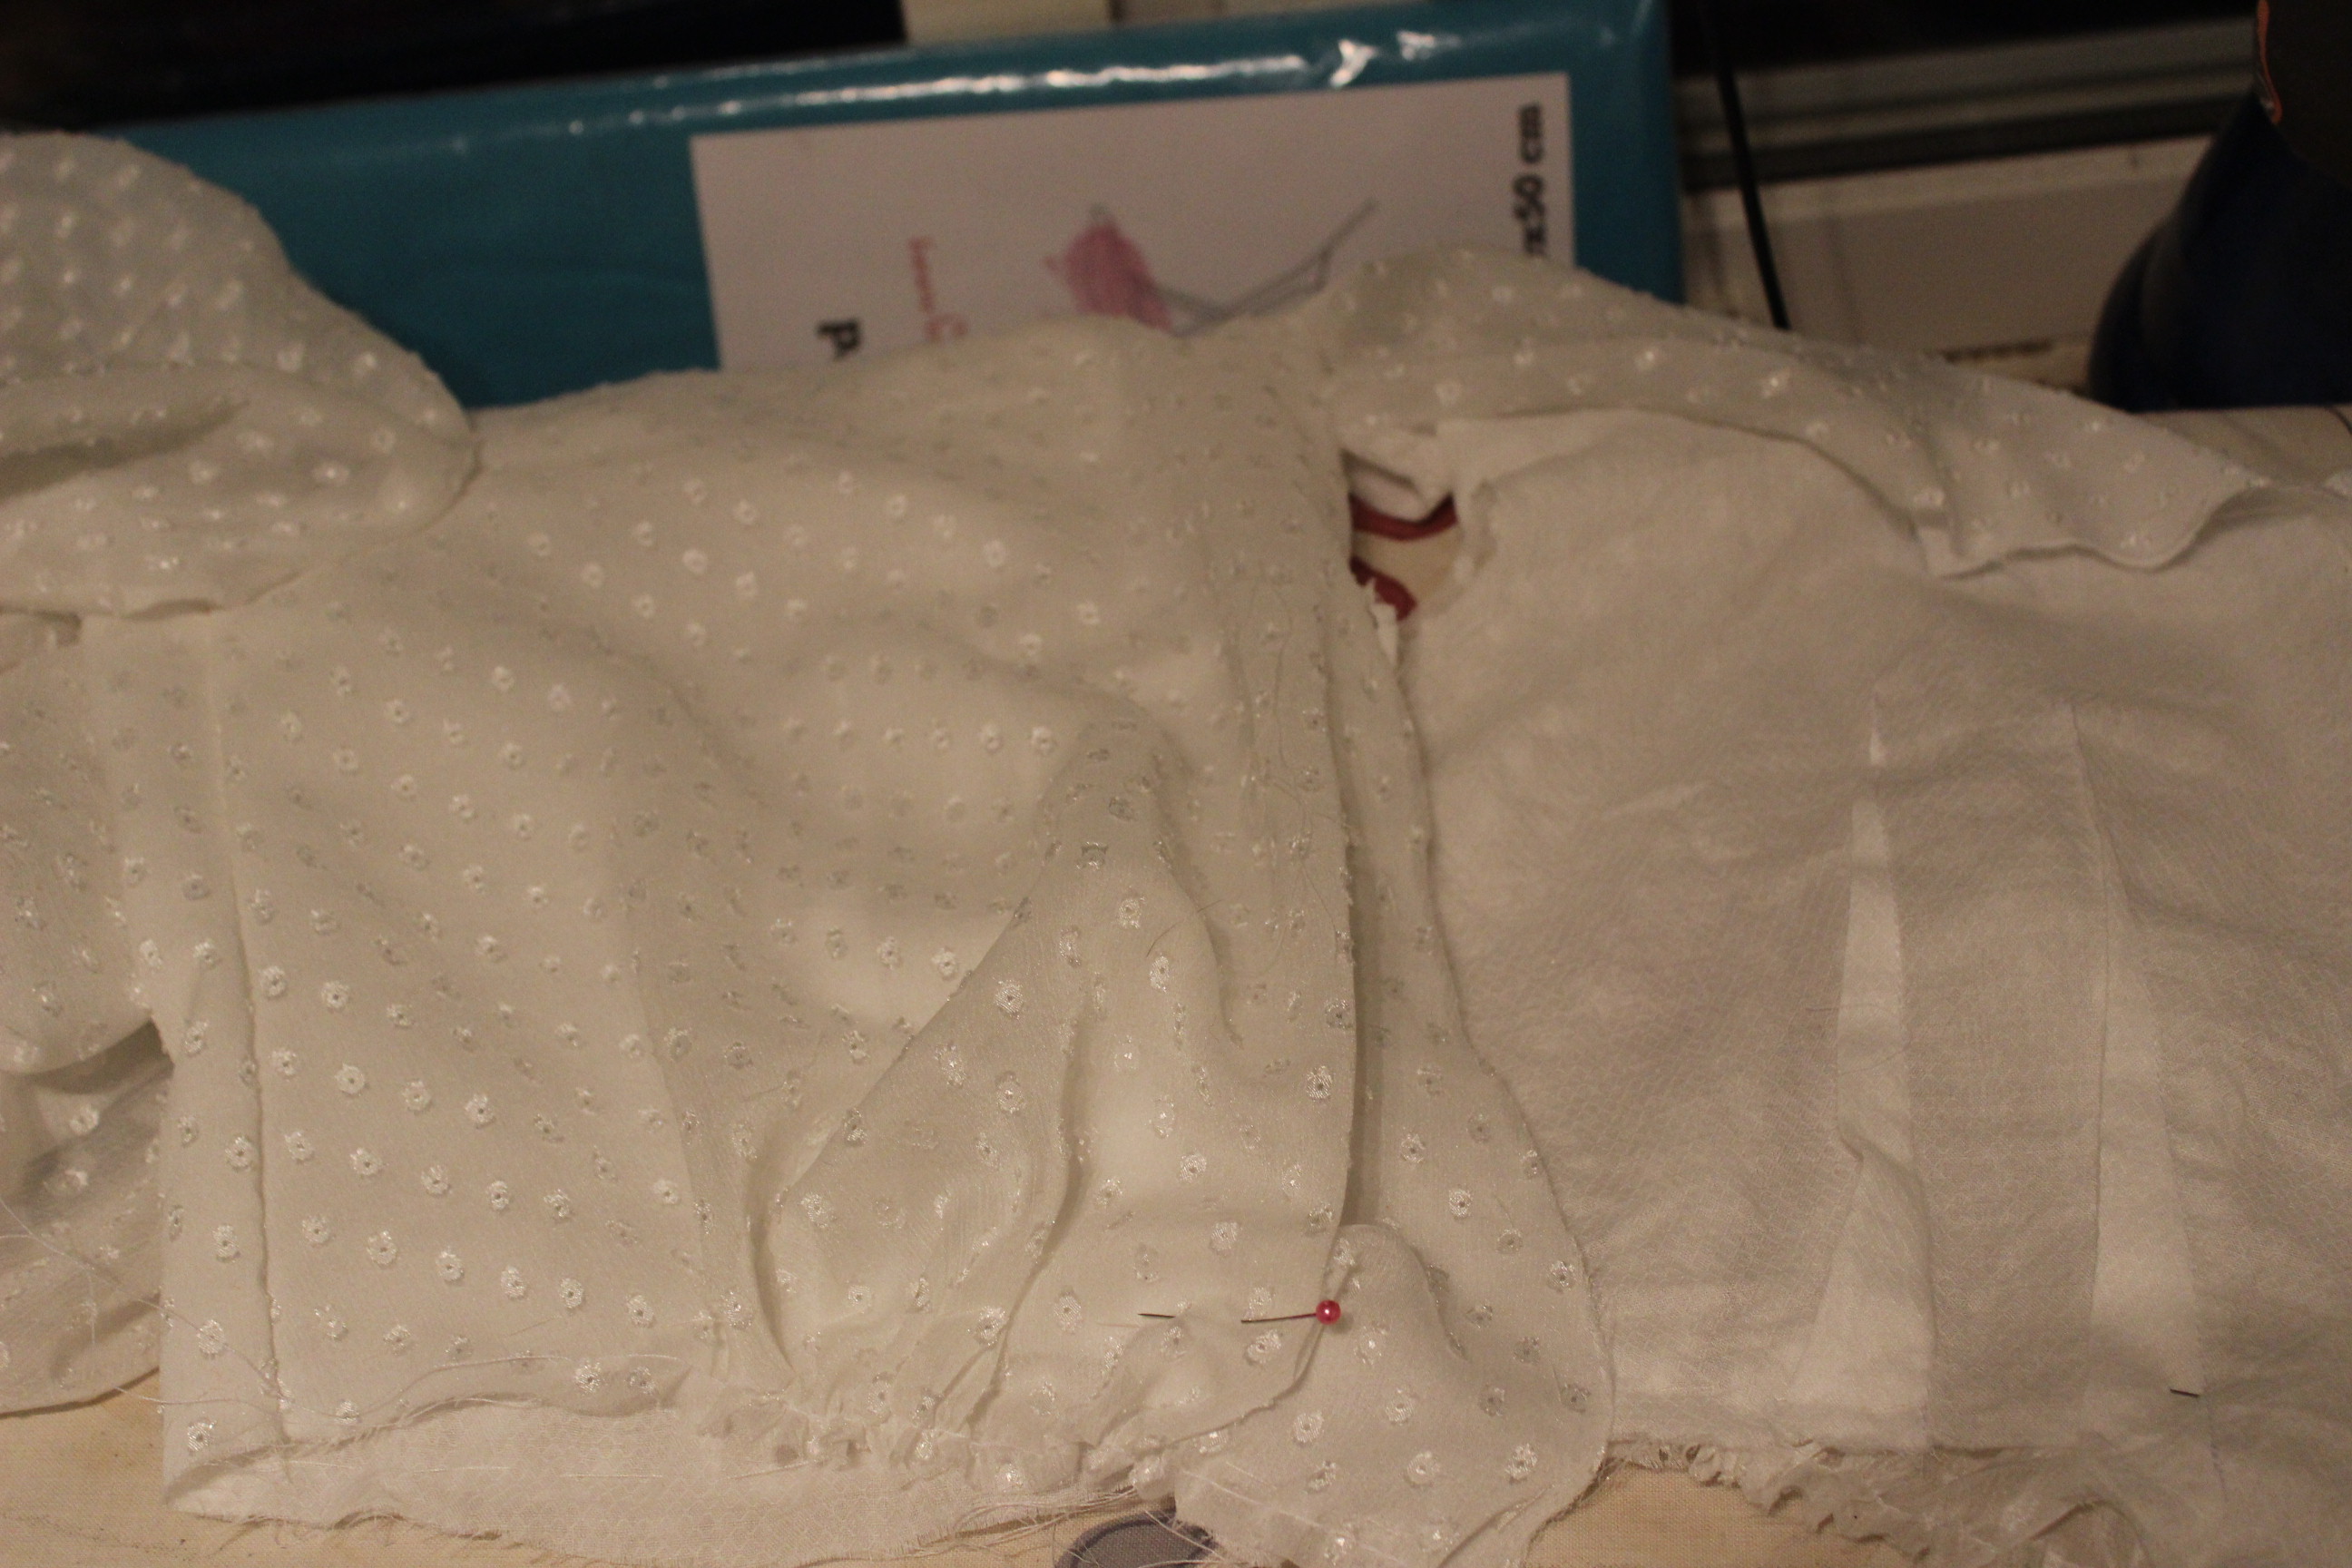 Here you can see the gathered organza (left) and the darted lining (right).
Once I tried it on I found the lining to be a bit high in the neck and cut it down about 4-5 cm.
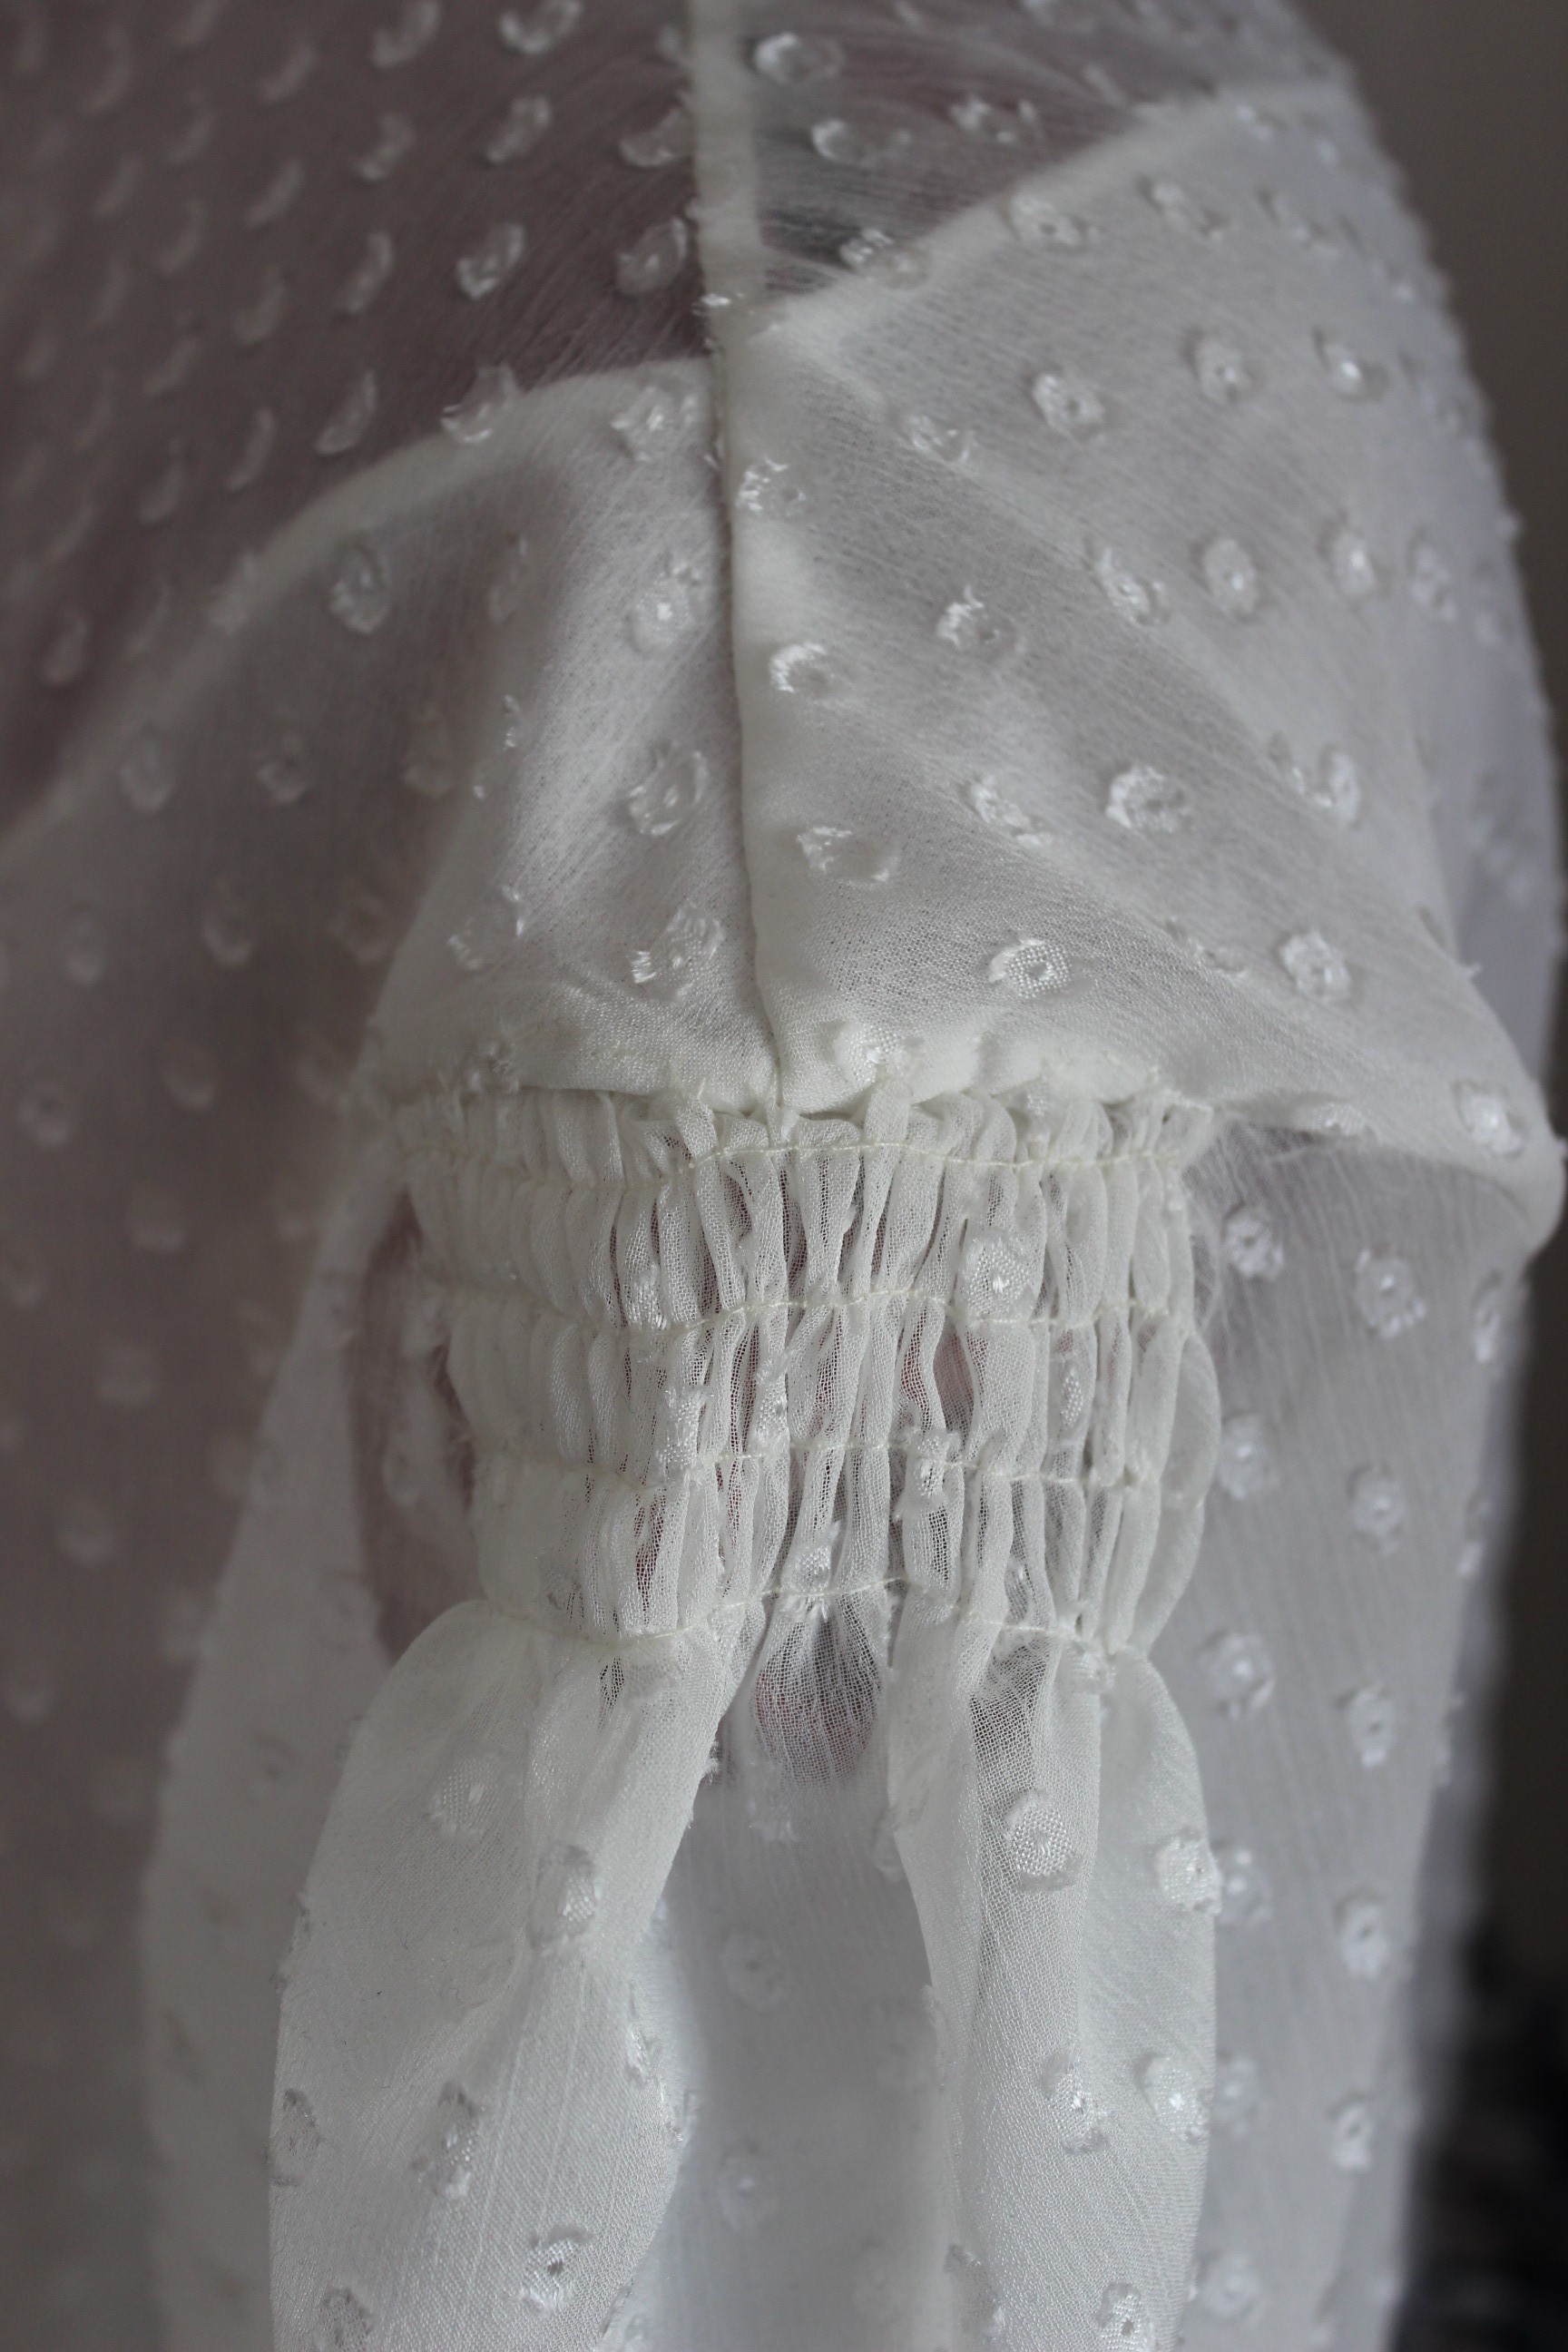
I stitched the sleeves using french seams and rushing at the cap.
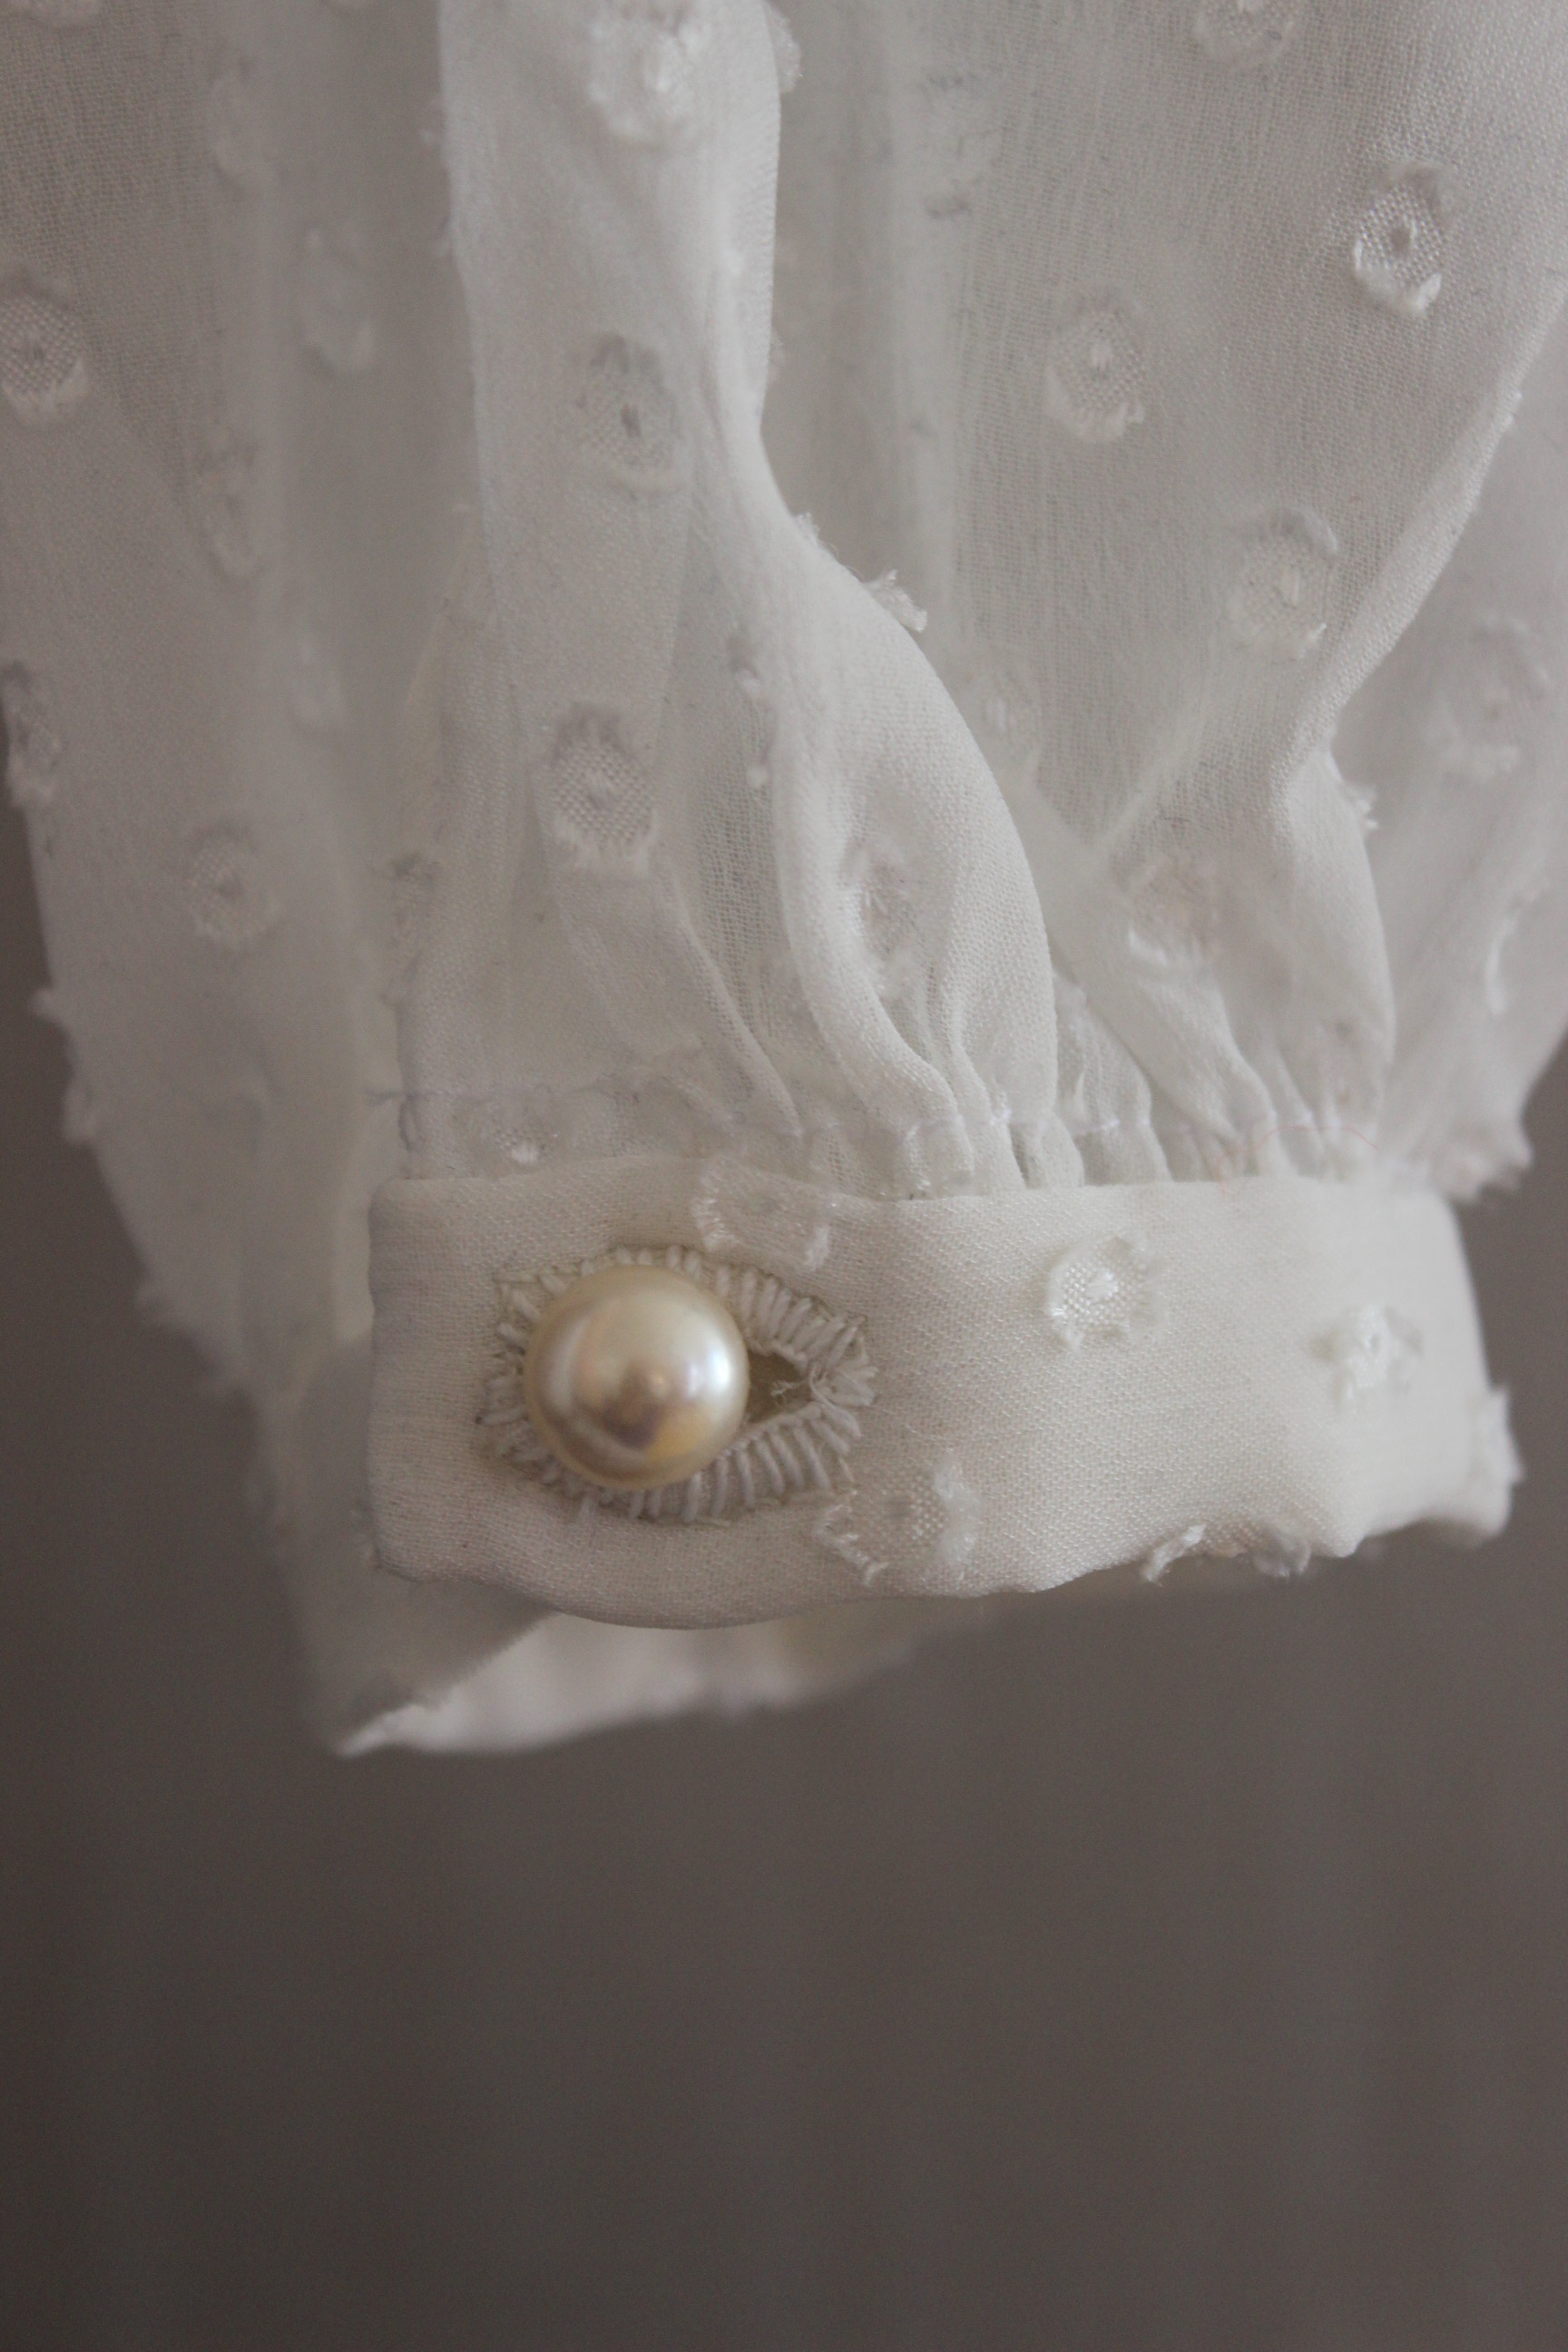
The cuff is just one reinforced, folded piece of organza, closing with a button, to which I gathered the sleeve to. 
 Sleeve set.
The biggest mistake I made on this project was steaming on fusible interlining to the buttonhole stands. Once sewn to the thin blouse the buttonhole stand looked really bulking and heavy (and white).
So I ripped them of, and not having enough lining fabric left to cut new ones I carefully peeled the interlining of the fabric.  What a mess.
Once re-sew (without the interlining) the buttonhole stand looks much better, and it was time to move on to the collar and buttons. Its just a slightly shaped thin strip of organza and lining folded over to make the low standing collar.
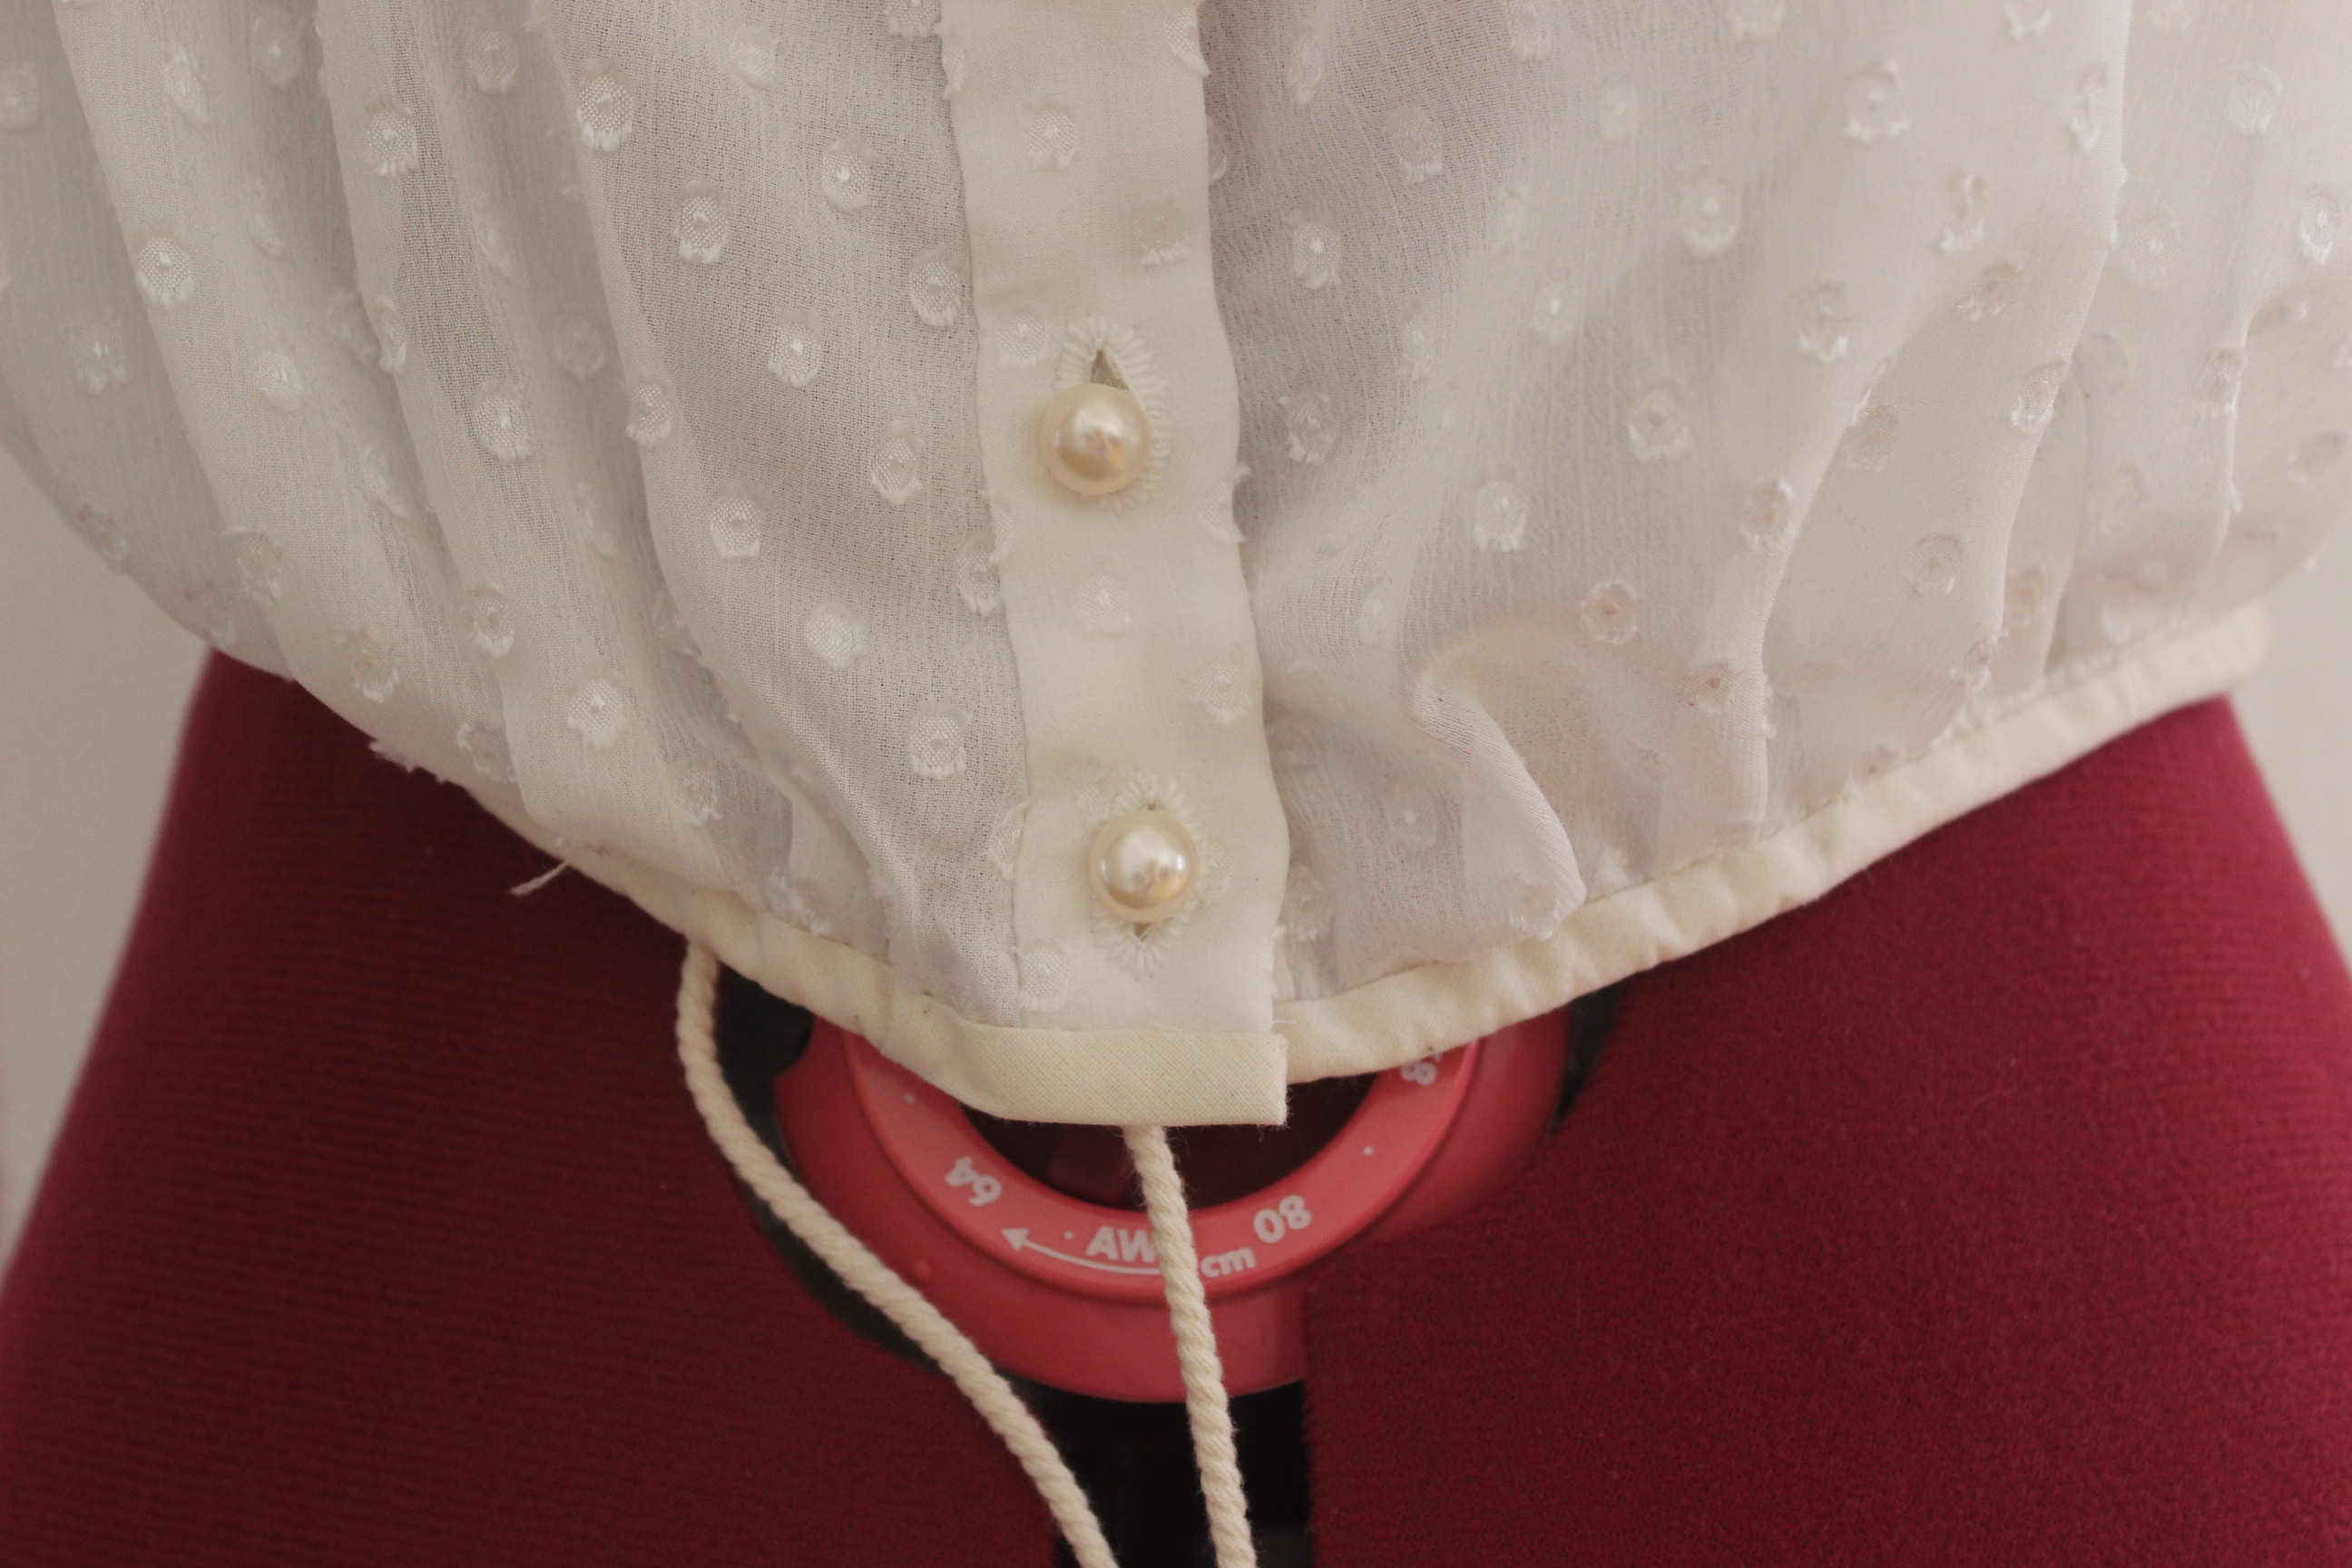
 Then I made all the button holes by hand, added the pearl buttons and sewed on a piece of bias tap to make a casing for the cotton cord used to control the fullness and size at the waist.
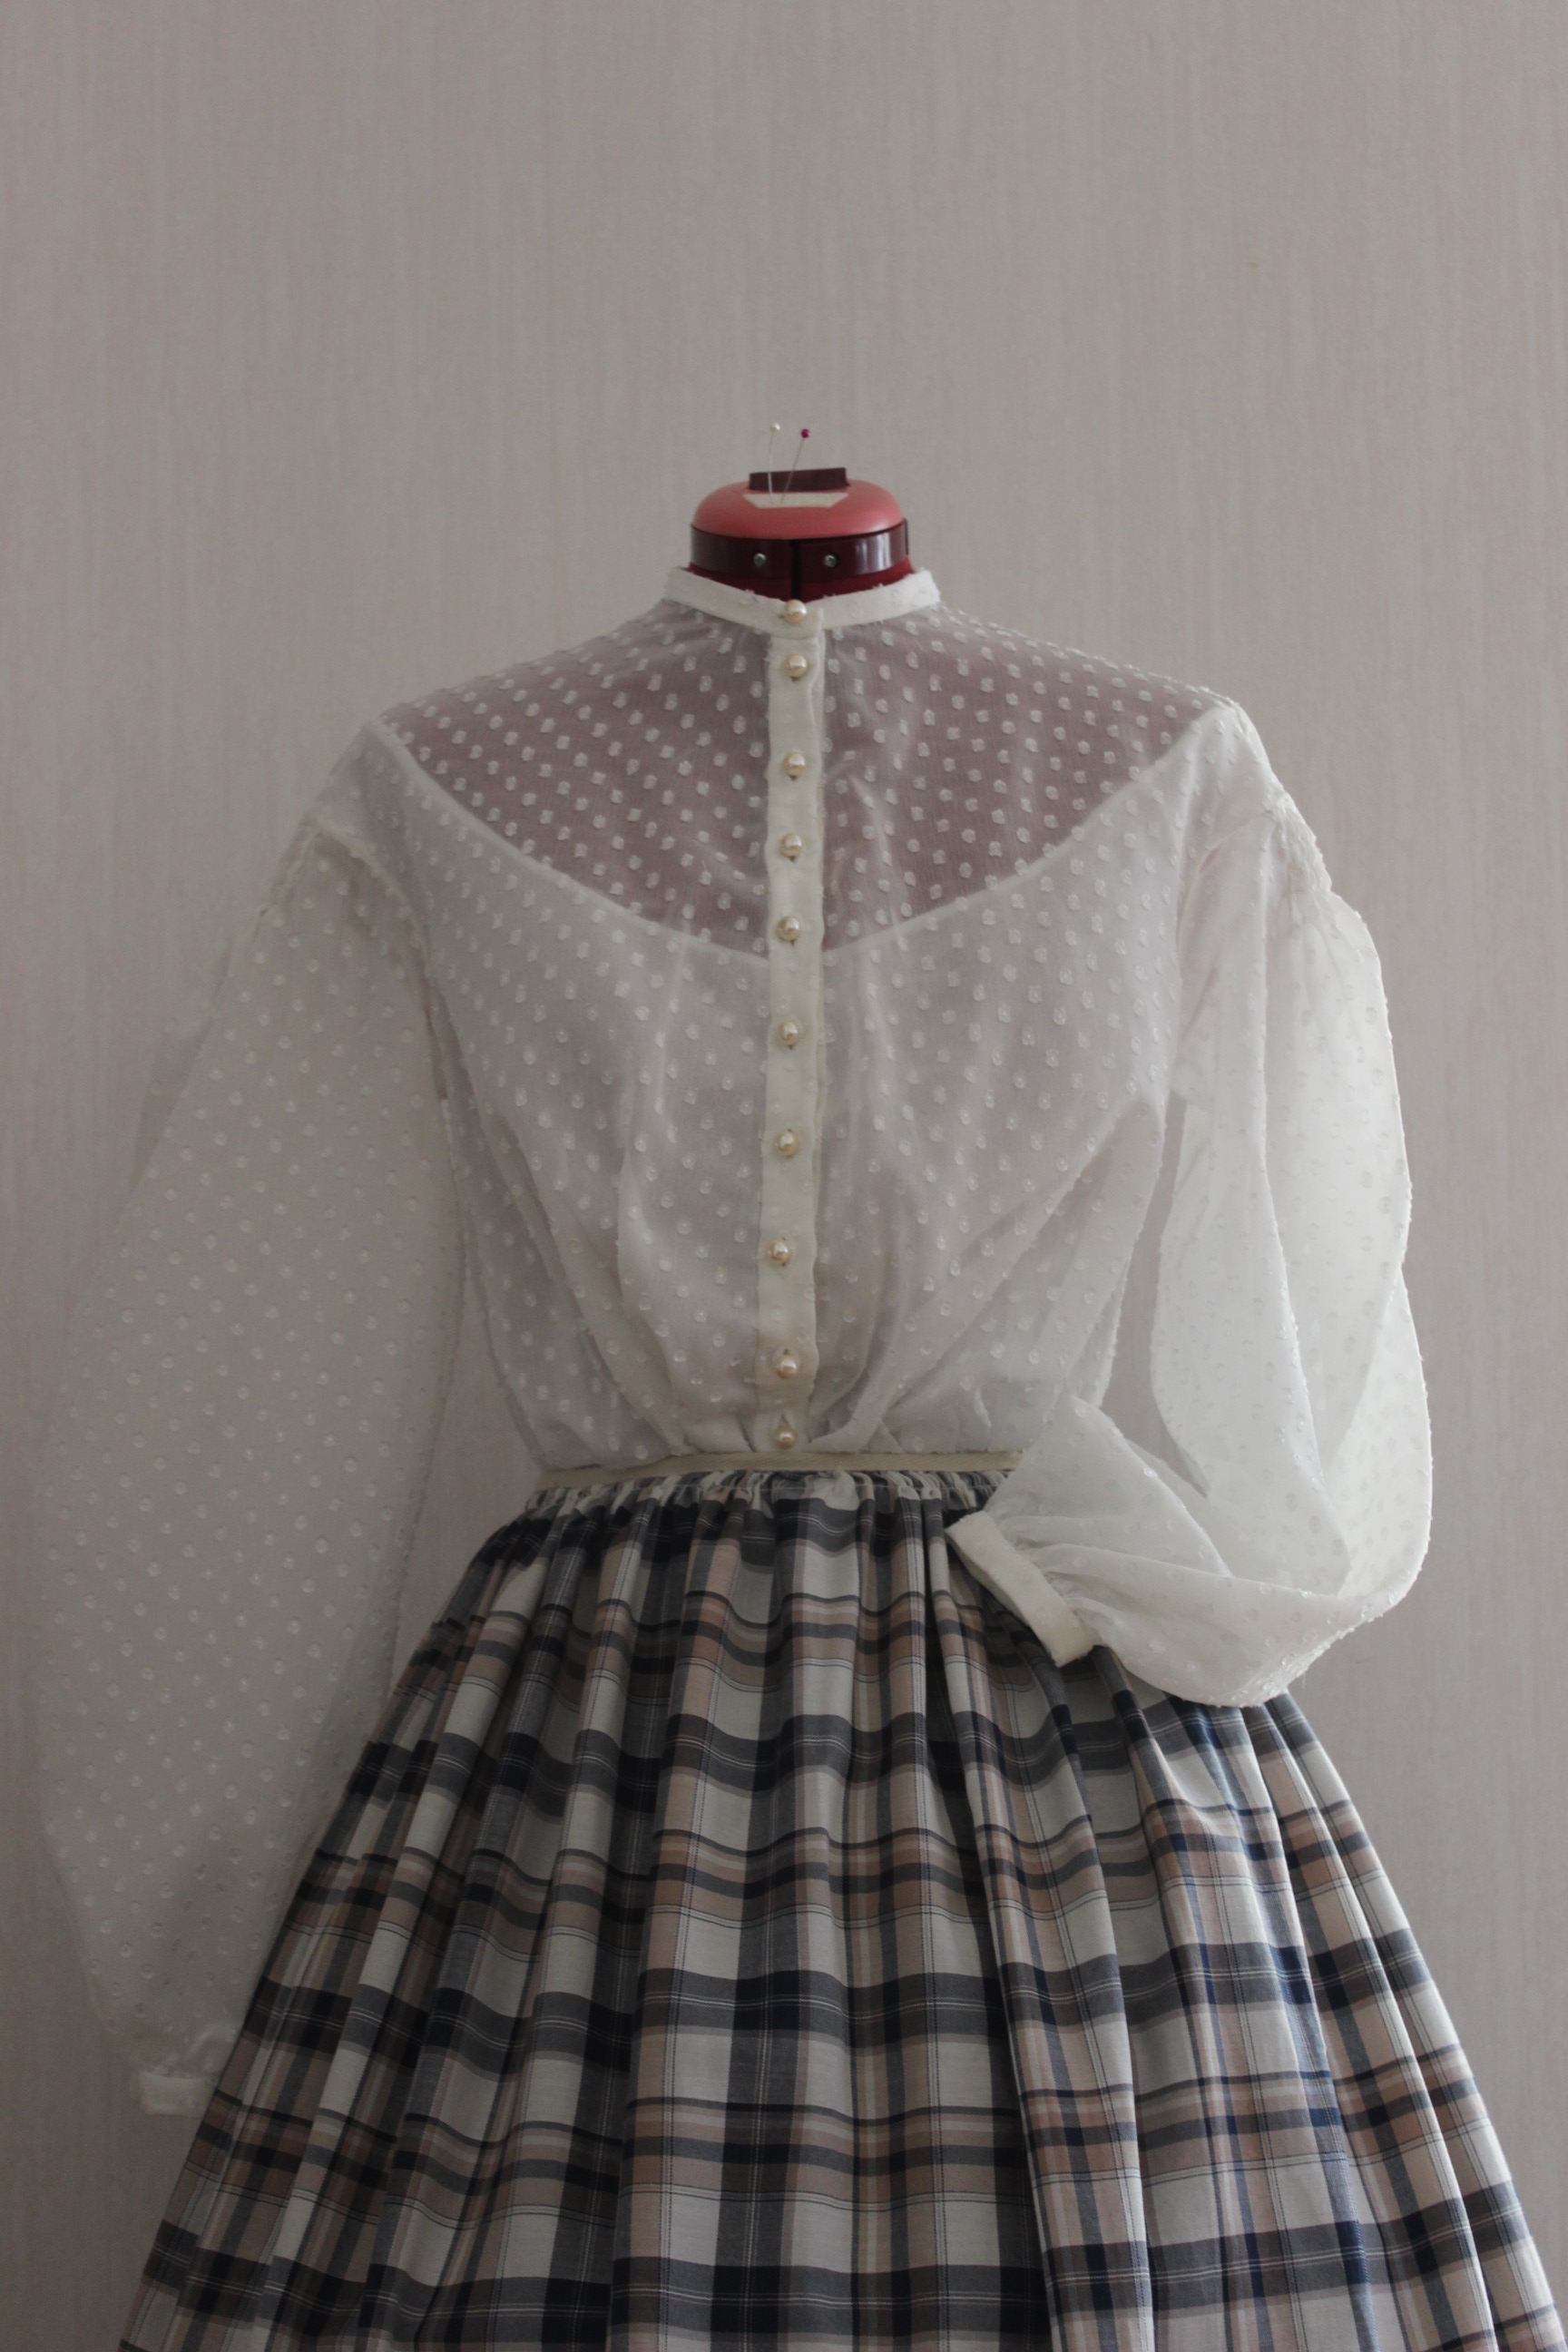
 Looking neat from the outside…
 …And just as neat from the inside.
The finished blouse:
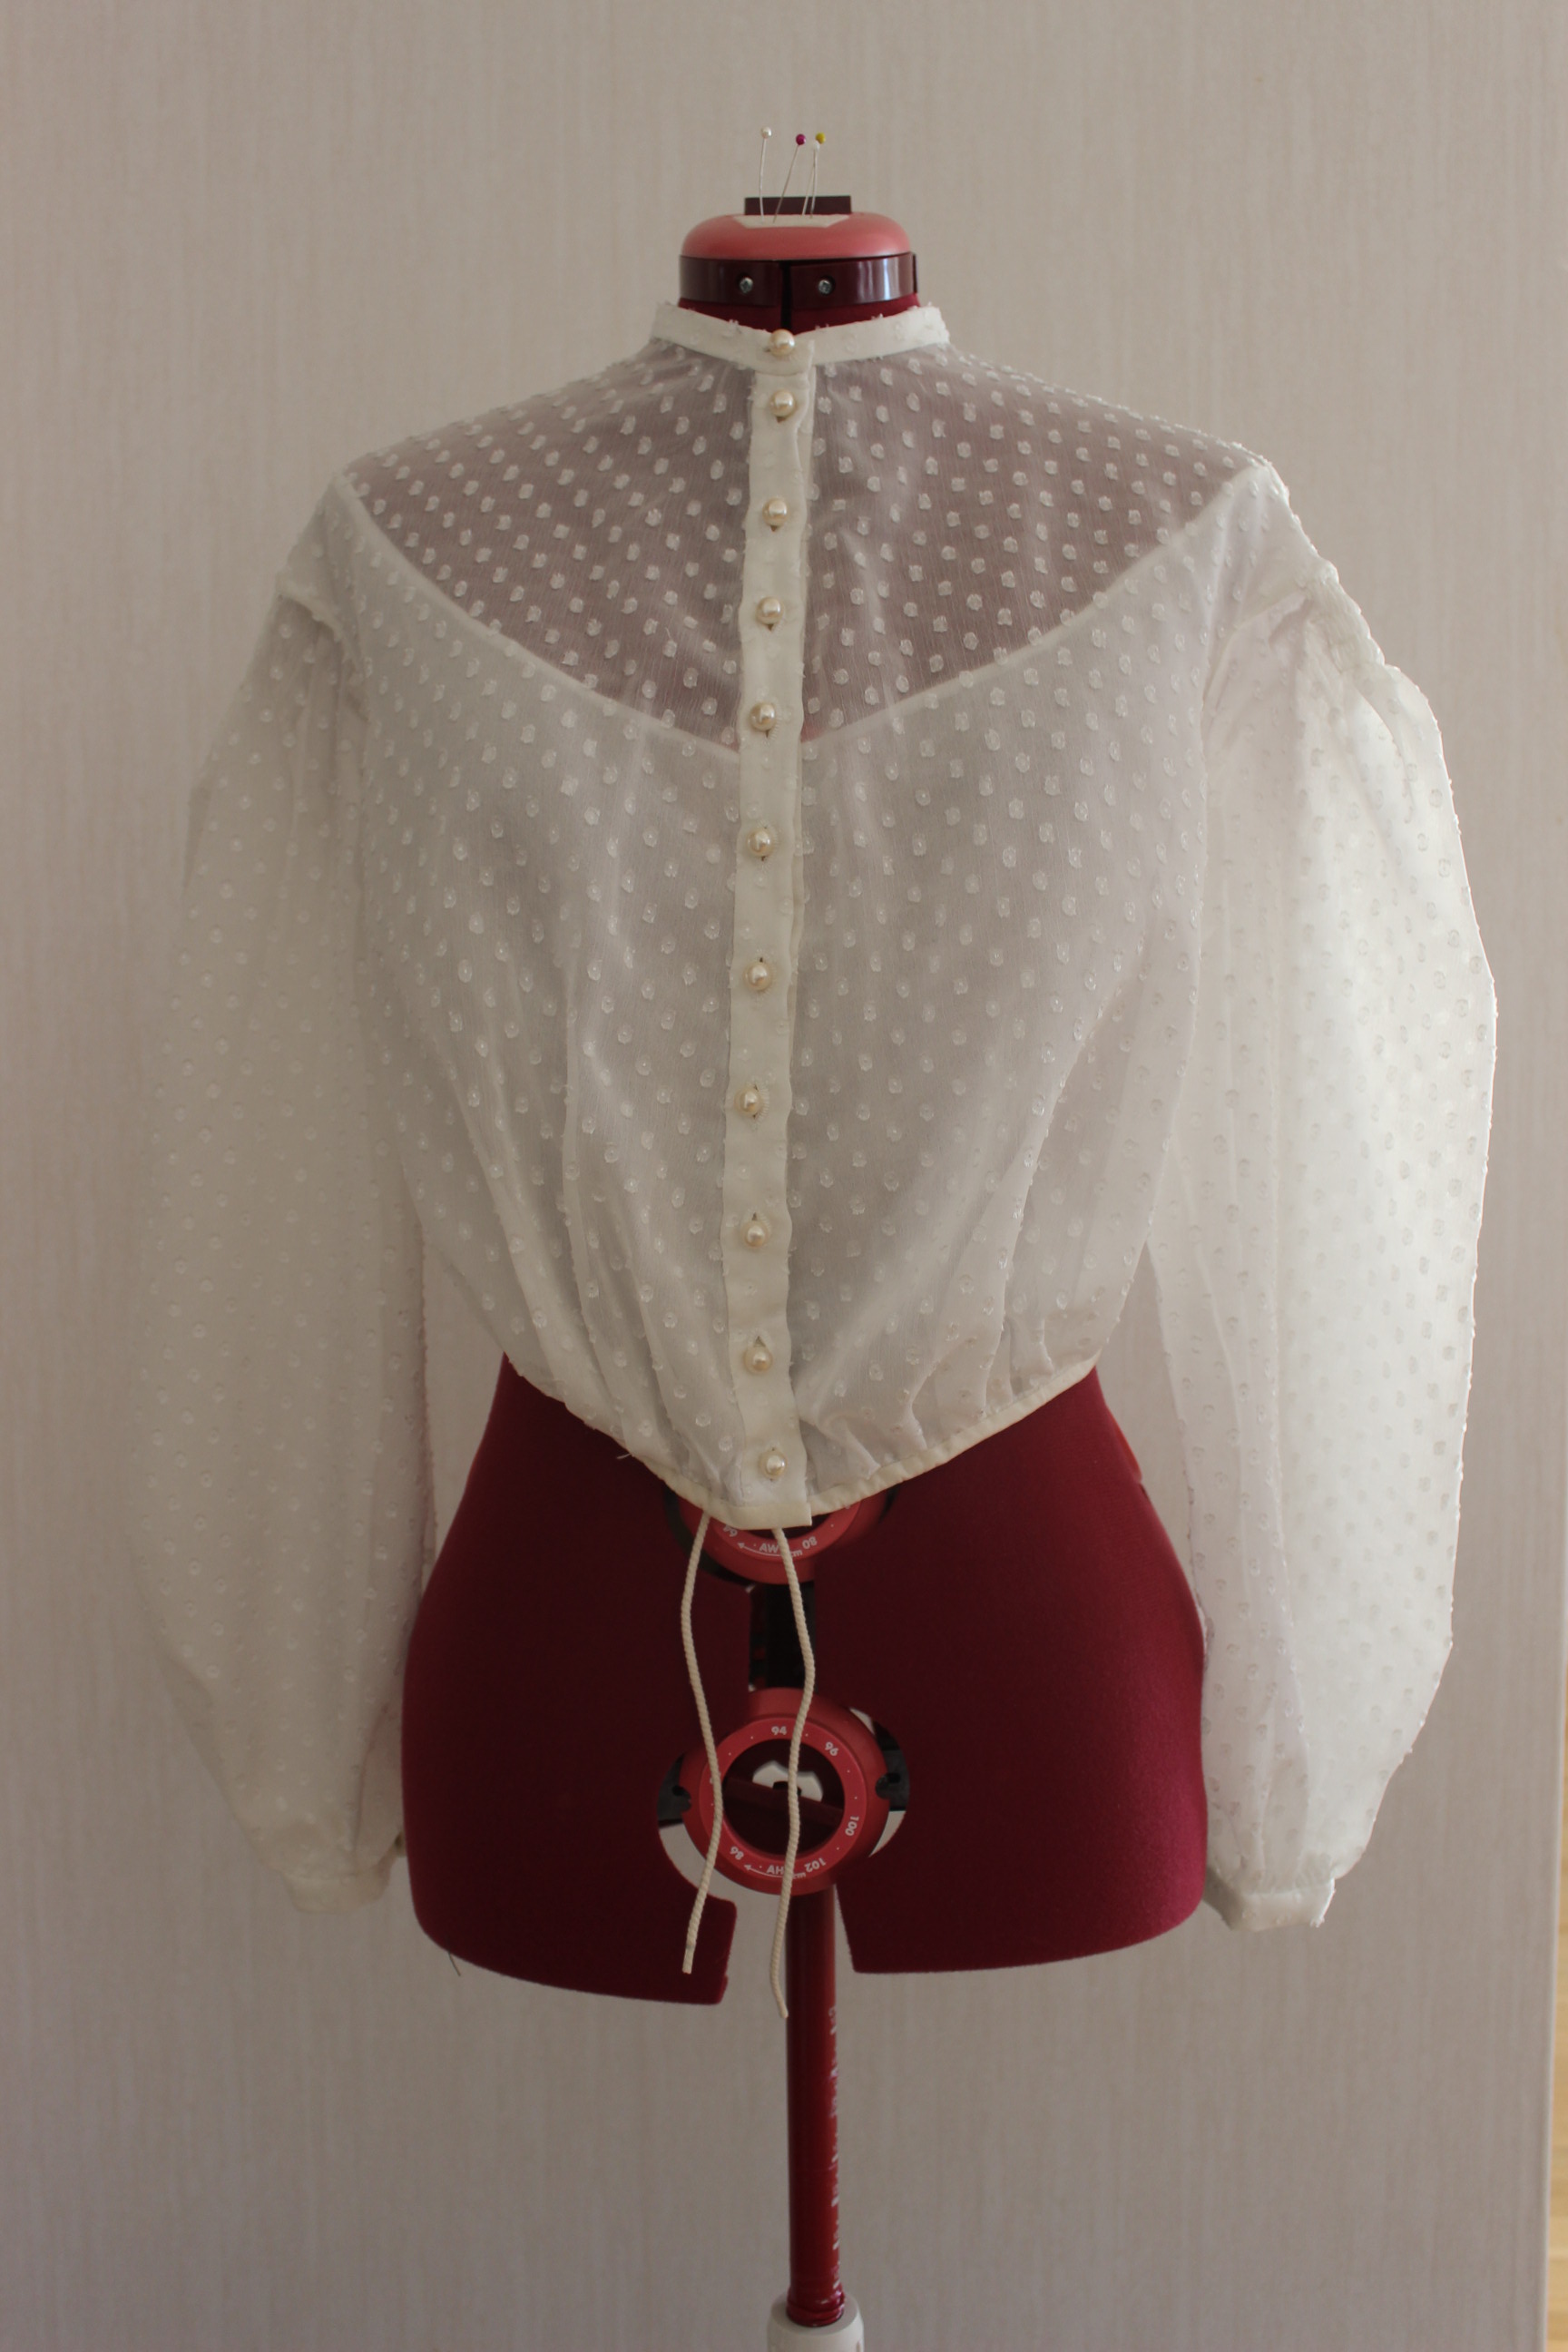


The Facts:
What: a 1850-1860s blouse/waist
Pattern: I drafted my own using my green 1840s dress bodice and pictures of extant blouses.
Fabric & Notions: 1 m dotted white polyester organza, 0,5 m soft white cotton, 12 plastic buttons, thread, buttonhole thread, 80 cm bias tape and 1,2 m cotton cord.
Time: About 10 hours.
Cost: About 100 Sek (16 Usd) – Everything was bought on sale or leftovers from previous projects.
Final thoughts: I like the look of this blouse, even though I’m not sure the polyester content will keep me as cool as I would have liked in the summer heat. I may make another one out of a more suitable fabric someday, but for now I’m pleased with it. And It was such a quick and easy project.
