
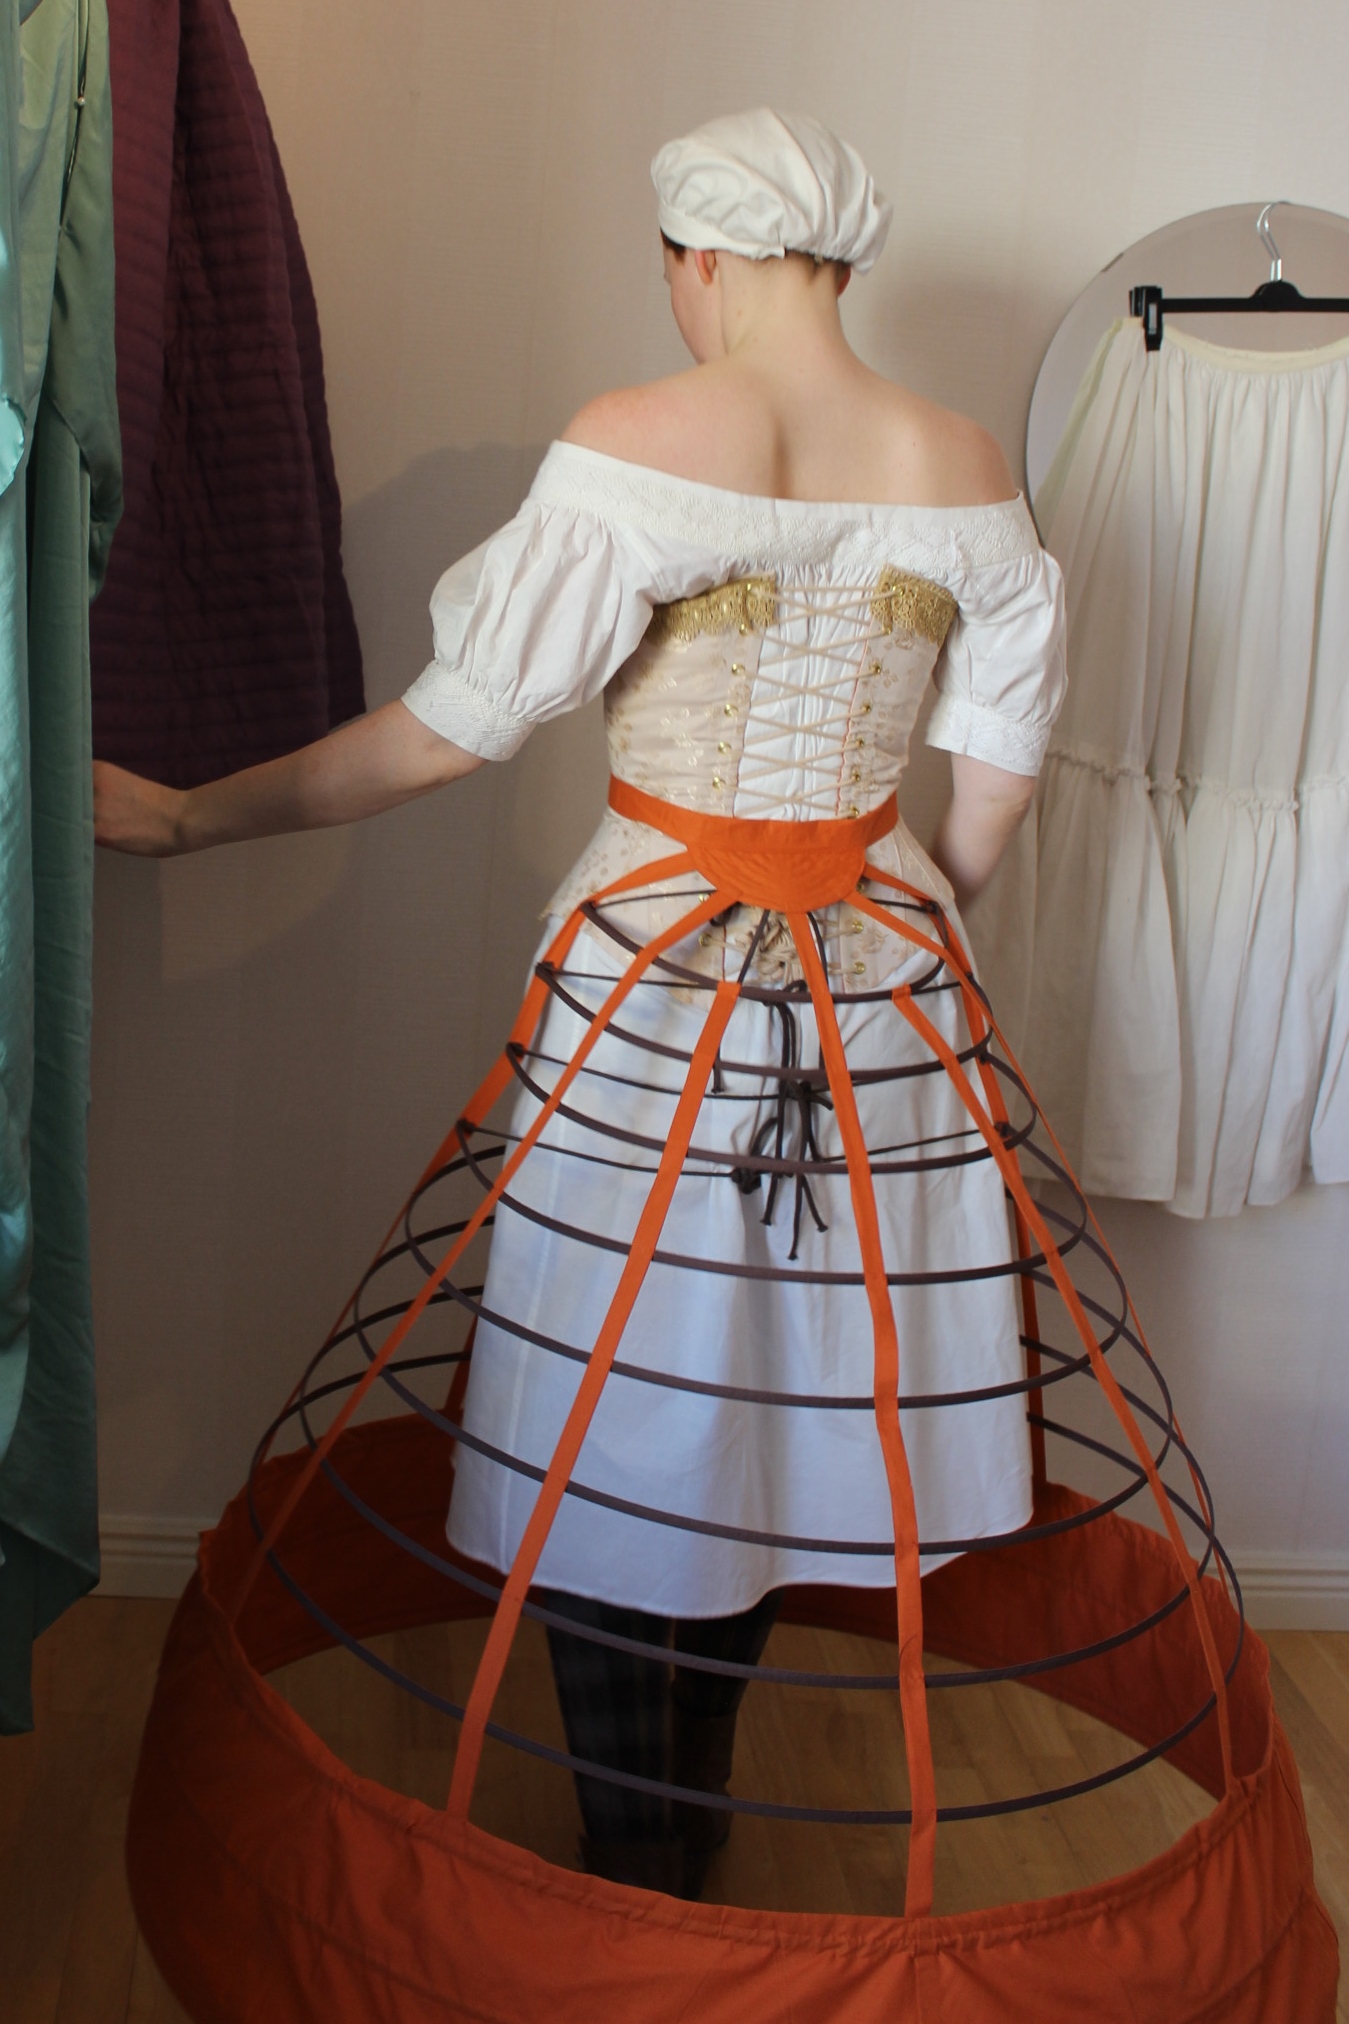
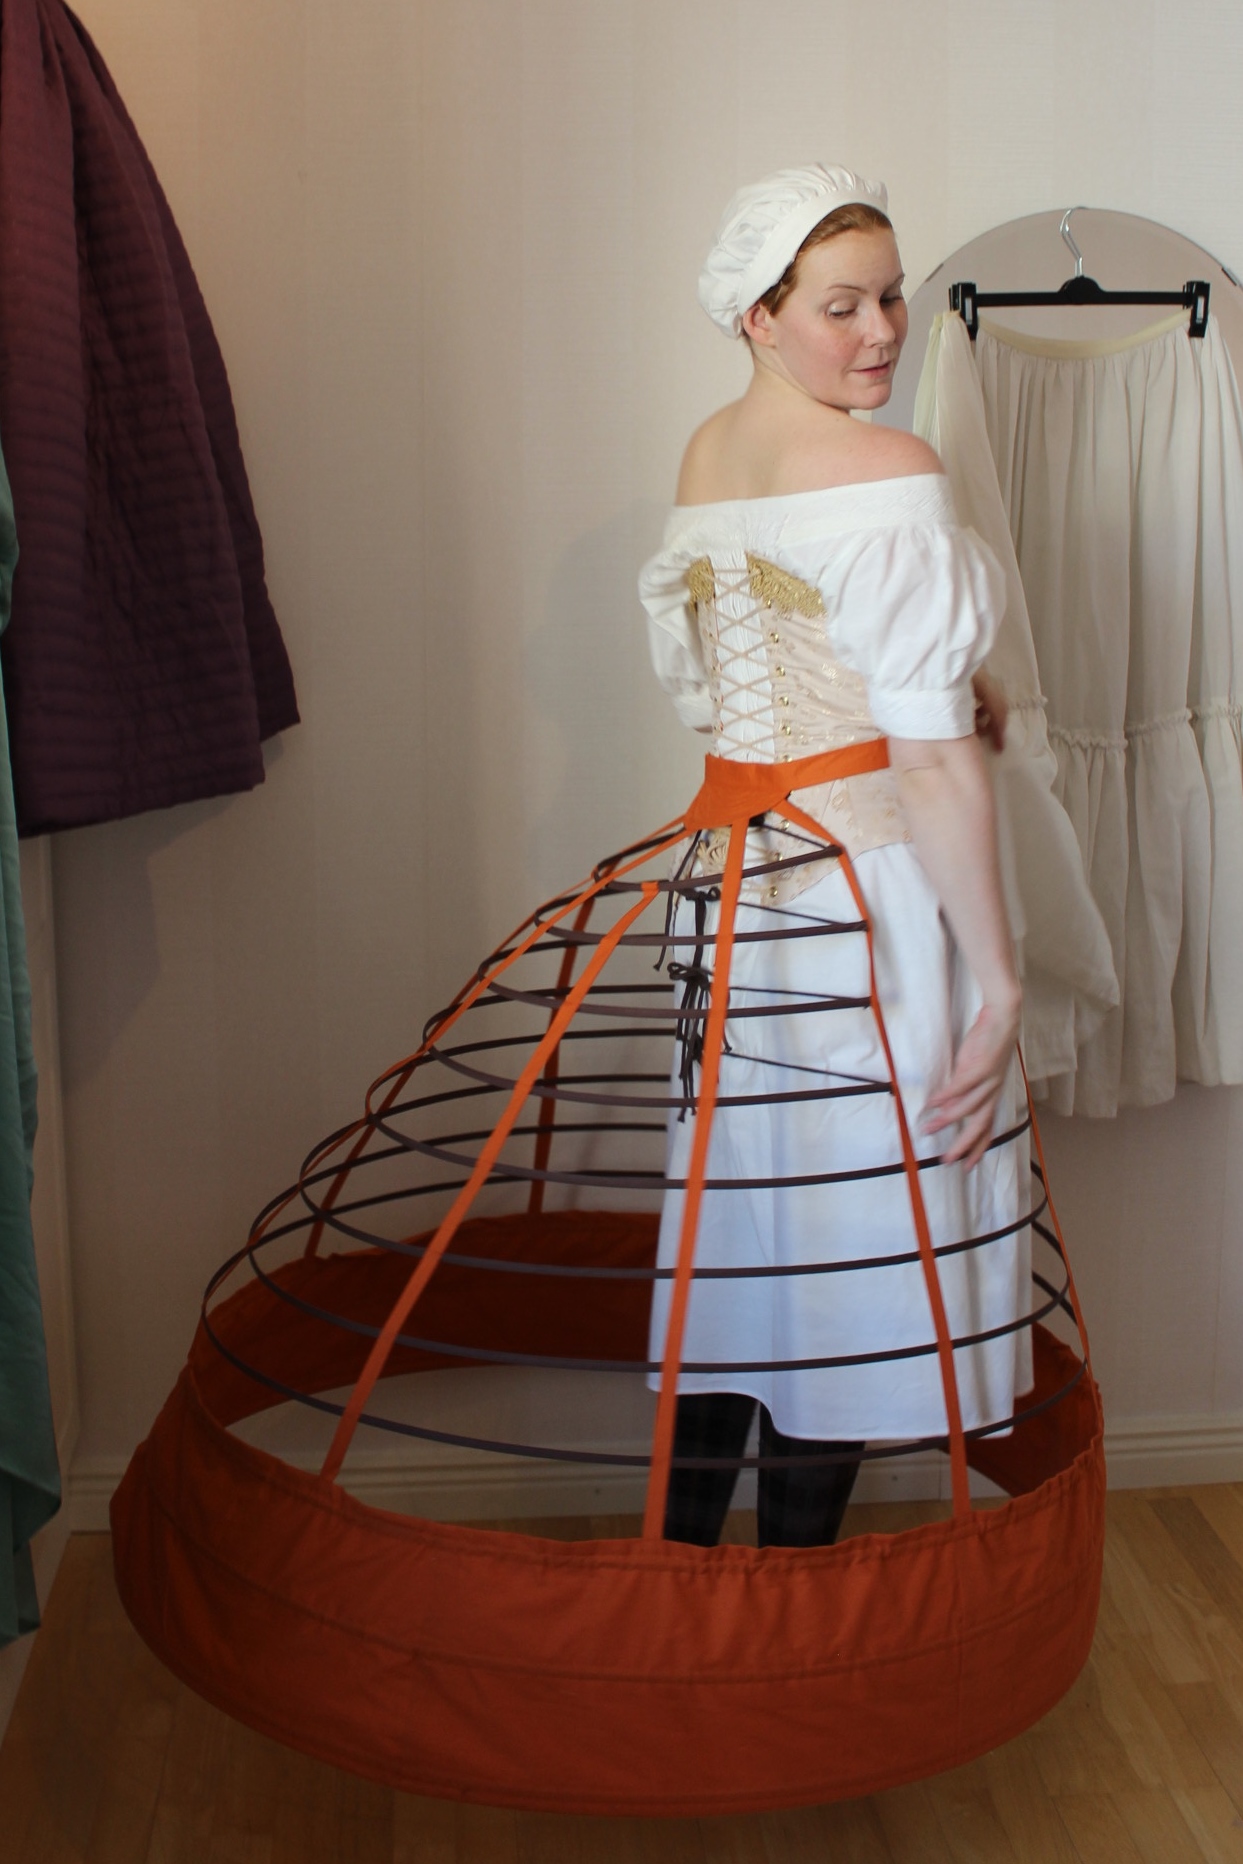
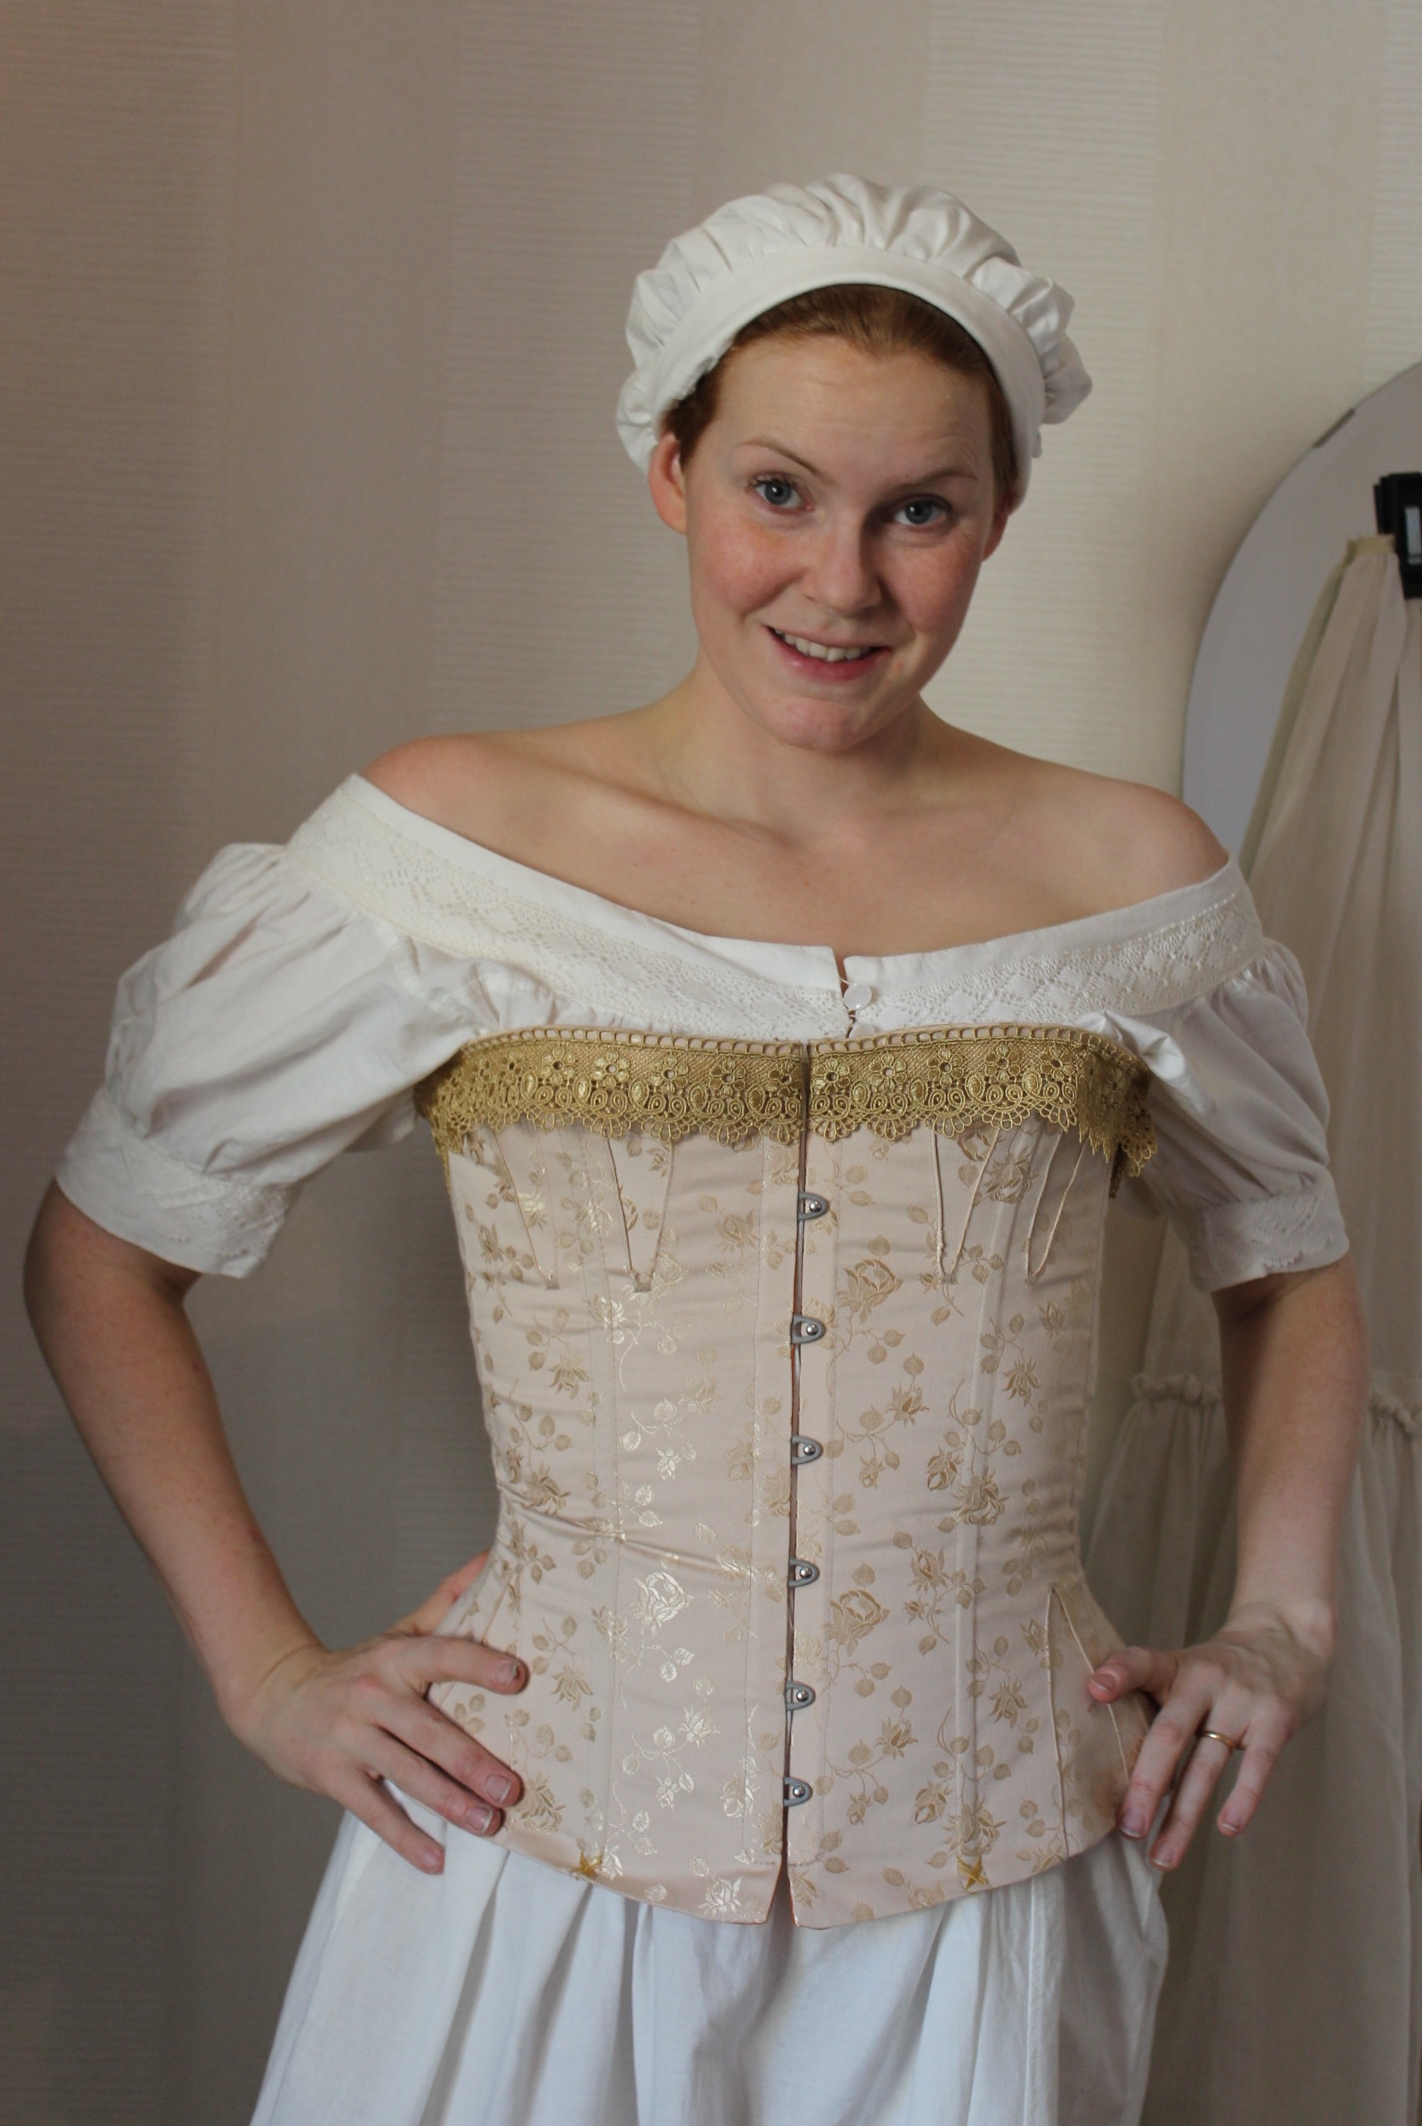
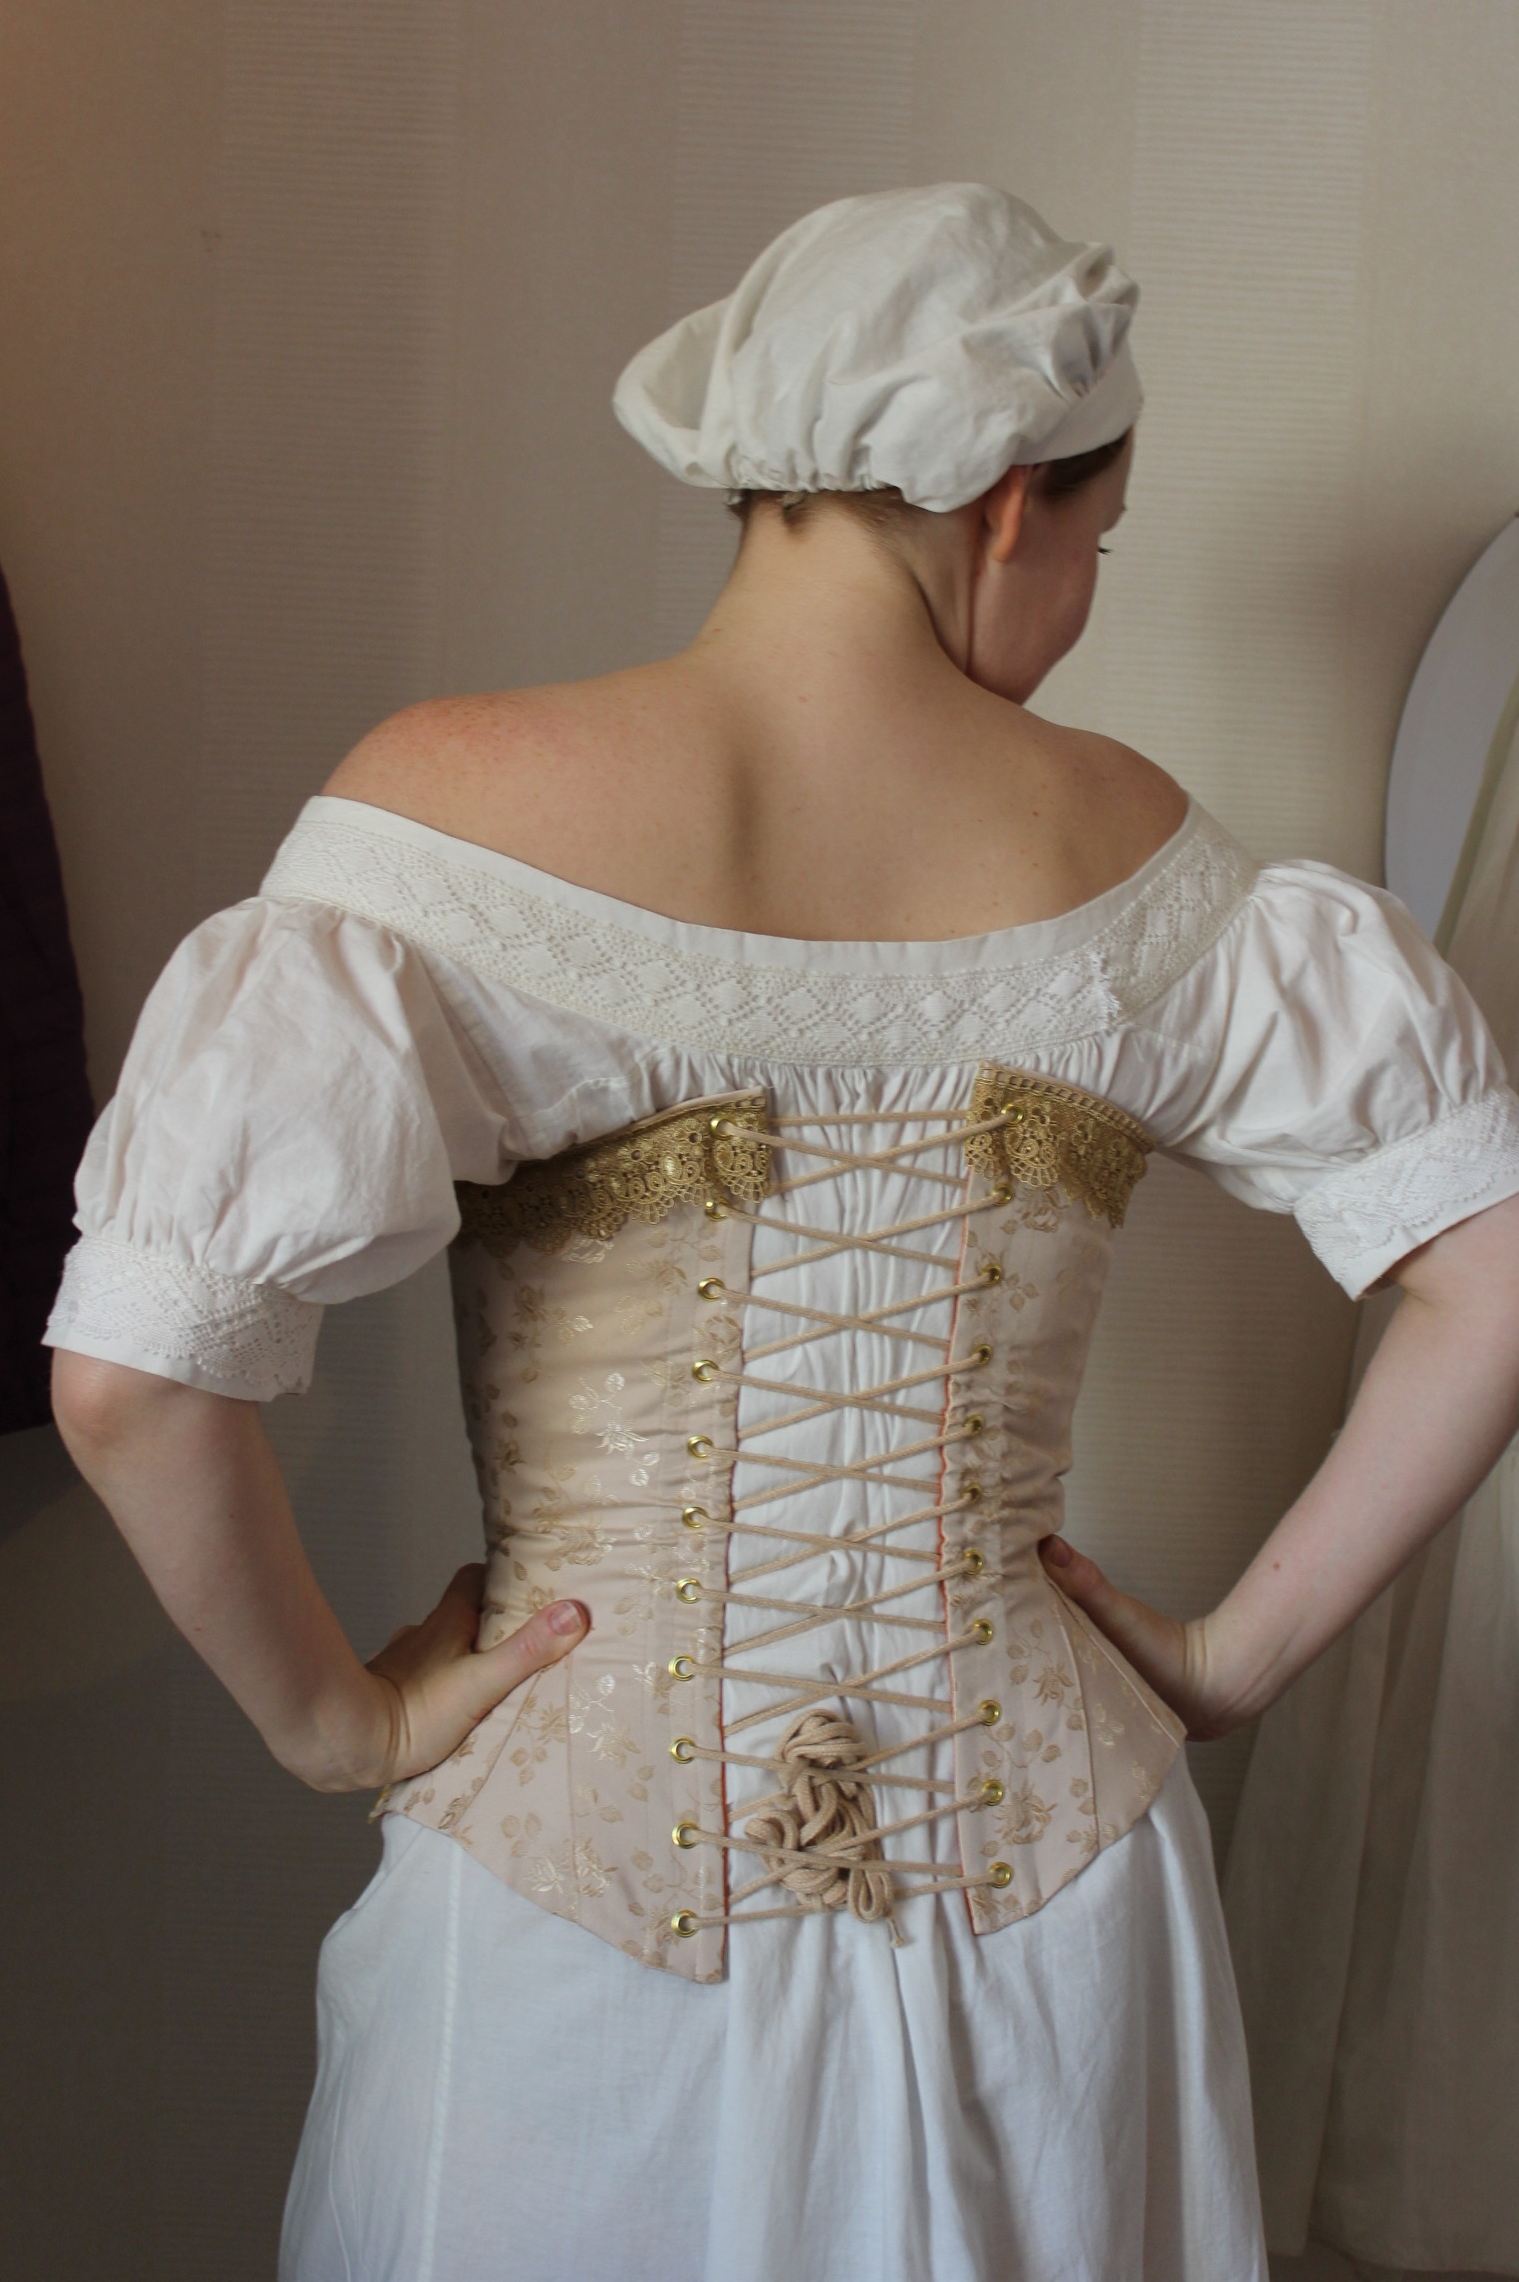
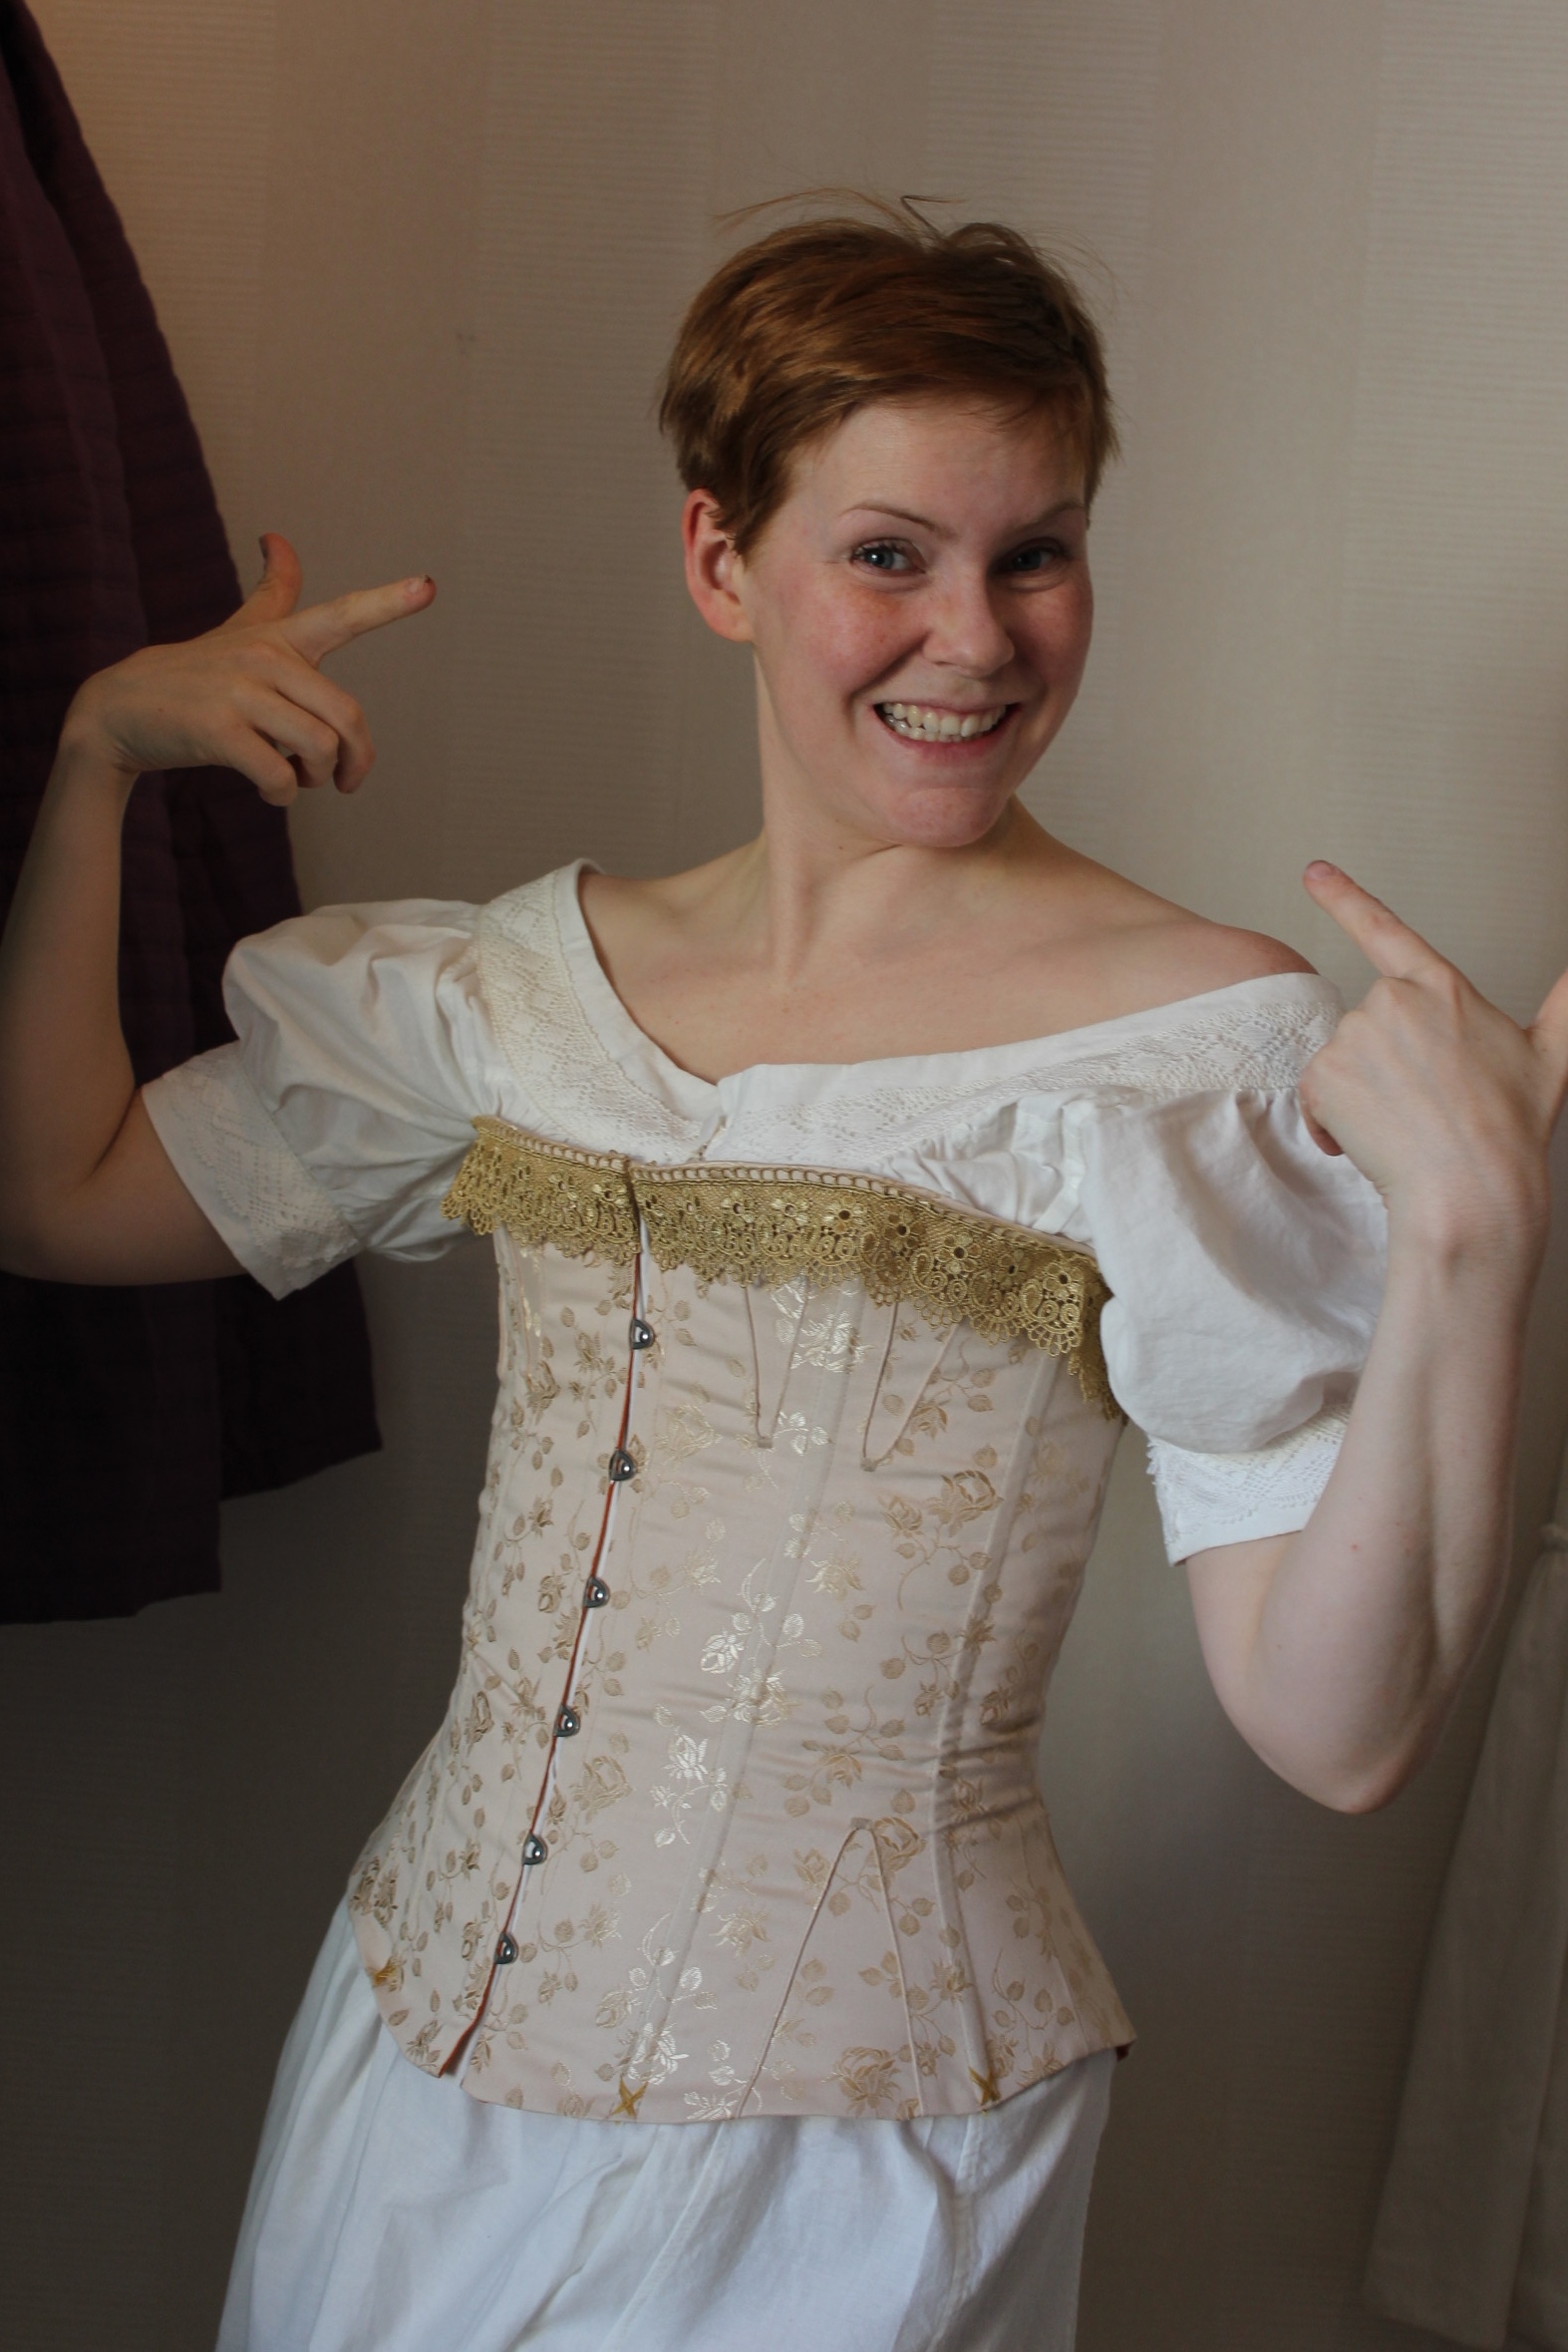
Here’s some photos of me in my new 1860s golden corset and the Huge Orange Crinoline. I’m also wearing my mid victorian chemise, bloomers, stockings and lace up boots.


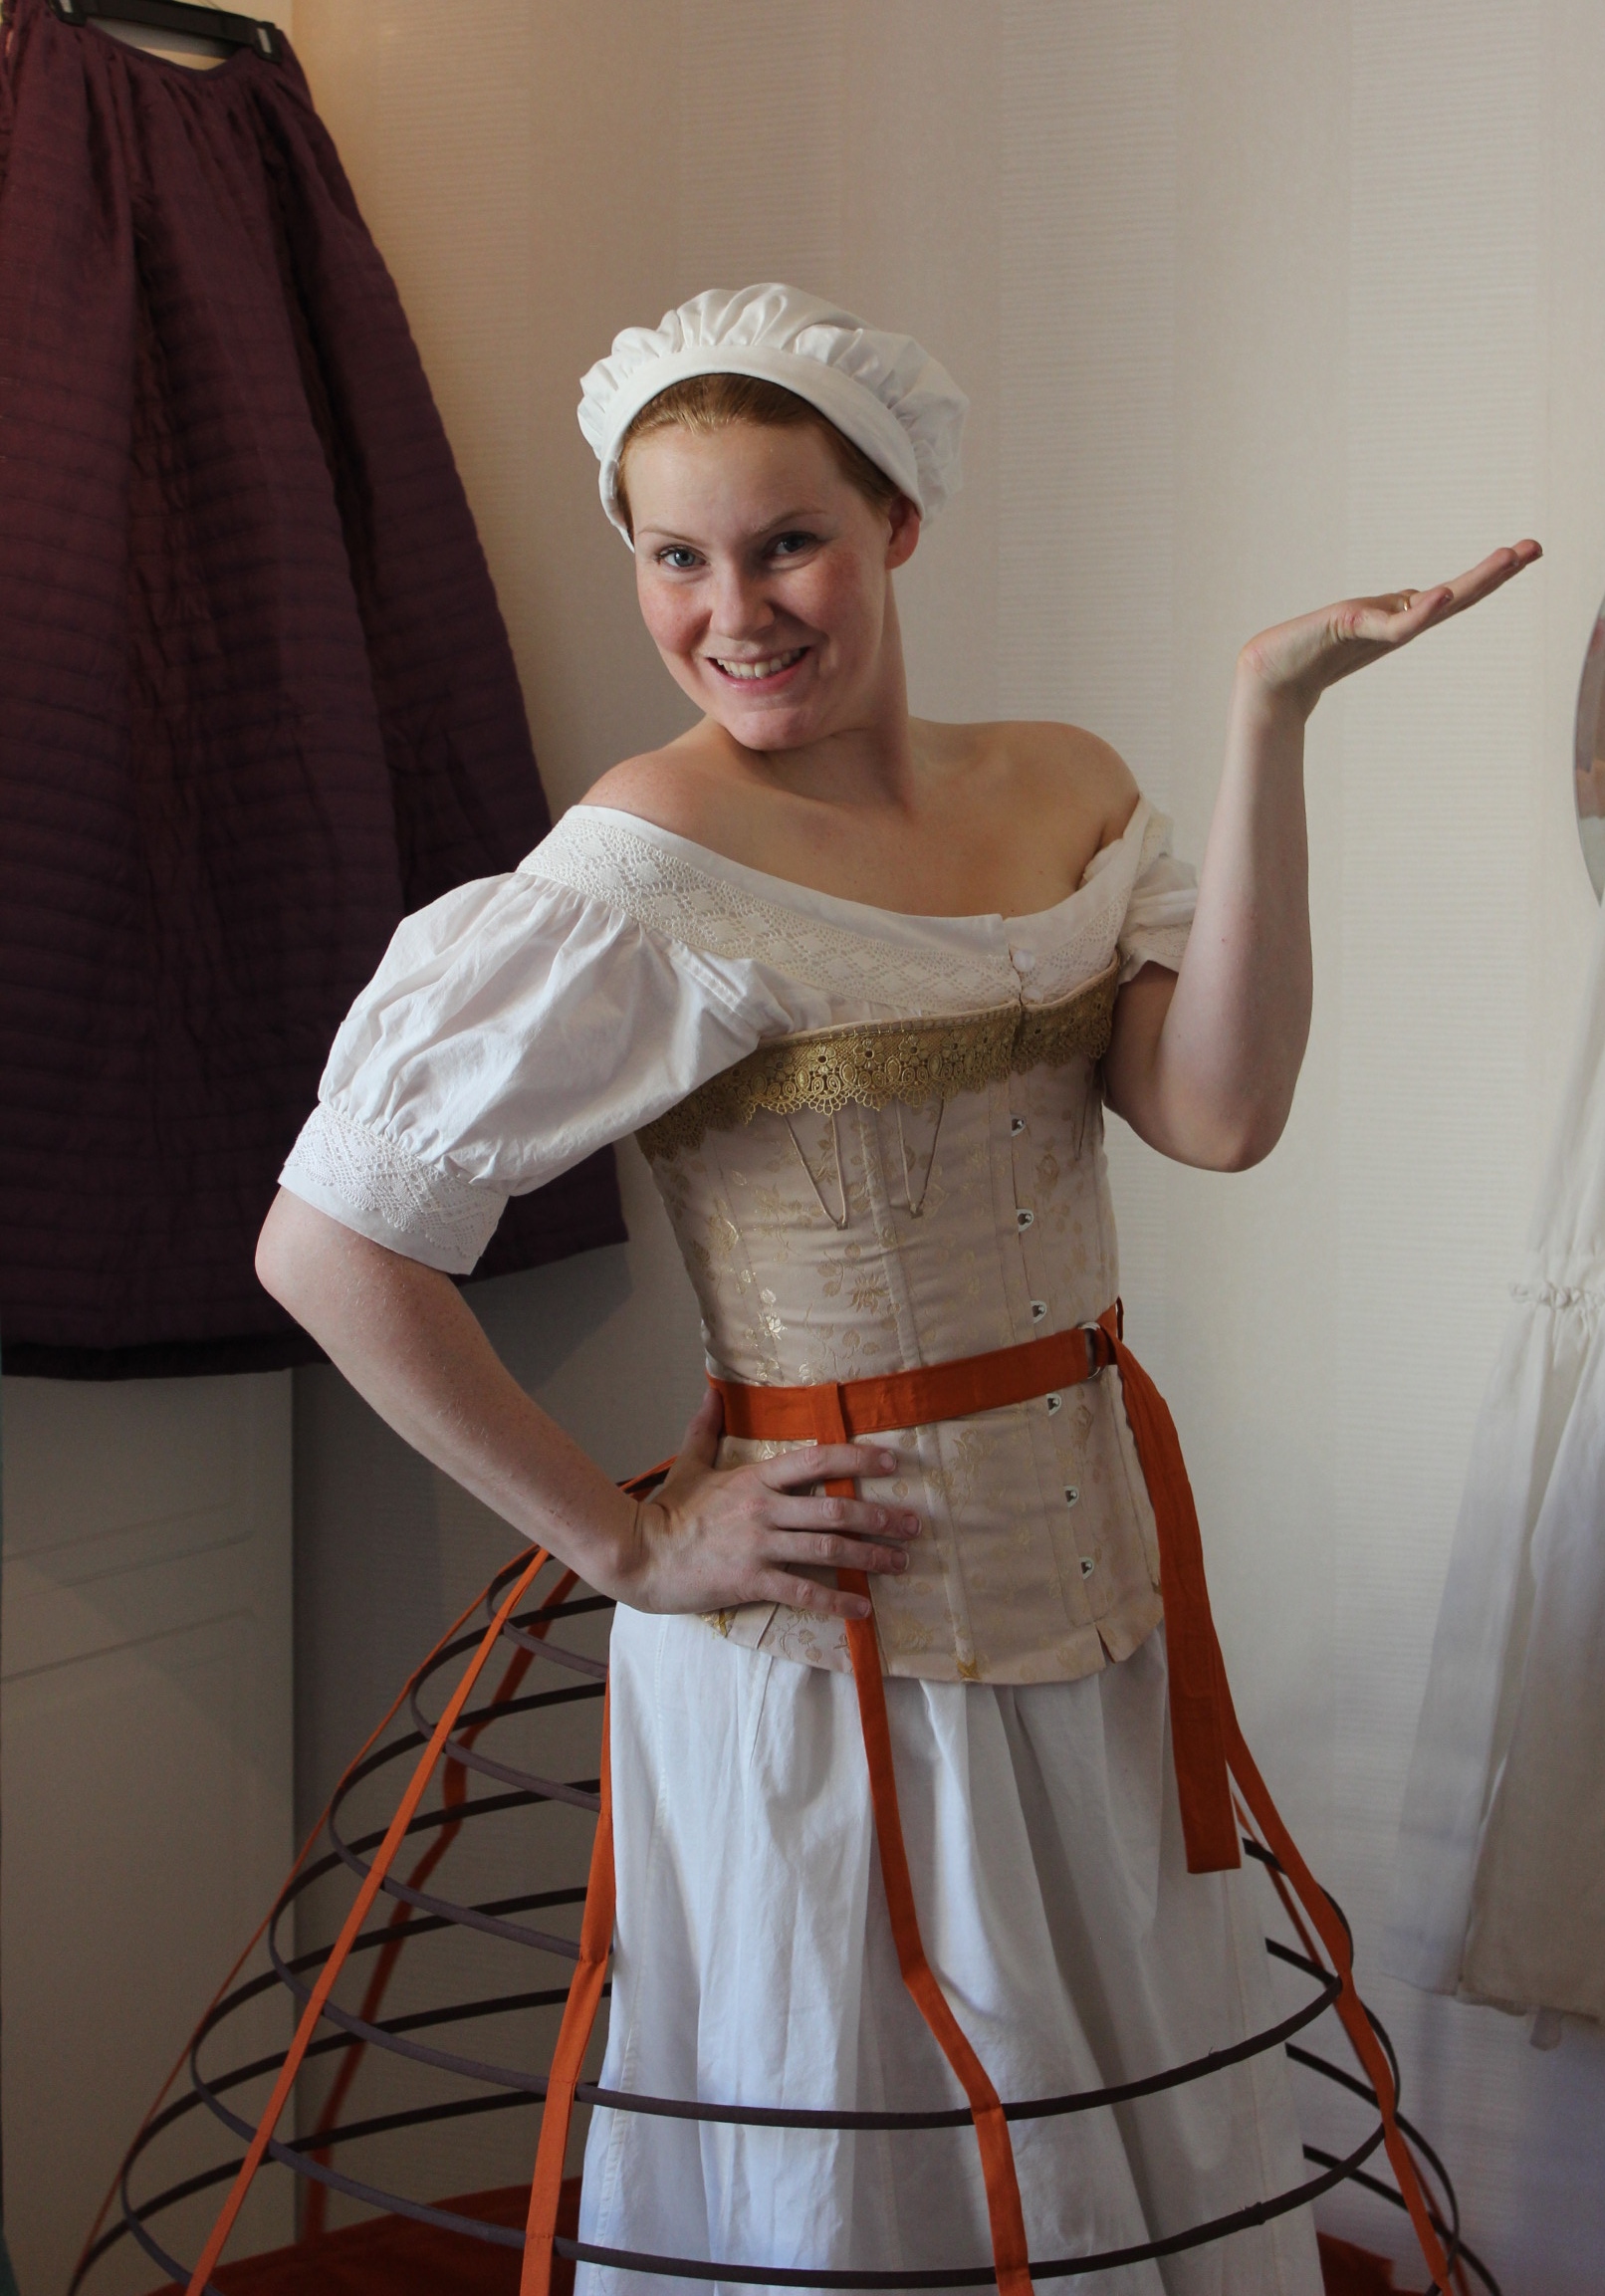
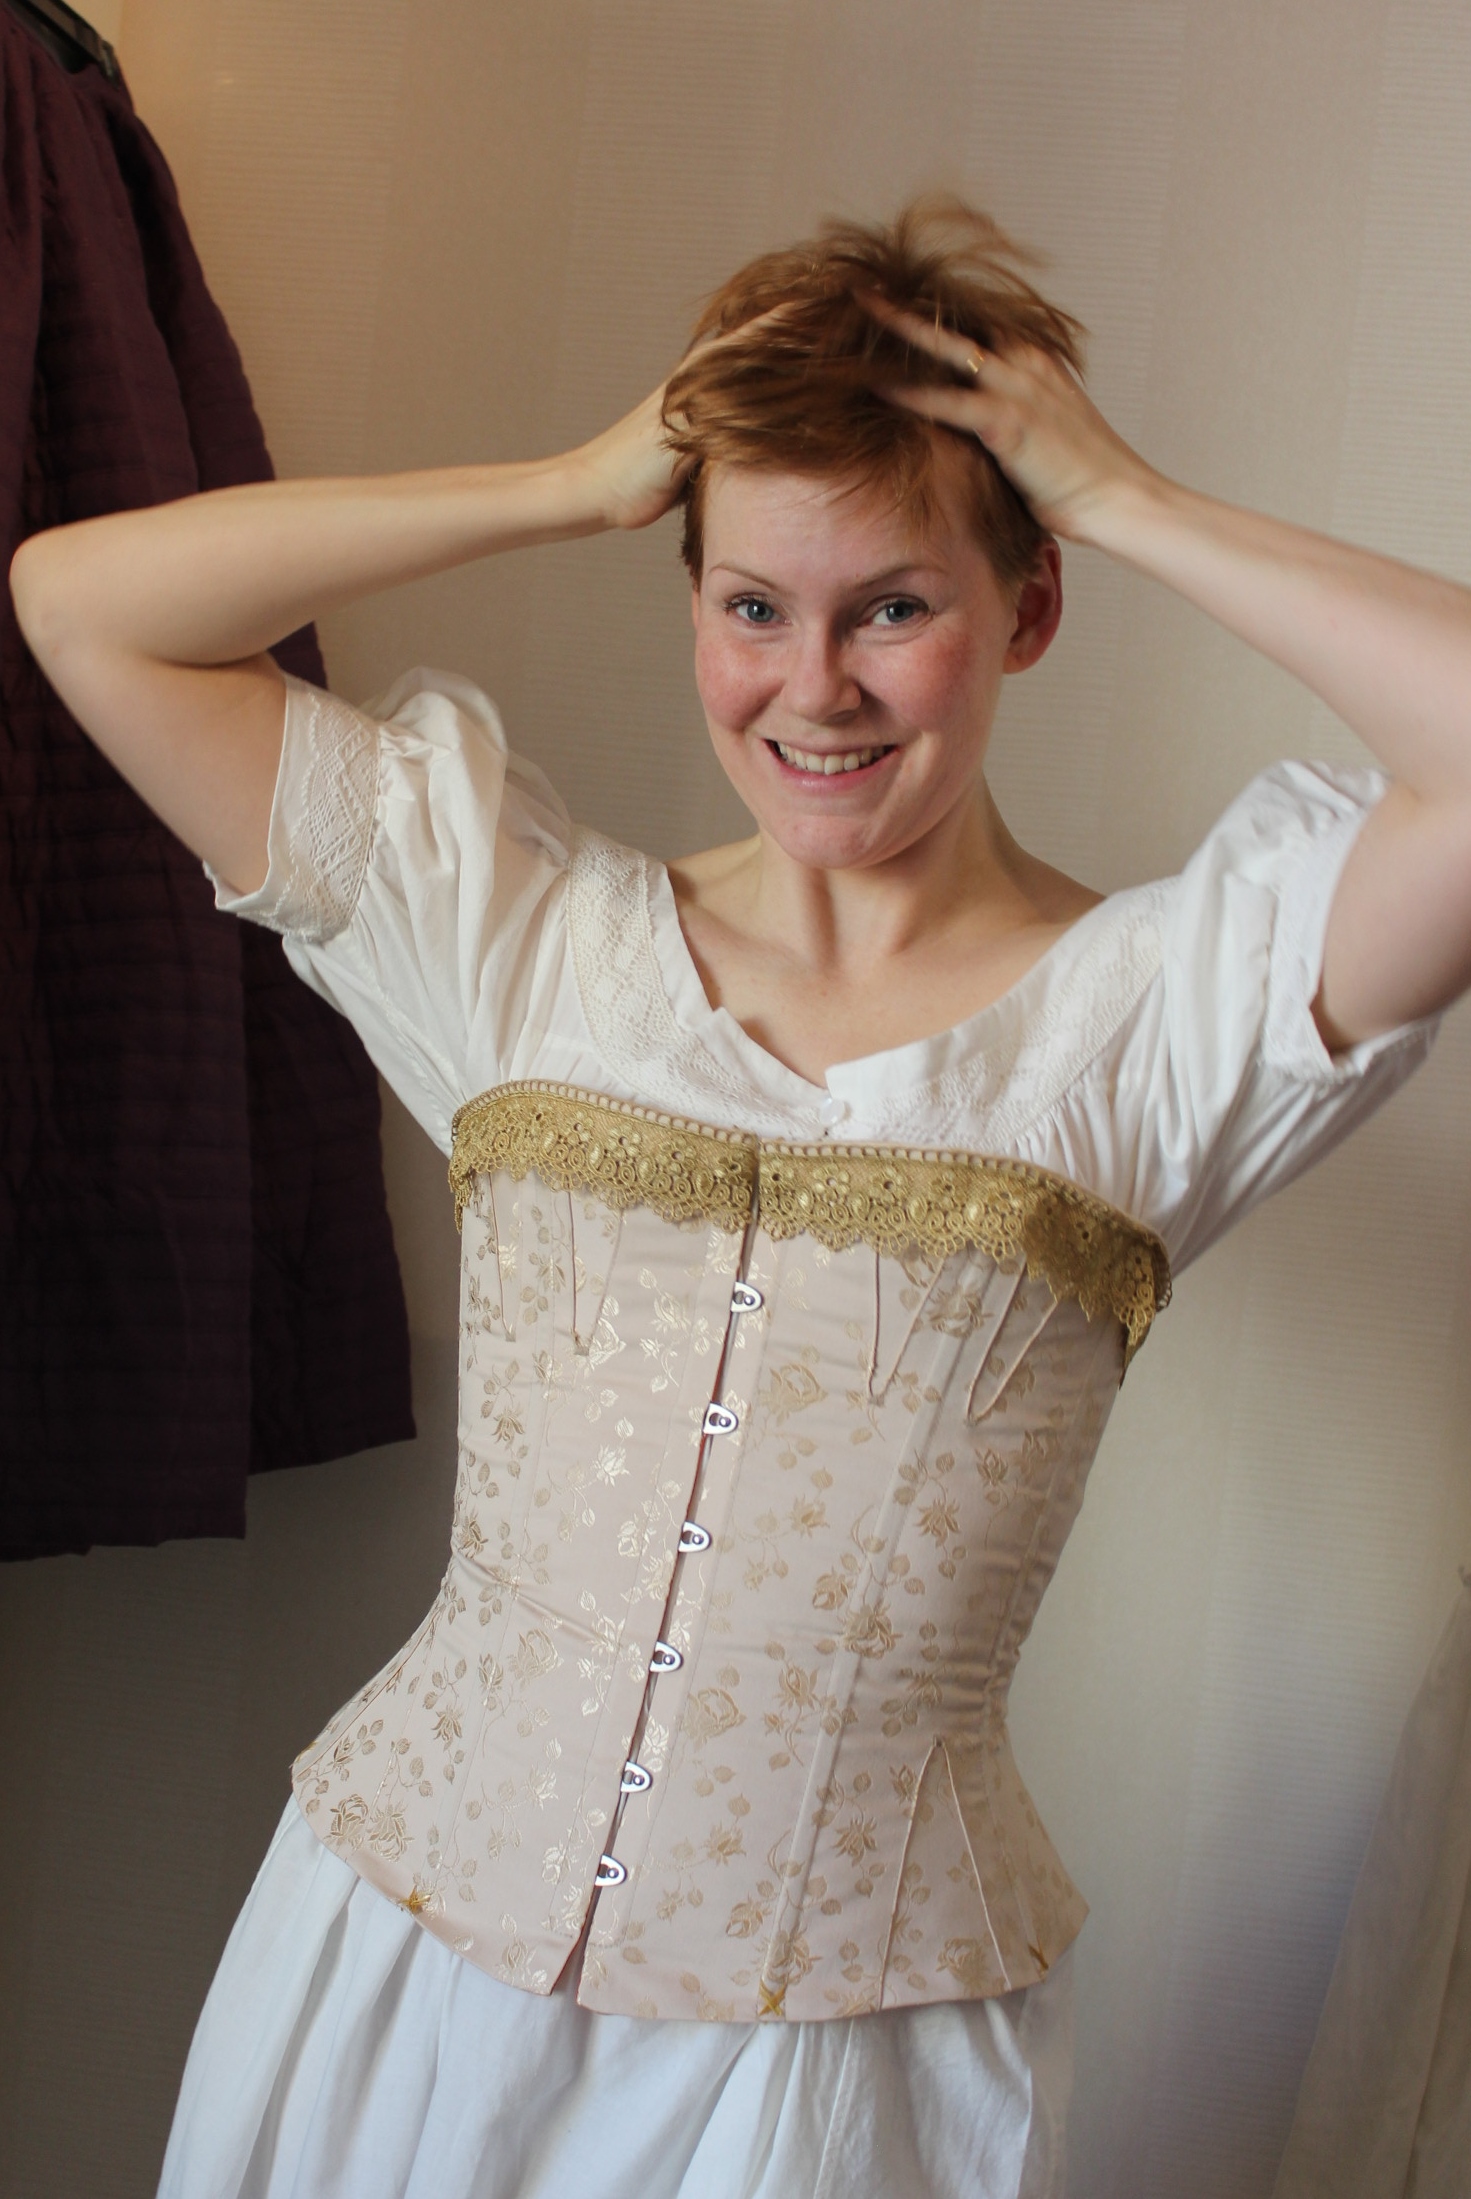
 And here´s when my baby entered the room


 Photos: Elin Evaldsdotter
Here’s some photos of me in my new 1860s golden corset and the Huge Orange Crinoline. I’m also wearing my mid victorian chemise, bloomers, stockings and lace up boots.
And here´s when my baby entered the room
Photos: Elin Evaldsdotter
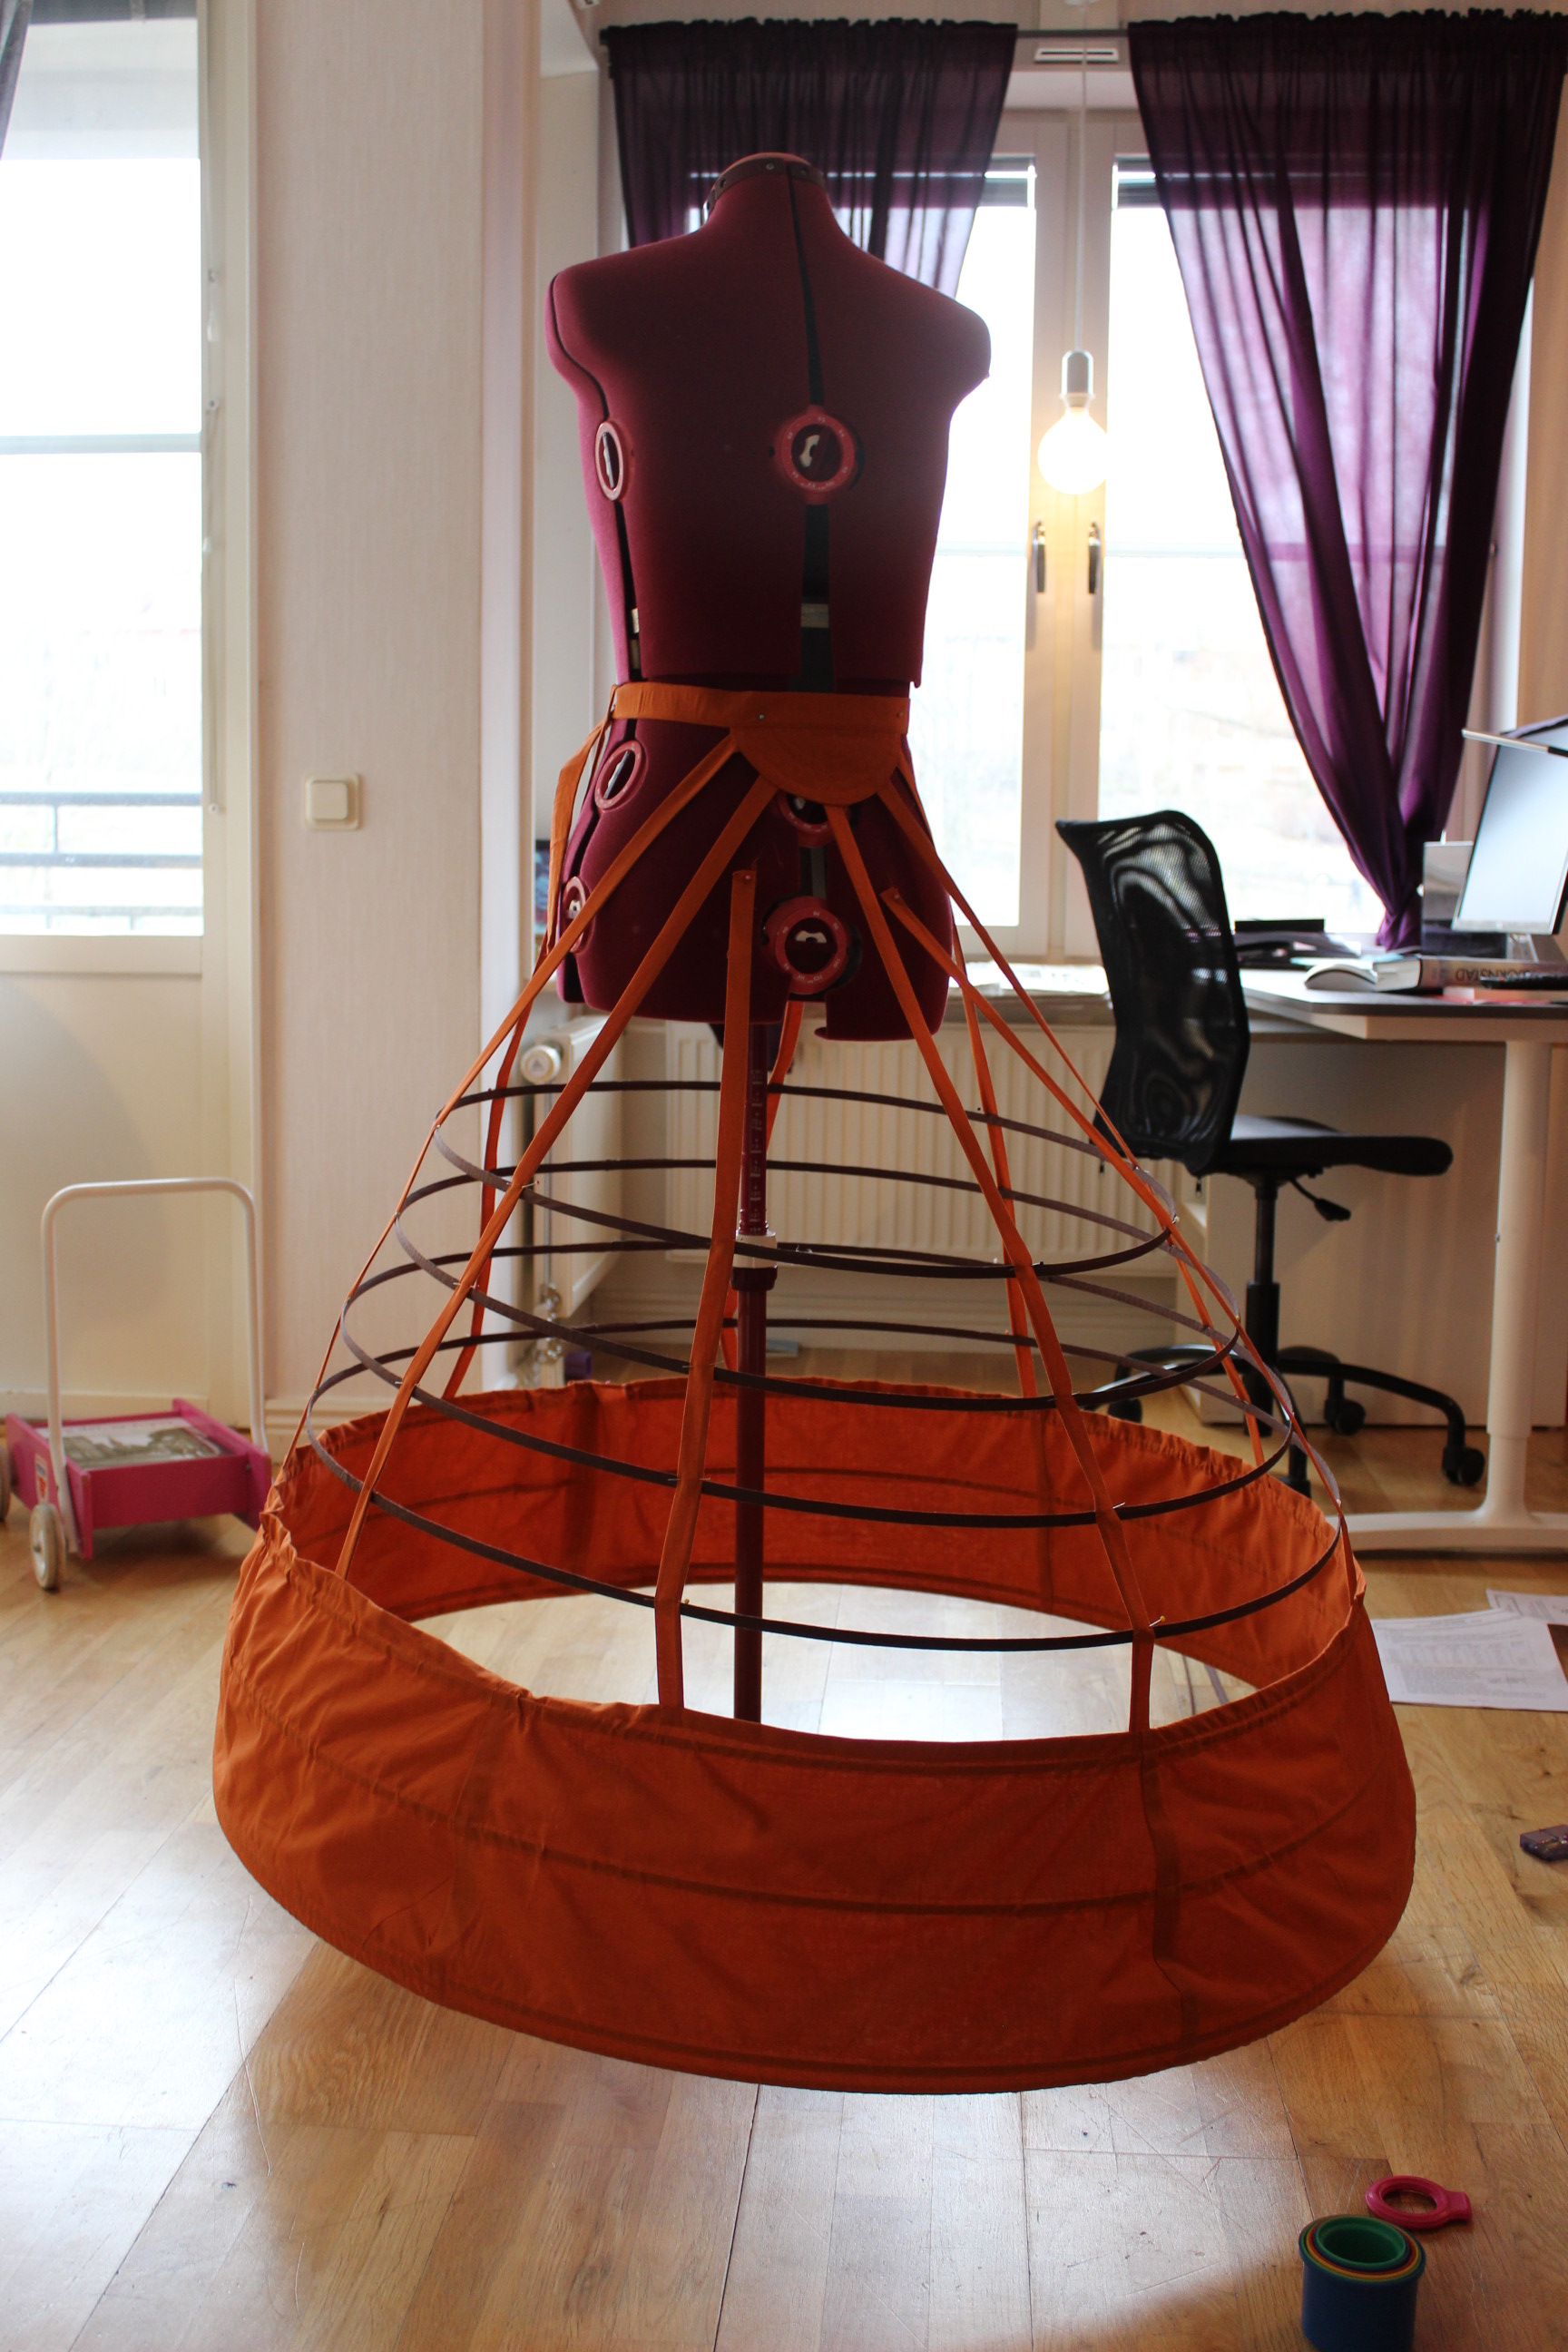
The next piece (after the corset) I needed to make for my sisters 1860s evening attire was the crinoline.
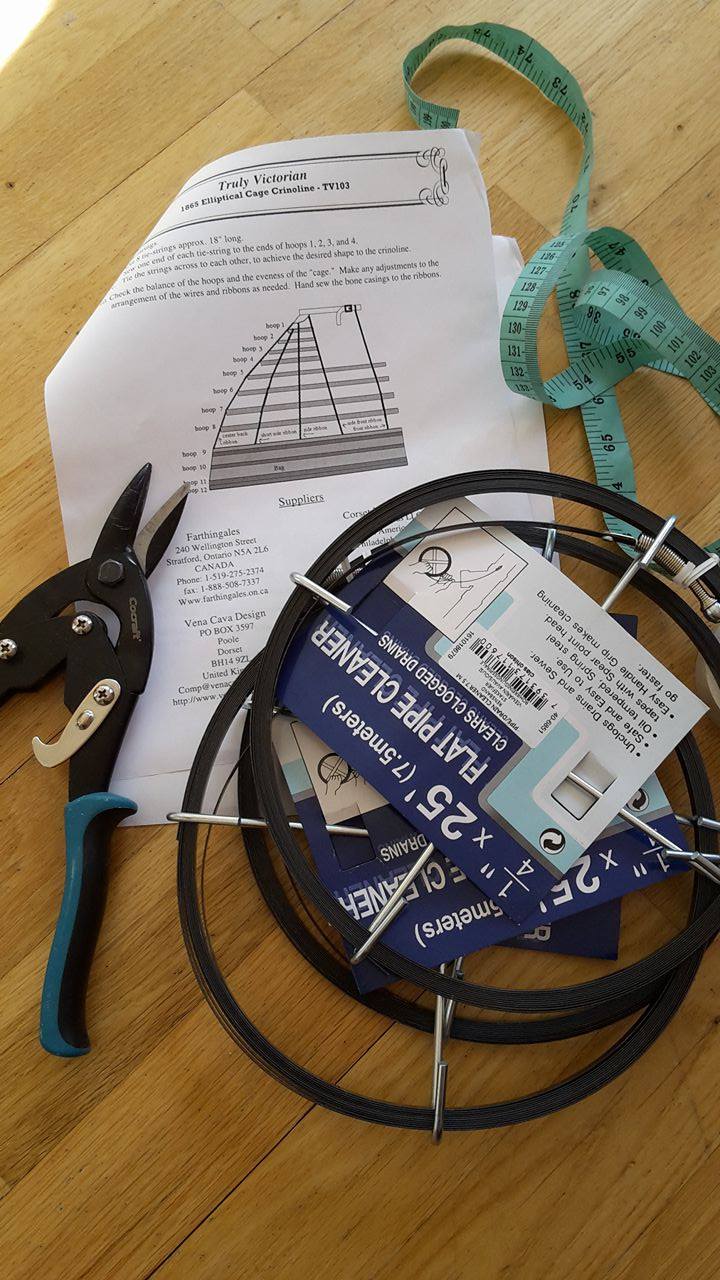
And since I’ve been wanted to make one for quite some time, and already had the pattern, I just needed to decide on fabric and get started.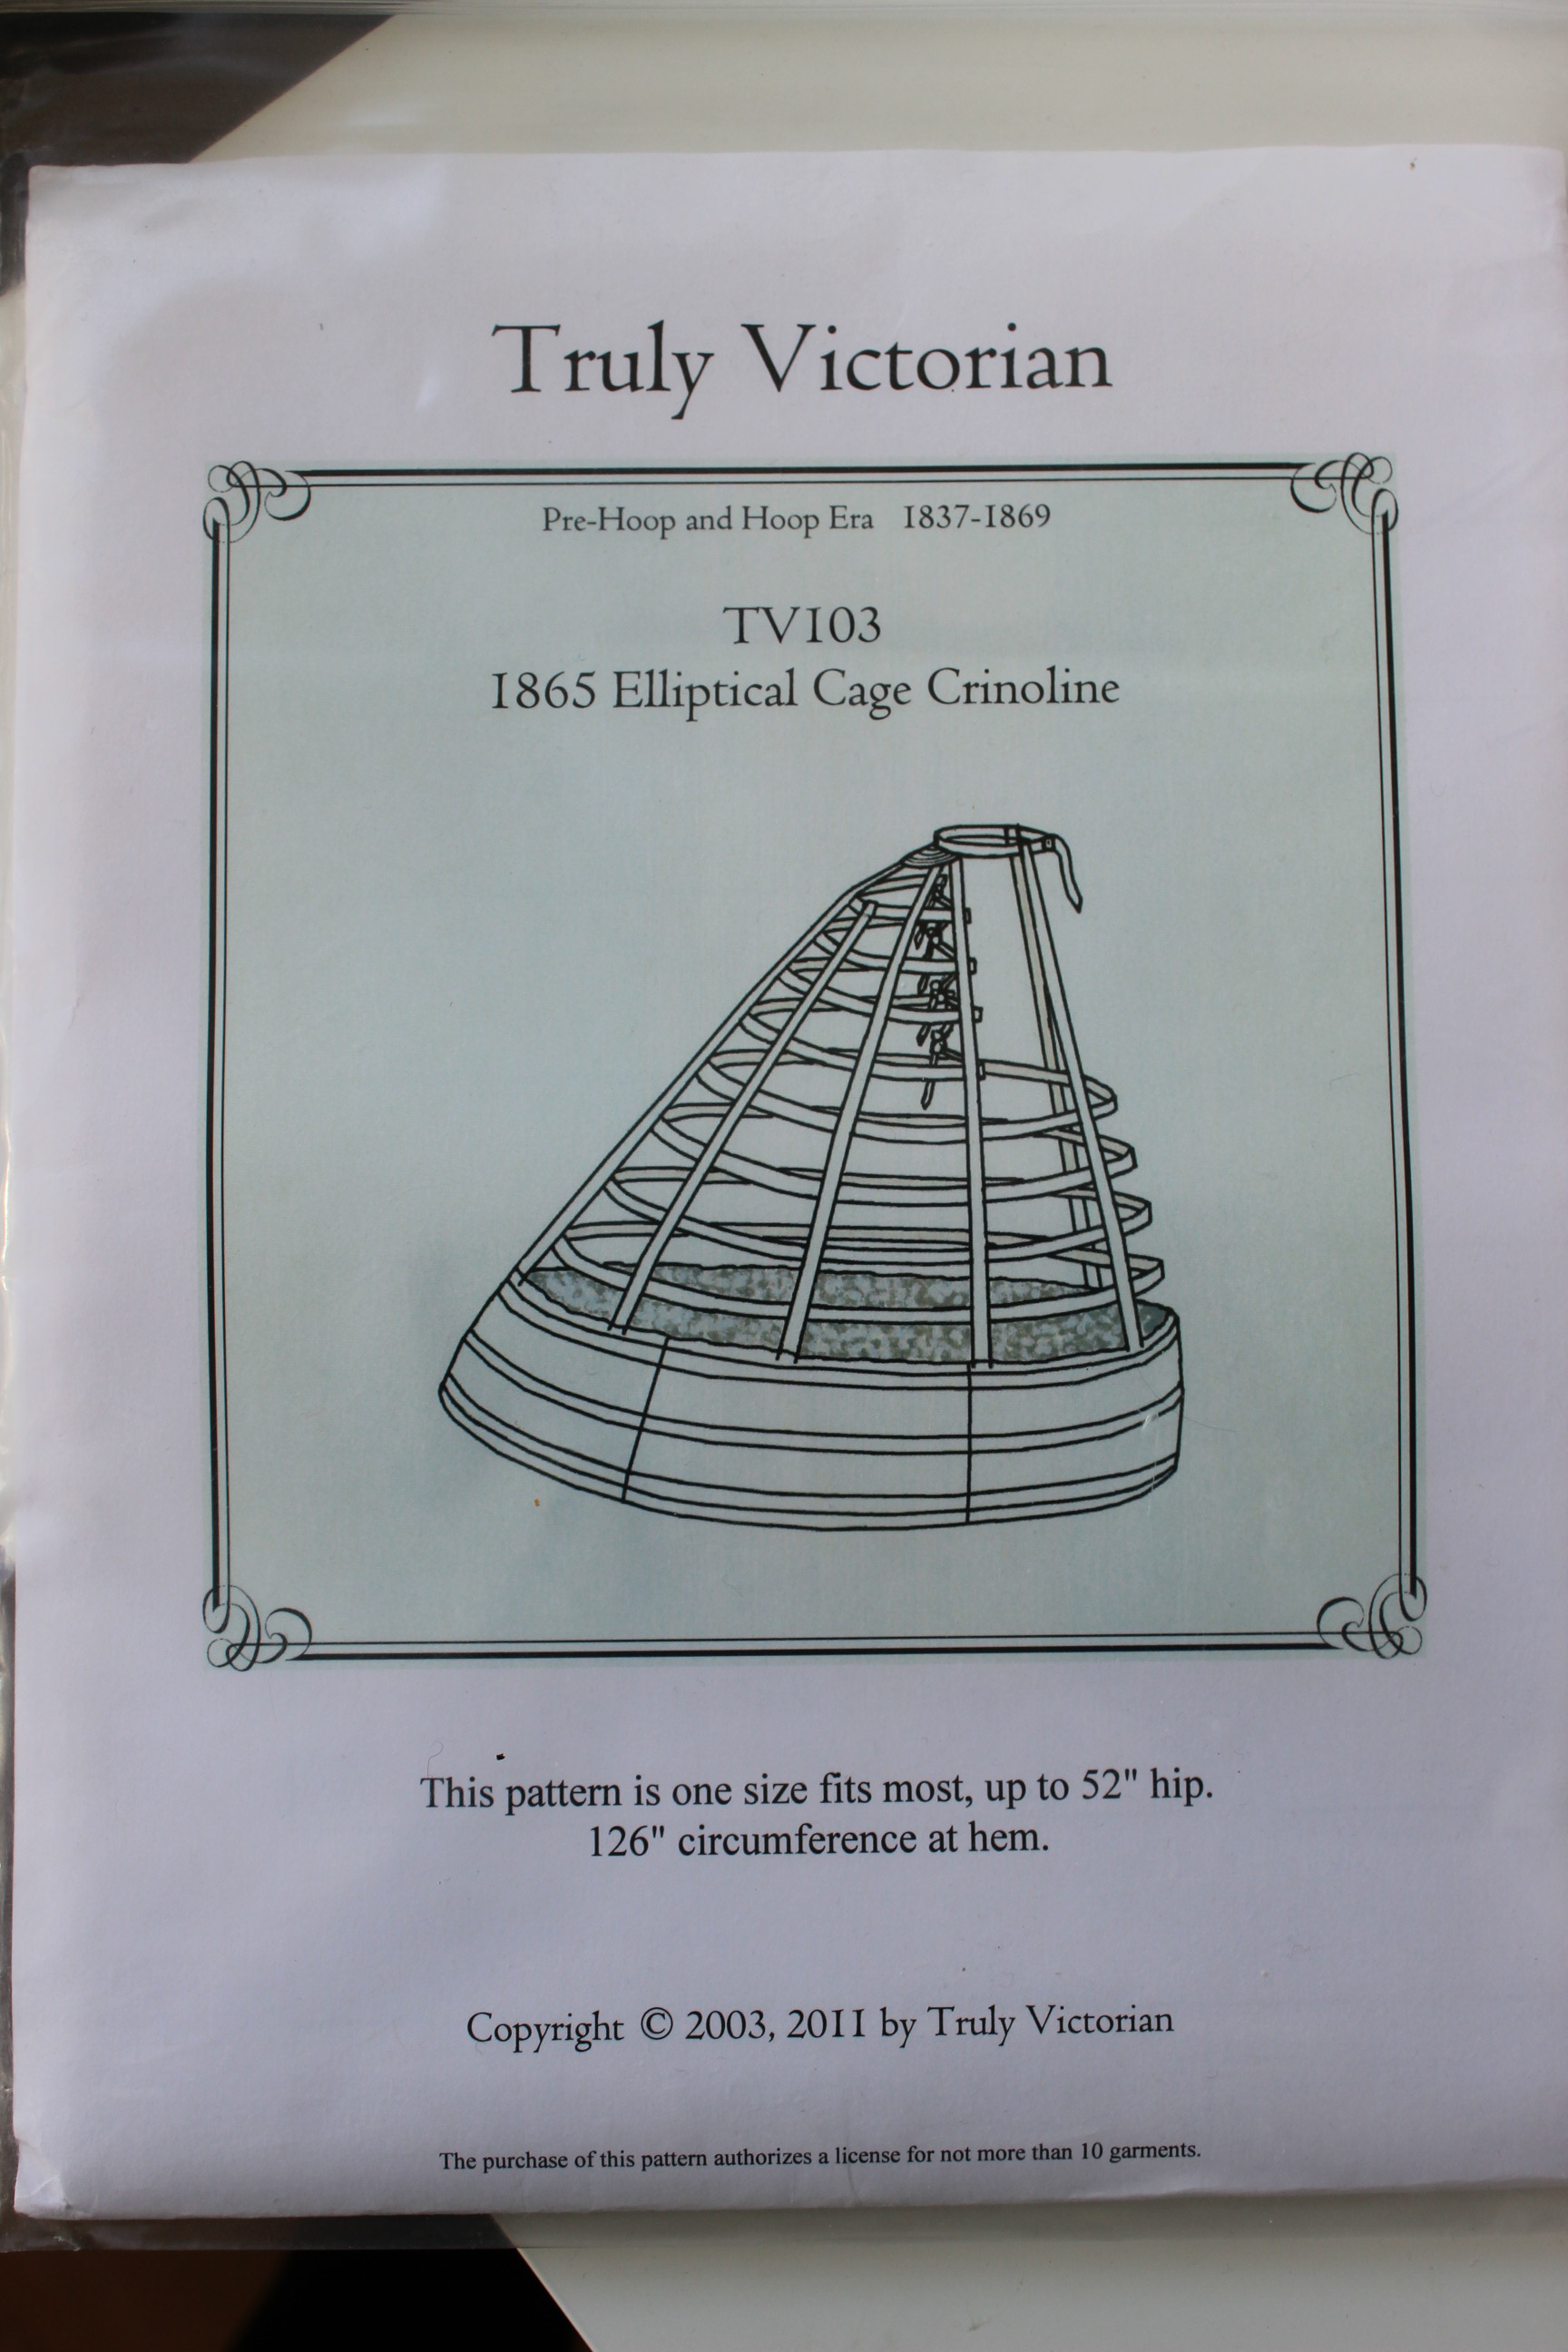 Using “Truly Victorian” 1865 Elliptical Cage Crinoline pattern
Since I wanted to use as much of my stash as possible for this whole project (both corset and dress material are basically all from stash) I went diving in my fabric bins and came out with an unexpected (very) Orange cotton sheet that wold work.
 All pieces cut and ready
The pattern was really easy to follow, and I was so happy that I didn’t need to do any calculations what so ever on this one (as opposed to my 1850s self drafted crinoline). I did however need to use all my brain-cells and keep the concentration high when trying to get all the noted measurements and markings right.
The fabric I had was almost enough, and once all the pieces and ribbons was cut, all I had left was shreds, and I still needed some fabric to enclose the free hanging bones.  this was all that remained
I contemplated getting another 5 dollar sheet, but decided on the easier (but way more expensive) alternative and bought the 15 m or so bias tape needed to cover the bones/hoops.
For boning I used metal pipe cleaners sold on rolls of 7,5 m at the local hardware-store.
I spent a full evening measuring, cutting, encasing and taping the bones to make them into neat bias covered hoops.
 bias tape stitched and ready for the hoops

 taping the edges together
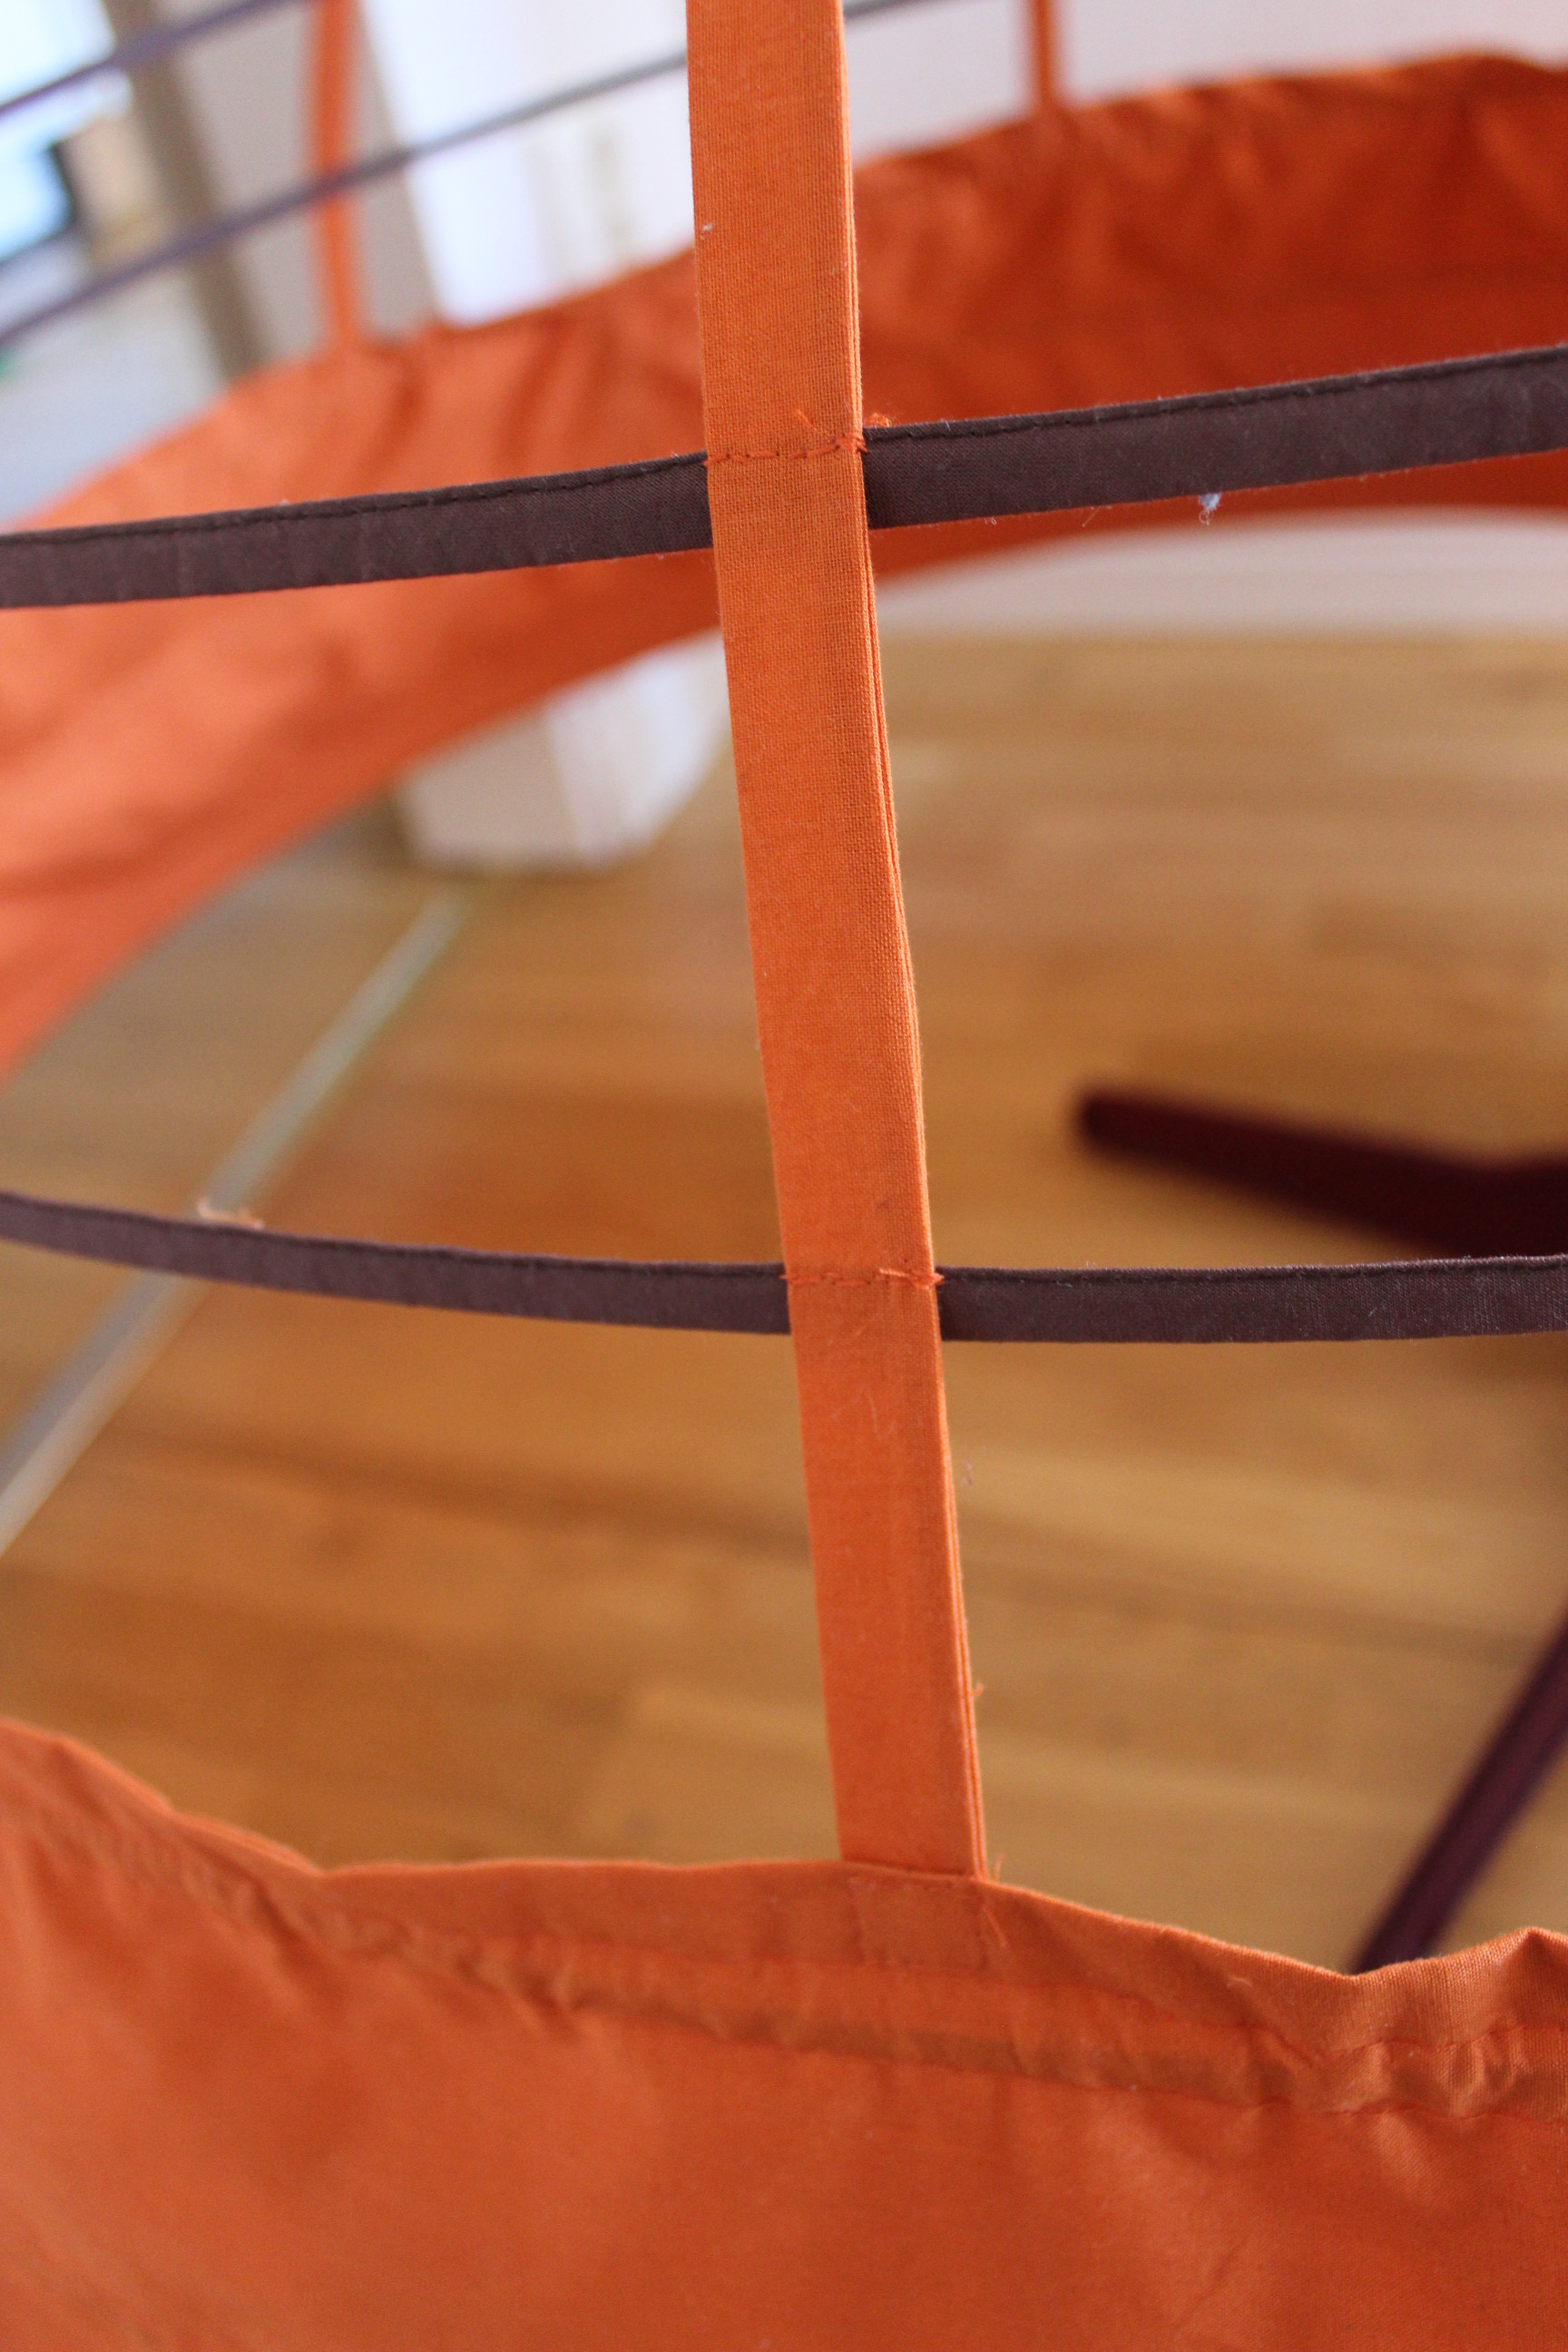
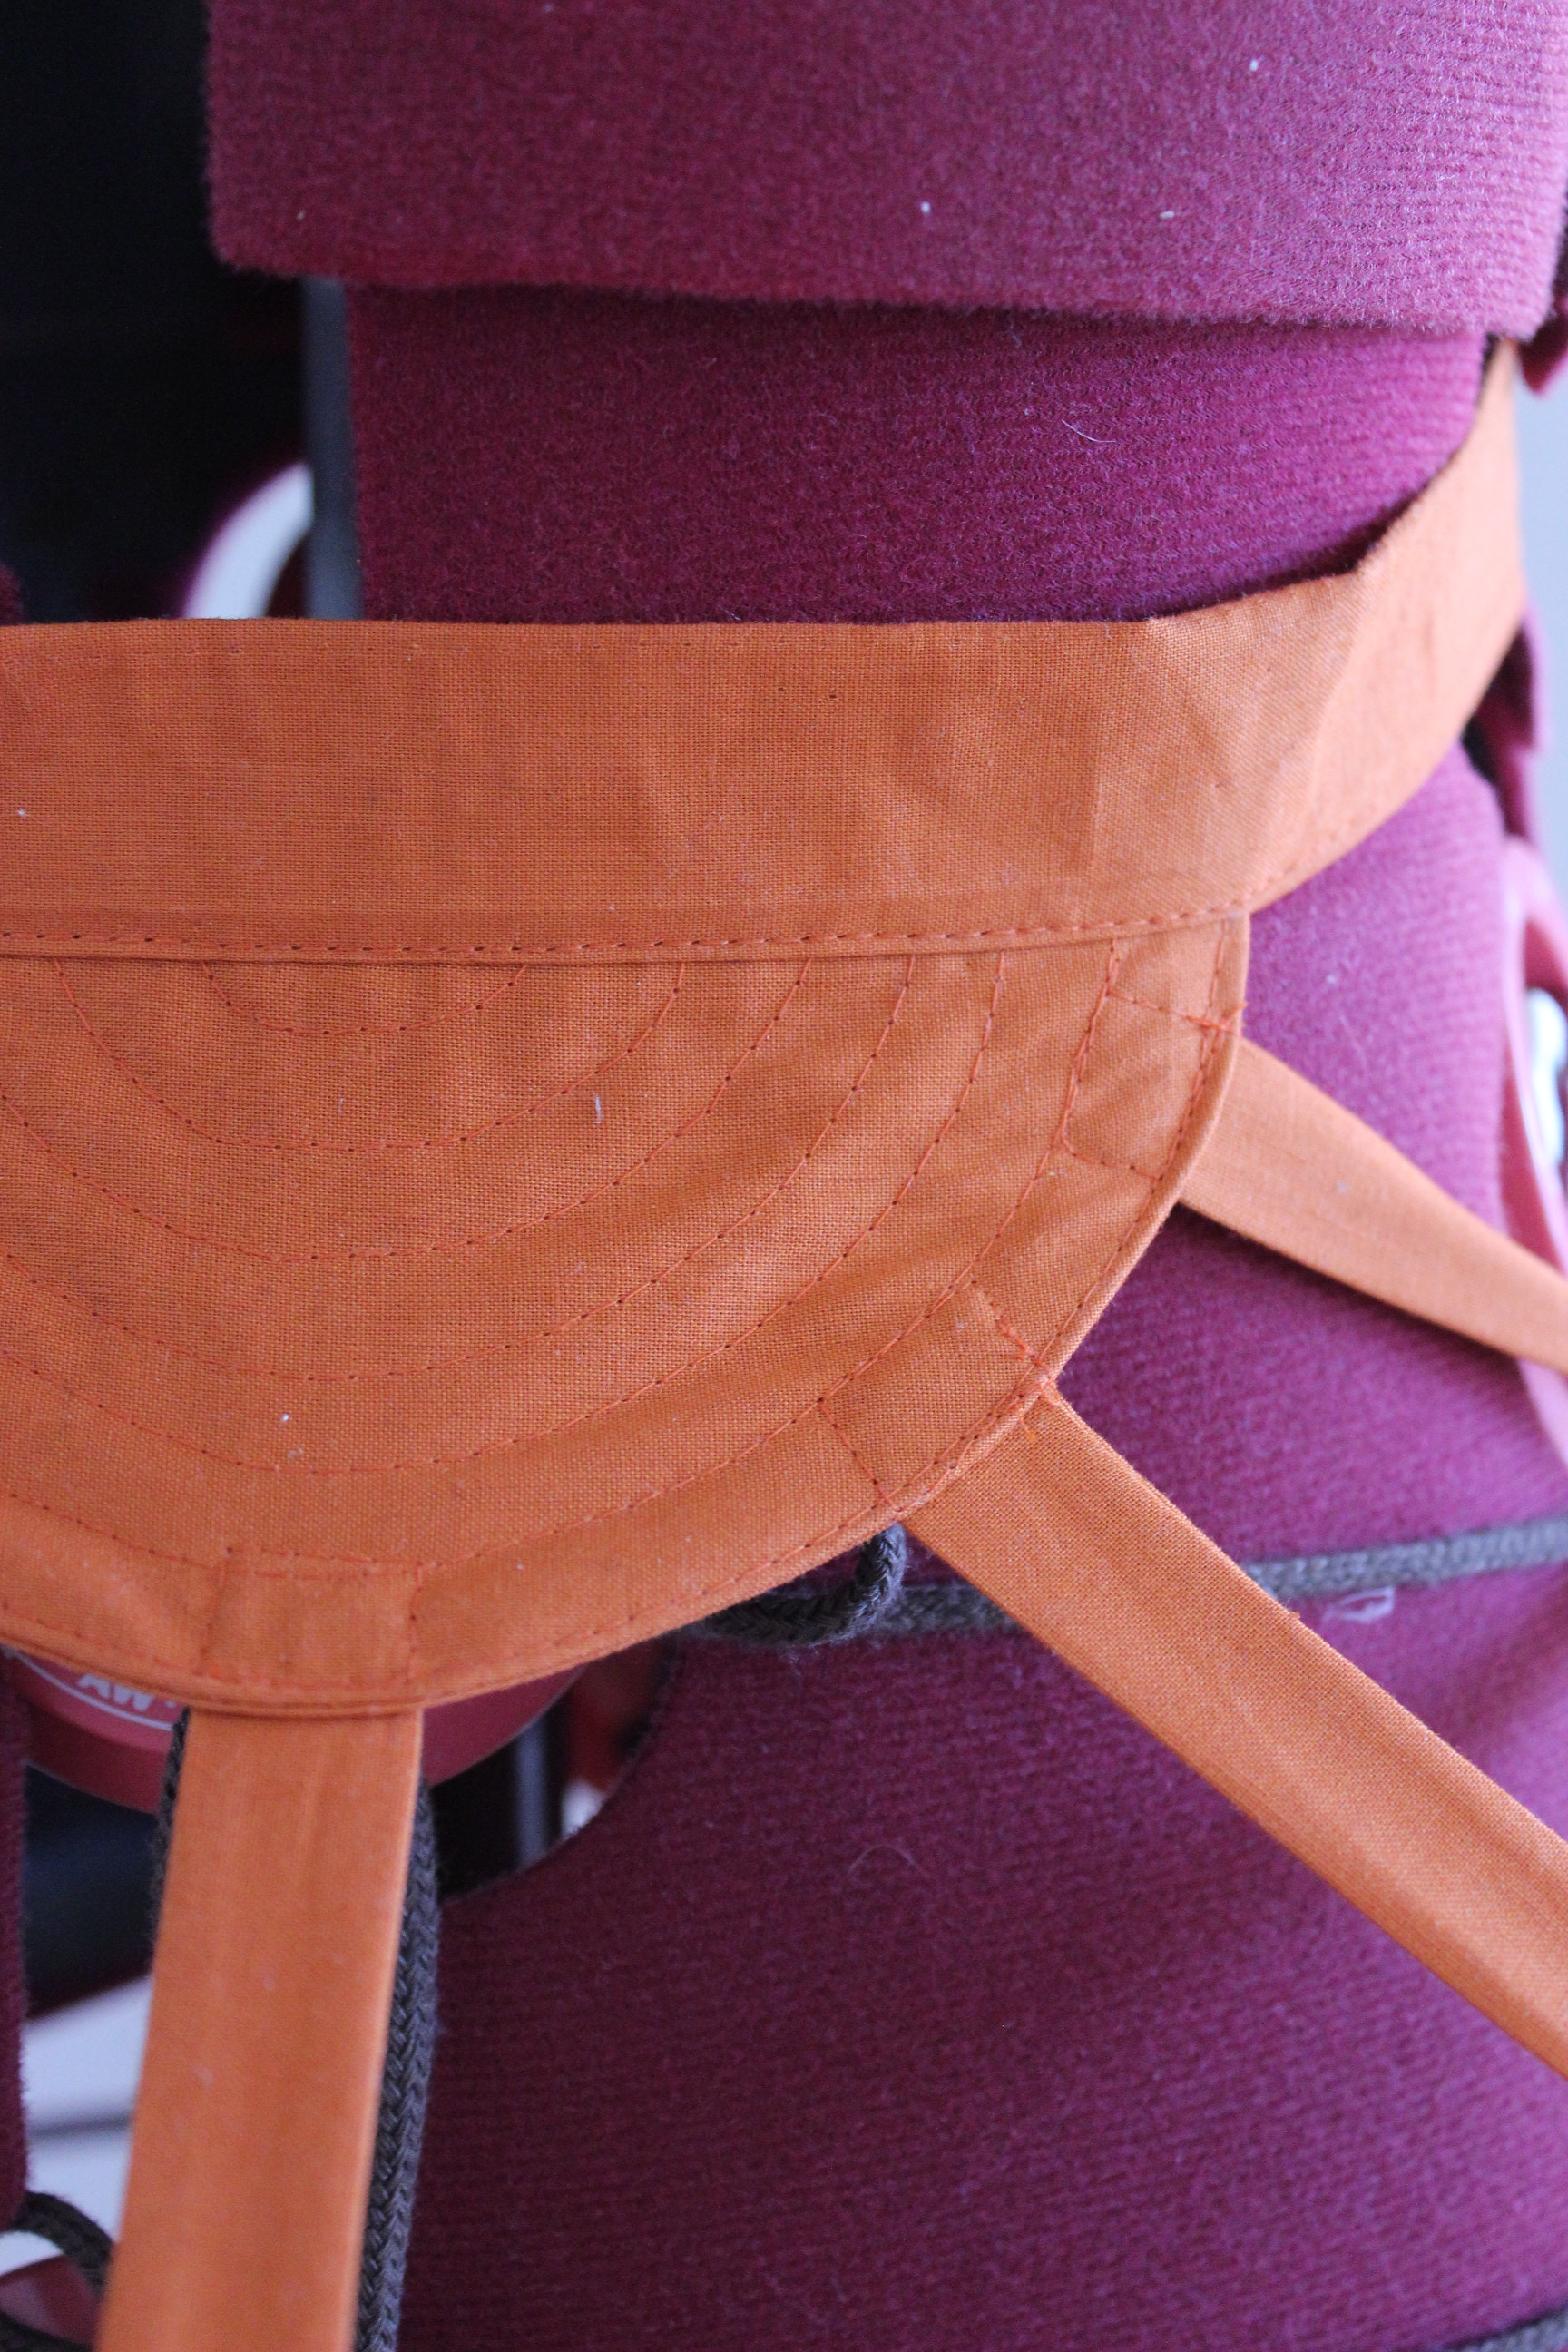
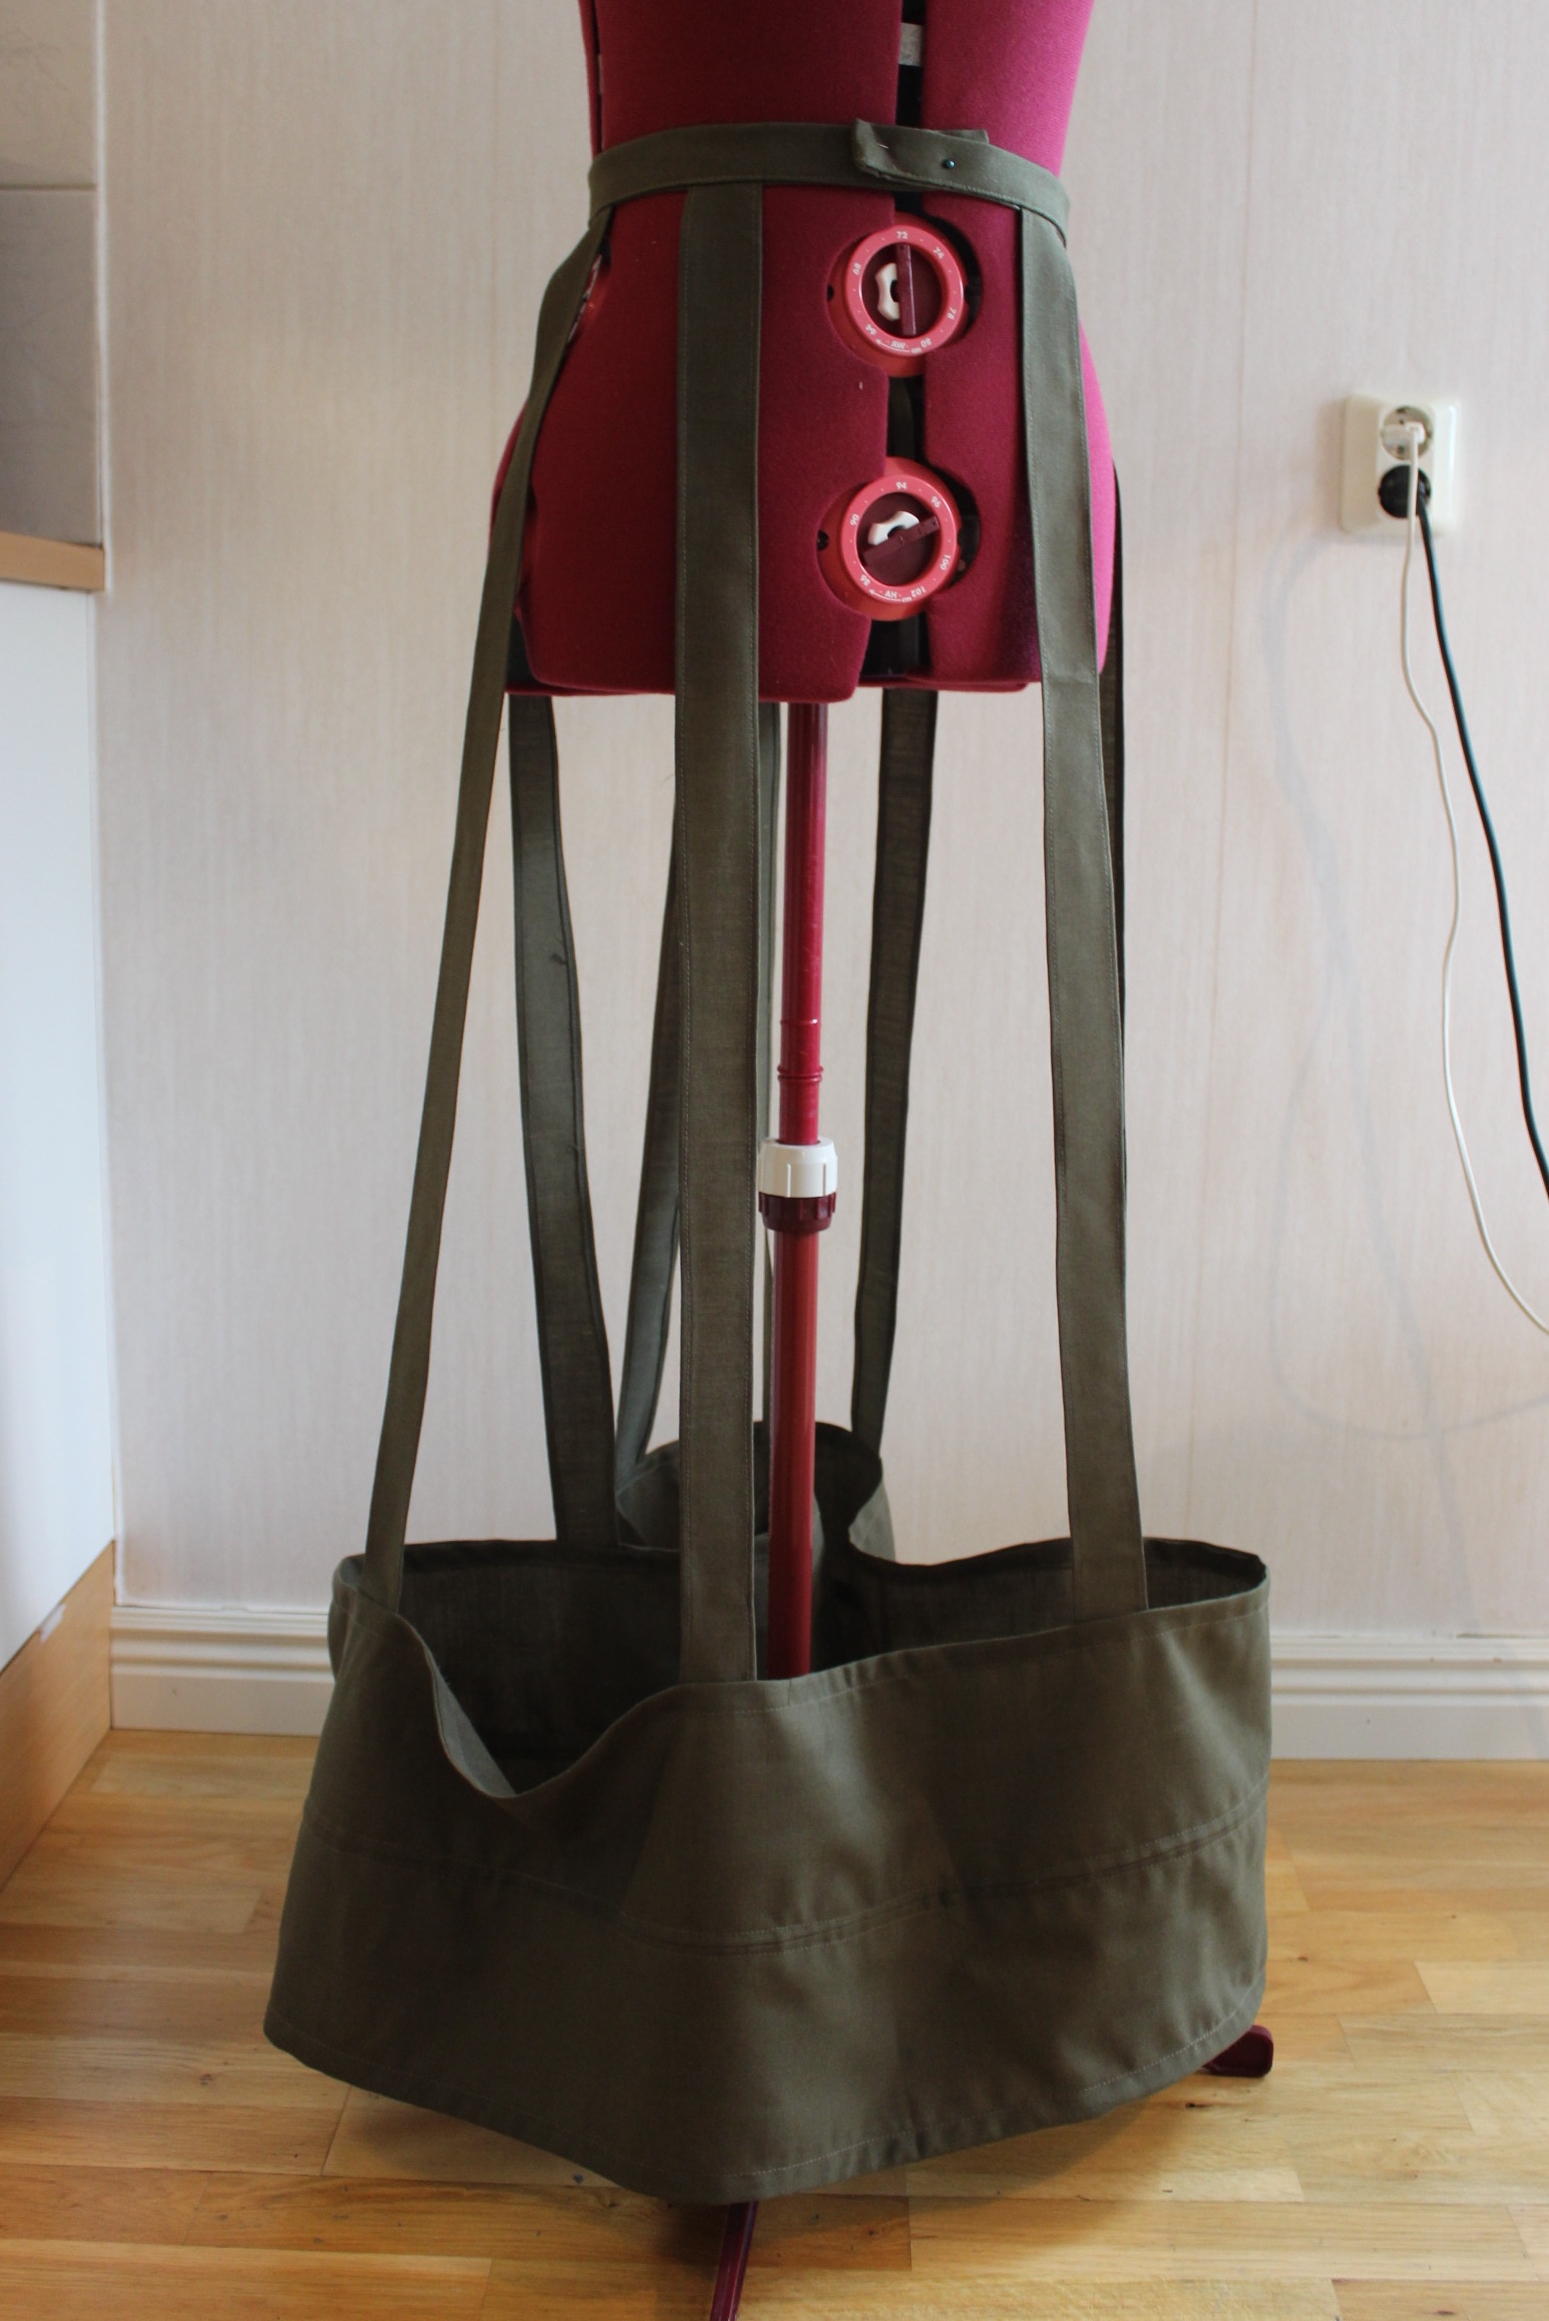
After stitching the bottom “bag”, attaching all the vertical ribbons, making the belt and stitching the back “crescent”, it was time to get the hoops attached.  the 4 stages of making the fabric tubes
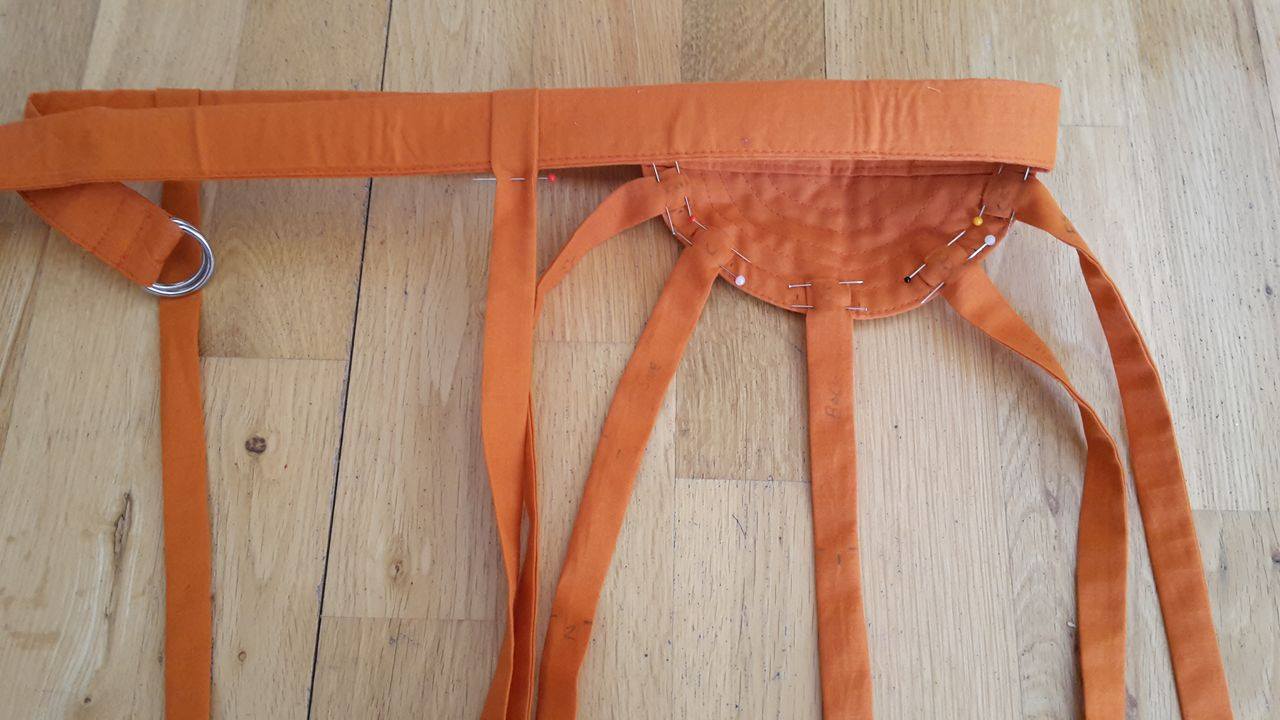 belt and cresent attached
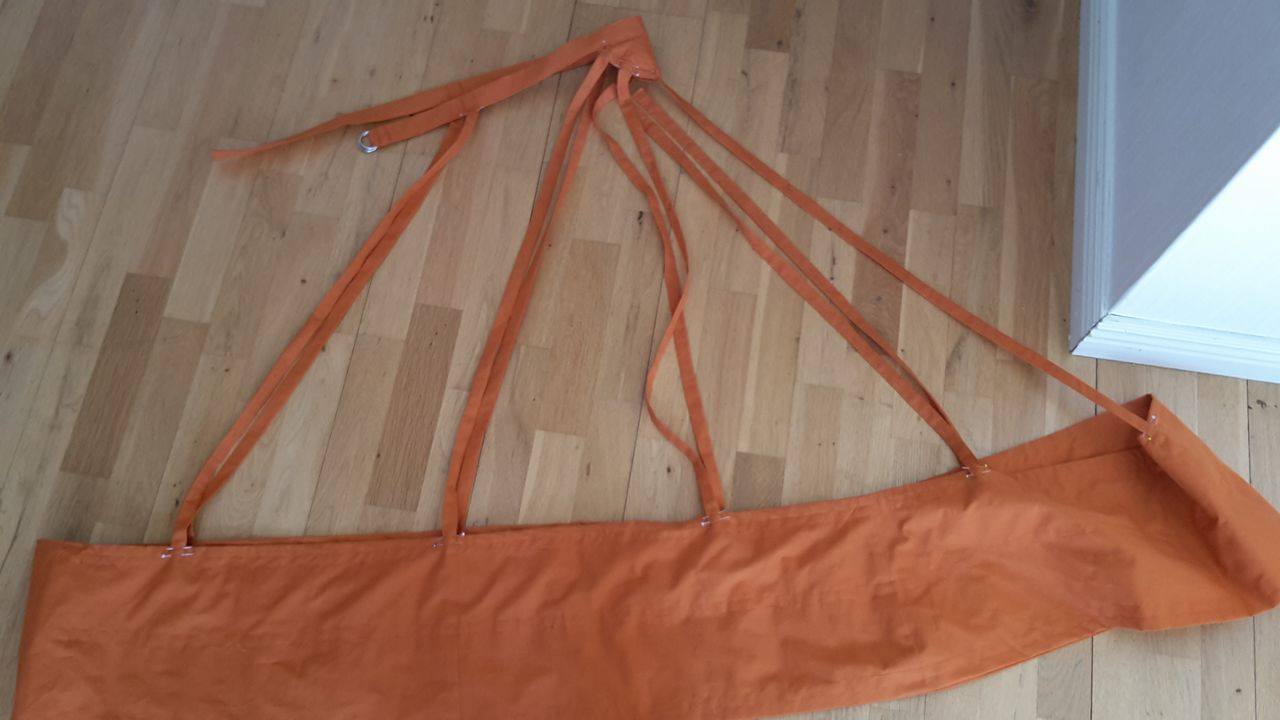 and the bottom bag attached
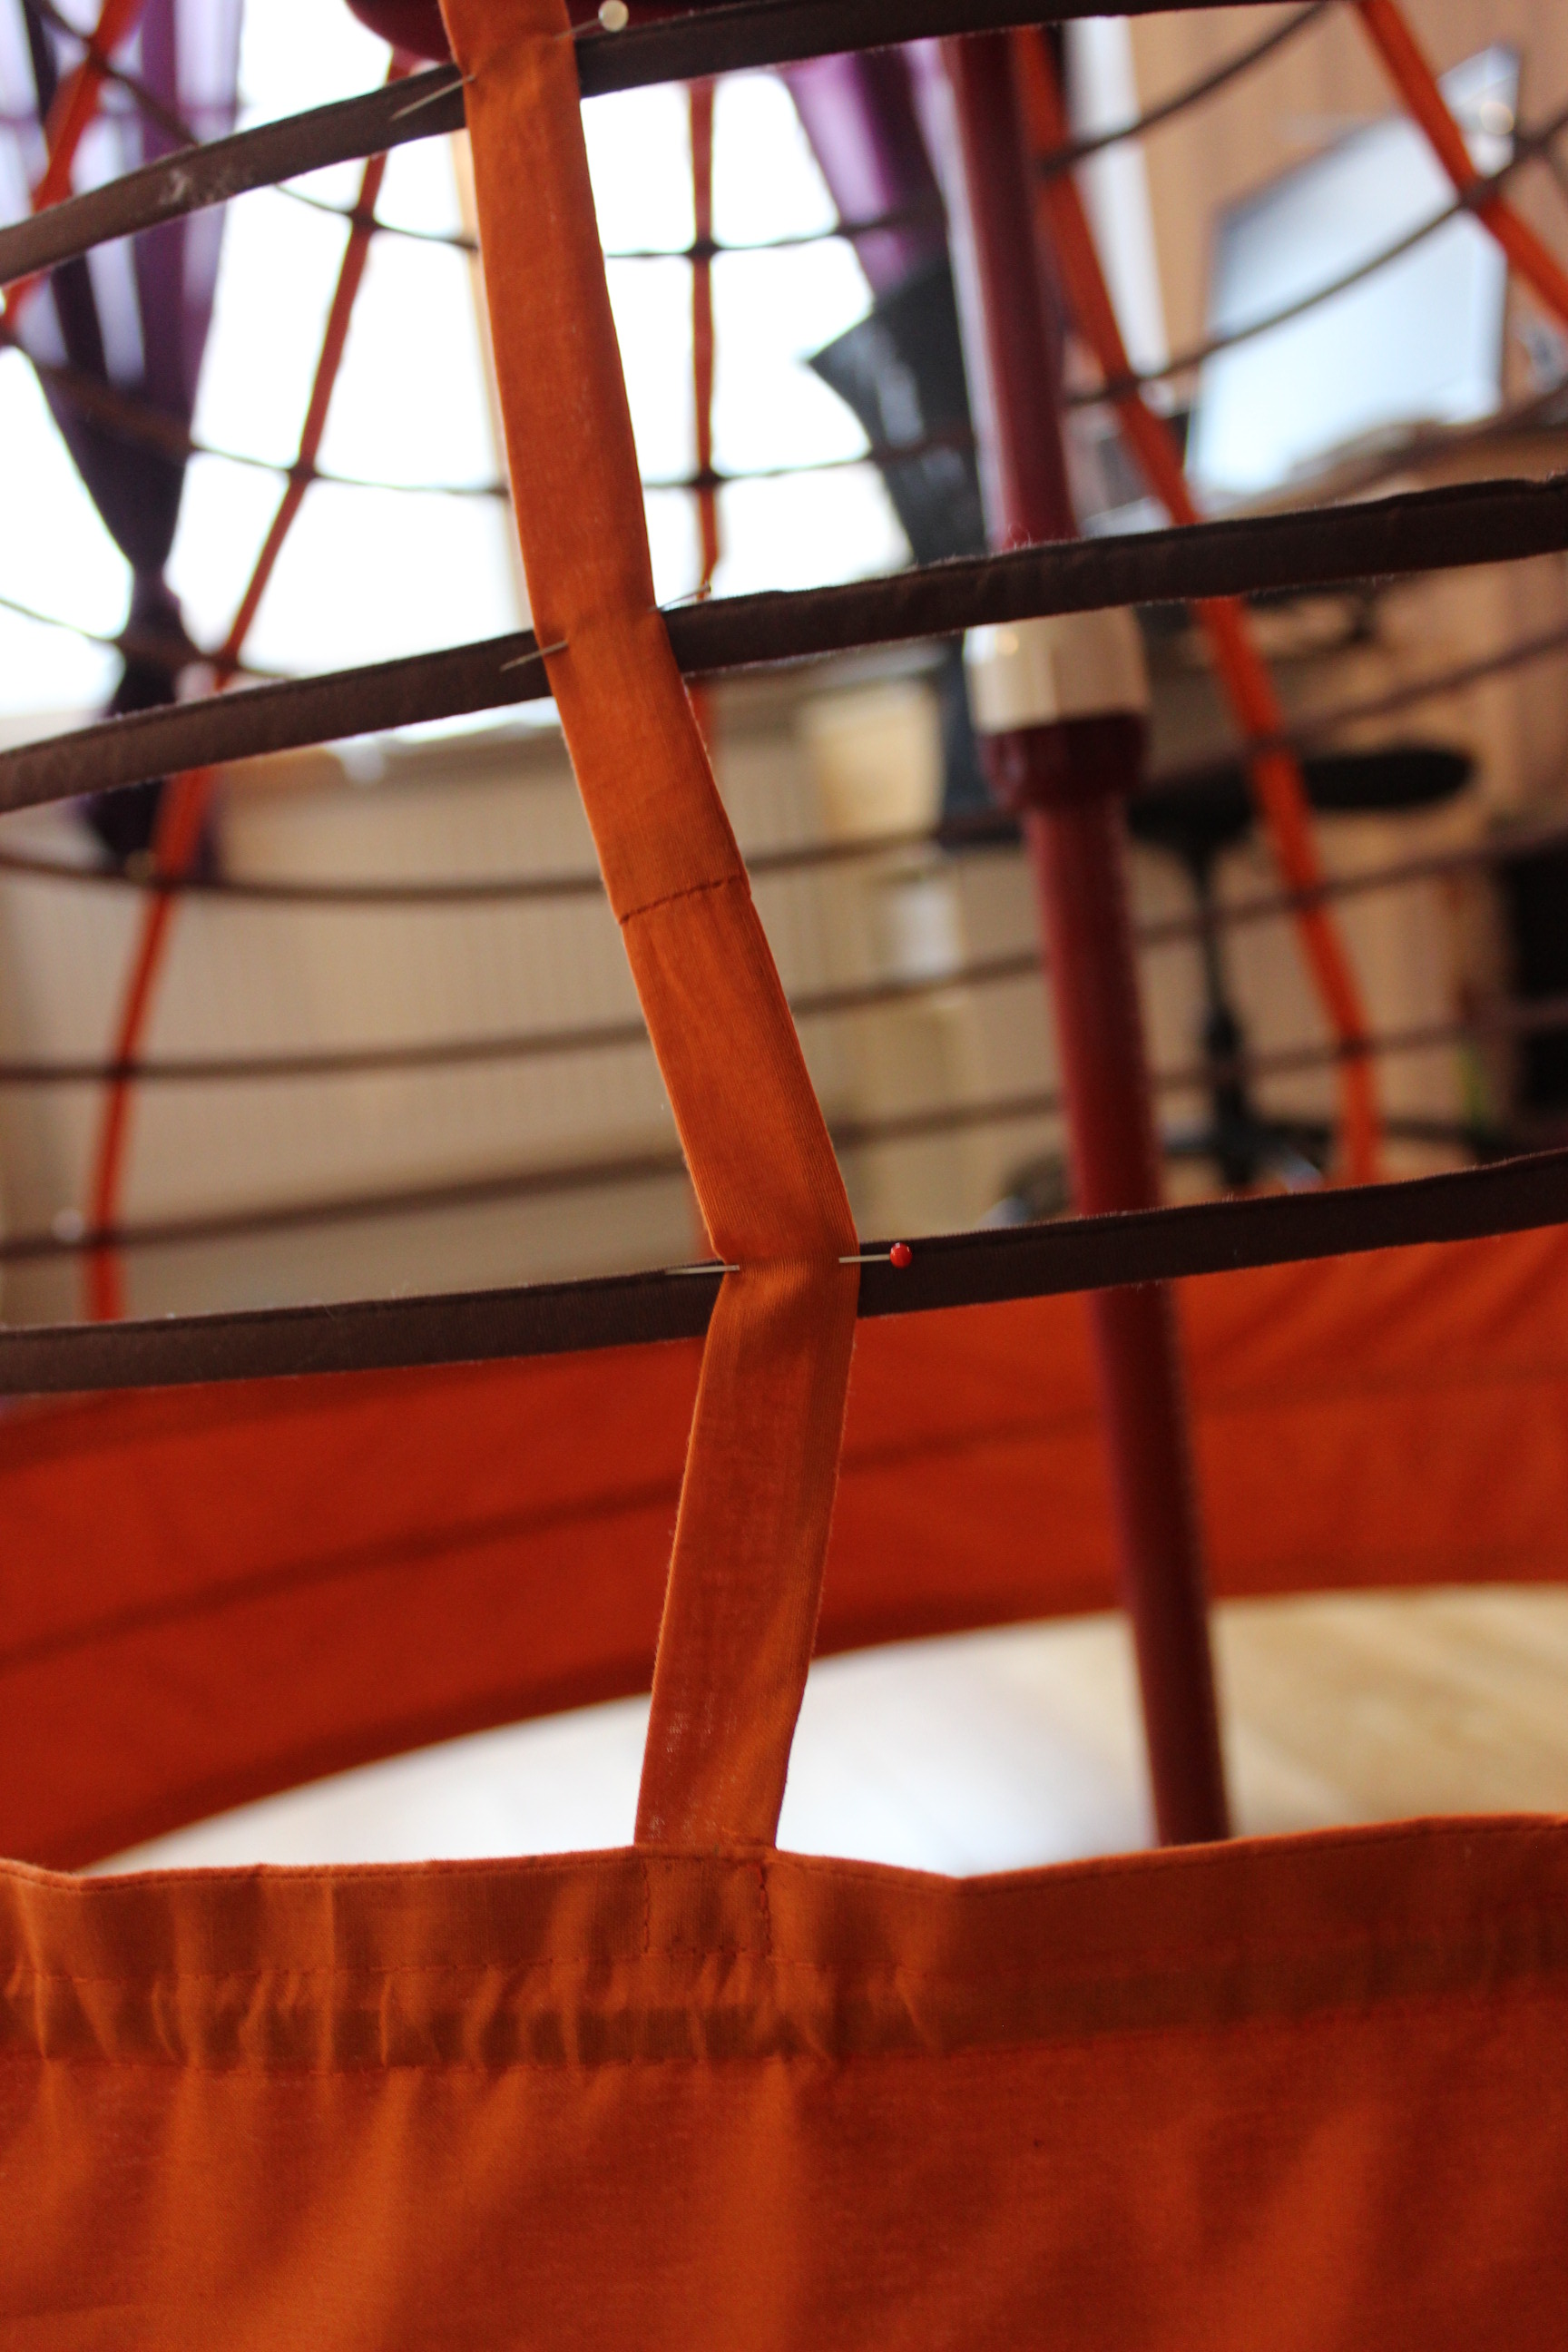
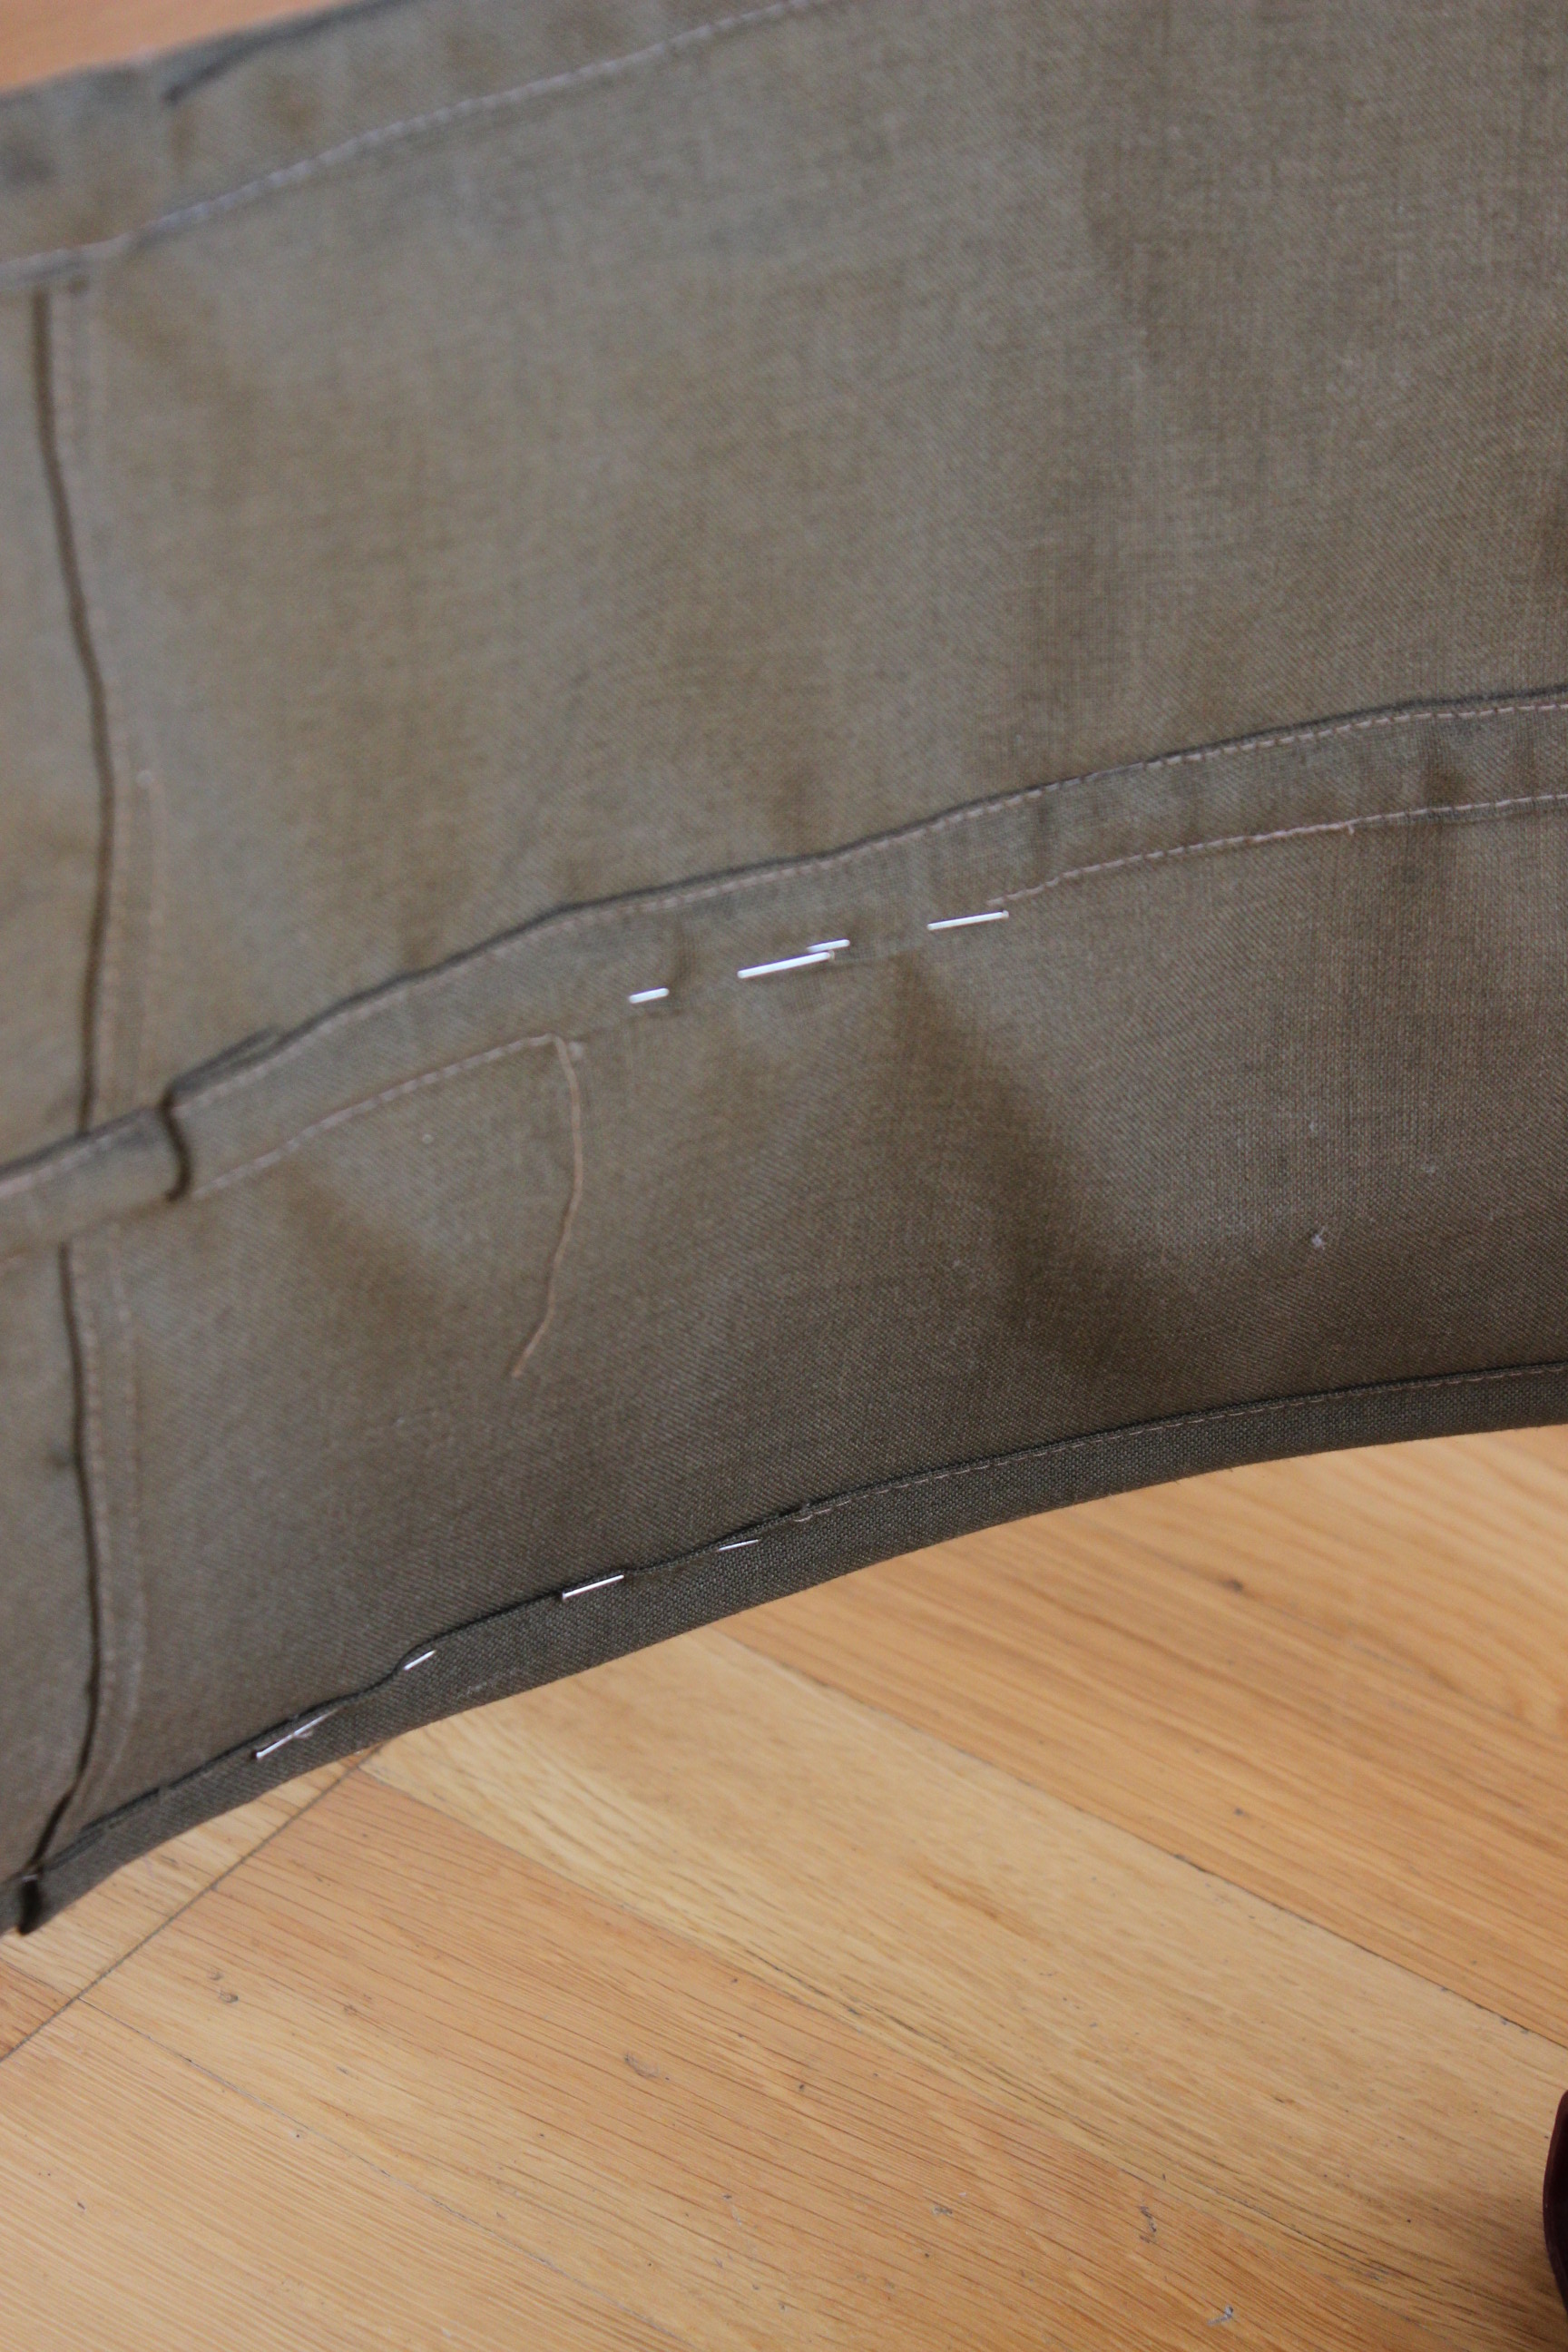
The working was slow (but not difficult), and I loved watching the whole piece come together by pinning on one row of hoops after the other, matching all the pre-made markings.
 late night work
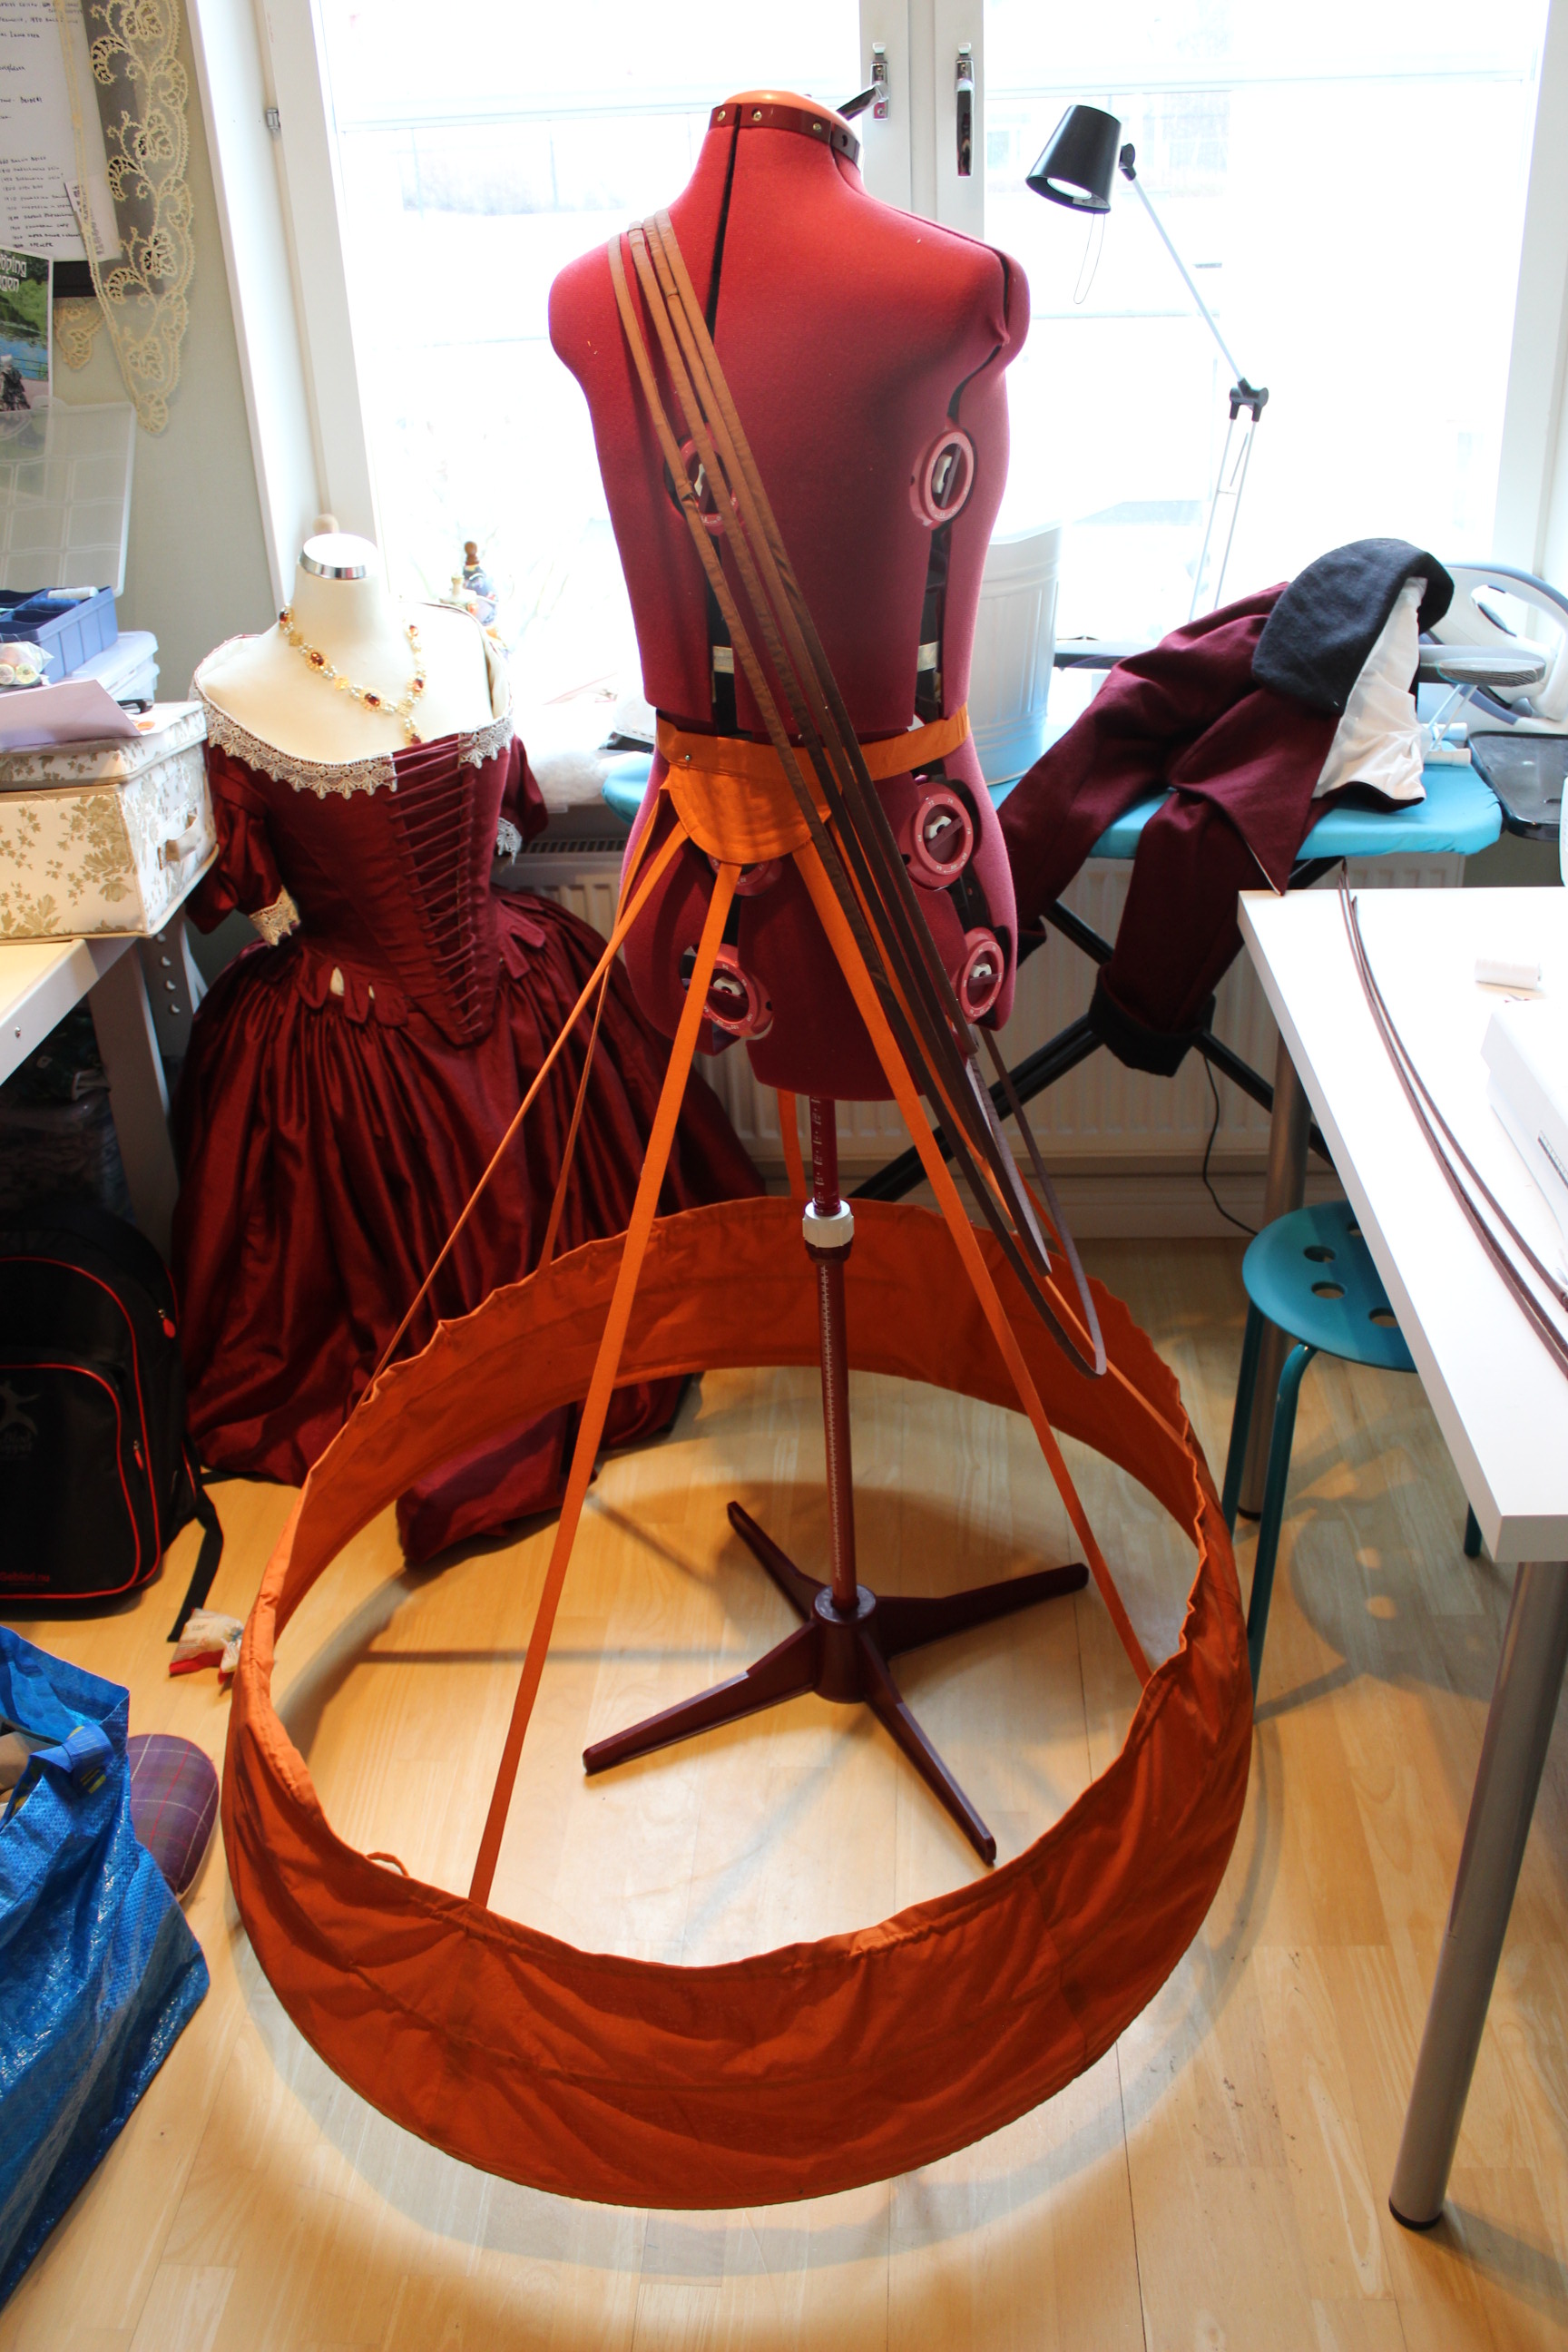

 slowly getting there
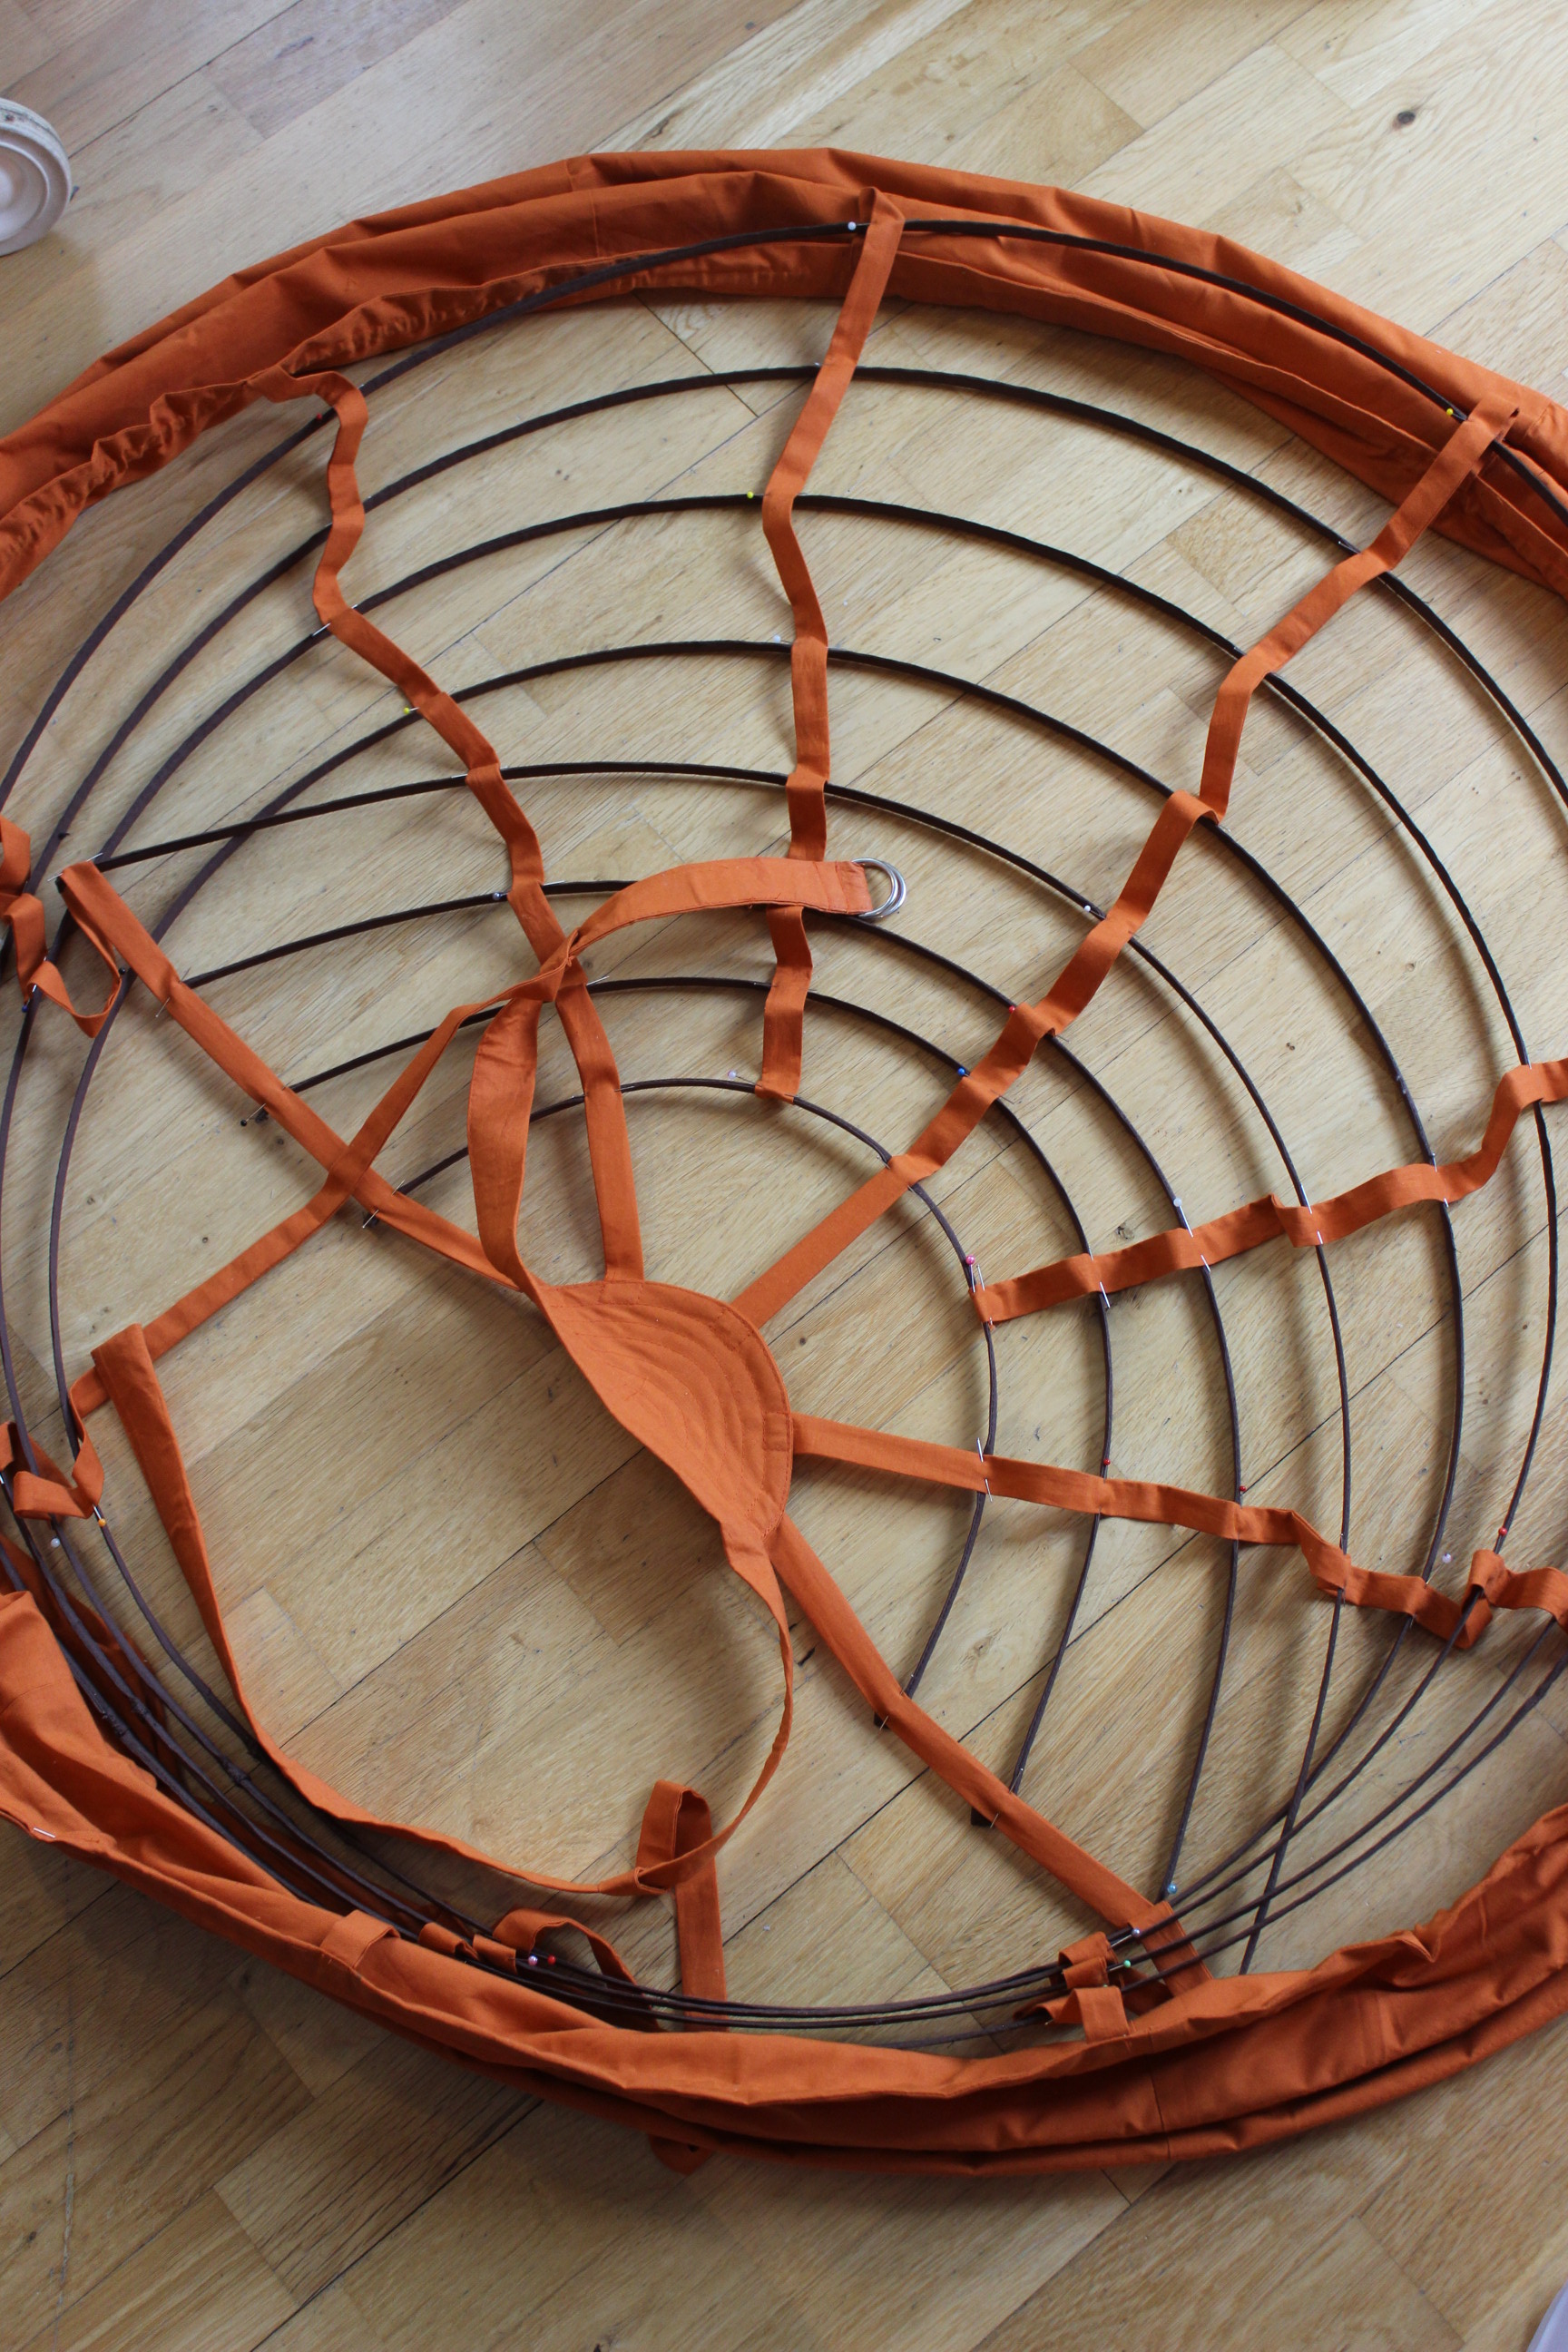
Once all the hoops was pinned to their mark, it was time to make the final adjustments to get everything to hang/sit smoothly and evenly.
much better
I’m not sure if it was my markings/measurements (probably) or some error in the pattern but It did needed quite a lot adjustments.
Lastly I spent two whole nights hand stitching the hoops to the ribbons.
To be sure I made everything correctly, and not made any foolish mistakes or own inventions, I used the sewing instructions quite a lot, referring back to them before, during and after each step. This made the work go slower, as it always does when working on something new and unfamiliar, but I do think it turned great.
The crinoline was awesomely big and that meant I couldn’t fit in my small sewing room, but needed to work in our loving room. Which also meant I couldn’t close the door but was forced to pack everything away as soon as the baby awoke (about 3 times a day).
It took me bout a week of 1-3 st 40-90 minutes intense work-sessions to get the crinoline done.
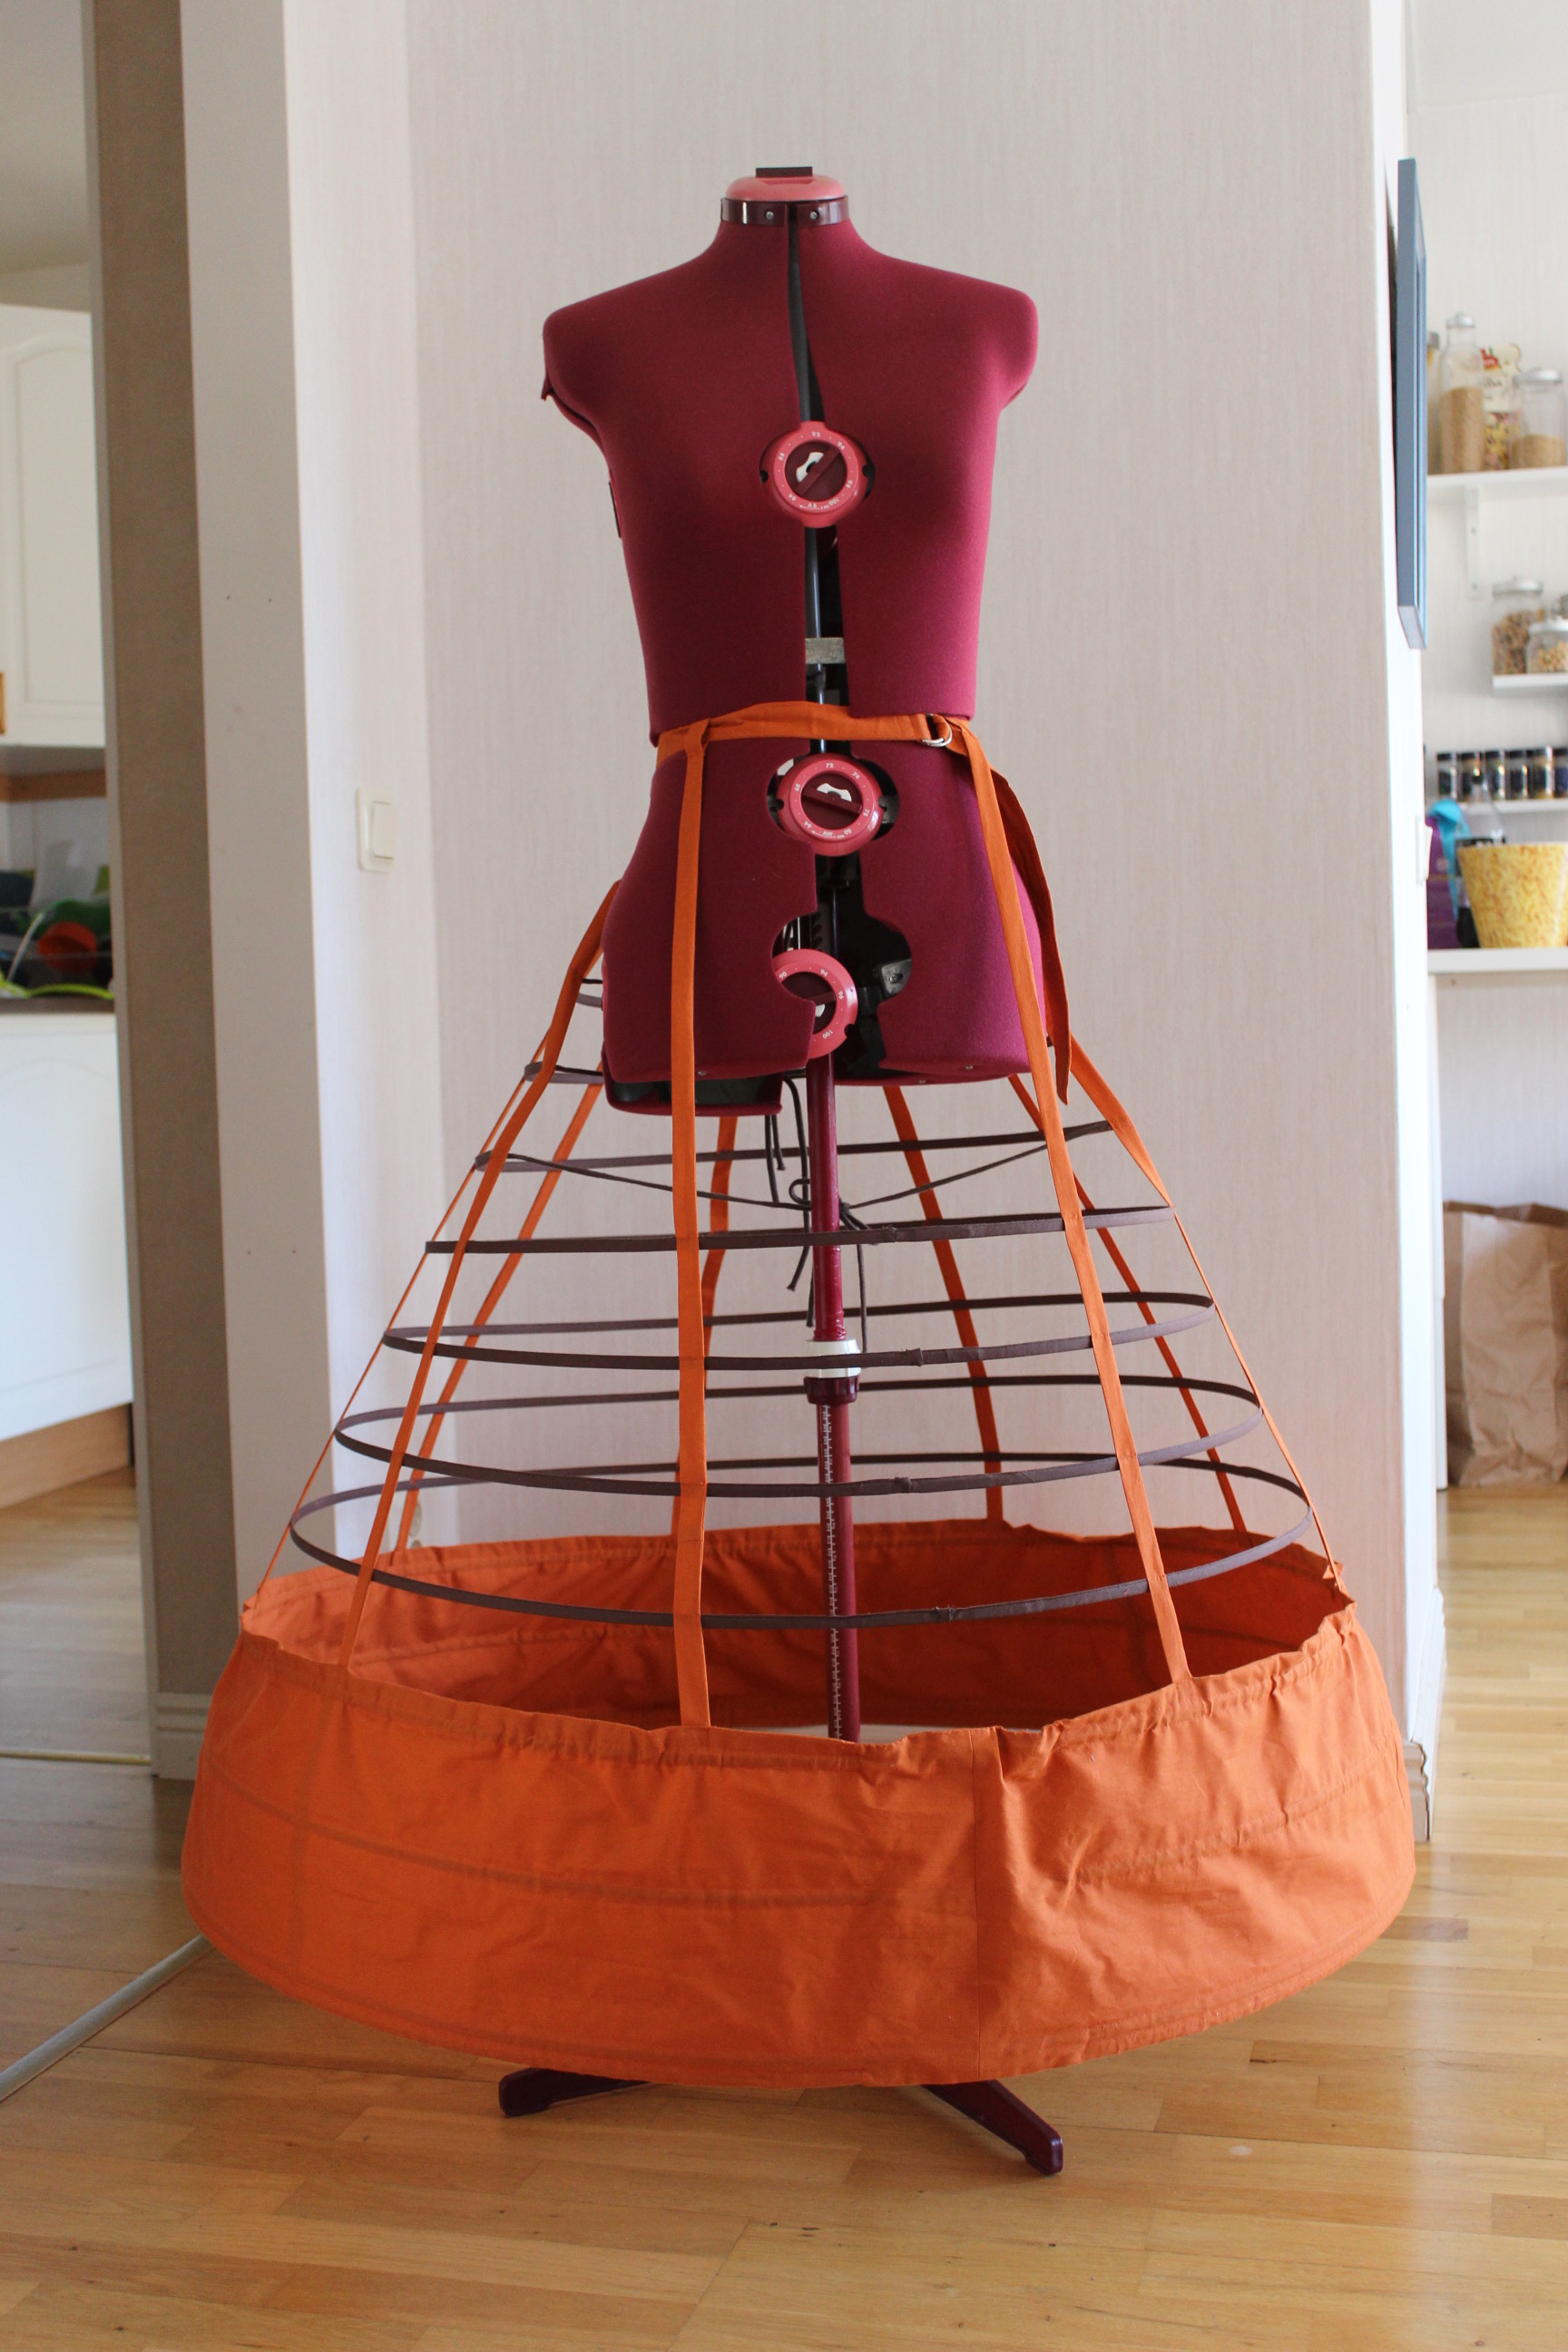
The finished Crinoline:


The Facts:
What: A 1860s Hoop Crinoline
Pattern: Truly Victorian (TV103) 1865s Elliptical Cage Crinoline
Fabric & Notions: 1 orange cotton sheet (about 2,5 m fabric), about 15 m of brown bias tape, tread, 1 belt buckle, 1 m of interfacing for the belt, about 21 m of hoop wire, duck-tape, 4 m of cotton sting. I also needed heavy pliers, strong fingers and lots of patients.
Time & Cost: The total time was maybe 10-15 hours and I guesstimate the material to about 400 Sek (40Usd).
Final Thoughs: I love it! It so ridiculously big and orange. And it looks gorgeous under my sisters evening skirts.
The pattern was easy to work with (even for one not used to the inch measurements), but I don’t think I’ll willingly do another one for a loooong time…
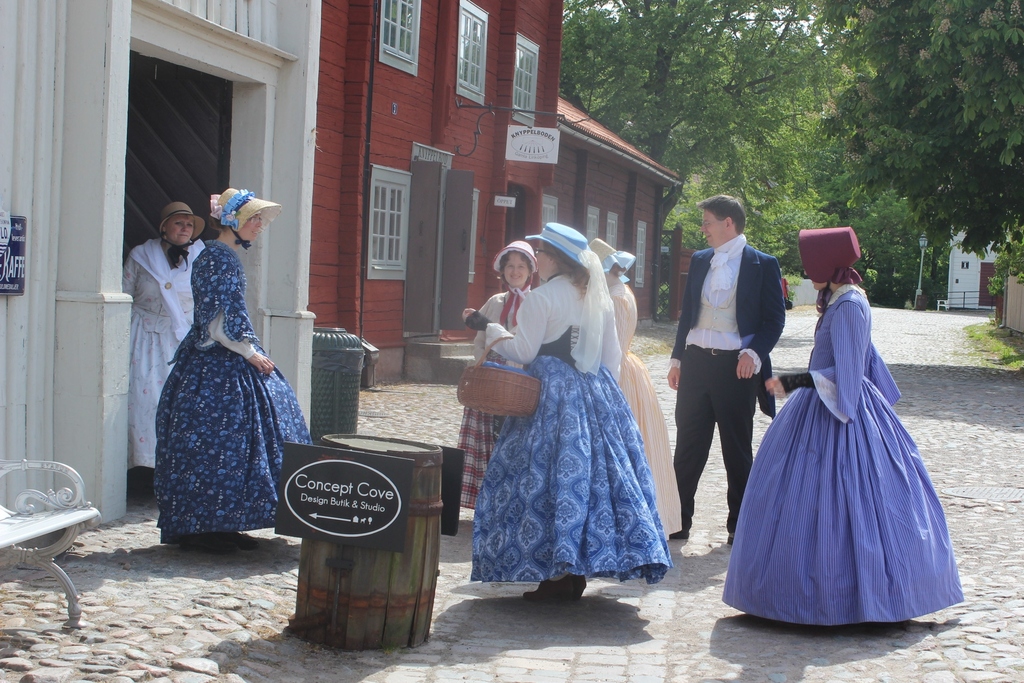
Here comes the rest of the pictures from “The Day of the Big Crinolines” (part 1).

As the day progressed we walked round the old town of Gamla Linköping, visiting small shops and gardens, taking lots of photos and buying some new stuff.
 Maud, in the sun with her new umbrella/parasol.
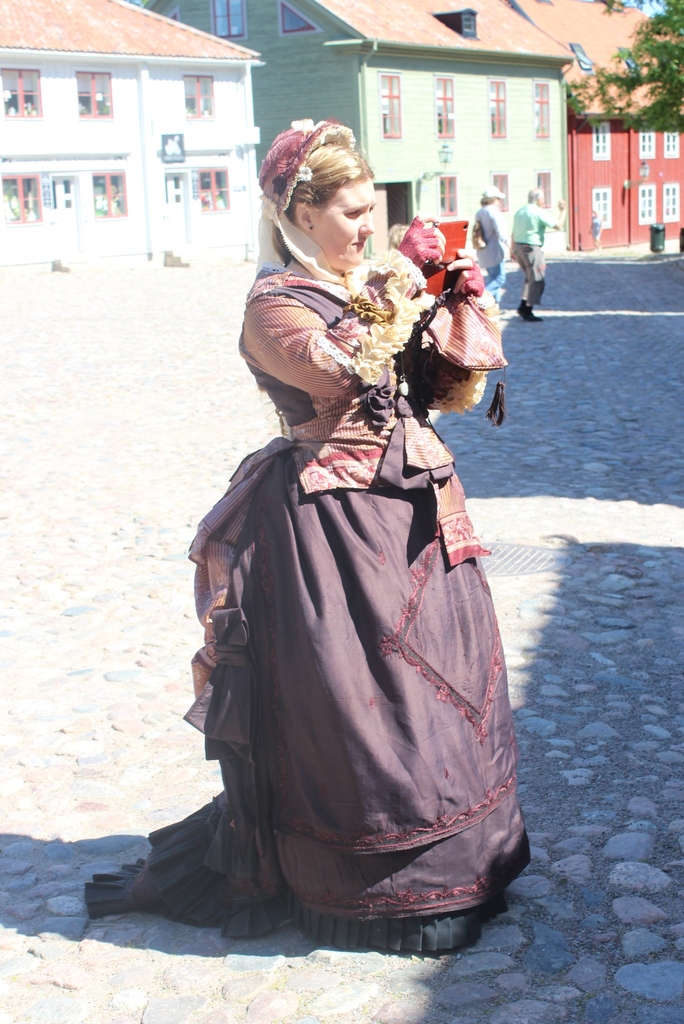
 Maria, with her Southern American flair.
 Fan fighting!
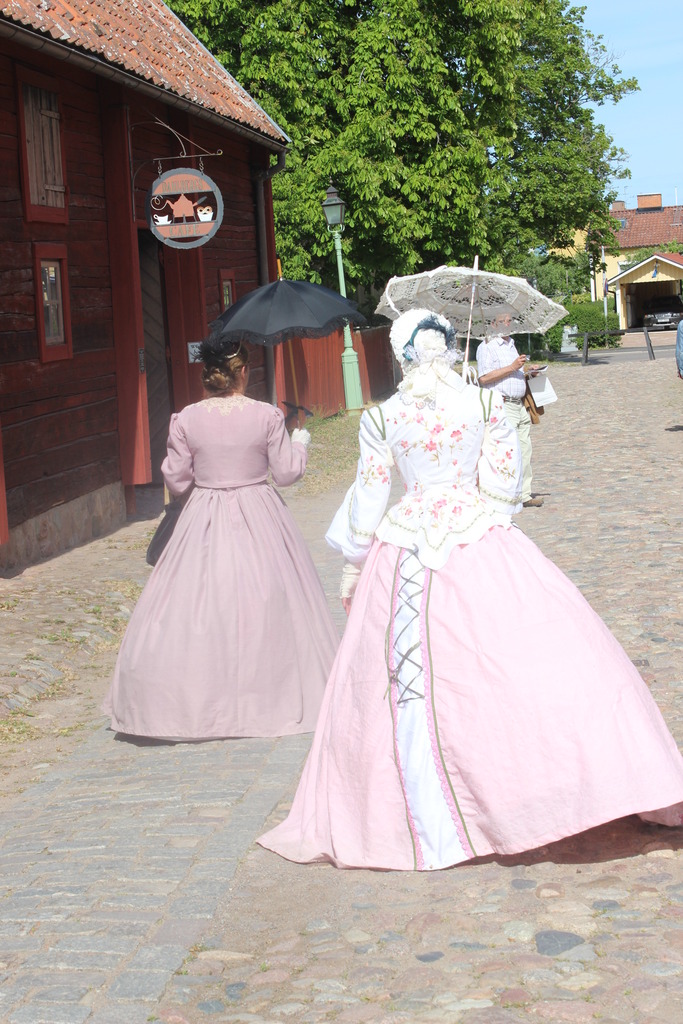 Ladies walking of to the distance…
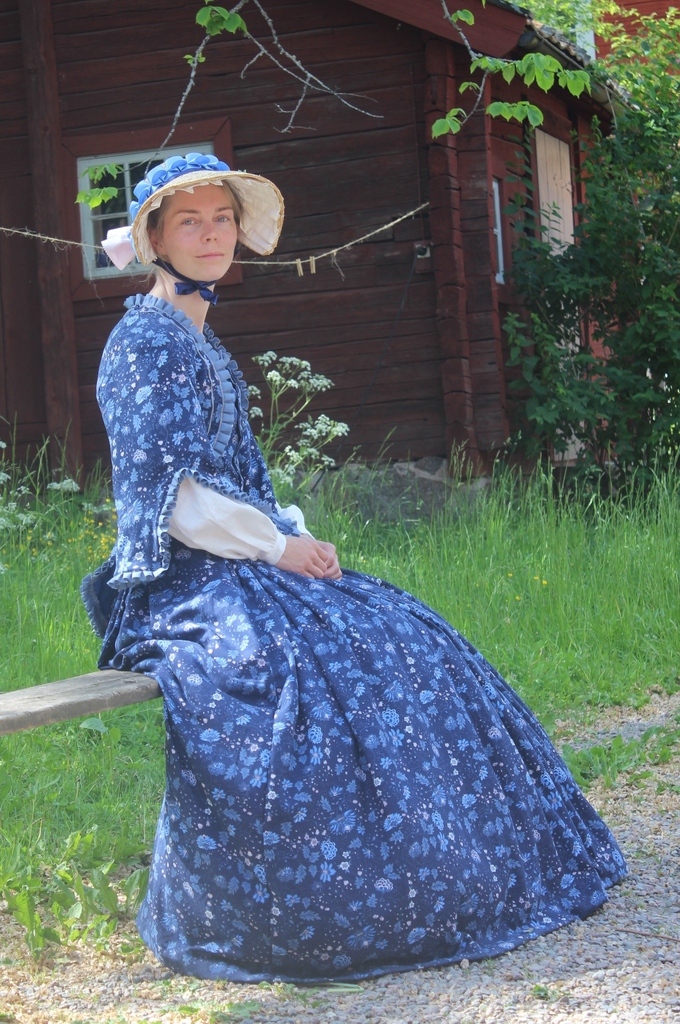 Sara of “A costuming Engineer” in her stunning new 1860s gown.
 Clara reading “the bible” in the shadows.

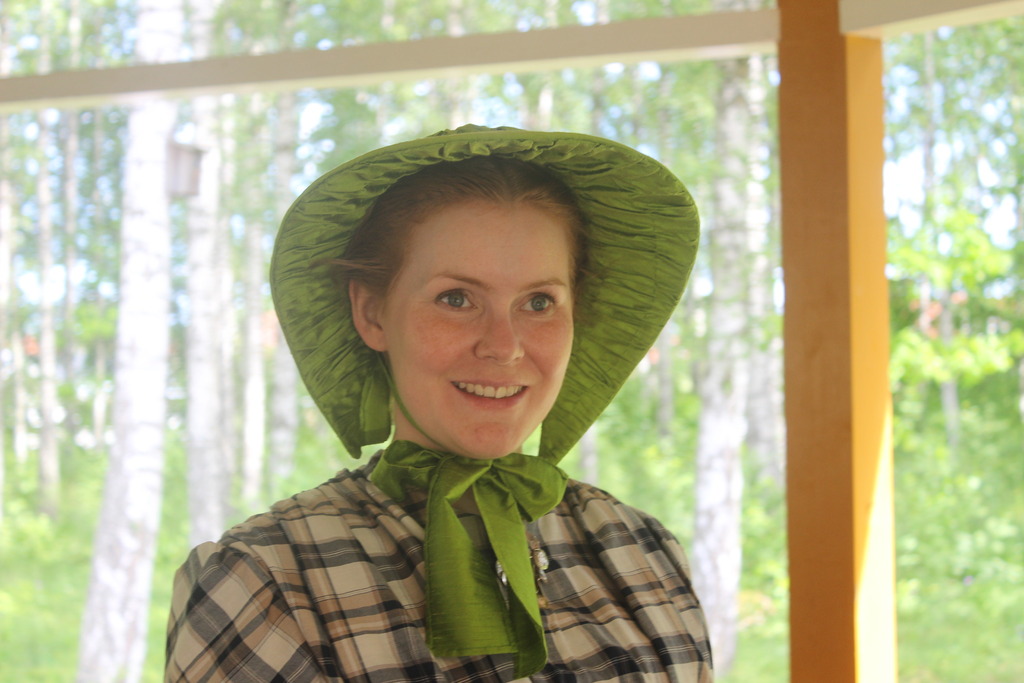
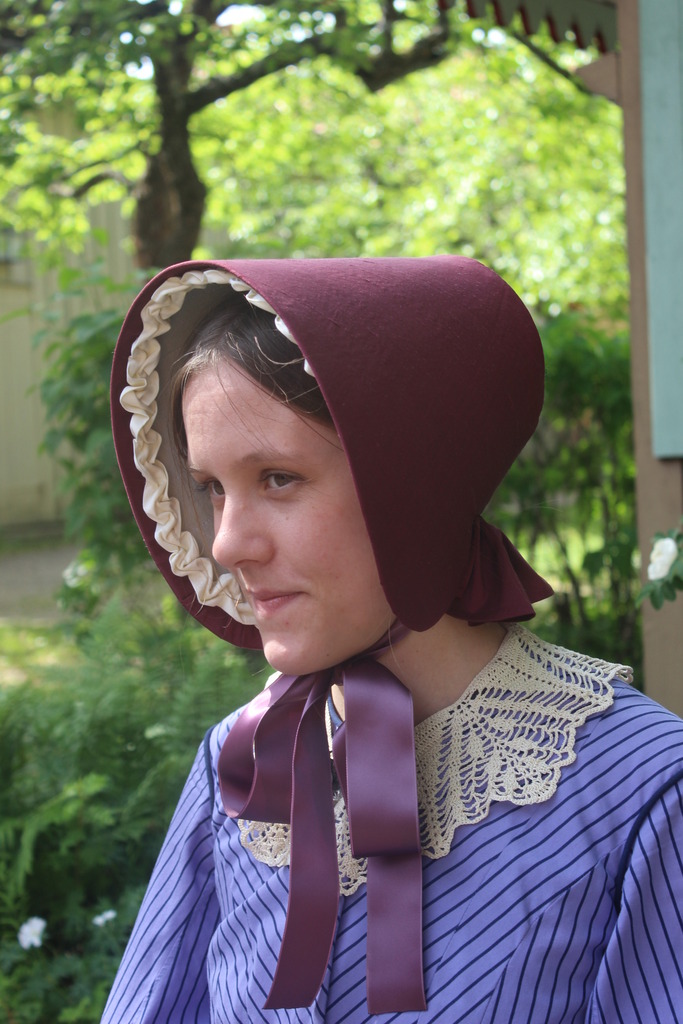 I love the color and shape of Claras bonnet, and she matched it perfectly with the lilac in her dress.
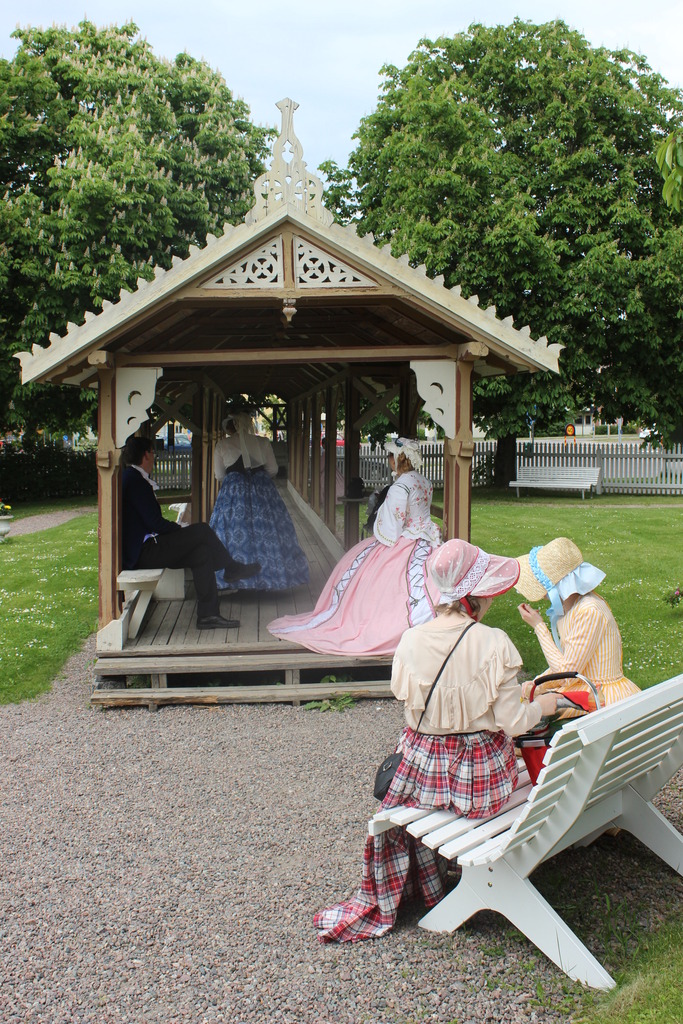
 One giant skirt on the bench…
 …four giant skirts on the bench.
 Oh naughty!
 Love this flimsy, of focus photo – that’s what the whole day felt like.
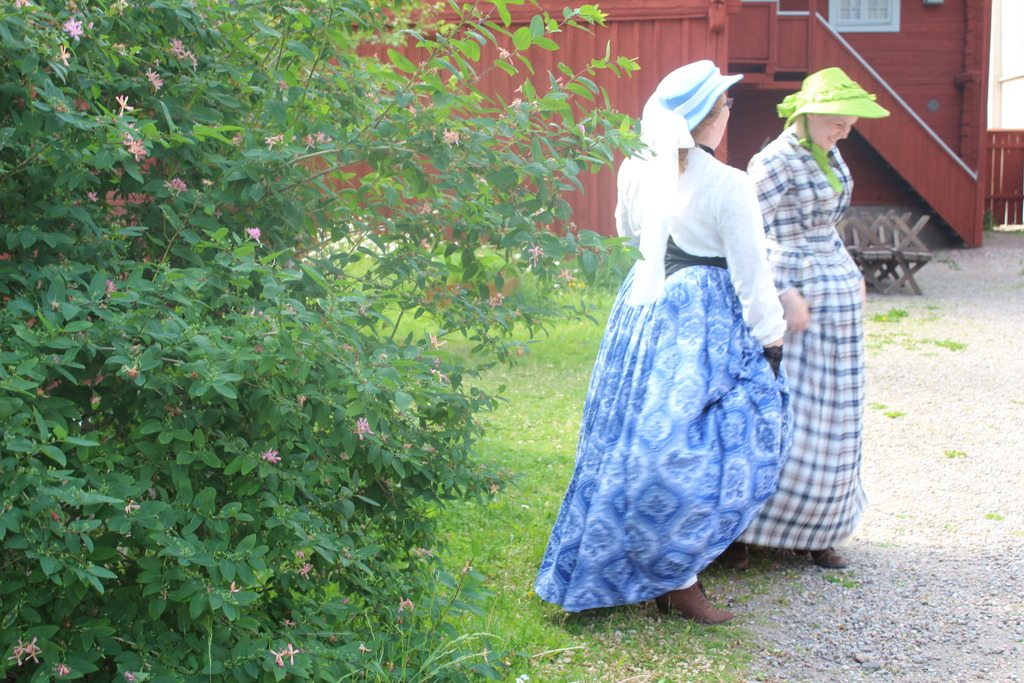
 Pernilla and Denise in their lovely new cotton dresses.
 Pernilla (in red) was my co-arranger to his event, and an angel at making everything work out perfectly.
 Such a great color on Denise.
 I love the sheer fabric on Pernillas bonnet.
On the town square we ran into the patrolling policeman, and convinced him to join in some photos.

 “Hm, you are very strange madam…”
When the shops closed (and the tourist headed home), we all went to the old times skittle-alley for some resting and playing in the shadows.

 Barbaras jacket are made out of a tablecloth, can you believe it.
The whole outfit looks so smashing.
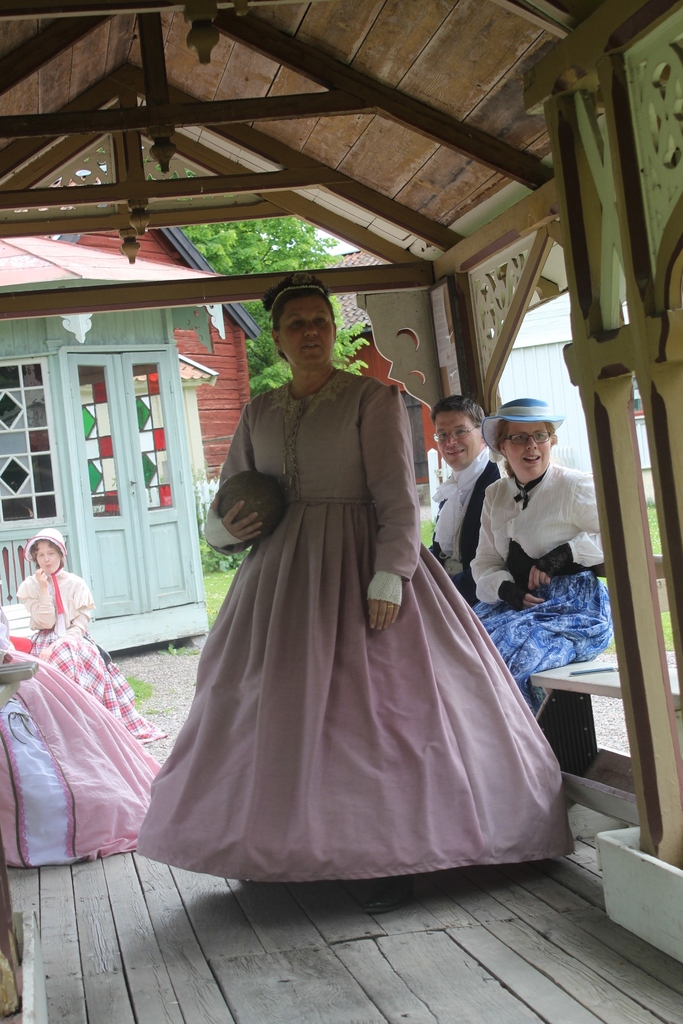 Helena’s playing ball…
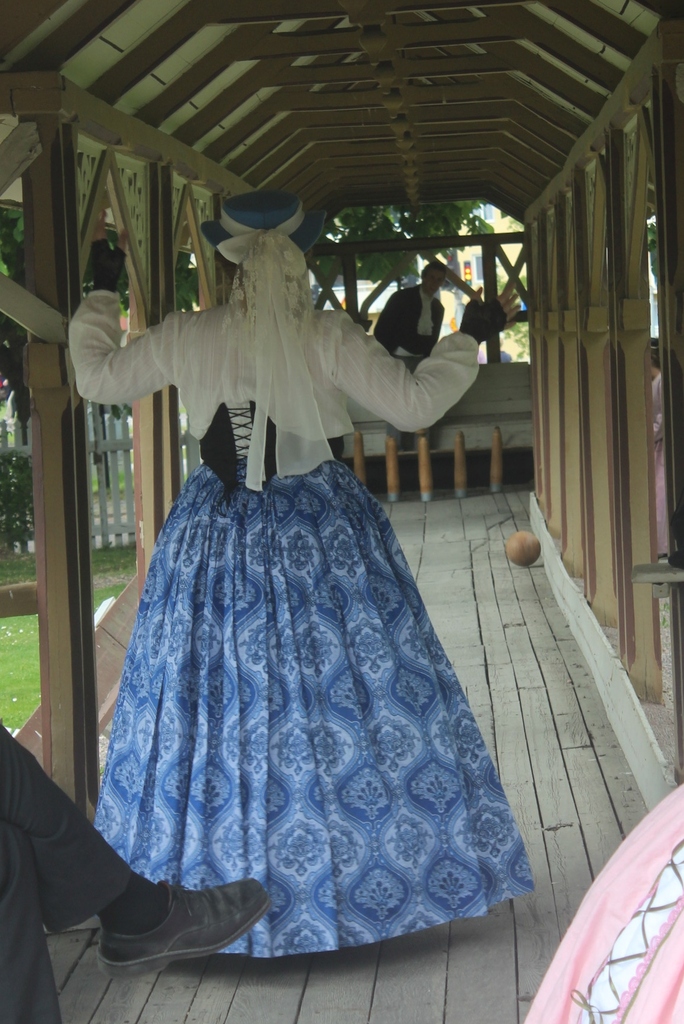 Strike! Eh, No…
 Just general fooling around.
Some of the guest devoted them self to reading “the bible” – Not really
(they’r watching the live streaming from the royal wedding).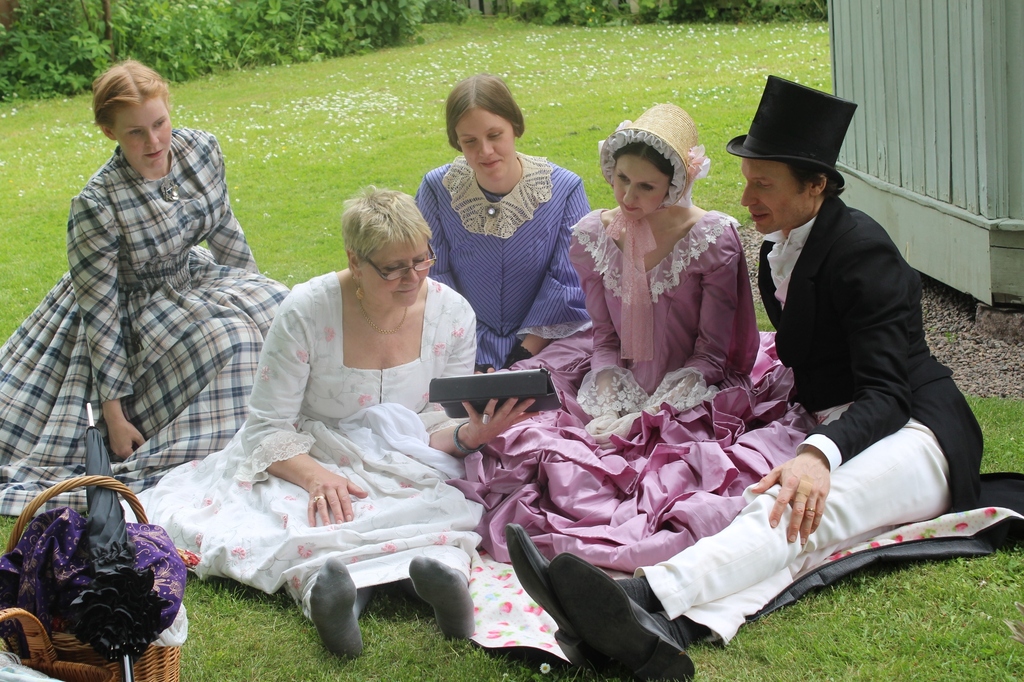
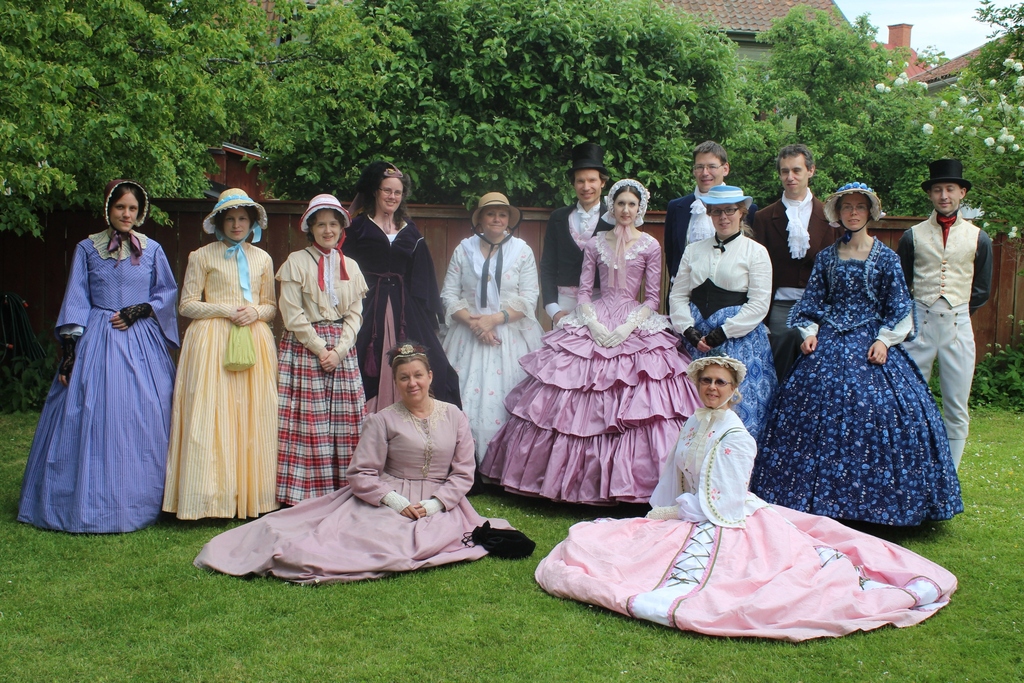
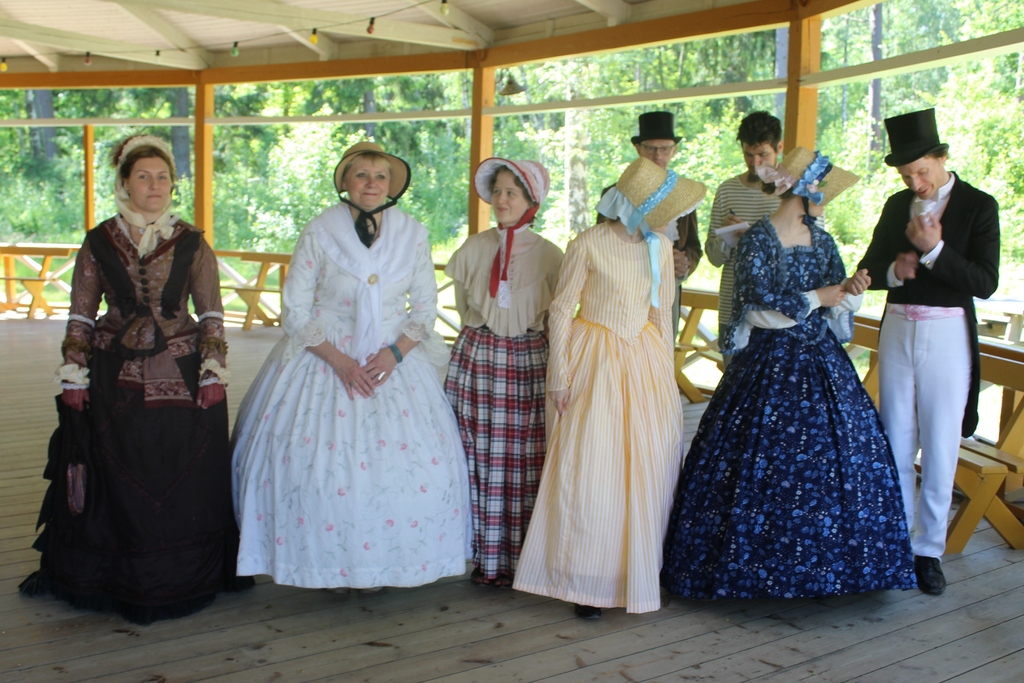
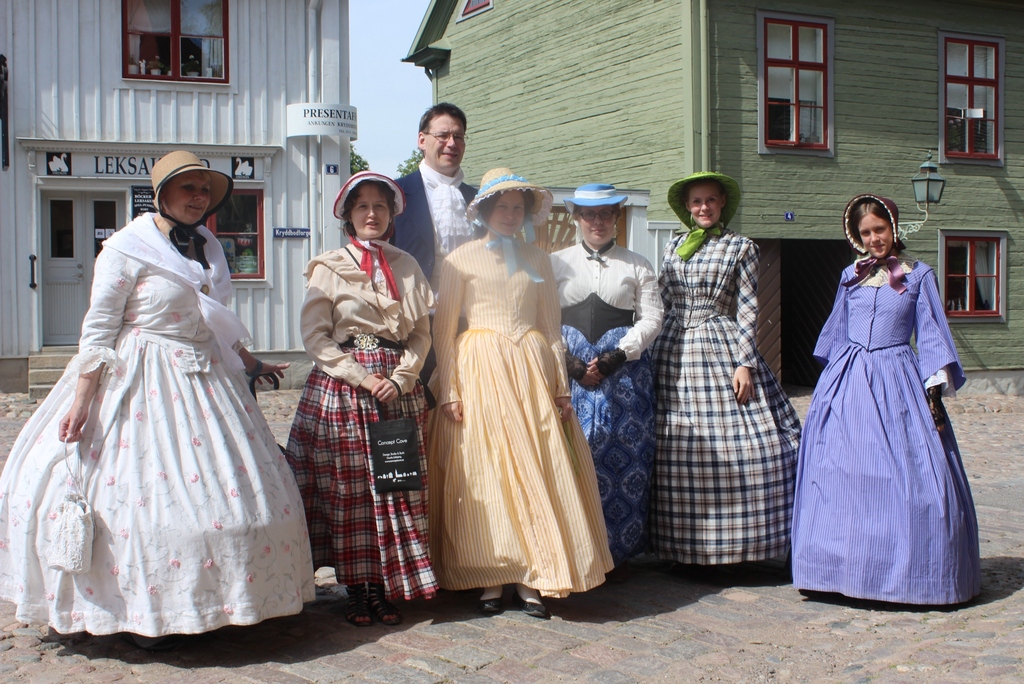
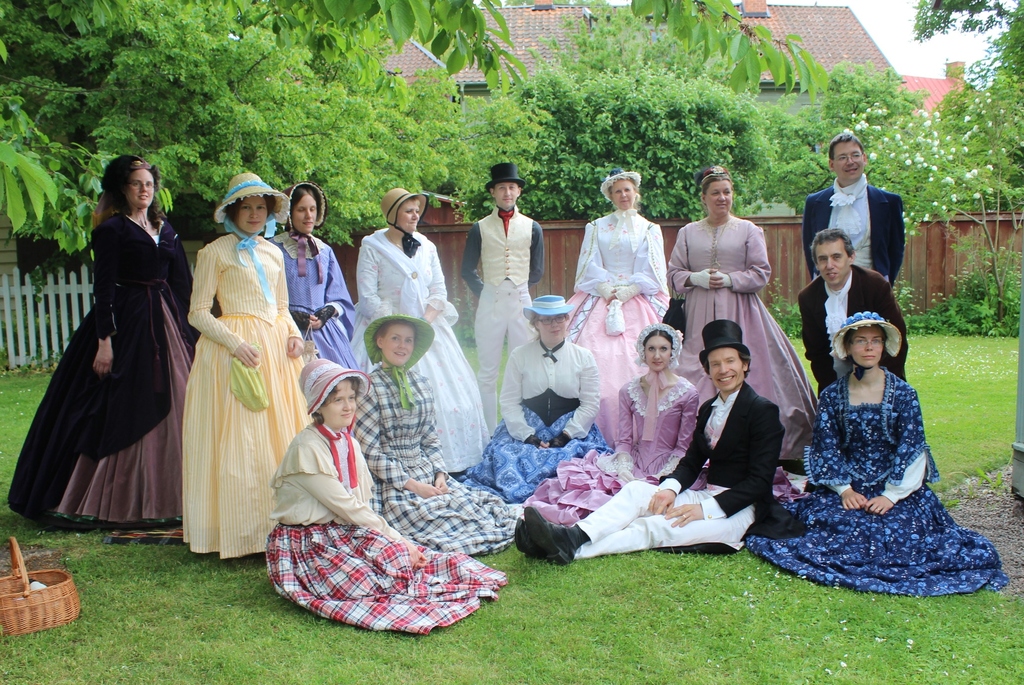 Group-pic – with some added and some lost through out the day.

 Newlyweds – Congratulations again!
We ended the day with a nice dinner at an beautiful old restaurant next to were we sat.
The food and the company was great, but we were all a bit exhausted by the long and hot day.
Then it was time to say goodbye.
Hopefully we’ll be able to do this again next year.
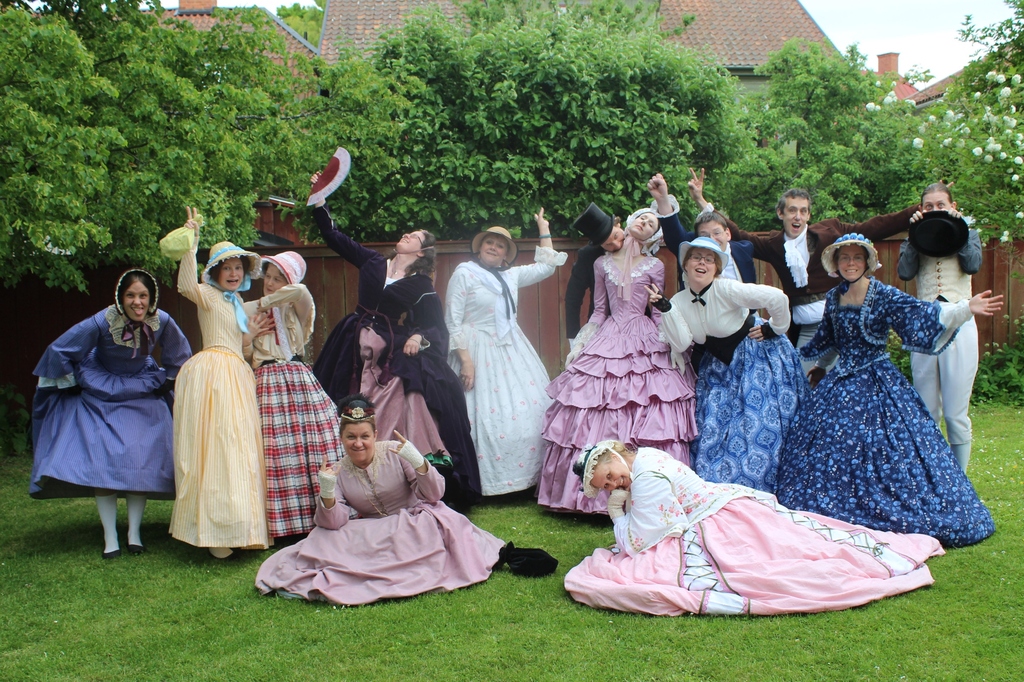 Just awesome!
***
I probably should have stopped at the crazy group picture, but since this is my blog/account of the day, I will also show you the les glorious pics from after we said our goodbyes.
At the buss ride home, hot, tired and sweaty, I encounter my other sister – all fresh and styled for a night on the town.
I just had to do a un-glamours bus-selfie.  After a long day of costuming in the sun…
Once home I finally got to take the boots of, and take a look at my sad feet and socks – the blisters will stay for quite some time I’d wold think, but mu bellowed stockings are lost to all hope of saving.
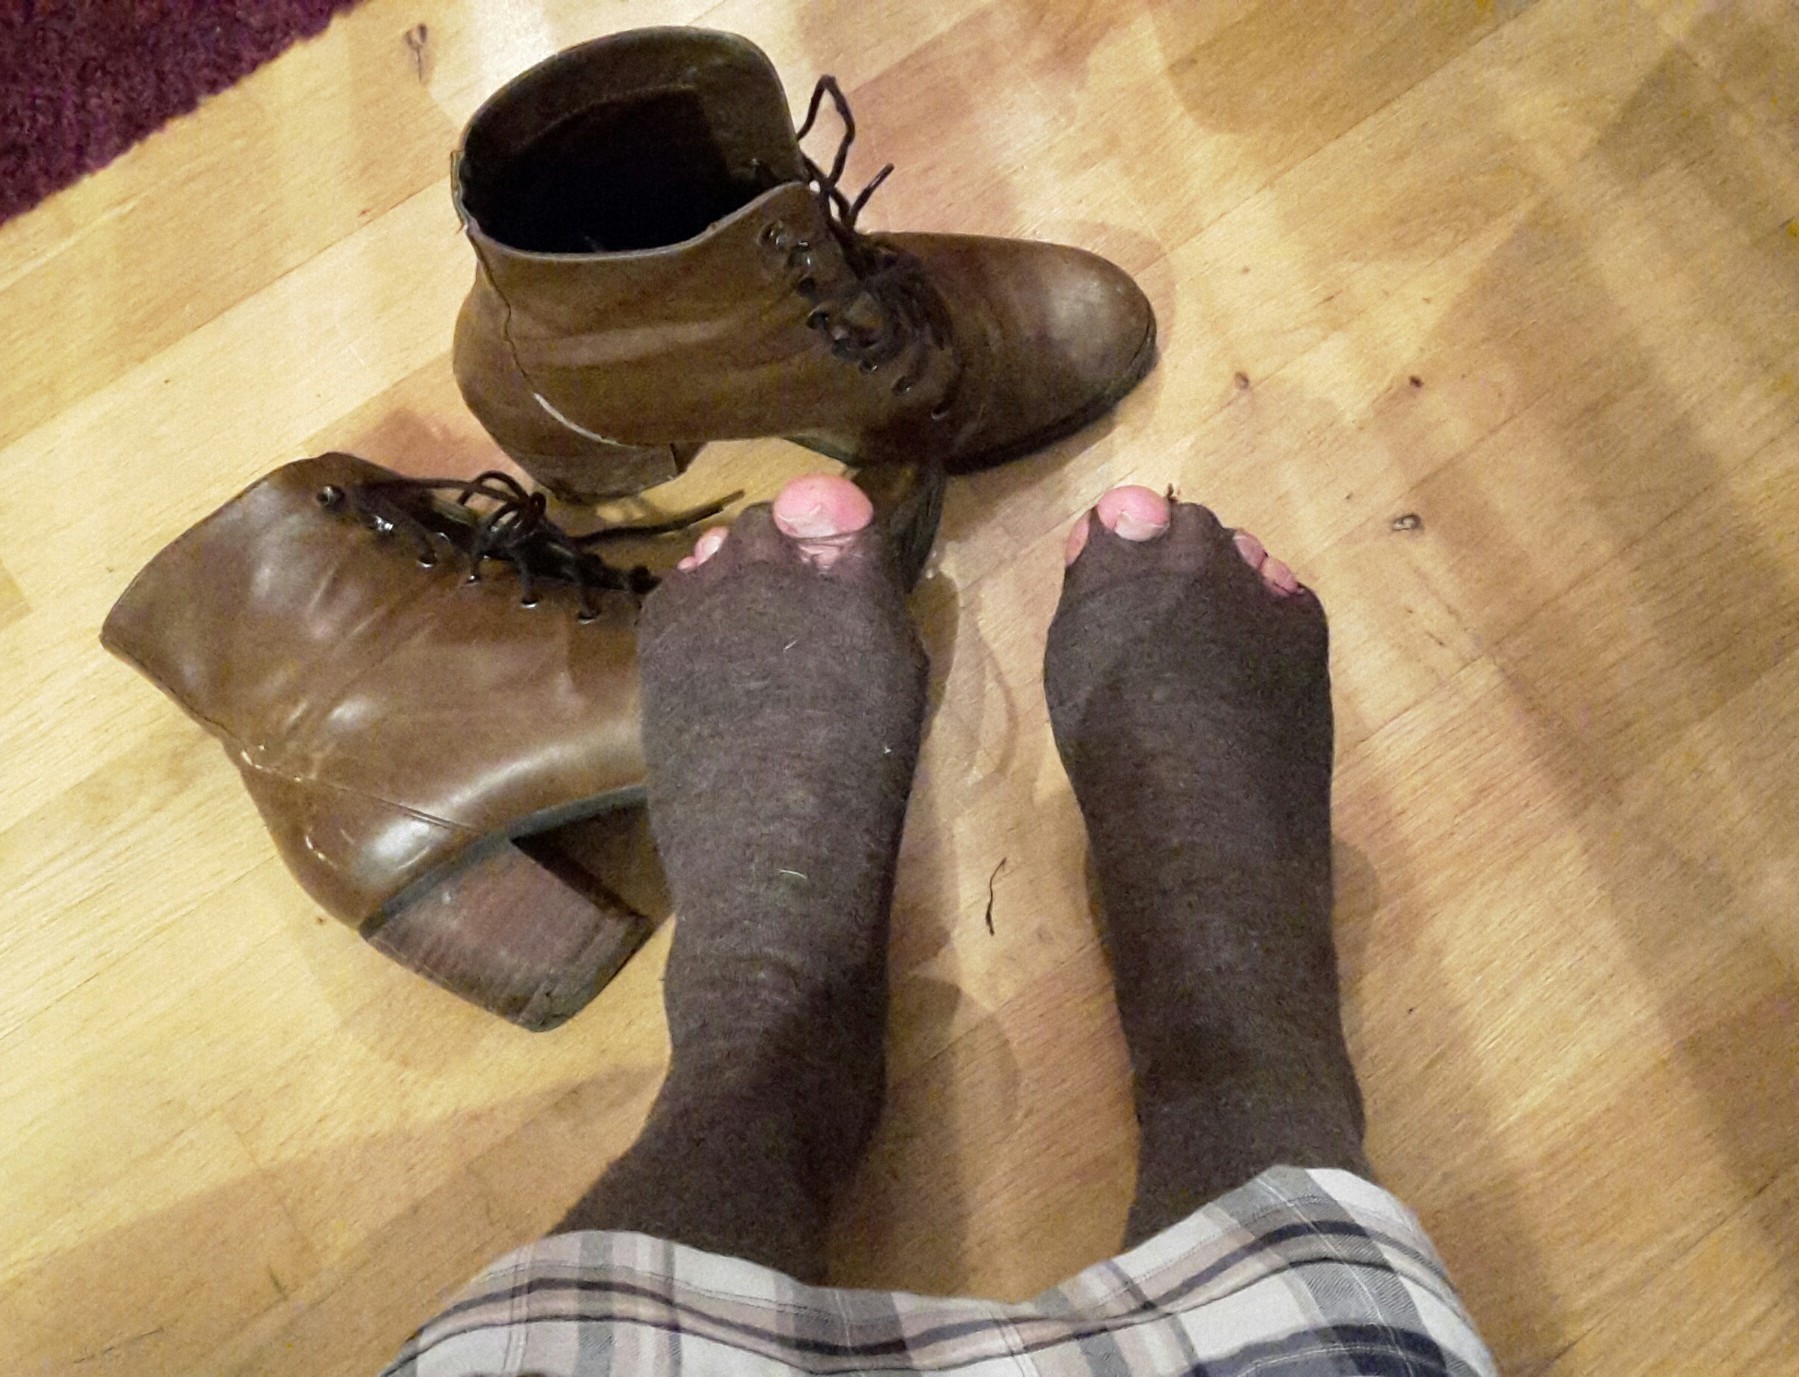 Goodbye my friends, We had some good times together.
You could make any historical costume look better and would always stay in place (above the knee) even without garters.
I will miss you, and have a really hard time replacing you.
So, it finally came – “The Day of the Big Crinolines”, that I’ve been preparing for all spring.
 The Event poster made by Helena, using one of the pictures of my paisley gown.
The day was a collaboration with “Gamla Linköping” and “Svenska 1800-tals sällskapet”.
As a one of the hosts for this event I’ve put quite some work into getting it perfect.
Together with Pernilla from “Fashion of the days gone by” I talked to “Gamla Linköping” (the outdoors museum where the event was to be held) about help with publicity, booking the outdoors dance-floor and using their dressing-room among other things.
We had discussions with the historic dance team (to make hem do a dance show and a short dance course), with the “Historic costume group” for a fashion show and with several well read historic re-enactors for a small lecture on the fashion of the day.
At the end we only managed to get the dance team – who did a great job and was really appreciated by the participants of the day.
(Maybe next year we will be able to book some more entertainment and lectures…)
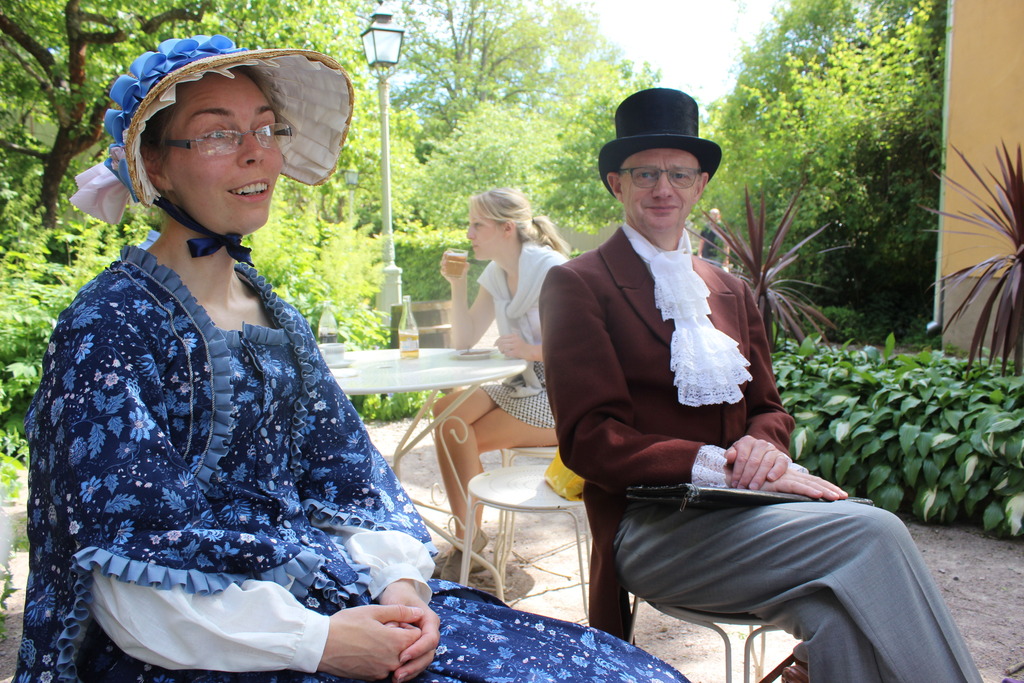
Besides planing the event itself, I’d worked on getting both me and my sister properly dresses.
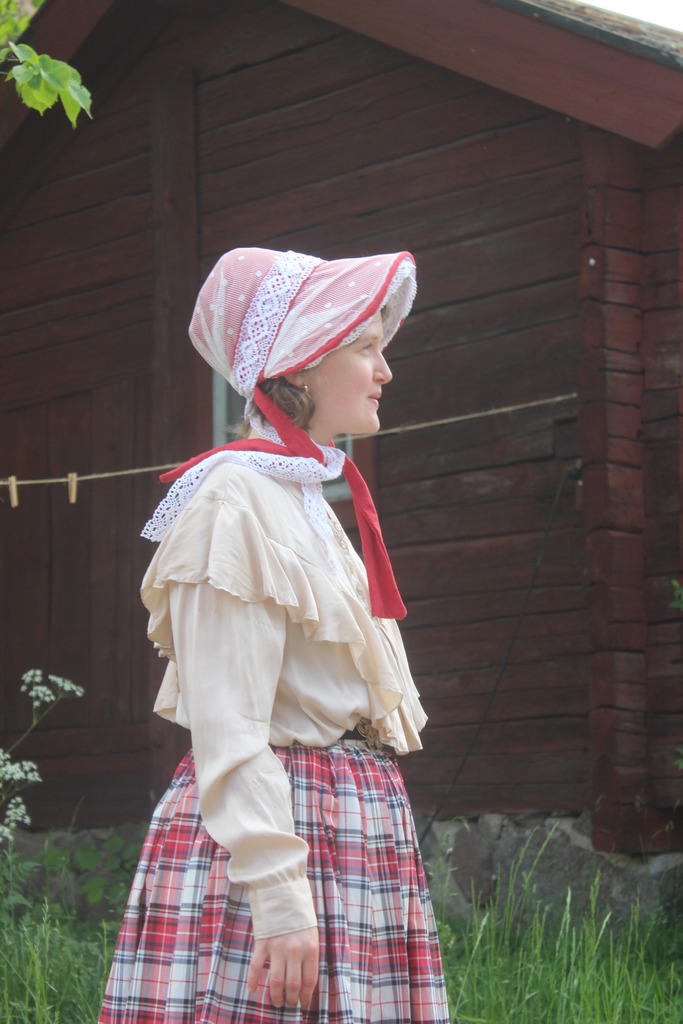
Something I finished with just in time.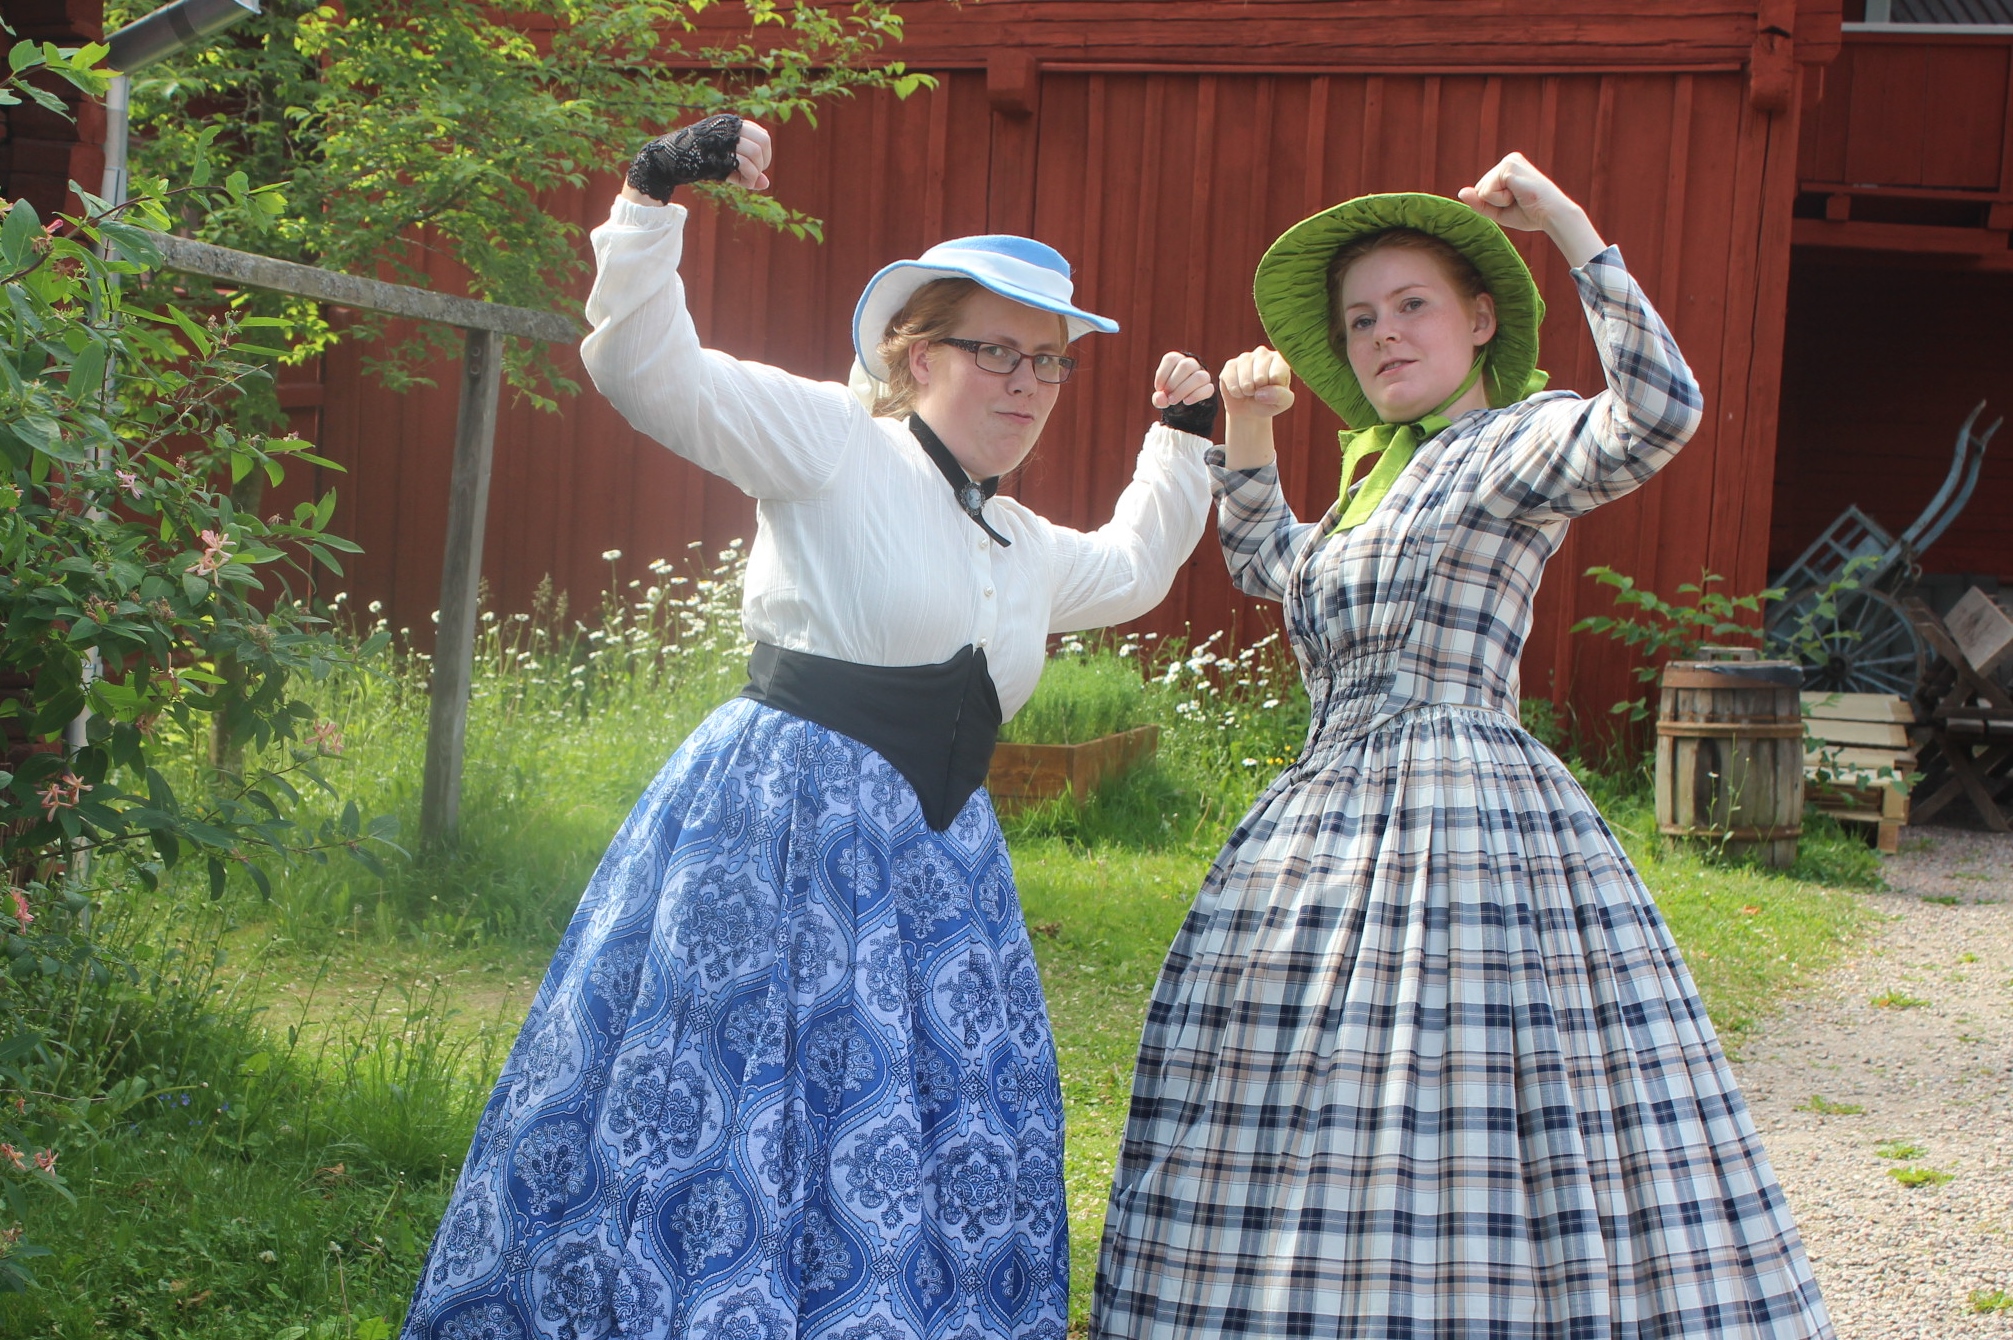 My sister is wearing her new 1860s ensemble including her blue Skirt, white Shirt, blue Hat and black Swiss-Waist, paired with a bridal petticoat, bloomers, stockings, lace up shoes, and black lace mitts.
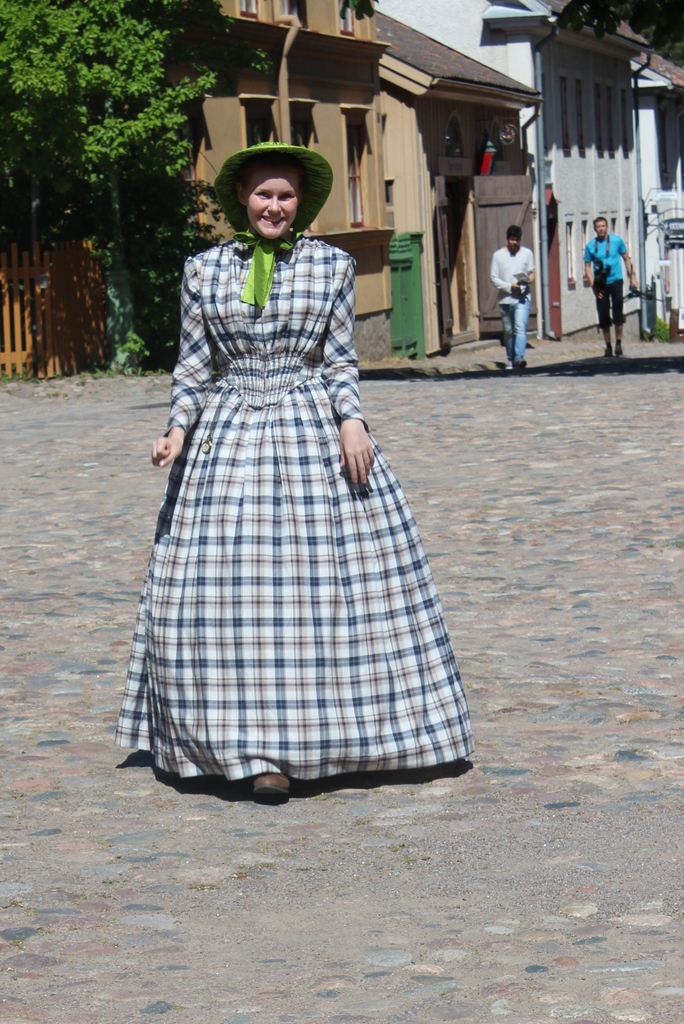
I’m wearing my new 1850s ensemble of plaid Dress, green silk bonnet, cage Crinoline, Corset, petticoats, bloomers, lace up boots and a clock in a chain at the waist.
The event was a big hit and lots of lovely people from different parts of Sweden joined in.
We even got our own full page in the local newspaper.
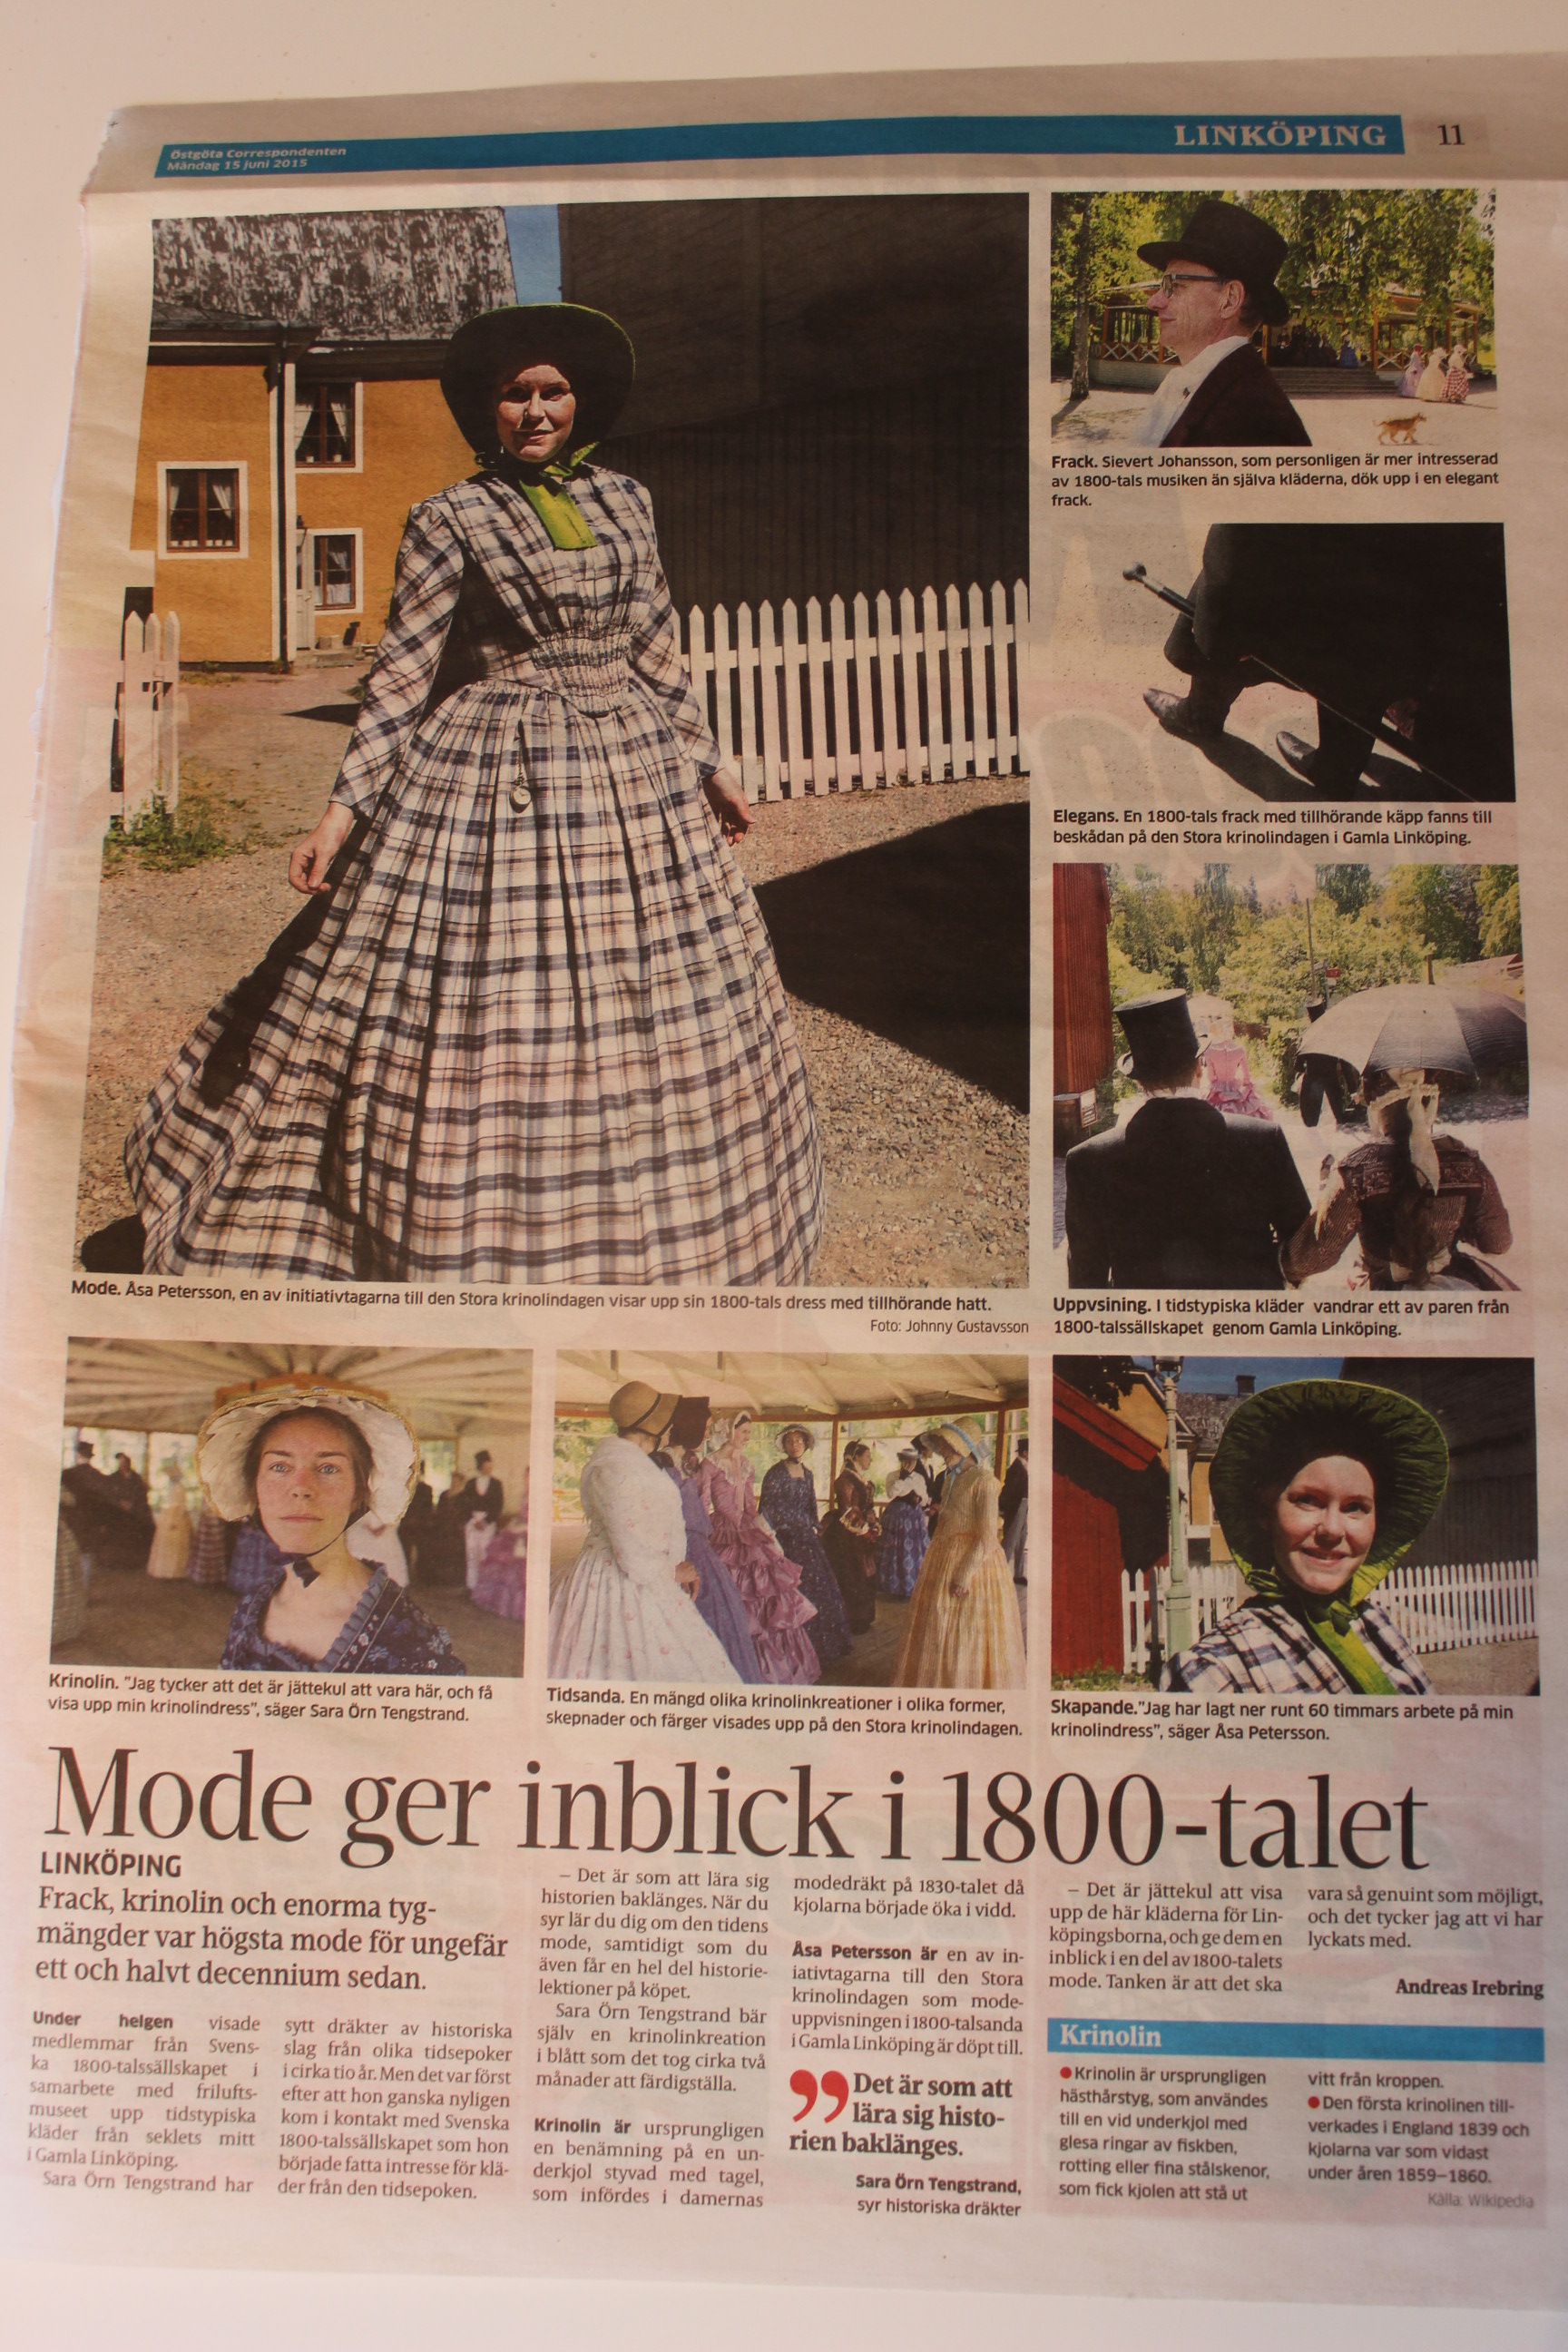 Yes, it’s me in the big picture – the reporters caught me of guard, and convinced me to both answer some questions and to pose for them. They even caught some of it on tape – read the whole article and watch the interview (in Swedish) here.
Enough talking, on to the pictures…
We started the day by gathering all the attendant at the town square.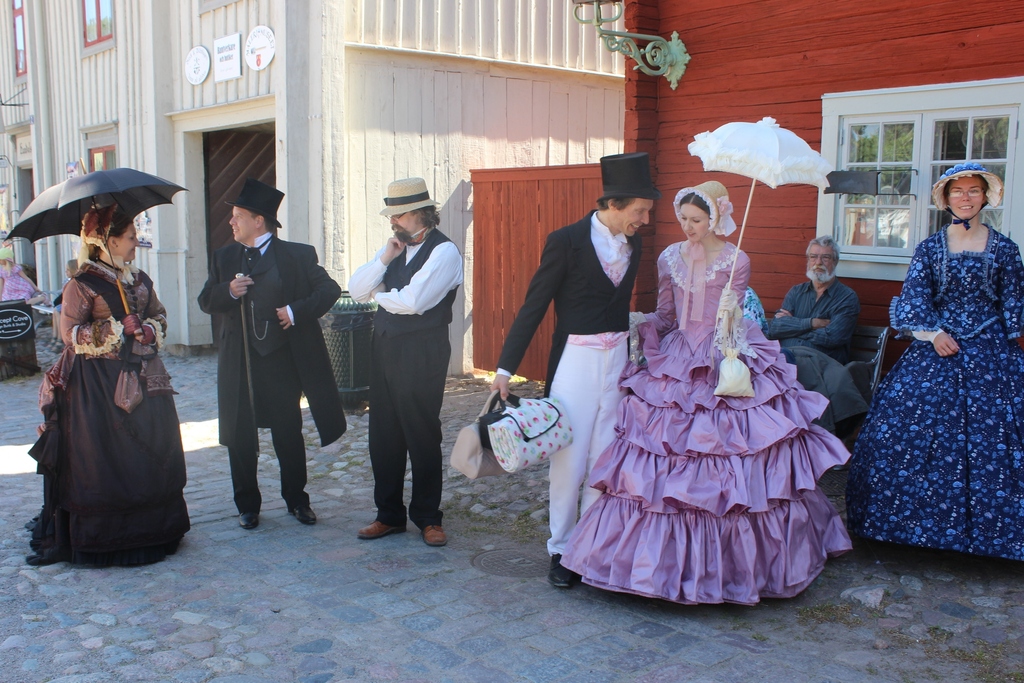 awaiting some more people…
 Perfect lilac picture dream
 Staying cool in the sun
 A bustle at the Crinoline day was of course also welcome
 Coming back from the interview (with the two reporters trailing behind).
Then we went to the outside dance-floor to talk a bit and to get to know each-other, since there was a lot new faces for all of us. 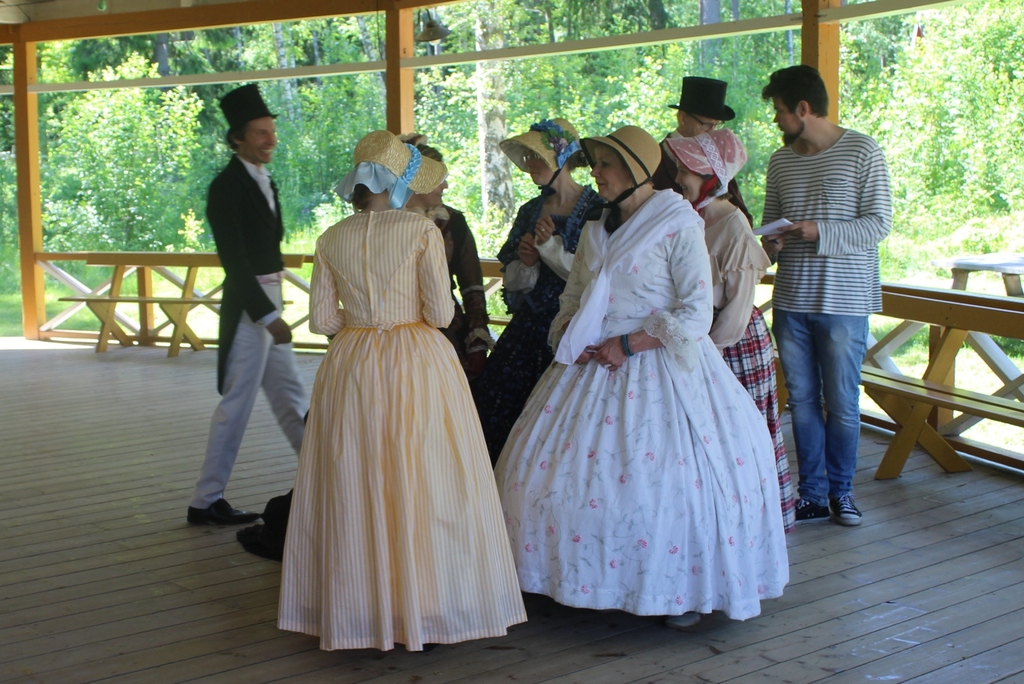 You can see the reporters lurking in the background
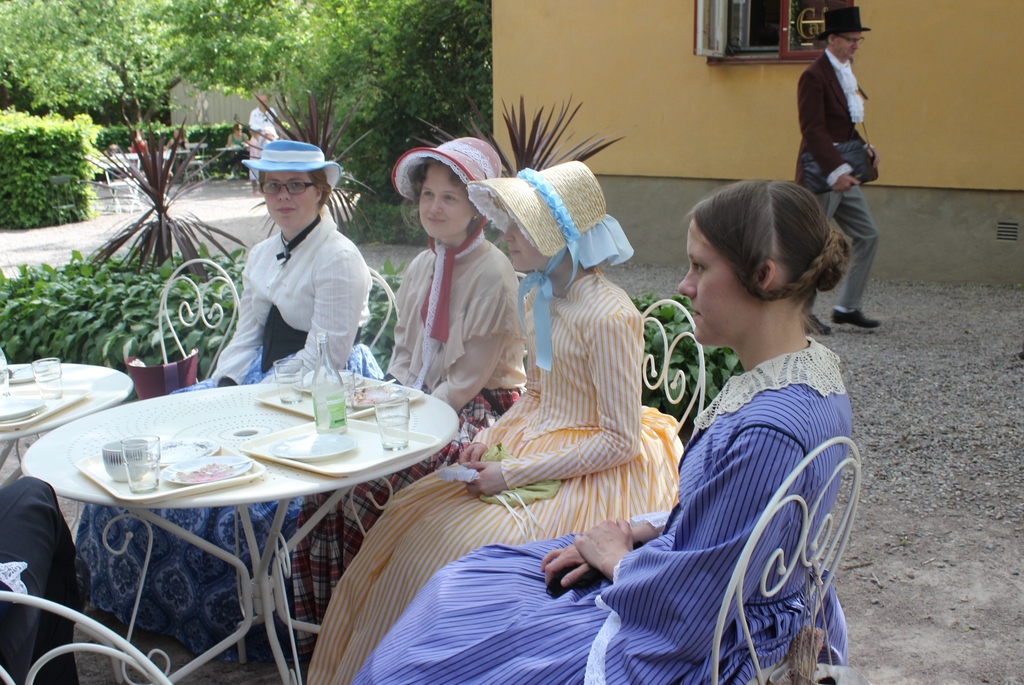
 Clara, Maria and Engla in three quite different styles of 1850-1860s dresses.
Then we went for a short walk to some greenery, to have our picnic lunch. 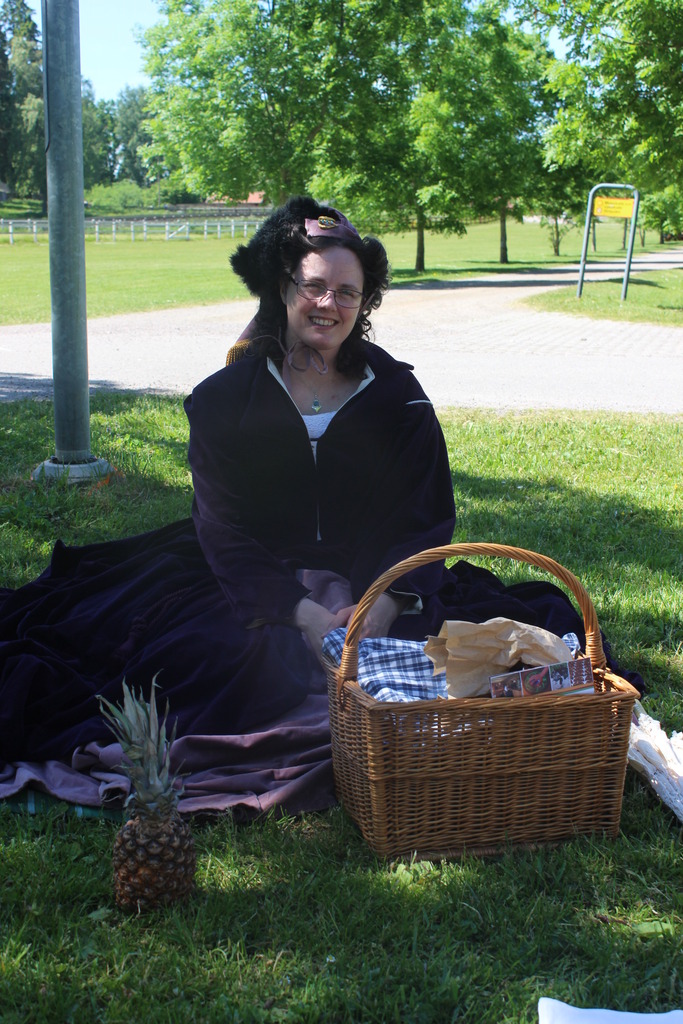 Eva, with her super modern fruit – the pineapple
Then we headed back to the dance-floor to watch “Folkungagillets historic dance team” perform.
And for some of us – join in the performance…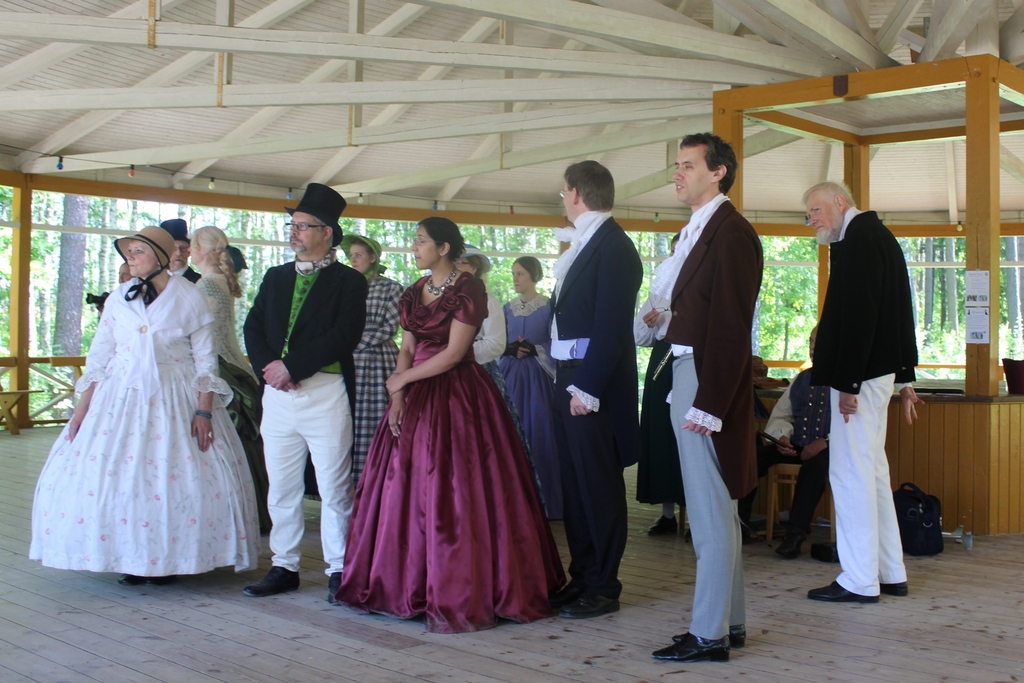
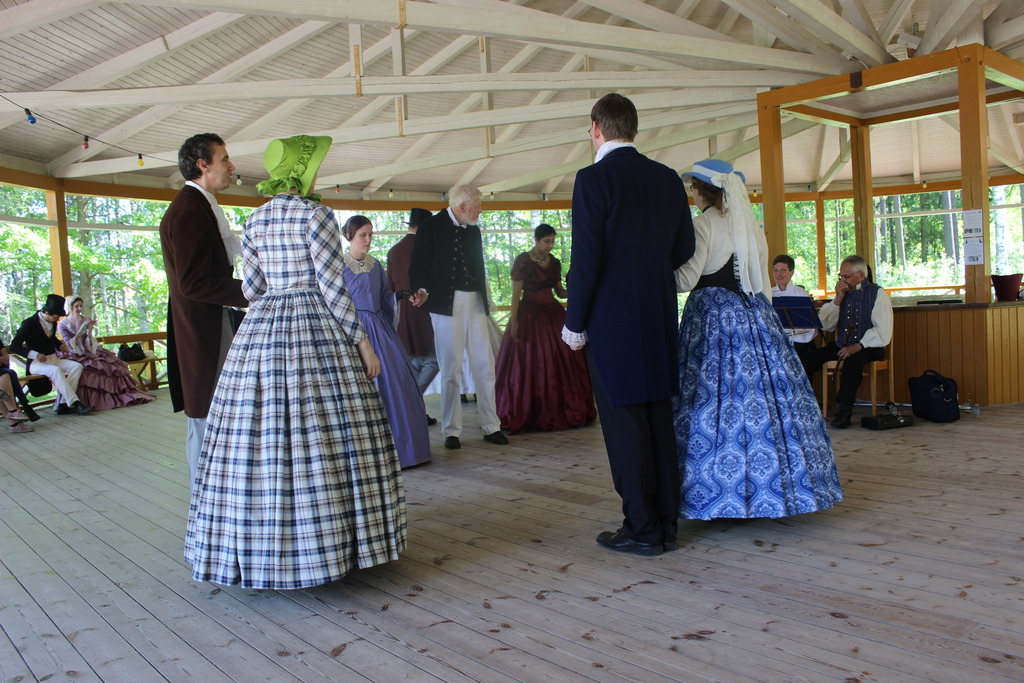


Here’s a short film of one of the dances:
Then everyone was invited to join for a a few group-dances and some polka.
Afterwards, one of the dancers helped me take some pictures of my dress in the nice light of the dance-floor.
One of the people who came to watch the public dance show was my friend Annica (who is an expert dancer) and I got to dance some polka with her. Yay!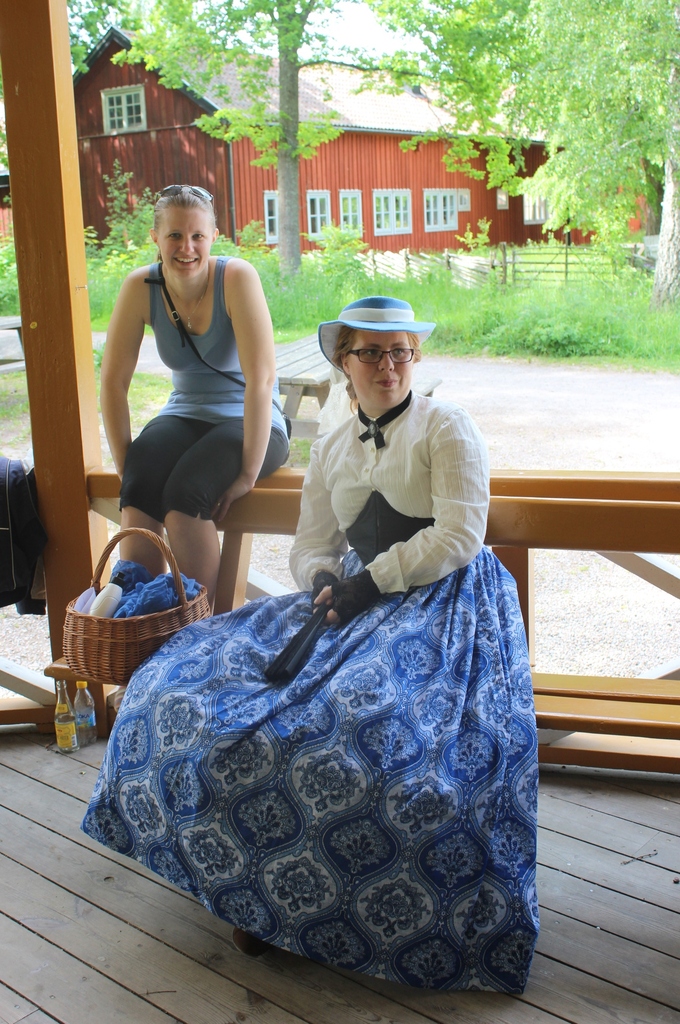
 Bustle glory.
After the dancing some of us headed of to get some cofee, or “Fika” as we say in Sweden.
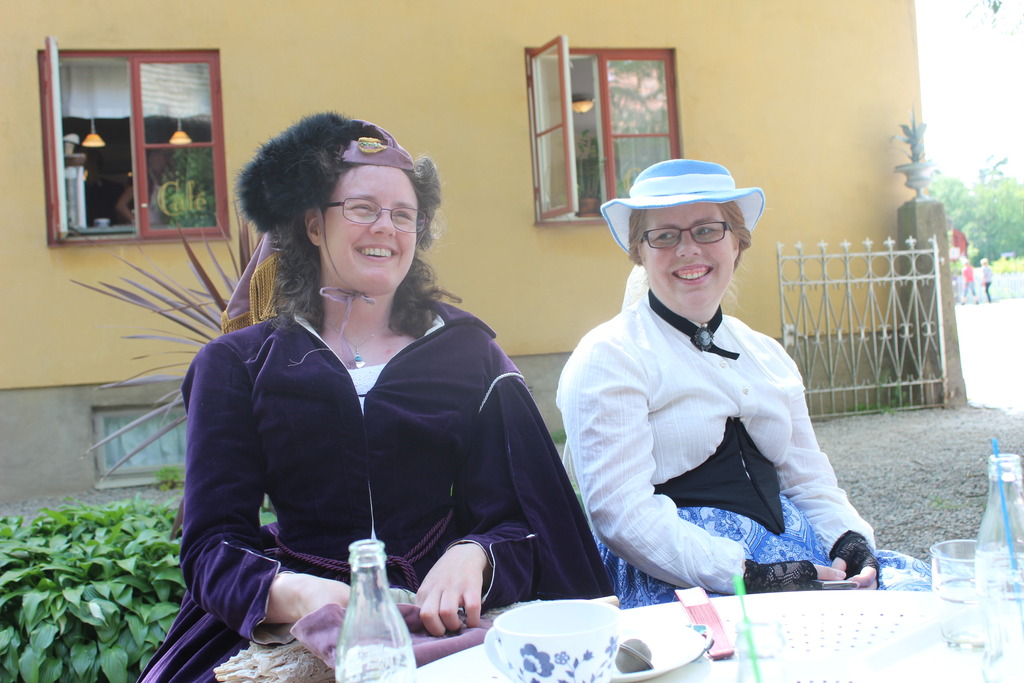
And asked one of the photographing tourists to take our picture.
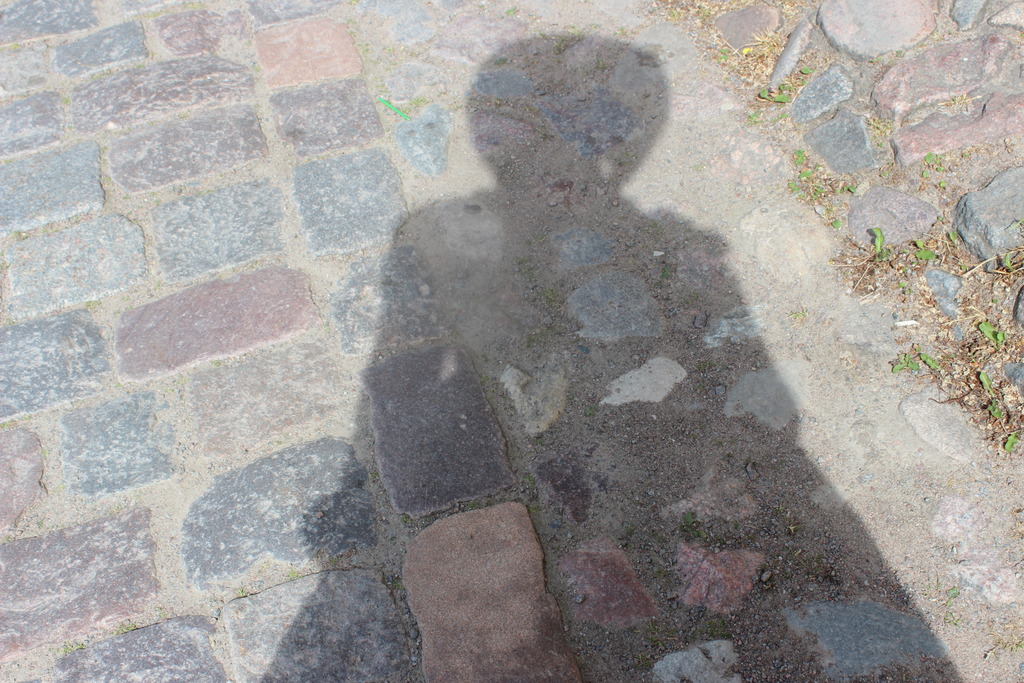 My (quite dramatic) shadow
 Visiting some shops

To be continued…
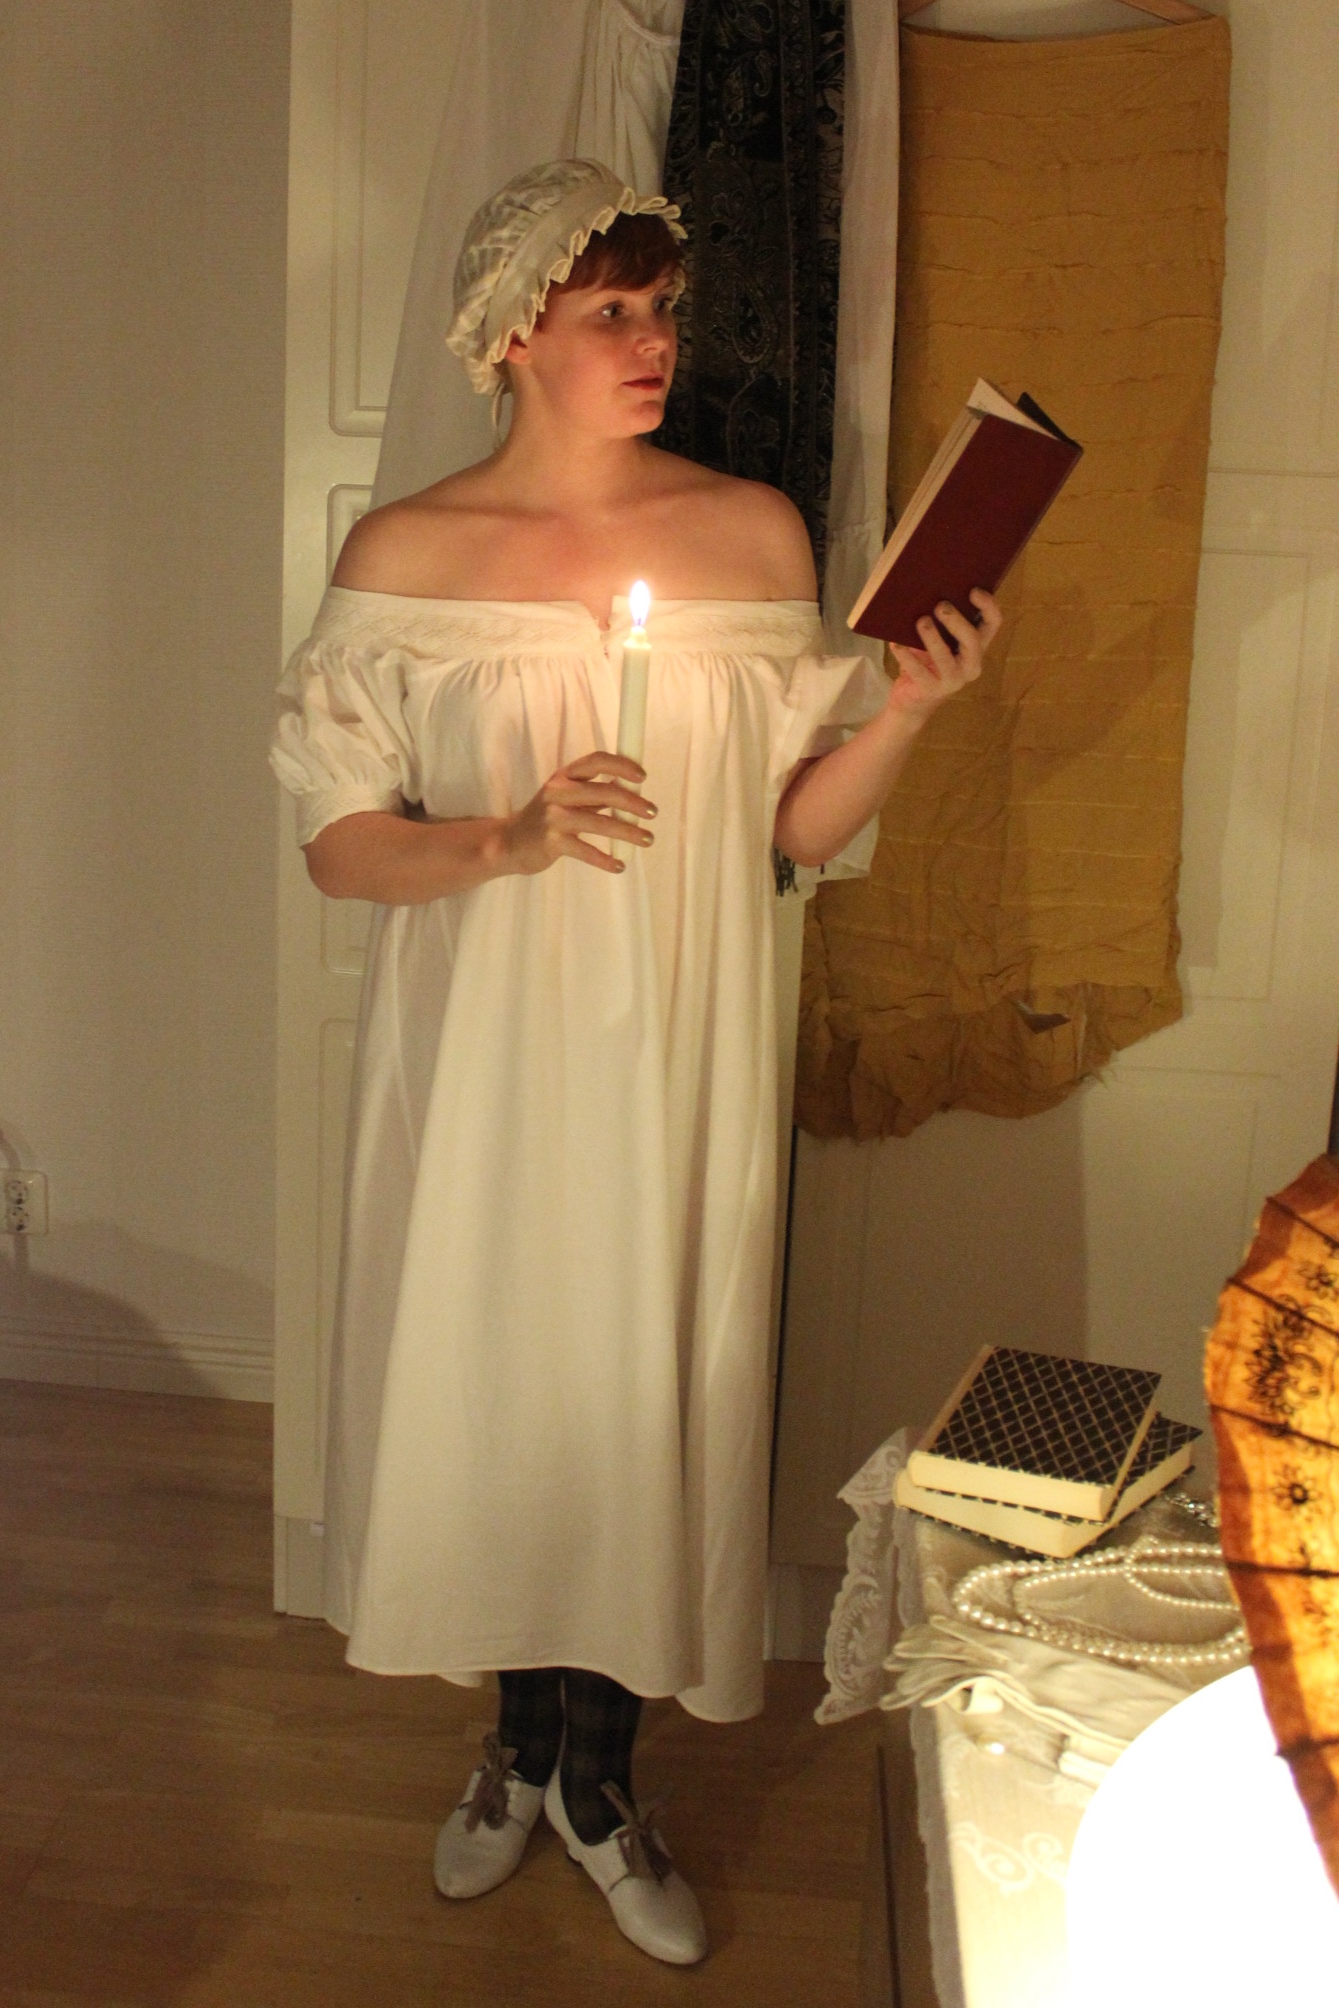
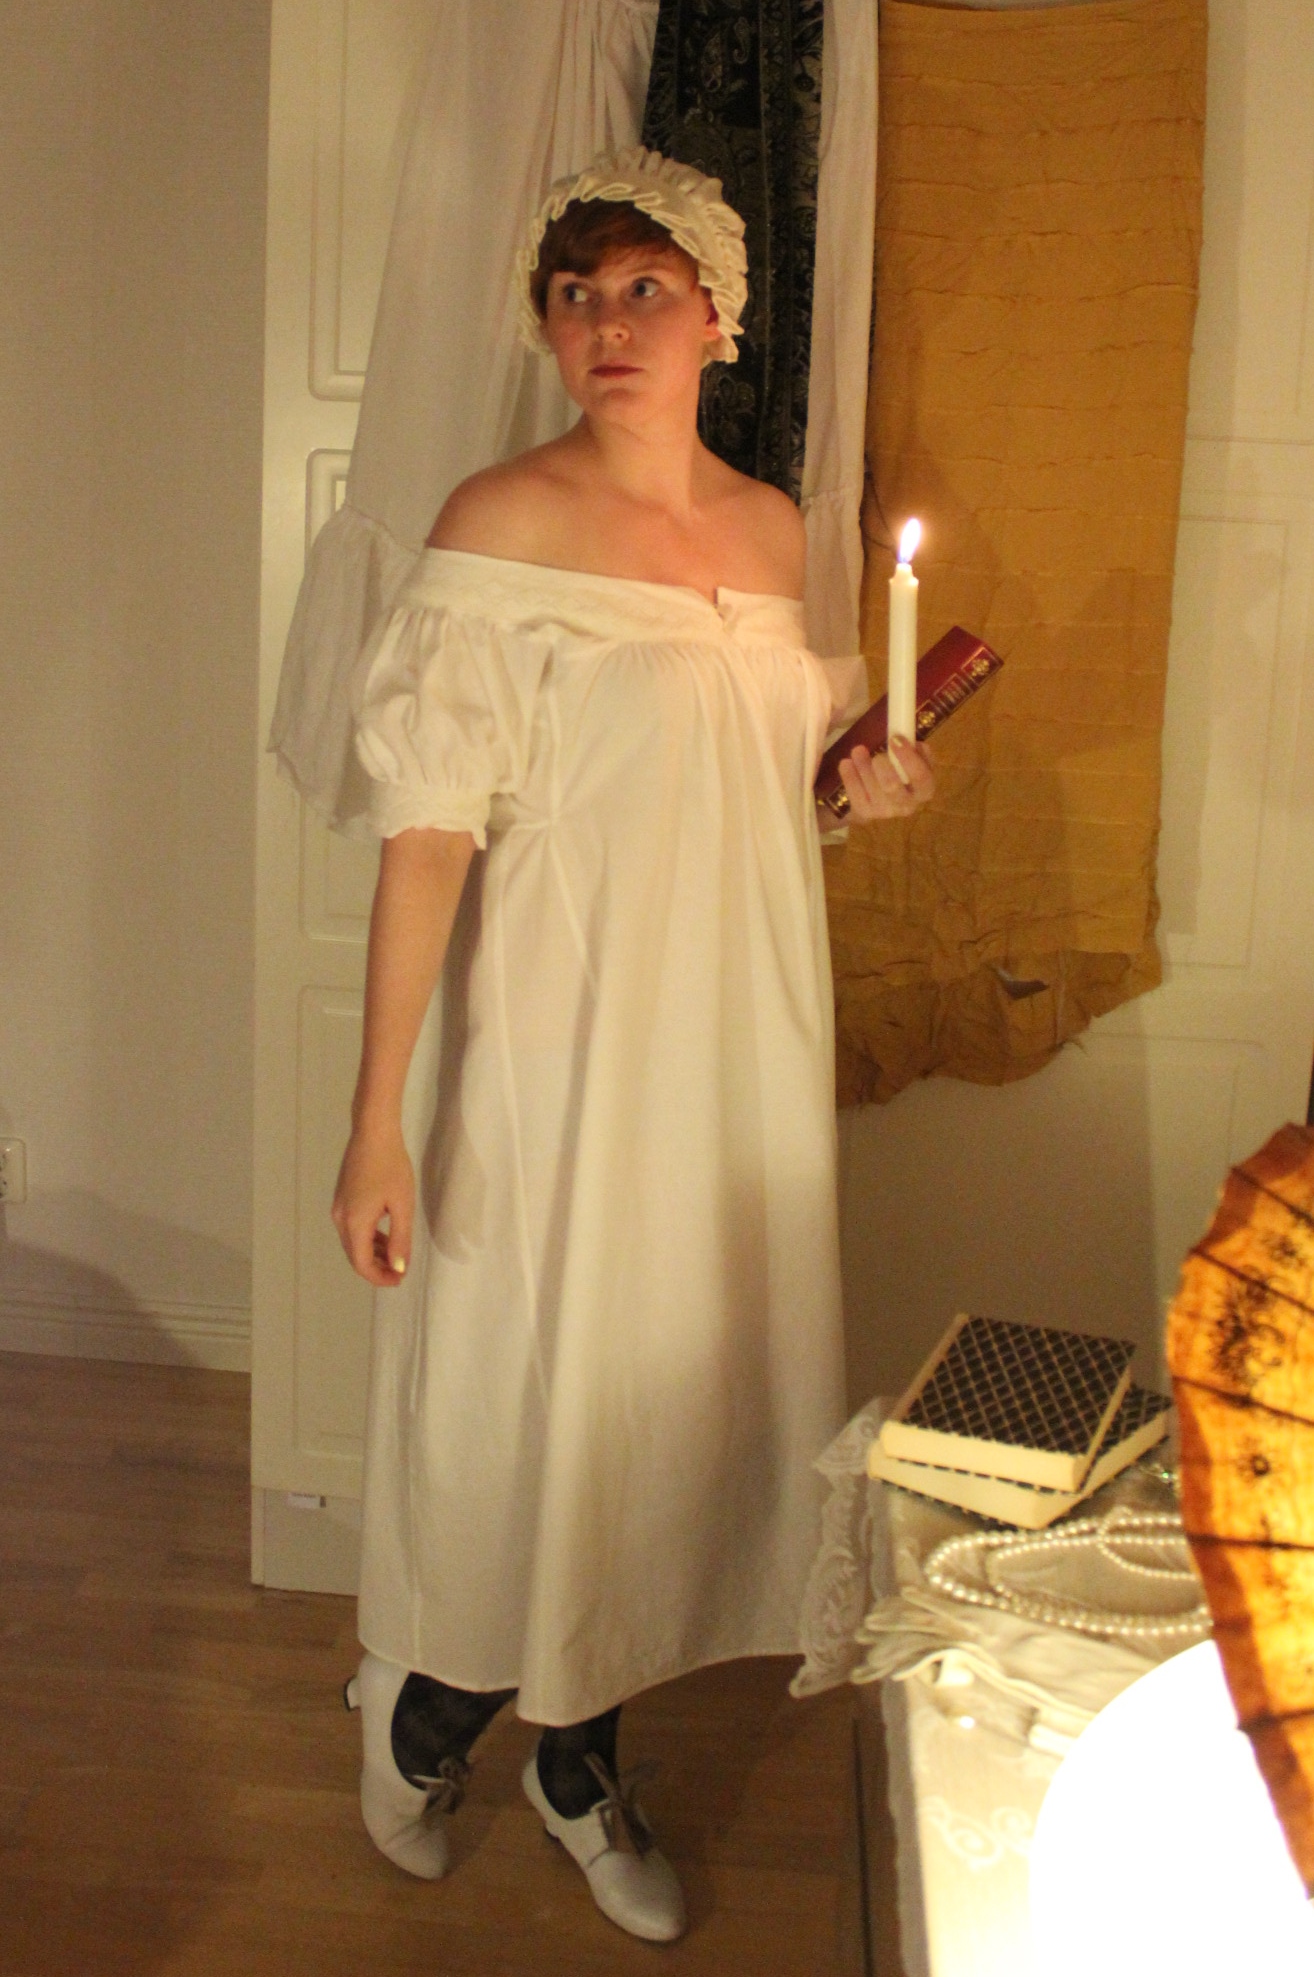
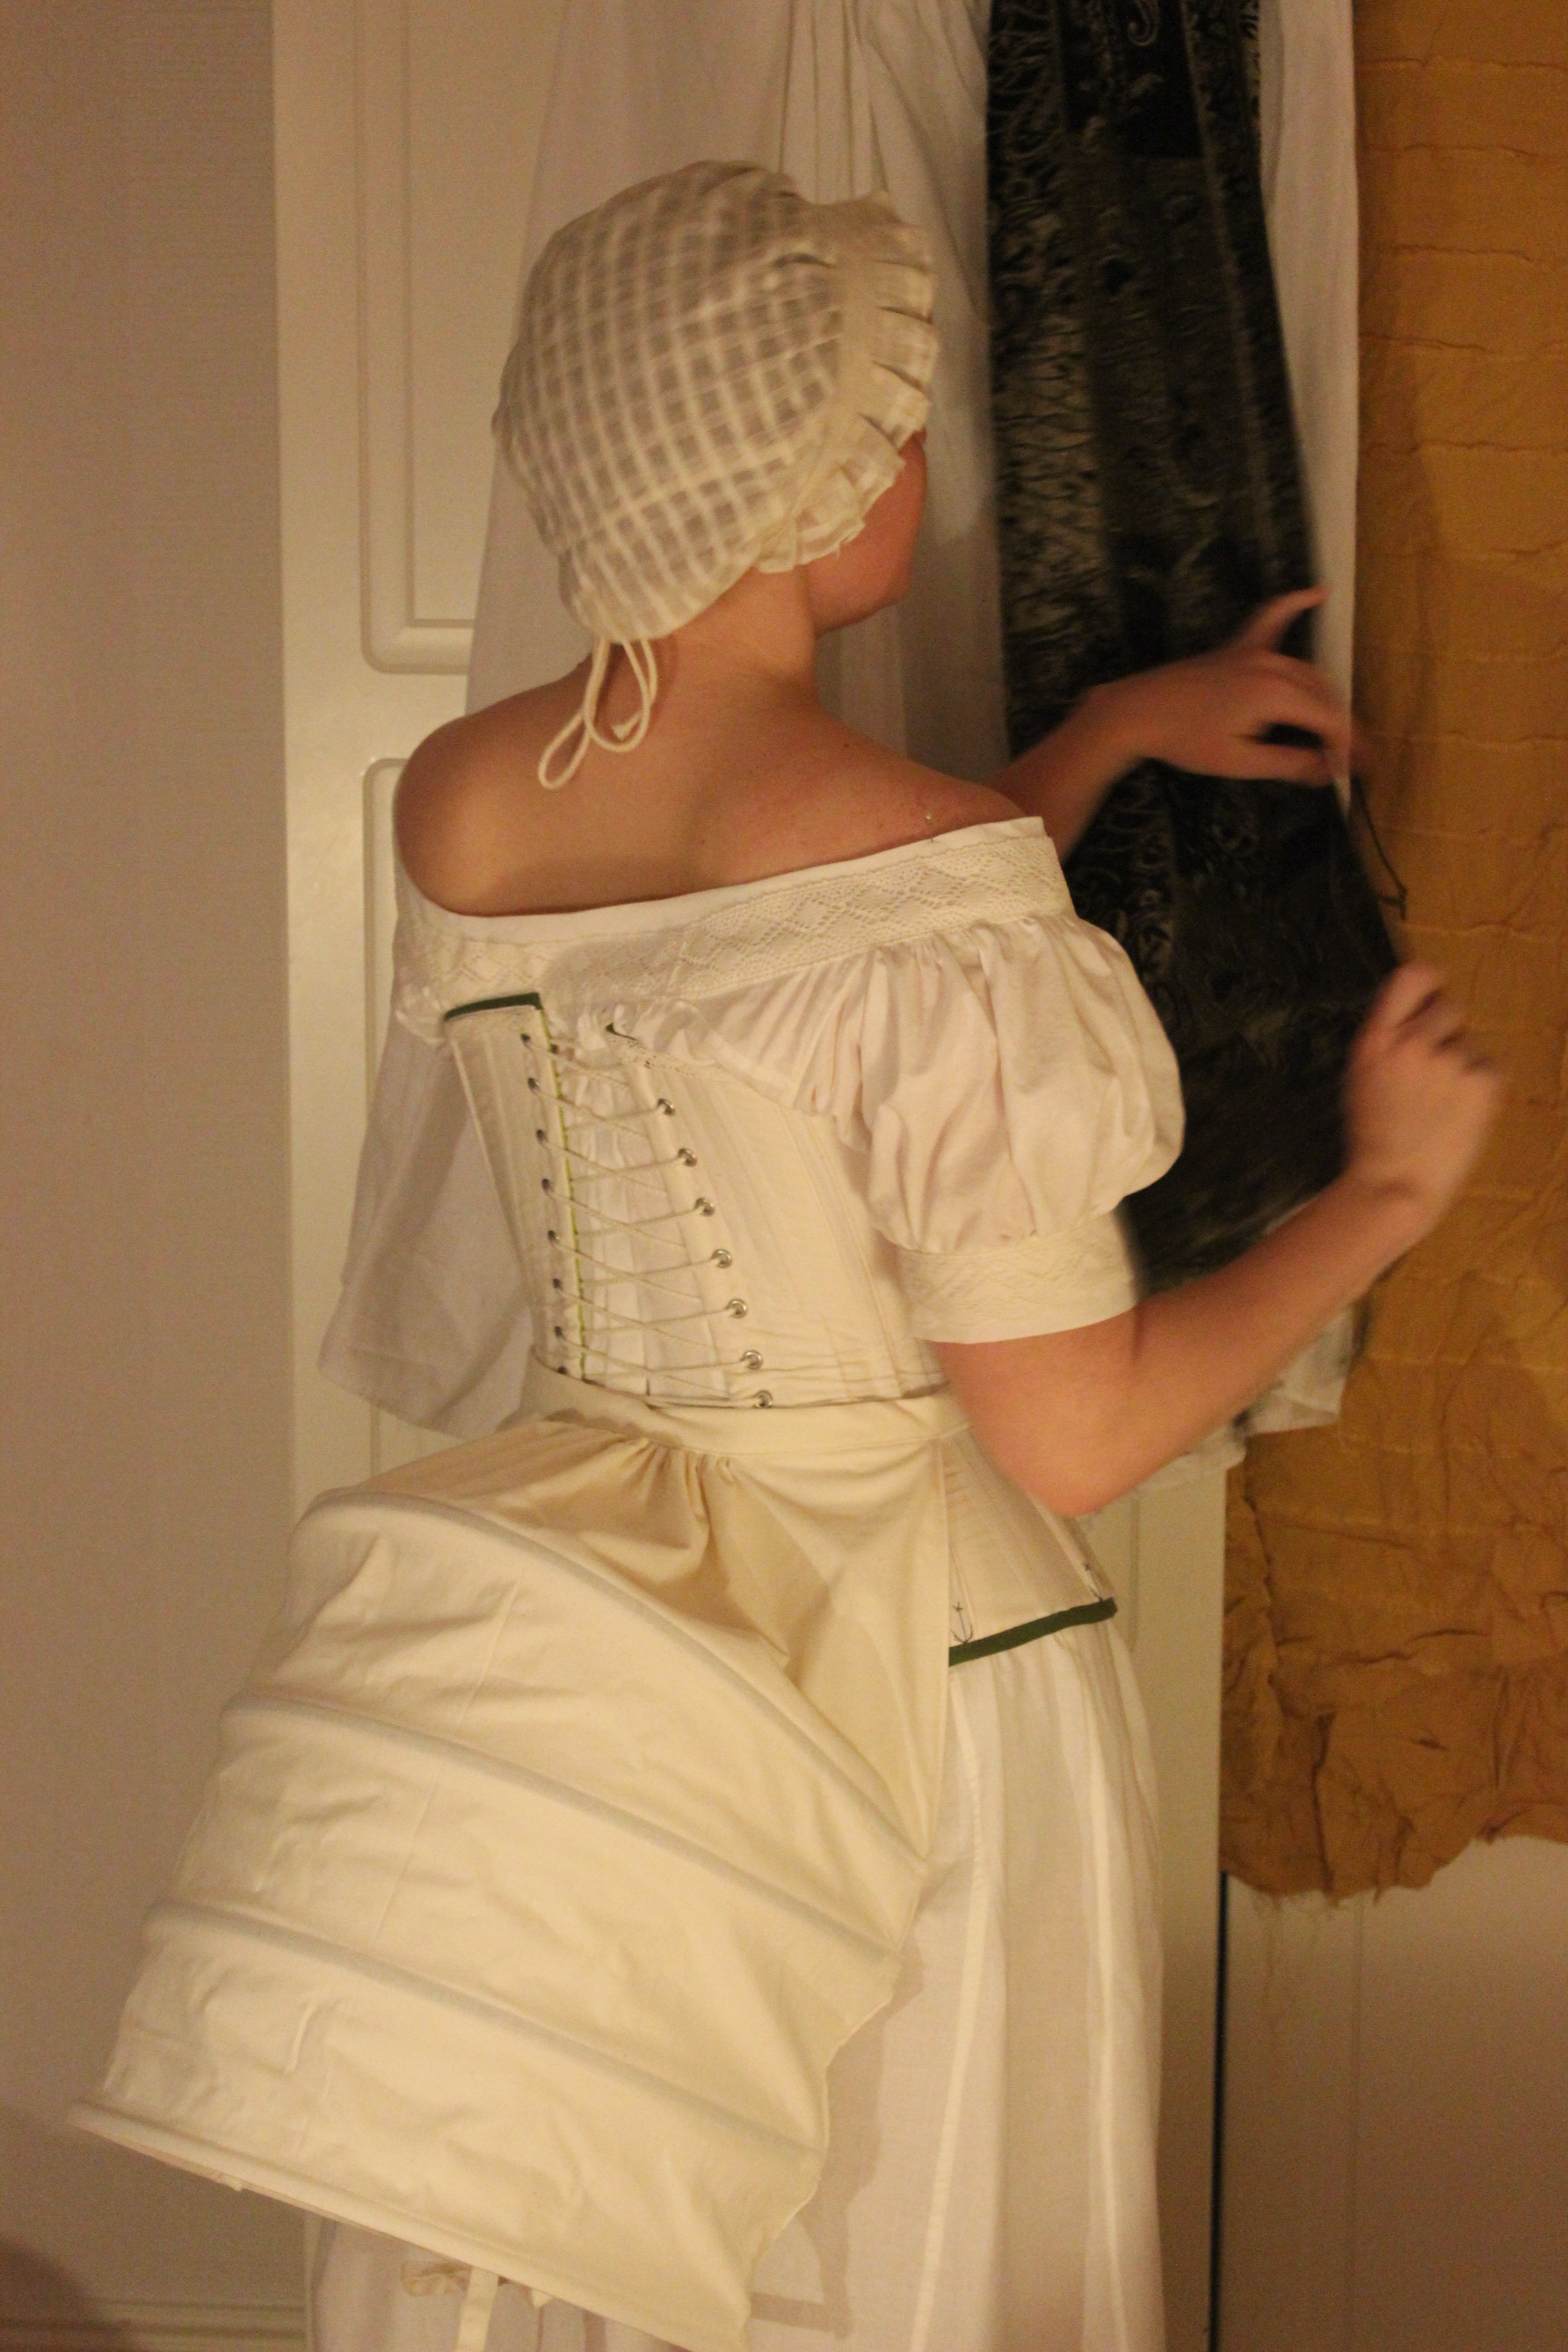
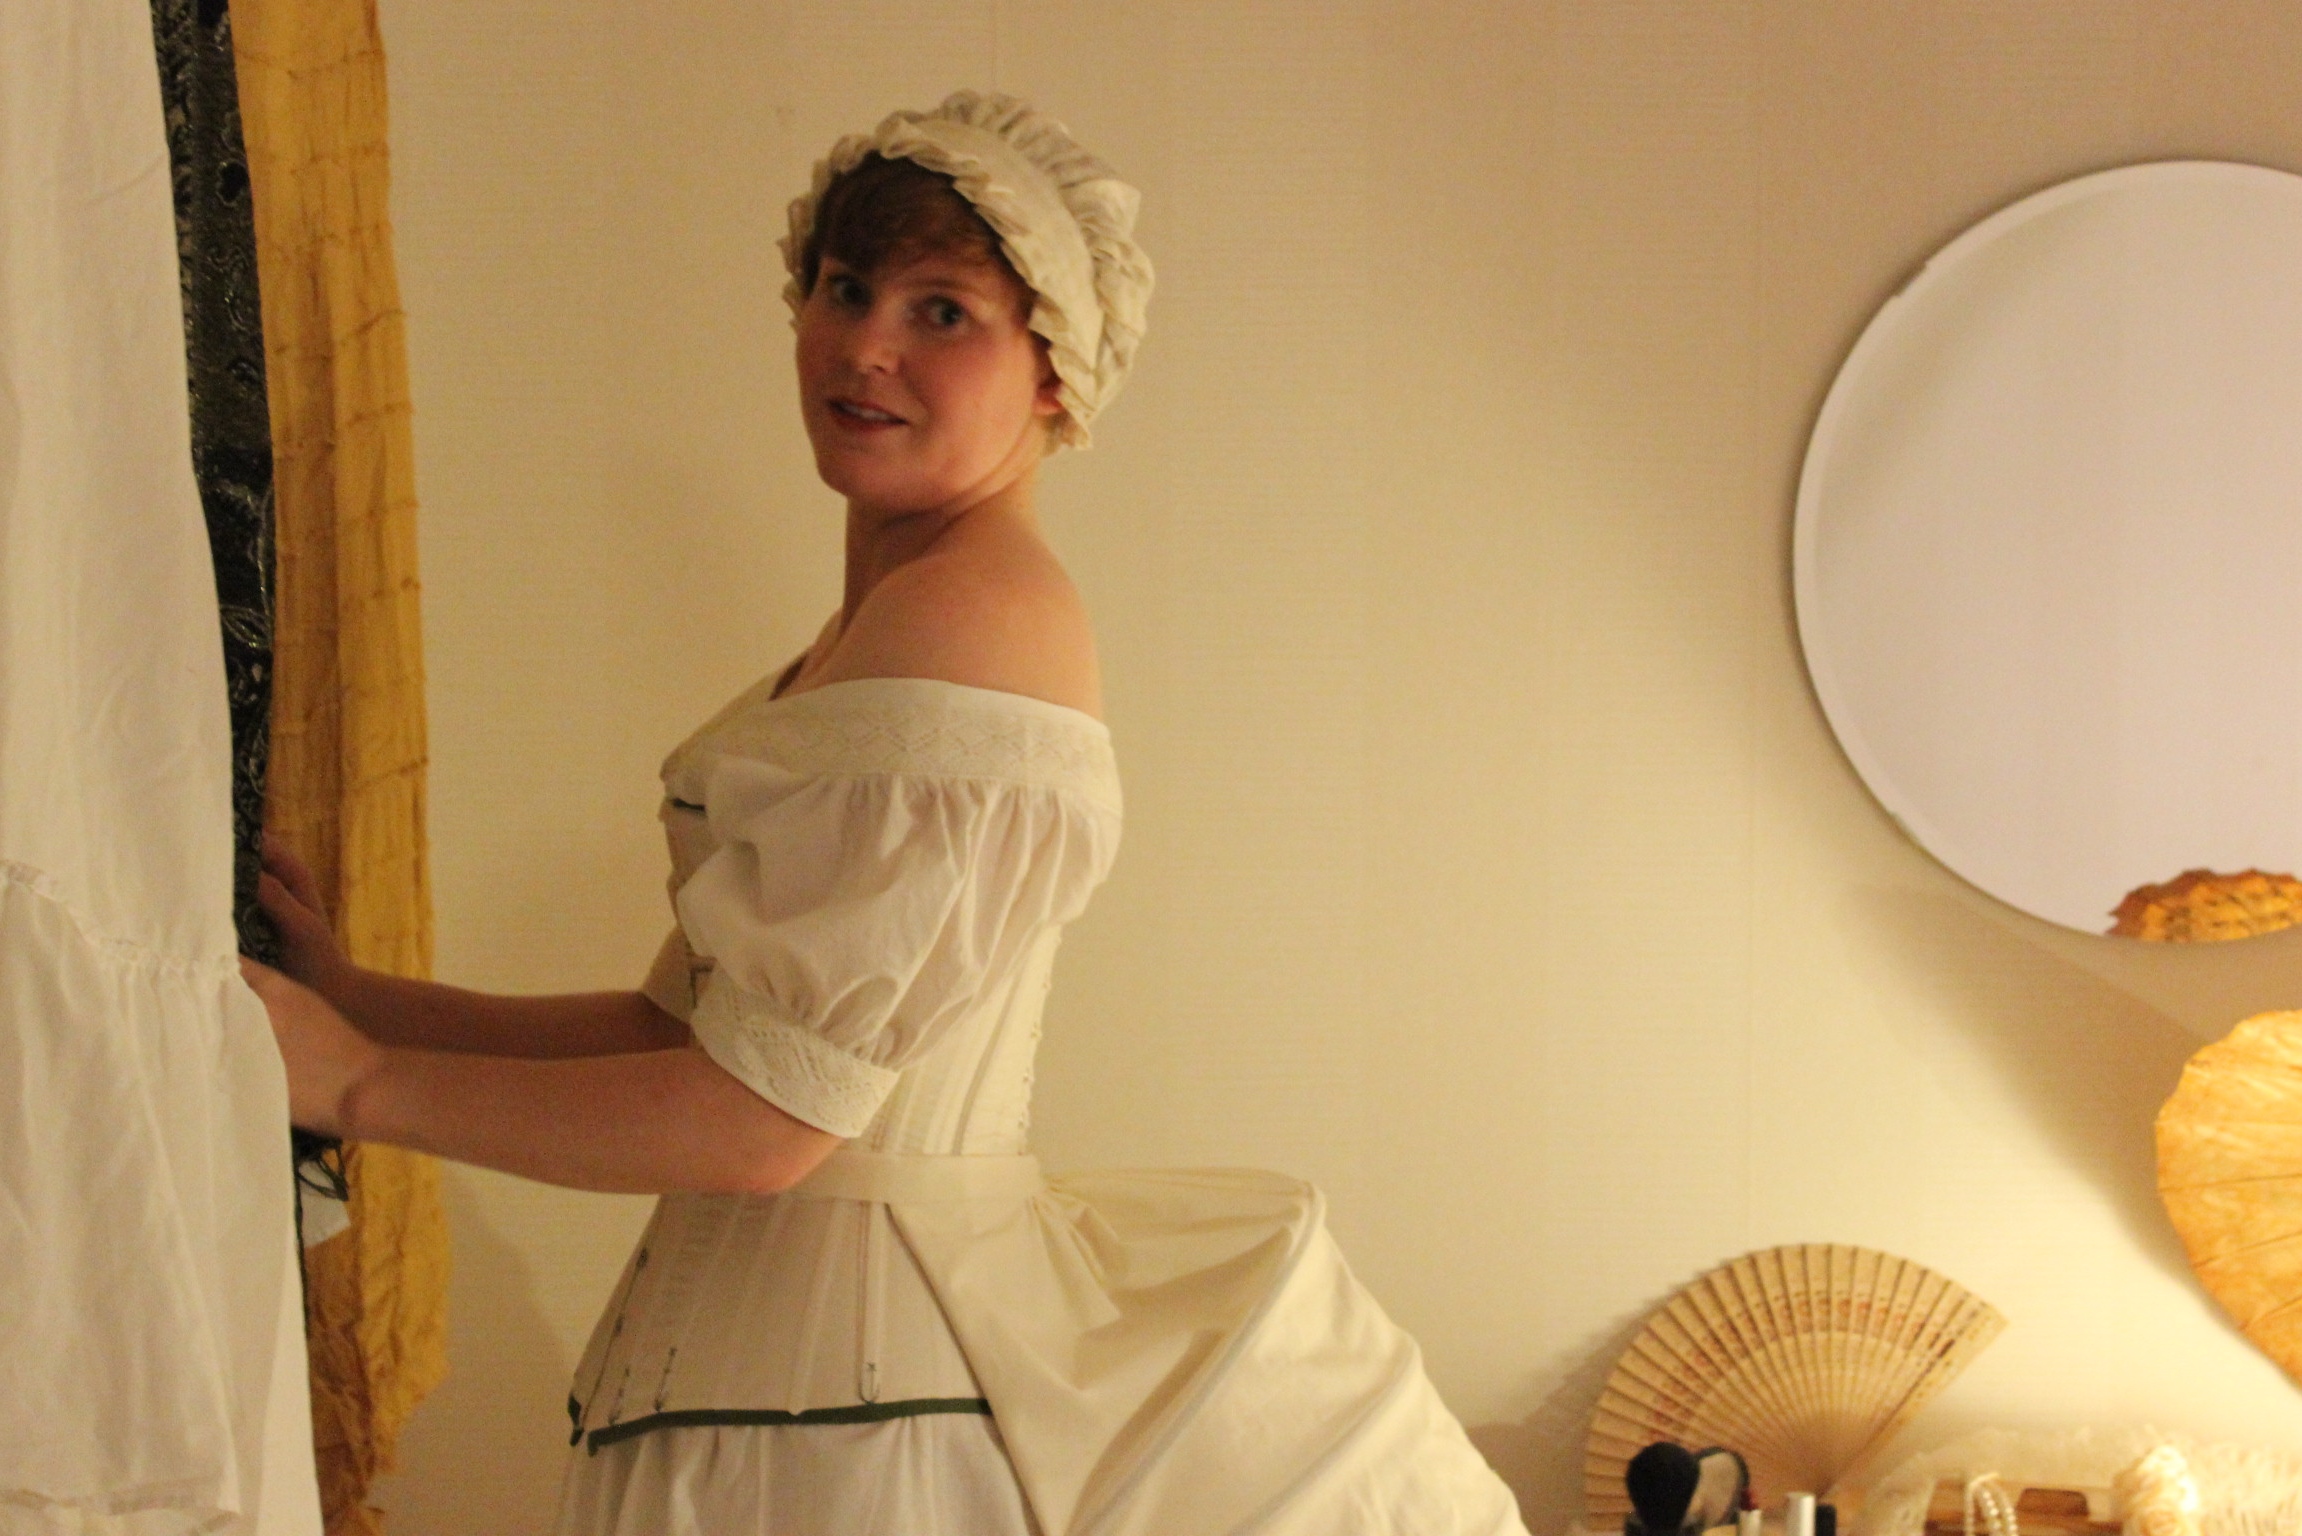
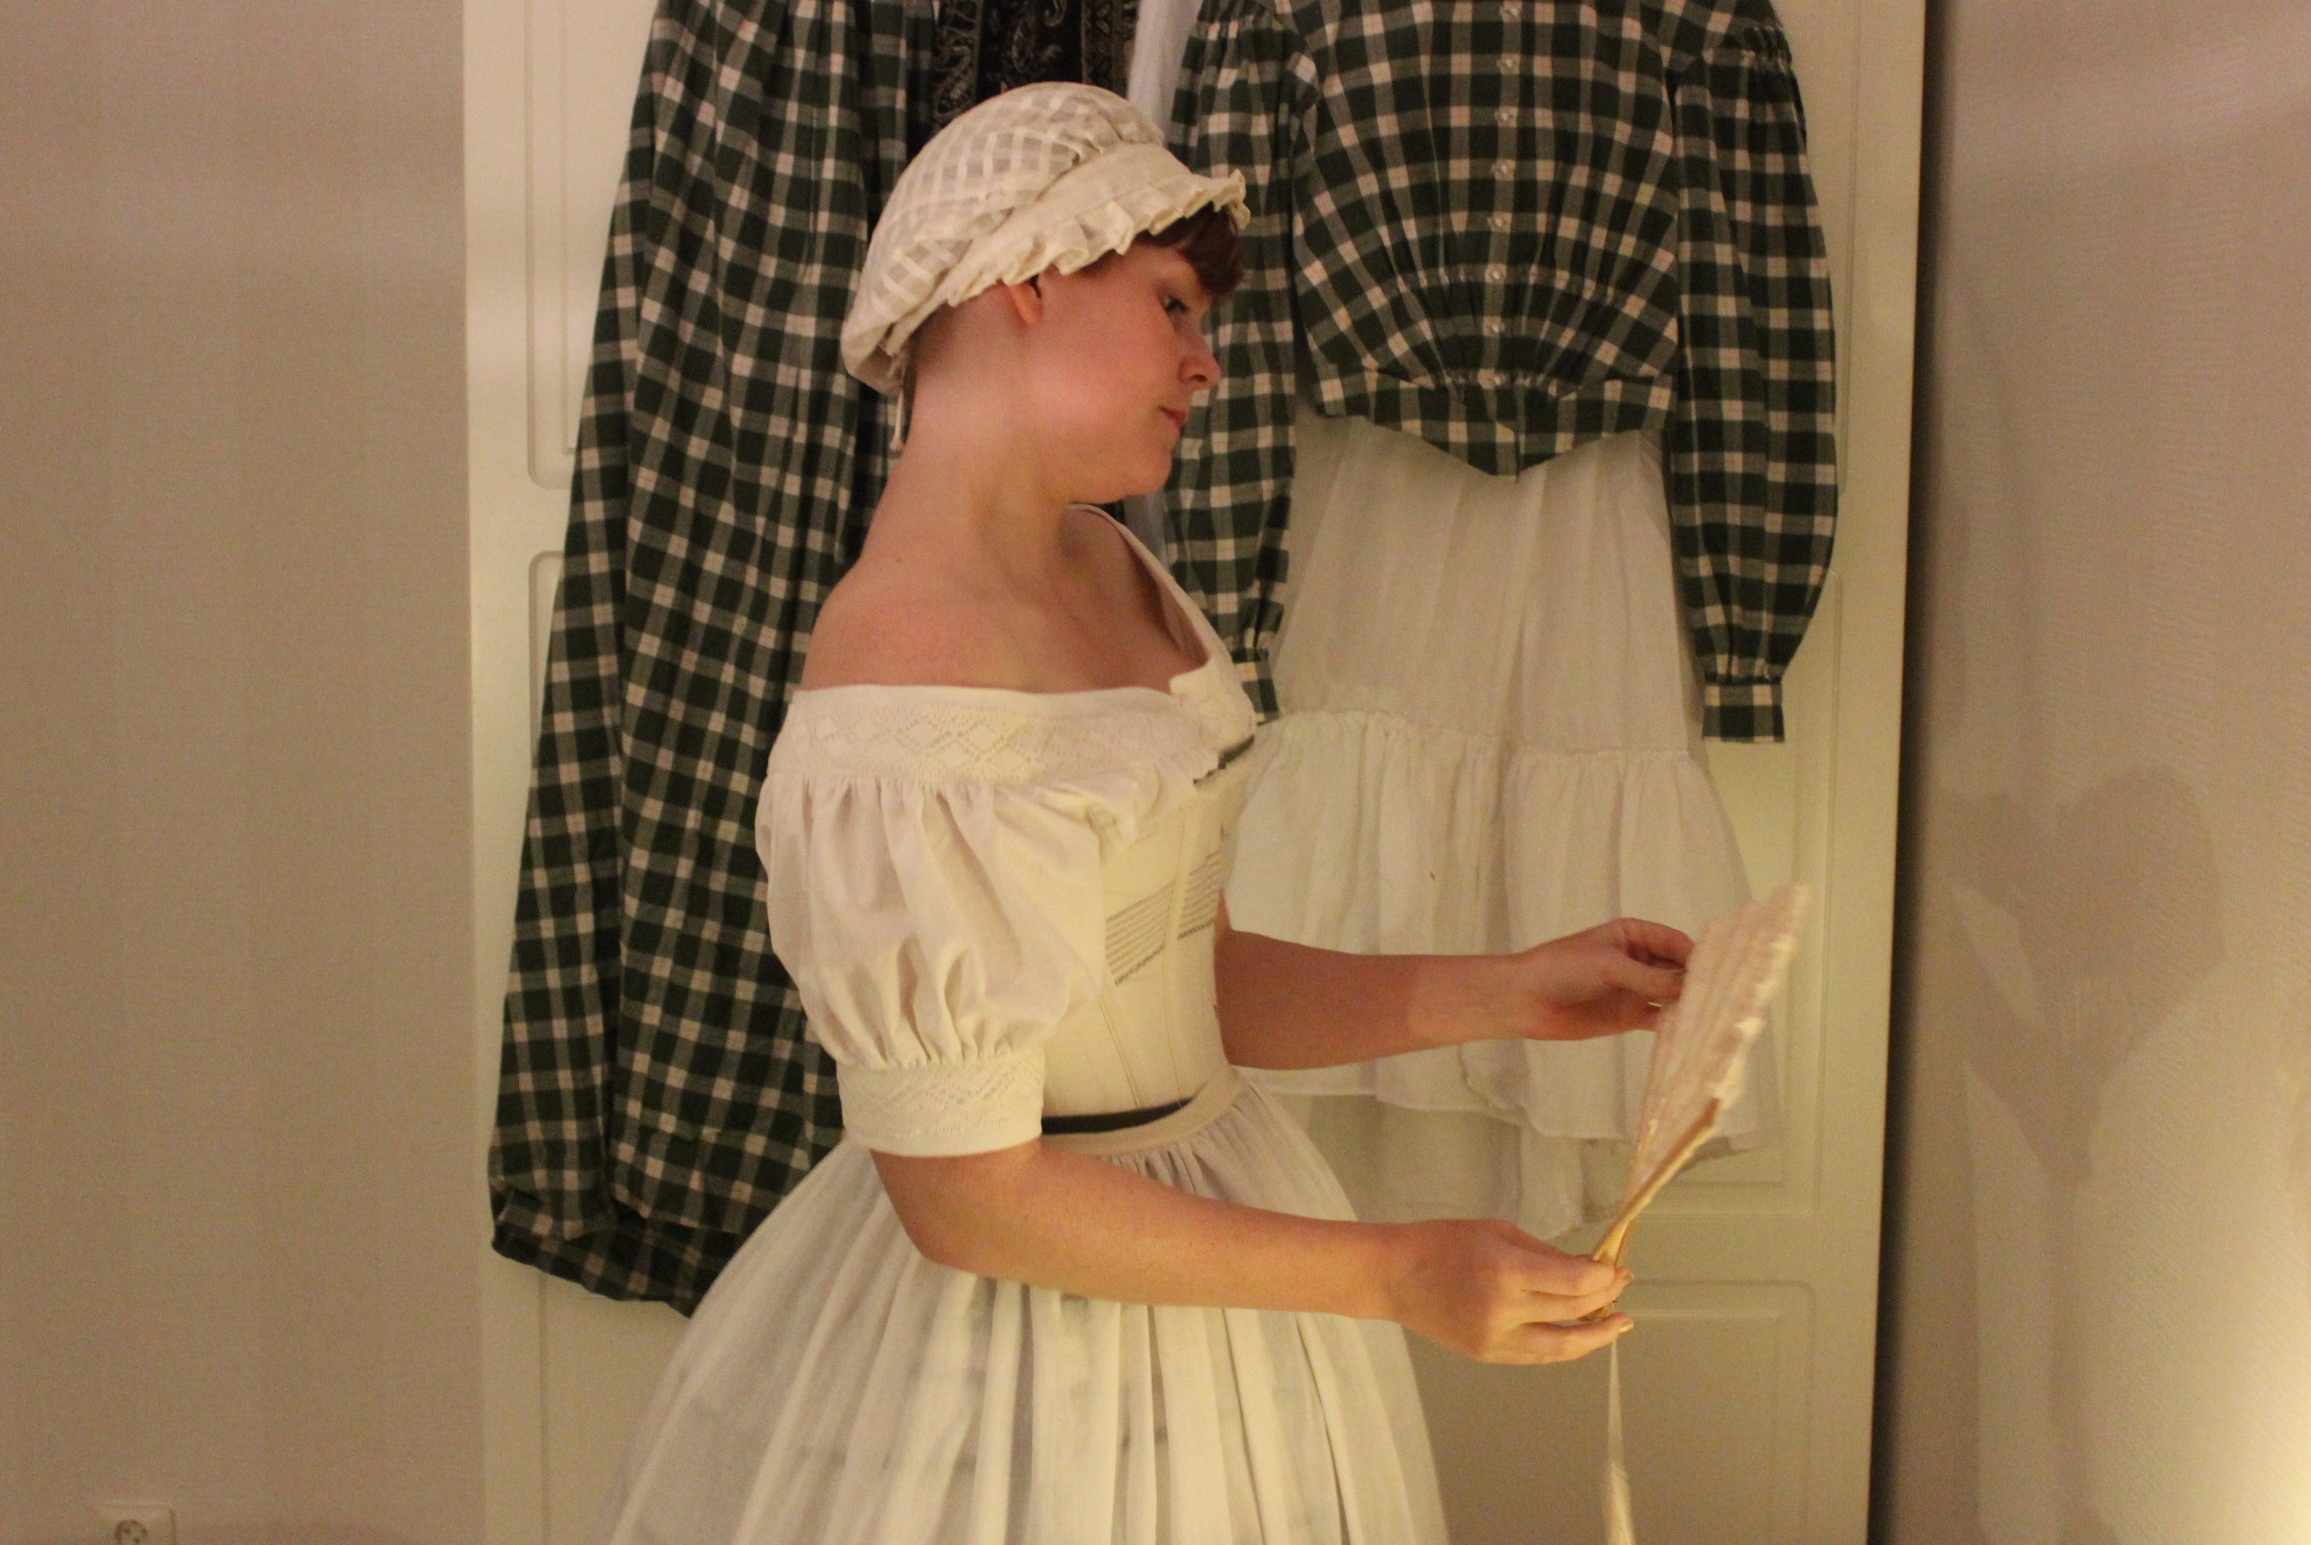
Last weekend after finishing all the 19th century underwear for the HSF 12 and 13, I talked my boyfriend into helping me take som photos.
He agreed on condition we waited until there were breaks in the fotball games on Tv.
This turned the photoshoot into 3 hectic periods of shooting and then 45 min of down time in between (where I took the time to change clothes and re-arrange the settings), making the whole process drag out through the evening and not being finished untill midnight.
Anyhow here it is – And a warning: This is a picture heavy post.
I started by arranging some settings in my bedroom.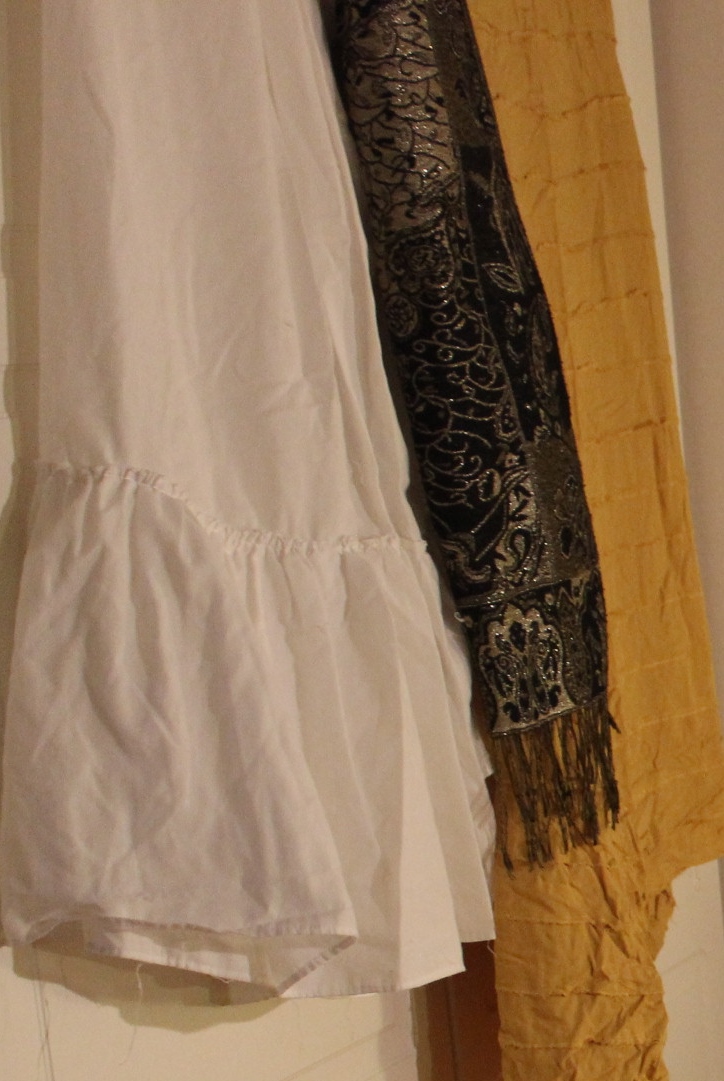 Shawl, petticoat and skirt.
And some boxes, juwvelry, glowes nad fans on my drawer.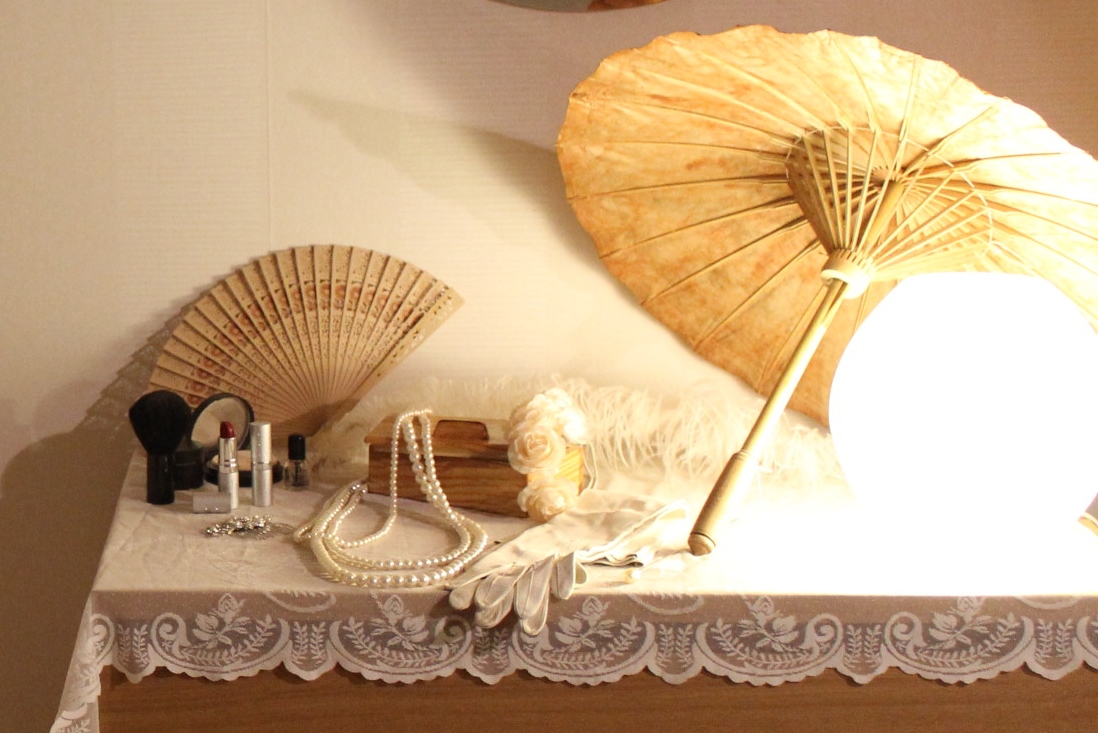 Then we were ready.
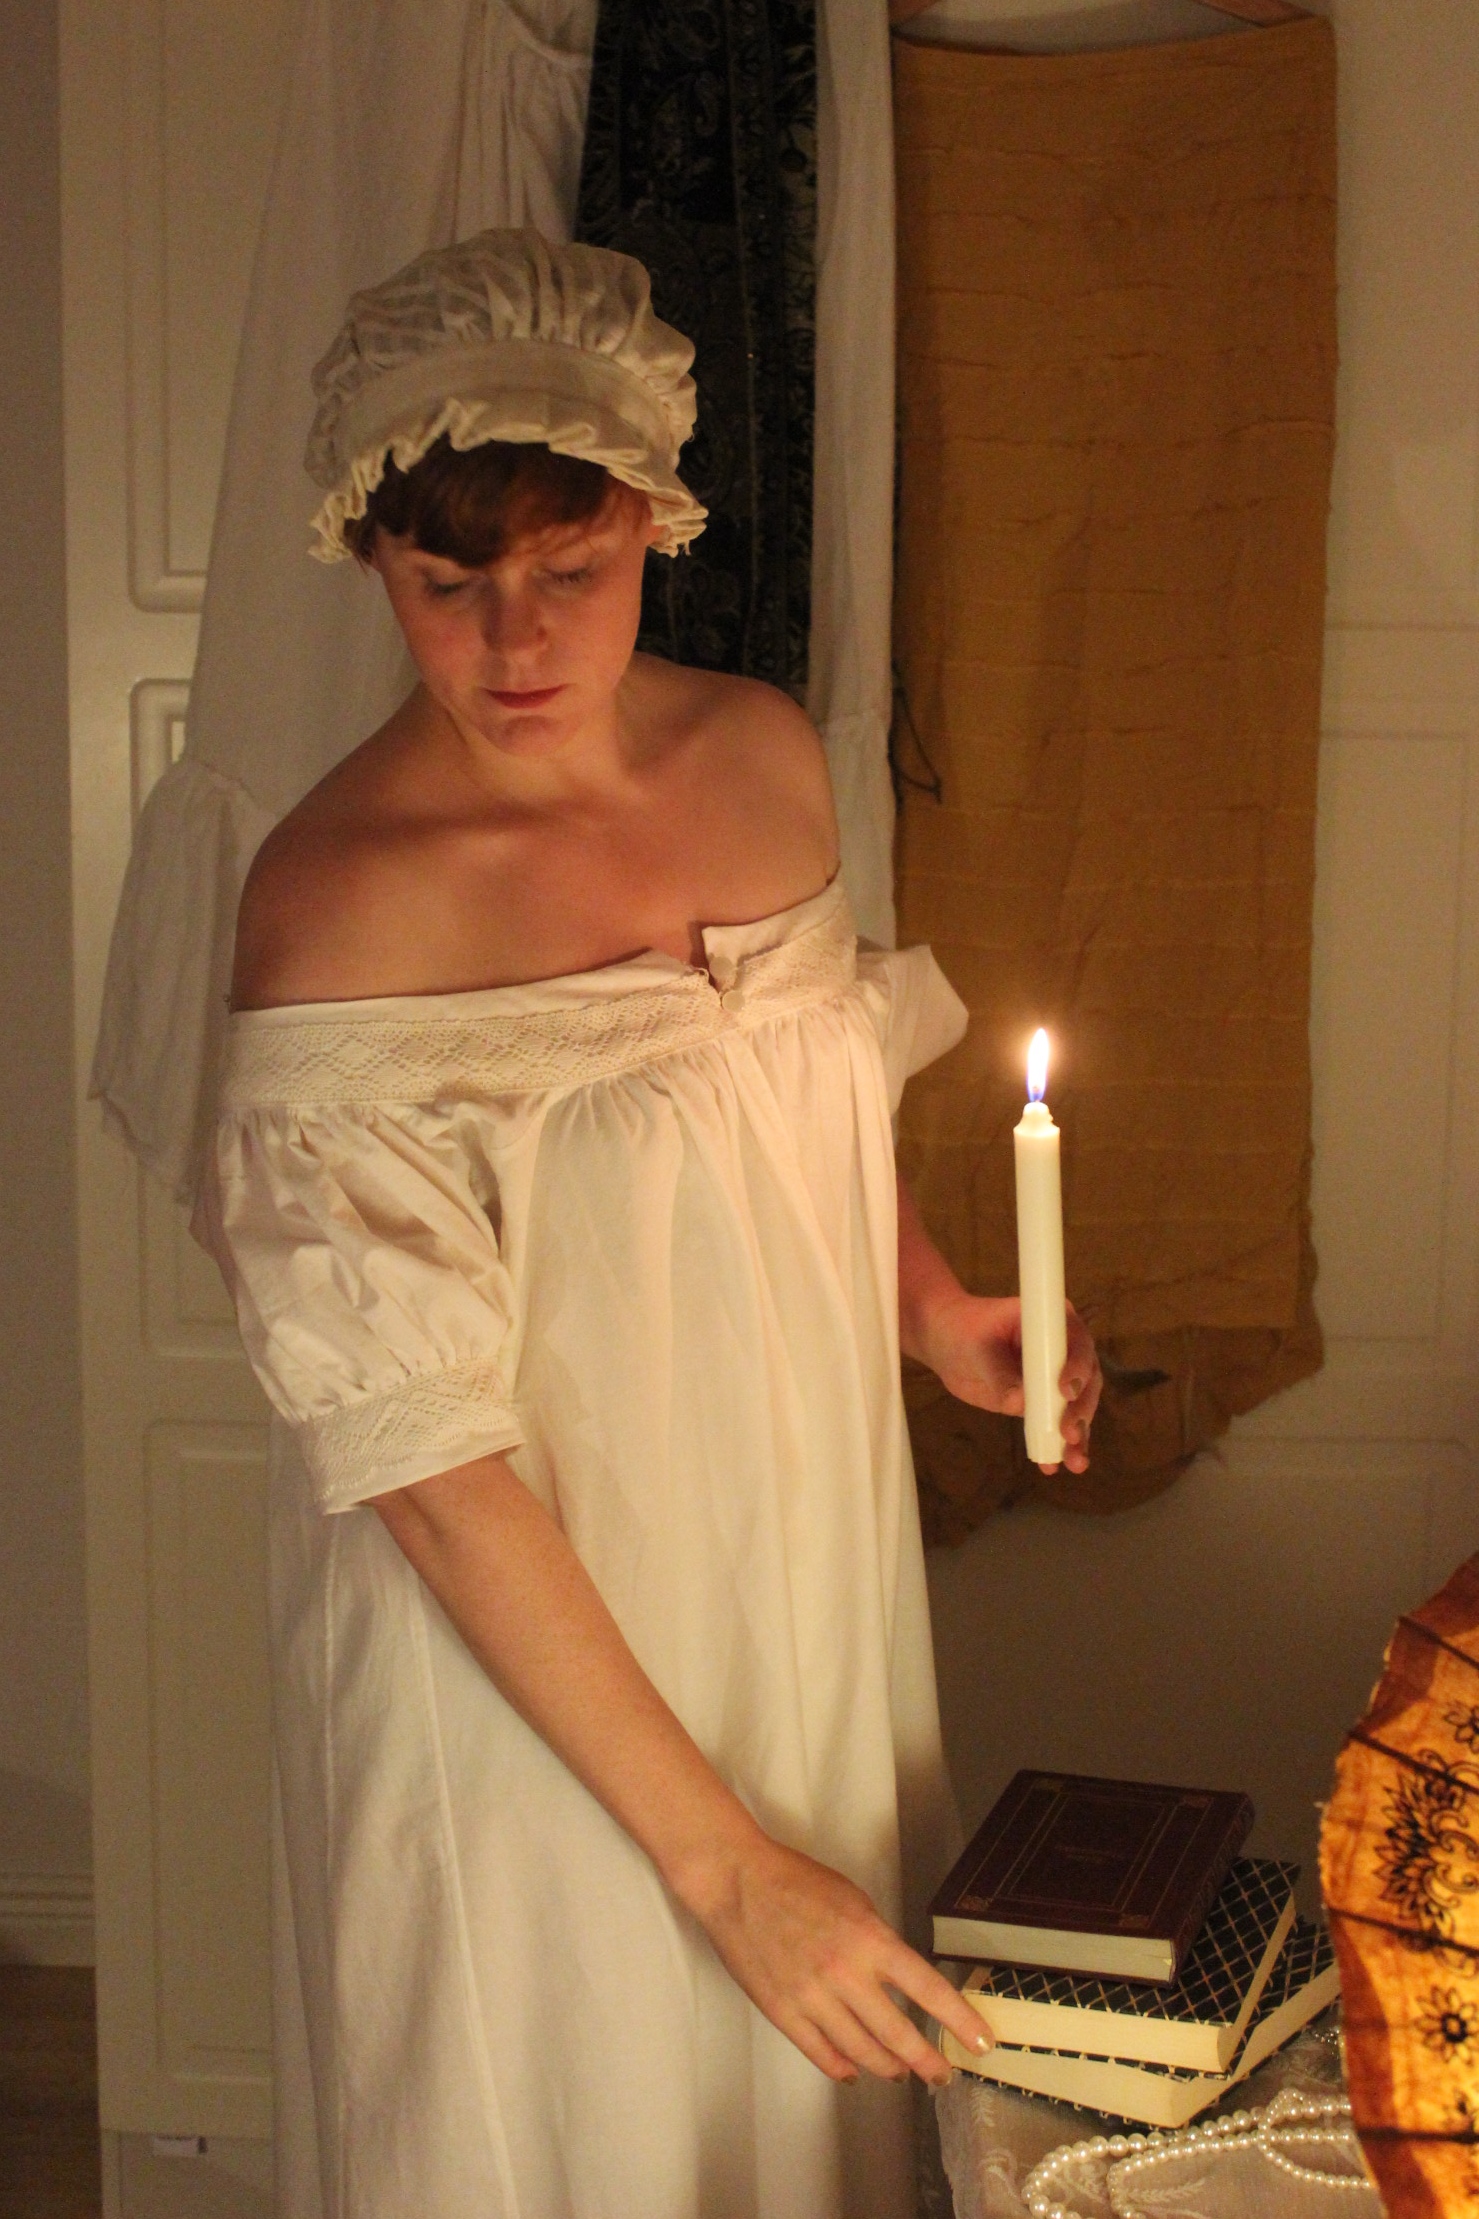
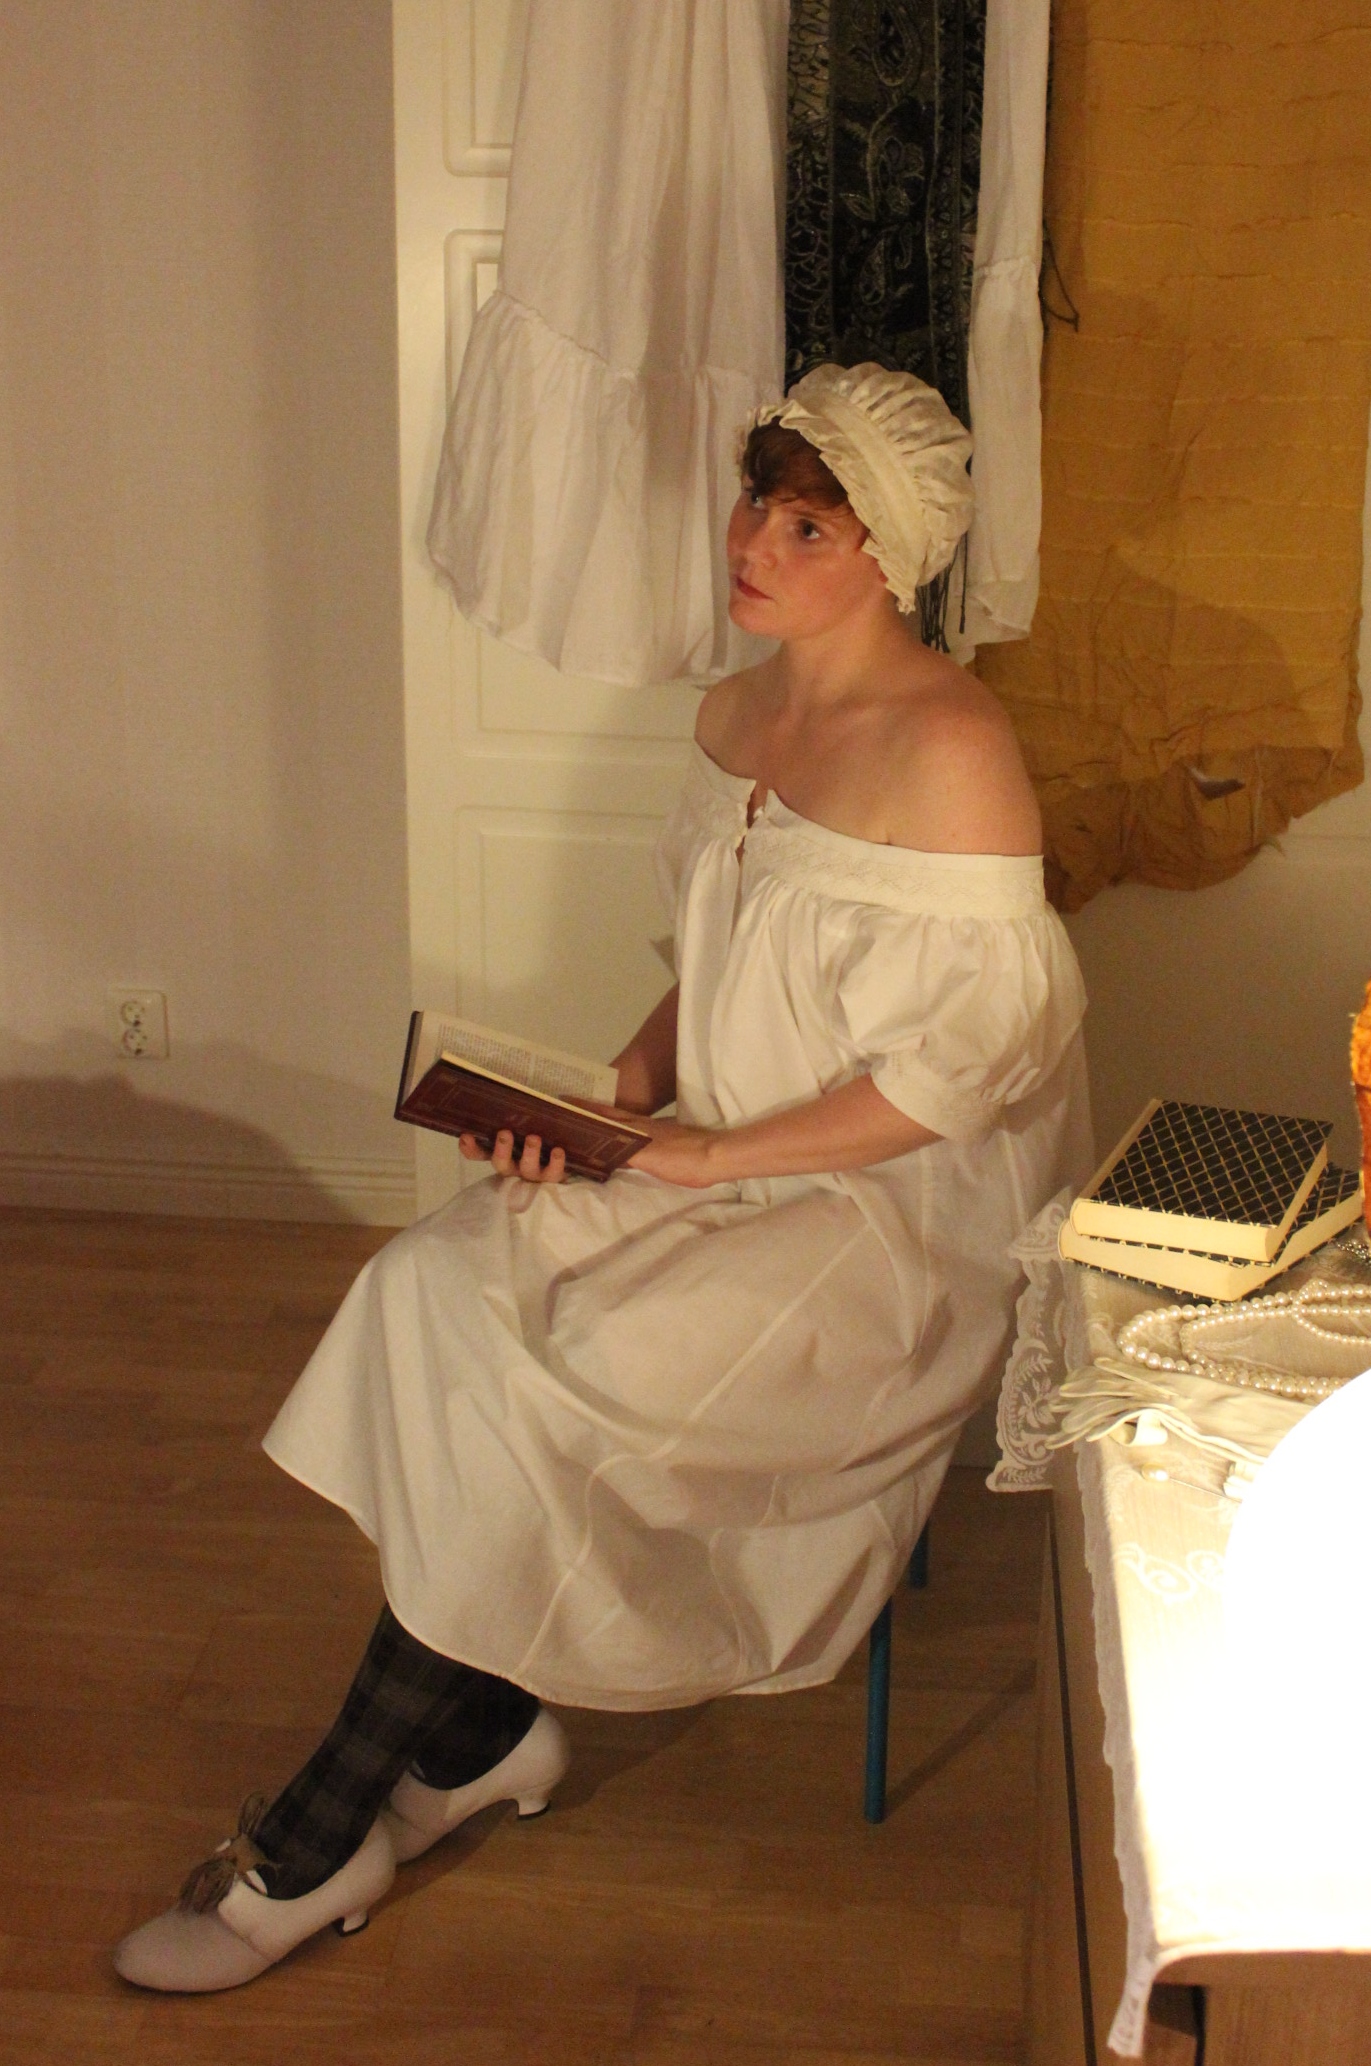
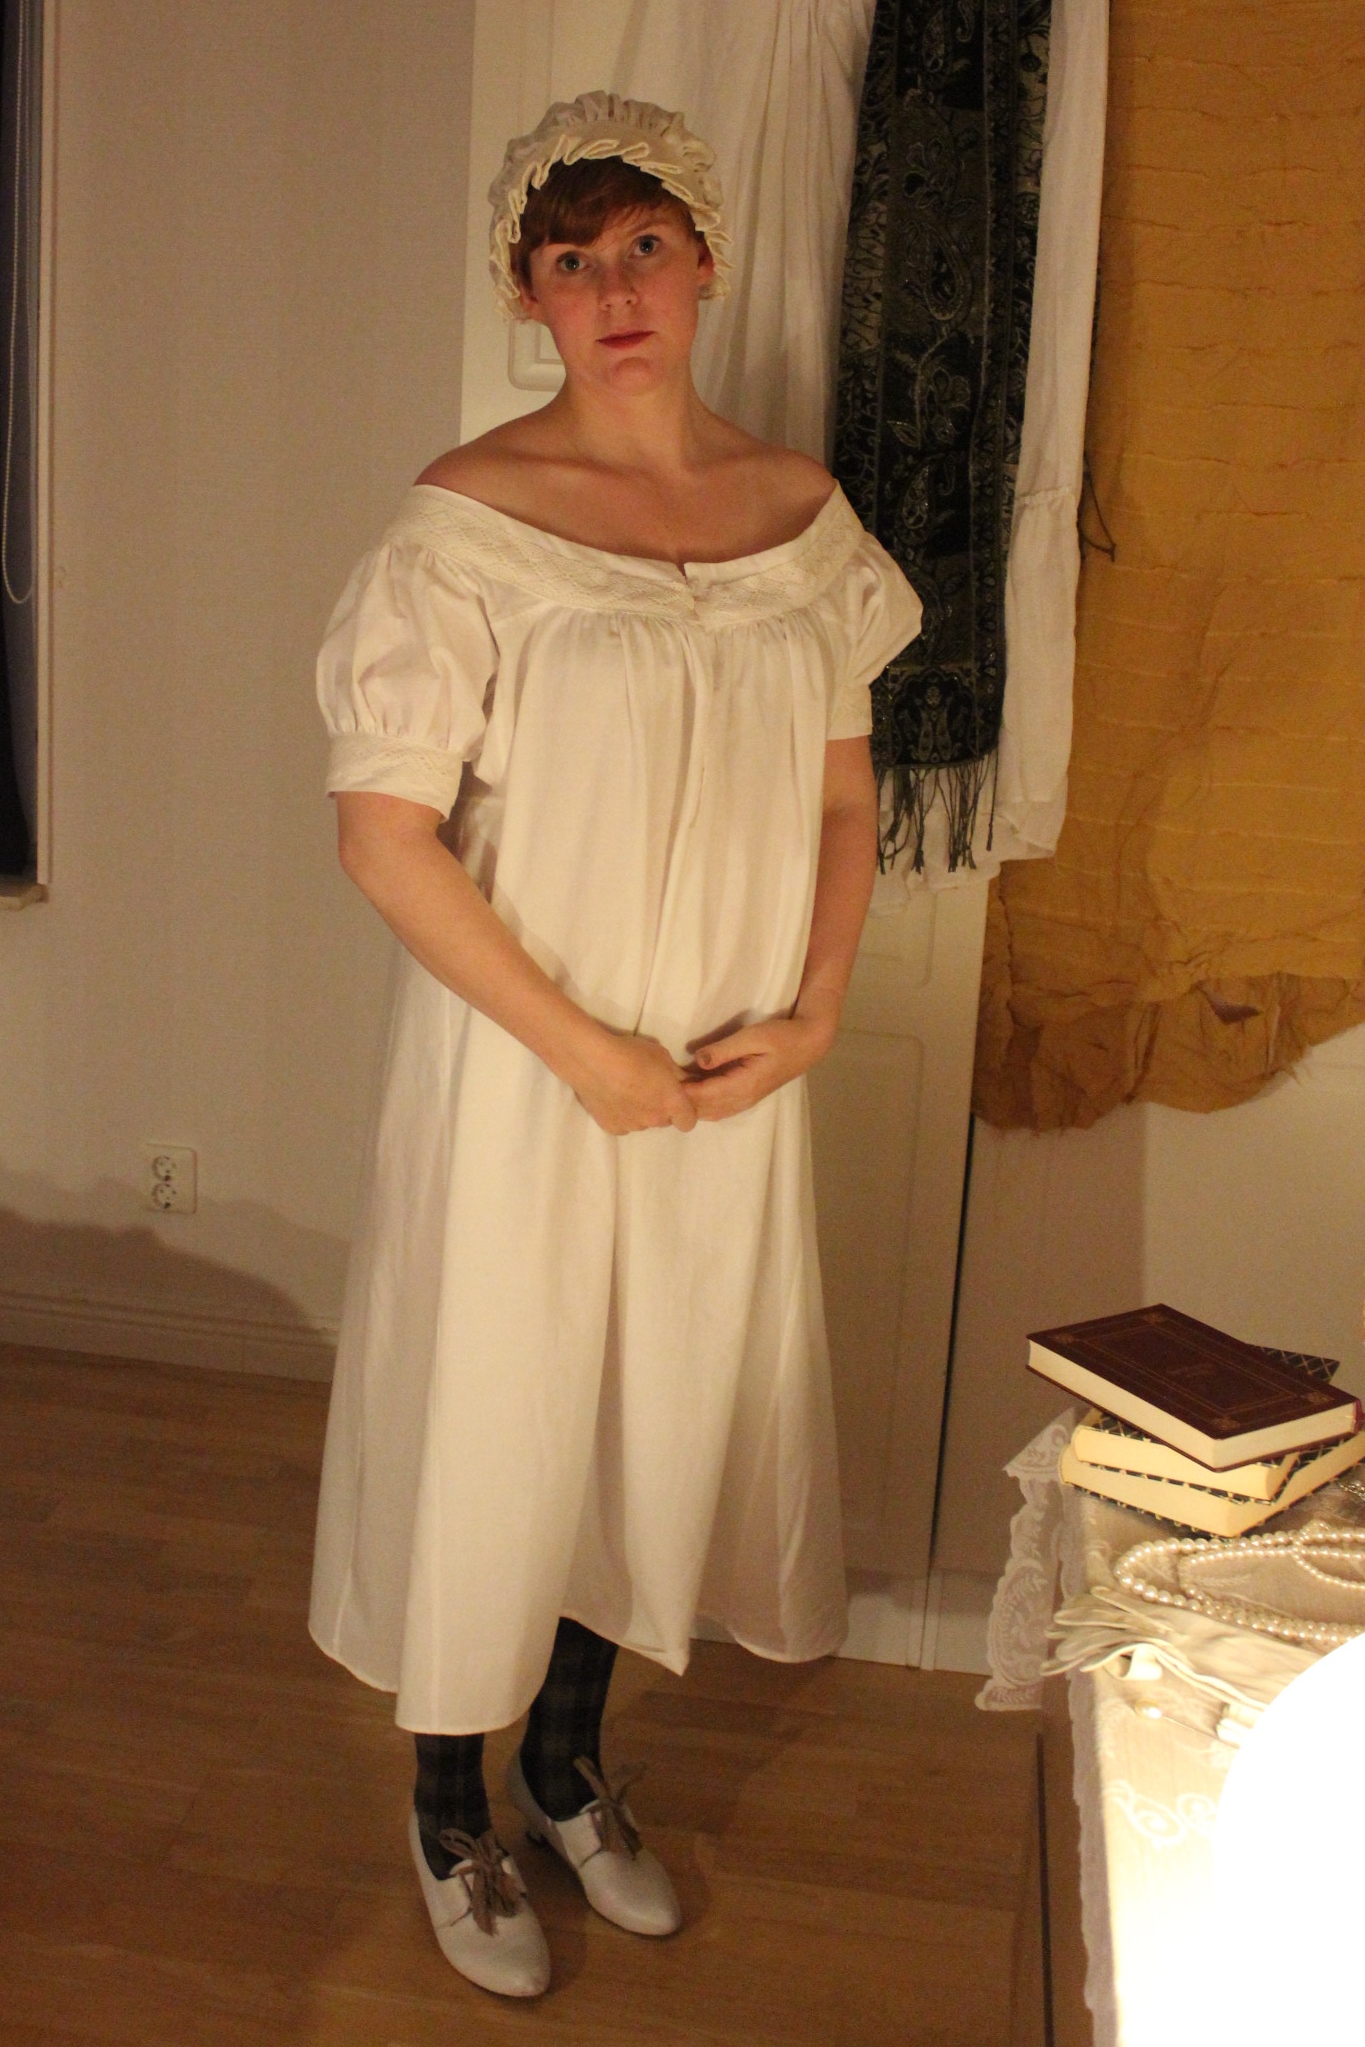
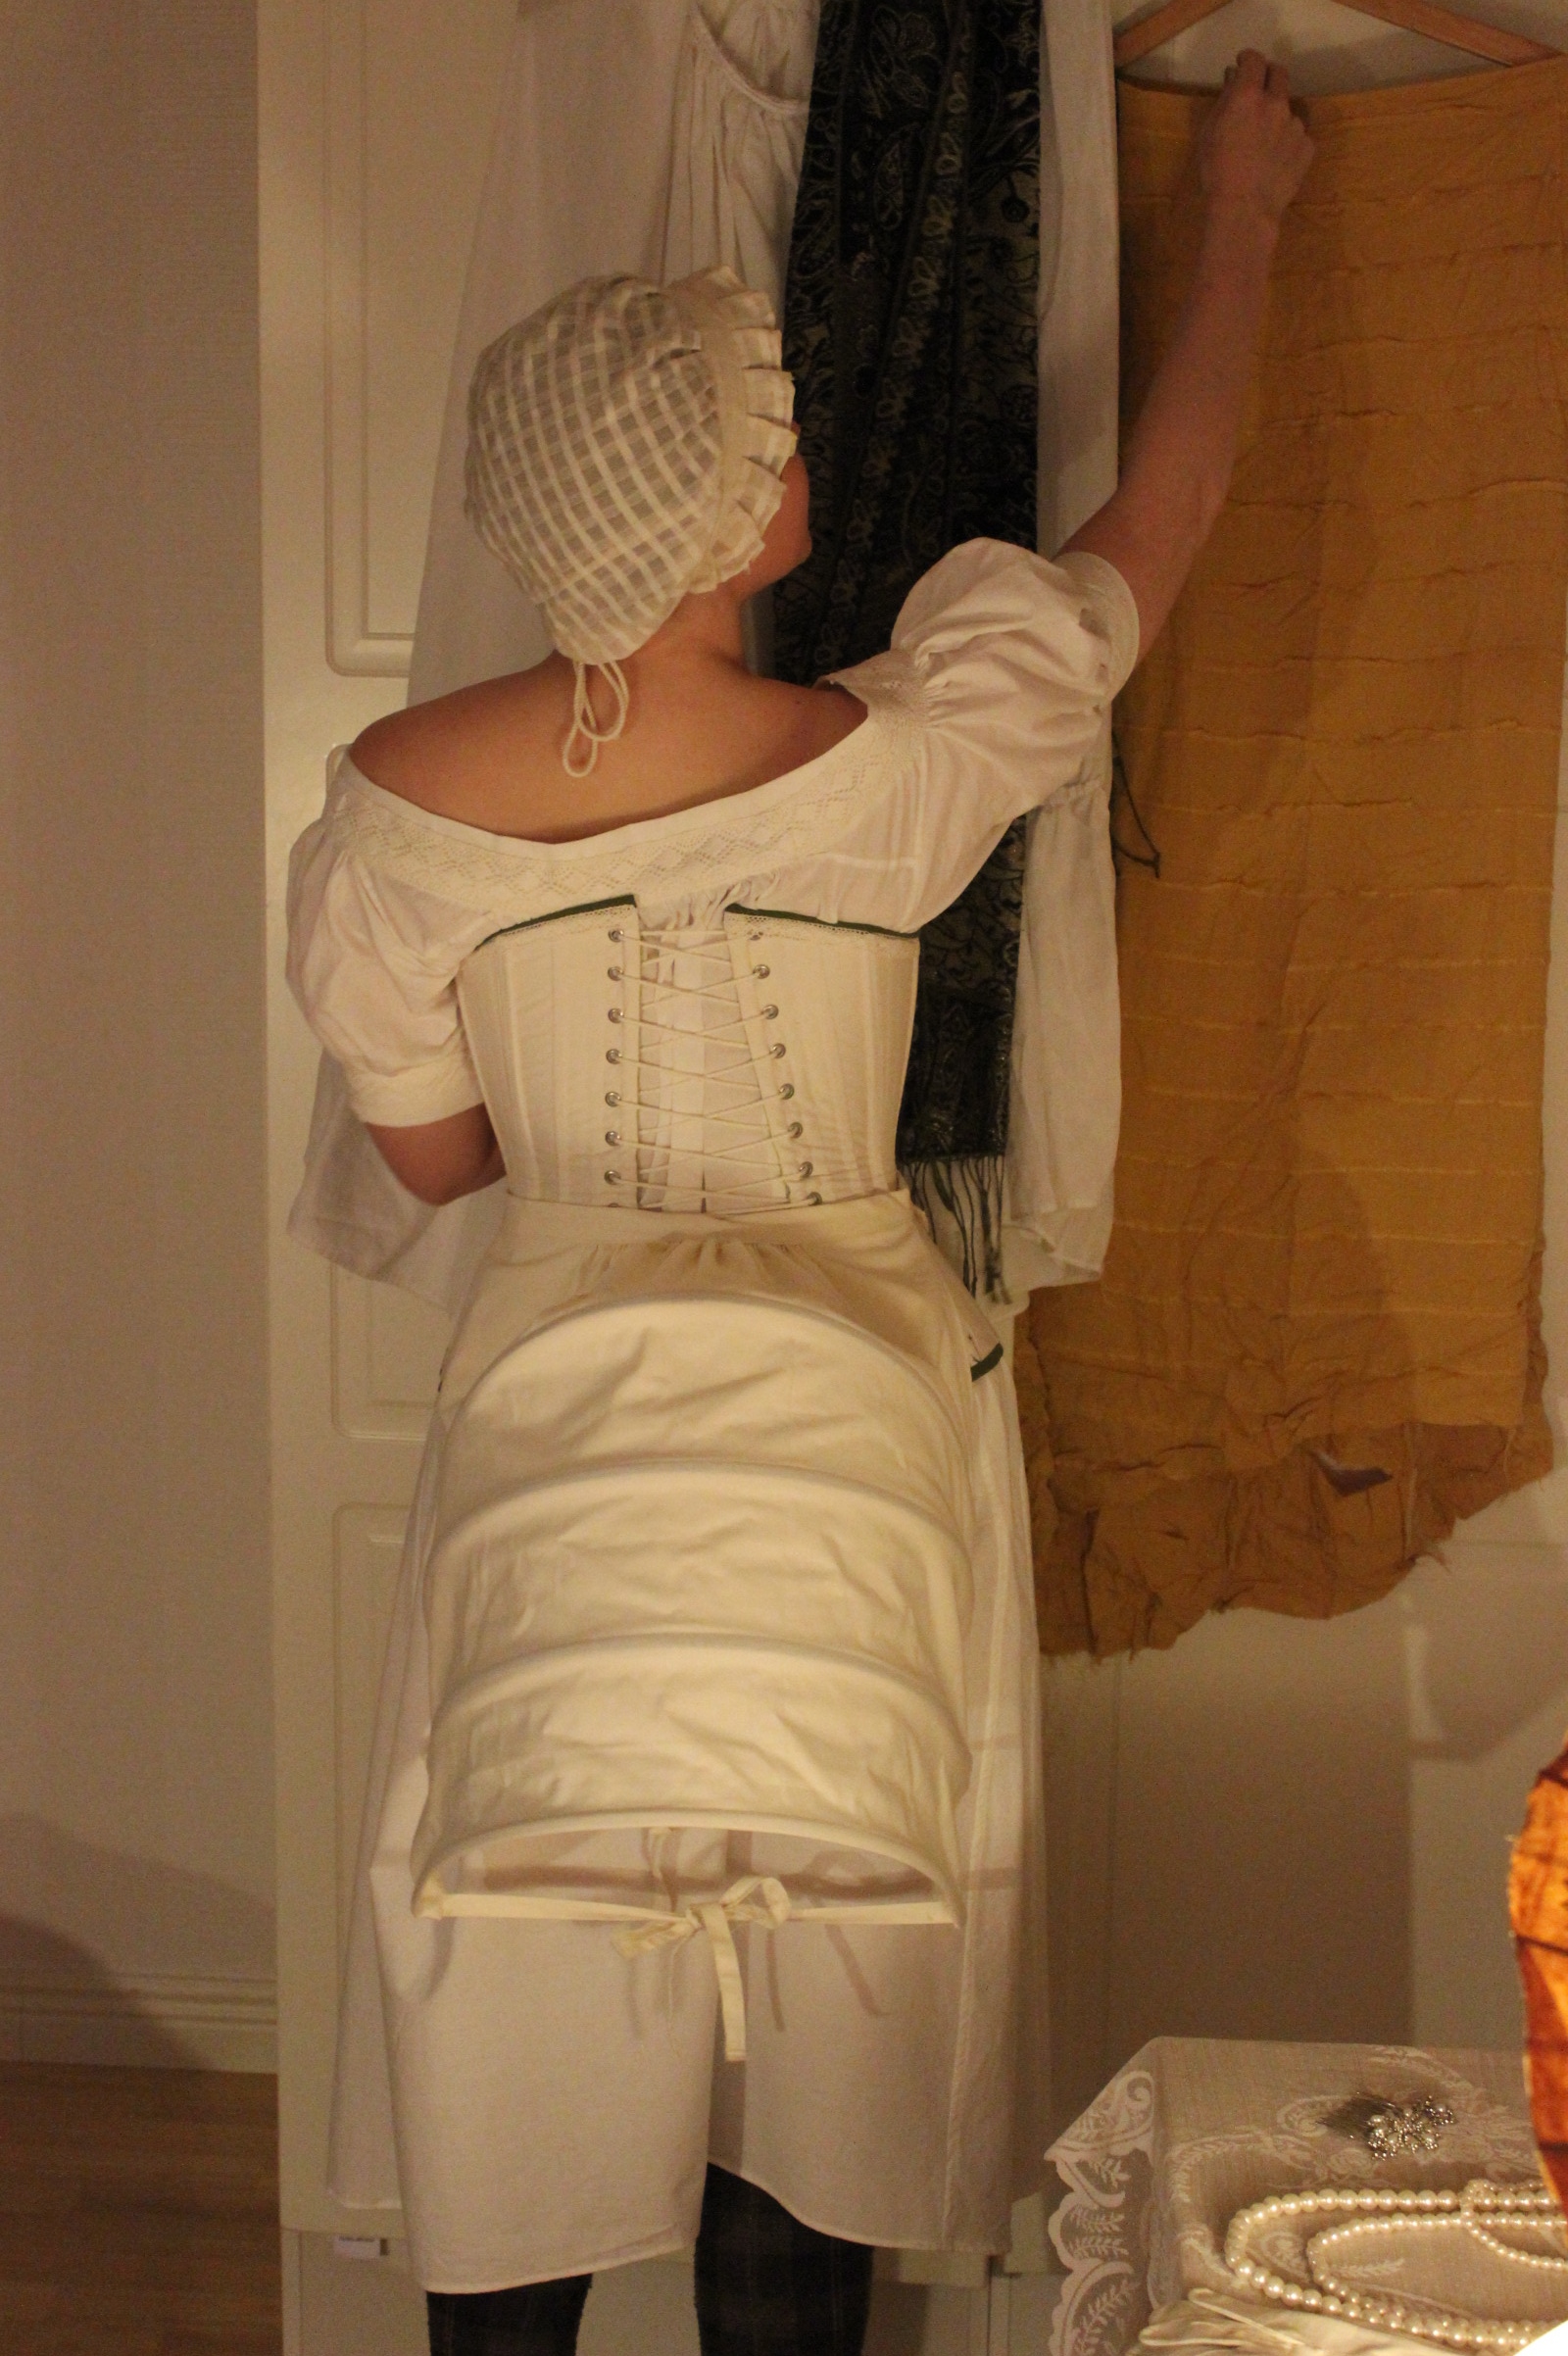
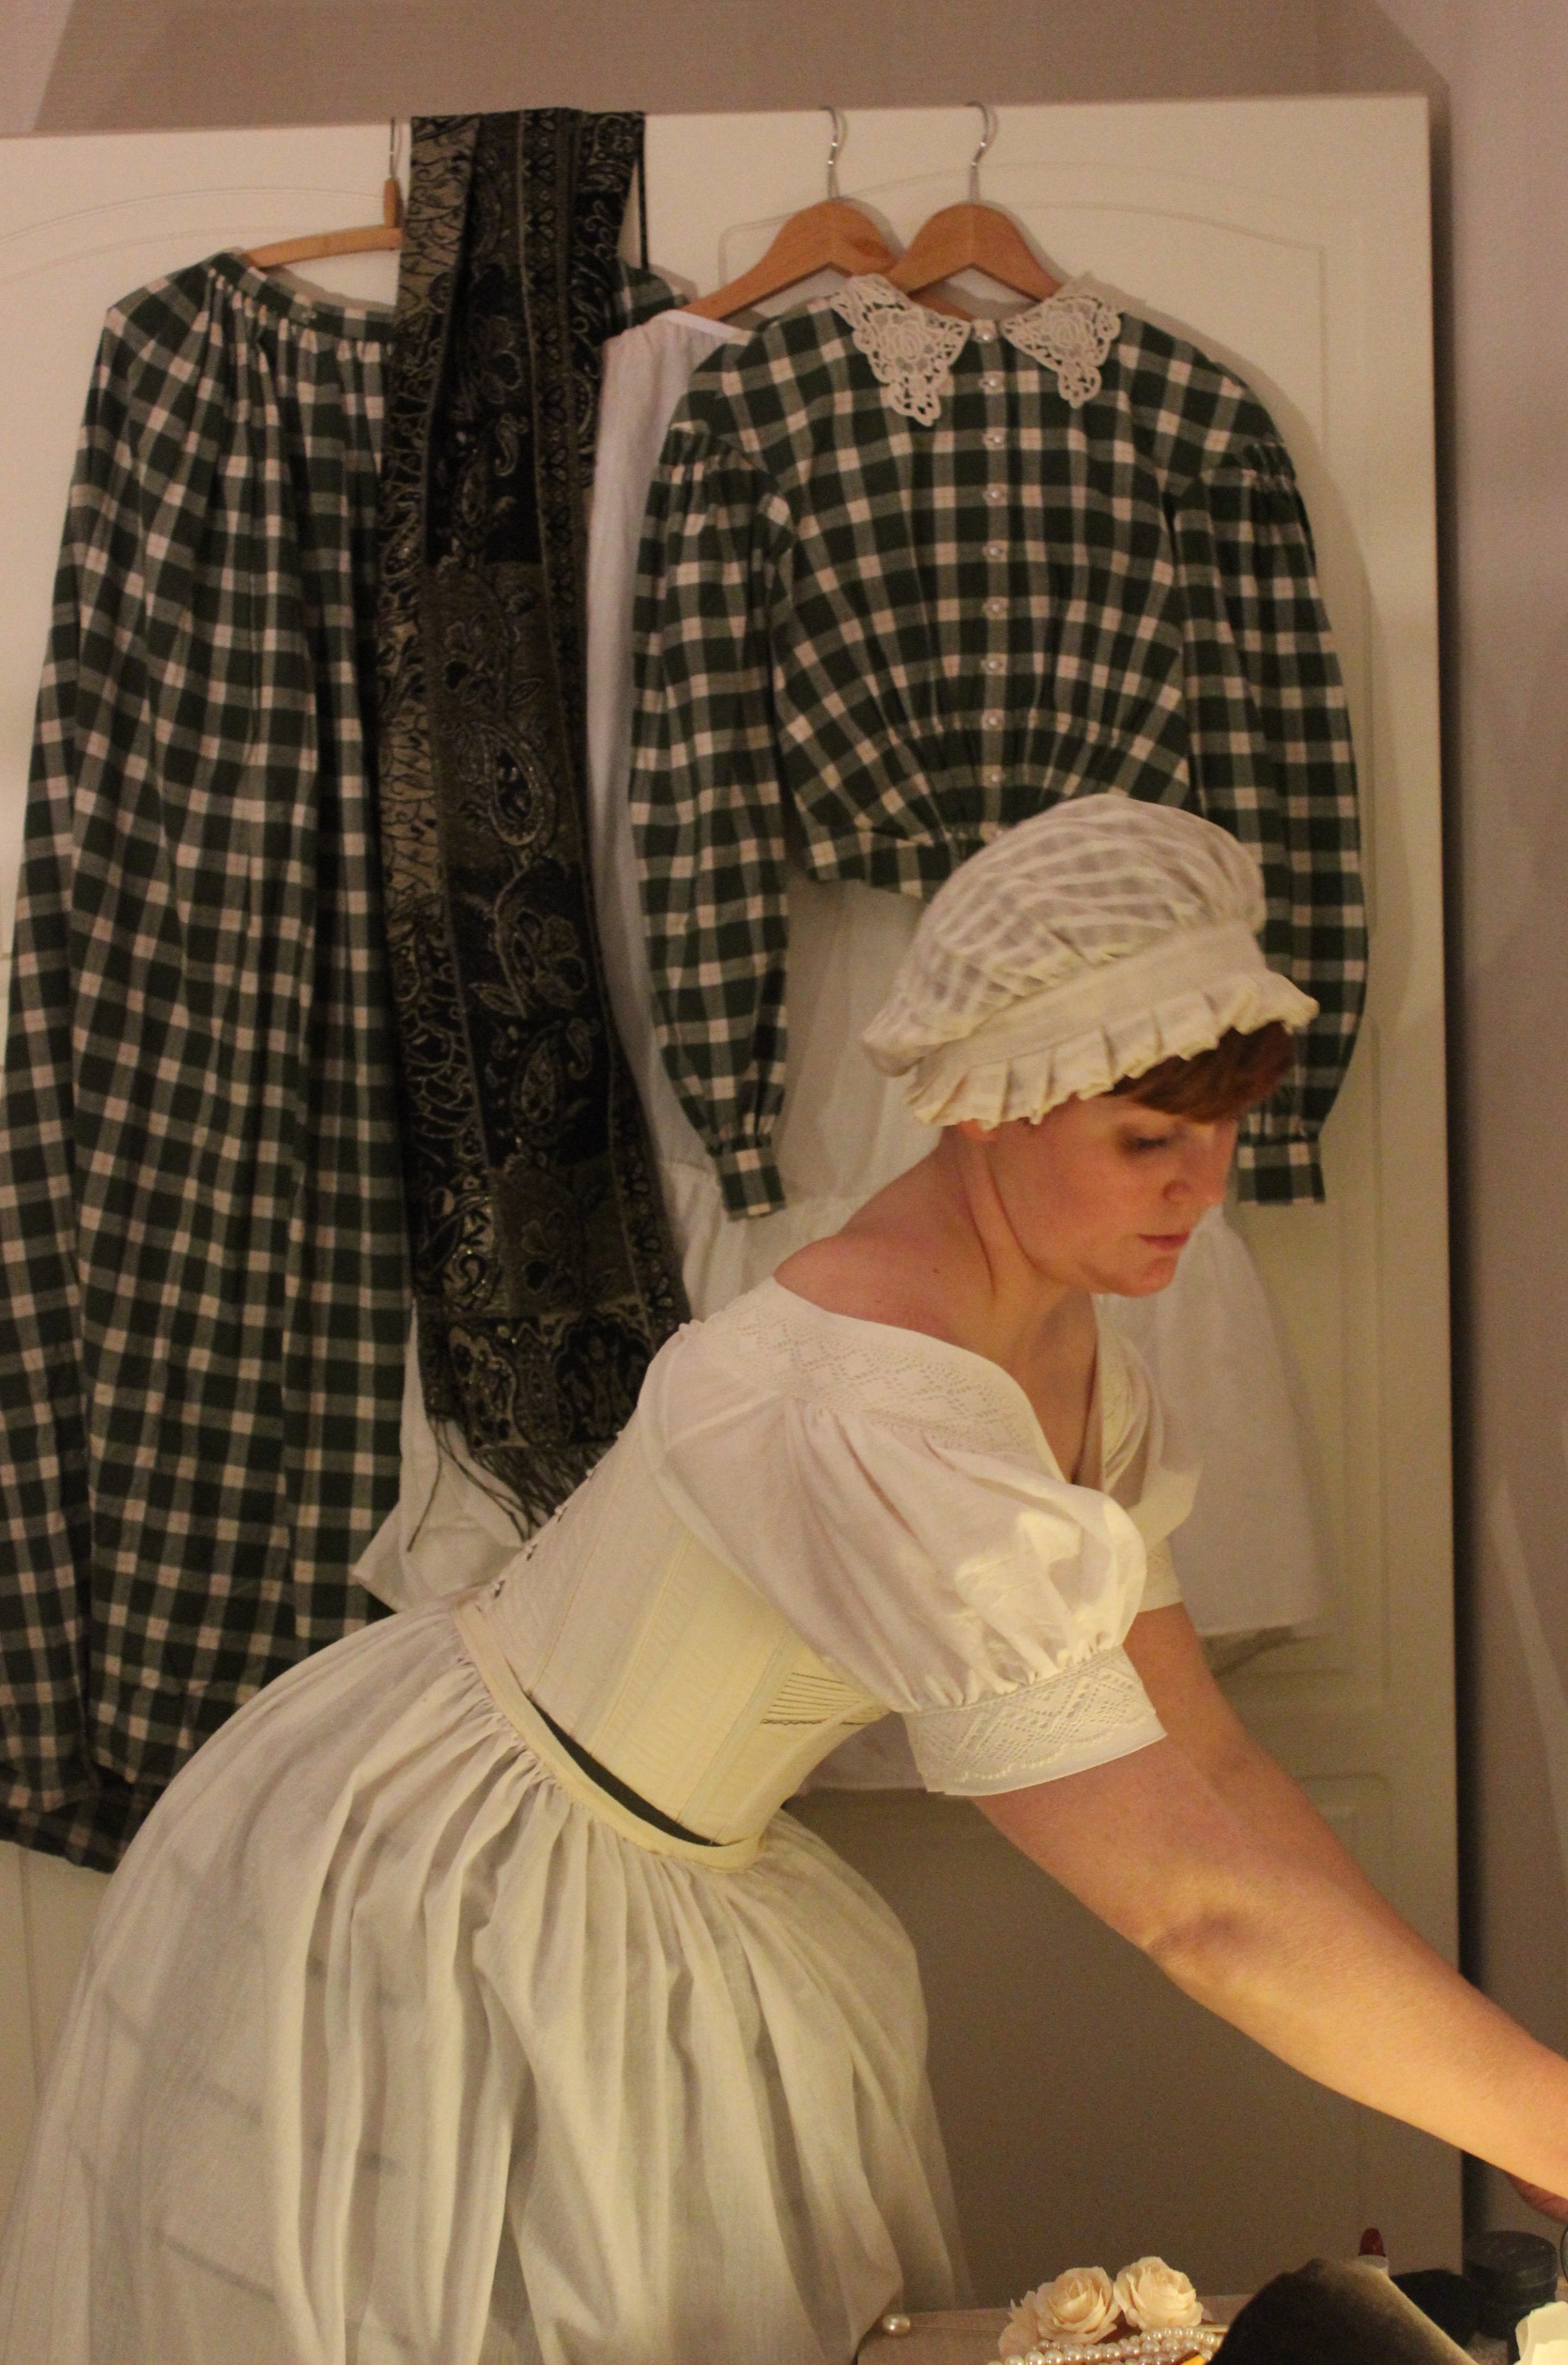
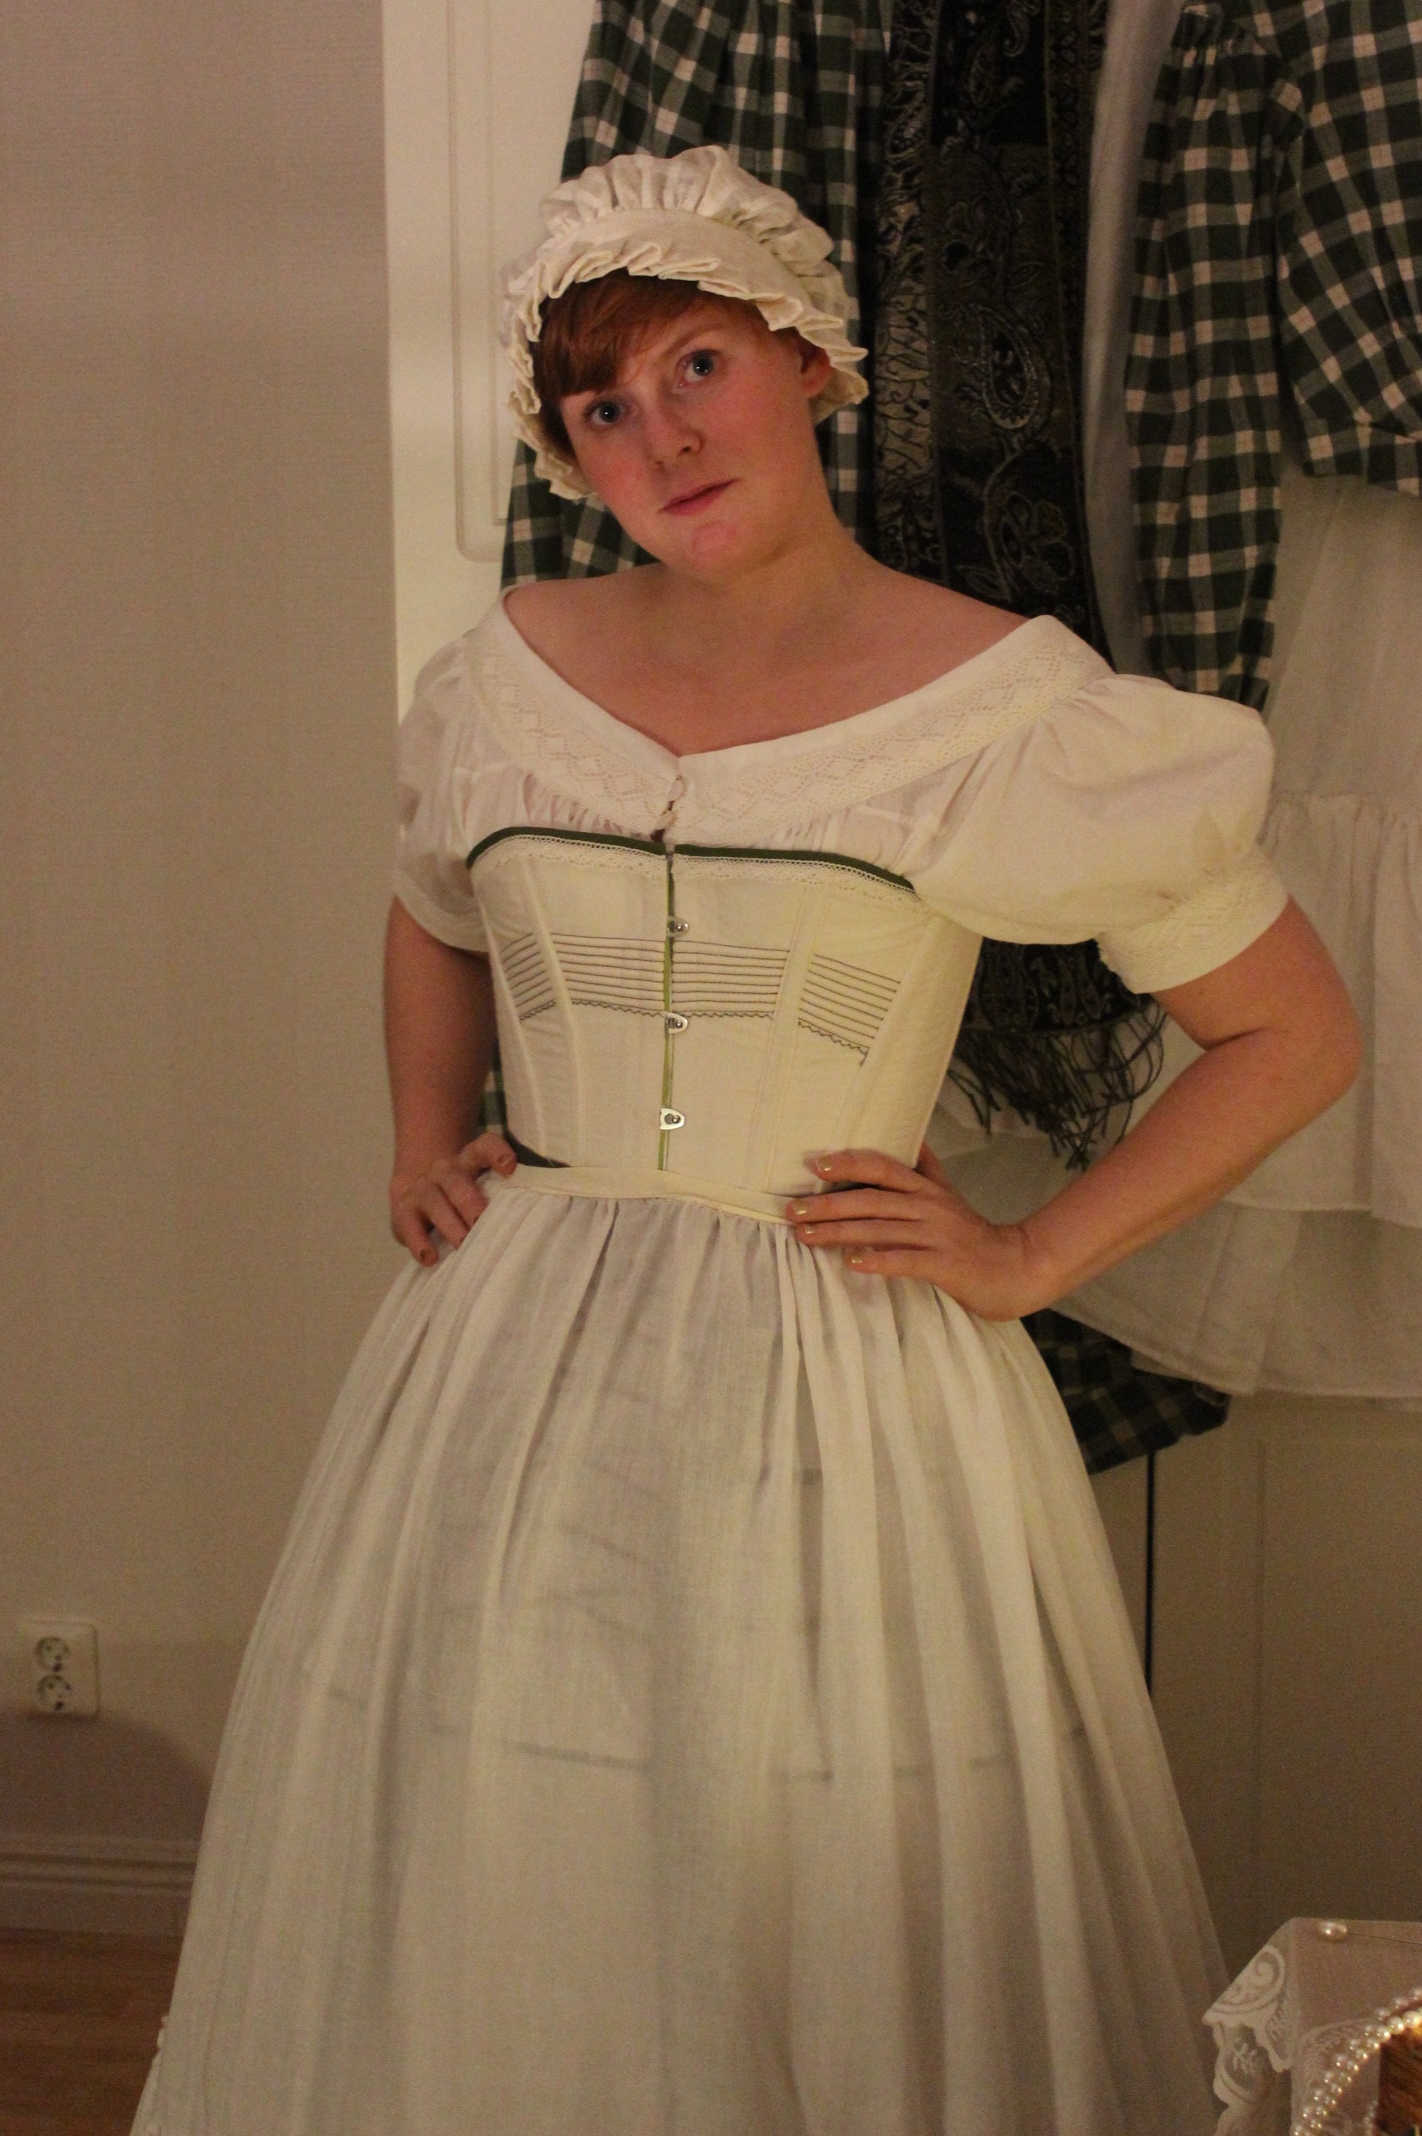
Starting with the 19th century chemise.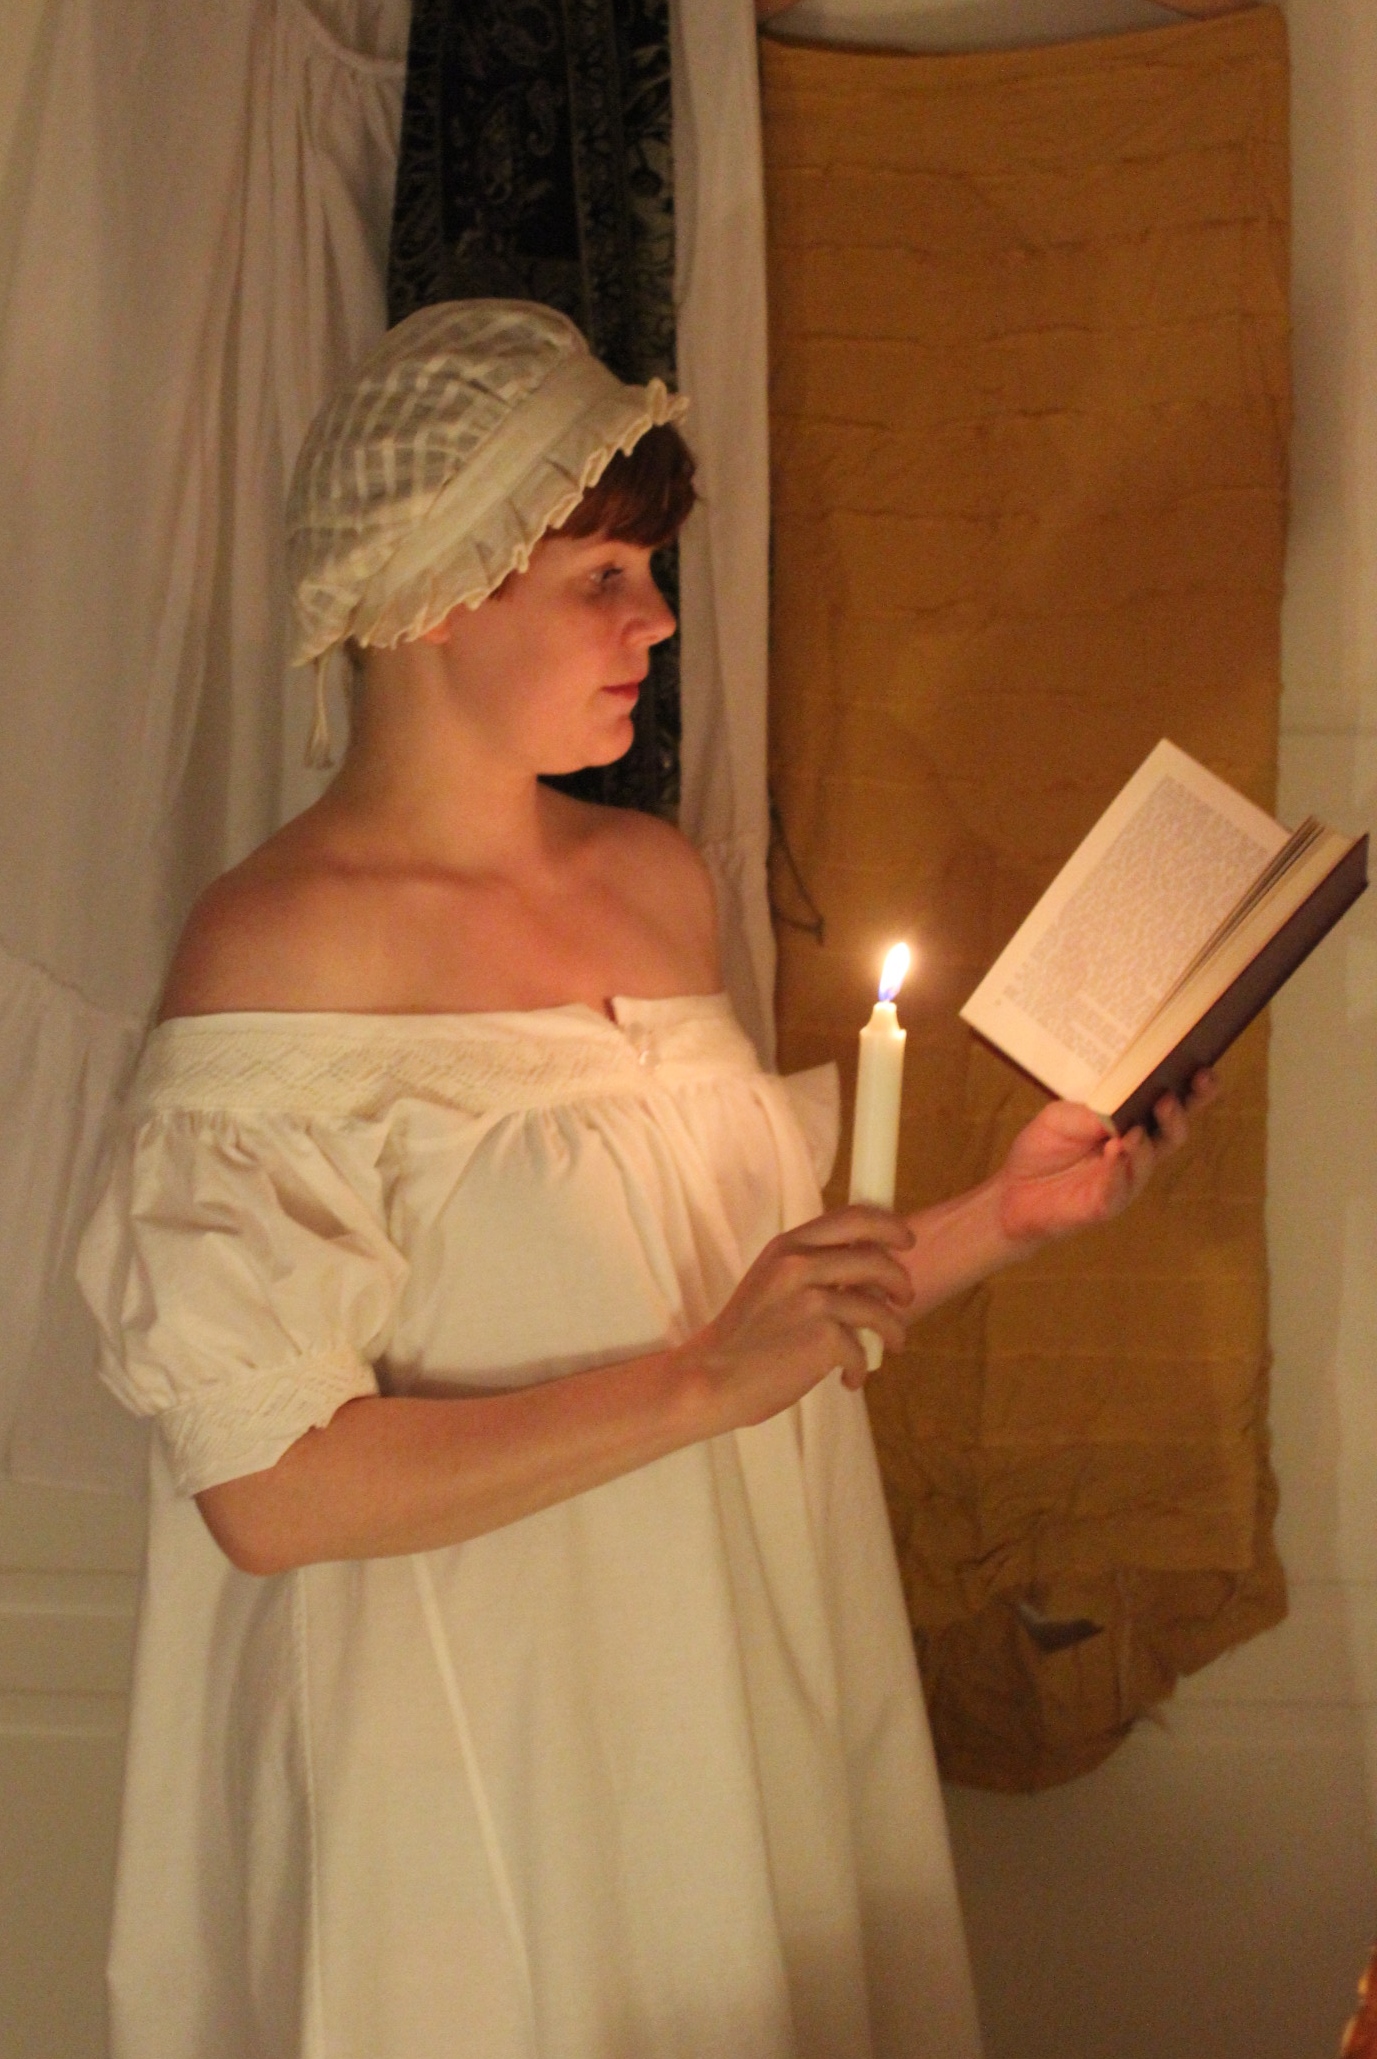
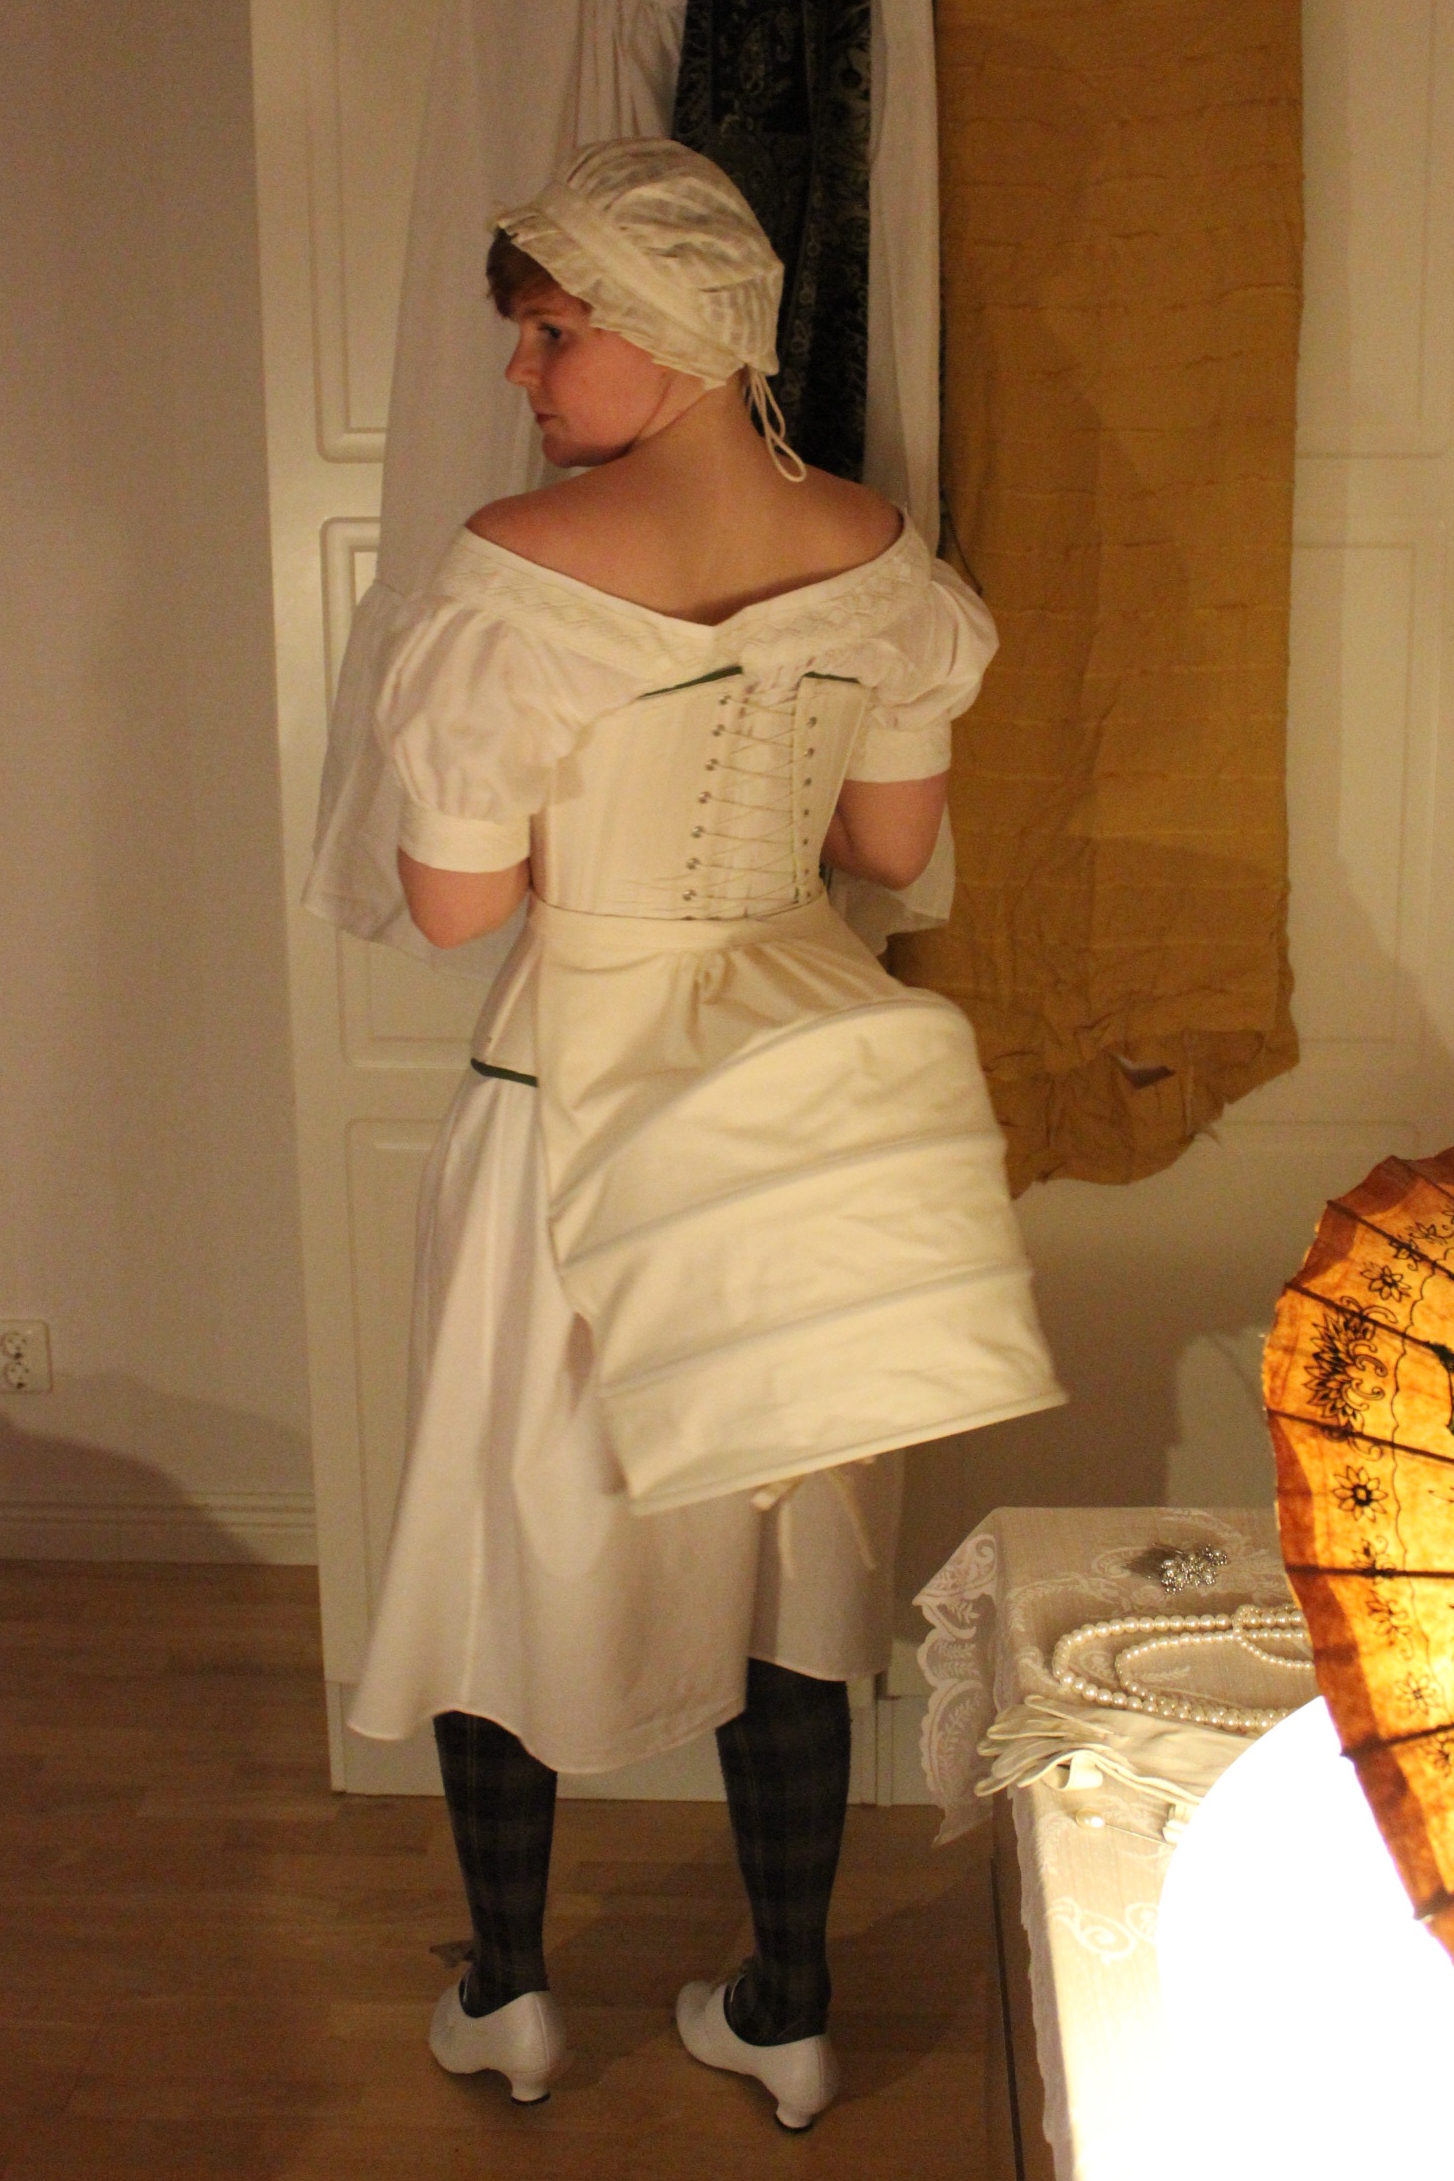
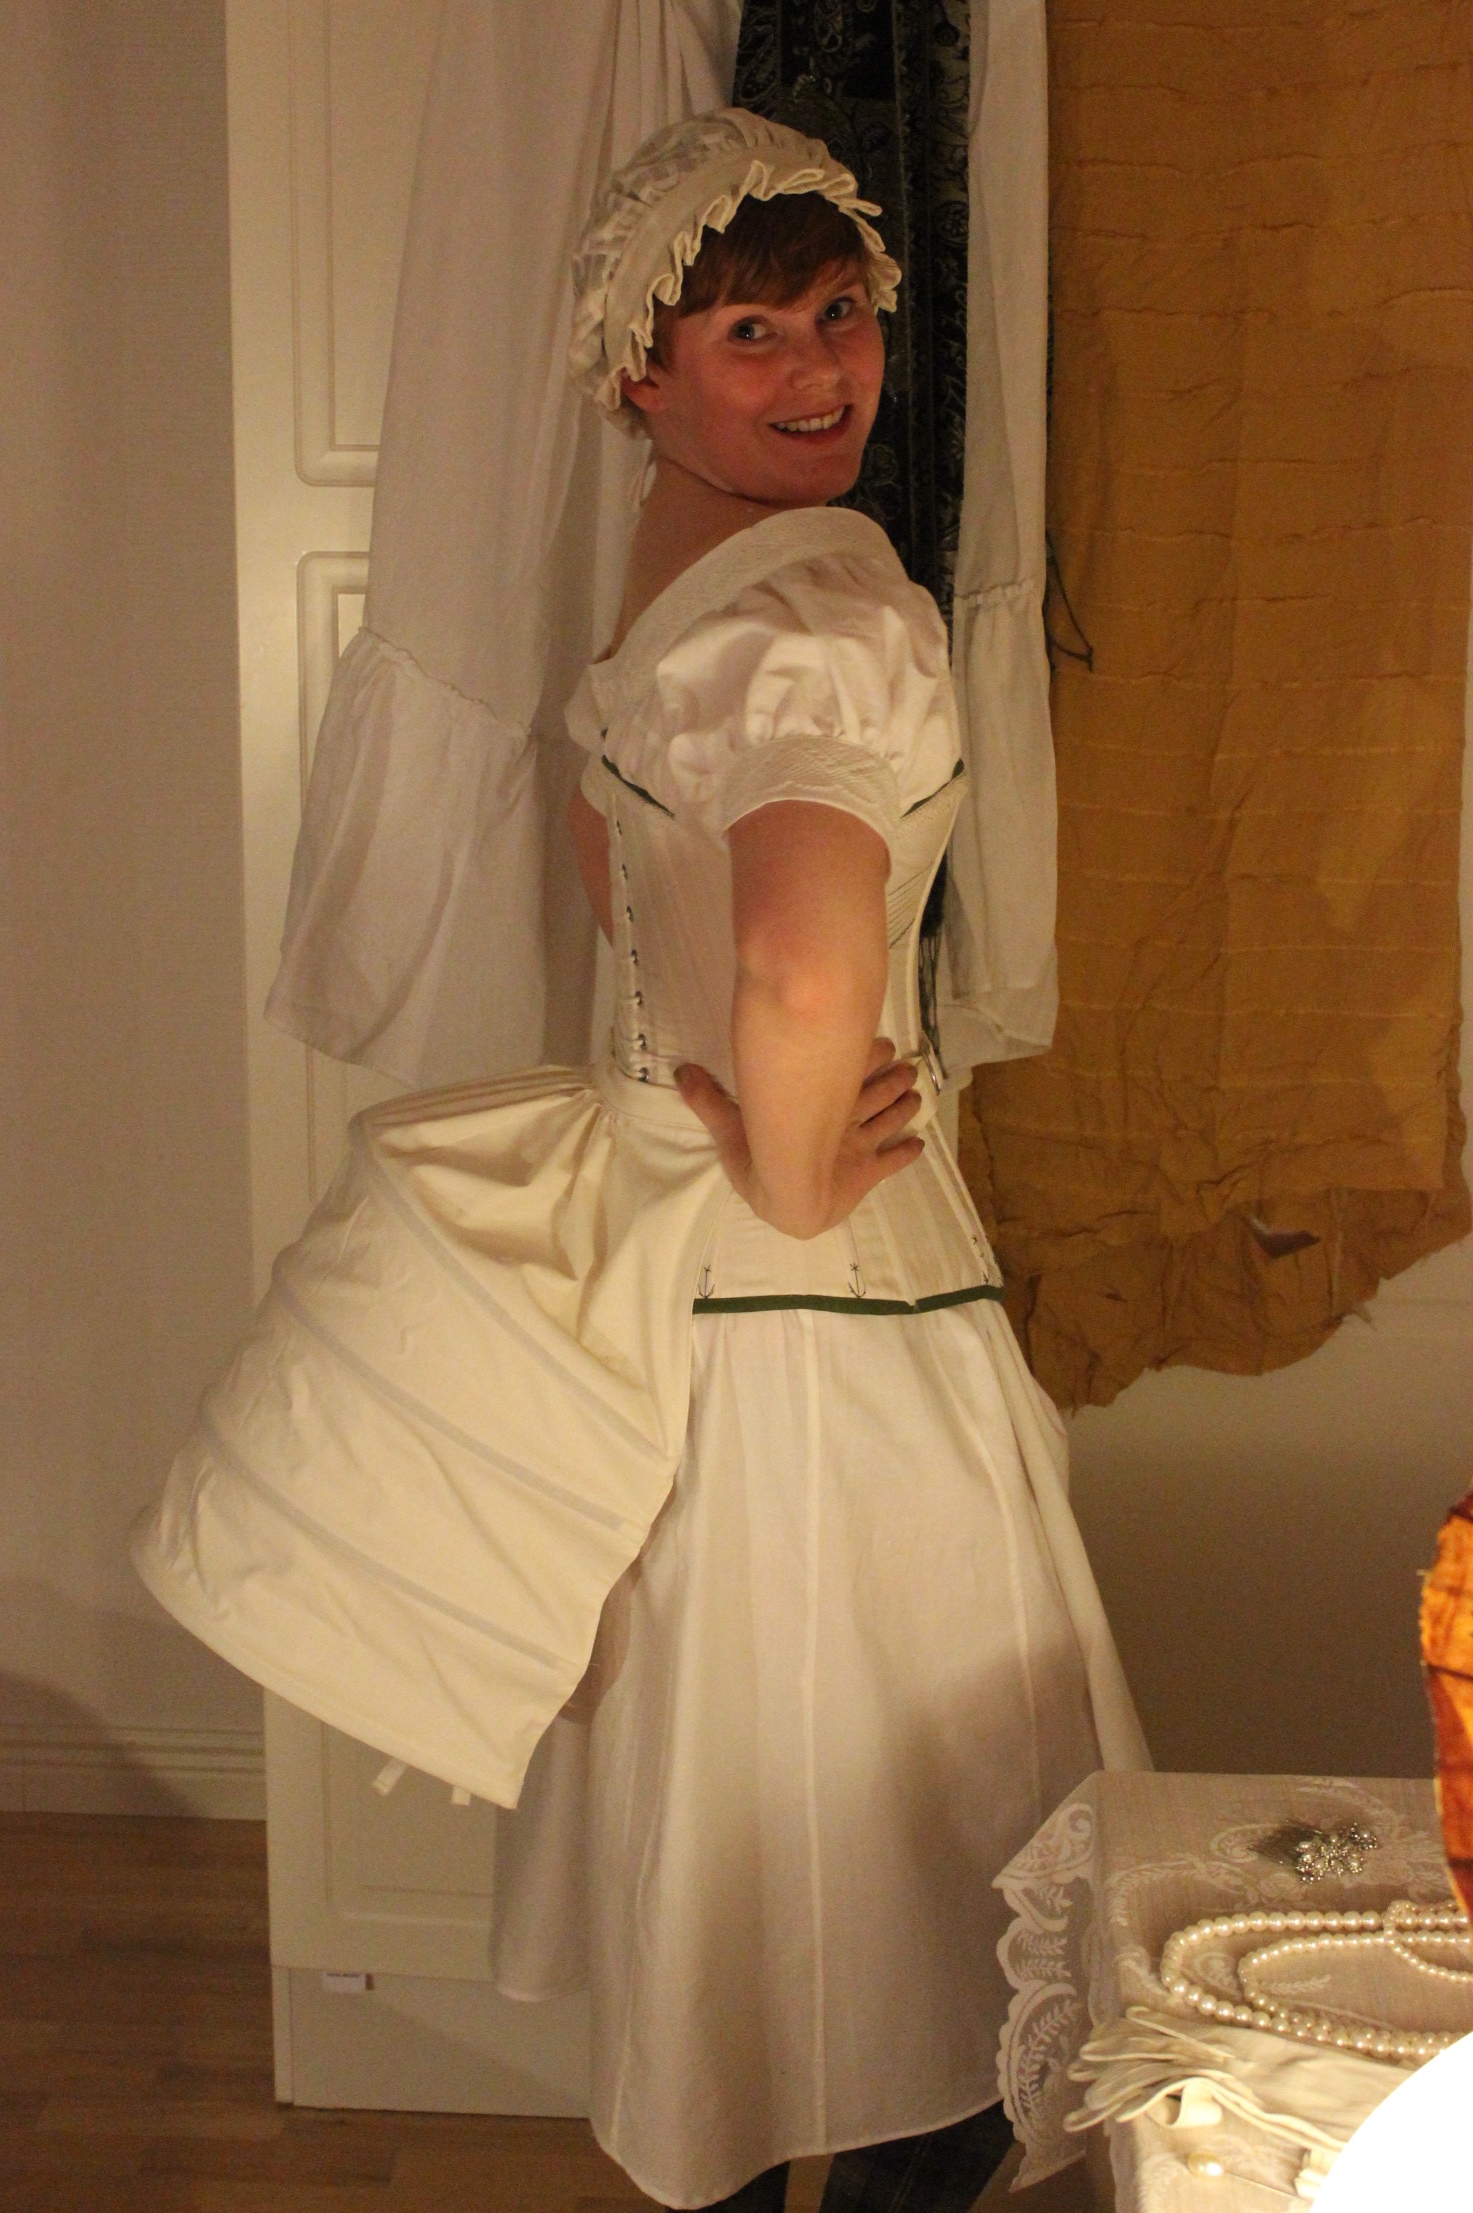
Then I put on my 19th century corset and the new 1880s bustle.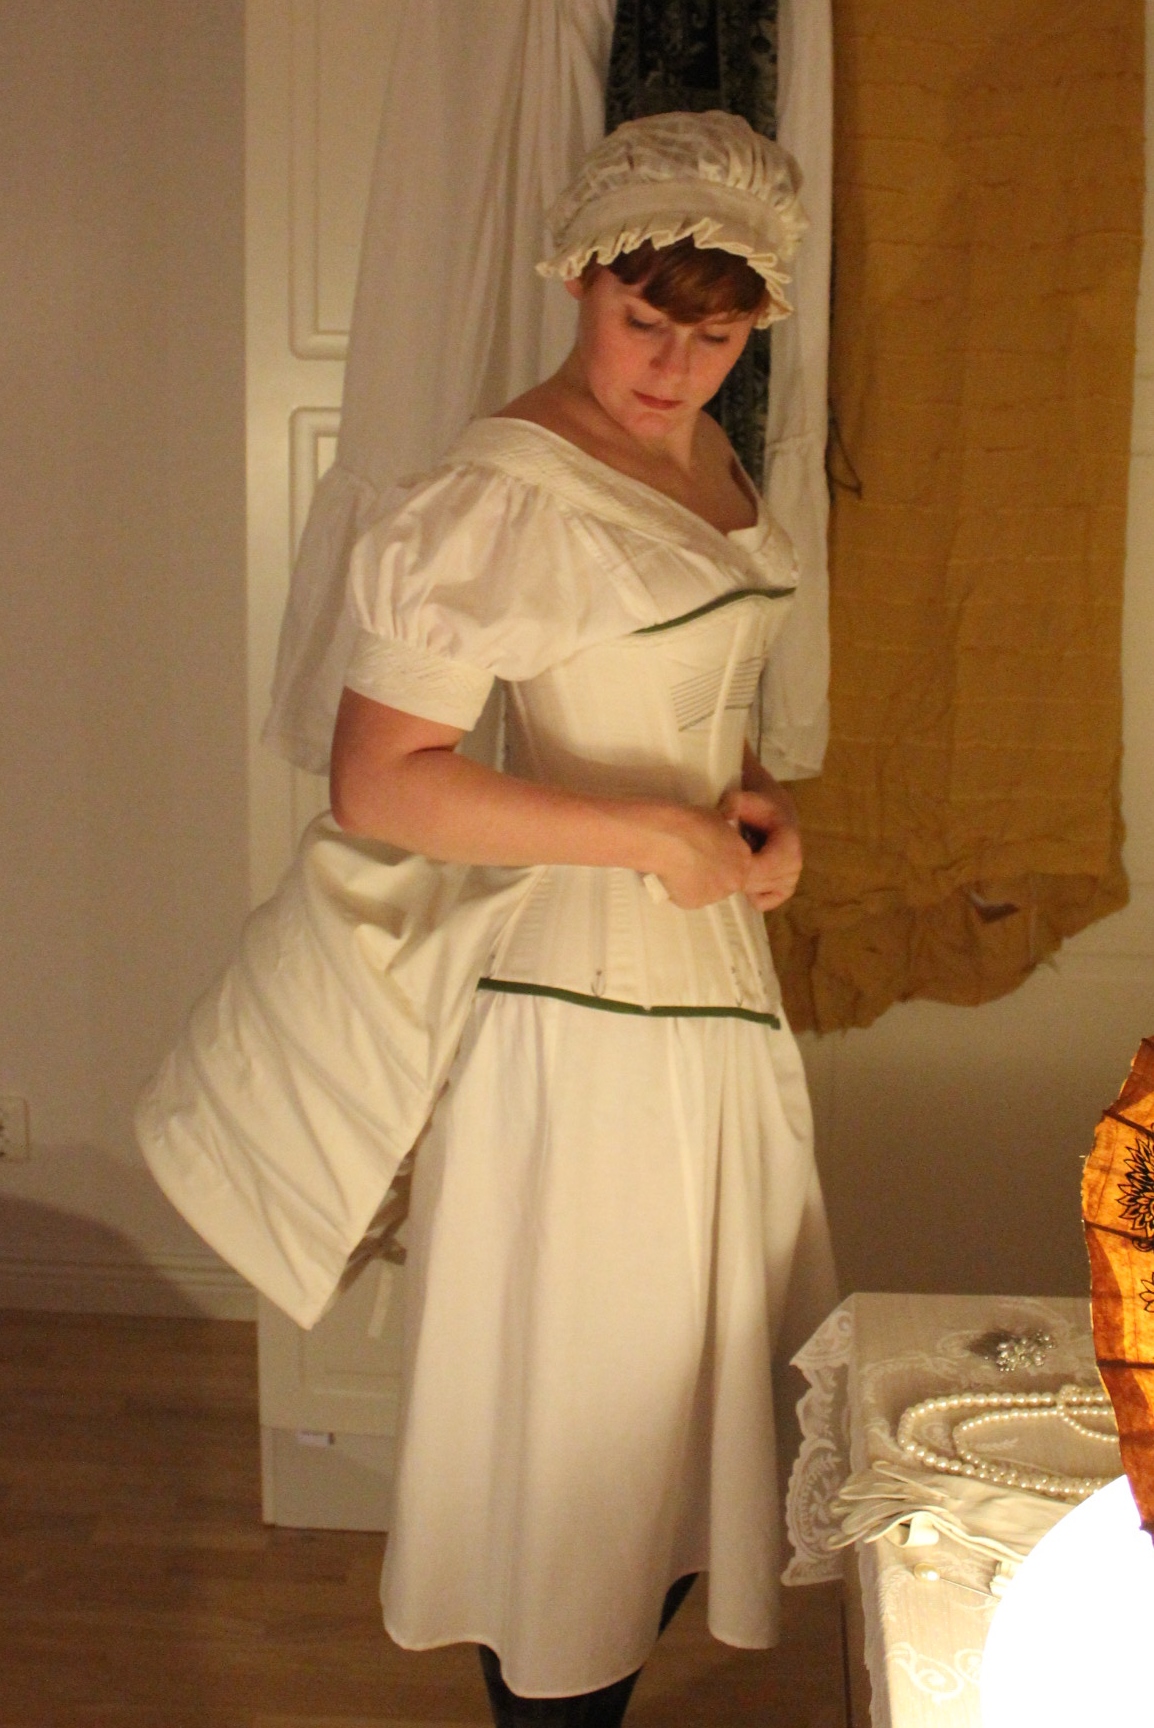


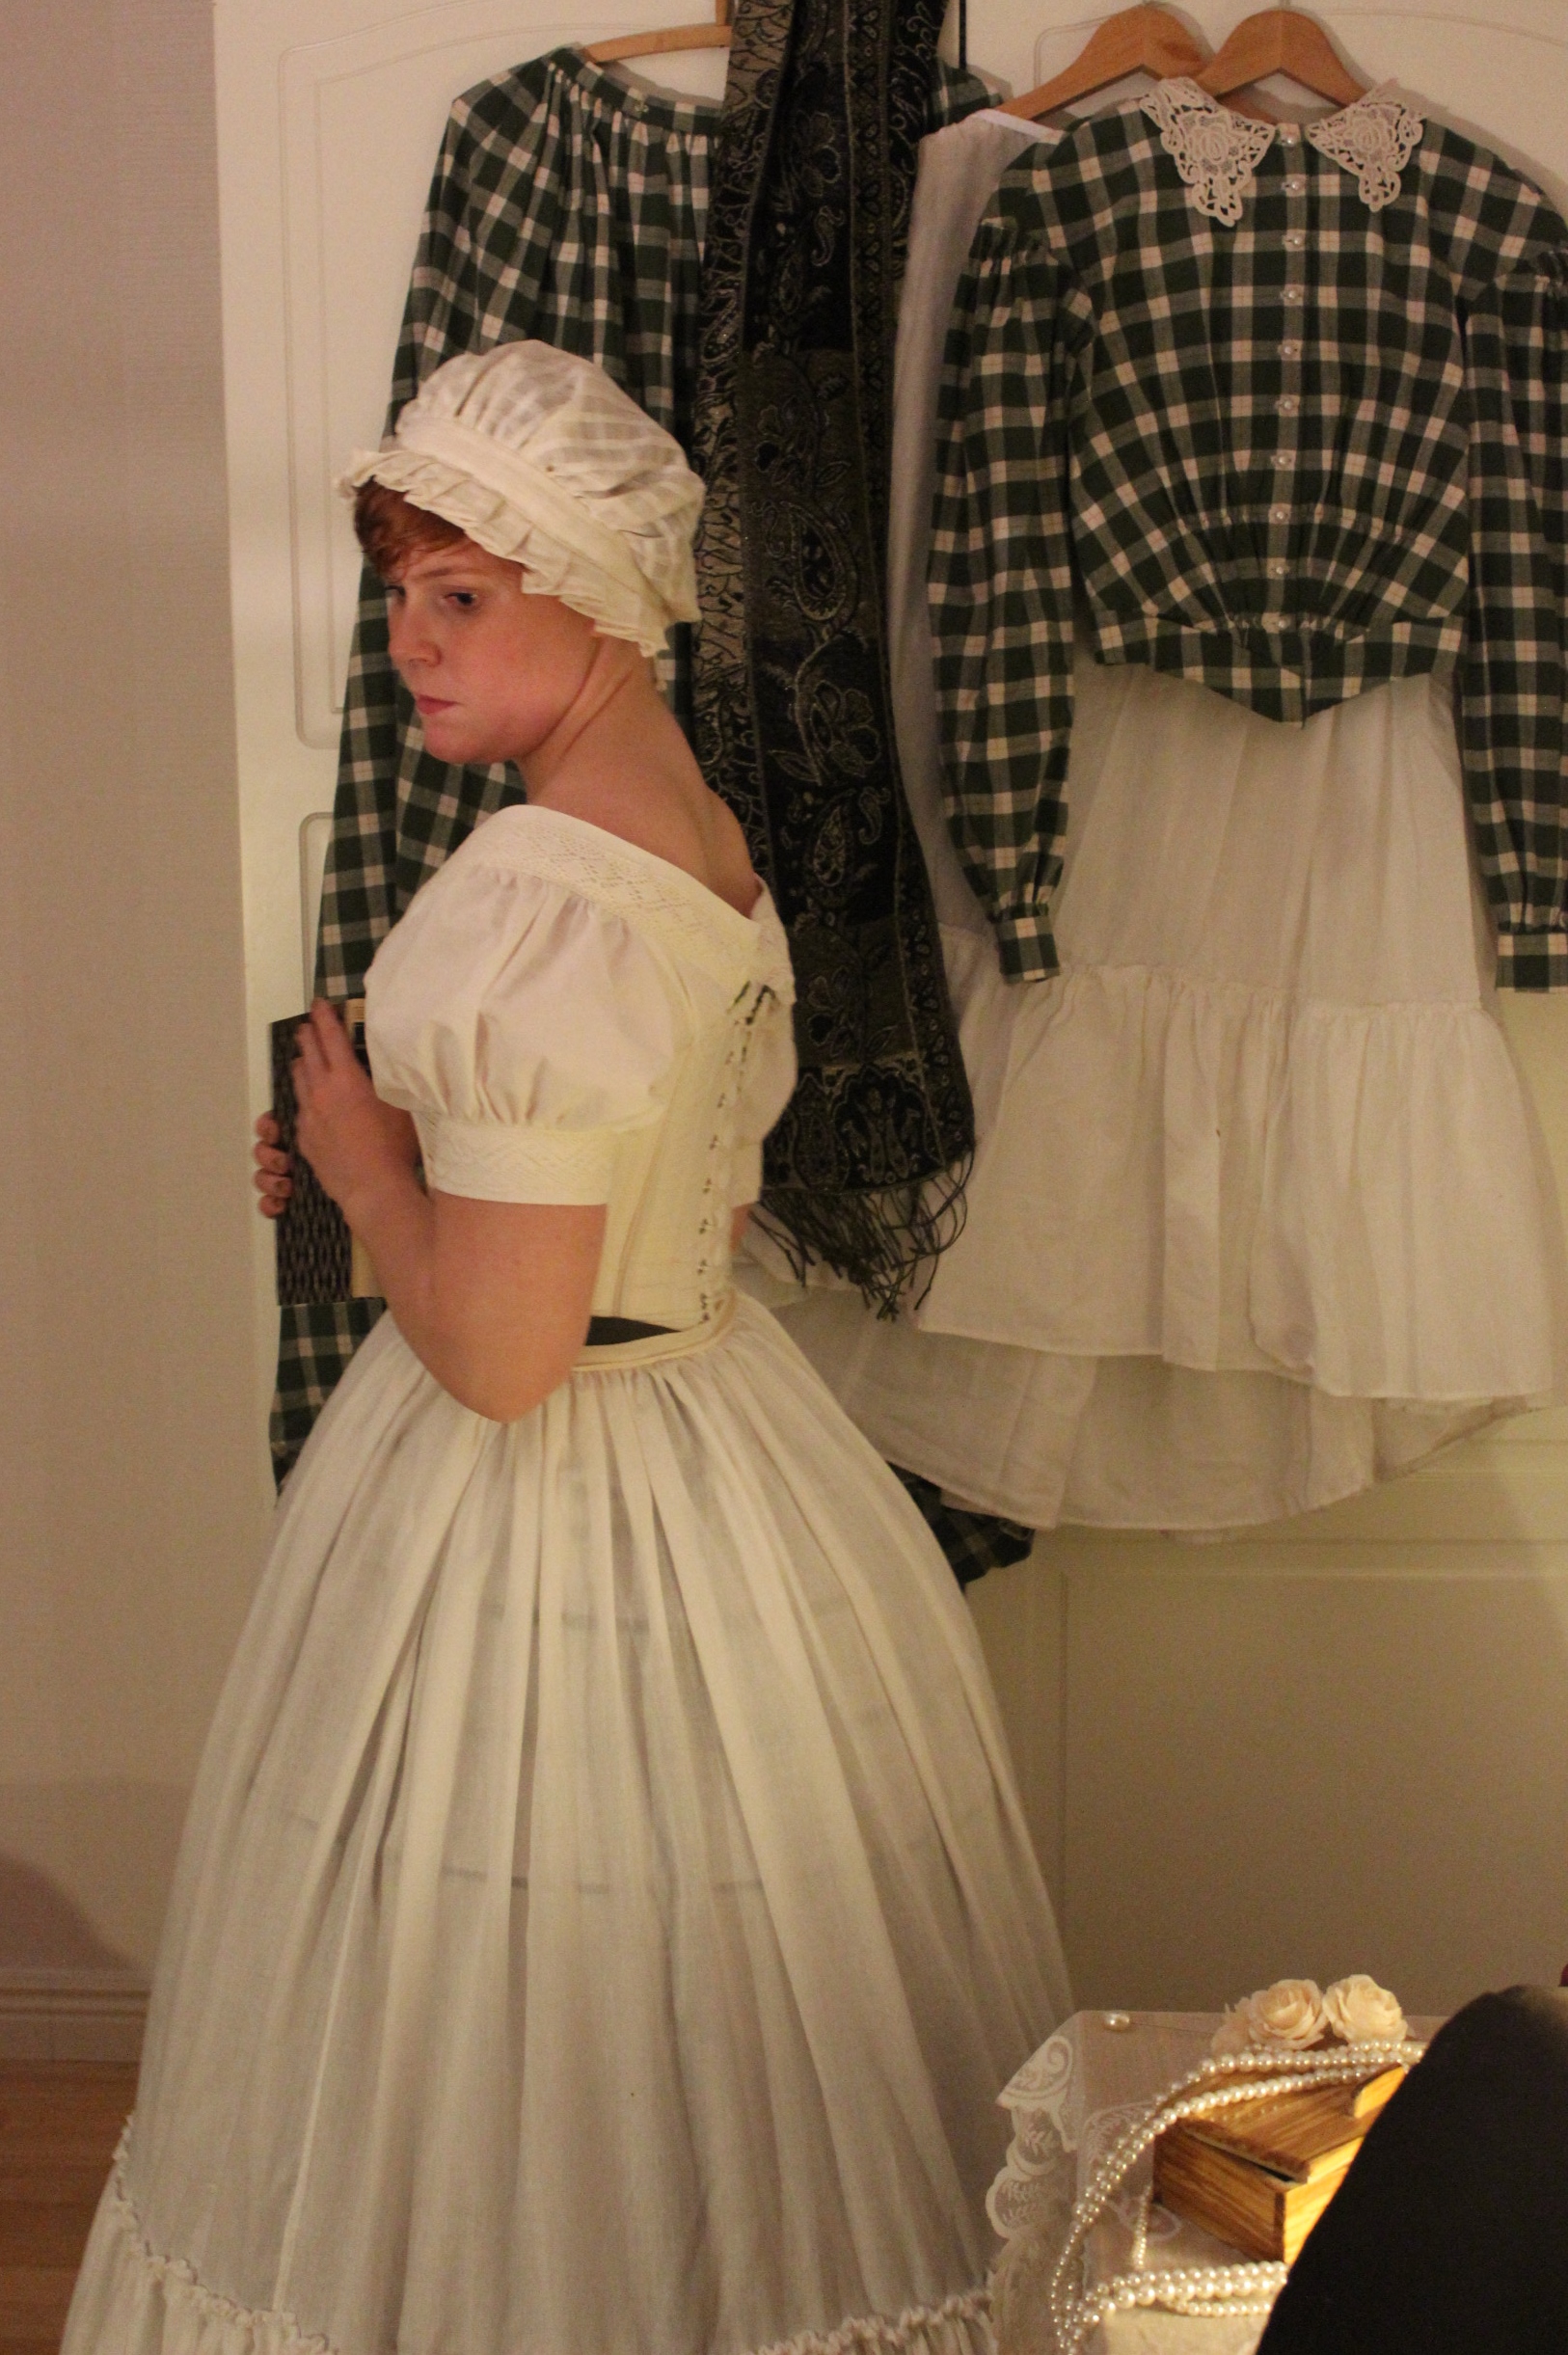
Then it was time to re-arrange the settings, and time tavel back another 30 years to 1850s. 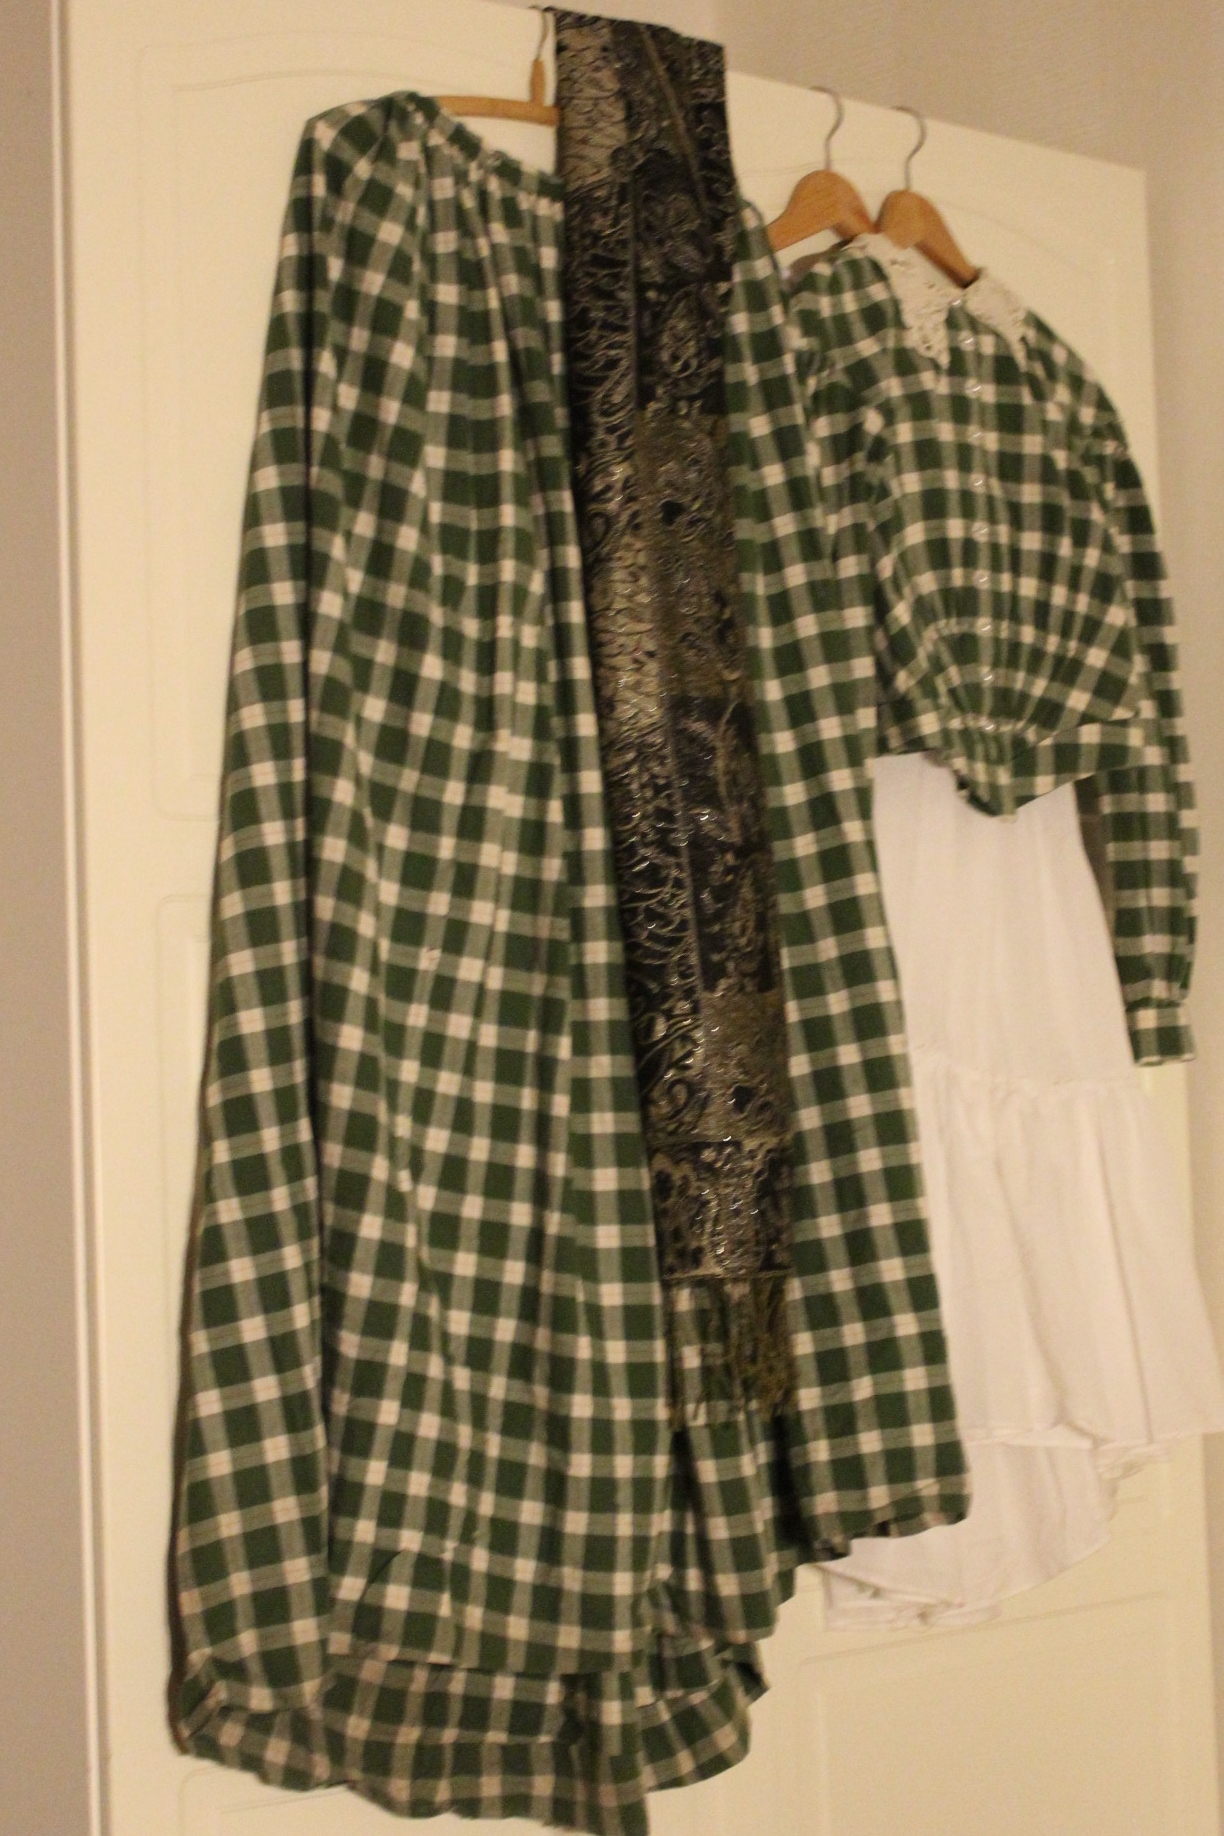 I hung my plaid green 1840s dress combined with a shawl and petticoat on the wardrobe door.
And placed my 1840s velvet bonnet on the table together with a lace fan, some faux flowers and juwvelry. 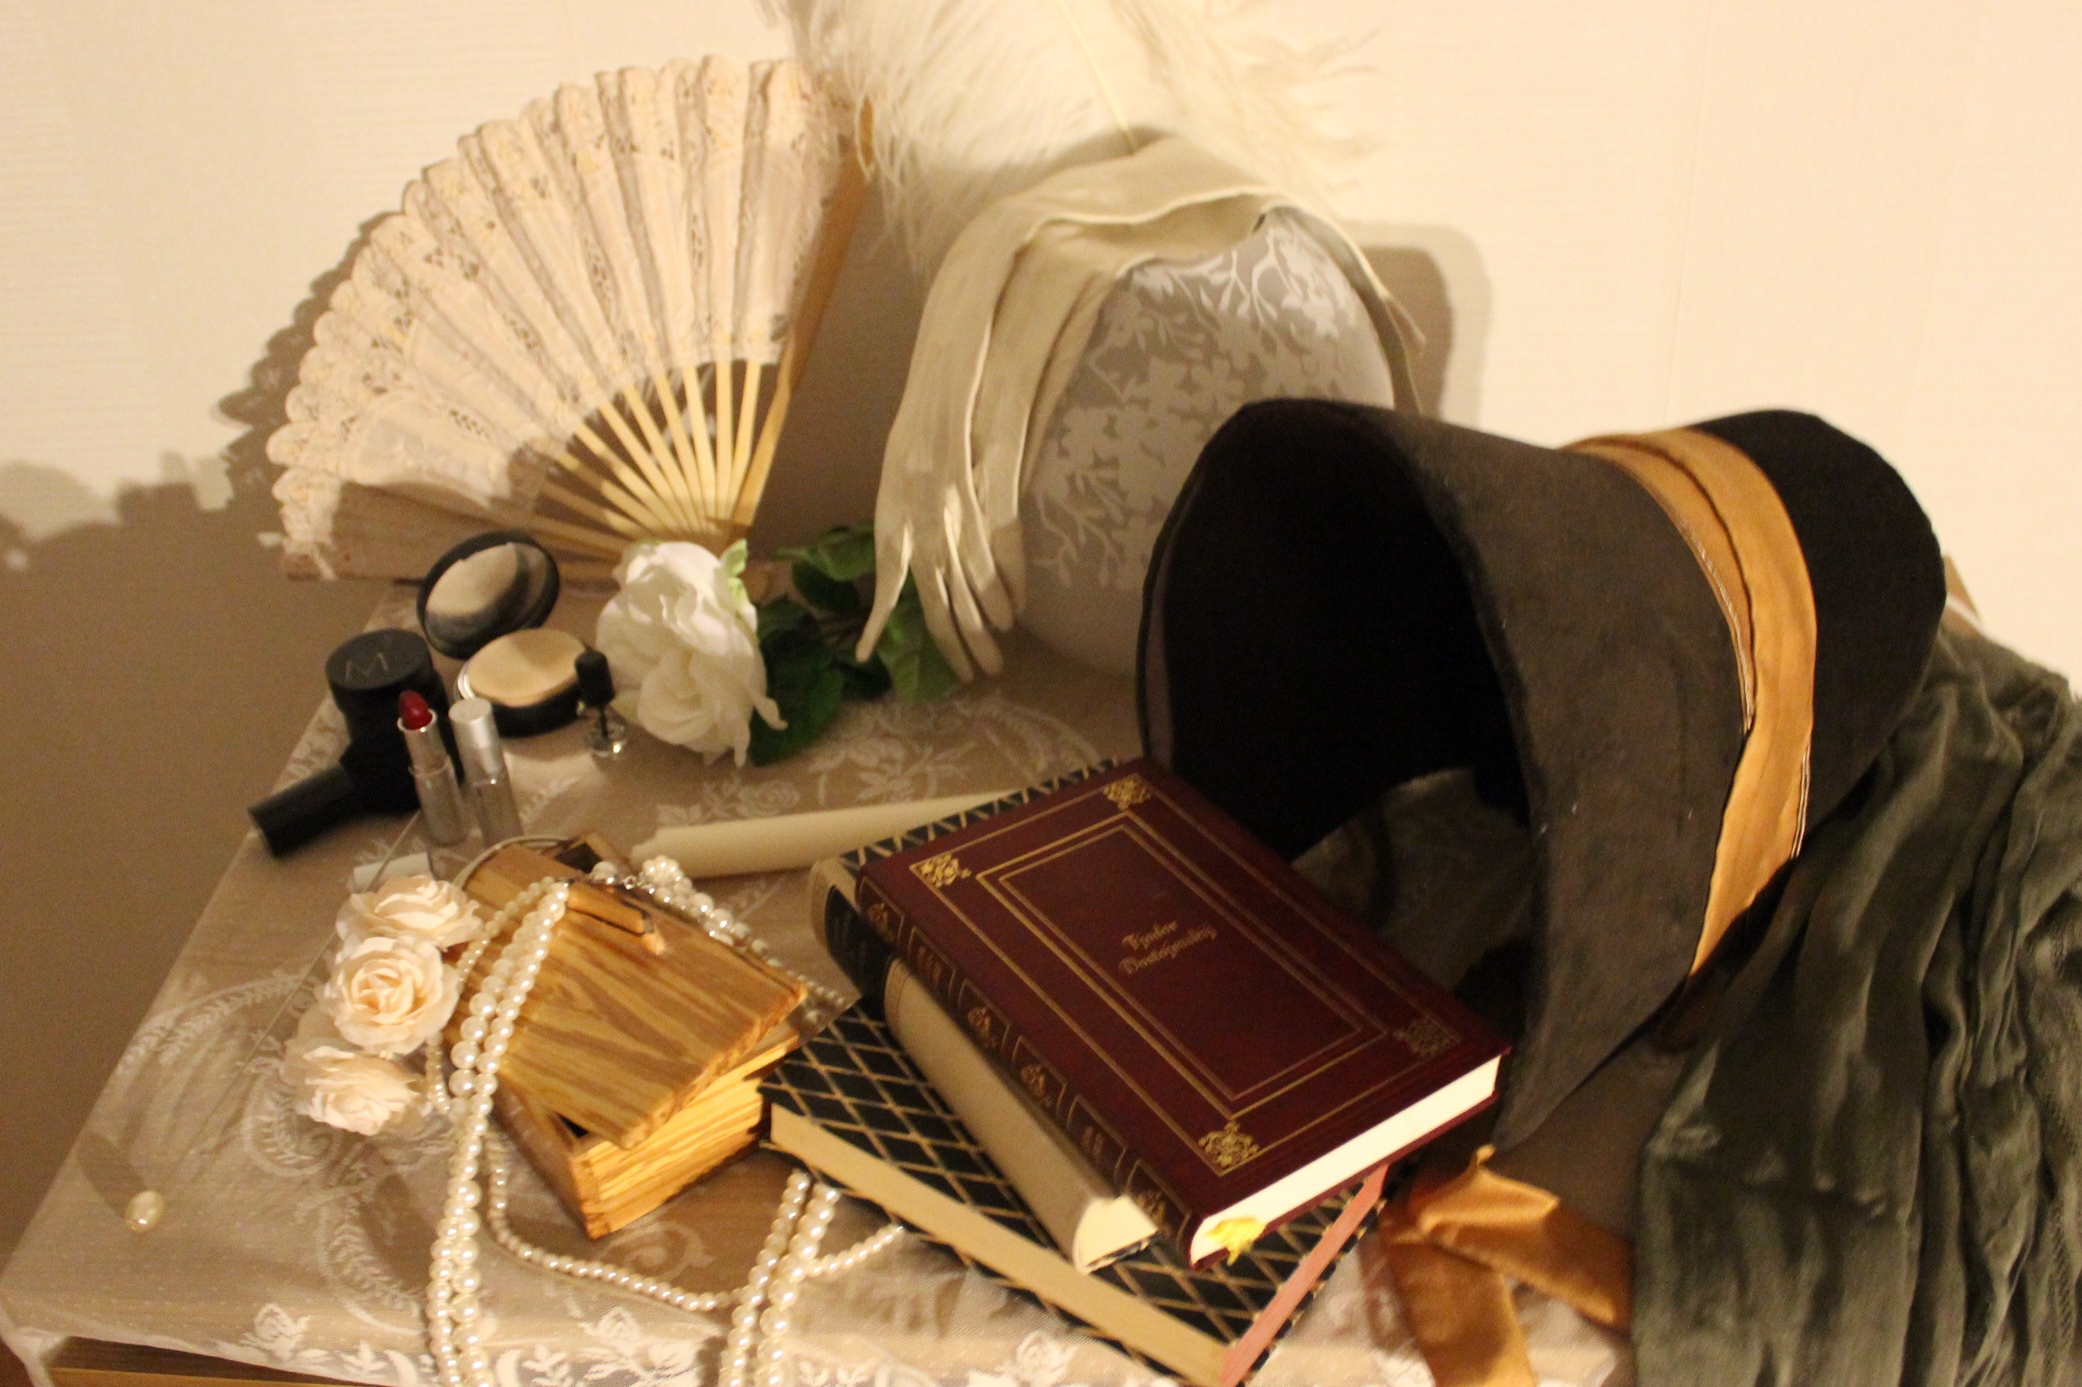
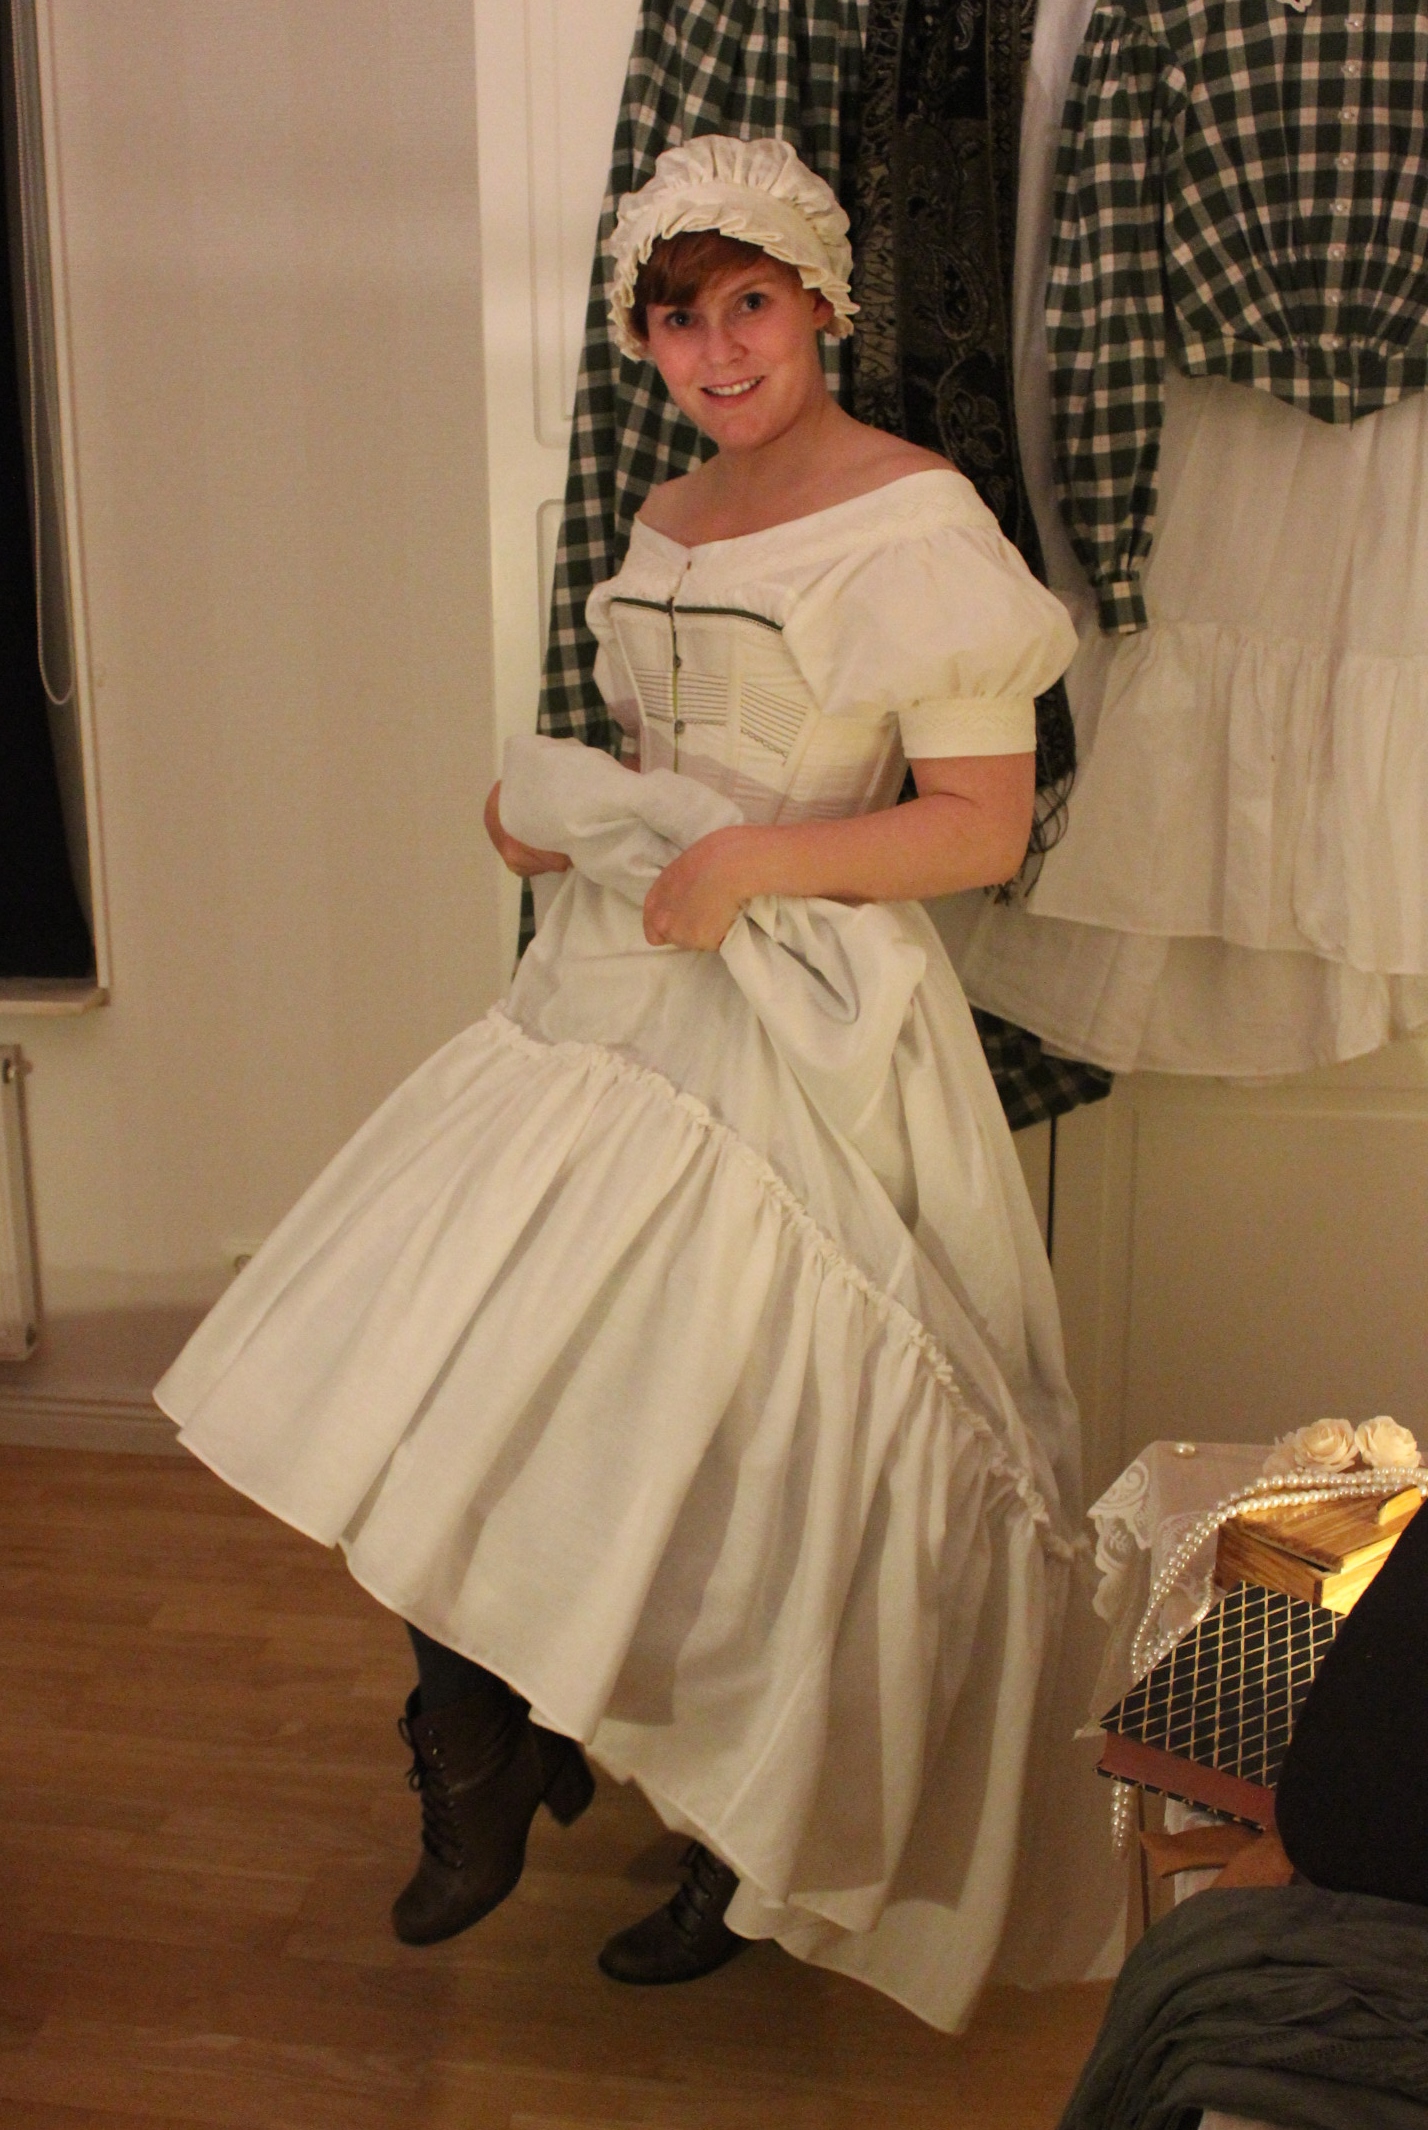
I keept the basic underwear like chemise and corset, but changed my shoes and stockings. And then I put on my new 1850s cage crinoline.
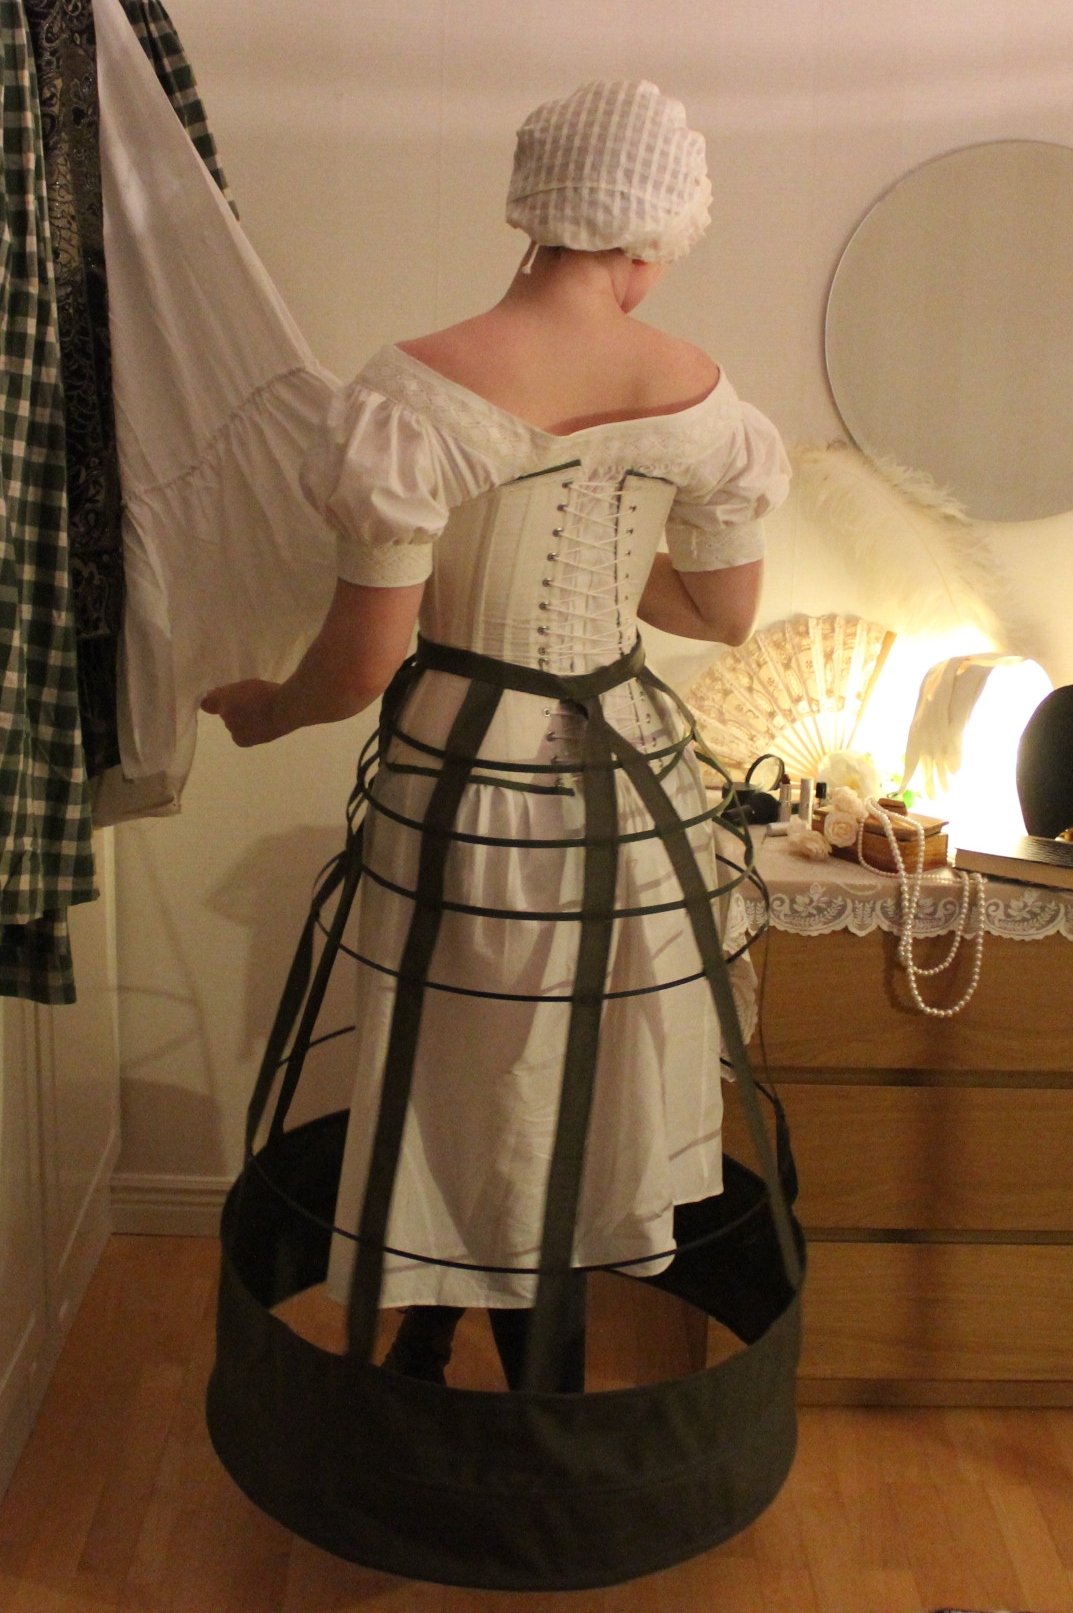
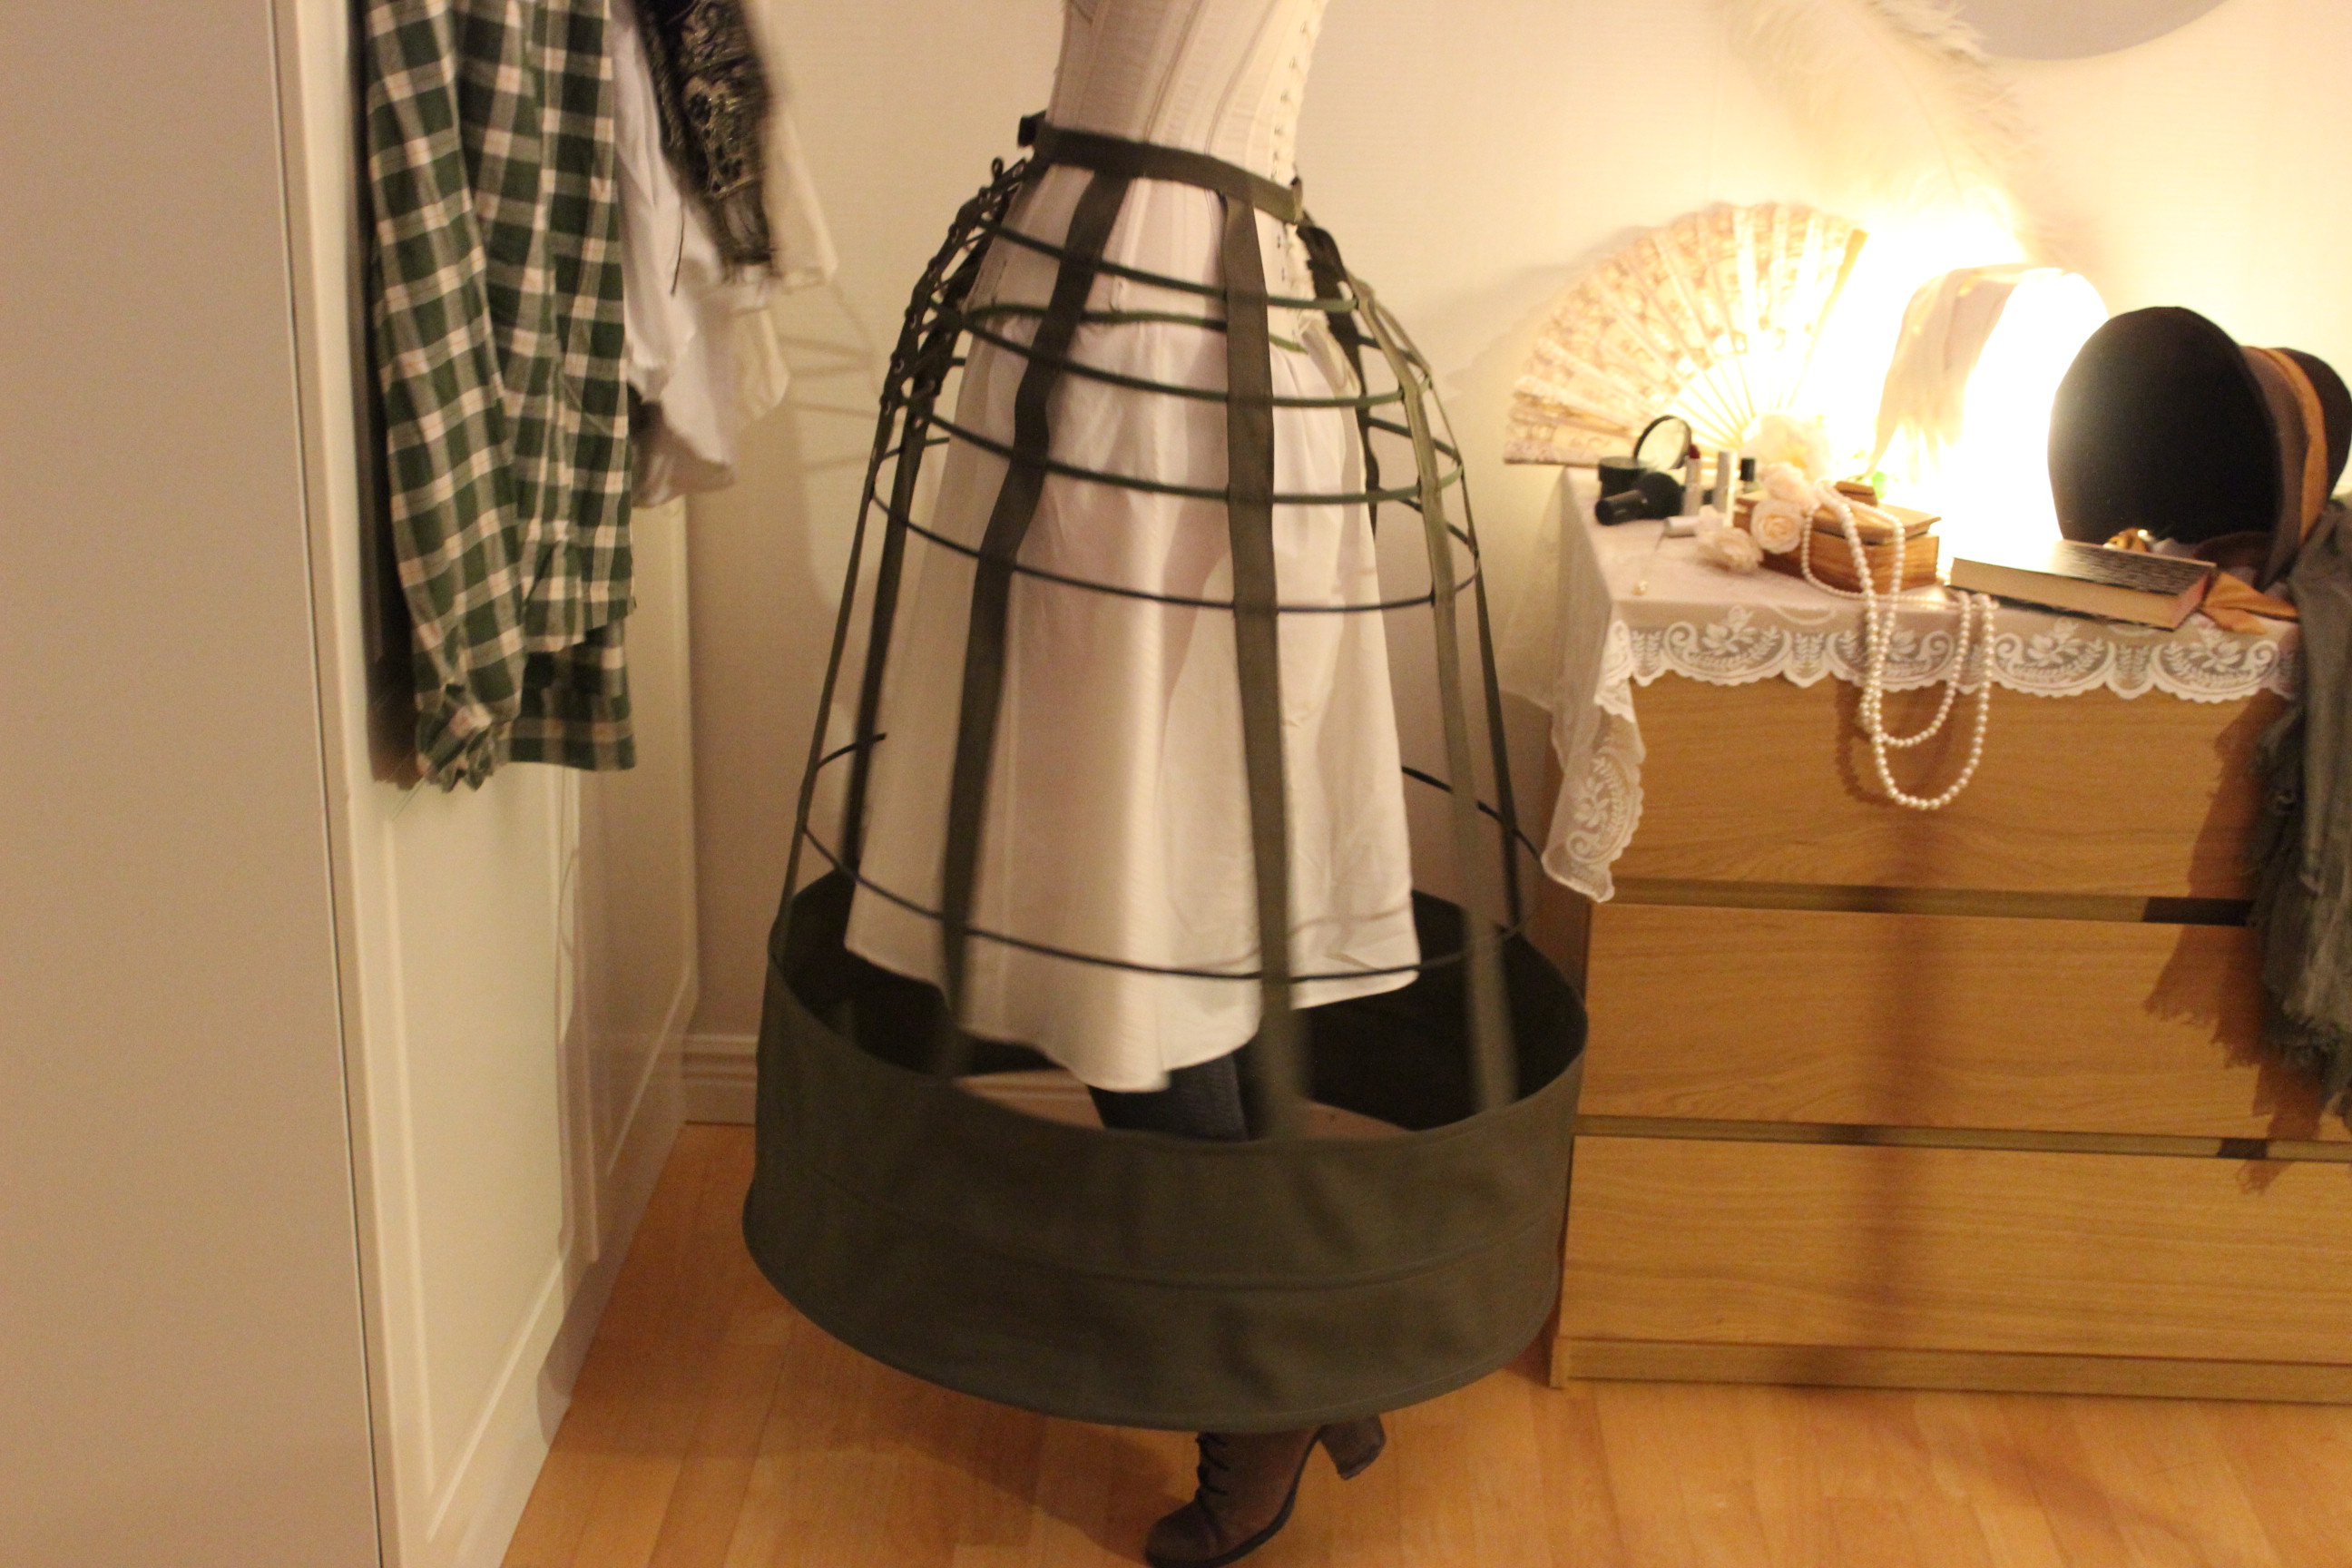

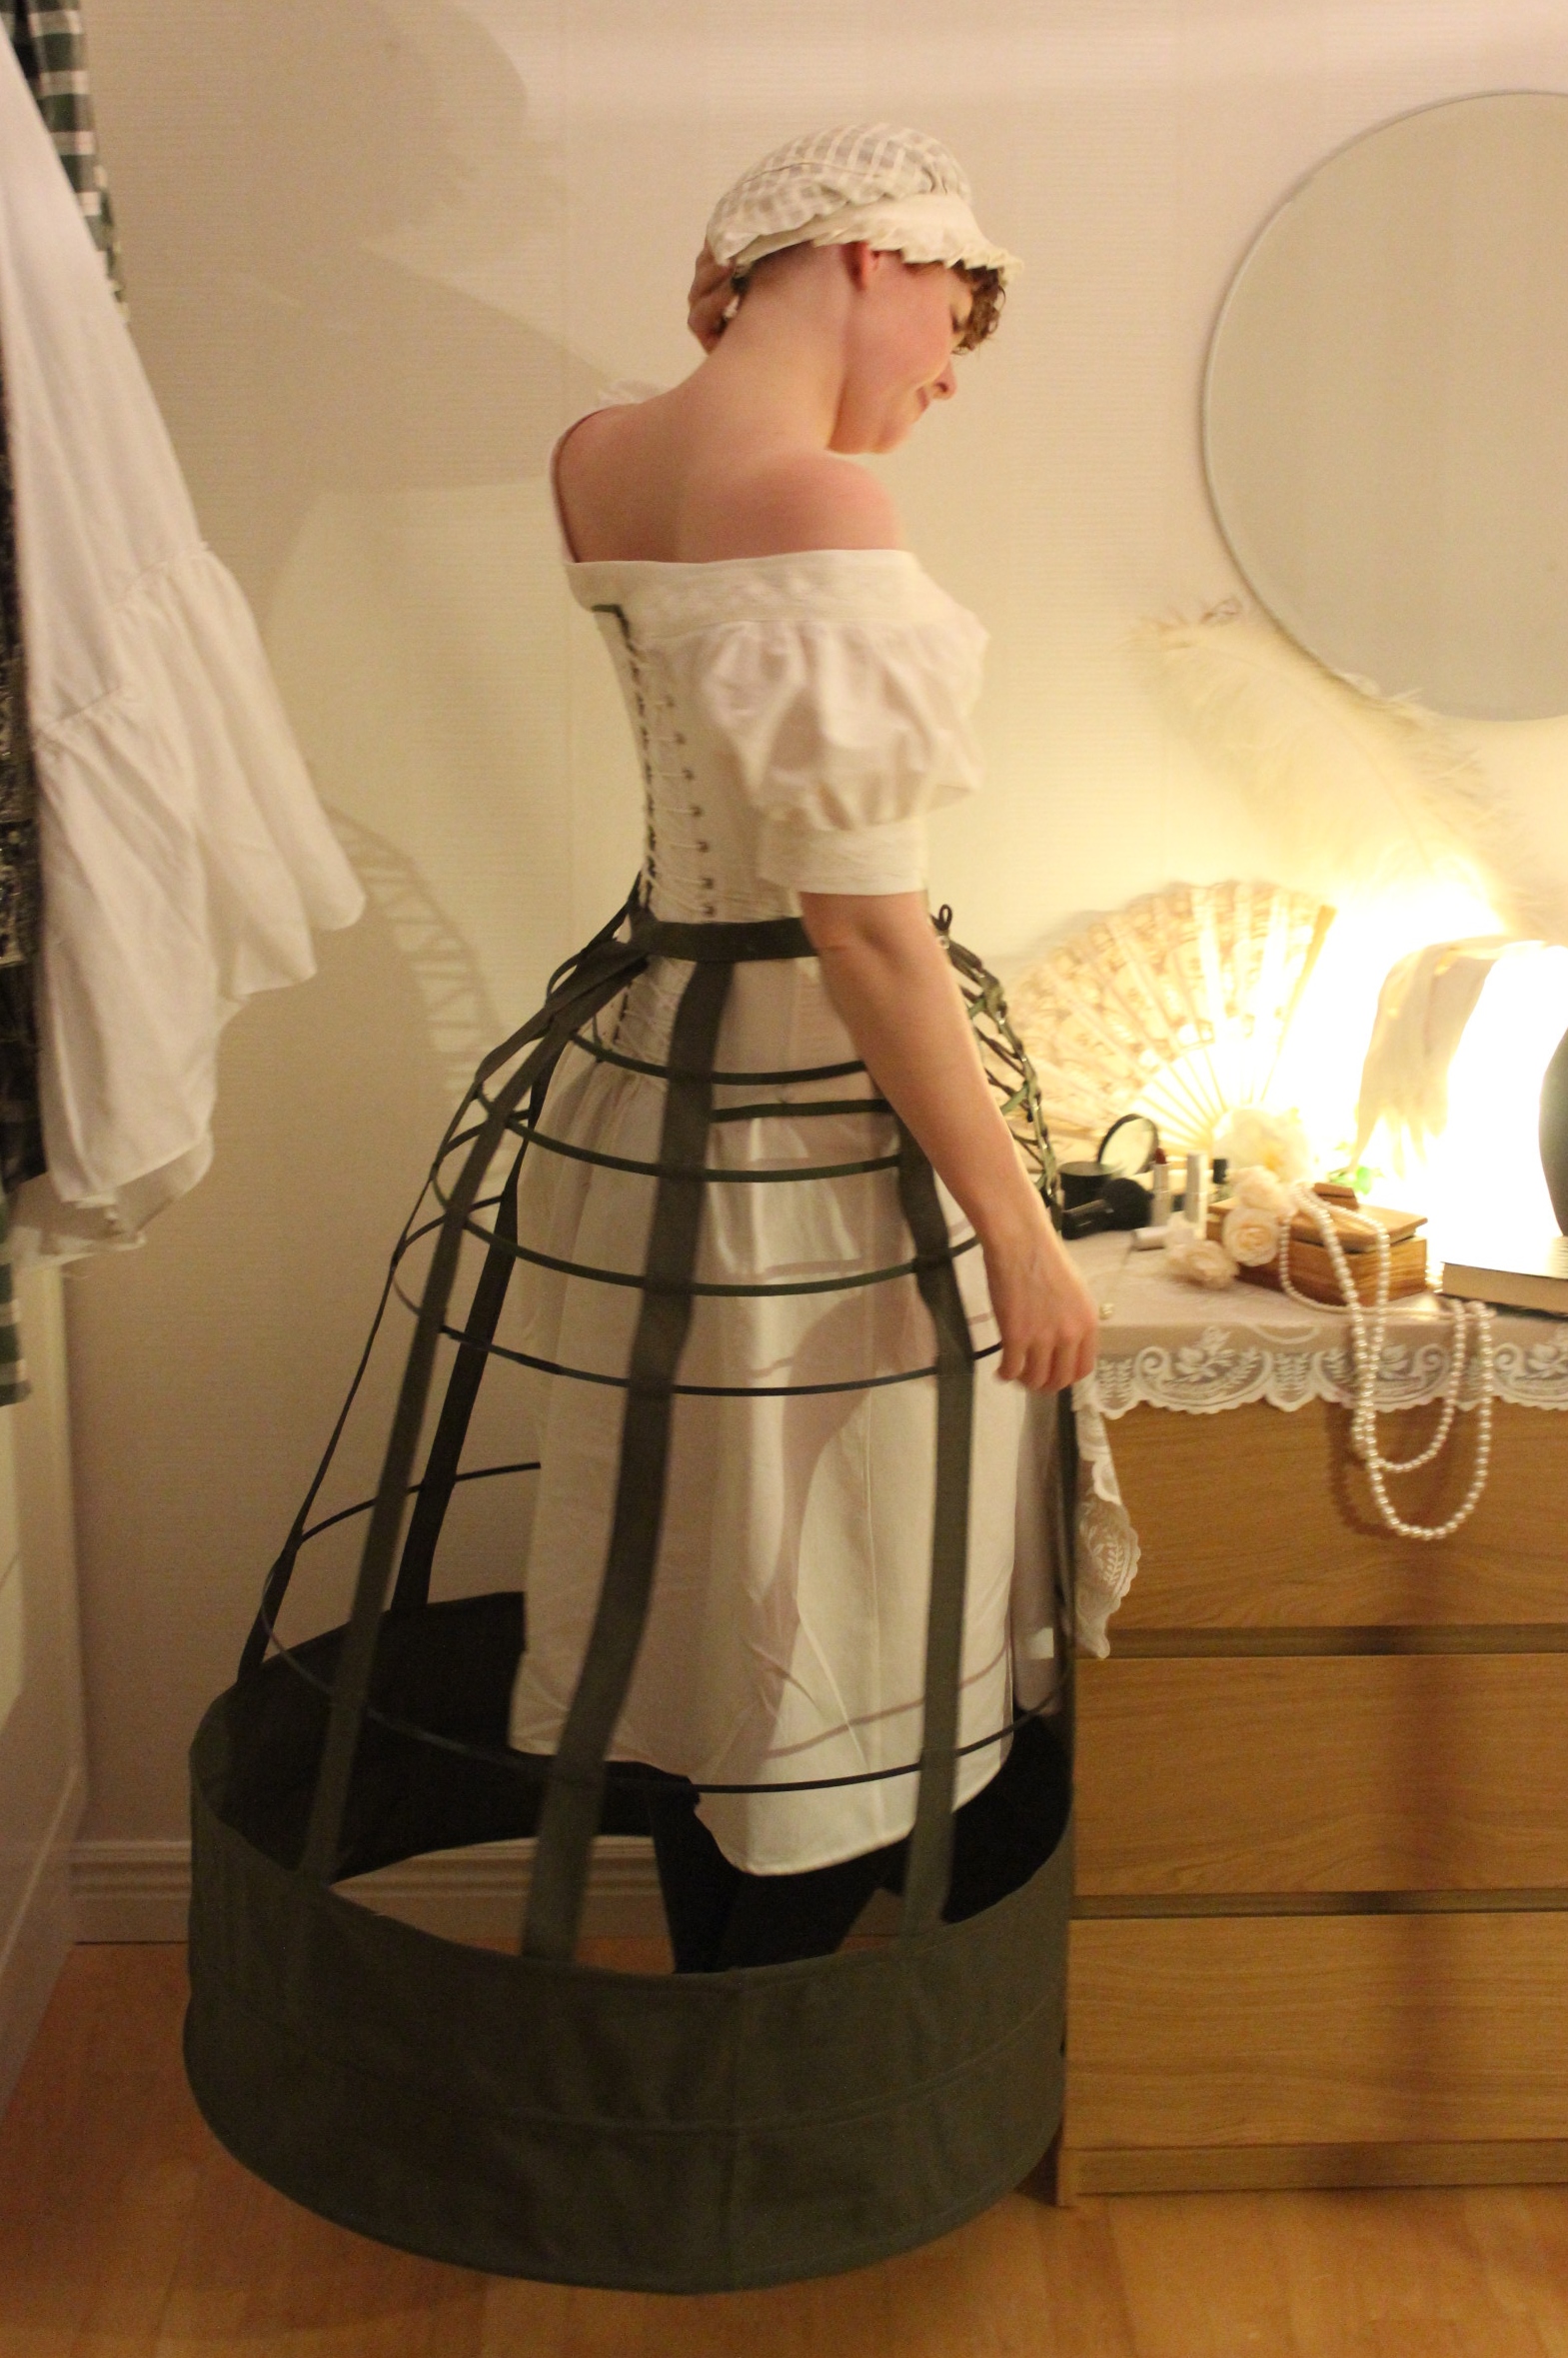
And lastly I put on my new cotton petticoat. 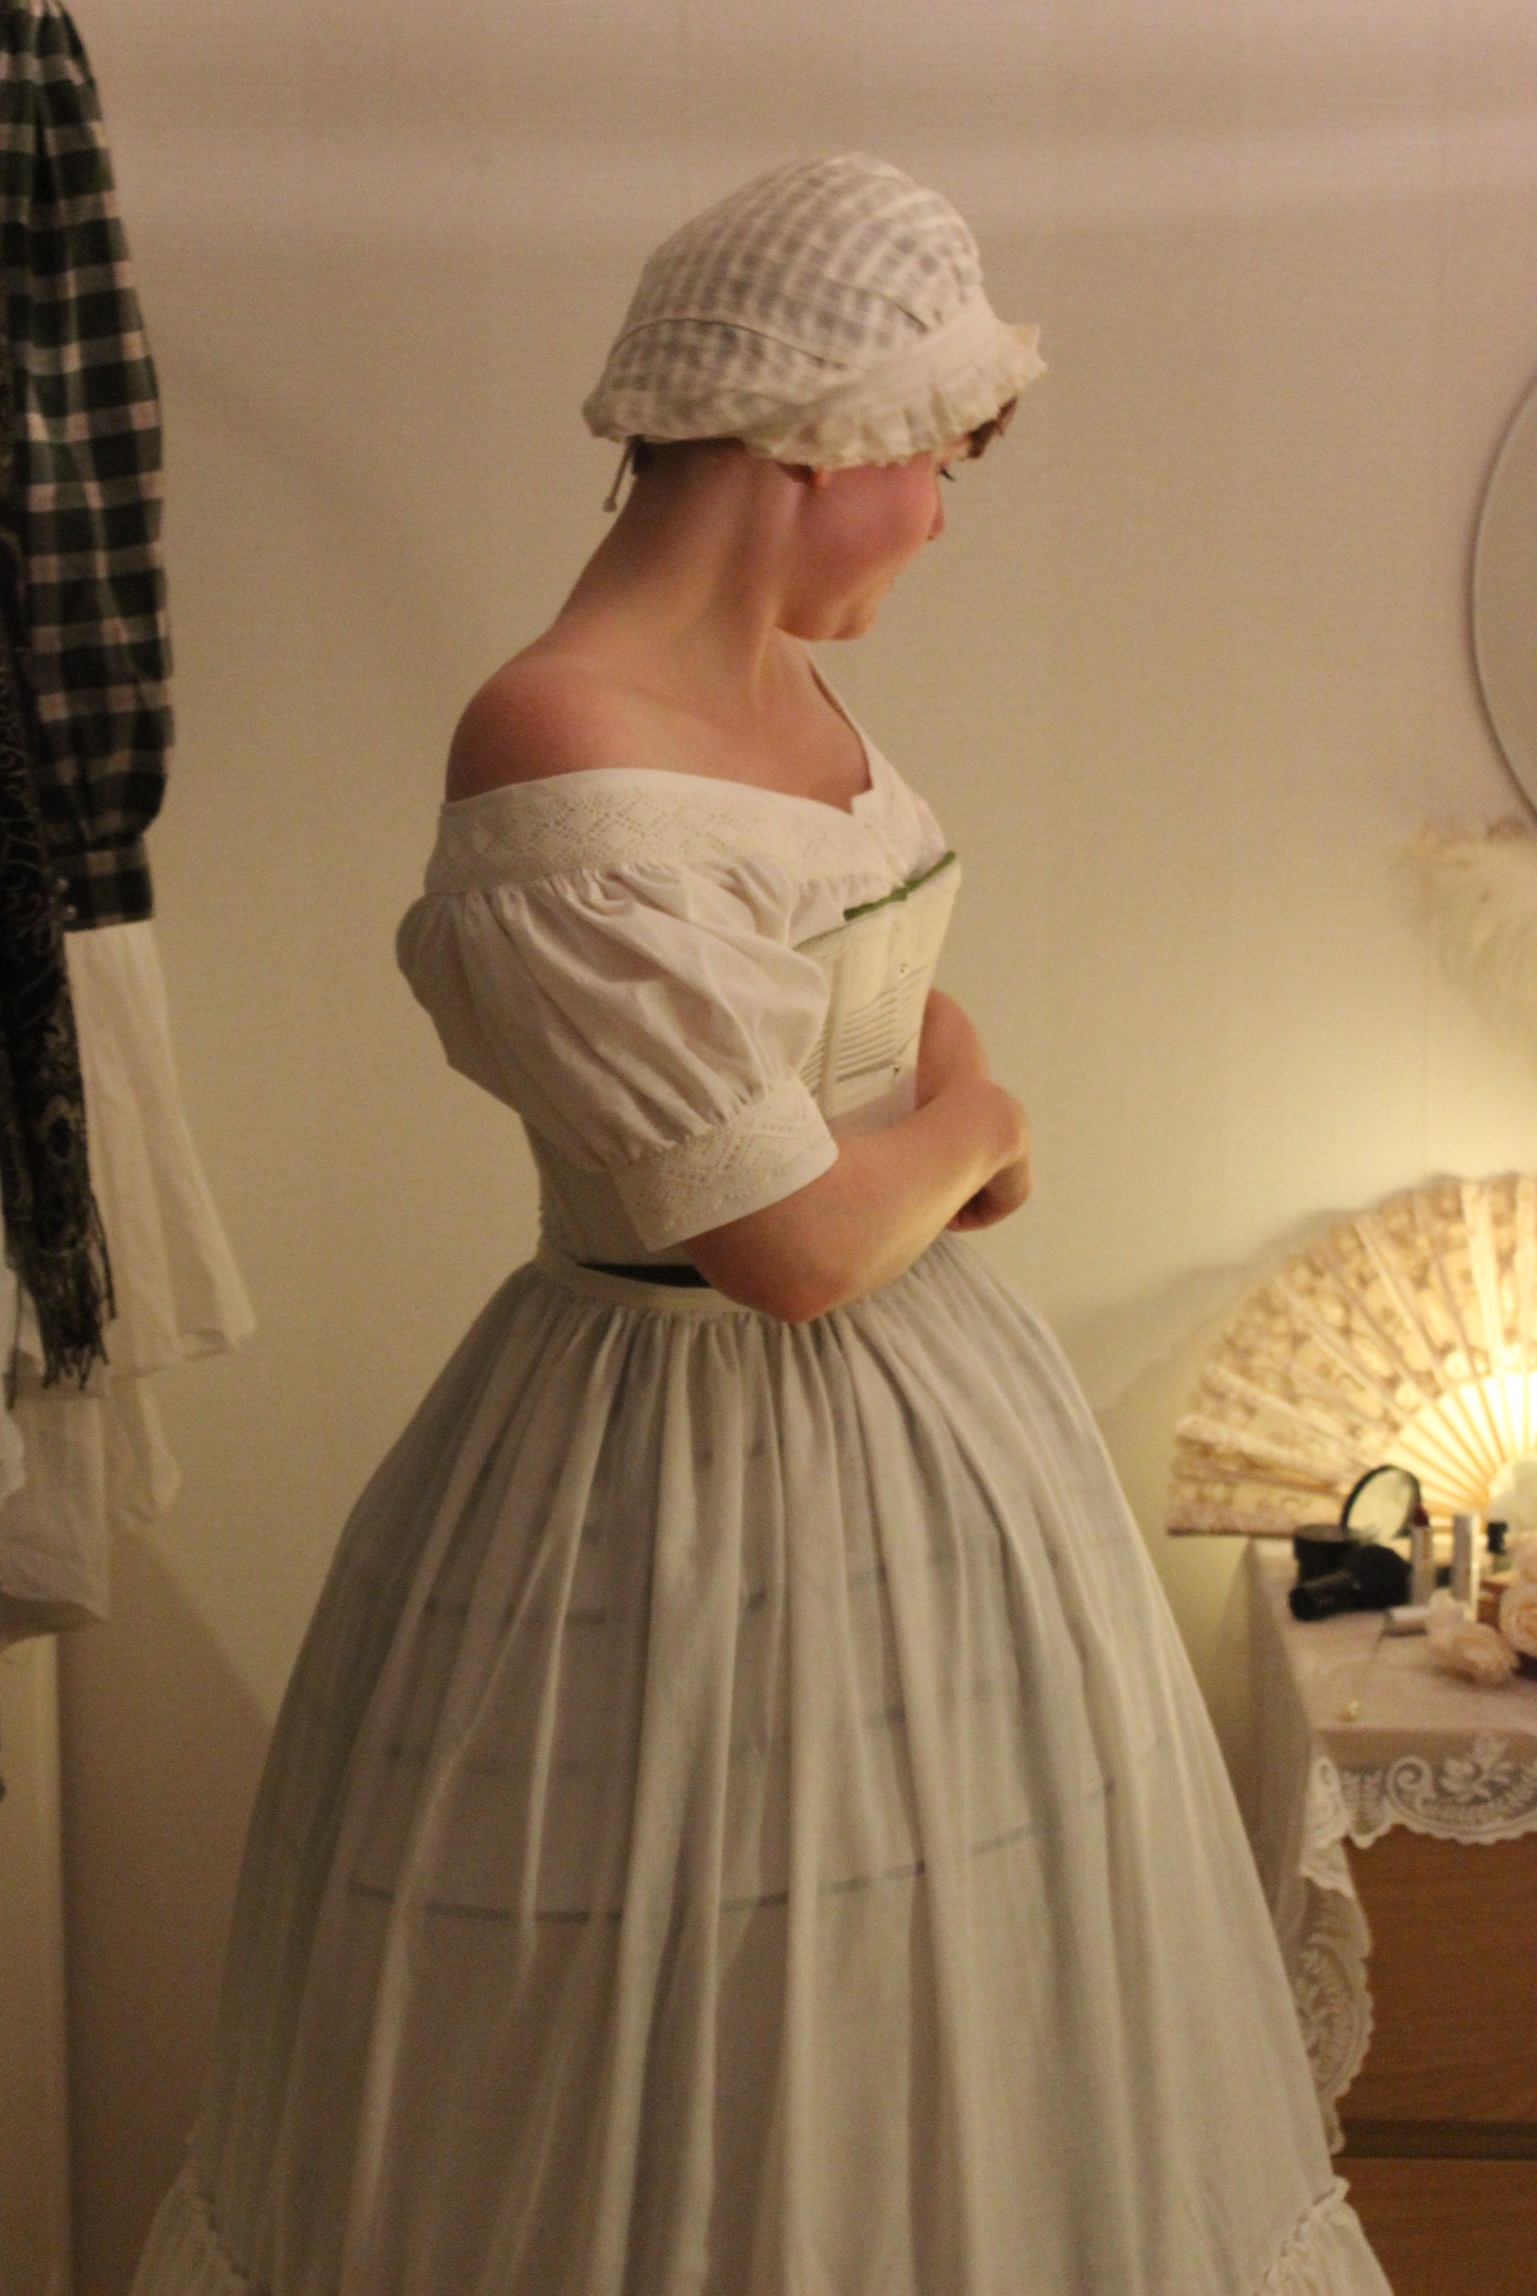
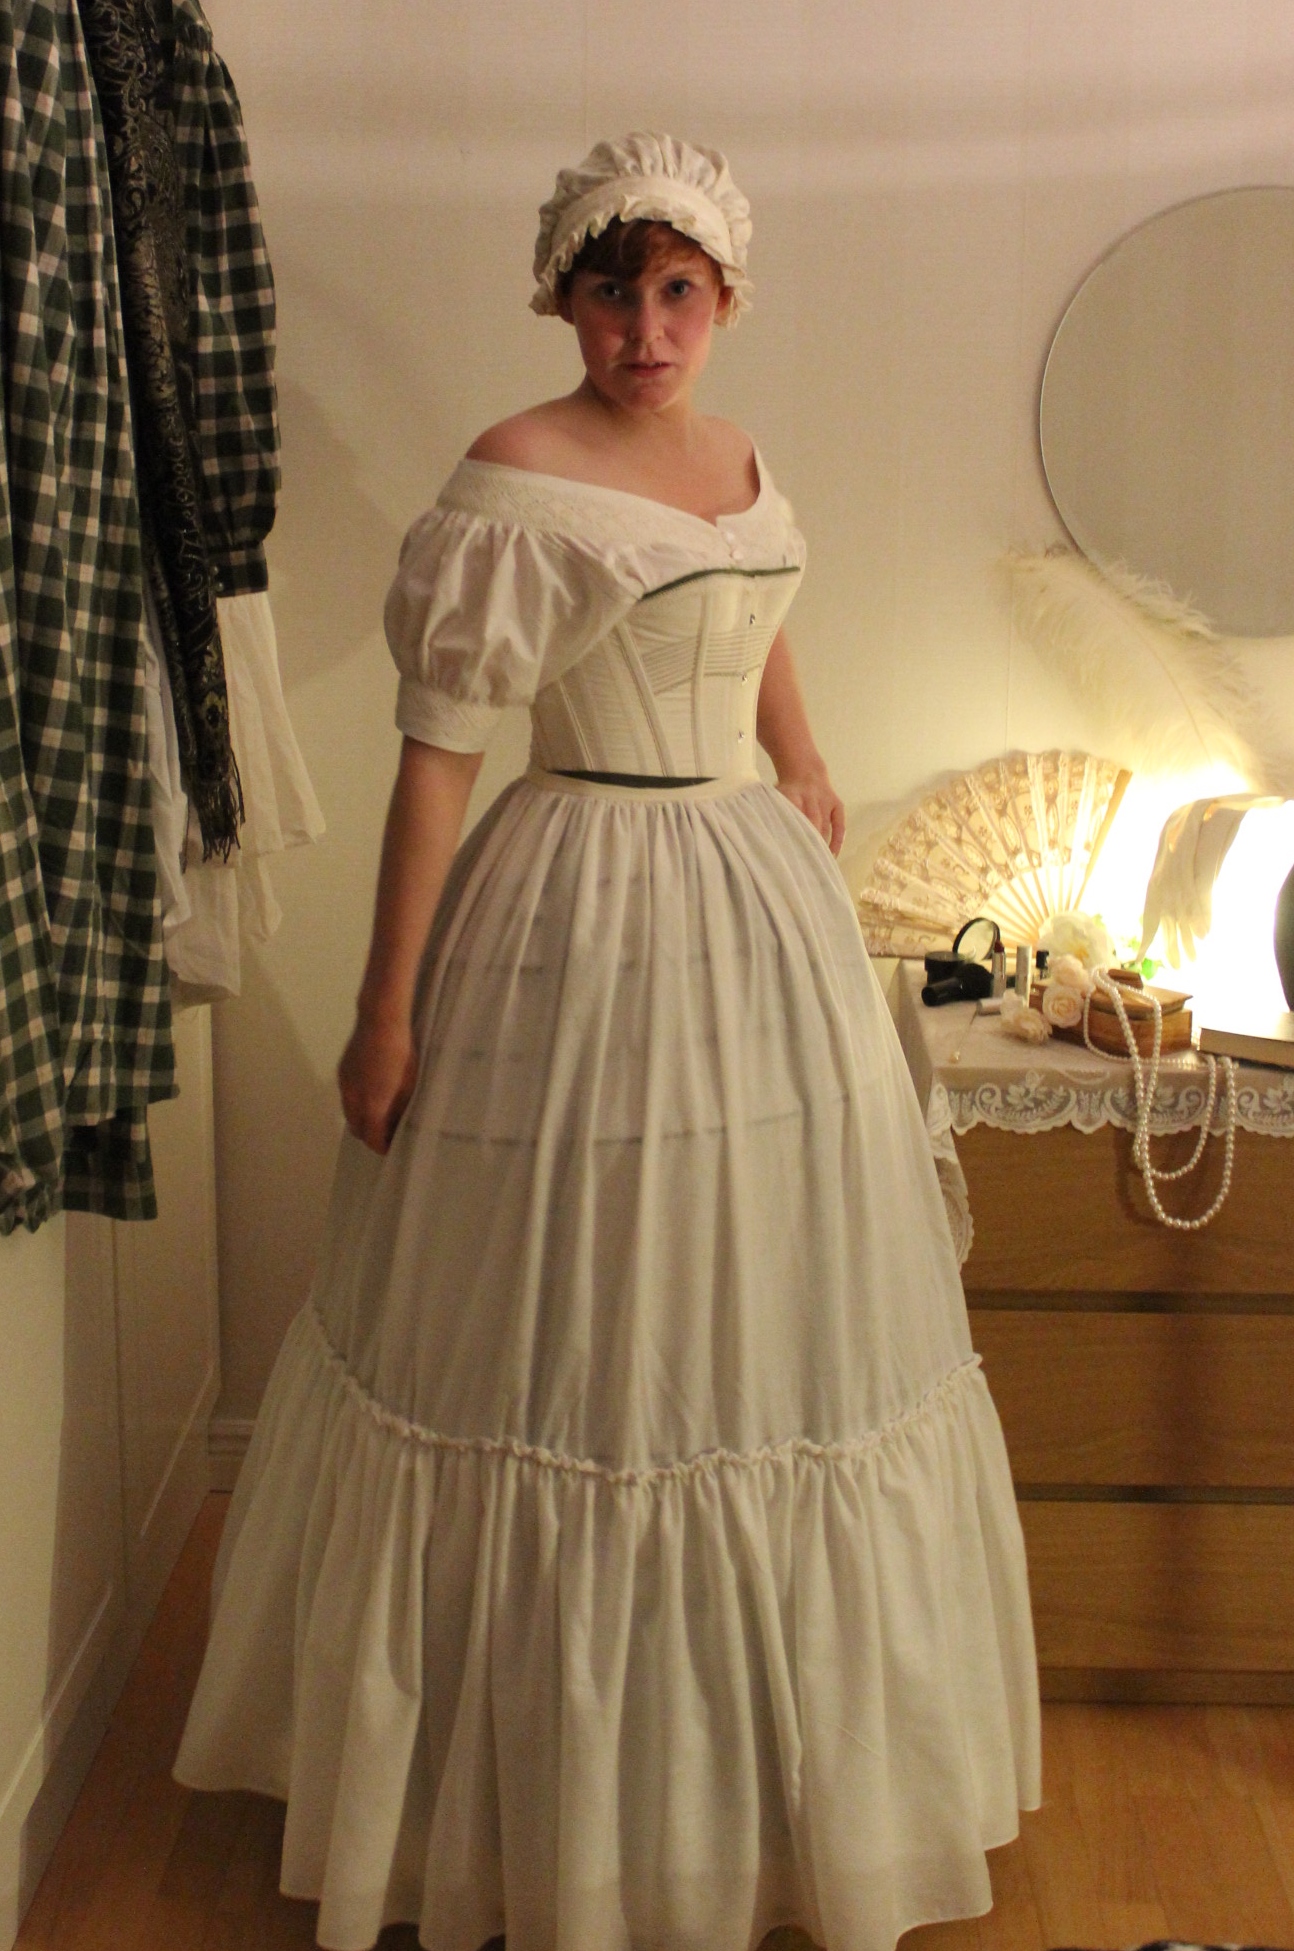
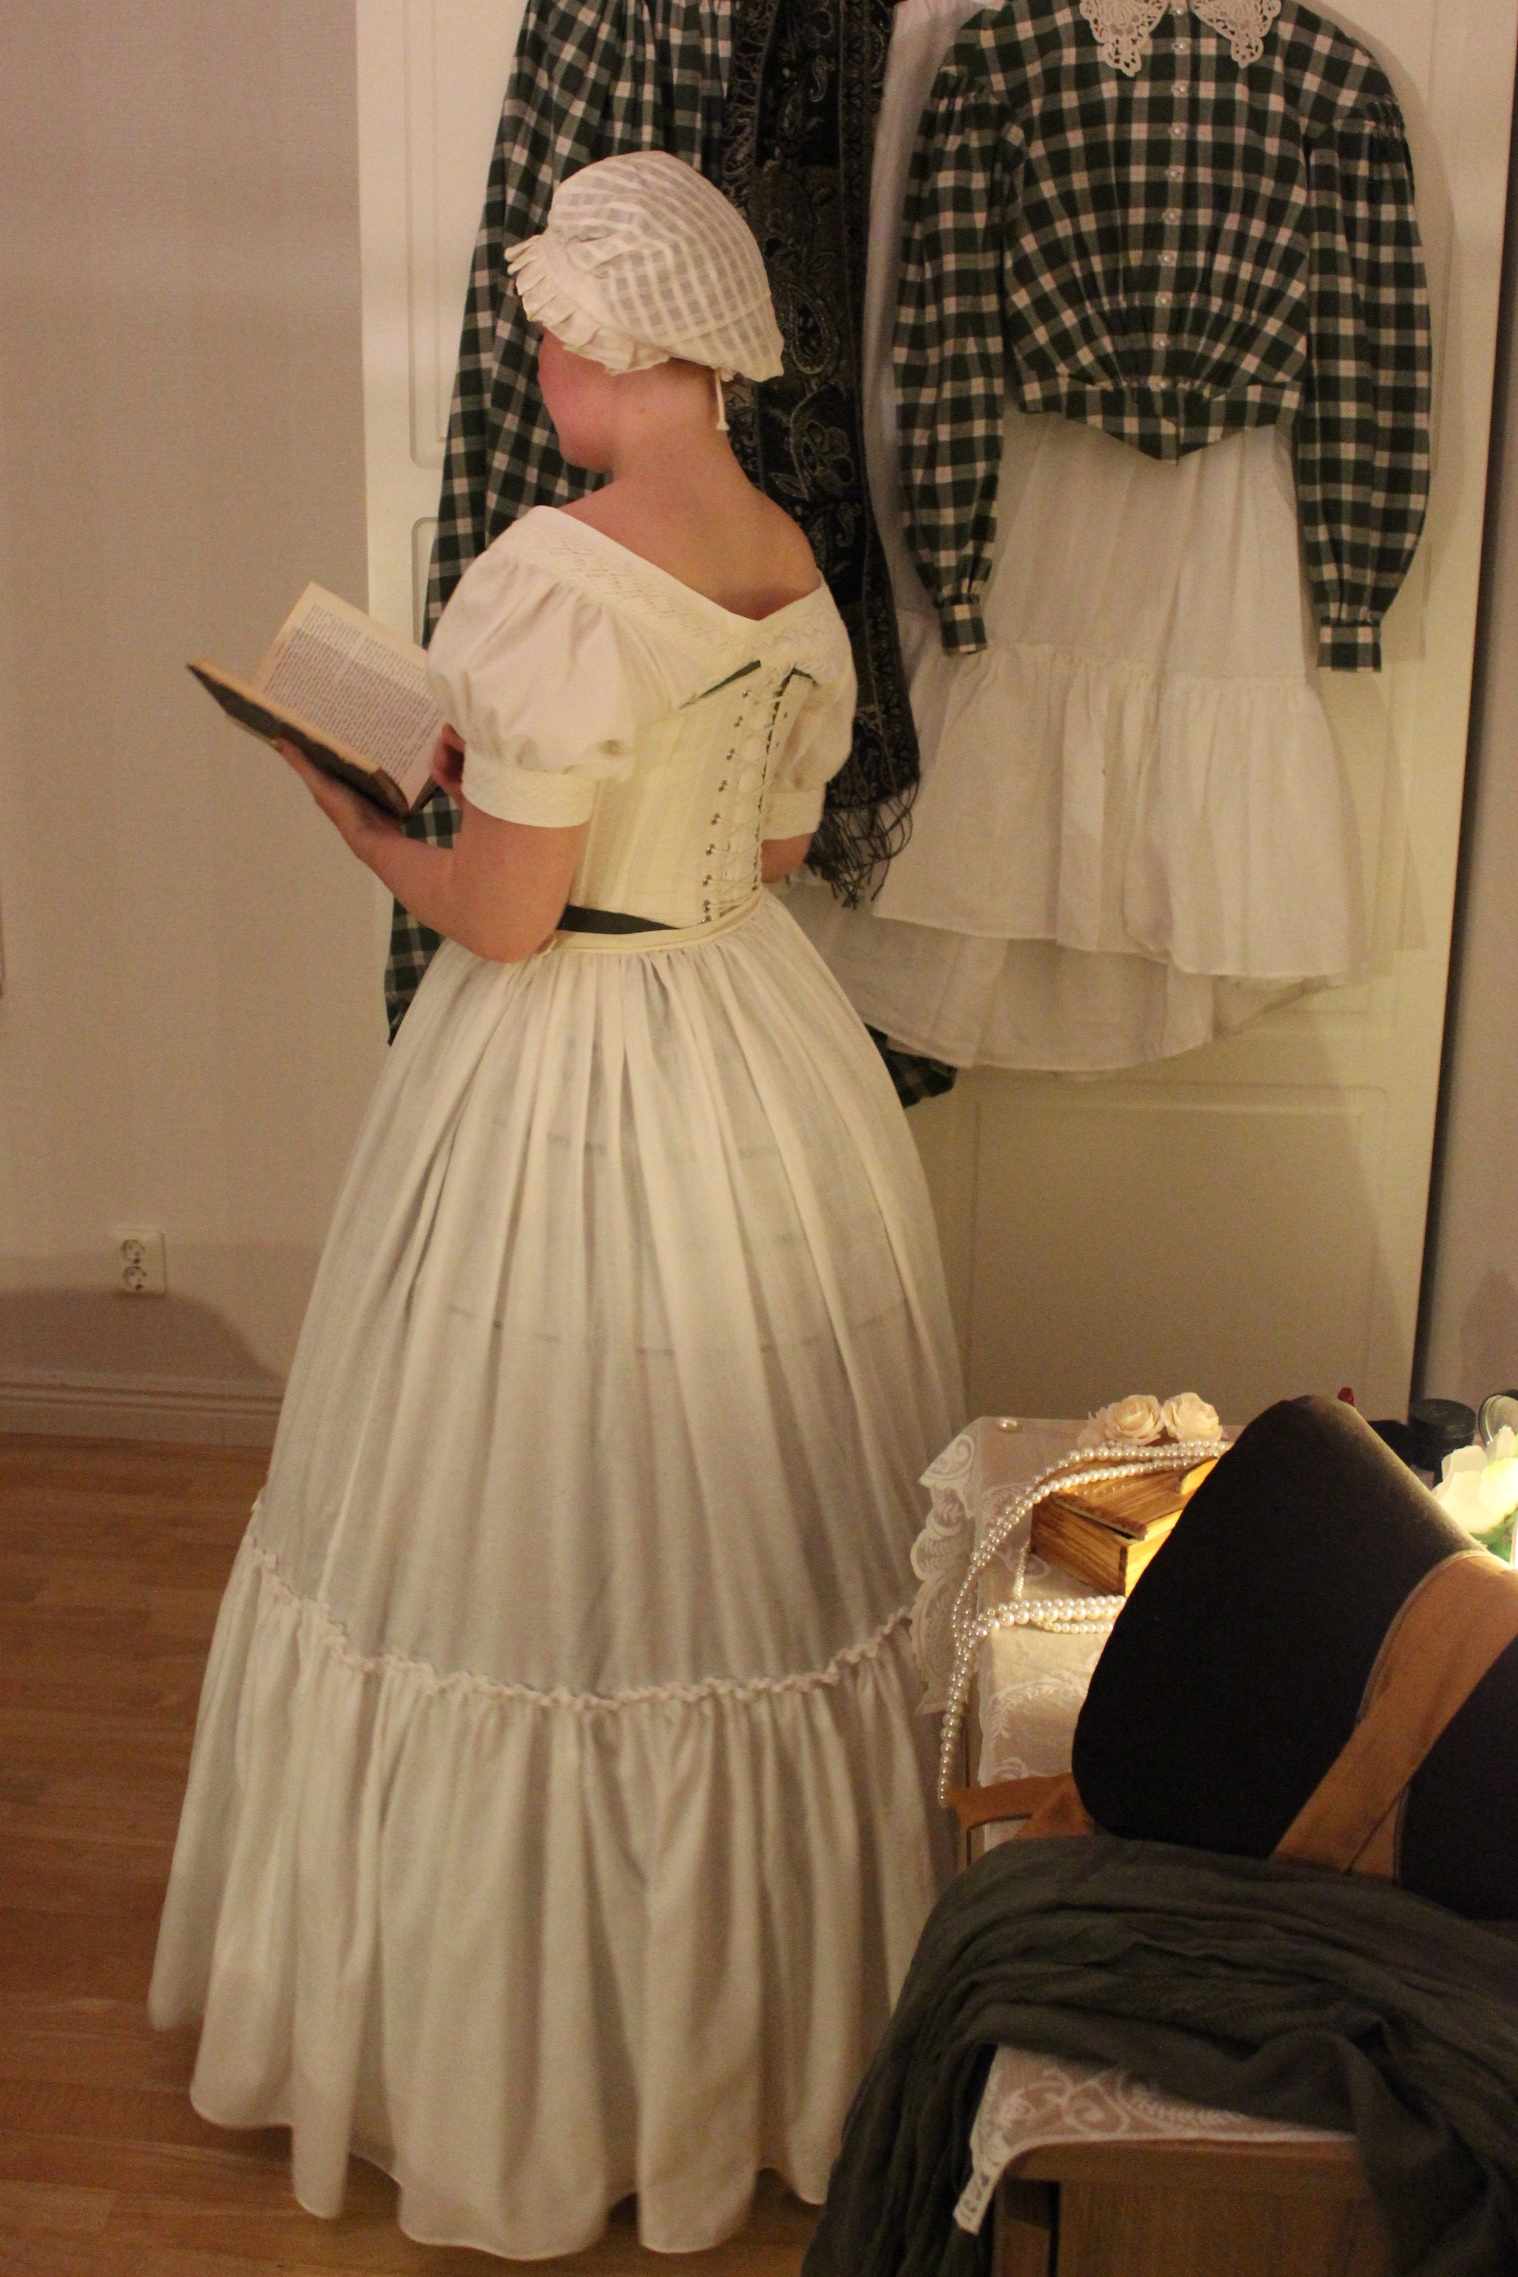
 Bouncy buttom.
 So there you have it, 4 HSF items in one photoshoot.
Well actally the corset, brown bonnet, and green plaid dress are HSF items as well.
When planing the HSF items earlier this year, I decided to try to make a mid 19th century Crinoline for nr 12 Shape & Support.
I’ve wanted one for about a year, and now there was no exuse not to make one.
I searched the internet and came up with two variations I liked. 
 1860s, so a bit late but you get the idea.
I decided to do a mash-up of the two – keeping the first ones shape, but adding the fabric of the lower section in the second one.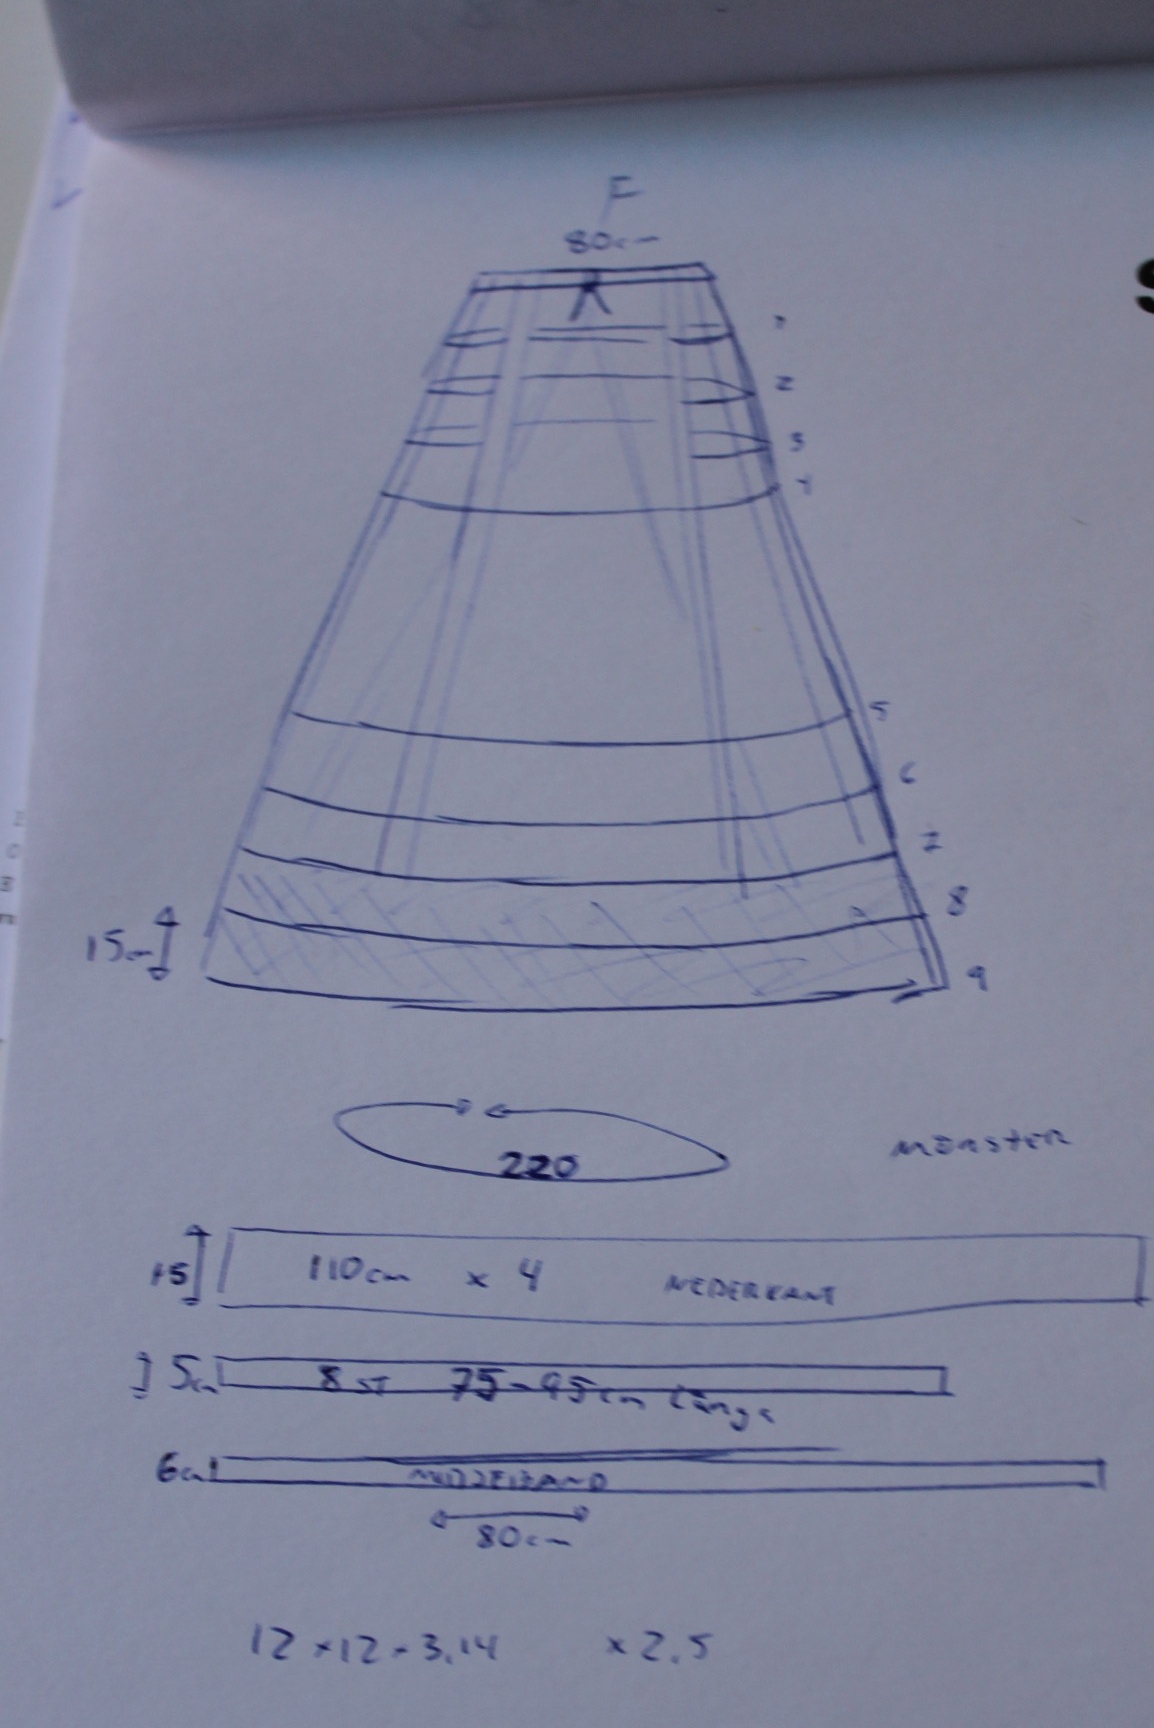 I didin’t use any pattern but made some calculations of the size and amount of rectangles I would need.
I found this thick green polyester in my stash, and figured why not. I cut the pieces letting the widht of the fabric decide the size of the bottom of the finished crinoline (220 cm).  From left: Vertical ribbons, bone casings, bottom part, smal pieces of chanels and a waistband at the right.
Then I pressed the long ribbons to turn them in to bone-casings.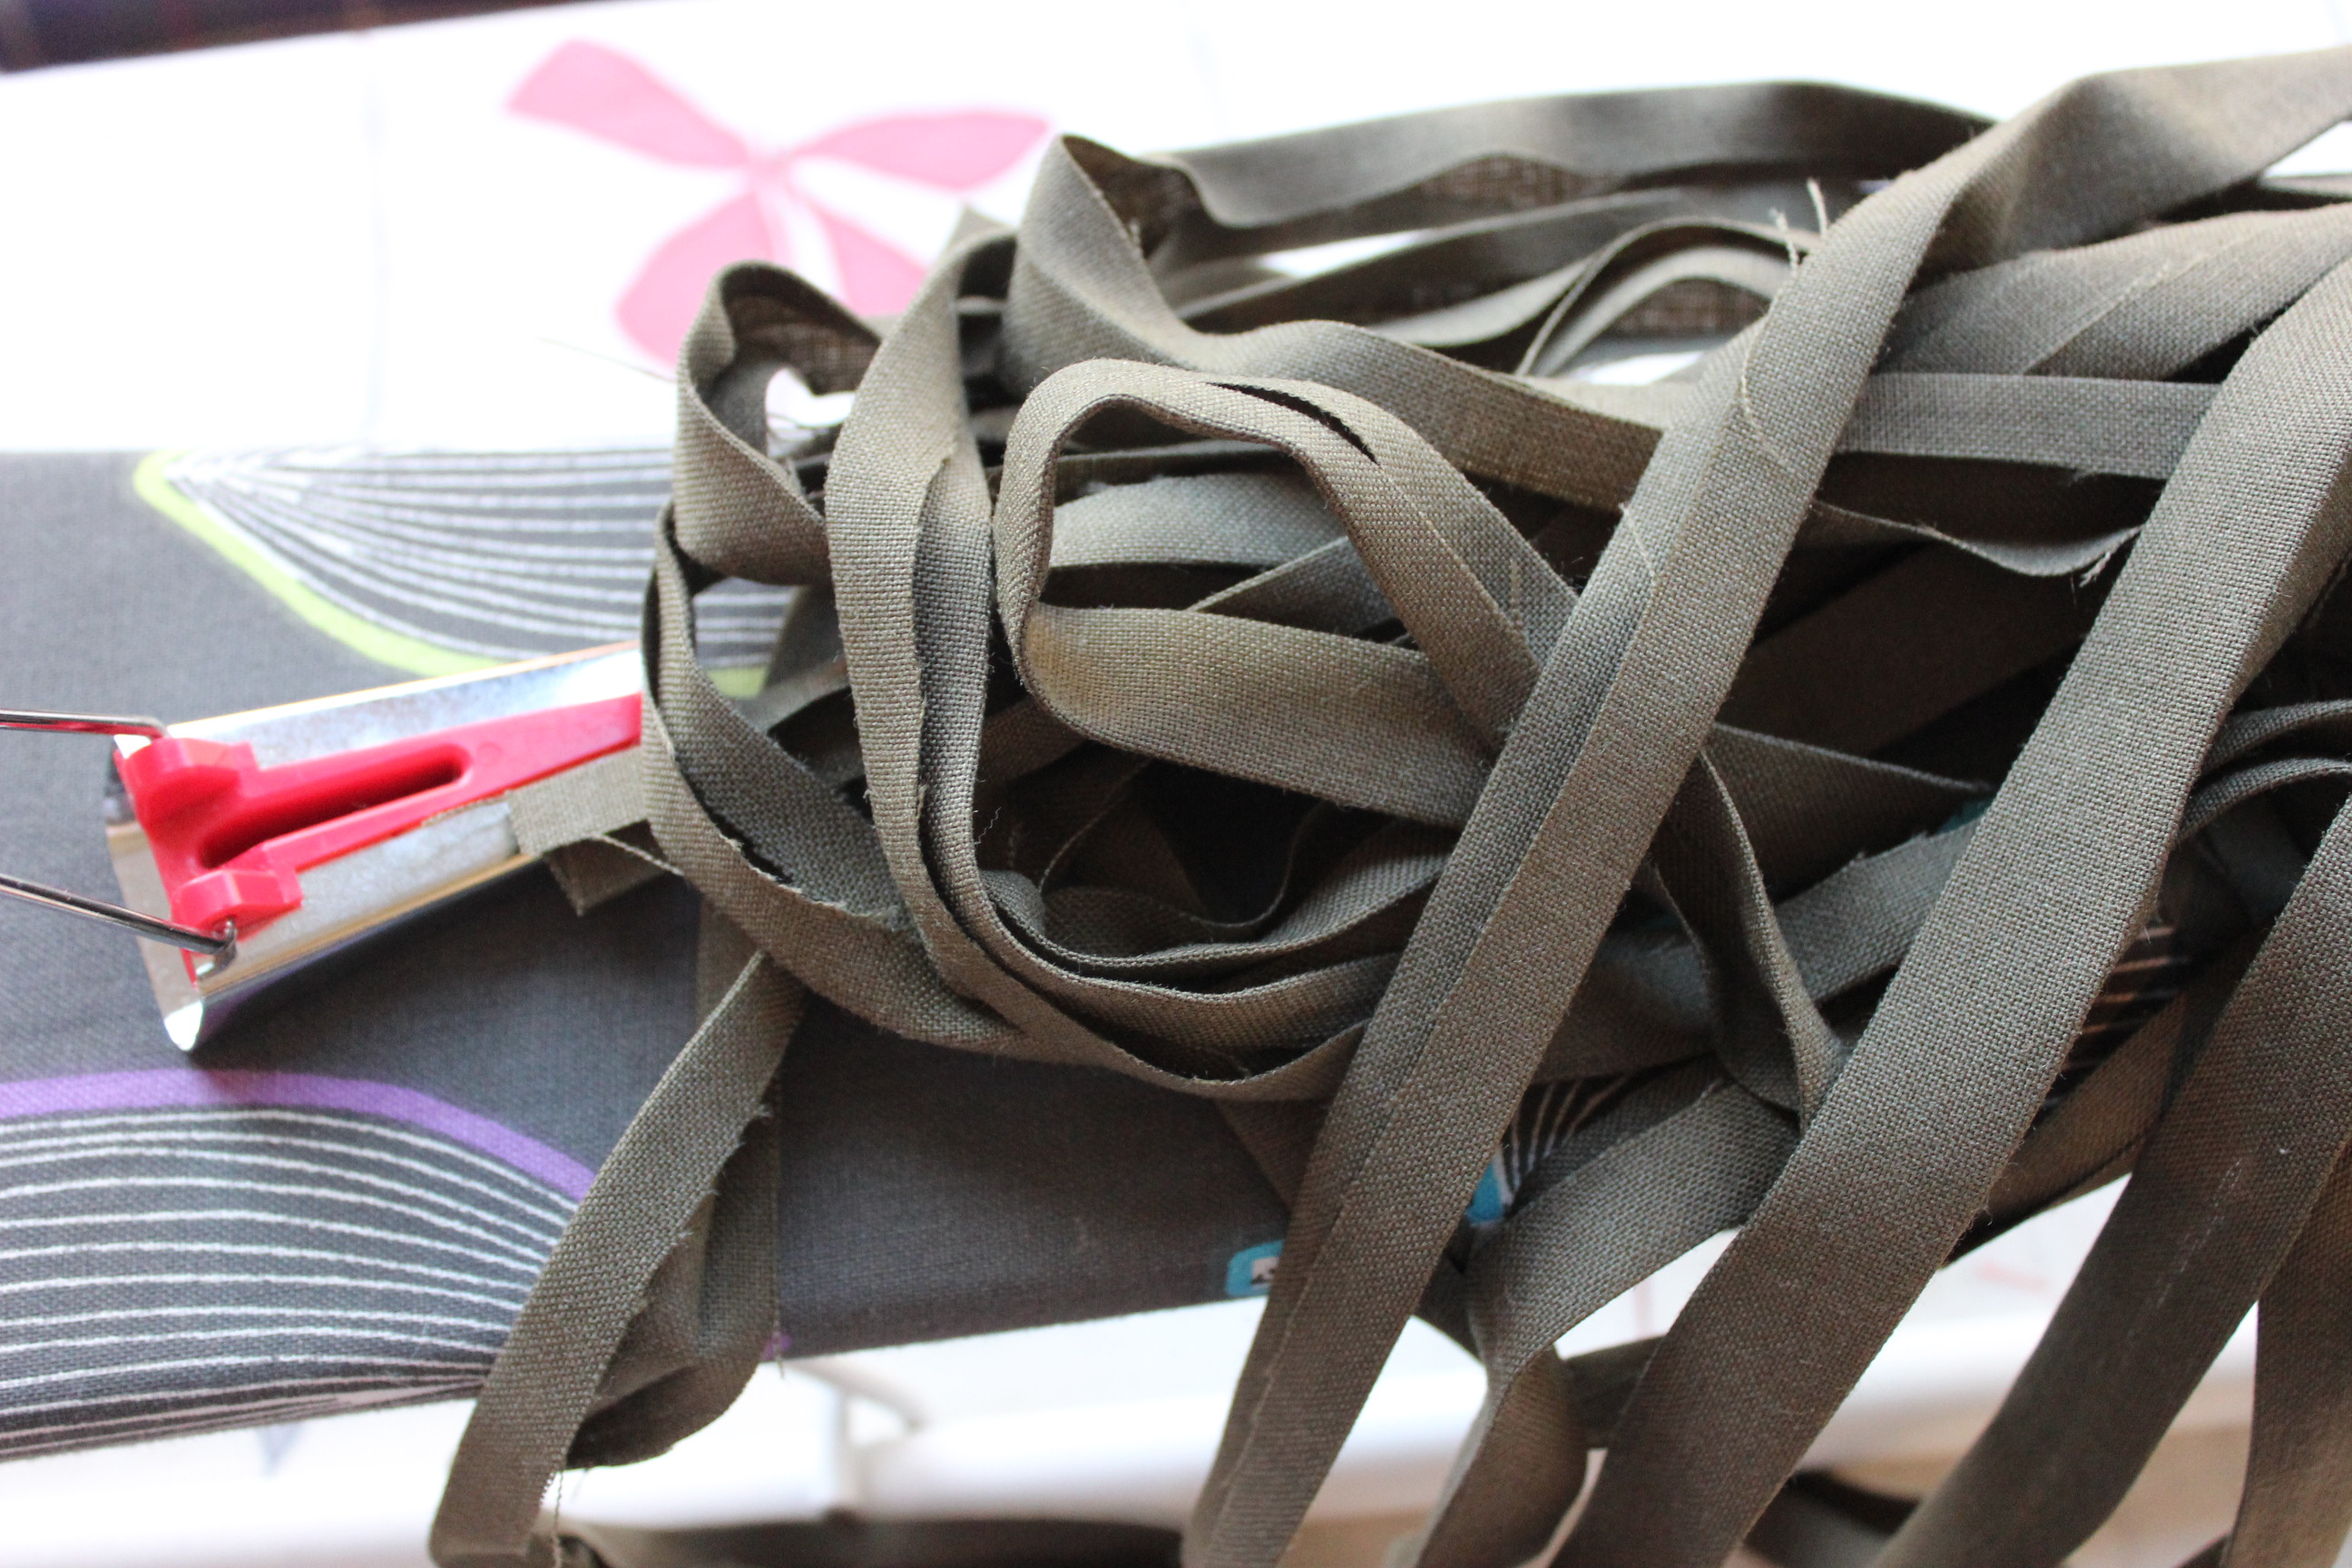 About 6,5 m or so.
Then I sewed the boning chanels to the pieces to create the bottom part of the crinoline.


The chanels shown from the wrong side and the right side.
Then I hemmed the pieces creating the vertical support ribbons.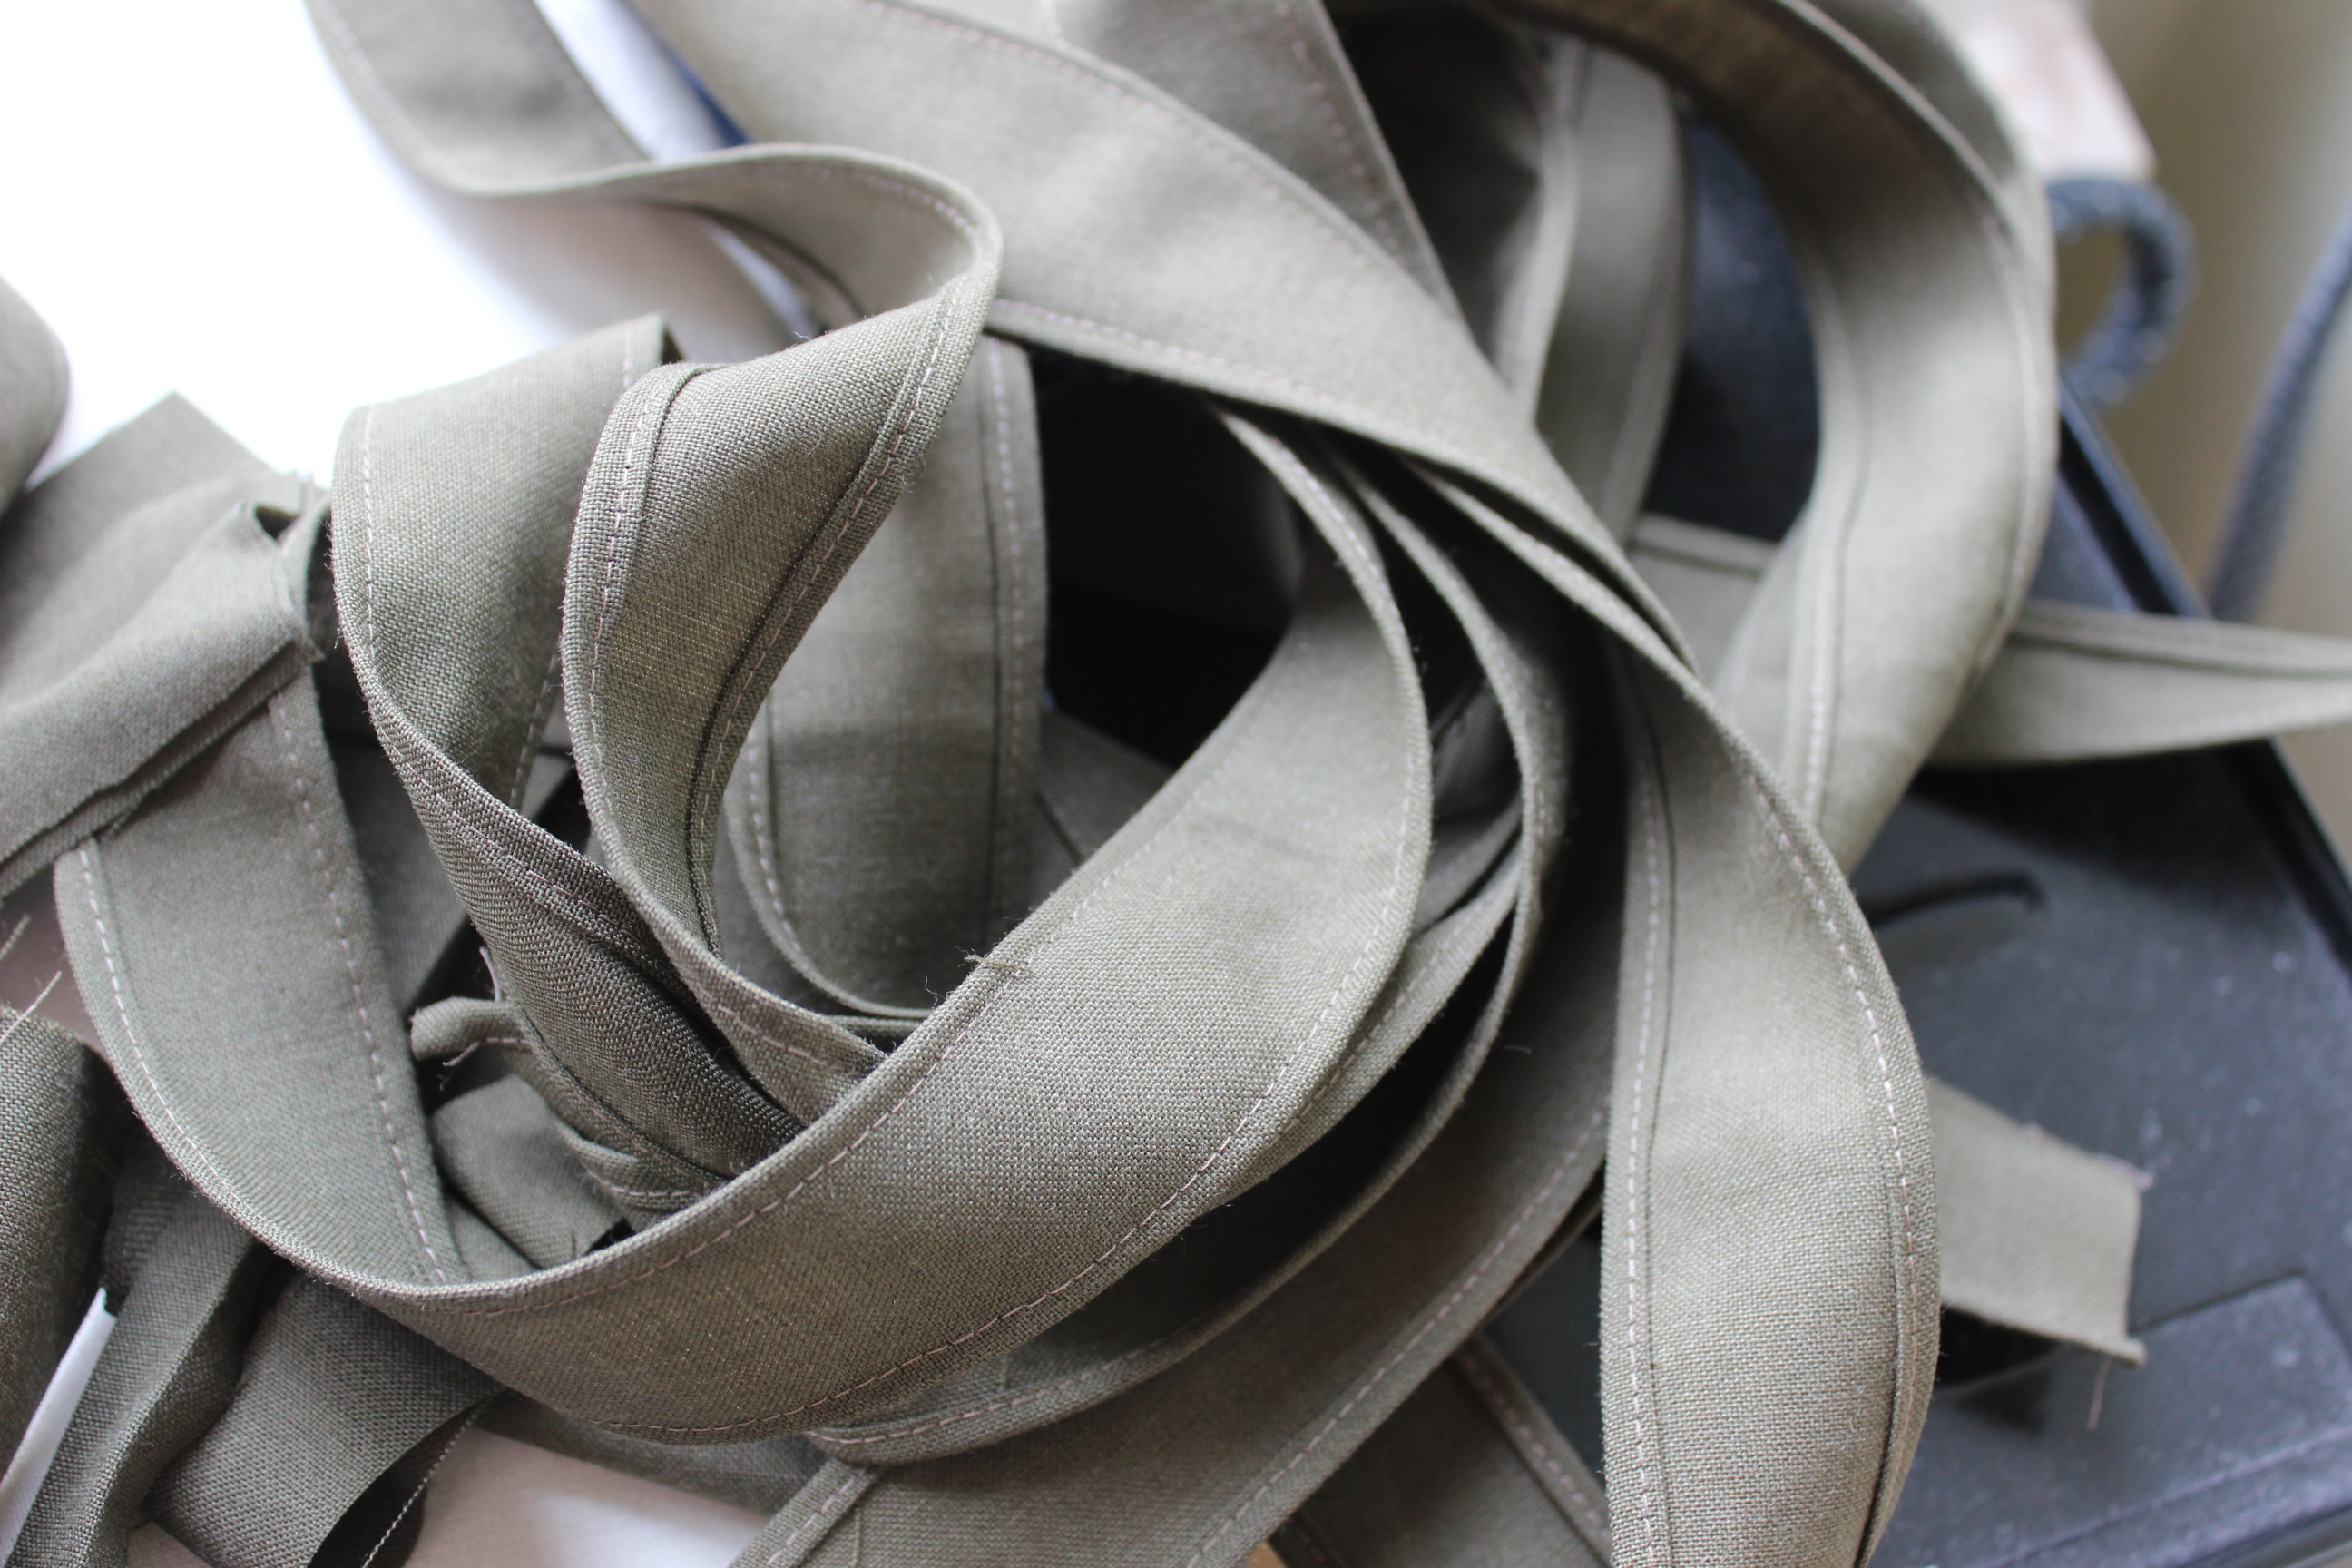 There are eight of them at 1 m a piece = about 16 m of hemming (its a good thing I decided to make this one on the machine).
Then I lay it out on the floor to decide the size and placement of he ribbons.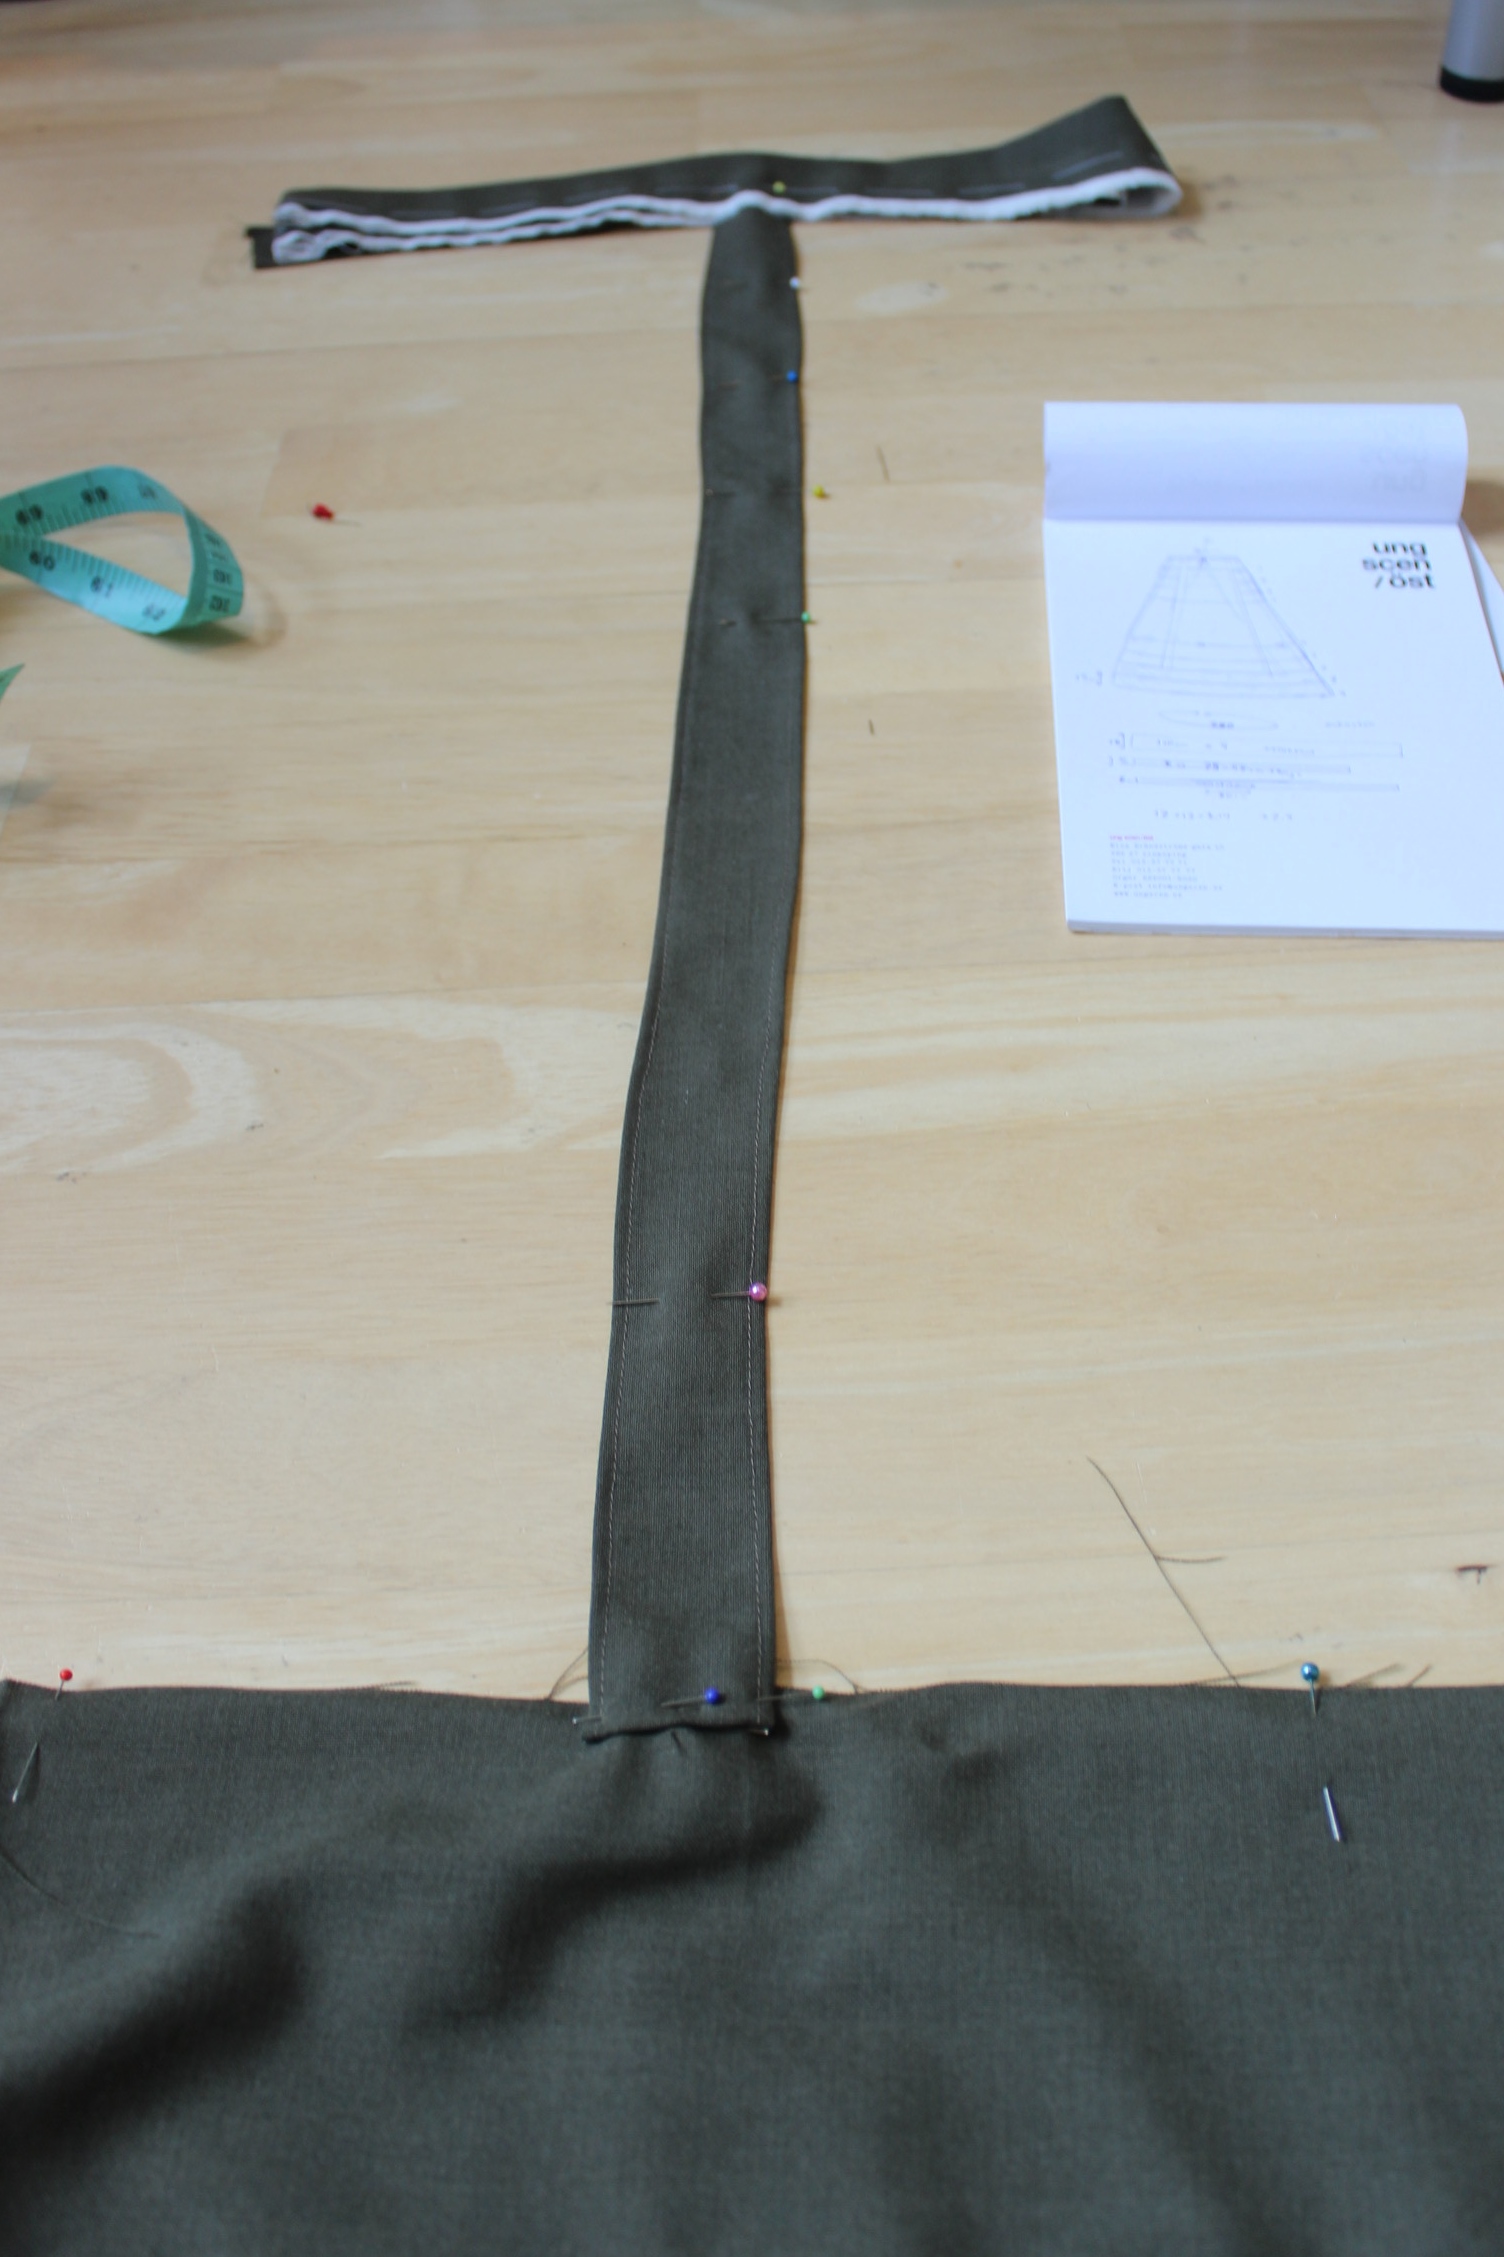
I put it on my dressform to make sure everything looked even. And stitched the ribbons down to the wasitband and lower section of the crinoline.
 Looks kind of stupid without the boning.
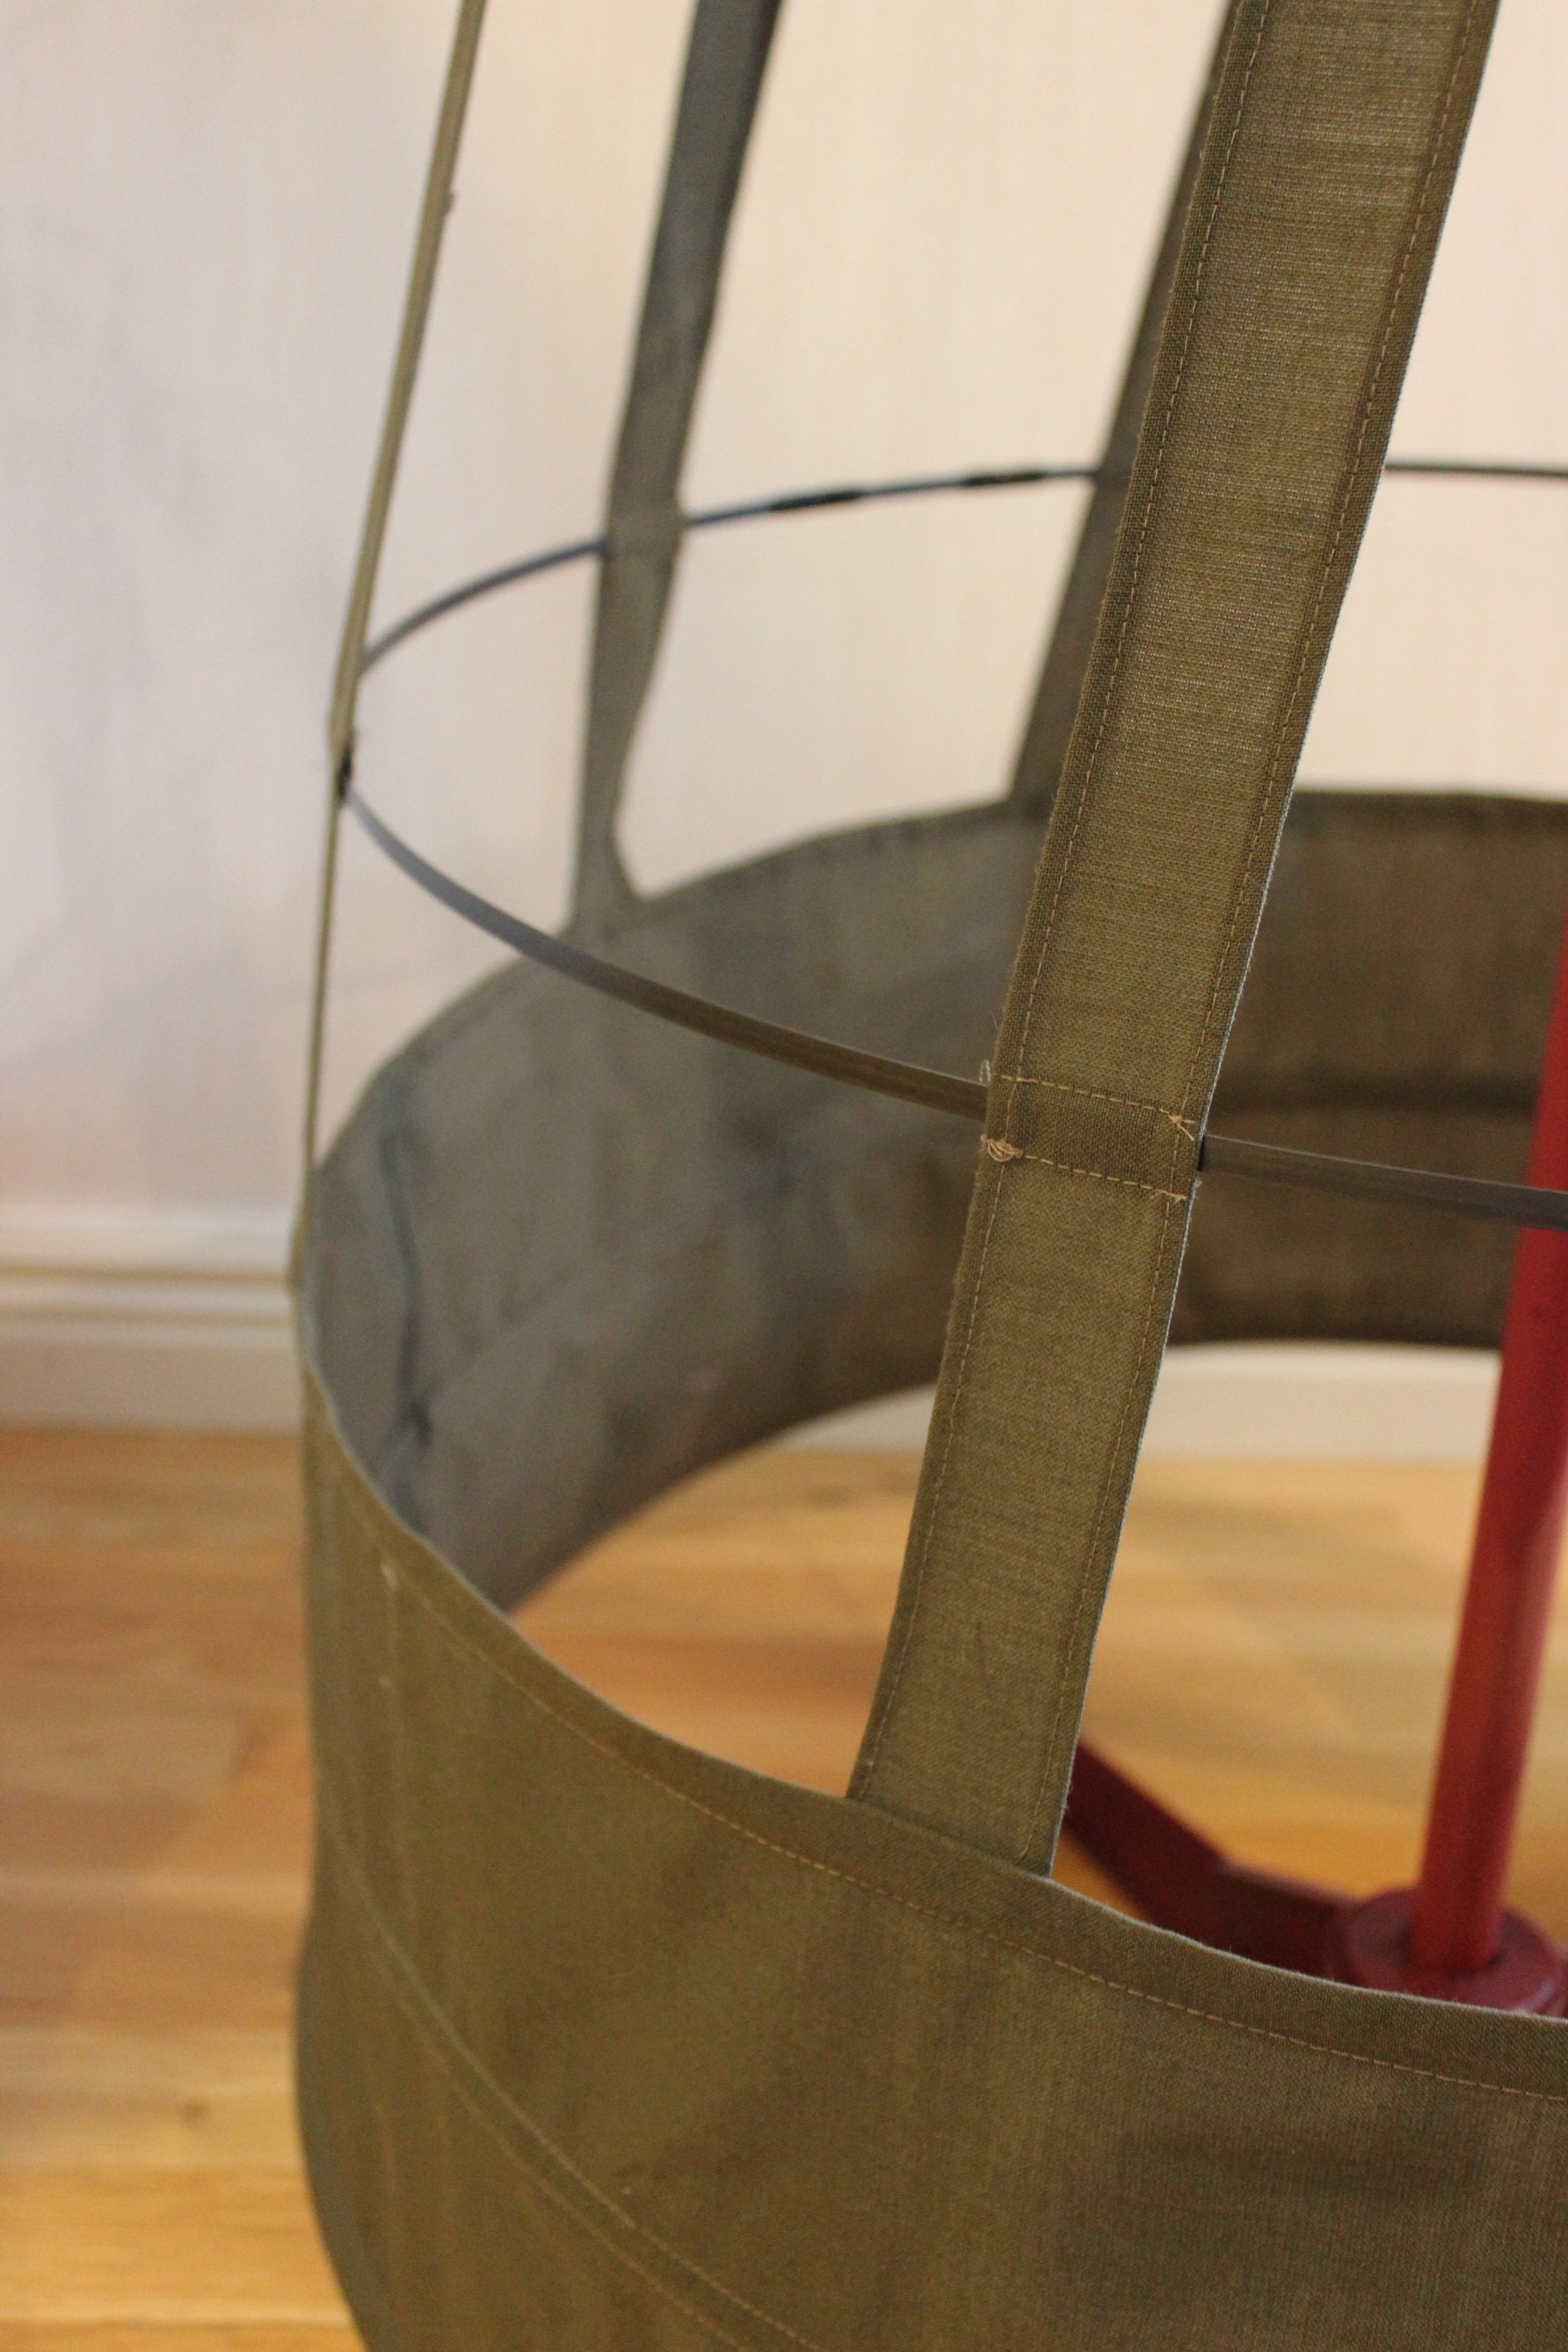
Then I pressed the smaler pieces to boning chanels about 3 cm long. I then stiched these on to the vertical ribbons, making places for the bones to conect to the foundation.
Then it was time for the boning.  I used about 11 m of steel wire, originaly ment to be used to un-plug stop in the drain.
I used some electrical tape to cover the sharp edges, and taped the ends togeter inside the chanels in the bottom part of the crinoline.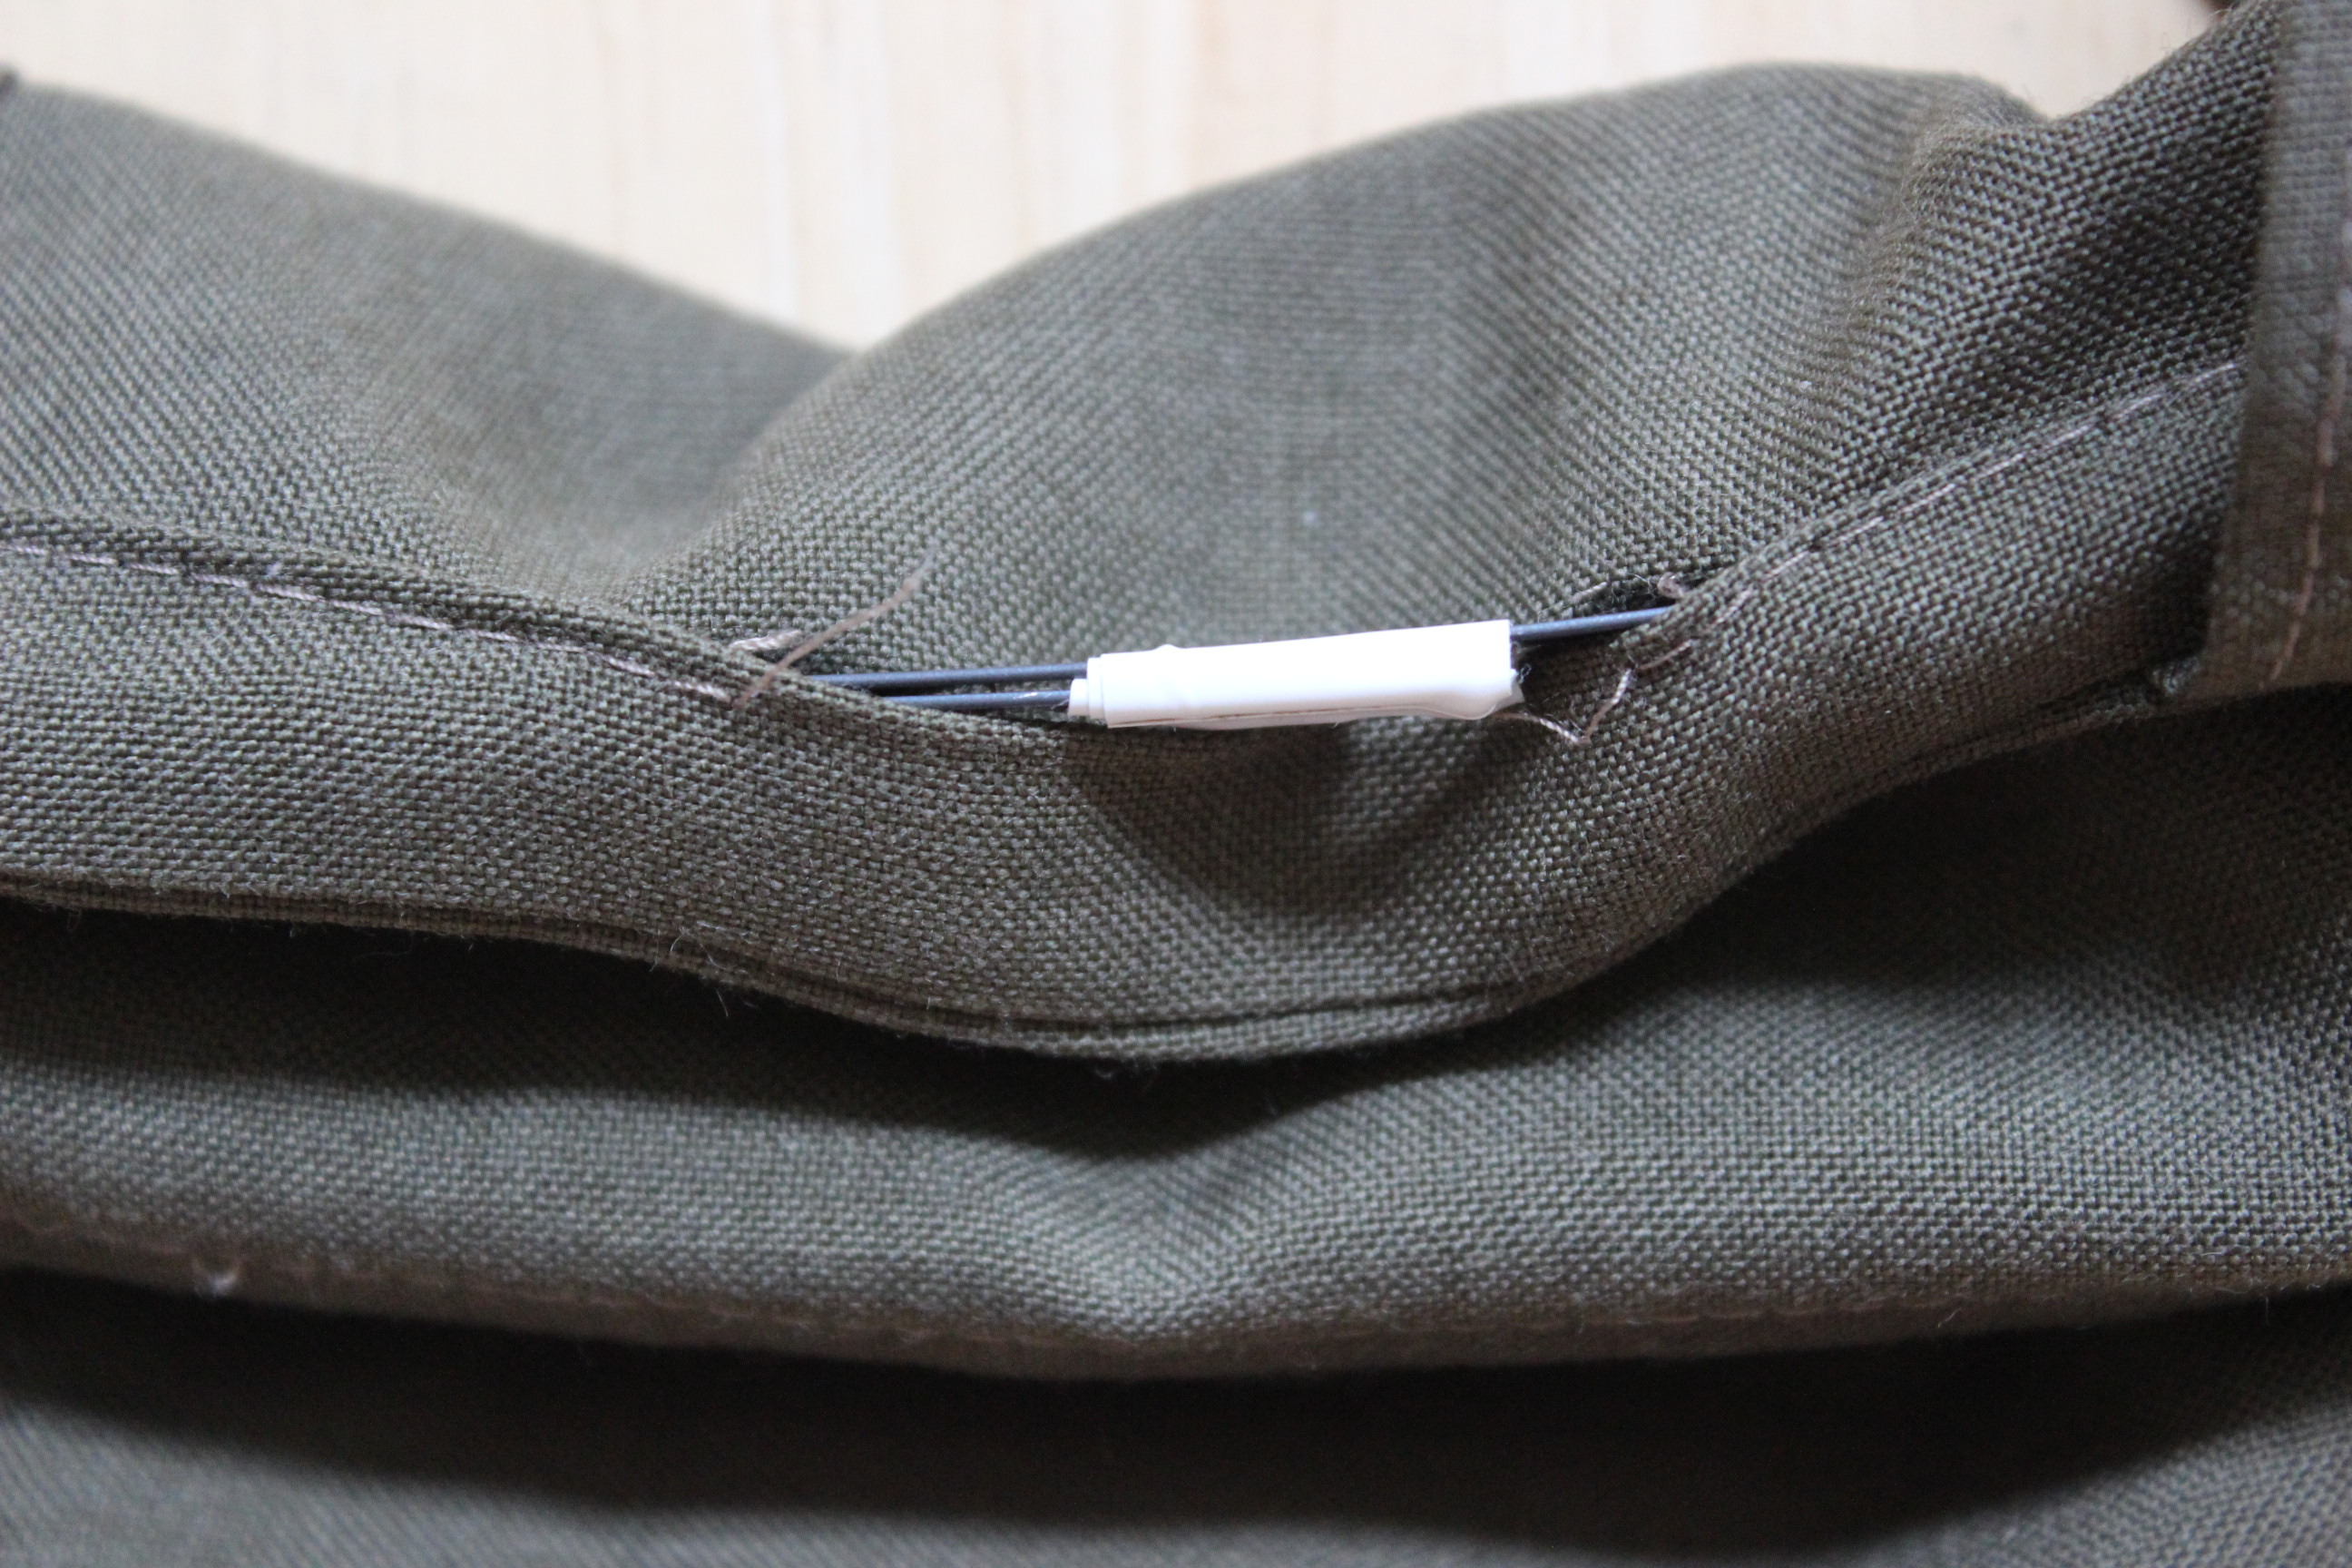
 Here you can se the places in which I taped the wires togeter. I then stiched the holes back up.
Working my way up from the bottom I inserted the boning and closed each hoop before moving on to the next.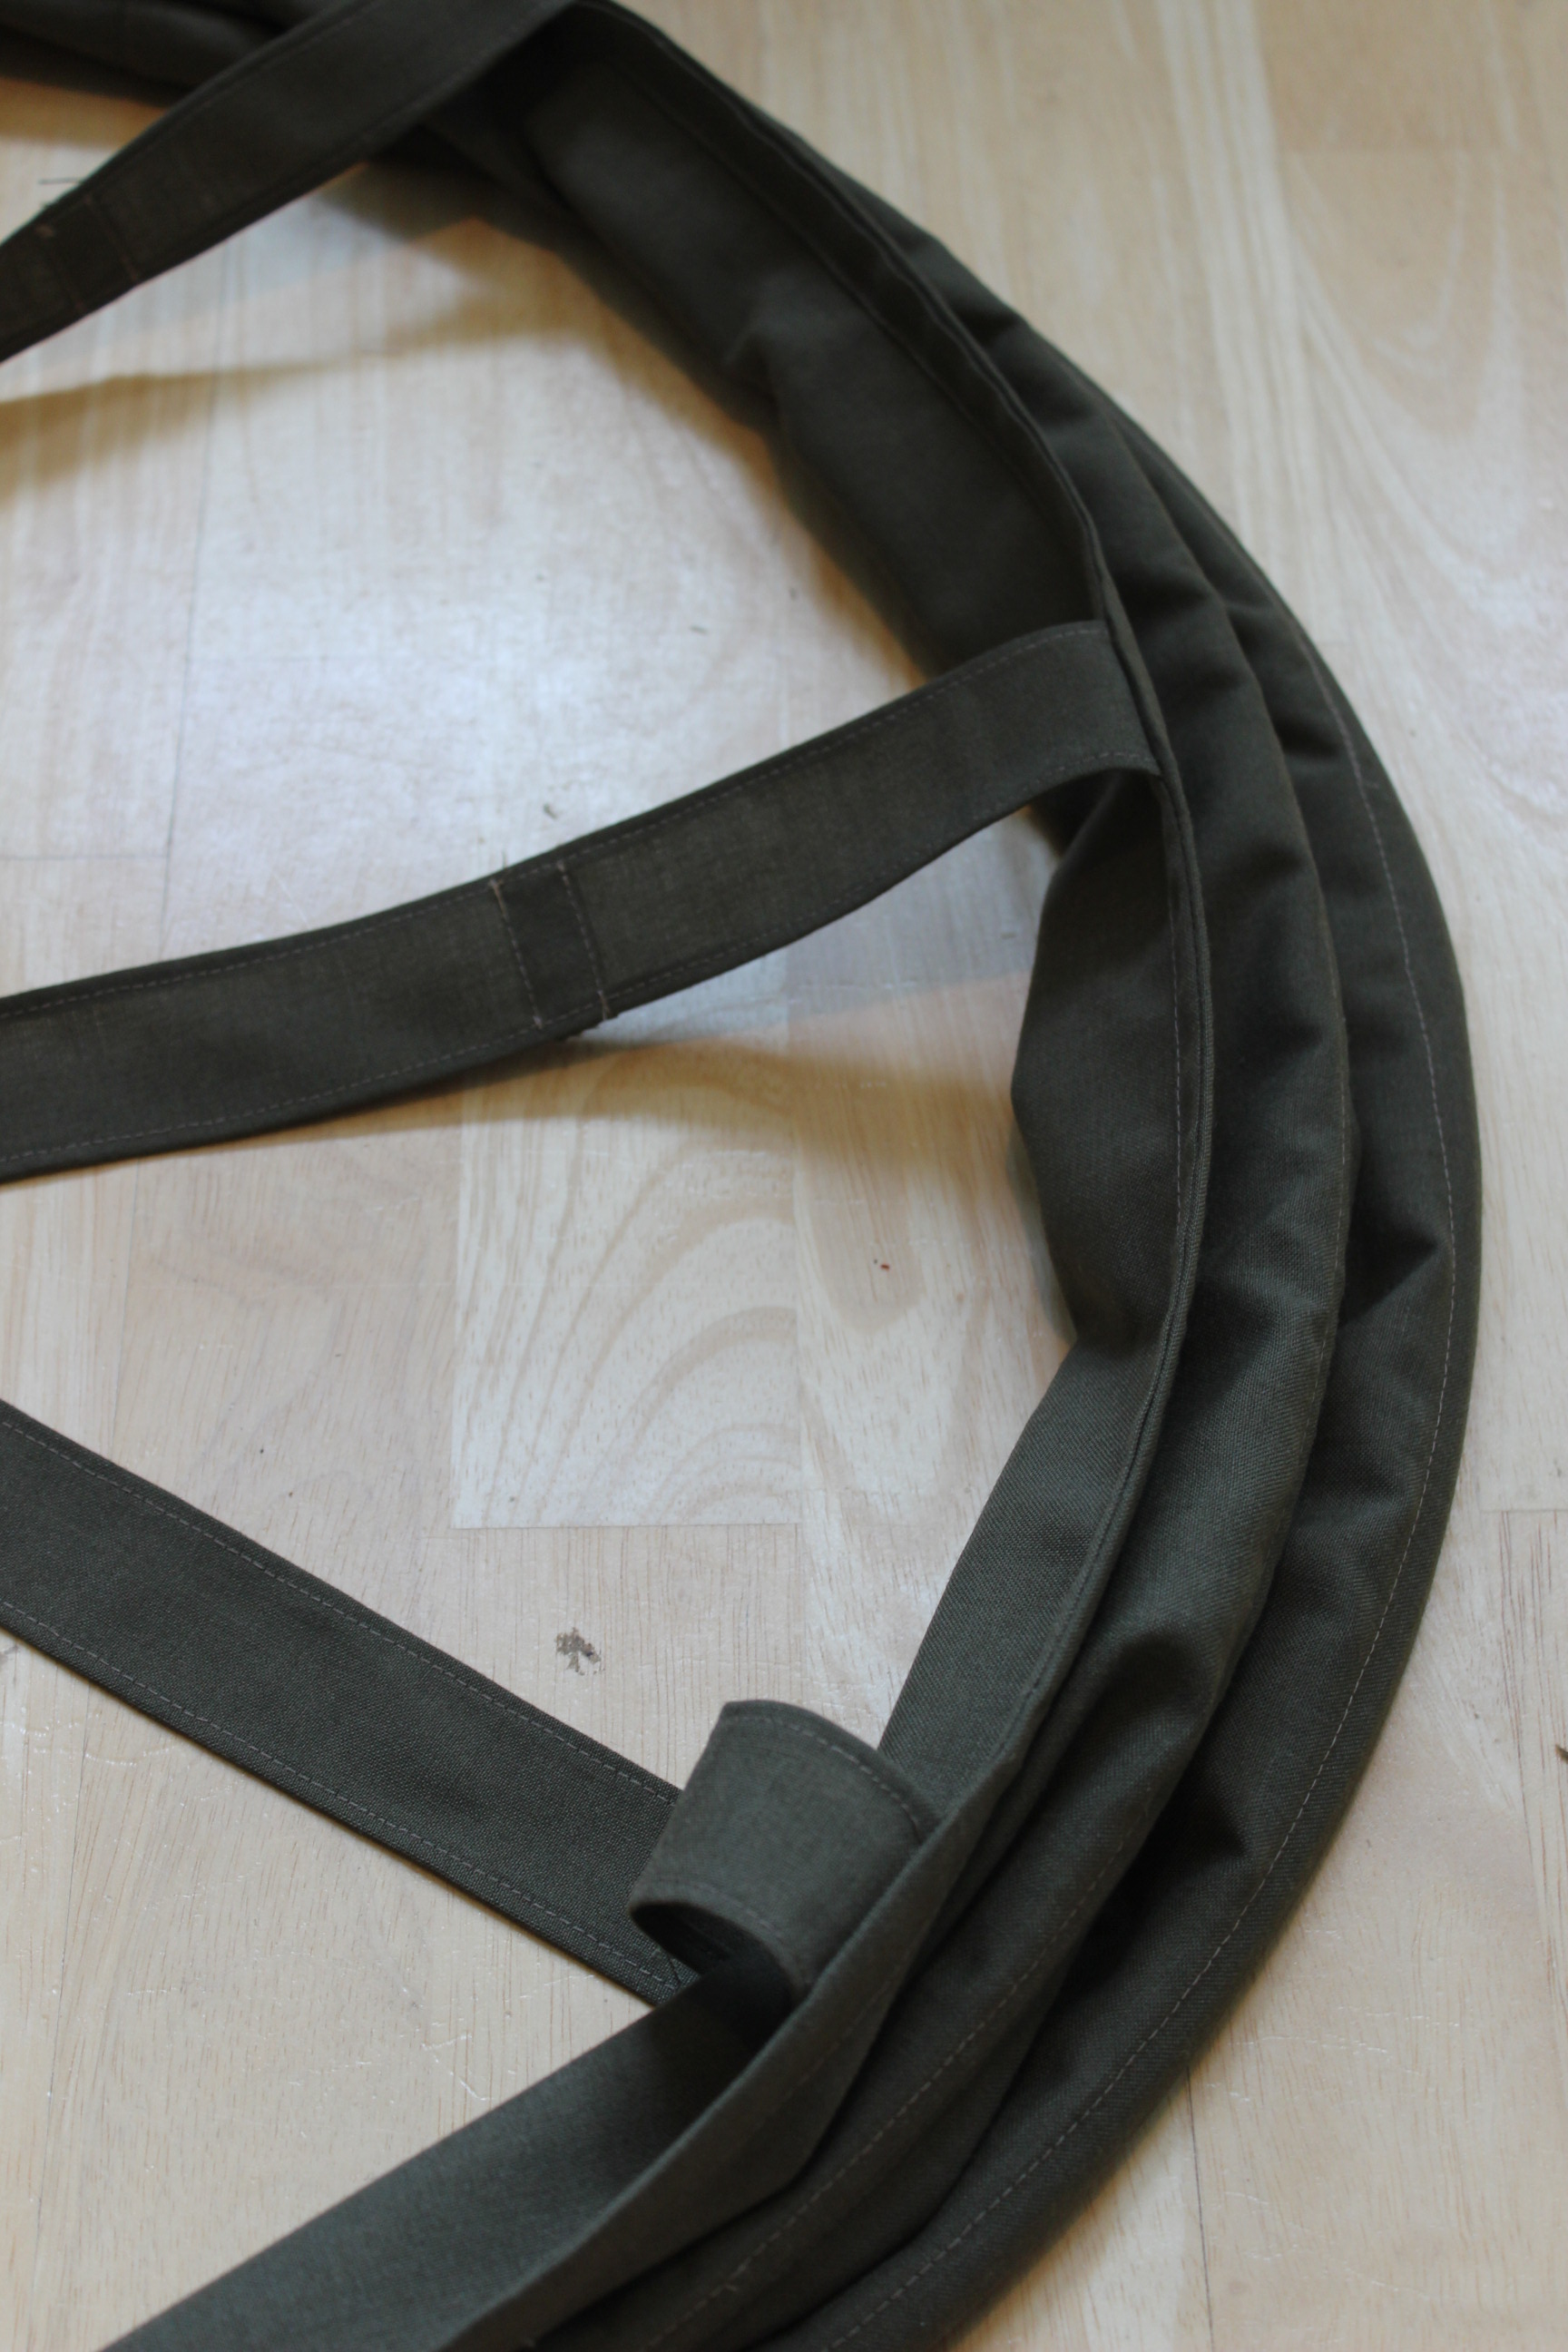 Three bones inserted.
When I got to the “free” bones I inserted them into the smal chanels at each vertical ribbon, and taped the hoop shut at the end.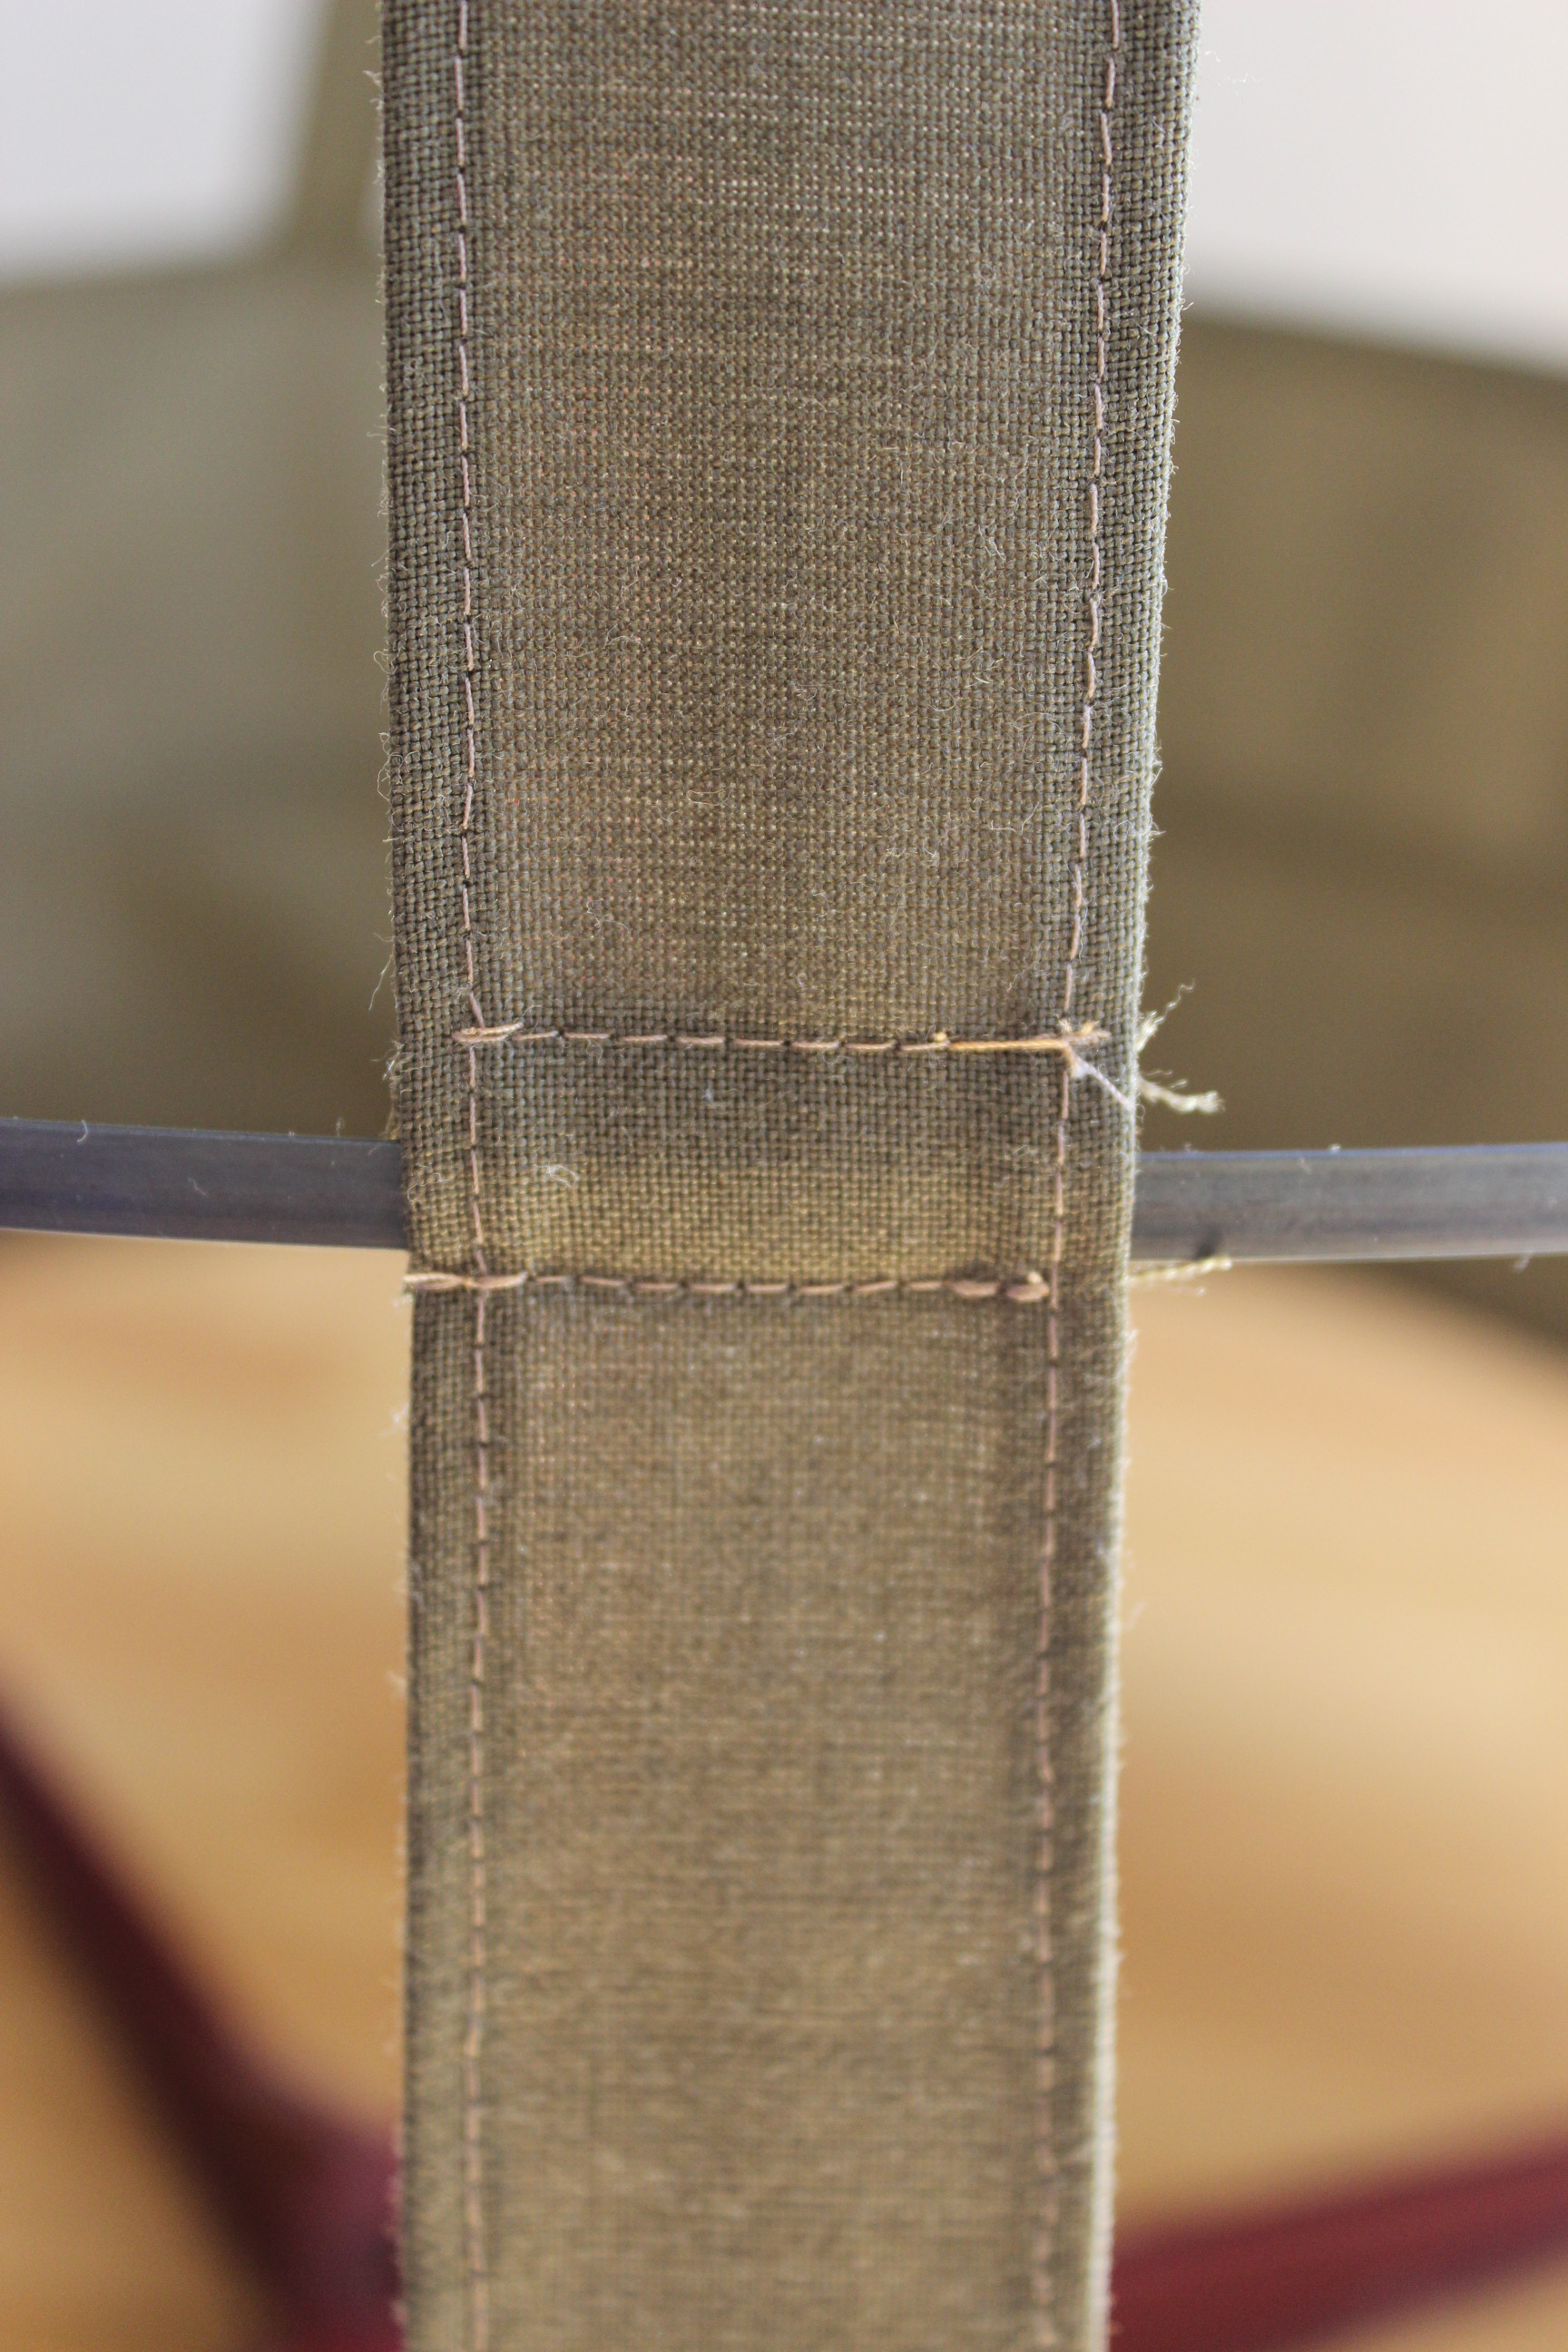
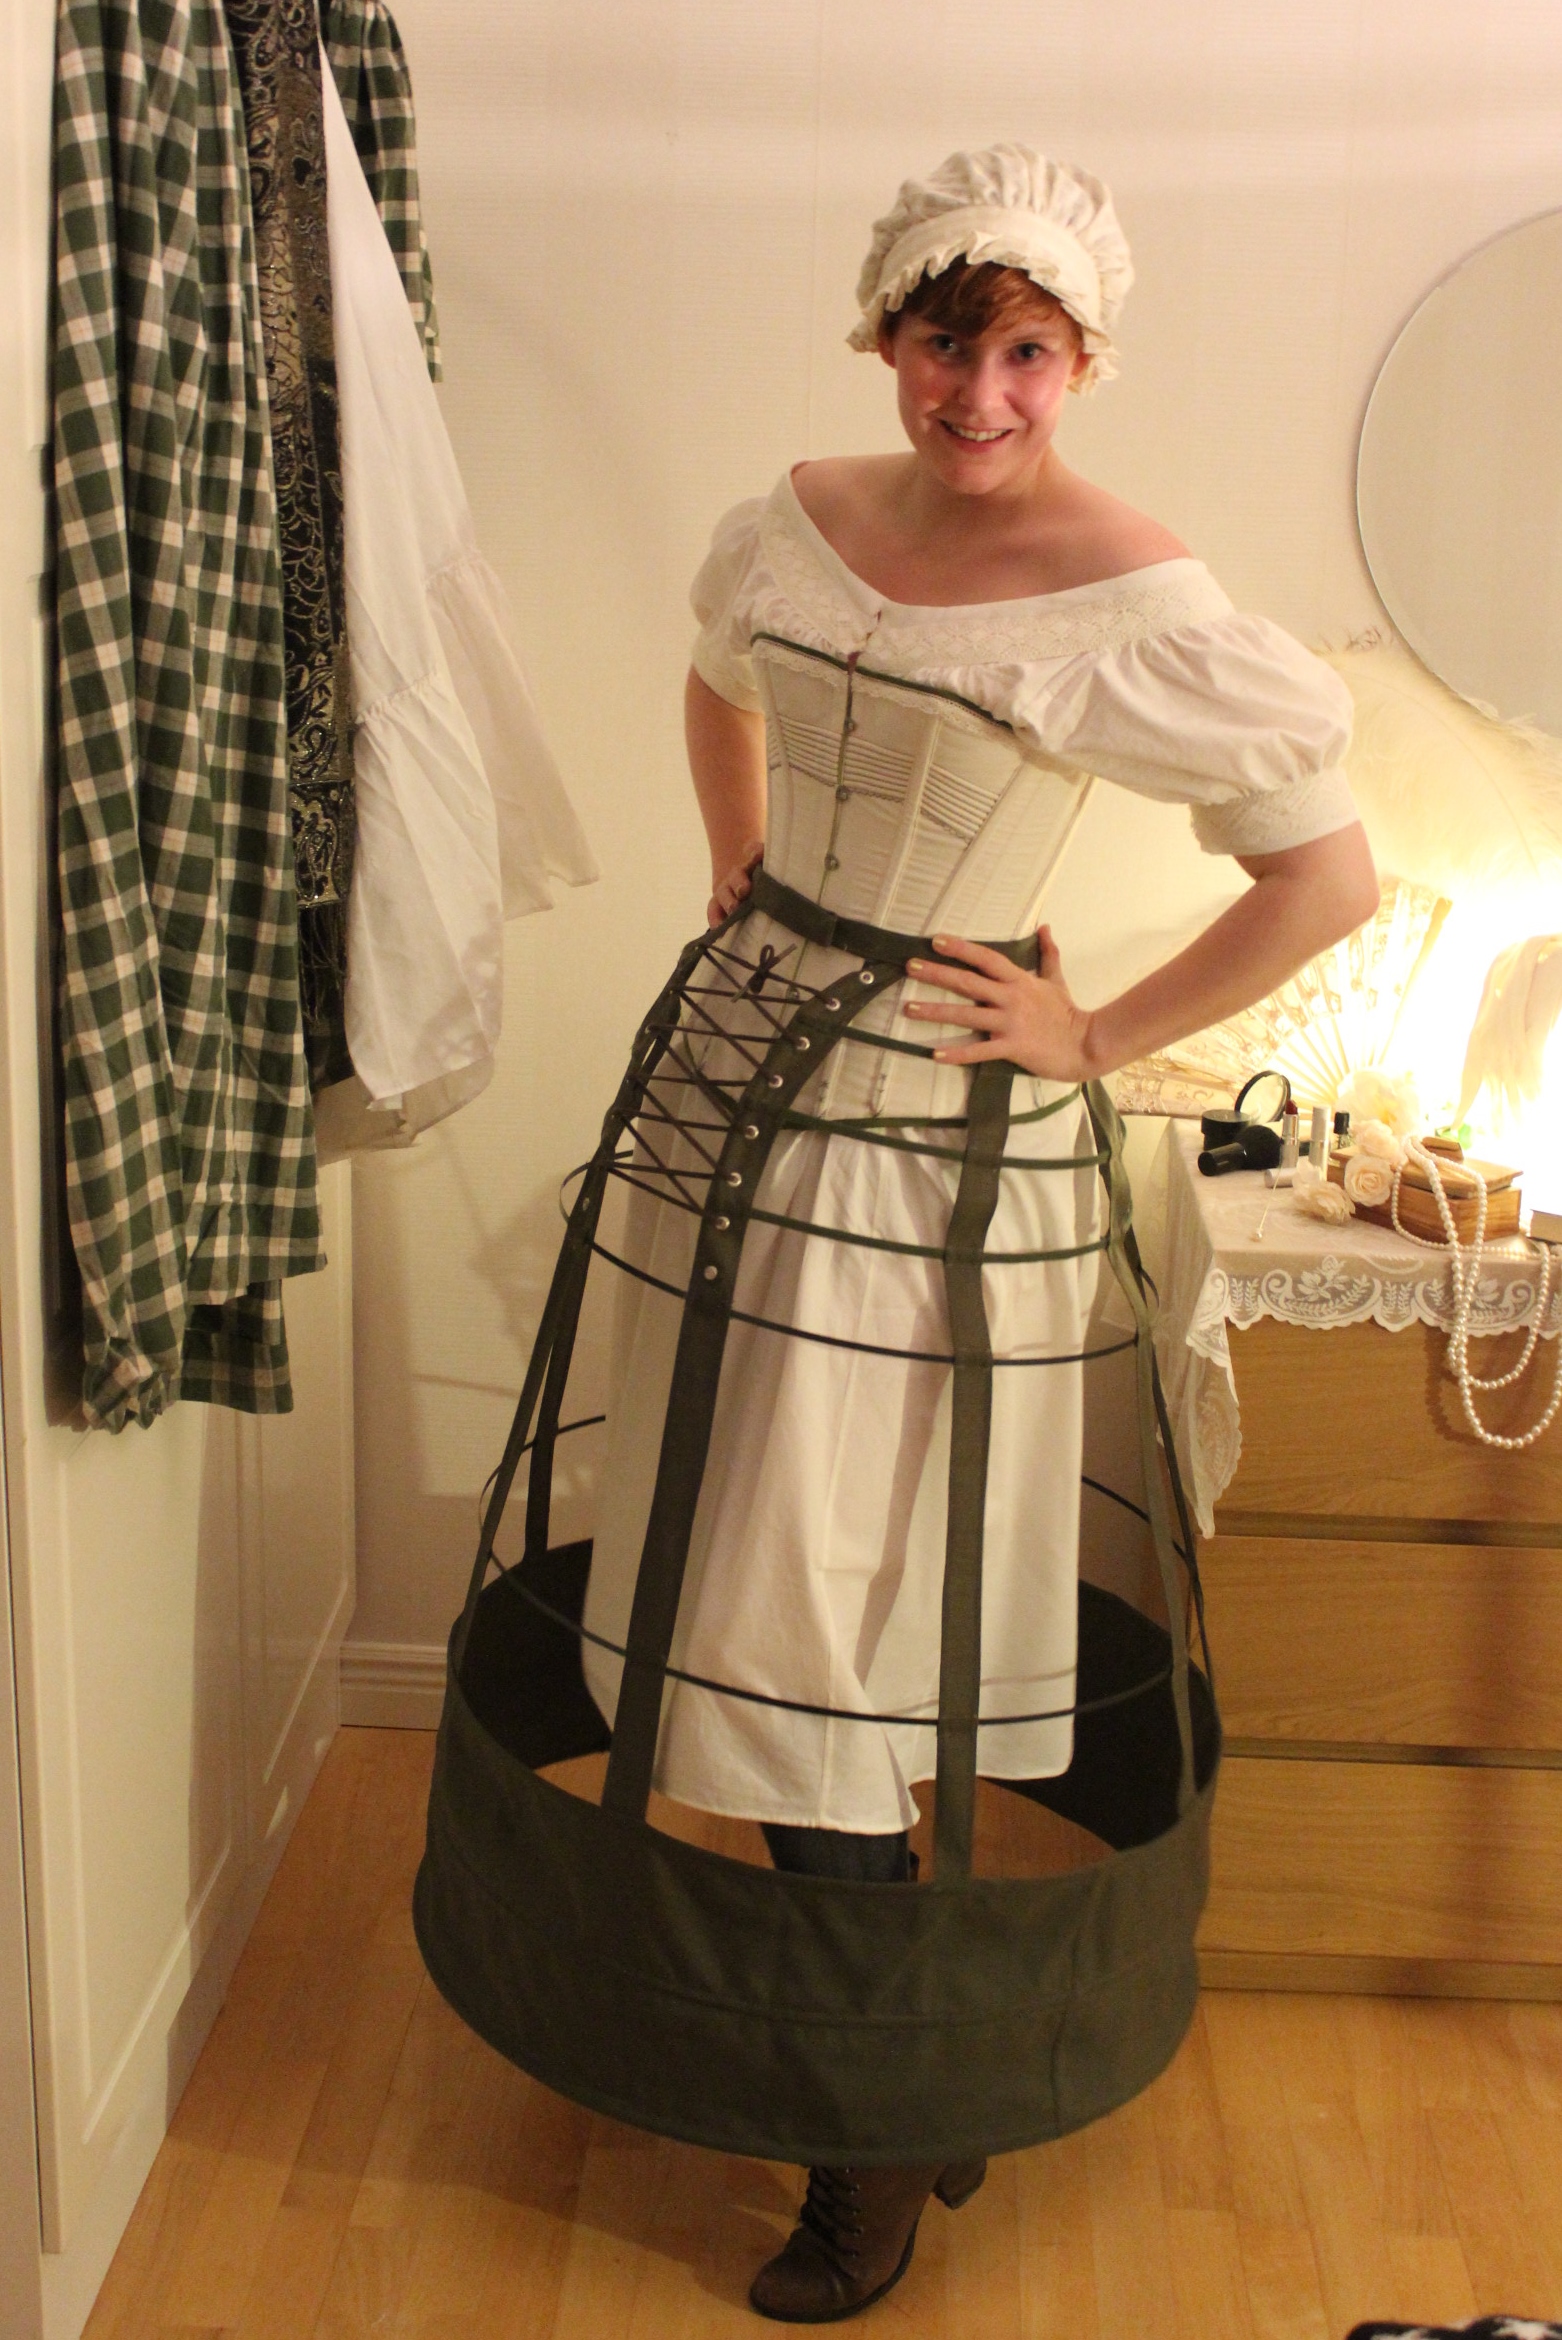
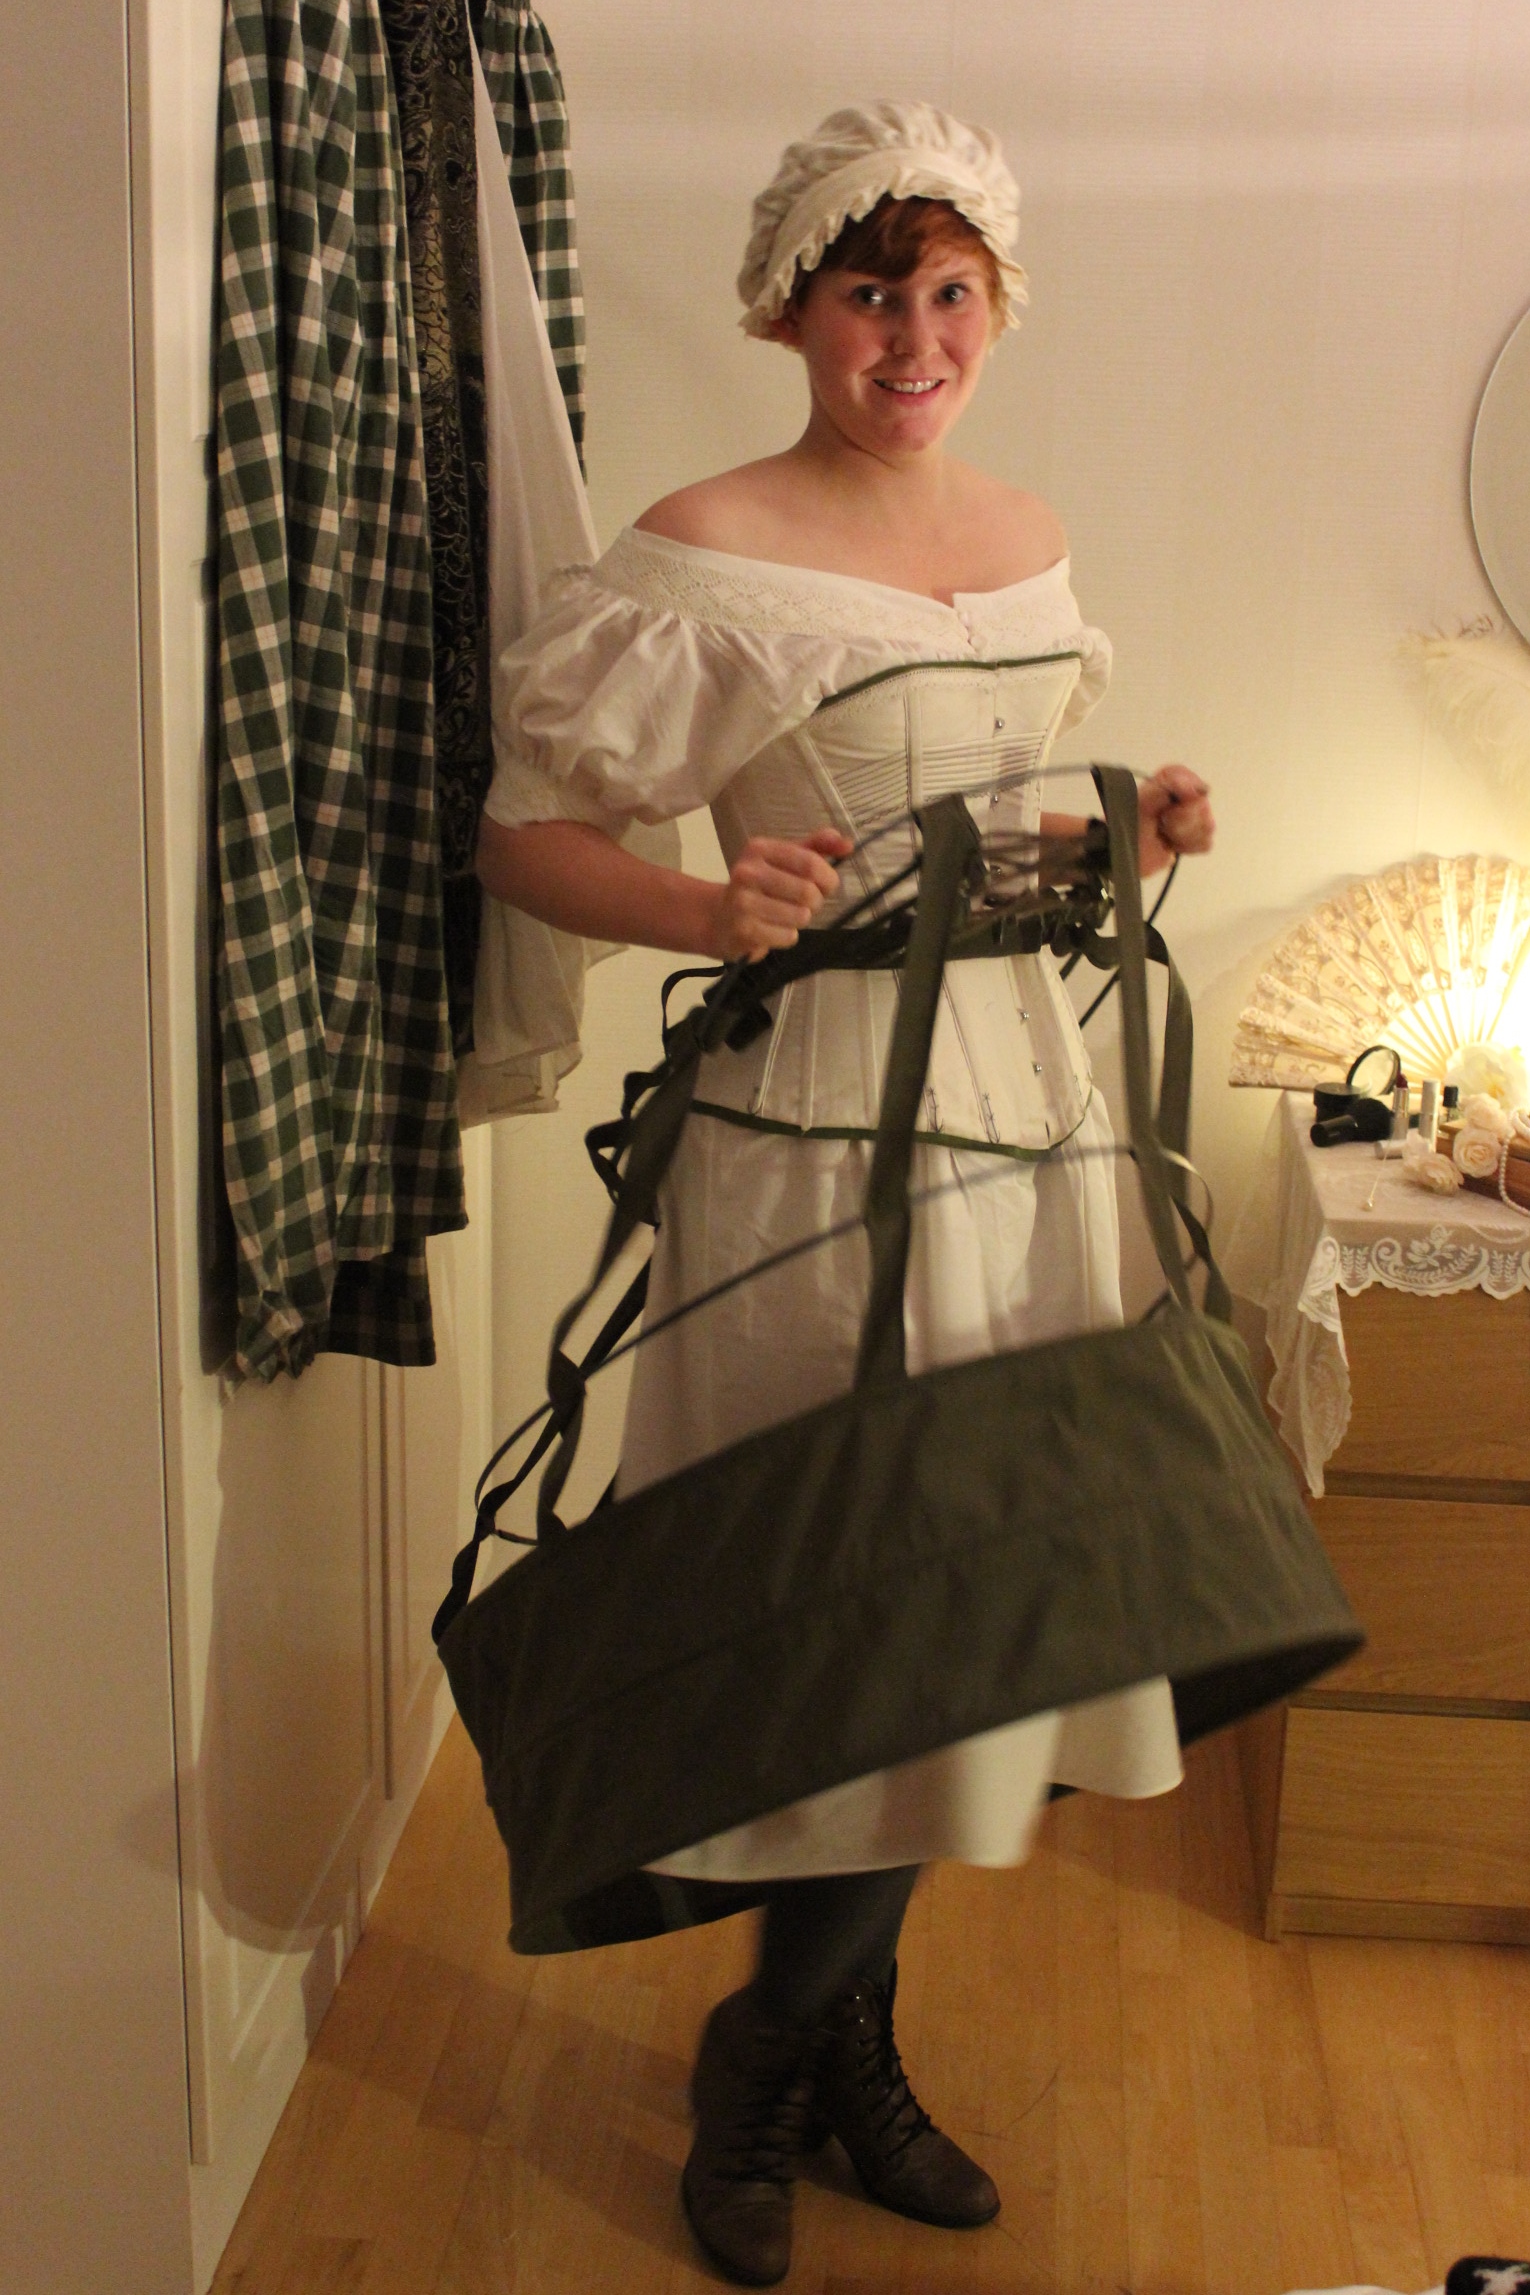
Then I tried it on to get a better look of how it would look.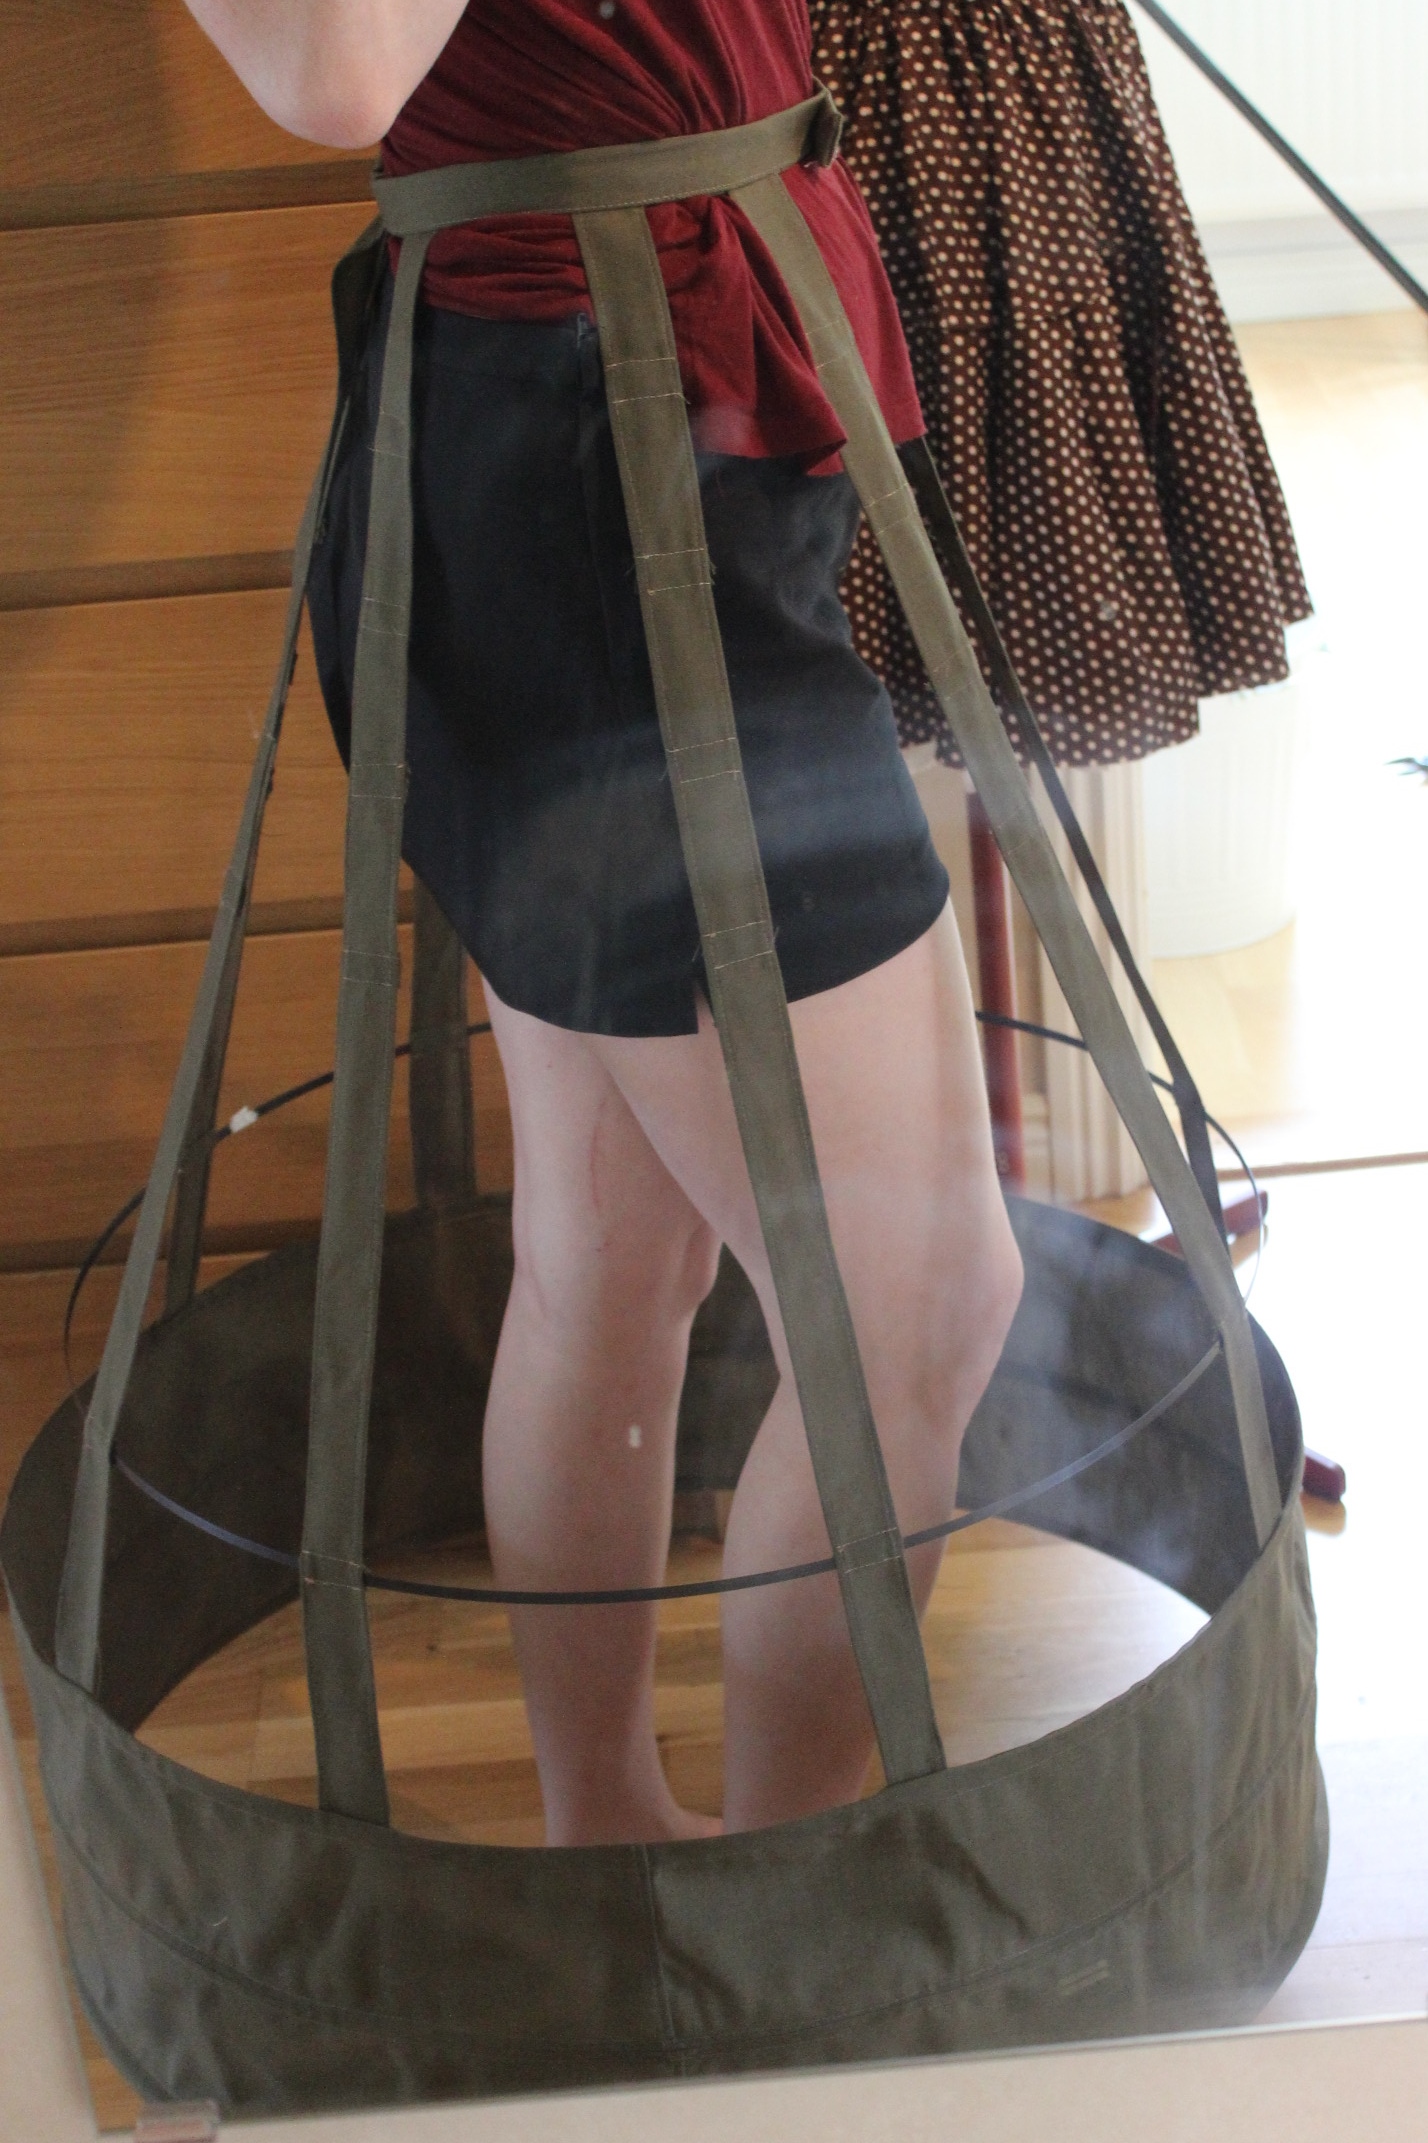 Pretty cool, but still 4 more bones to go.
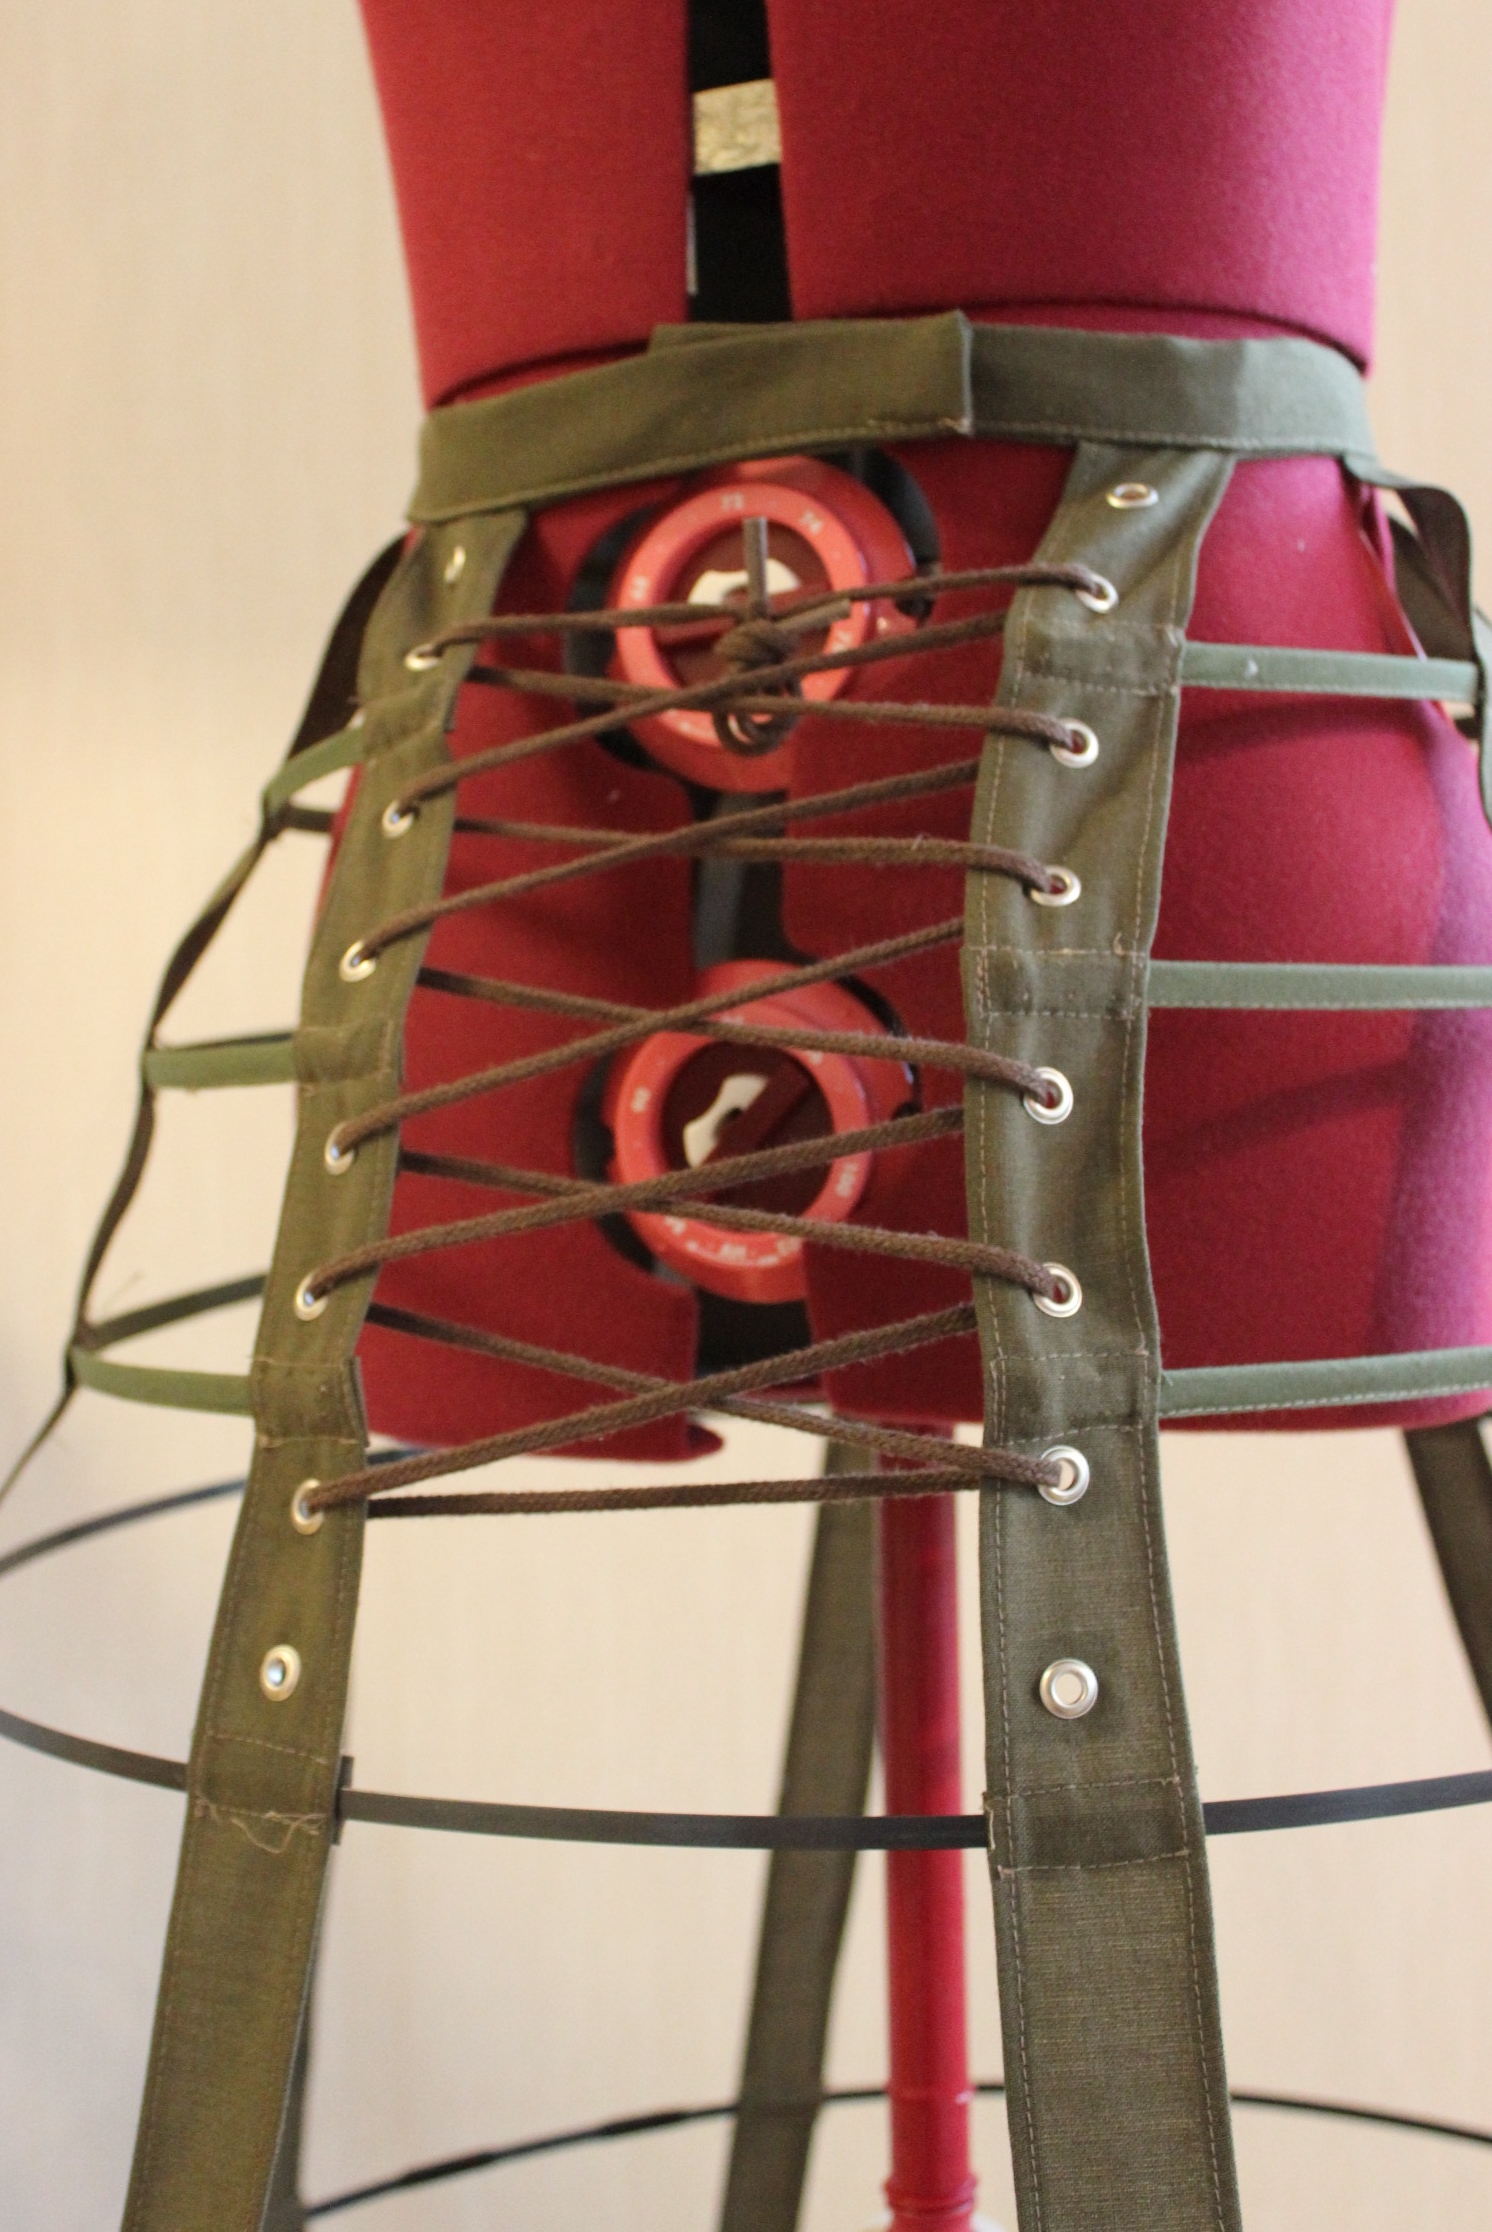
I left the top front open and free of bones to be able to get in and out of the skirt.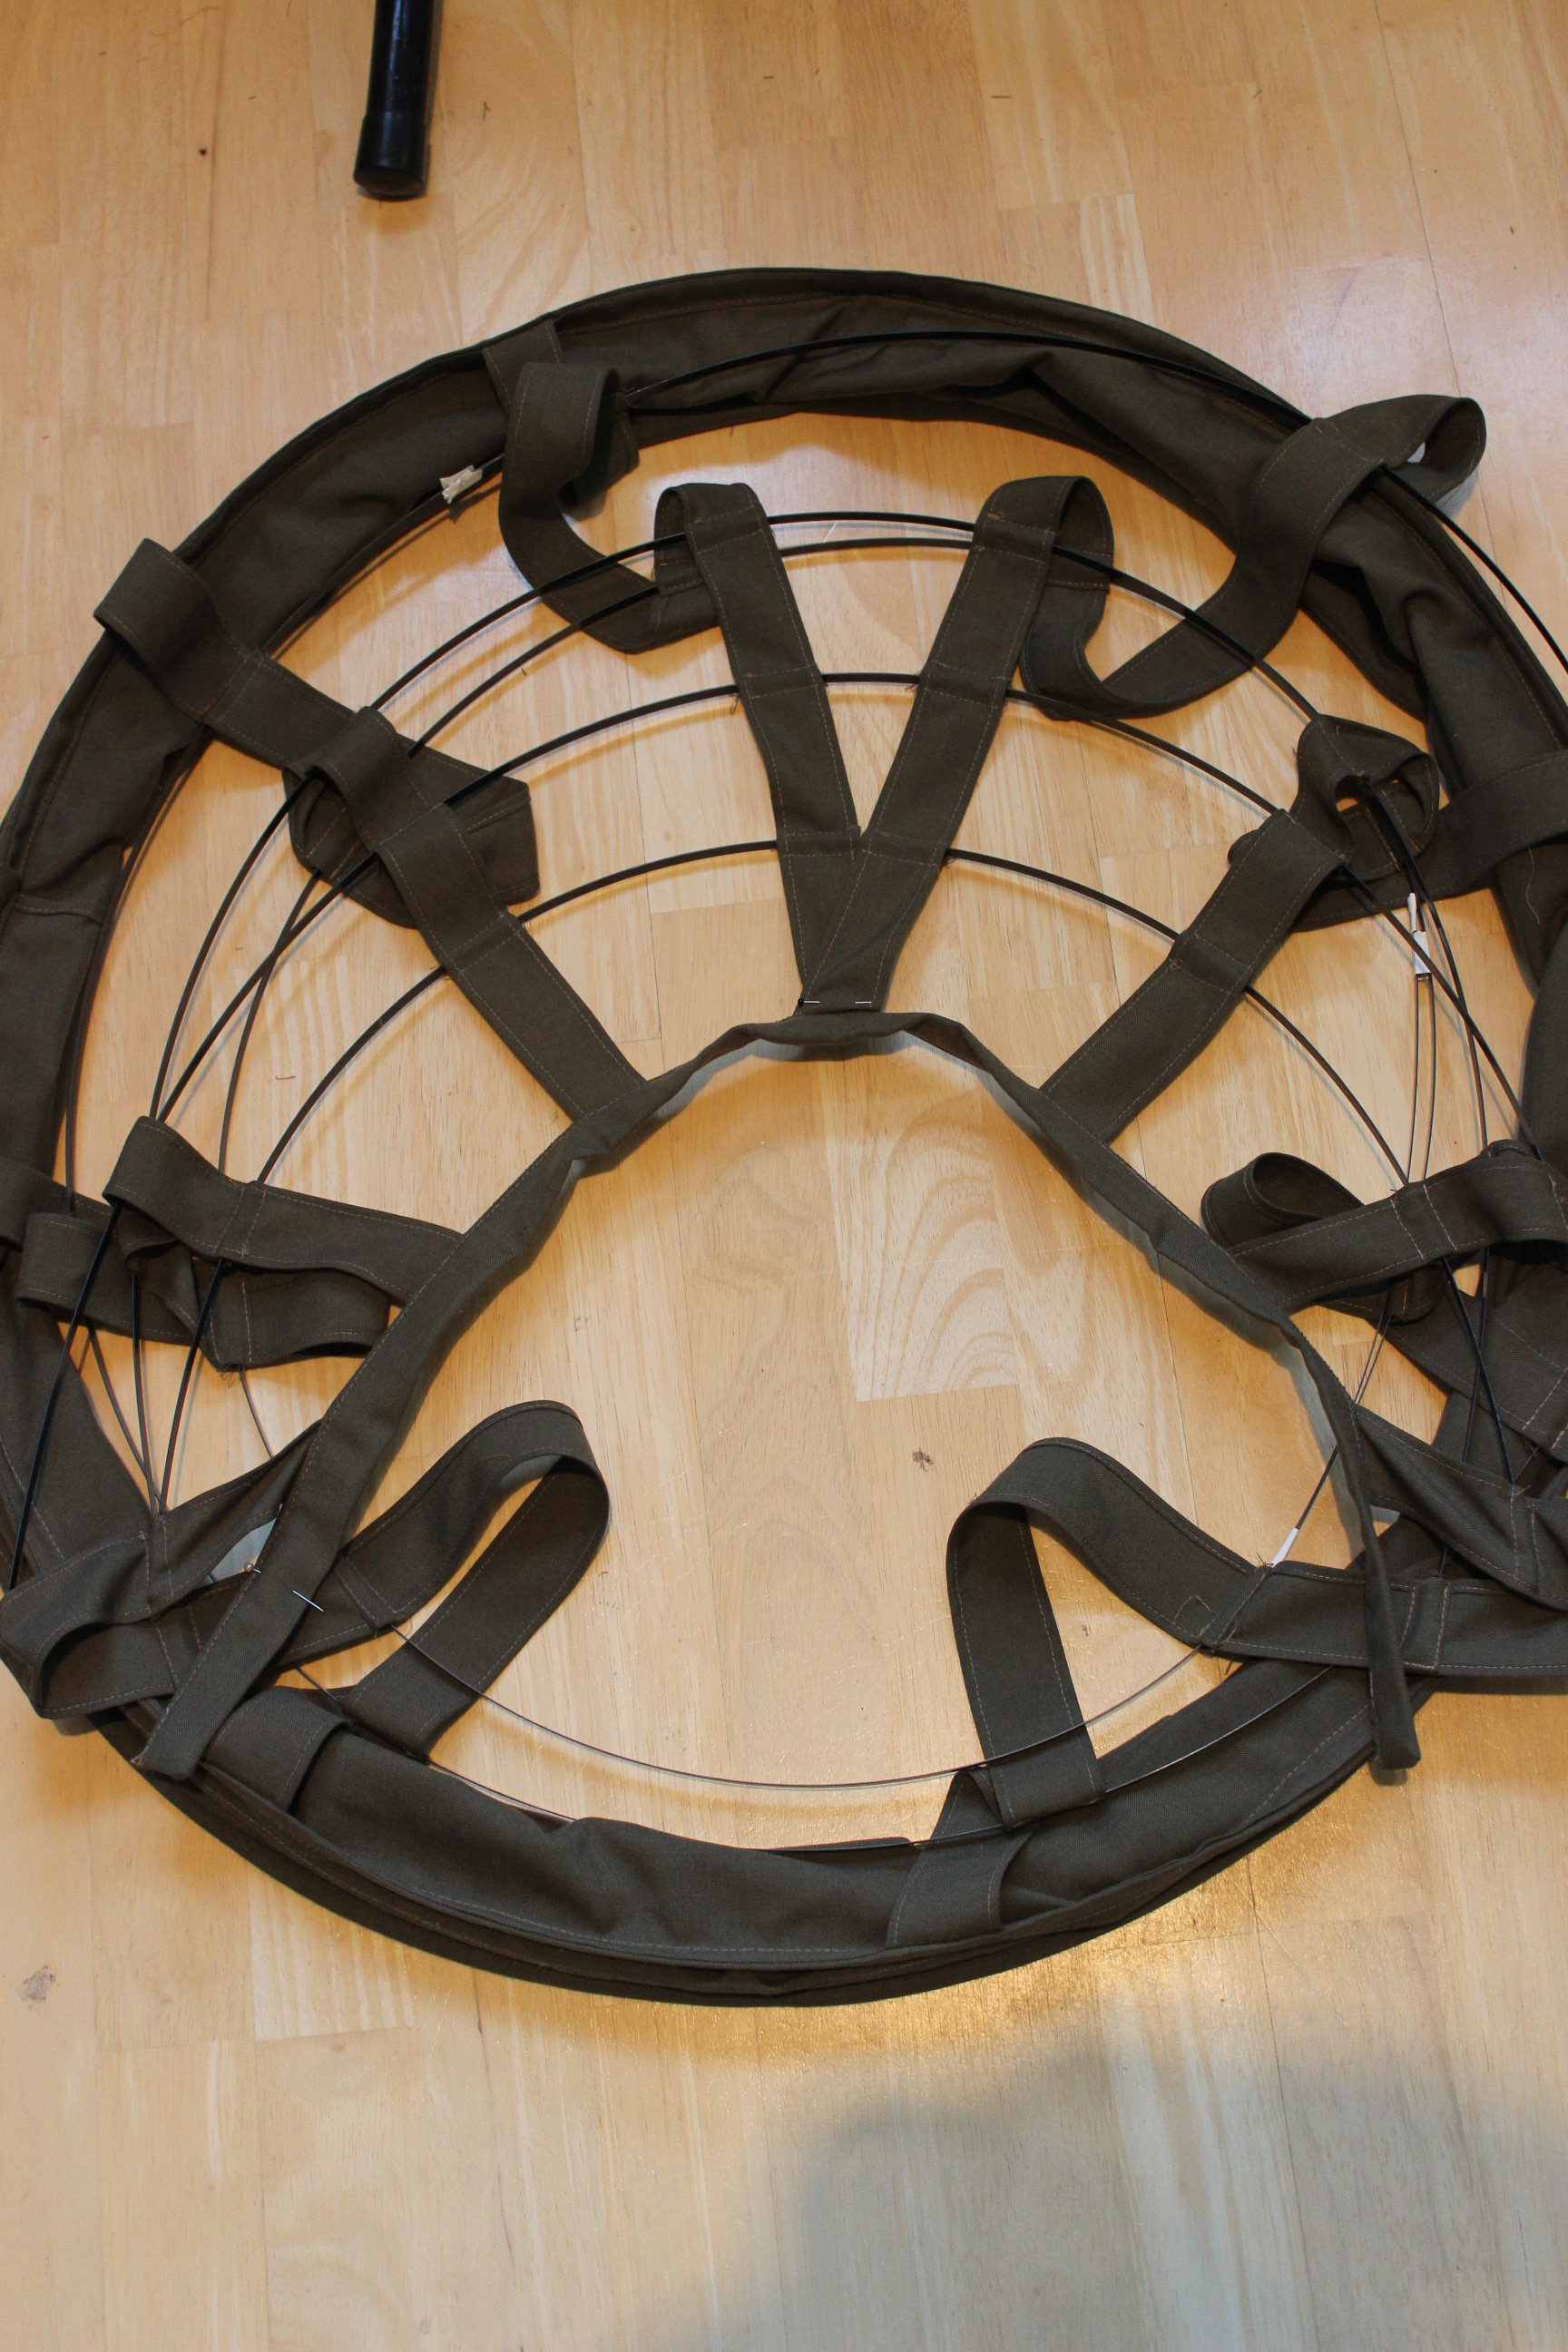
I inserted some gromes to make the skirt lace up the front. You can also see where the boning stops at the front ribbon.
 Looking pretty on my dressform.
But one problem remaind. The bones very easyerly left the casings, and wandered away in other directions.
To solve the problem I decided to make holes in the boning and casing, to tie them togeter at the ends.
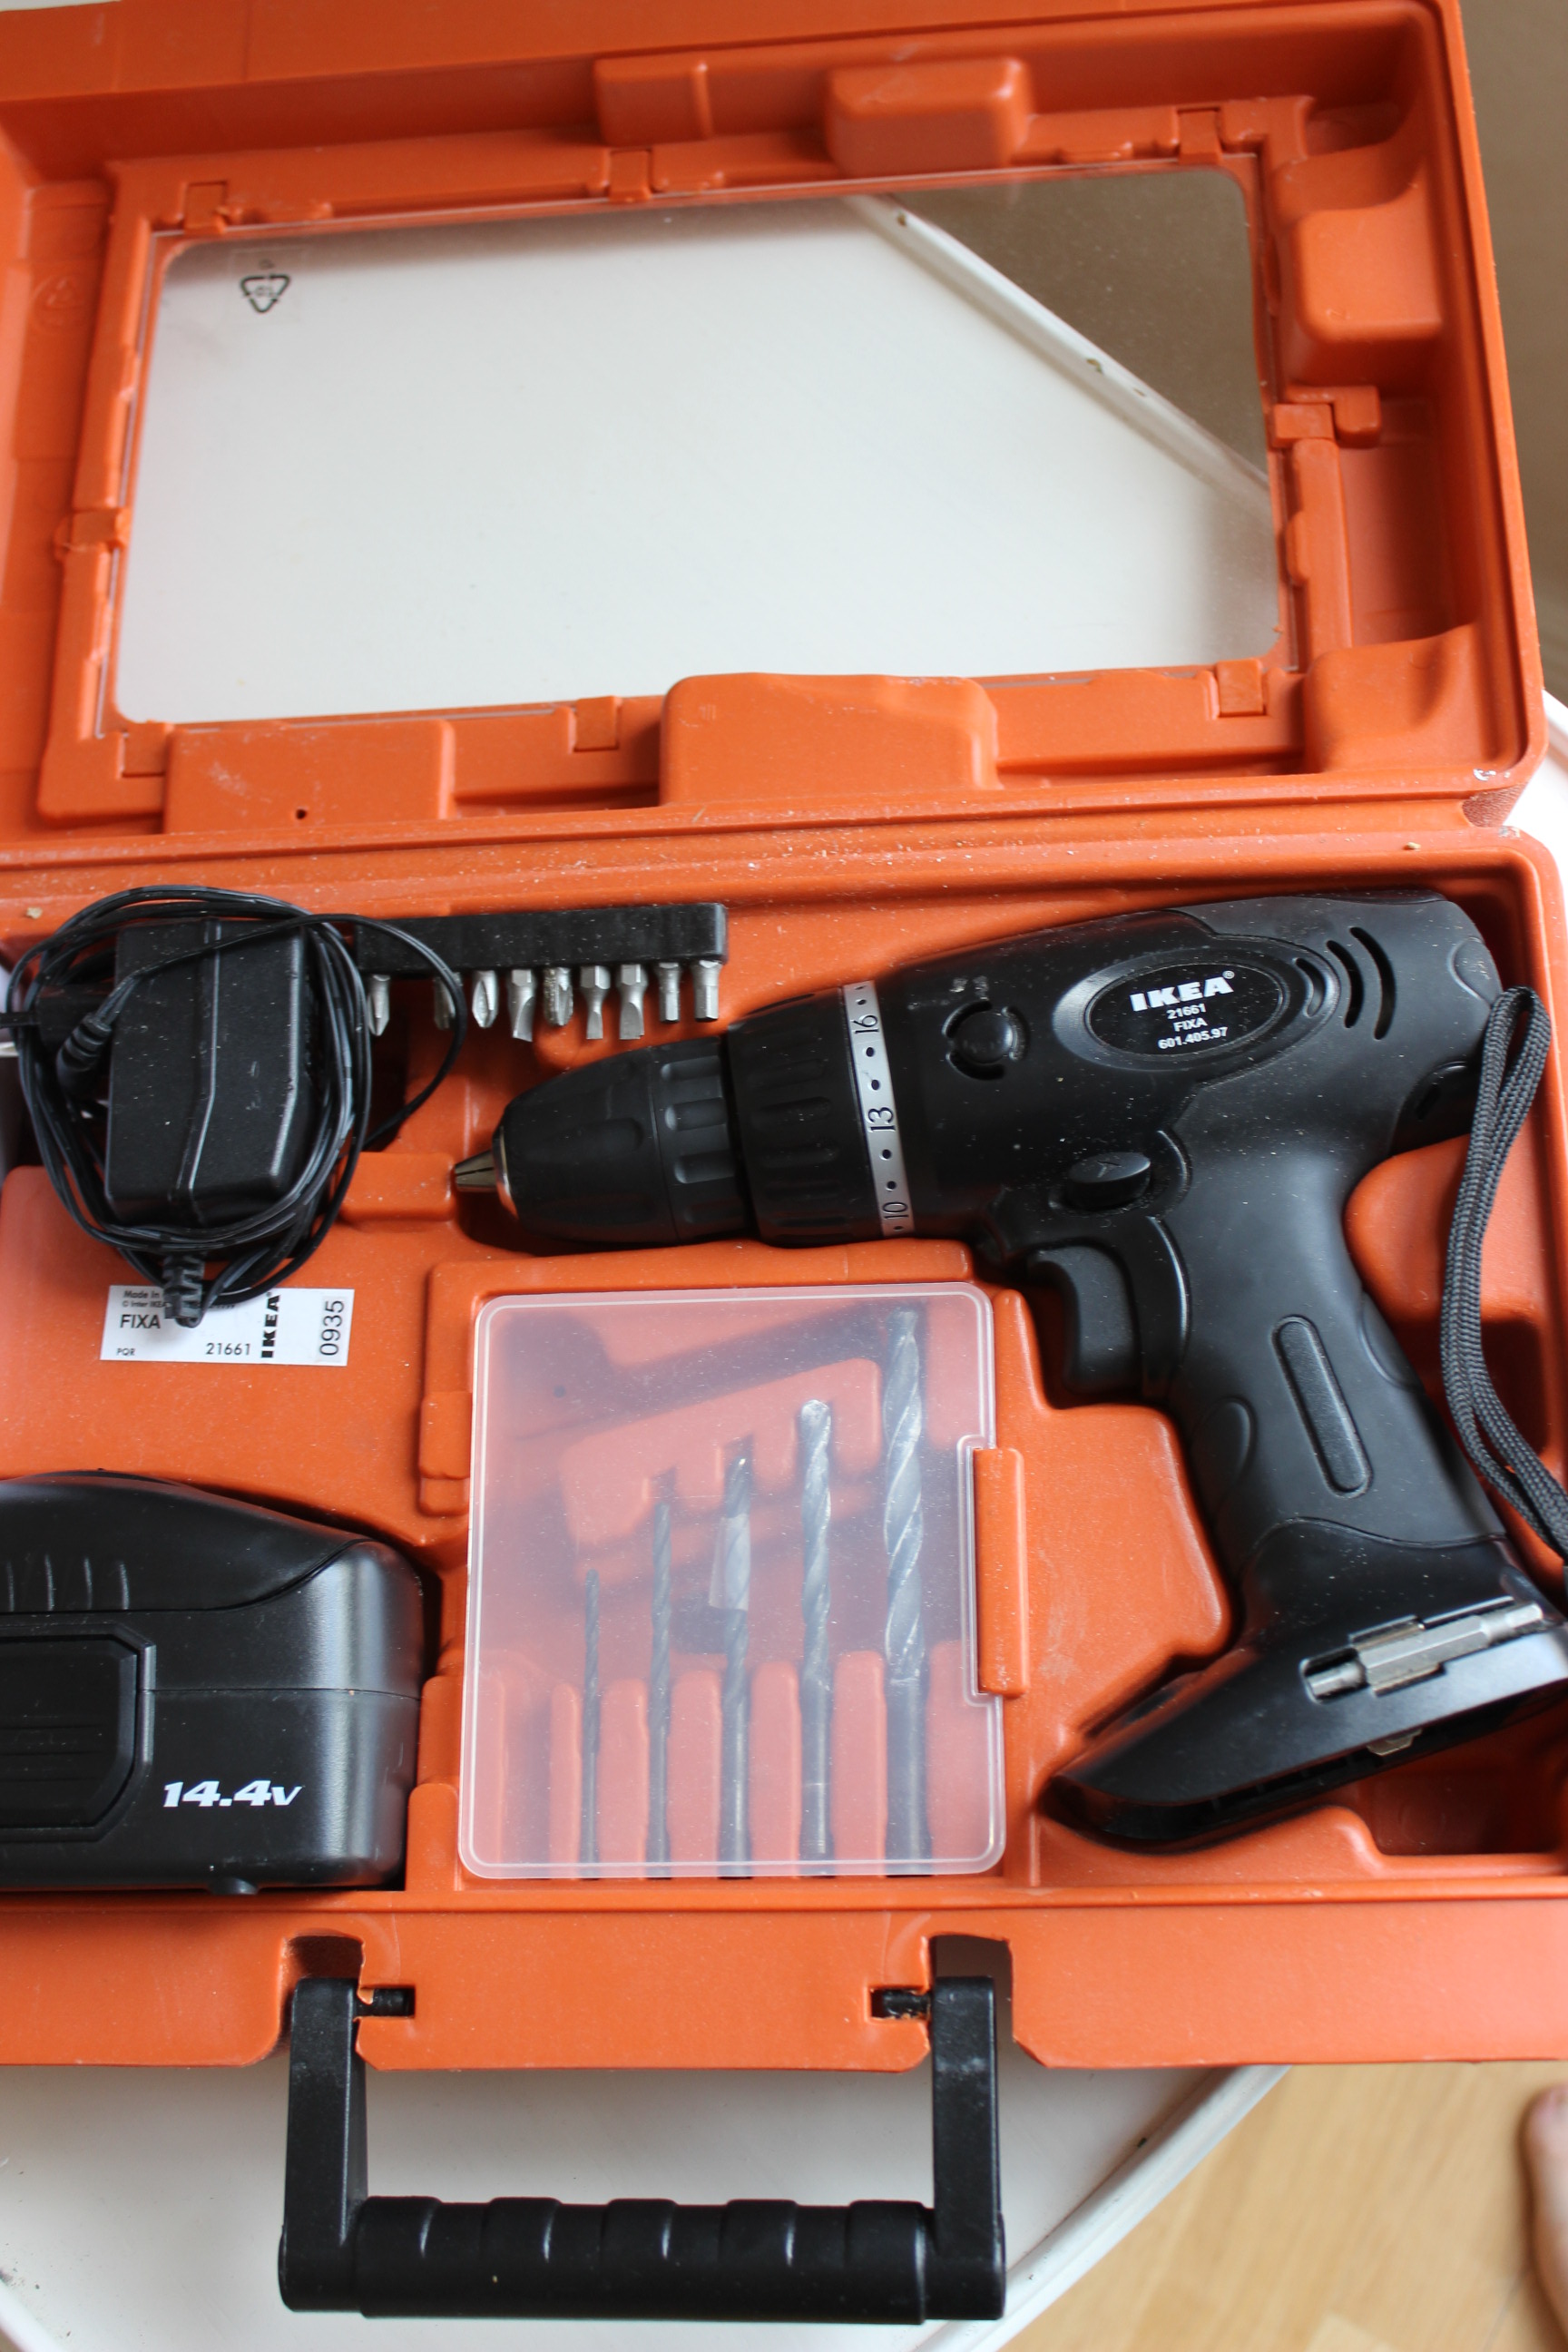 I borrowed my fathers elecric drill, but alas, not even a notch on the steel boning. Dead end.
My other solution worked better. I bought bias-tape, aproxemently the same colour as the fabric, and made them into boning casings.
Insering the boning and sewing of the ends, left me with three grren fabric covered lenghts of steel.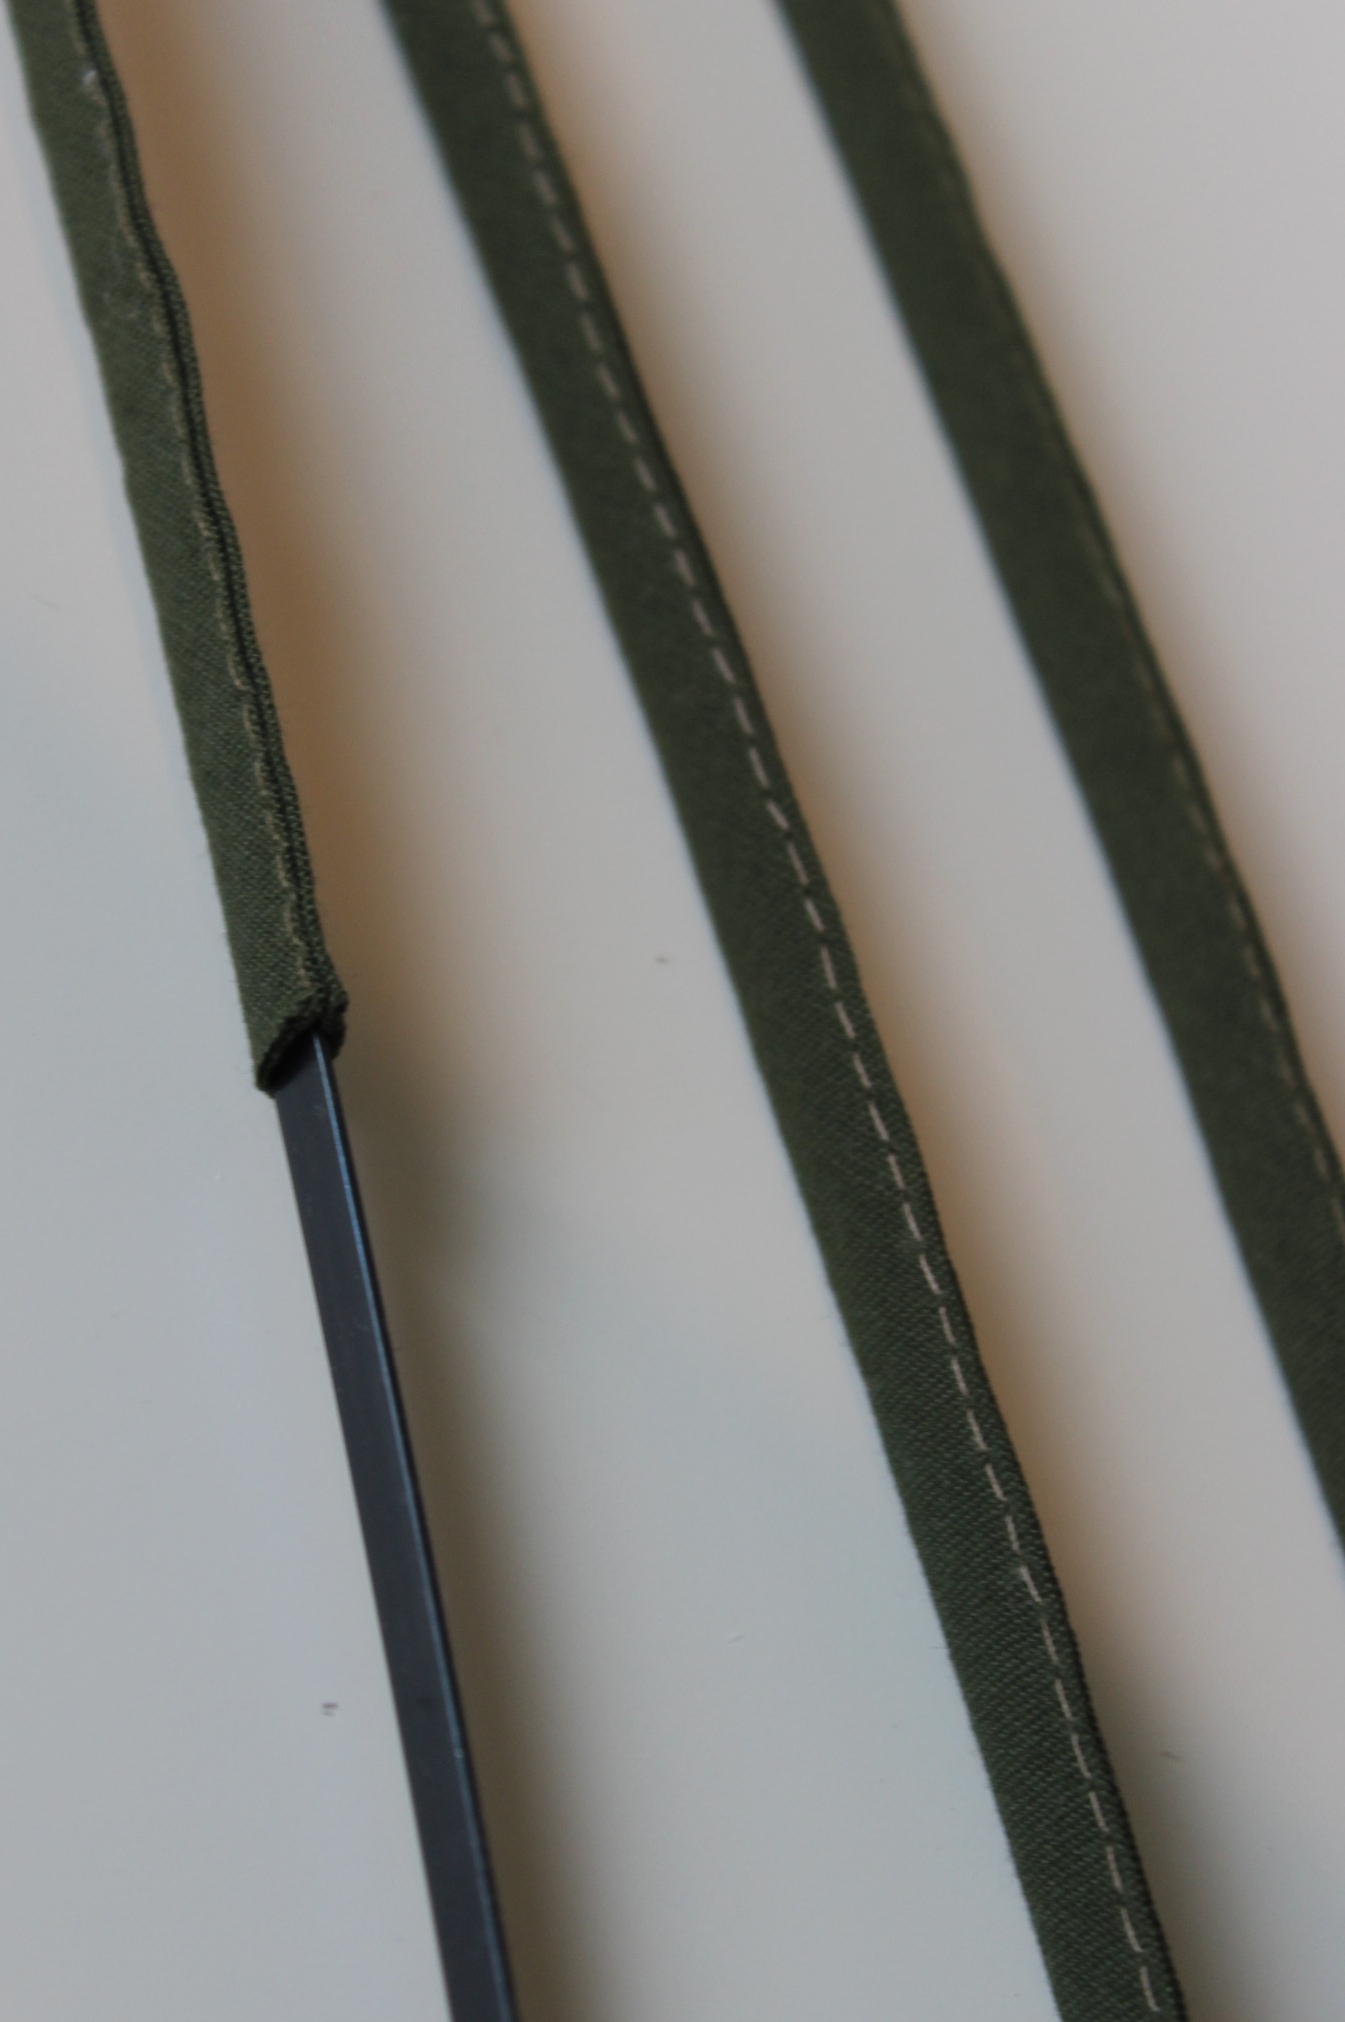
I then inserted the fabric covered boning in the chanels and stiched the ends down inside the chanel ends. And that was that.
Finished photos:


And a sneak a peak of the photoshoot:
Just the facts:
Challenge: 12 Shape and Support
What: A 1880s cage crinoline
Pattern: None – Just measured and cut stipes in desired lenght.
Fabric: 1 m of green cotton.
Notions: 11 m of steel bone, 1 spool of thread, 16 gromets, 2 m of green biastape (I didn’t had enough fabric to make my own), black duck tape, 3 m brown cotton cord and hook and eye for closuer at the wasitband.
How historical accurate: I don’t really know. Not that good I supose. The type of metal is wrong and I’m sure they did’n use biastape for bone-casings back then. I do think the over all look is ok, and worn with several layers of petticoats I think it will look very period. Maybe a 4/10
Time: About 8 hours.
Cost: Almost everything was from stash, but I have bought it at some point. I think it ads up to about 200 Sek (32Usd) all in all.
First worn: Just around the house for photos so far. But I would love to wear it out on a picknick this summer.
Final thoughts: I’m pretty happy about it. The hoopskirt went togeter more easy then I thougt an dit ws great fun watching it take form. I liked wearing it and strutted around the house a long time after finishing it. The size is really nice – not to big or to smal, and hopefull I can use this for both 1850s, Tudor and bridal wear.
