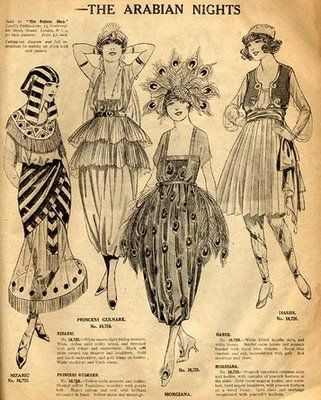
The inspiration was wast for the “Plastique Fantastique” and afters some sketching I finally decided on a model I wanted to make.
 Jacket/Caraco and skirt combination.
Then I took a plunge down the rabbit hole that’s my fabric stash and came up with the perfect purple and flower combination – all in fabulous polyester plysch.
 Test drape to determent if the design would work.
As I’m really un-used to work with stretch fabrics I made a quick mock-up.  Some tweaking and it will work just fine.
Then I cut the pieces for the bodice from the flowery fabric.
I used my serger to assemble the pieces.


The sewing went so fast and easy it I was bound to run into trouble…
As I discovered at the first fitting – The bodice is way to short. I guess the turquoise fabric I used for the mock-up must have been a two way stretch while the my plysch only stretches horizontally.
Since I had only small scraps of fabric left I decided to piece it. And to cover the edge with a belt…


Perfect!
I finished the bodice by pleating the peplum at the sides and attached it, trimmed the sleeves with some plastic lace and decorated the front with purple ribbon bows.
To make the belt I cut a strip of the purple skirt fabric, pressed some interfacing on it and stitched it closed. Then I attached he plastic belt buckle to it.


To finish the ensemble I stitched the purple plysch into a tube, a drawstring at the waist, and cut a shaped hem (to accommodate for the pocket hoops).

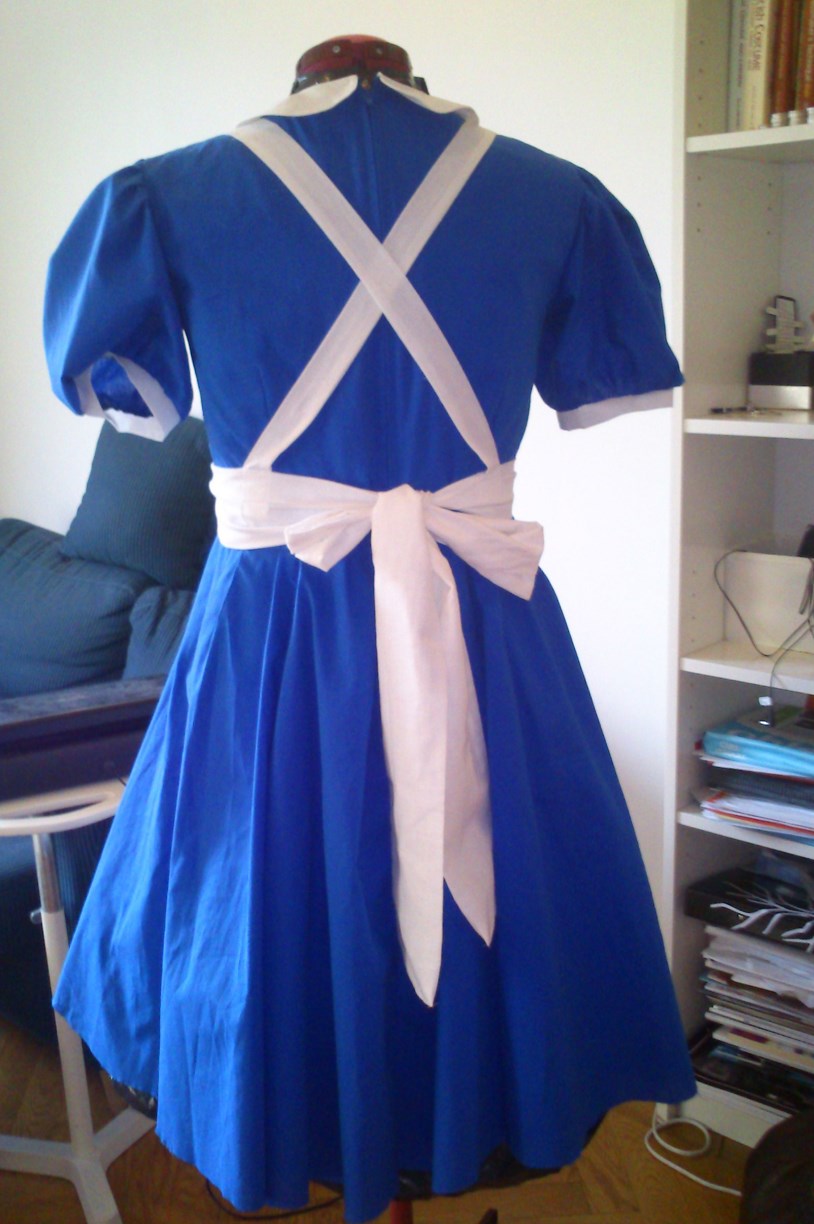
The finished skirt (worn over pocket hoops):

As the final touch to my costume I bought a purple clown wig.
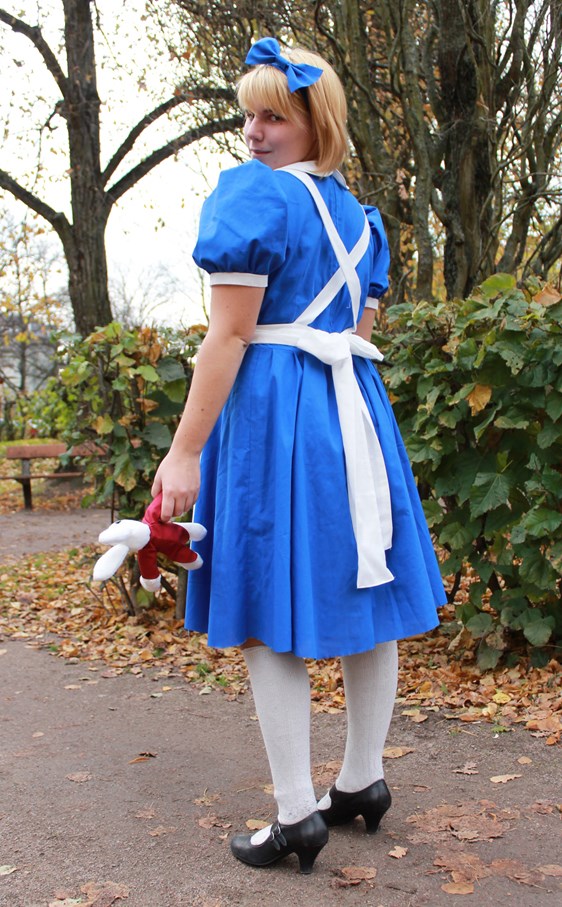
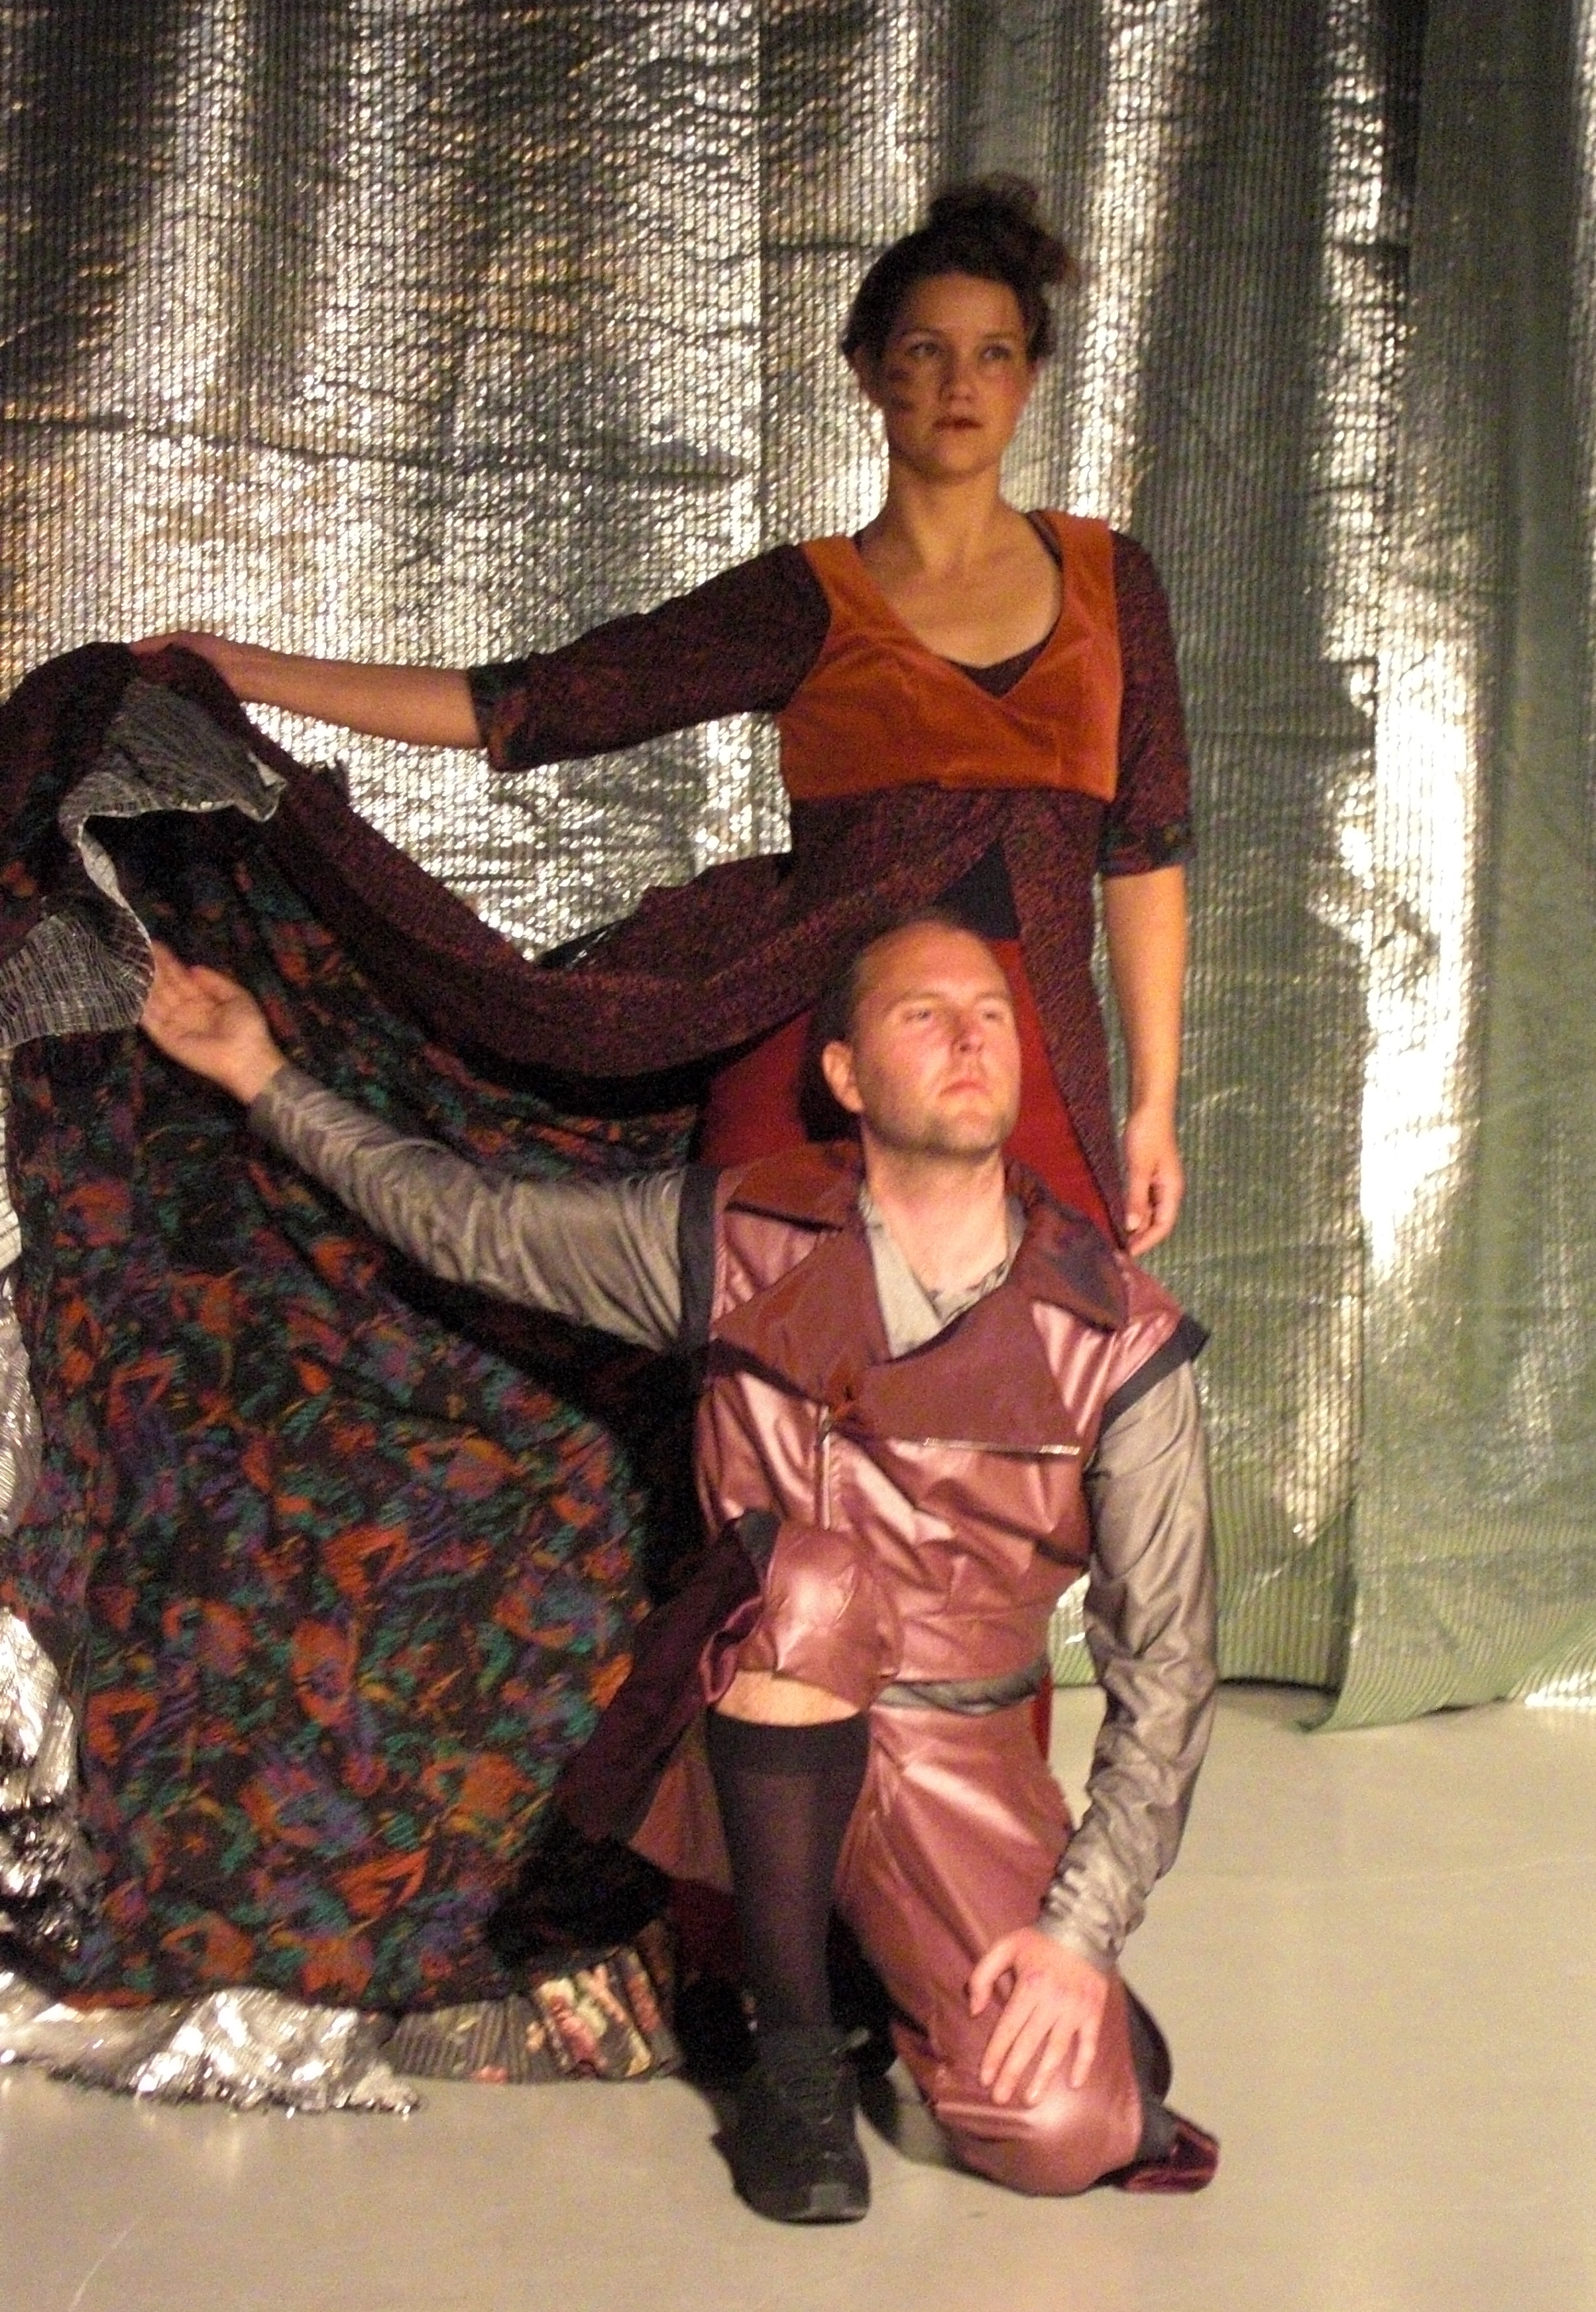
The finished Dress:


The Facts:
What: A 18th century inspired masquerade costume
Pattern: I drafted my own, using jersey pattern templates.
Fabric: 1 m flowery polyester plysch, 1 m purple polyester plysch, 0,5m white ply lace, 1m purple fake velvet ribbon, thread and a plastic belt buckle.
Time & Cost: Nothing – Everything came from stash. If new perhaps 150-200 sek (20Usd) (wig – 100sek [16Usd])
Final thoughts: I love it! Even though I had some trouble (Guess jersey’s not my kind of fabric) it came out really well. My only concern is the right side tipping of the skirt (and the fact it’s really short)
Preview: My final fitting with wig and jewelry.

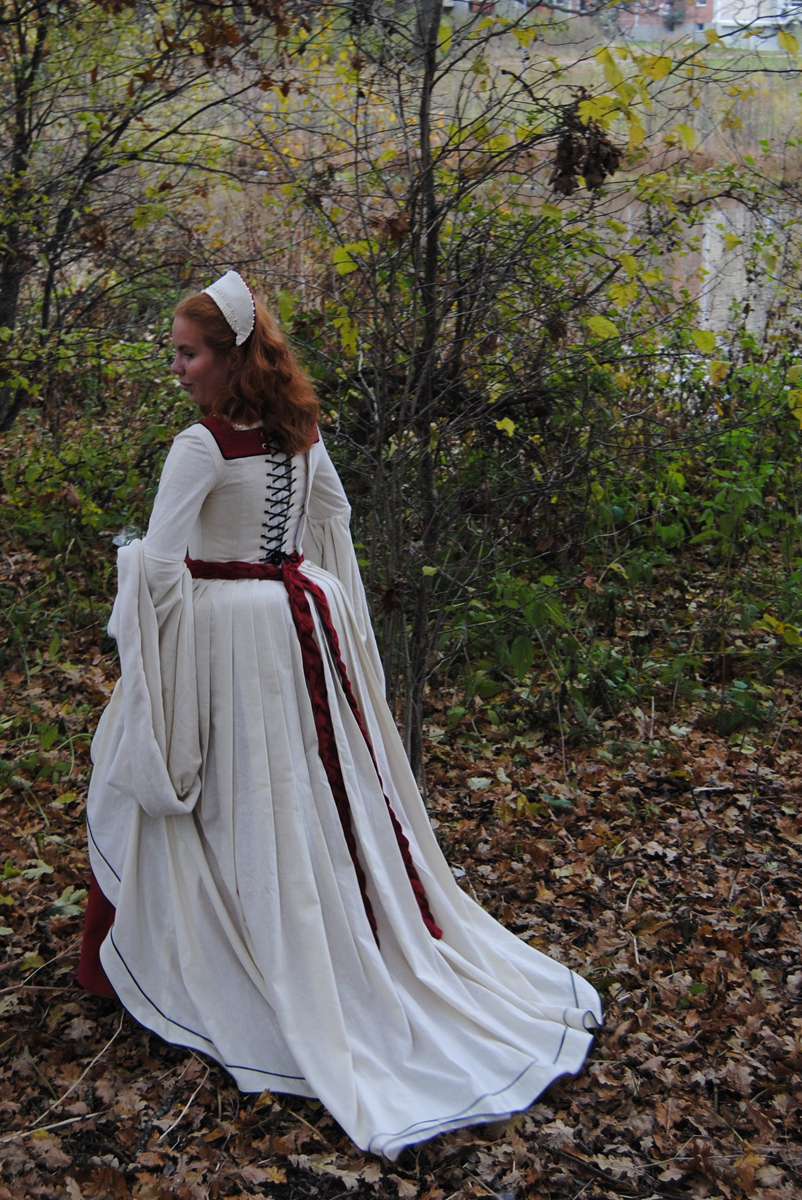
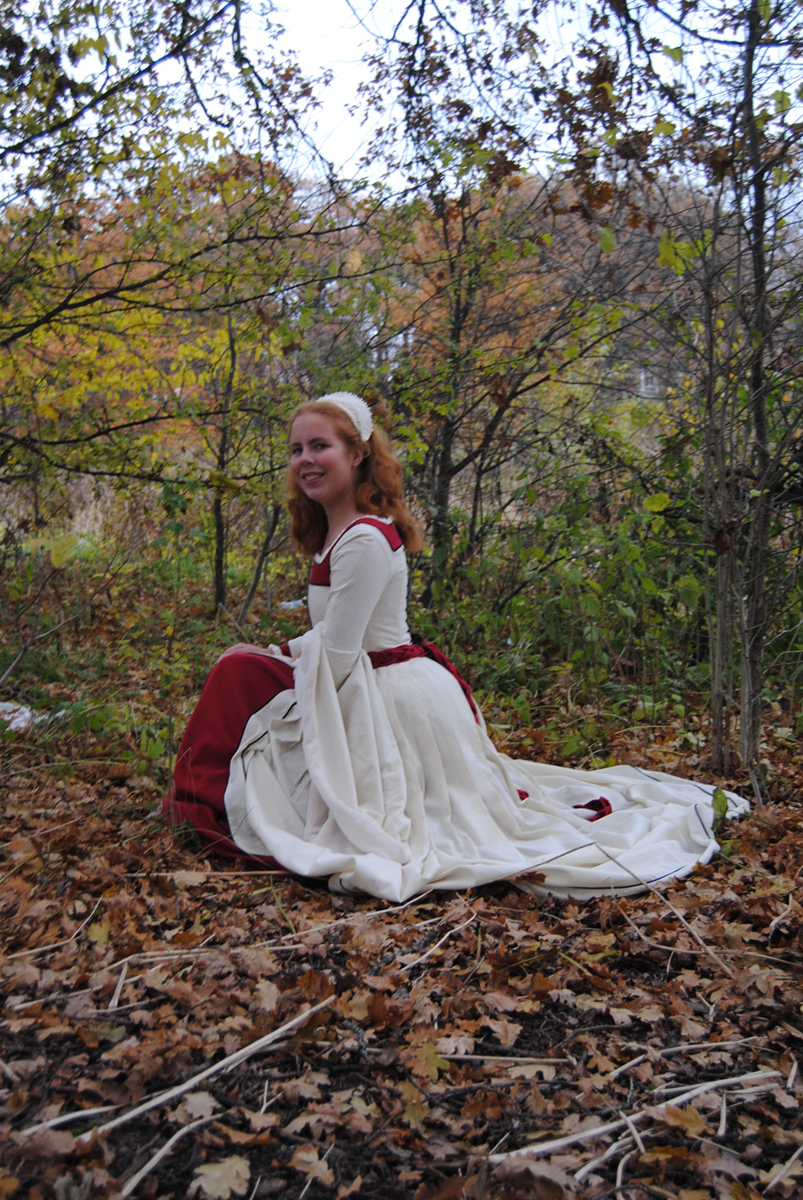
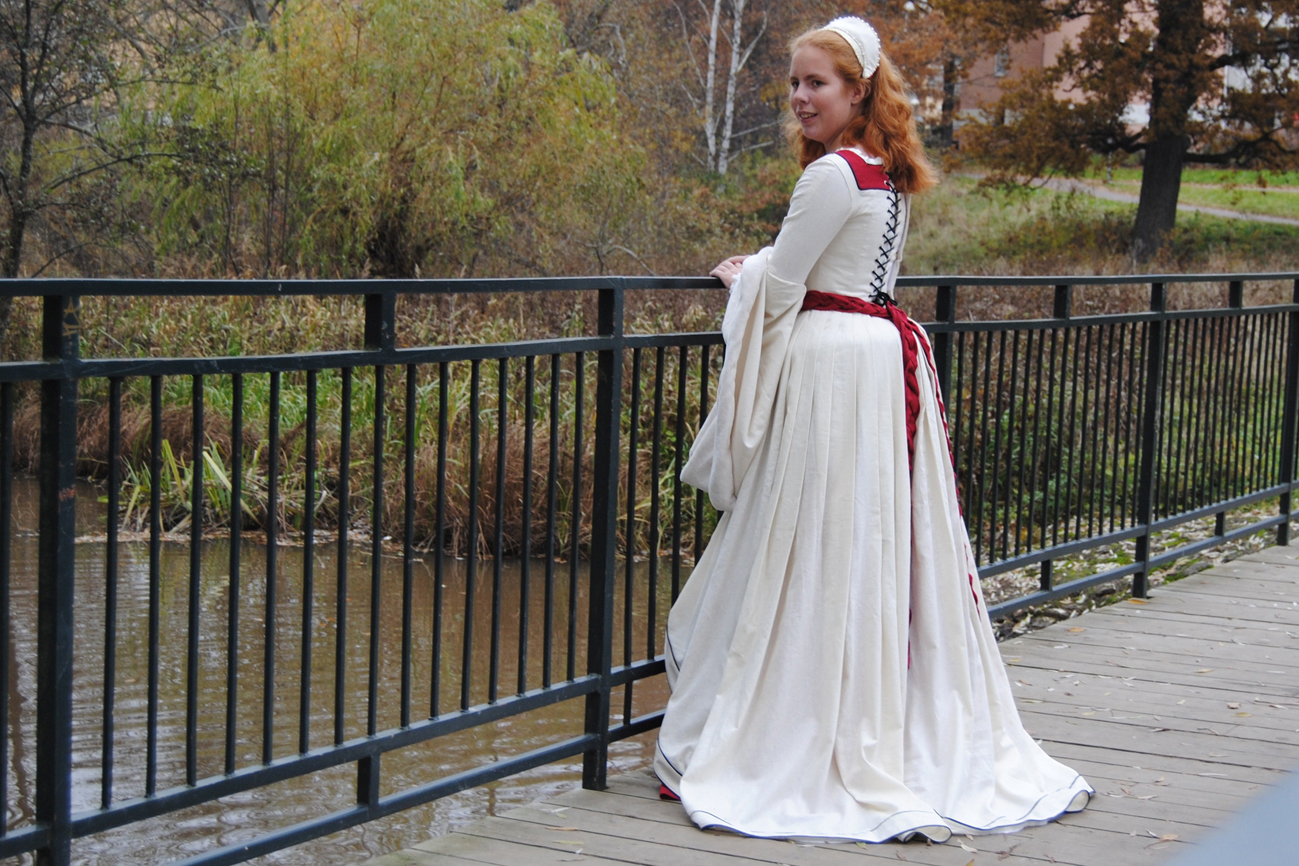
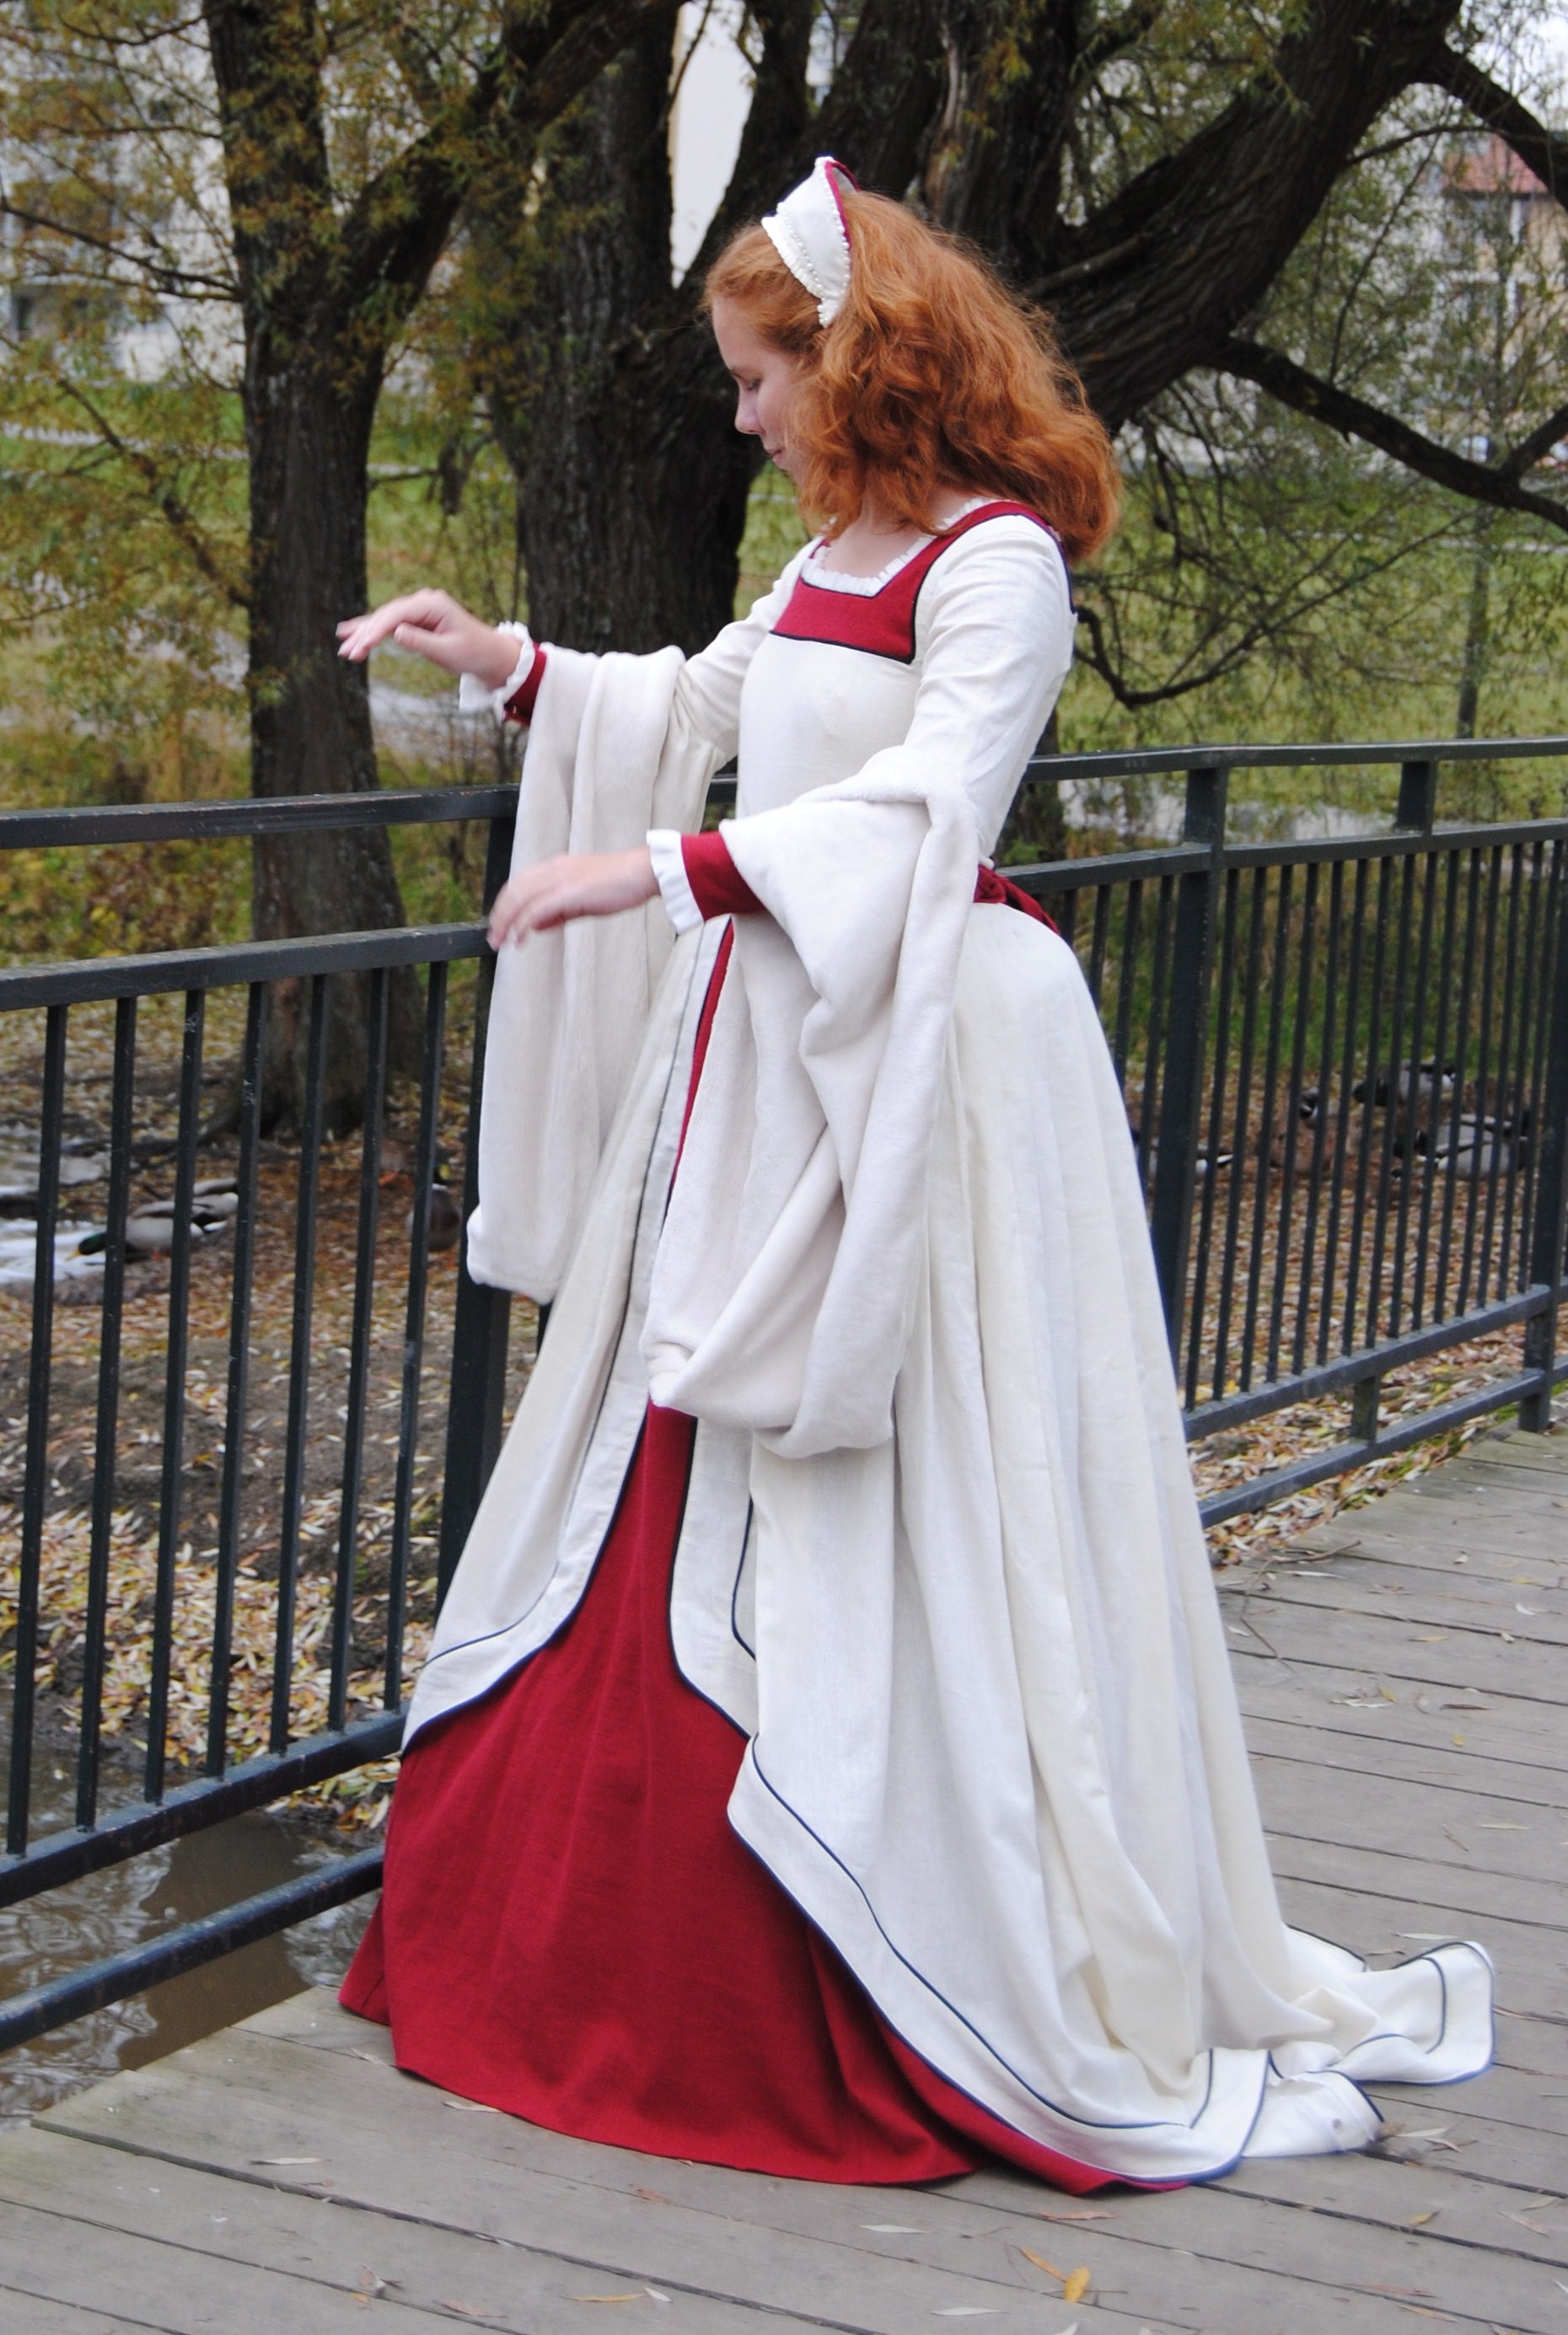
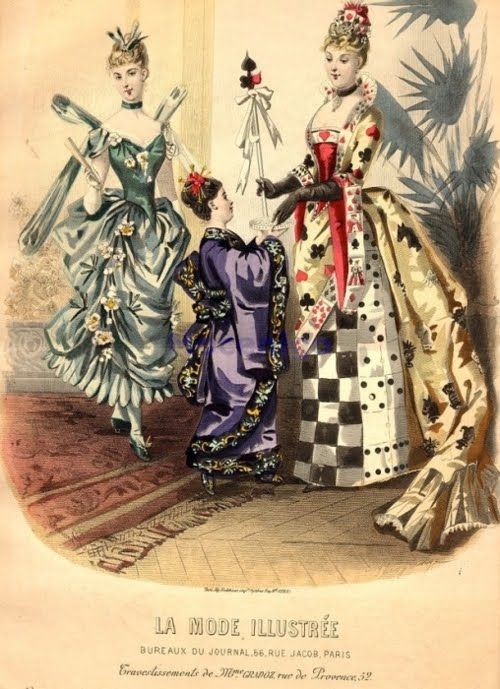
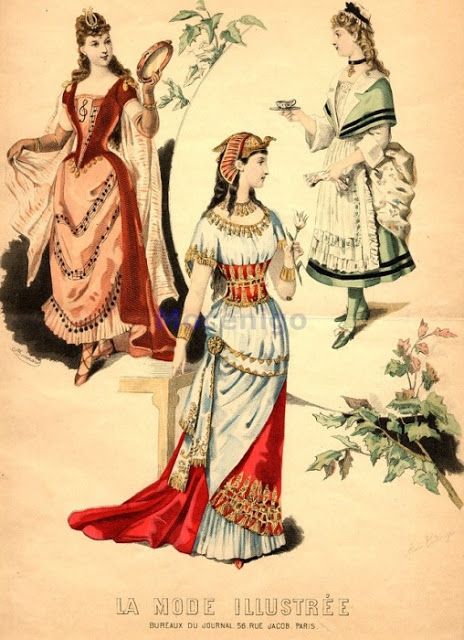
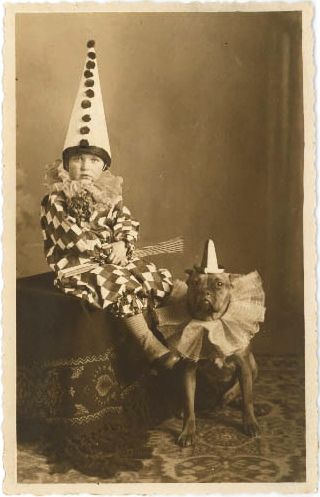
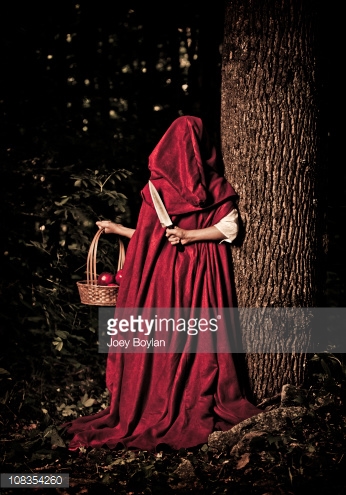 Inspiration


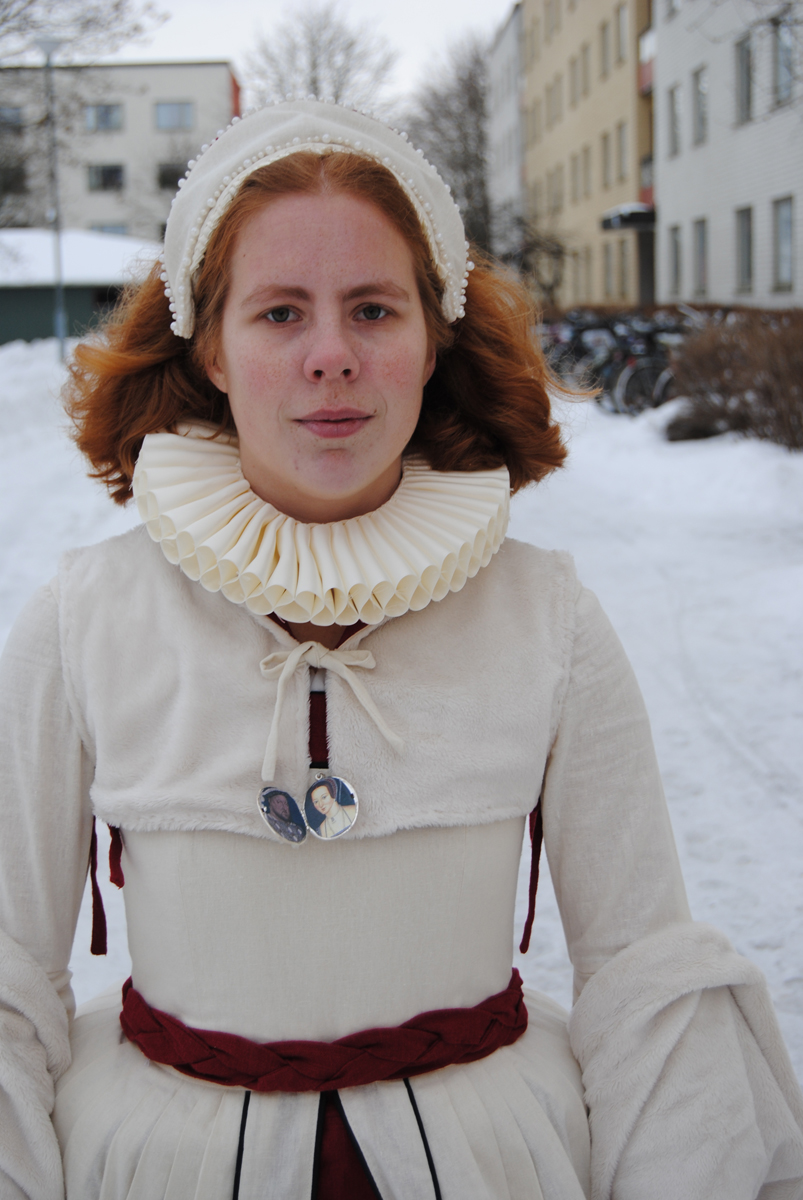
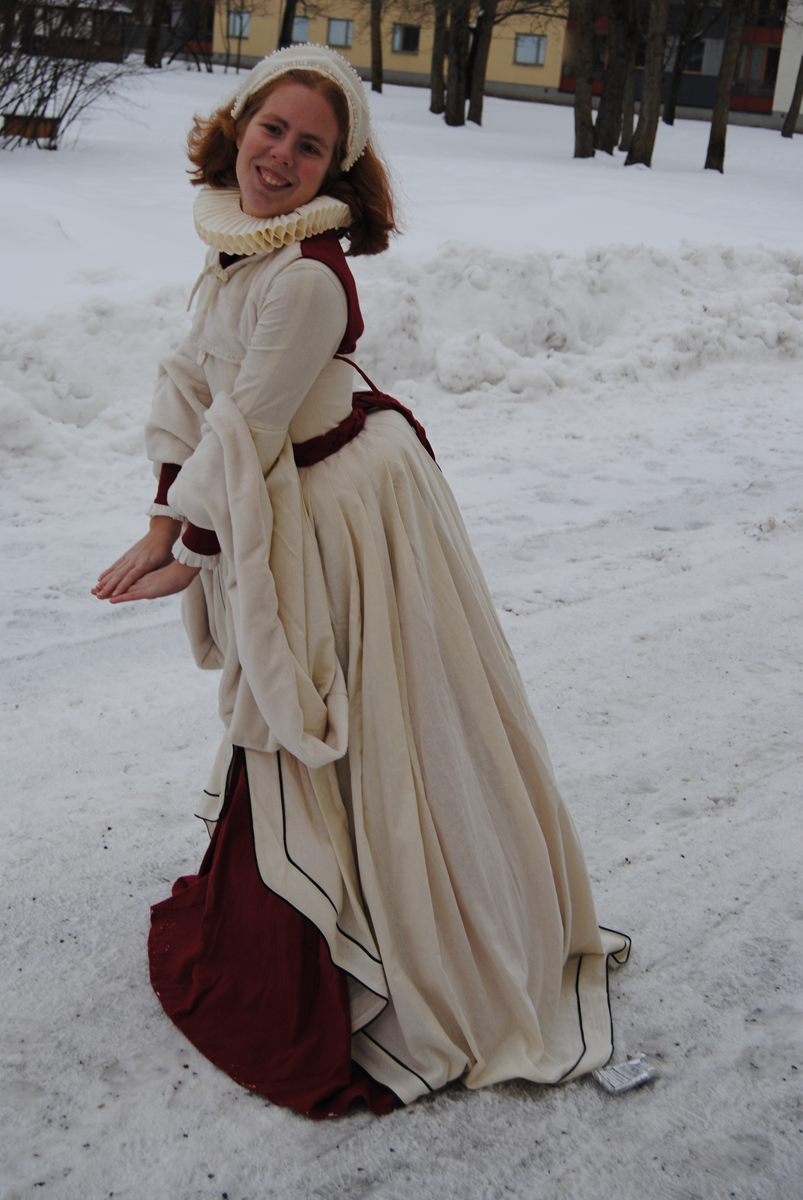
 Modell: Matilda Nilsson

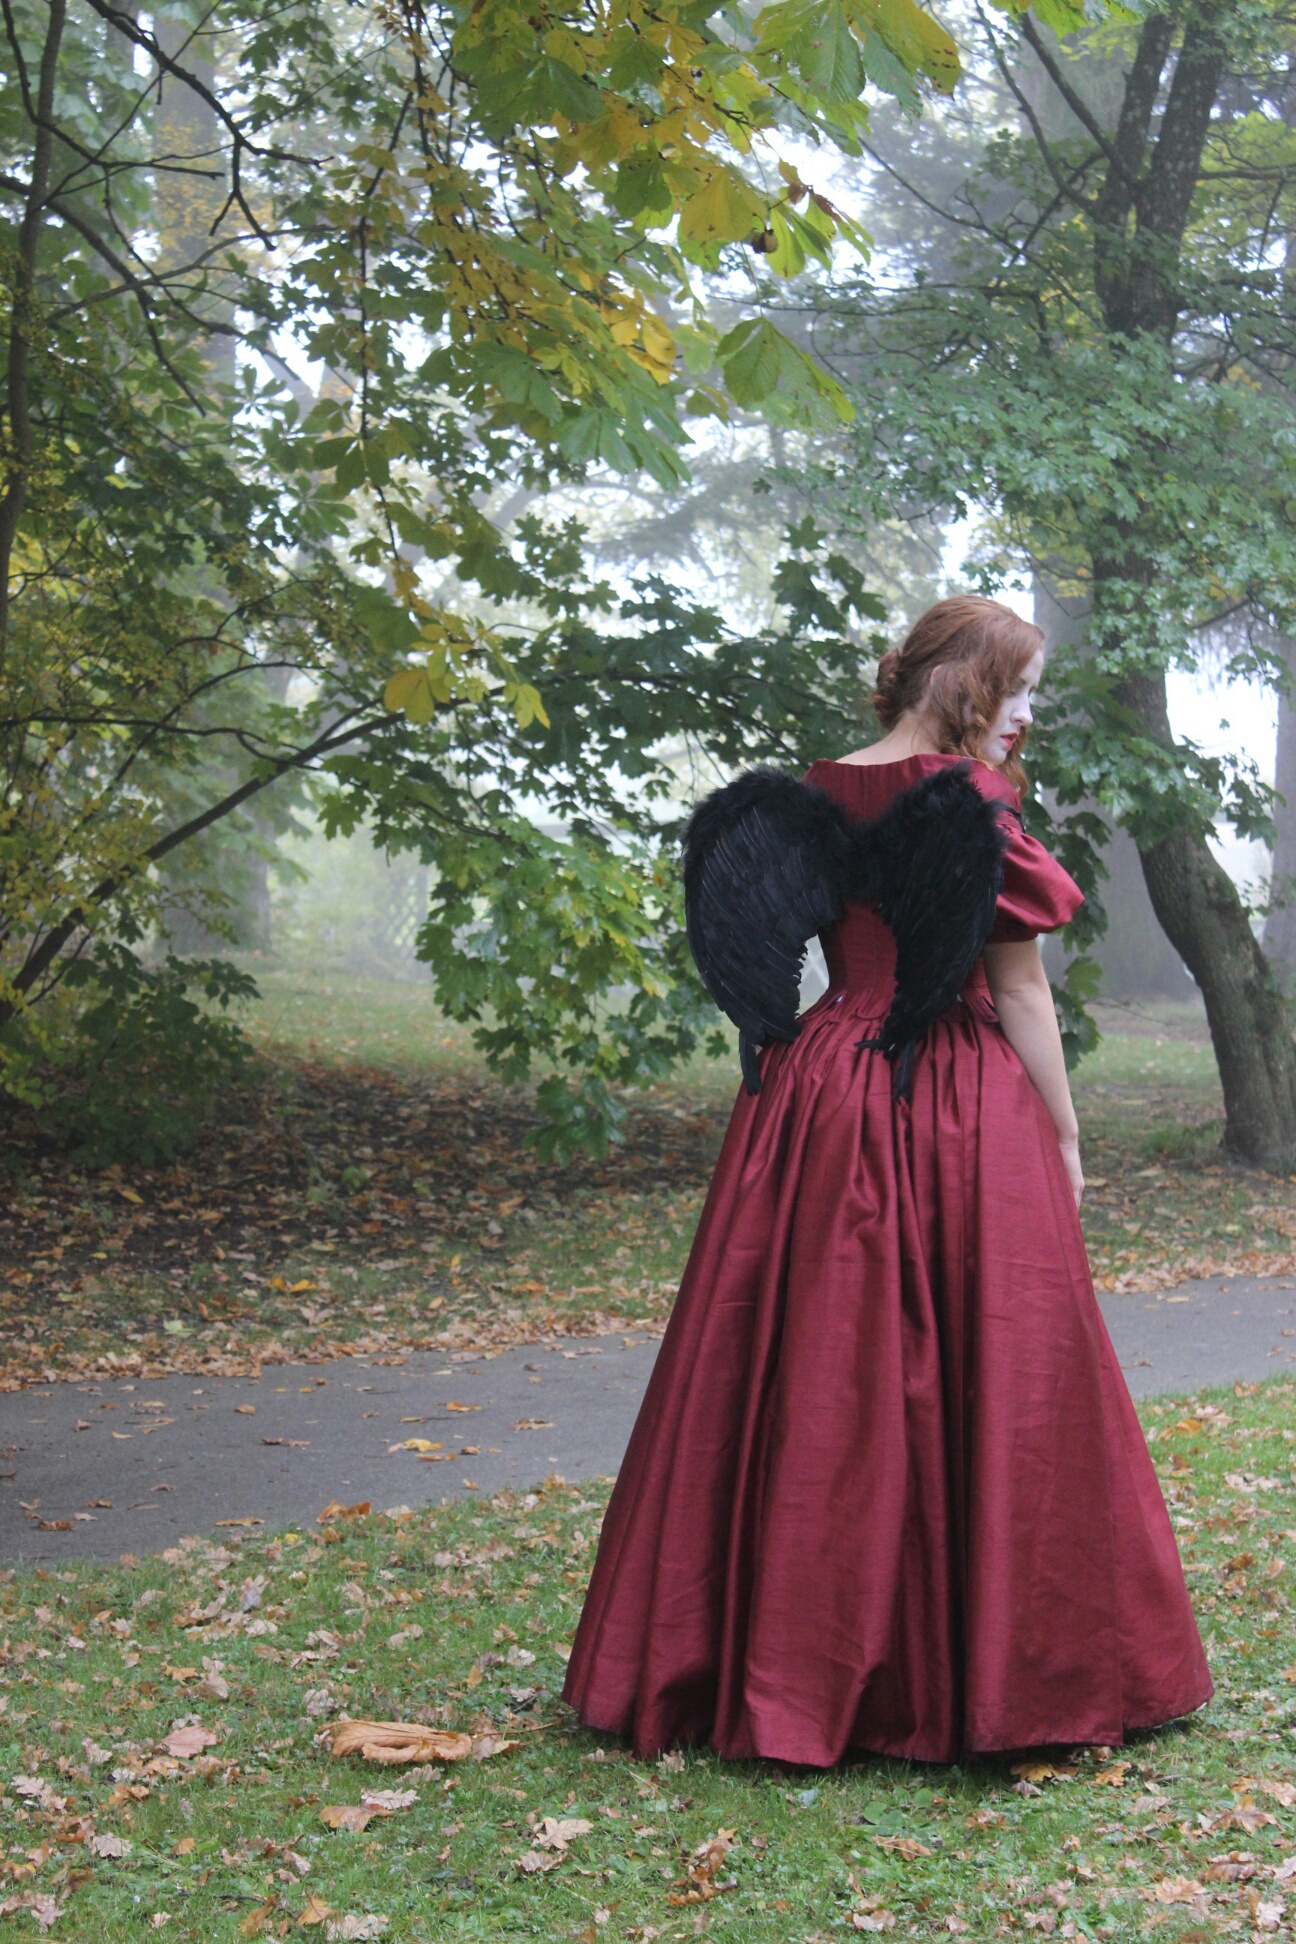
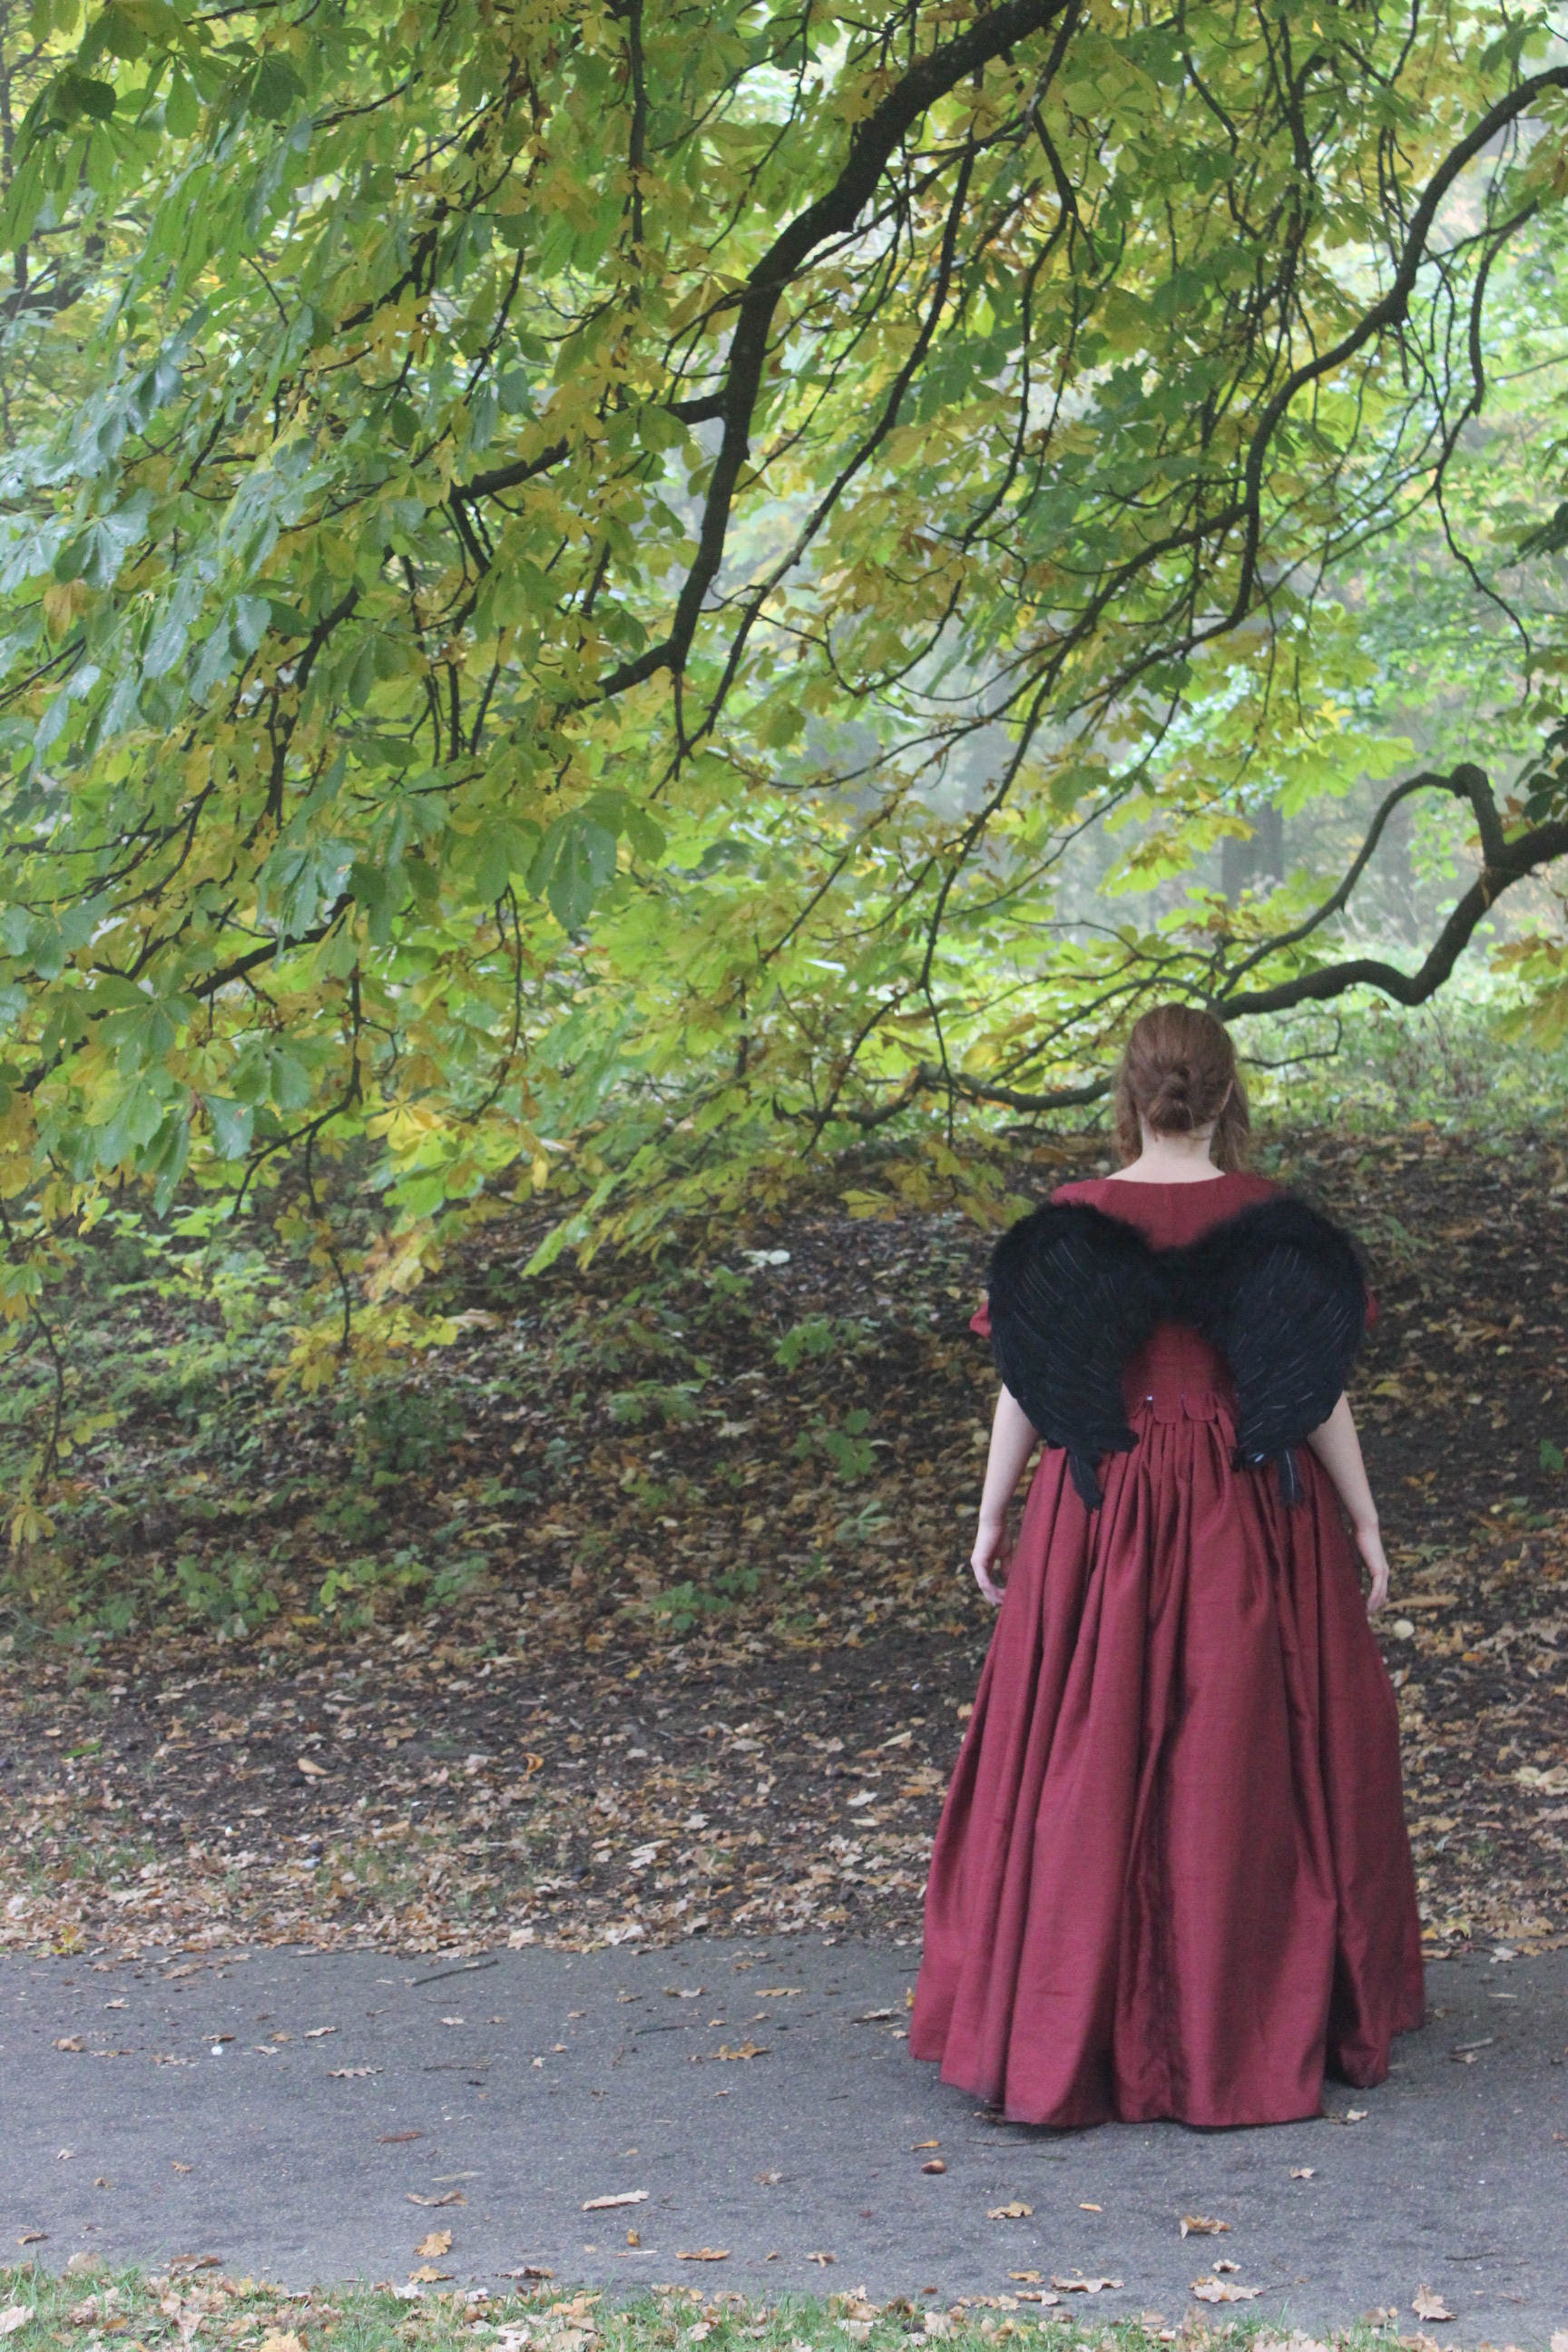
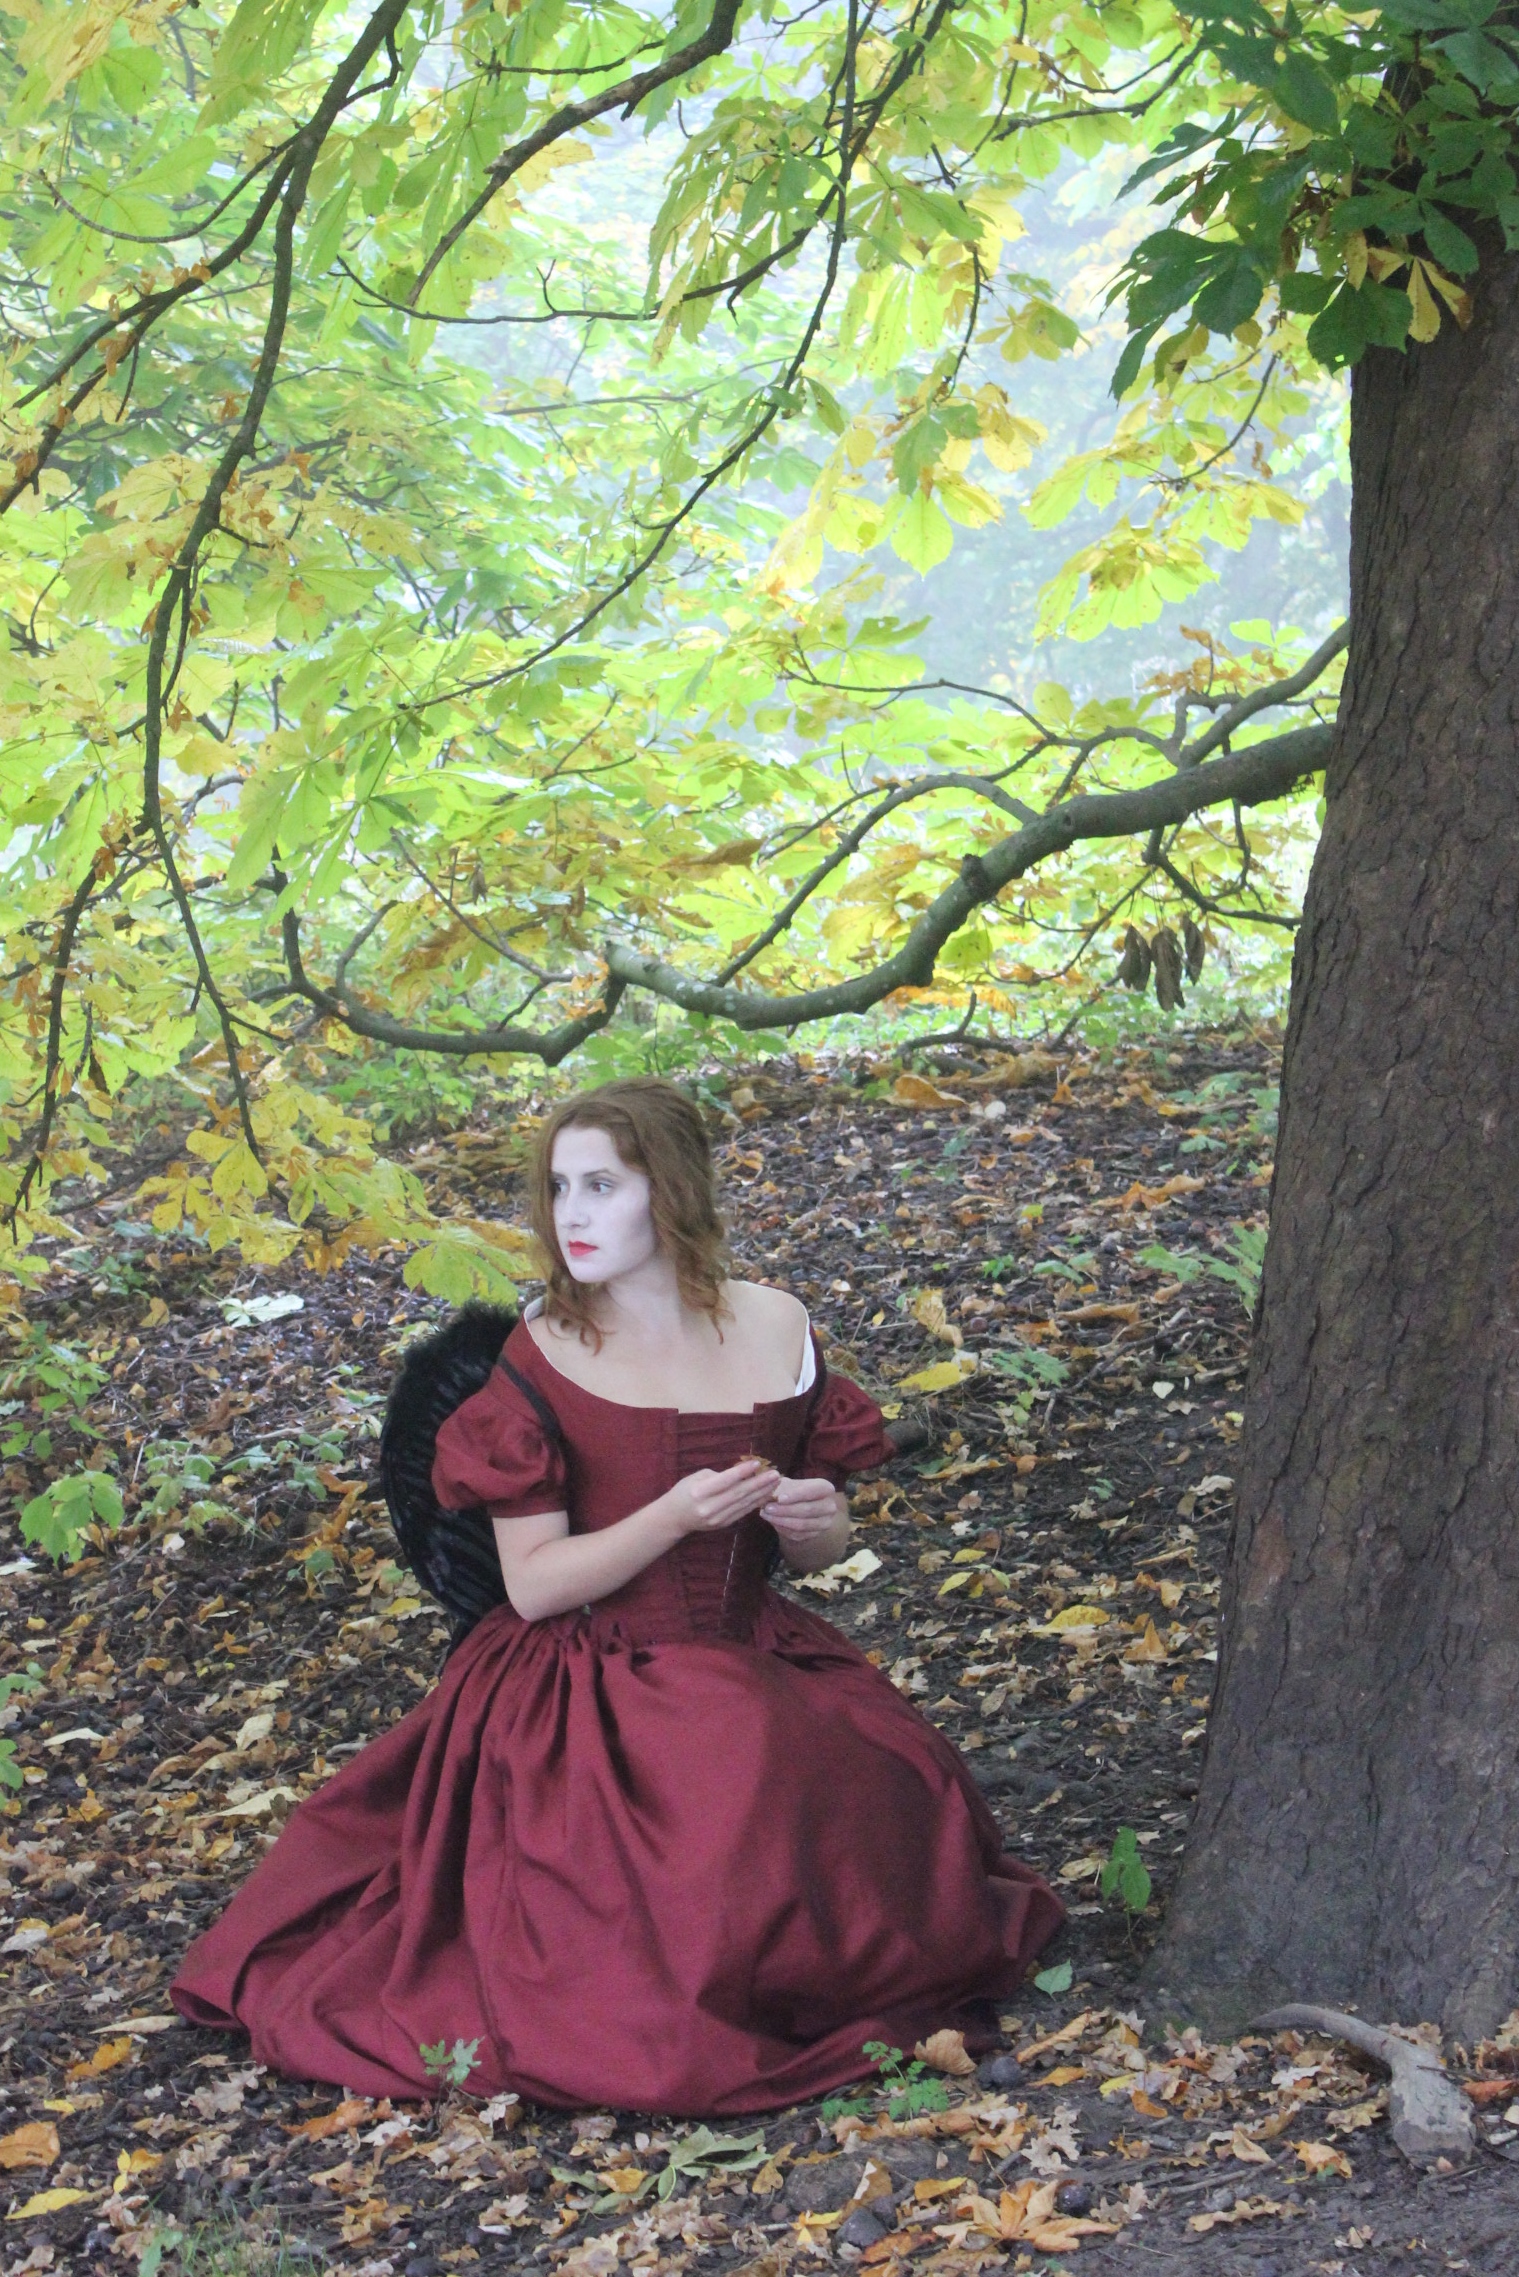
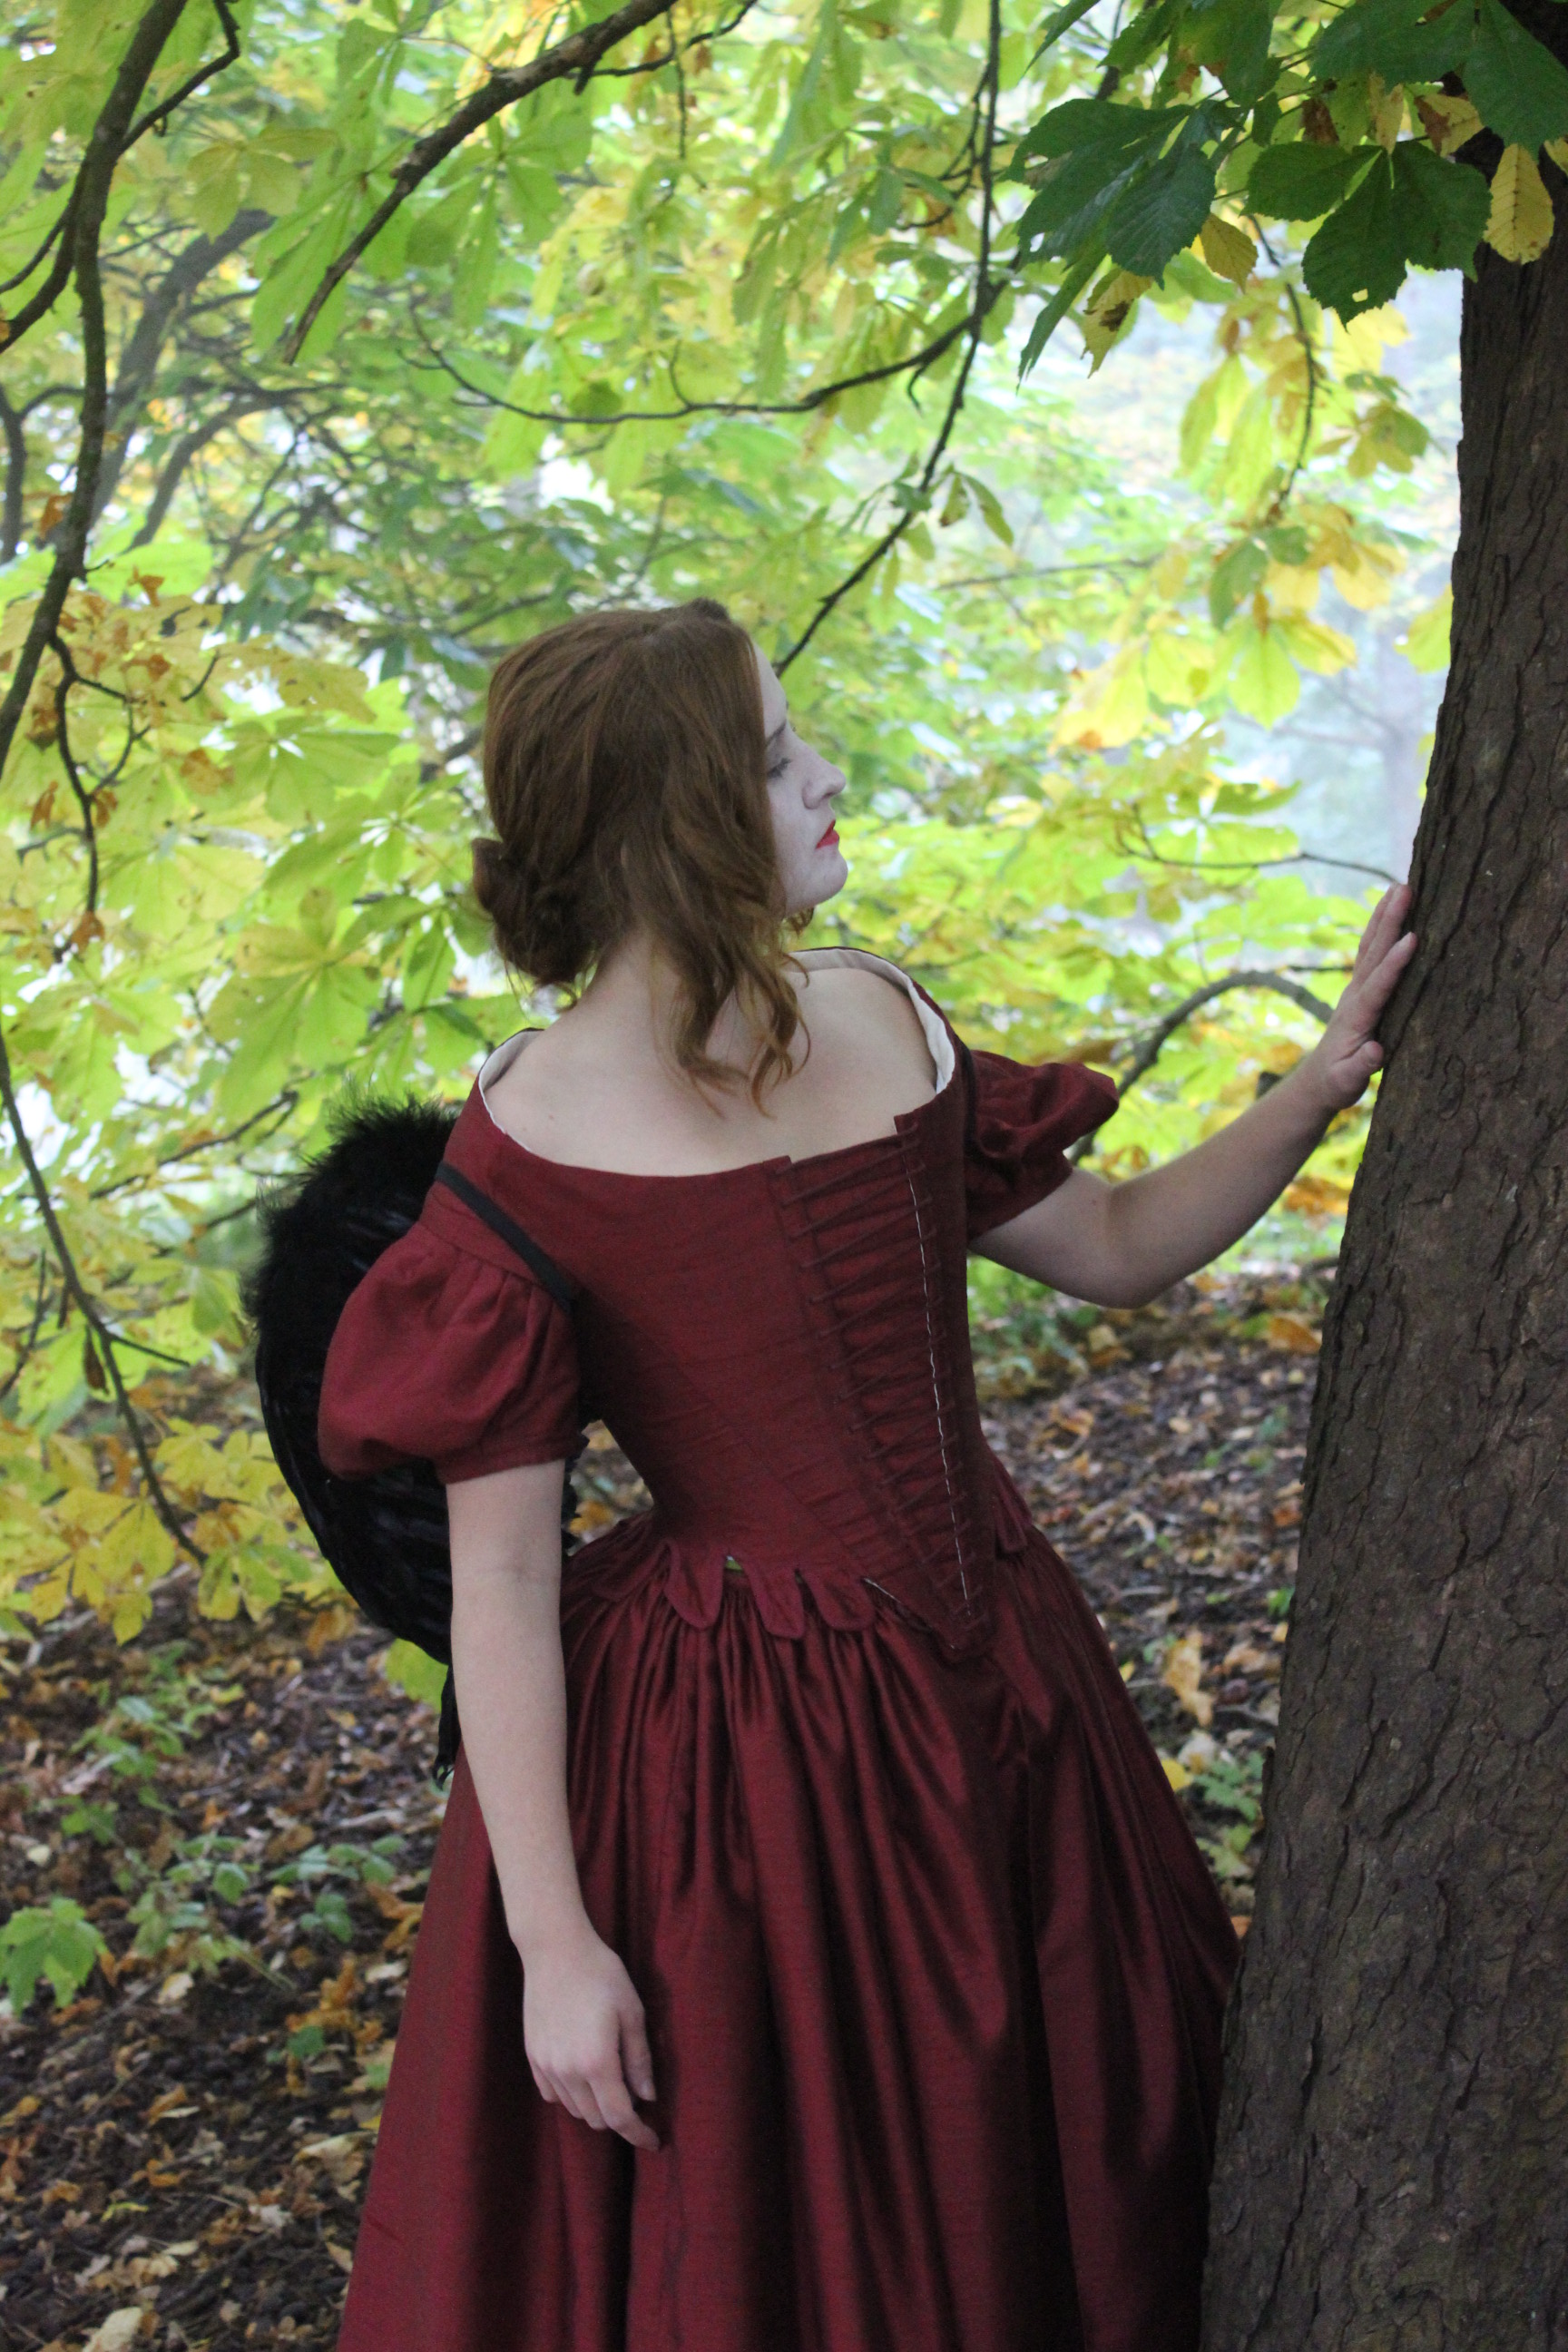
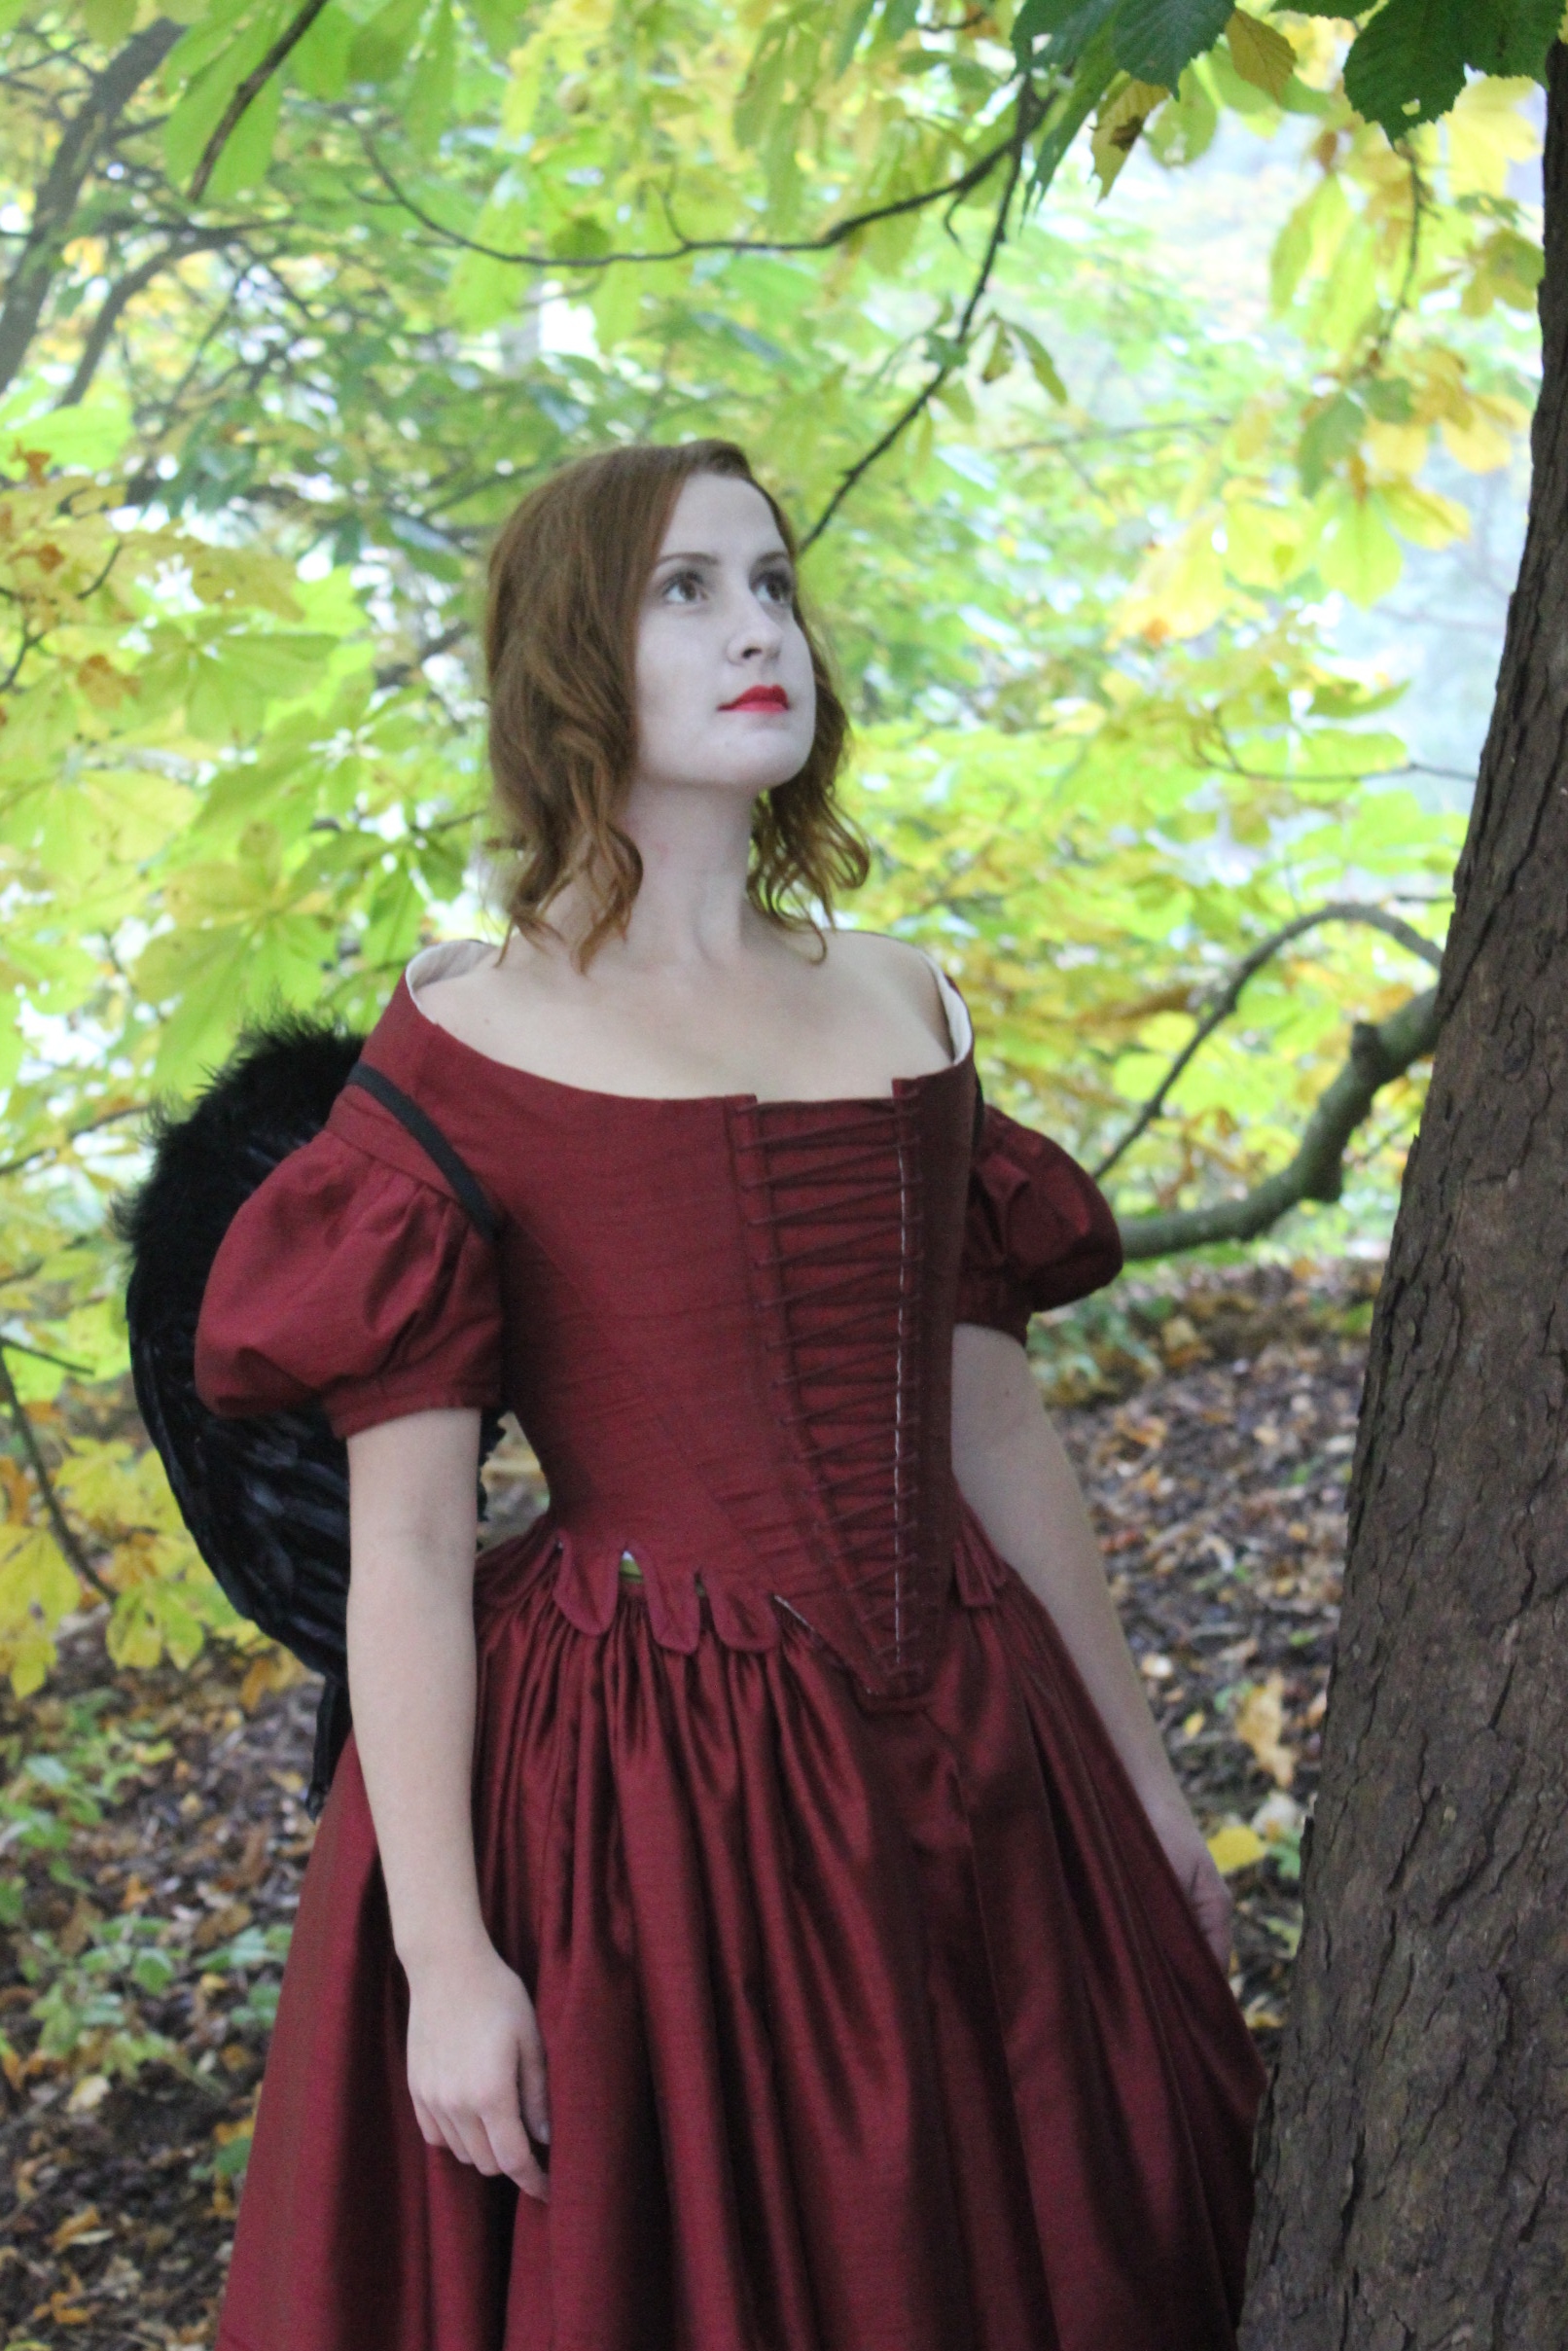


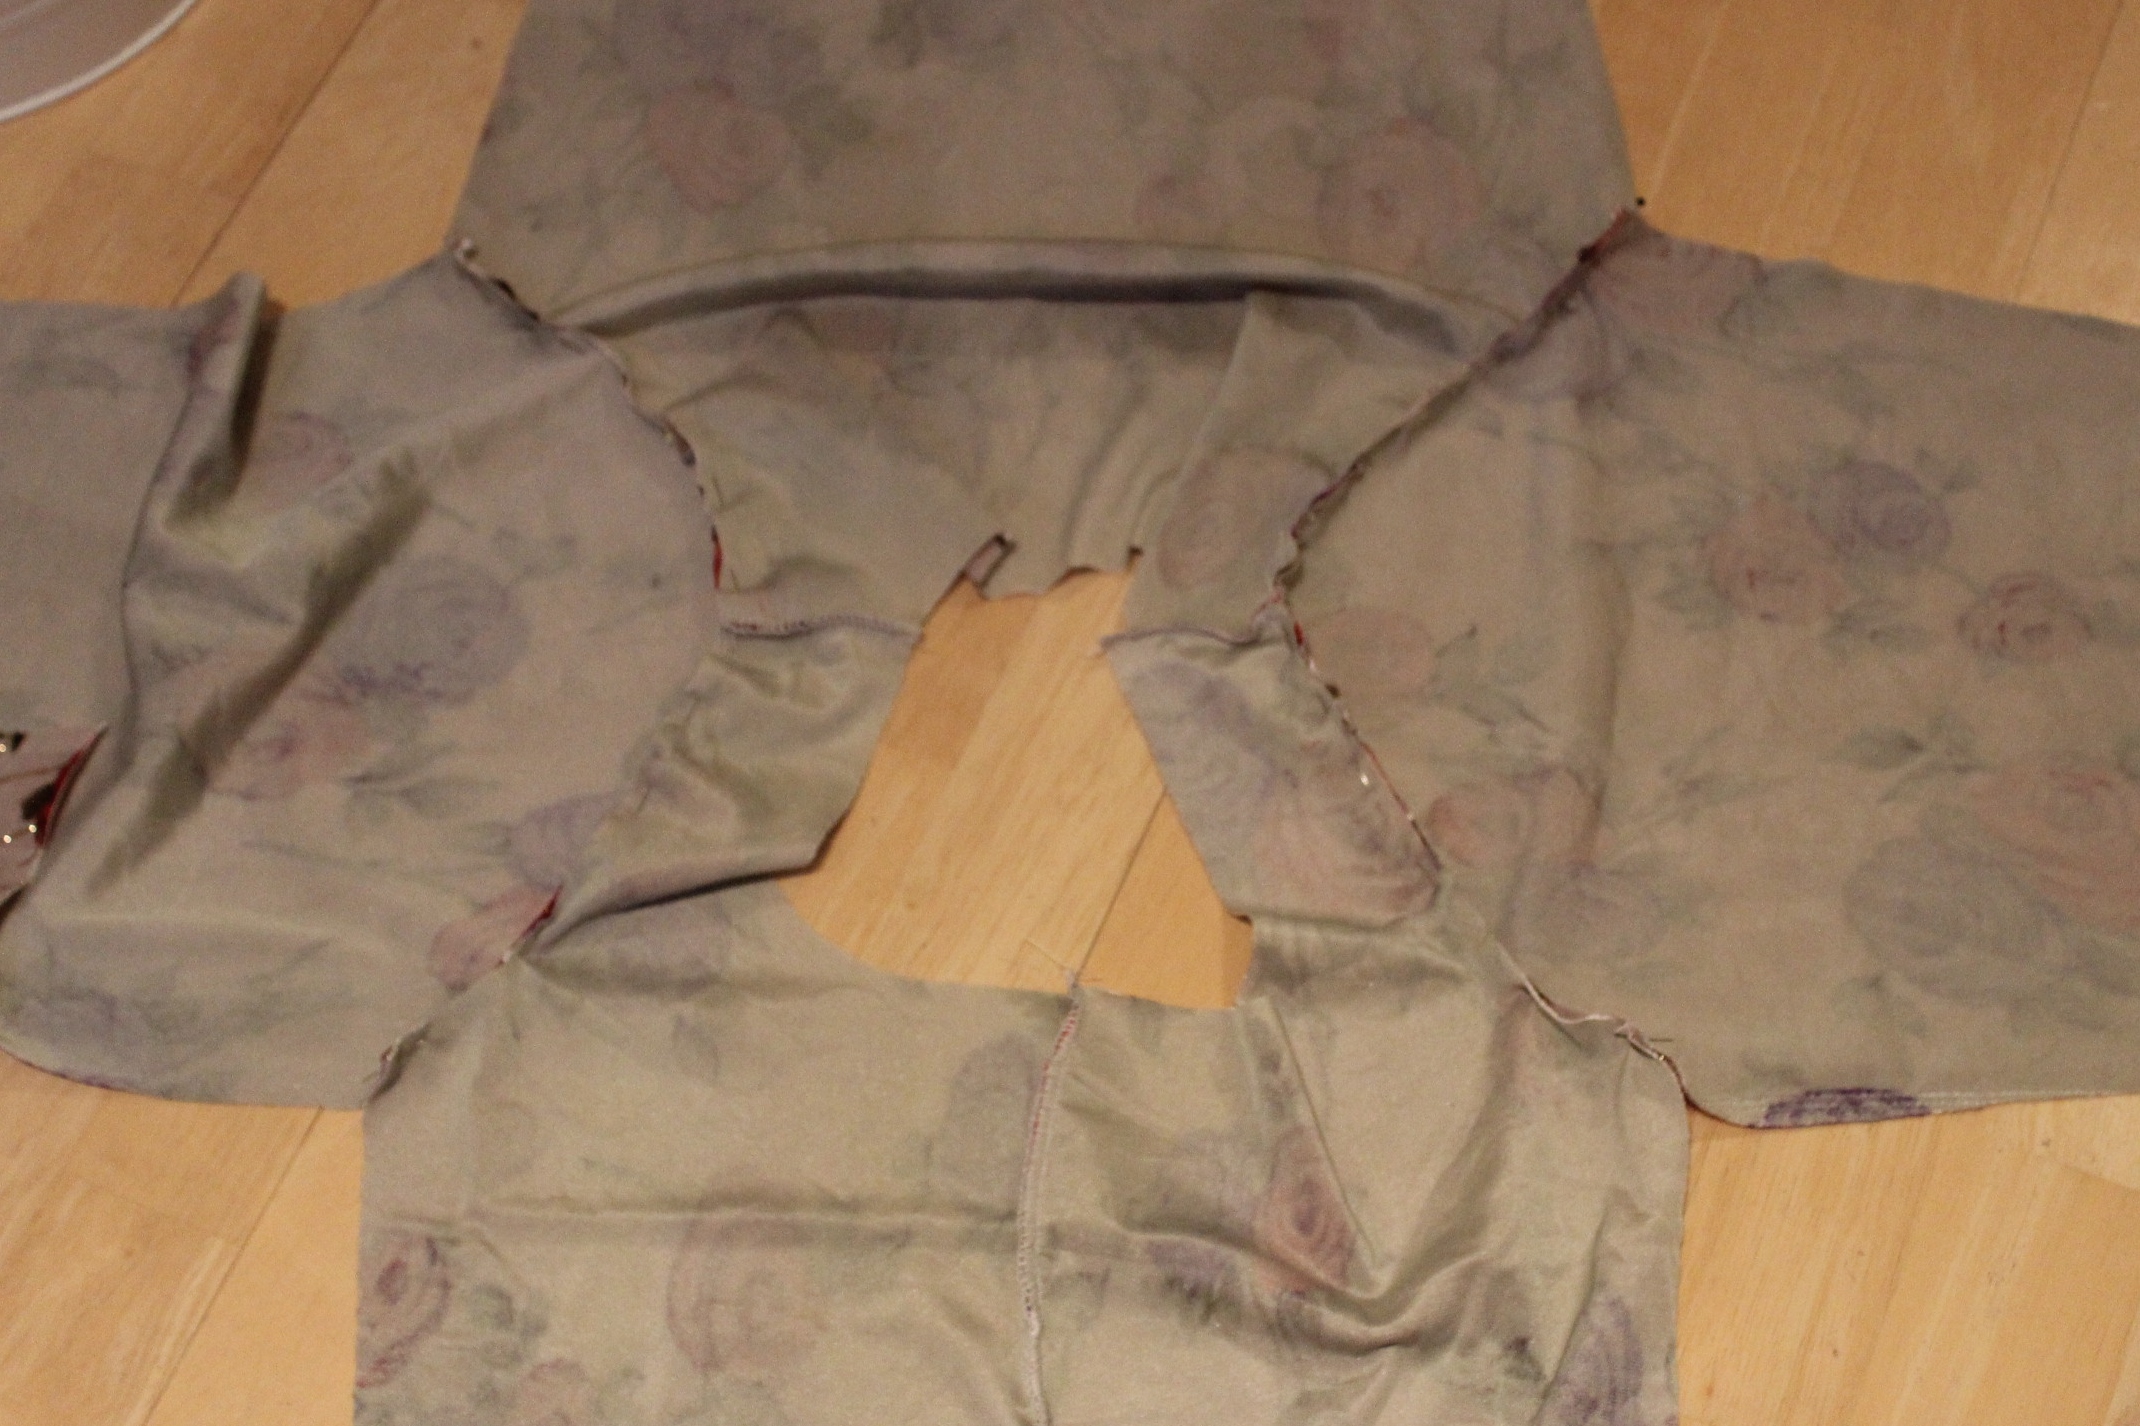

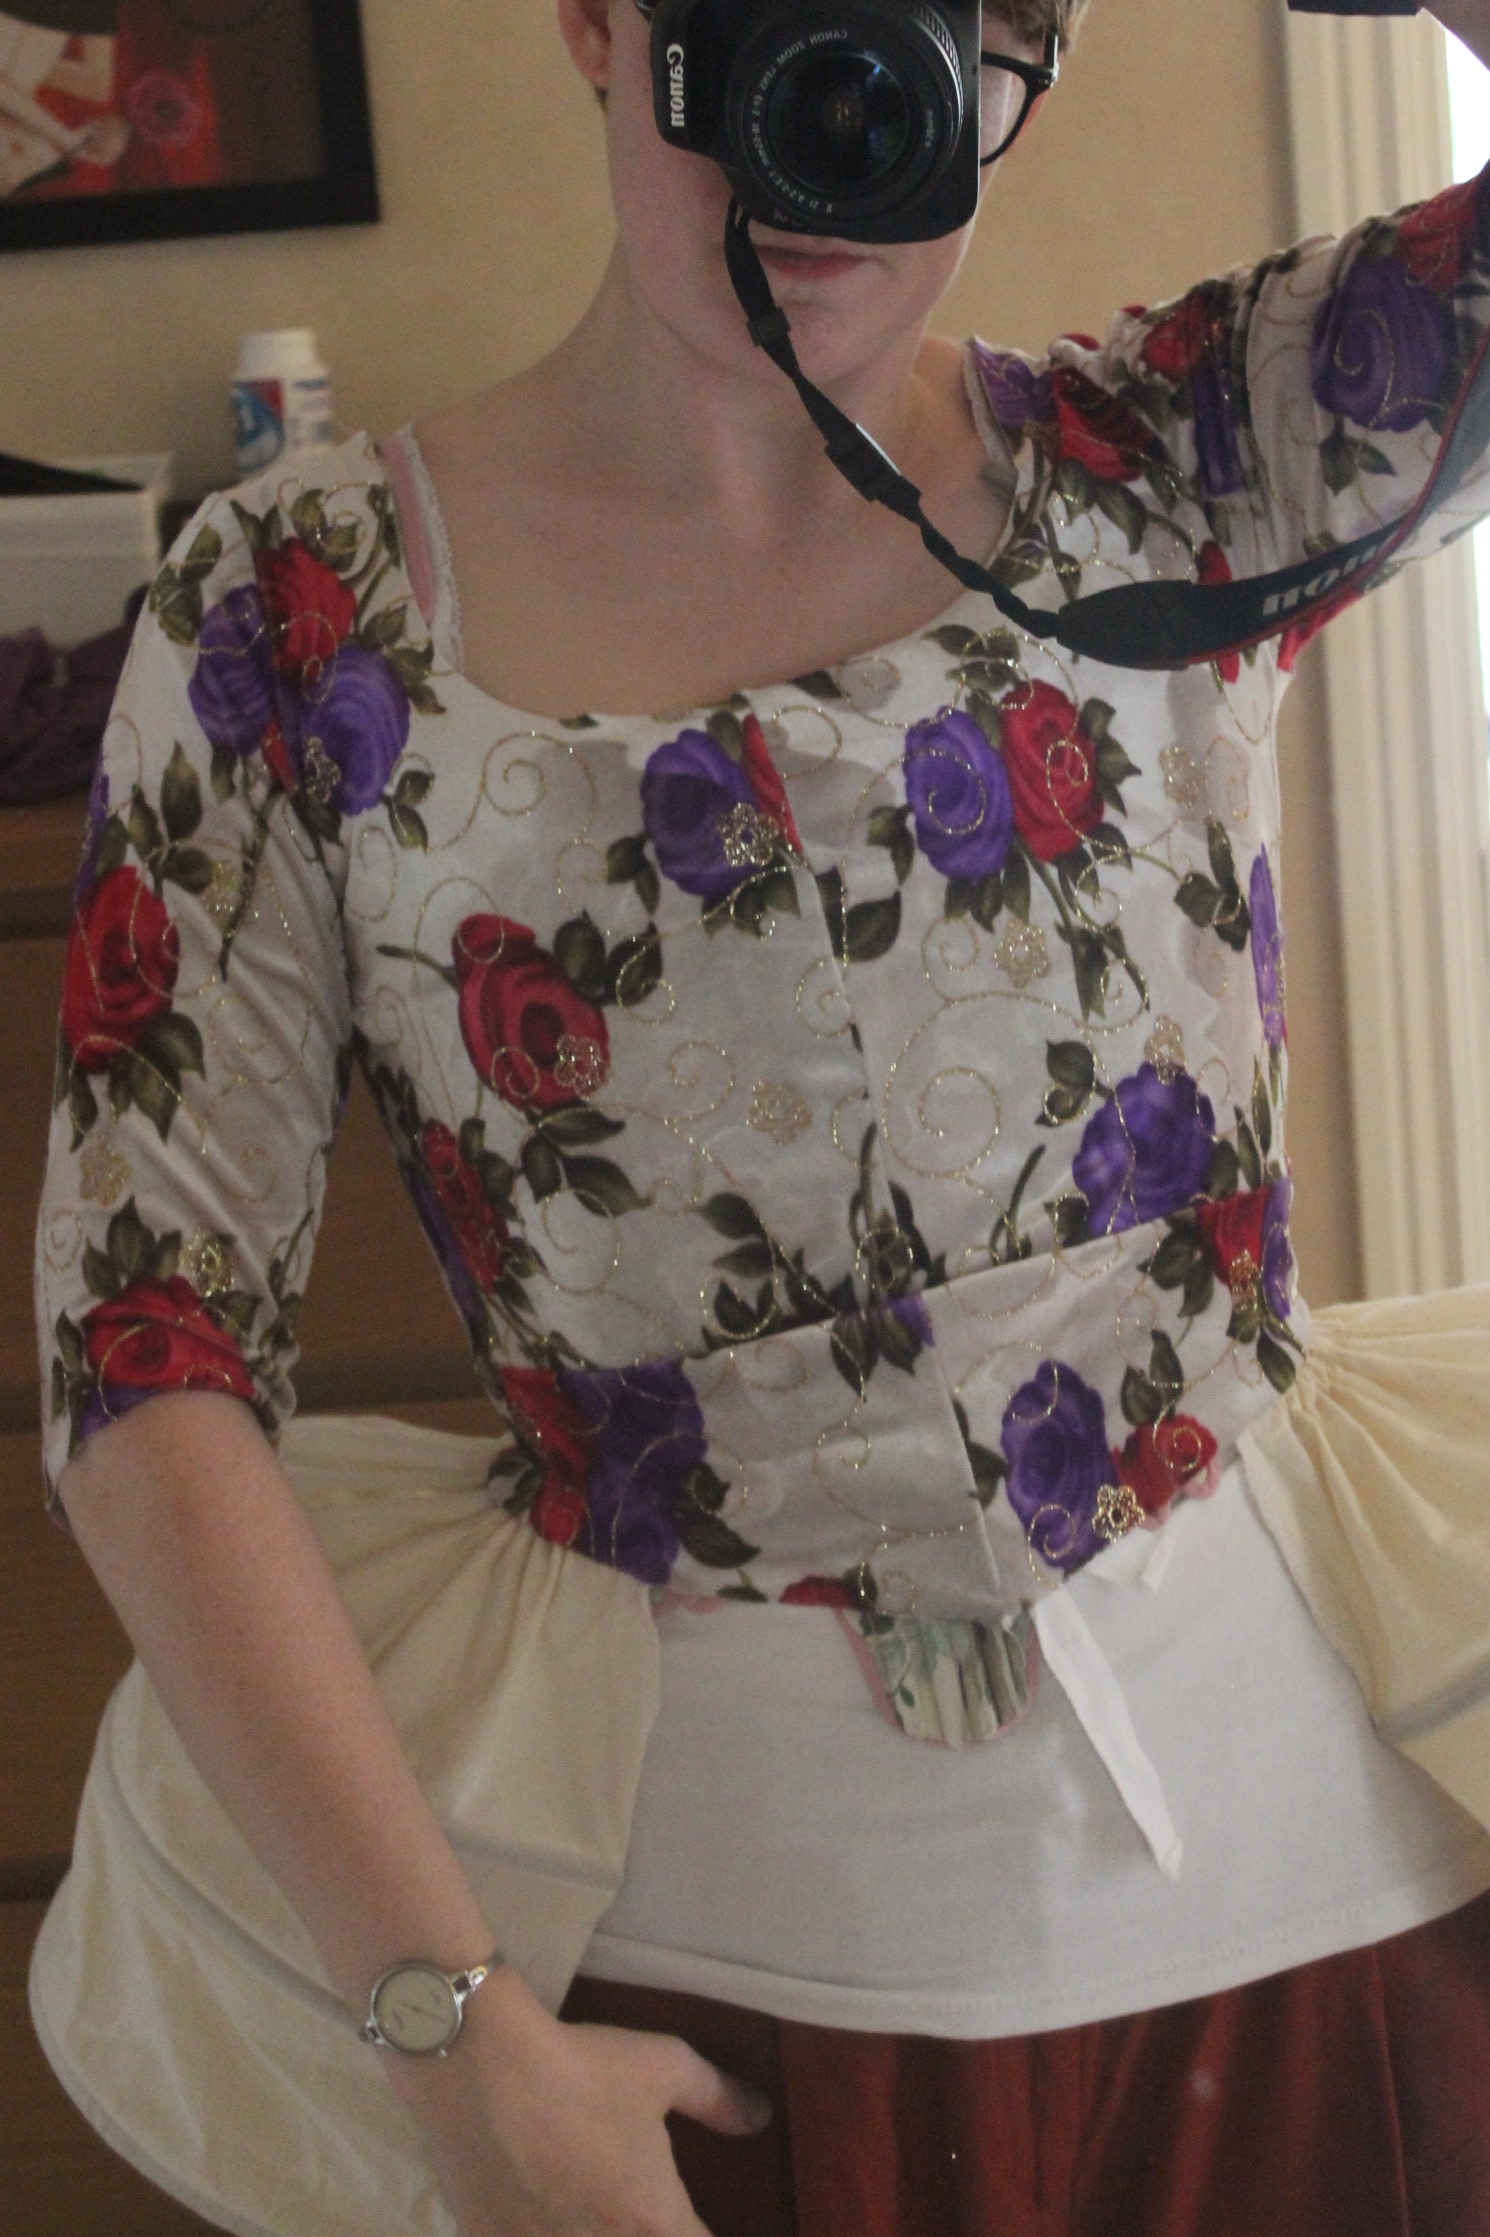


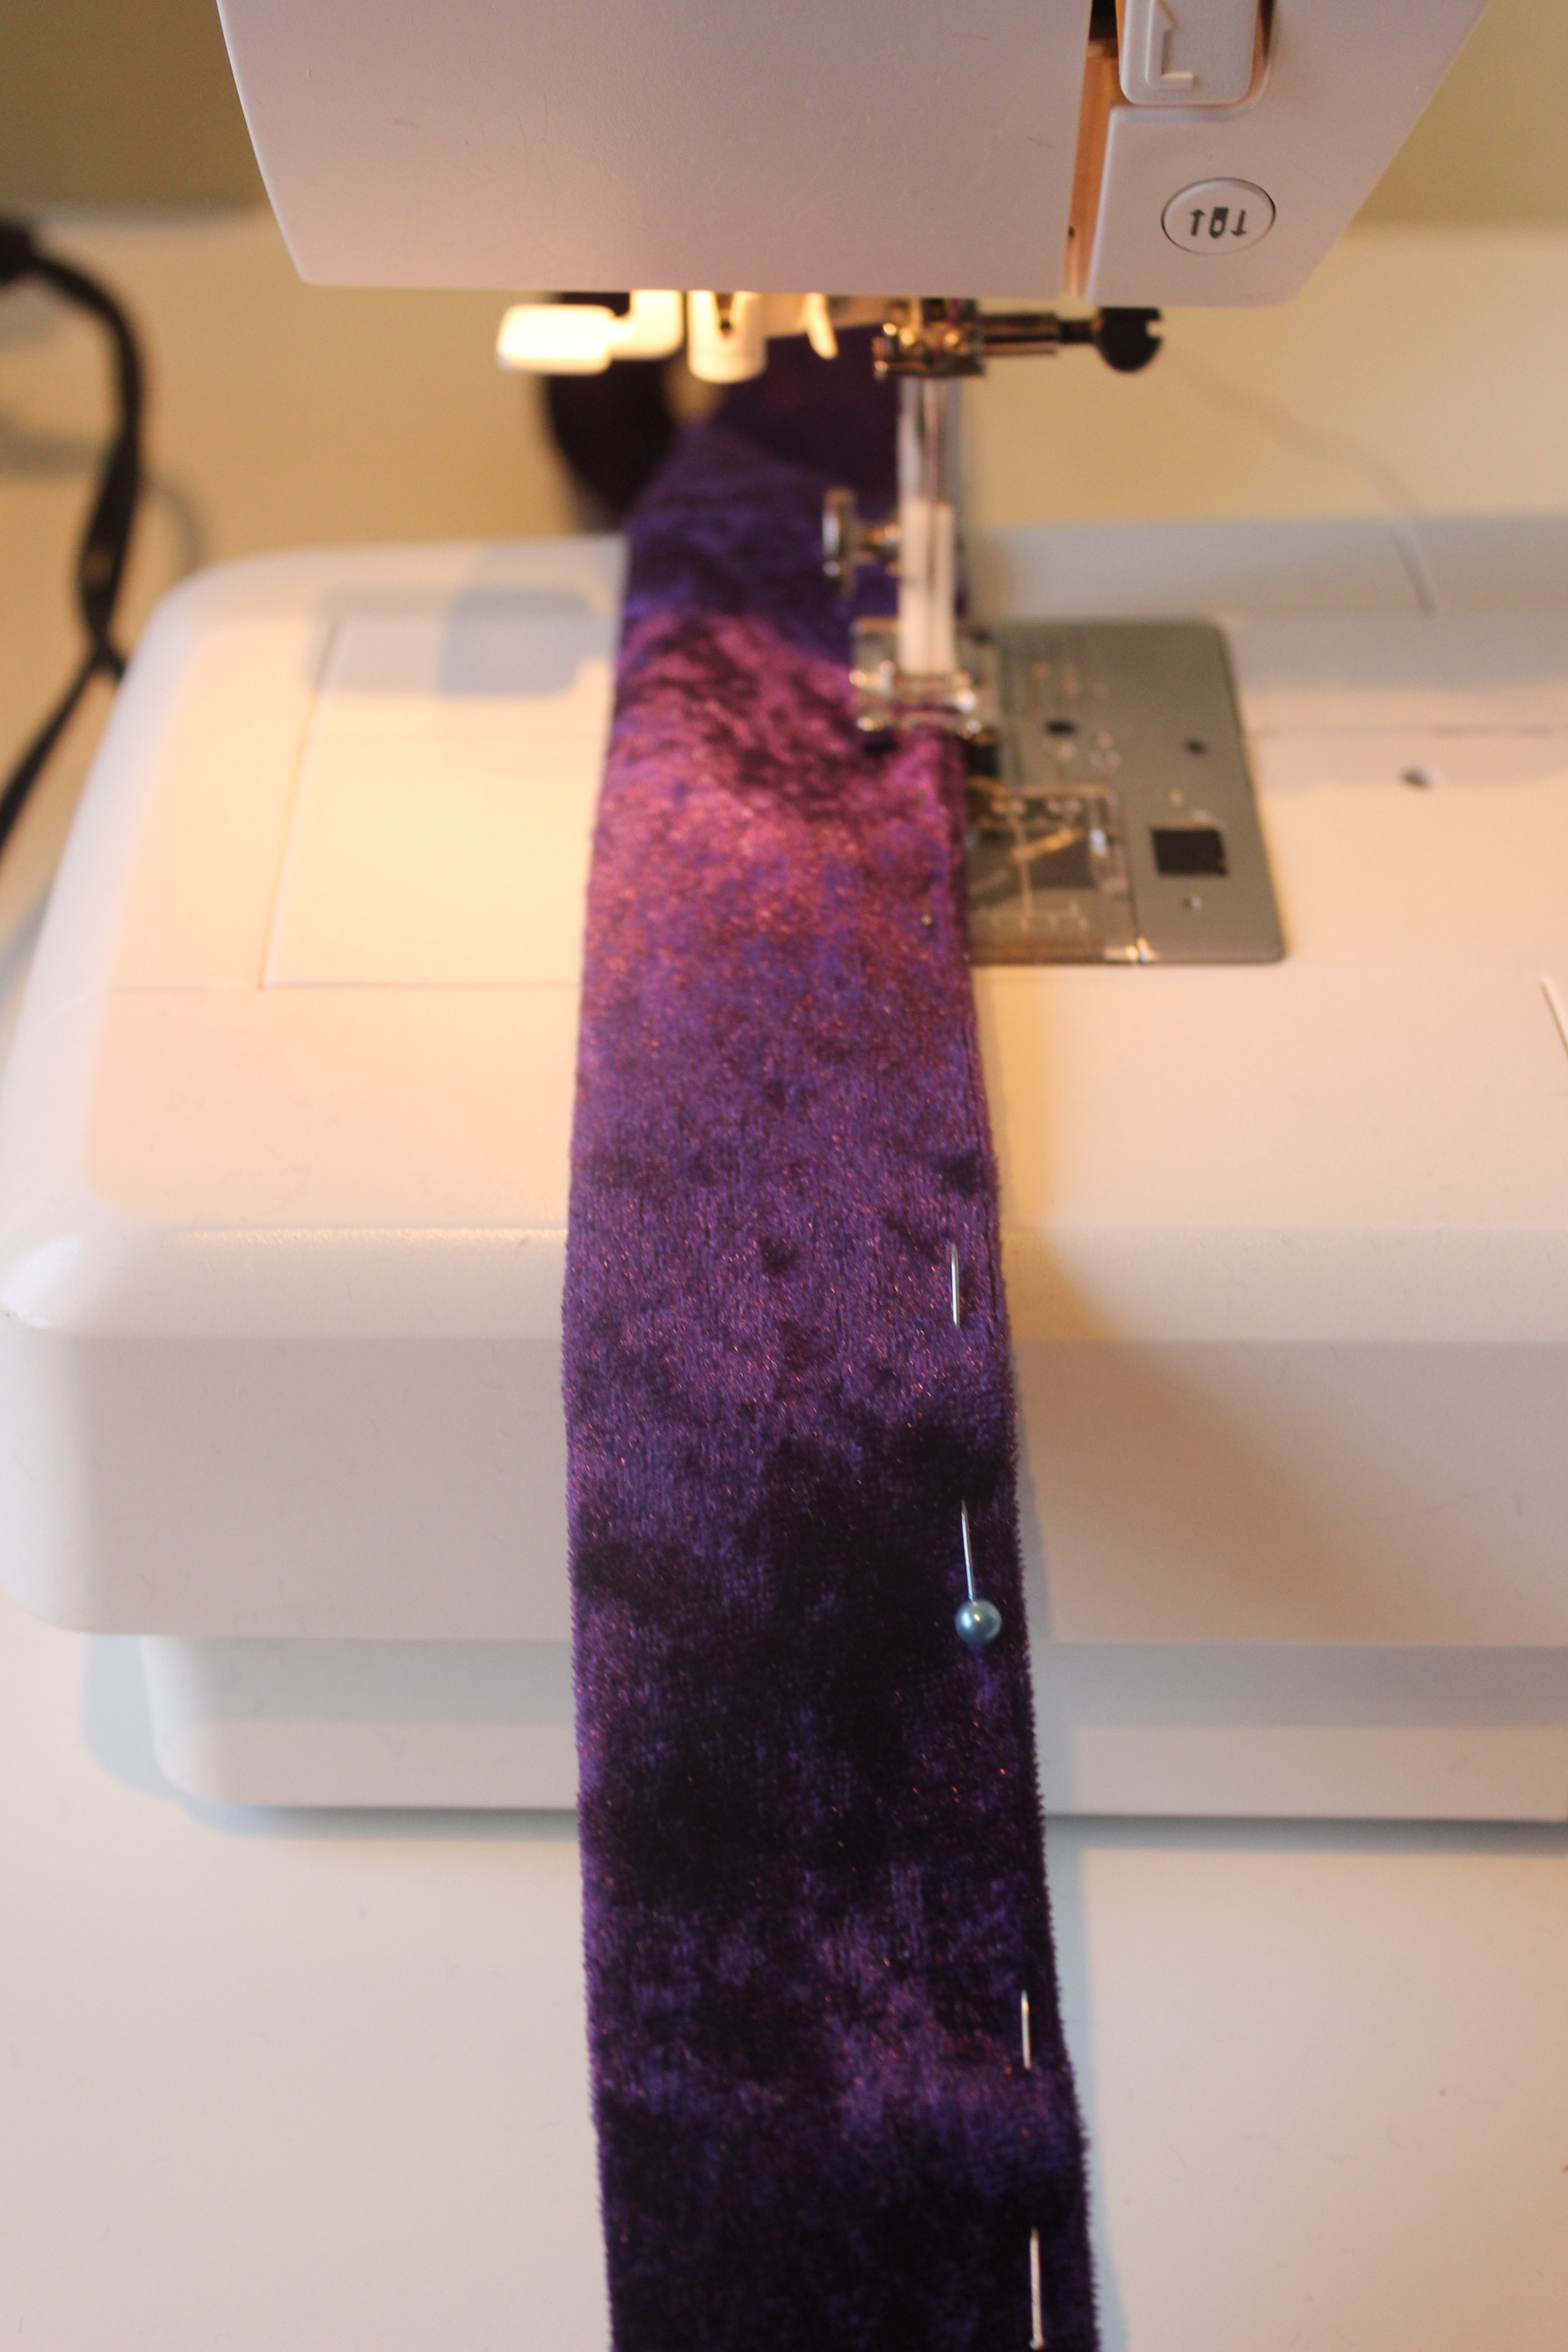


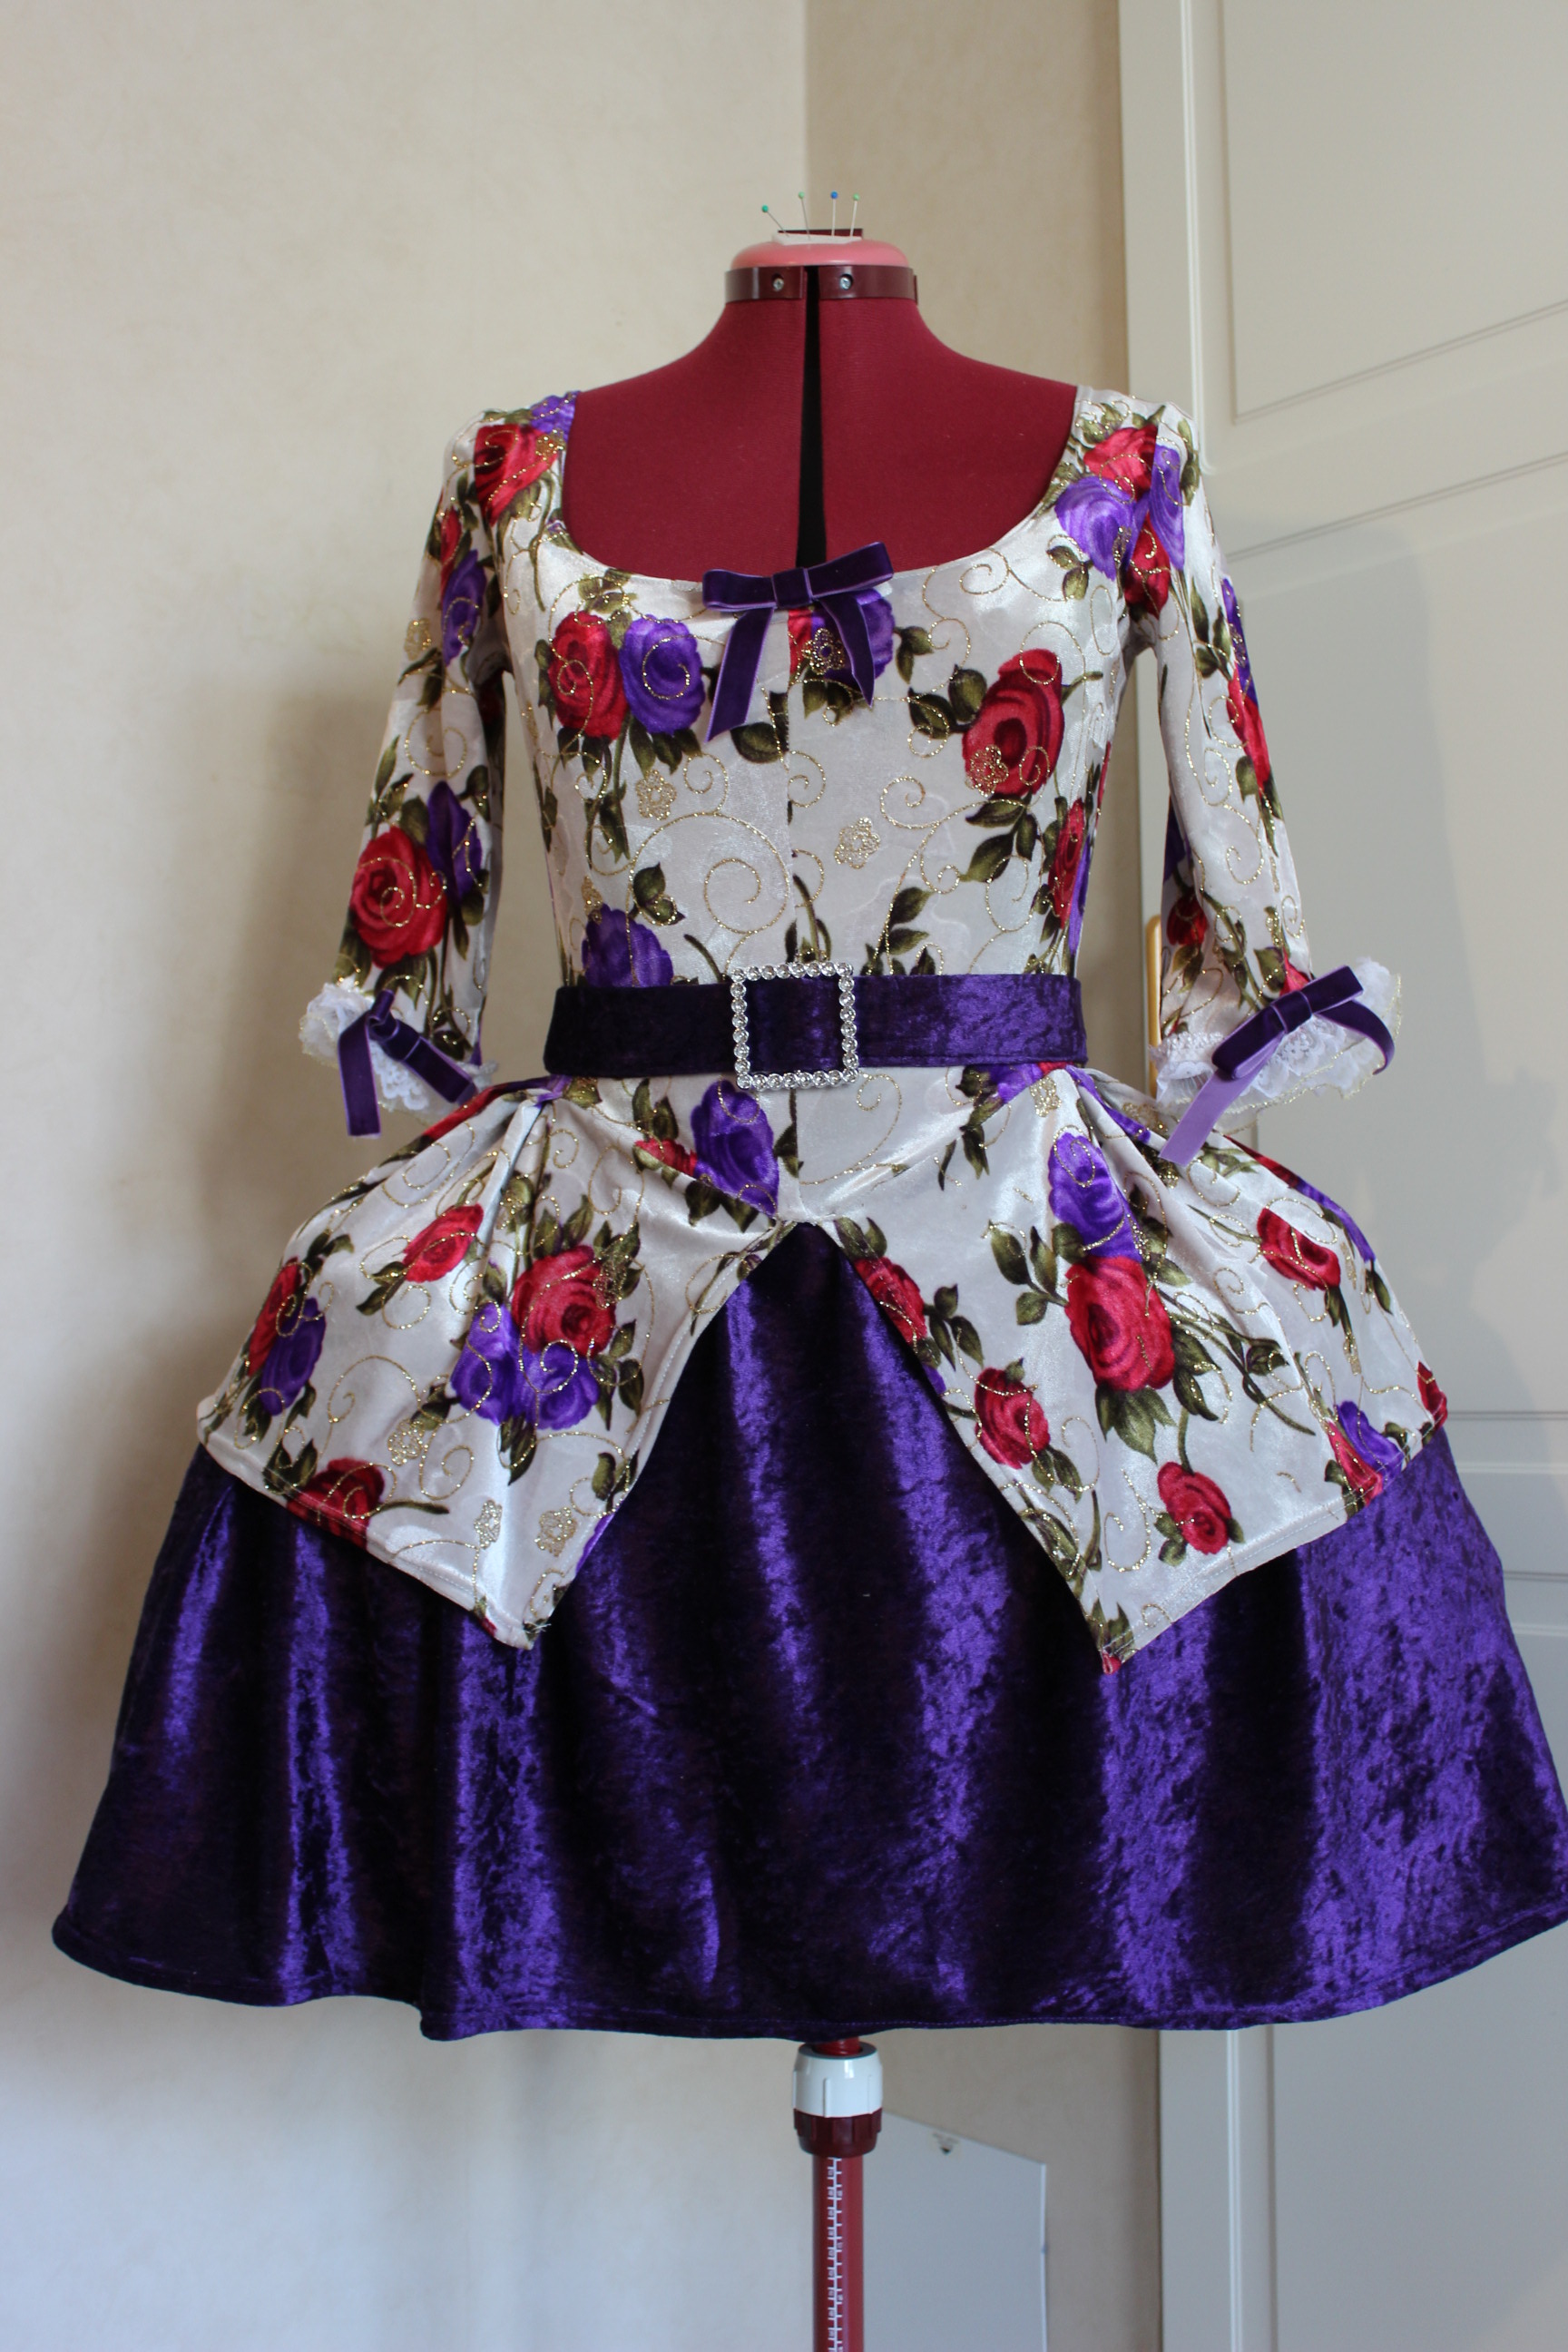

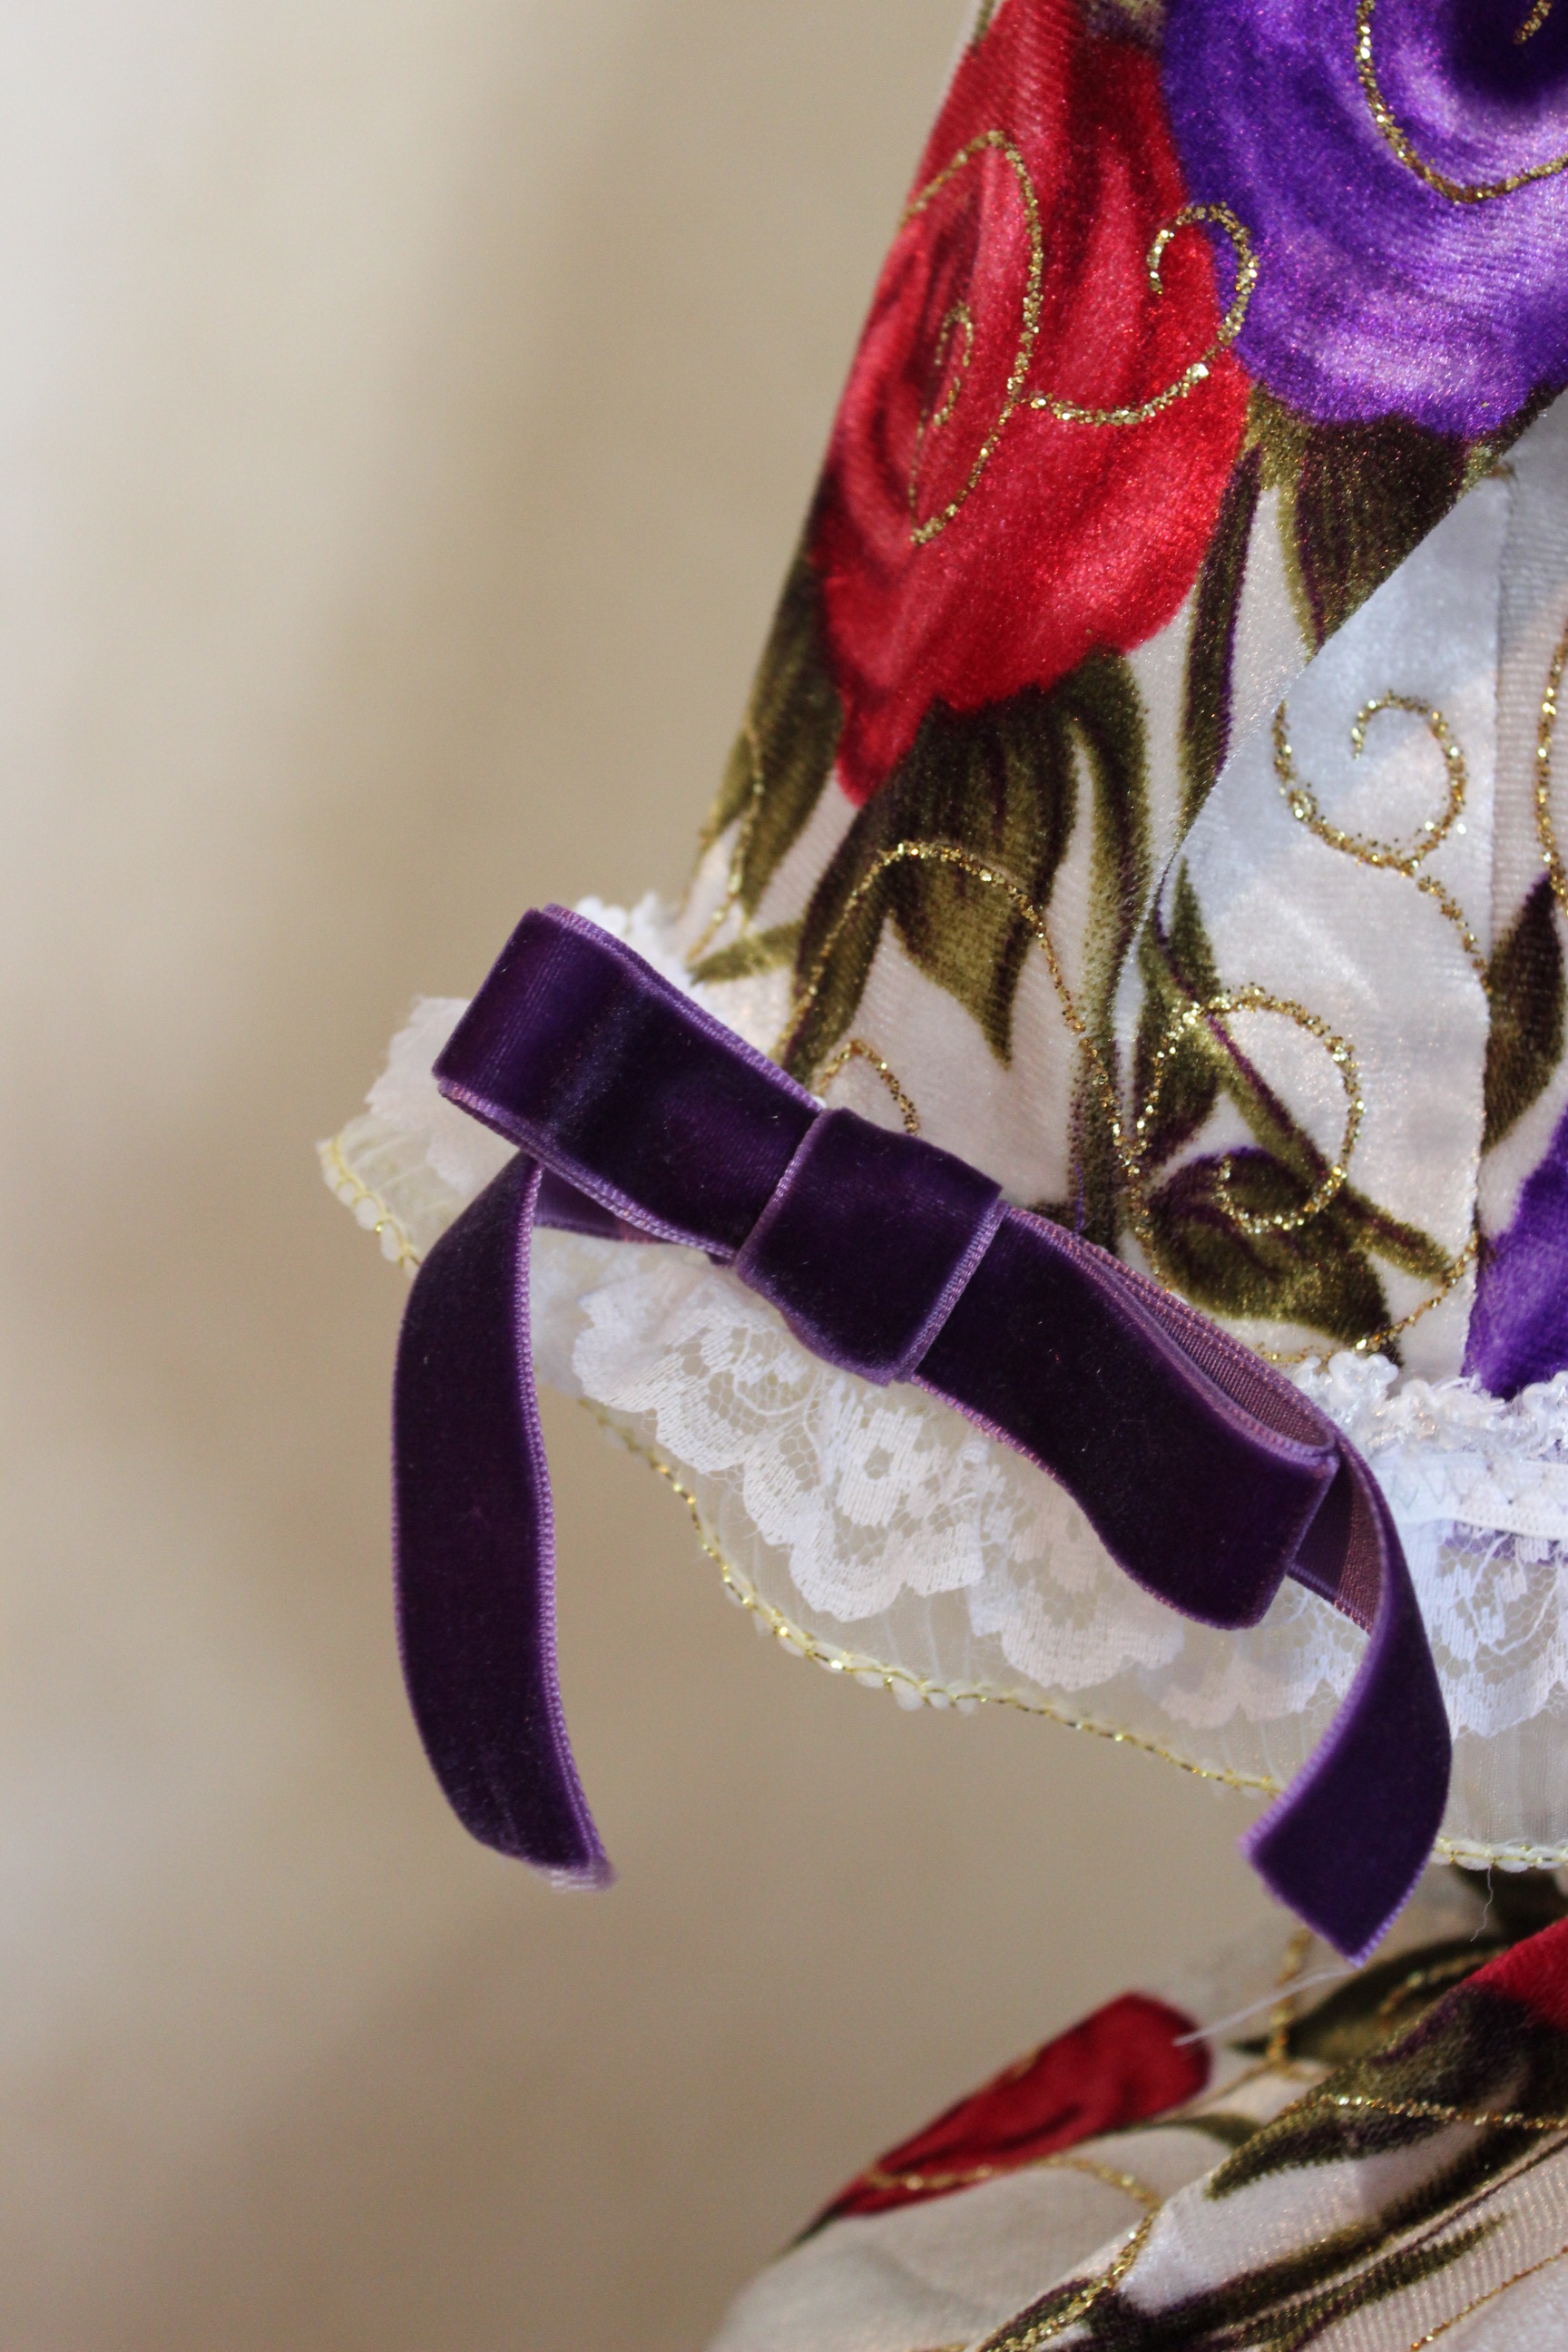


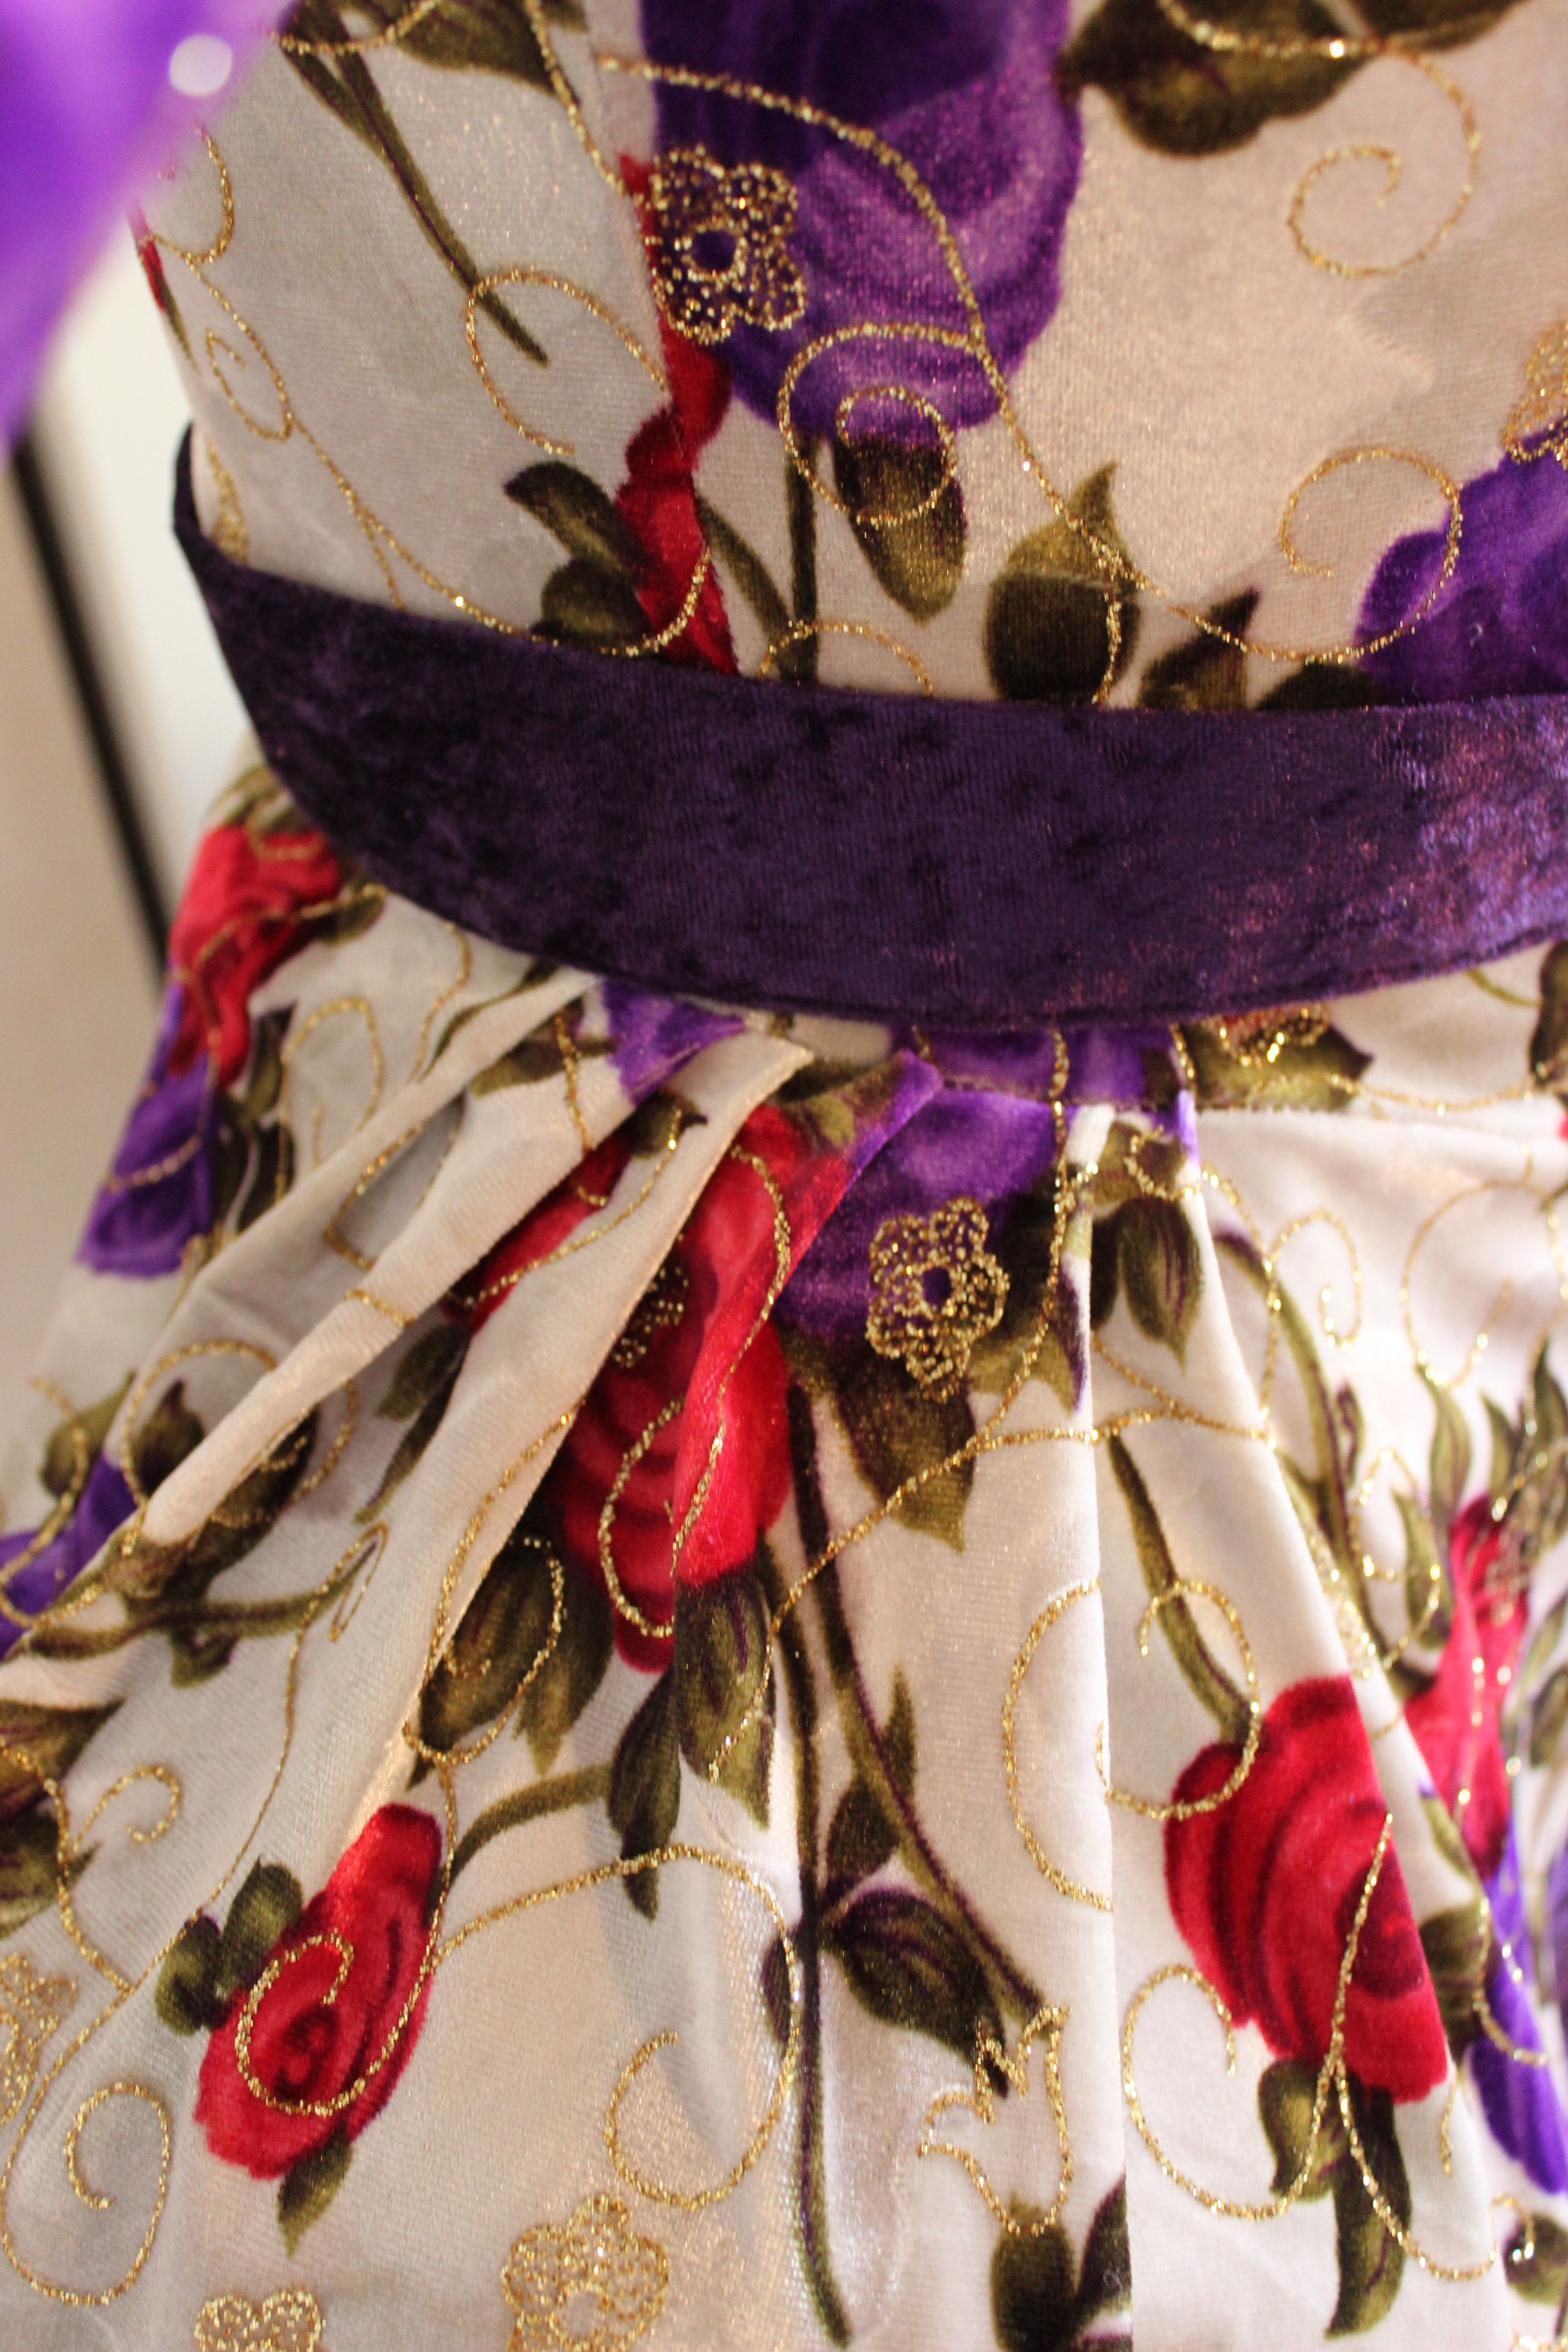
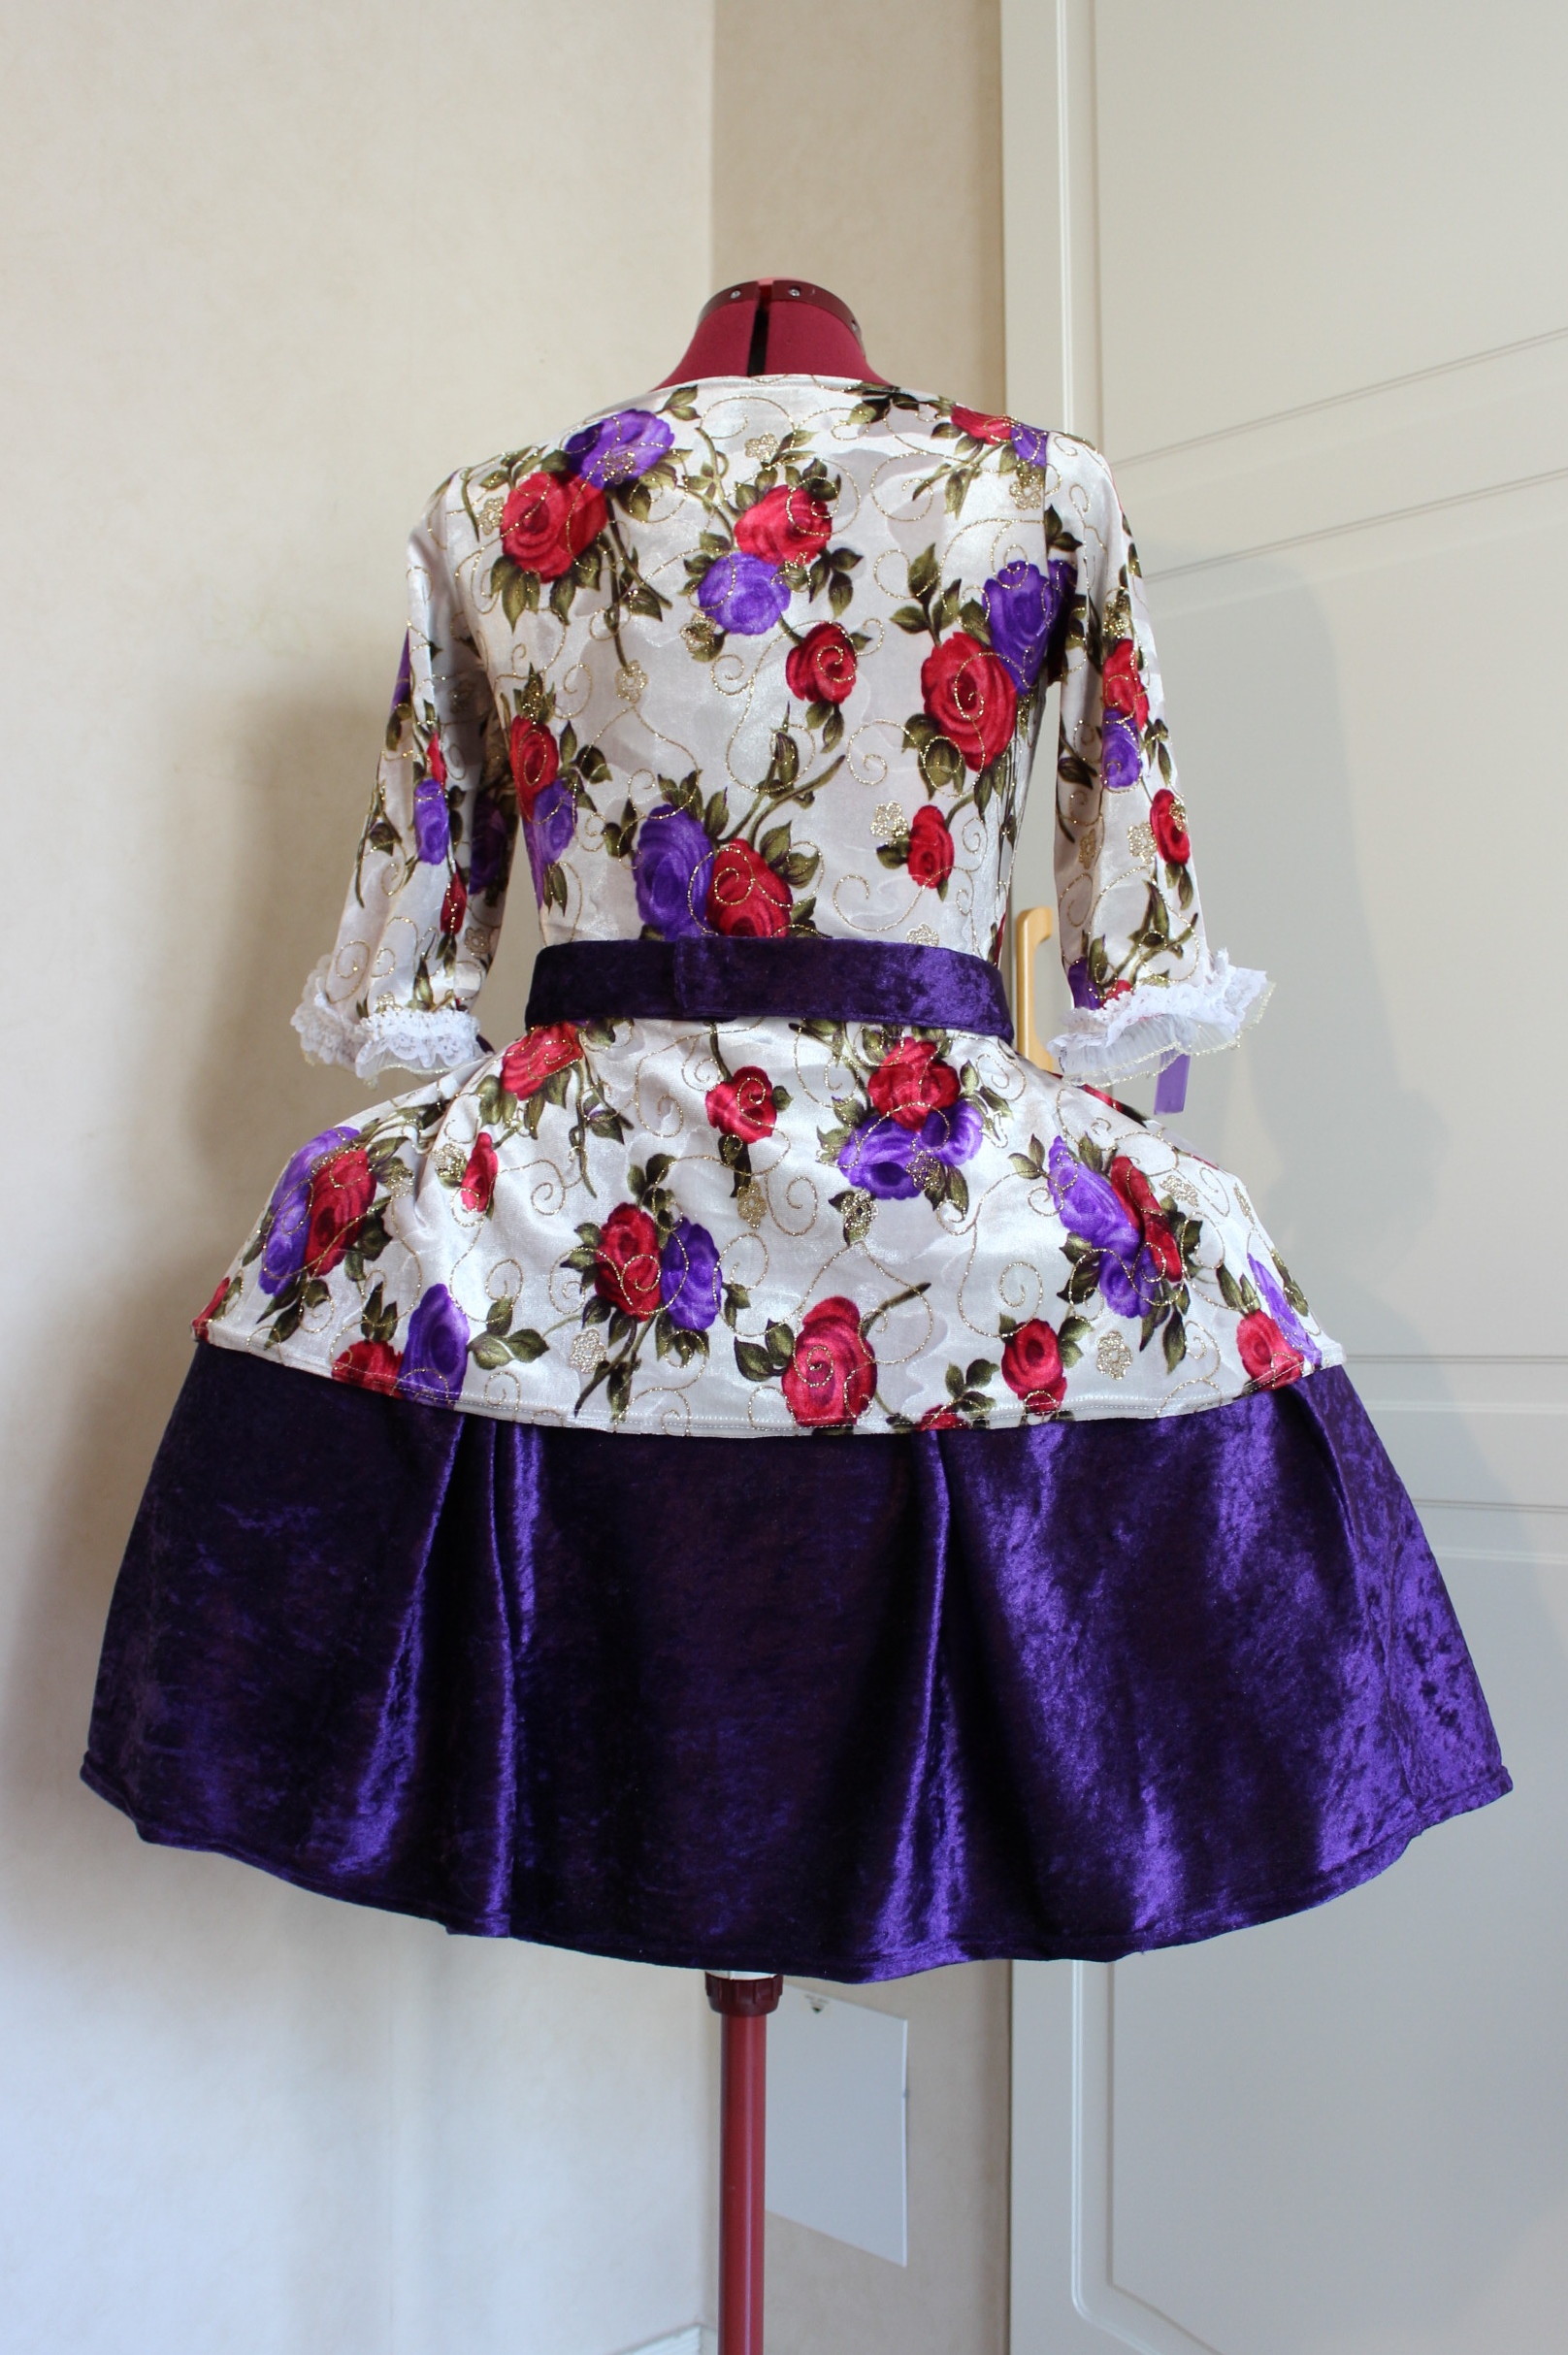


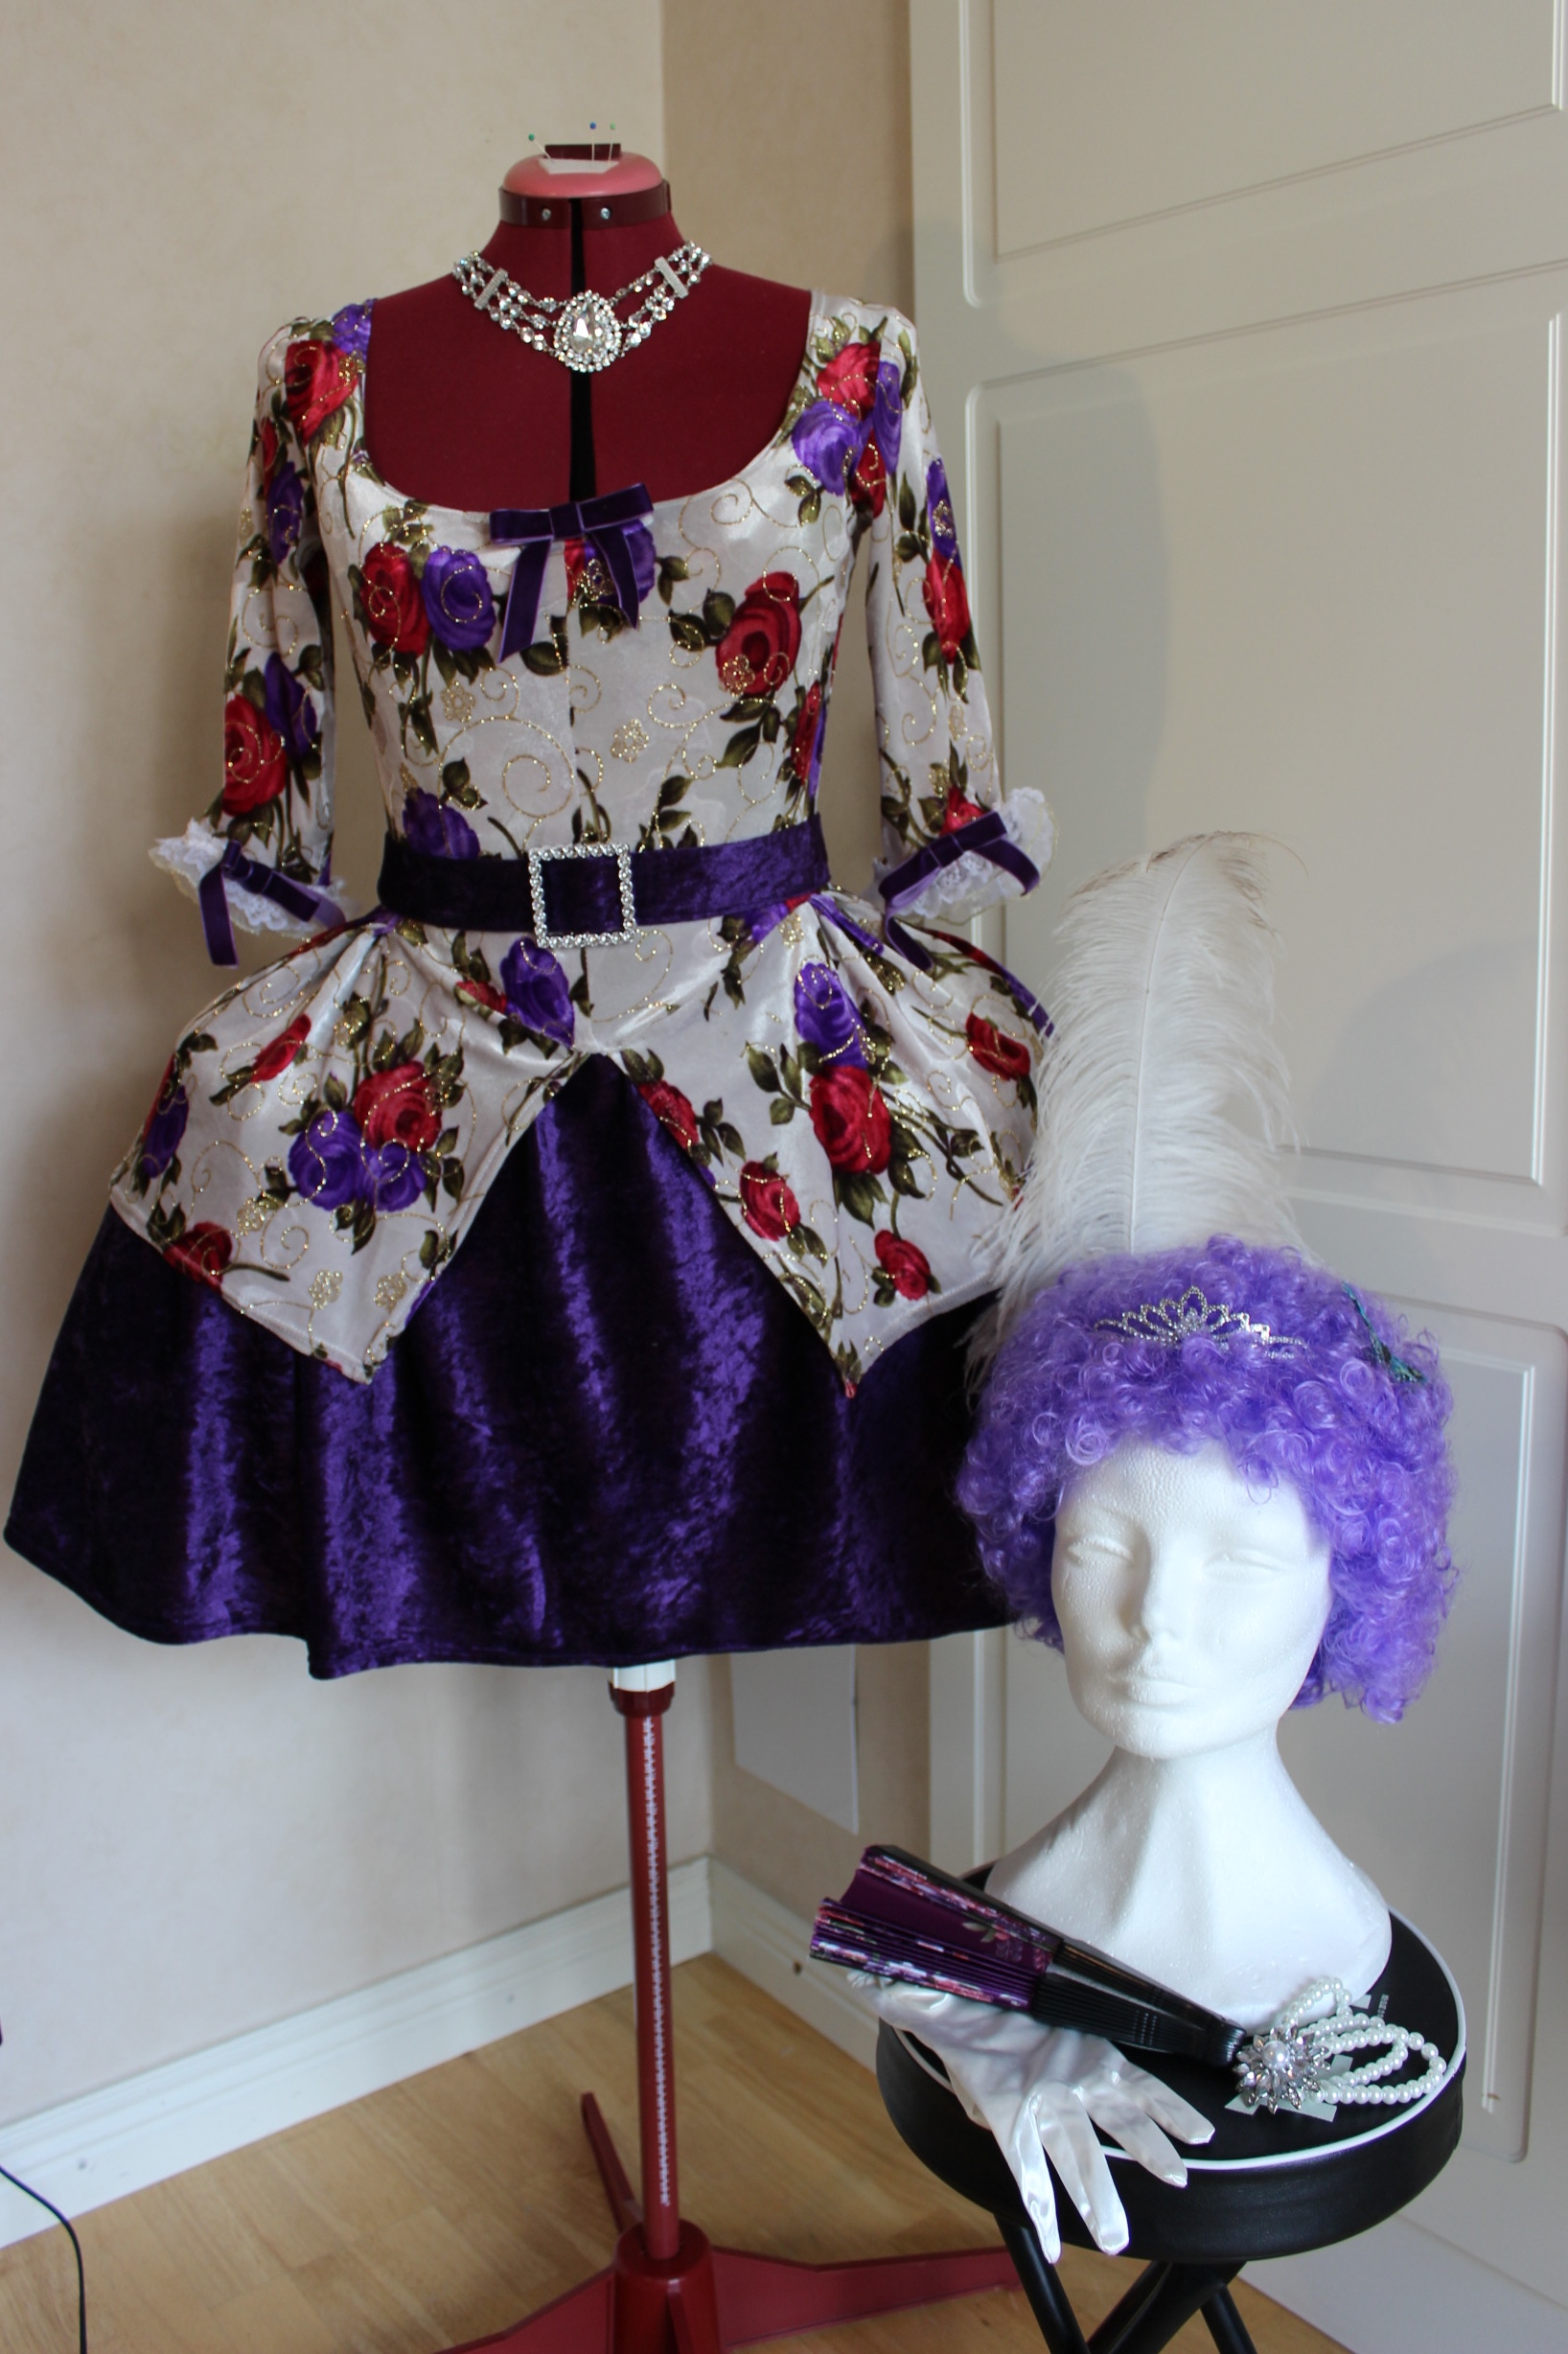

 Photo by Jennifer Garner


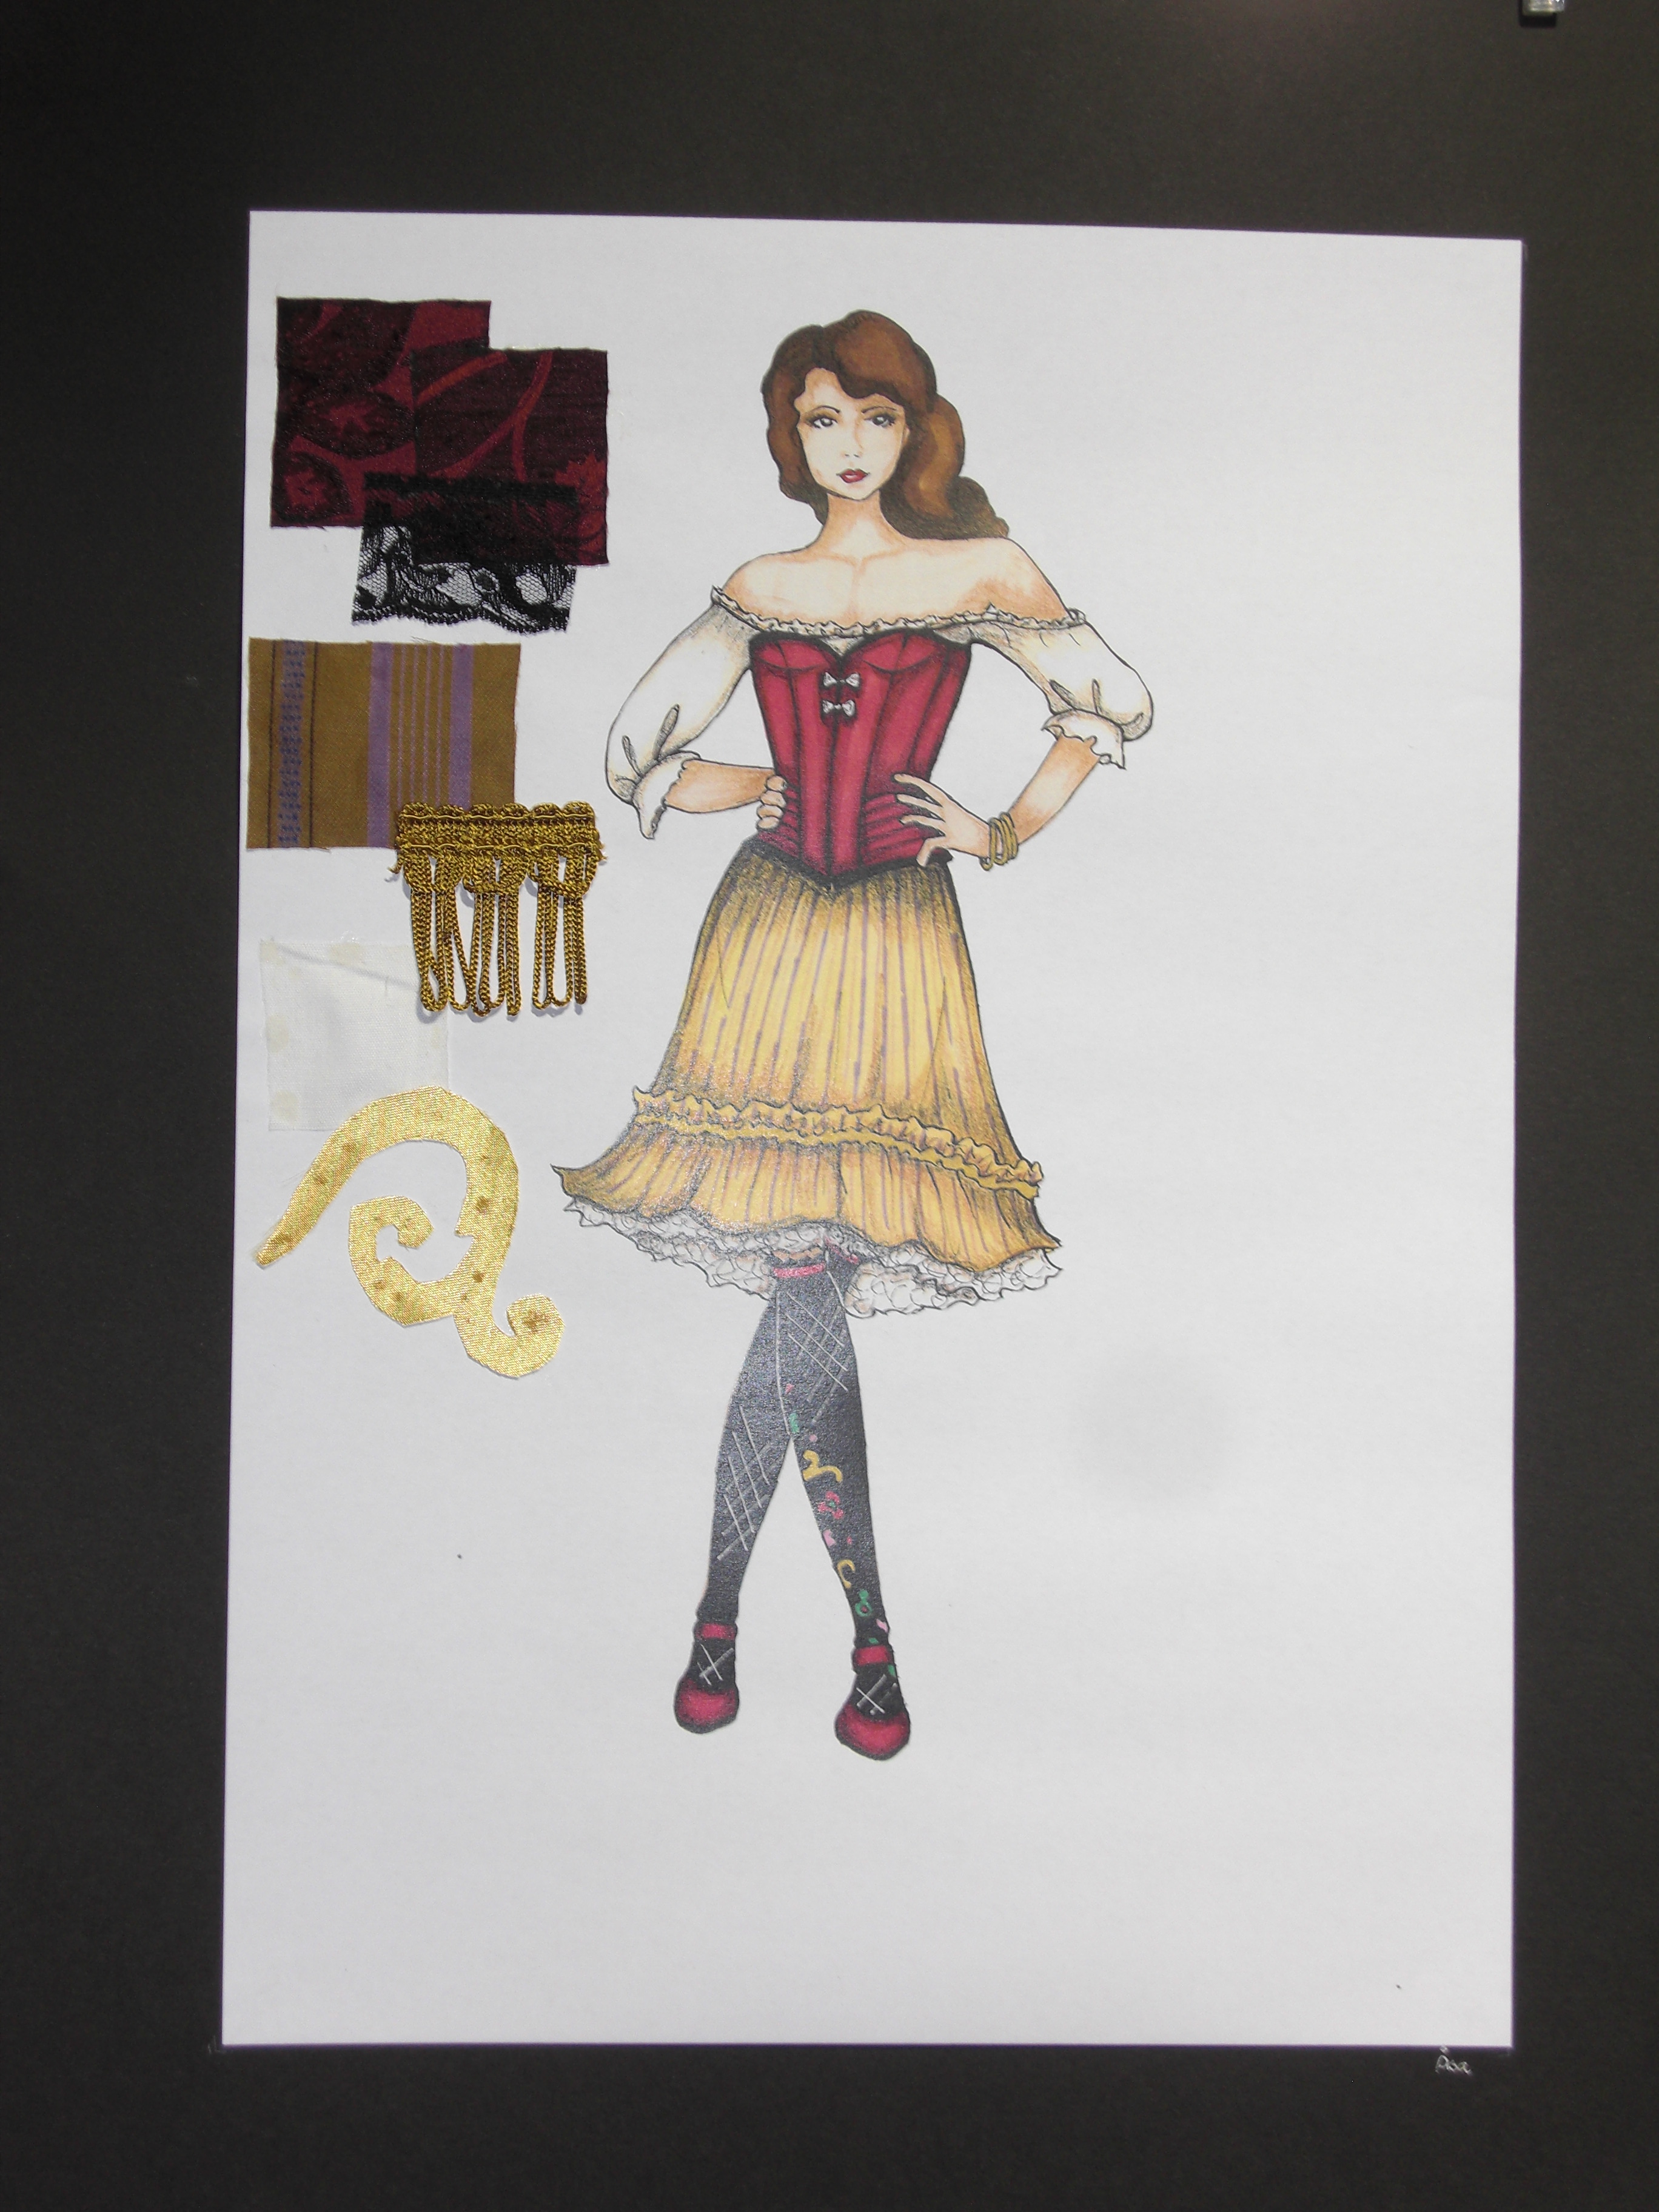


 Flowery decorations

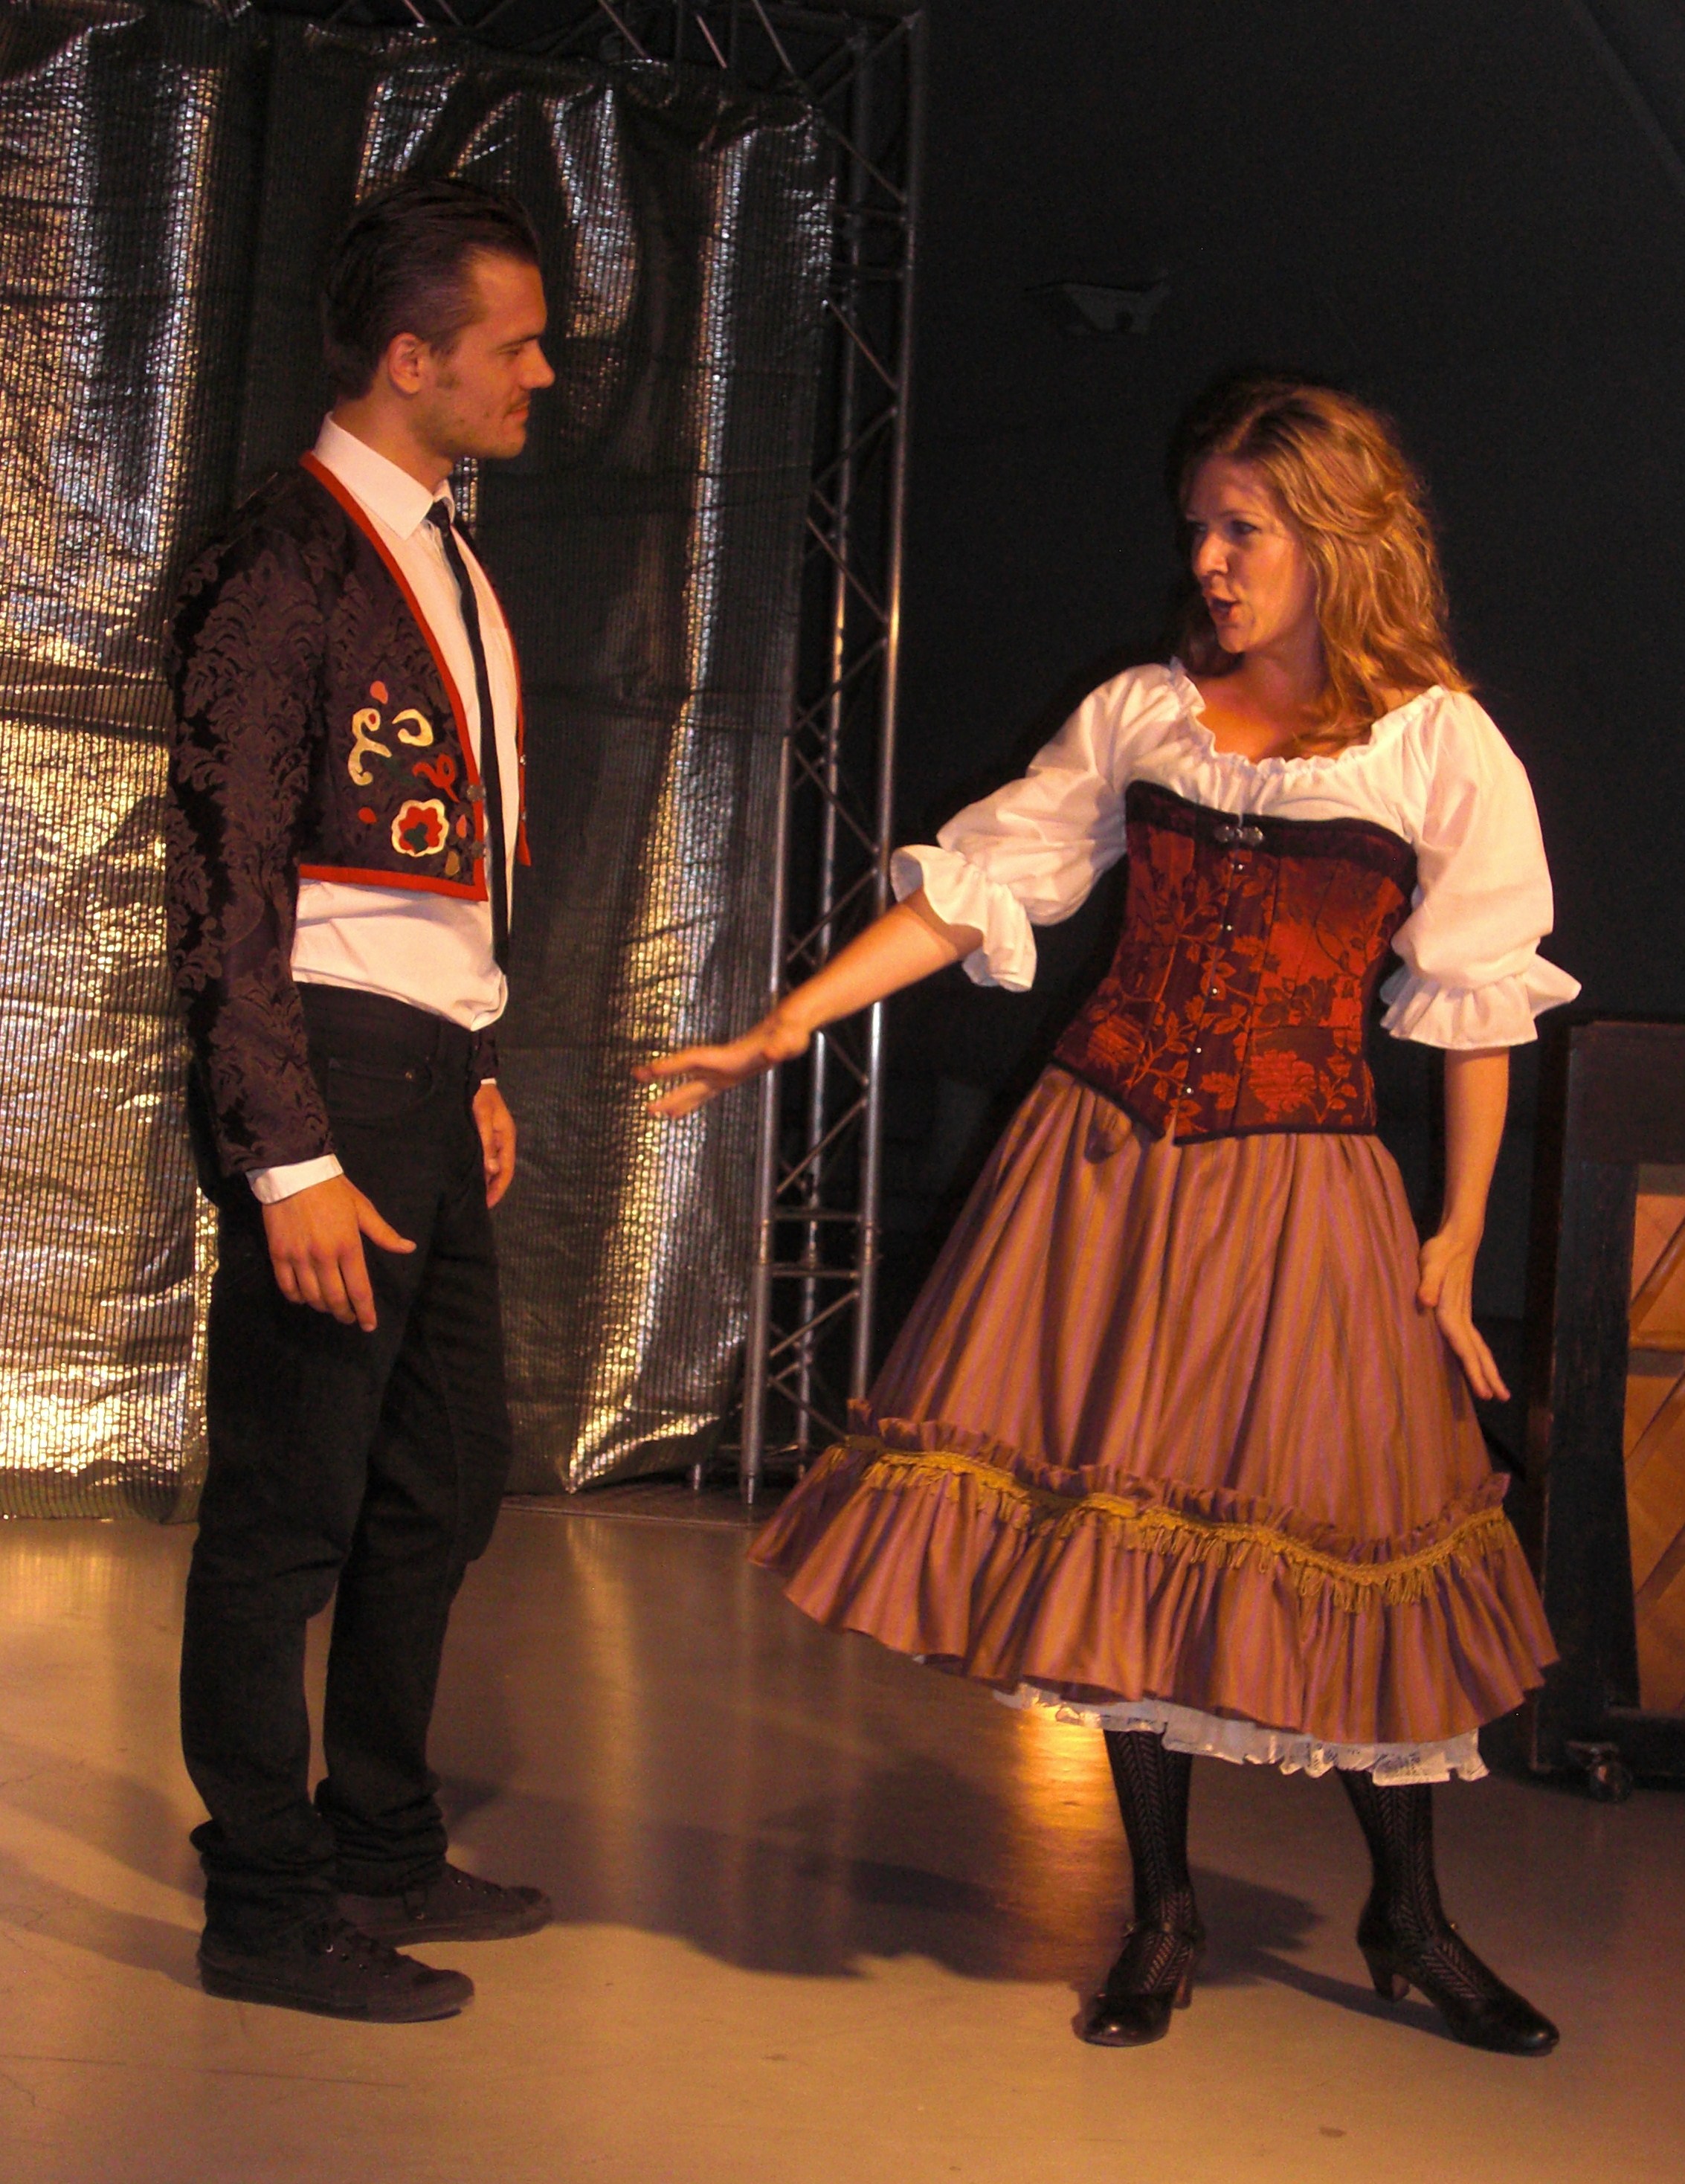
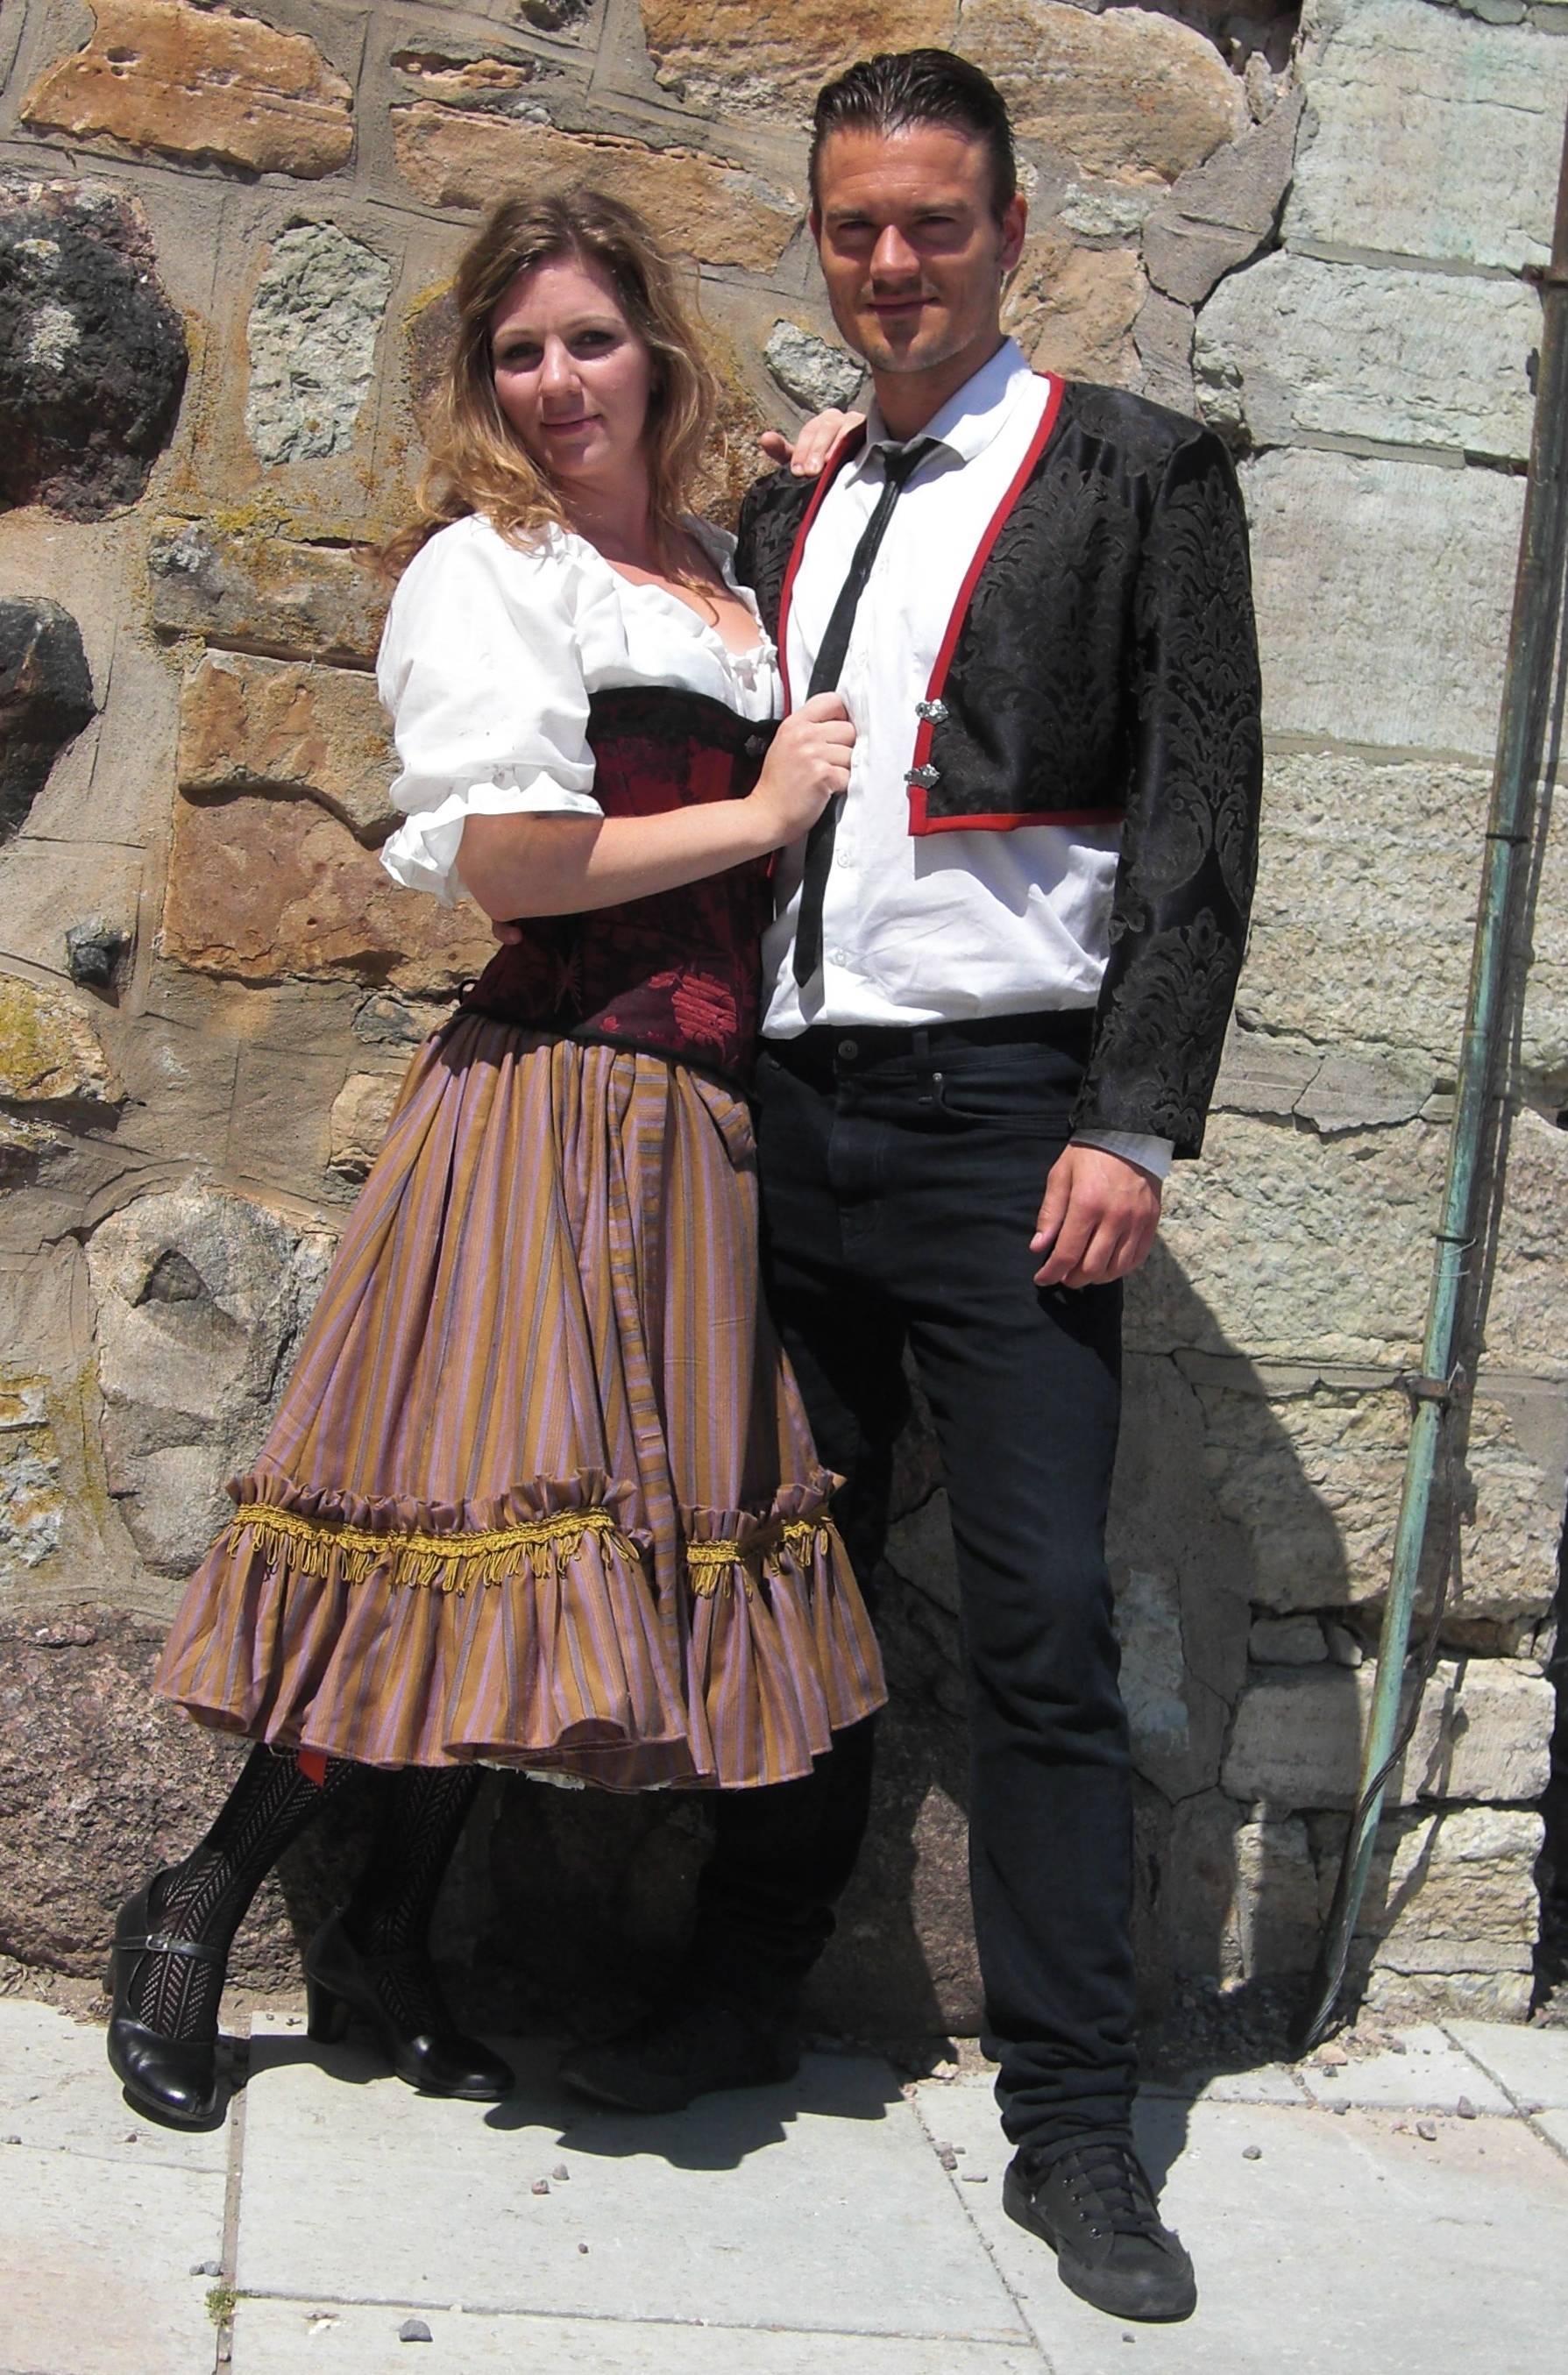
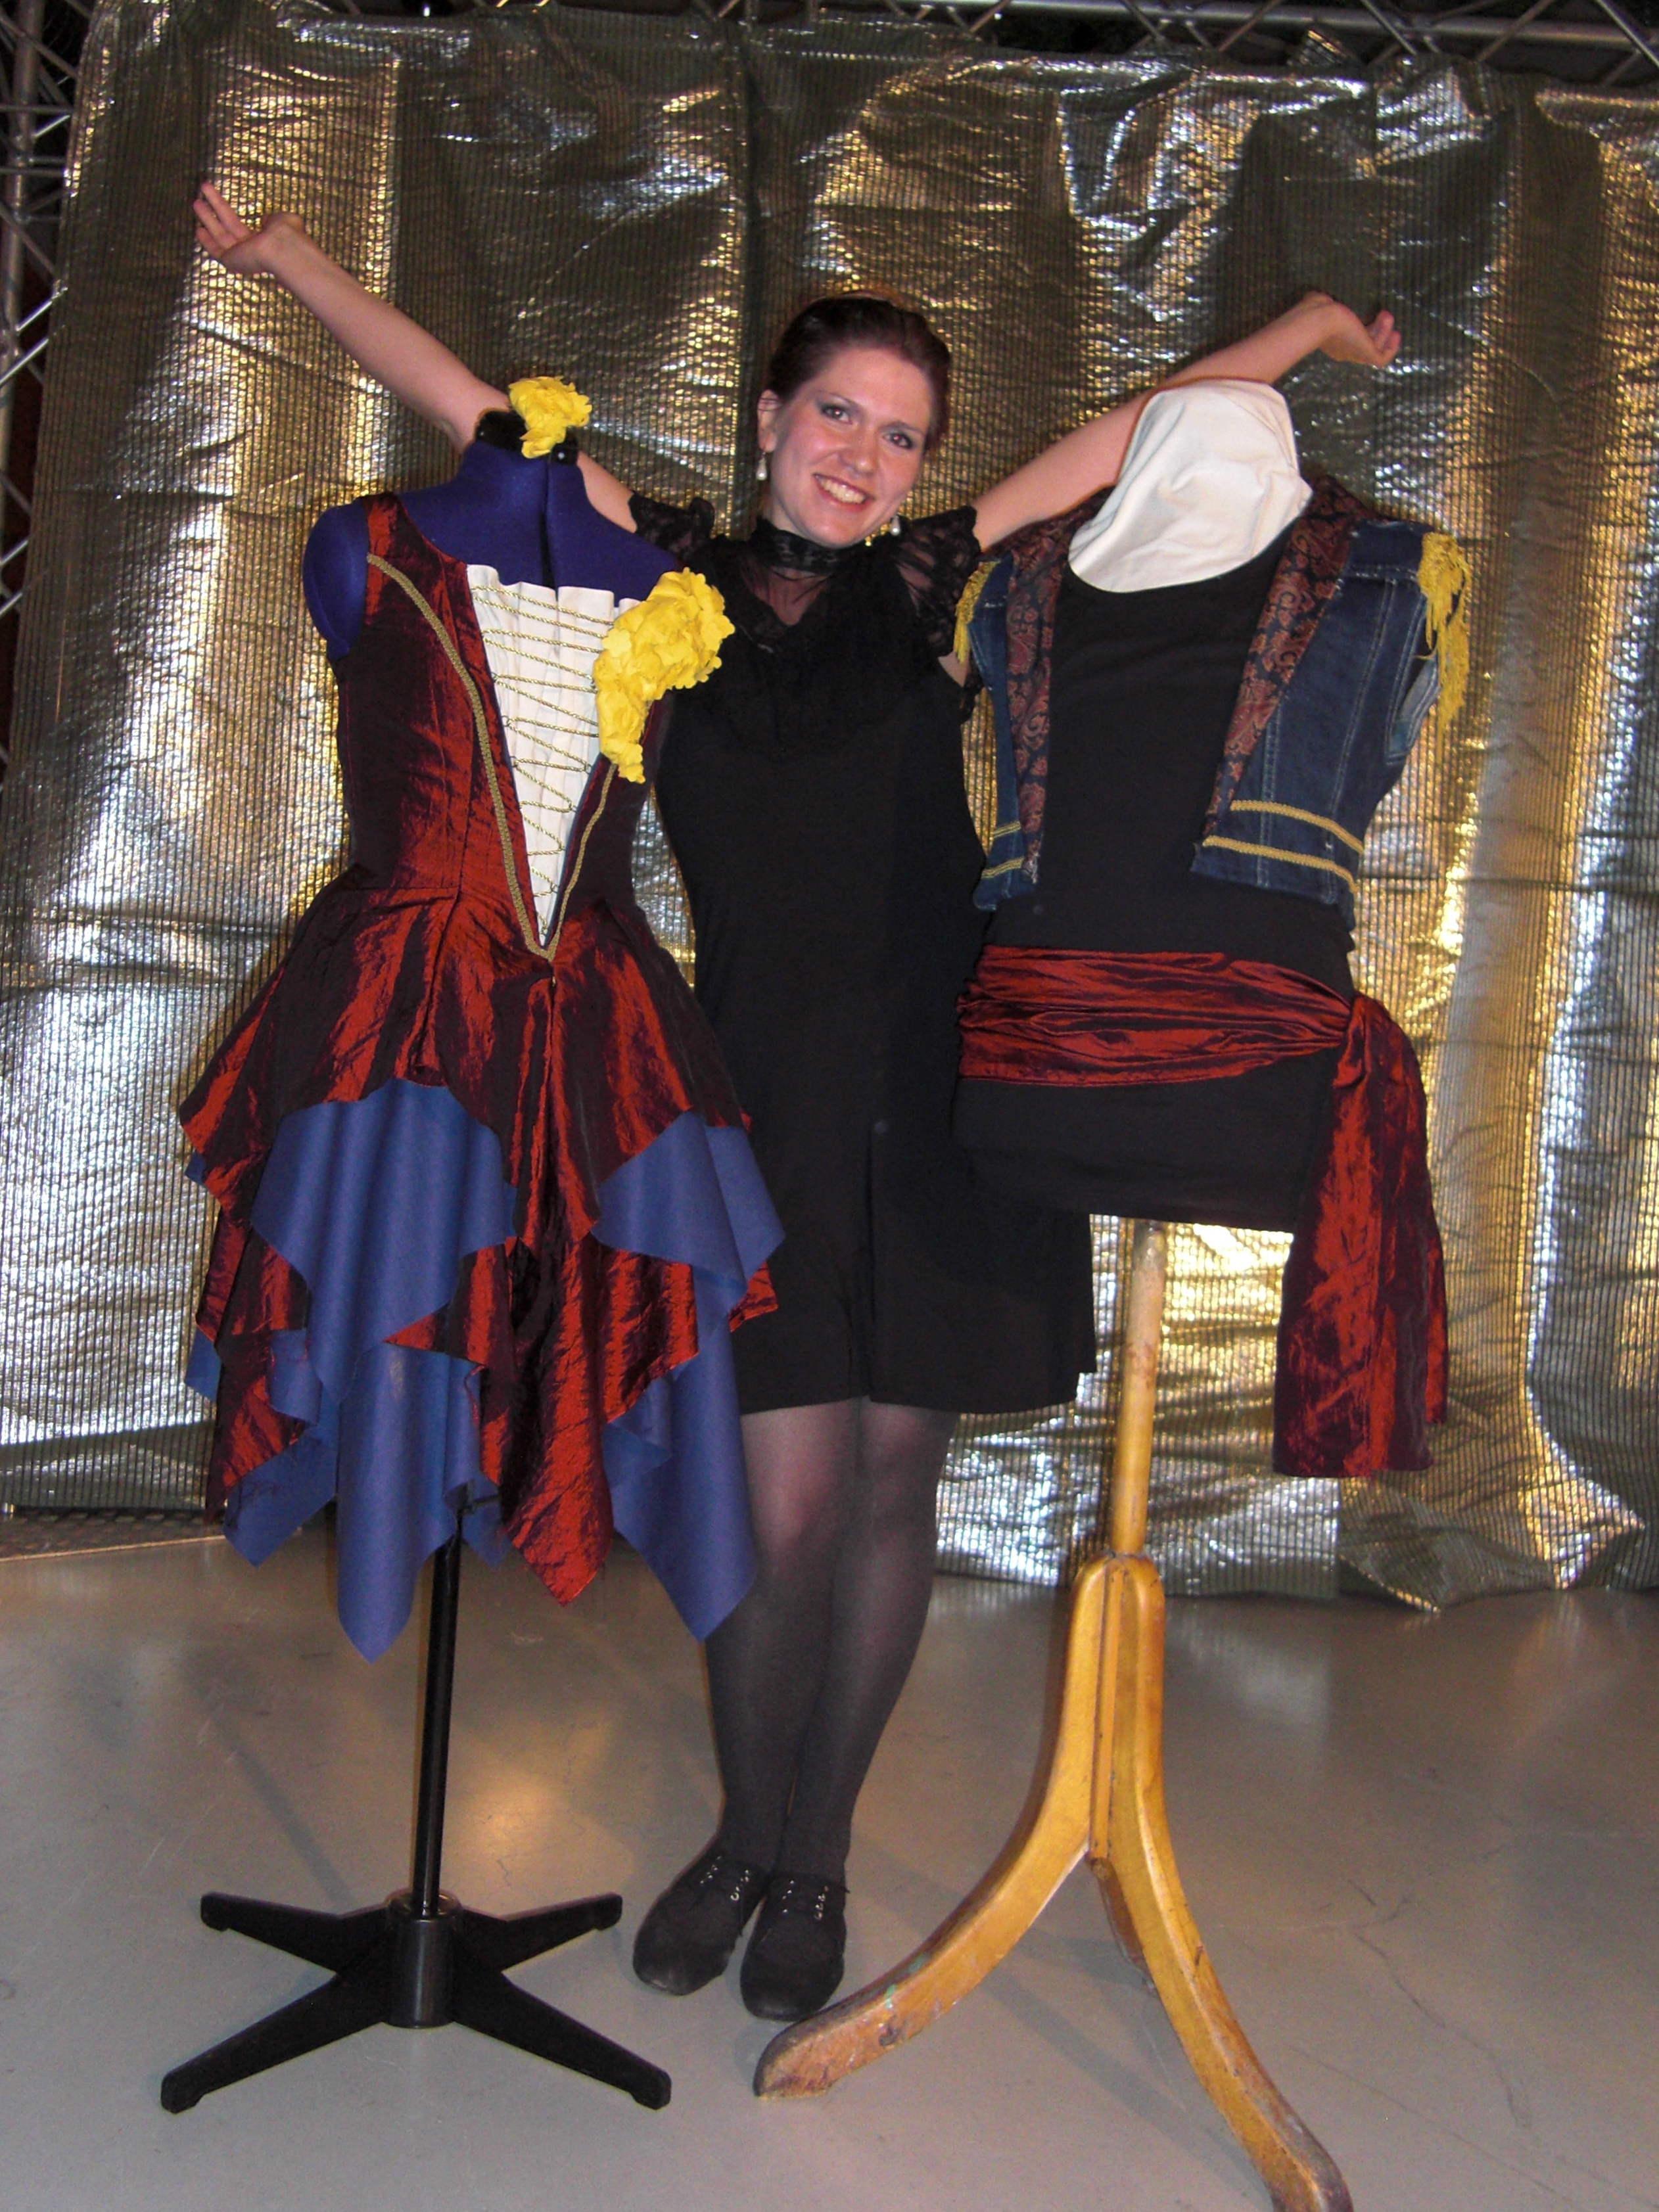
 Escamillos jacket and Carmens skirt finished.
 Åsa (the teacher) shows how to change the lines of the face.