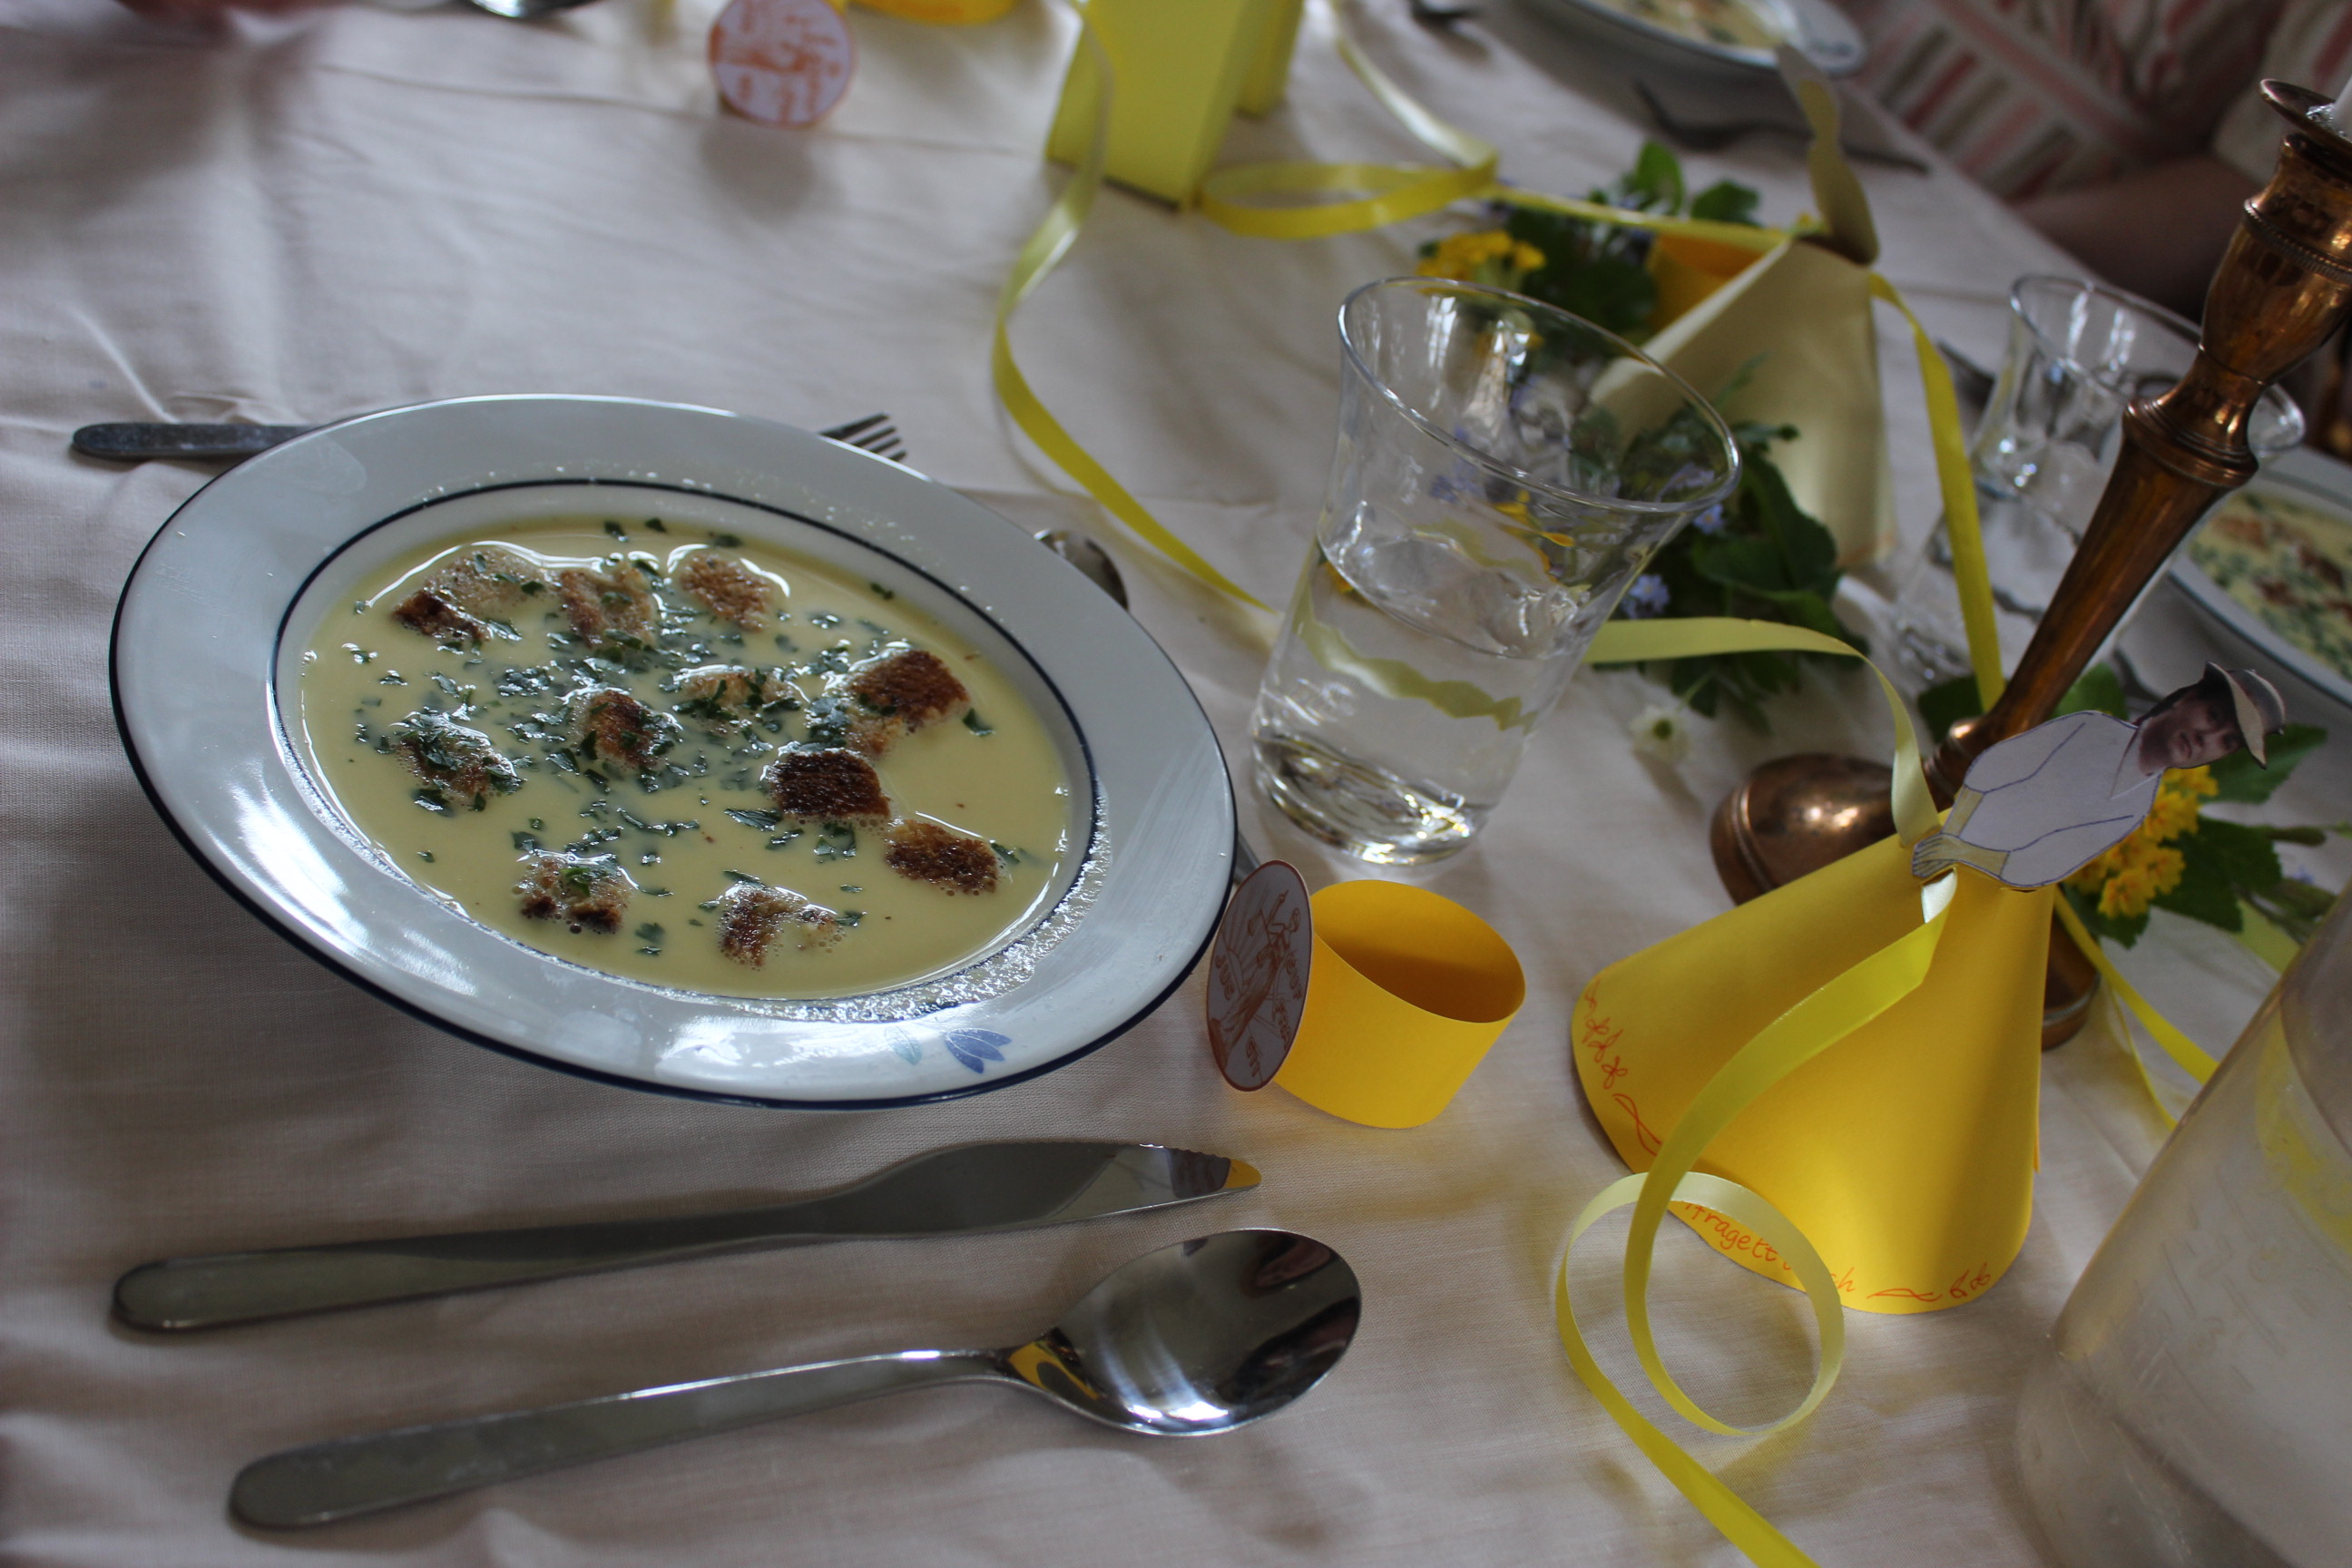
About the same time the challenges for the HSM15 was announced, I was sitting at home in my soffa, stitching and re-watching (for the third or forth time) “Downton Abby”.
I’ve always loved the striped gown Lady Mary wears in the very last scene of the first season.
Realizing how perfect it would be for the April challenge “War & Peace”, and that the perfect fabric already lay waiting in my stash.
So last a few weeks ago I started collecting images of the lady and her fabulous dress (and accessorize).

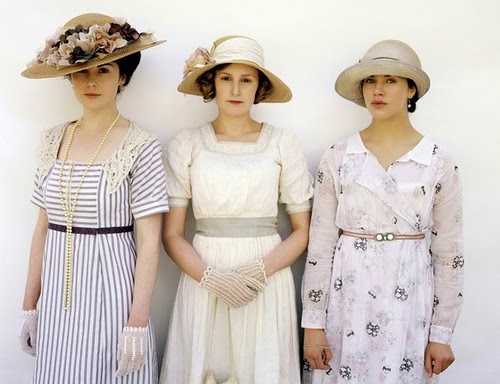
 What’s pretty obvious straight away are the change in hat and necklace, between the two times she wears the dress in the show. I love the “over the top” wide brimmed, flower-covered straw hat in this photo.
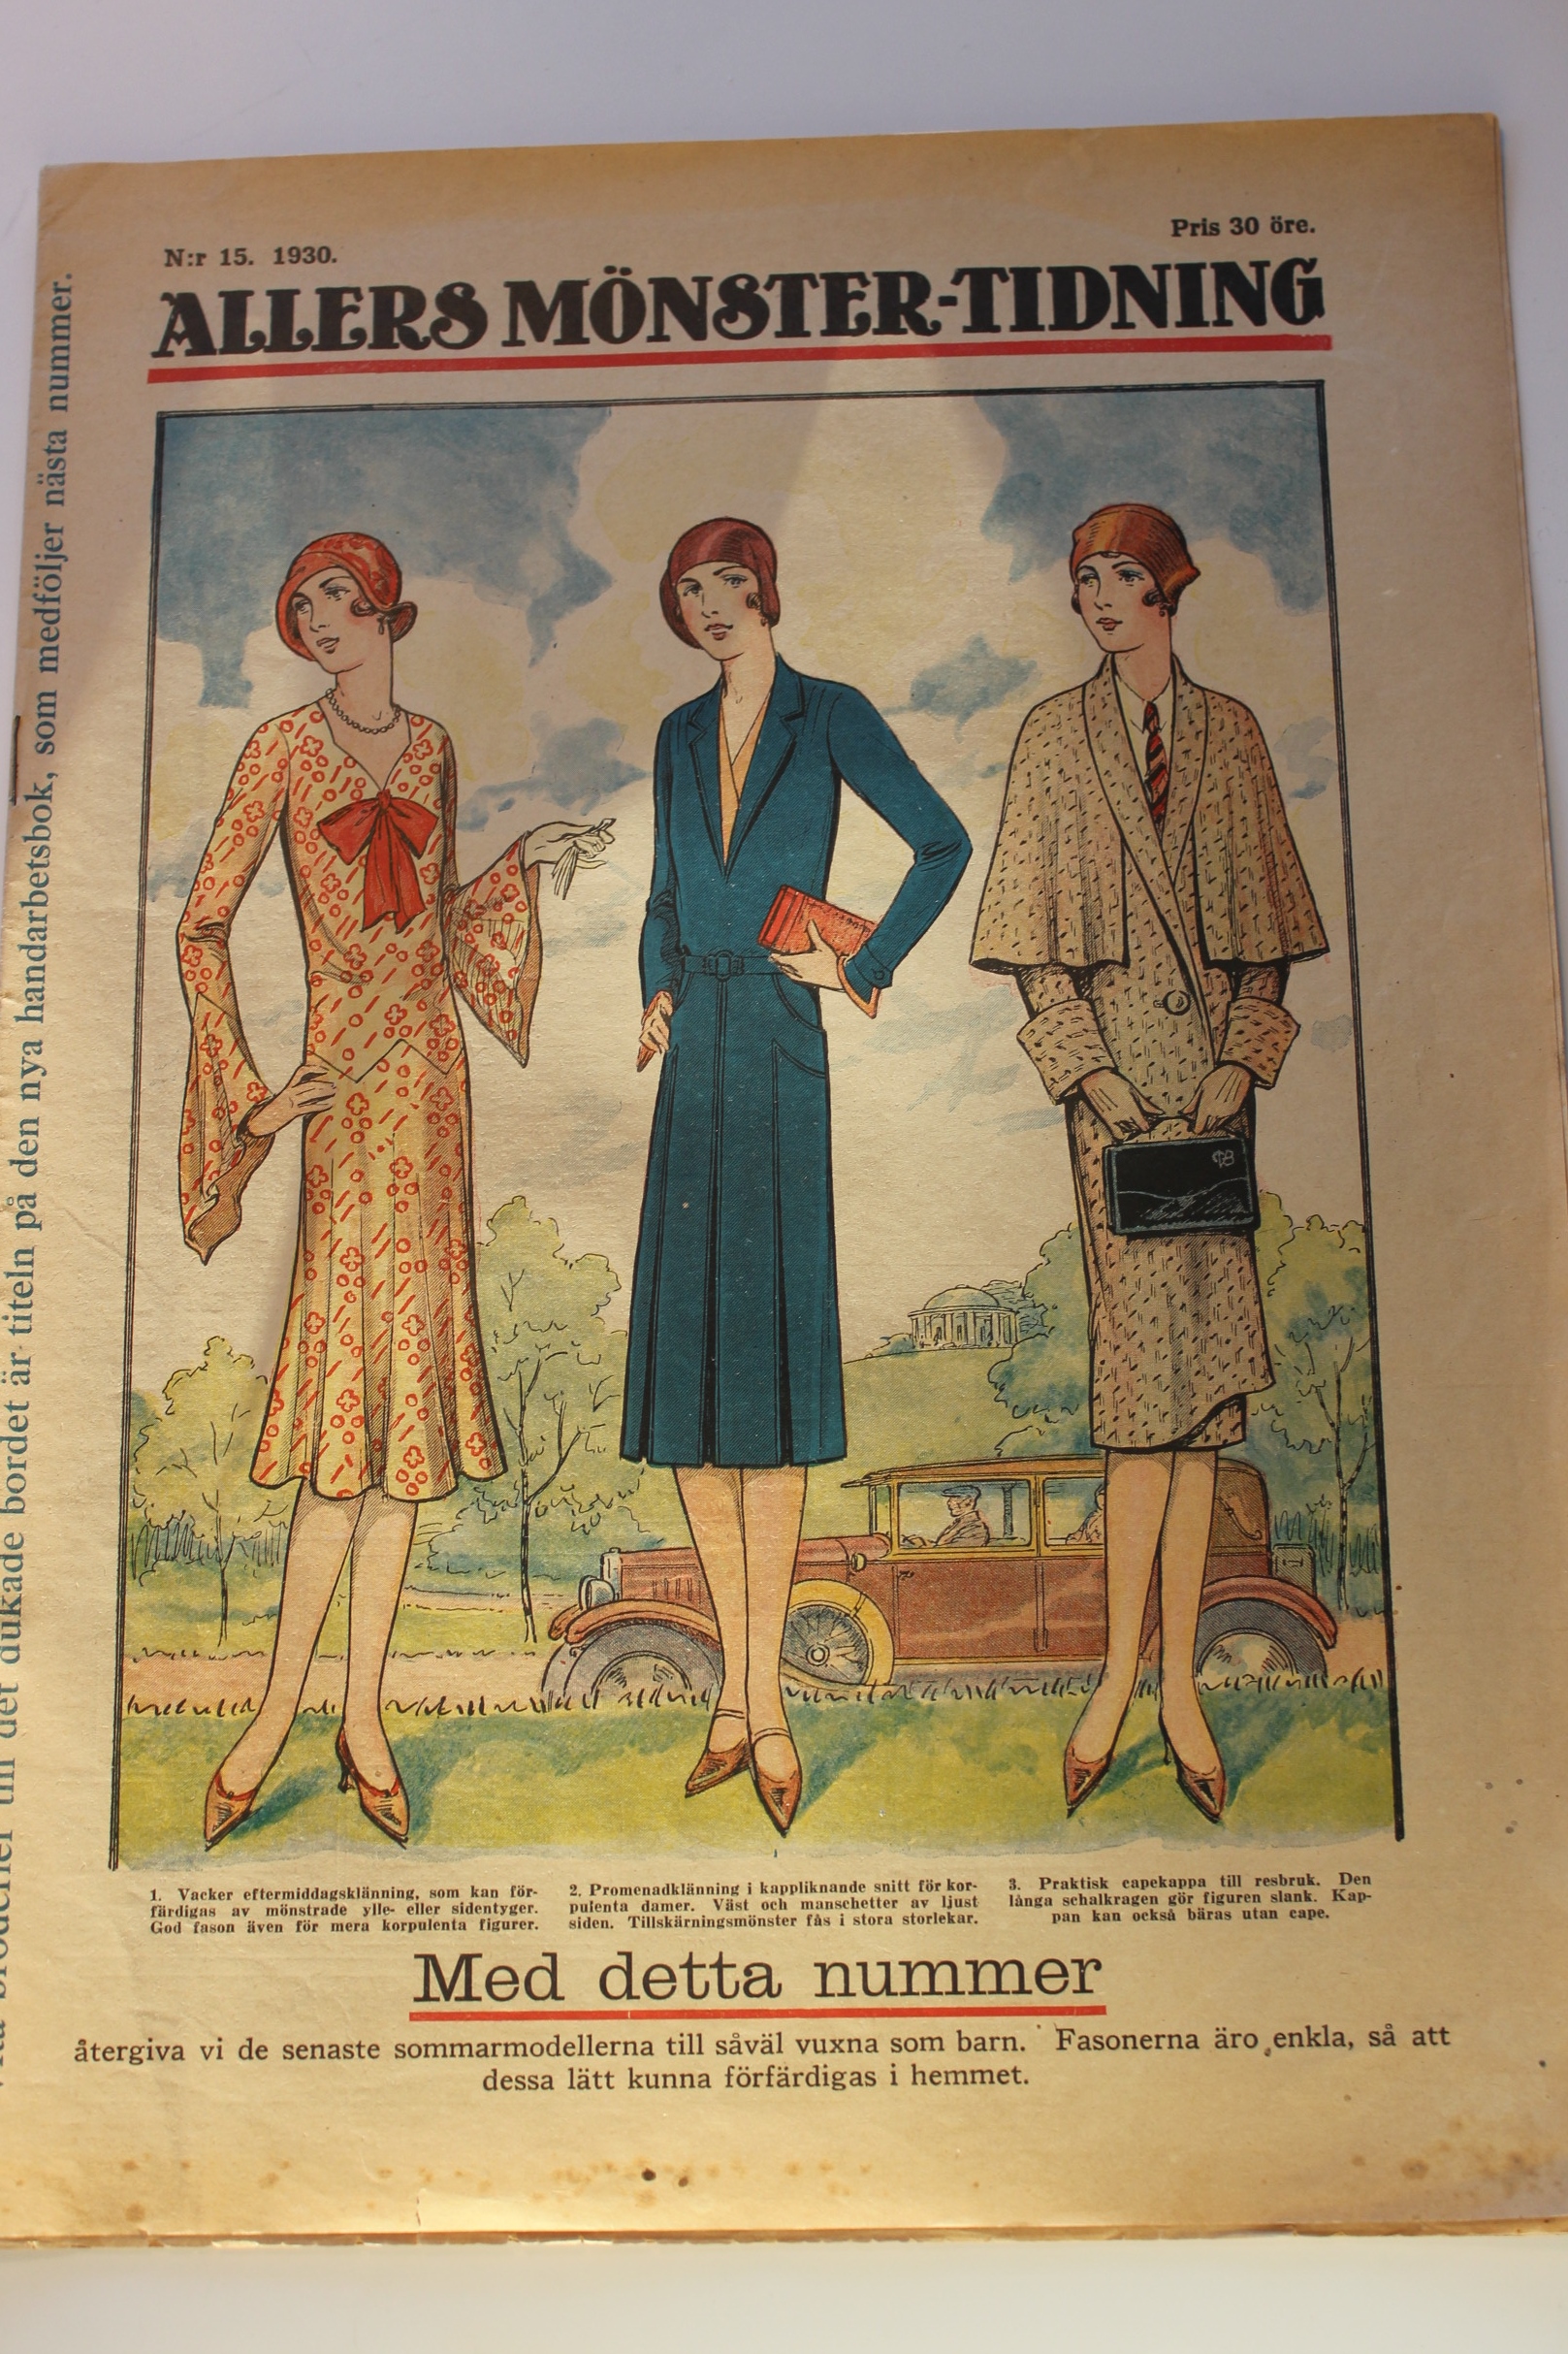
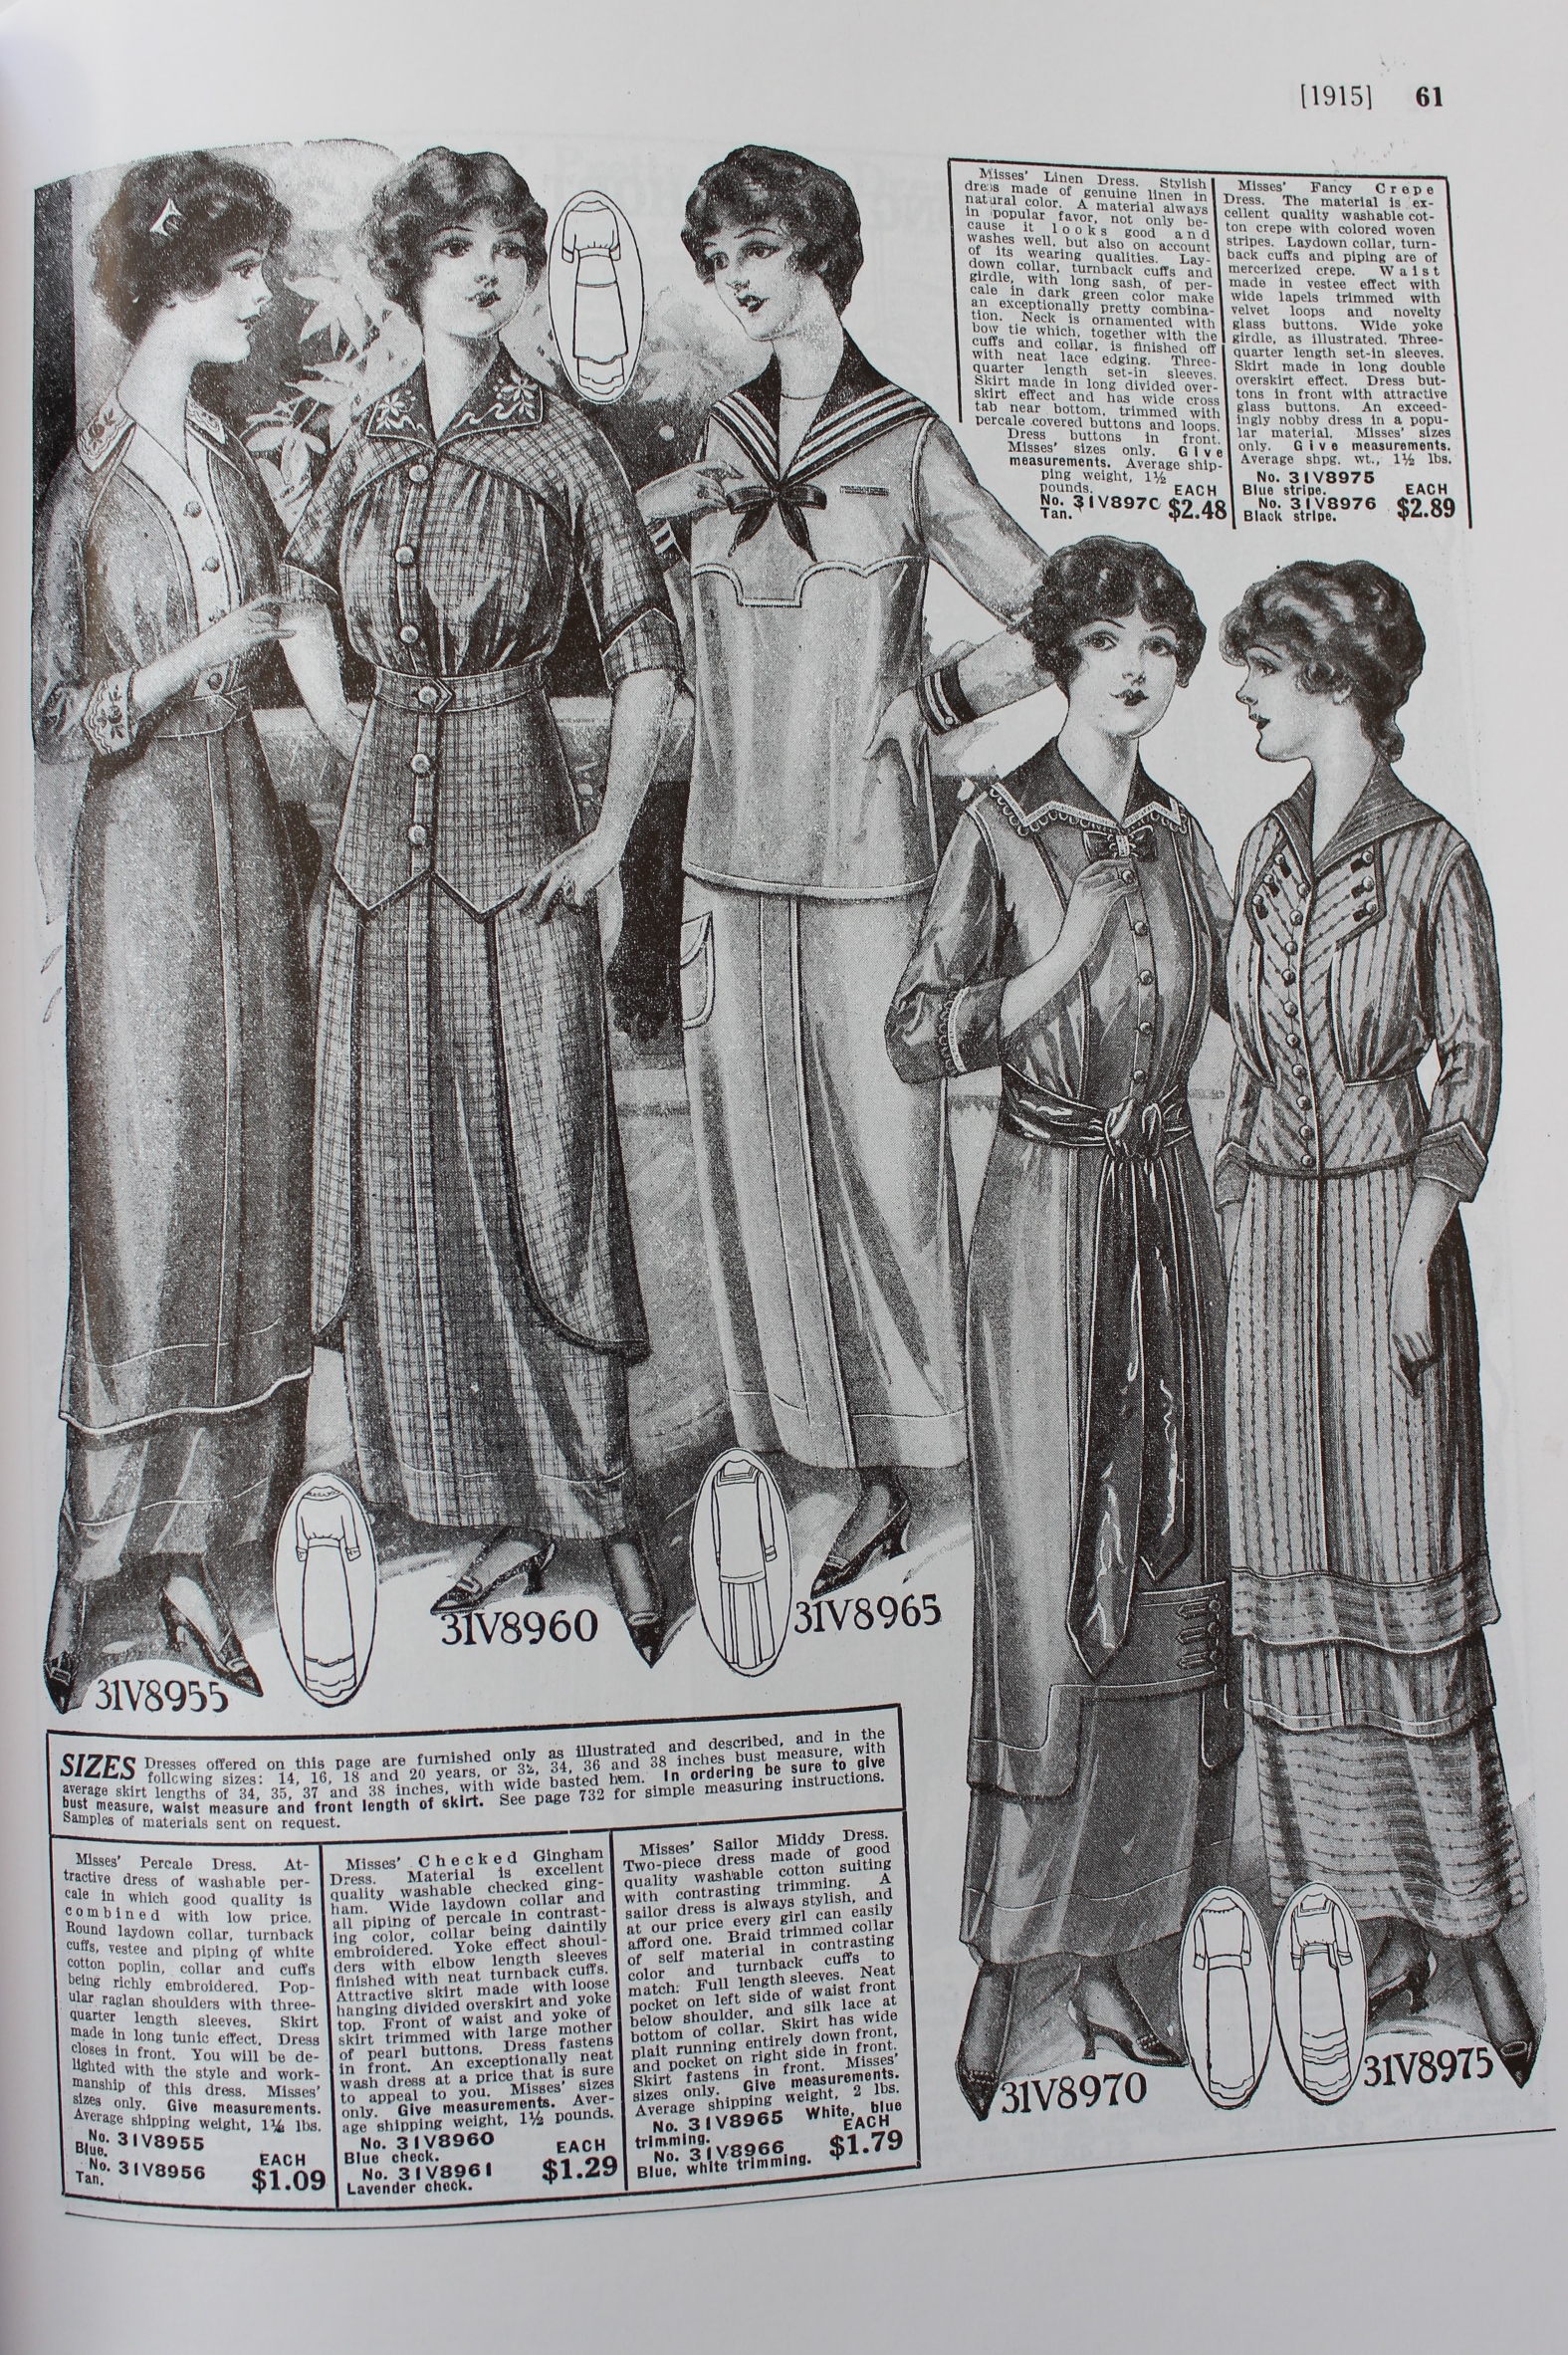
My searches also led me to some fashion plates from the time, which I’m pretty sure would have been the inspiration for the dress from the costume designer.
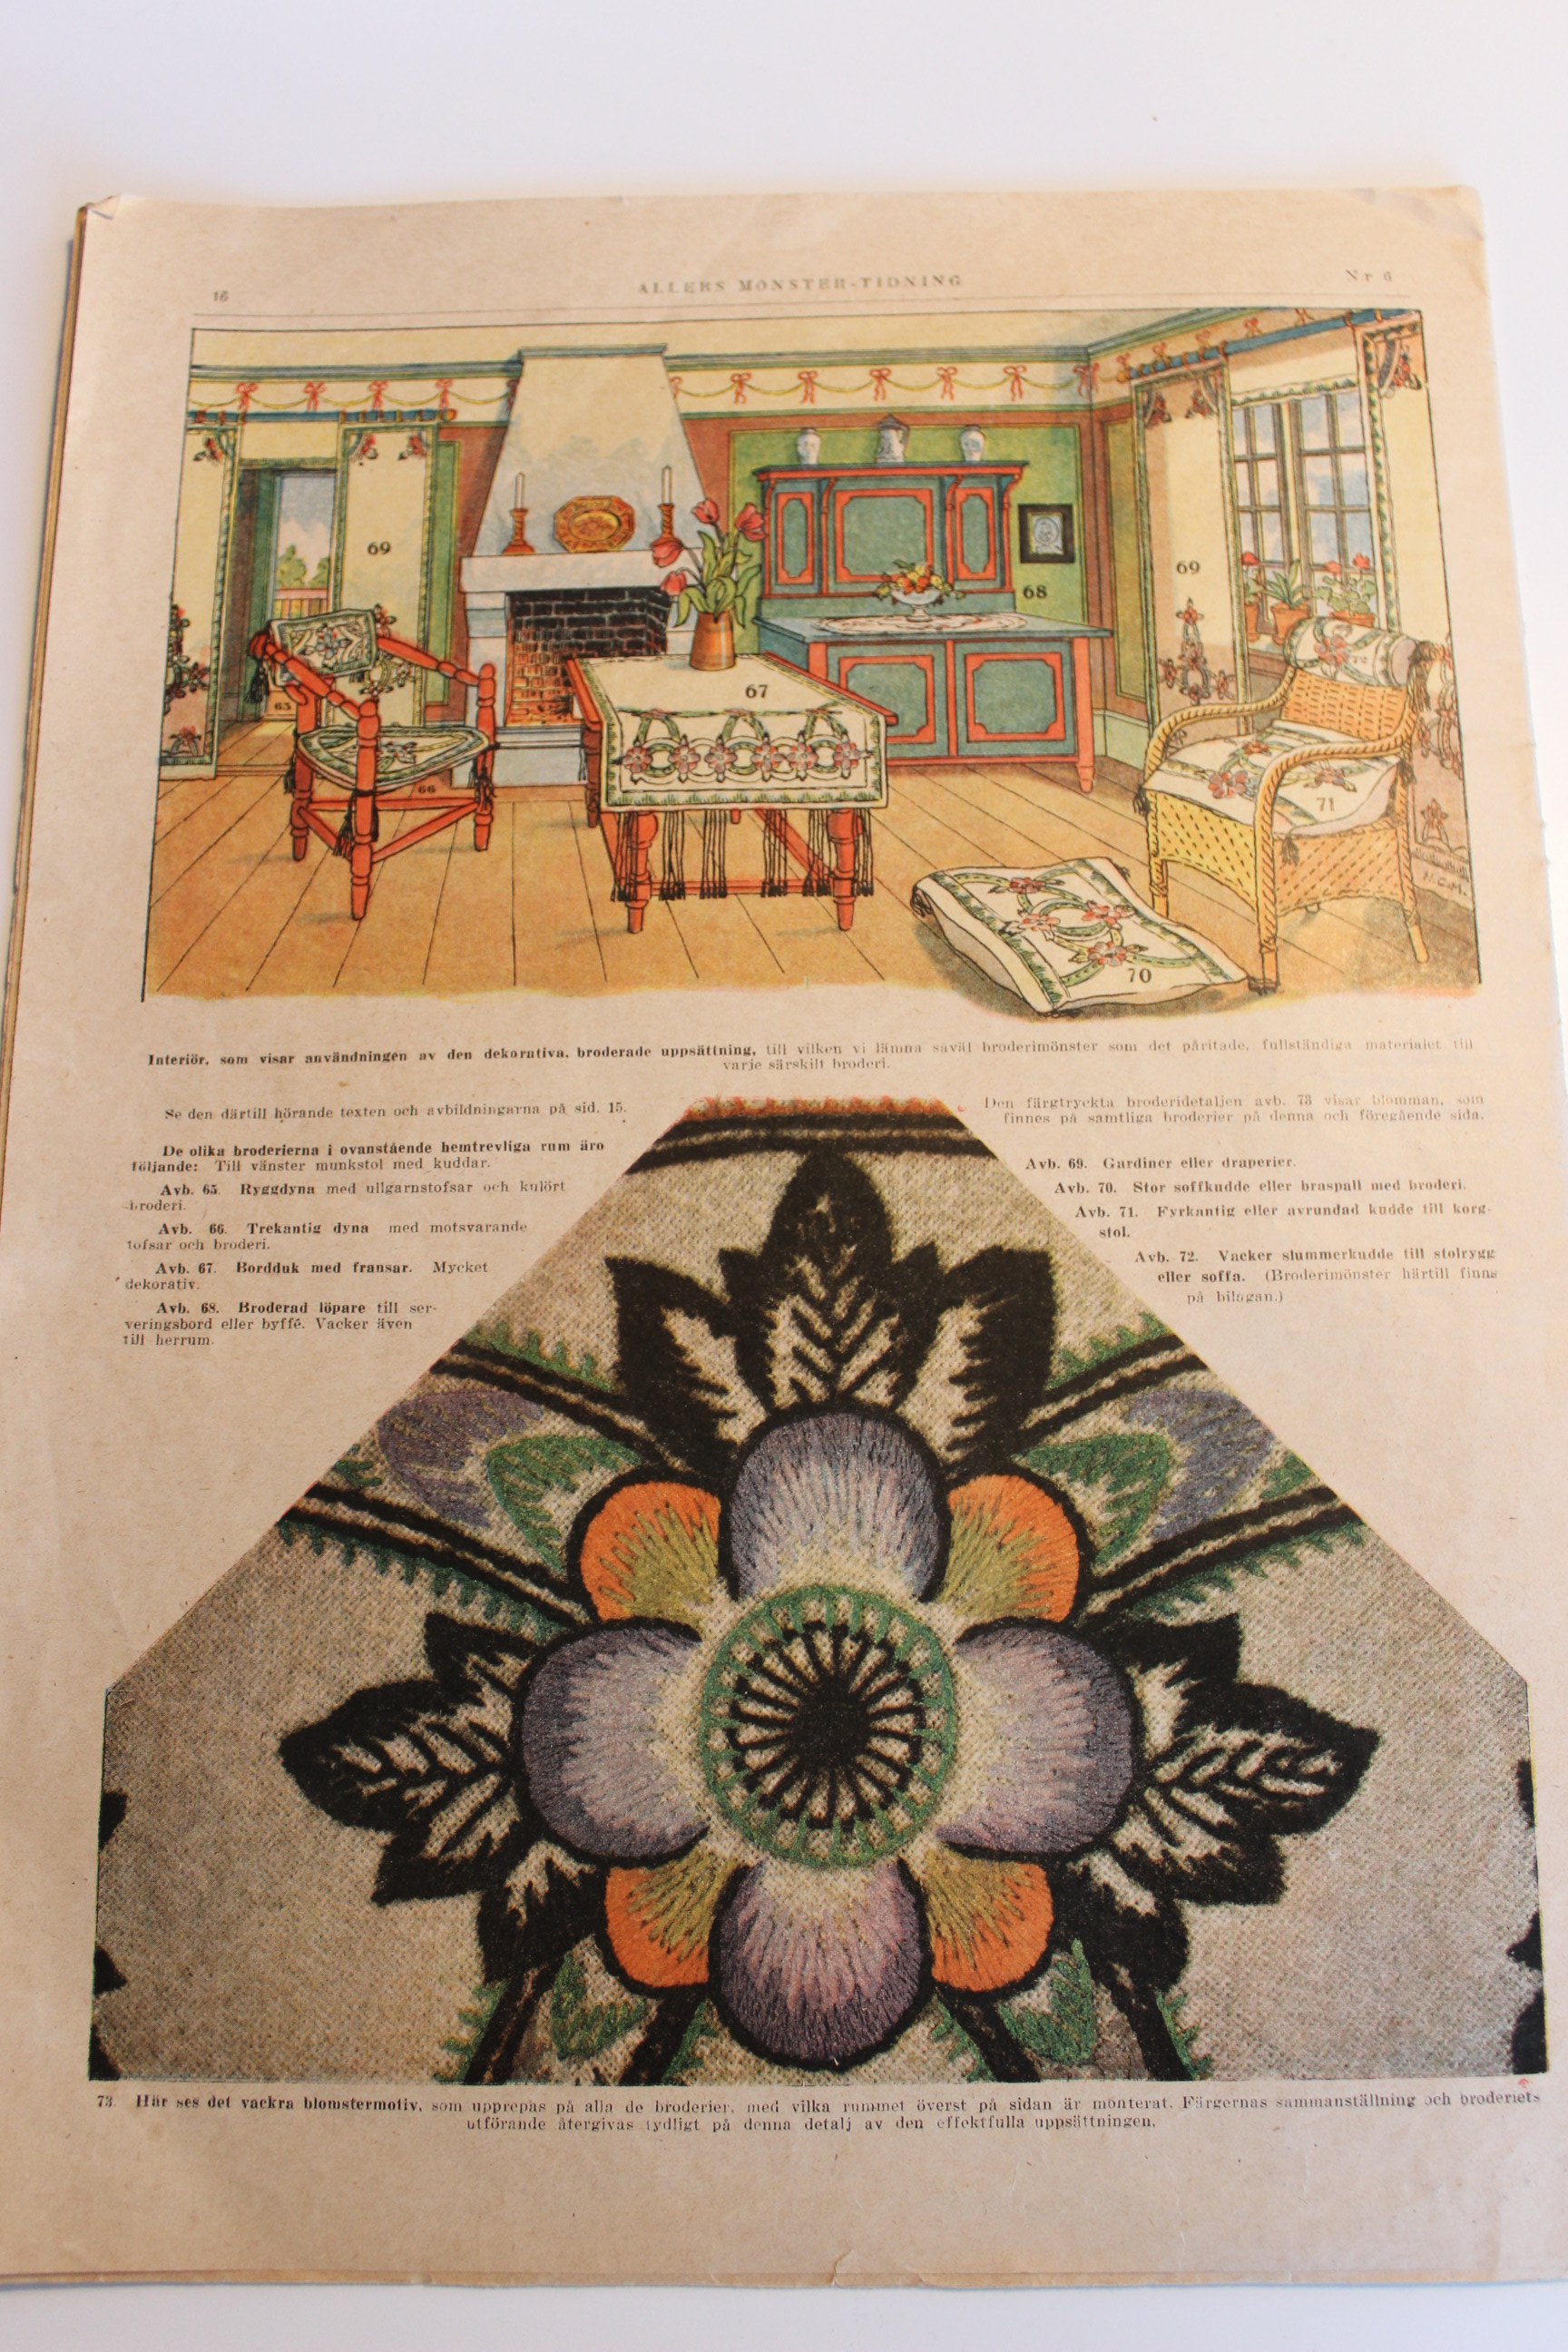
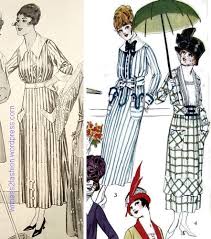 Sorry for he small size.
I also found lots of people recreating this dress (It seem pretty popular – wounder why…)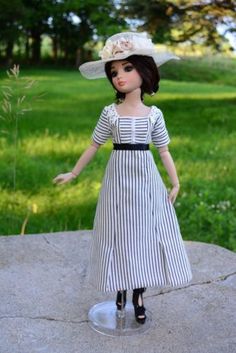 Lady Mary as a doll
 And a modern interpretation. Love this so much!
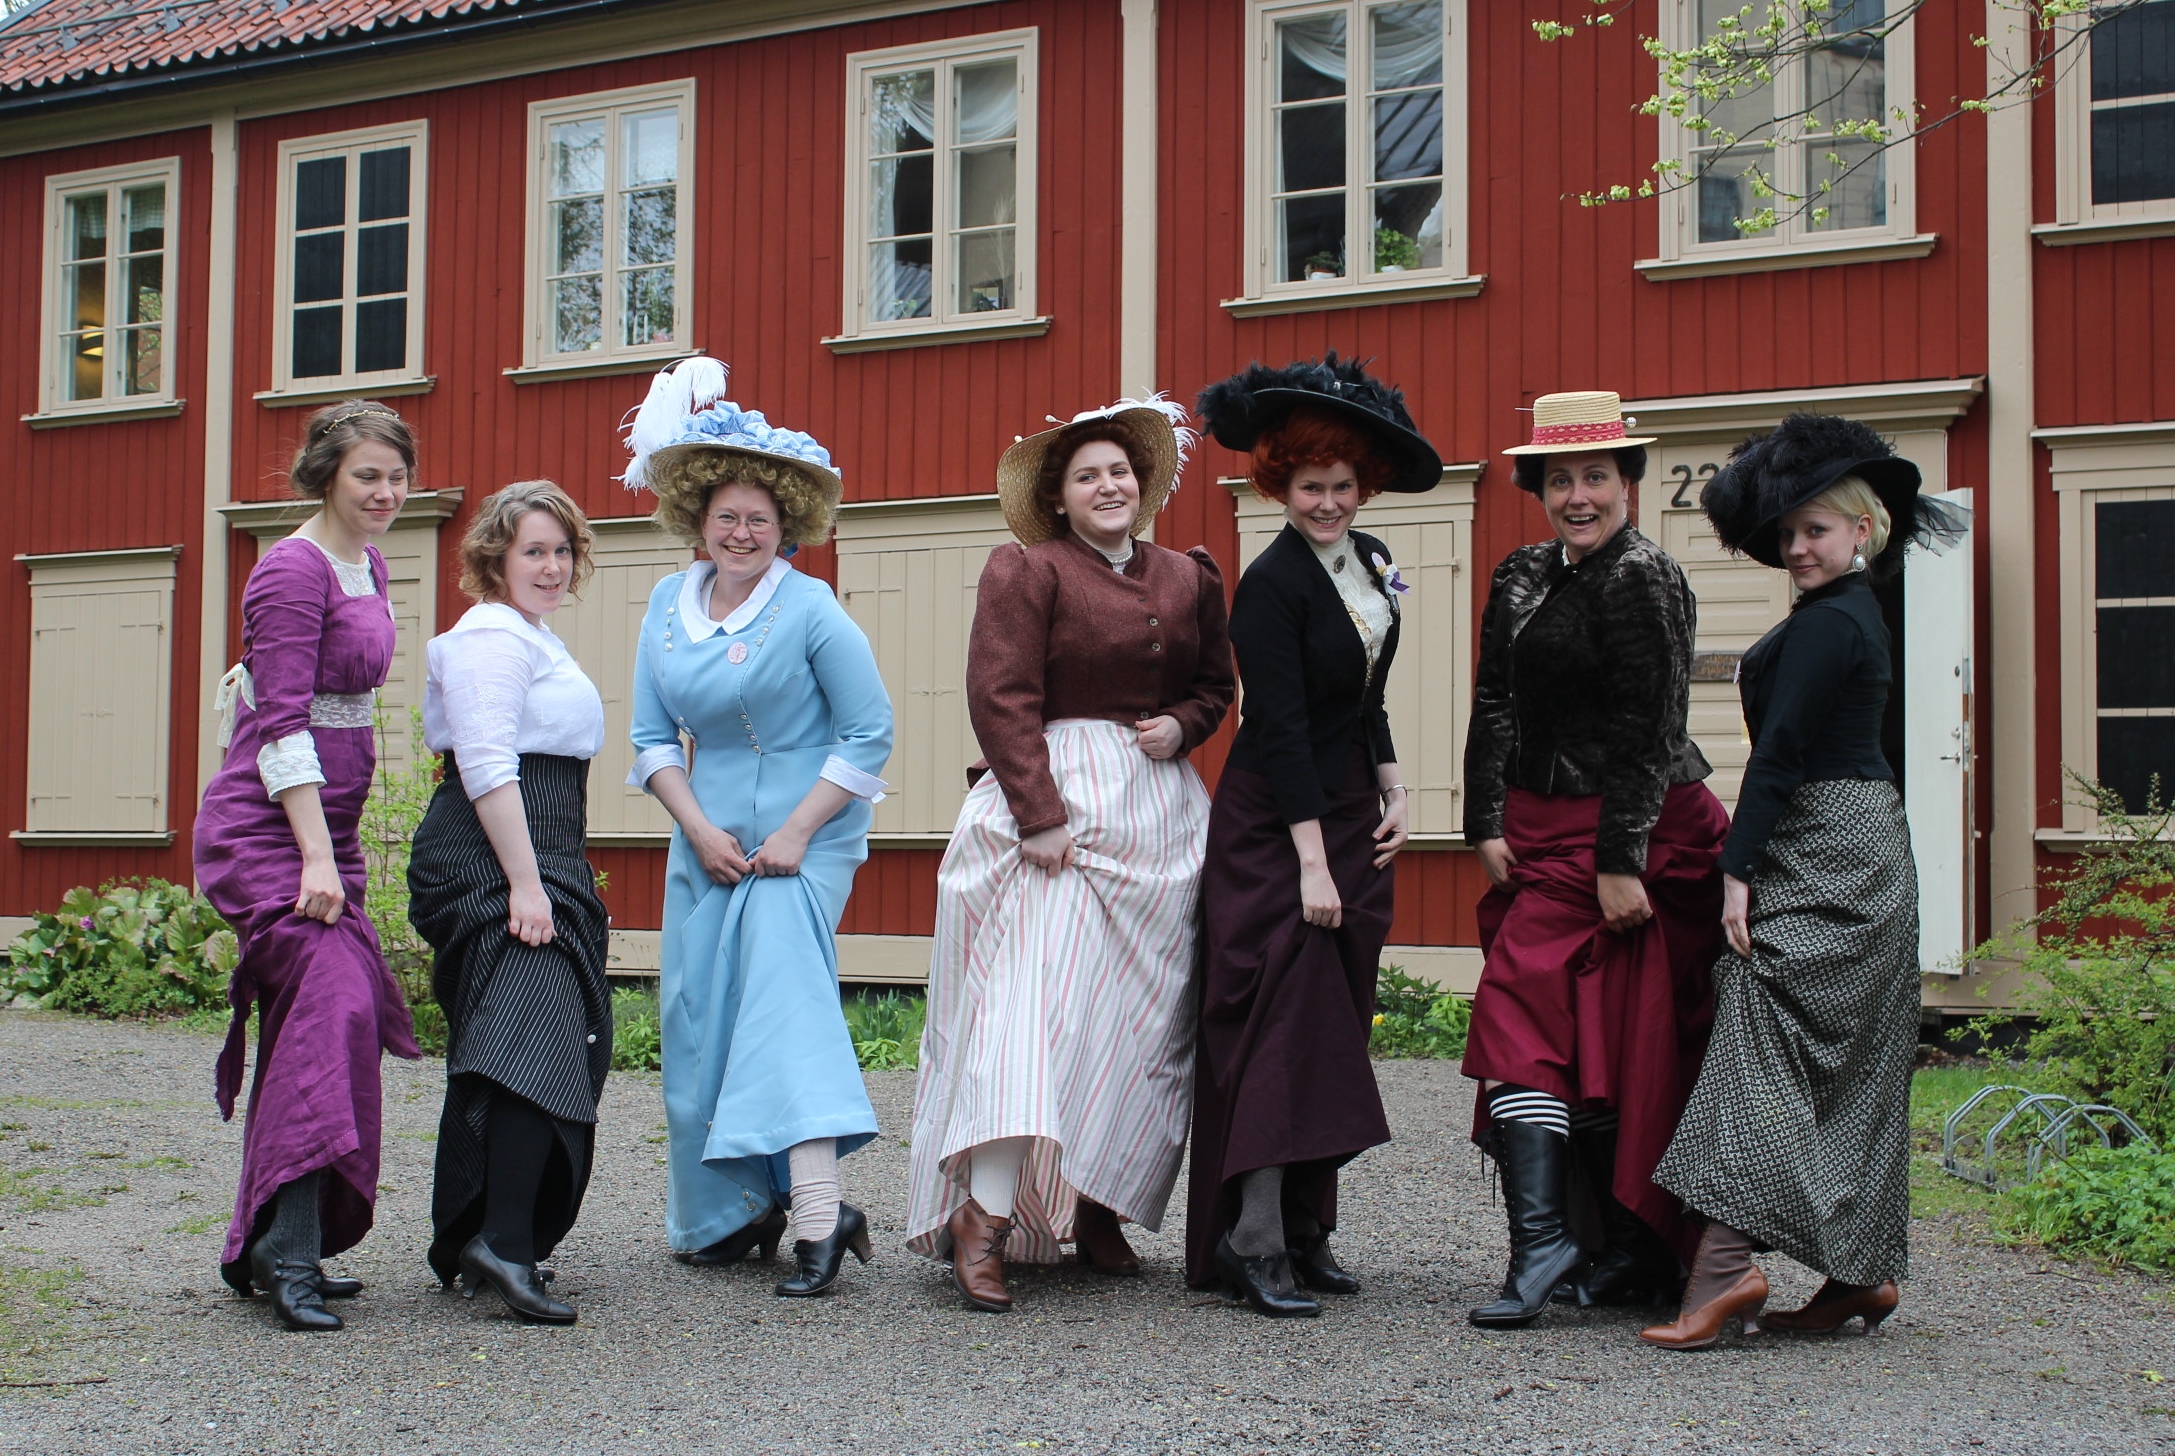
Of course there’s also lots of costumers who re-created this dress, but if I post them I will feel the pressure of there beautiful creations so much more…
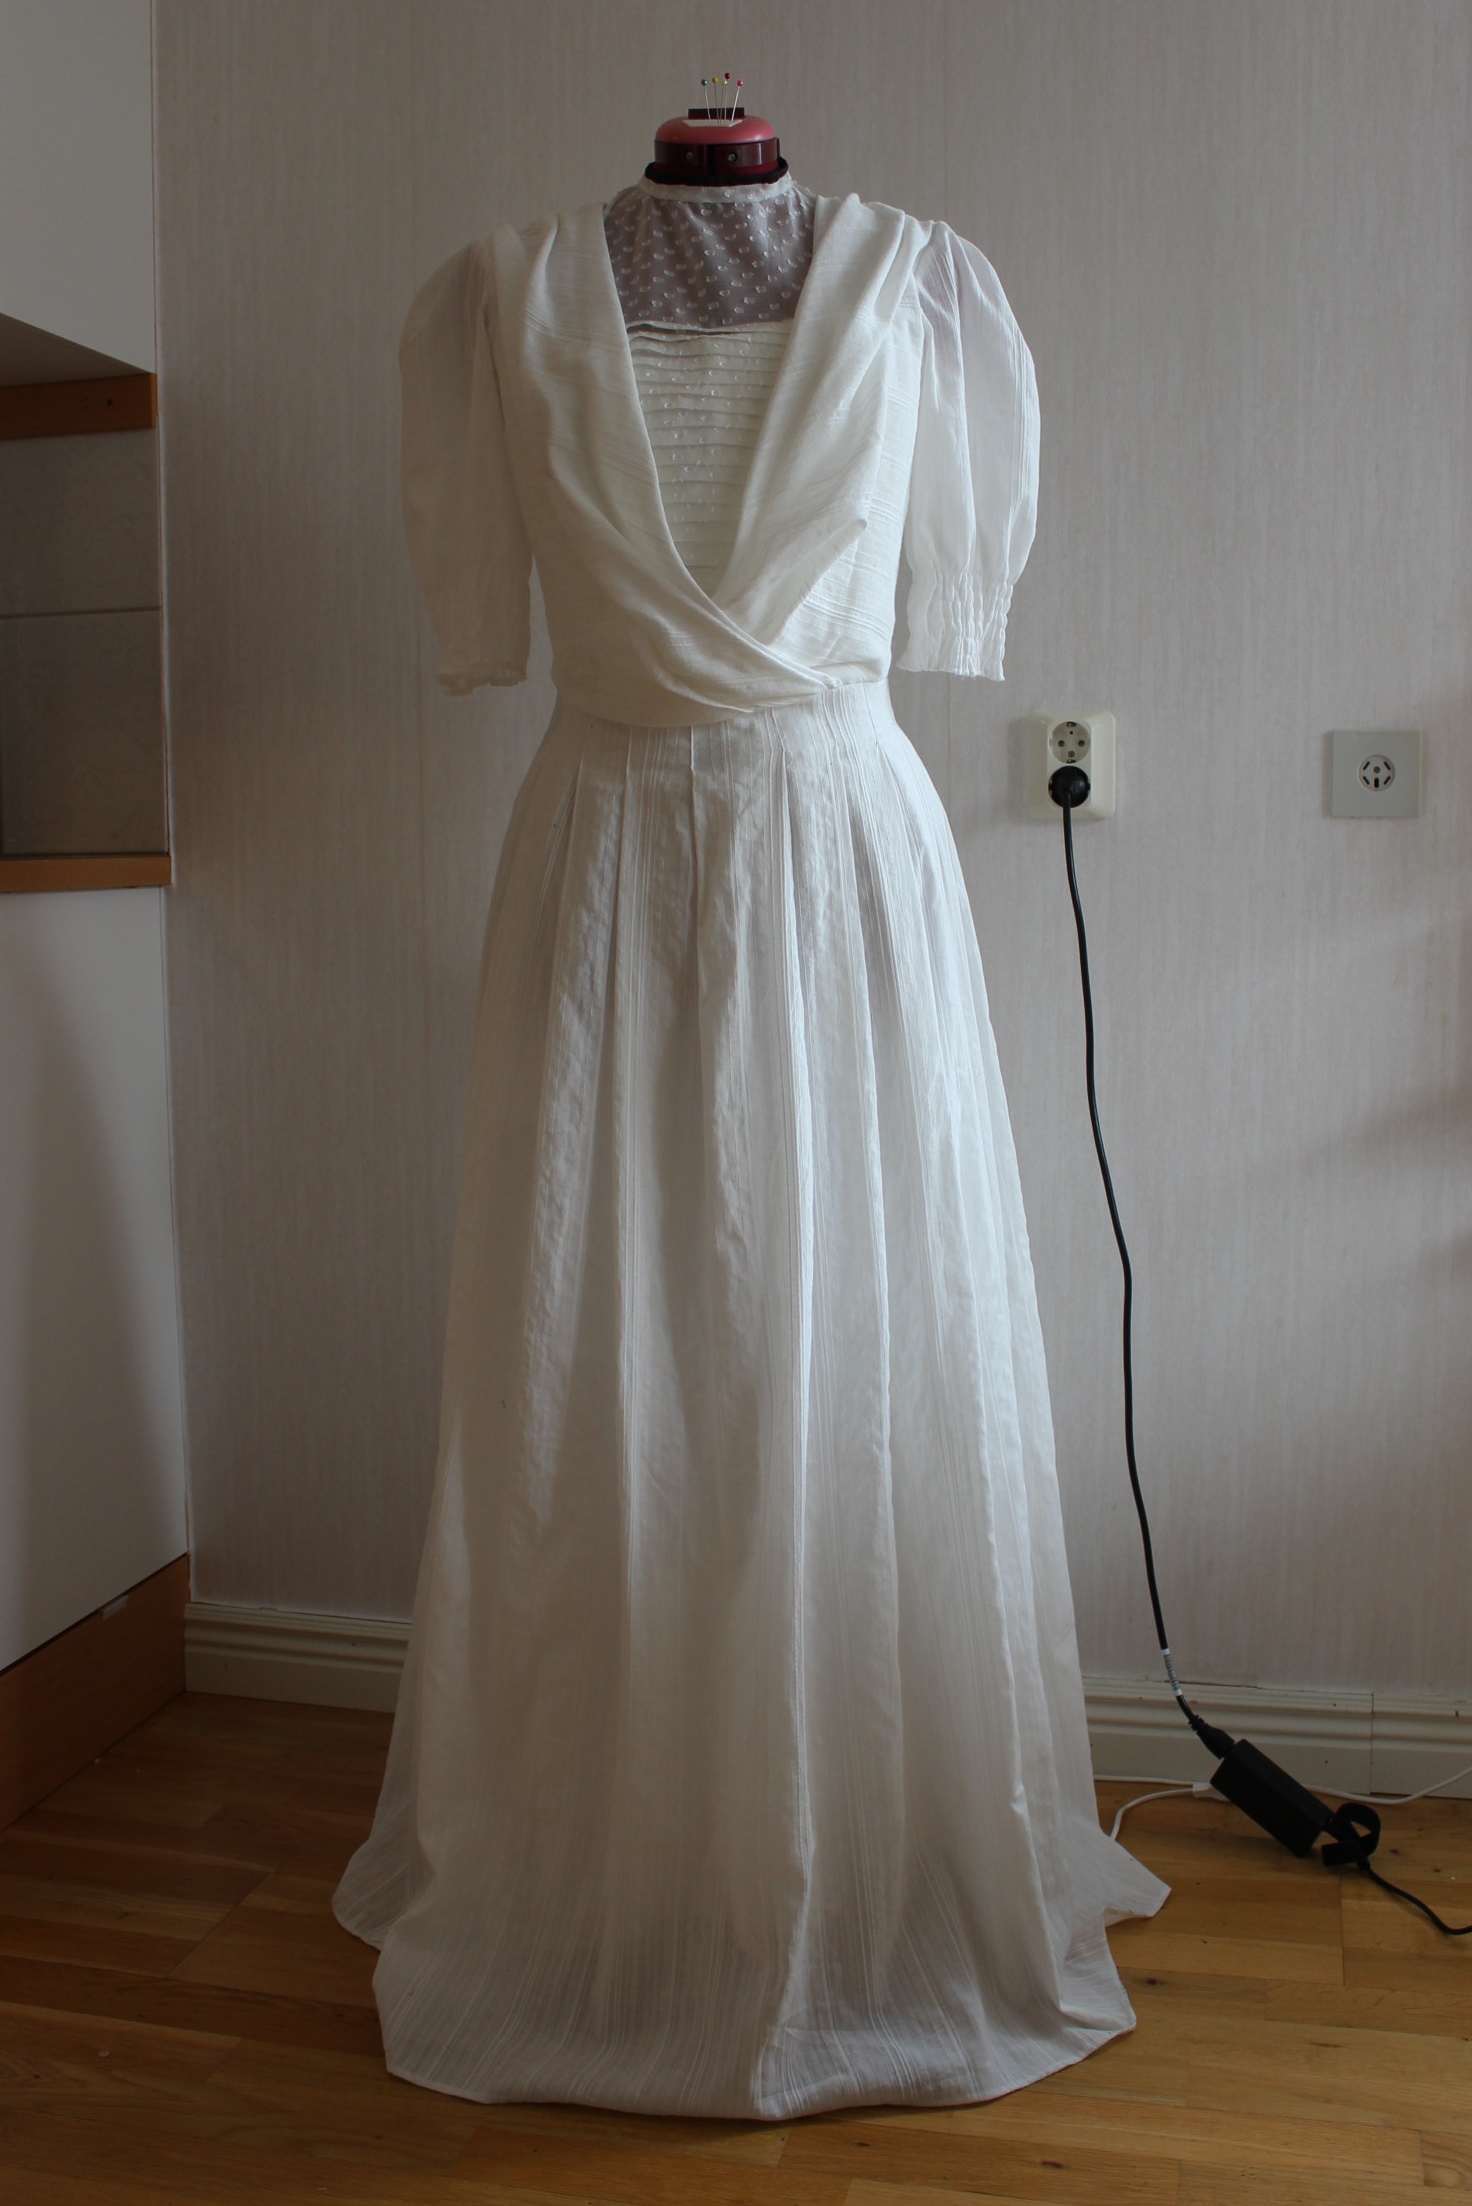
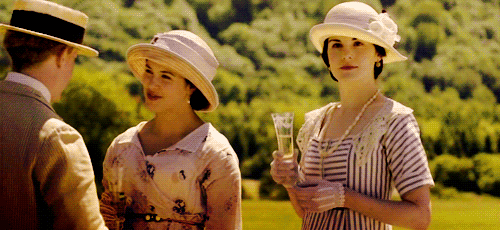
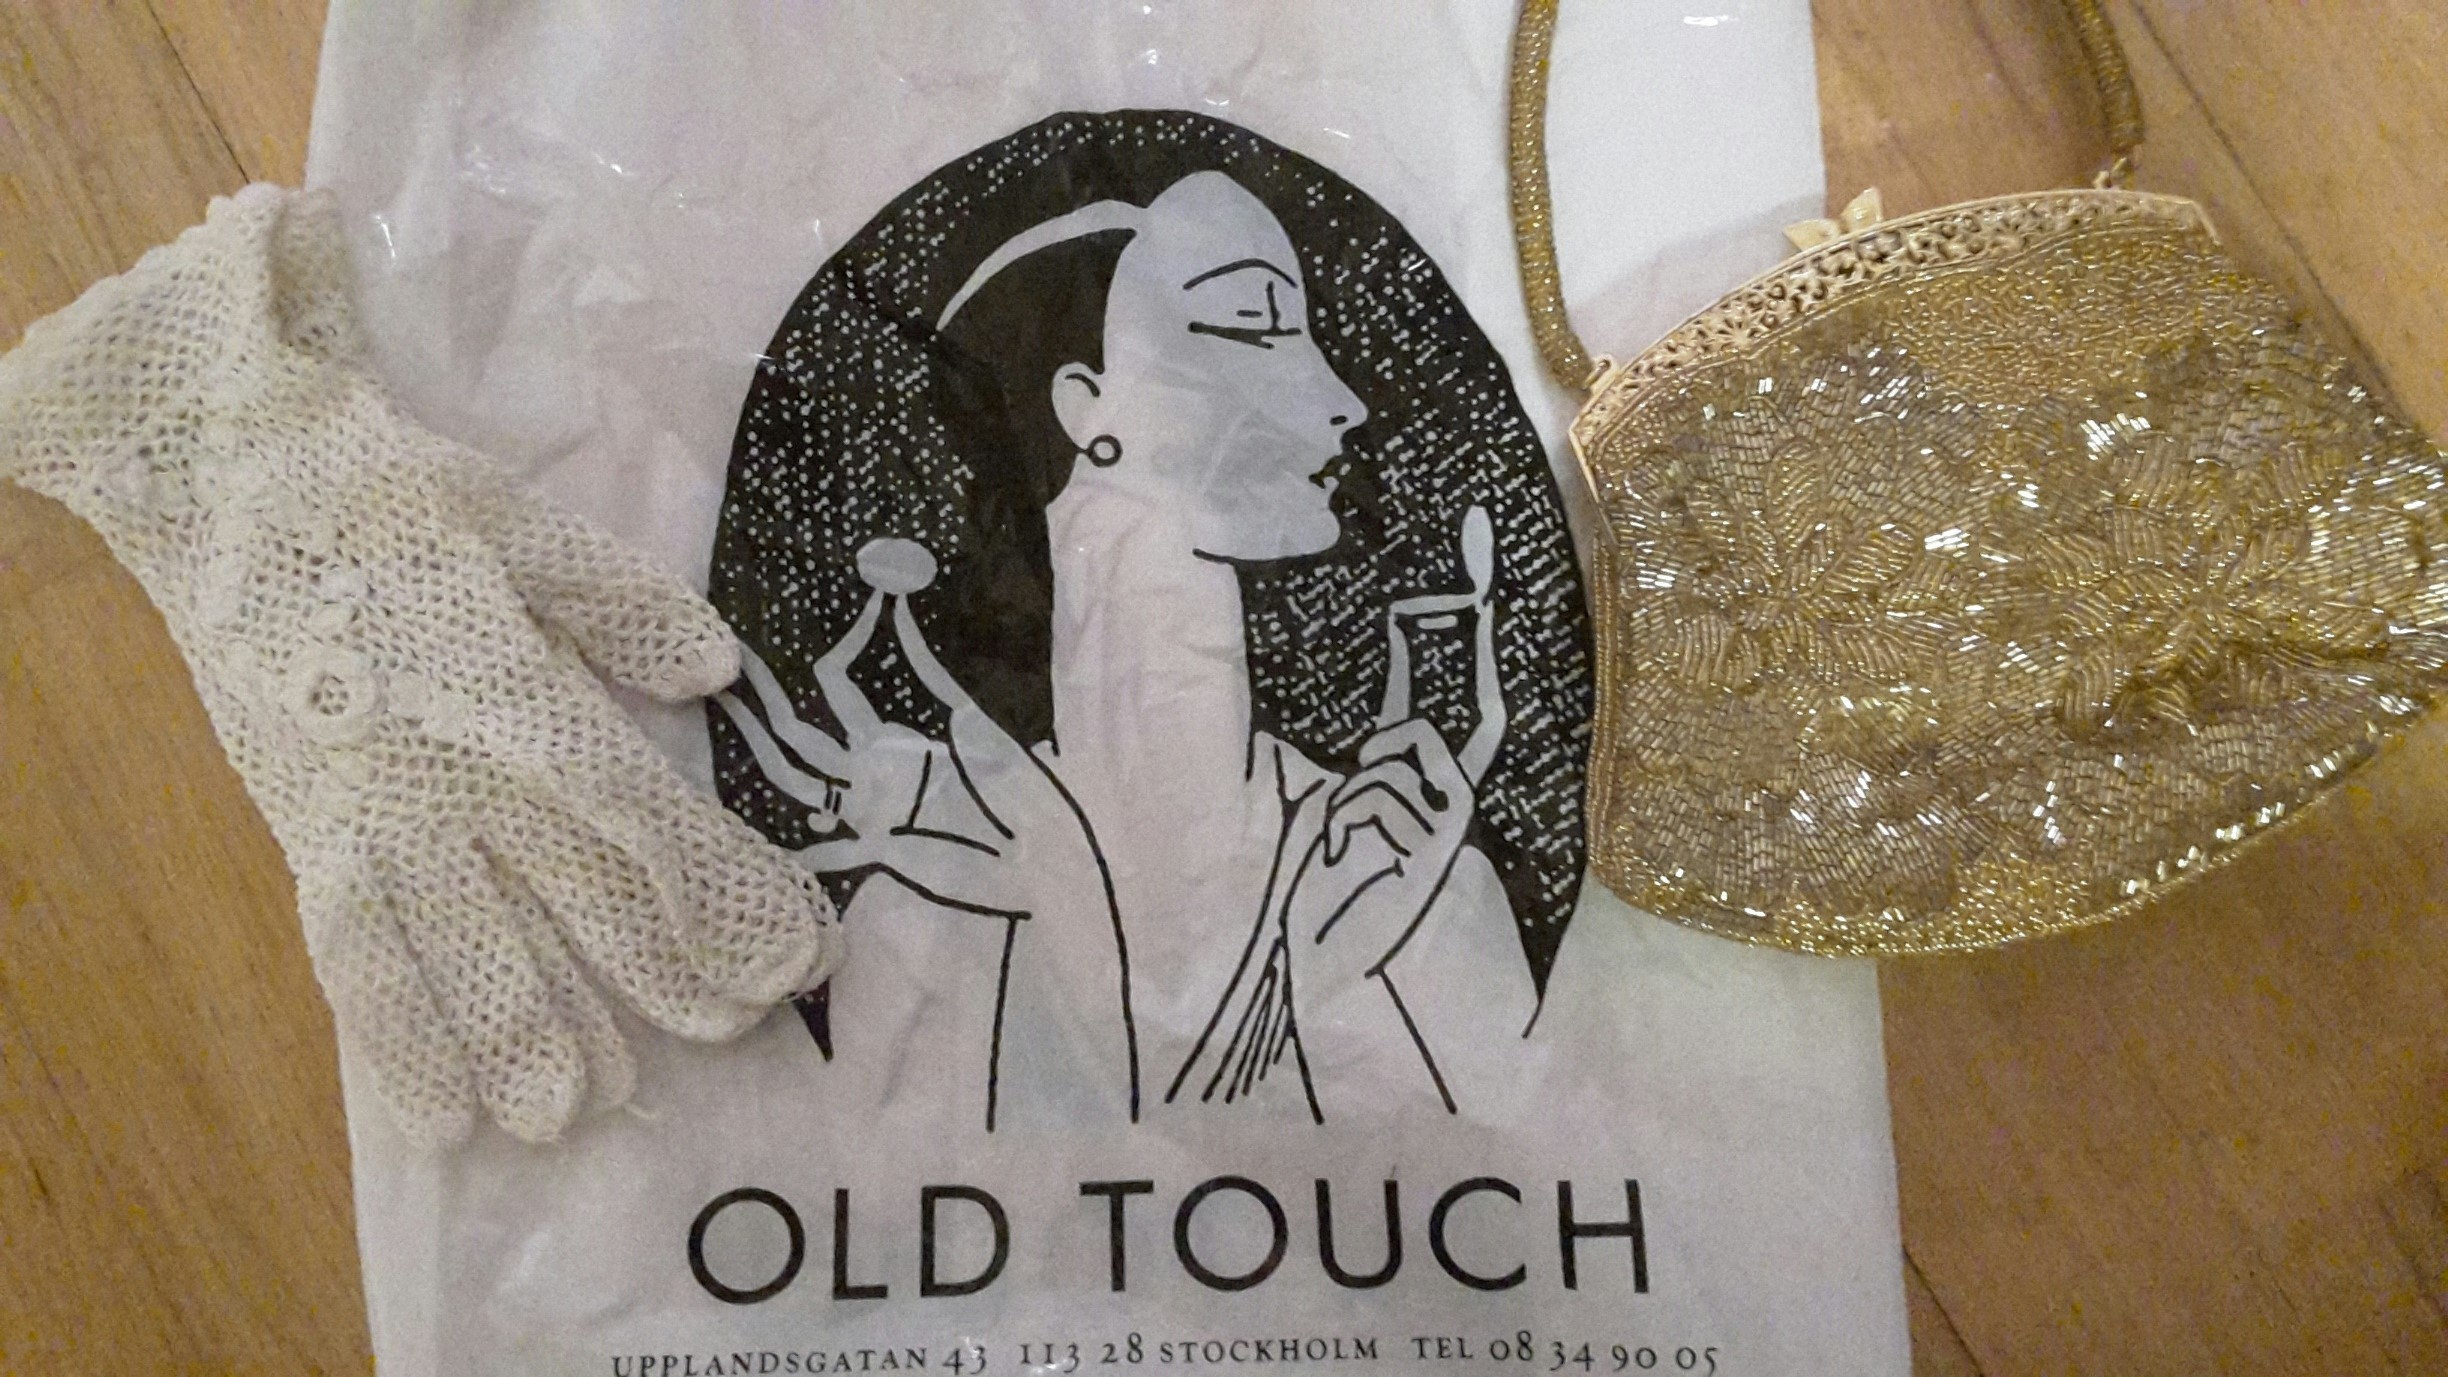
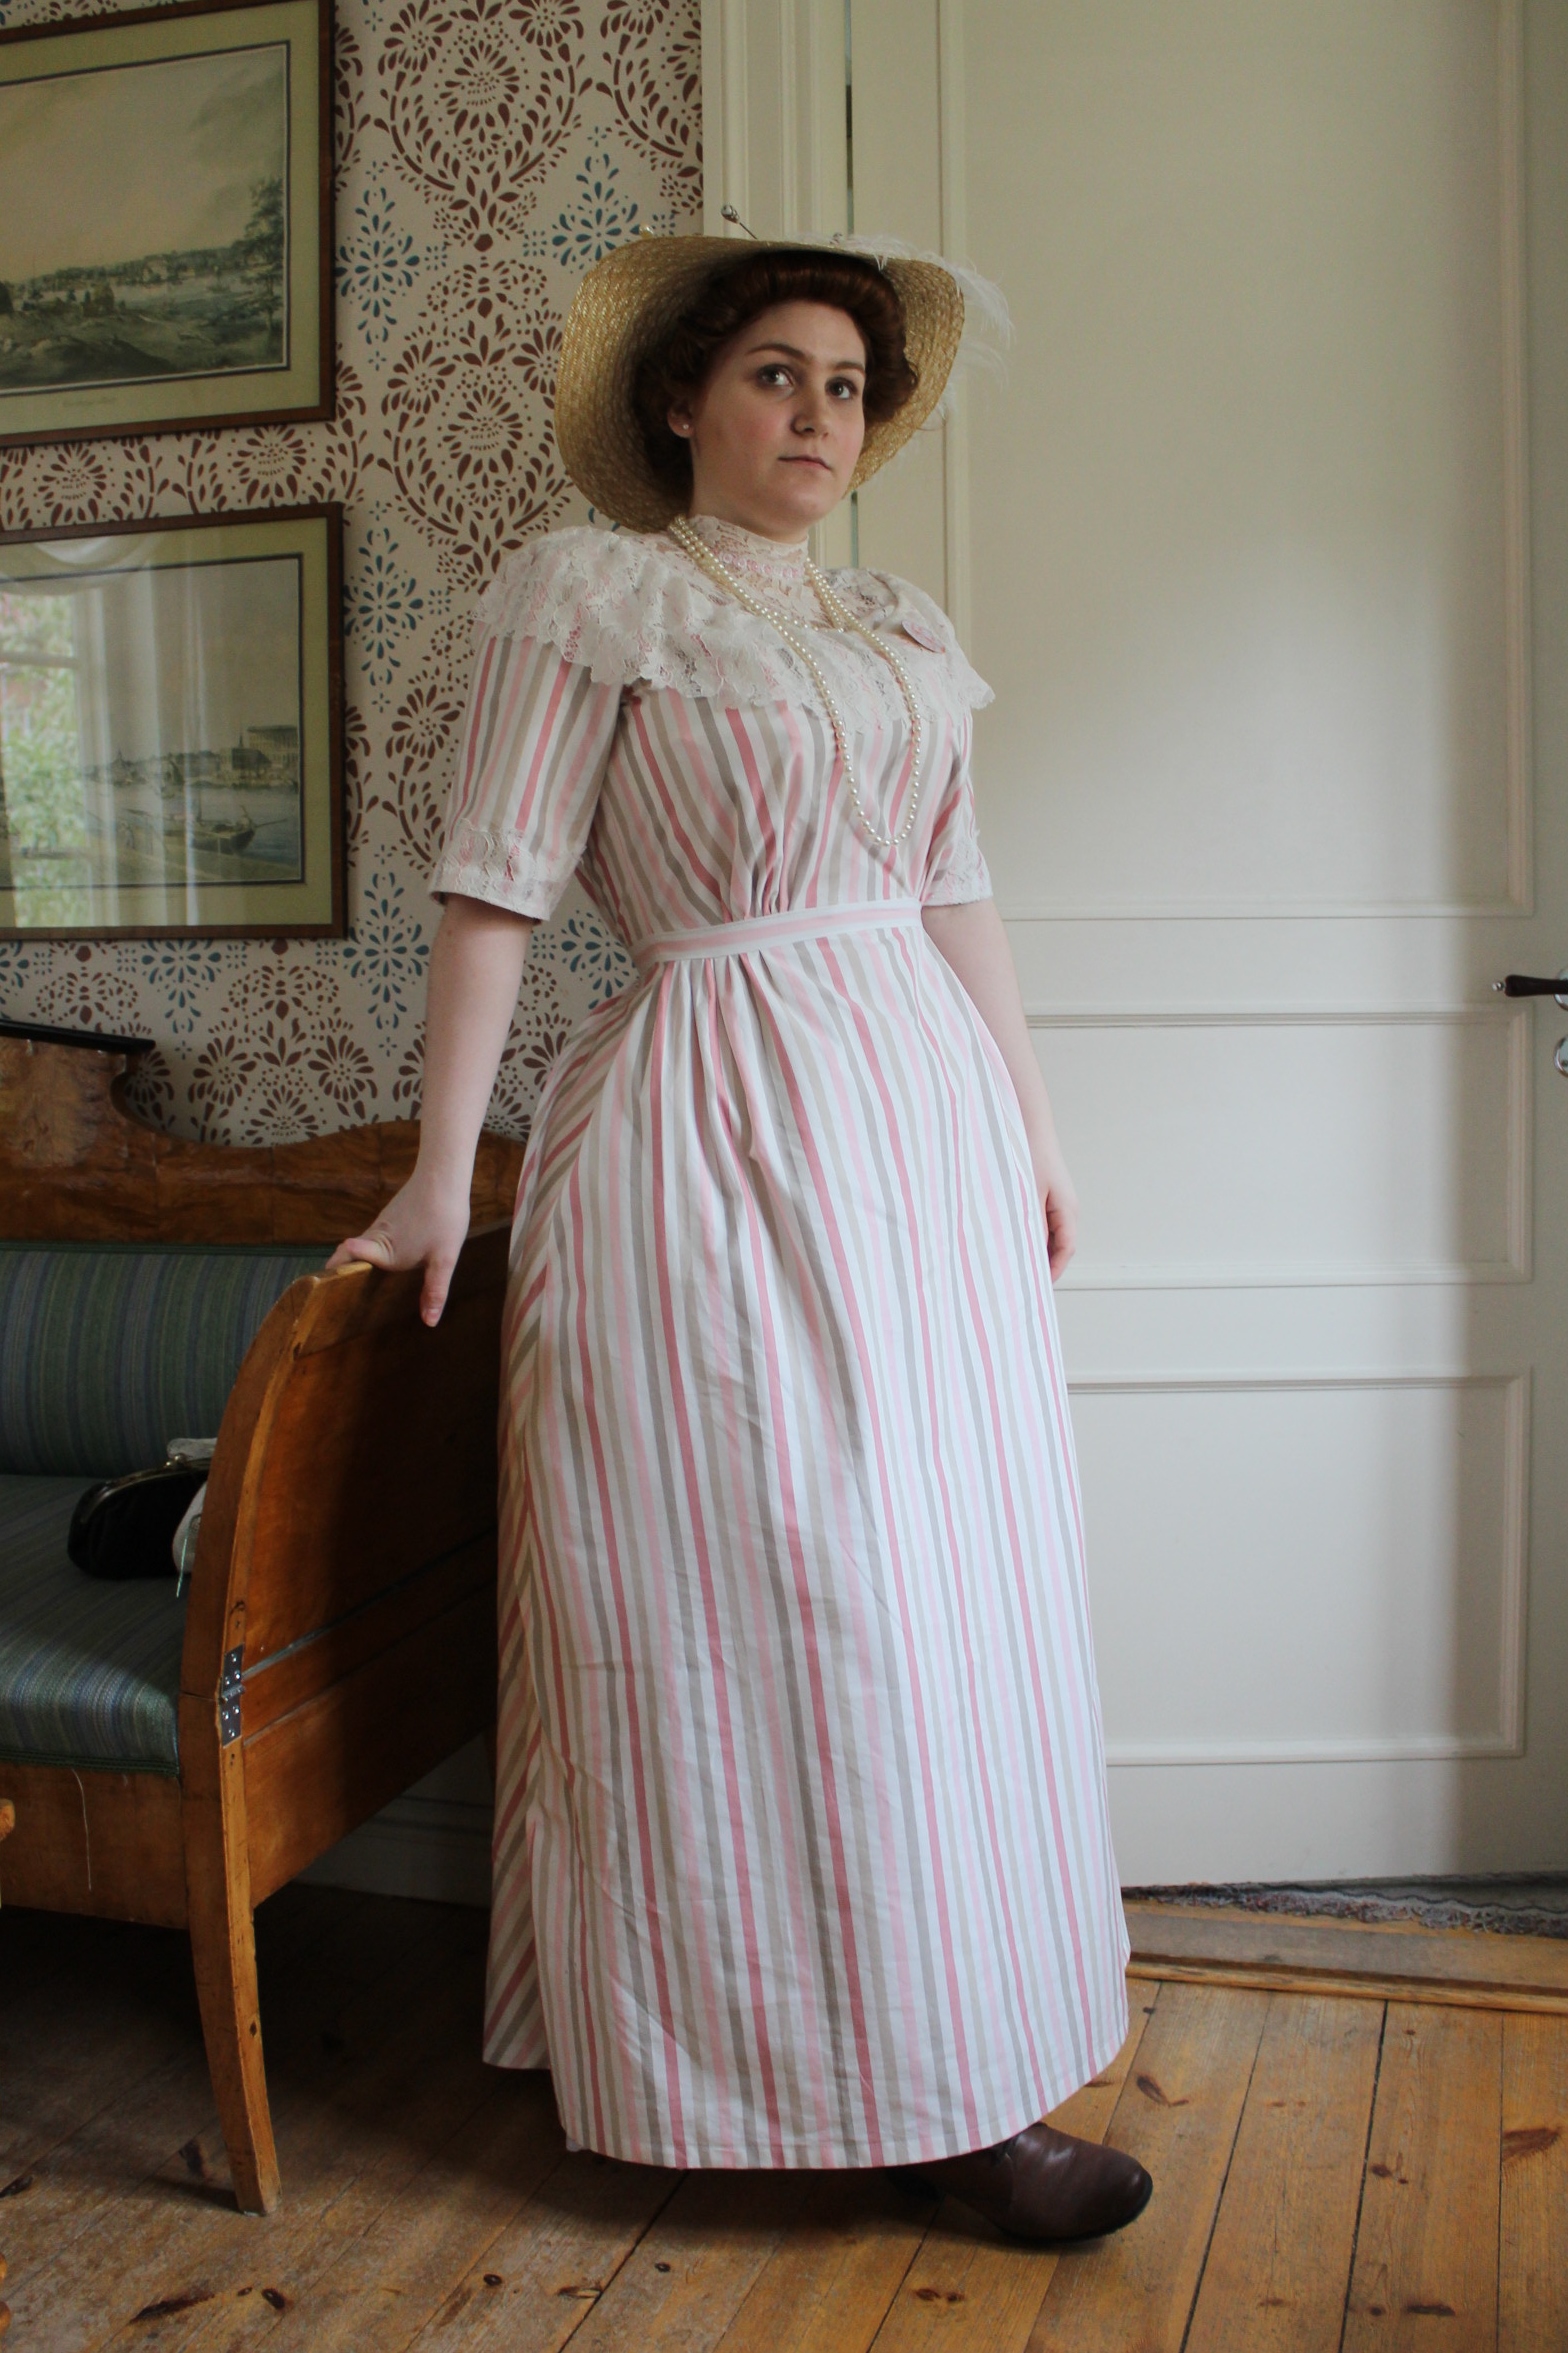
But this is the picture I decided to try to copie. I’ve bought both the crocheted glows and the super long necklace.
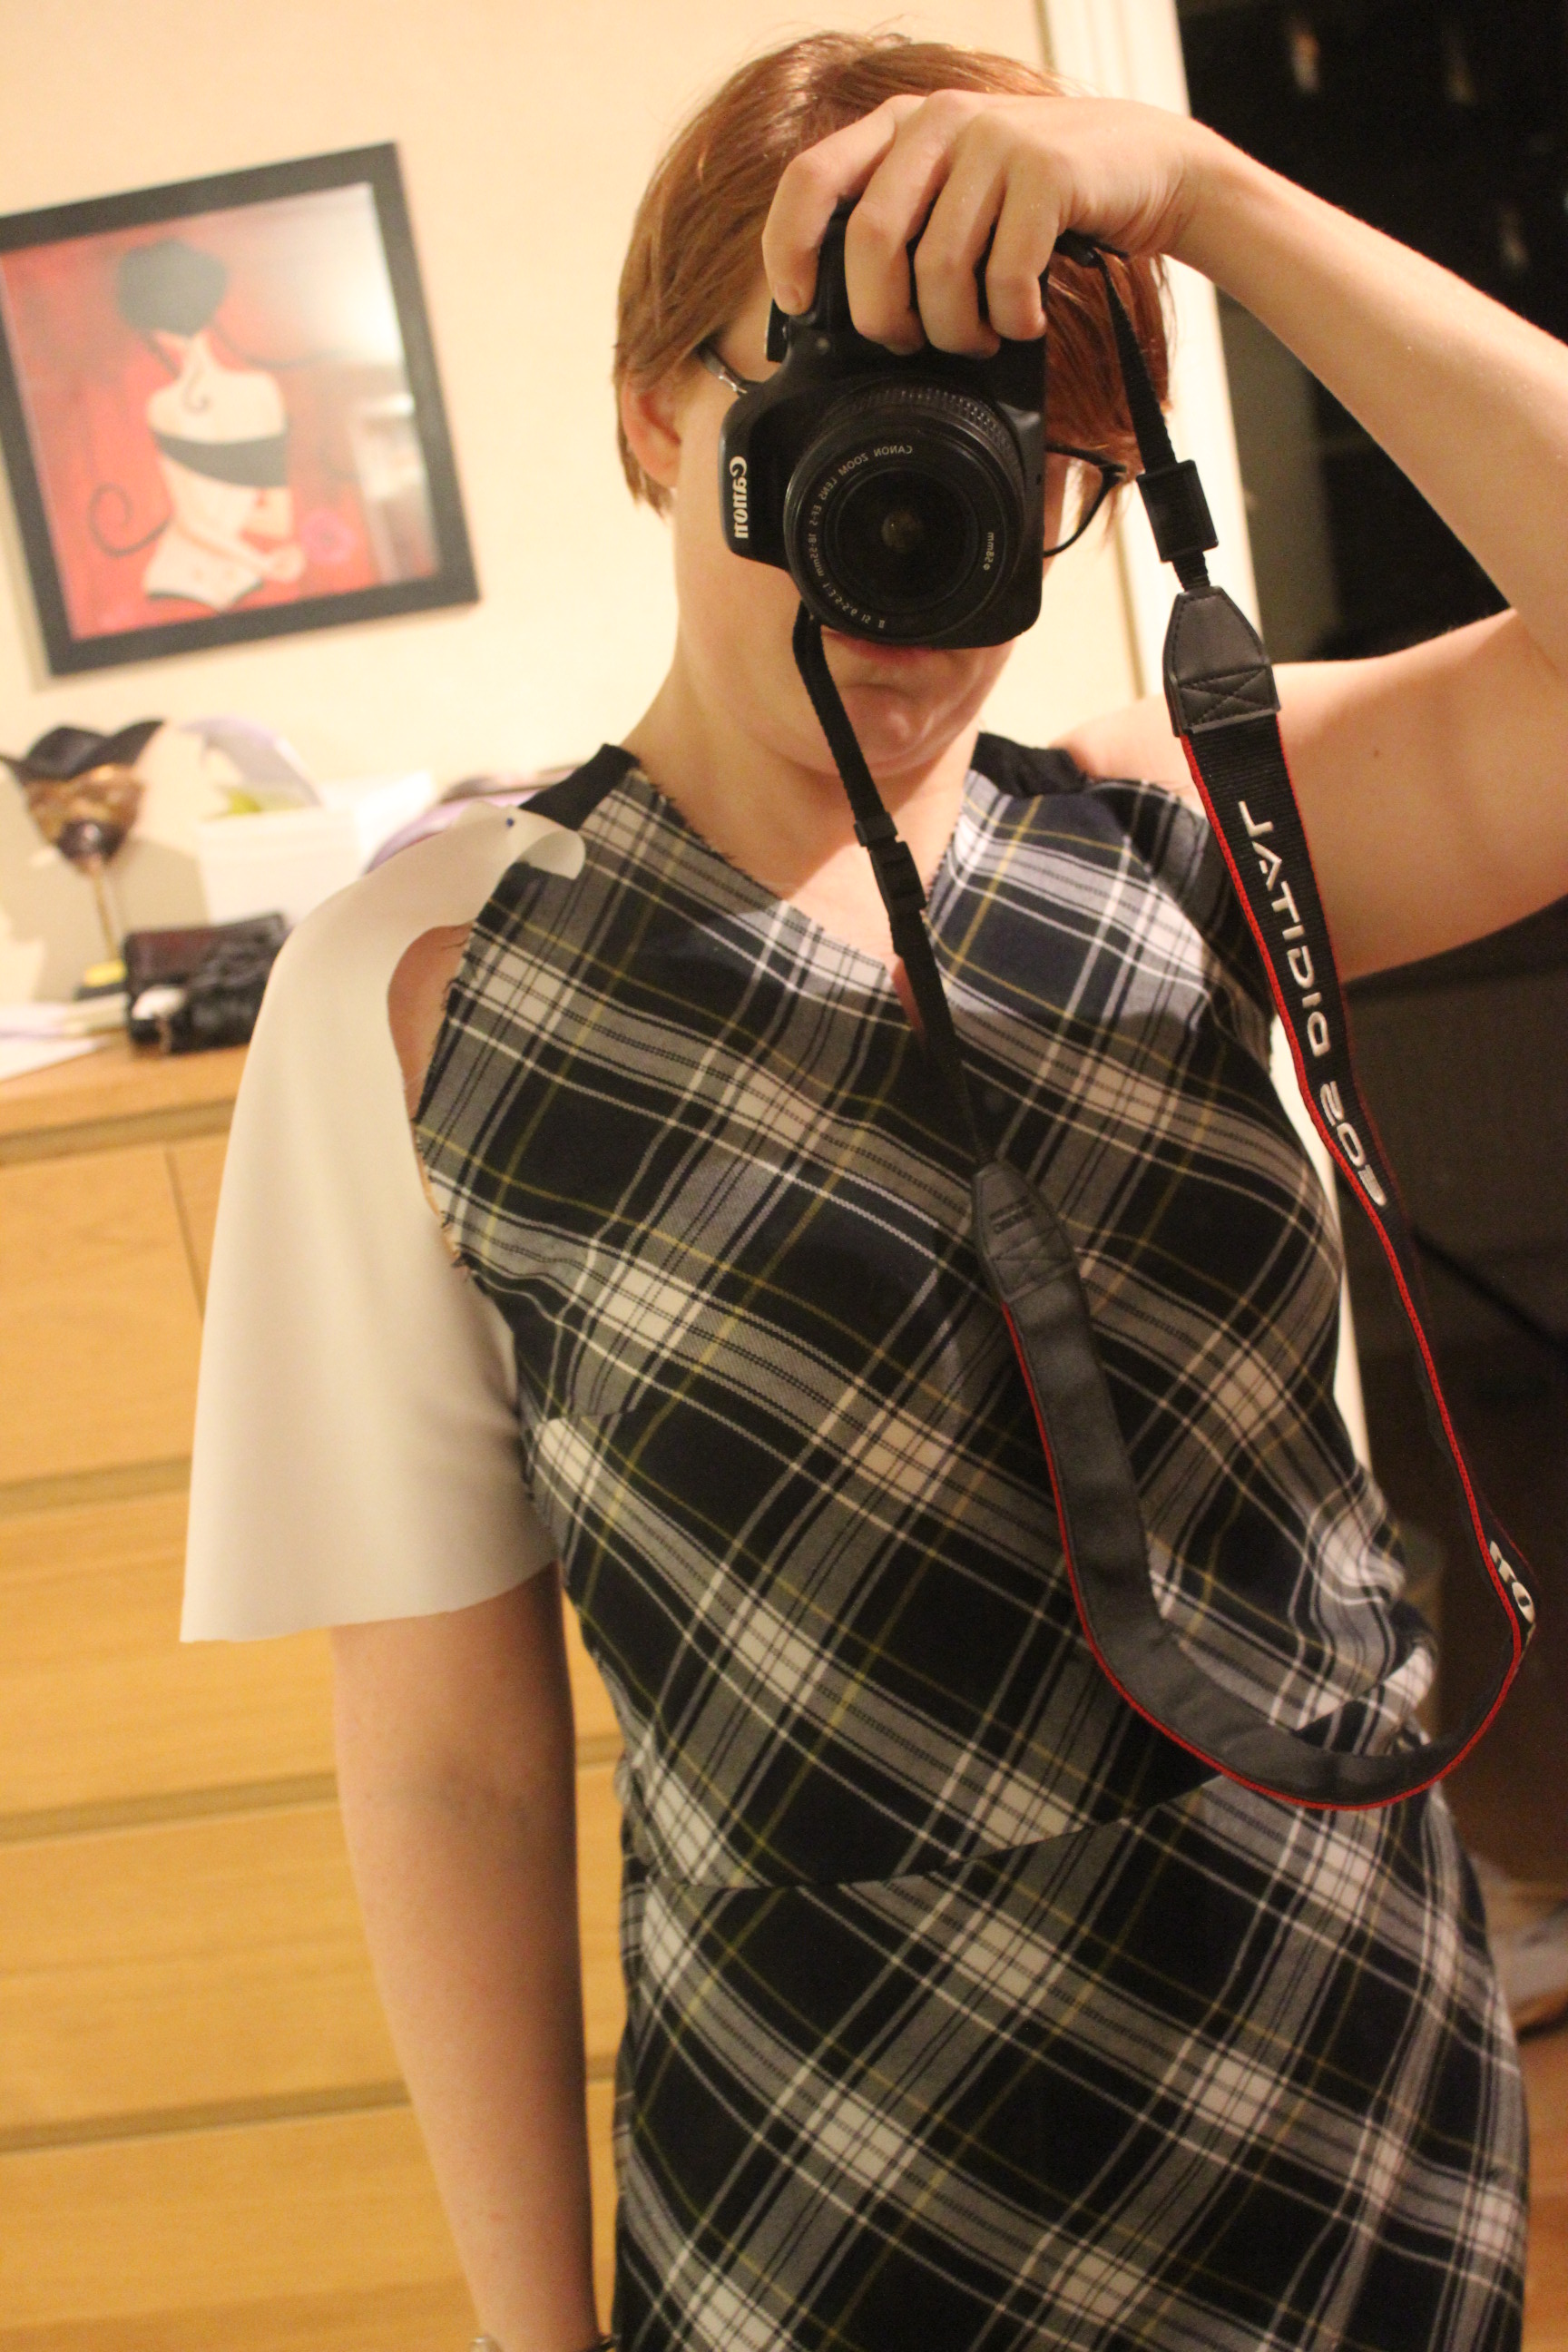
The hat looks a bit intimidating, but I’ve collected the hat base, the flowers and the netting, and don’t think it will be that hard to get the right look.
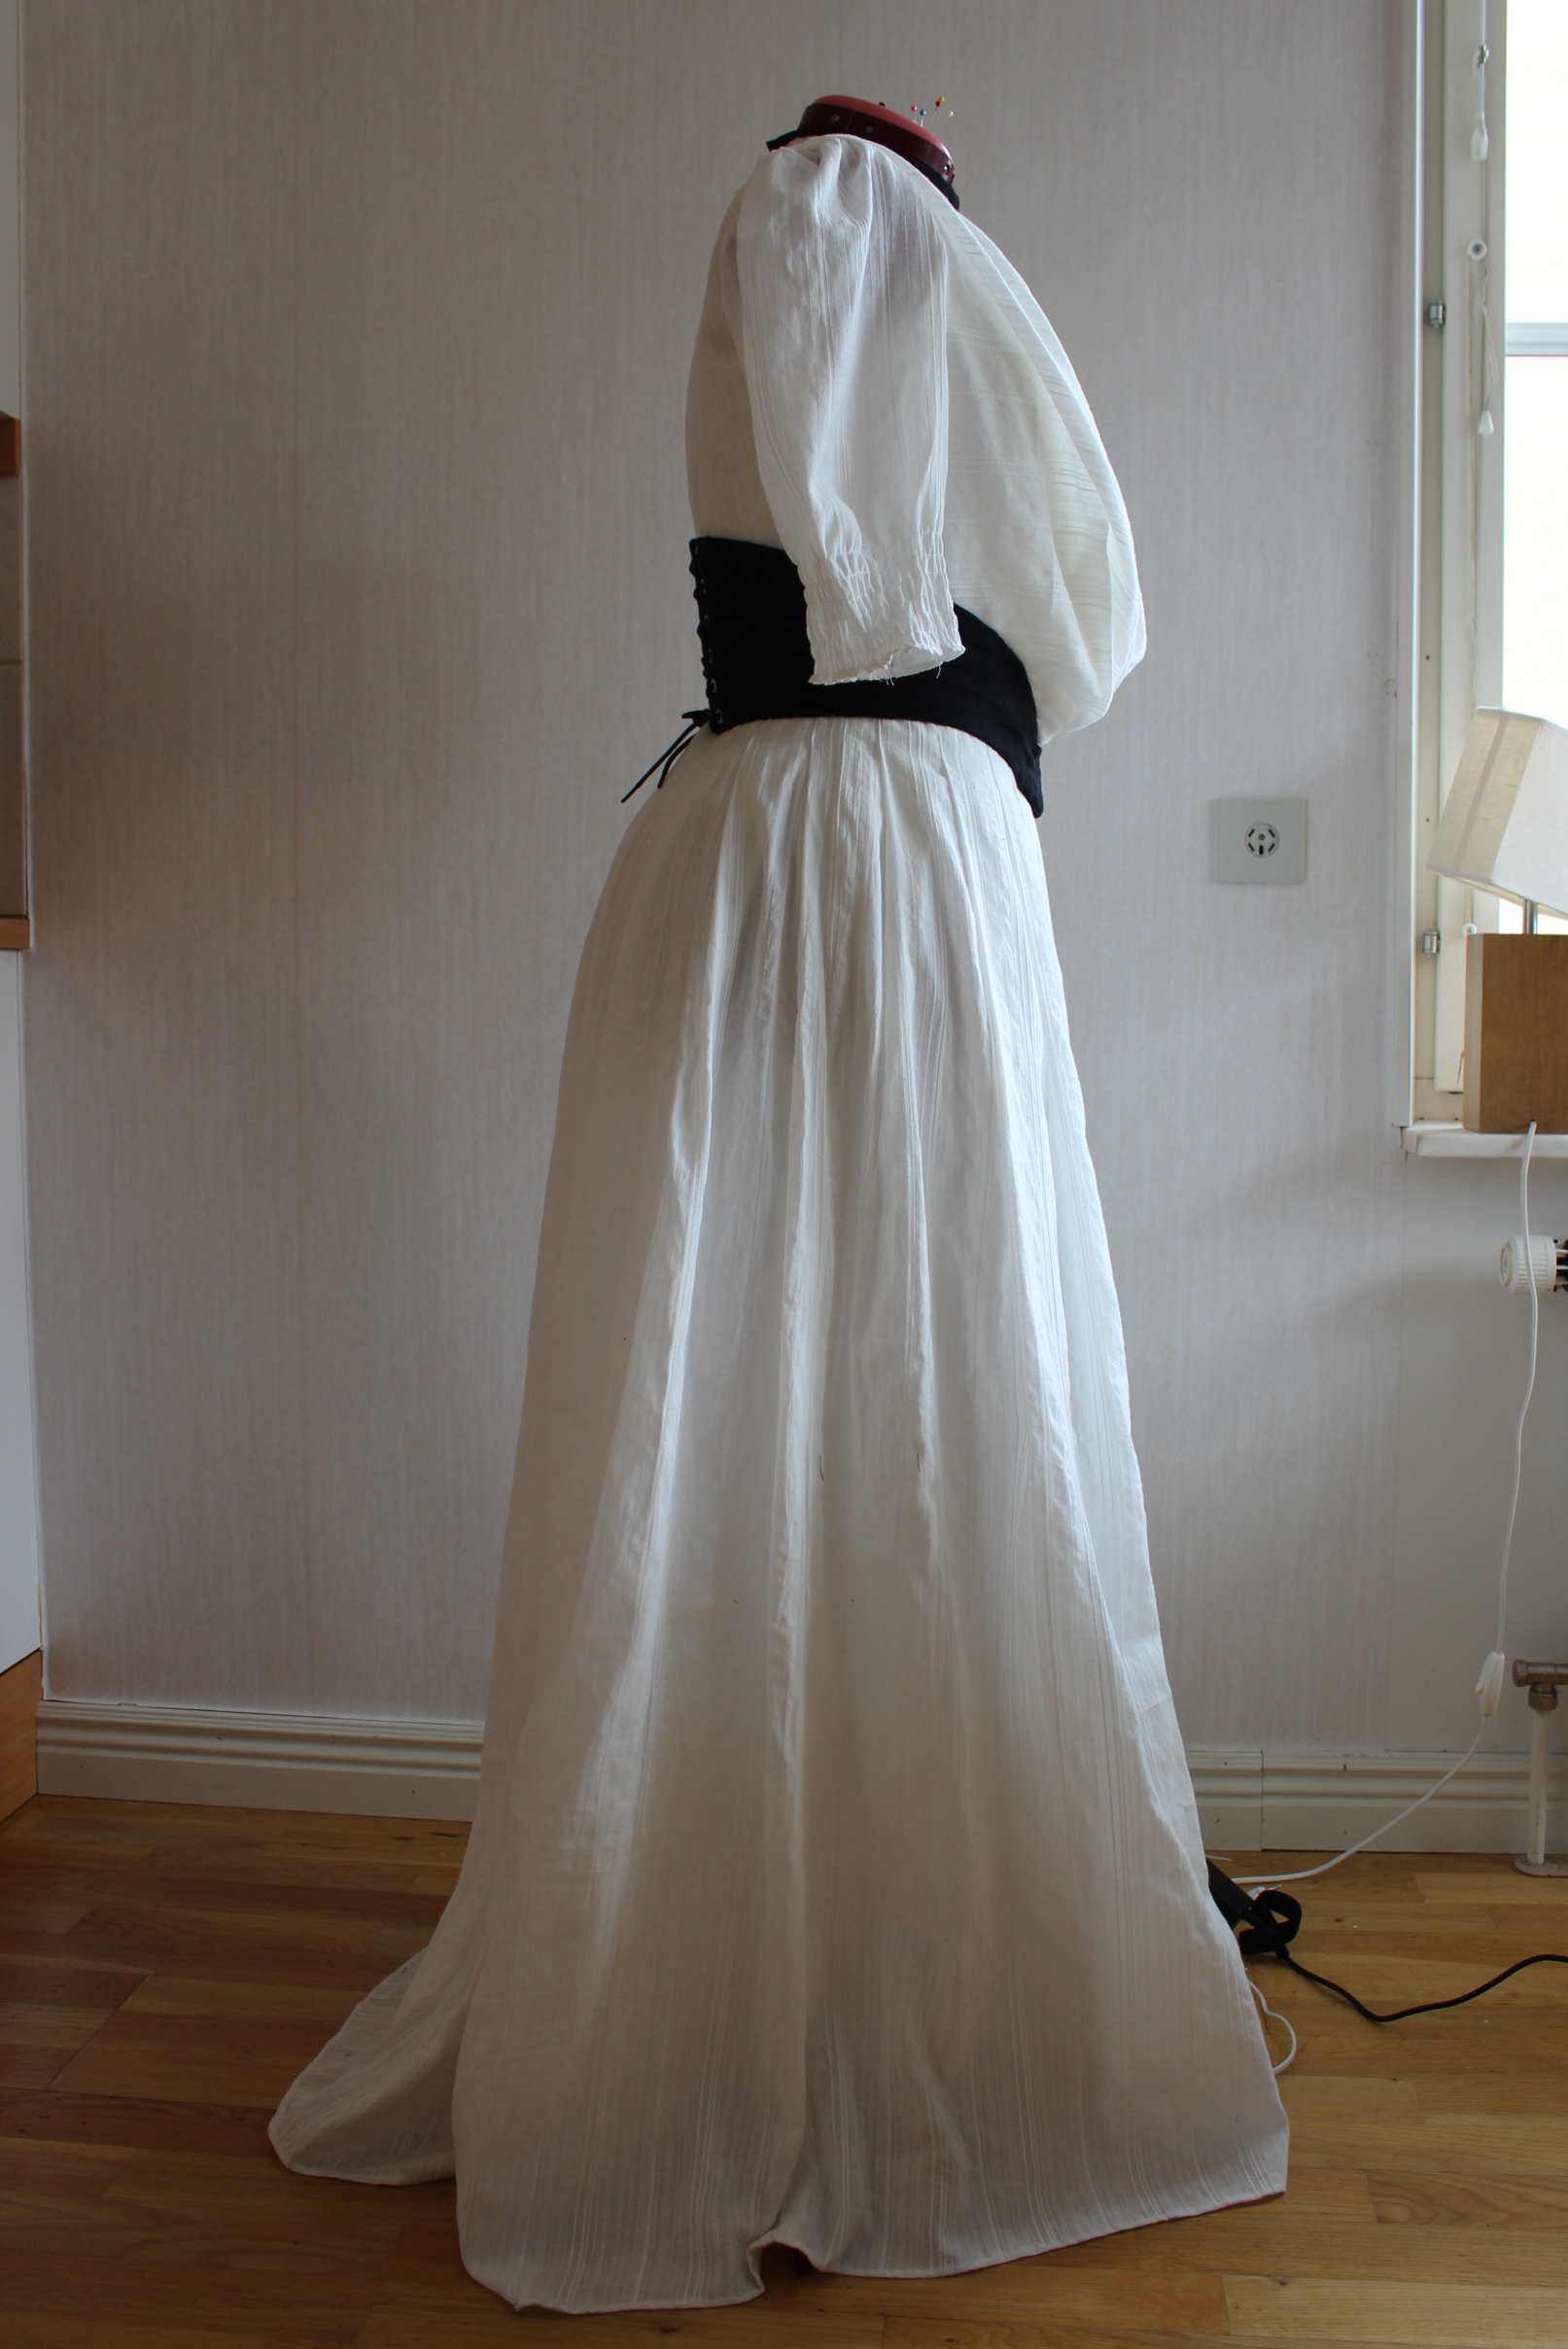
The dress on display Here you can see the slim width of the skirt and the fact it’s gored all the way down.
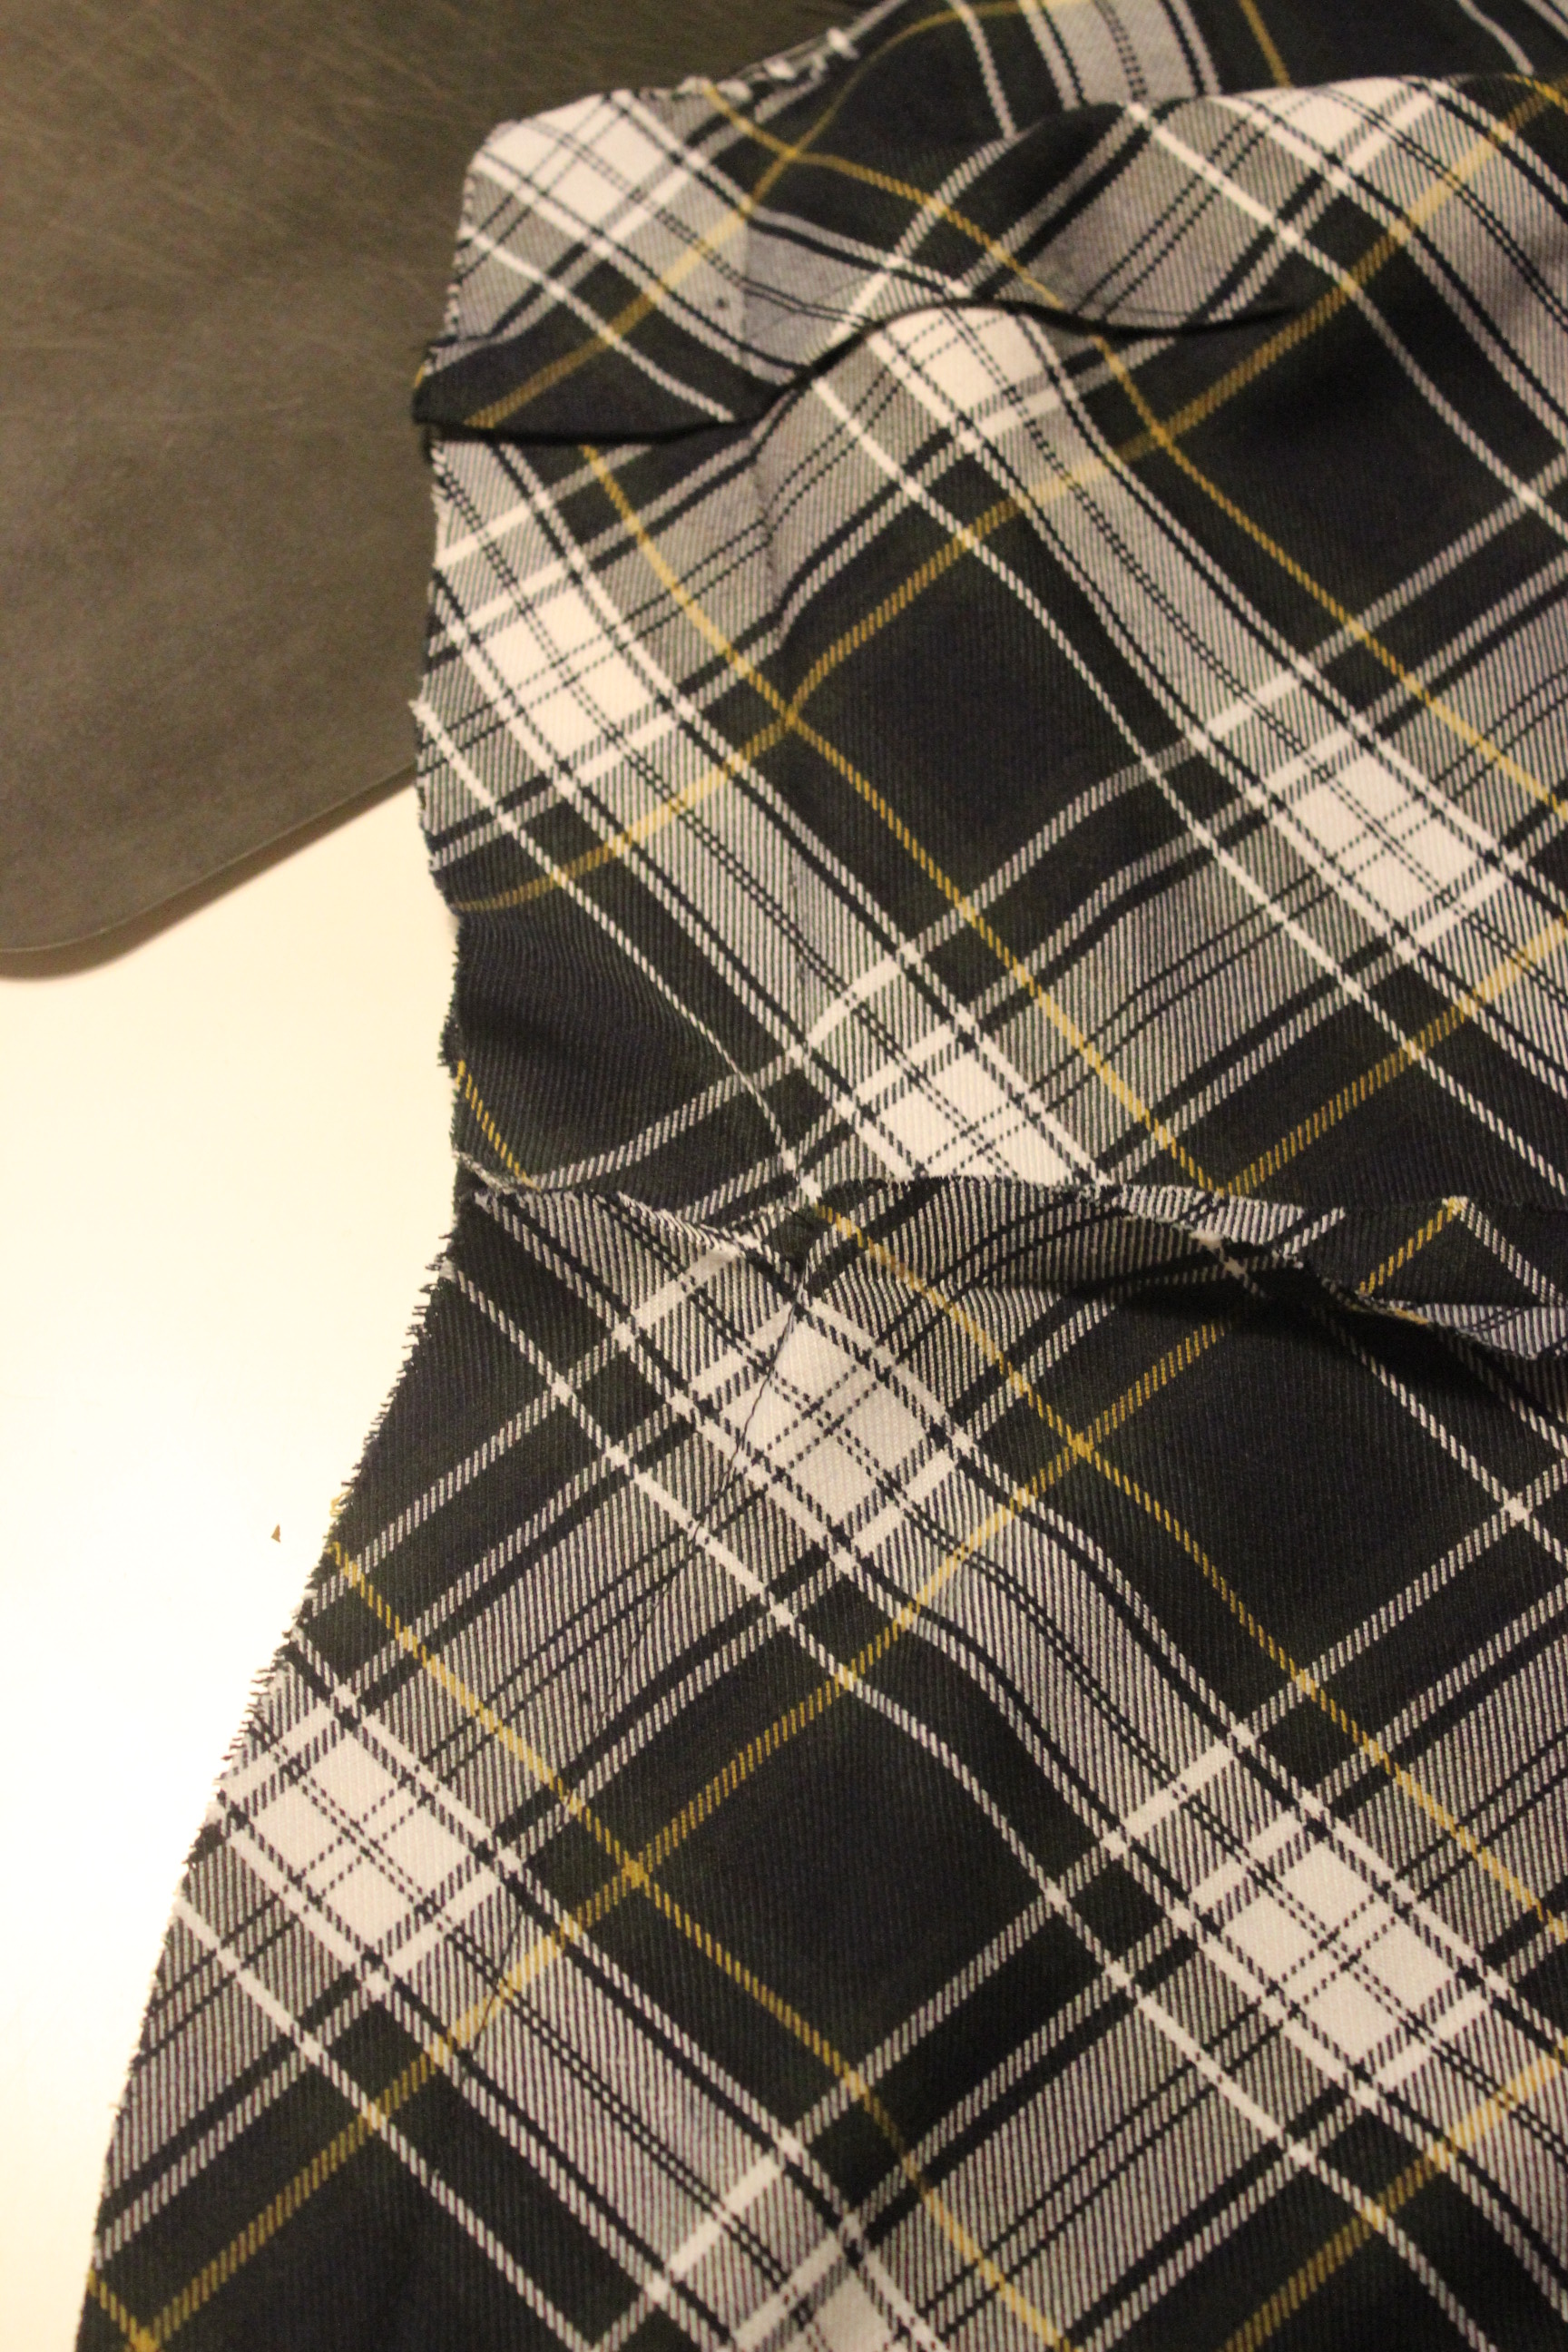
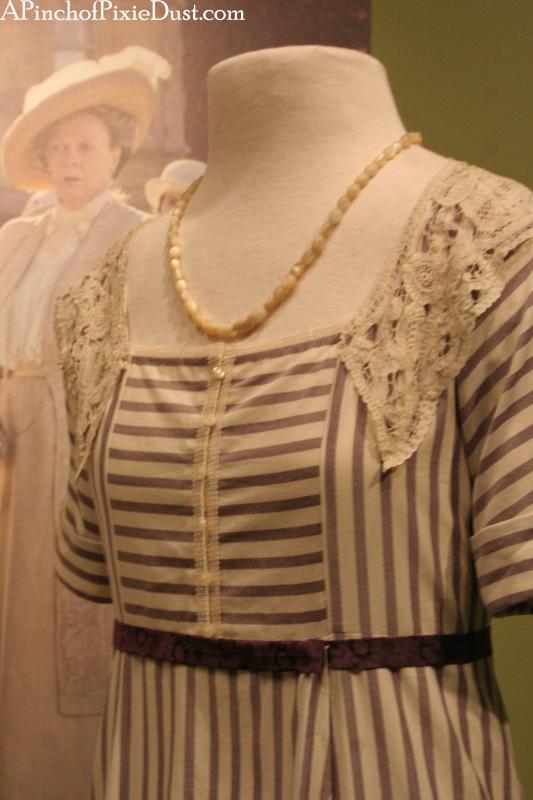 On closer look we can see the proper way to close the dress – wit a placket hidden under the contrasting ribbon and front side dart/seam. This means the dress will be closed both with buttons (at enter front bodice) and with hooks and bars at the center side skirt (in a kind of lightning shape).
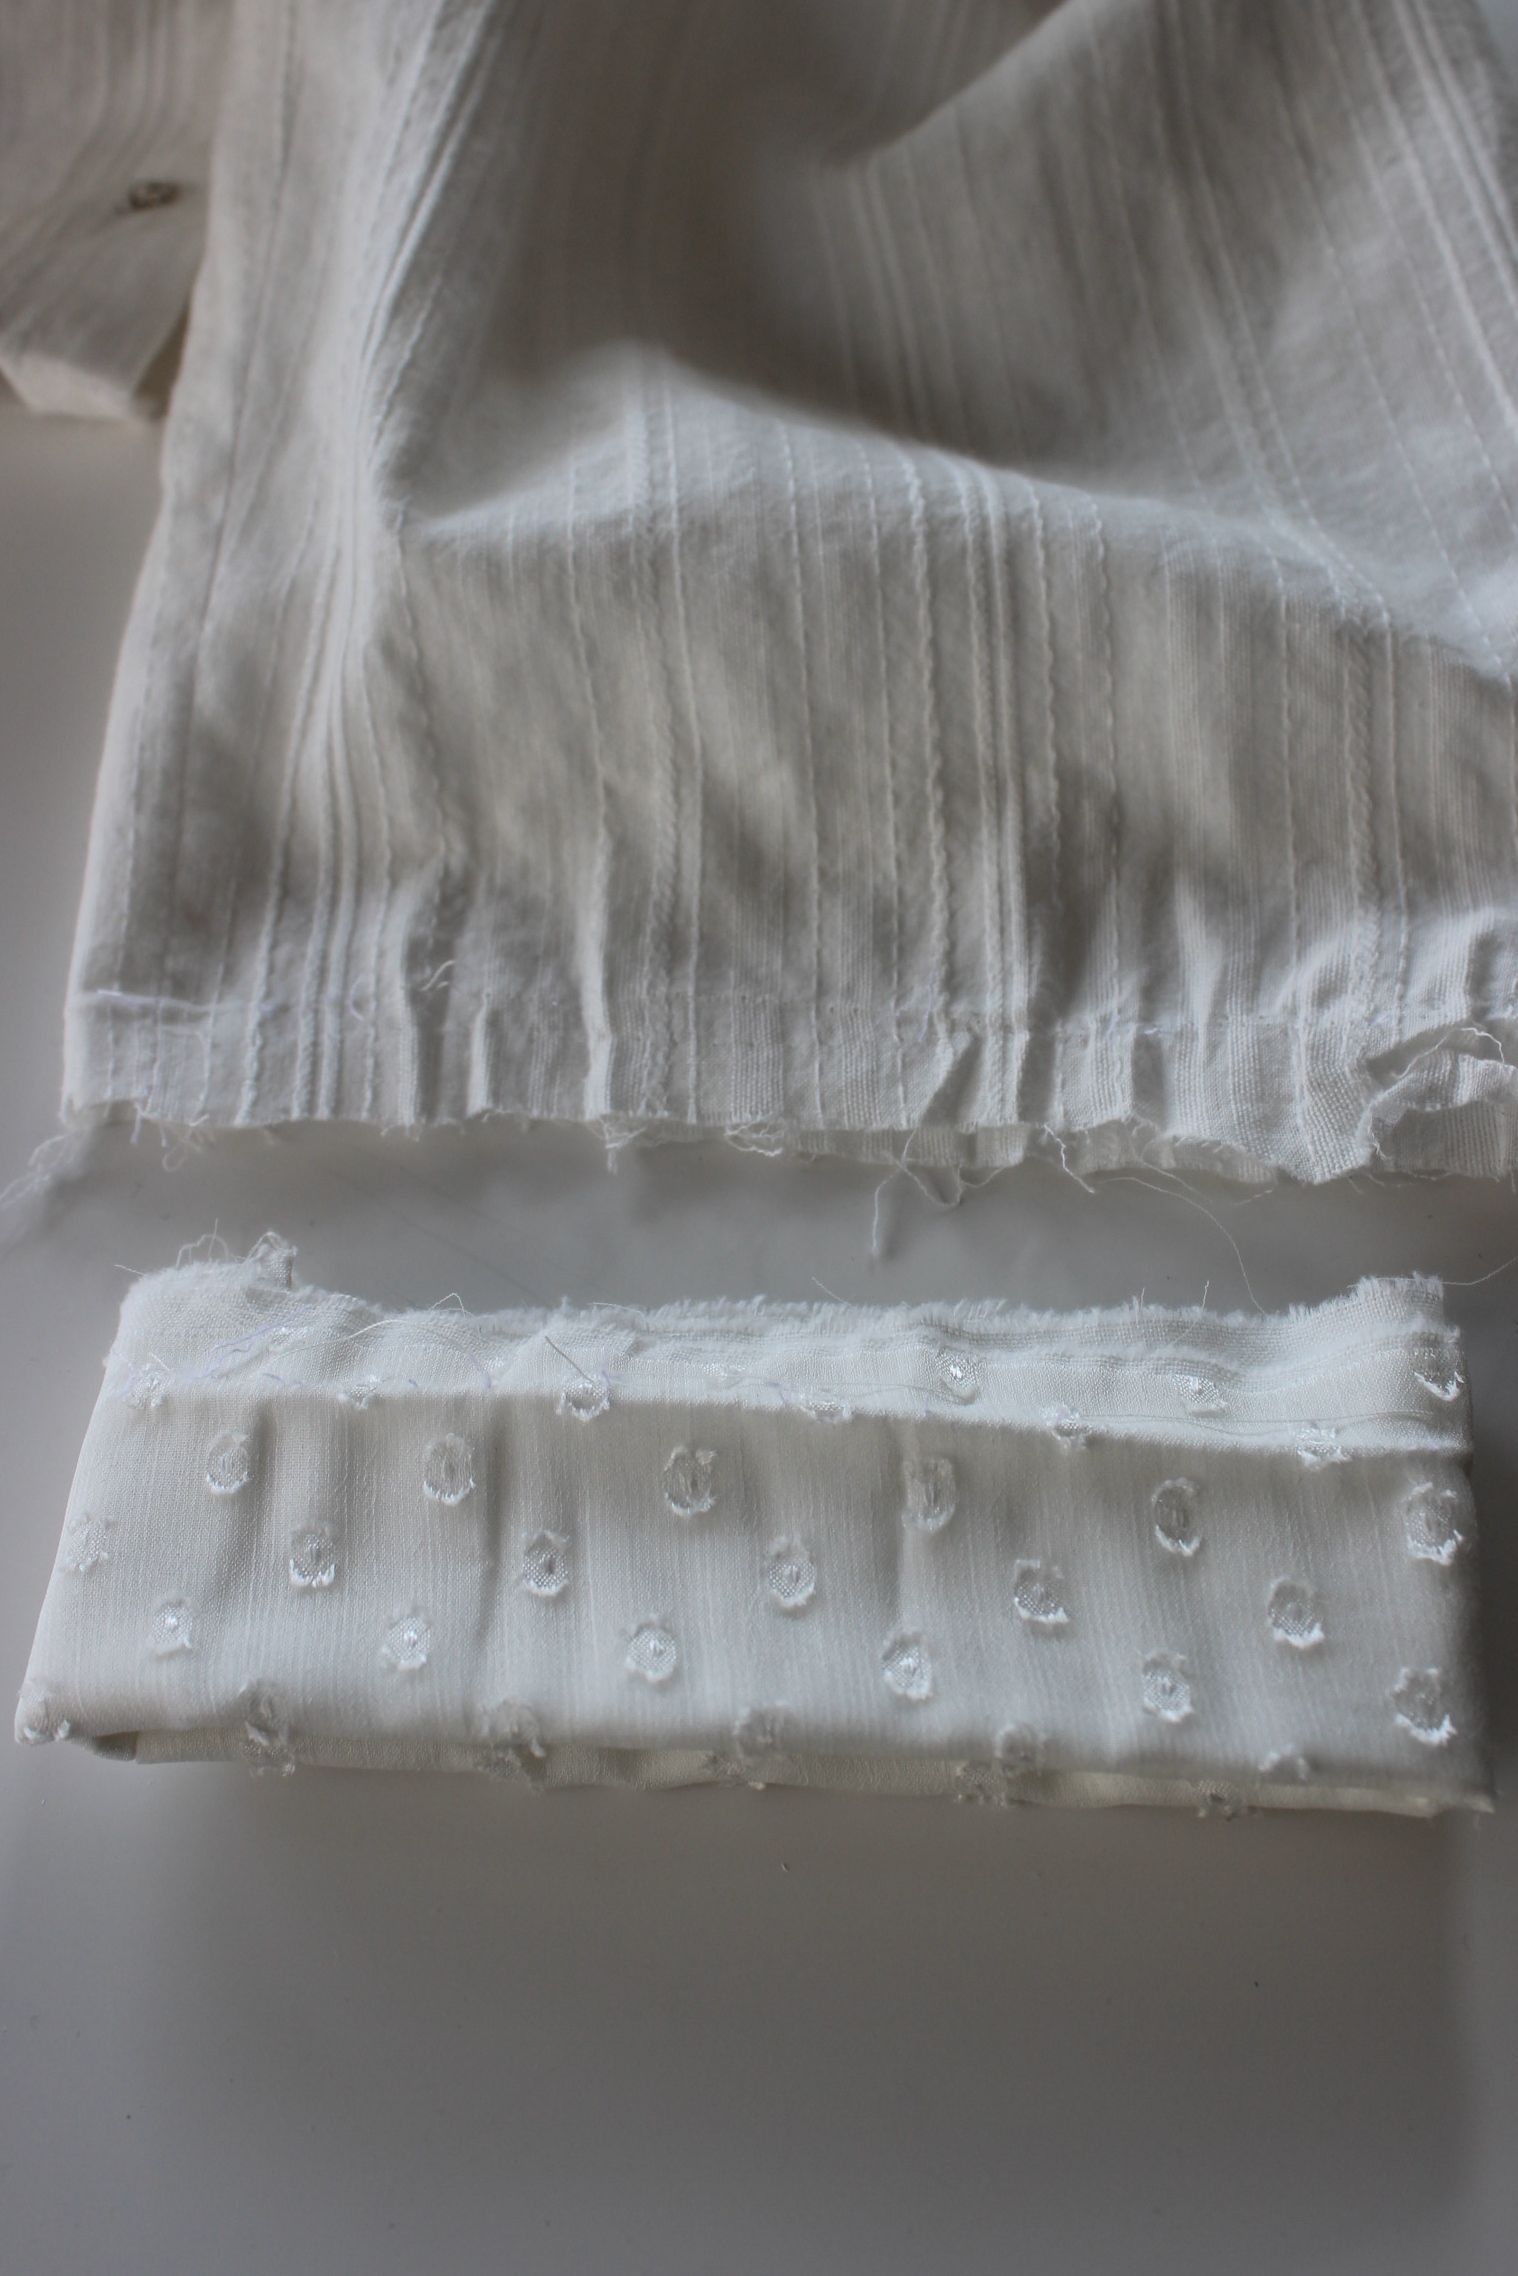
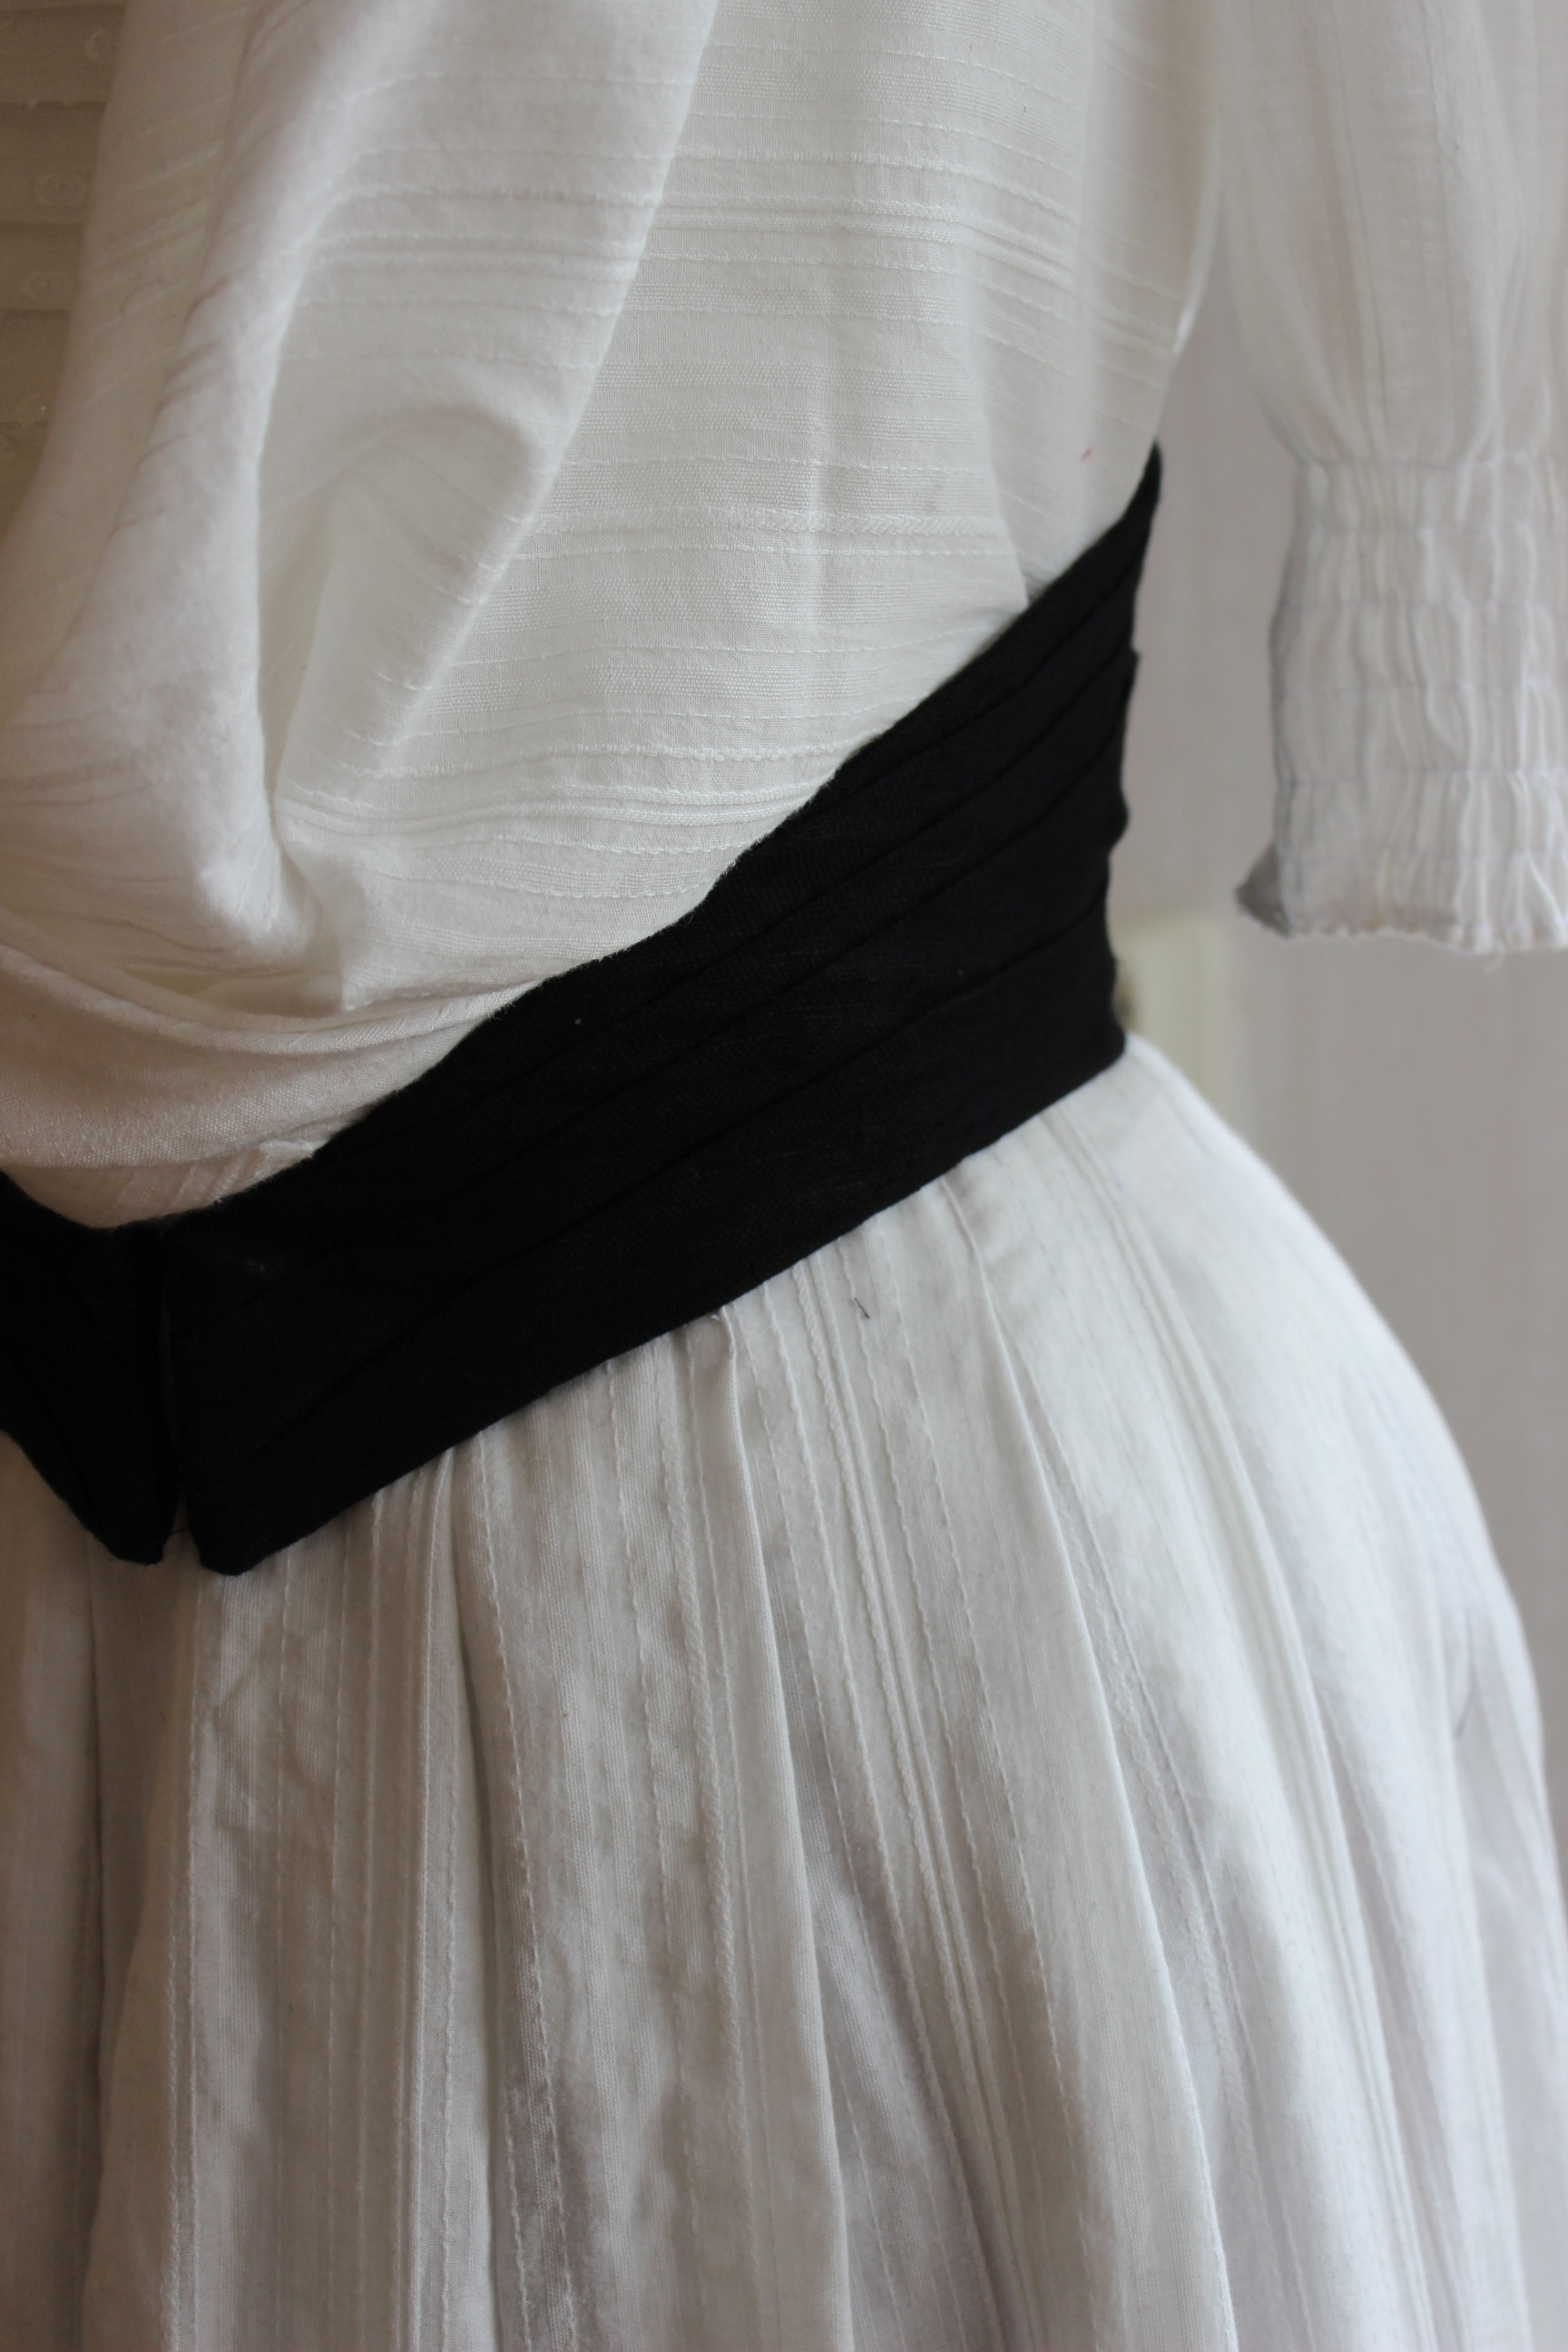
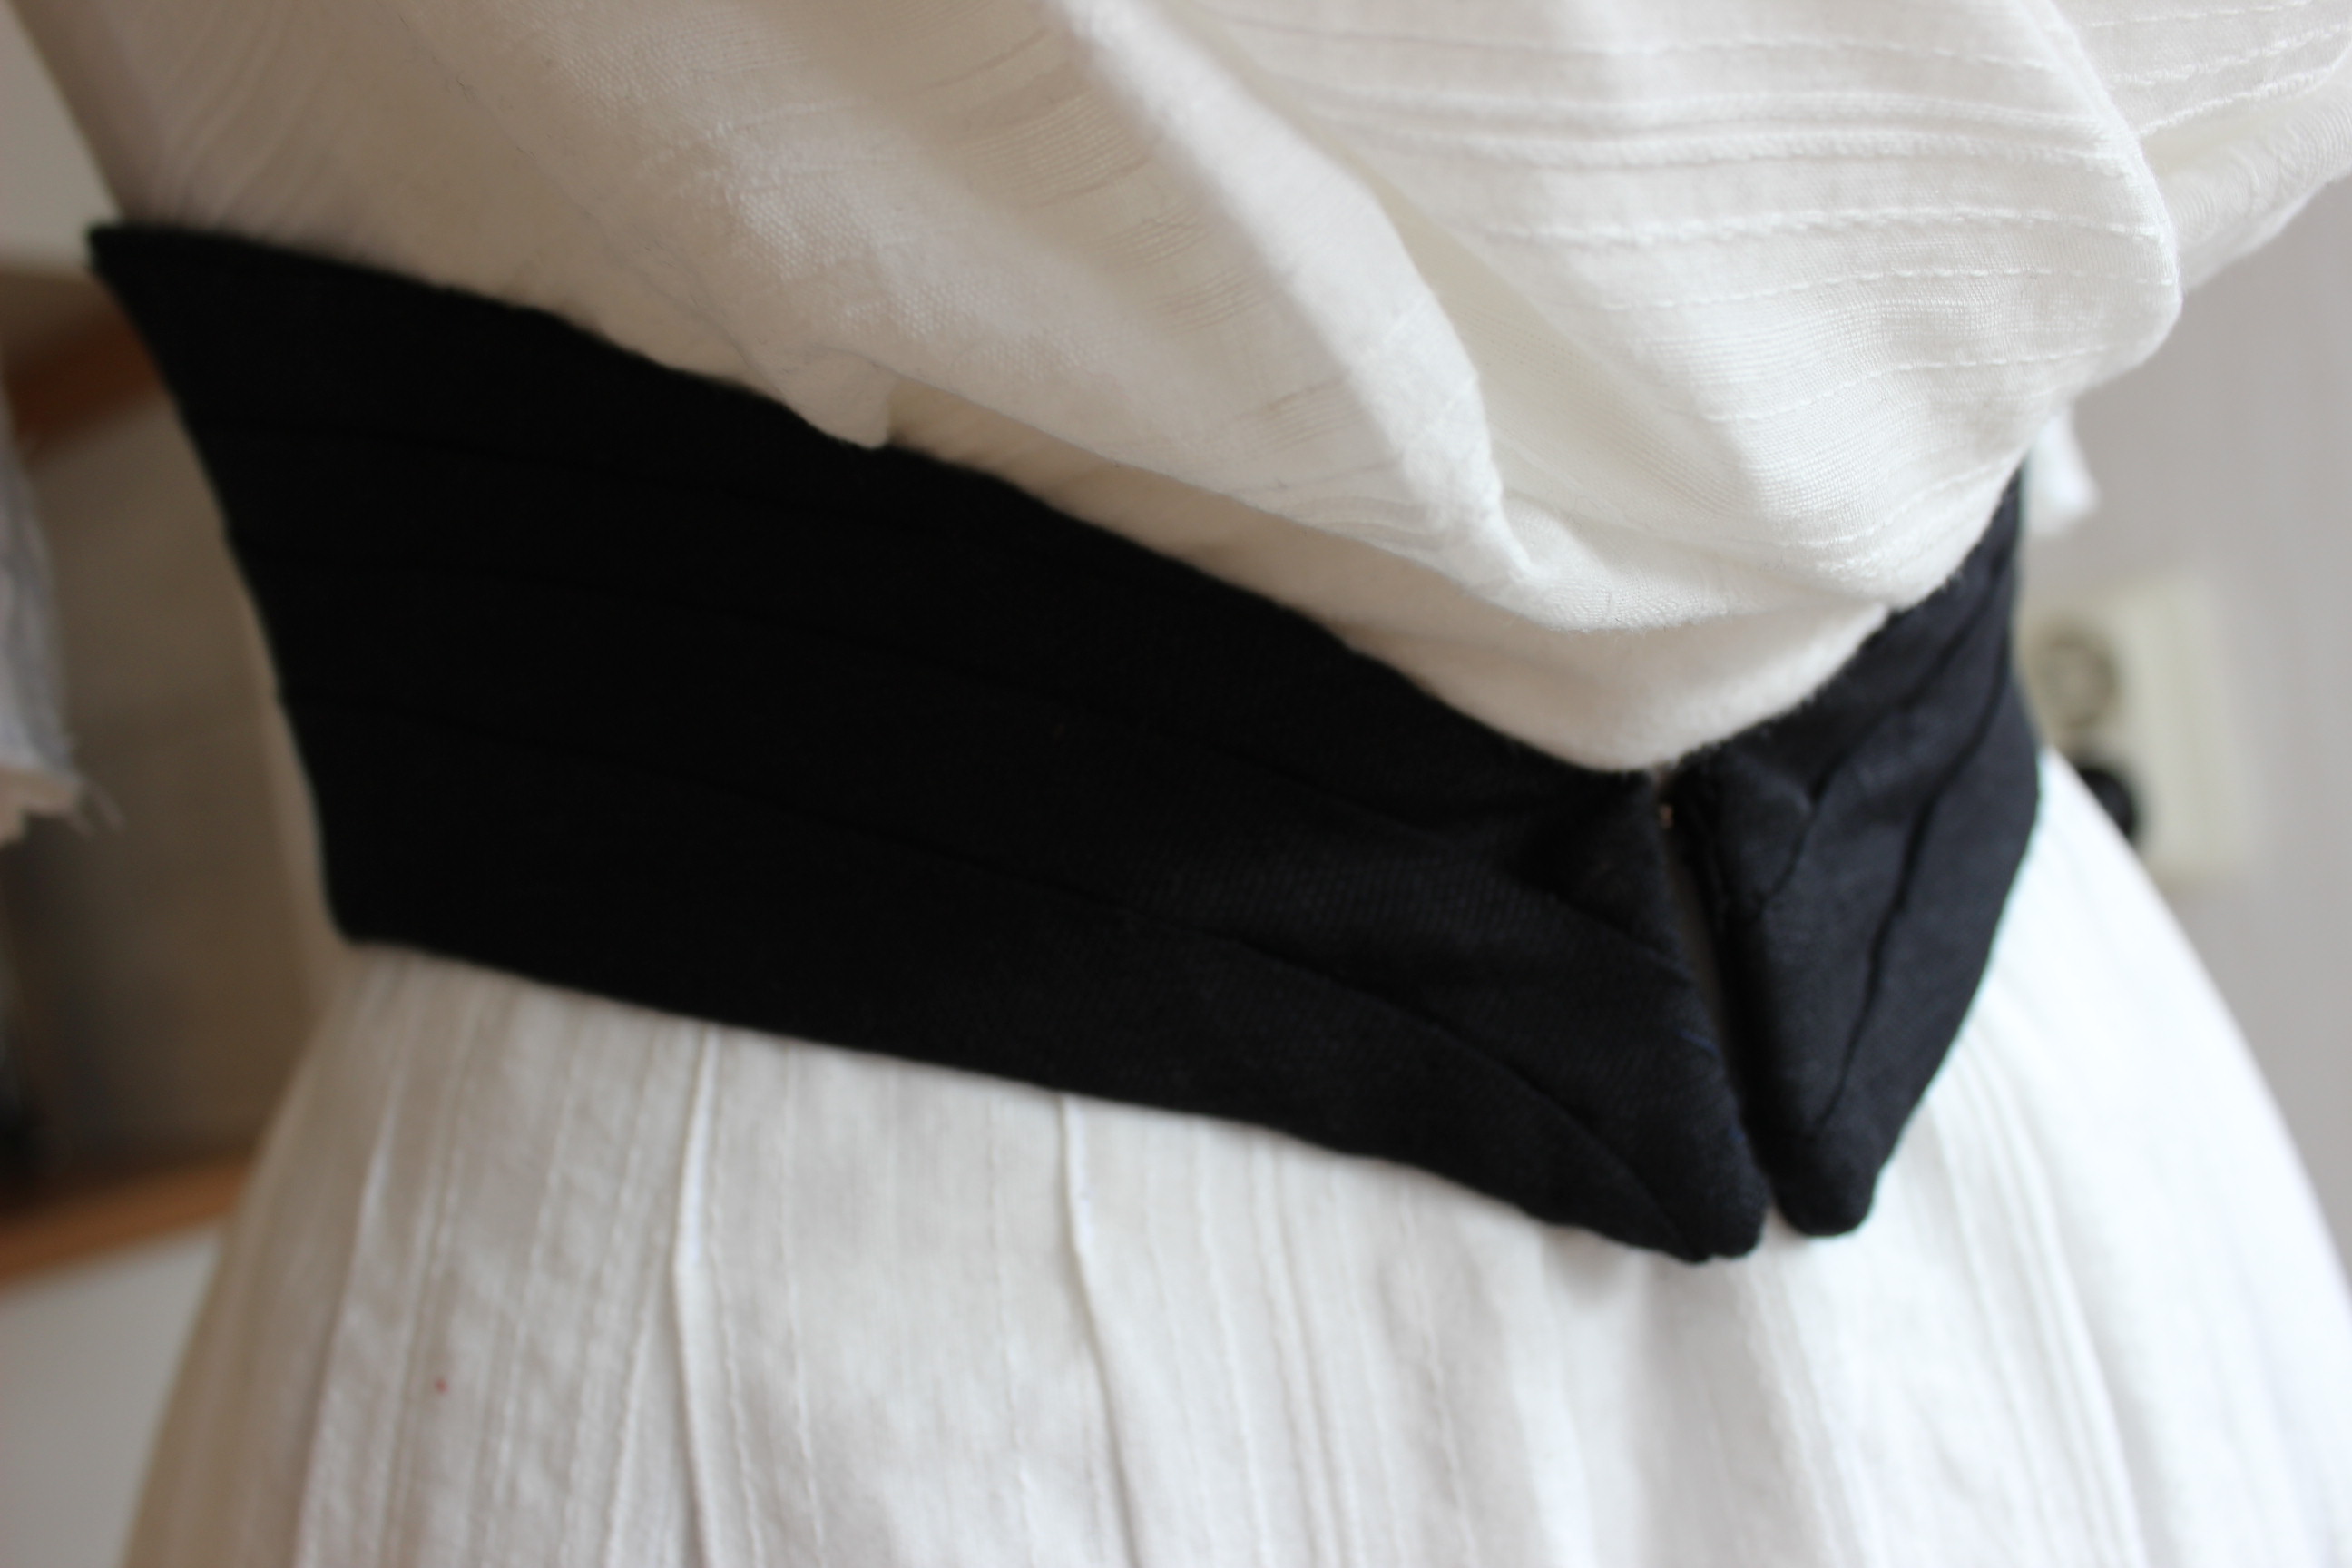
You can also clearly see that the dress is actually pale lilac & white in the stripes, and a darker lilac on the belt.
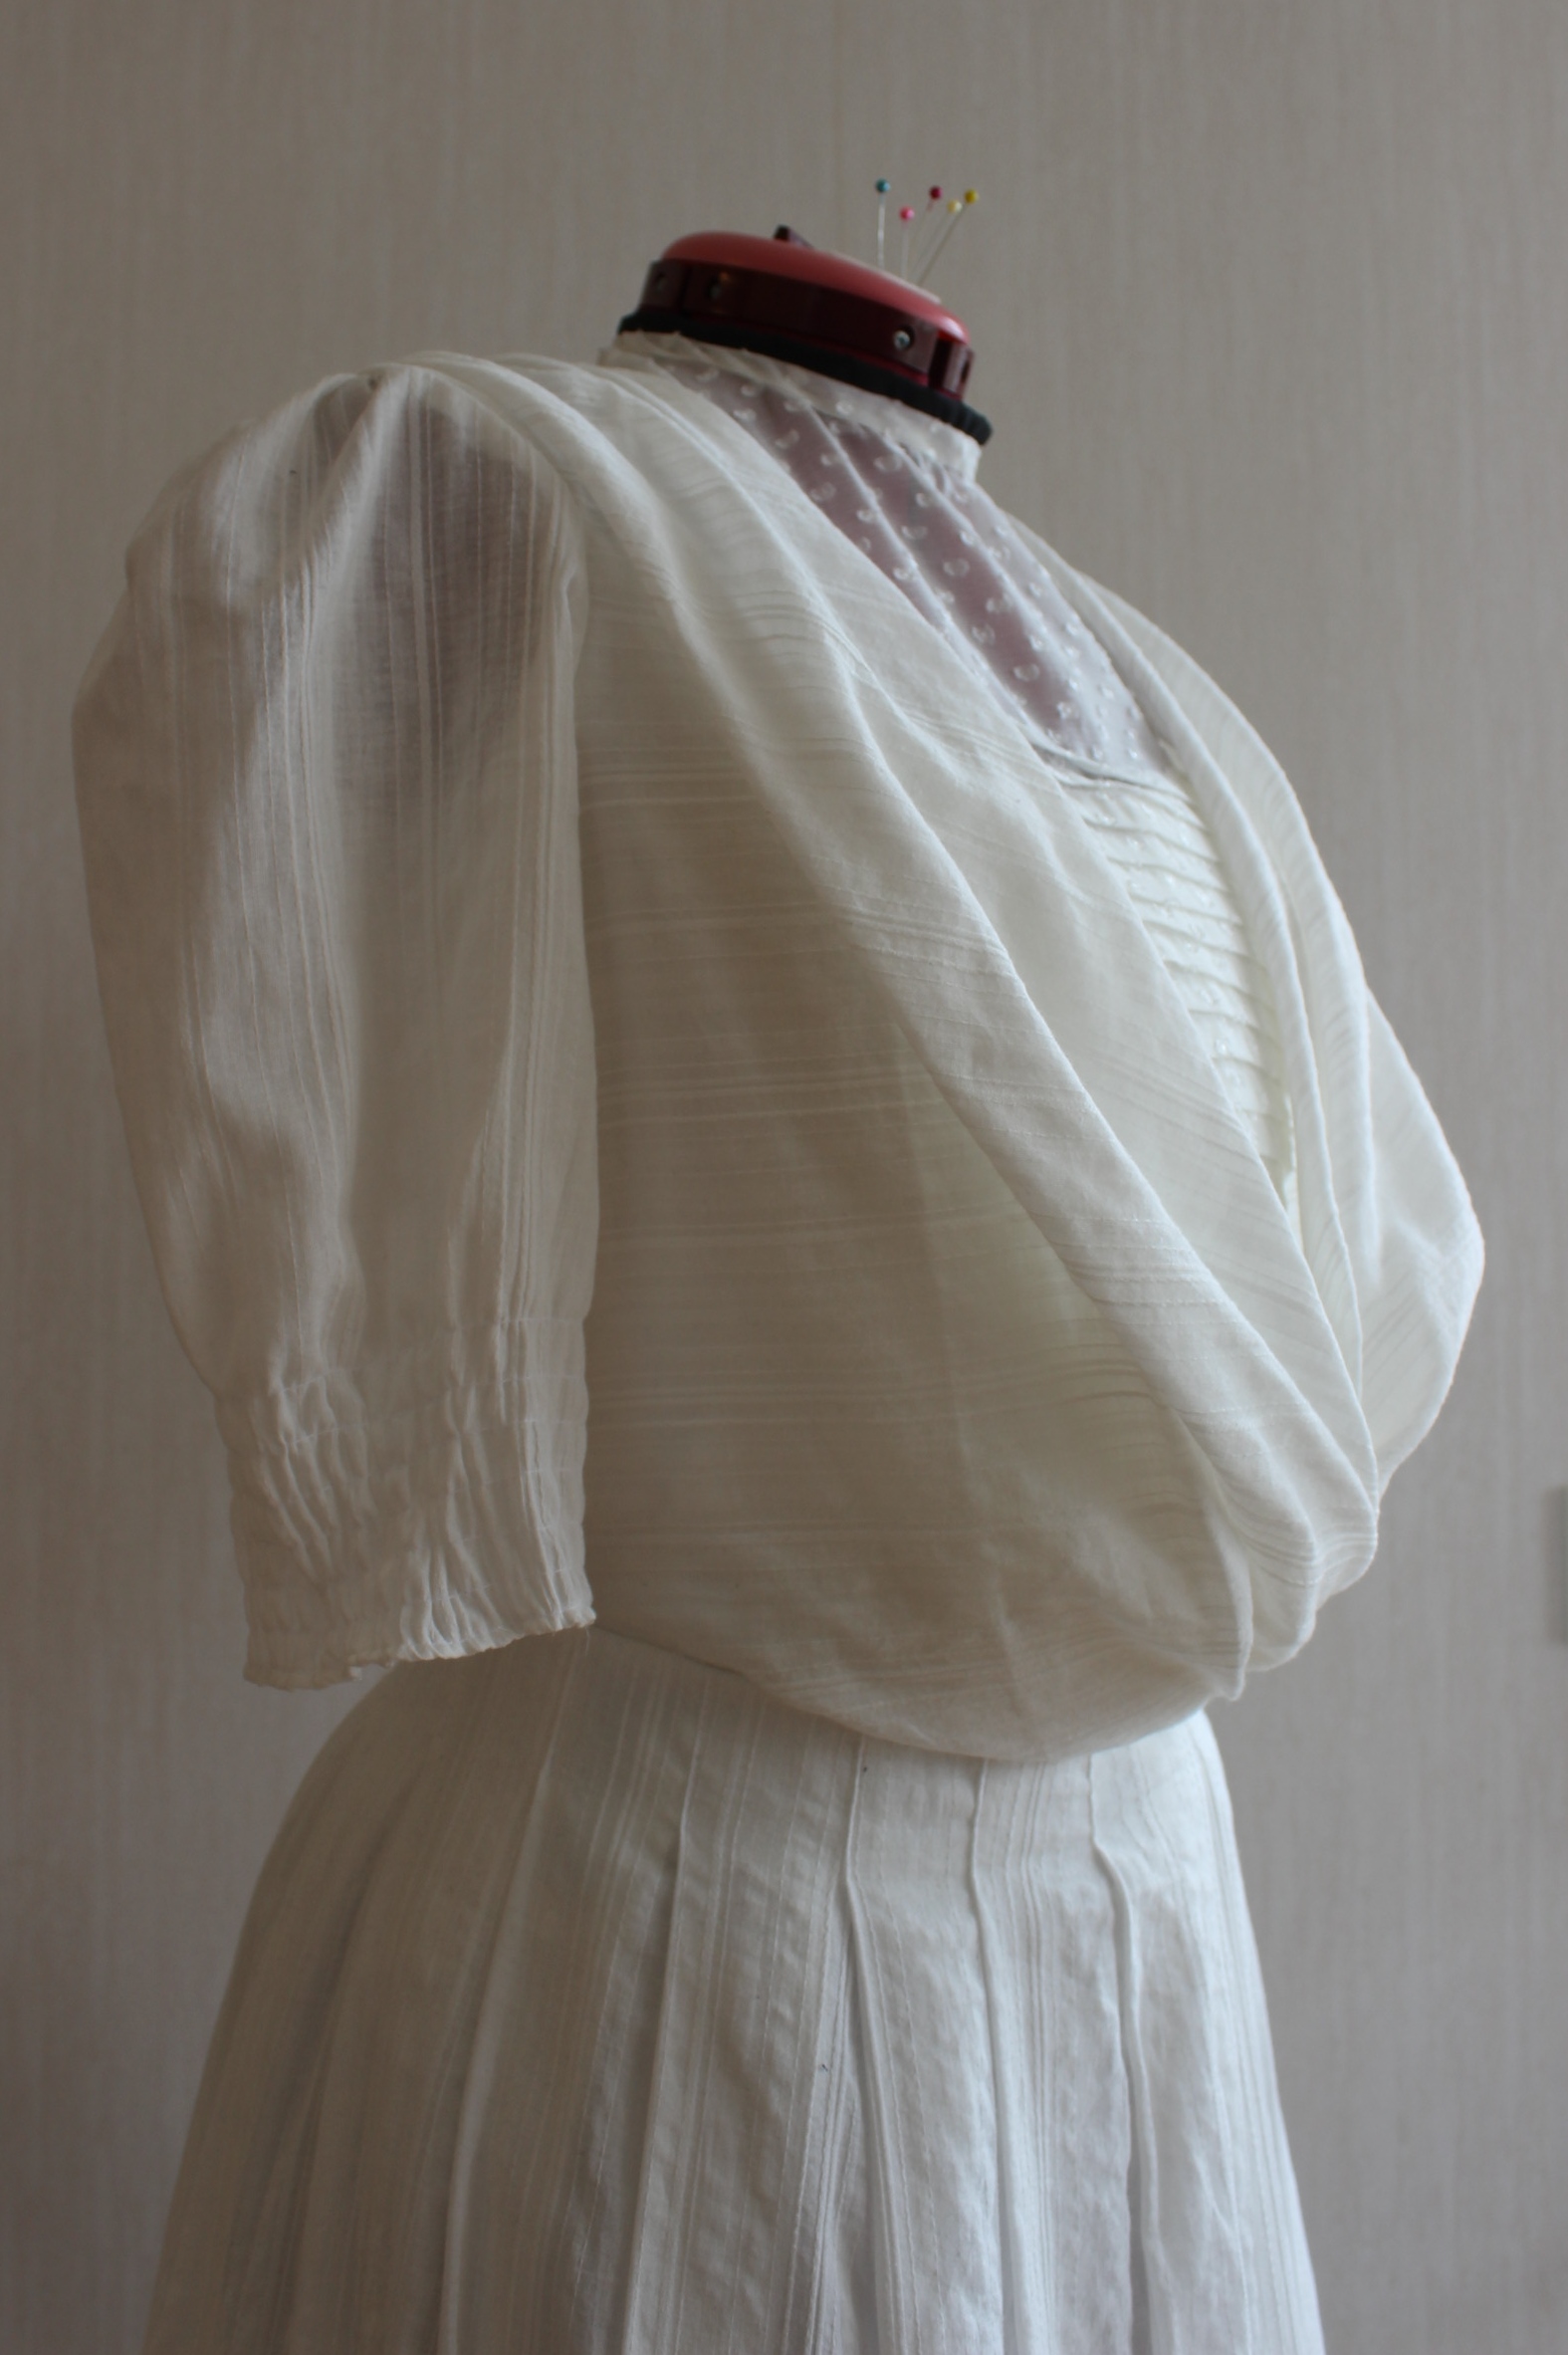
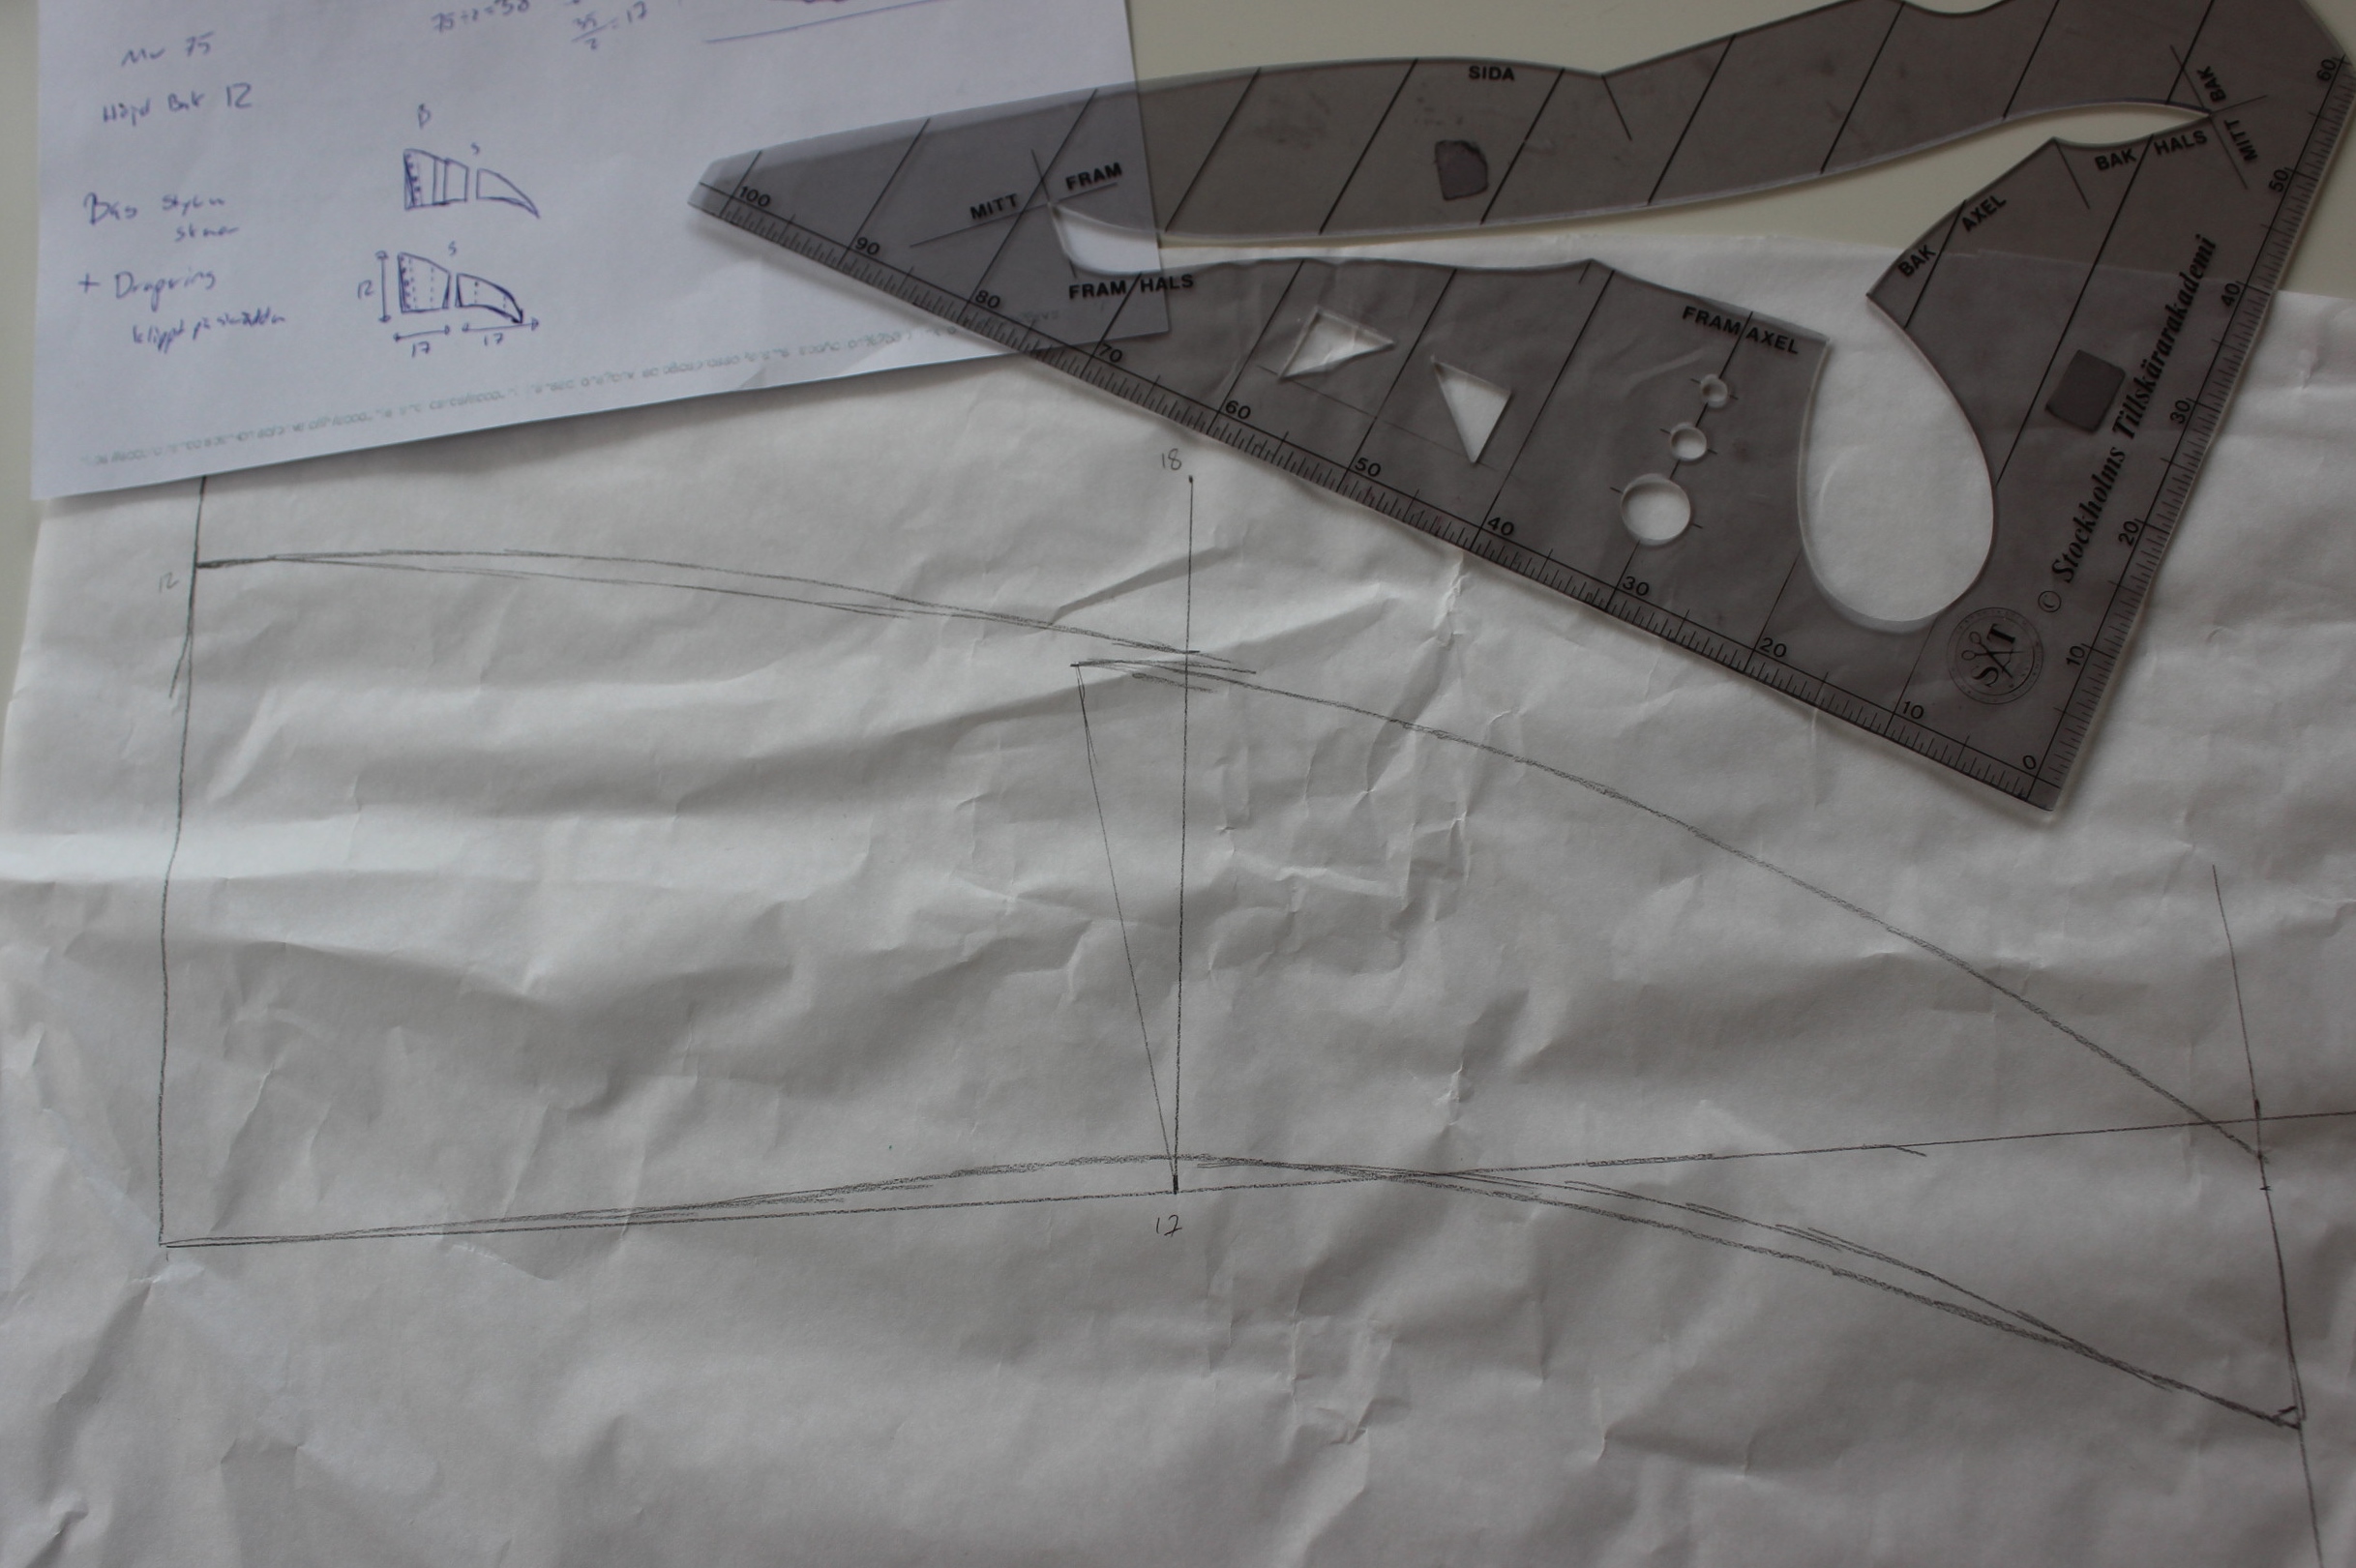
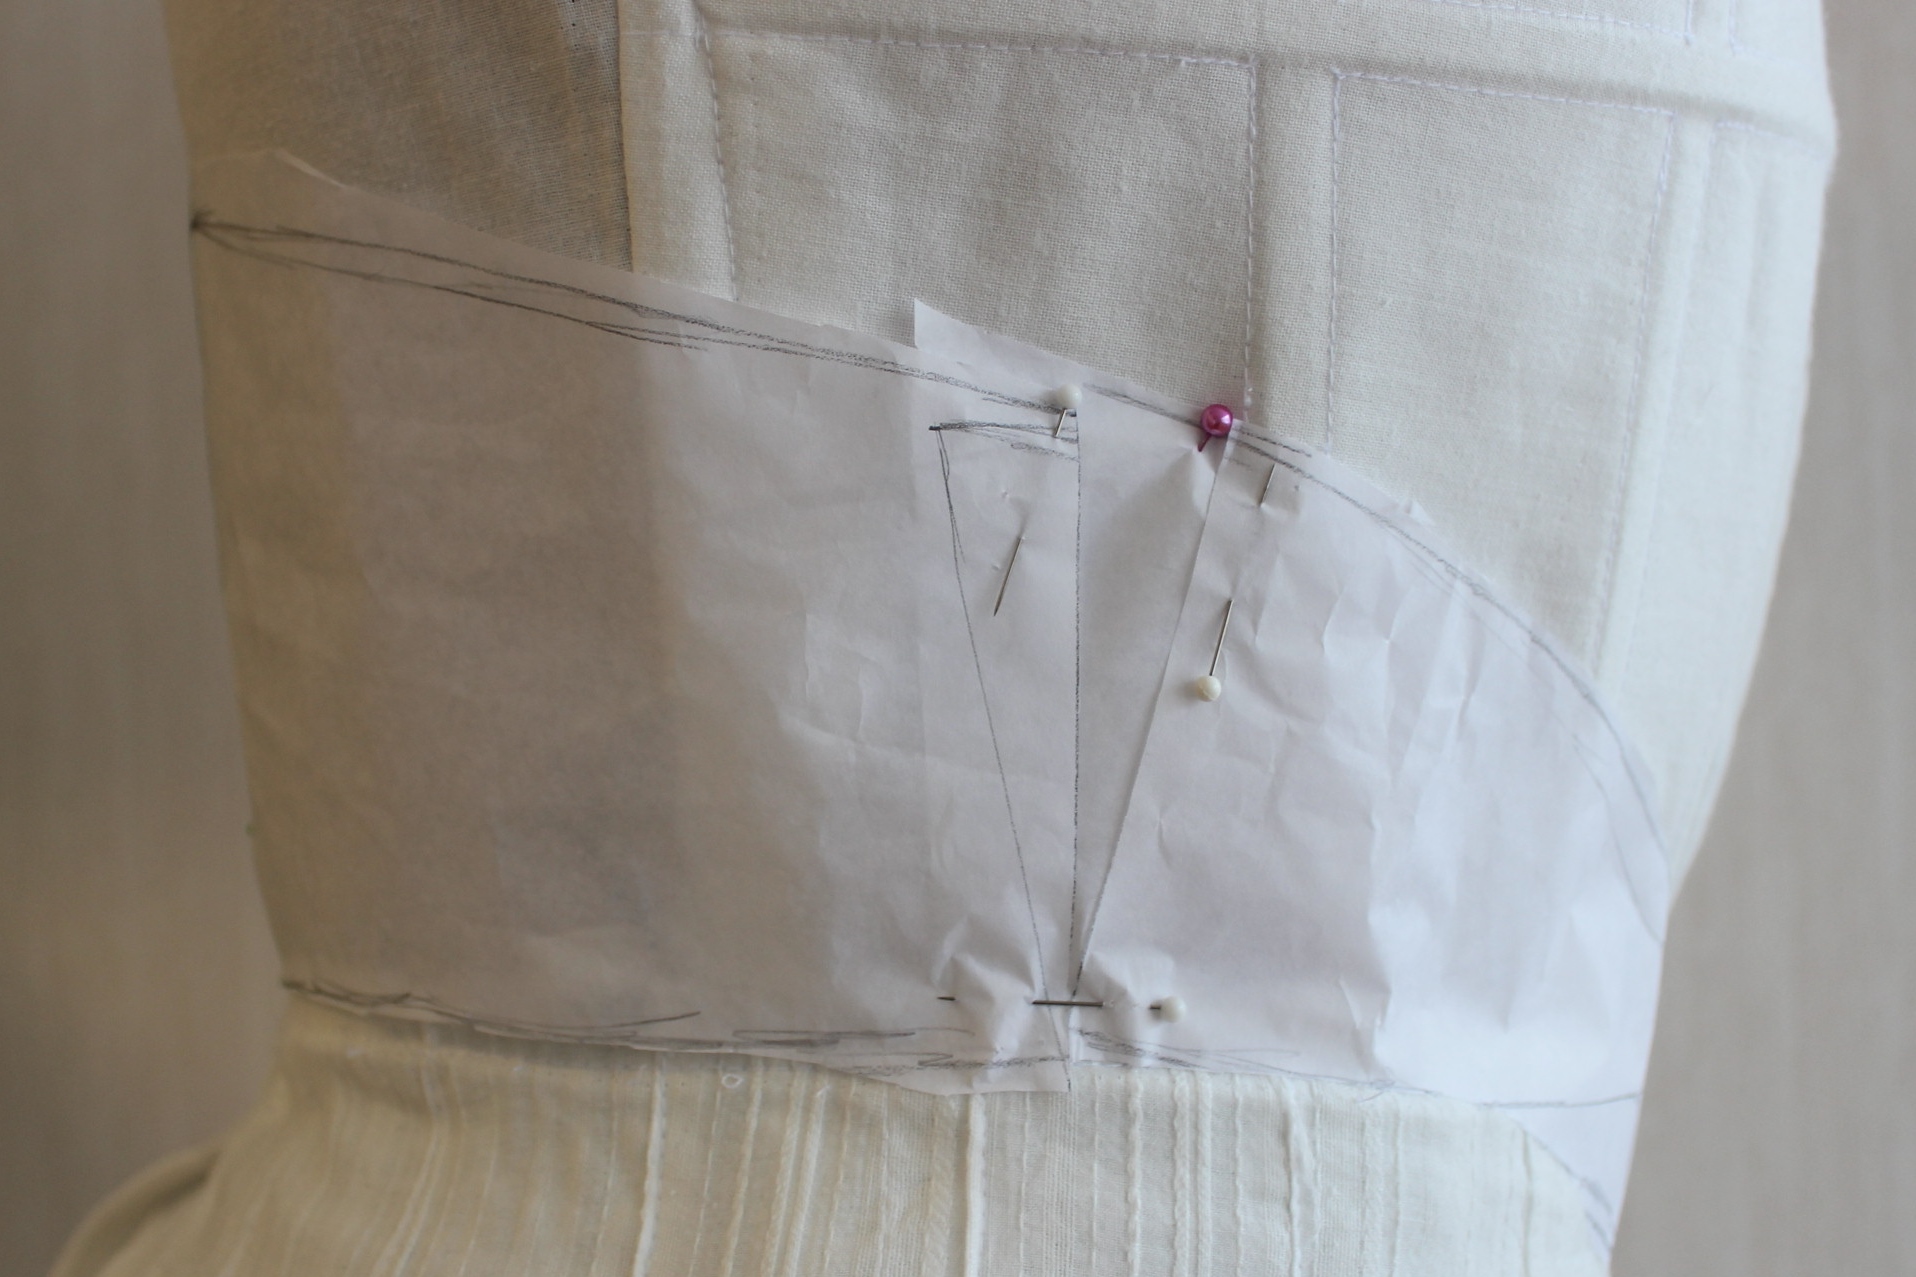
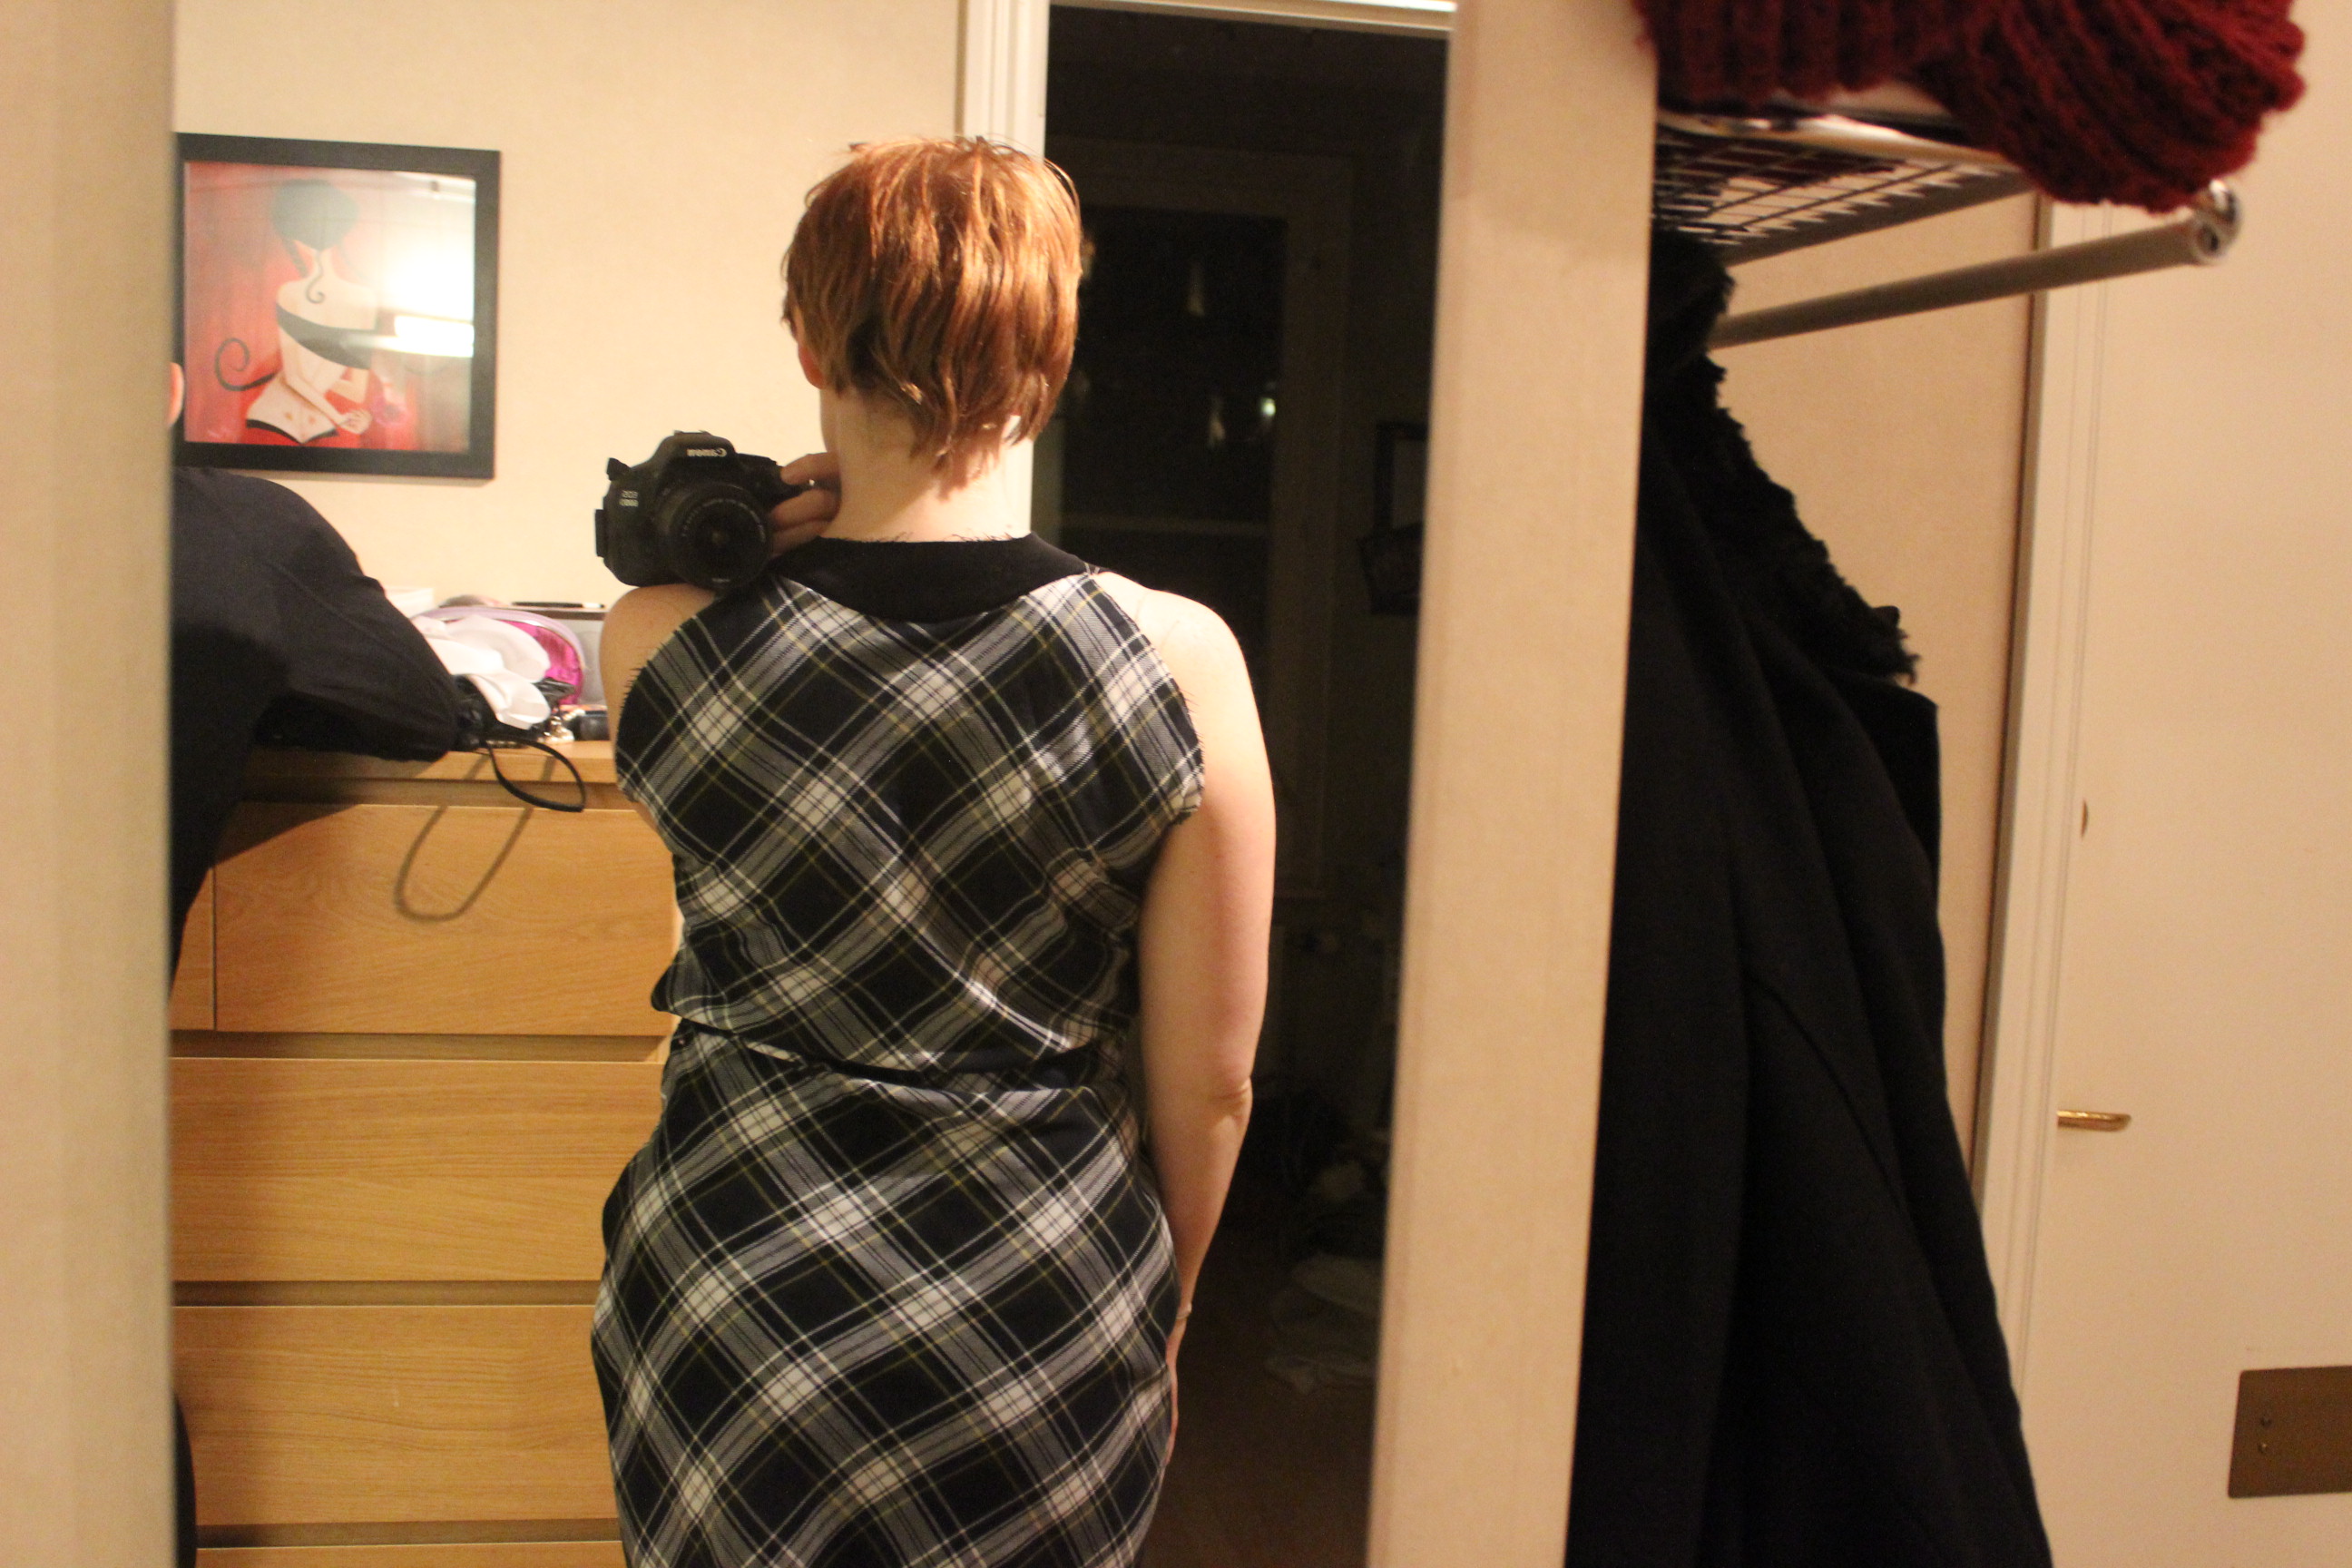
I was indecisive of what to do with the bodice back – would it be a center back seam? Darts? Something else?
Until I found this picture…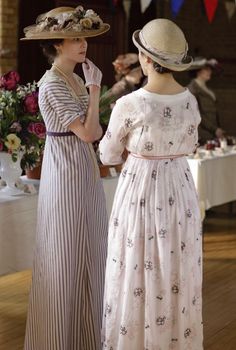 Not from the back, but you can clearly see the stripes running on the bias. Of course! The back will be designed with the stripes meeting in a V at center back, running up to the shoulder and continue into the sleeves. So pretty and so simple.
I hopes Lady Grantham approves. 
 Chears!


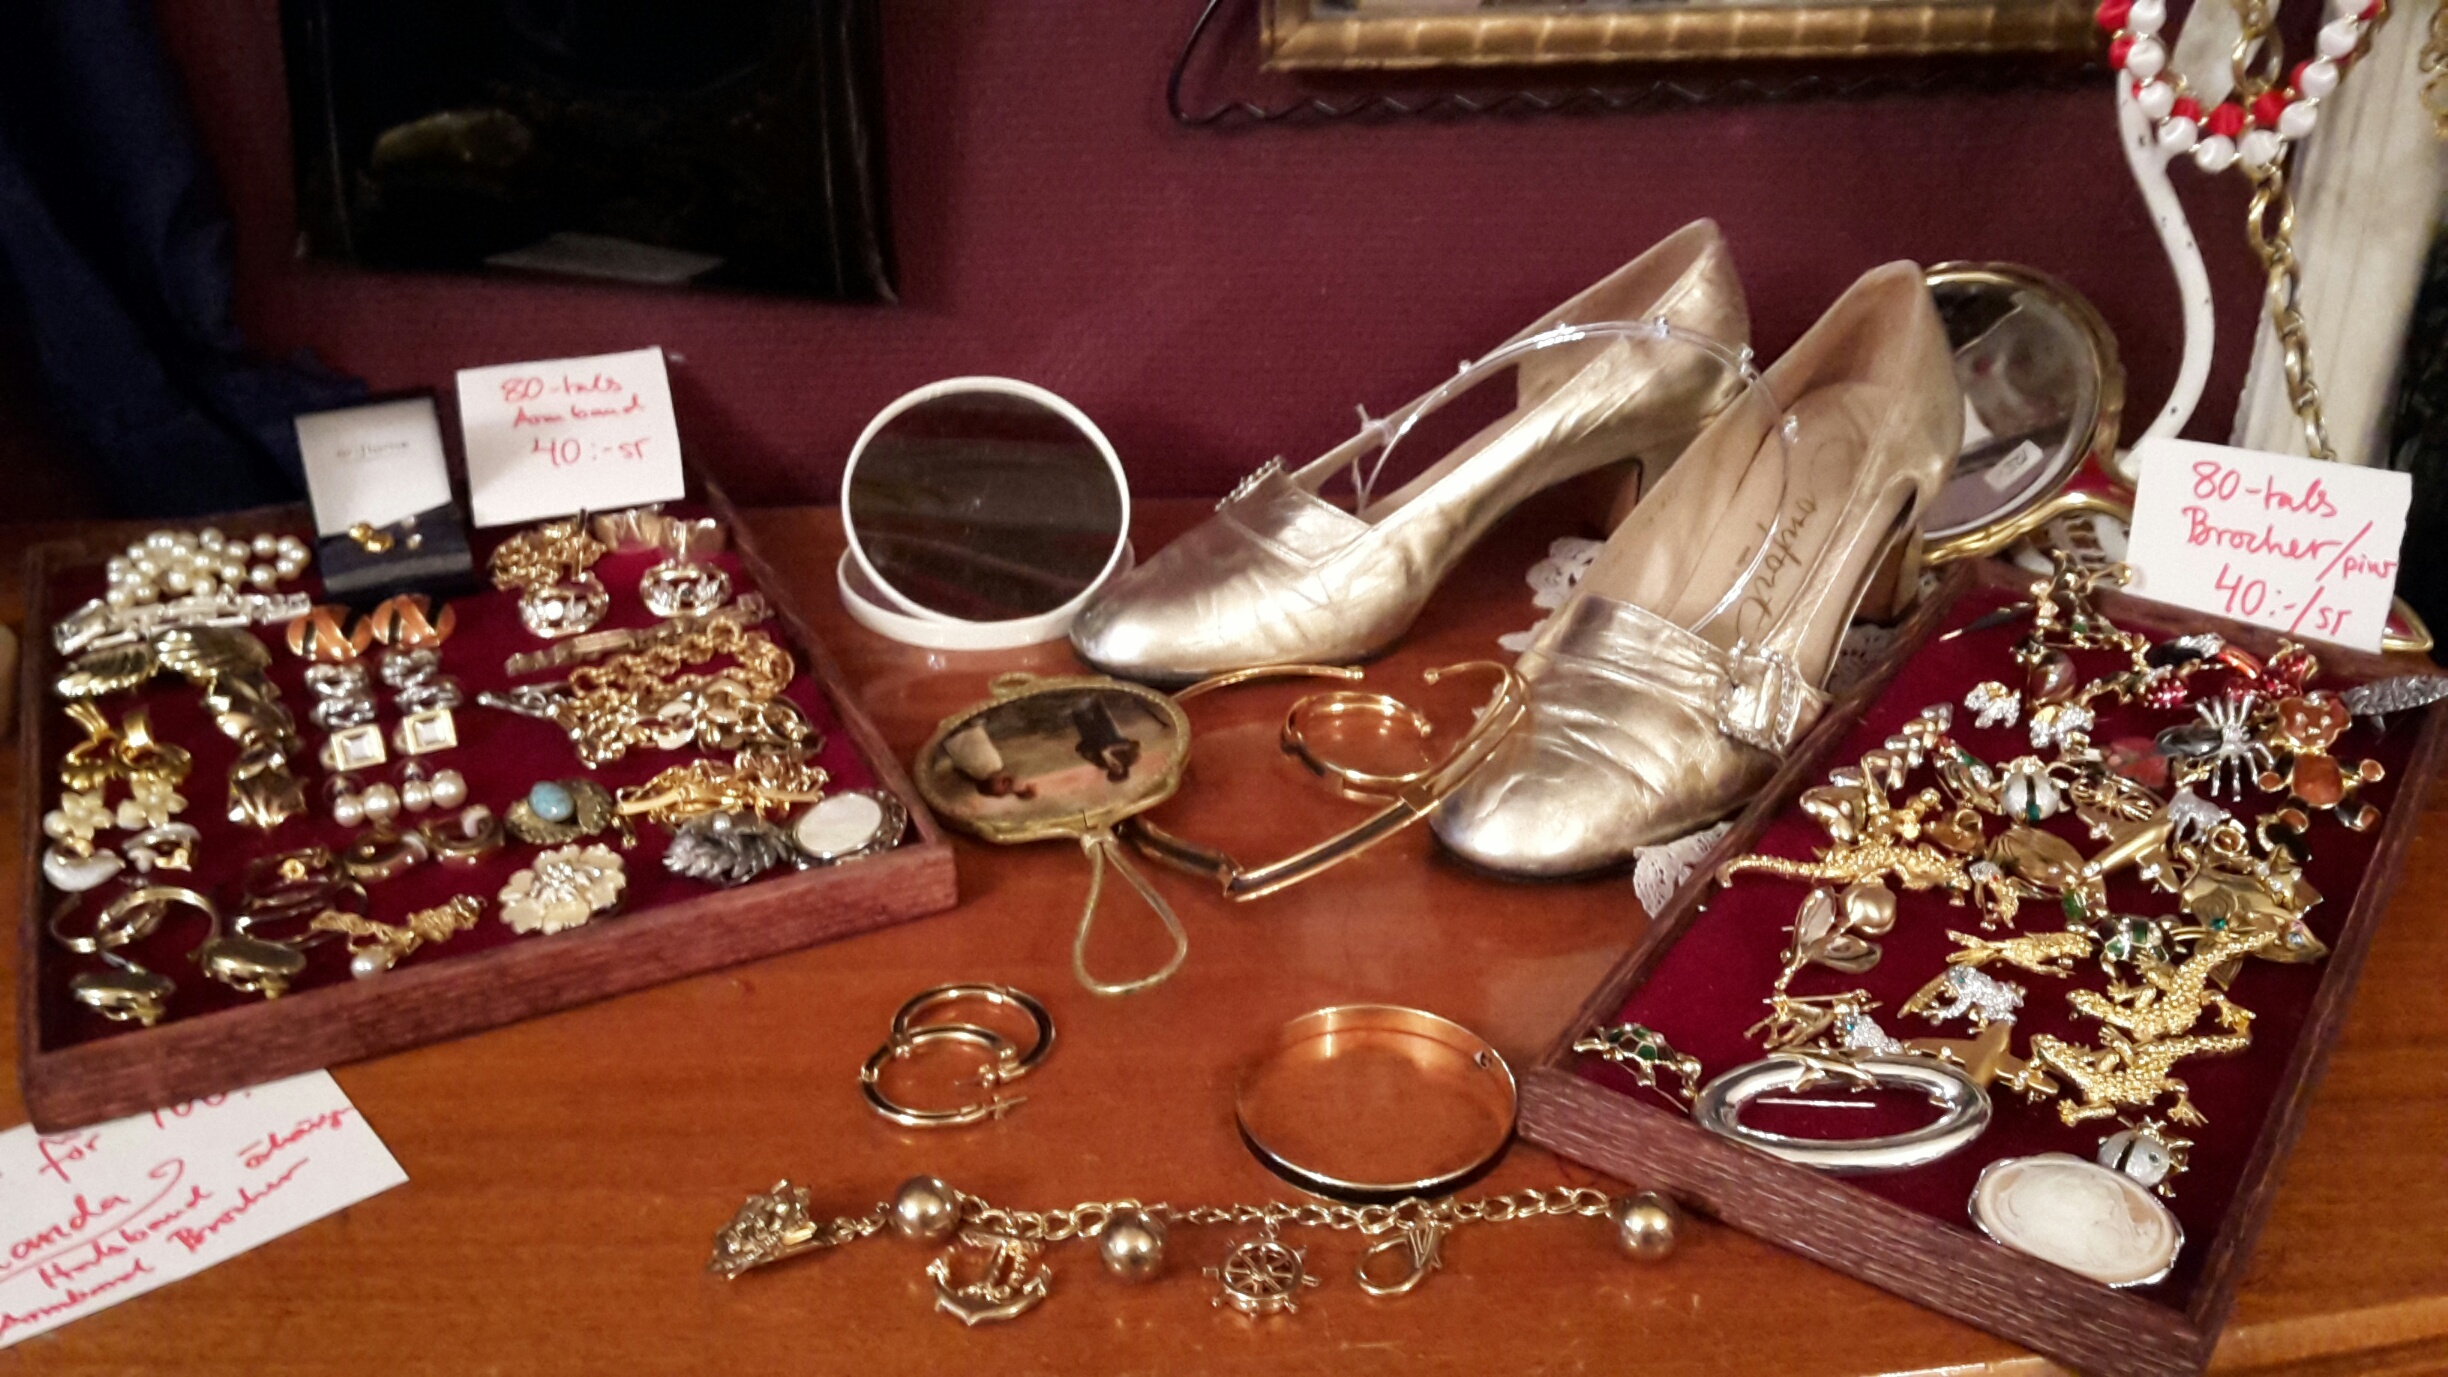


 I also want to recreate on of these petticoats and bust ruffles one day.


 It’s Camille Clifford in a white “pigeon bust” gown accessorized with black belt and hat.
 (the black line highlighting the low neckline is a later addition by who ever had the picture before me).